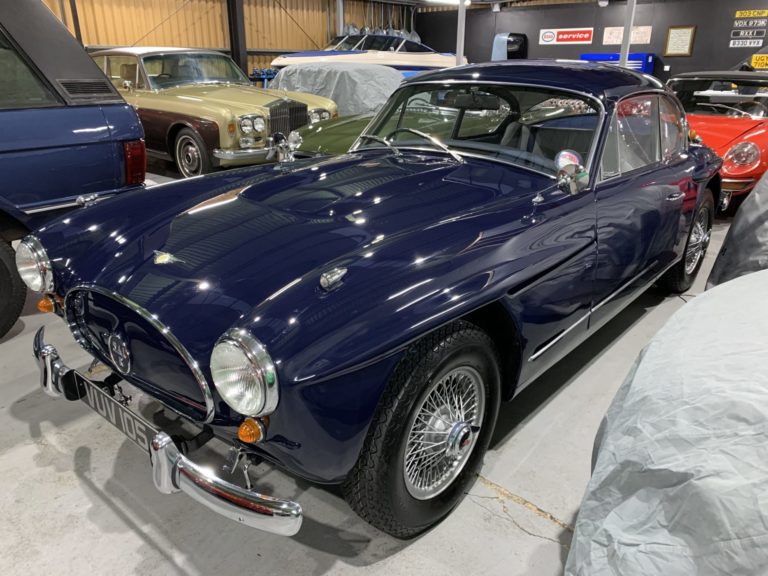
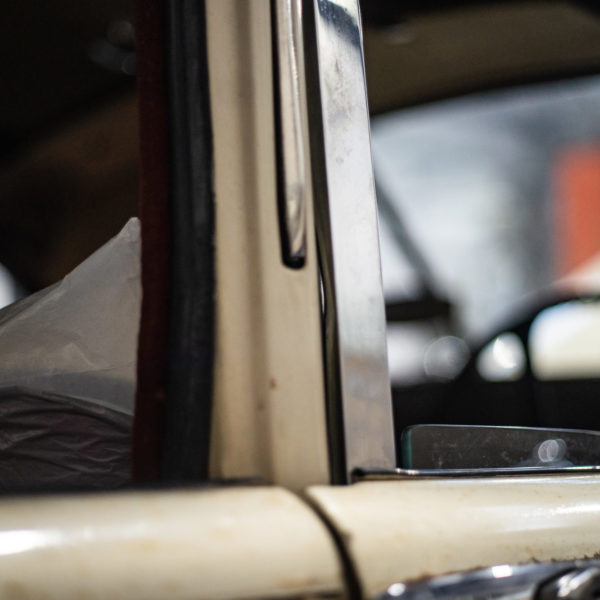
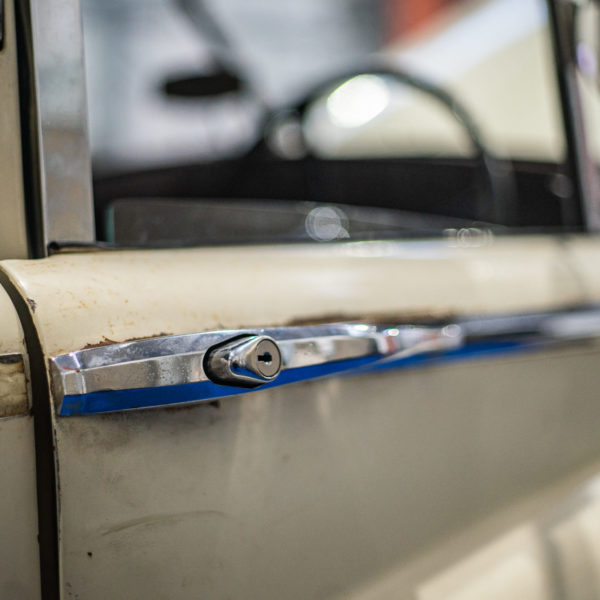
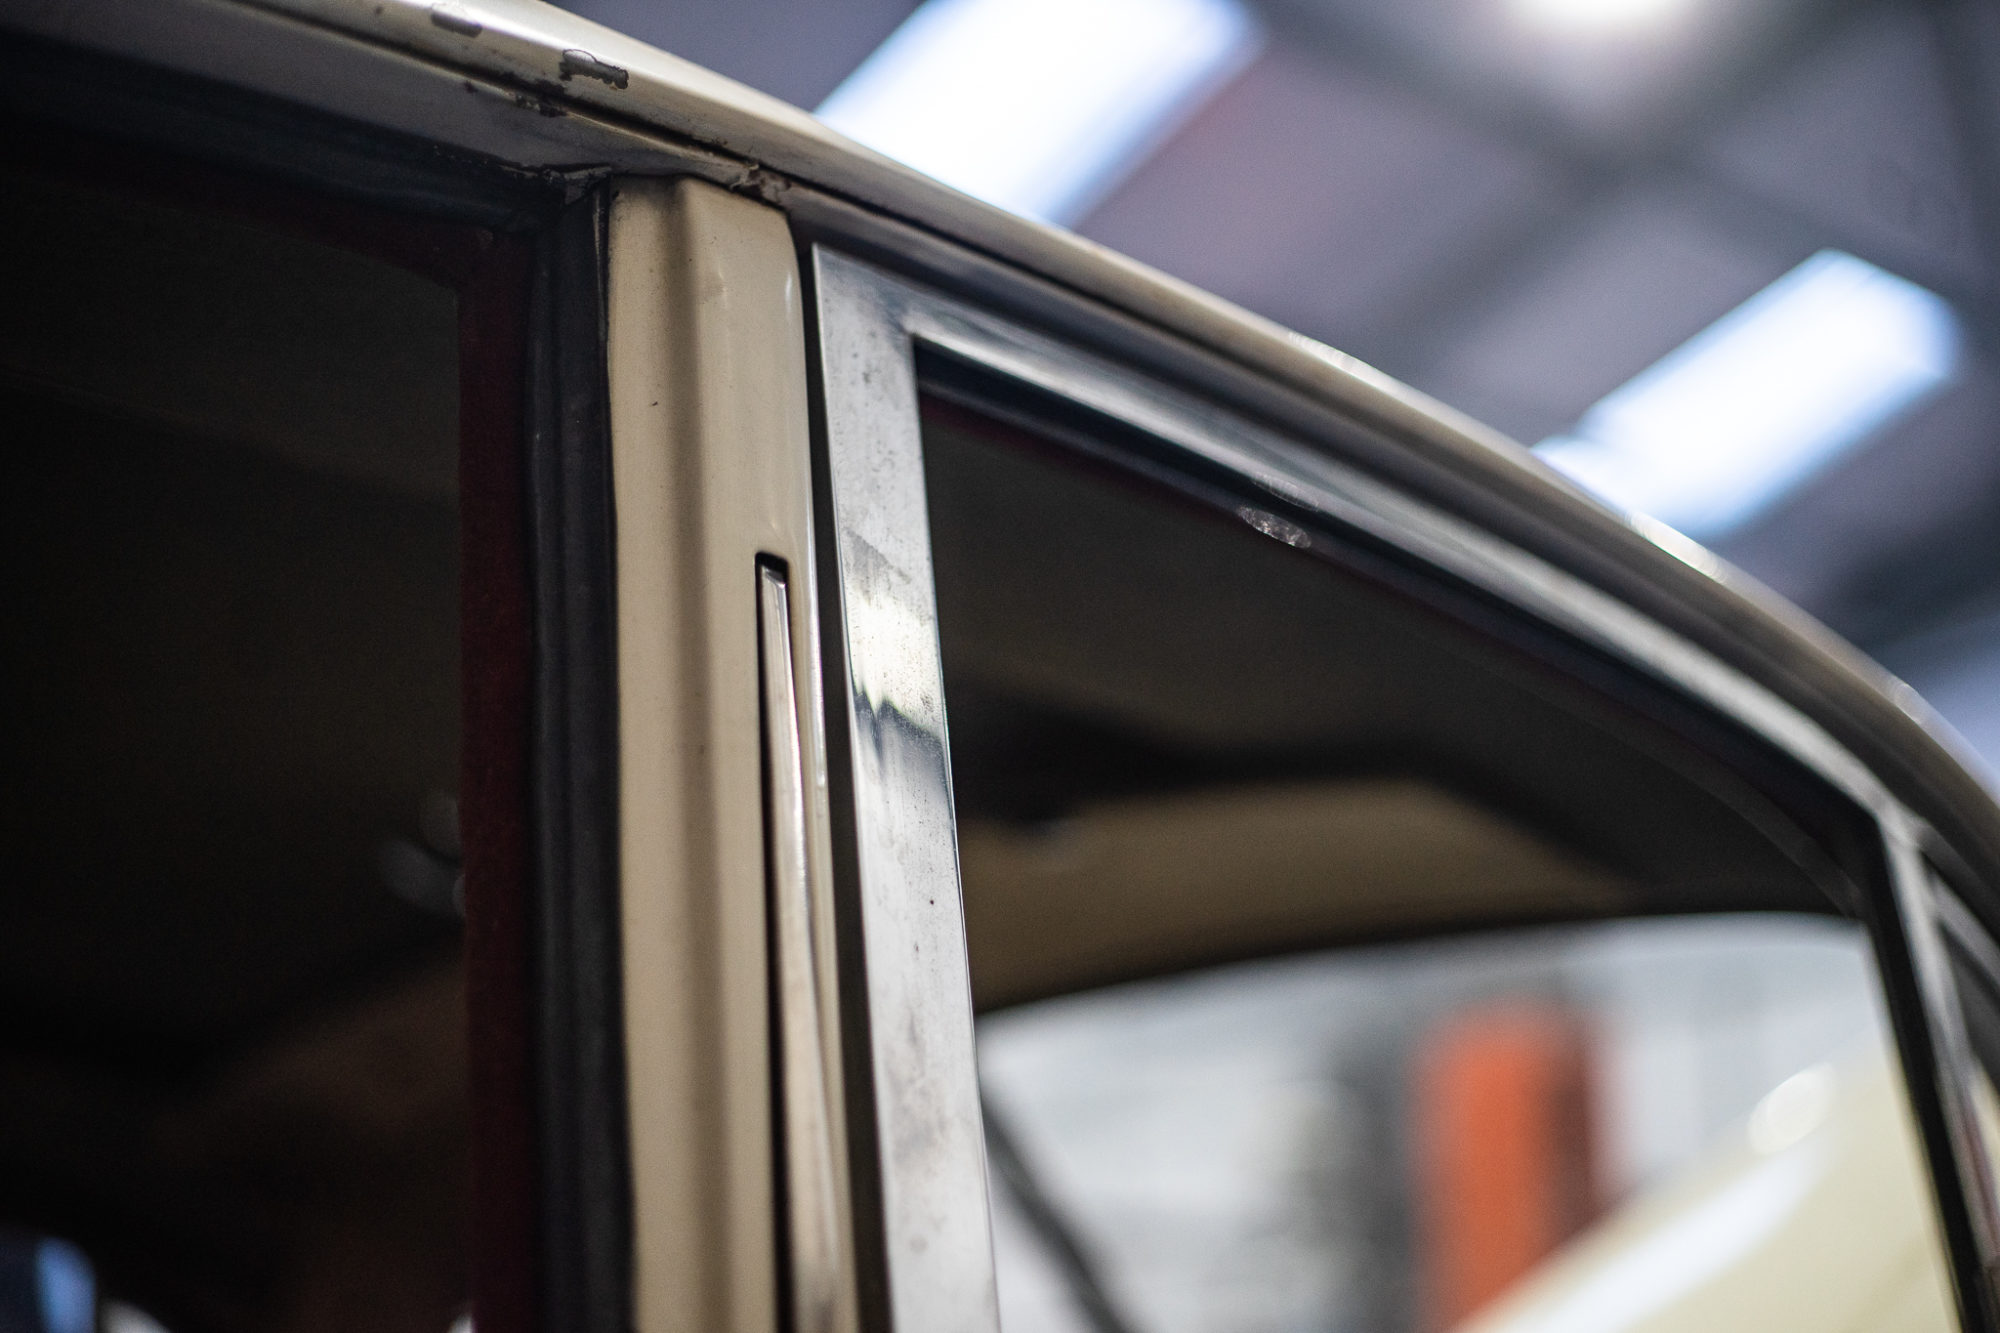
Jaguar MKVII Chrome Removal
Our team has begun removing the chrome on the 1954 Jaguar MKVII in preparation for bodywork and paint. For the majority of the chrome, its


Our team has begun removing the chrome on the 1954 Jaguar MKVII in preparation for bodywork and paint. For the majority of the chrome, its
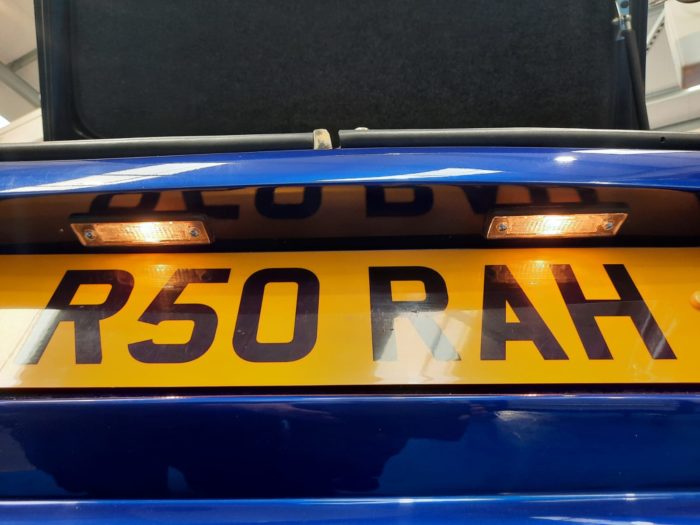
We replaced the number plate lights on our TVR Chimaera so that the number plate now shines bright!
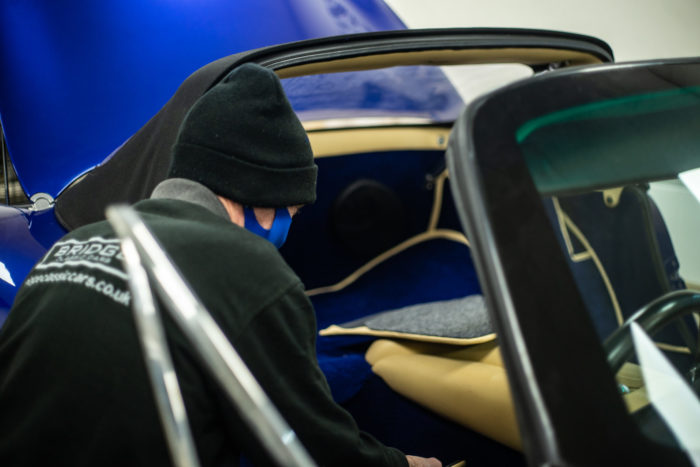
Our trim department has been working hard to get the 1998 TVR Chimaera’s carpet, door panels and other pieces of fabric-to-metal trim stuck and bolted
We couldn’t resist taking the Land Rover out into the snow to get some arrival photos. Since we’re aiming to give this iconic adventure-mobile a

We’ve recently welcomed this iconic 1964 Series IIa Land Rover into the workshop, however before its ready to be photographed and released for the competition,
We’ve recently re-fitted and lowered the side lights as pictured below. This was a cosmetic change that the customer requested. The pulley mechanism for the
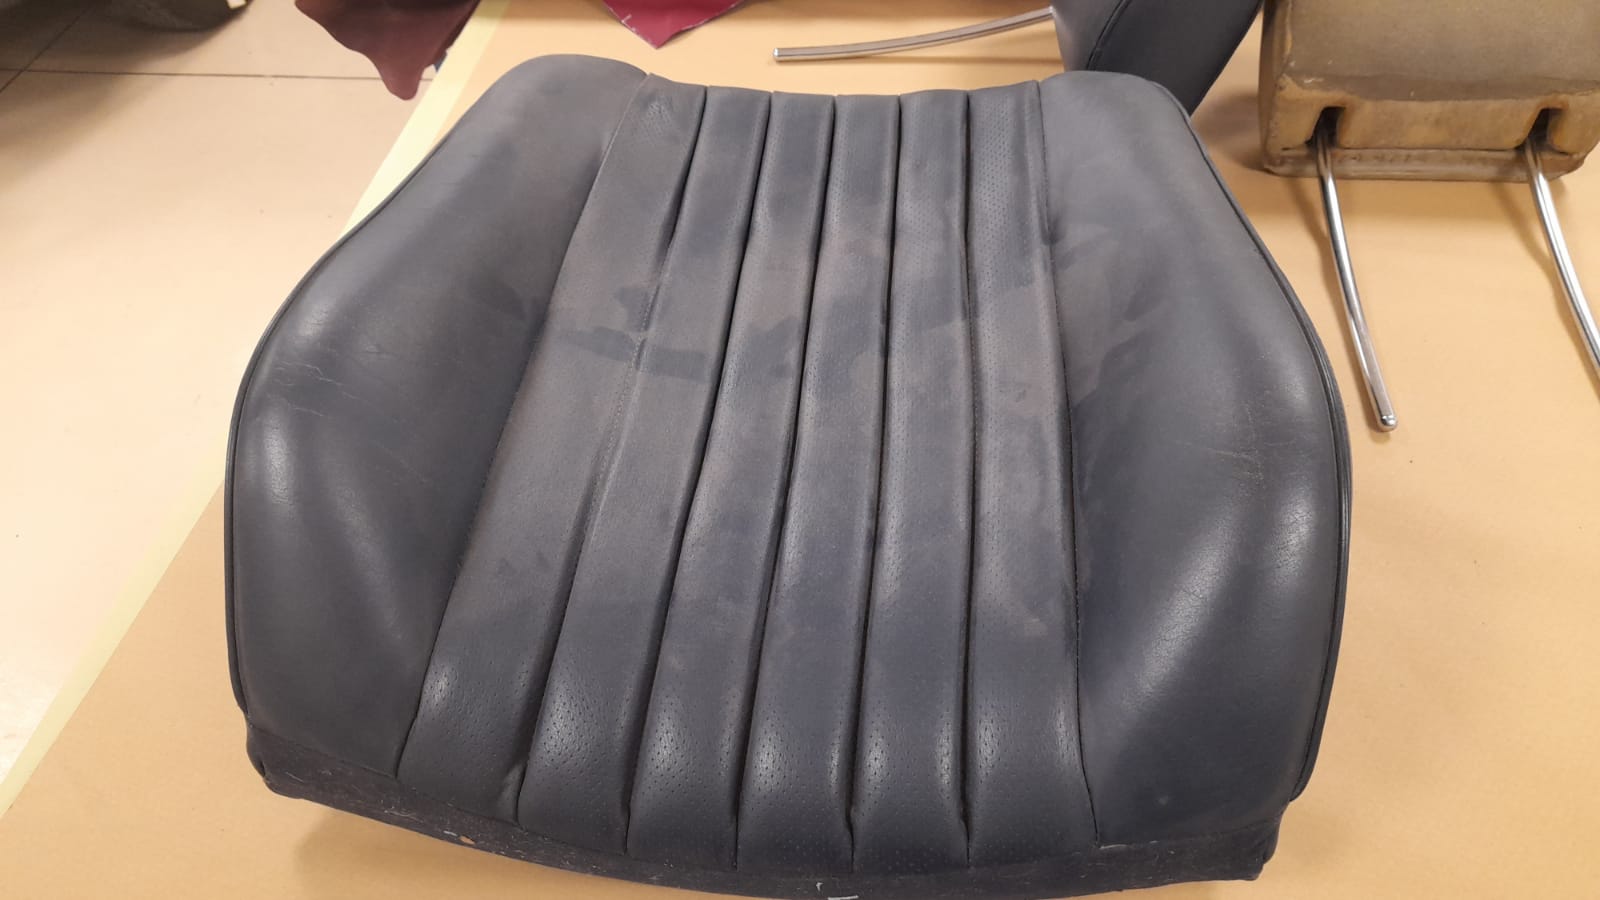
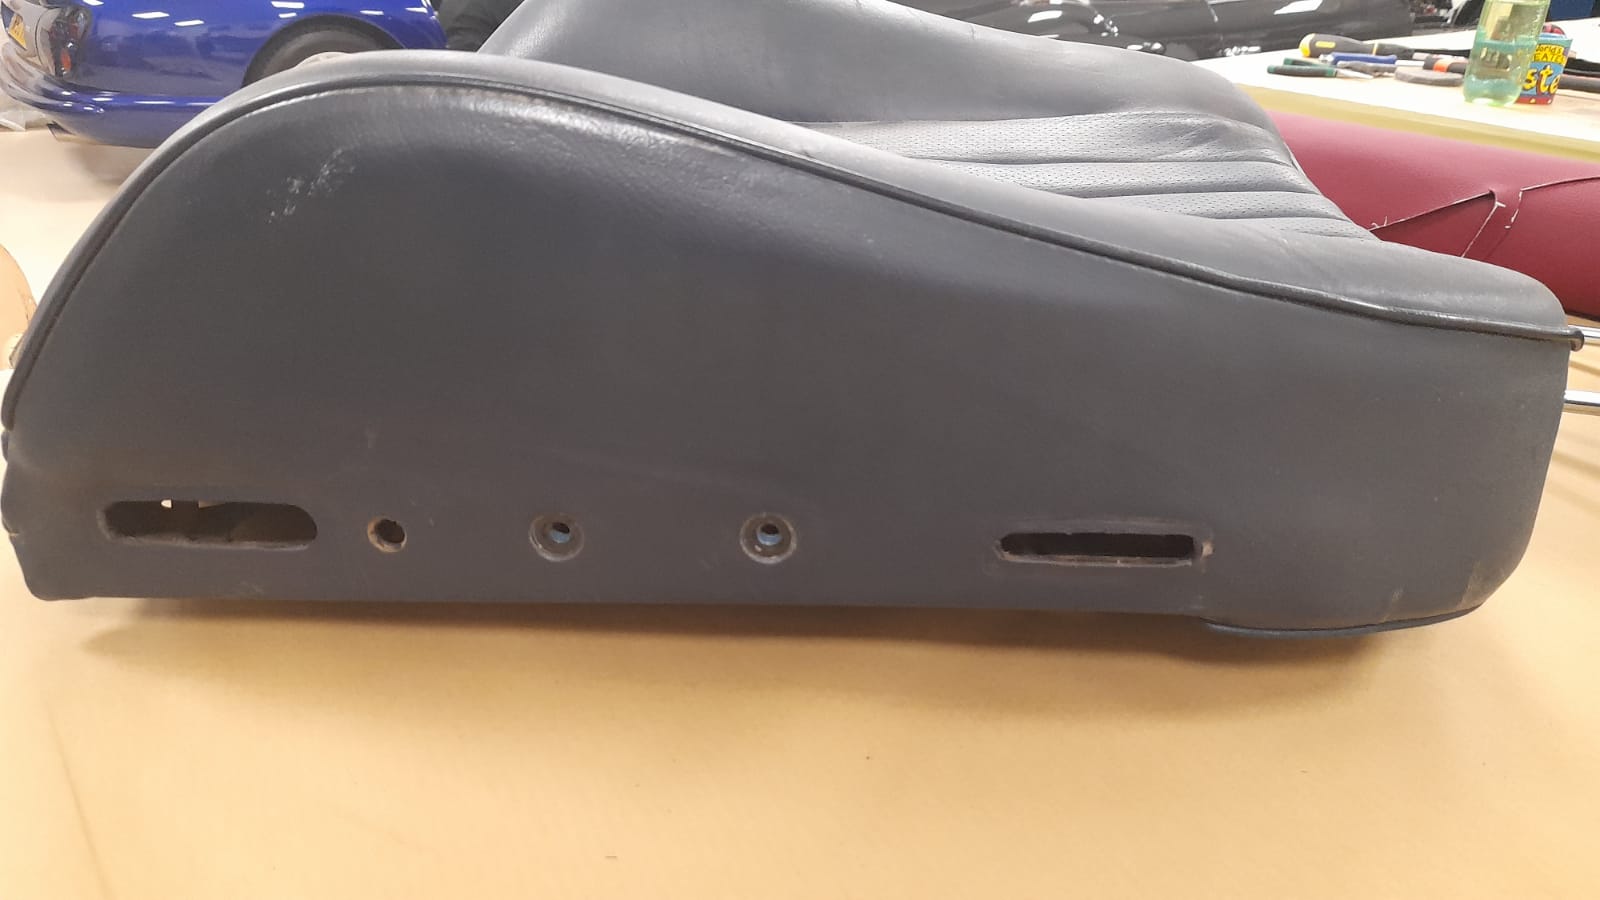
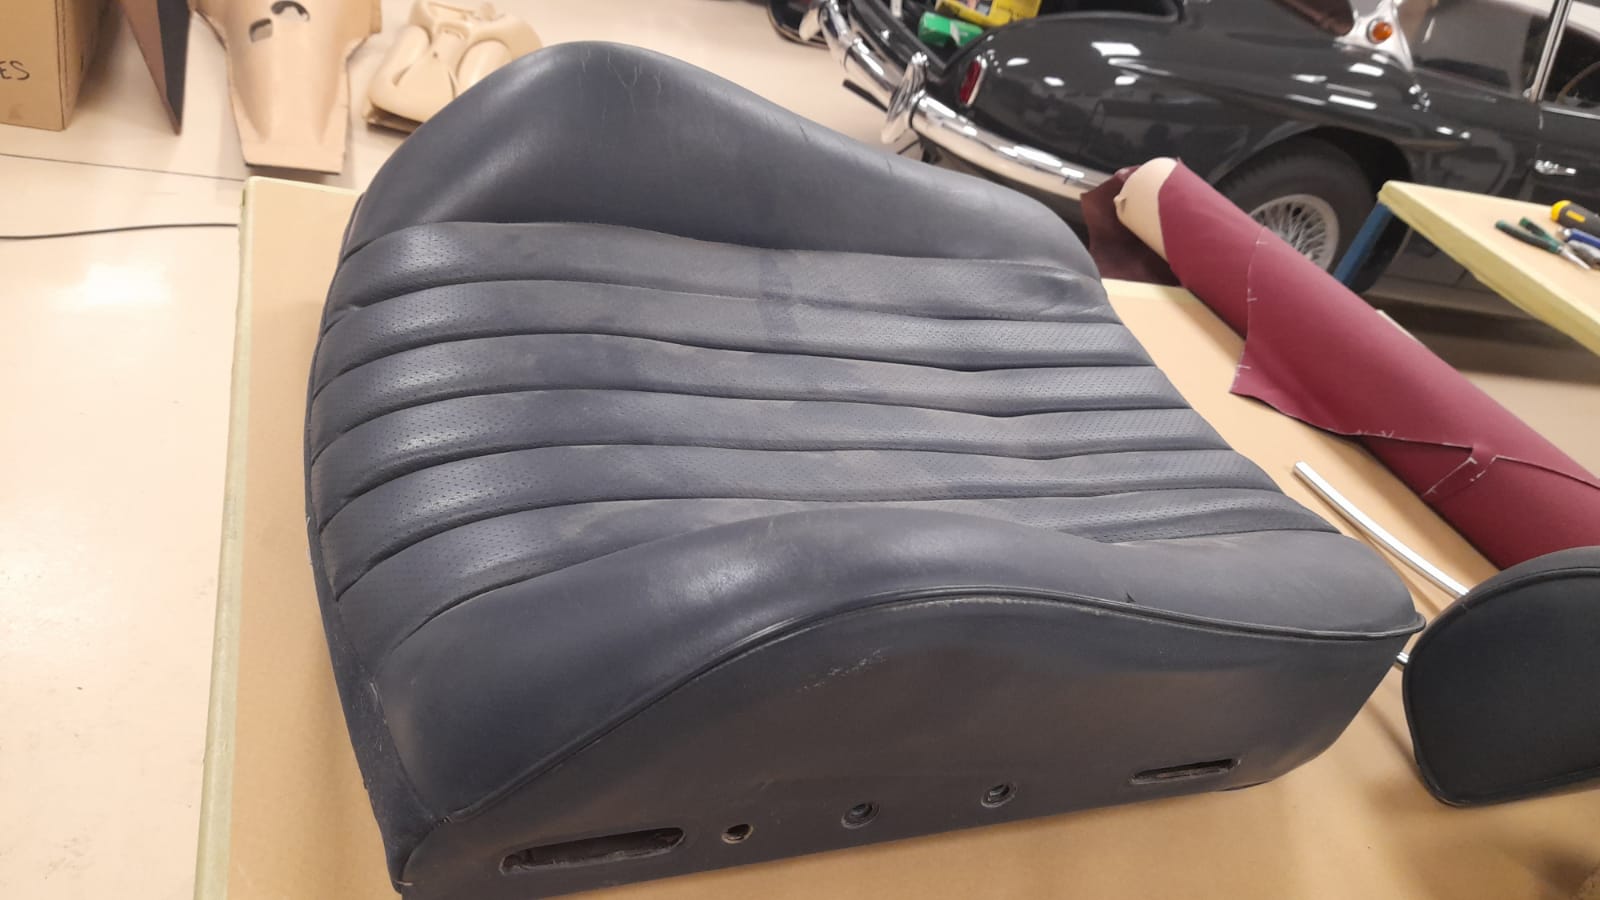
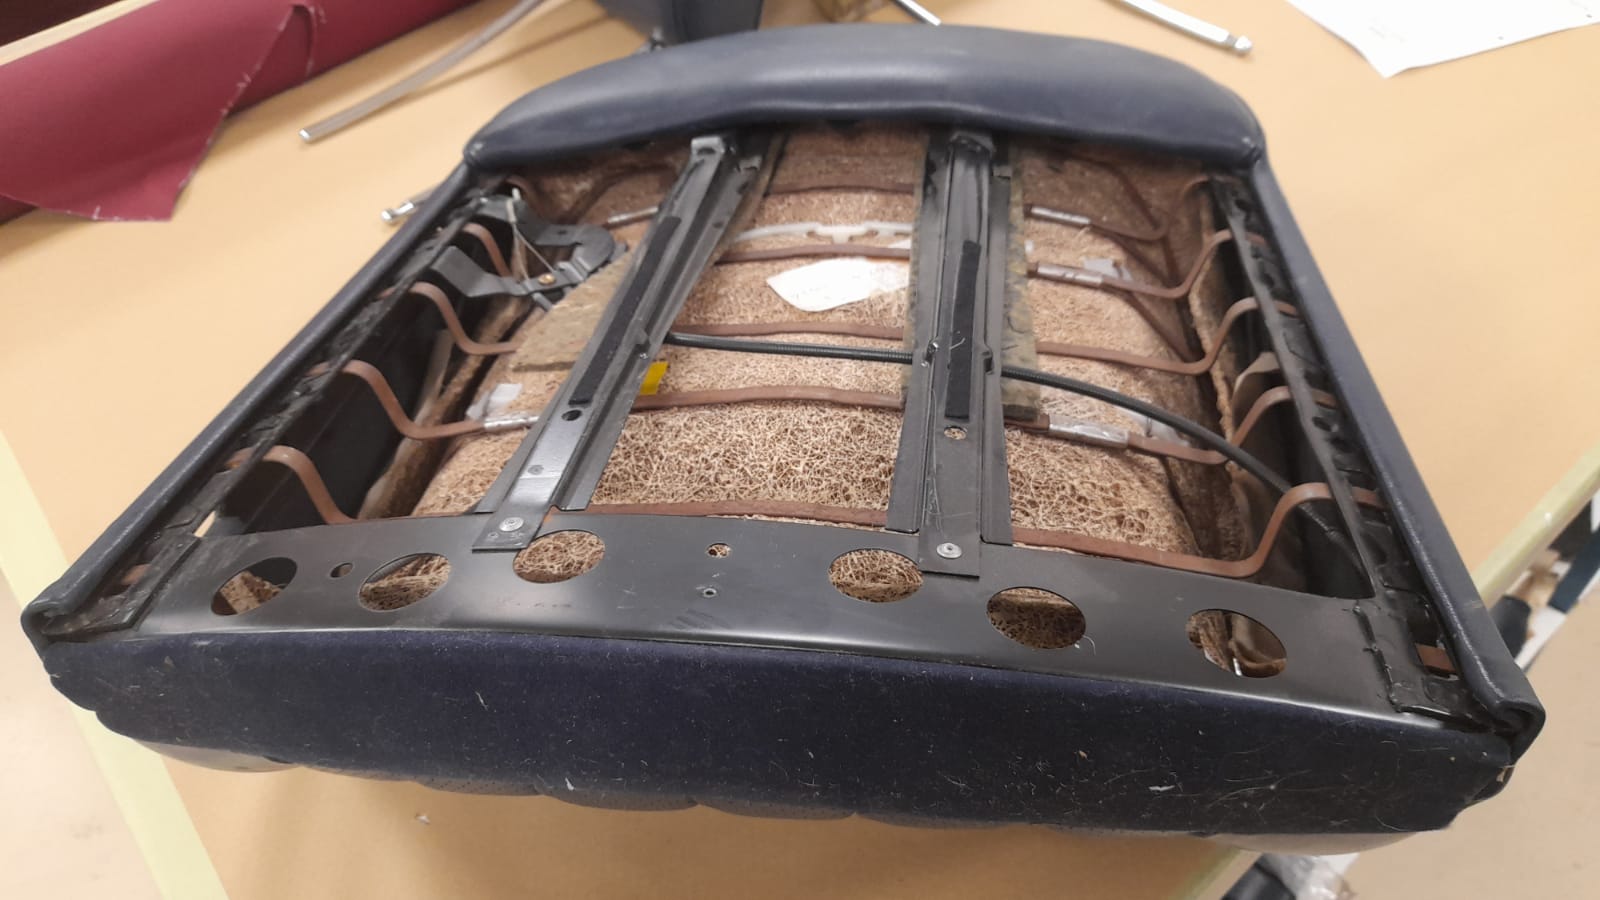
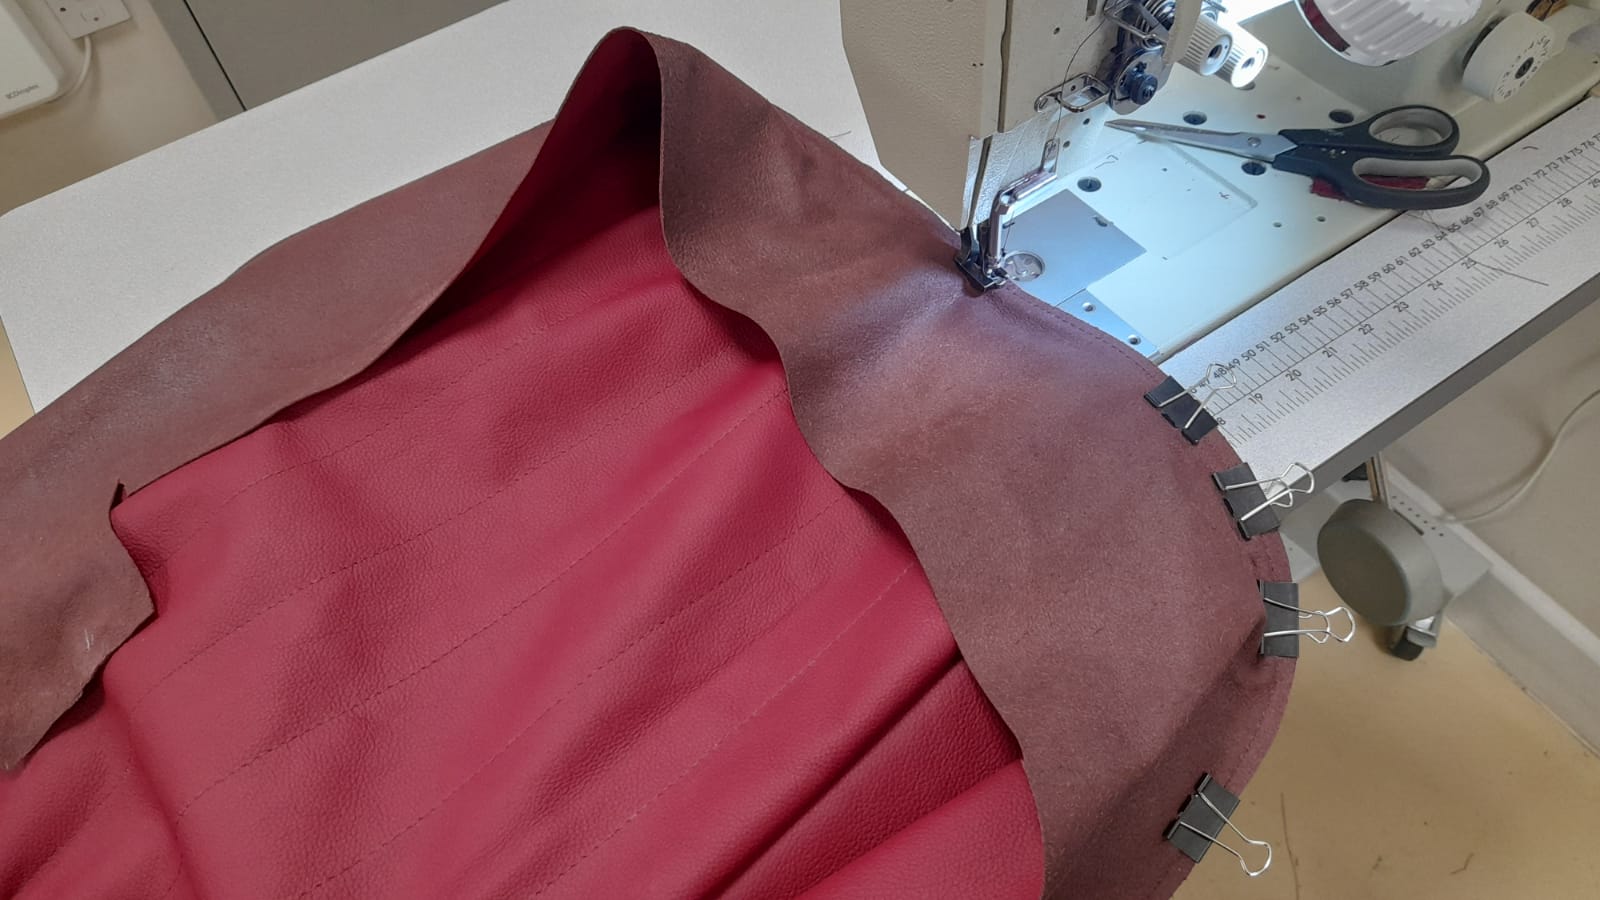
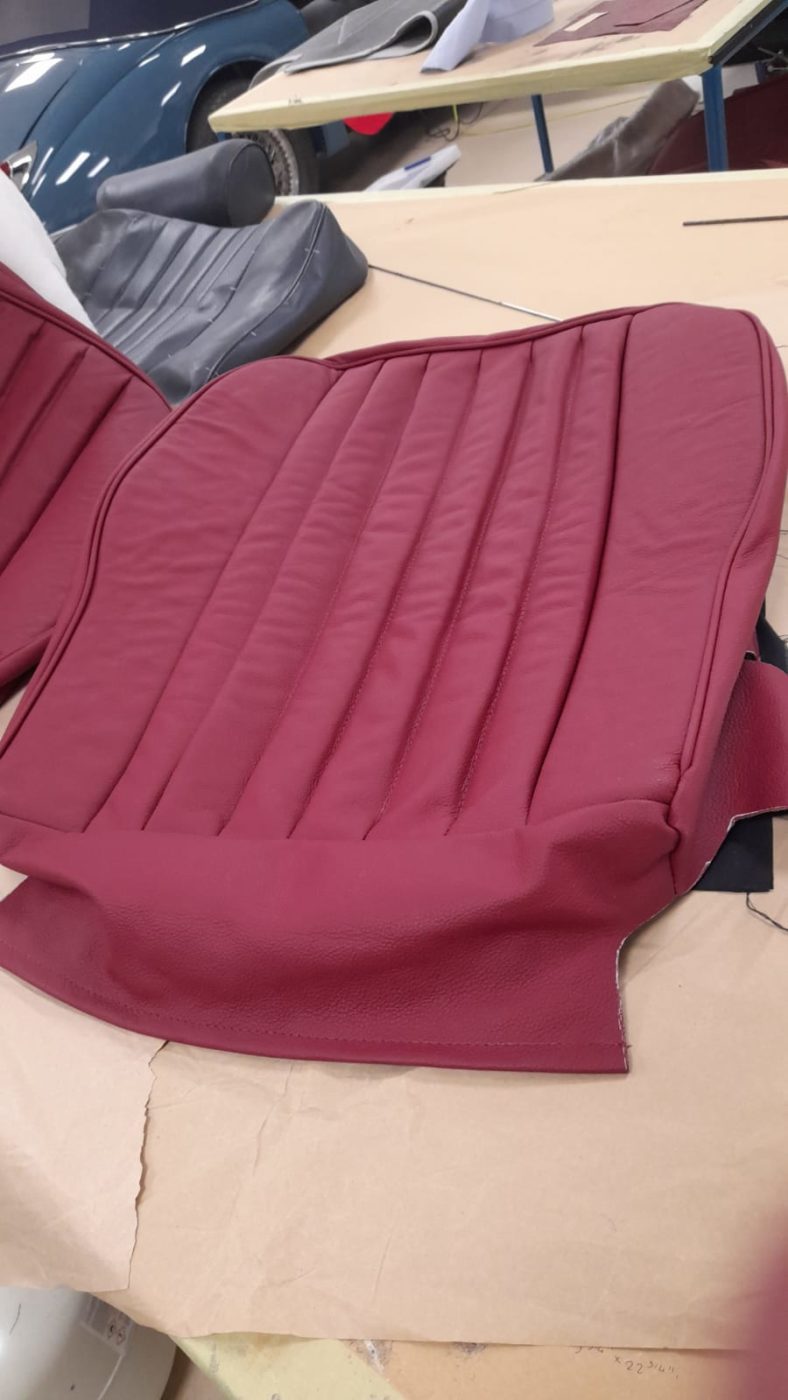
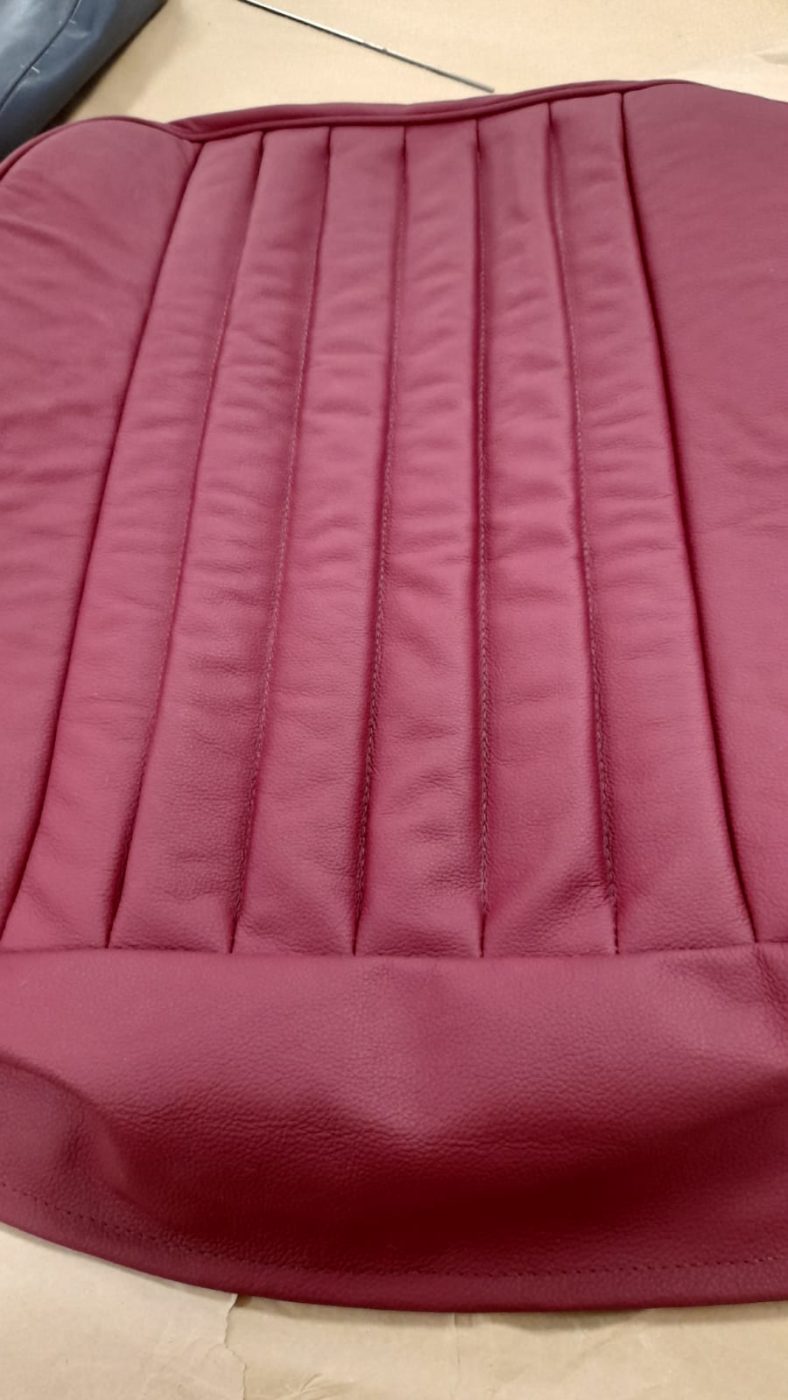
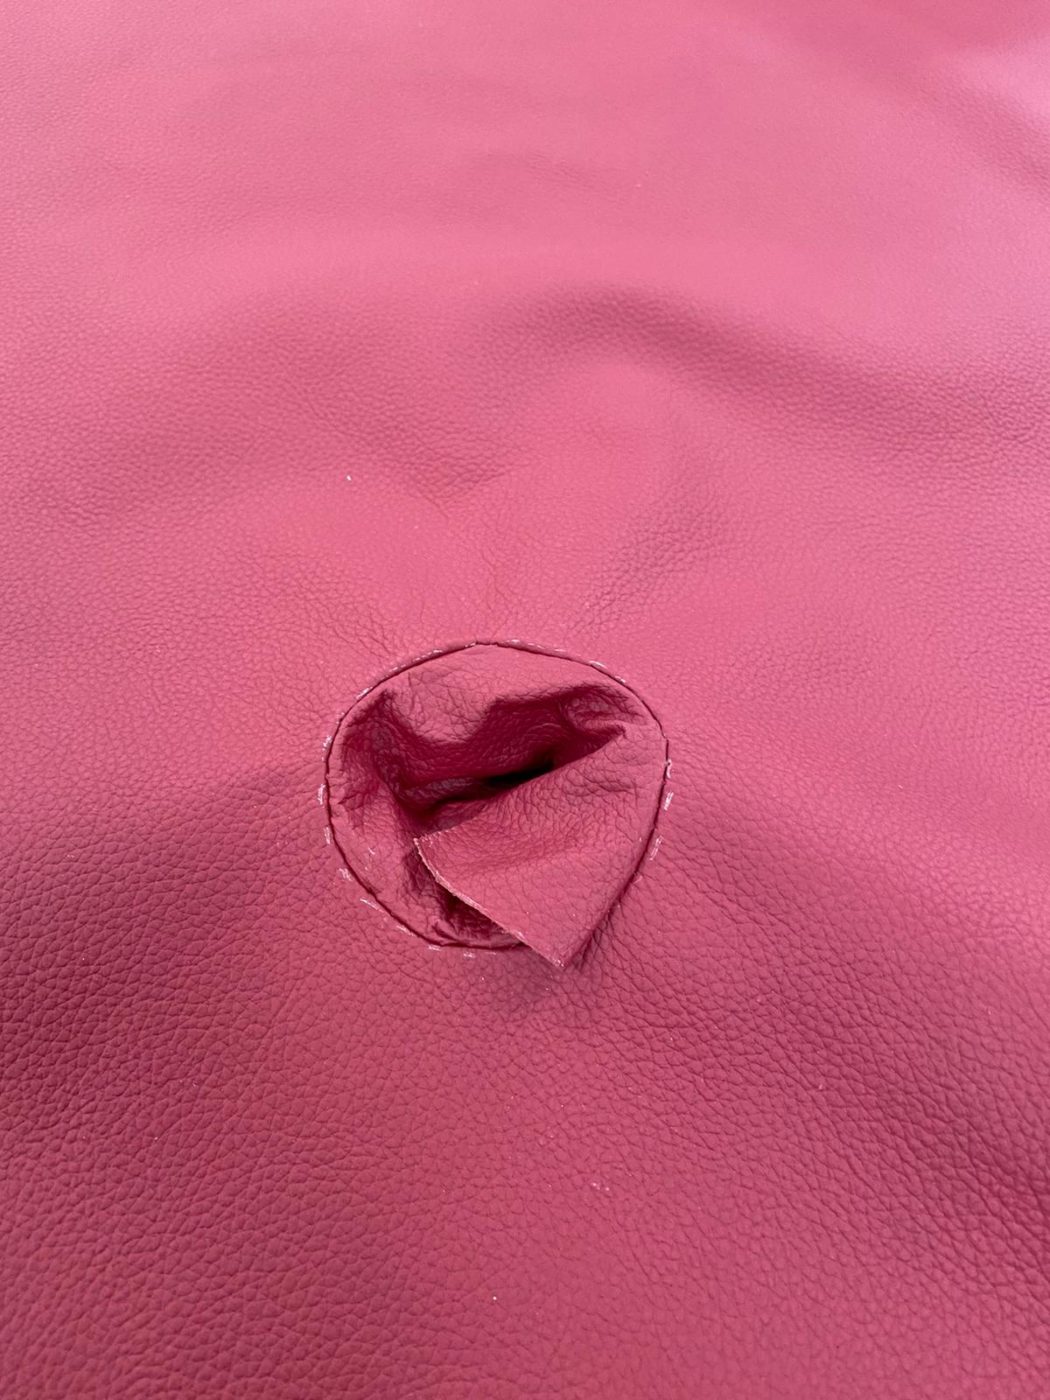
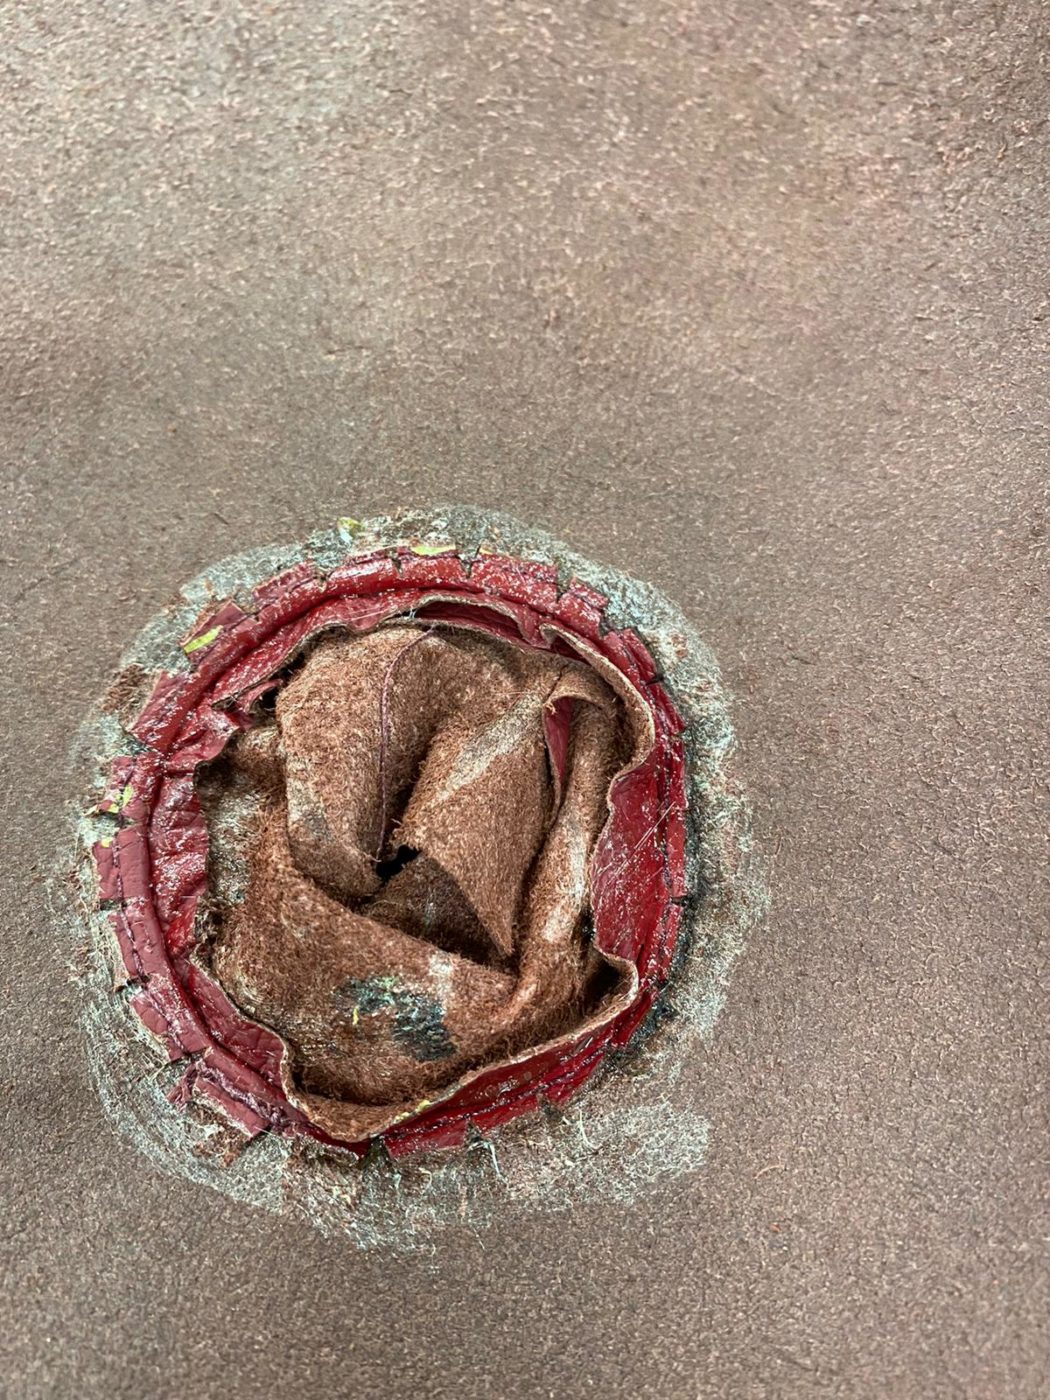
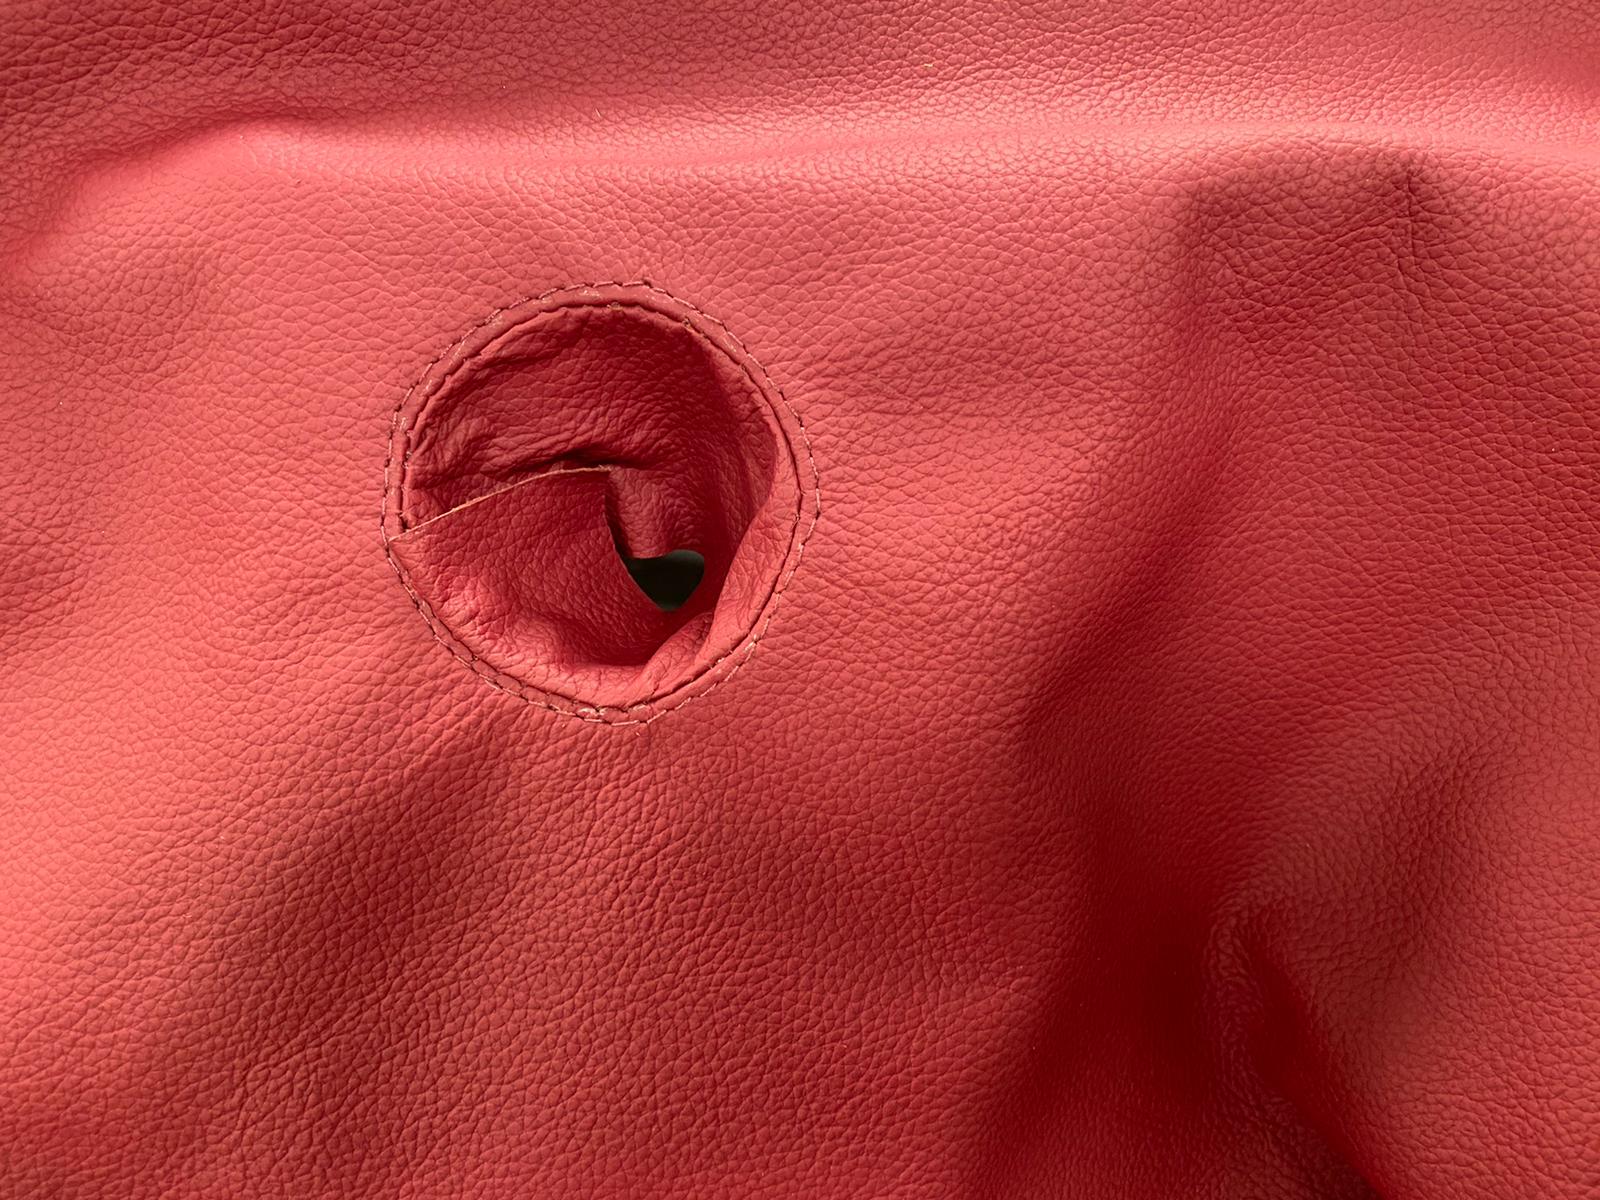
Lydia has been making the second front squab seat cover for our 1987 Mercedes 500SL. This included taking the cover off the frame which is
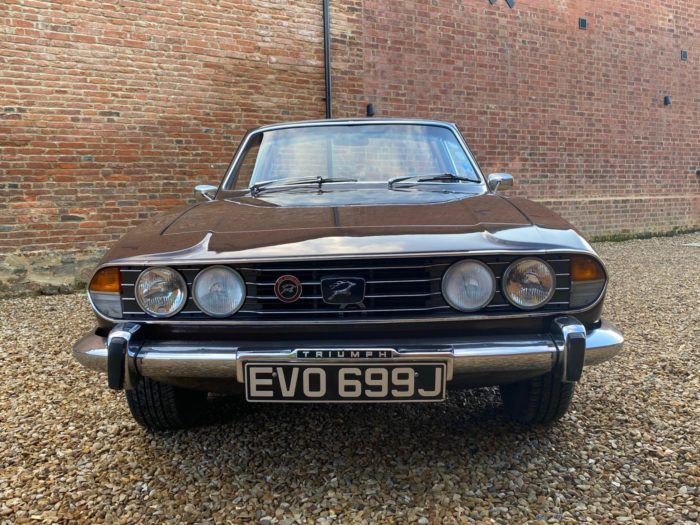
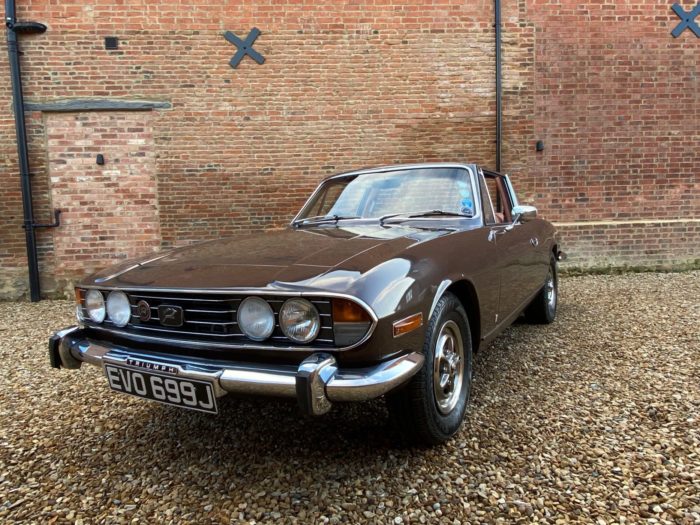
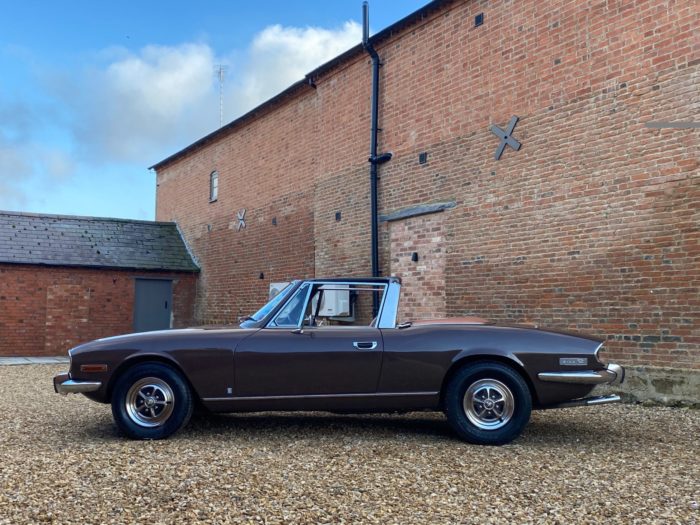
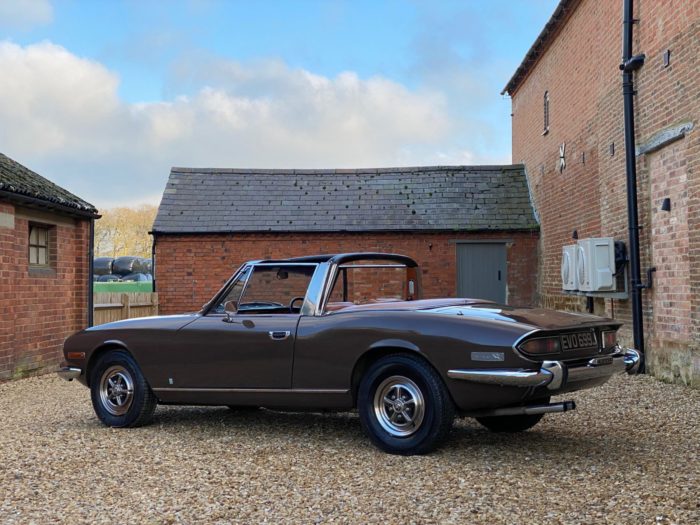
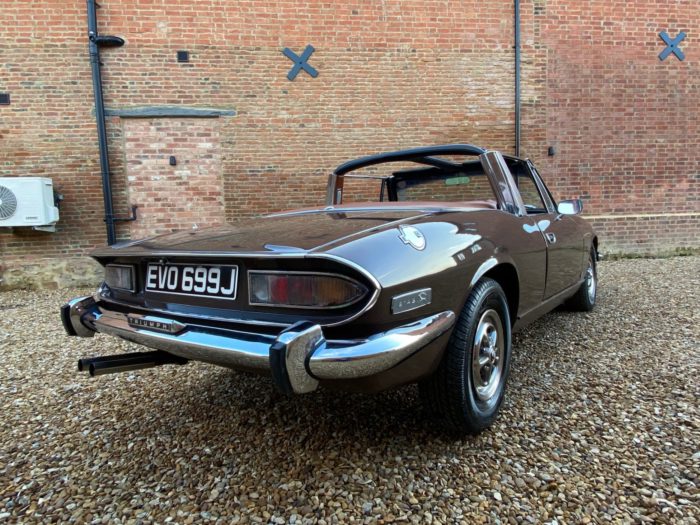
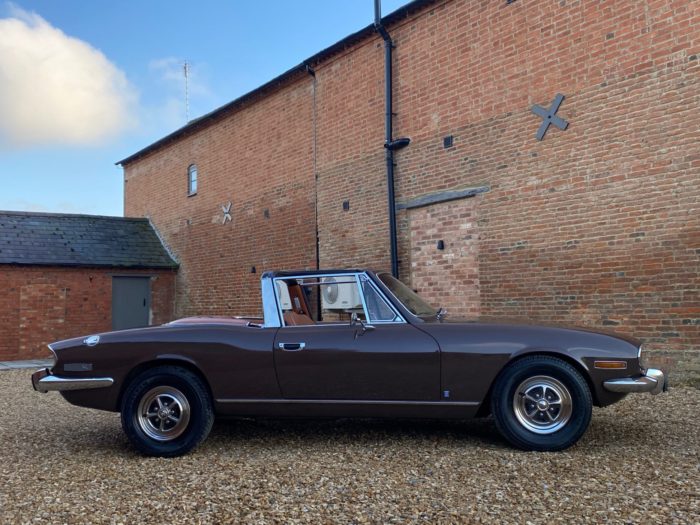
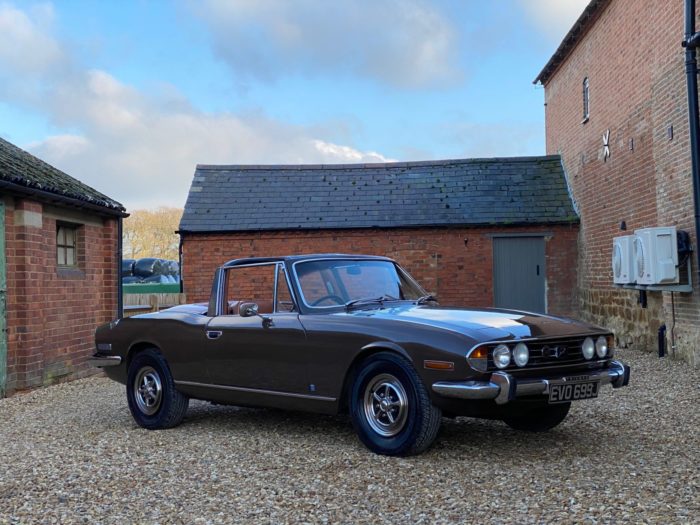
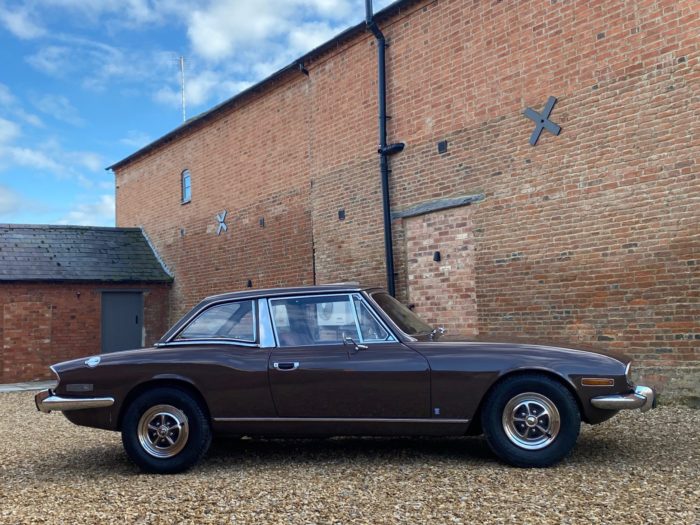
There’s plenty of new arrivals at Bridge HQ currently, with another new competition car coming this week. We’re expecting this stunning 1971 Triumph Stag 3.0

You may remember our blog about the Mercedes when it came in where we told you that this award winning motor is set to be
Chris is our classic car painter and fabricator. Whilst you can find him fabricating bodywork and smoothing down our cars ready to paint, you’re more

Bruce Springsteen stars in Jeep’s Superbowl commercial with a heartfelt message of finding unity and peace. The video is in celebration of Jeep’s 80th anniversary

With arctic conditions sweeping across East Anglia, those without 4×4’s or tractors might be wondering how to get to work or the shops. The short
As Jensen specialists, we love seeing Jensens of all kinds represented and discussed online, but our particular favourites, the 541 series are rarely talked about.

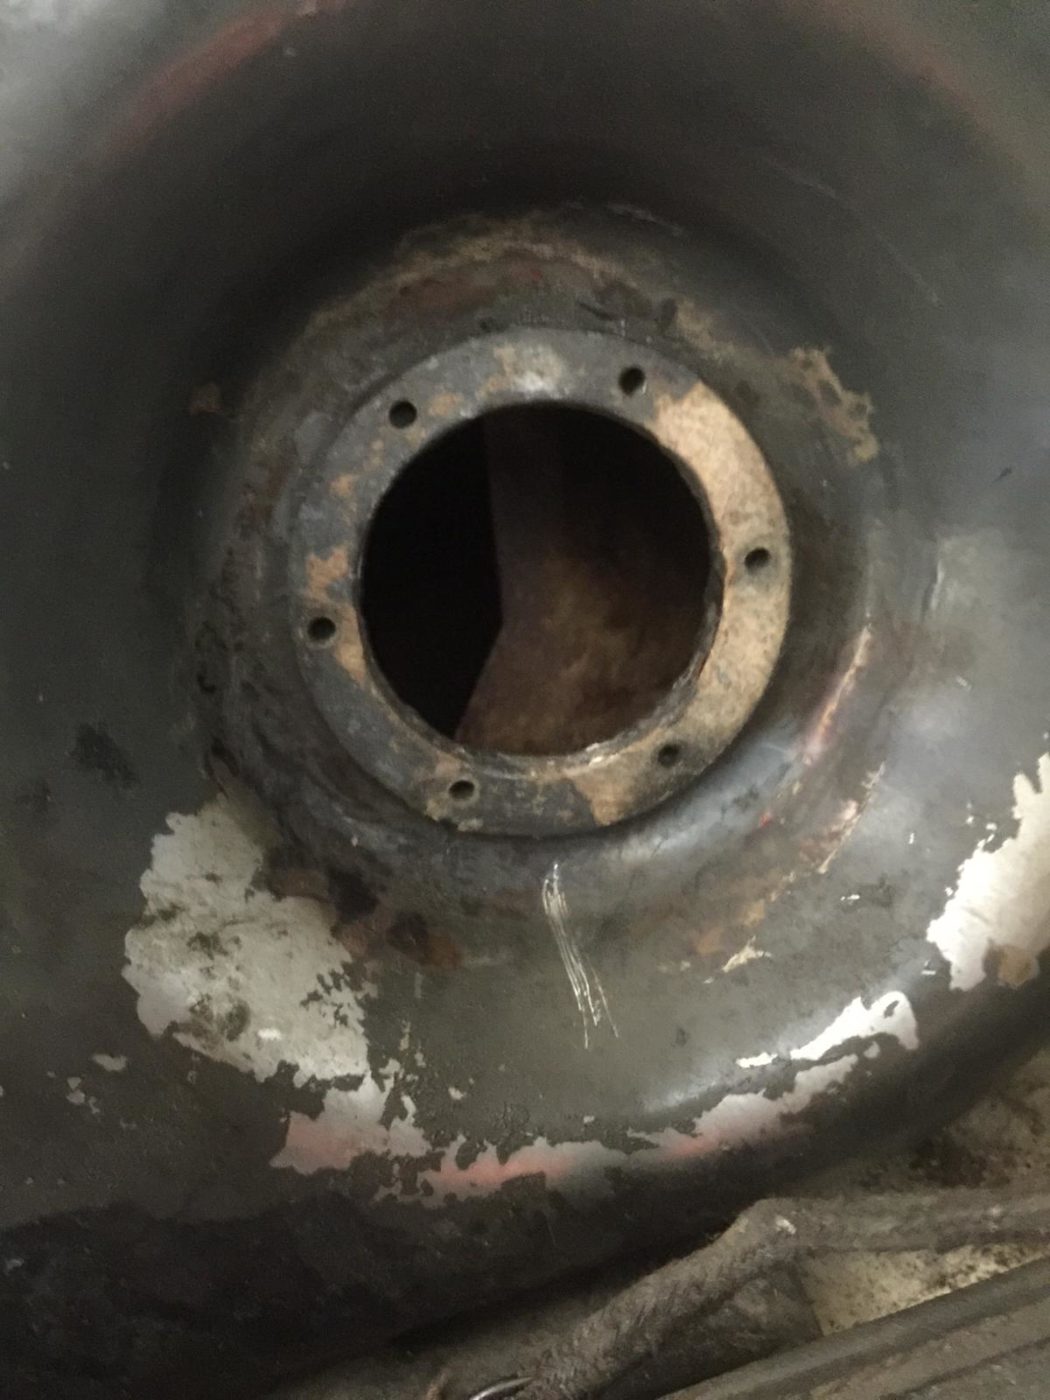
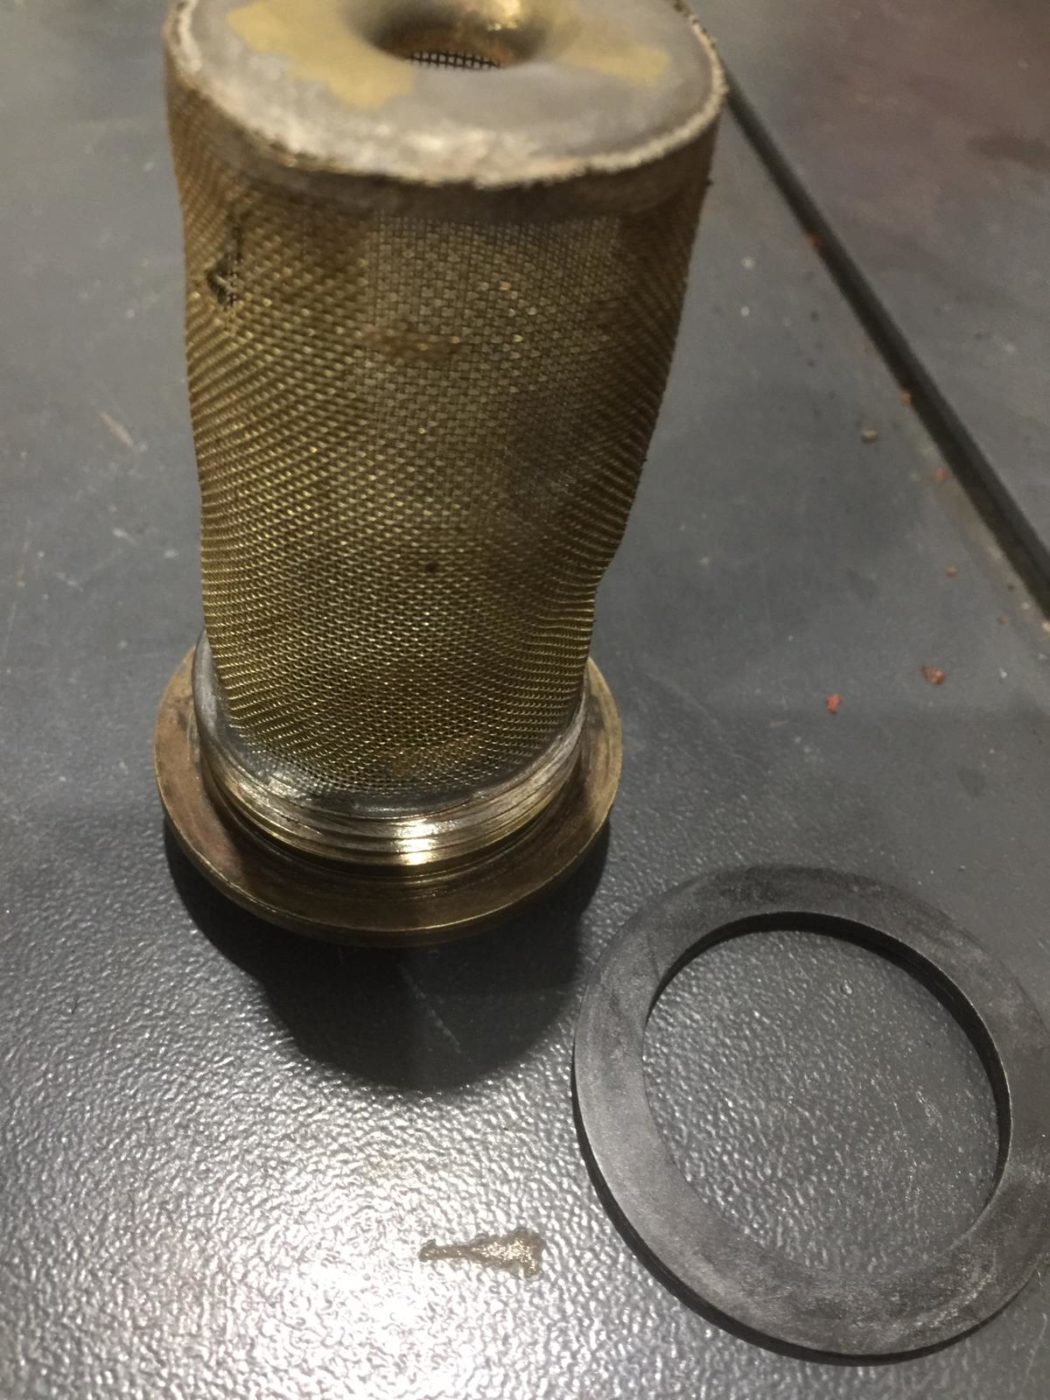
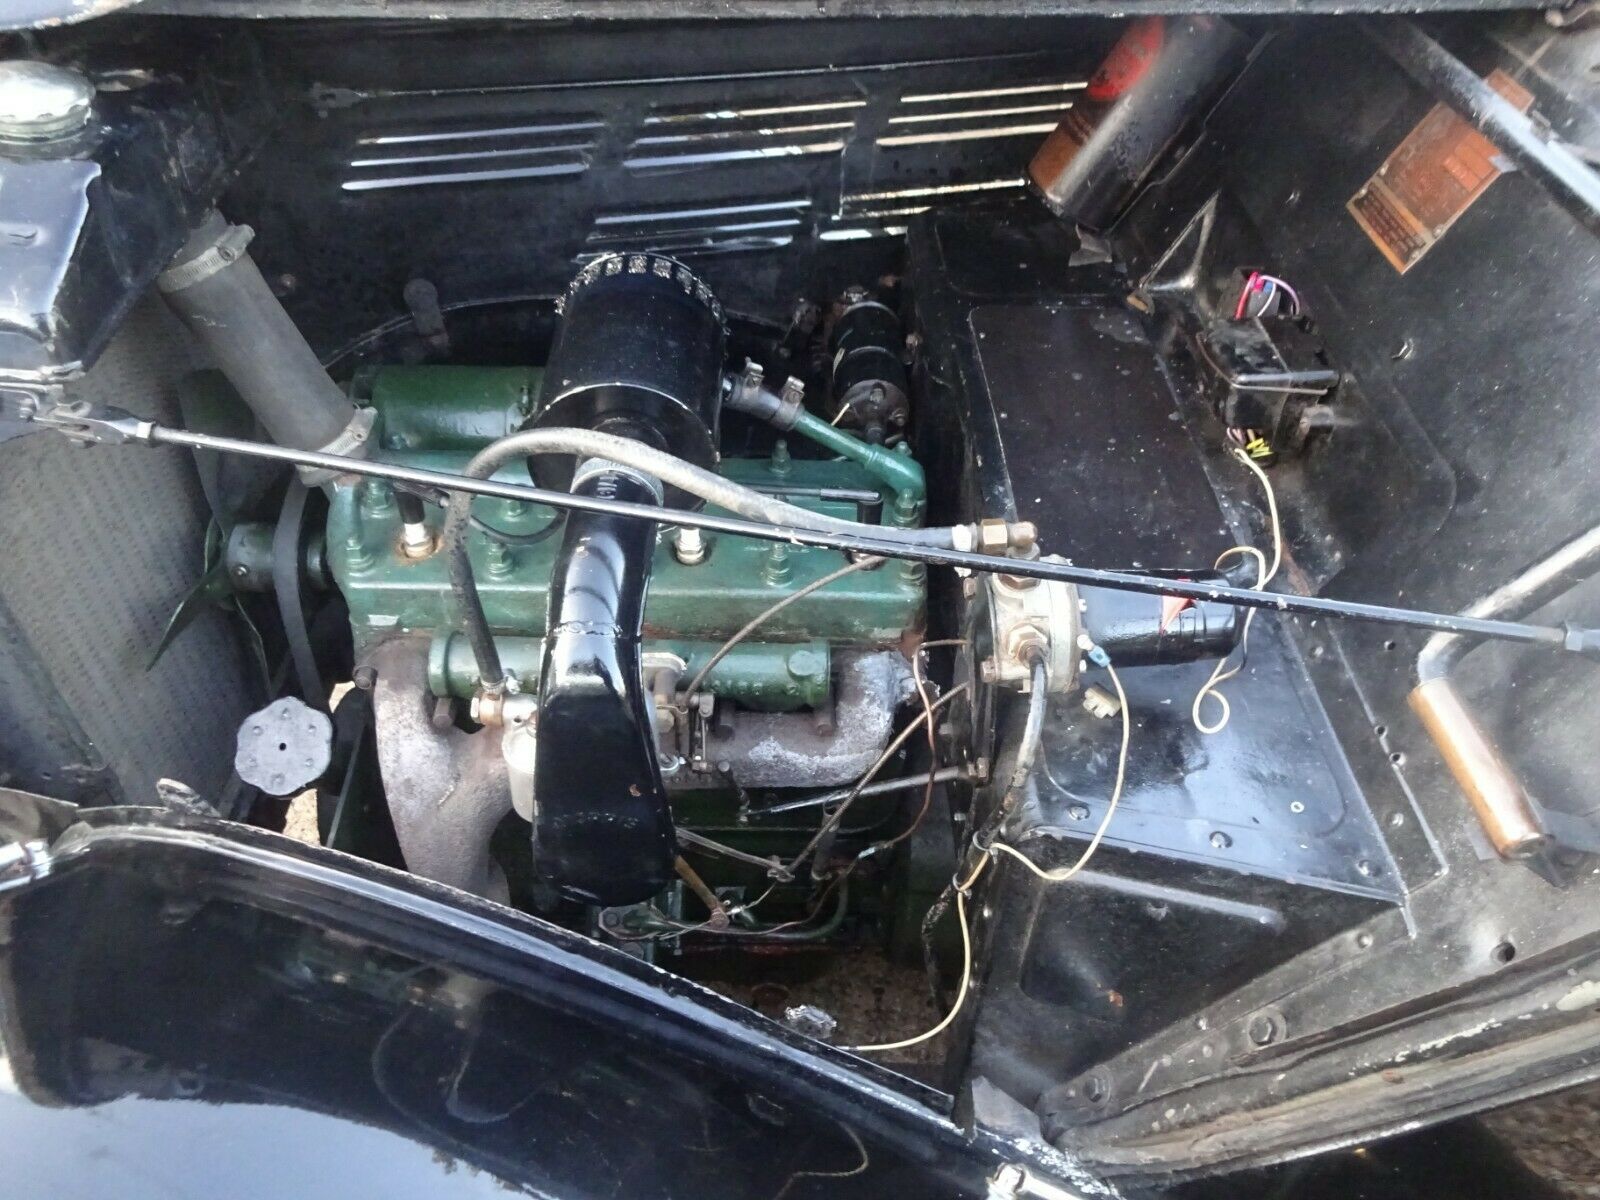
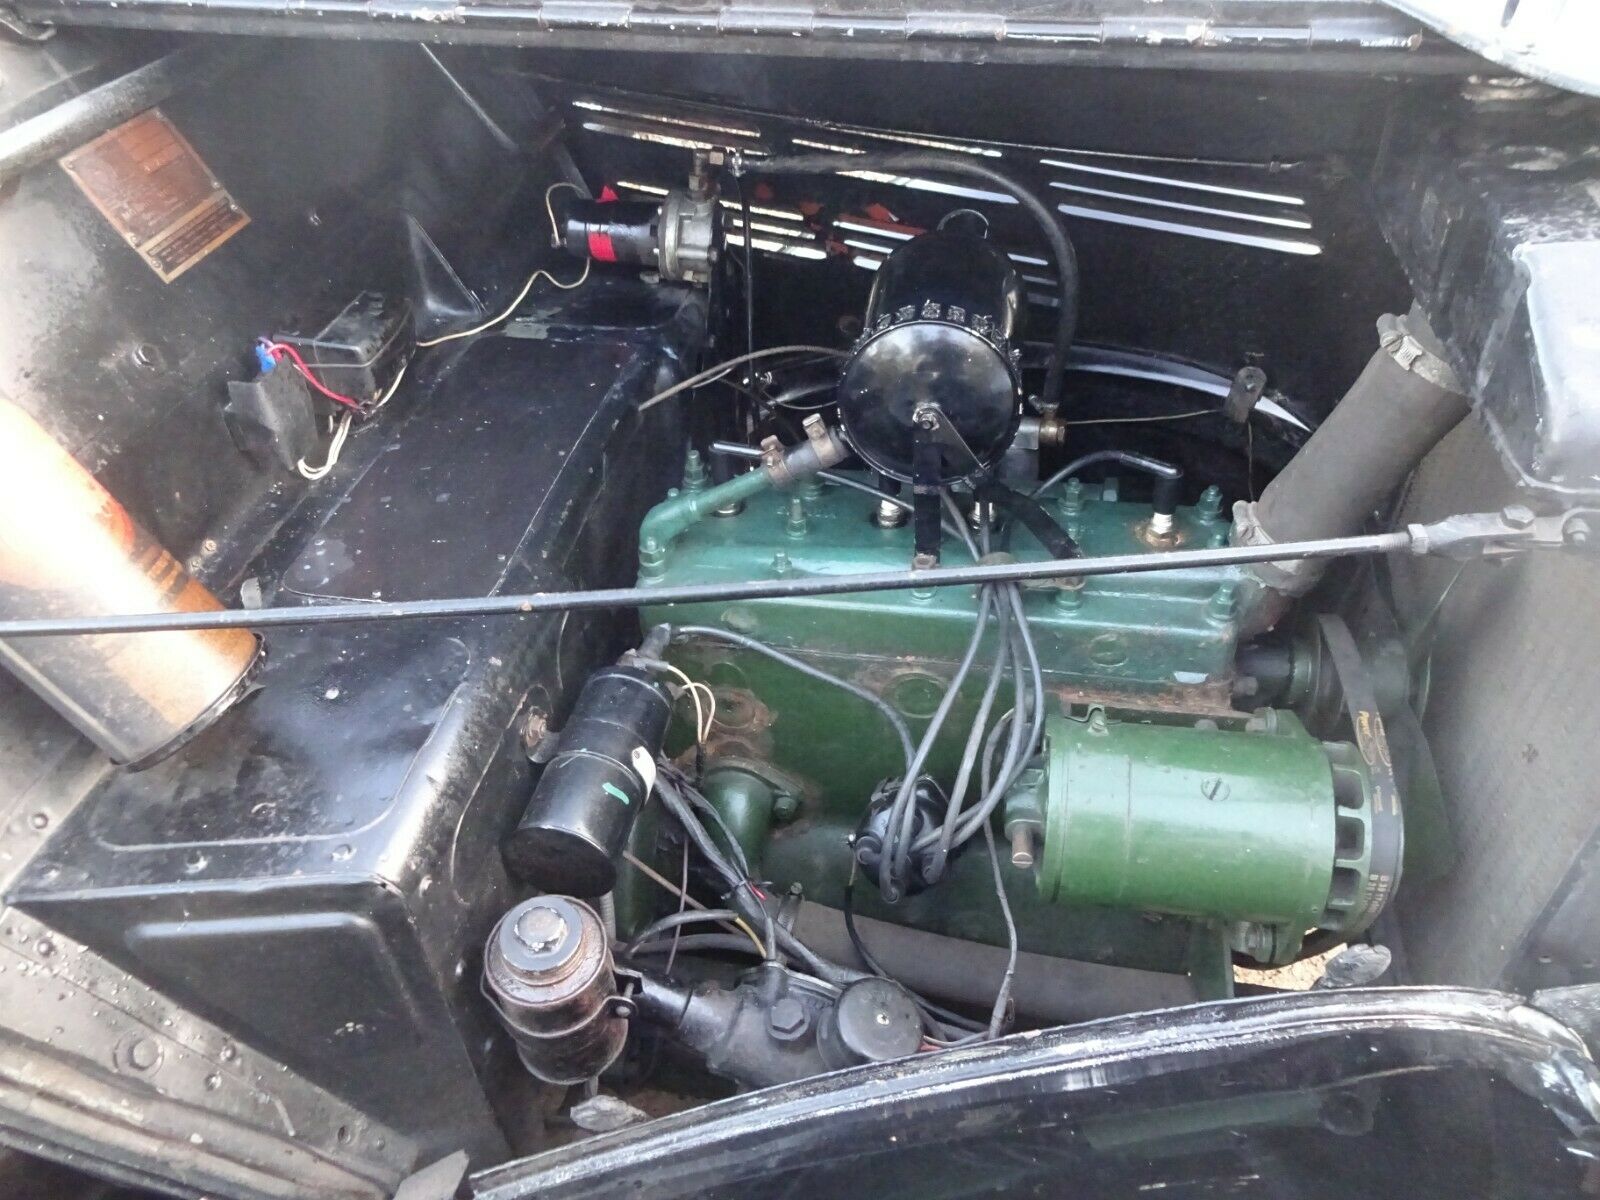
Ady, our engine specialist has been working hard to restore our Jaguar MKVII. He’s repaired the fuel tank plugs and filters by adding new seals.
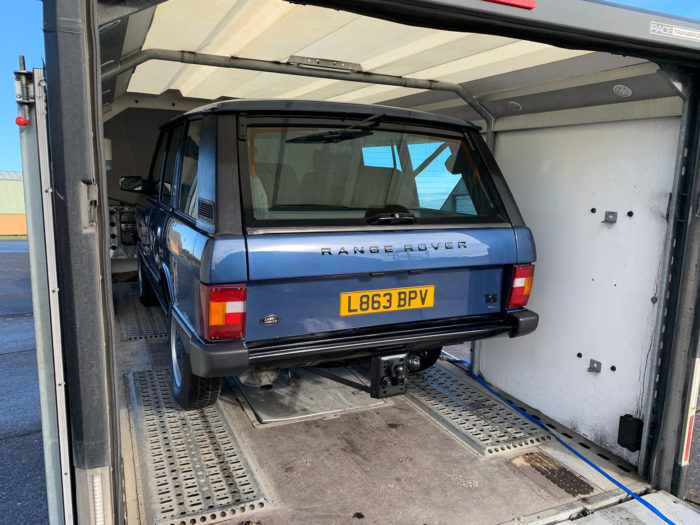
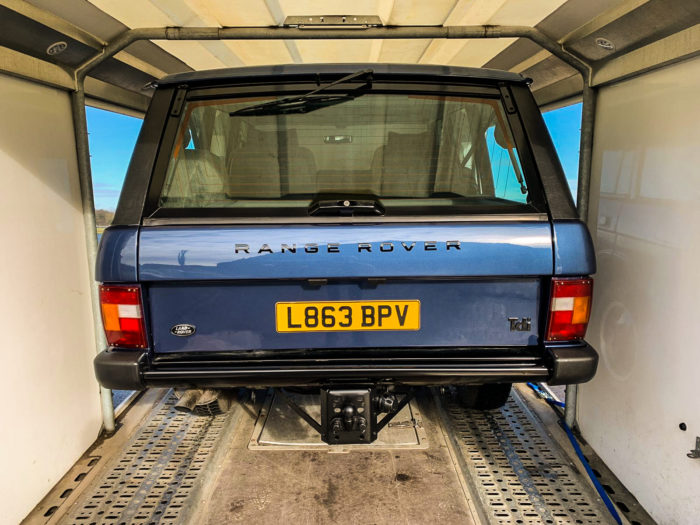
What a beautiful day to deliver someone’s dream car! On Friday morning our friends at Russells’ came to pick up our beautiful 1994 Range Rover

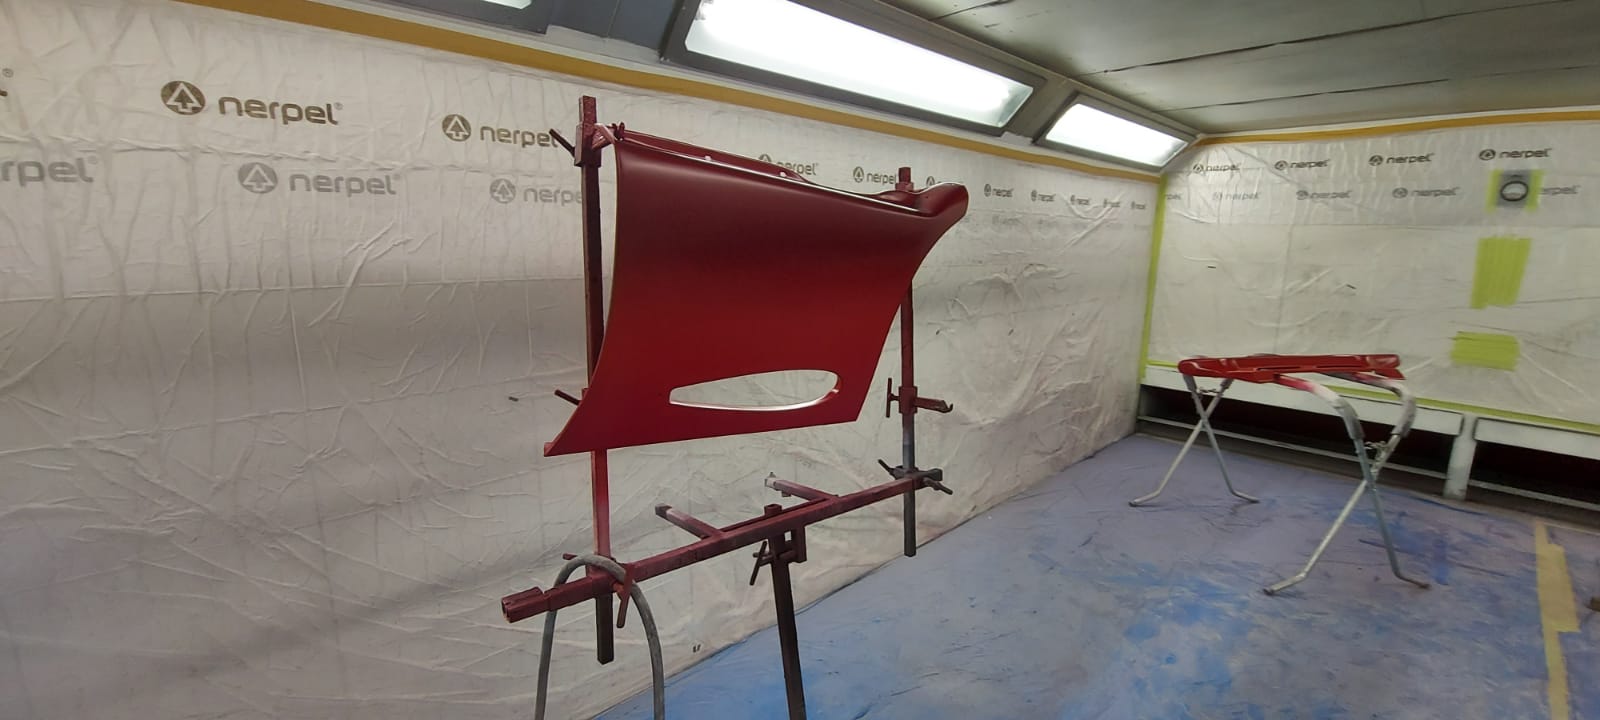
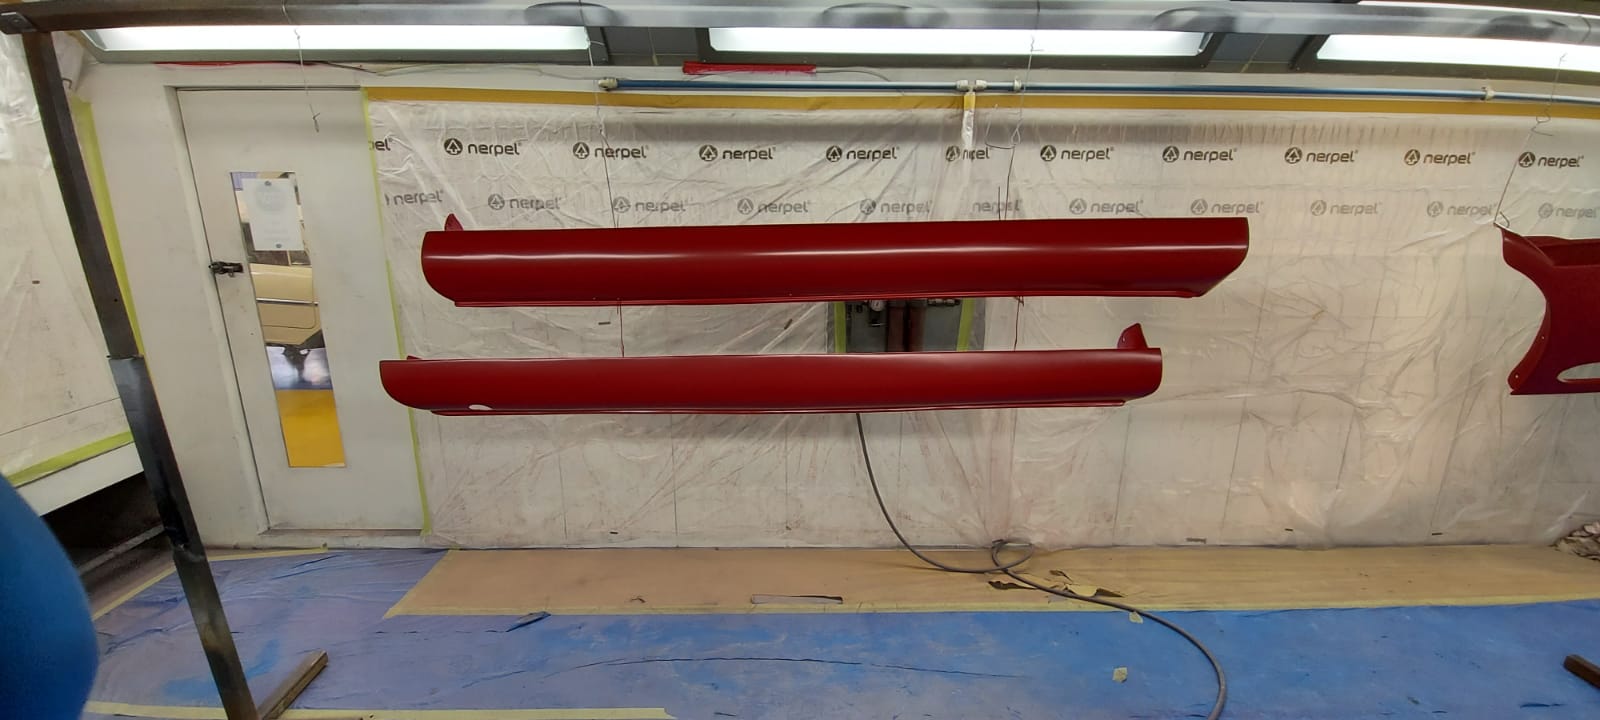
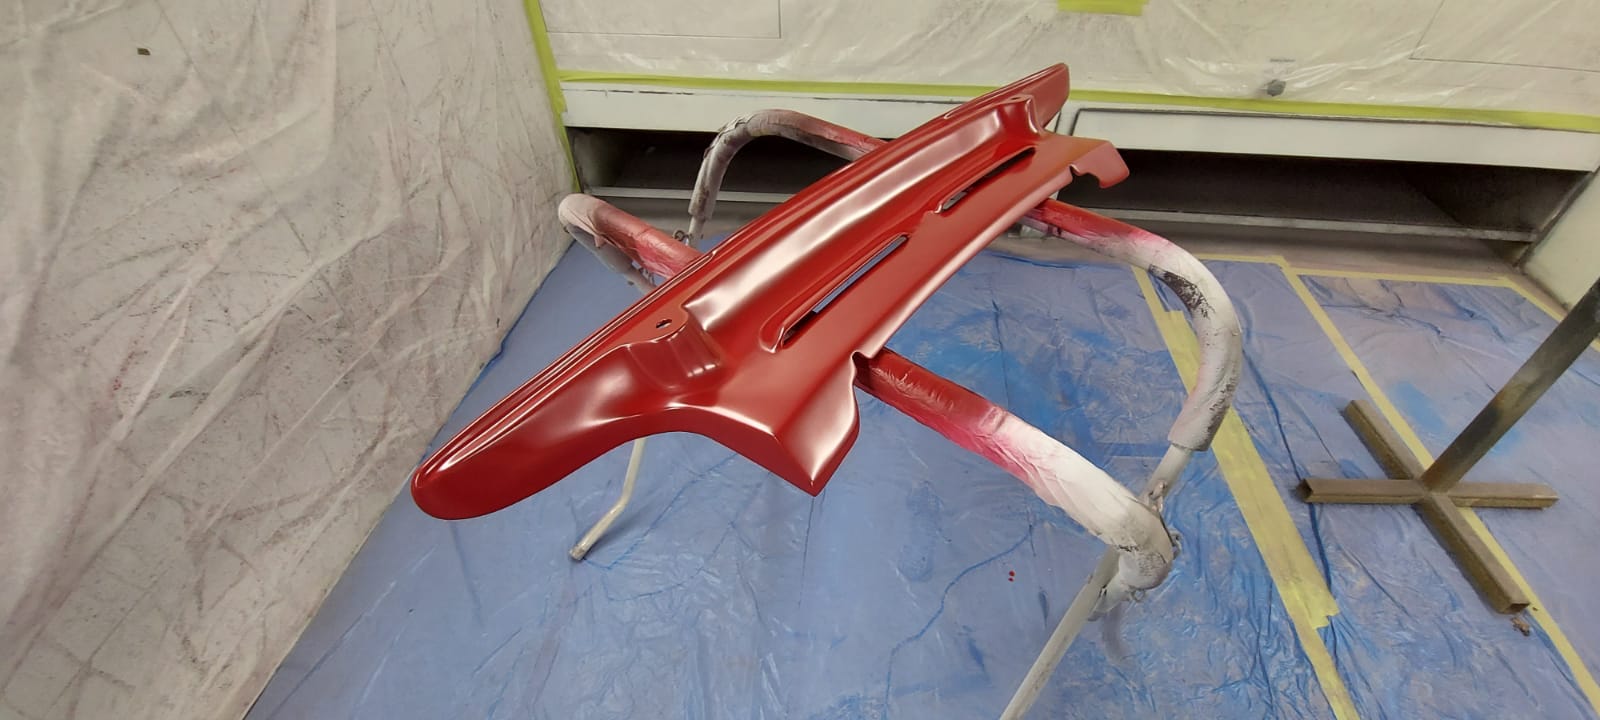
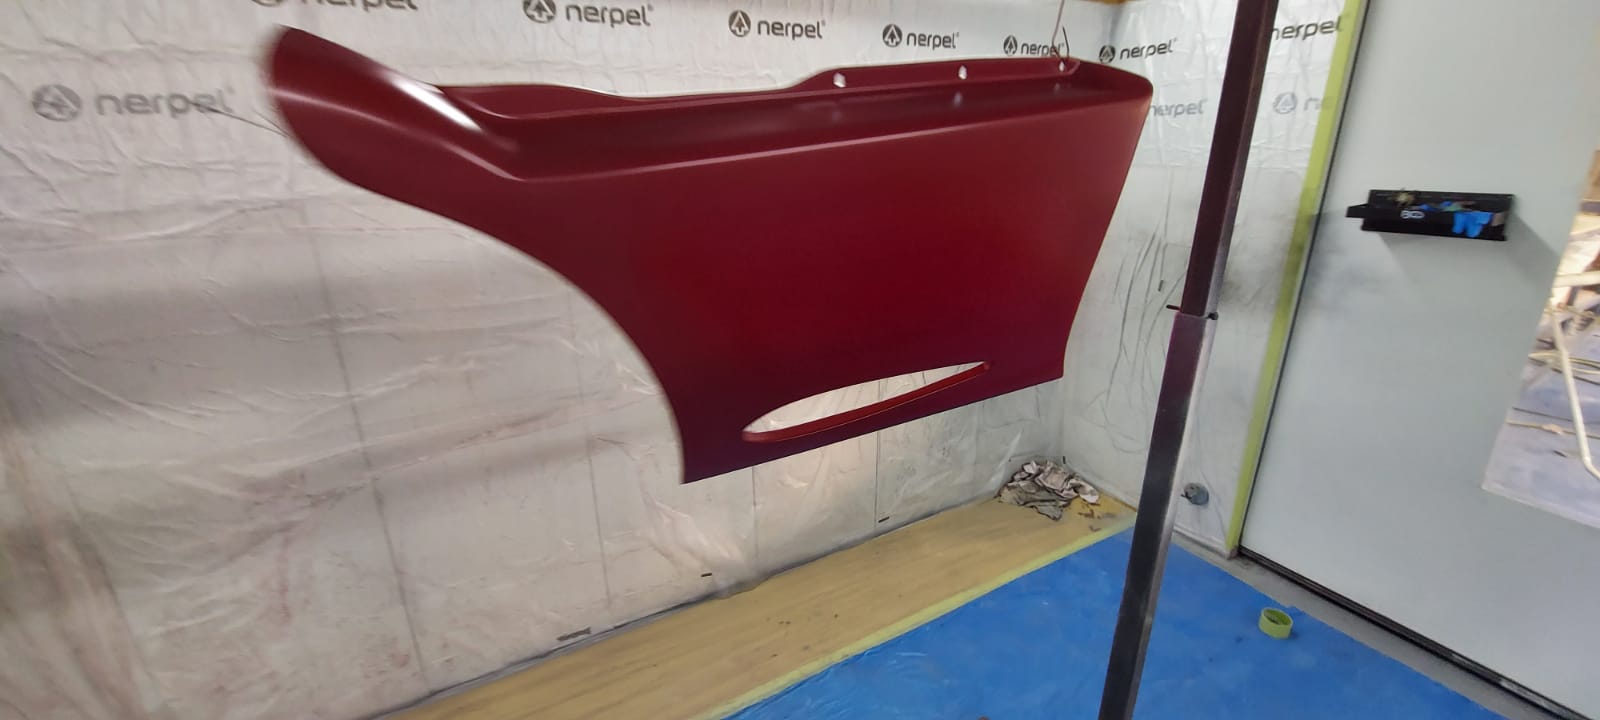
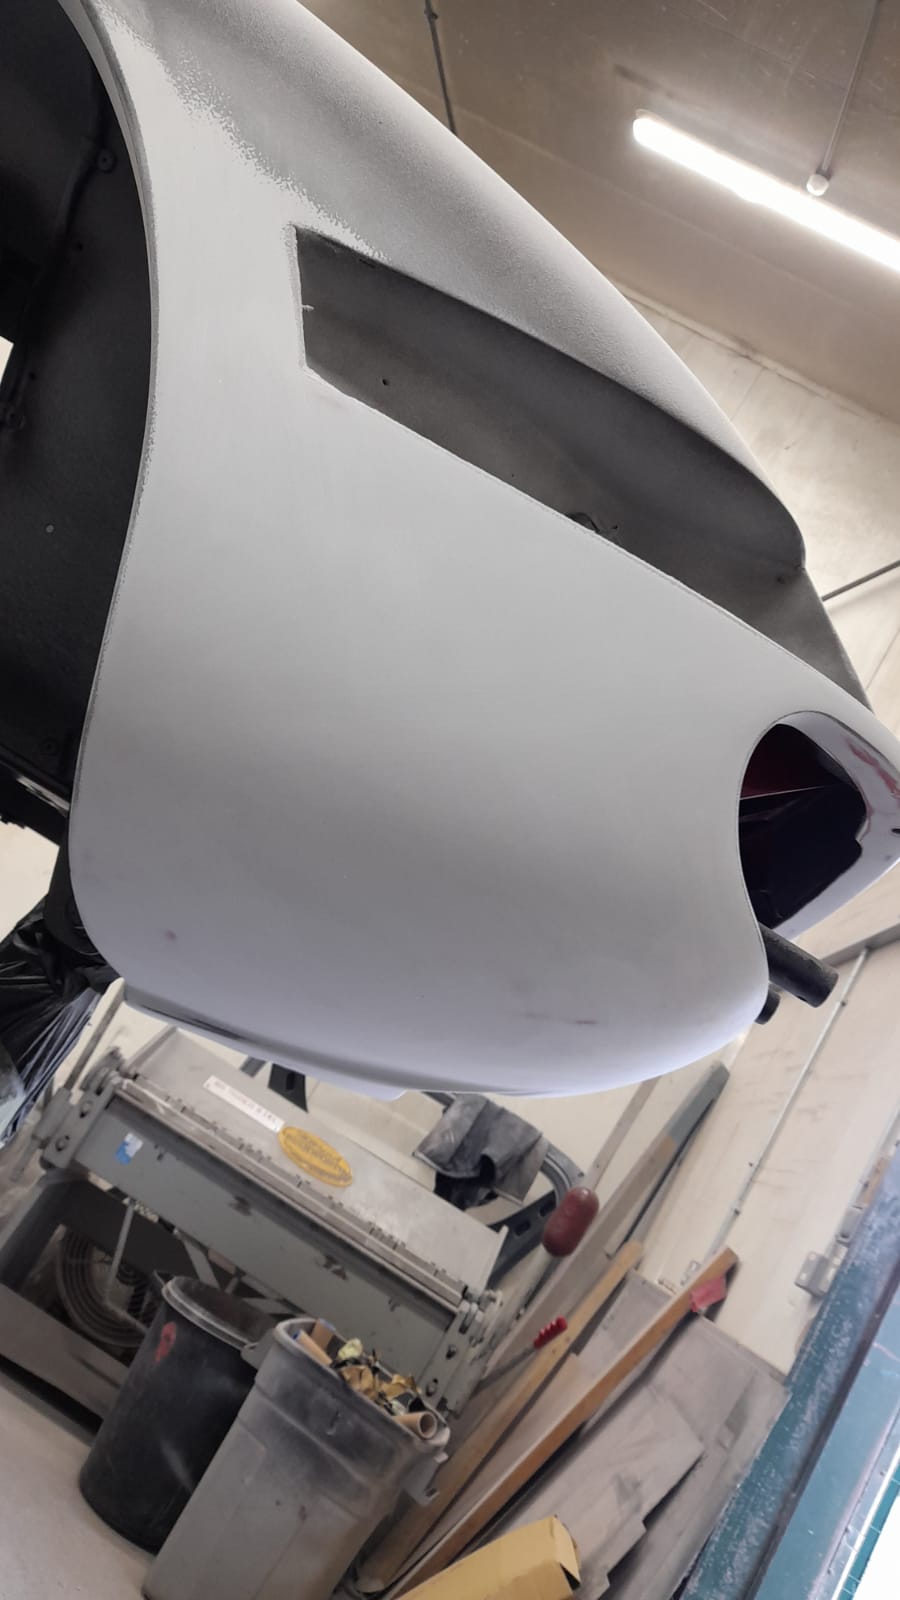
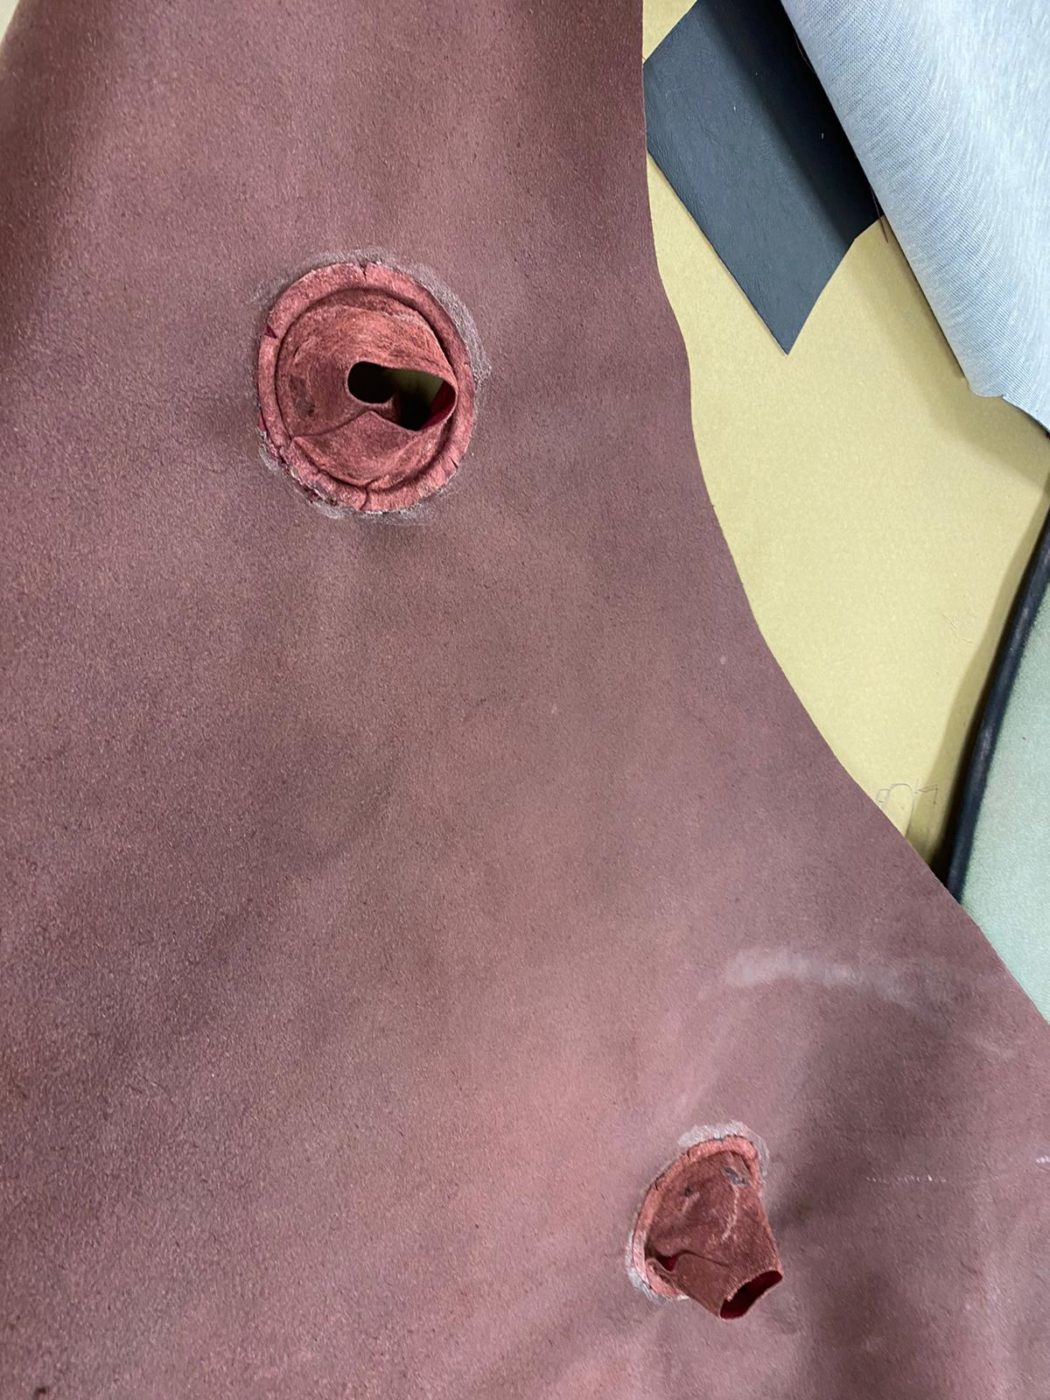
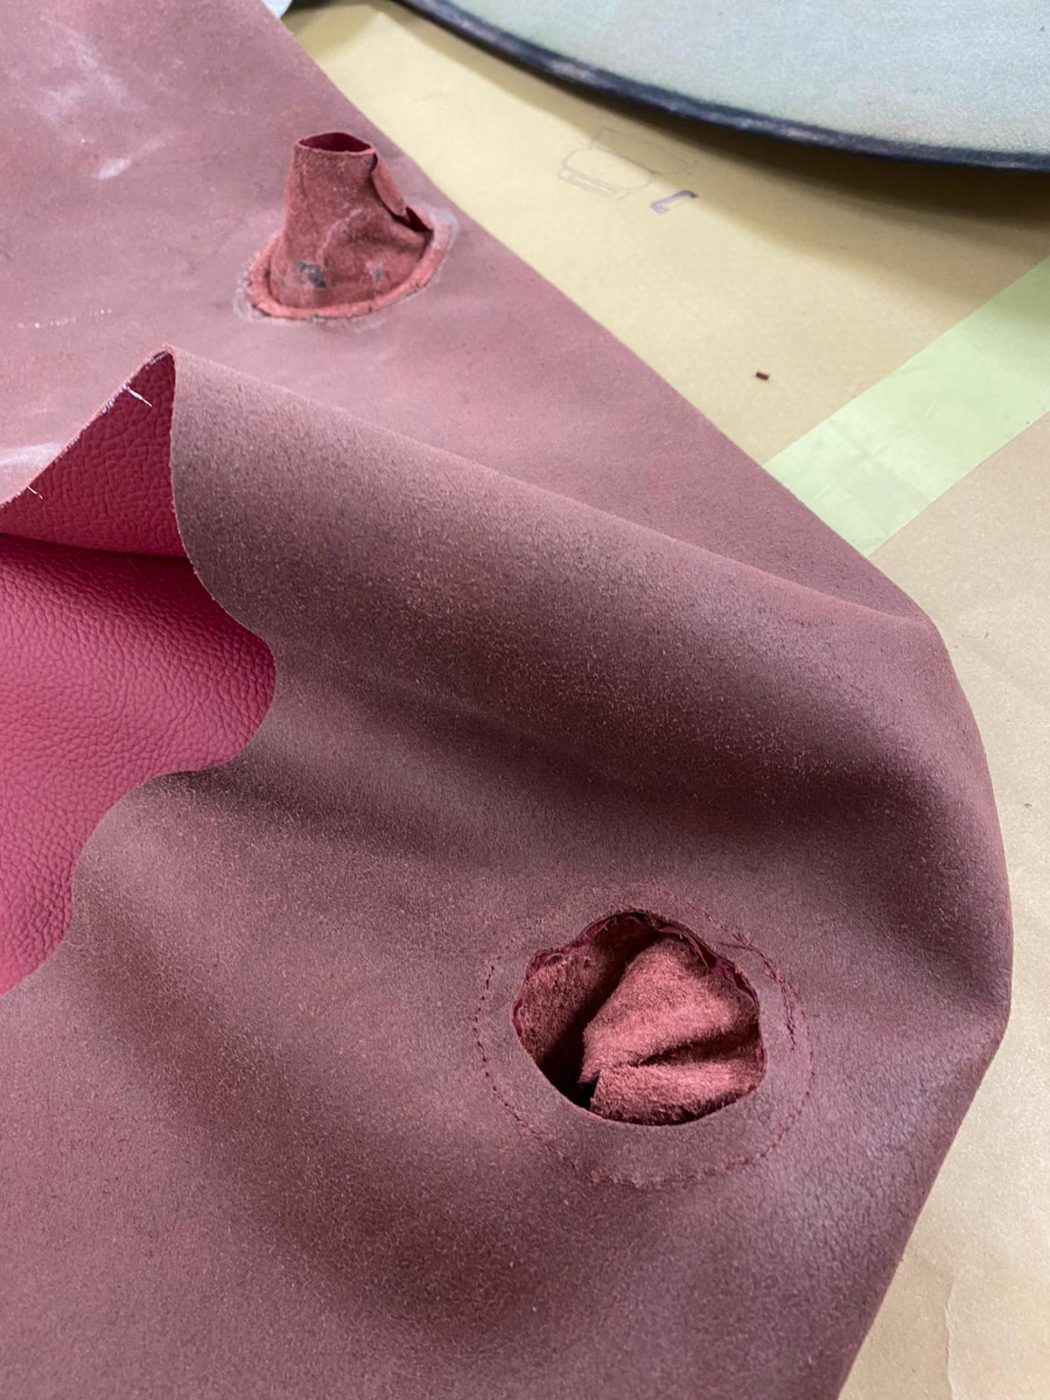
Chris has been working on some of the exterior panels for our Peony Red Jensen. Although the body can be painted in one go, the

We’ve had a new arrival at HQ and it couldn’t have arrived in more fitting weather! This iconic 1964 Land Rover Series IIa has only
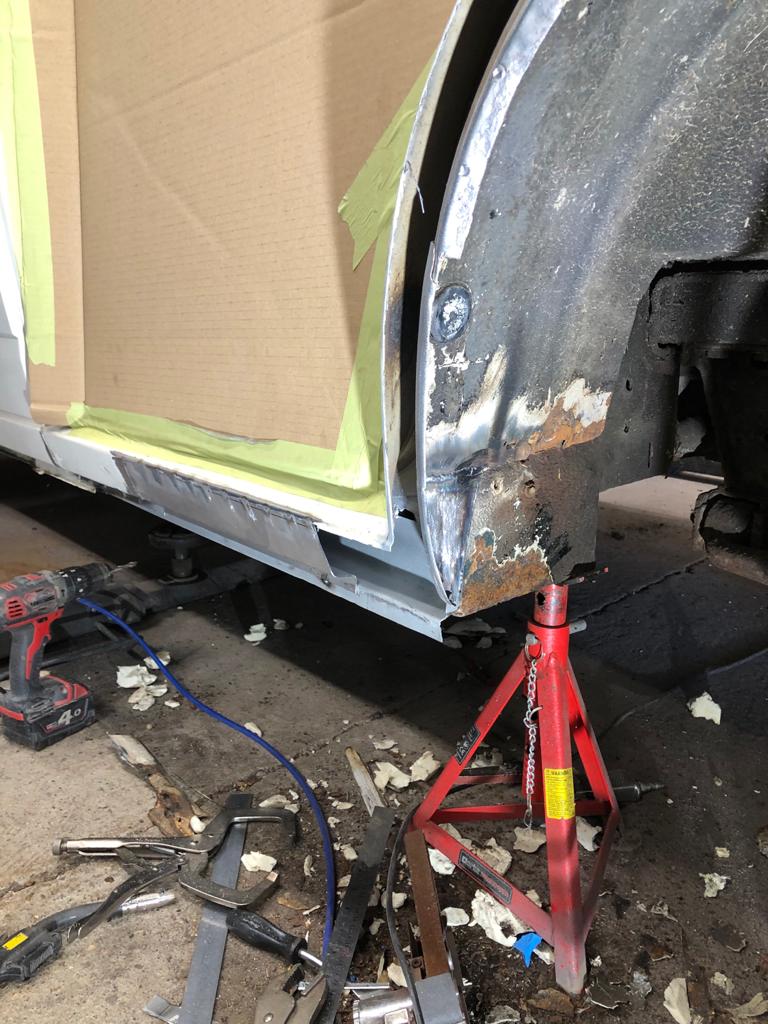
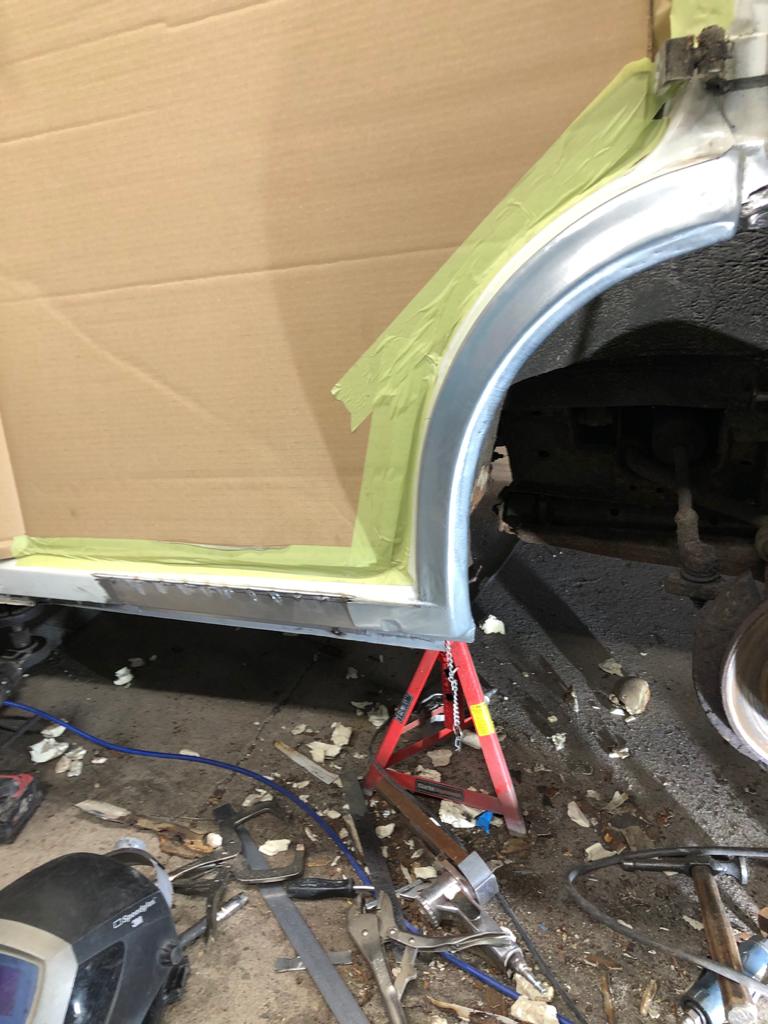
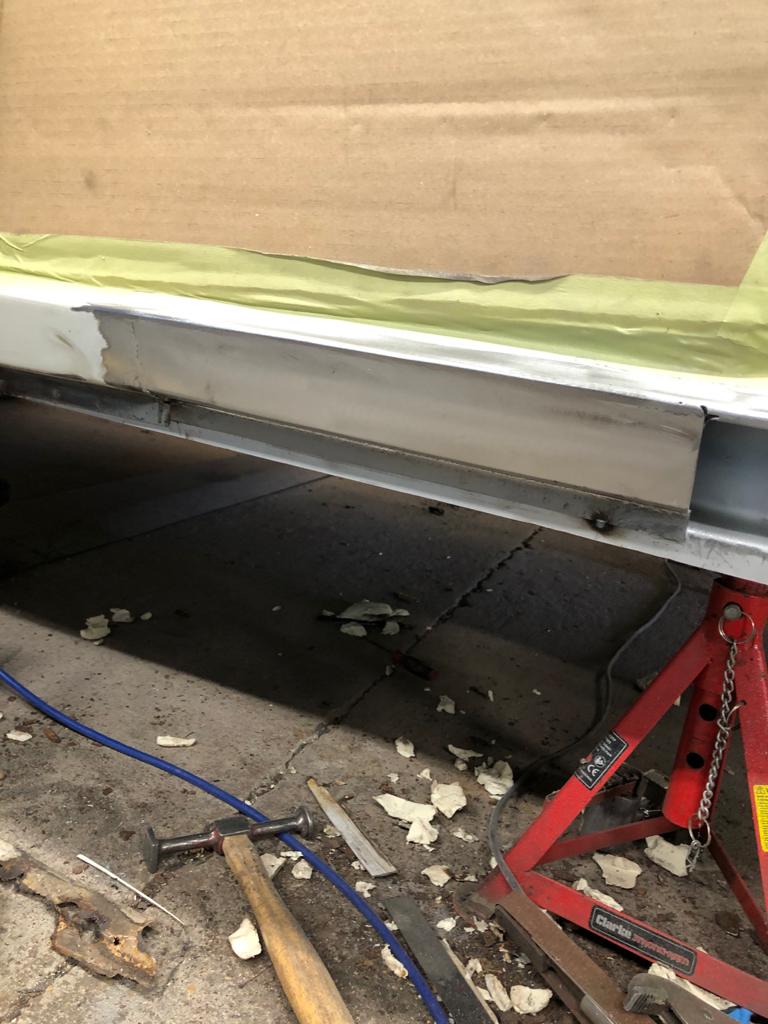
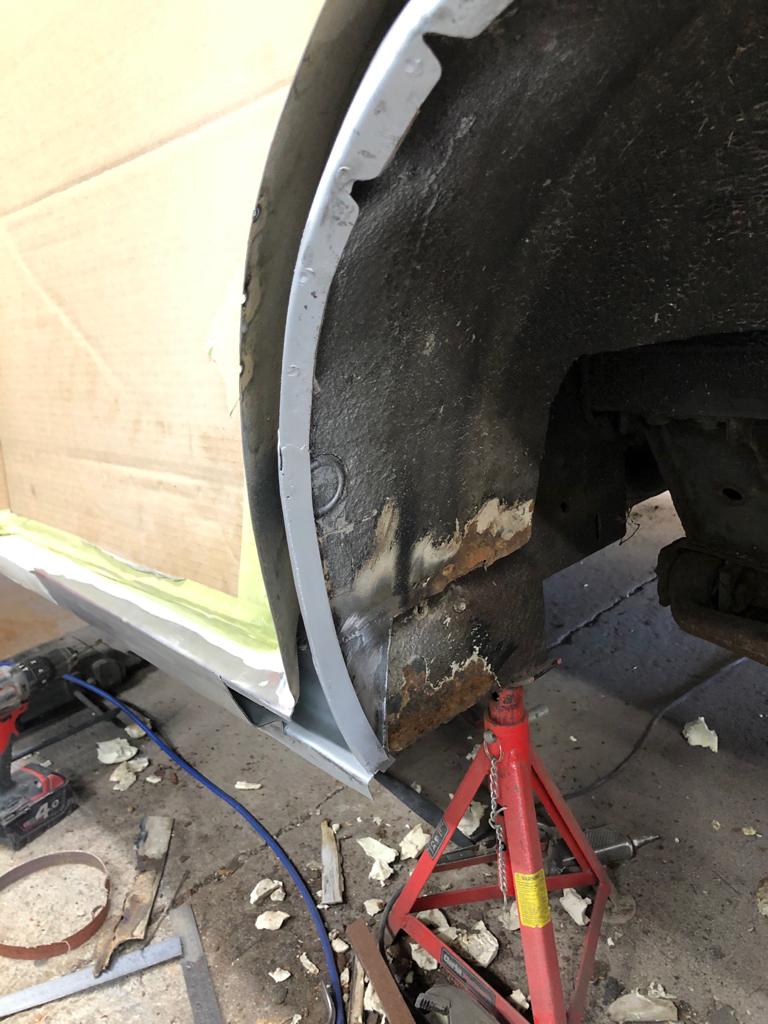
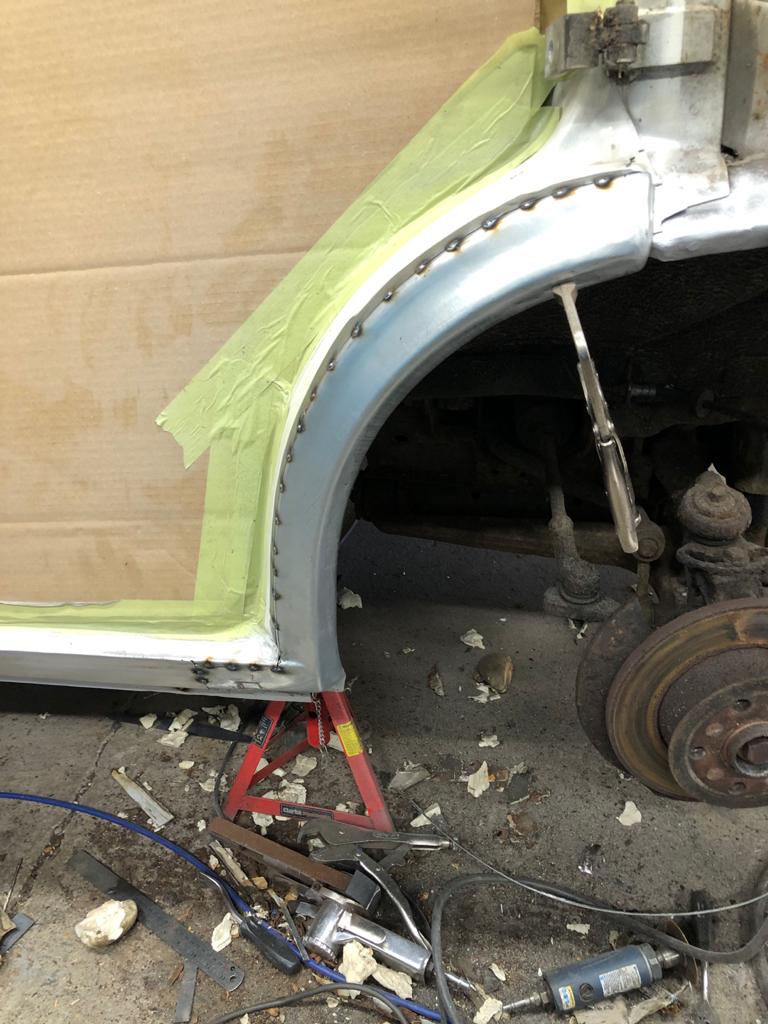
James has been continuing his work with the VW T4 Transporter Campervan. He’s currently tackling the corrosion in the wheel arch by fabricating new elements.
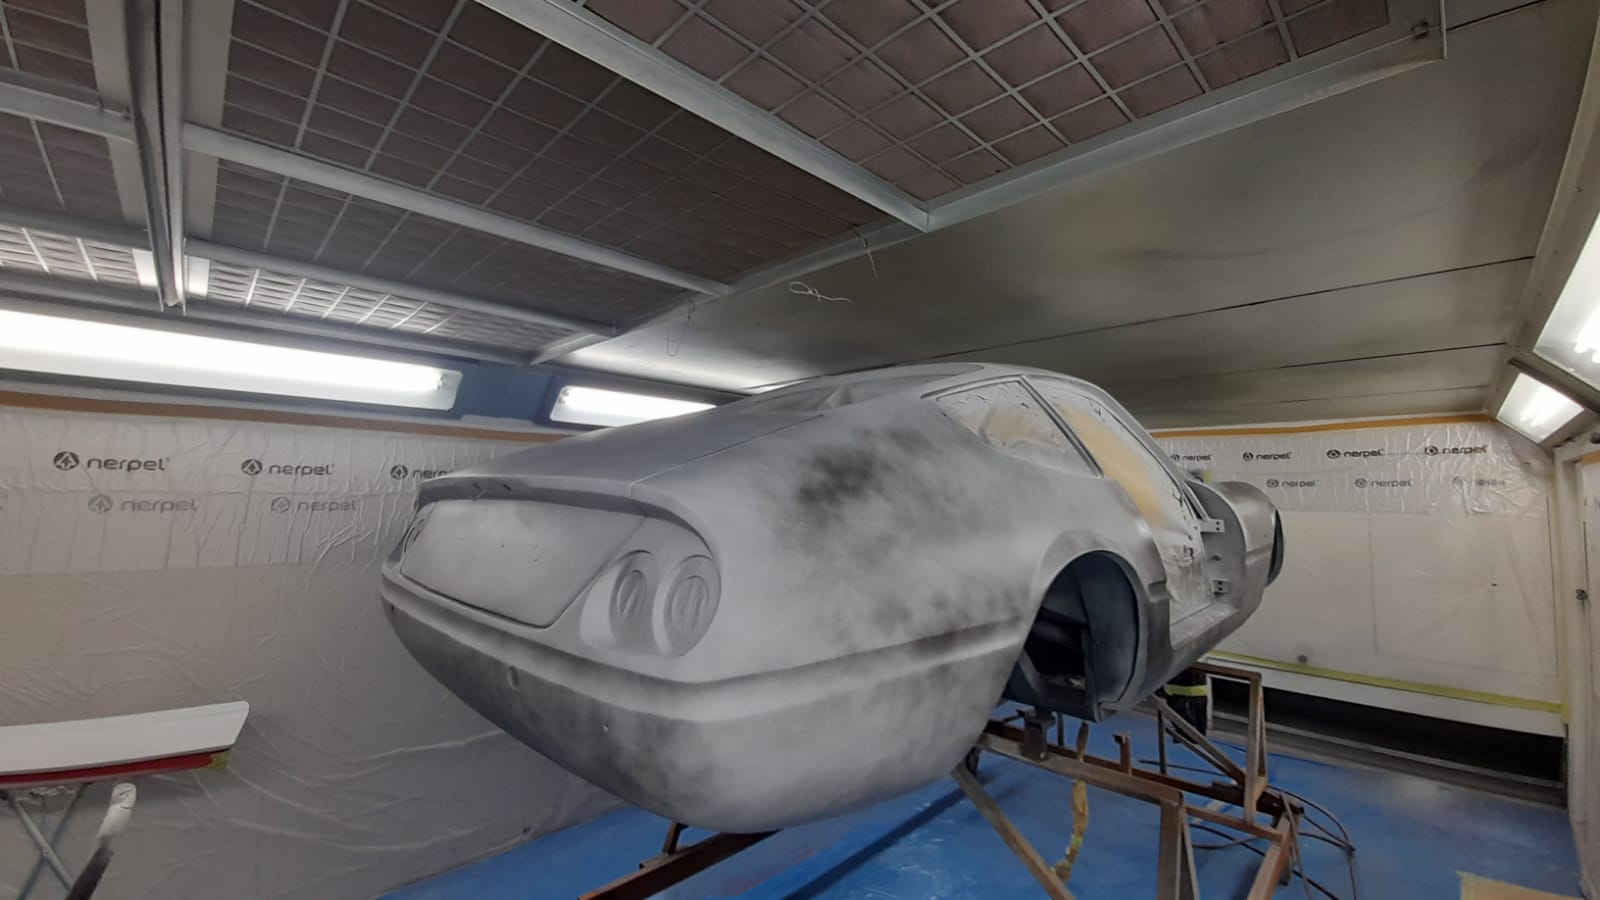
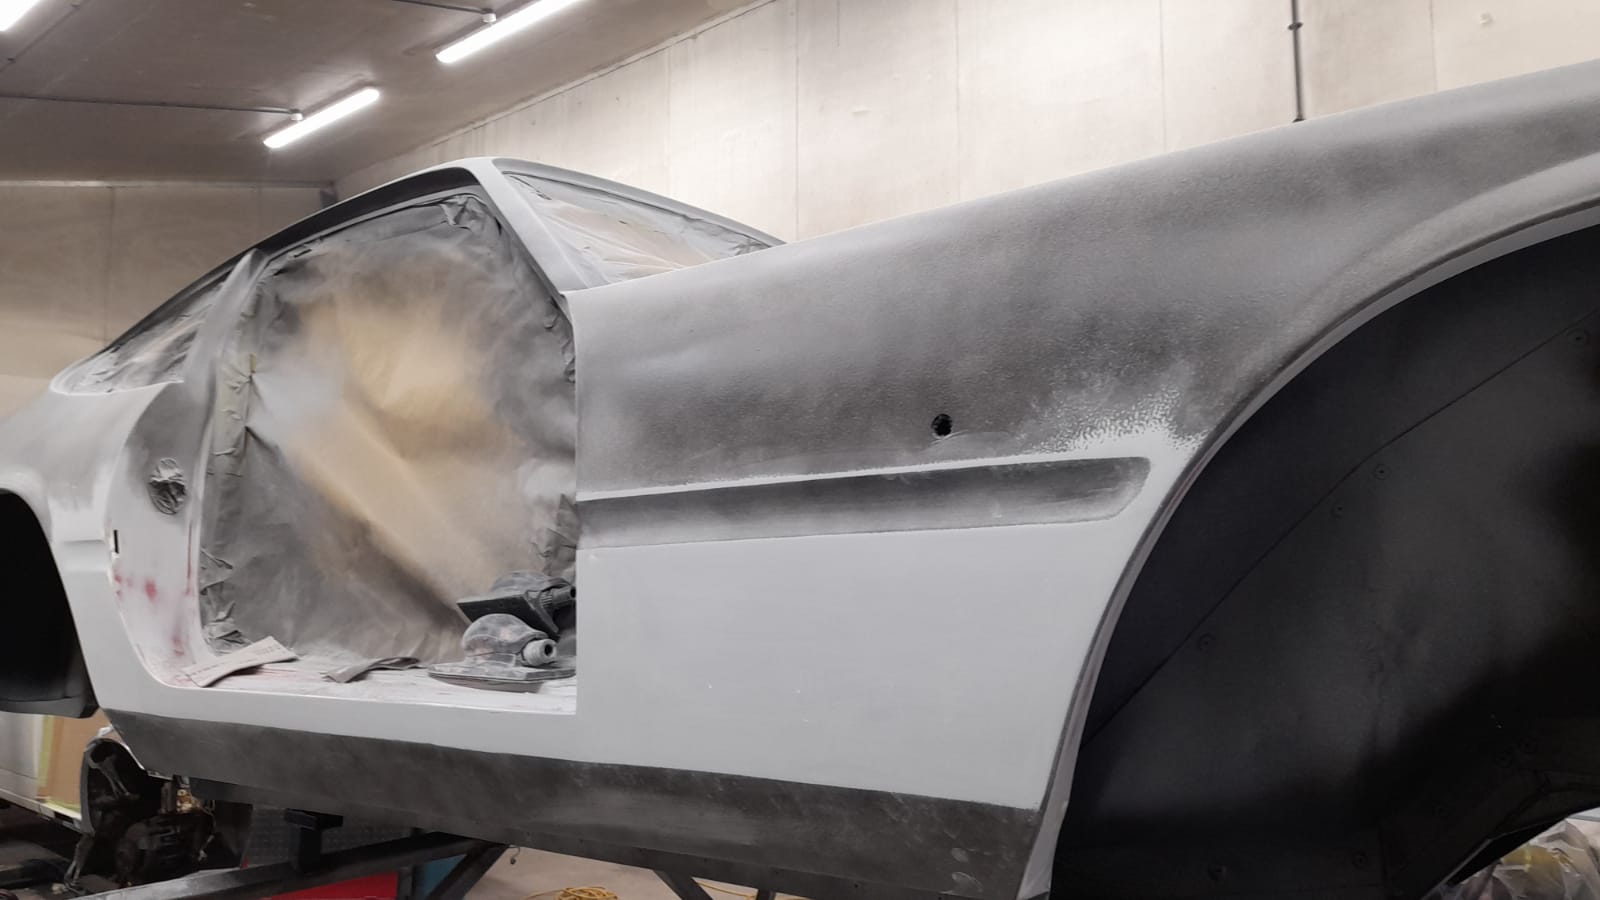
Now that the Daytona has been primed and prepared in the paint shop, Scott has taken it back into the fabrication bay to continue smoothing

Tom has been working on re-wiring the wiring looms in the 1959 Jensen 541R. He’s recently completed the lights and has now started on the
Our side of the trim work has been completed for the 1958 Jaguar XK150. Our job was to only fit the fabric to metal pieces
A new handbrake cable has been fitted to the 1961 Jensen 541S by our classic car technician Paul who has handled the re-build and re-fitting
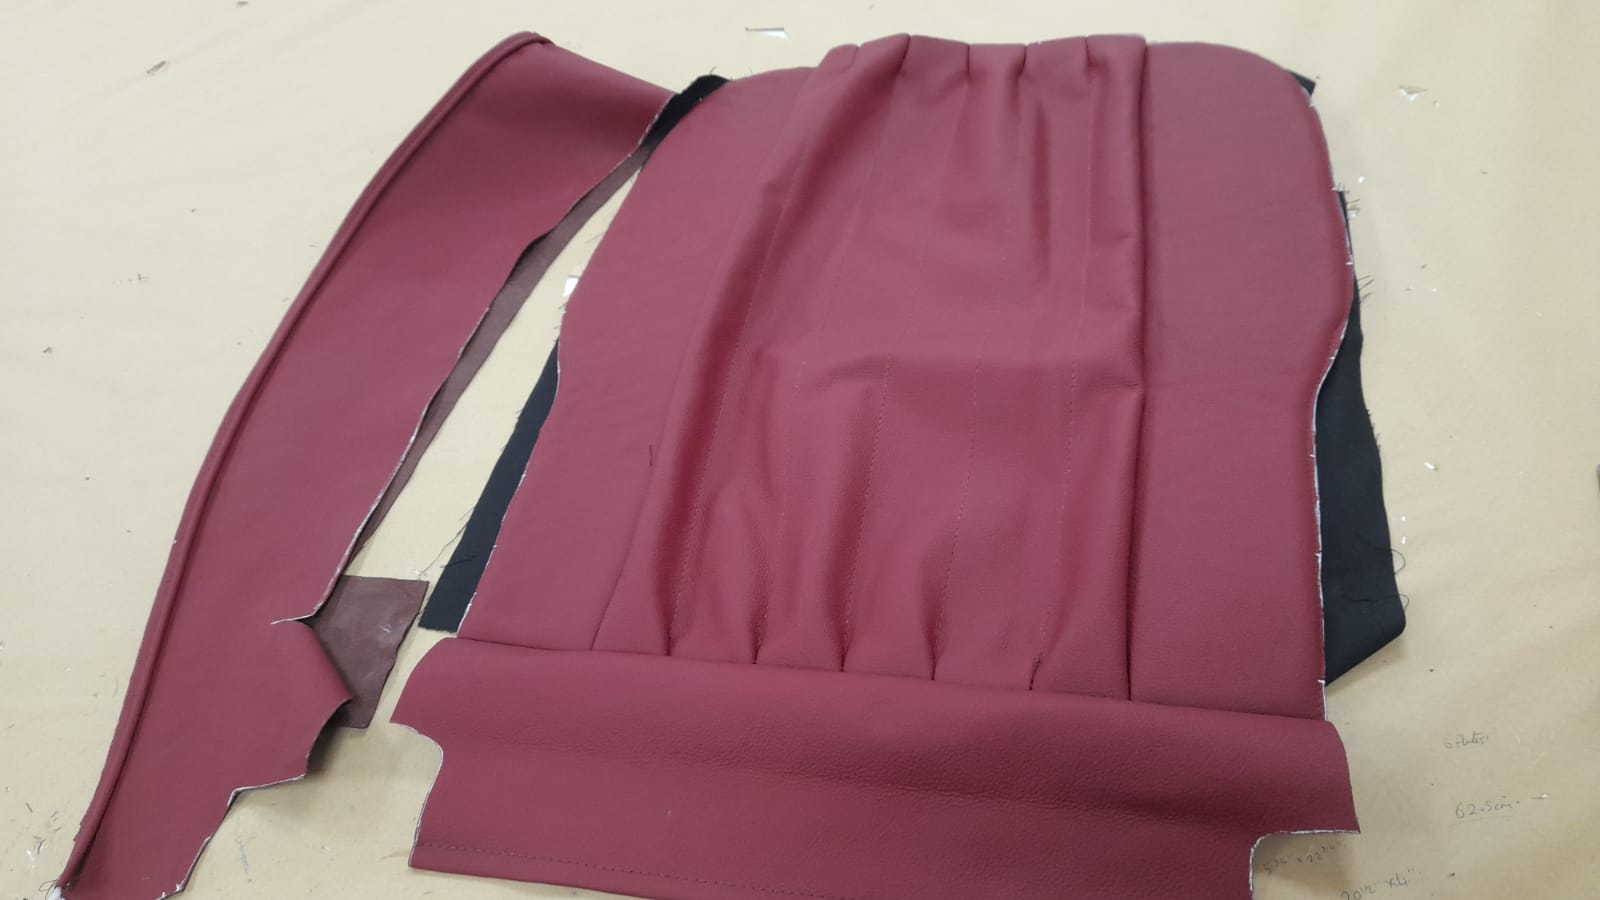
Lydia has completed another seat cover using the same process as before. Brian and Kath have also been working at creating a cover for the
We’ve been contacted by someone with a unique Honda S800 who was enquiring about getting some bodywork repair done. We’re looking forward to seeing where
We may be expecting both of these beautiful Morris’s into the workshop sometime in the near future. The photos below are a 1935 Morris 12/4

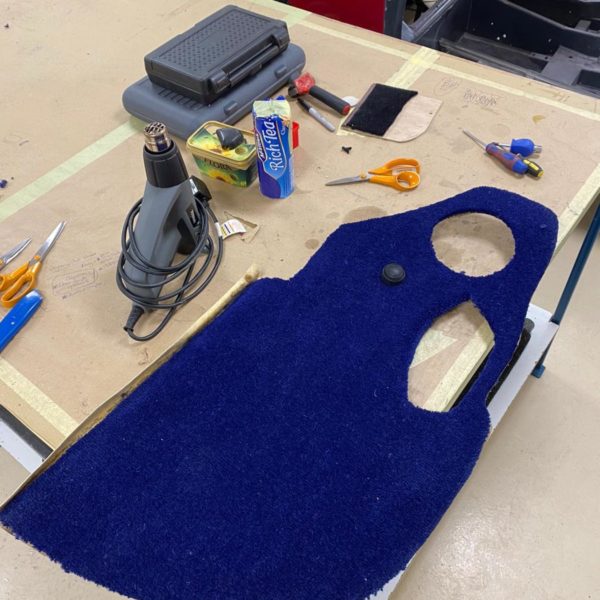
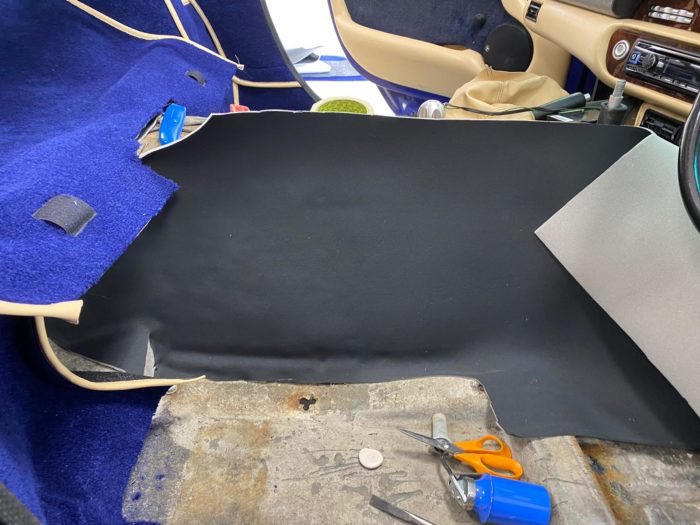
The TVR is having a new carpet fitted so our trim shop has removed everything and has begun fitting the new pieces provided to us

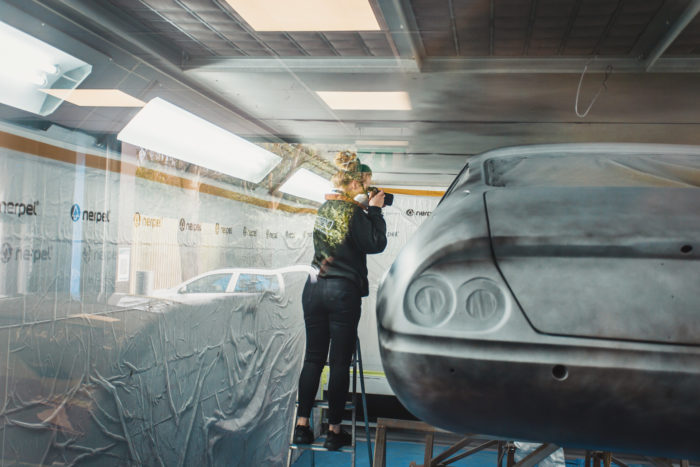
The Daytona entered the Paint Bay today under the trusted hands of Scott, one of our classic car technicians. We’re very fortunate that so many
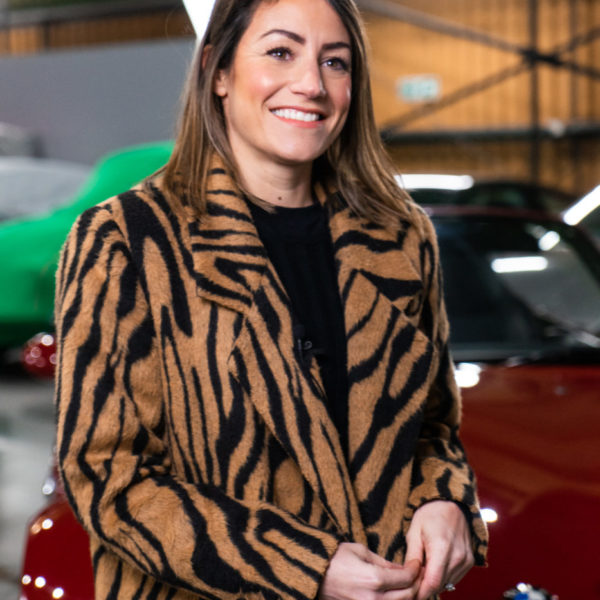
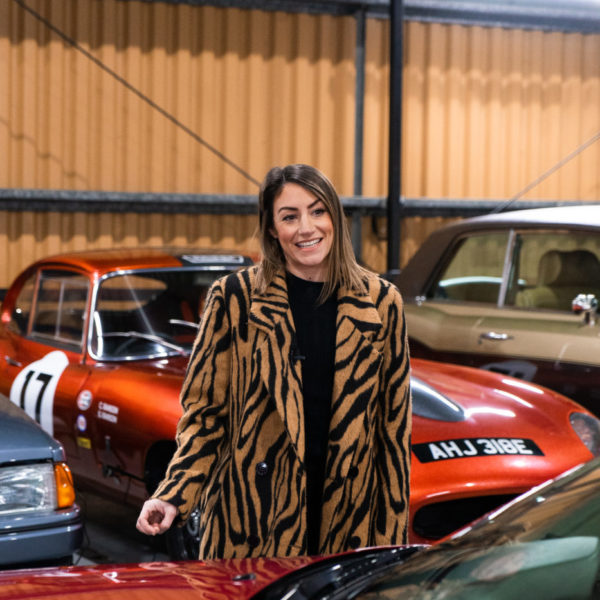
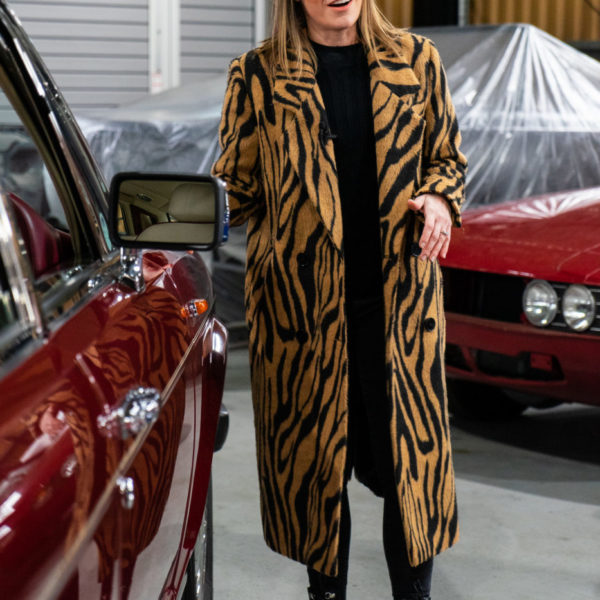
Last night we held our live draw to announce the BMW Z3M winner! As always, Charlotte joined us to take a walk through the cars
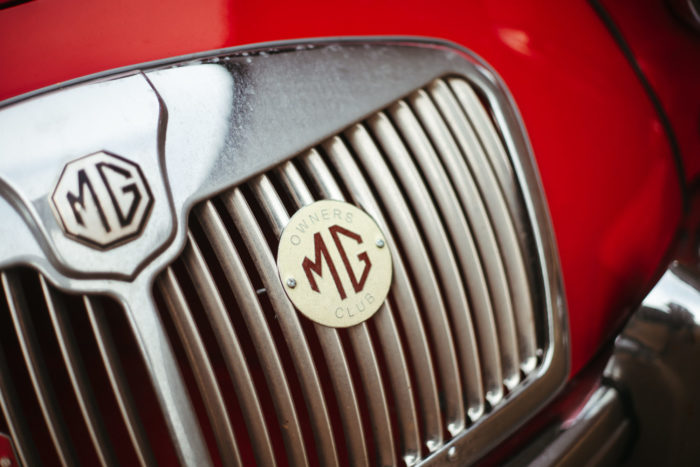
We’ve welcomed back this lovely 1960 MG A for a service. We originally restored this stunning classic and were delighted to hear how happy Mike
Our 1958 Jensen 541R is now complete, cleaned and ready for shoot. The car will be available for sale from our showroom very soon.
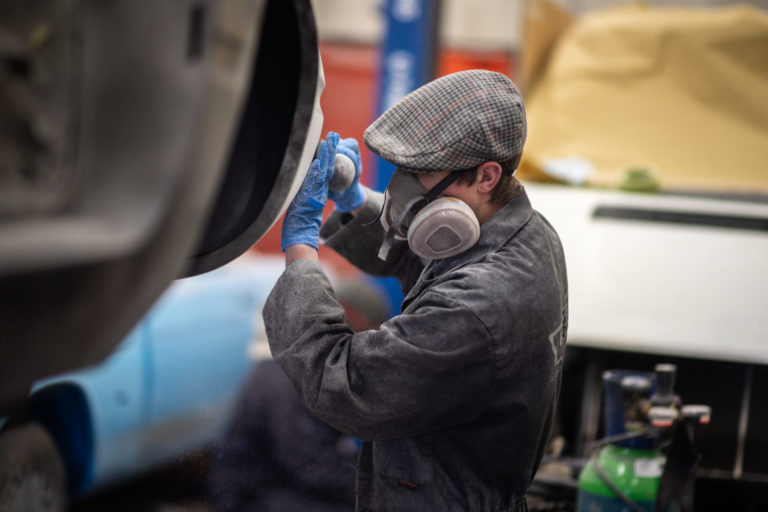
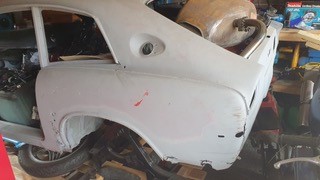
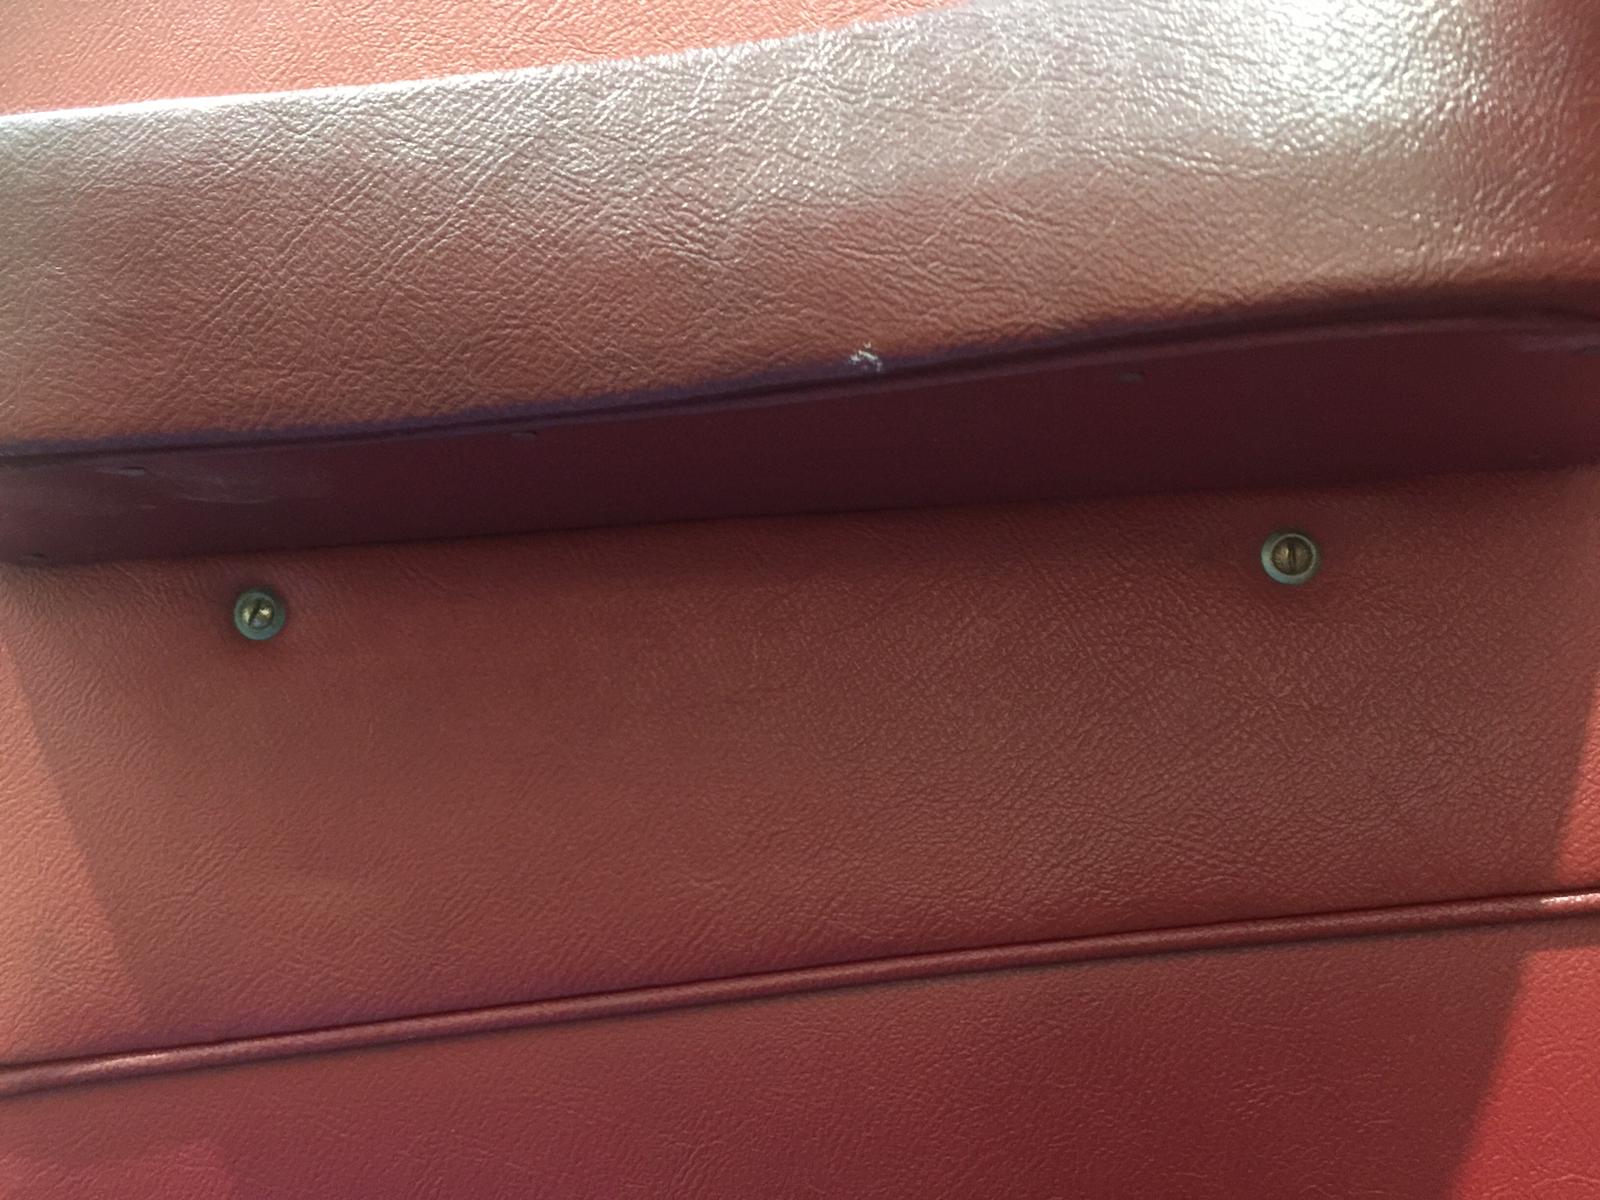
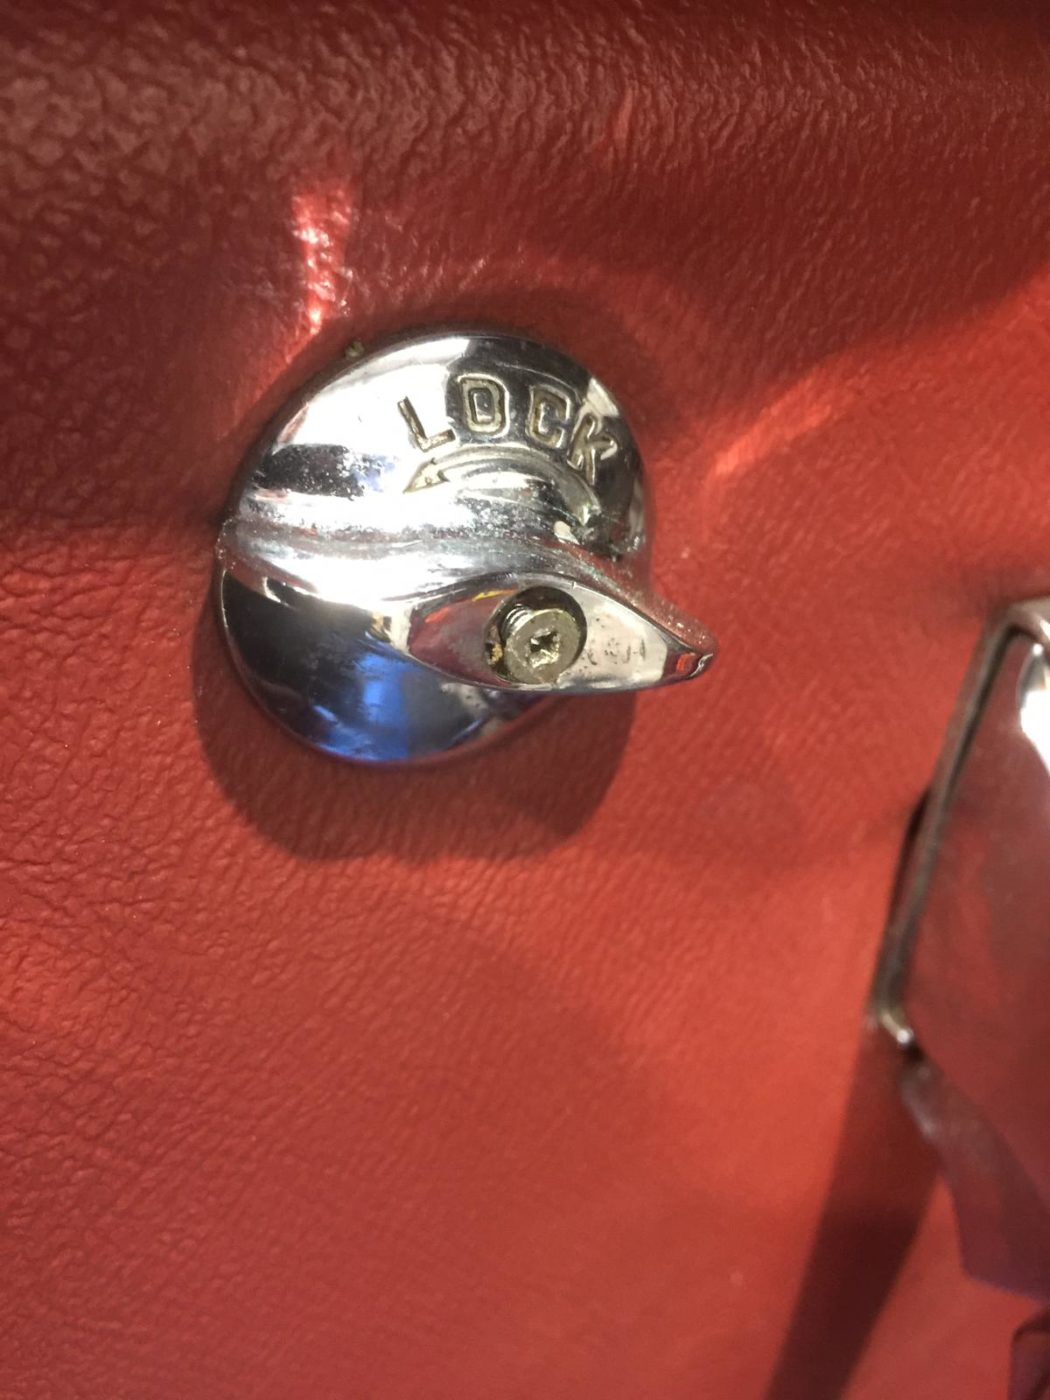
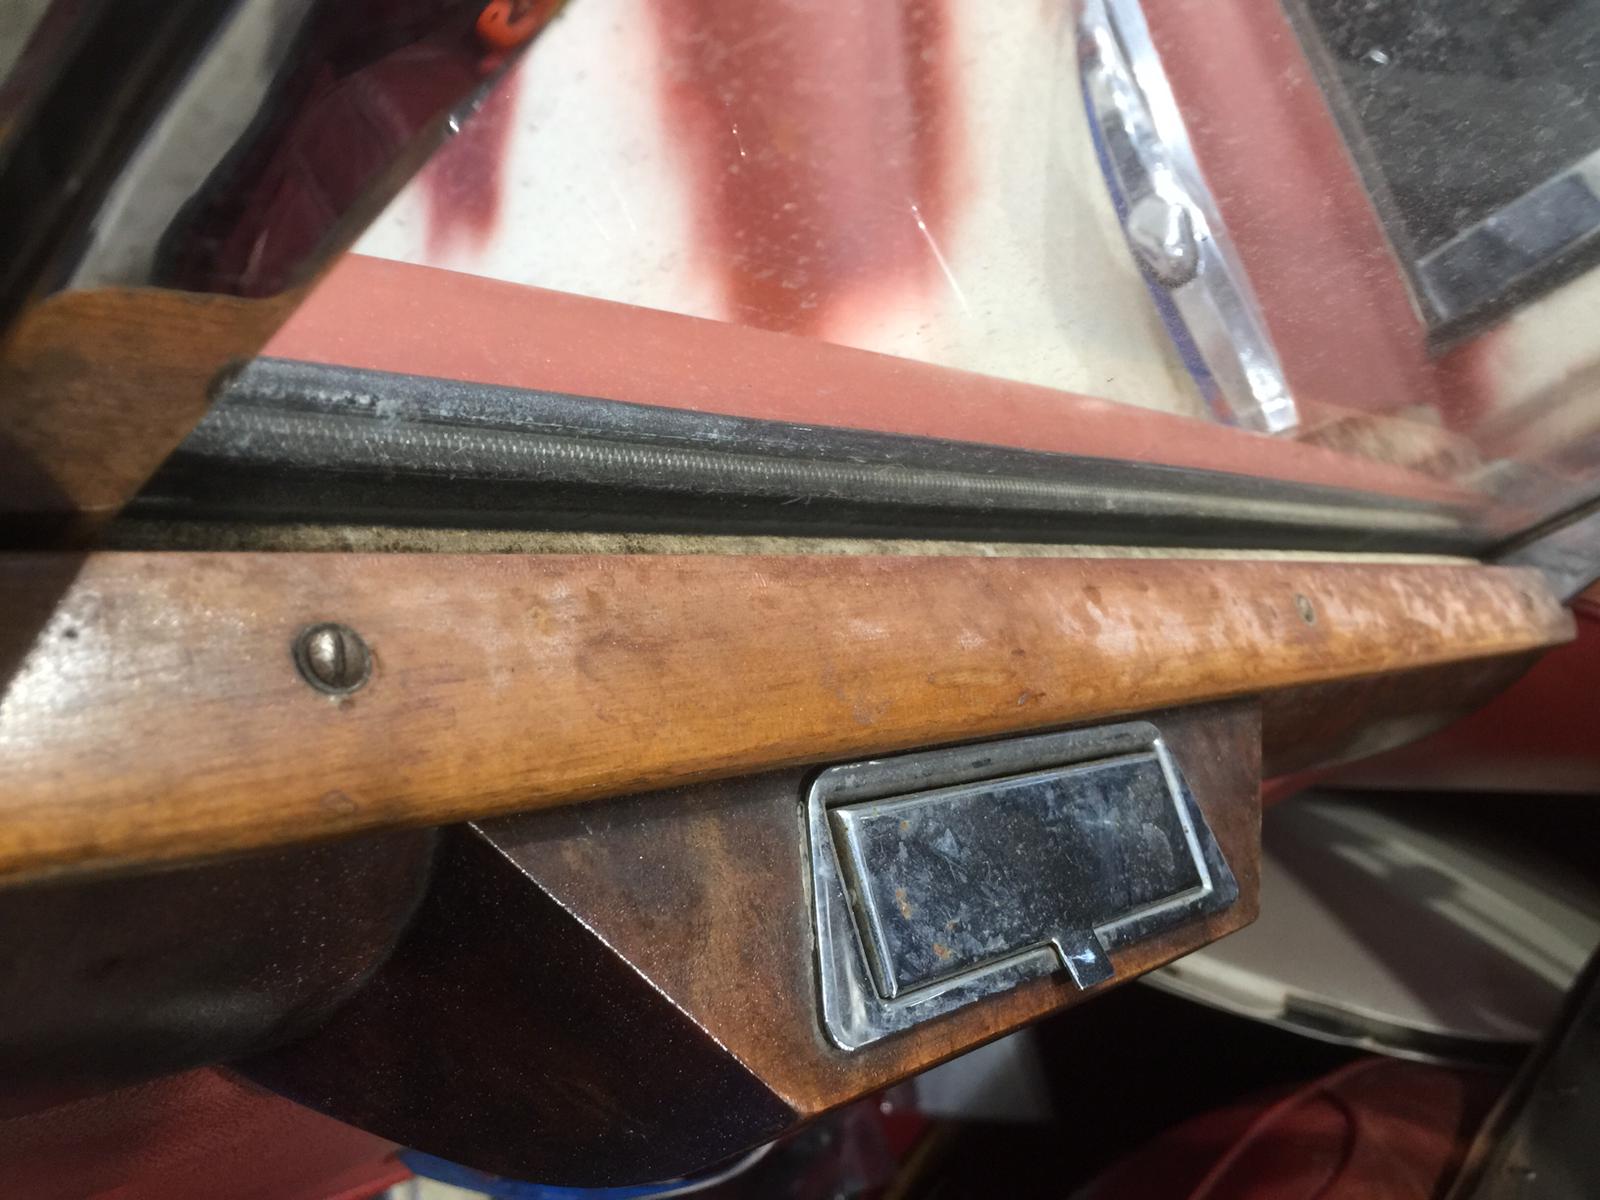
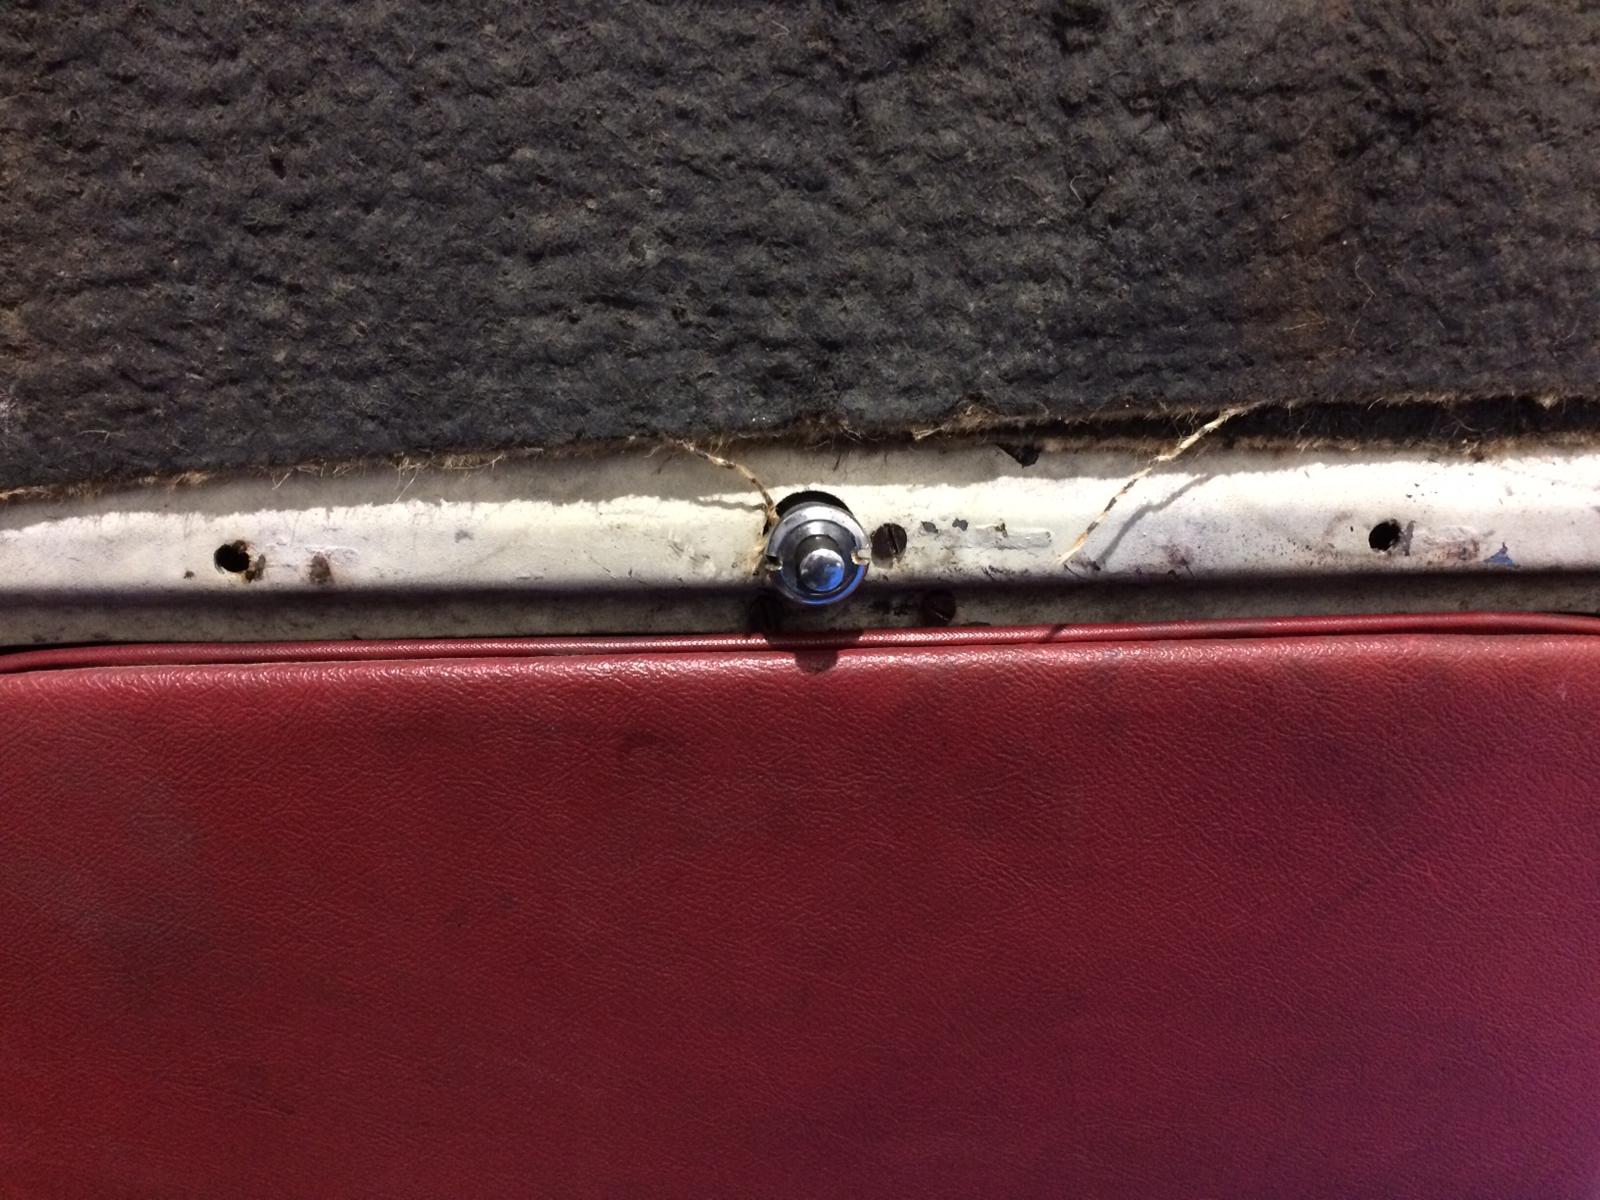
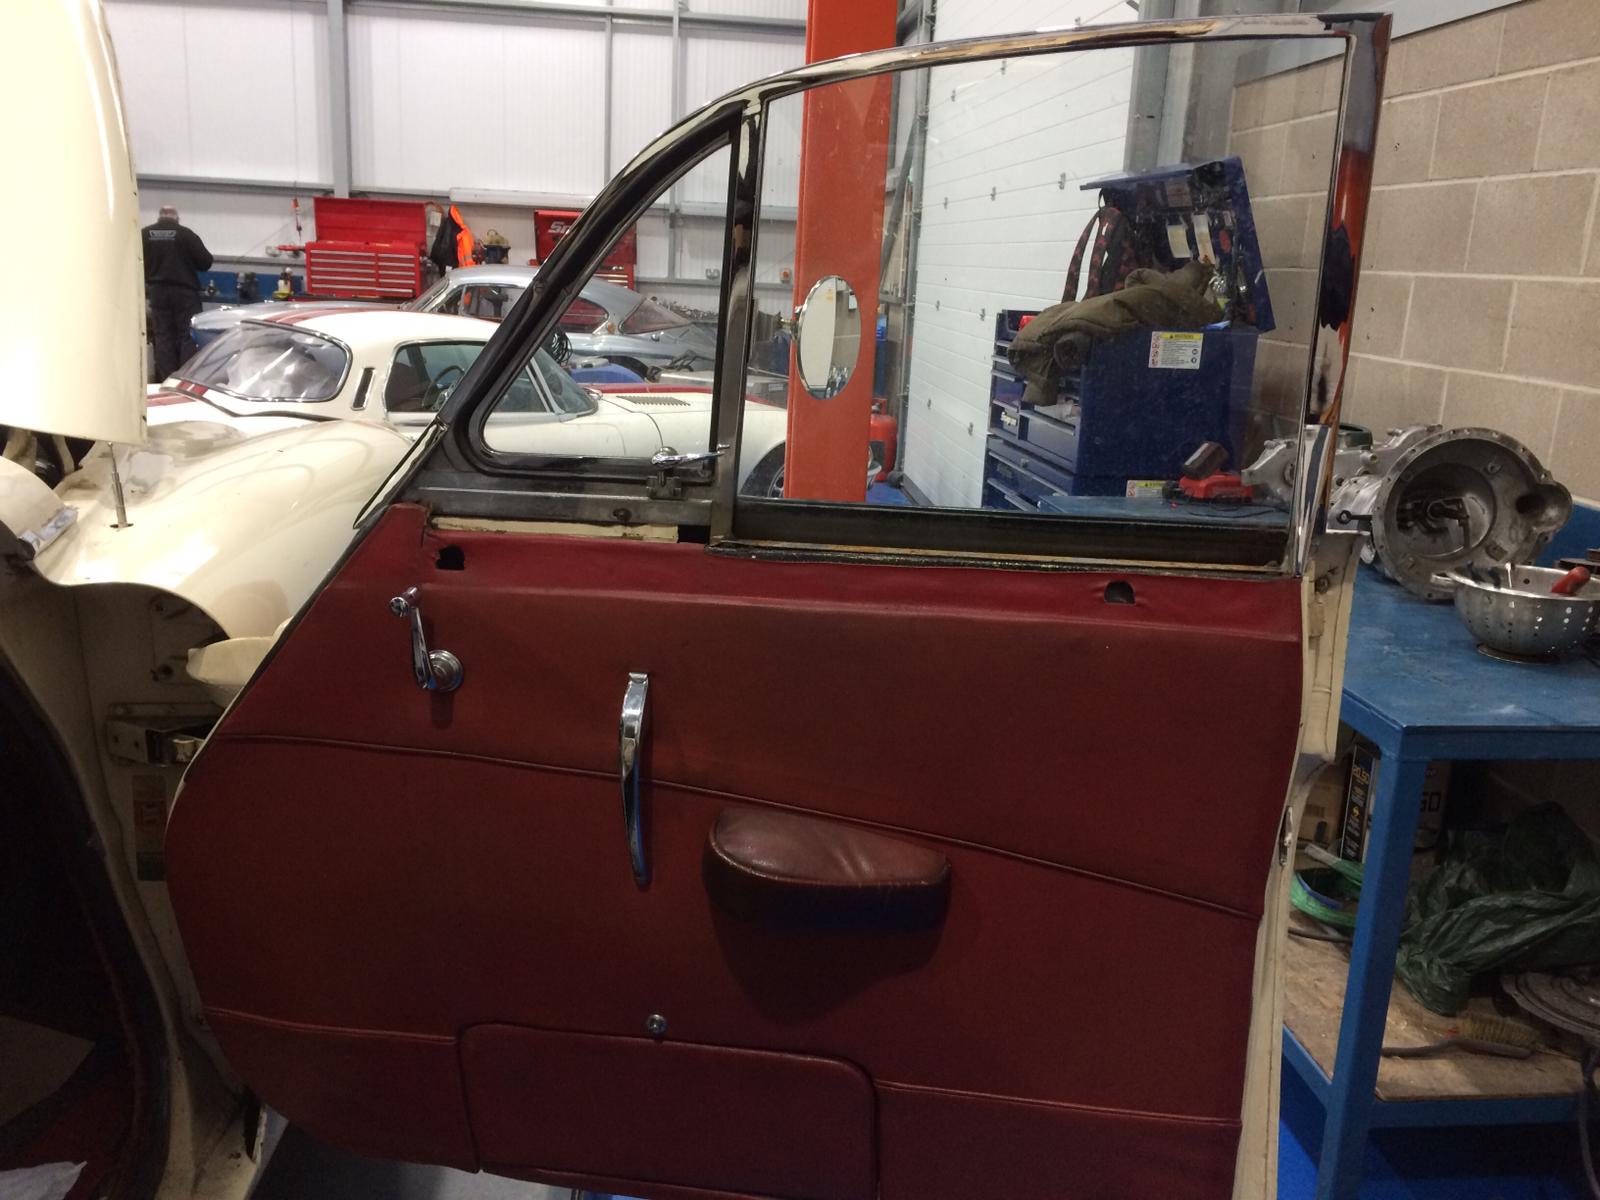
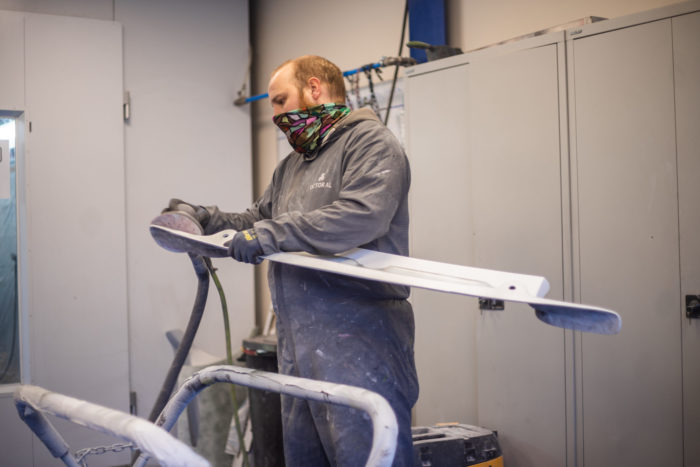
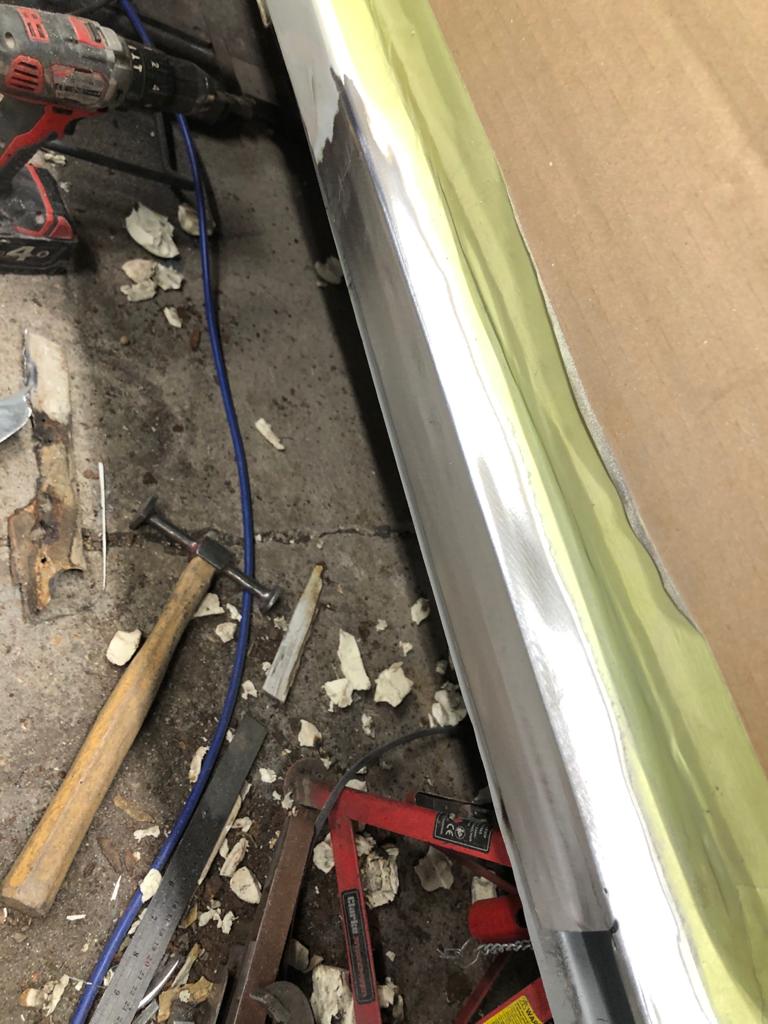
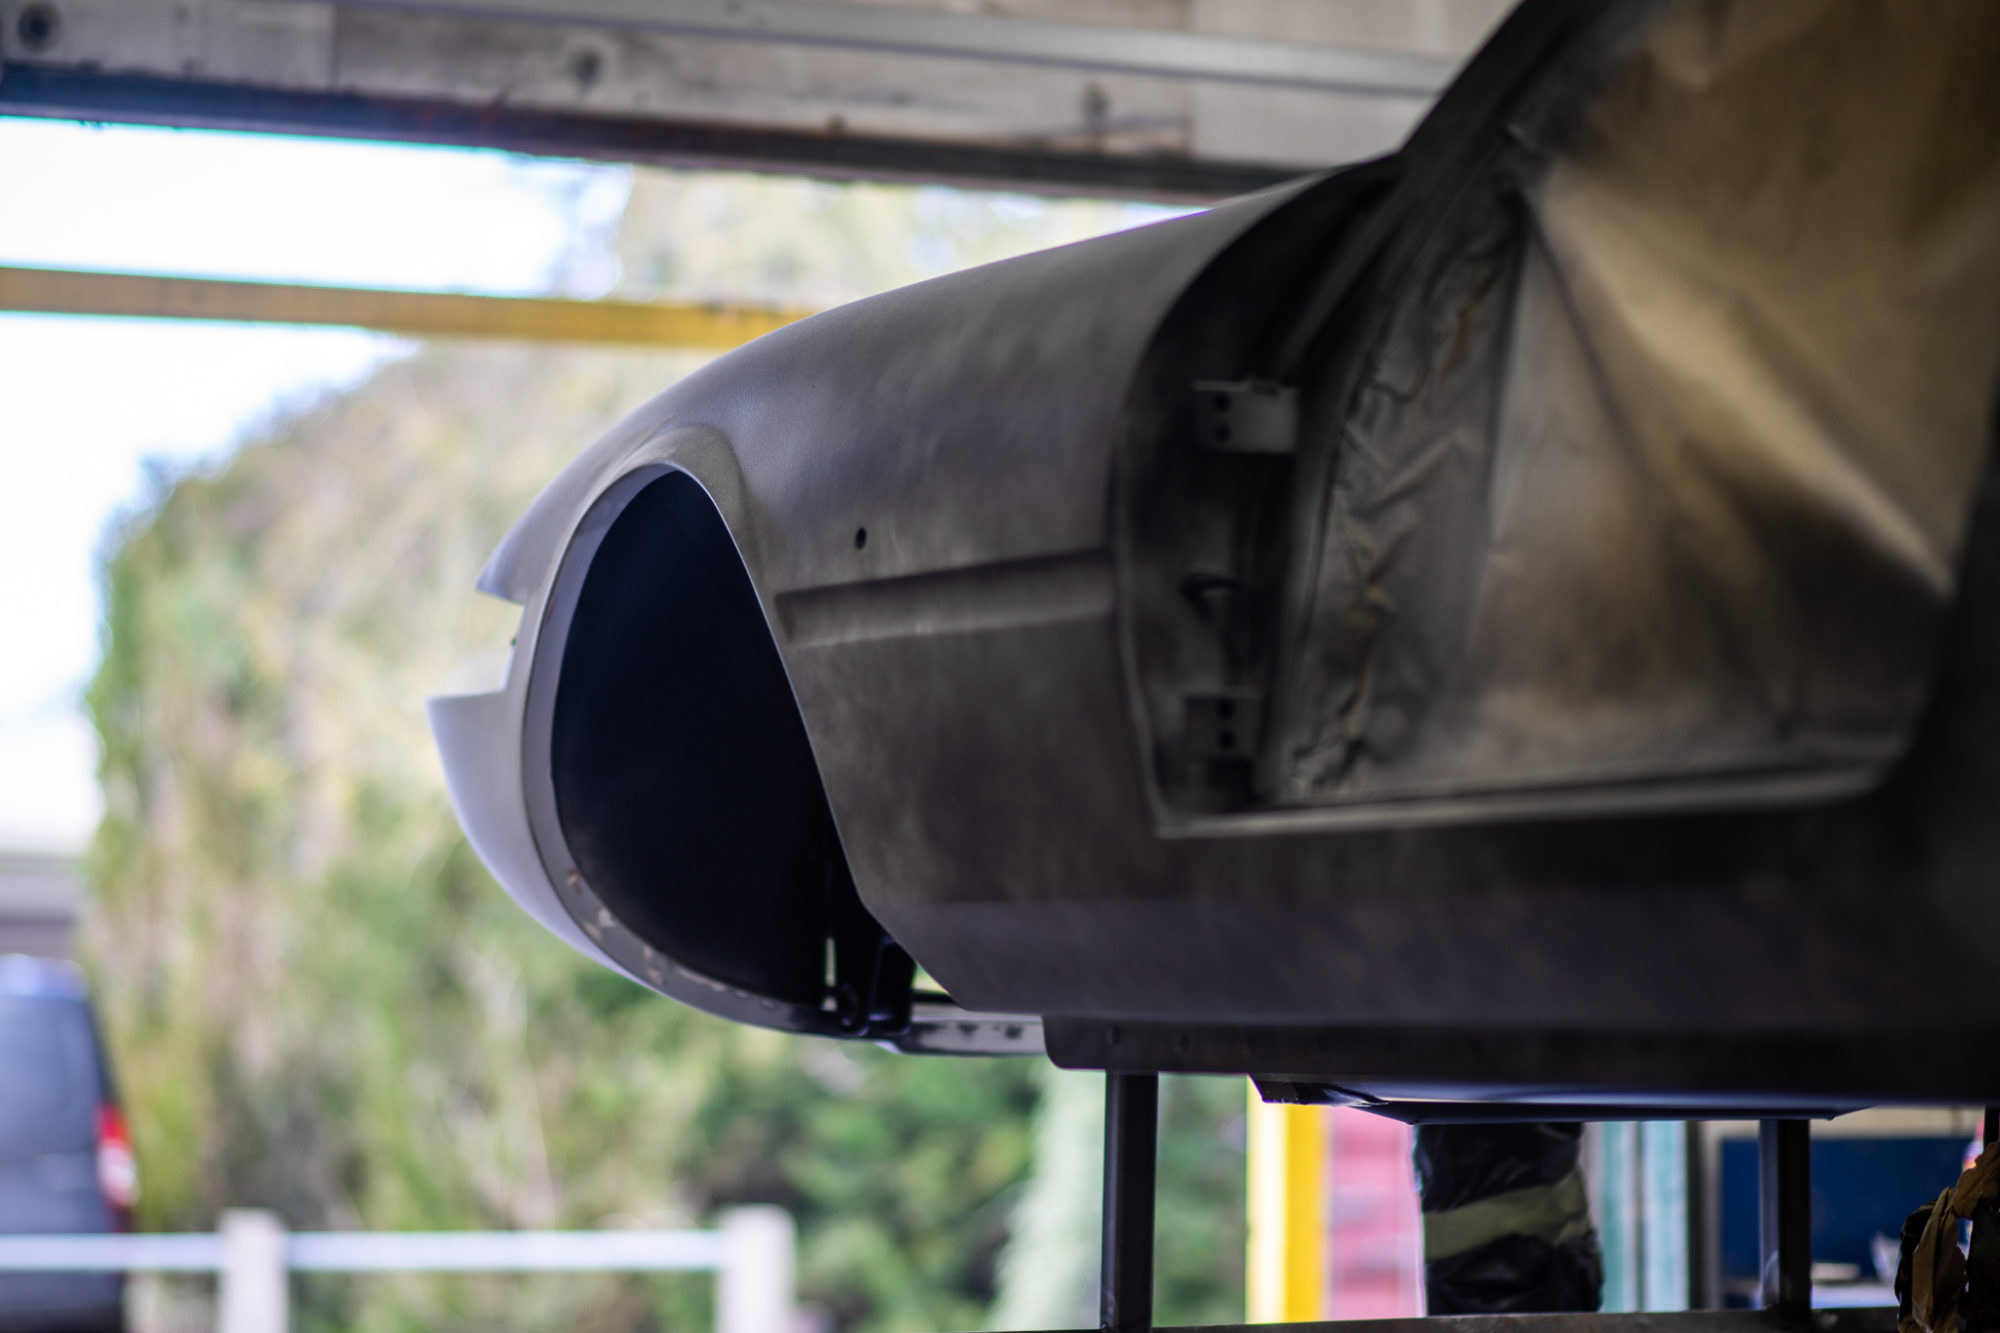
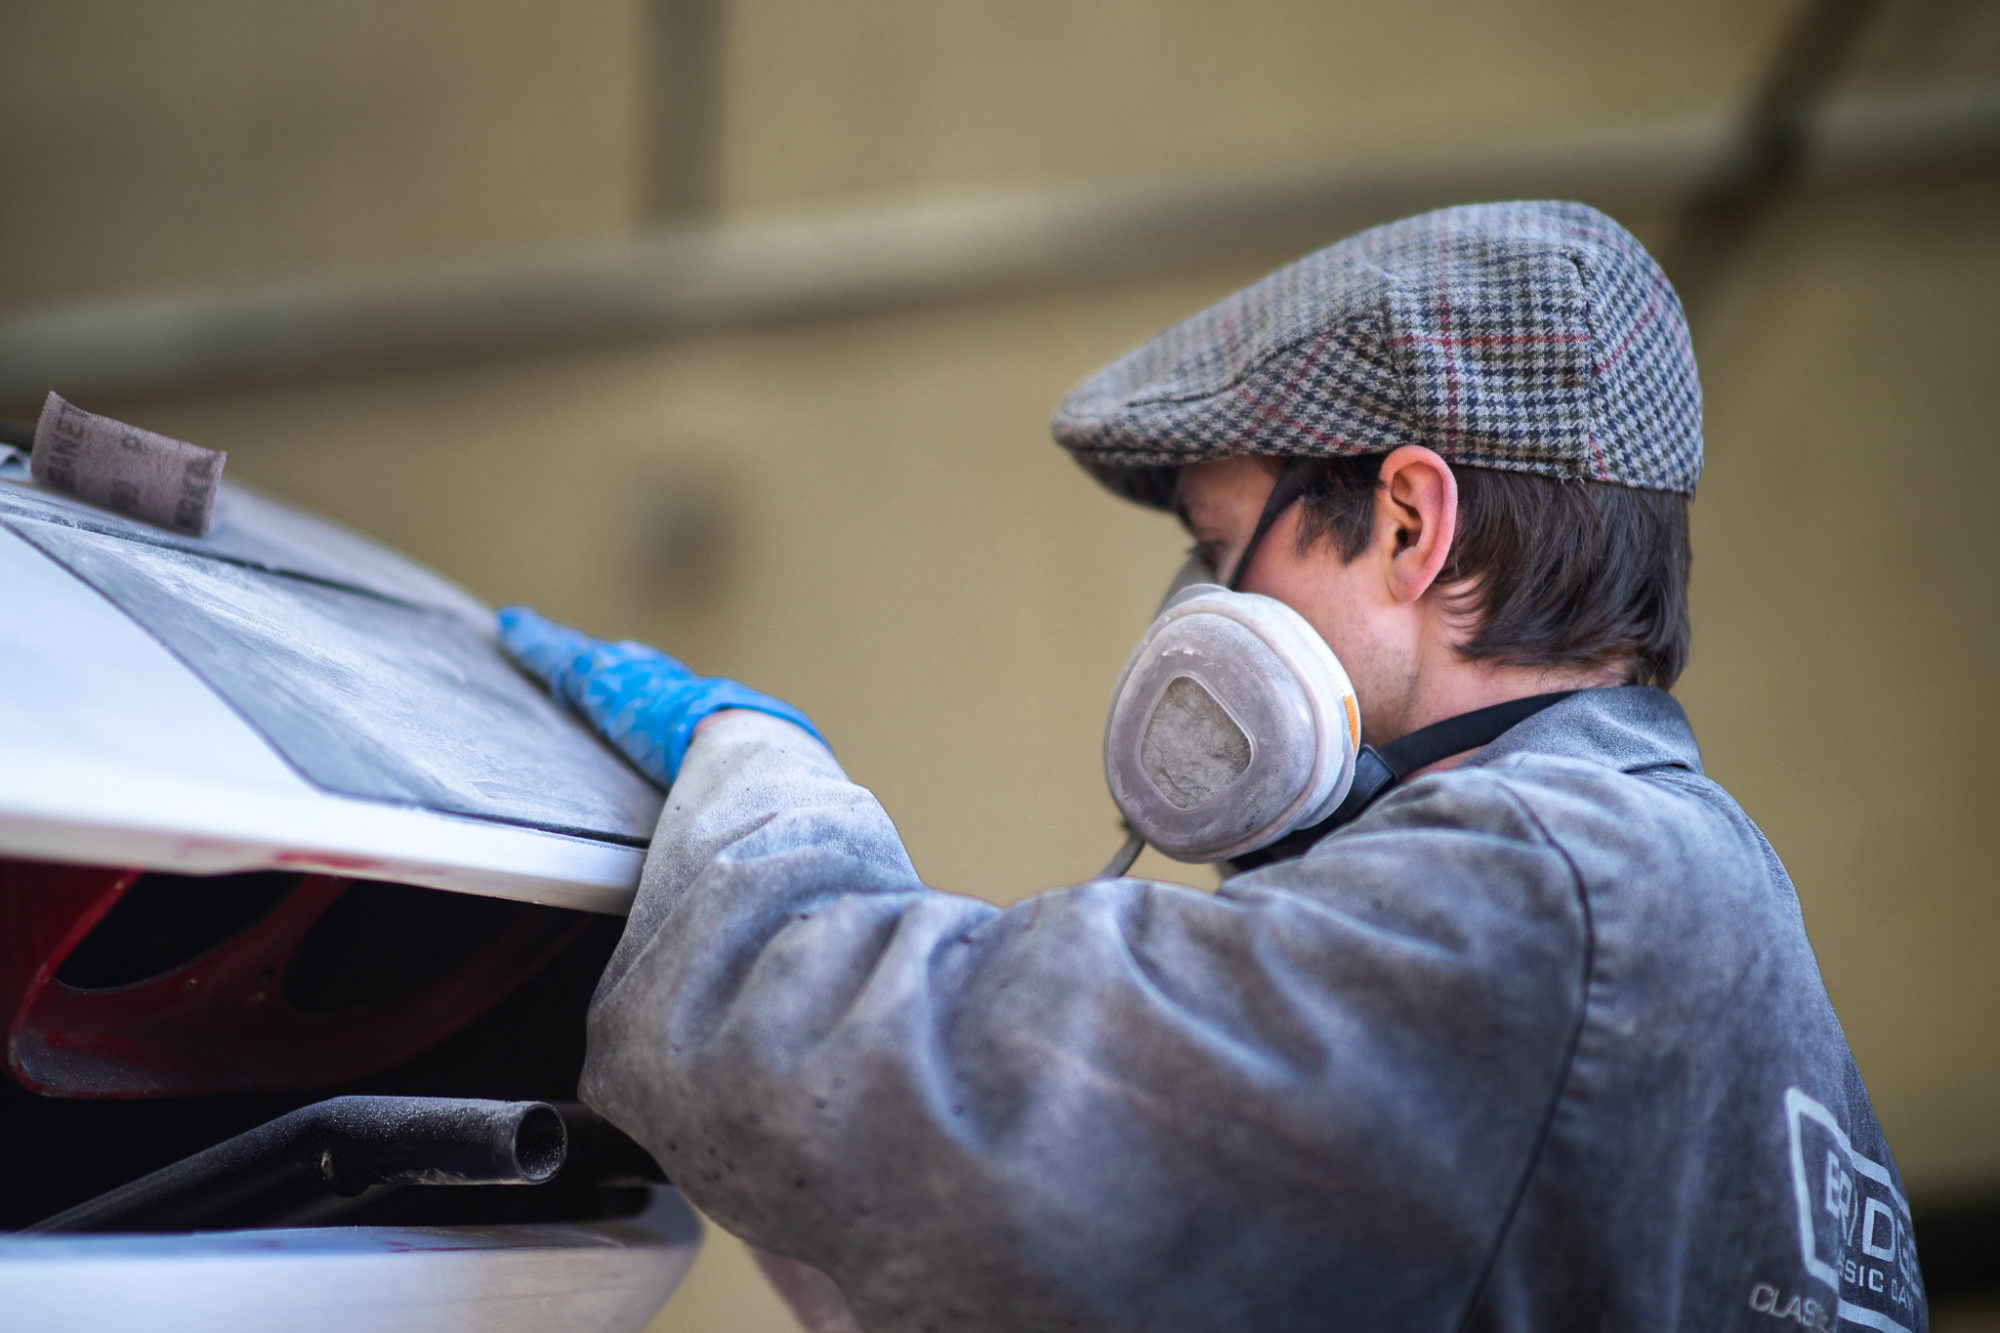
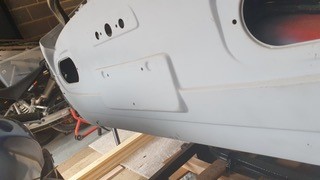
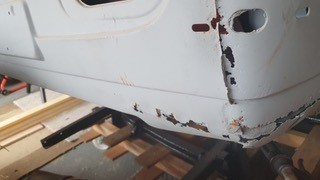
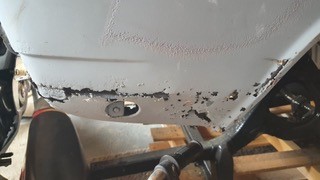
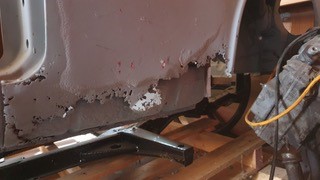
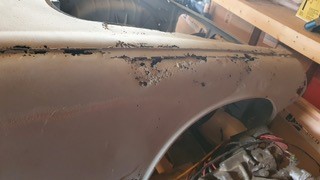
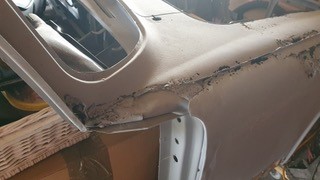
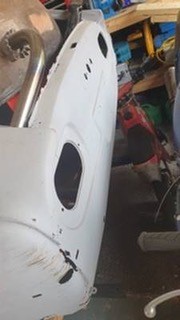
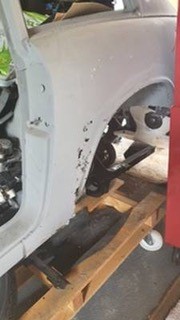
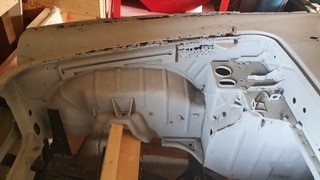
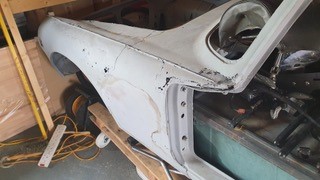
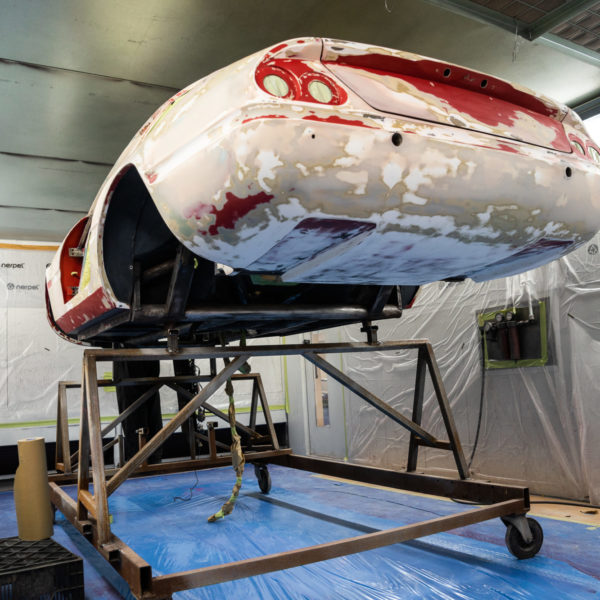
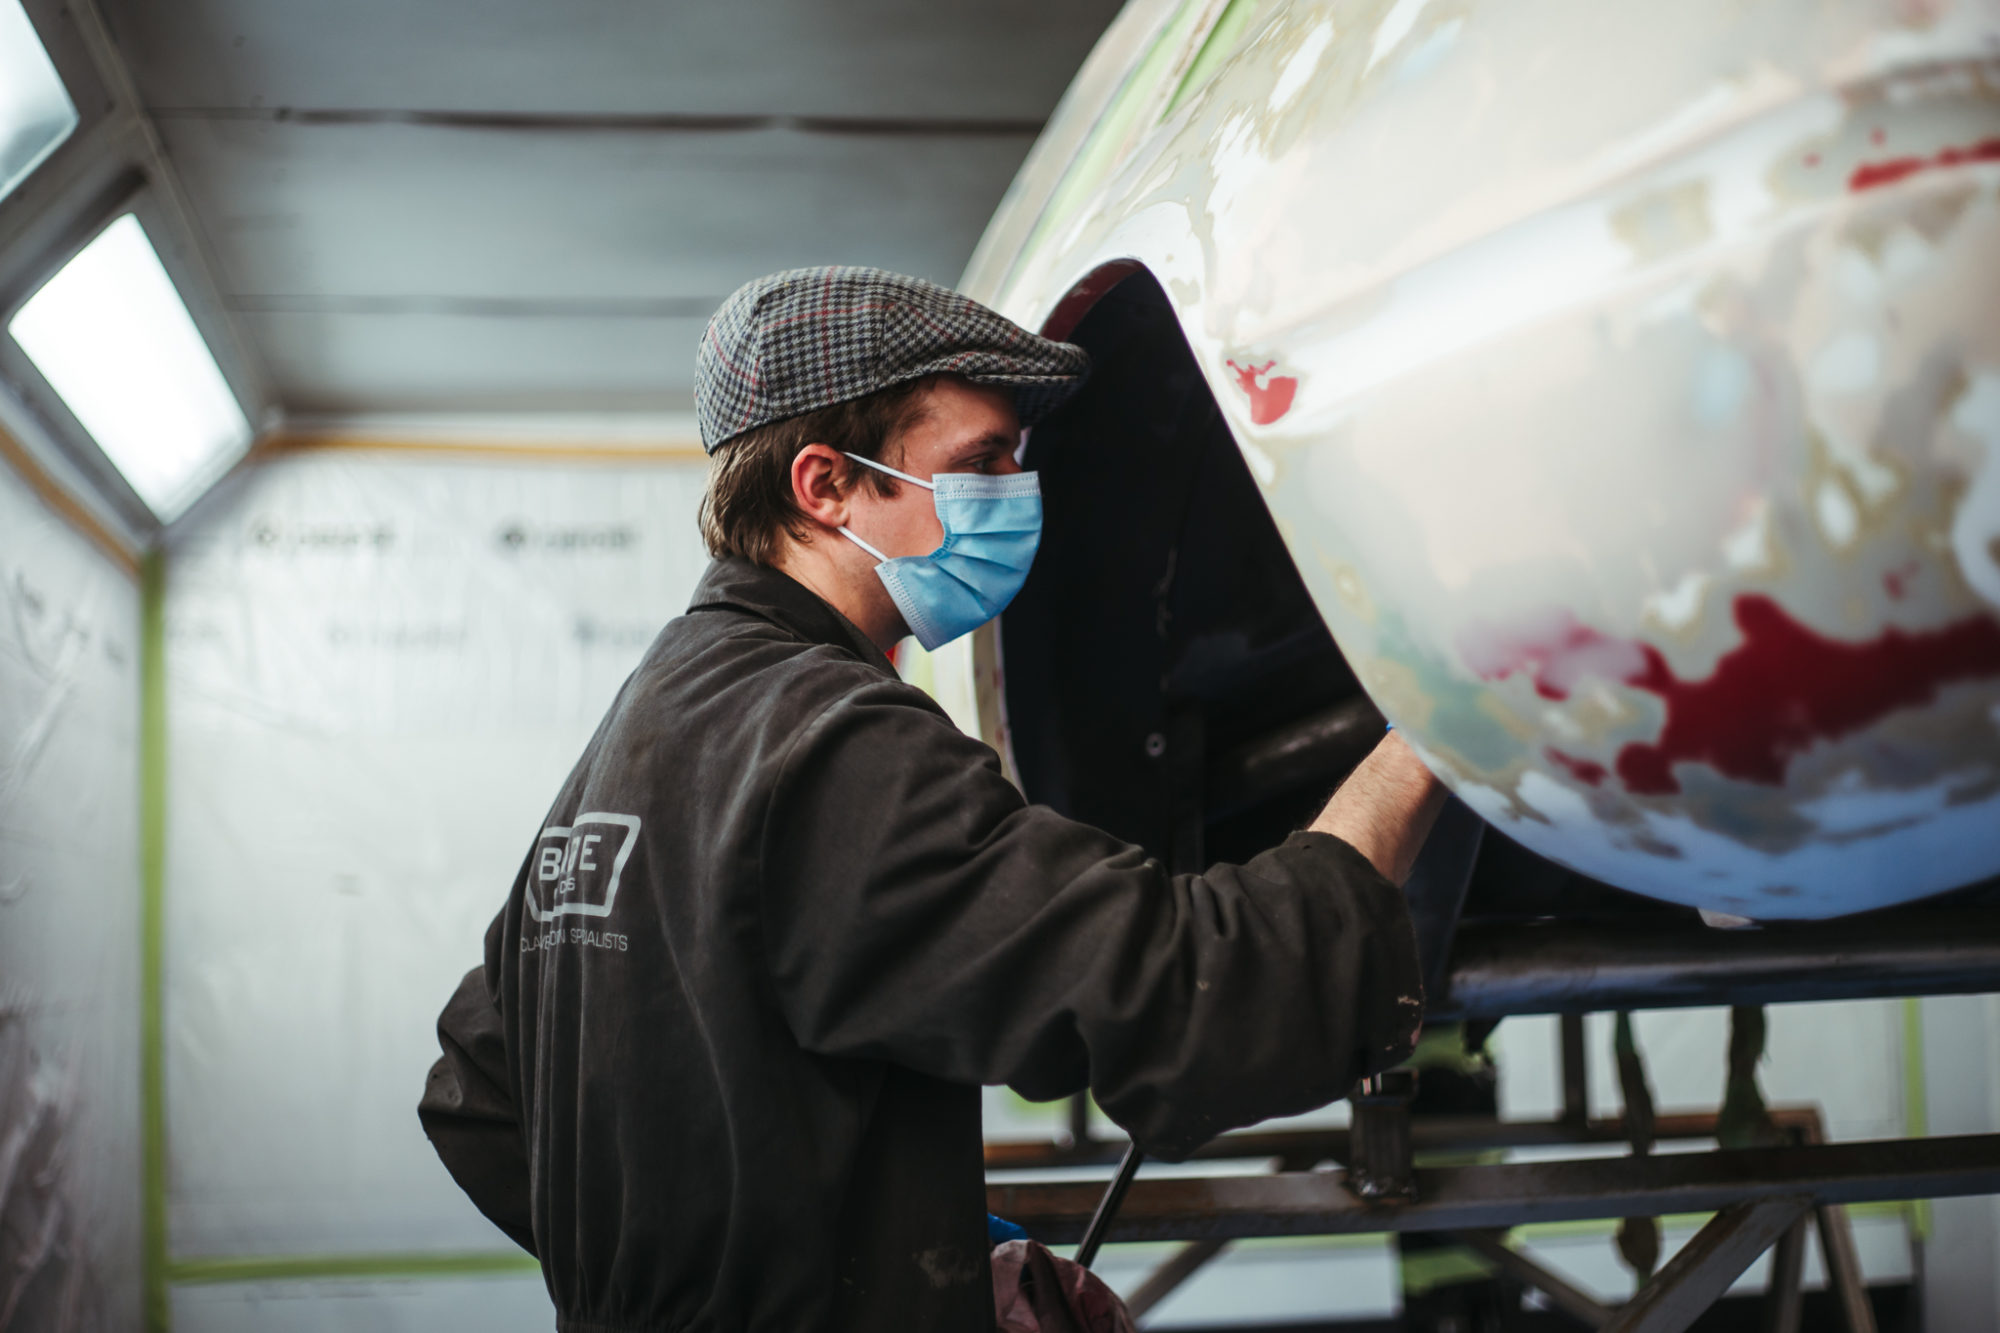
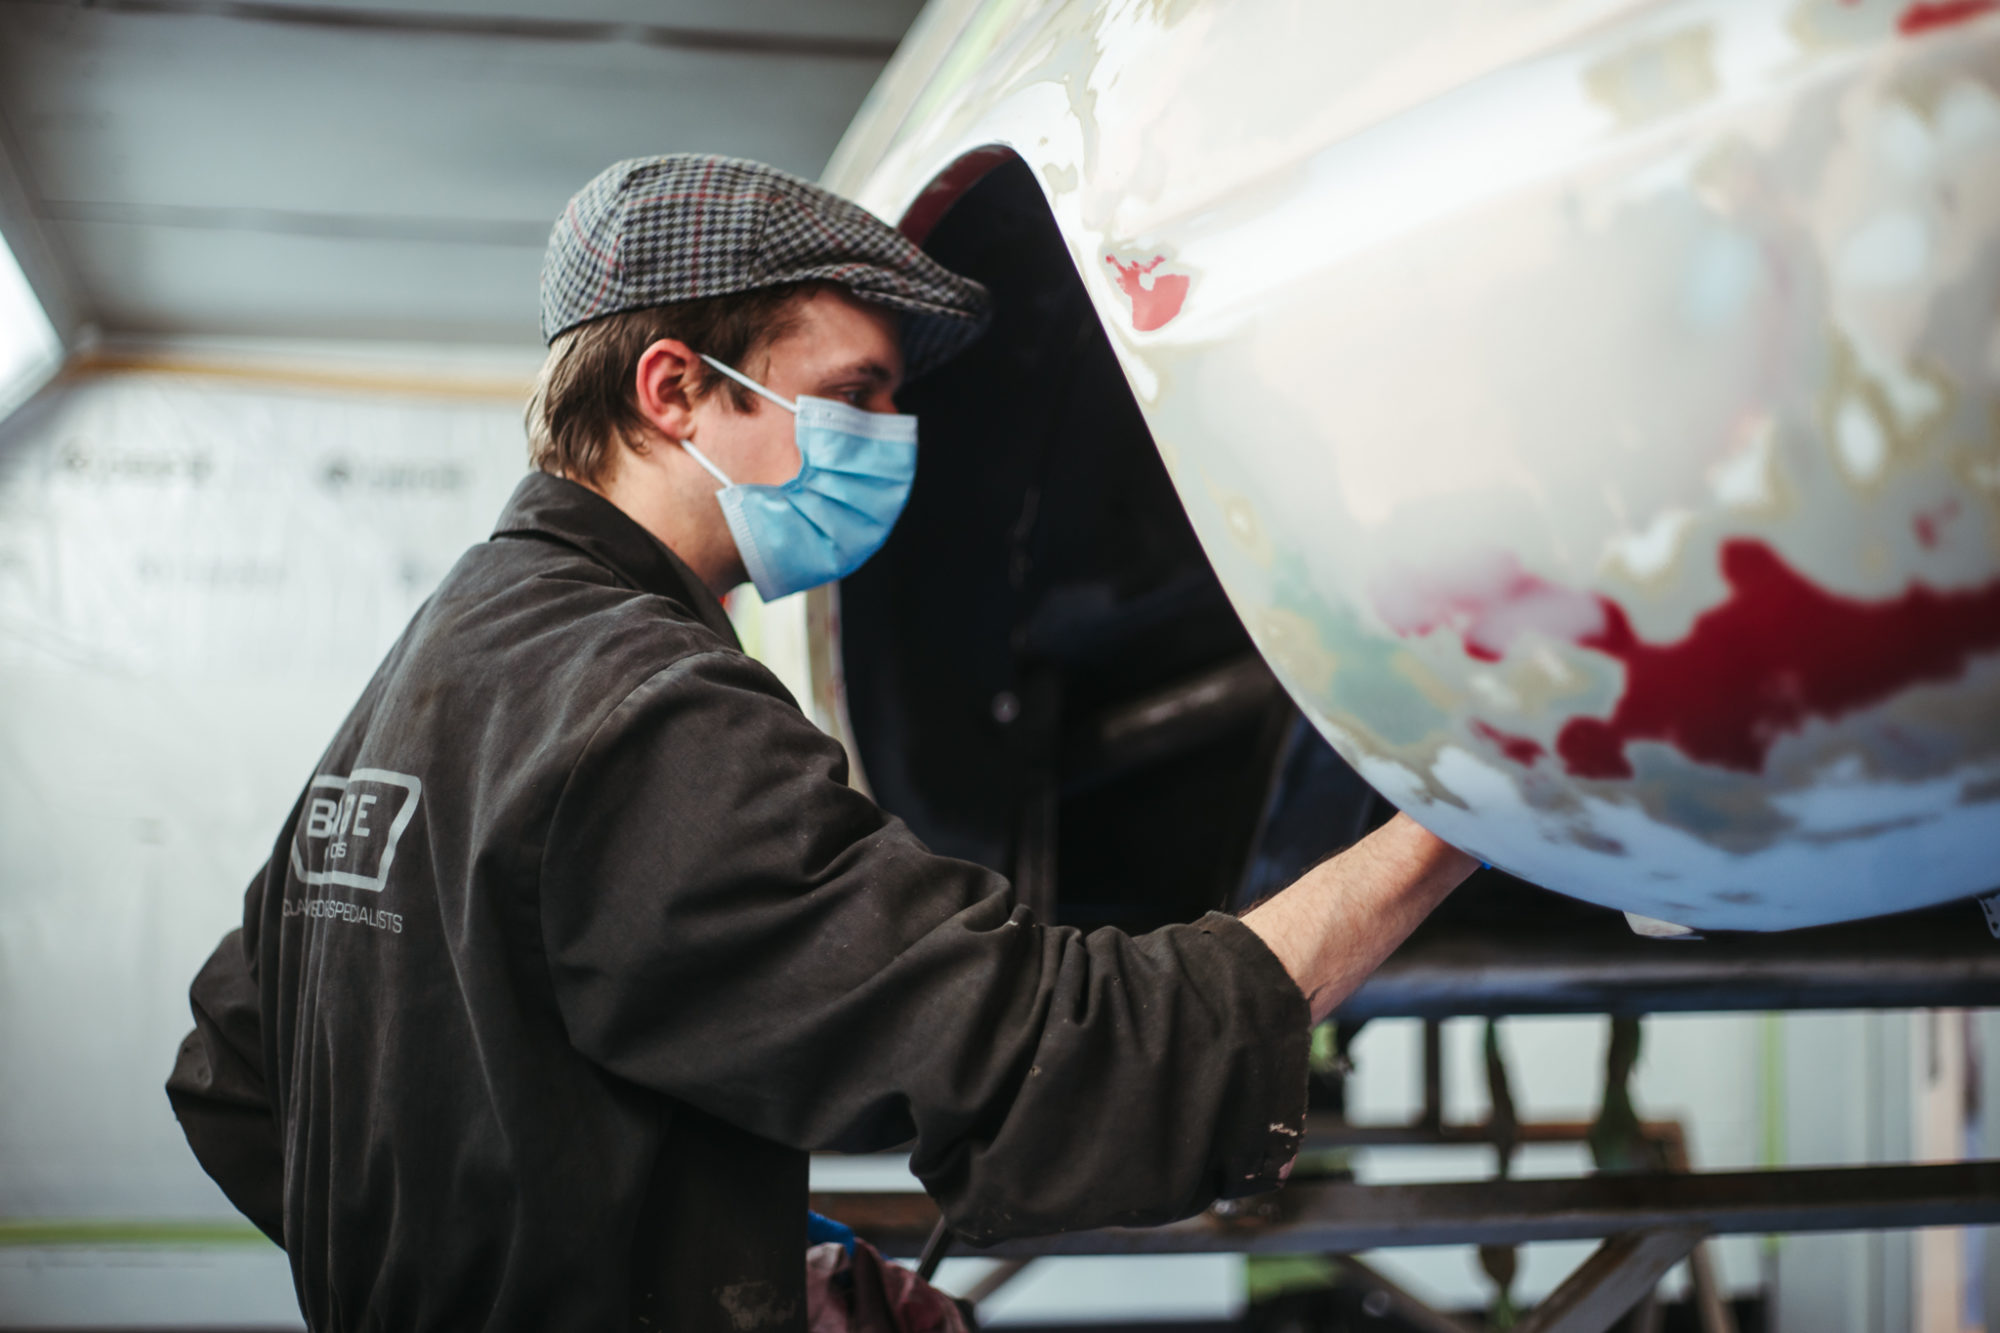
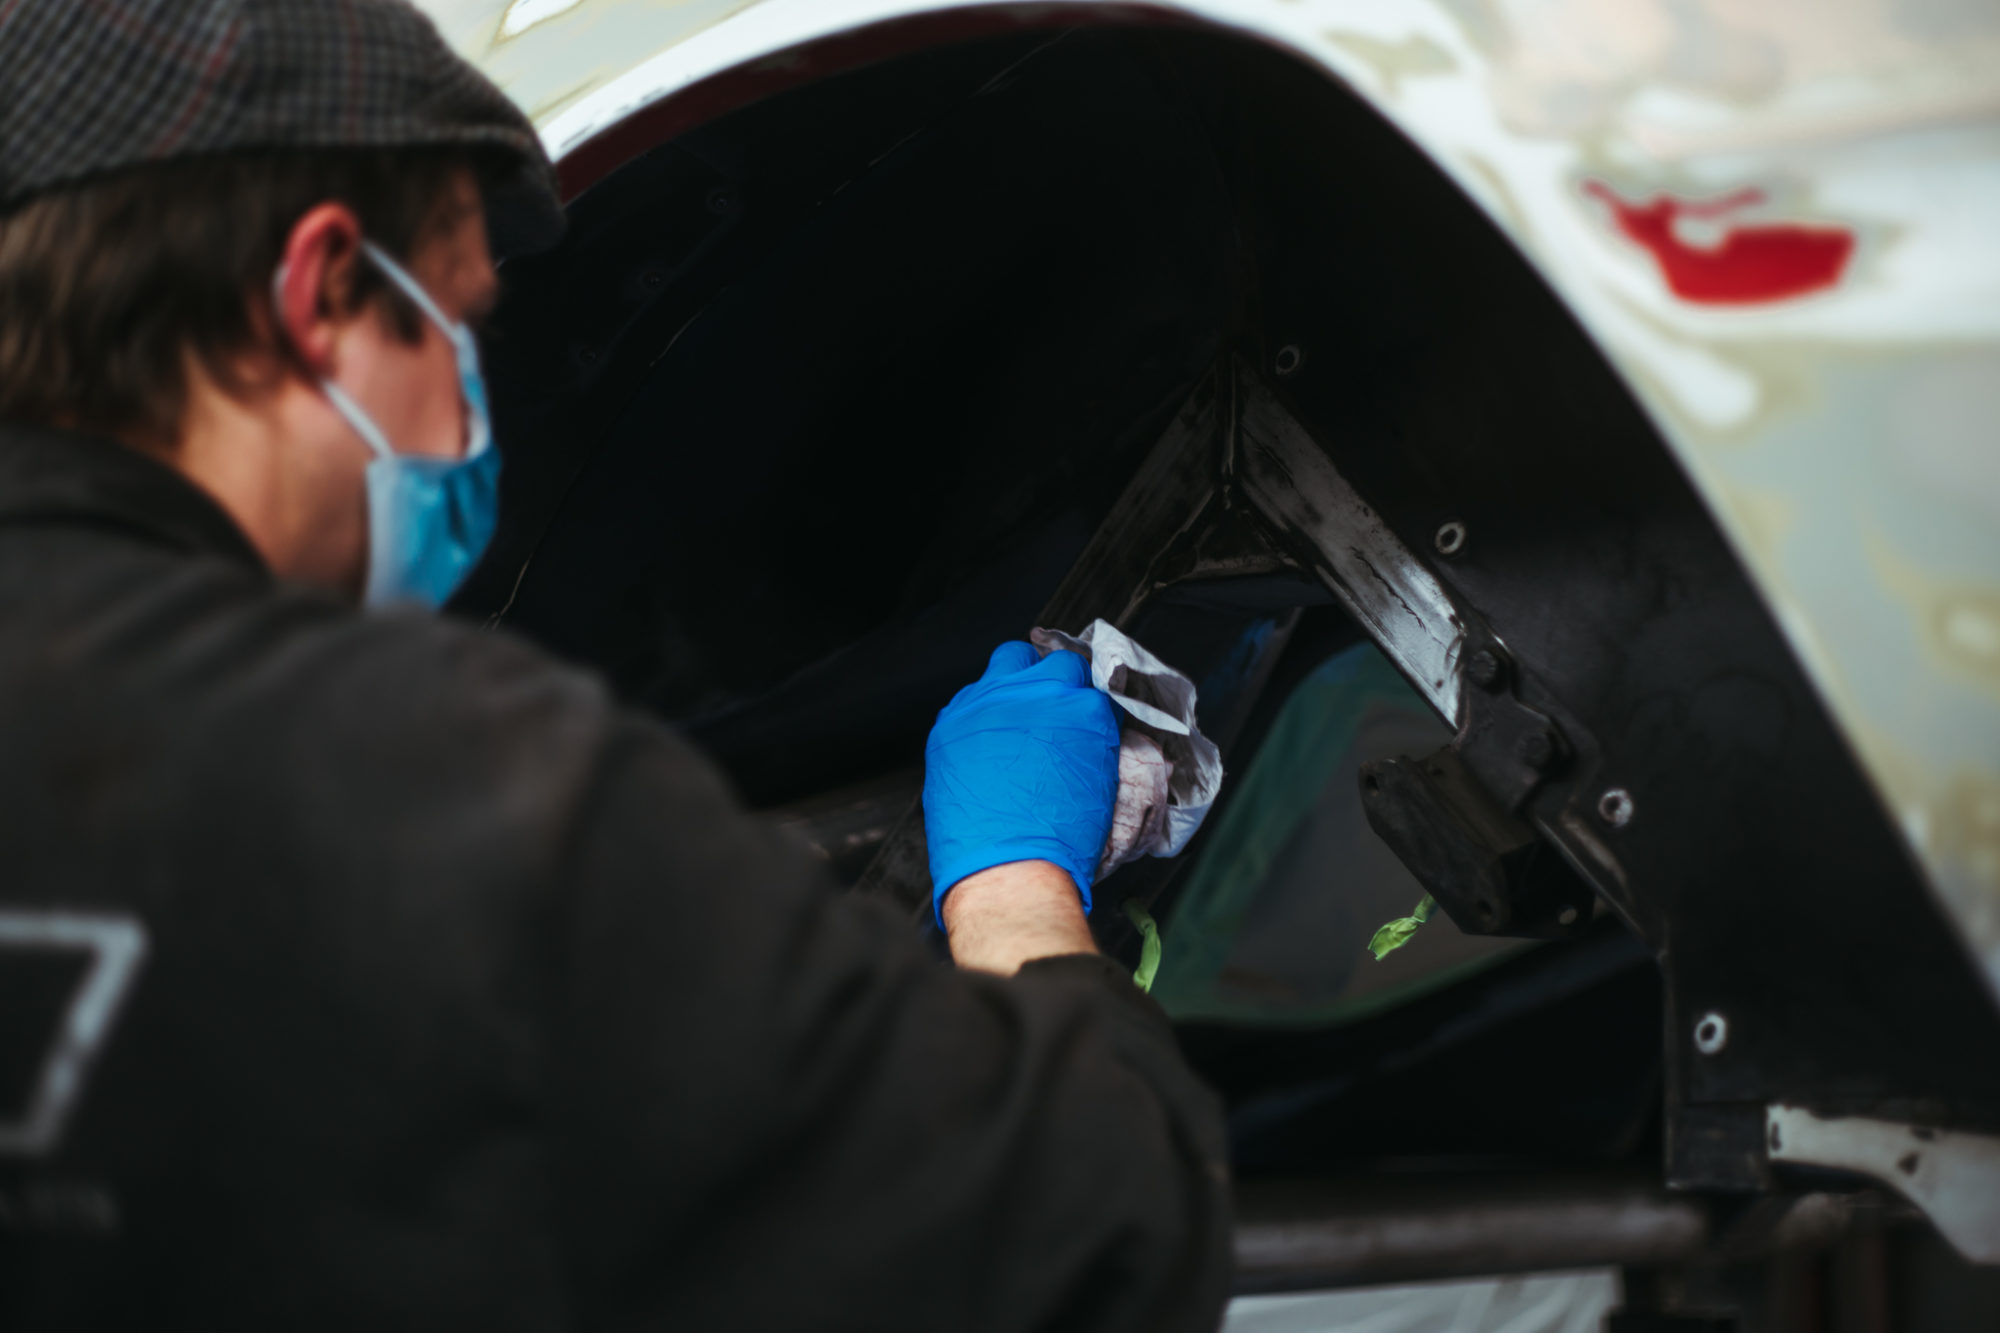
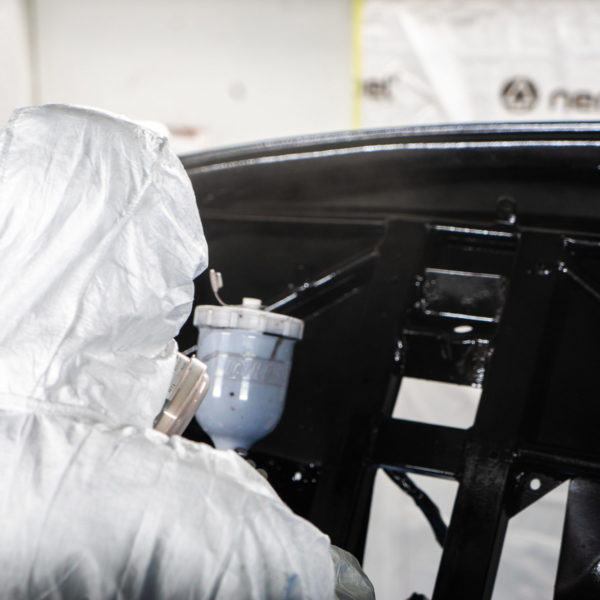
Our team has begun removing the chrome on the 1954 Jaguar MKVII in preparation for bodywork and paint. For the majority of the chrome, its a realtivily simple removal, for example, the pieces on the windows are easy to remove however some are more difficult and need extra components removed to get to the chrome.
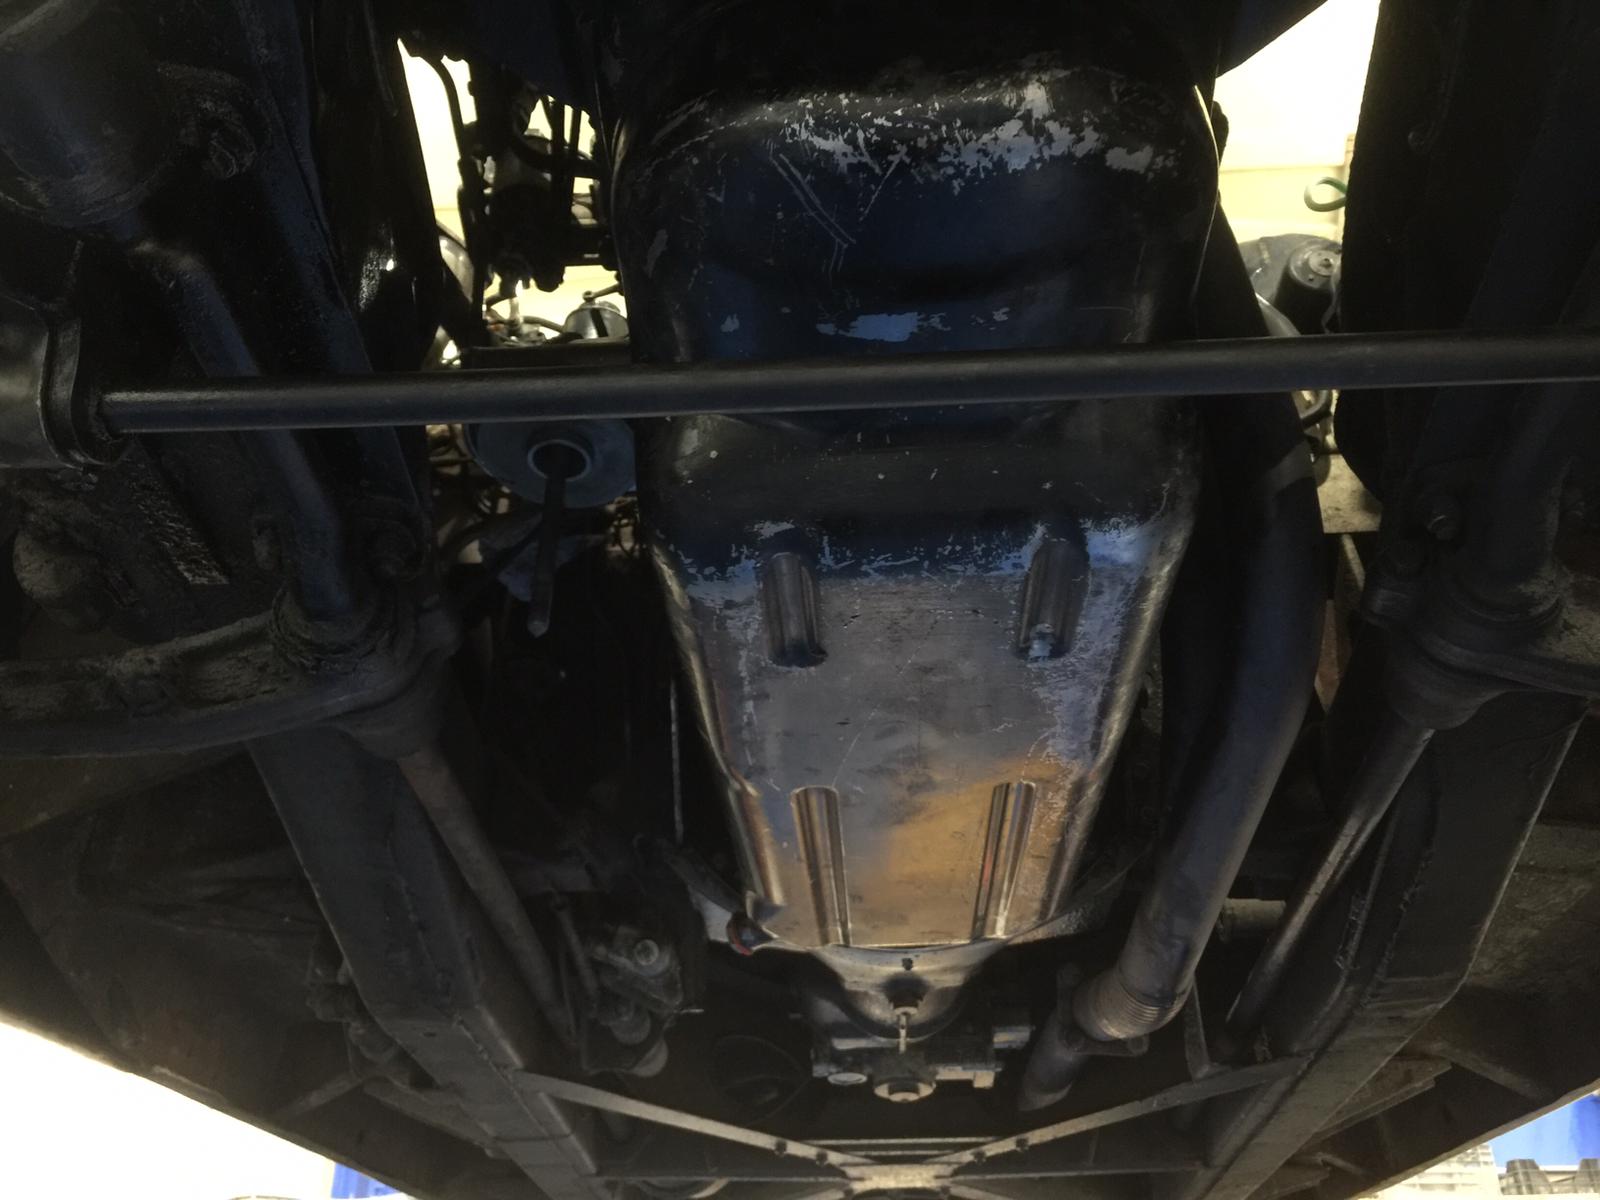
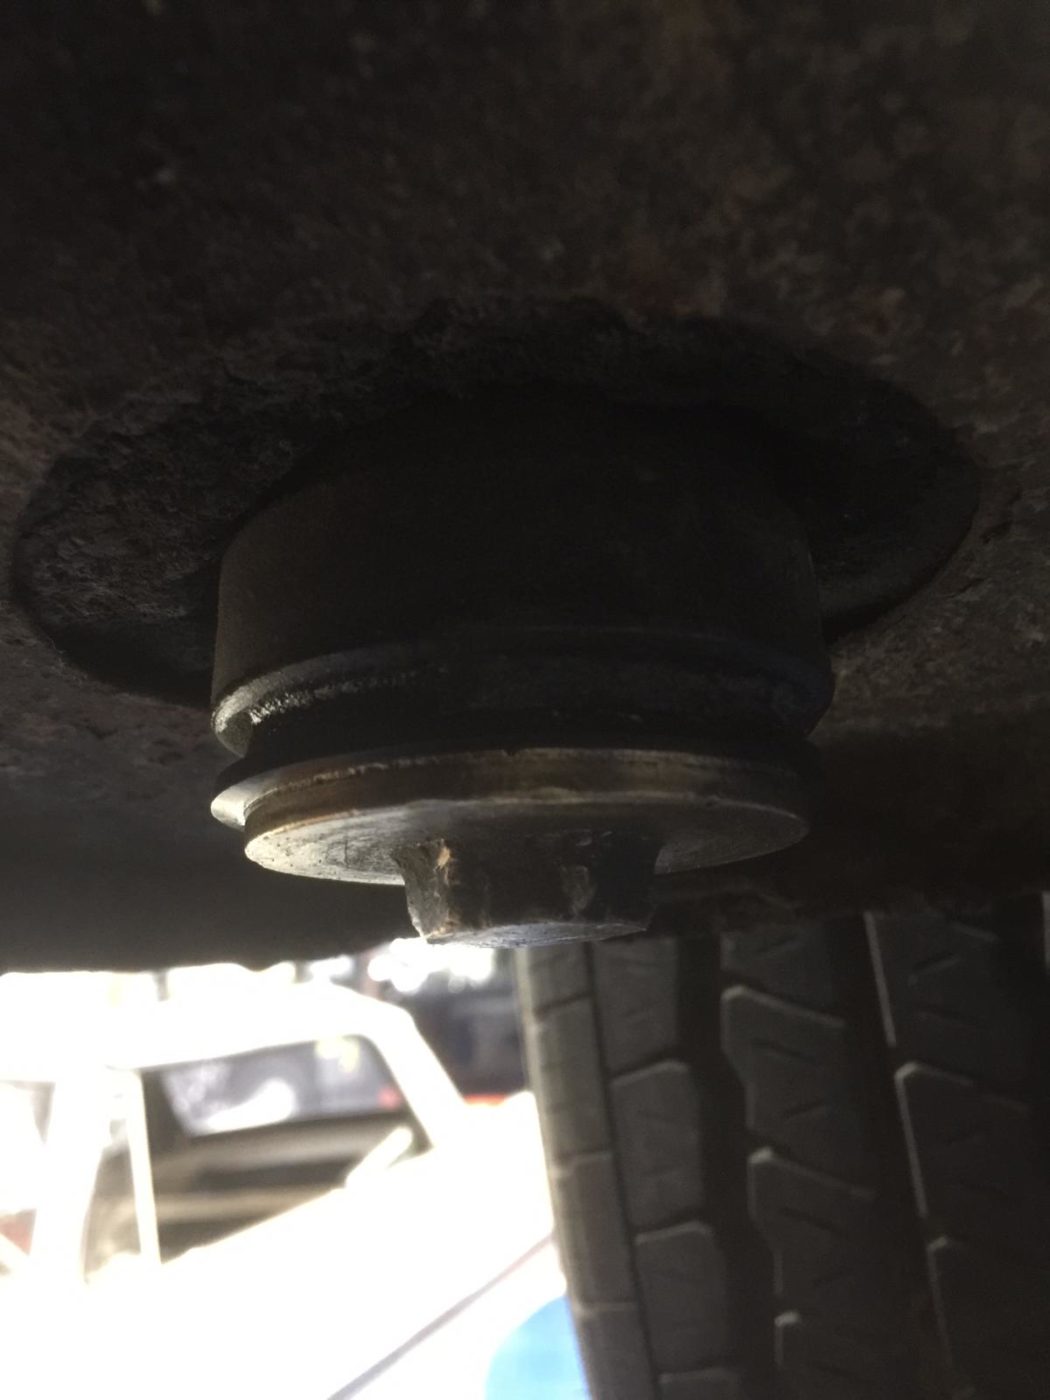
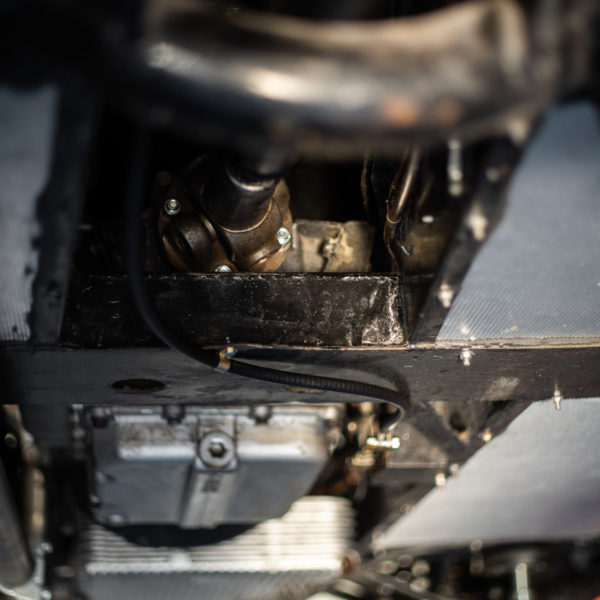
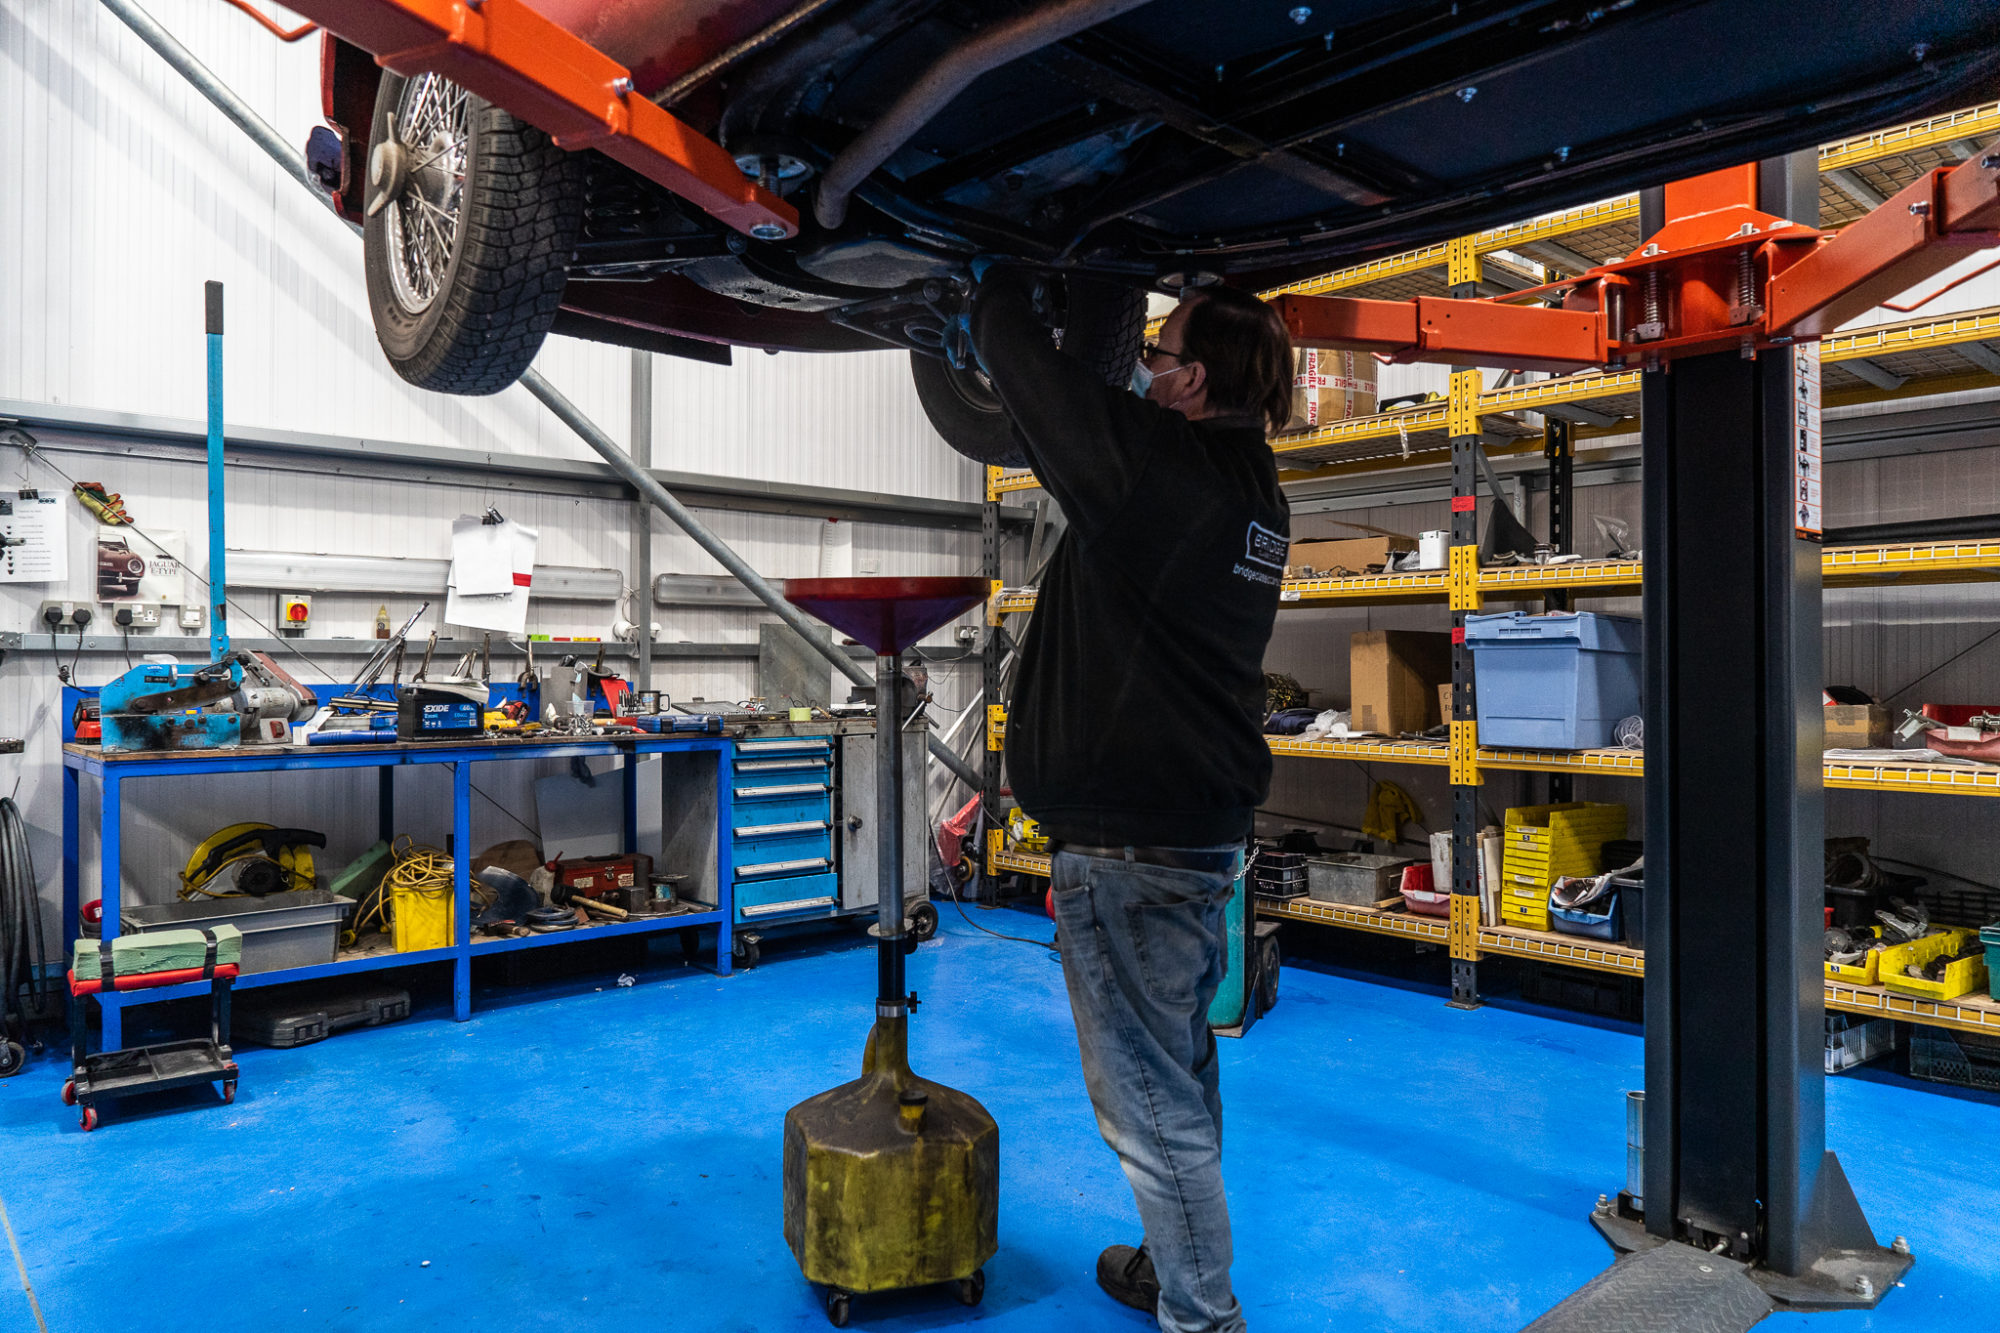
Following the fuel tank renovation, Ady has fitted the oil sump back underneath the car.

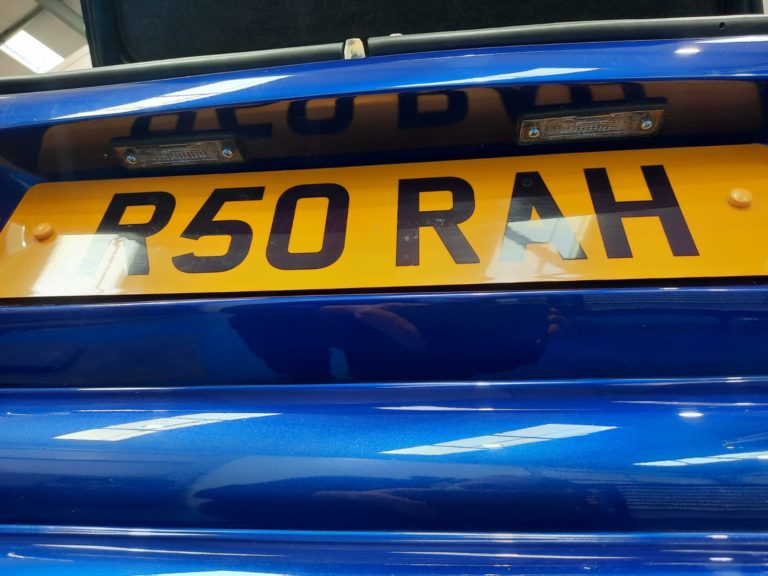
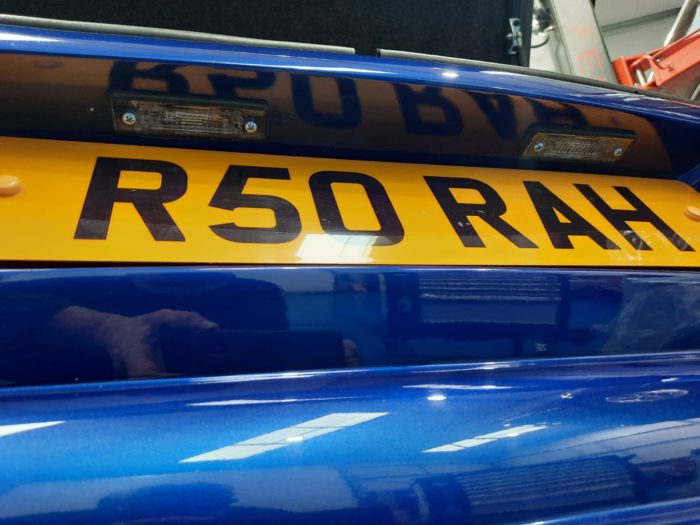
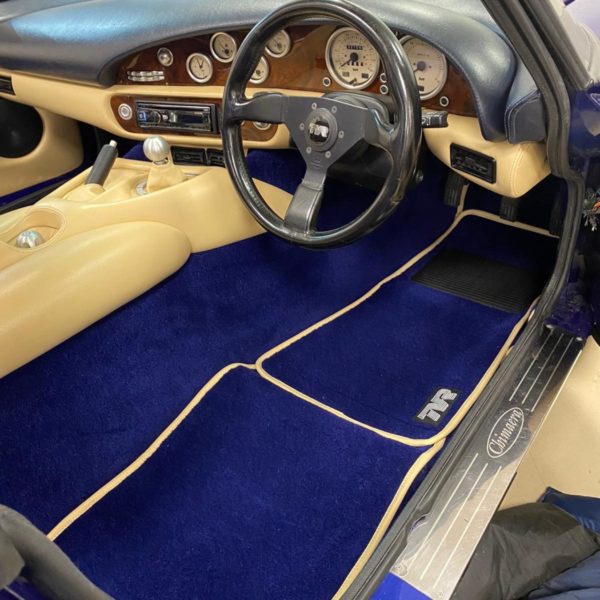
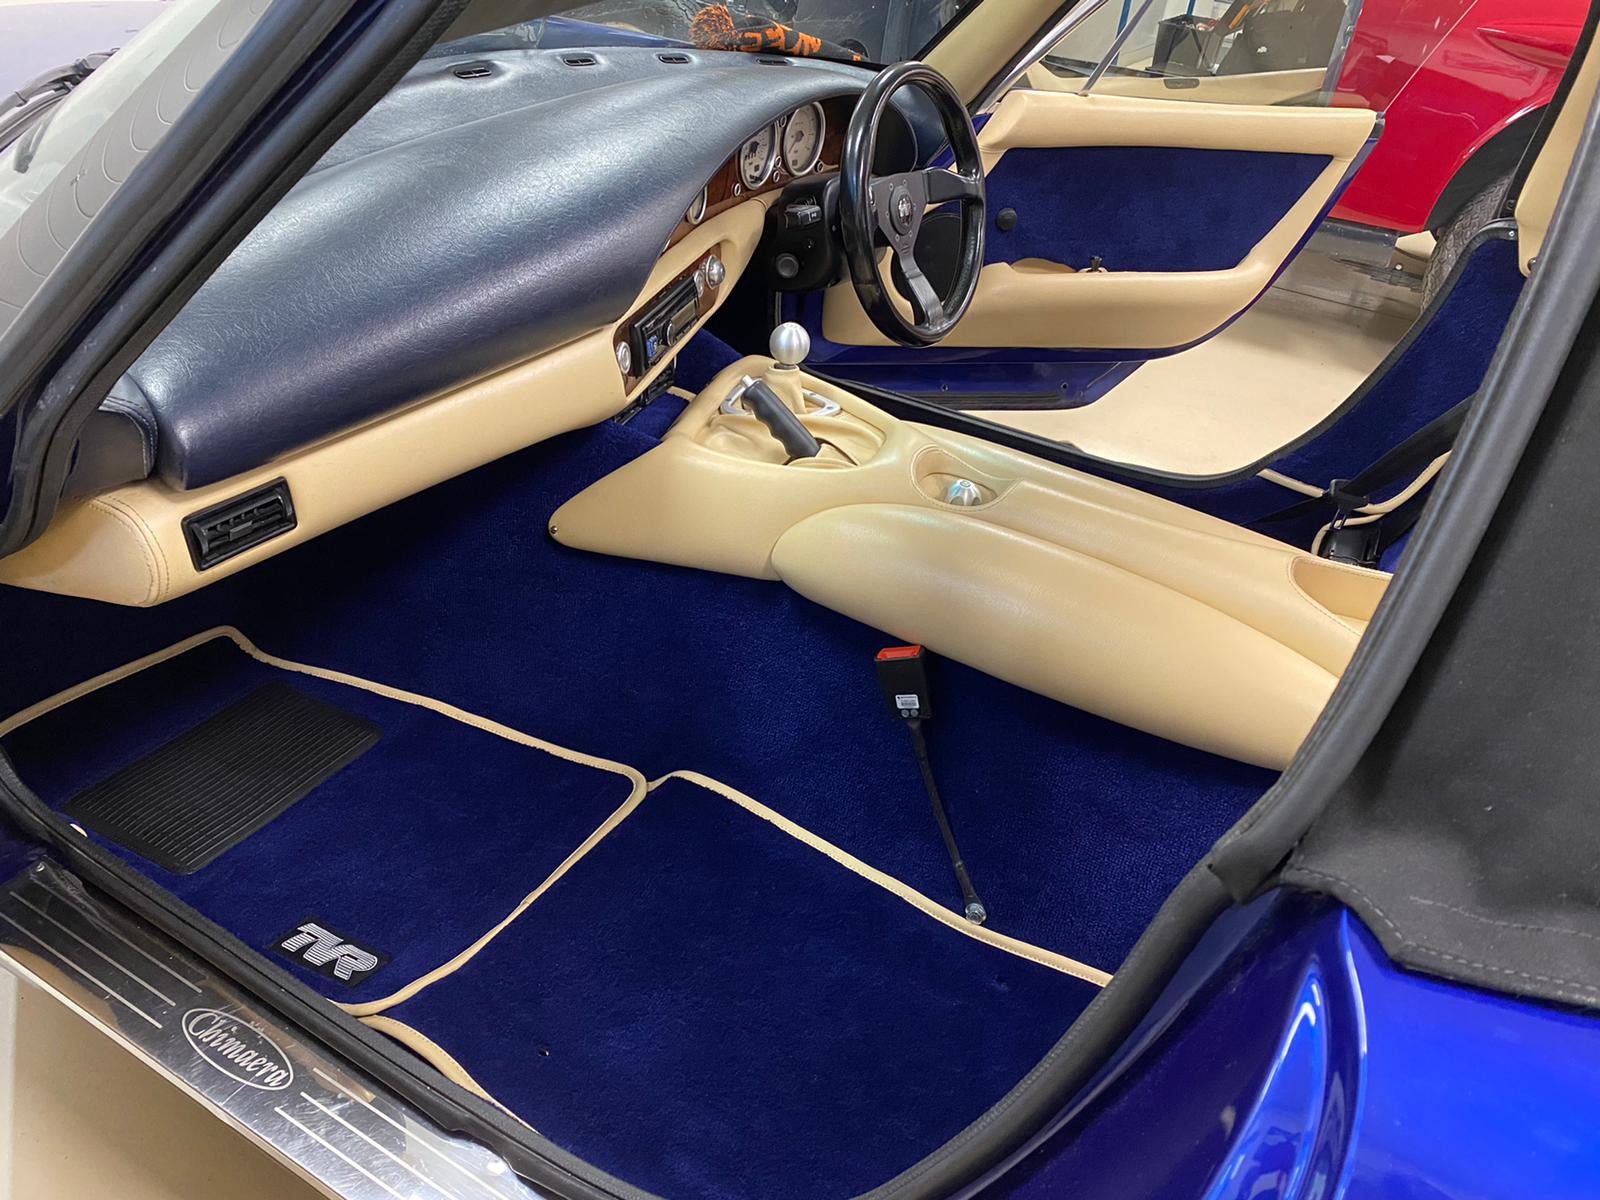
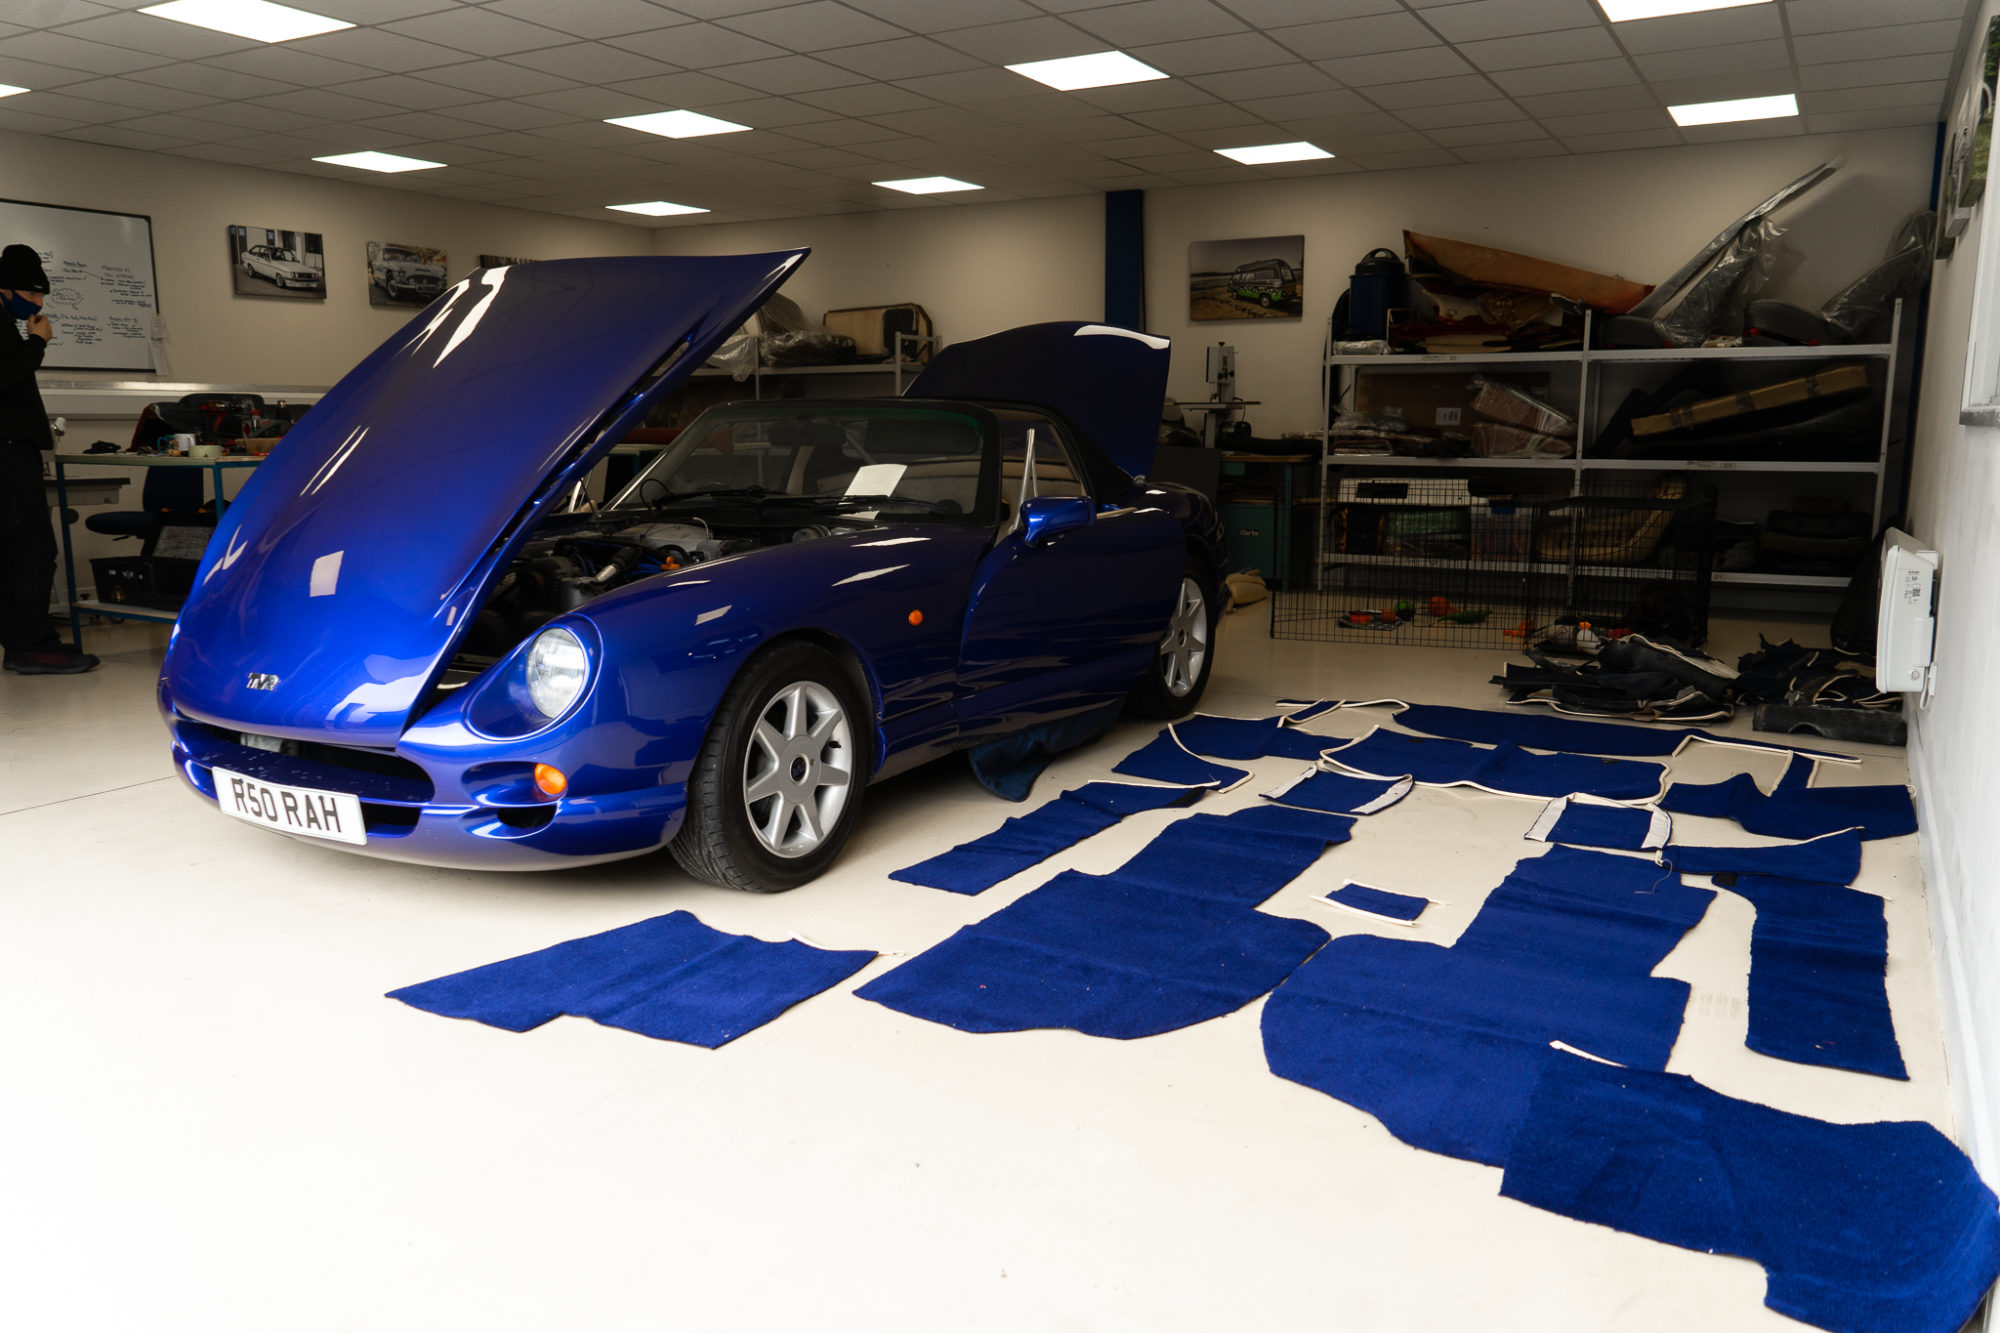
We replaced the number plate lights on our TVR Chimaera so that the number plate now shines bright!
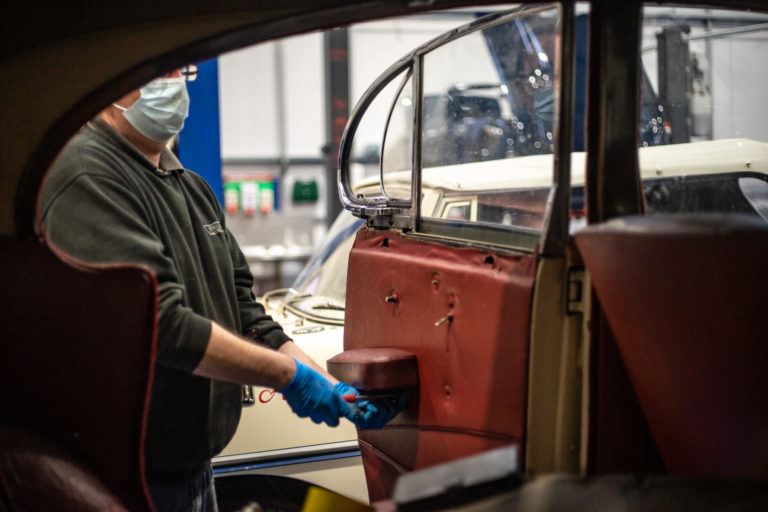
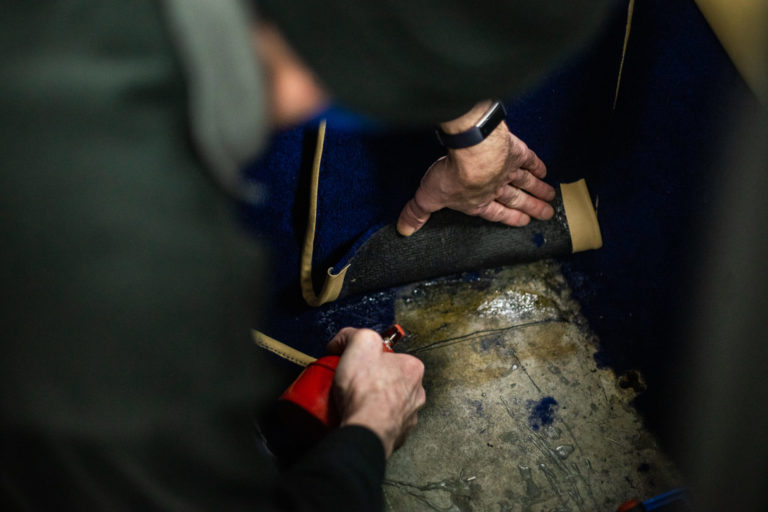
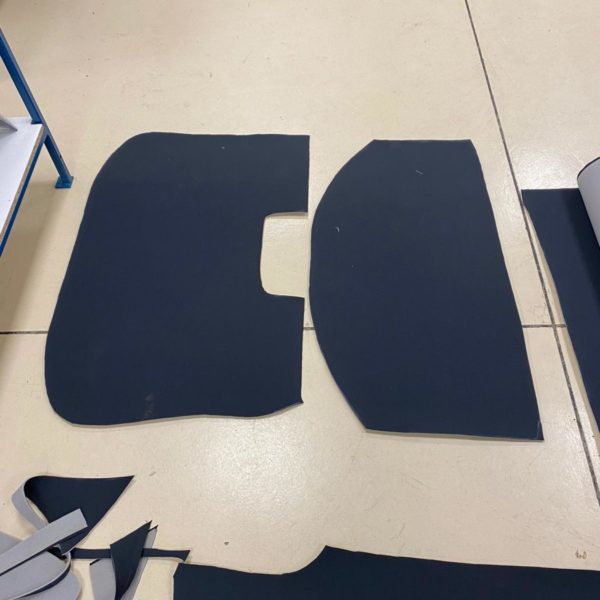
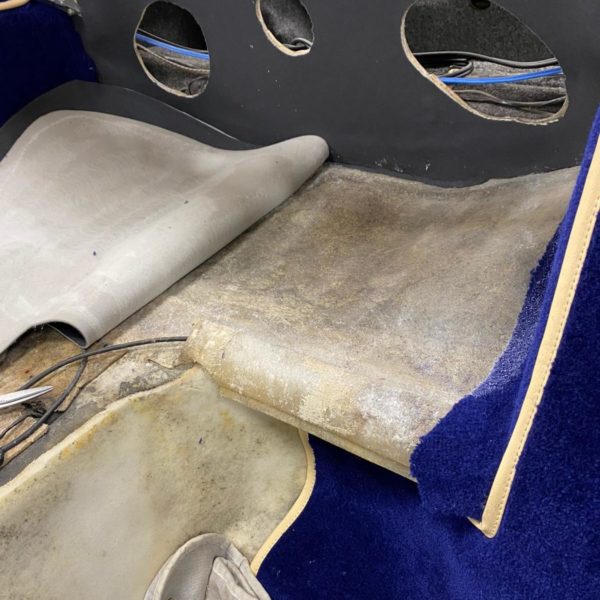
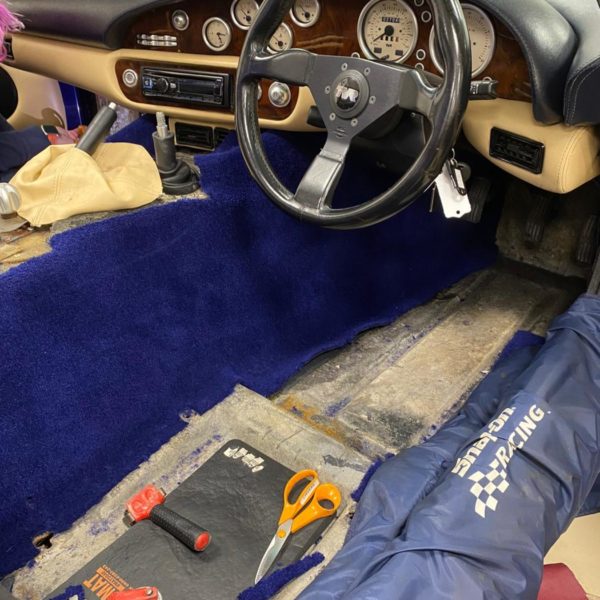
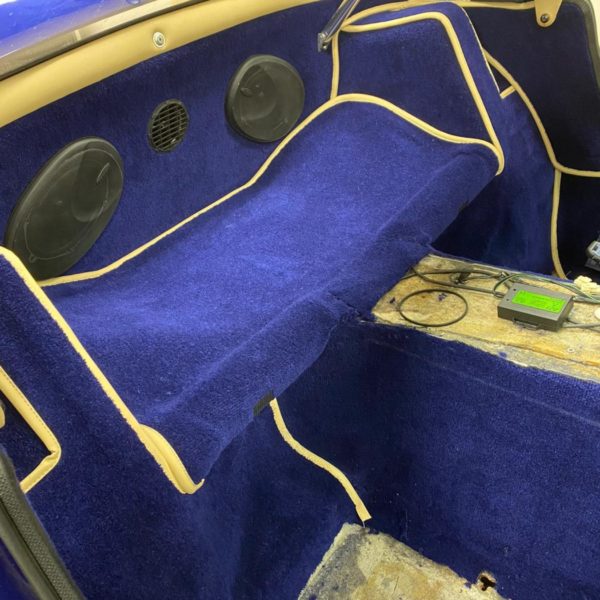
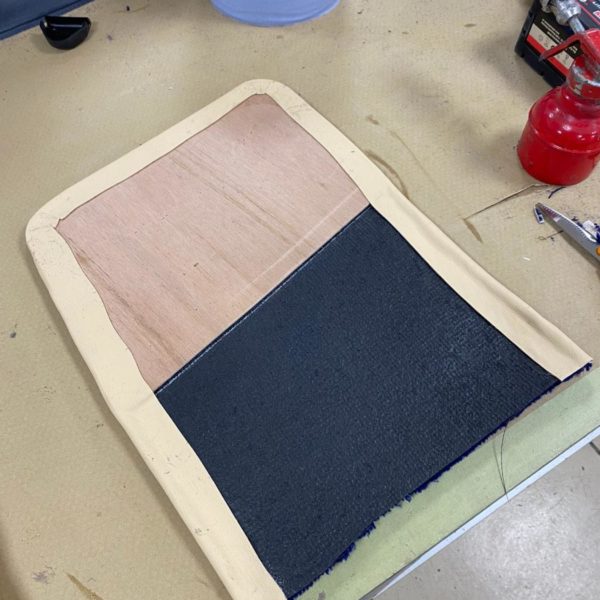
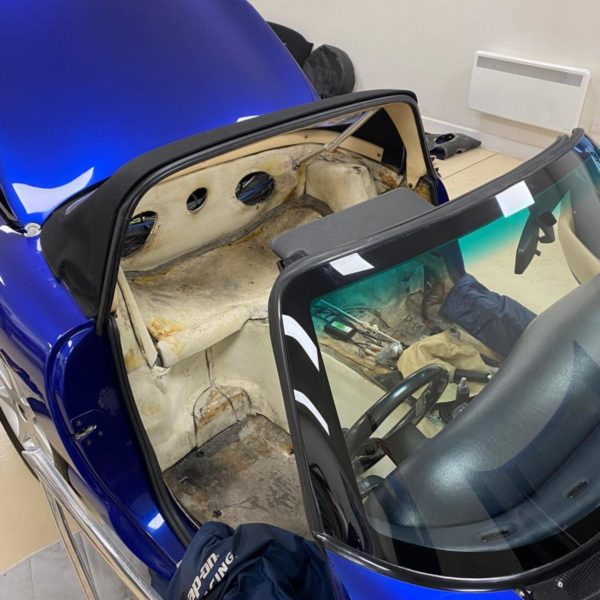
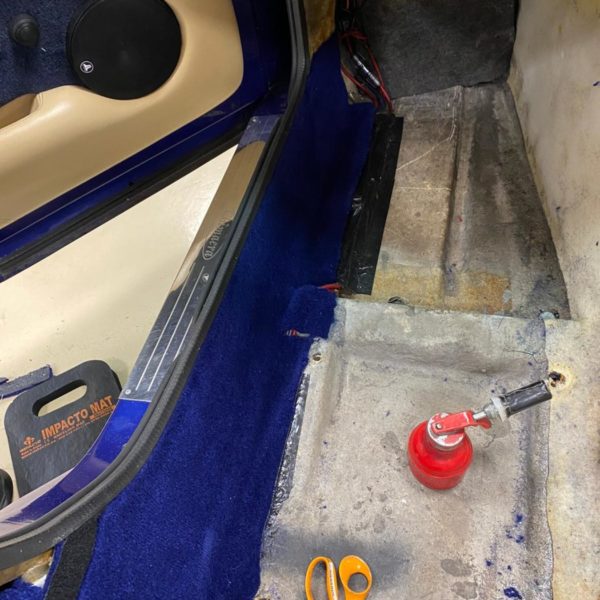
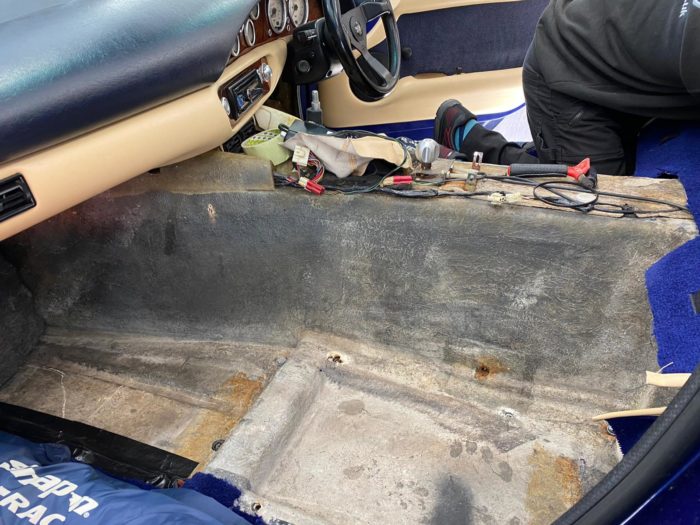
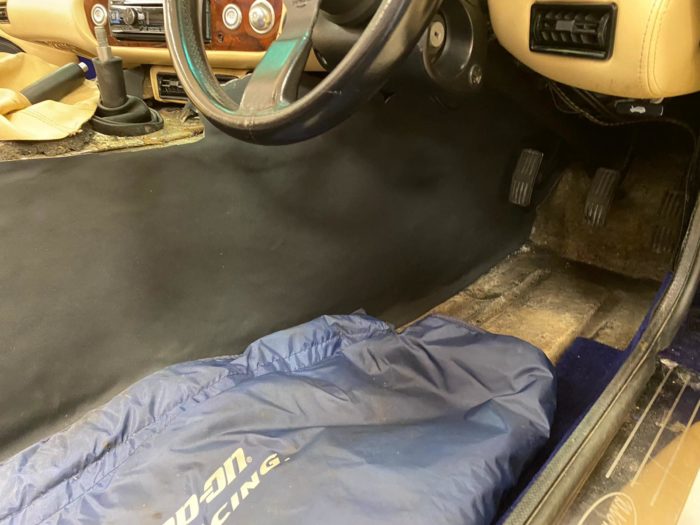
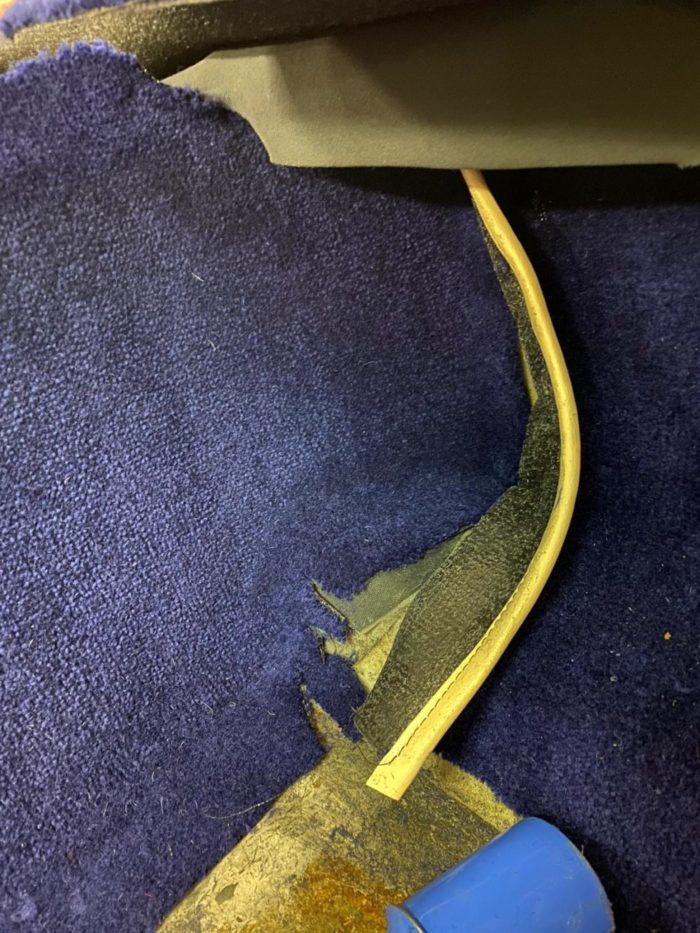
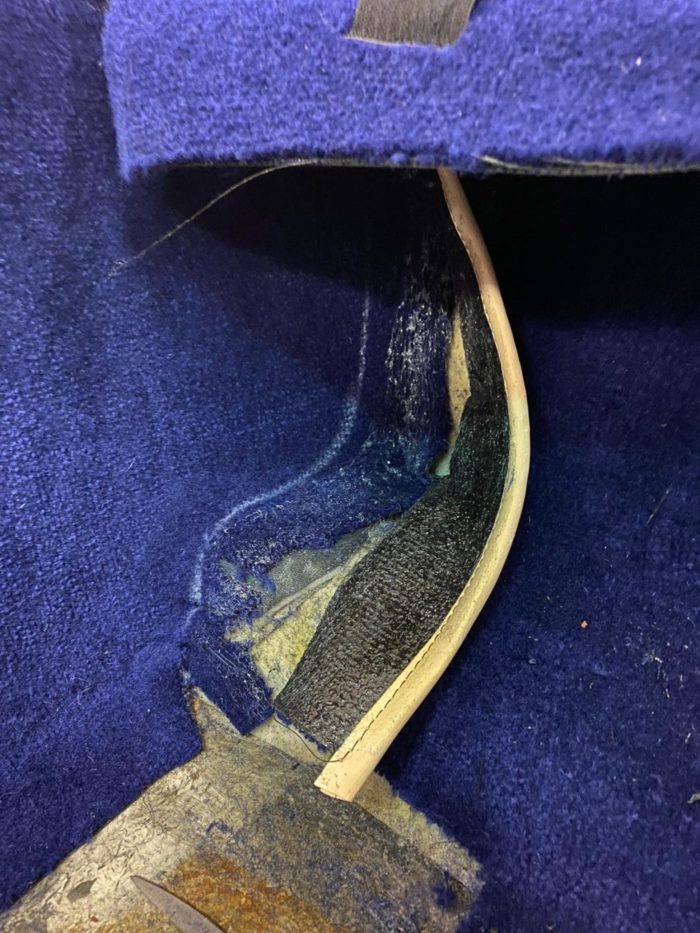
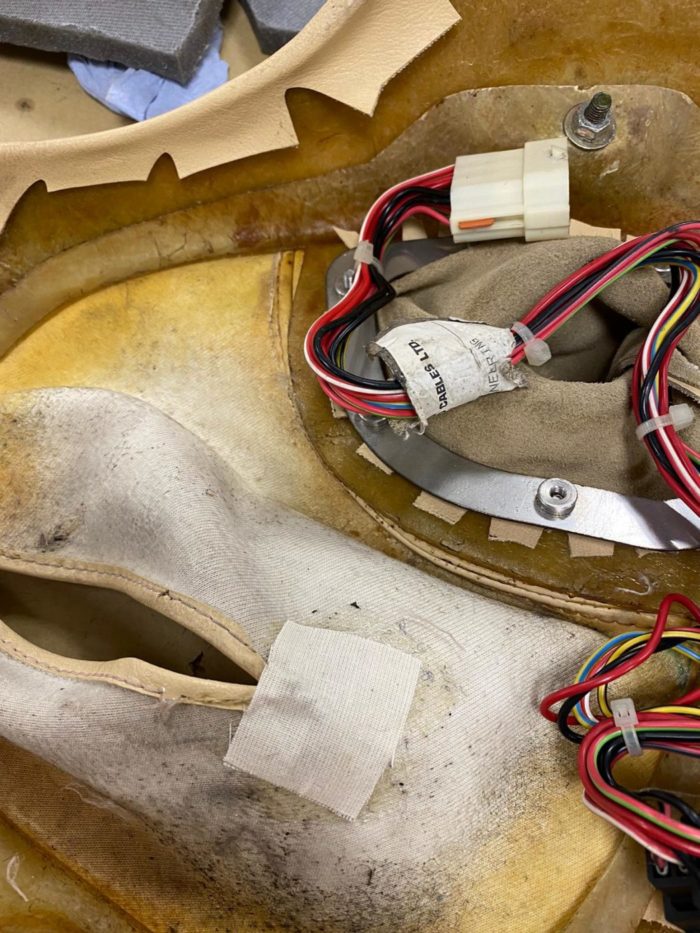
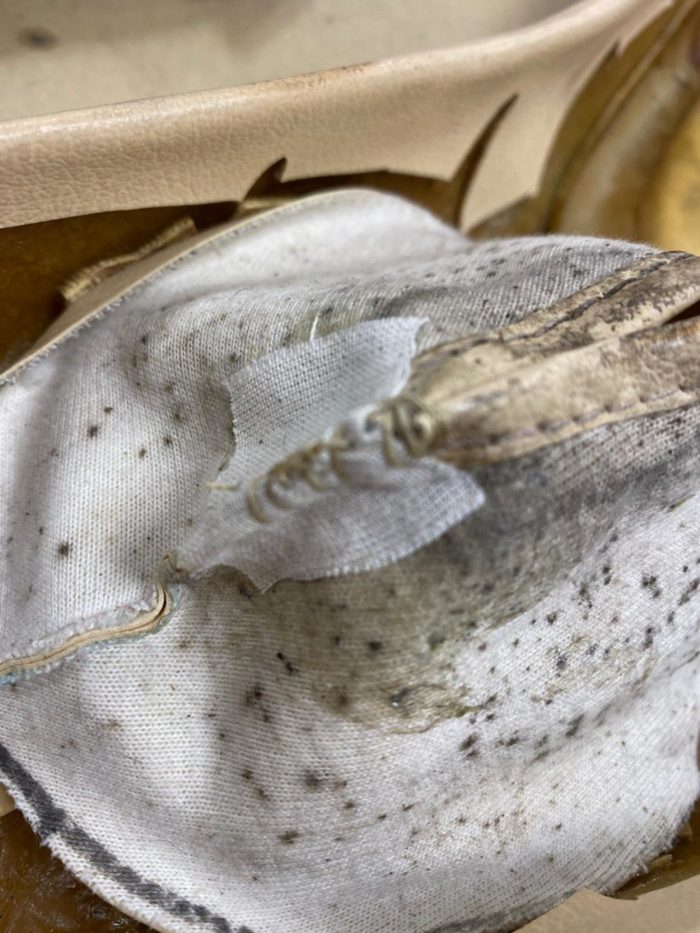
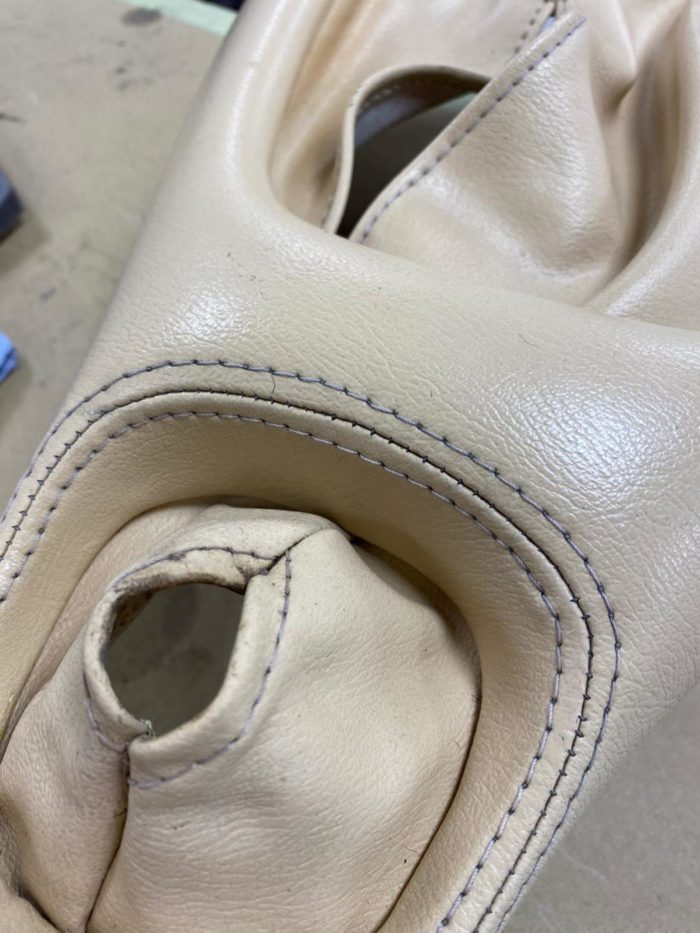
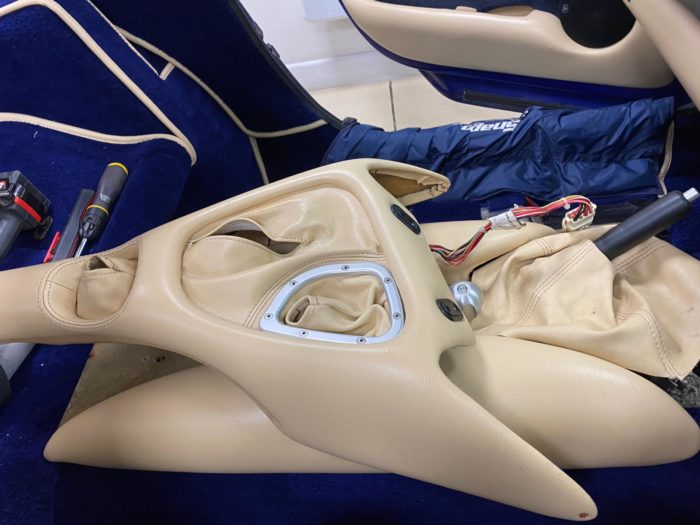
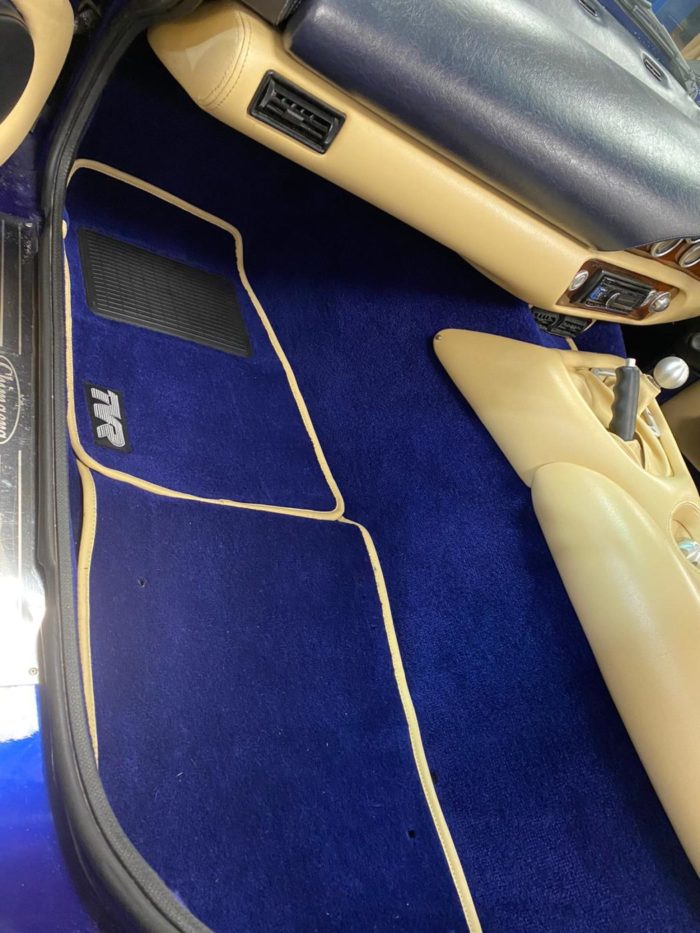
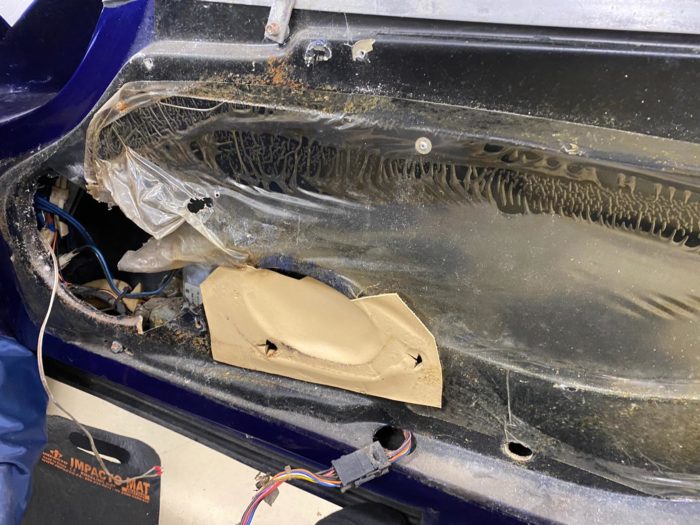
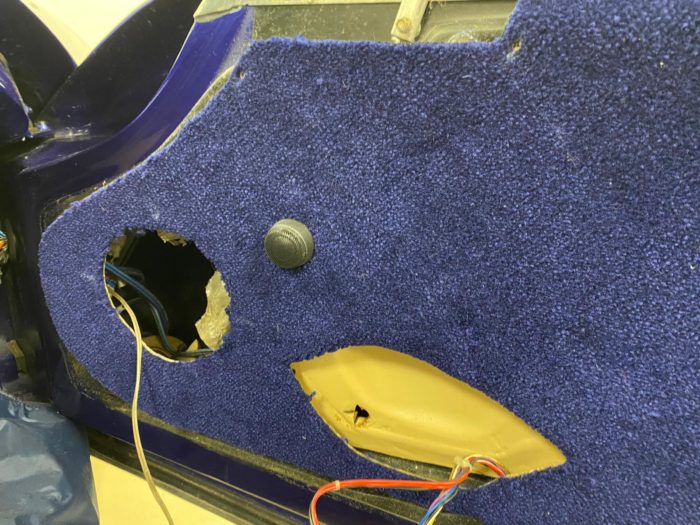
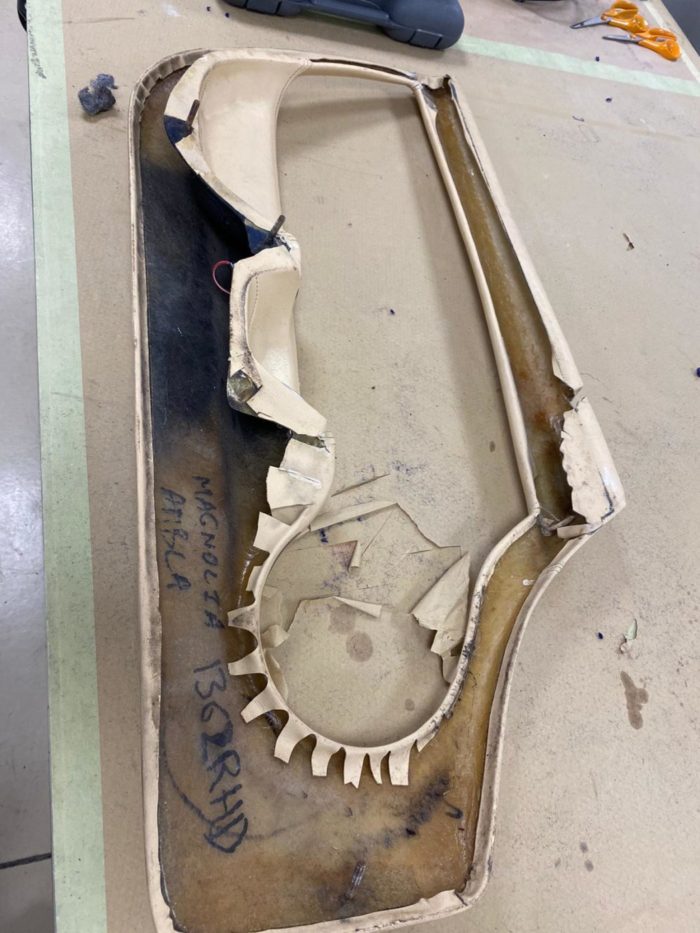
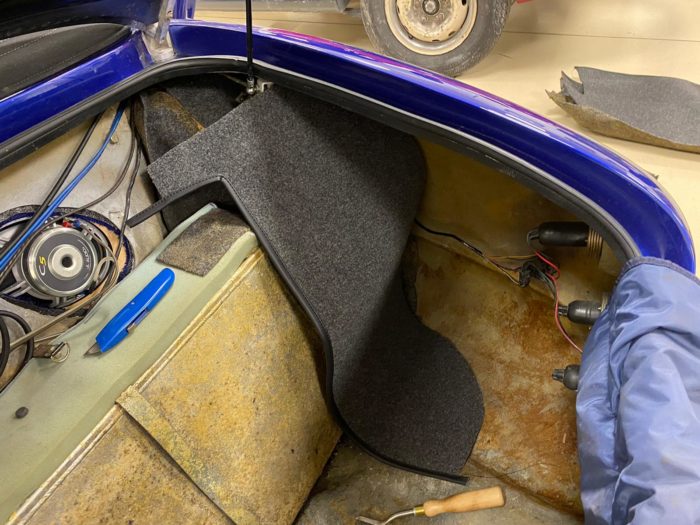
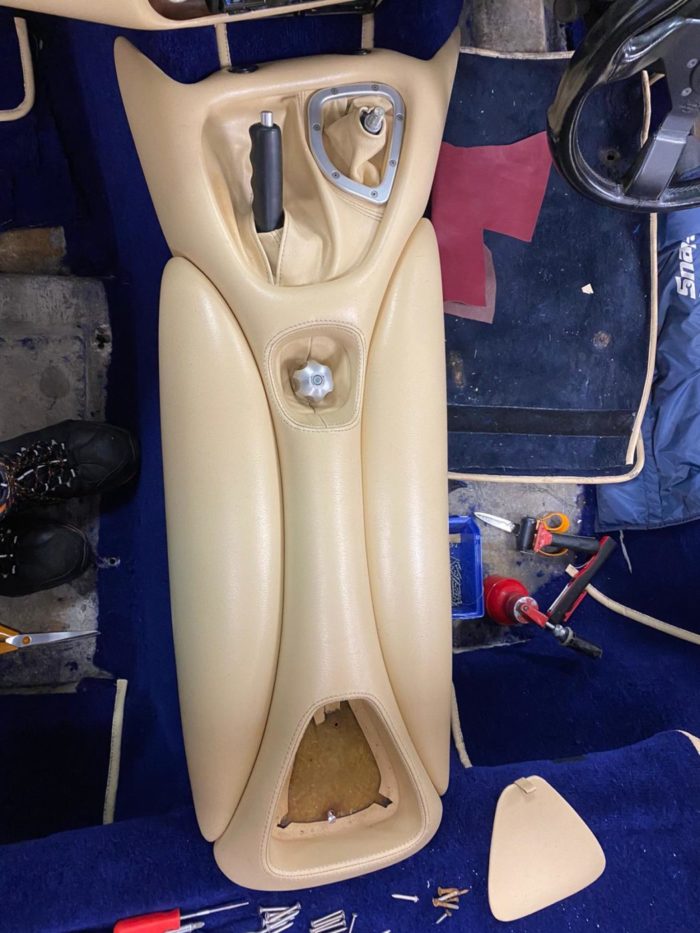
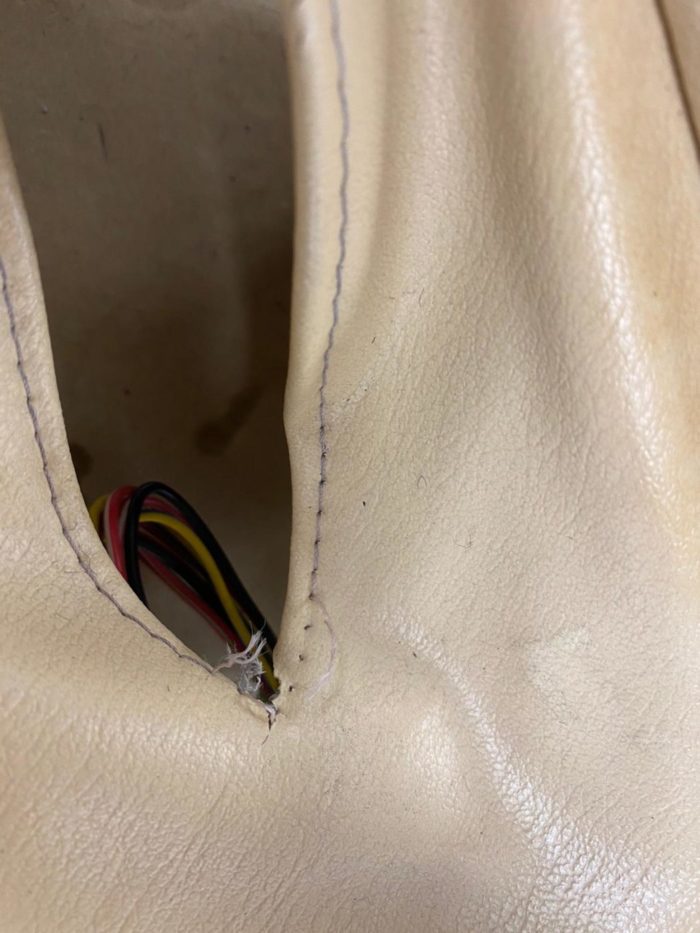
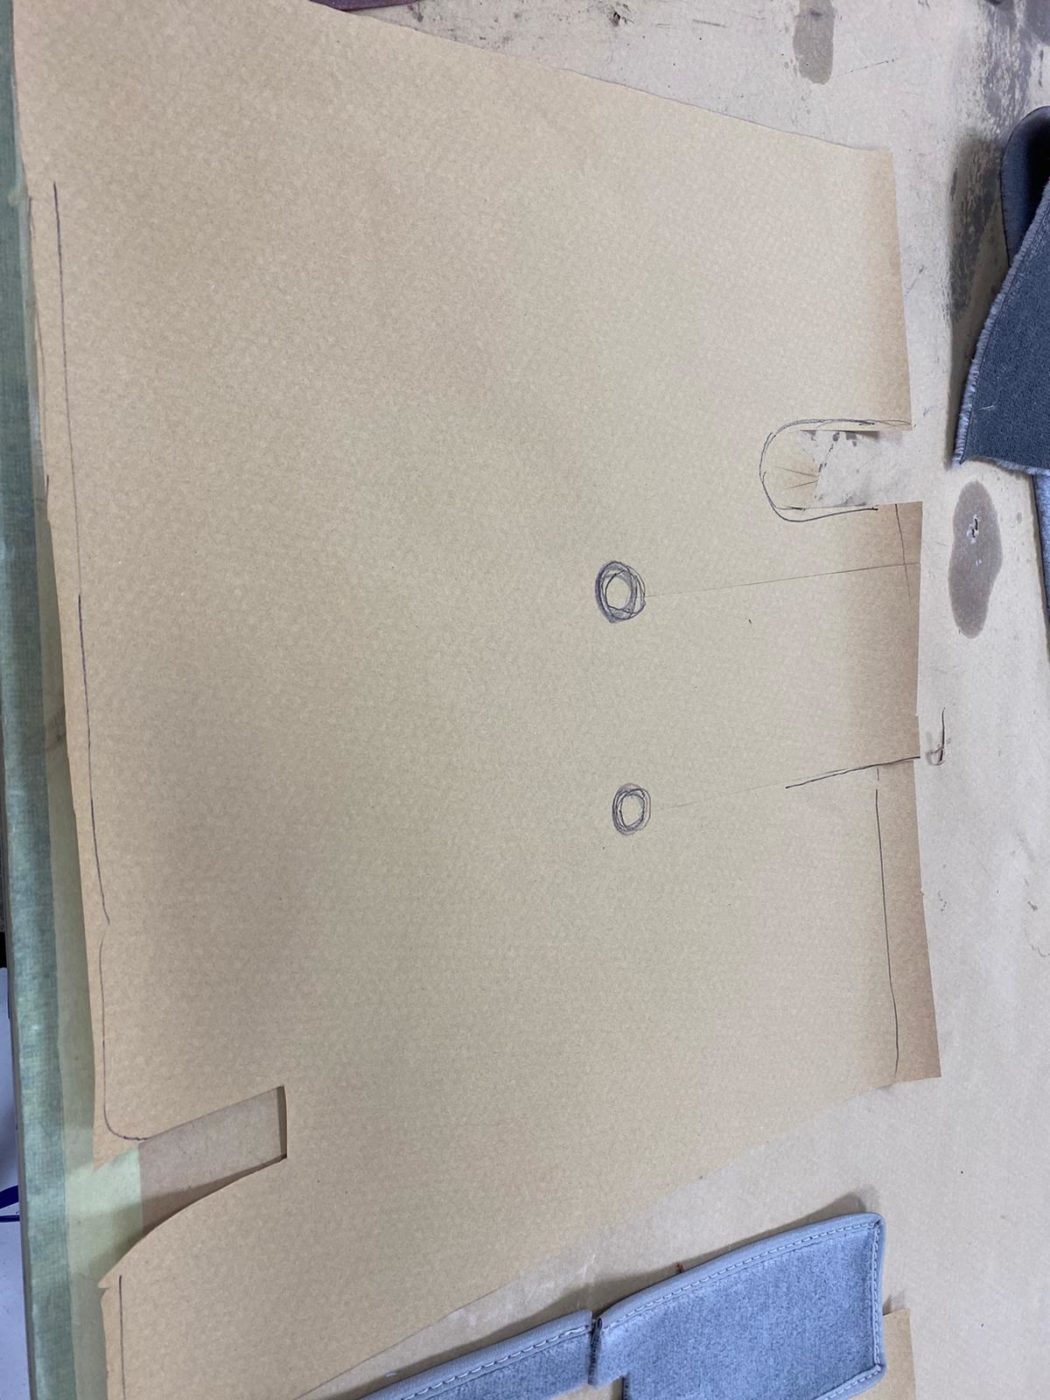
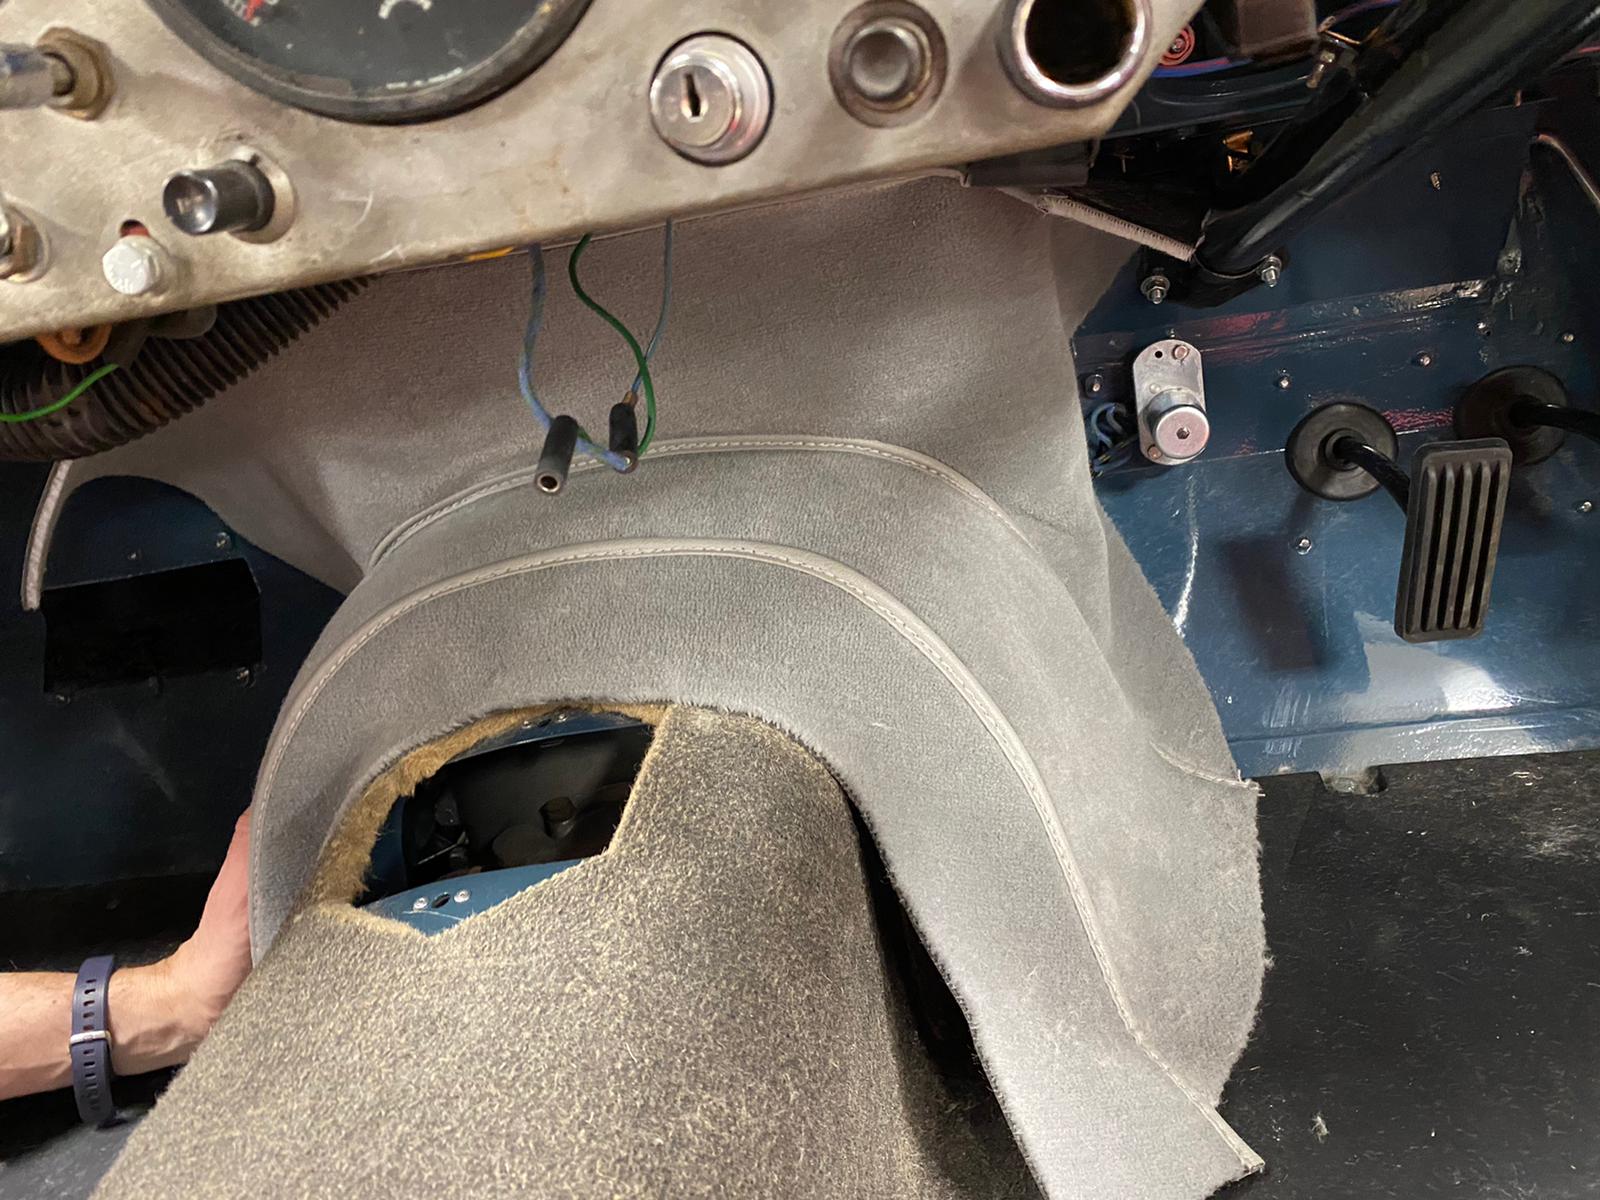
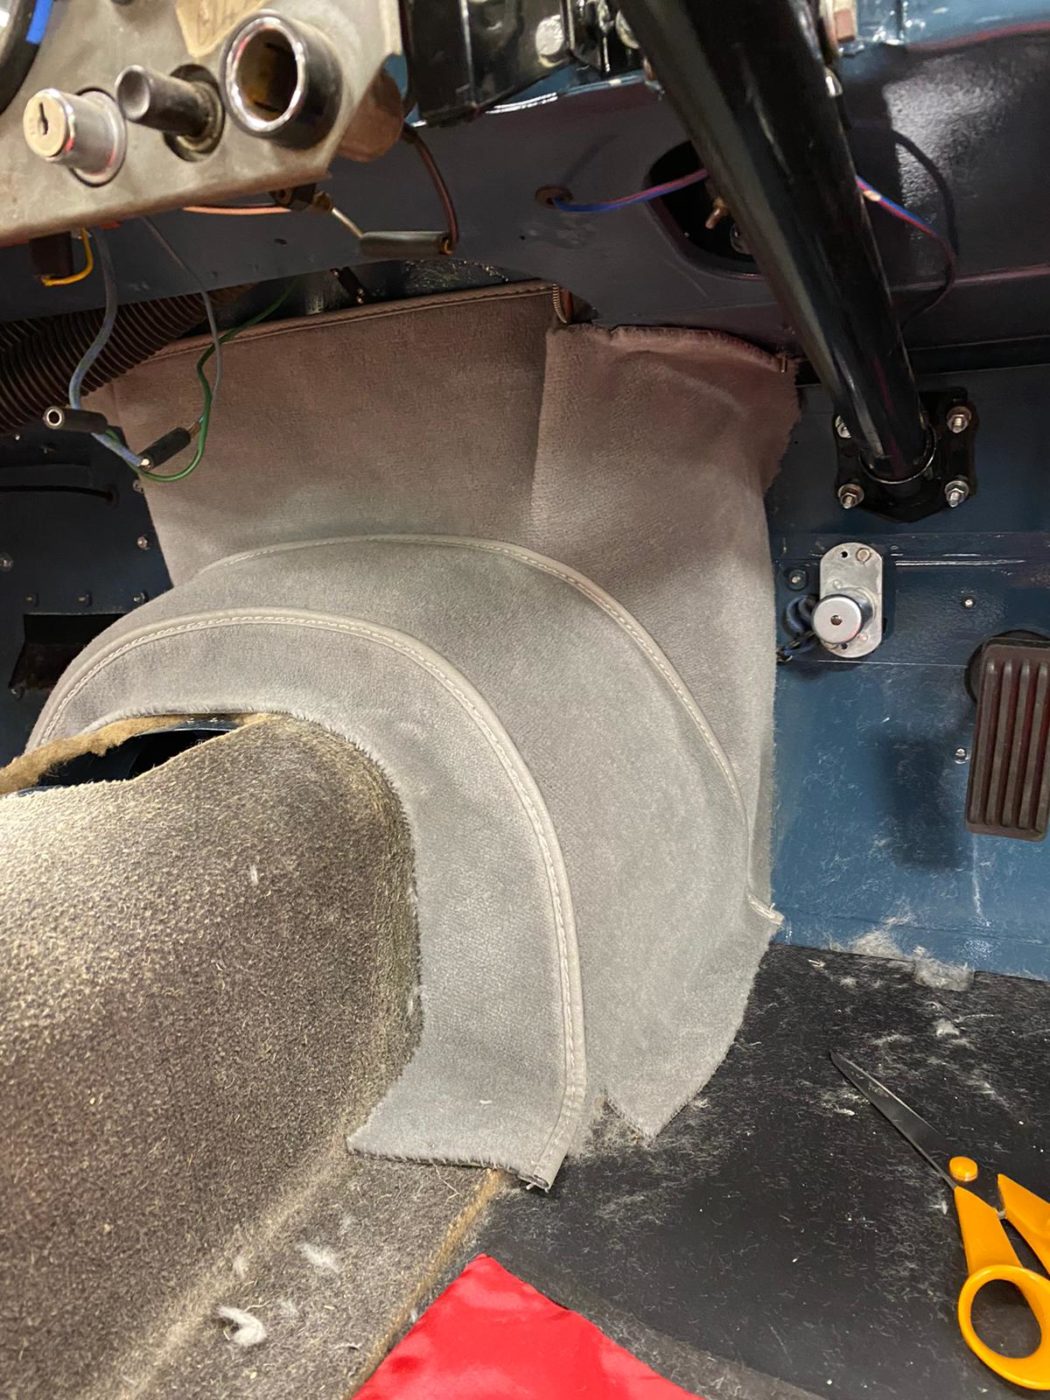
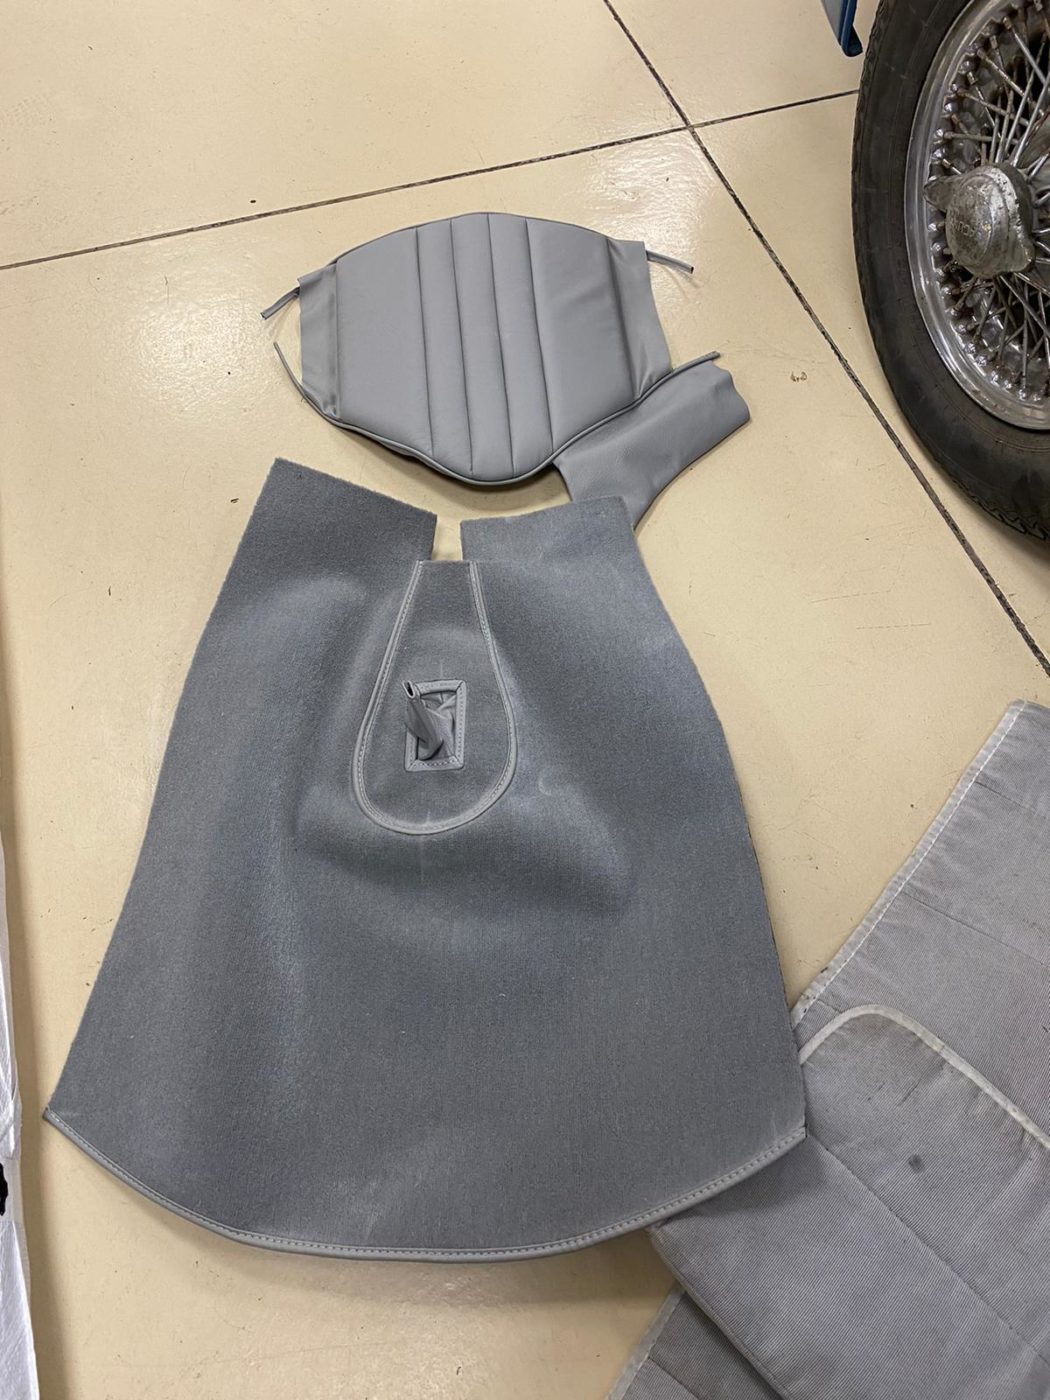
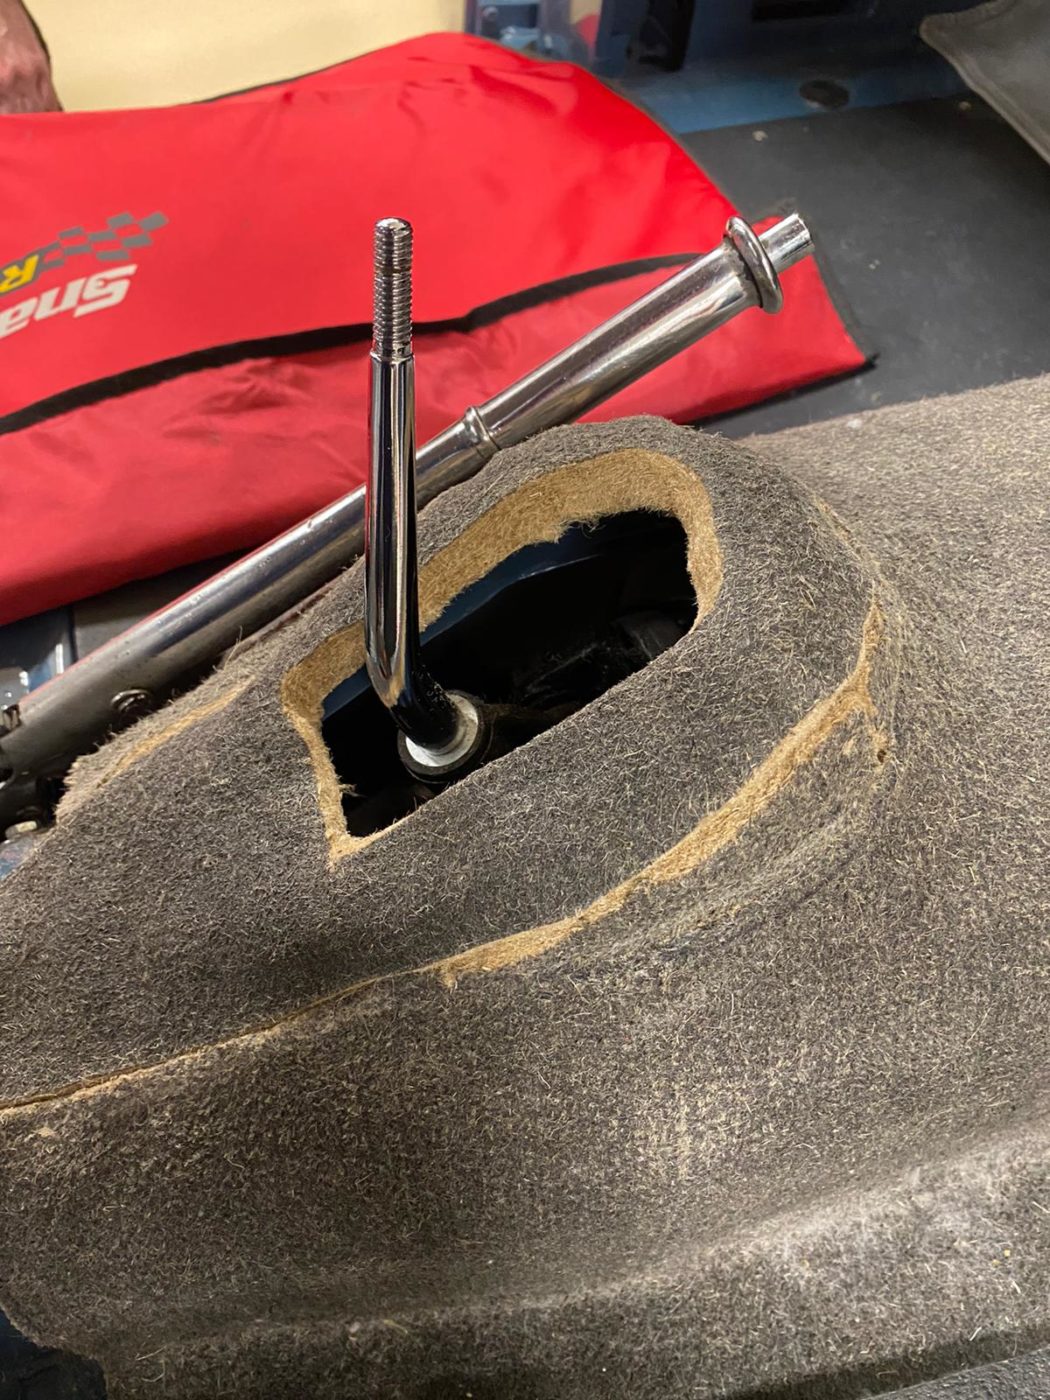
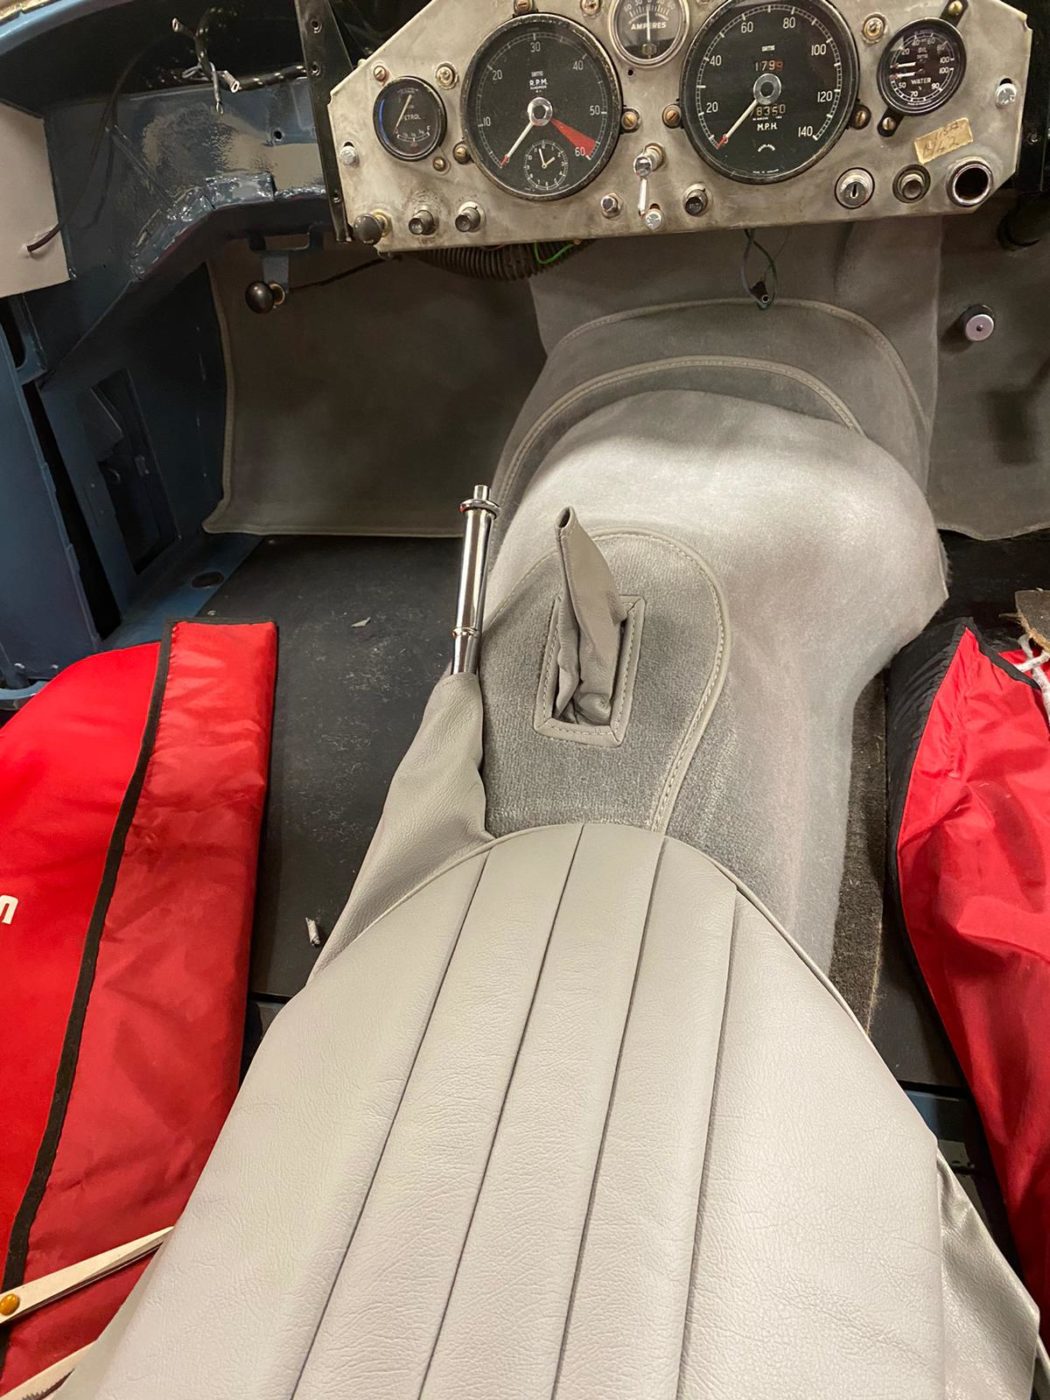
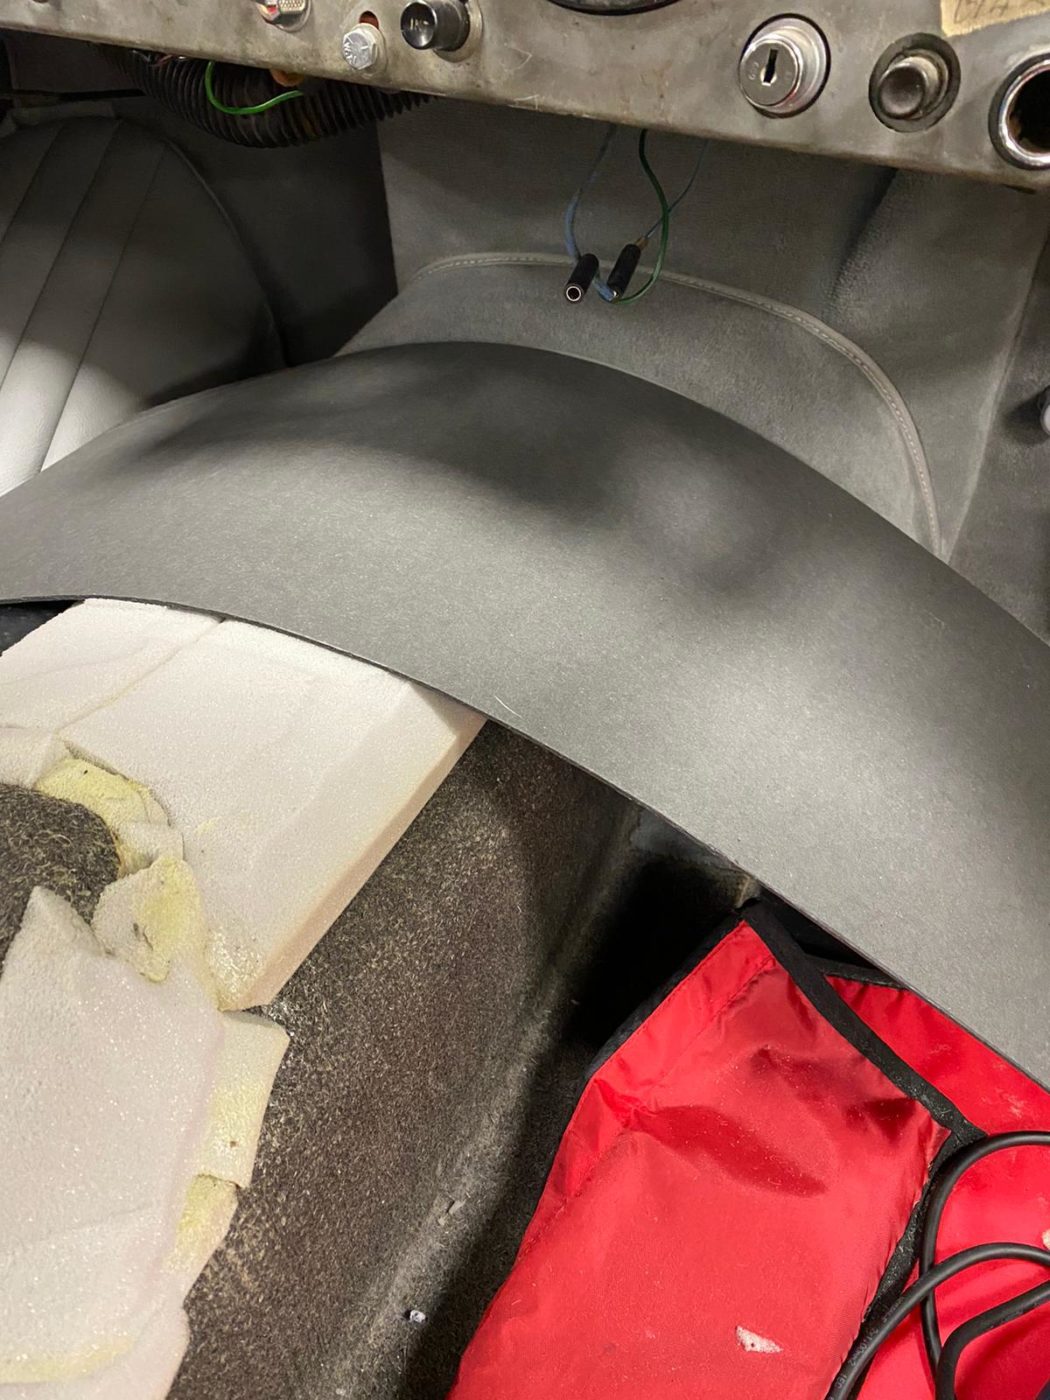
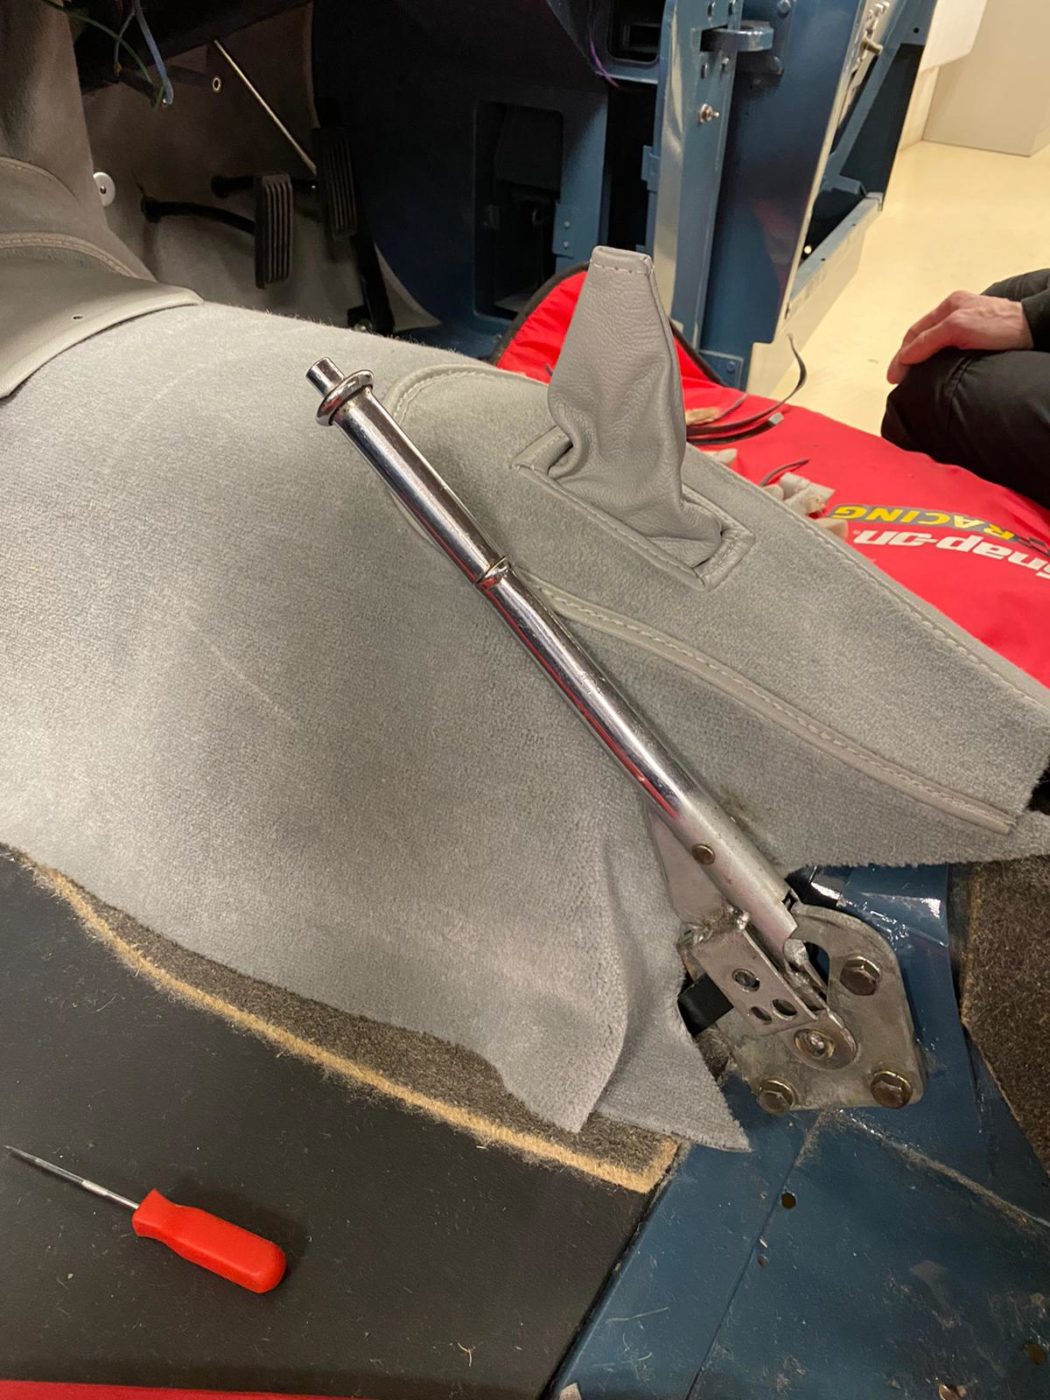
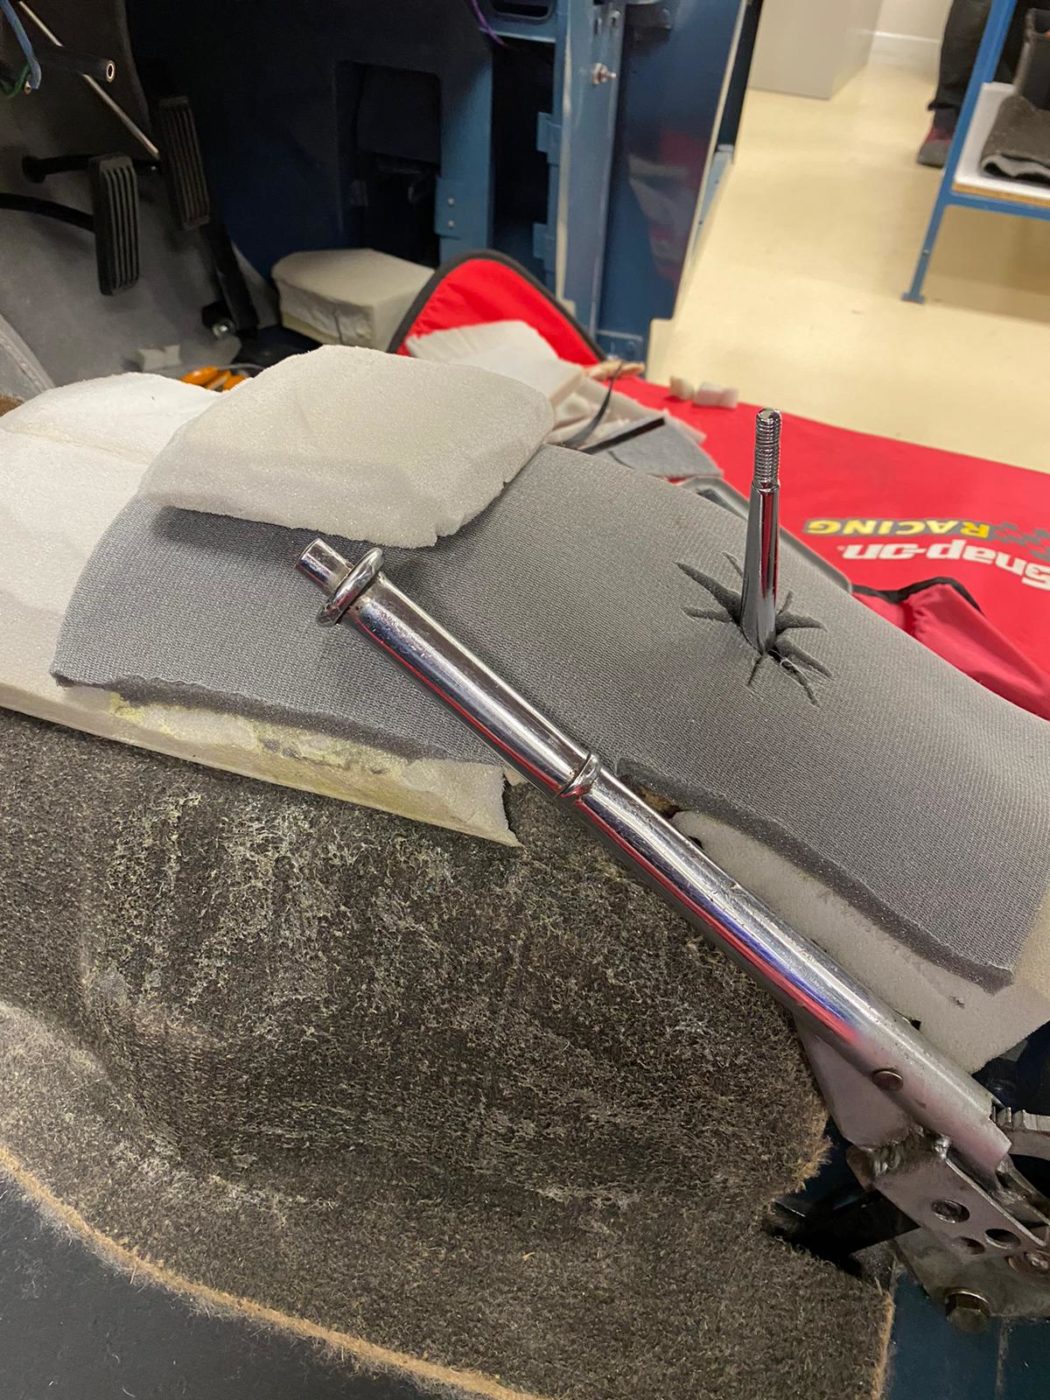
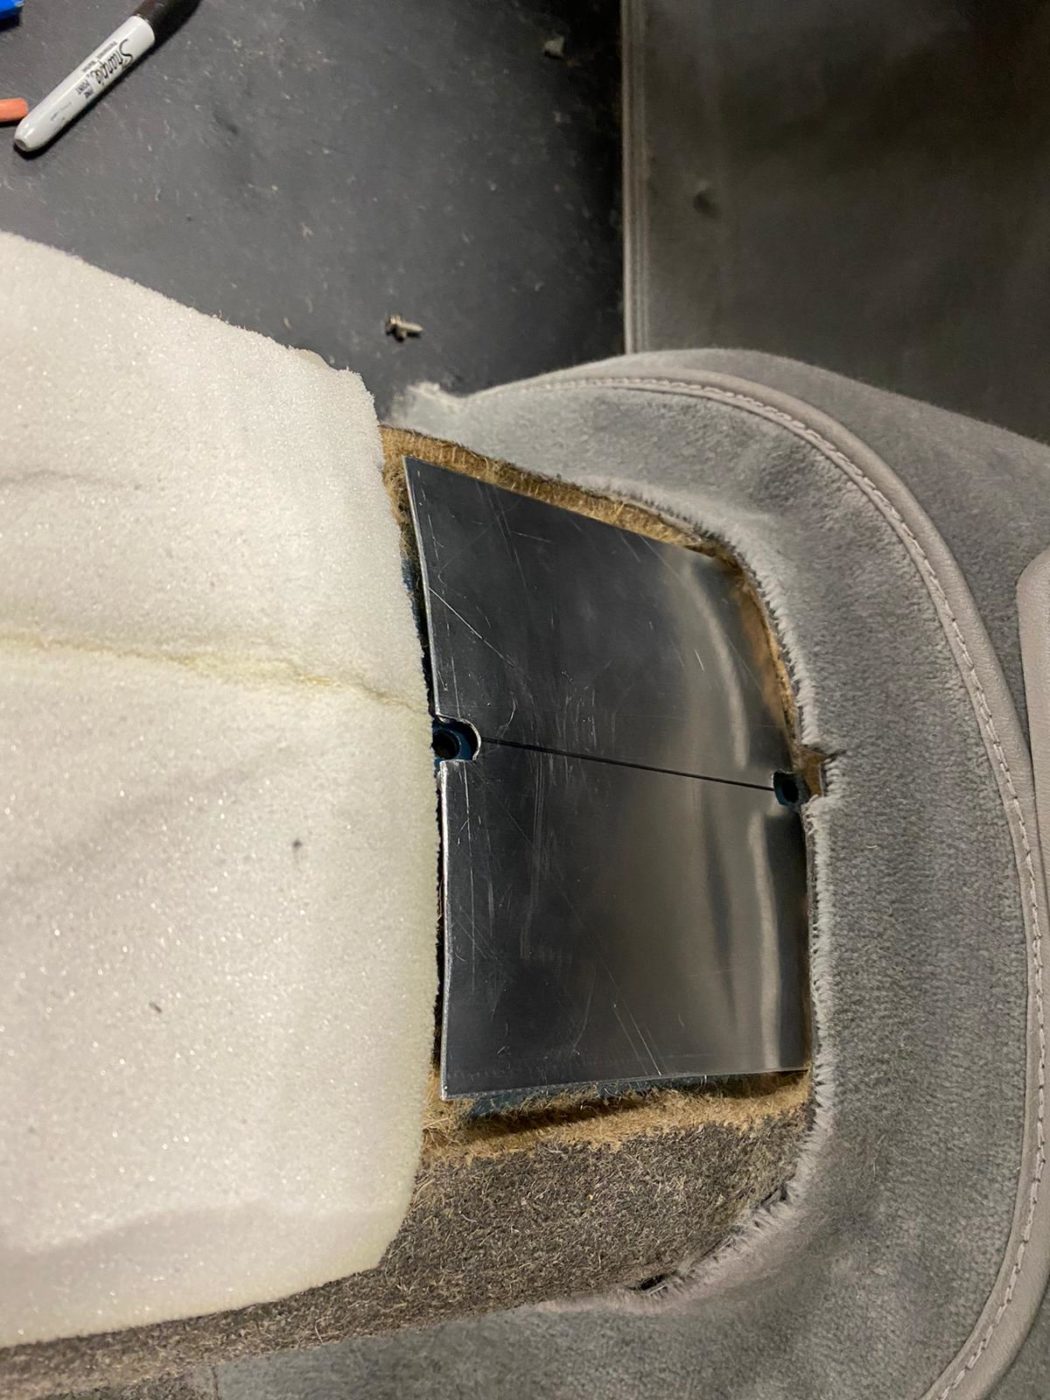
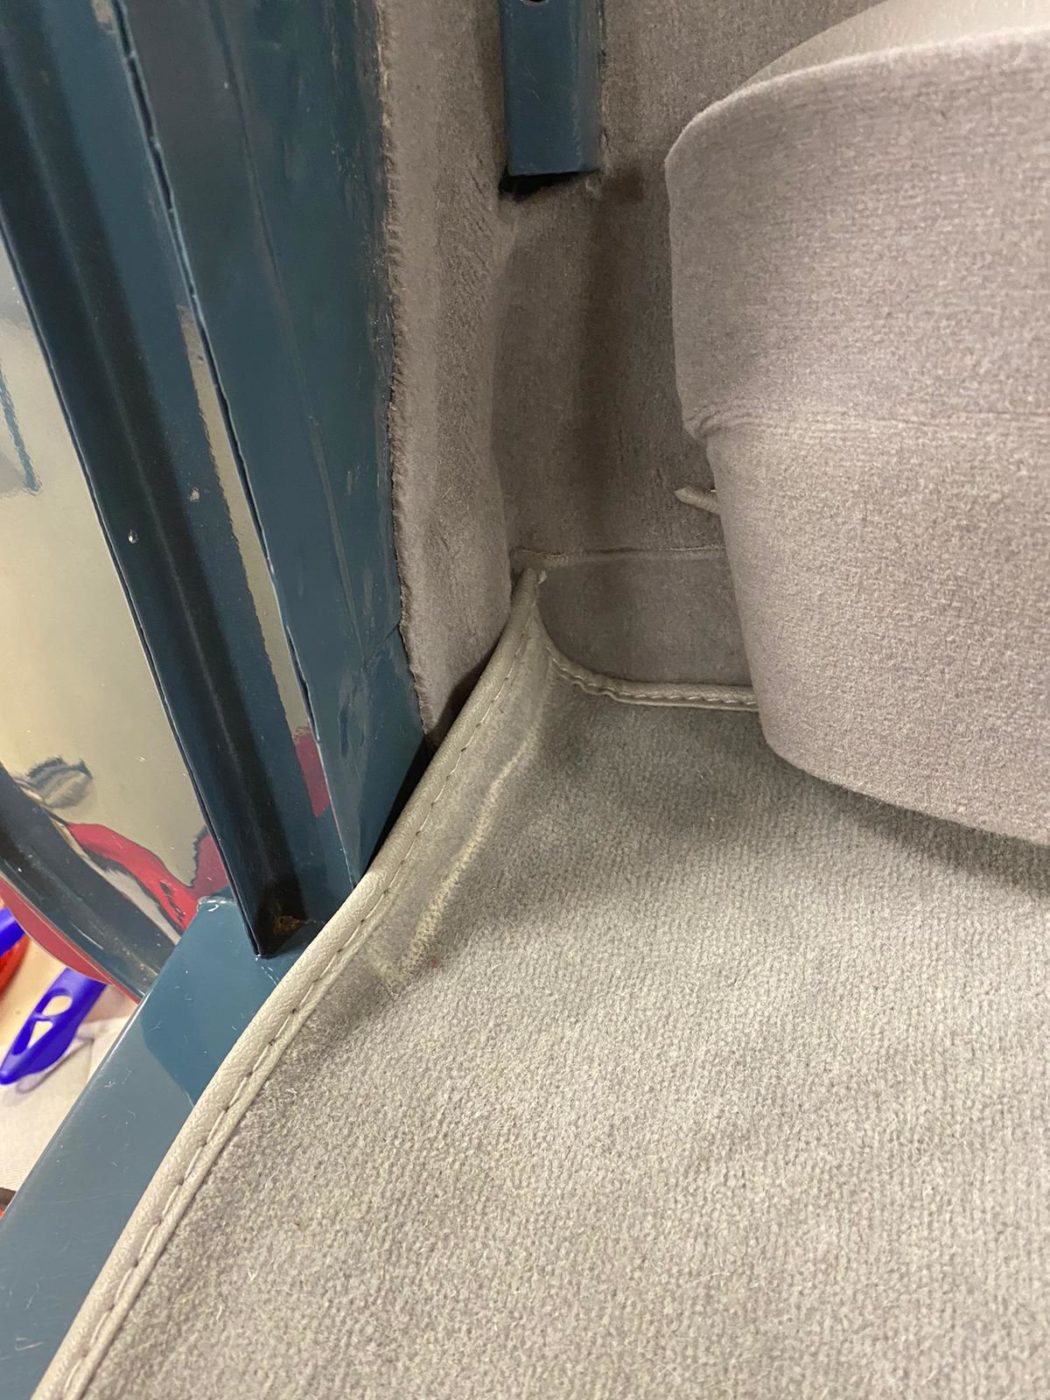
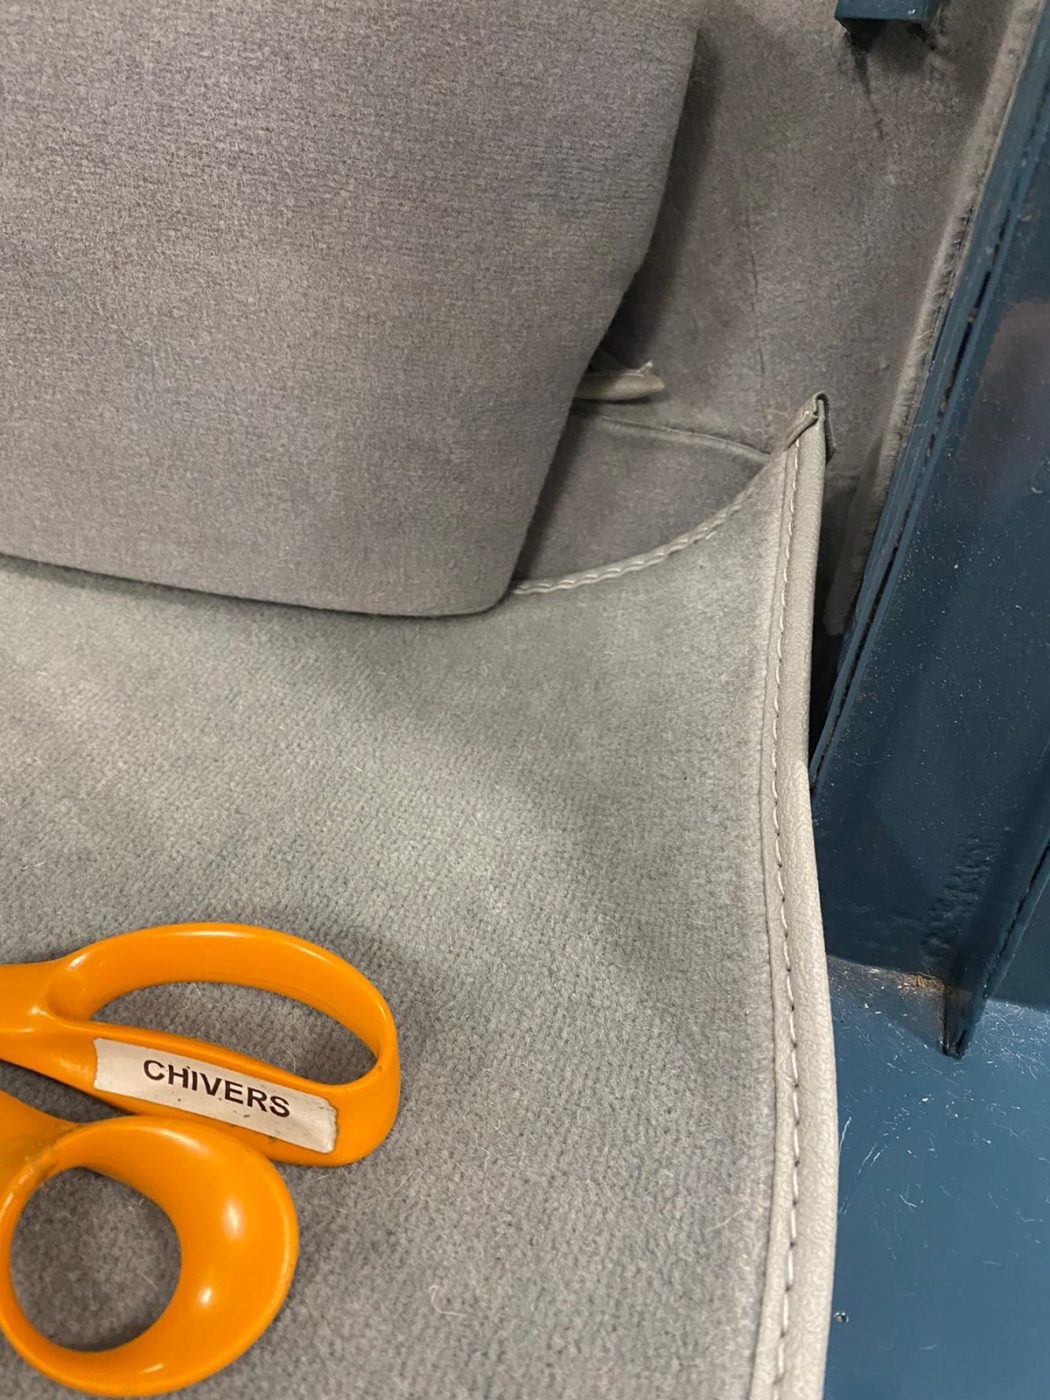
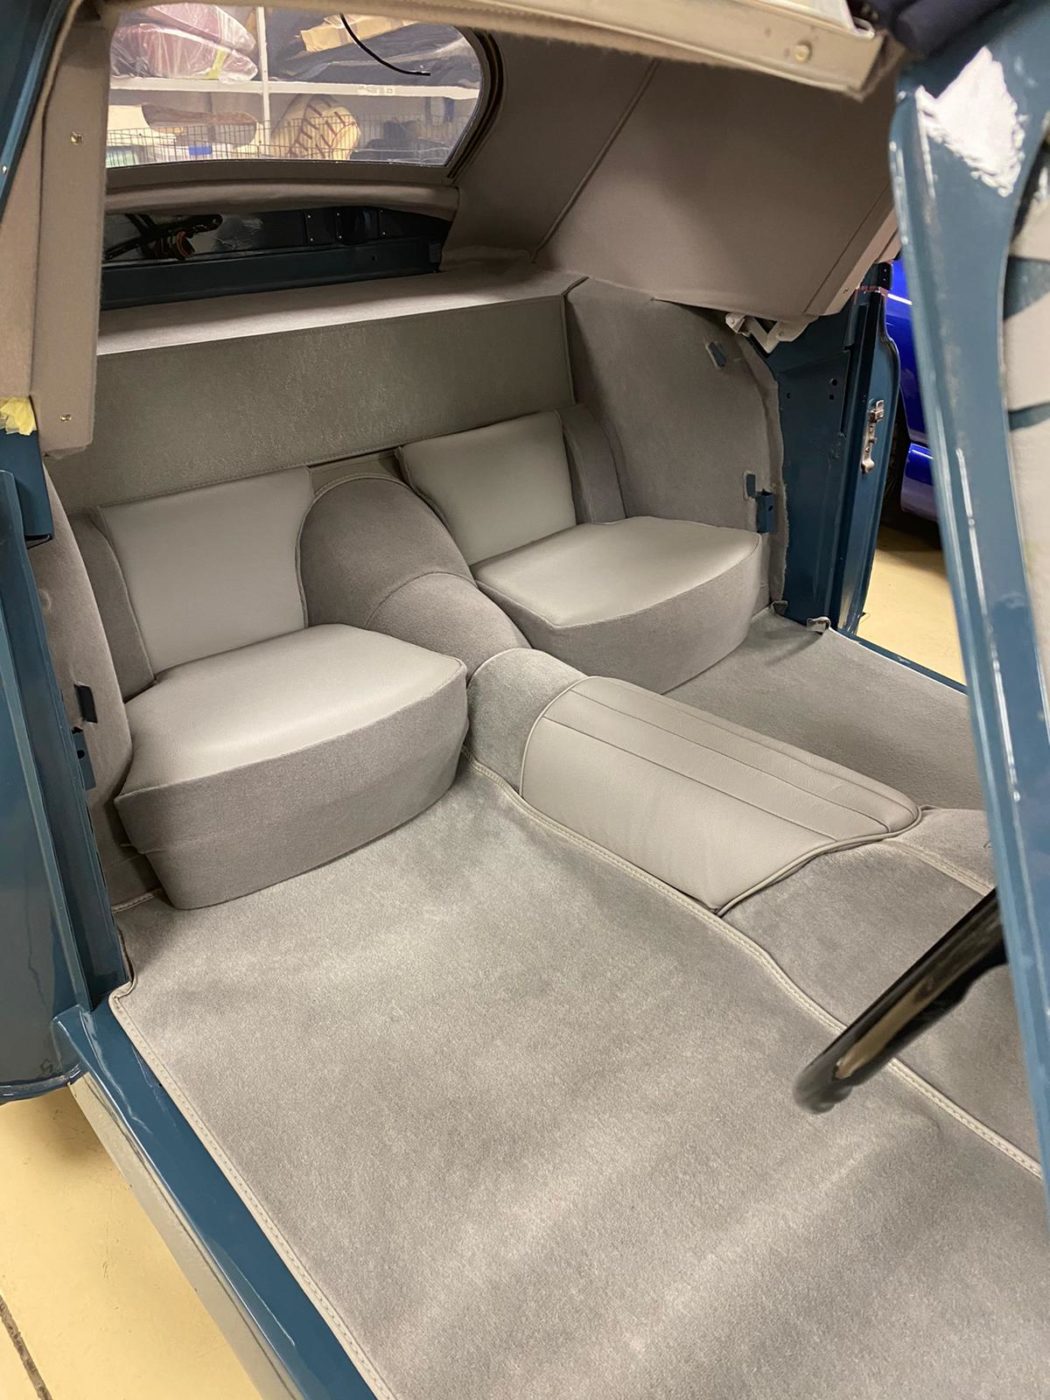
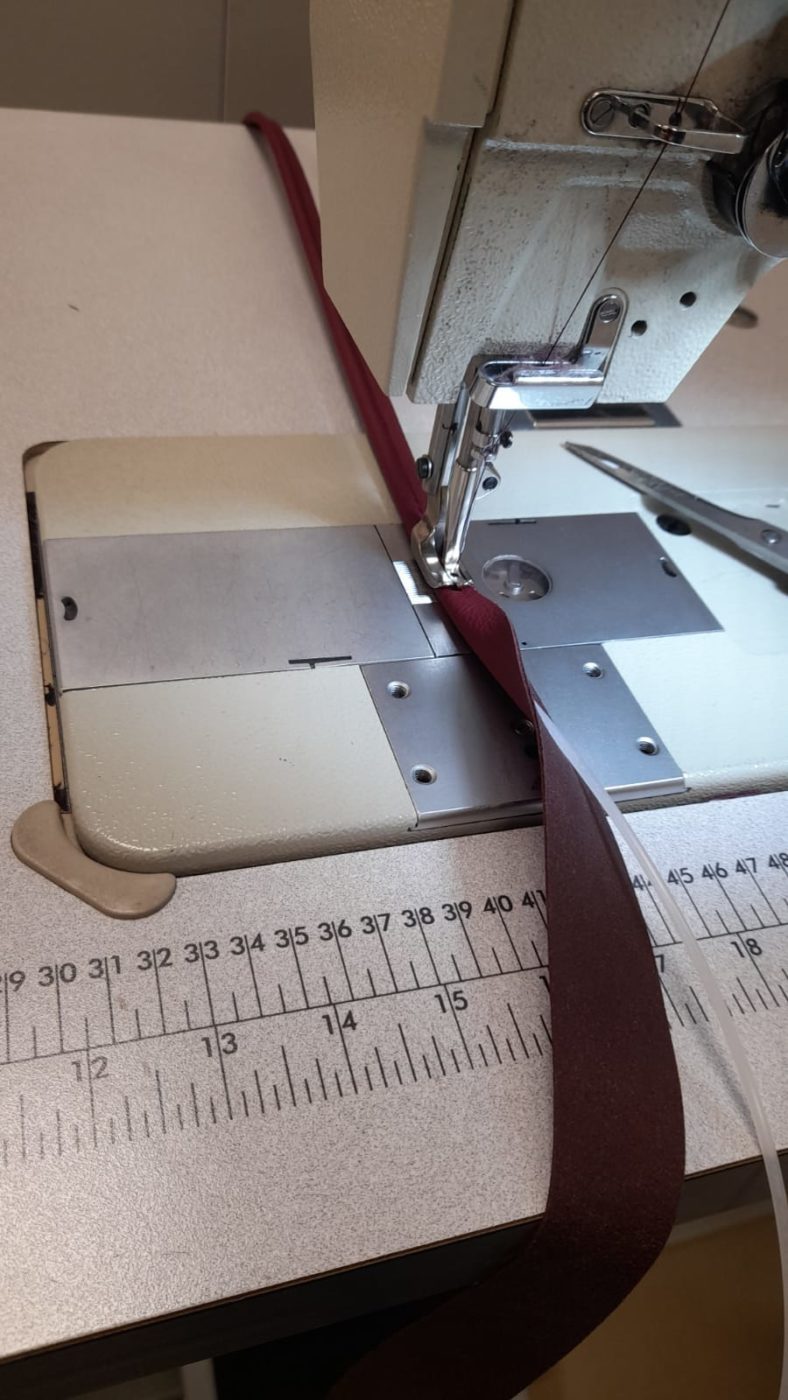
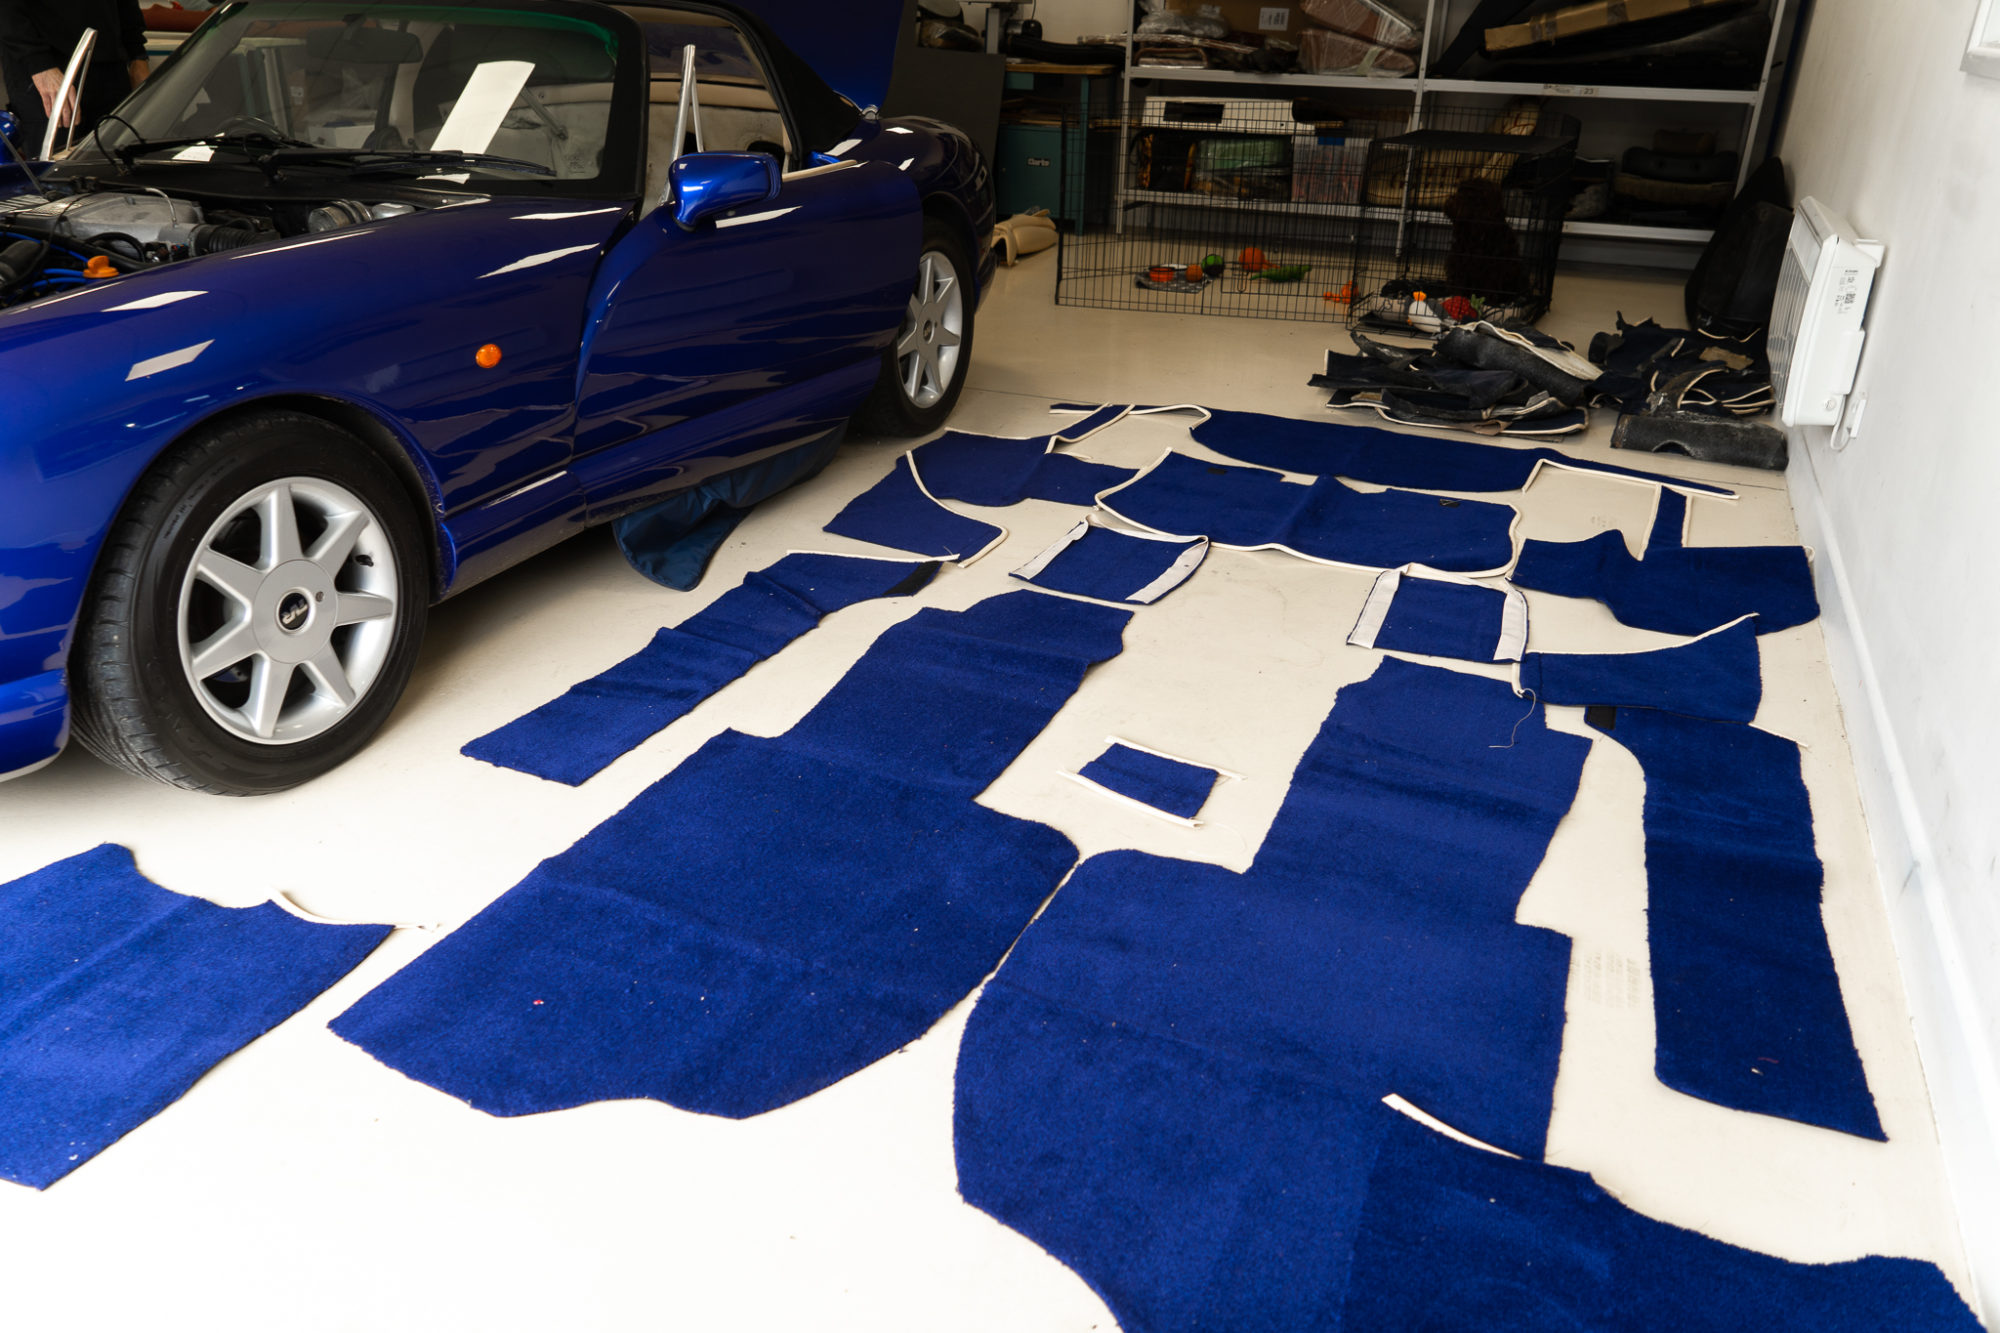
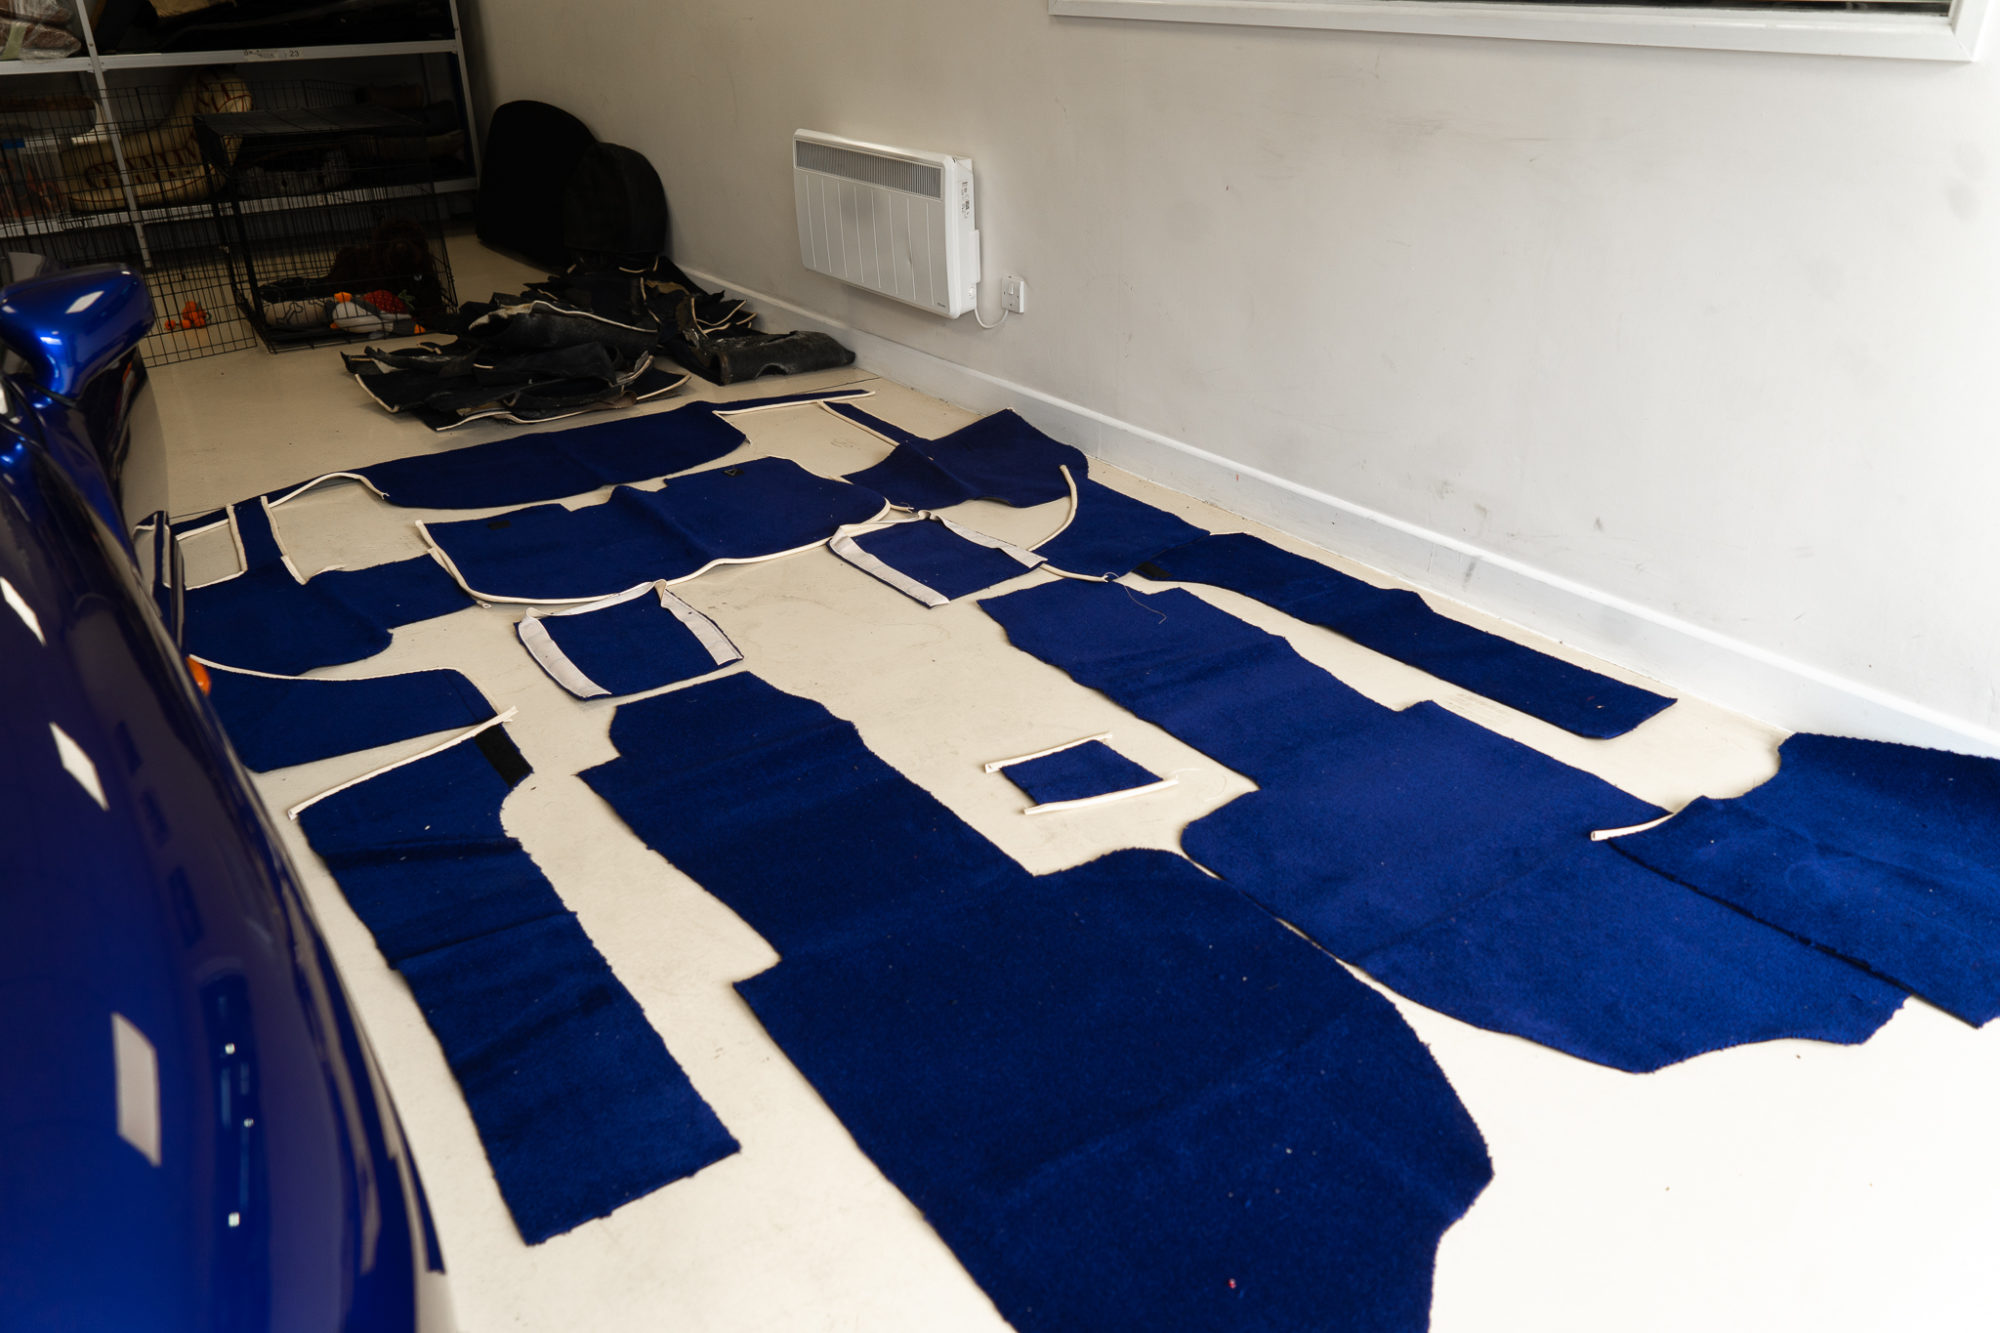
Our trim department has been working hard to get the 1998 TVR Chimaera’s carpet, door panels and other pieces of fabric-to-metal trim stuck and bolted down.

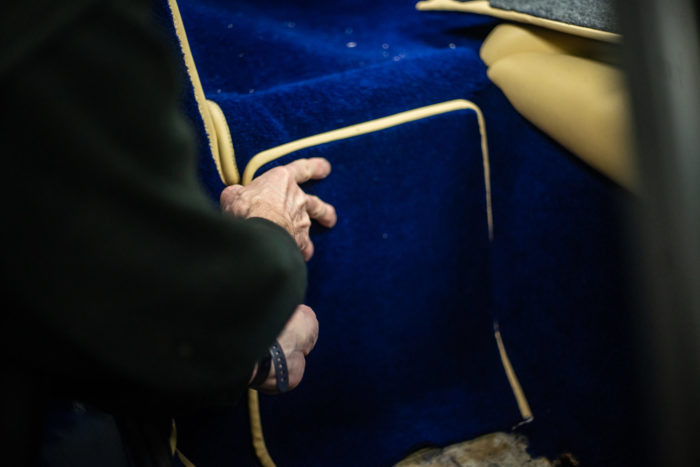
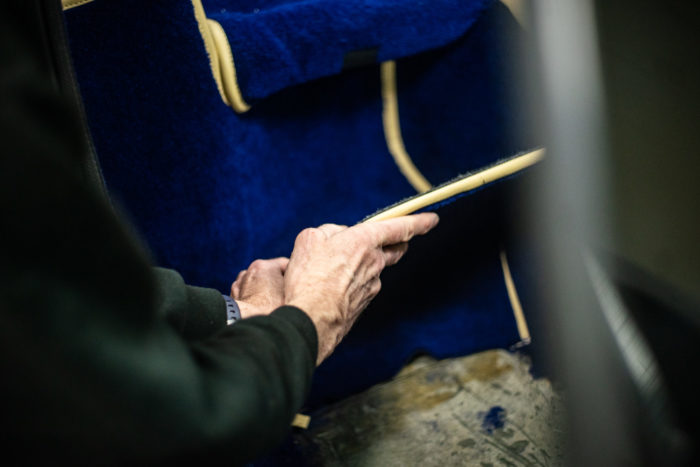
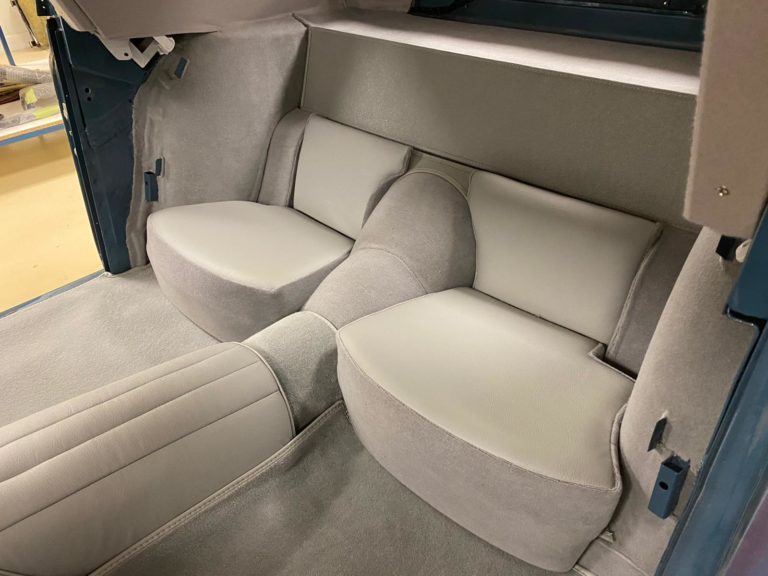
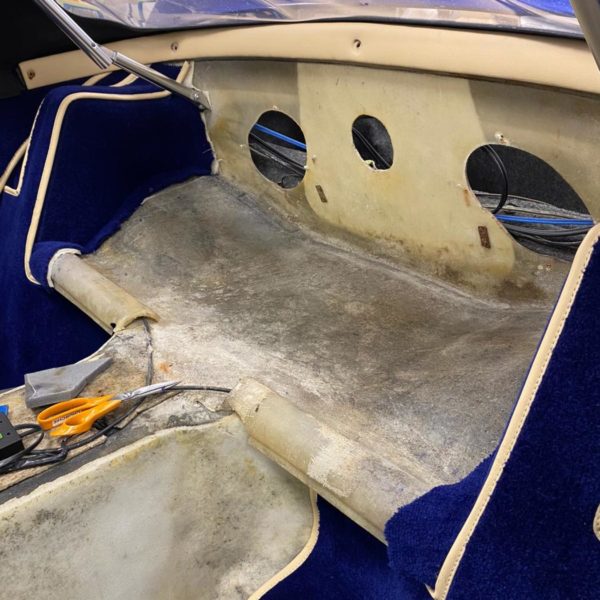
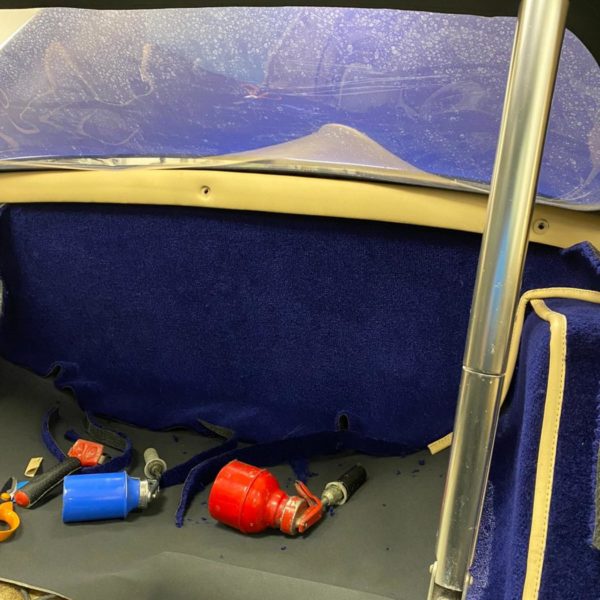
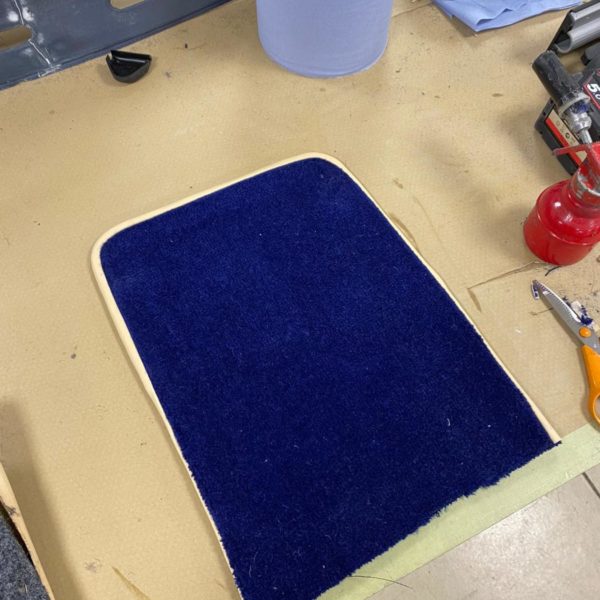
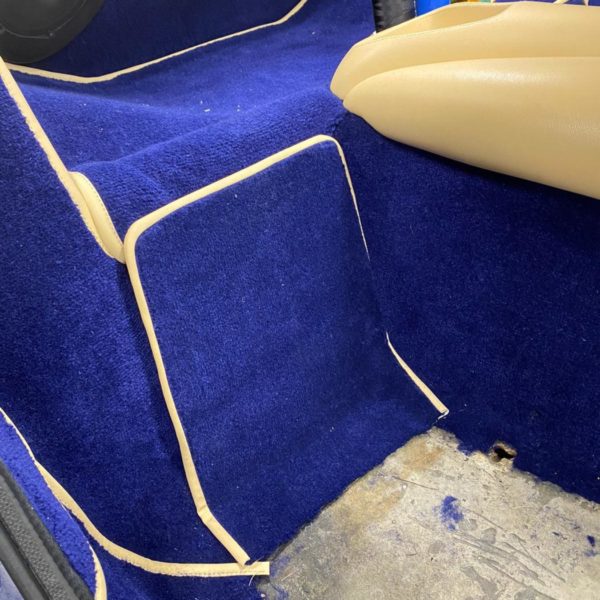
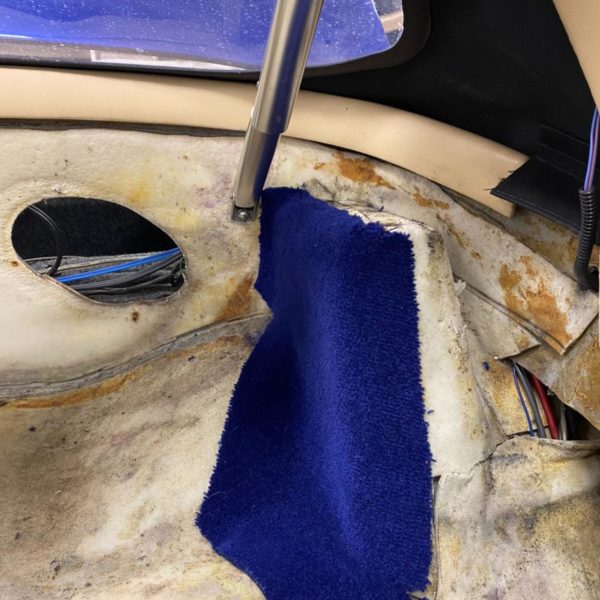
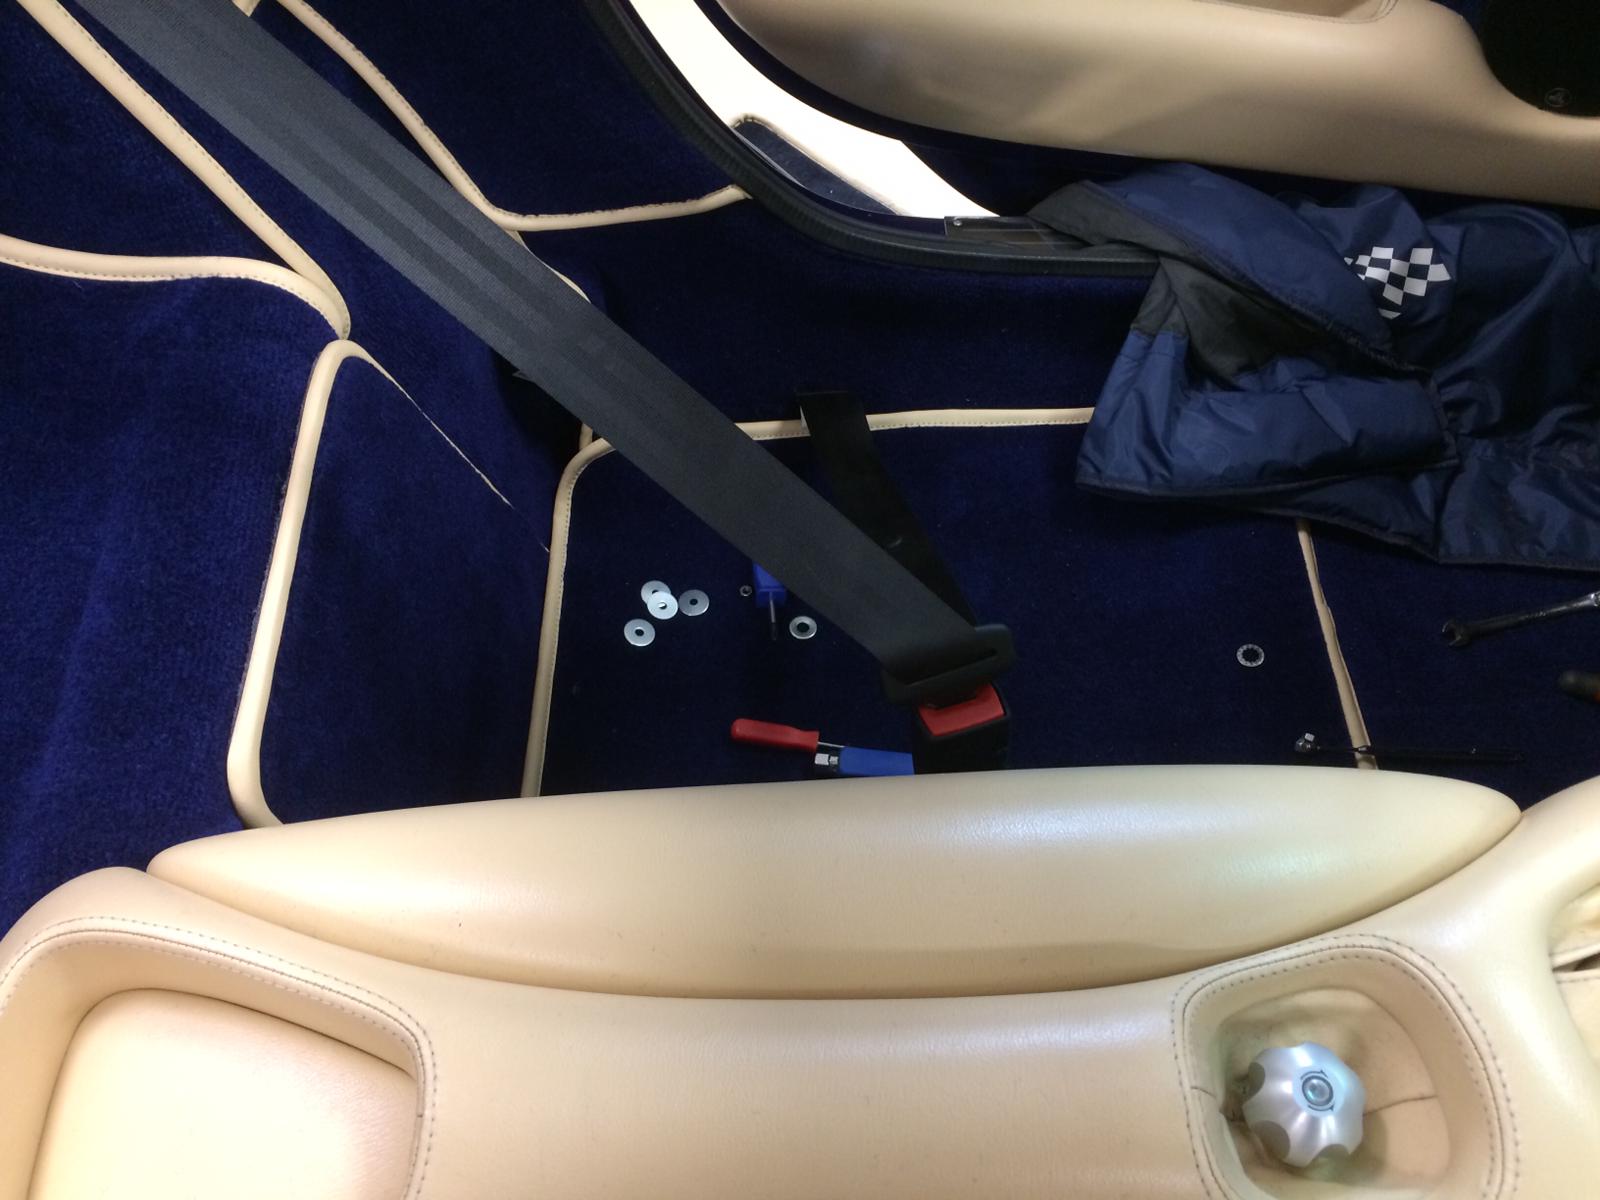
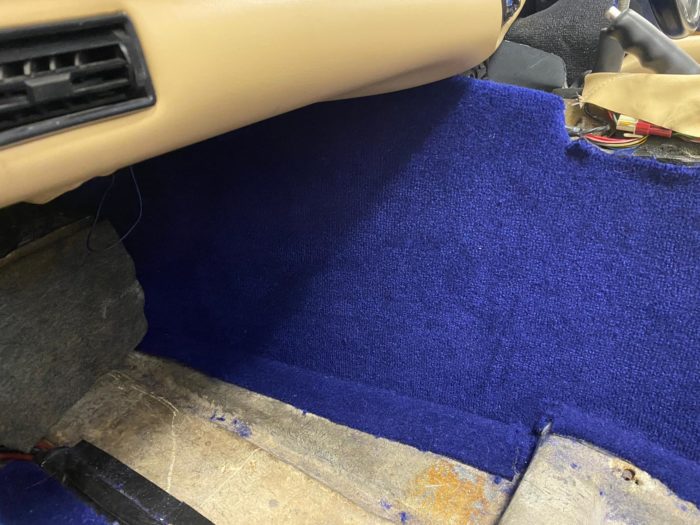
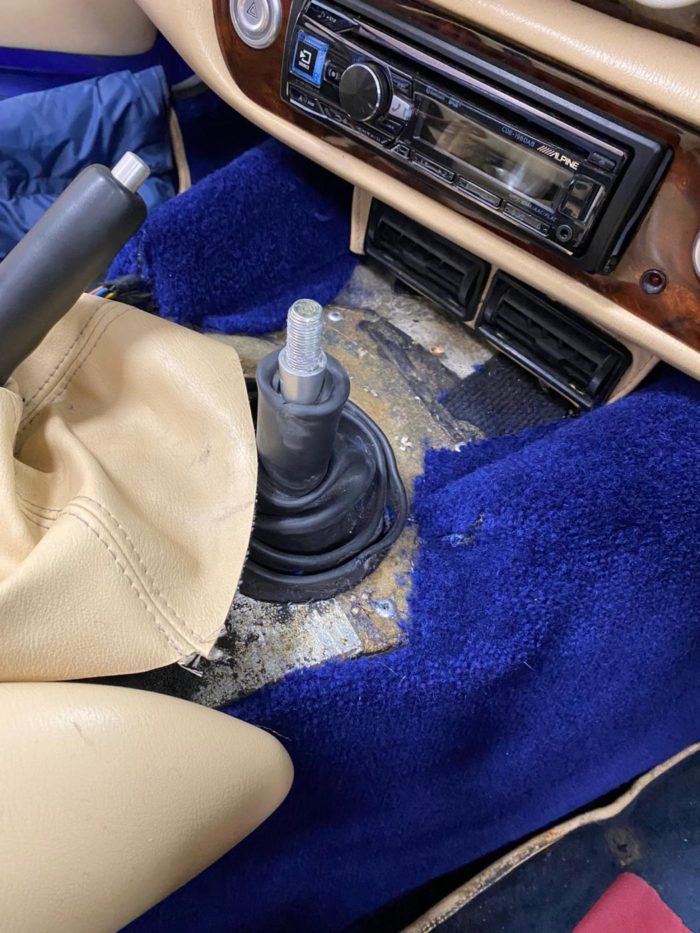
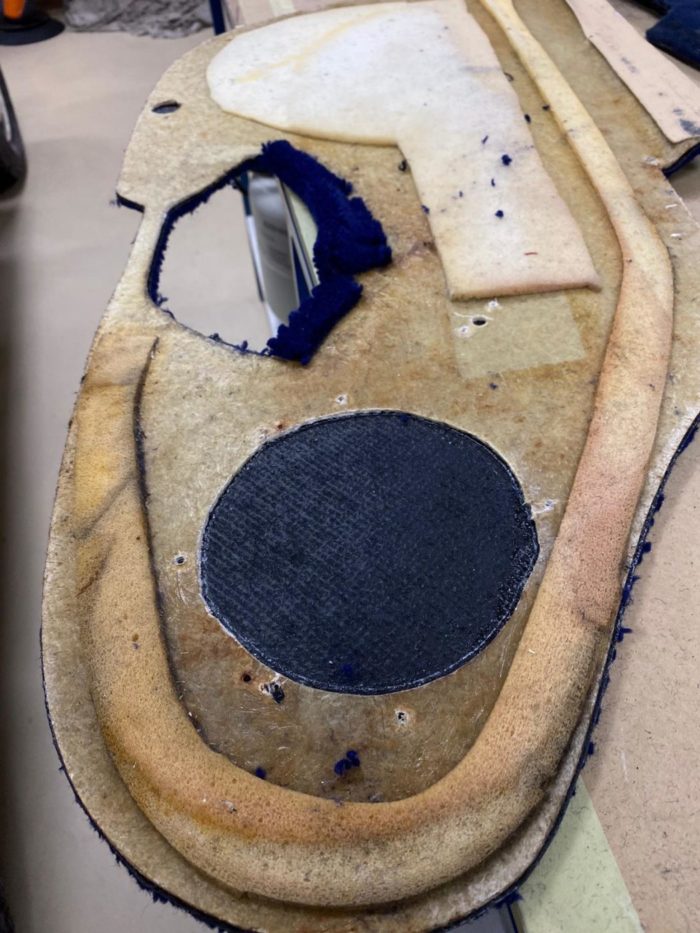
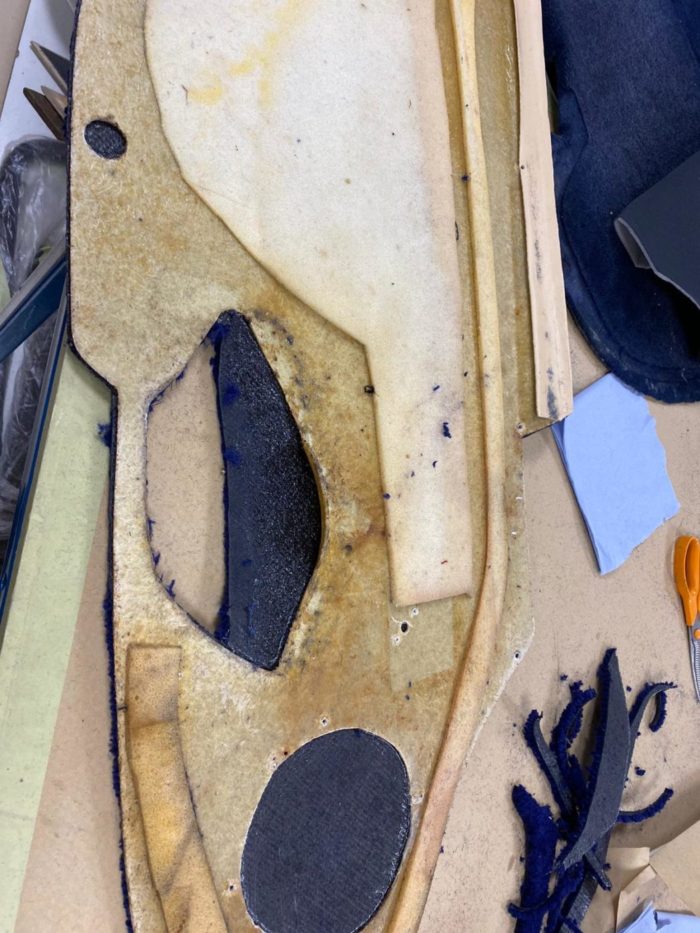
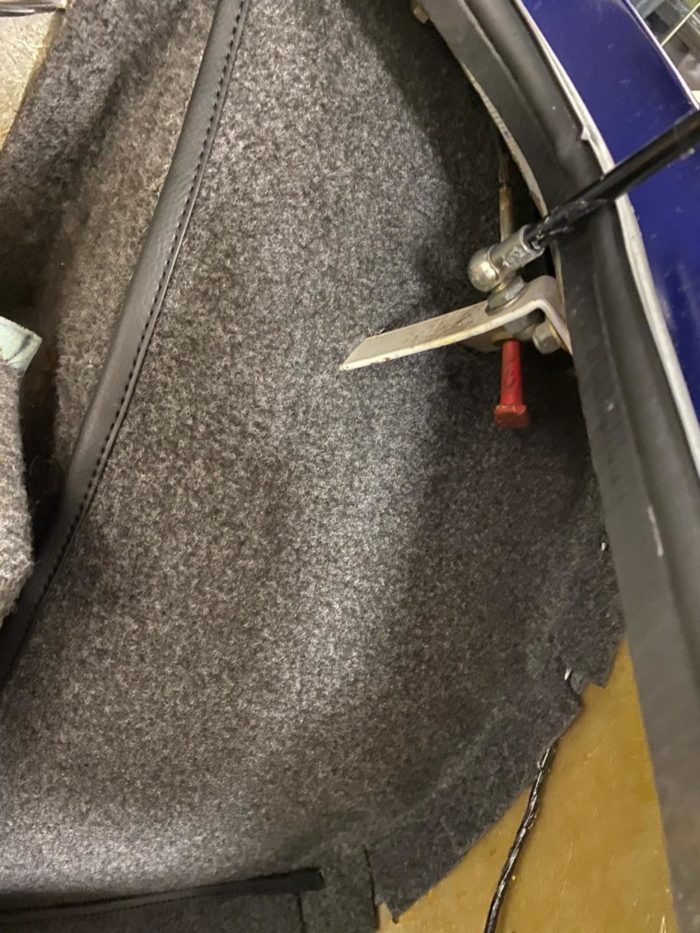
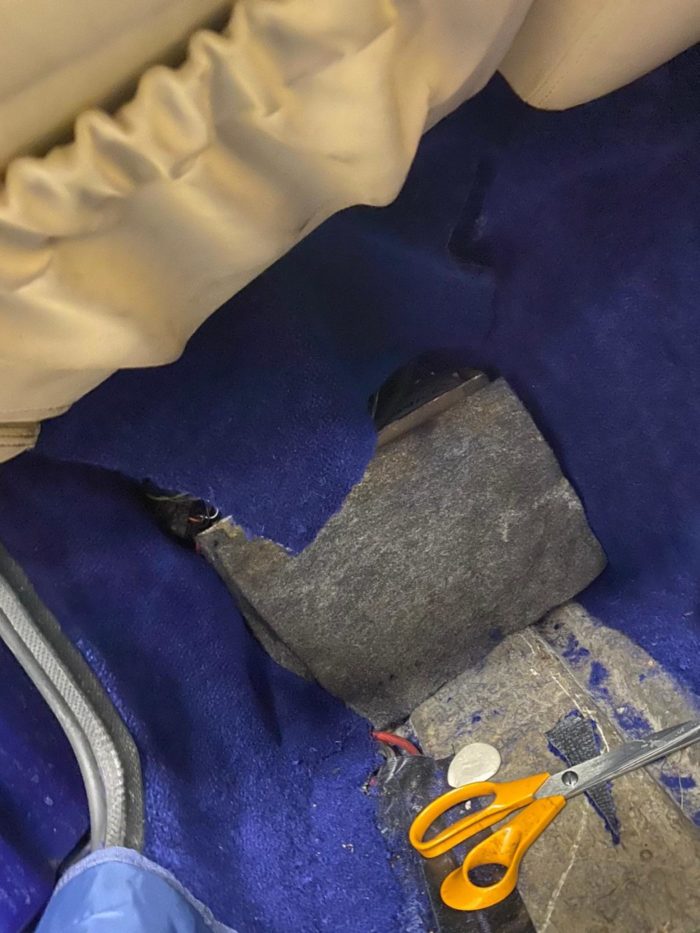
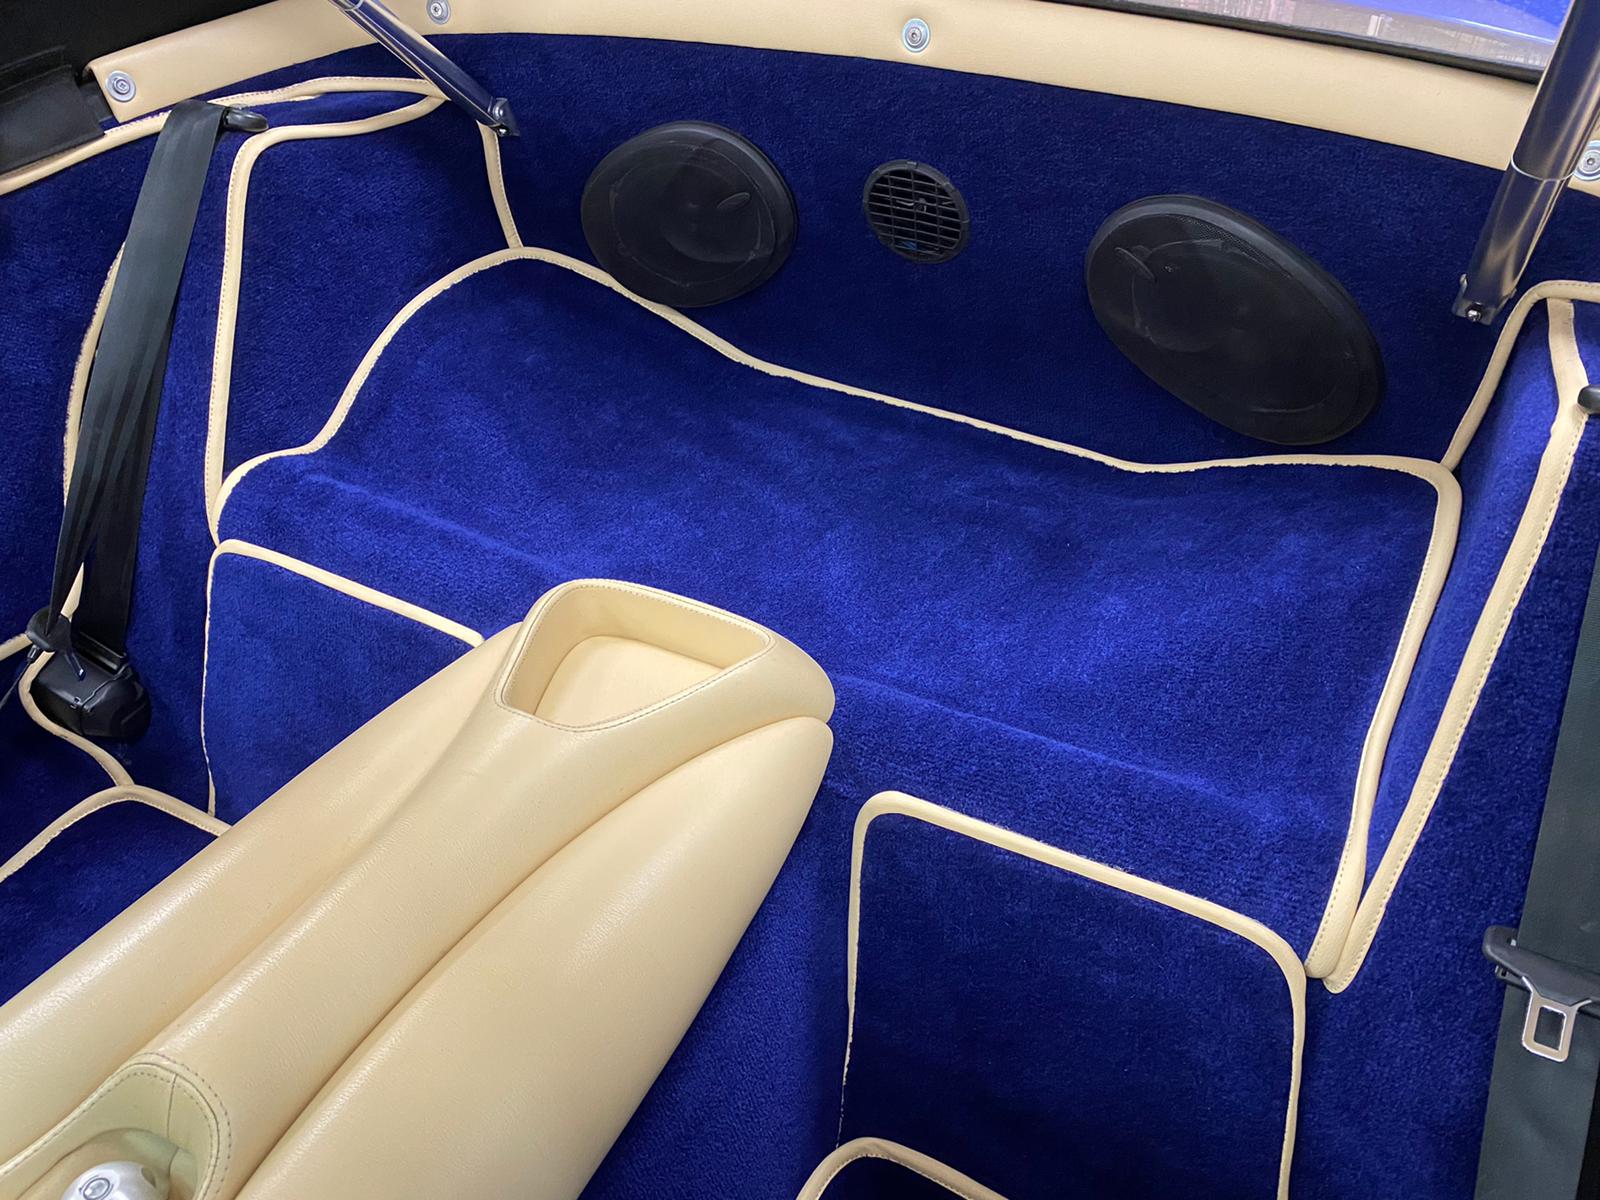
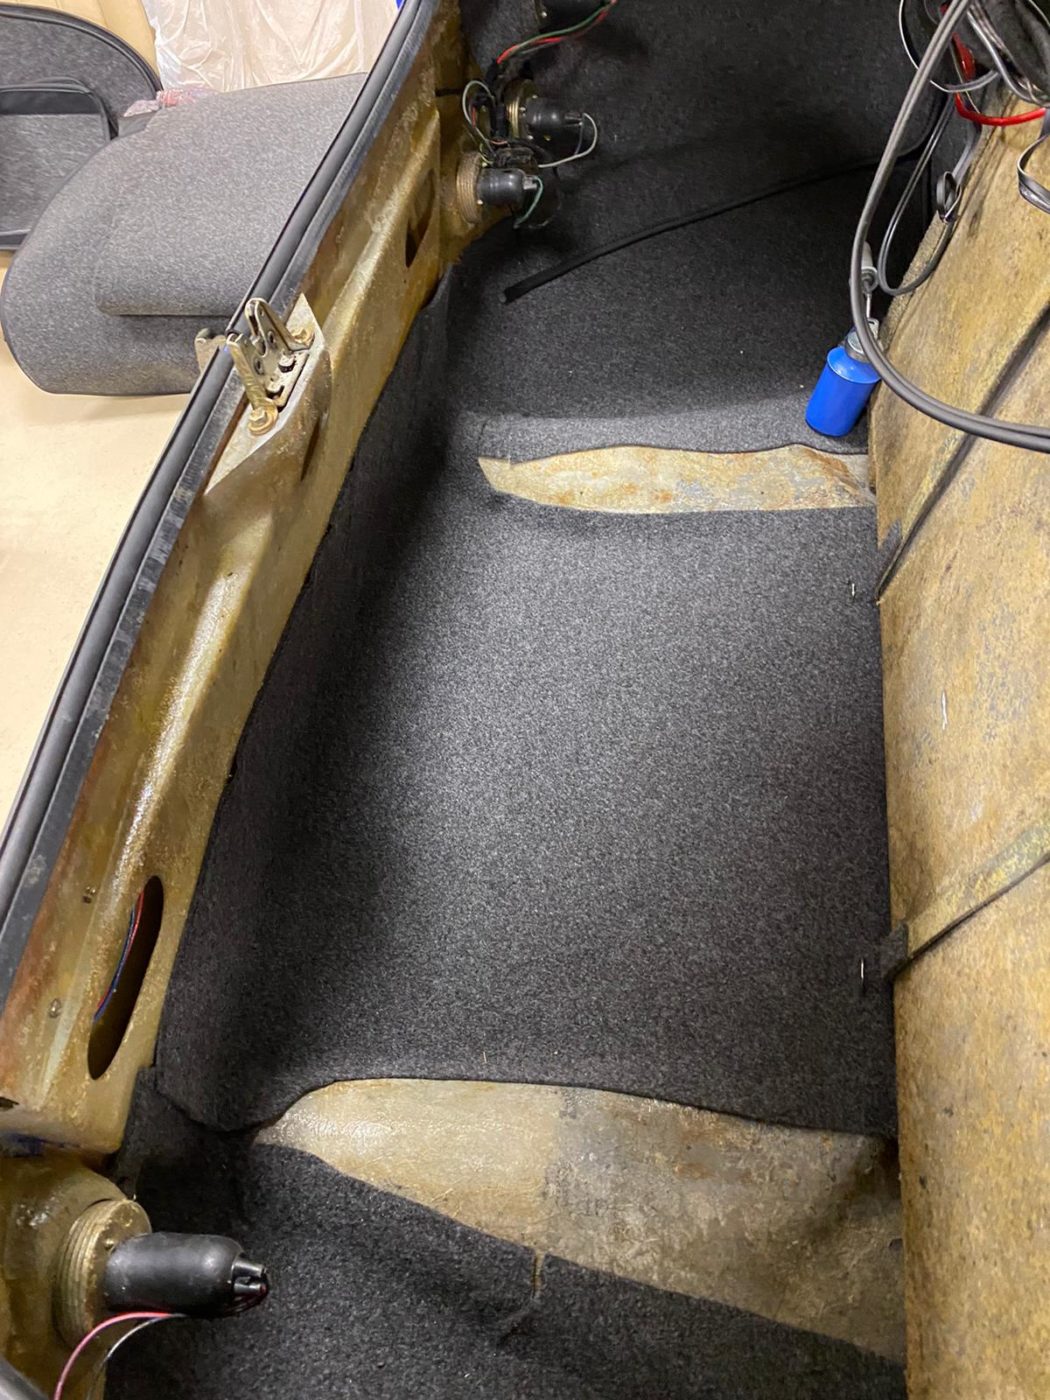
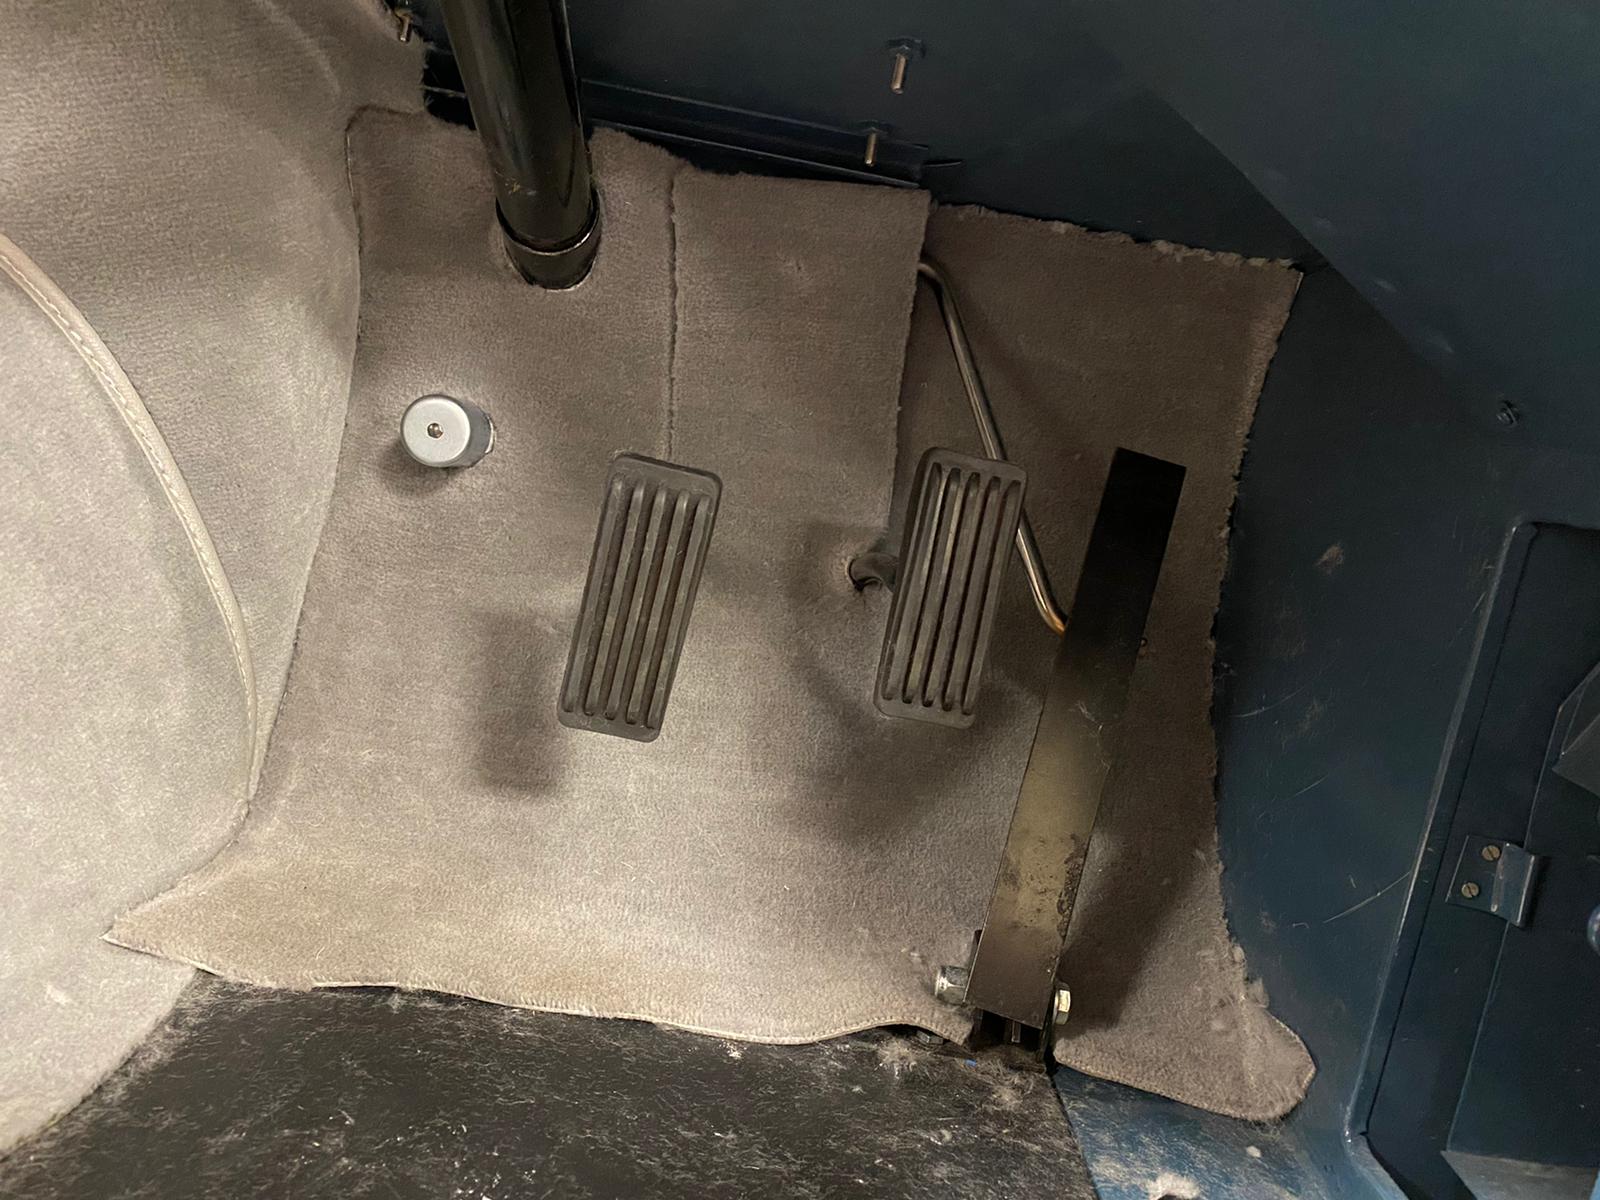
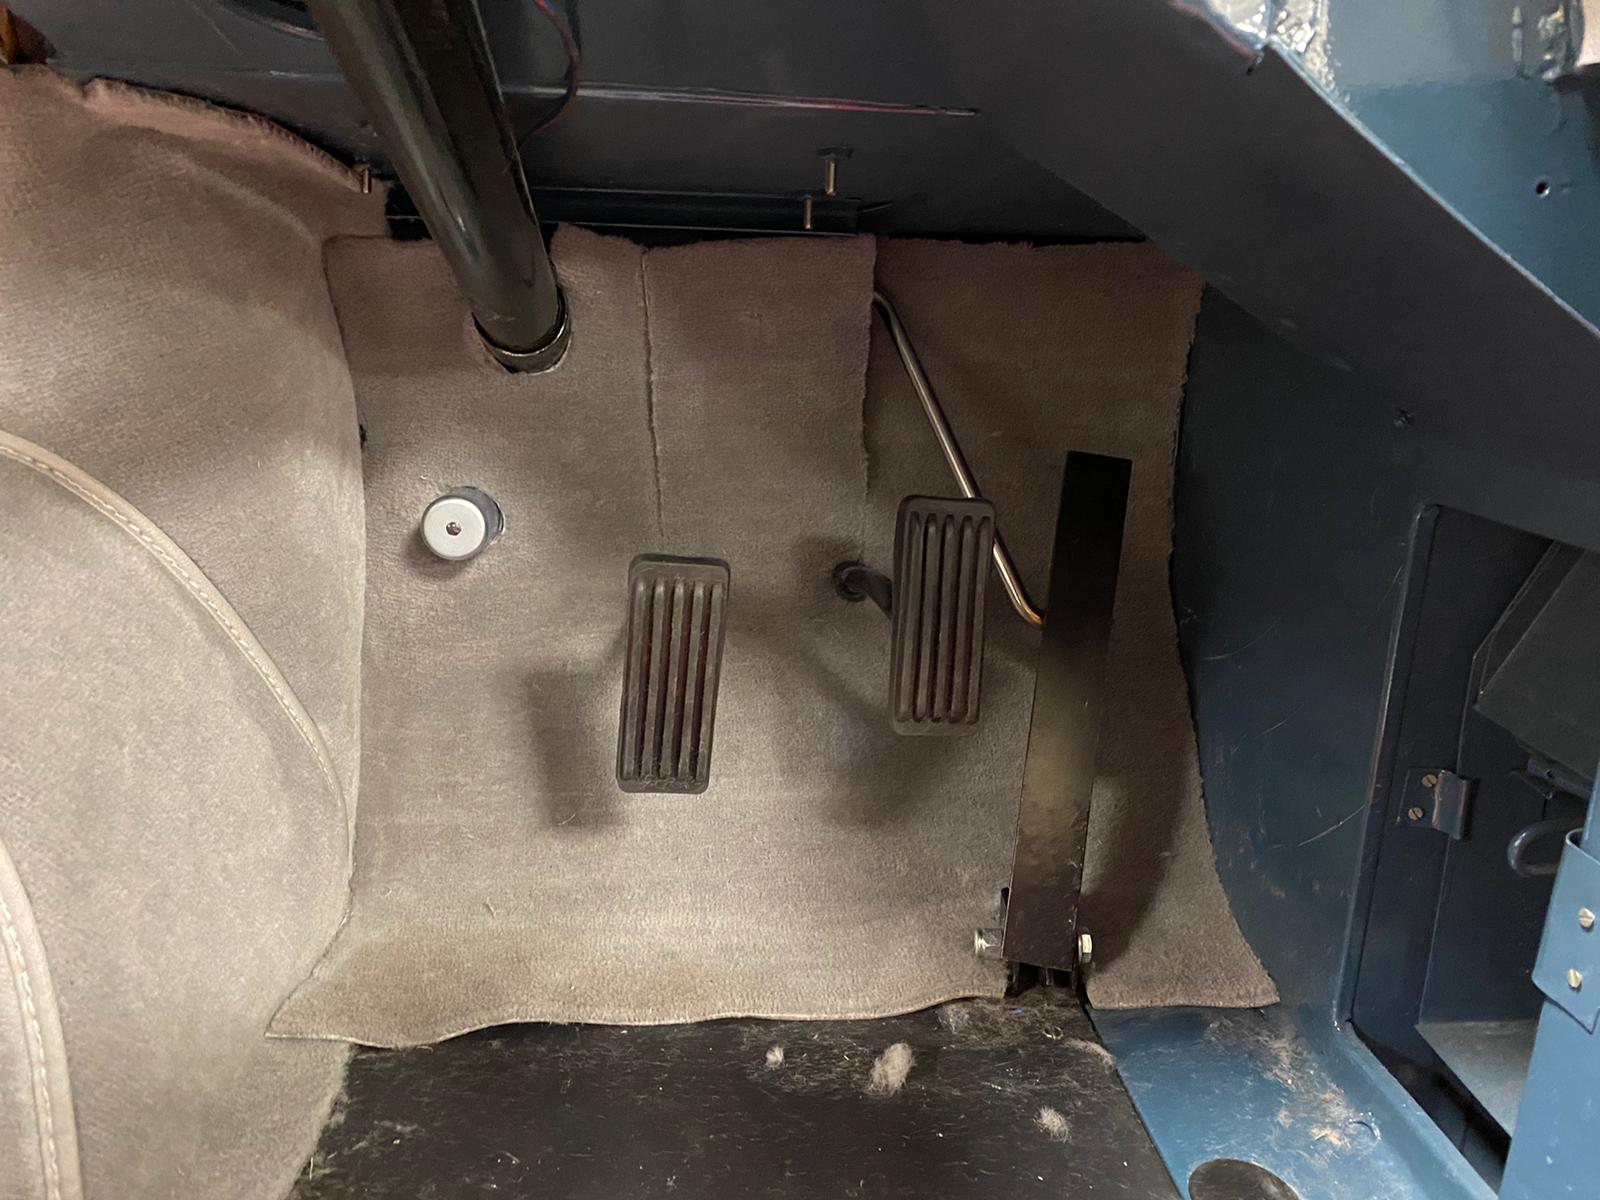
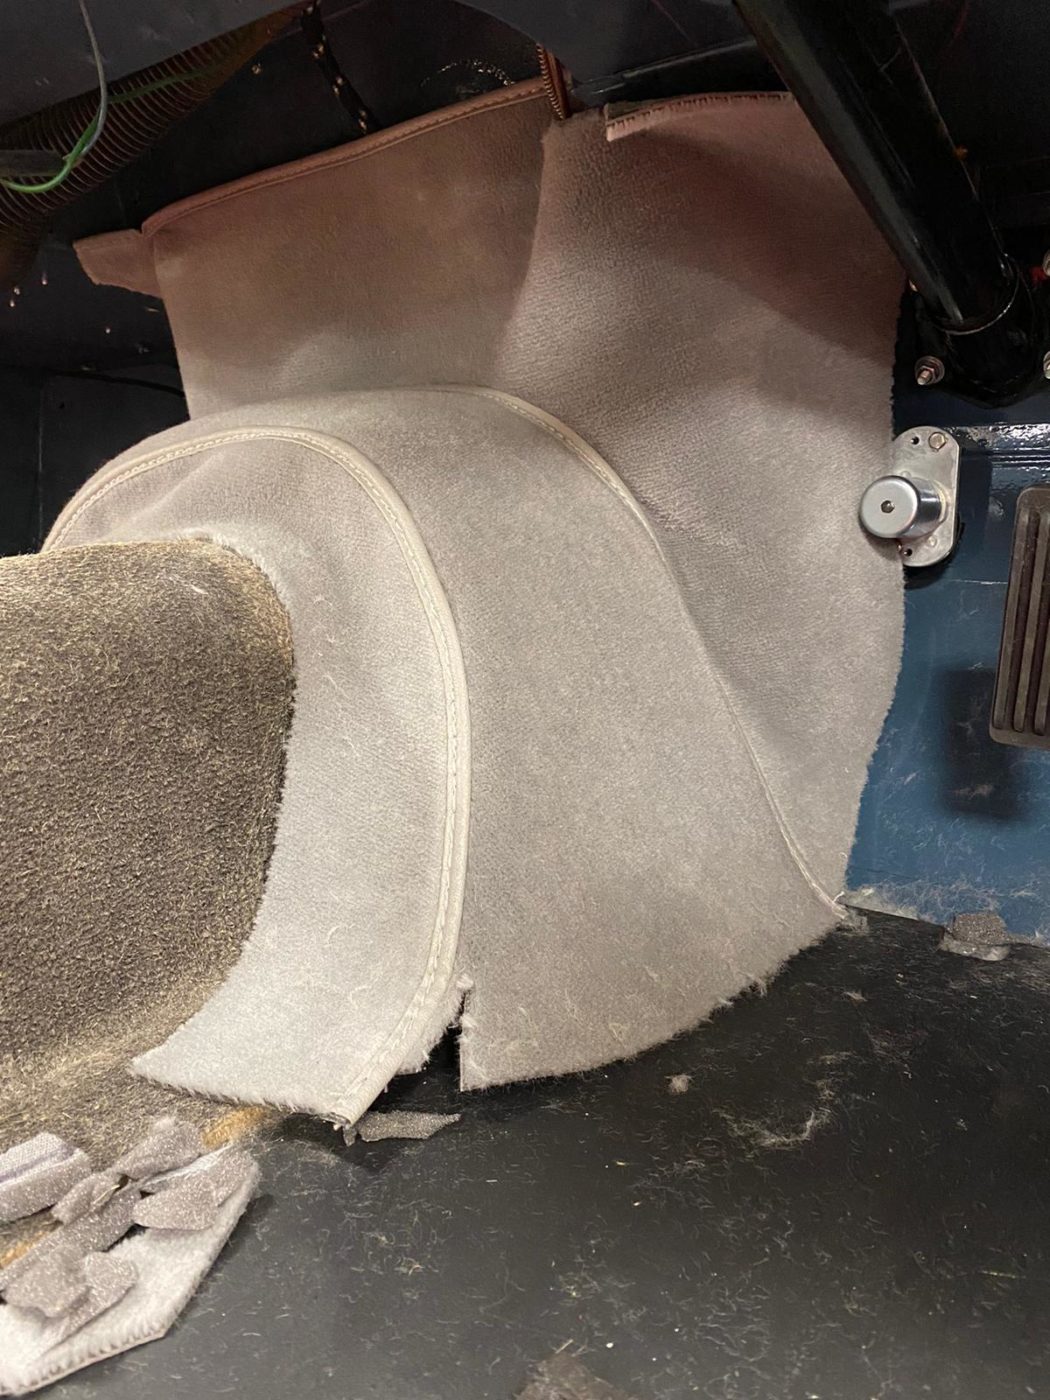
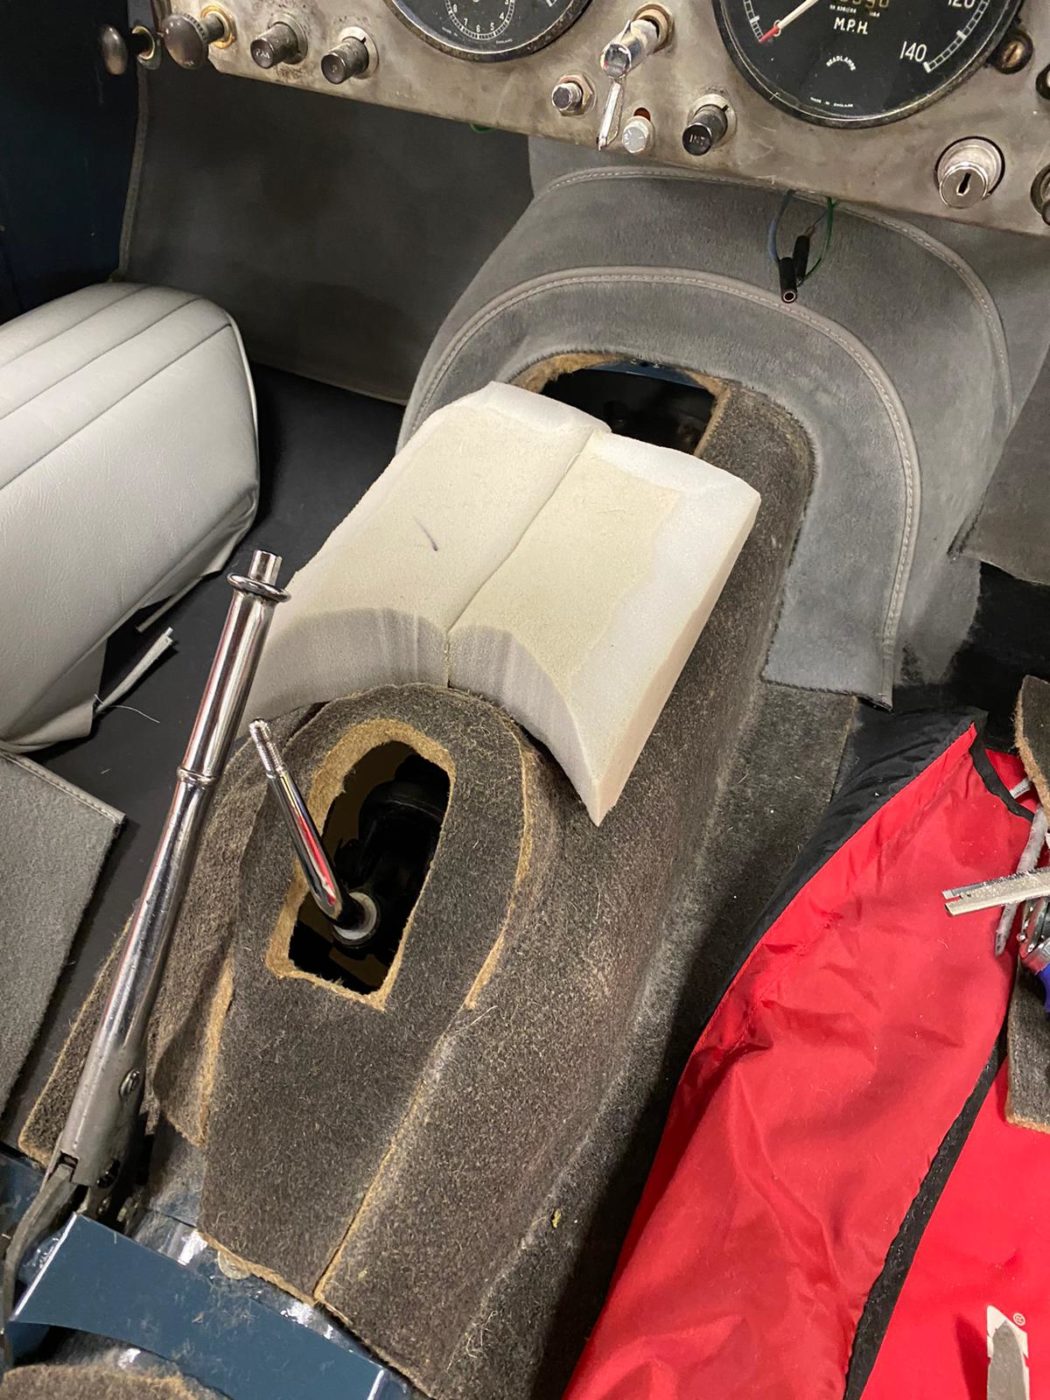
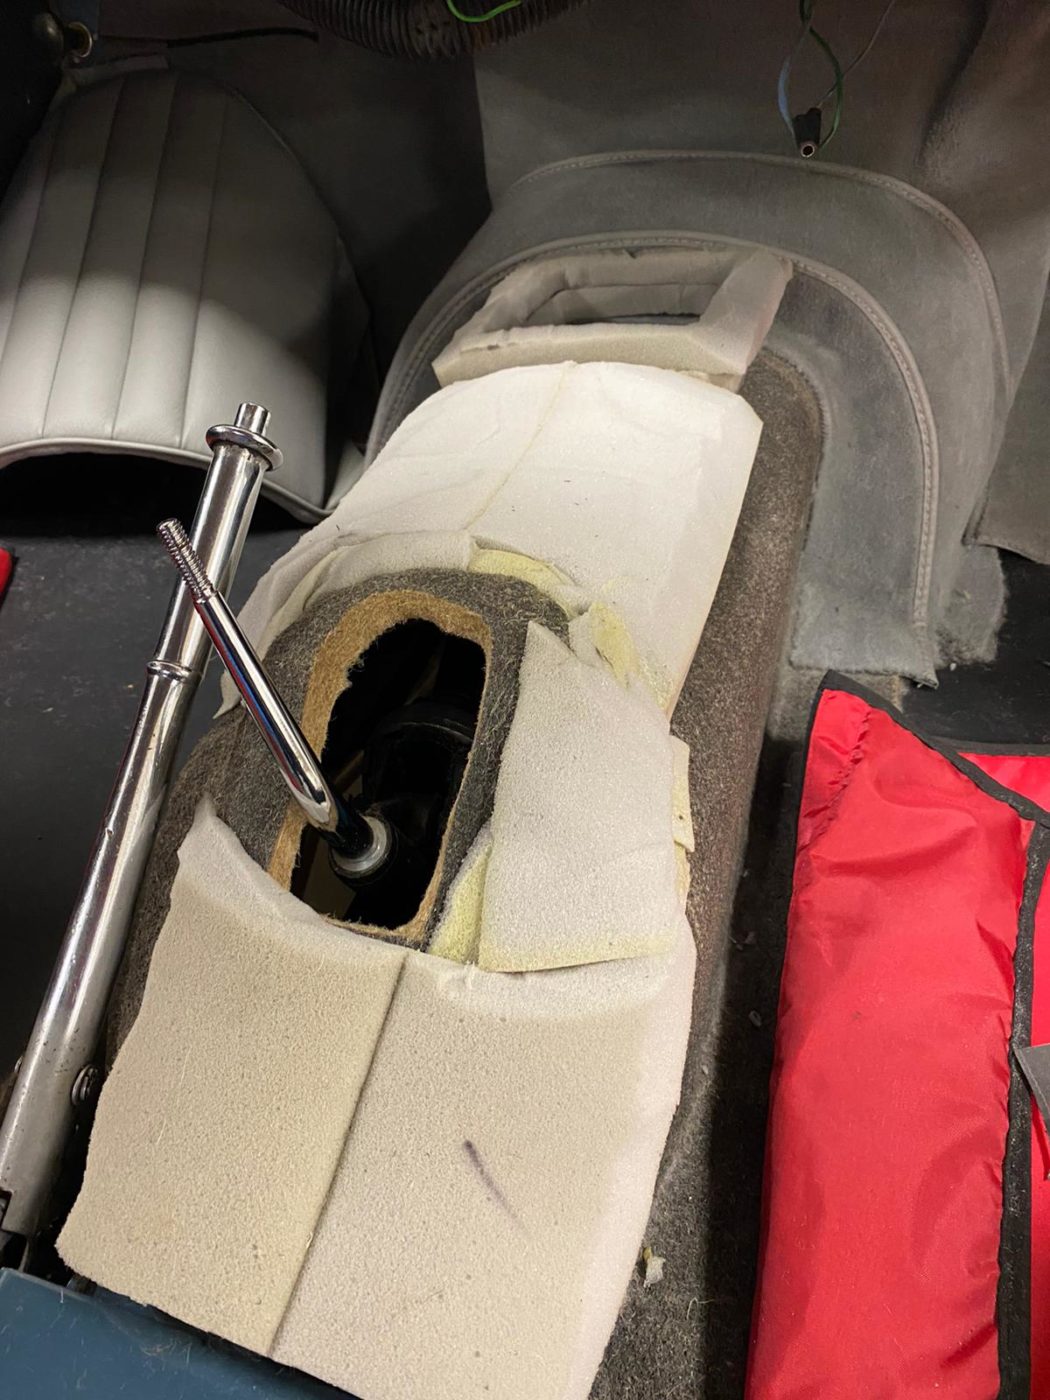
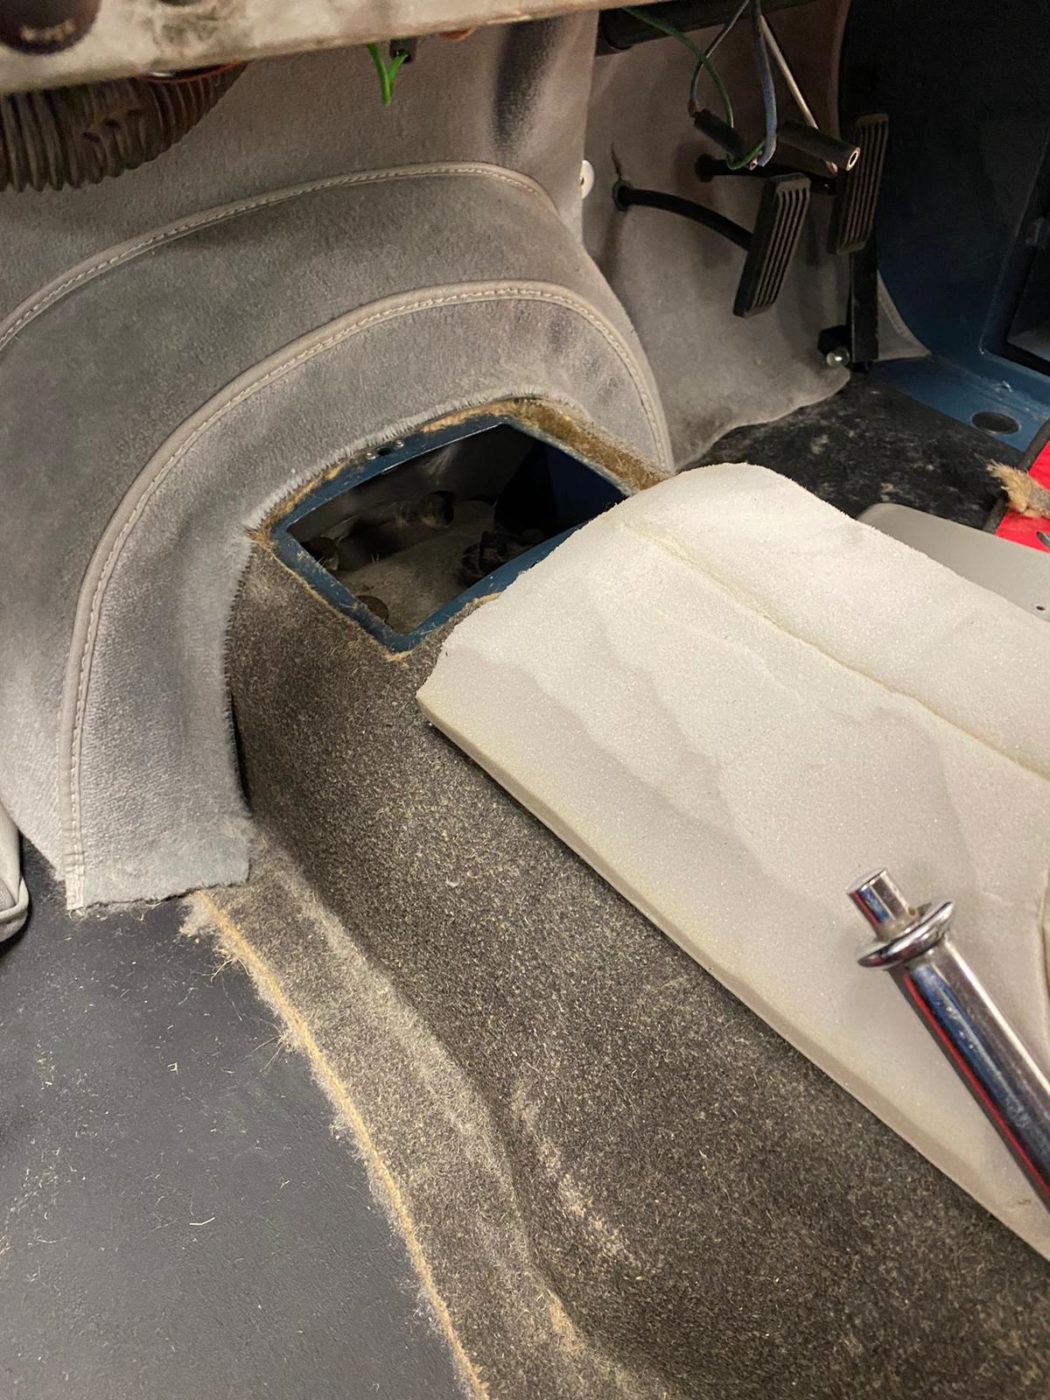
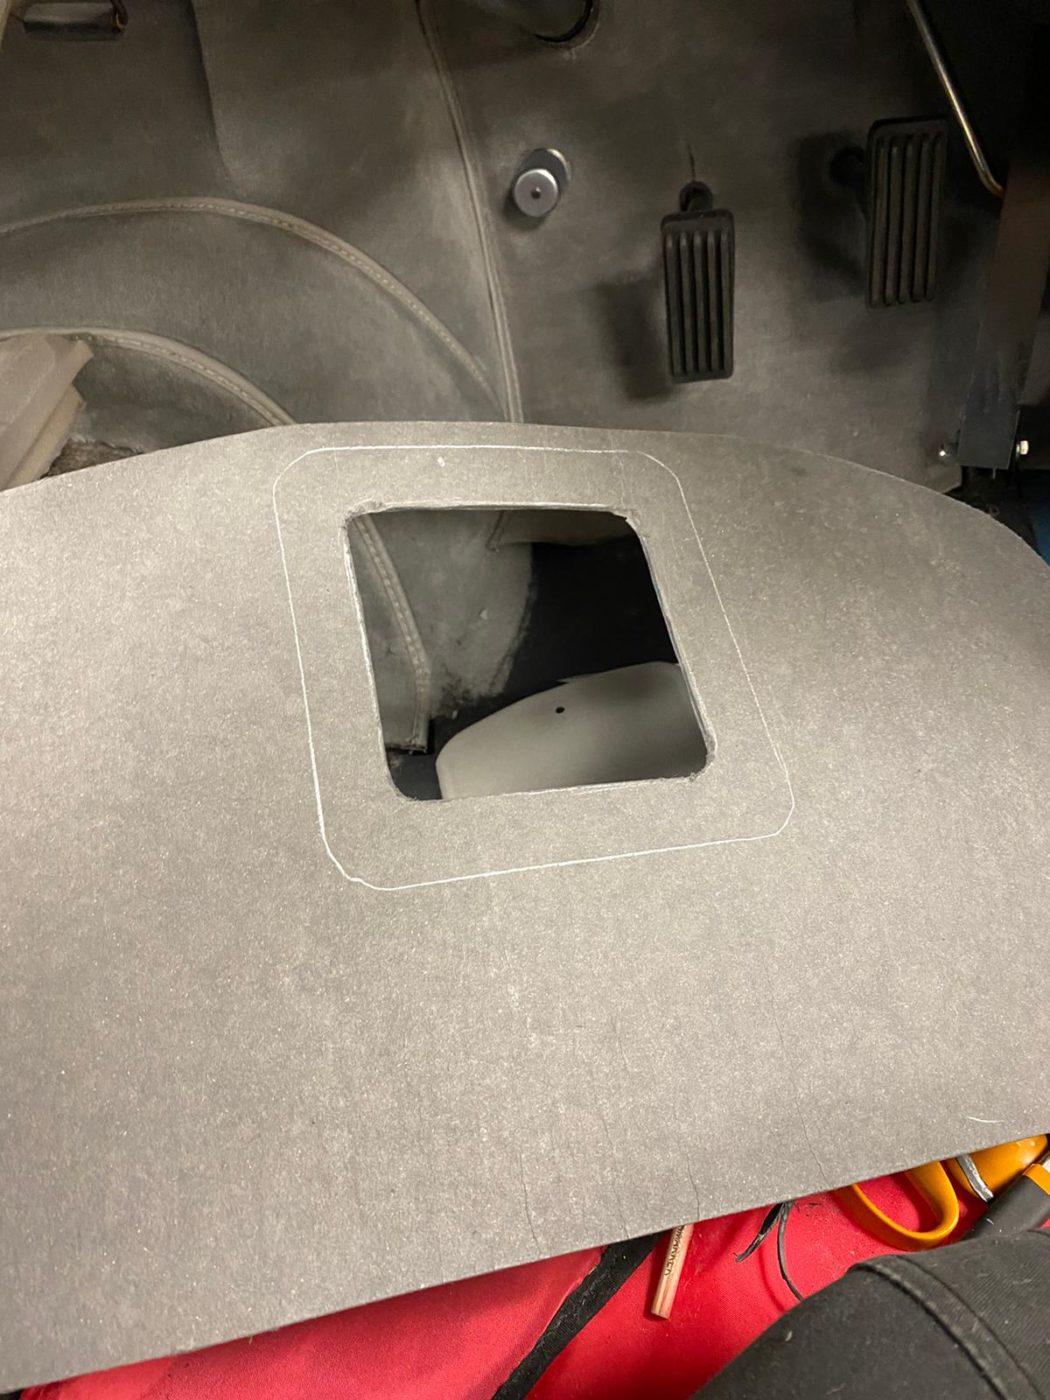
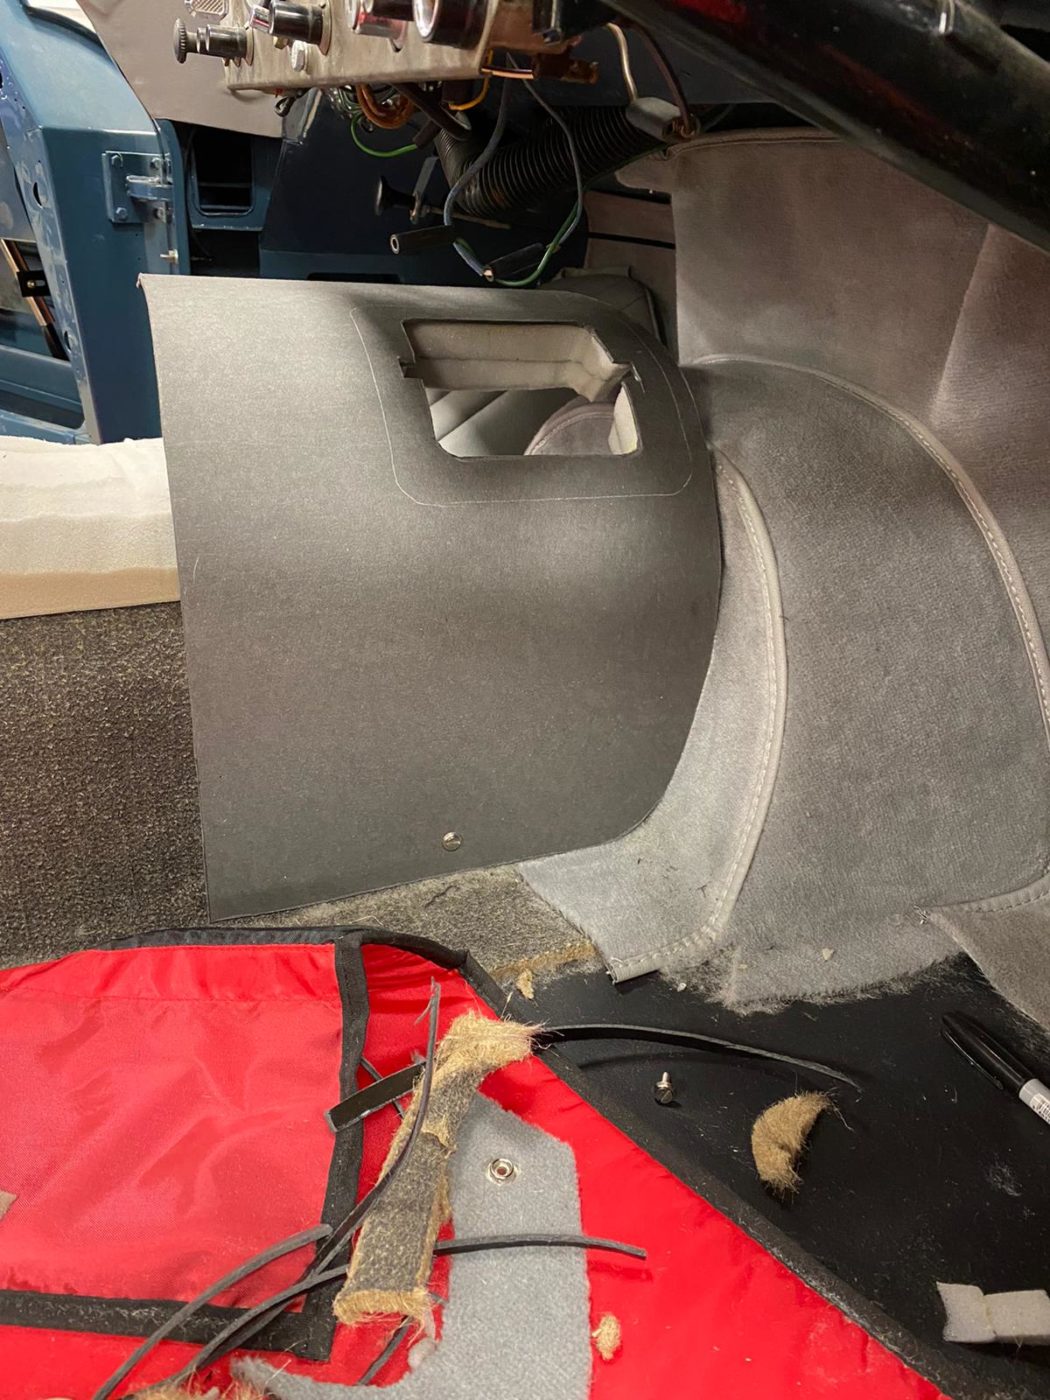
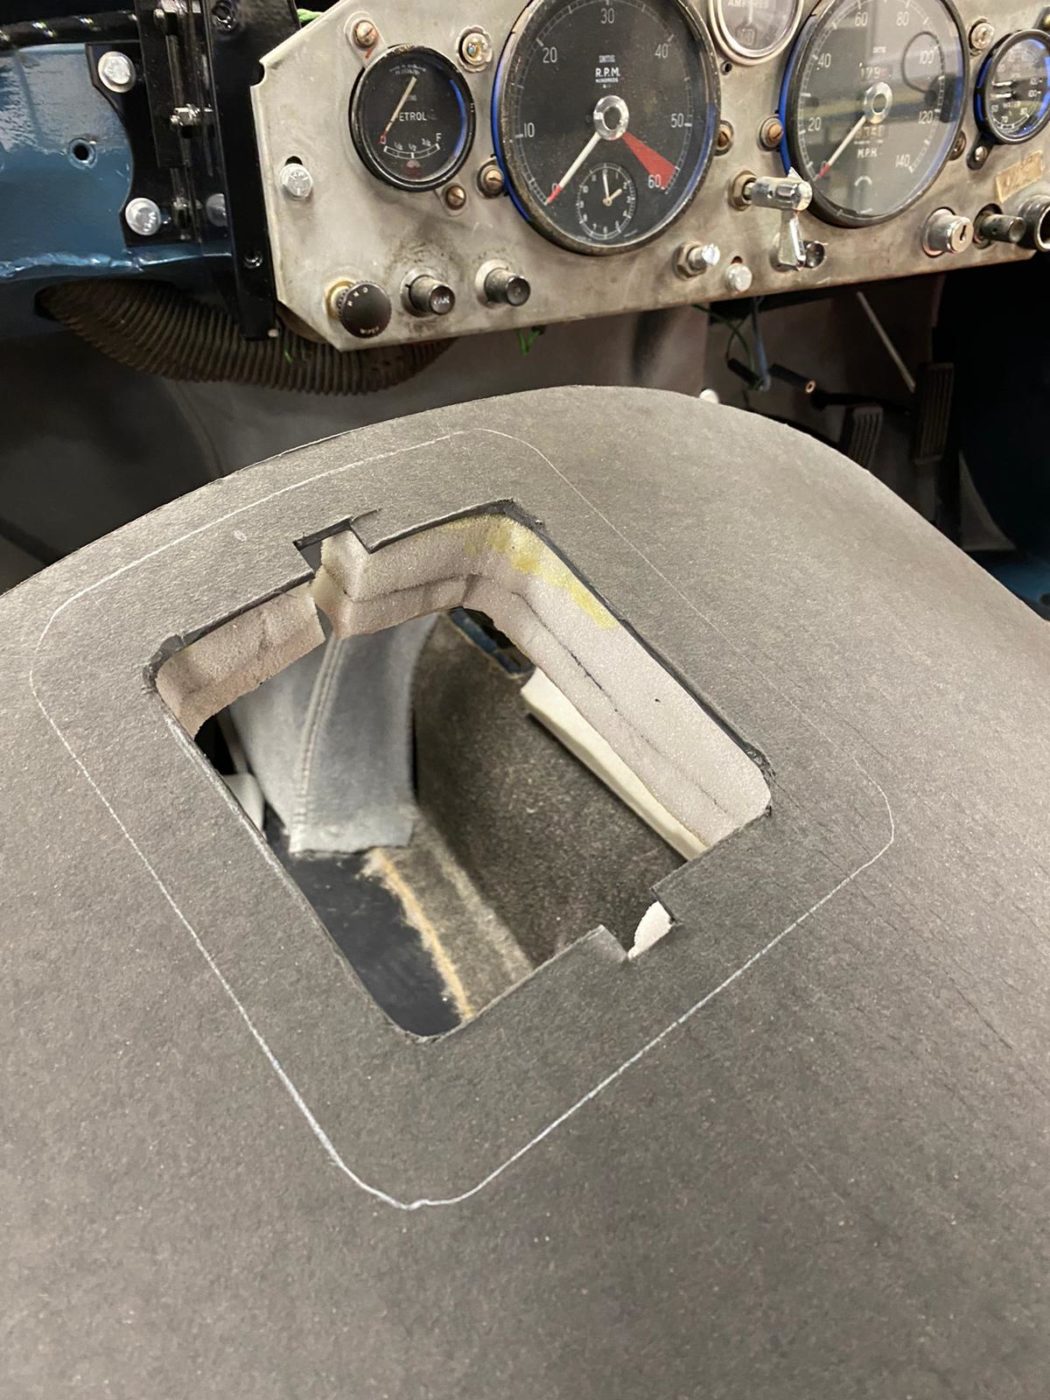
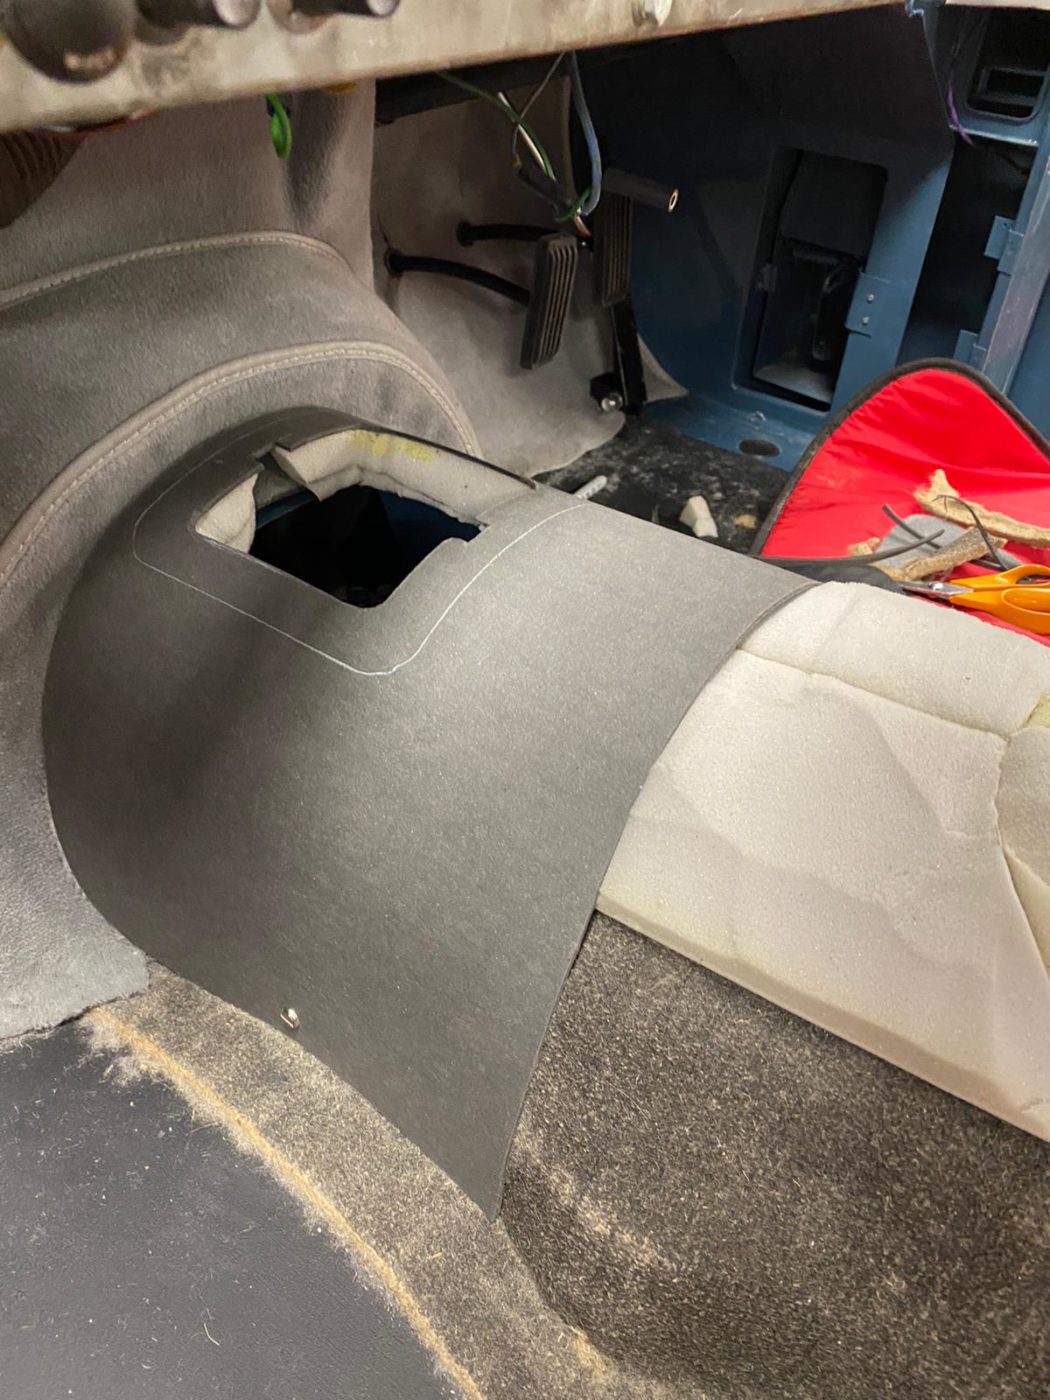
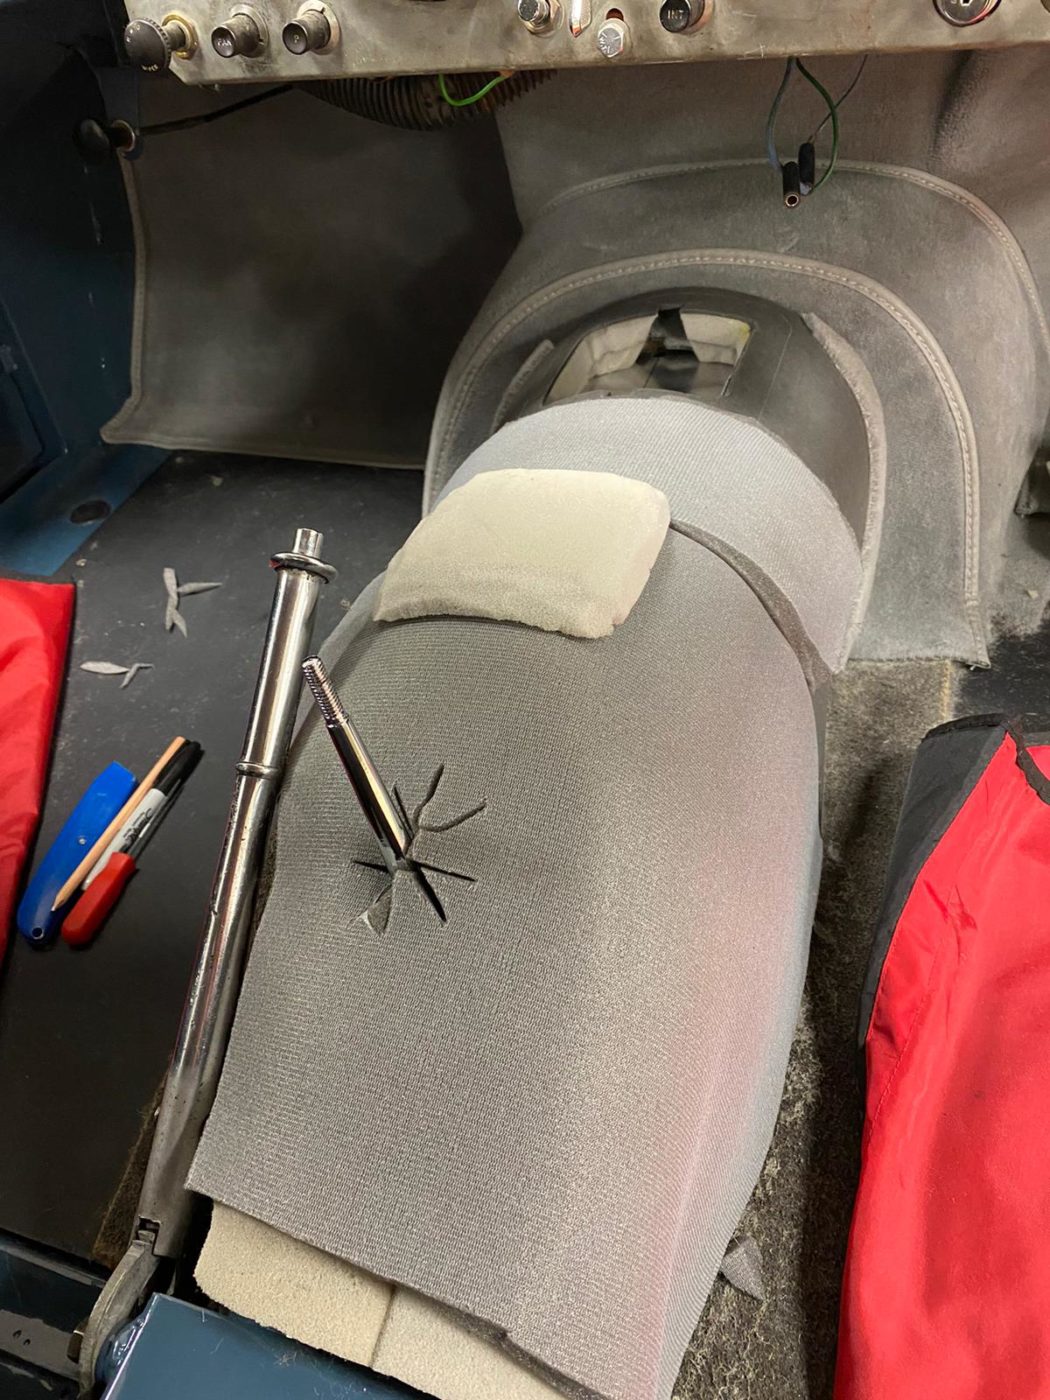
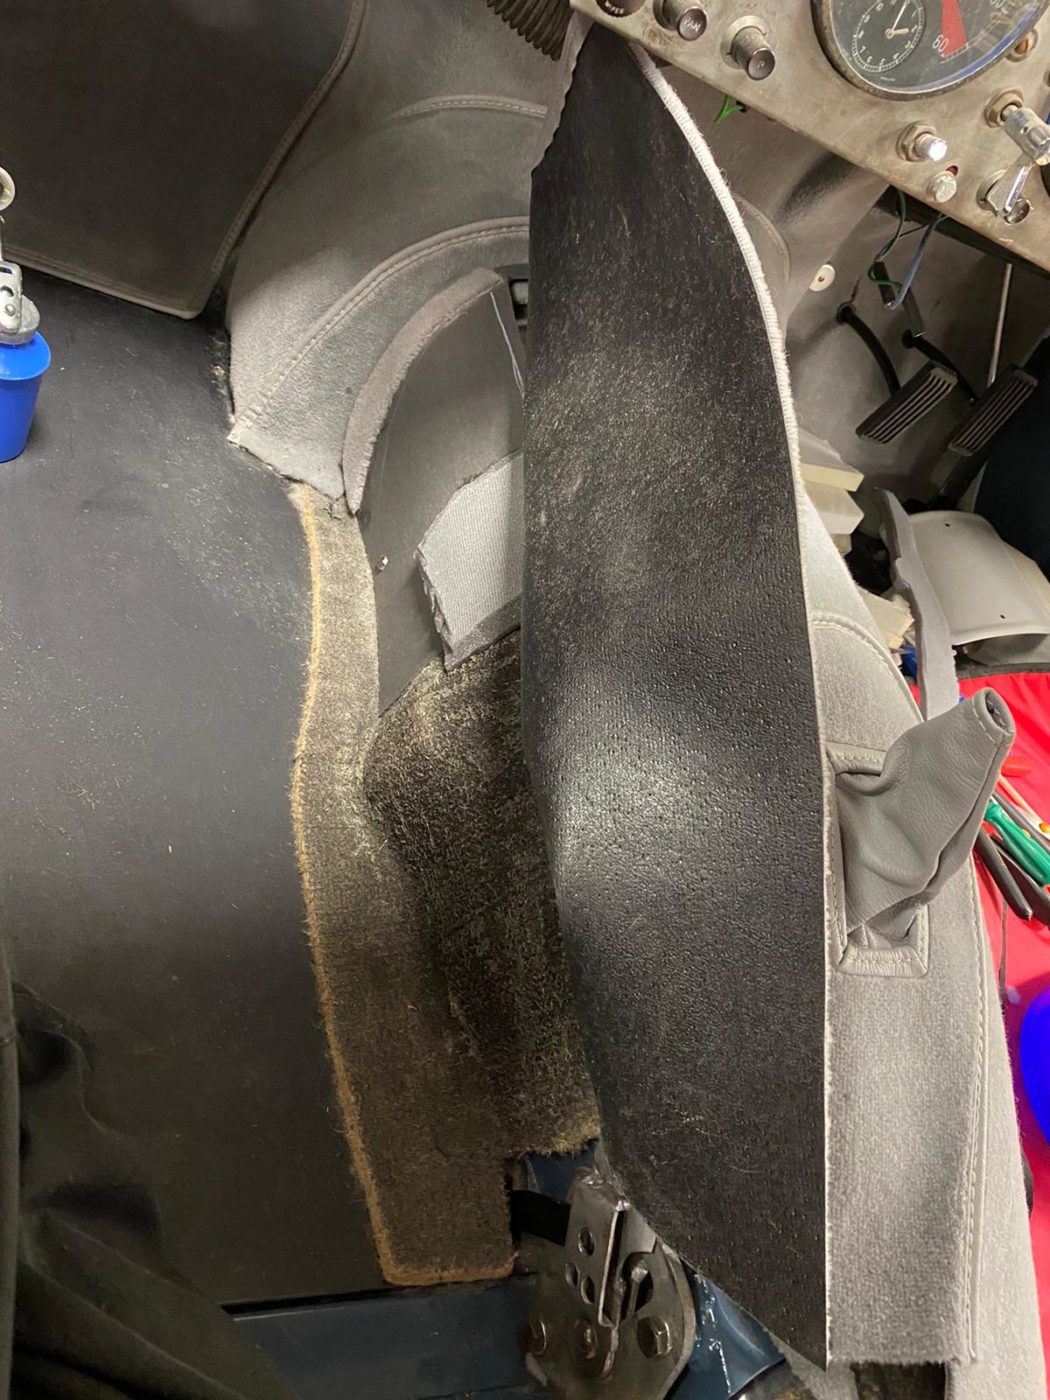
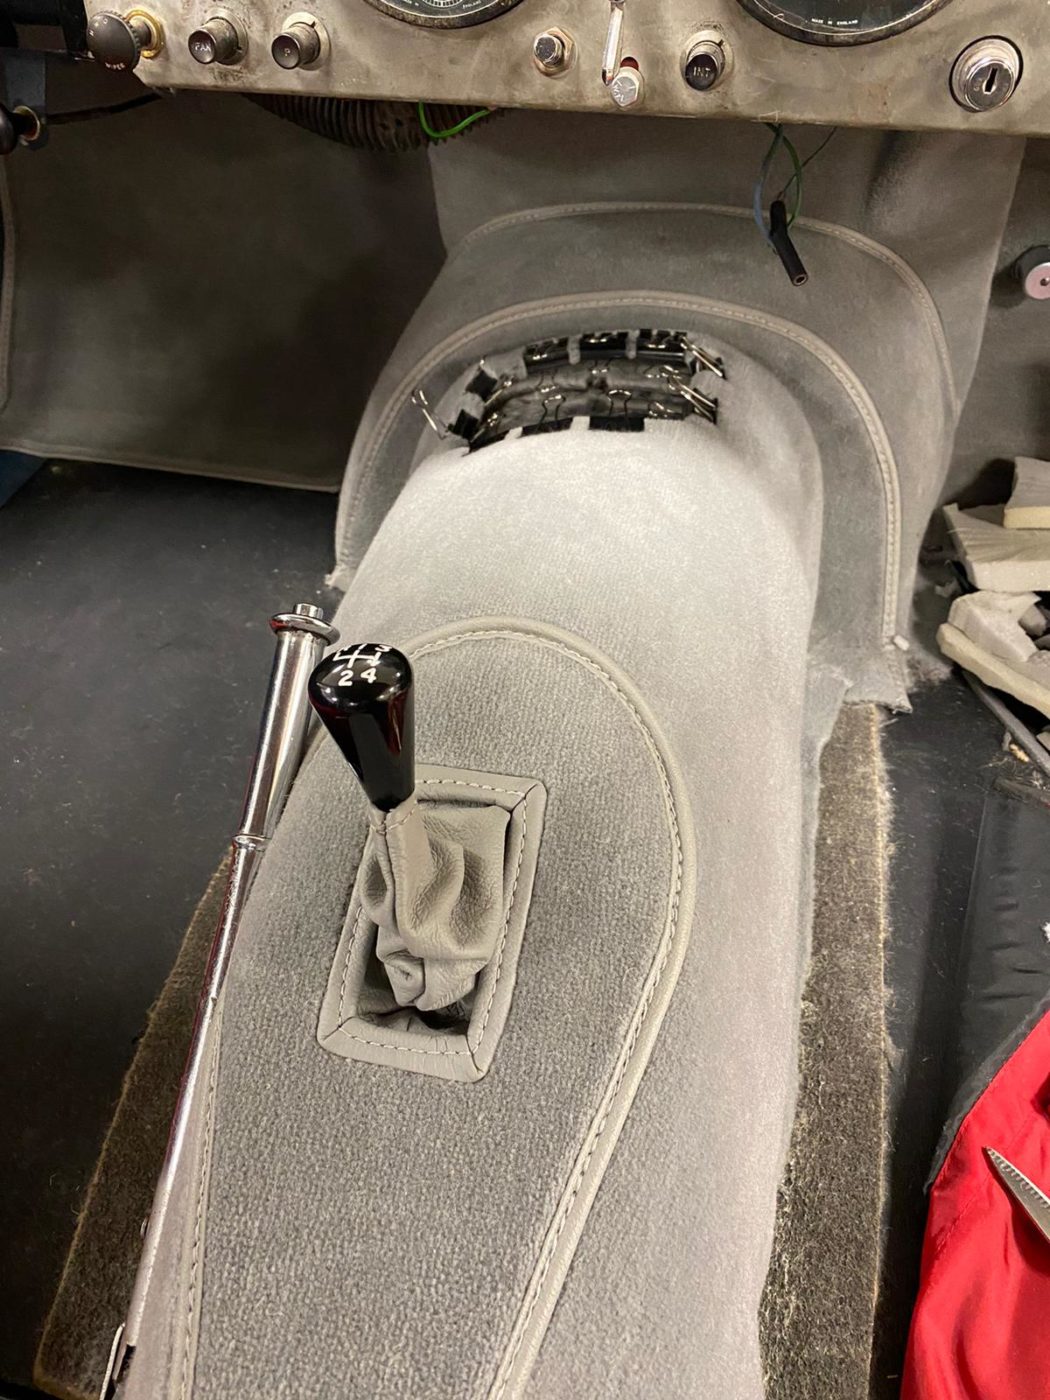
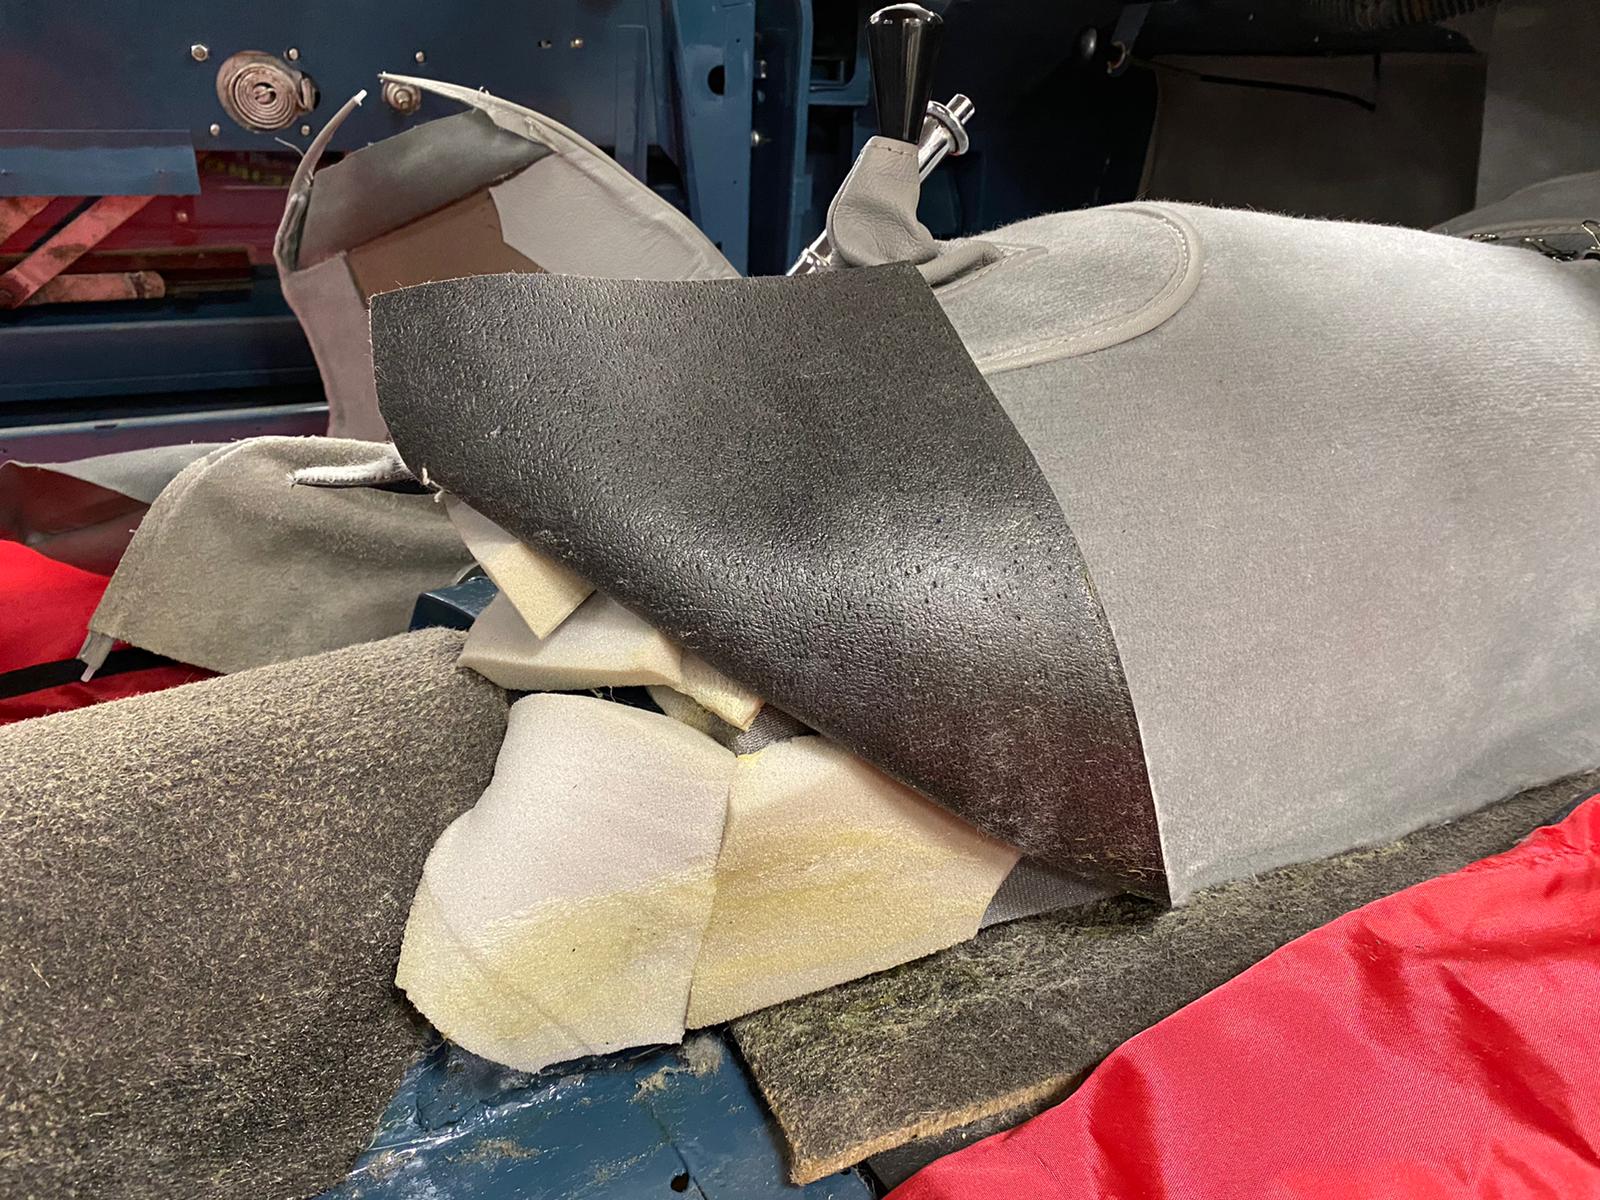
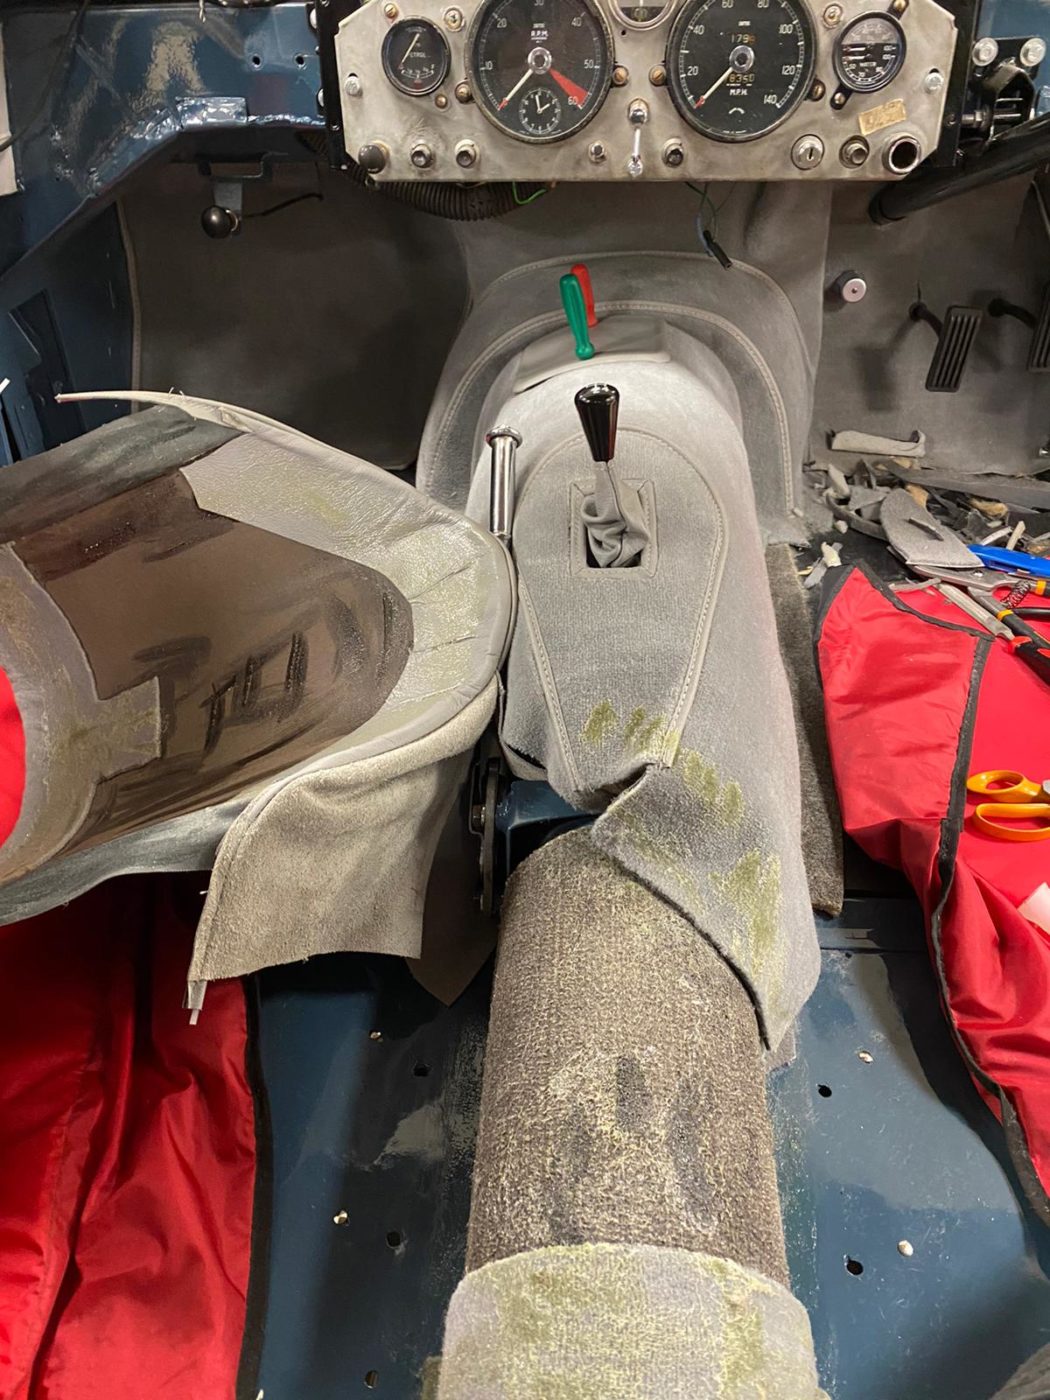
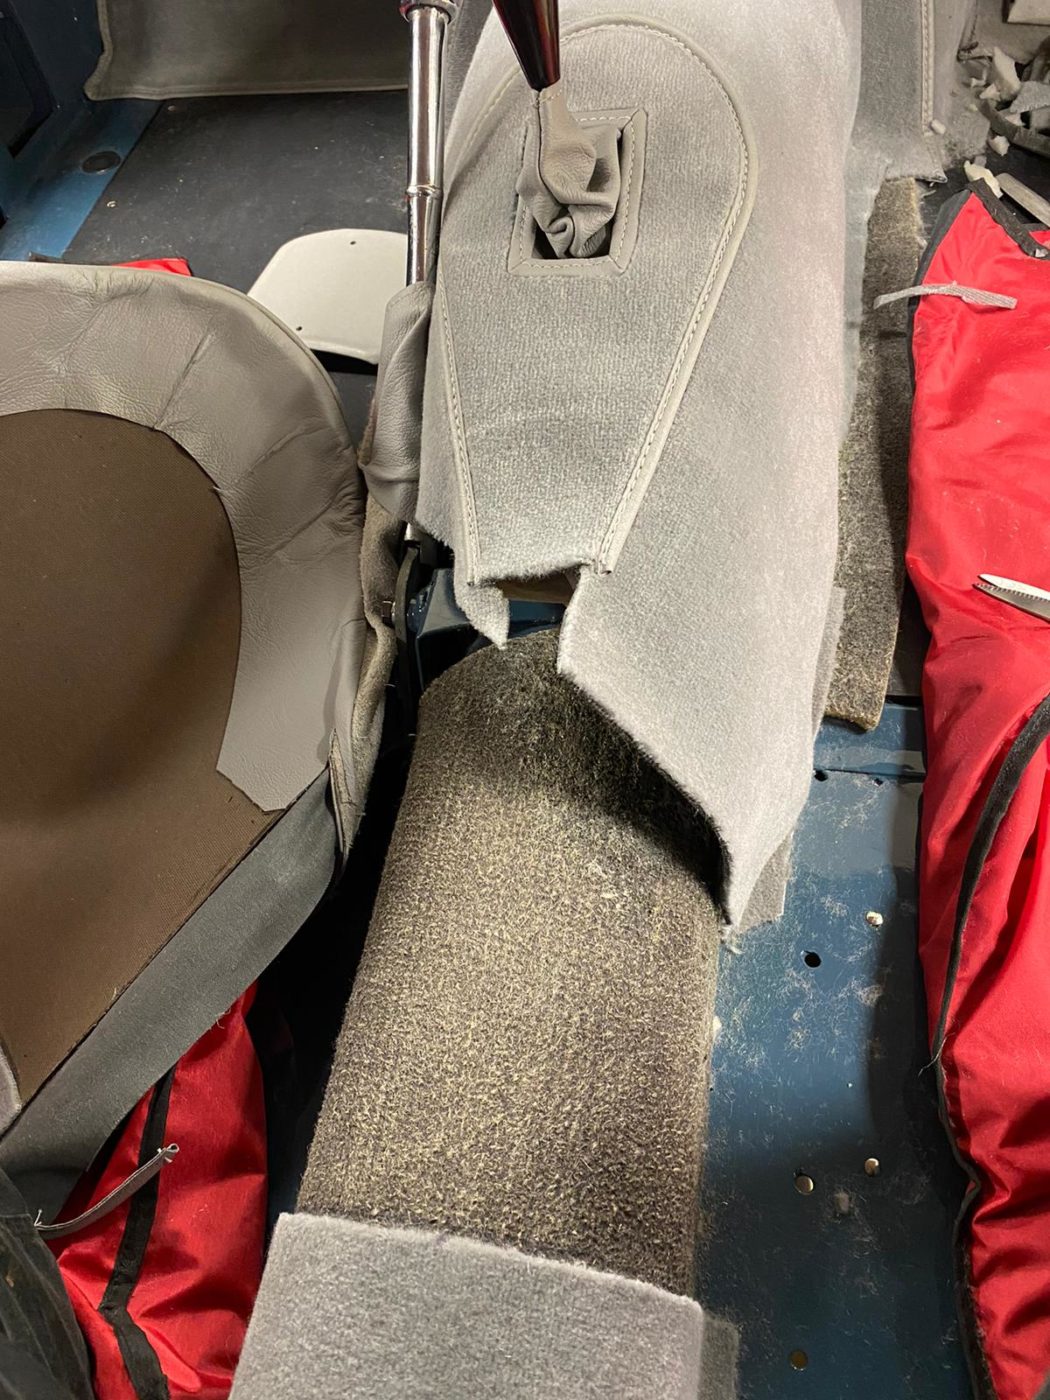
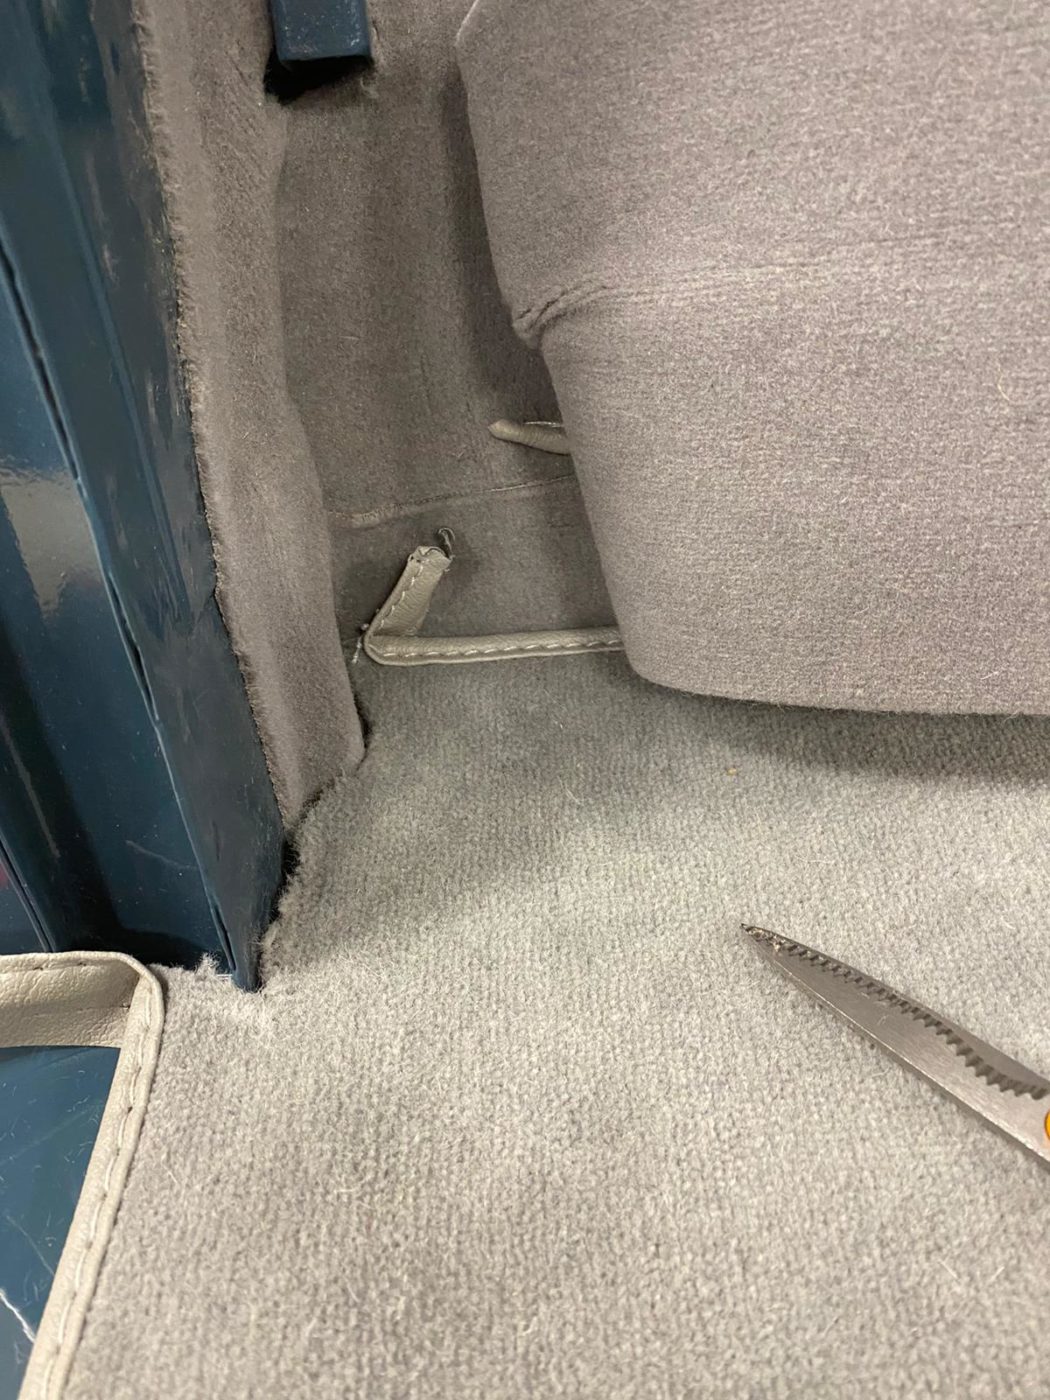
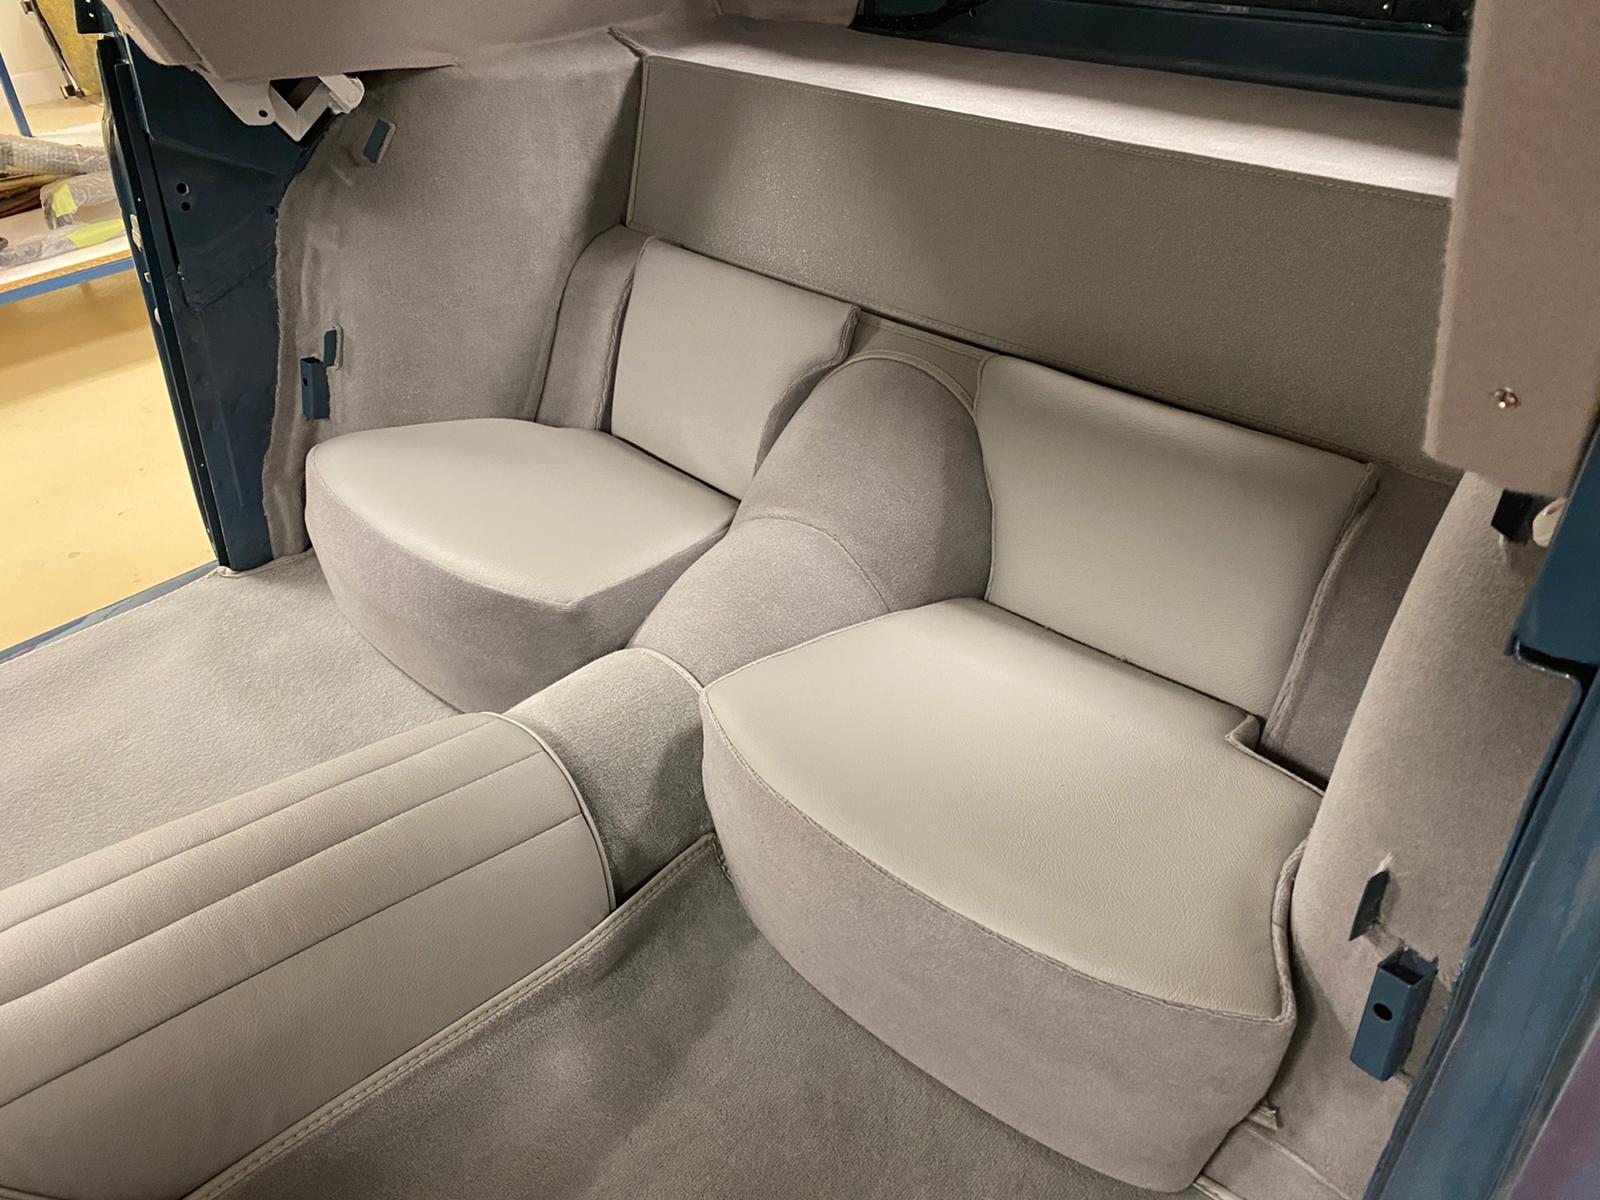
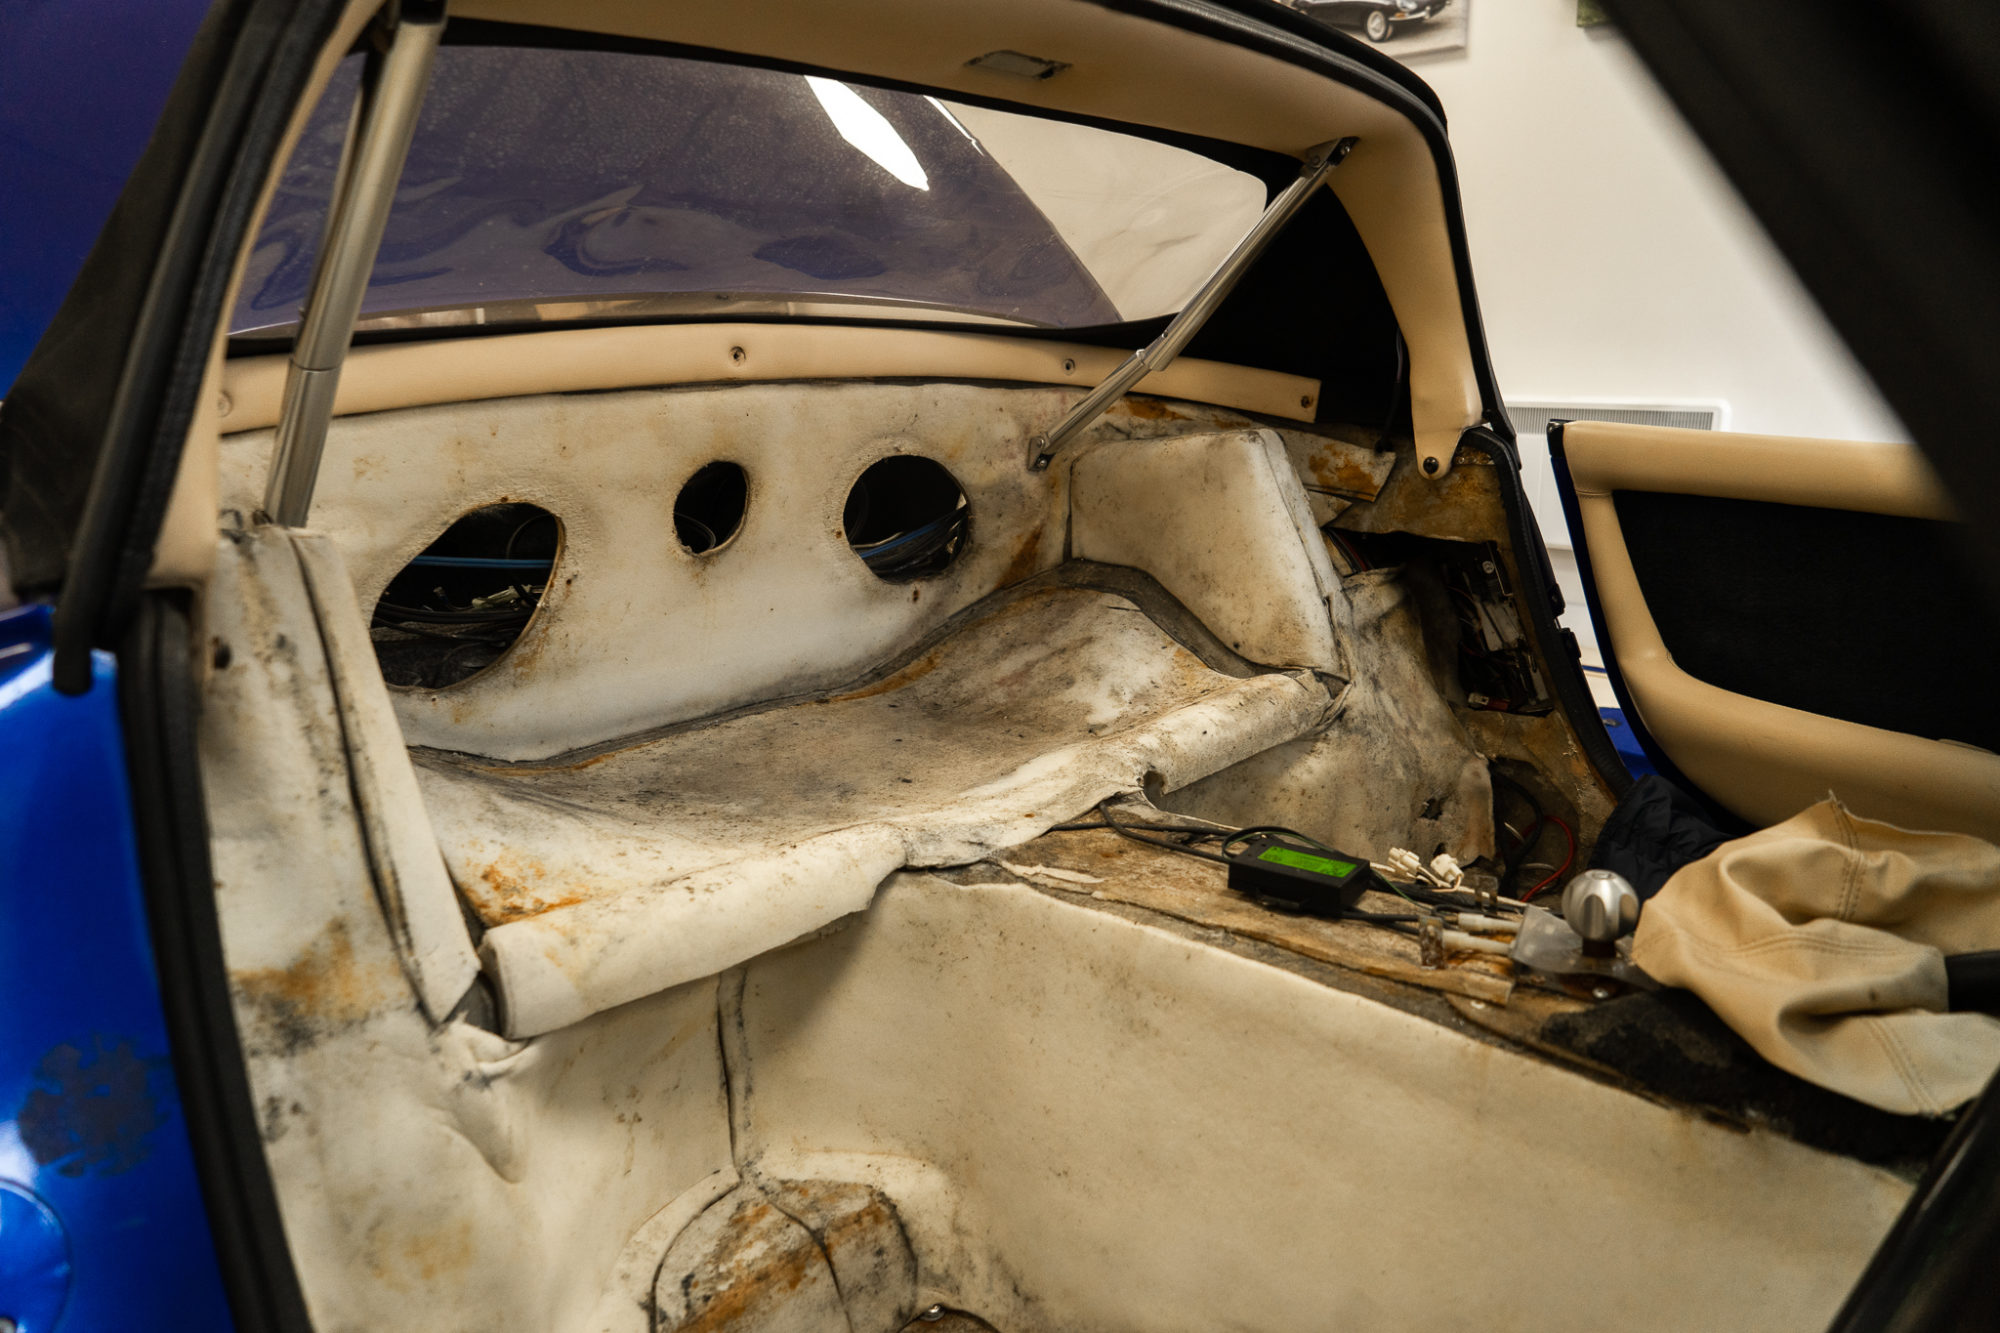
Brian and Kath stripped the TVR out ready for fitting. They started by fitting the carpet to the rear side section where the seat belts fit. Next, they fitted the side sill carpets, wheel arch sections, and cut out the foam to go in rear cockpit section.
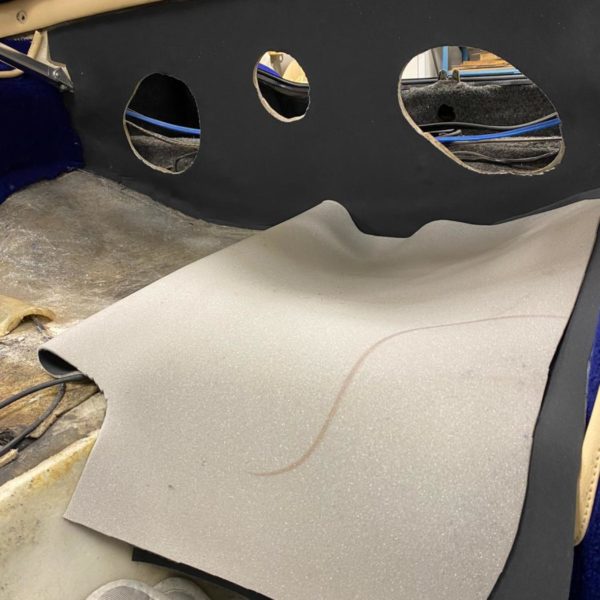
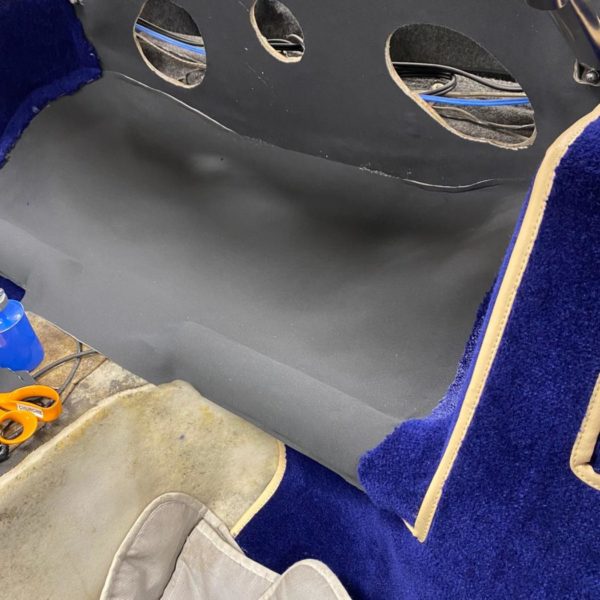
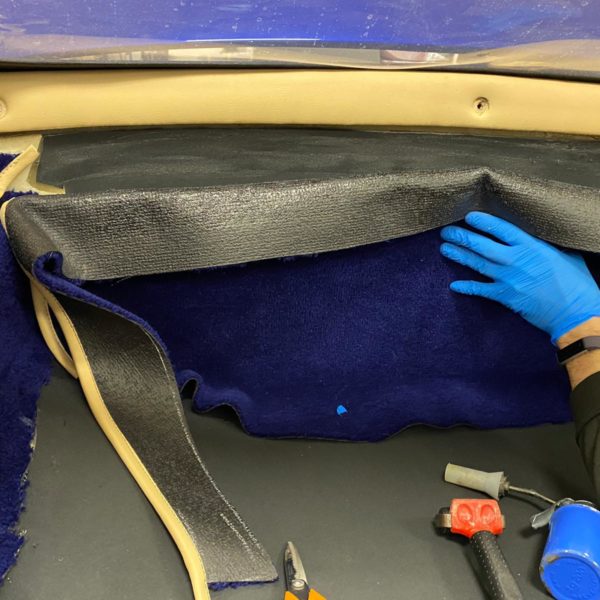
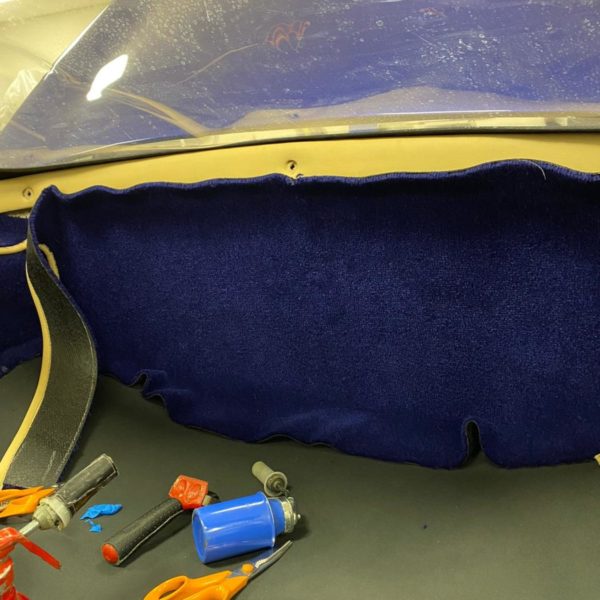
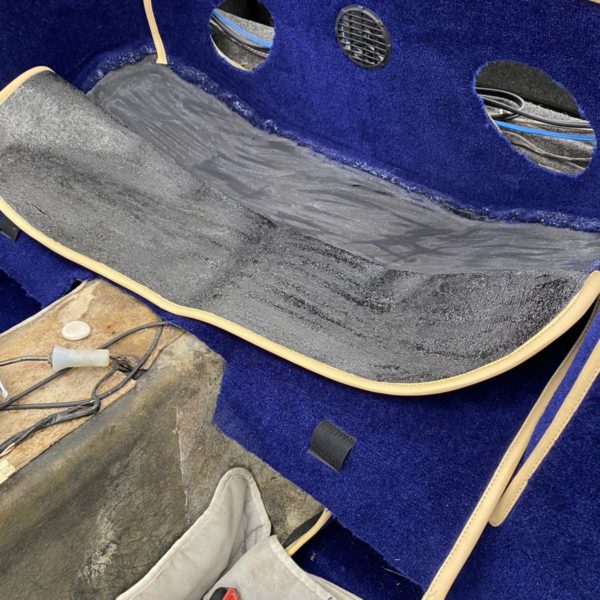
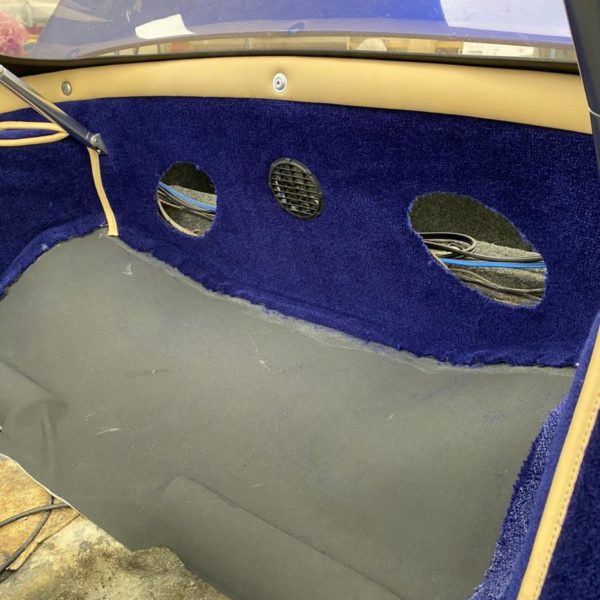
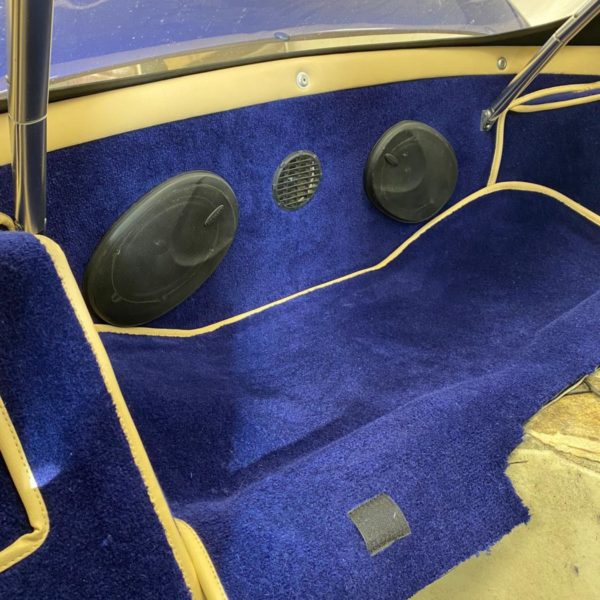
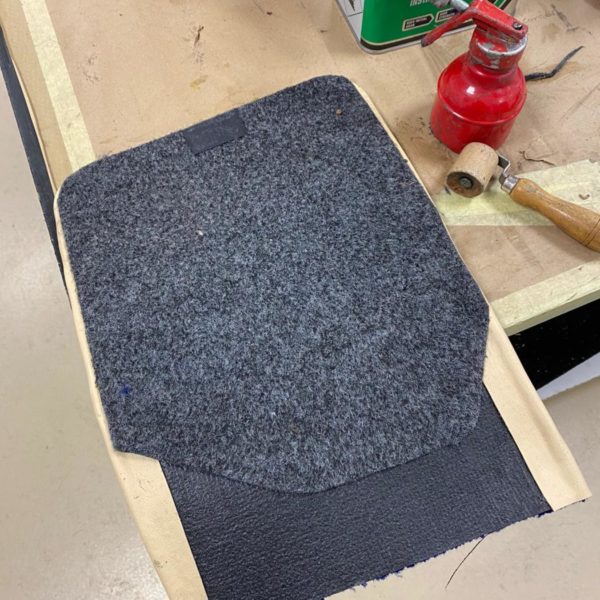
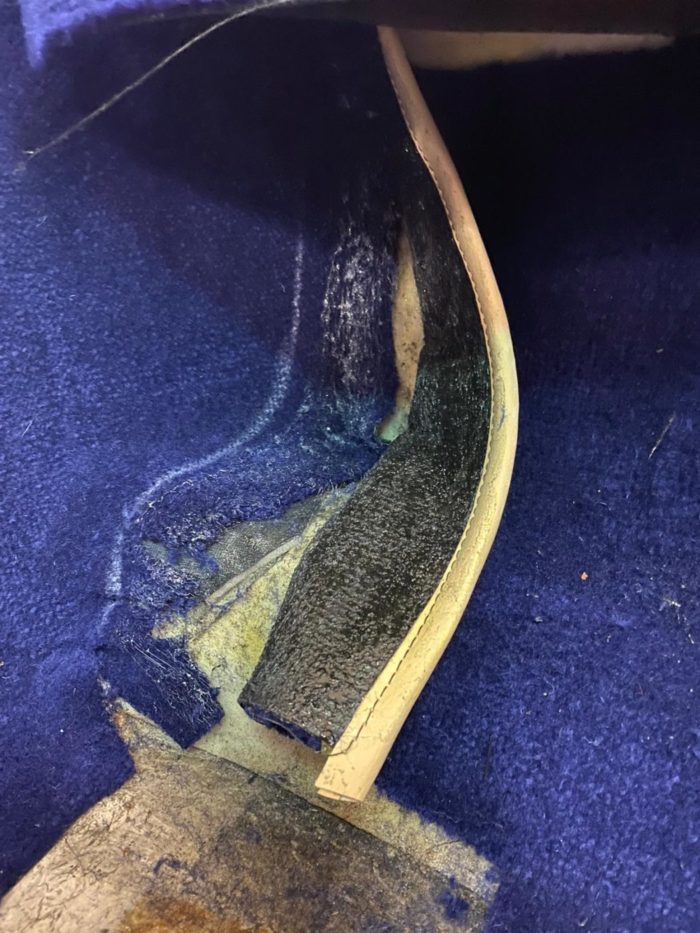
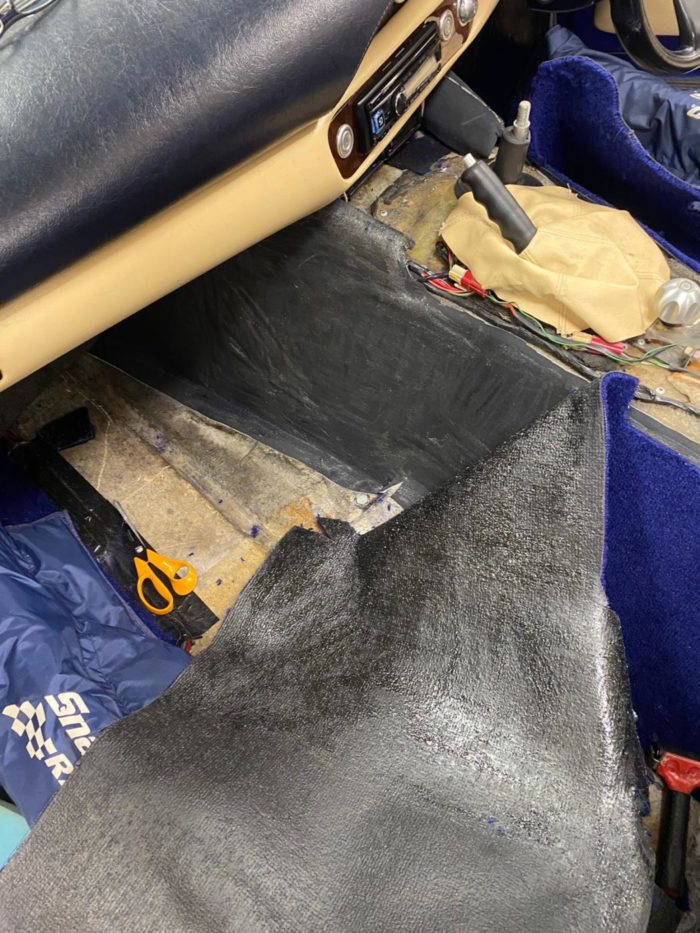
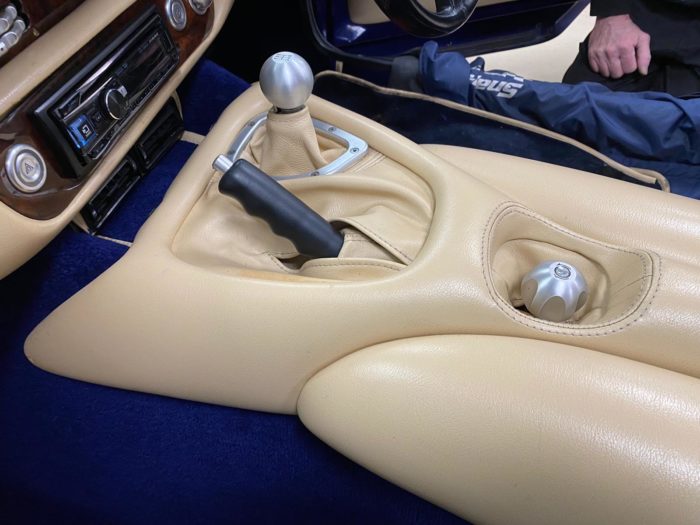
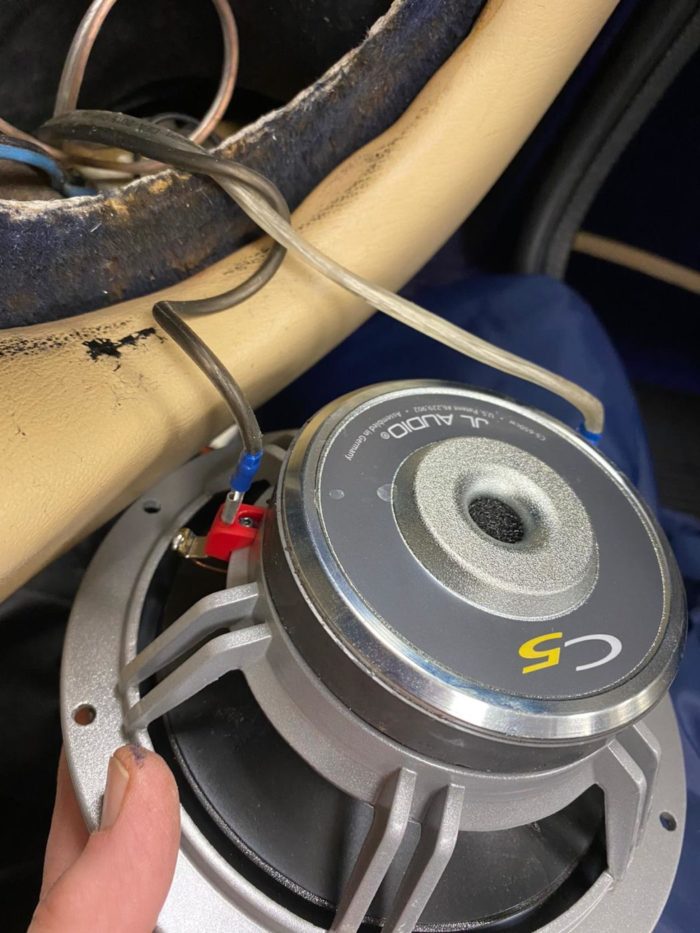
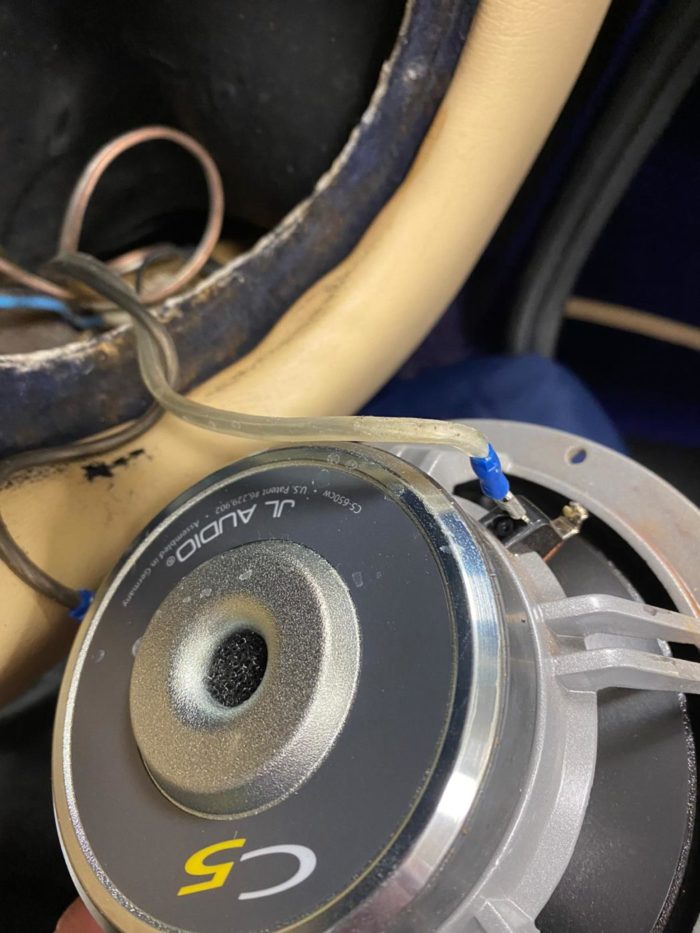
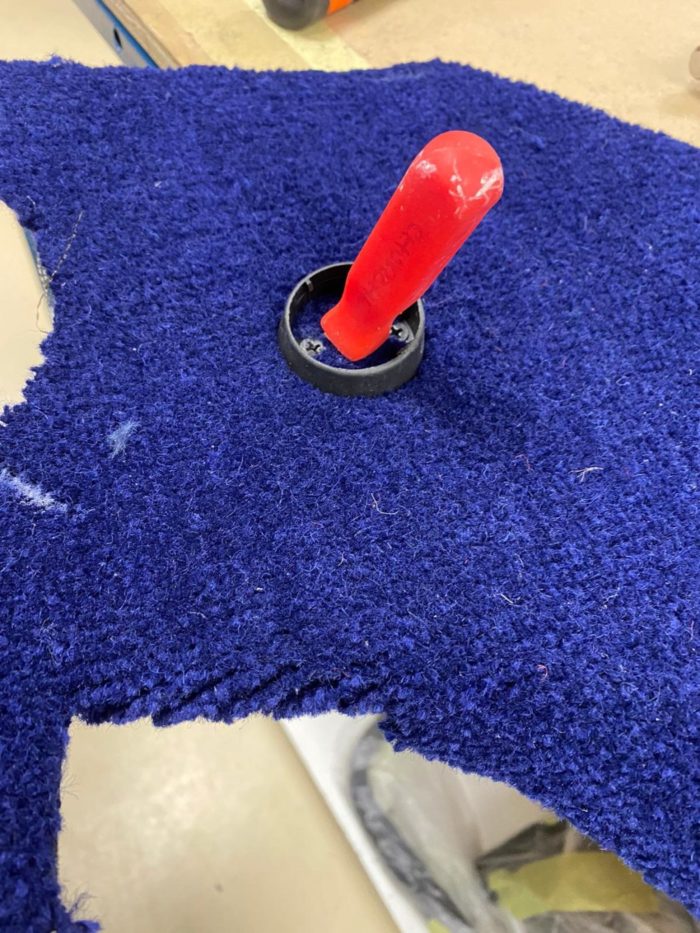
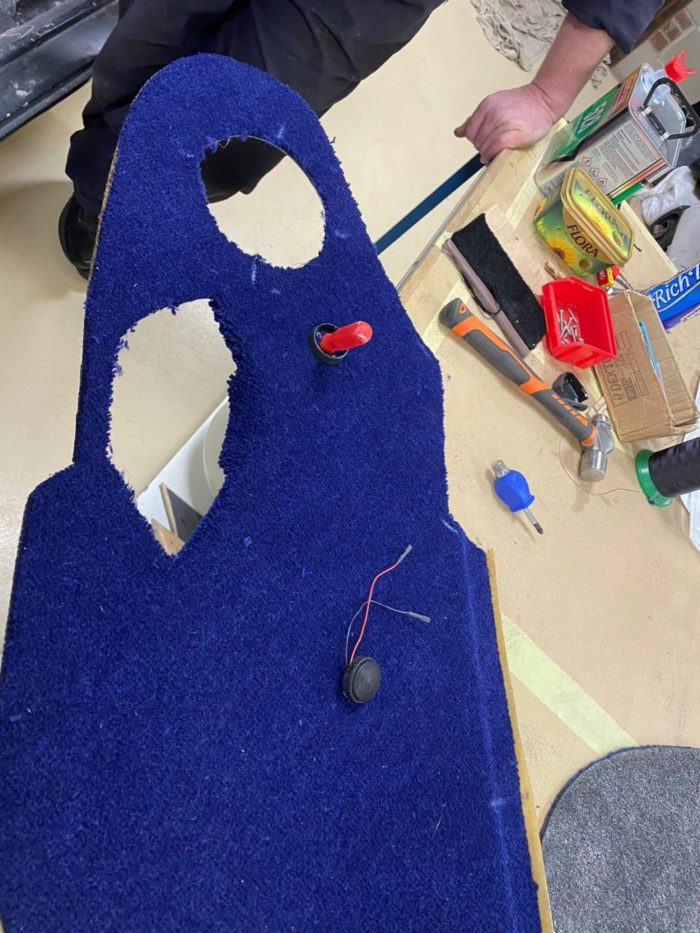
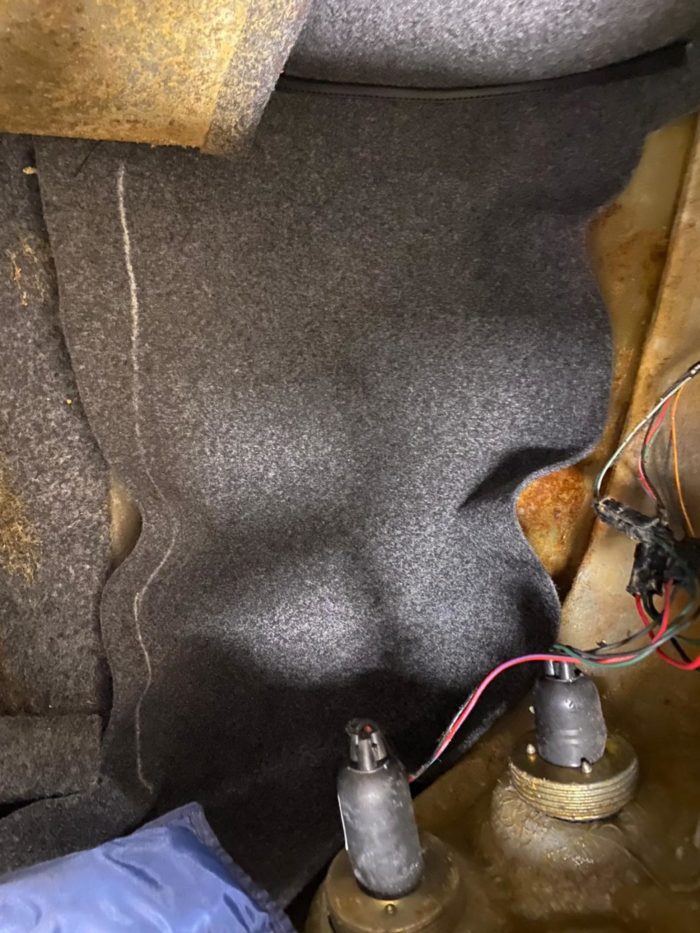
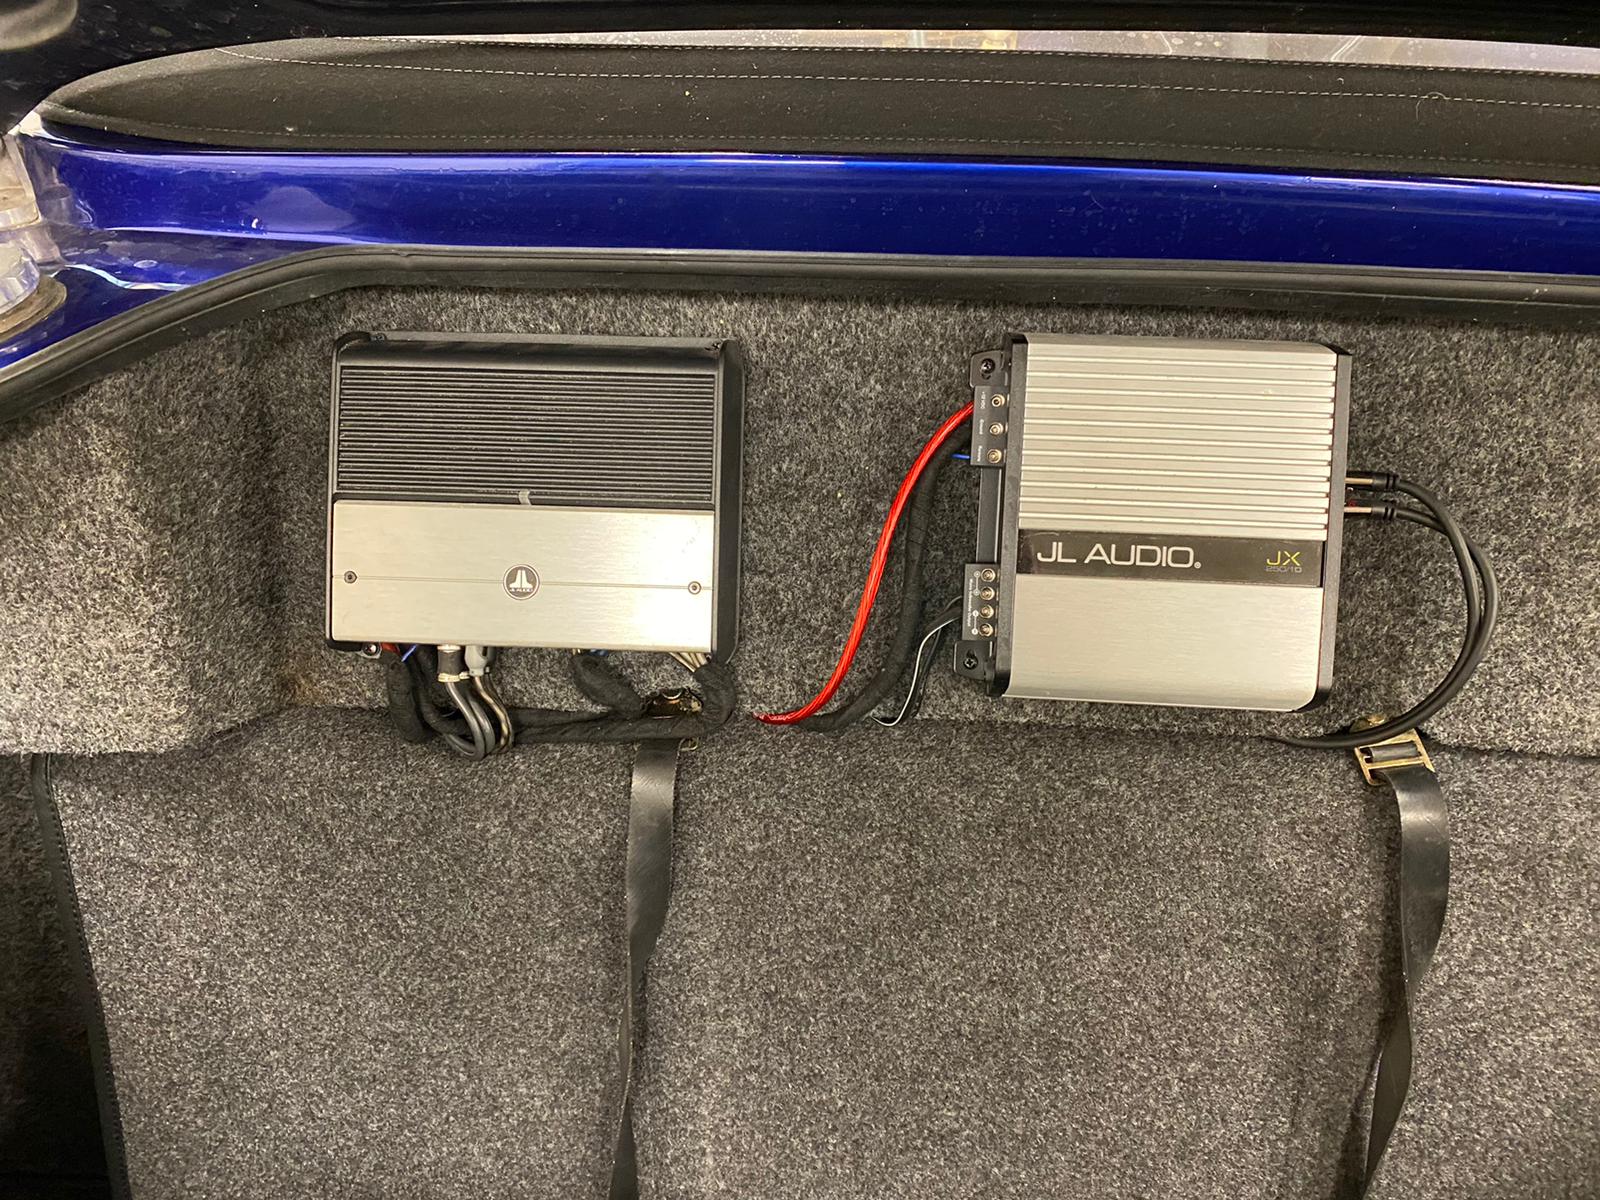
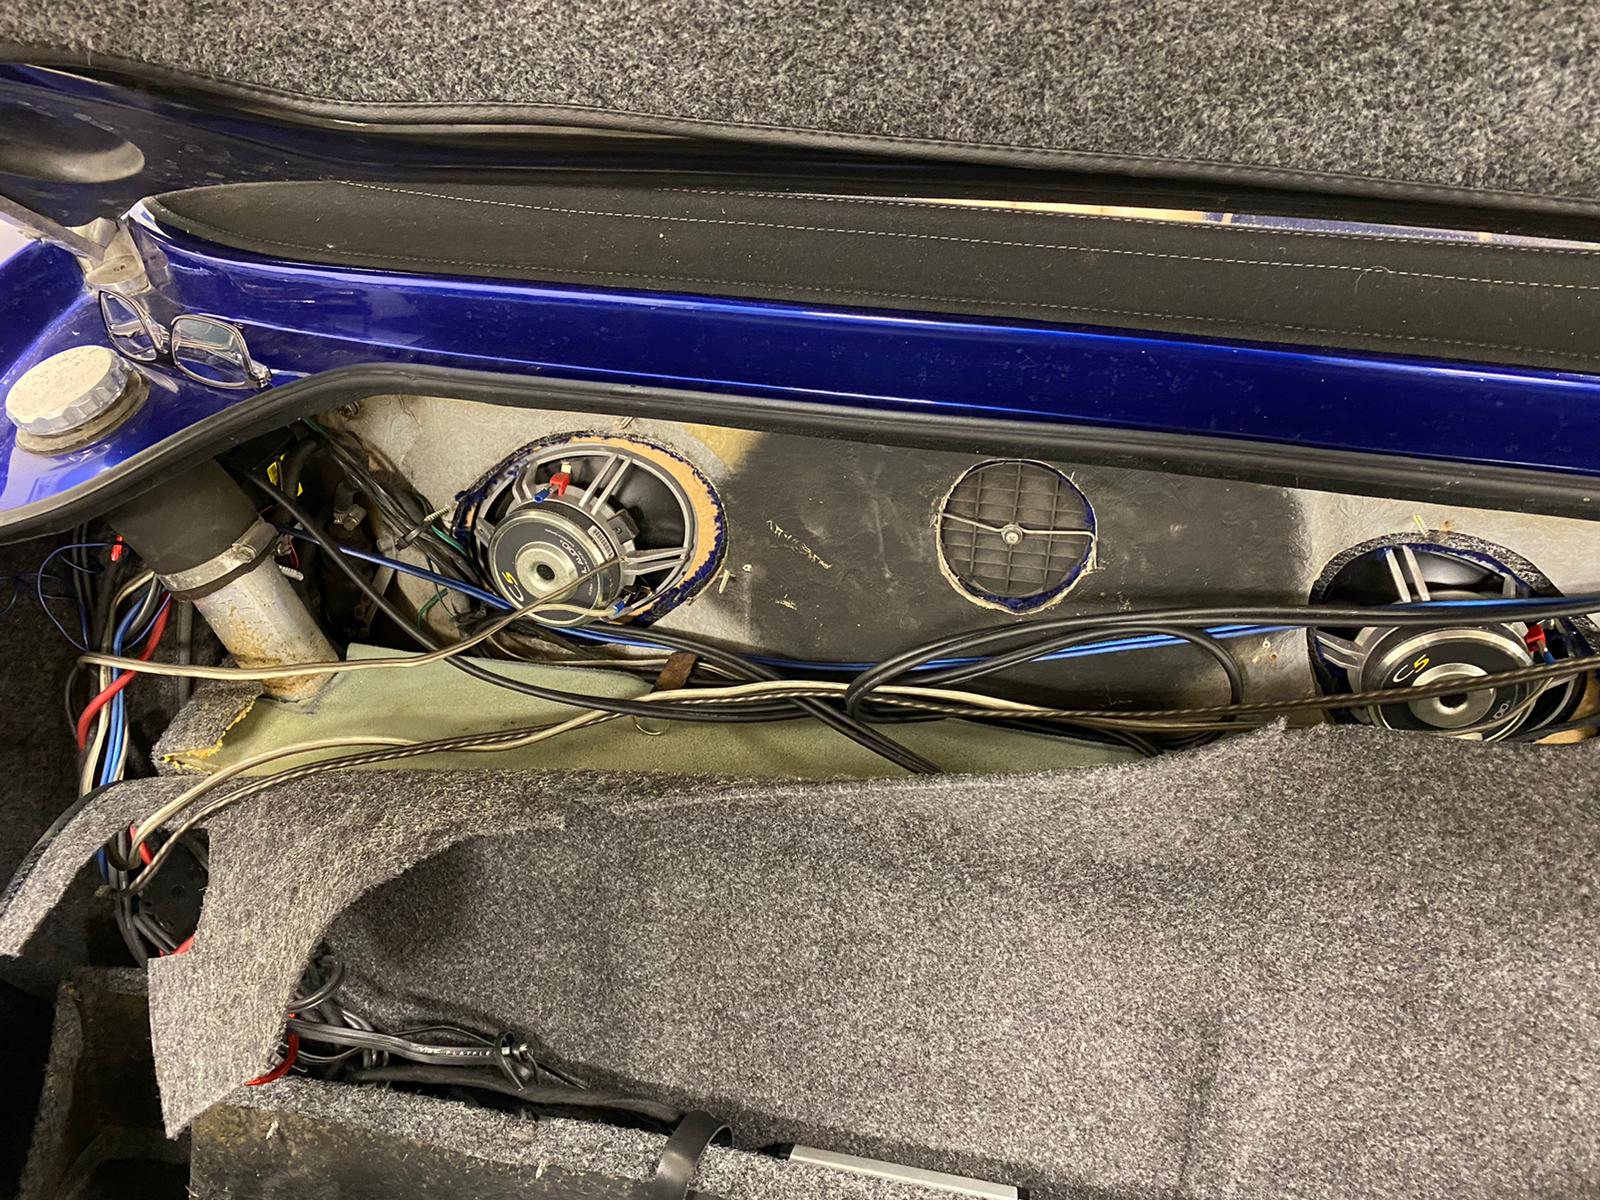
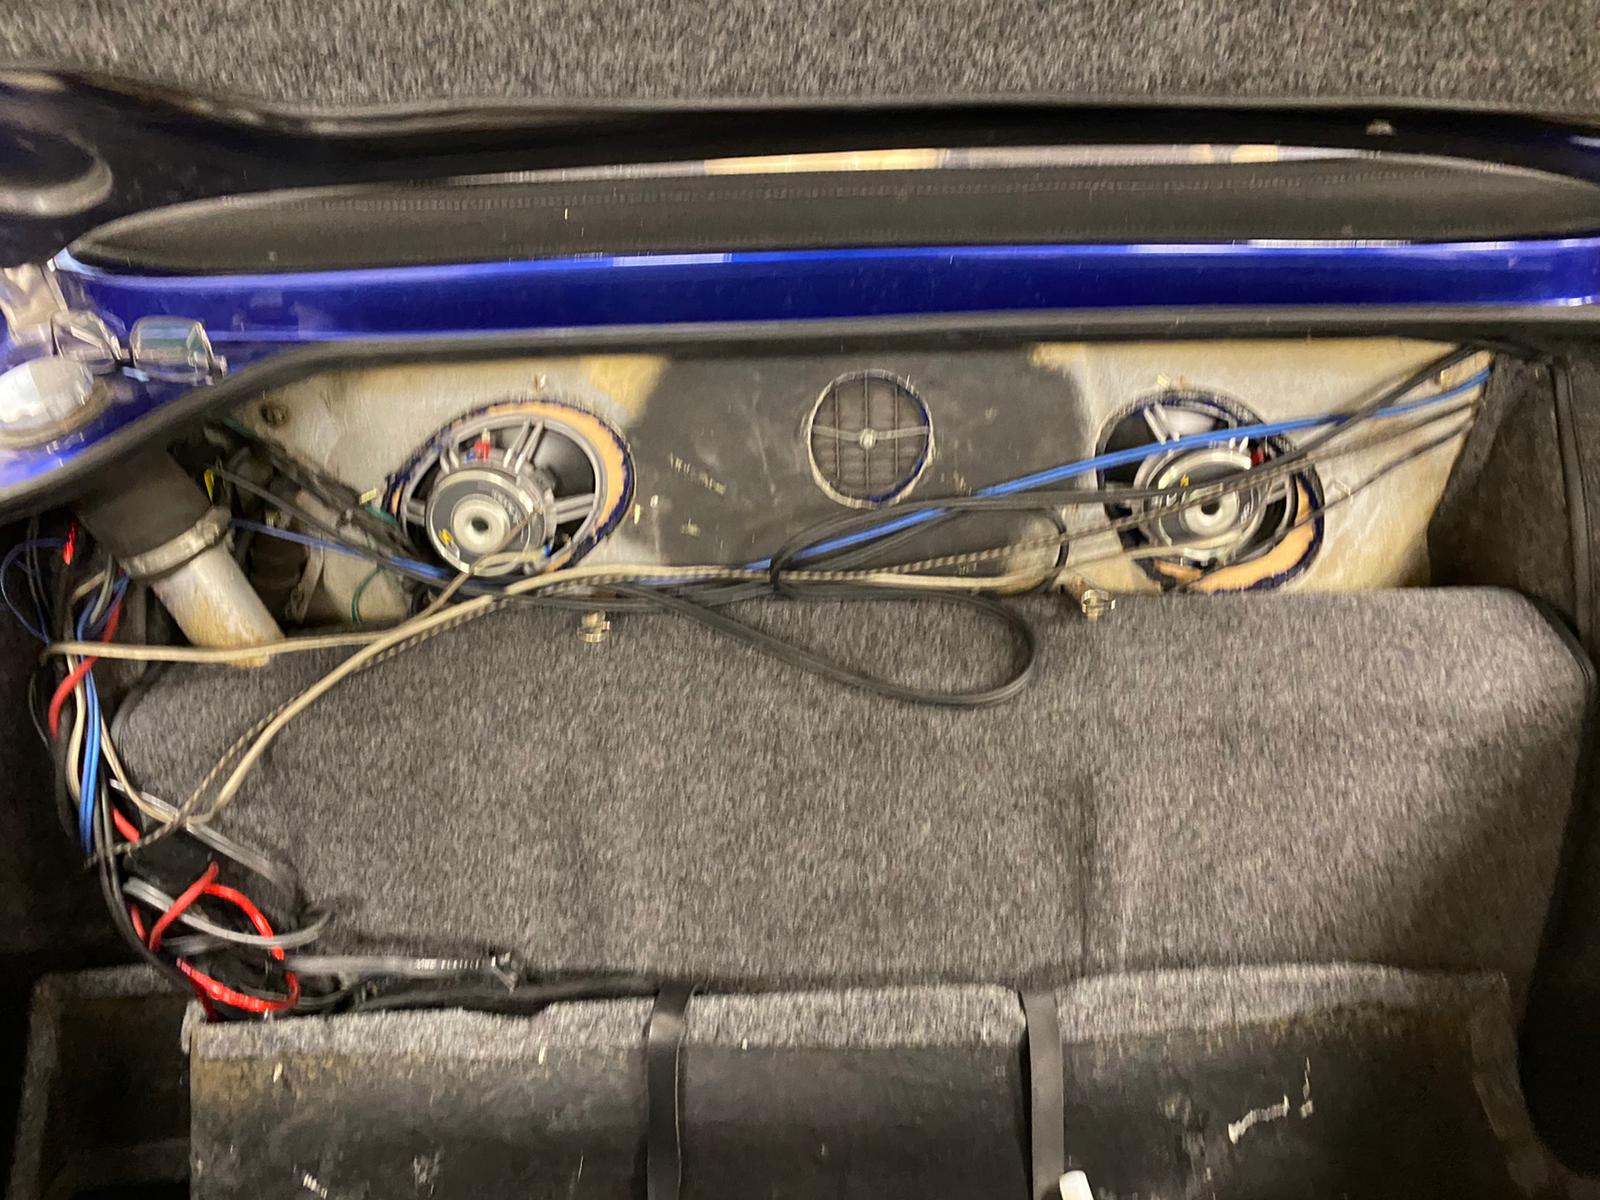
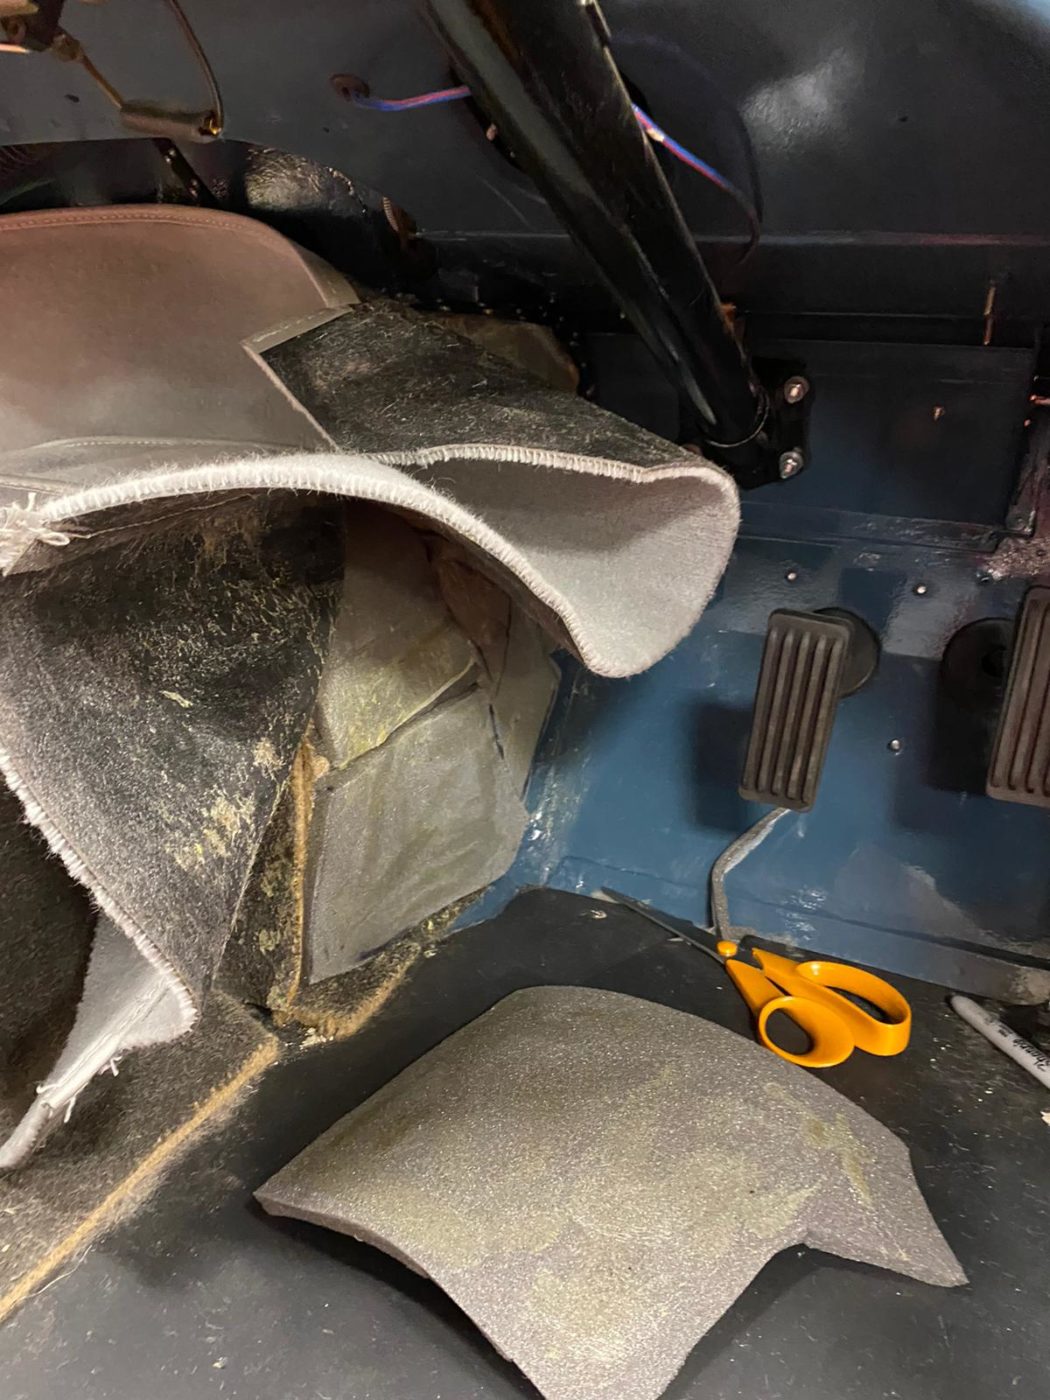
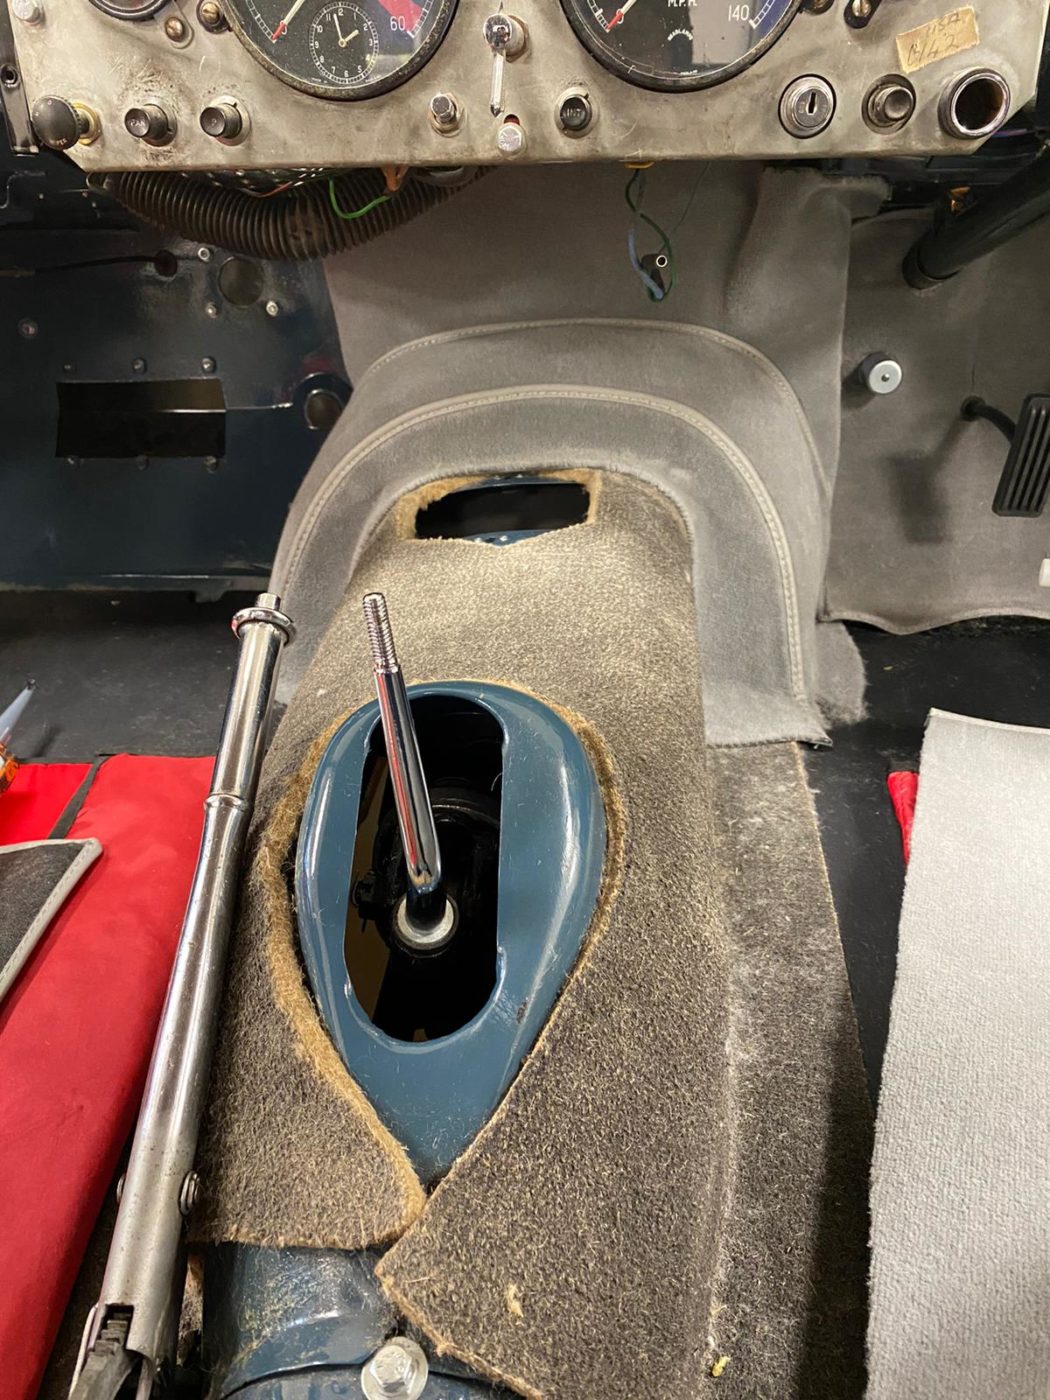
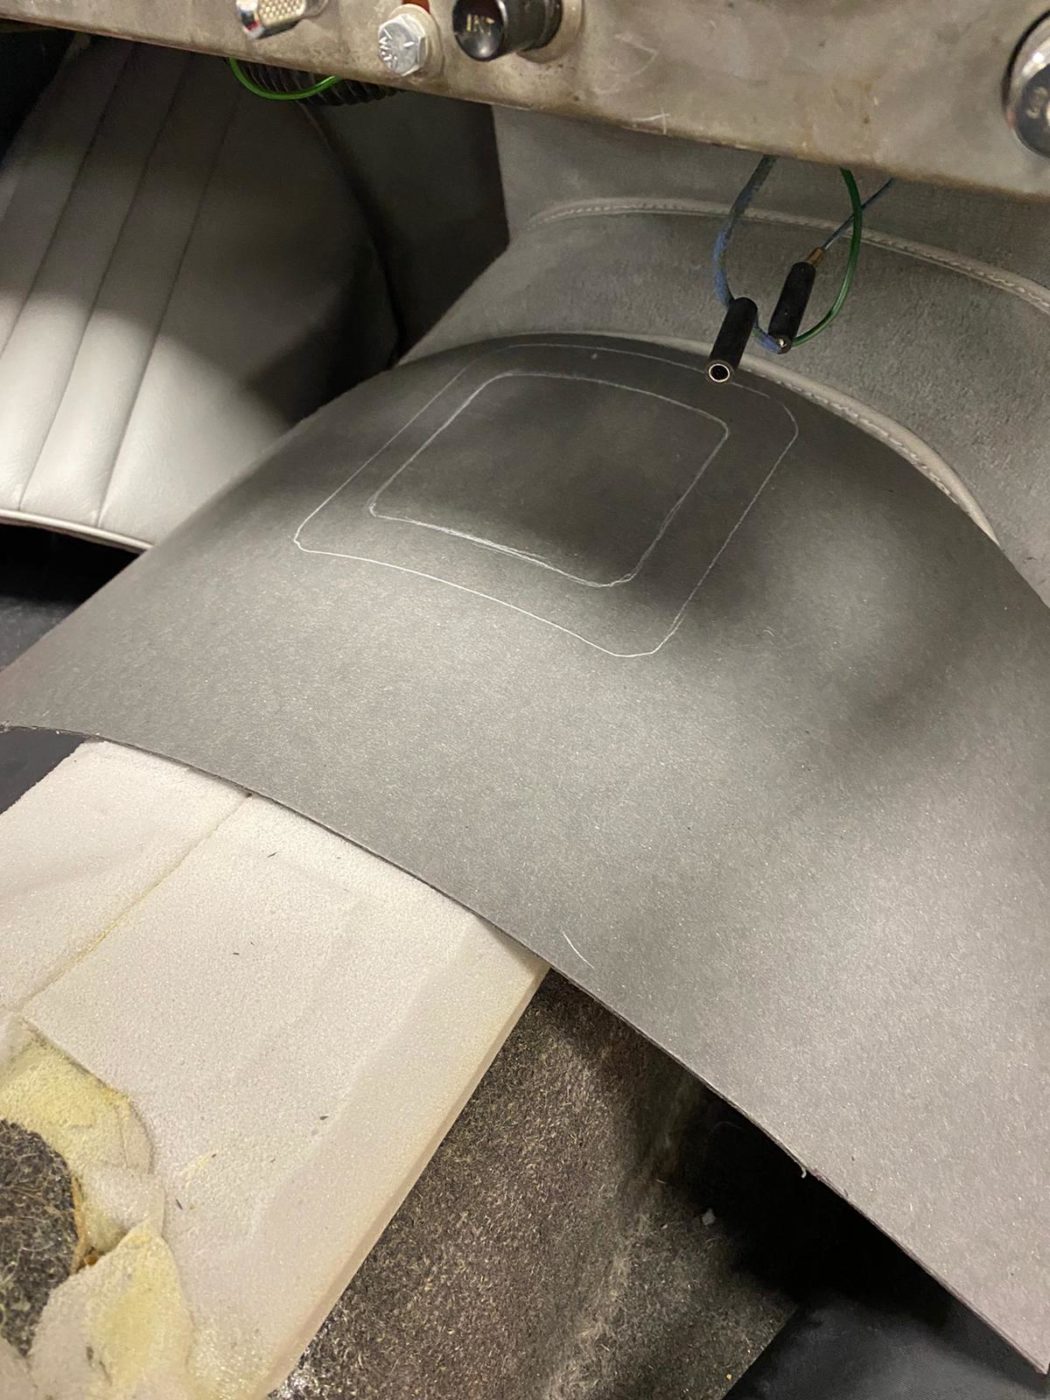
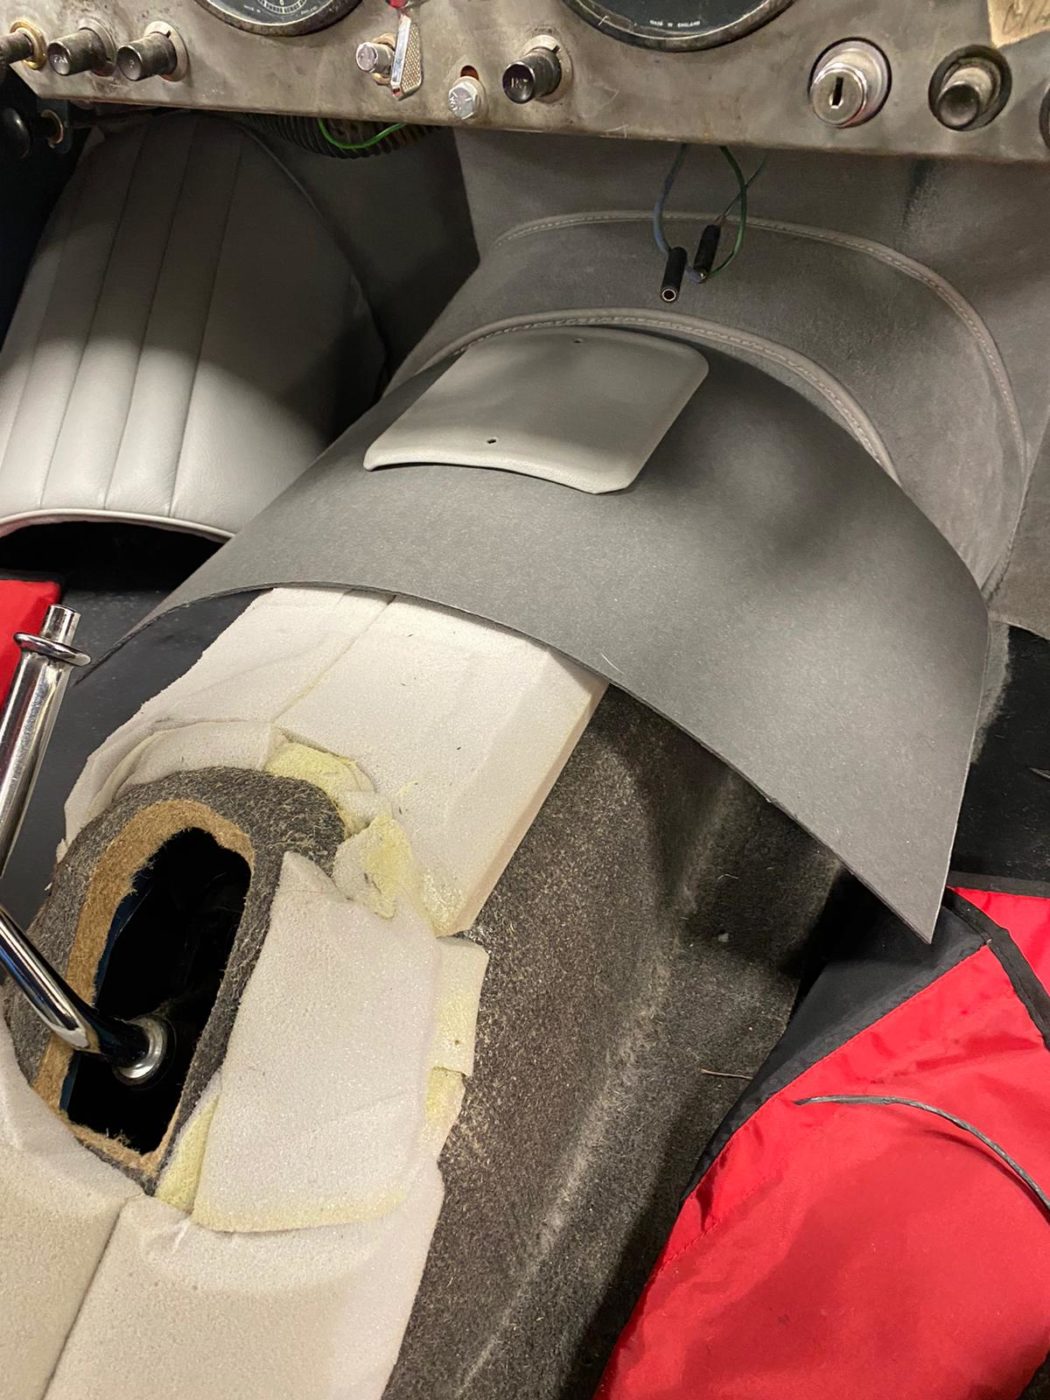
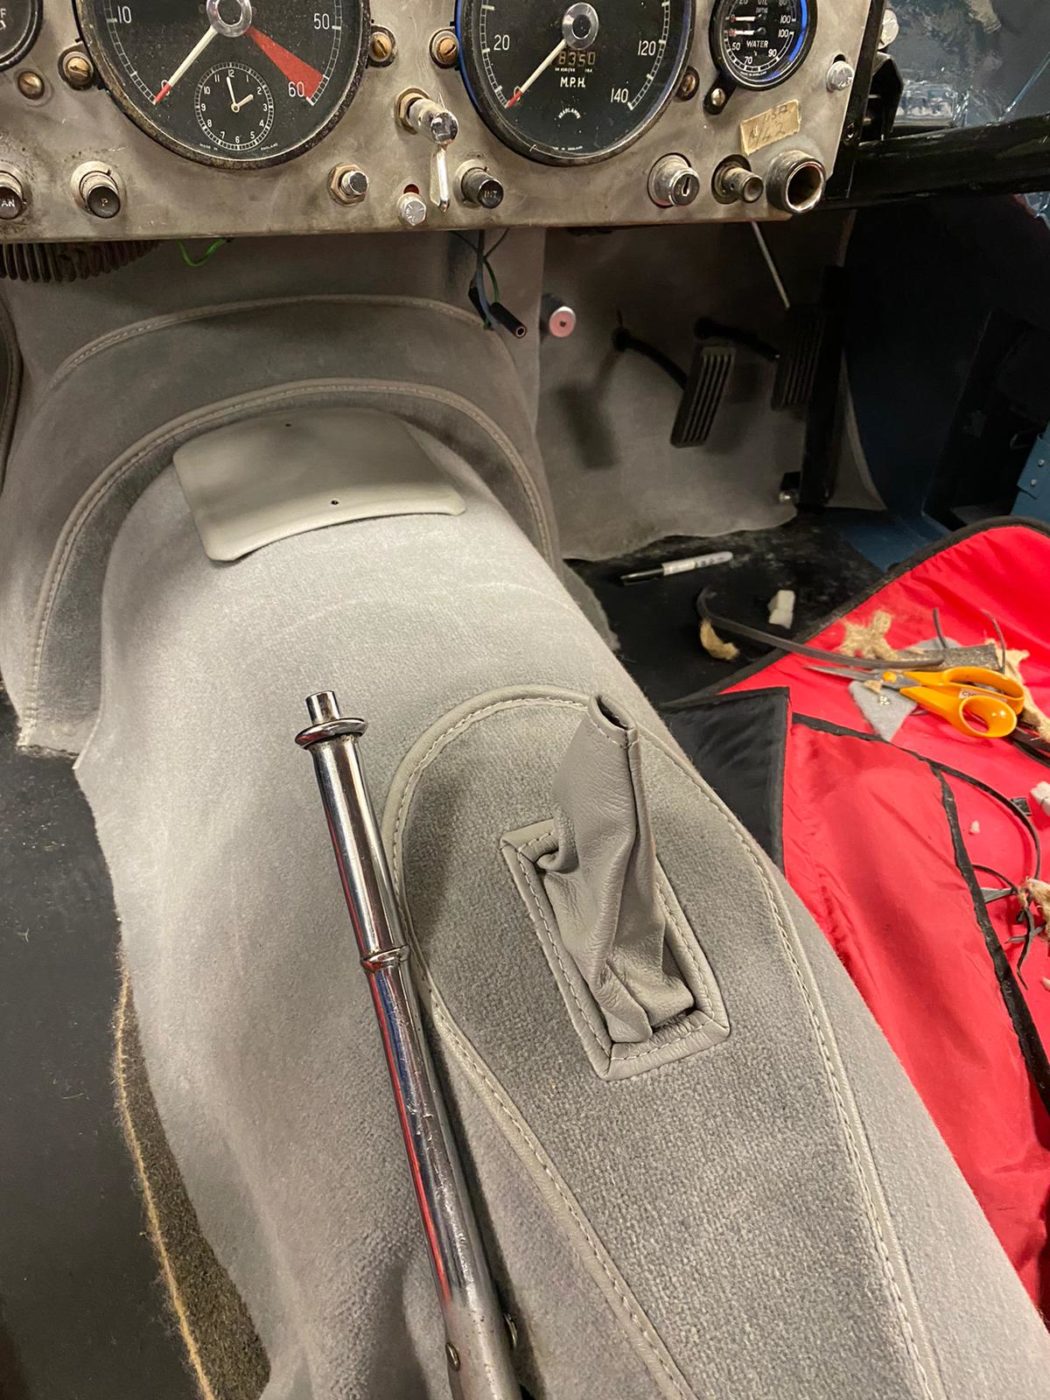
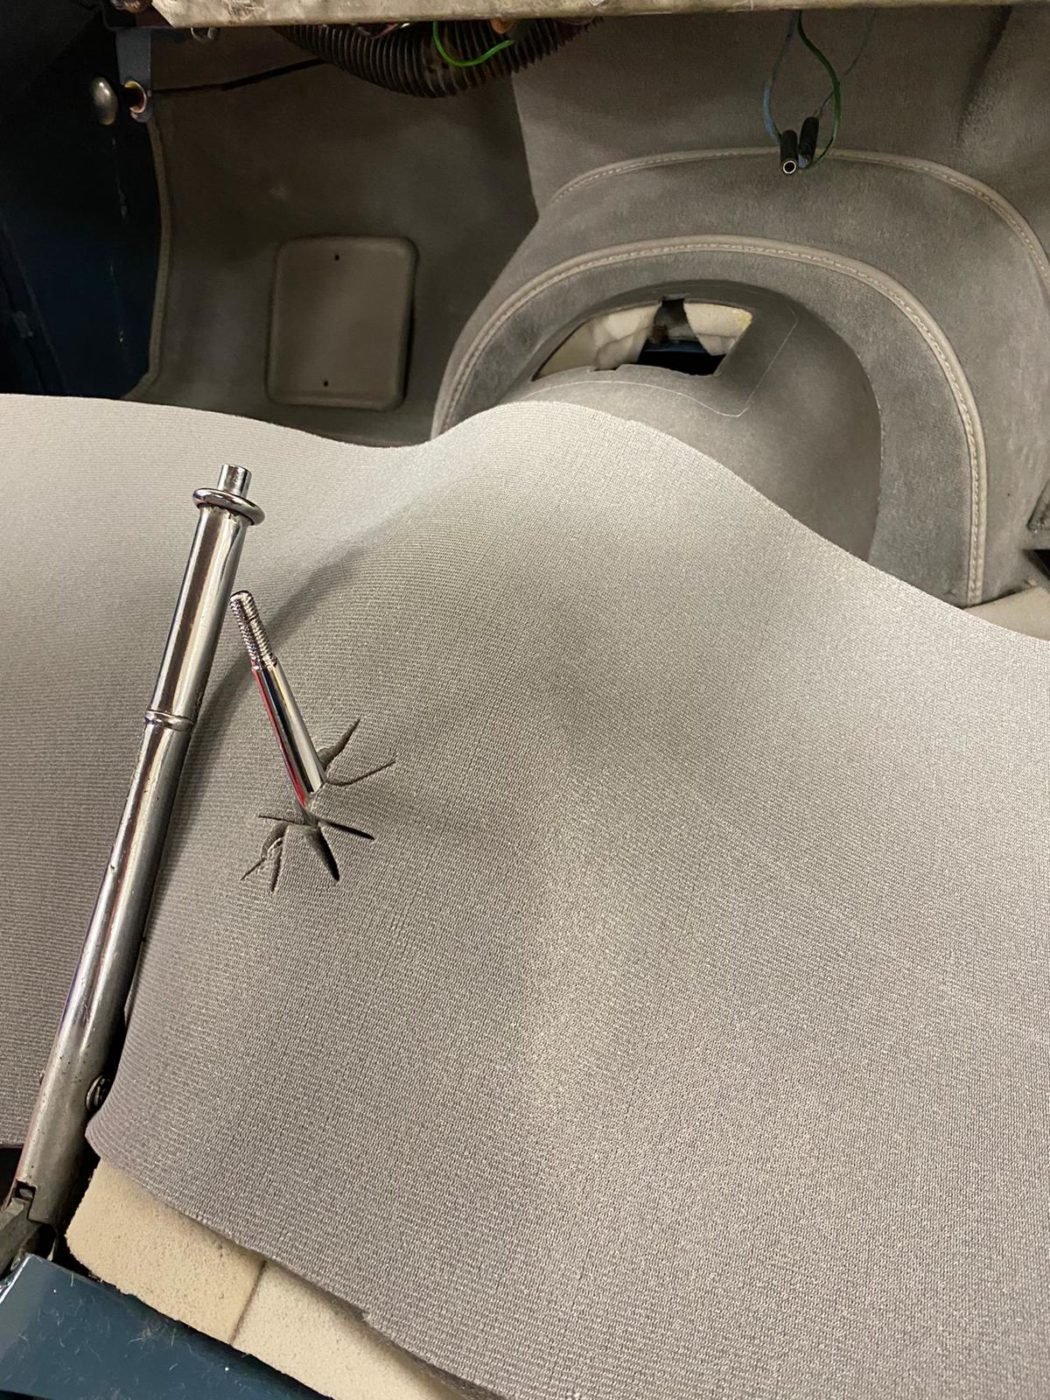
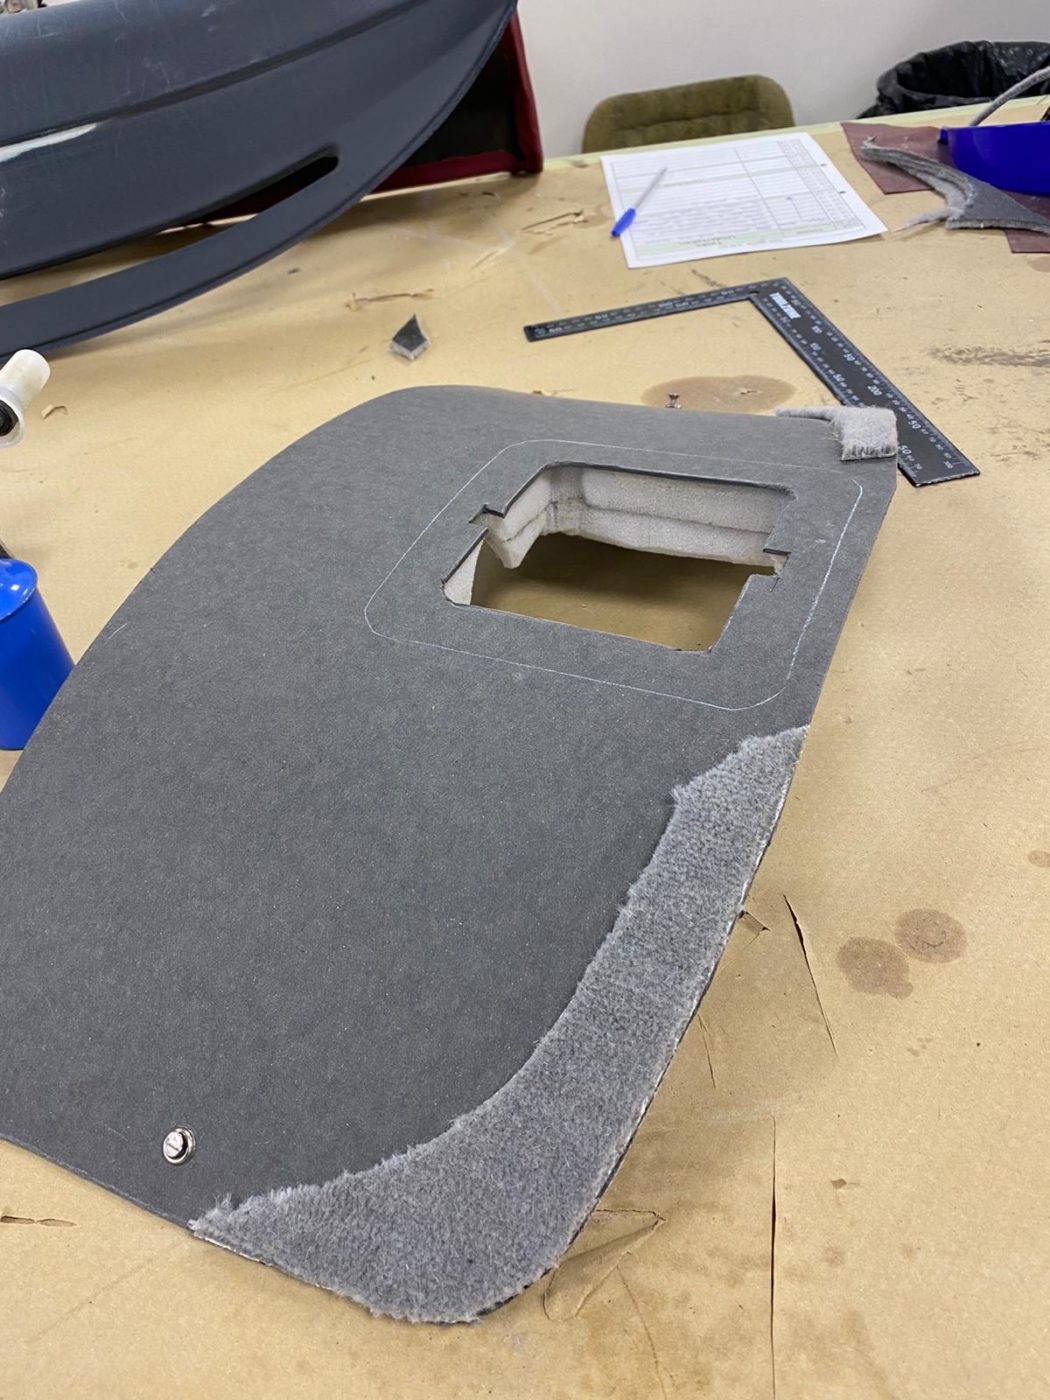
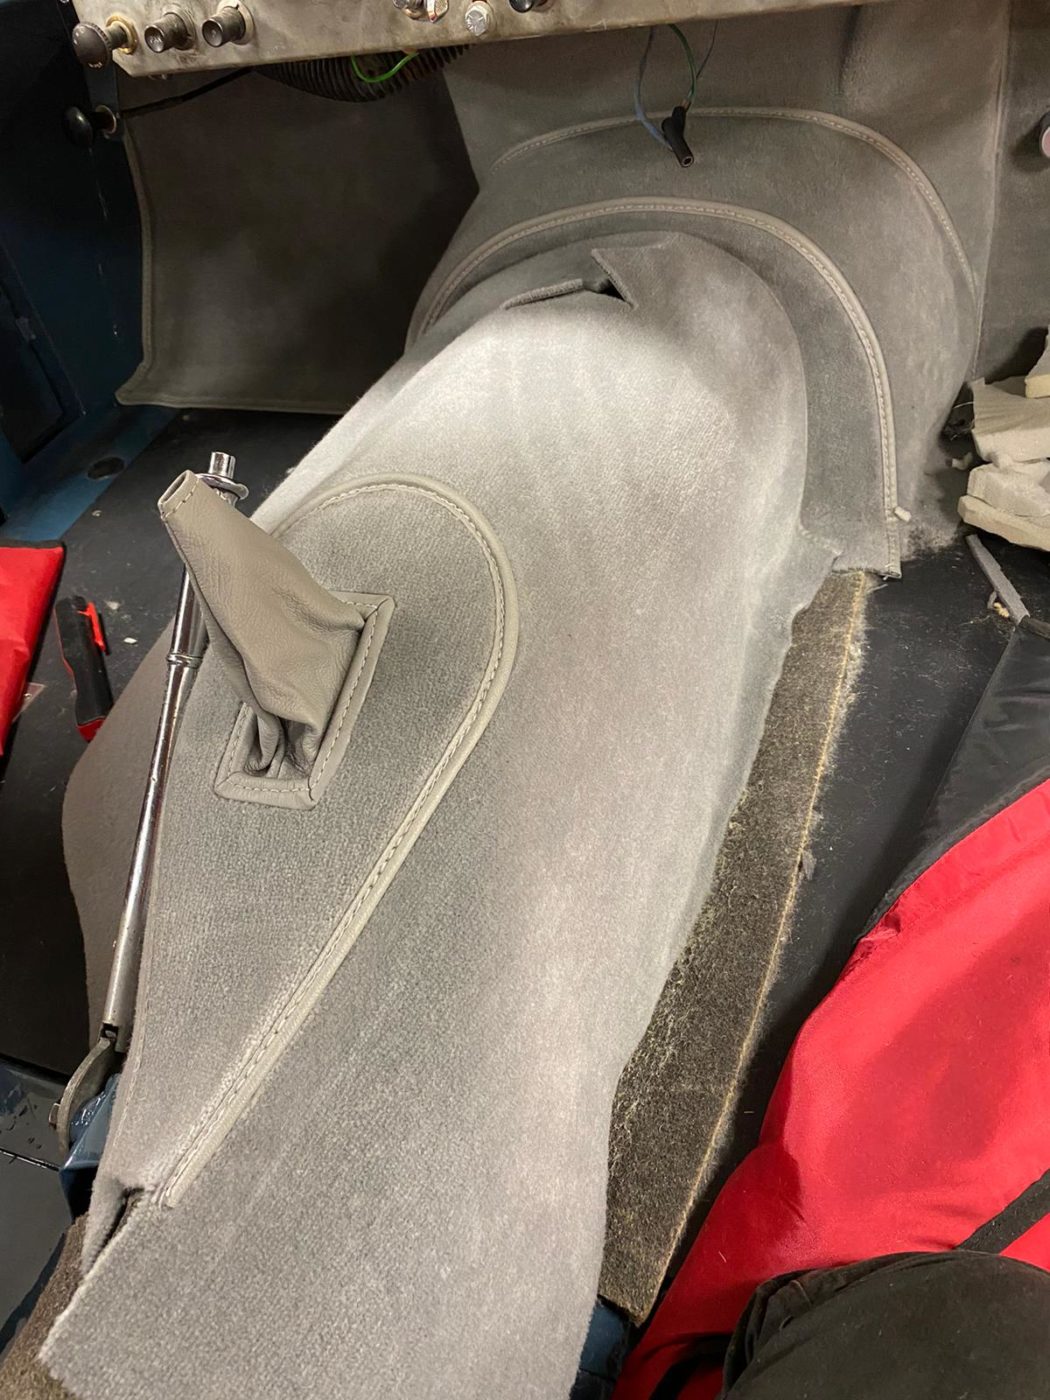
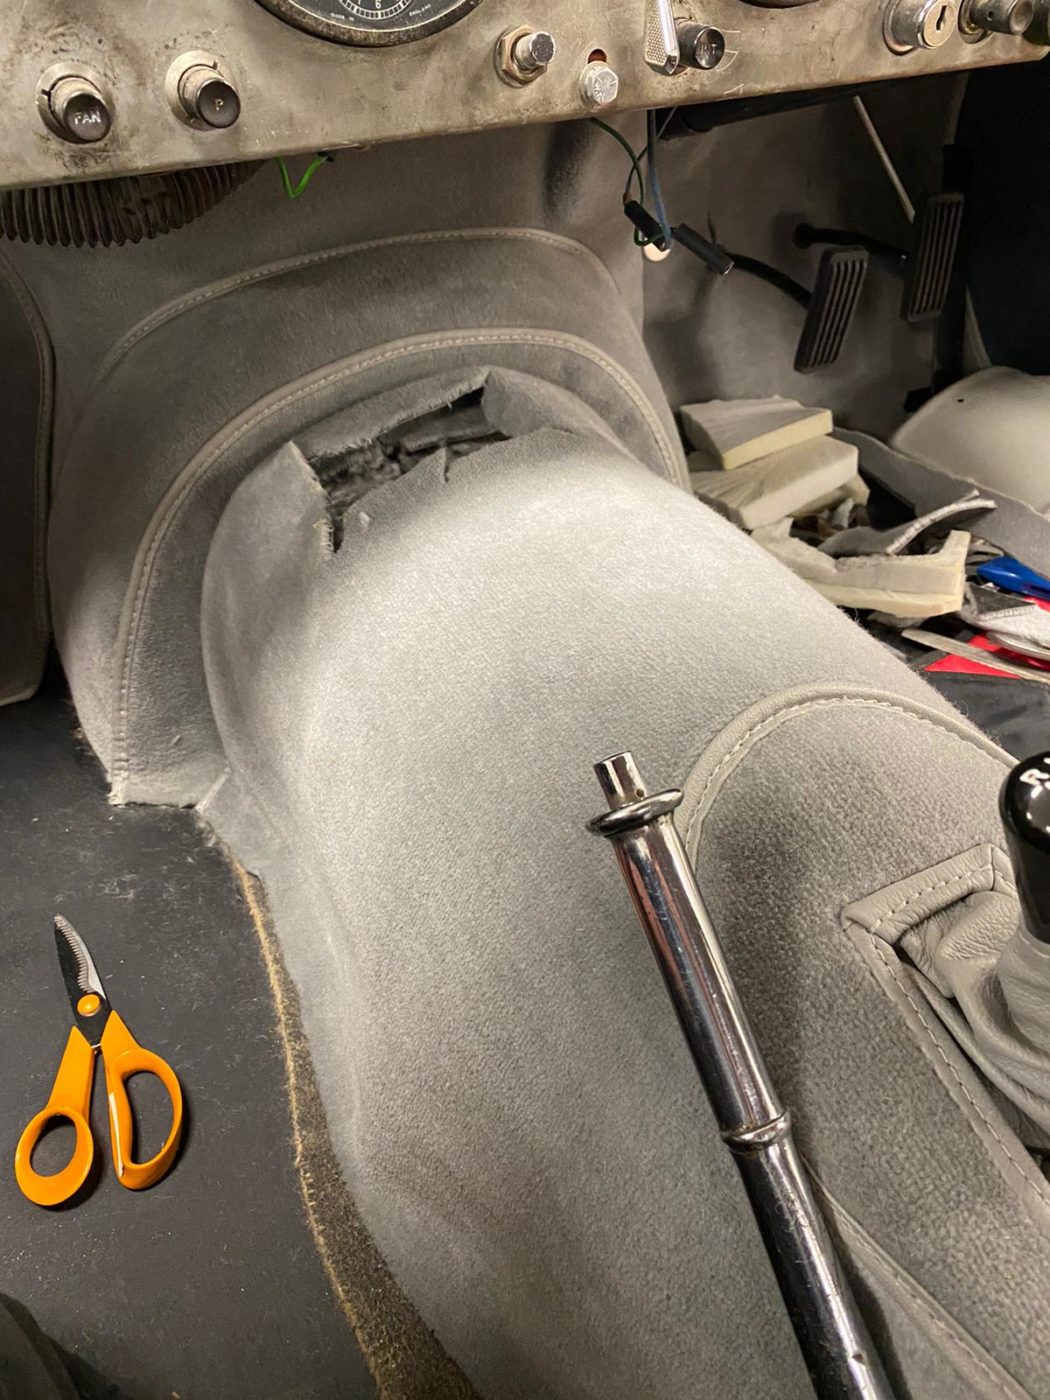
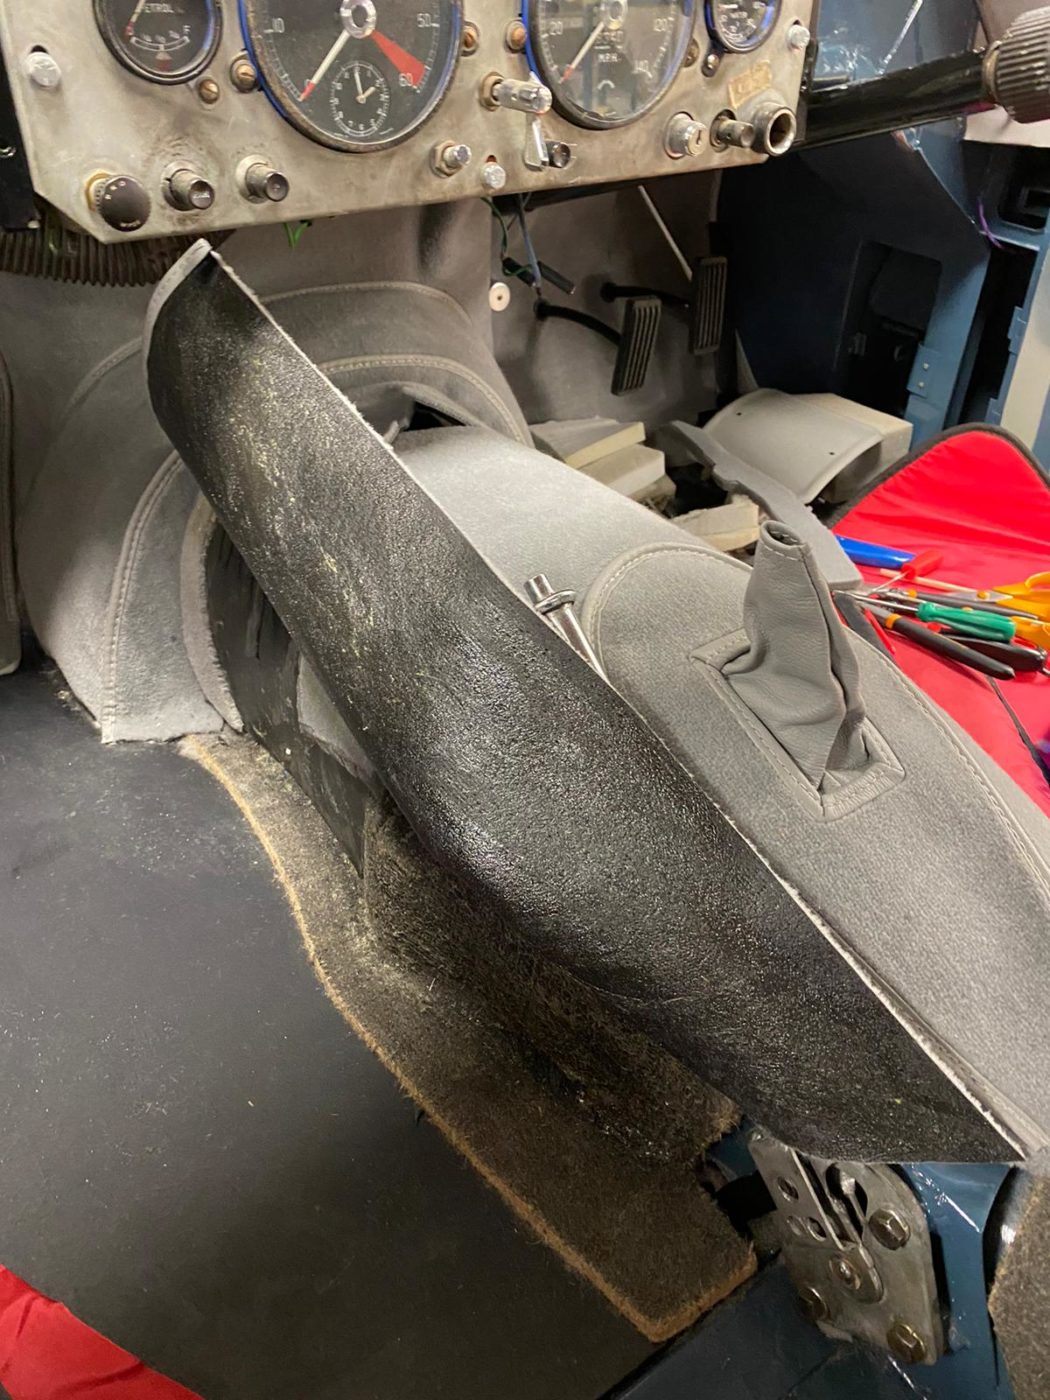
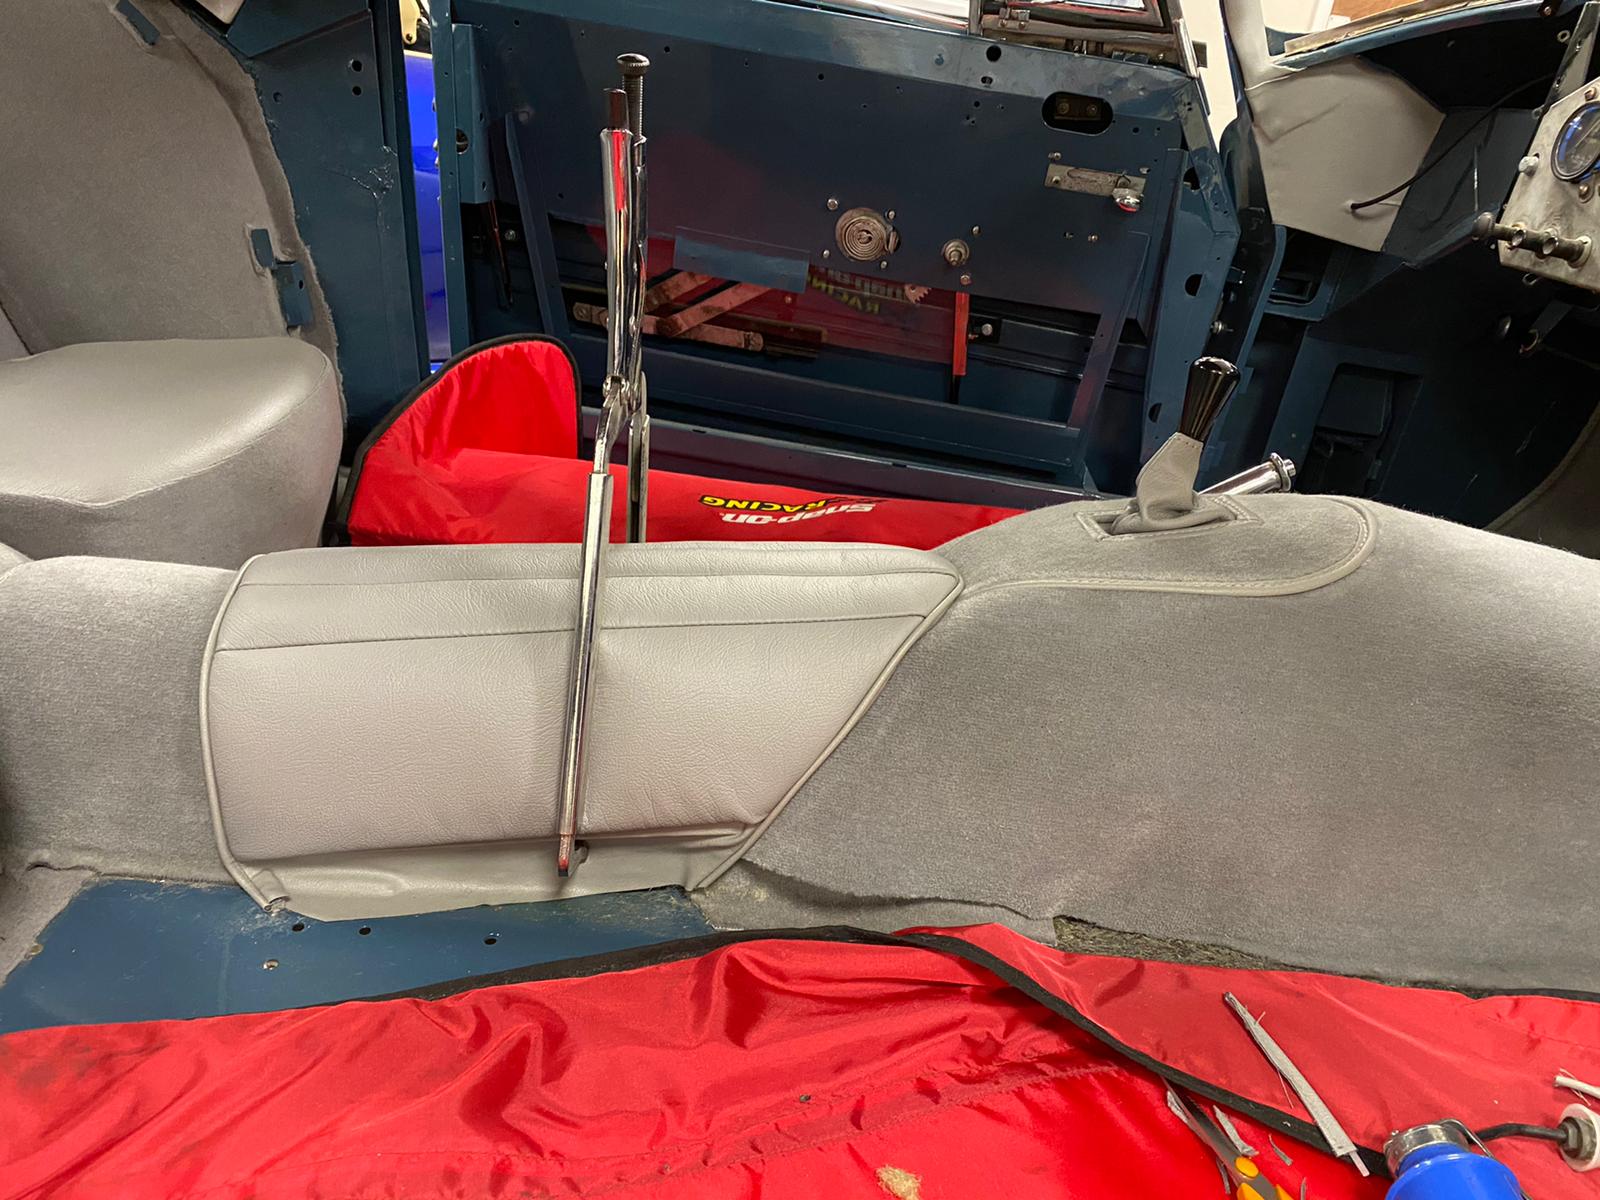
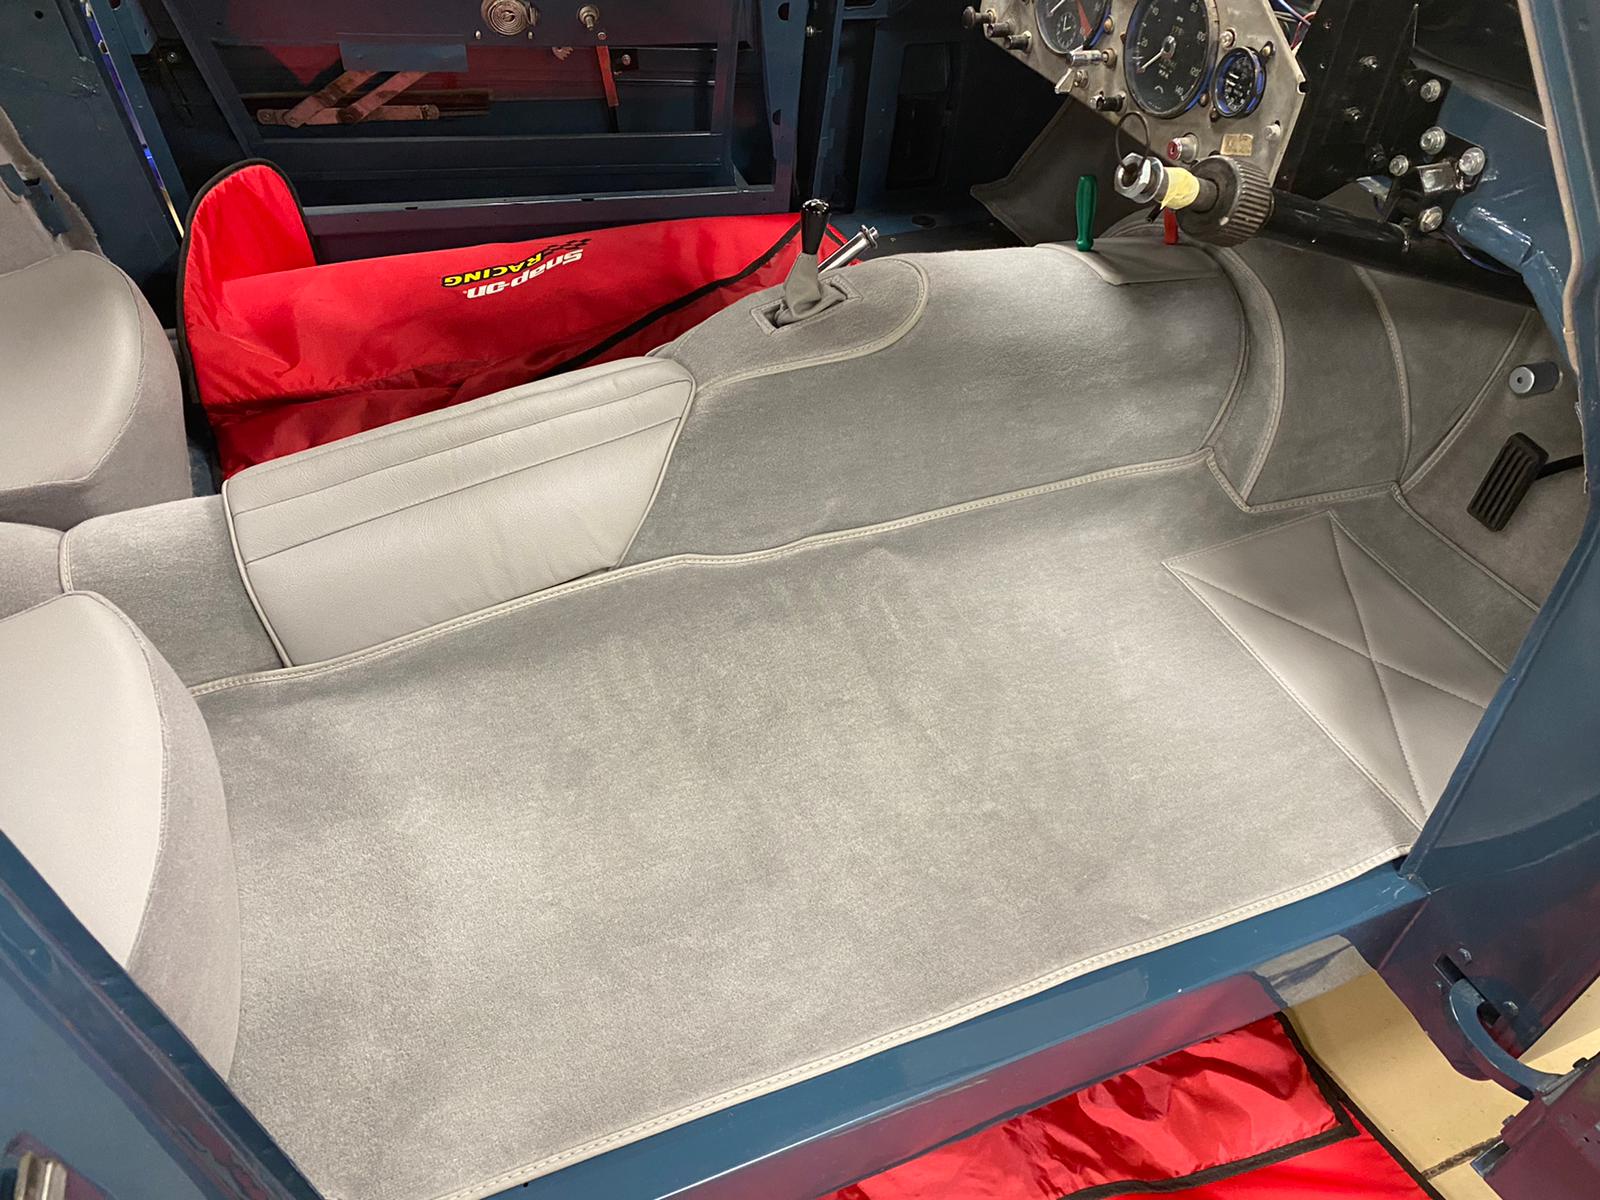
Once they had glued the foam into rear cockpit section, the team carefully fitted the back carpet to the rear section of the TVR. They then cut the speaker holes out, glued the bottom carpet to rear cockpit section and glued the carpet to the side of the tunnel. After this was completed, the team could complete the rear section and tunnel section. The speakers and air vent could then be refitted.
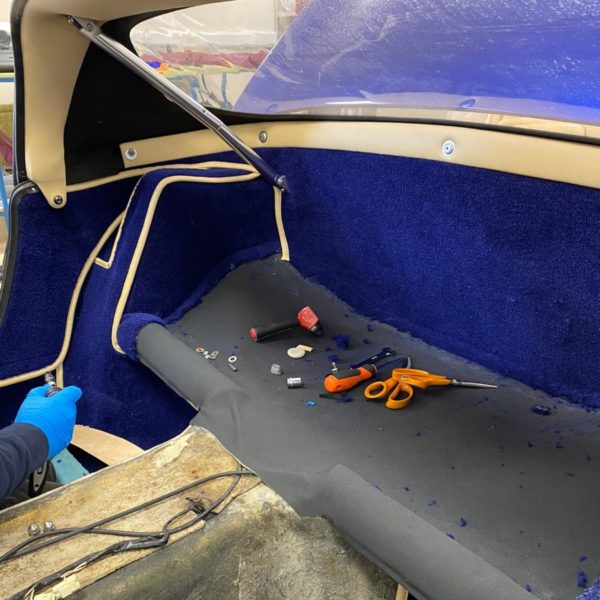
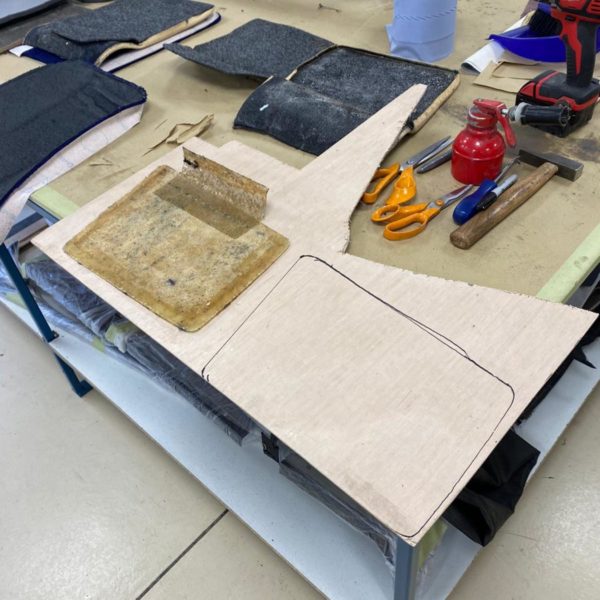
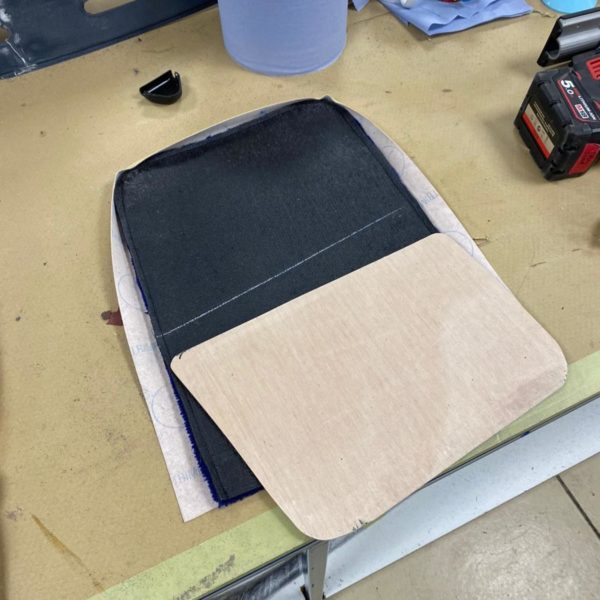
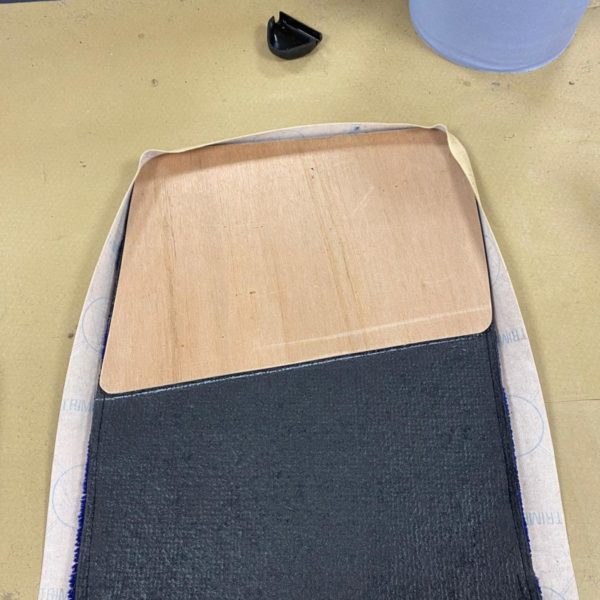
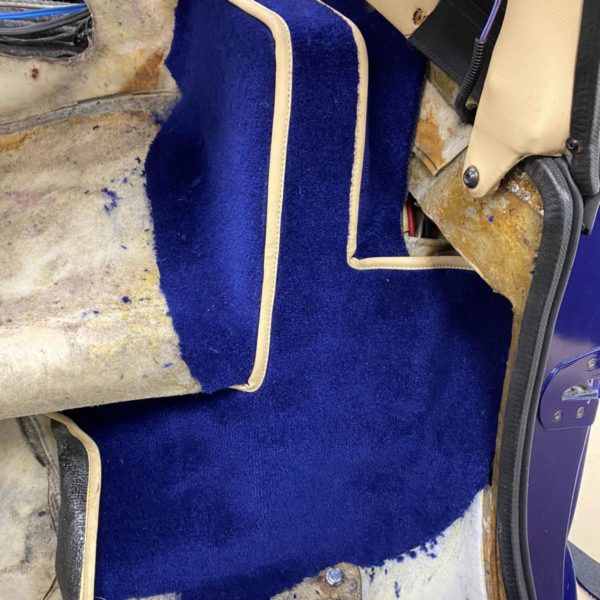
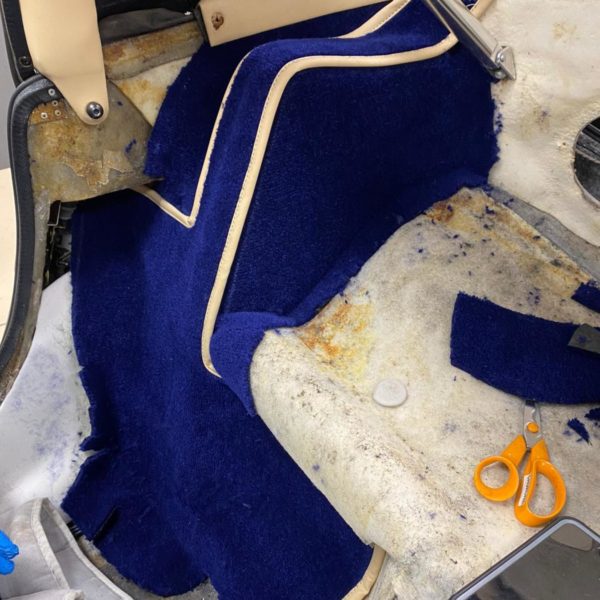
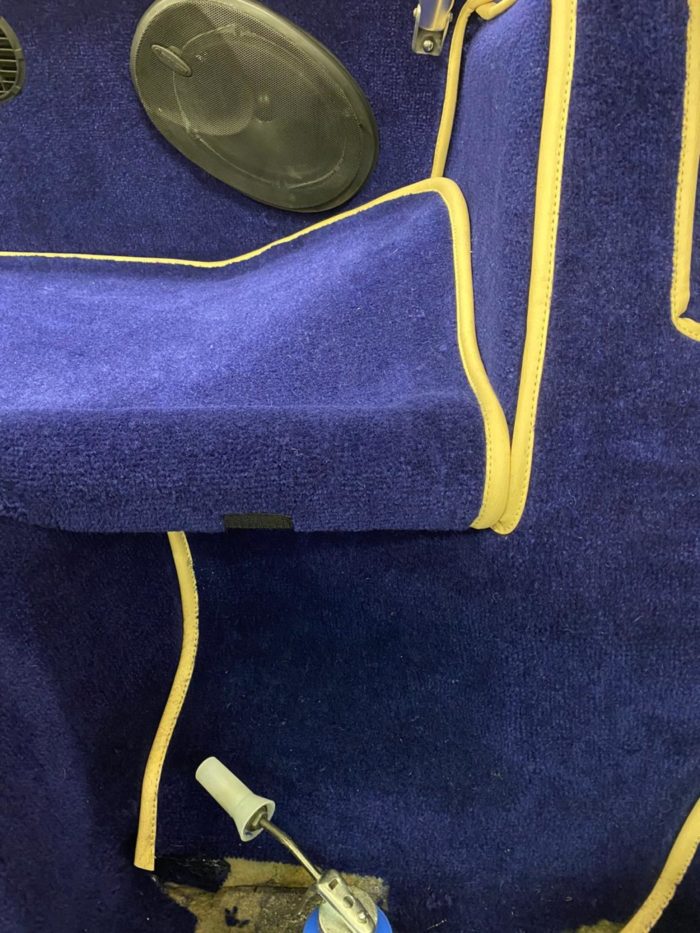
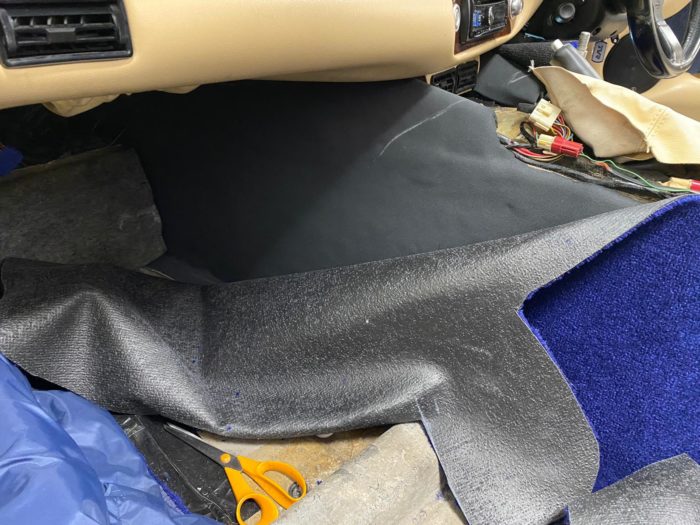
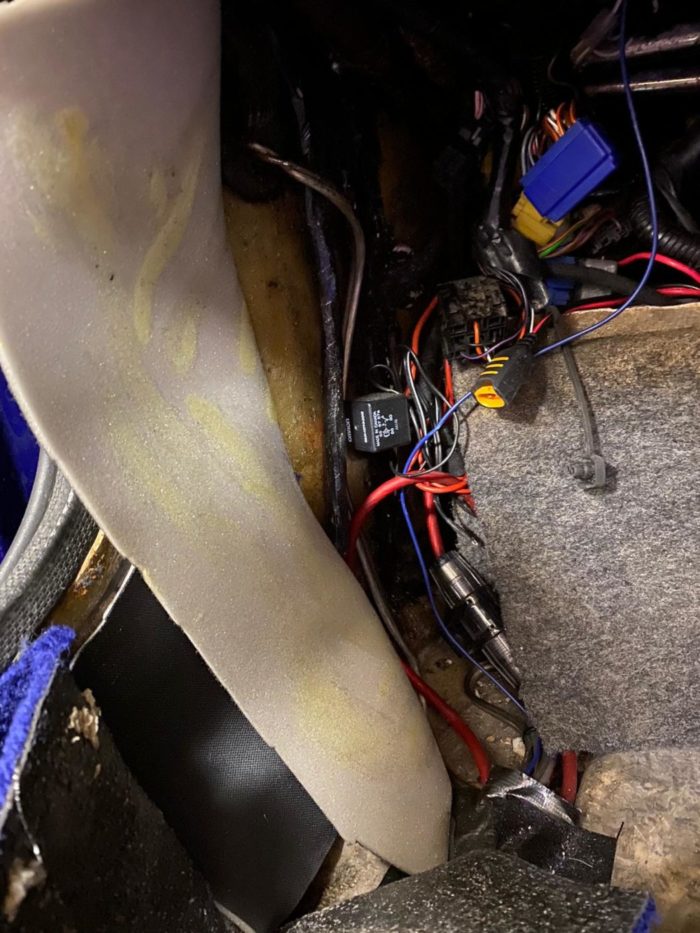
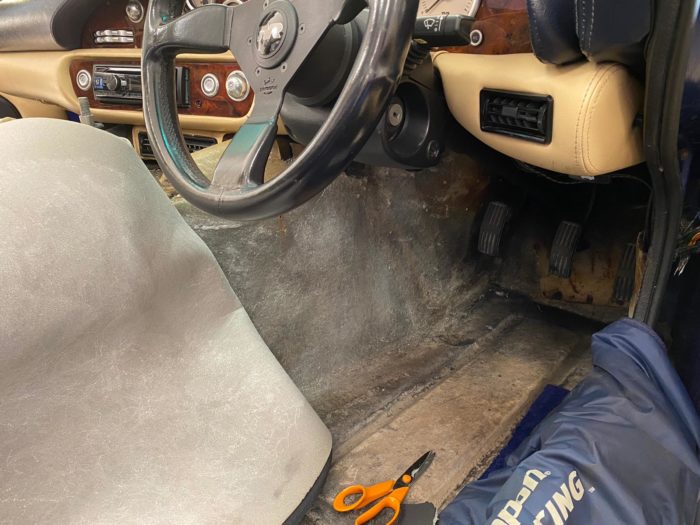
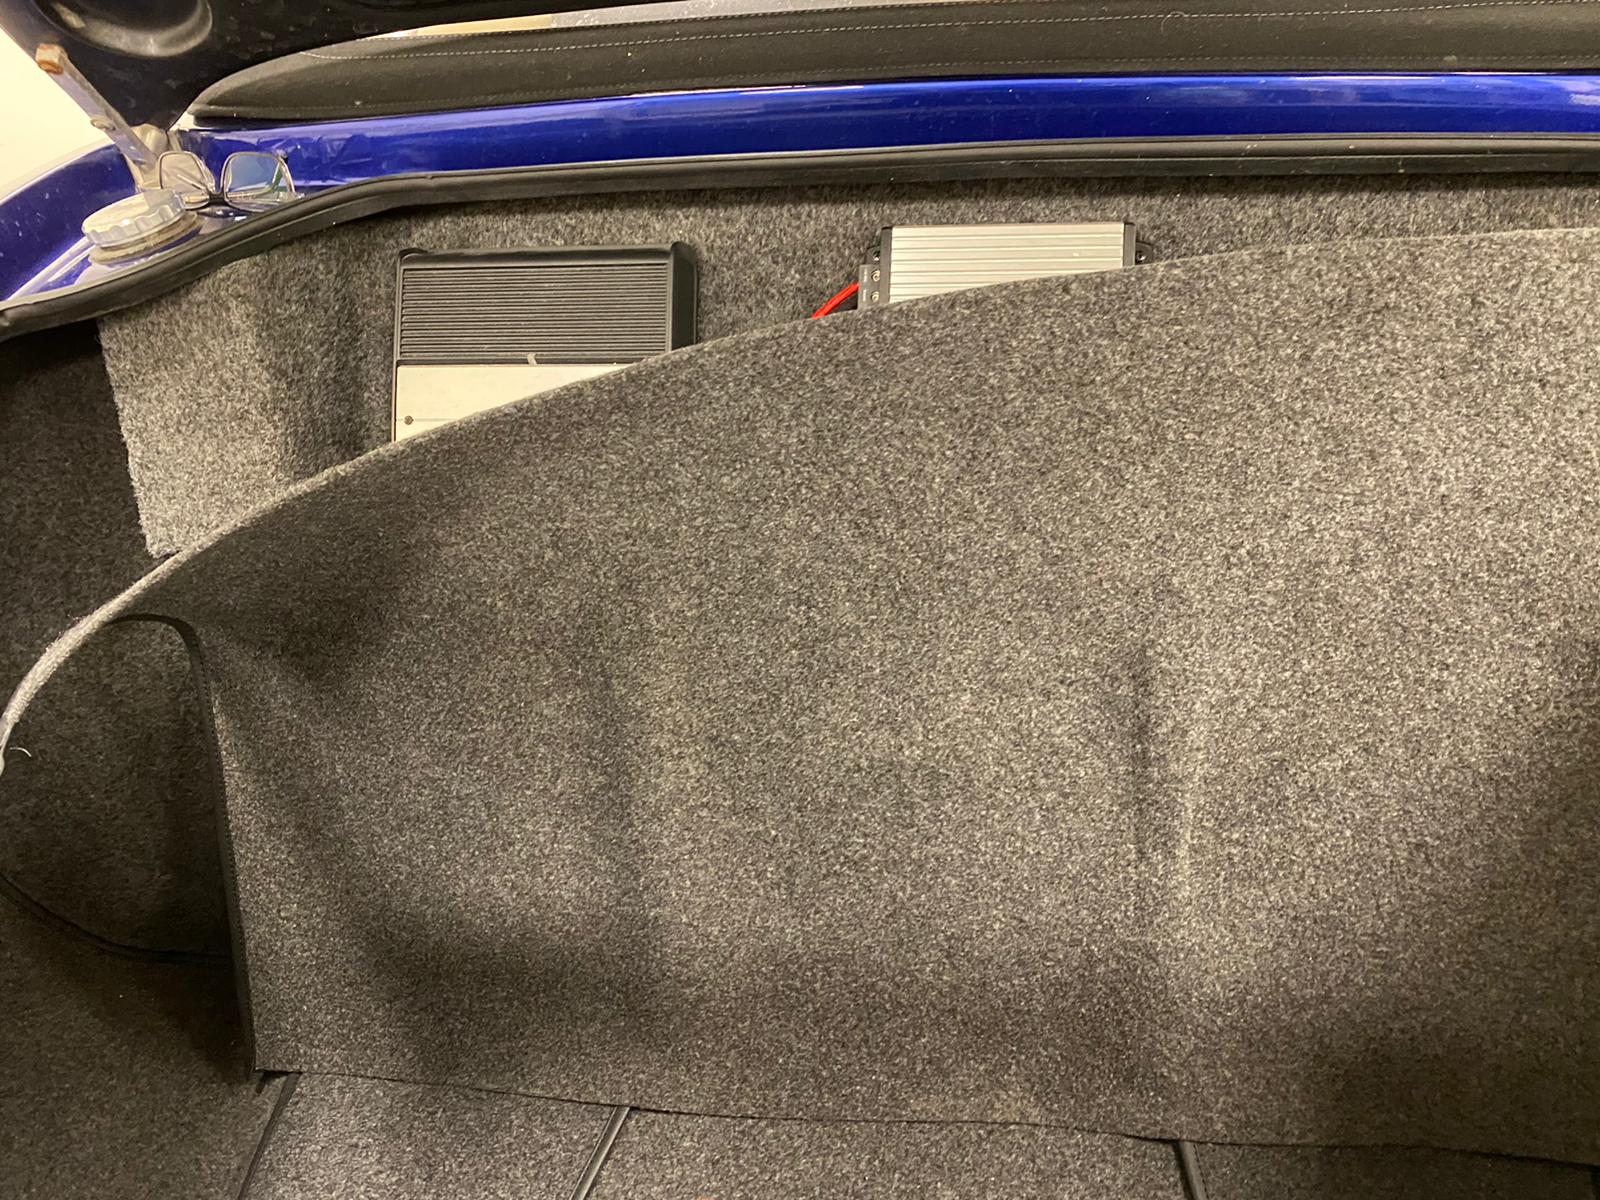
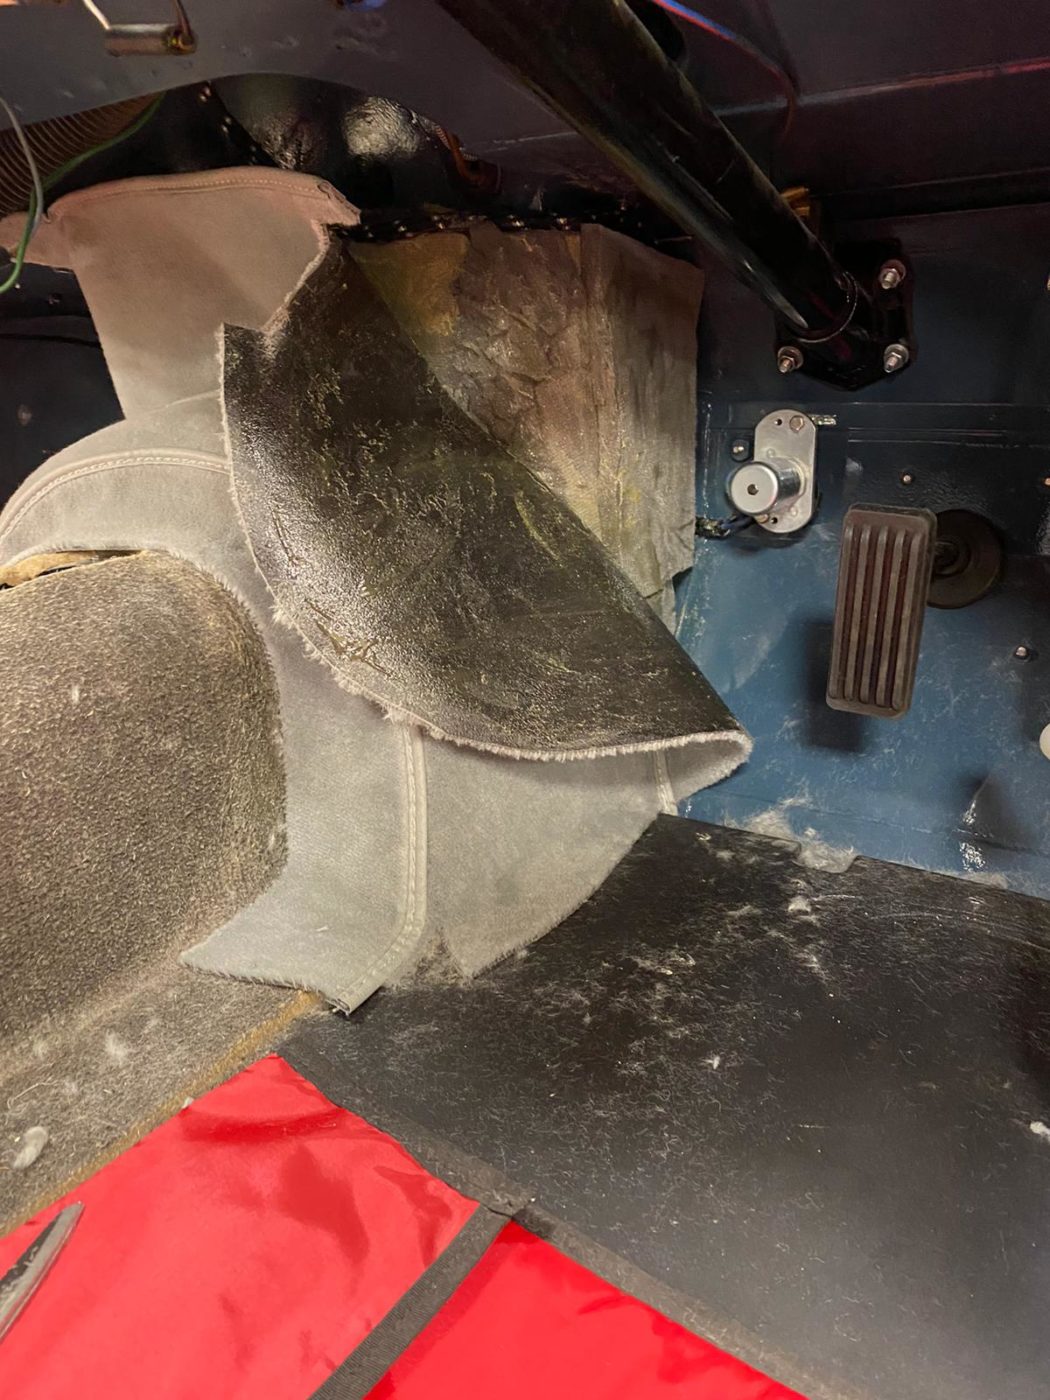
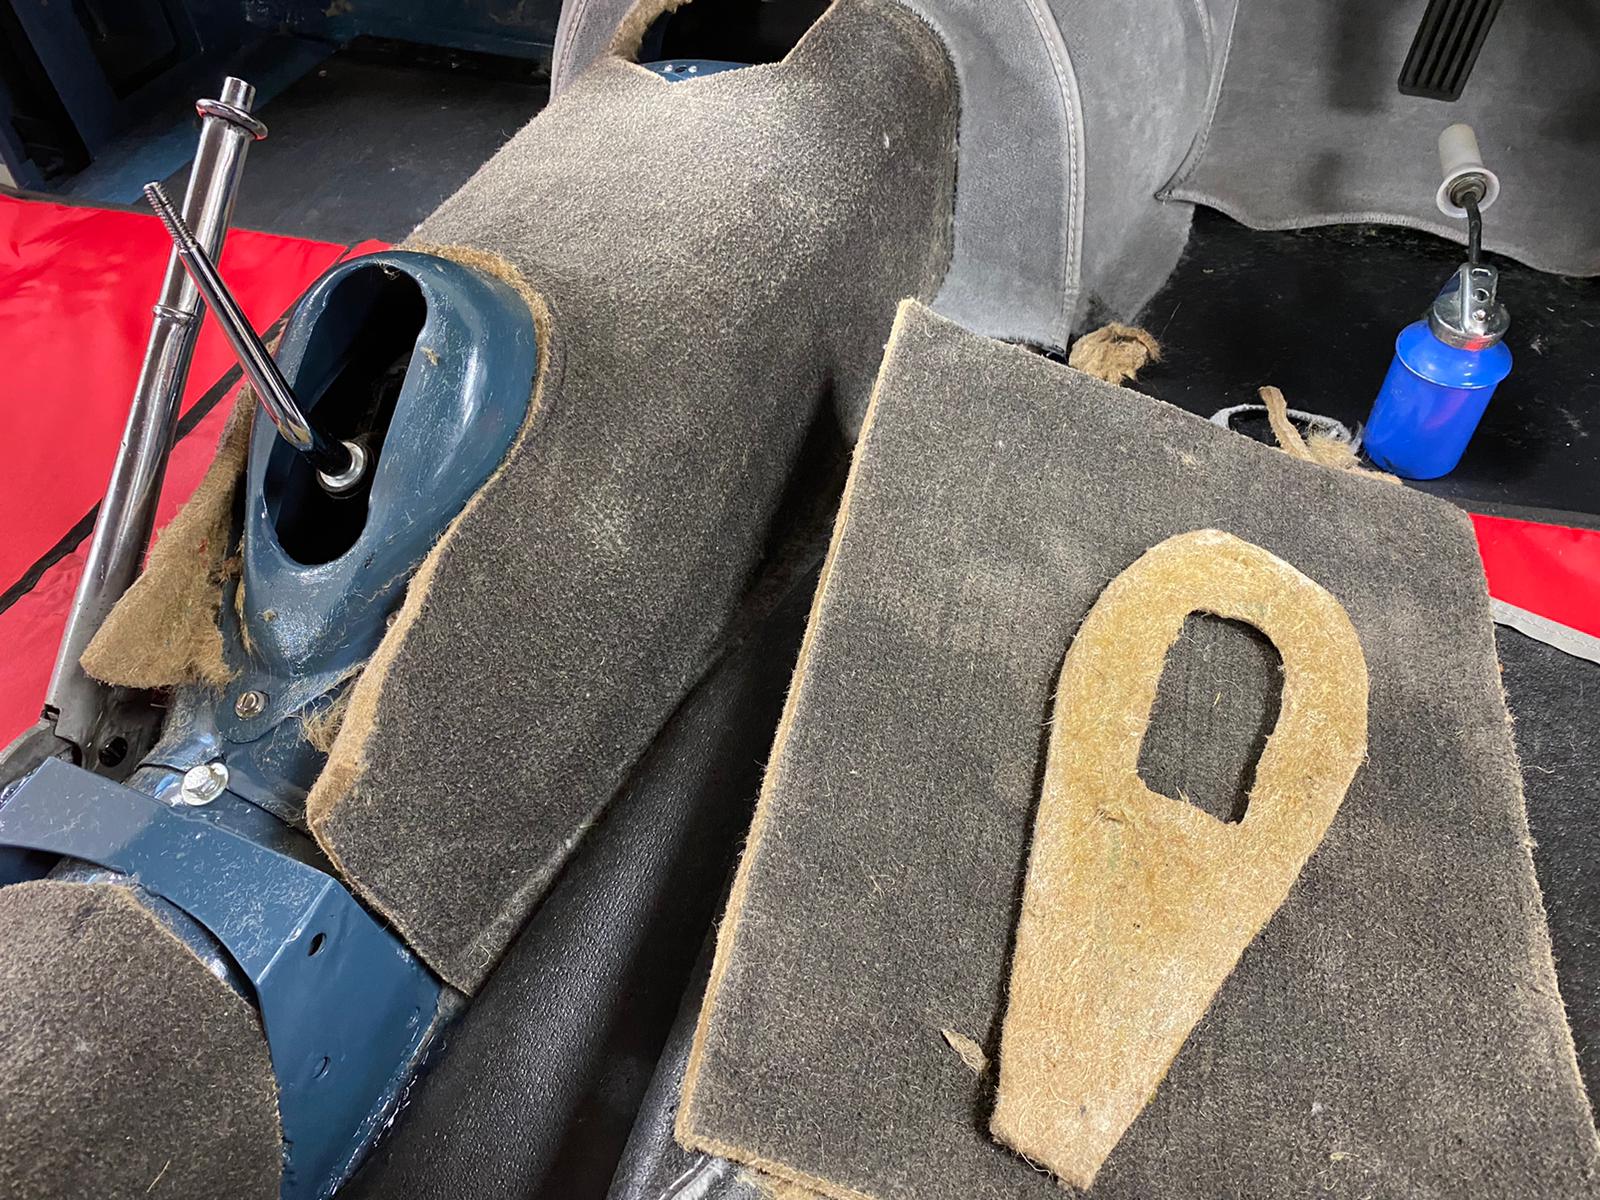
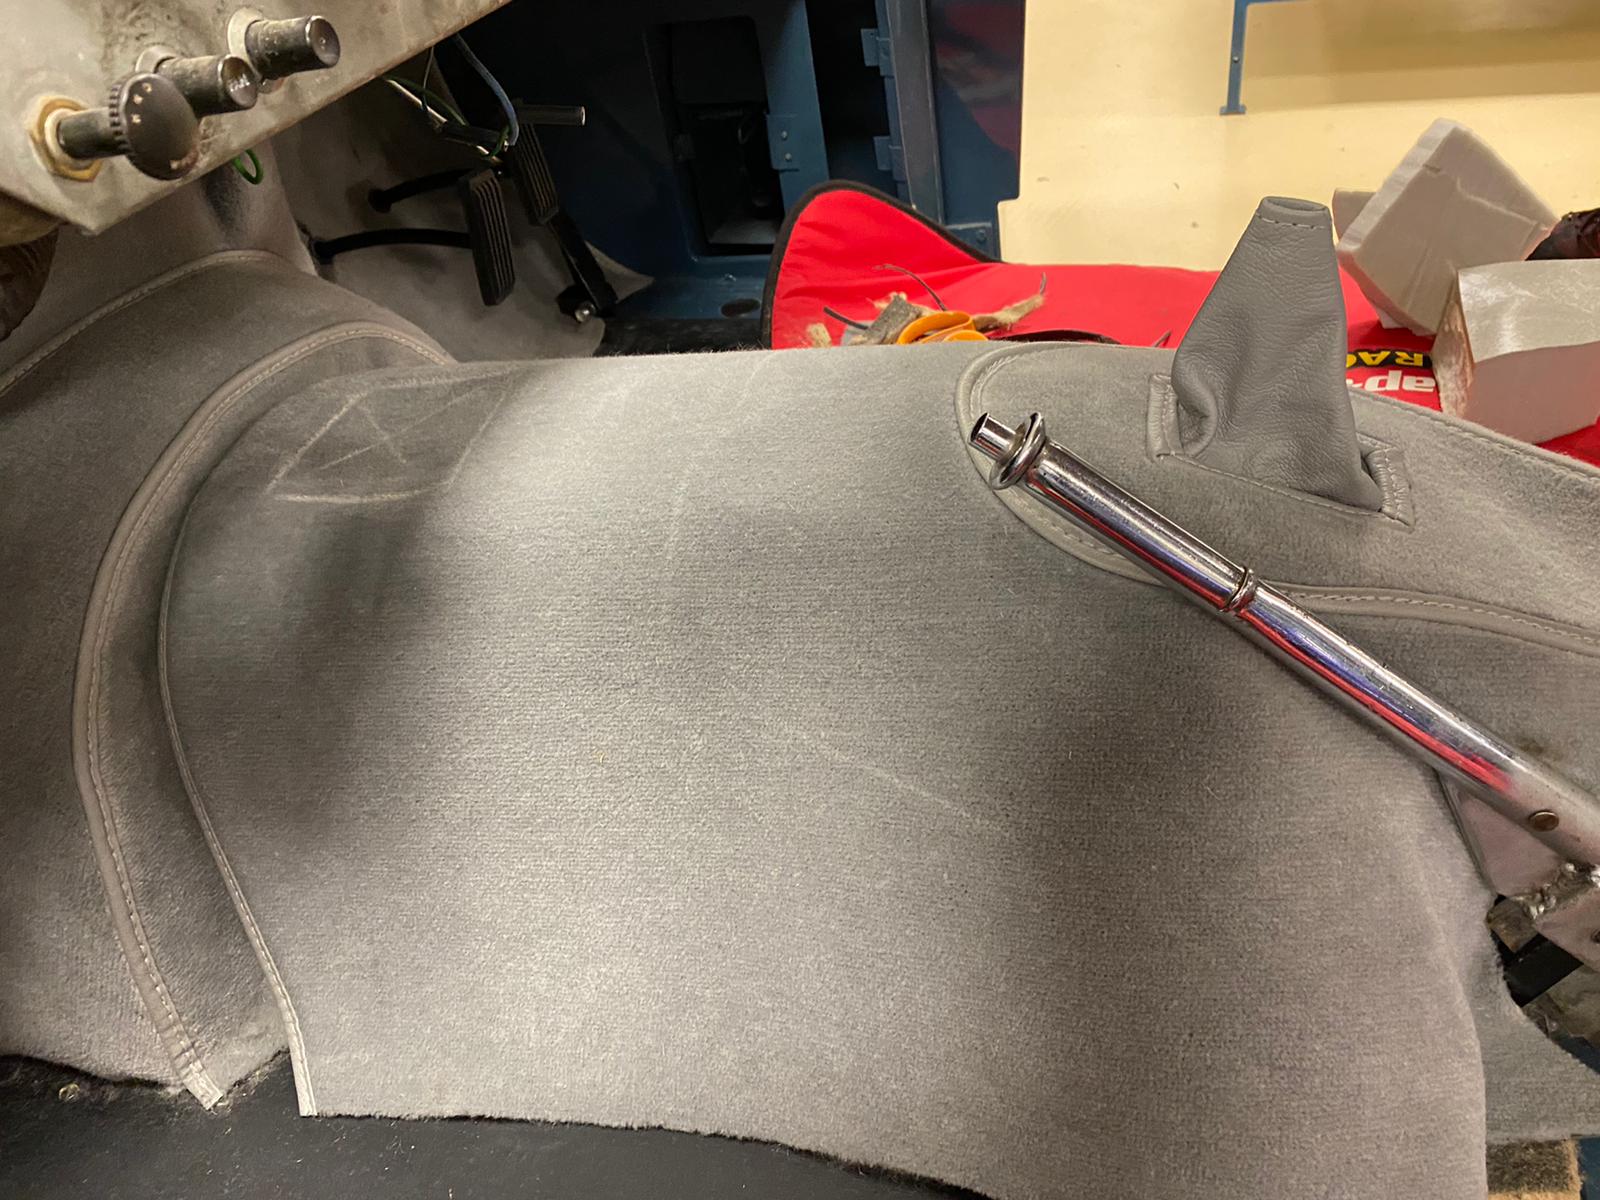
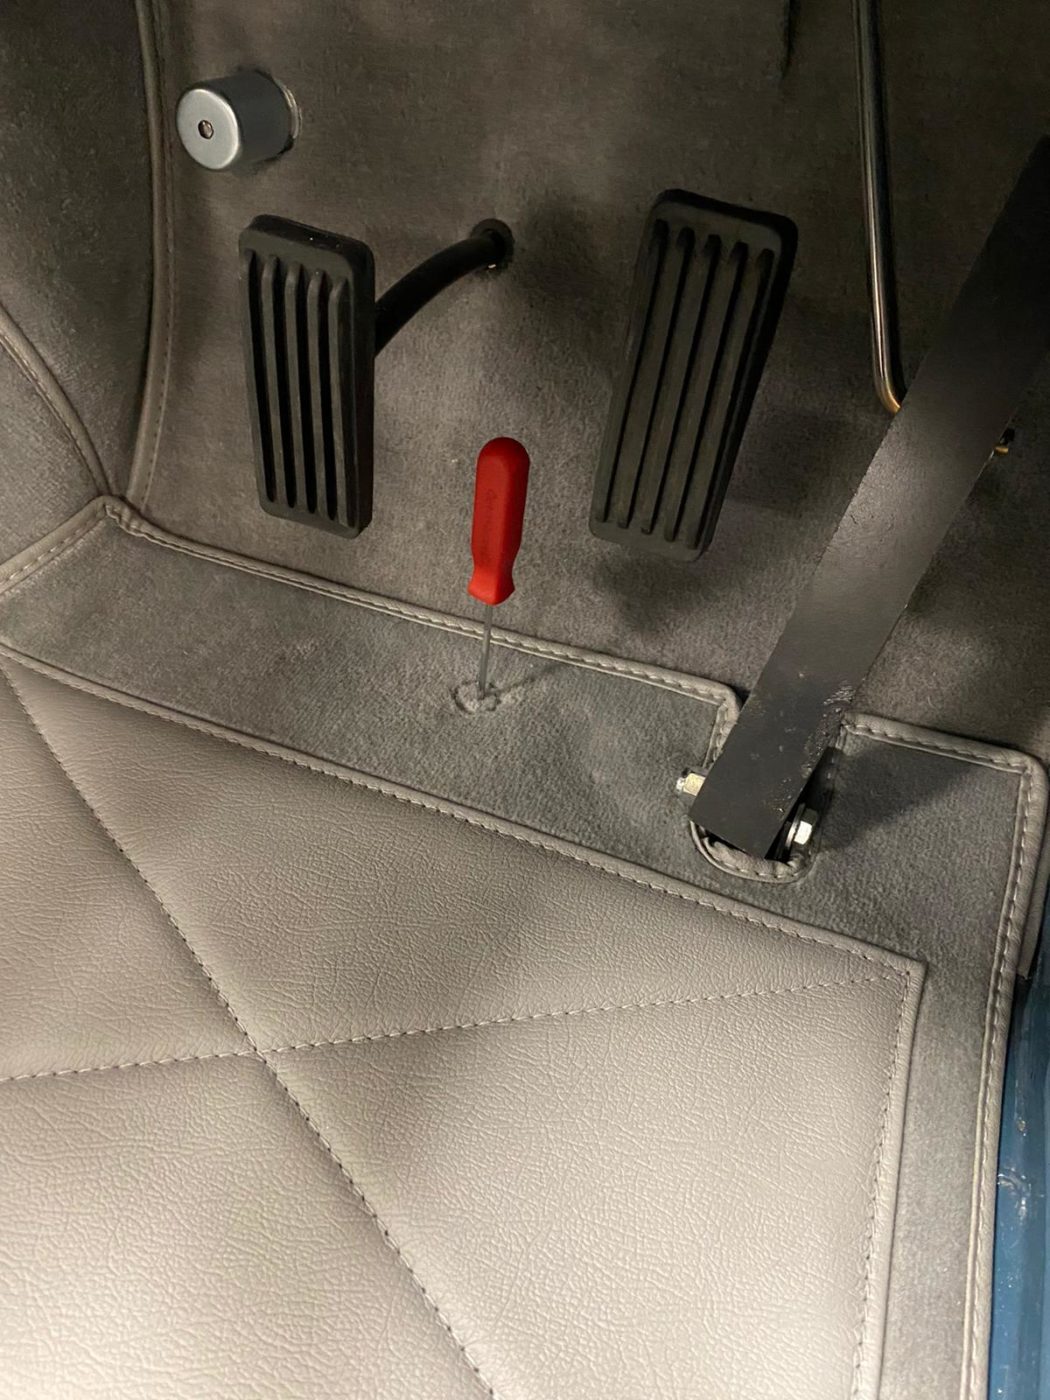
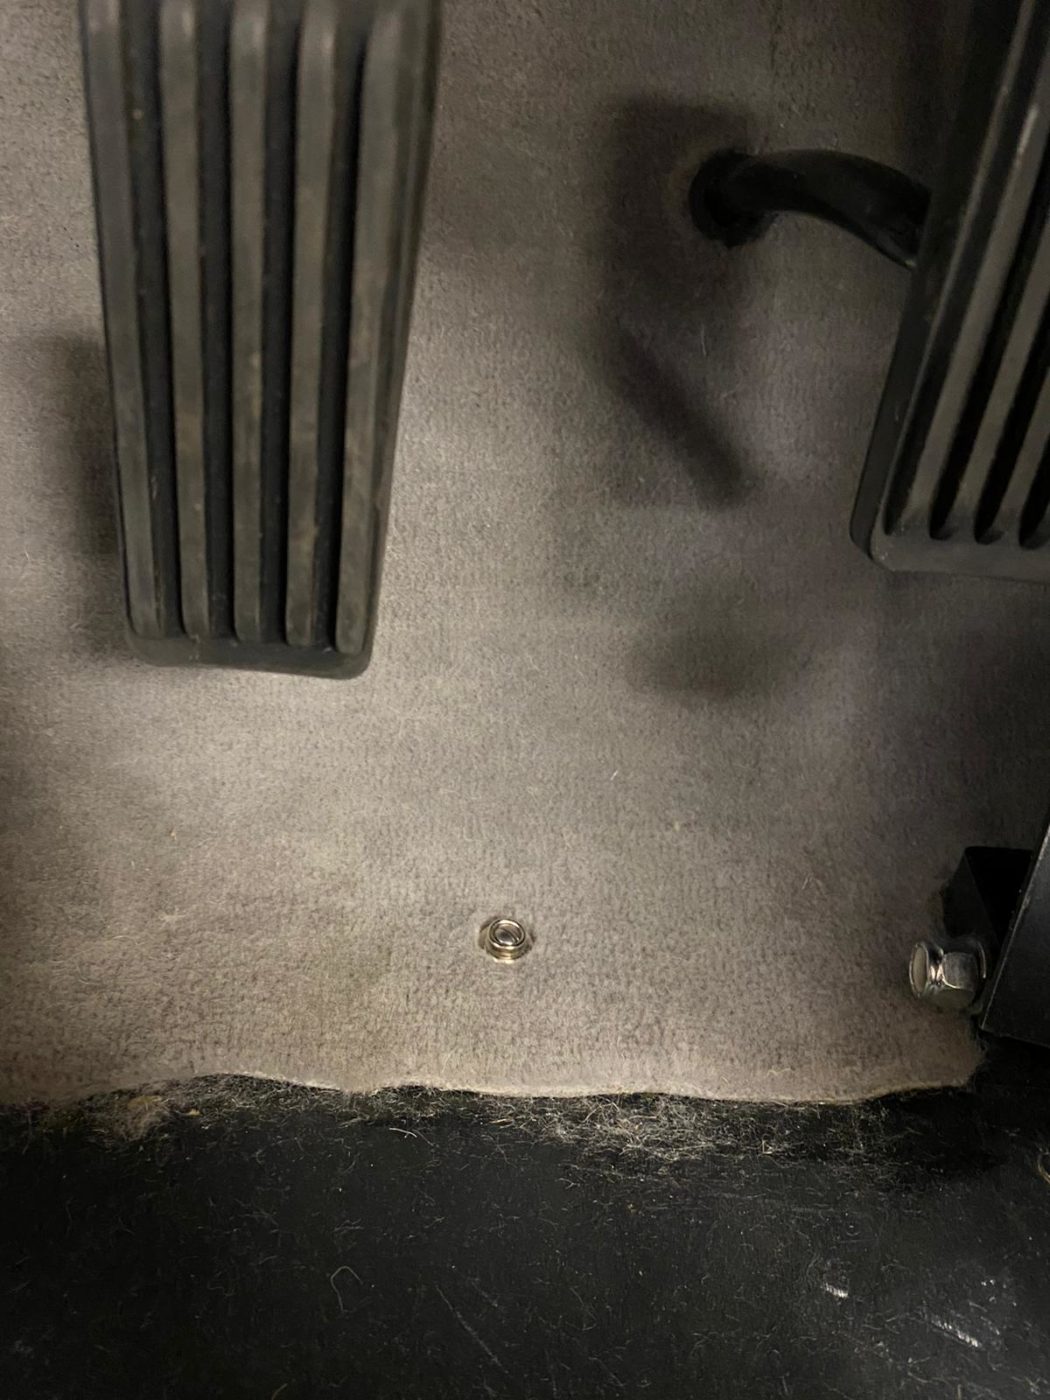
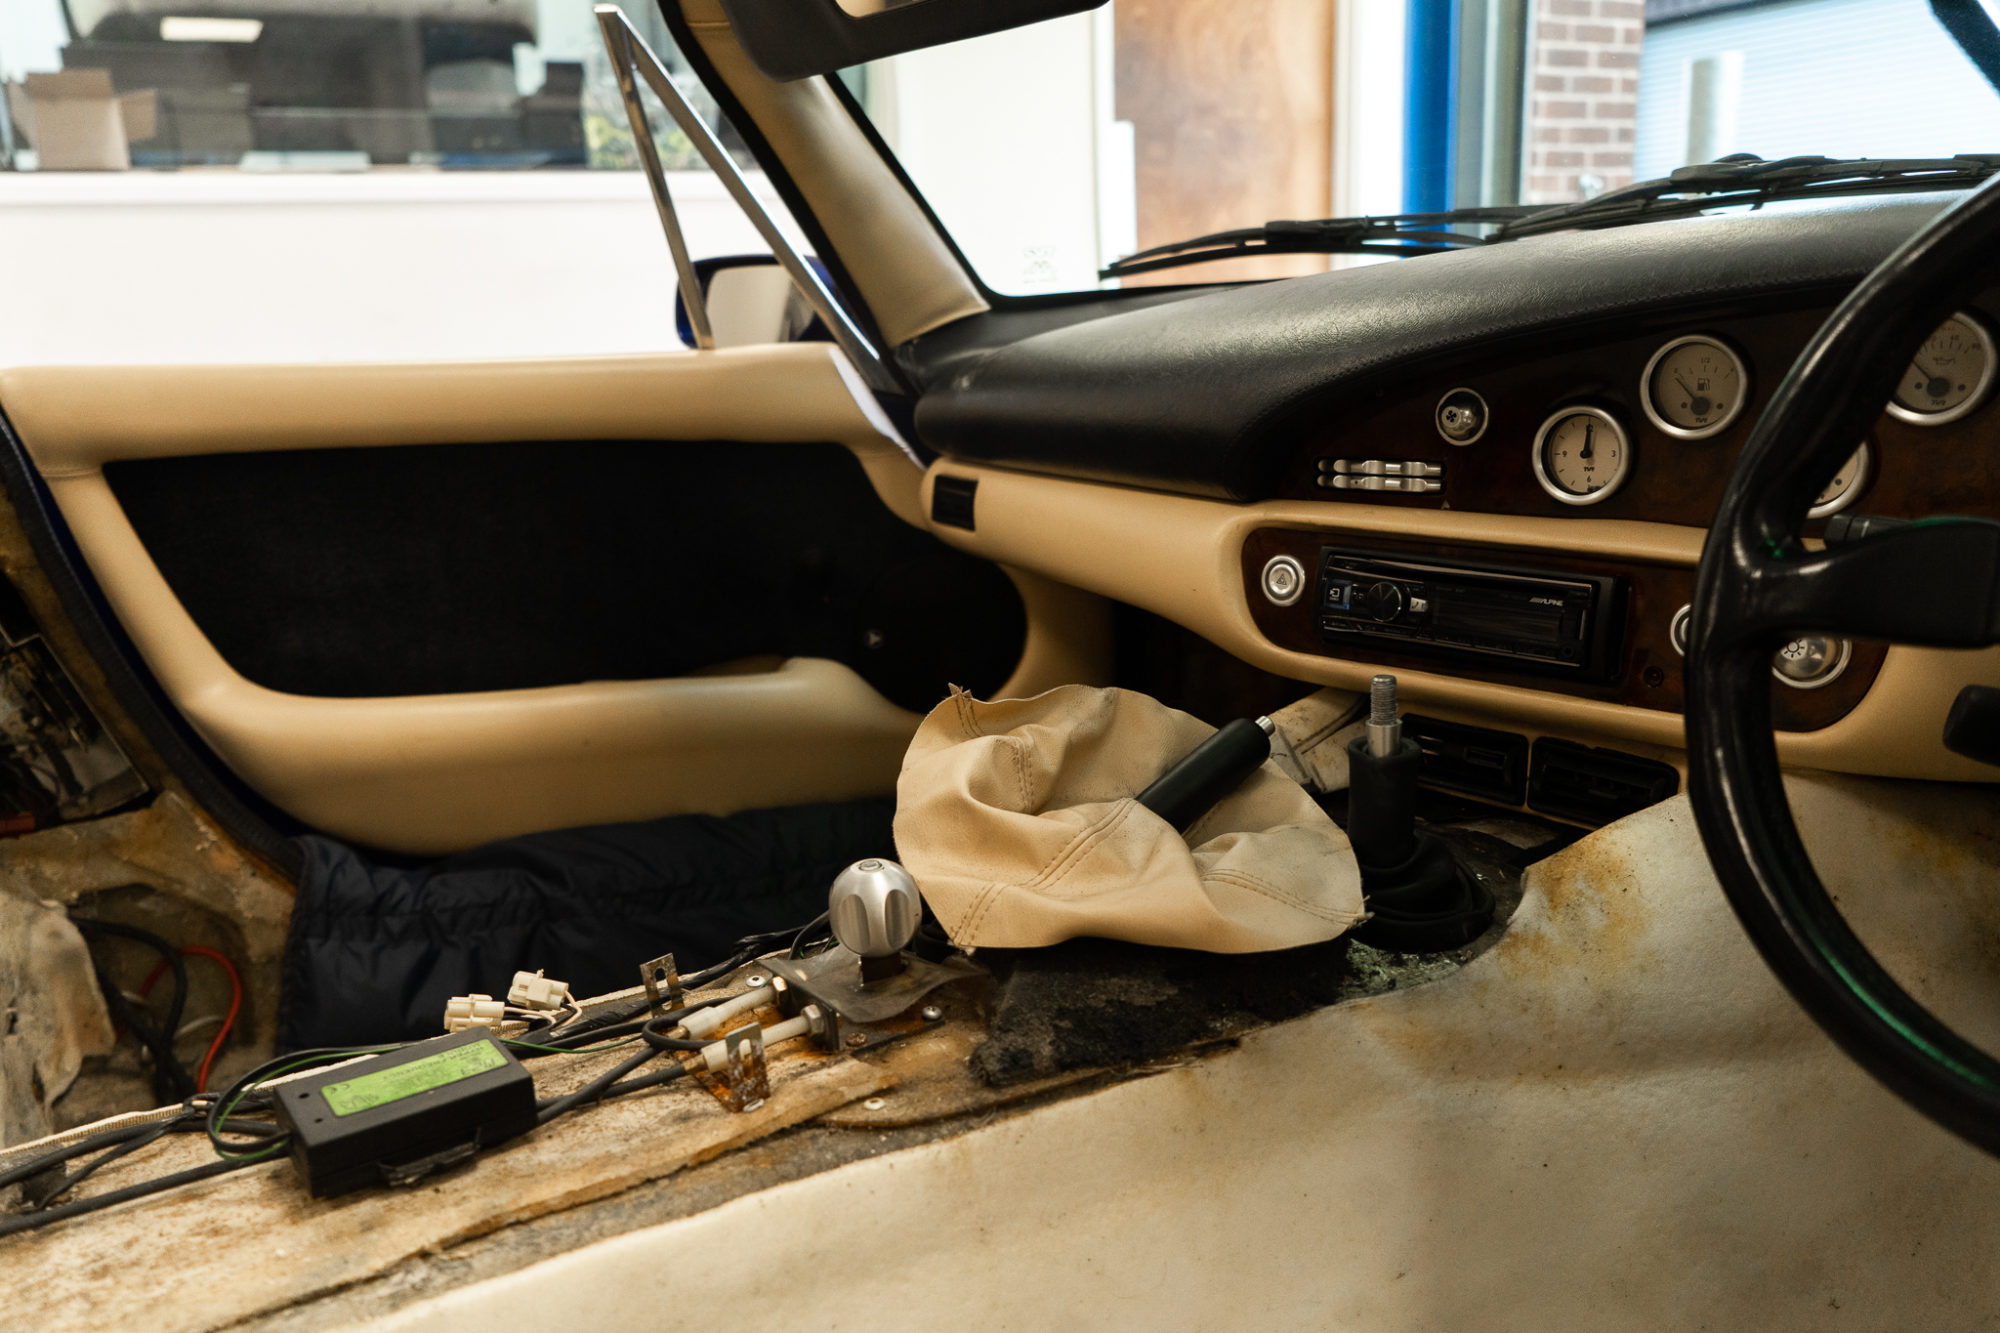
After fitting the console back in, Kath and Brian could cut and fit some plywood for the rear compartment covers. Once cut, the pieces could be glued to the carpet. Next up was fitting the underlay to the front footwell section and securing the front and rear carpets.
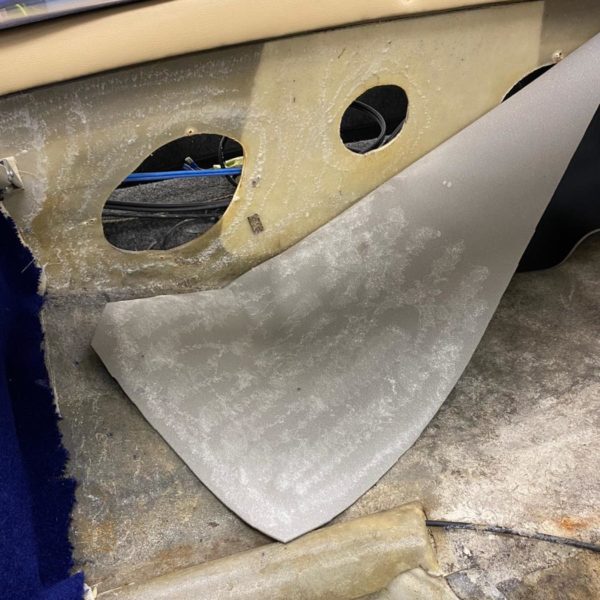
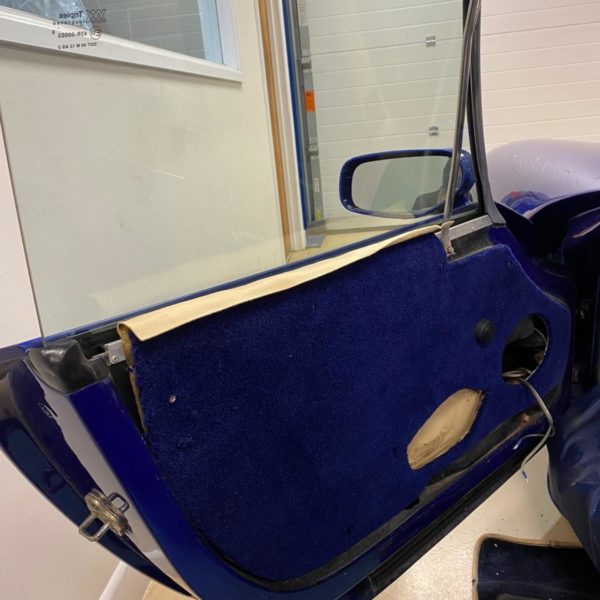
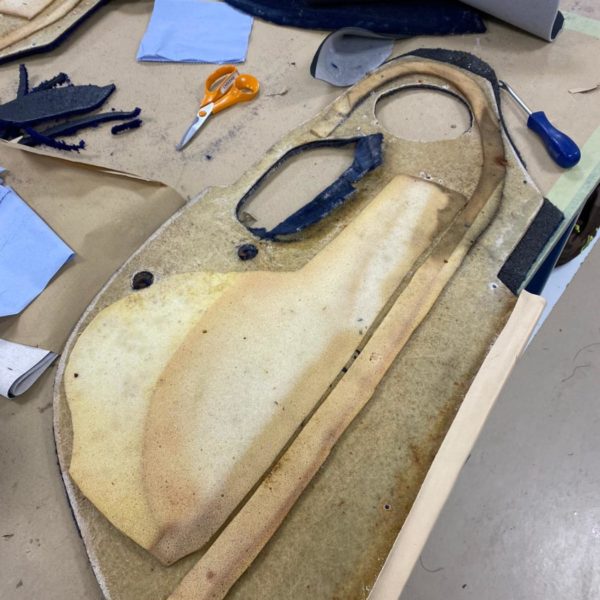
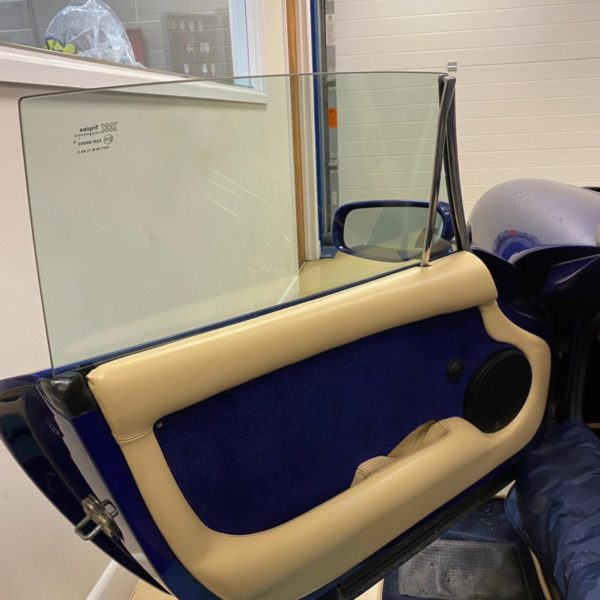
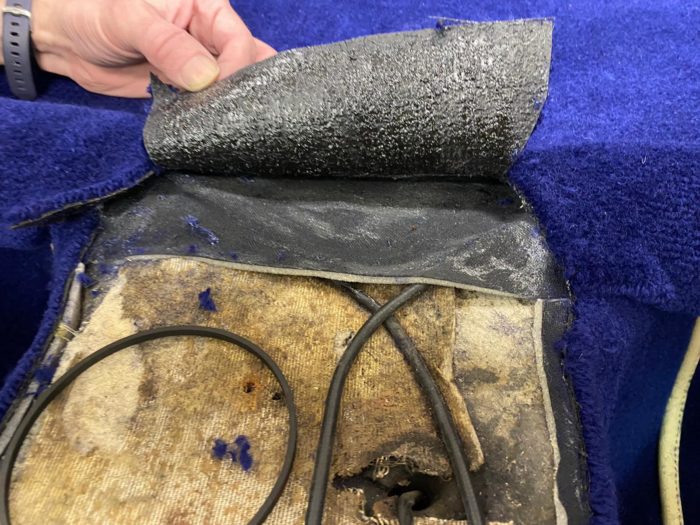
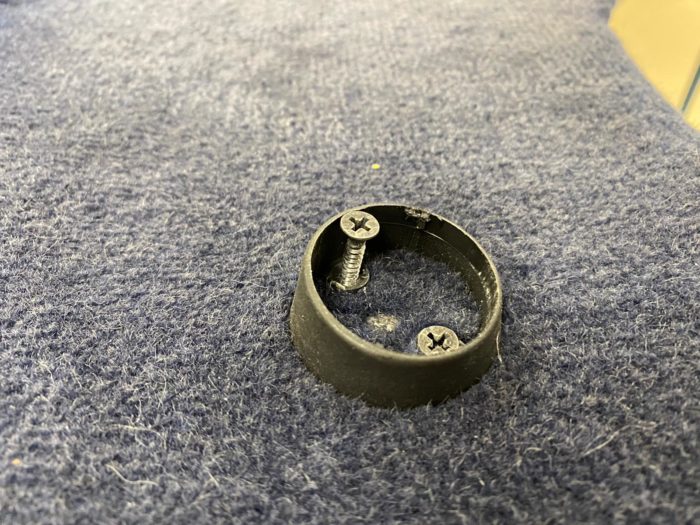
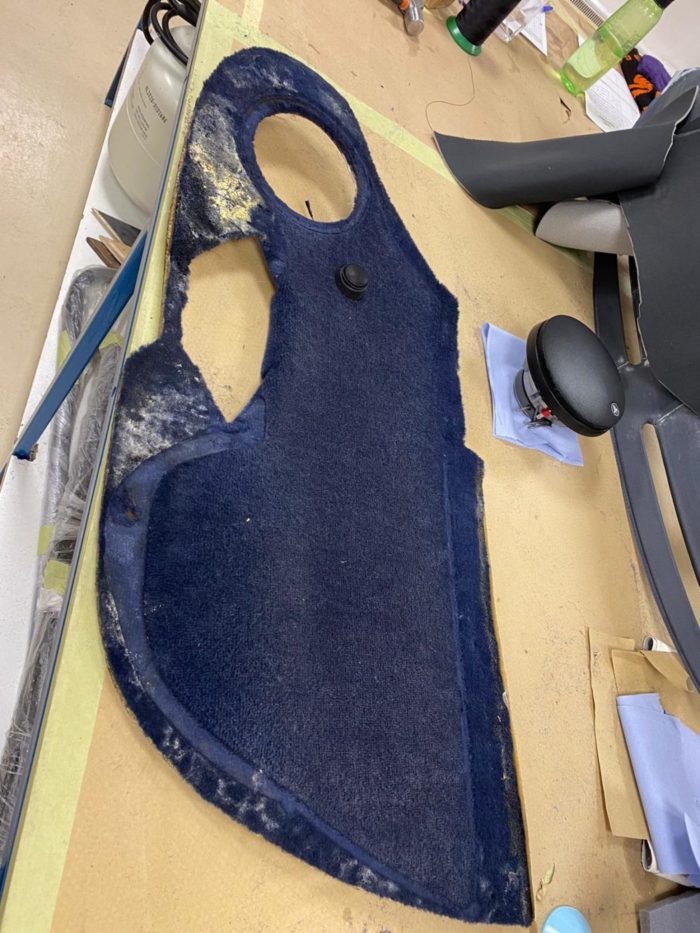
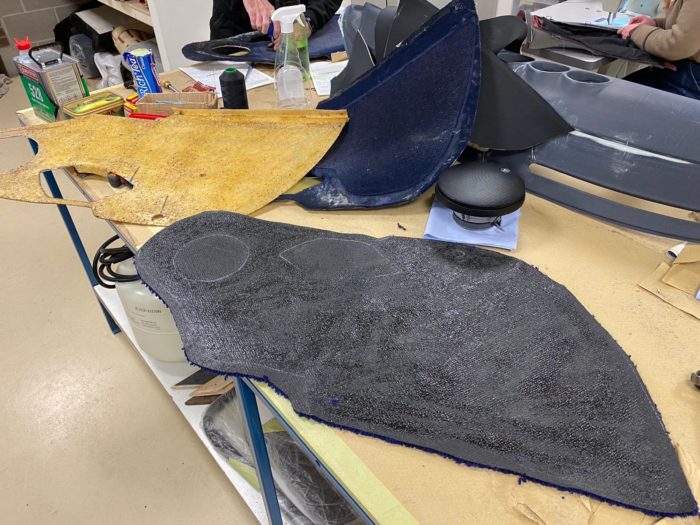
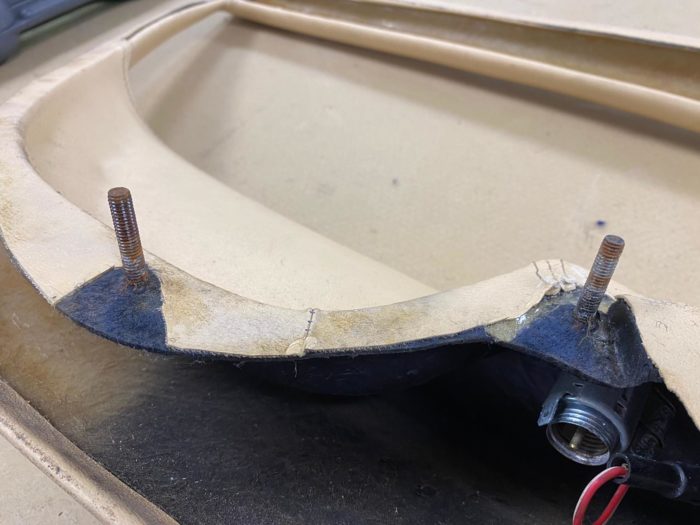
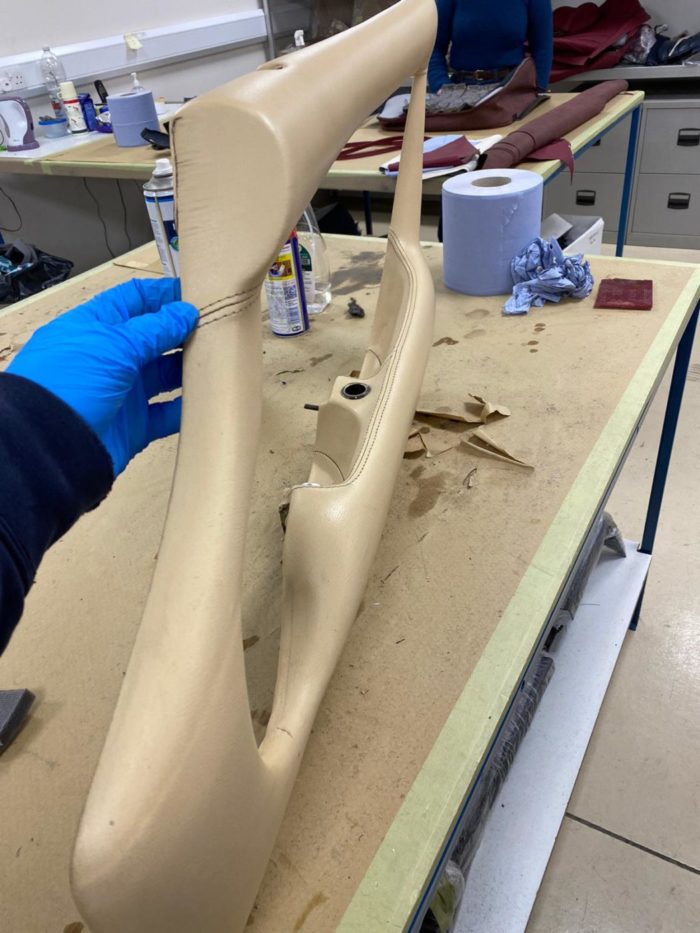
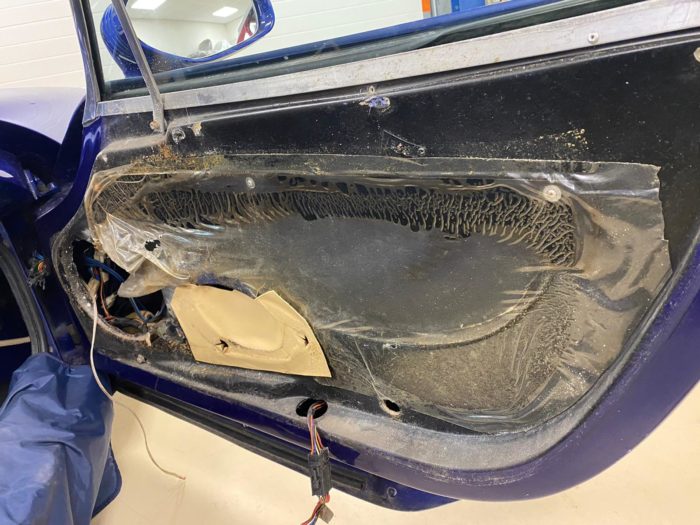
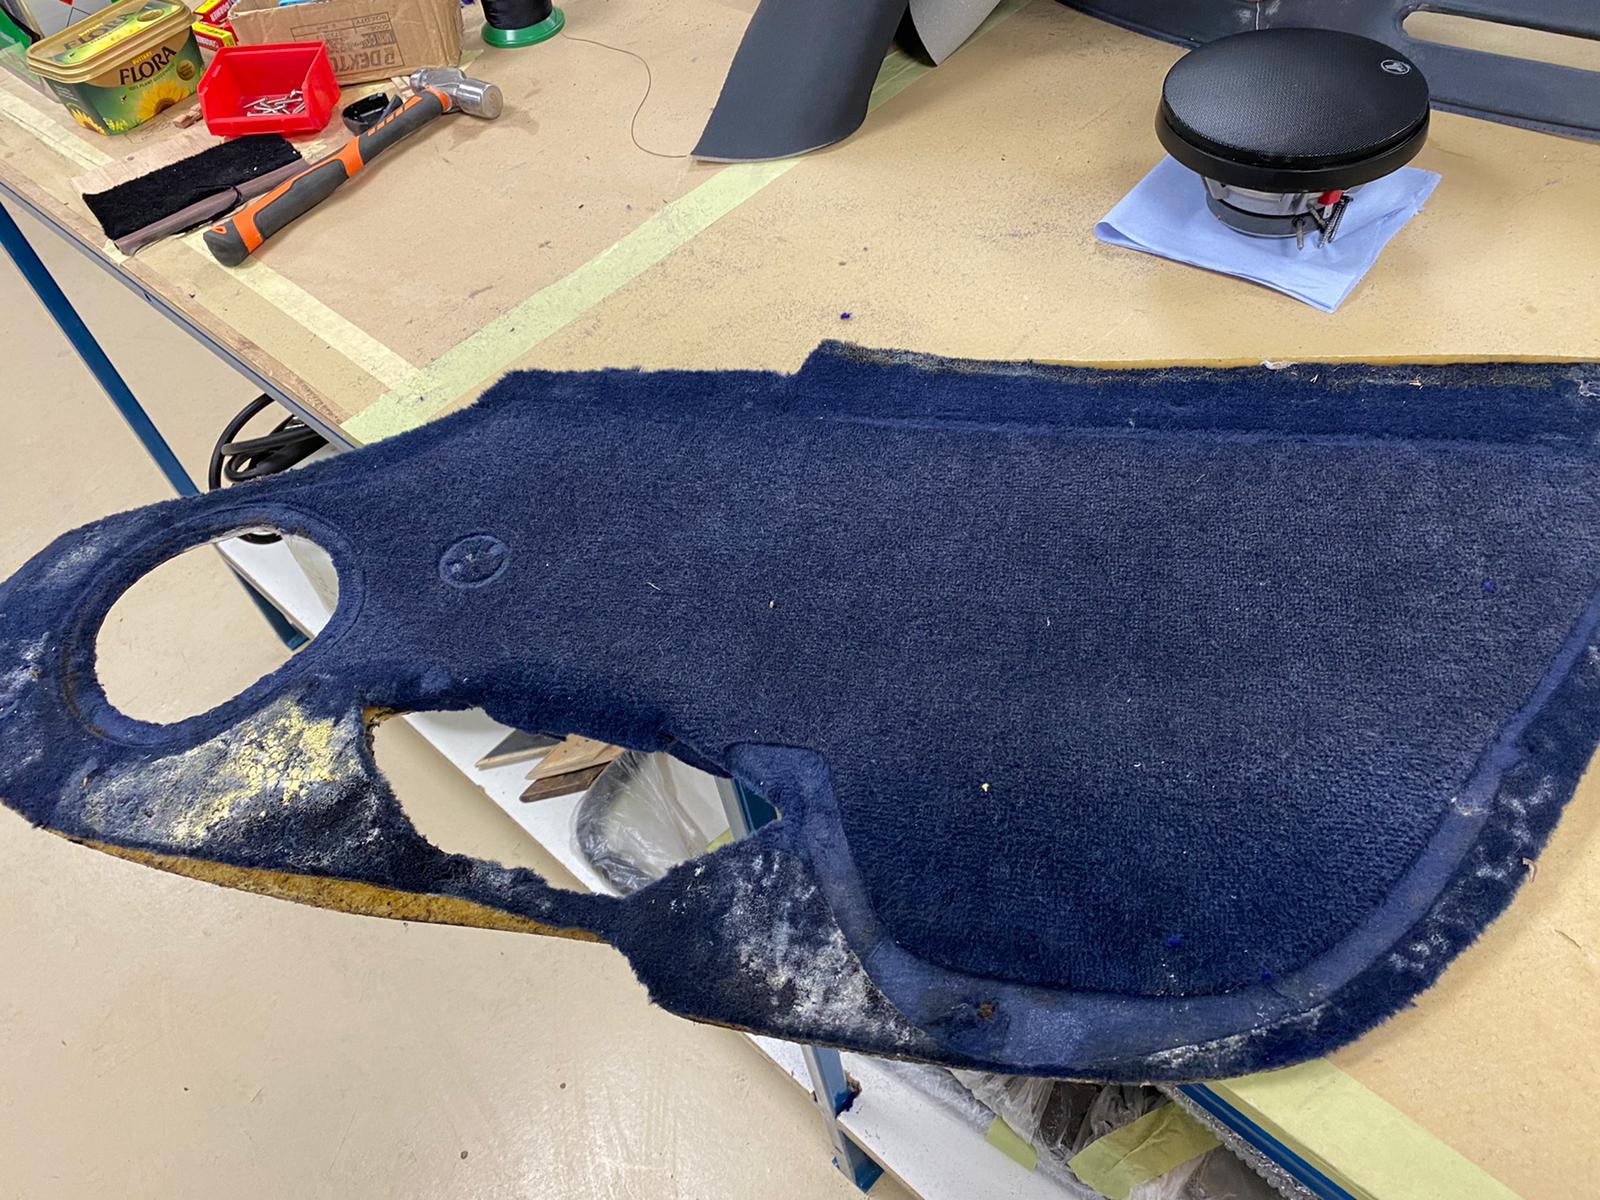
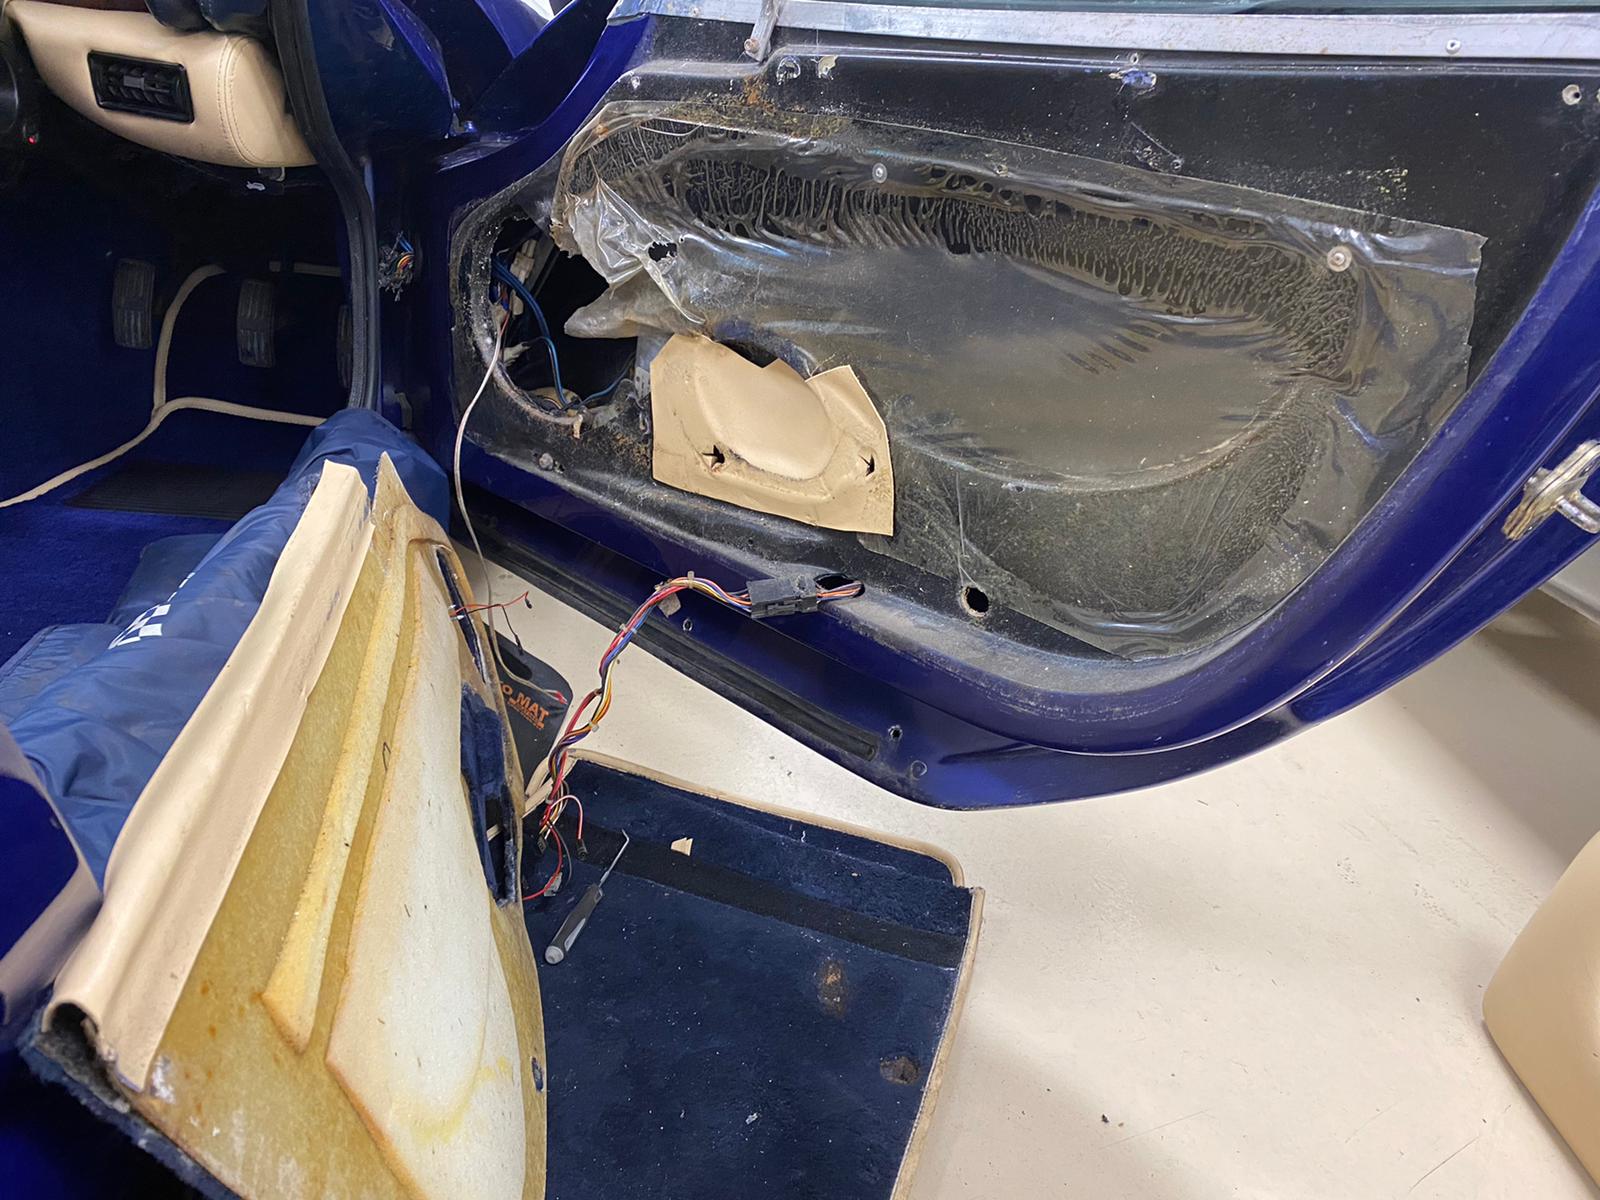
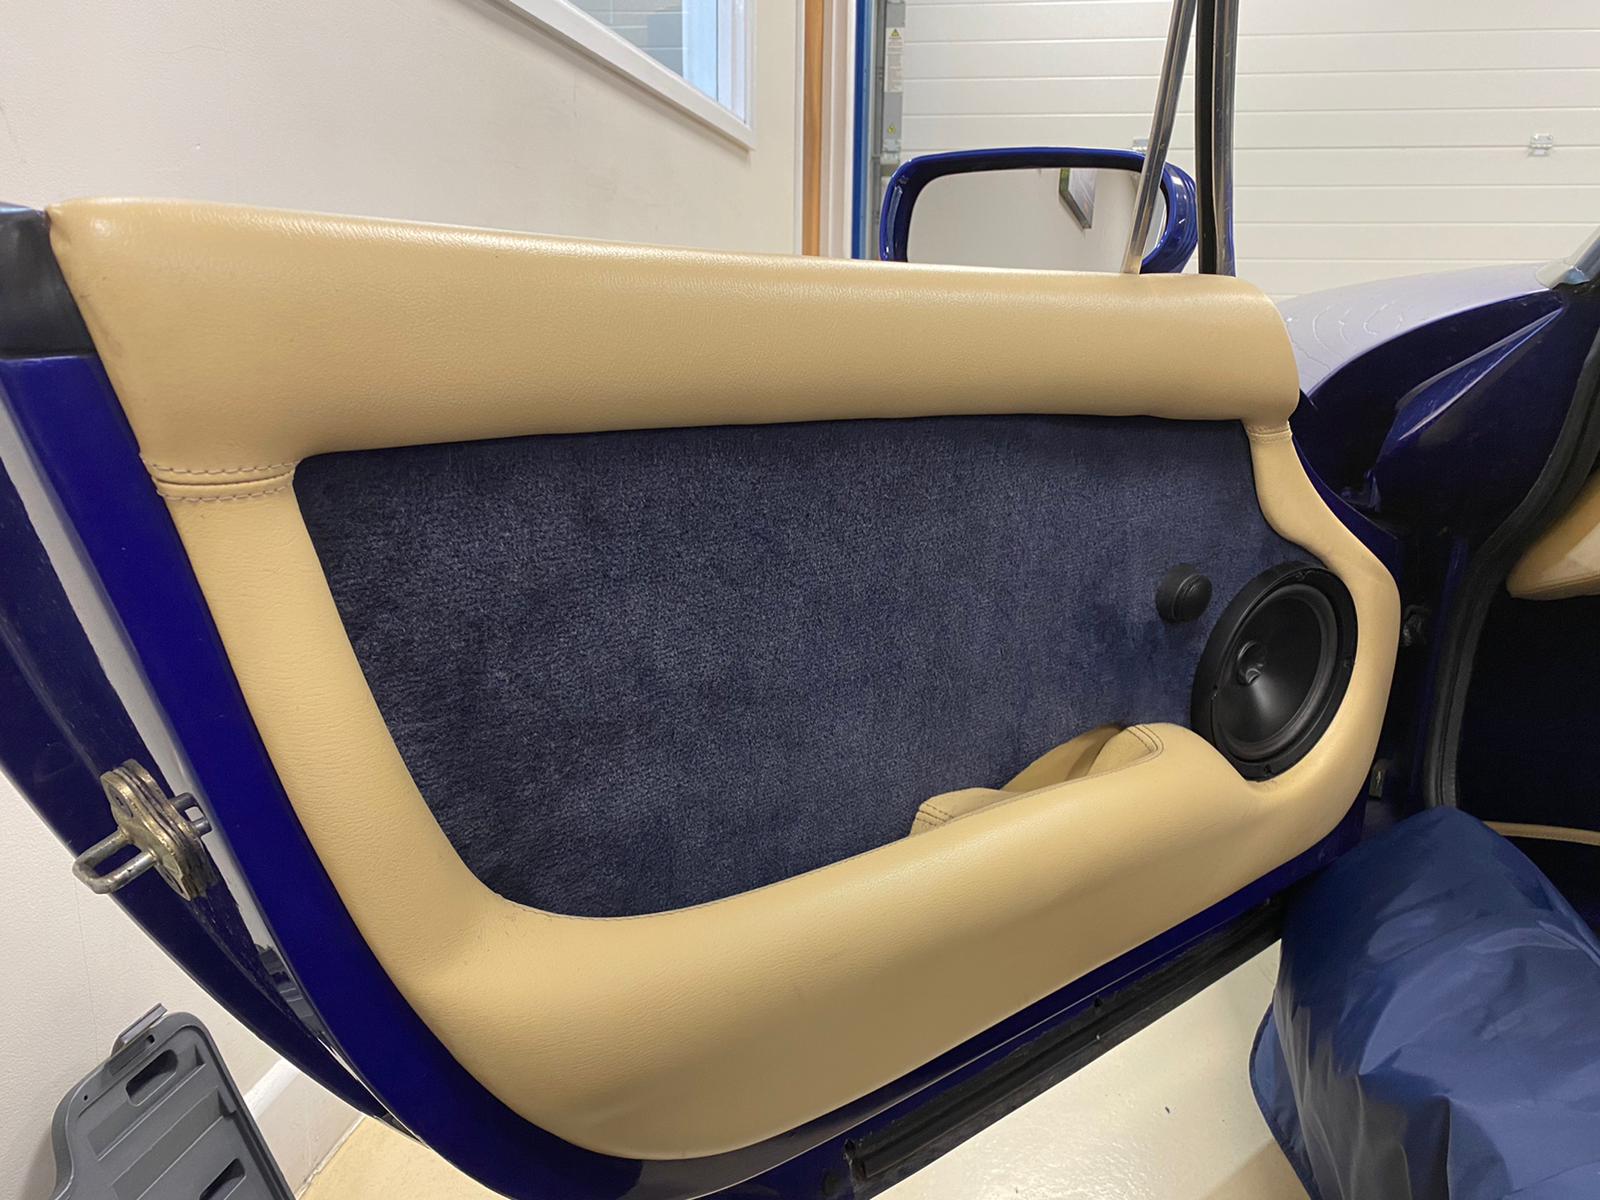
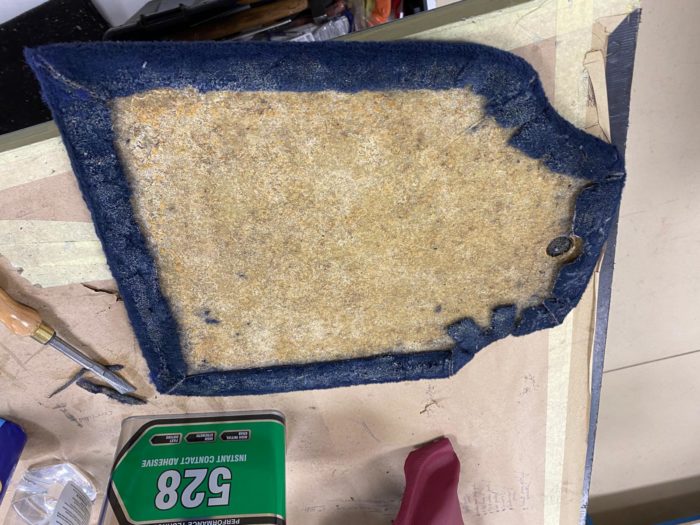
One of the more challenging parts of this trim restoration was removing the old carpet from the door panel as the bolts were particularly stiff on the door cards. The team glued the new carpet to the door panel and fitted it into to door, as well as fitting the outer section of the door panel to the door. The final touch was to refit the speakers.
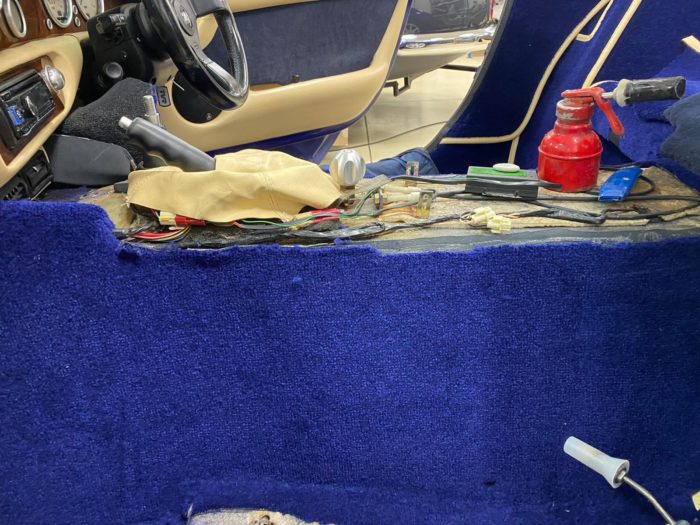
We’ve also fitted the seat belts.
Kath identified some rust but we discovered that its only surface rust which can be treated on the surface by filling the holes with rubber flanges and flange sealant to then be primed and painted.
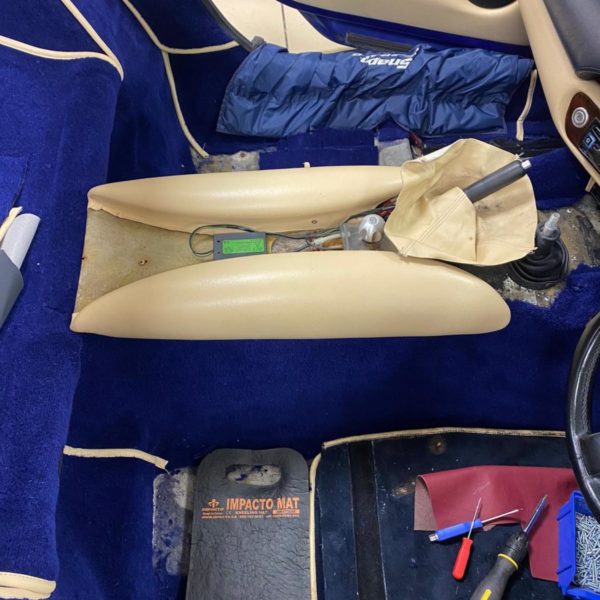
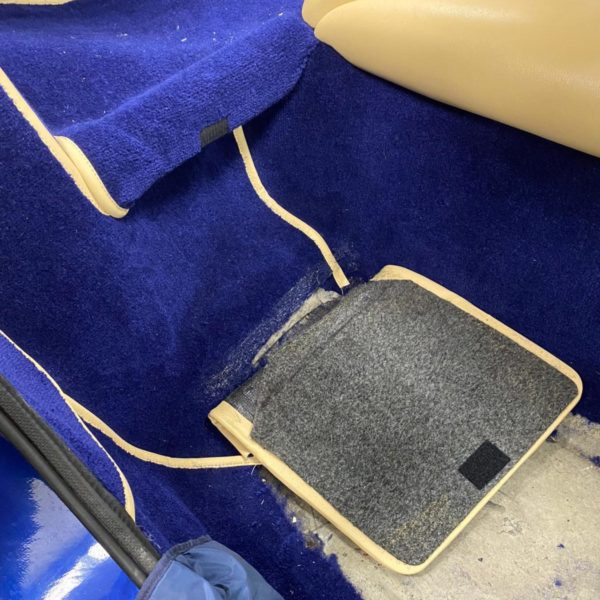
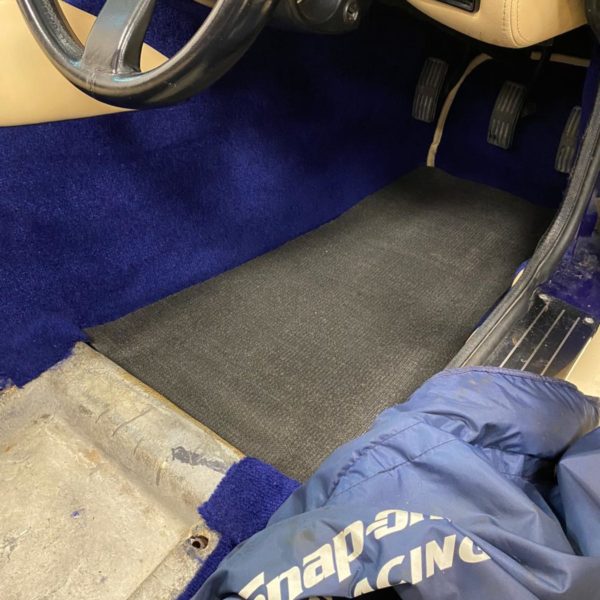
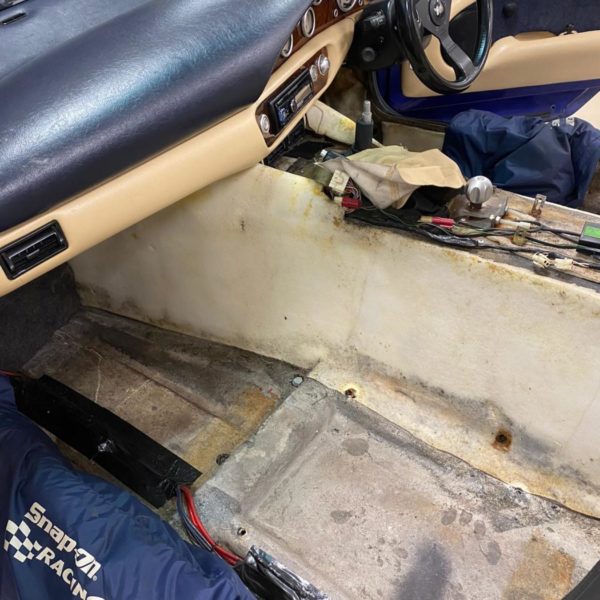
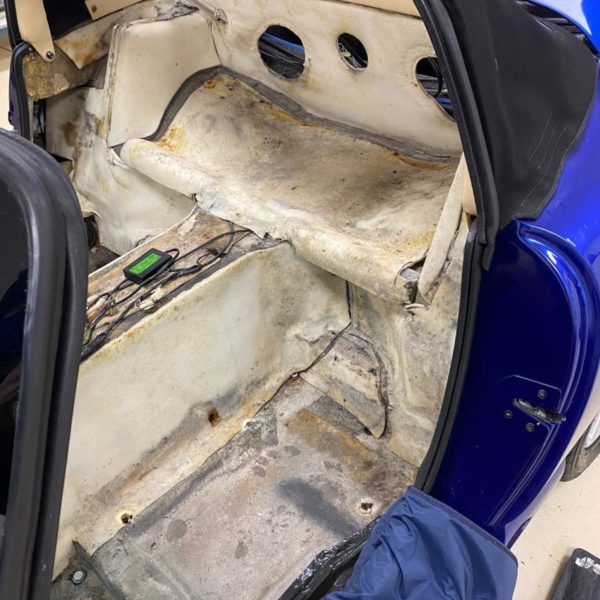
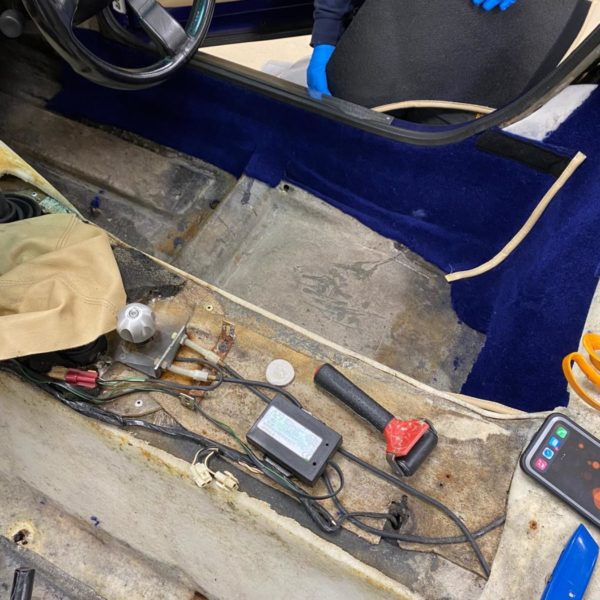
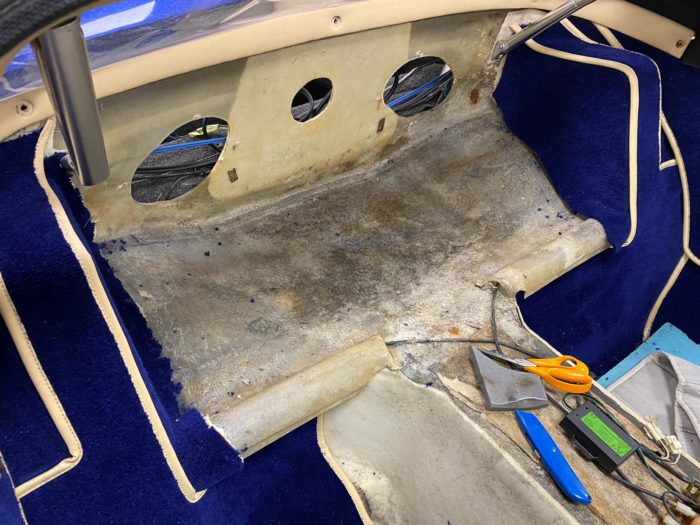
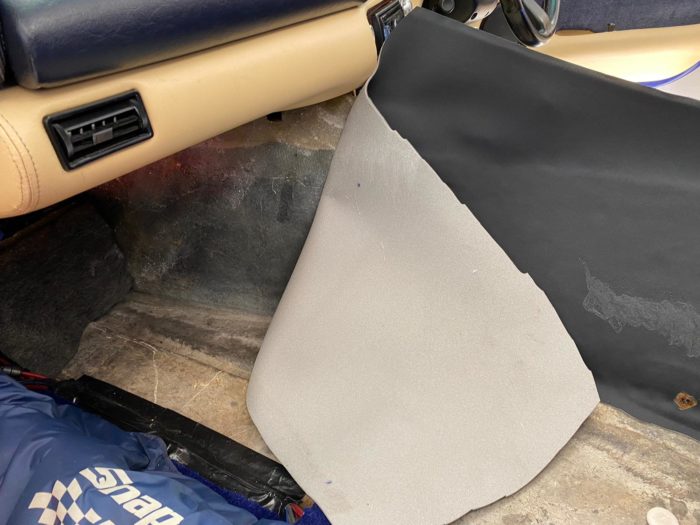
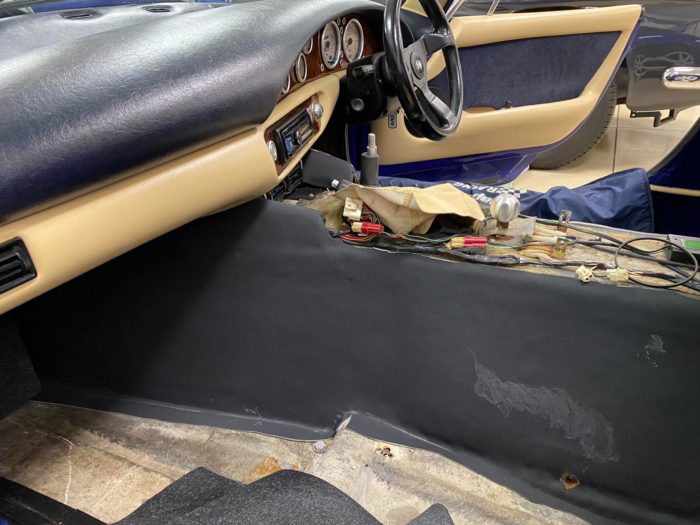
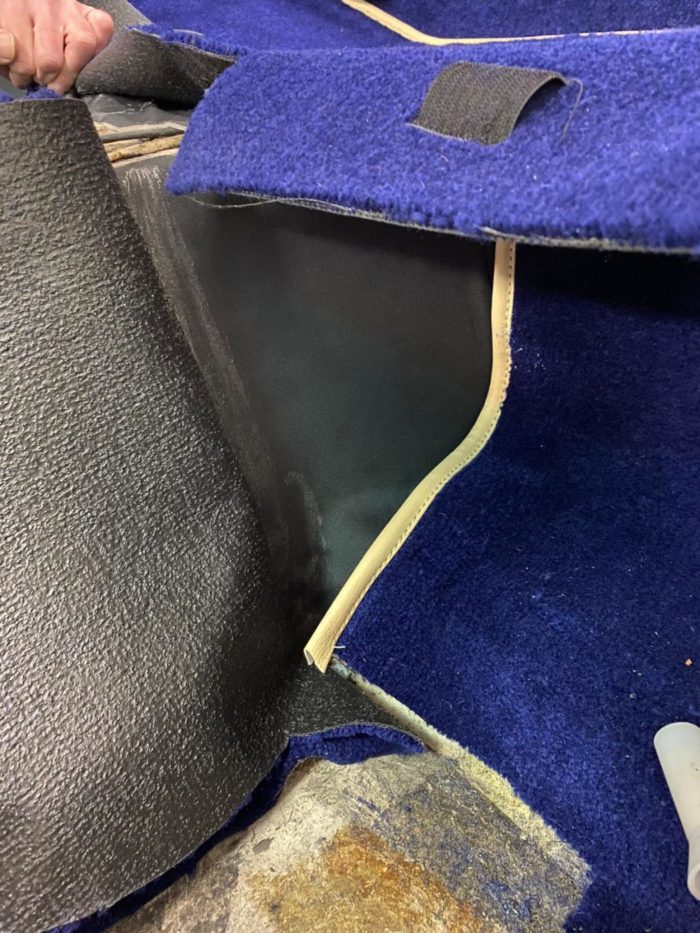
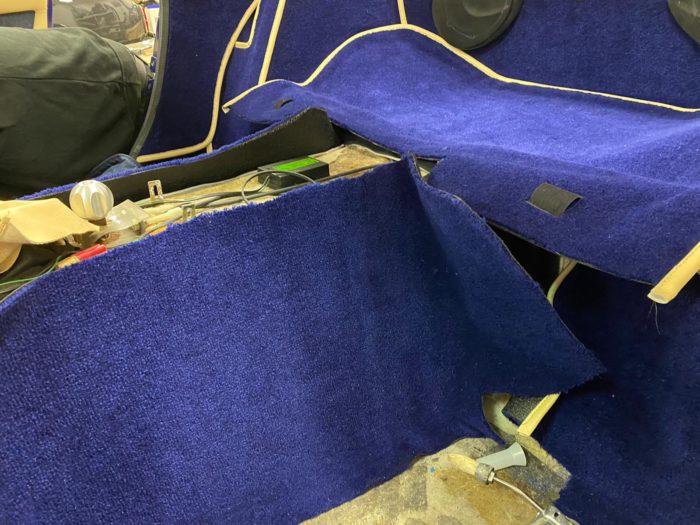
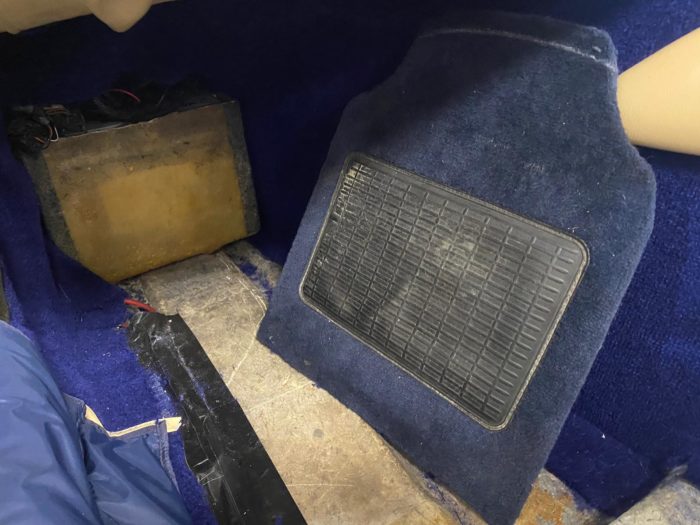
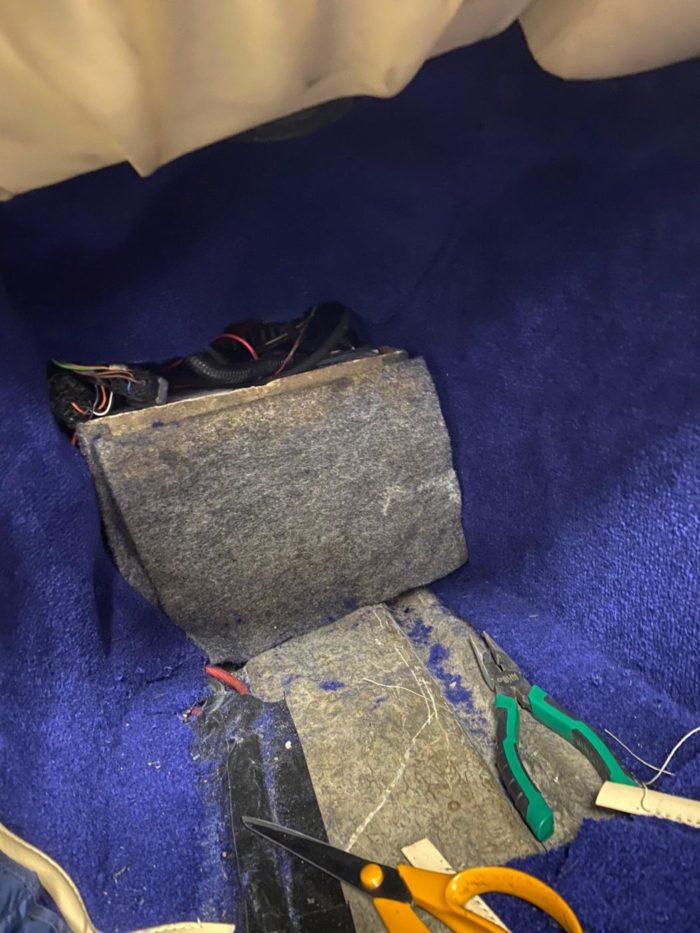
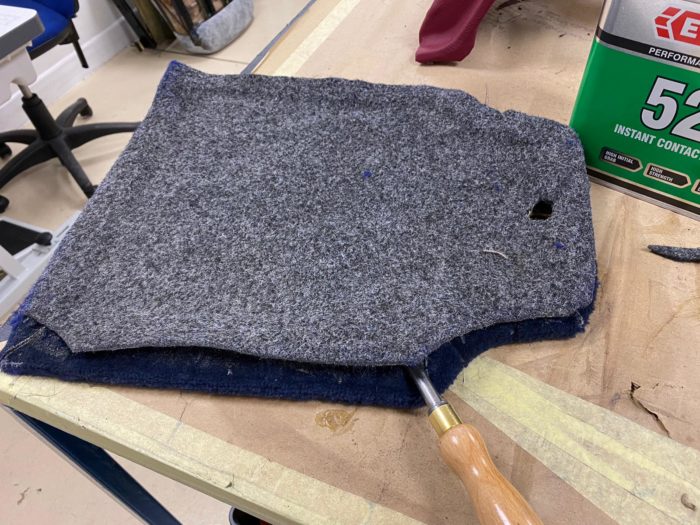
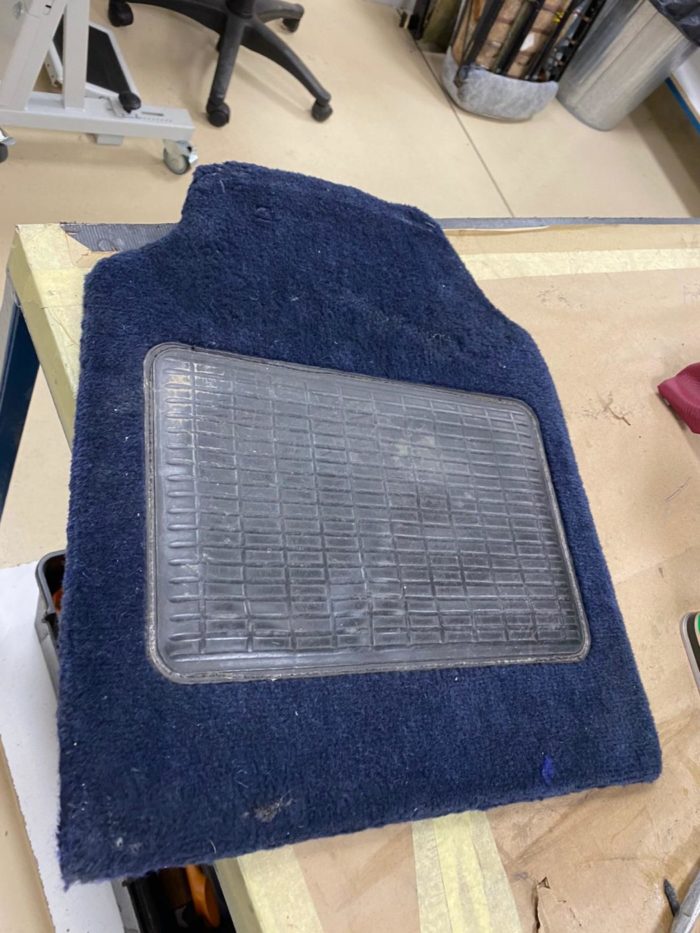
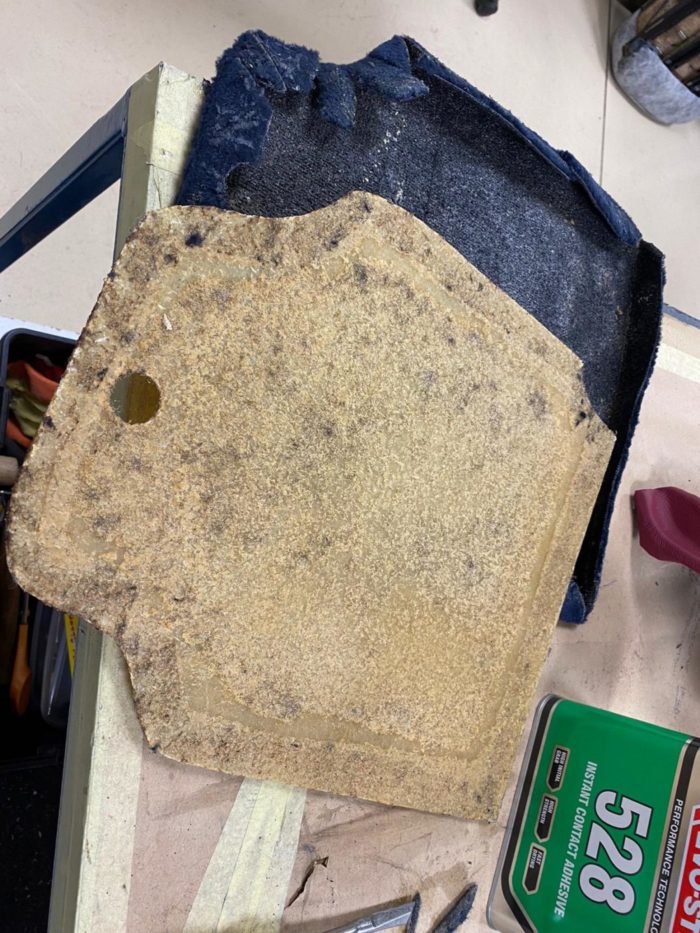
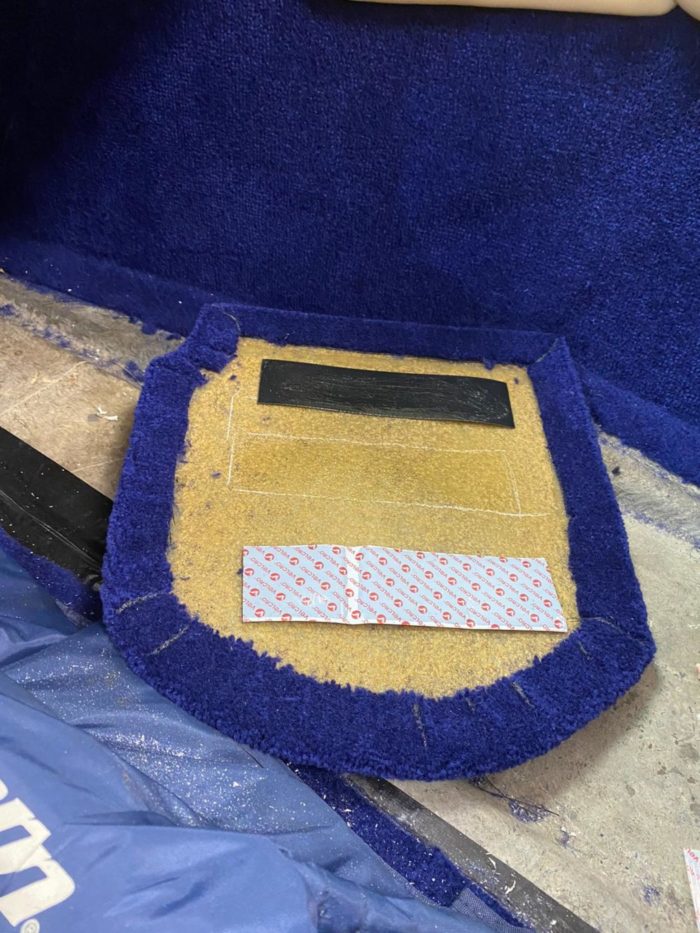
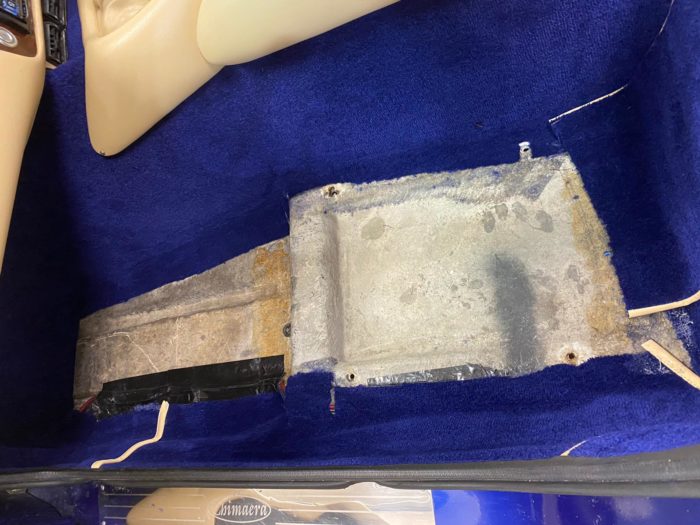
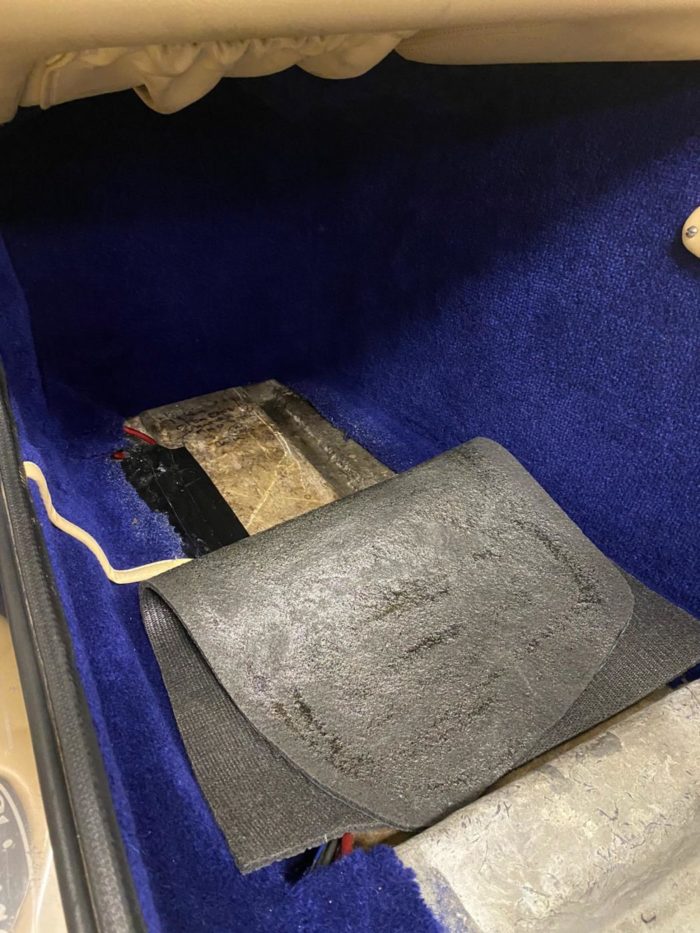
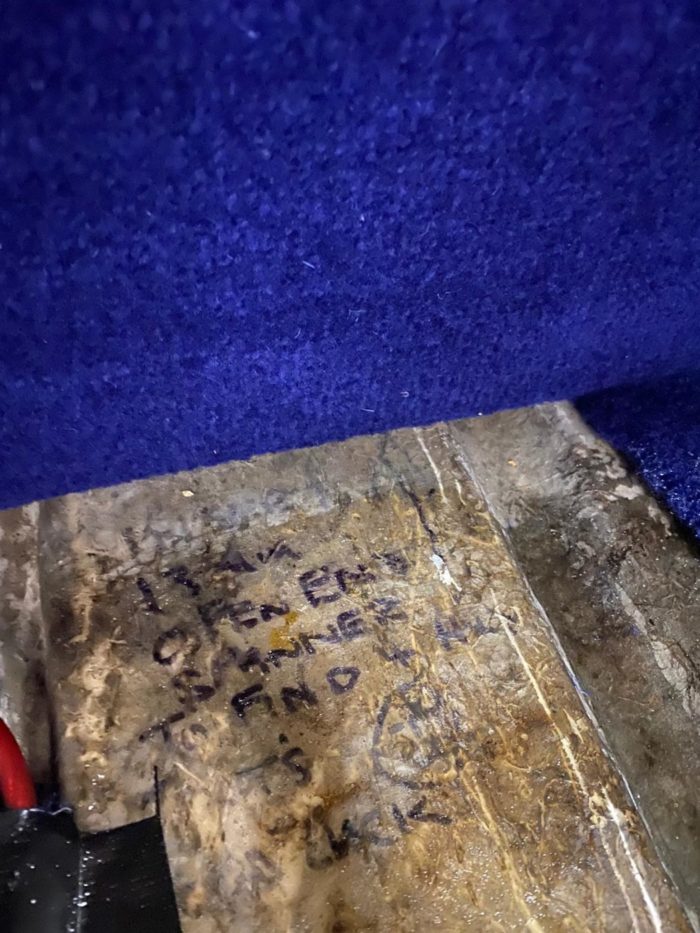
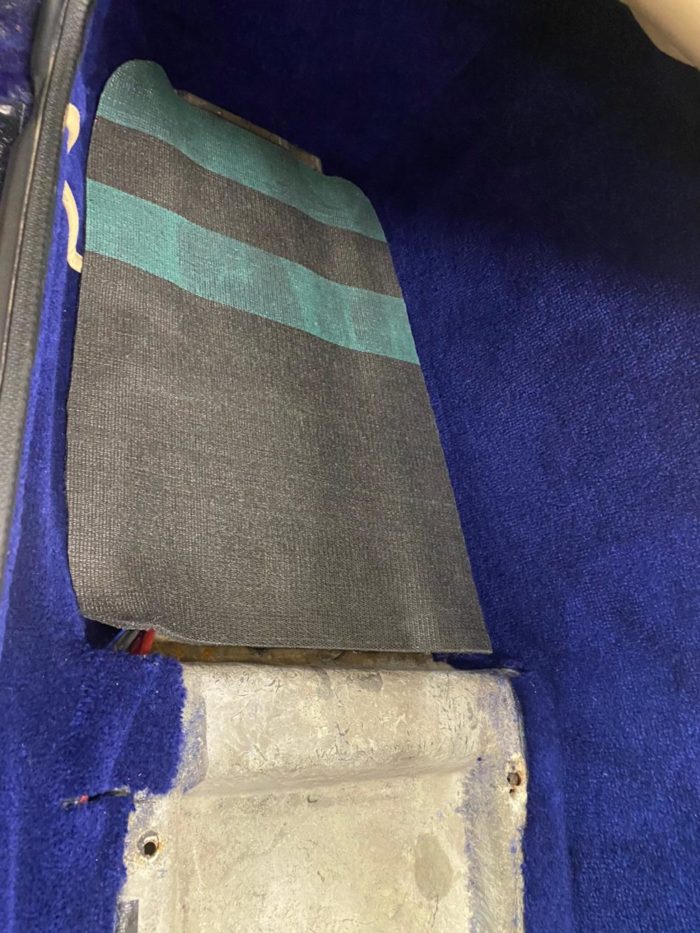
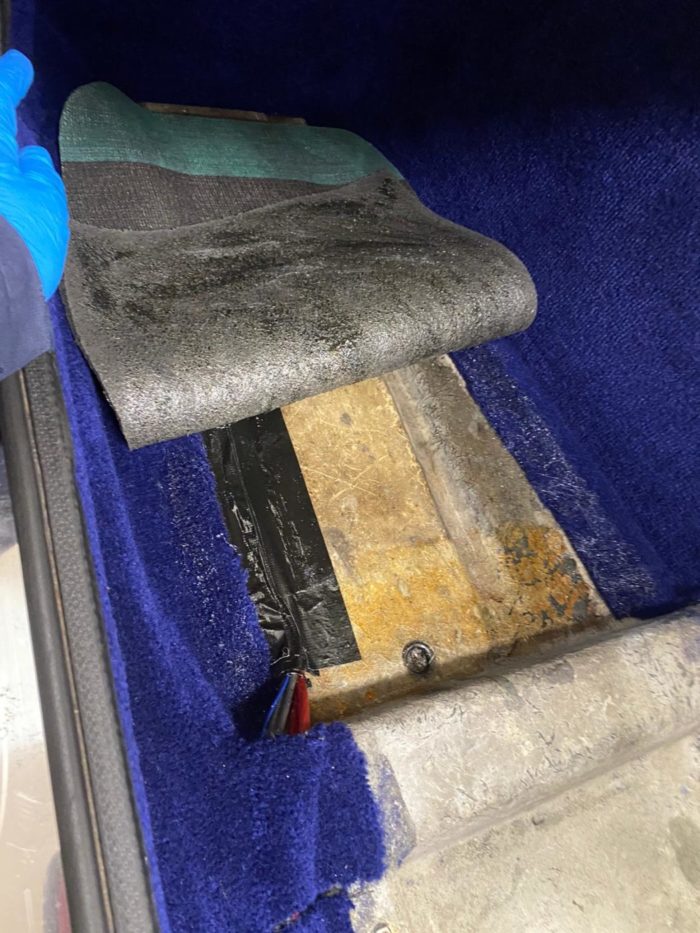
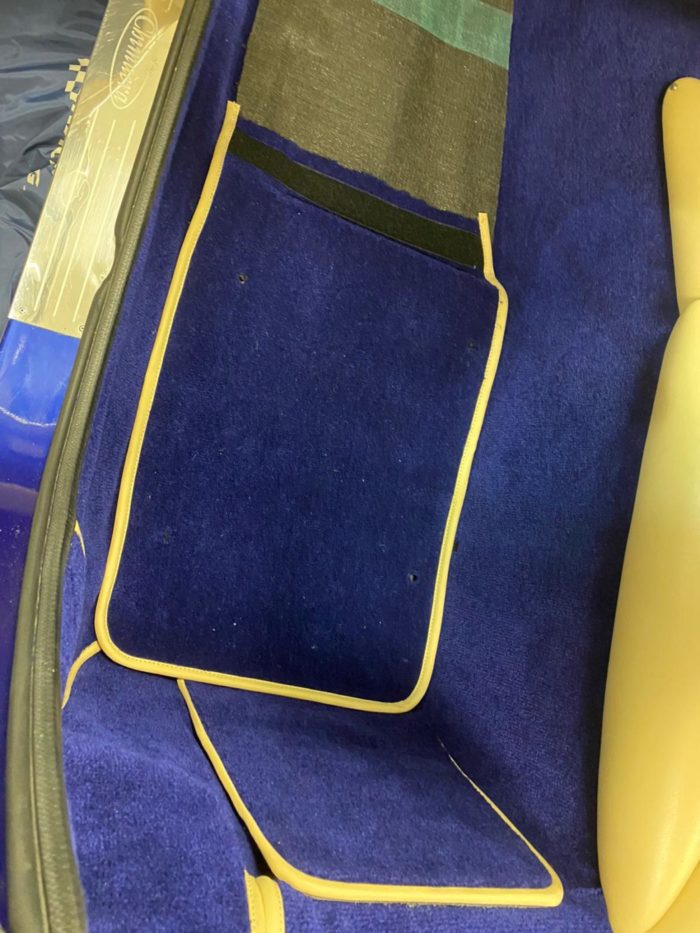
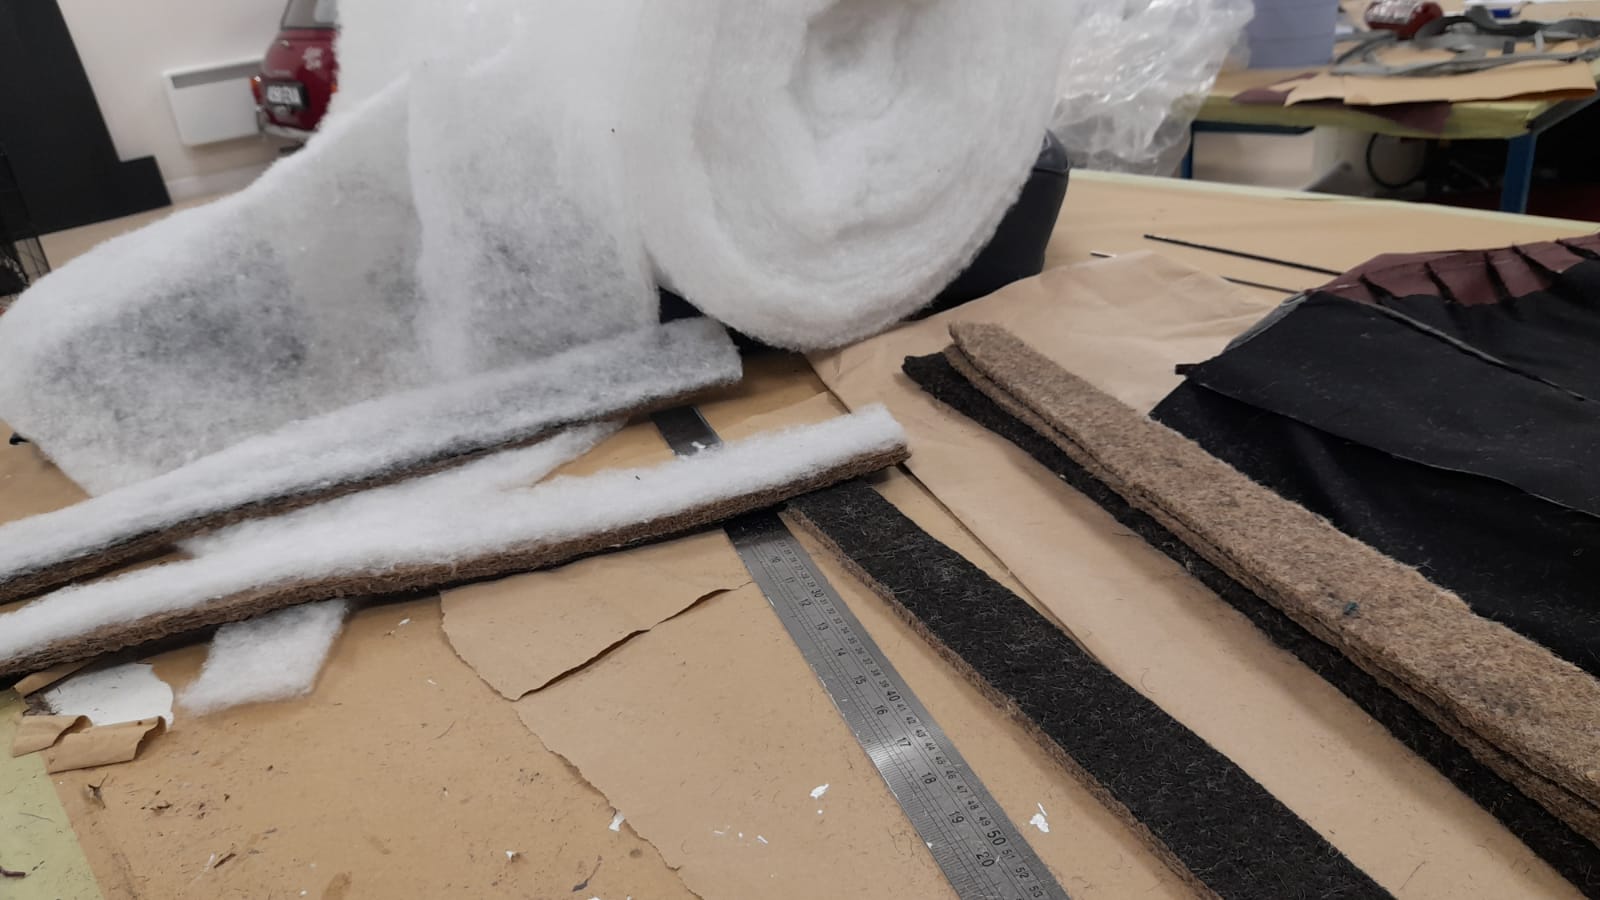
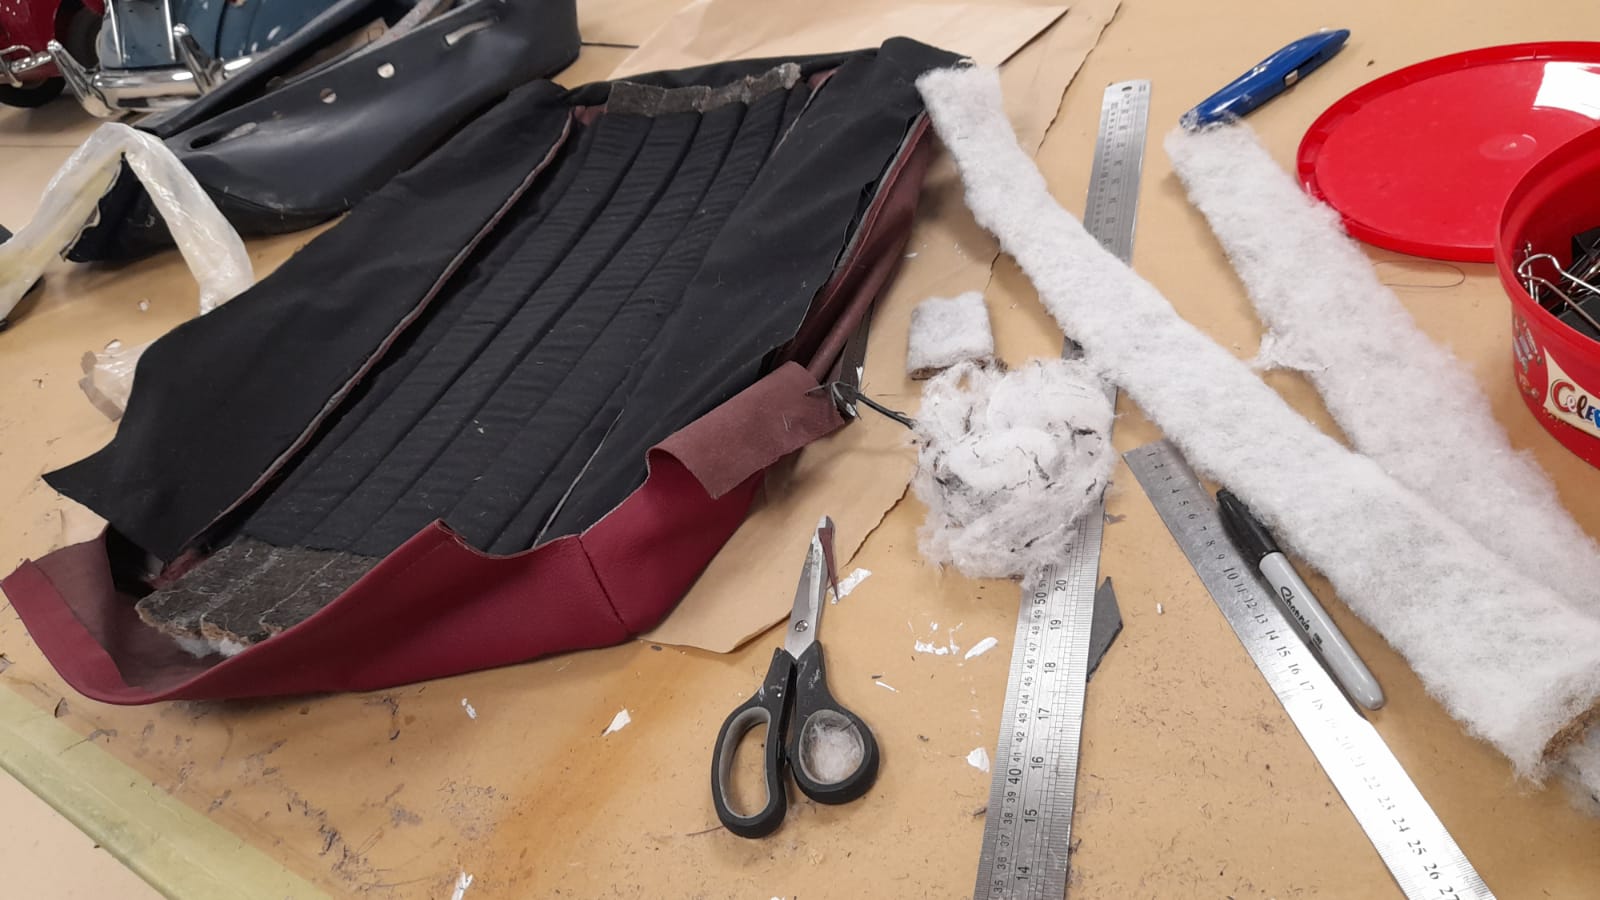
All of the old foam has been replaced with new fresh foam, carpet has been laid in the passenger footwell, the centre console has been cleaned and repaired where needed and the trim has been cut and fitted for the upper footwell.
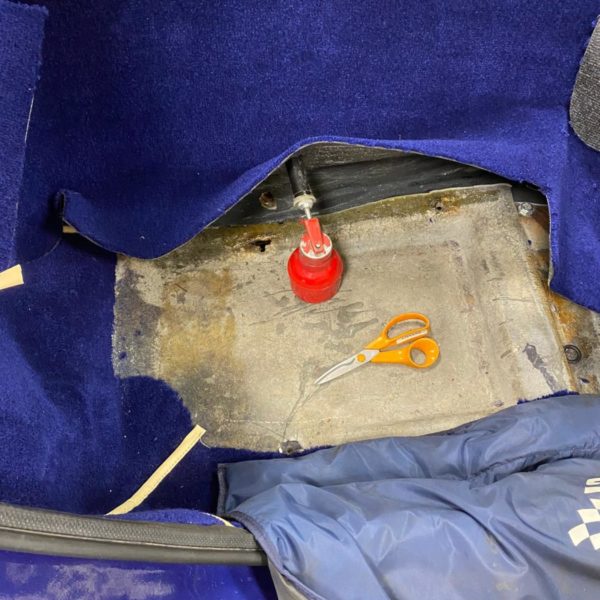
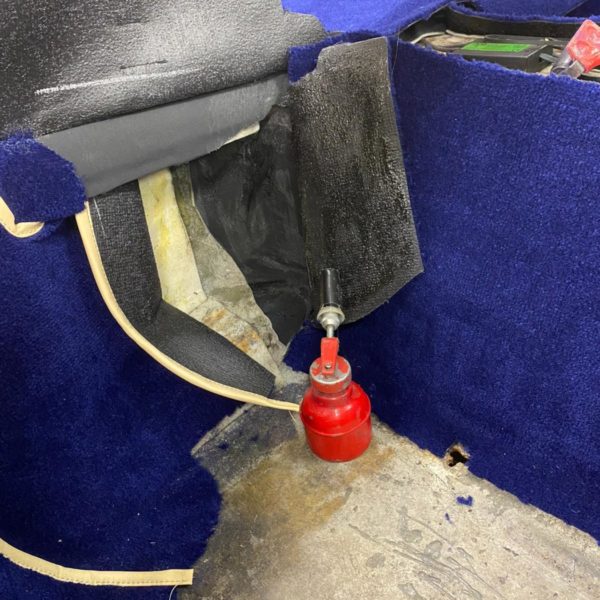
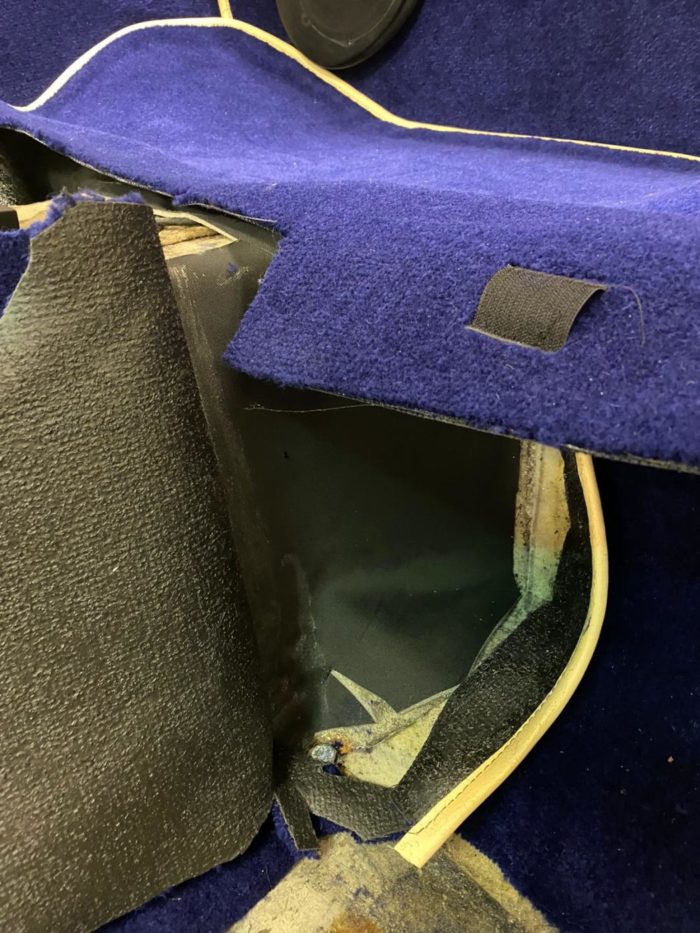
The board surrounding the battery in the footwell has been modified to fit better and the trim has been replaced with the new fabric. Velcro was then carefully attached so that the board can be easily removed.
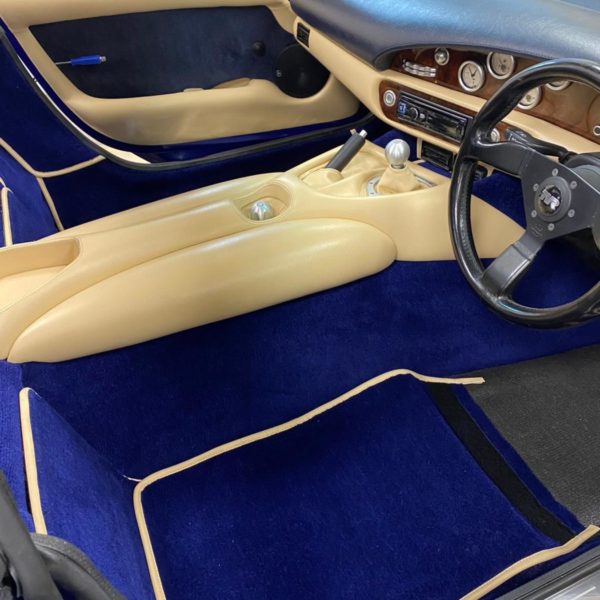
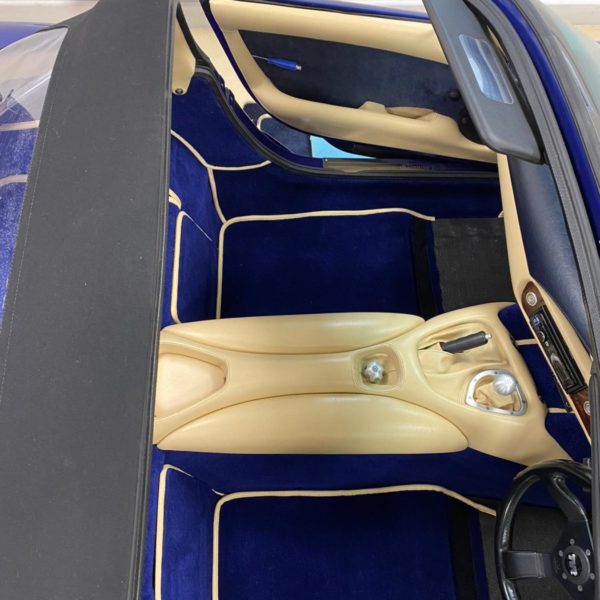
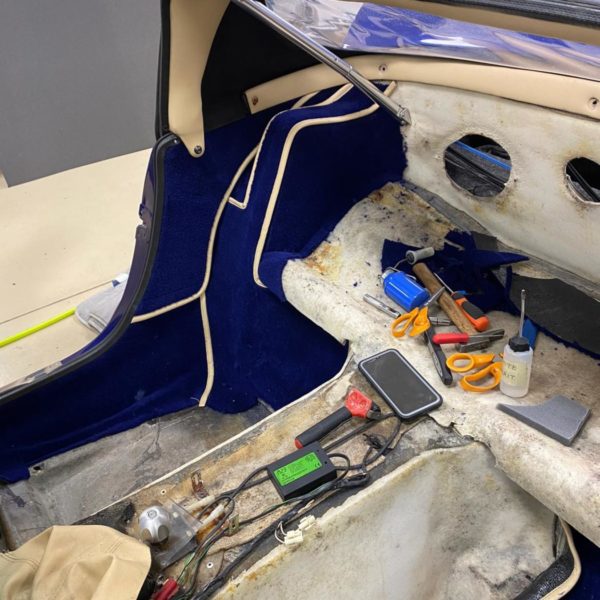
The rear carpet has been fitted as well as the door cards and door trim. The leather around the door car was also cleaned before re-fitting.
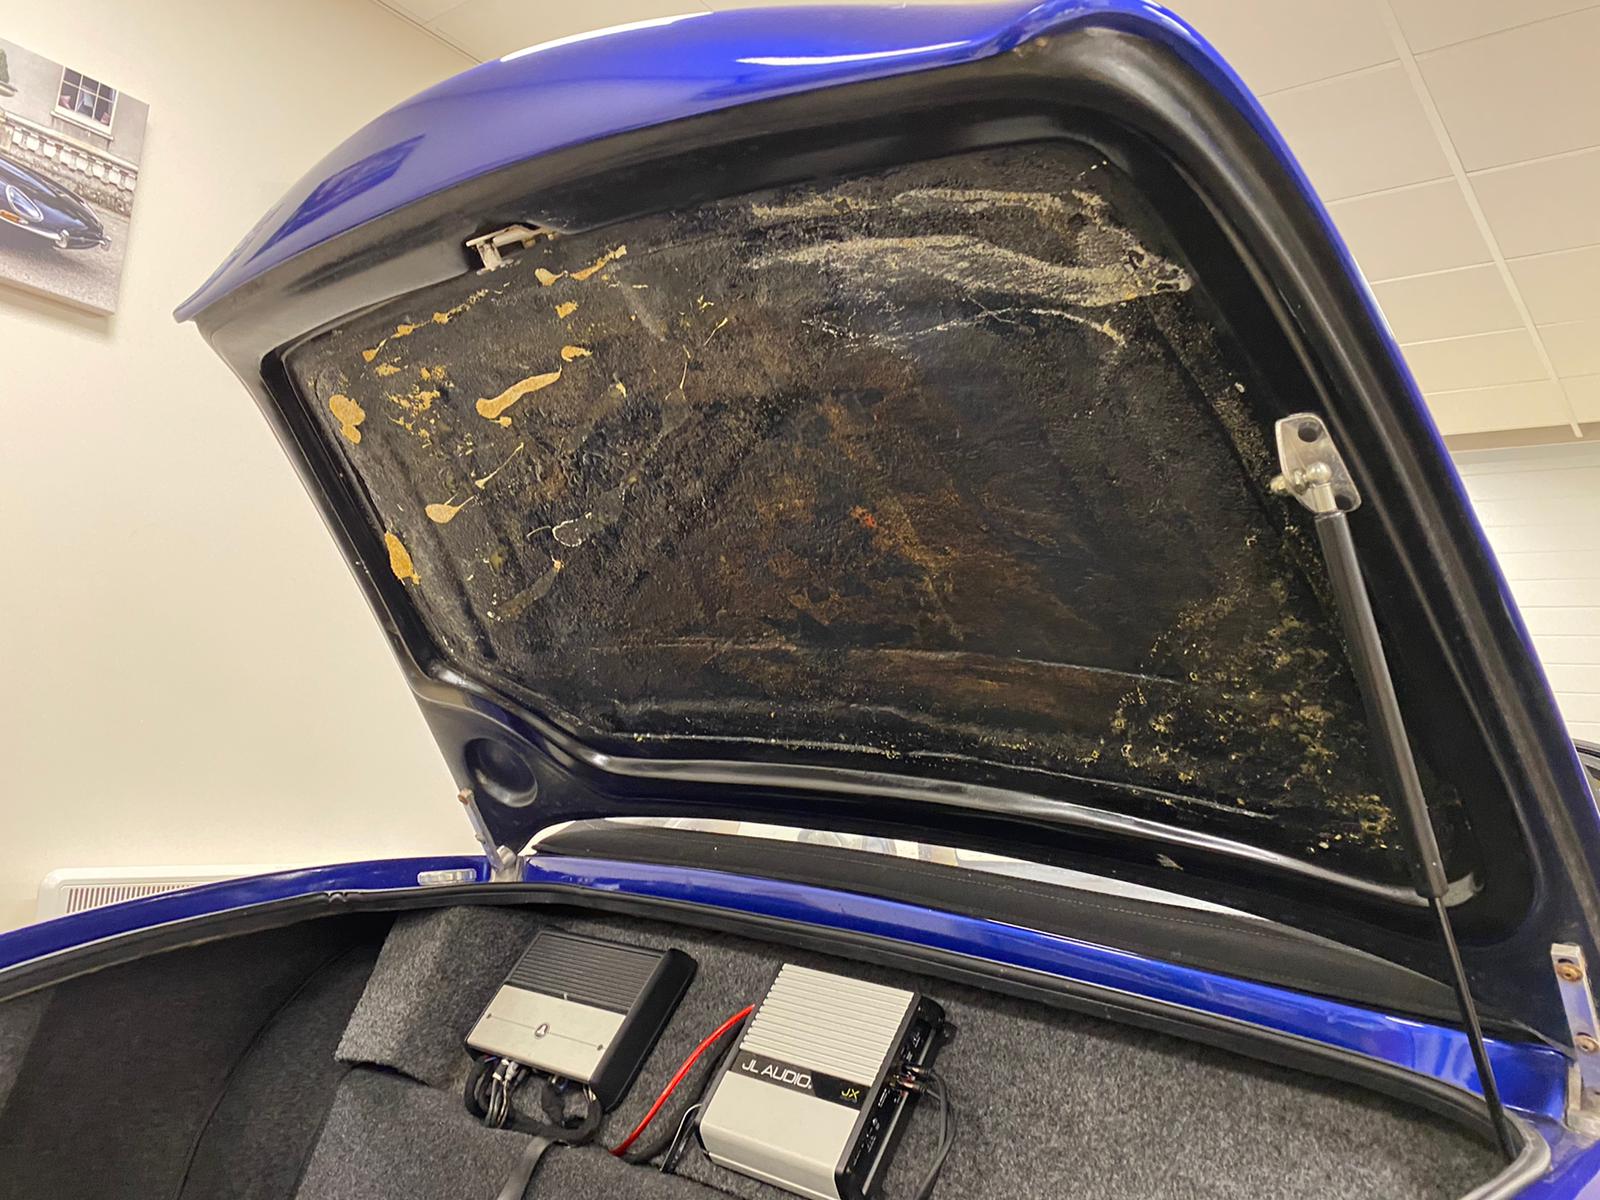
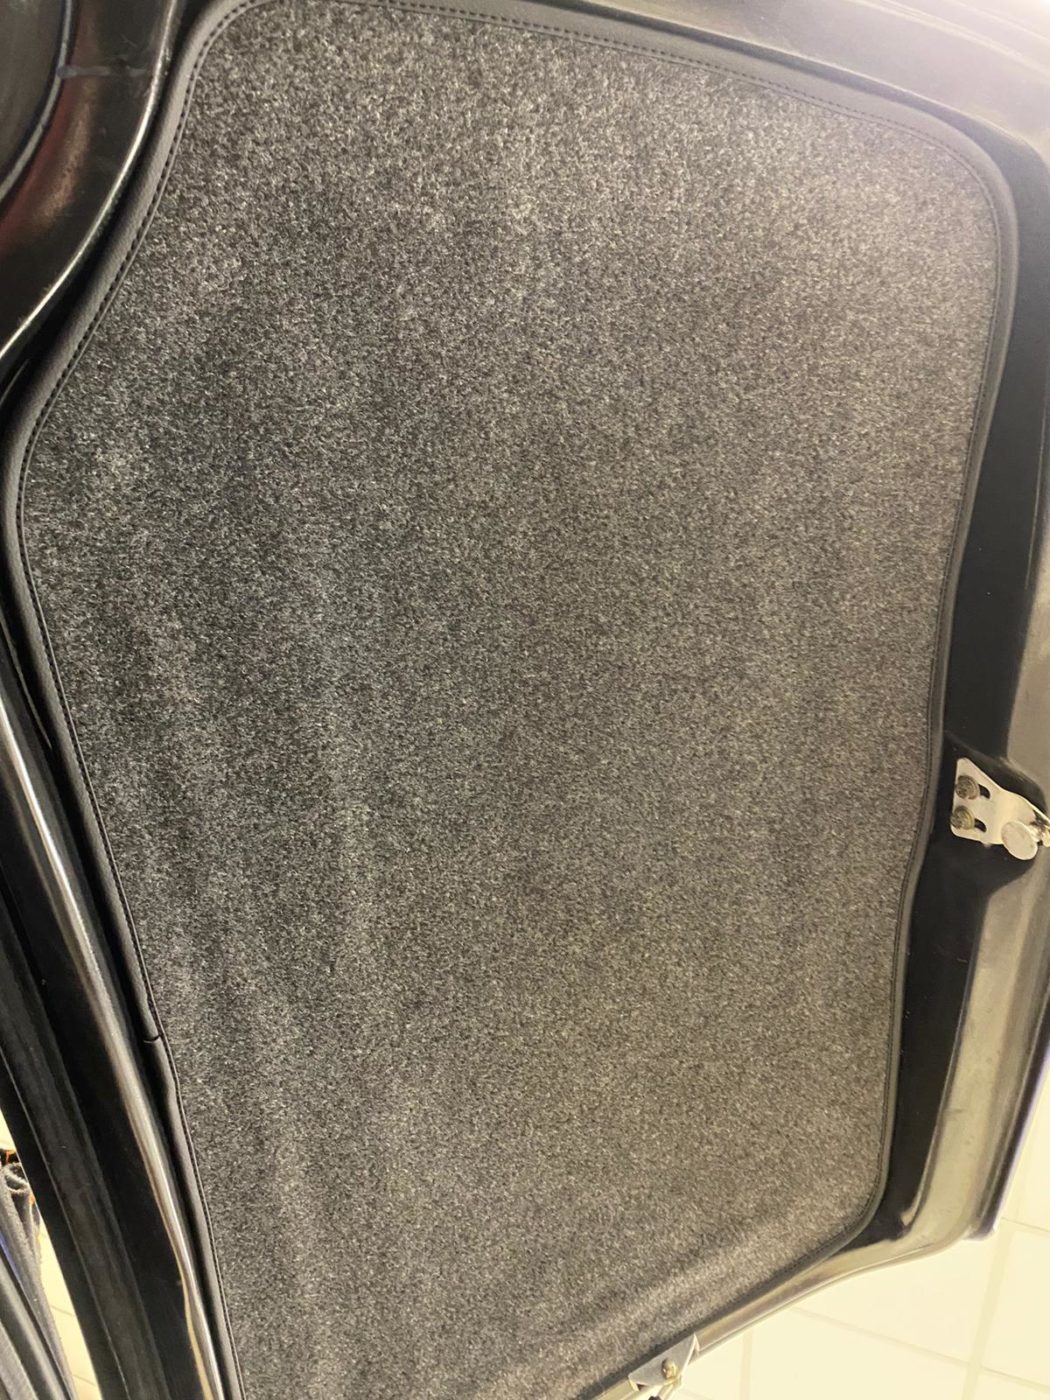
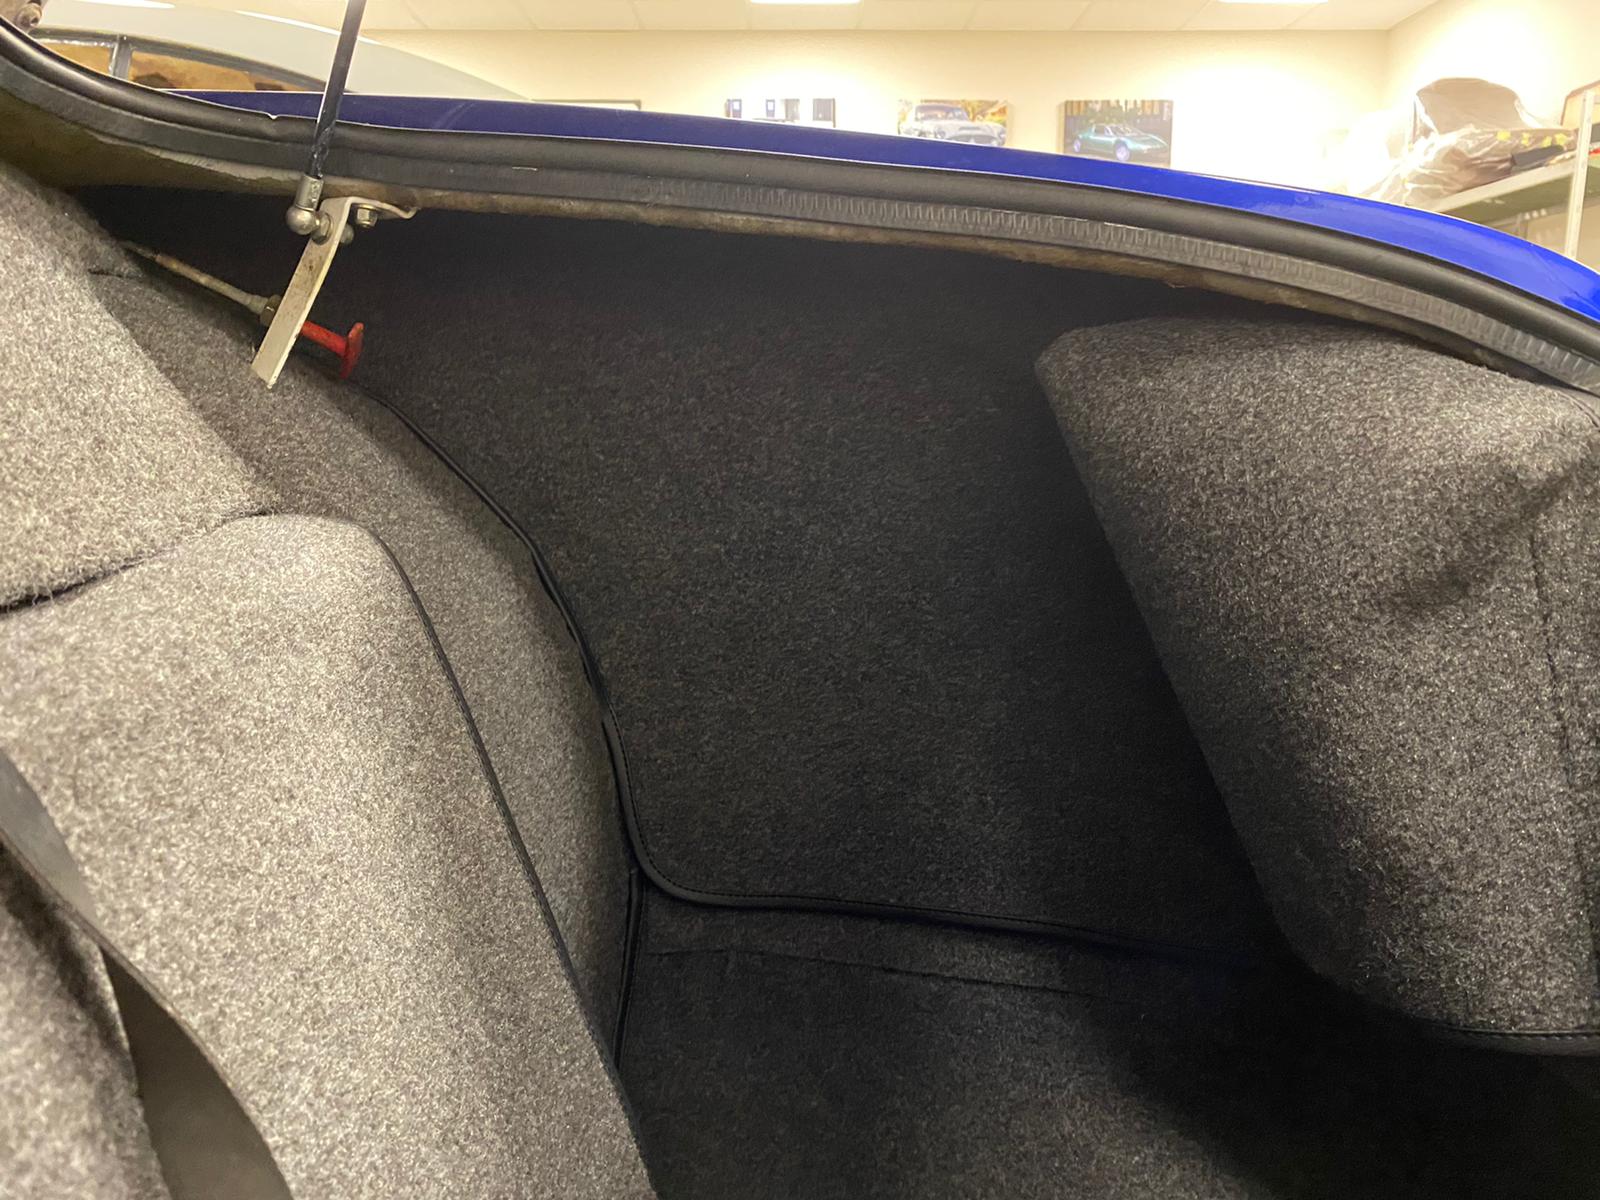
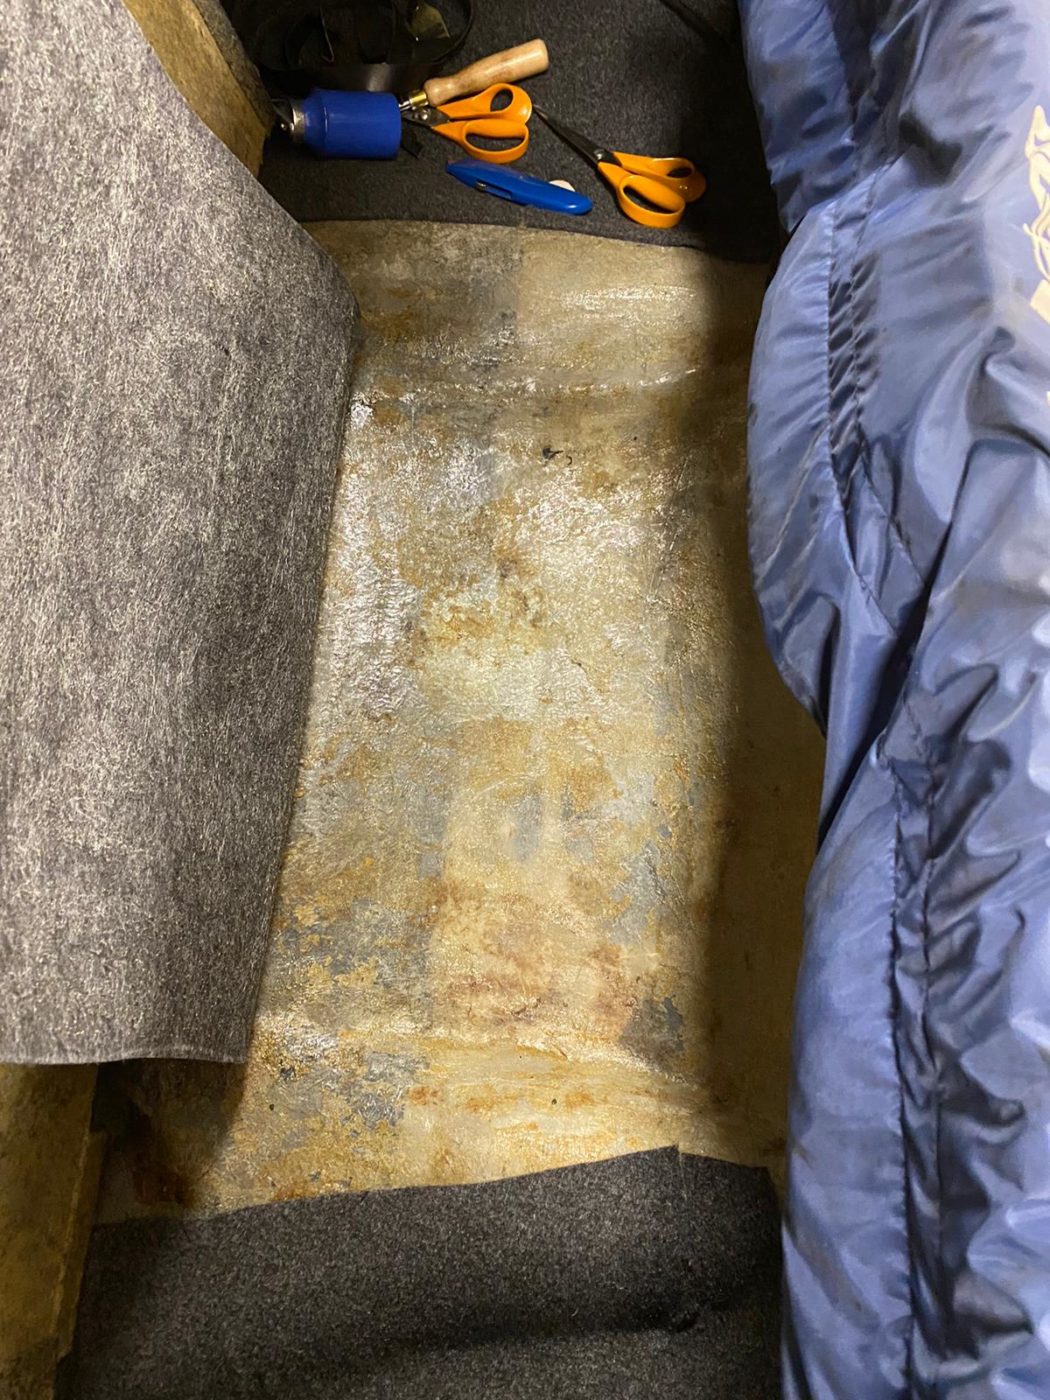
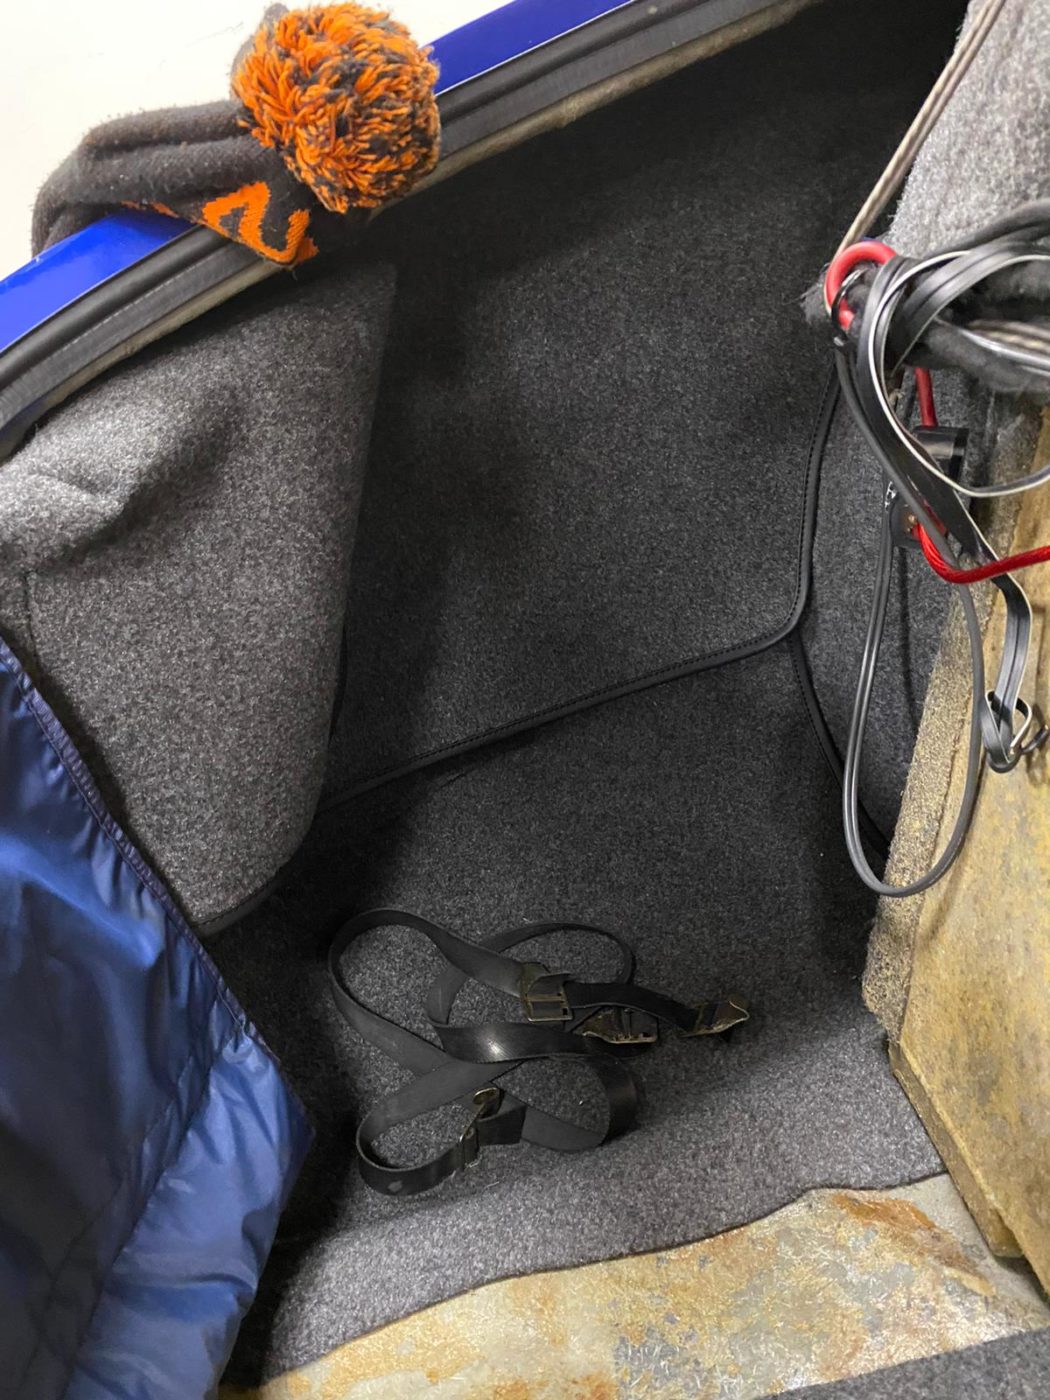
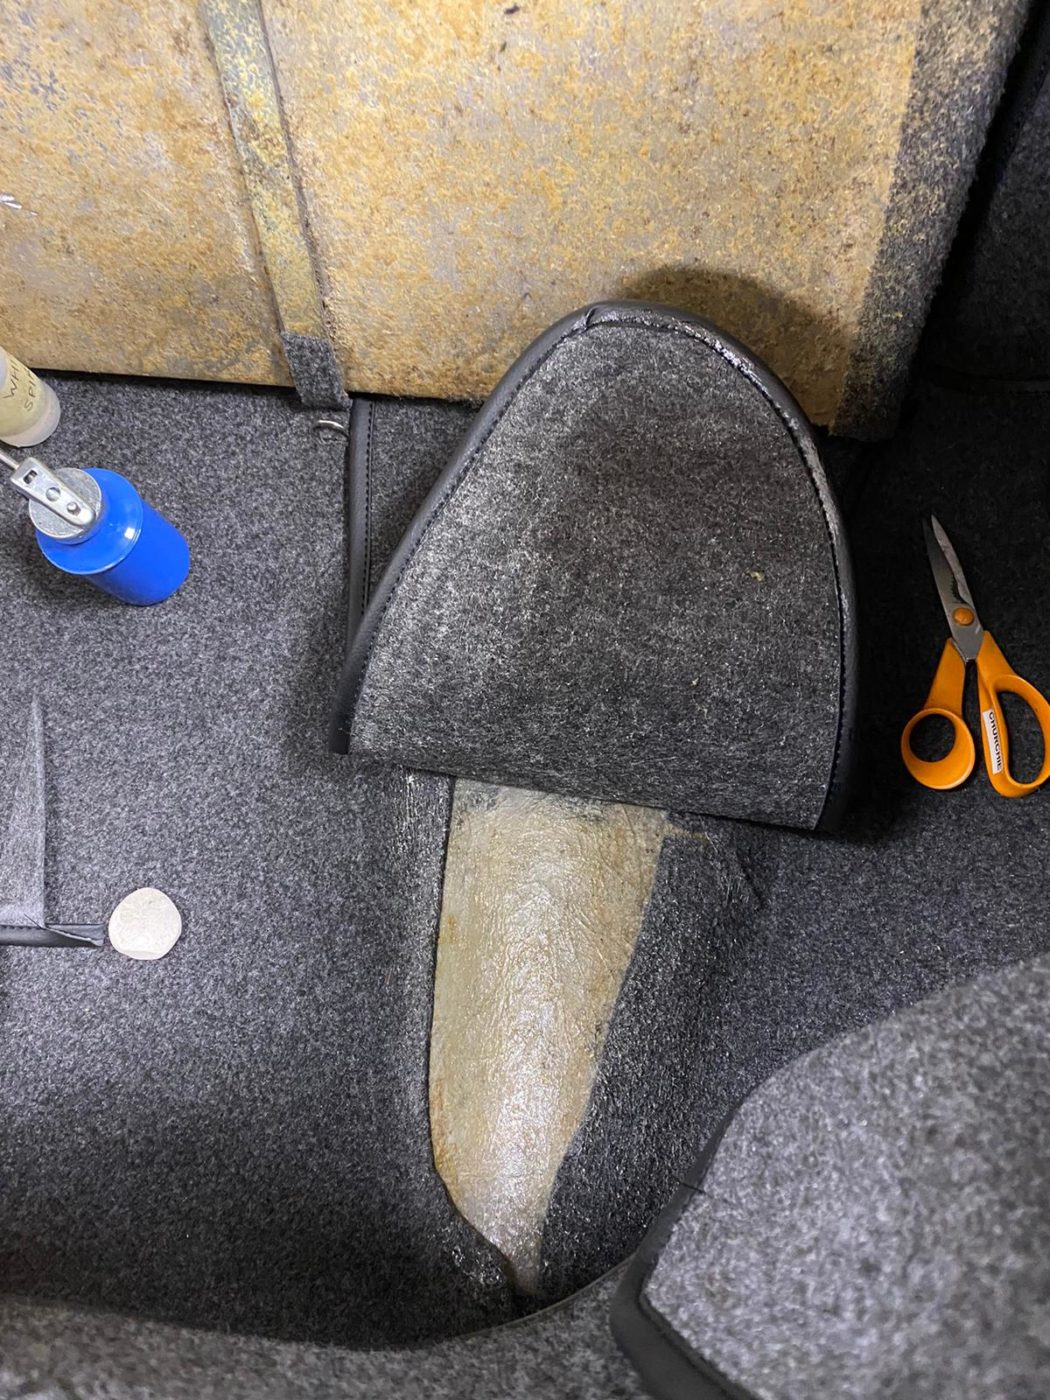
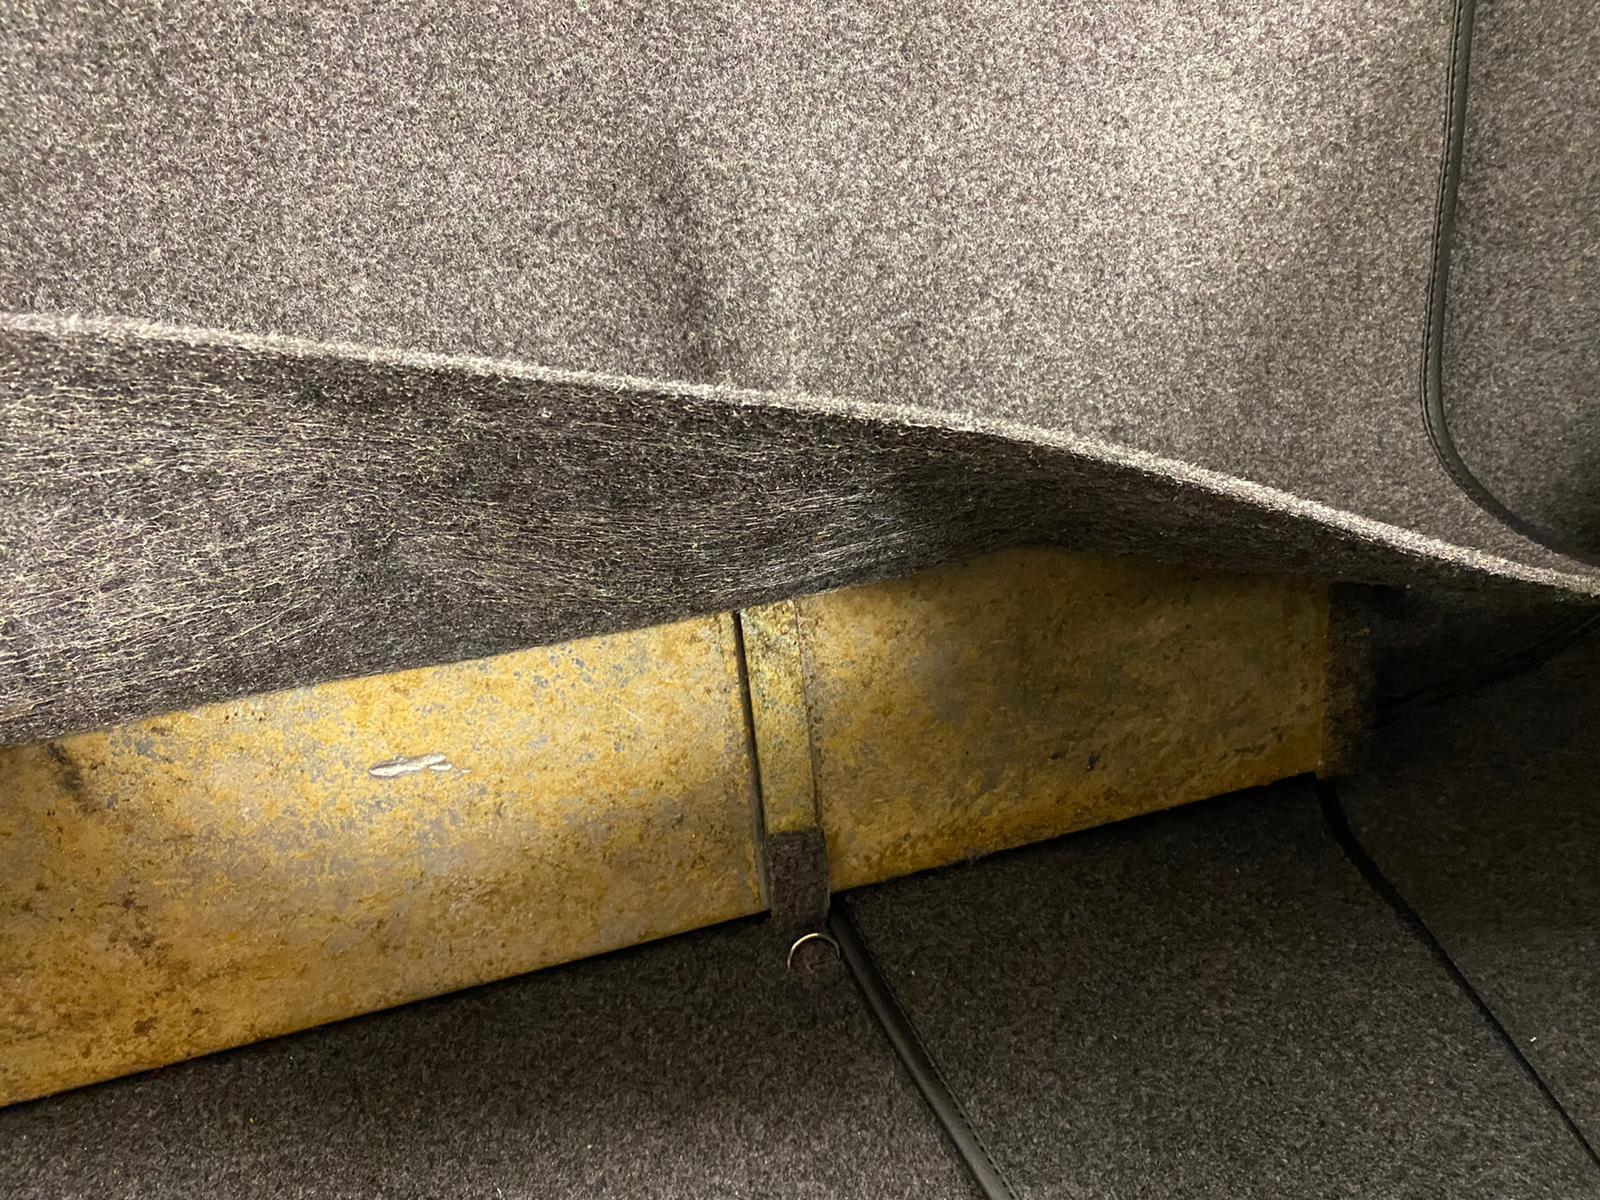
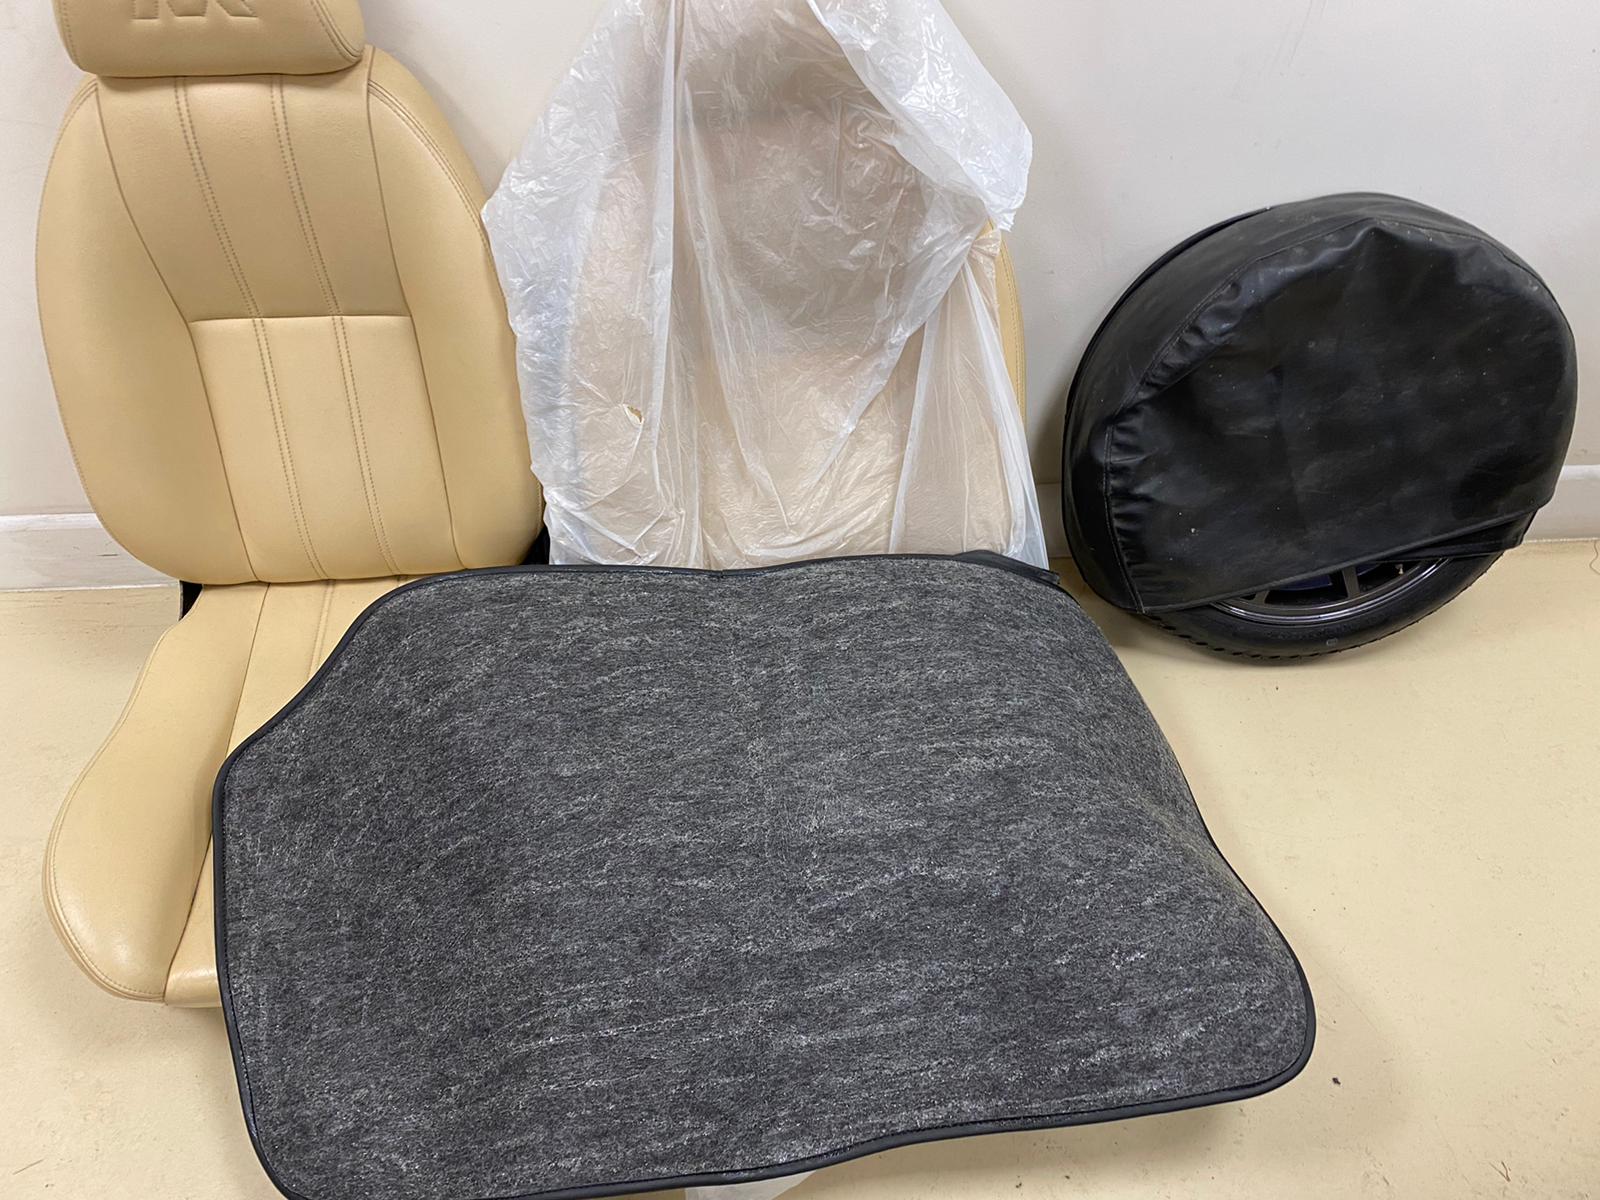
The boot carpet needed to be re-fit, as did the foam on top of the fuel tank.


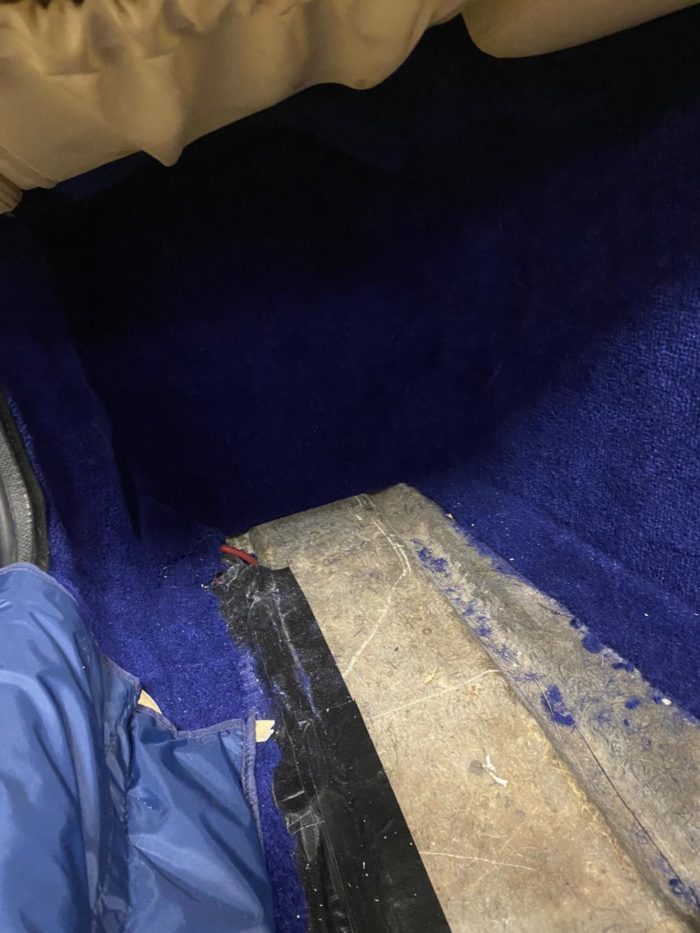


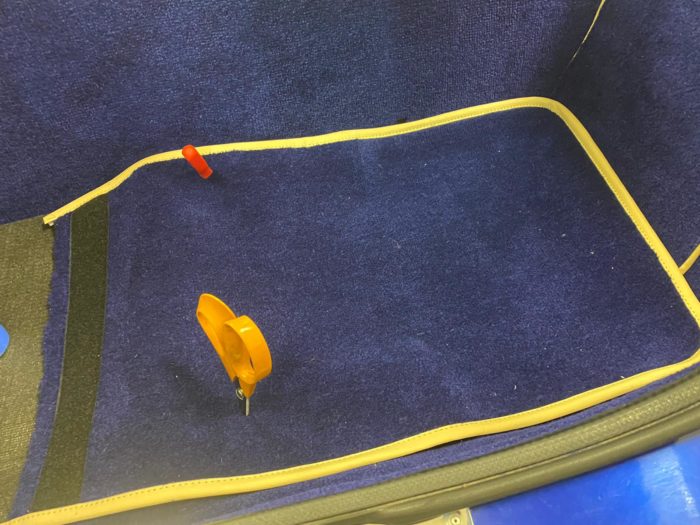


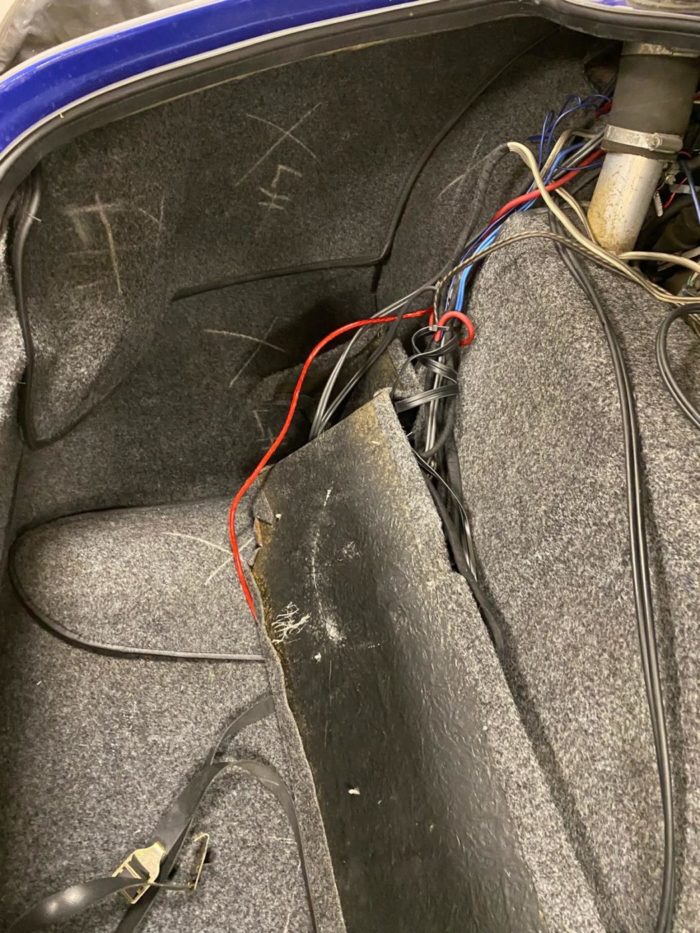
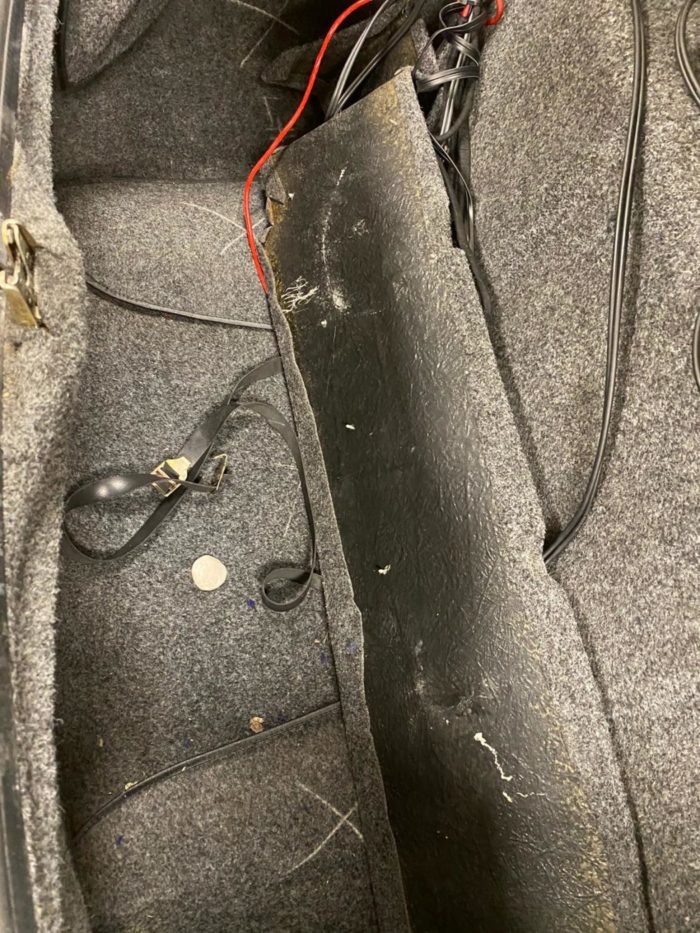
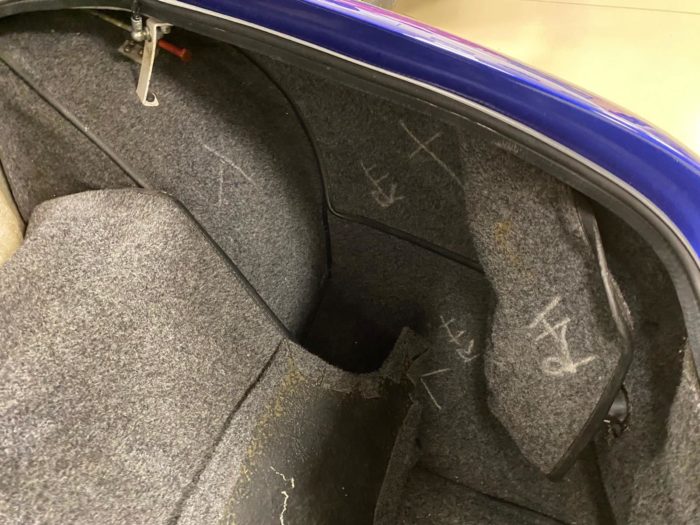
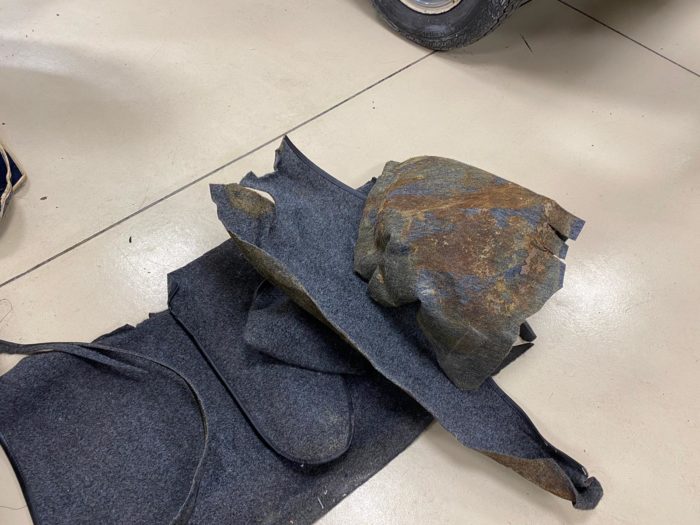

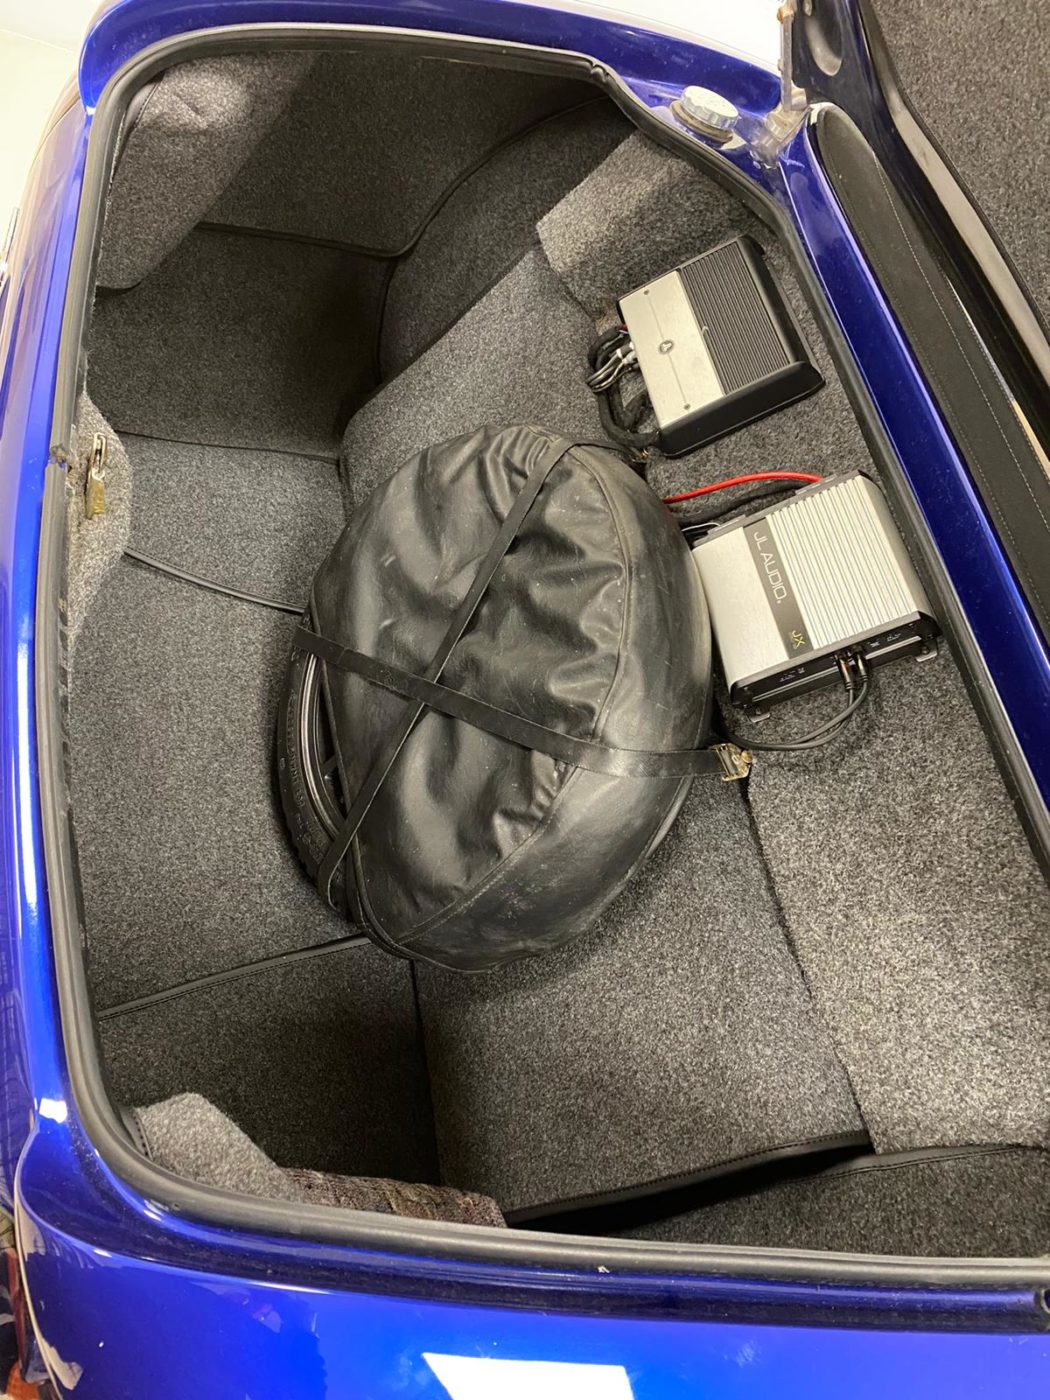
Kath has worked on re-lining the TVR’s boot too. She’s taken out the old carpet and fitted a new one in as well as replacing the carpet around the fuel tank and spare tyre section. The boot lid carpet has also been replaced with fresh lining. The next step is to bolt in the seats and service the car.


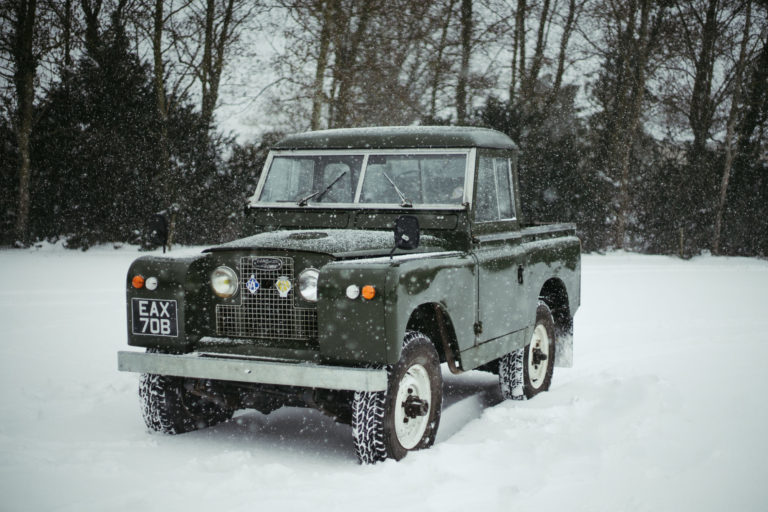
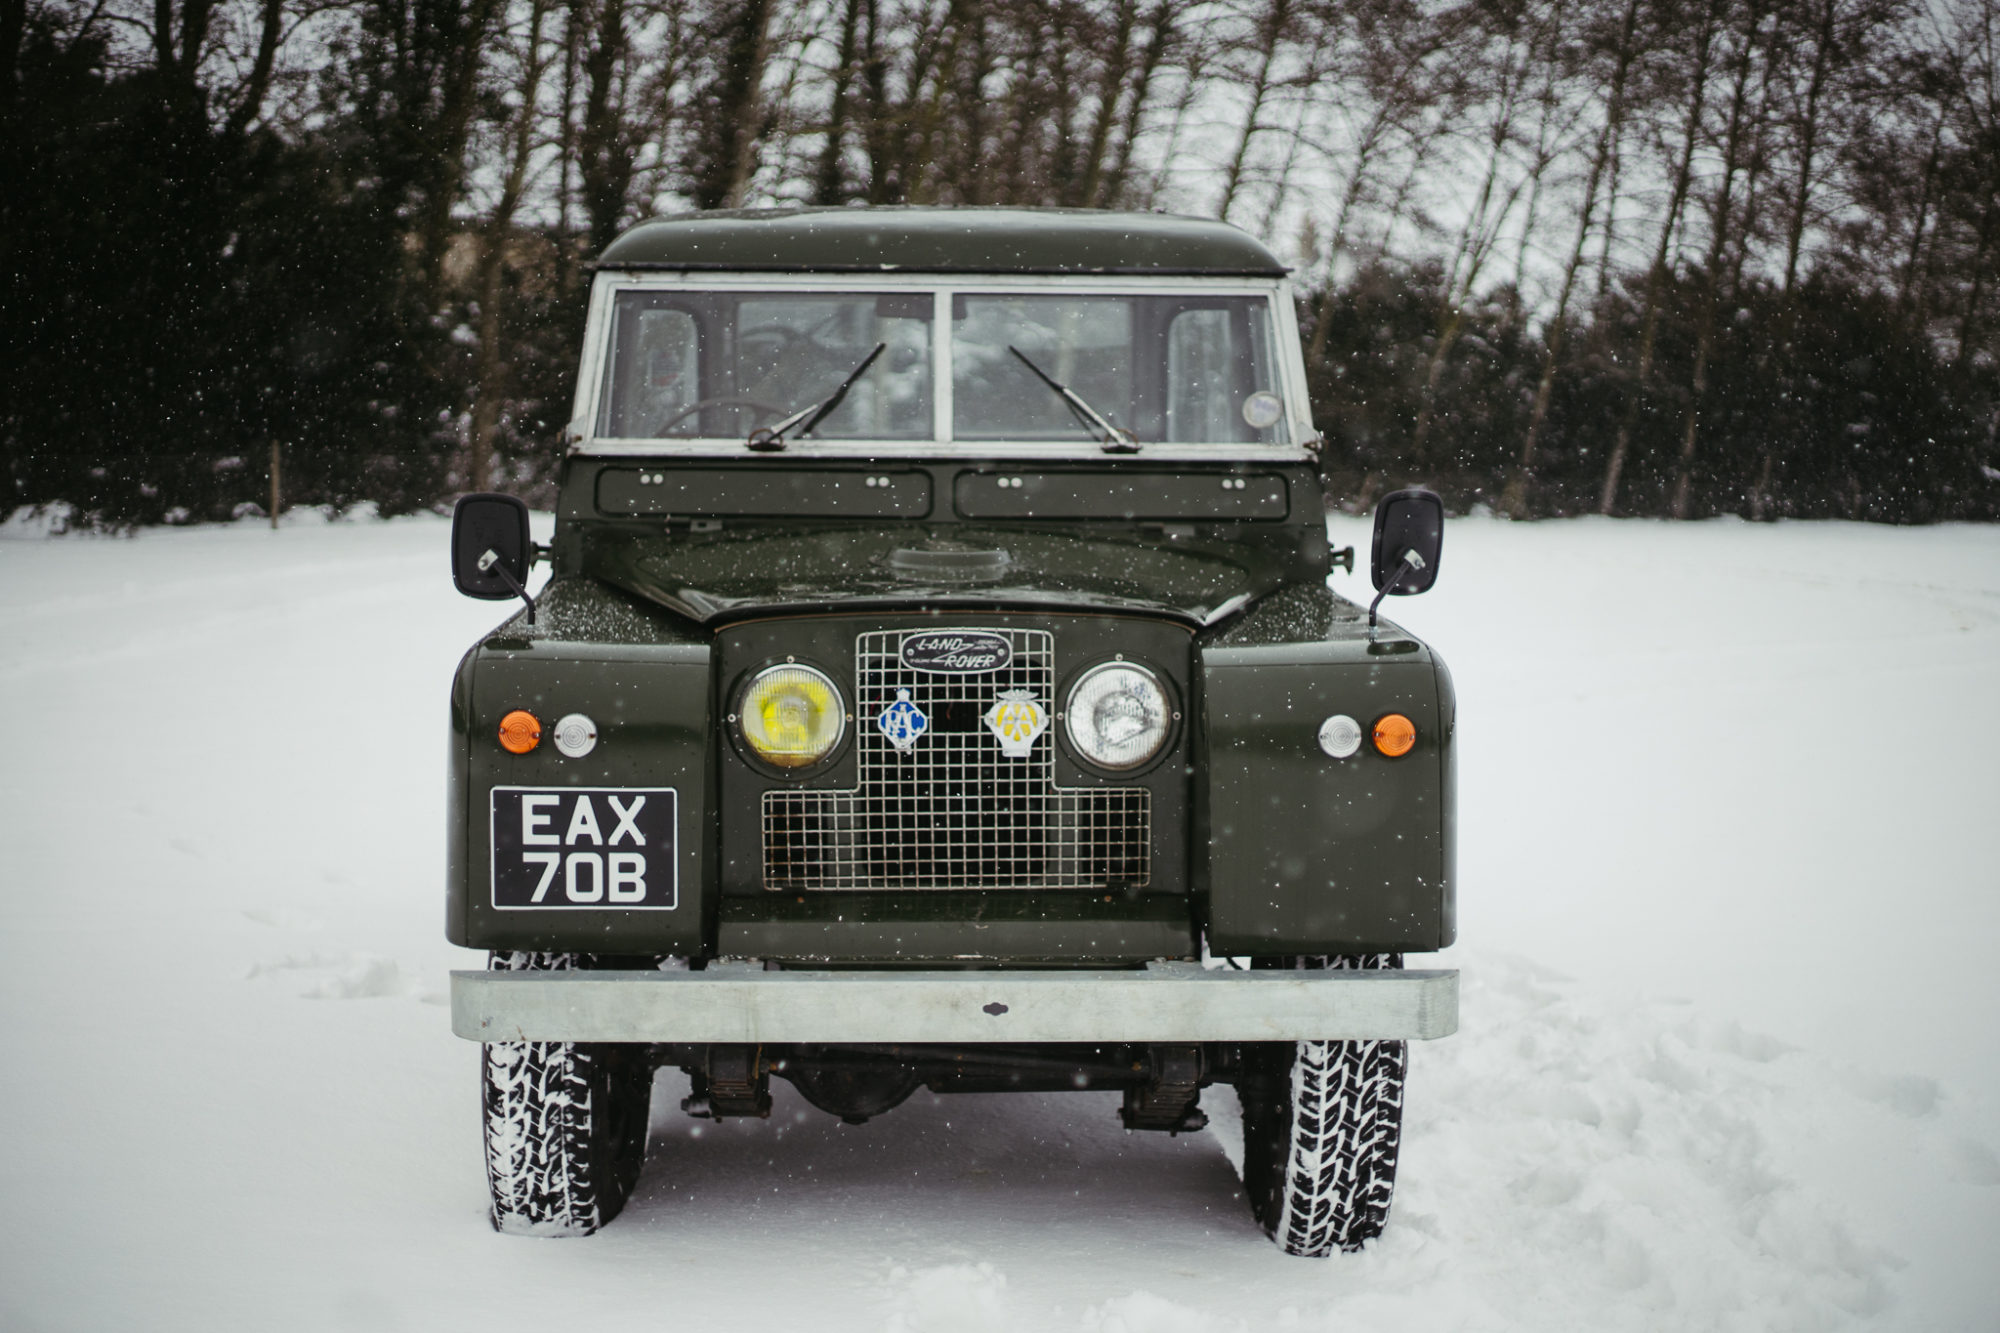
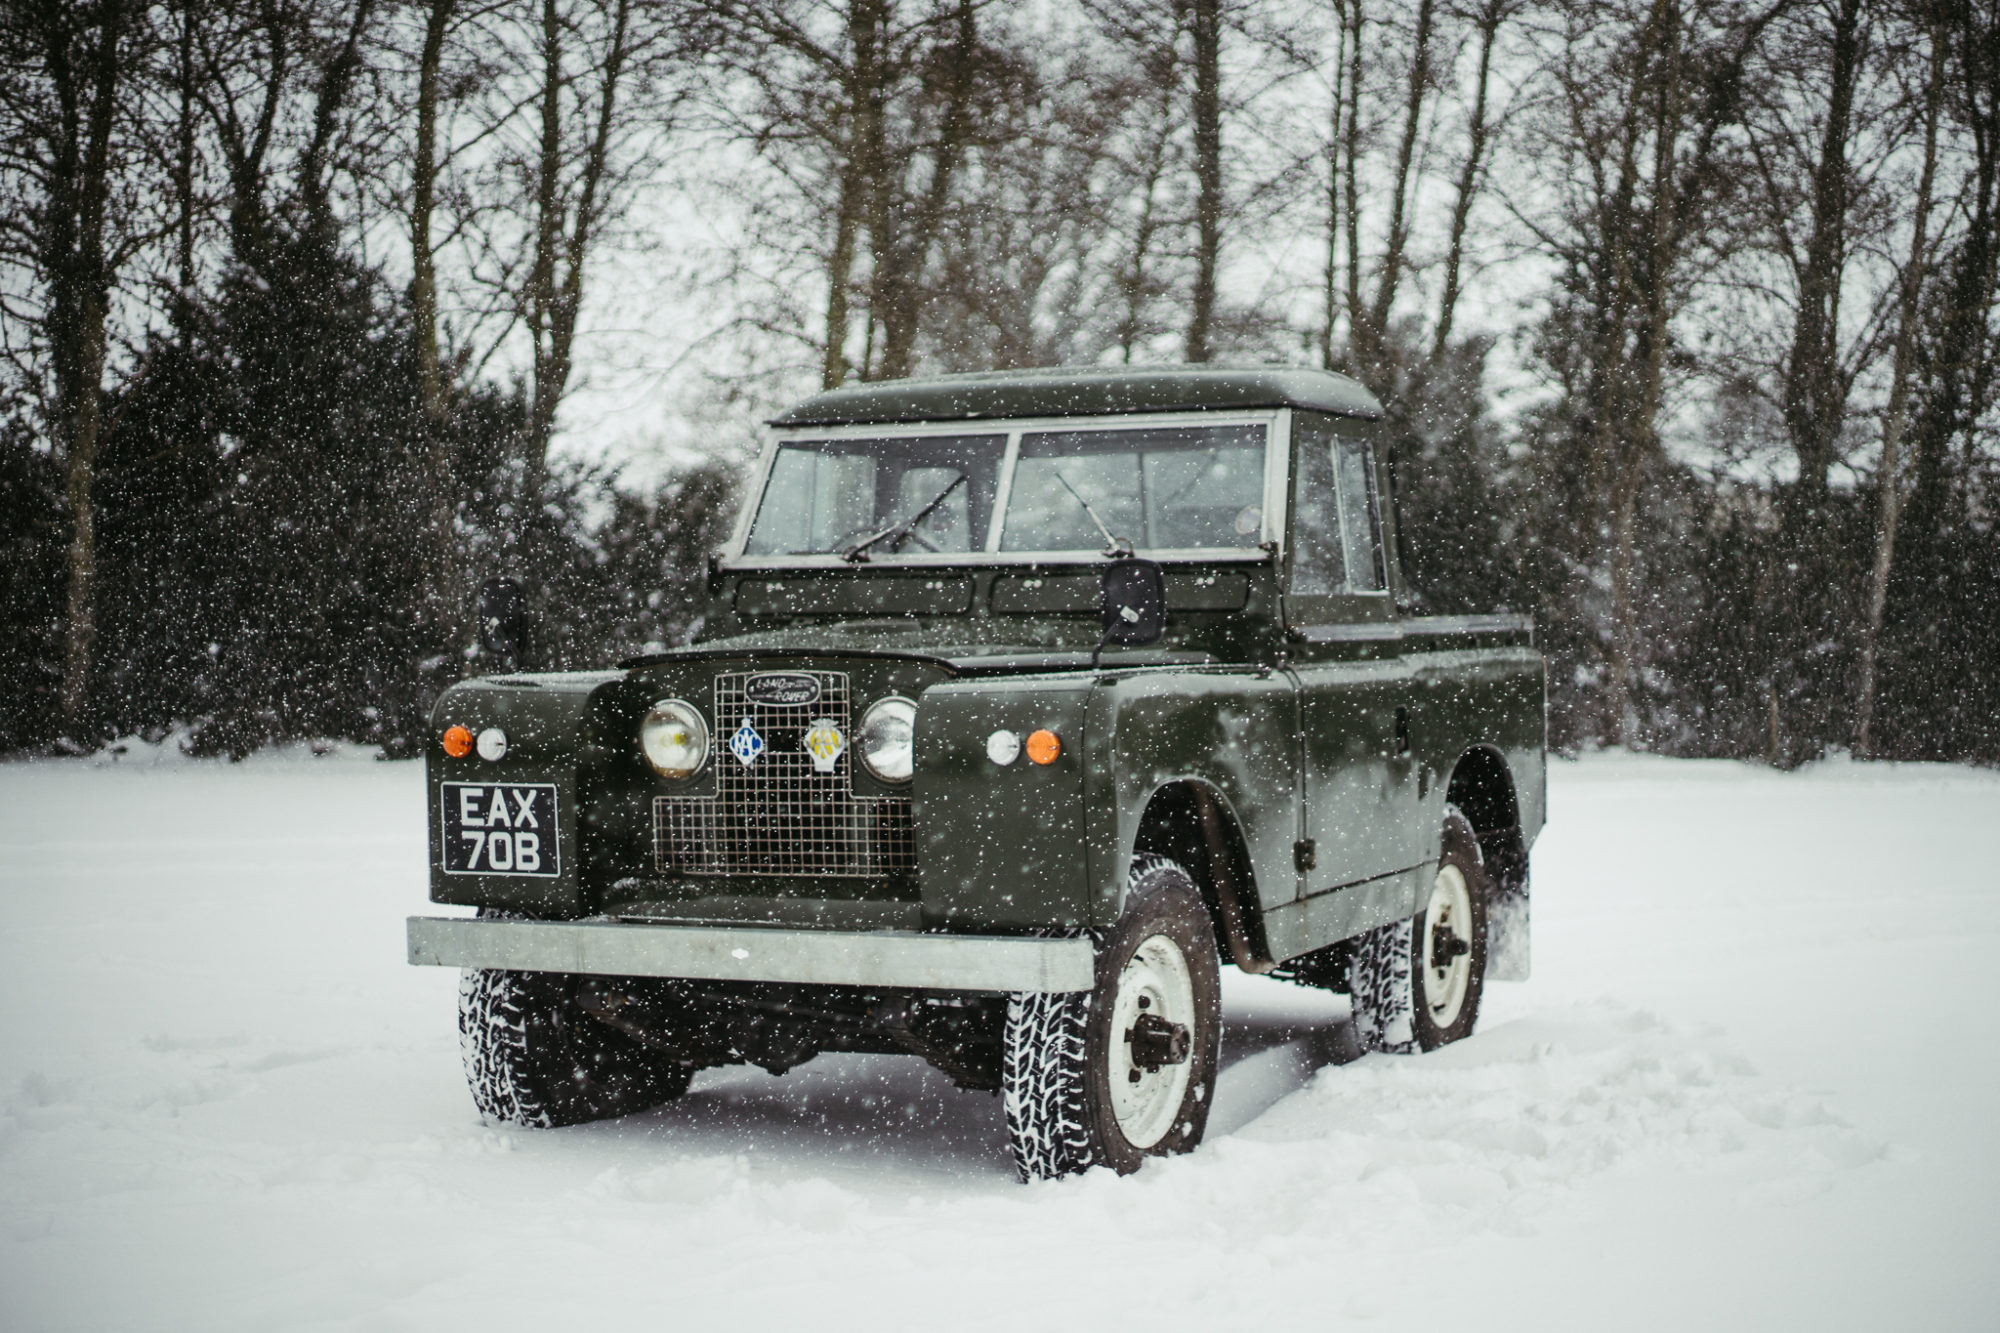
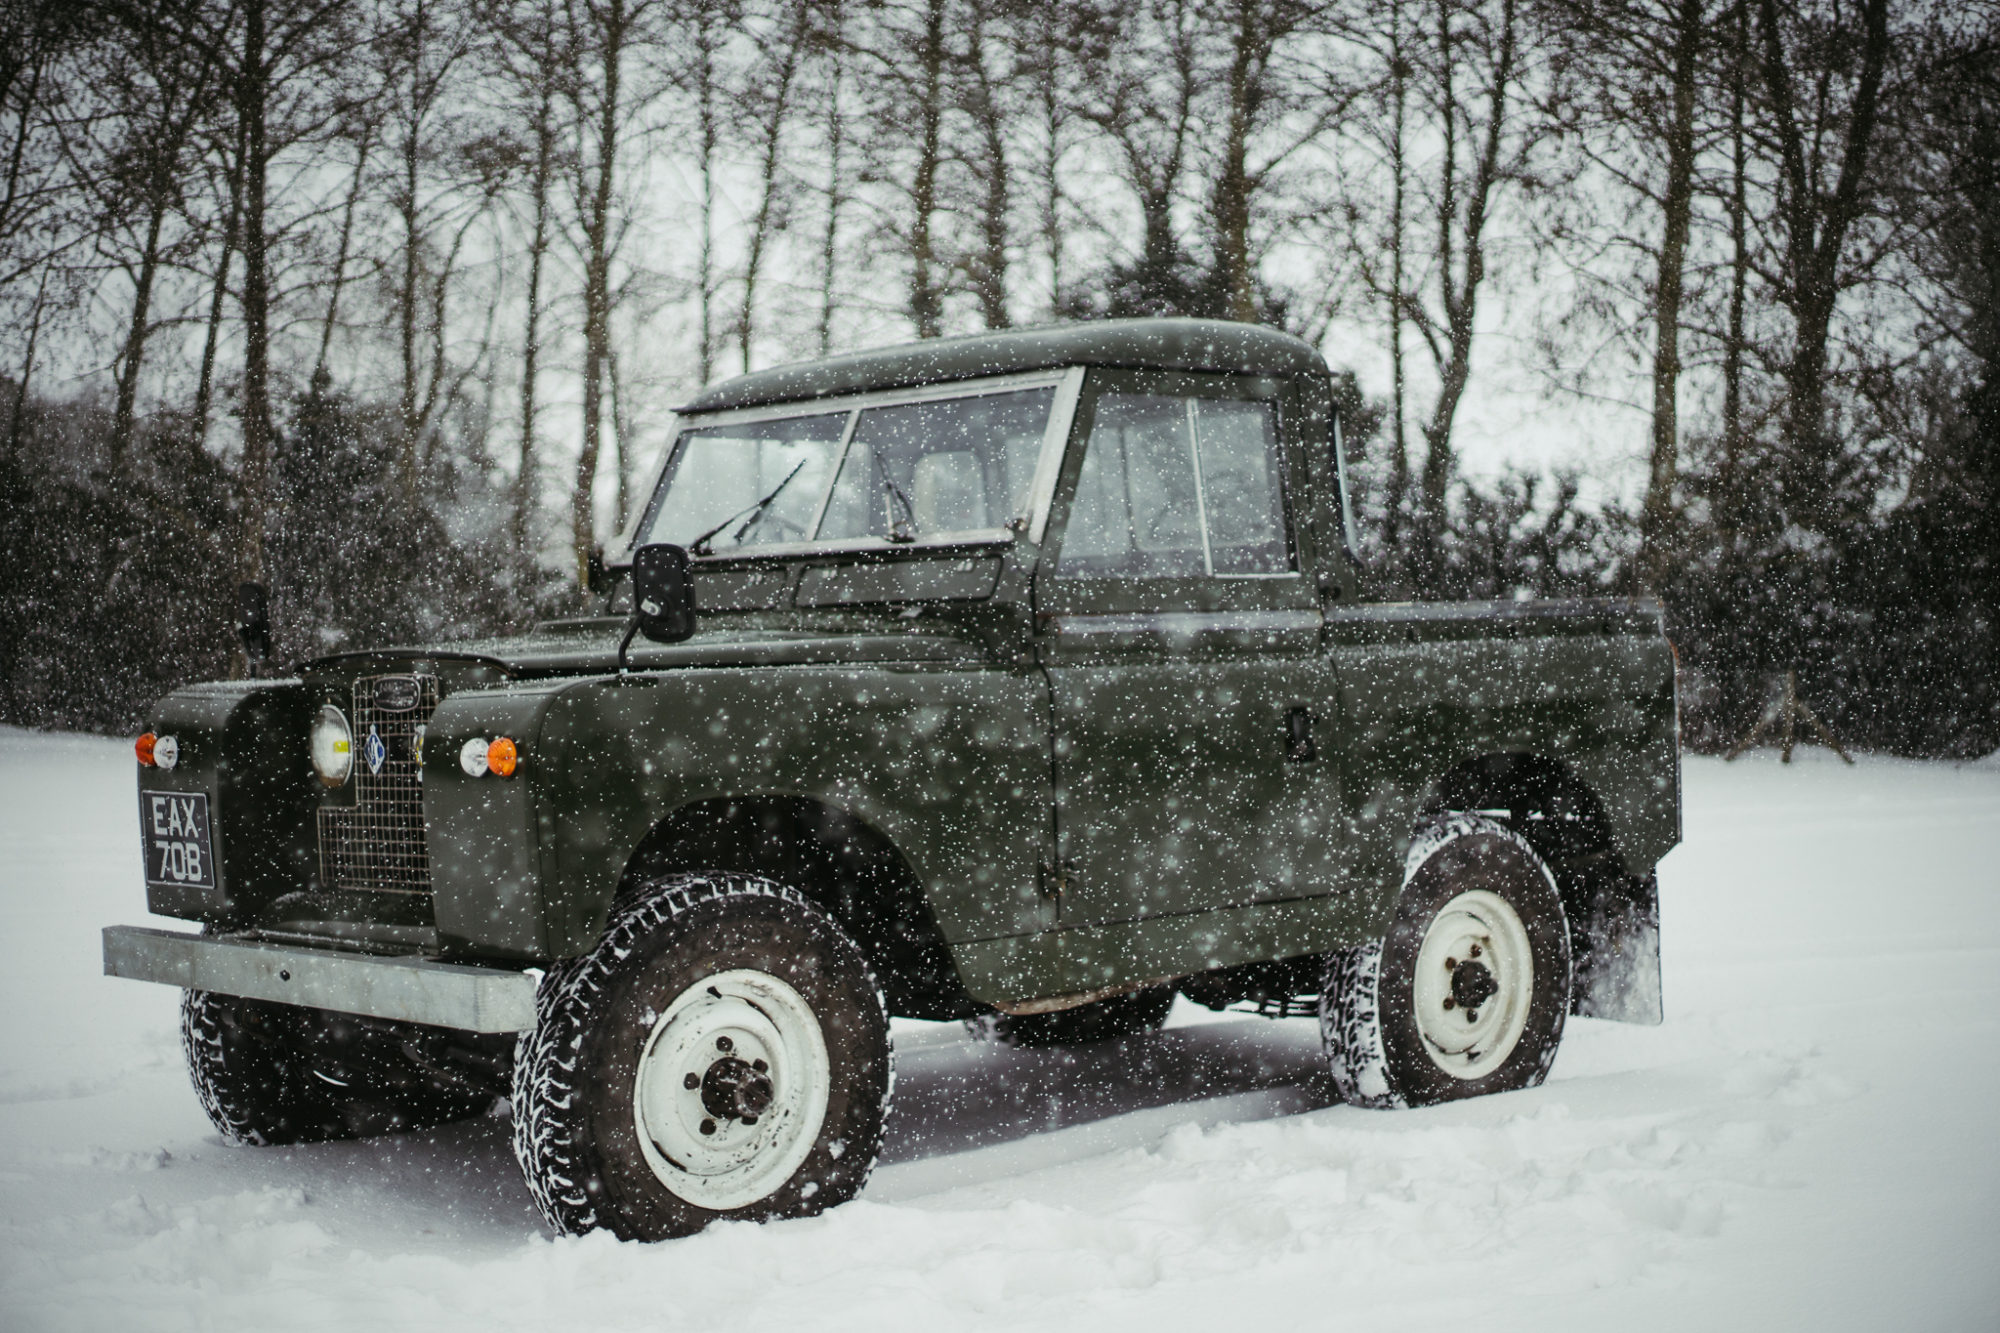
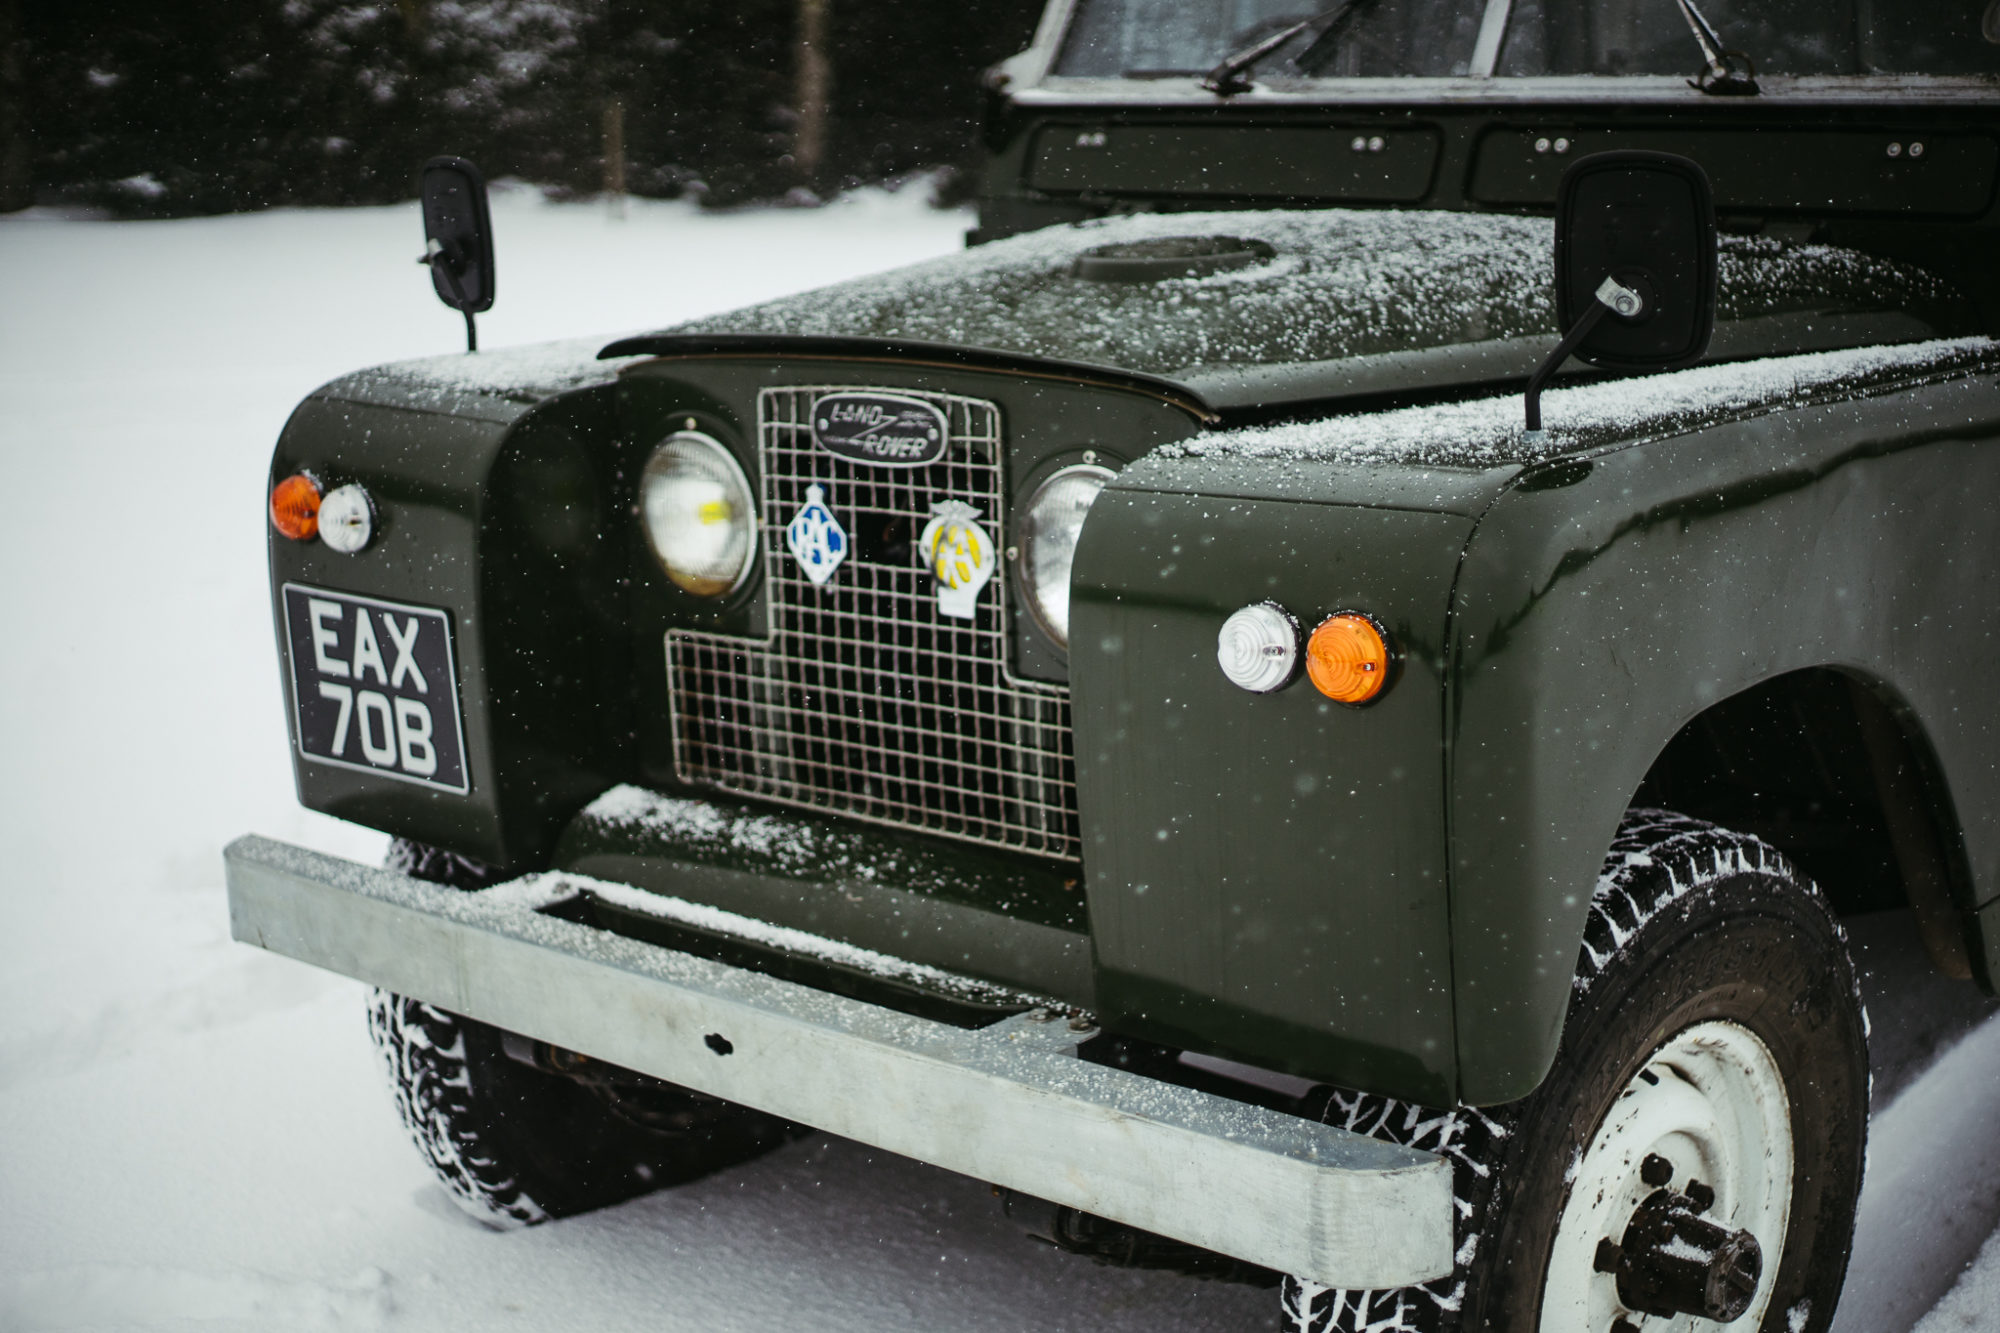
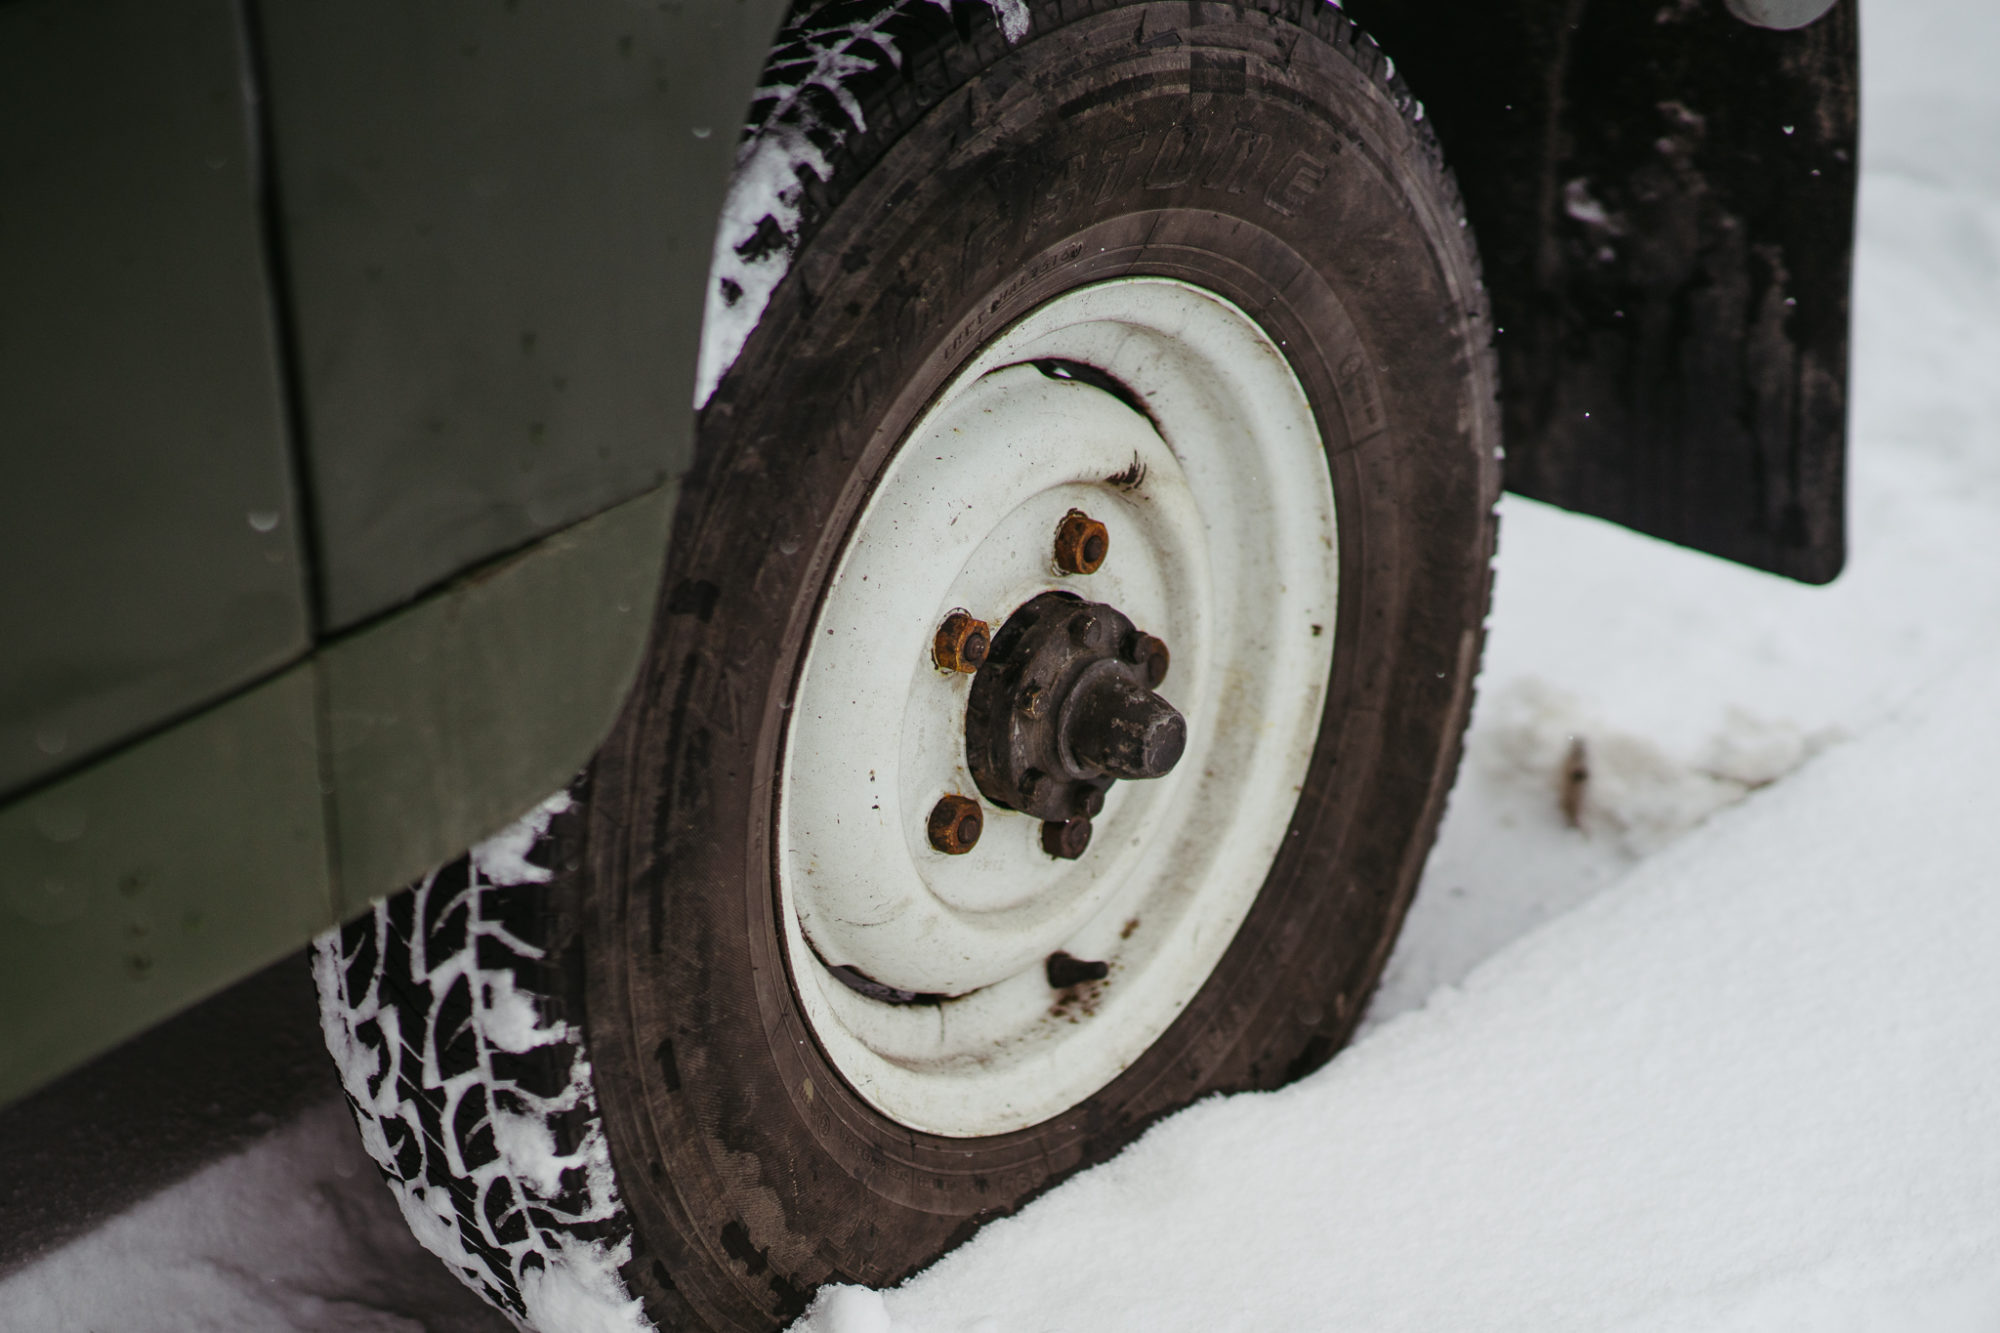
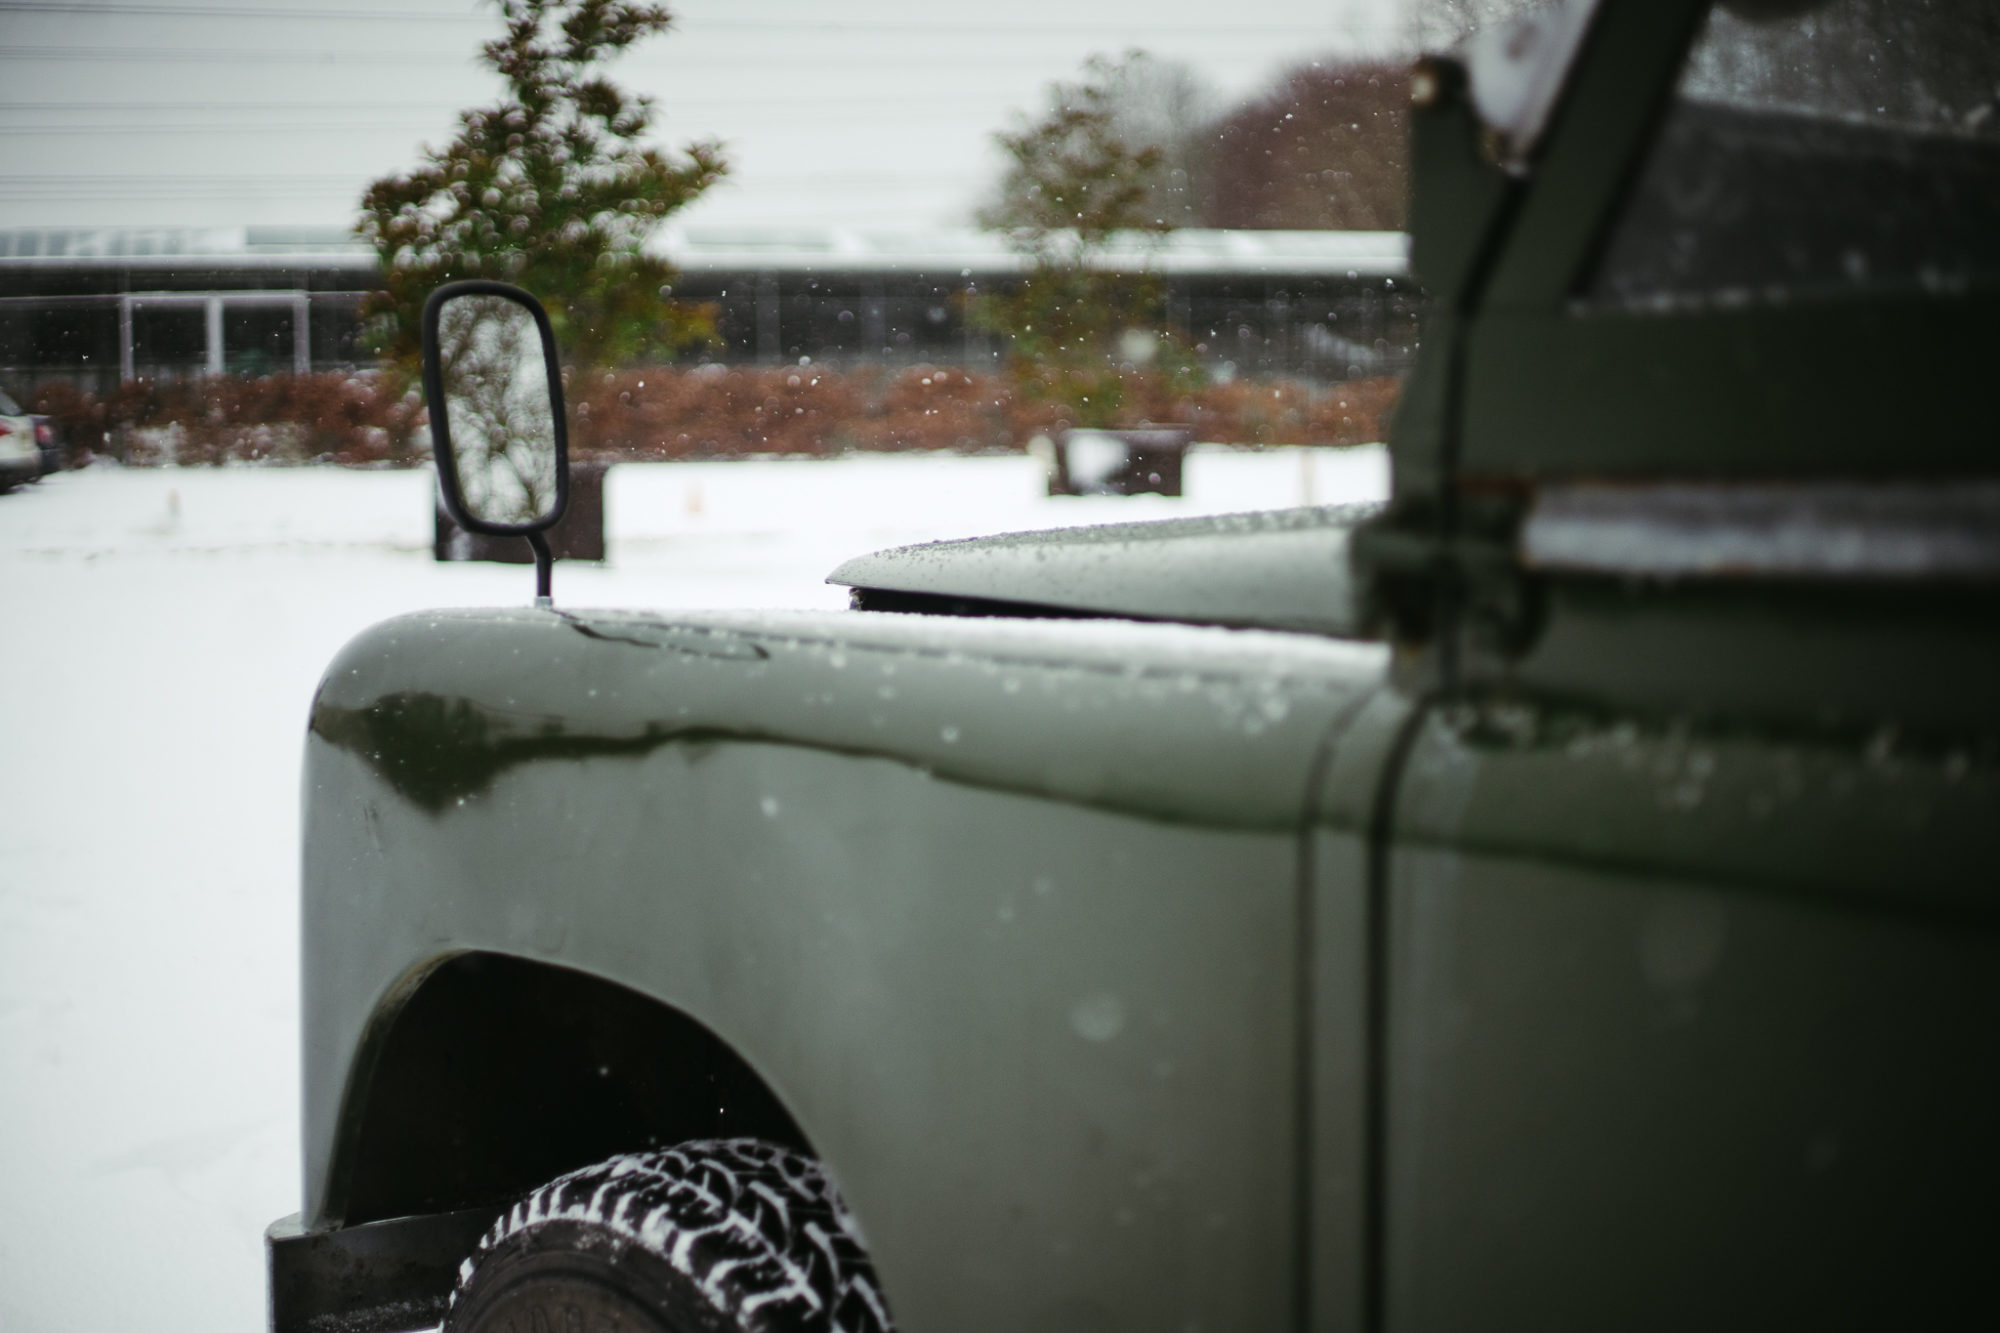
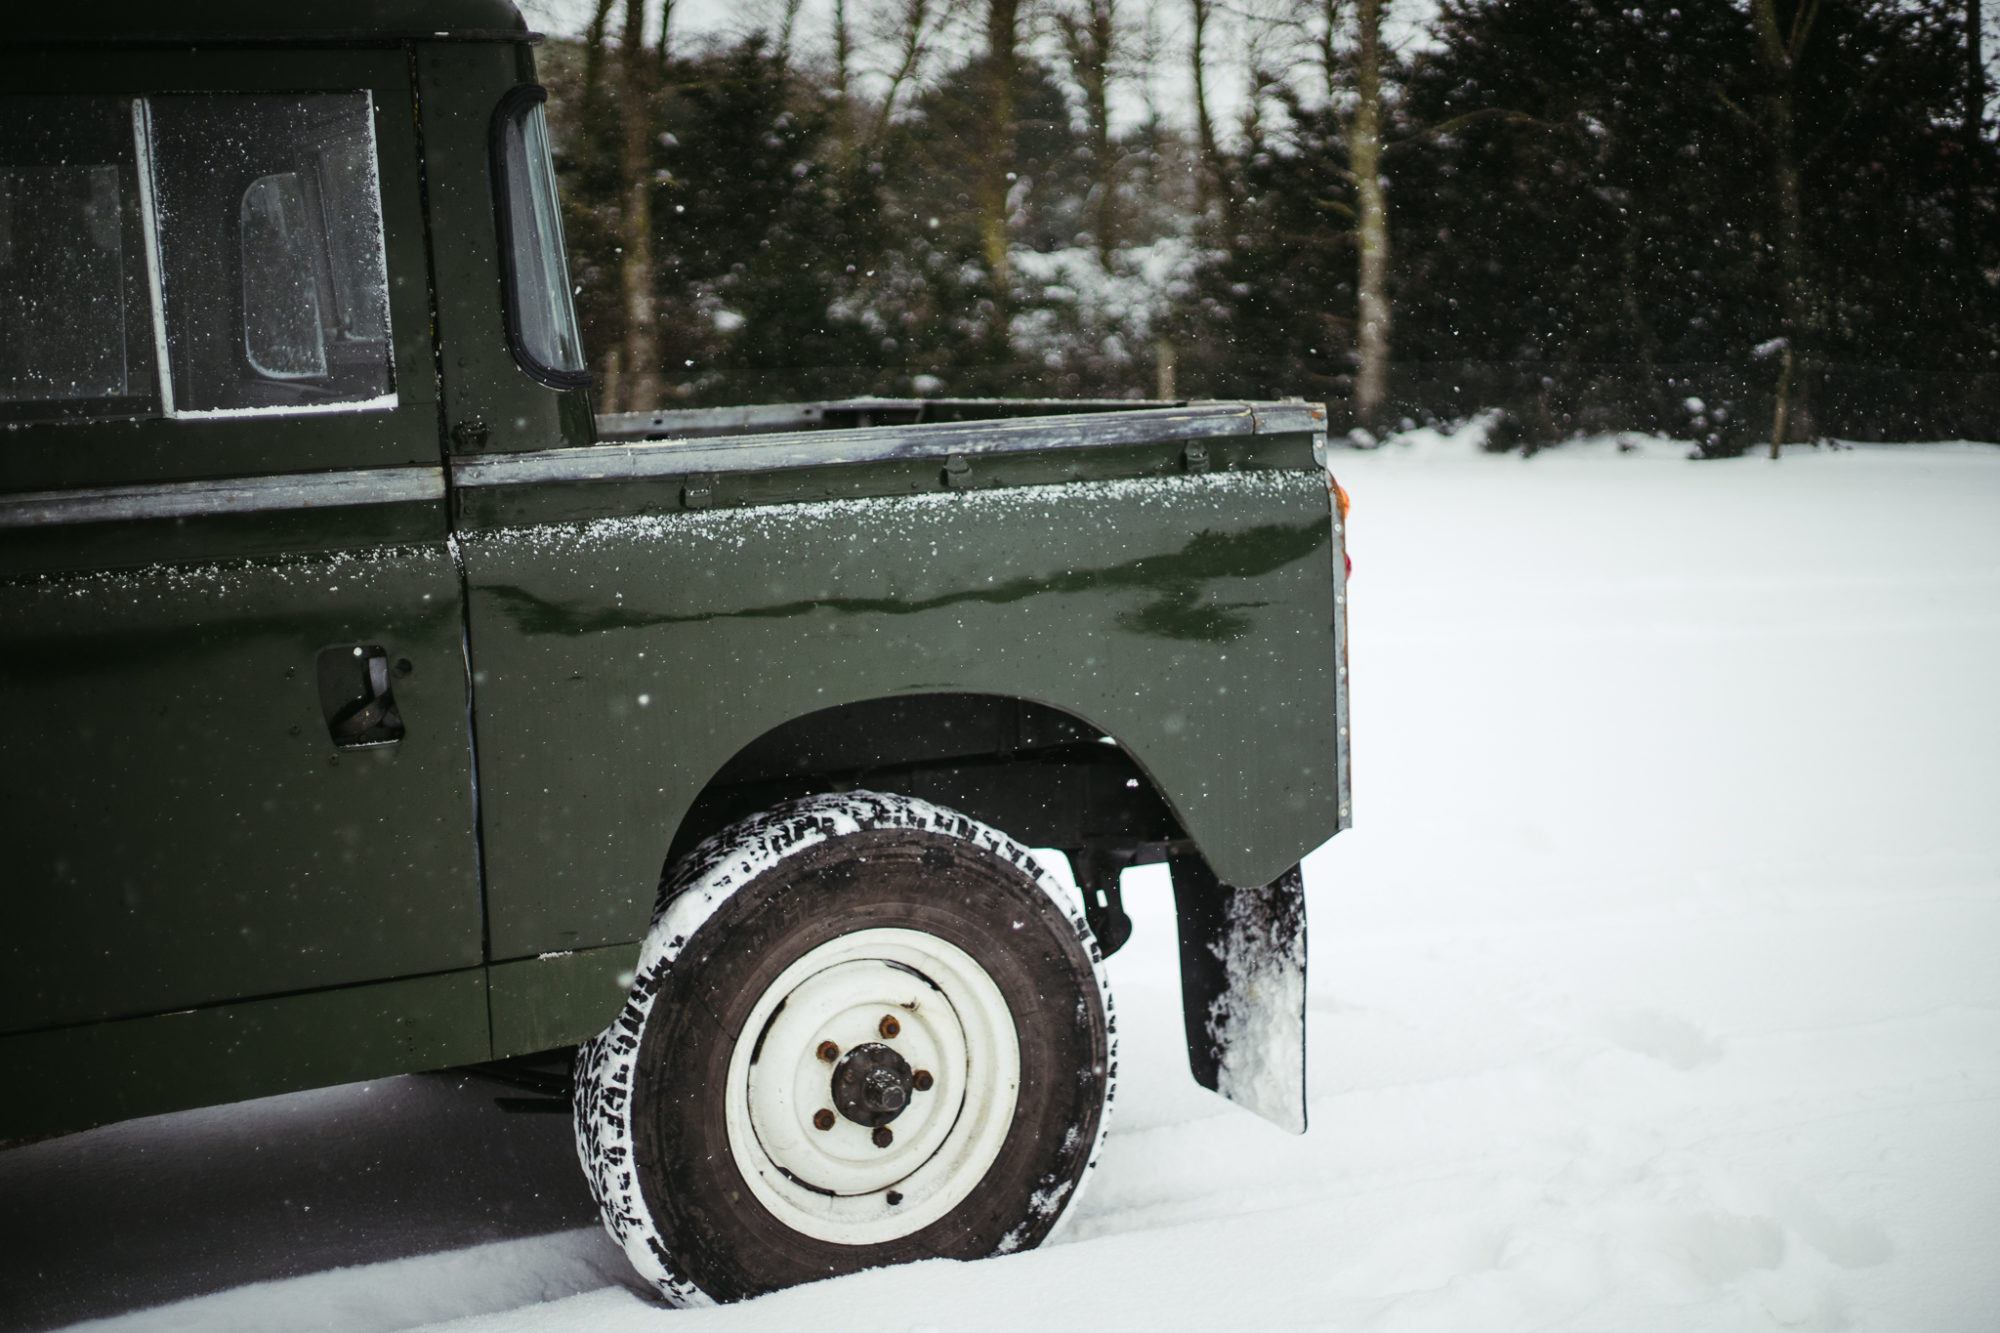
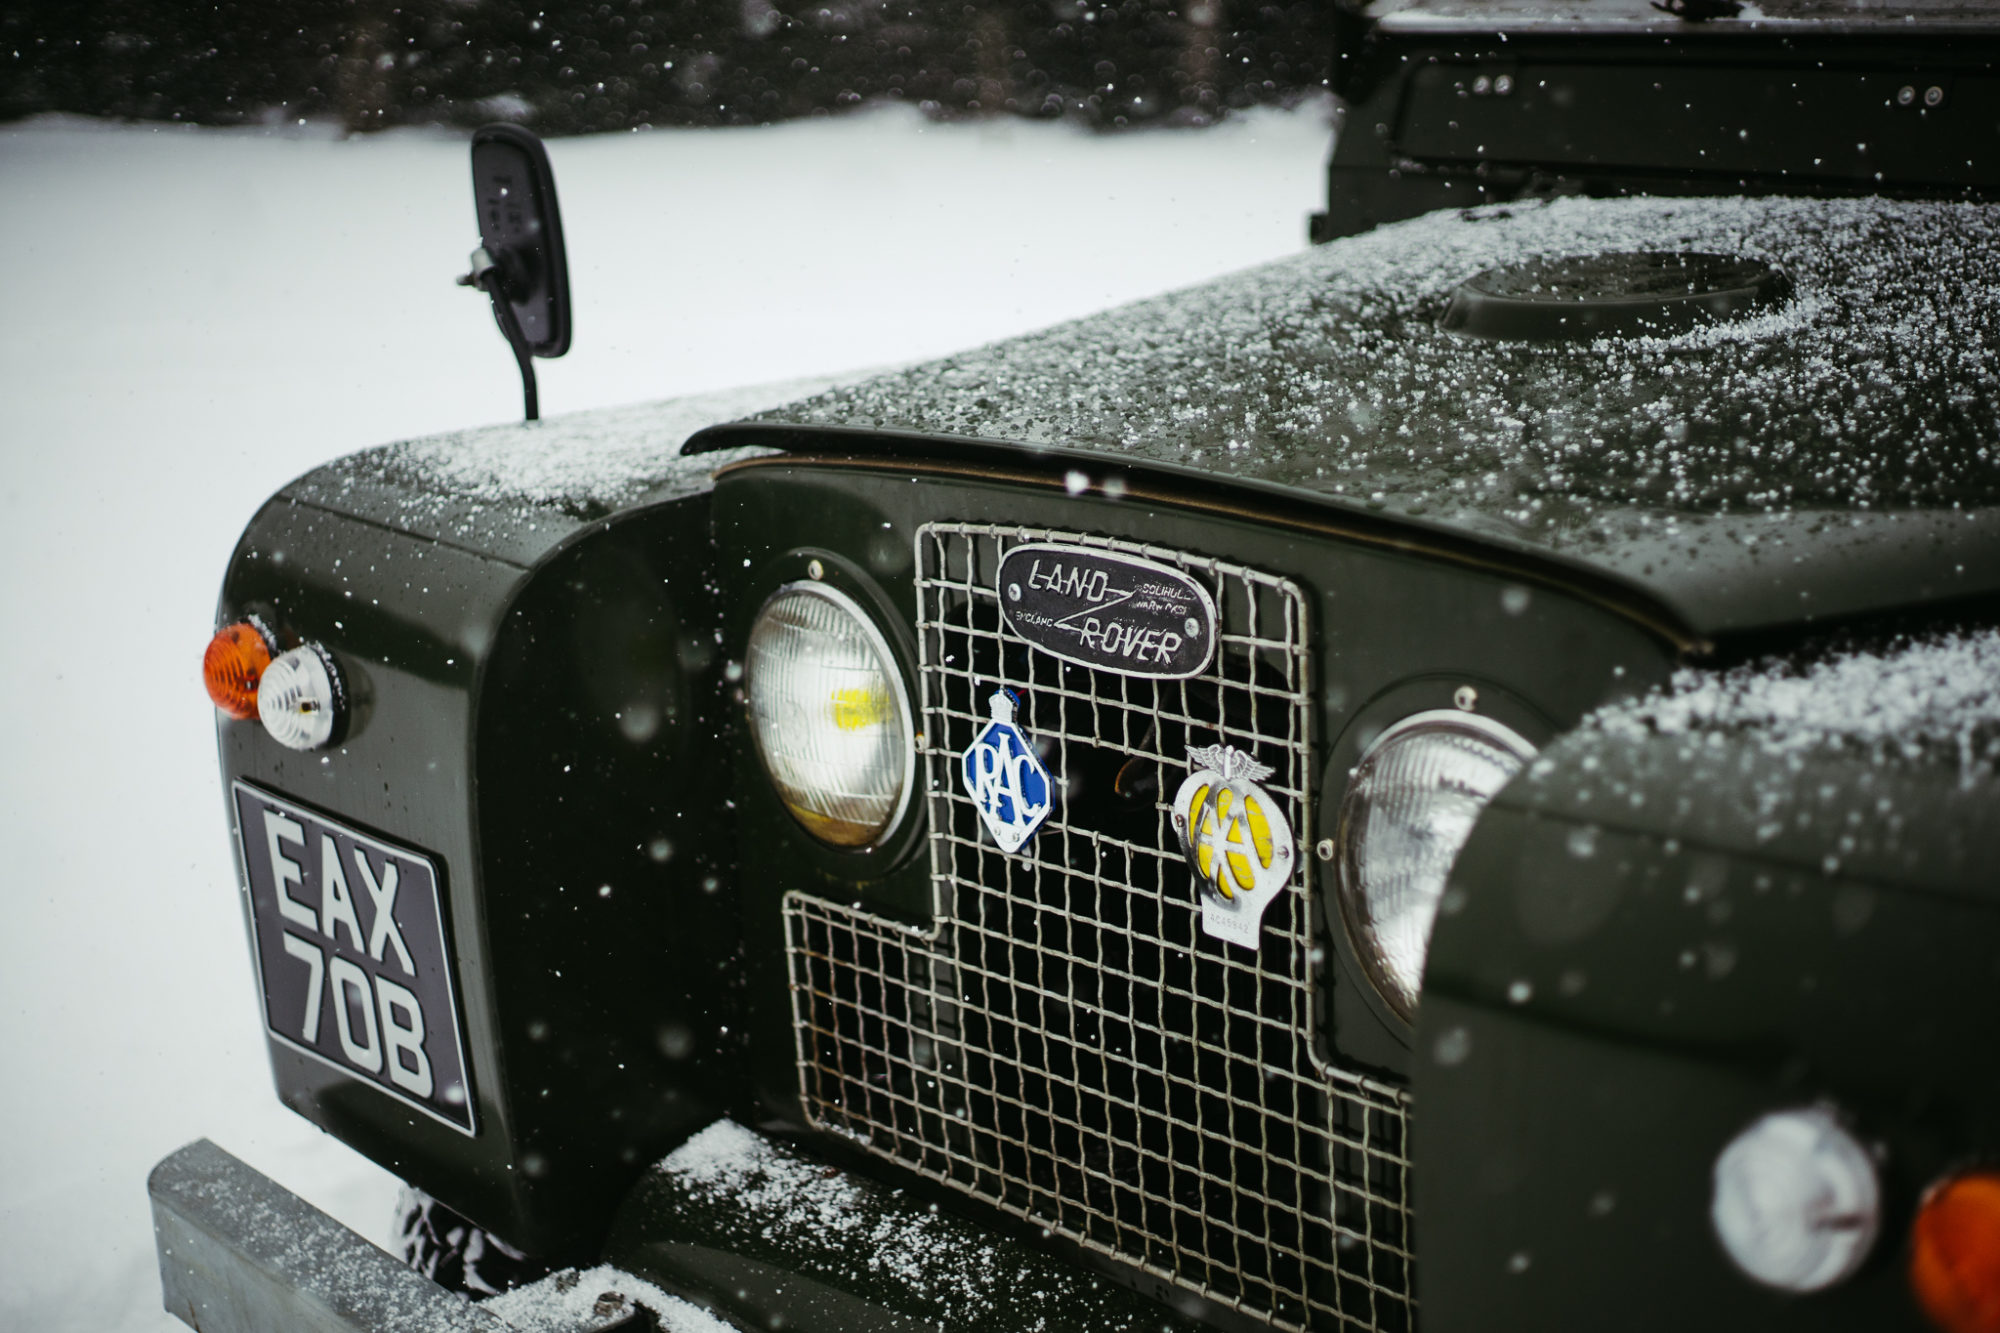
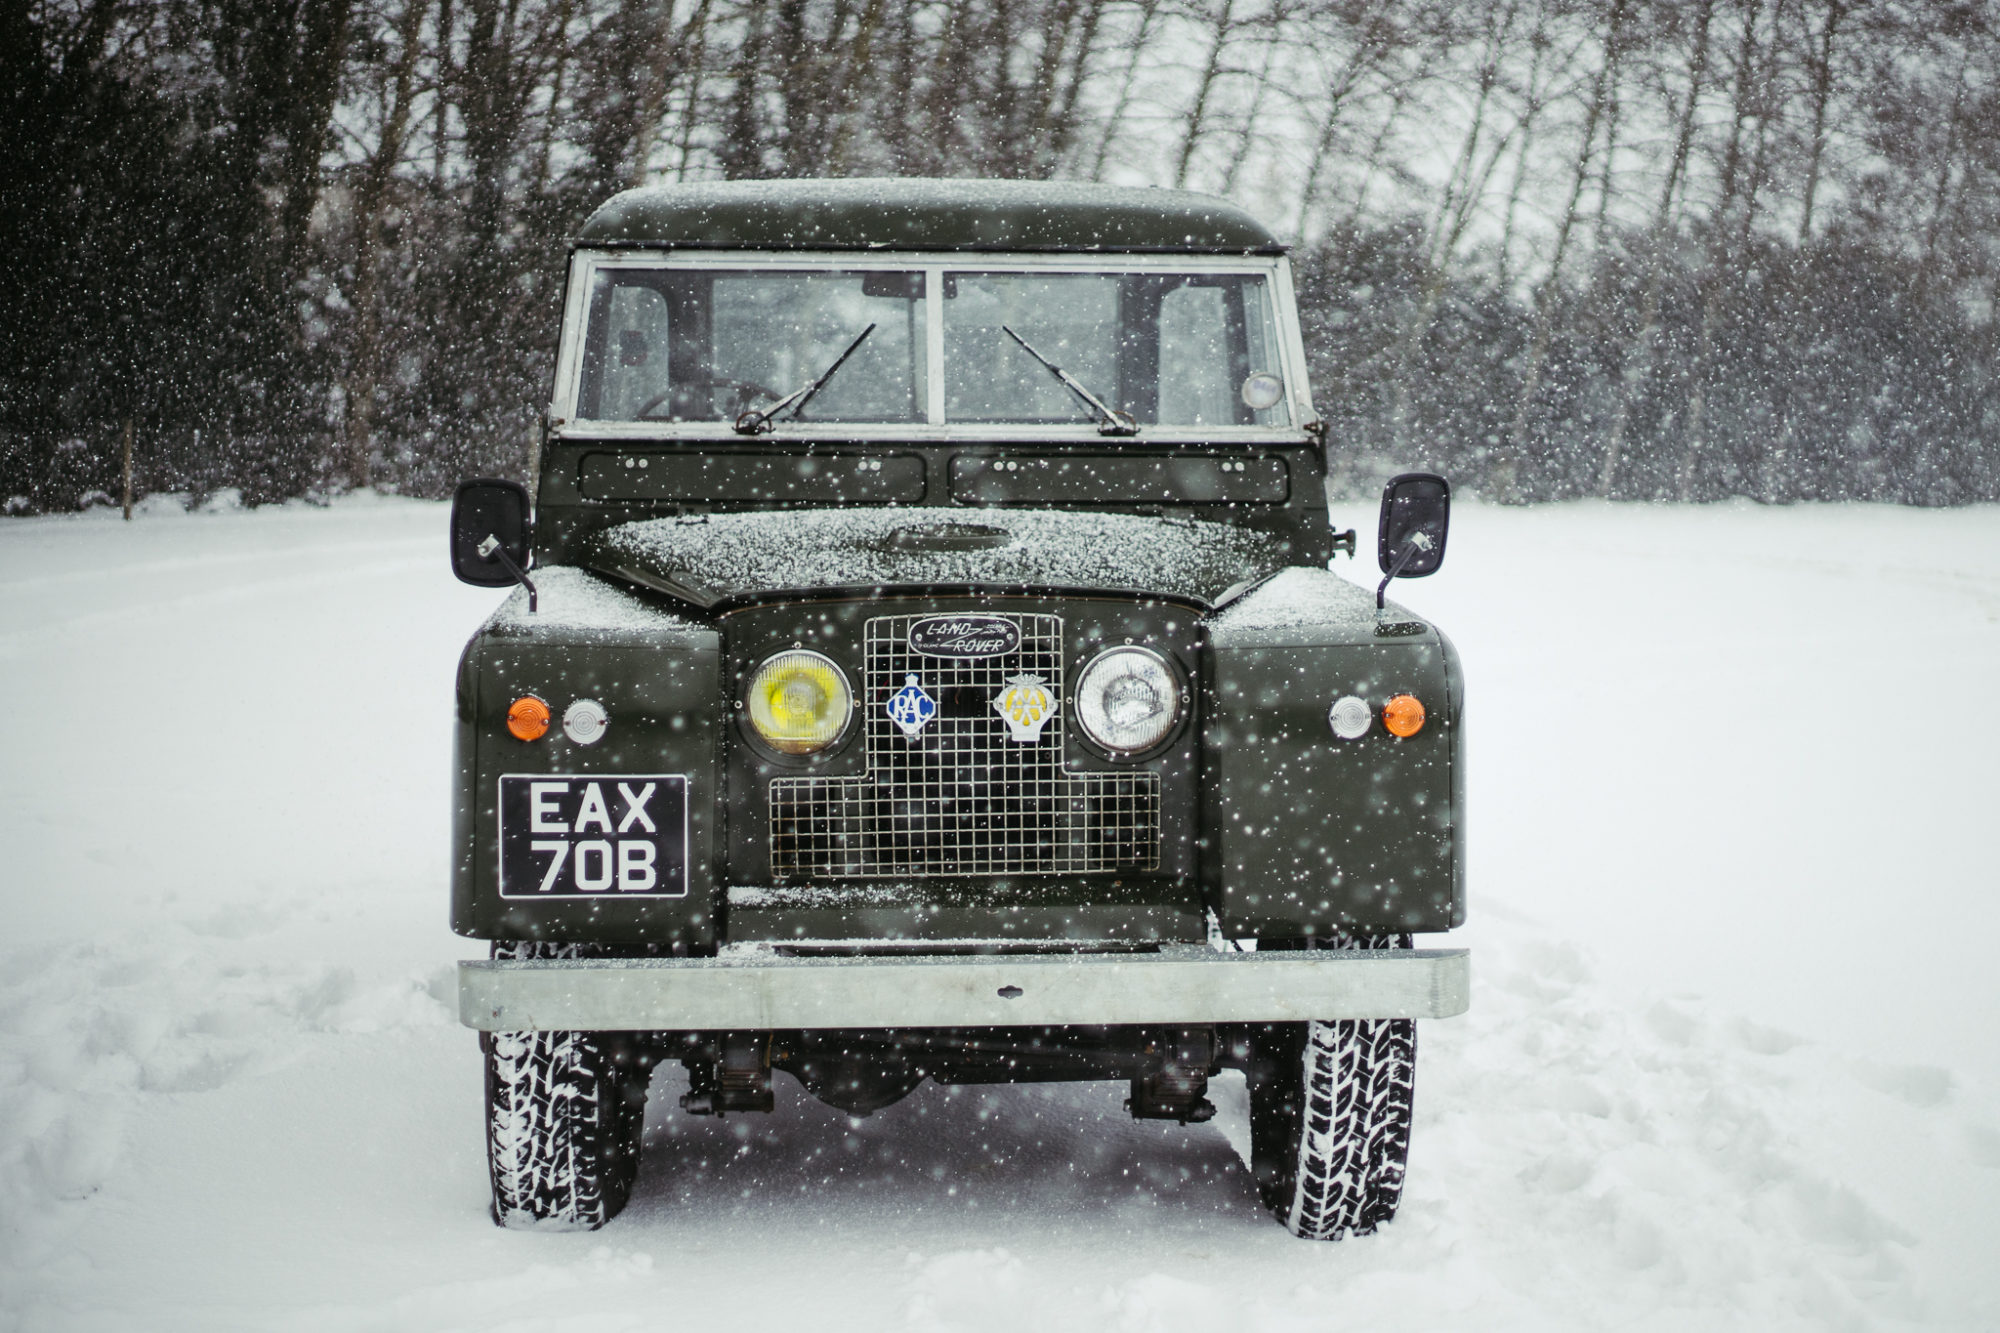
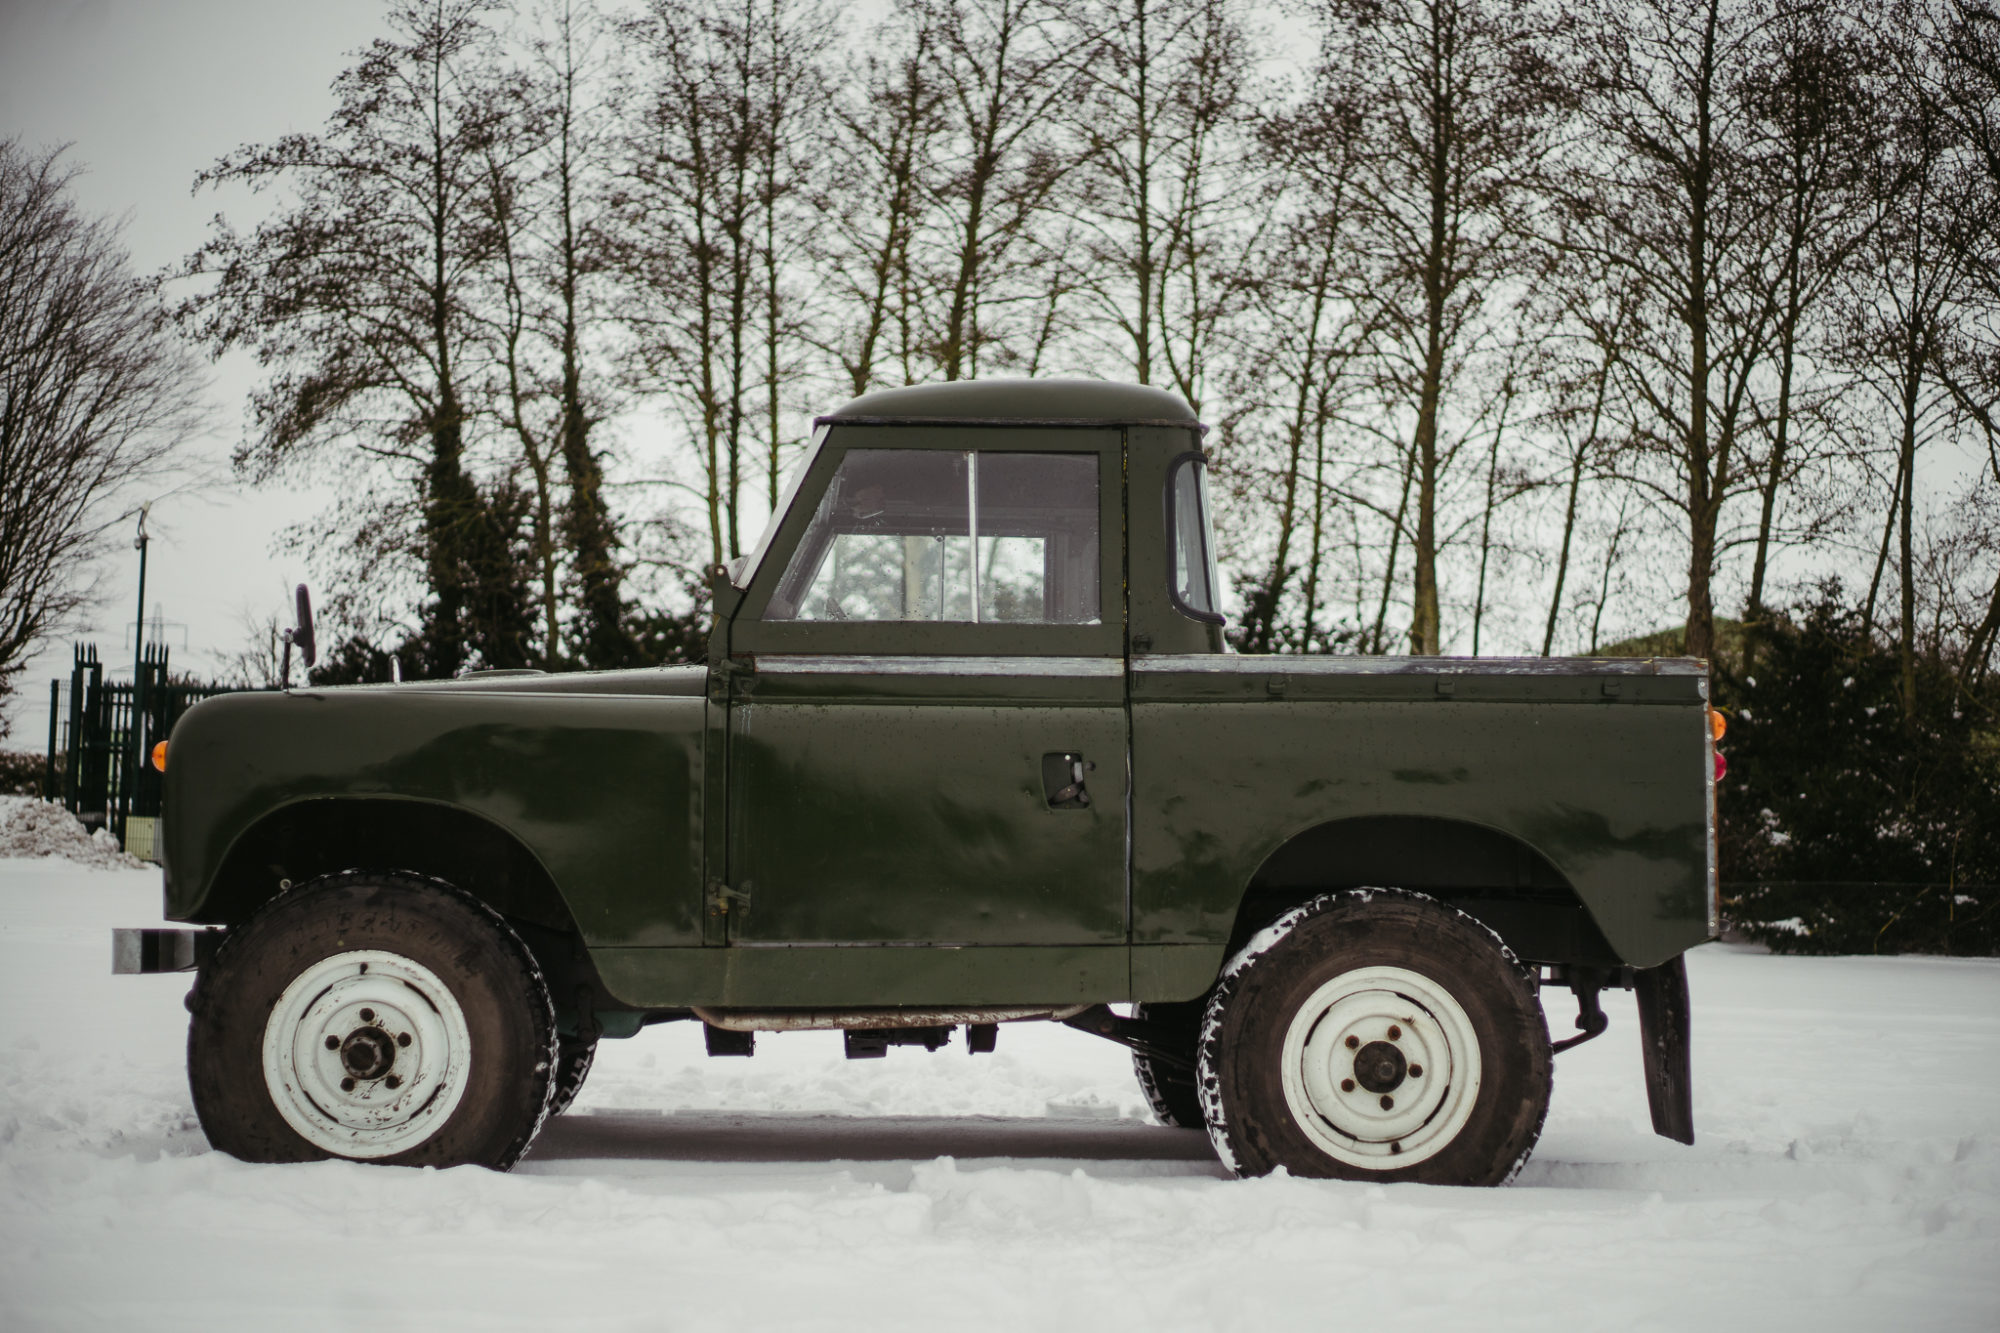
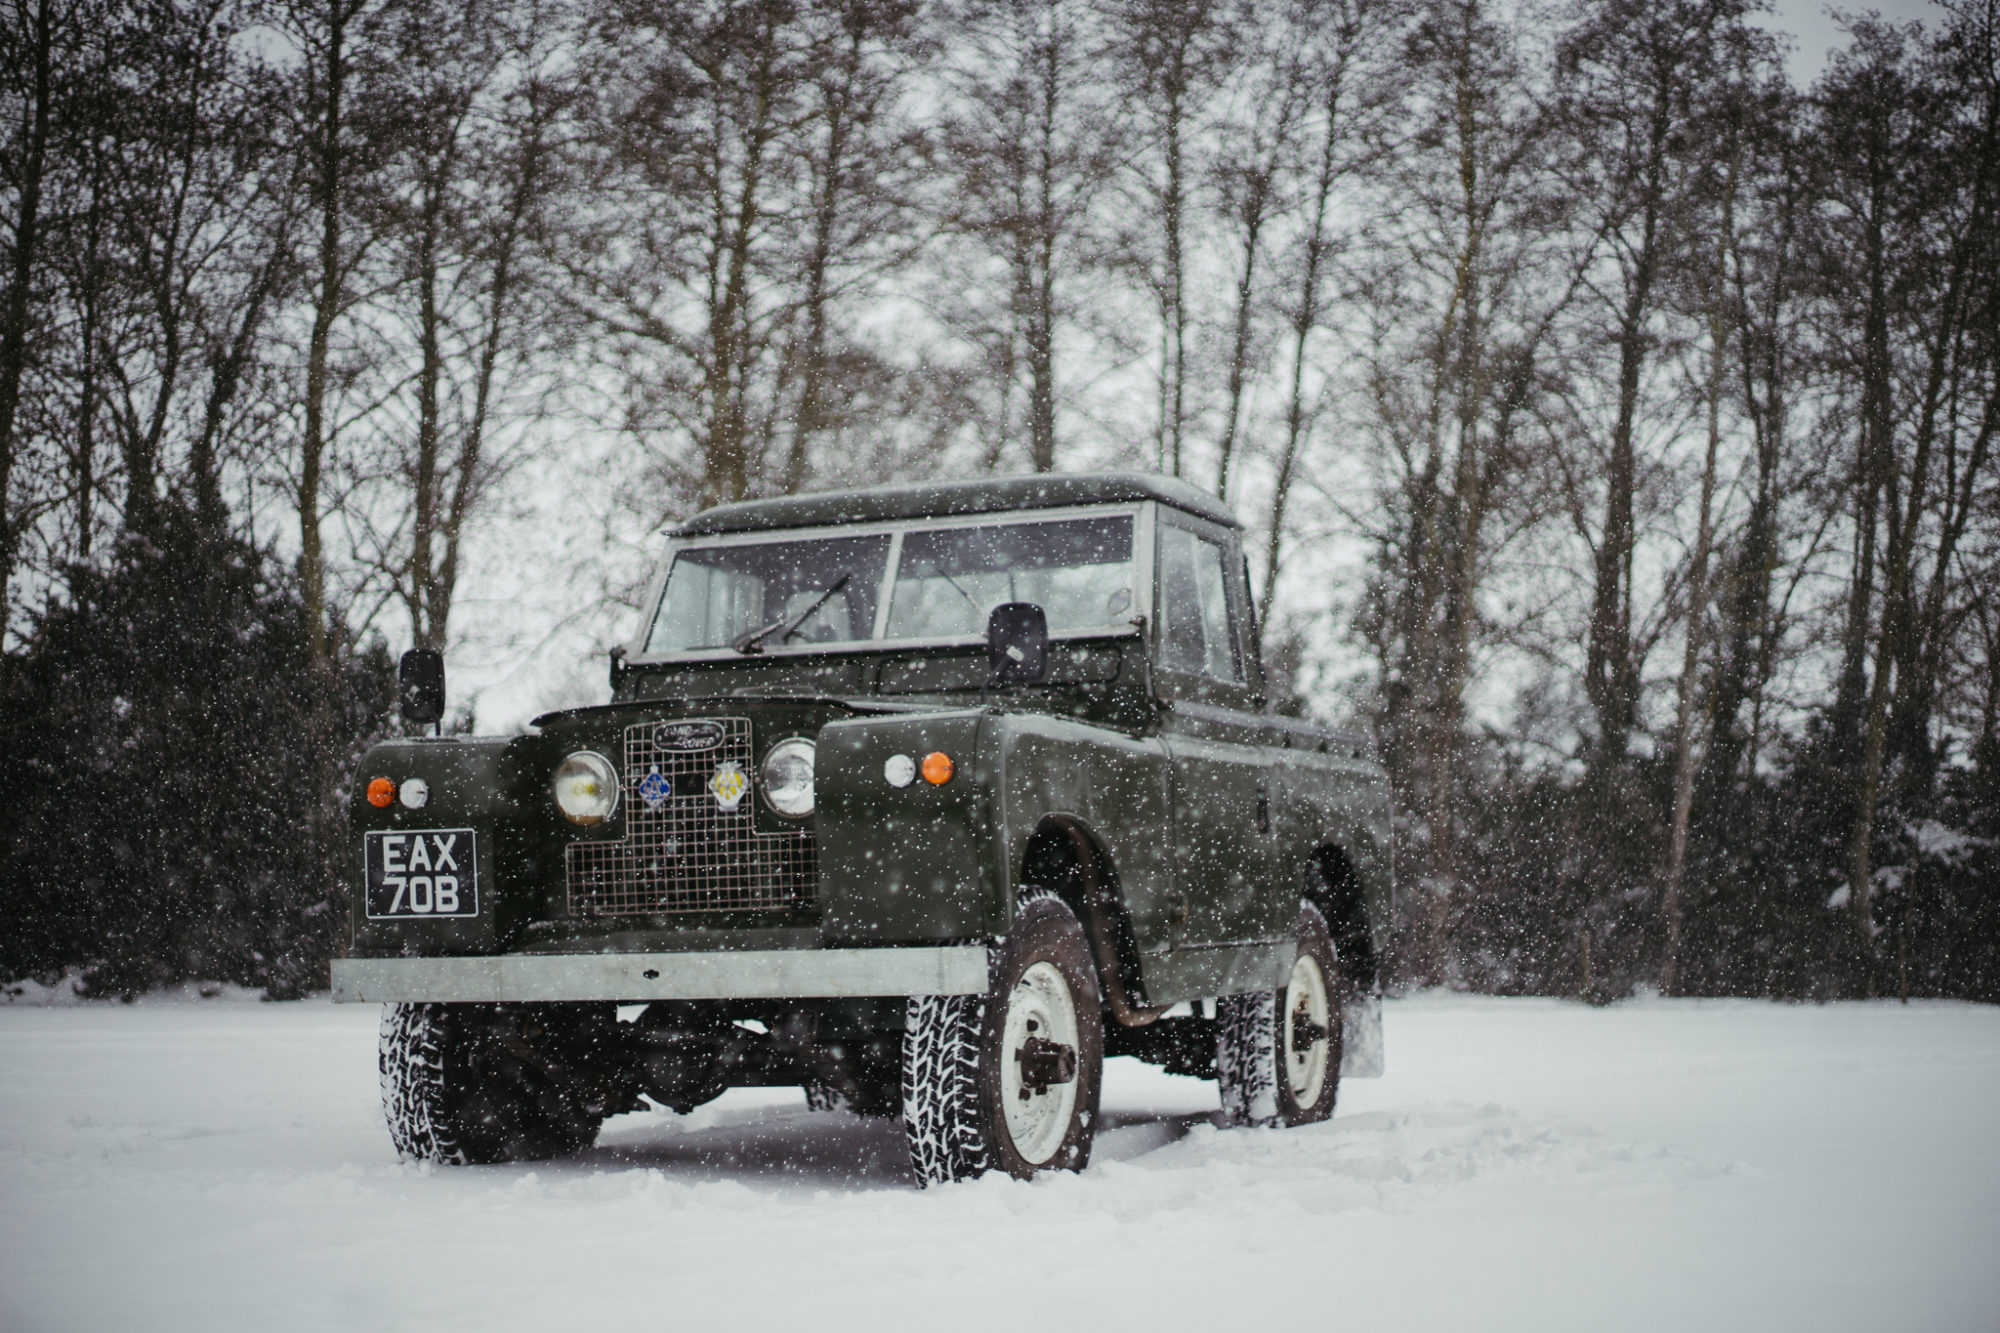
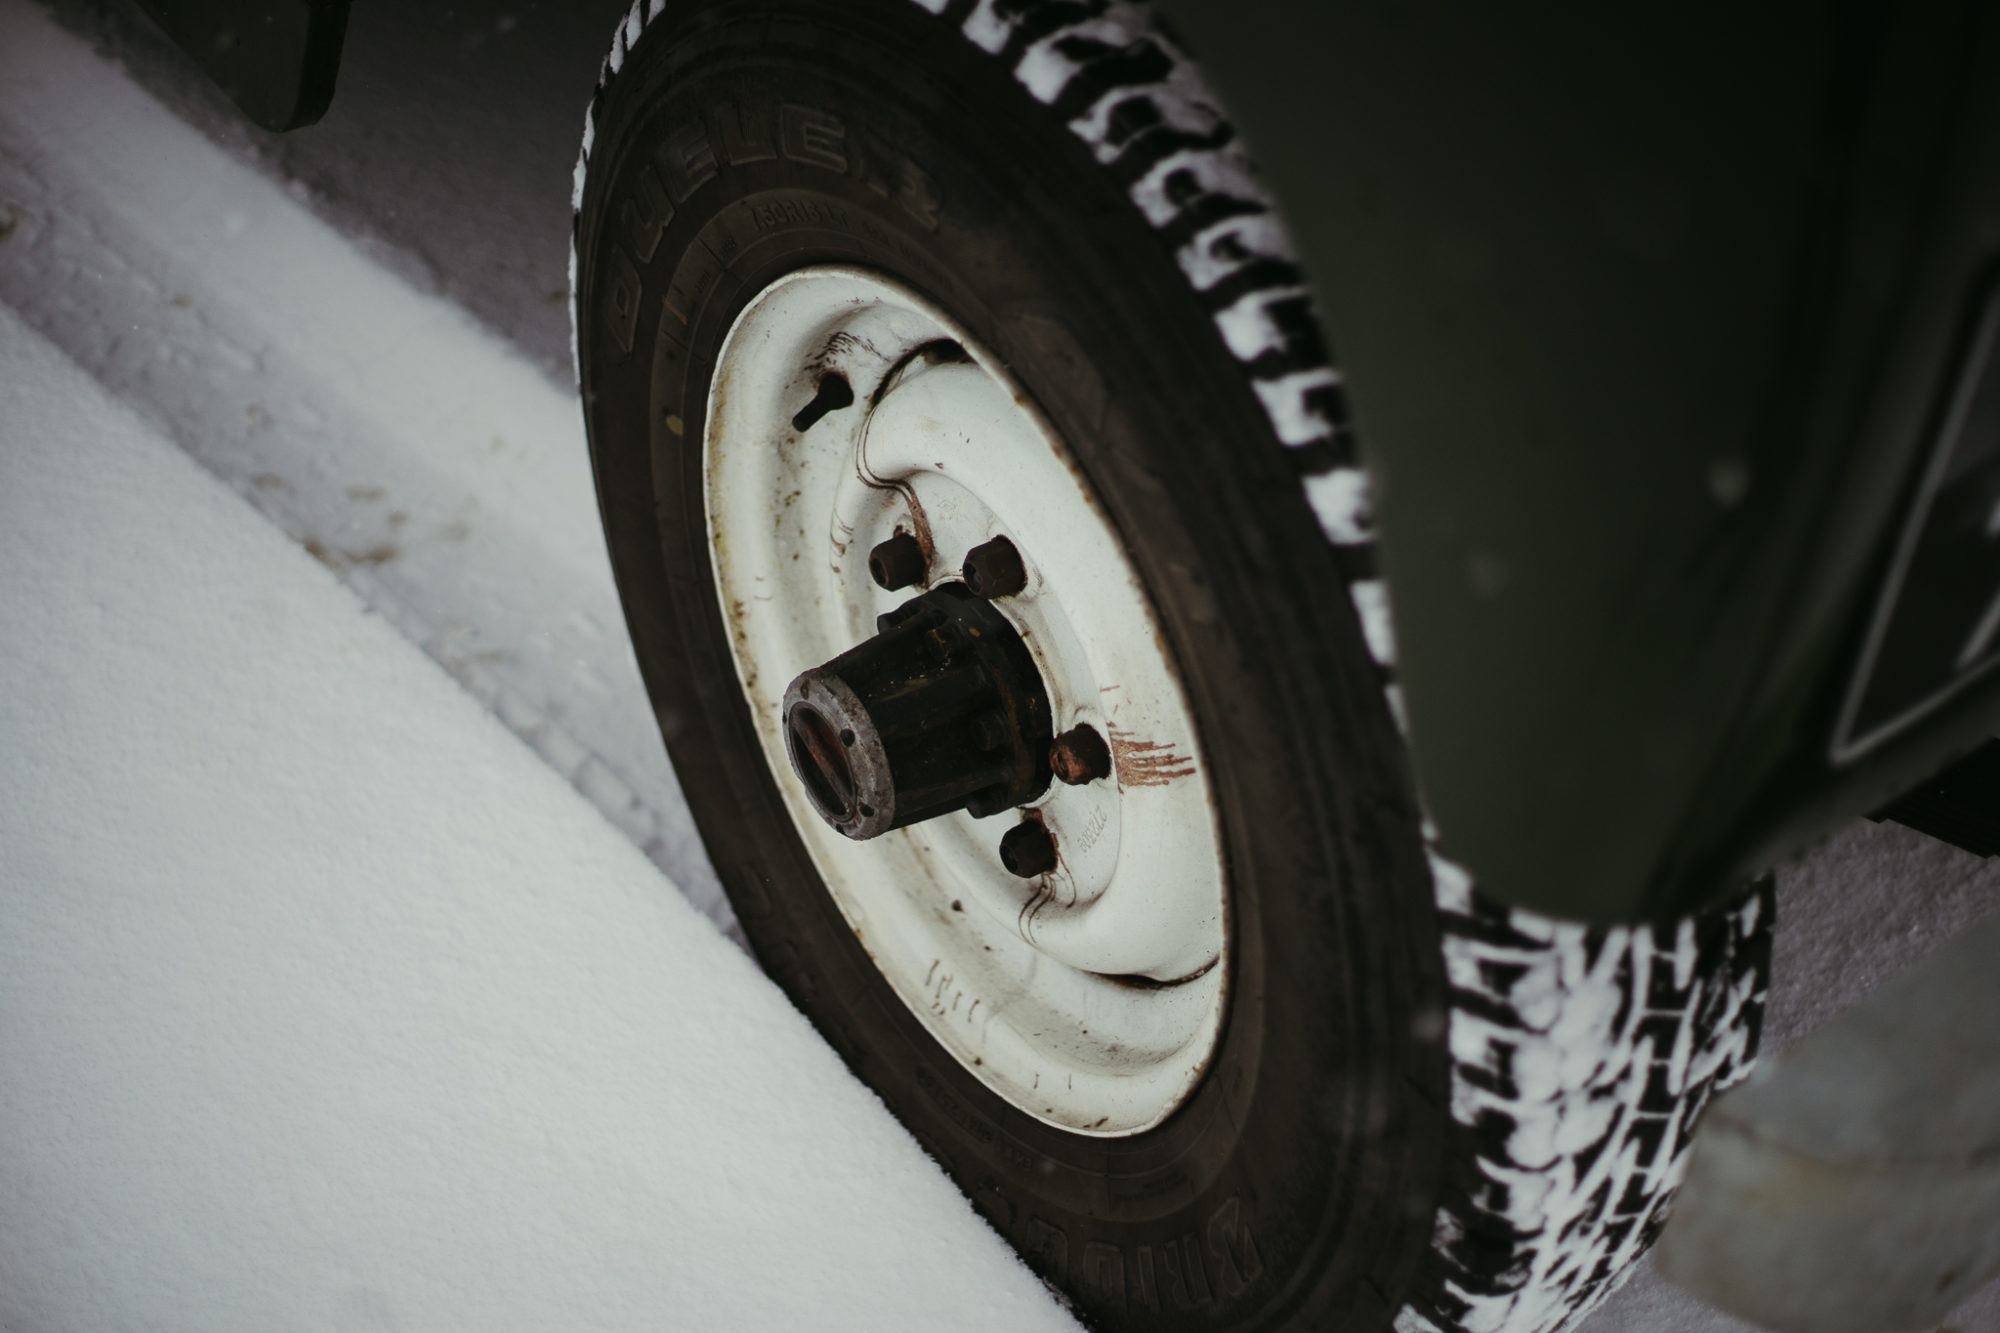
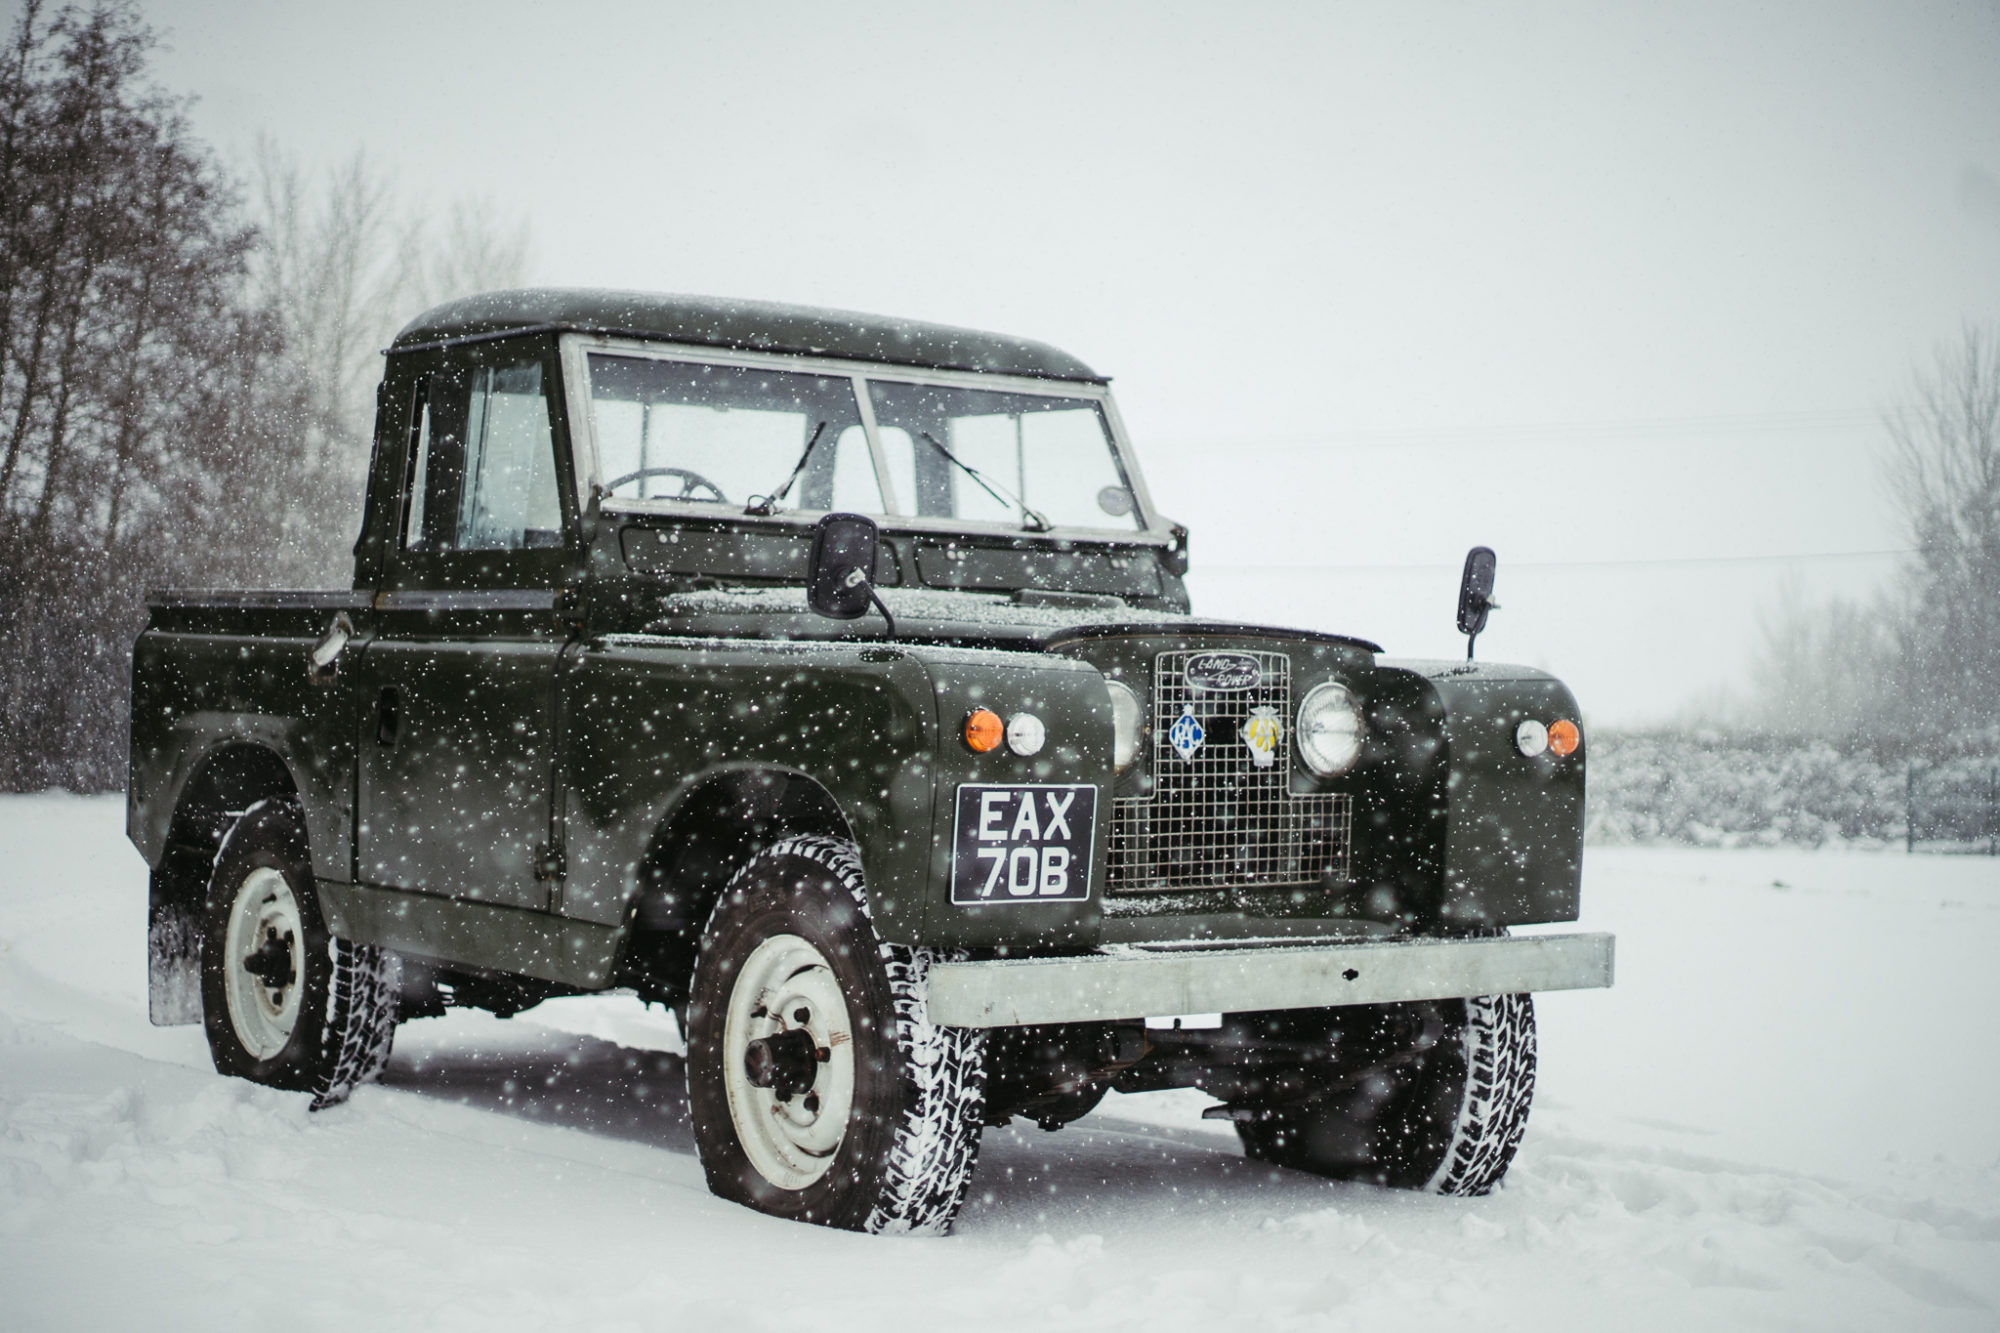
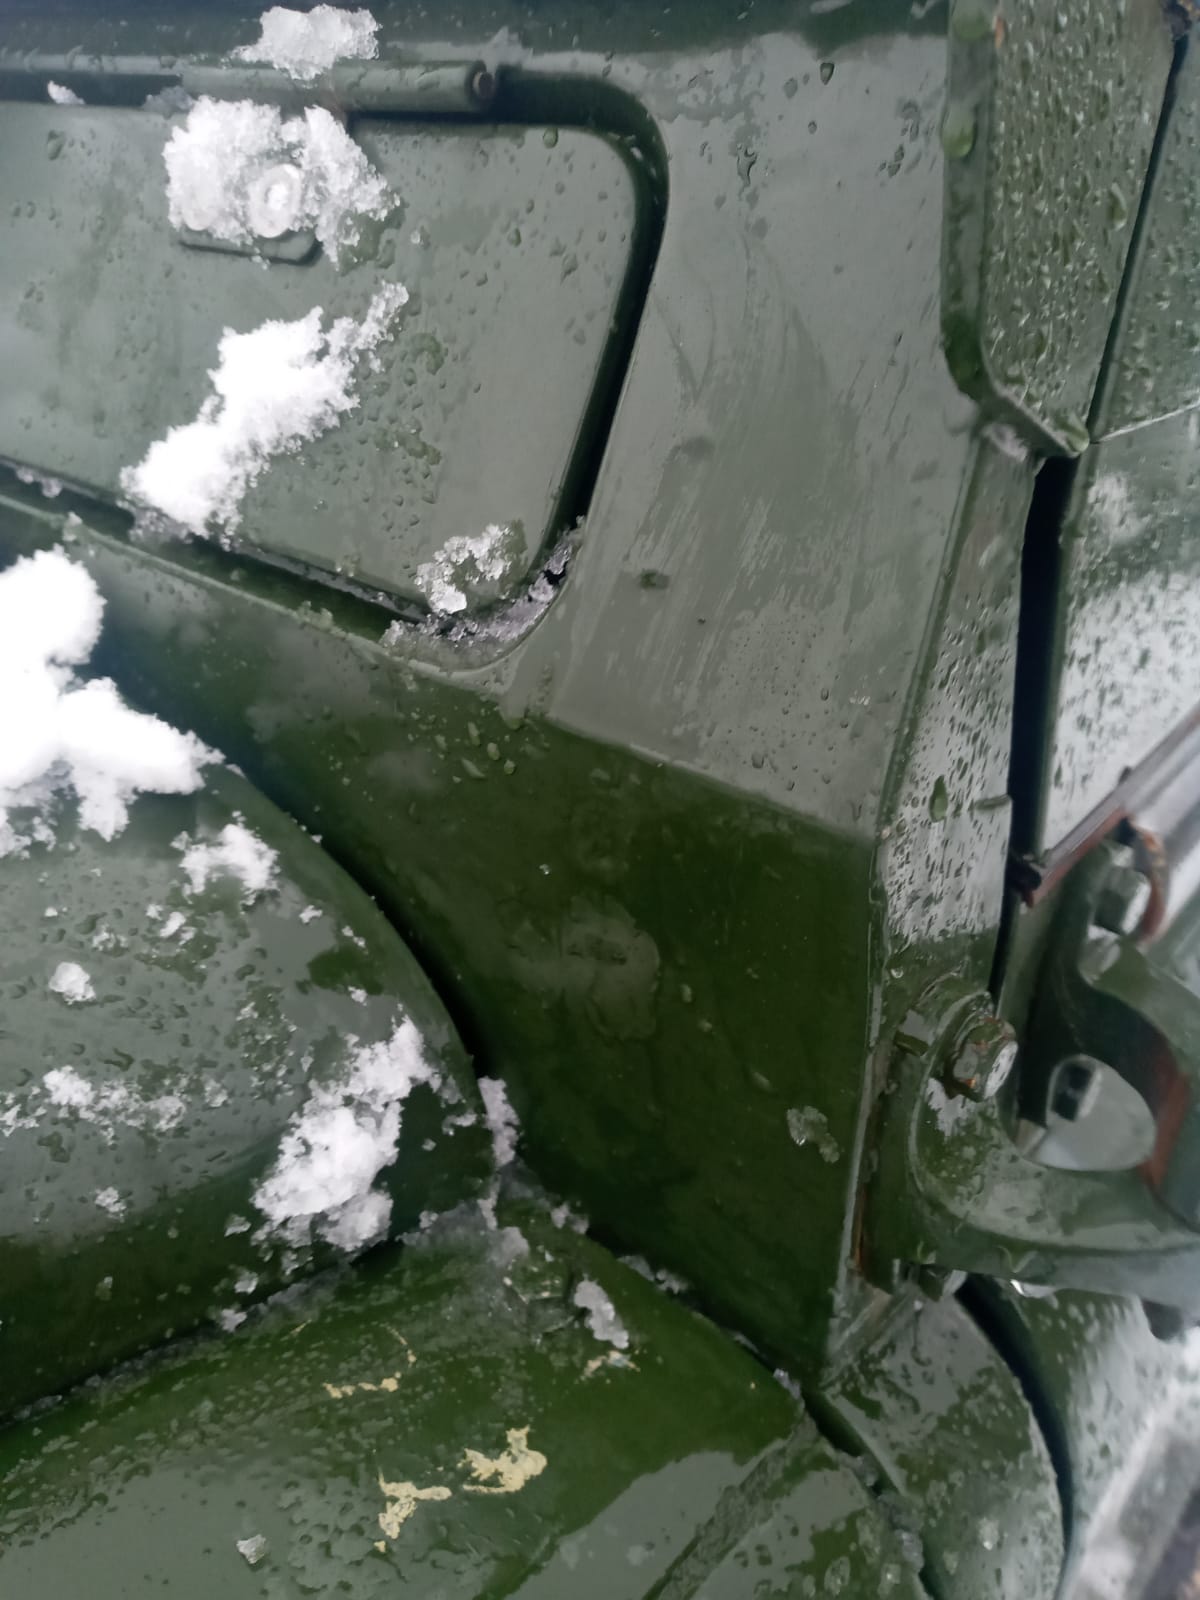
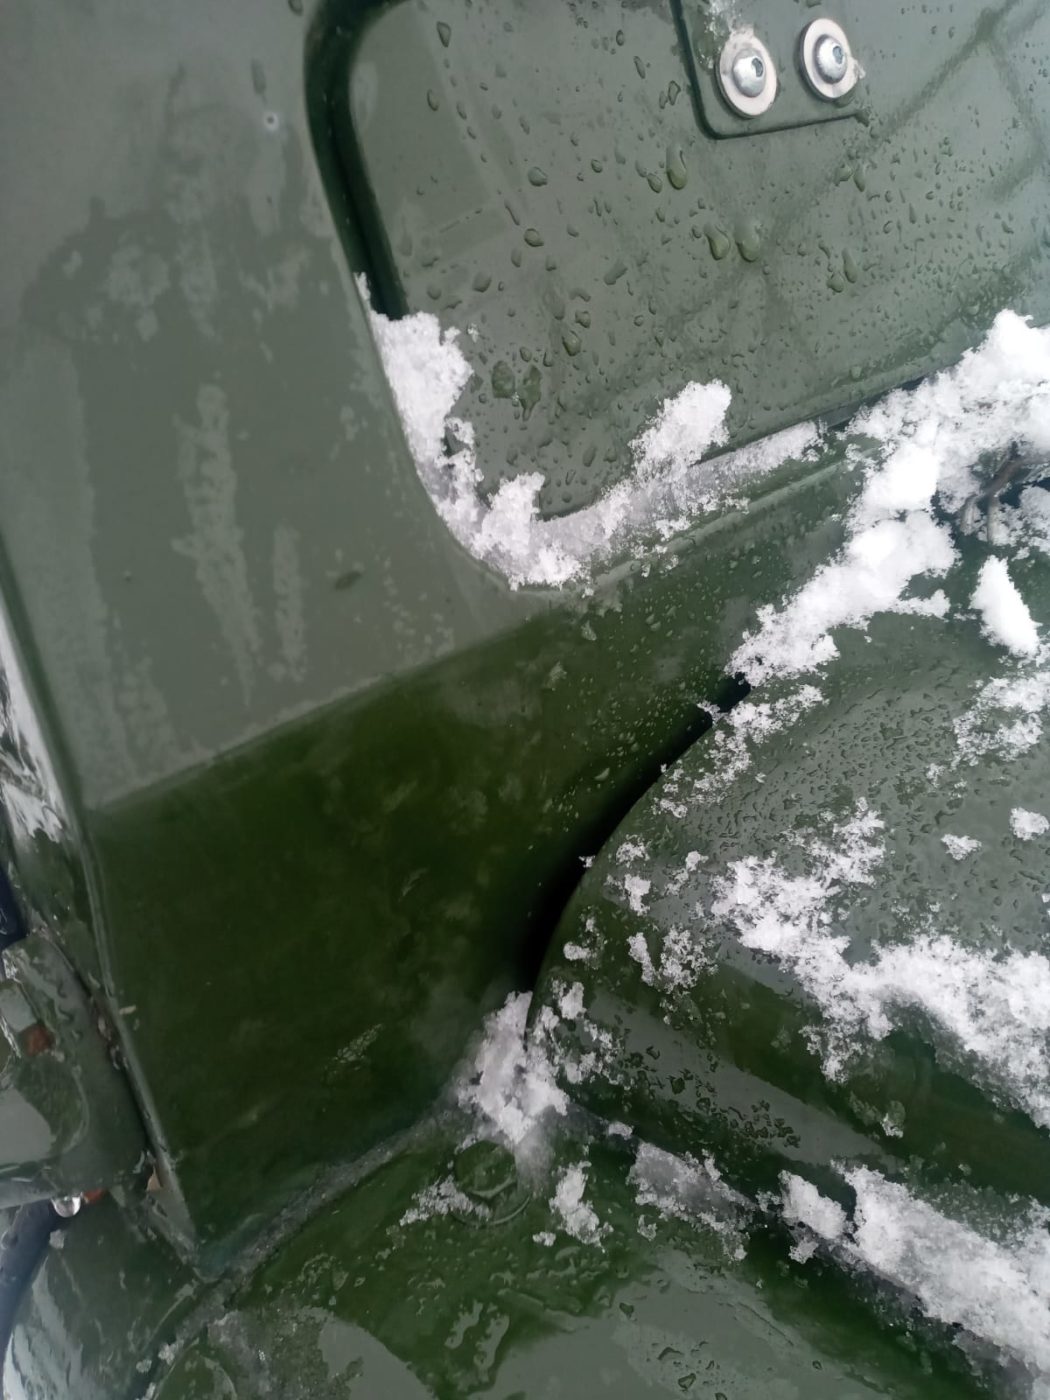
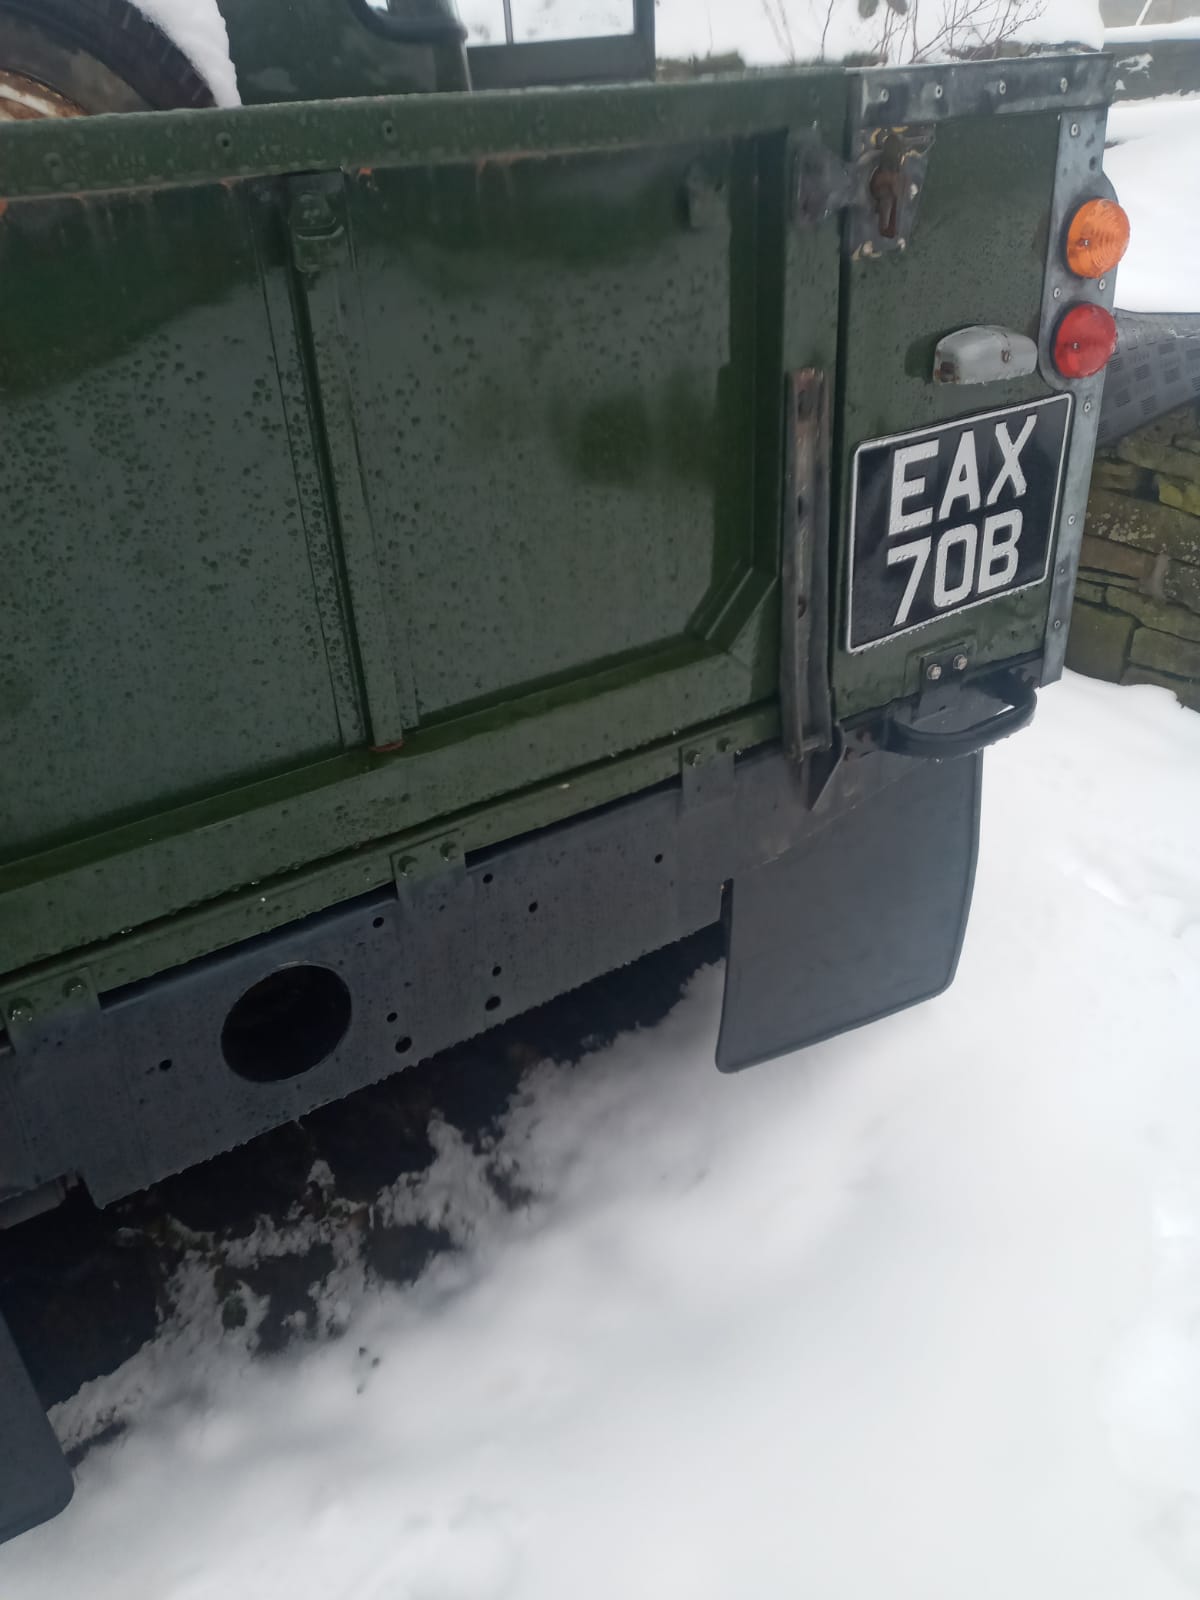
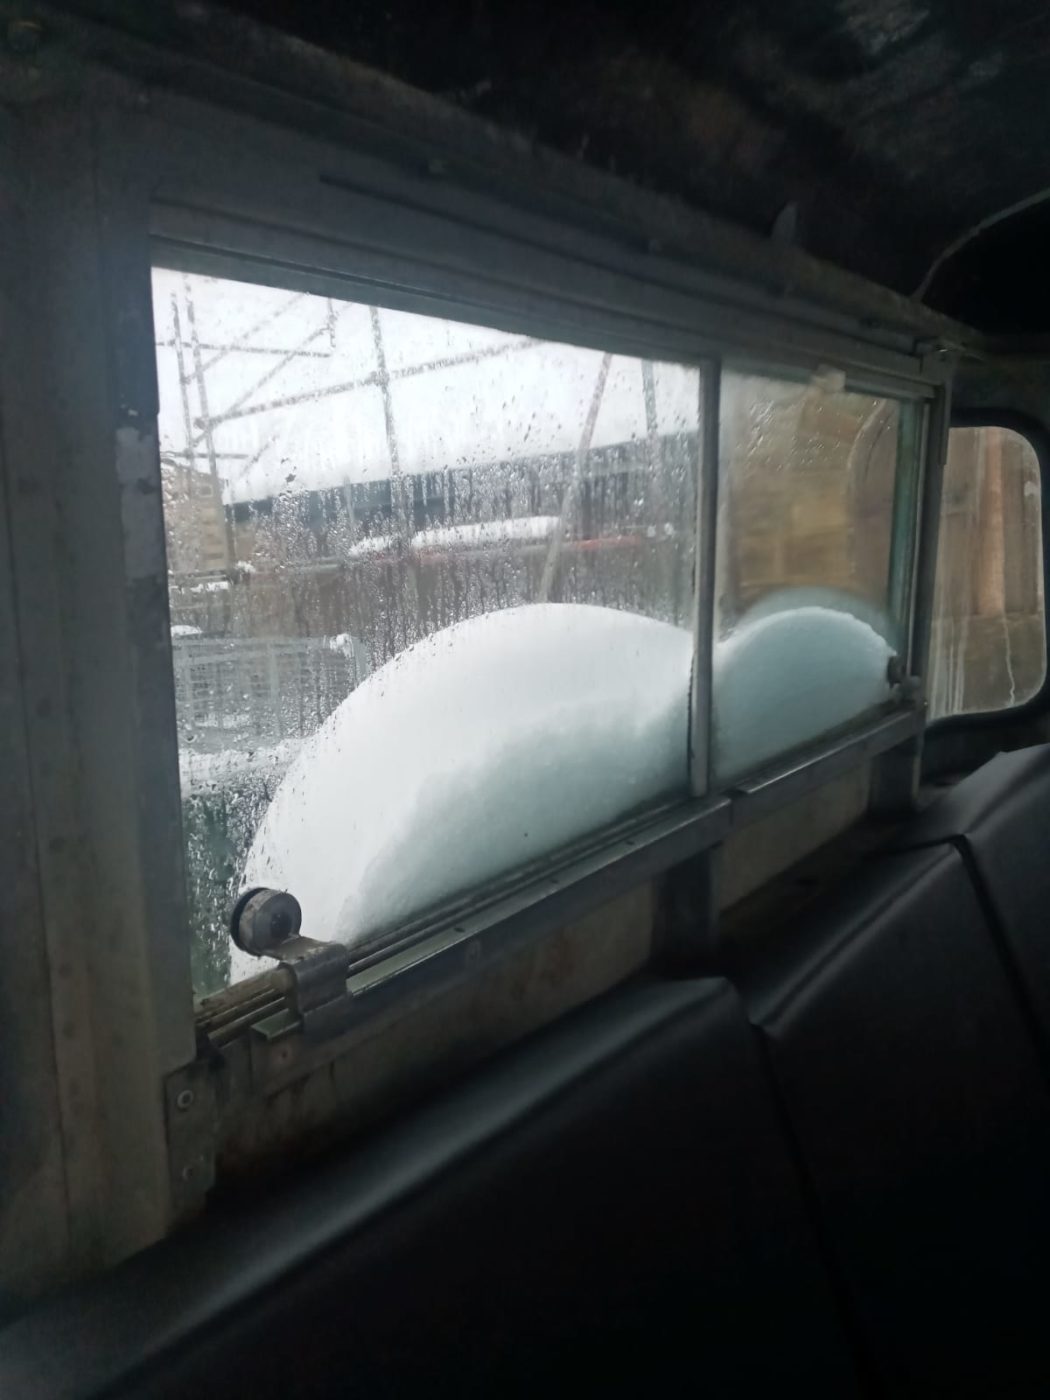
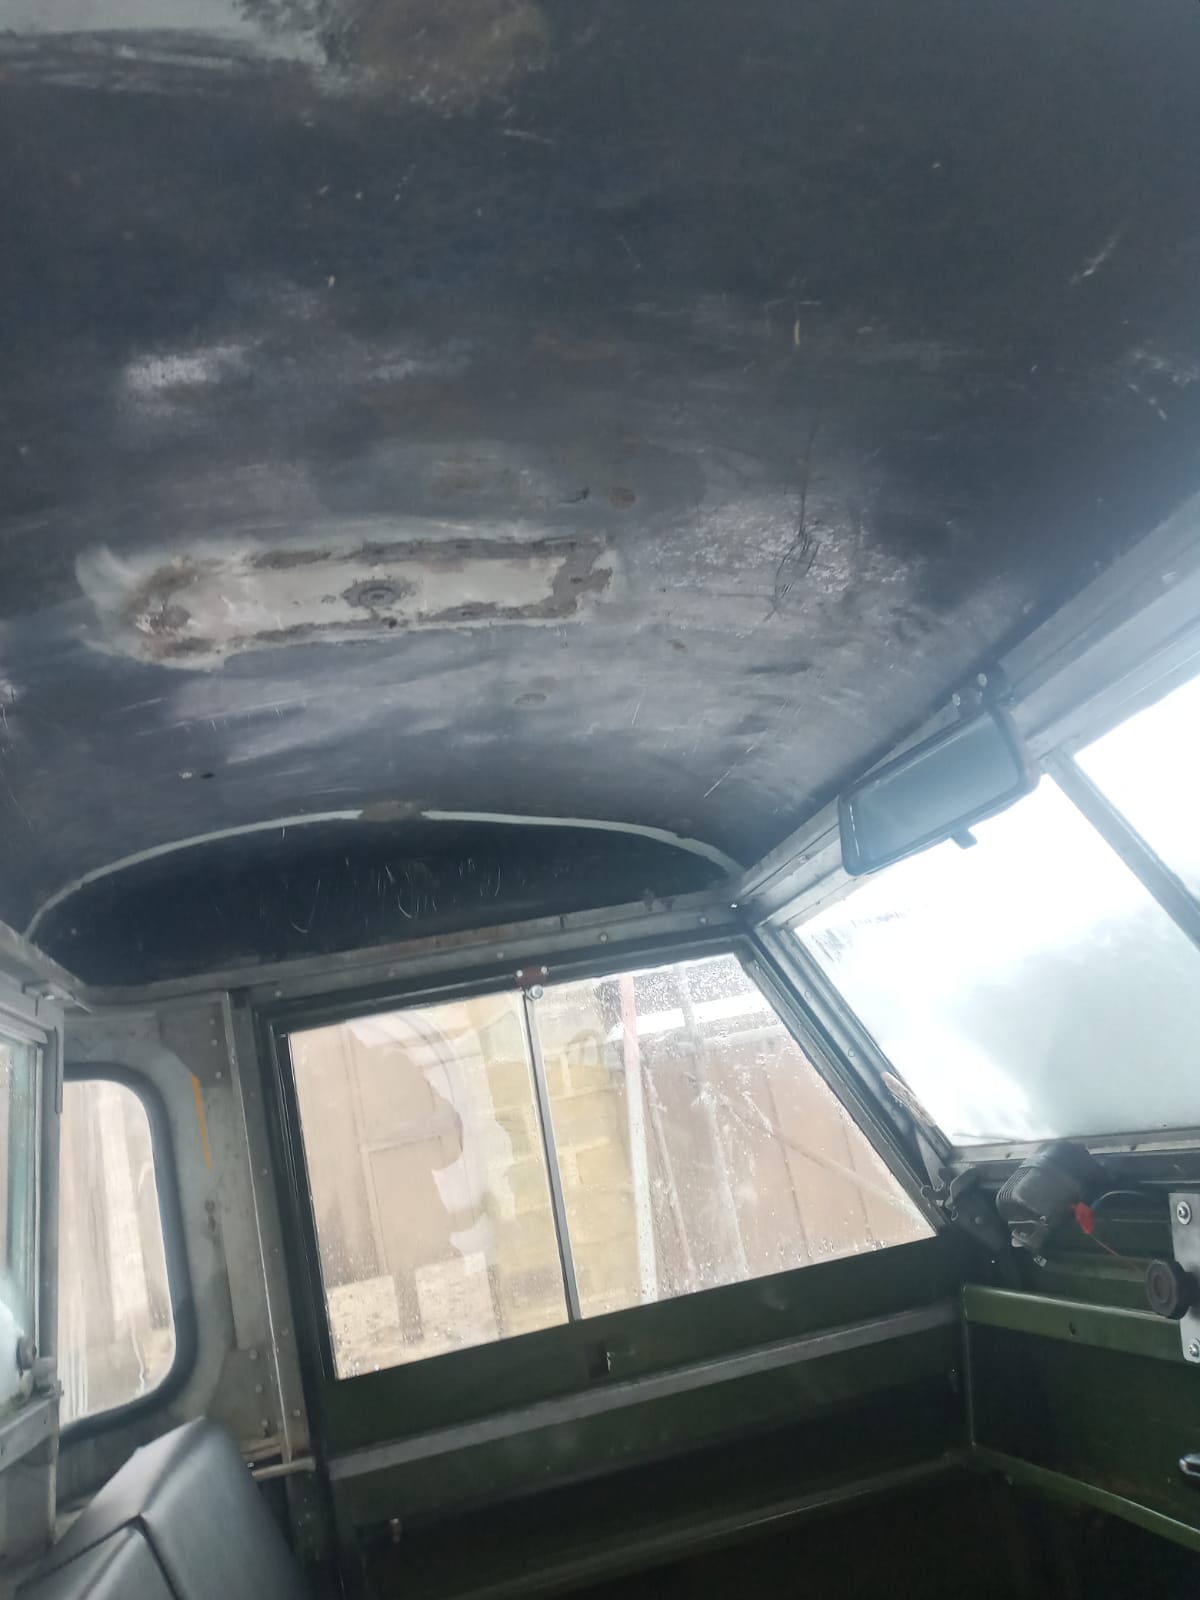
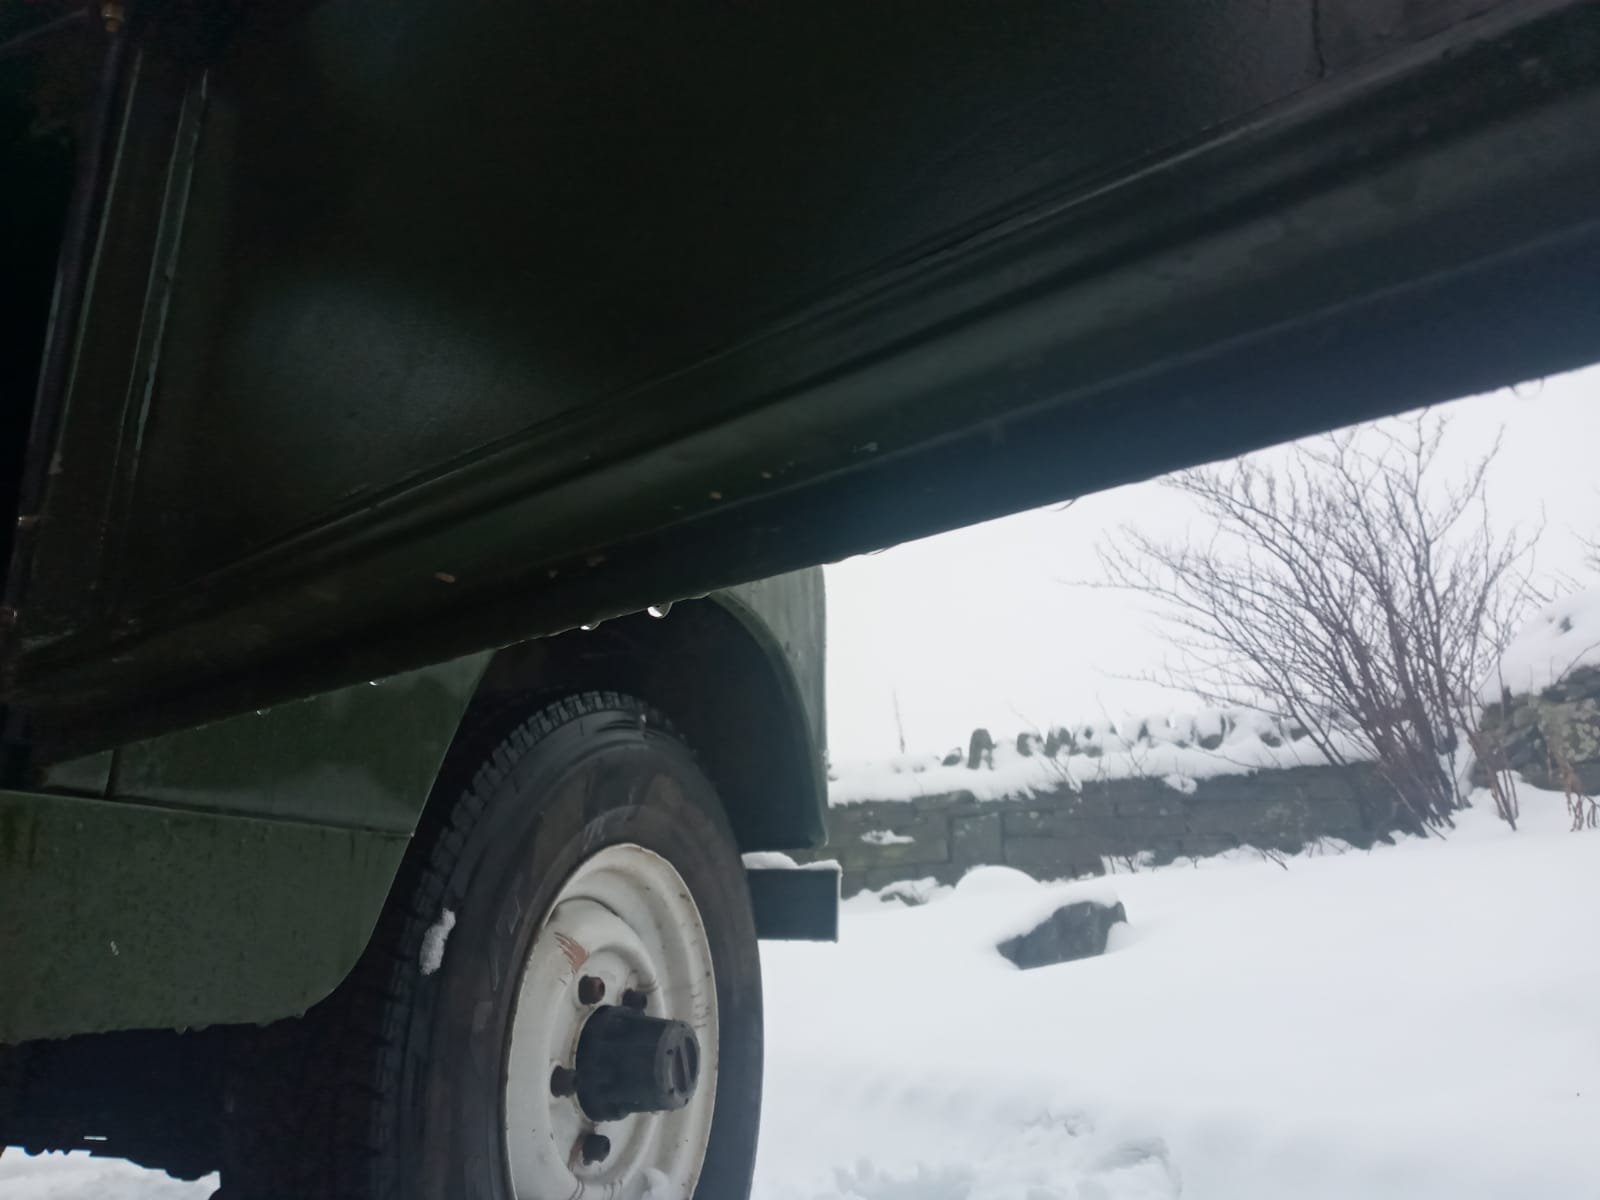
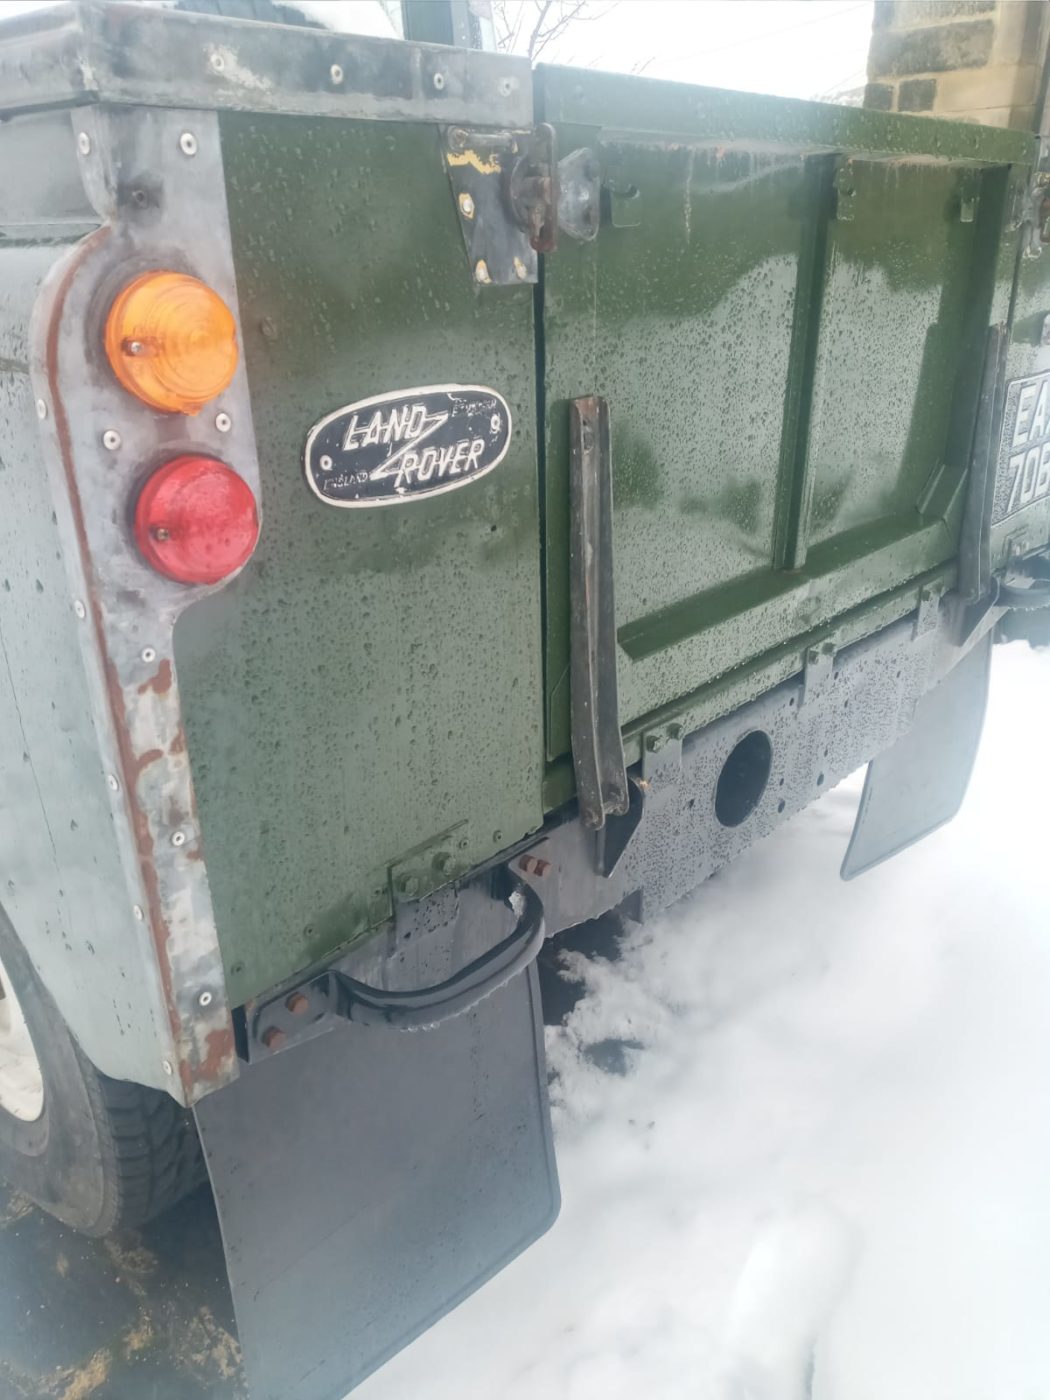
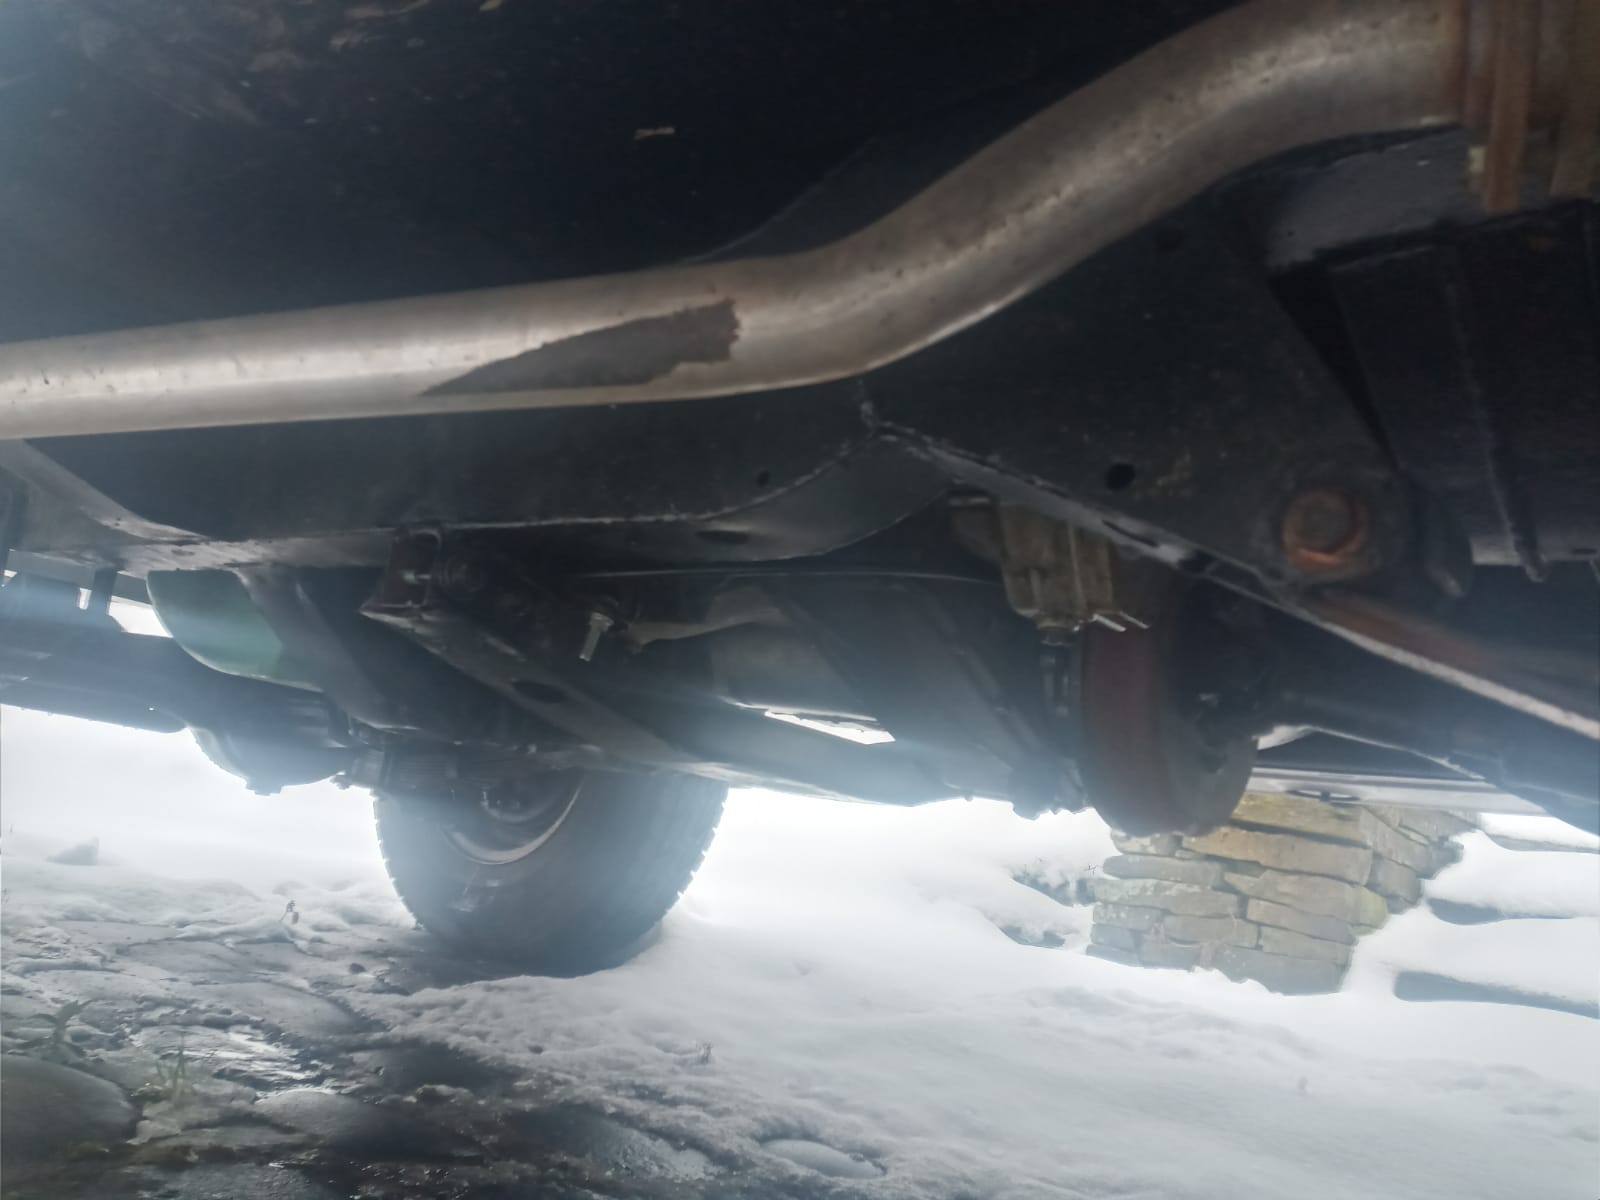
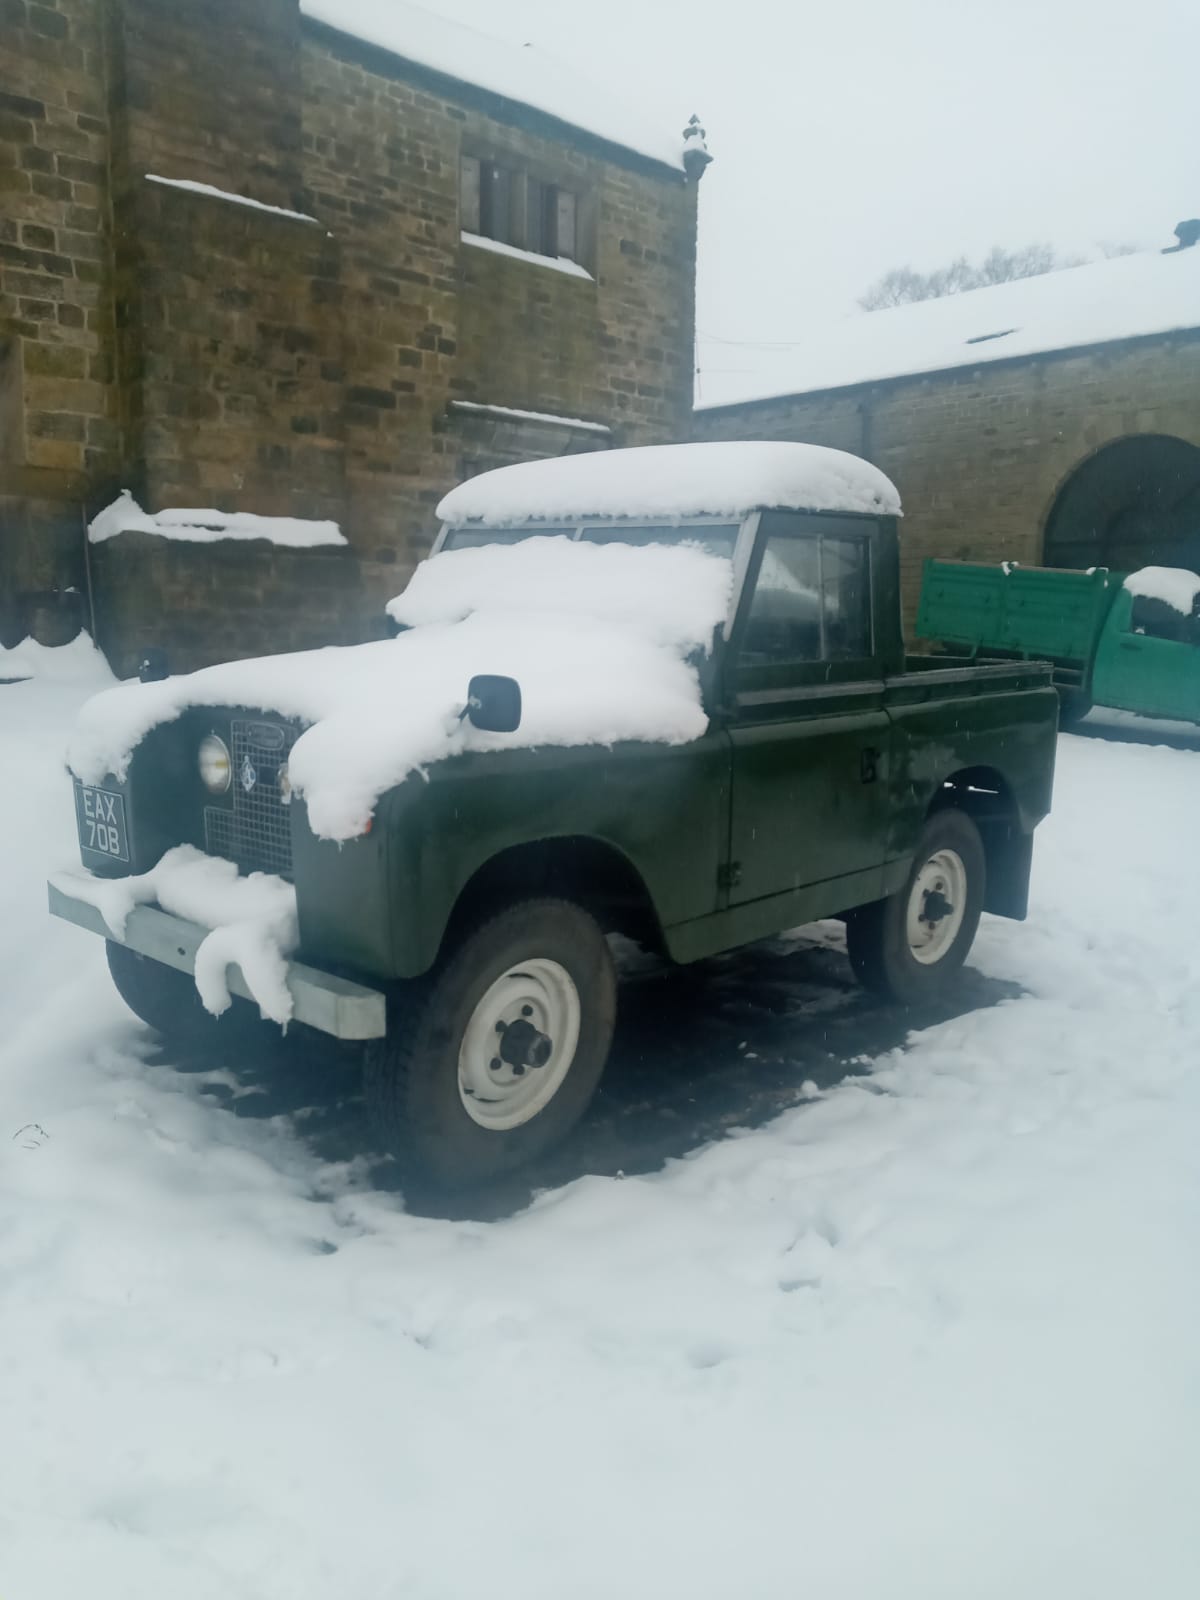
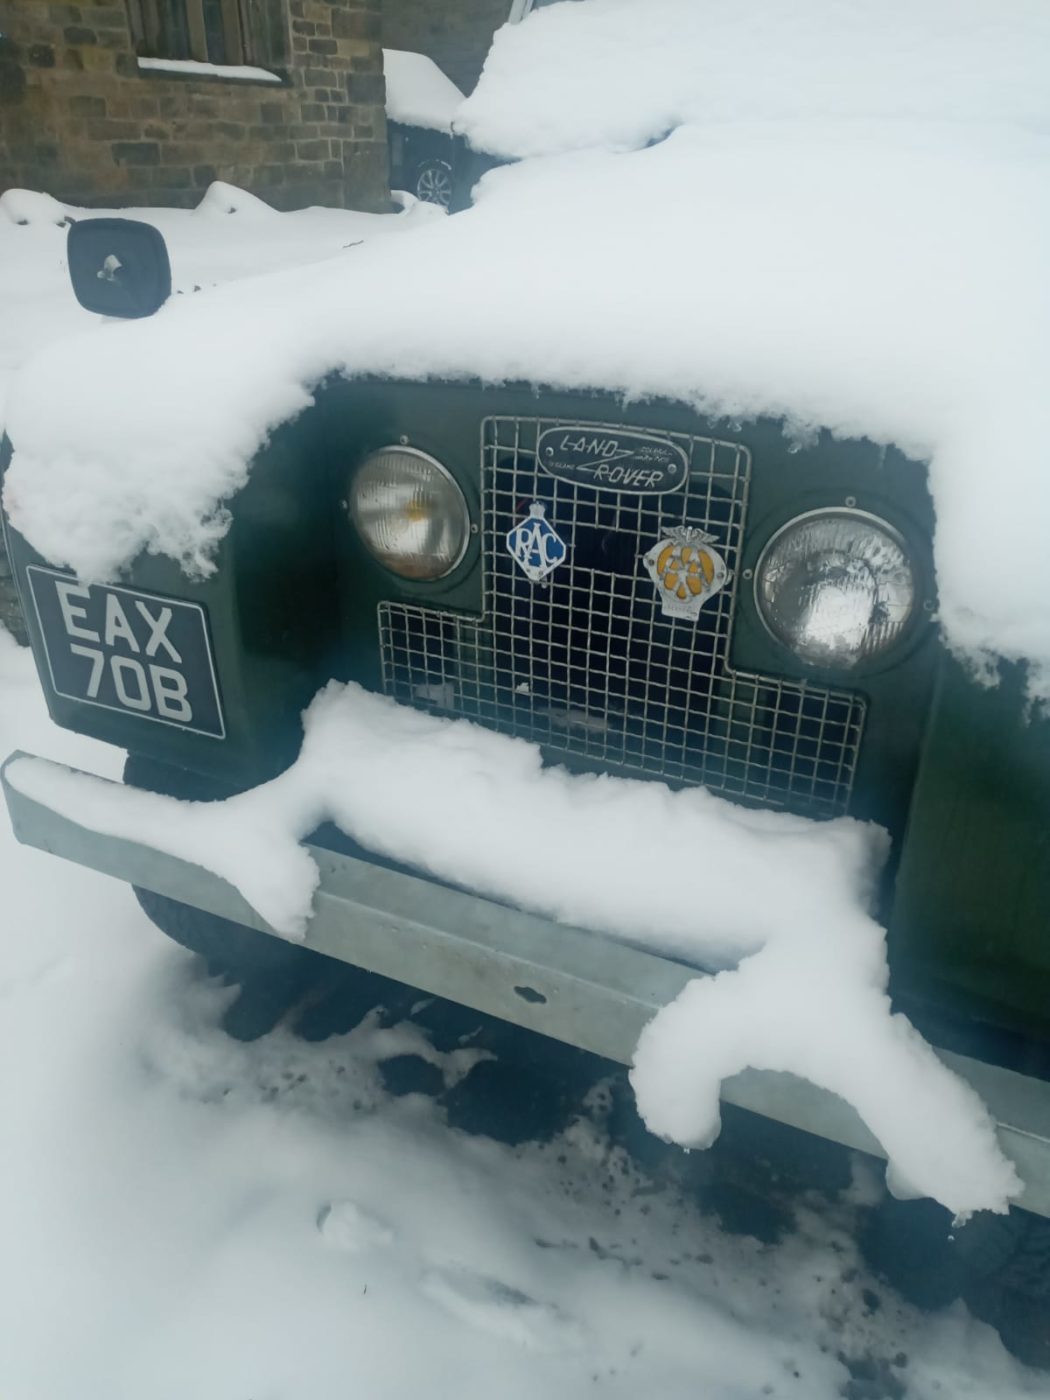
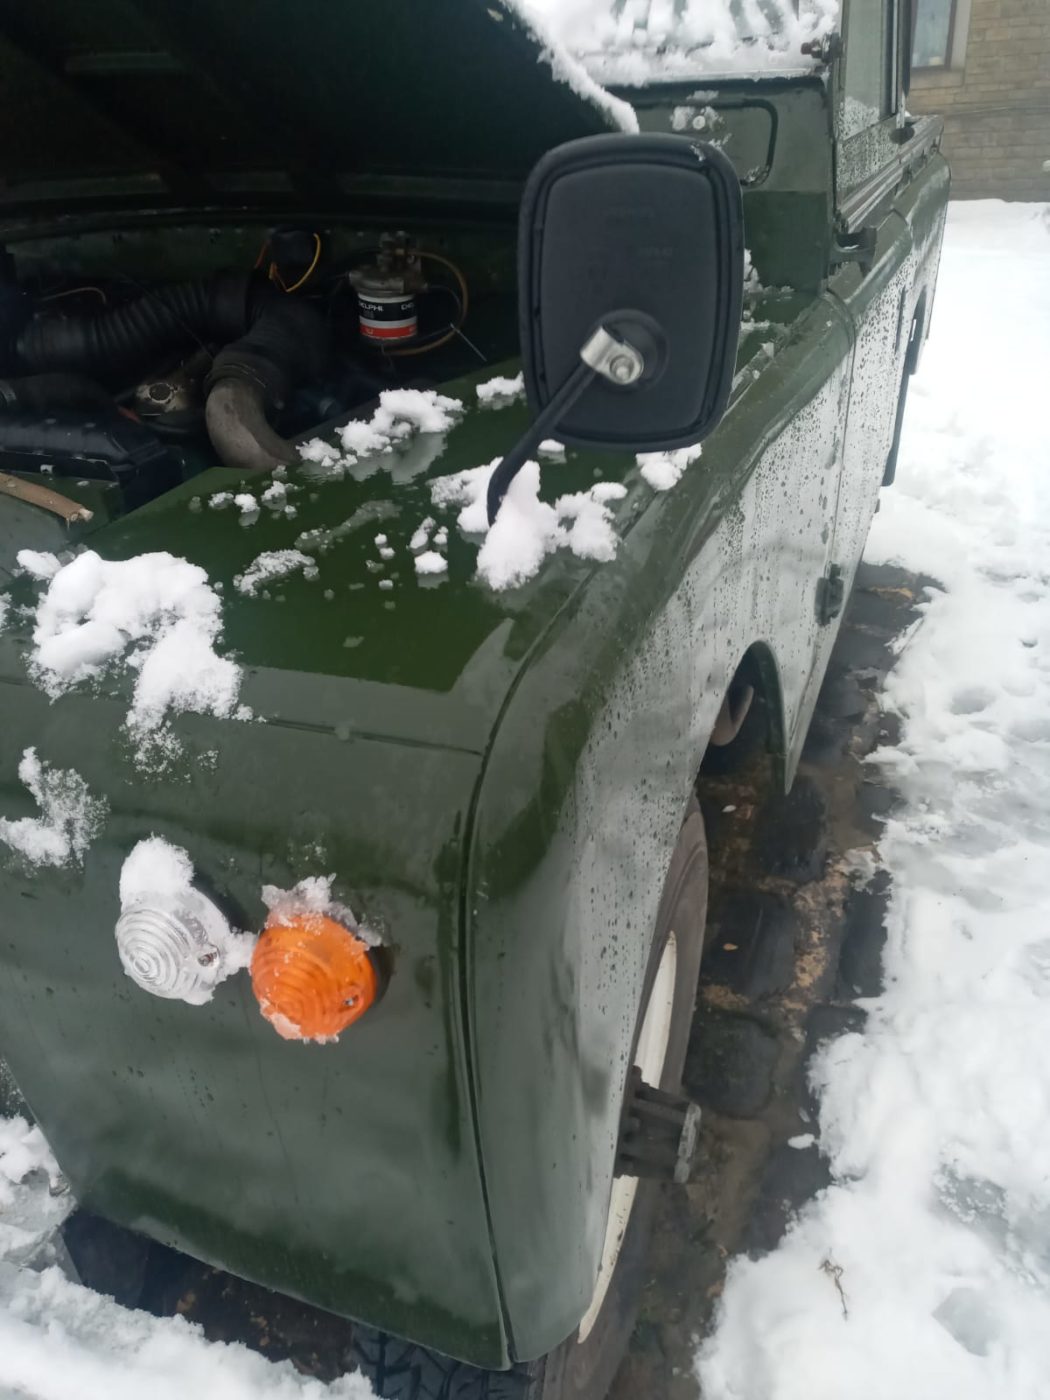
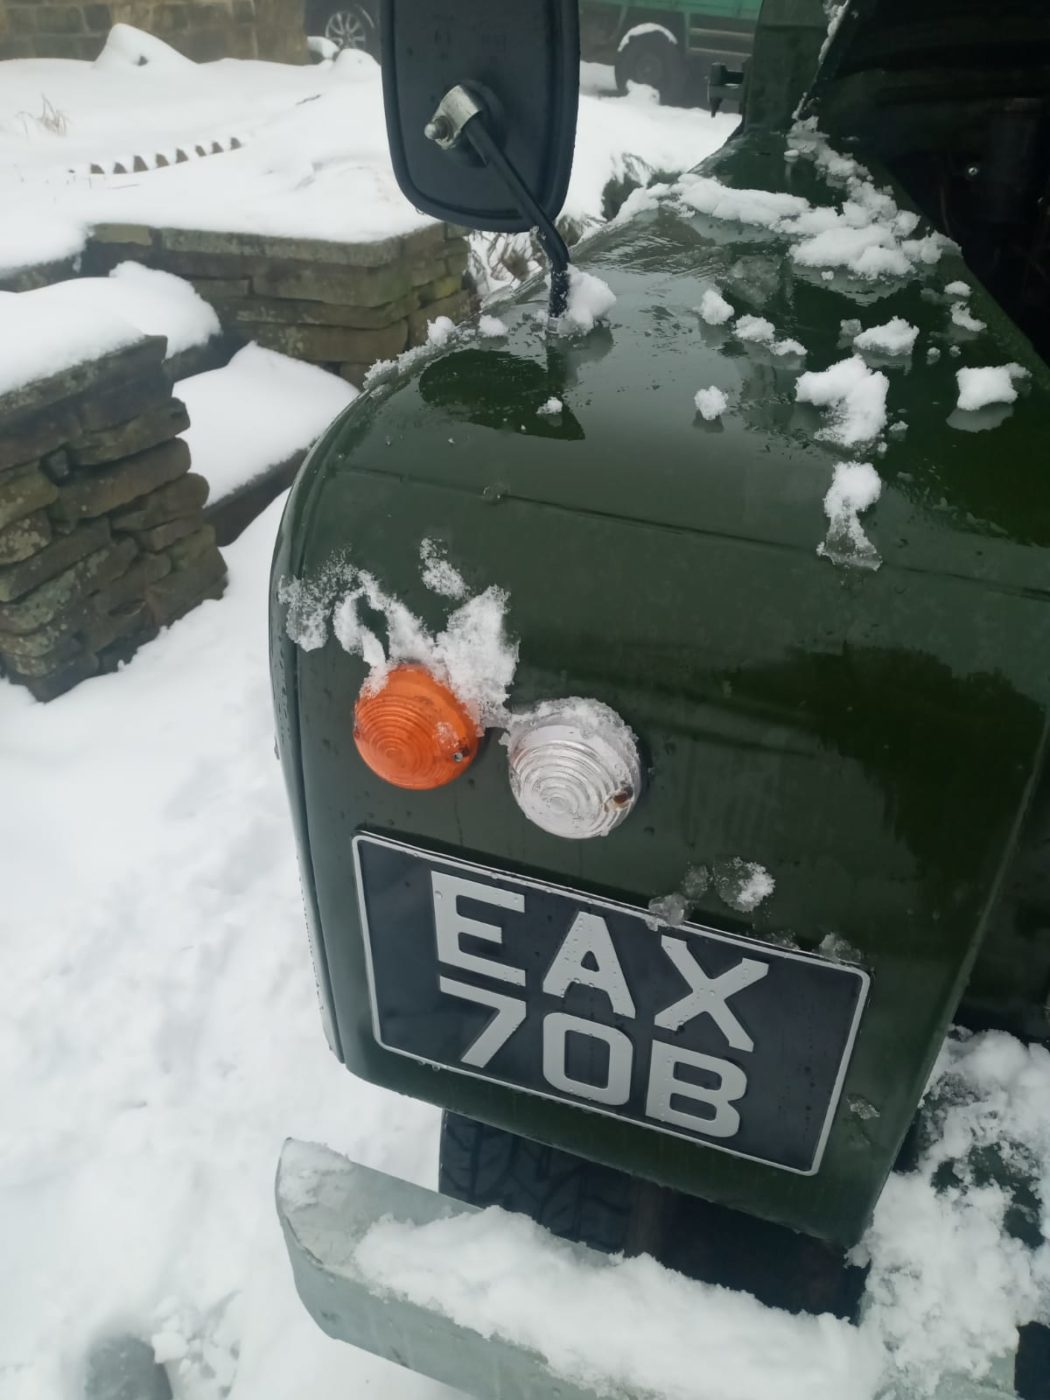
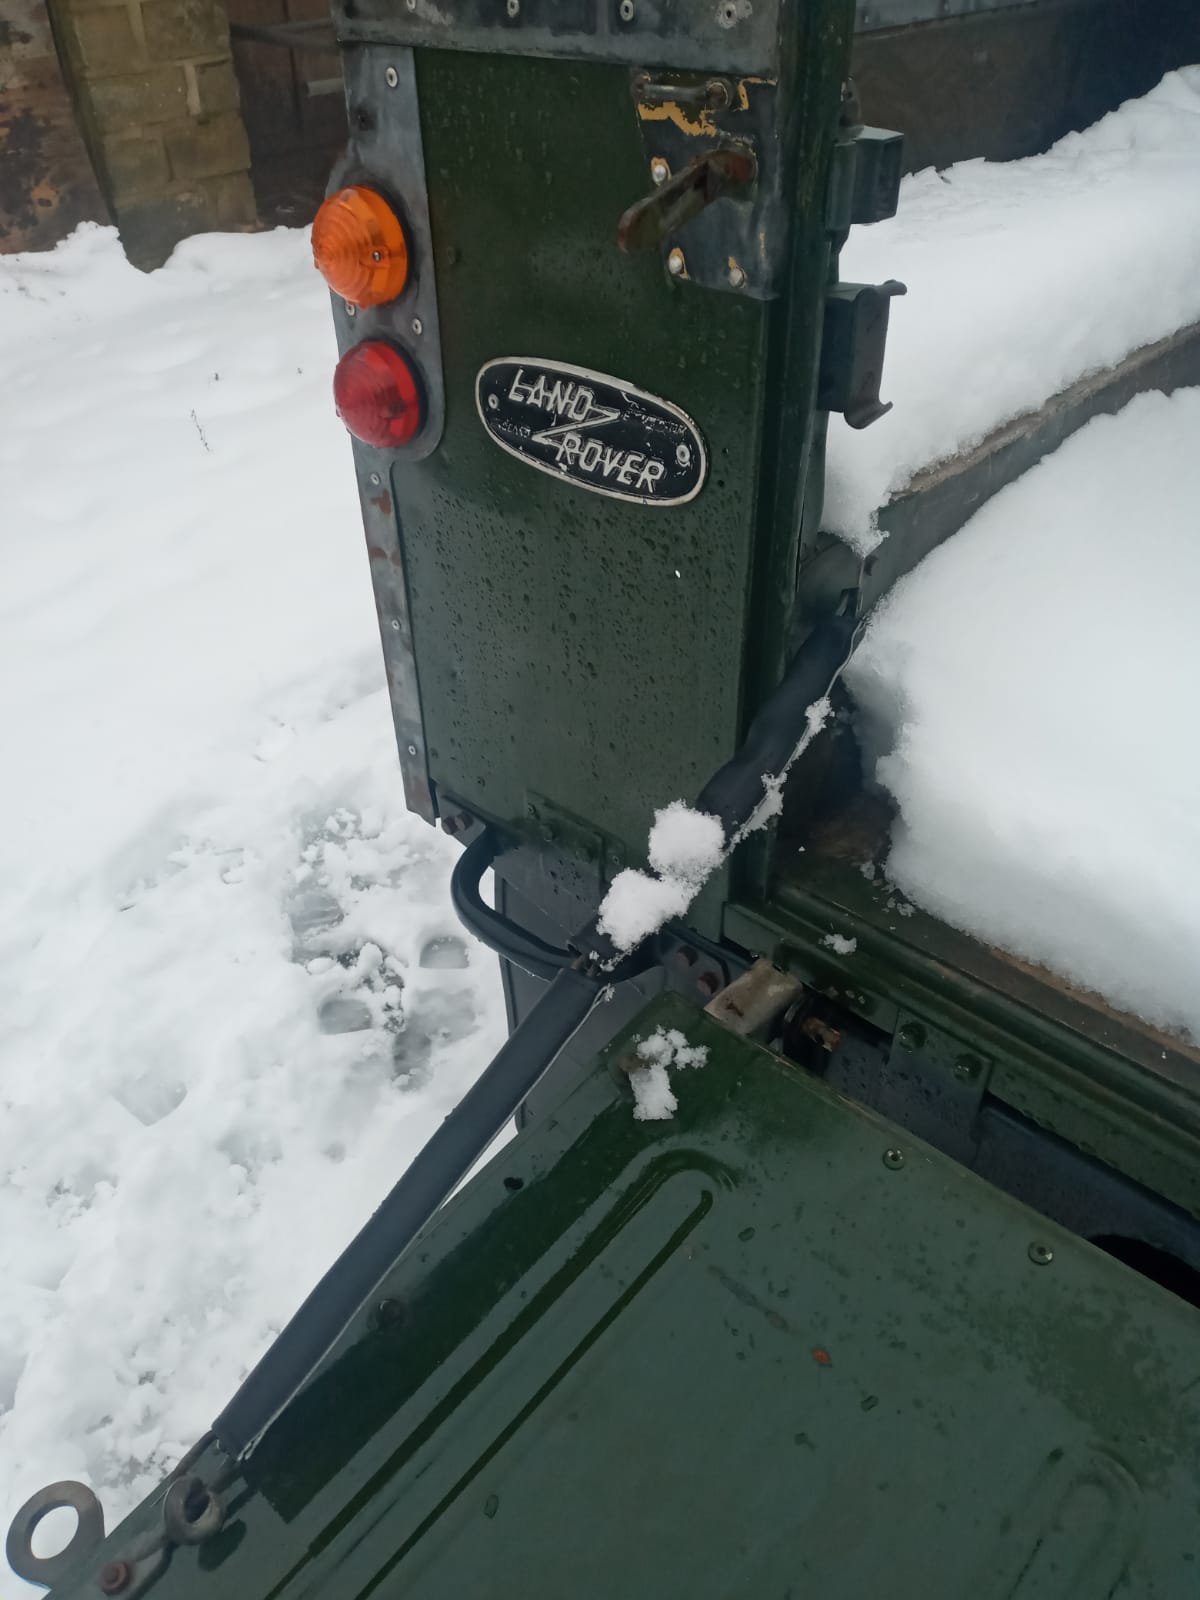
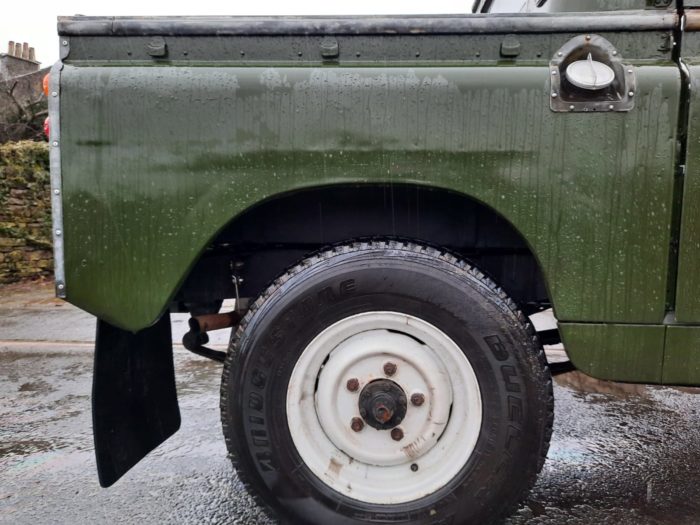
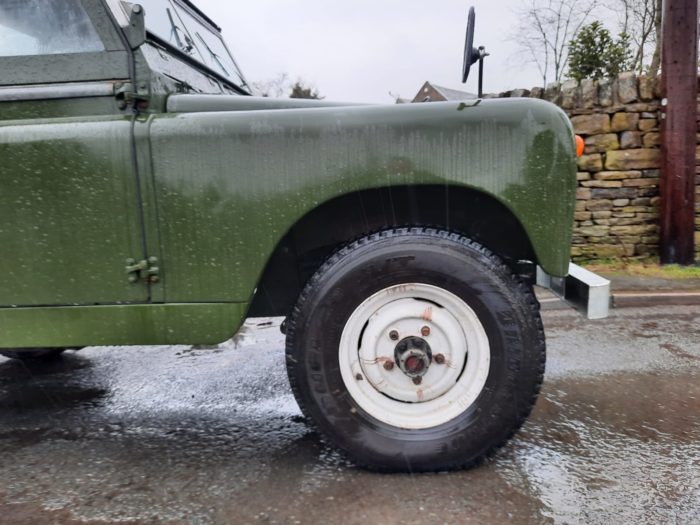
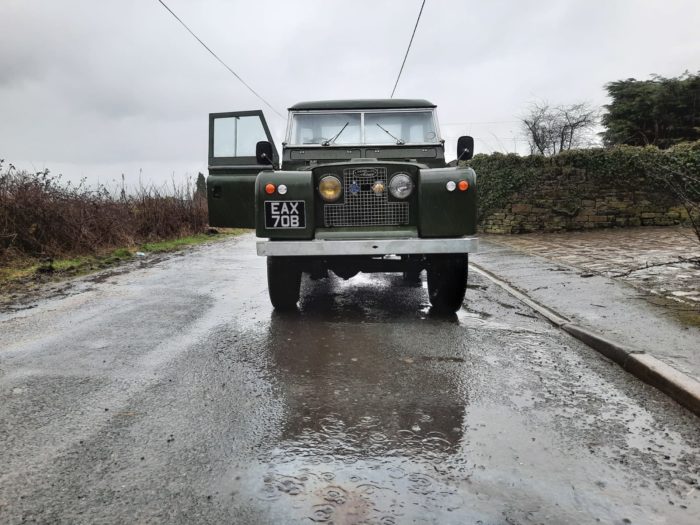
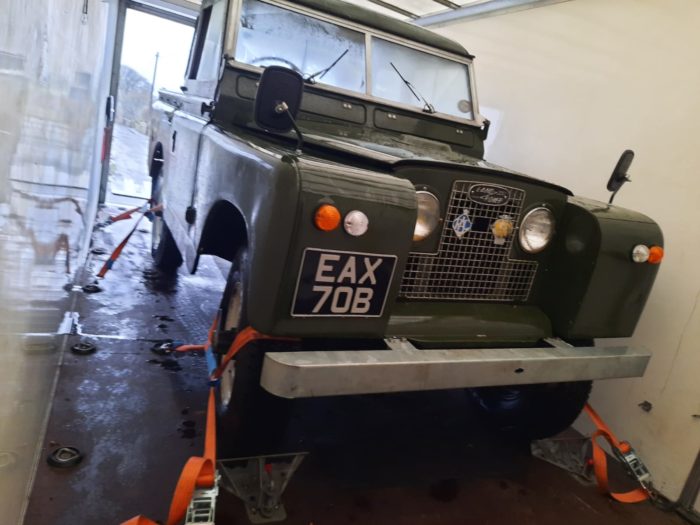
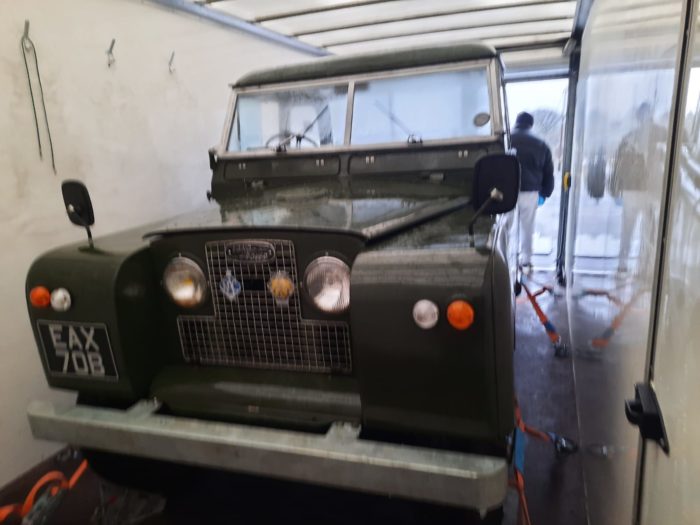
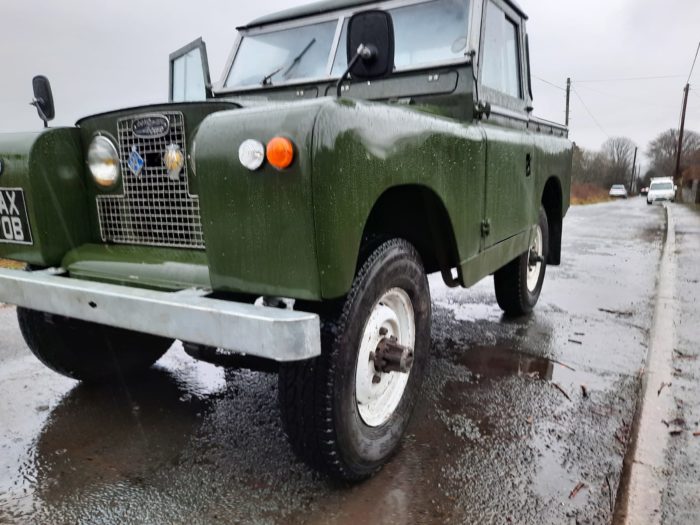
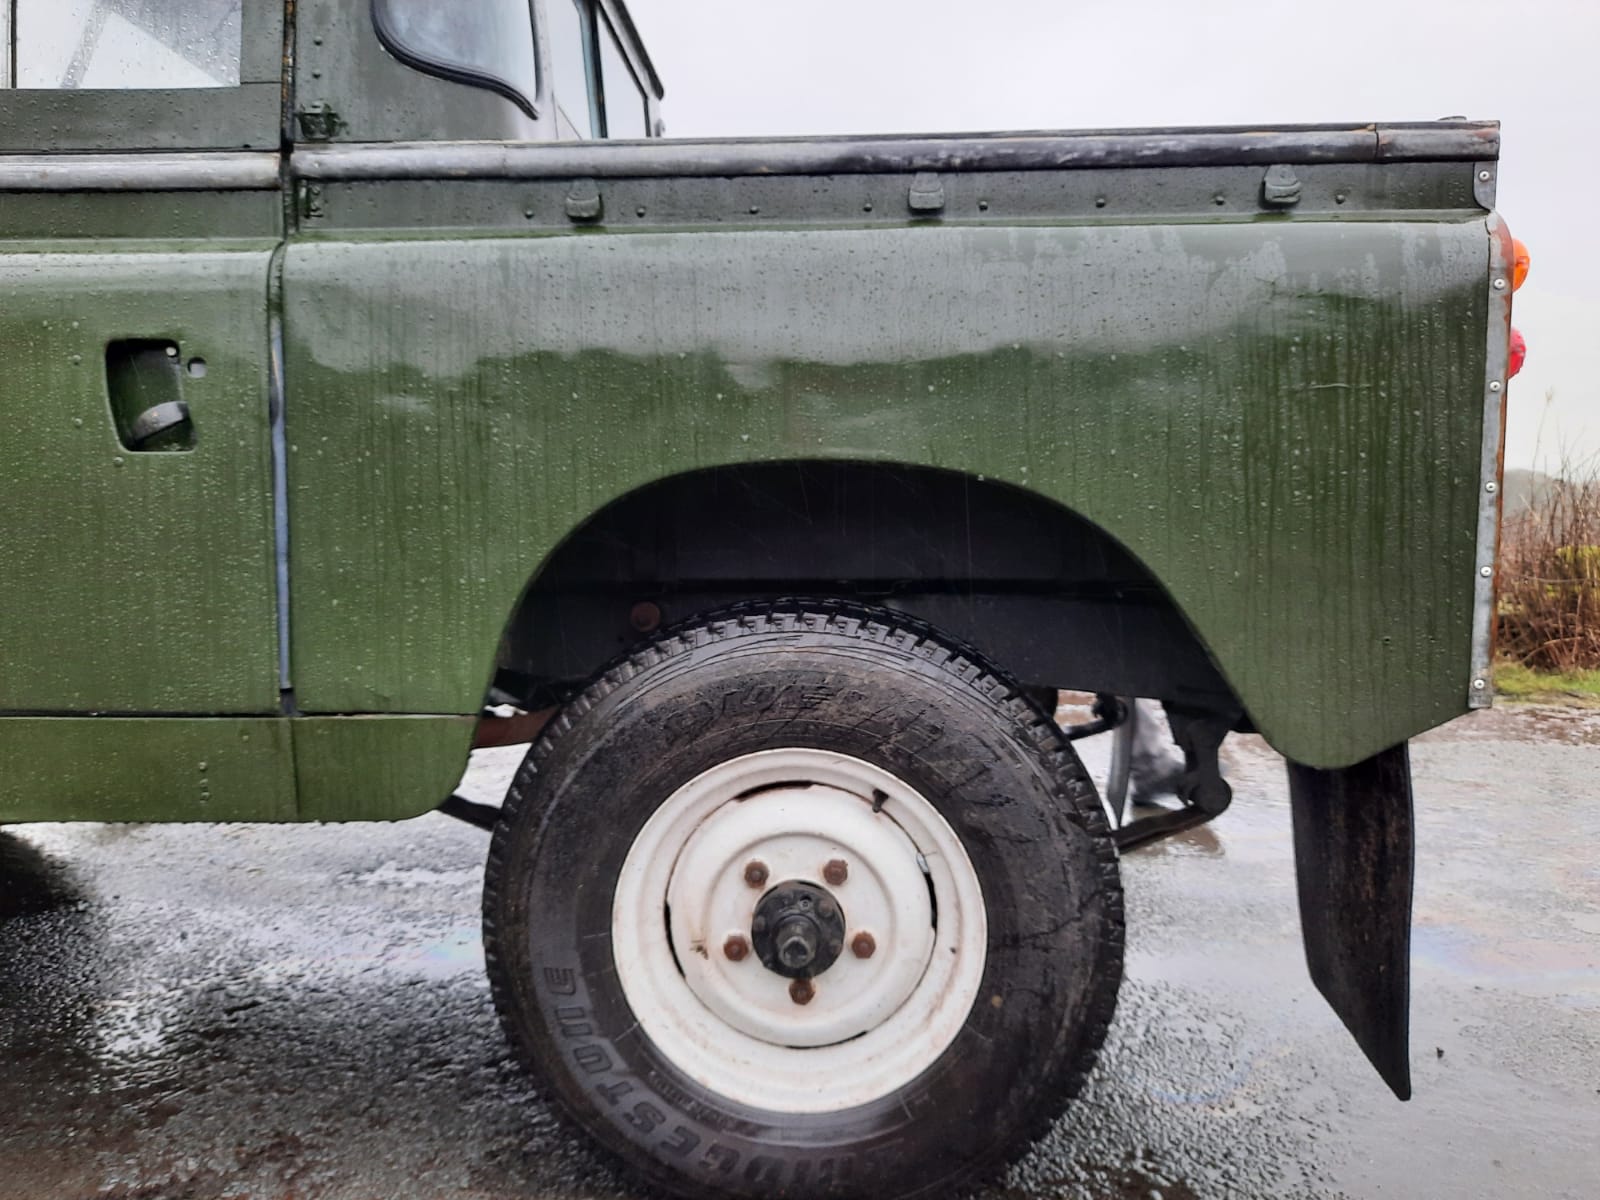
We couldn’t resist taking the Land Rover out into the snow to get some arrival photos. Since we’re aiming to give this iconic adventure-mobile a makeover, these shots serve as a good ‘before’ look. Stay tuned to see what it’ll look like afterwards…
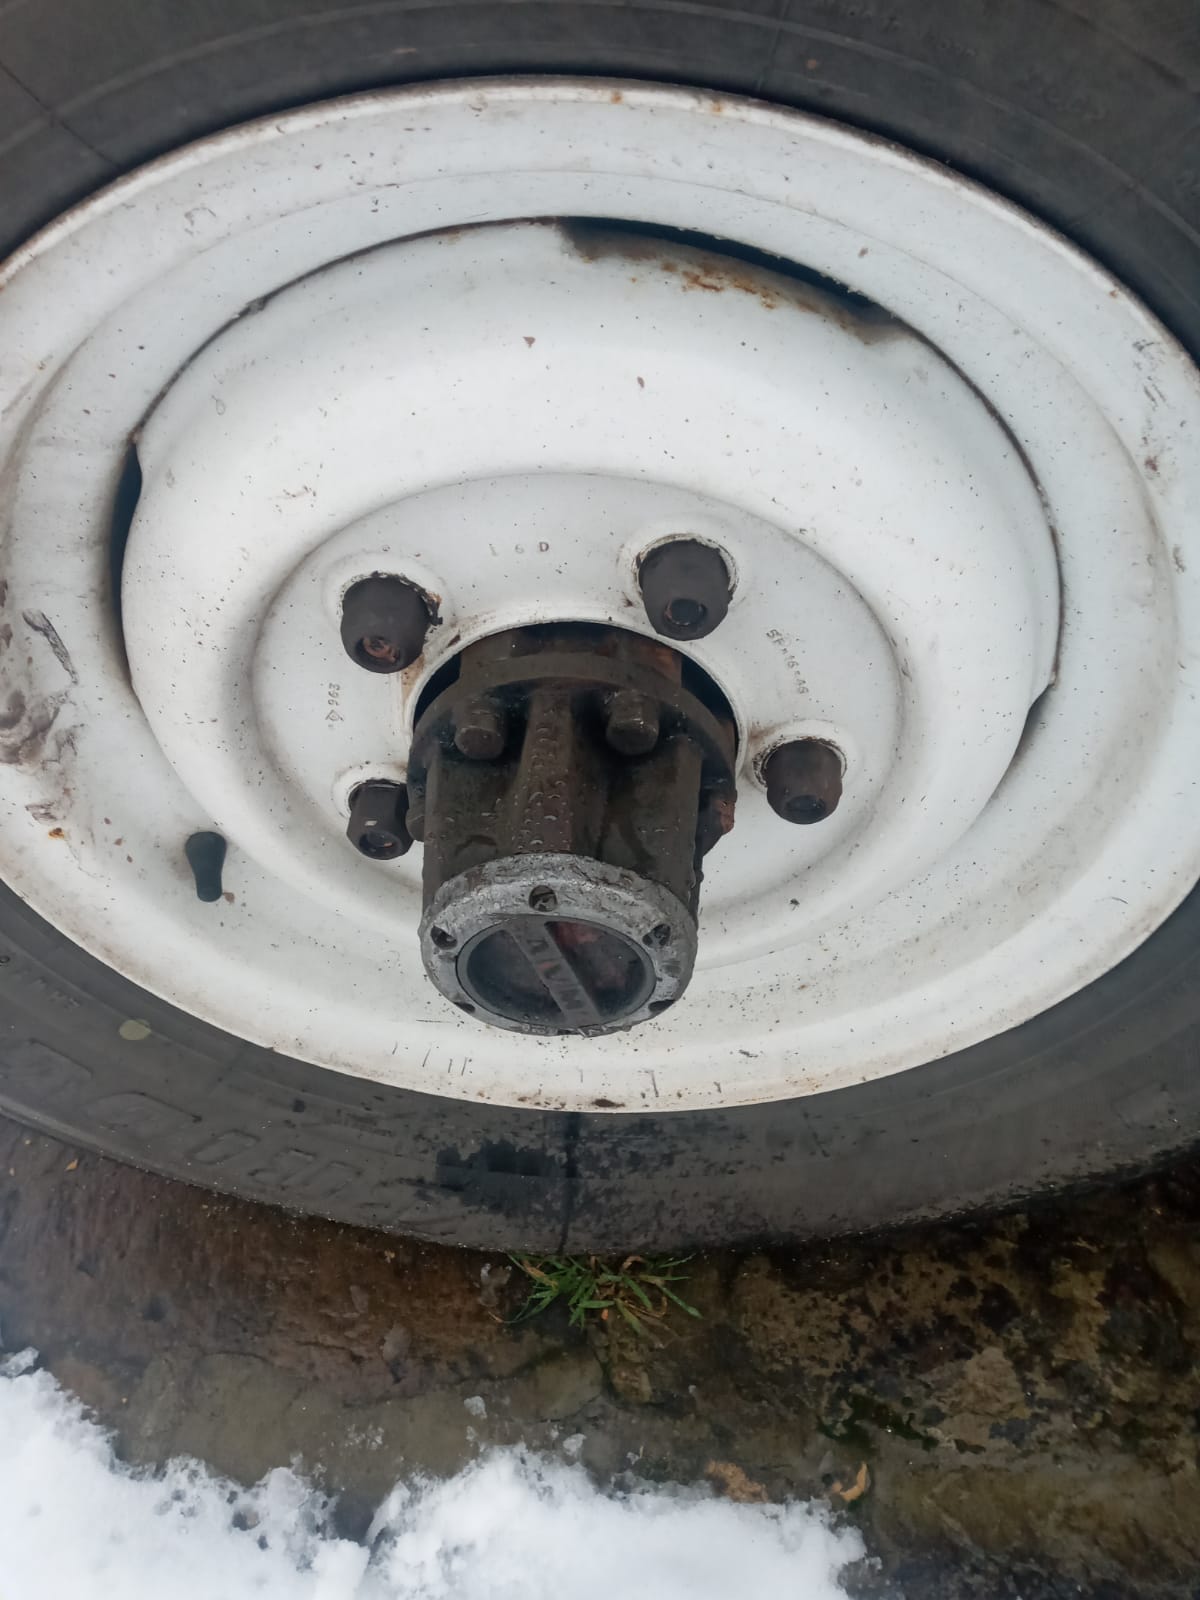
Its been exactly 60 years since the Series 2a was released and it still has its original power and authenticity in-tact. Whilst these vehicles are known for being glamorised tractors, nothing beats them in terms of authentic adventure. The Series IIa retained the civilian simplicity of the Series I whilst fine-tuning the styling, updating the suspension and adding a larger 2.3-litre four-cylinder. Our Series 2a comes with desirable overdrive and free wheeling hubs which makes it unique for motors from the time.
Land Rovers have now come synonymous with adventure, camping and an outdoors lifestyle, however, they were originally designed as agriculture work-horses. Over the decades, they’ve gained a duality between agriculture and adventure.
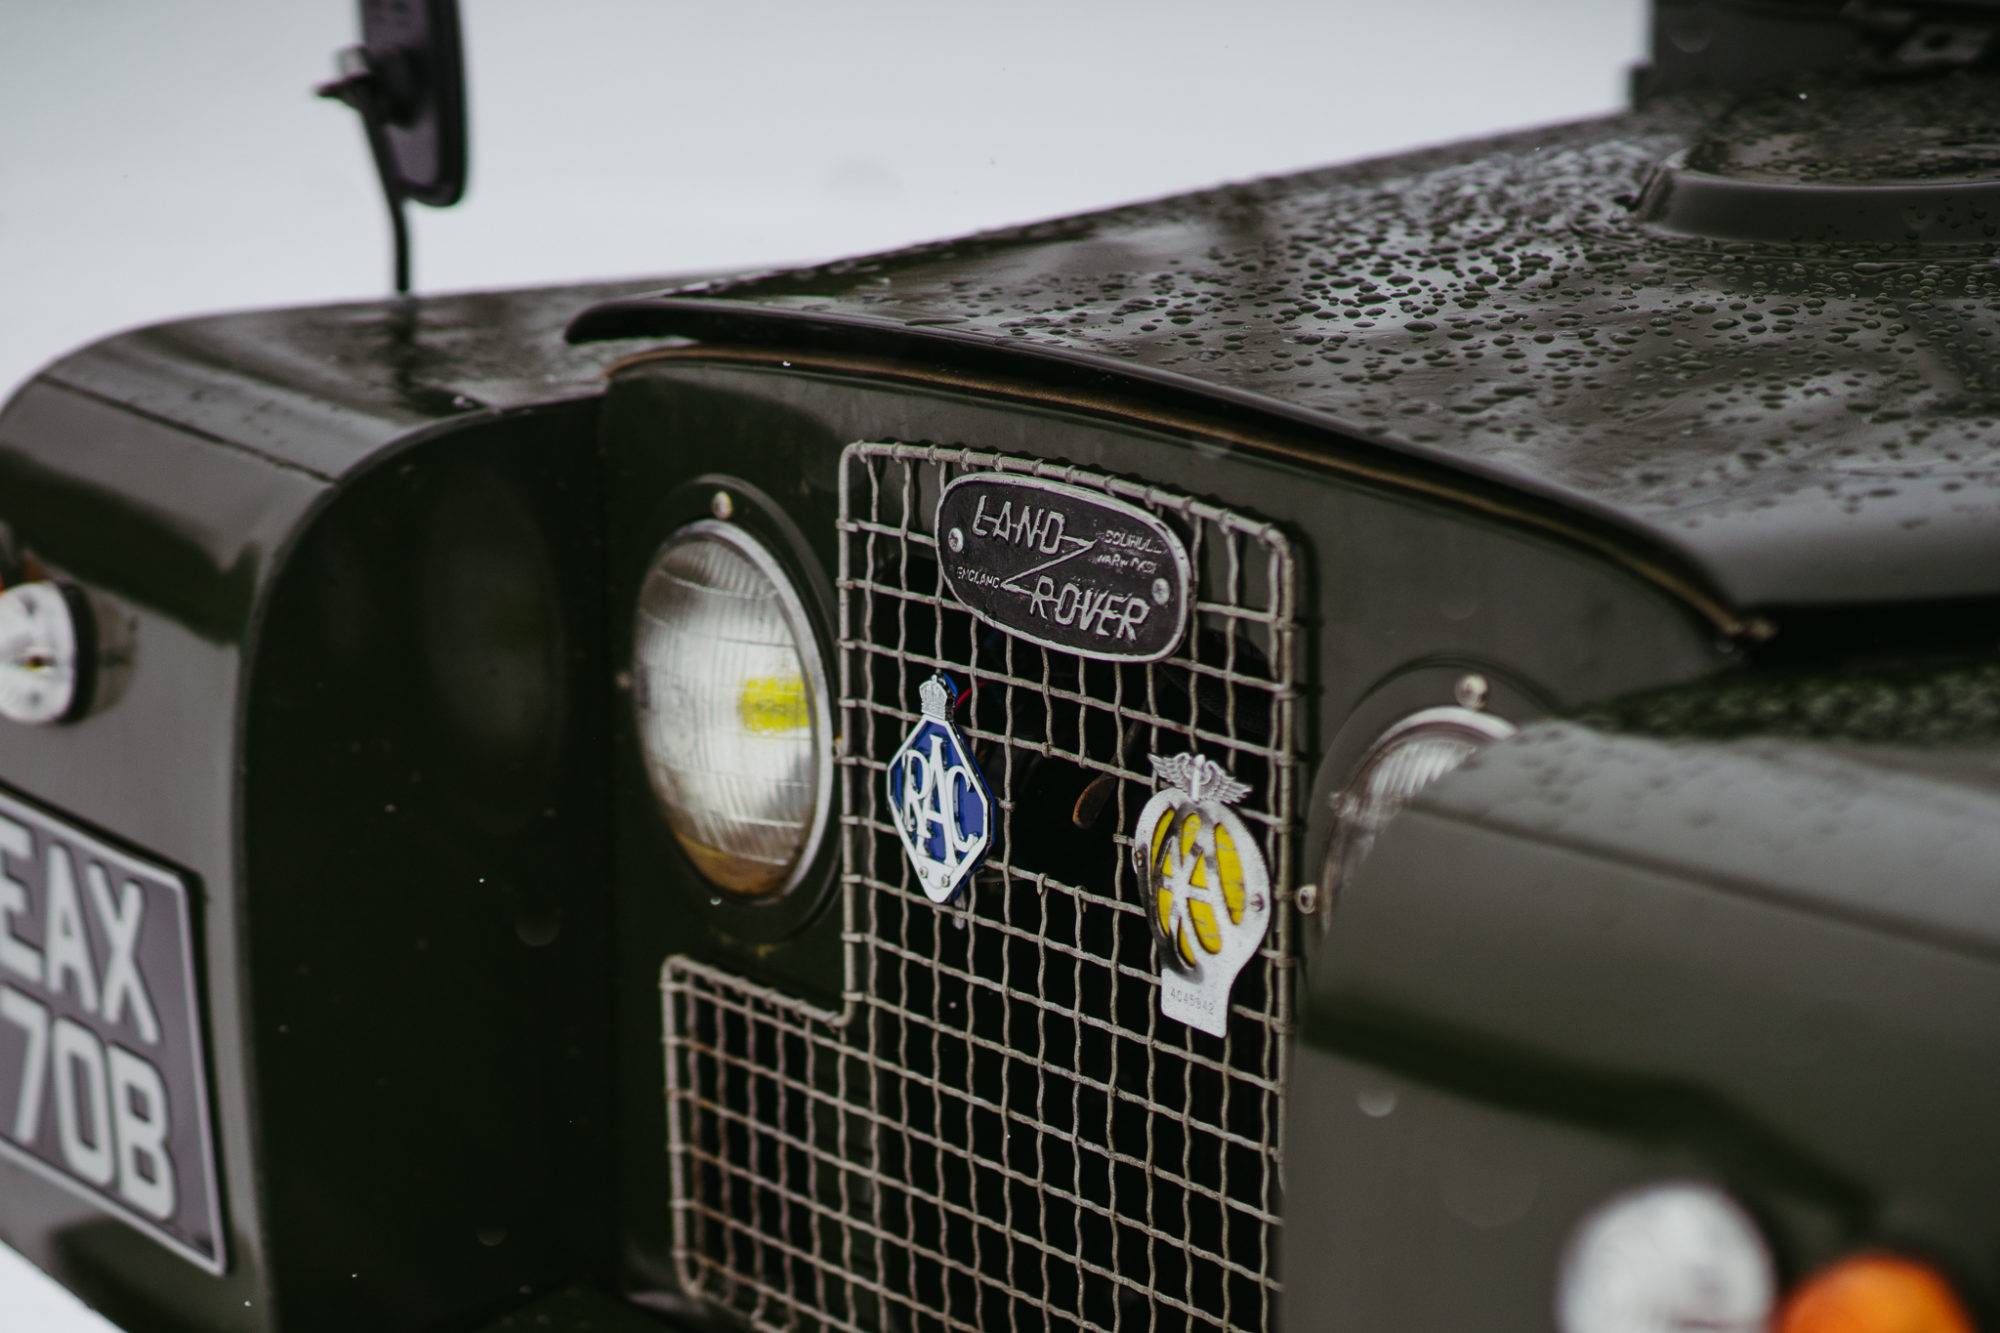
This iconic vehicle its reminiscent of the golden era of exploration and was often seen leading the charge on the silver screen. With America’s Jeeps taking the 4×4 lead across the pond the post-war era, Land Rover Series and Range Rover Defenders stood for the UK’s iconic off-roading vehicle. You might recognise a similar green series IIa that featured in the Italian Job alongside a fleet of mini coopers.
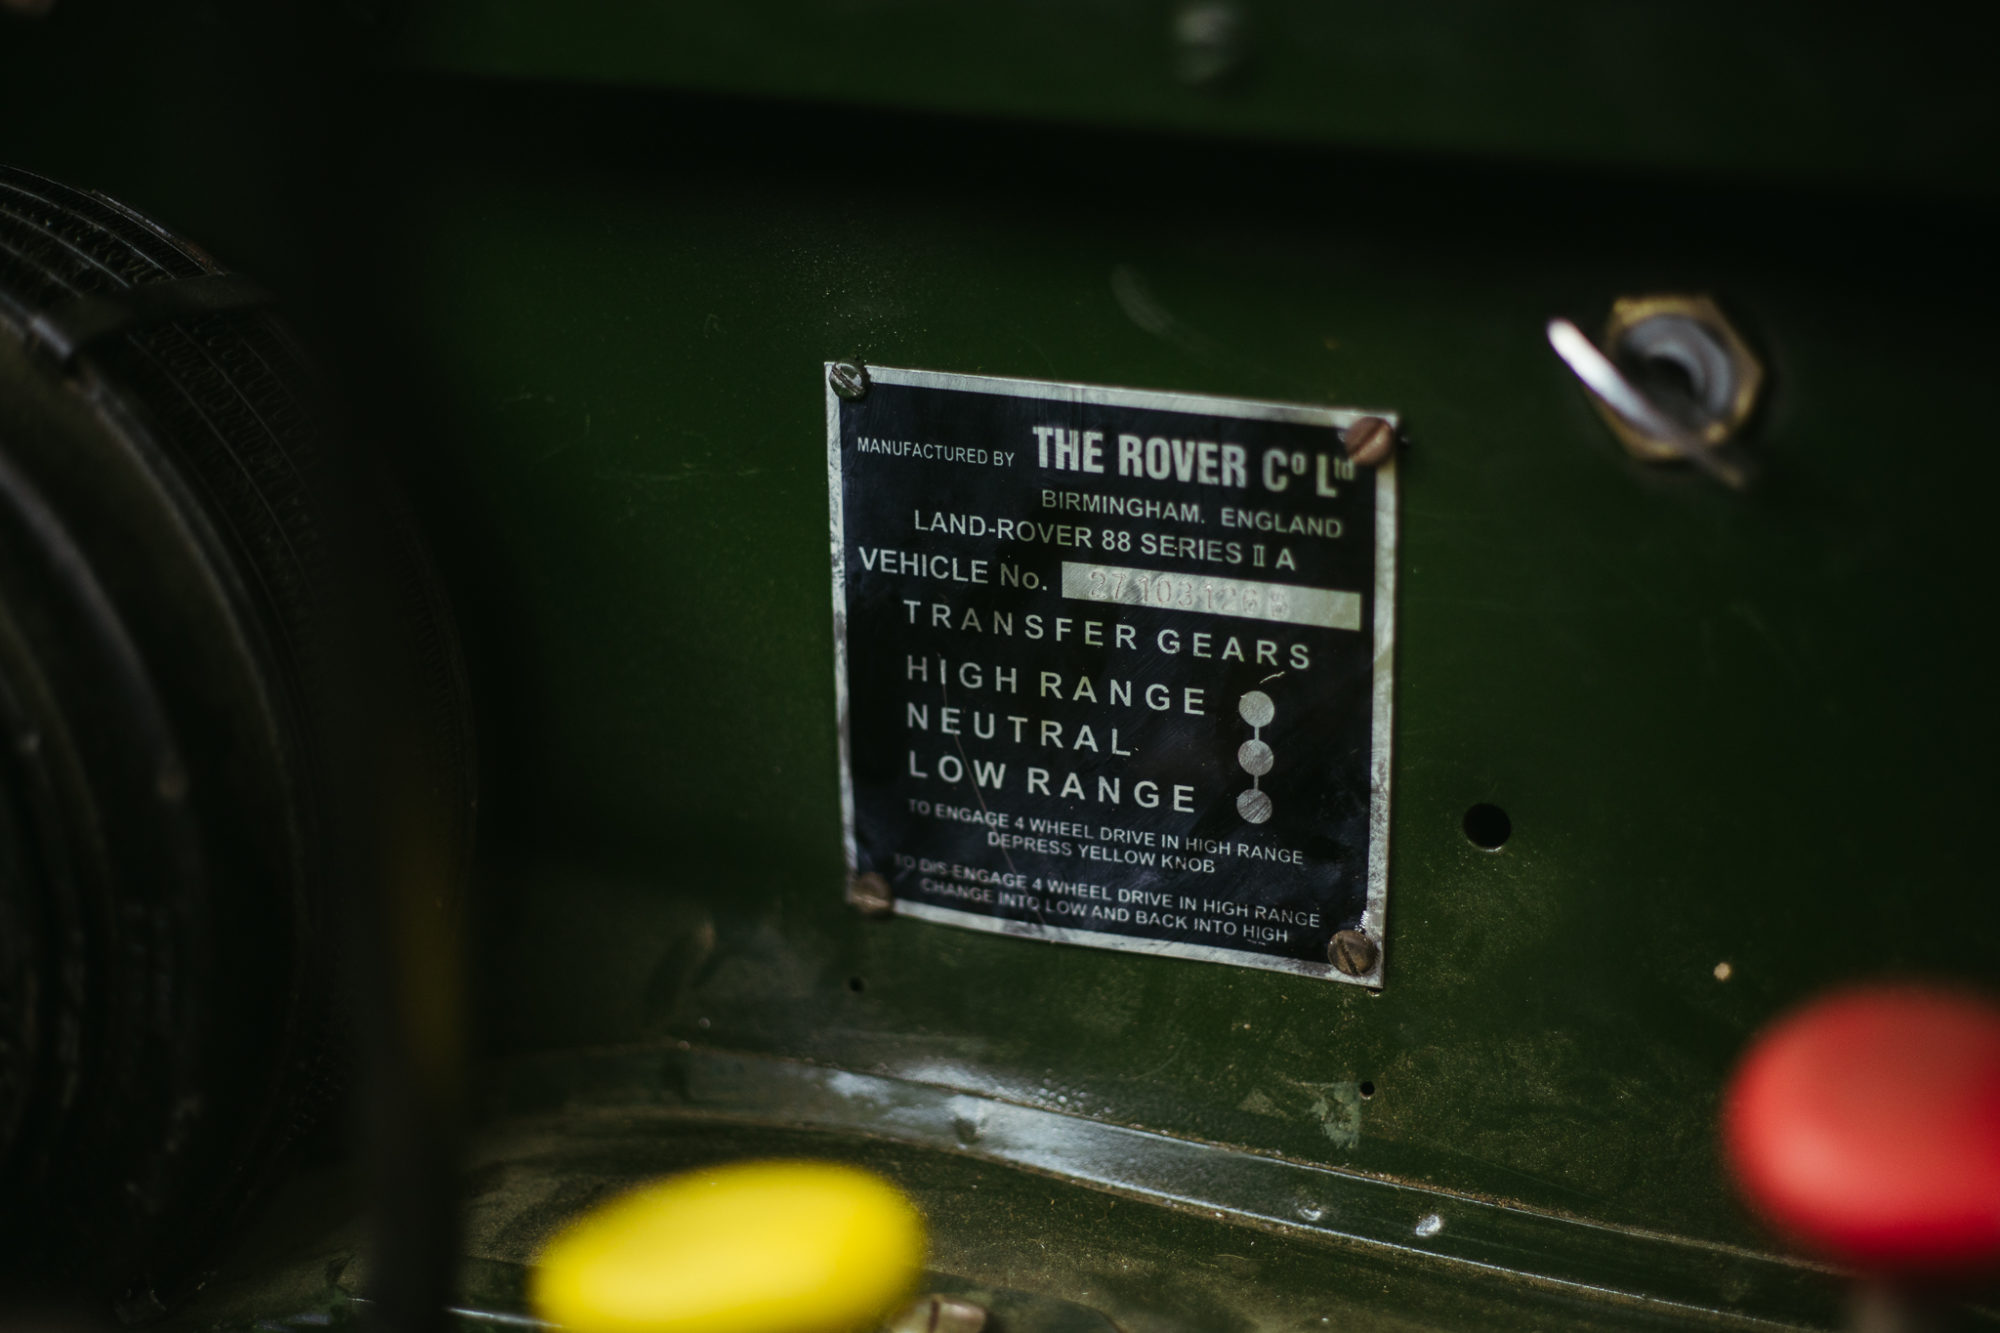
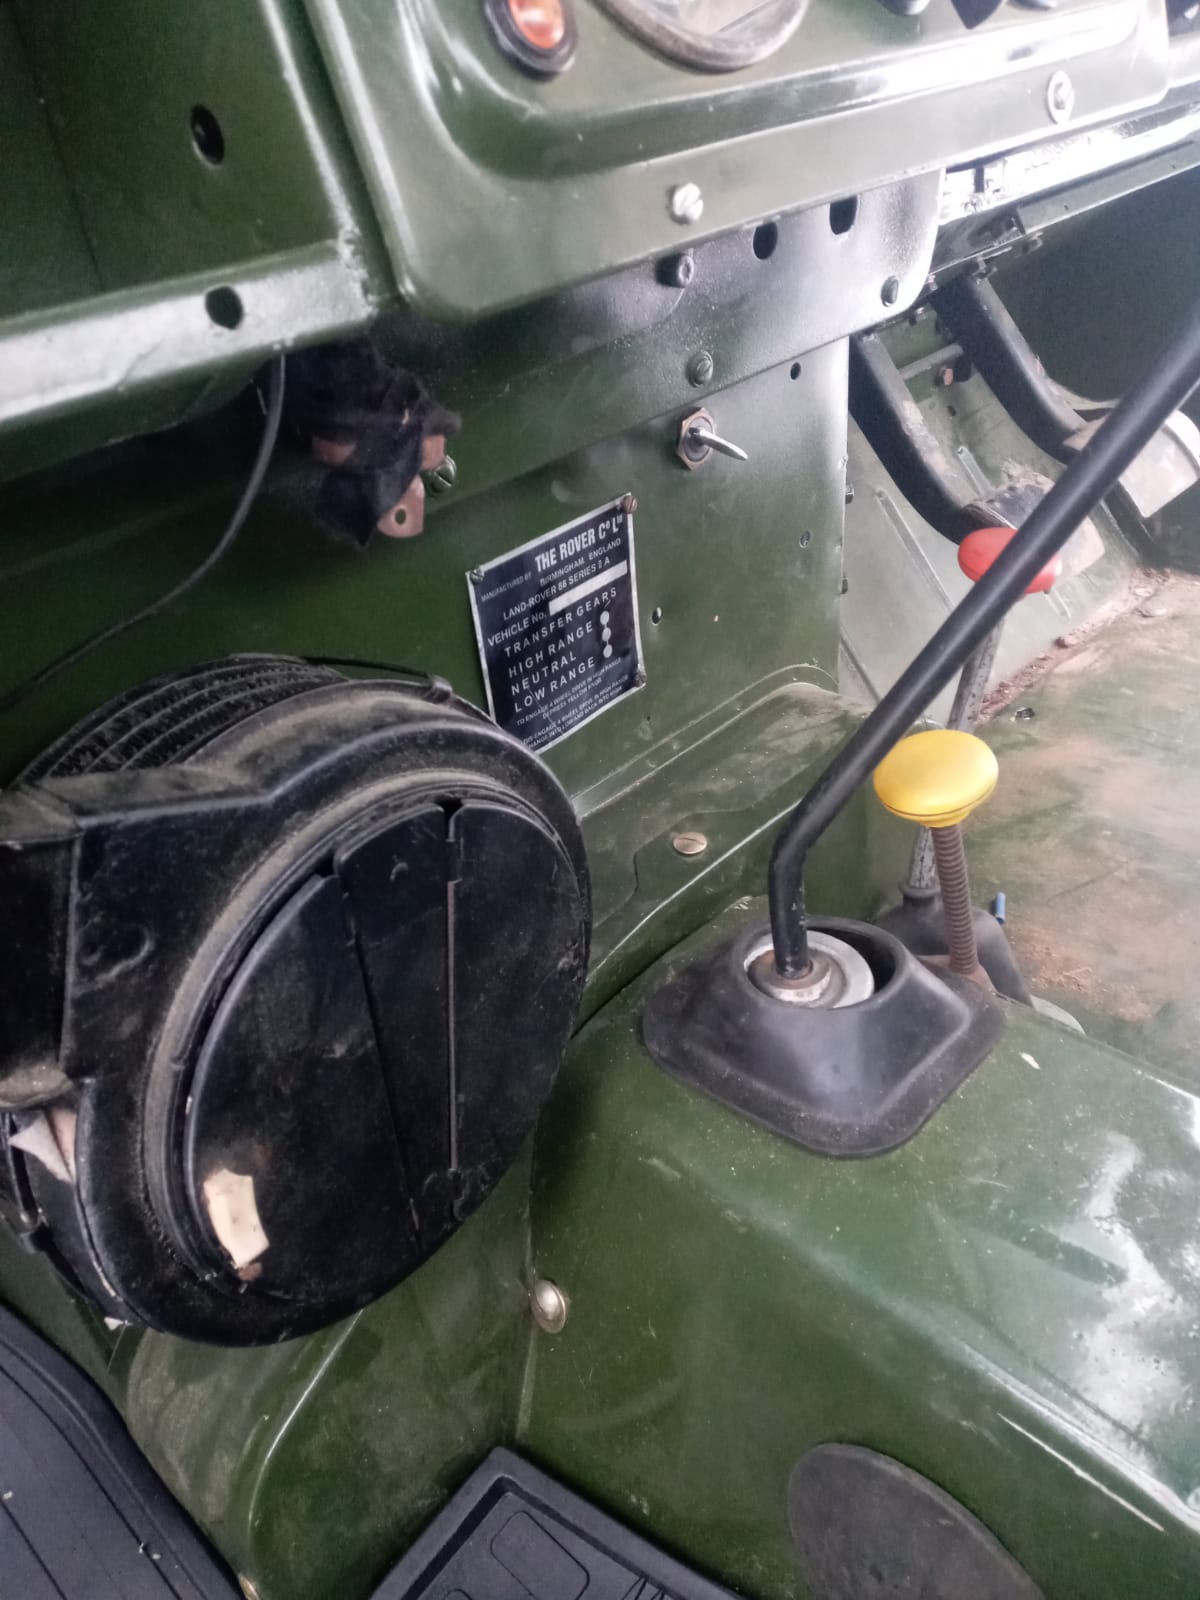
There’s a series of complicated but nifty modes on vintage Land Rover so it can seem overwhelming to the novice driver or those experiencing vintage Land Rovers for the first time. The blog below clearly explains what each mode does:
You can expect to see this Land Rover up for grabs in the coming weeks, stay tuned…
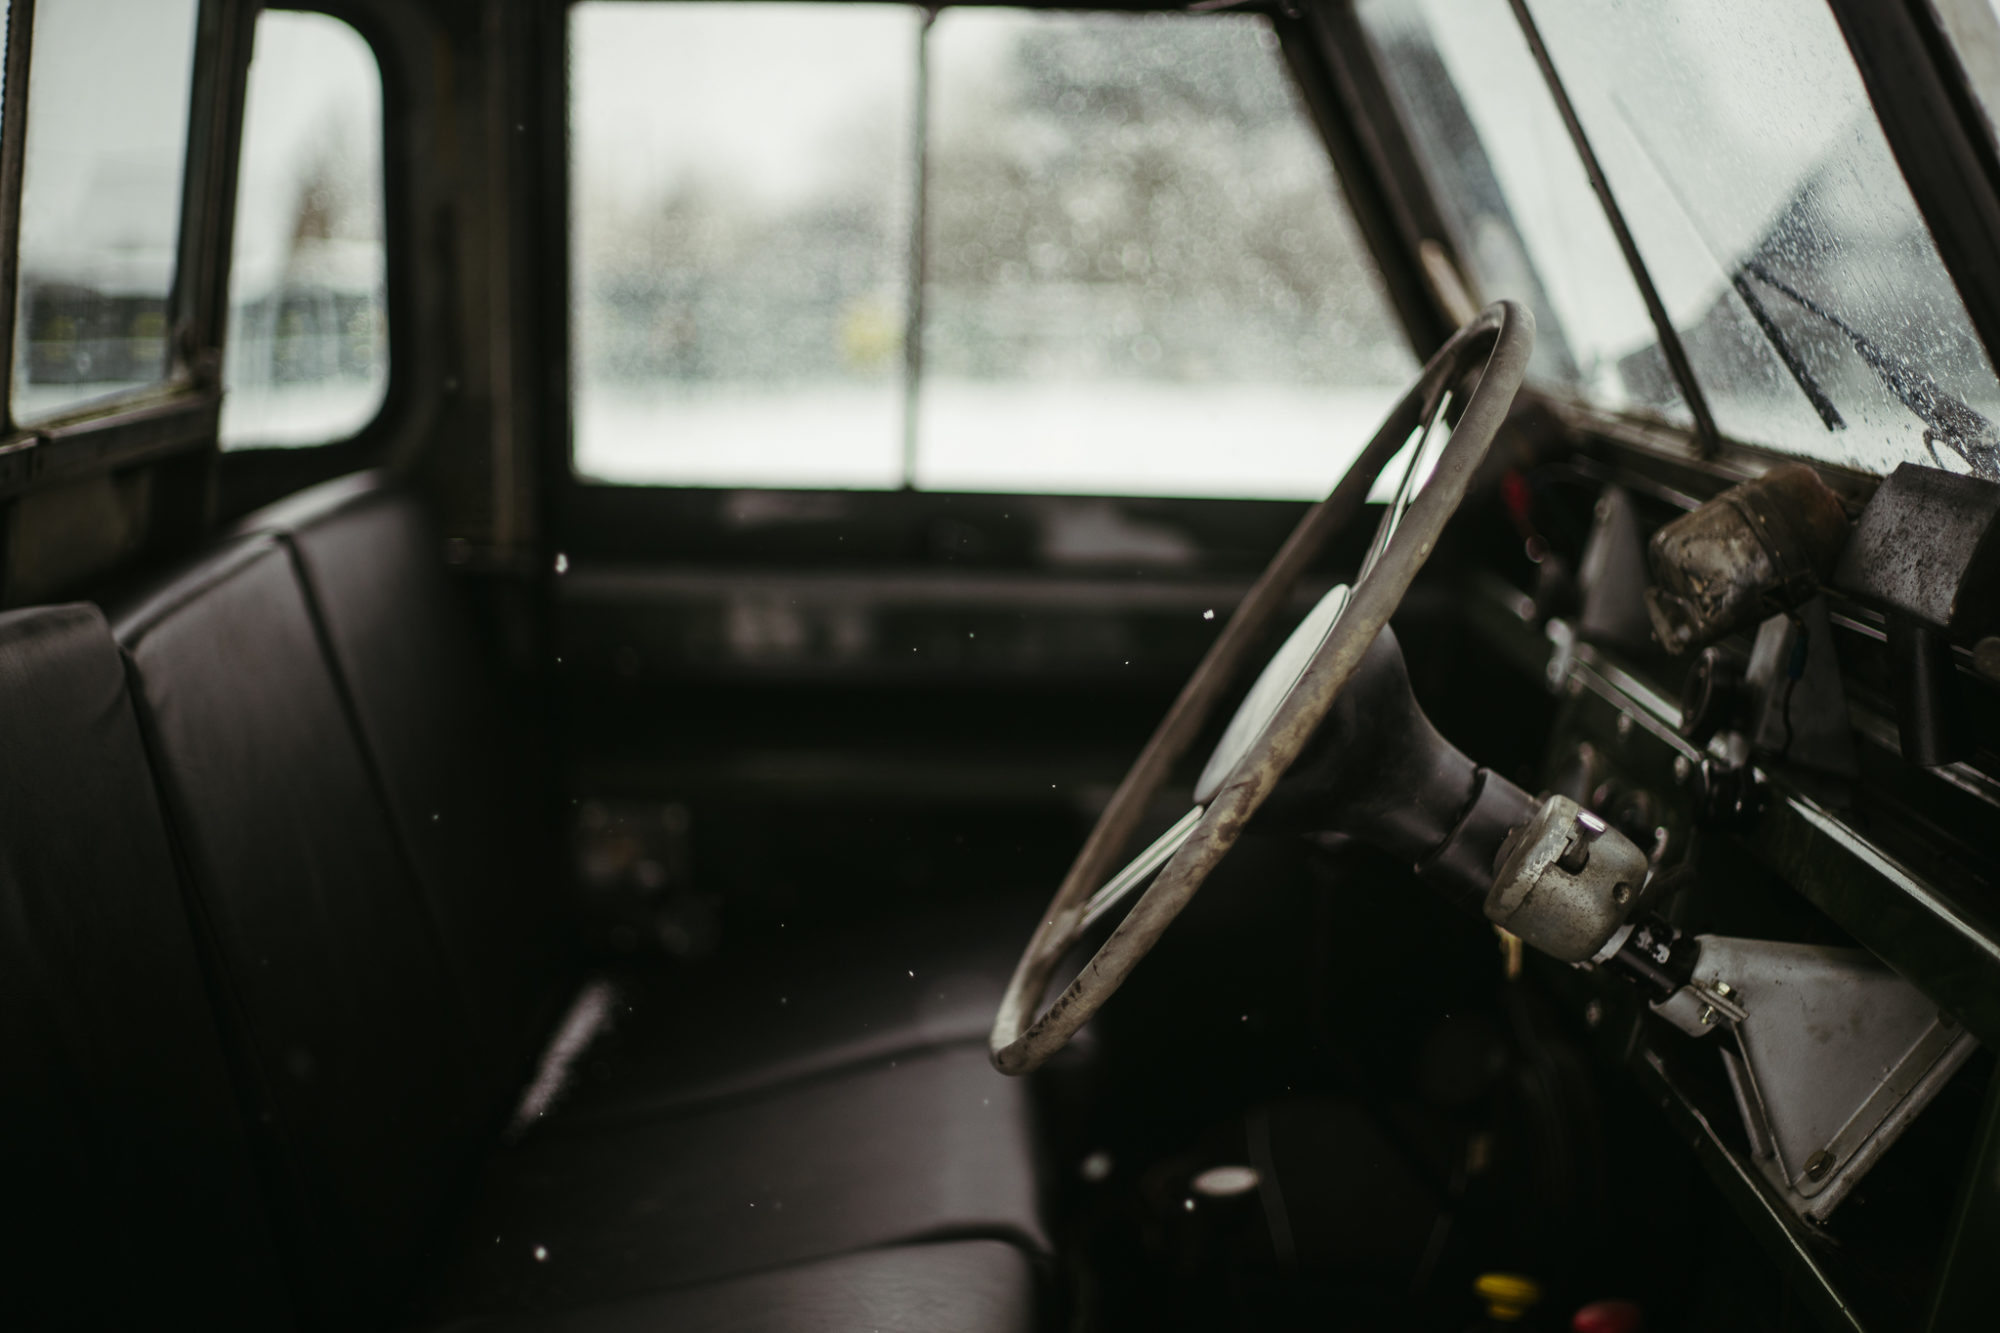
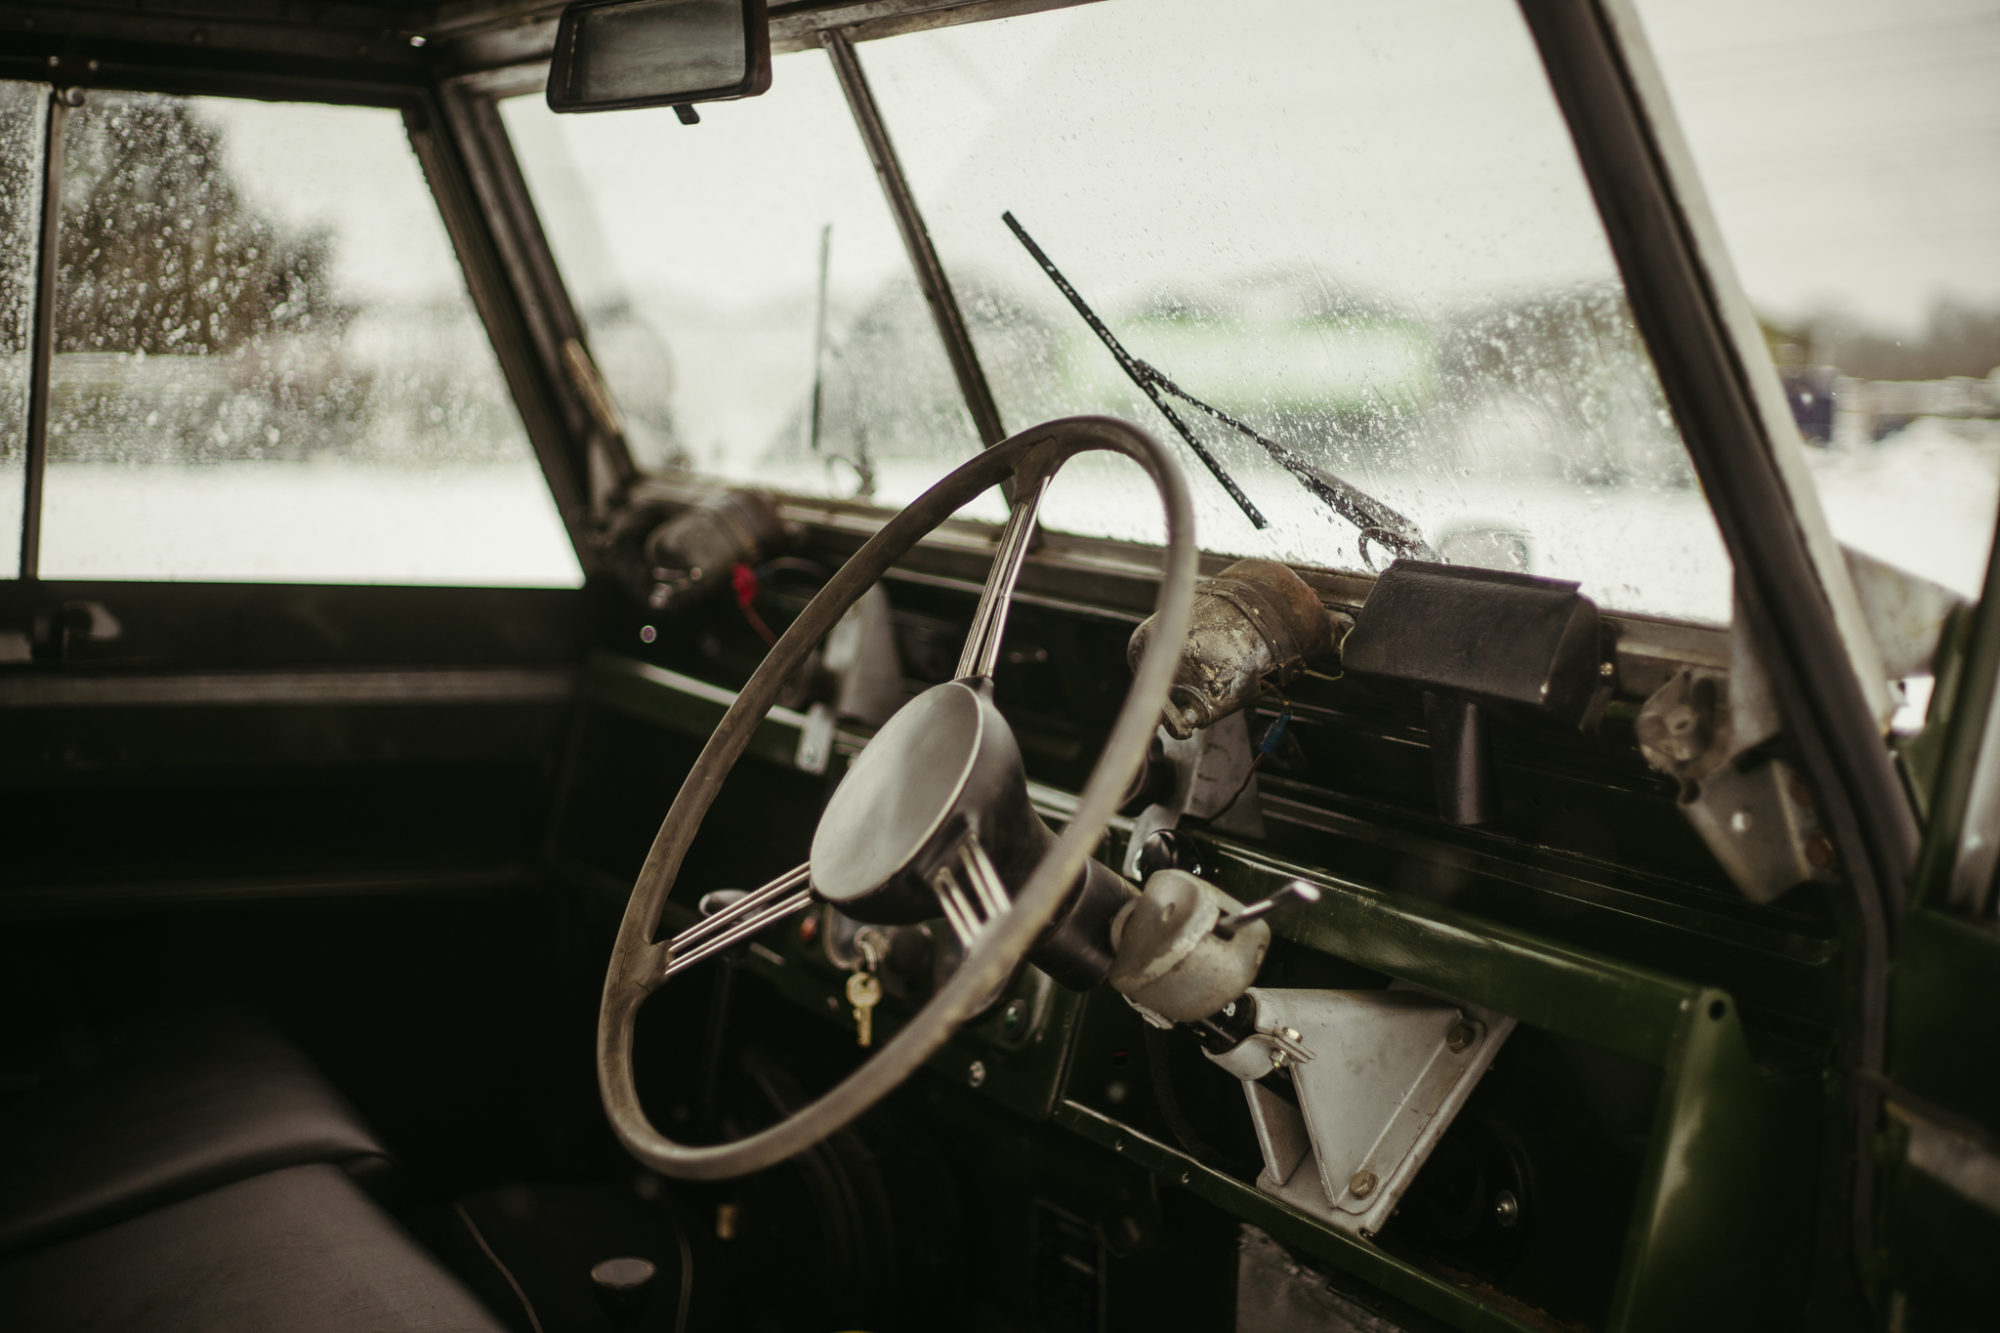
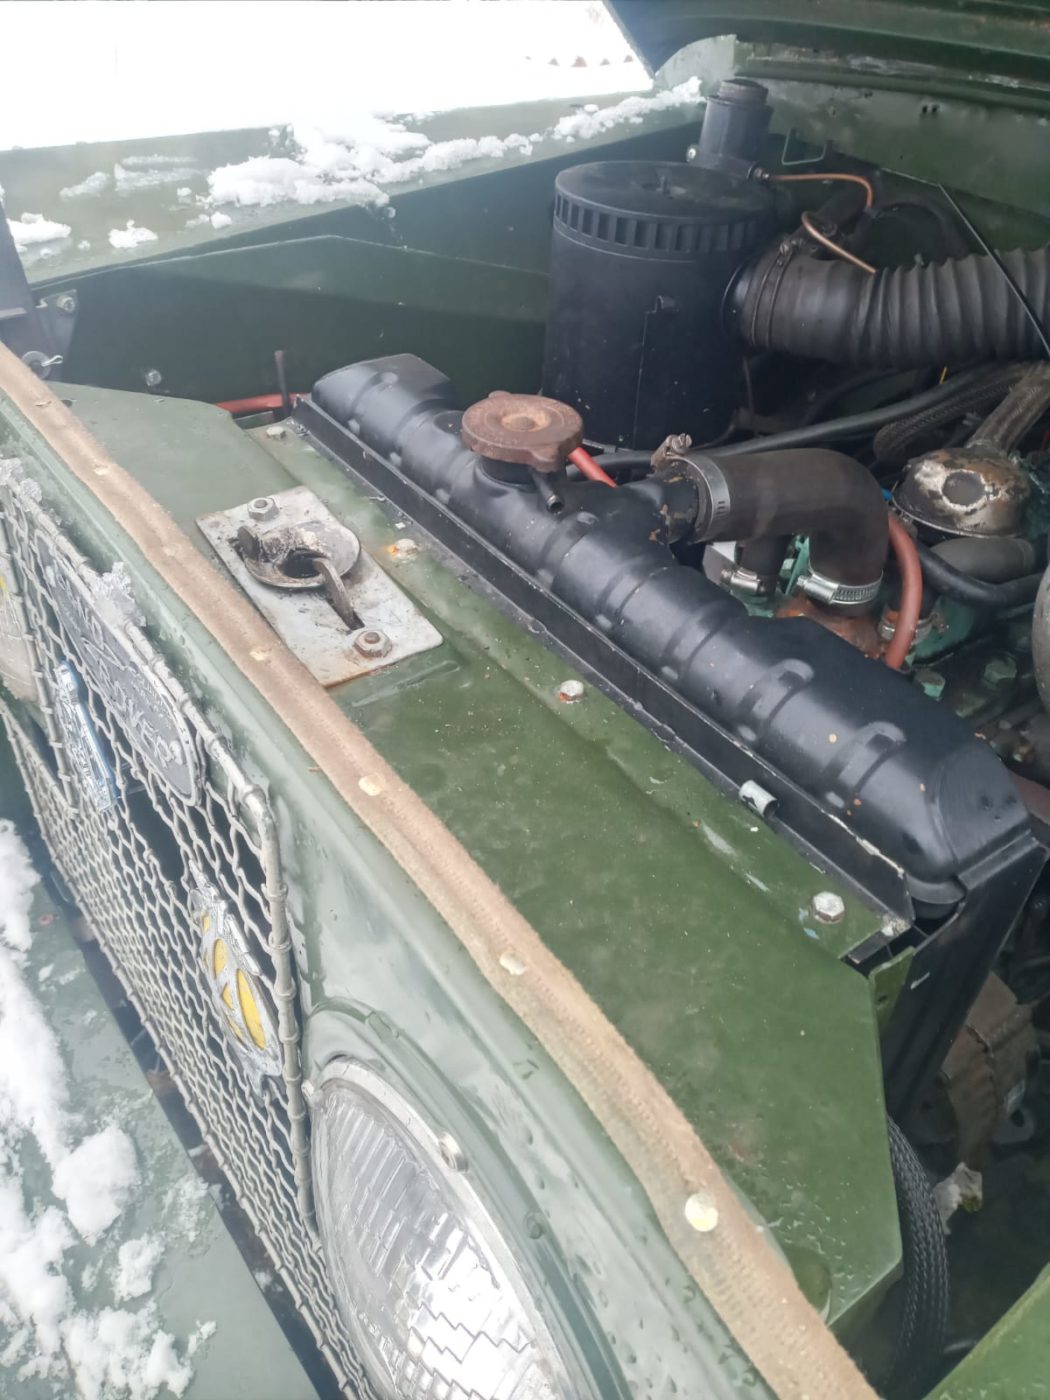
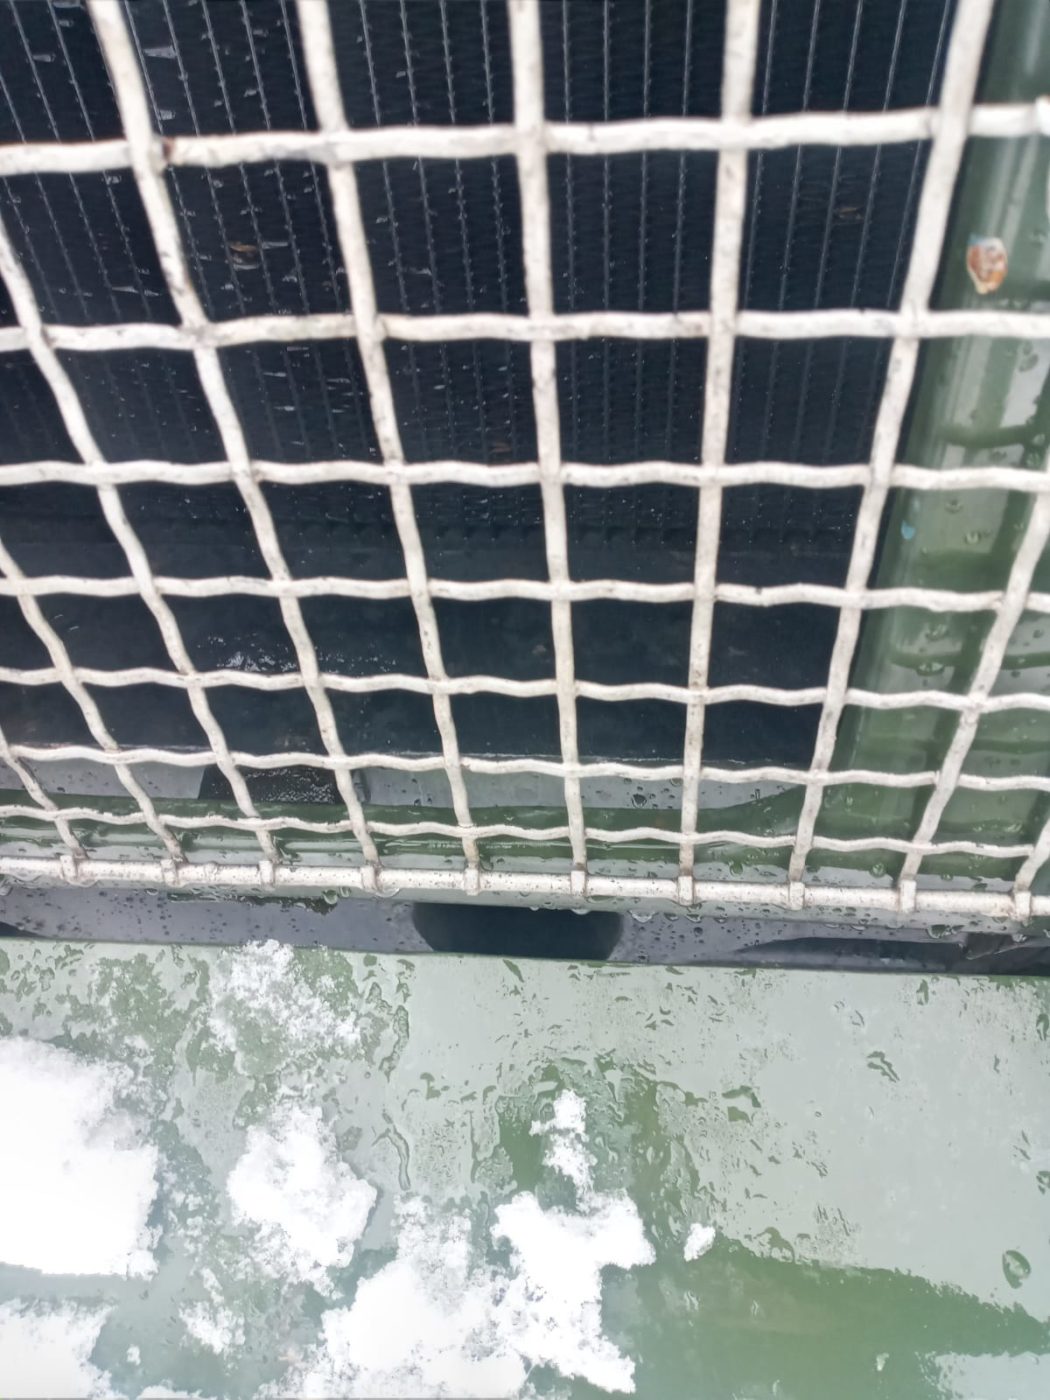
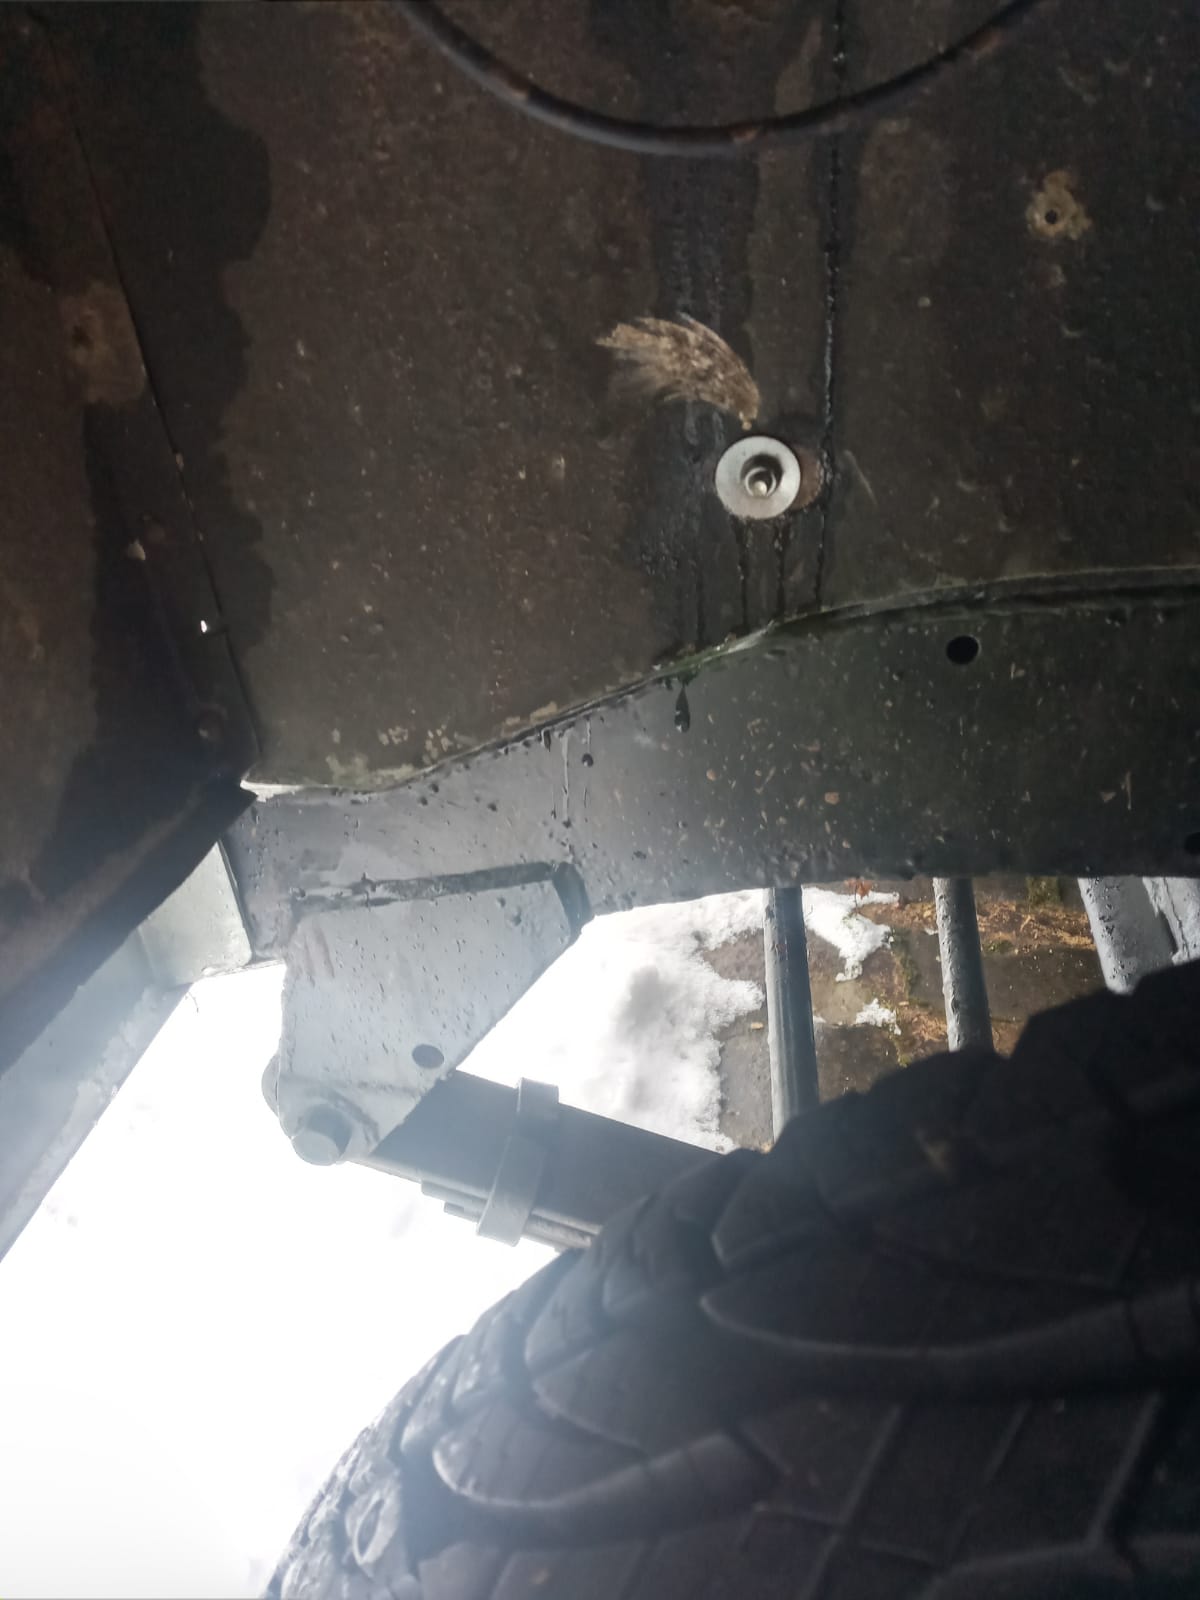
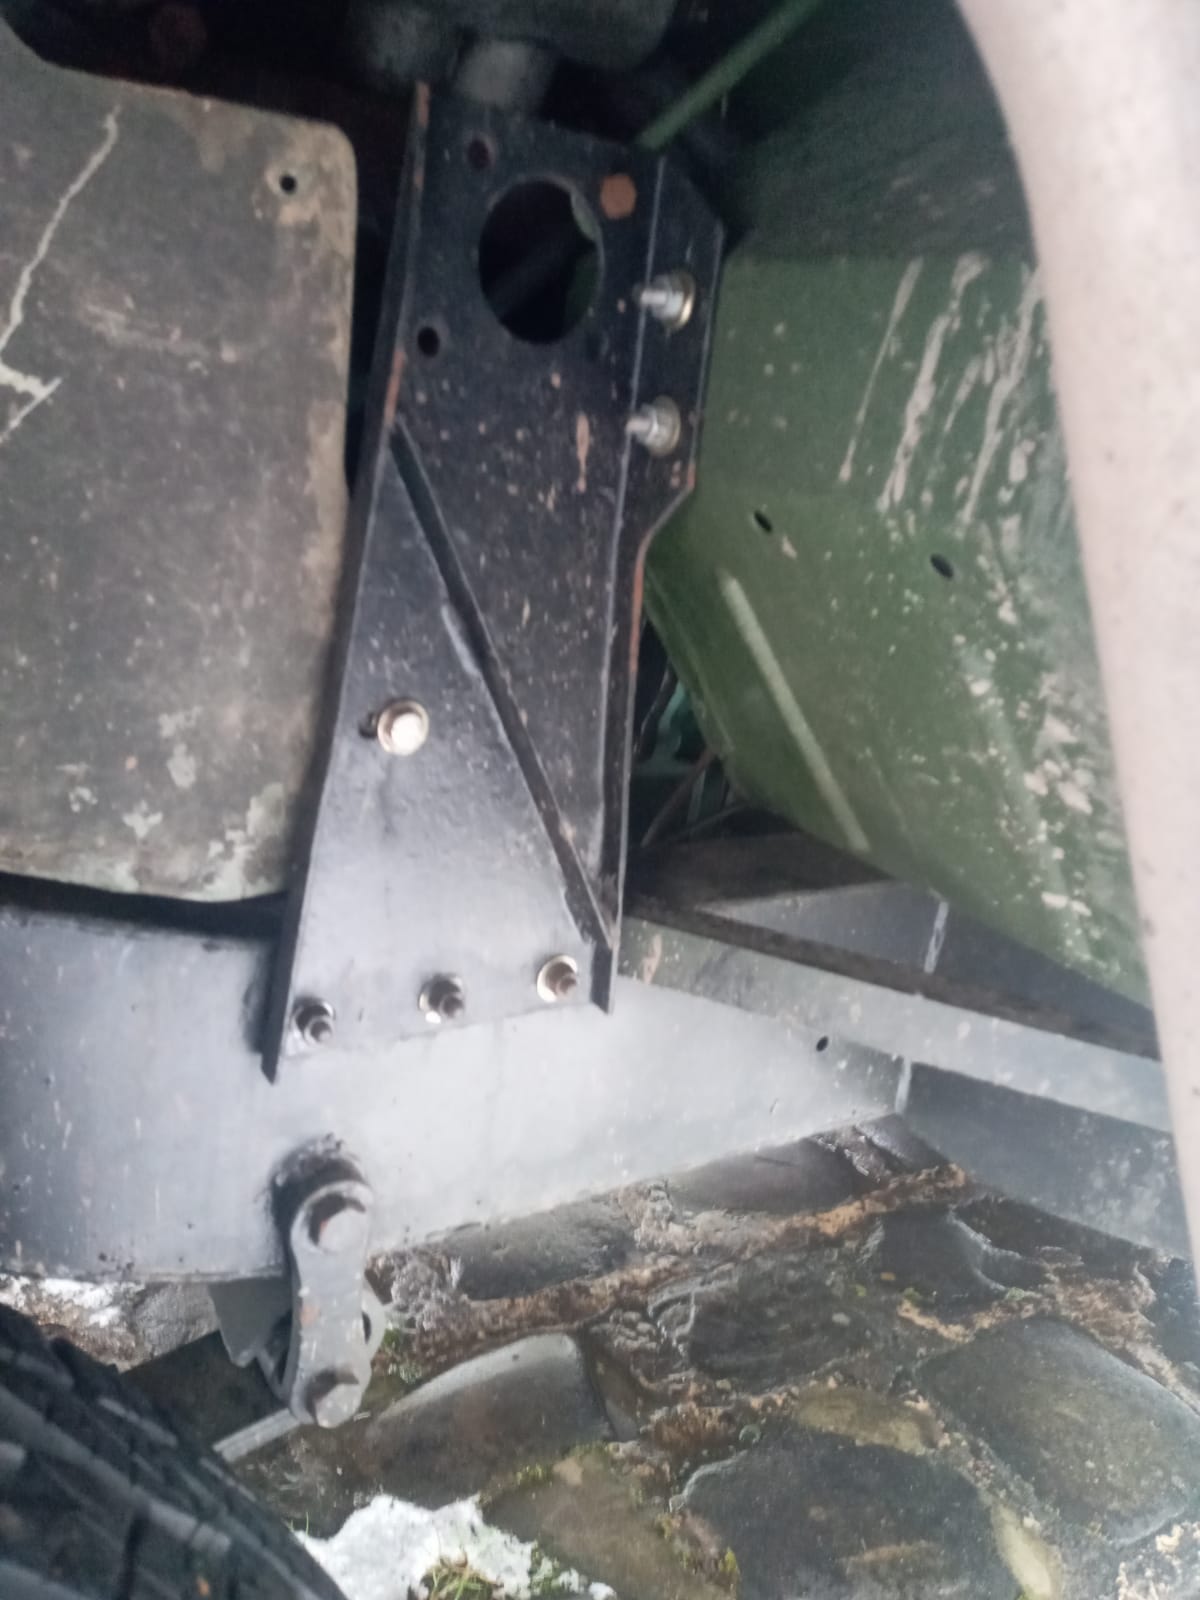
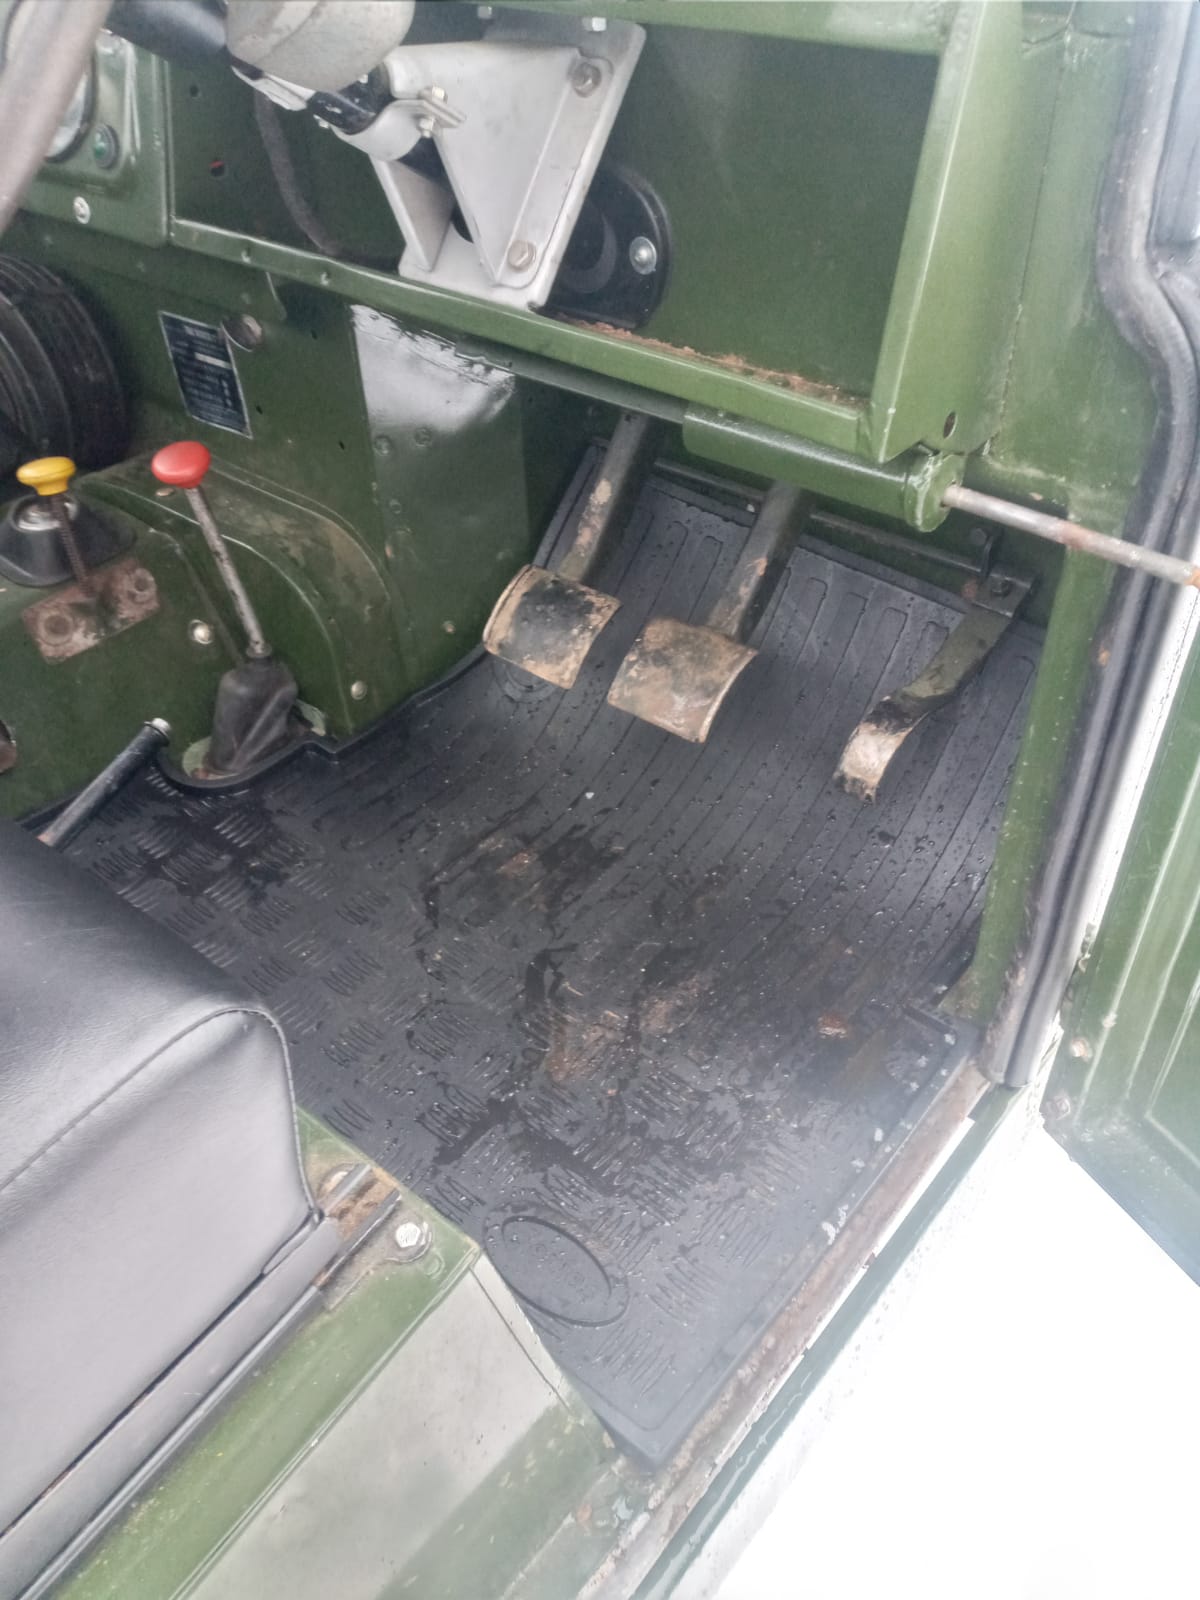
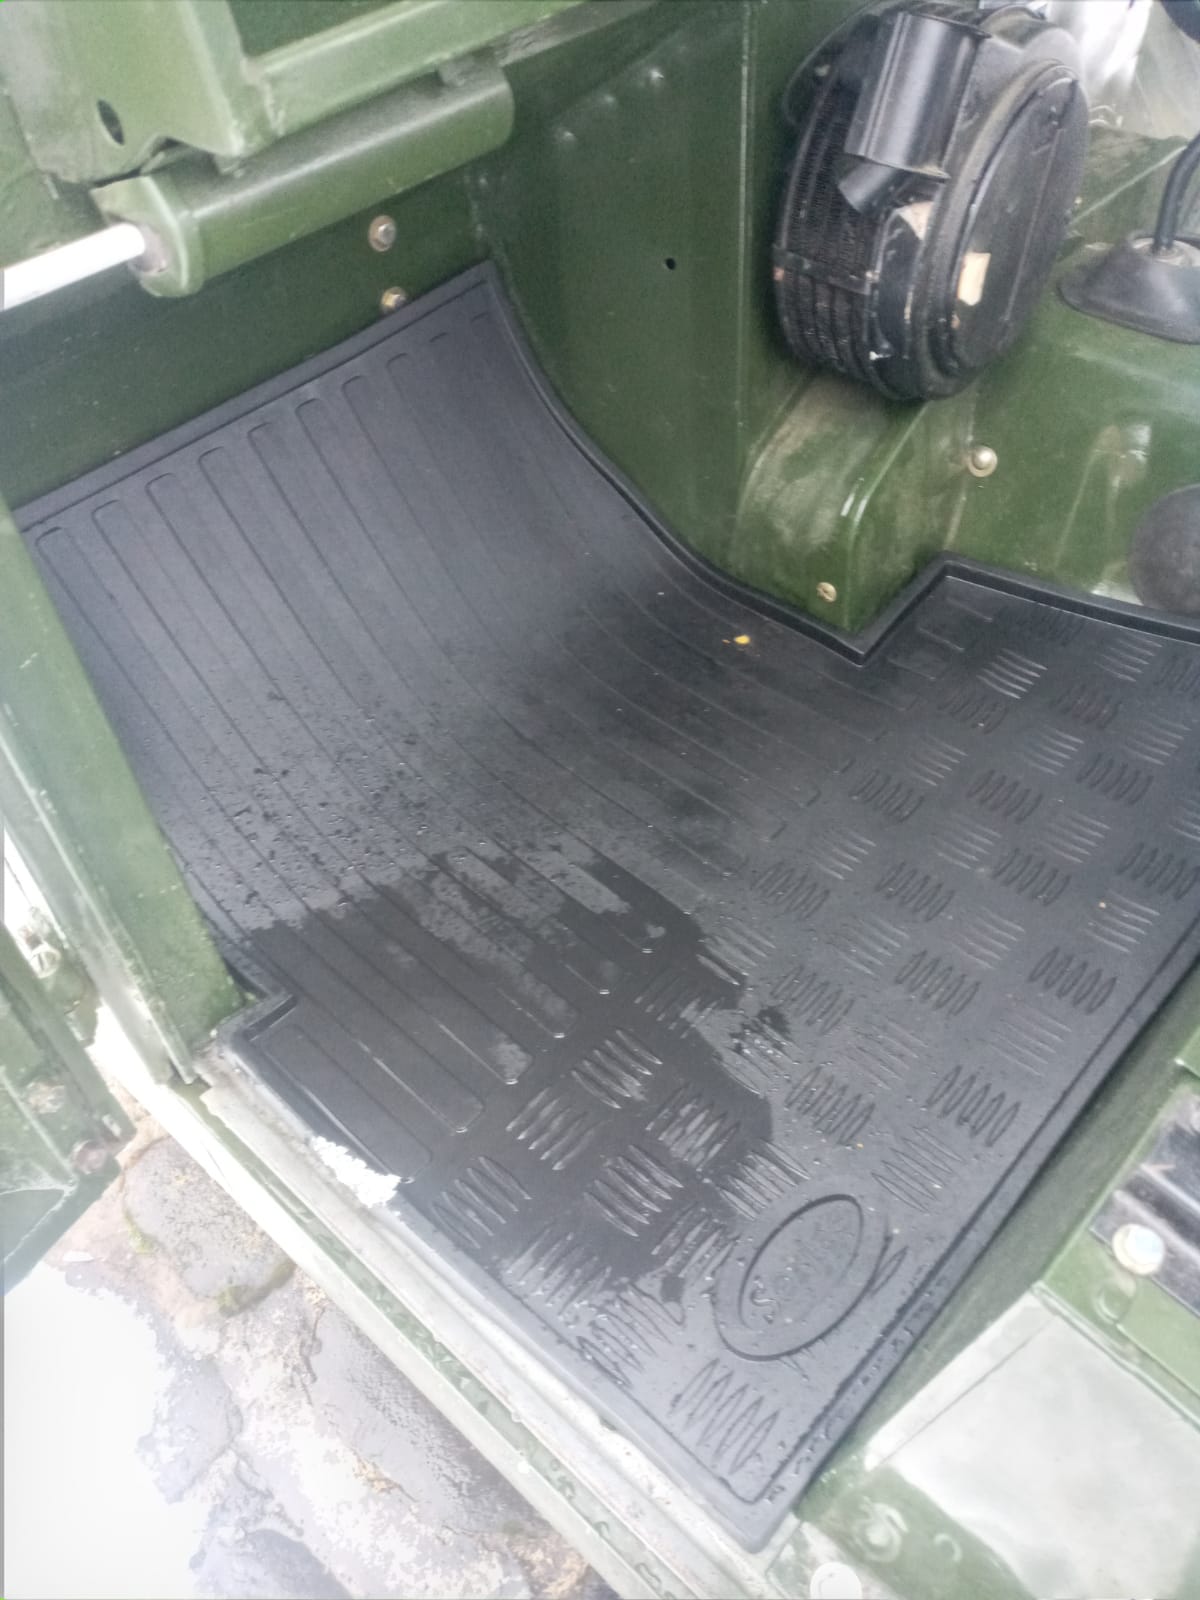
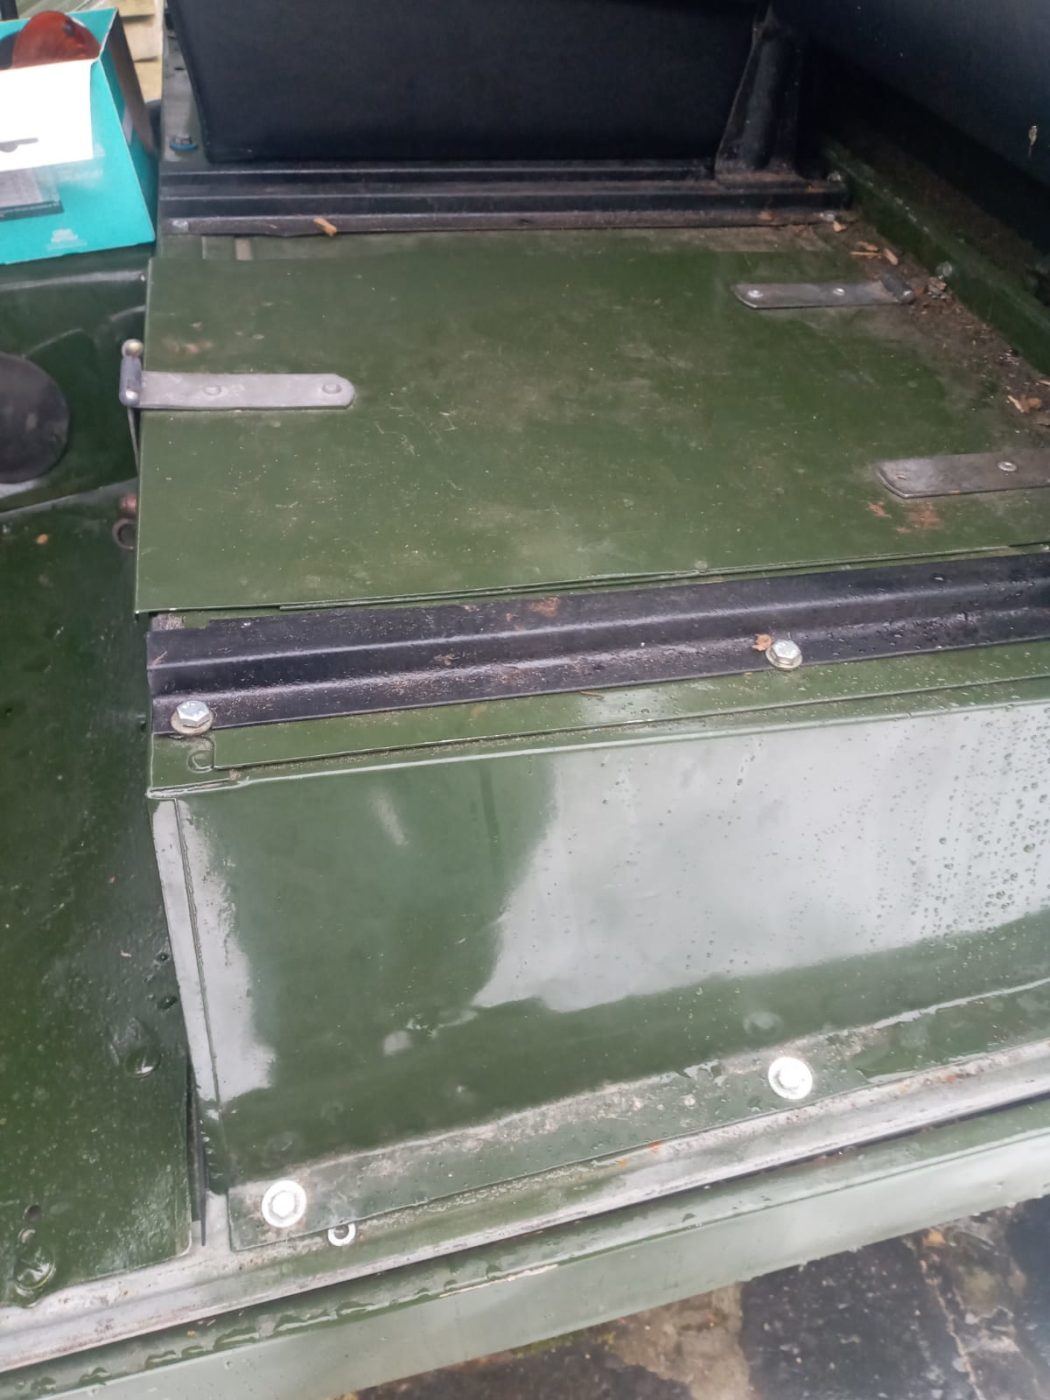
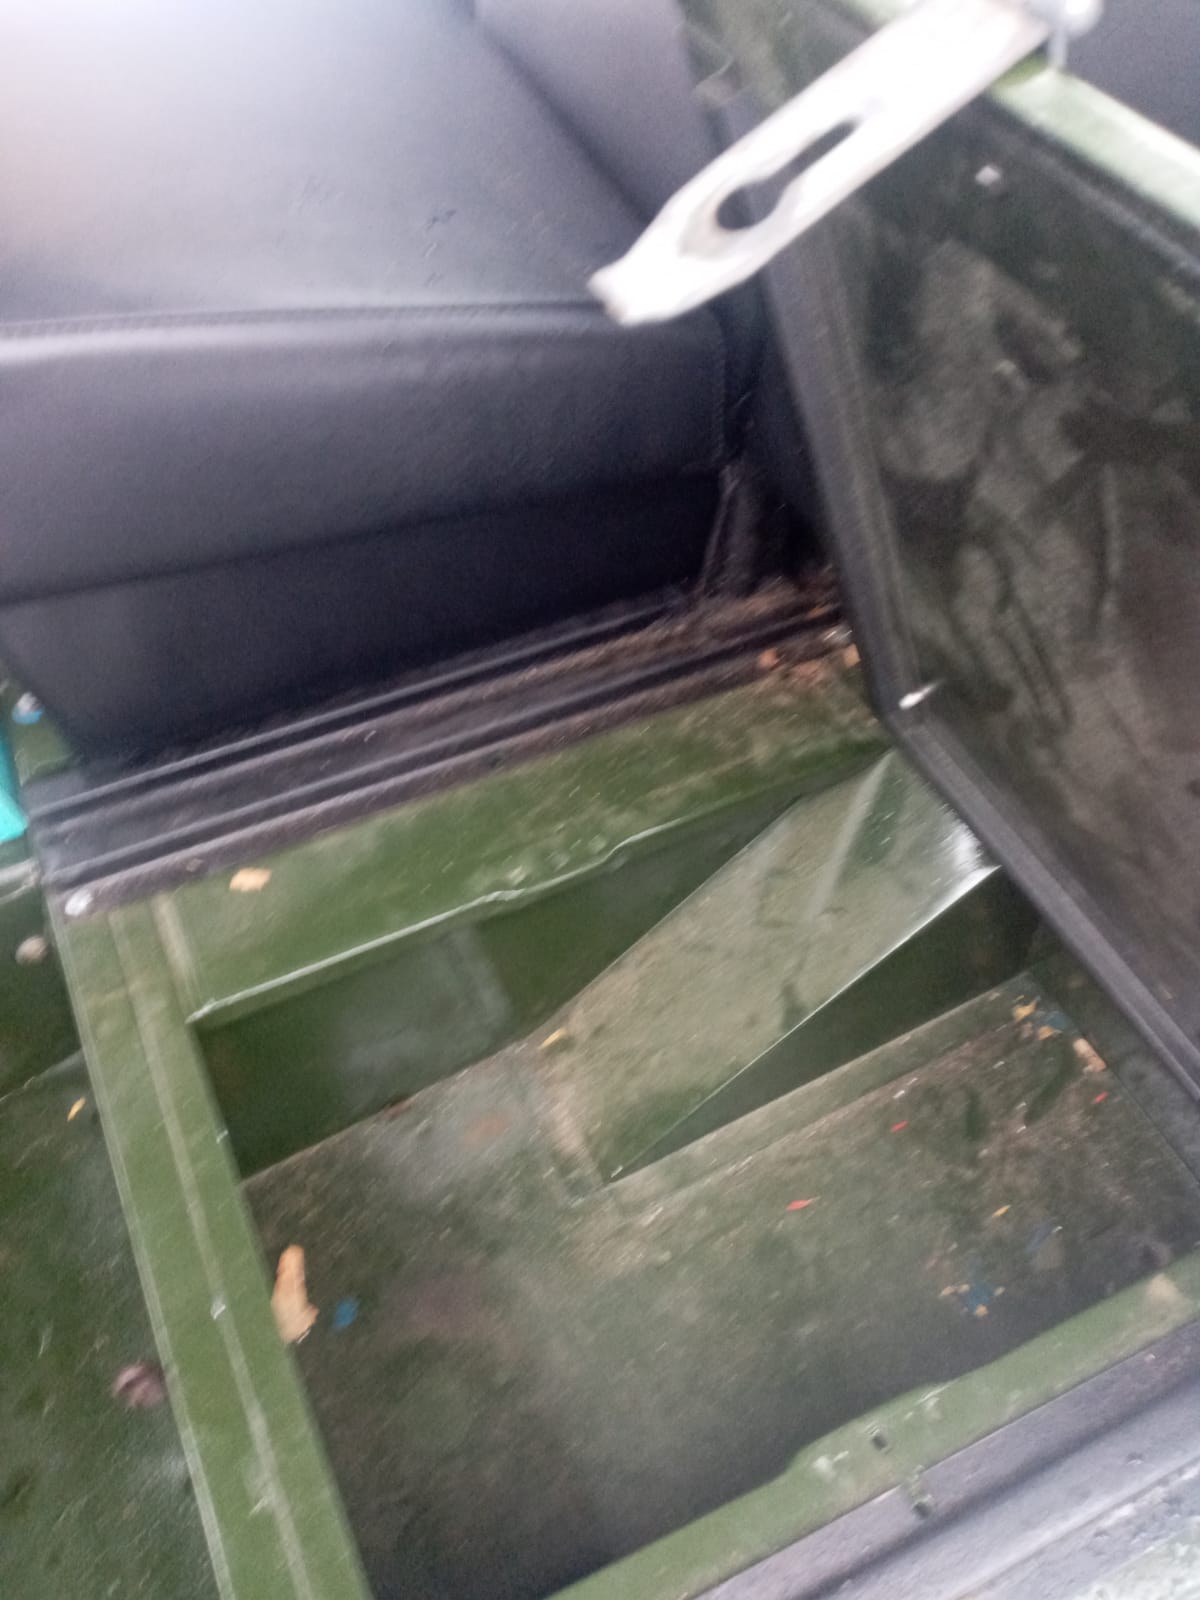
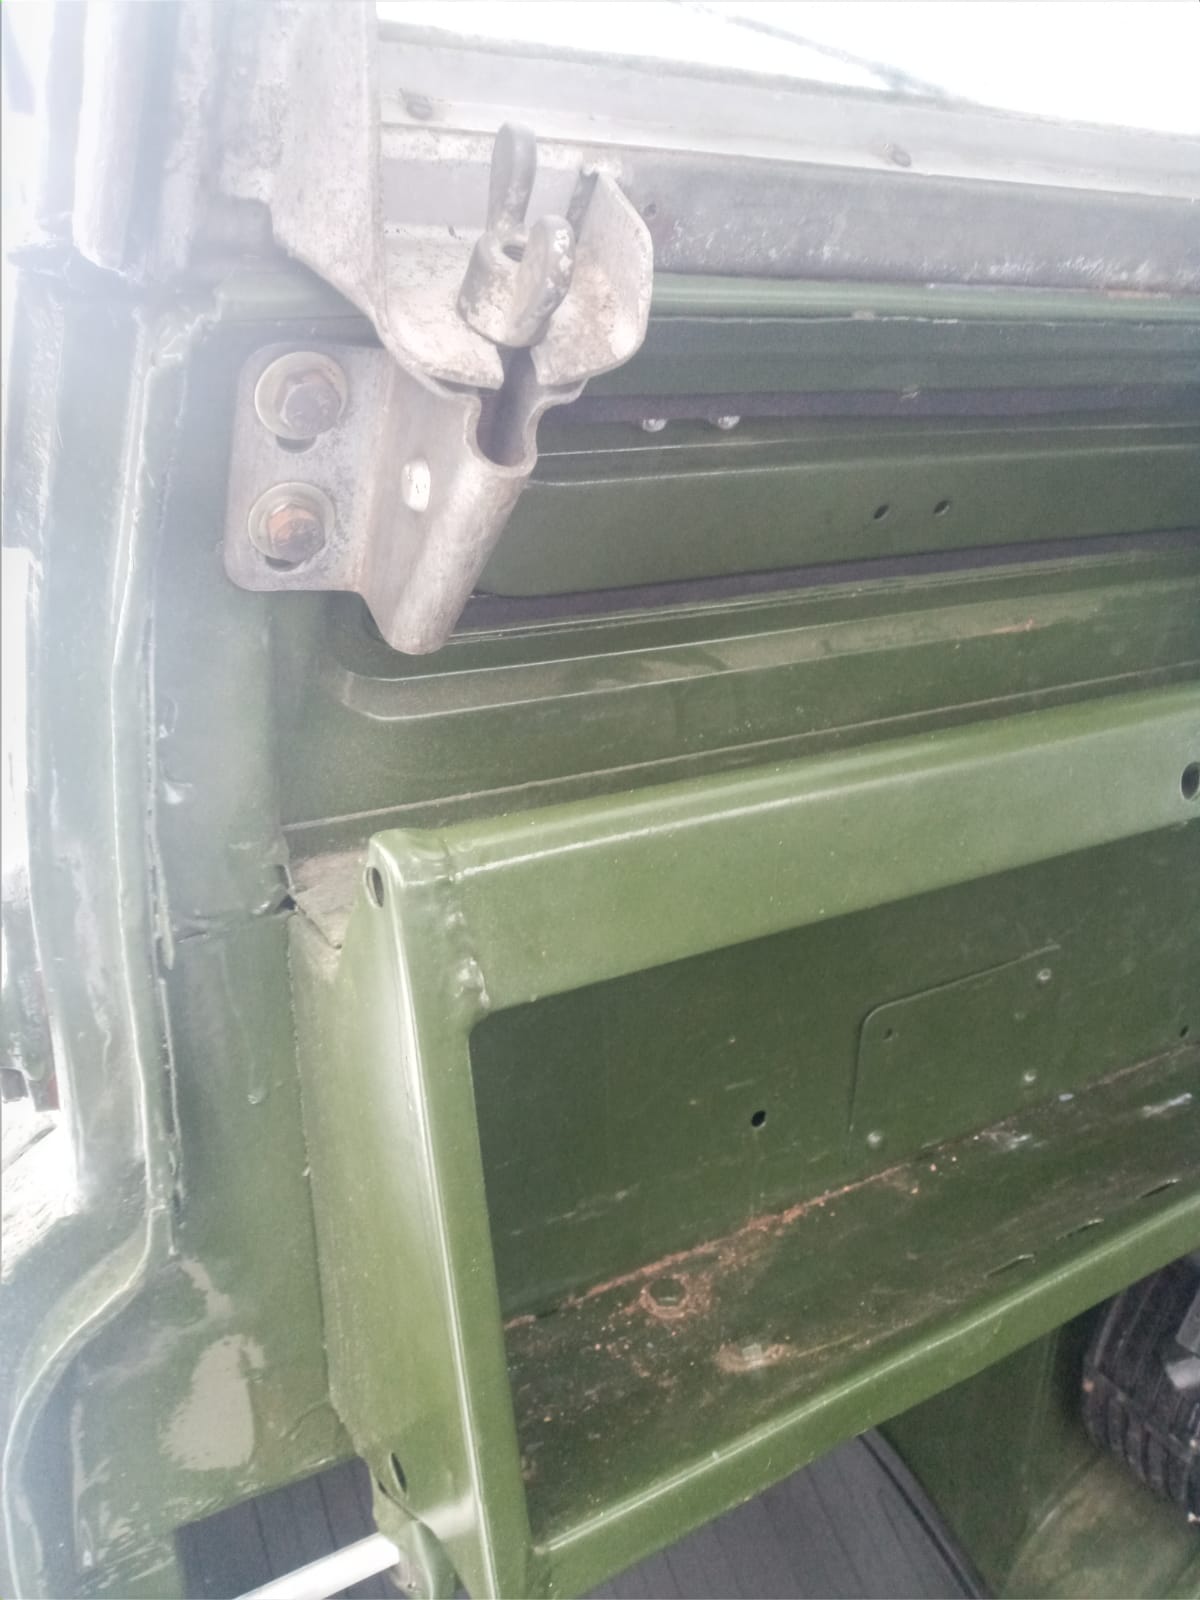
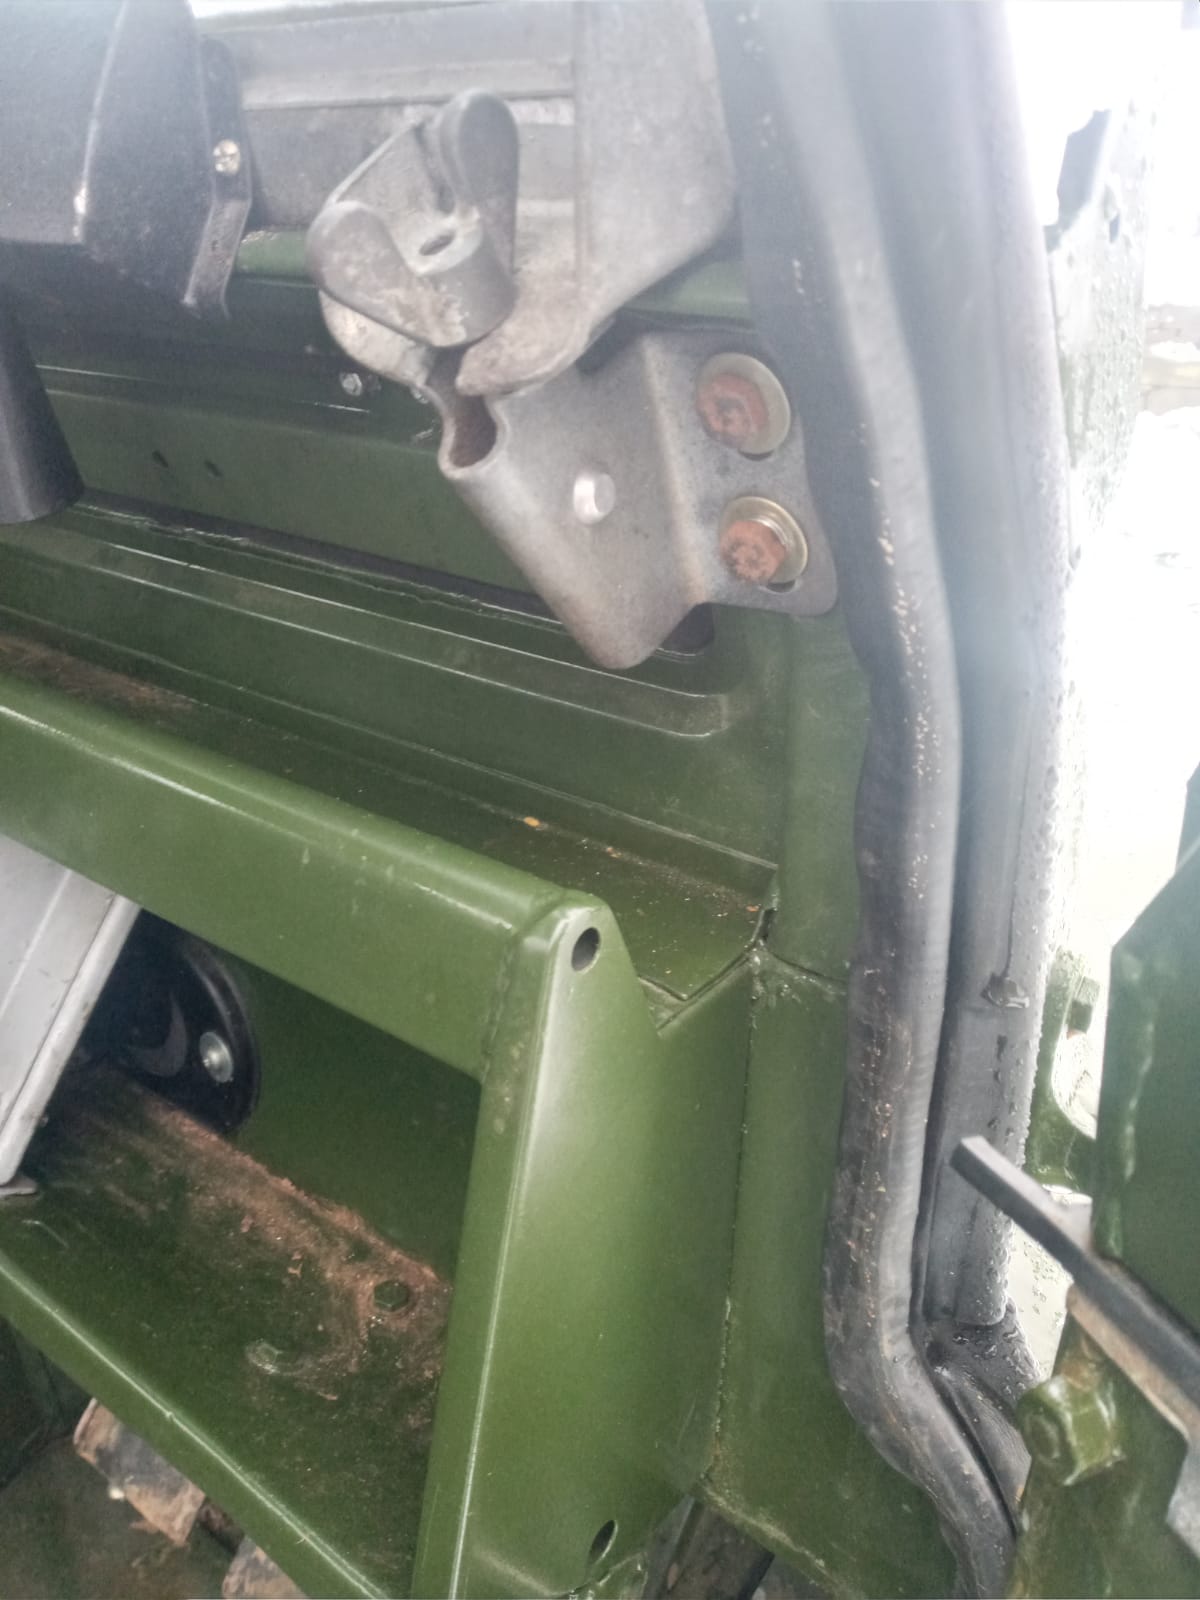
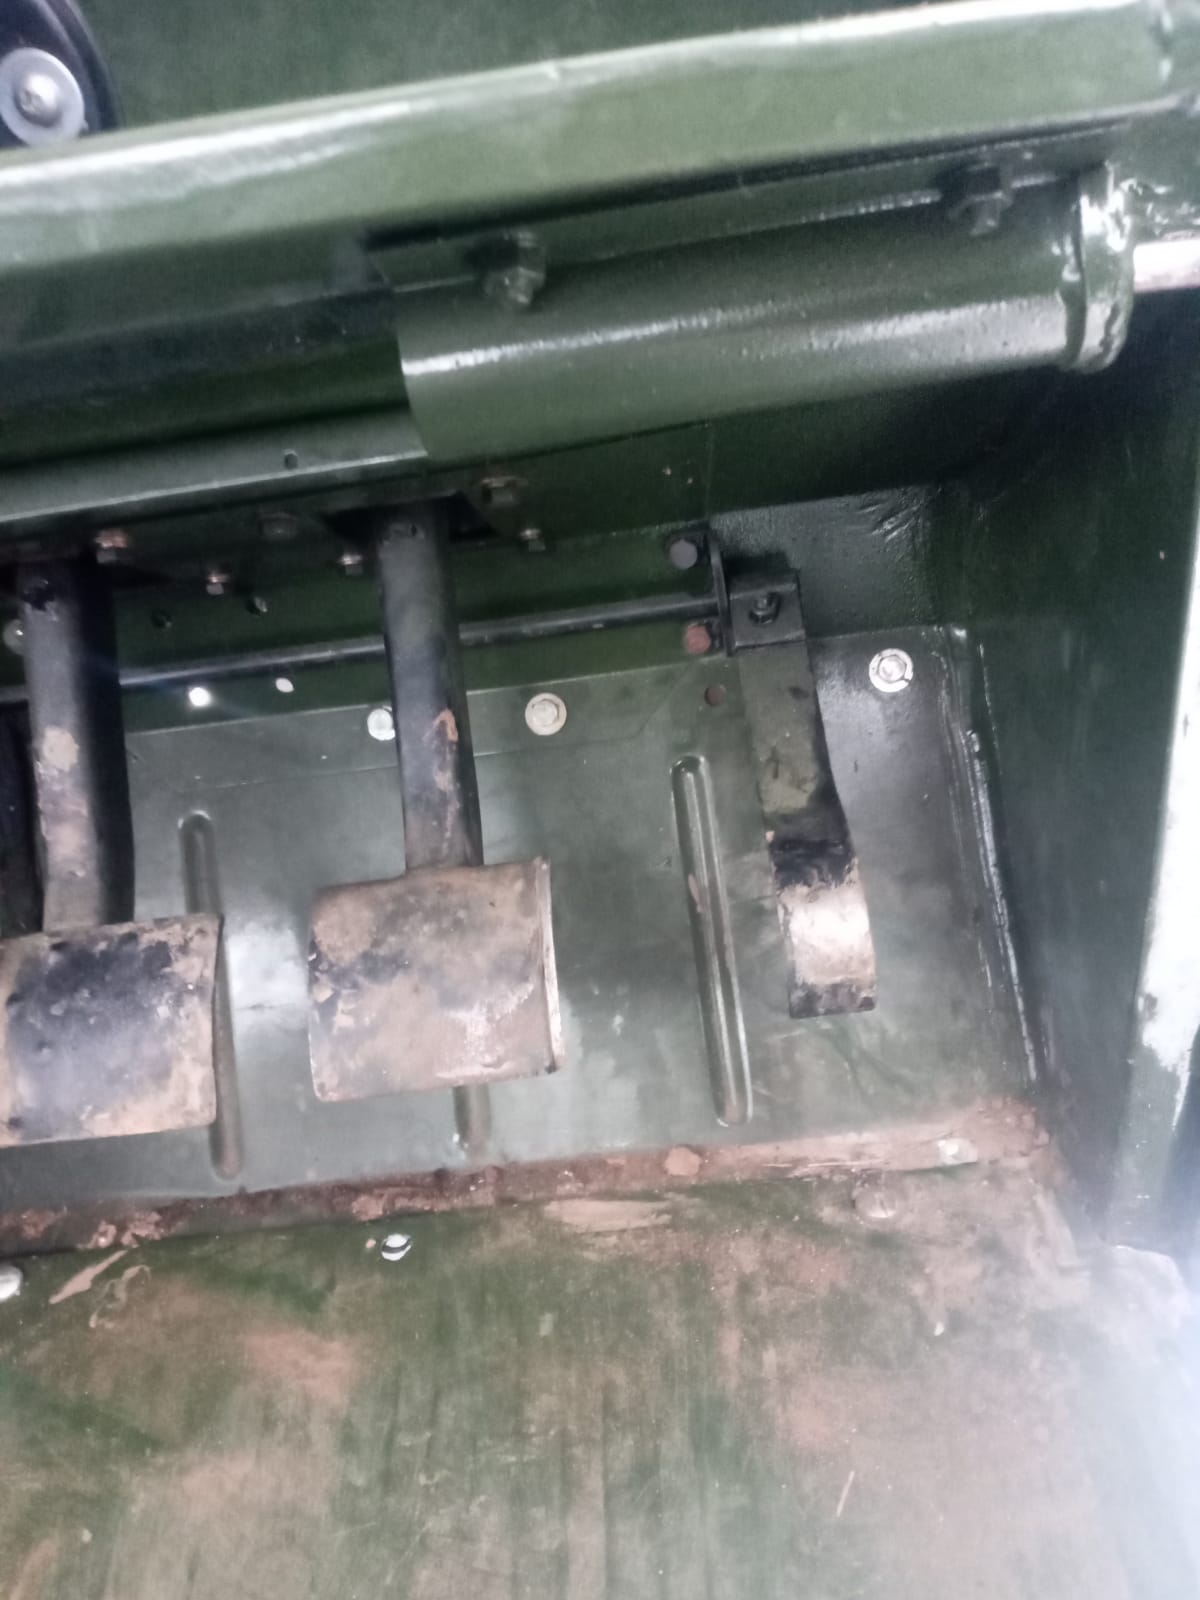
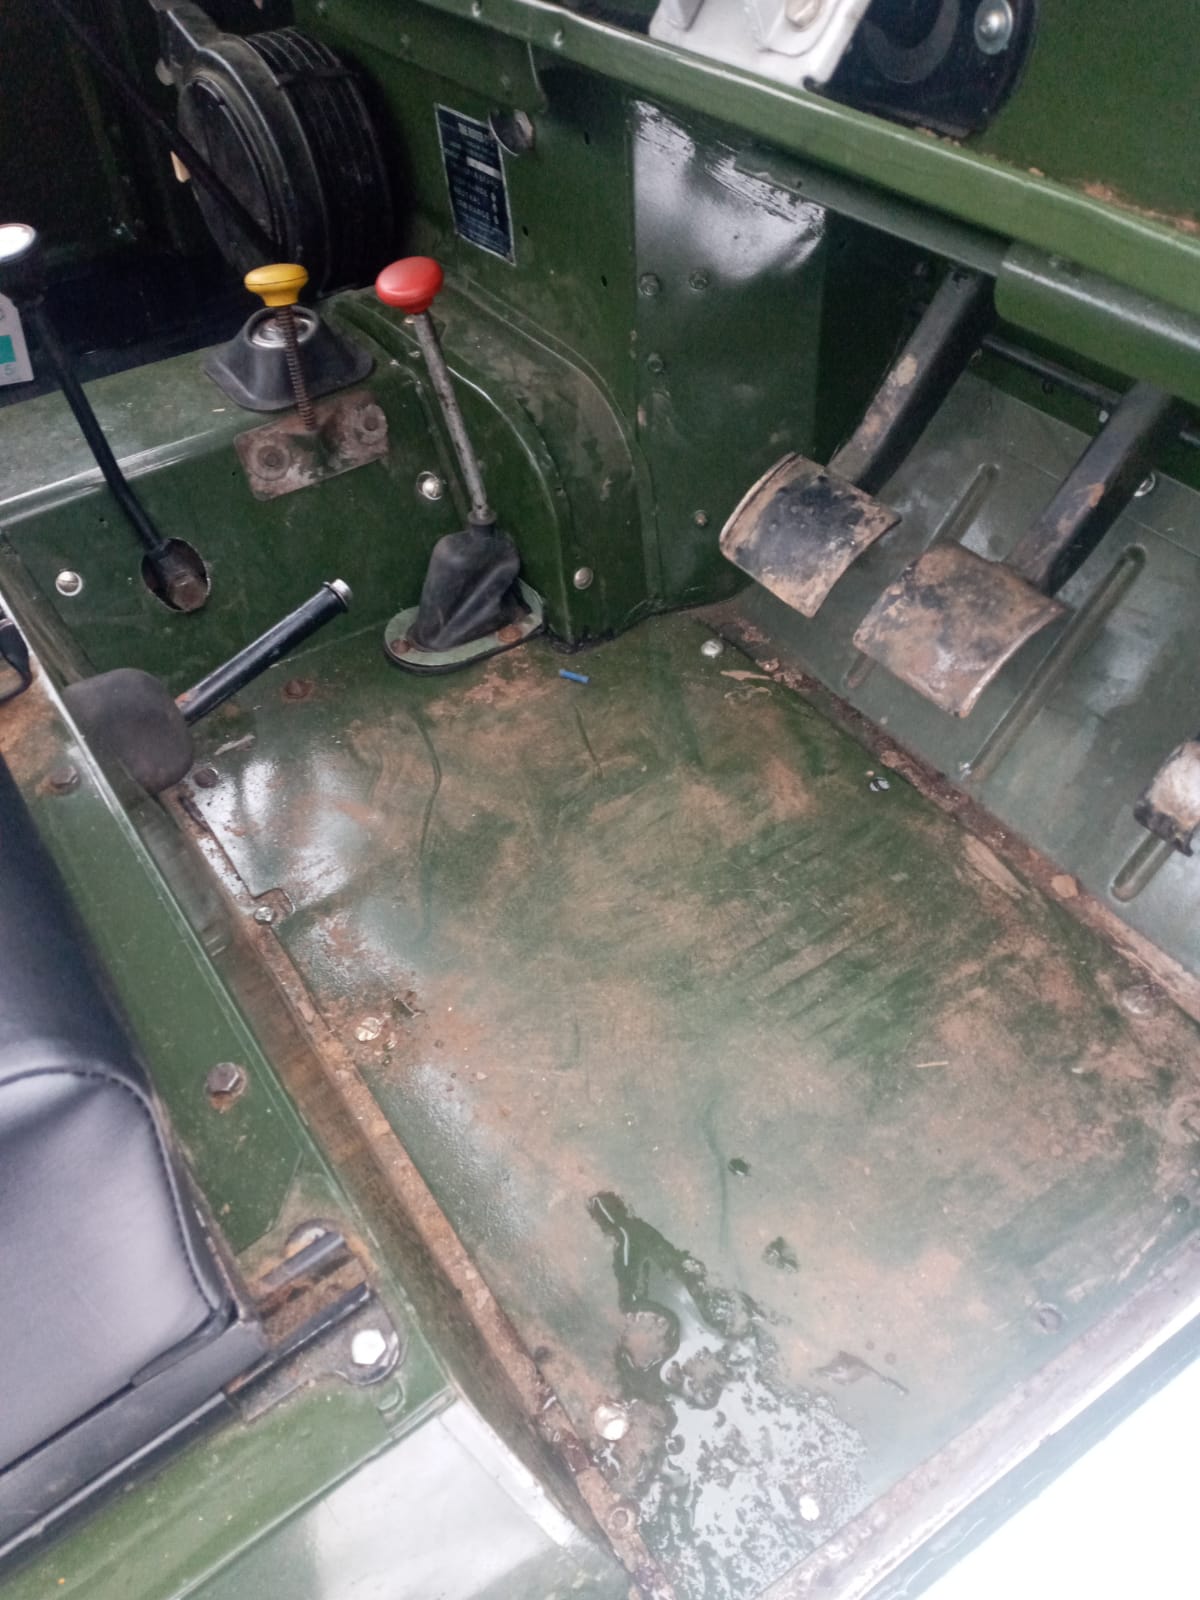
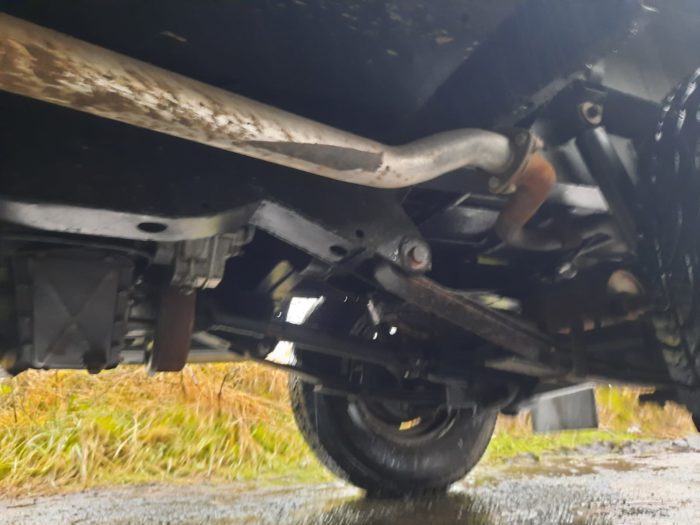
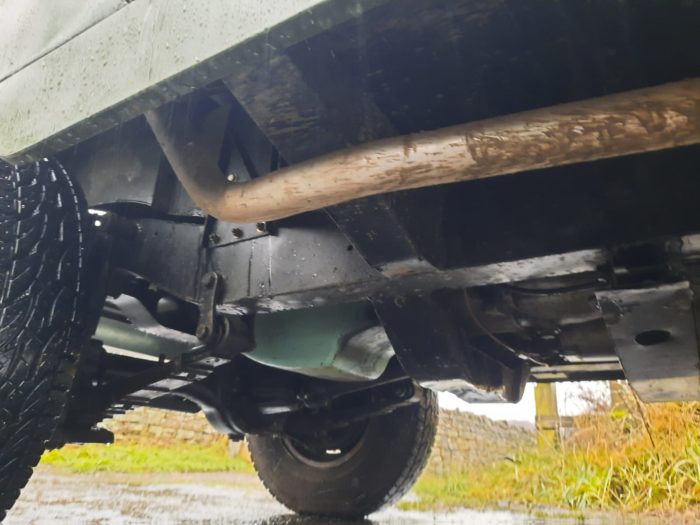
We’ve recently welcomed this iconic 1964 Series IIa Land Rover into the workshop, however before its ready to be photographed and released for the competition, there’s a handful of works to be done on it.
A variety of parts need to be ordered including new wiper blades, new headlamps, and door rubbers.
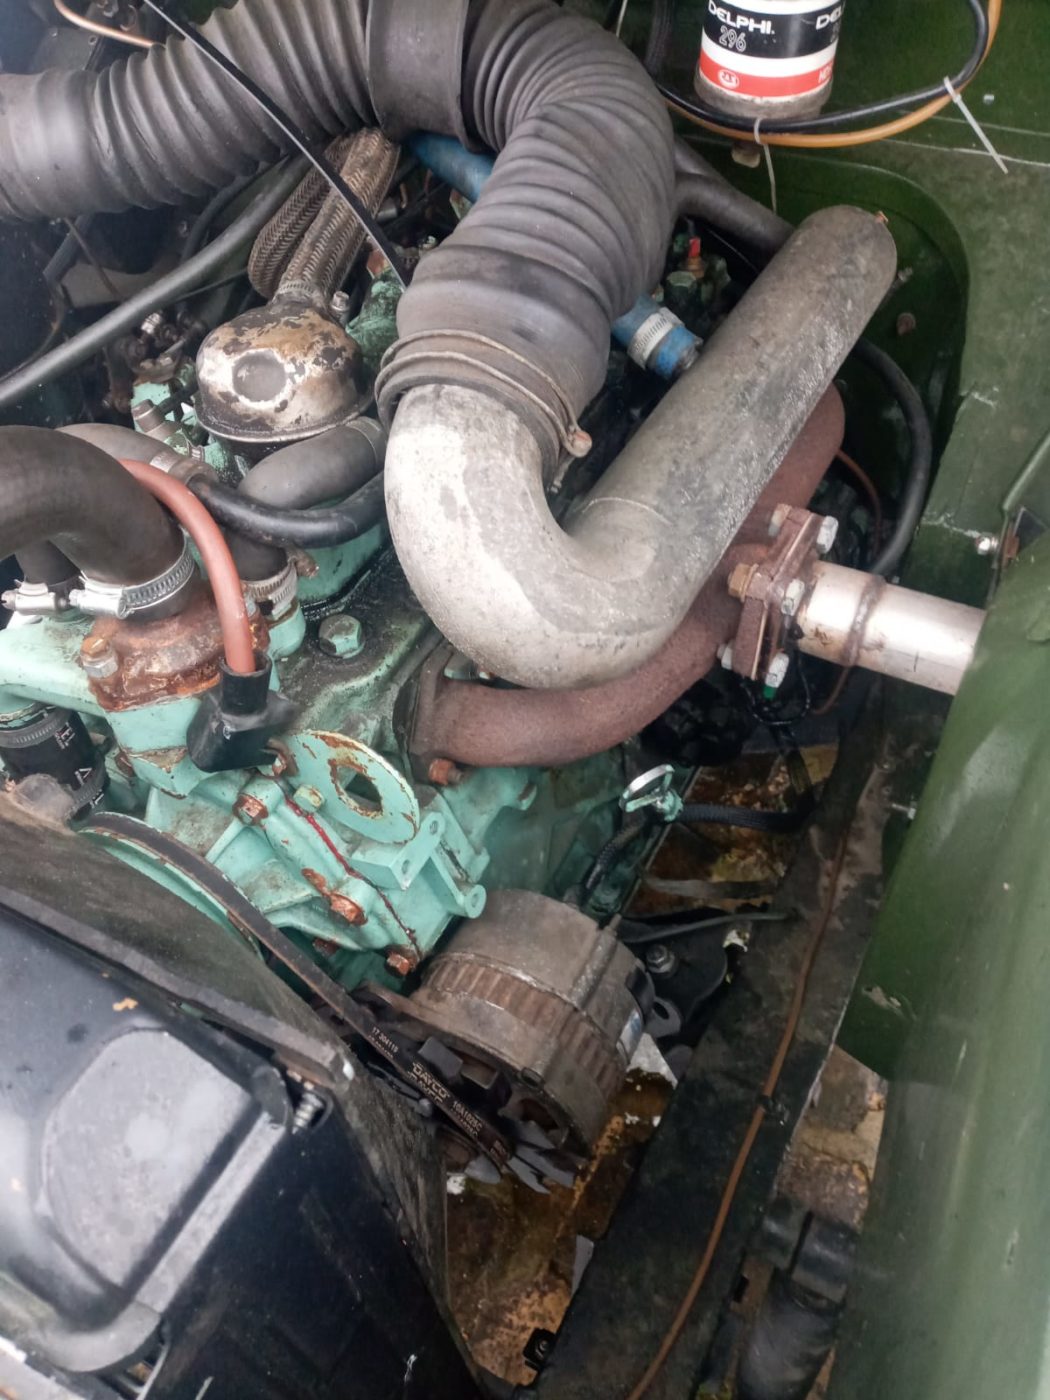
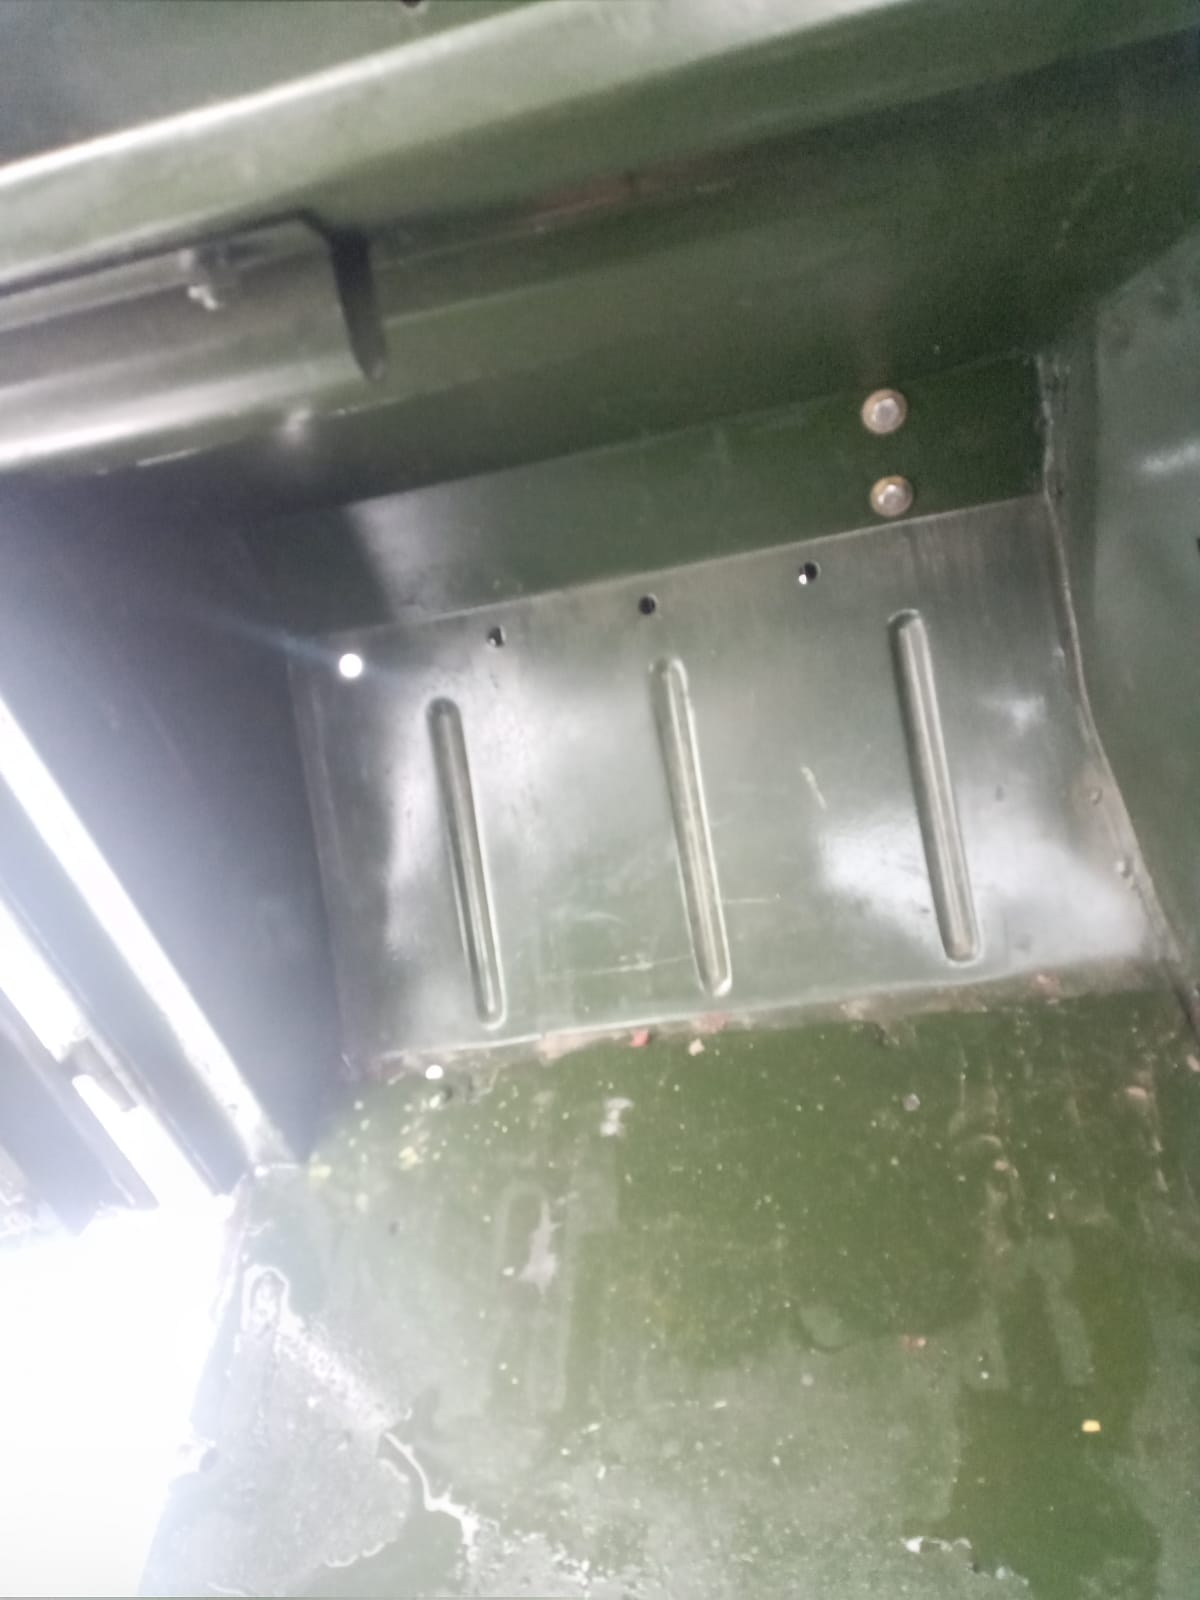
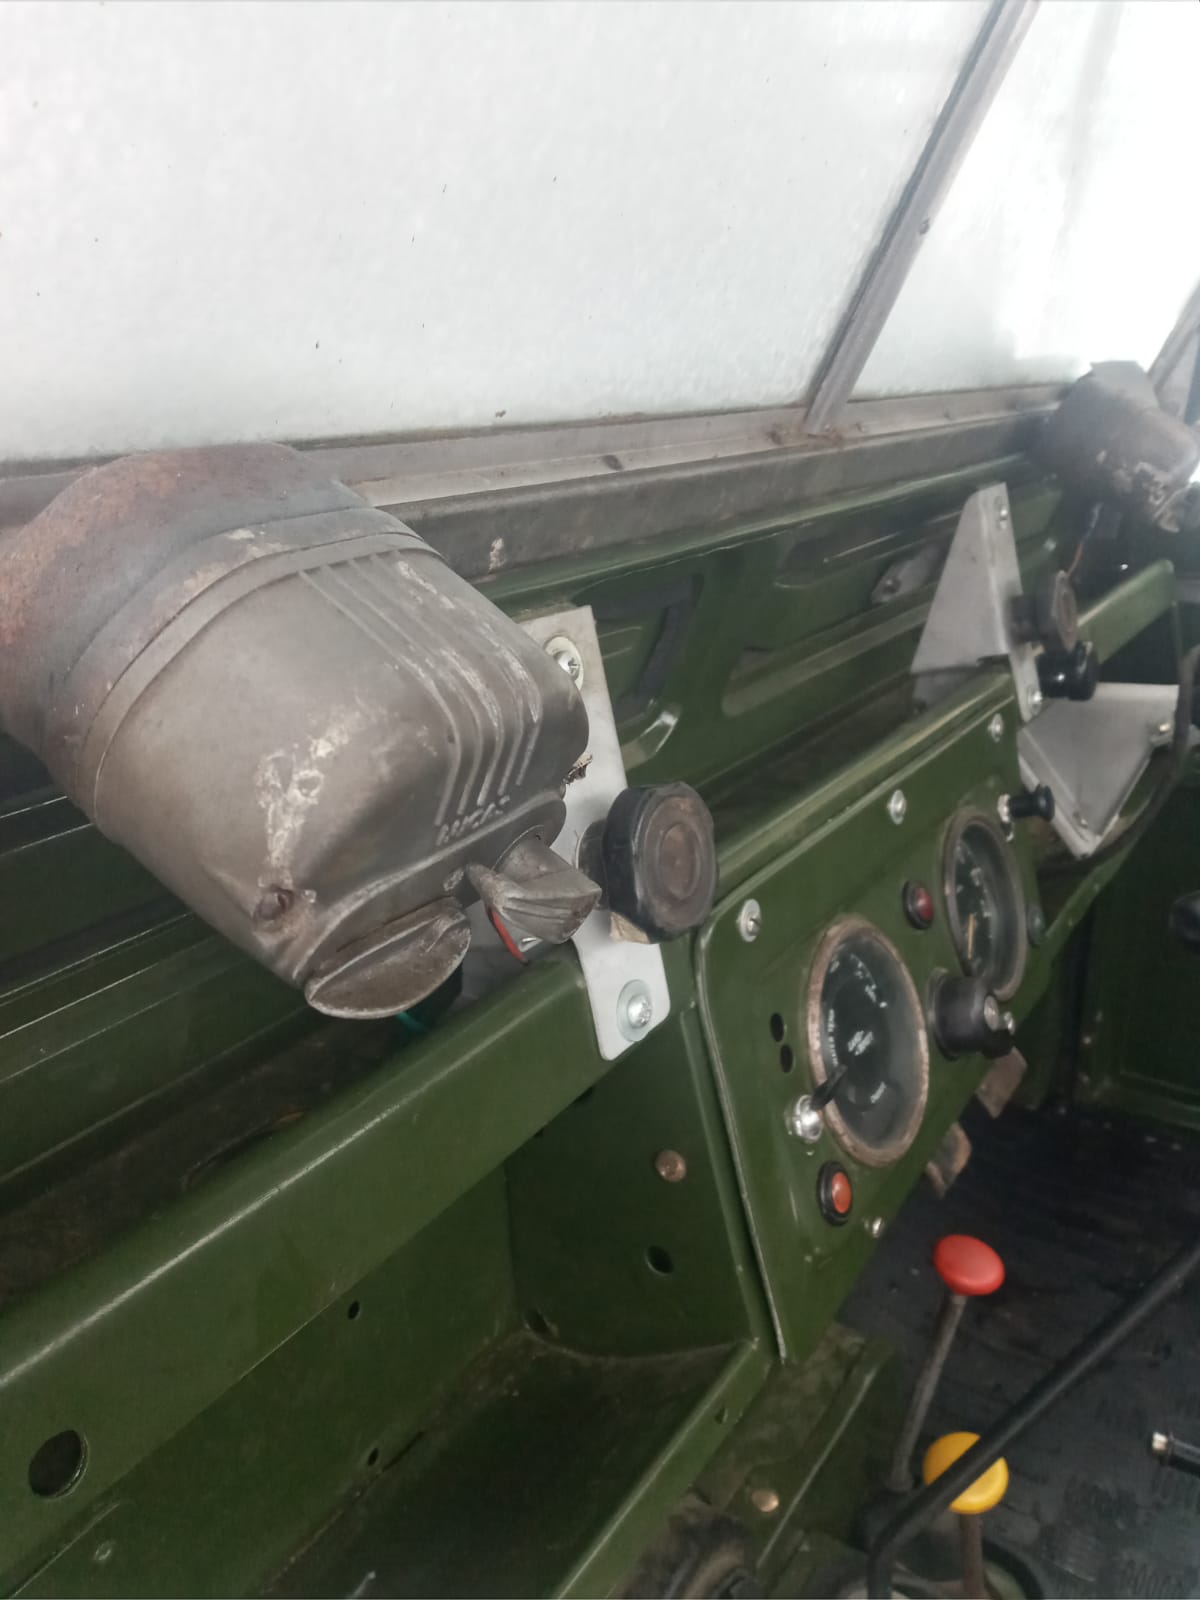
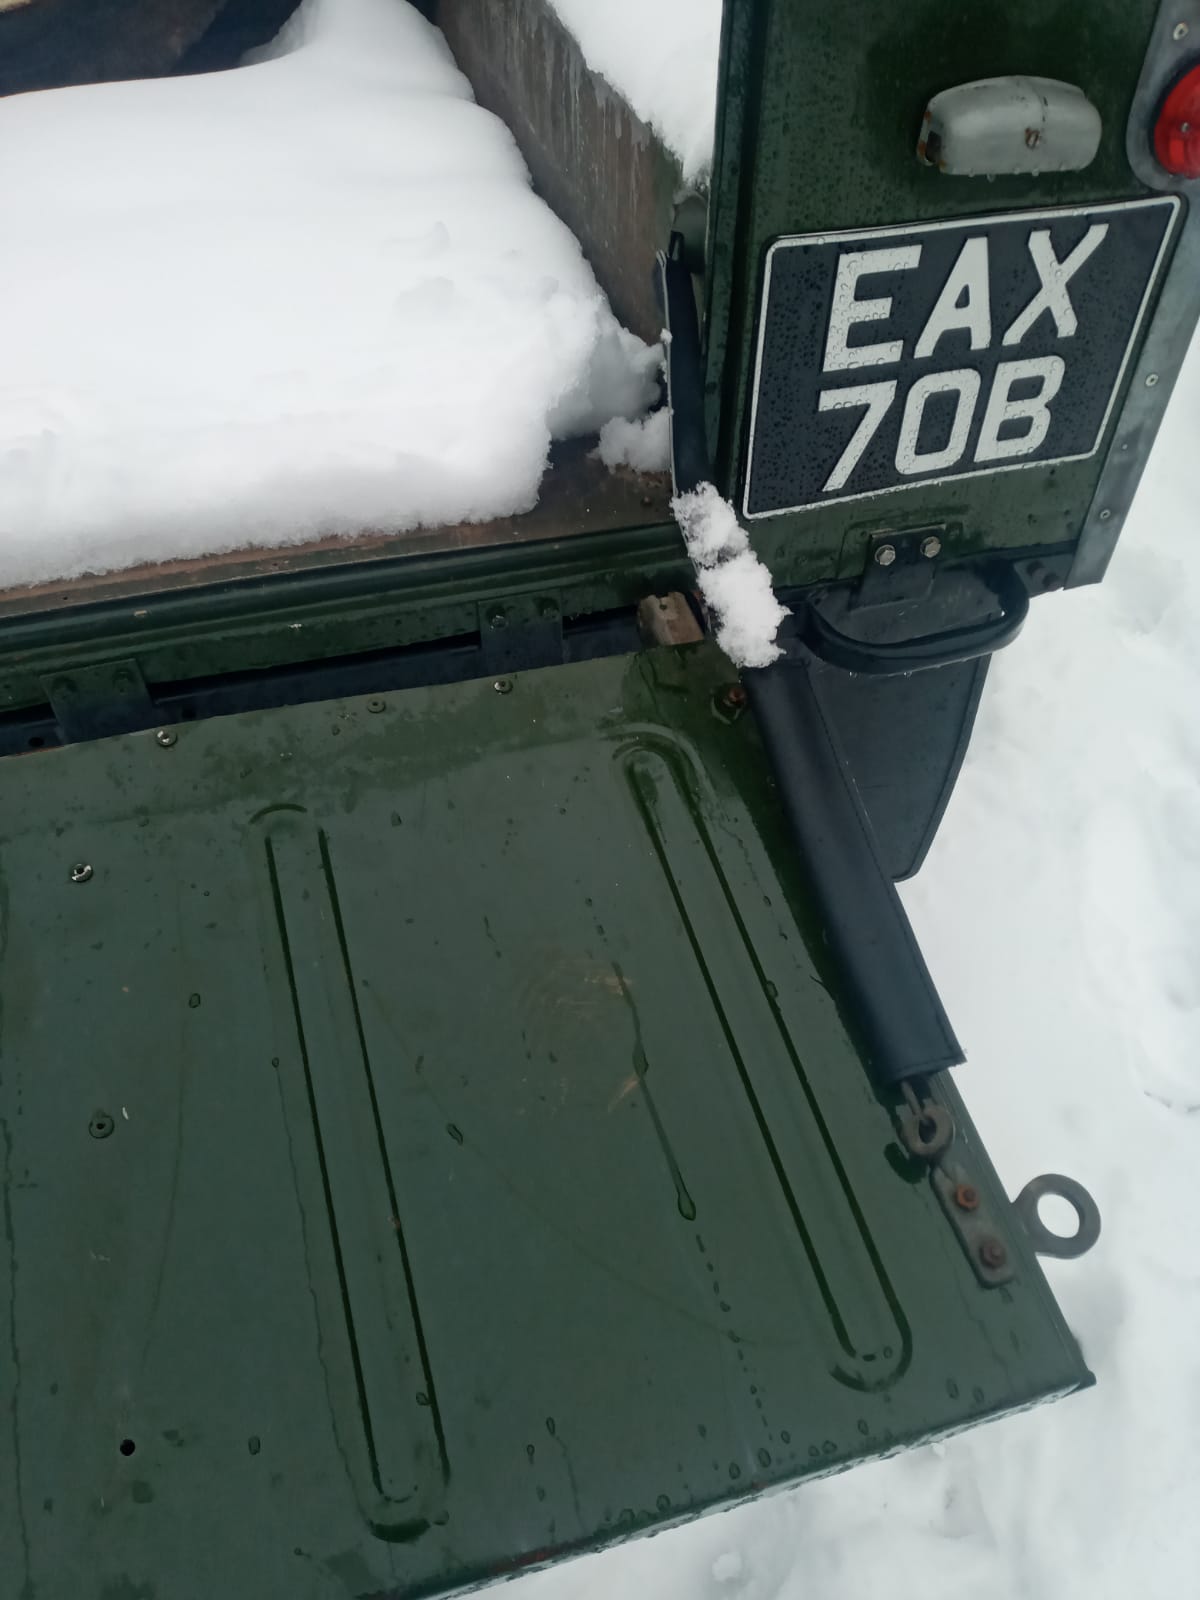
The list of work needing to be carried out includes a variety of small jobs such as rewiring the wiper motors, re-fitting the seats, fixing a diesel leak from the injector pump, modifying the battery mount, replacing the number plate lamp, replacing rusty bolts, painting the rear body mounting plates to match either side, overspray various bolts and components, fix near side rear hub leak, remove trailer wiring and paint where the outer-side engine mounts have been welded in.
Once all these parts and some other small jobs have been completed, we can hand it over to the marketing team to shoot and present!
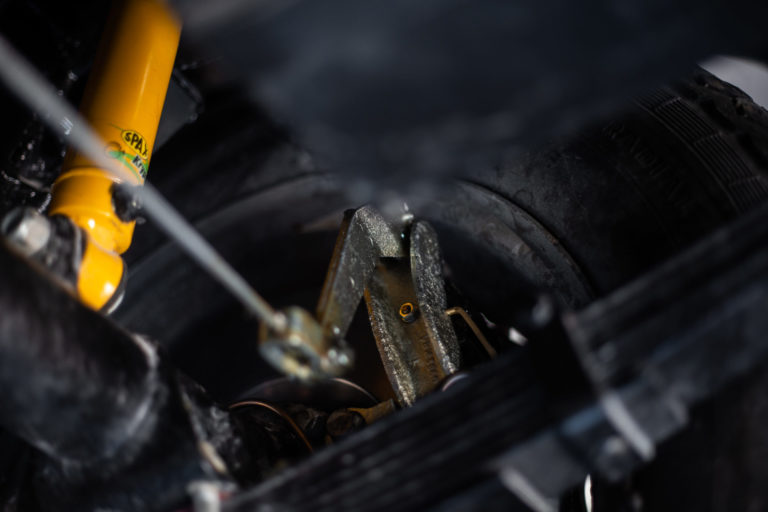
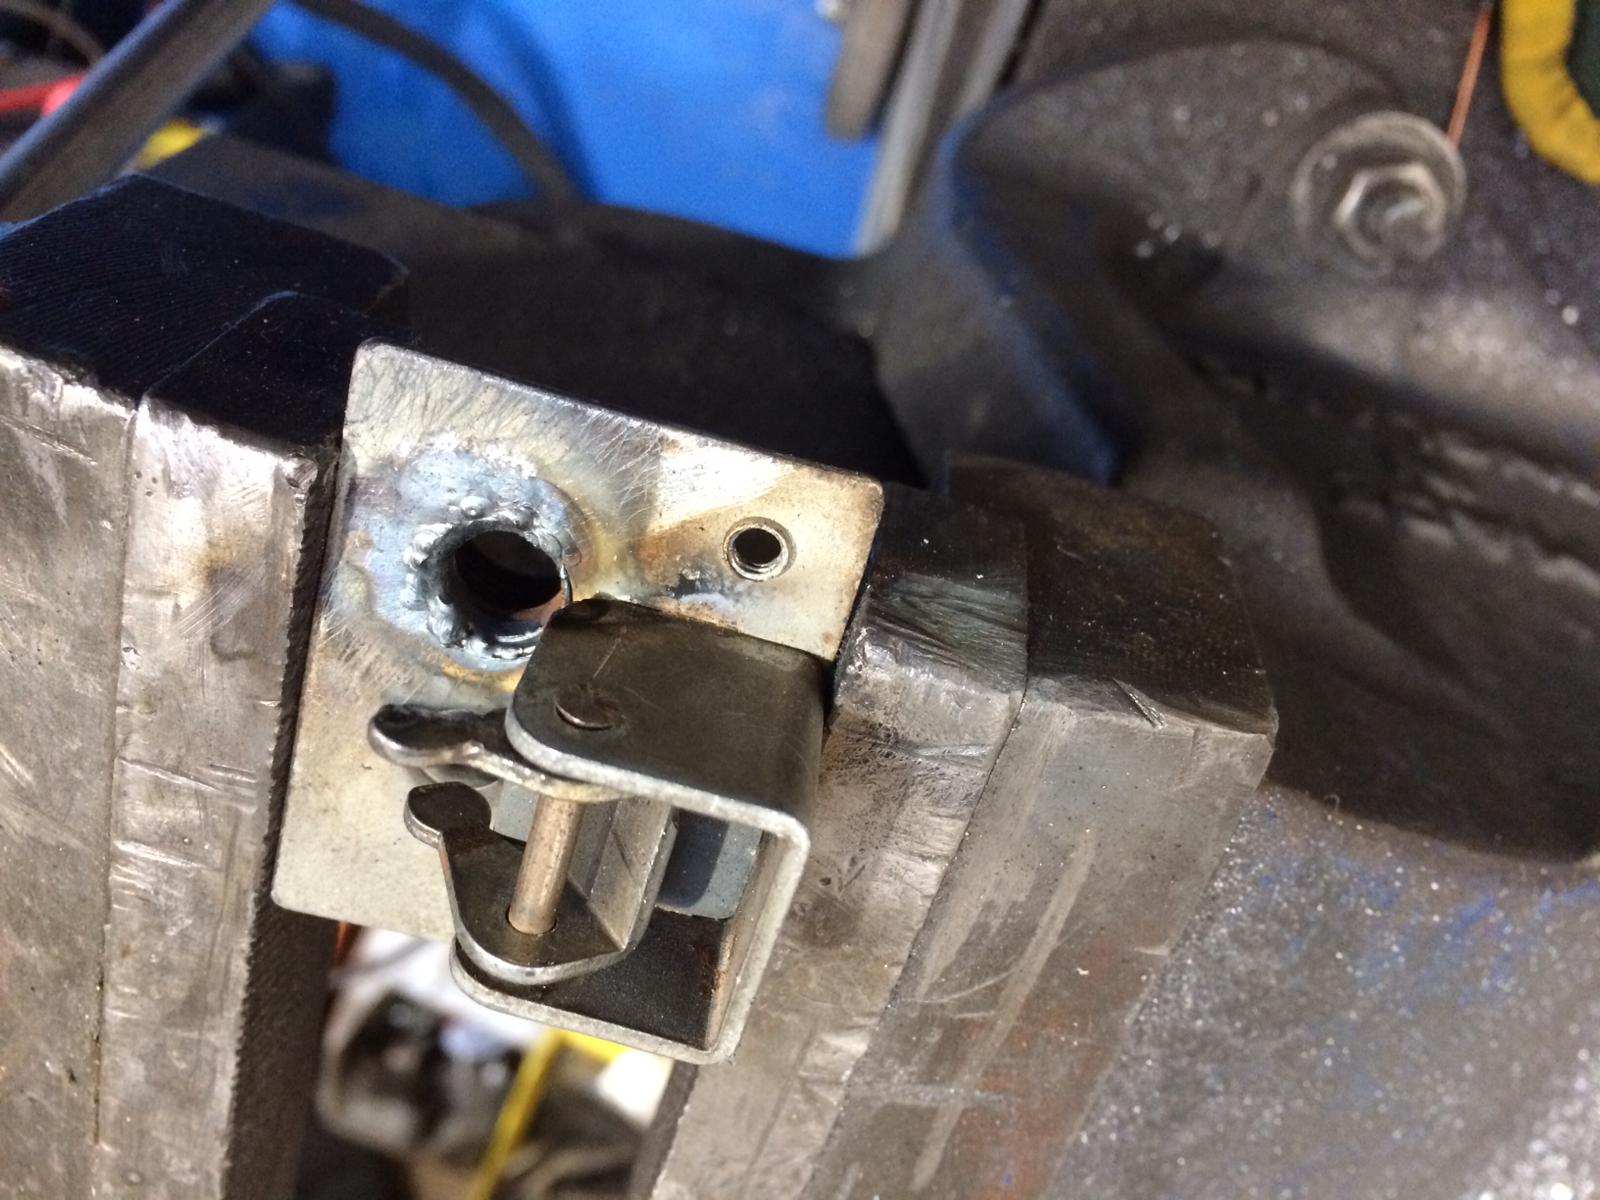
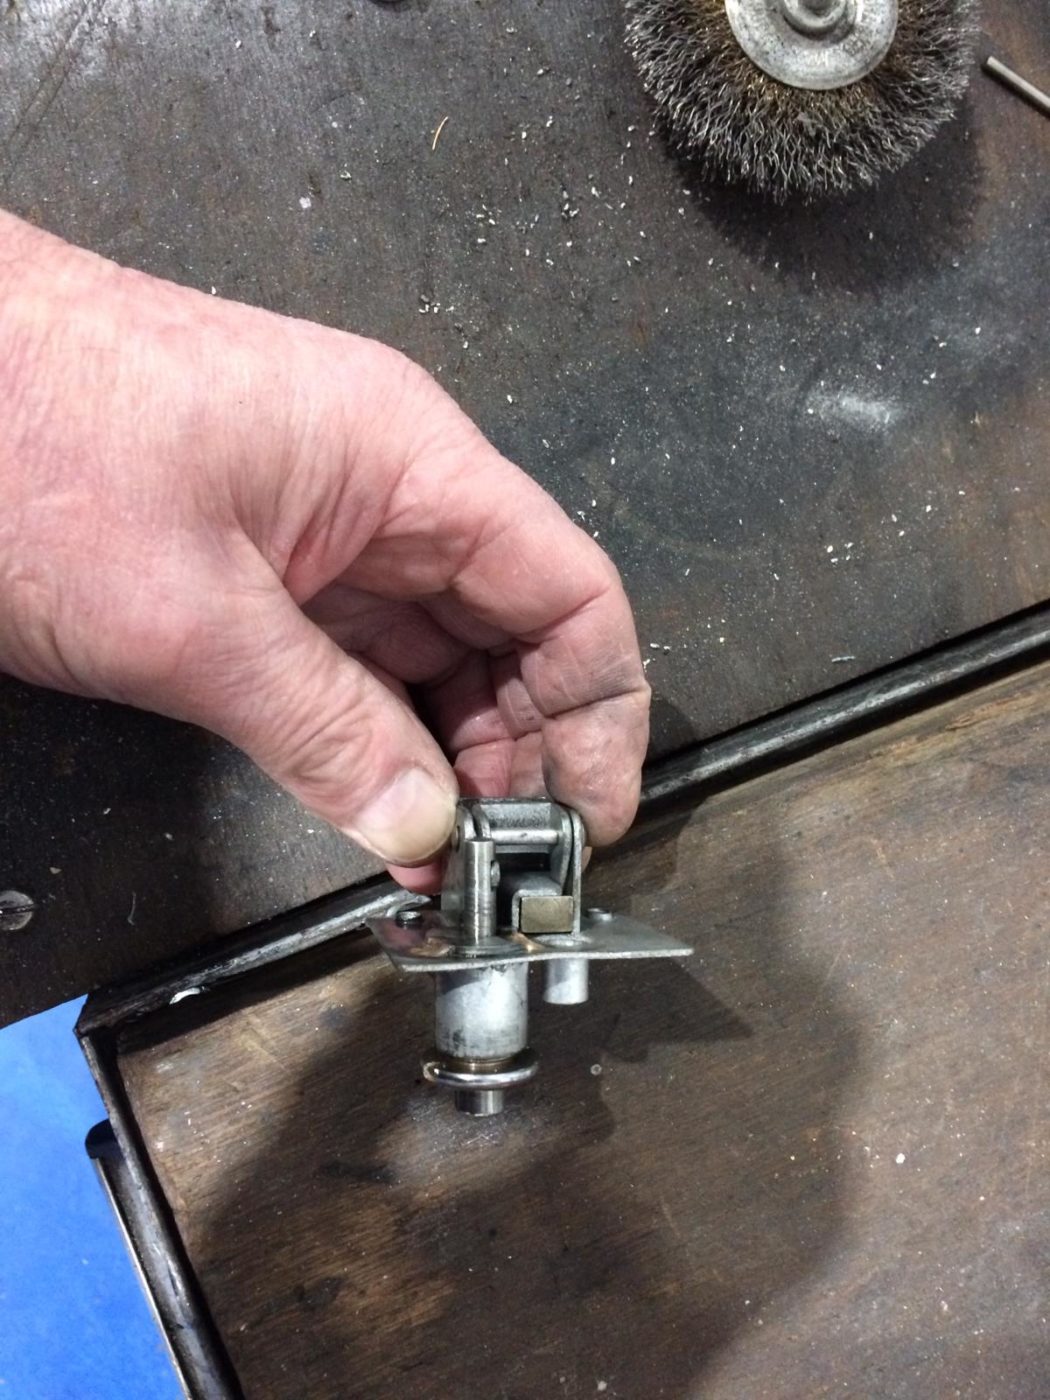
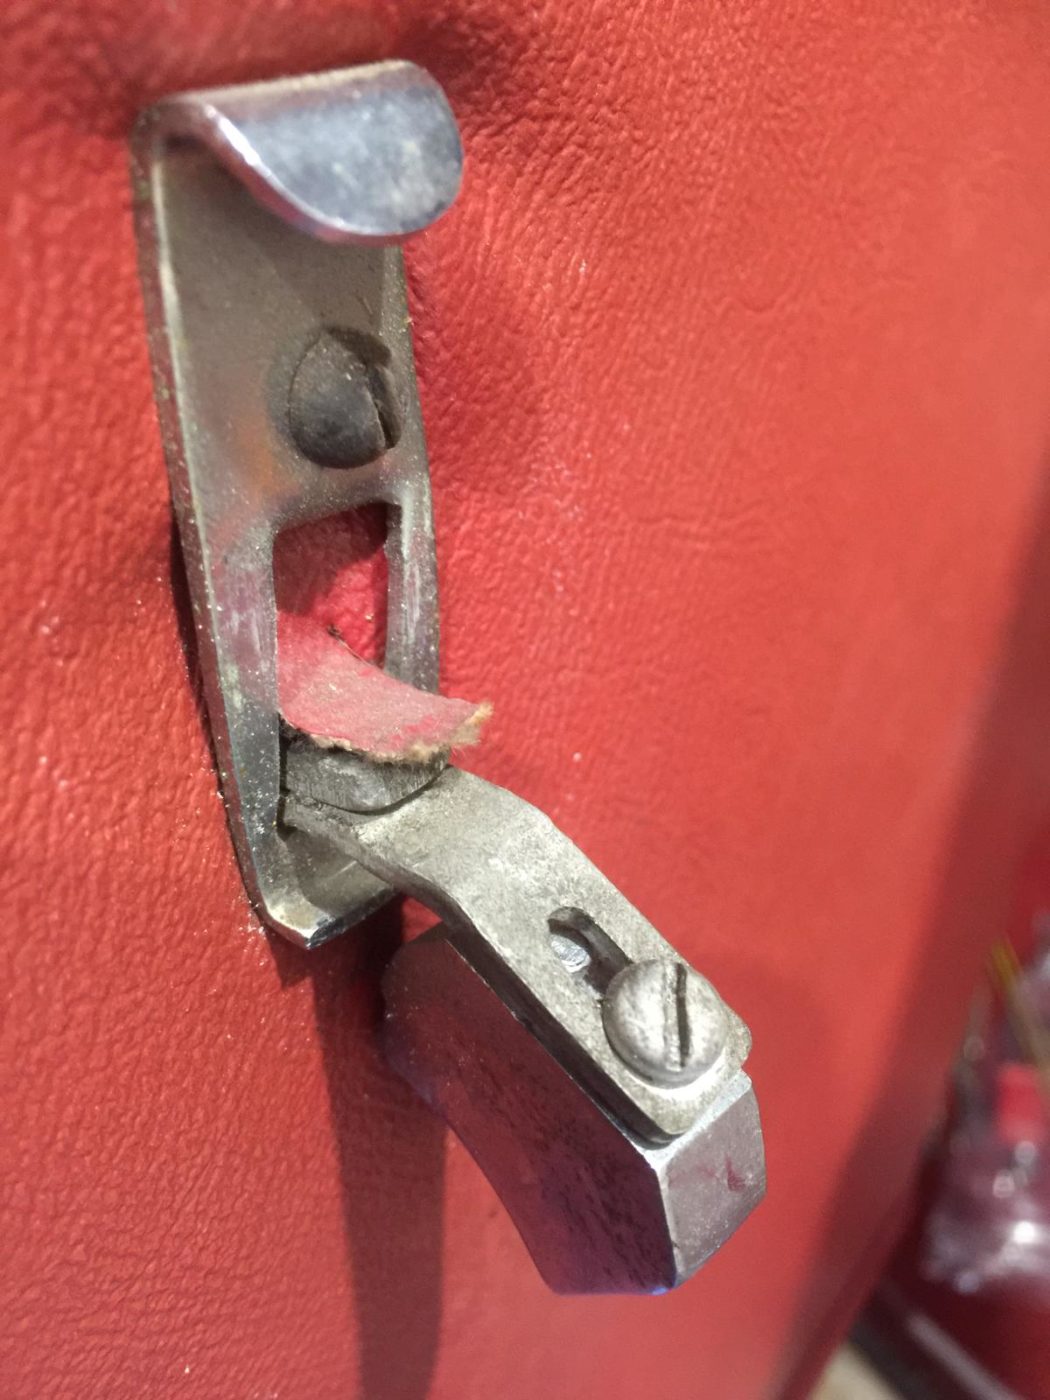
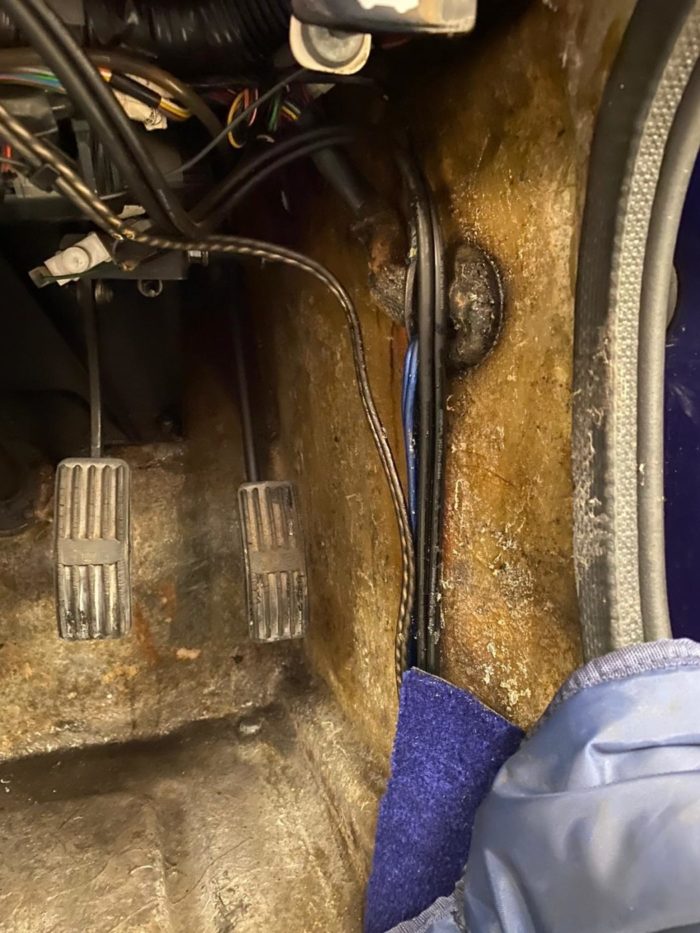
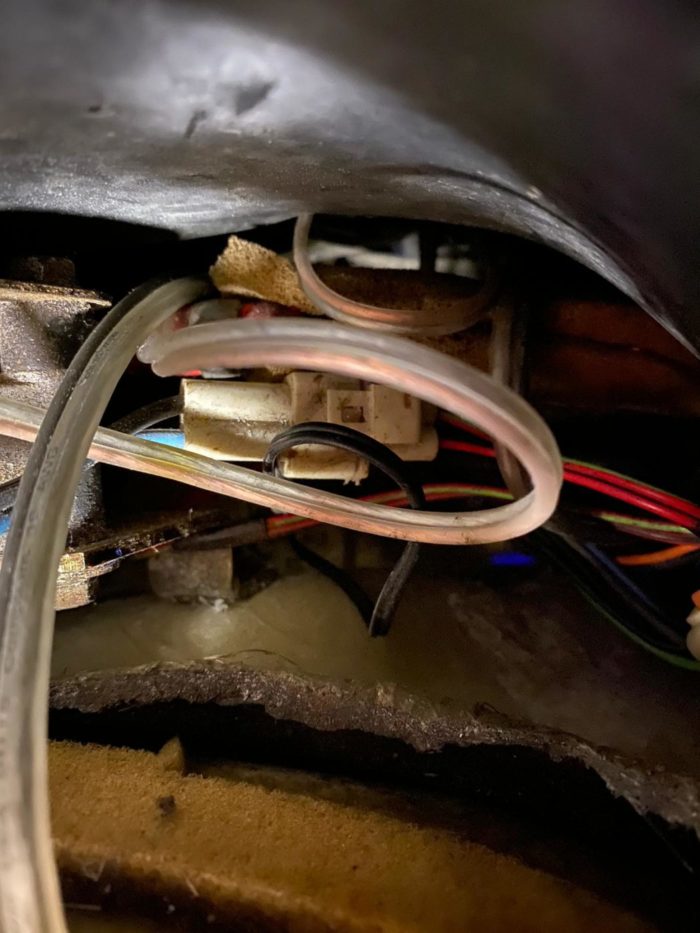
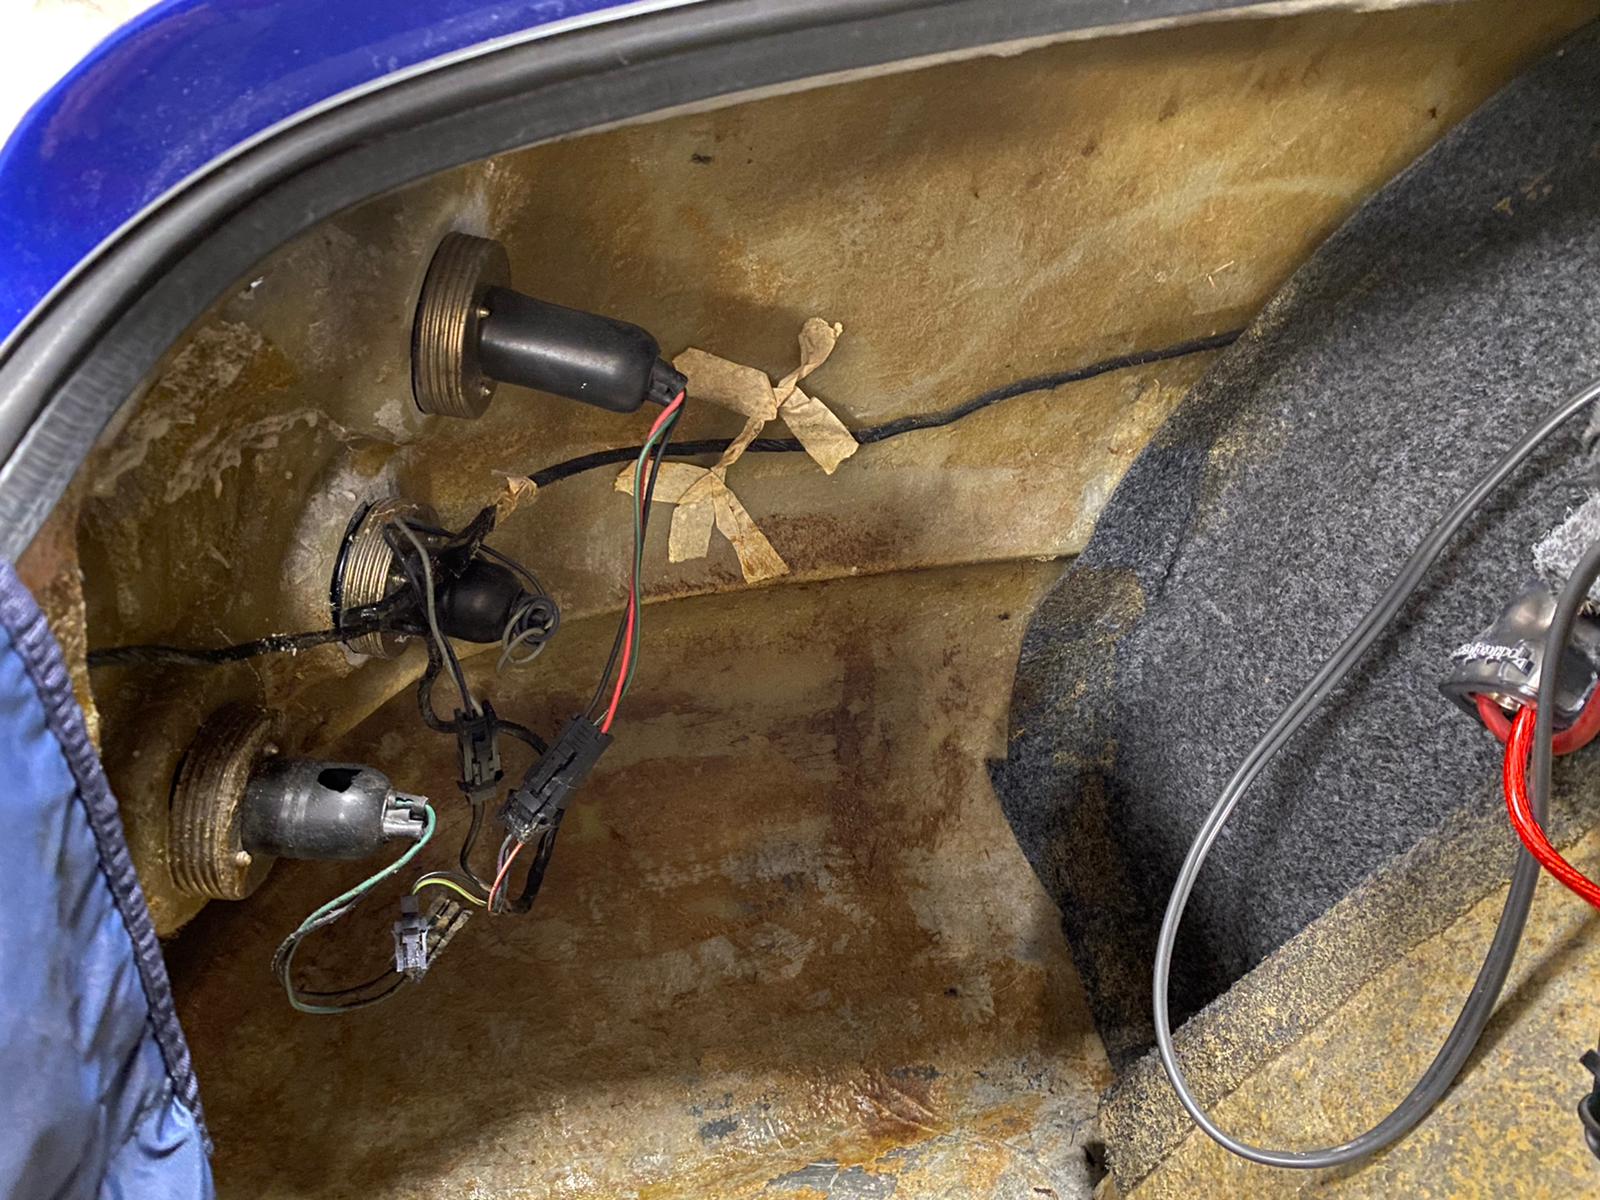
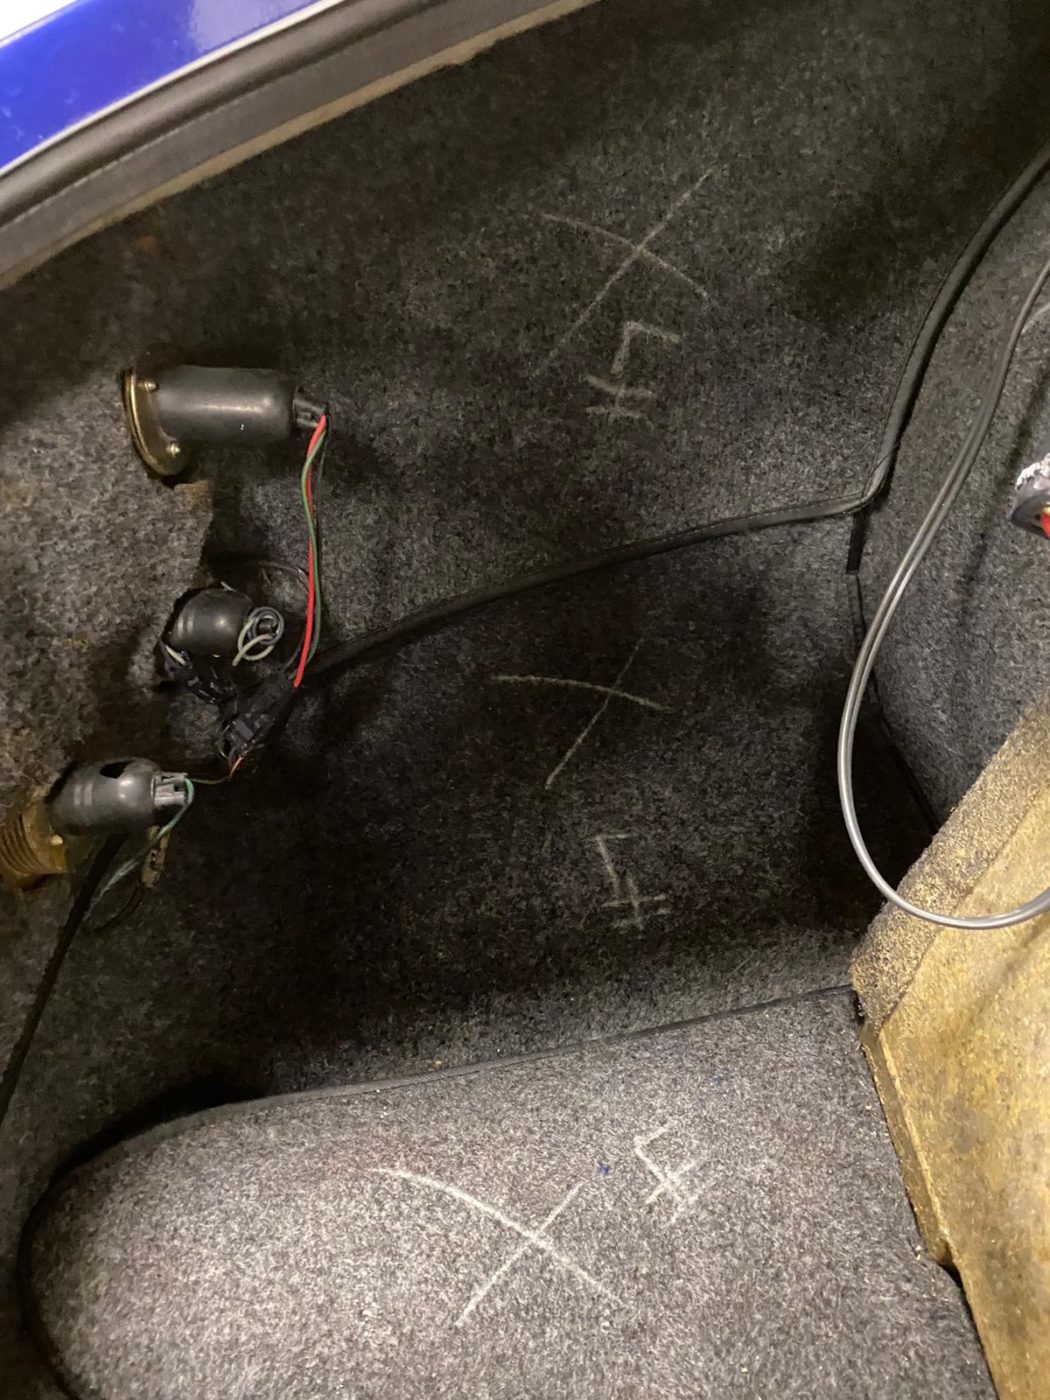
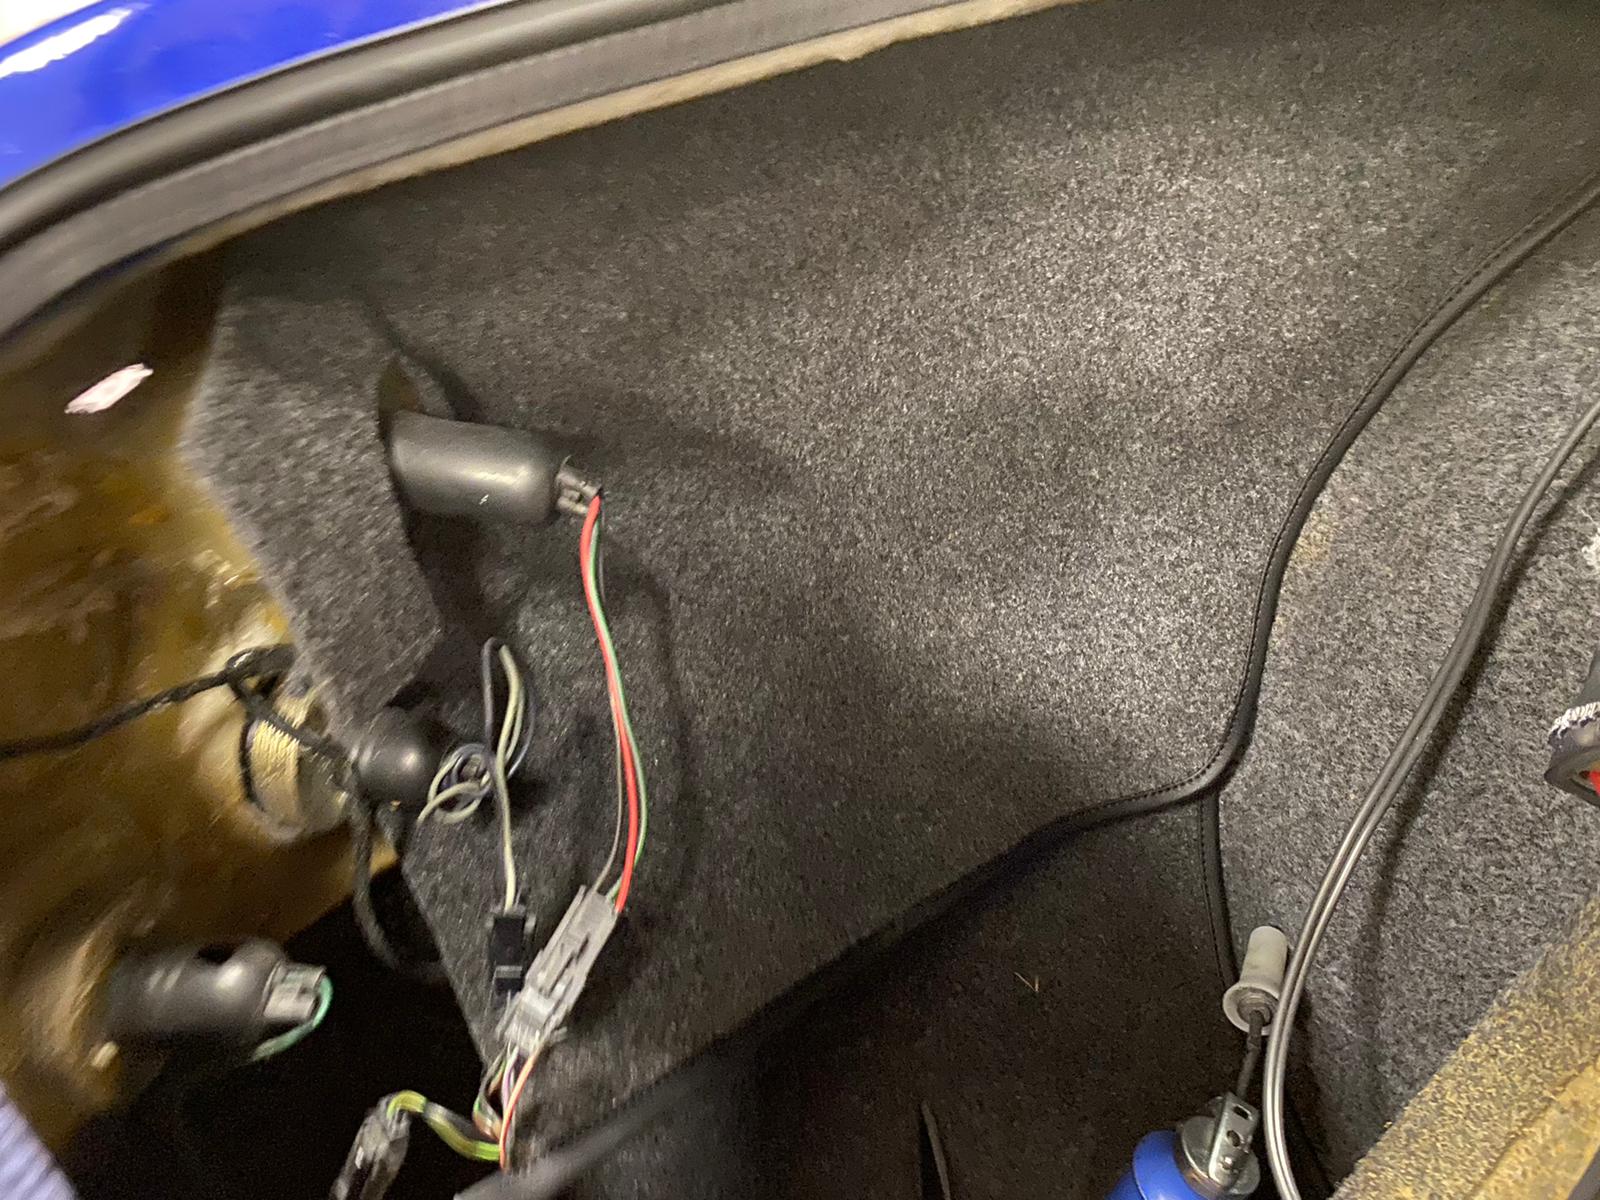
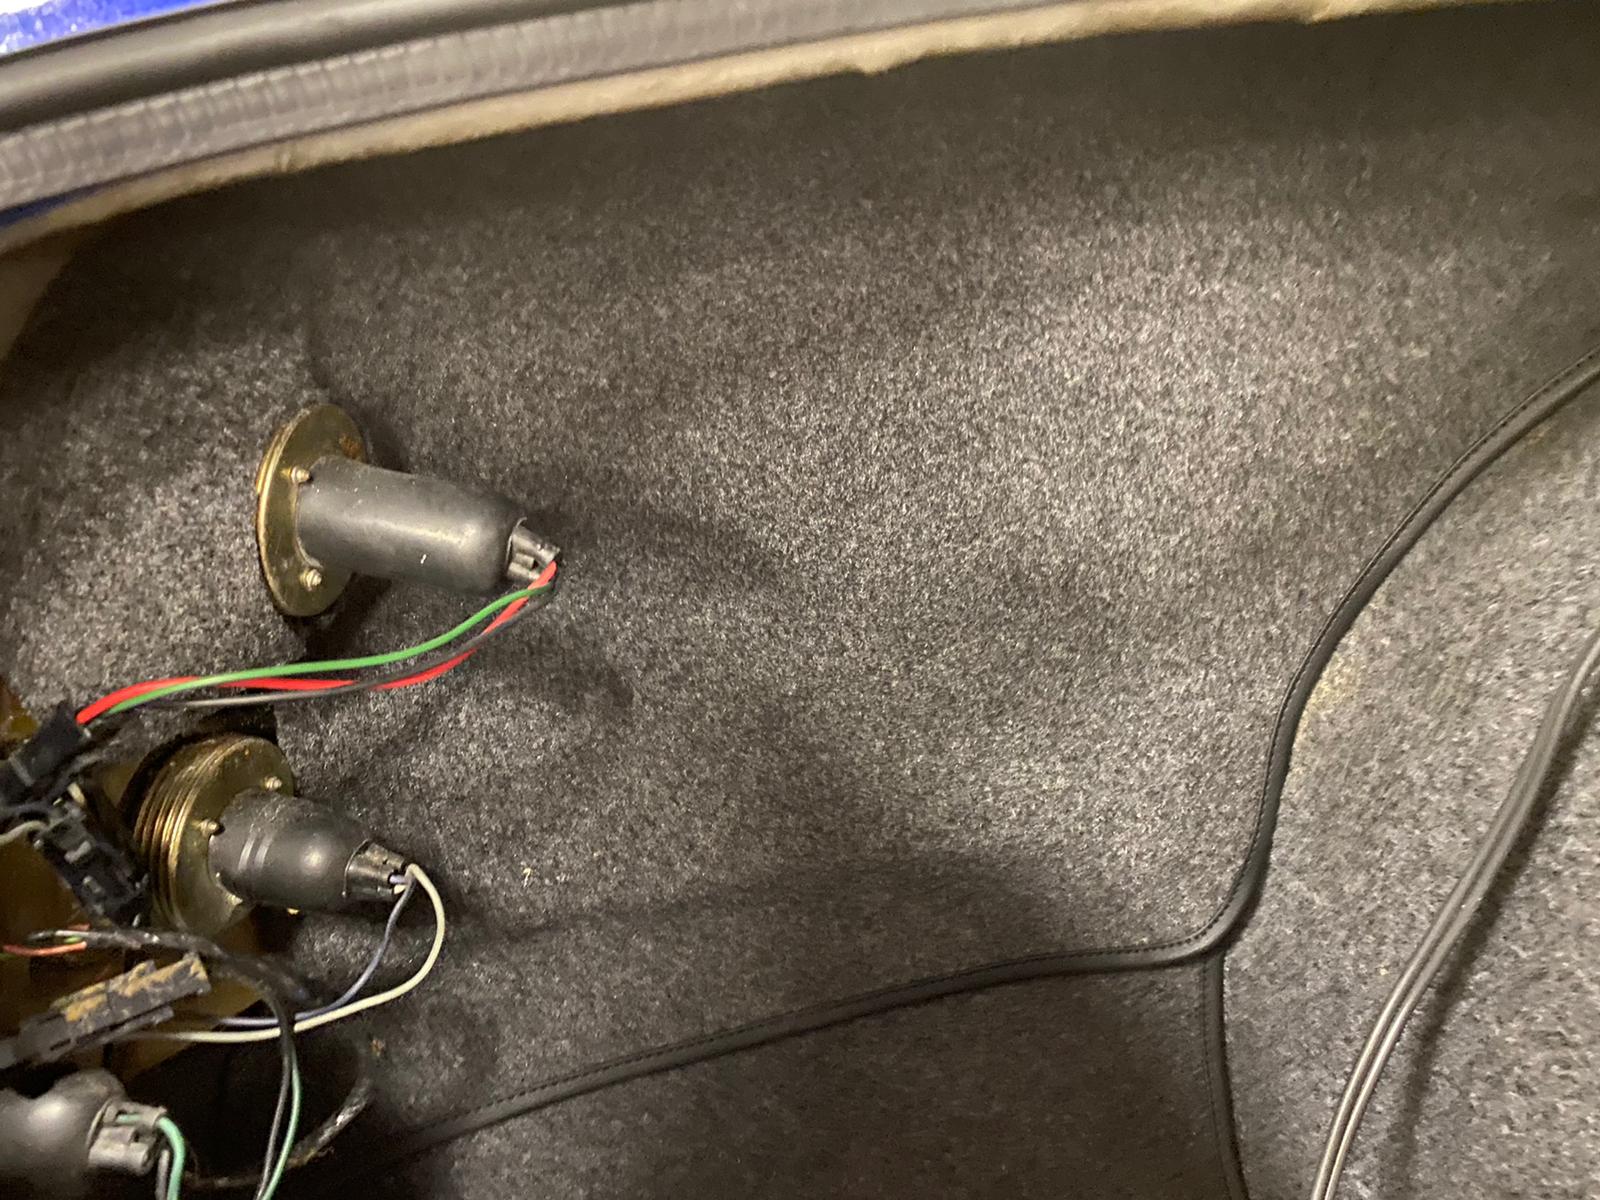
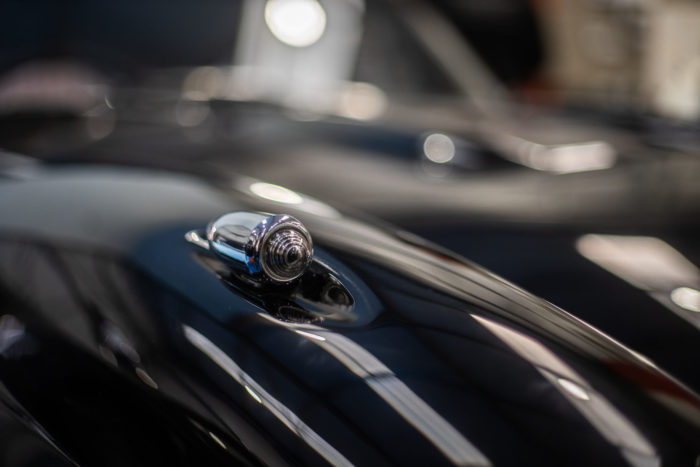
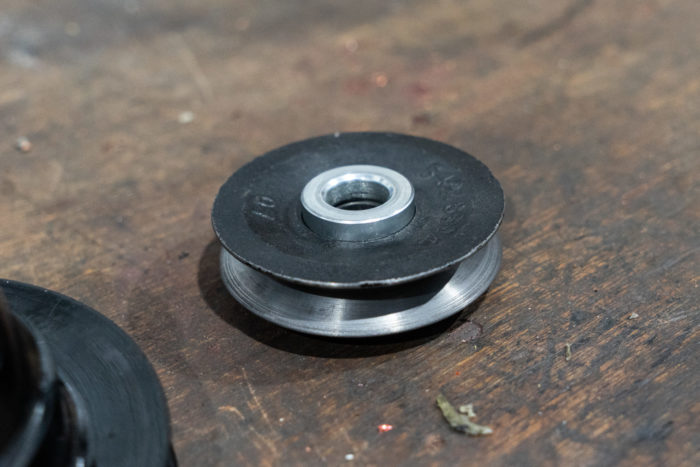
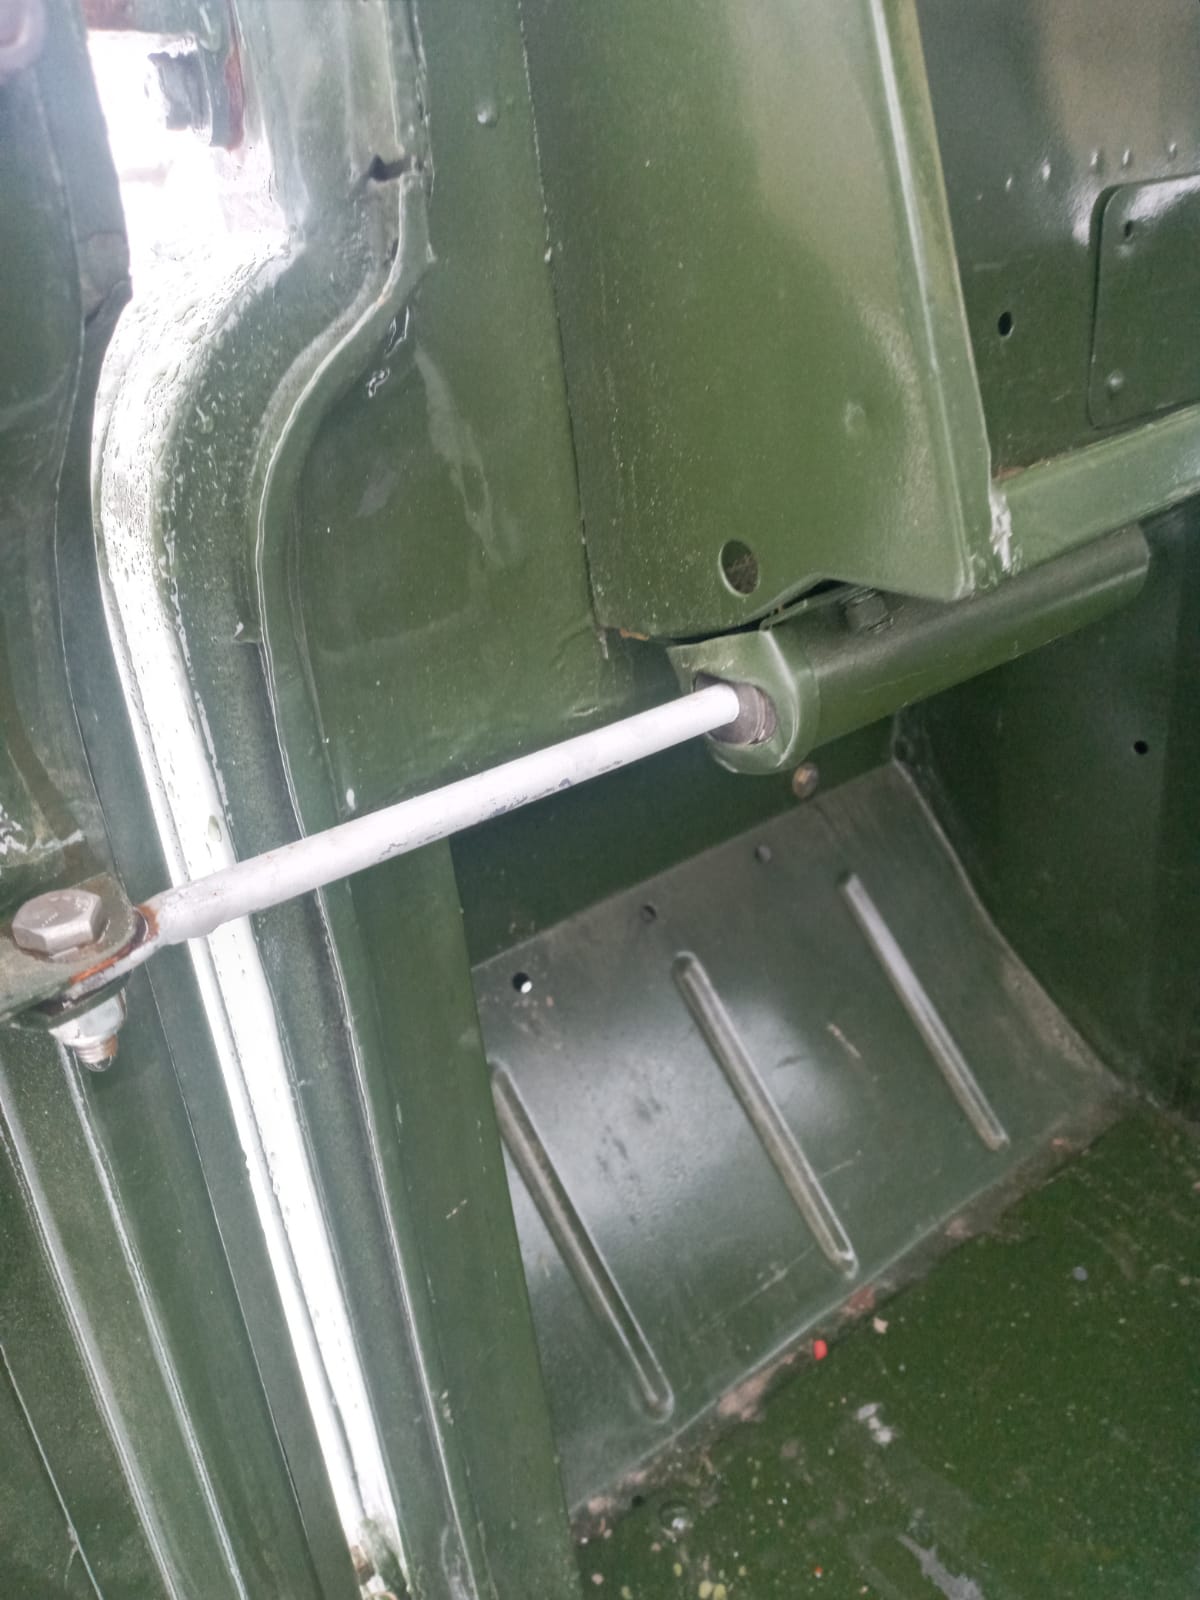
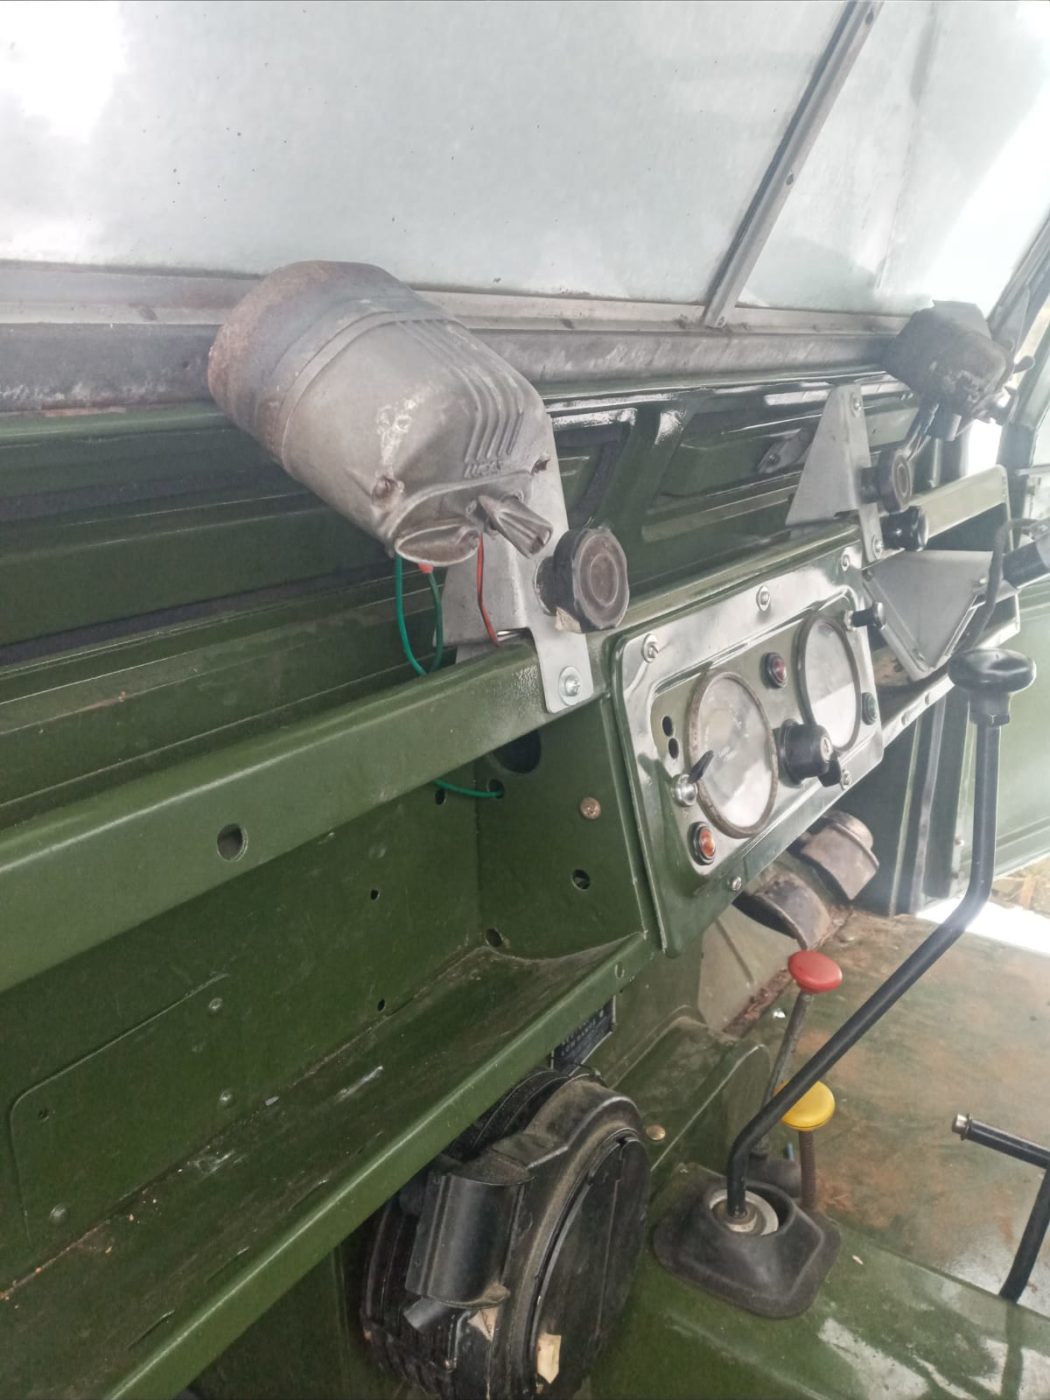
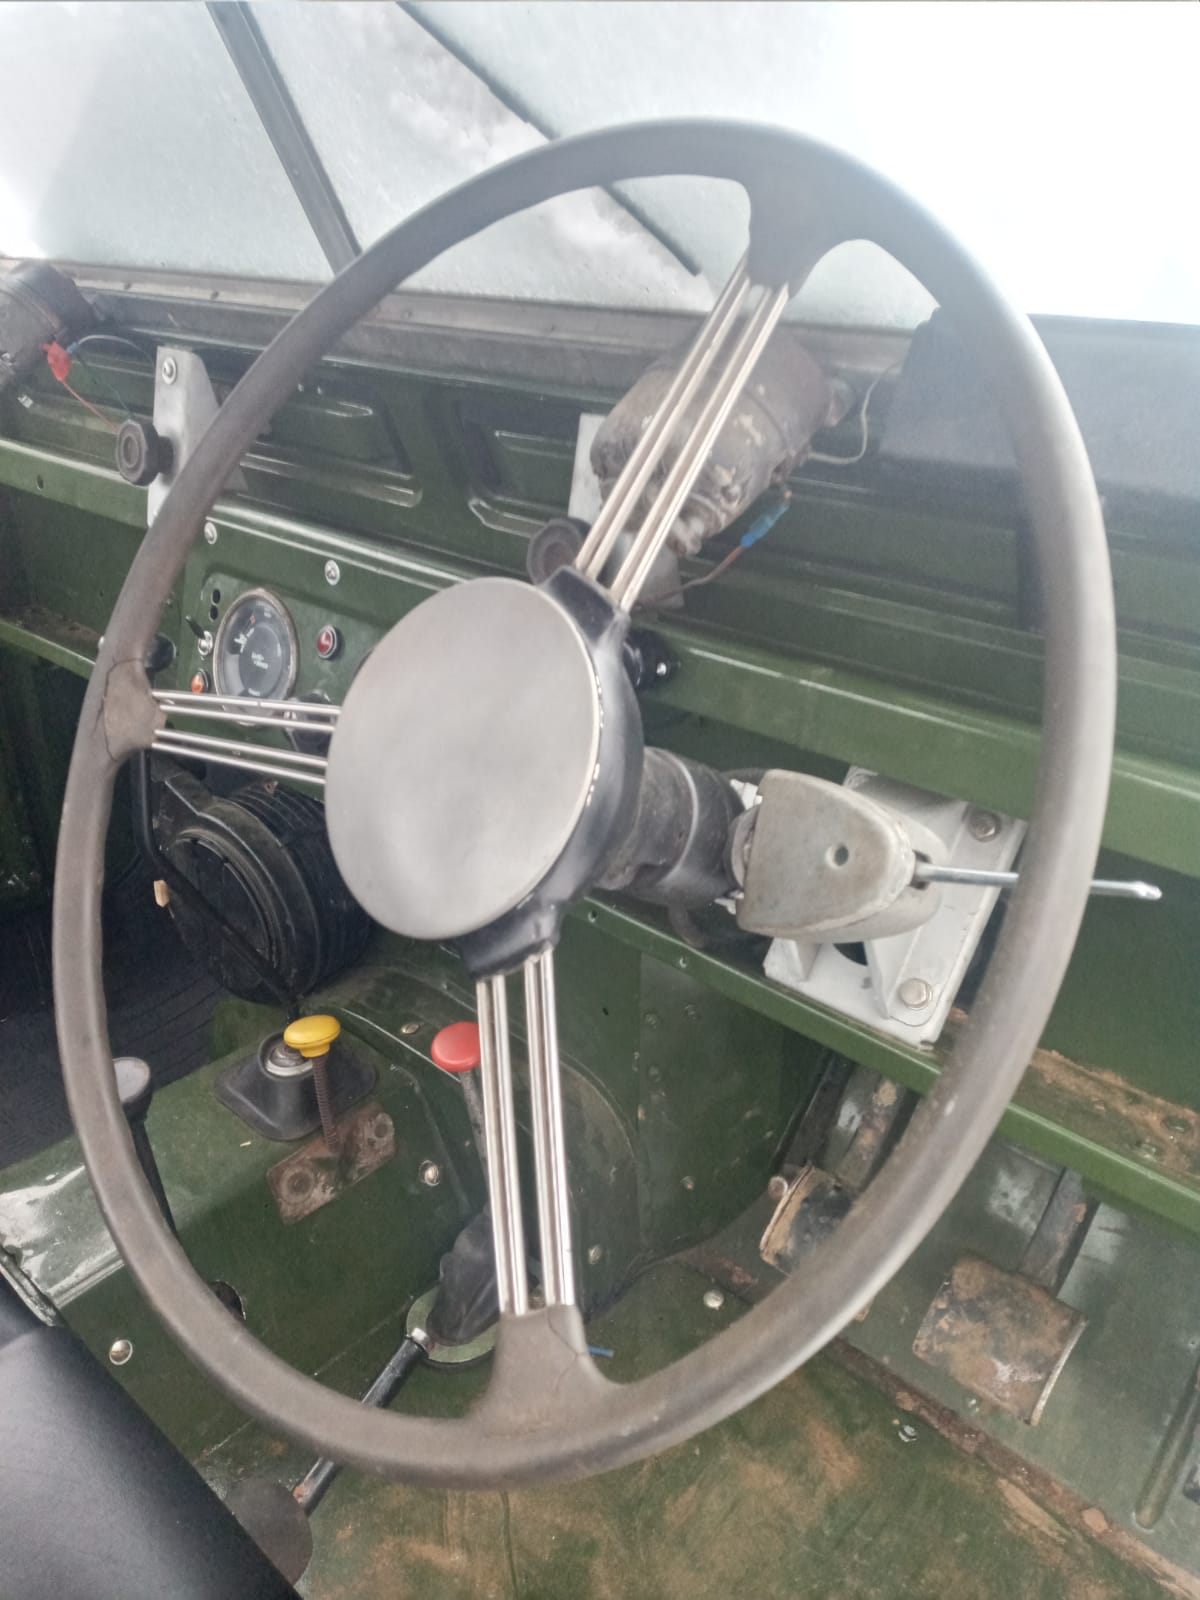
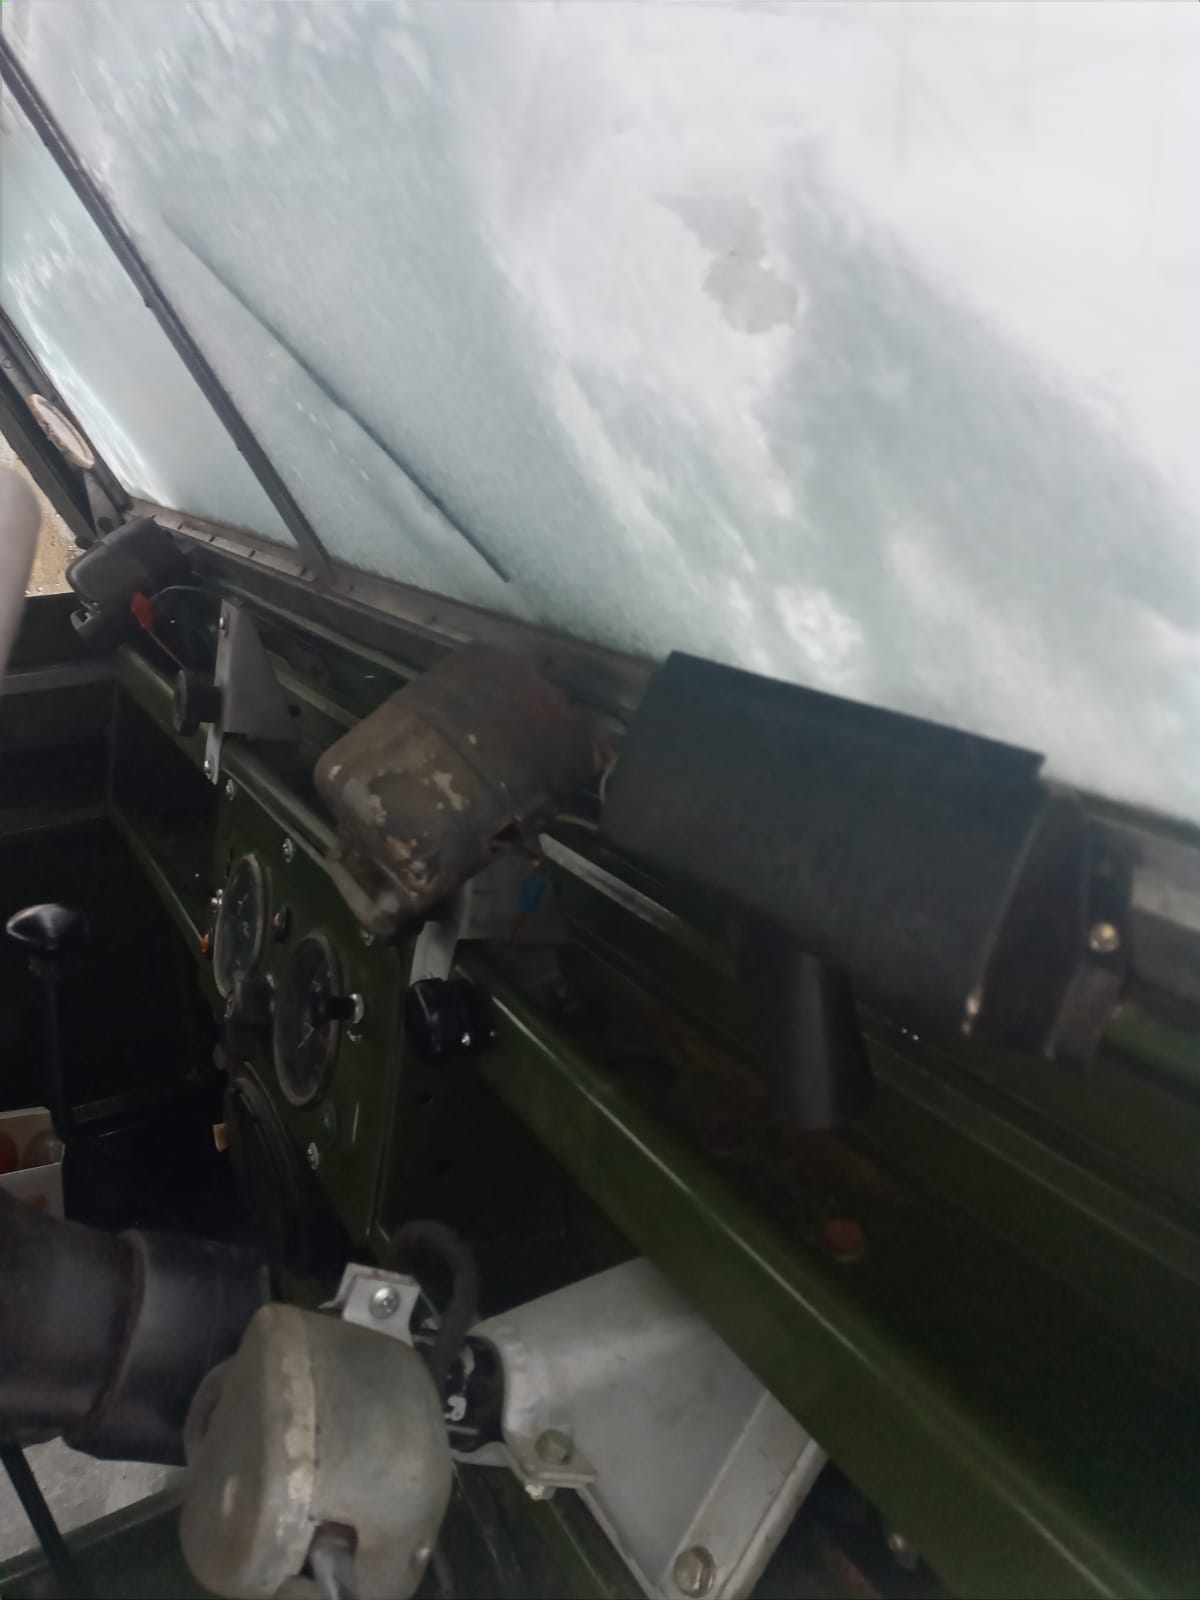
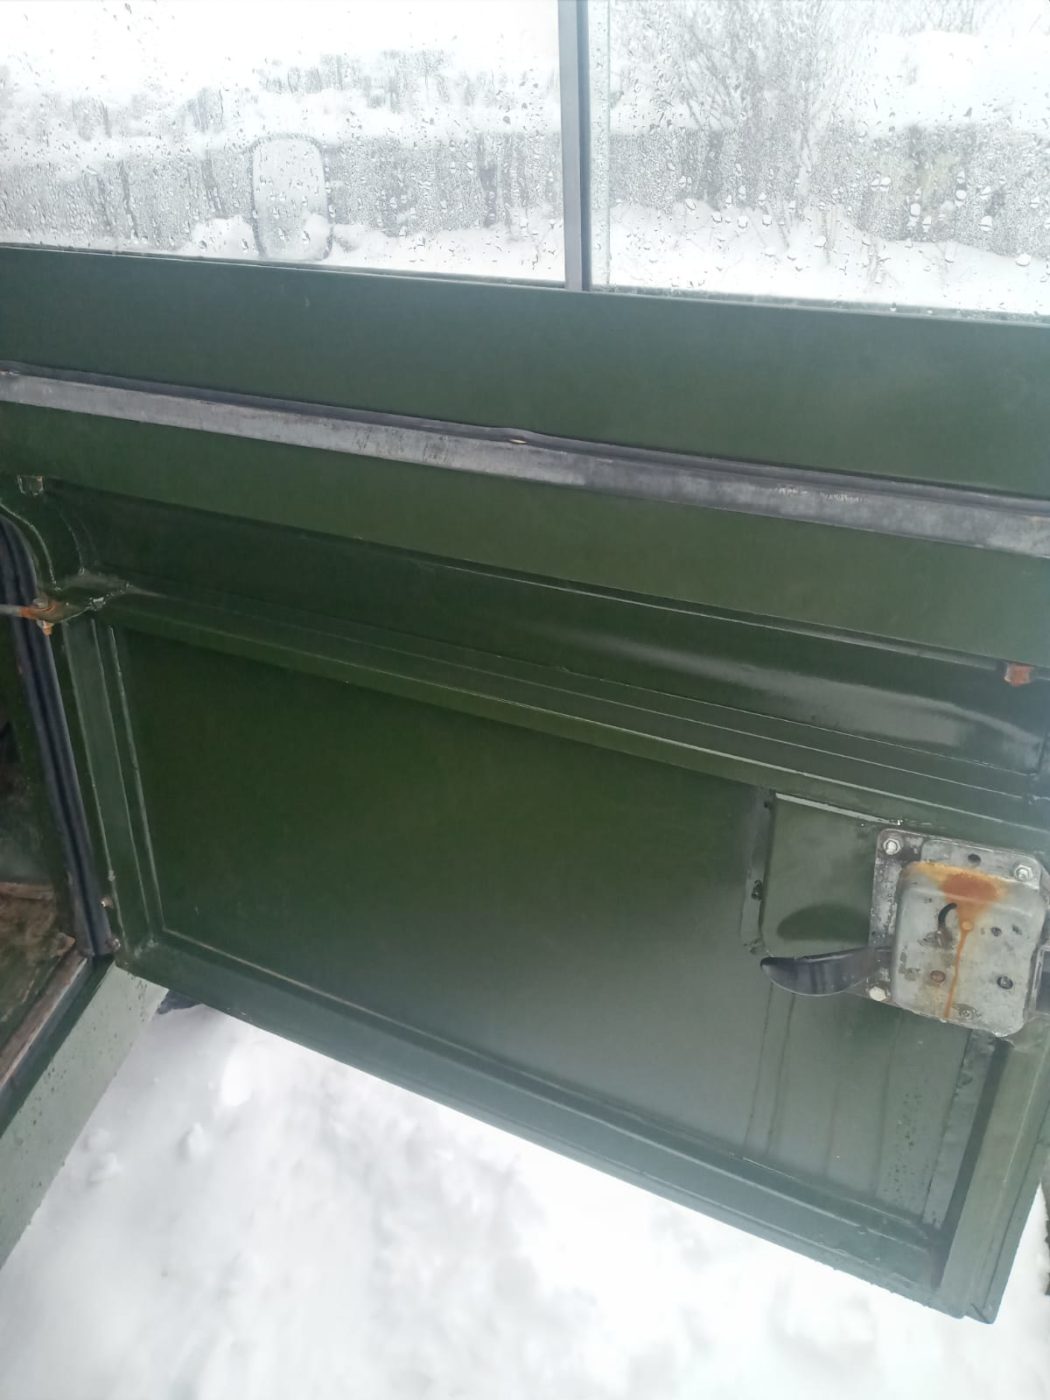
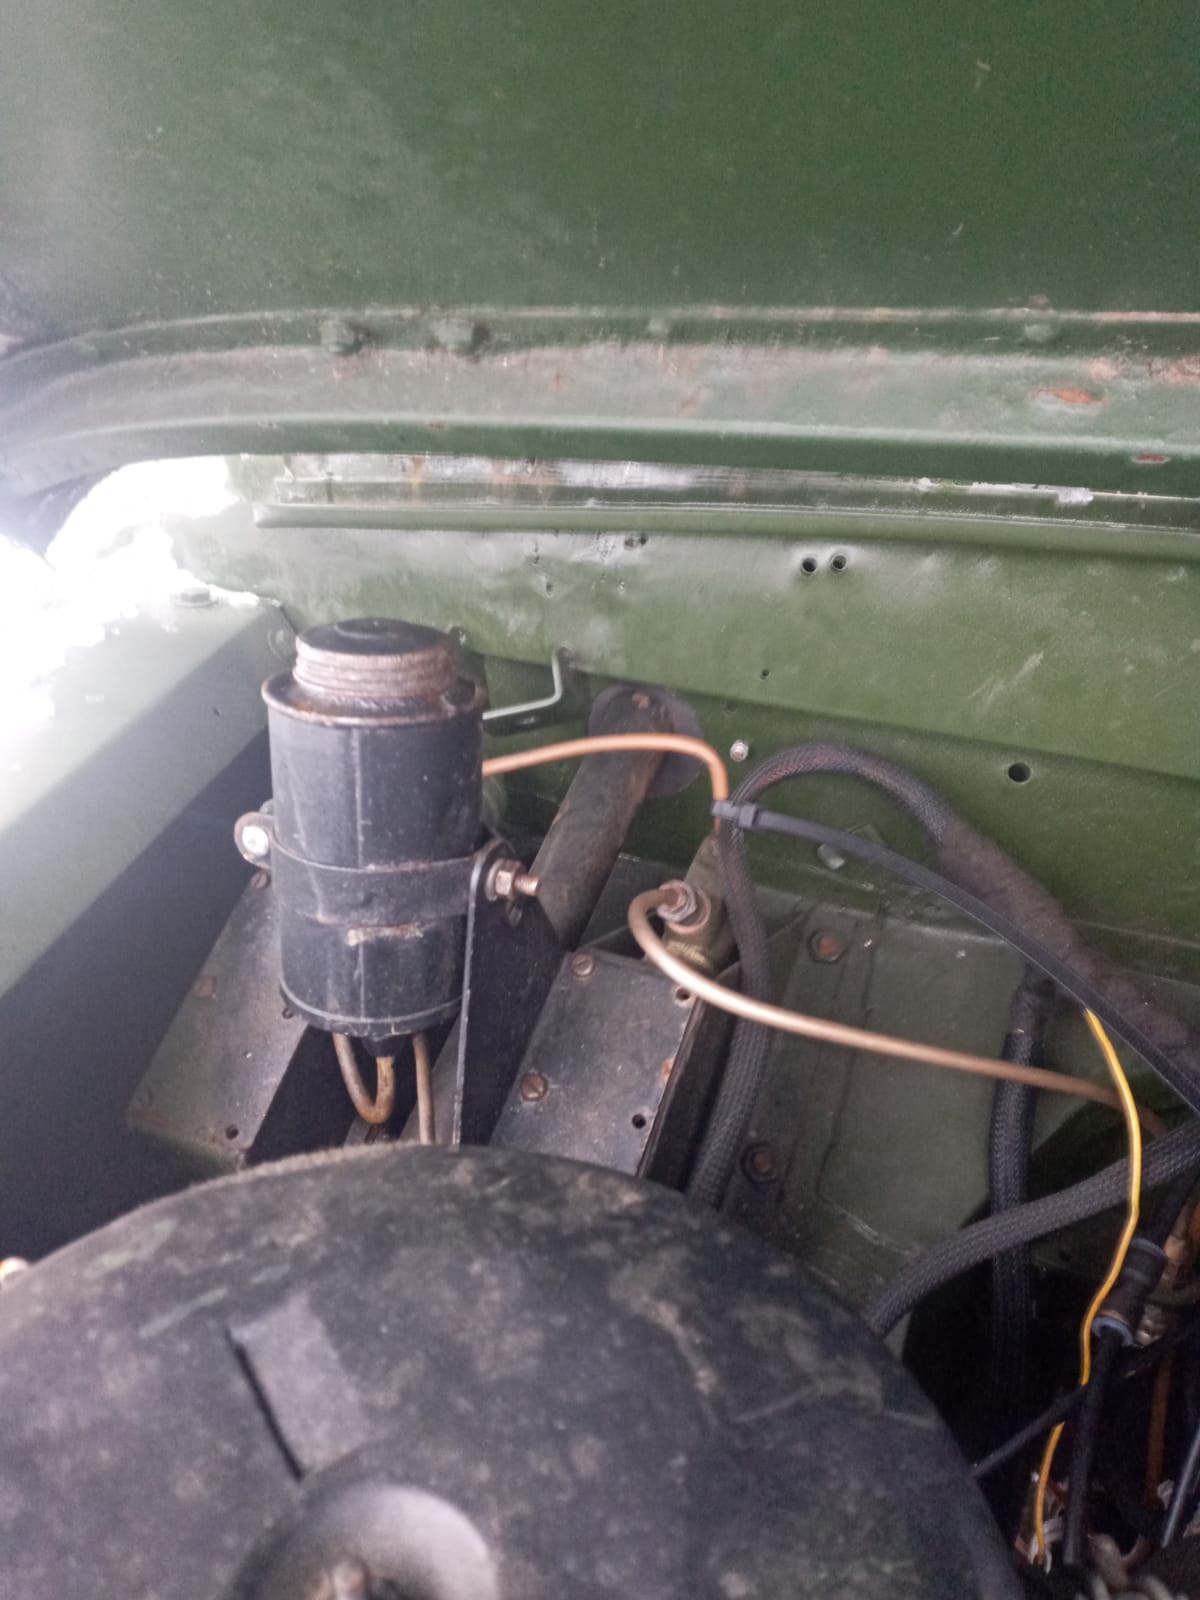
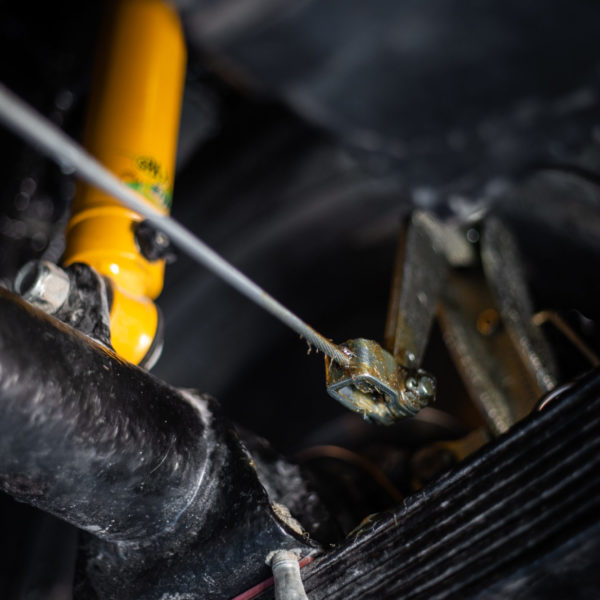
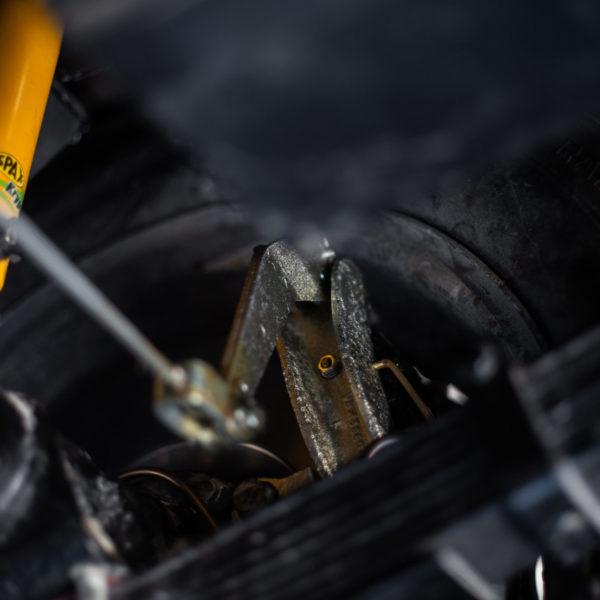
We’ve recently re-fitted and lowered the side lights as pictured below. This was a cosmetic change that the customer requested.
The pulley mechanism for the dynamometer wasn’t running at the correct speed and therefore was not charging the battery. We sent the pulley away to be modified at Coltec. We’ve now received it back so they can be fitted. The pulley has been made smaller to allow it to spin faster and charge the dynamometer. We hope this will have solved the charging issue!
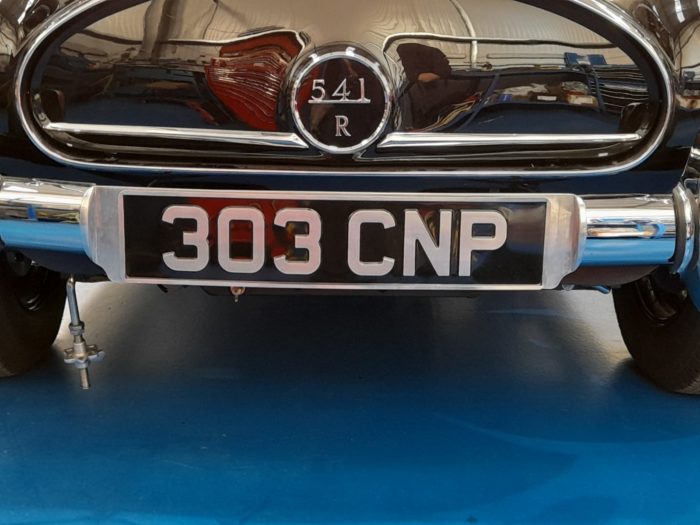
We’ve also modified the number plate plate upon the clients request. Originally the metal chrome frame that the number plate sat on was wider than the number plate, which is the original design, however our client decided he’d like the width to be shorter, therefore we modified it to his bespoke request.
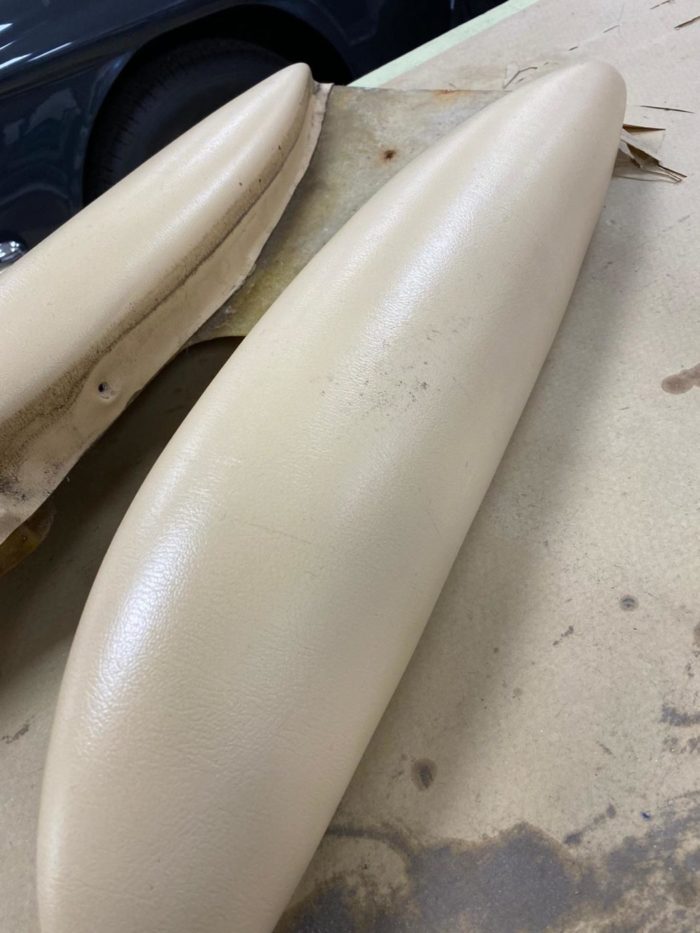
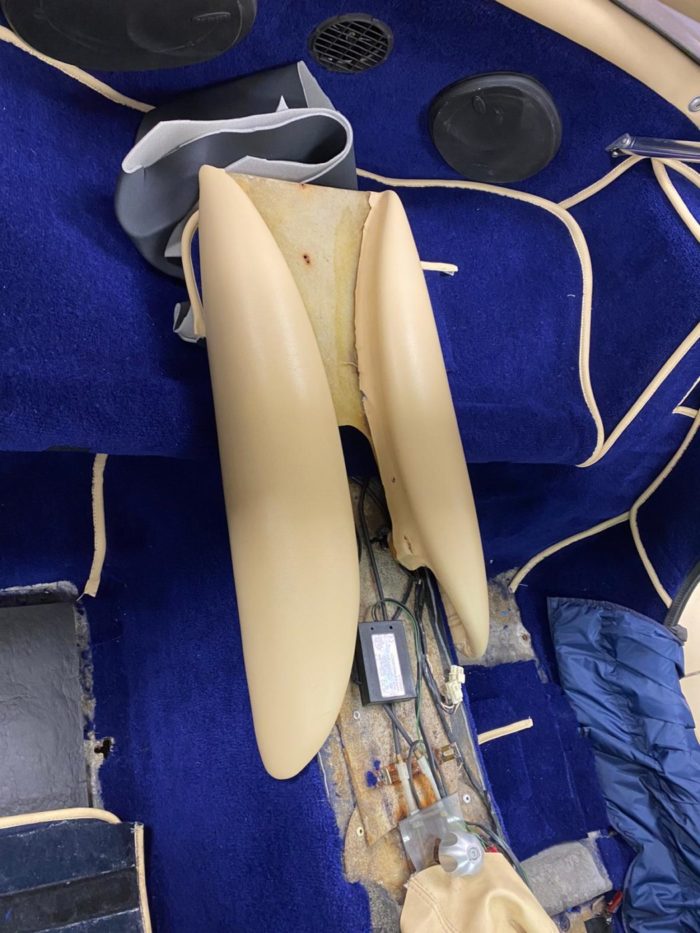
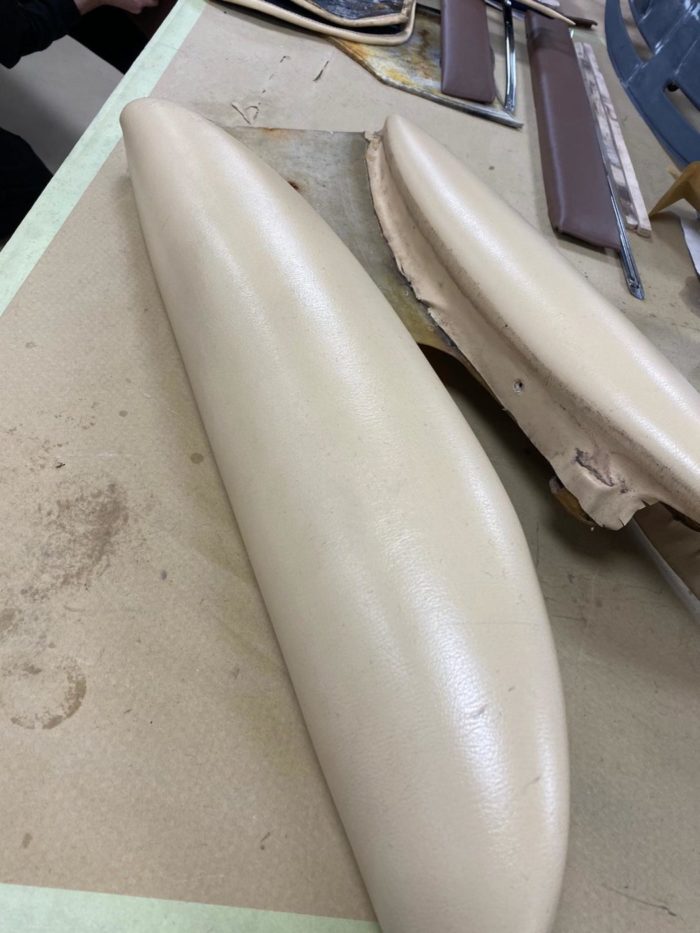
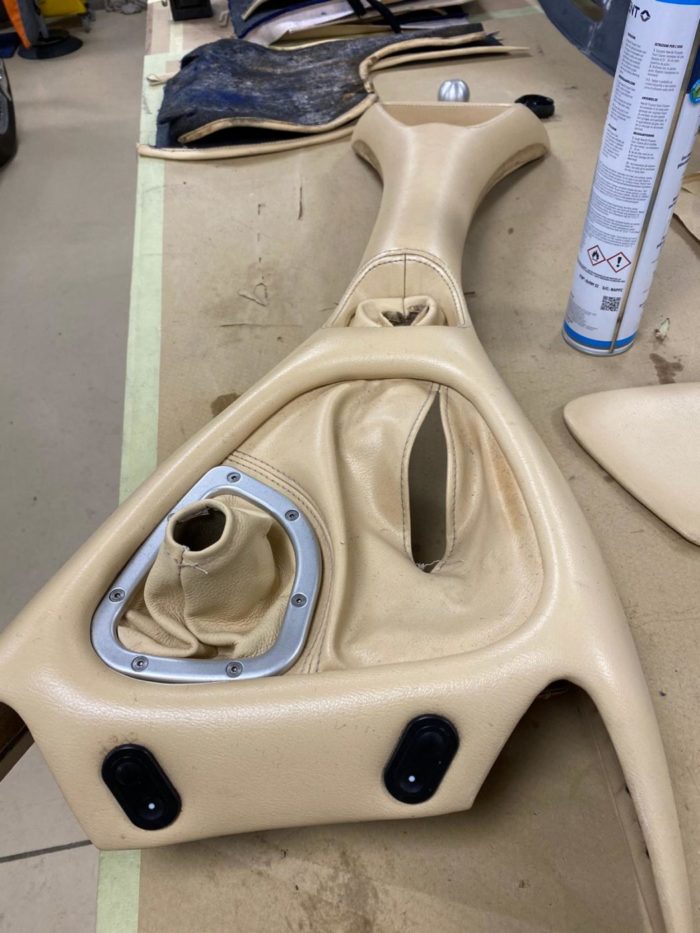
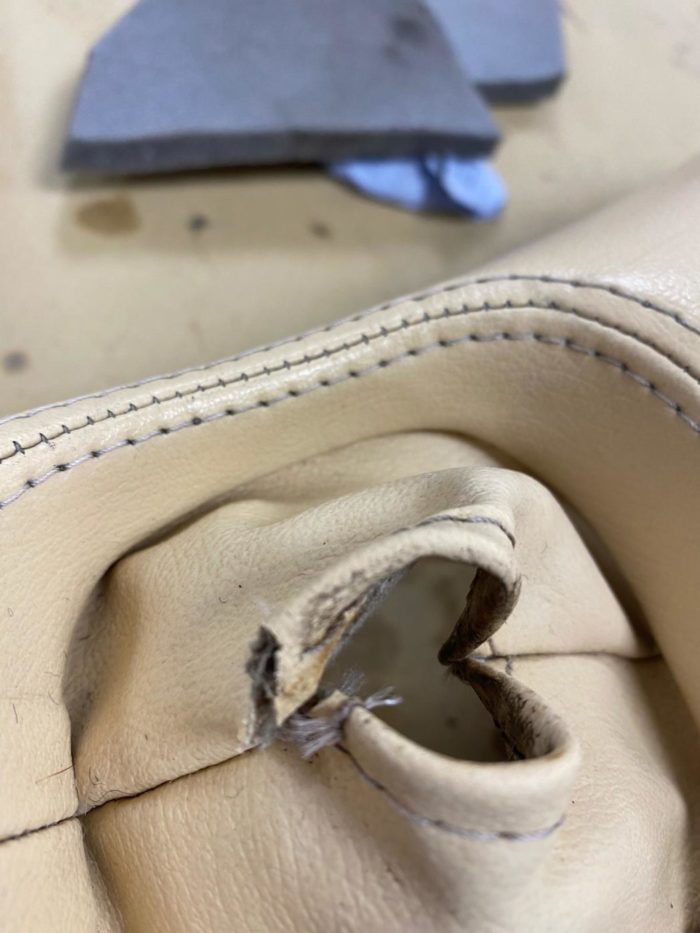
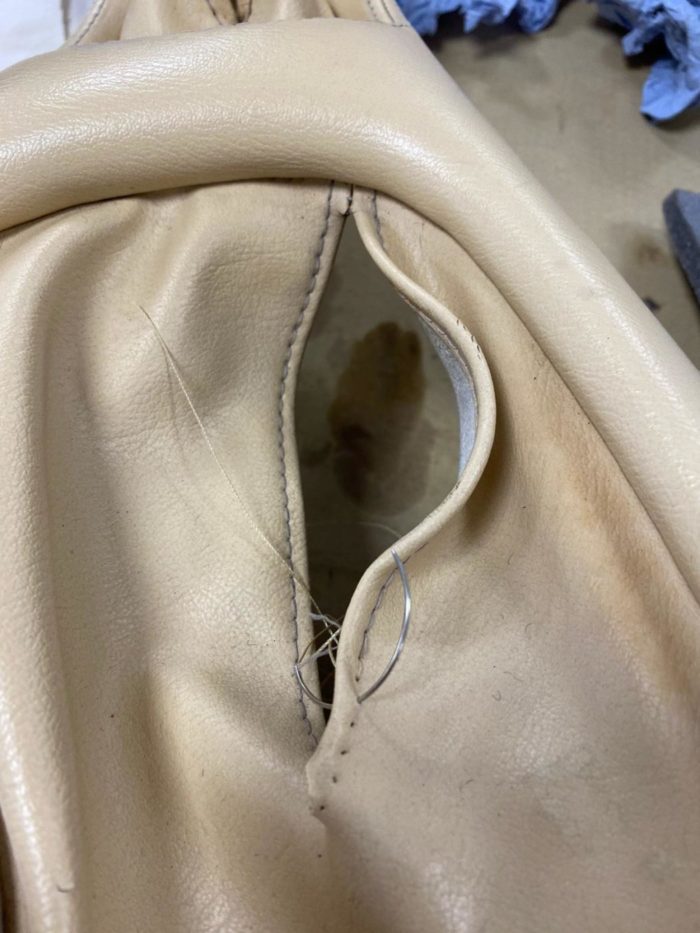
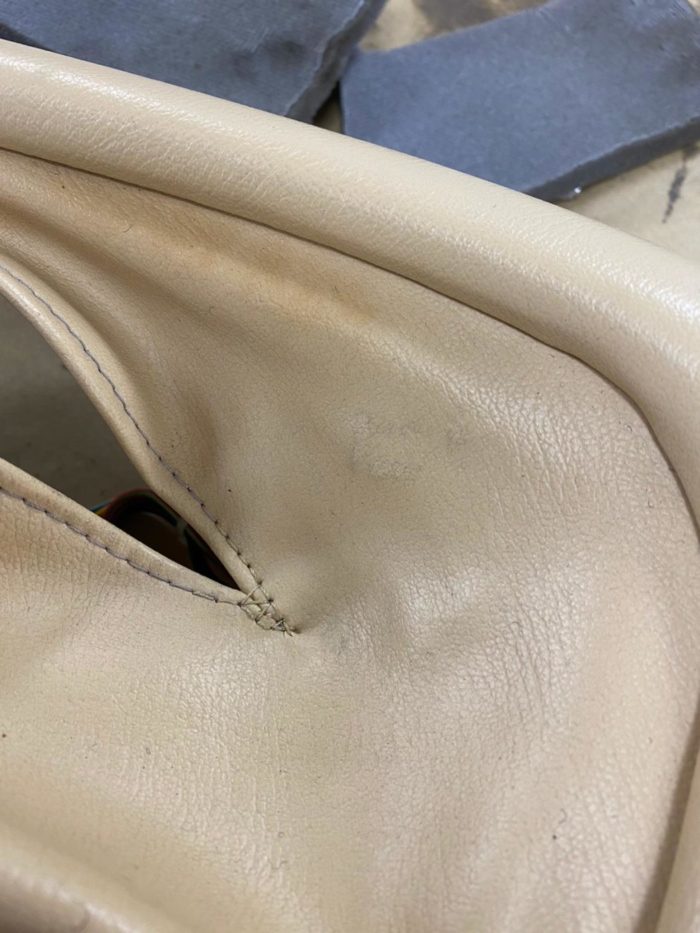
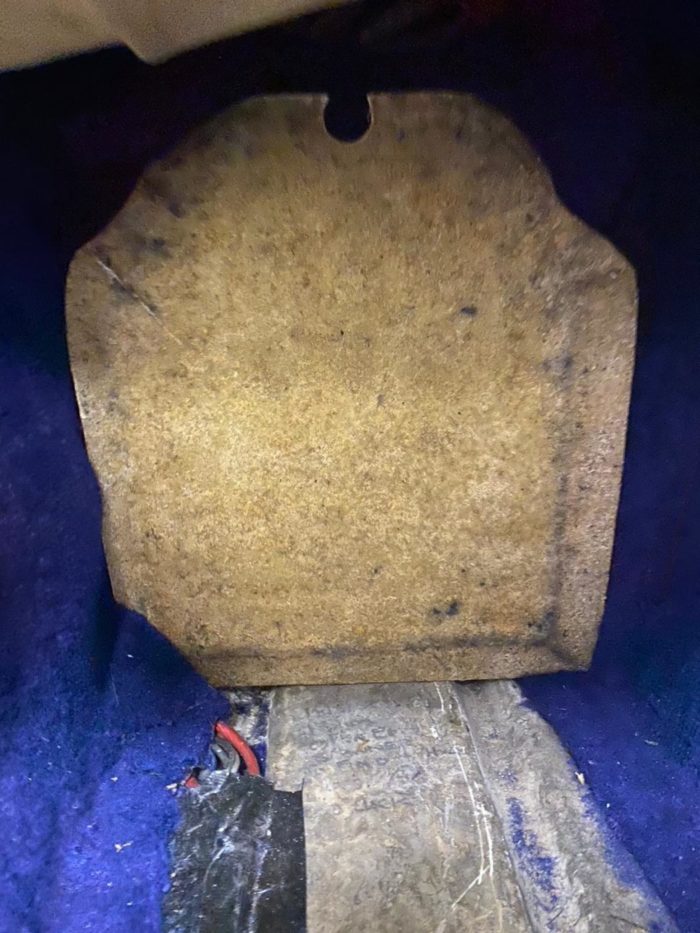
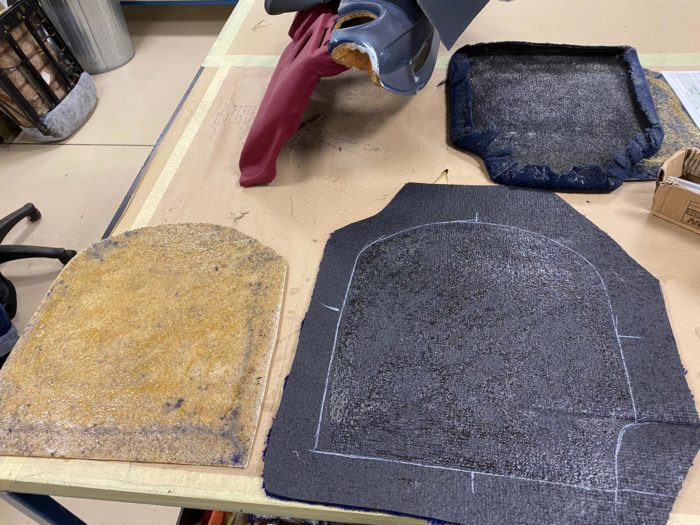
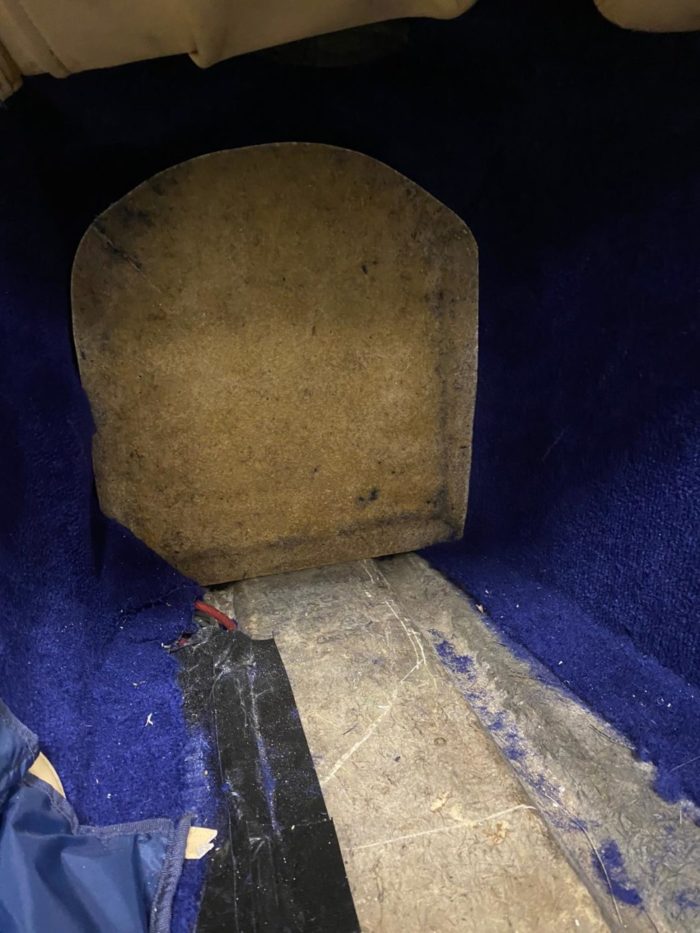
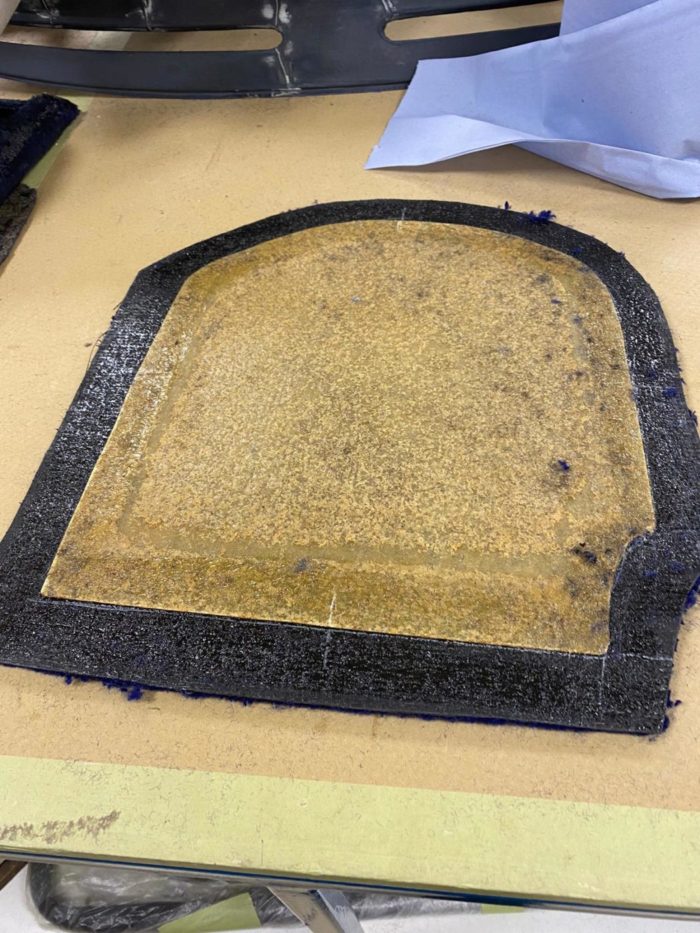
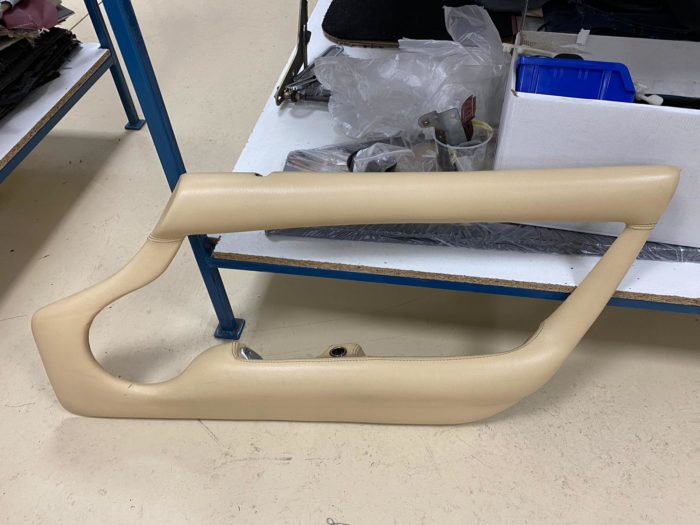
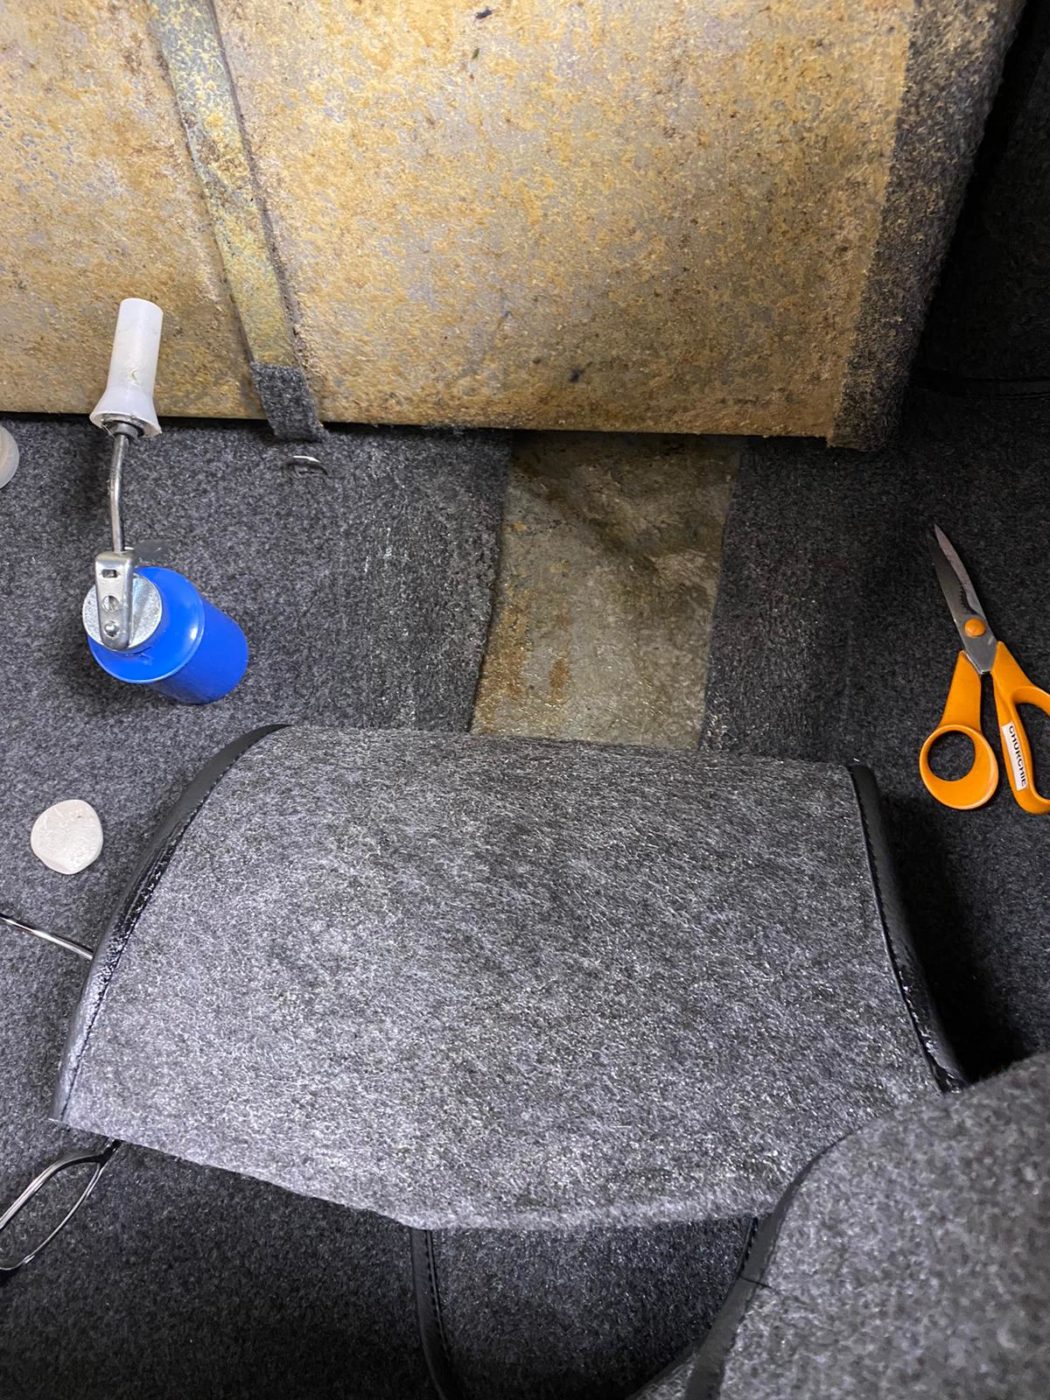
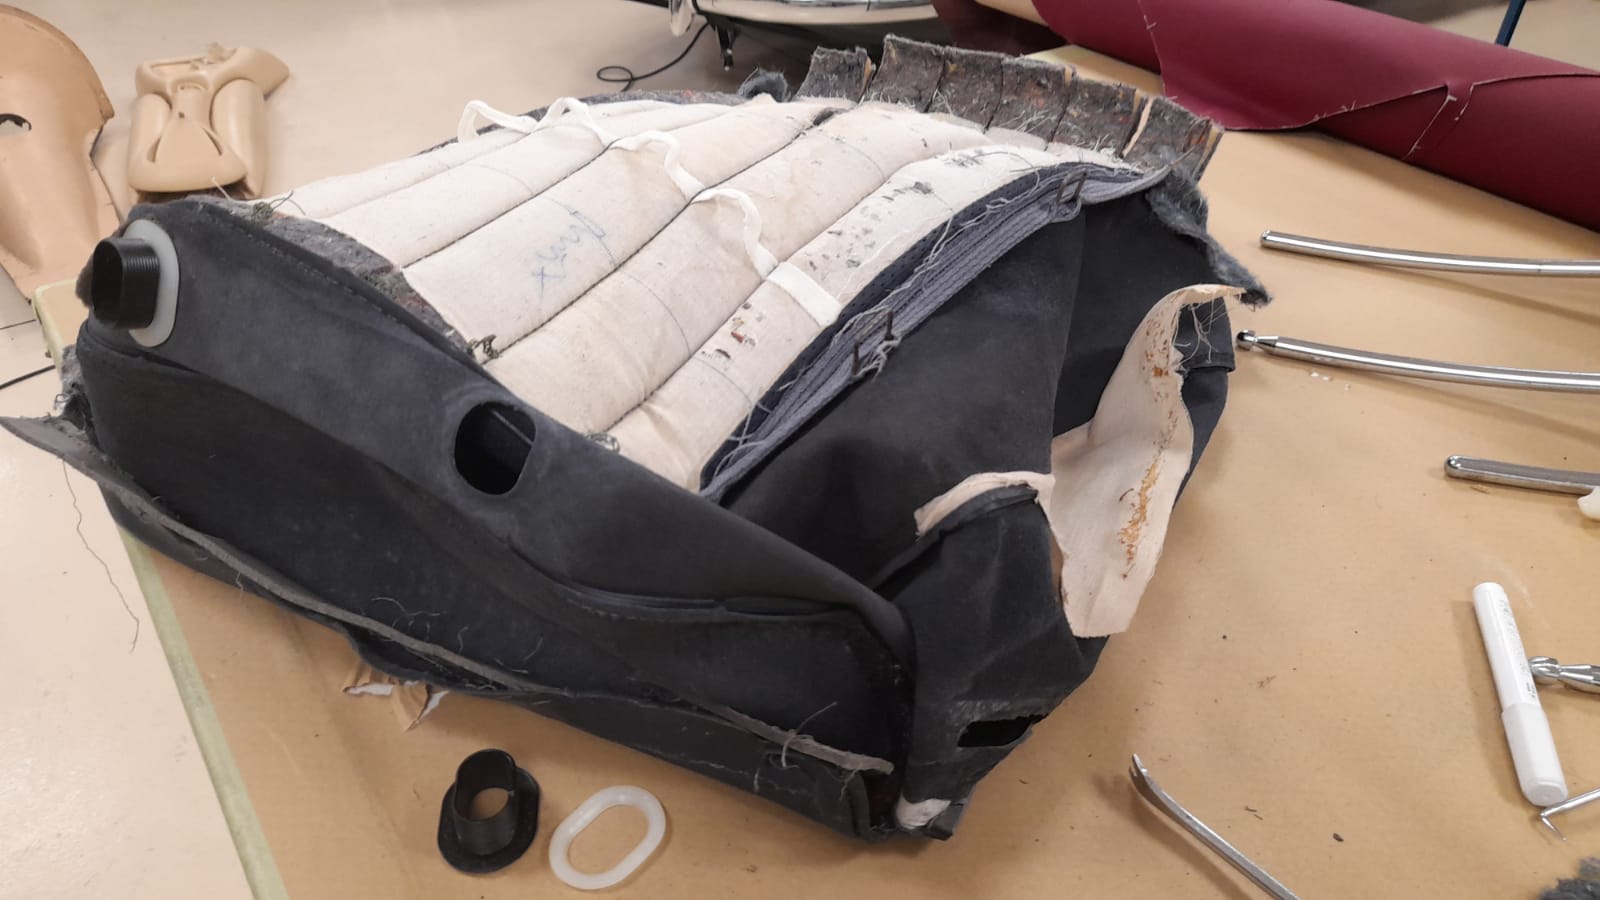
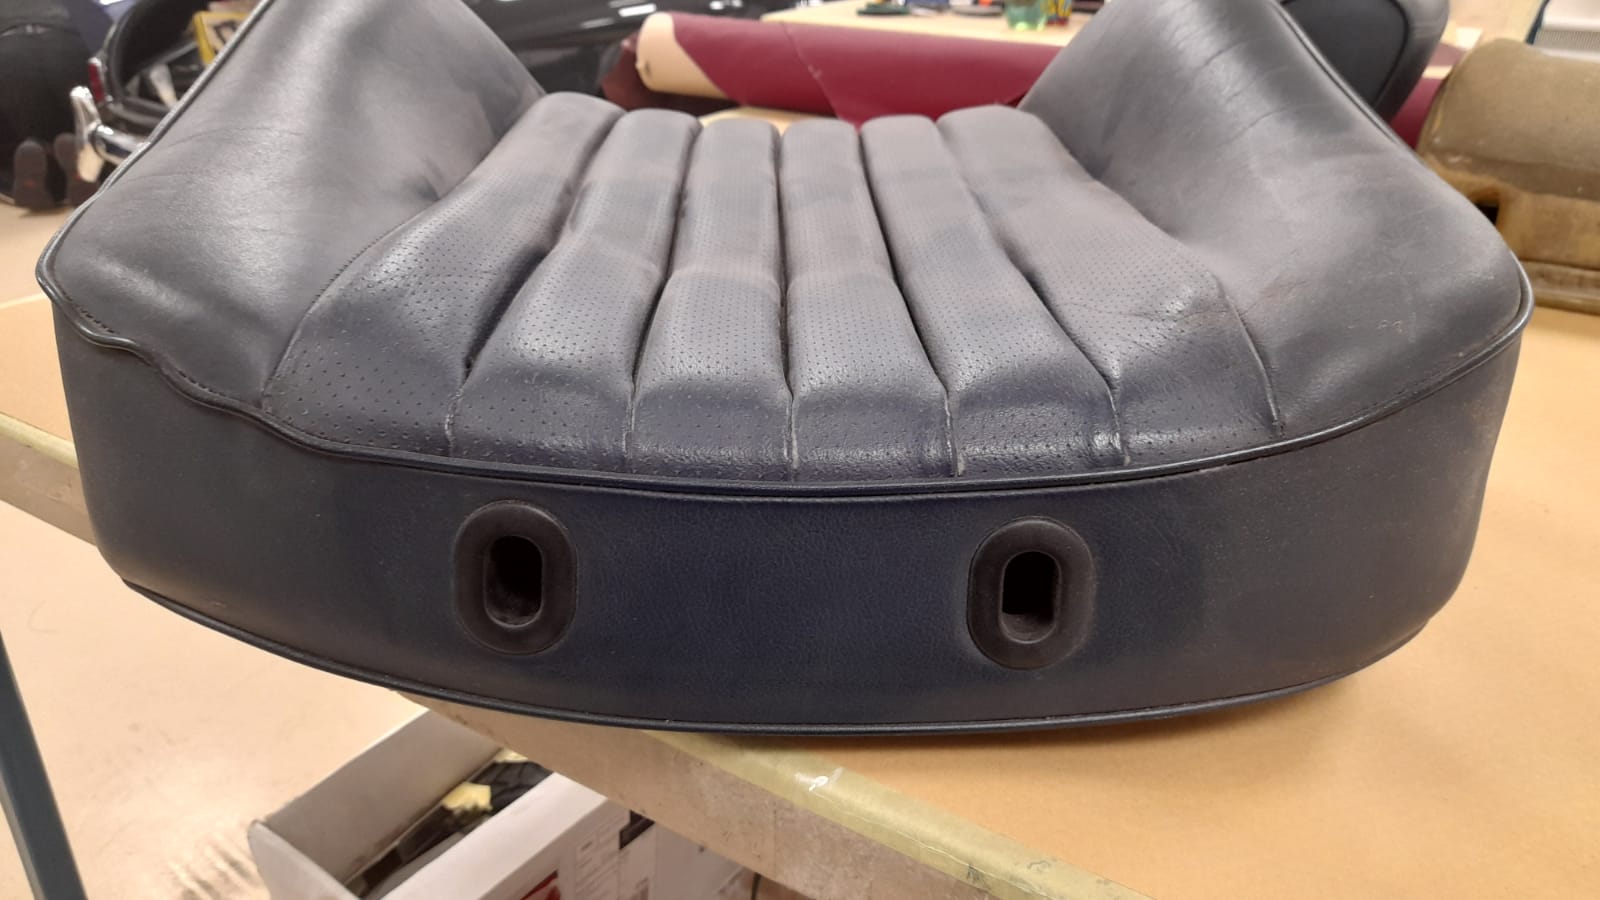
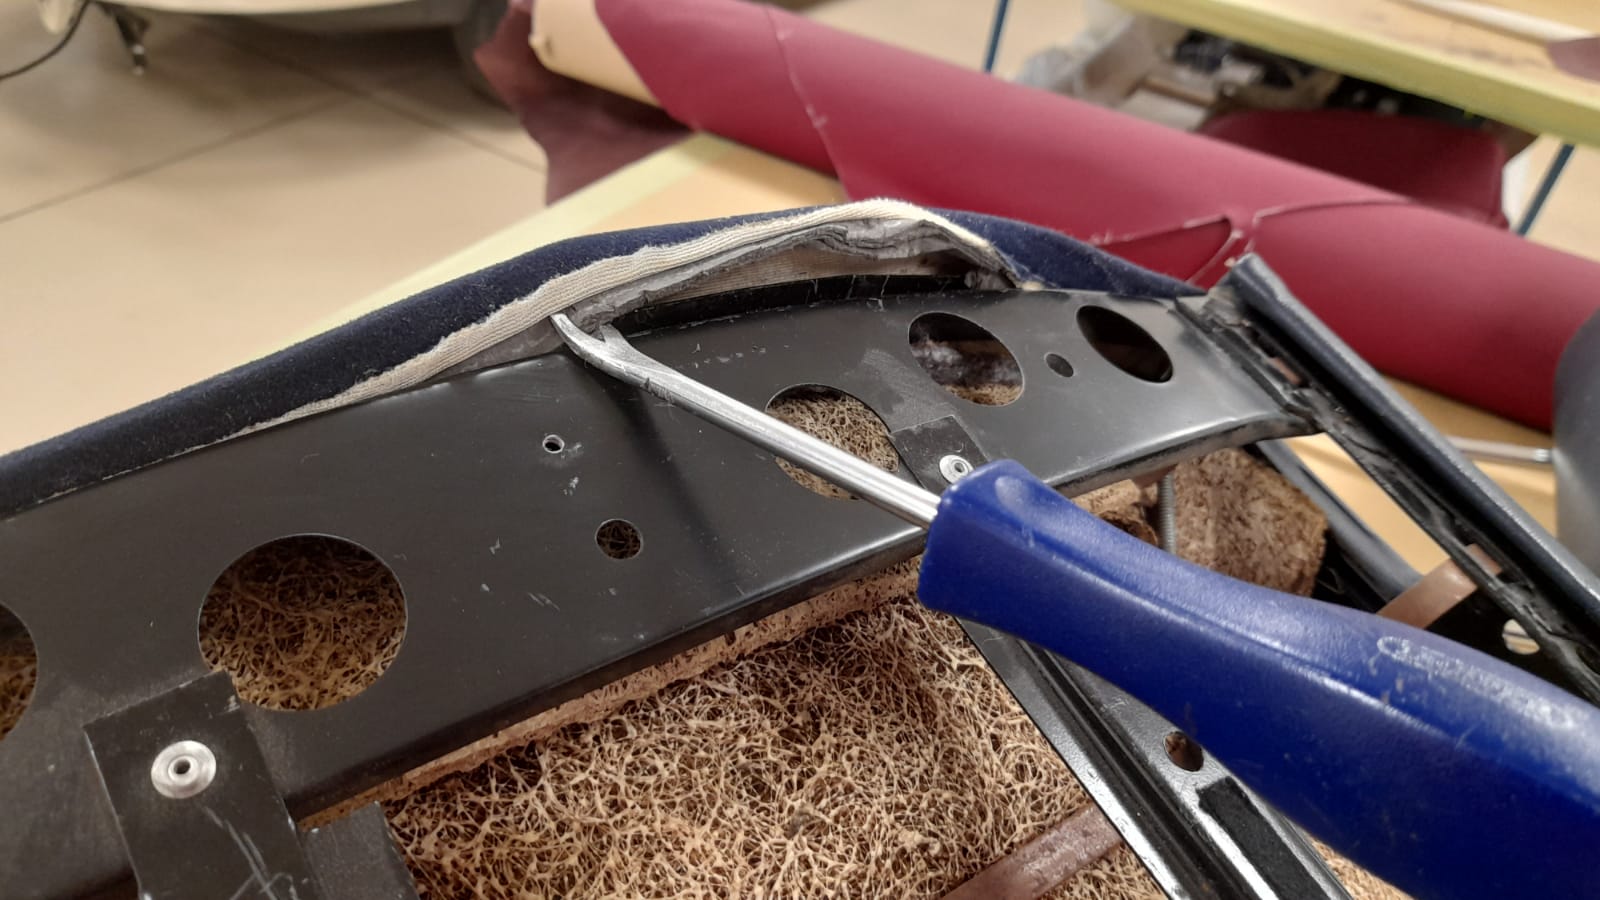
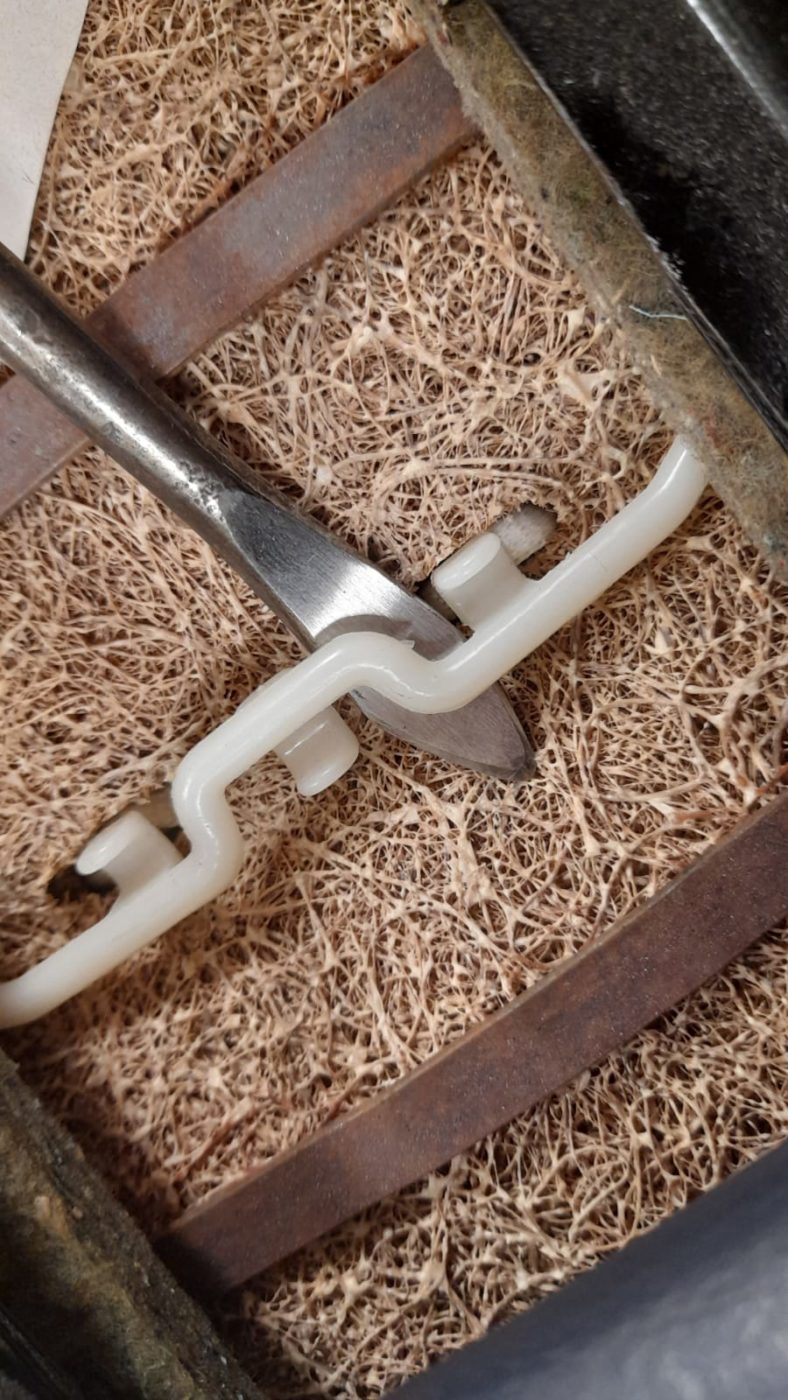
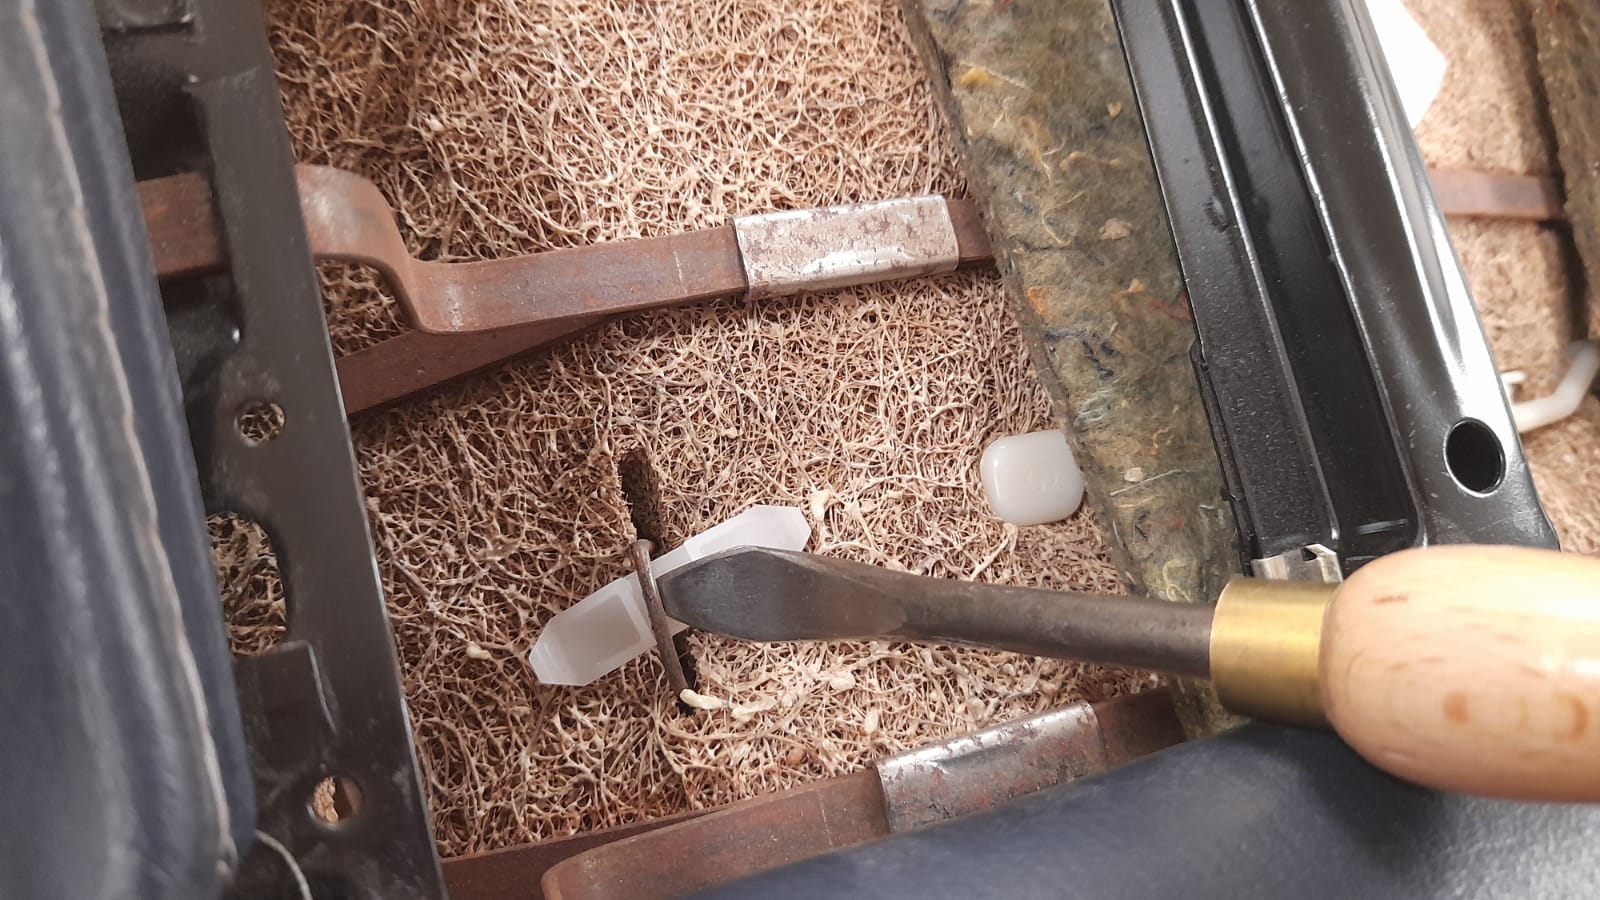
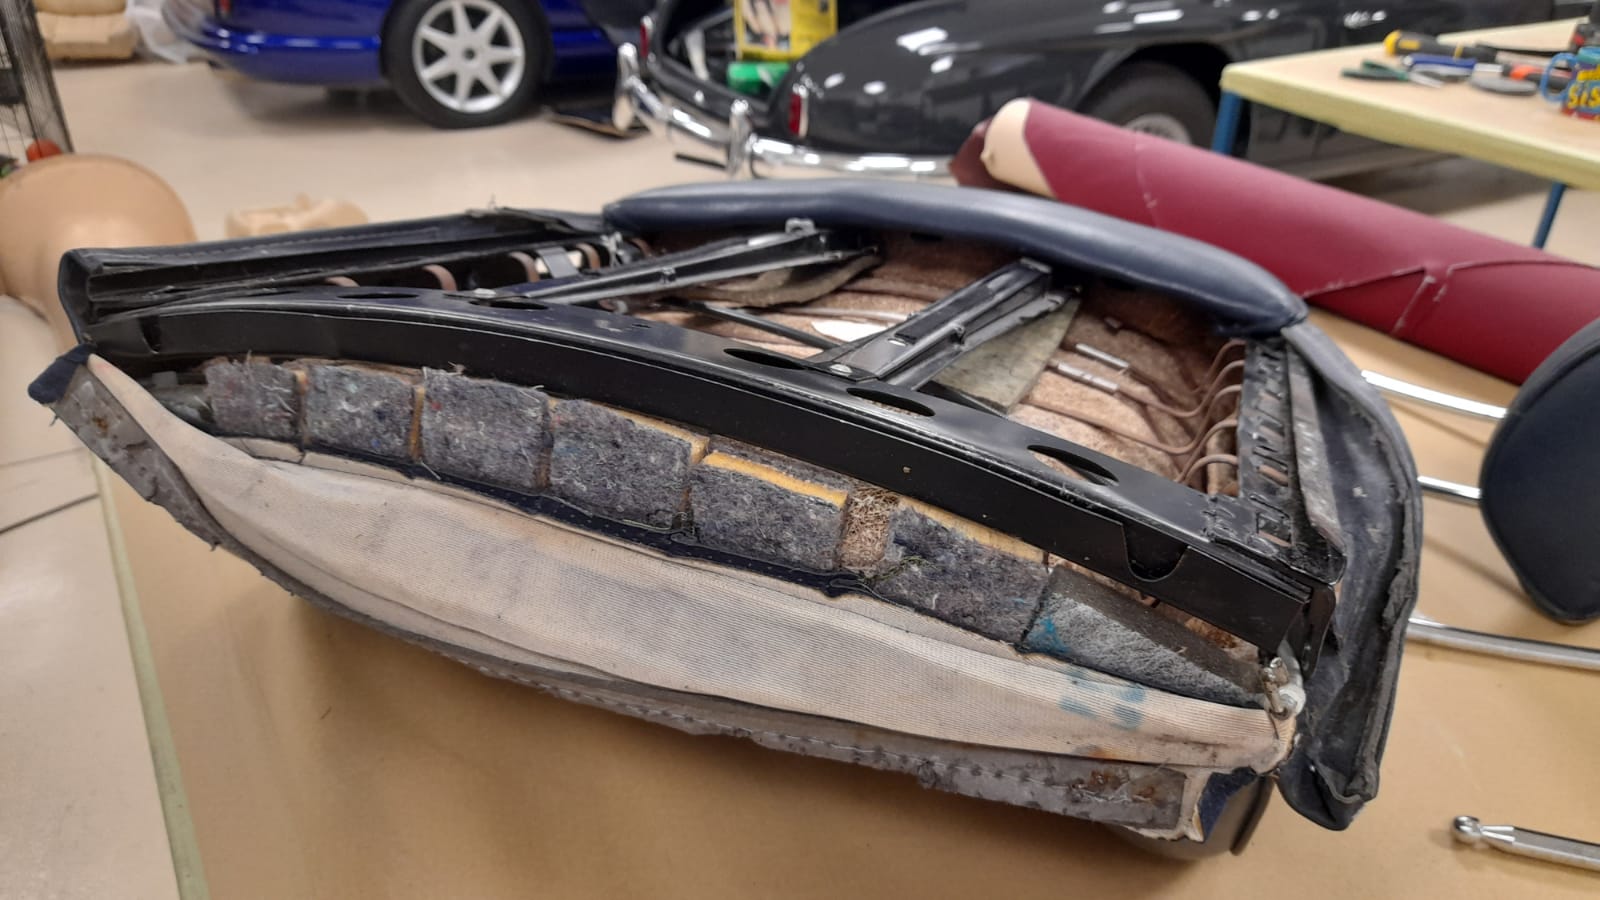
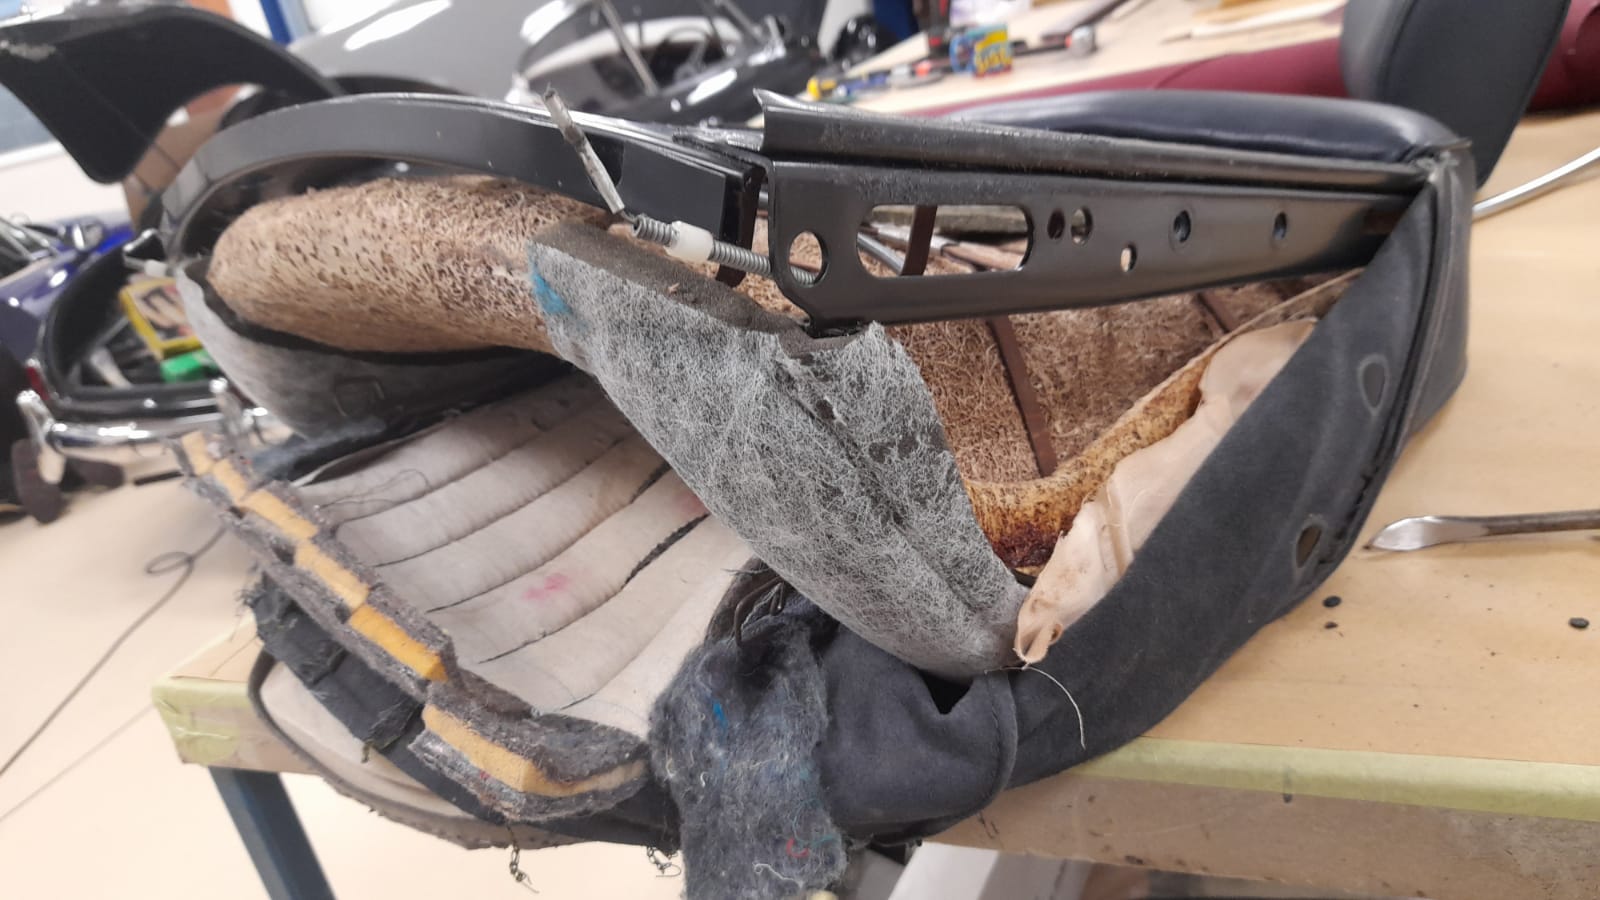
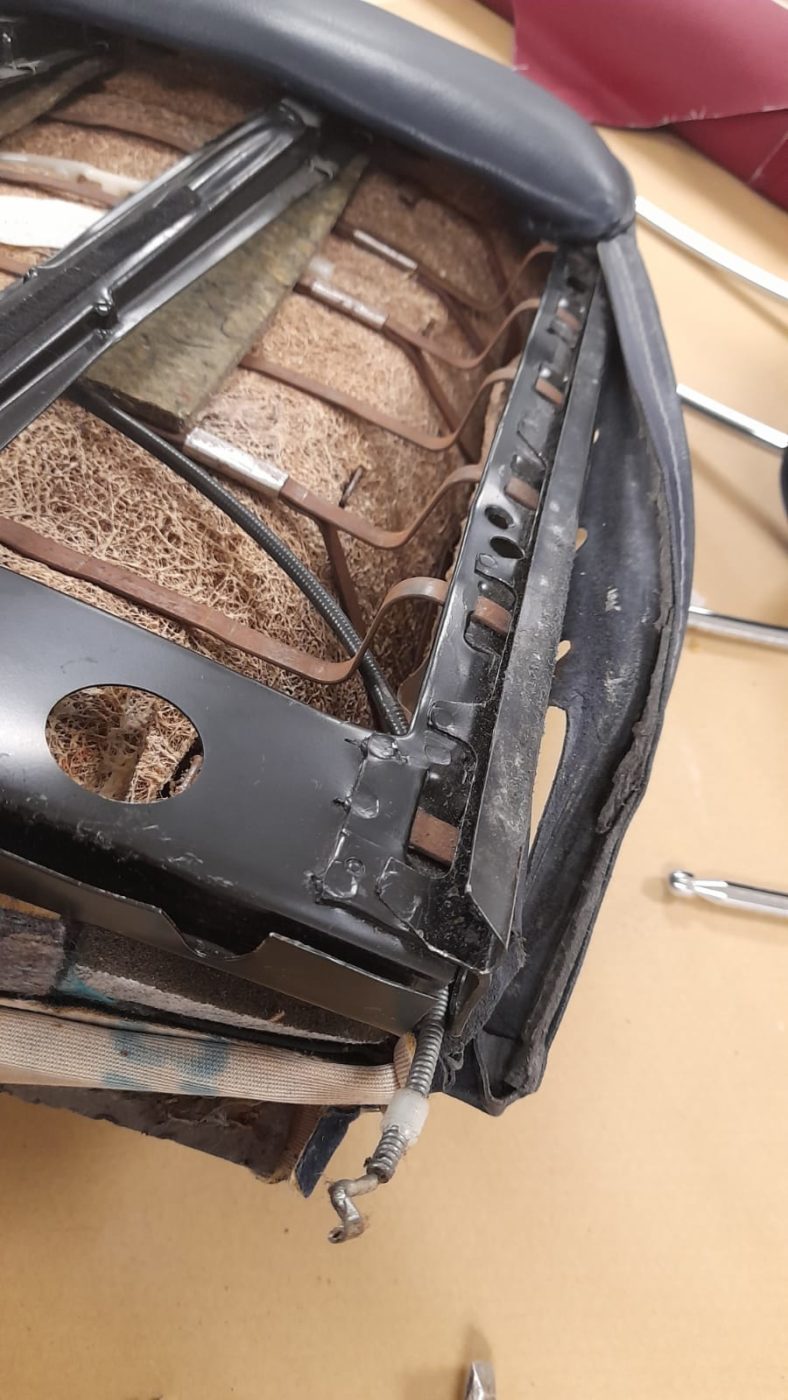
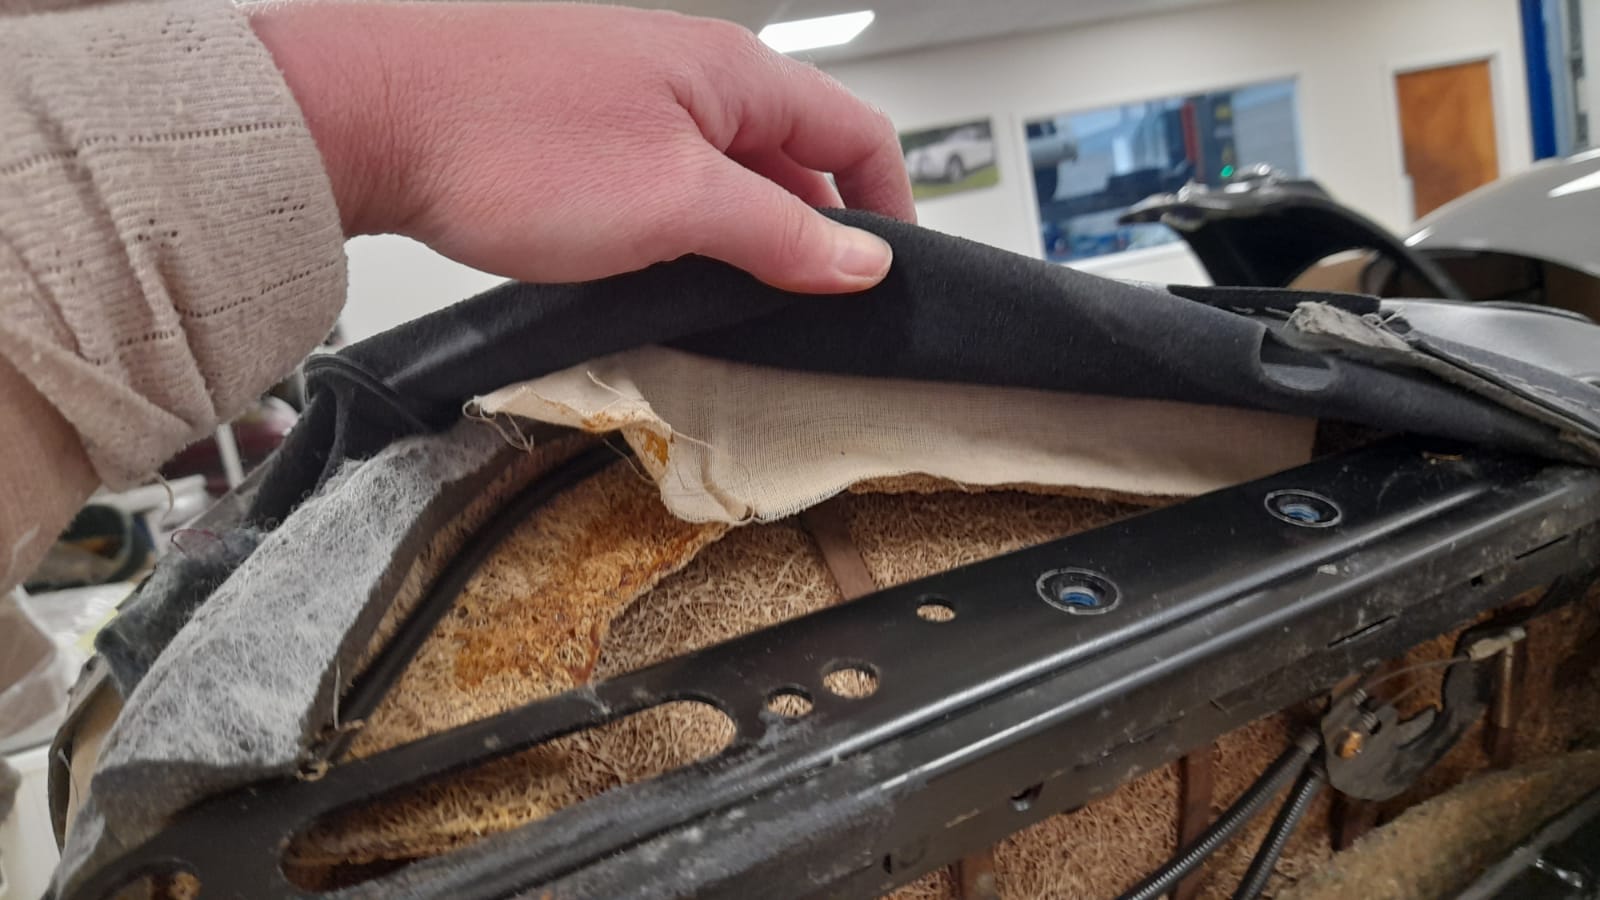
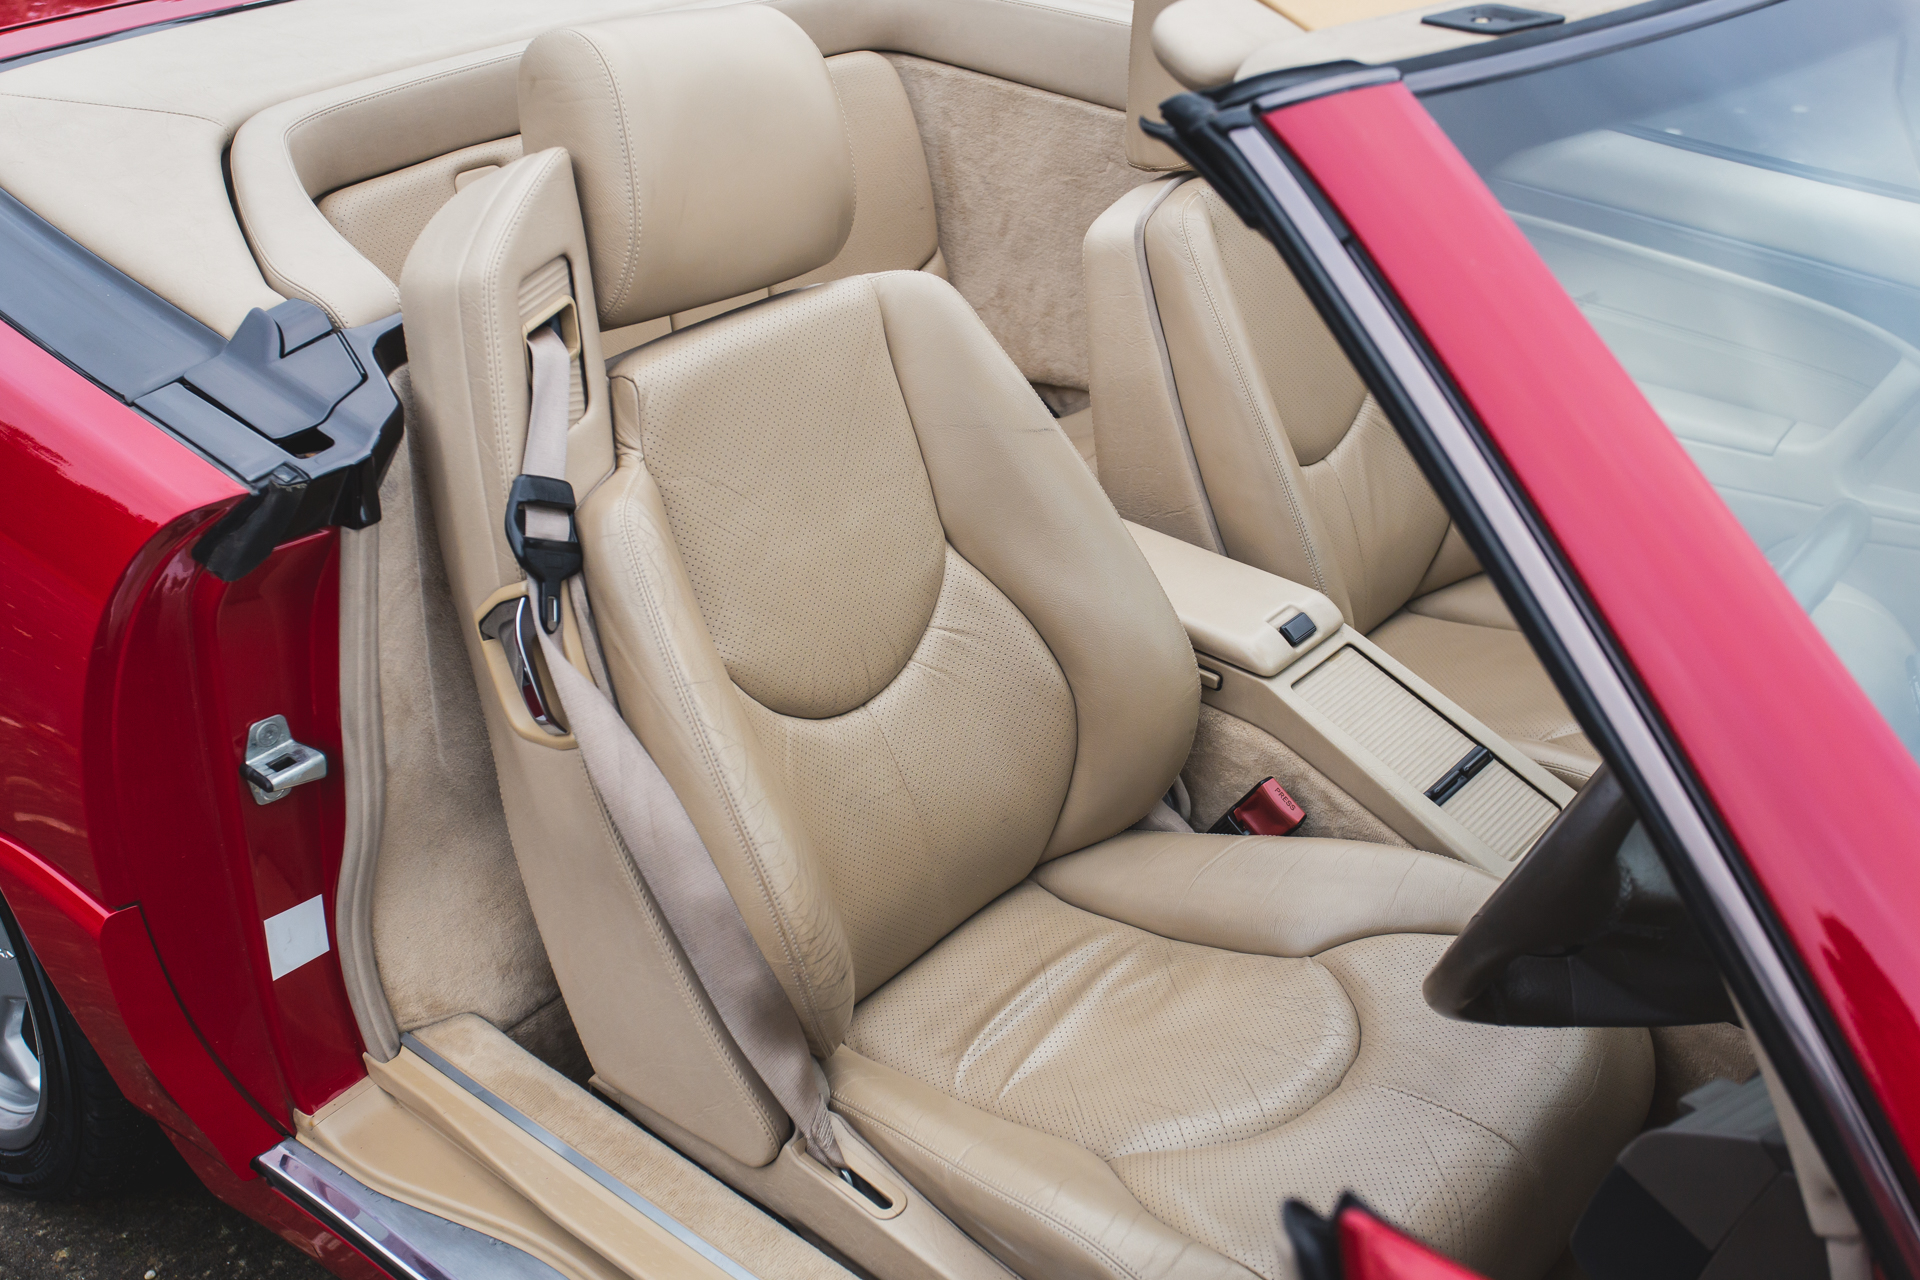
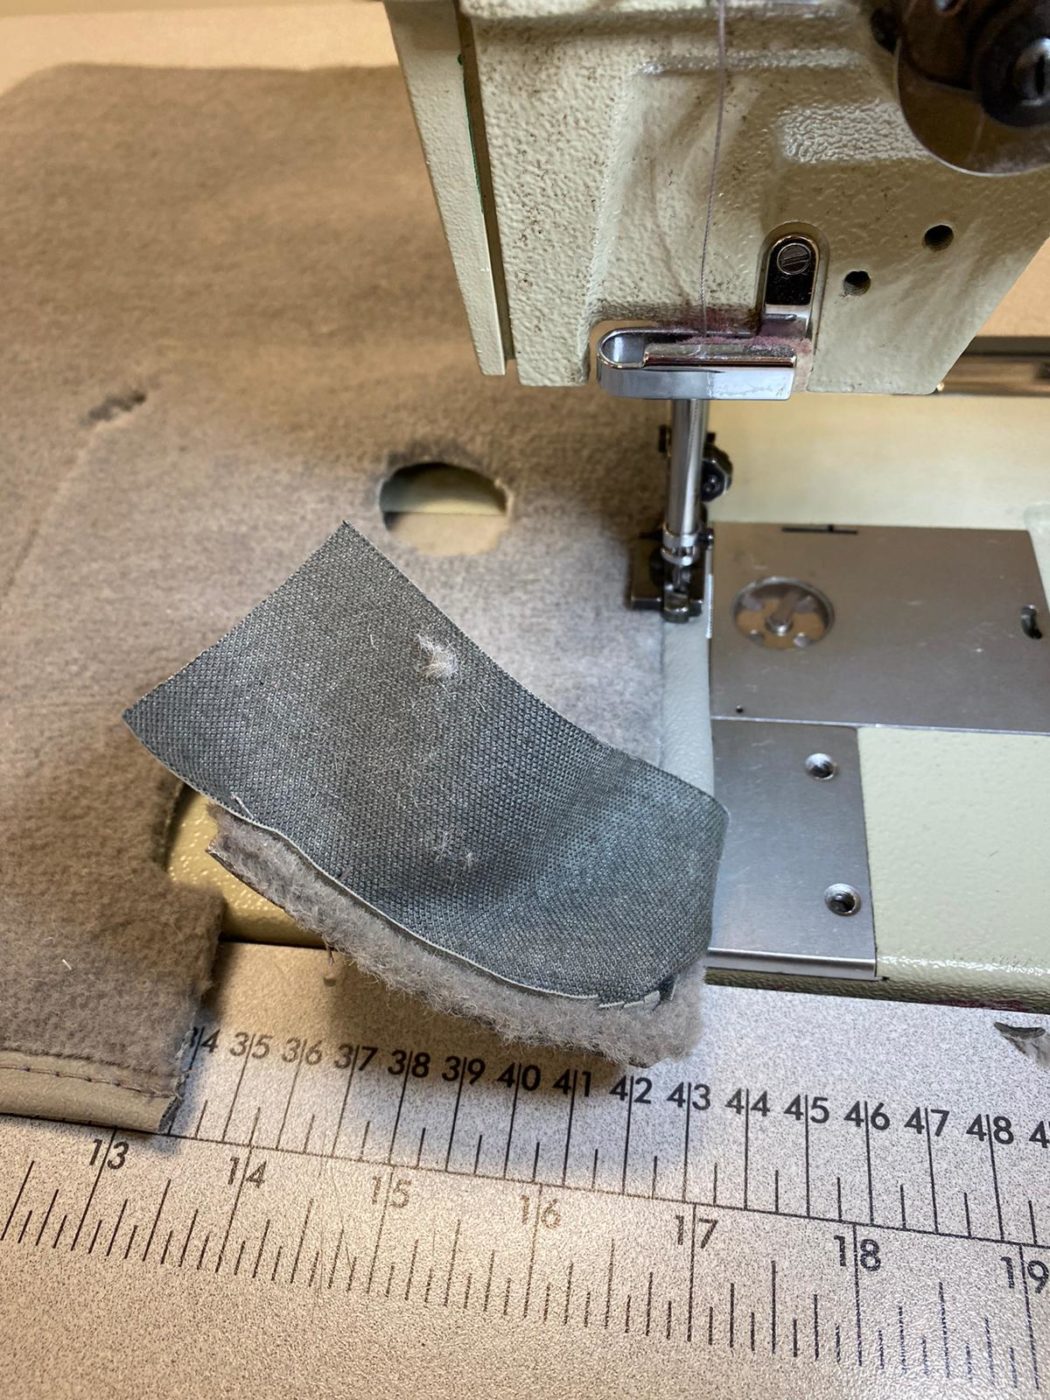
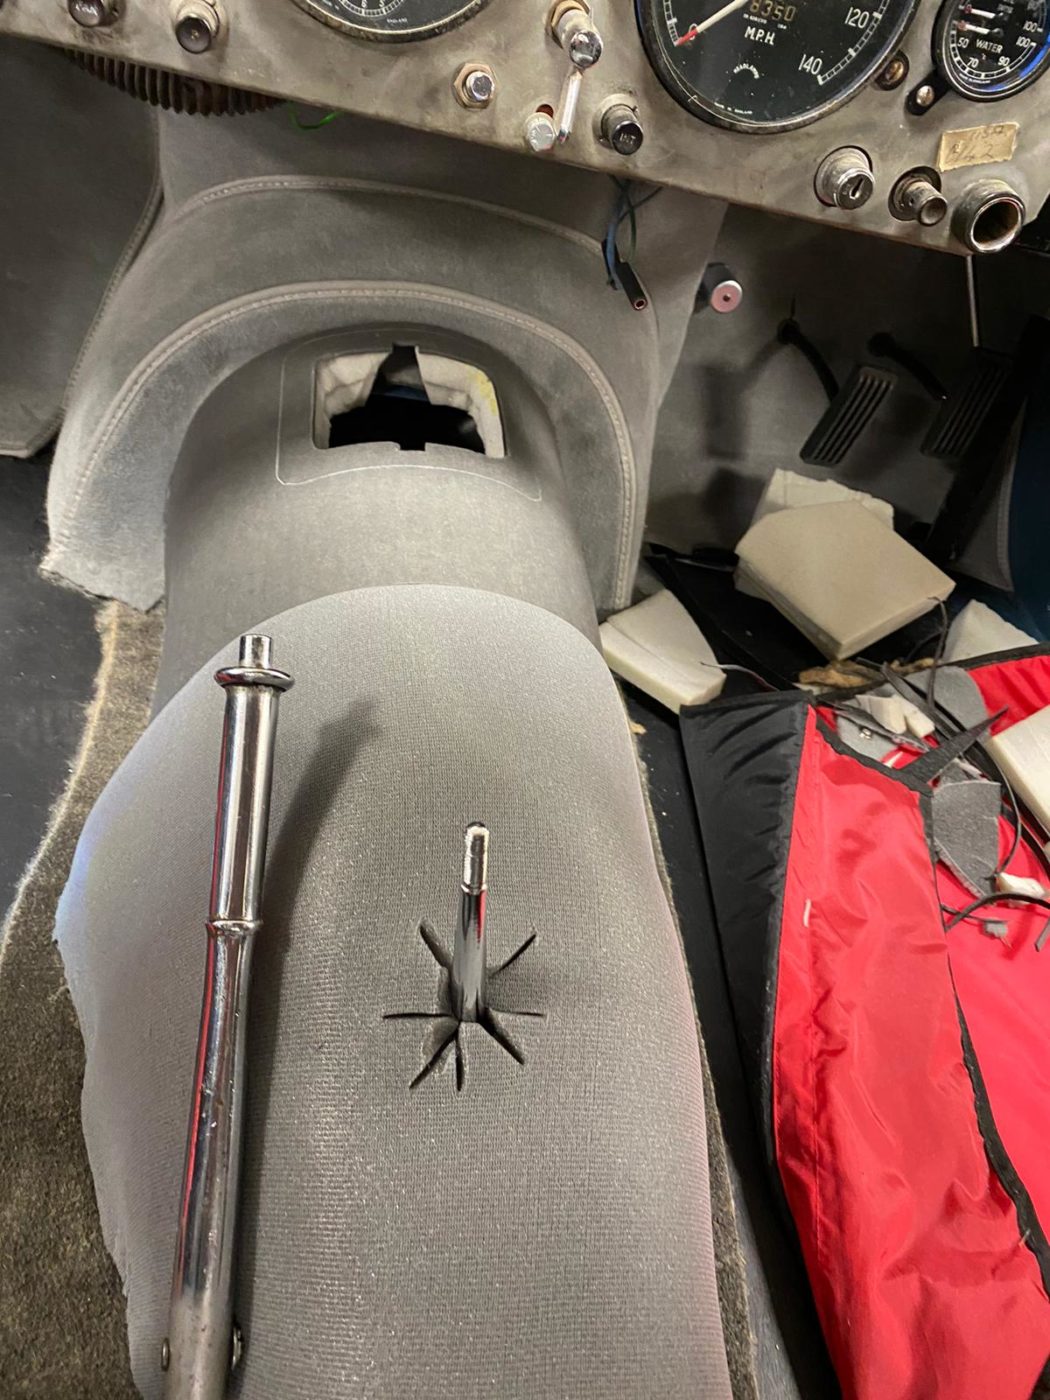
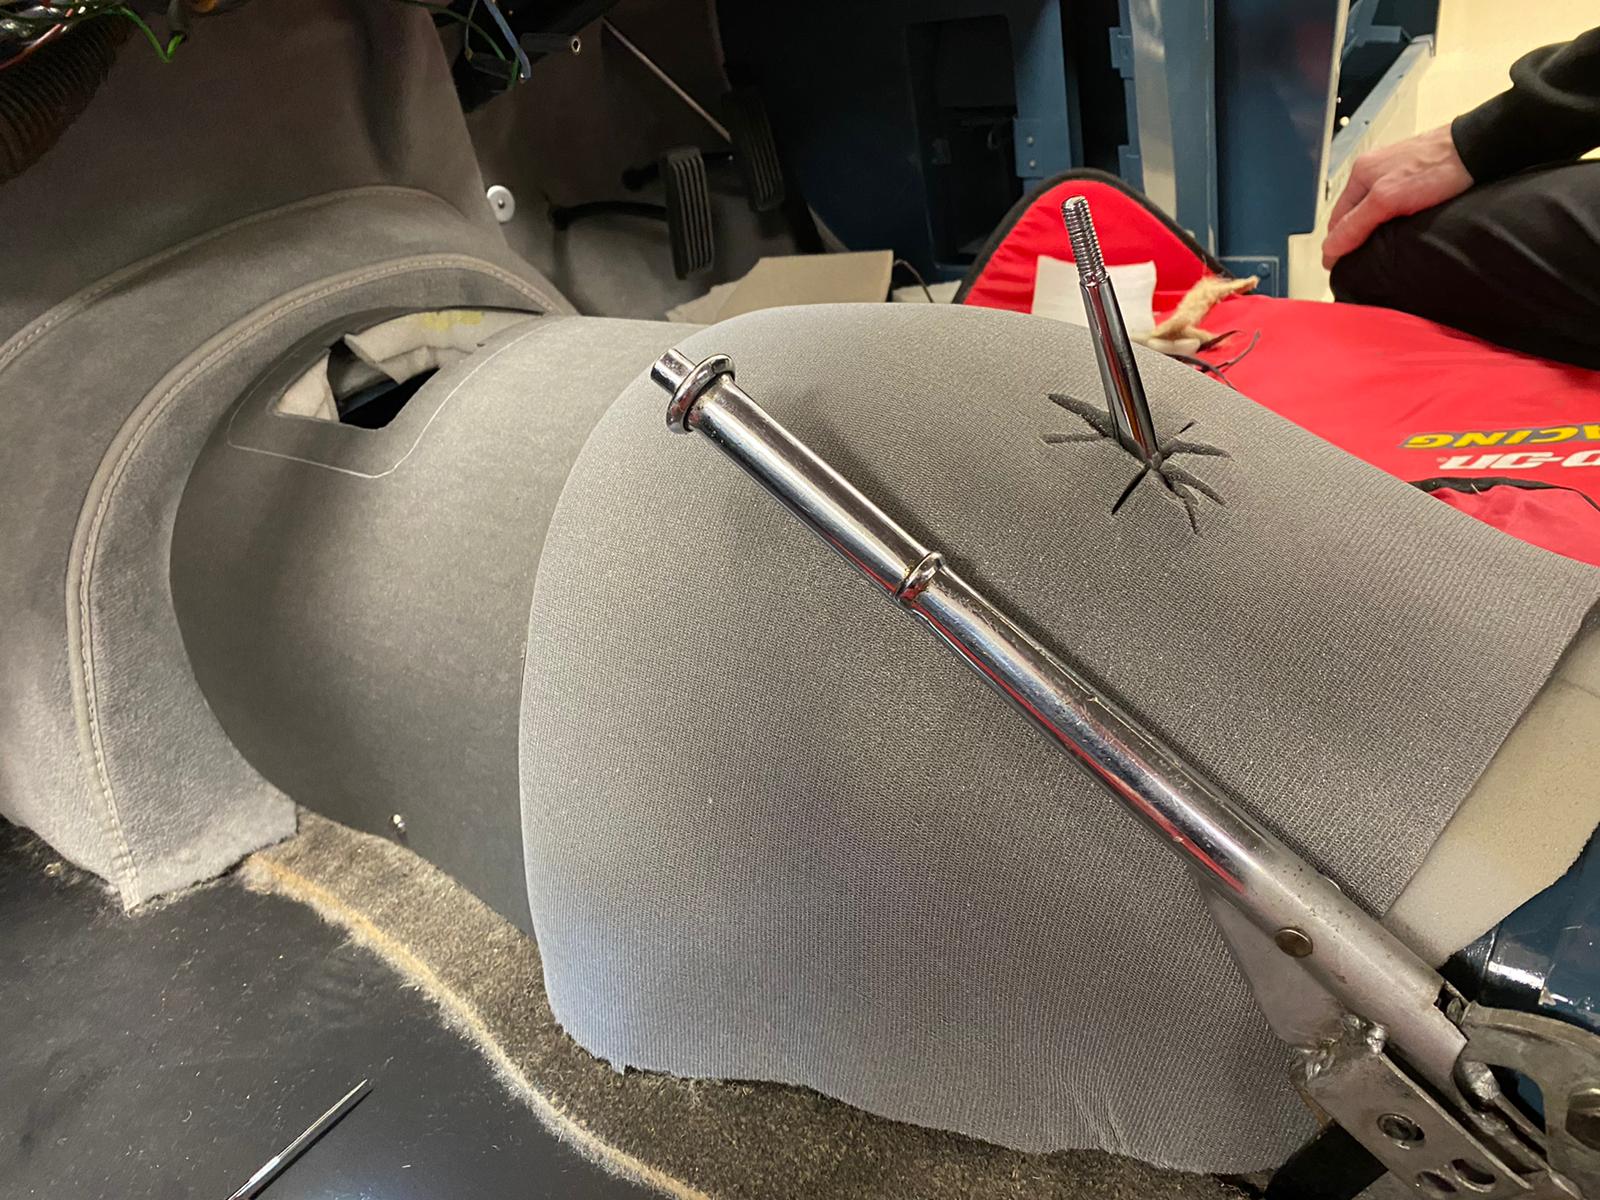
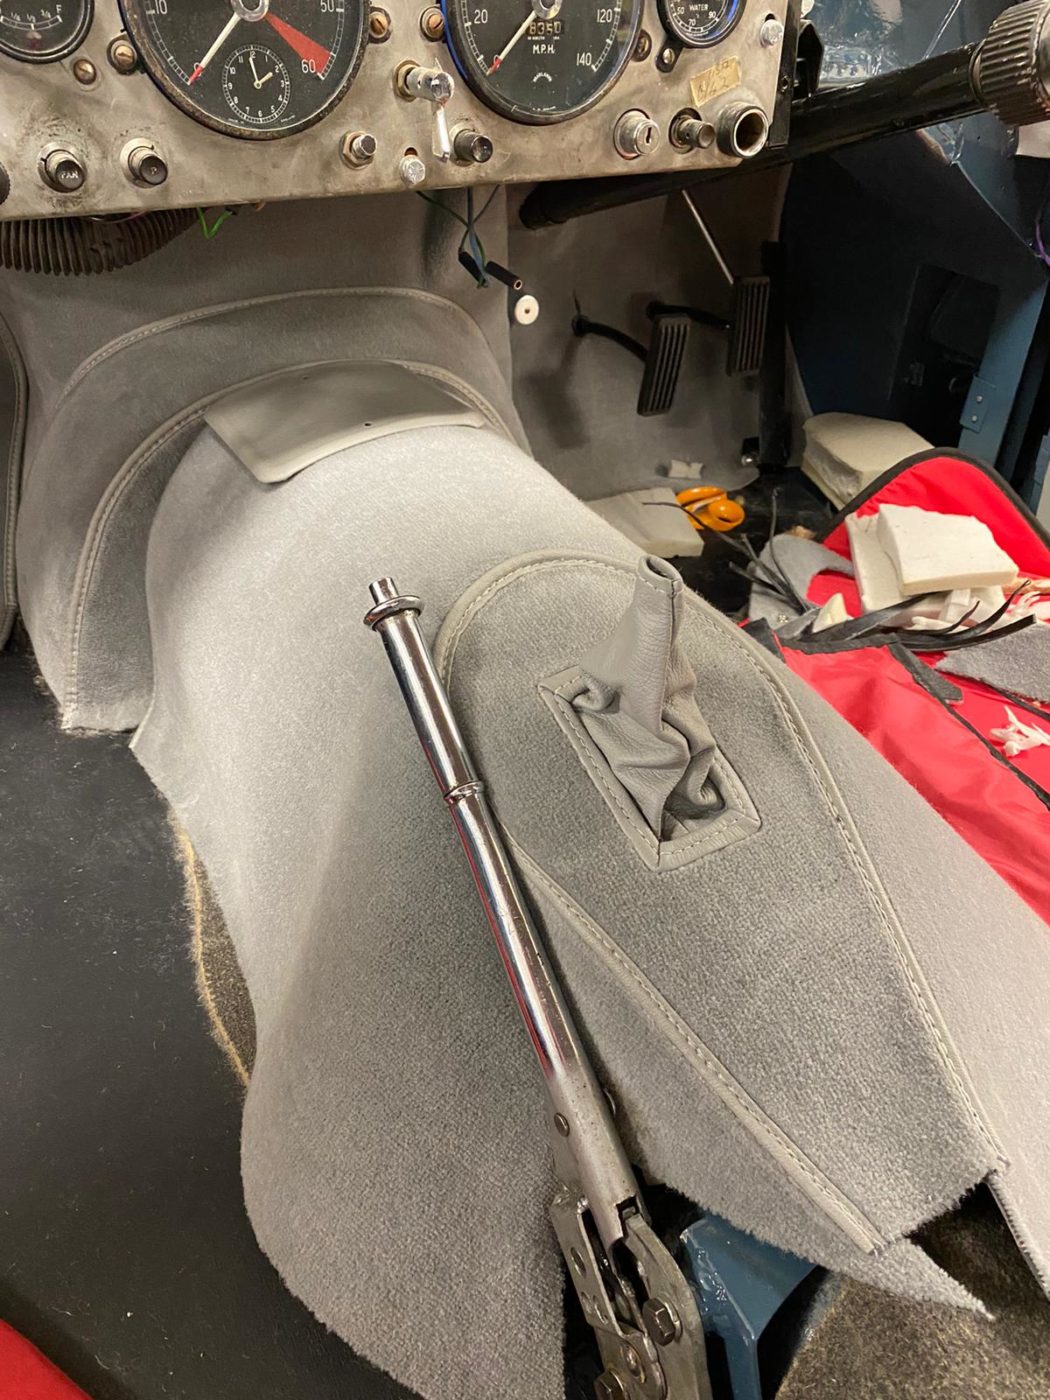
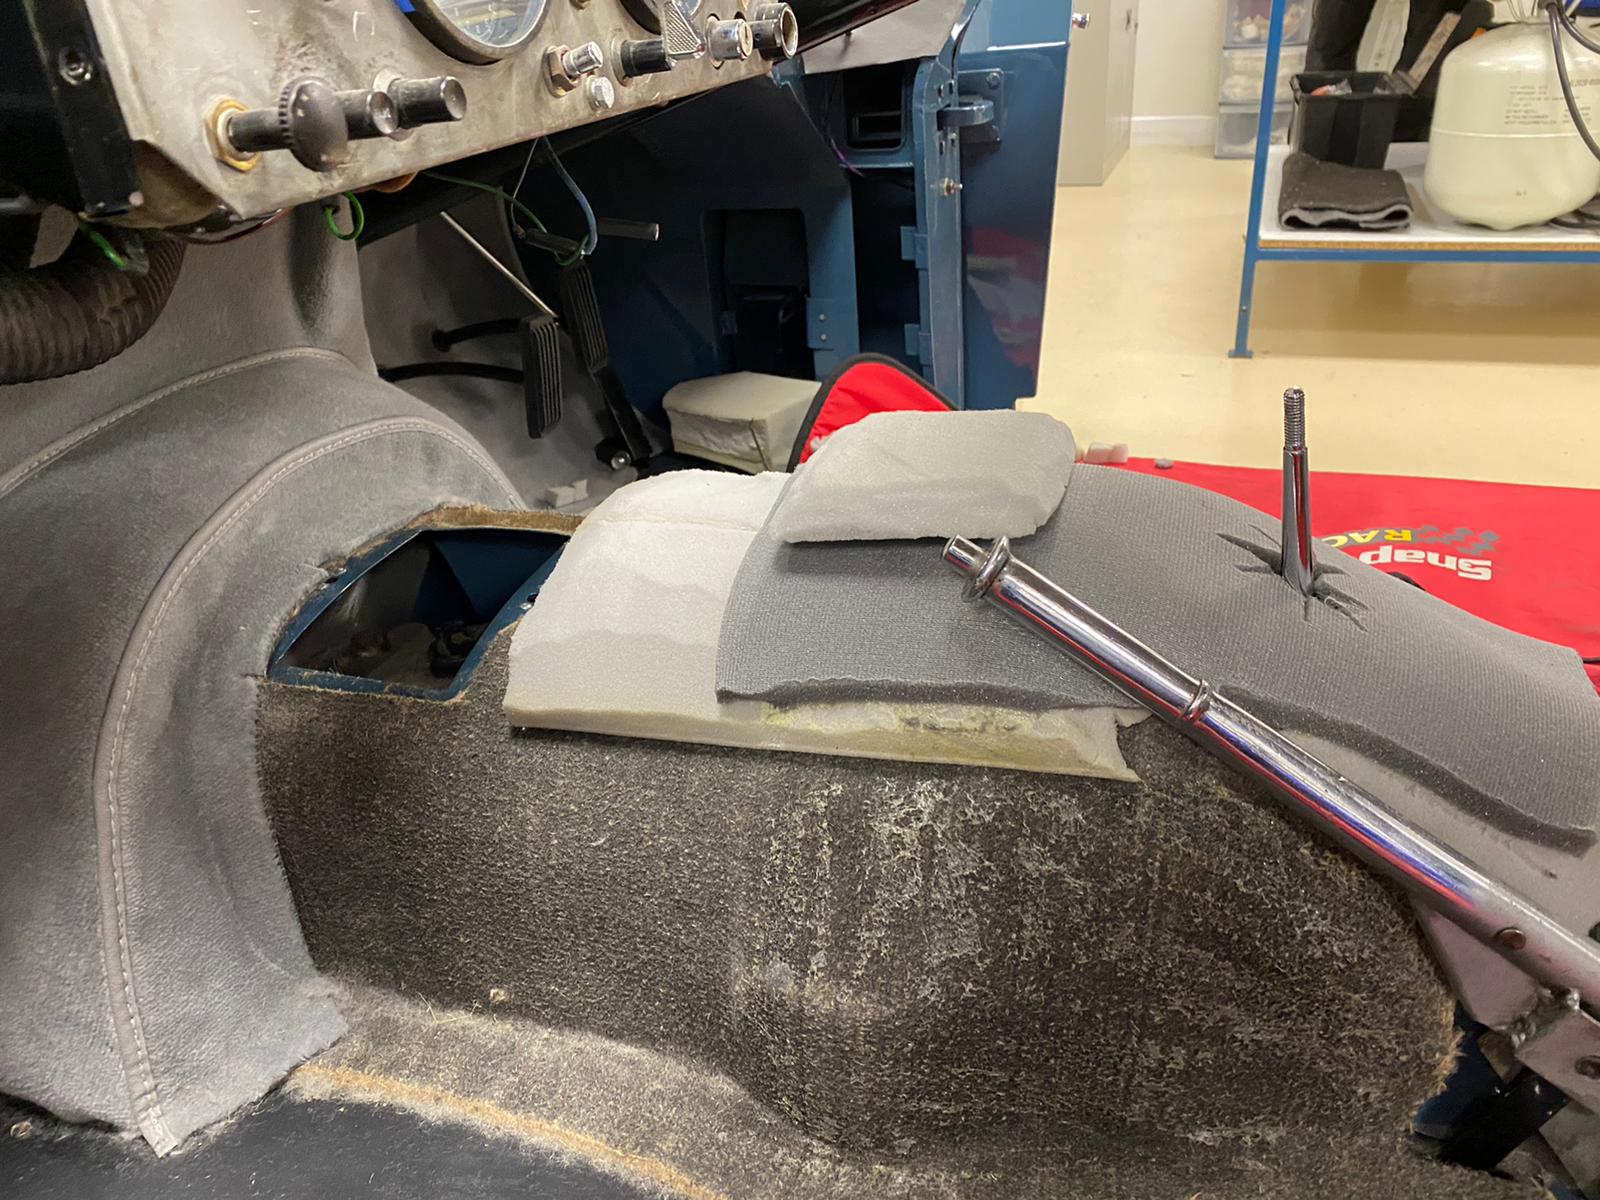
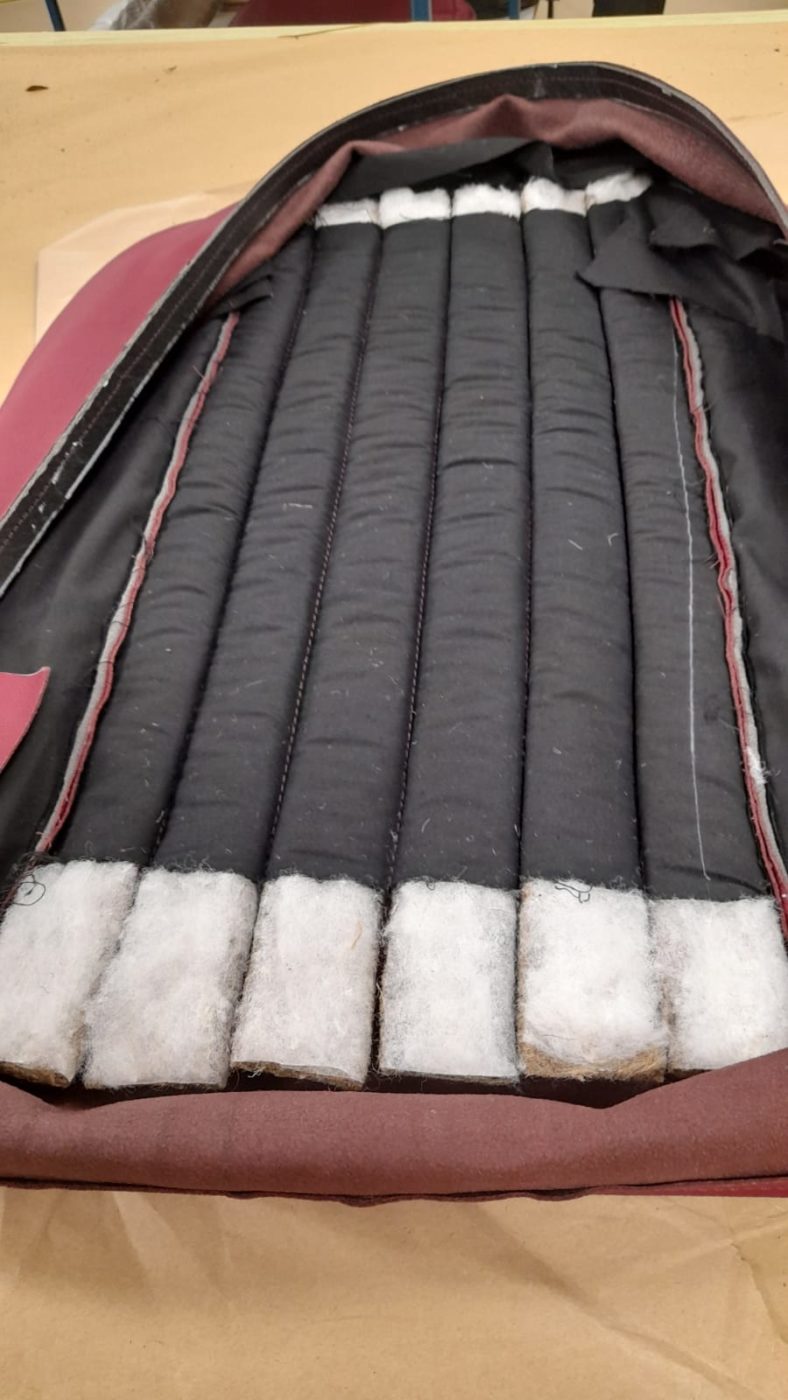
Lydia has been making the second front squab seat cover for our 1987 Mercedes 500SL. This included taking the cover off the frame which is something.
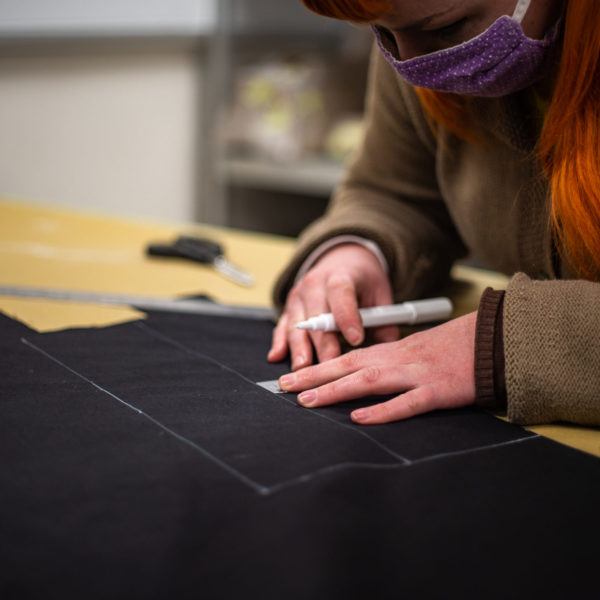
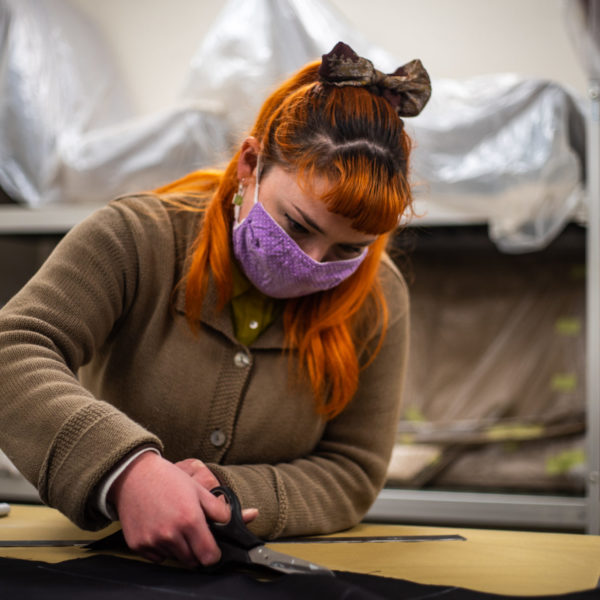
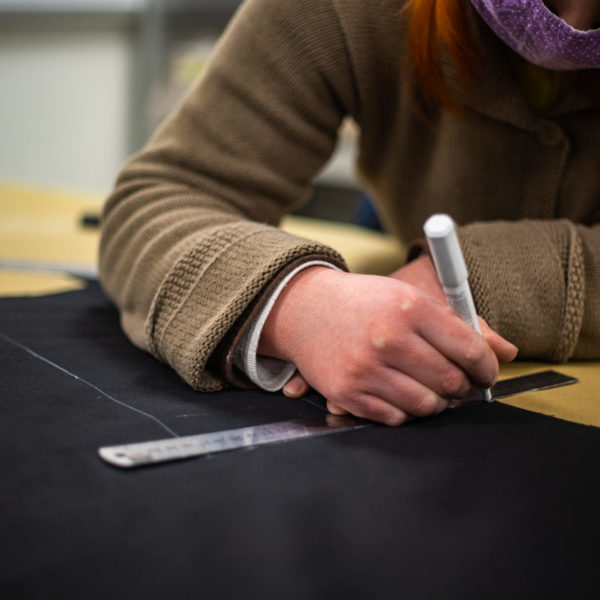
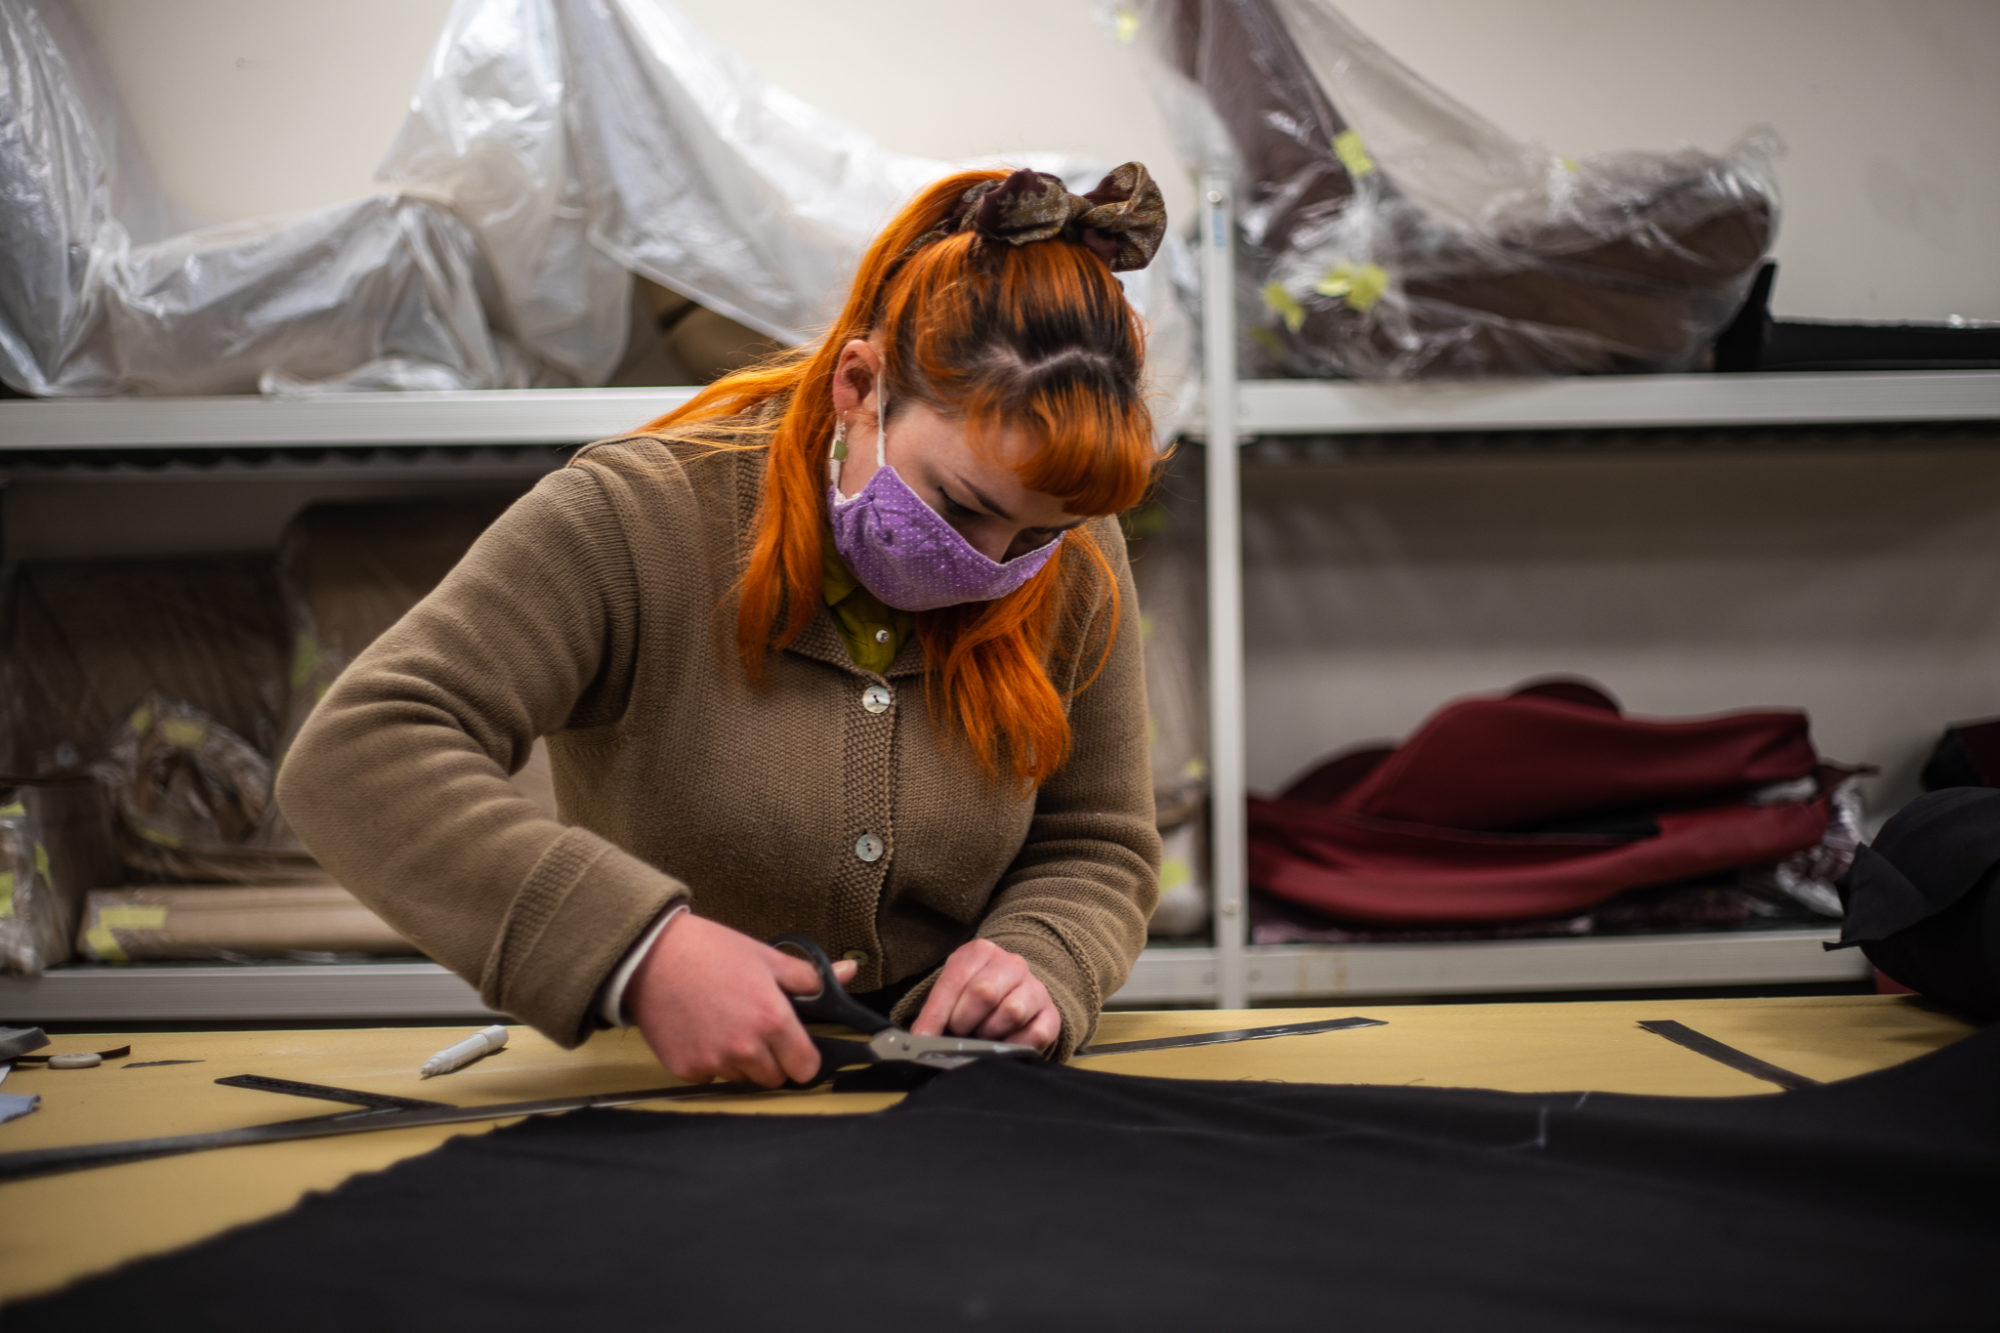
Lydia had to start with loosening the sides from the frame by levering the cover off. The next step was to remove the plastic parts by holding the cover down in the centre and shimming the components out. Lydia could then start peeling the cover off the frame completely and take off the plastic rings for the headrest at the top of the squab. The next step is to remove the leather cover and rework that.
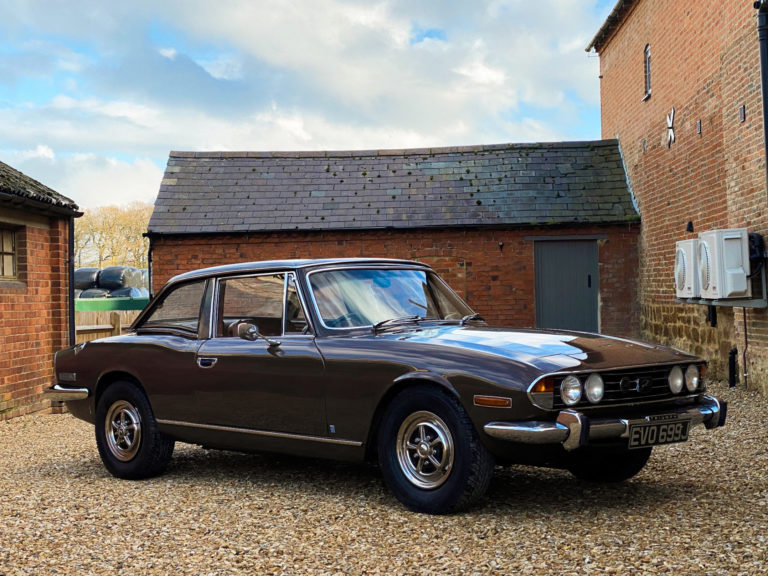
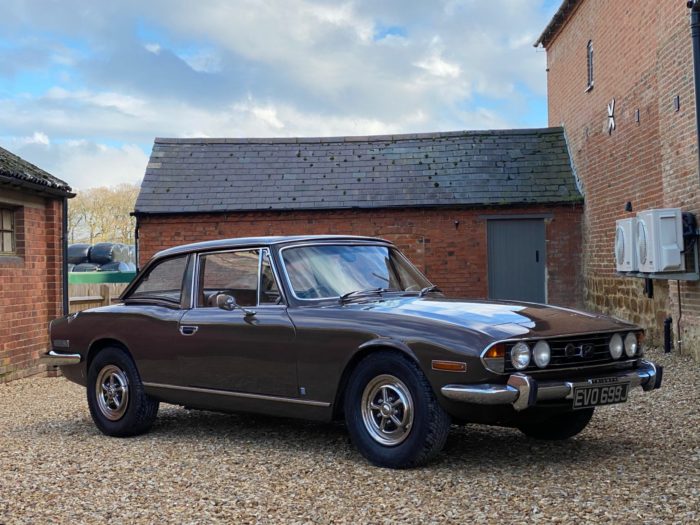
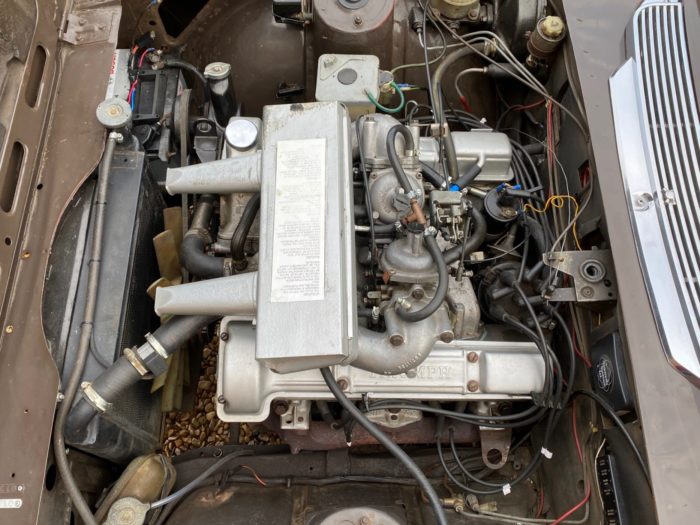
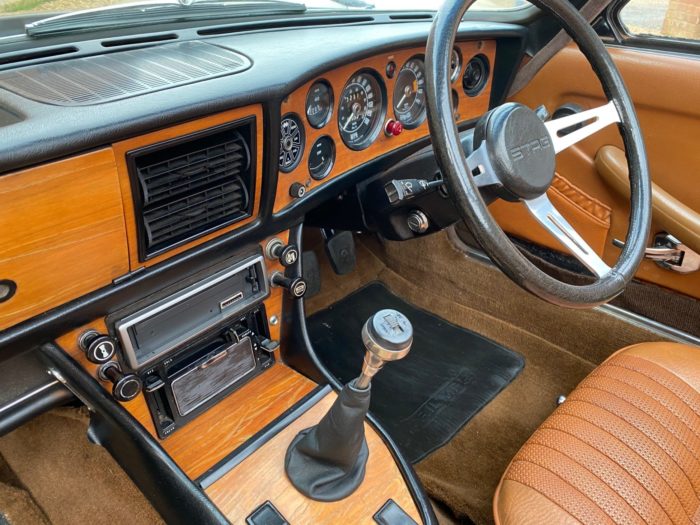
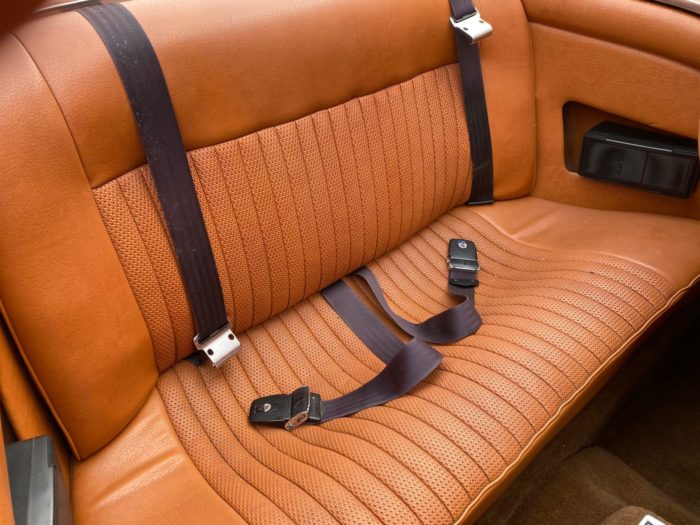
There’s plenty of new arrivals at Bridge HQ currently, with another new competition car coming this week. We’re expecting this stunning 1971 Triumph Stag 3.0 V8 to come to us on later in the week
Before we release it, it will need a repaint on the roof but otherwise its good to go! Keep your eyes peeled…
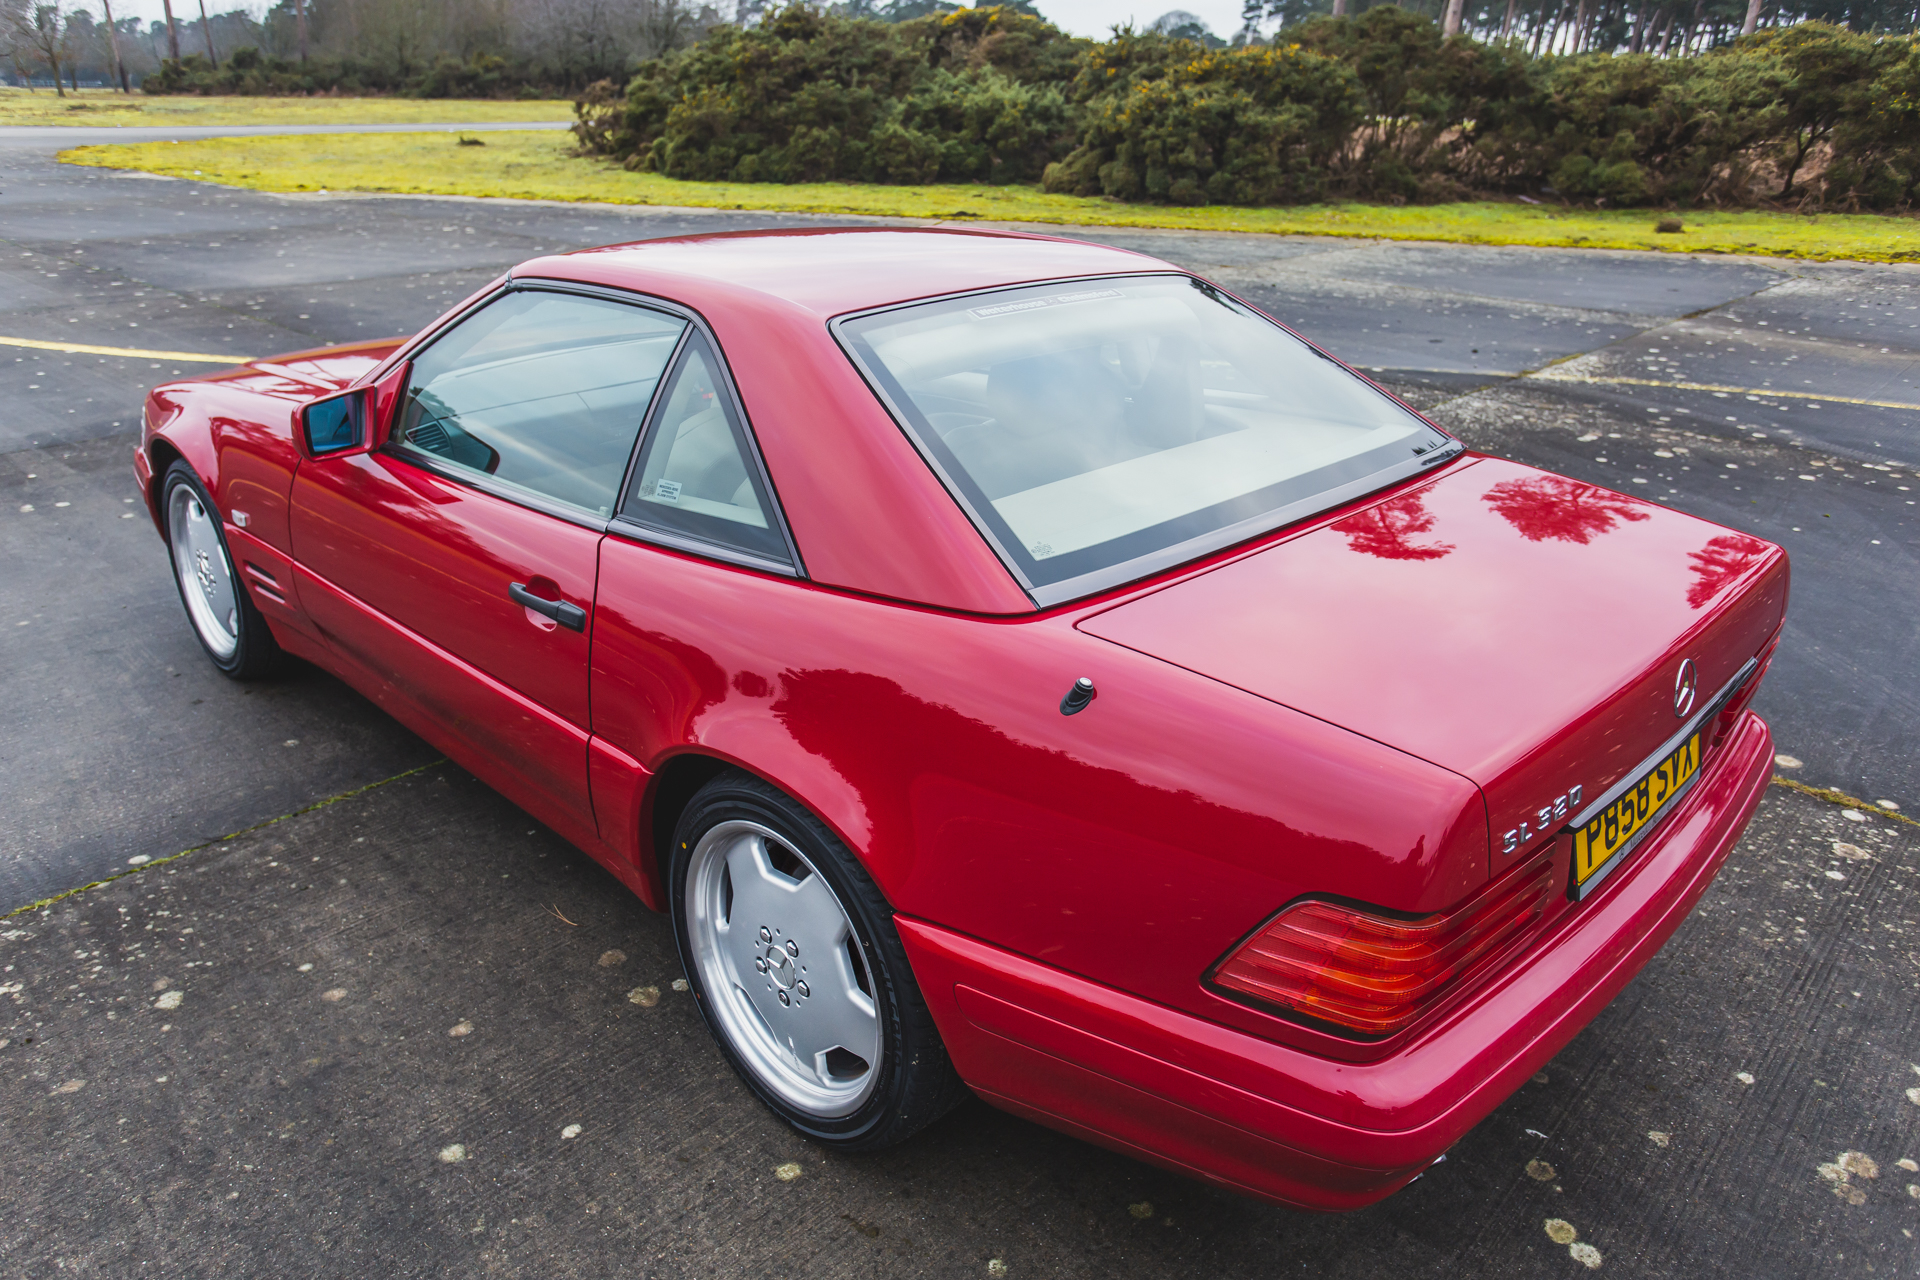
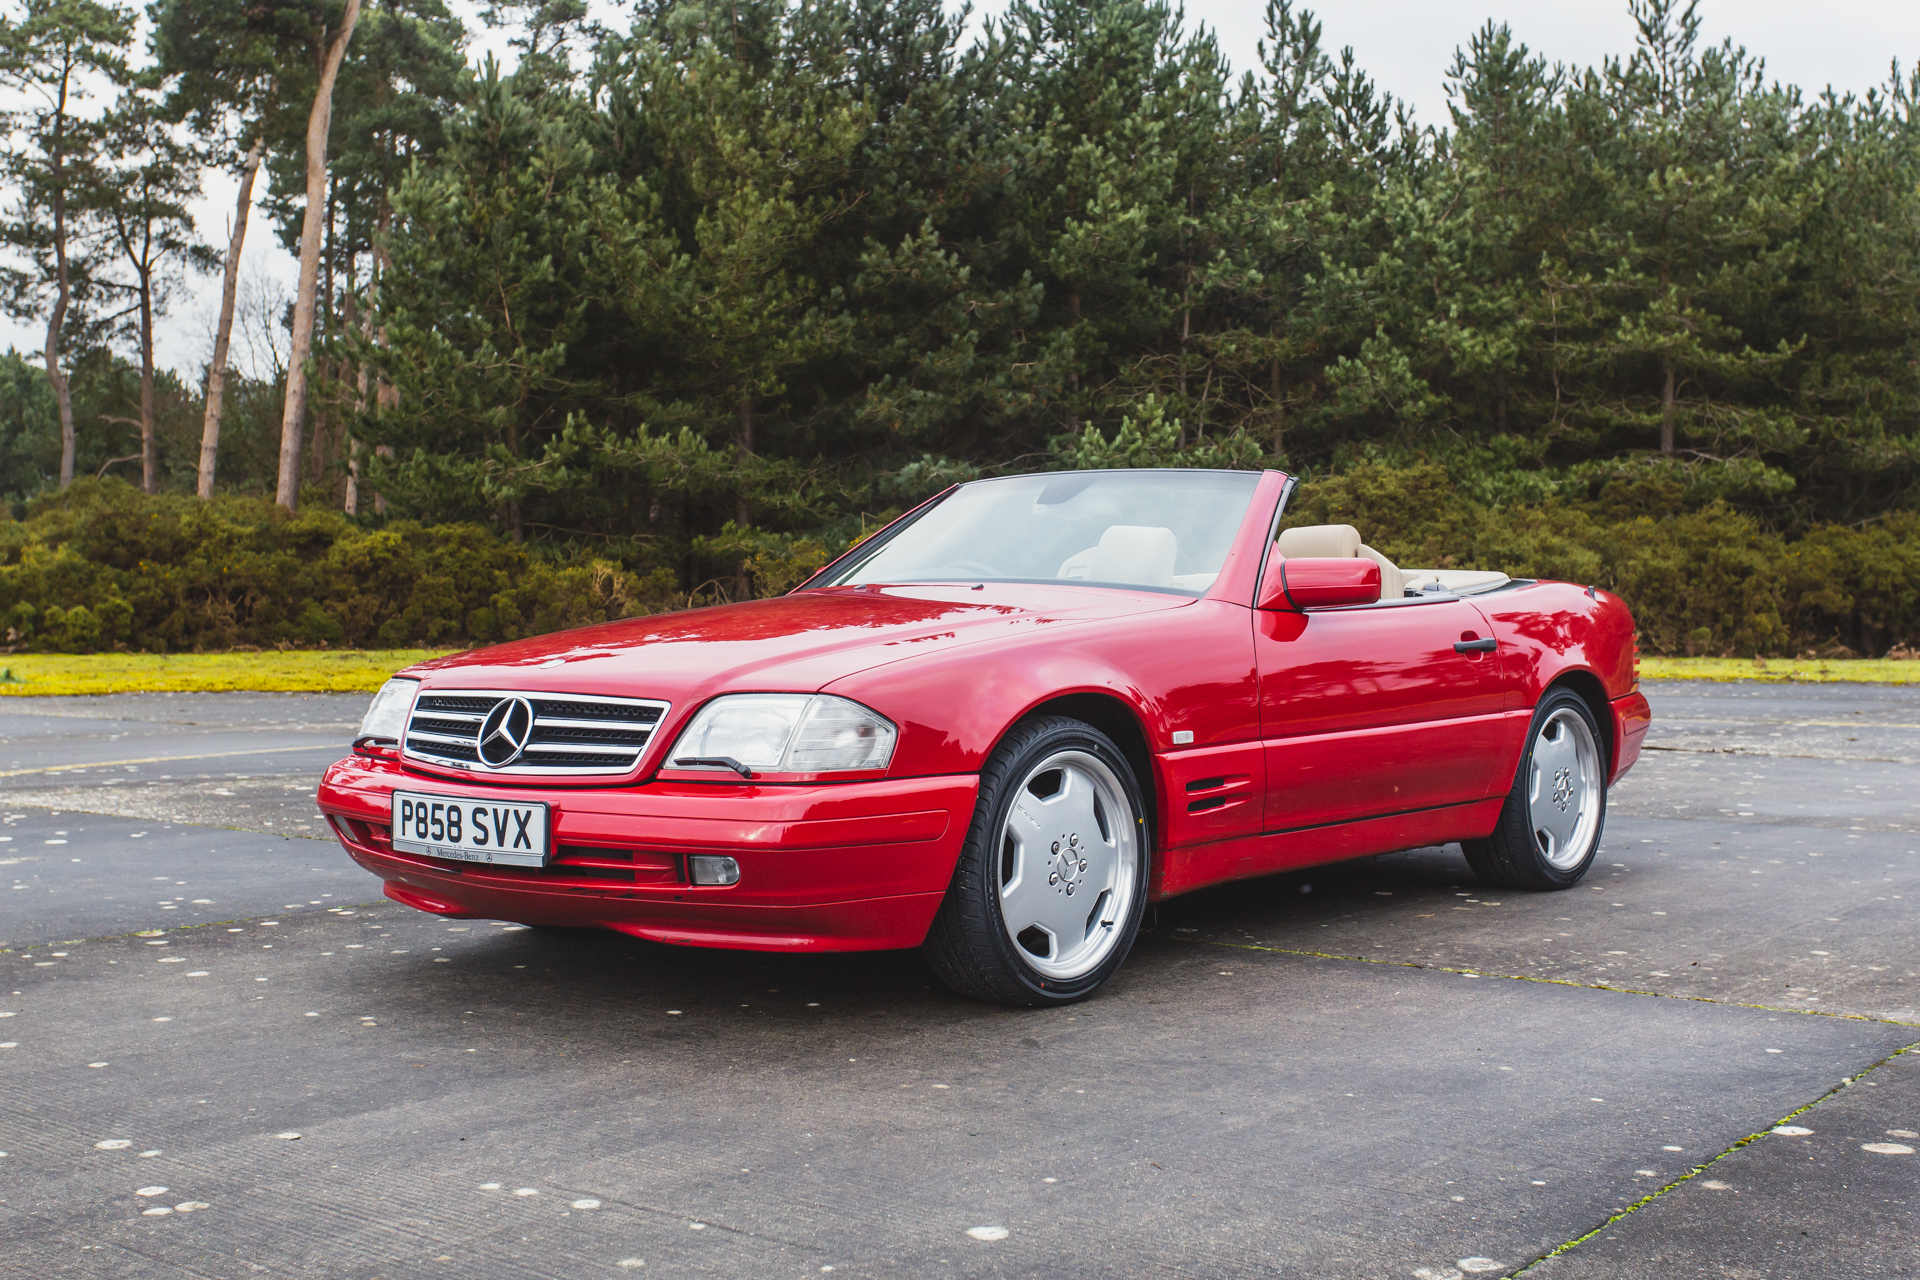
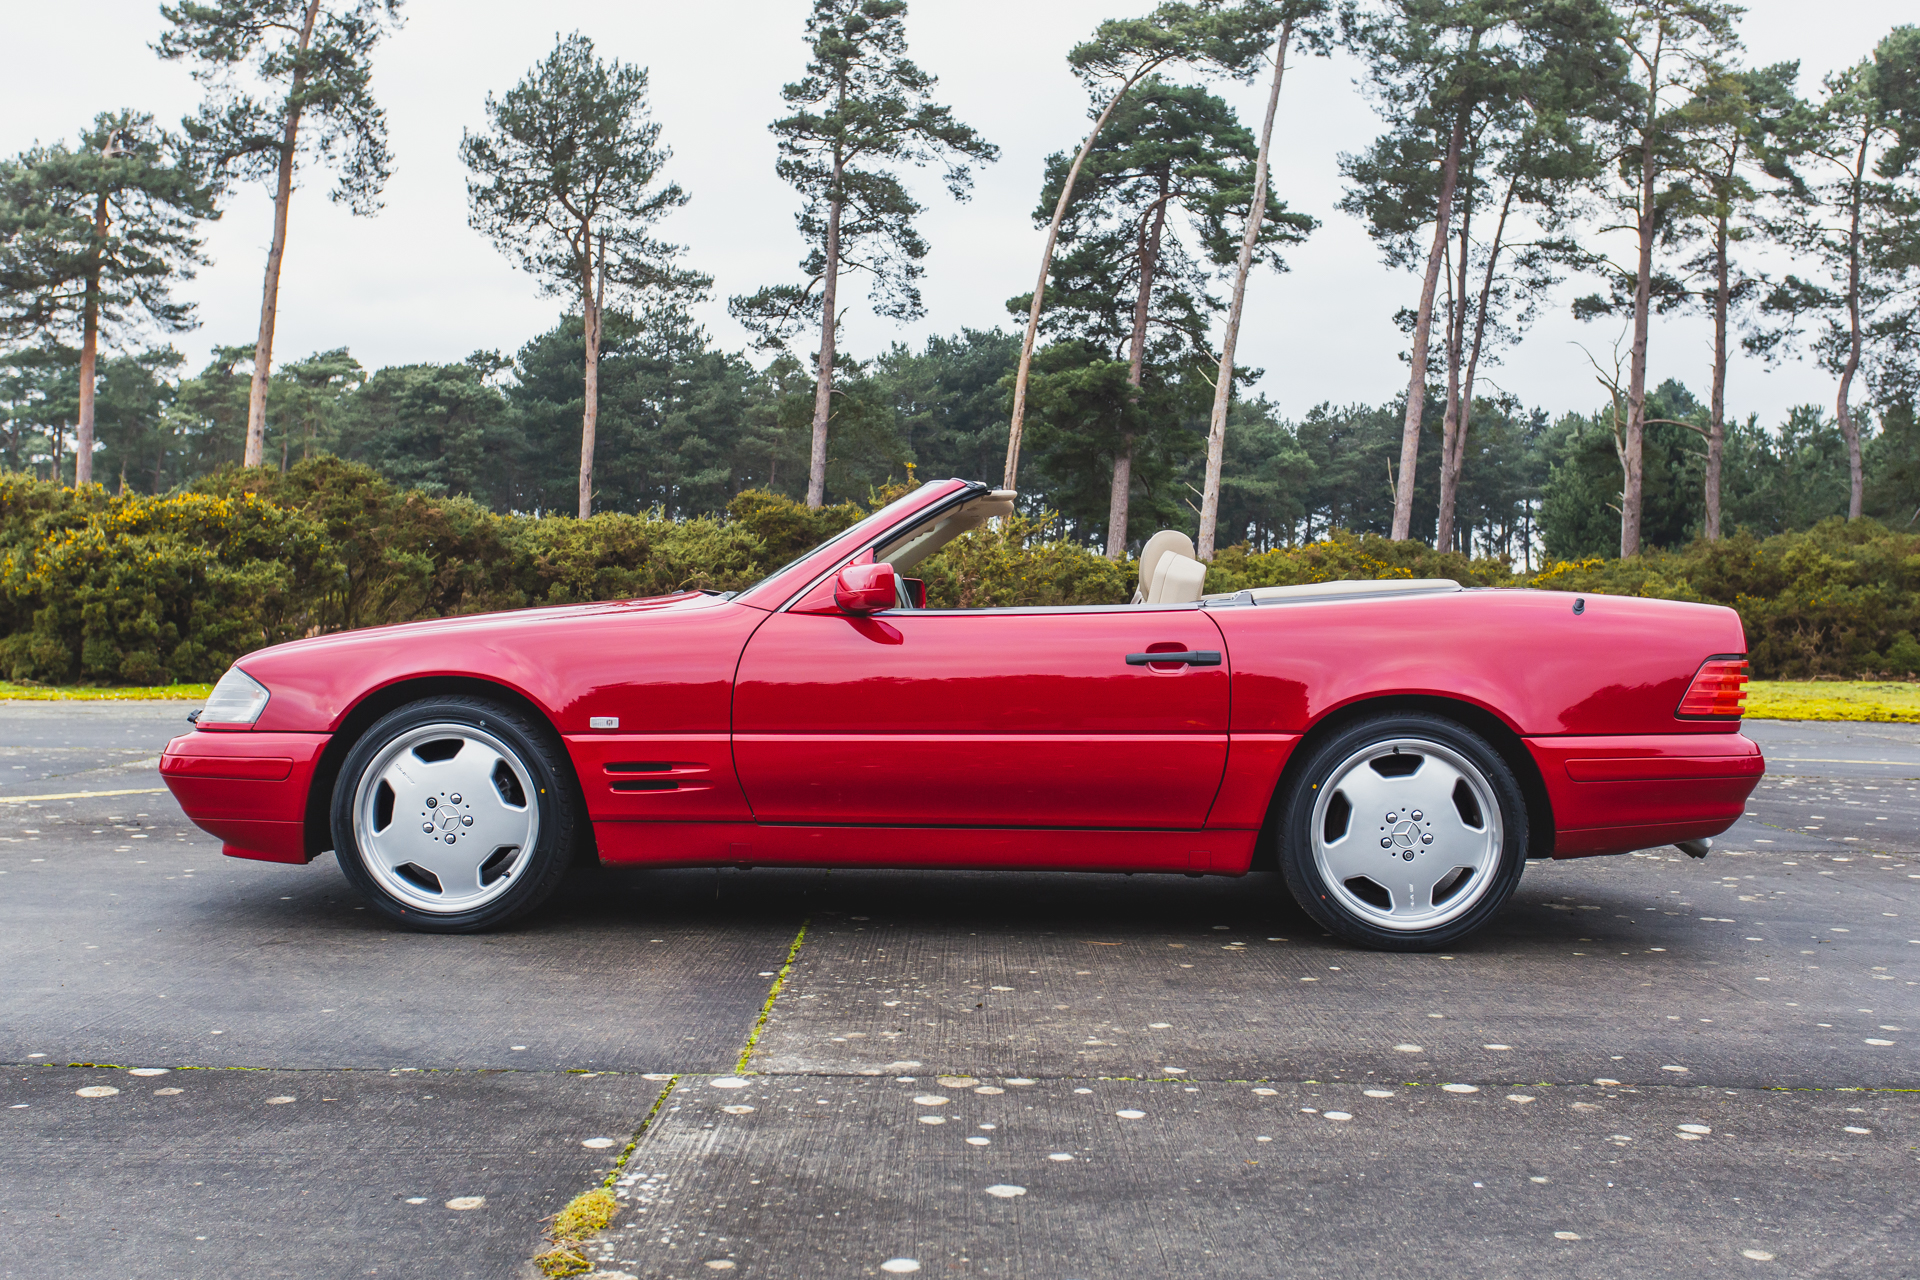
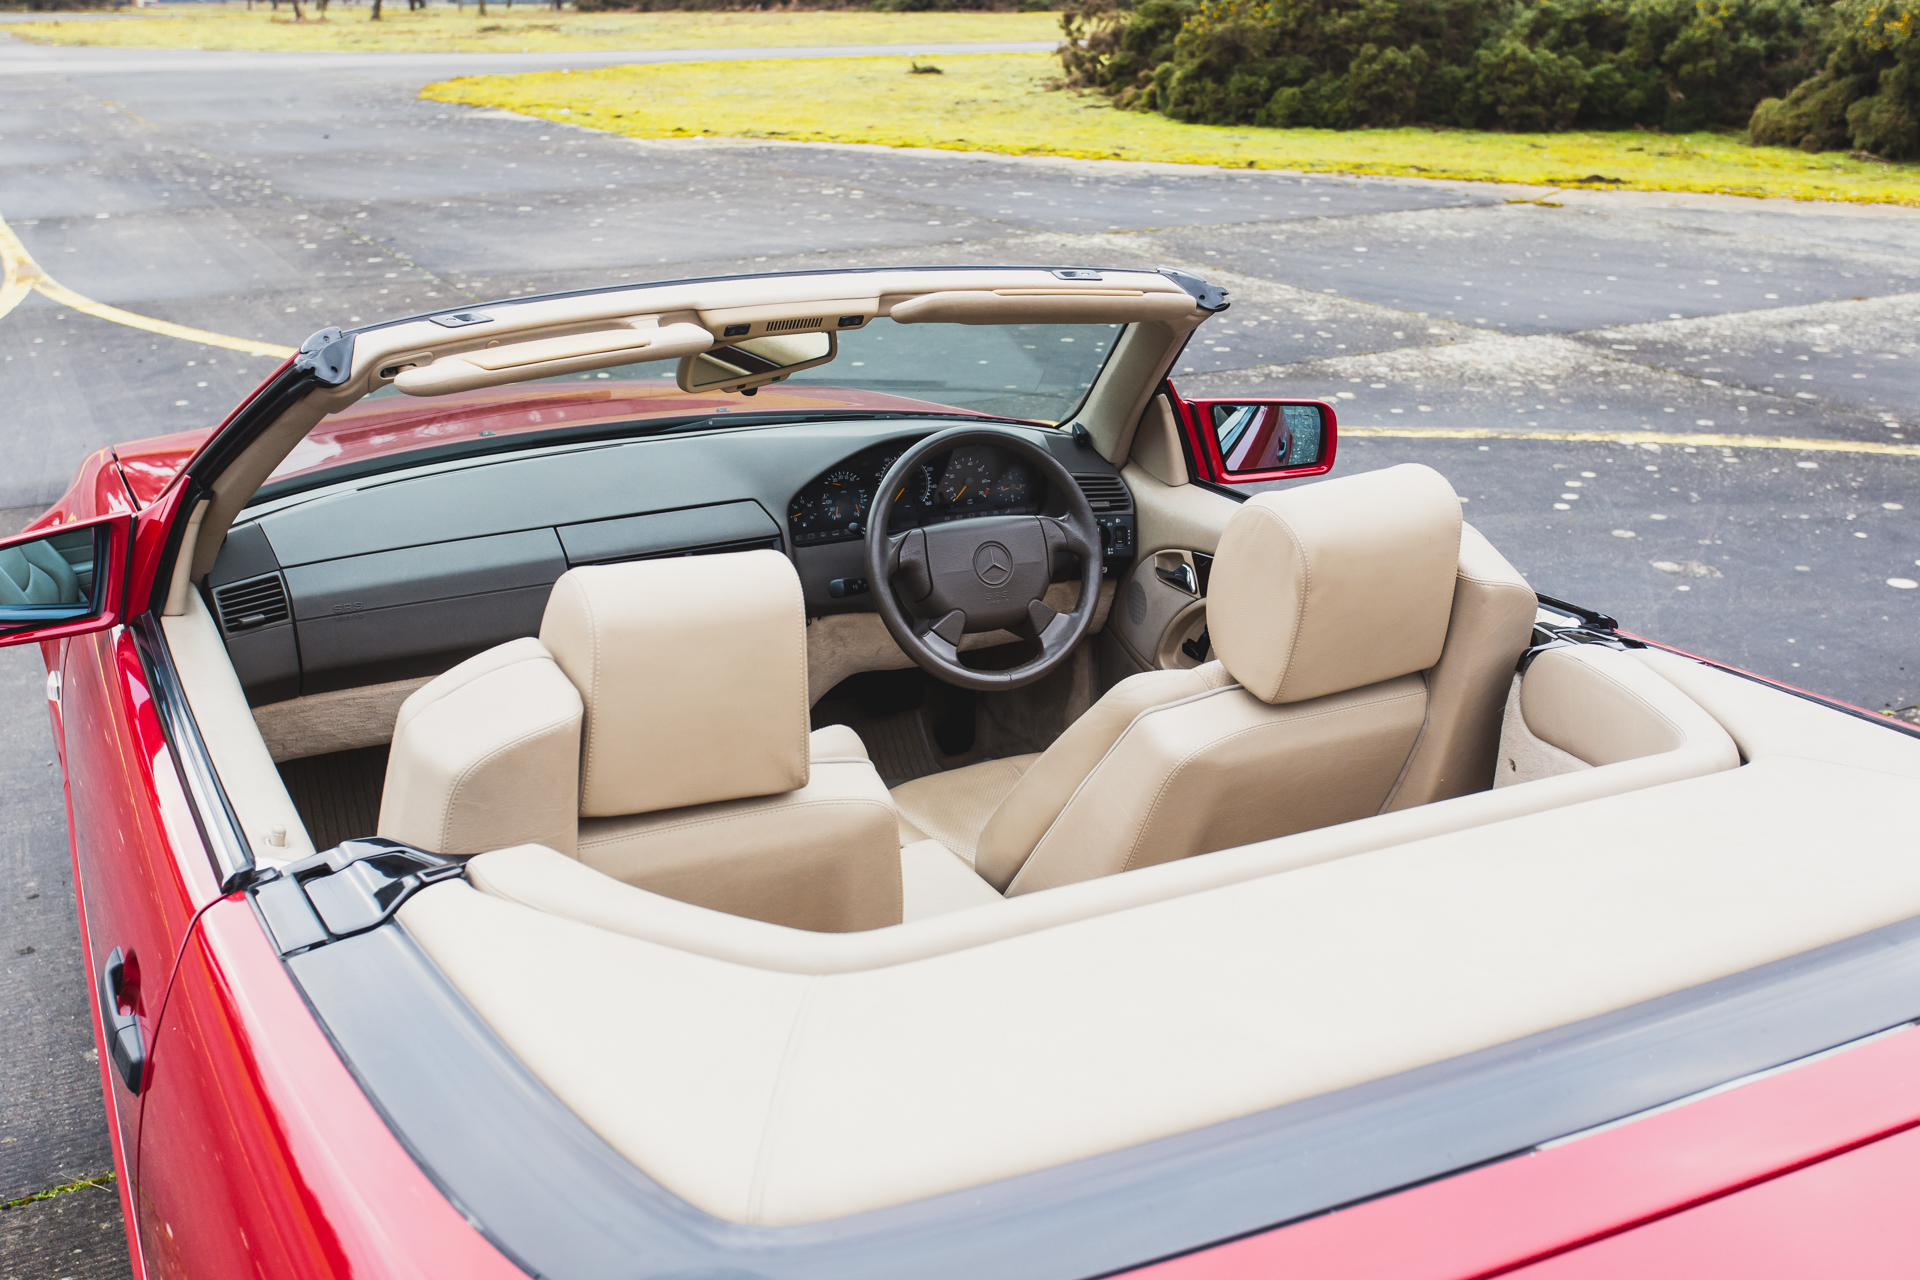
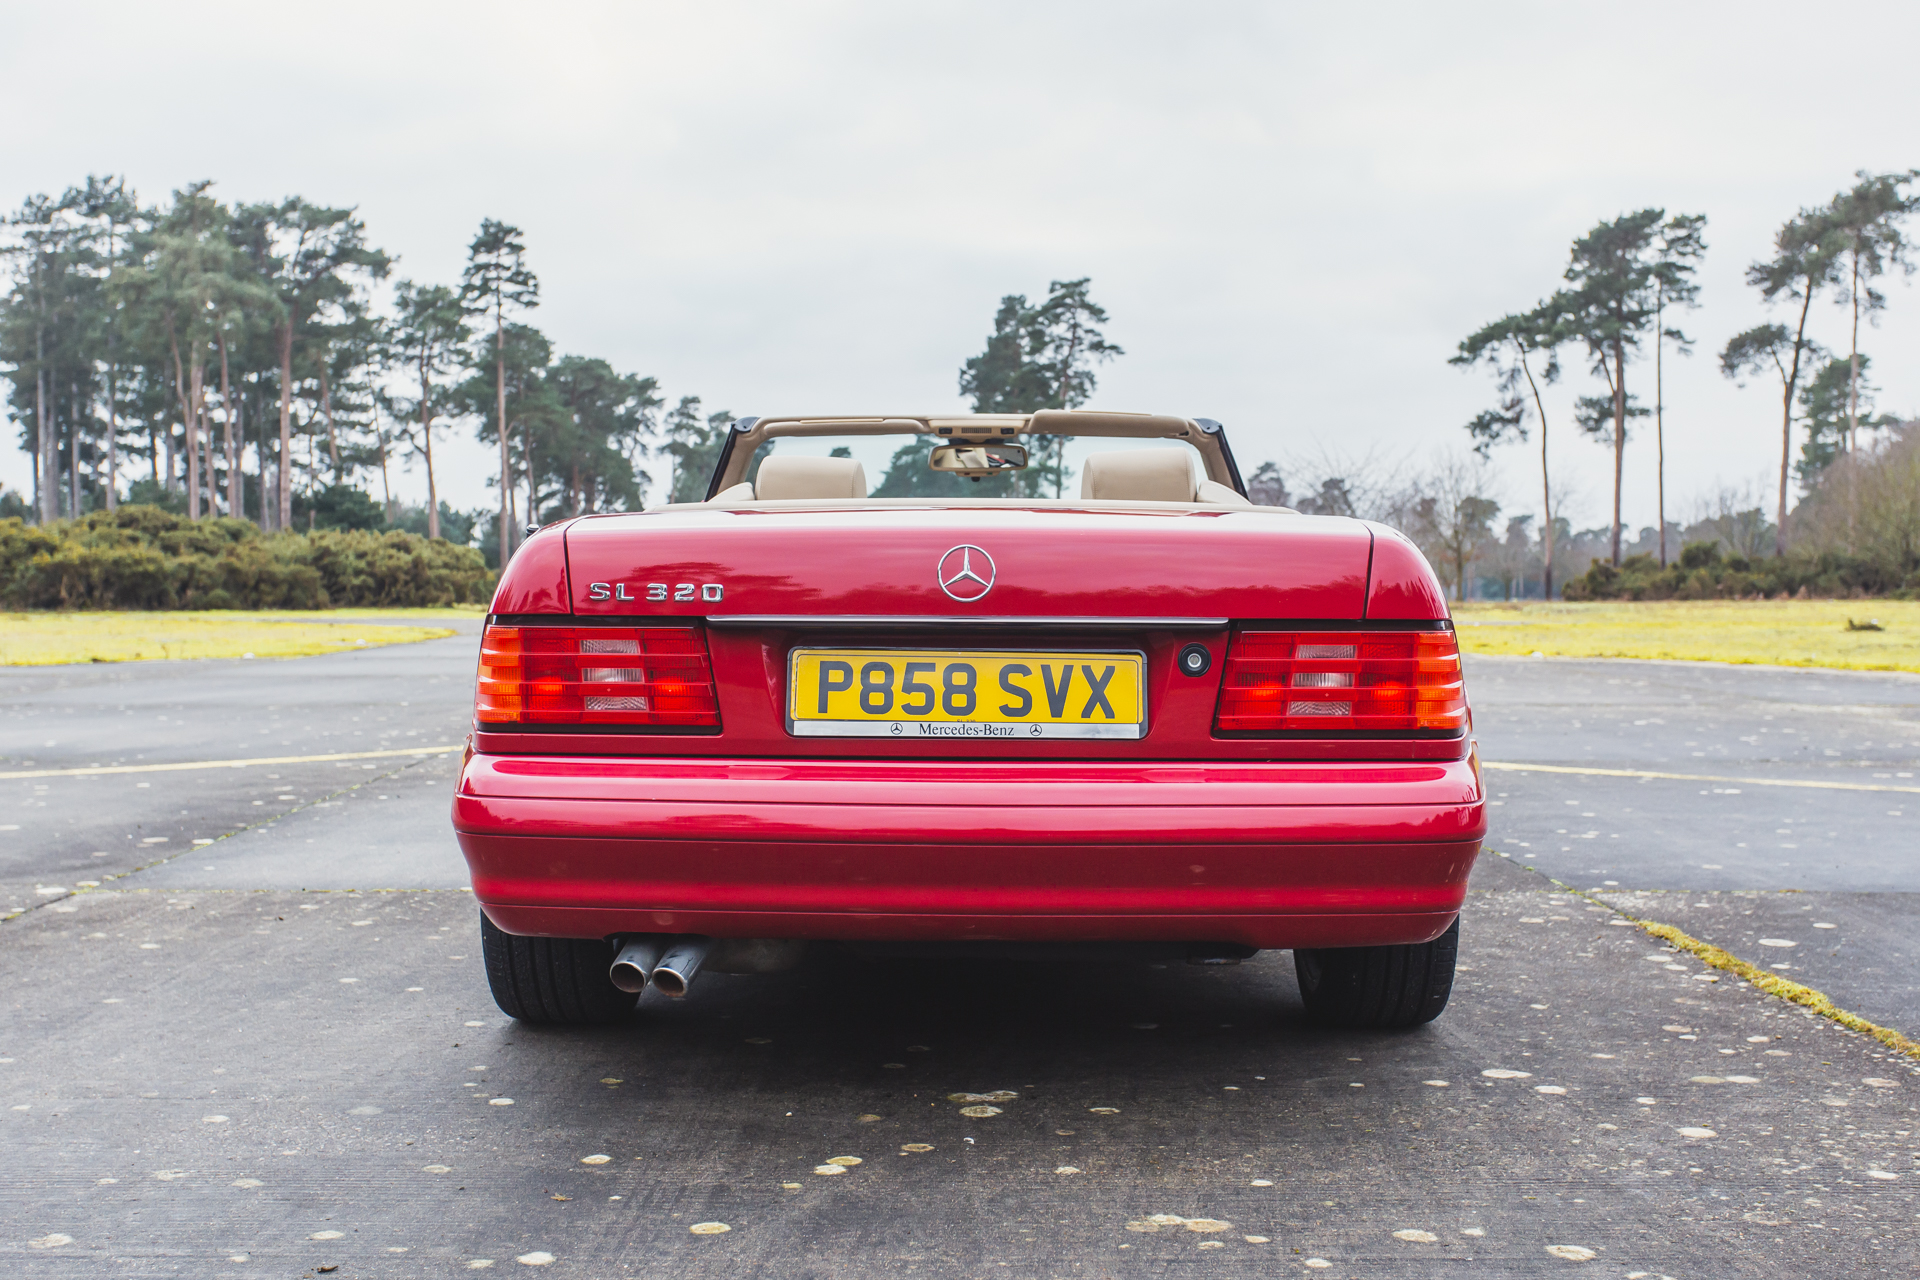
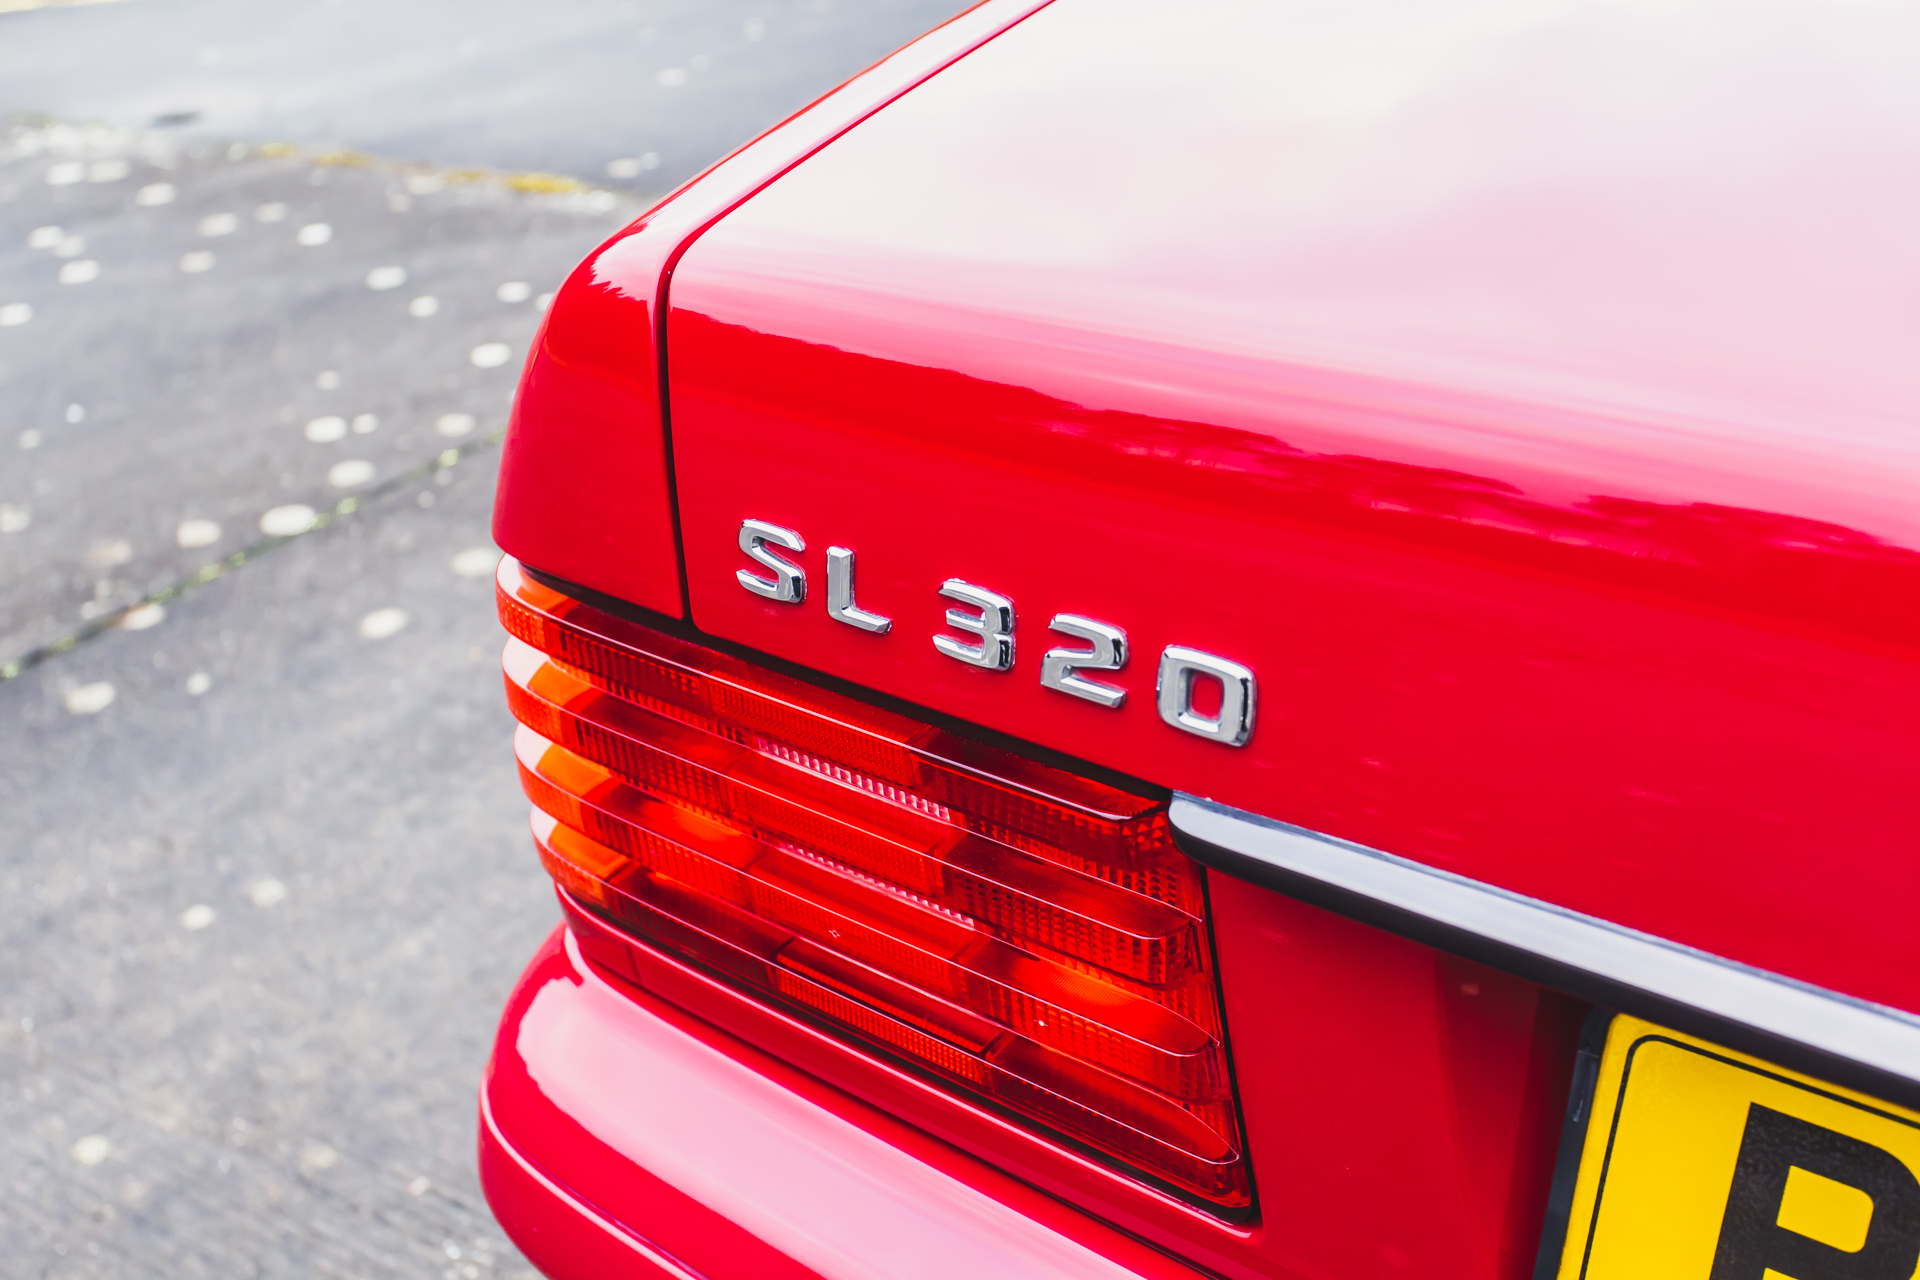
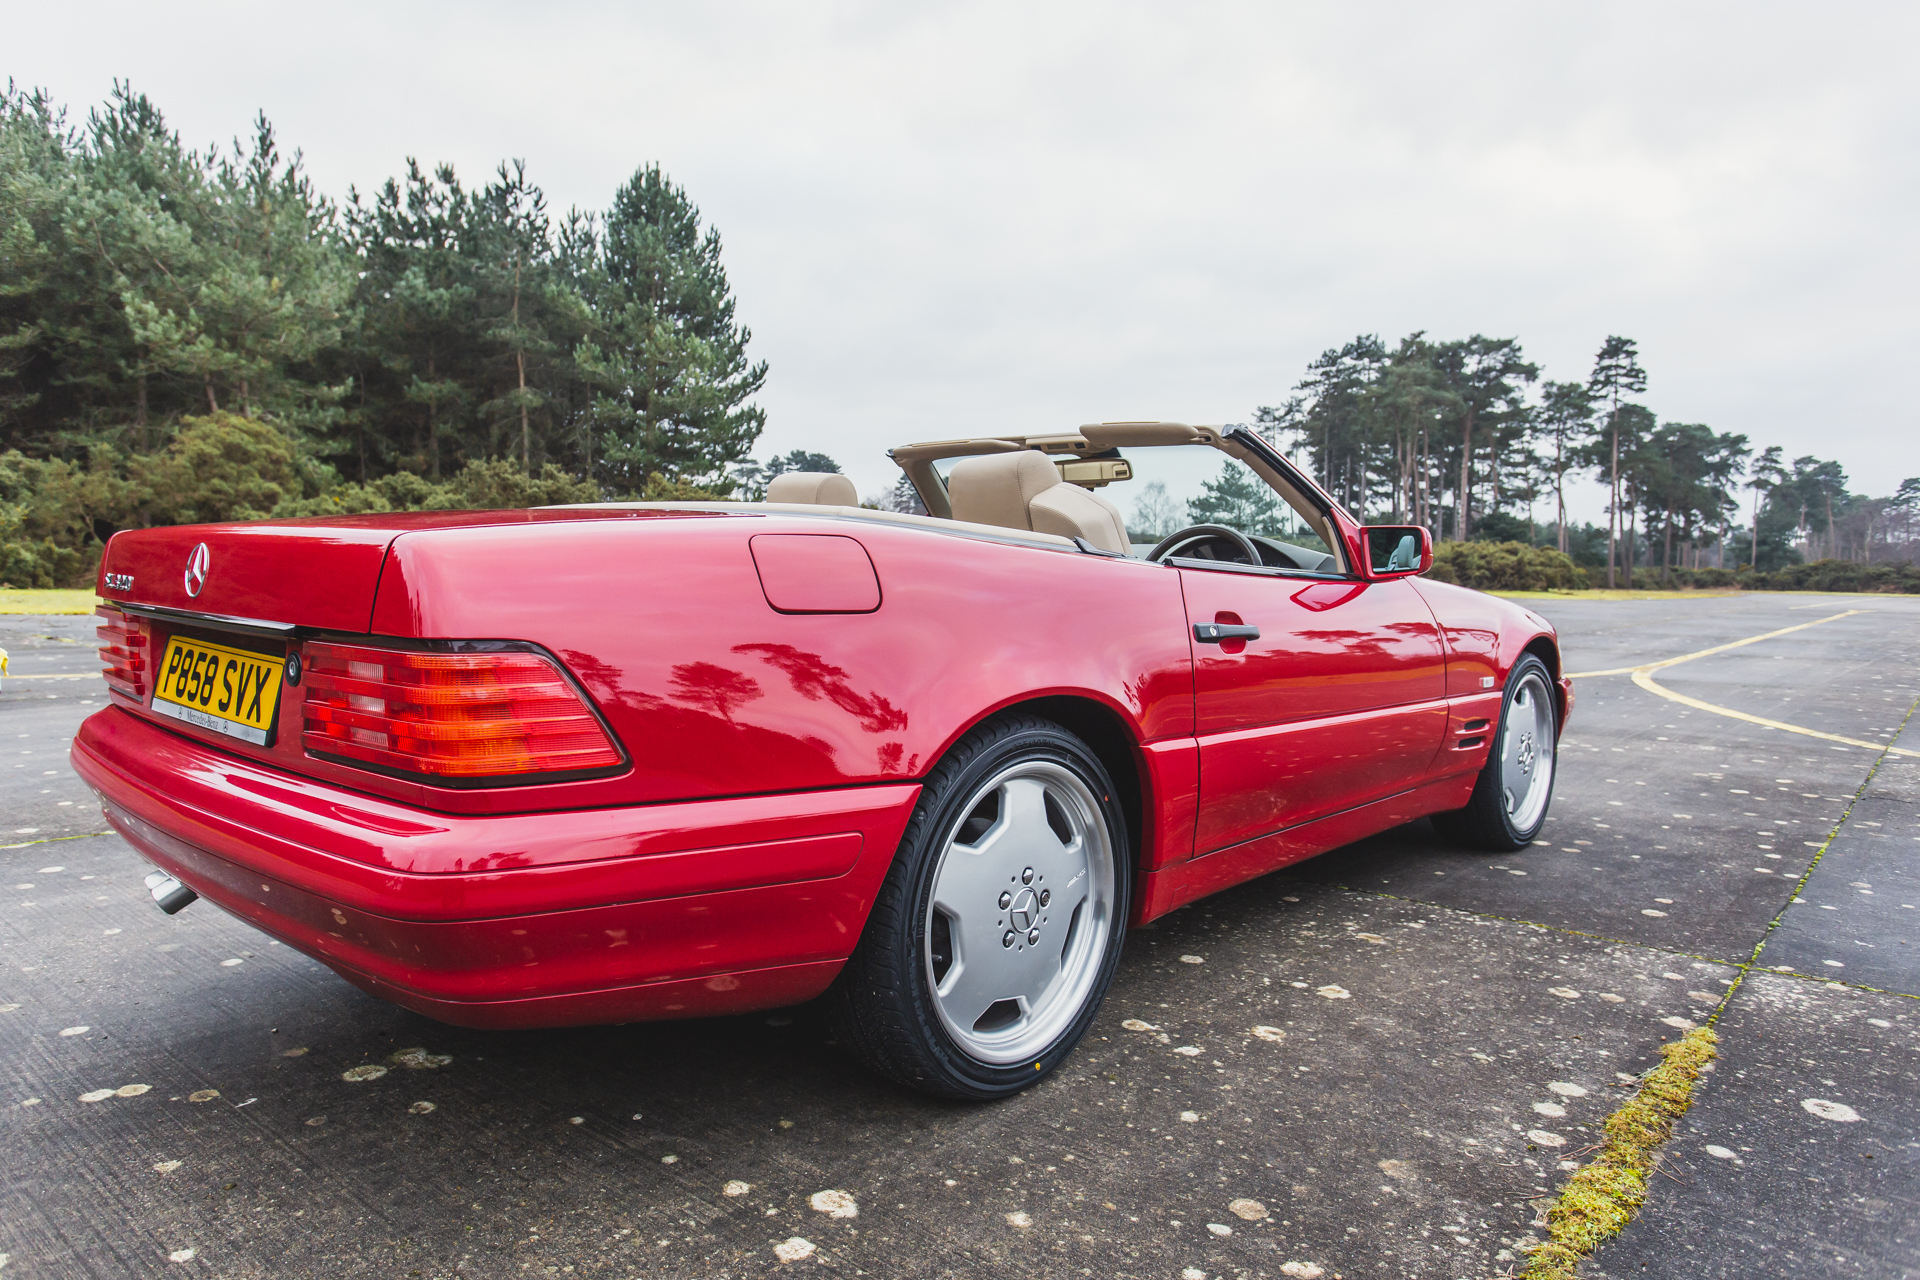
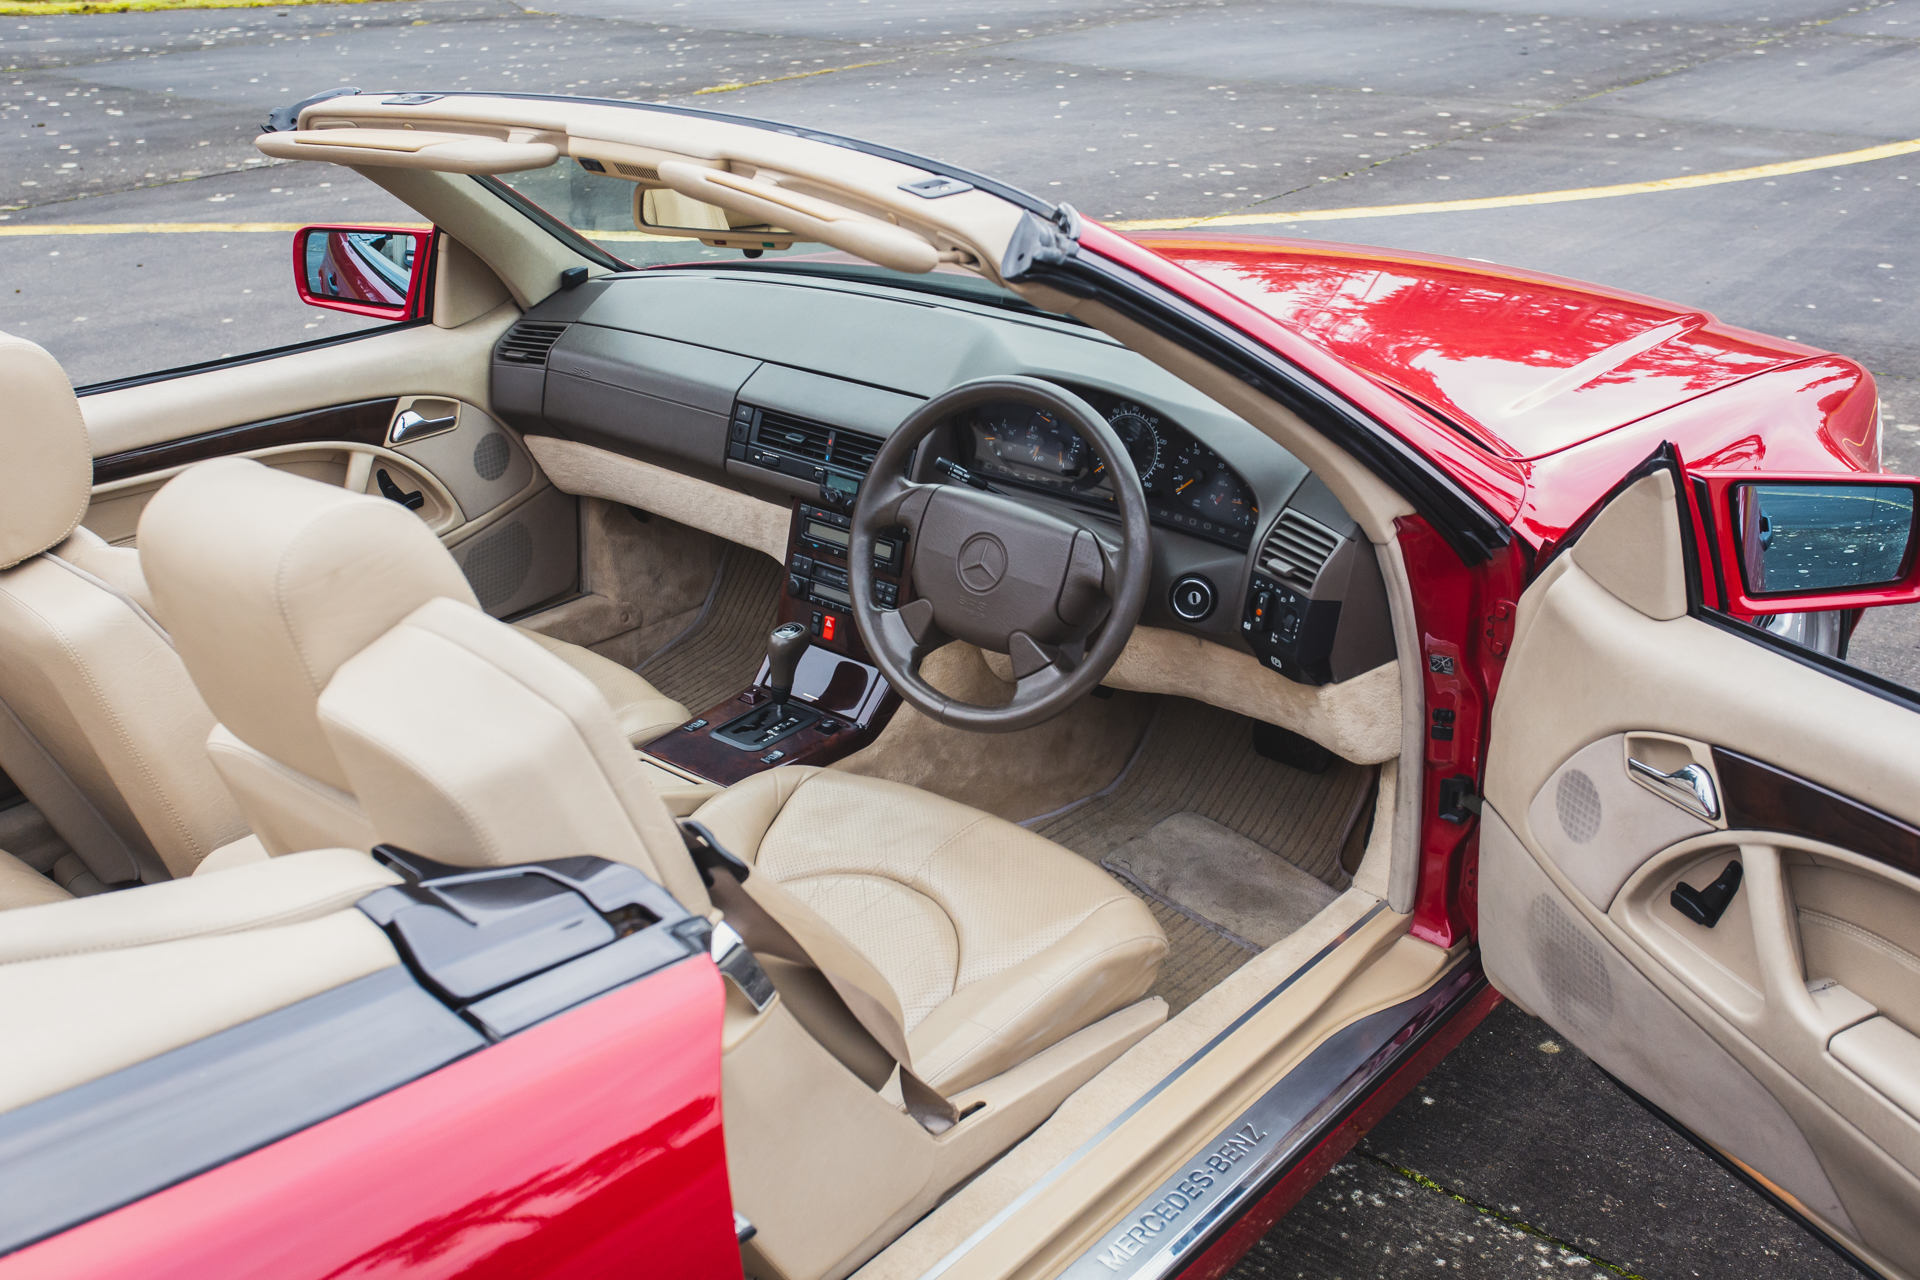
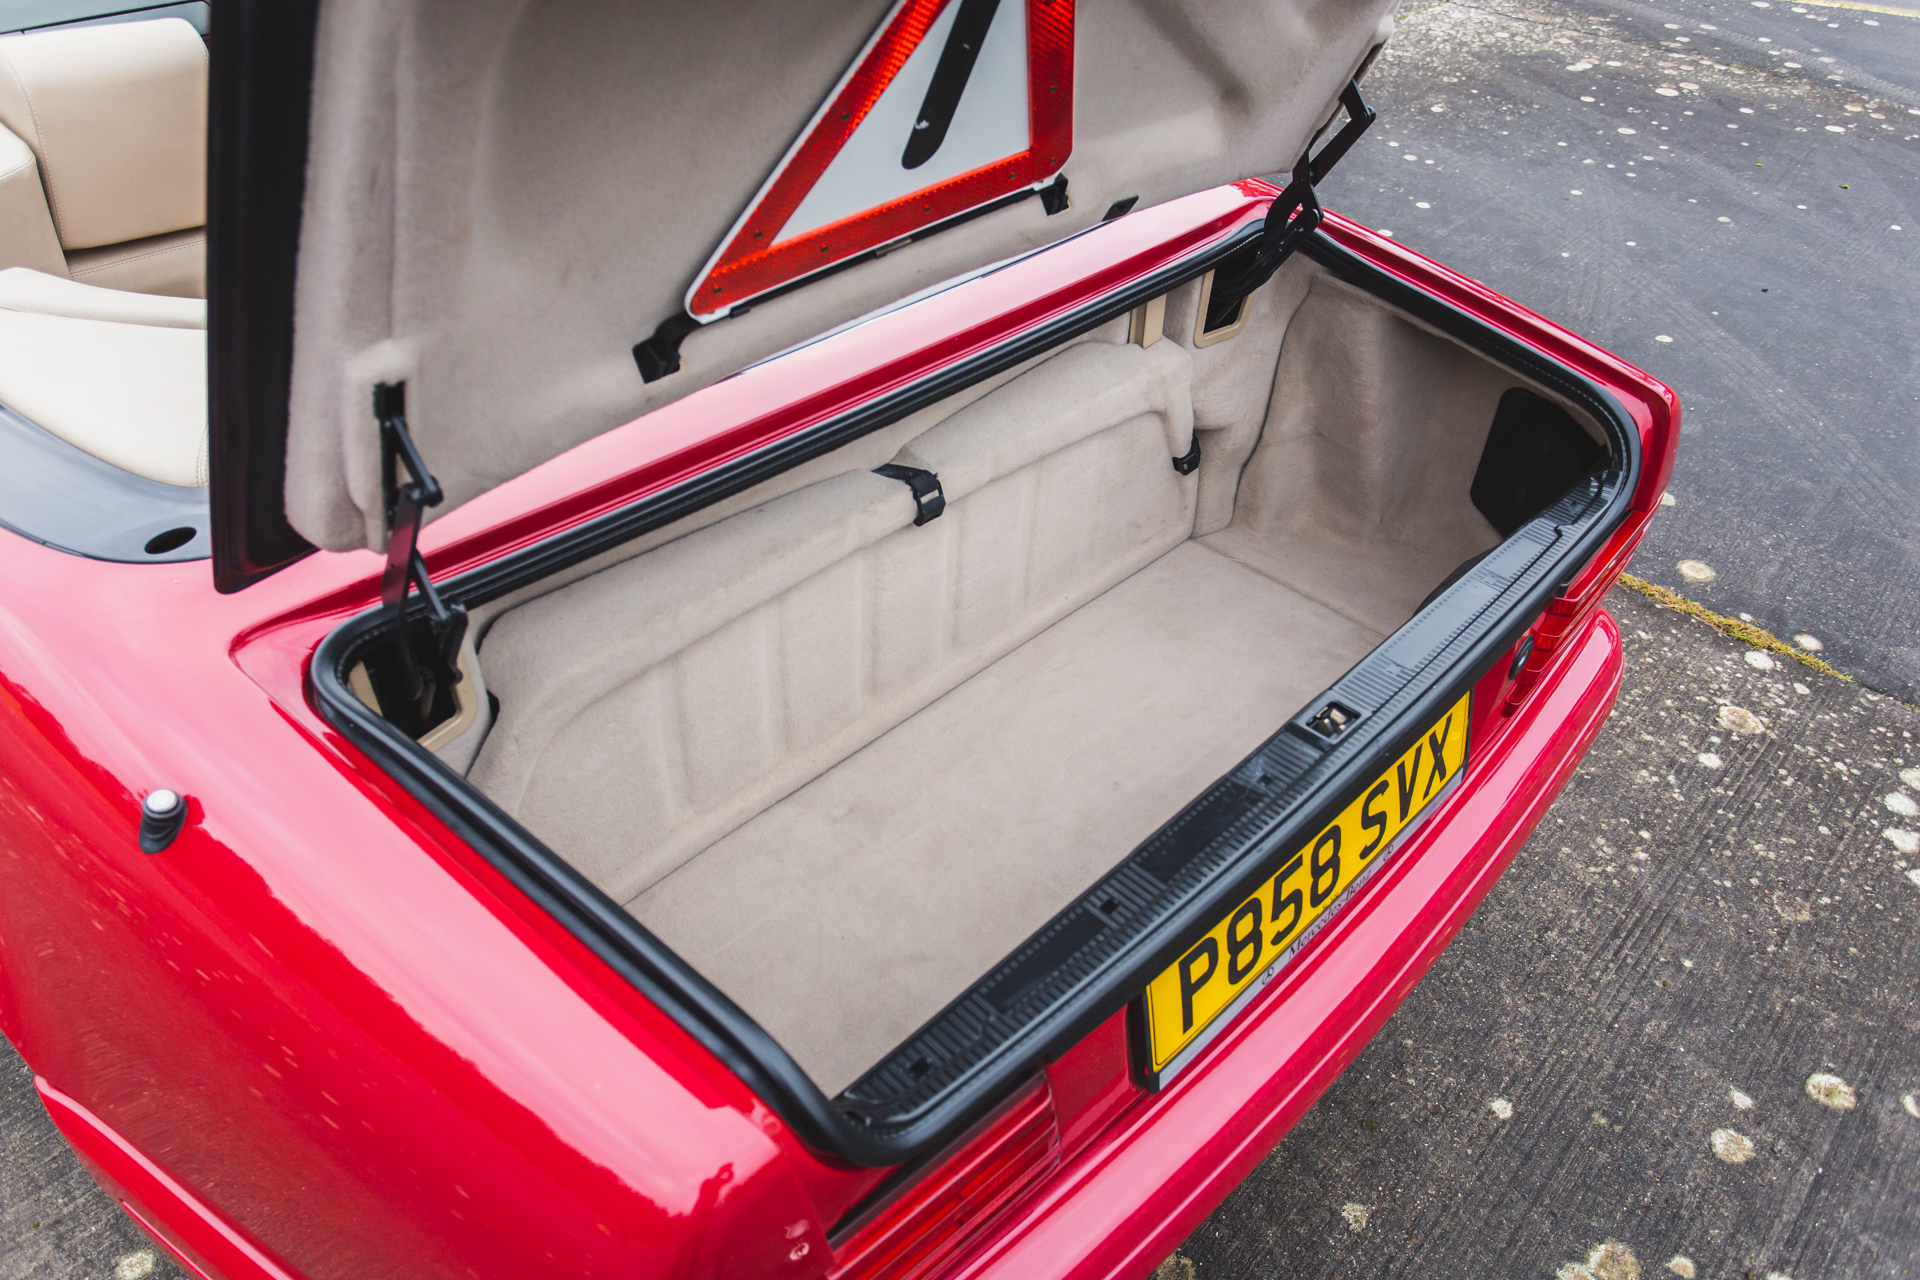
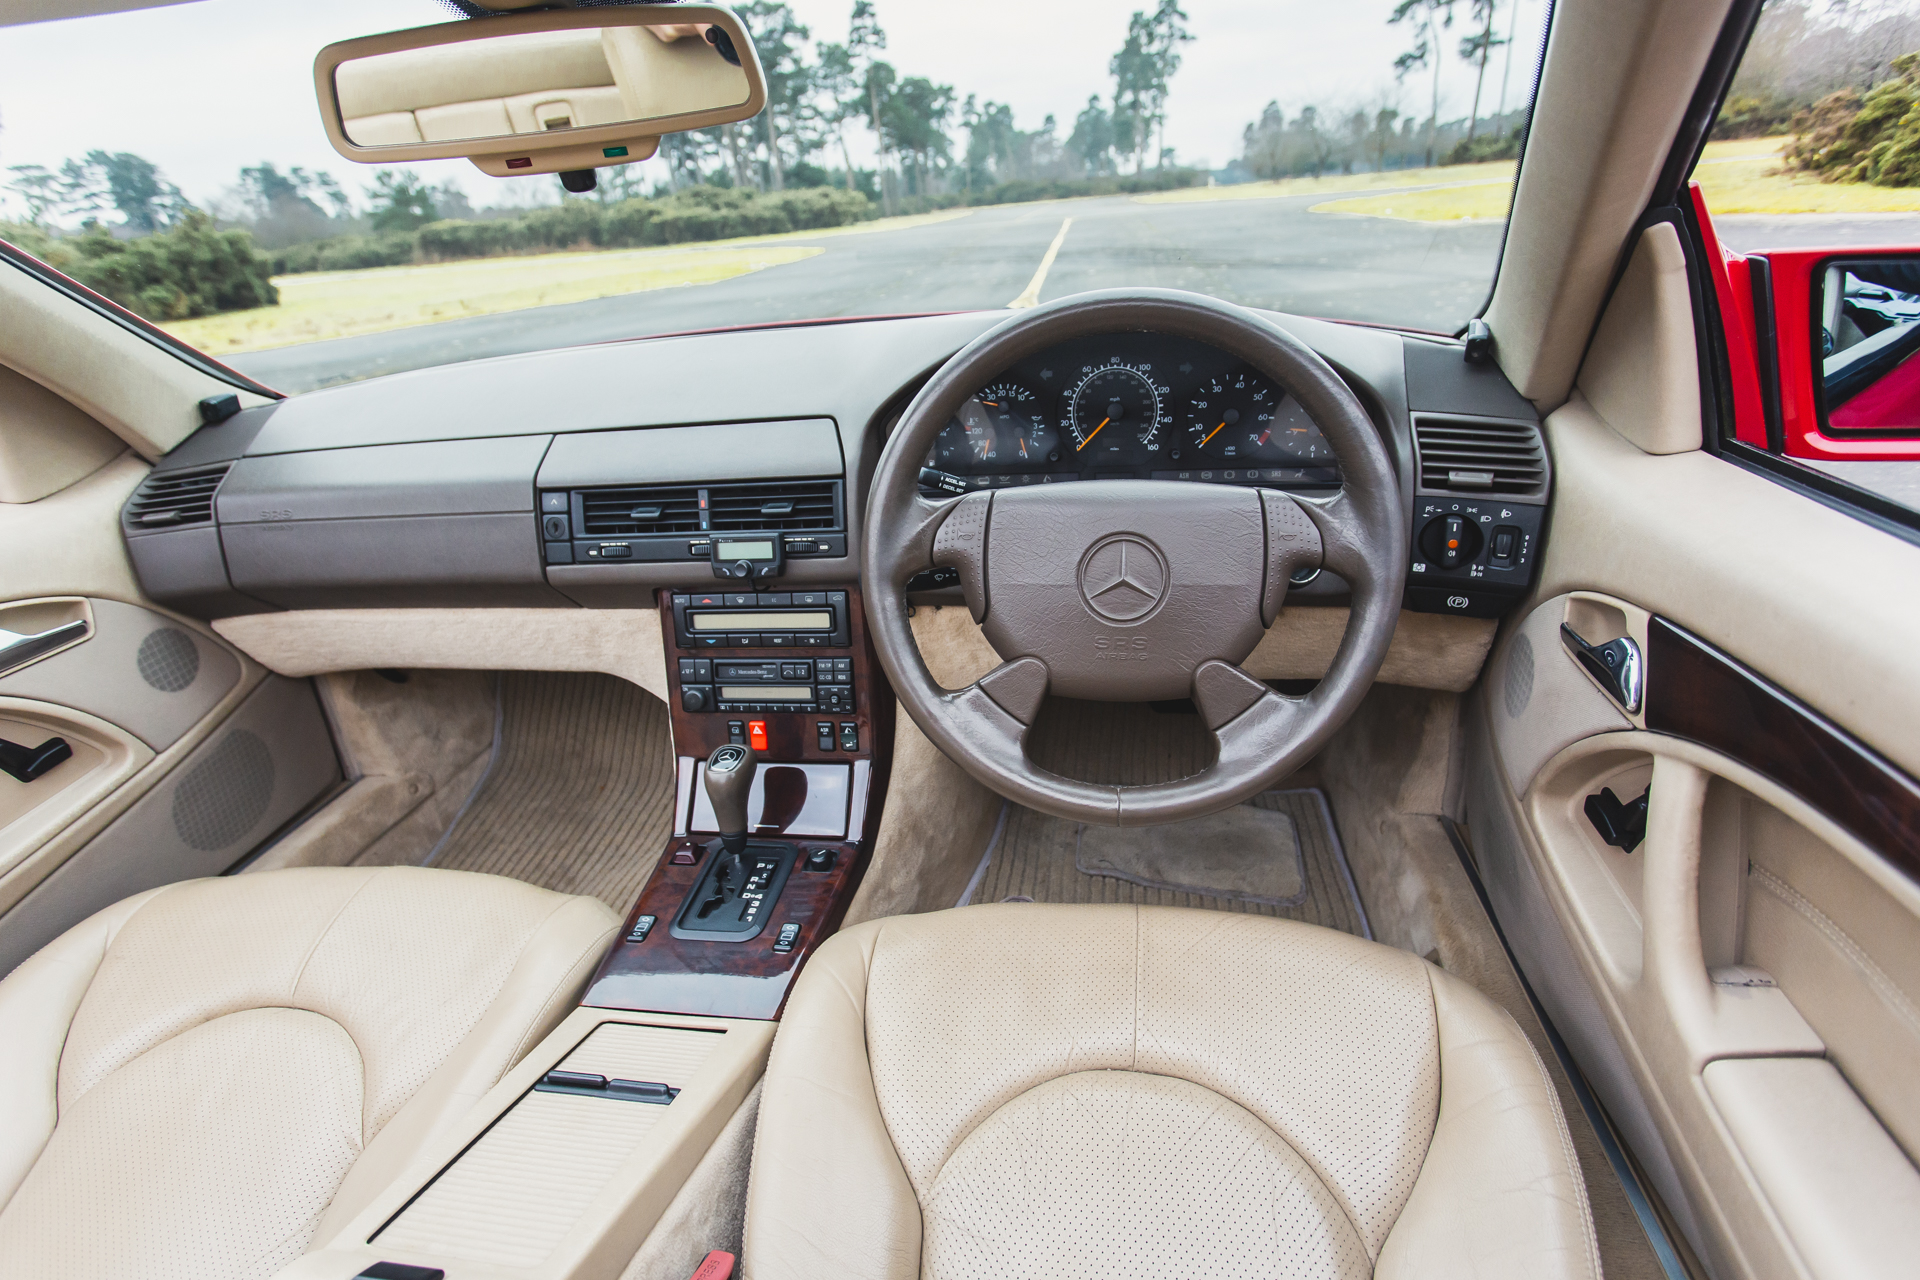
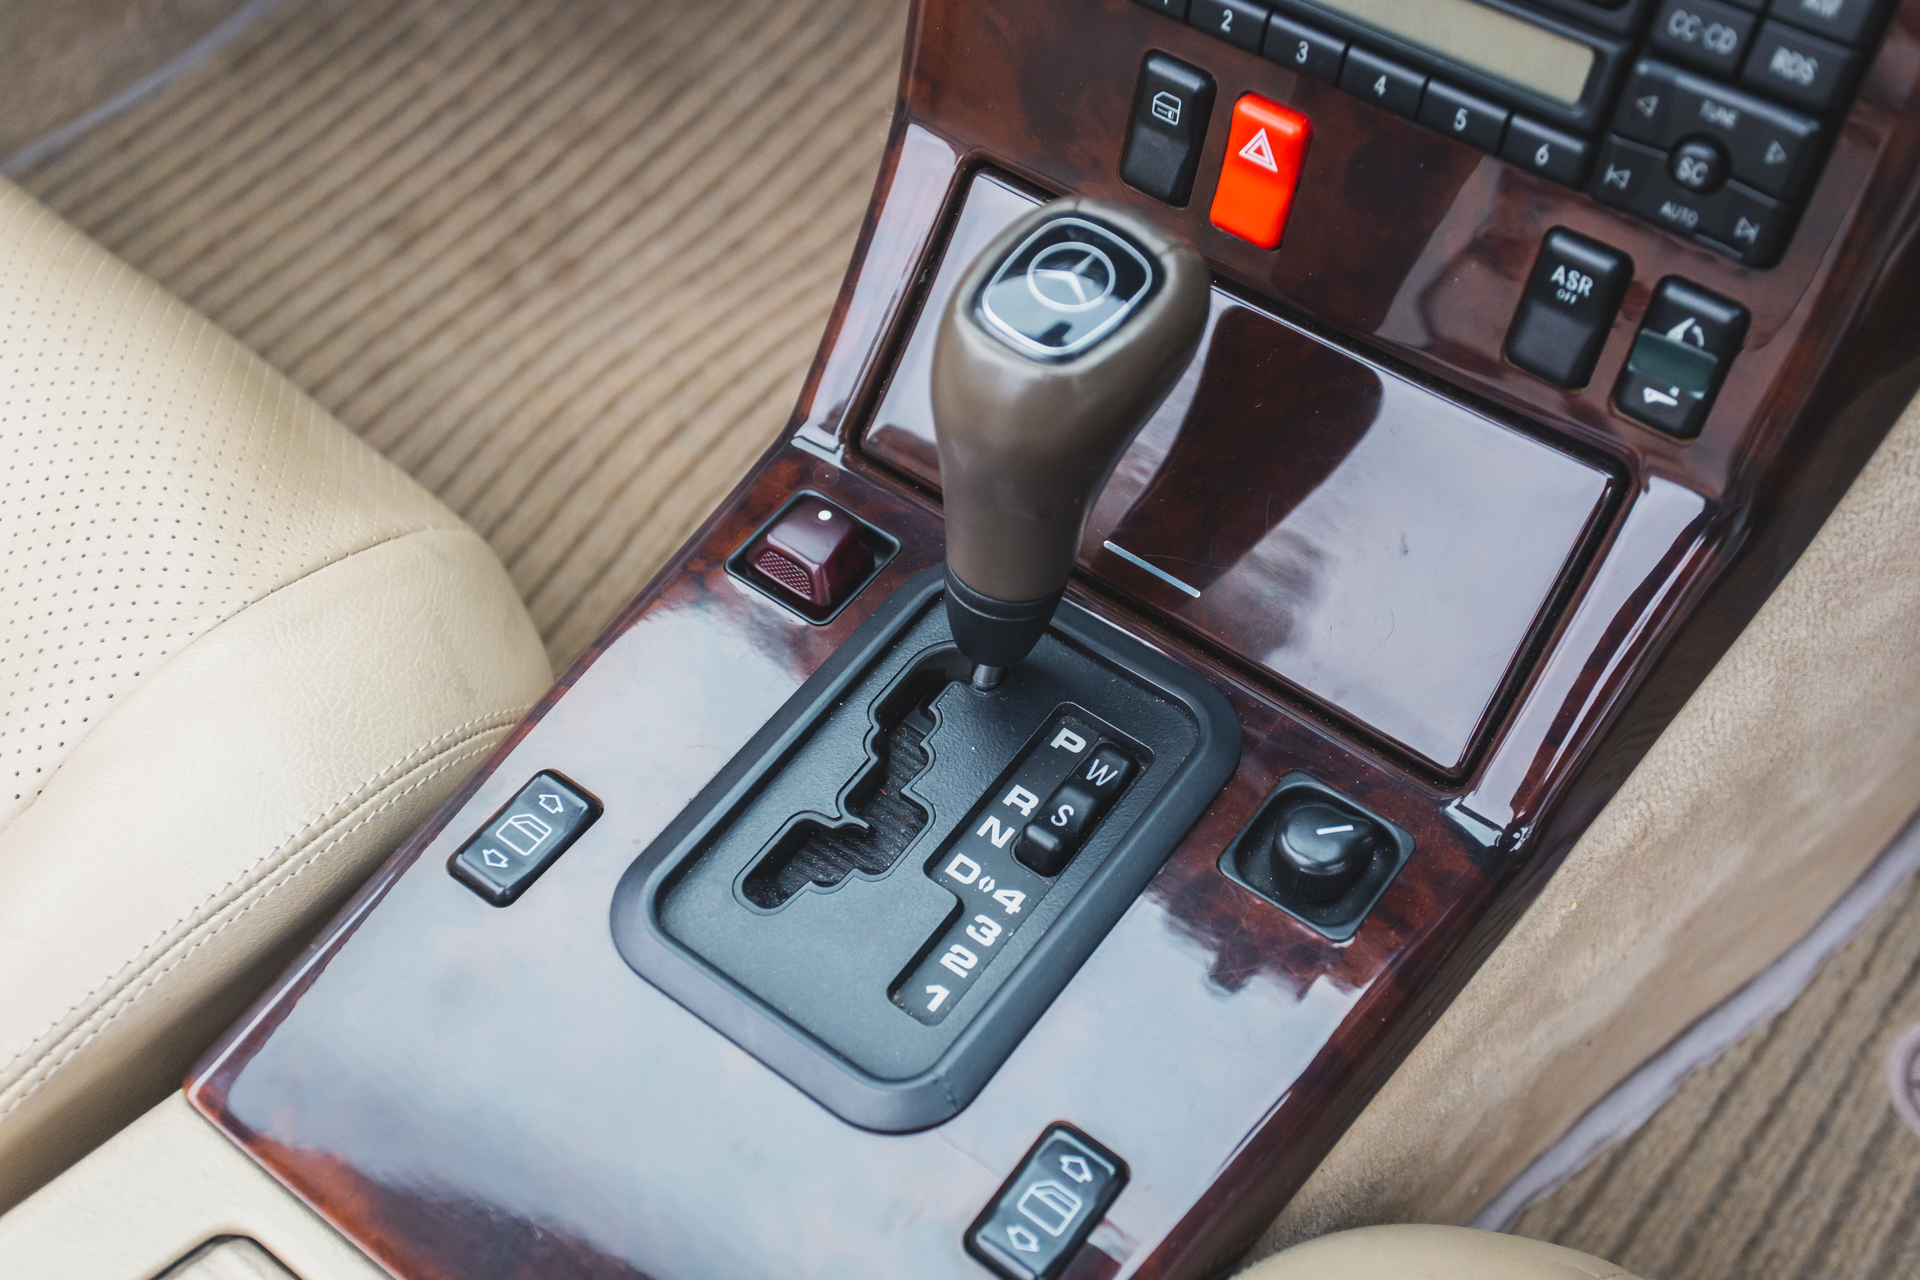
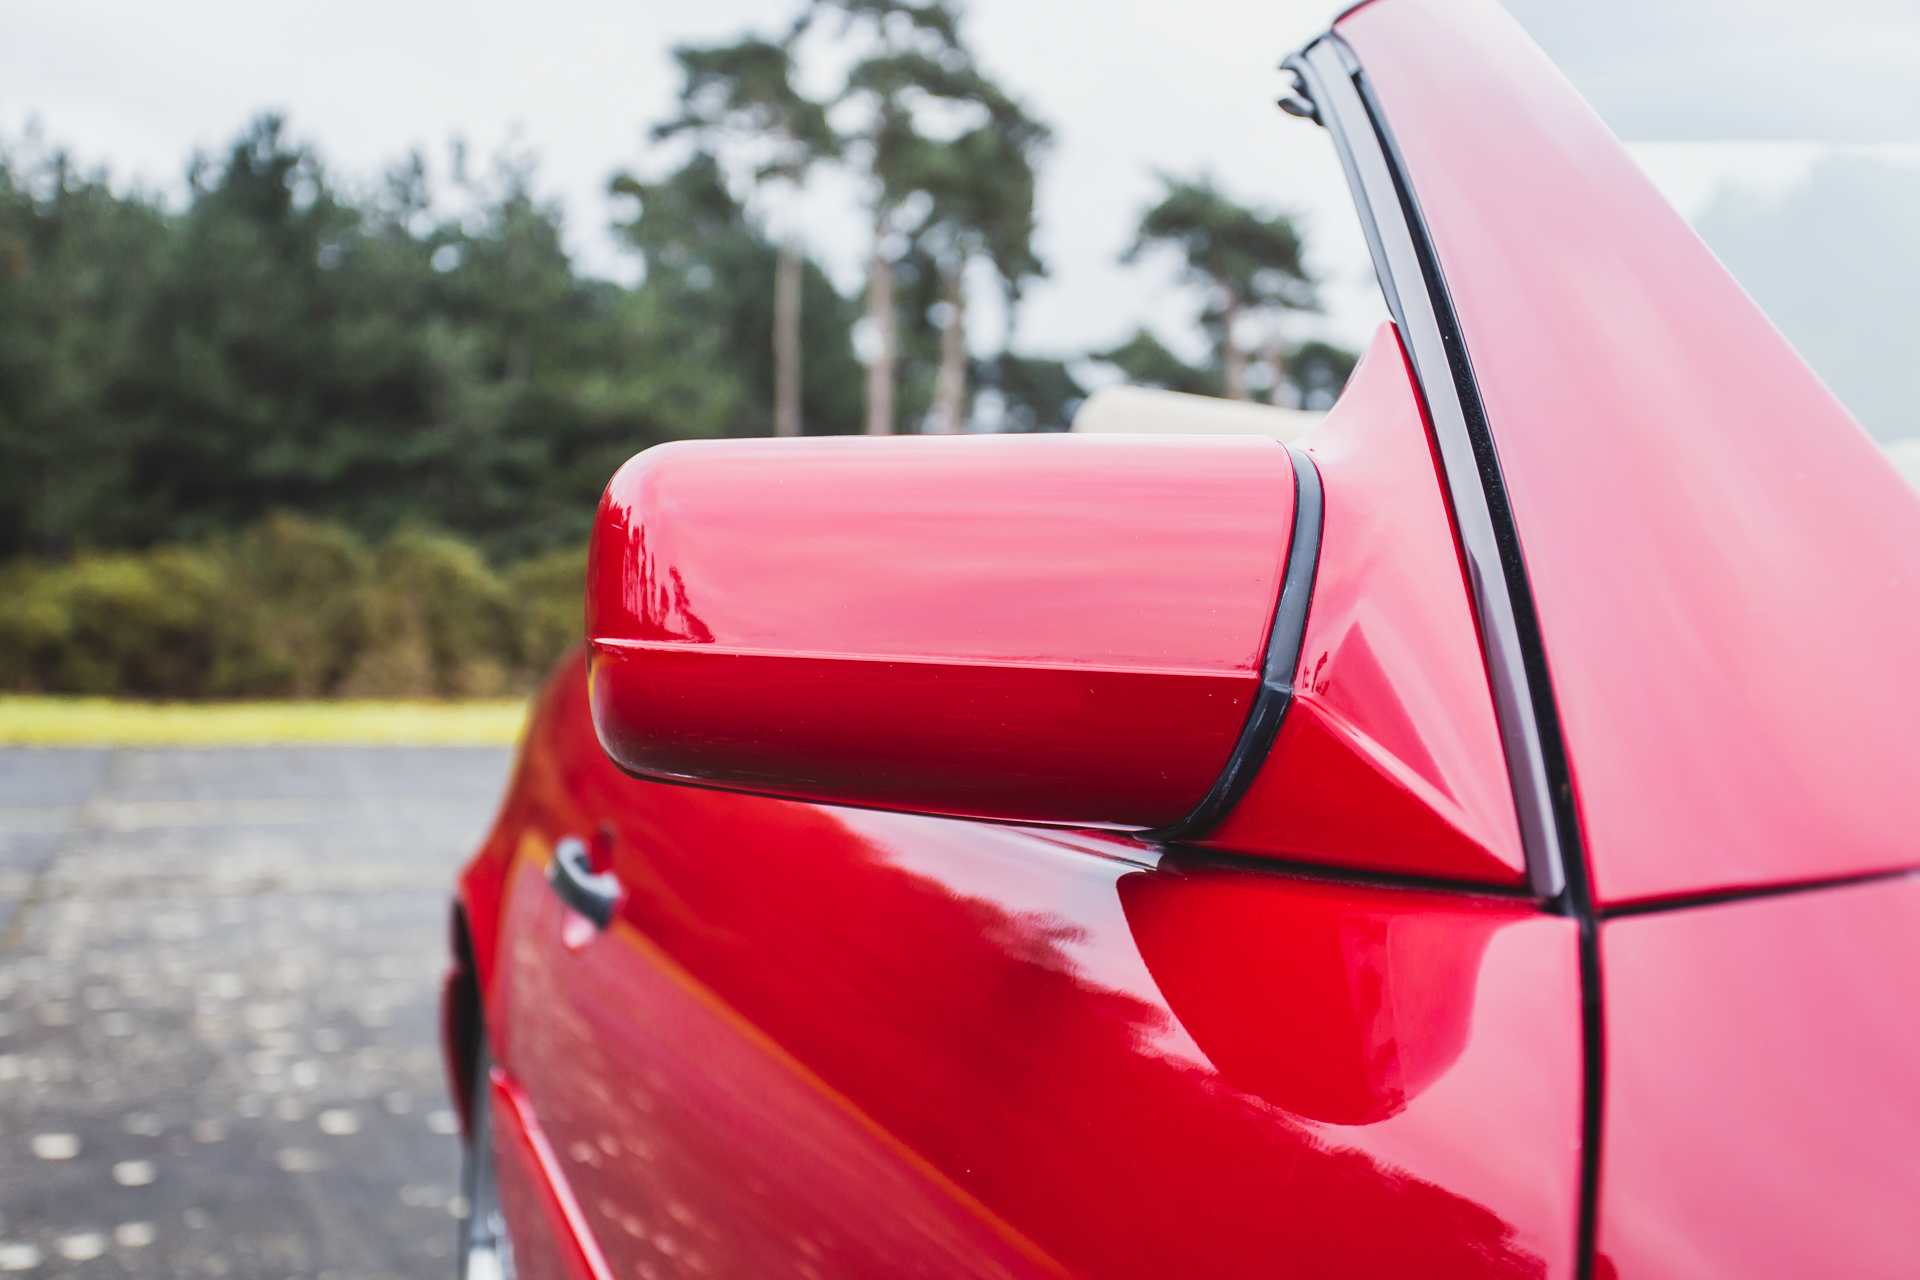
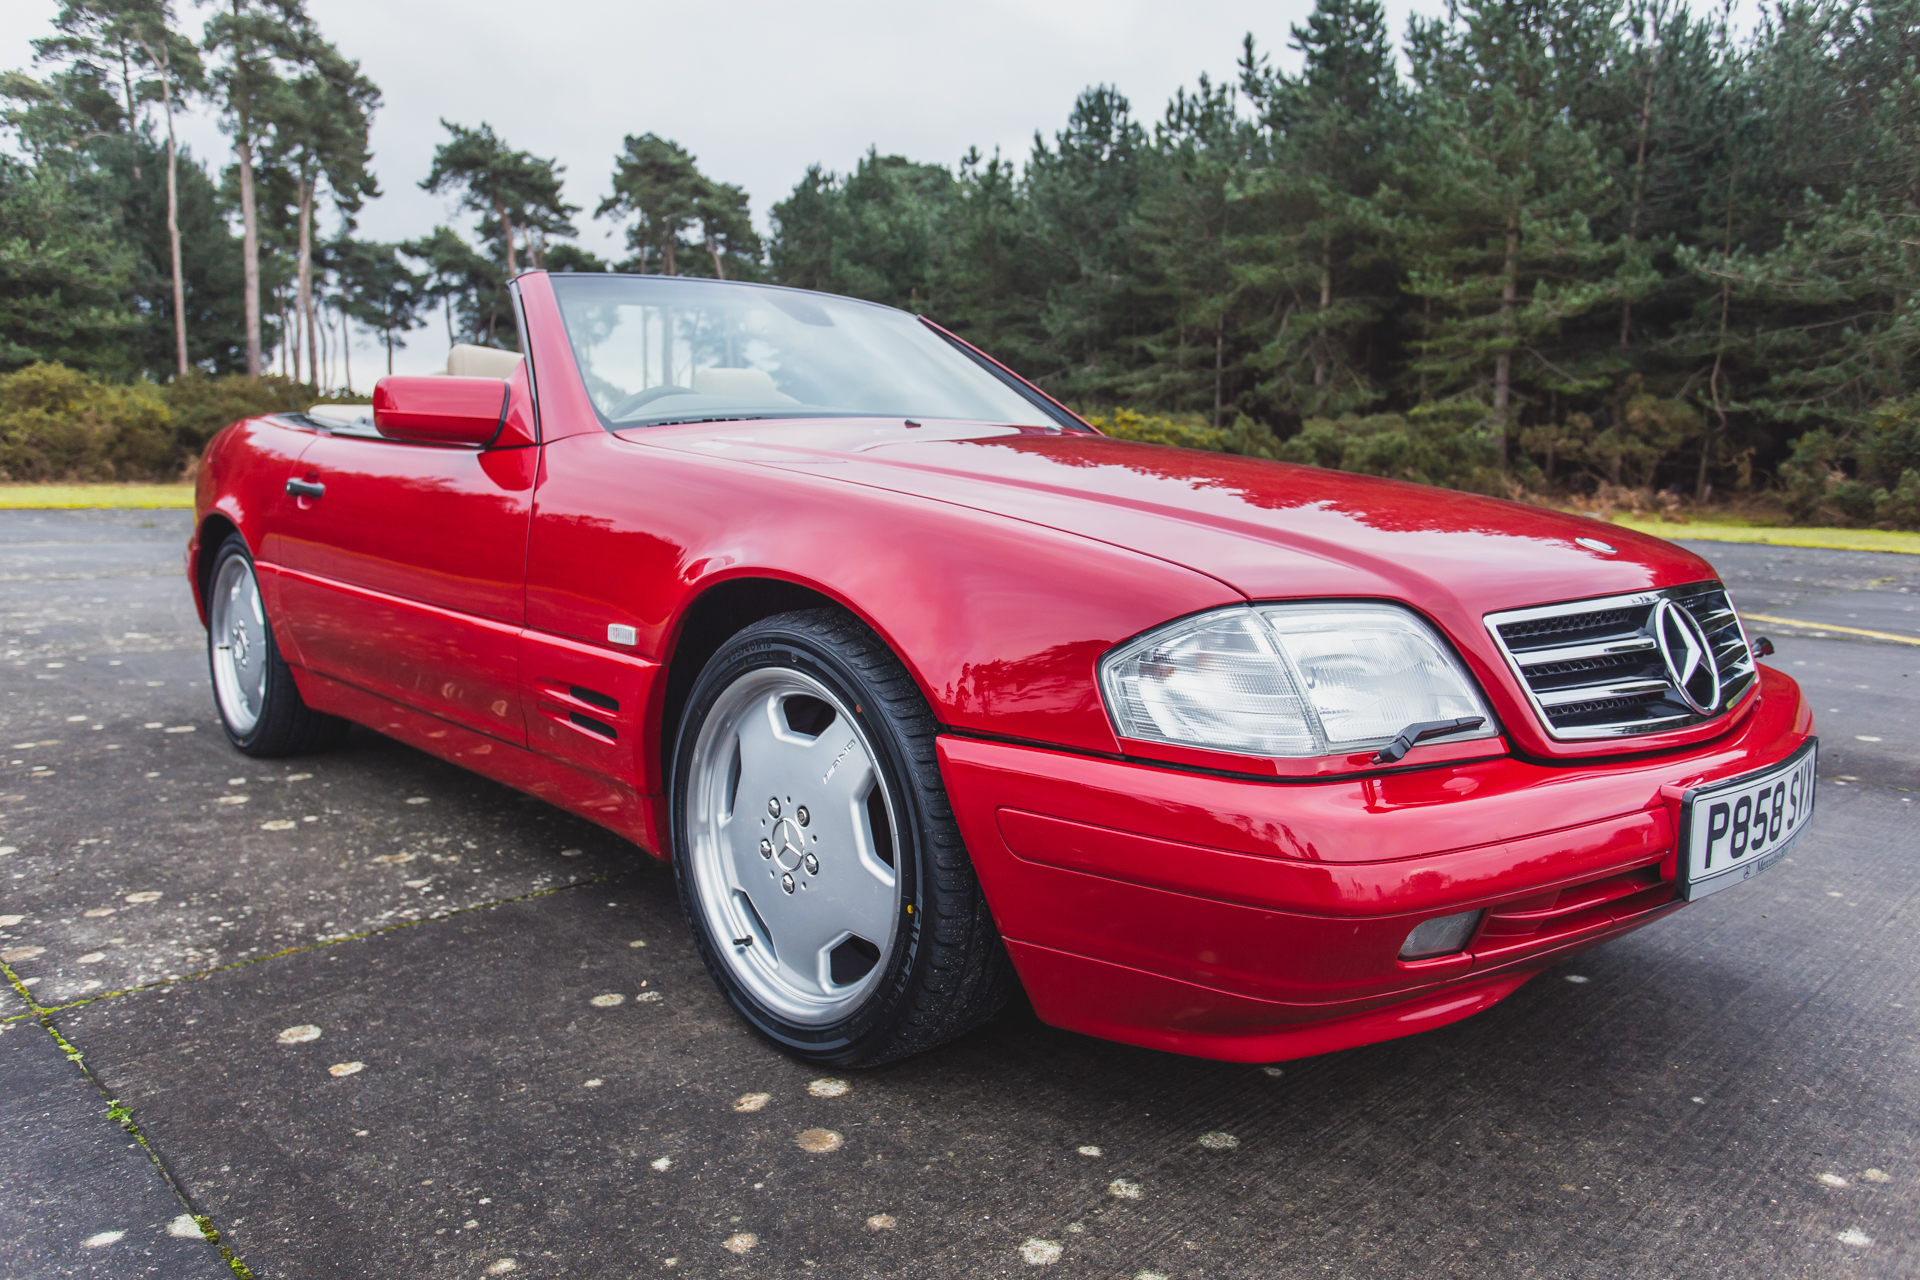
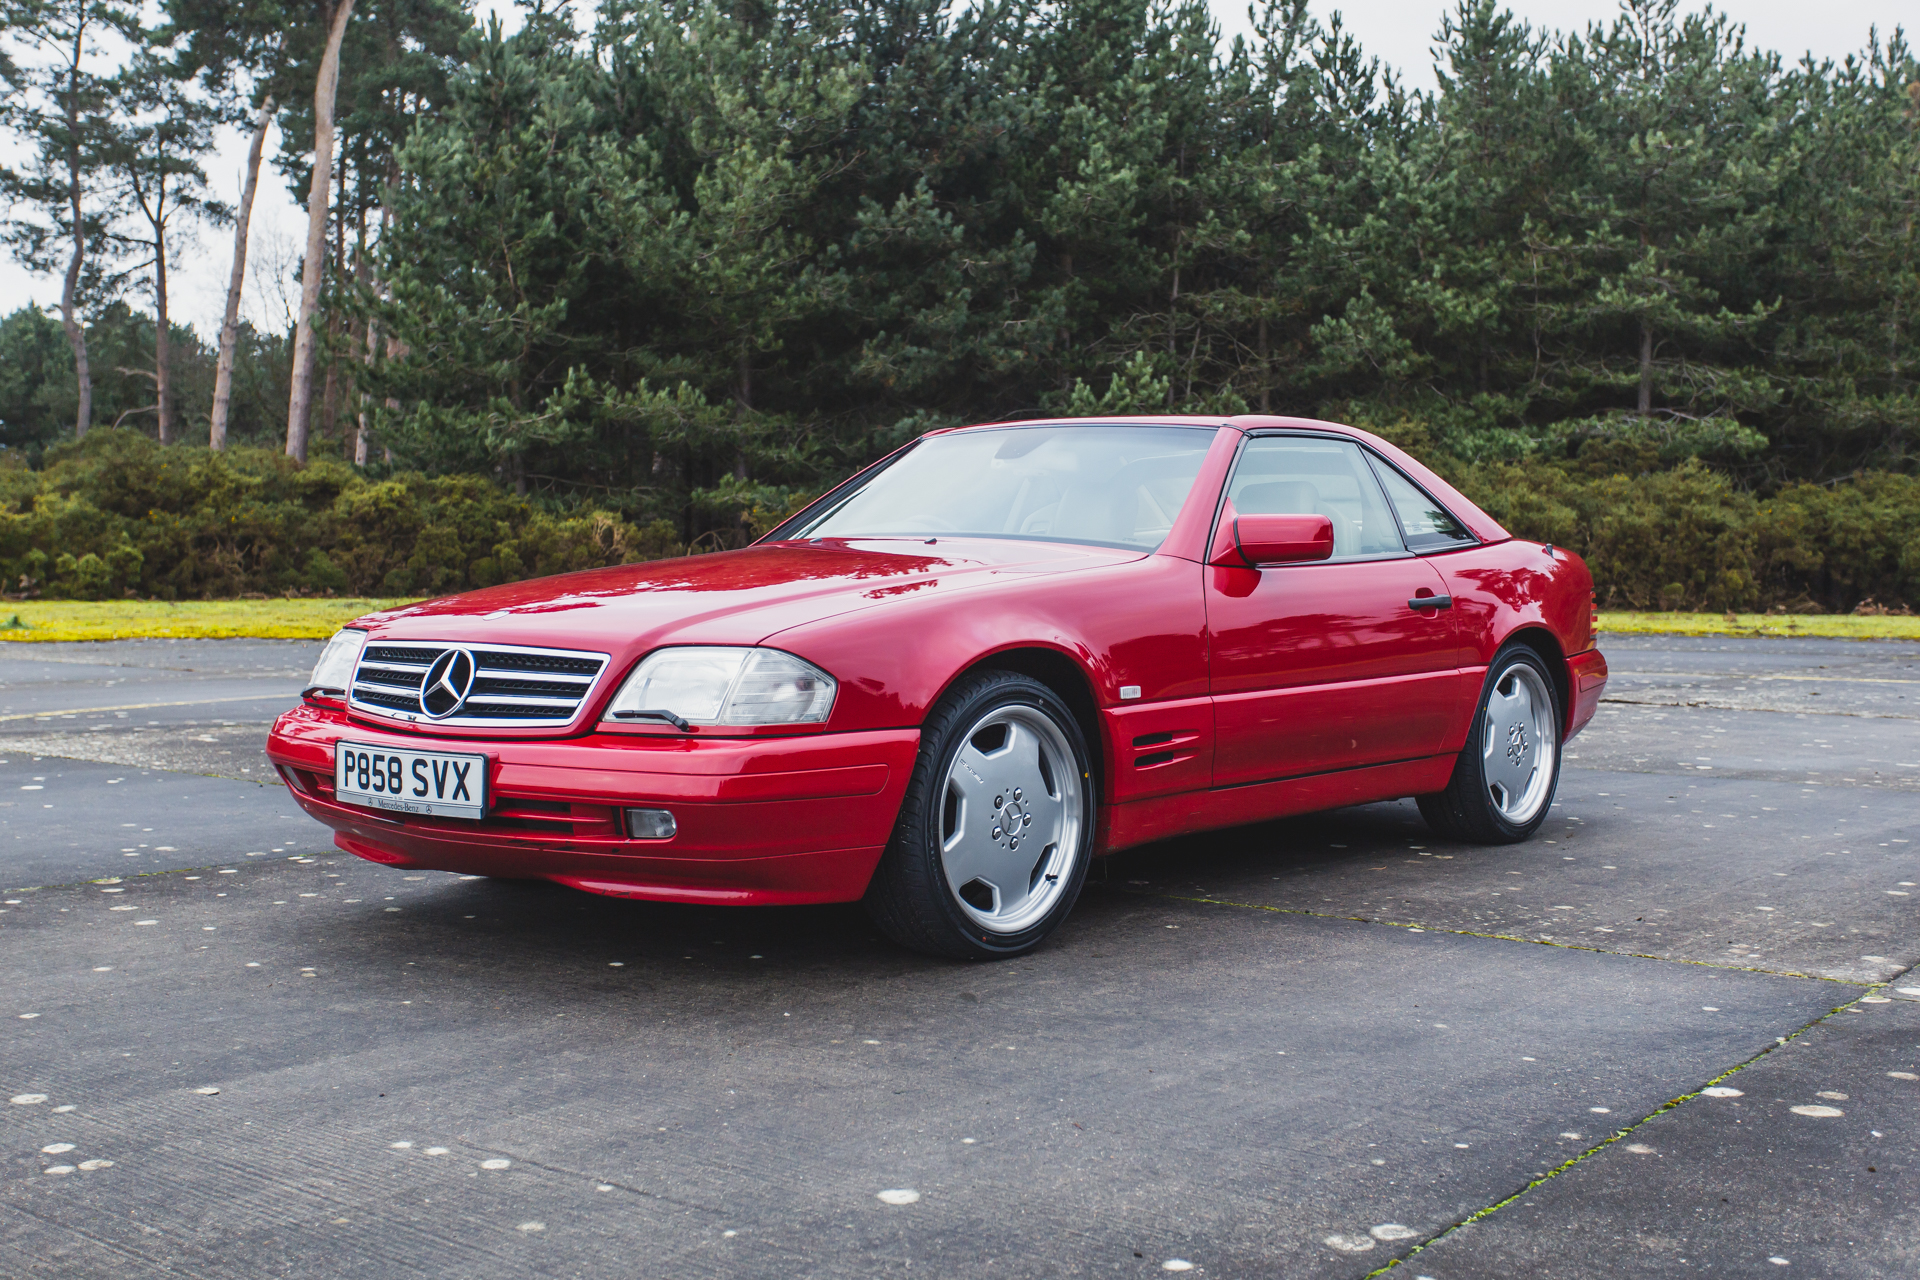
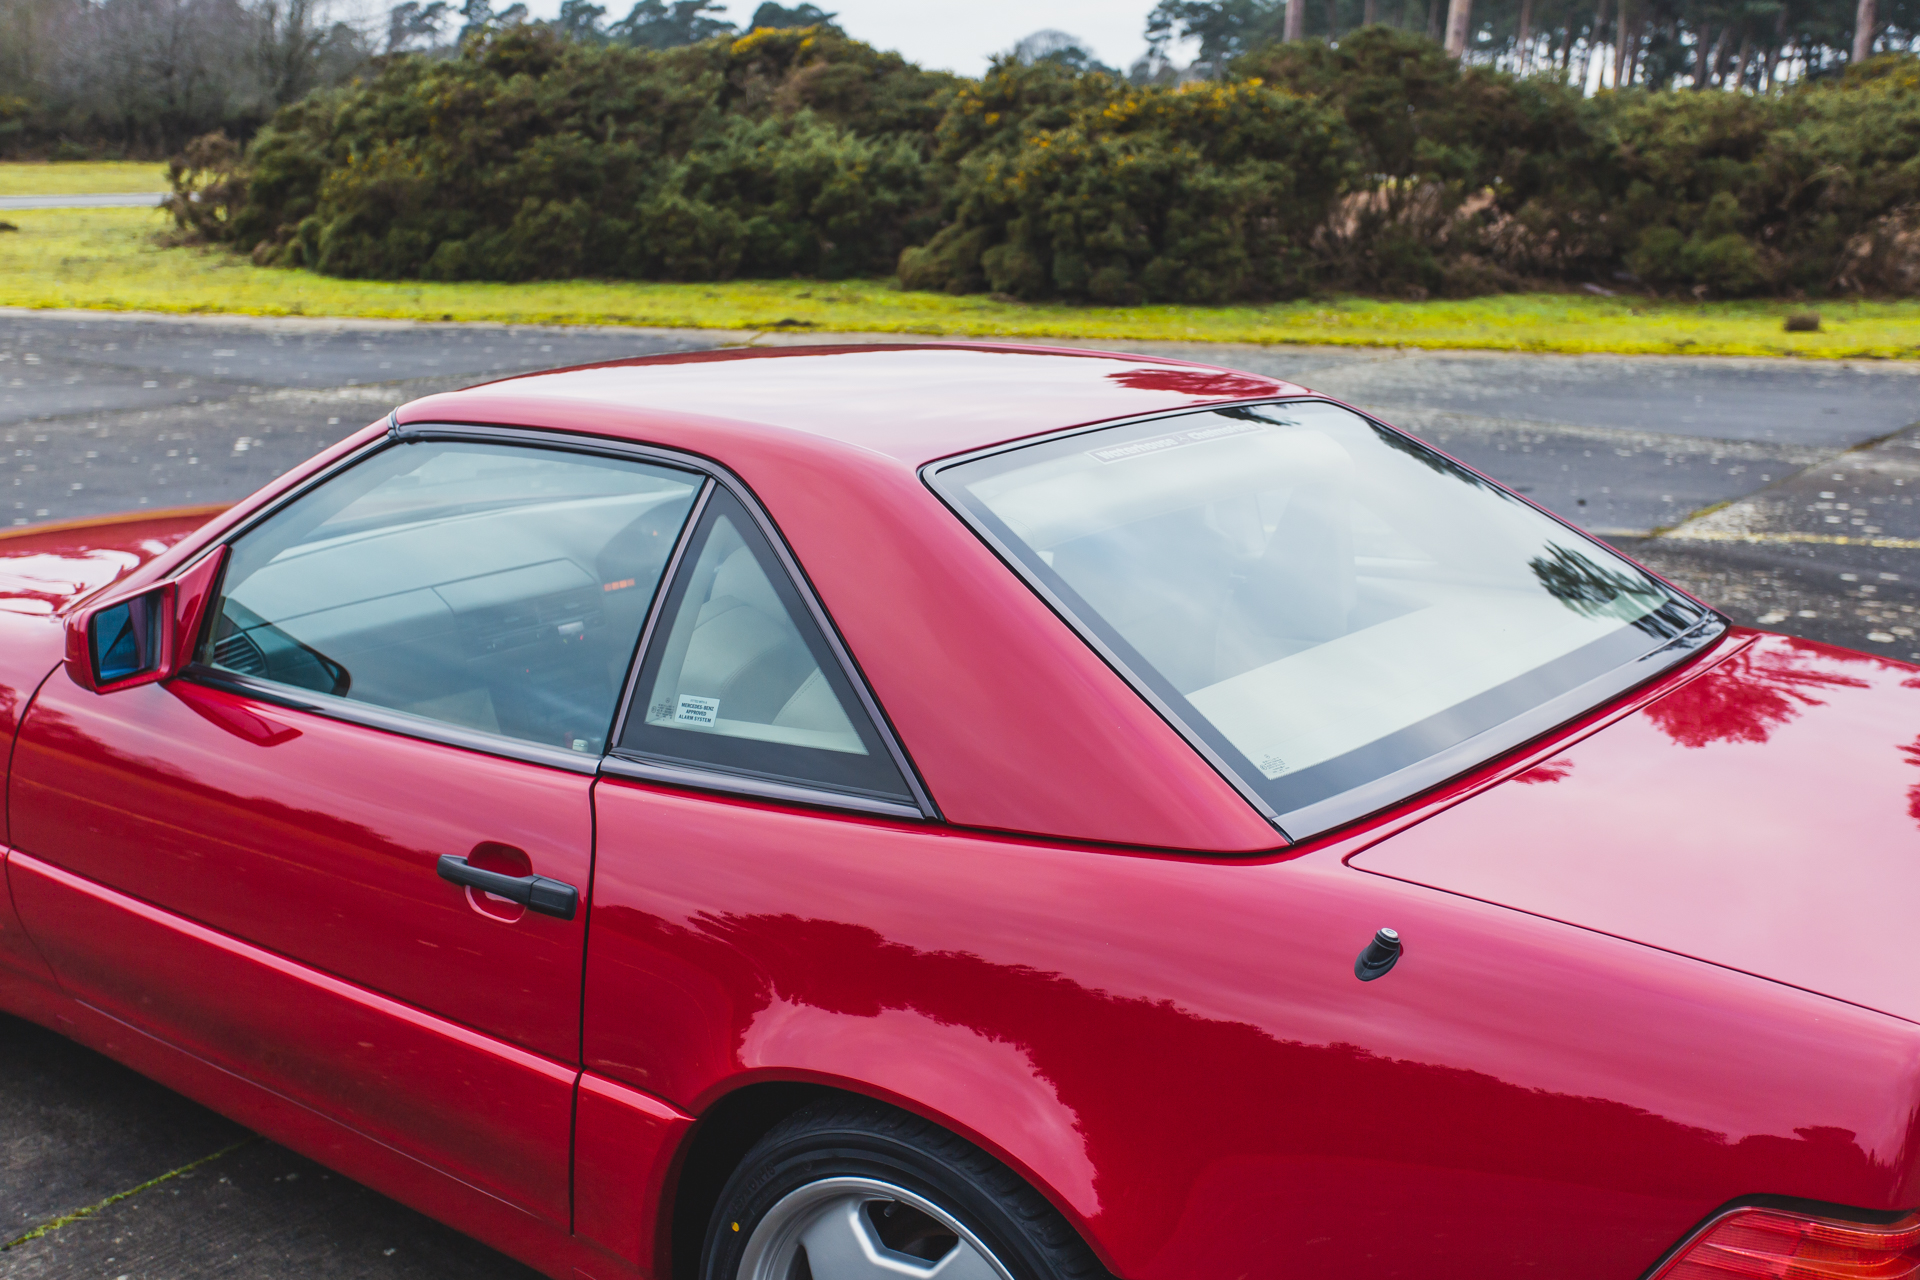
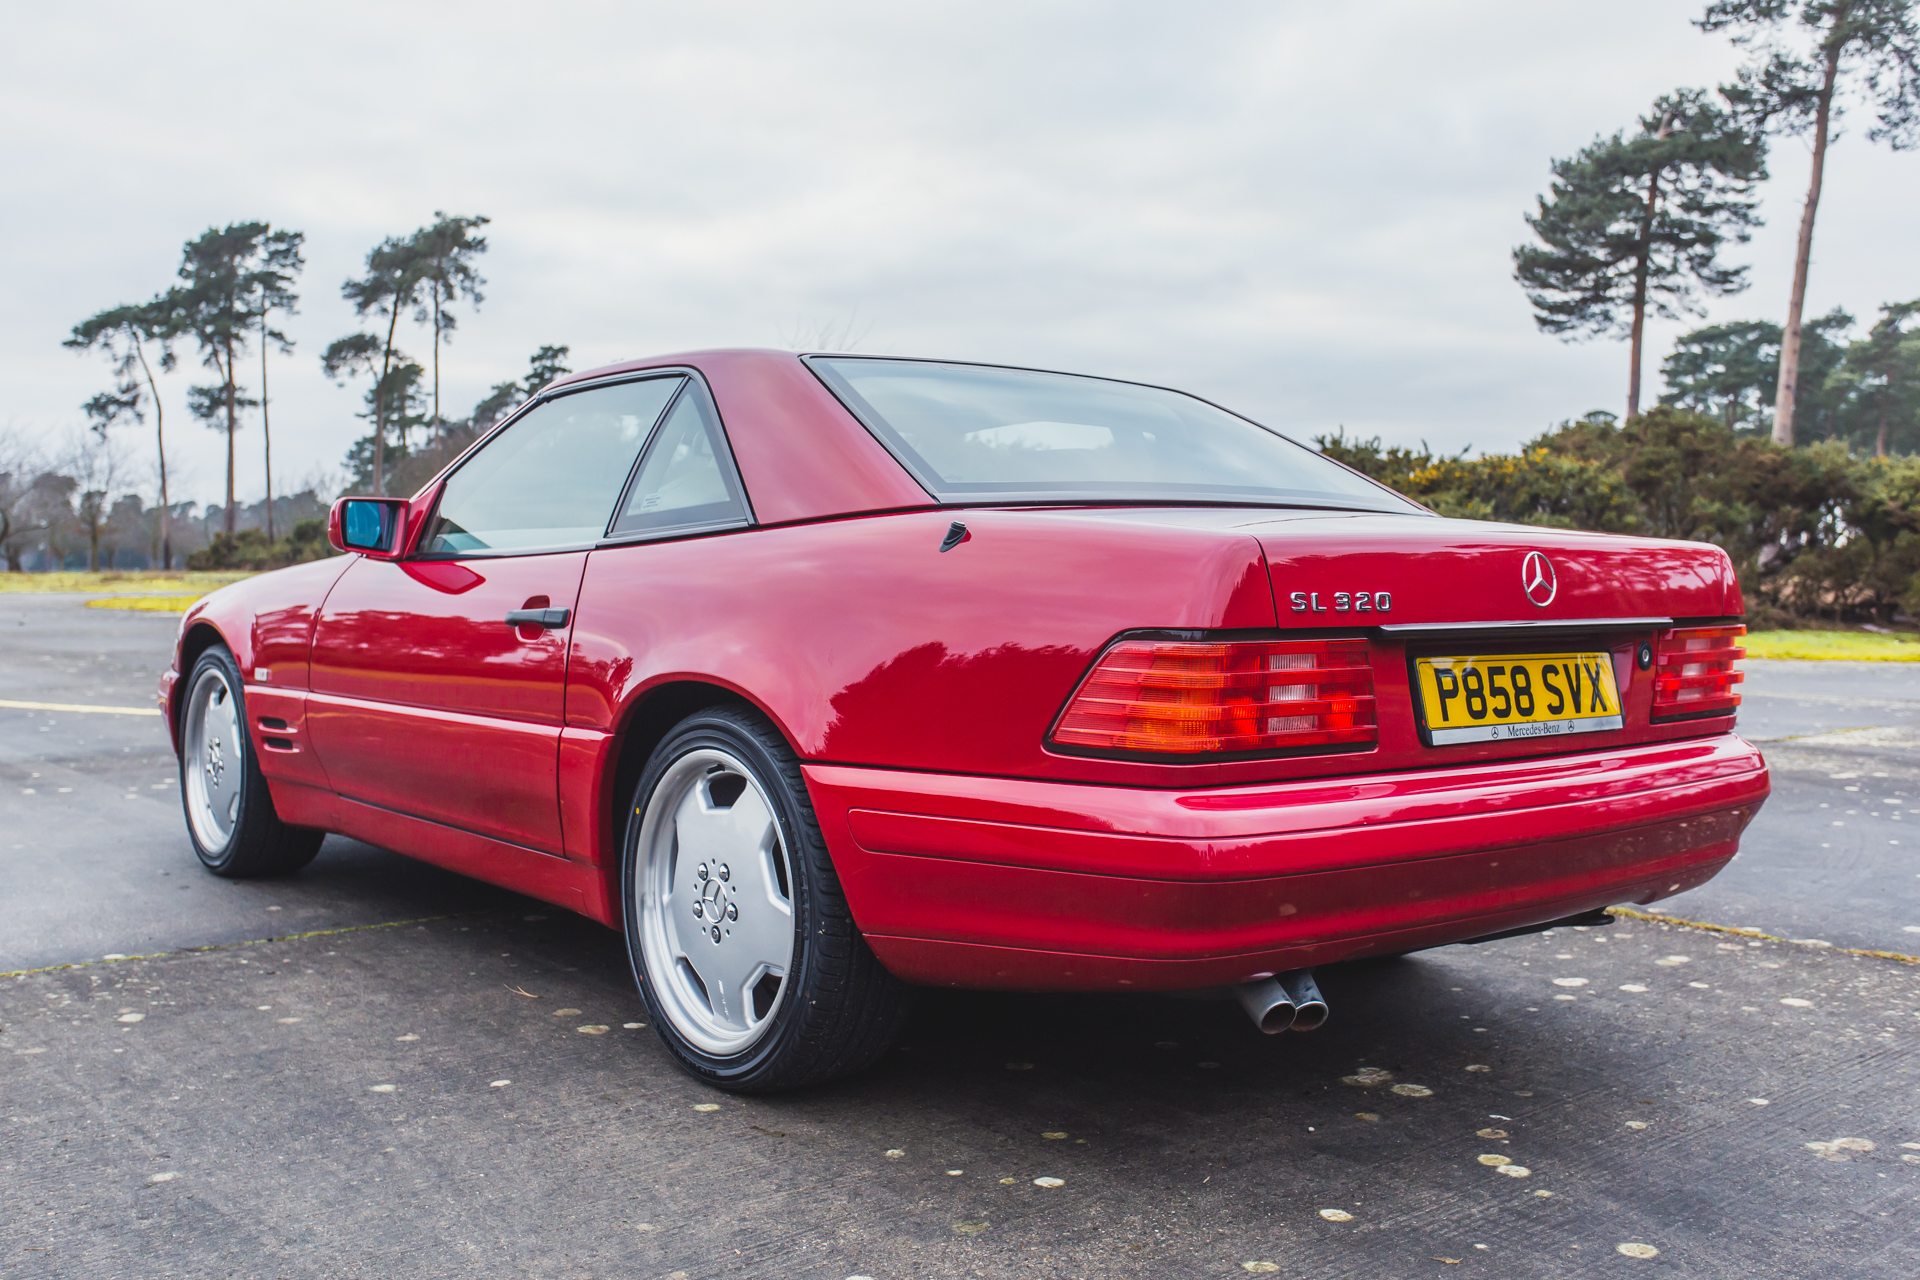
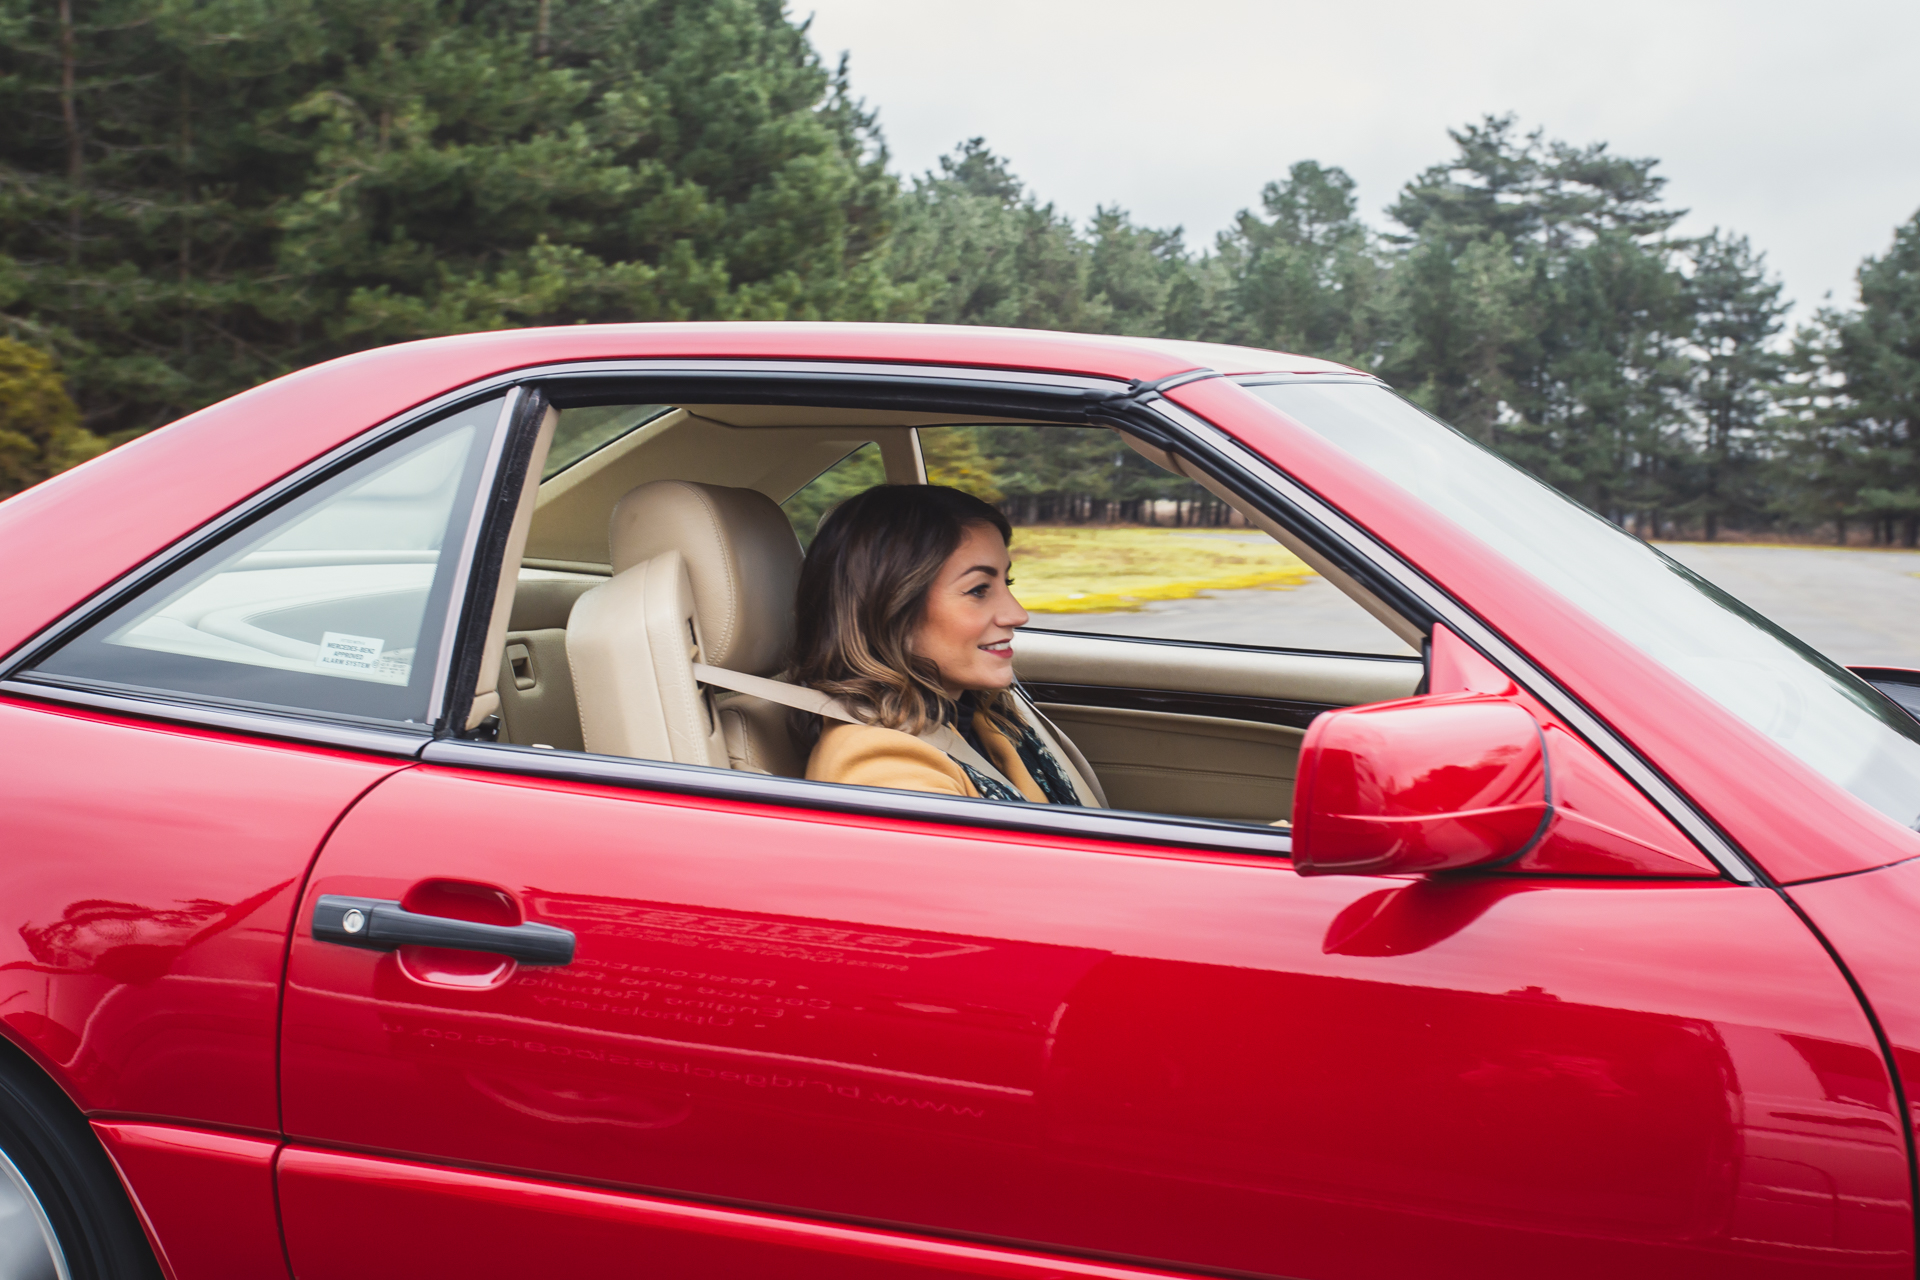
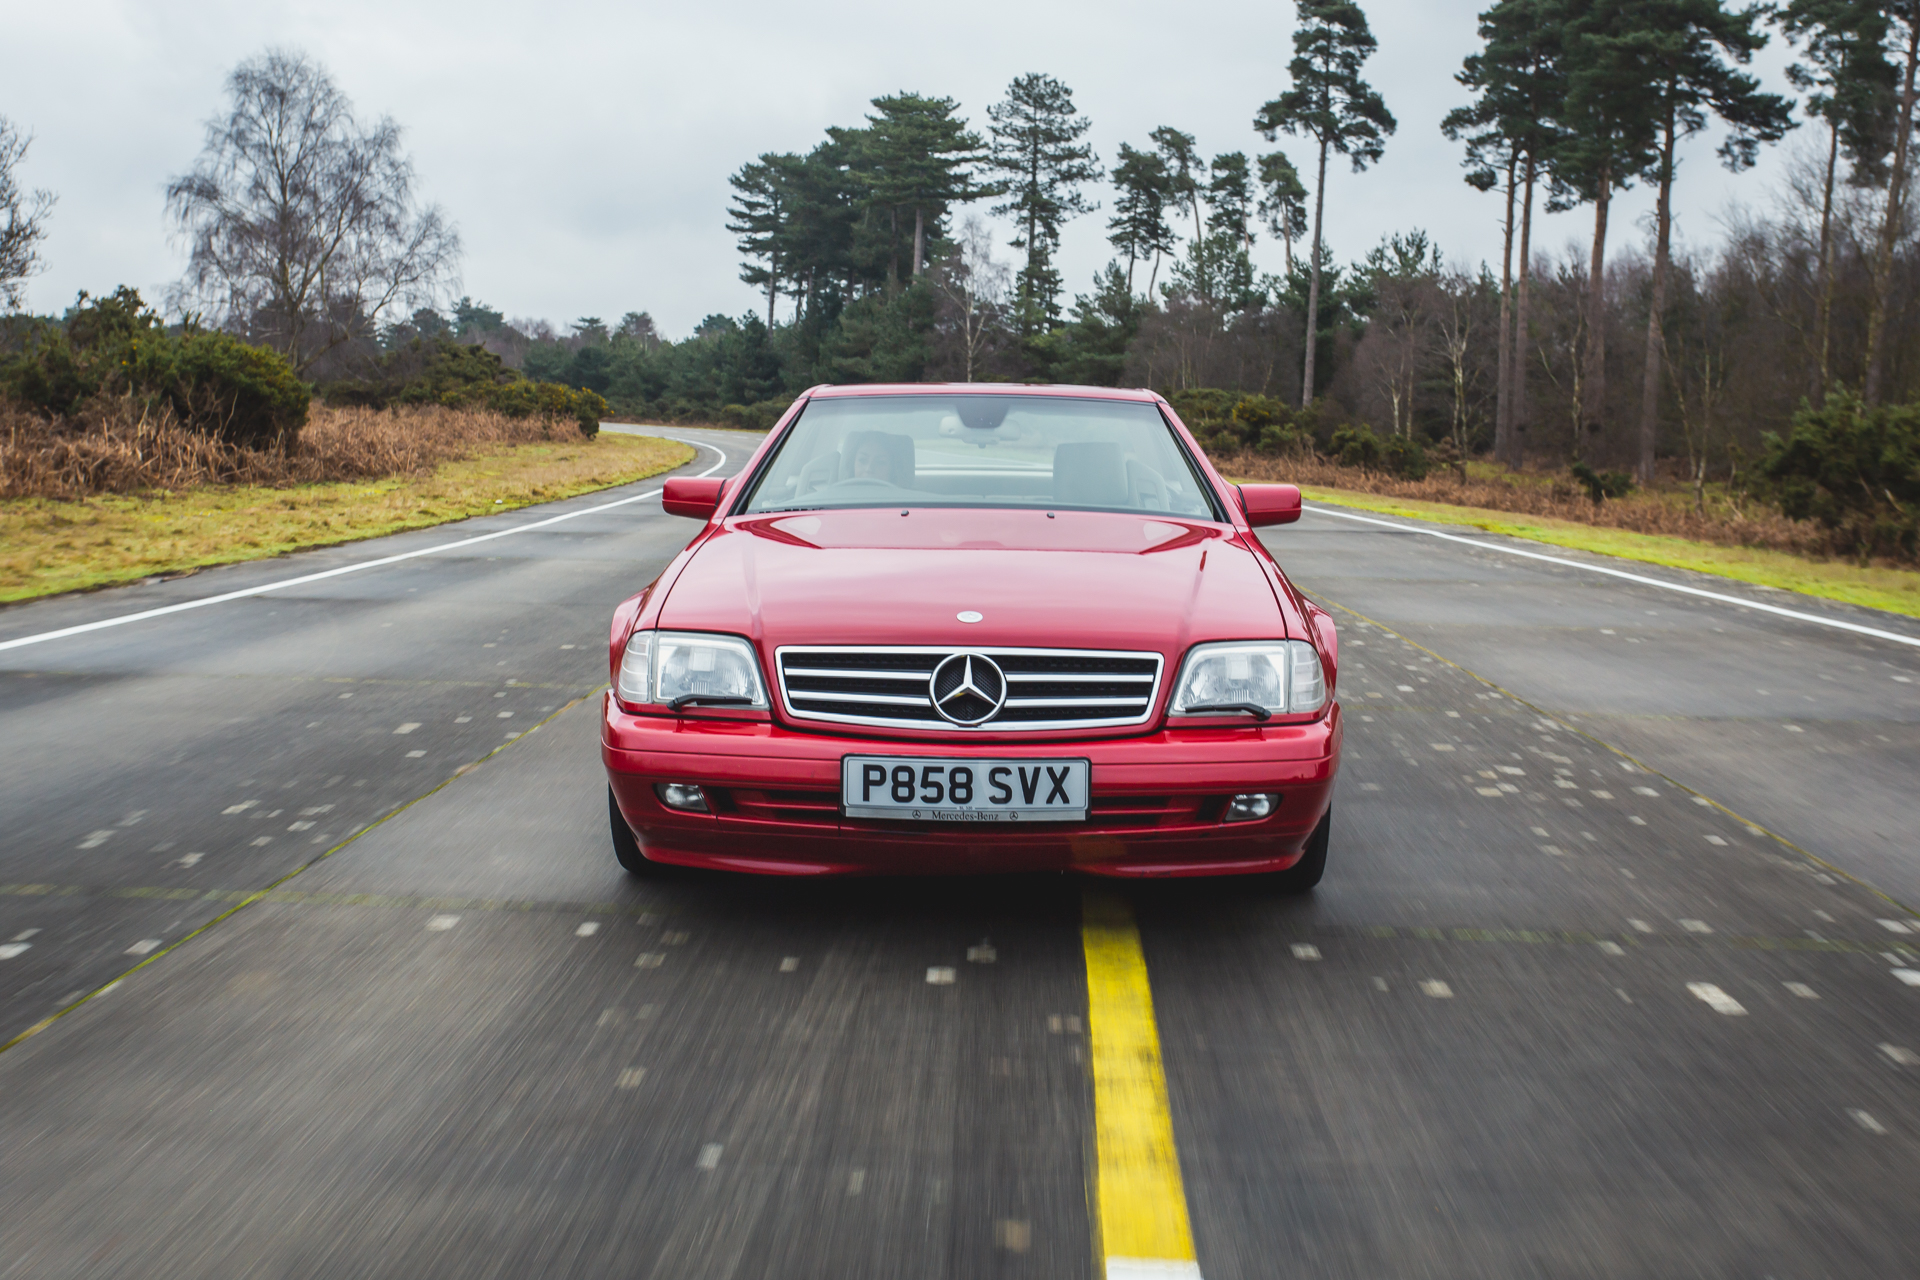
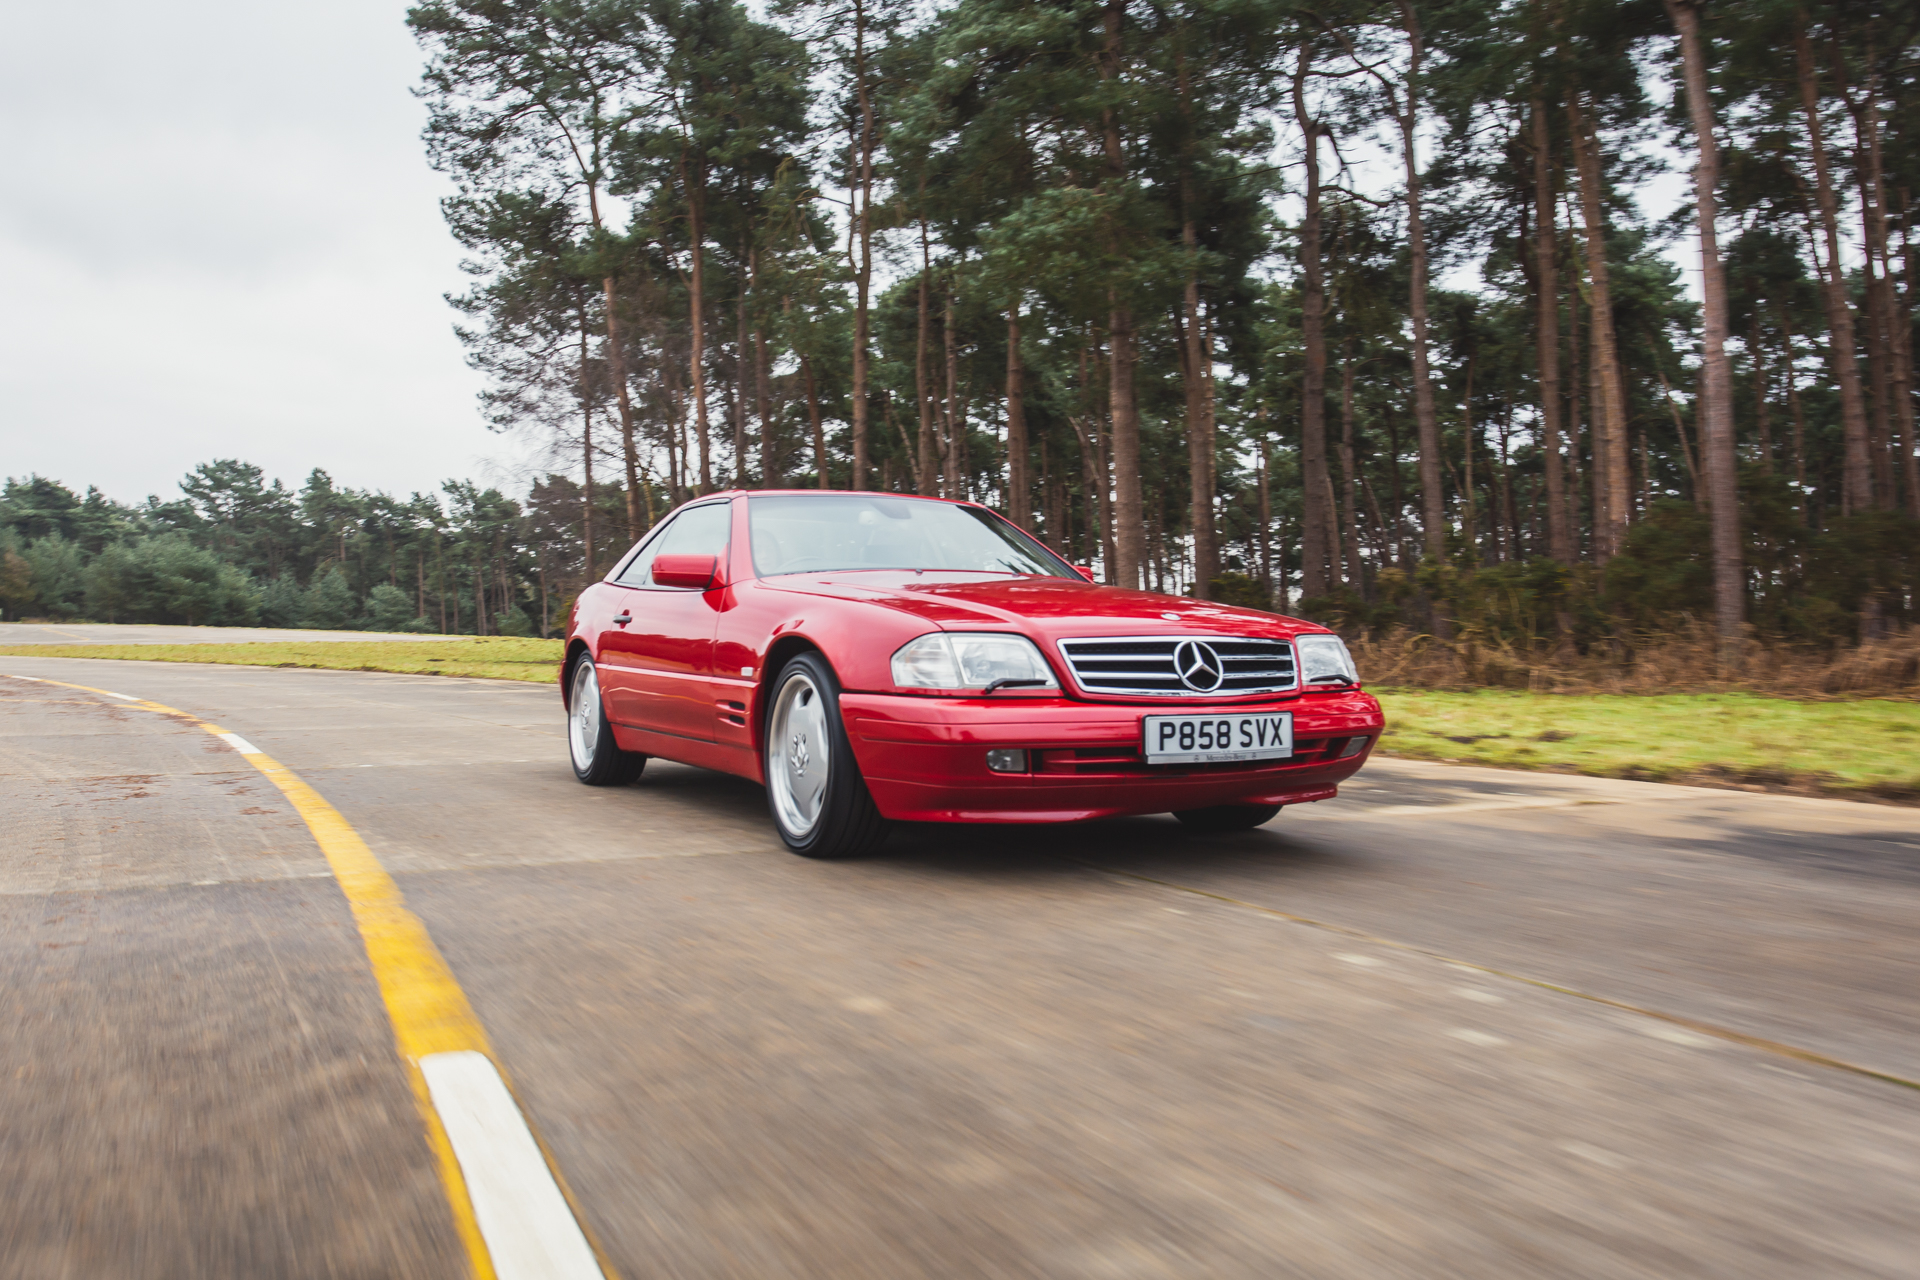
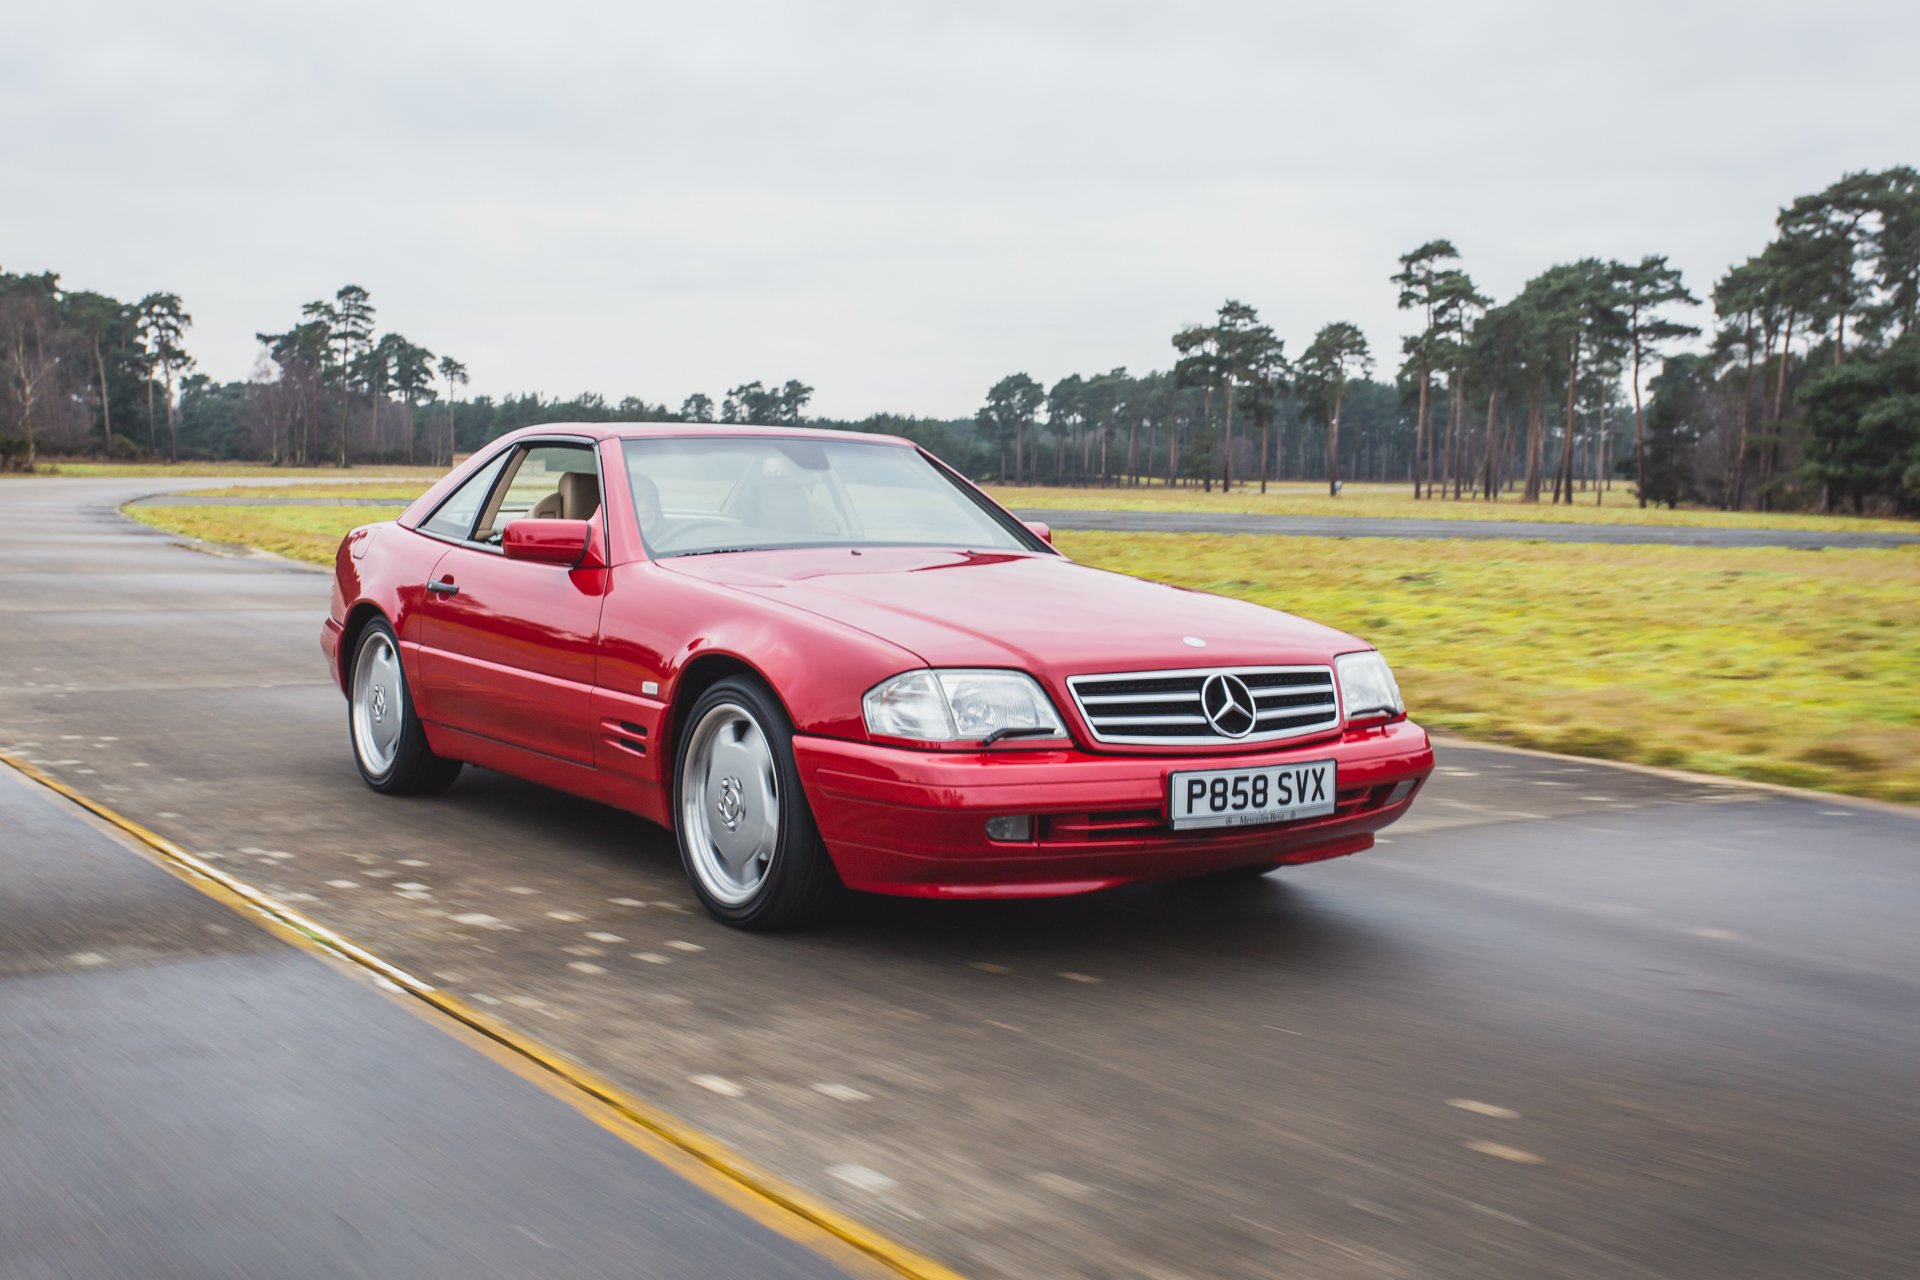
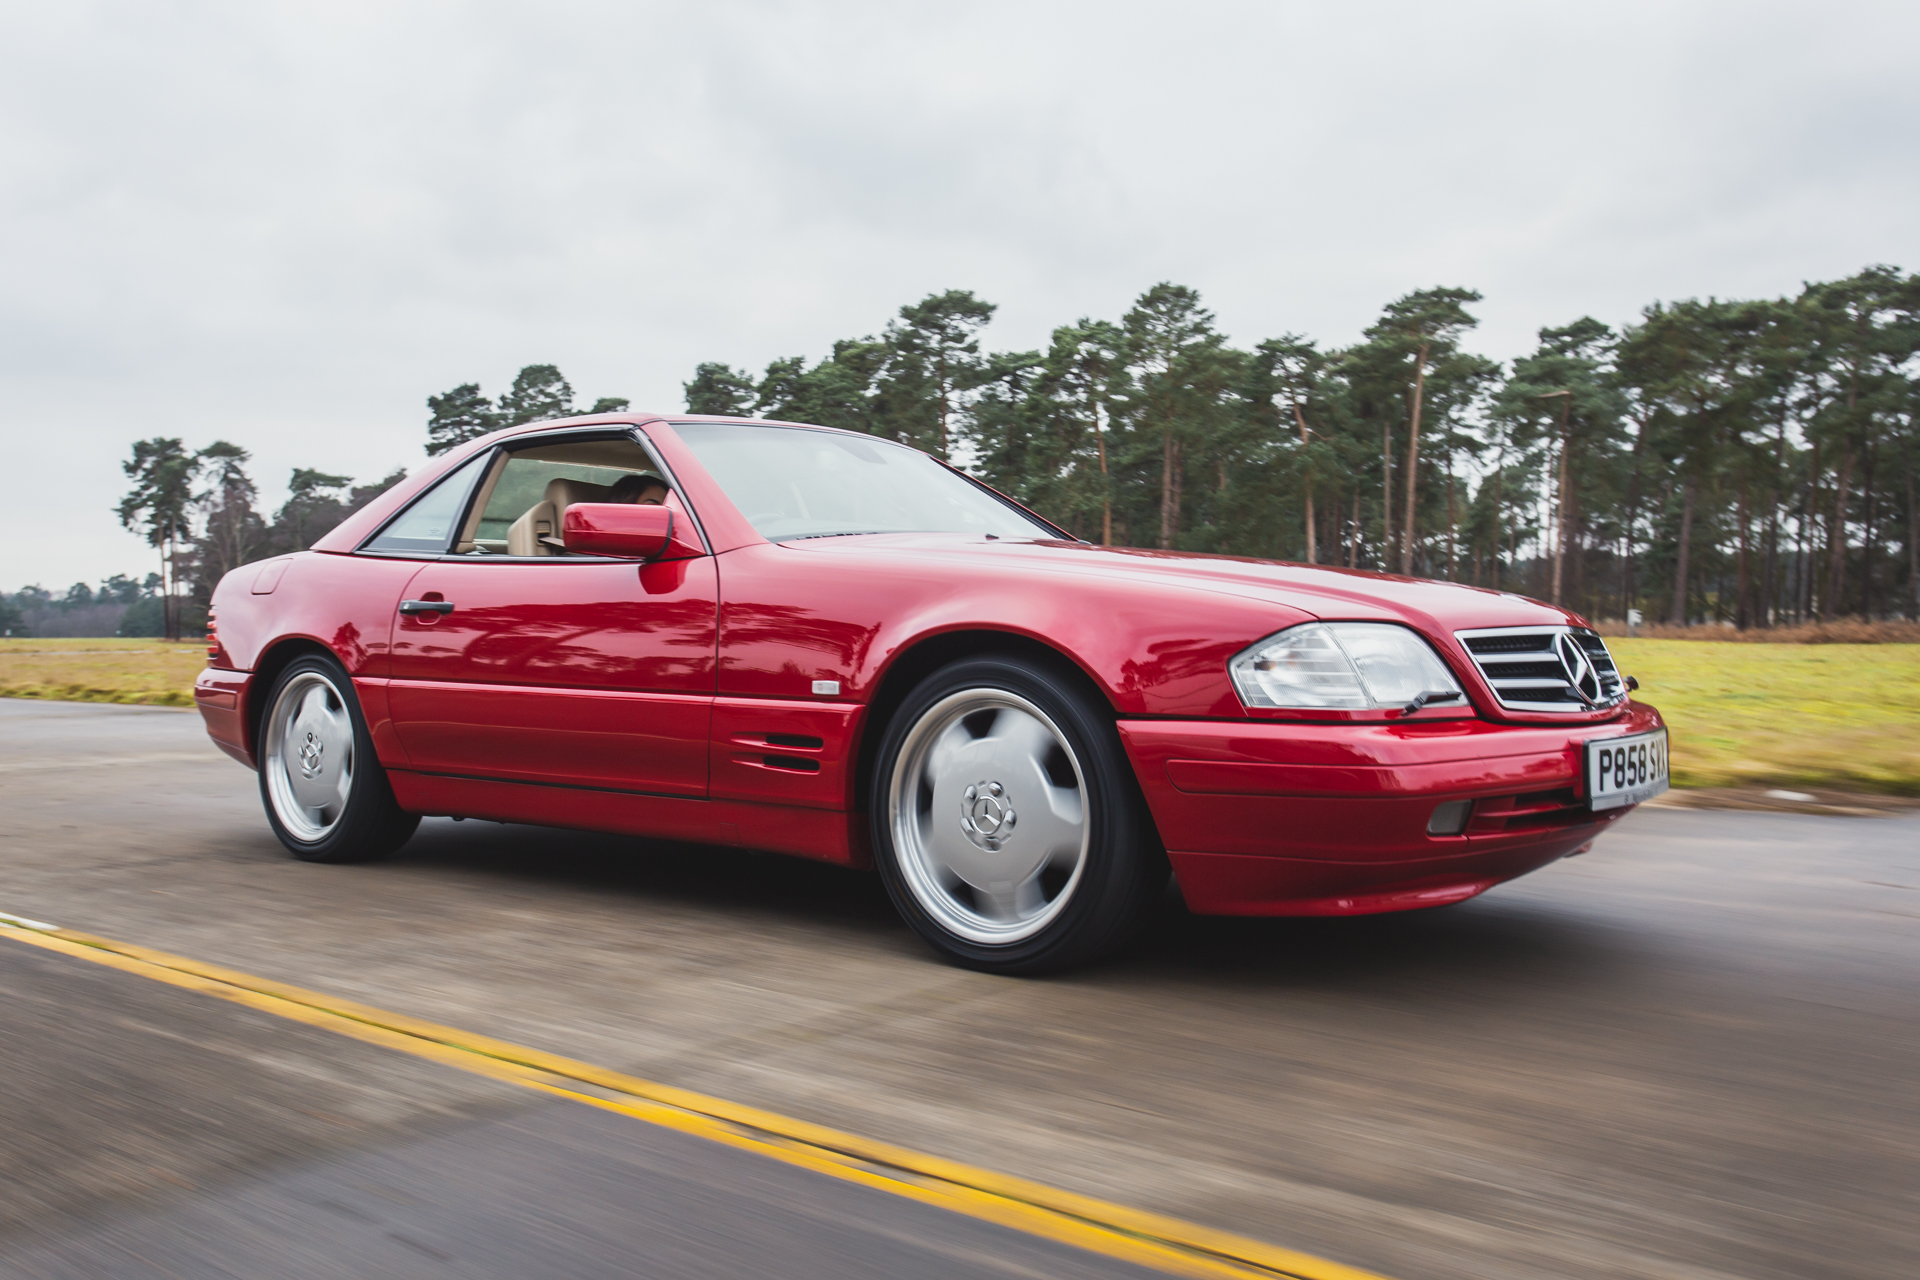
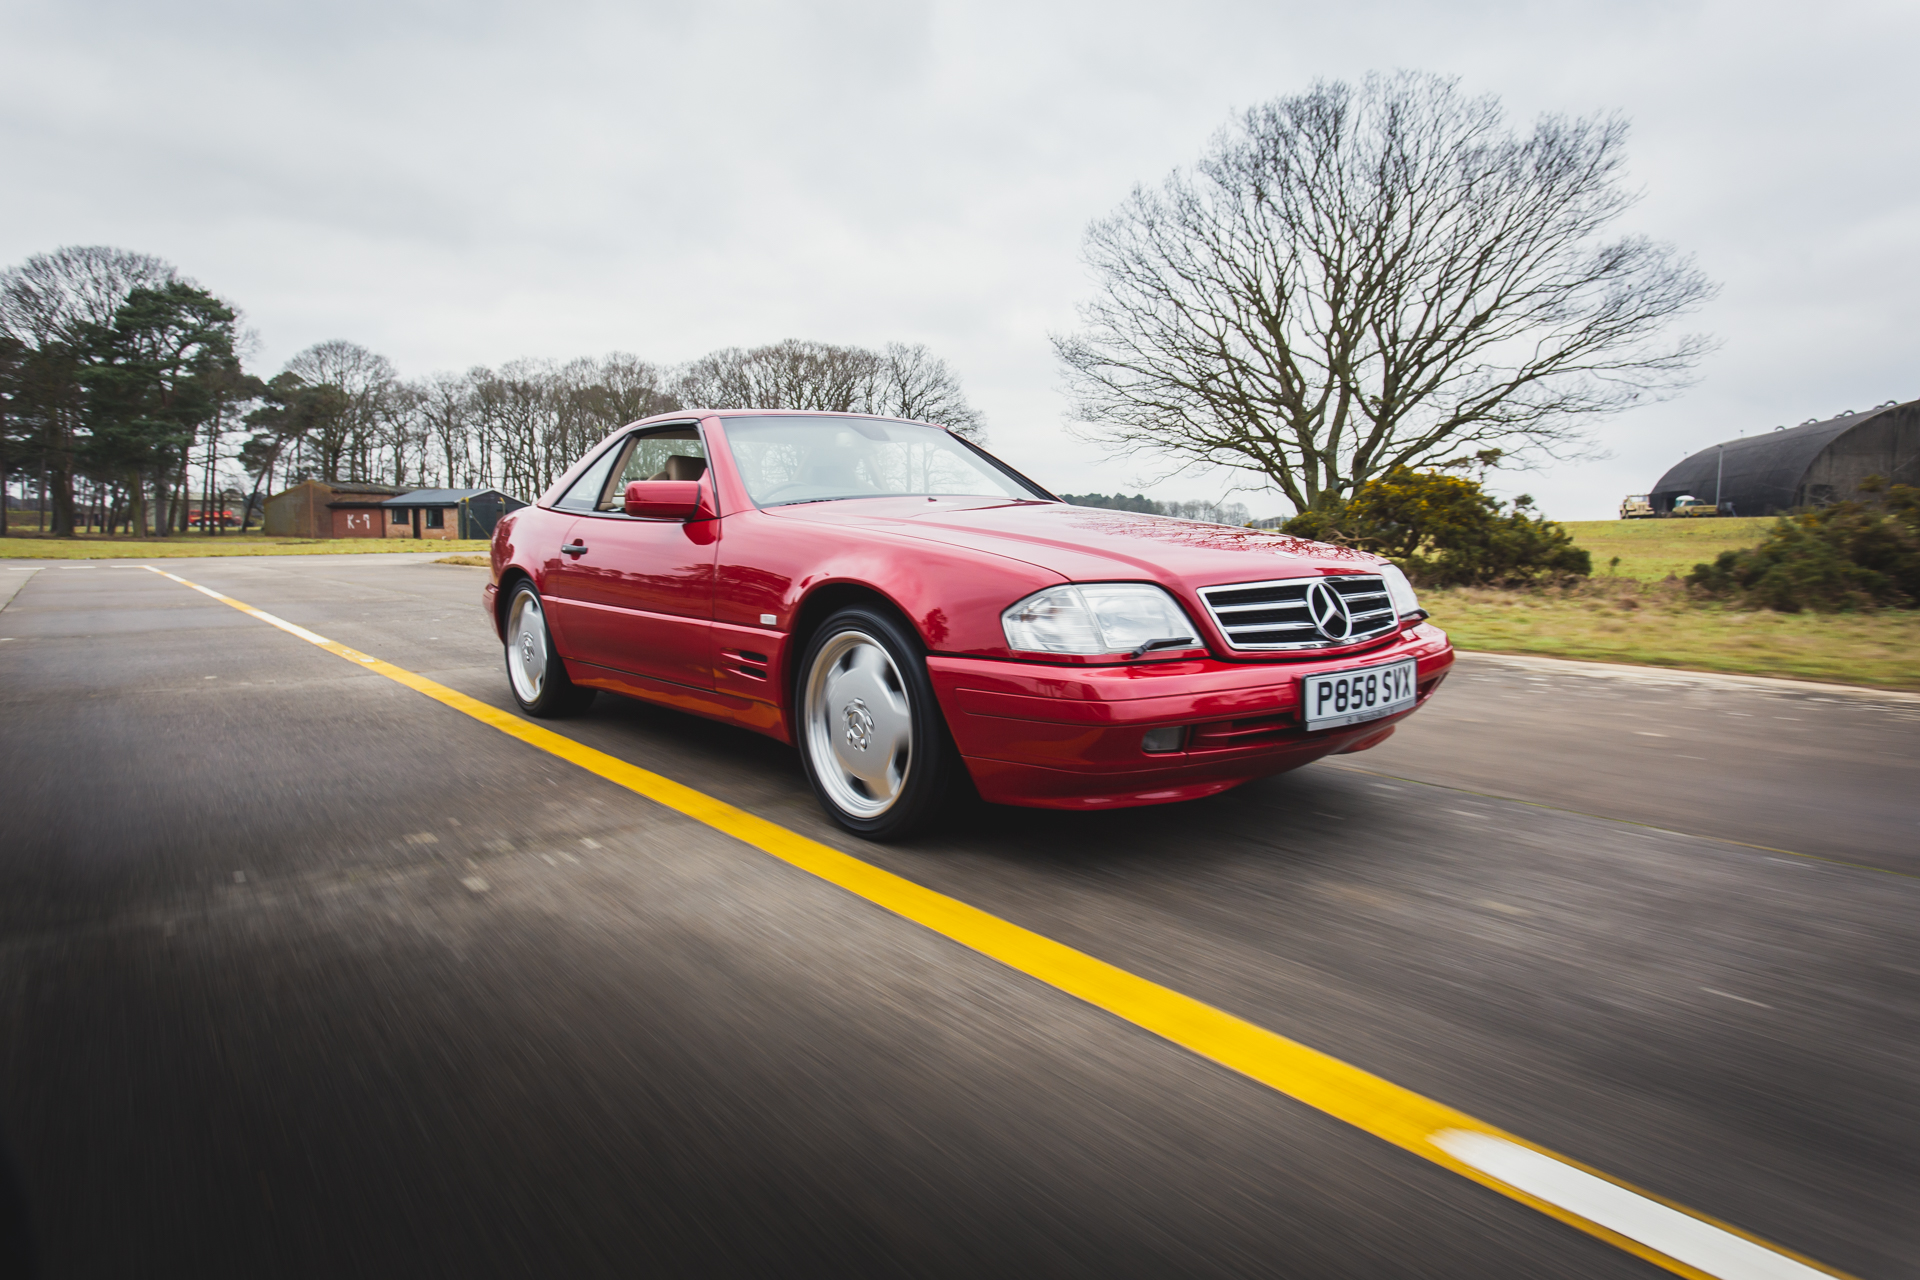
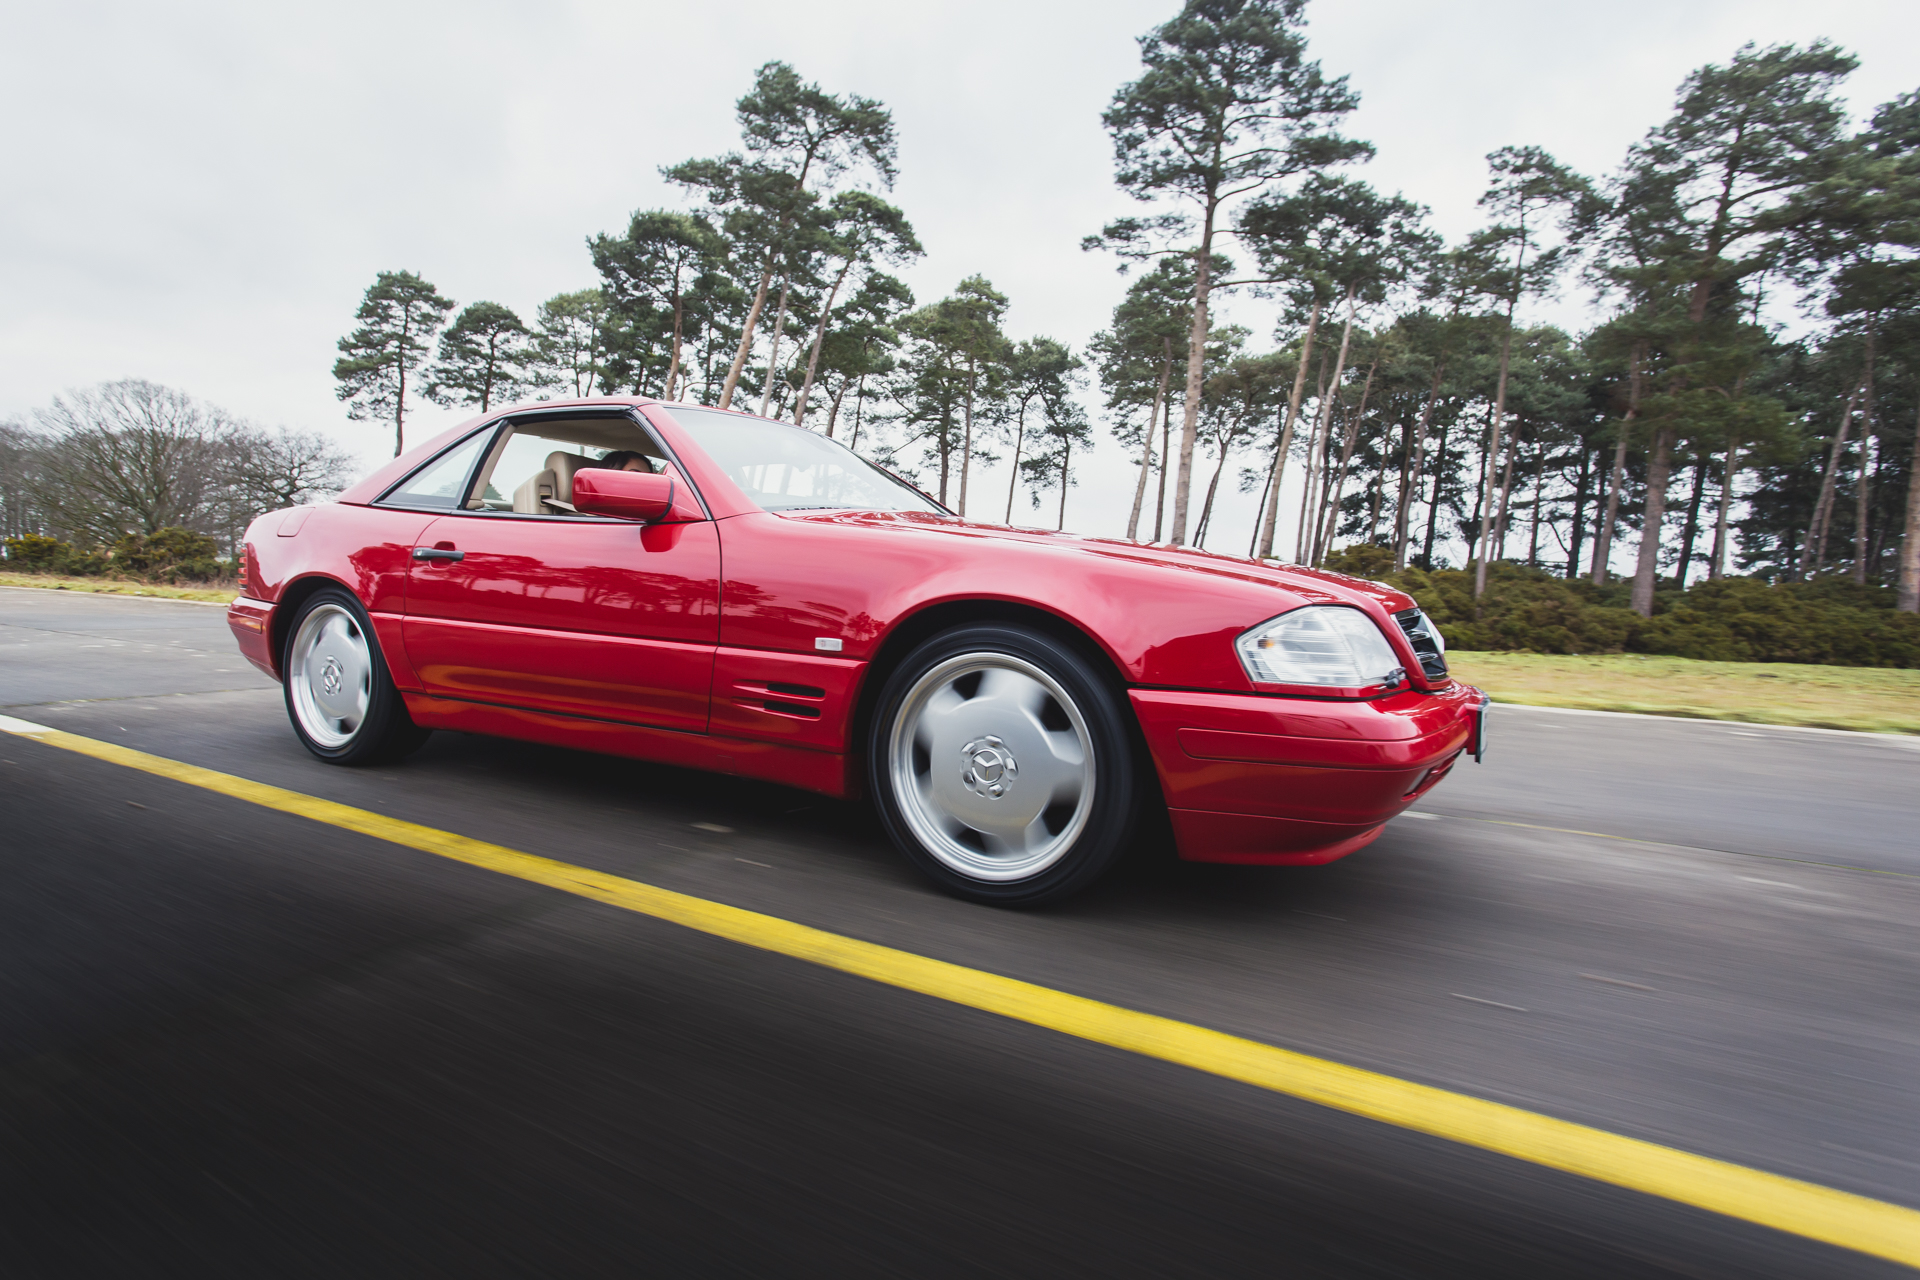
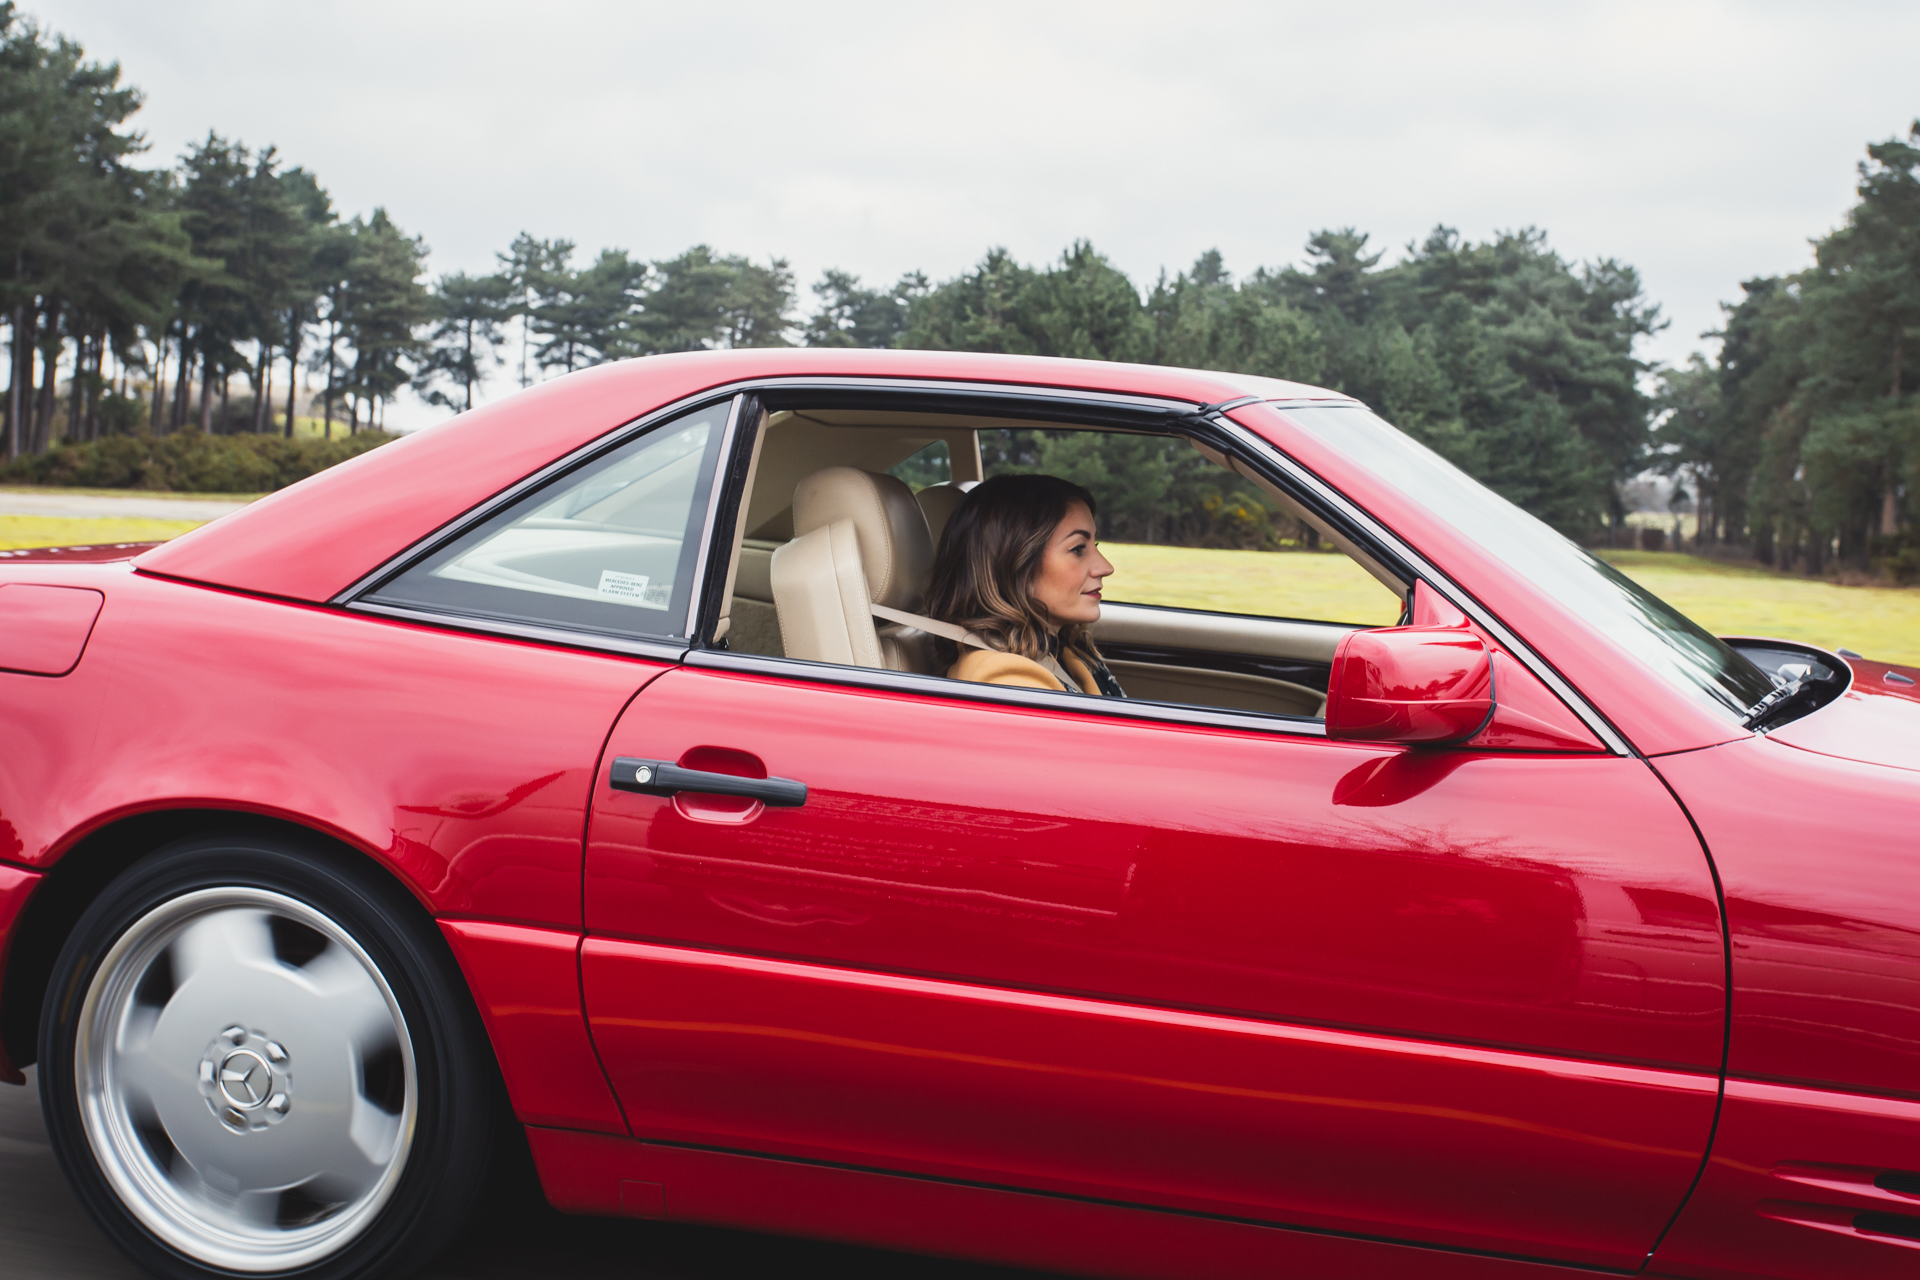
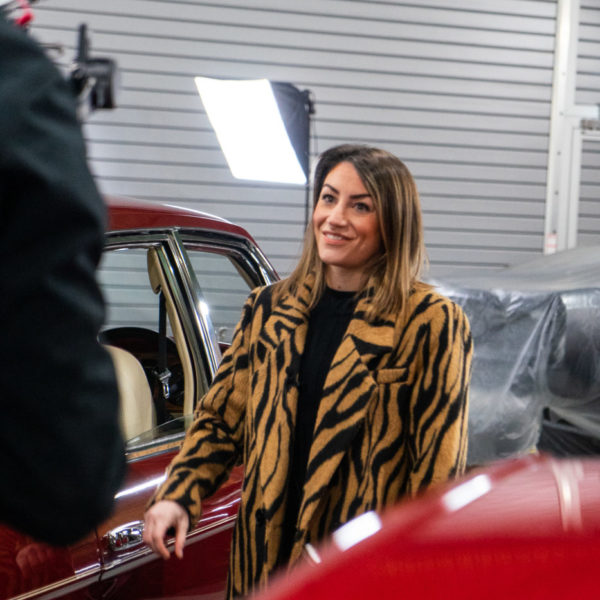
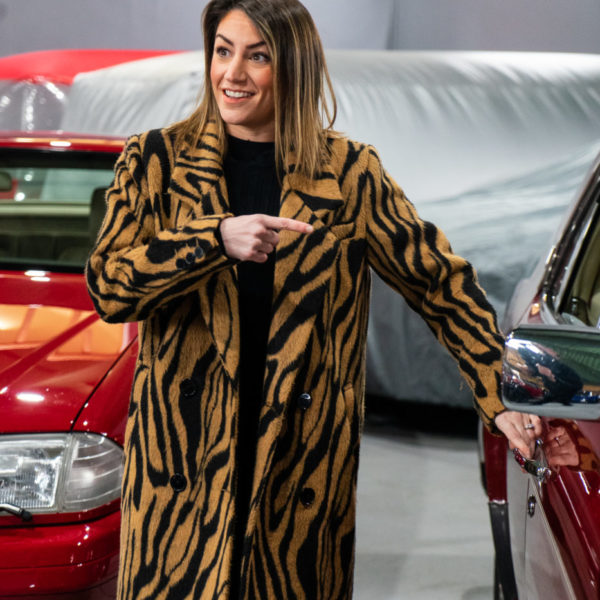
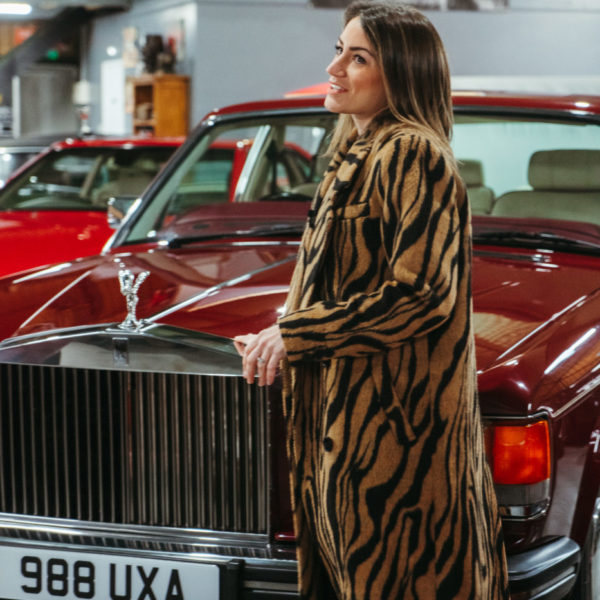
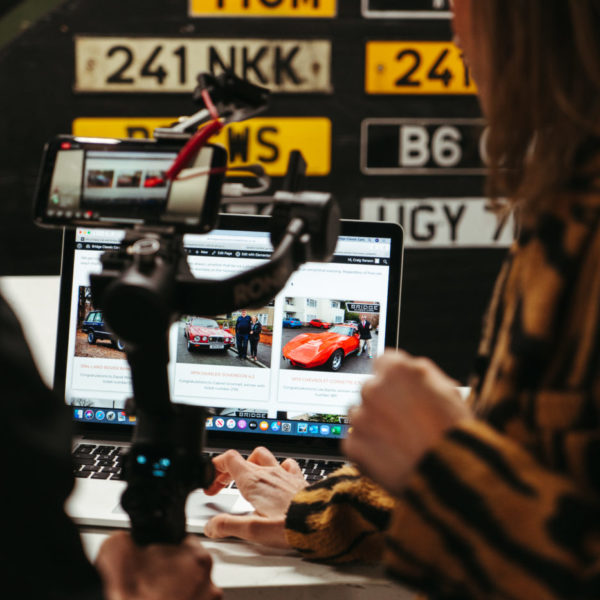
You may remember our blog about the Mercedes when it came in where we told you that this award winning motor is set to be our next competition car. Well, now it’s live on the website and up for grabs!
Last week our marketing team and Charlotte set out to photograph this stunning modern classic, and its hard to not get a good shot with the bright red paintwork!
You can grab your tickets for this shiny red motor here:
www.bridgeclassiccarscompetitions.co.uk/product/mercedes-320sl/


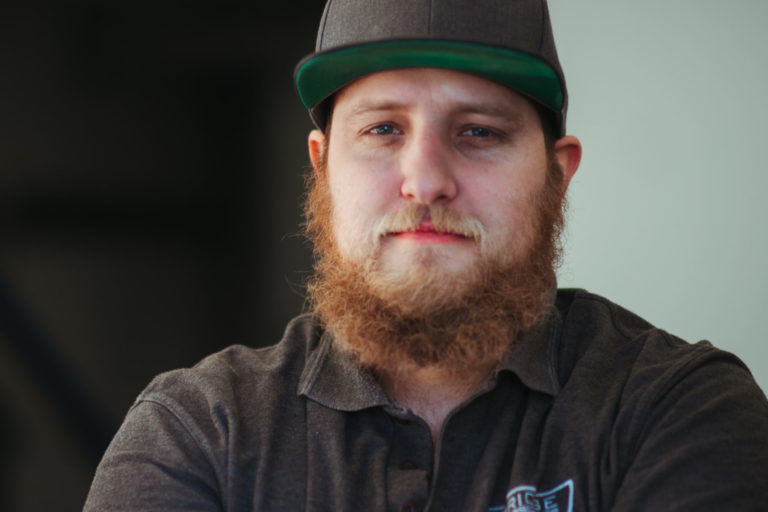
Chris is our classic car painter and fabricator. Whilst you can find him fabricating bodywork and smoothing down our cars ready to paint, you’re more likely to find him suited up in the paint shop. He’s recently been working on turning the Peony Red Jensen, peony red, a long-awaited and much-anticipated metamorphosis.
Chris’ expertise in fabricating comes from experience when he worked at a friend’ father’s body shop. There he worked with a wide variety of cars all whilst learning on the job. It’s there he found his love for it, “I enjoy the hands-on aspect of it.”
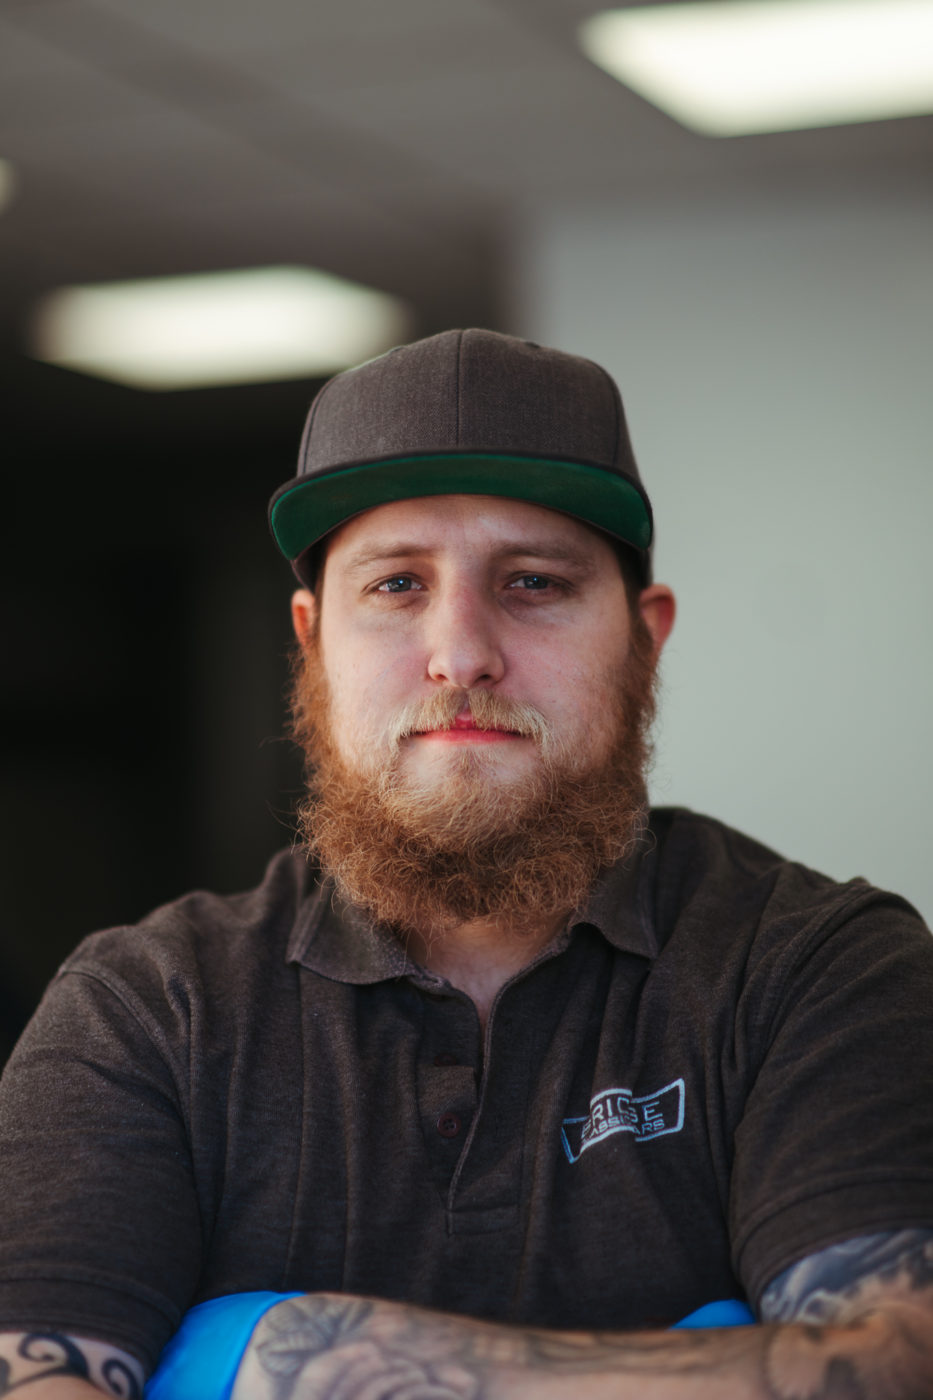
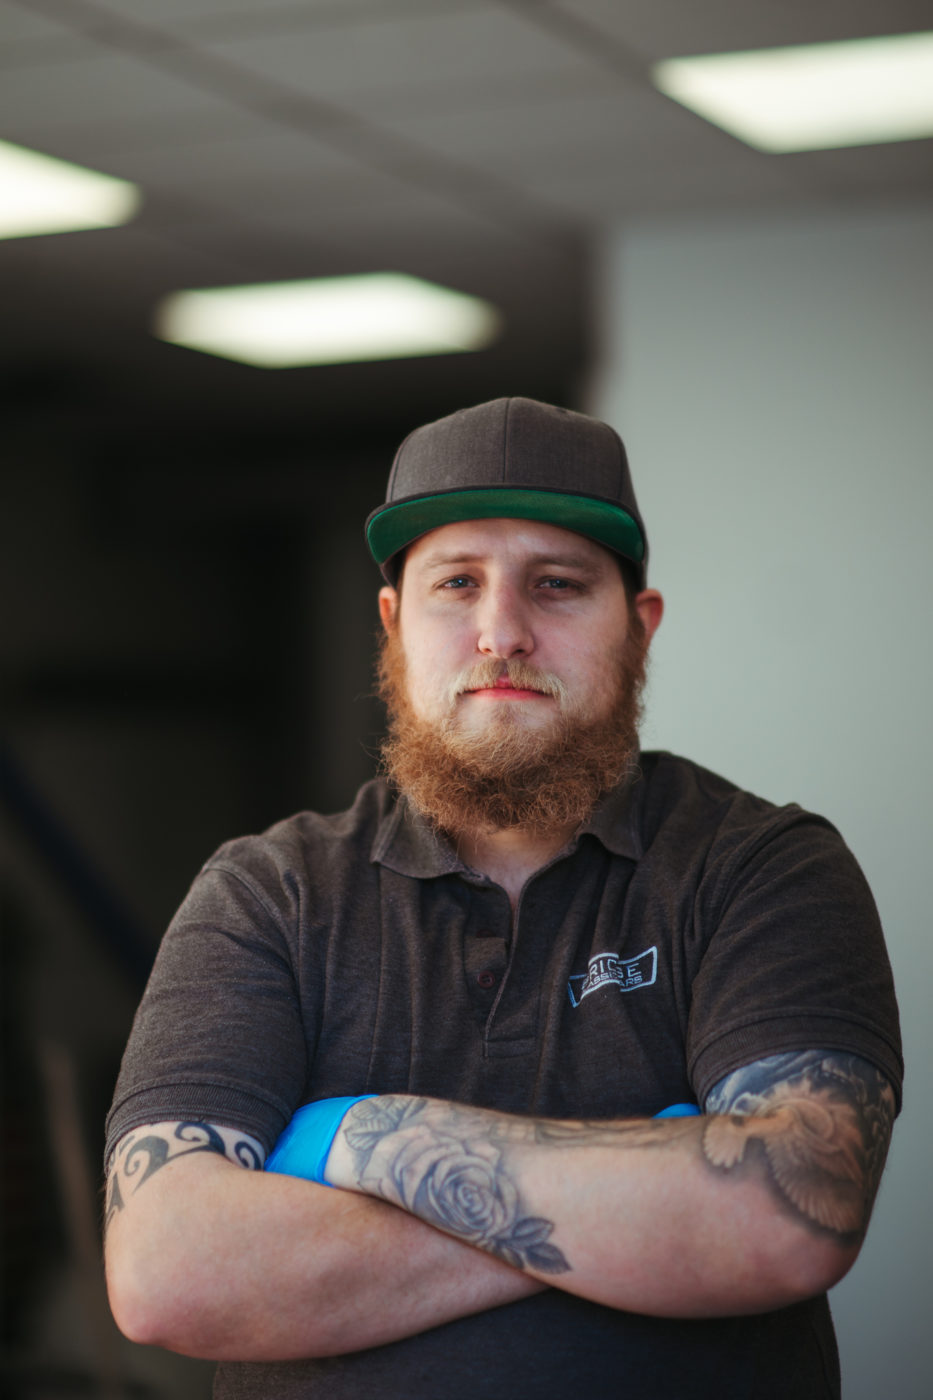
Chris tells us he has a love both fabricating and painting but wants to learn a bit more about engines and electrics of cars, “I’d like to learn a bit more about the engines, I know a lot of the other bits but I’d be interested in learning more about the electrics and engines”.

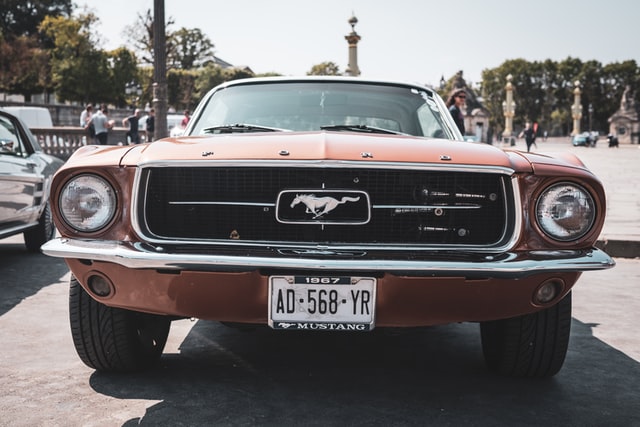
In his spare time Chris enjoys spending quality time with his family and when the weather allows, playing cricket and golf. Chris’s dream car is either a 1967 Mustang or a 1957 Chevrolet Bel Air Hard Top Estate.
Bruce Springsteen stars in Jeep’s Superbowl commercial with a heartfelt message of finding unity and peace. The video is in celebration of Jeep’s 80th anniversary and a call for Americans to find a ‘common ground’.
In the film entitled ‘The Middle’, Springsteen drives a 1980 Jeep CJ-5 convertible, and seen stationary is a 1965 CJ-5, still present with its ‘Willys’ badge.
In a statement, Global Chief Marketing Officer for Stellantis, Olivier Francois, said, ‘The Middle’ is a celebration of the Jeep brand’s 80-year anniversary and, more timely, it is a call to all Americans to come together and seek common ground as we look collectively to the road ahead.”
With arctic conditions sweeping across East Anglia, those without 4×4’s or tractors might be wondering how to get to work or the shops. The short and easy answer is to stay at home and don’t venture out if you’re unsure, but for many, that might not be an option. Here are some tips for driving in the snow (according to RAC).
Plan your journey to use only main roads that are likely to be gritted. Busier roads are also less likely to be as dangerous as back roads will be driven on less and therefore hold more snow. Leave plenty of time to de-ice the car and check your tyres. Always ensure you have a shovel, warm layers, appropriate shoes and a high-vis vest in the boot in case you break down.
If you do have to frequently drive in snow conditions, ensuring that your car is regularly cleaned reduces the possibility of the salt causing corrosion damage to your car.
You can see more about driving in deep snow, snow tyres and snow chains here.

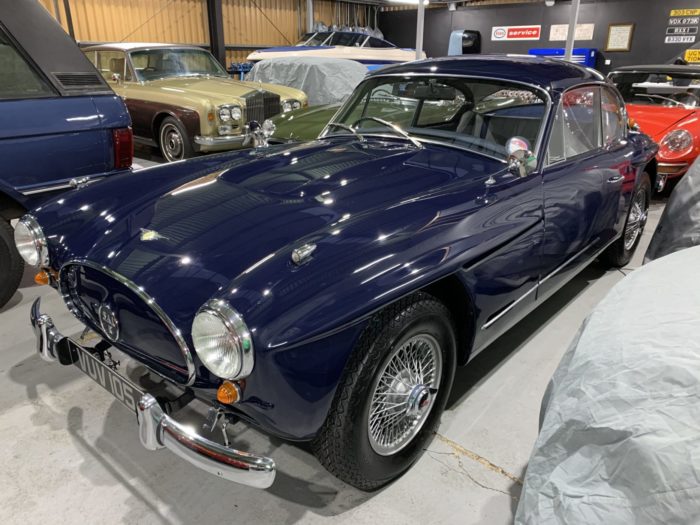
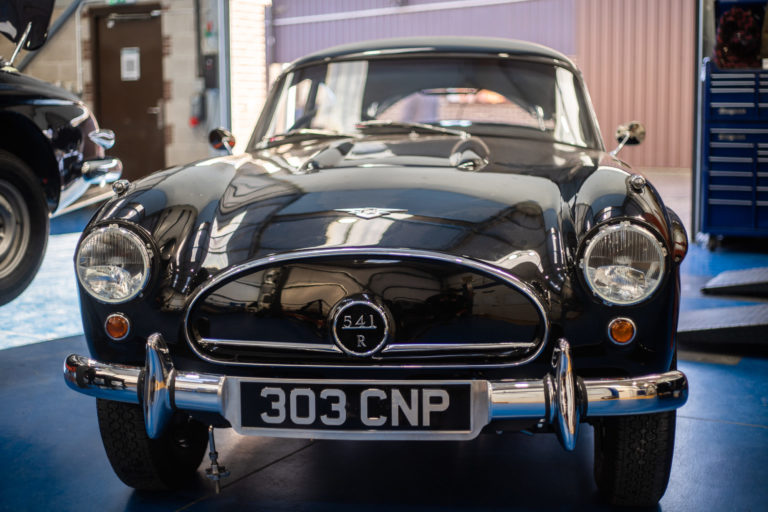
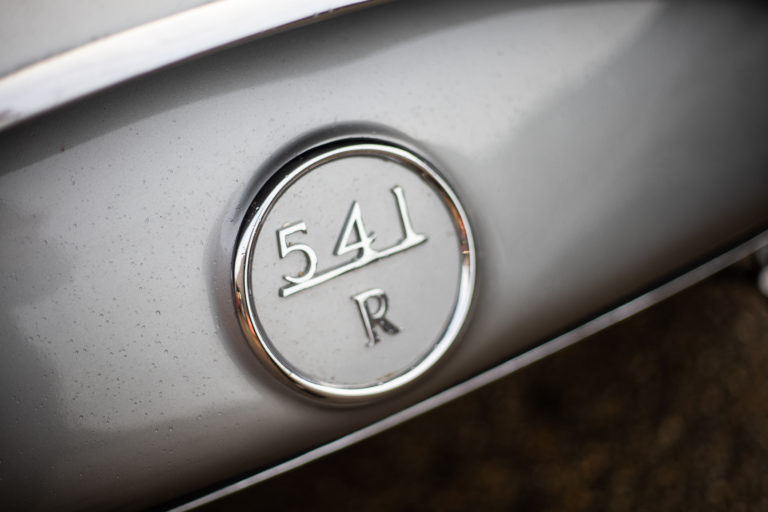
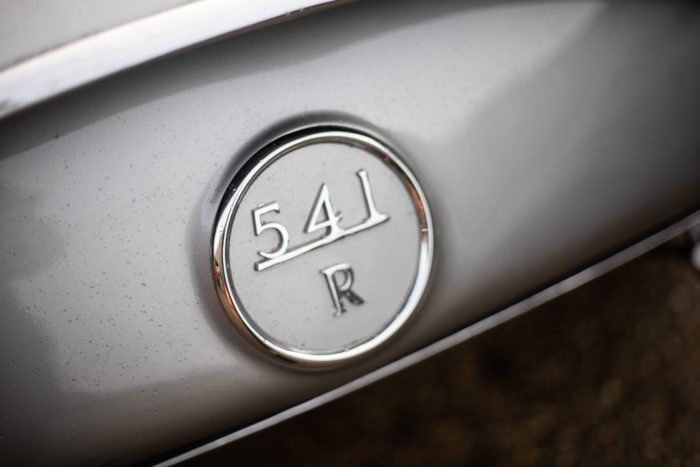
As Jensen specialists, we love seeing Jensens of all kinds represented and discussed online, but our particular favourites, the 541 series are rarely talked about. Car and Classic have just featured an interesting in-depth article about the history of Jensen 541’s. You can read it here.
John Byrne, the author of the article delves deep into the inner workings of the iconic British car, its design and its mechanical feats of engineering.
John describes them as “Much underrated in recent times but fast becoming more appreciating classics, these exquisitely hand-made GT cars are a real gem coming from one of the most evocative British names in the realm of big, fast grand-tourers”
He continues to say, “In general, the 541 was well-regarded as an excellent long-range touring car, with ride and road holding comparable to the best contemporaries of the period. These cars are widely considered to be one of the best-looking coupes of the fifties and are unmistakable in profile.“
We’ve worked on an extensive list of Jensens from 541R’s and 541S’s to Inceptors. You can check them out here:
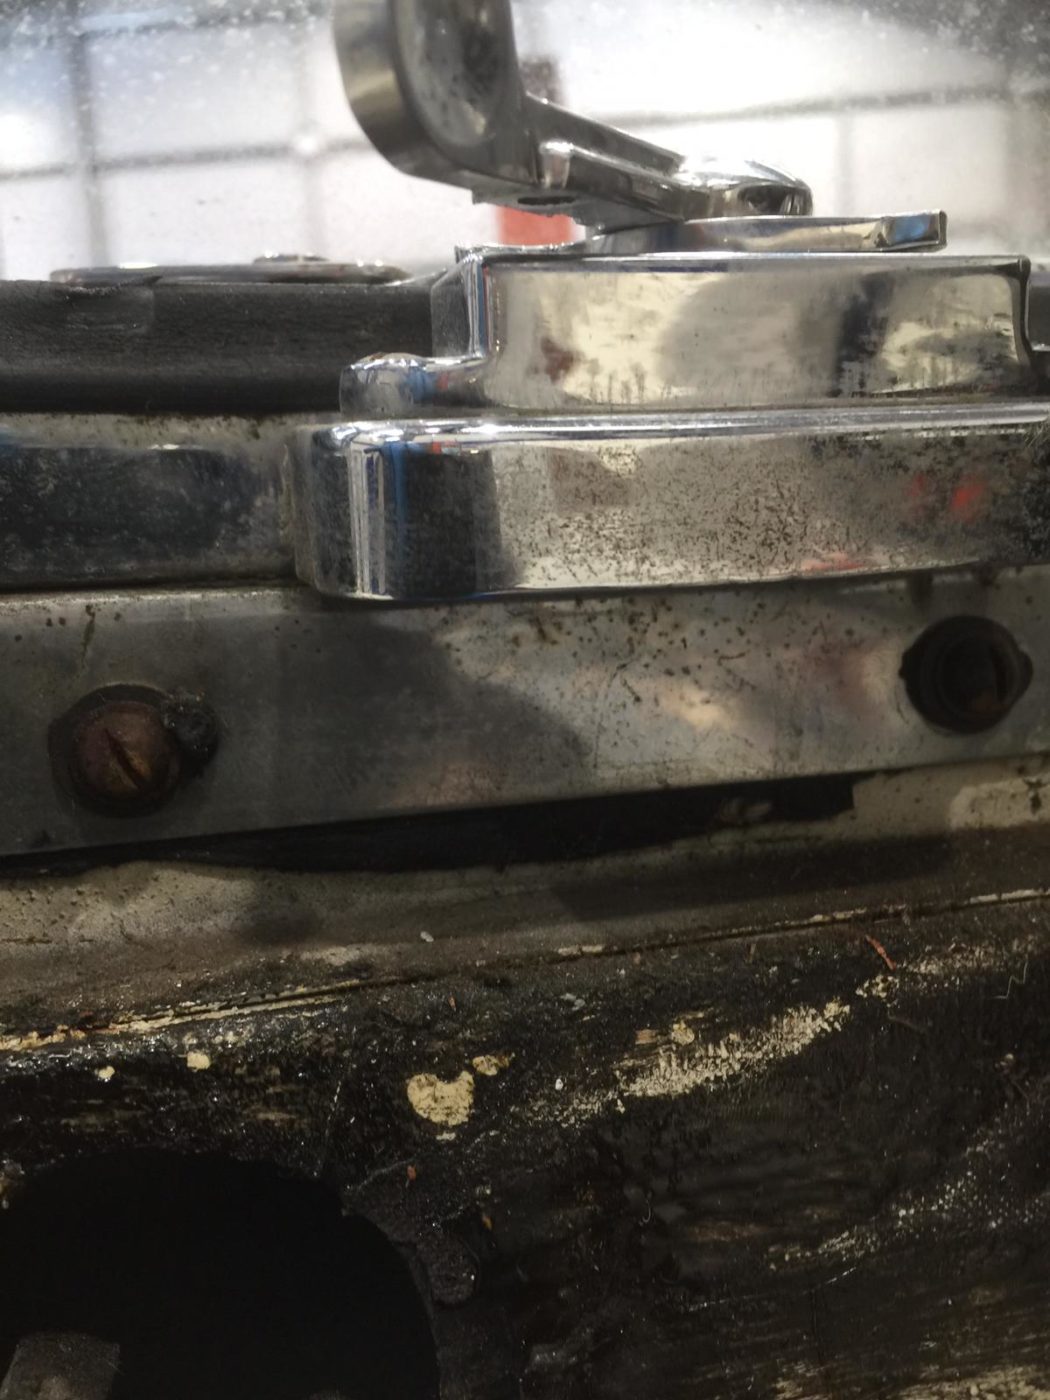
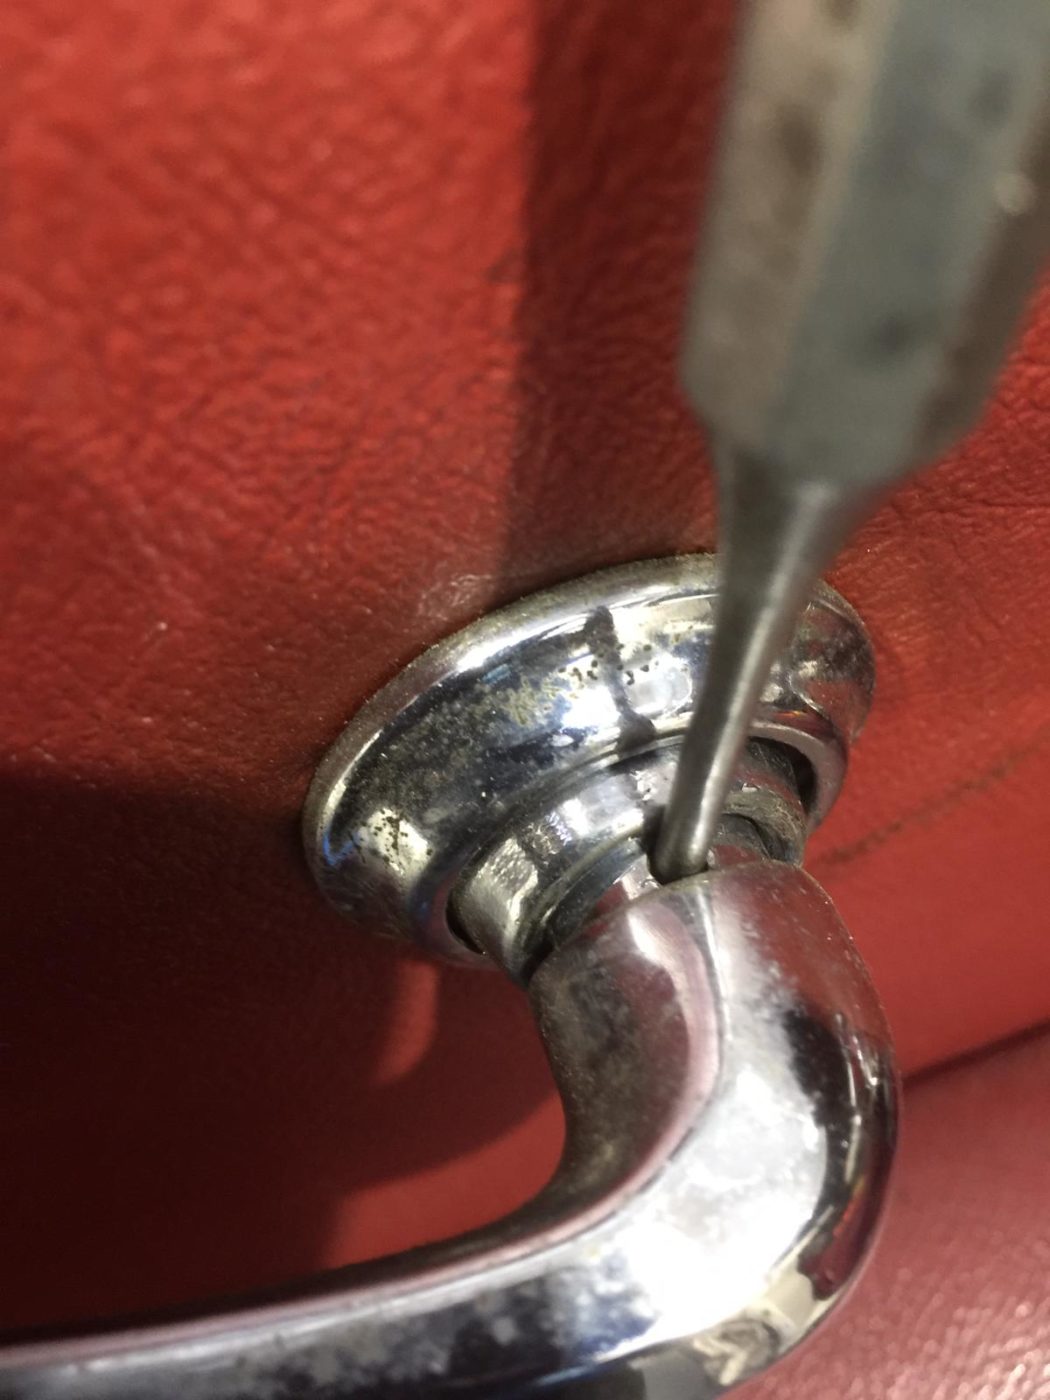
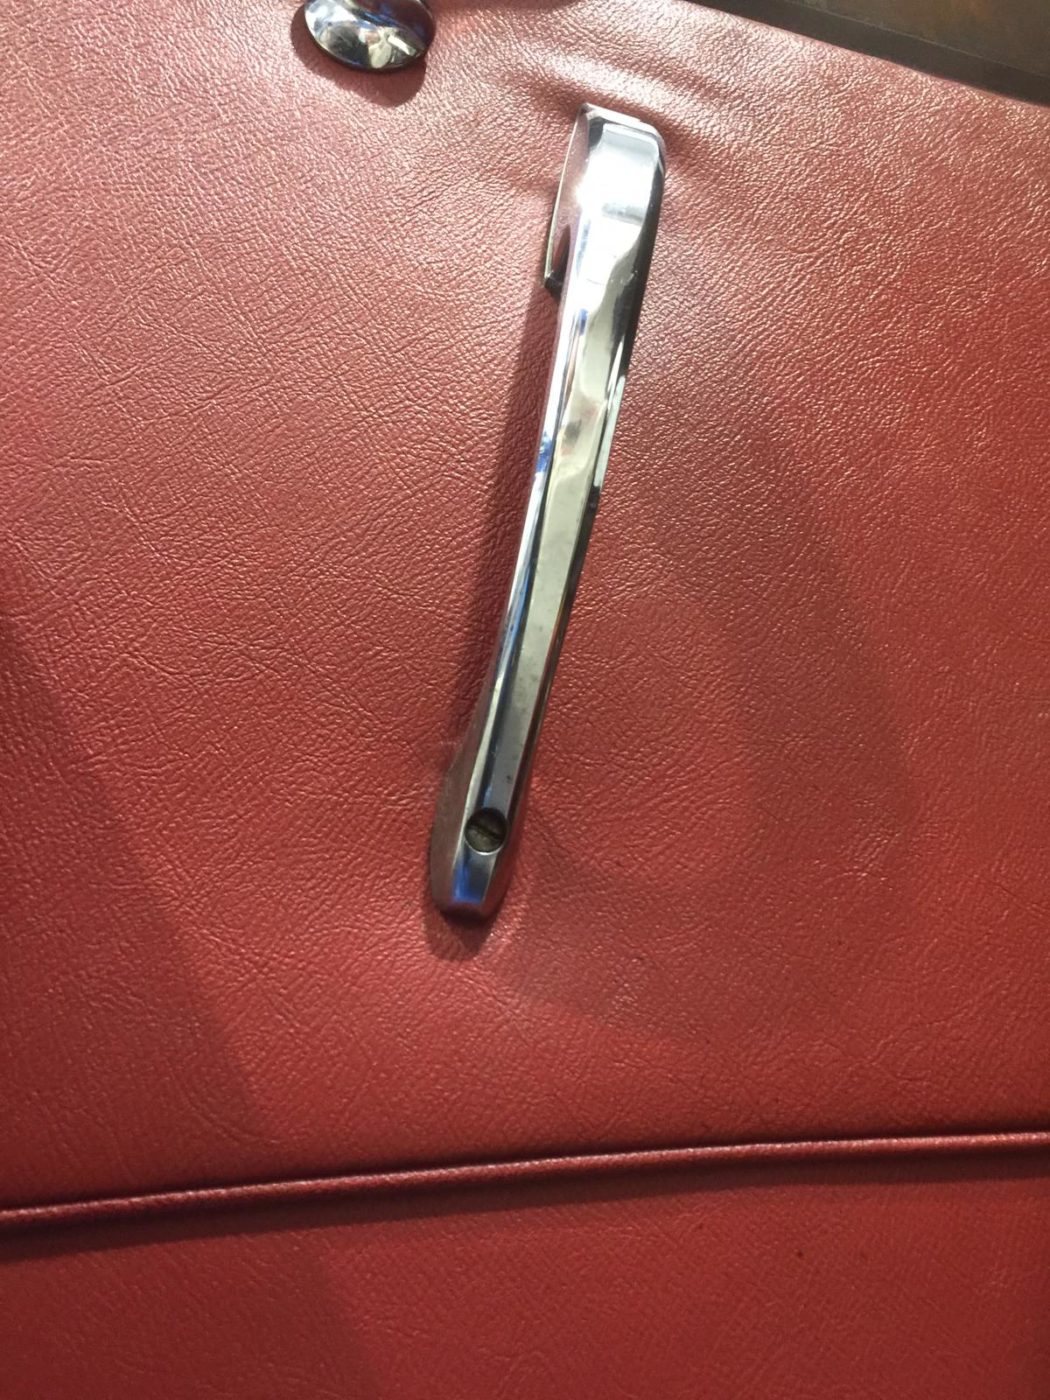
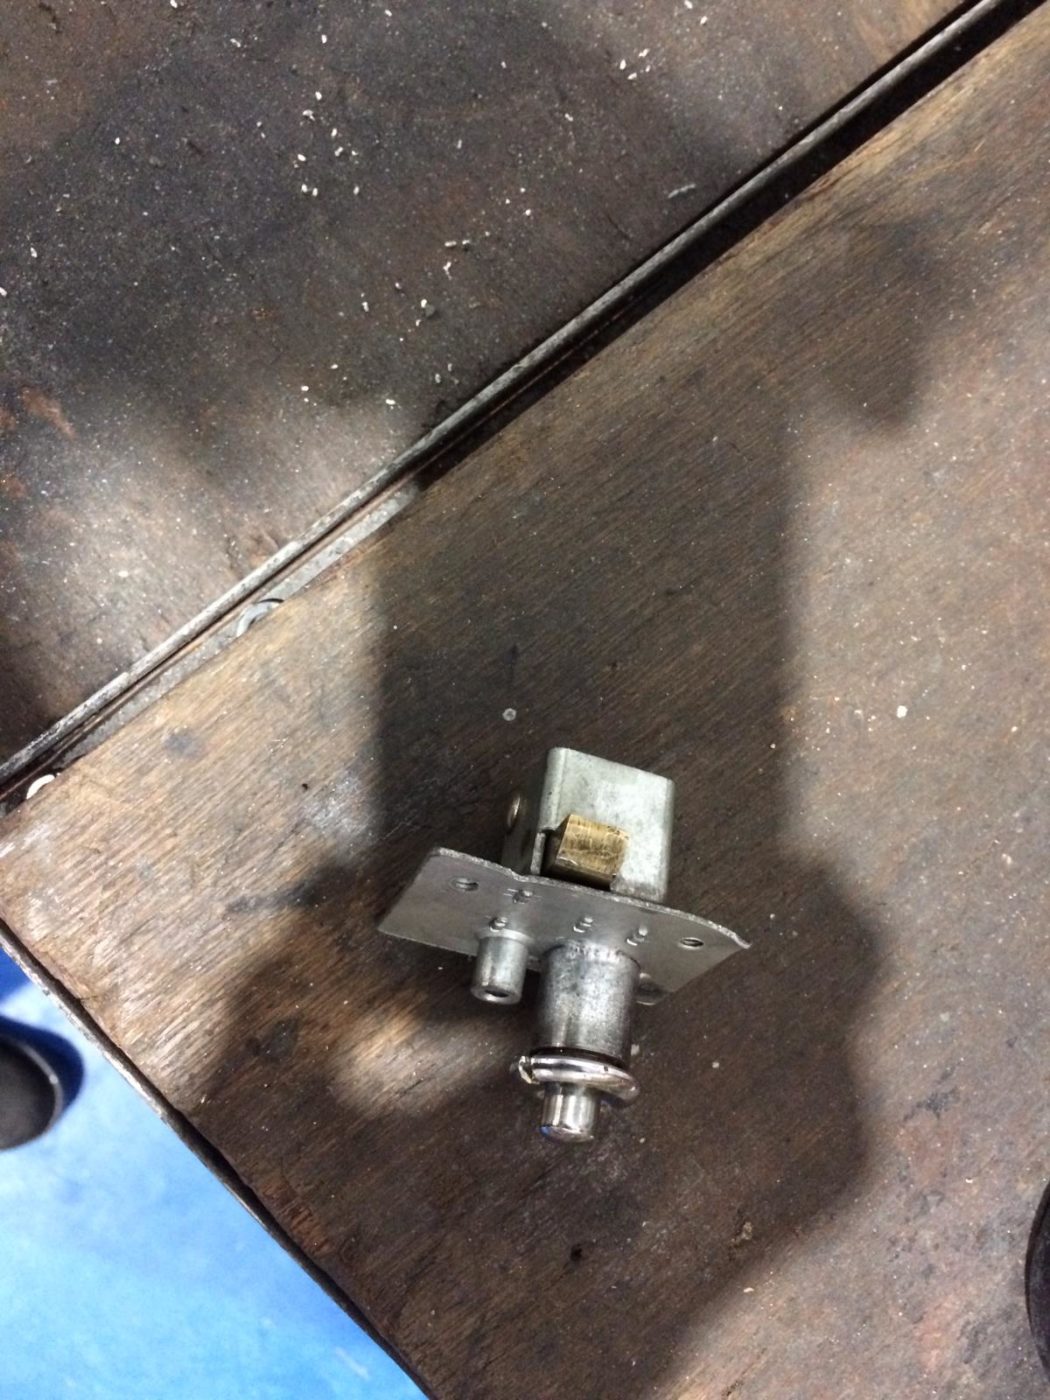
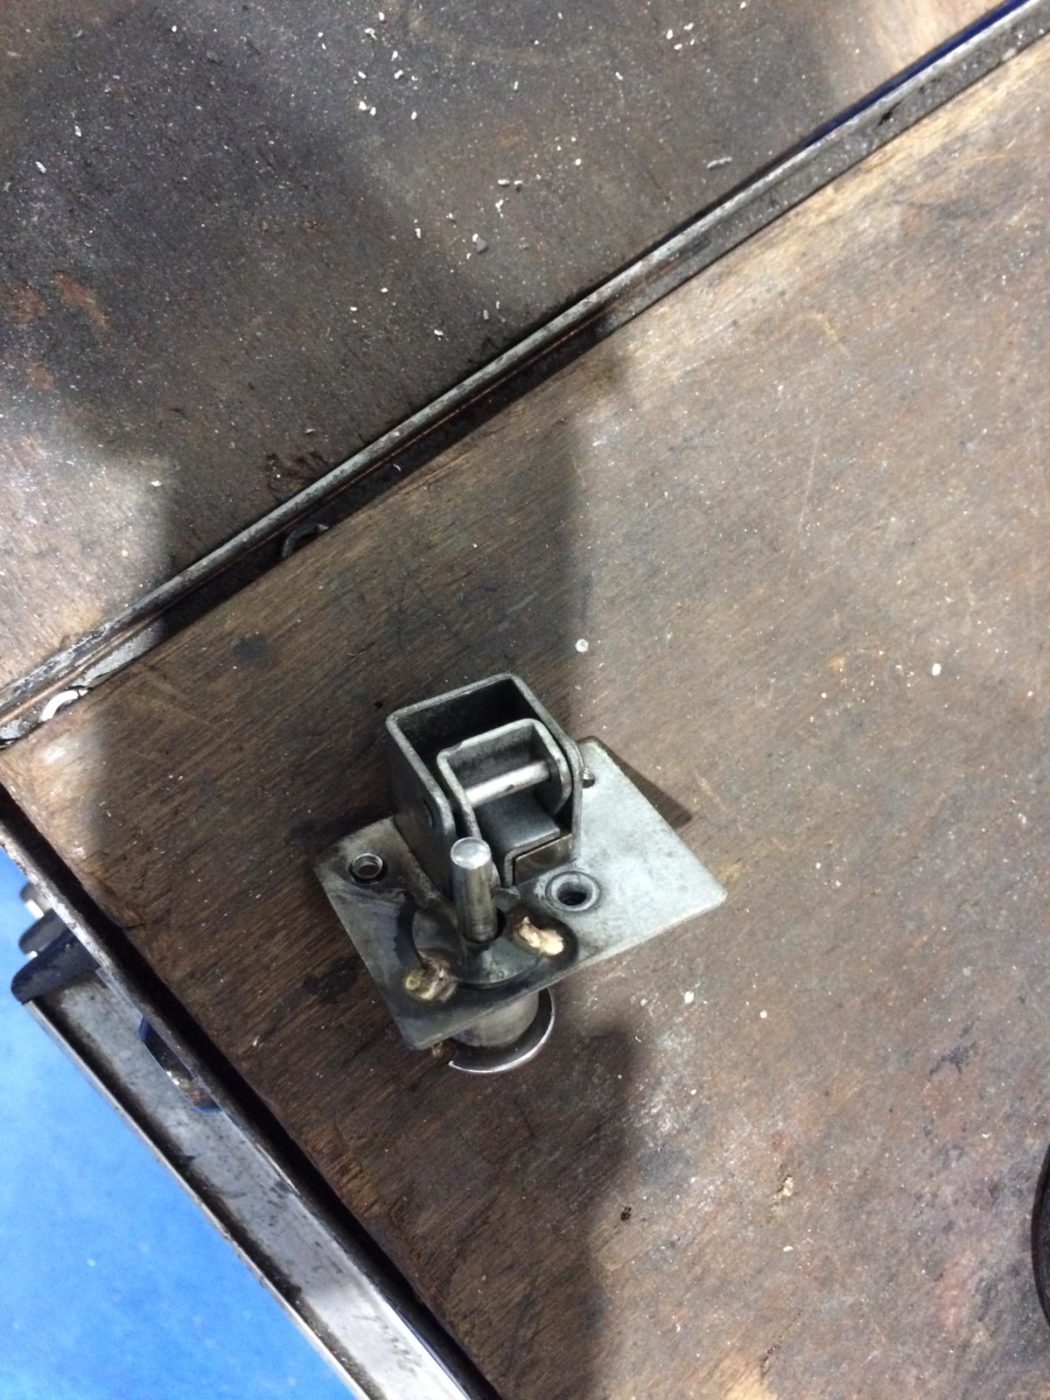
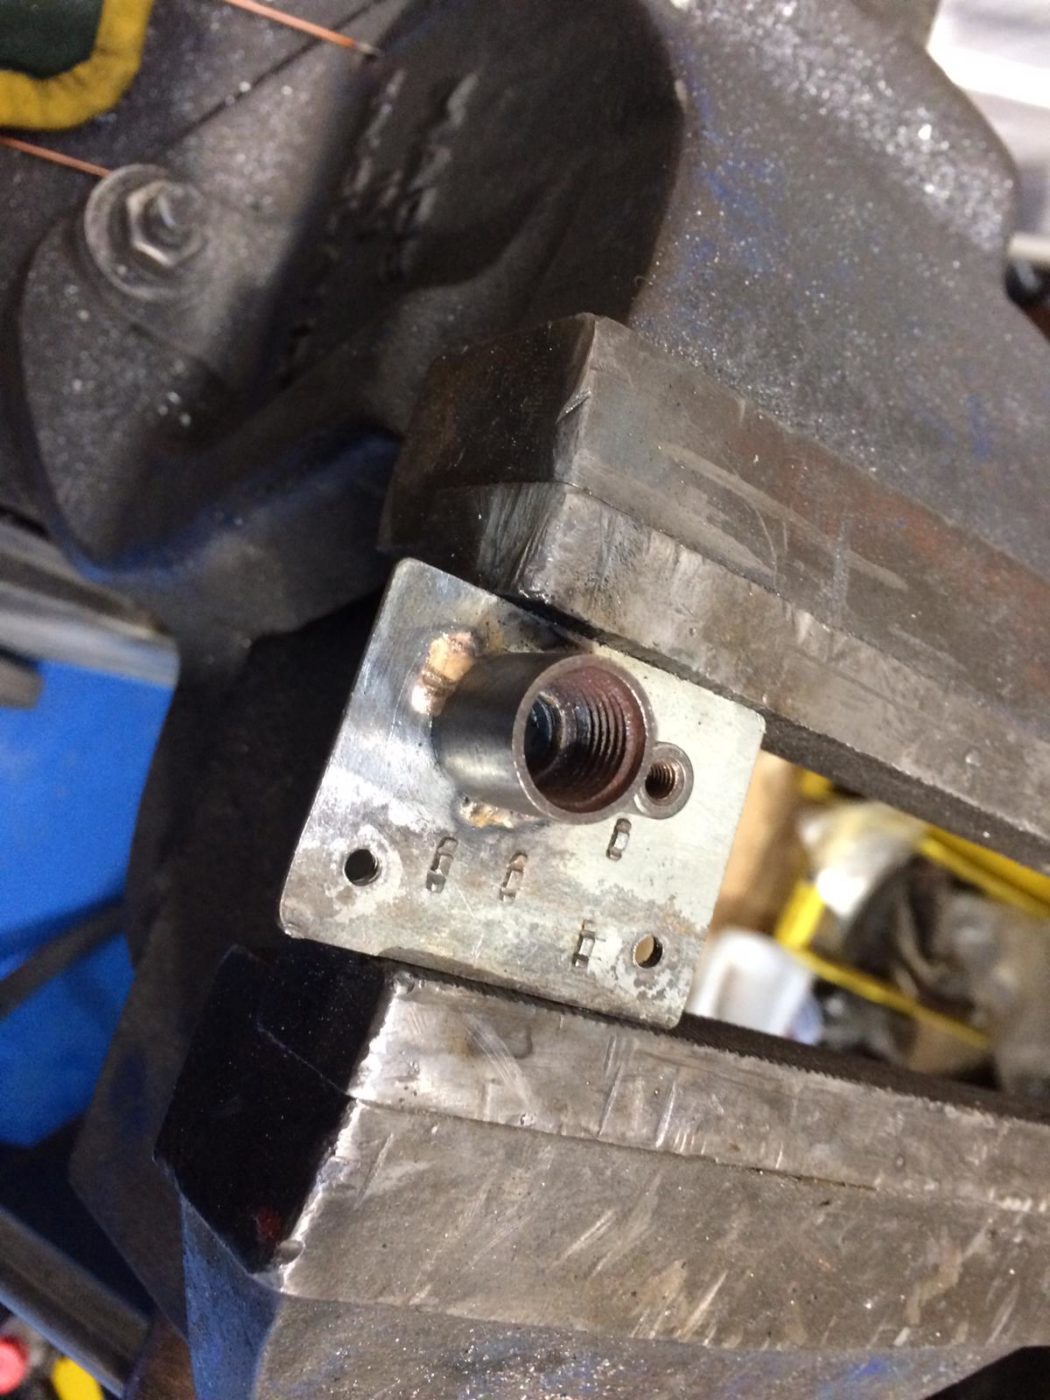
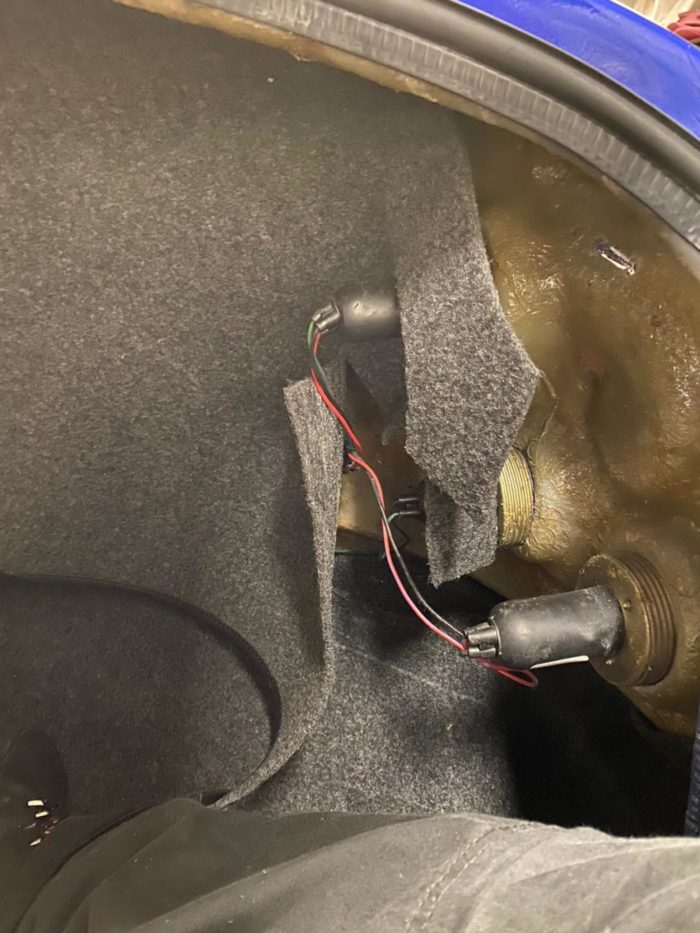
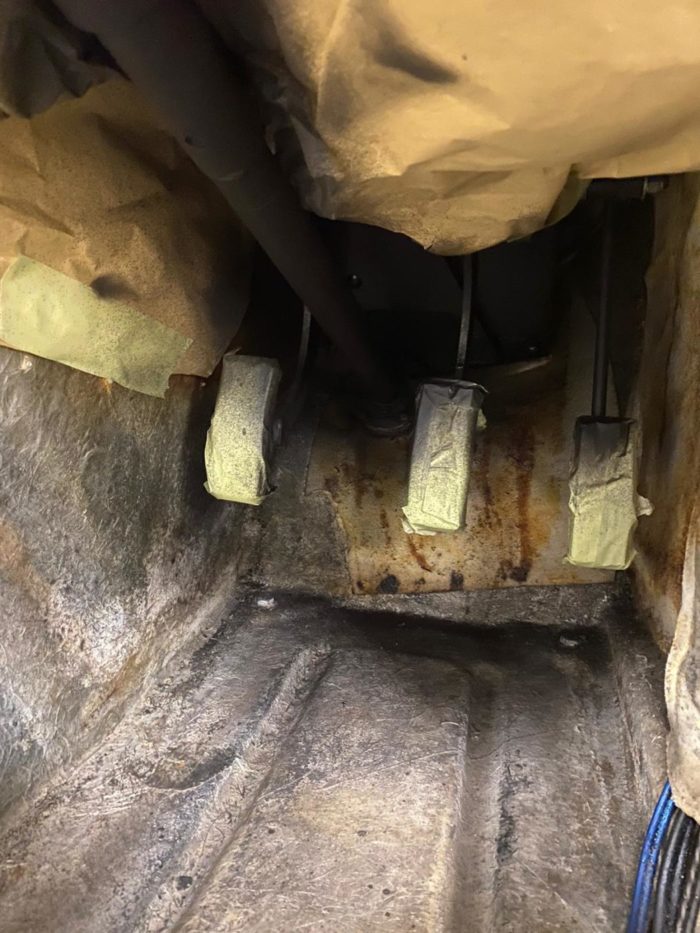
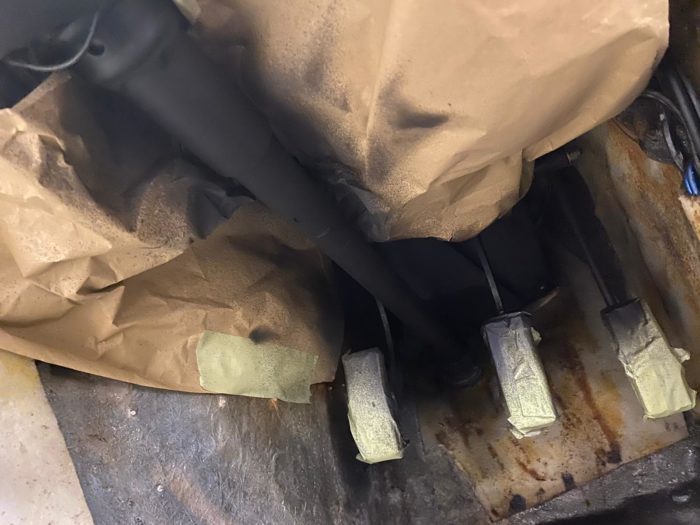
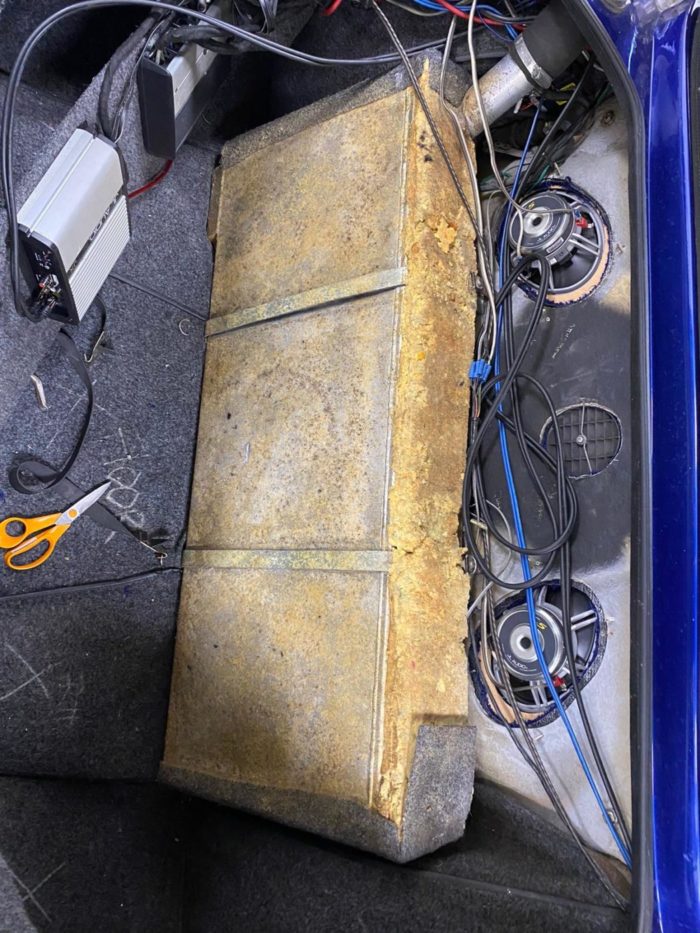
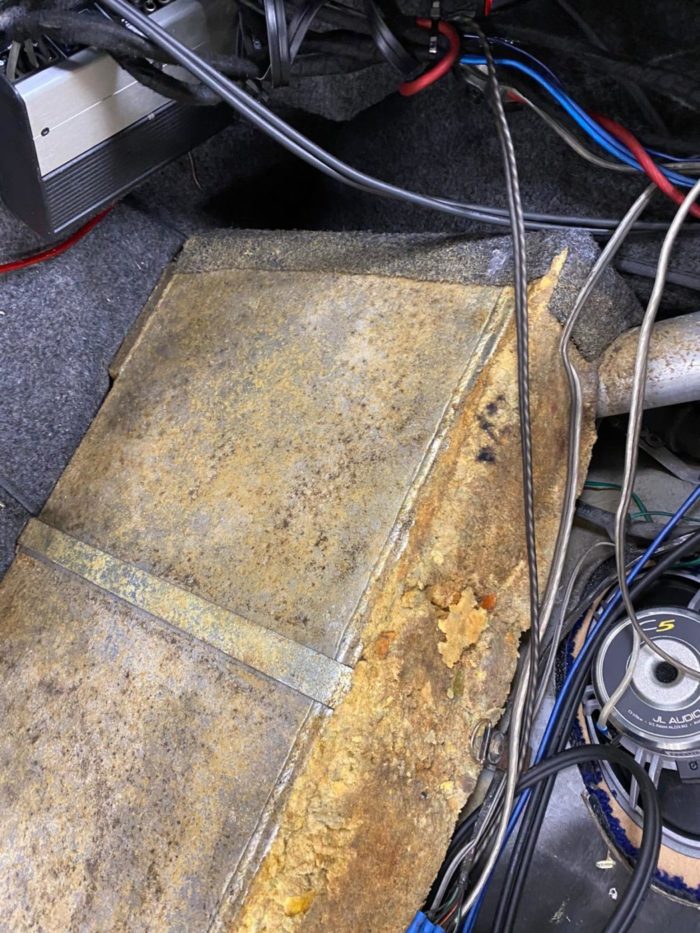
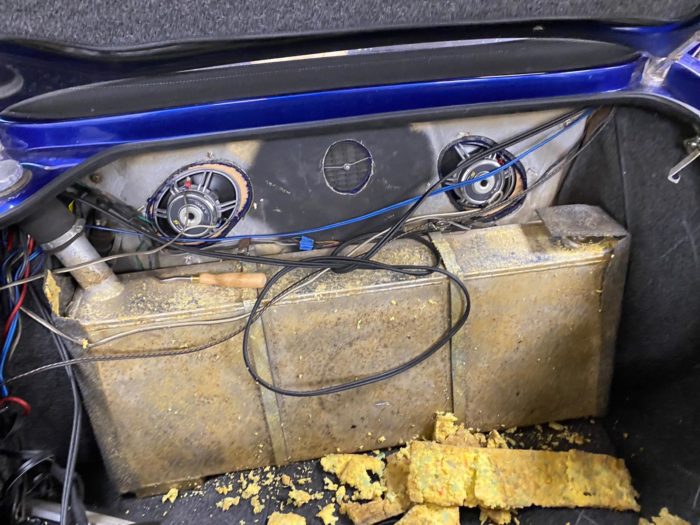
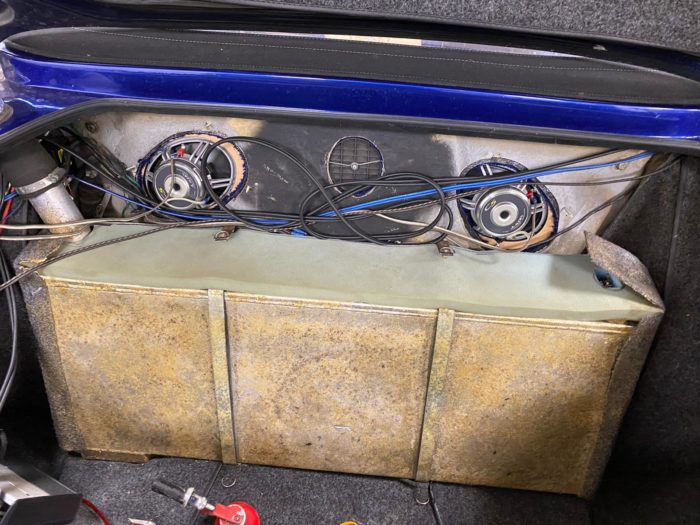
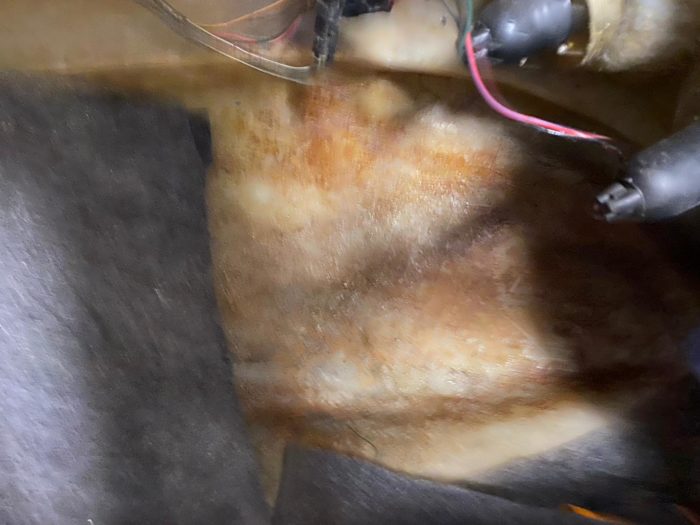
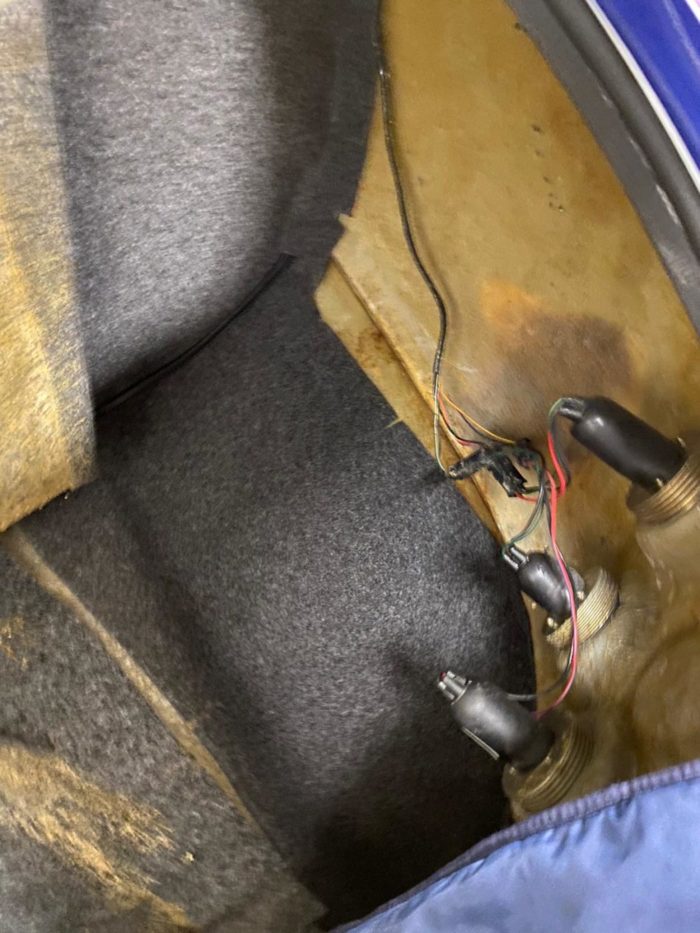
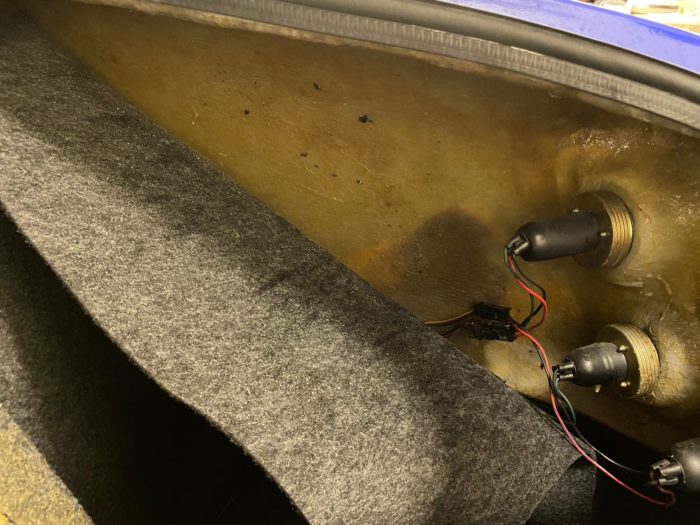
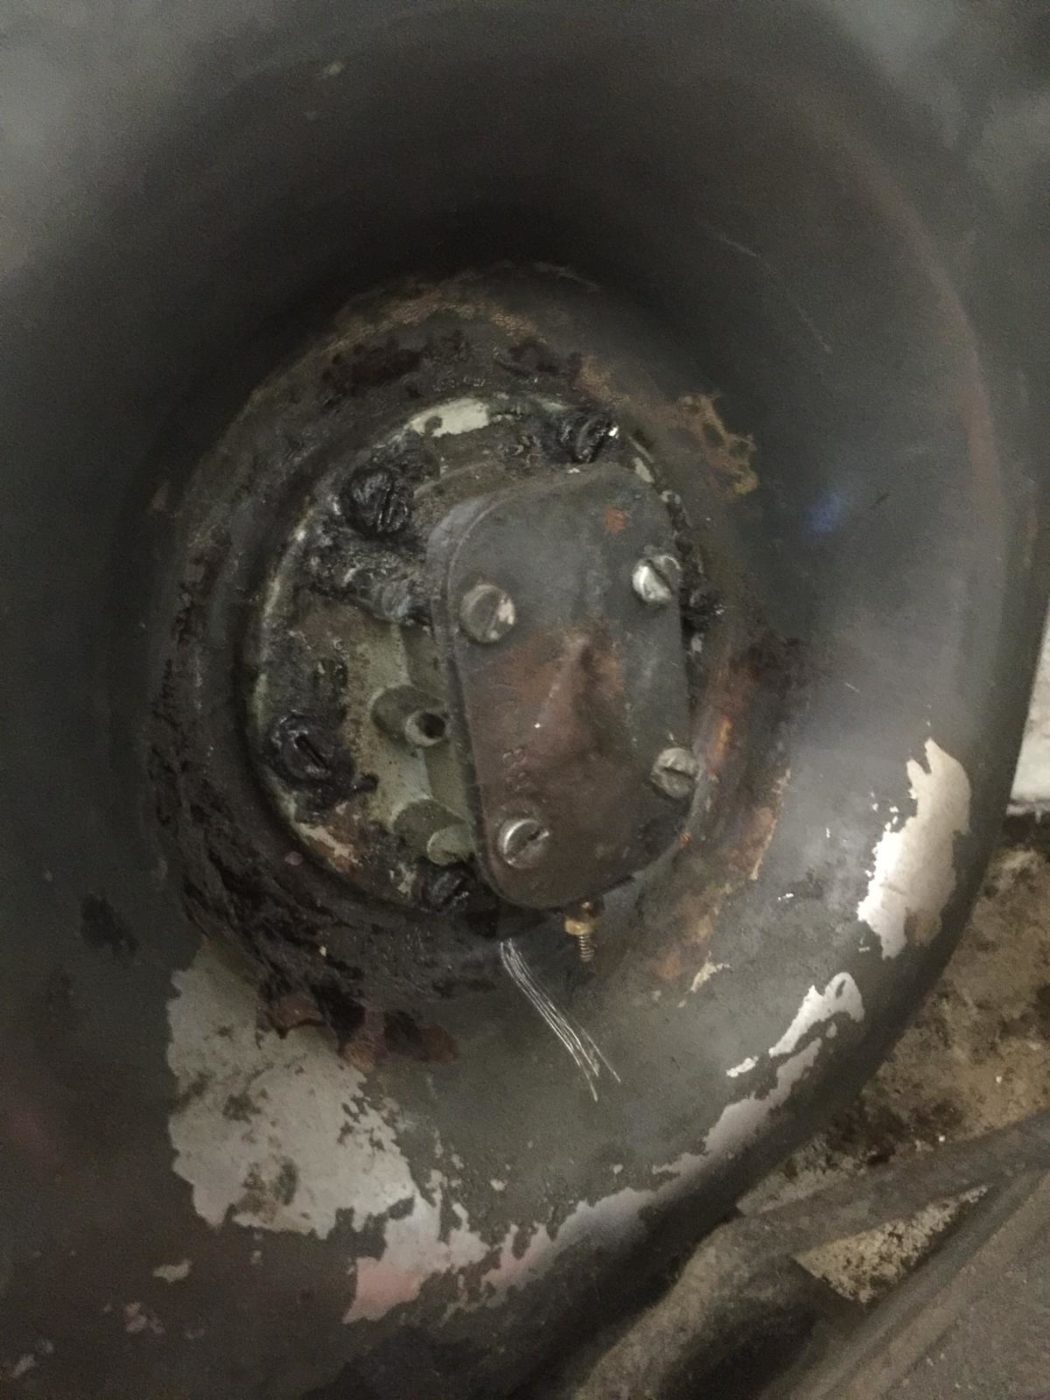
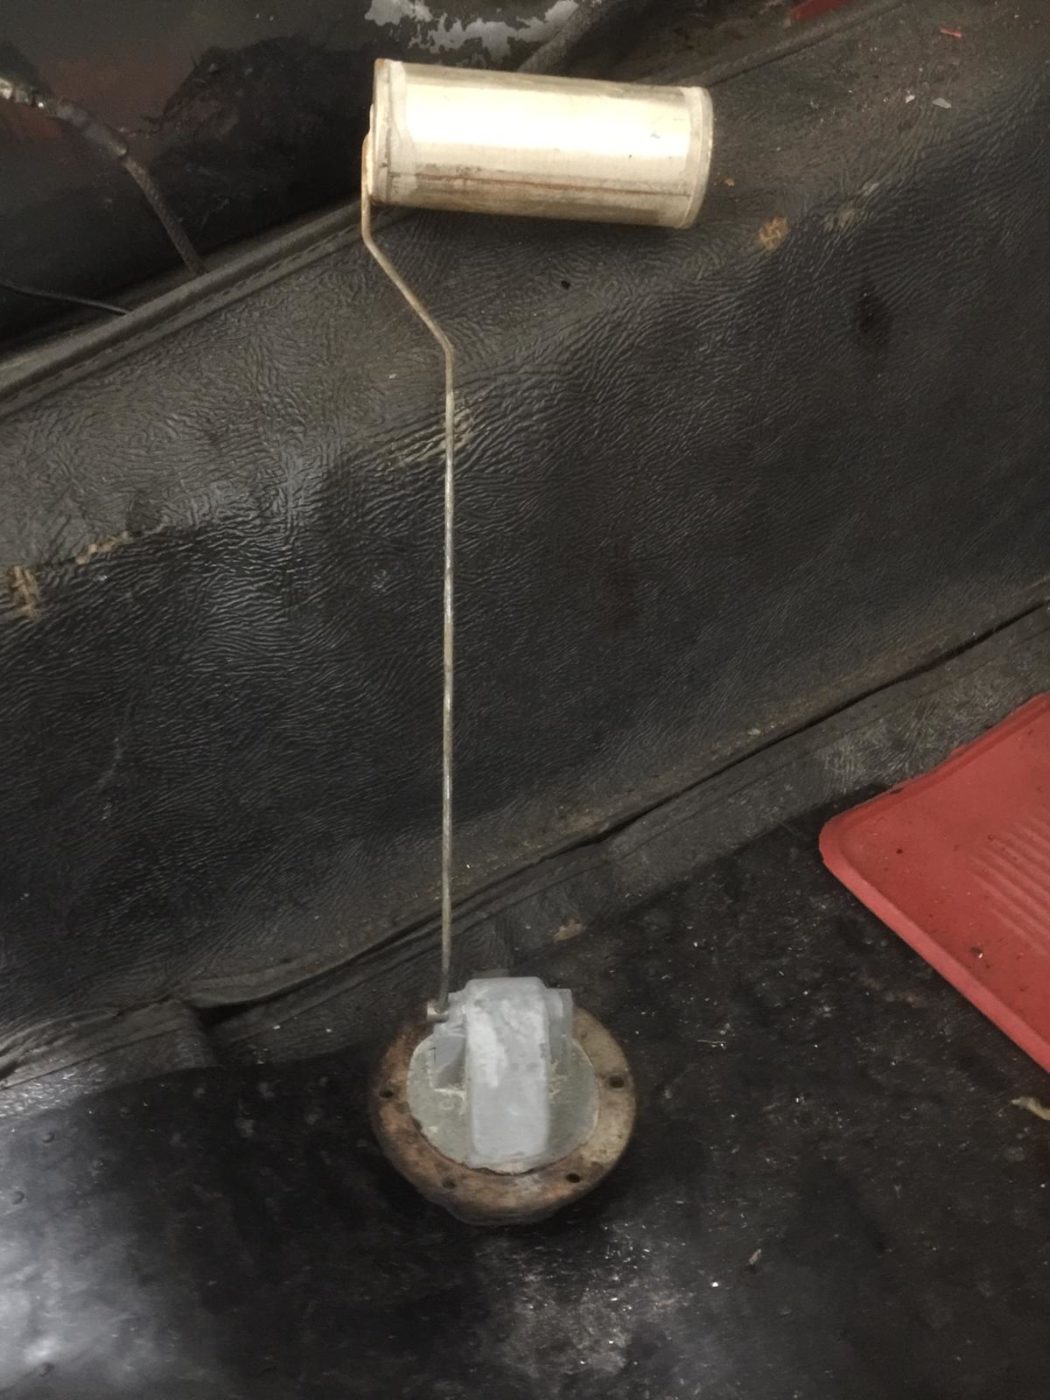
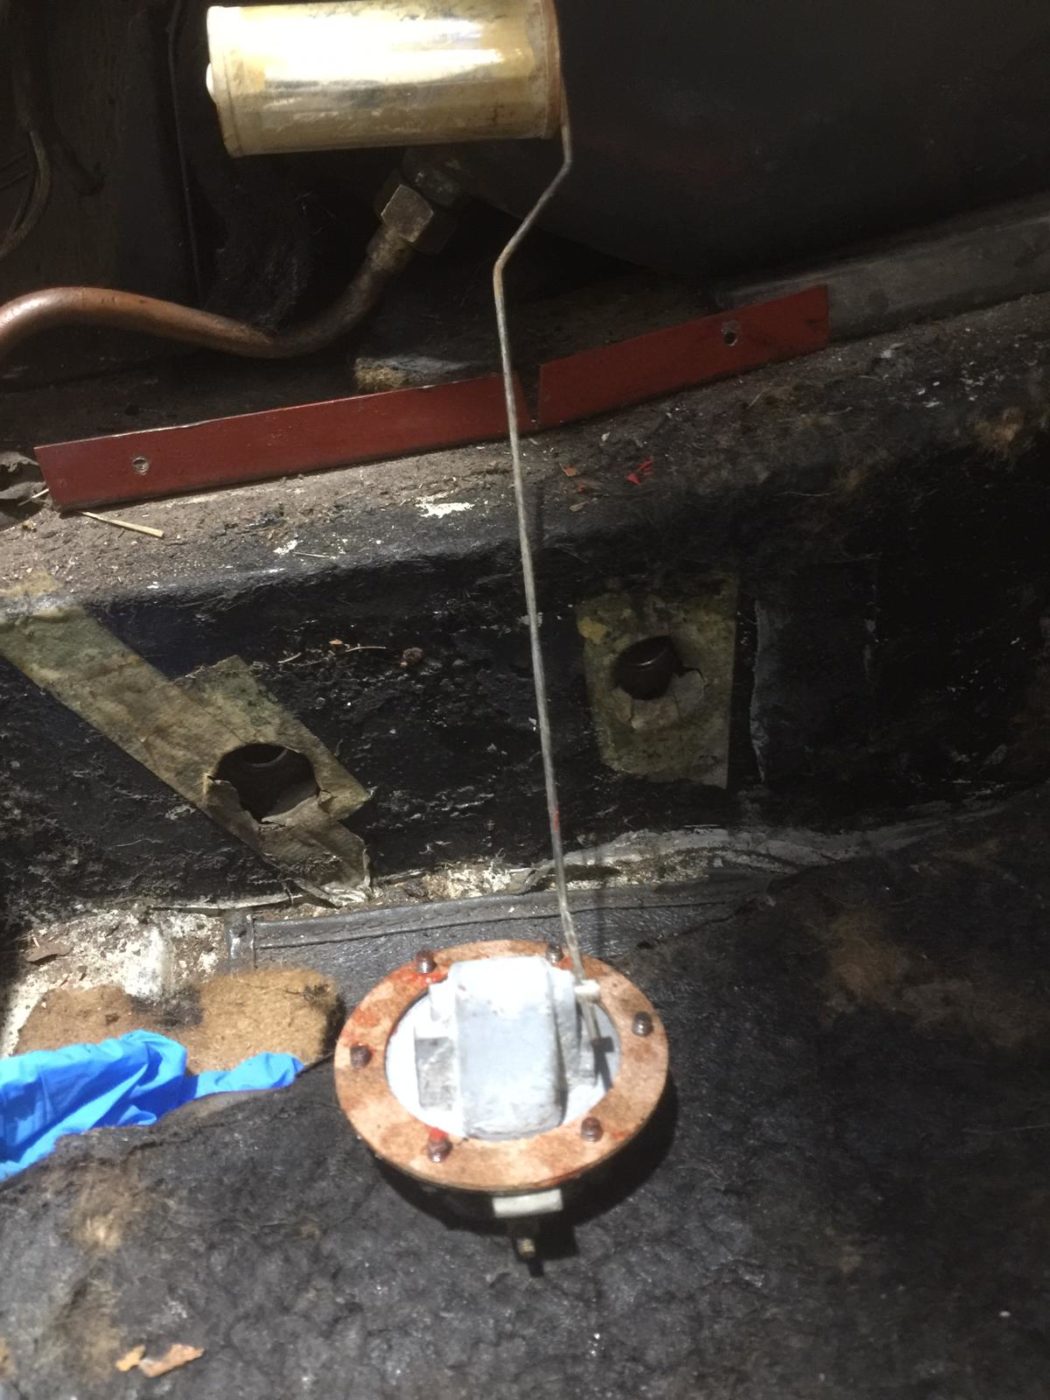
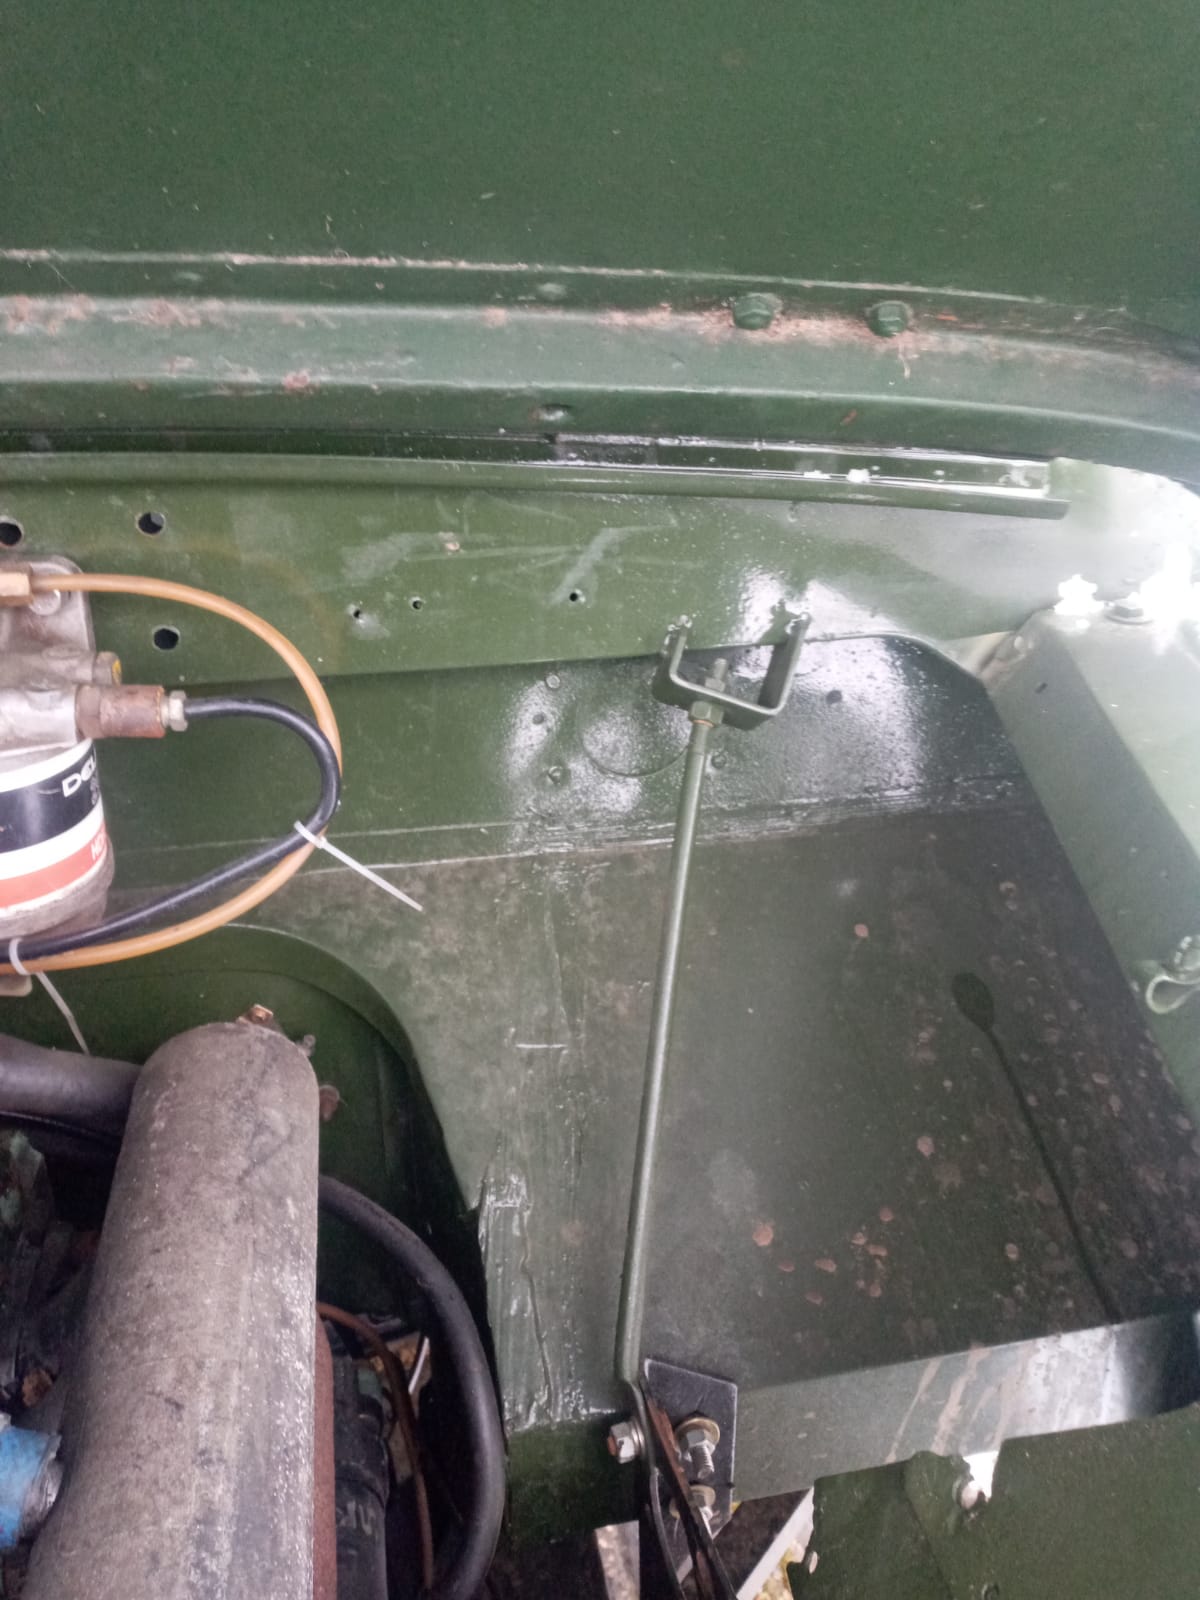
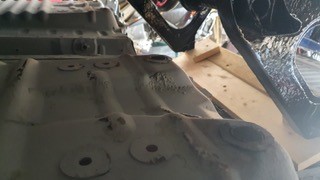
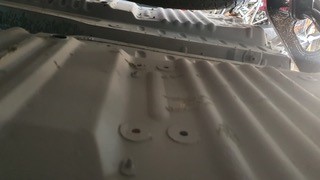
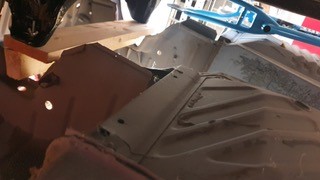
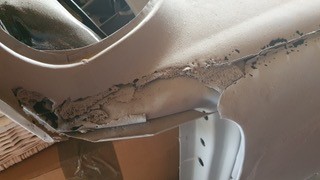
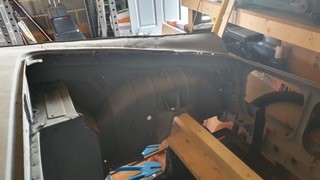
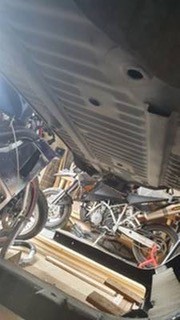
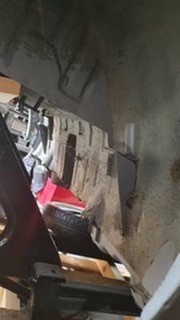
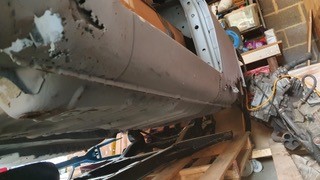
Ady, our engine specialist has been working hard to restore our Jaguar MKVII.
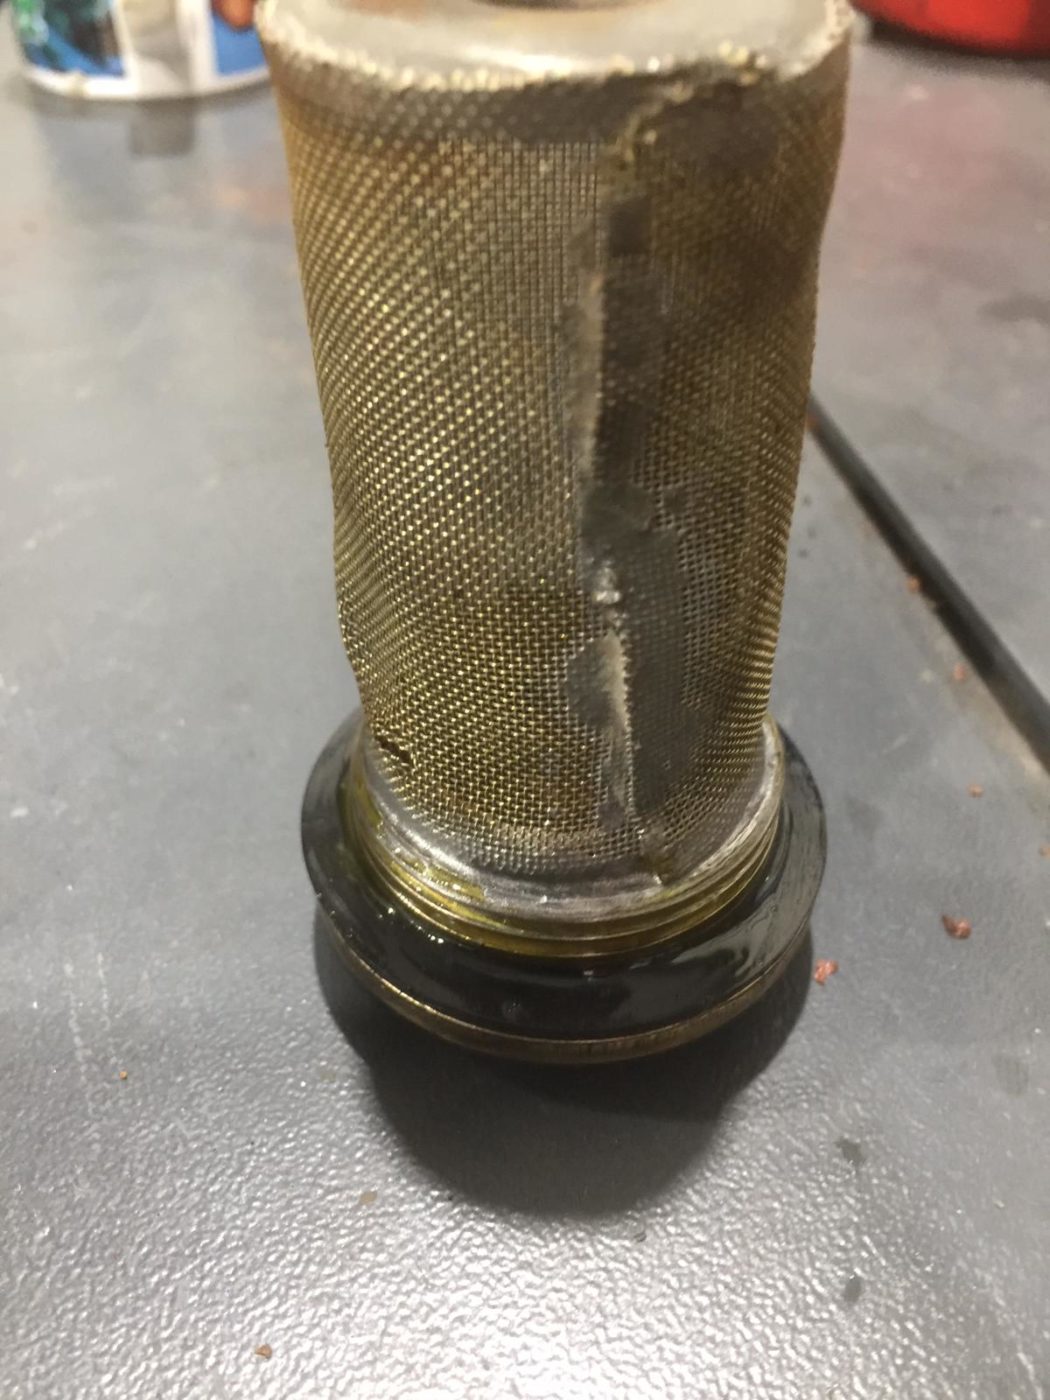
He’s repaired the fuel tank plugs and filters by adding new seals. The fourth image shows the fuel tank plug and filter being screwed into the fuel tank after being repaired. The final image shows the fuel tank sender unit being removed, so Ady could fit a new gasket.
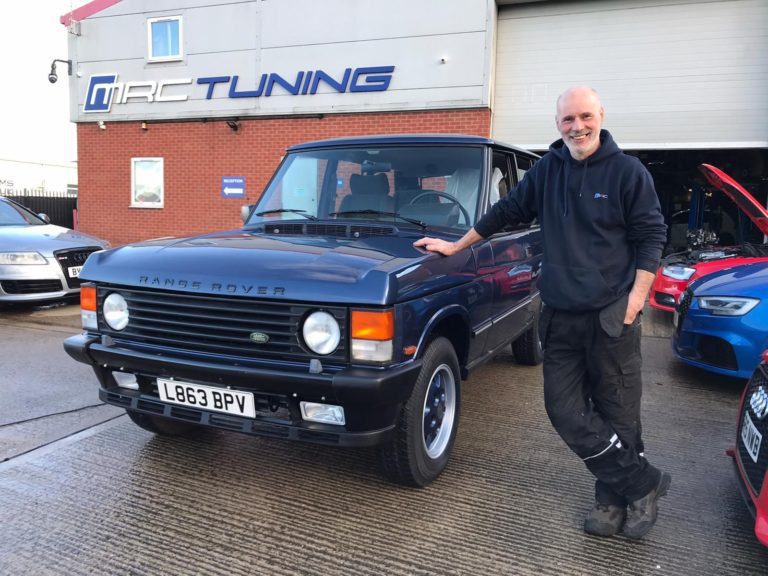
What a beautiful day to deliver someone’s dream car! On Friday morning our friends at Russells’ came to pick up our beautiful 1994 Range Rover Classic to take it to its new owner in Oxford.
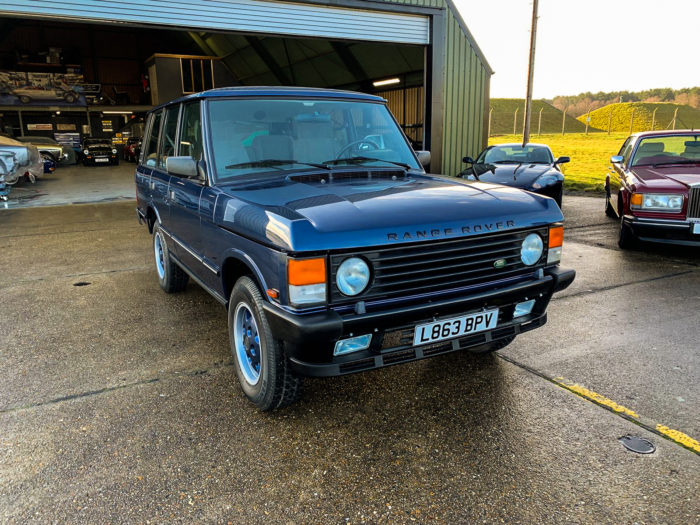
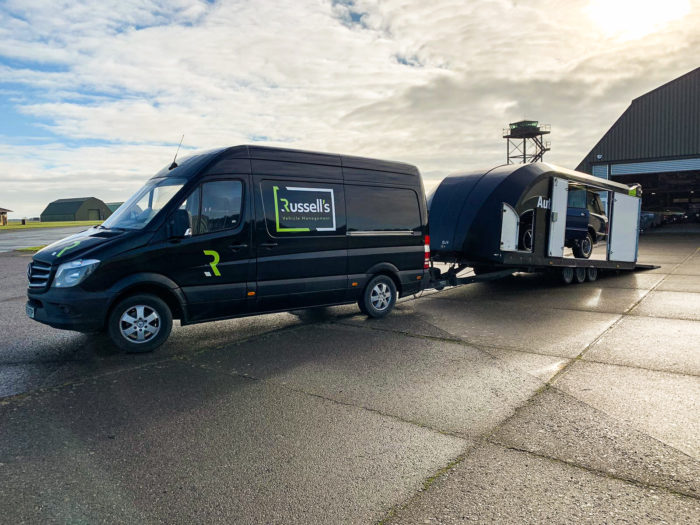
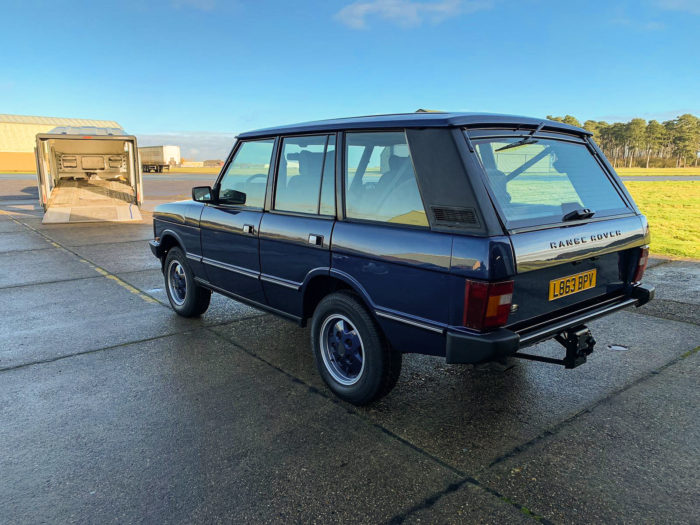
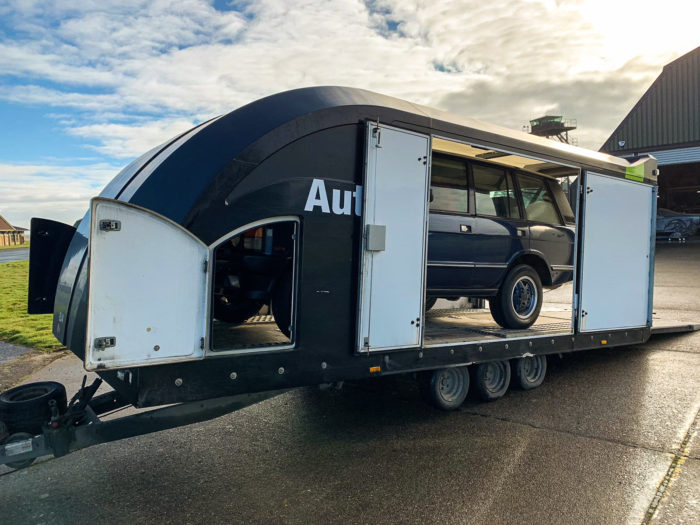
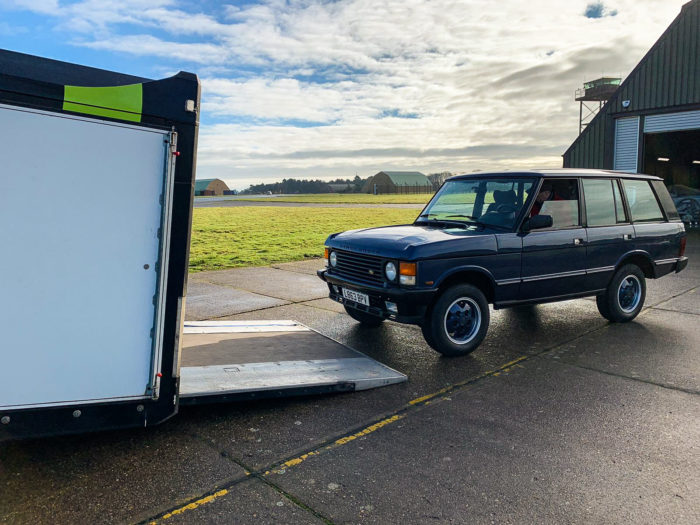
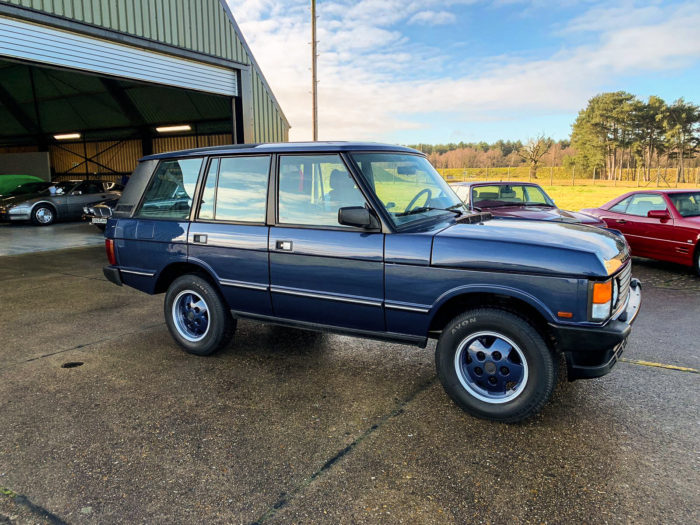
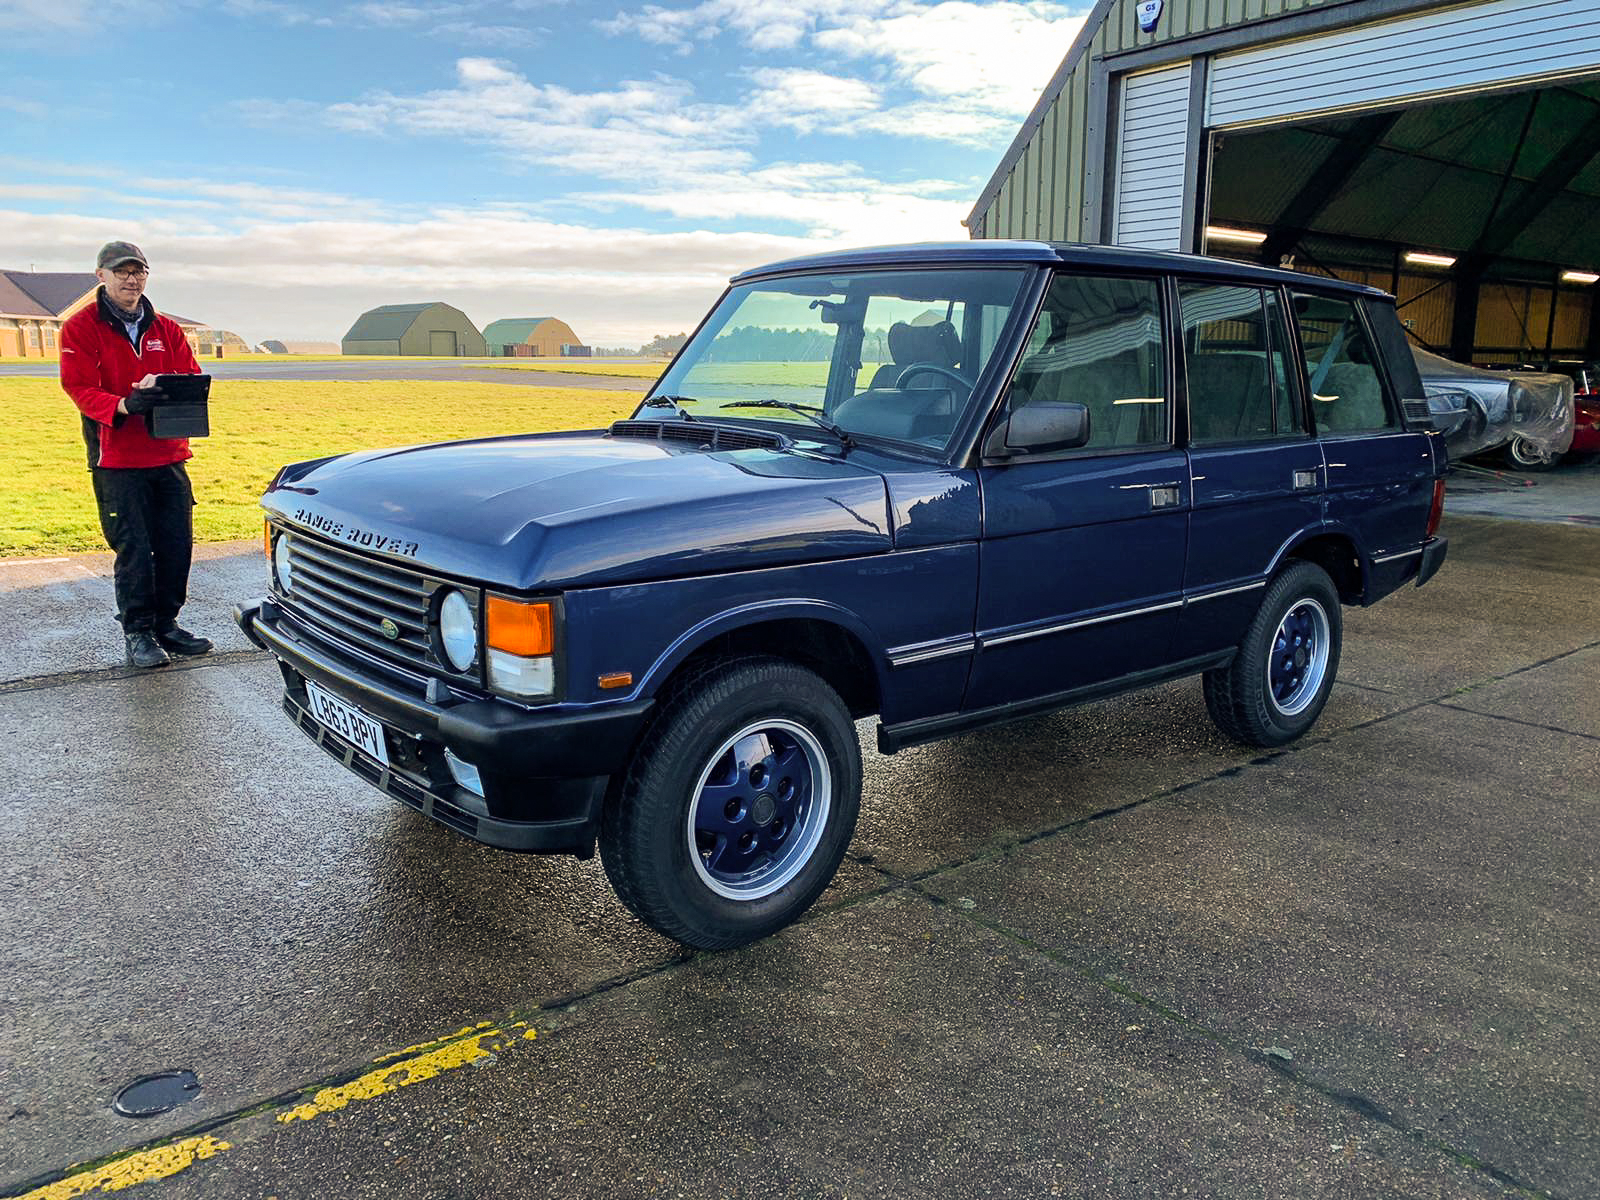
David was beaming when the car was delivered, we’re sure he’s excited to get driving his beautiful new classic! Perfect for the snow!

We also love getting getting shout outs and seeing our winners post on ther social media platforms! Thanks for the shout out!
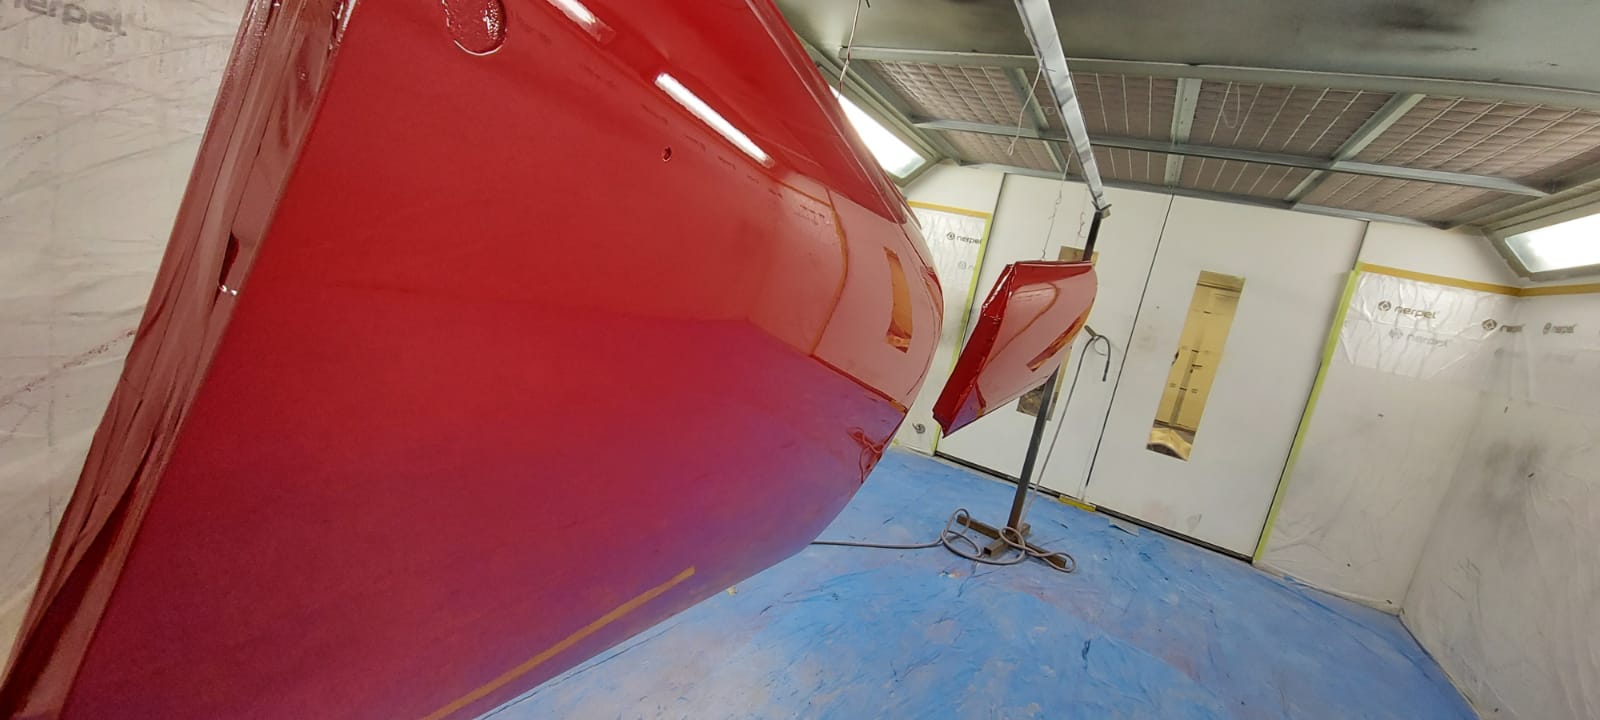
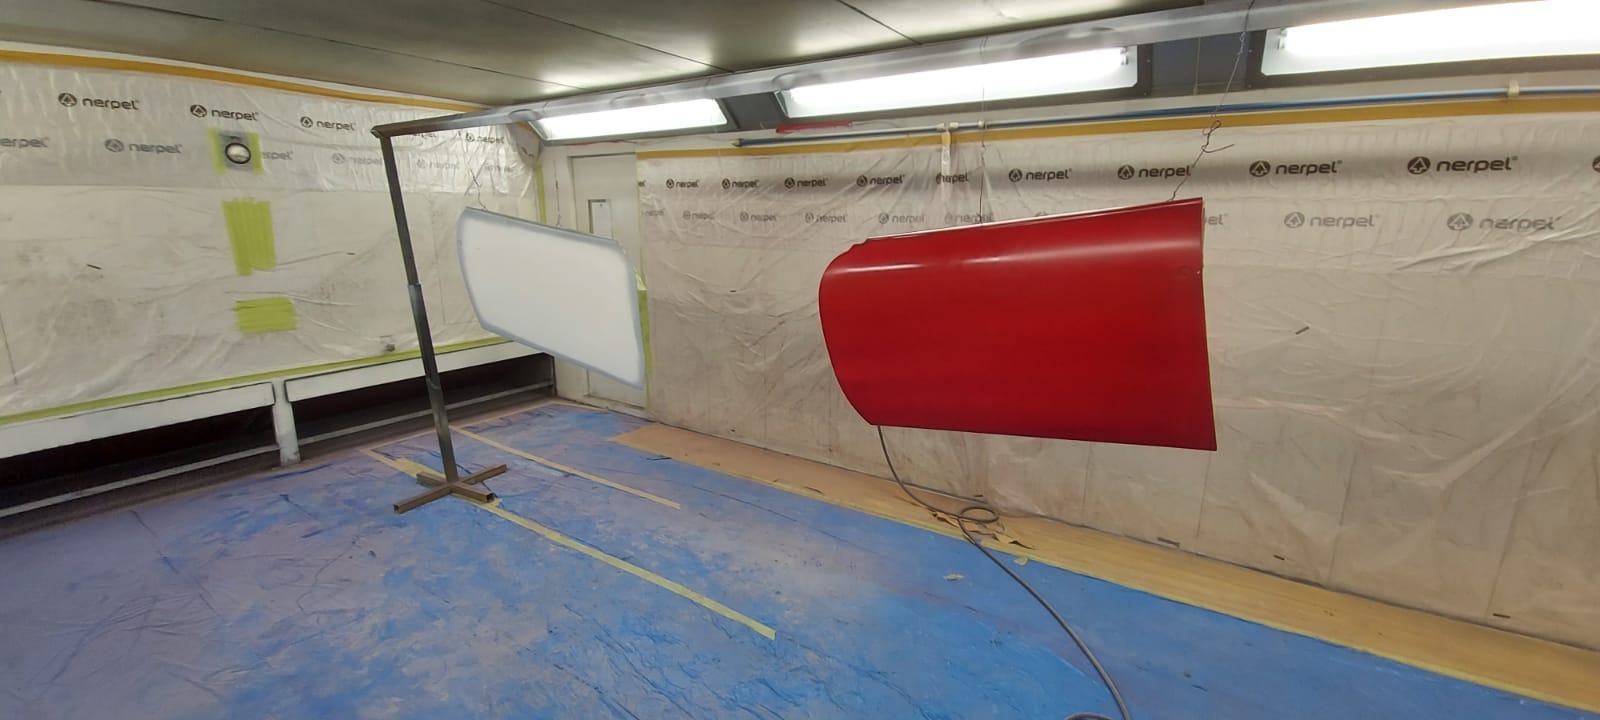
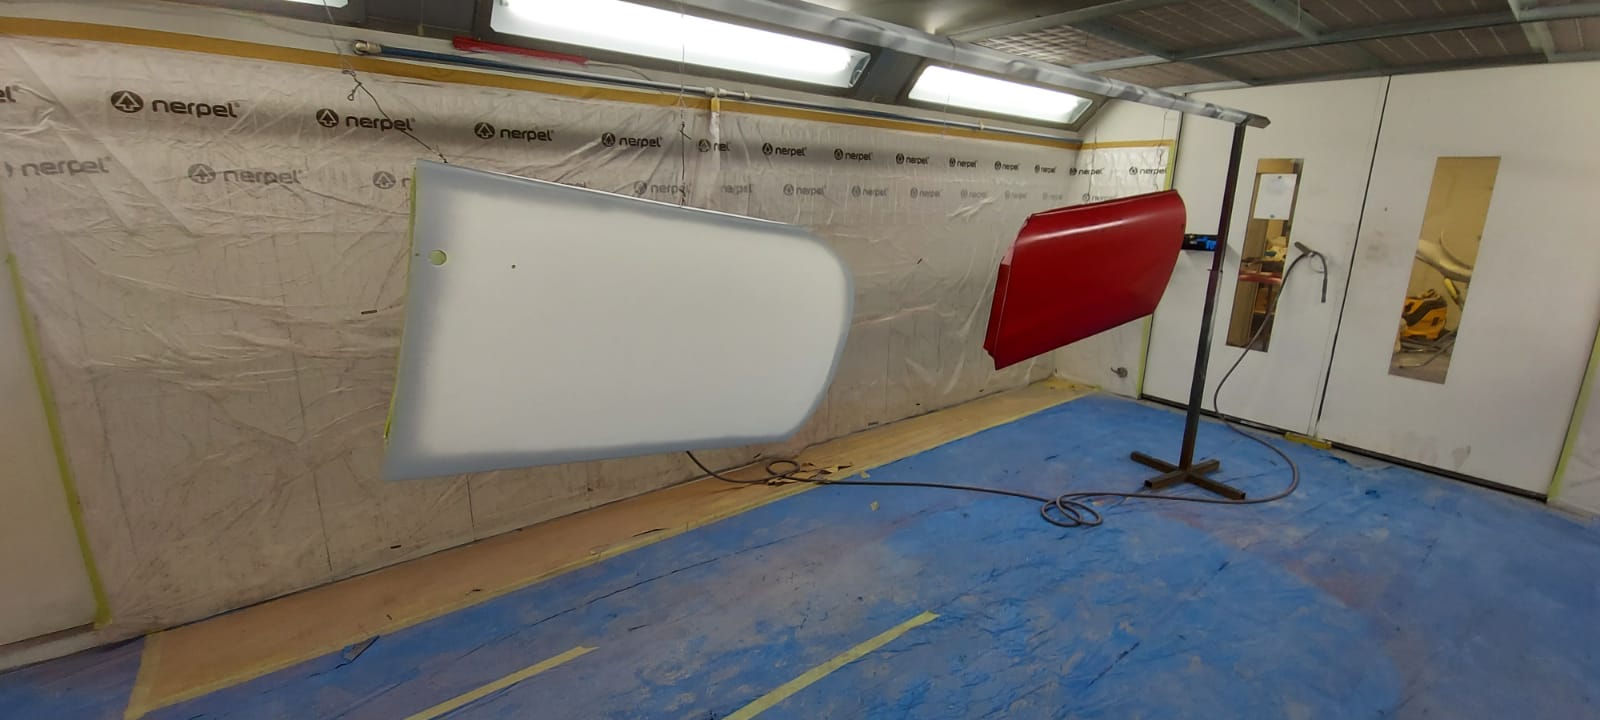
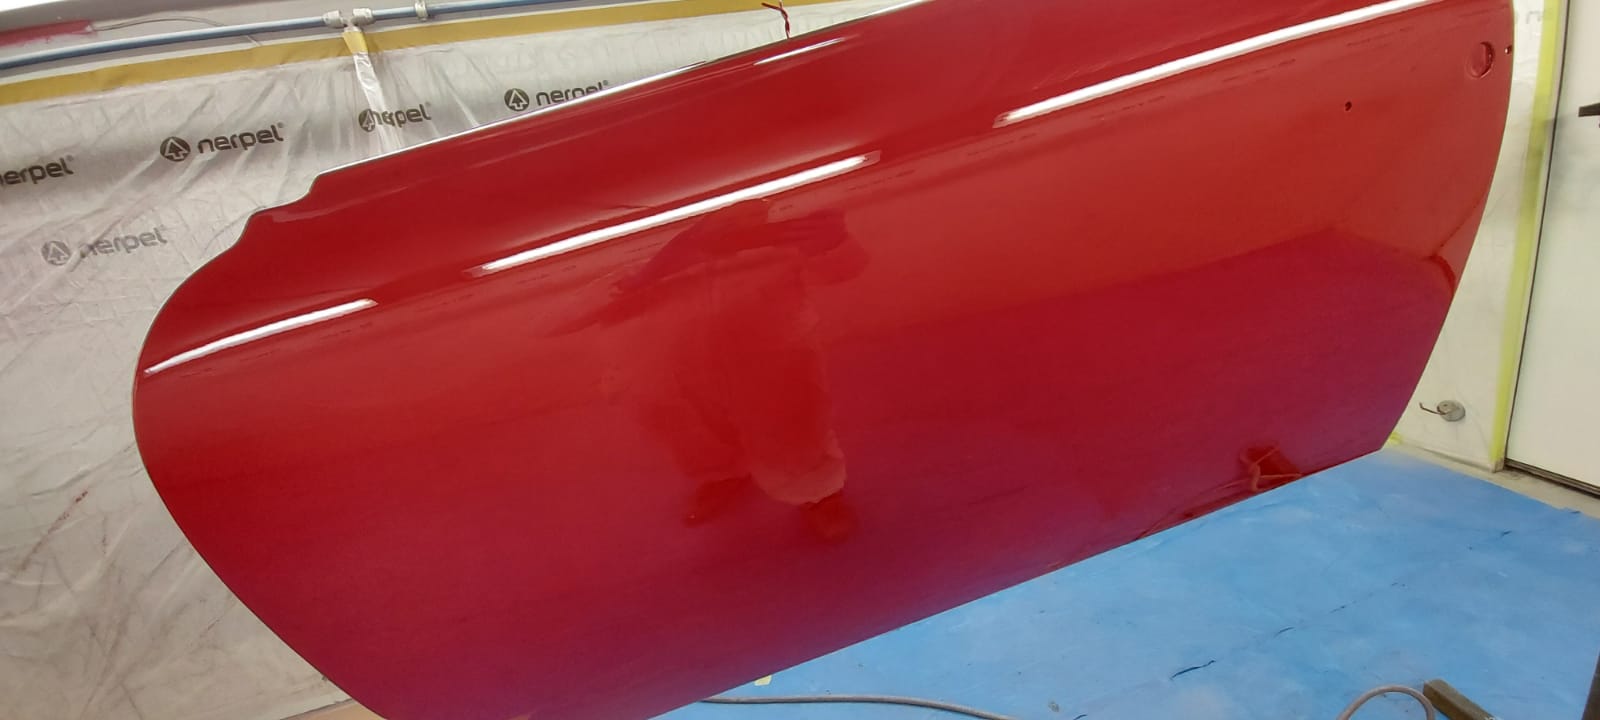
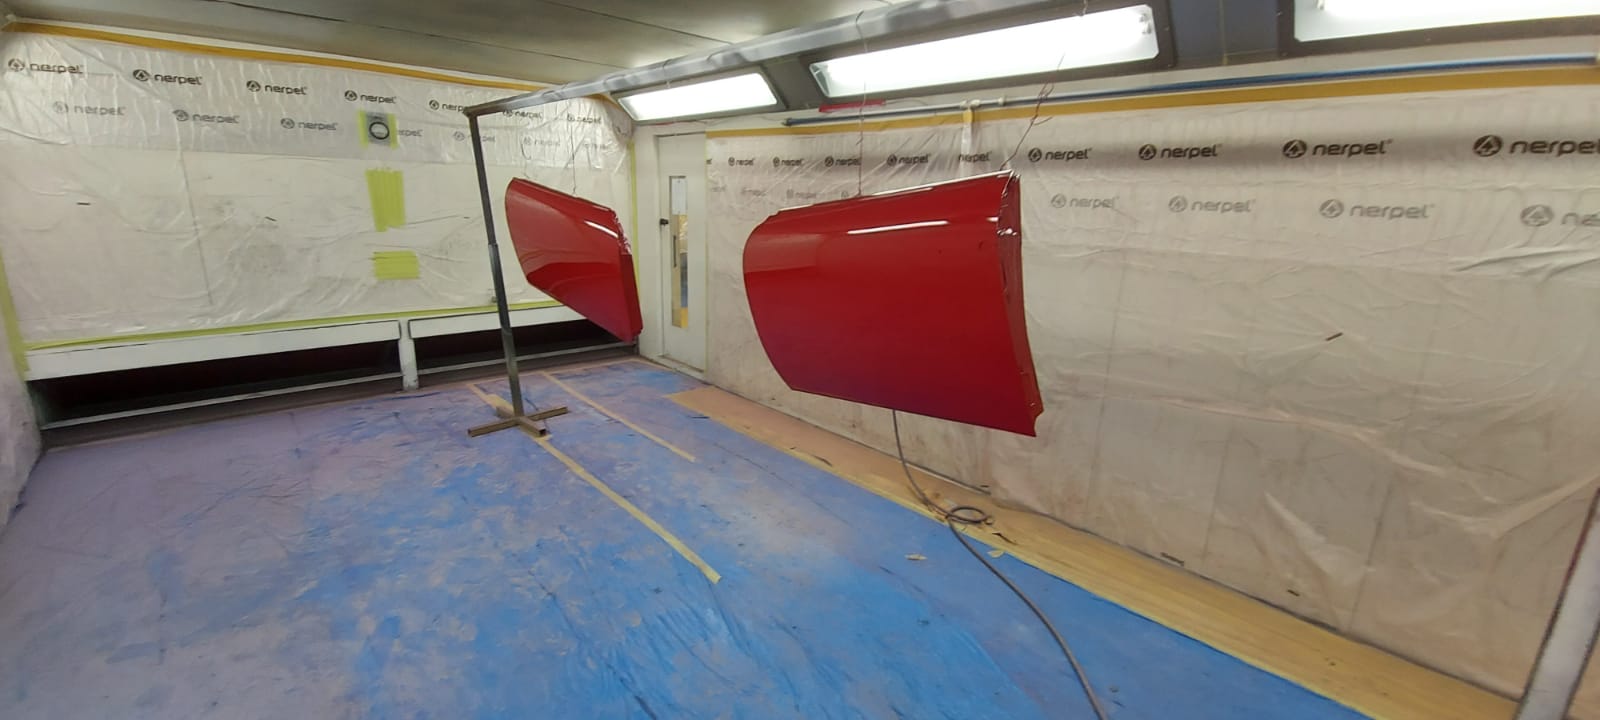
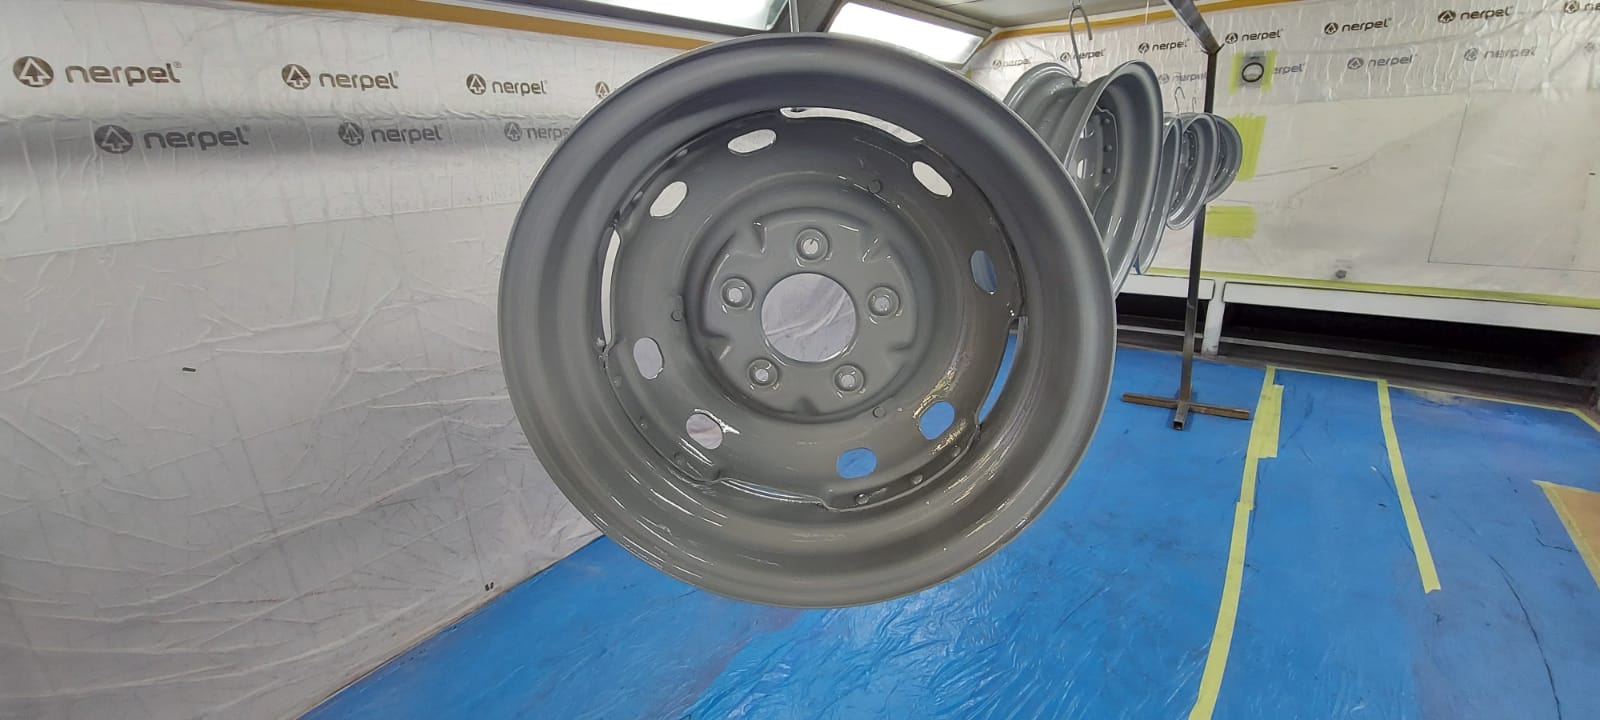
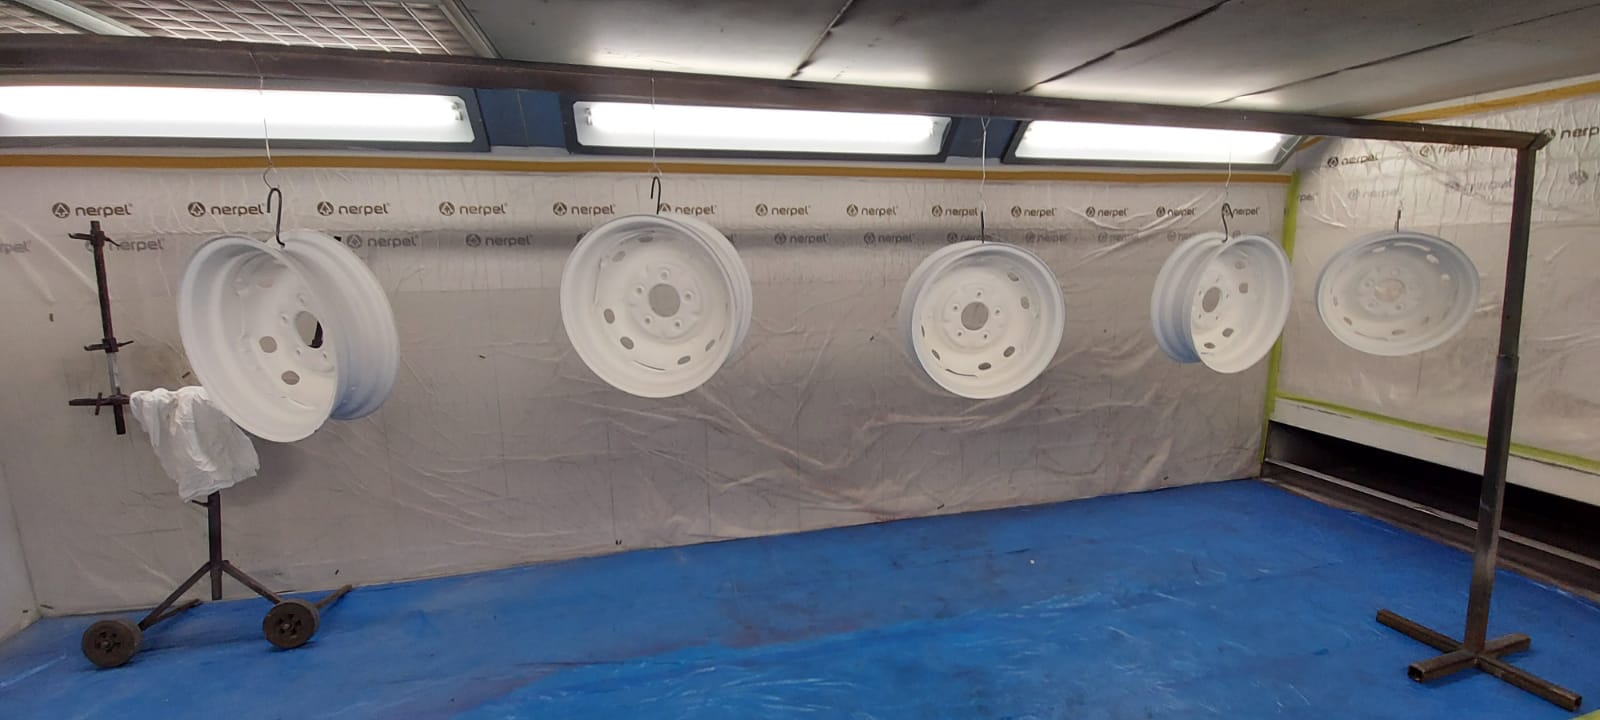
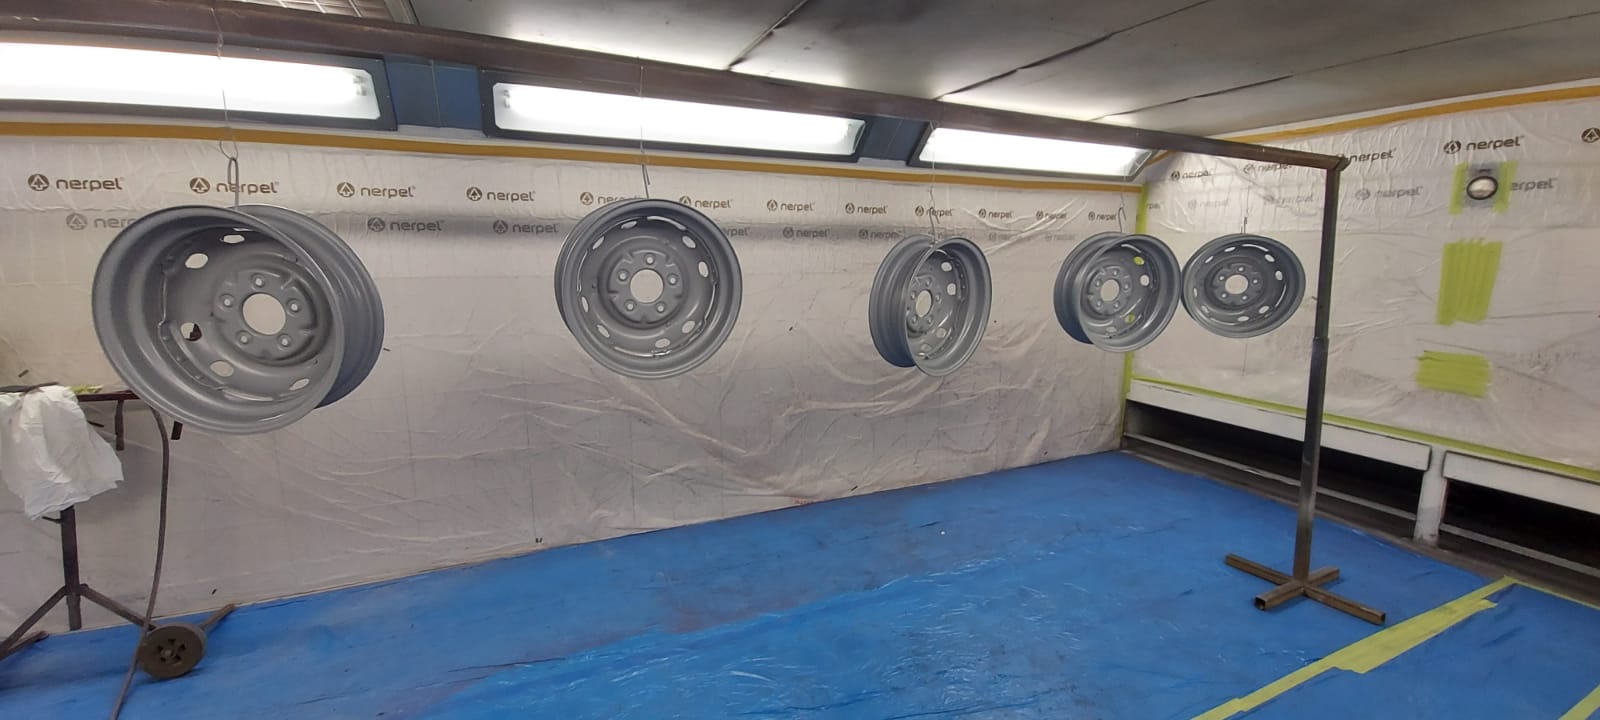
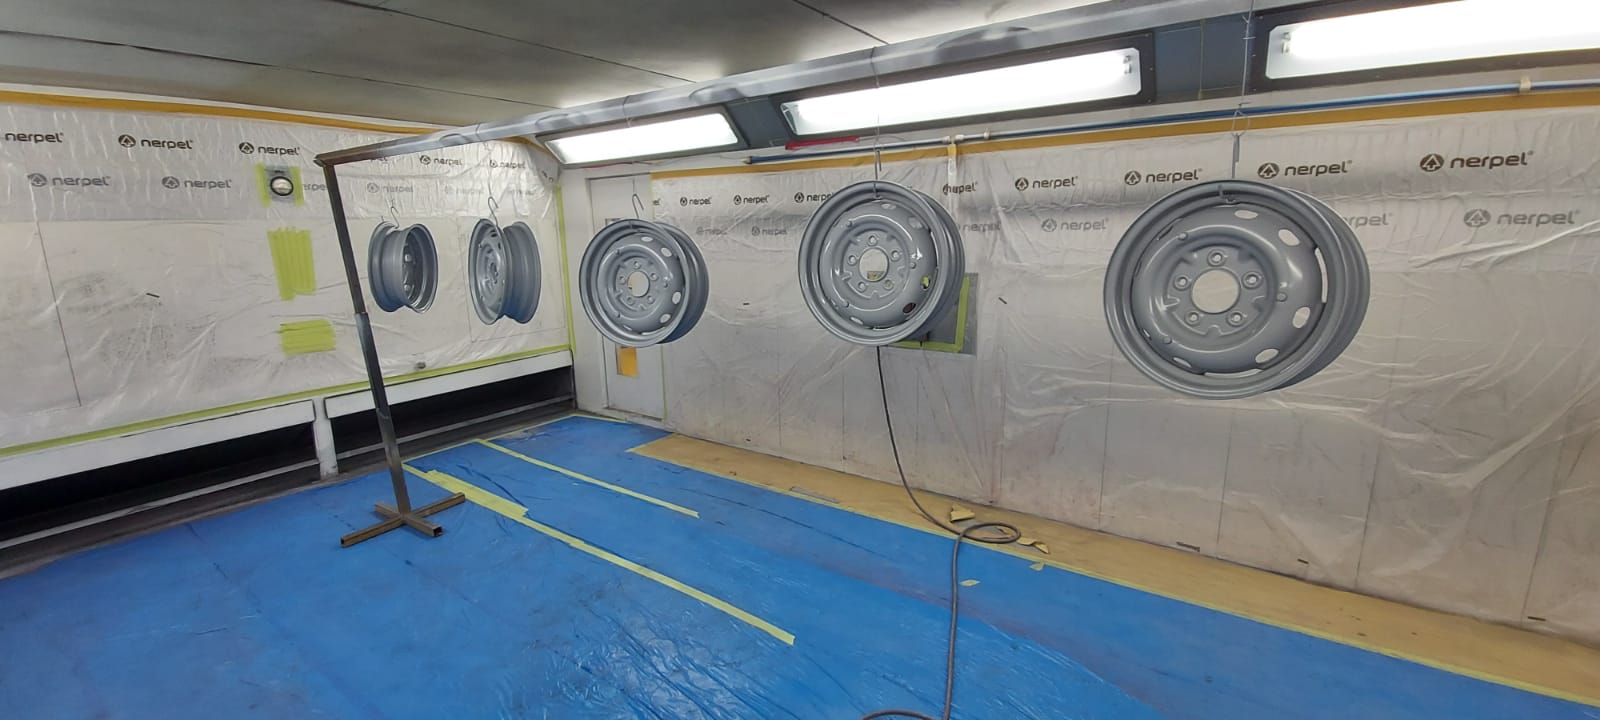
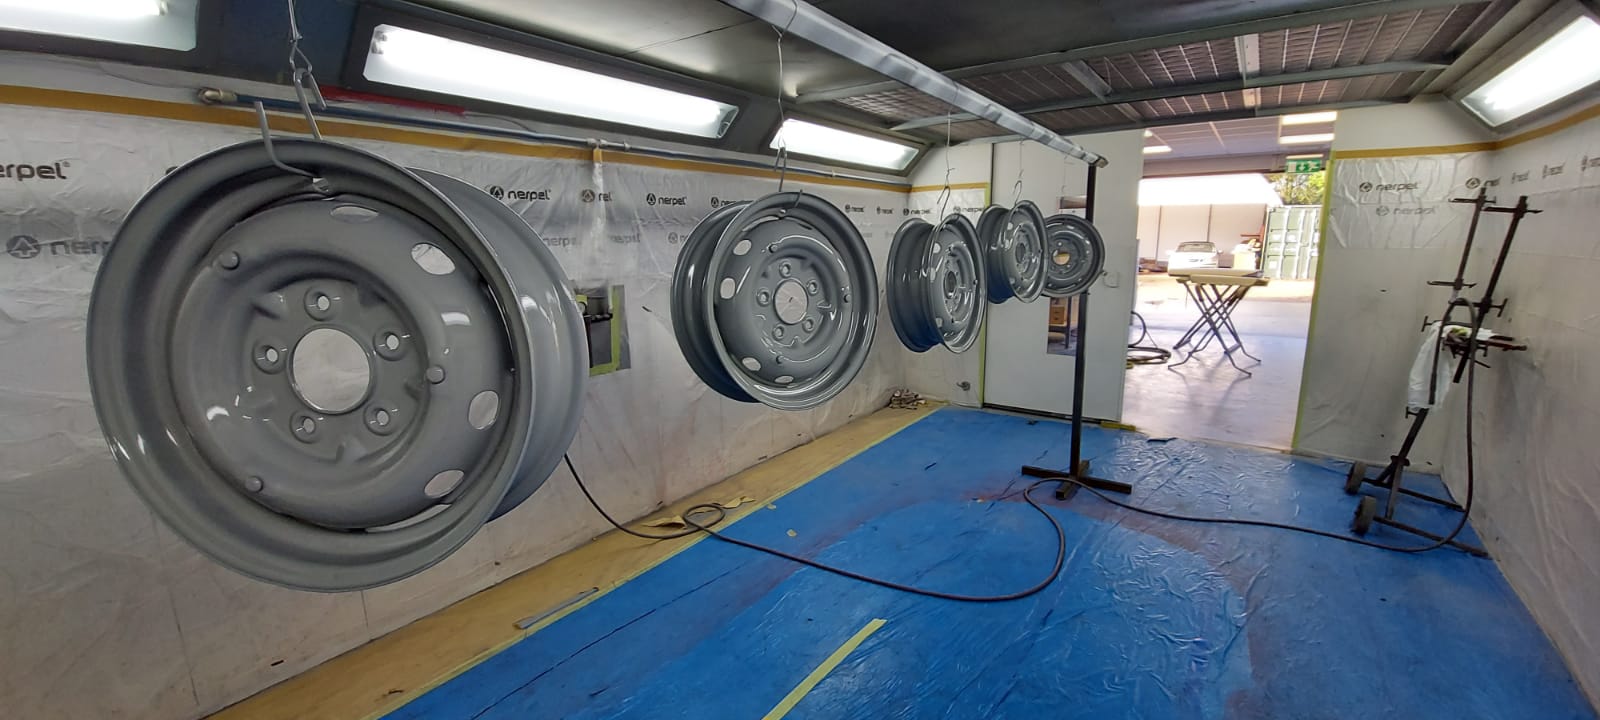
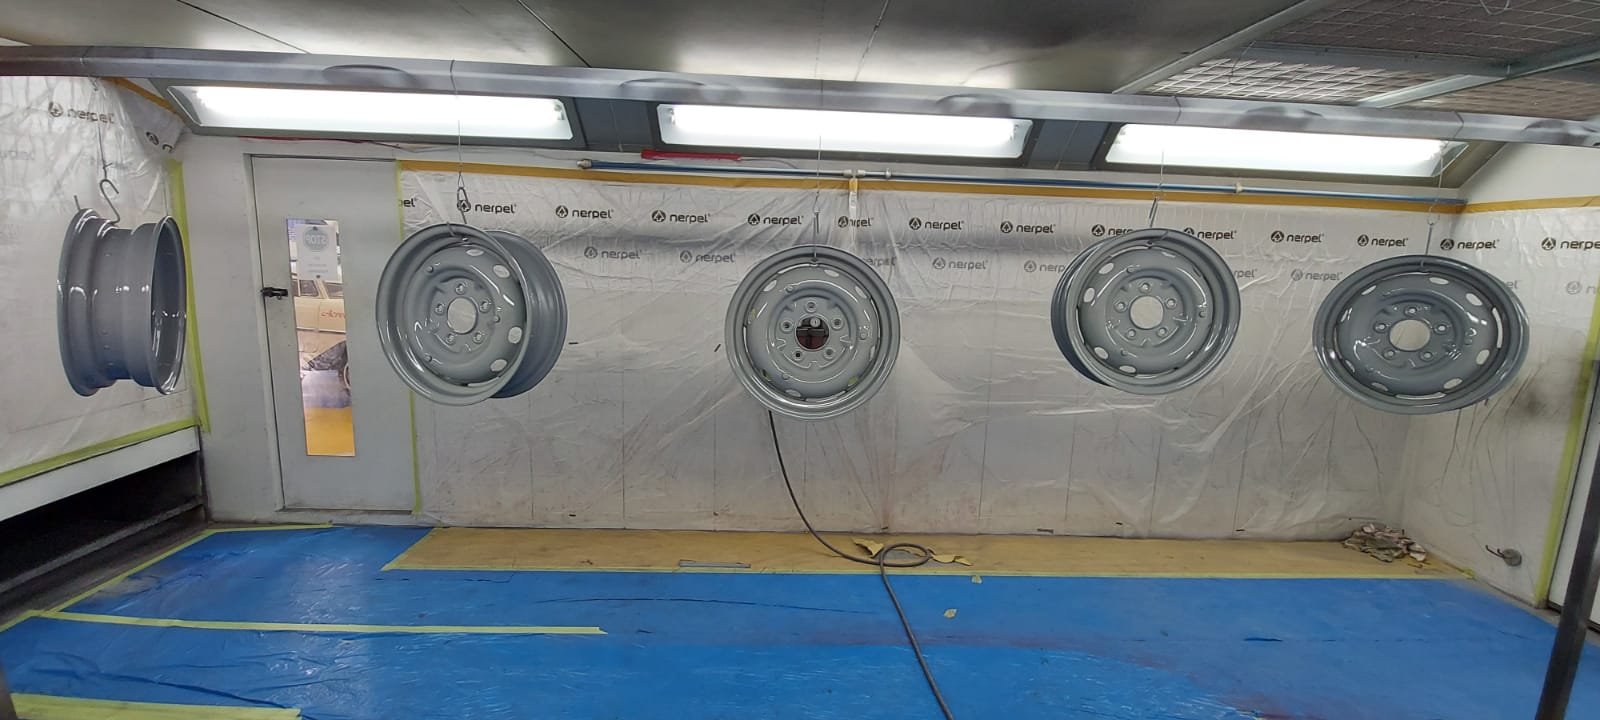
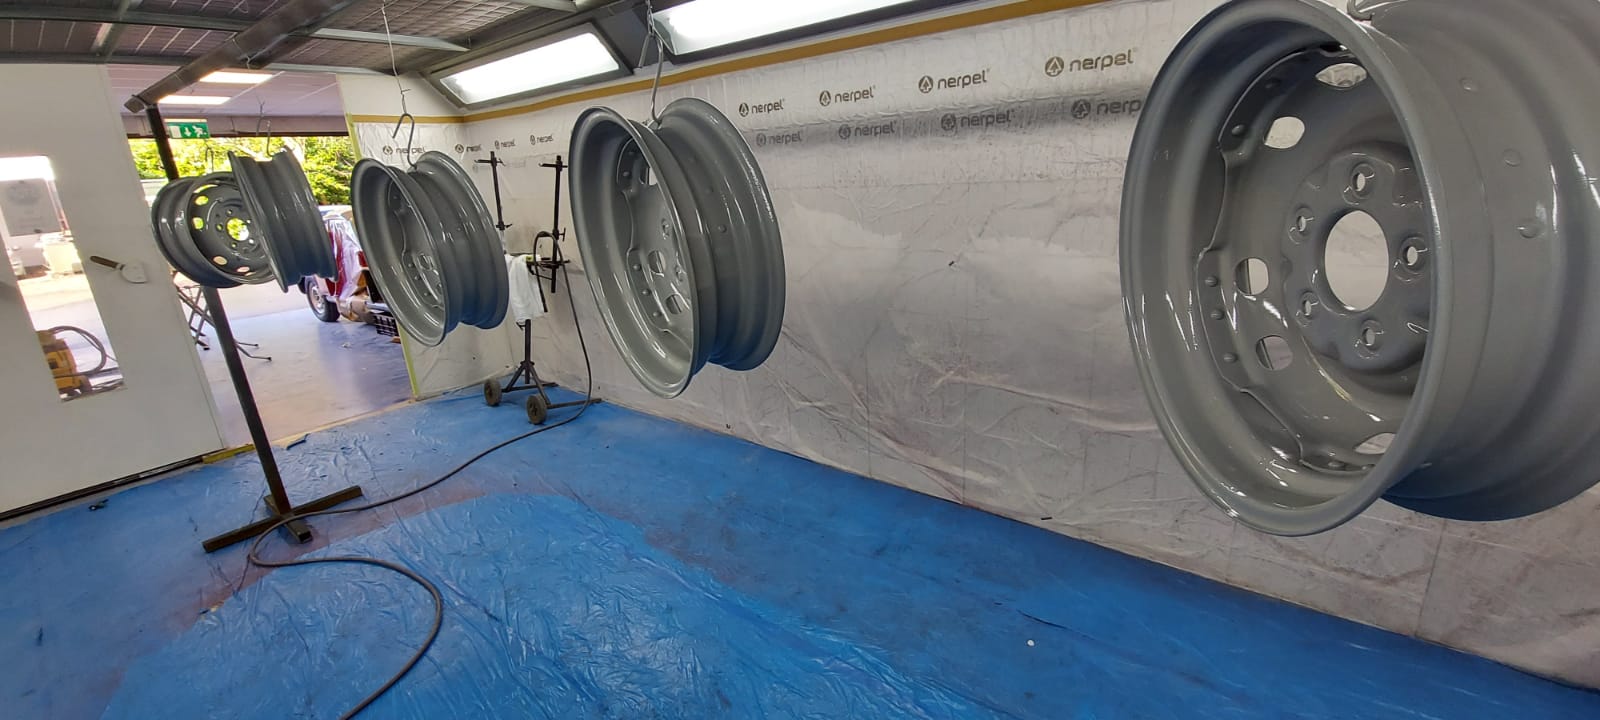
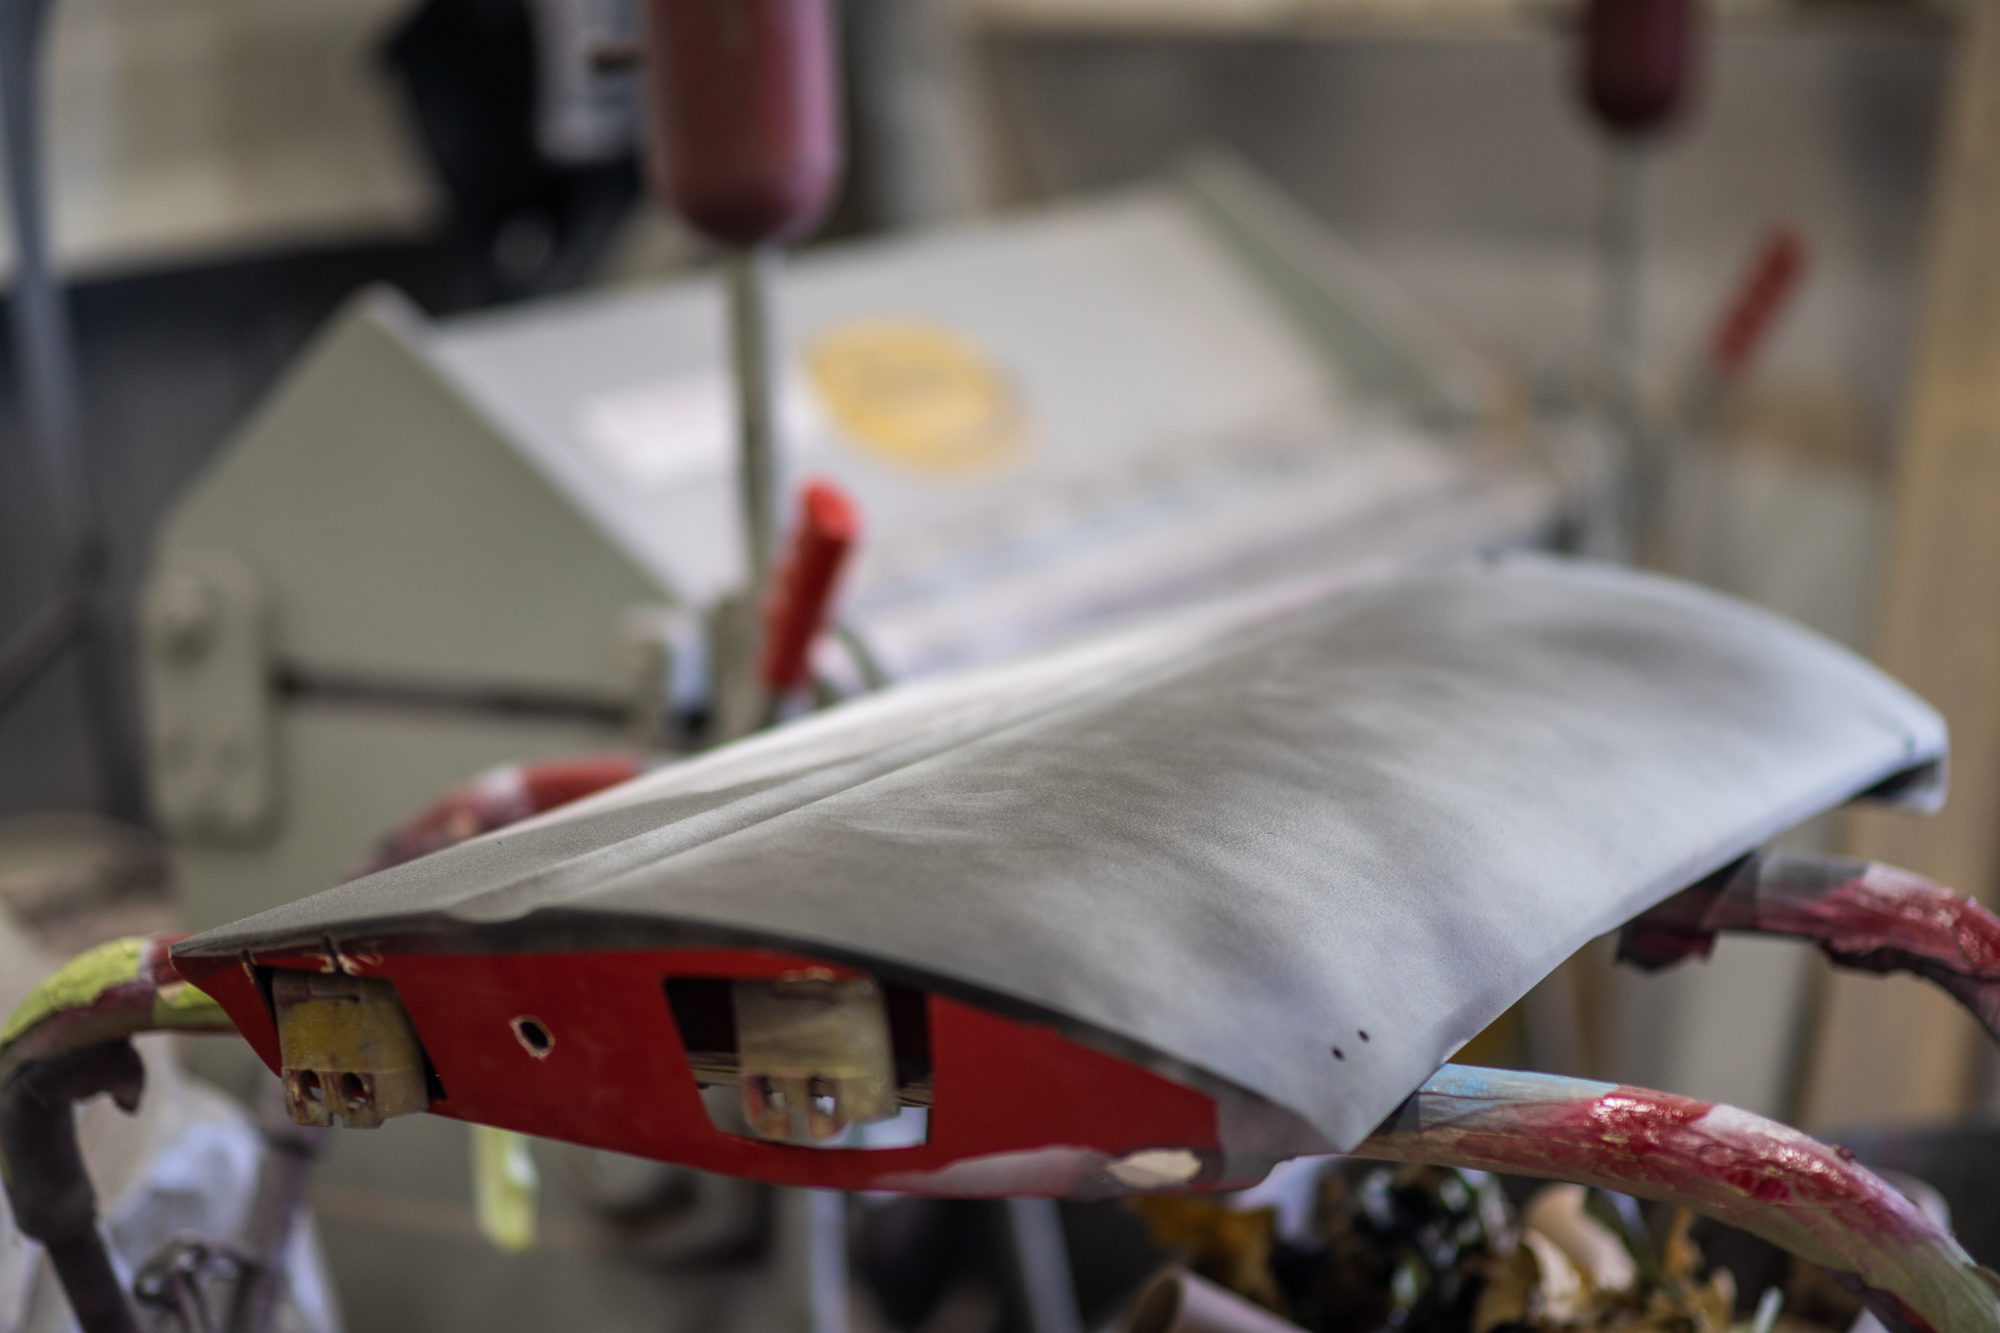
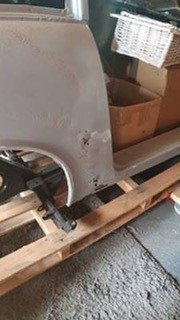
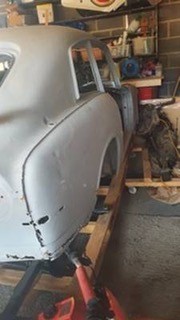
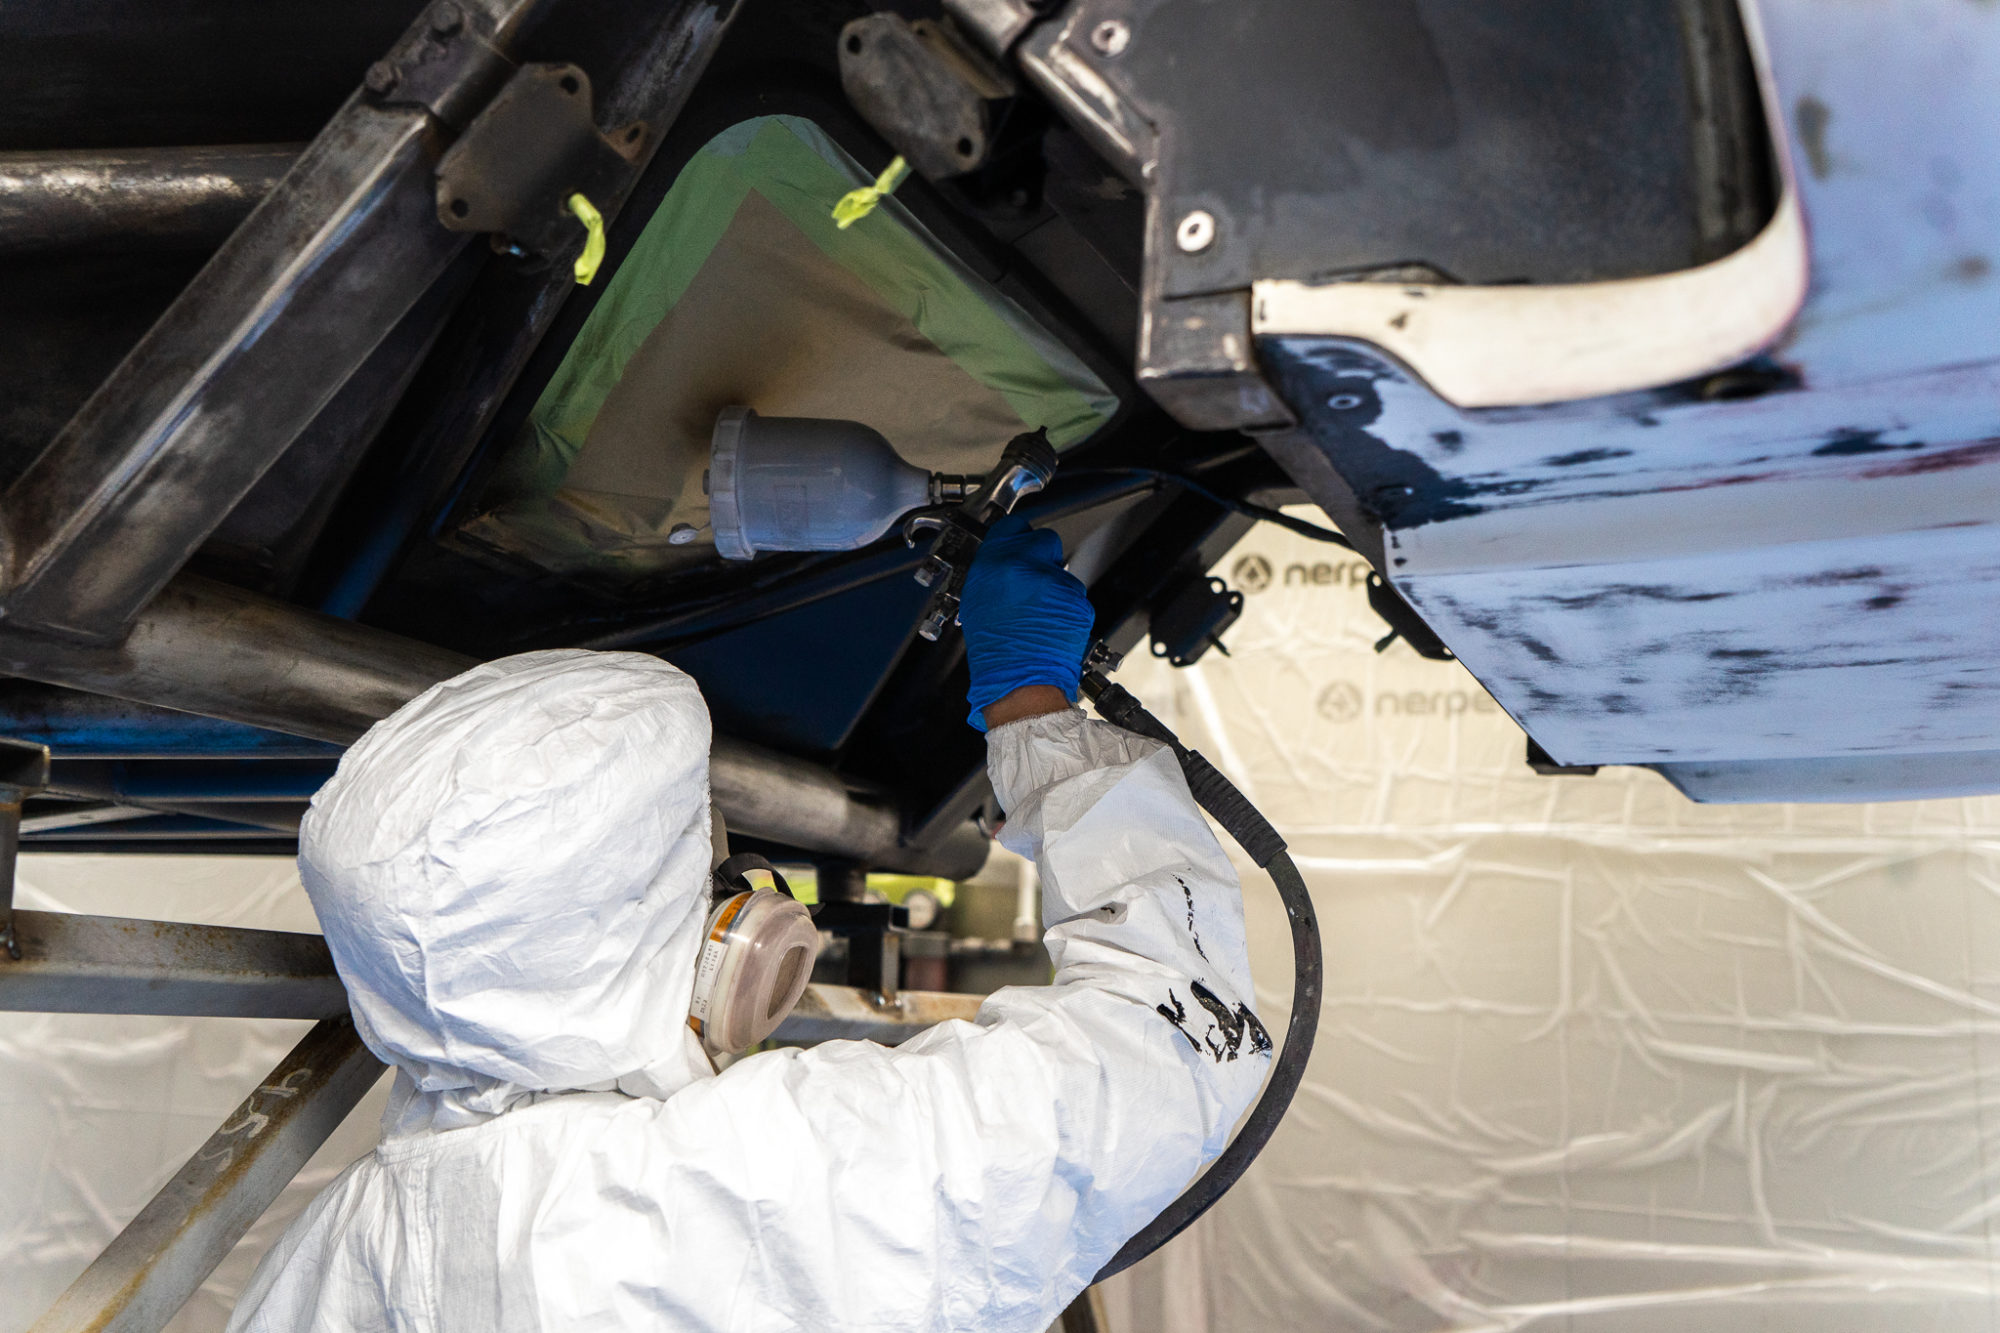
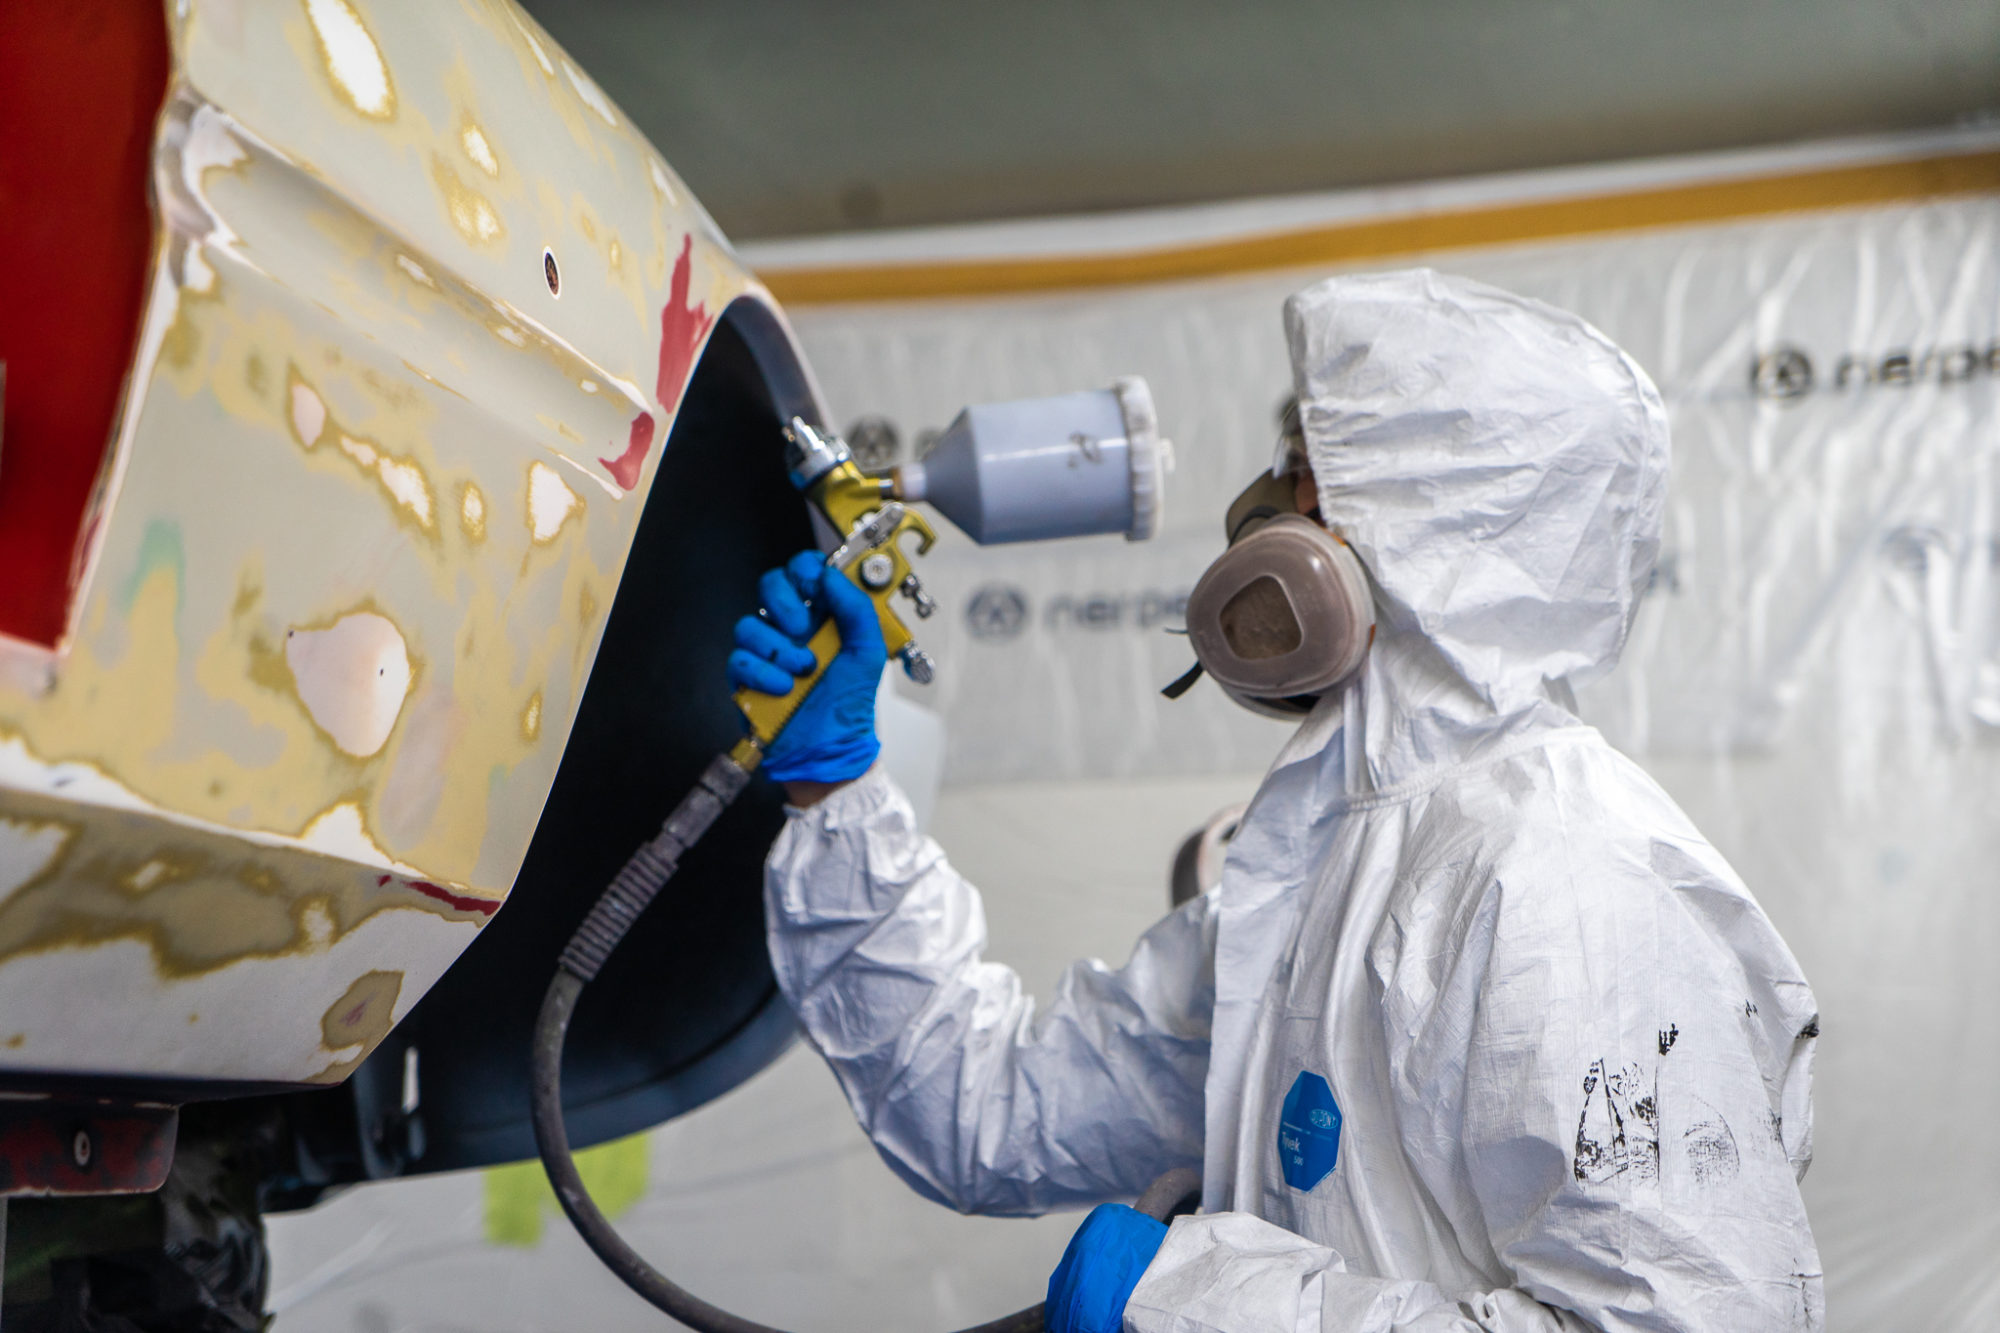
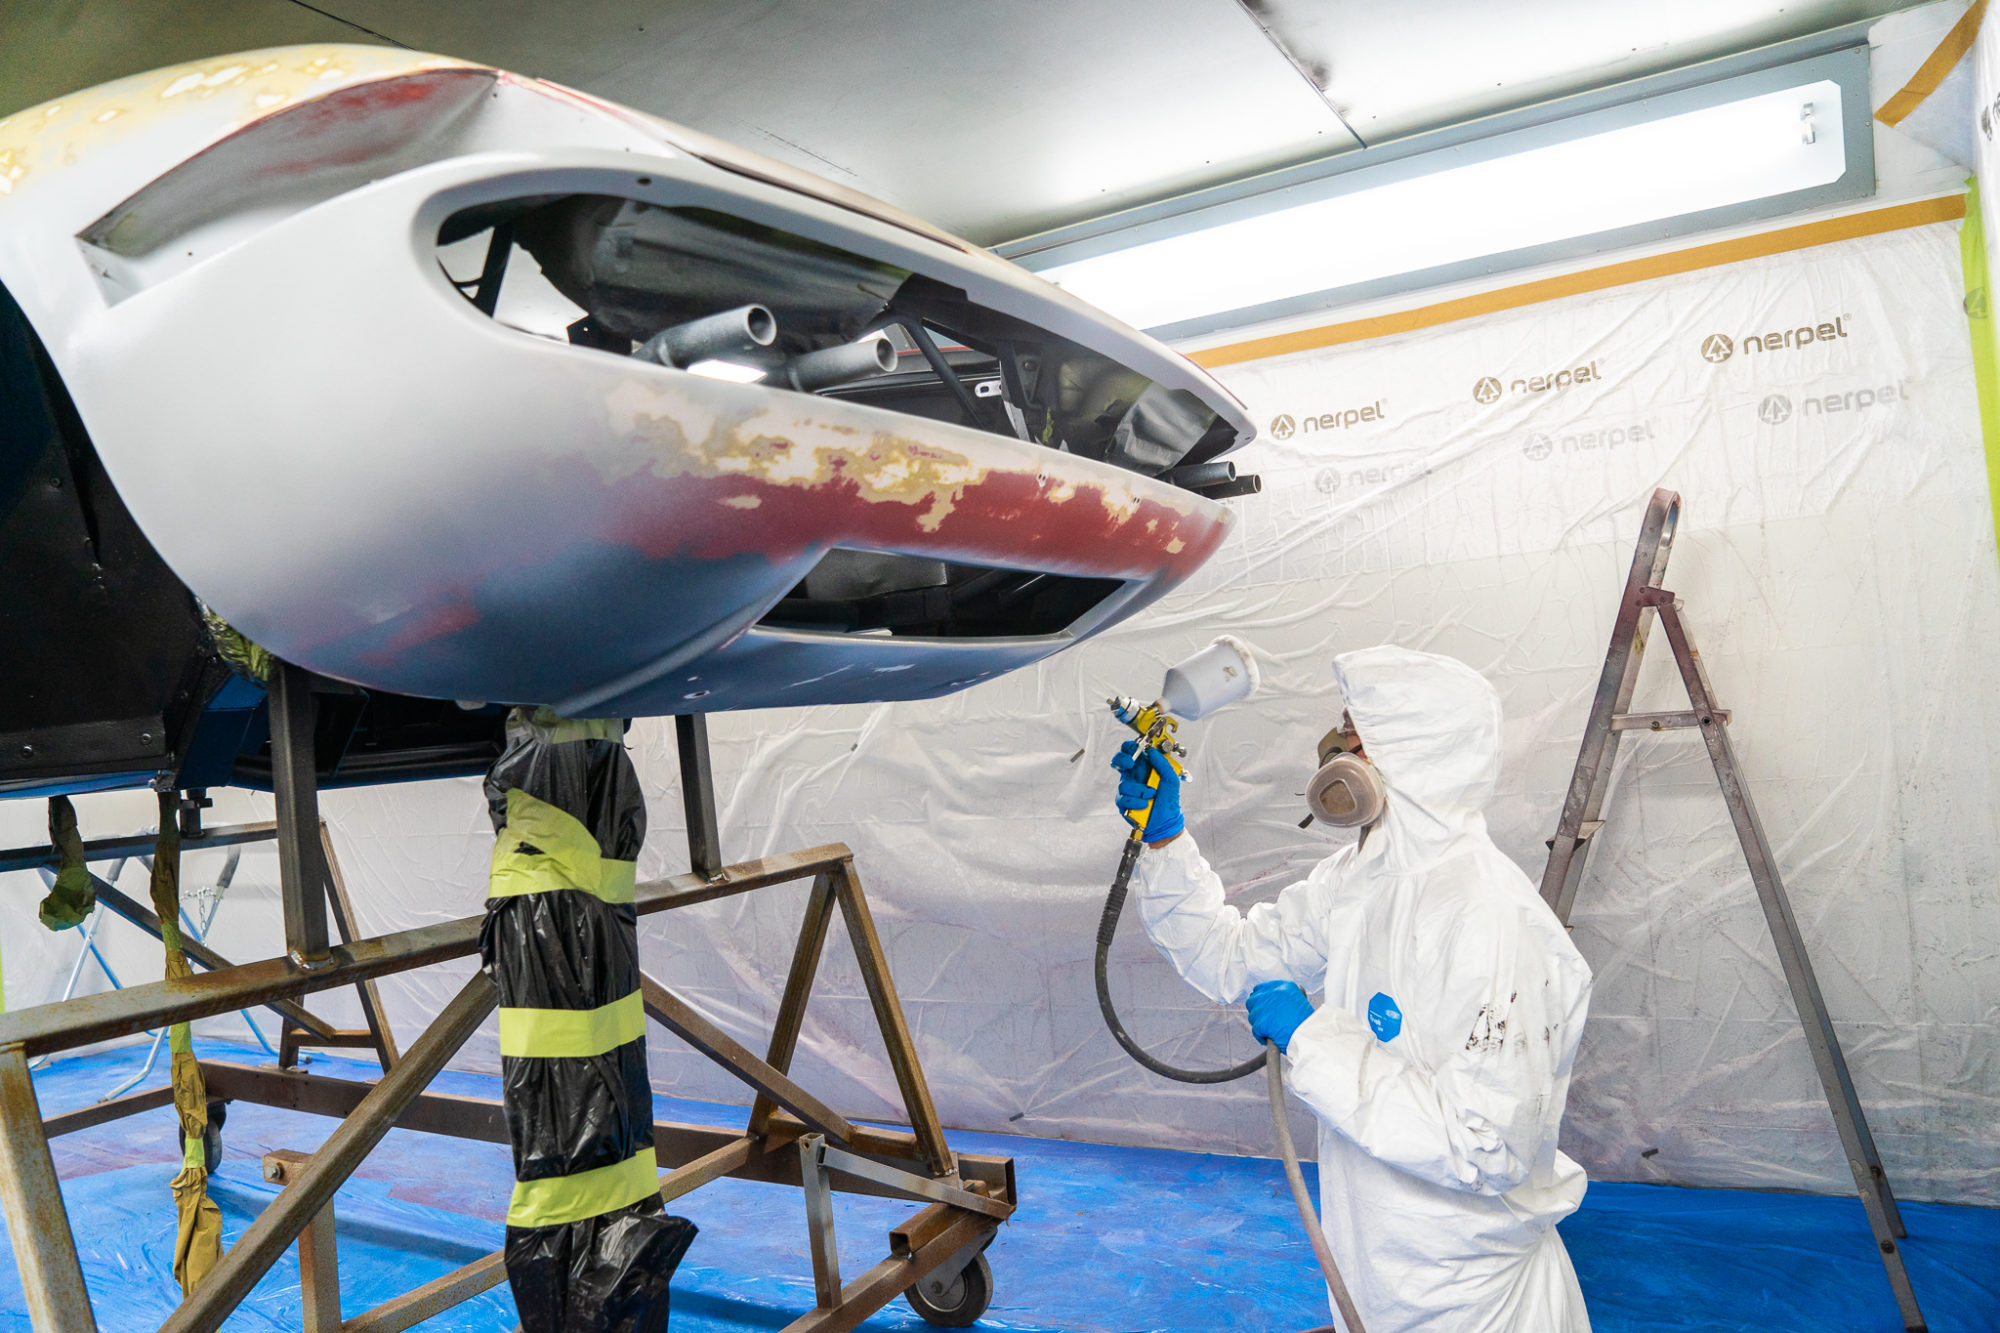
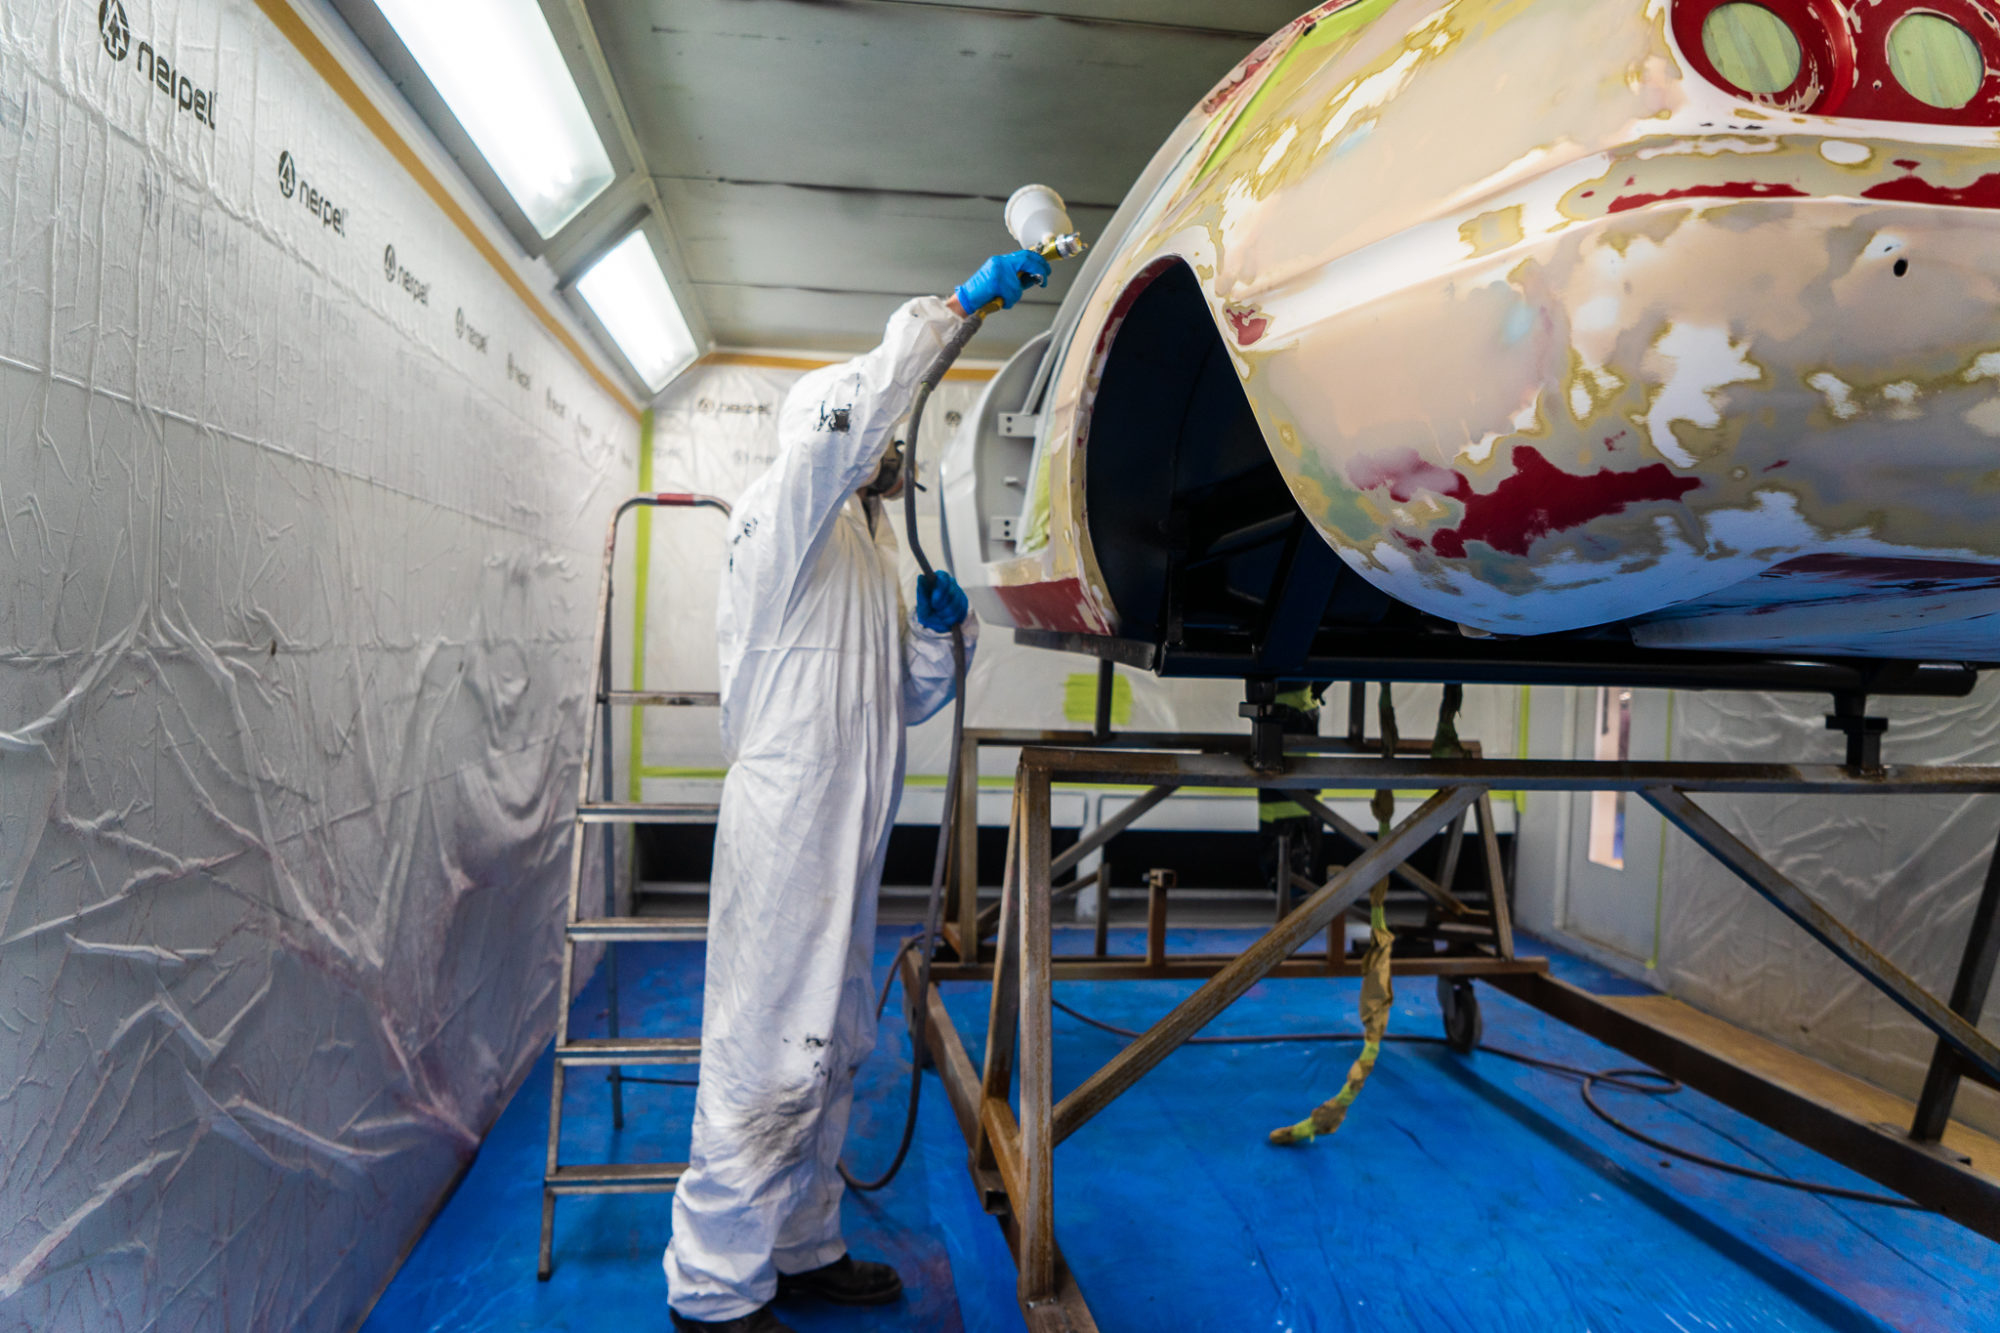
Chris has been working on some of the exterior panels for our Peony Red Jensen. Although the body can be painted in one go, the exterior panels and doors need to be done separately to ensure the paint can get into all the details.
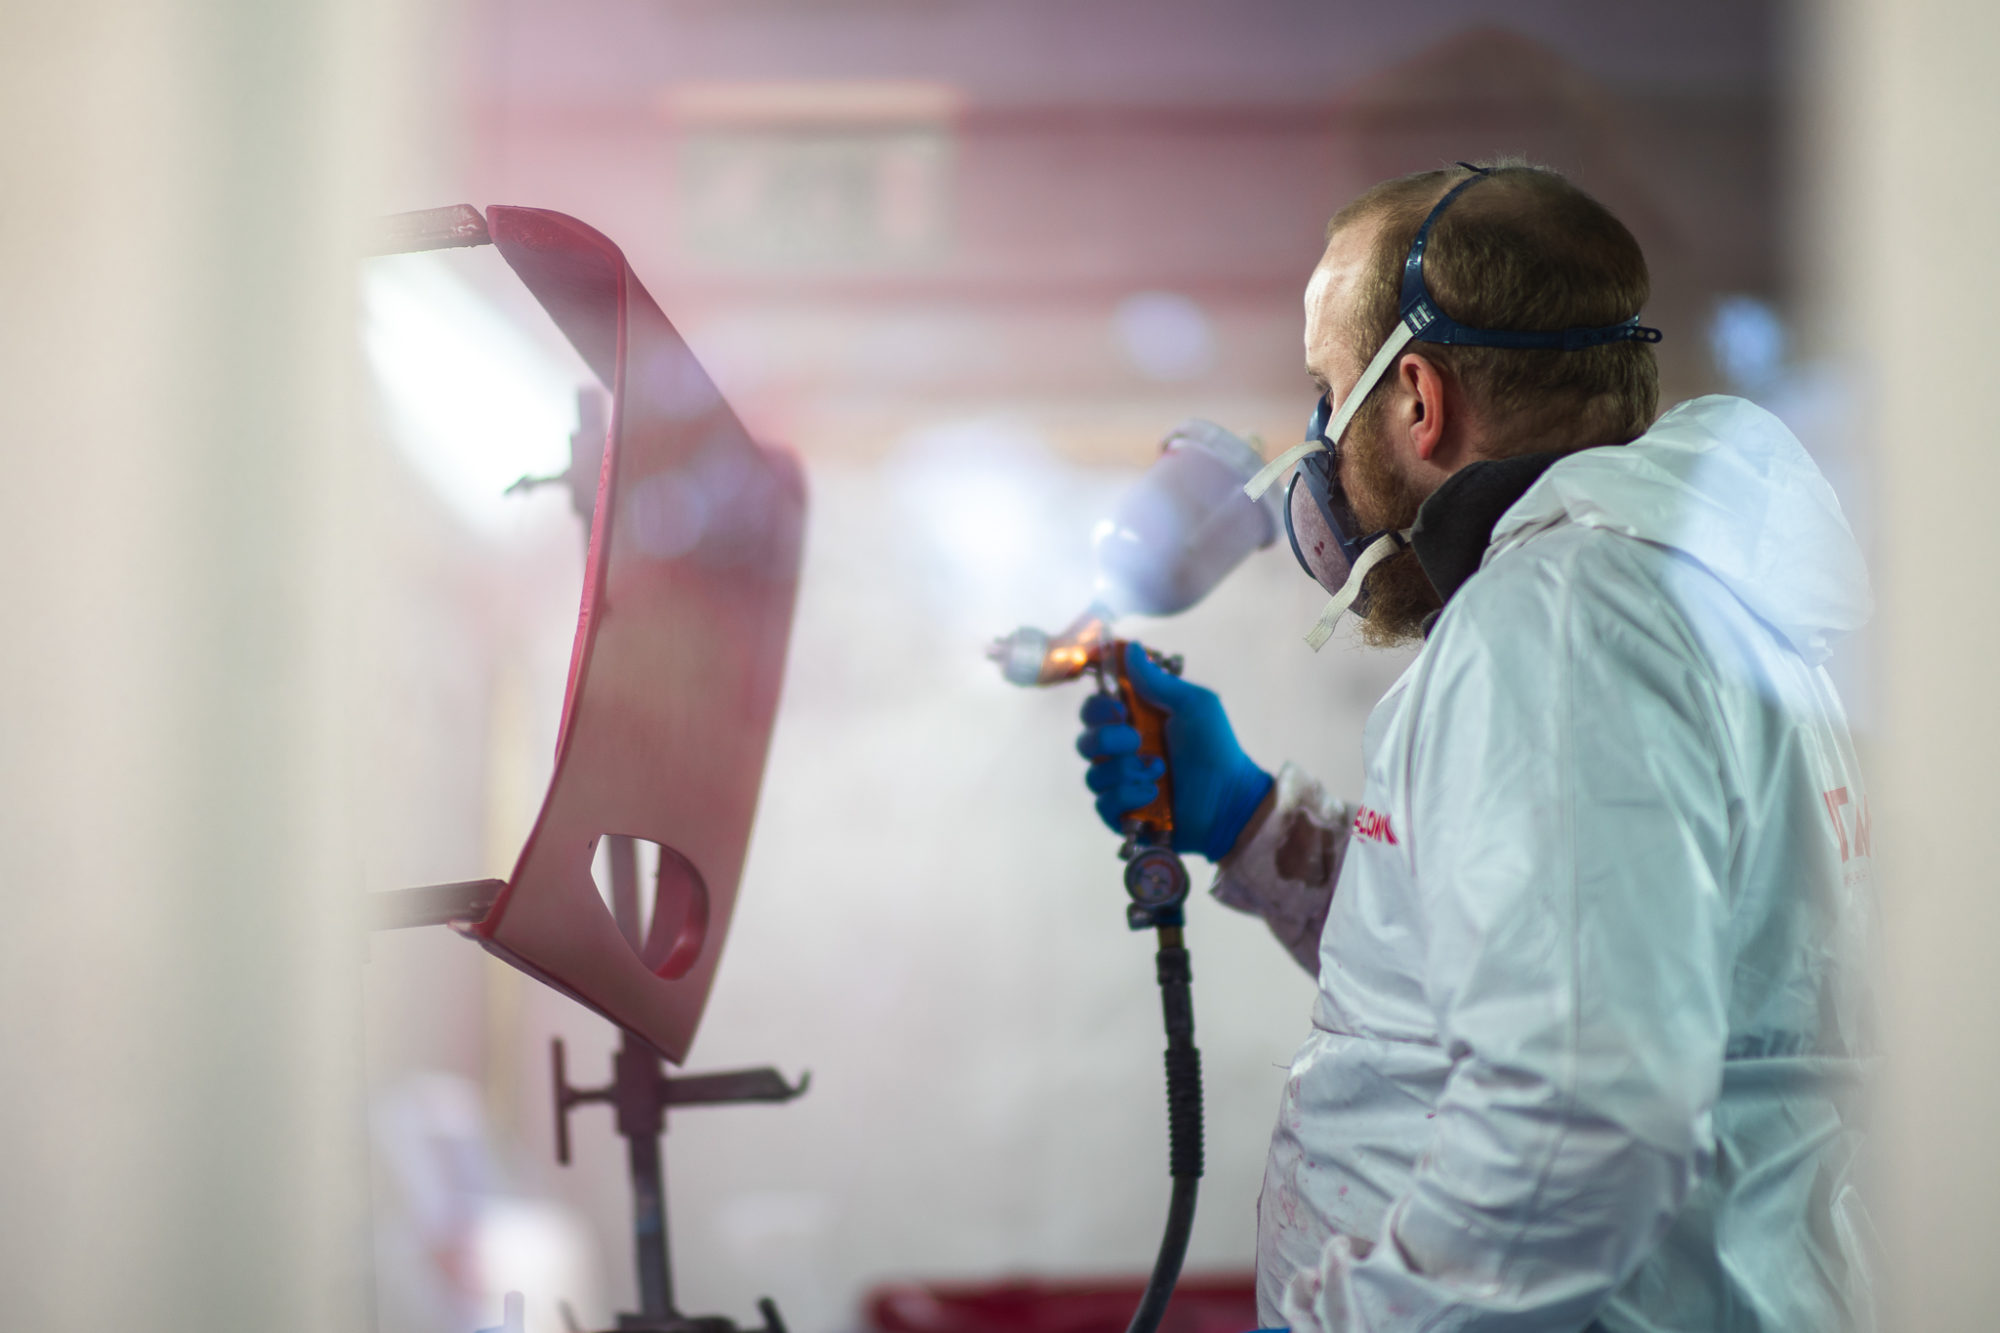
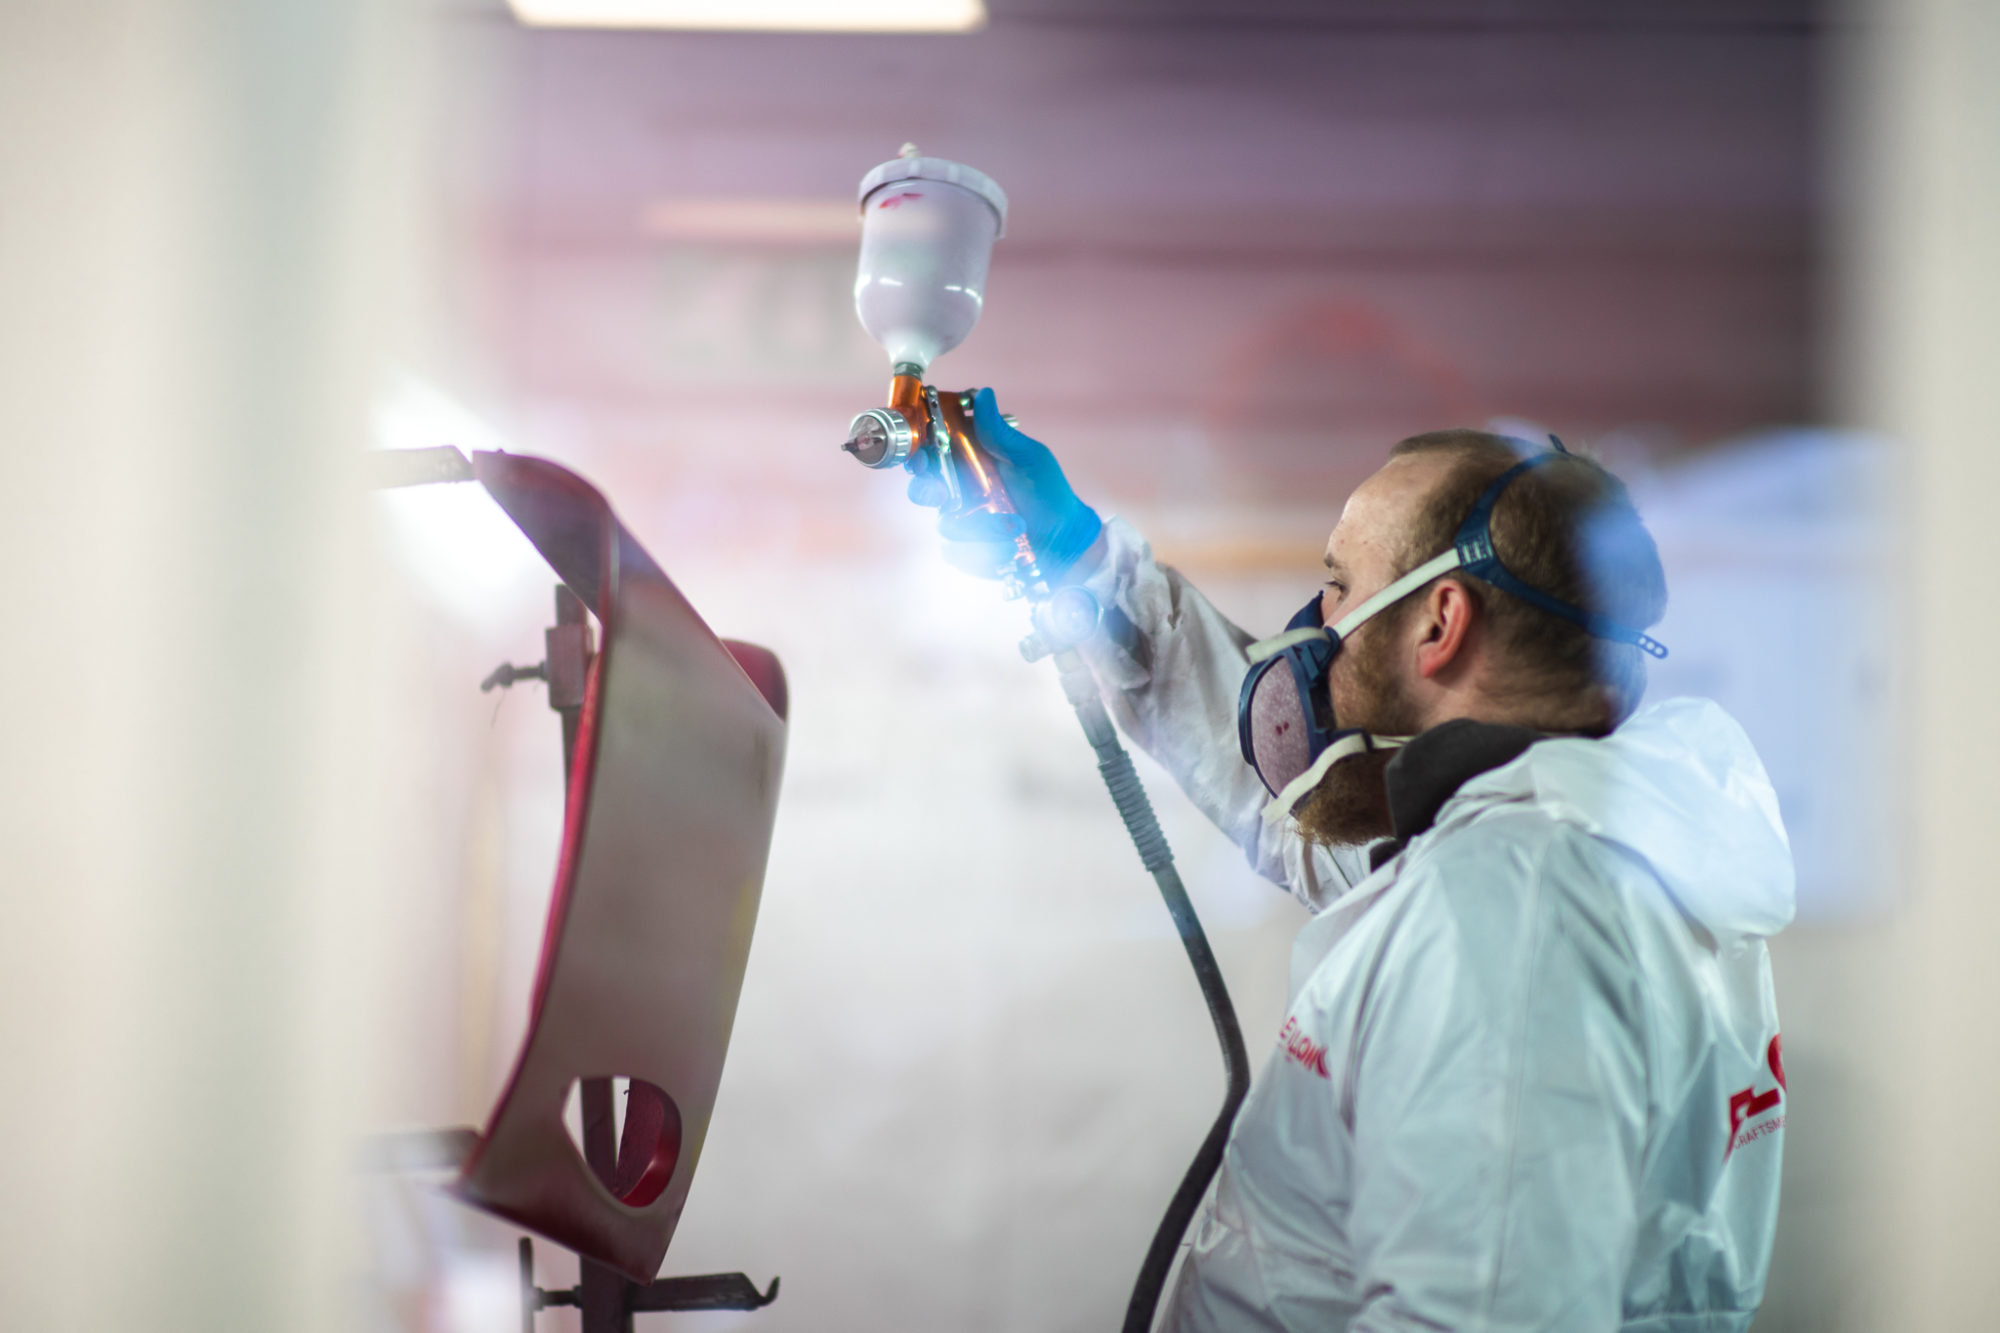

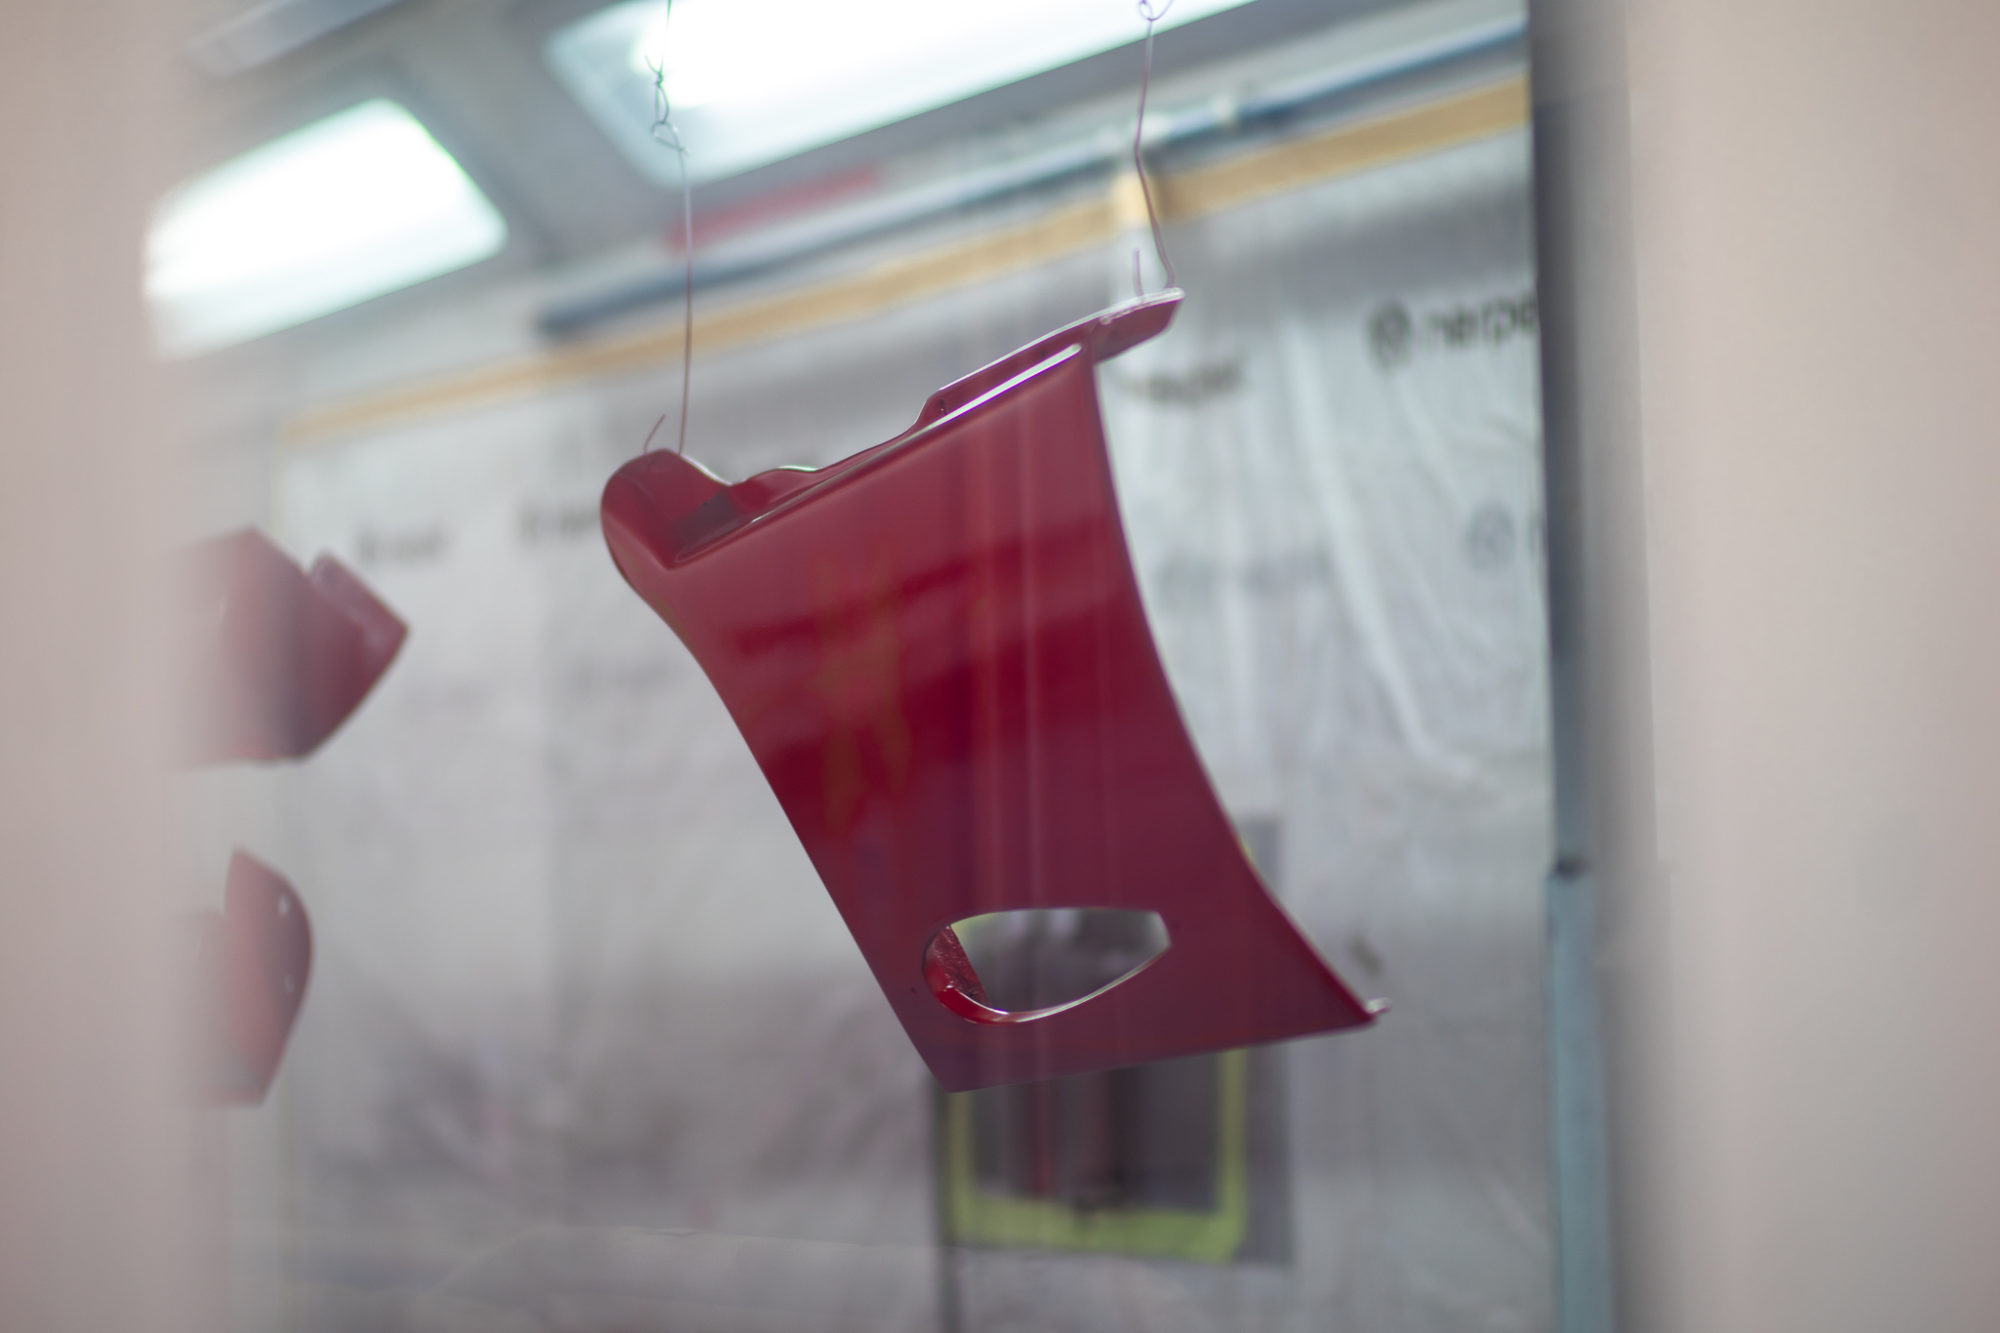
Here Chris is painting the wings with the Peony Red and a clear coat. The wheels have also been primed and painted.


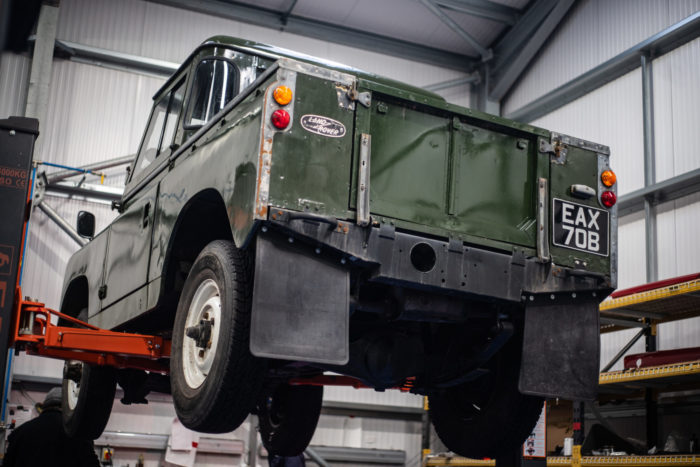
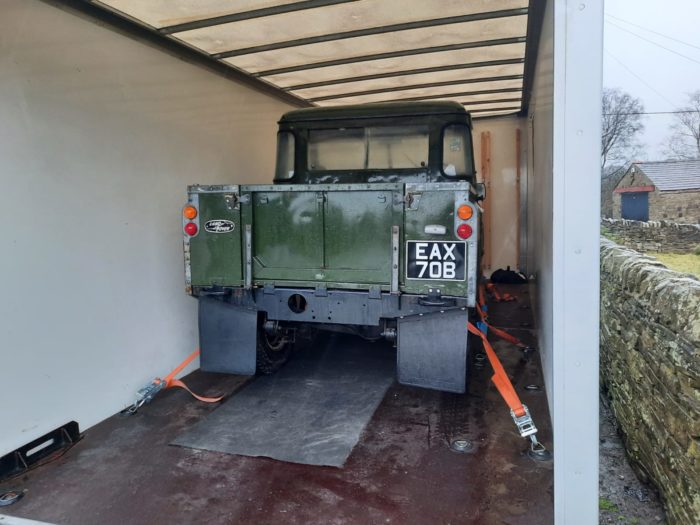
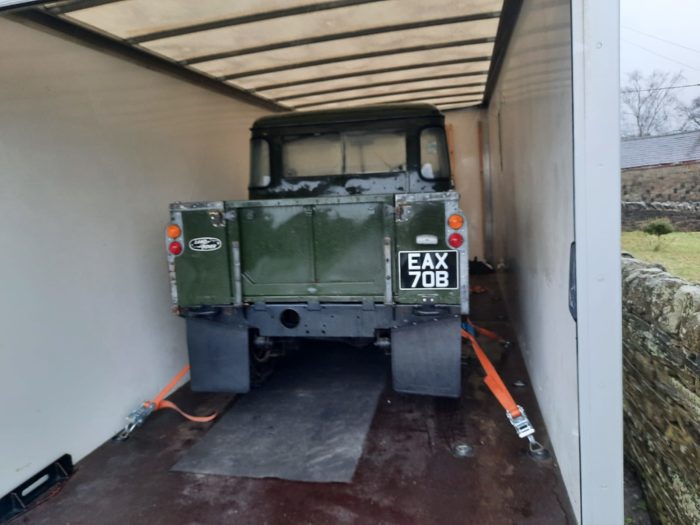
We’ve had a new arrival at HQ and it couldn’t have arrived in more fitting weather! This iconic 1964 Land Rover Series IIa has only 60,000 miles on the clock, 2 previous owners, recently restored with chassis and bulkhead in perfect condition.
Known for their iconic styling and character, these Land Rovers were the perfect farm yard work-horse, could tackle all weathers and terrain and were easy to fix with their simple parts. The Land Rover Series 2 soon gathered momentum for the go-to British exploration vehicle as it was proved to be largely indestructible. Now a quickly appreciating car, a Land Rover Series 2/2A is becoming a sought after collectable that is no longer just a workhorse vehicle.
This beautiful British green classic Land Rover will need a service and then it will be handed over to the marketing team to photoshoot and release, keep your eyes peeled…


Here’s our lovely noew eiditon being loaded inot our lorry to make its way down south to its new home with us.
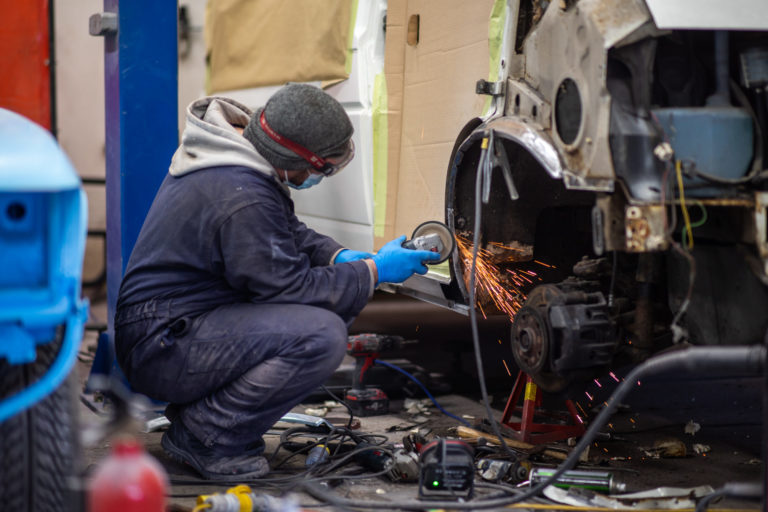
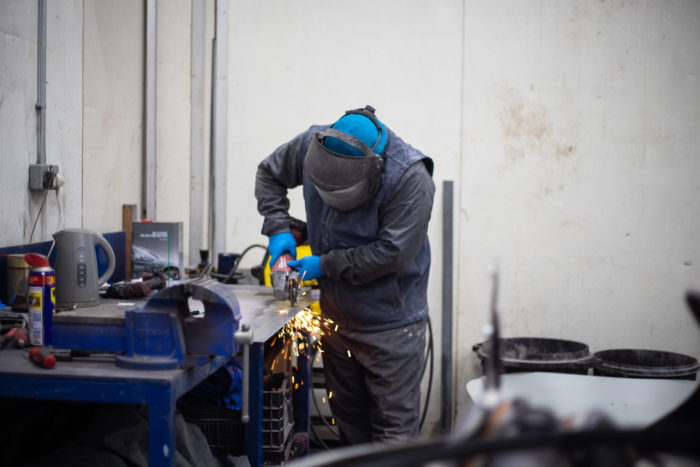
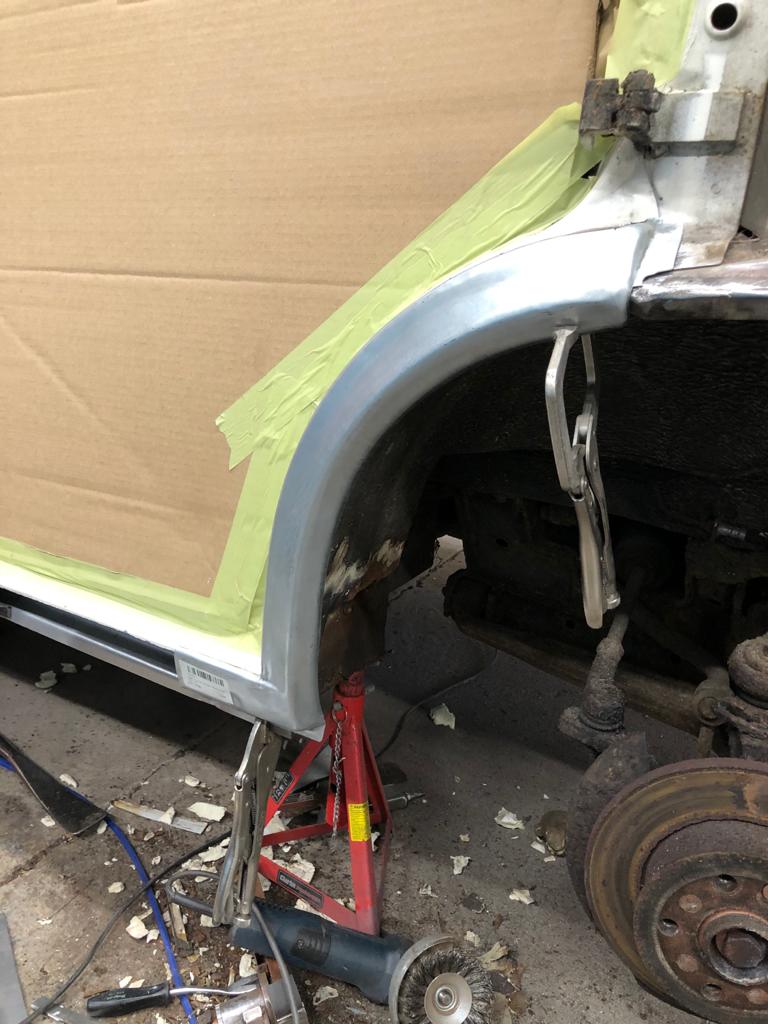
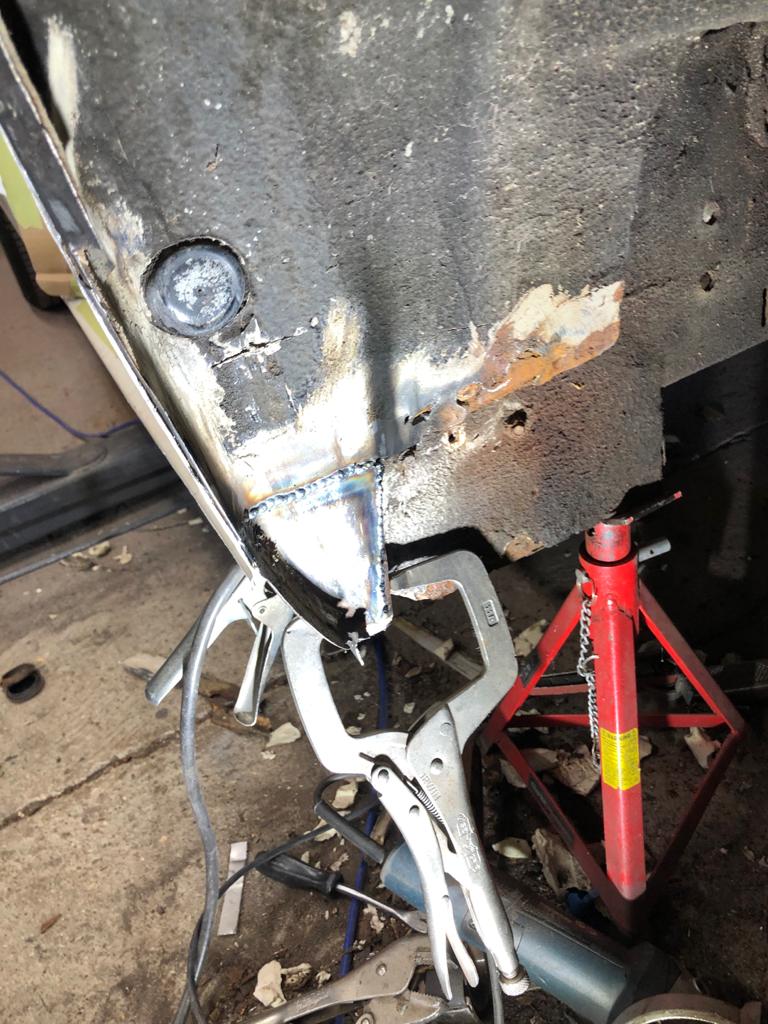
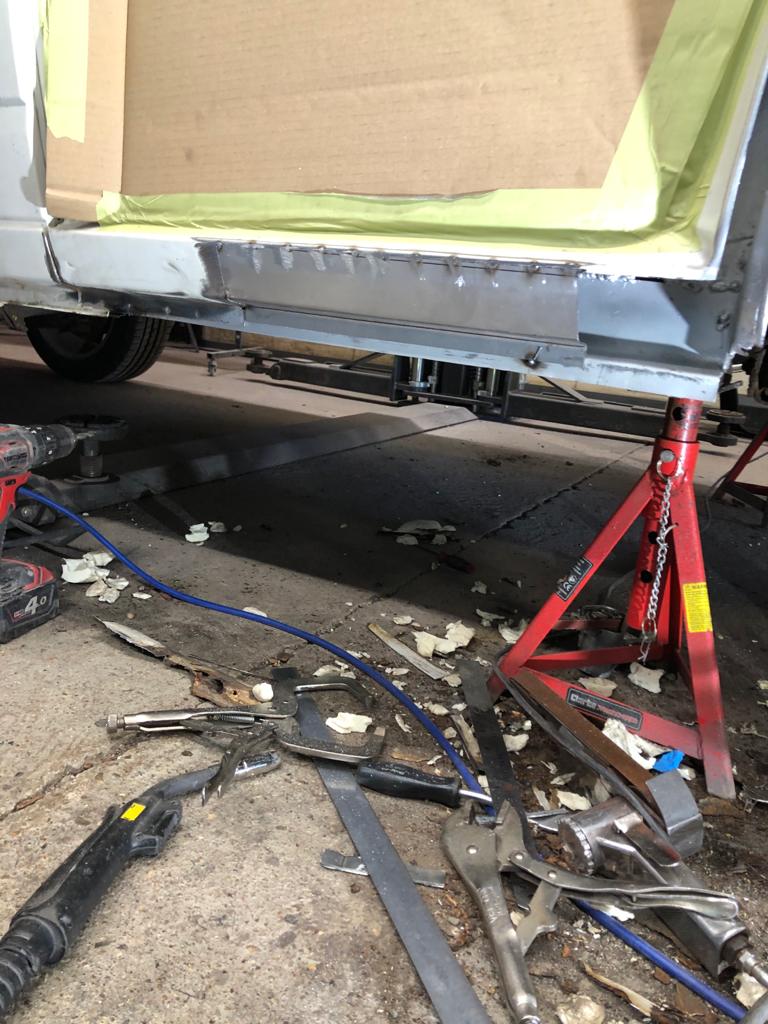
James has been continuing his work with the VW T4 Transporter Campervan. He’s currently tackling the corrosion in the wheel arch by fabricating new elements. James found that he struggled to get his spot welder into the smaller and more awkward parts of the wheel arch, so instead had to fabricate some bespoke patches.

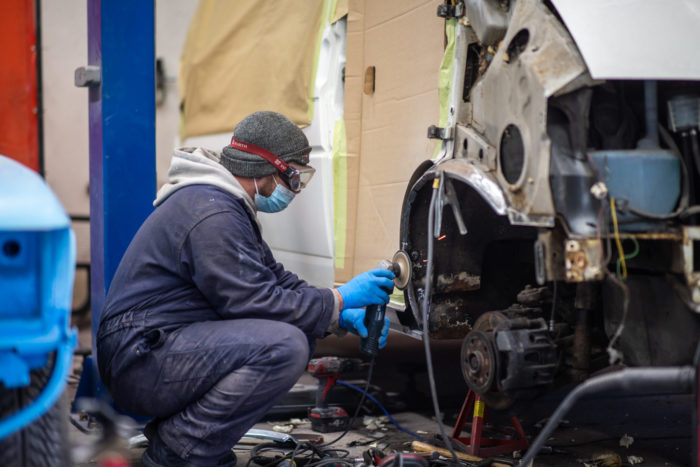
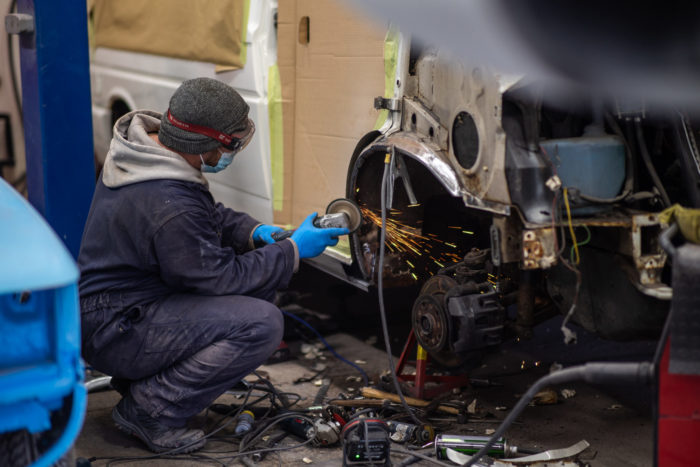
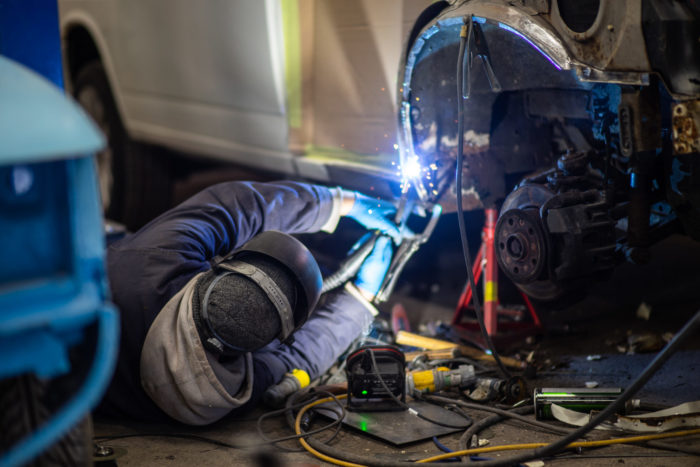
Here you can see his welding and replacement parts. James will need to do the same on the other side next, and then move onto the wings to ensure that all of the corrosion has been address before it enters the paint bay. With properly engineered components, this beloved TR4 will be able to continue providing memorable adventures.
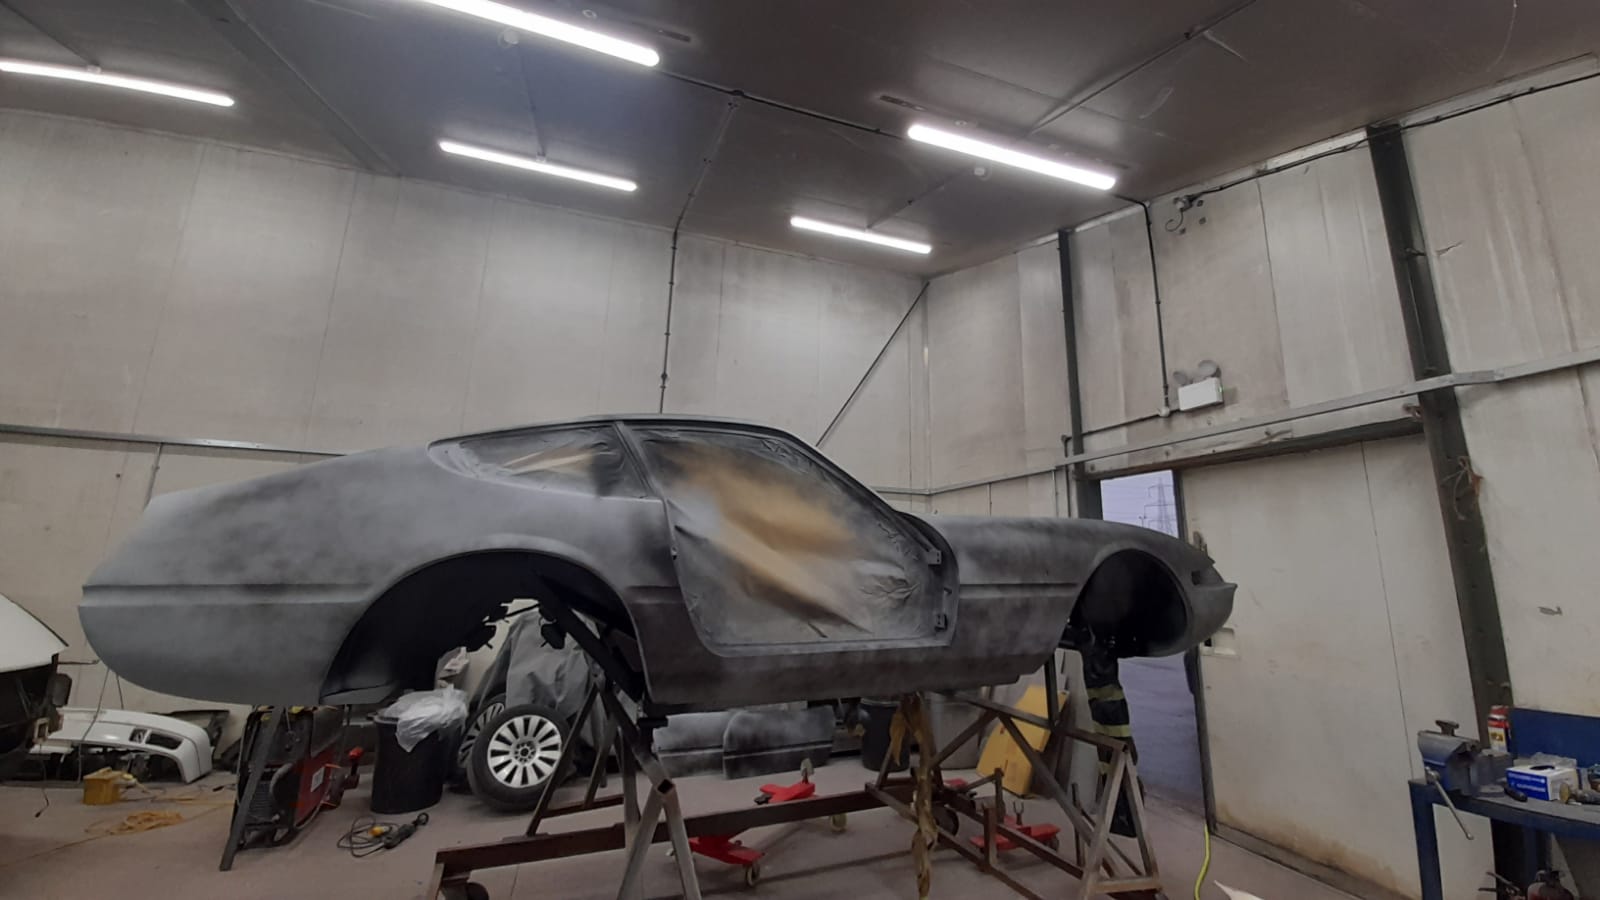
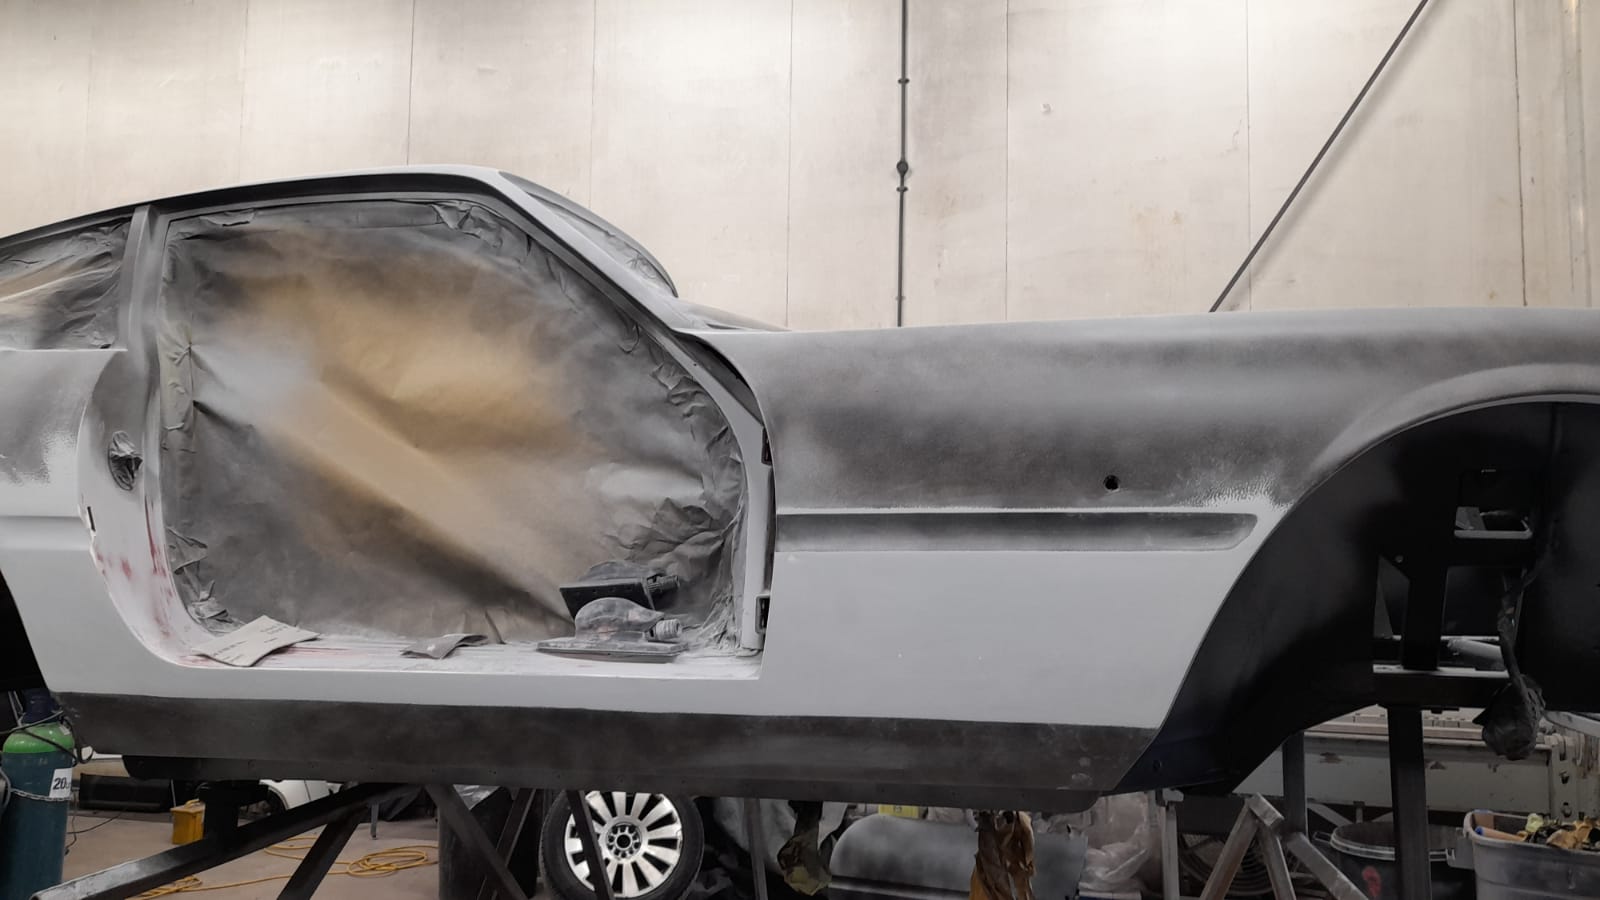
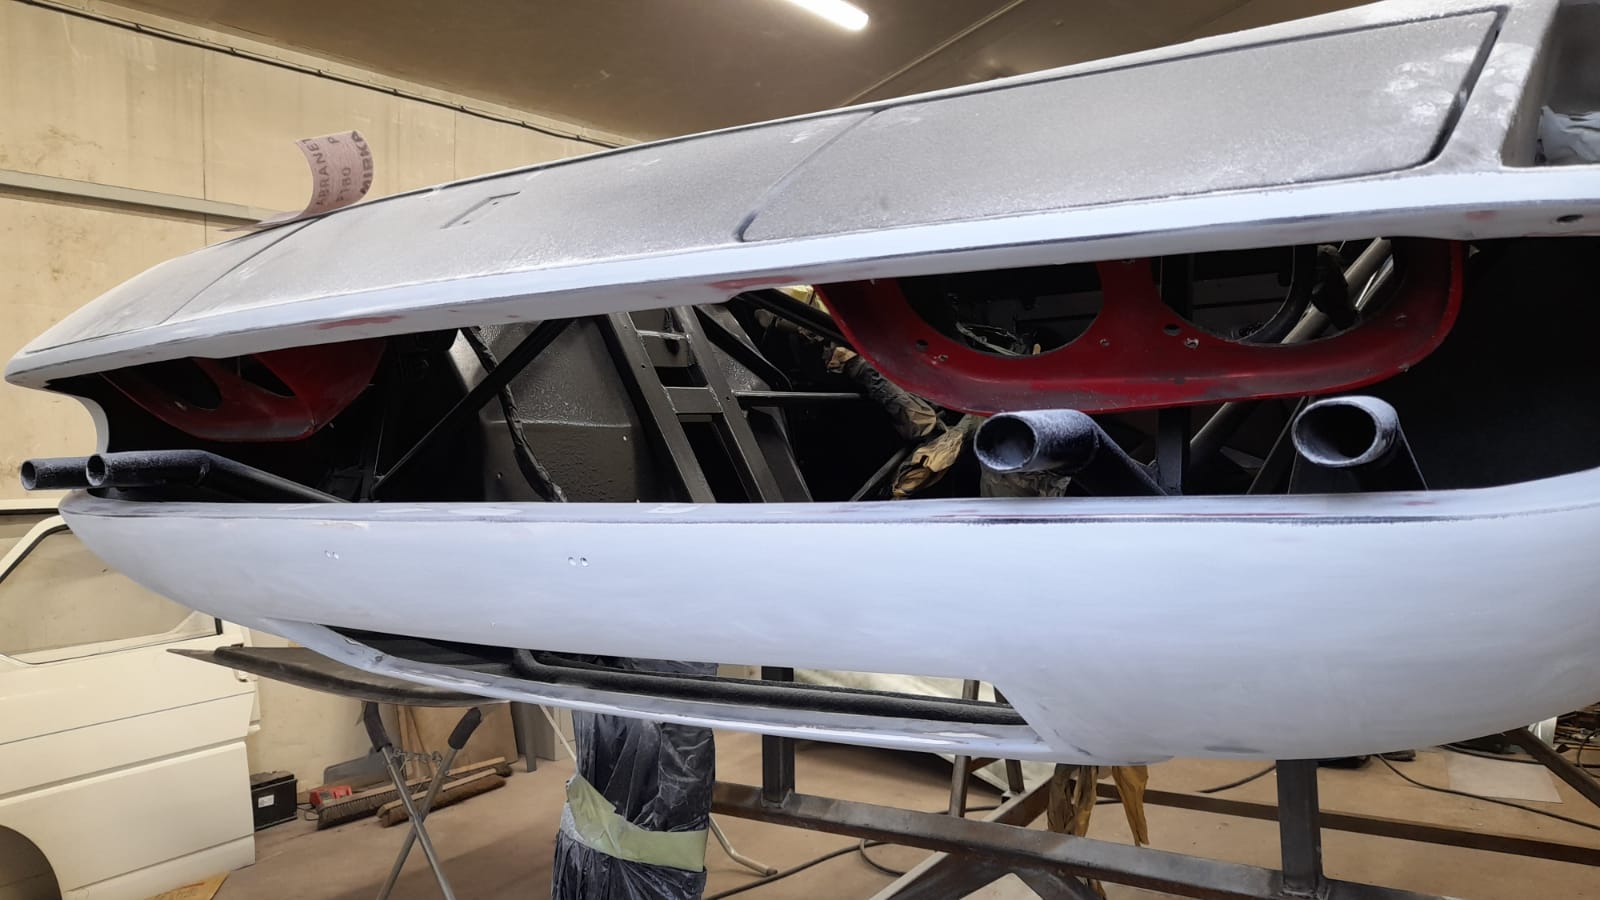
Now that the Daytona has been primed and prepared in the paint shop, Scott has taken it back into the fabrication bay to continue smoothing over the body. The primer allows for any imperfection in the lines of the body to be seen more clearly and can therefore be addressed easier. Scott can make sure that the body lines are straight by sanding it down using a block.


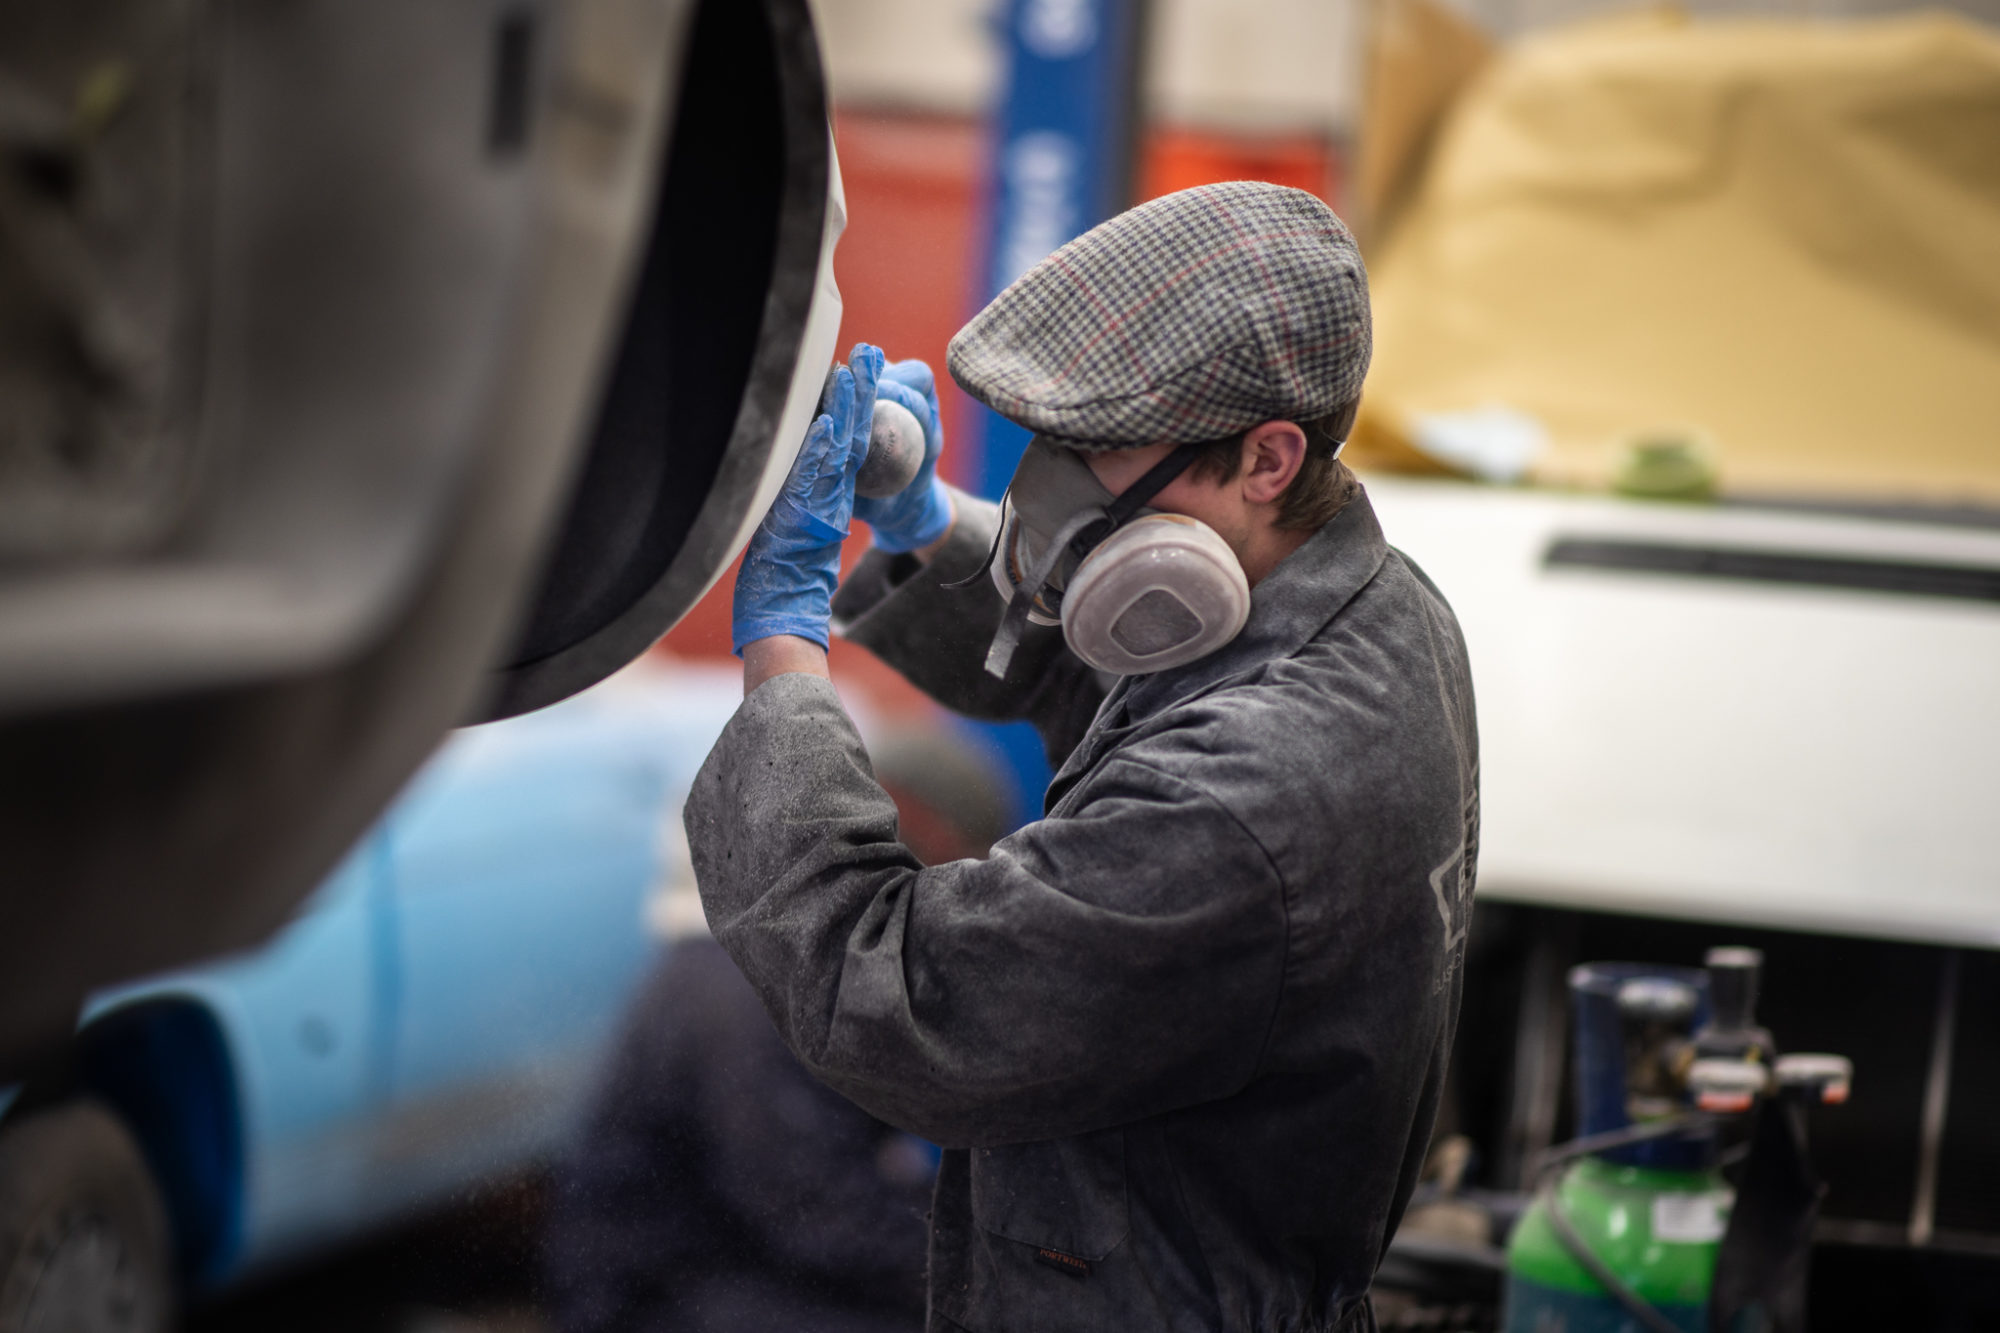
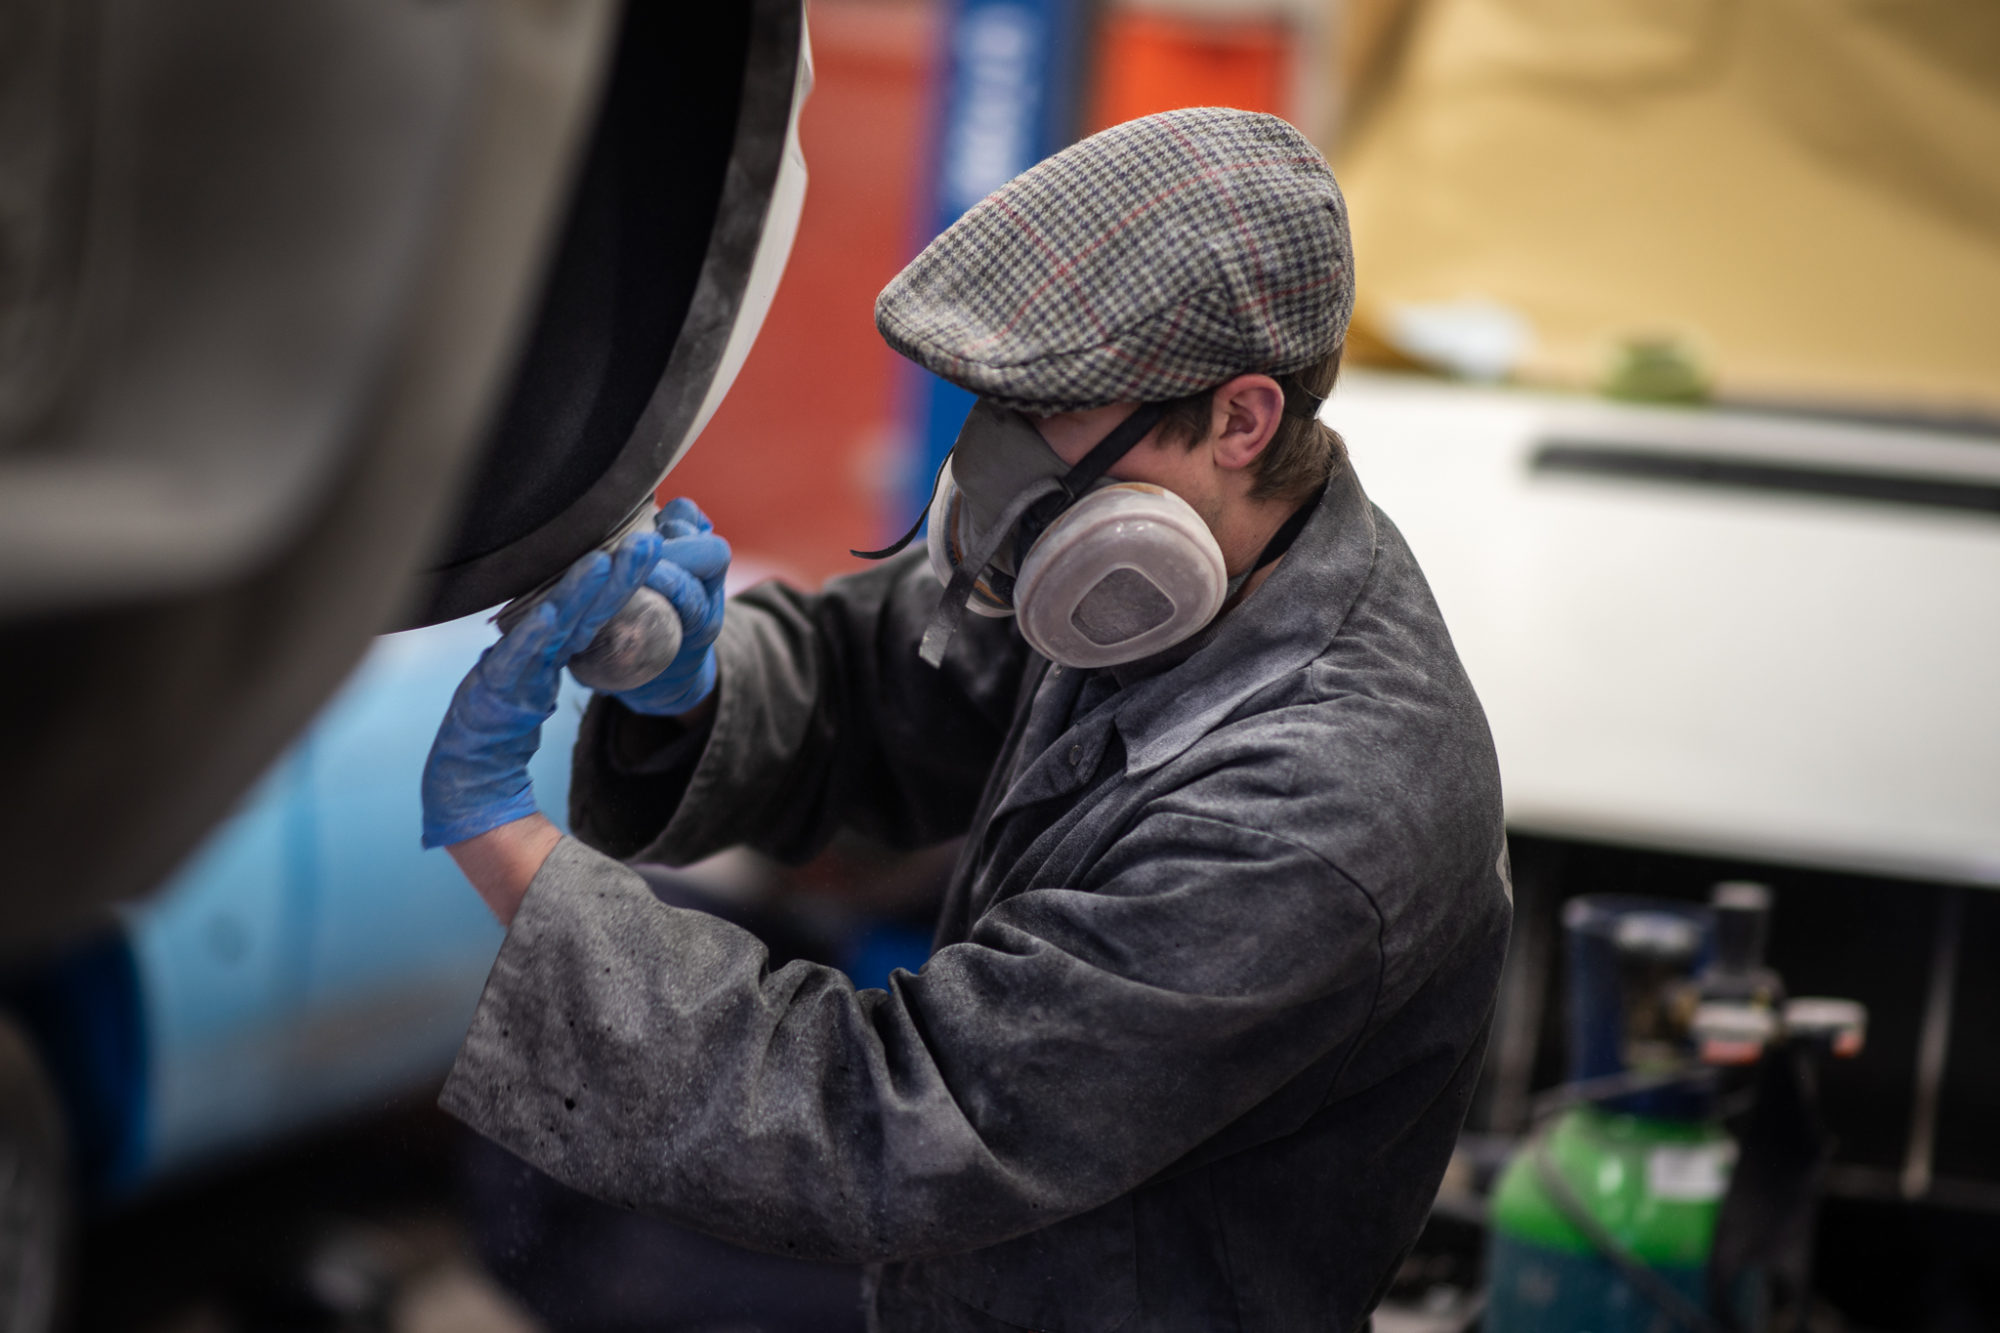


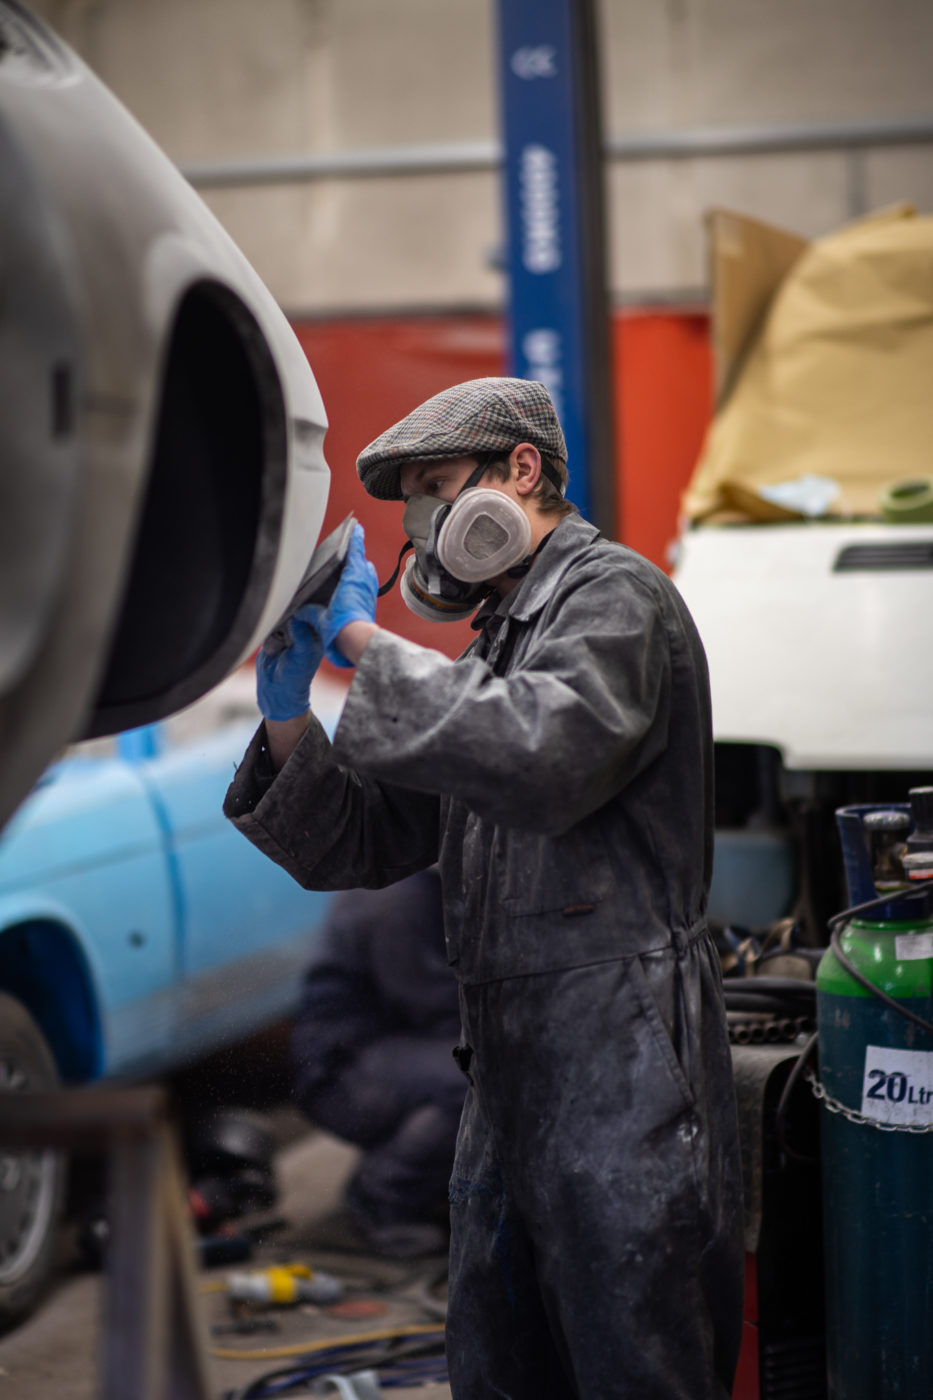
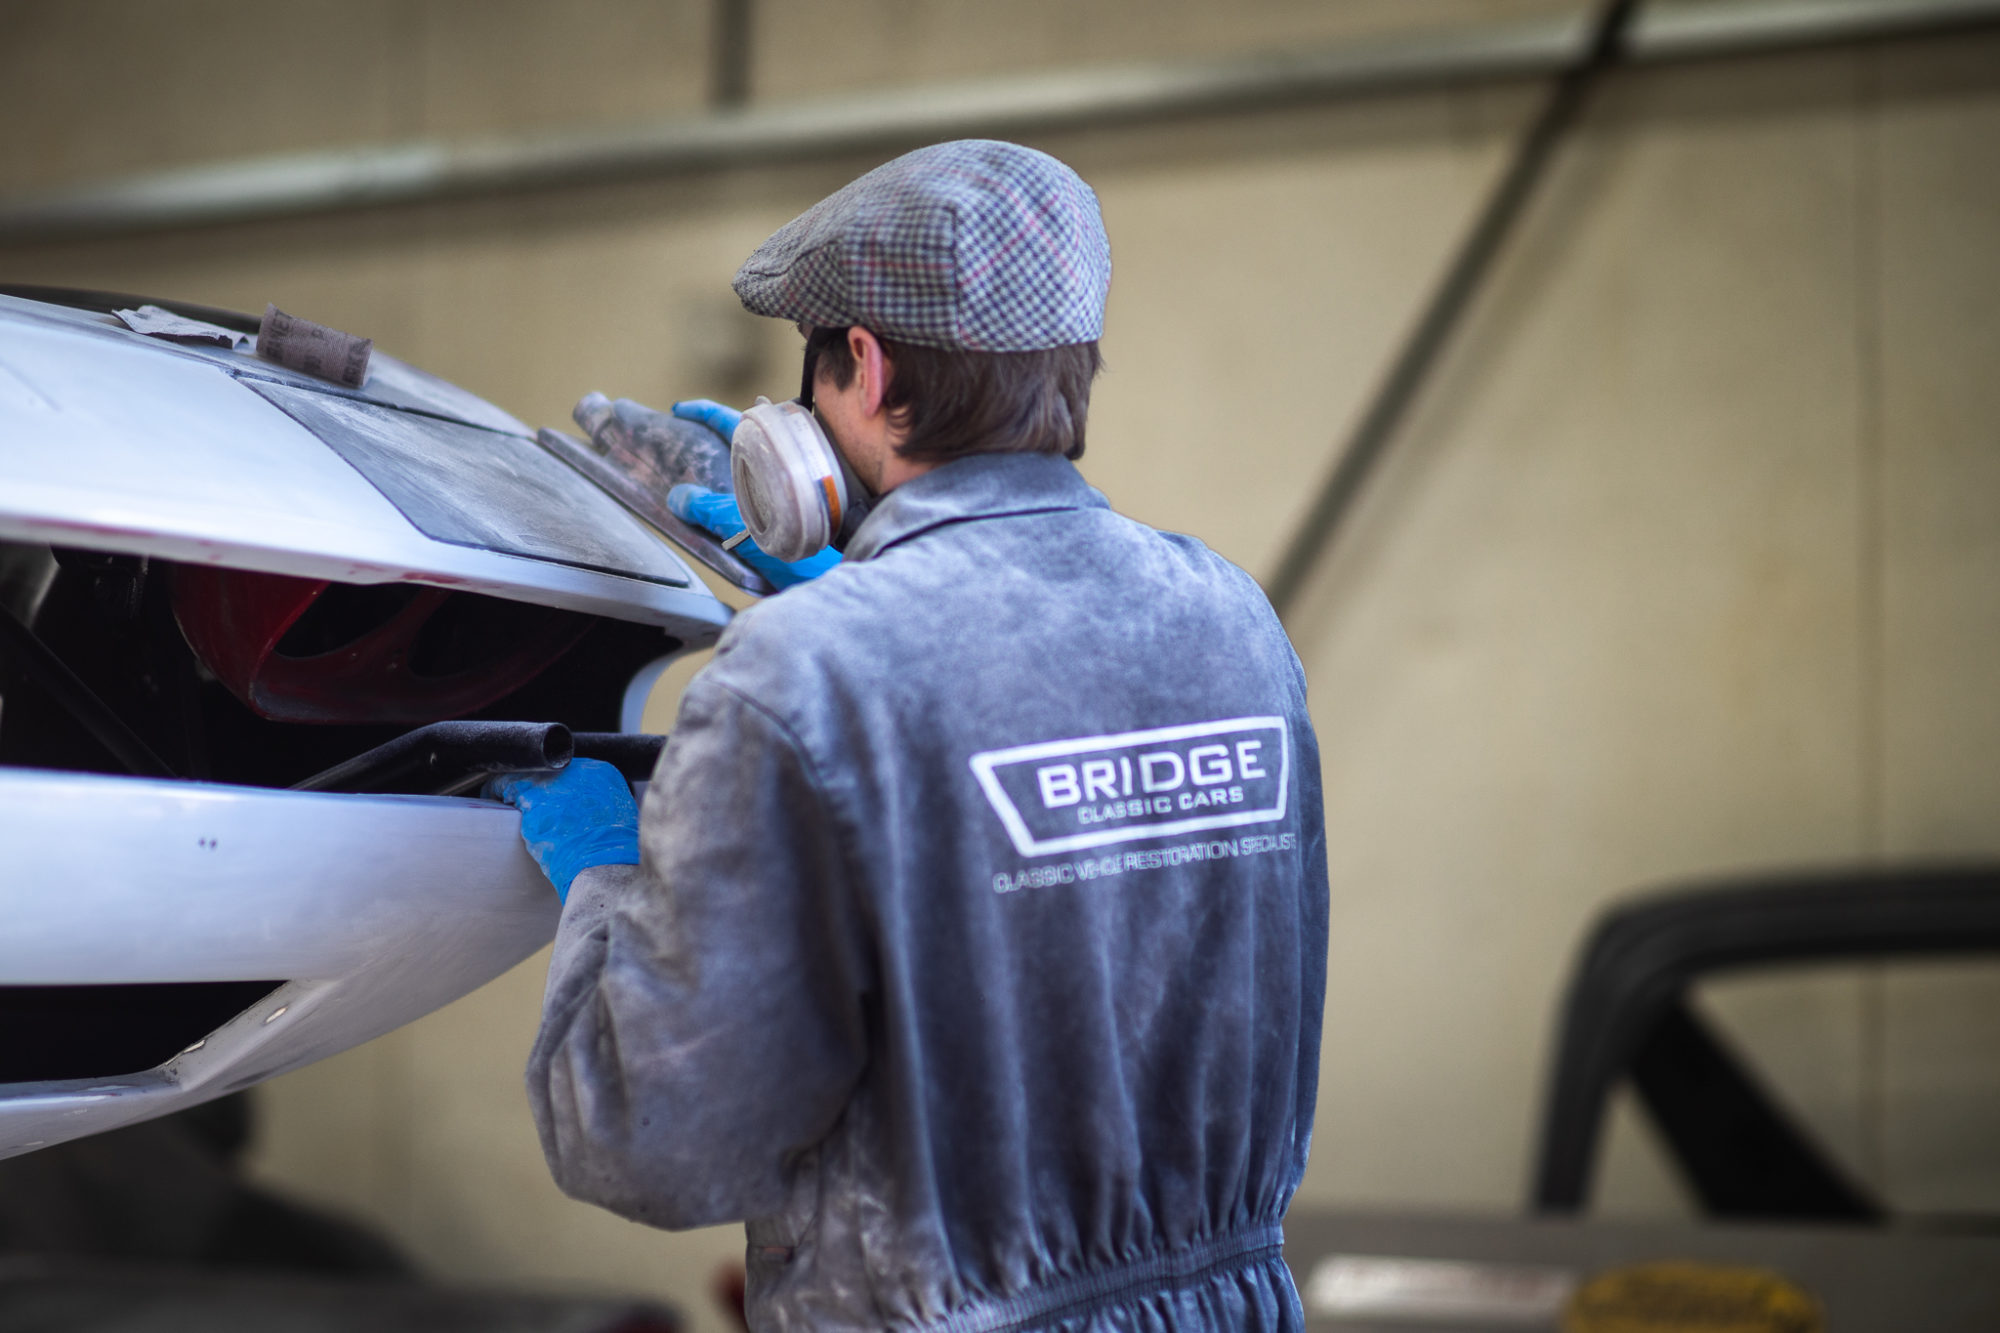
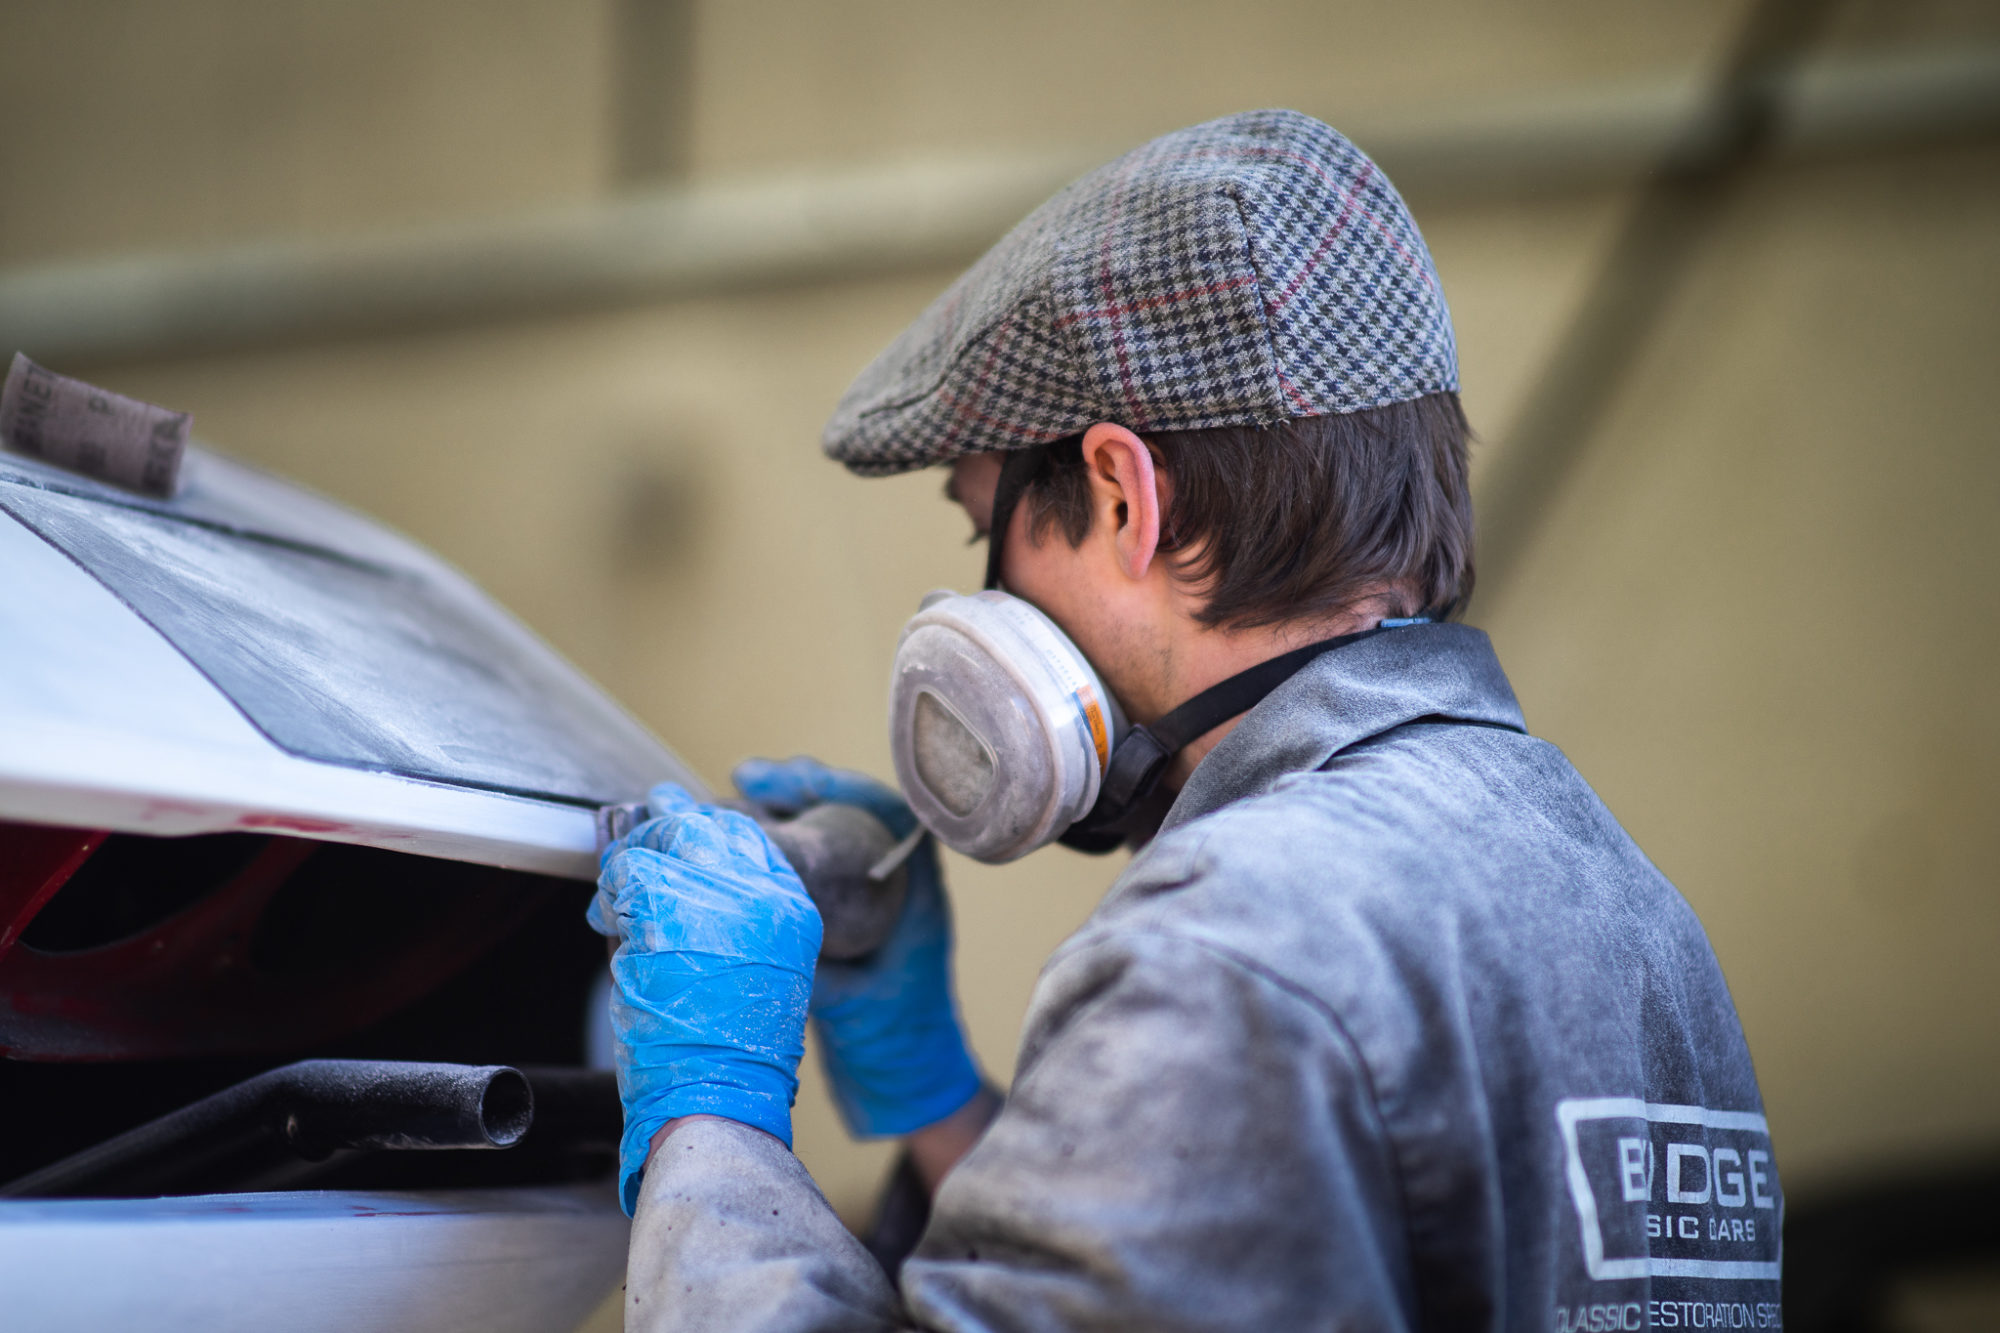
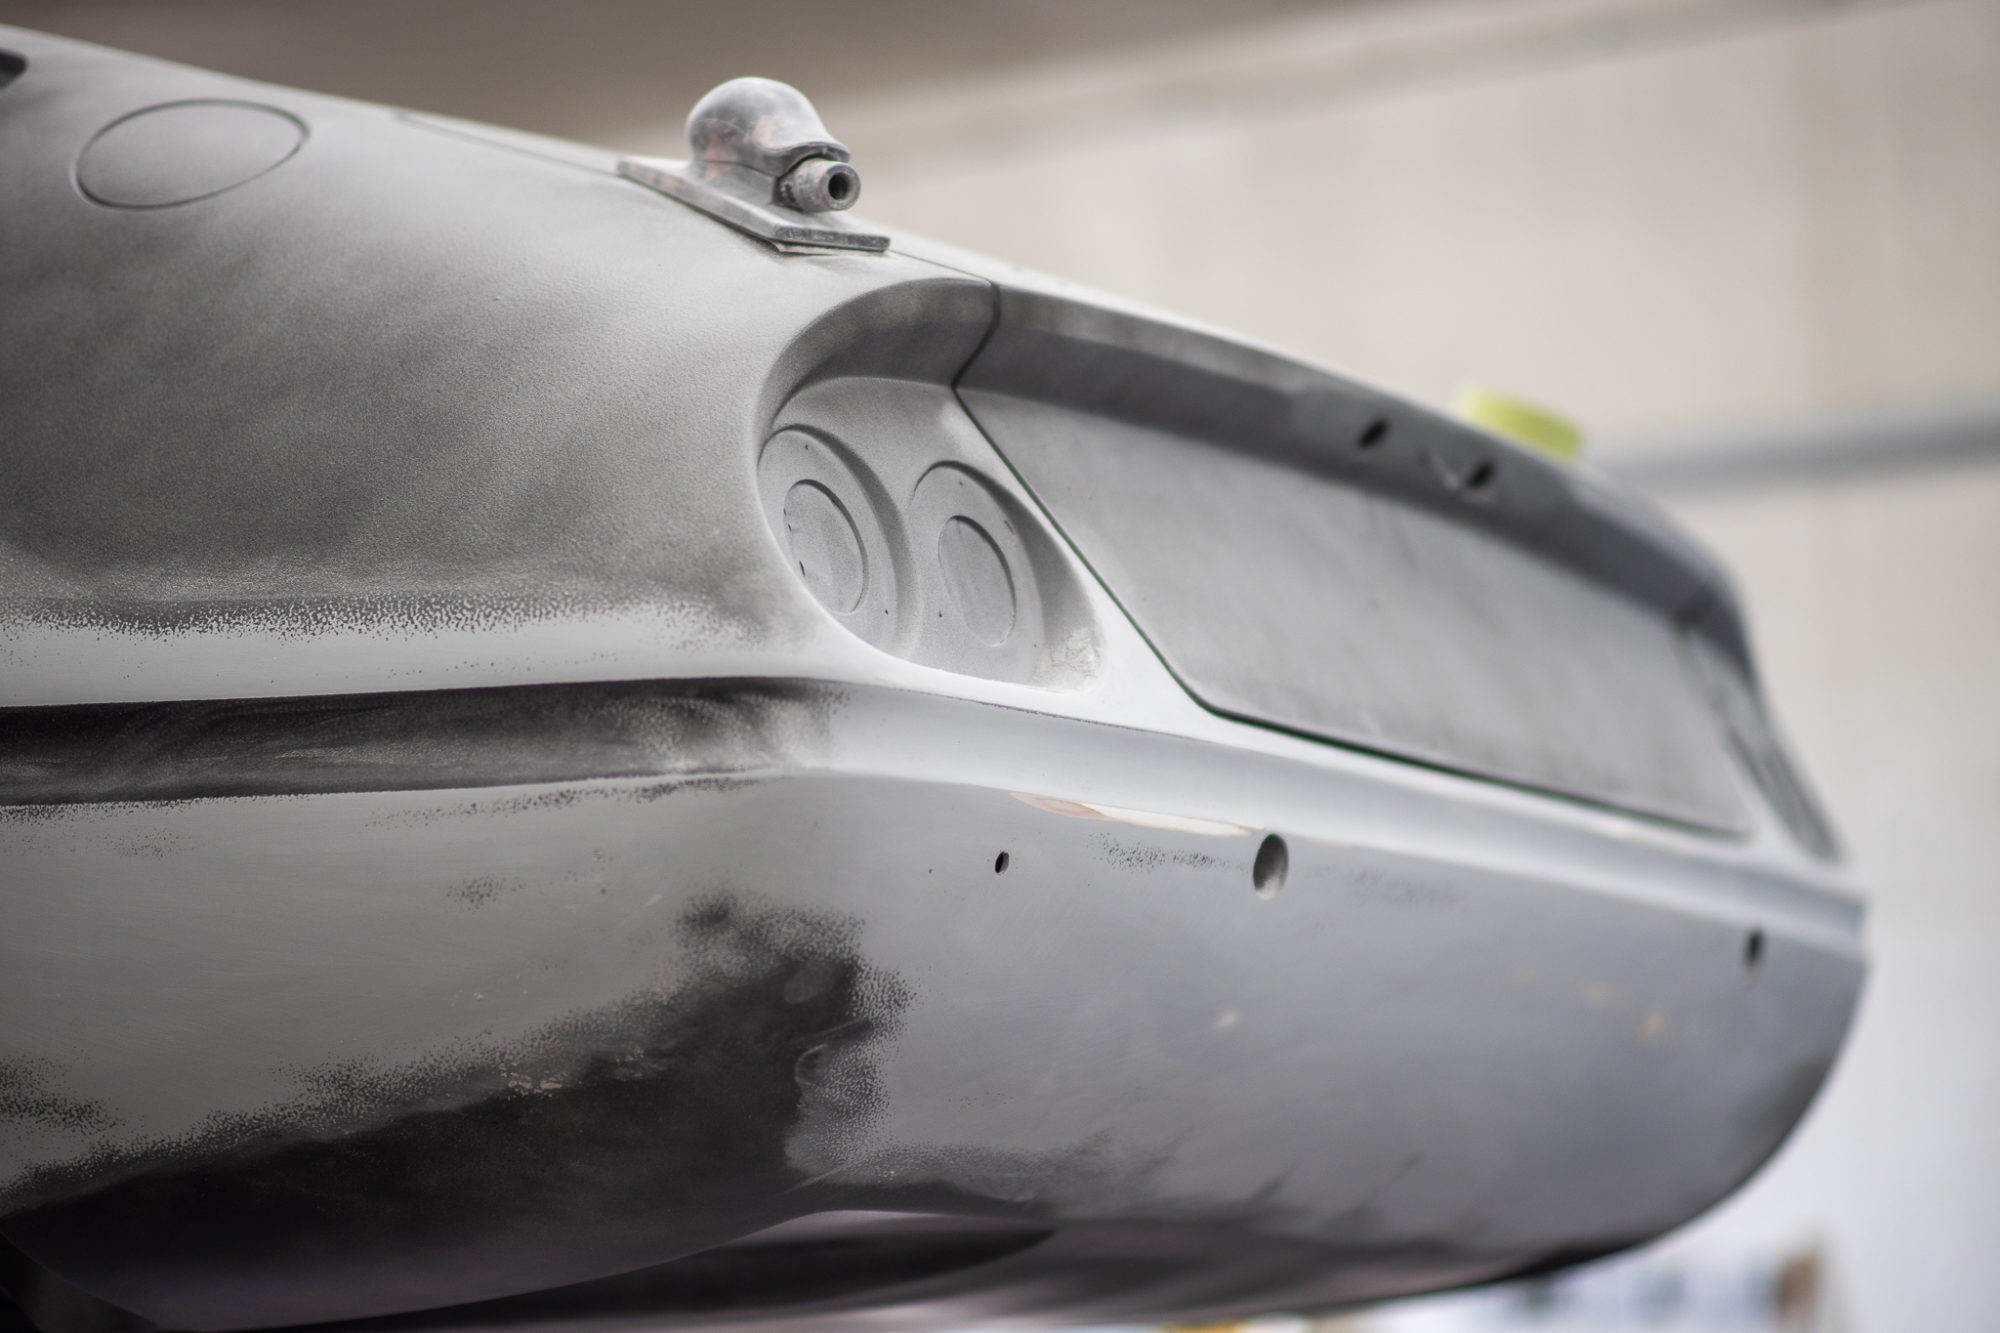
Heres some progress photos from inside the fabrication bay and the paintshop. Its exciting to see such a huge project progress so well.


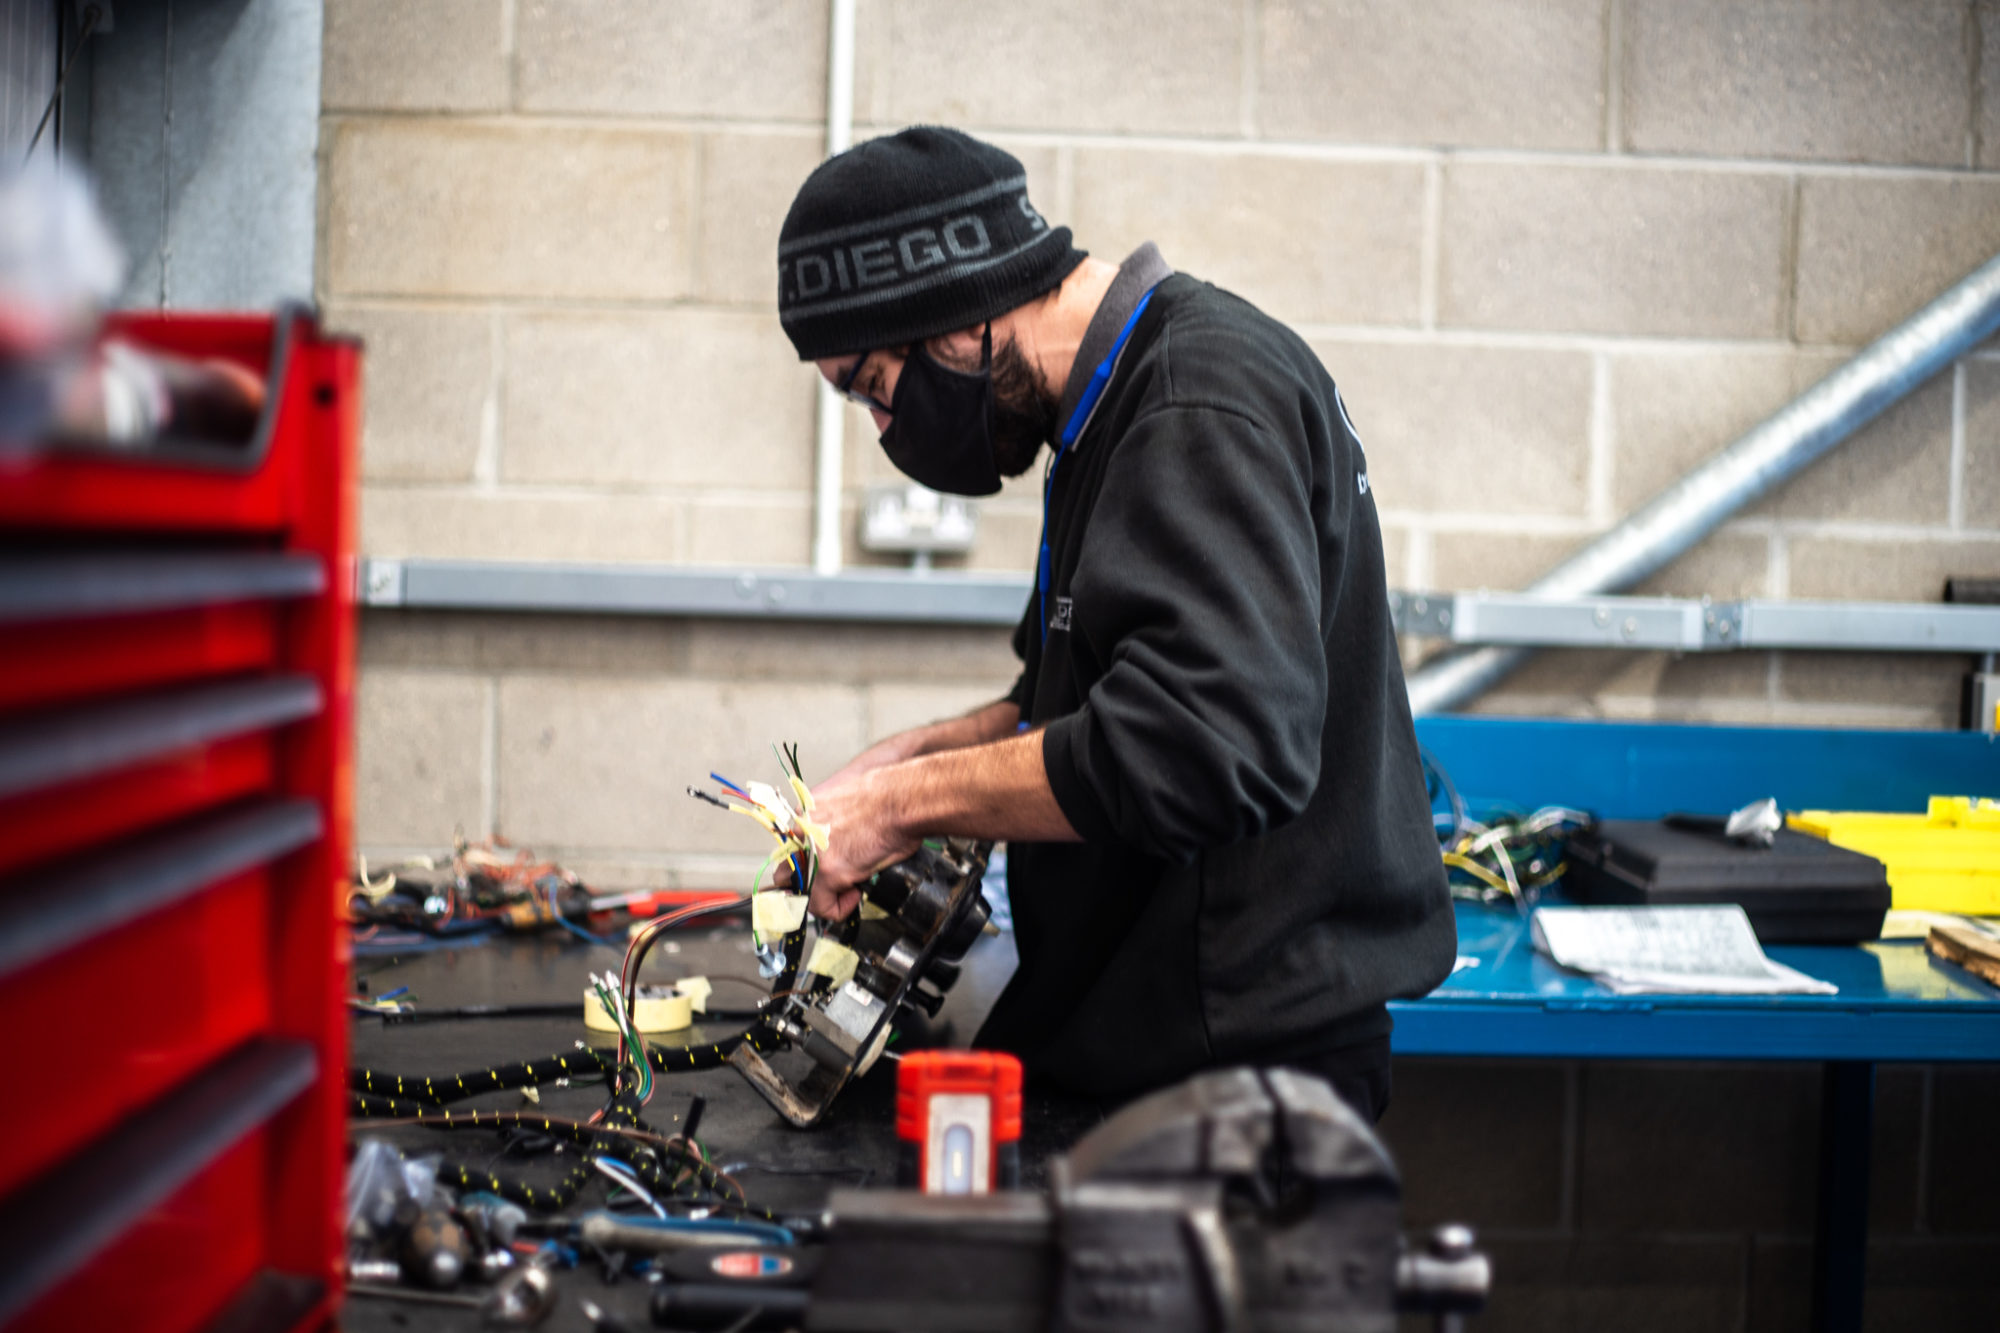
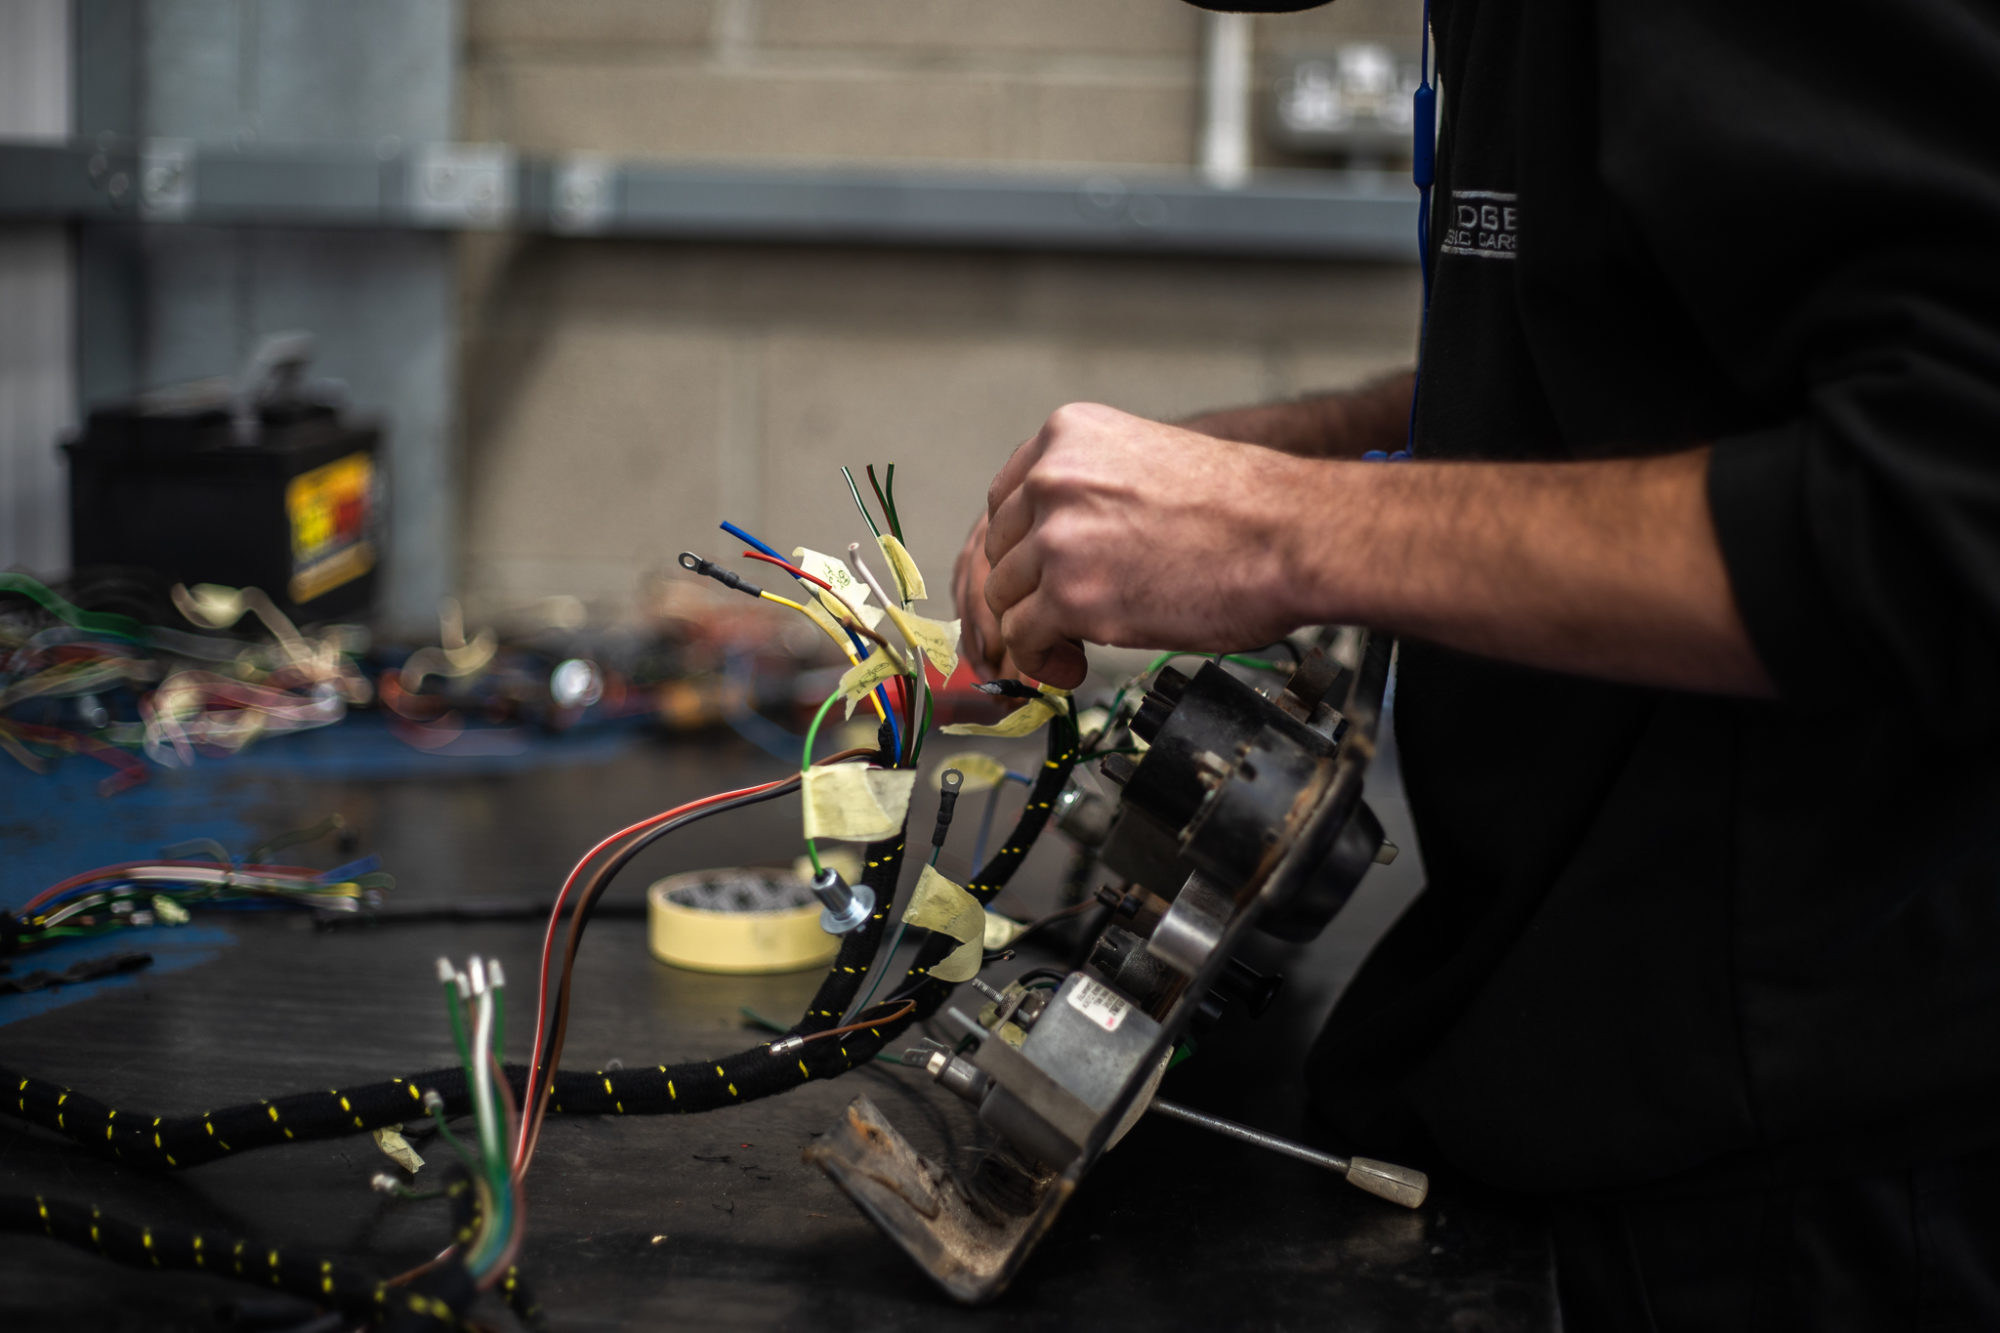
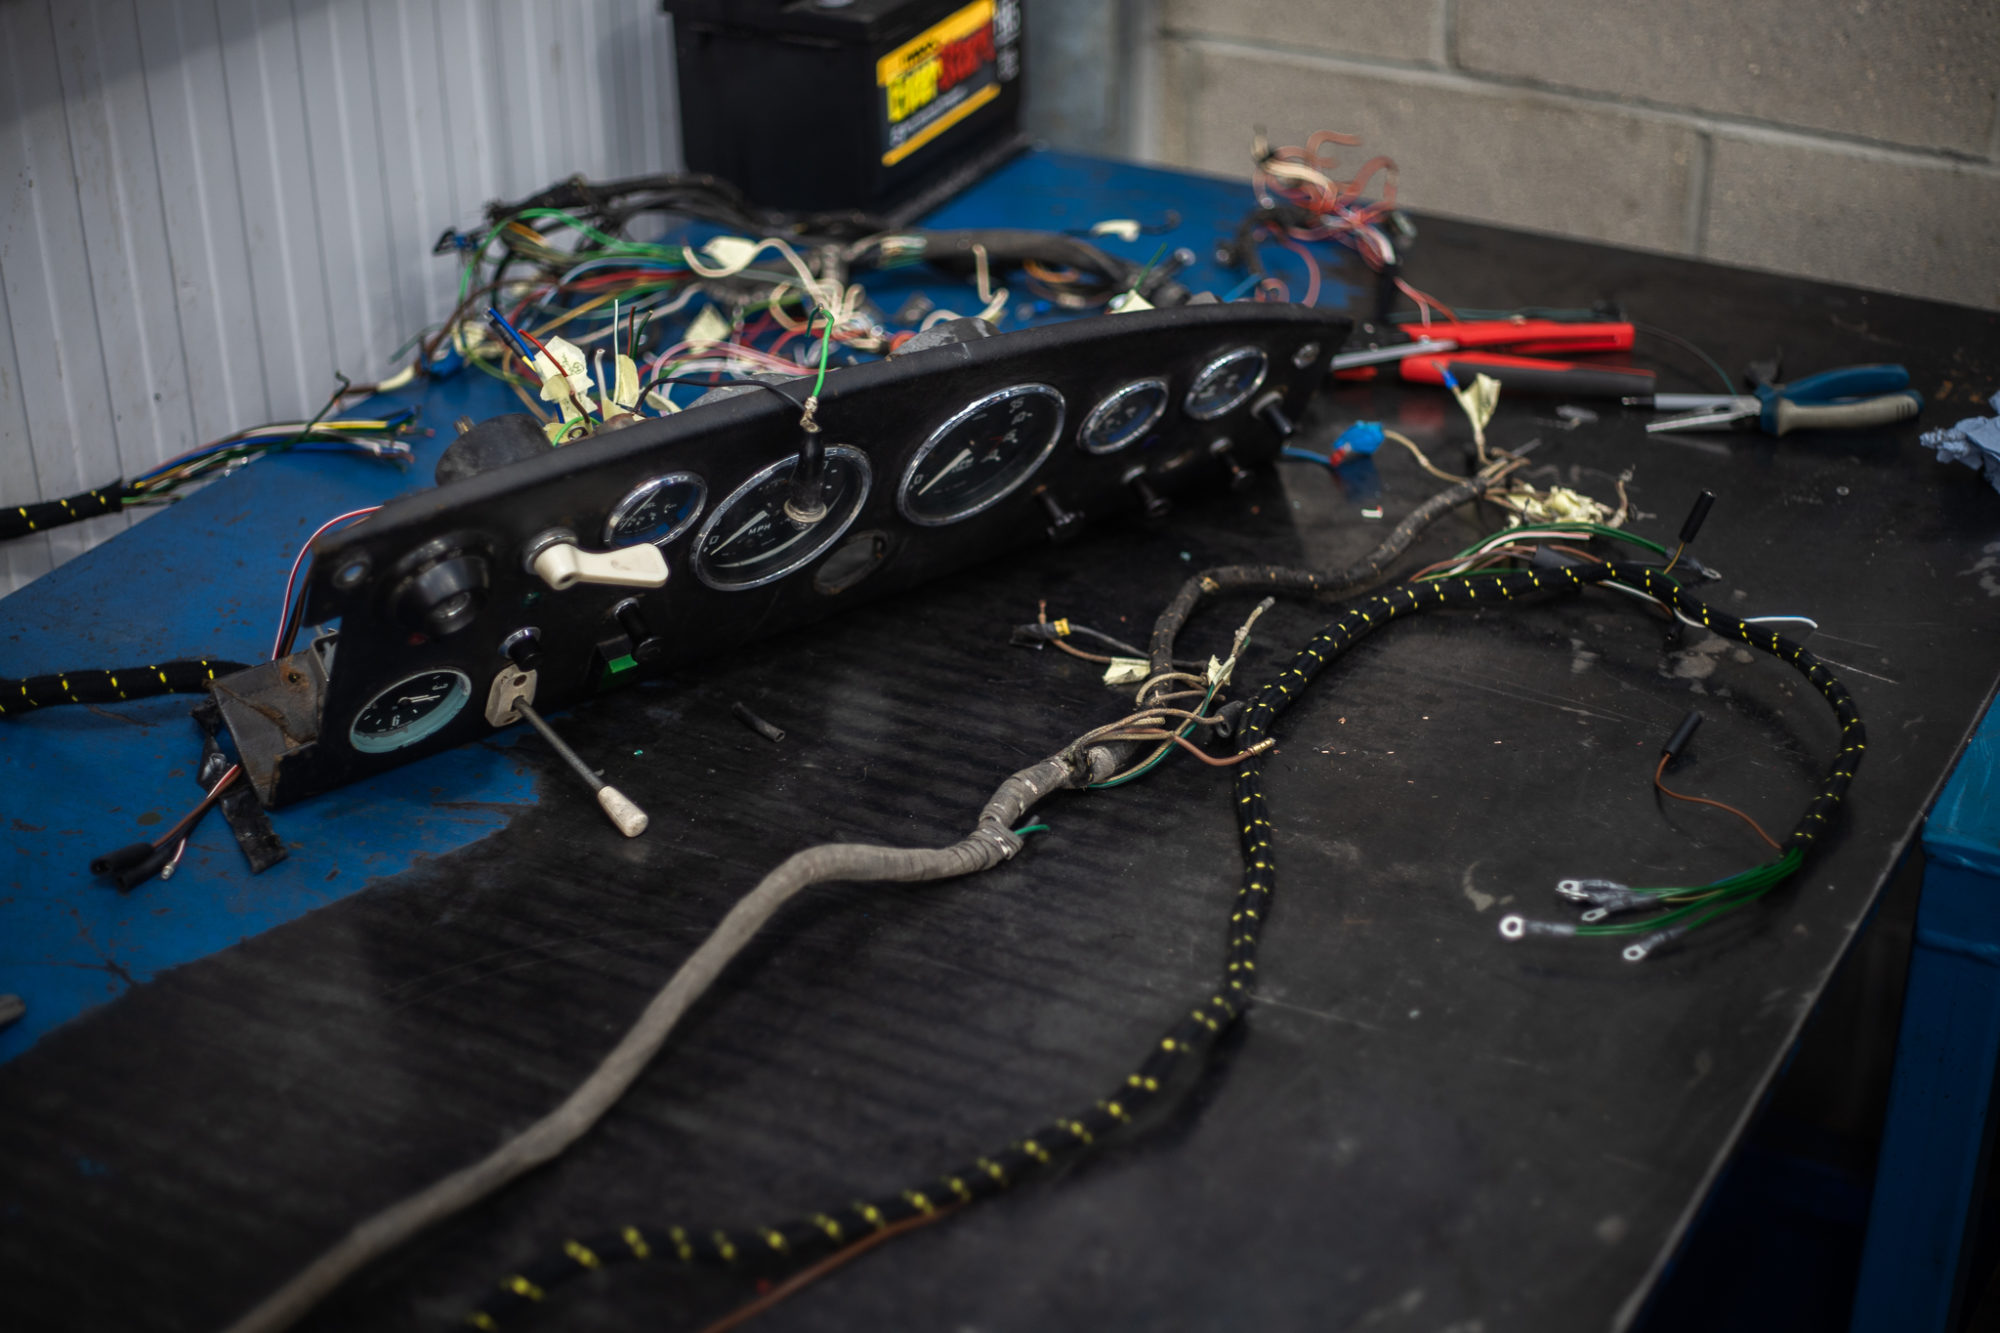
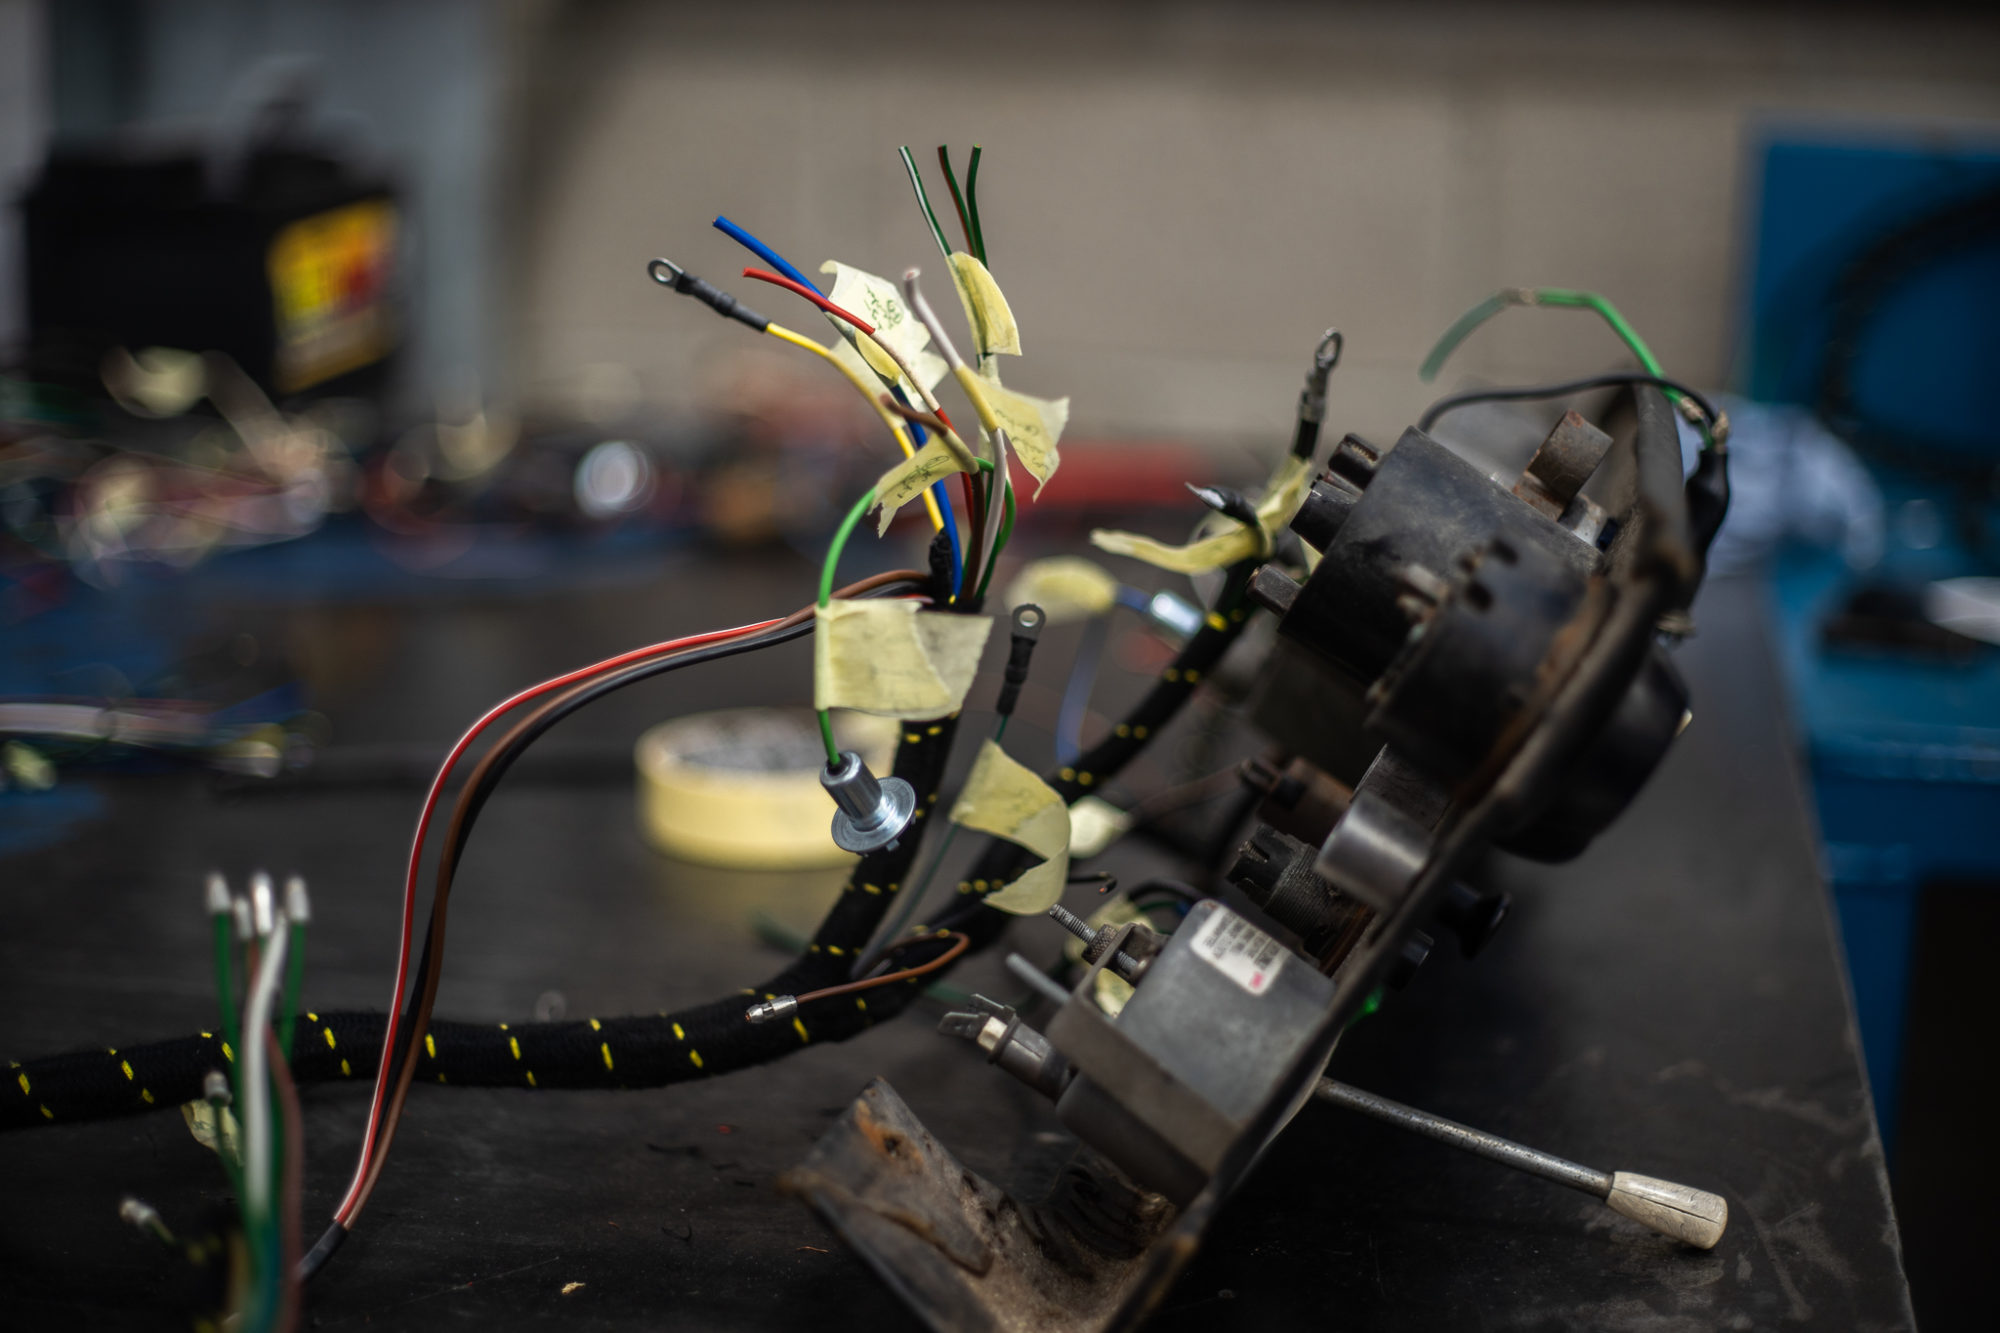
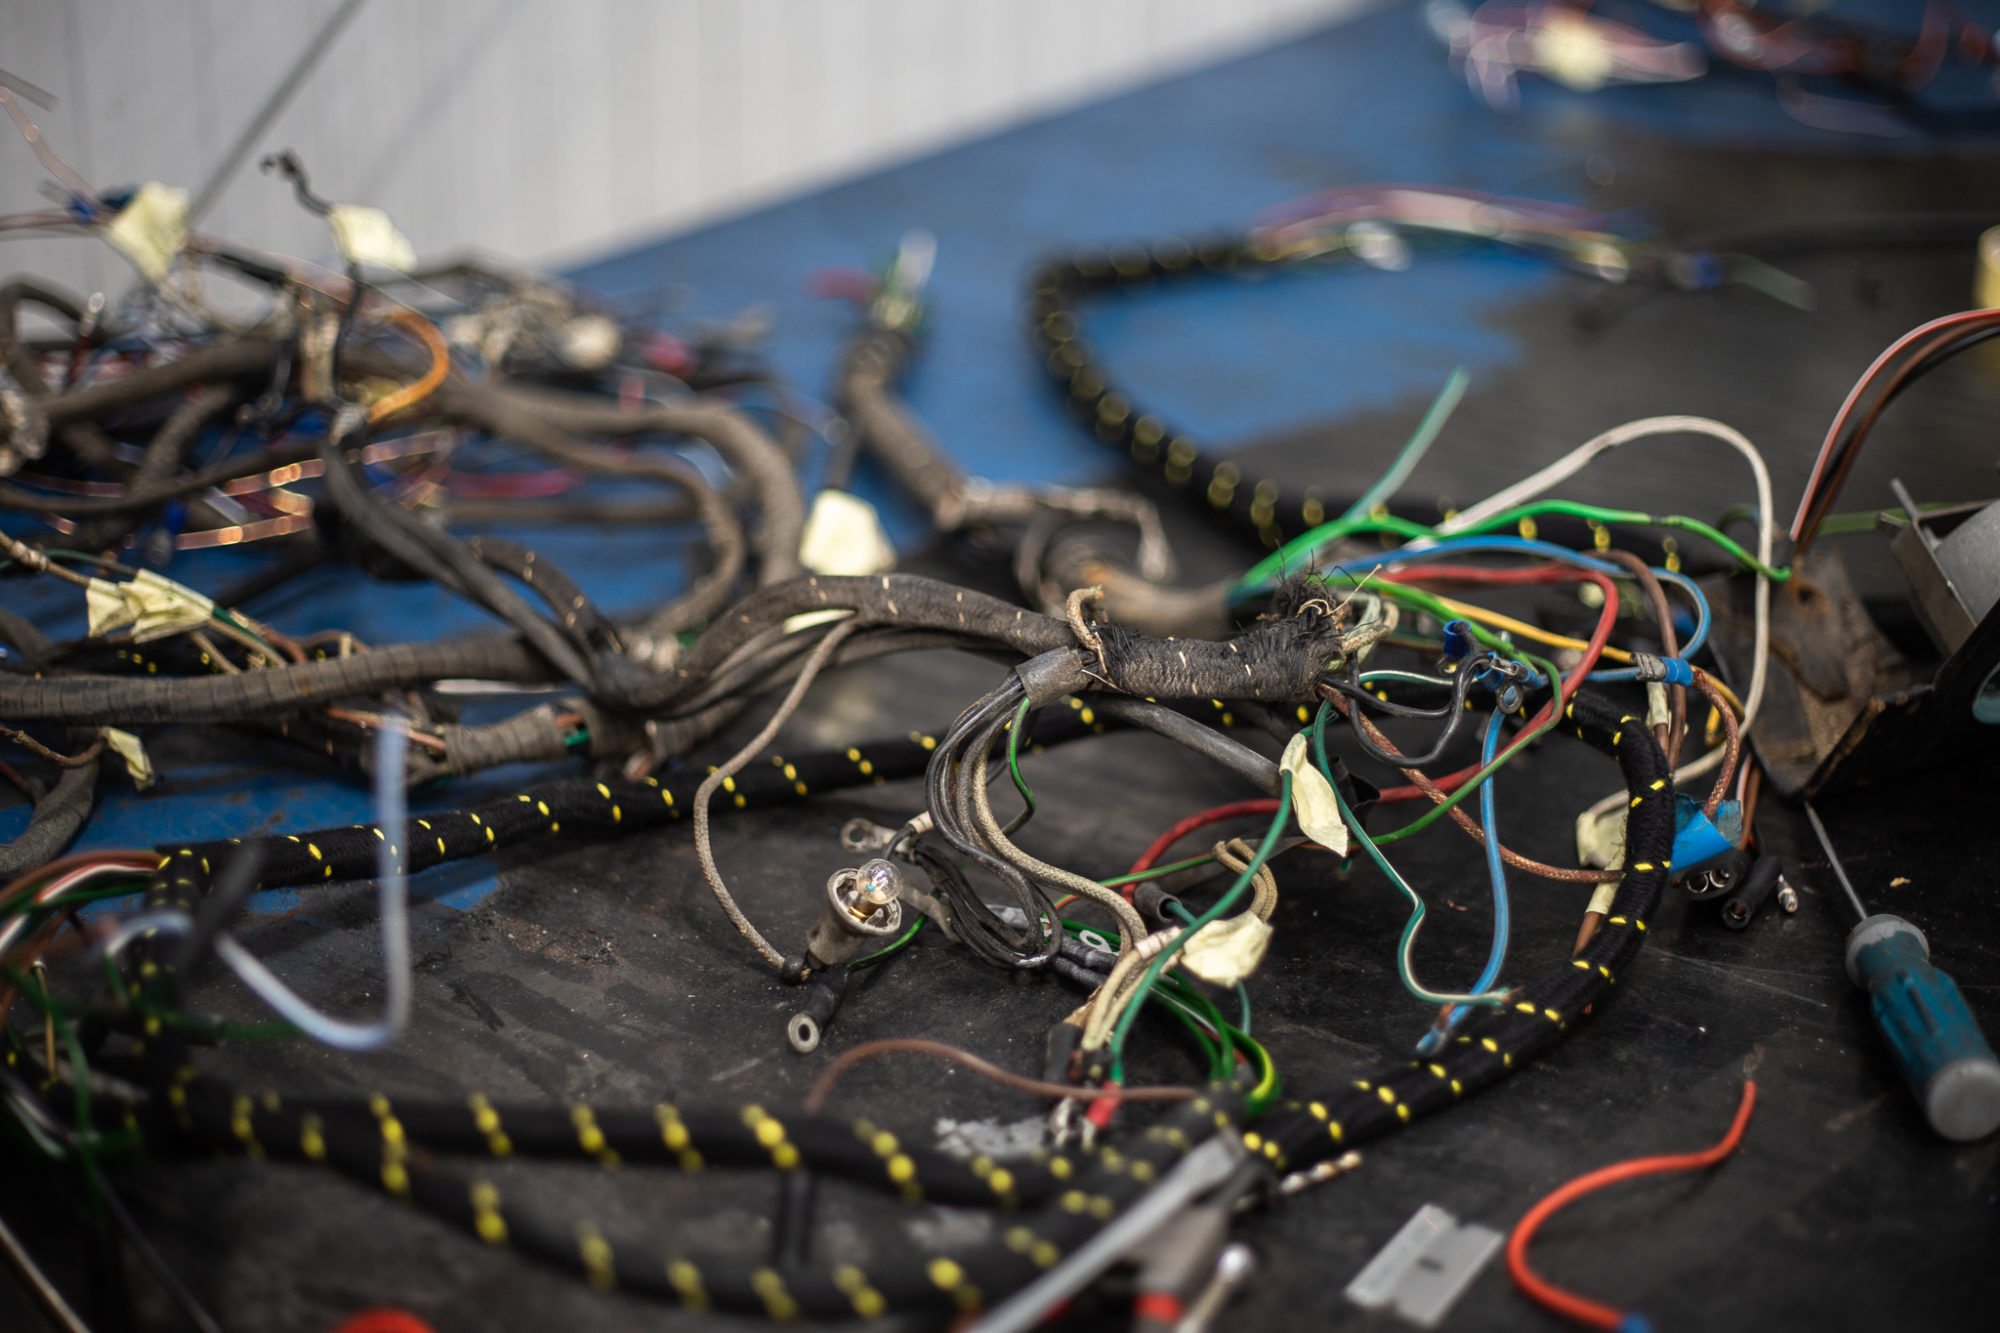
Tom has been working on re-wiring the wiring looms in the 1959 Jensen 541R. He’s recently completed the lights and has now started on the dashboard.
There are 5 wiring looms in total. Two have been completed, two are partially completed (which are the two looms within the dashboard) and the last connects the front looms to the rear. Jensens are known for complex and sophisticated electrics, making the re-wiring a time consuming process.
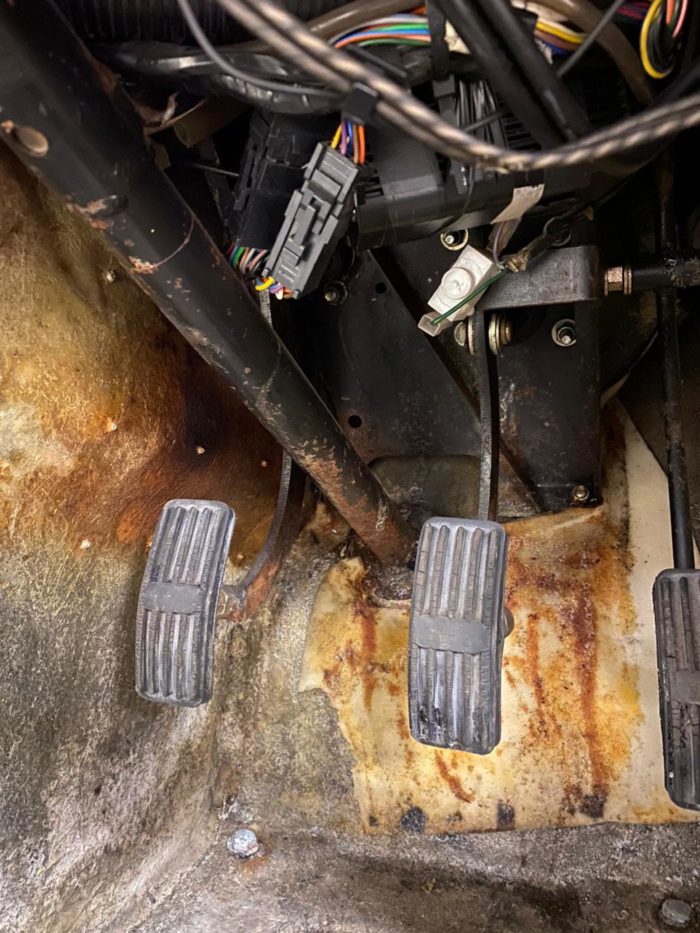
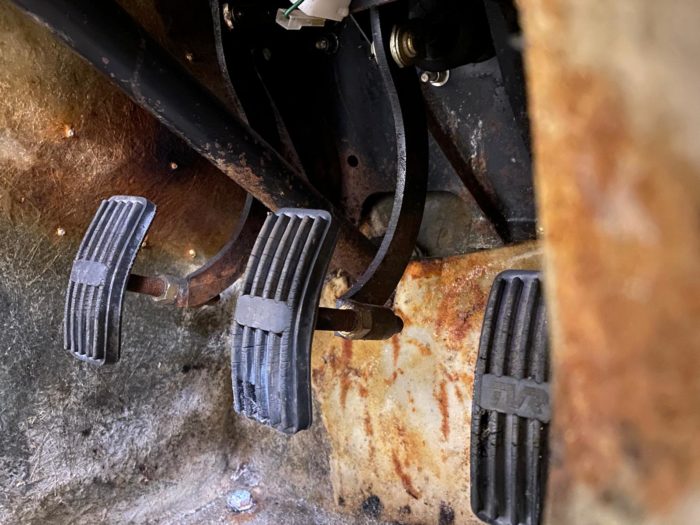
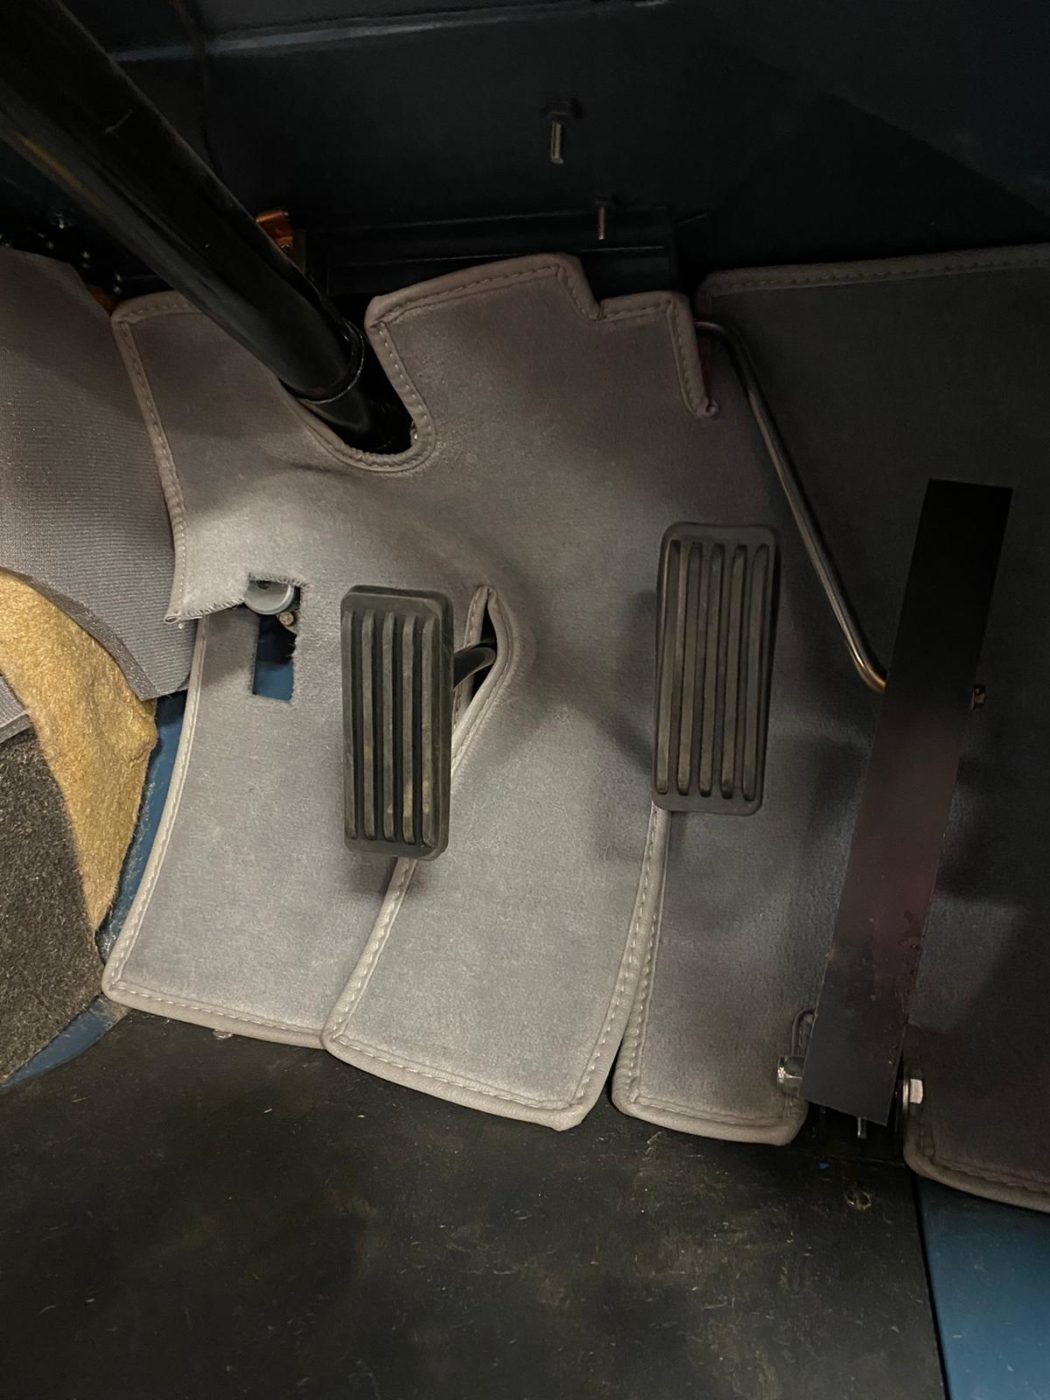
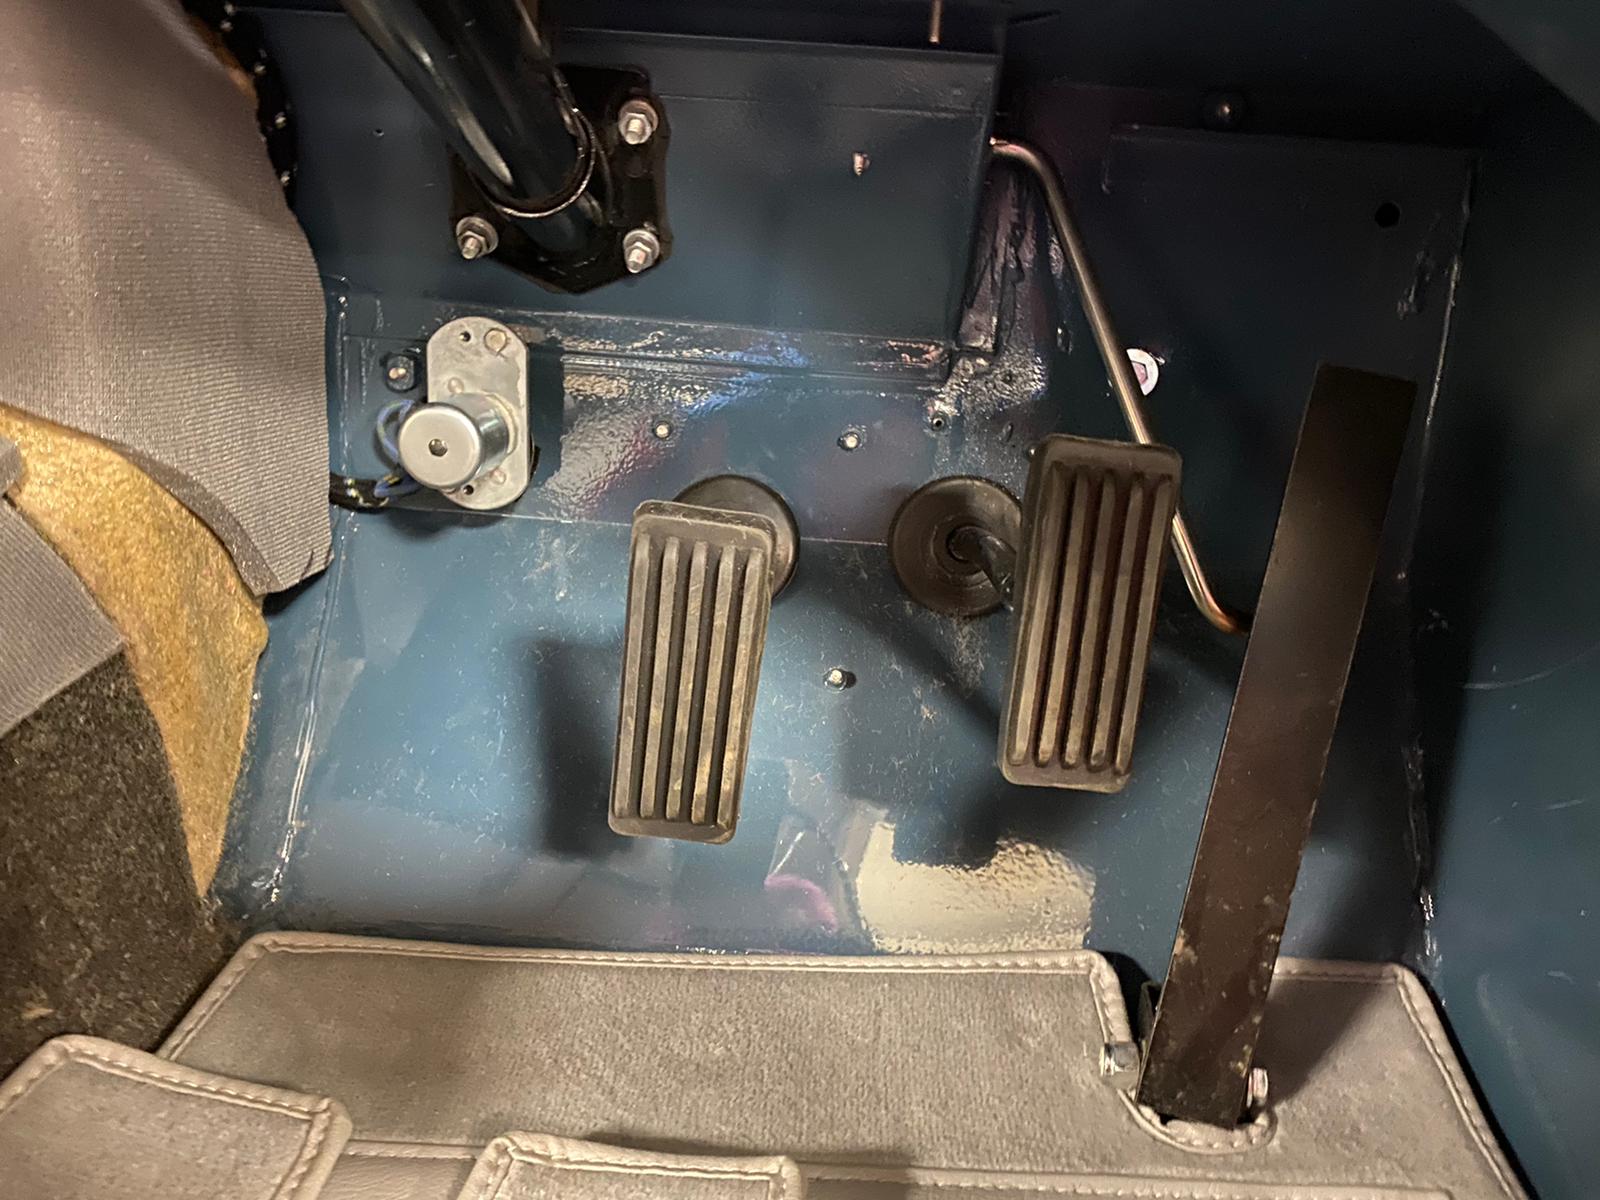
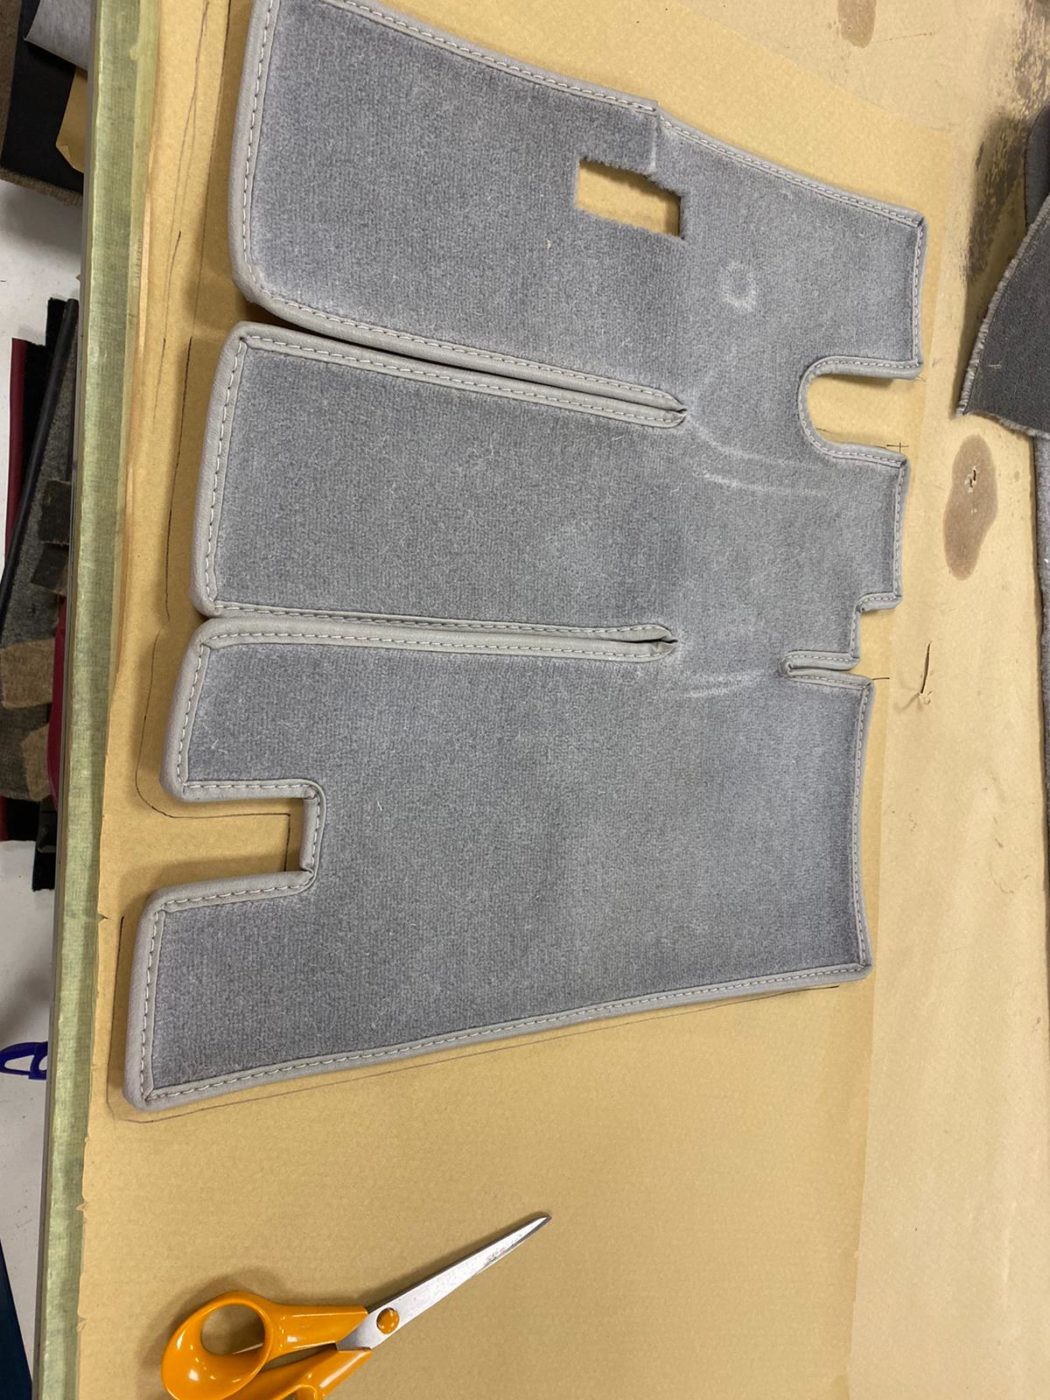
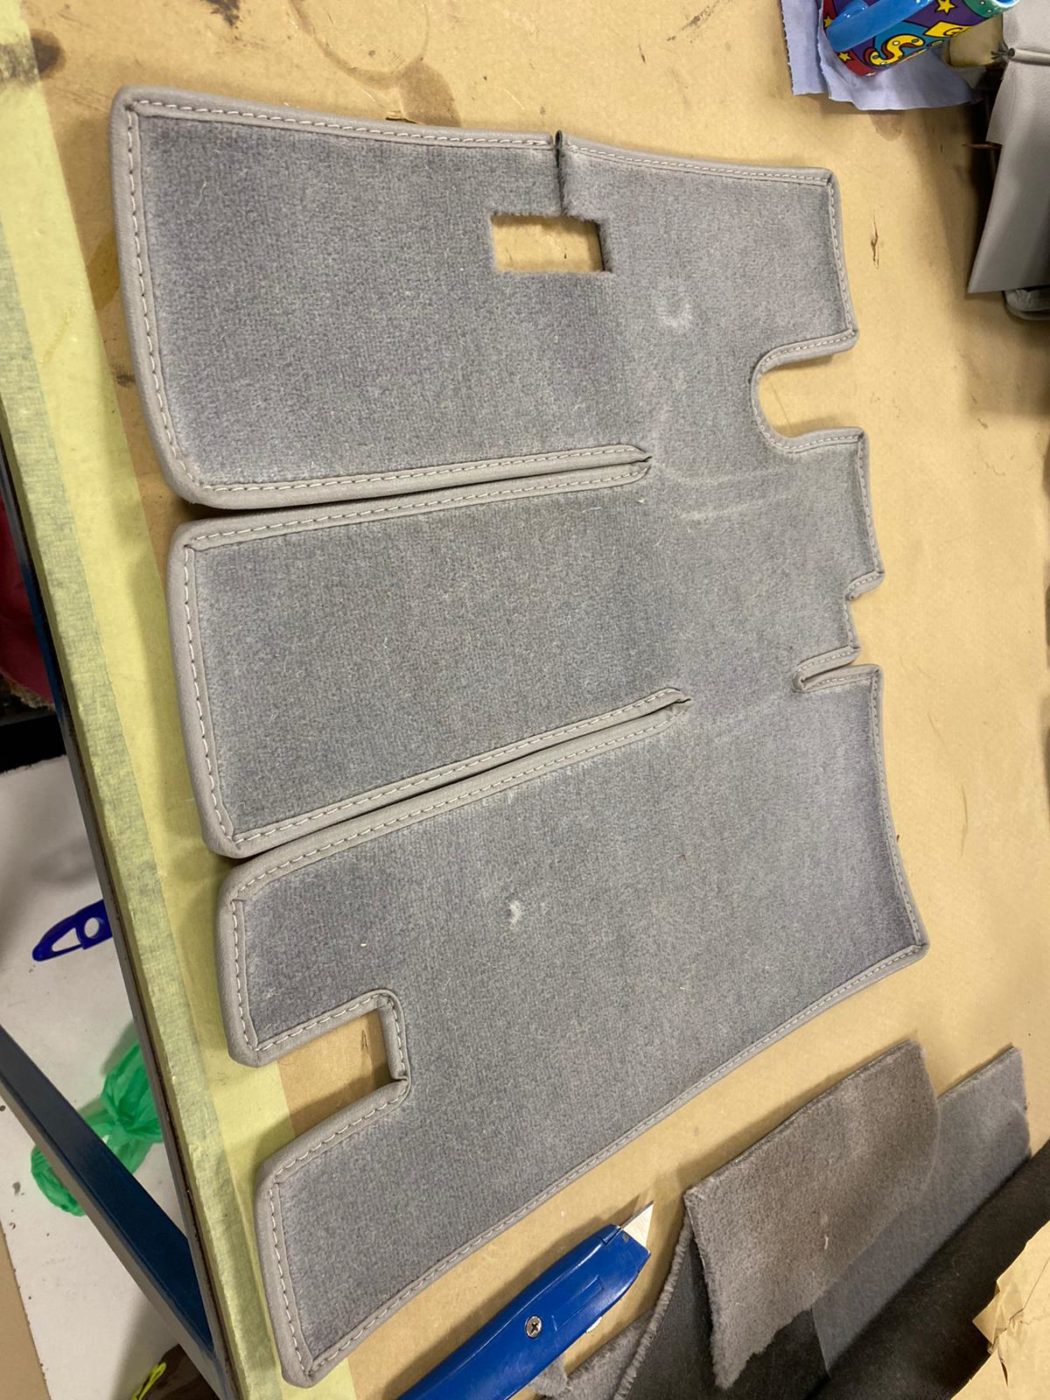
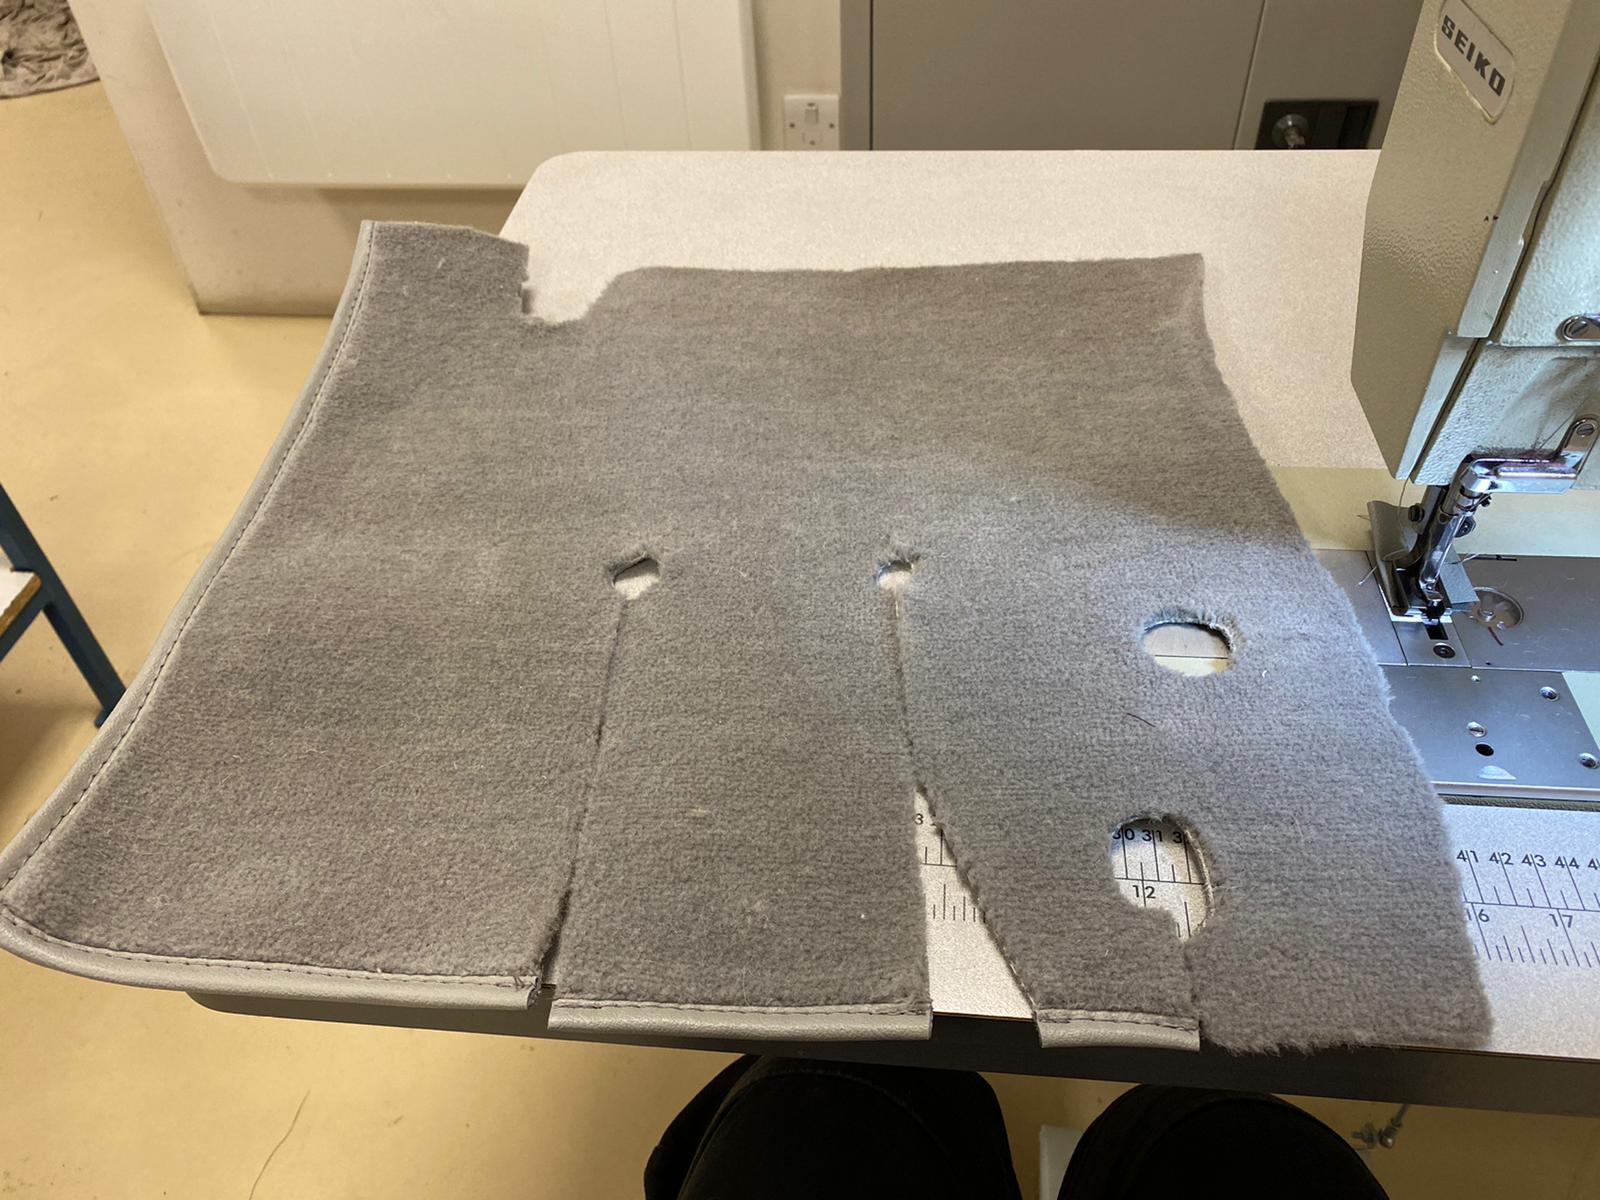
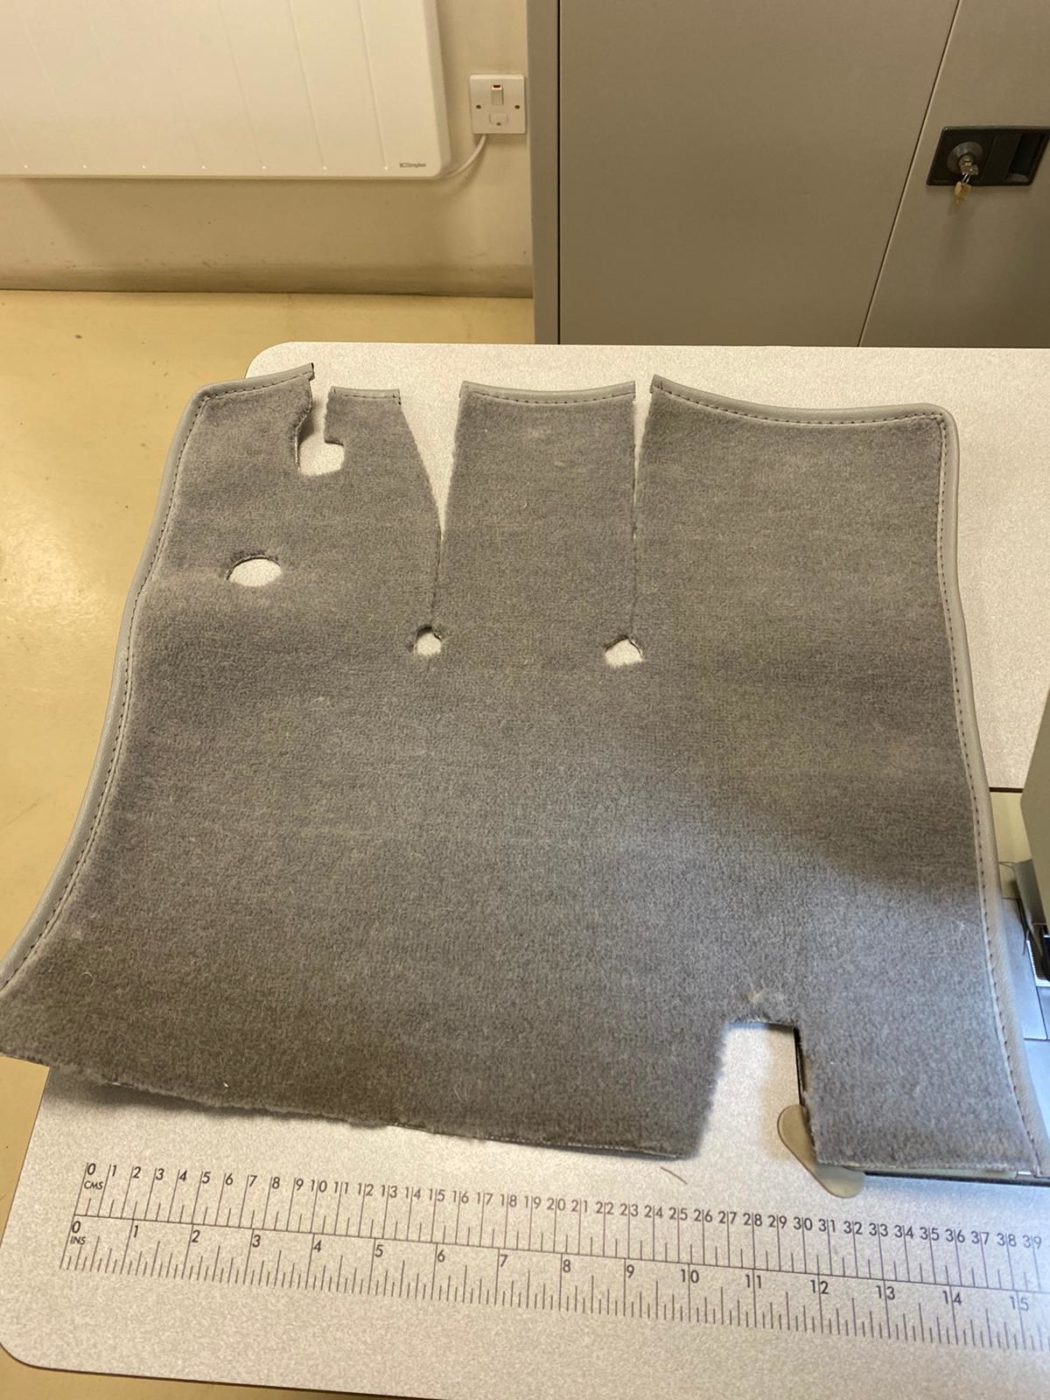
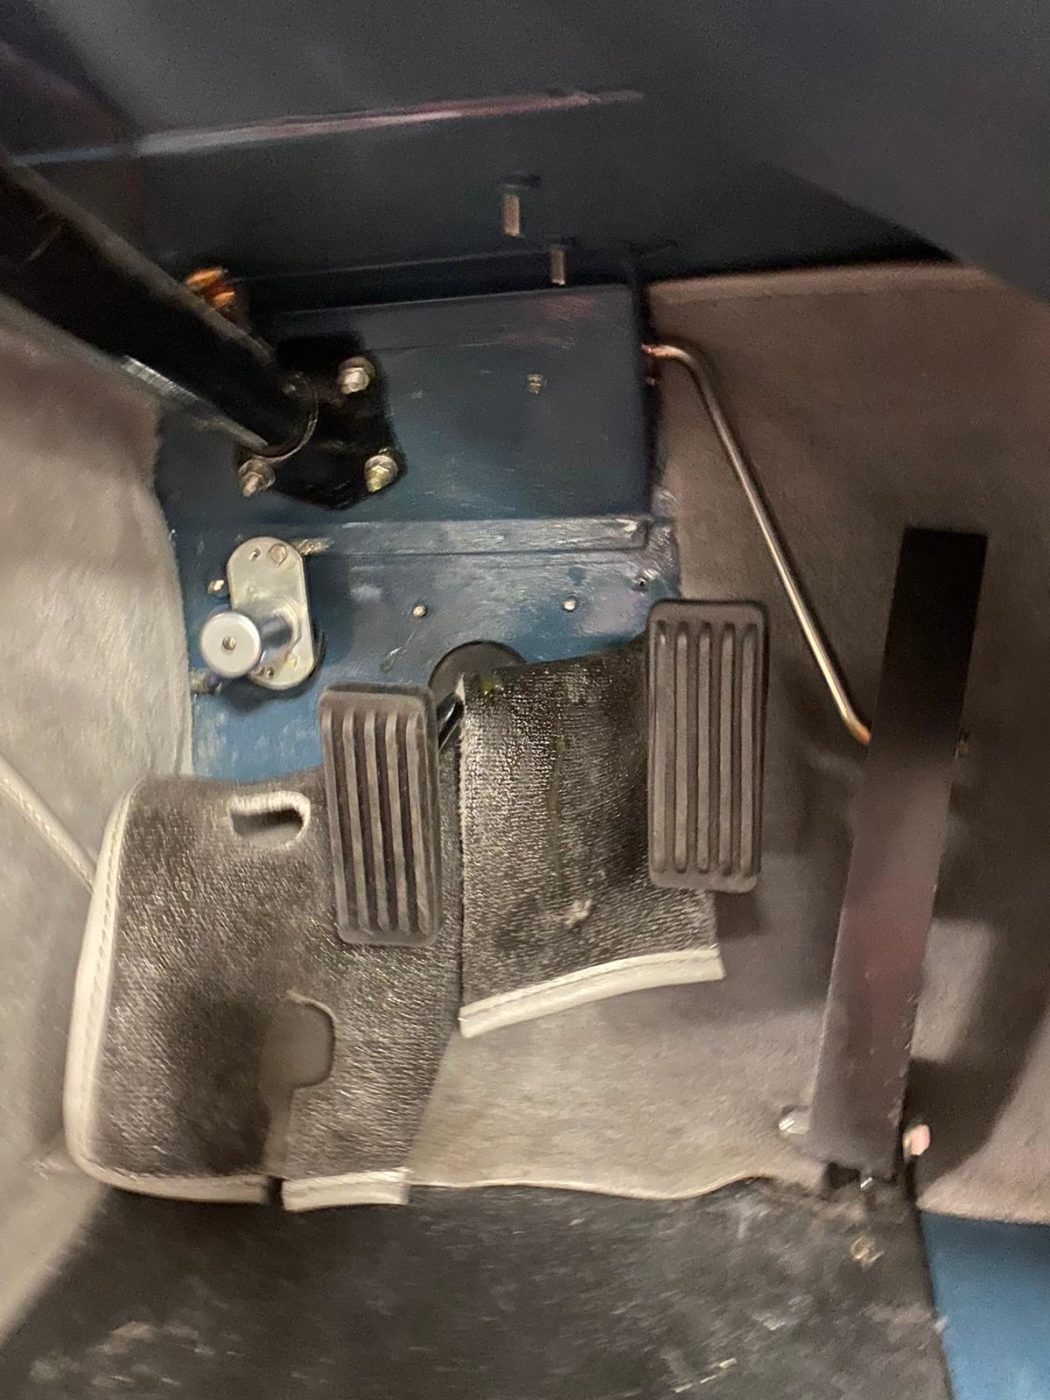
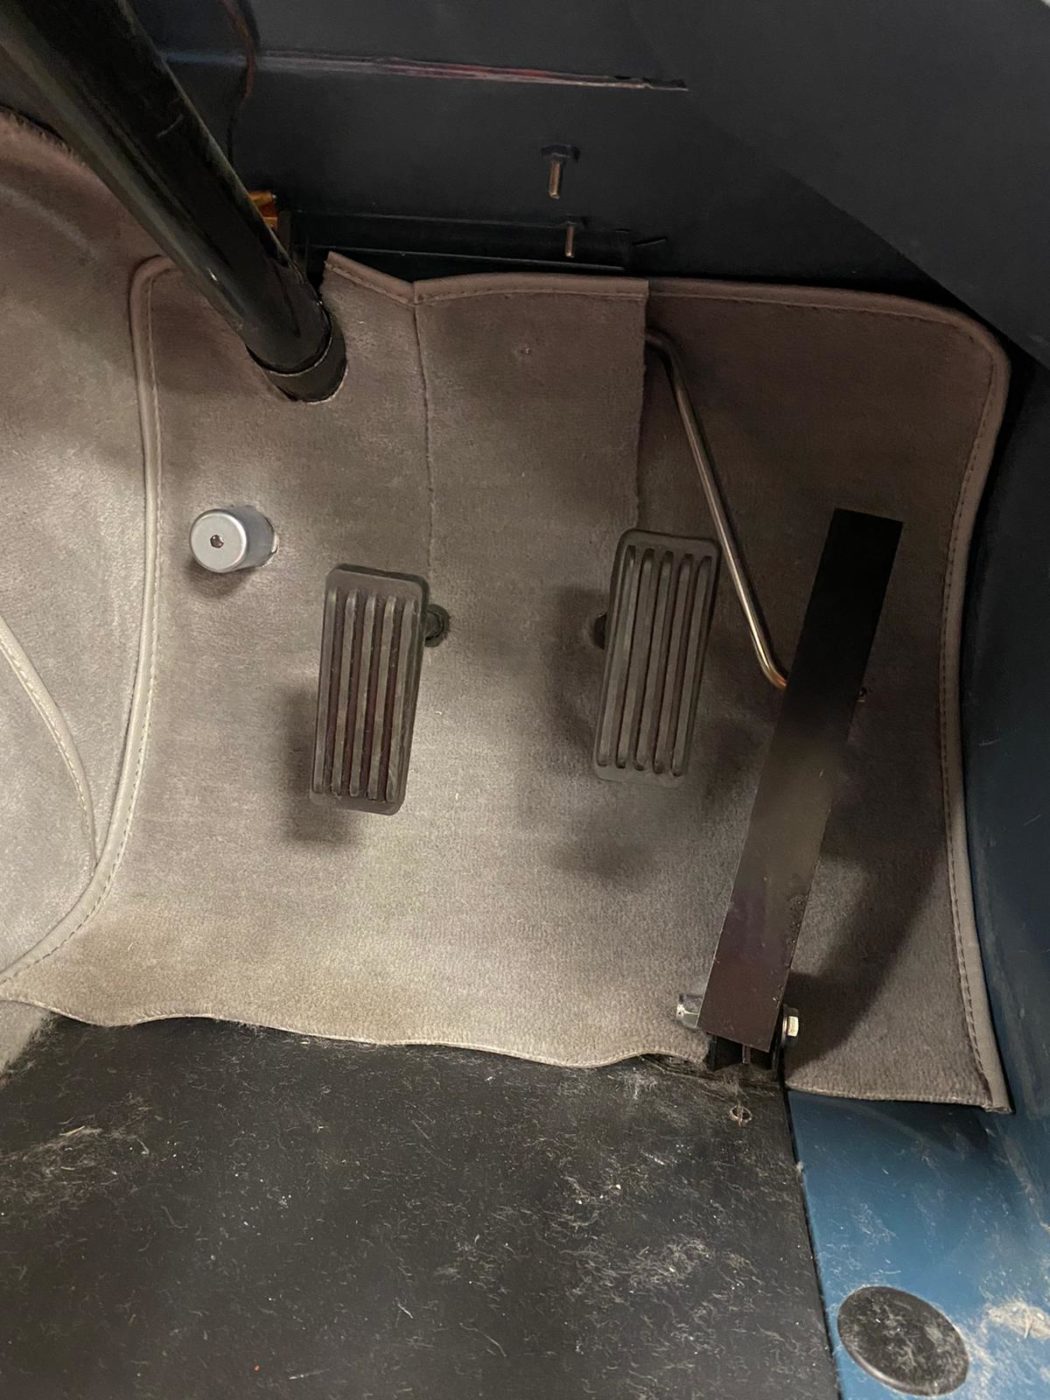
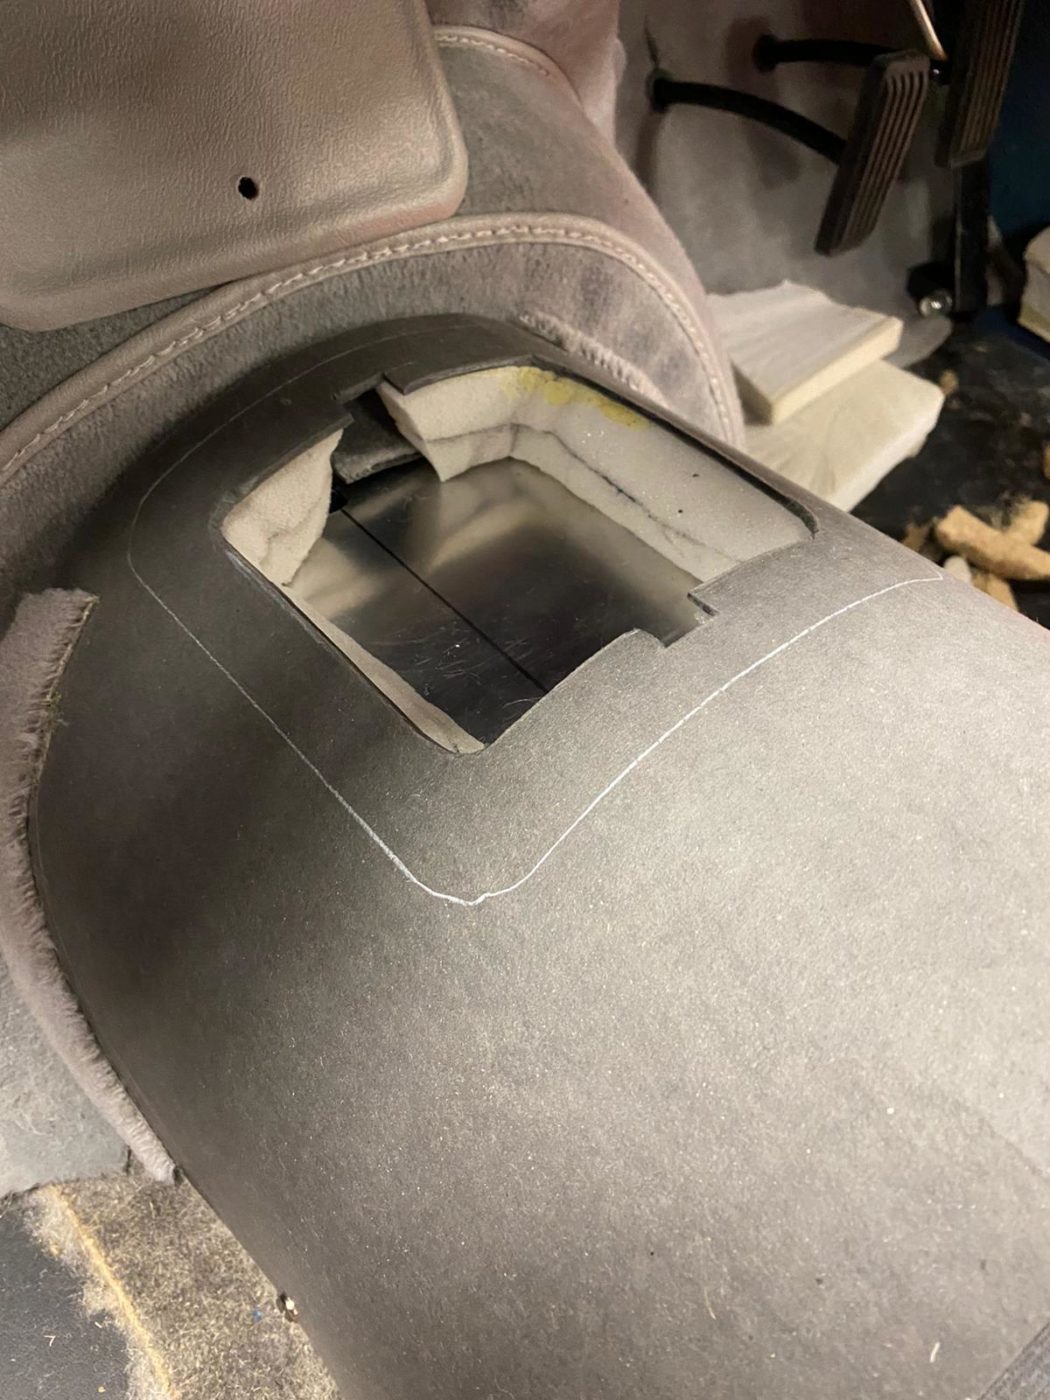
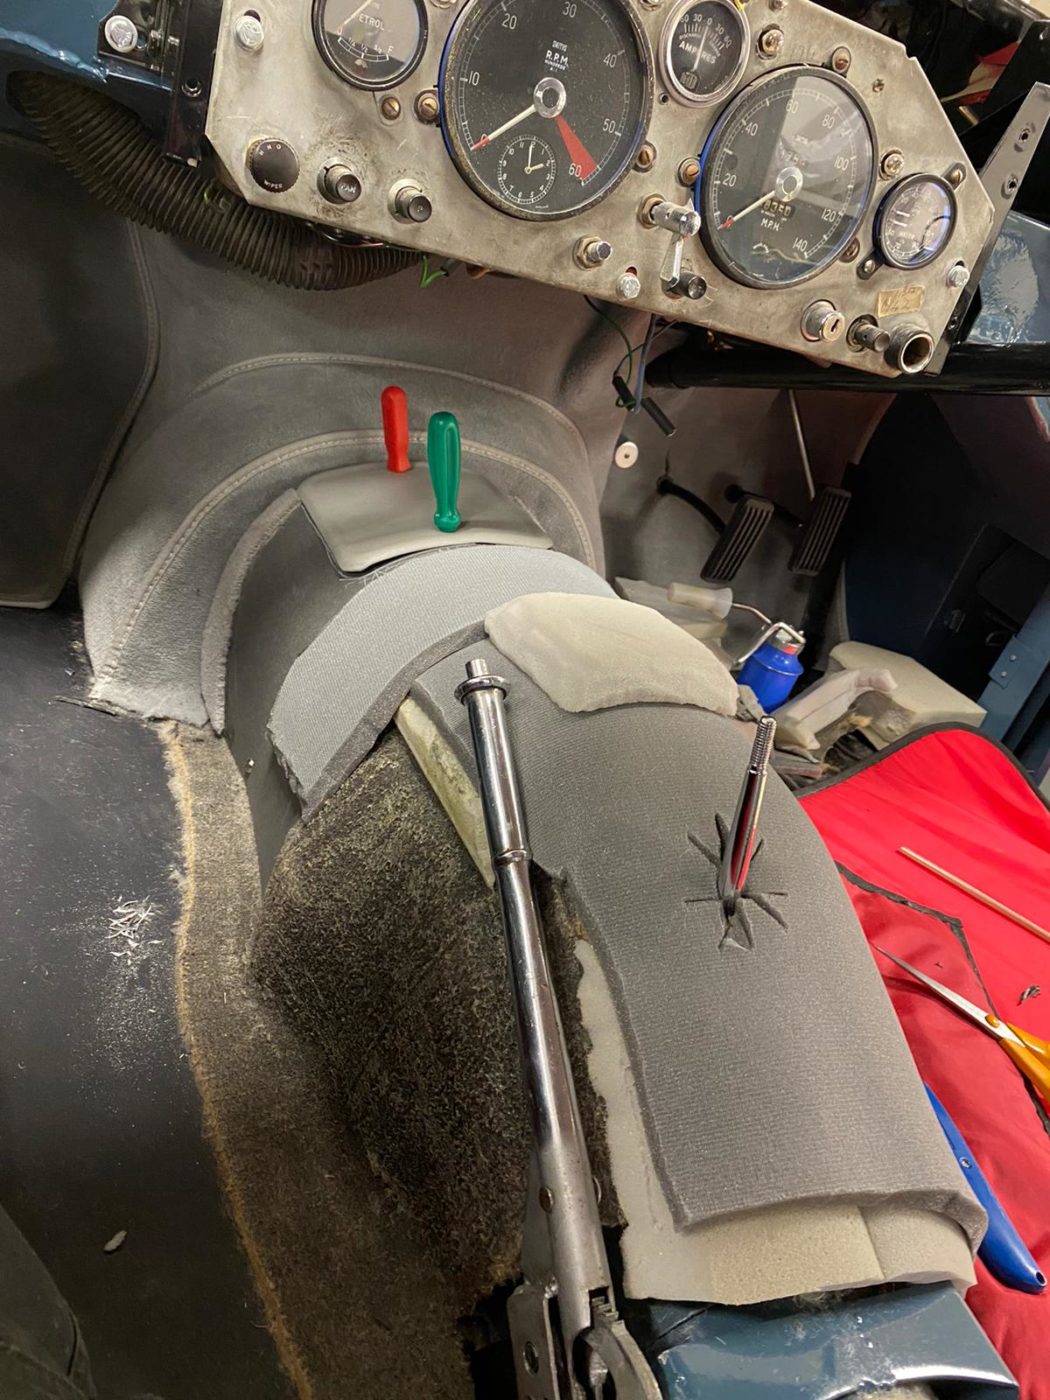
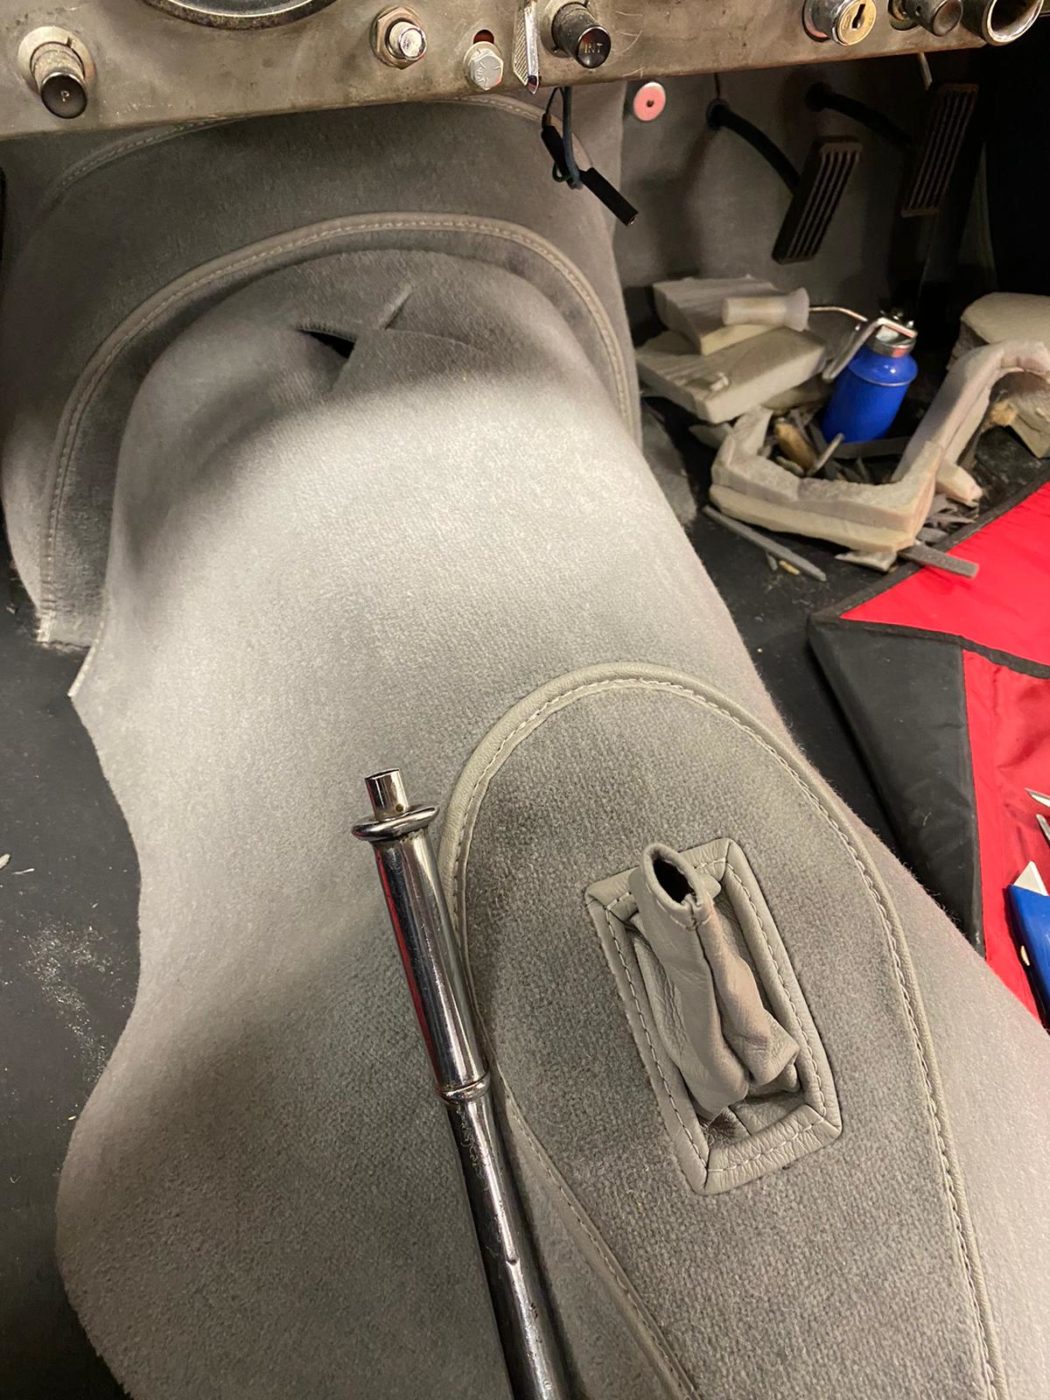
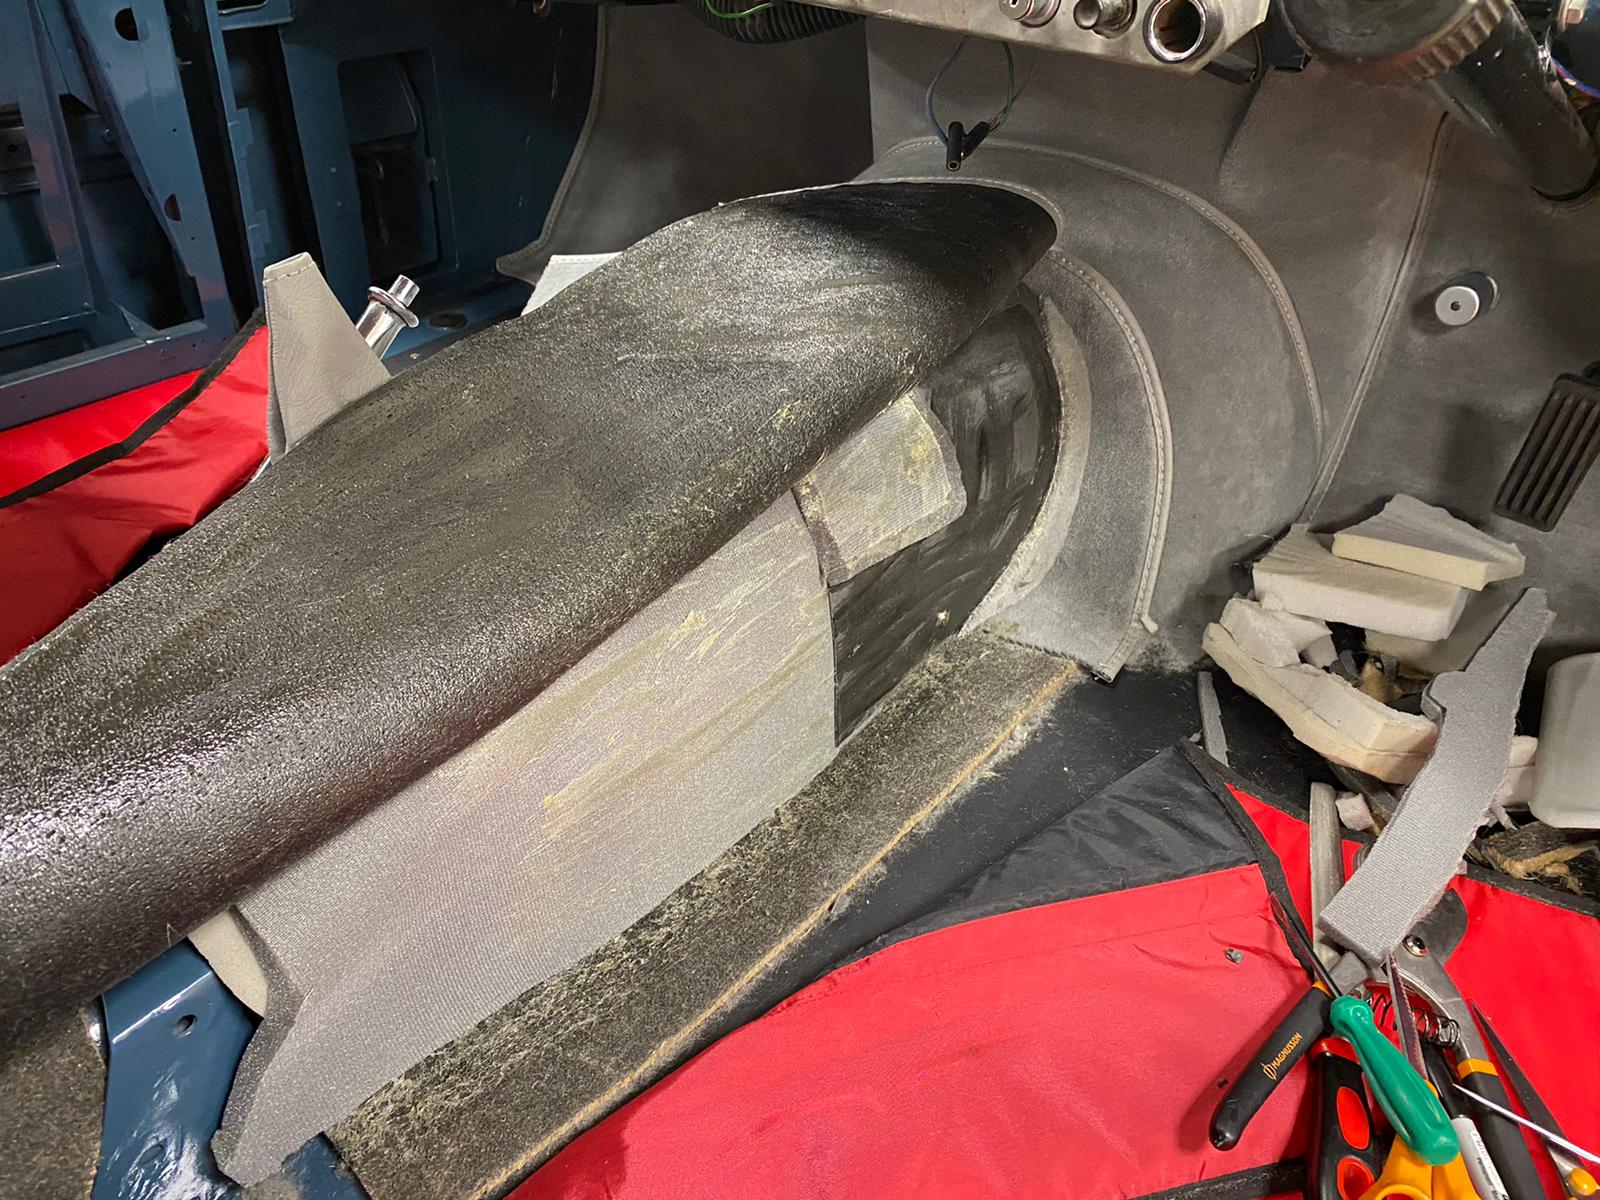
Our side of the trim work has been completed for the 1958 Jaguar XK150. Our job was to only fit the fabric to metal pieces as the customer is restoring the majority of the car himself. Although we previously made the seats, the customer is fitting them himself. Our trim team have done yet another fantastic job to restore the interior in this iconic classic, with the finished product looking spectacular.
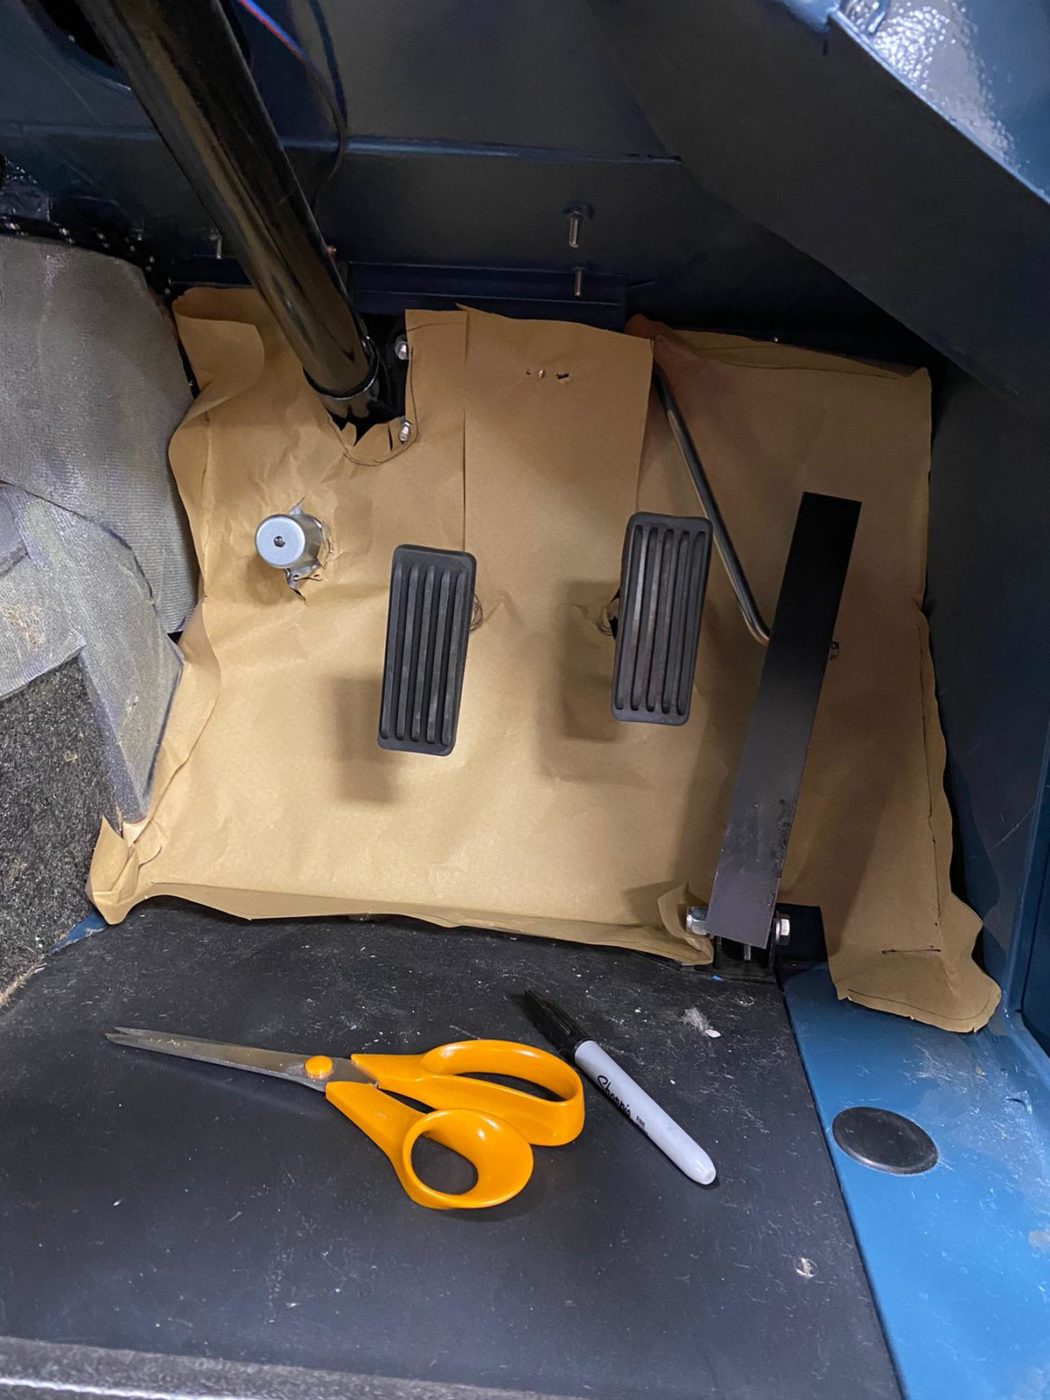
The foot pedal carpet did not fit properly so Kath made a new template and cut out new set. She found that her new design glued and fitted in a lot neater. The front tunnel section was also completed by adding some deadening as well as the trim however it originally didnt fit right as it came up too big, so Kath had to pack out tunnel with some extra foam. The trim team cut some millboard out to go over the inspection chamber and screwed it in place. They found that the tunnel was a funny shape so had to modify the design and add some extra foam until the cover fit perfectly. Kath then fit the next part of tunnel by trimming around hand brake gaiter and gluing it all into position to clamp in place.


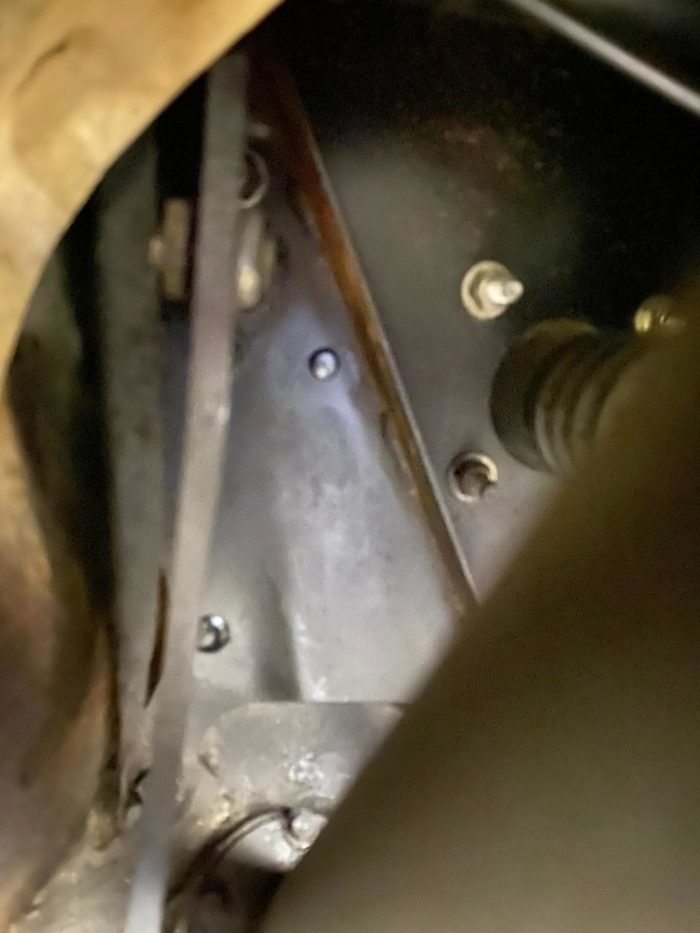
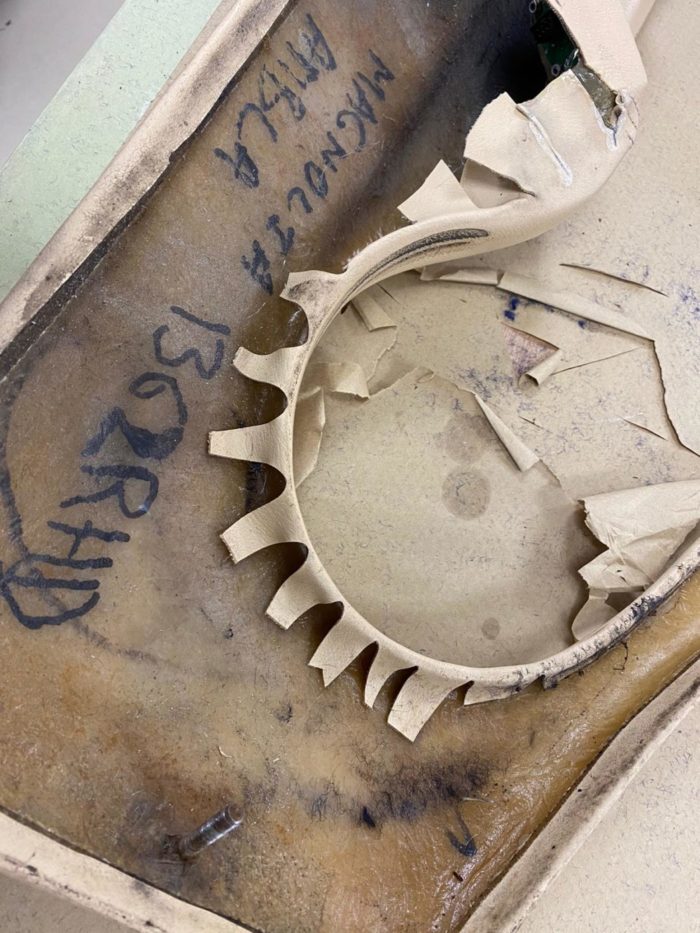
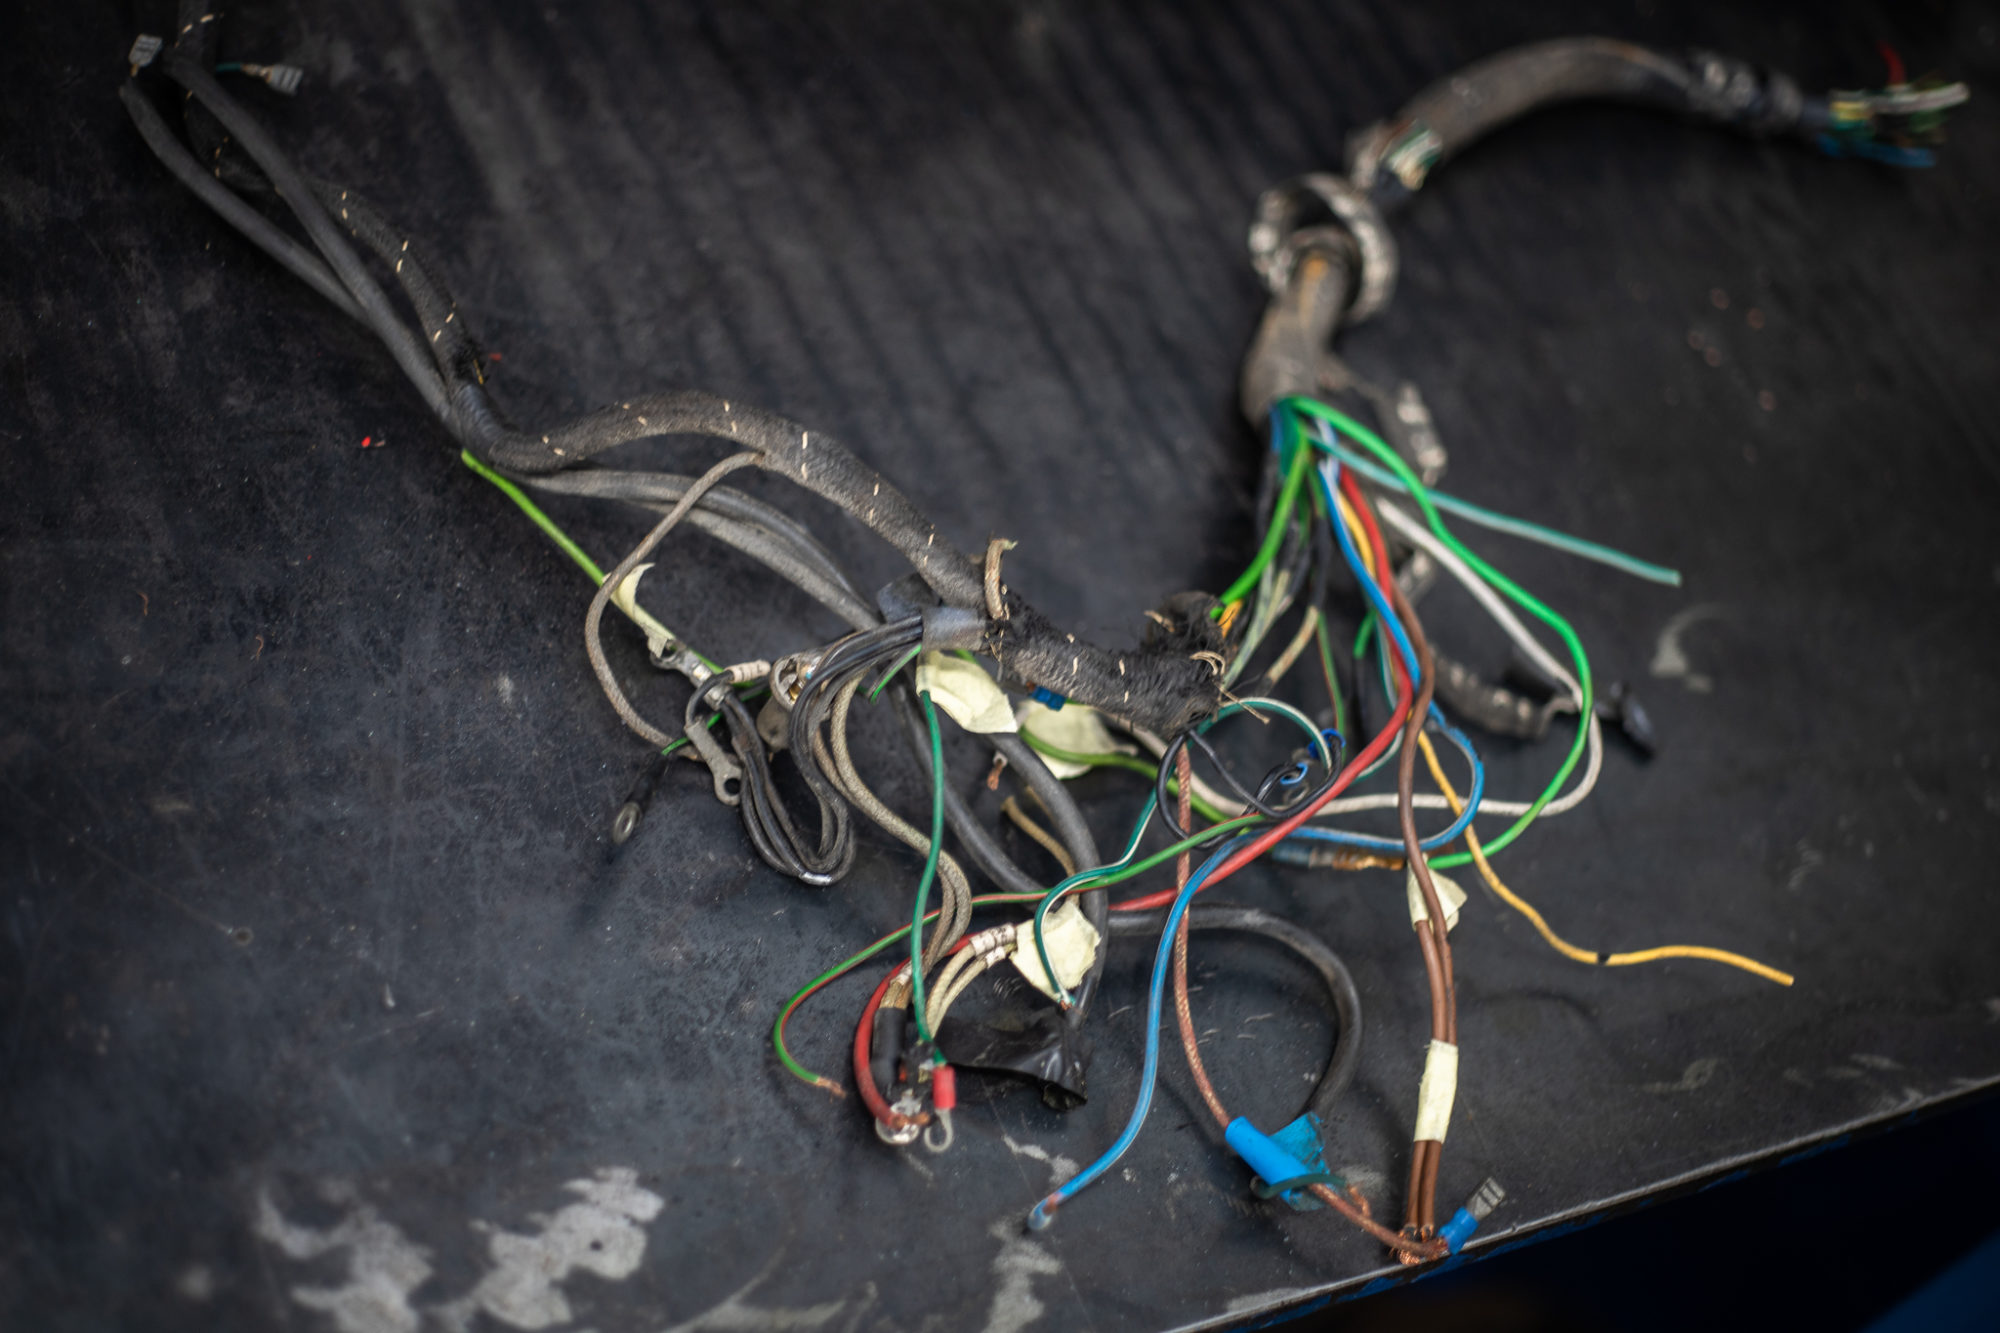
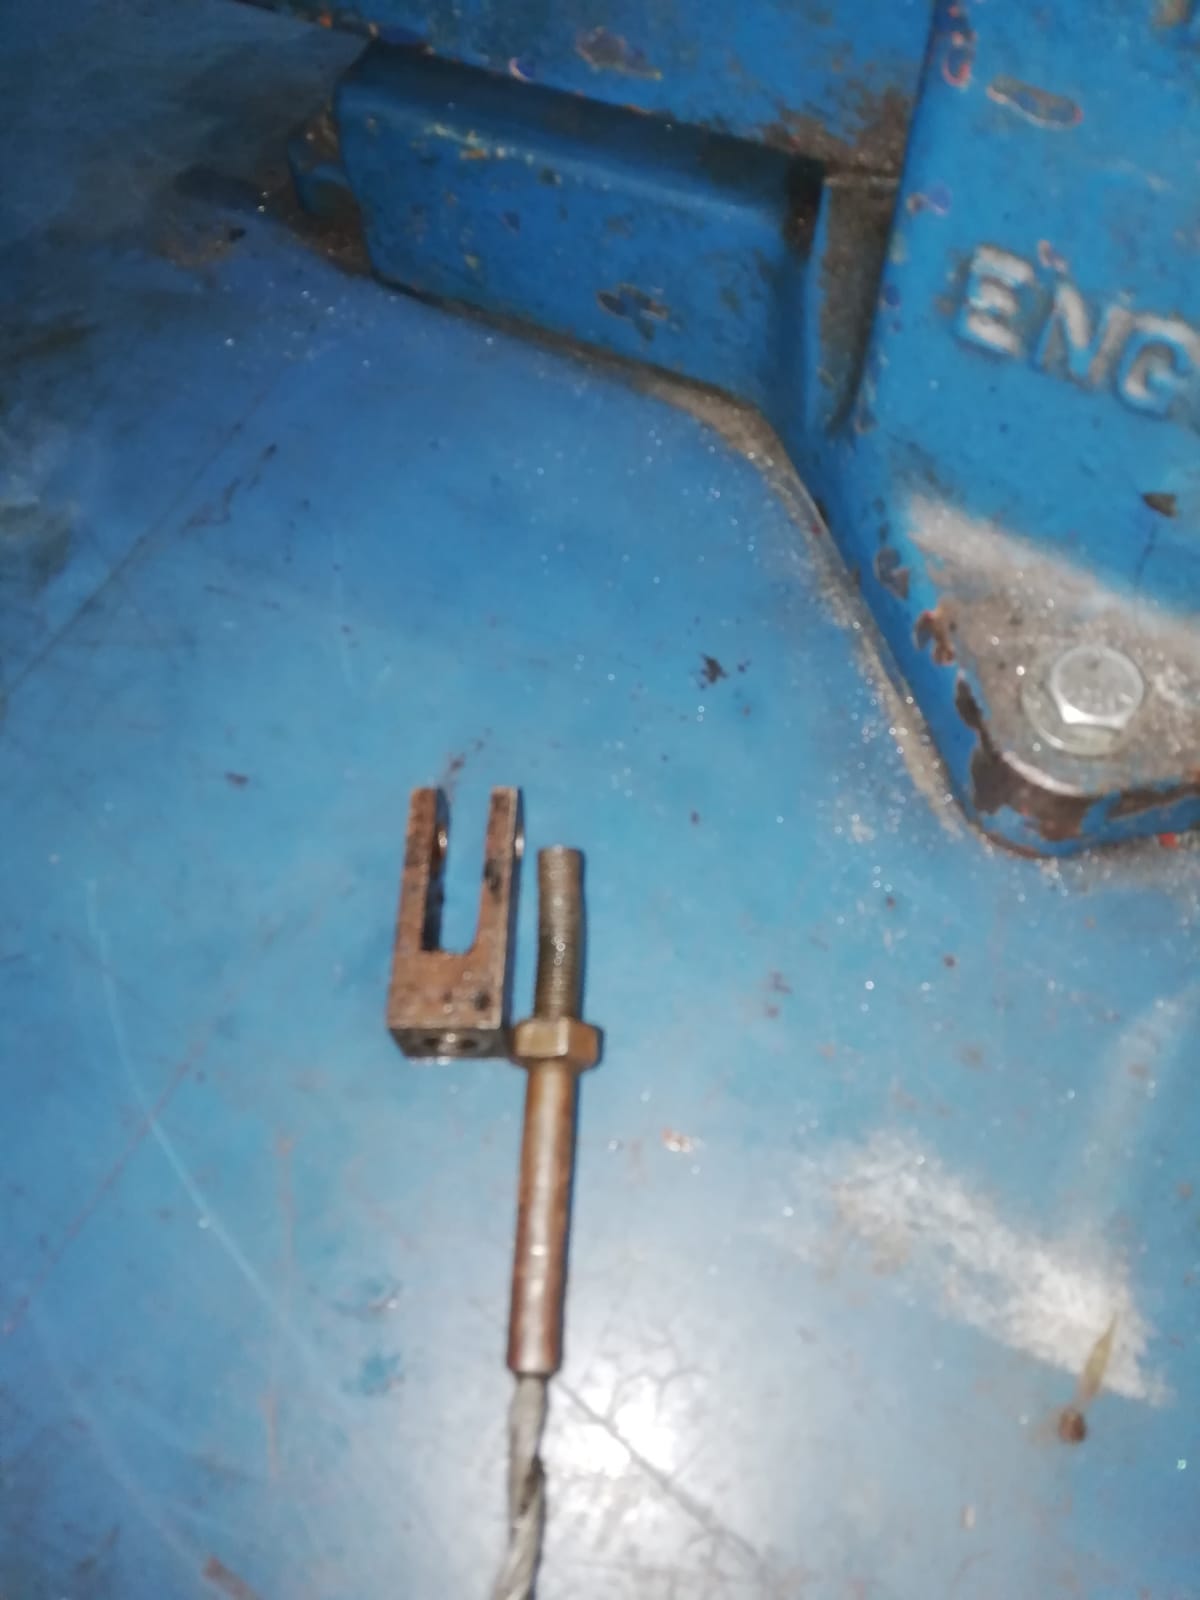
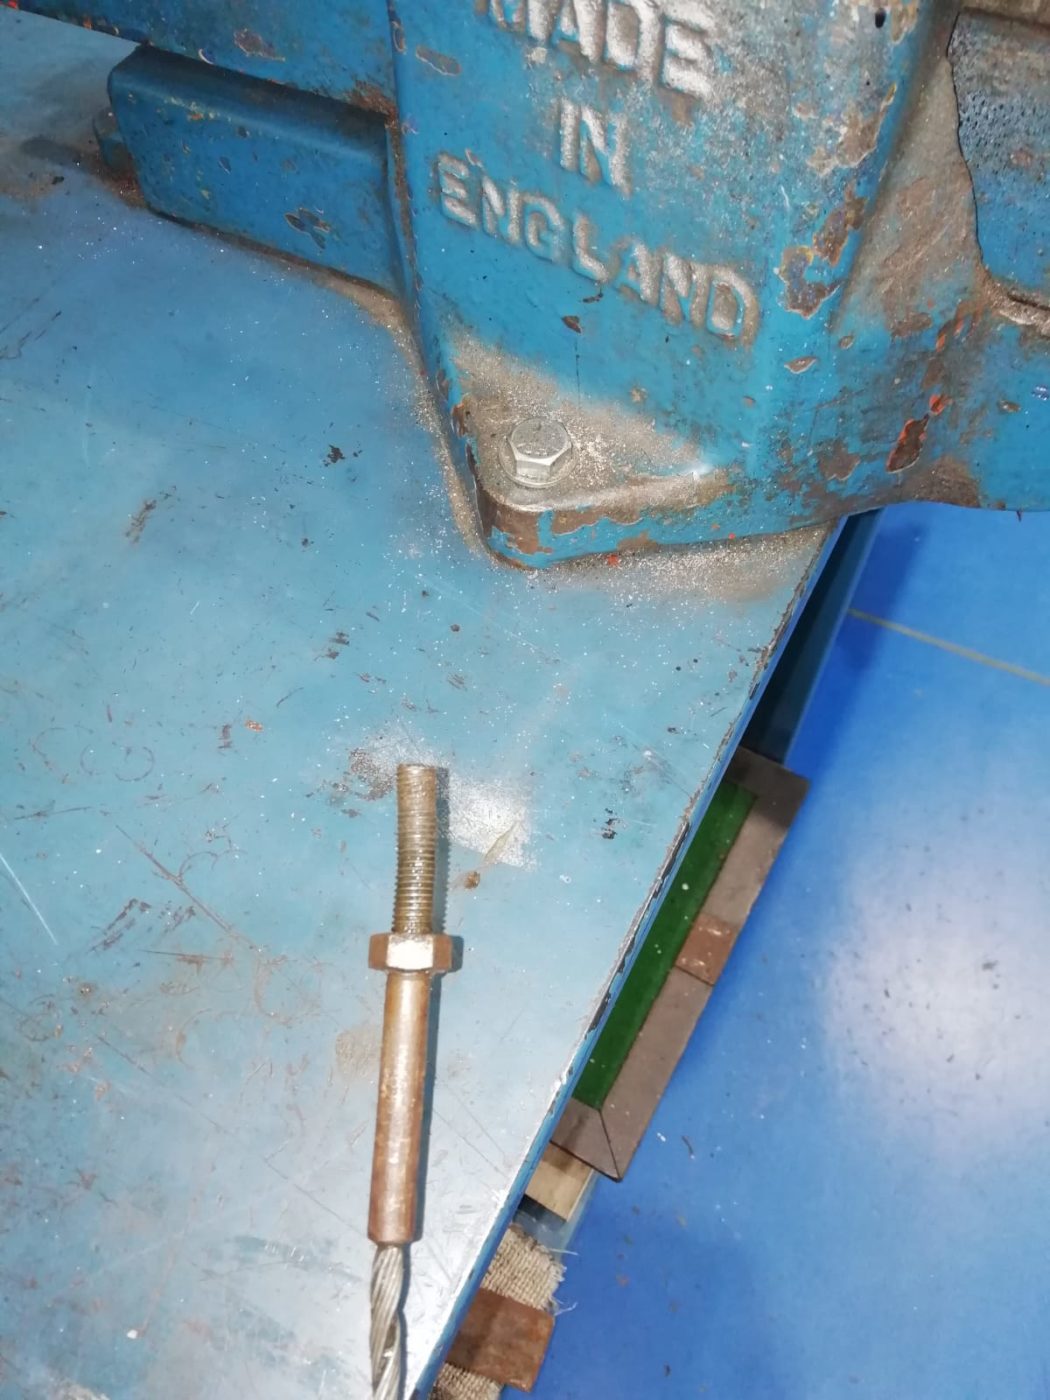
A new handbrake cable has been fitted to the 1961 Jensen 541S by our classic car technician Paul who has handled the re-build and re-fitting of the handbrake.
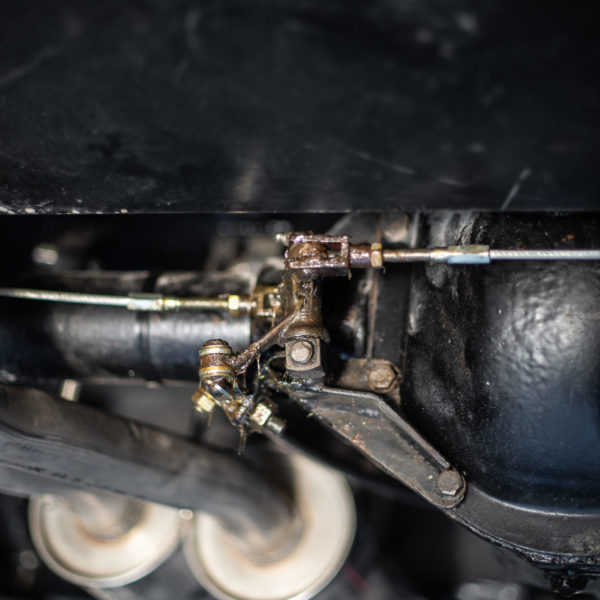
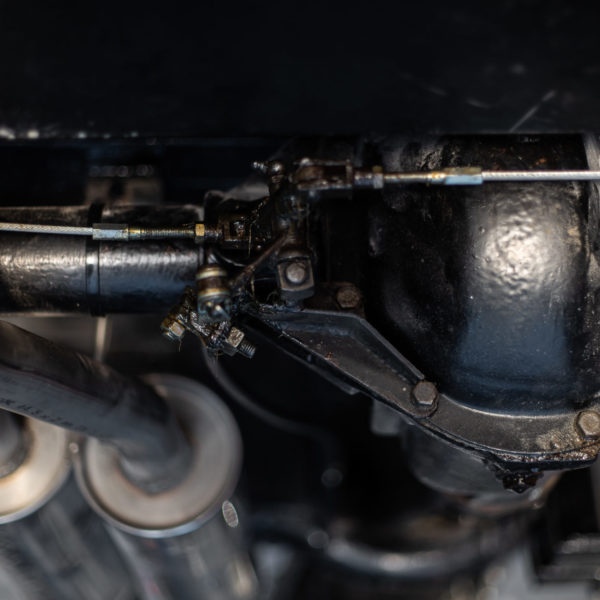
The photos below show the hand brake cable after being removed by Paul and ready for repair.
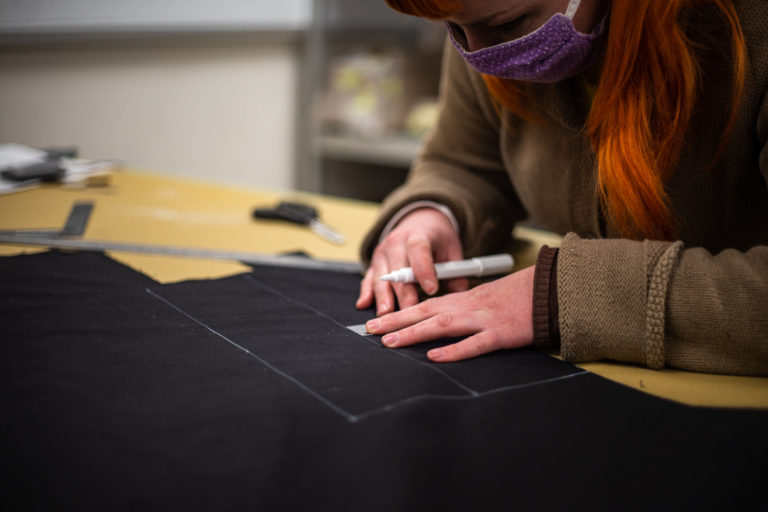
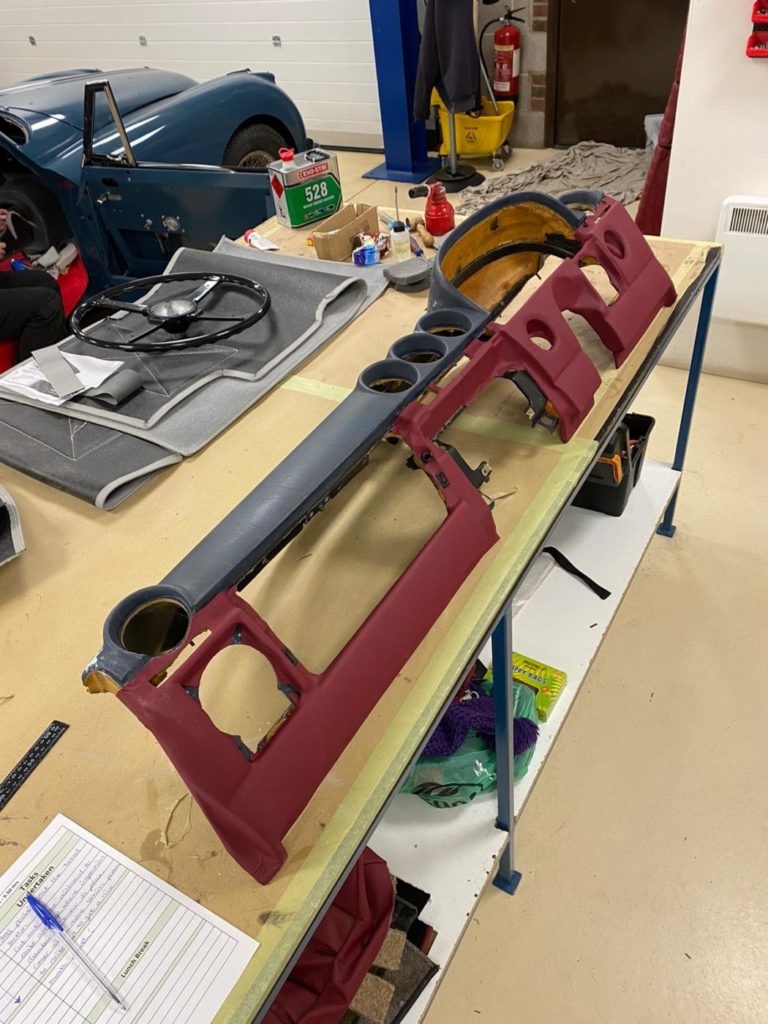
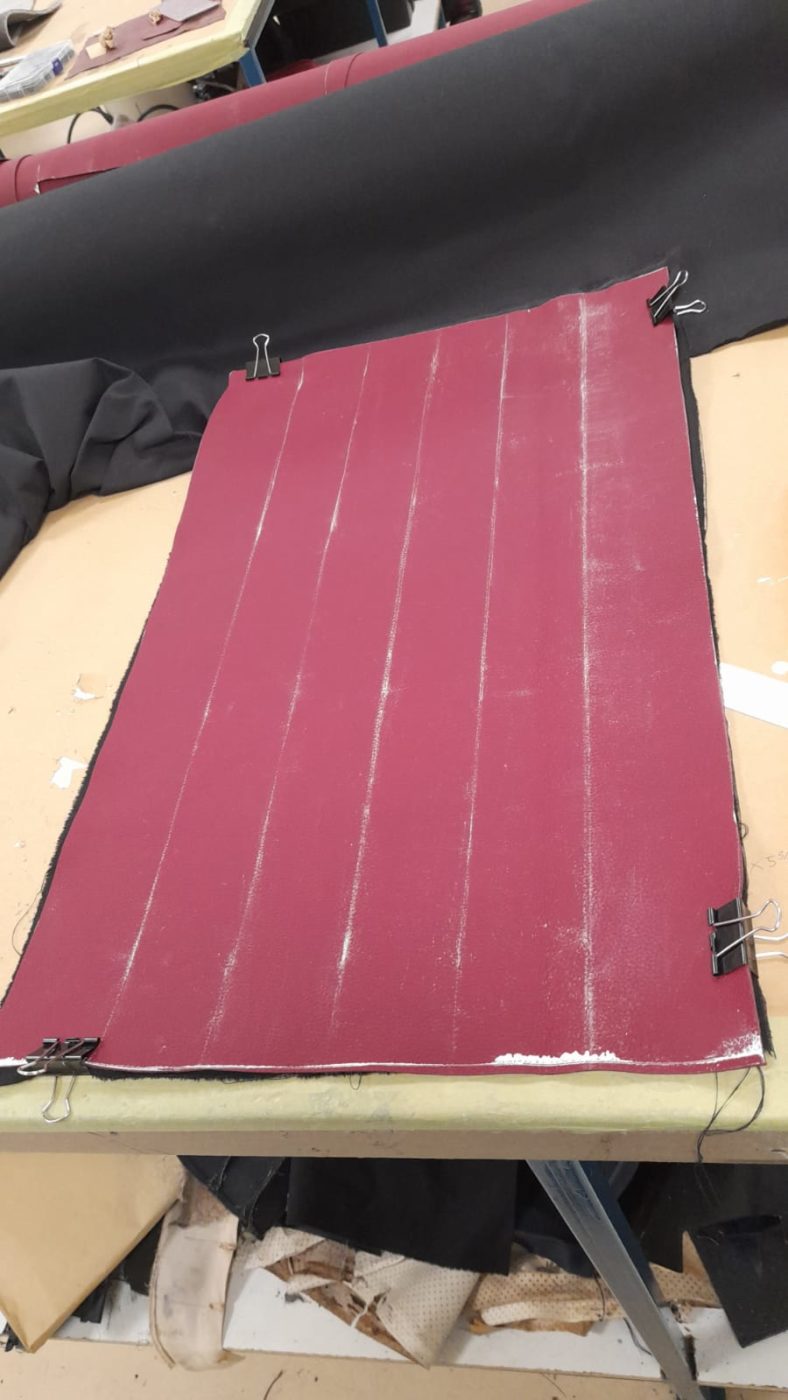
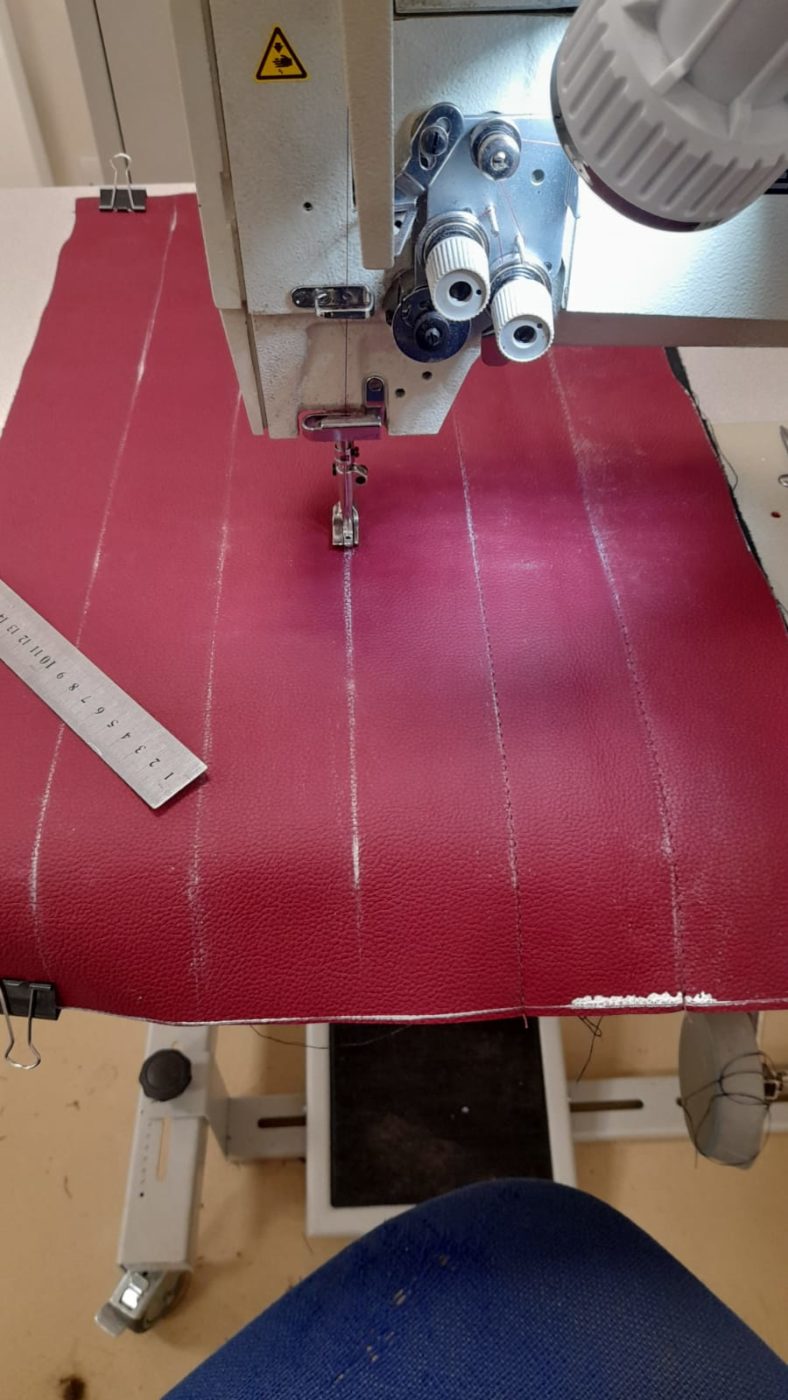
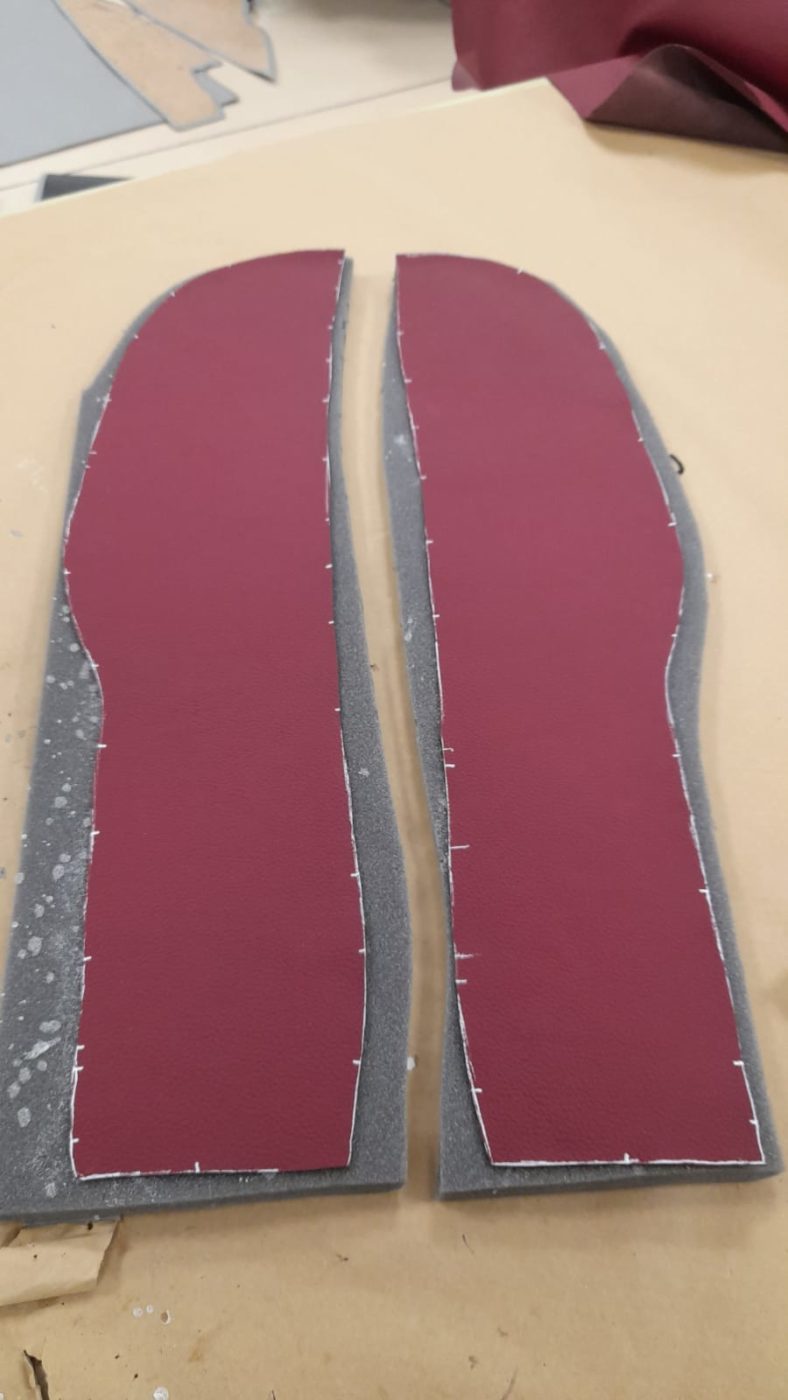
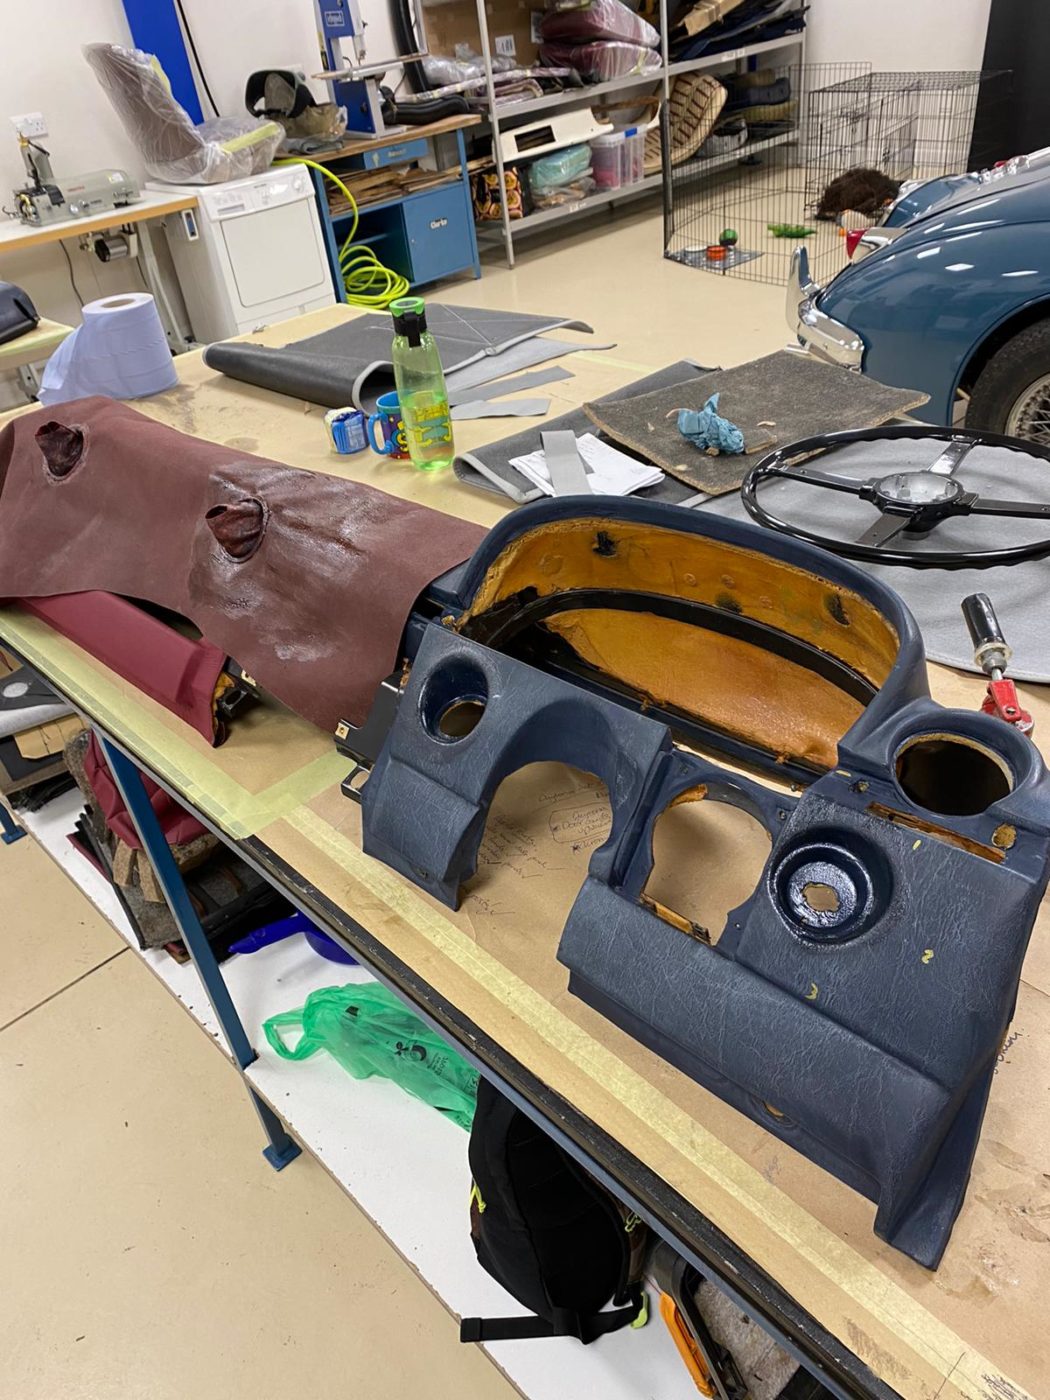
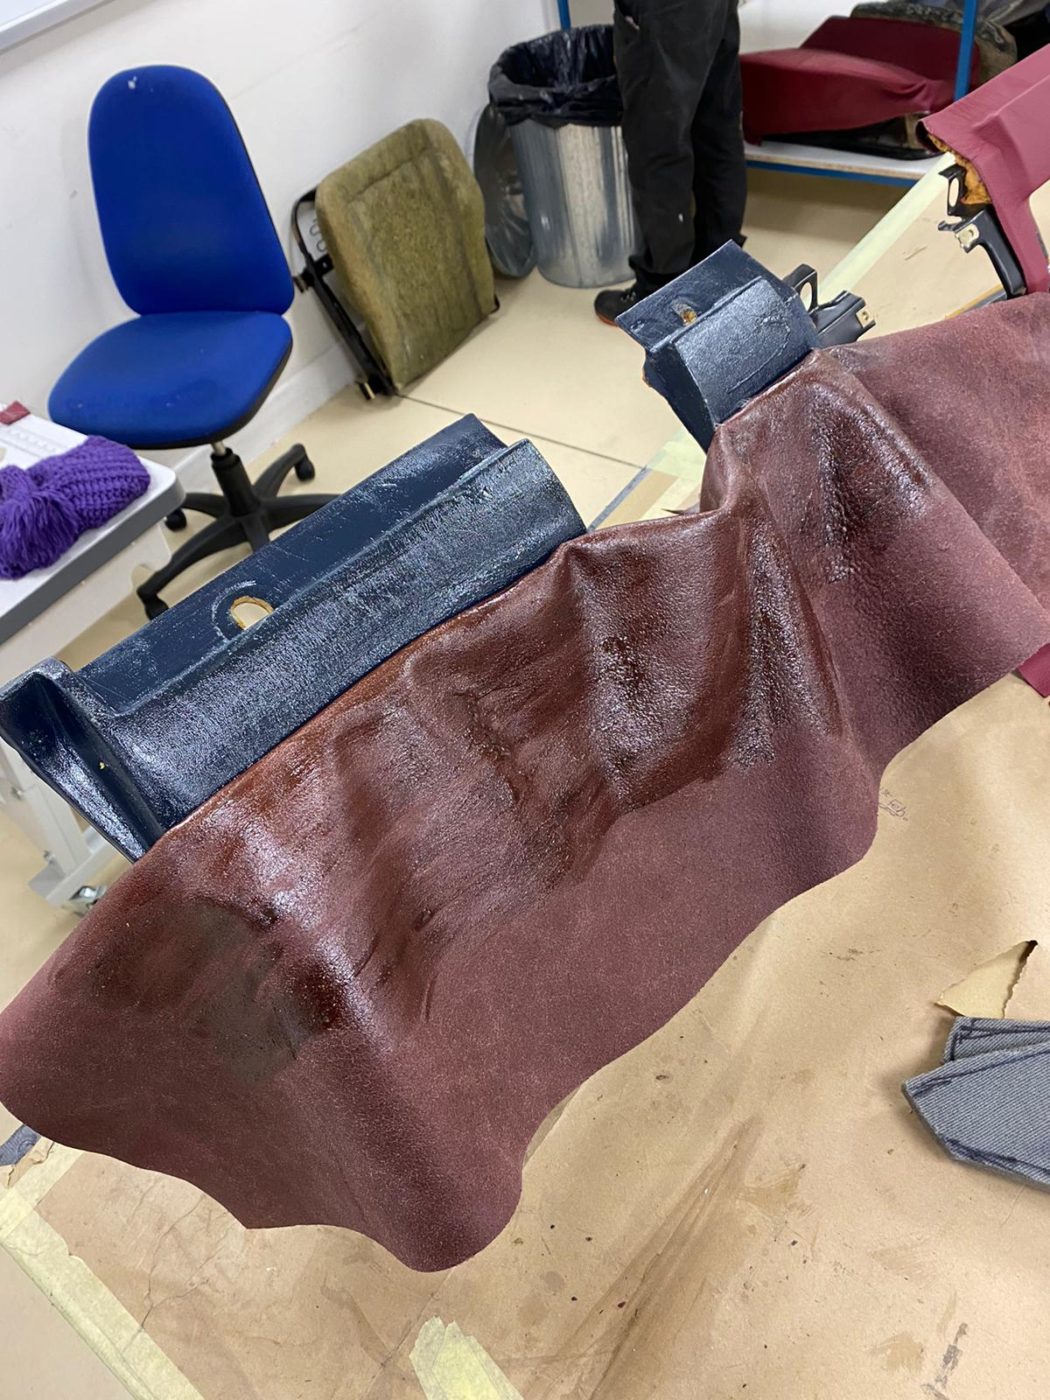
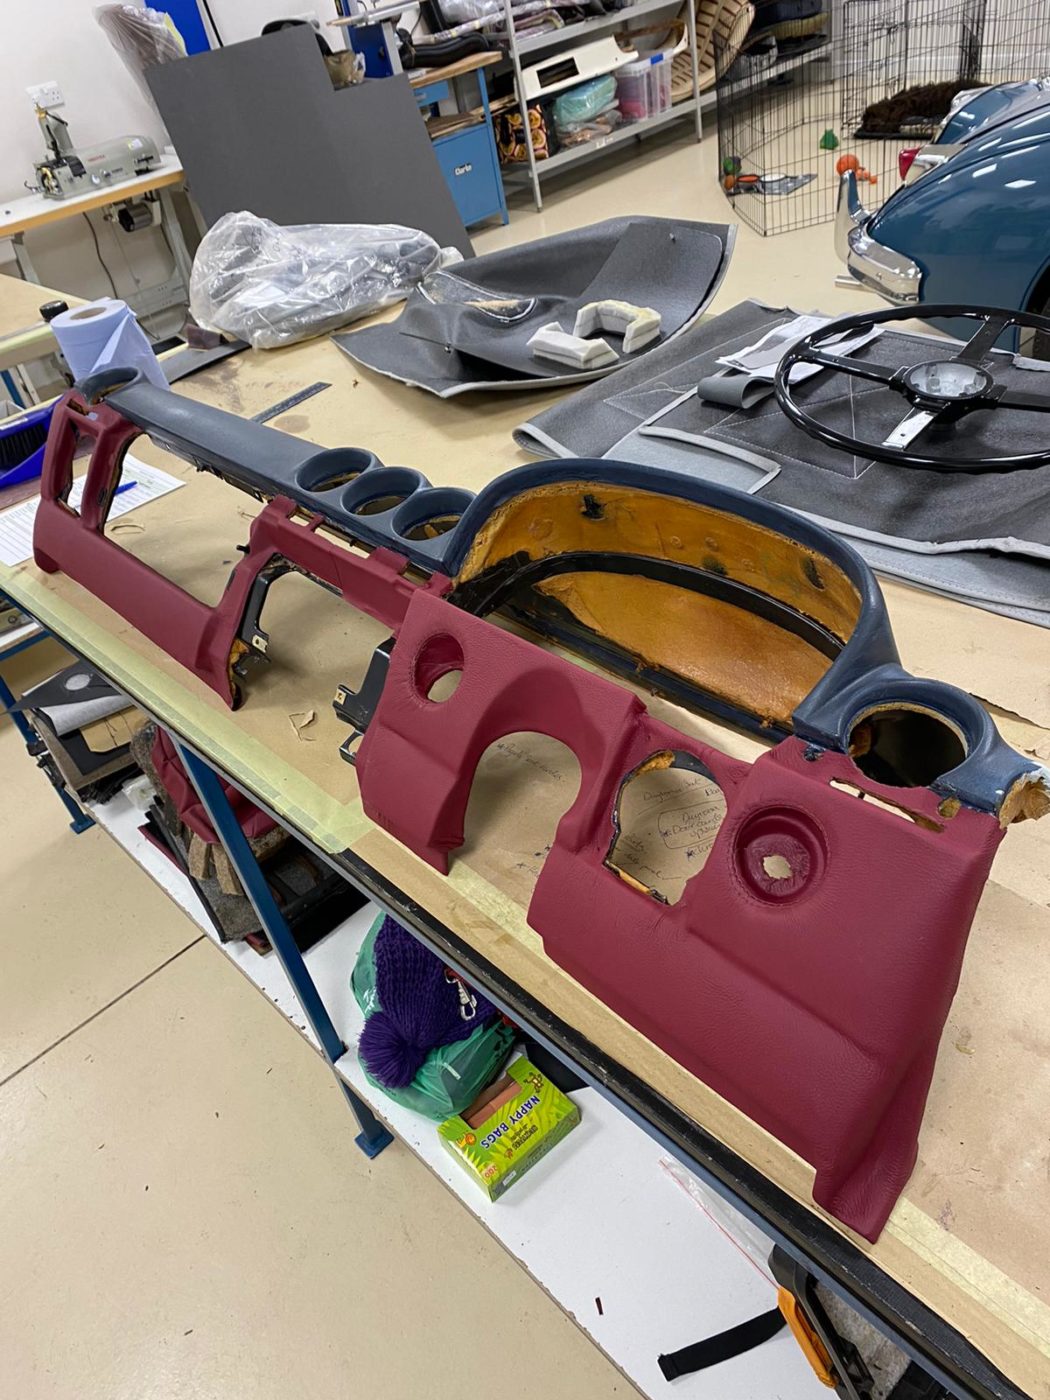
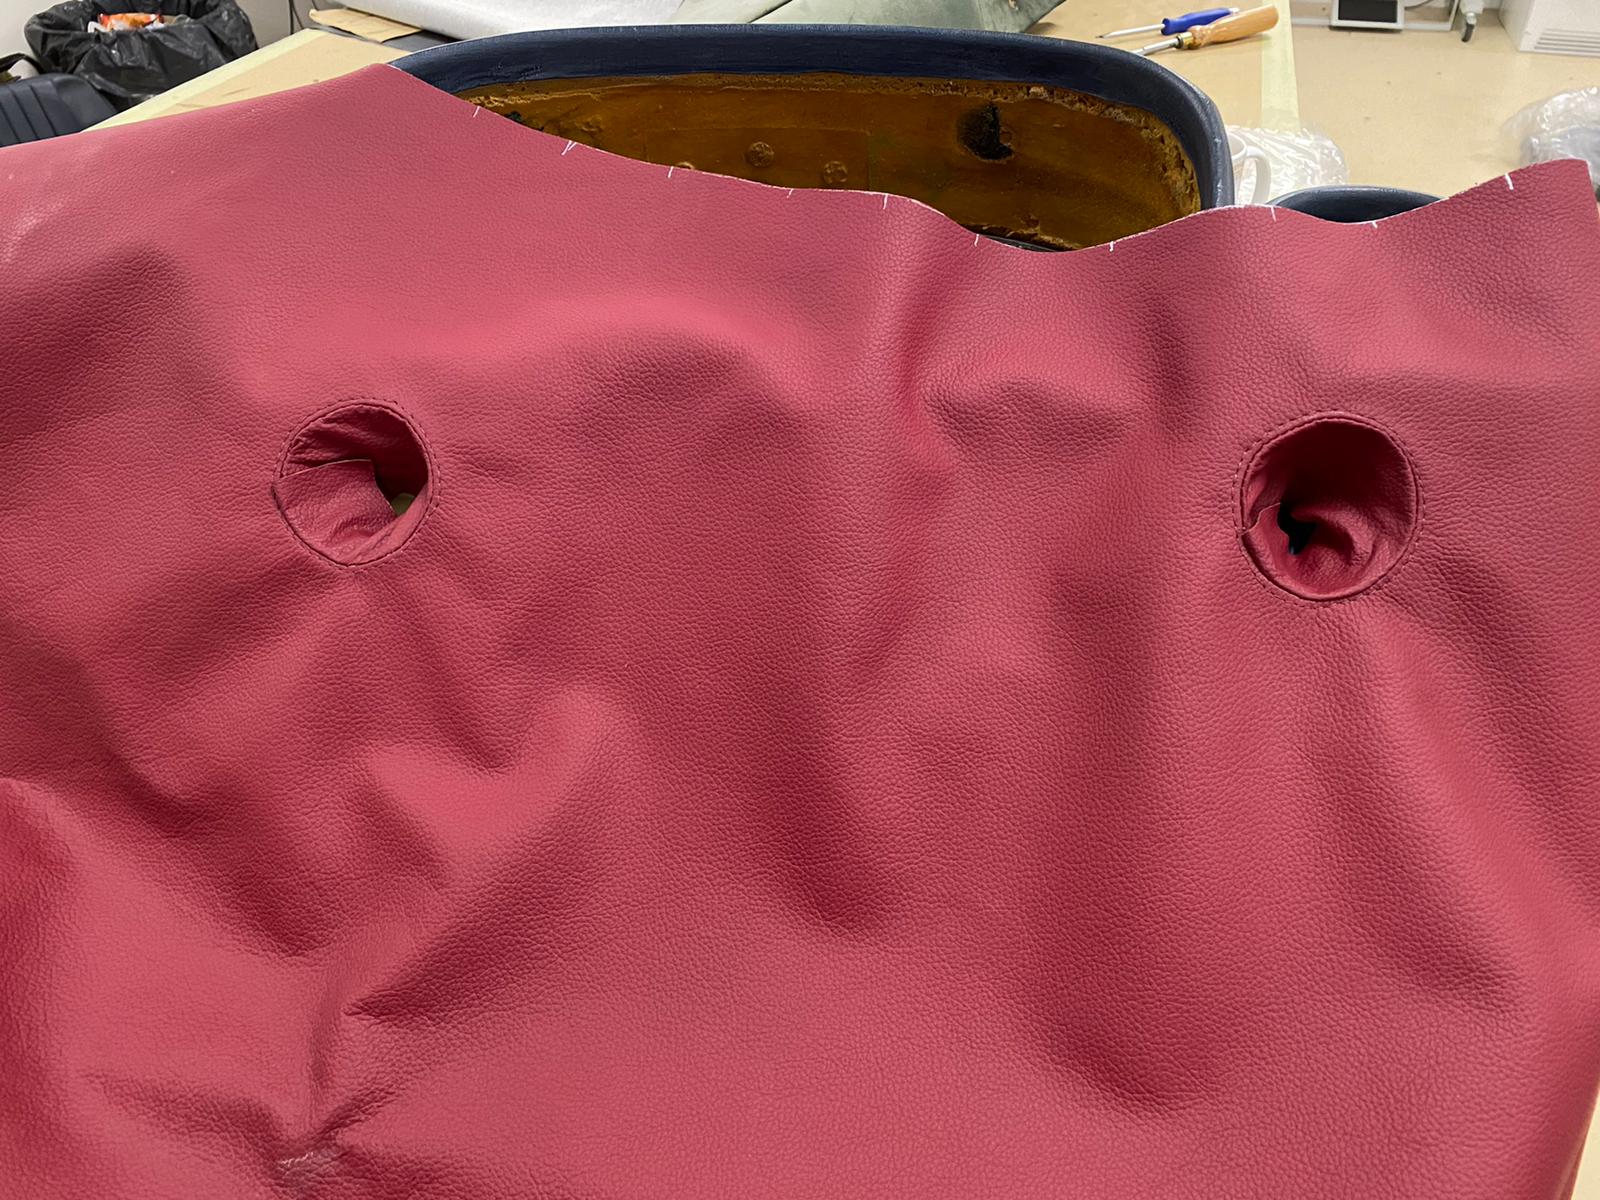
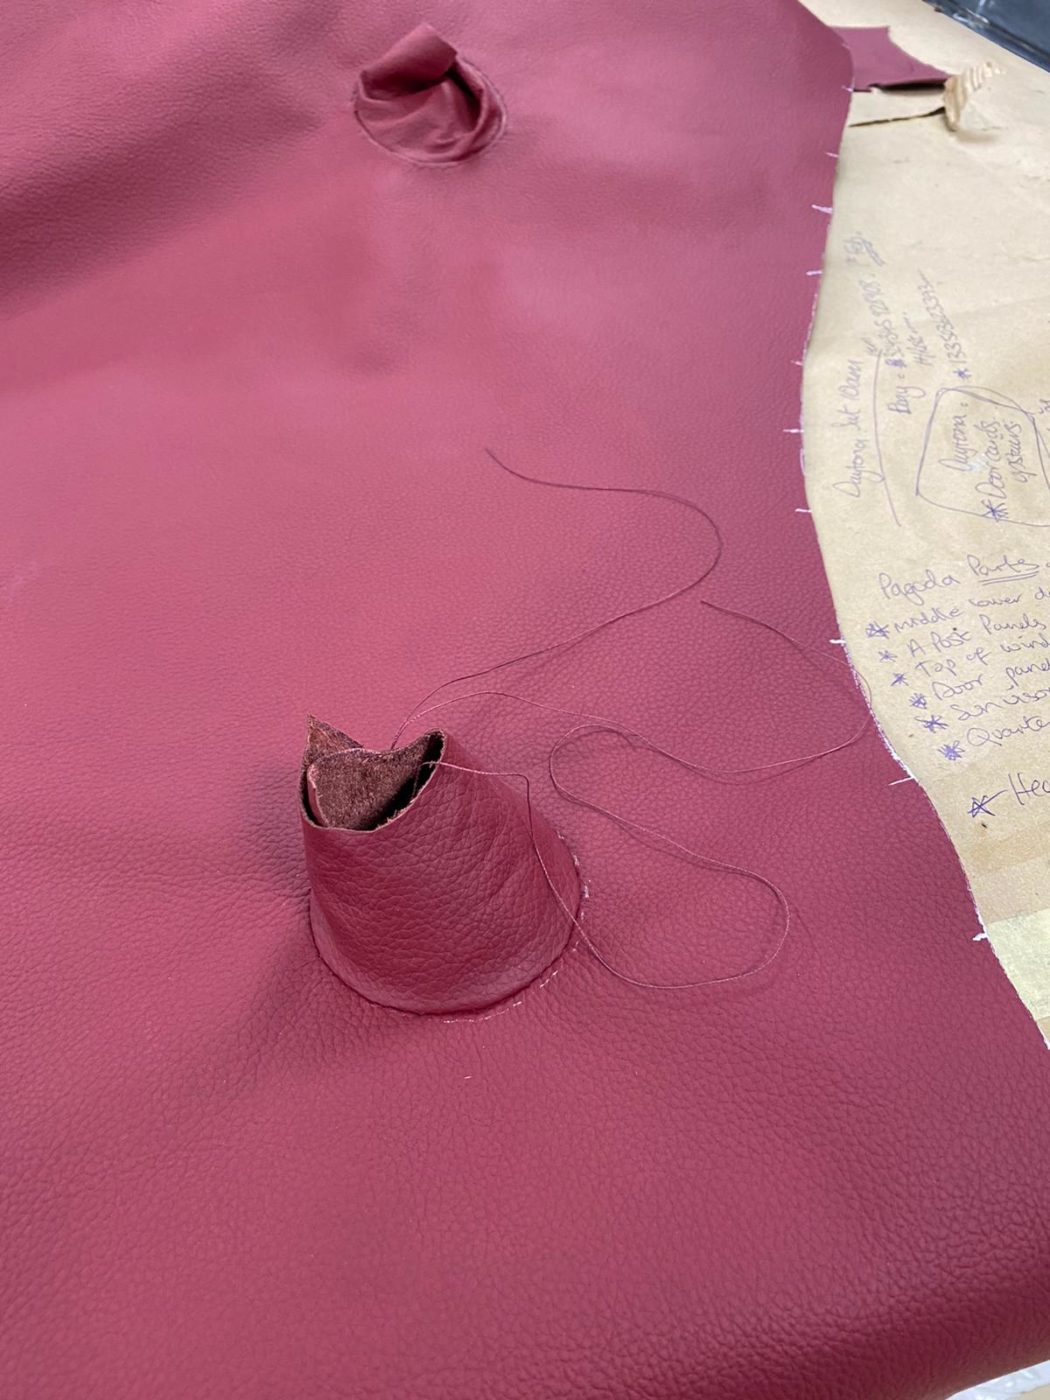
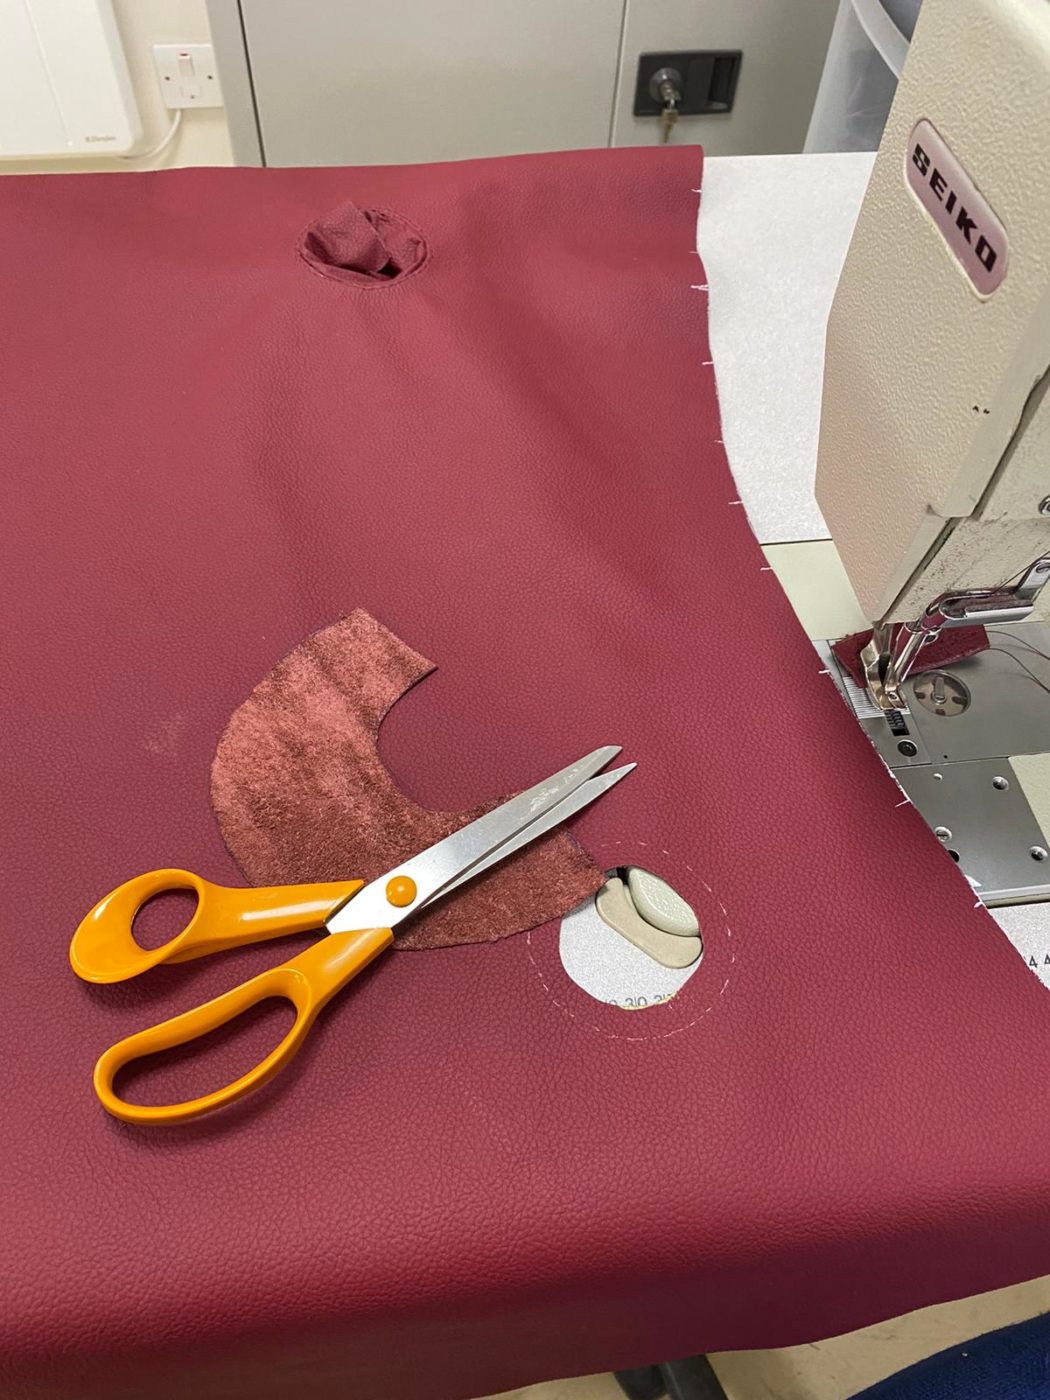
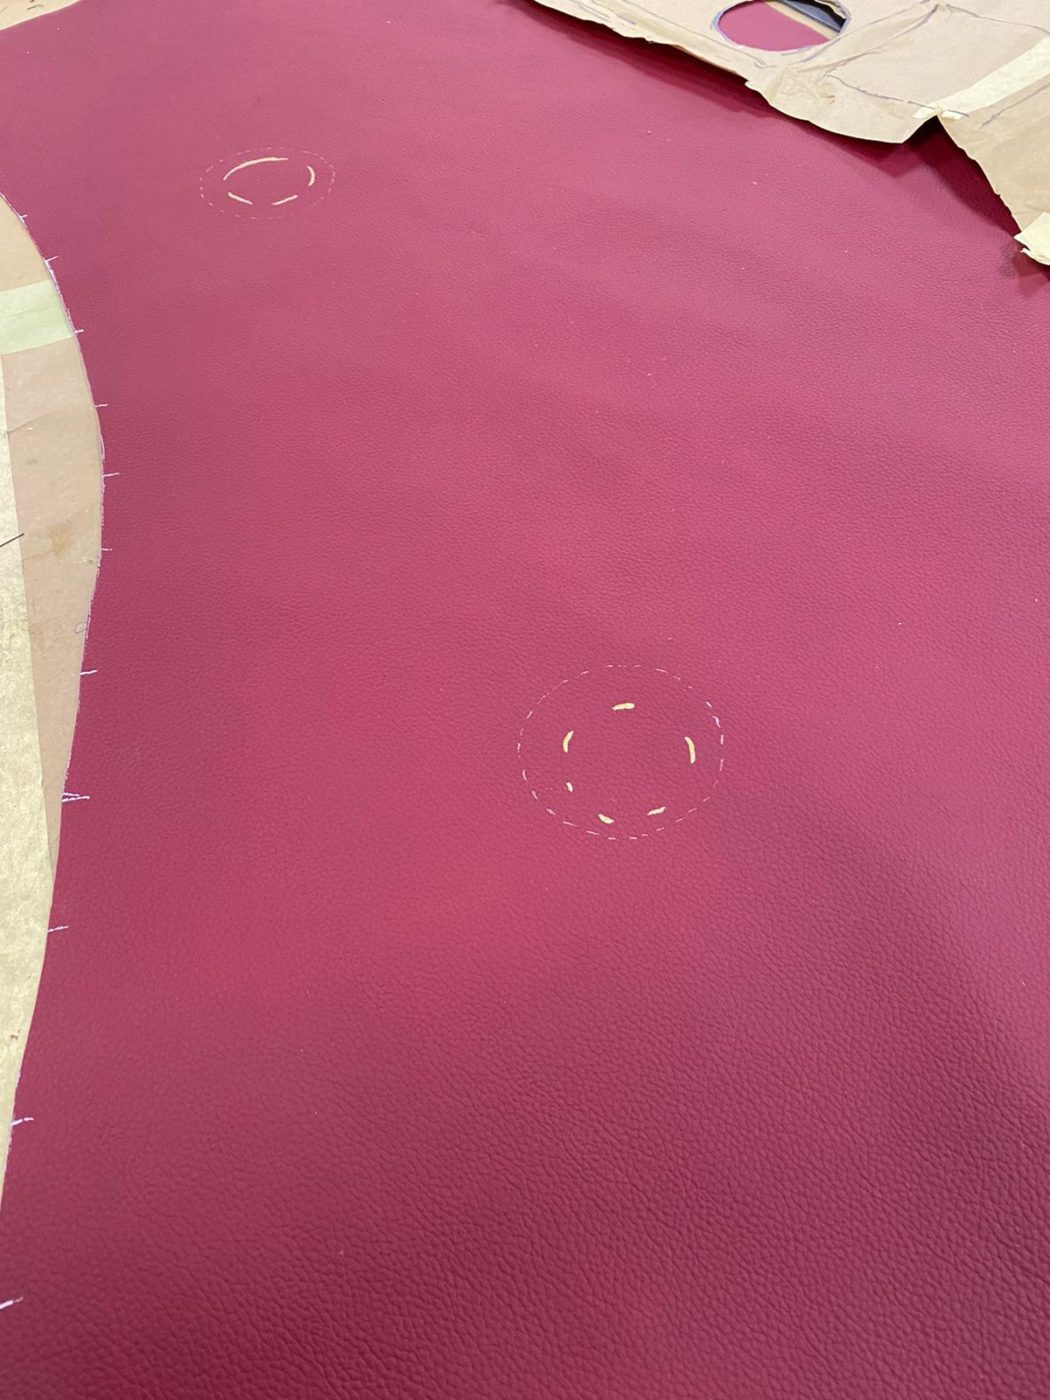
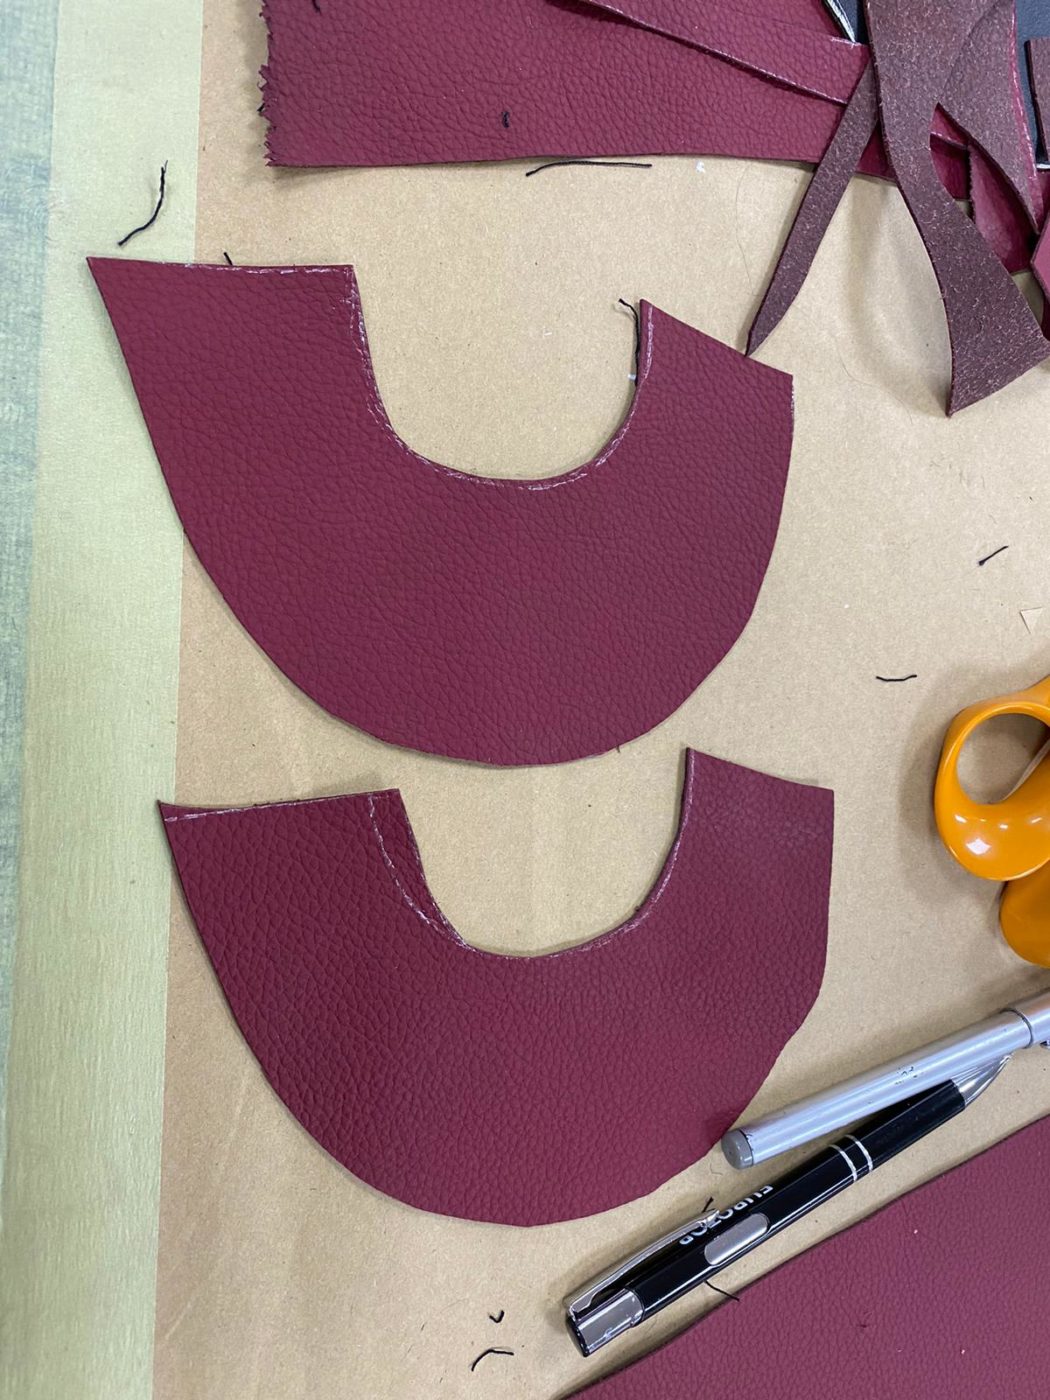
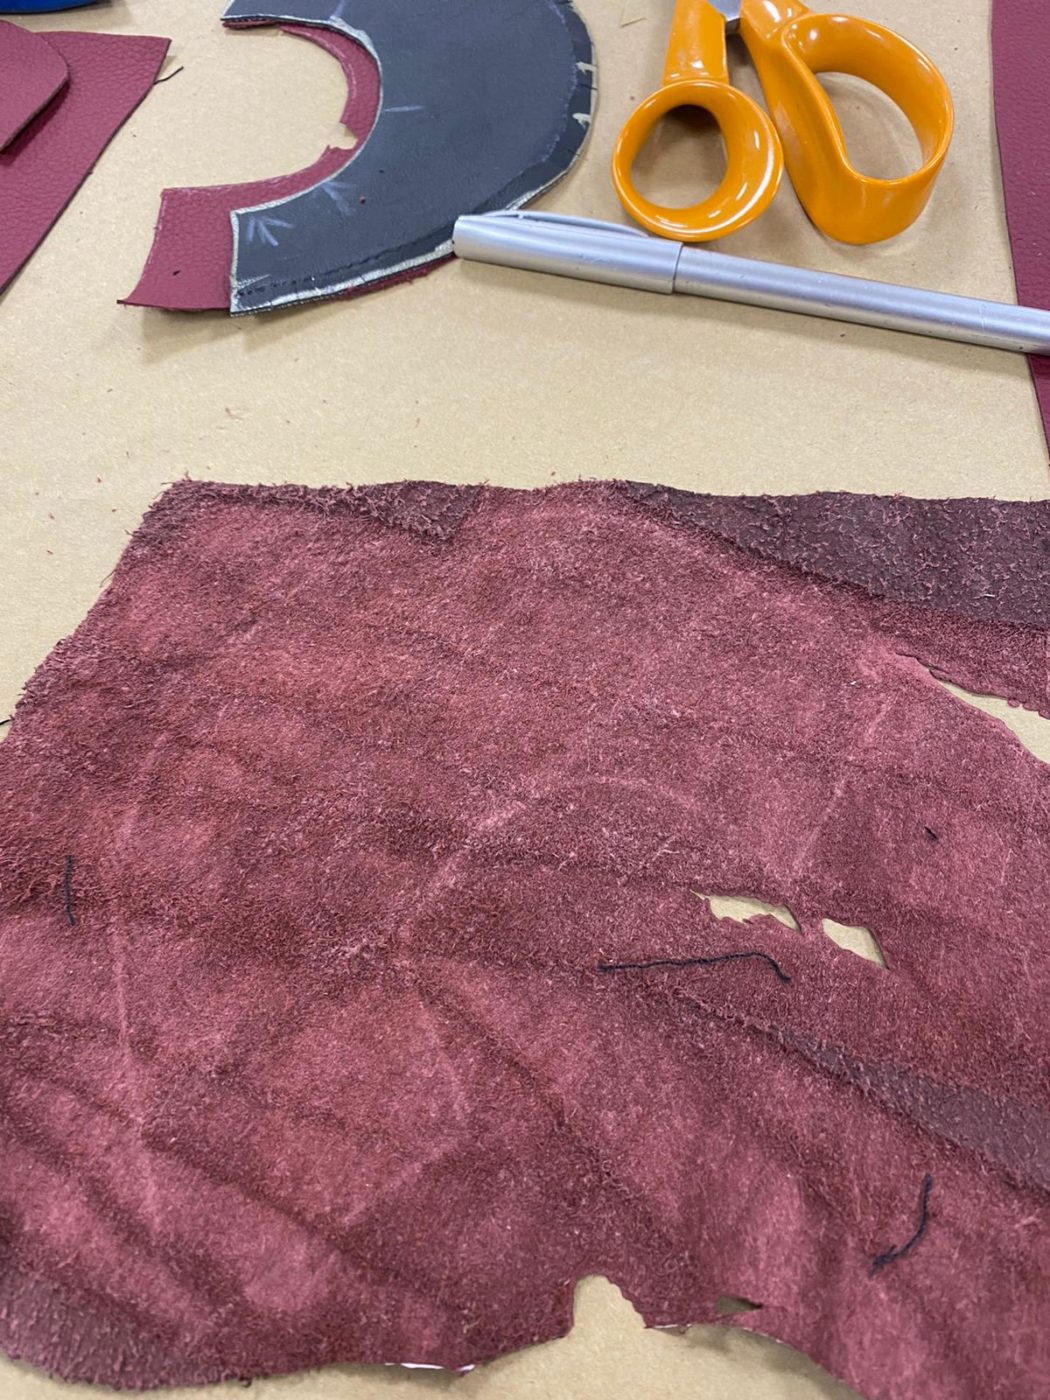
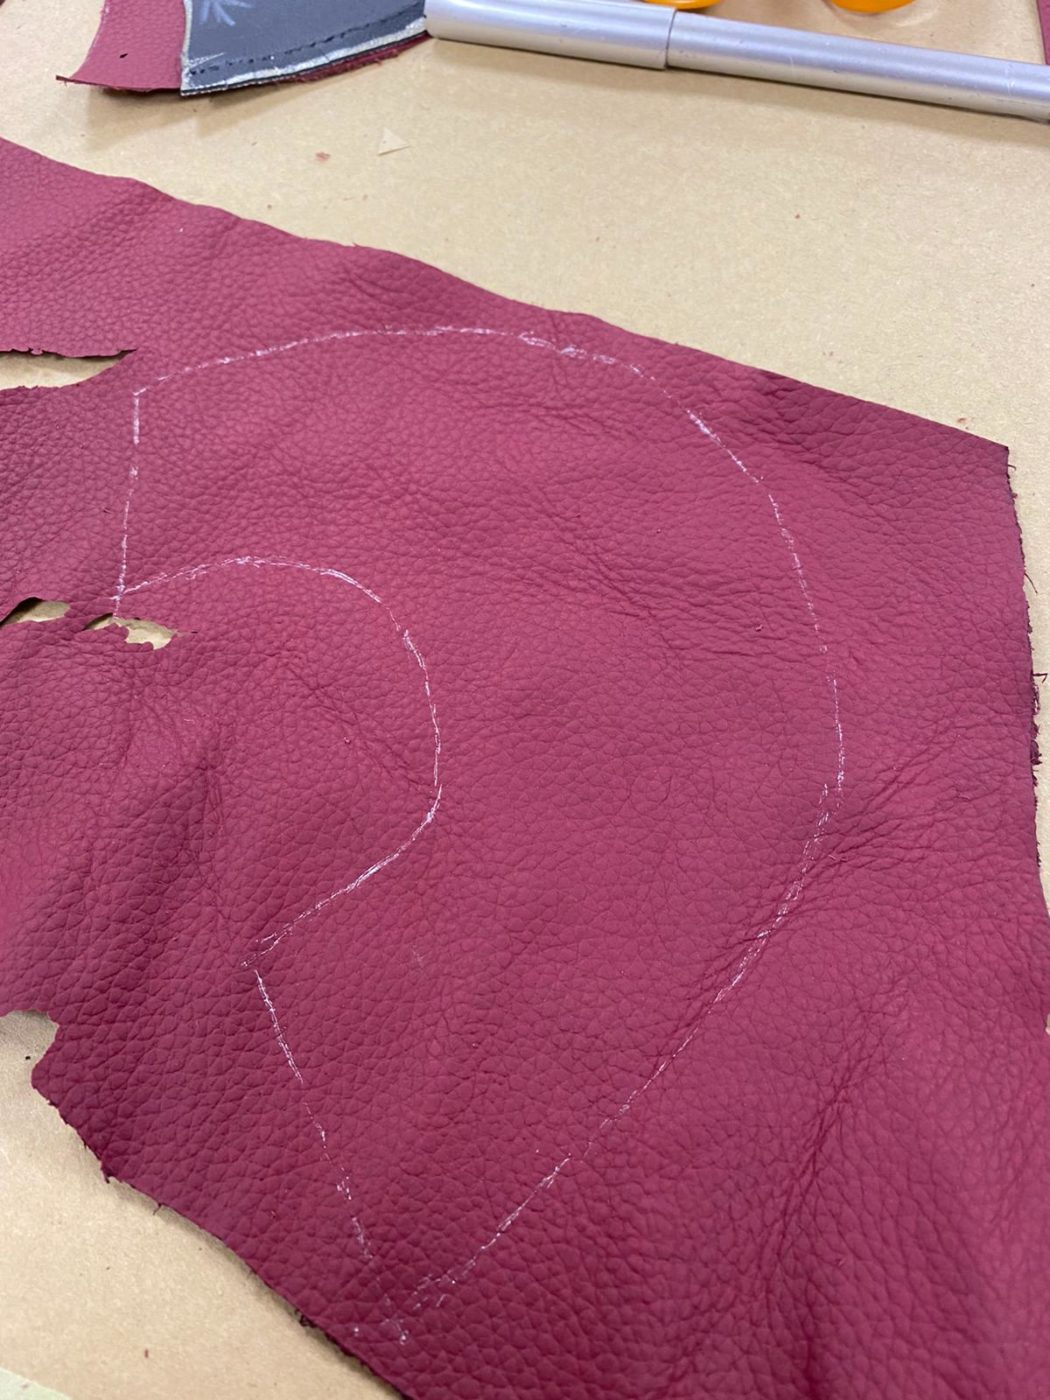
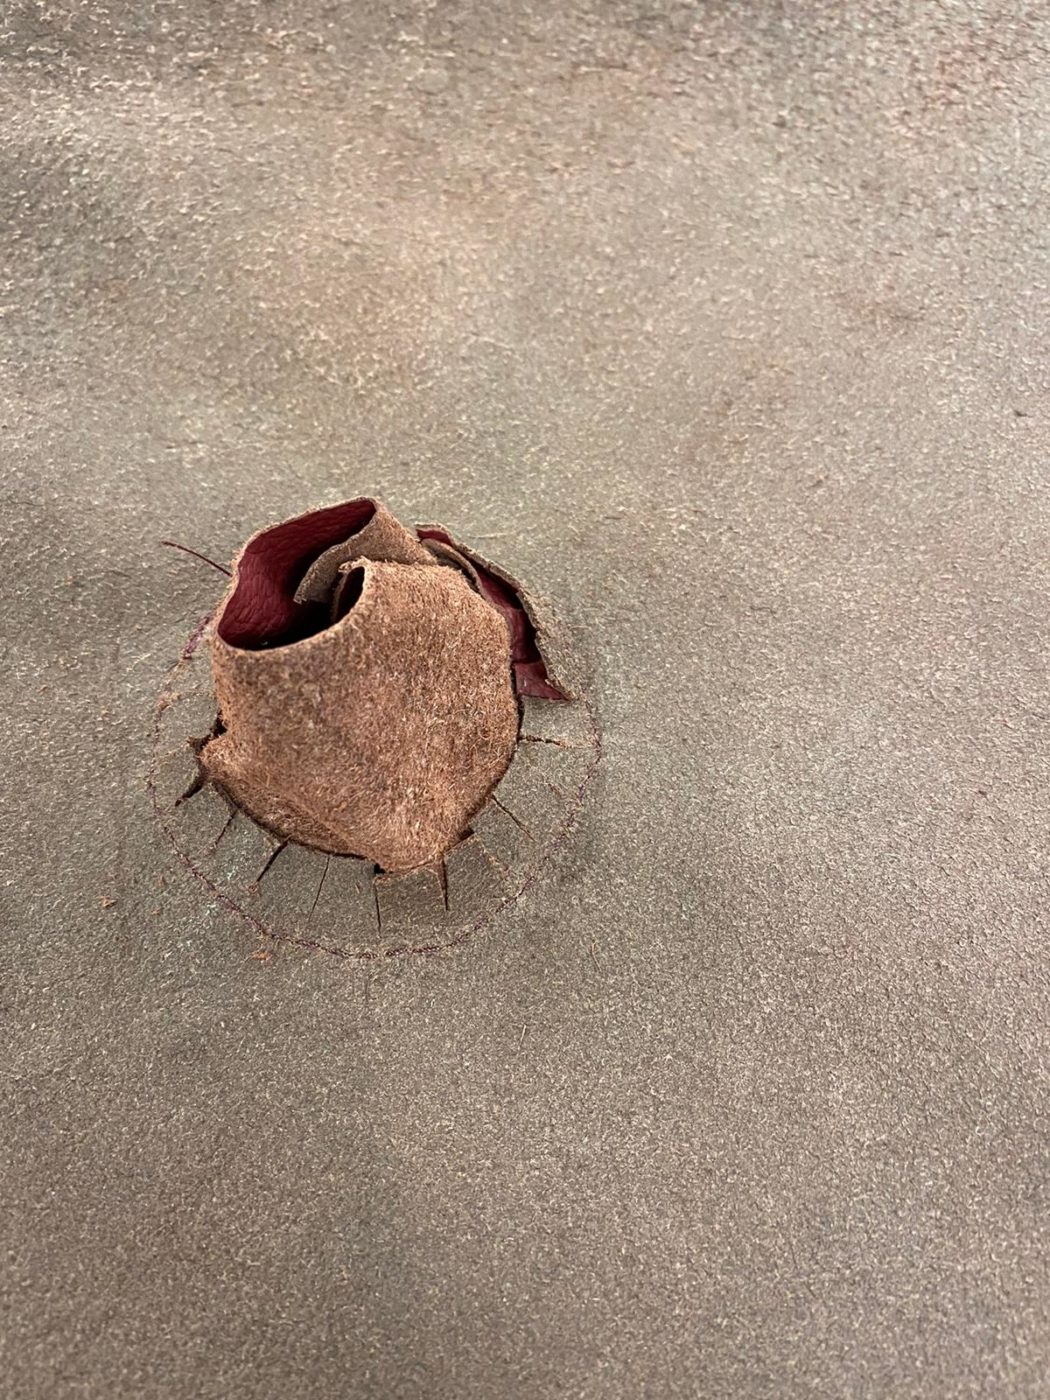
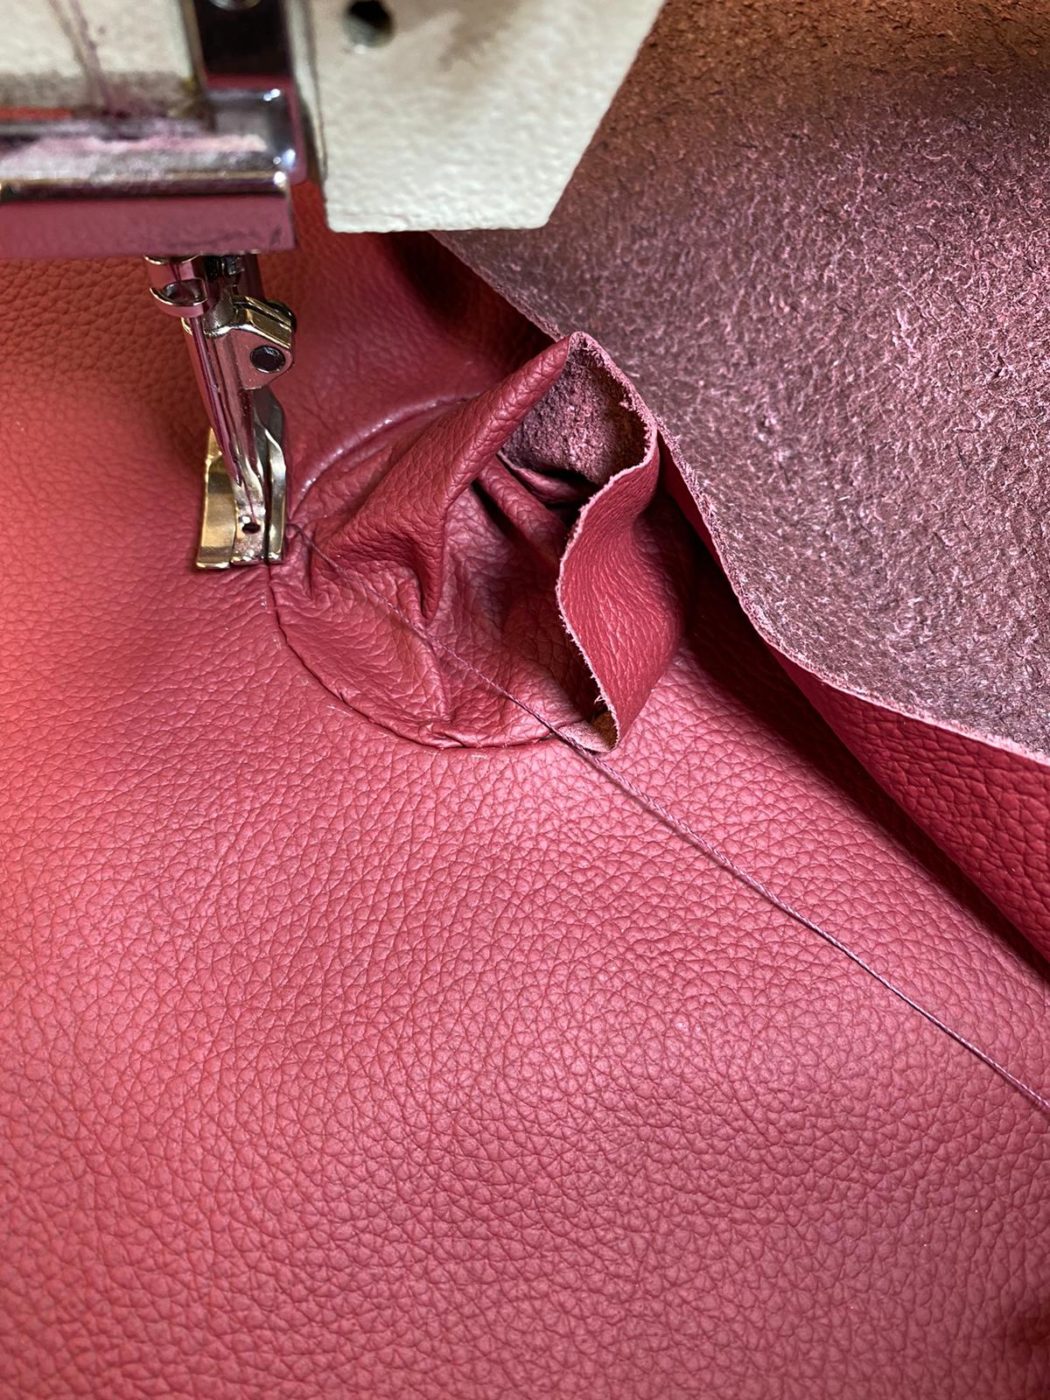
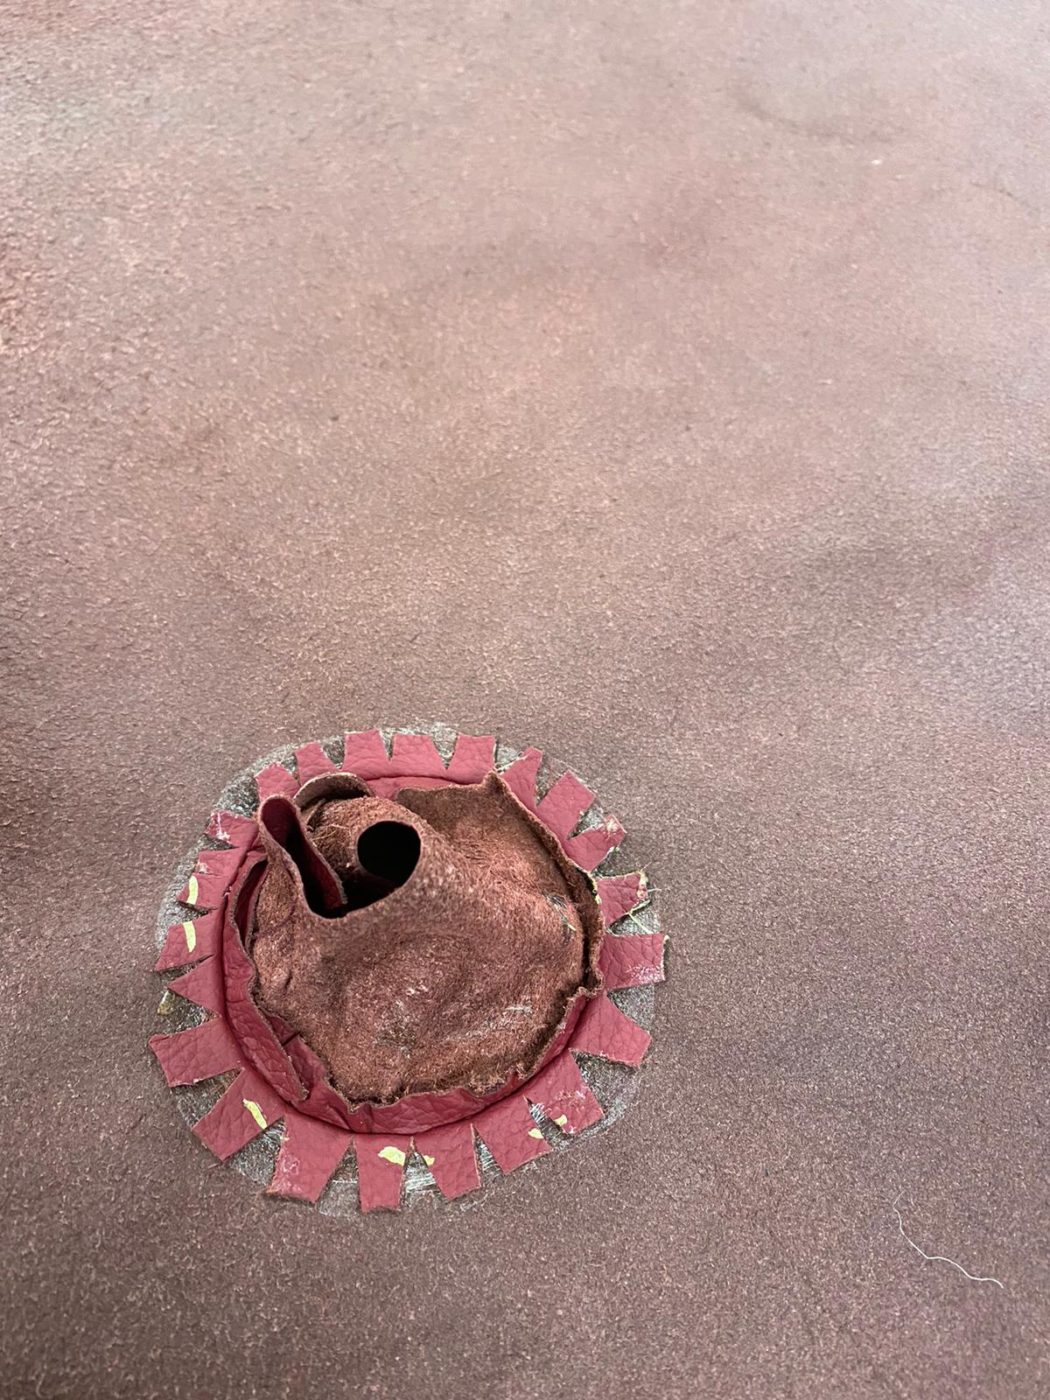
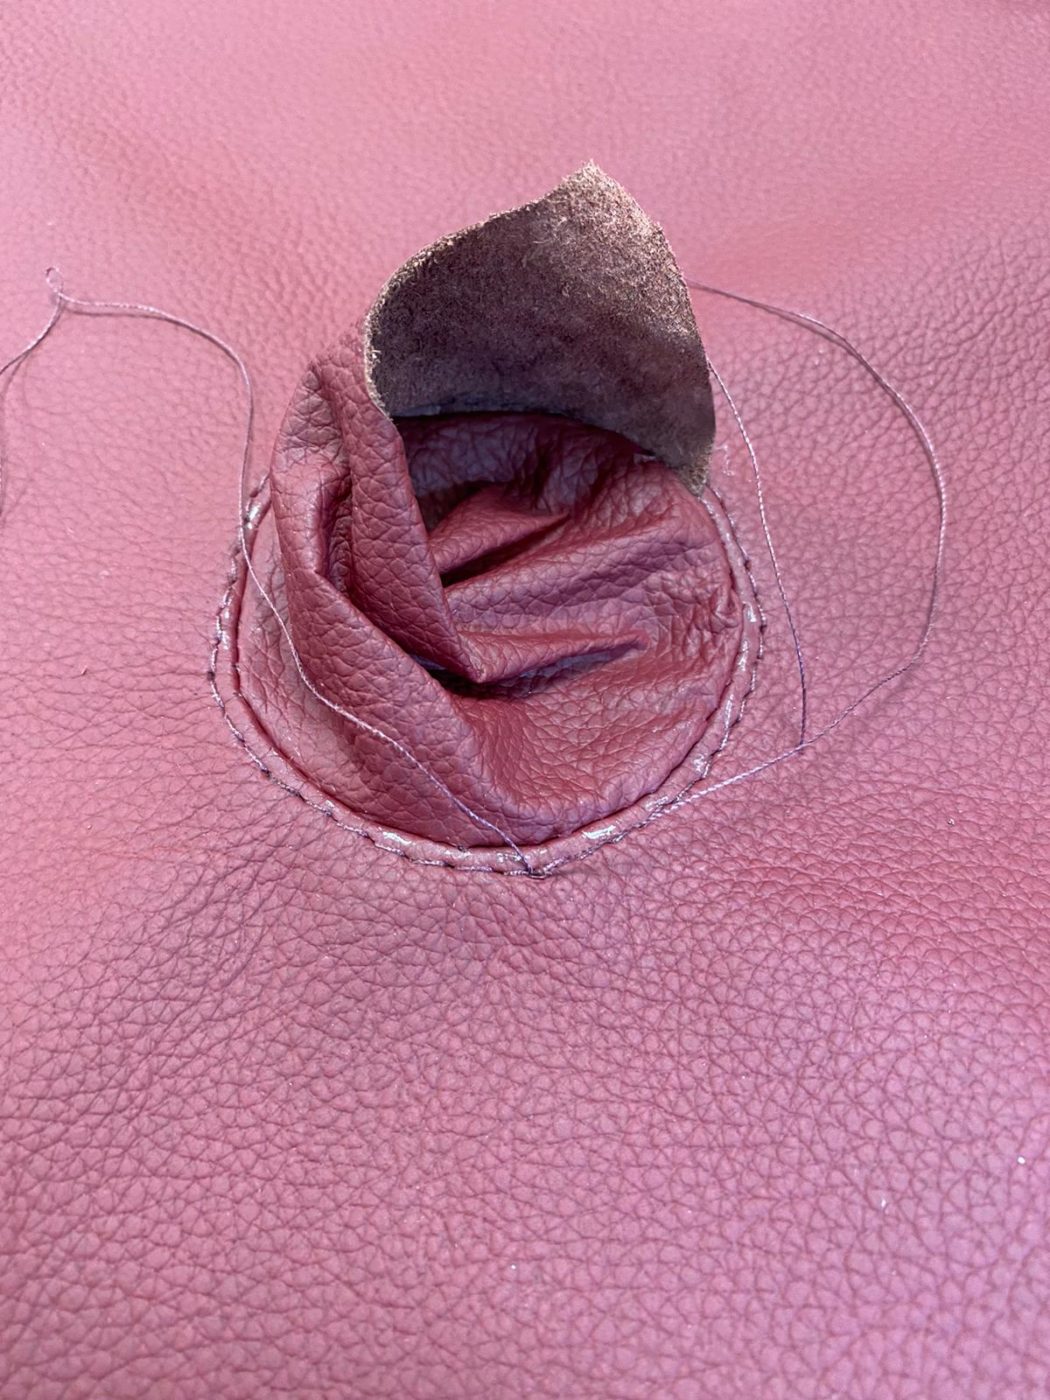
Lydia has completed another seat cover using the same process as before. Brian and Kath have also been working at creating a cover for the dashboard.
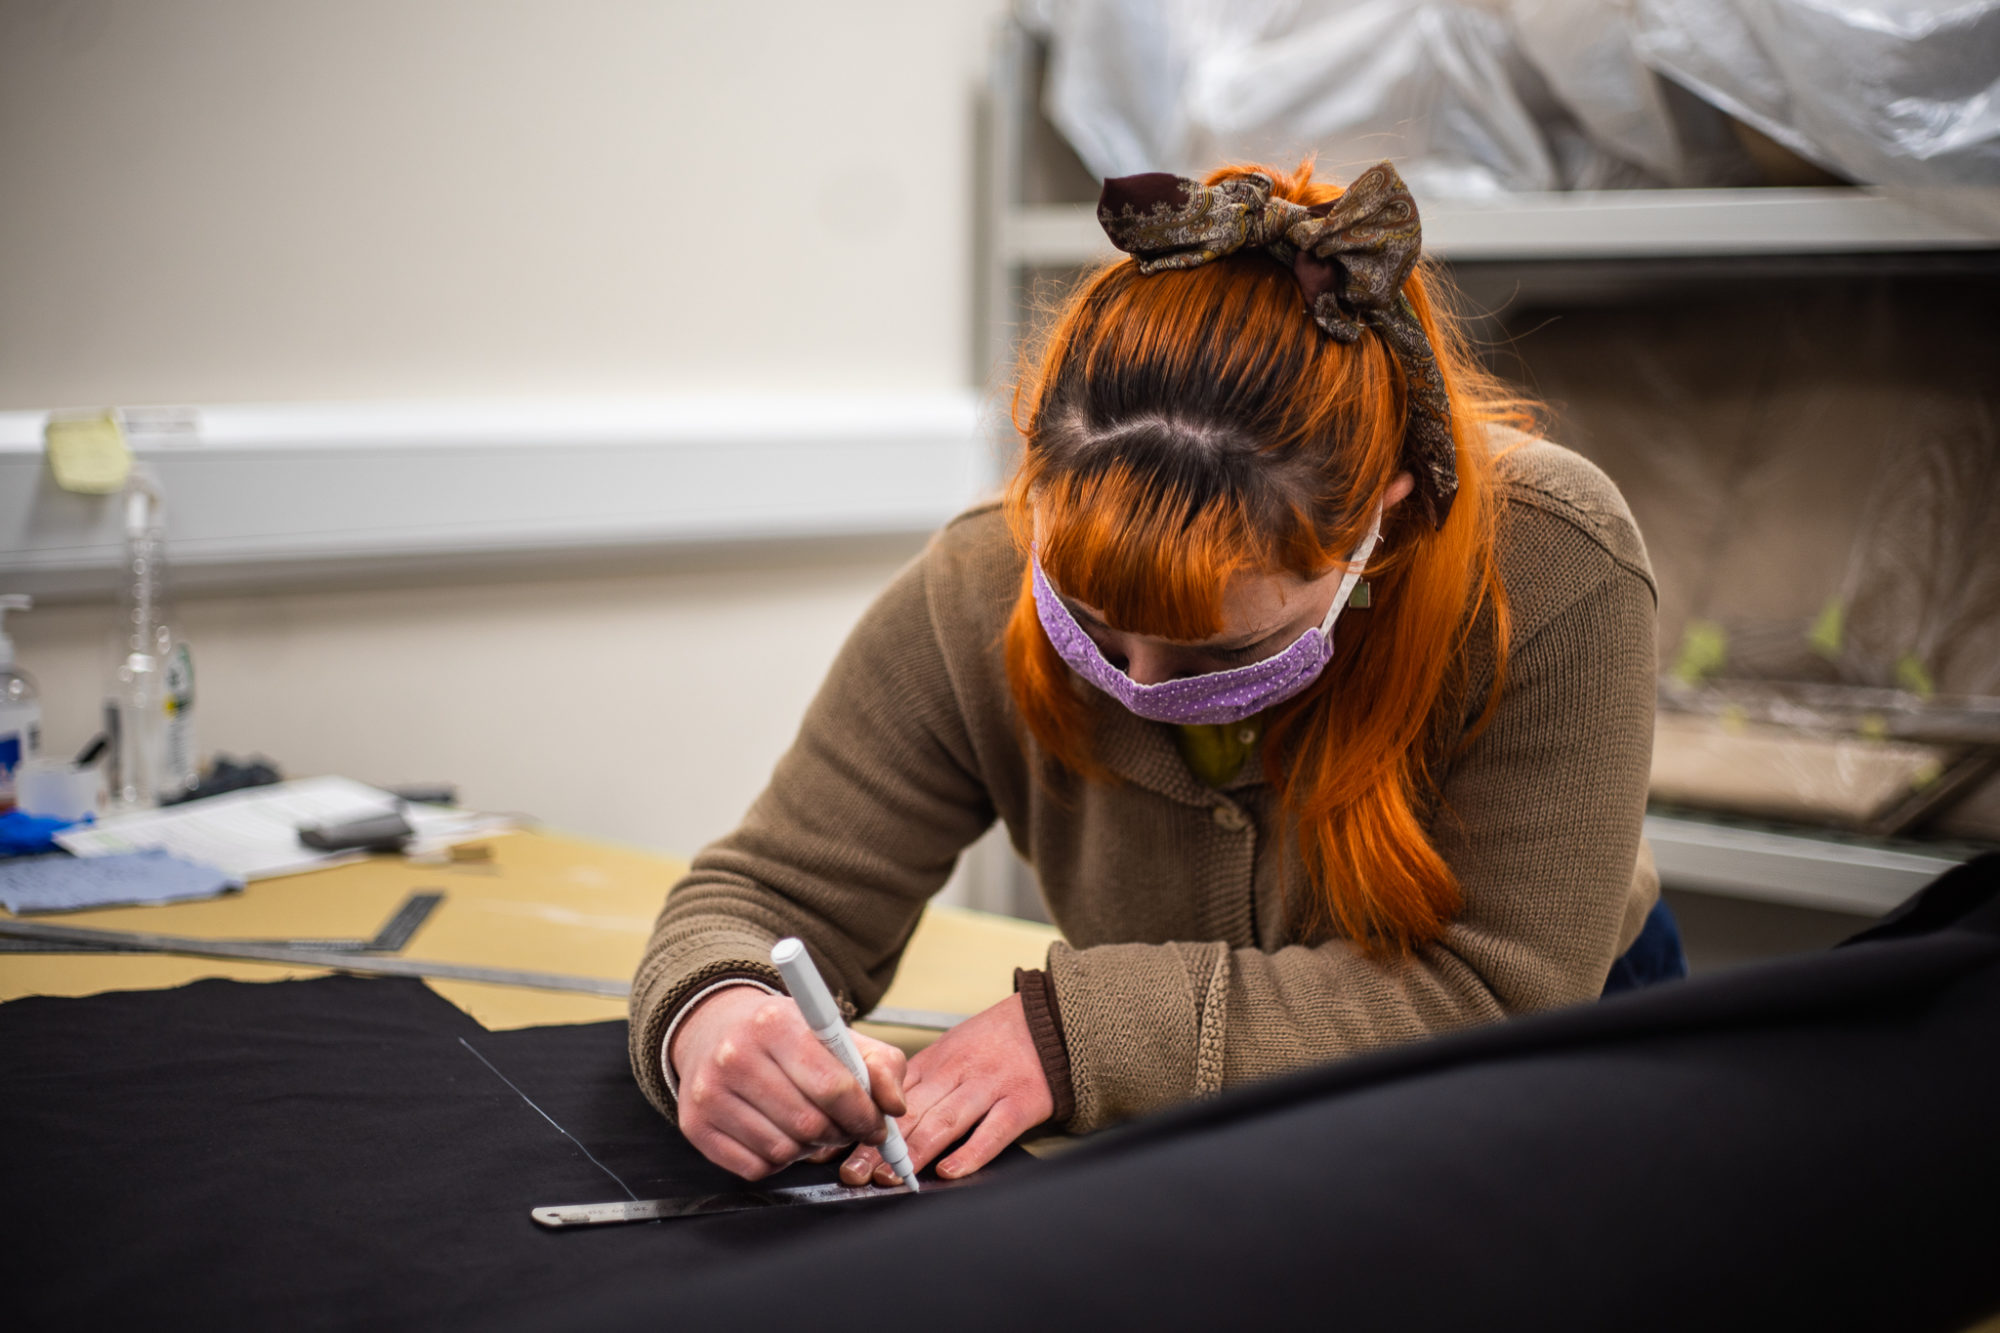
The dashboard process included measuring out and cutting the leather and cutting out holes for the dials, sewing around the edges to make for a neat fold and fit, and then sticking it all to the dash and then turning over the fabric, pulling it tight to create a neat fit.


We’ve been contacted by someone with a unique Honda S800 who was enquiring about getting some bodywork repair done. We’re looking forward to seeing where this enquiry takes us so keep your eyes peeled!

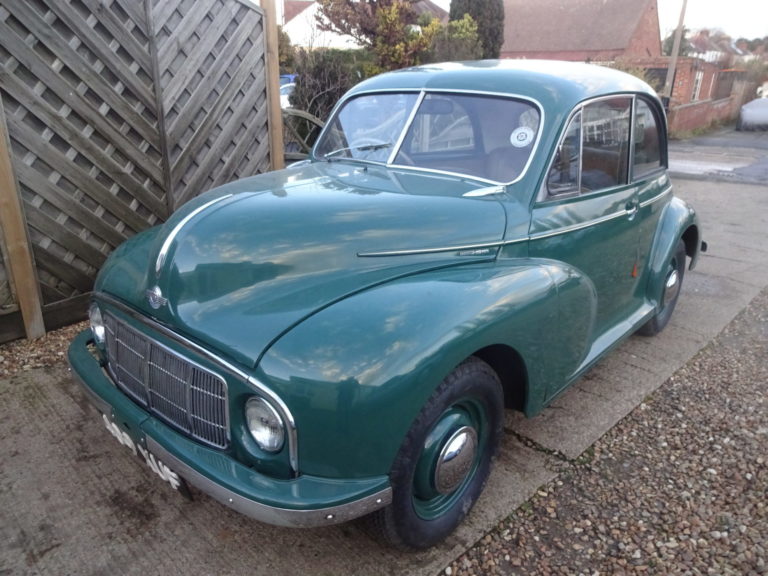
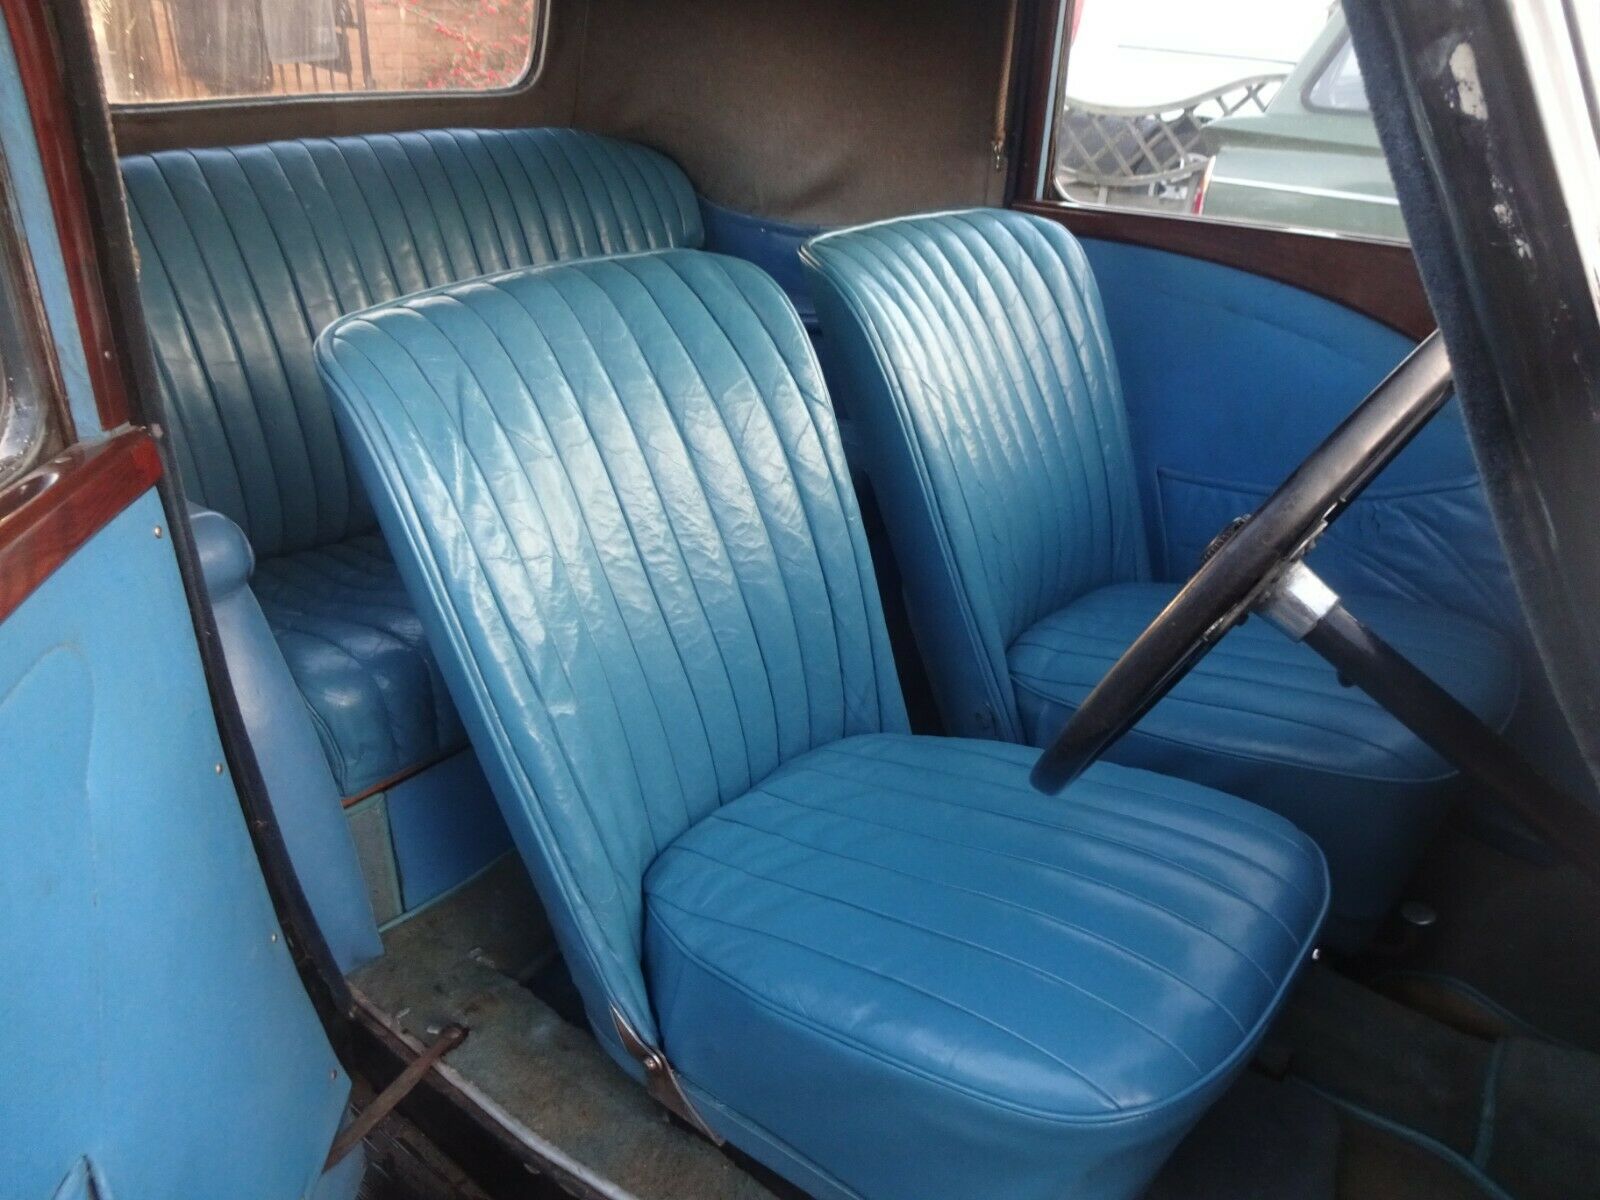
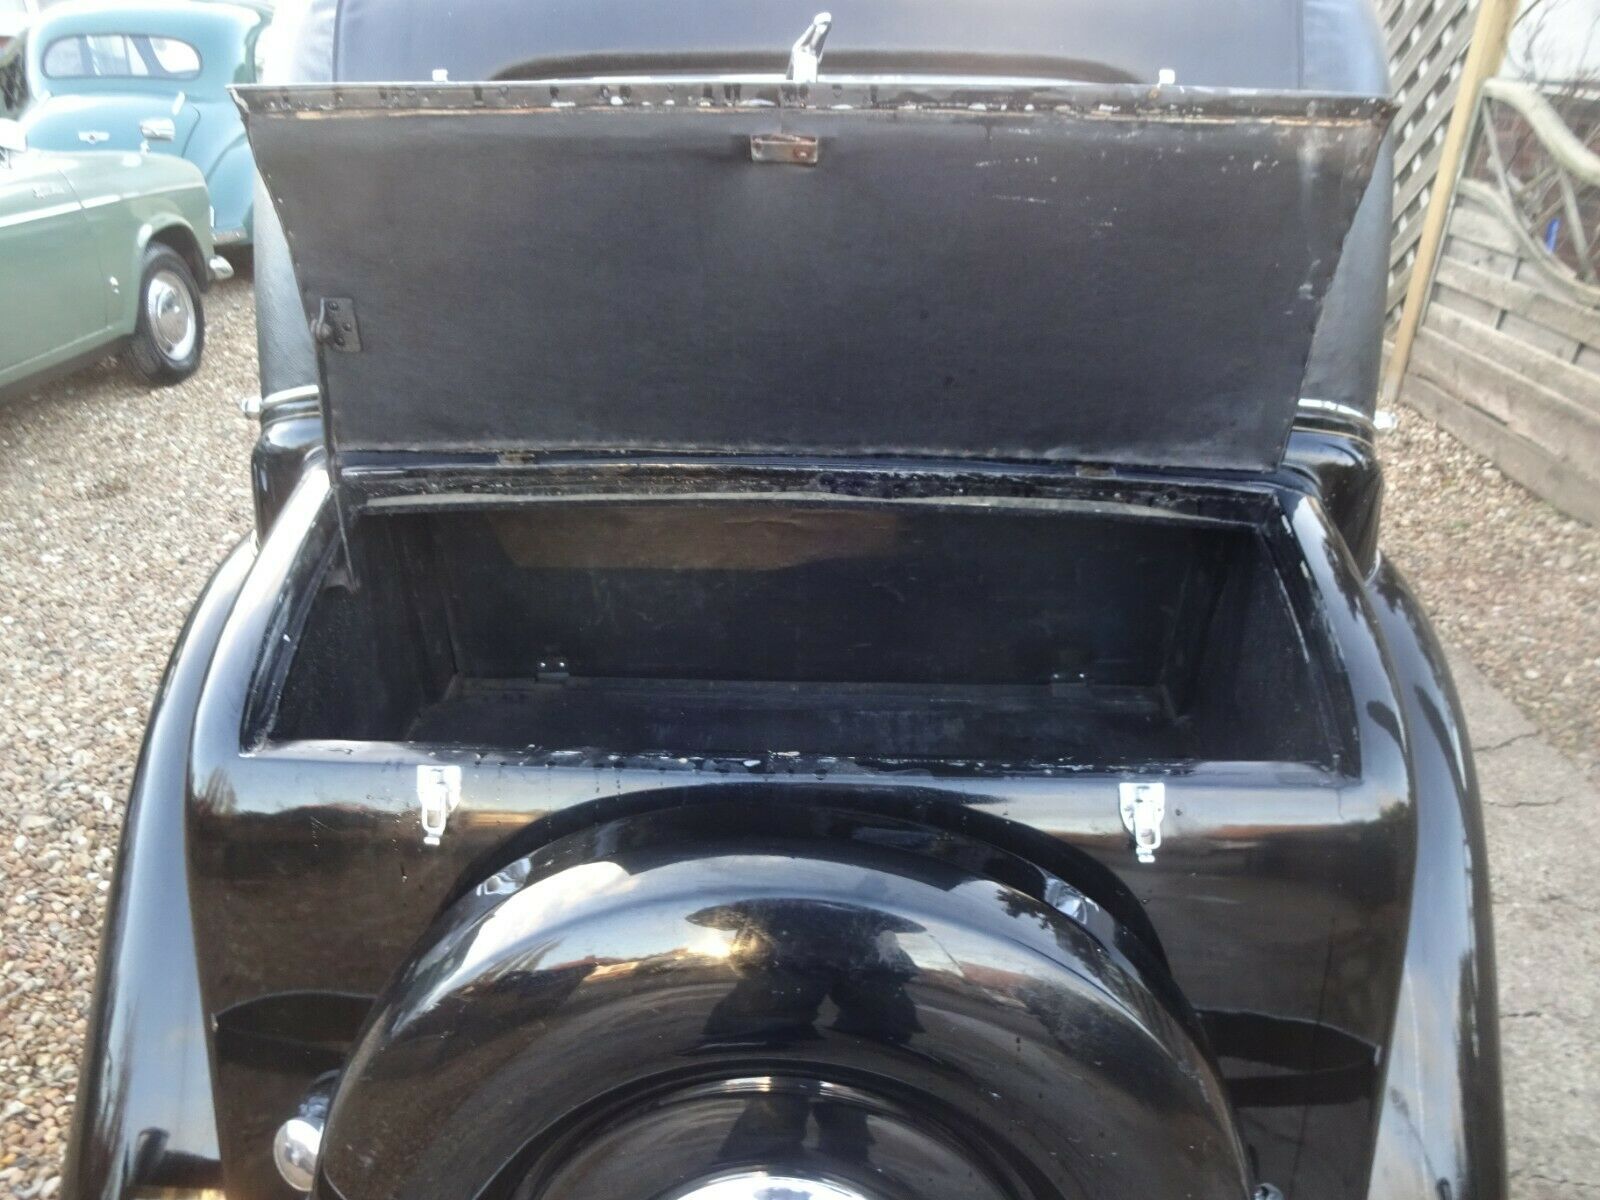
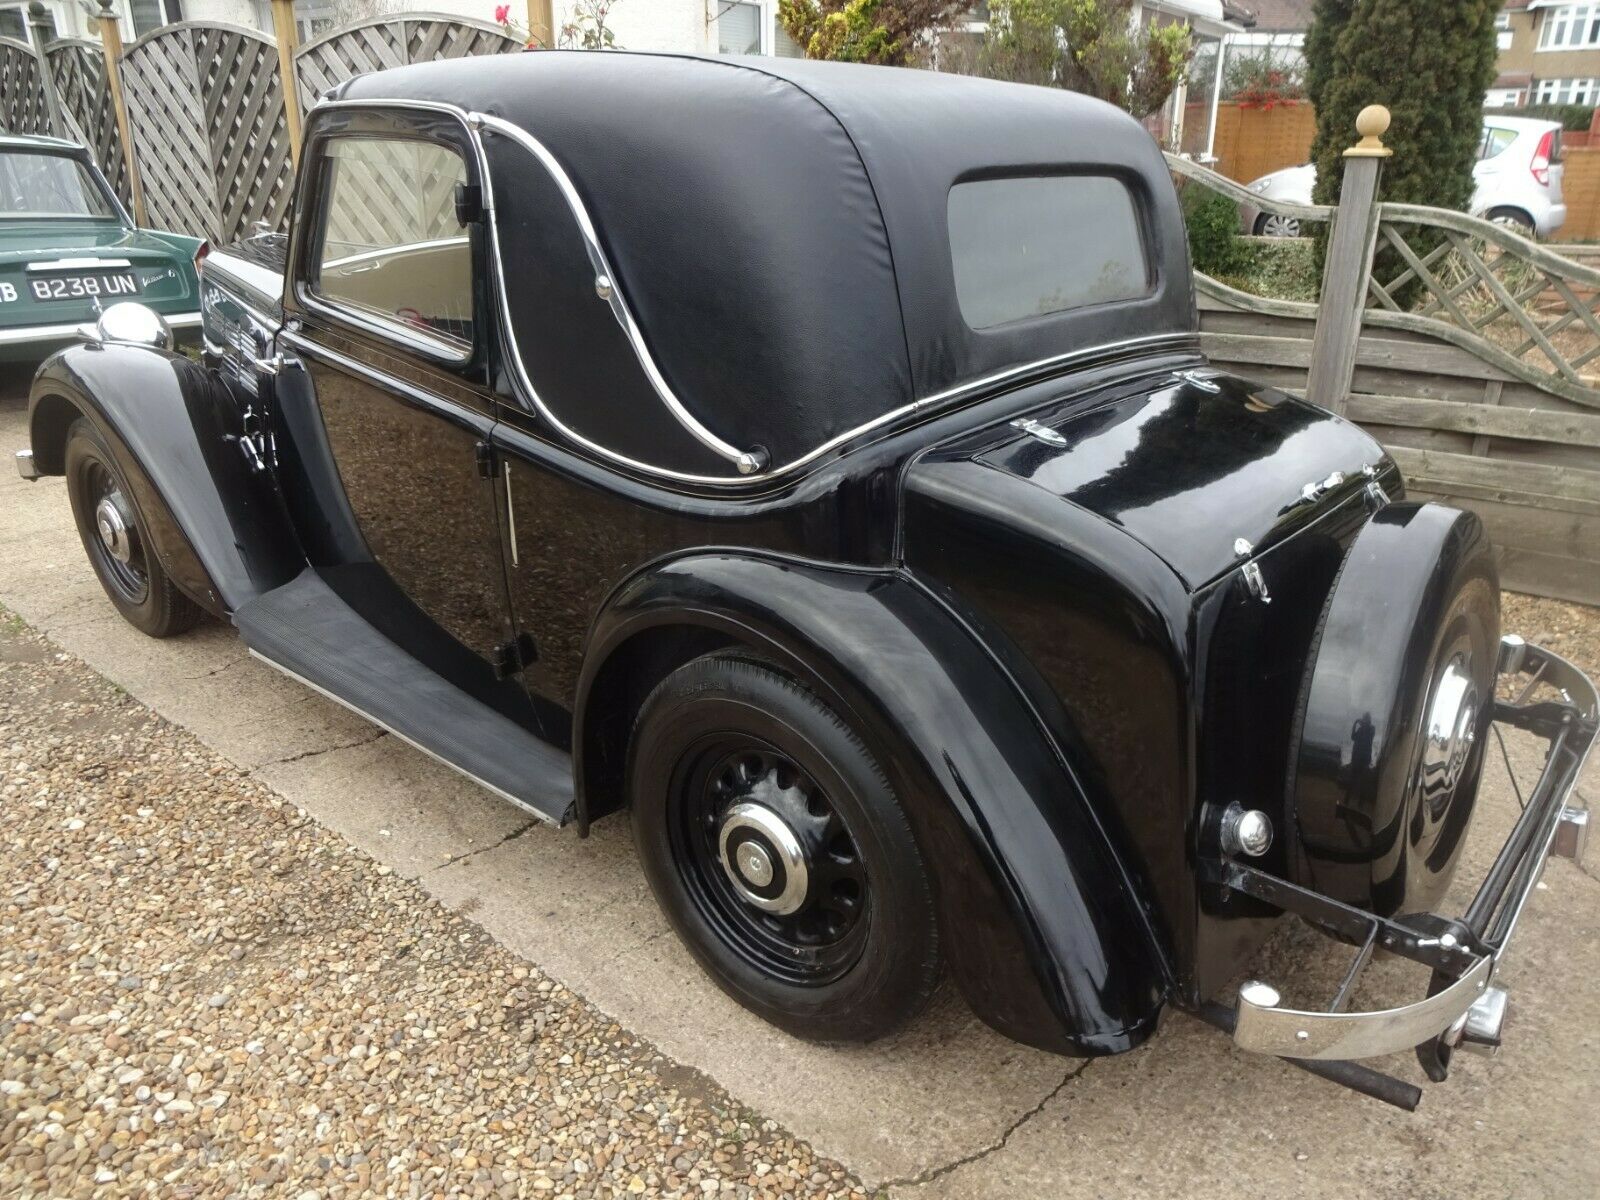
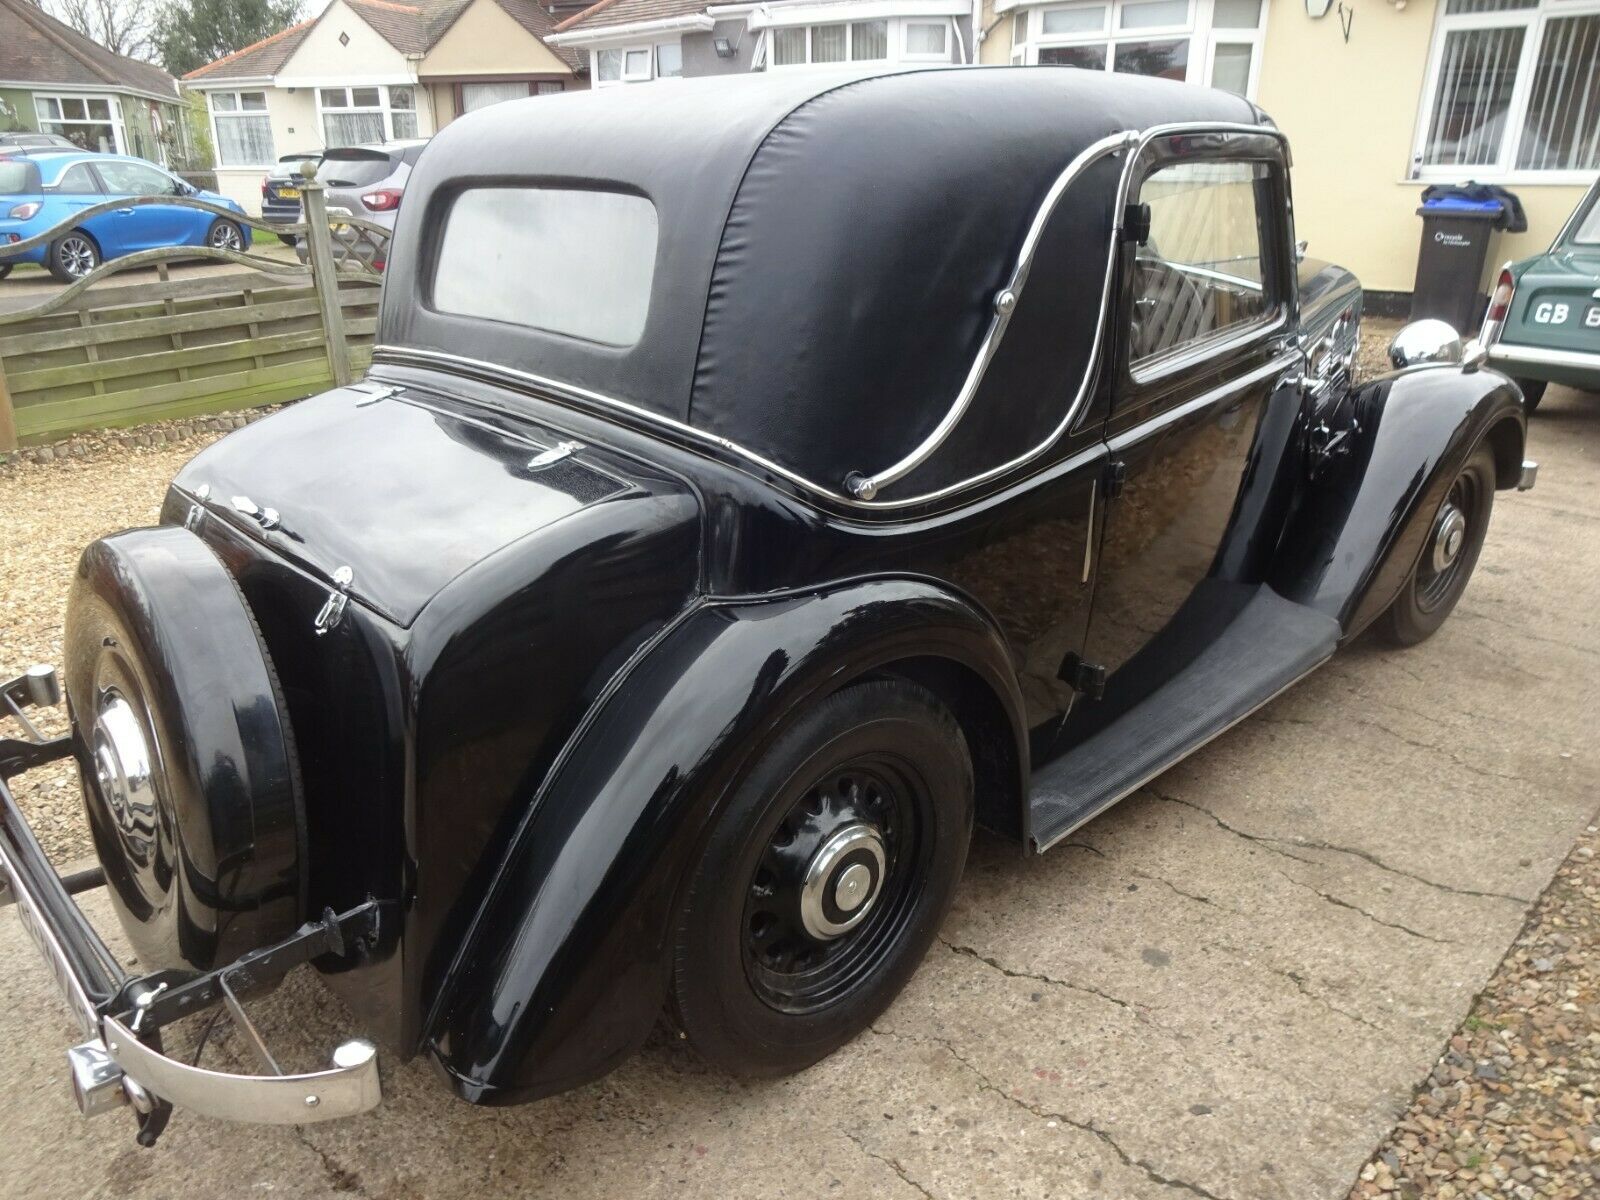
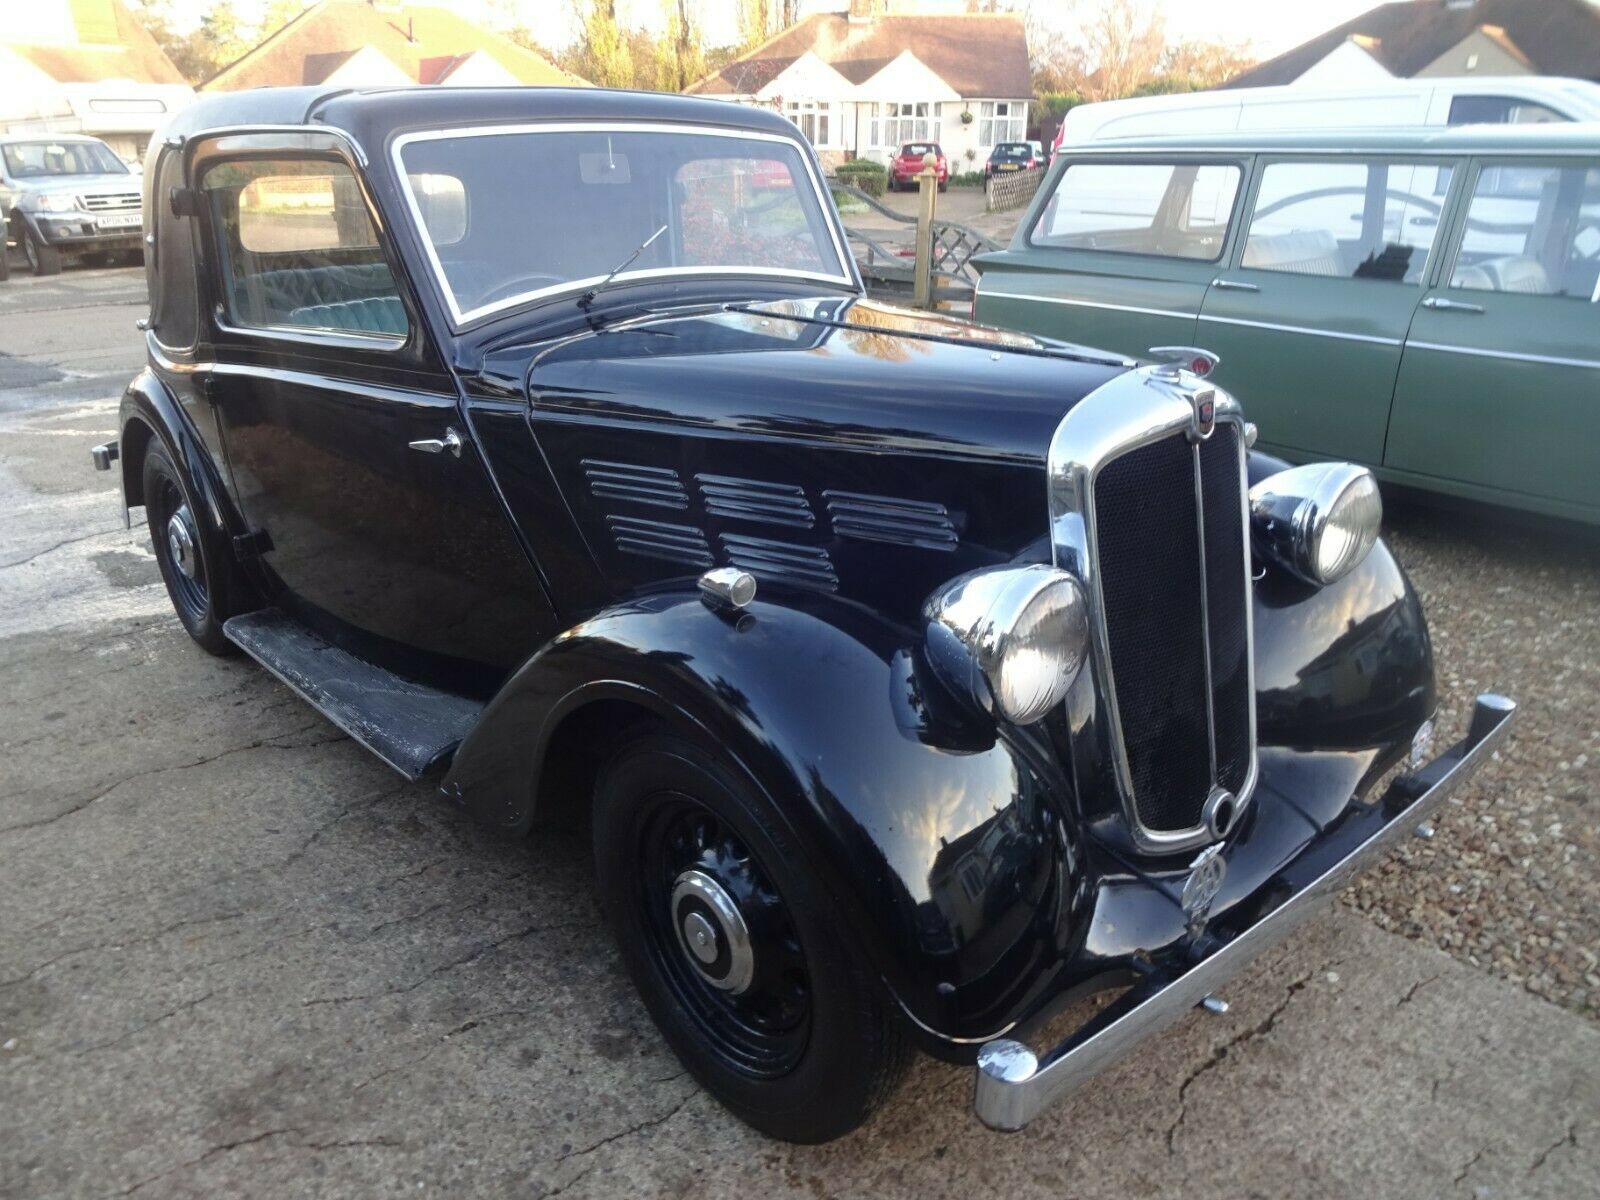
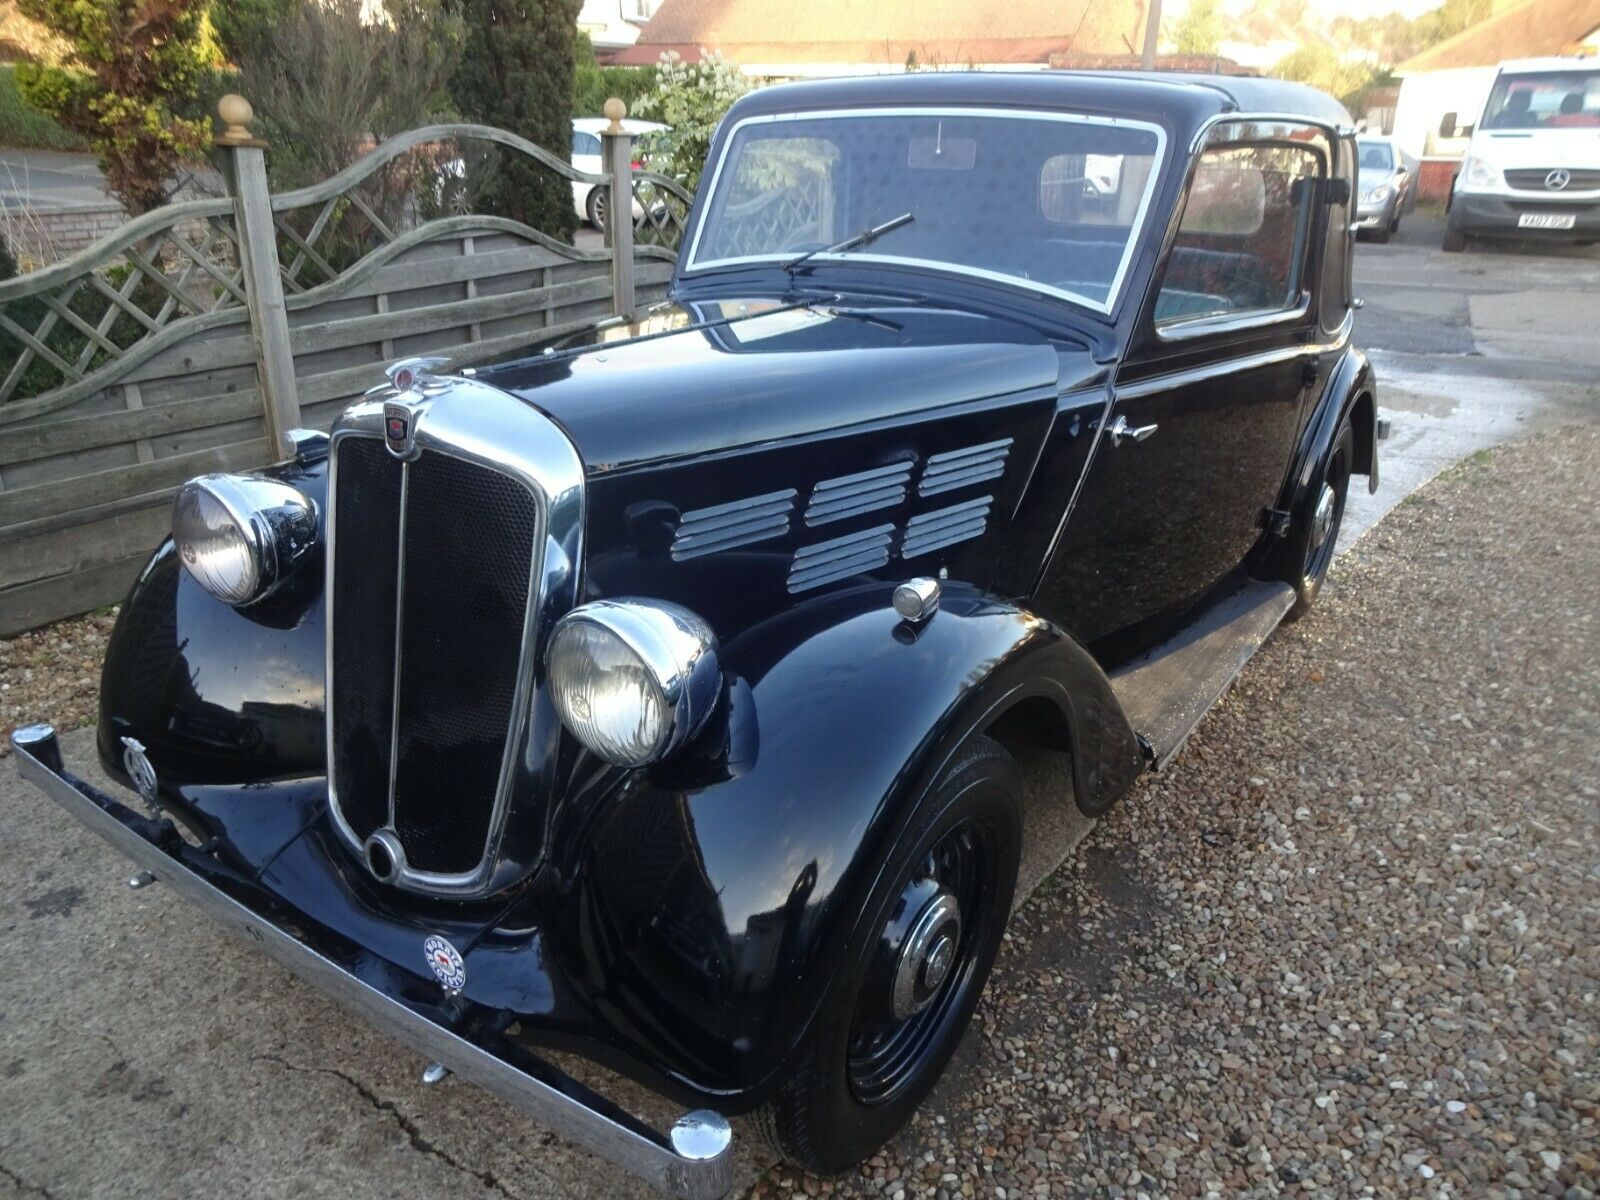
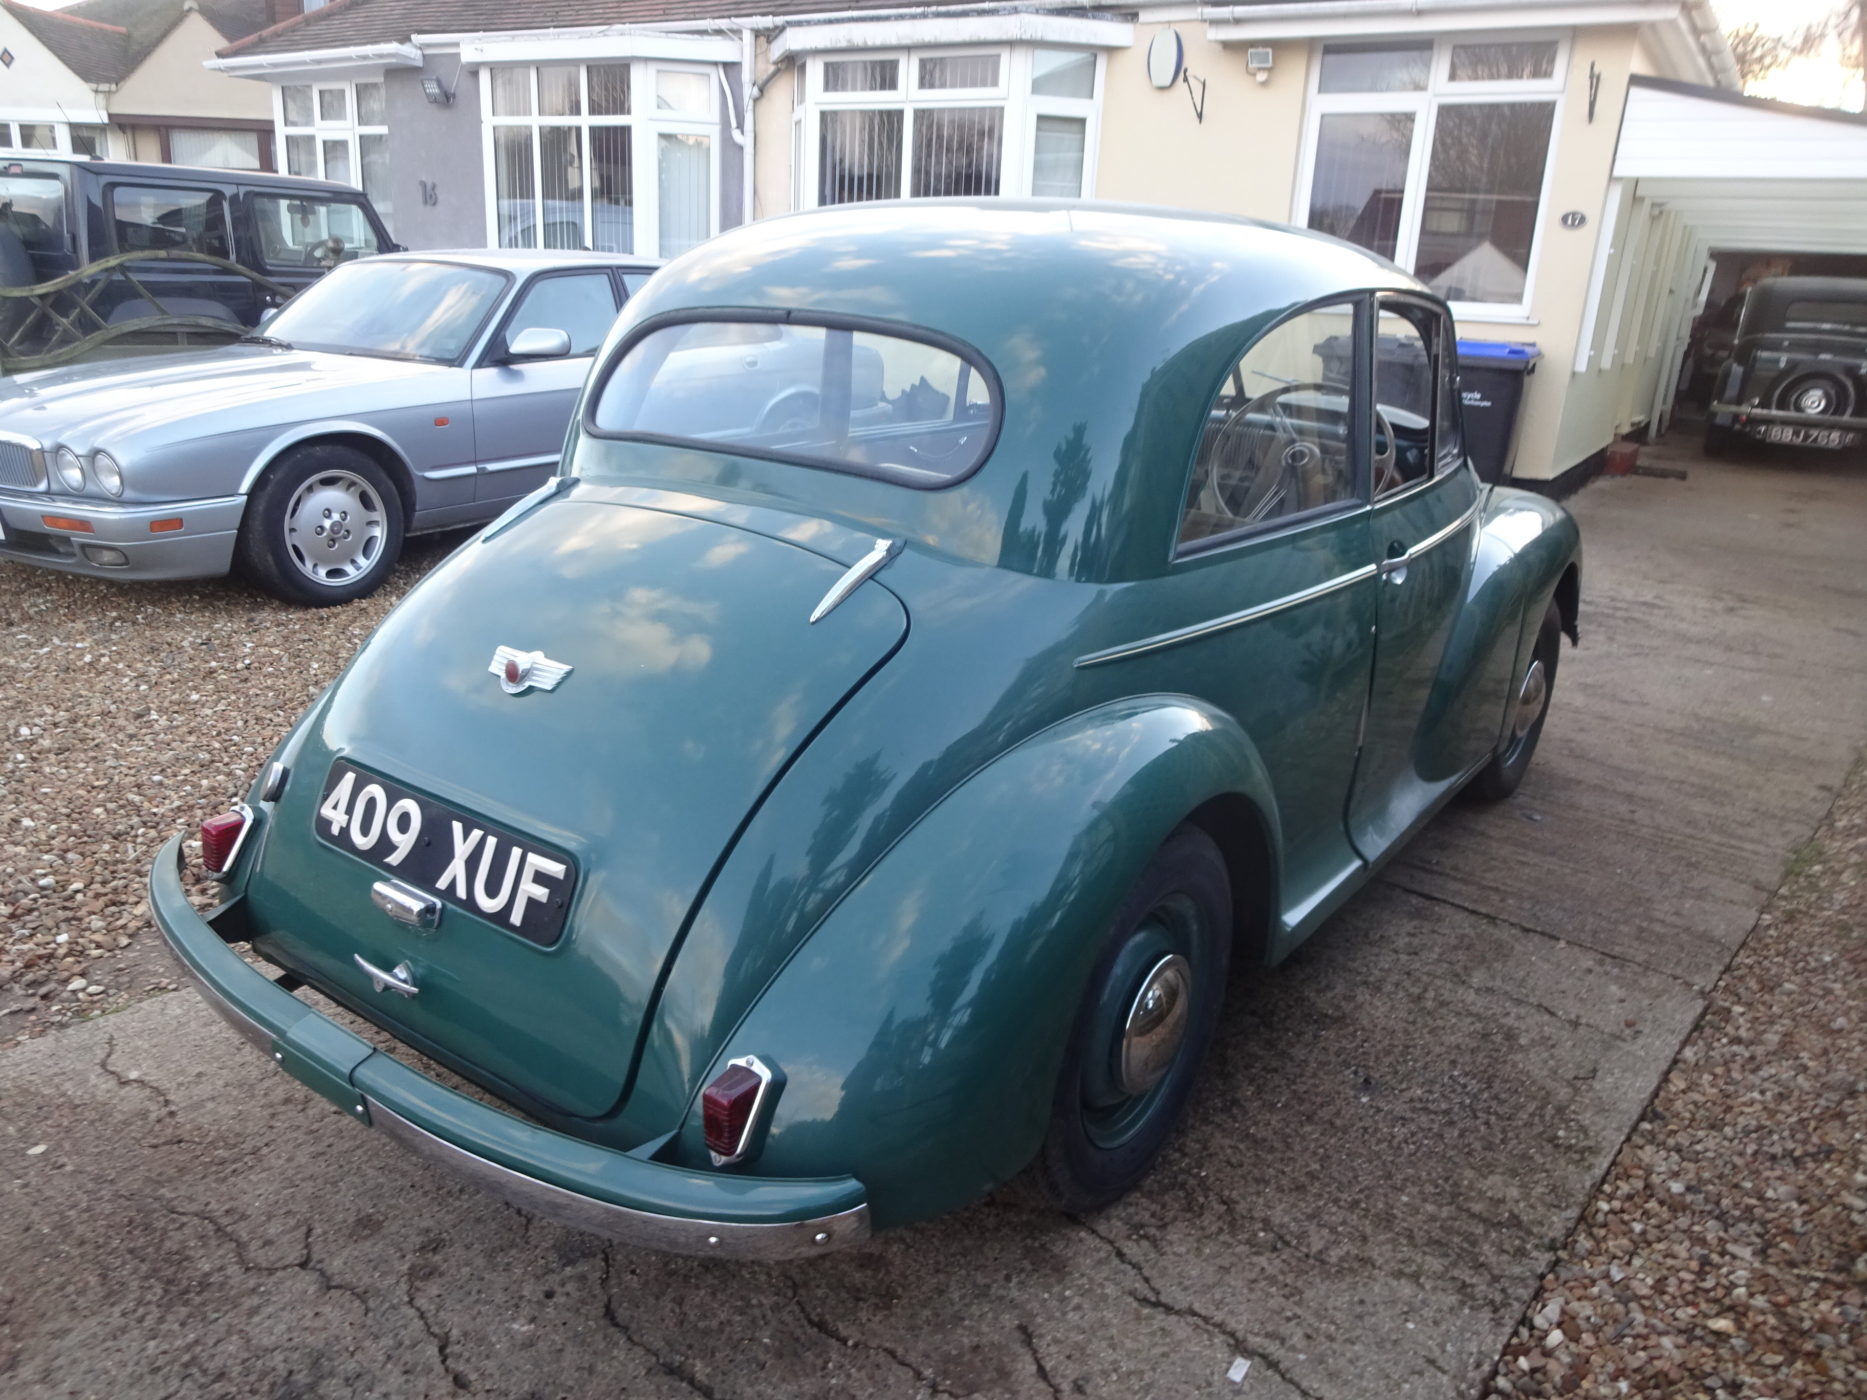
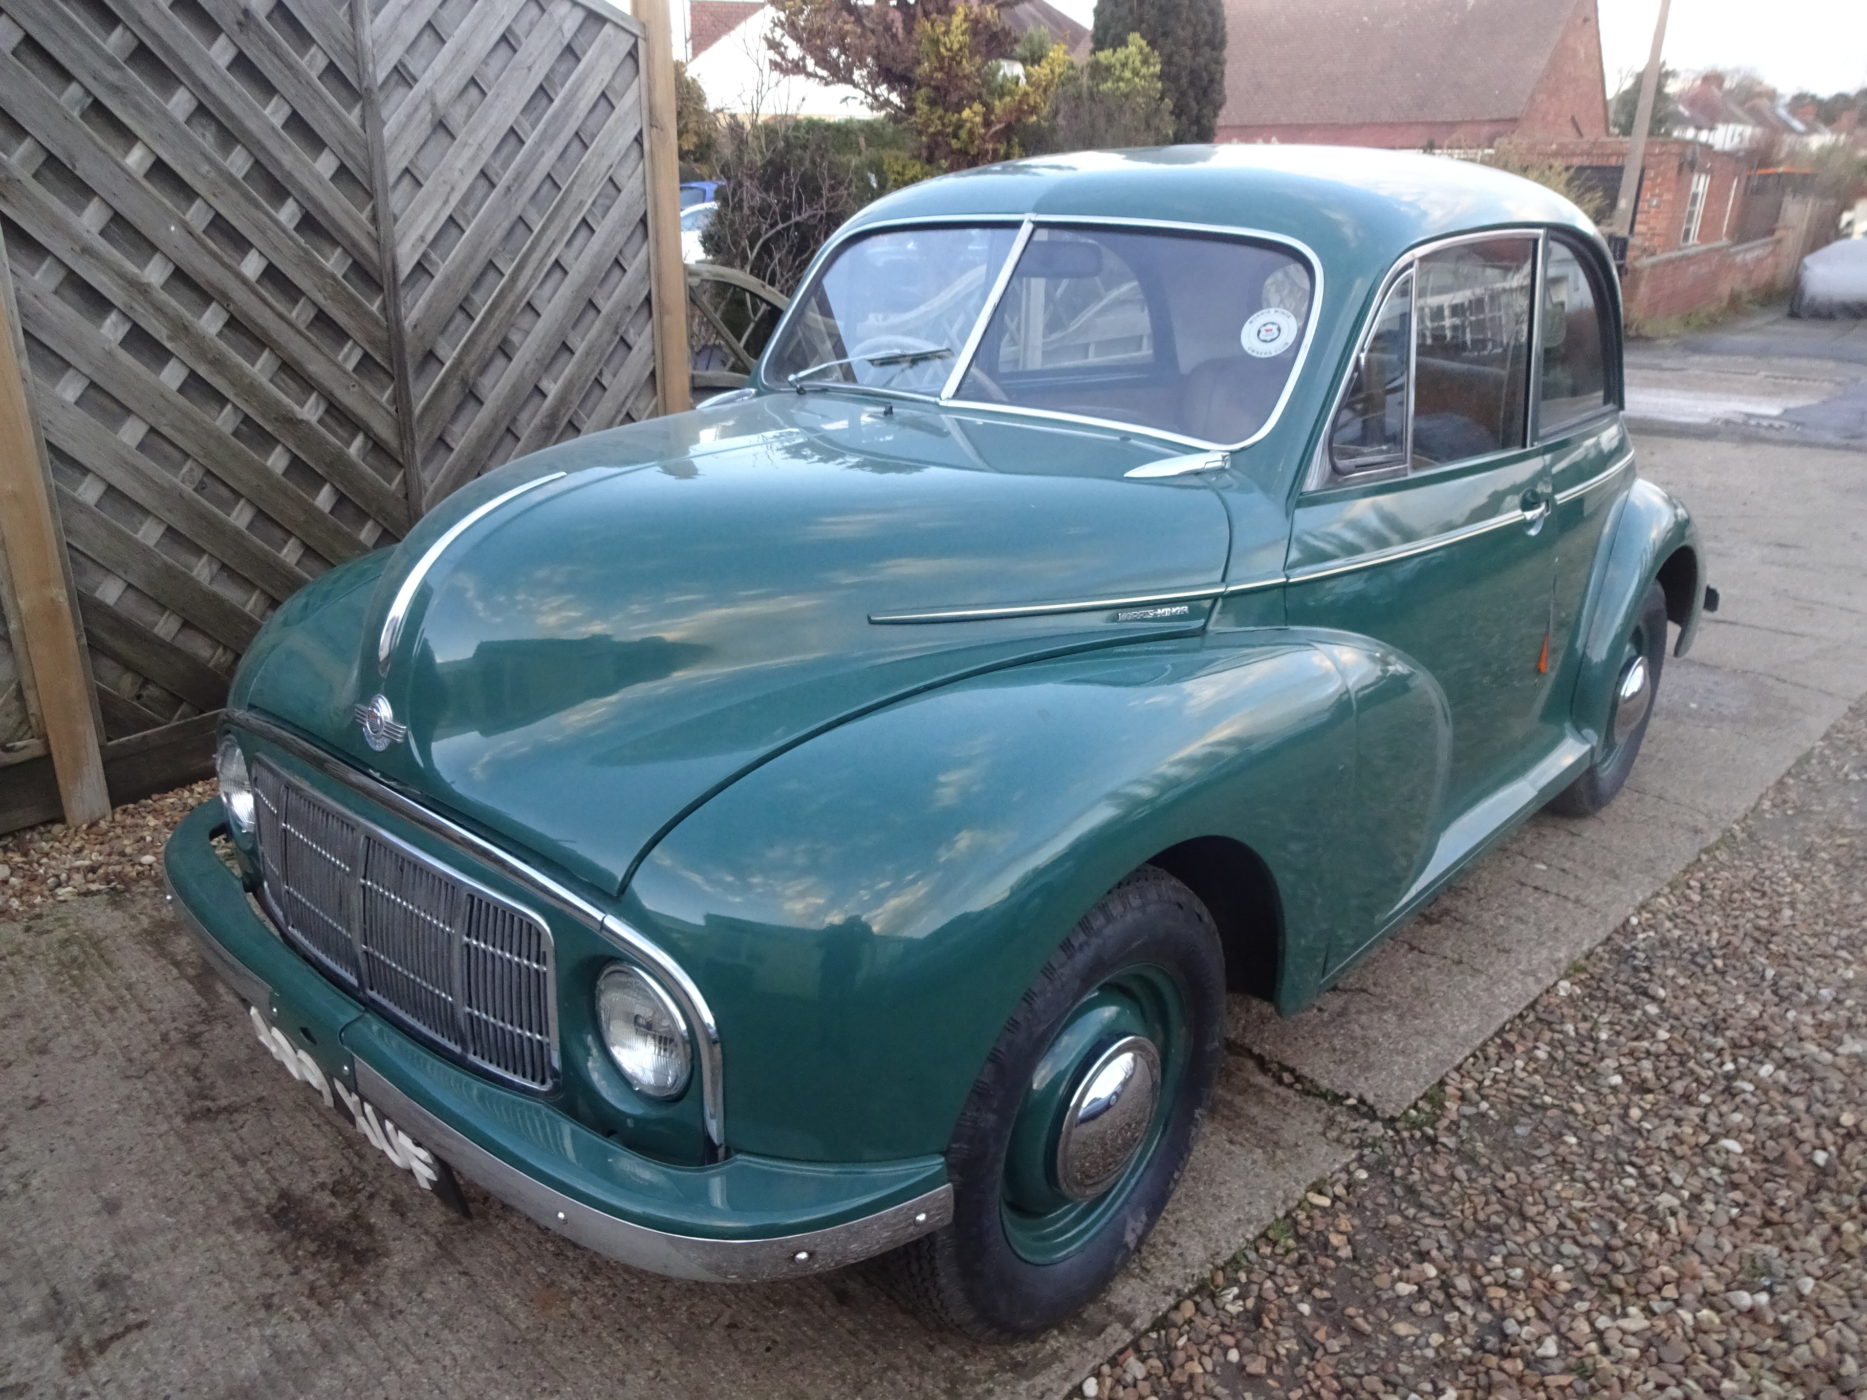
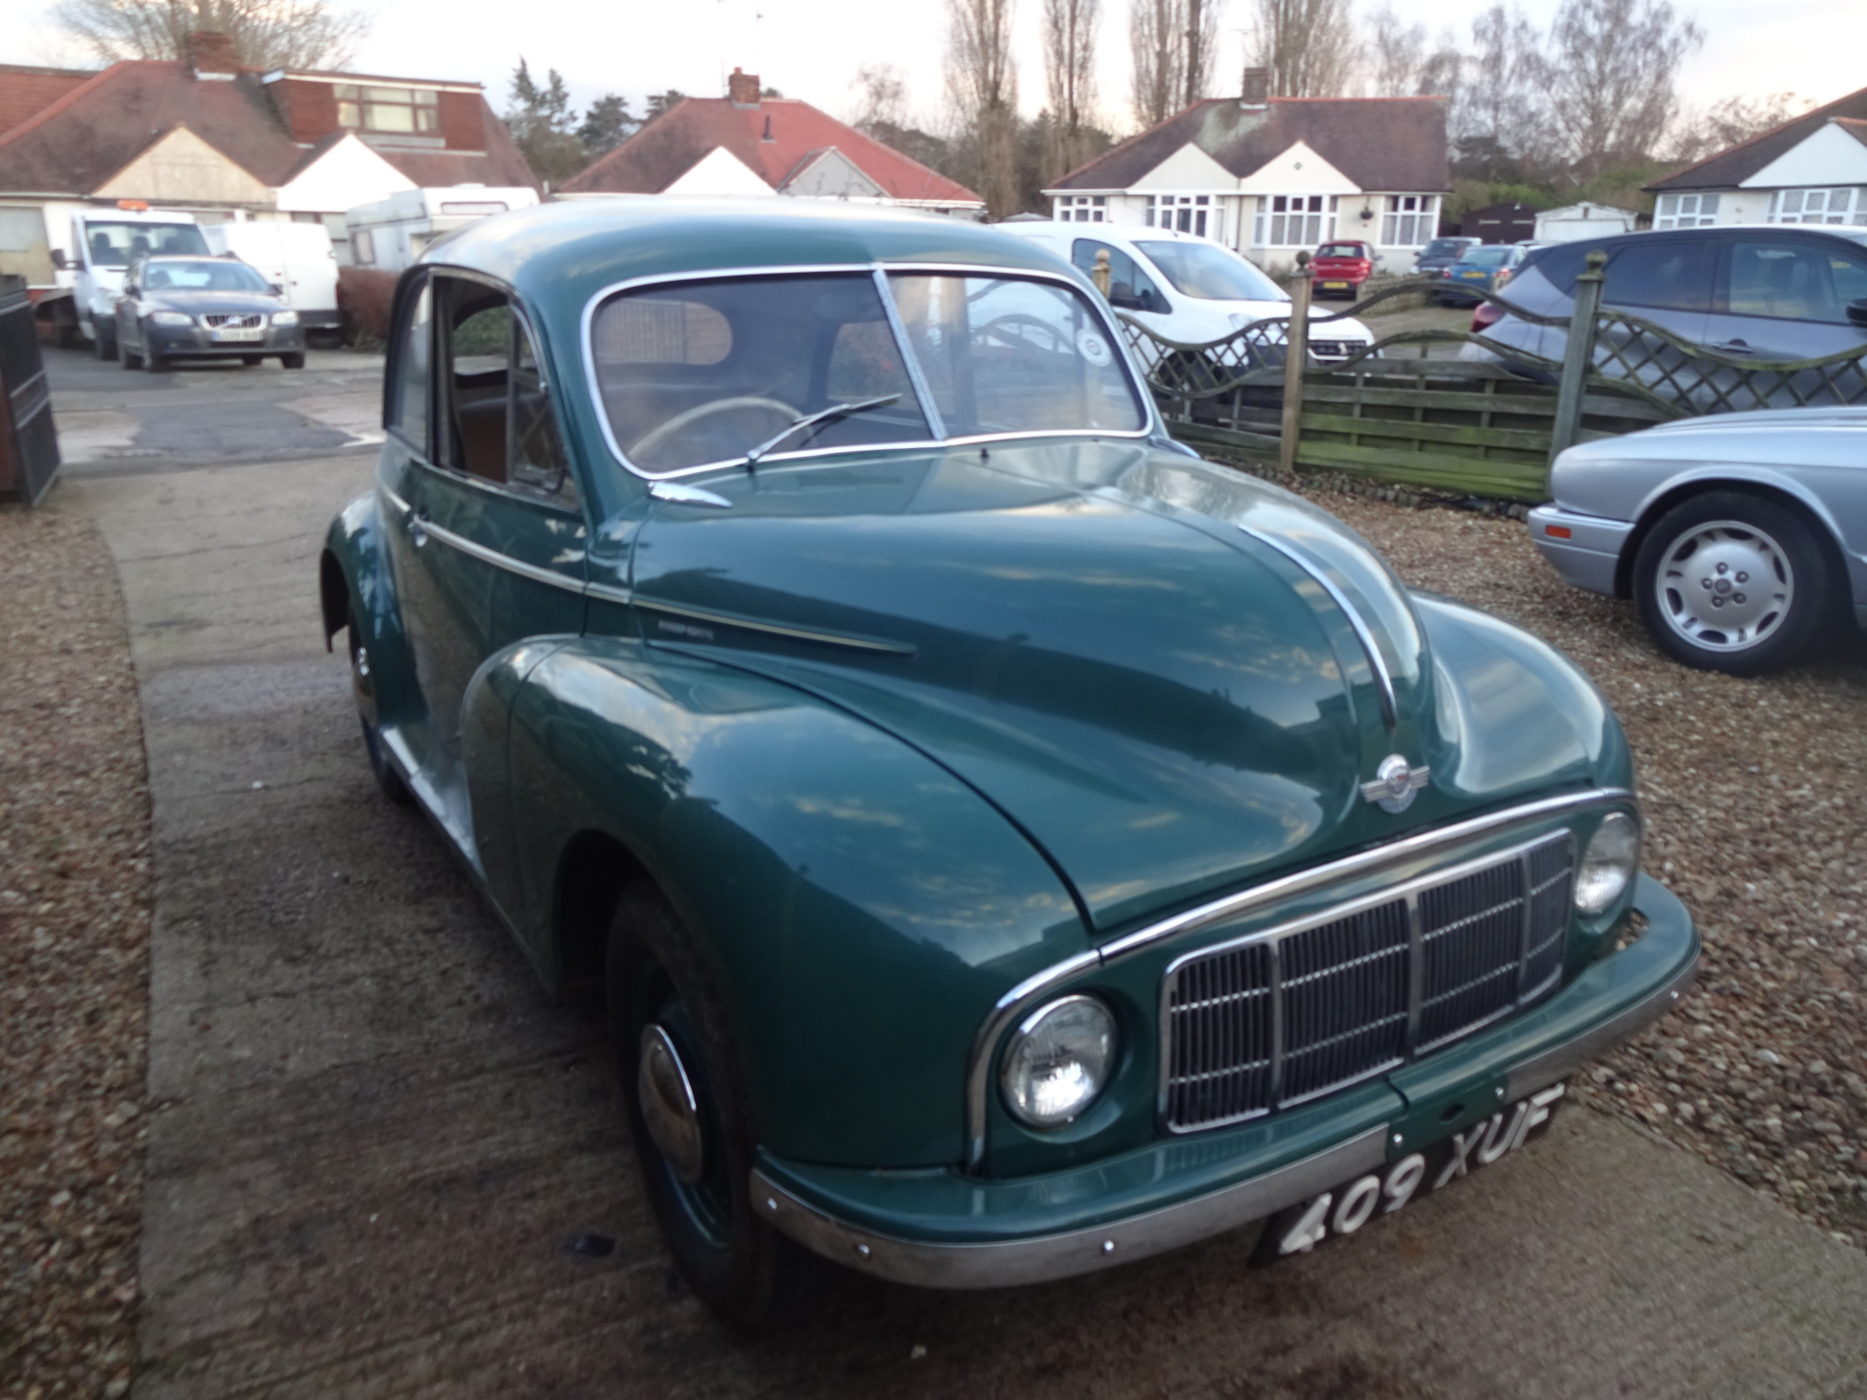
We may be expecting both of these beautiful Morris’s into the workshop sometime in the near future. The photos below are a 1935 Morris 12/4 Coupe 1500cc and 1949 Morris Minor Lowlight. Morris’s are known for their iconic British charm and trustworthy engineering.

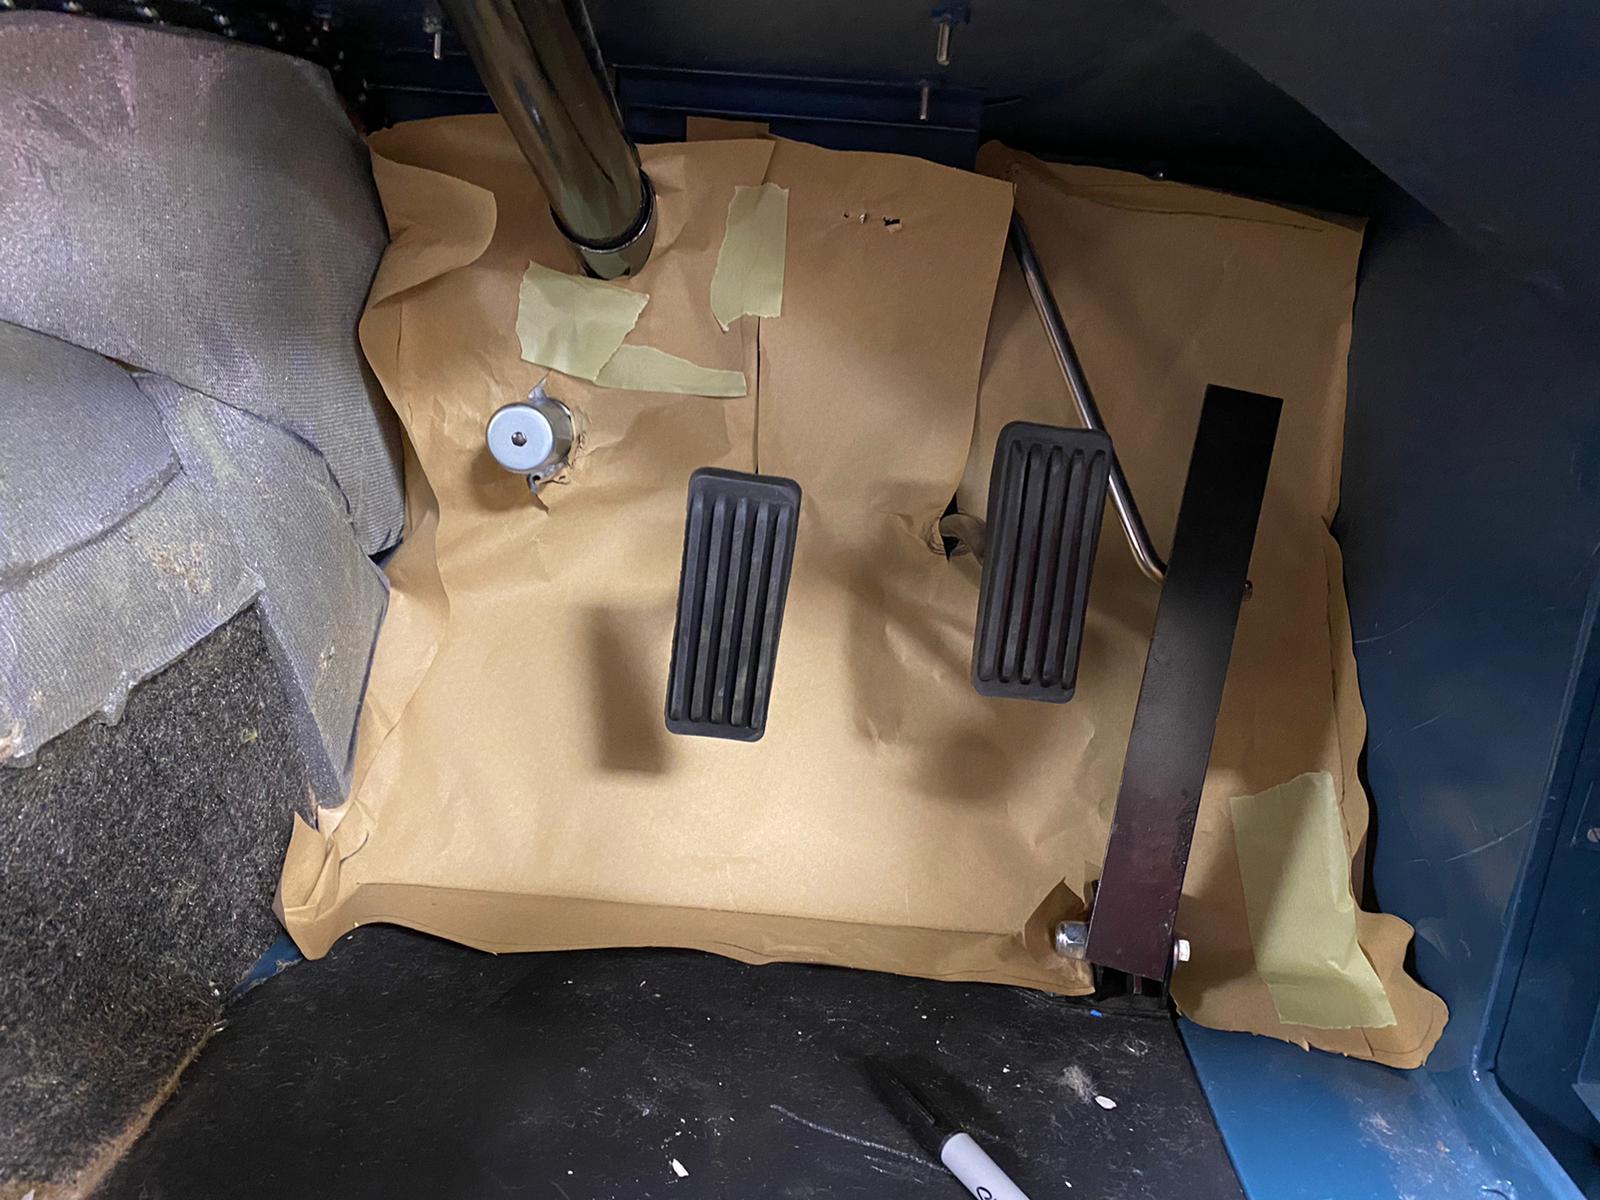
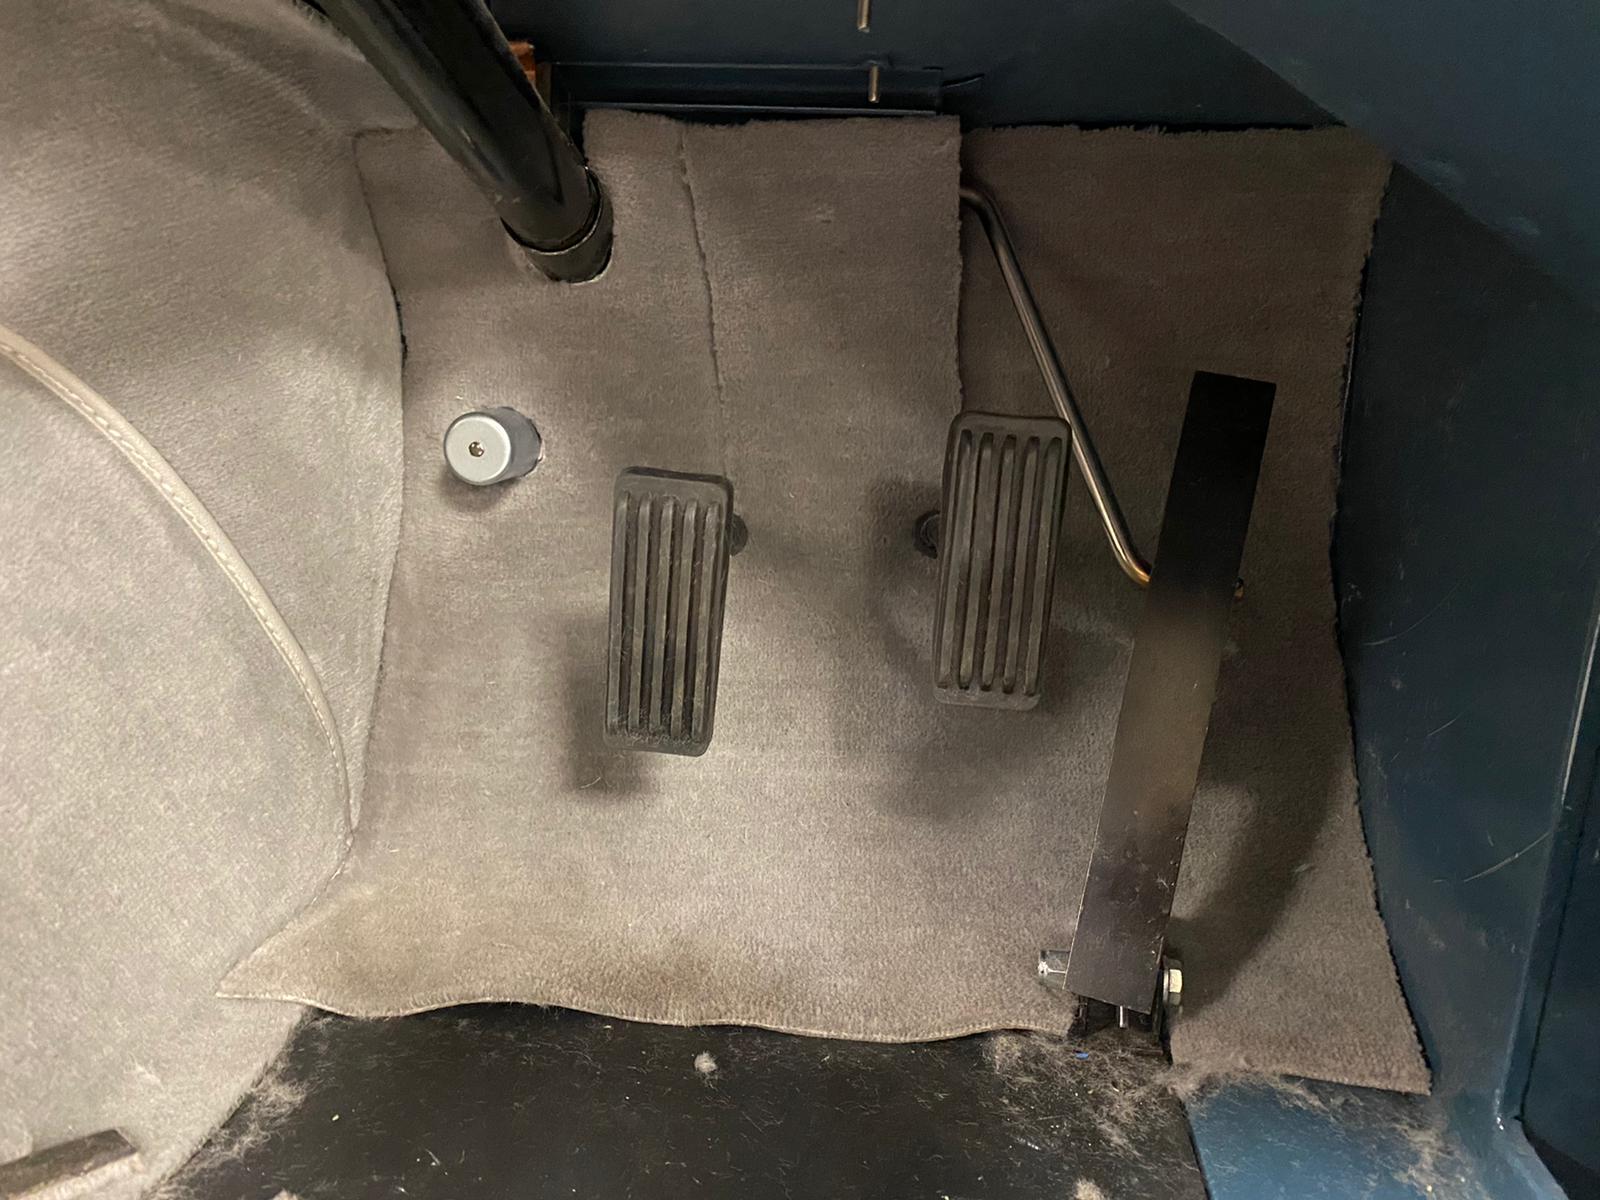
The TVR is having a new carpet fitted so our trim shop has removed everything and has begun fitting the new pieces provided to us by the customer.

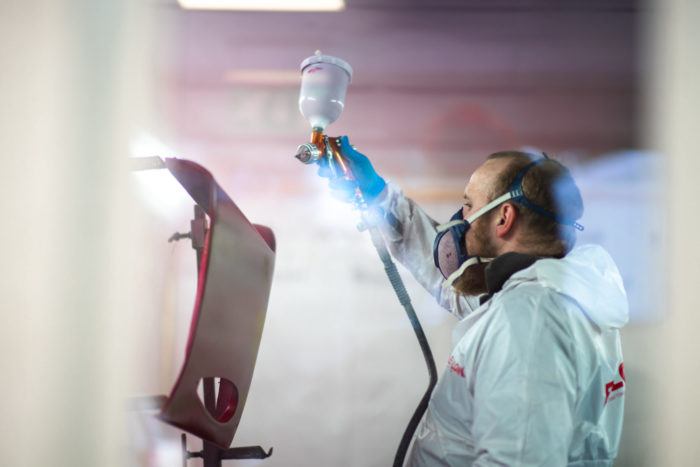
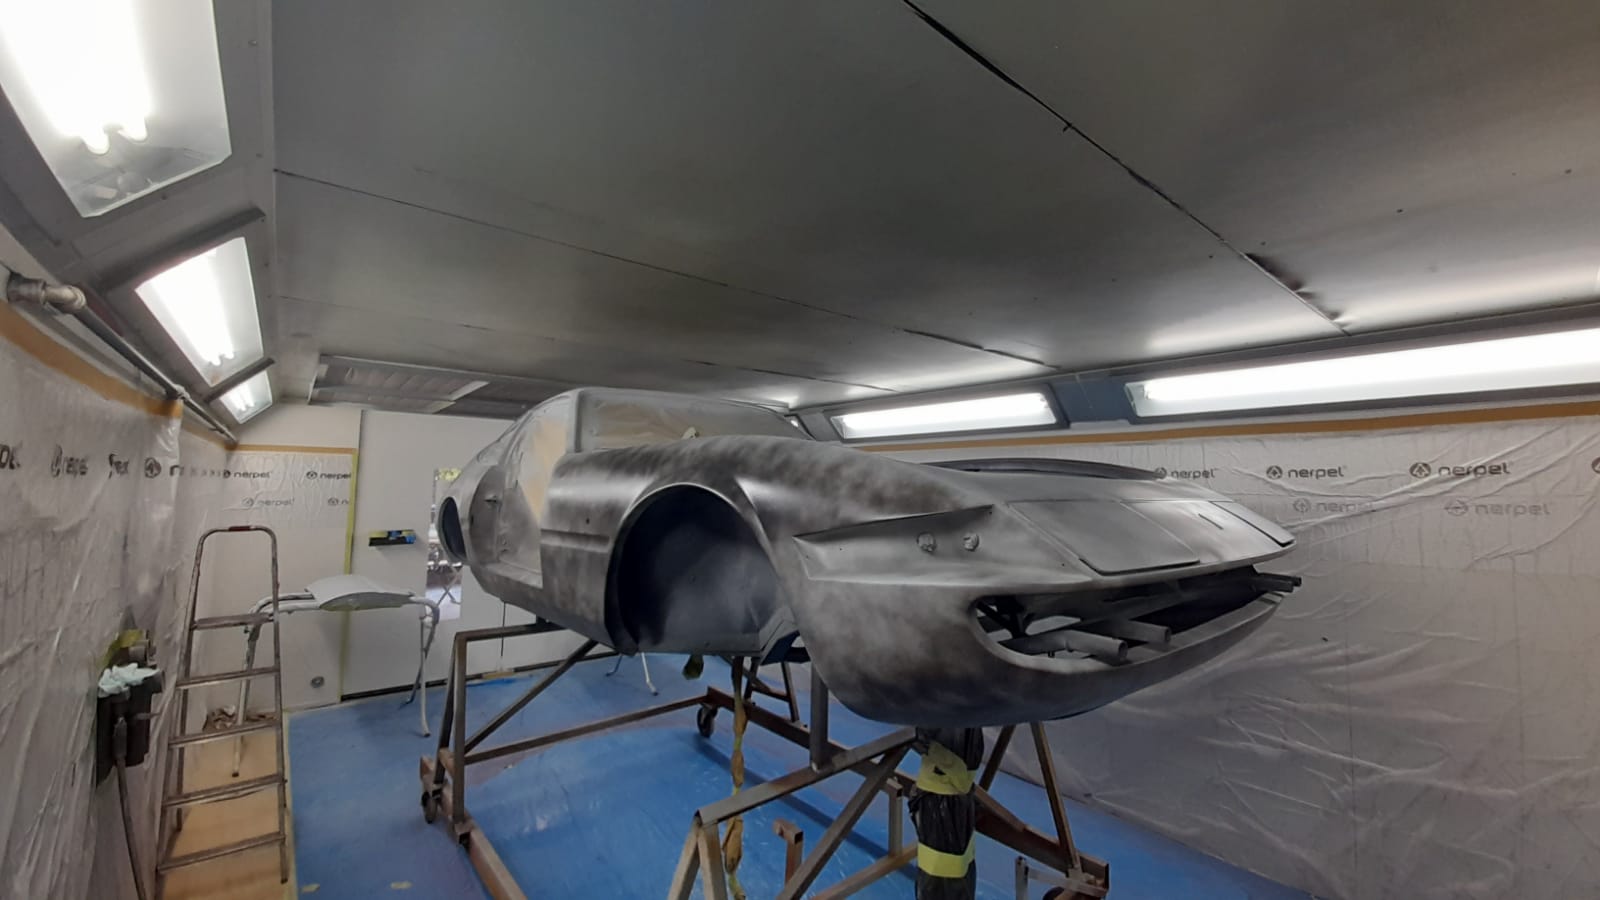
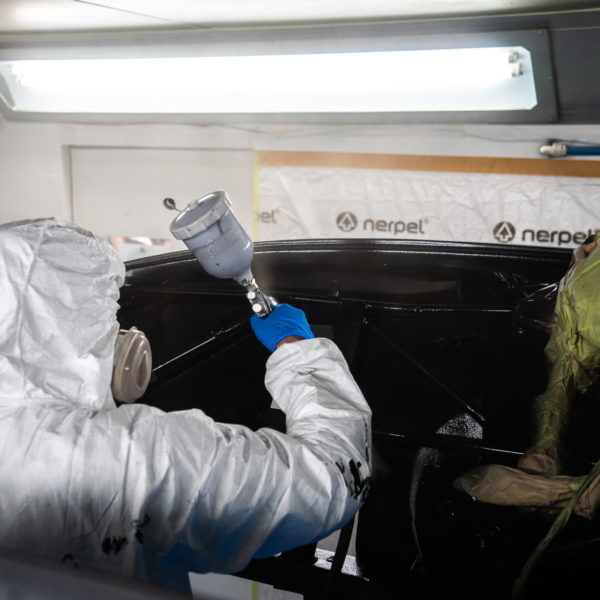
The Daytona entered the Paint Bay today under the trusted hands of Scott, one of our classic car technicians. We’re very fortunate that so many of our engineers are multifaceted in their skills, allowing us to, at times, dedicate one technician to an entire restoration. We of course get our specialists involved in these instances, but its great to see an individual technician lead a restoration from start to finish. This is what we’ve done with Scott, who’s a very experienced and talented classic car engineer. Assigning him to just one restoration means that he will see the total project from start to finish, taking on multiple disciplines. Under the supervision of our paint specialist, Scott tackled the primer stage of painting our Daytona.
Here we see him focusing on masking up and cleaning the body of the car, wiping clean all the elements in the preparation of the primer.

The cleaning process is an important part of the primer preparation as it removes any dust or debris that may interrupt the primer.
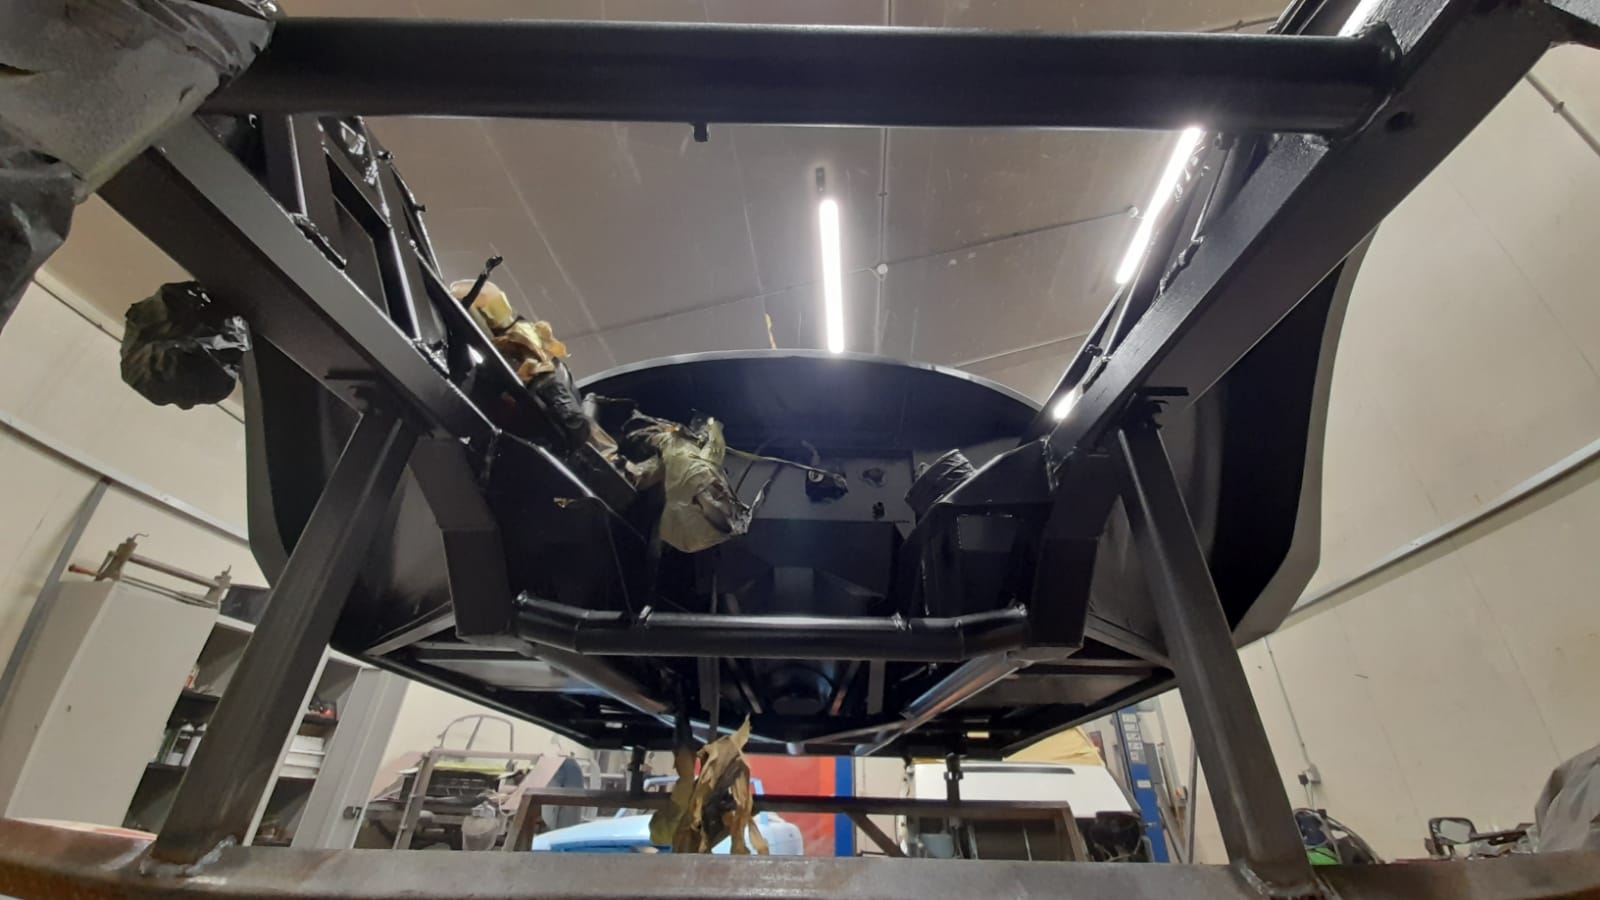
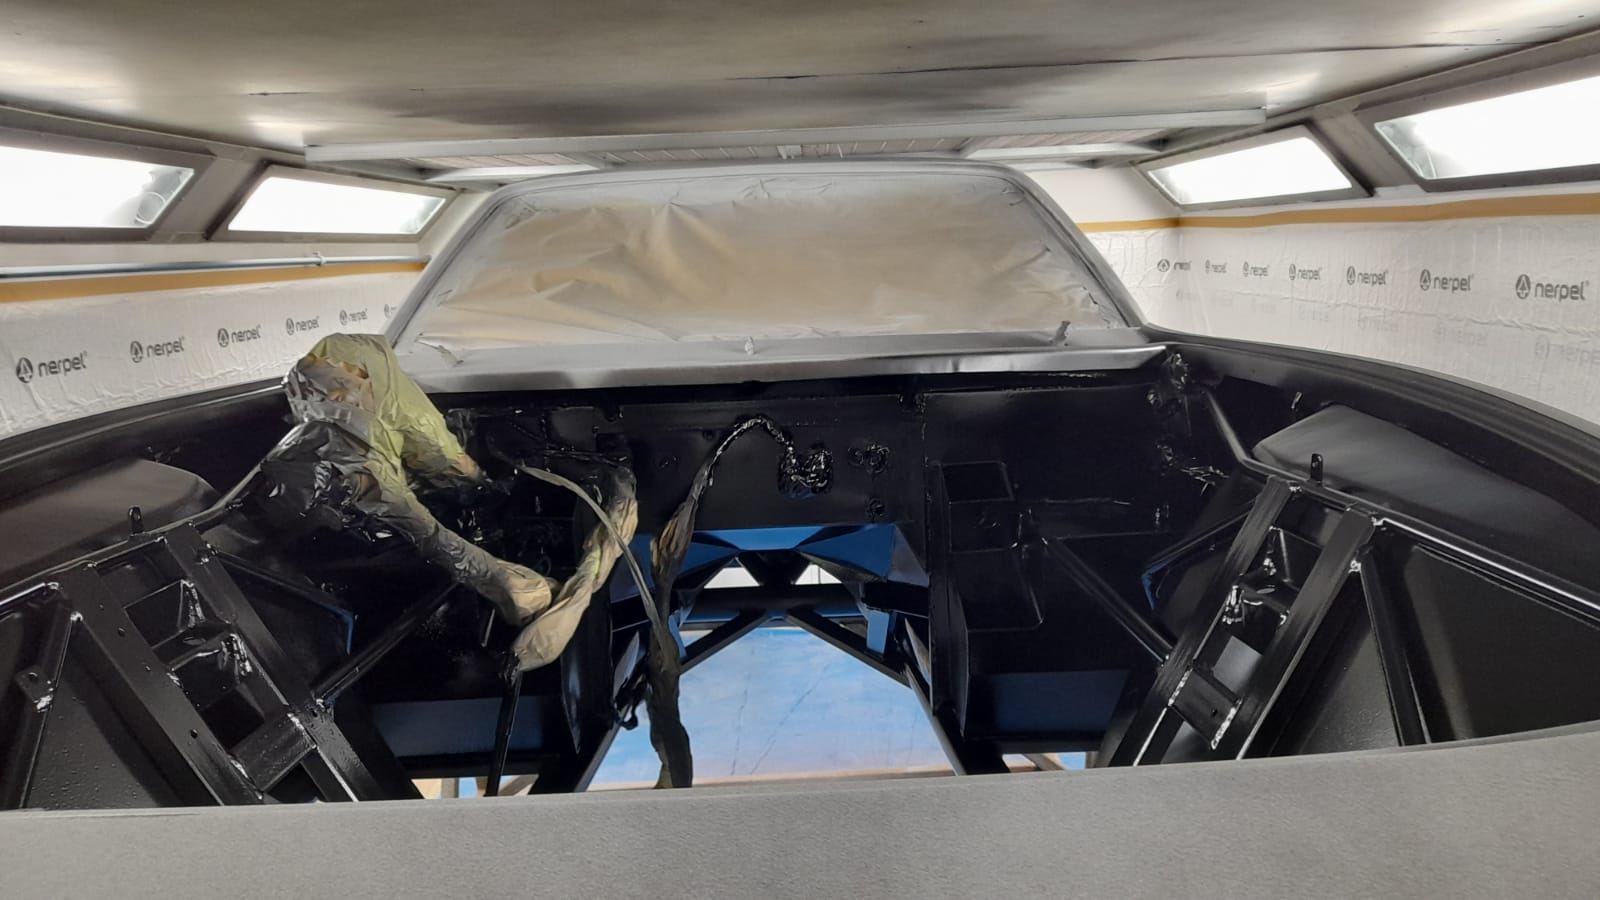
The next step was for Scott to apply the black epoxy primer on the chassis and engine bay. This black layer is a non-porous, high-bonding, anti-corrosive primer.


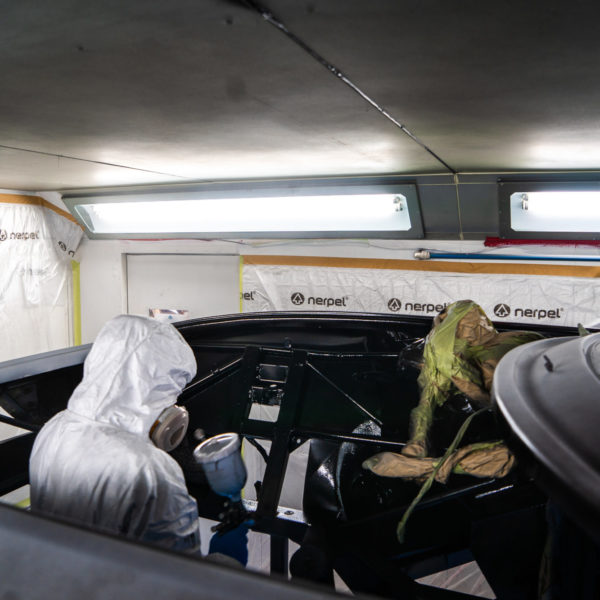
Scott’s next task was to spray on Polyfan Primer which is a polyester filler primer.


The final step was to apply an anticorrosive primer onto the underside of the Daytona. These steps can take all day as each layer must dry before applying the next. The advantage of this is that the paint booth is kept warm, making a cosy workplace during these cold winter days.
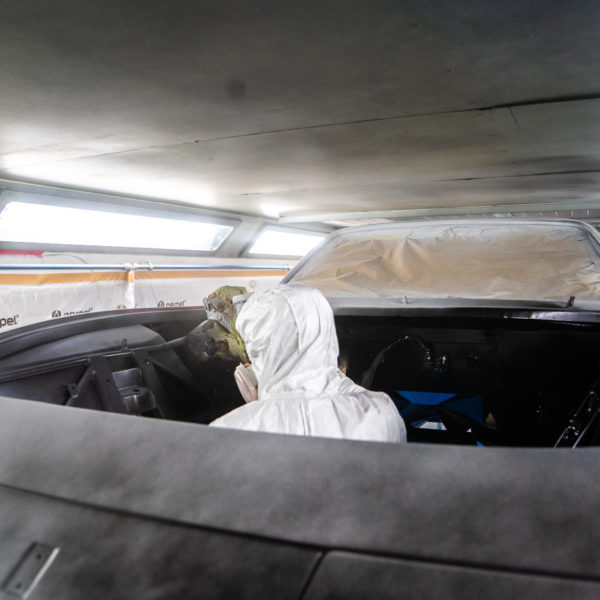
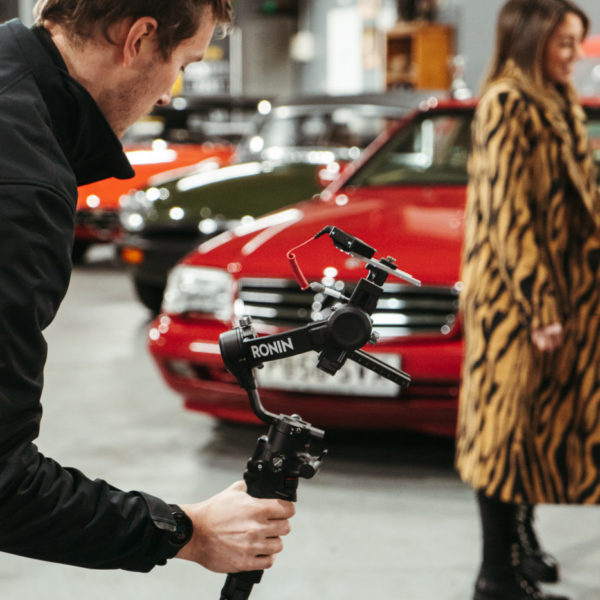
If you’ve been following us for a while, you’ll know we love getting behind the scenes shots and behind the behind the scenes shots! Here’s Ellie, our in house photographer and latest member to the marketing team, snapping Scott prepping the Daytona.
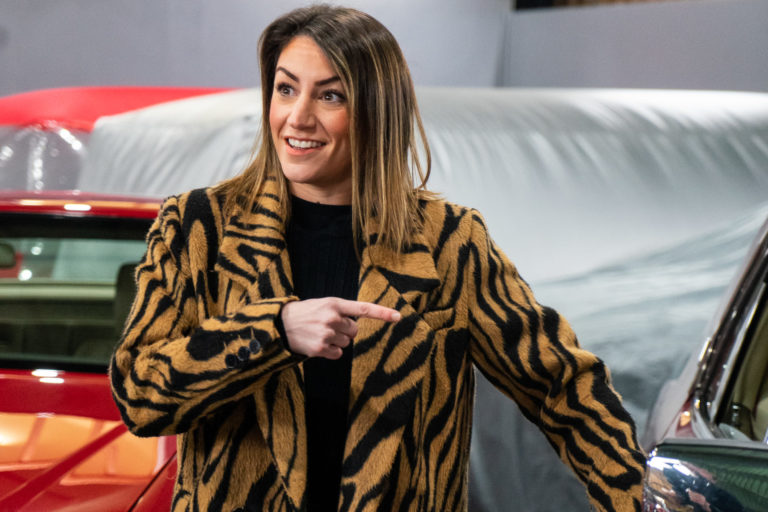
Last night we held our live draw to announce the BMW Z3M winner! As always, Charlotte joined us to take a walk through the cars in the hanger and the competition before she announced the winner.
We’re delighted to announce the winner of our BMW is Philip Hatswell with ticket number 3267. We’re yet to hear back from Philip but we’ve sent him a message to let him know he’s won, and we can’t wait to drop it off for him!
You can watch our live draw back here. We also work to capture behind the scenes shots to give you an insight into what we see!
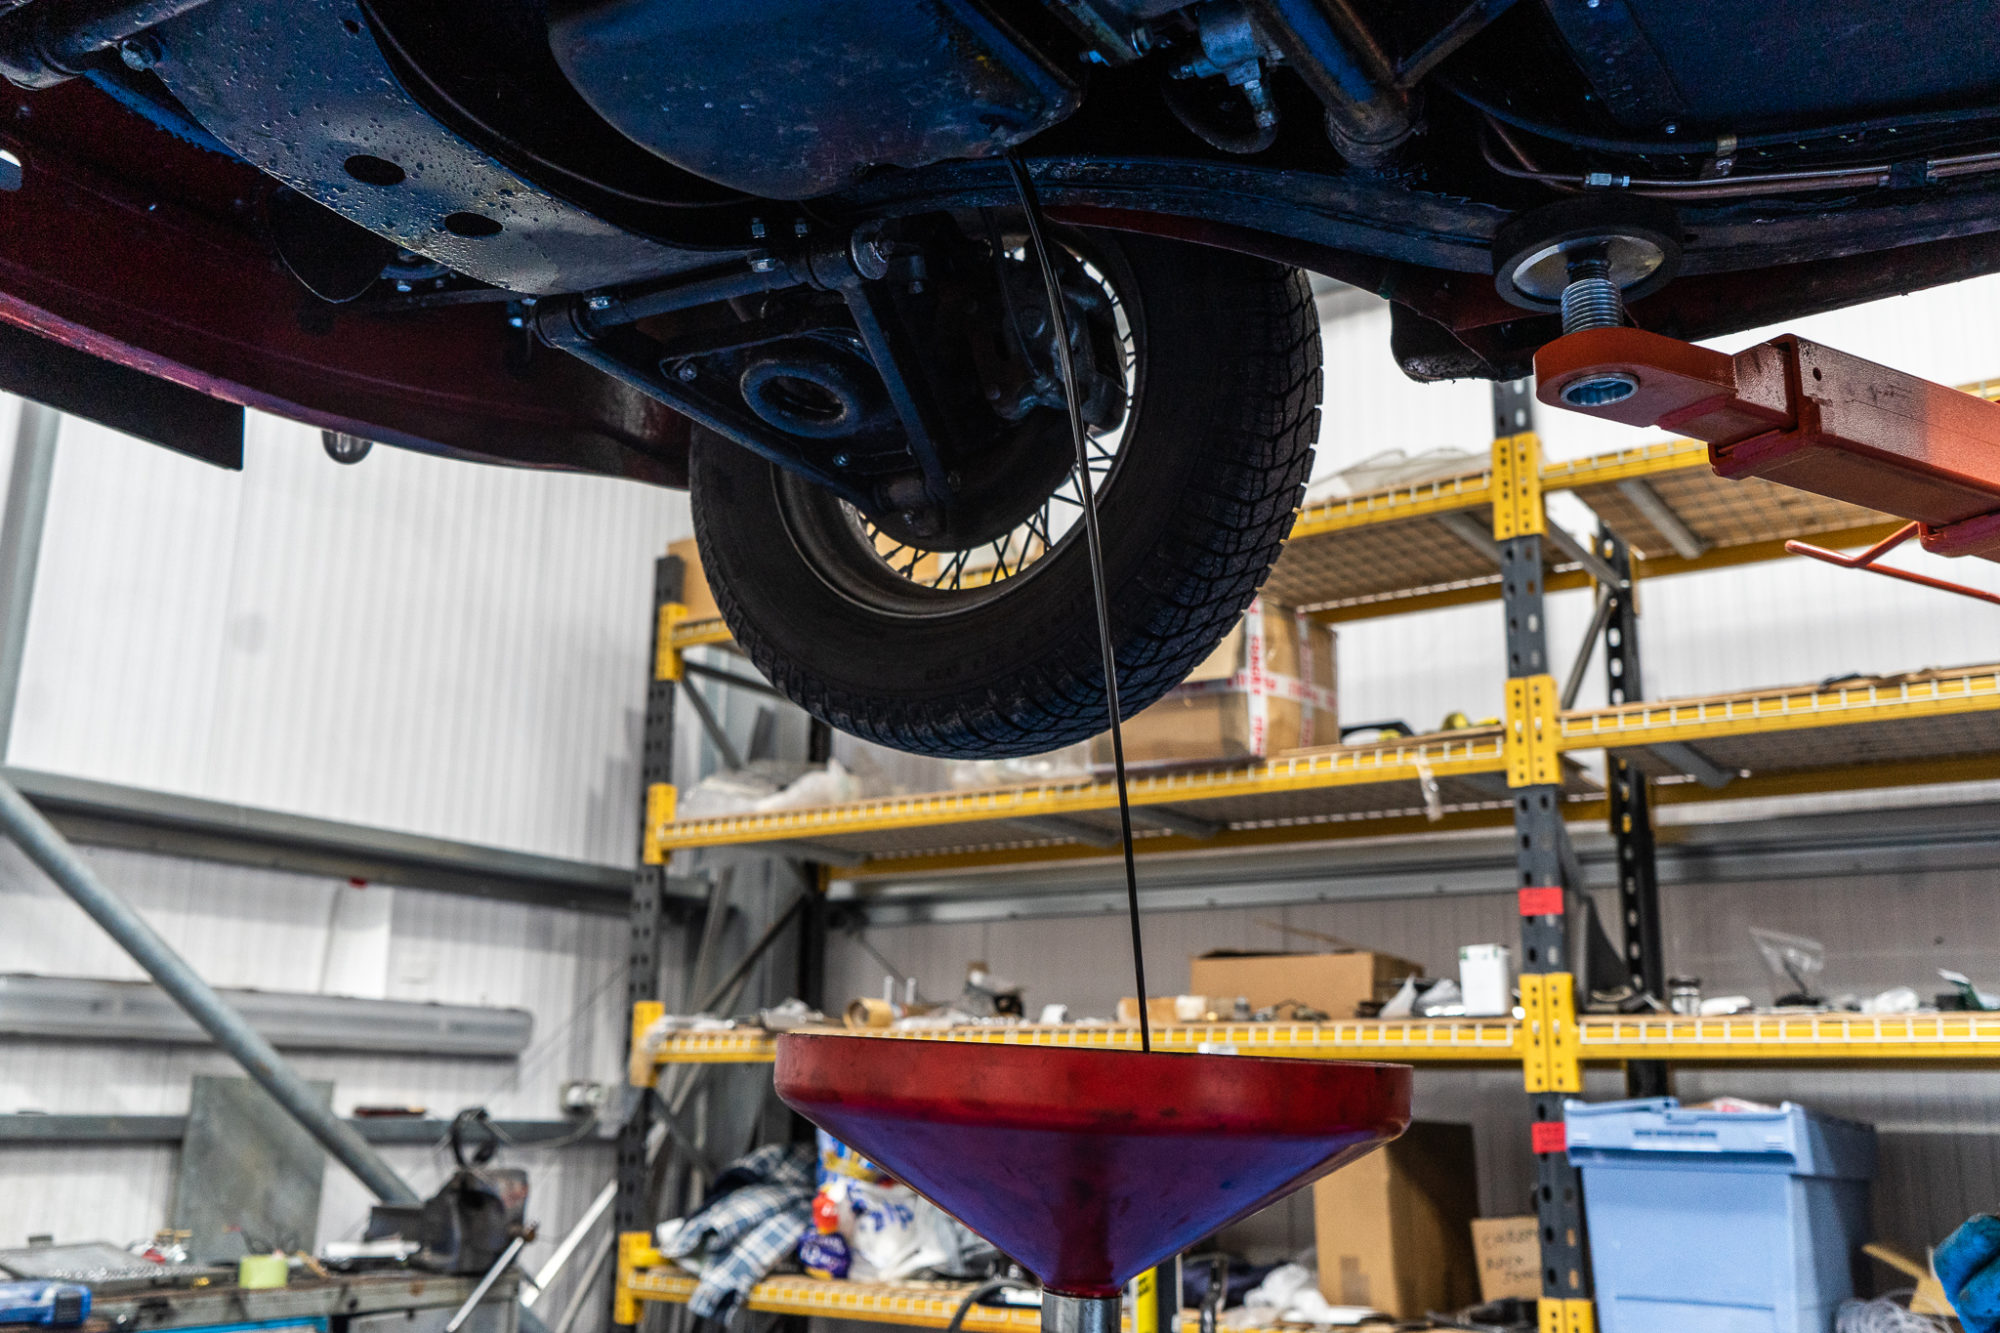
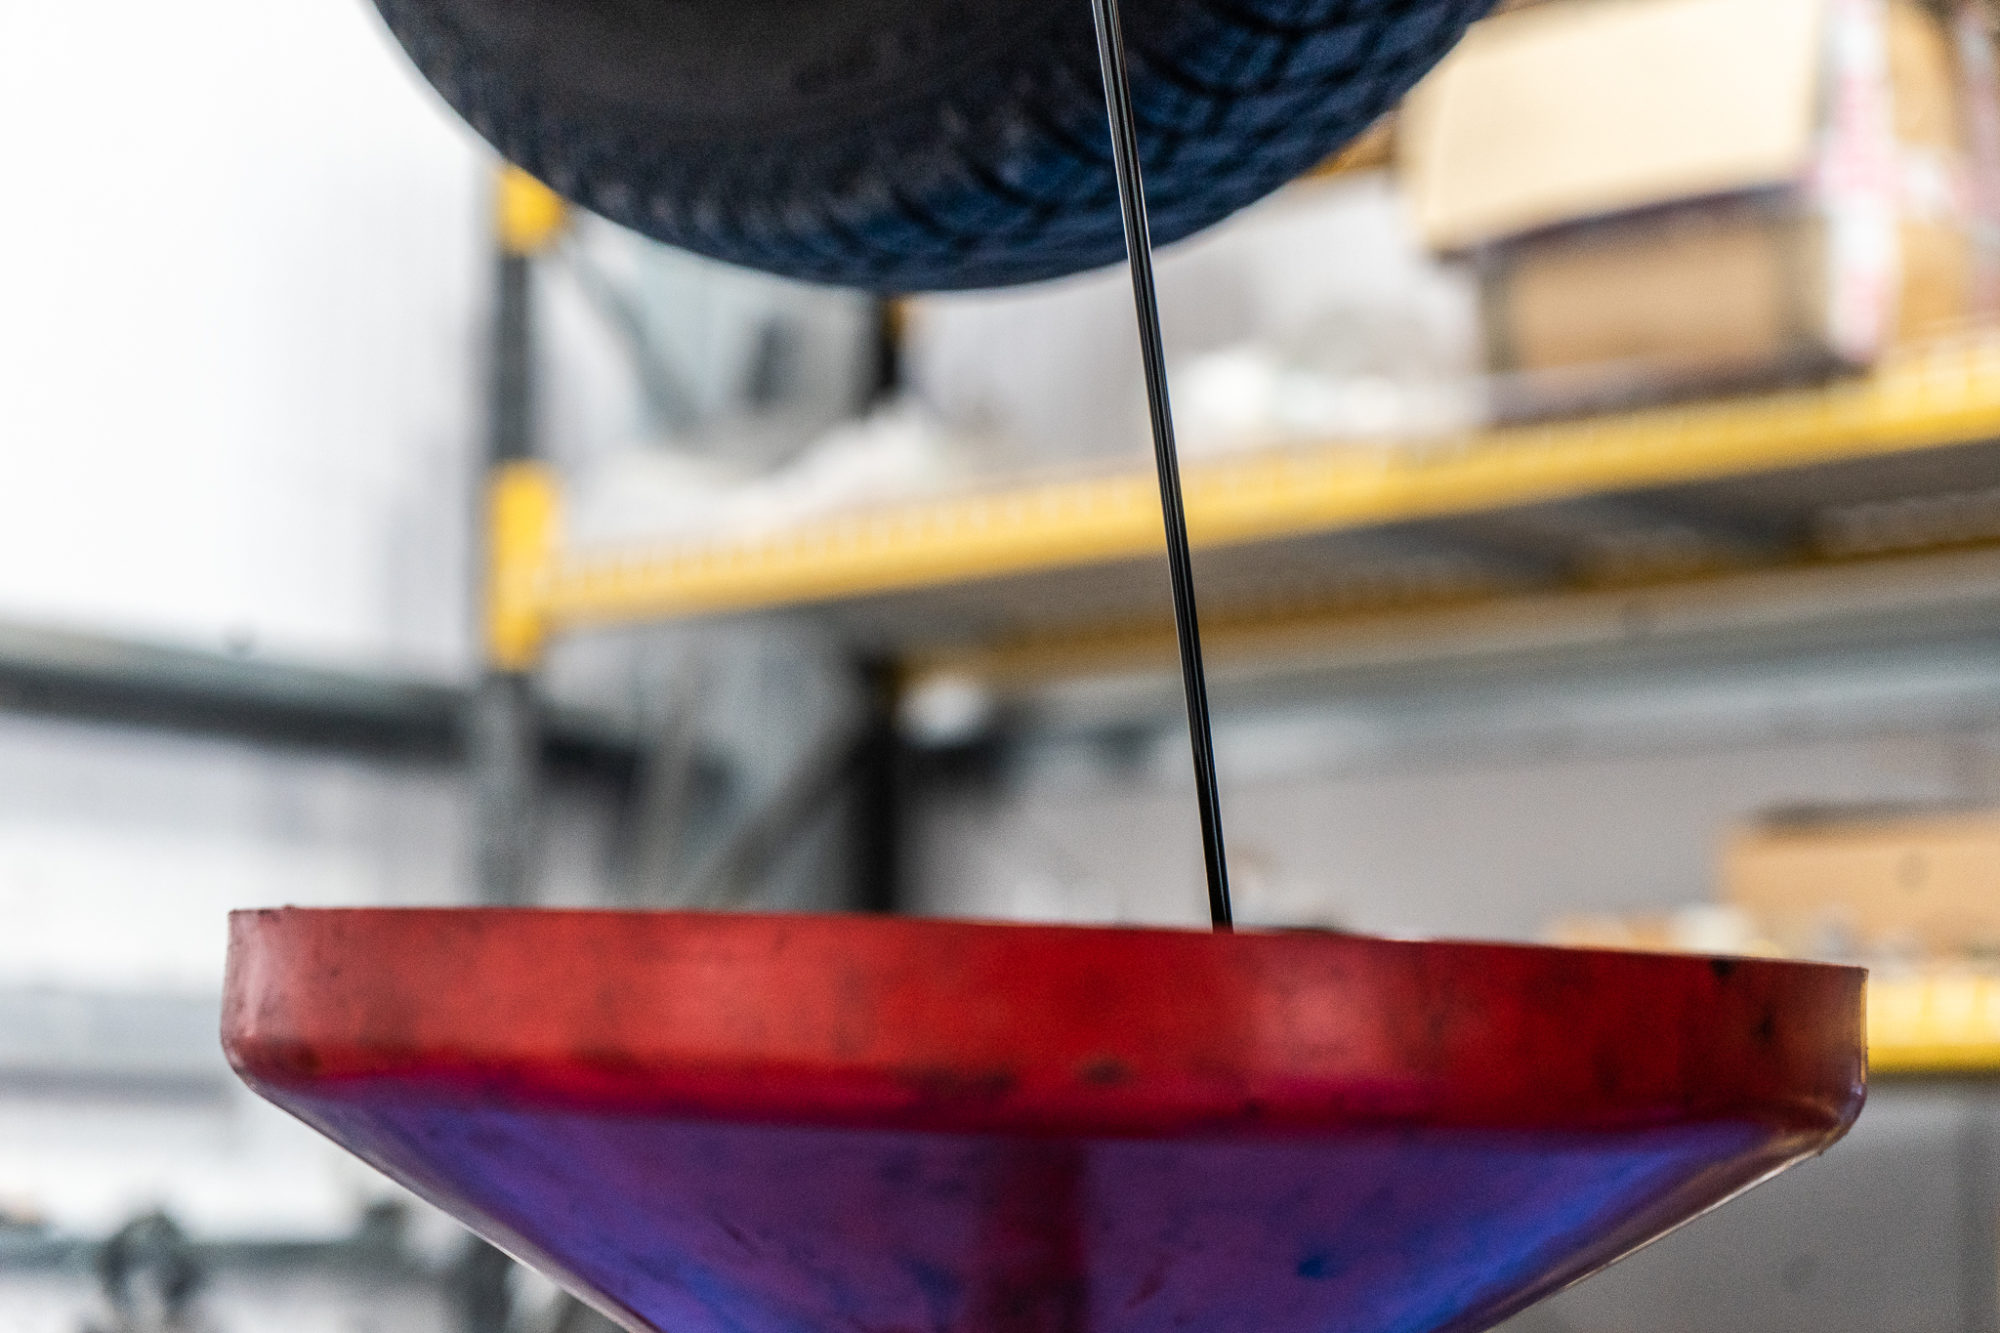
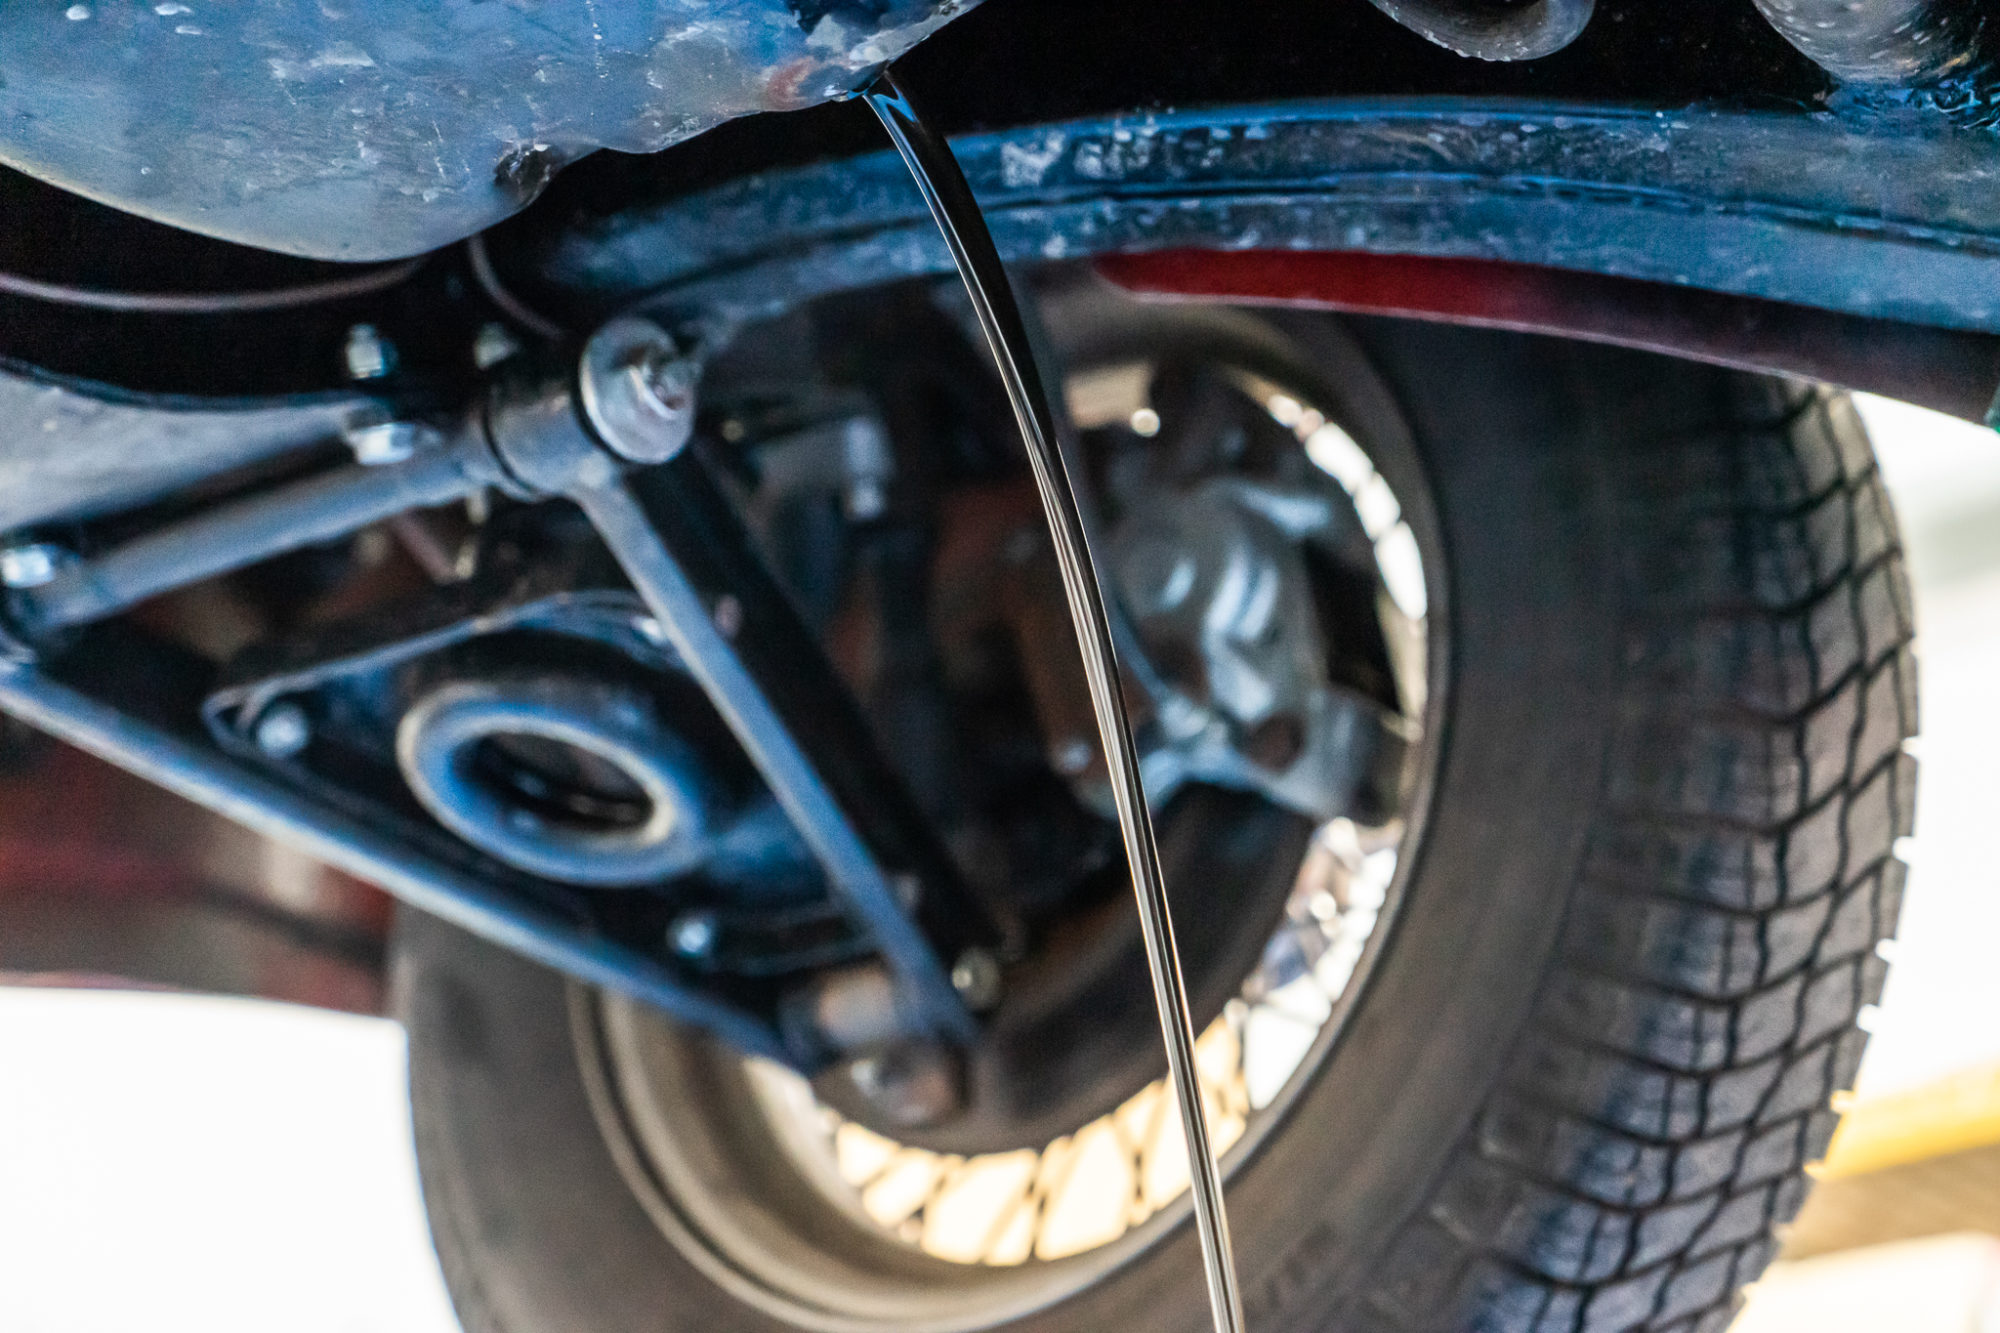
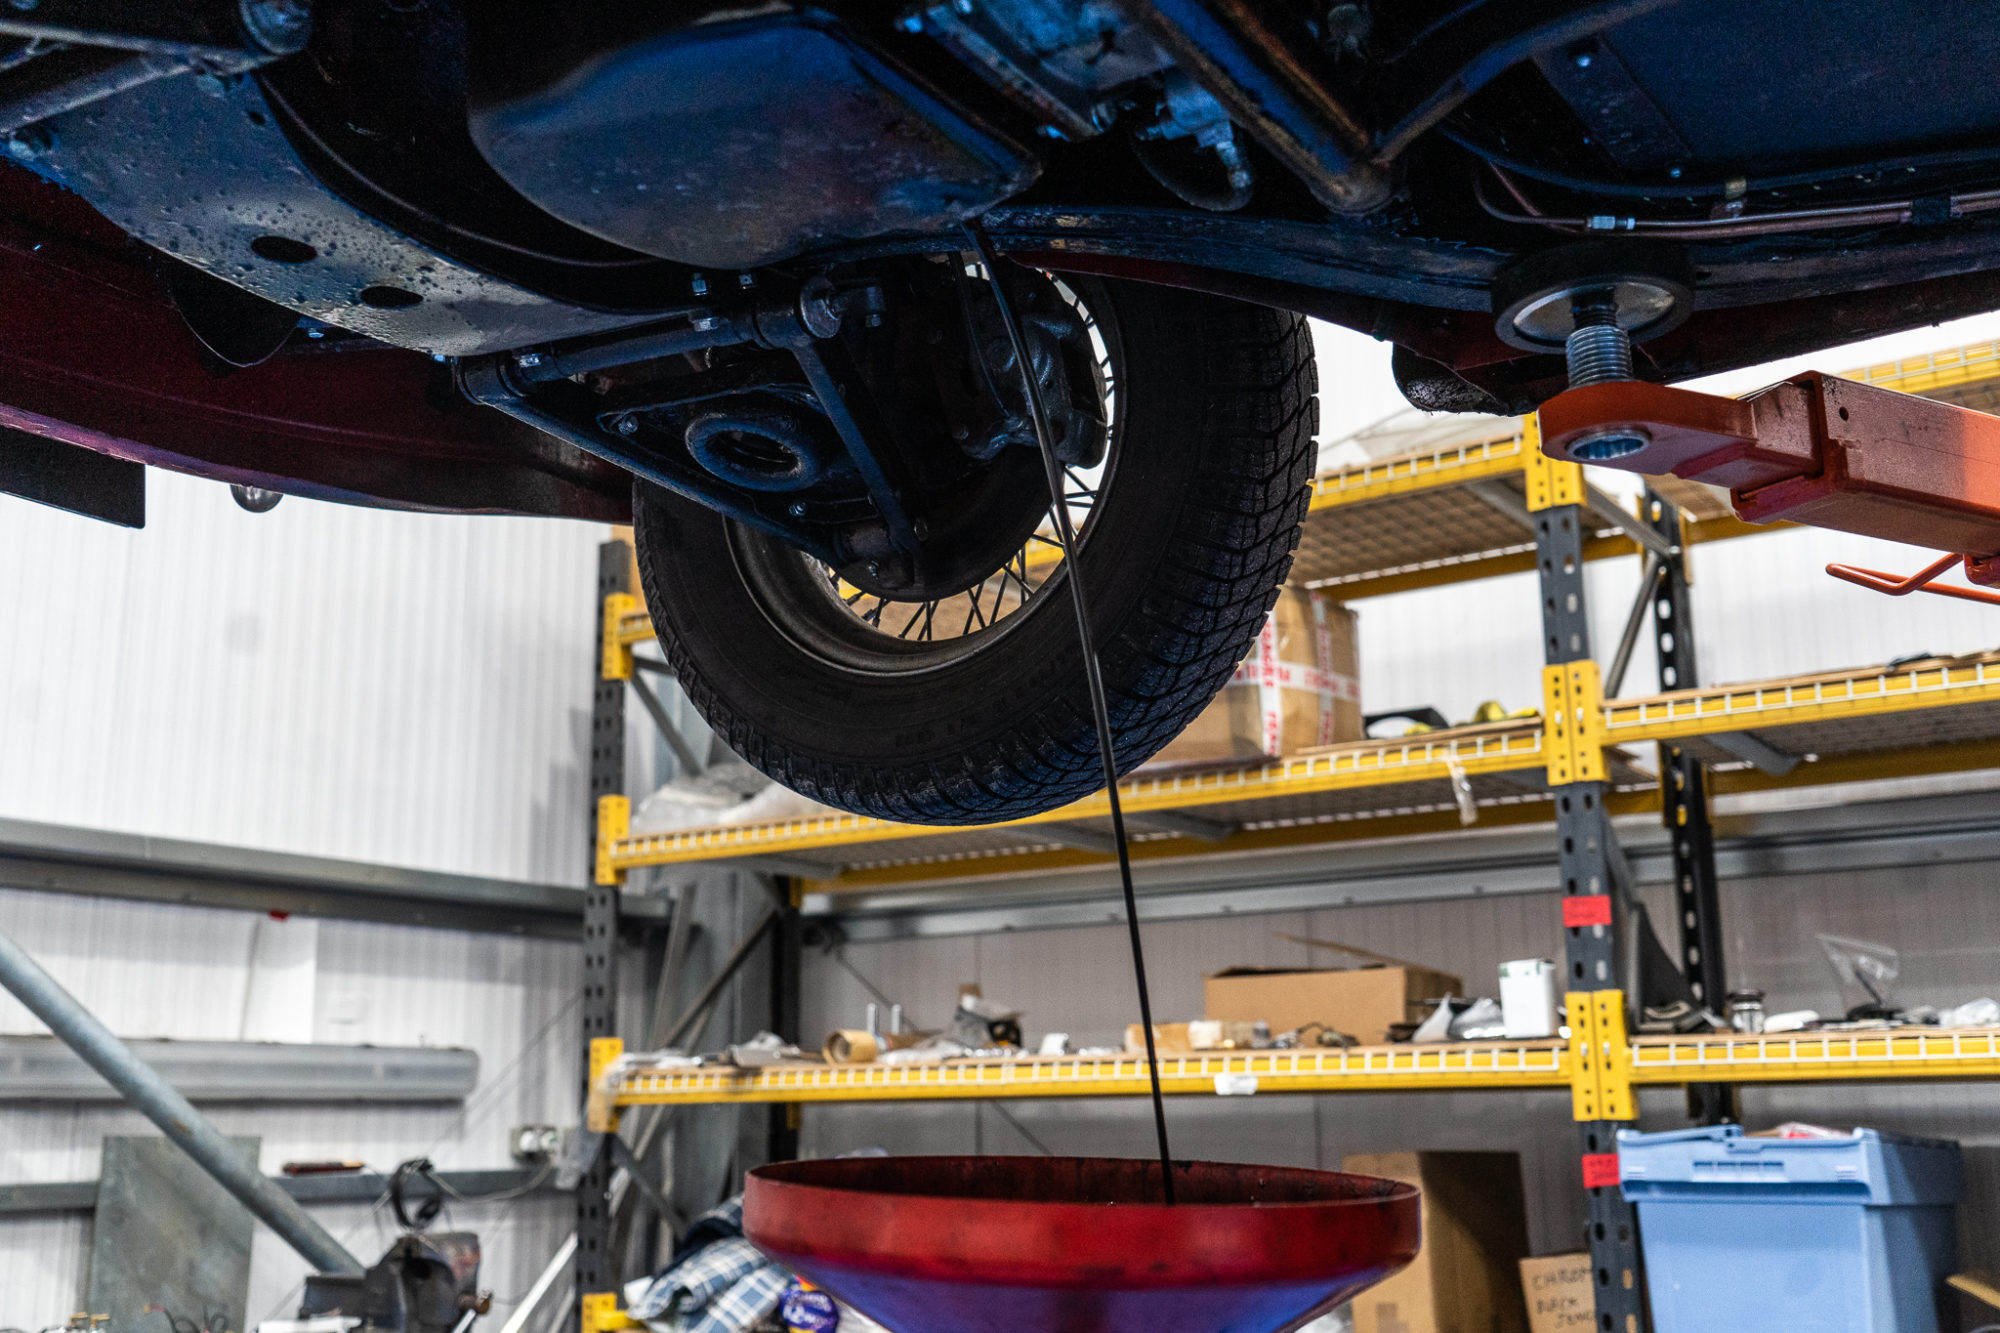
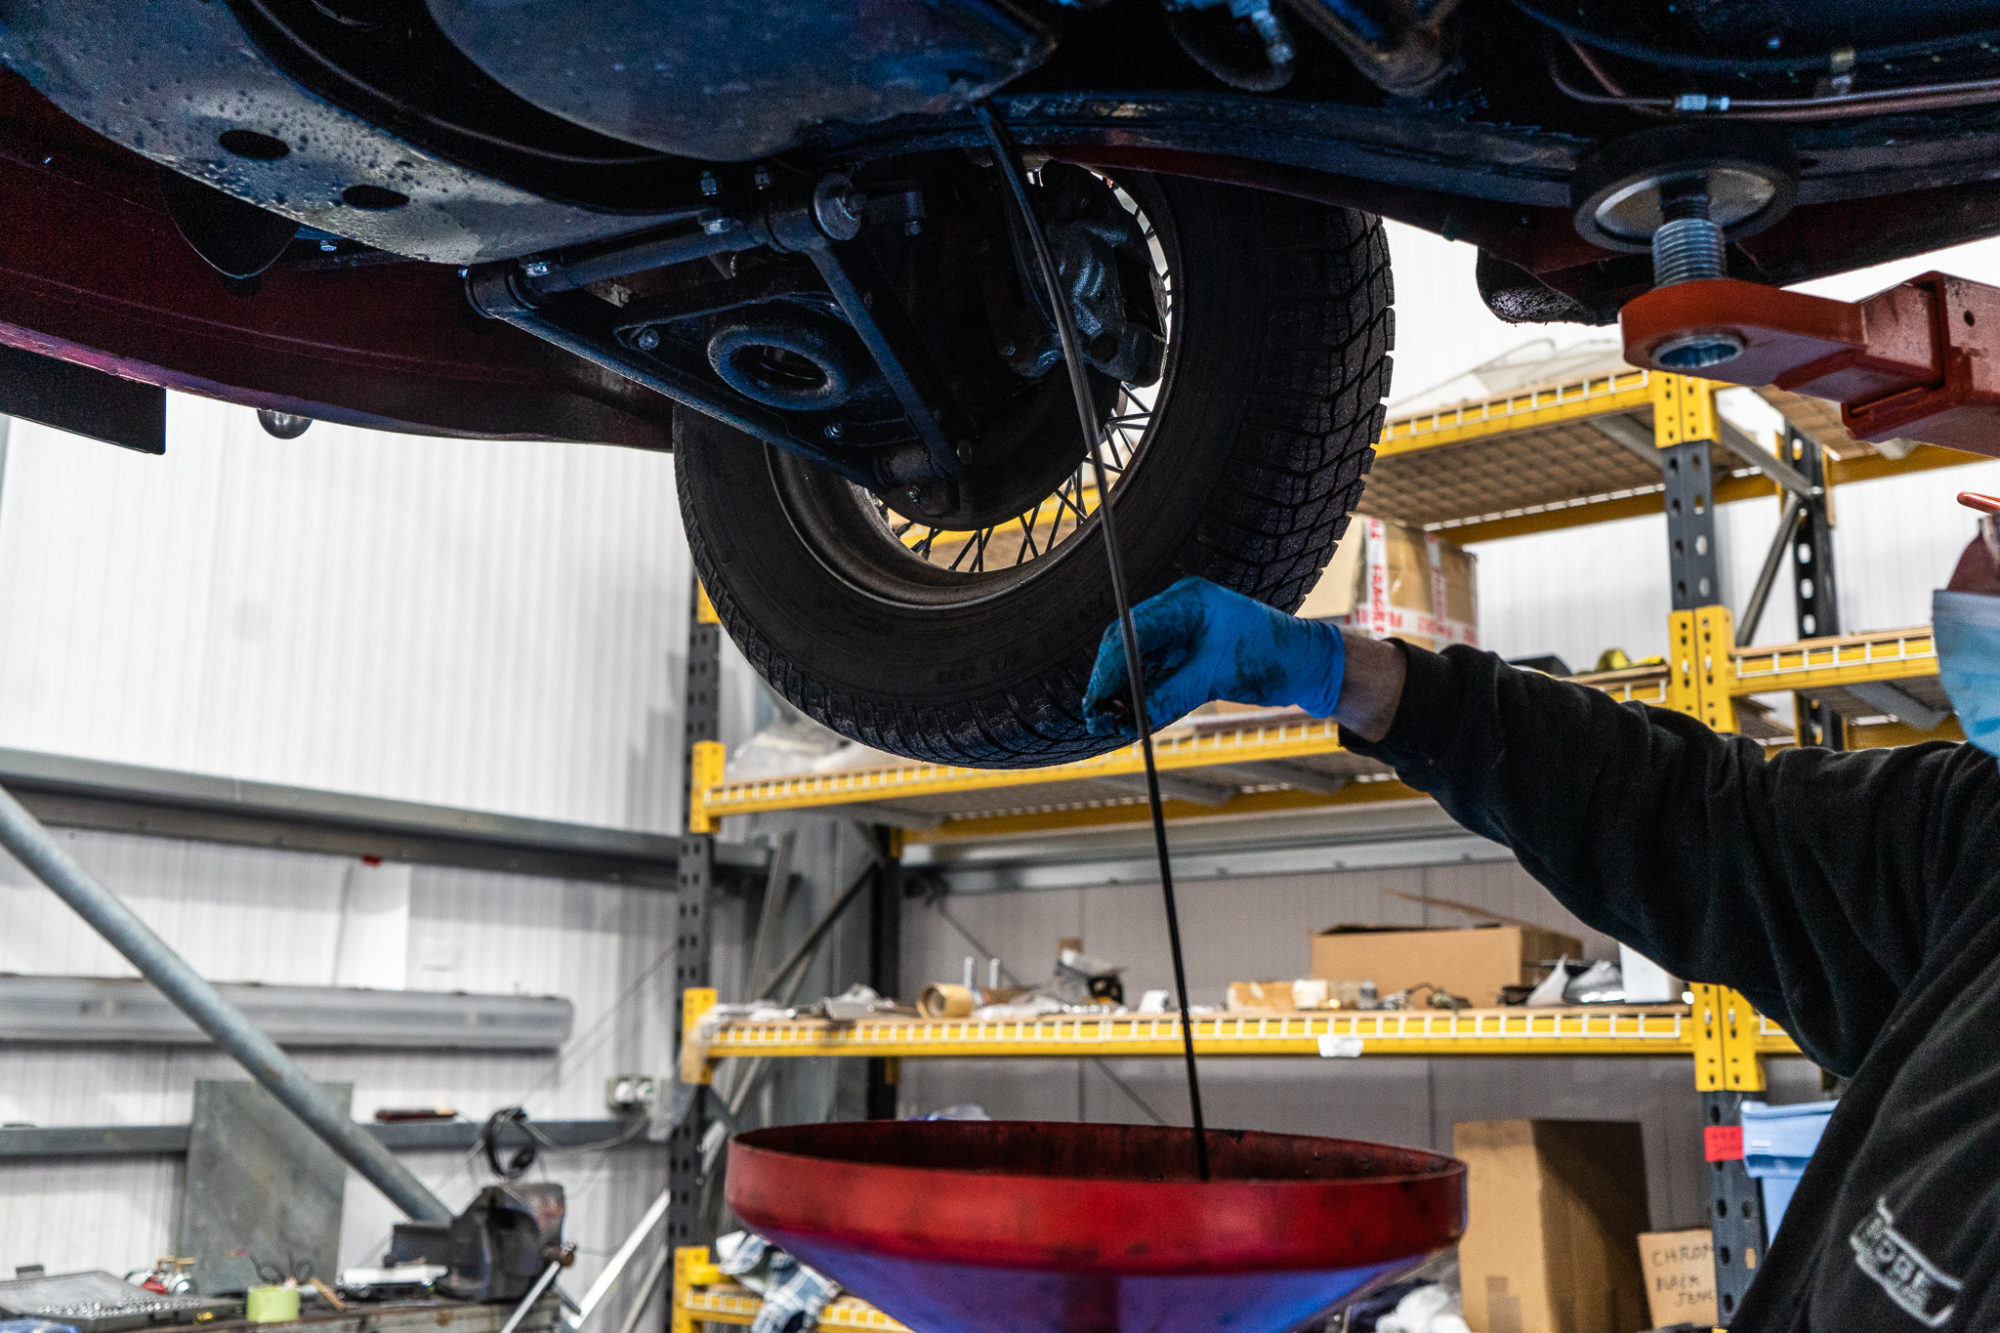
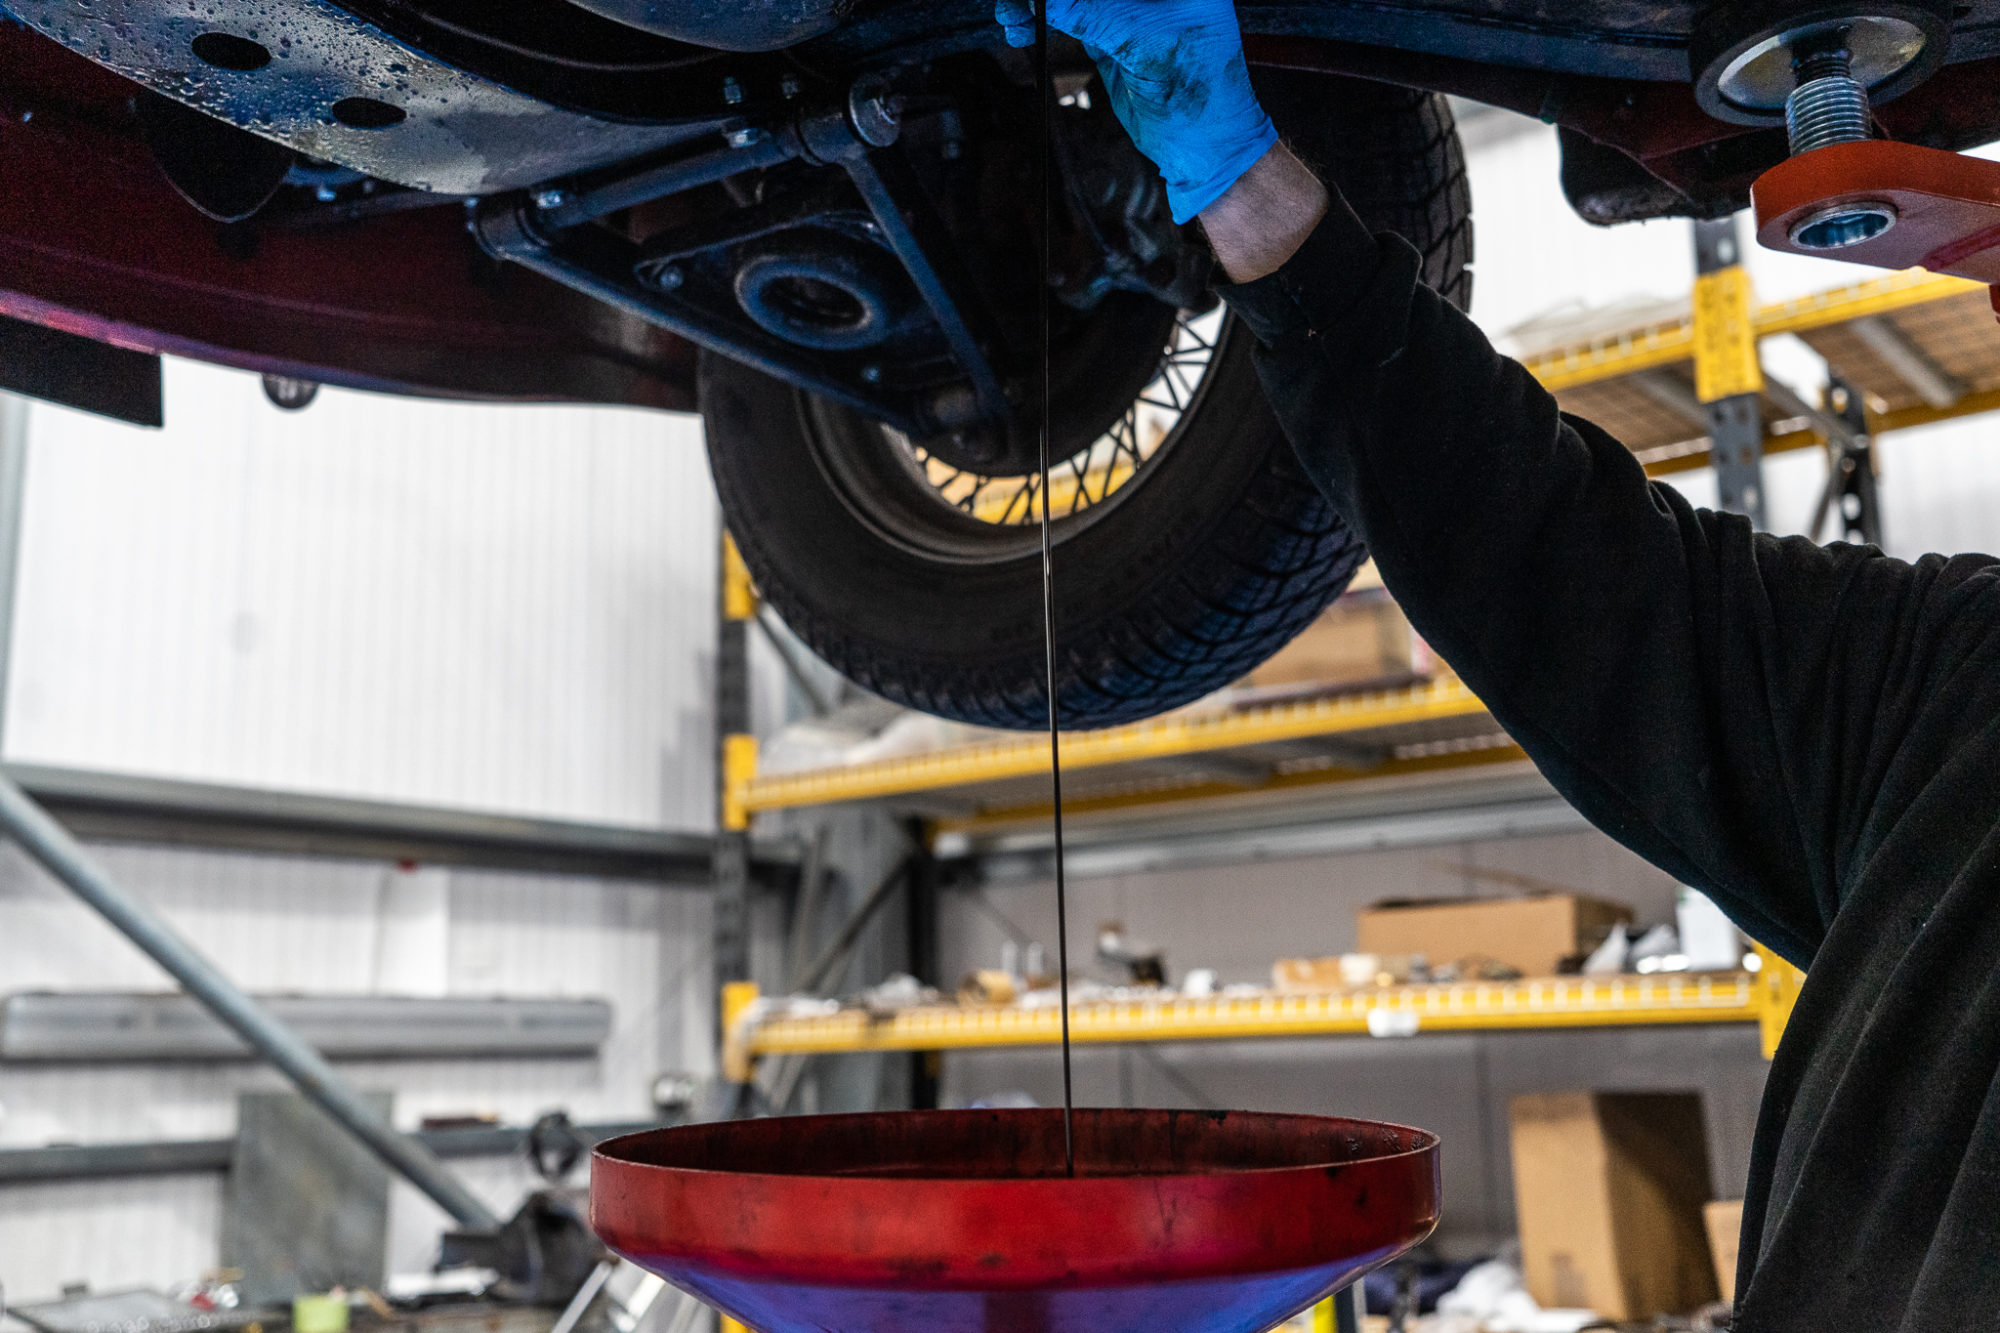
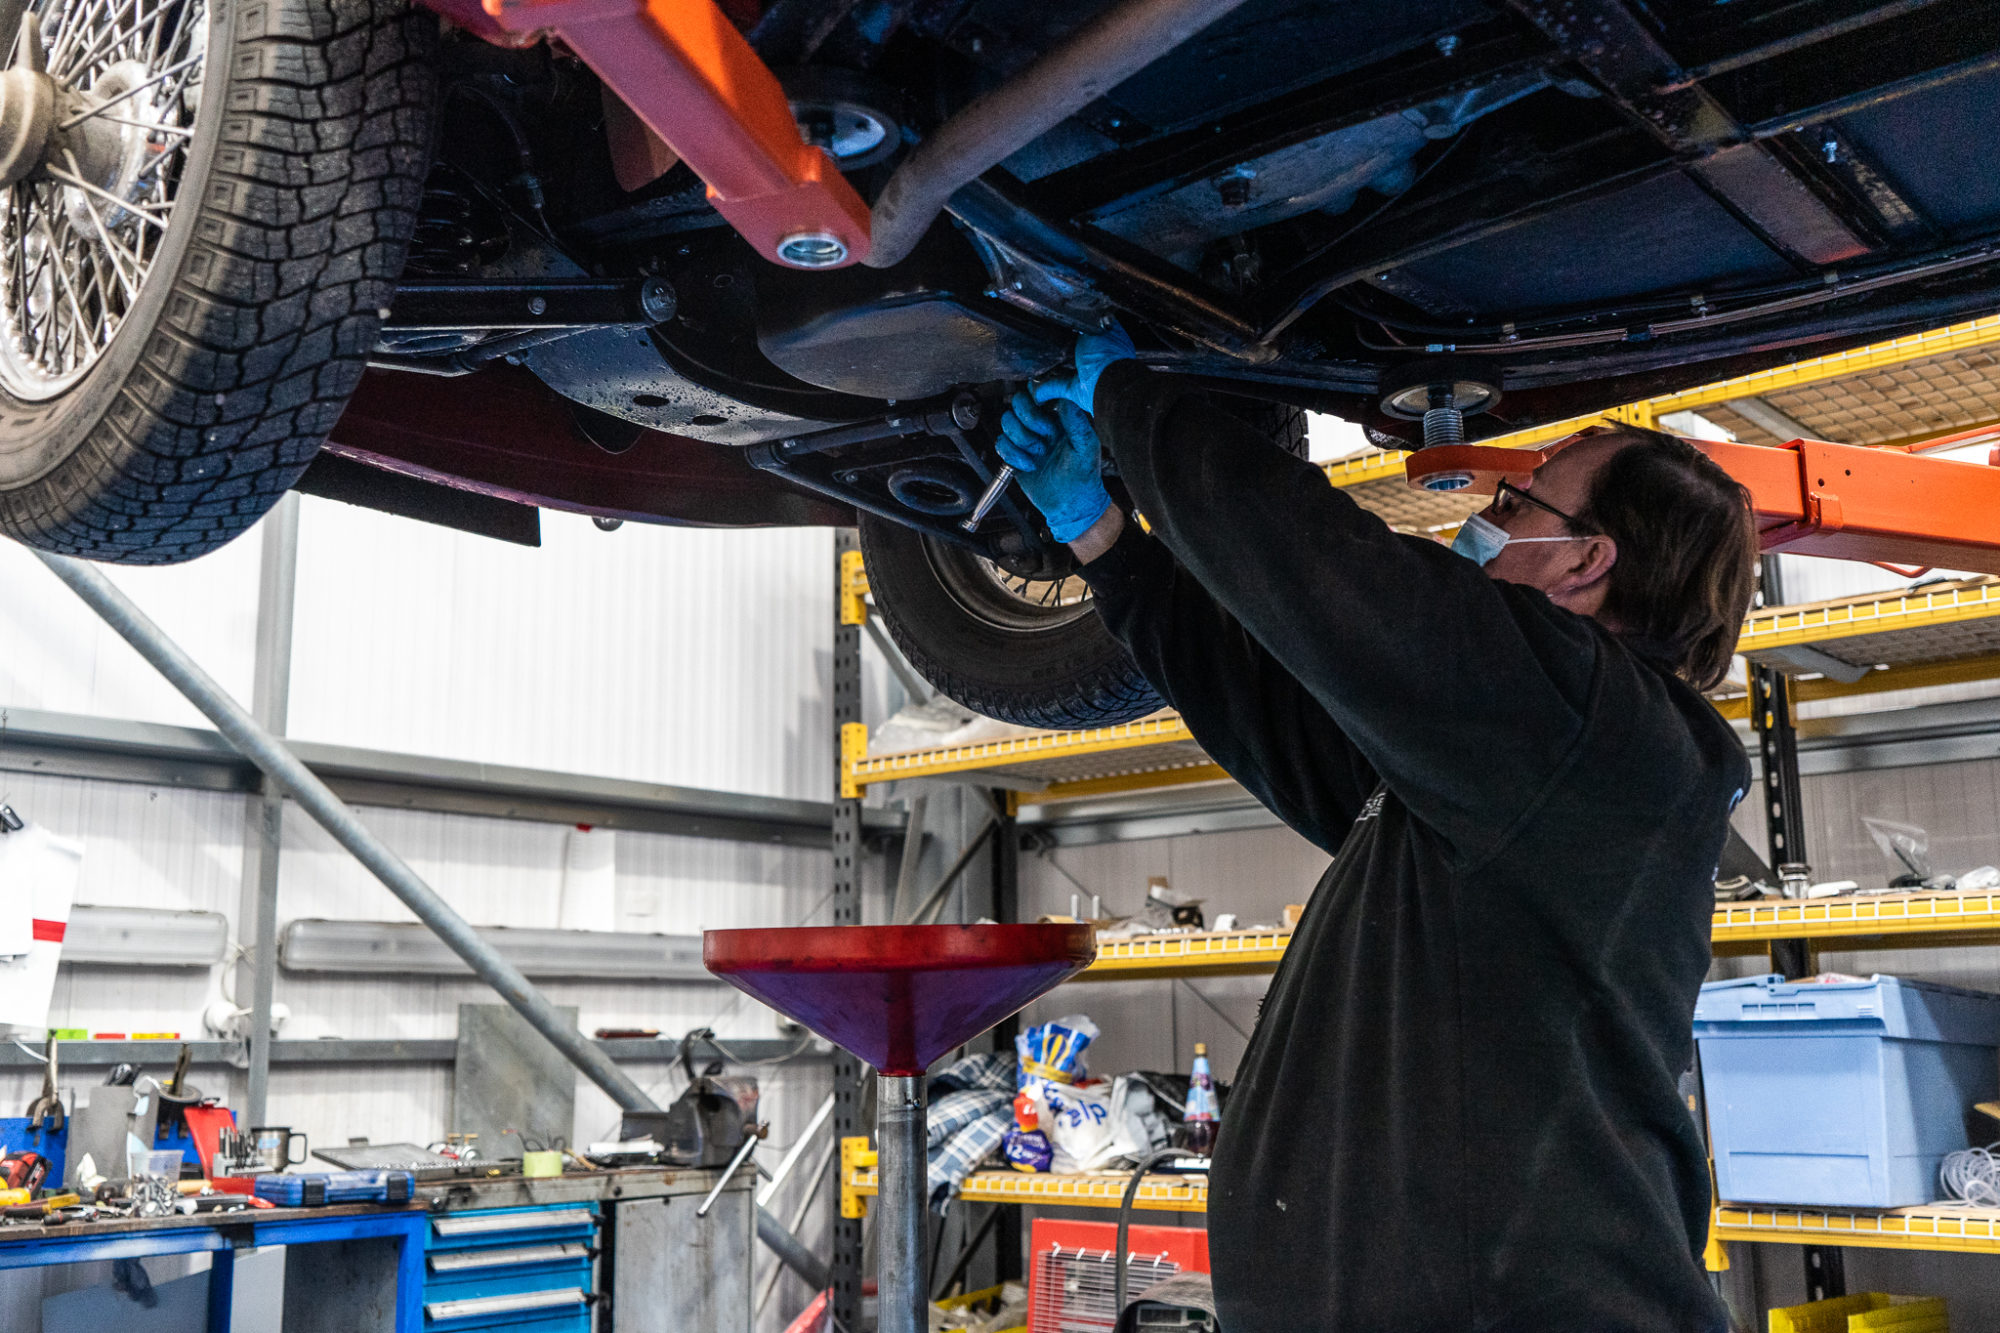
We’ve welcomed back this lovely 1960 MG A for a service. We originally restored this stunning classic and were delighted to hear how happy Mike is with his beloved motor when he dropped it off with us this morning.
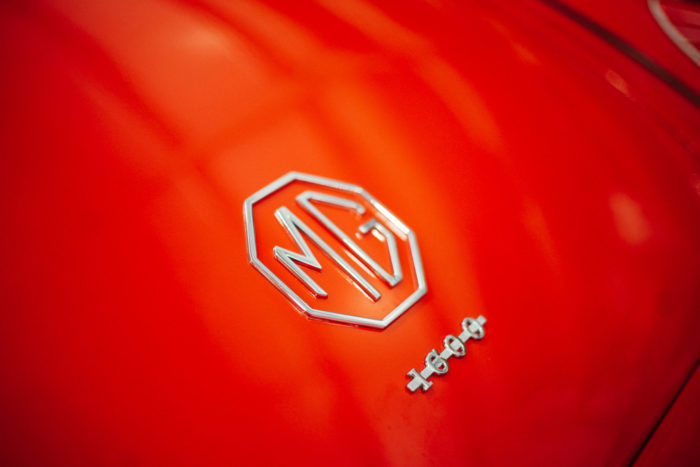
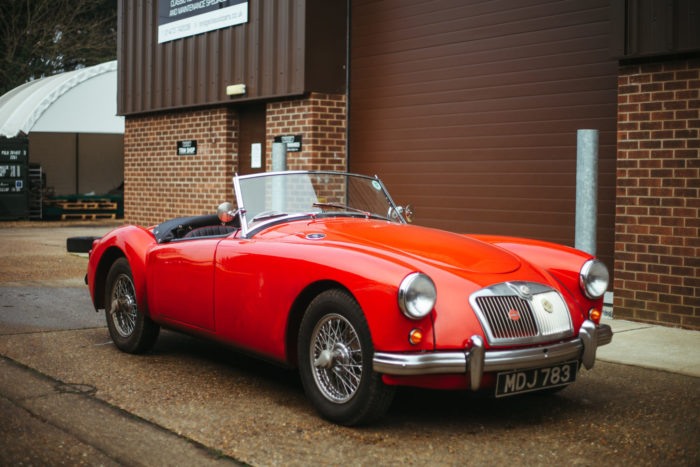
We’ve begun by draining the oil out of the engine to replace it as this is advised to do either once a year or every 6000 miles. This is important to do as when the oil has circulated around the engine numerous times, it can collect metal pollutants and lose its effectiveness.
Our 1958 Jensen 541R is now complete, cleaned and ready for shoot.
The car will be available for sale from our showroom very soon.