Successful Test Scores For Our Jensen
our 1960 Jensen 541R has had its rolling road test from Hangar 111. The test has come back incredibly positive. Often these rolling road tests


our 1960 Jensen 541R has had its rolling road test from Hangar 111. The test has come back incredibly positive. Often these rolling road tests
On Monday, Mauro and Ellie took the lorry and our 1958 Jensen 541R over to Glevering Mill to shoot it for our website. This stunning
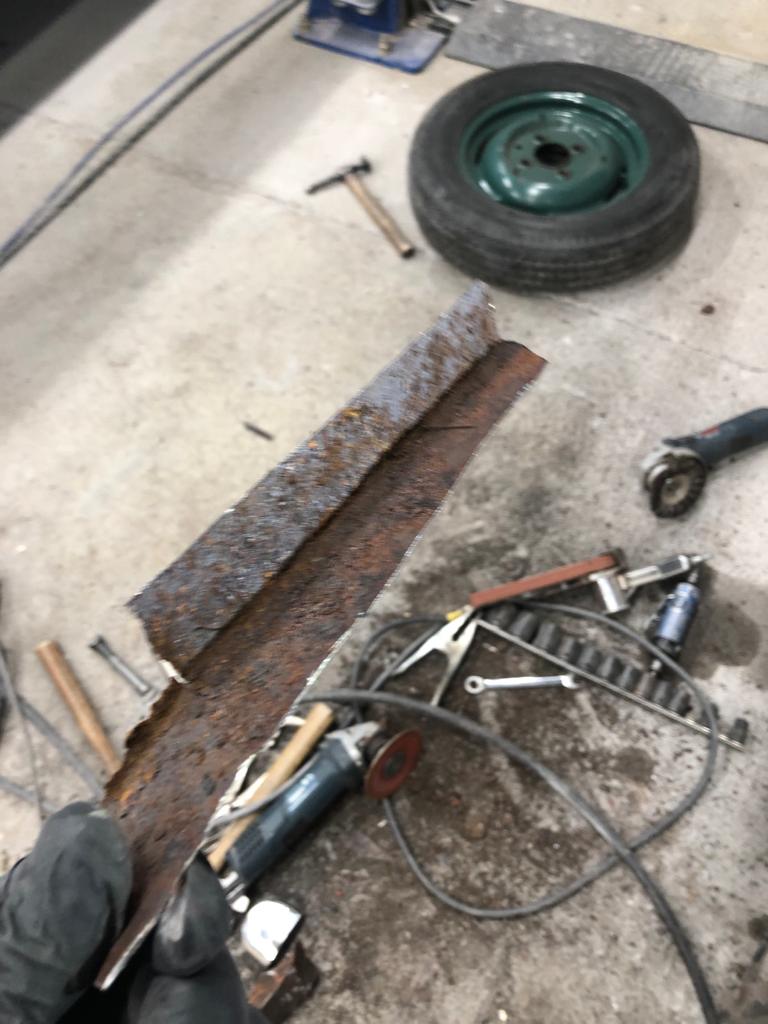
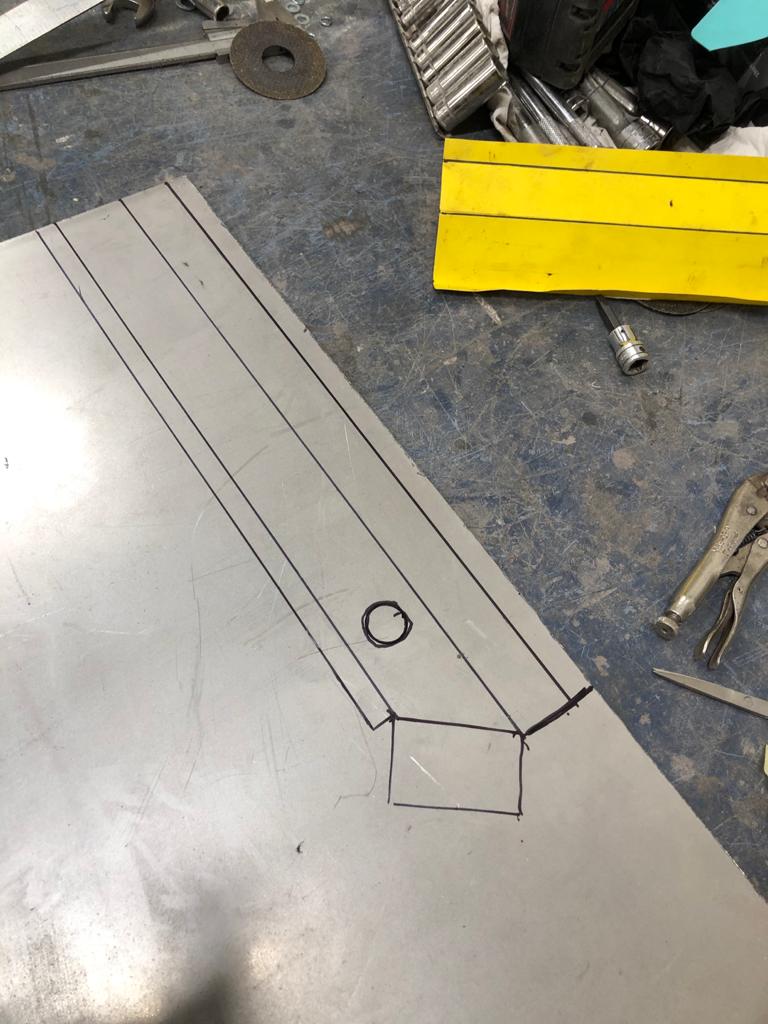
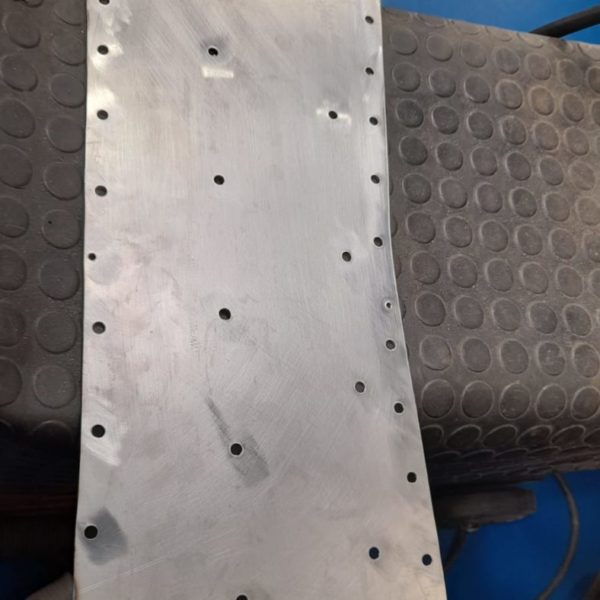
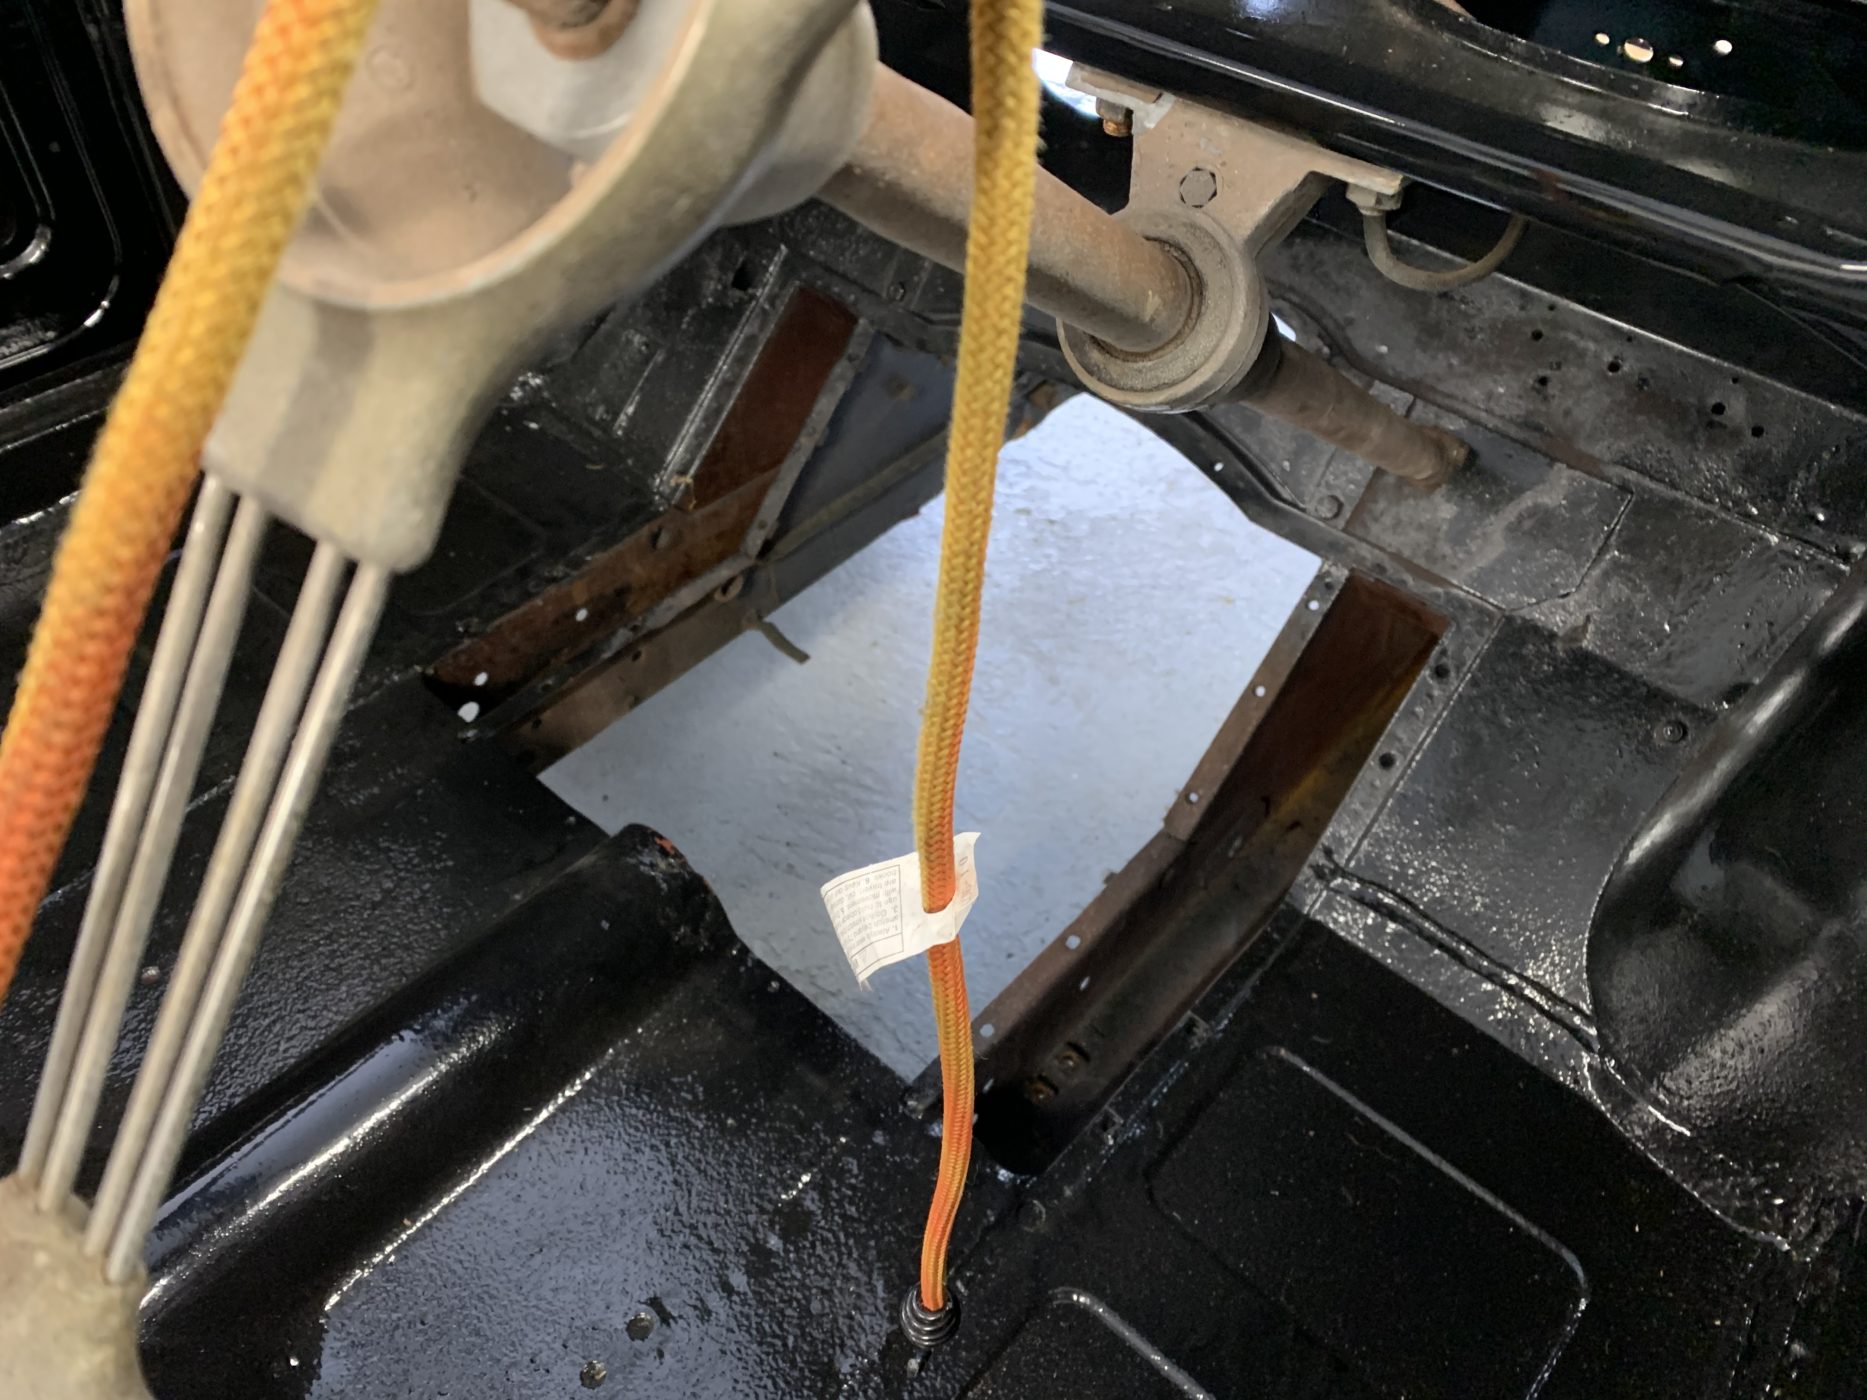
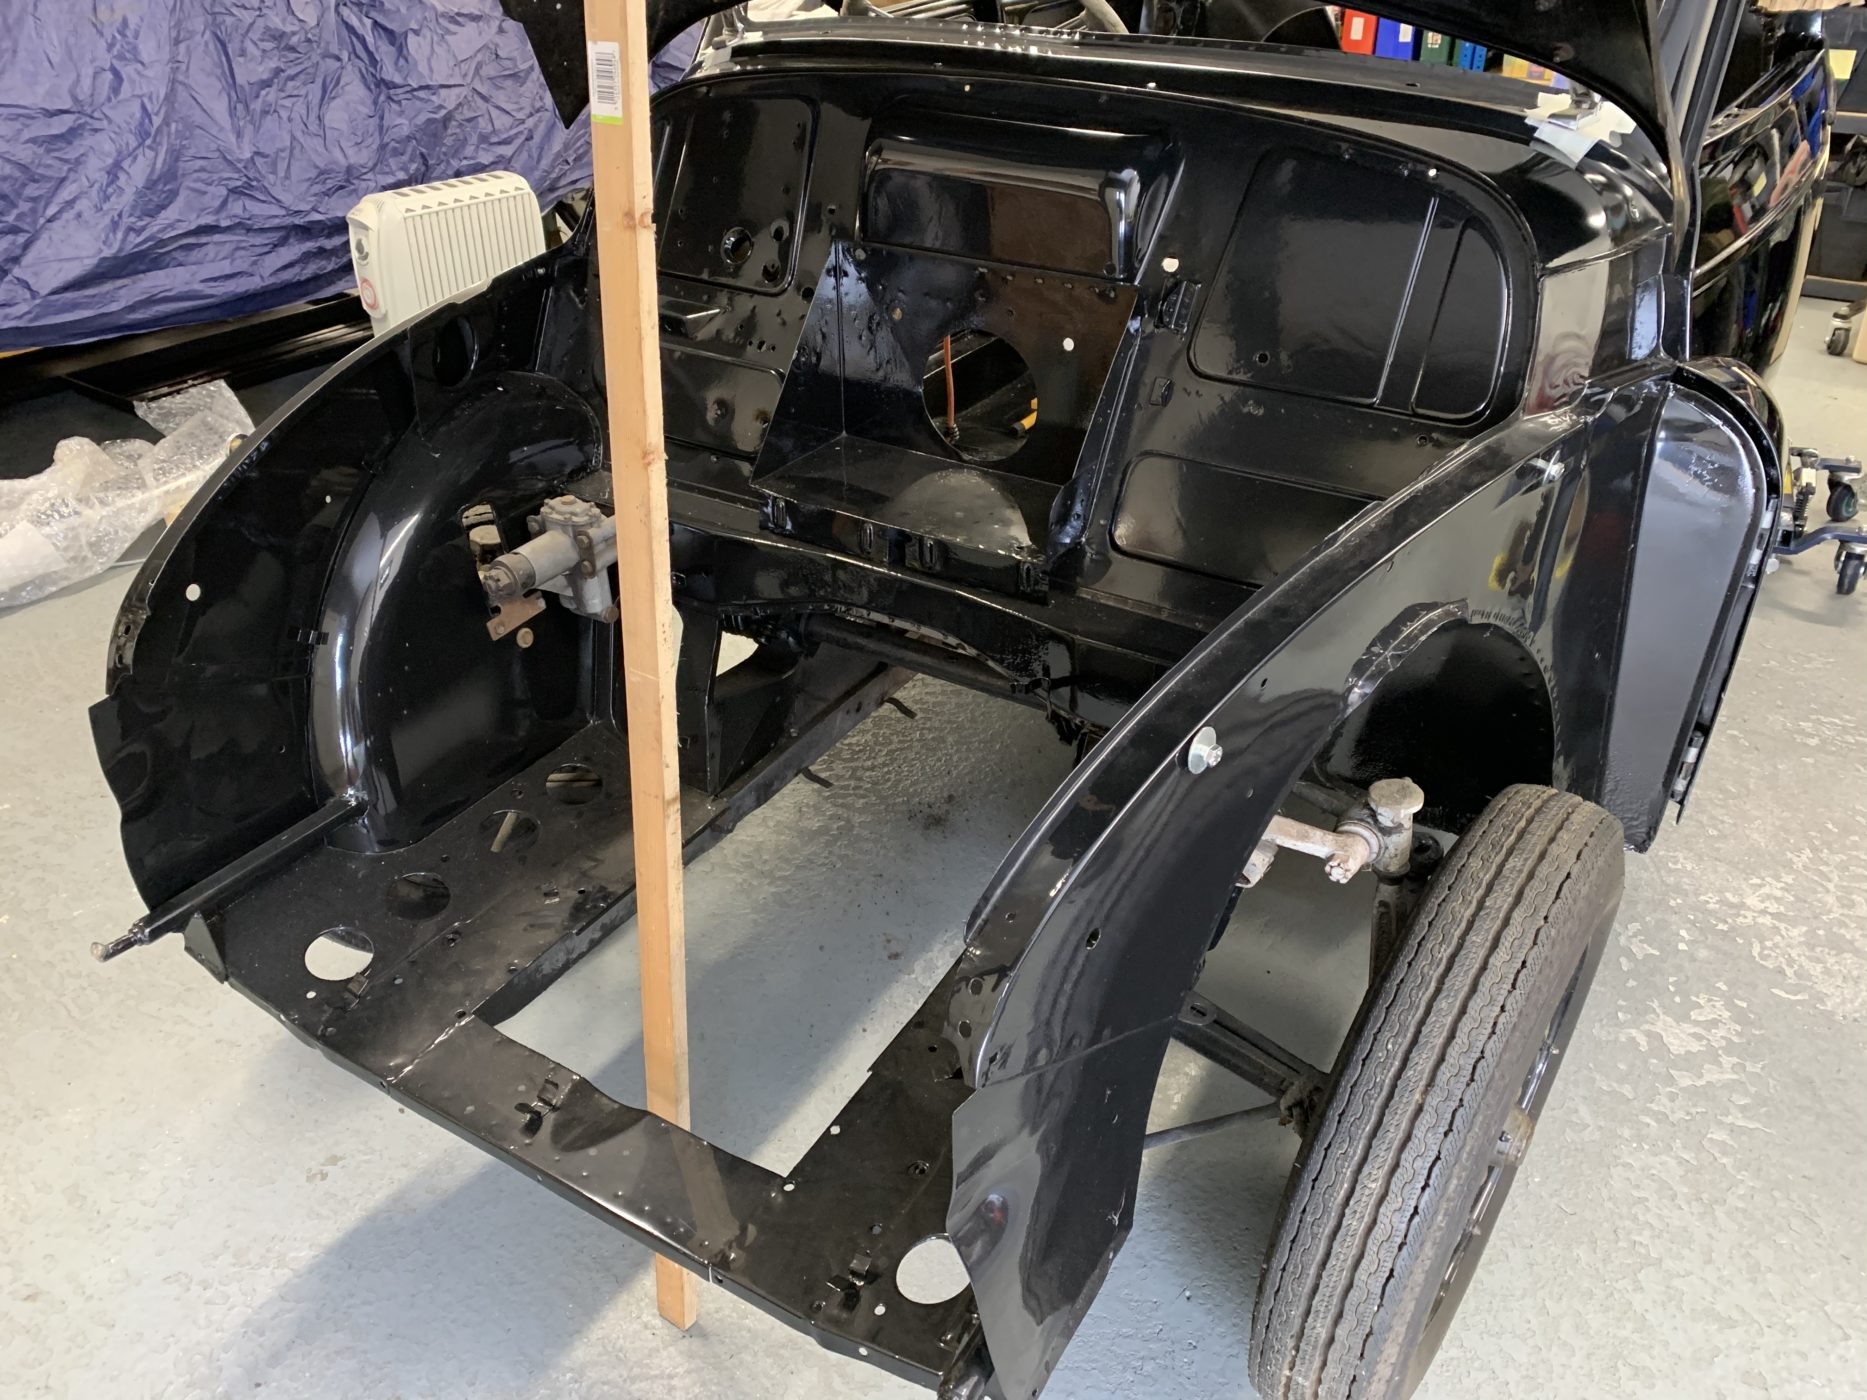
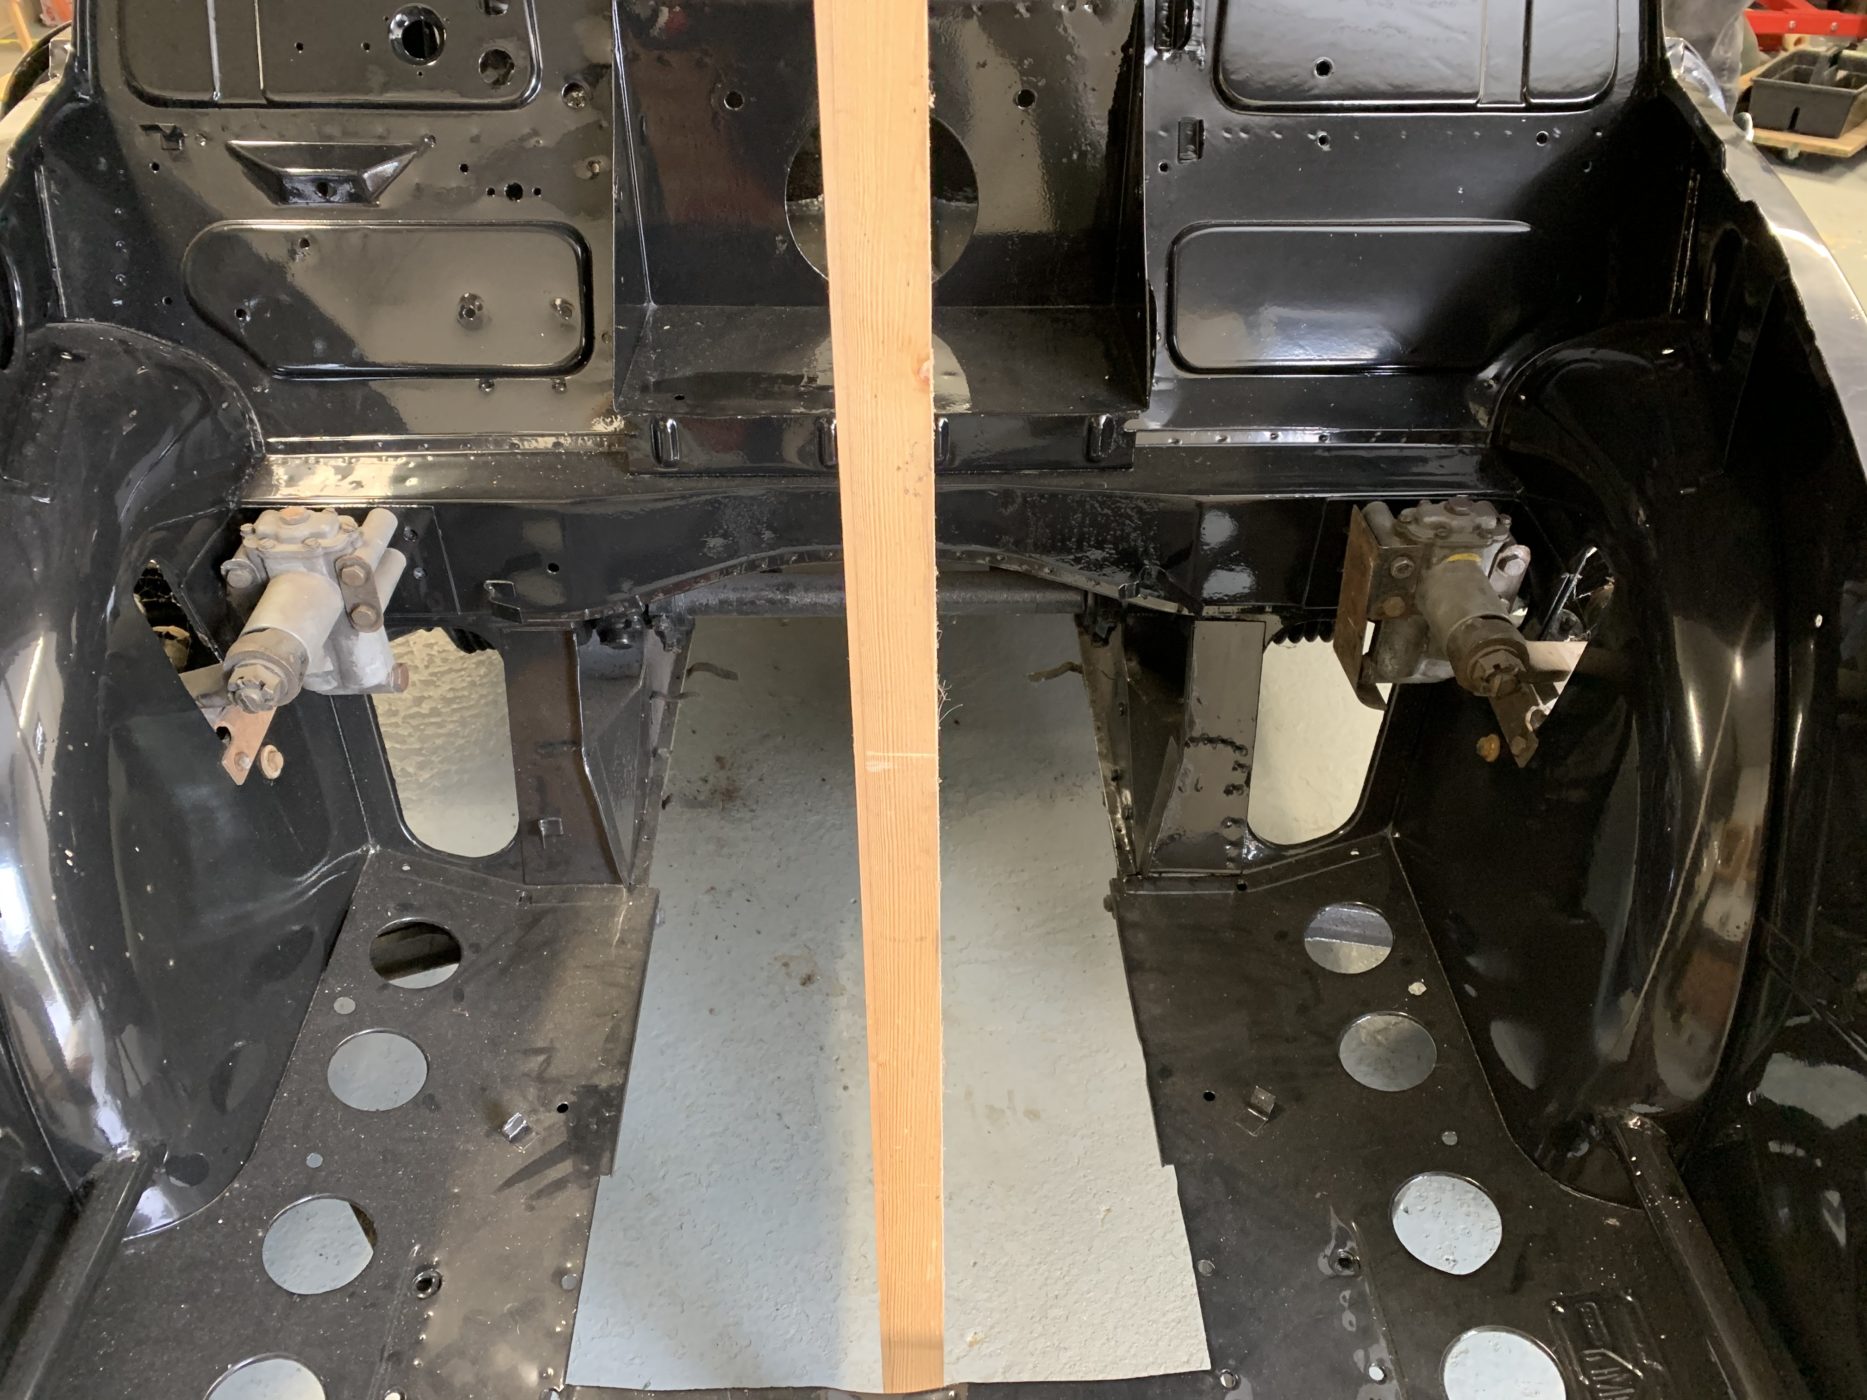
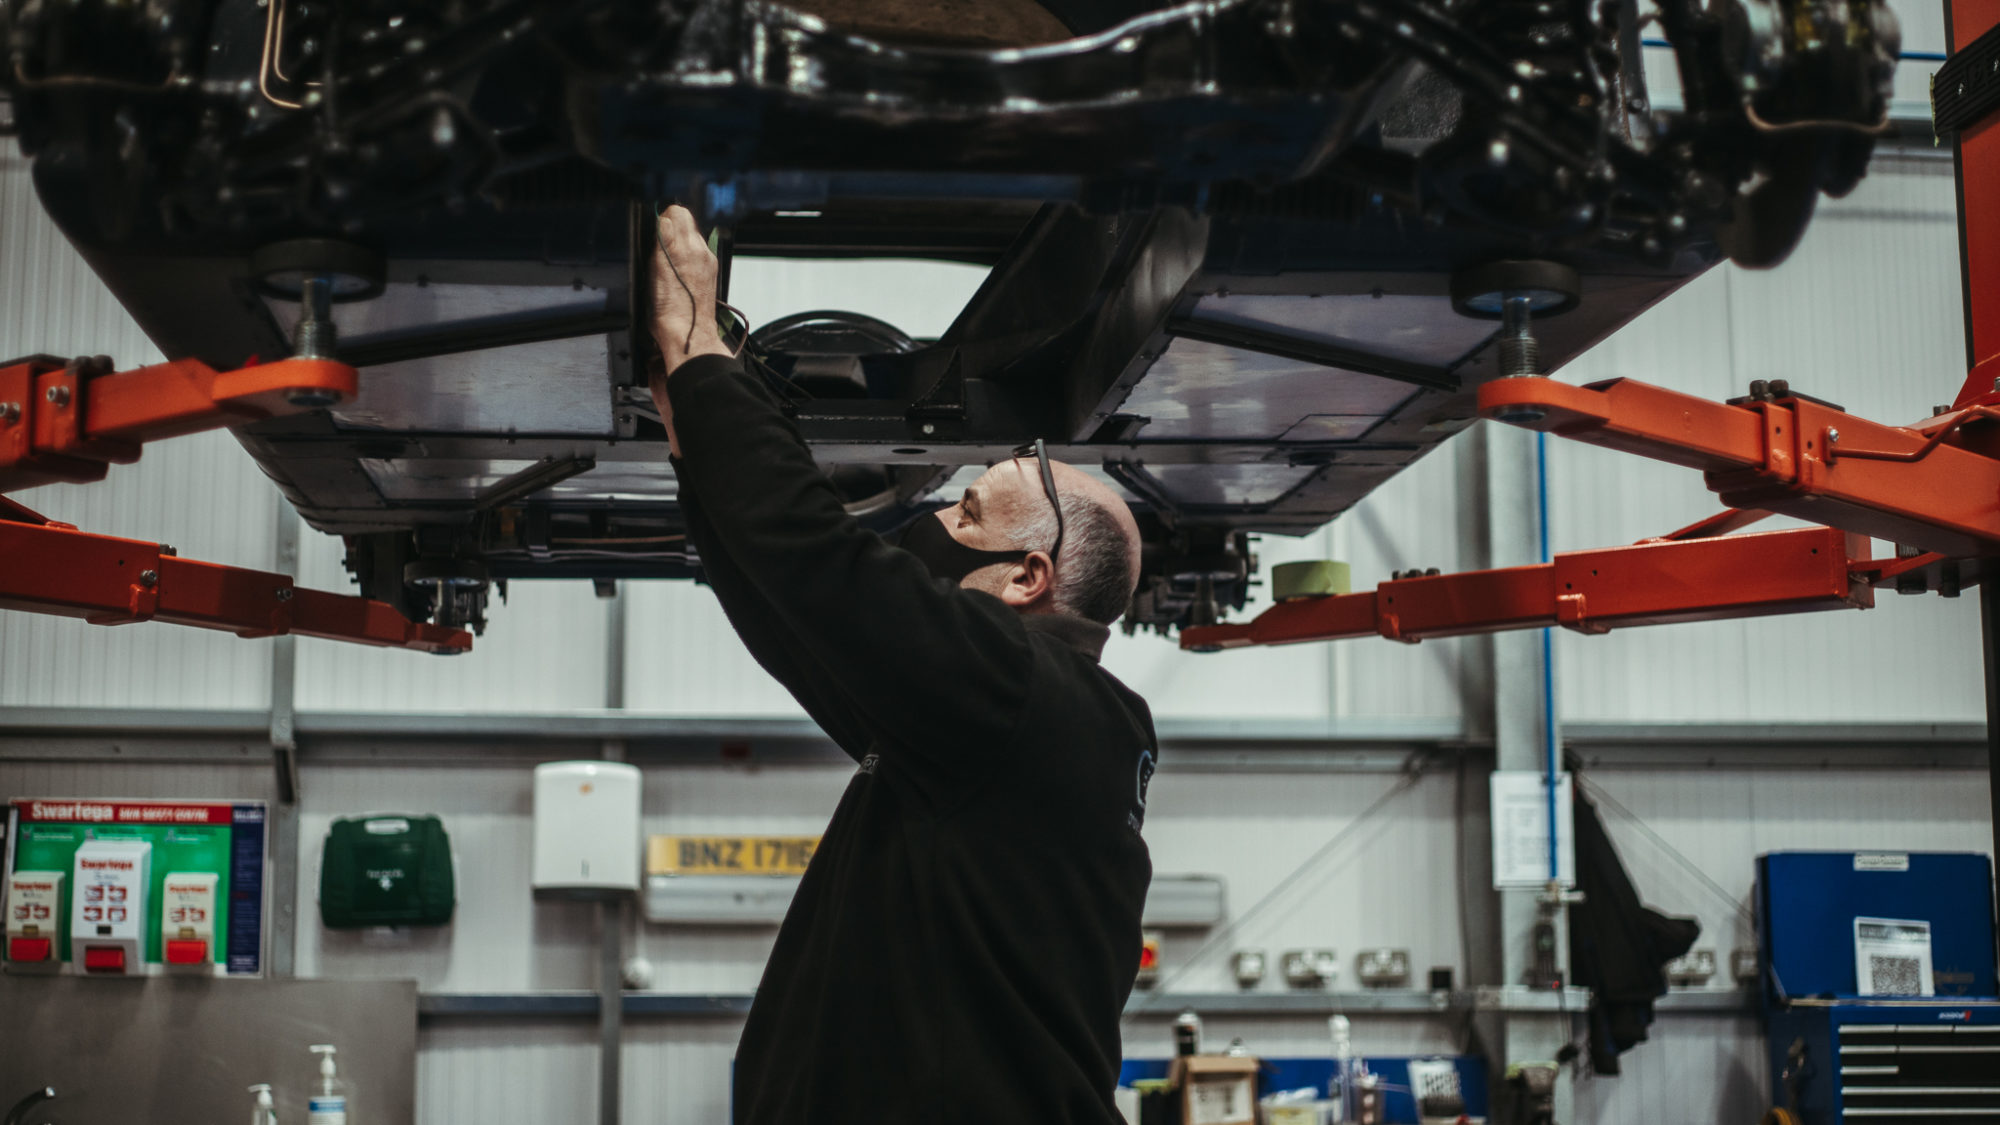
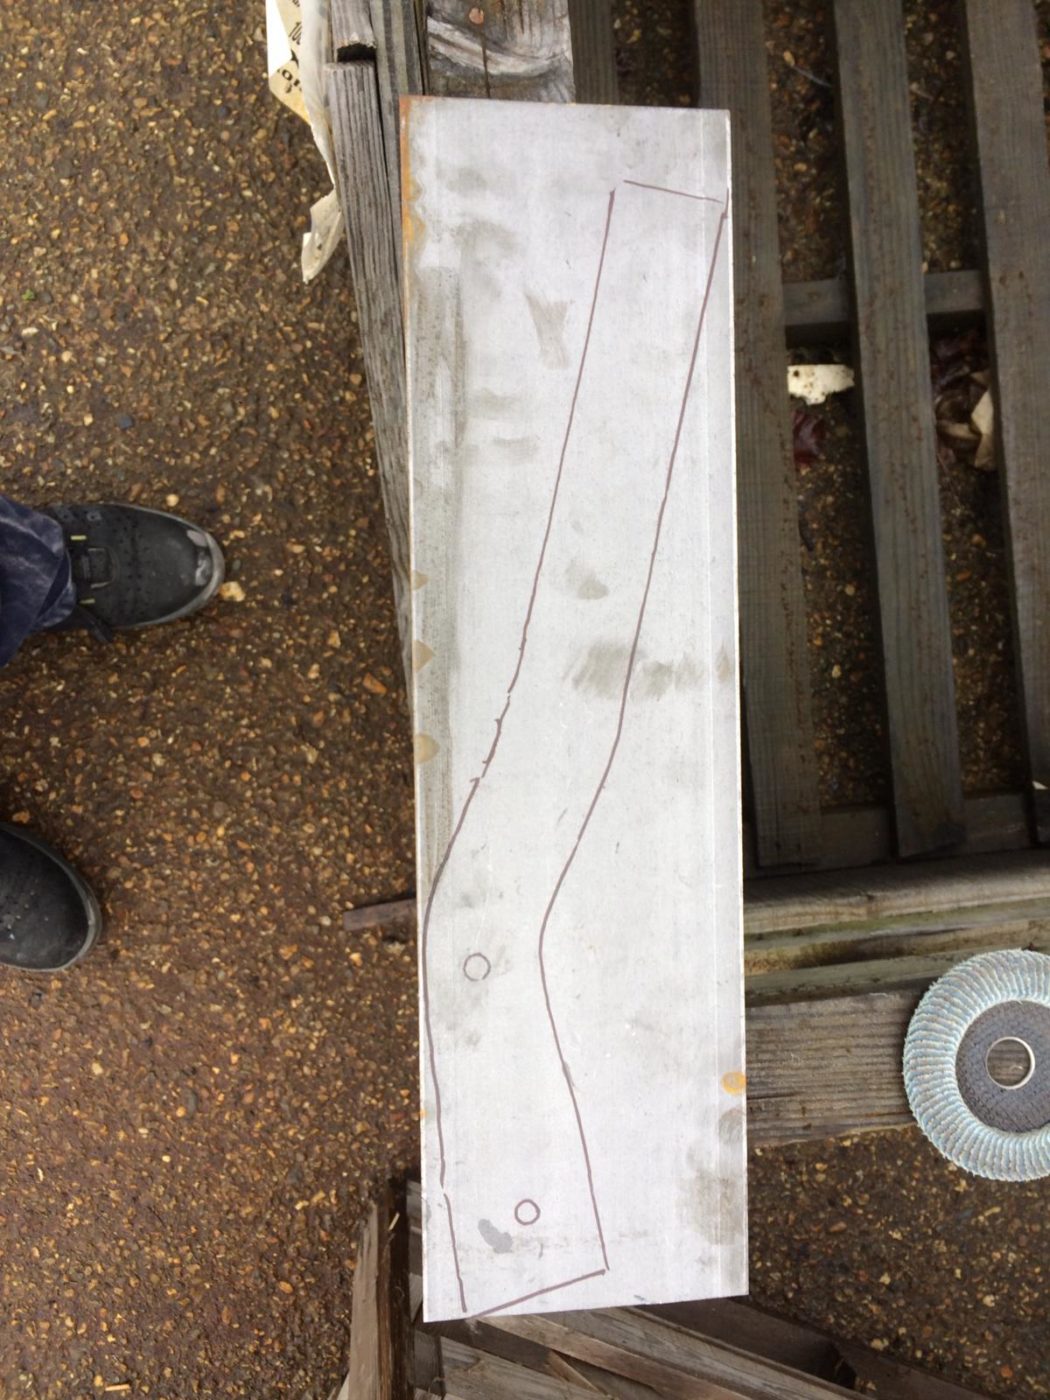
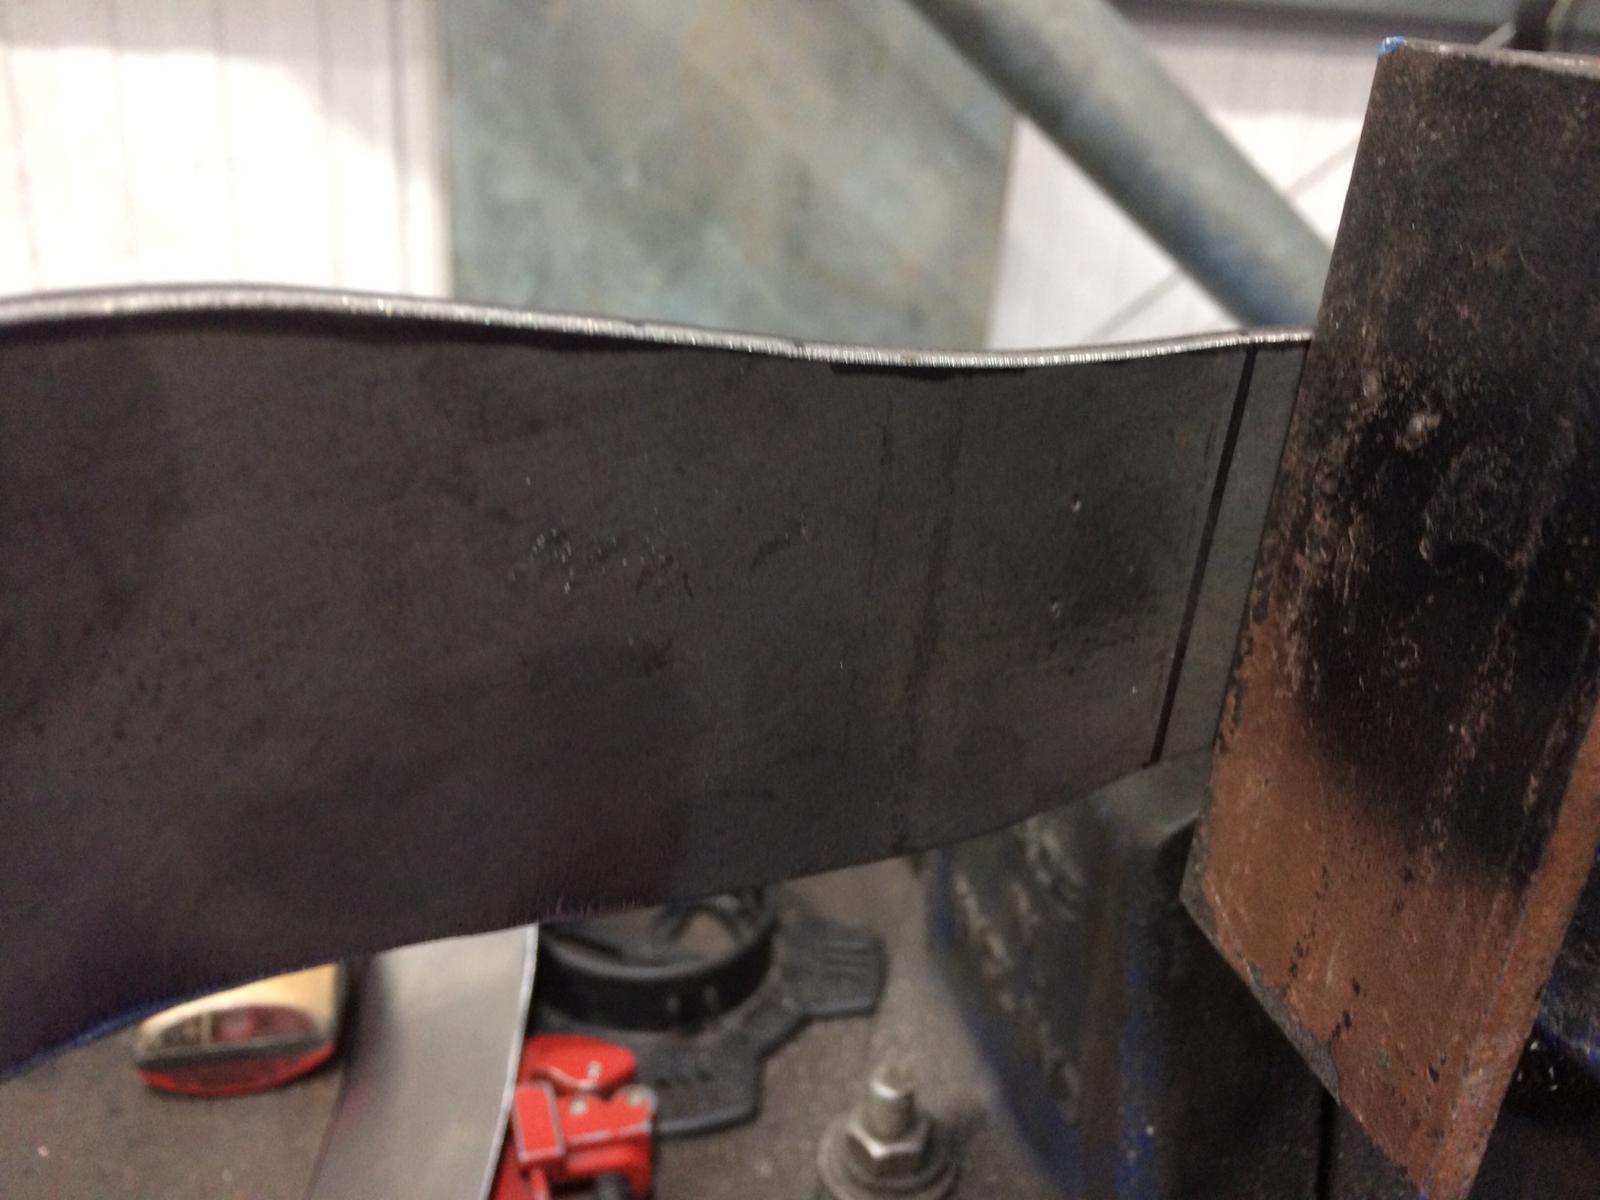
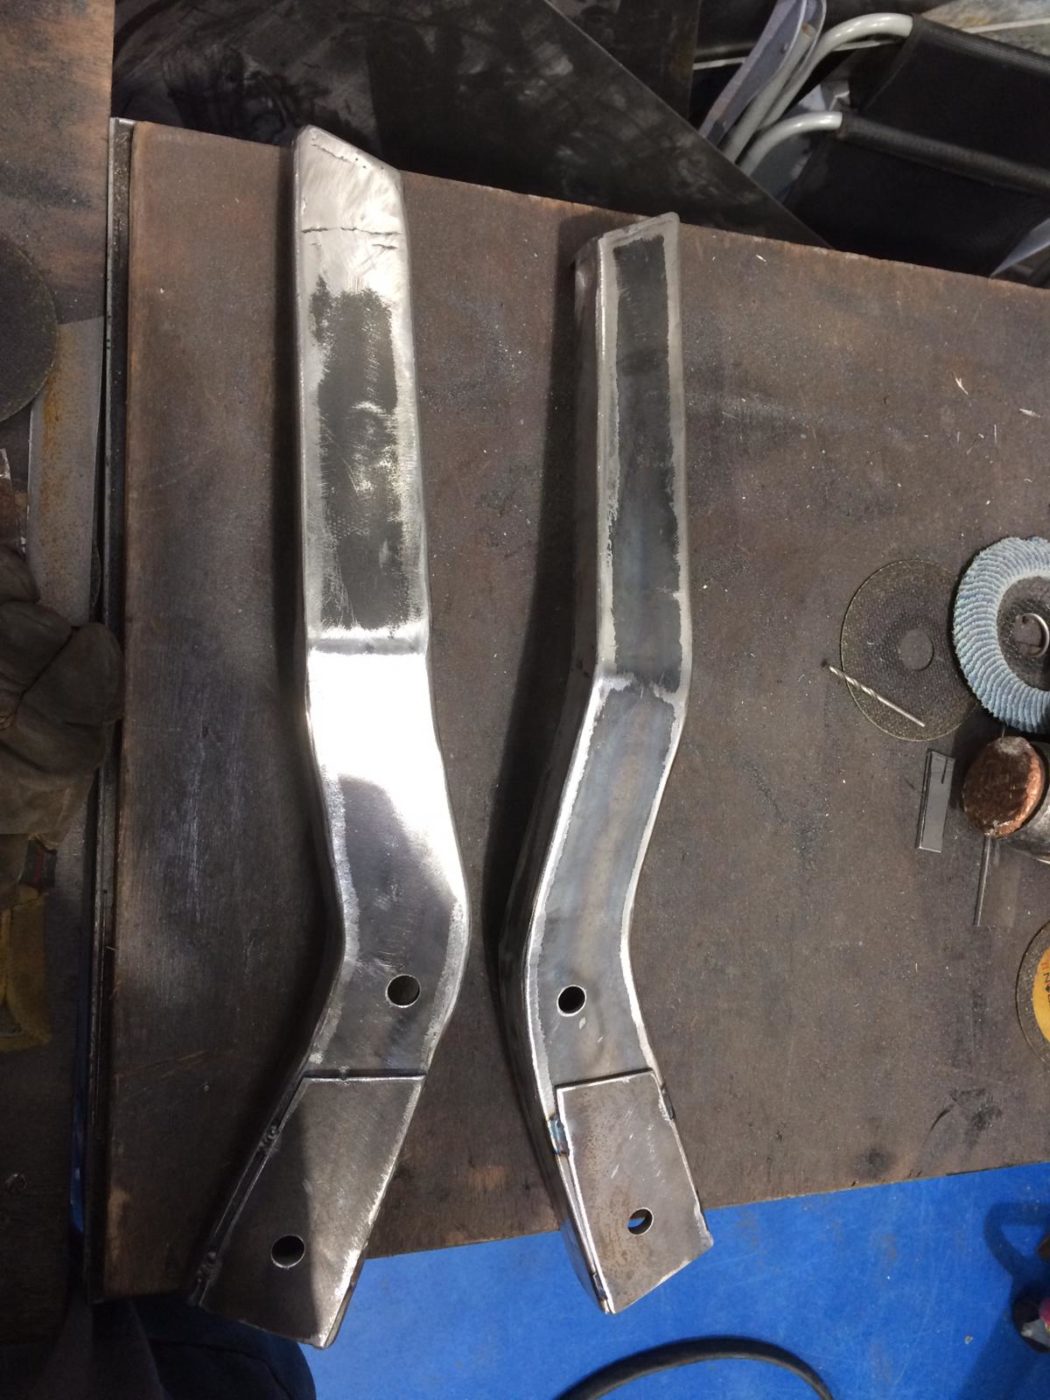
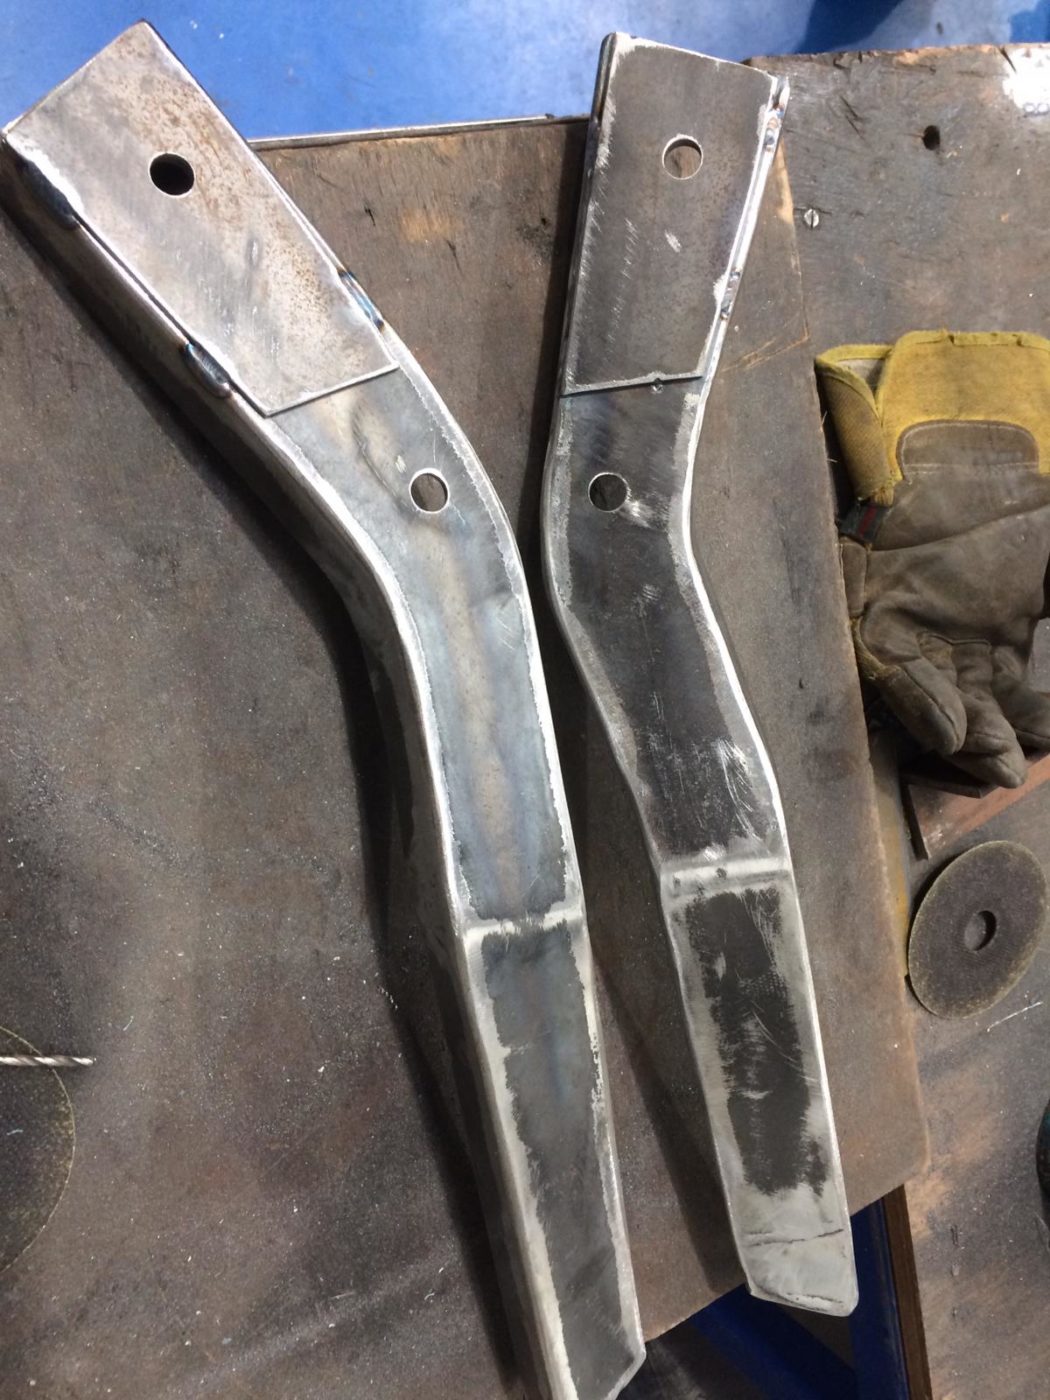
James has continued with correct the rust and corrosion on the chassis of the 1949 Morris Minor Lowlight. James made a template and then cut
We are delighted to announce that we’ve teamed up with Car and Classic to share our Bridge Classic Cars’ services and competitions across their website.
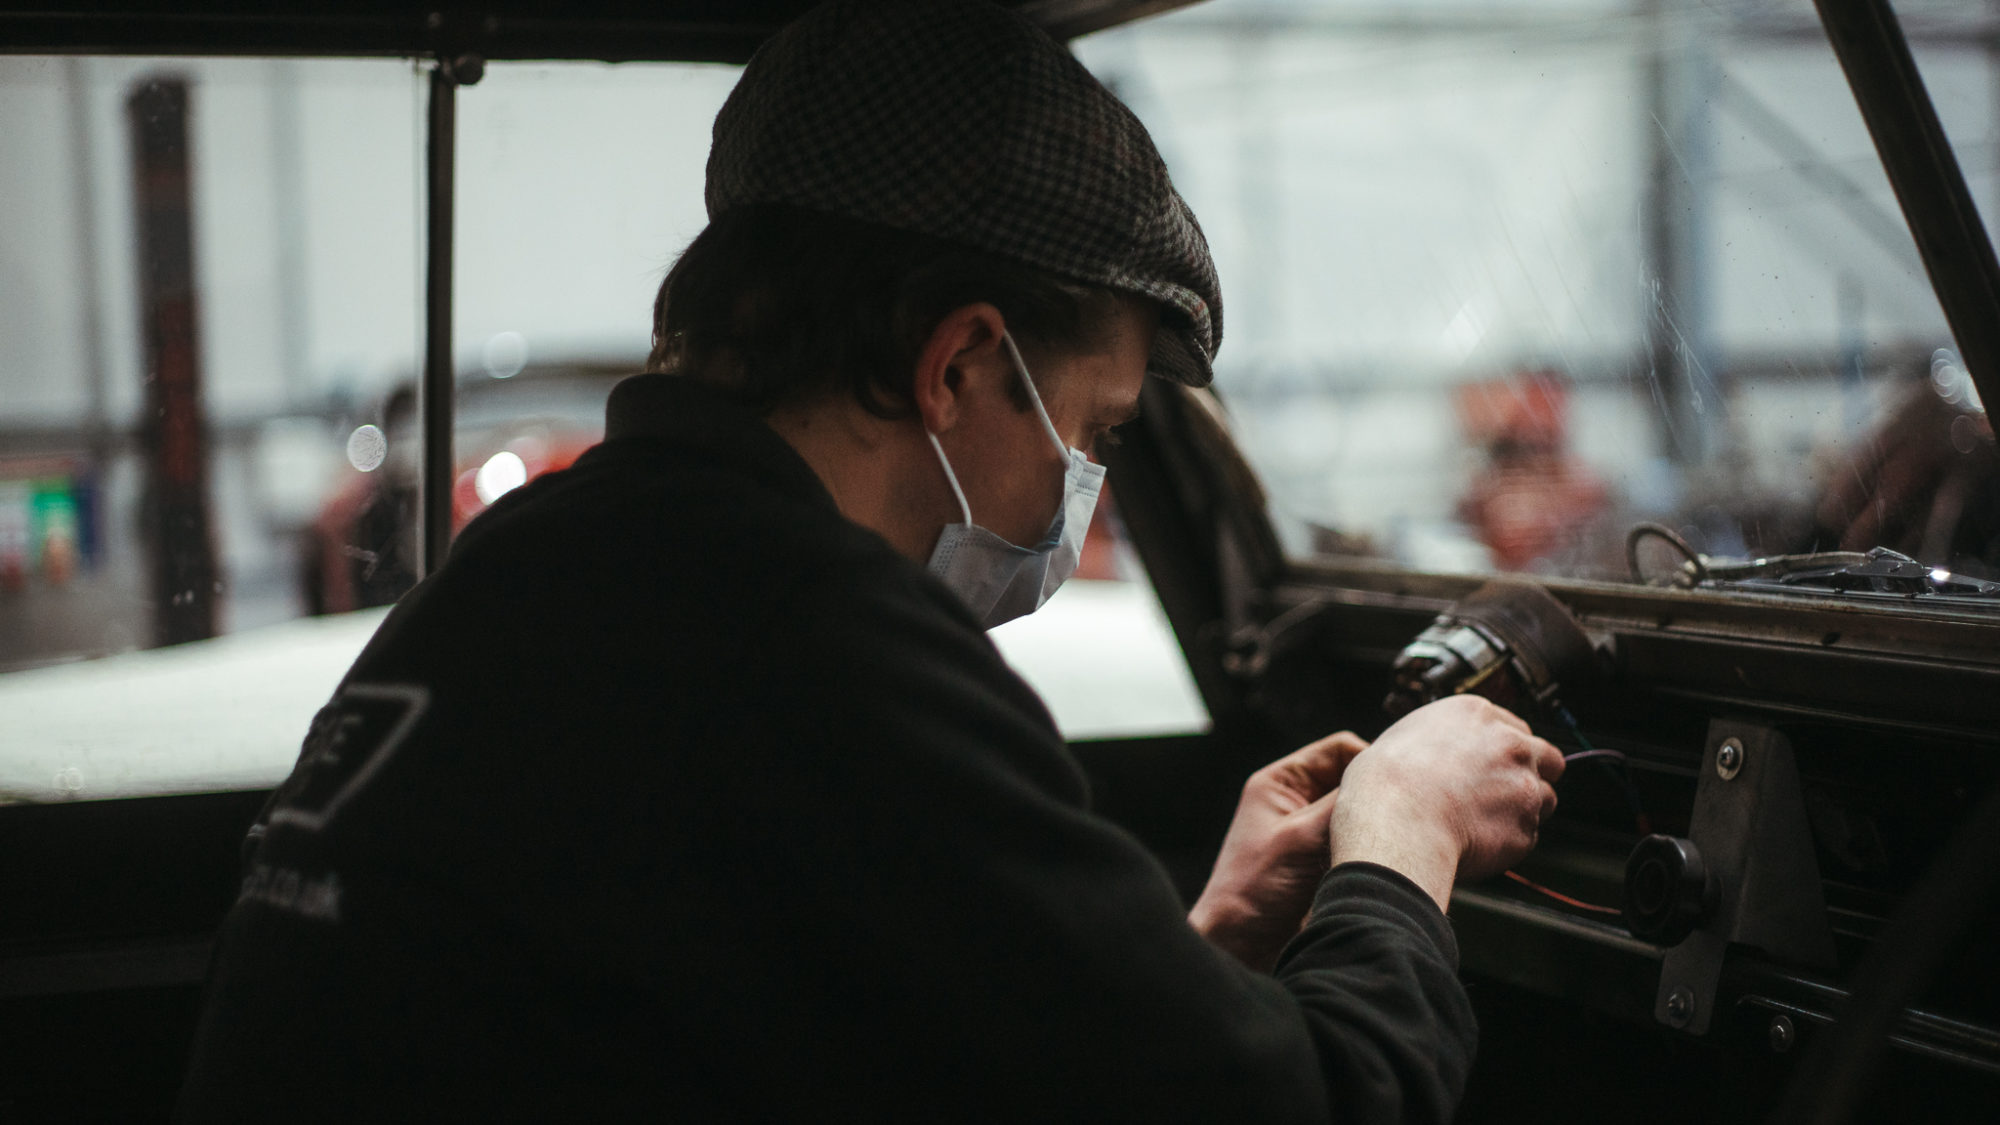
Pictured below is the Silver 1959 Jensen 541R recent wiring ammends. John had found that when wiring up, the overdrive didn’t engage. After an investigation,
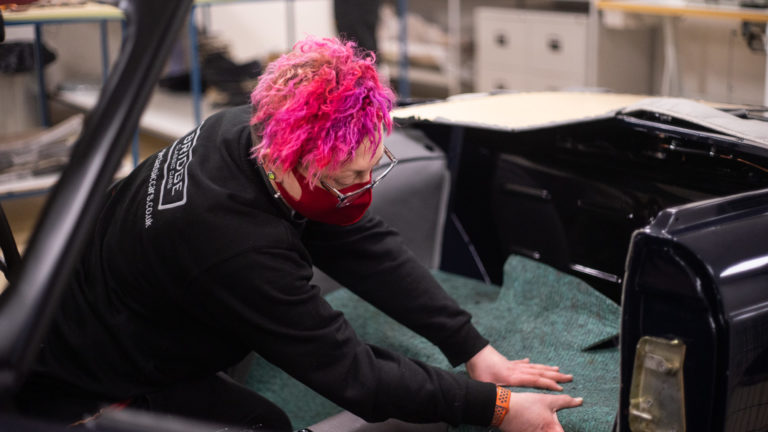
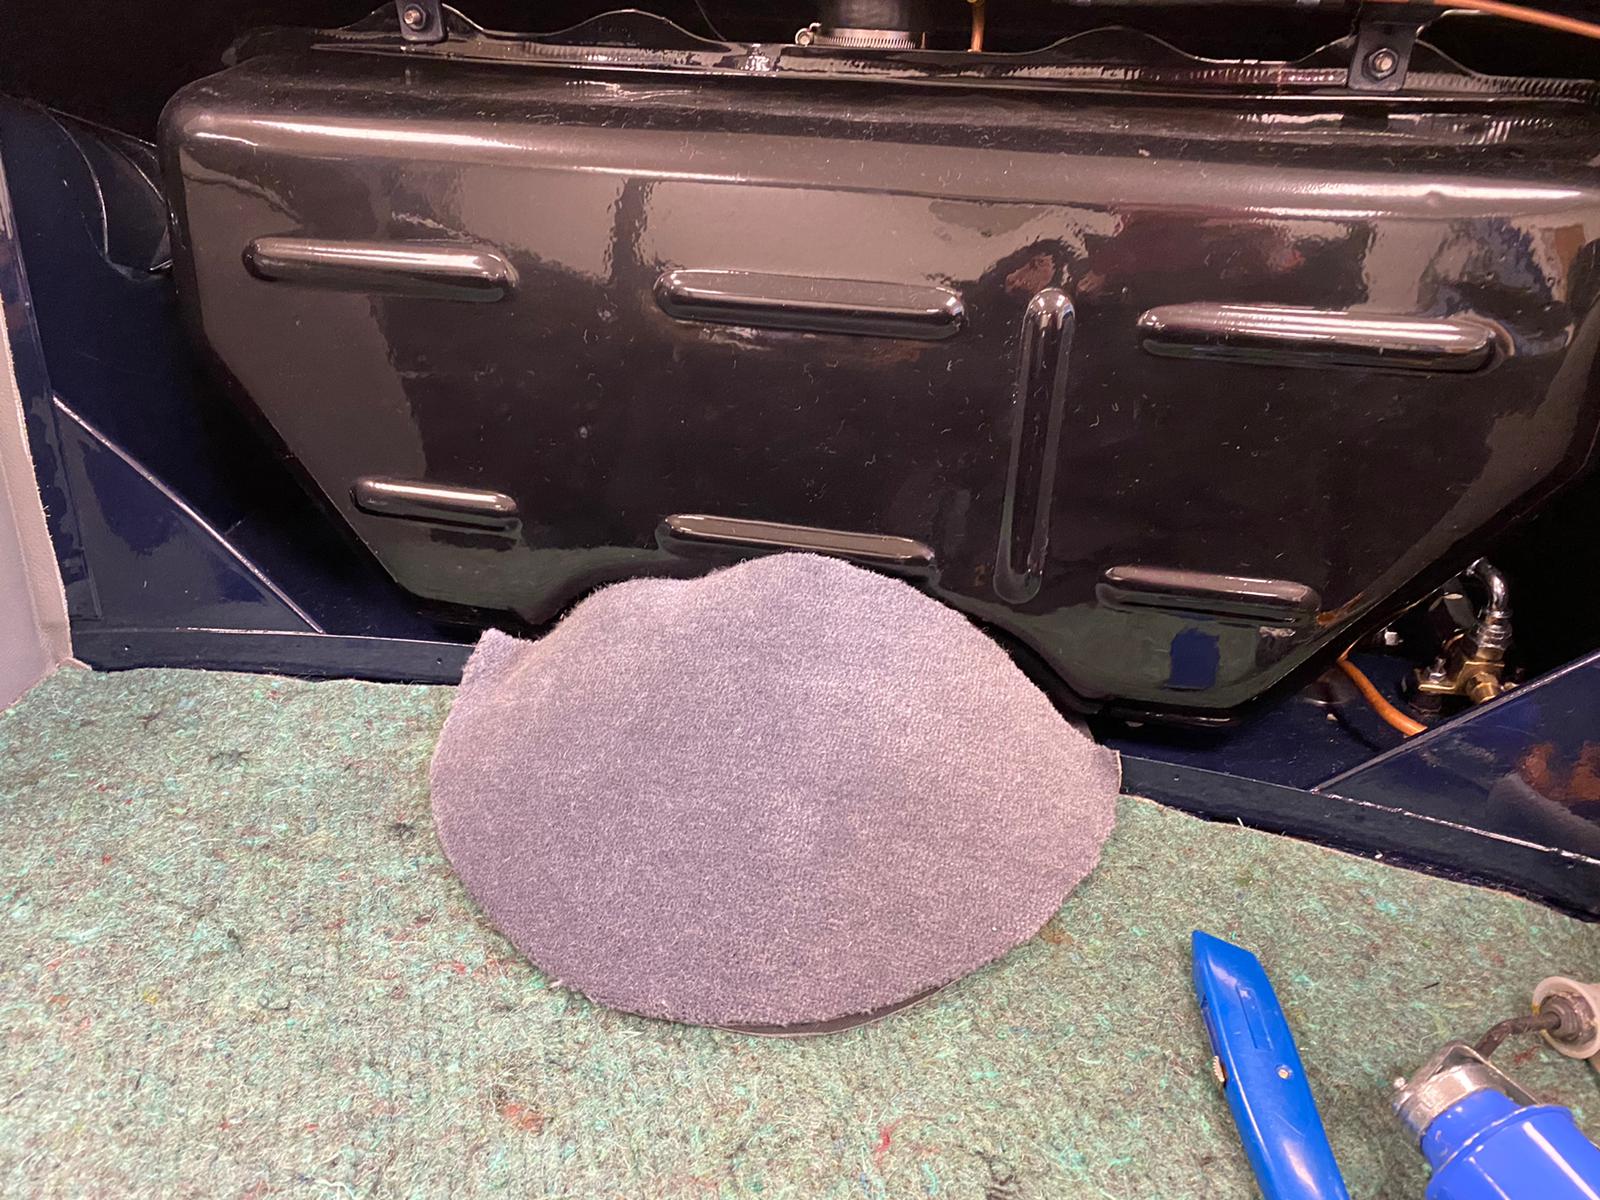
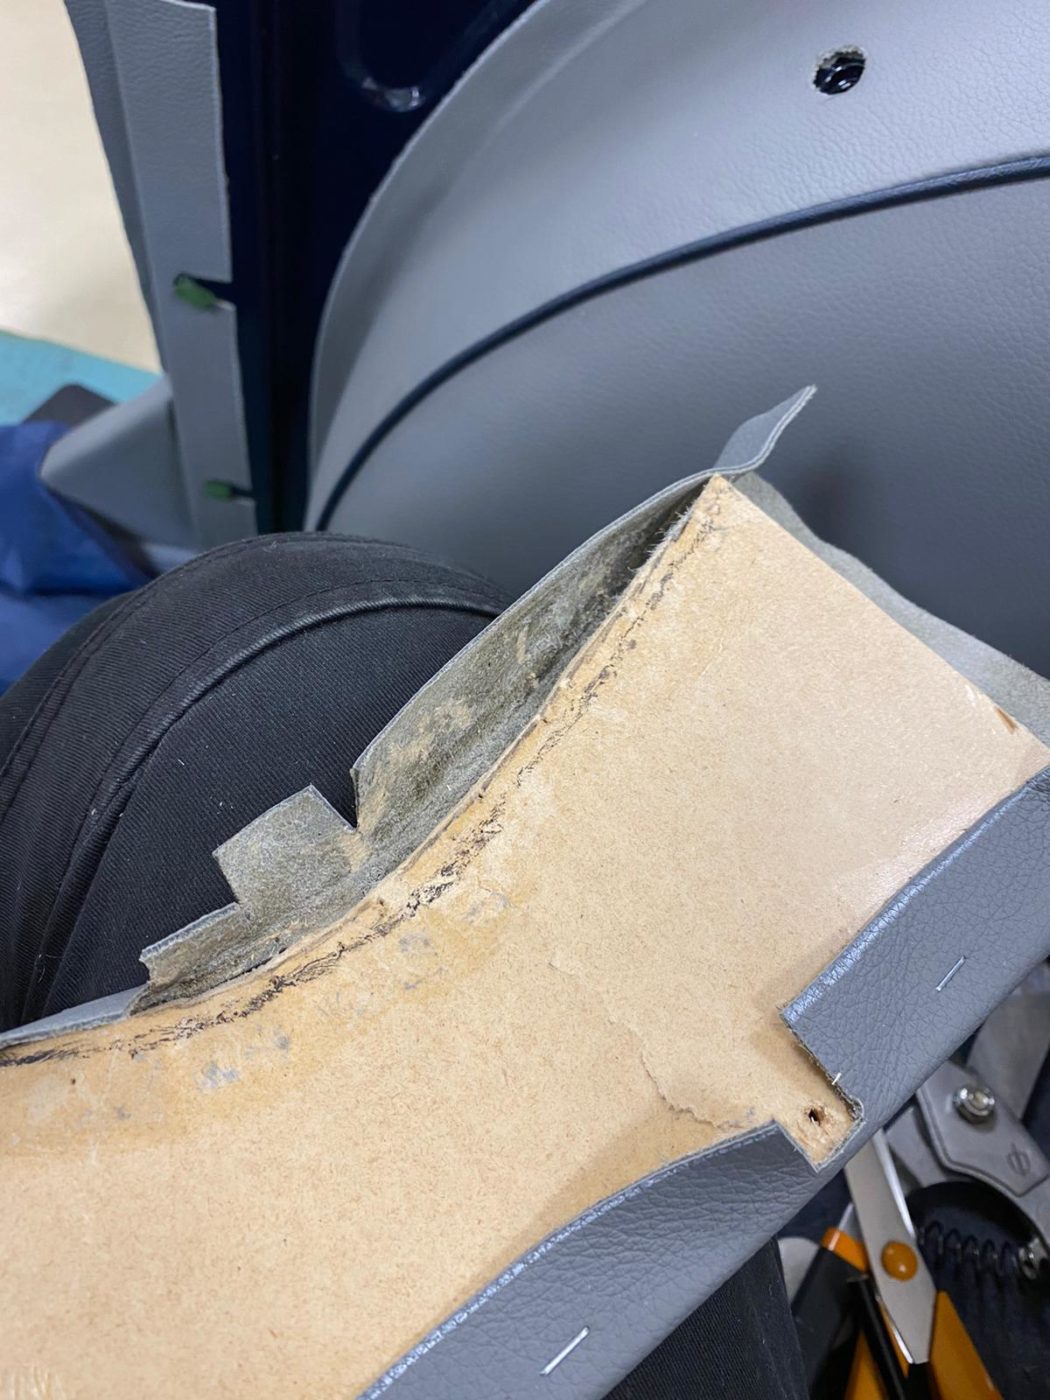
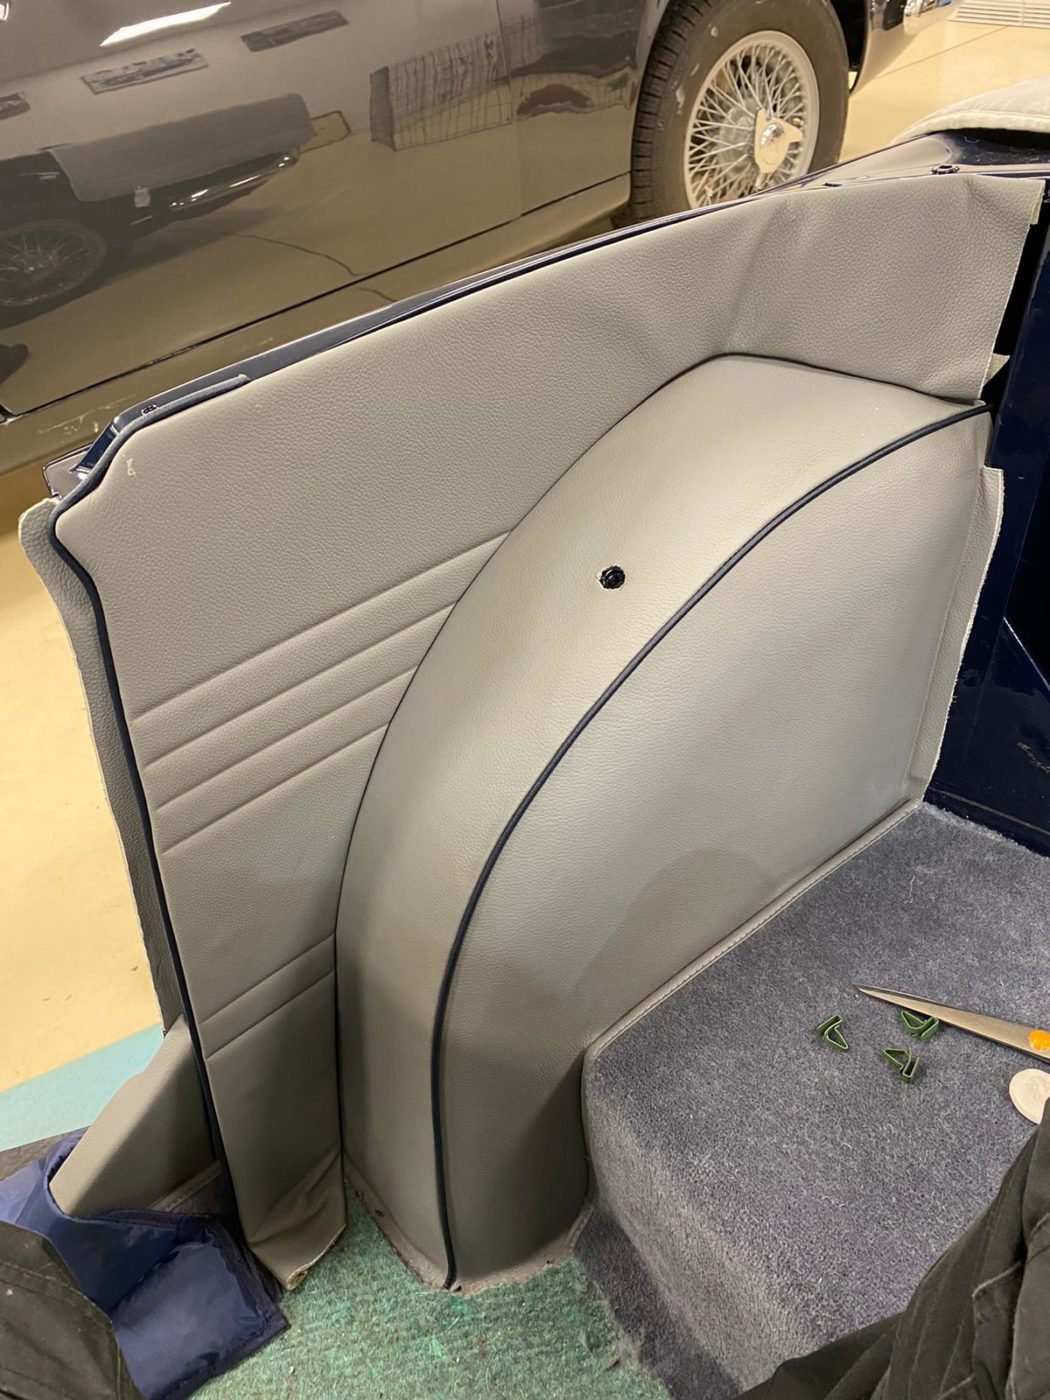
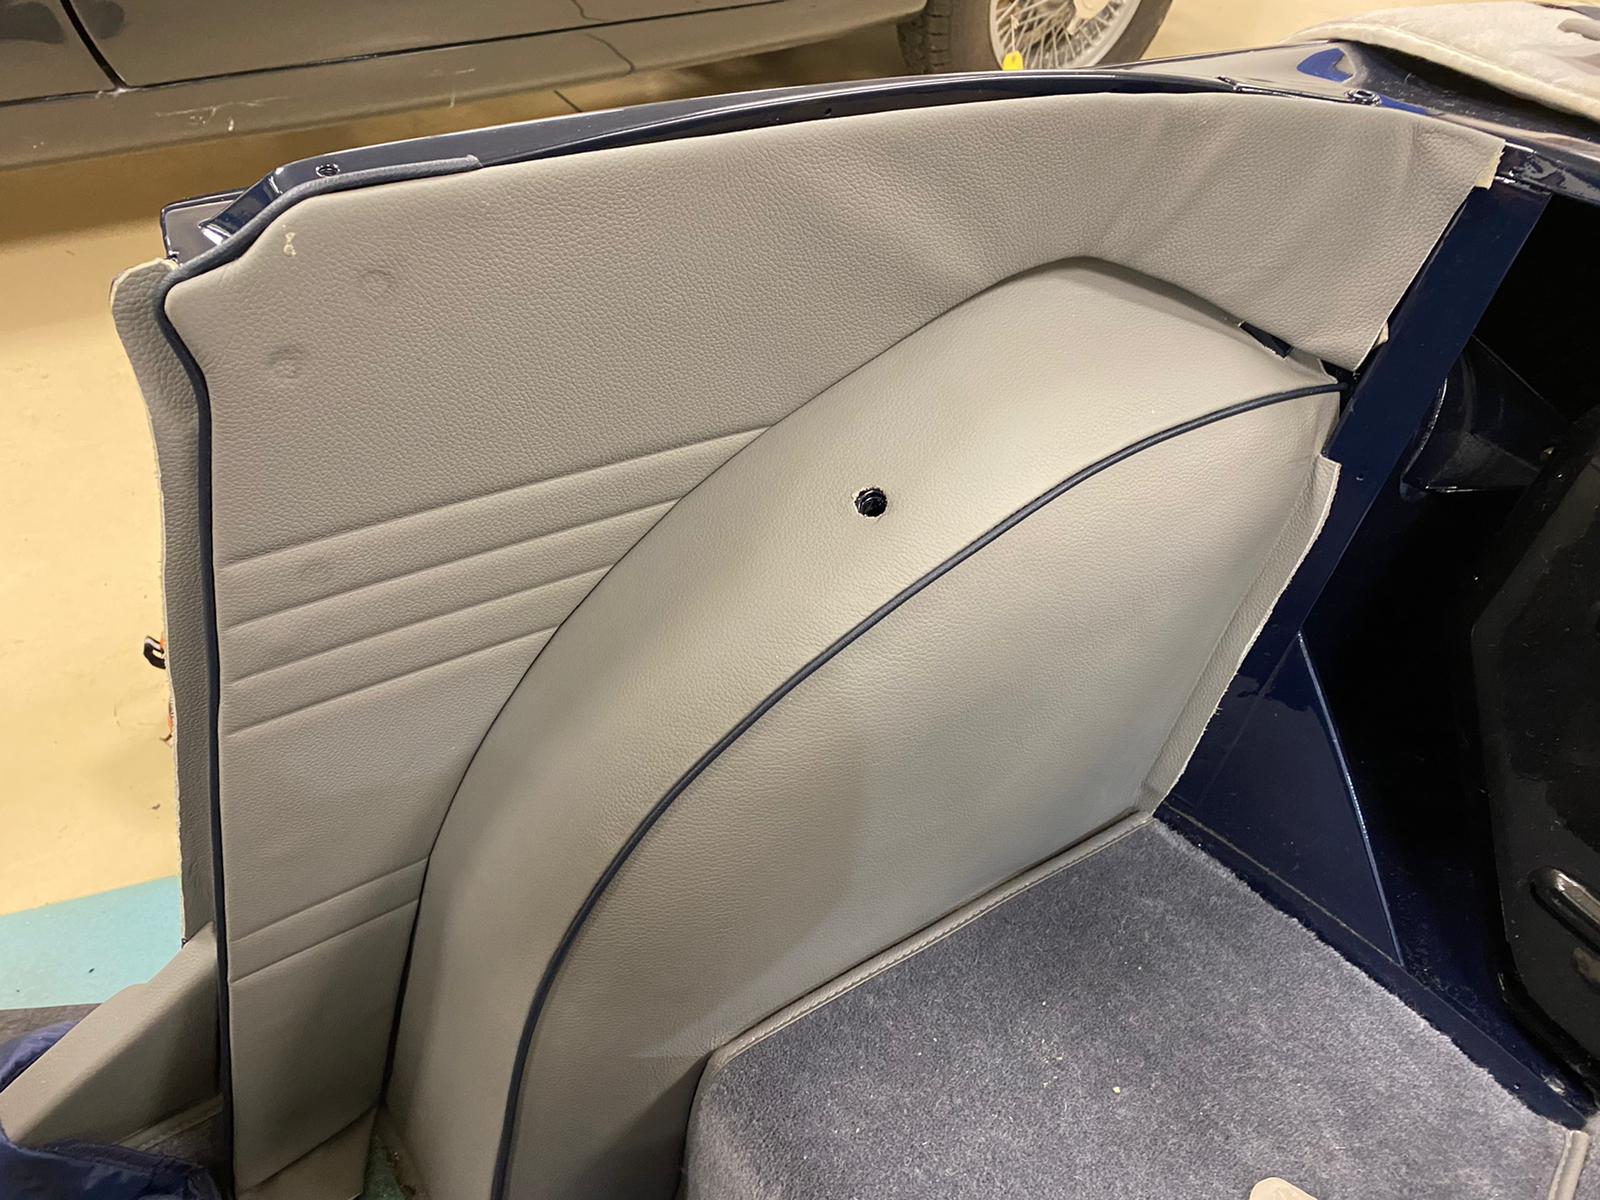
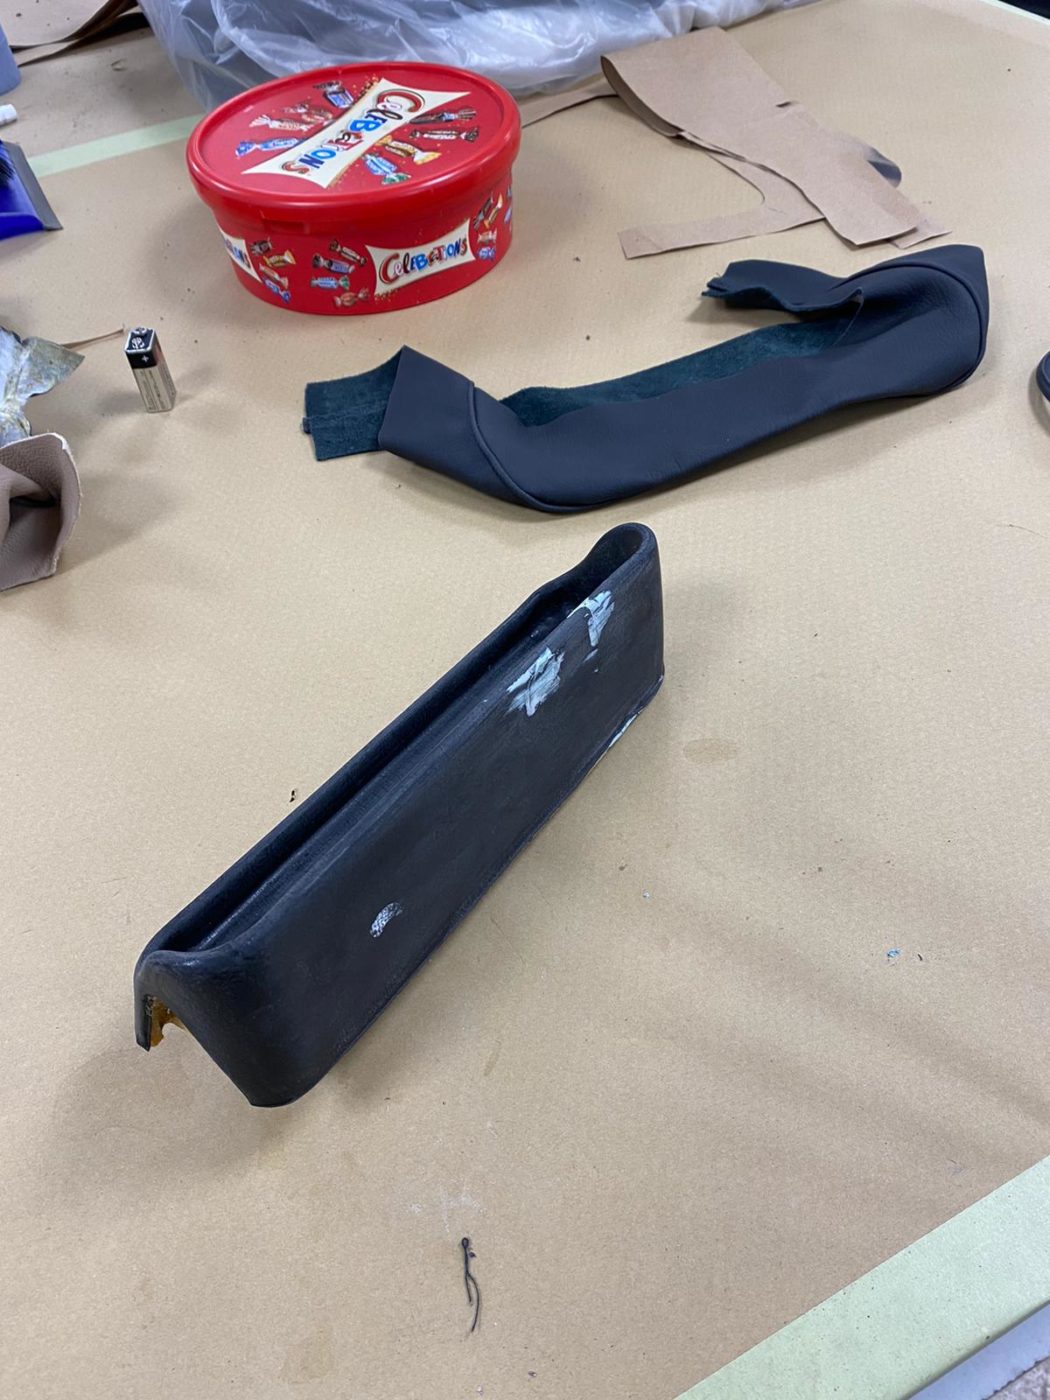
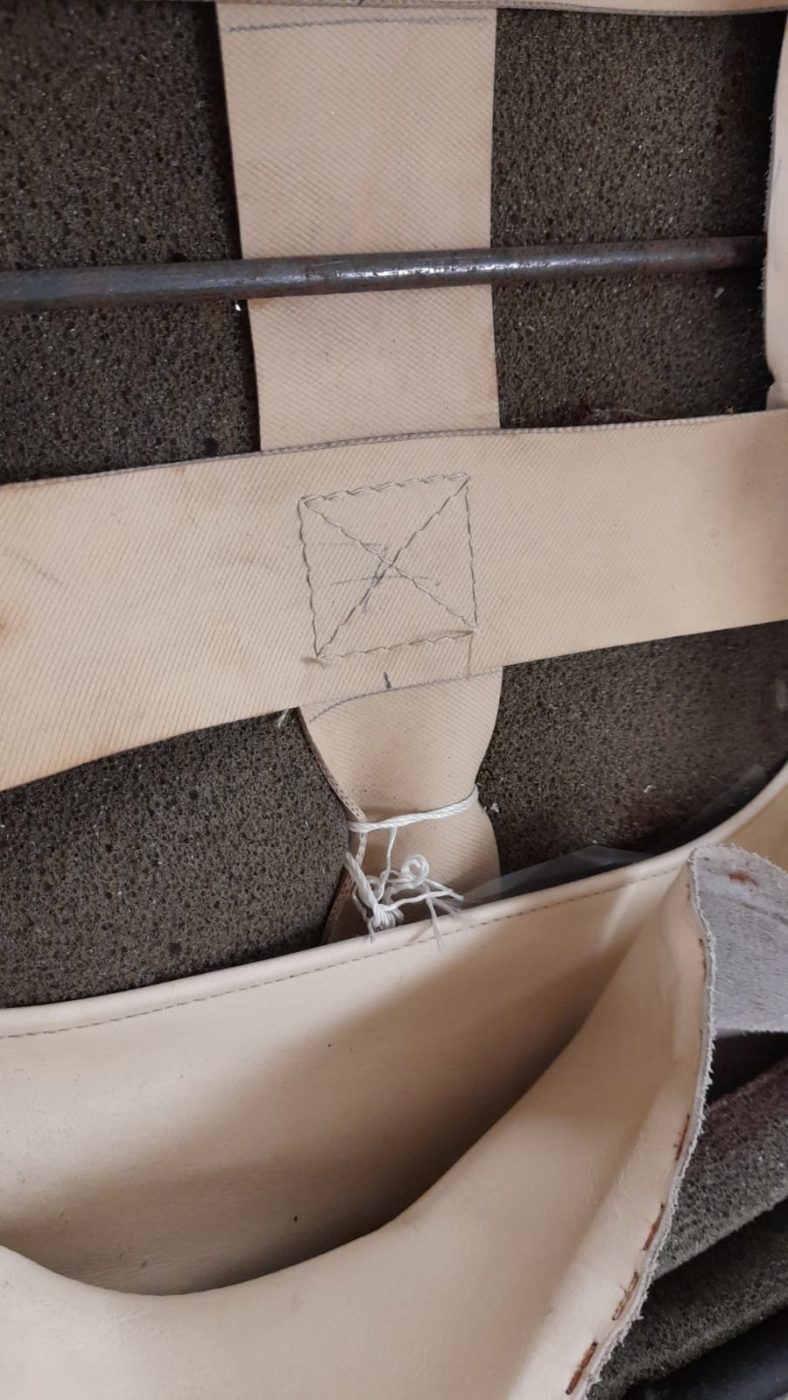
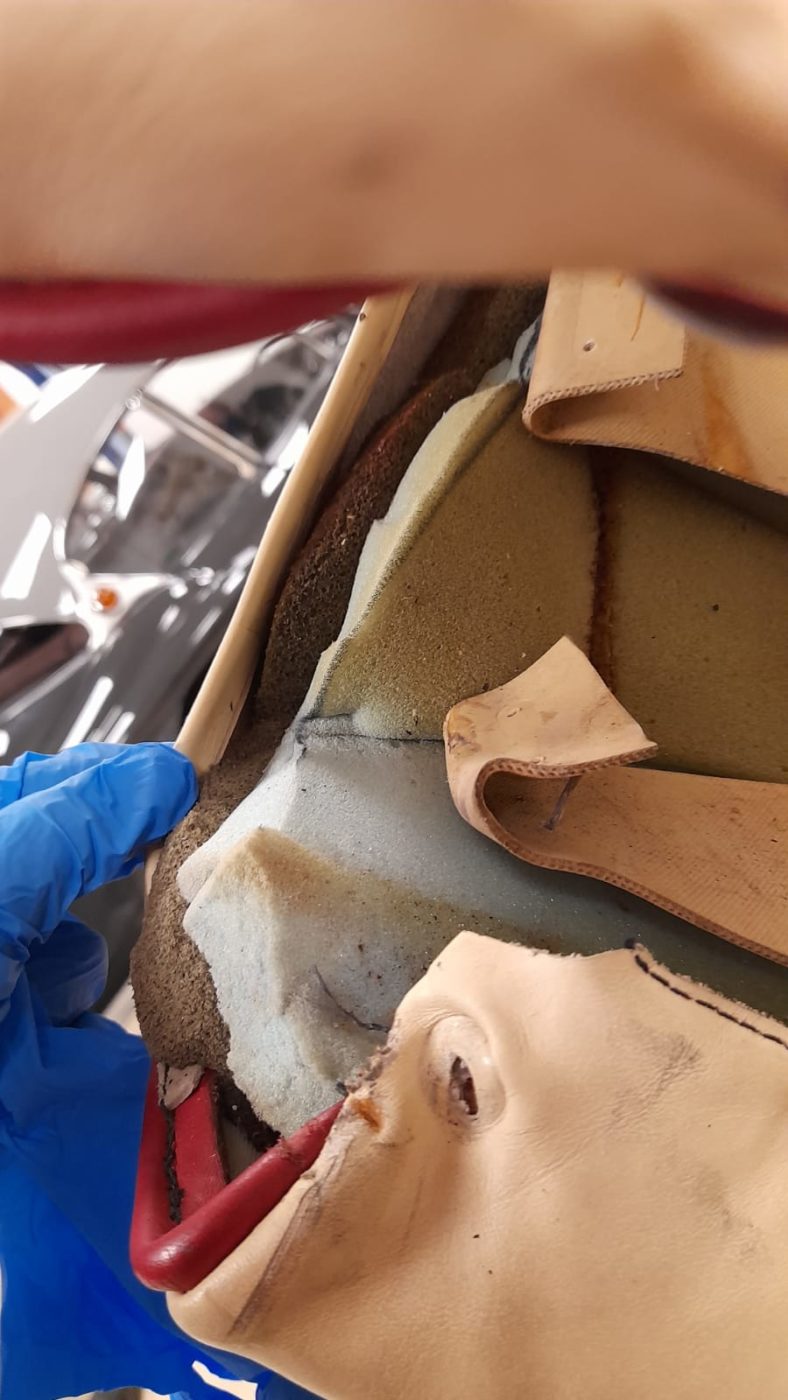
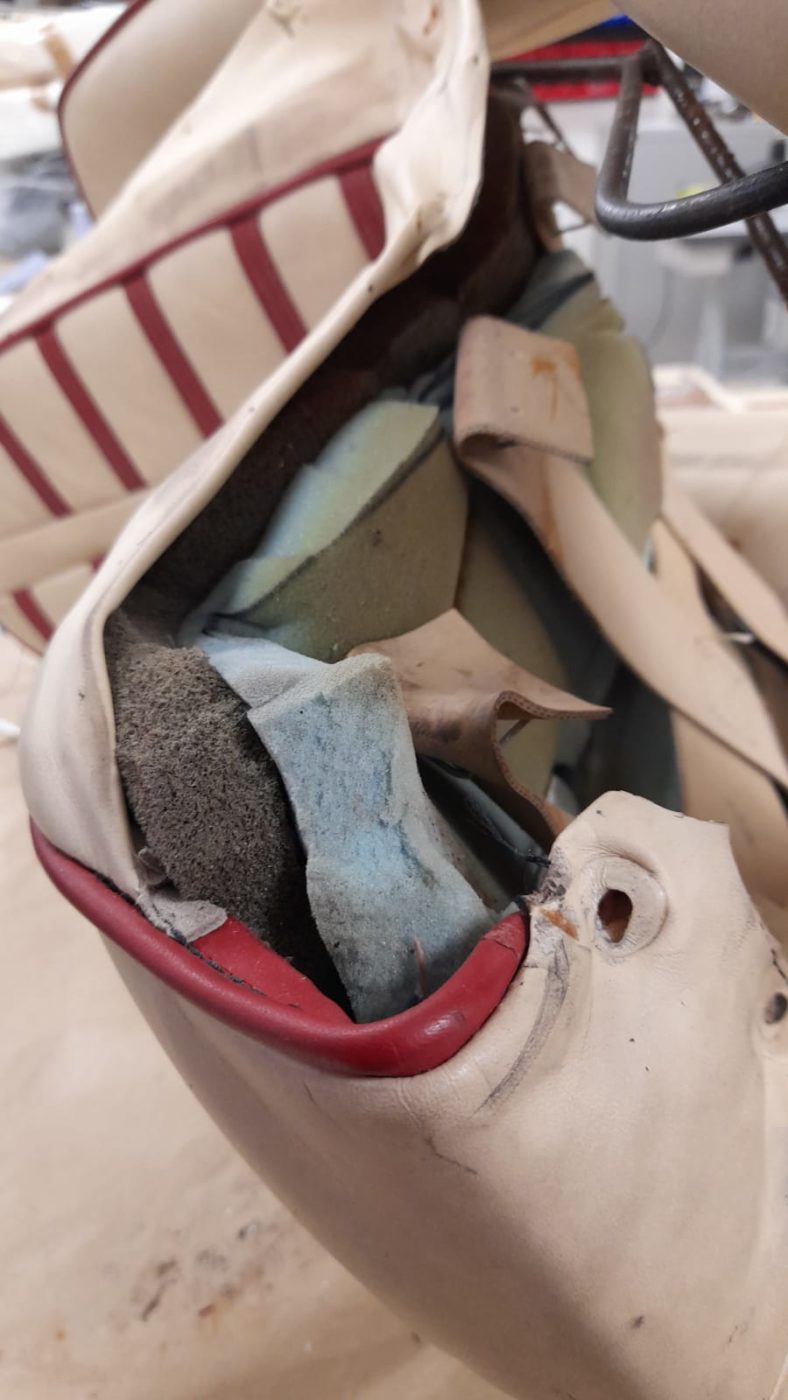
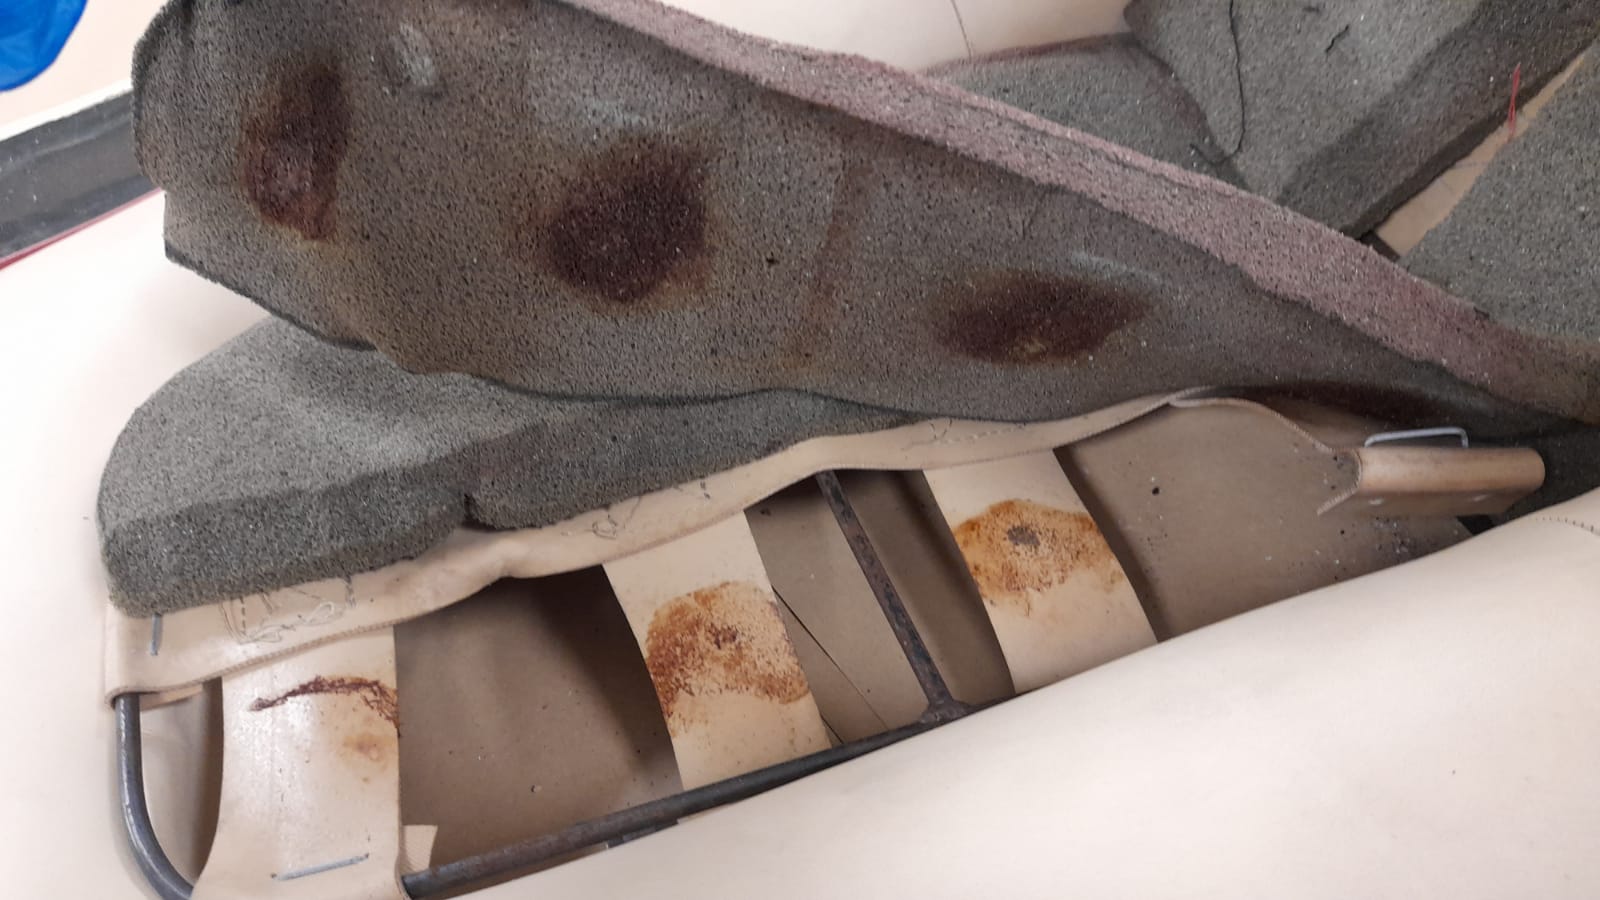
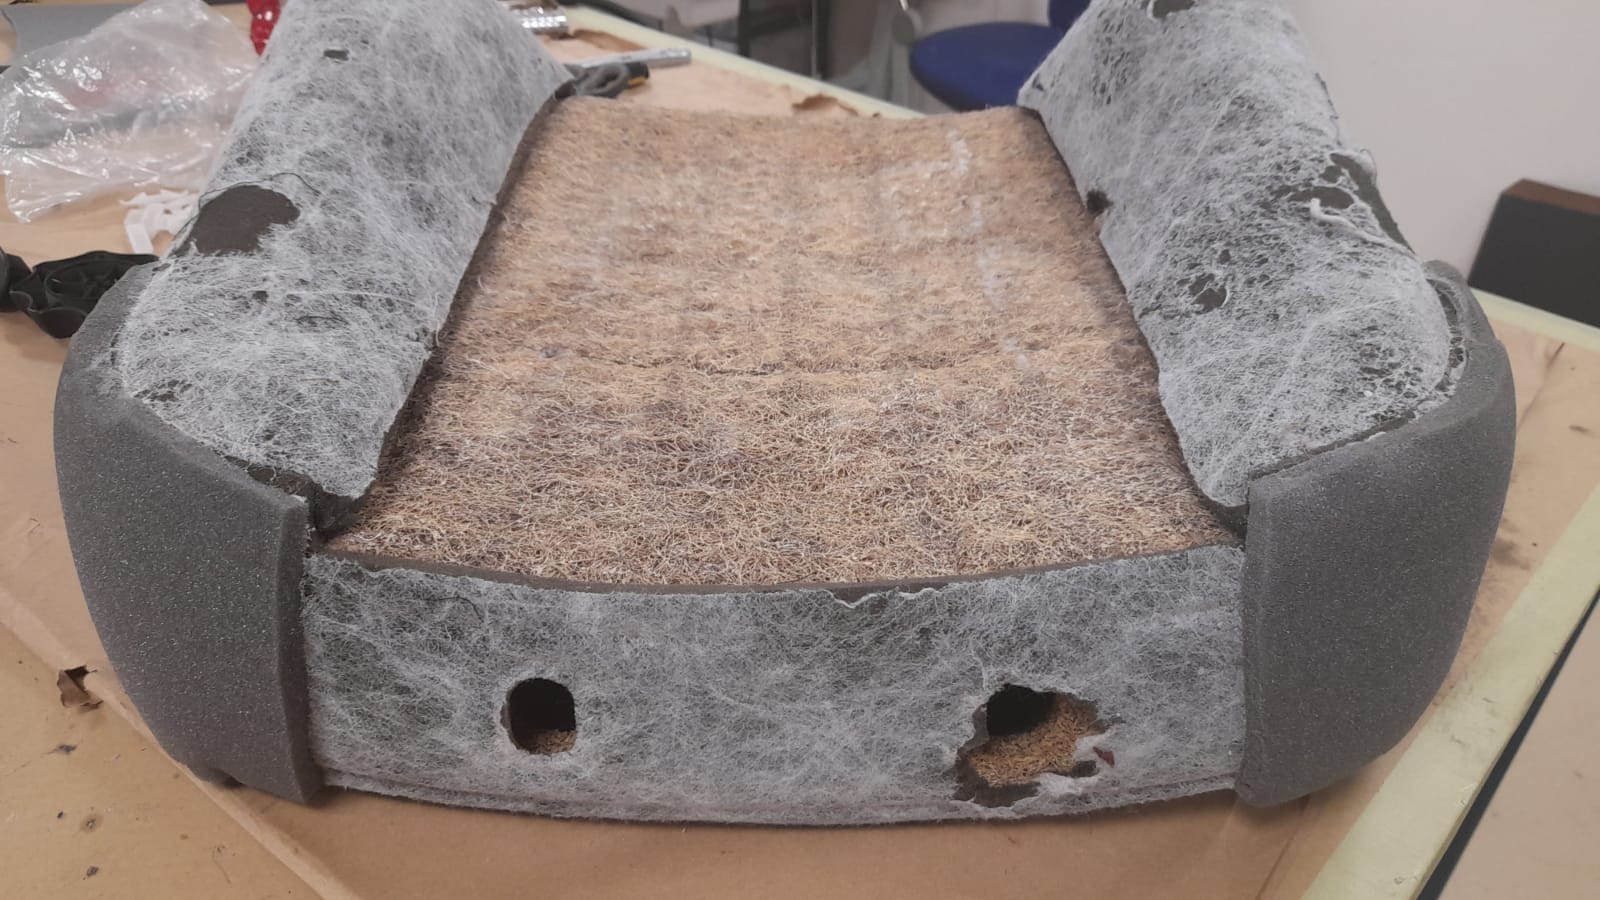
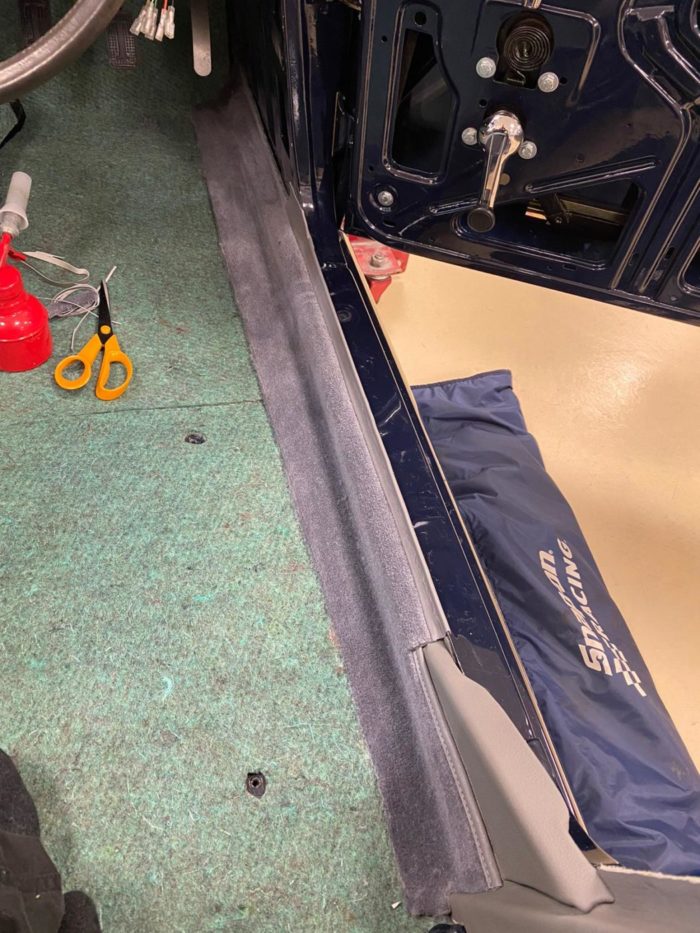
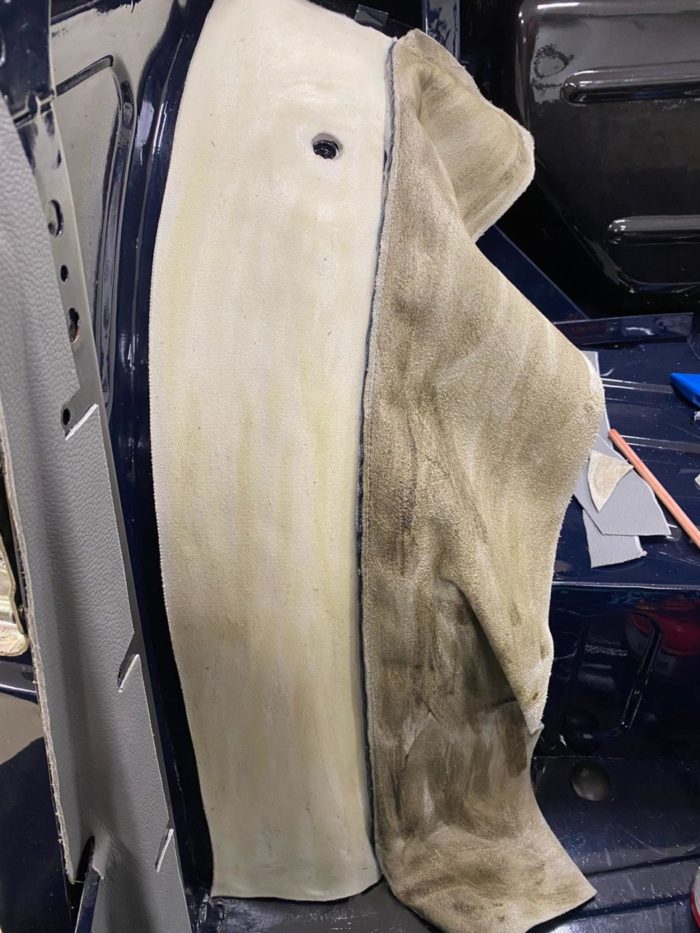
Kath and Brian have continued their work with the 1968 Triumph TR5 and are now tackling the rear quarter. Kath has added foam over the

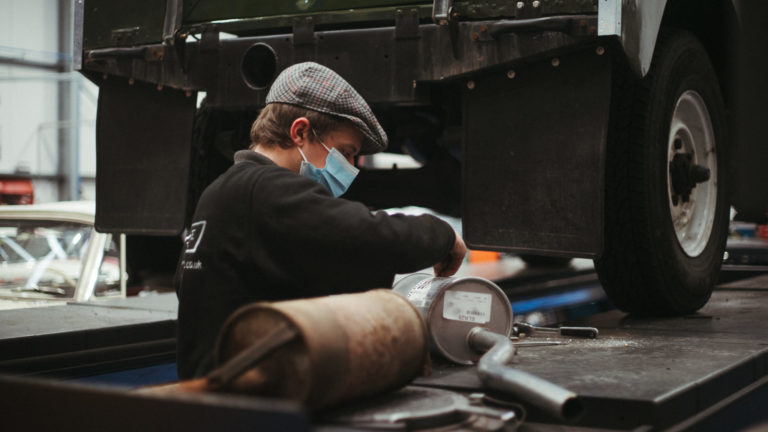
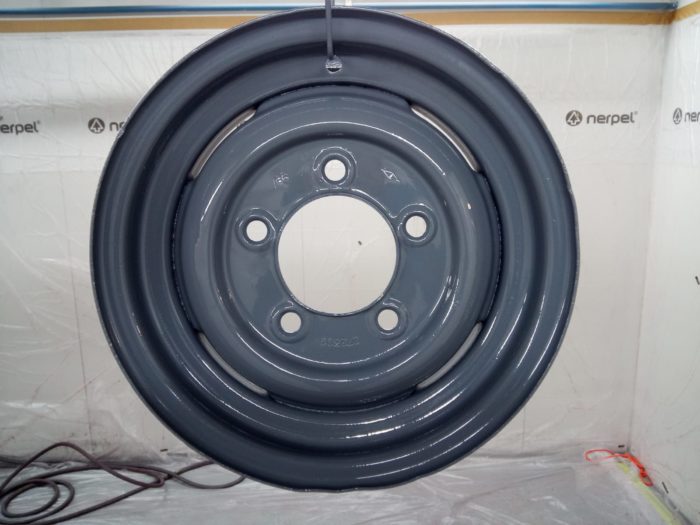
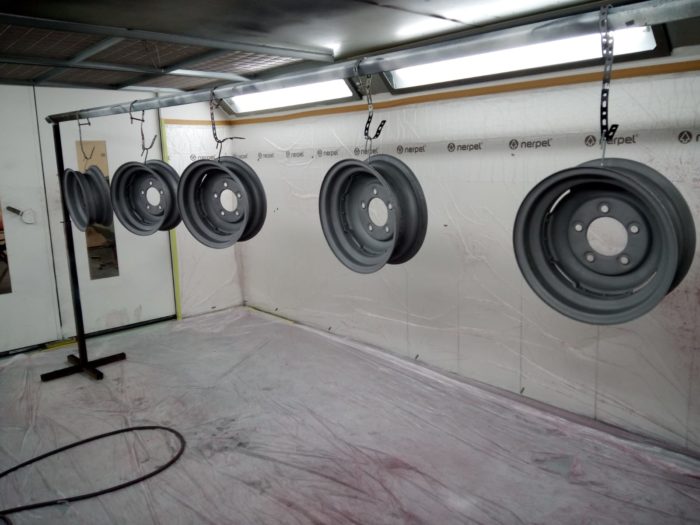
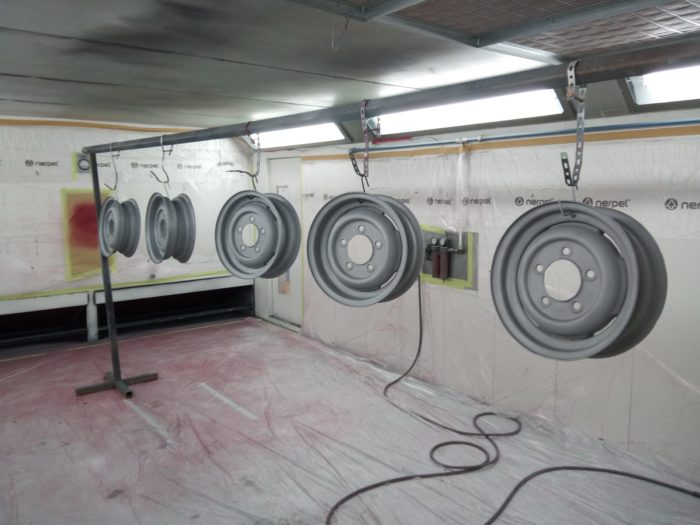
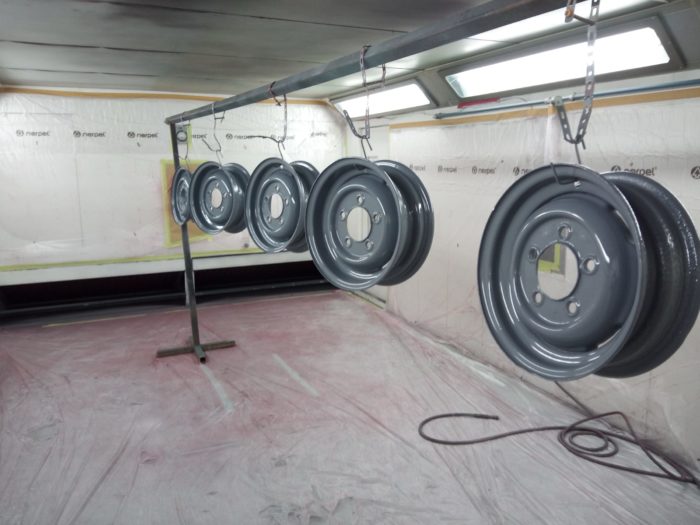
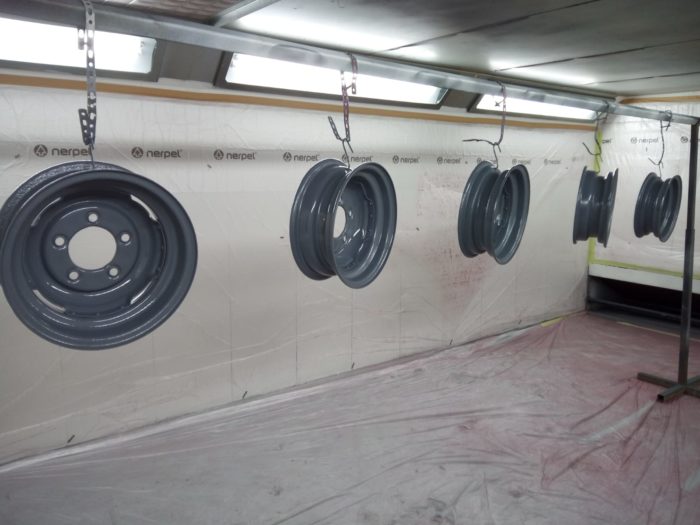
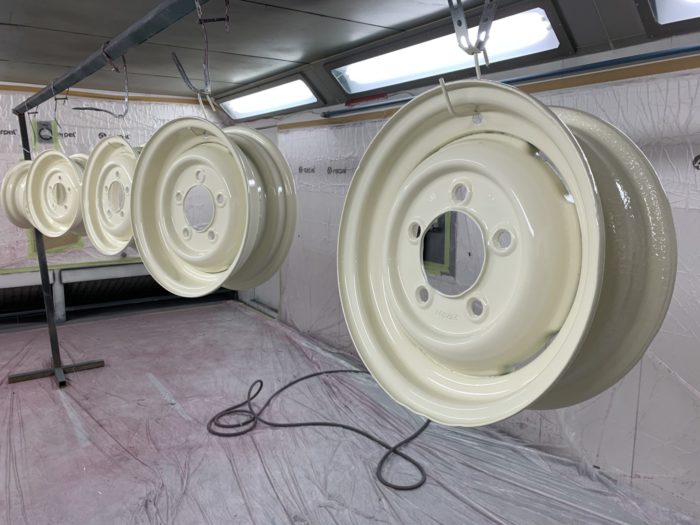
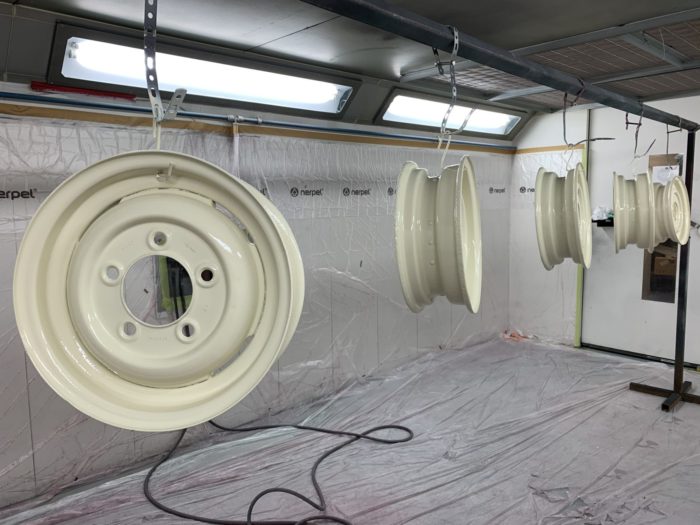
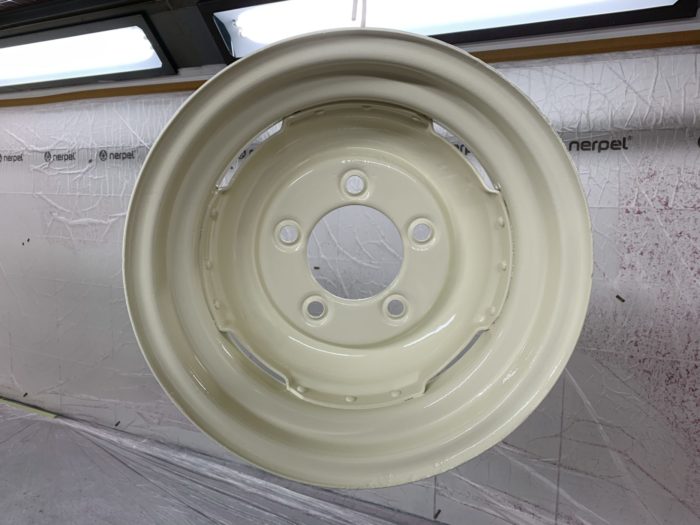
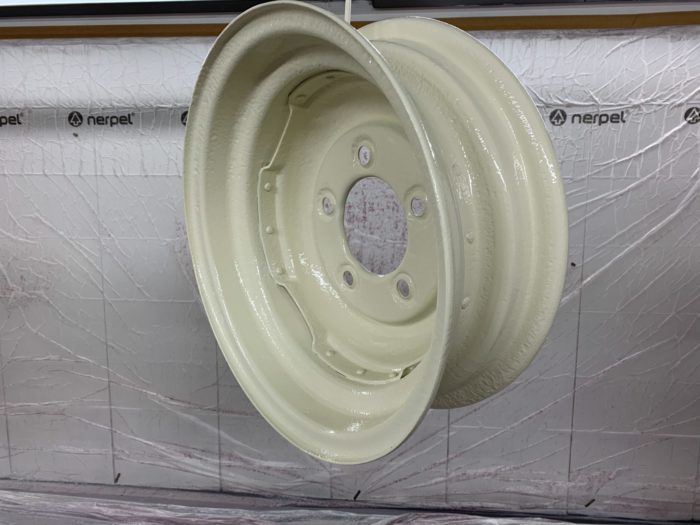
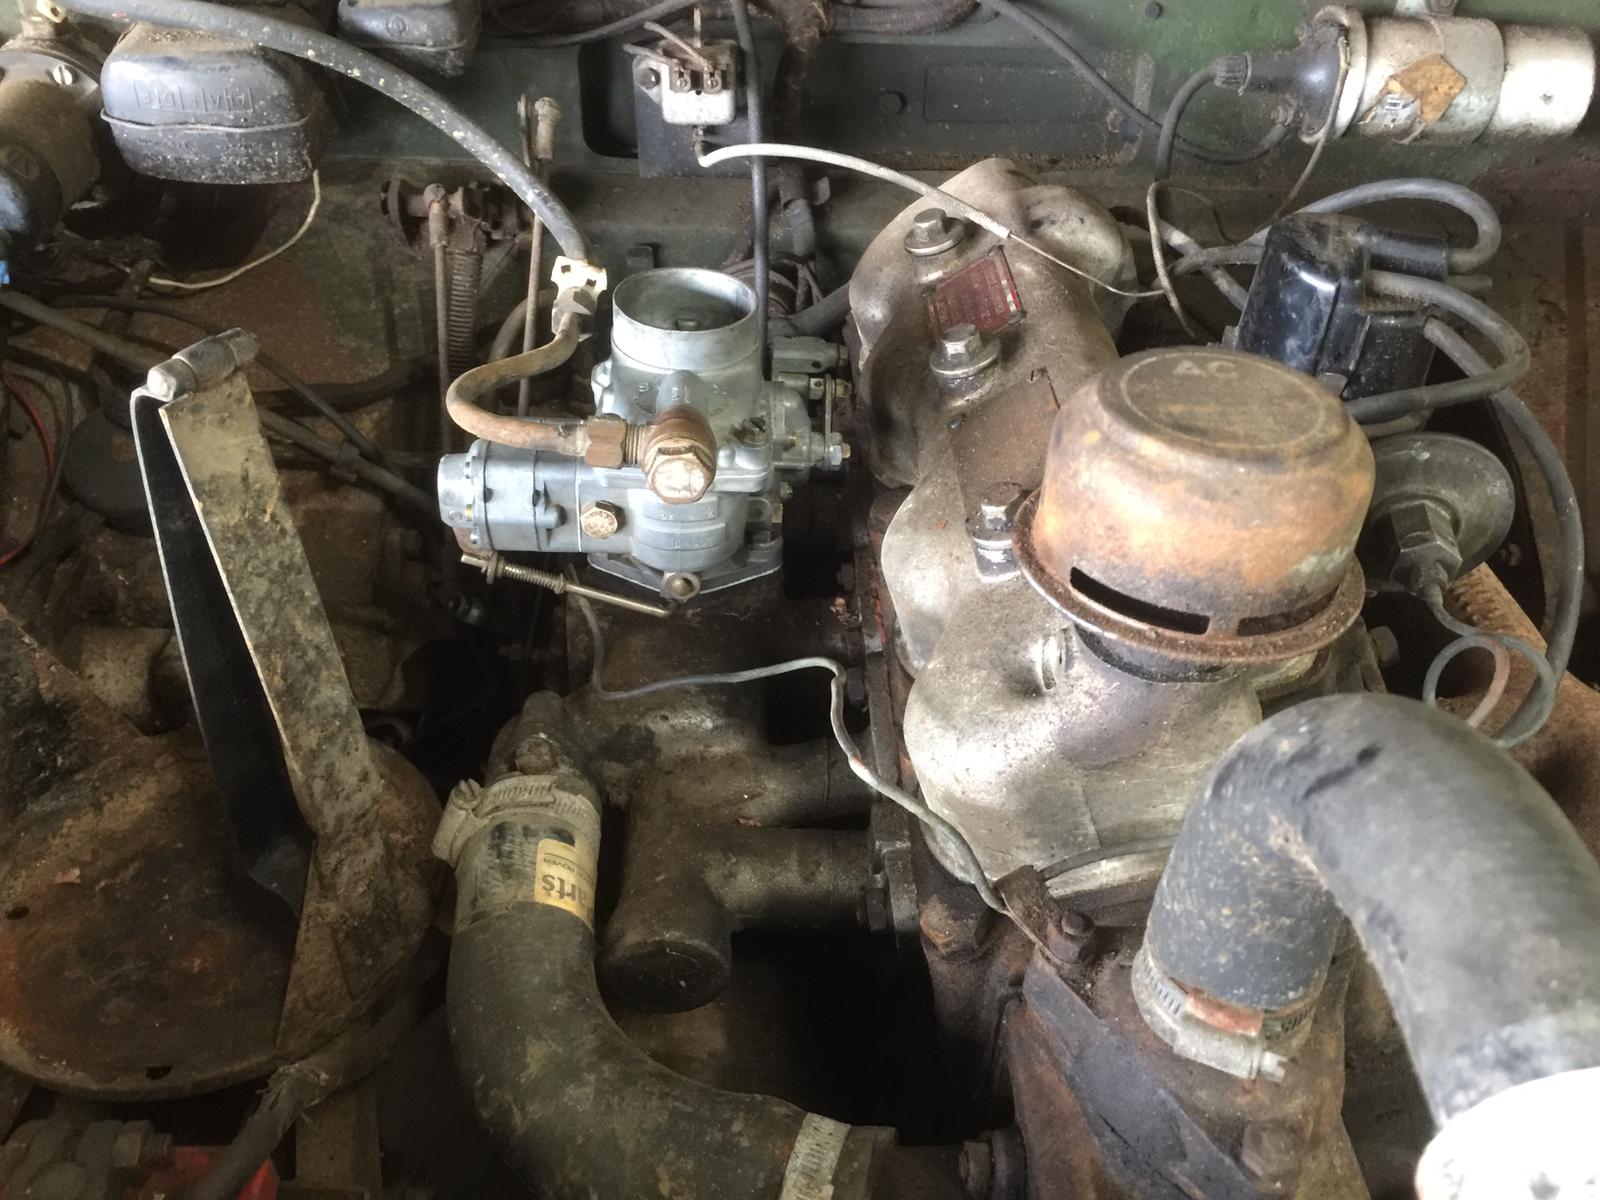
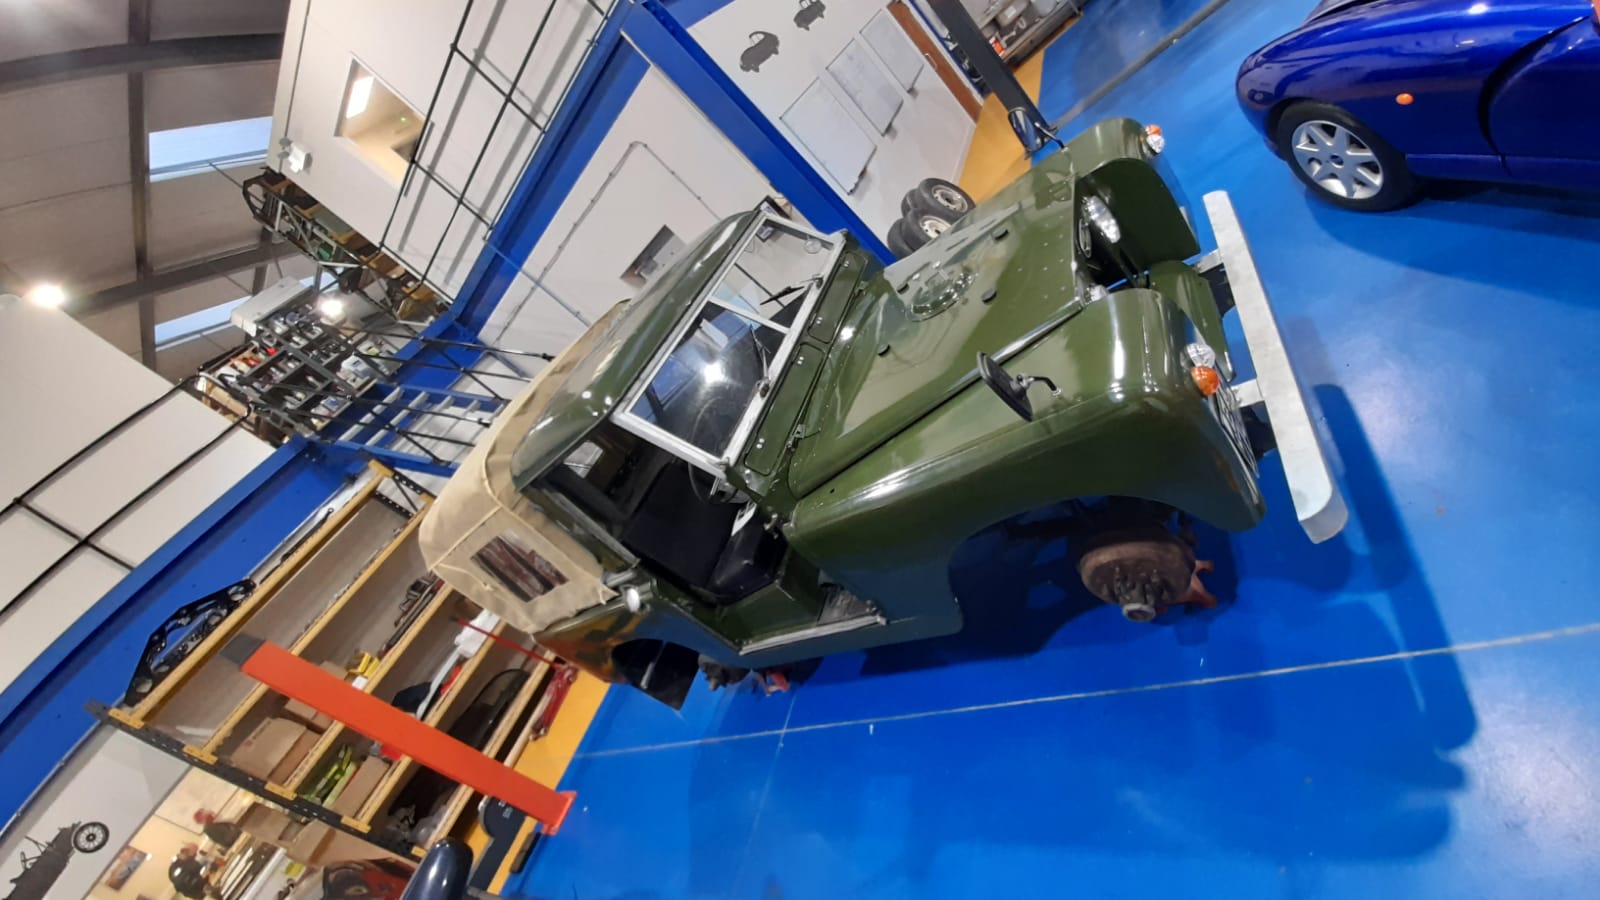
The paint shop have added the finishing touches to our 1964 Land Rover Series 2a by painting the wheels cream. The injector fuel pump has

James has been sanding and smoothing the door frame window sill using the wire wheel on the grinder. Four out of five doors have been

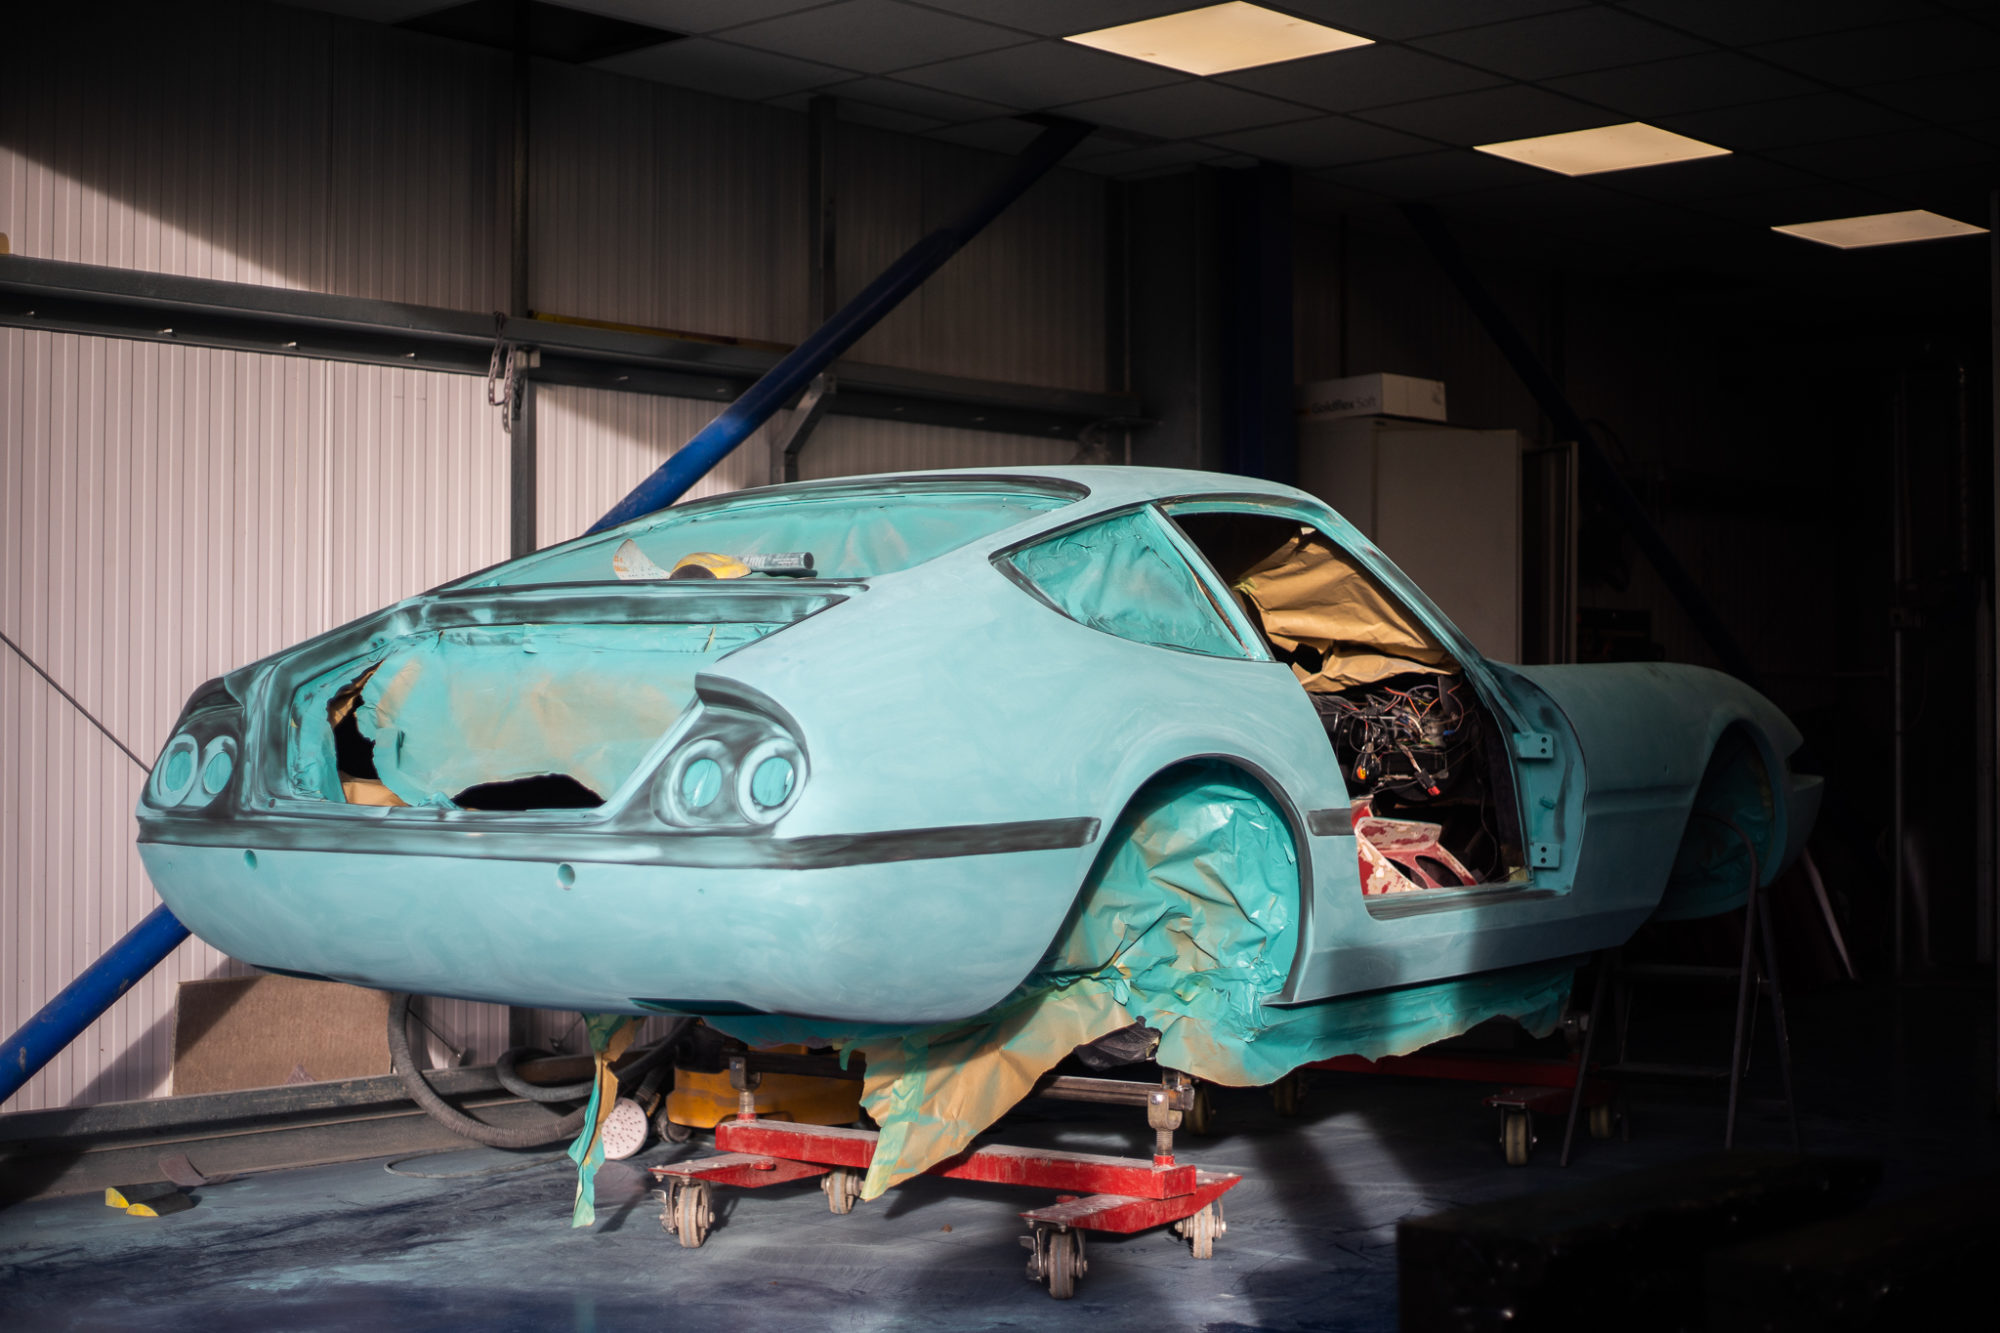
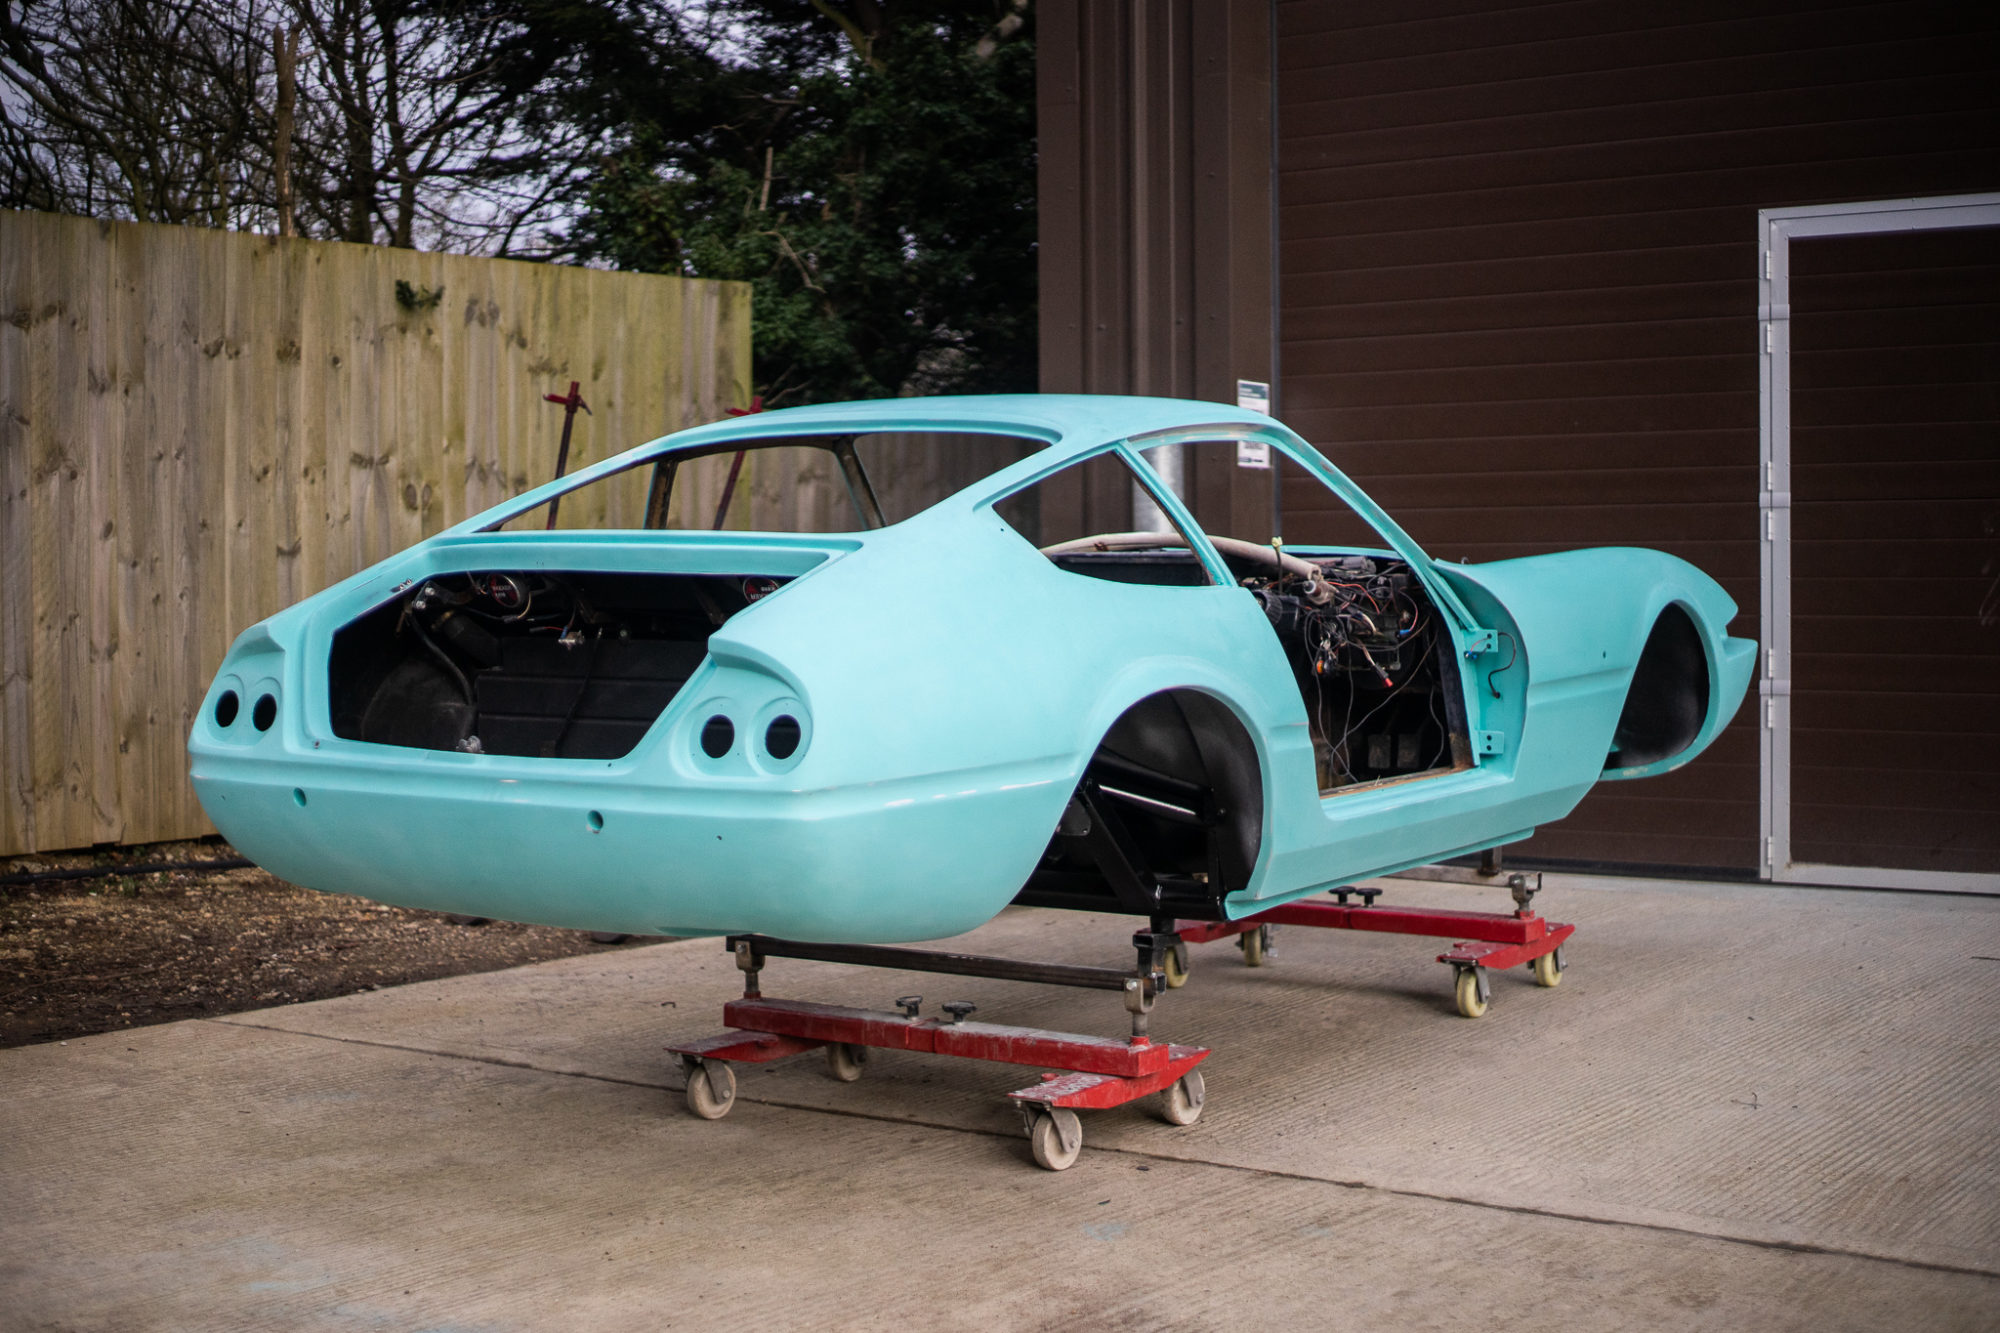
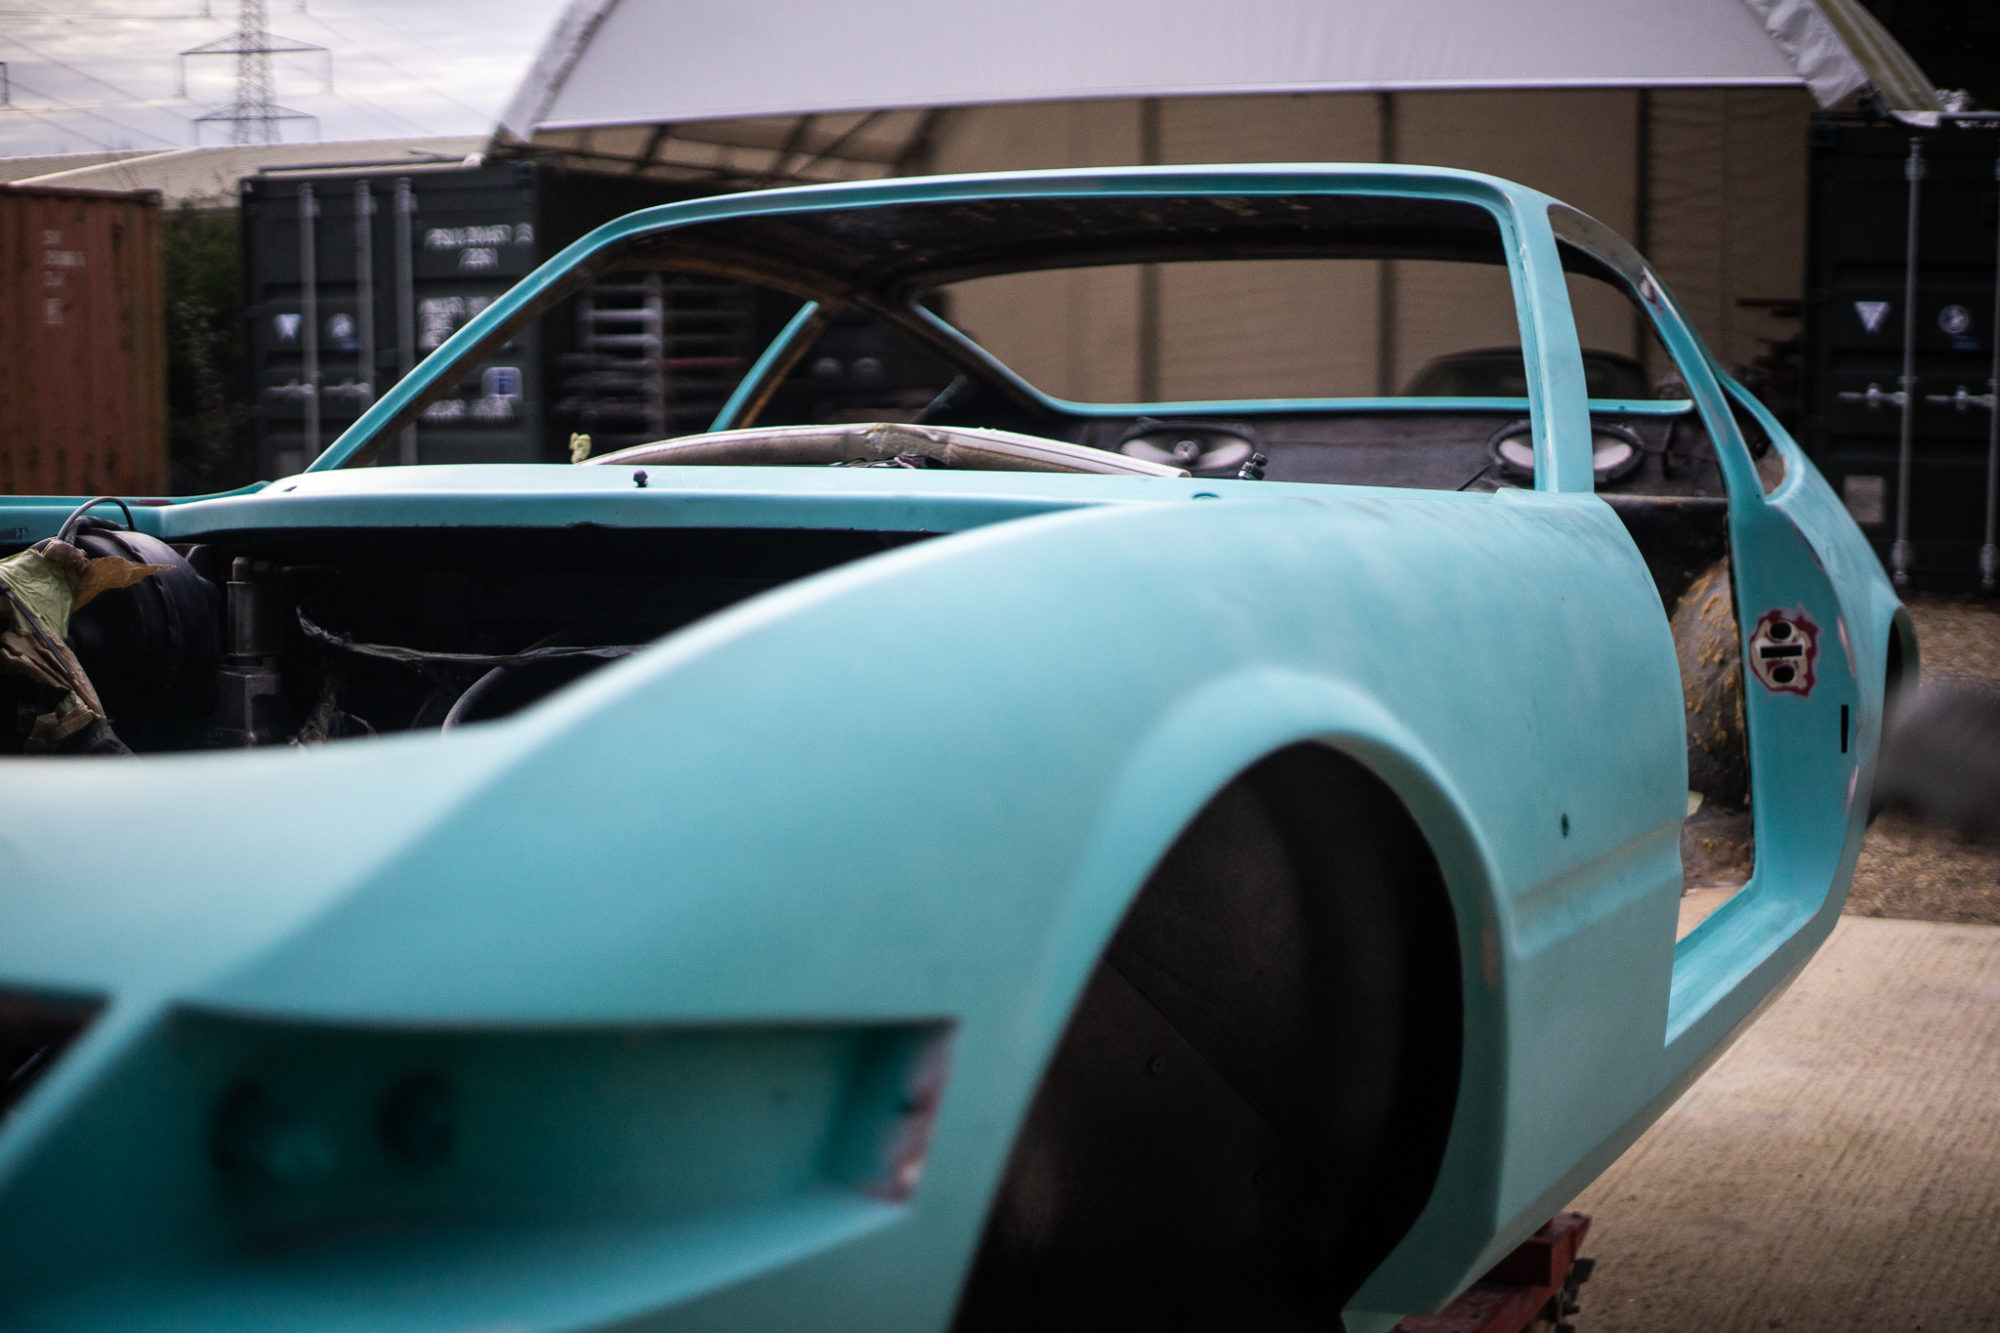
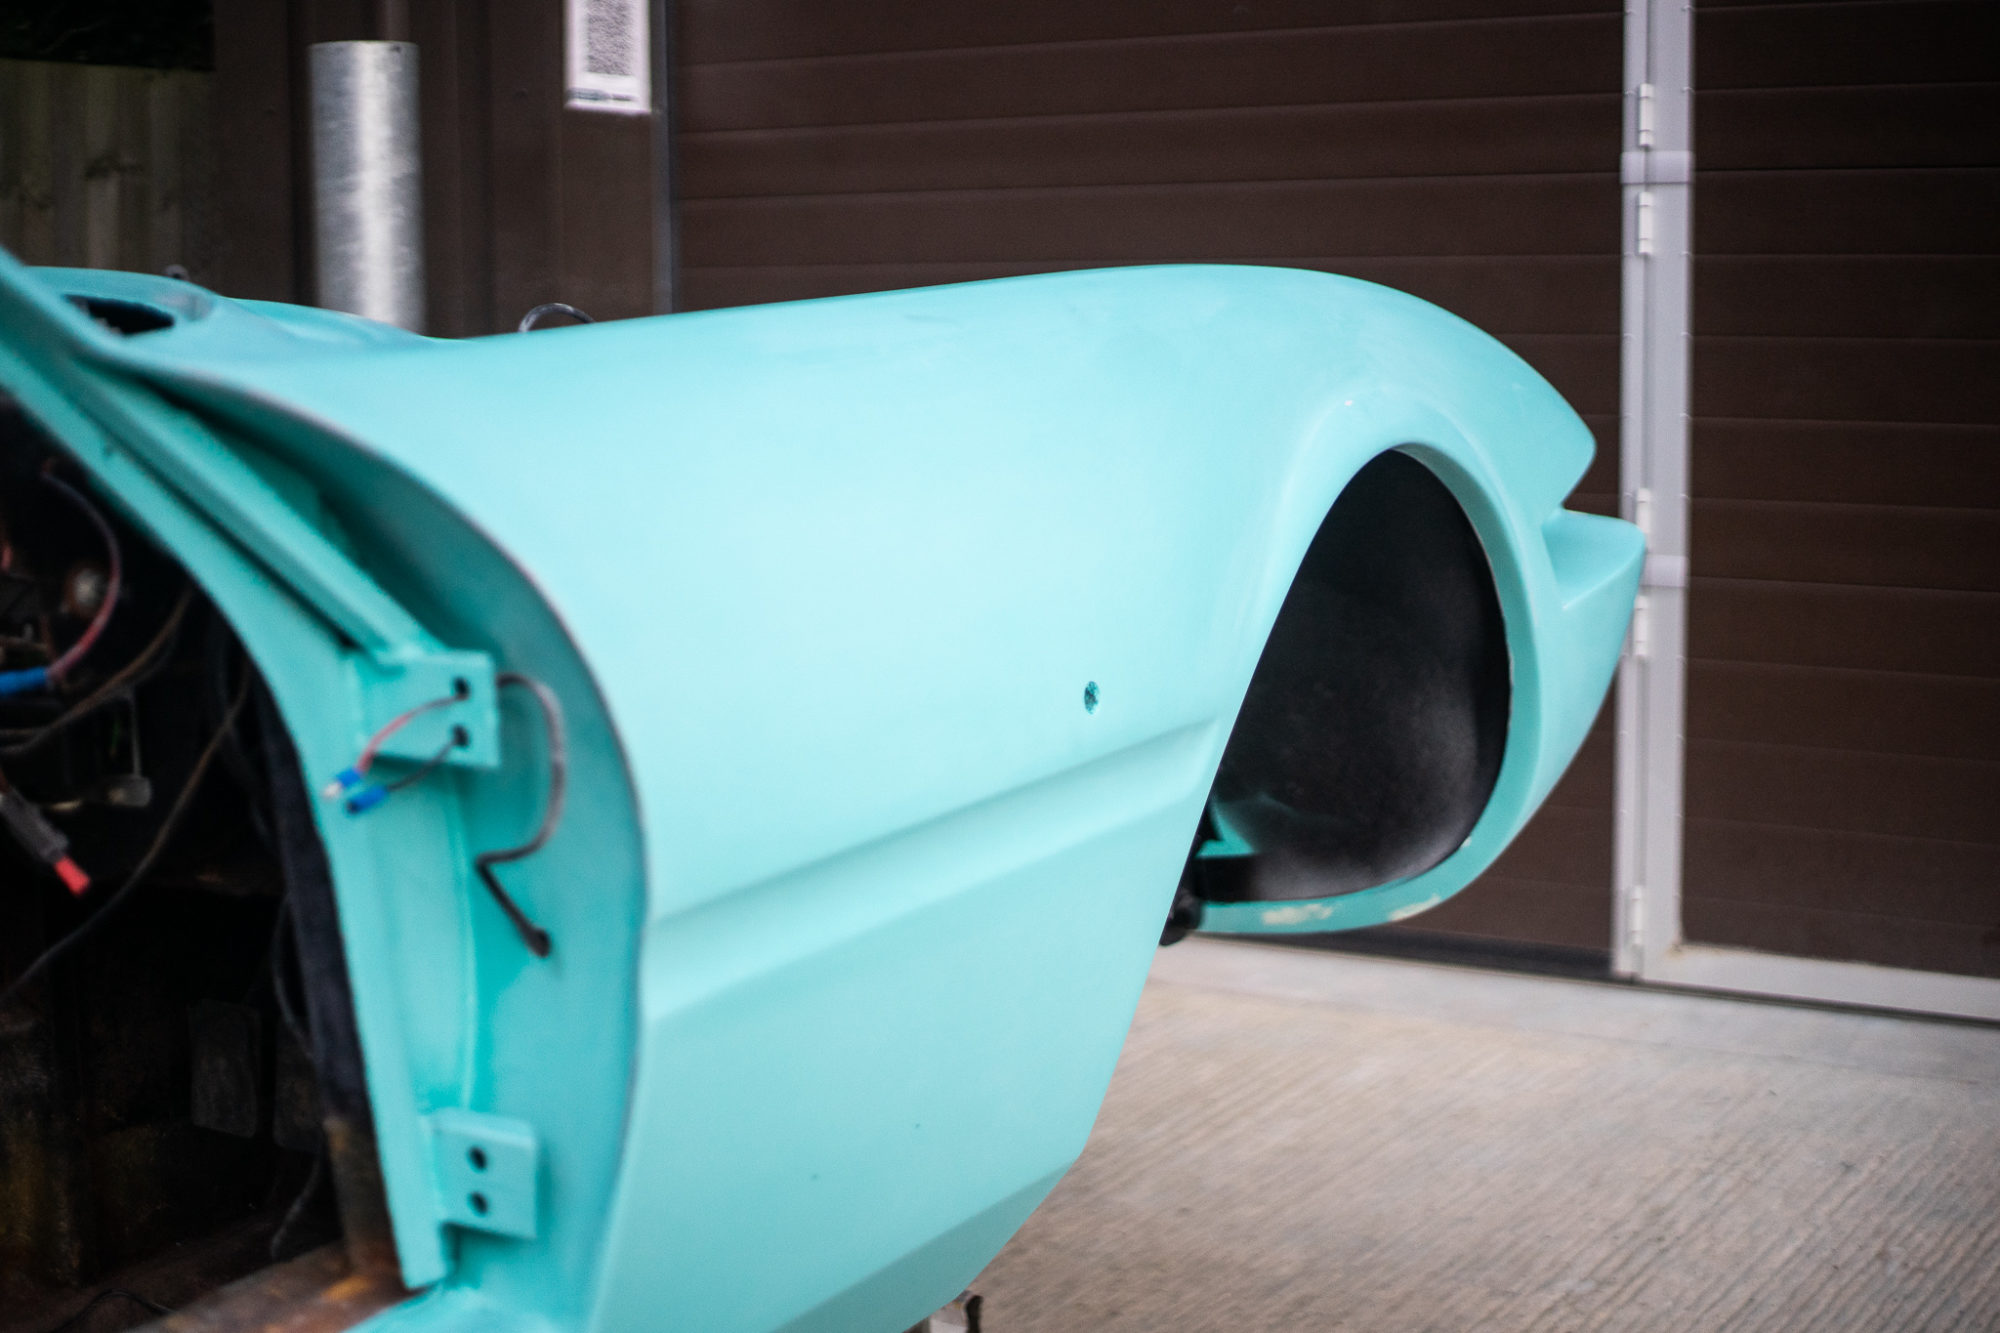
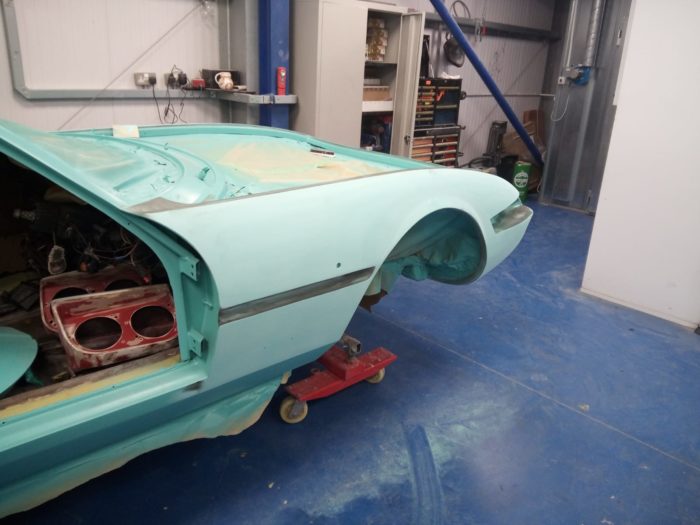
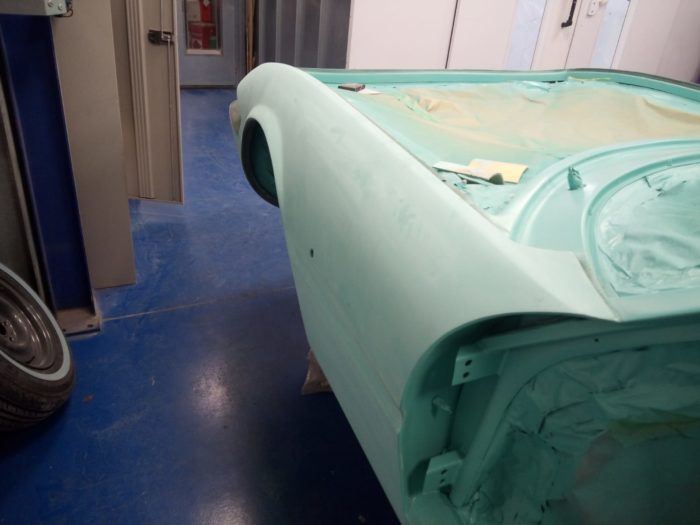
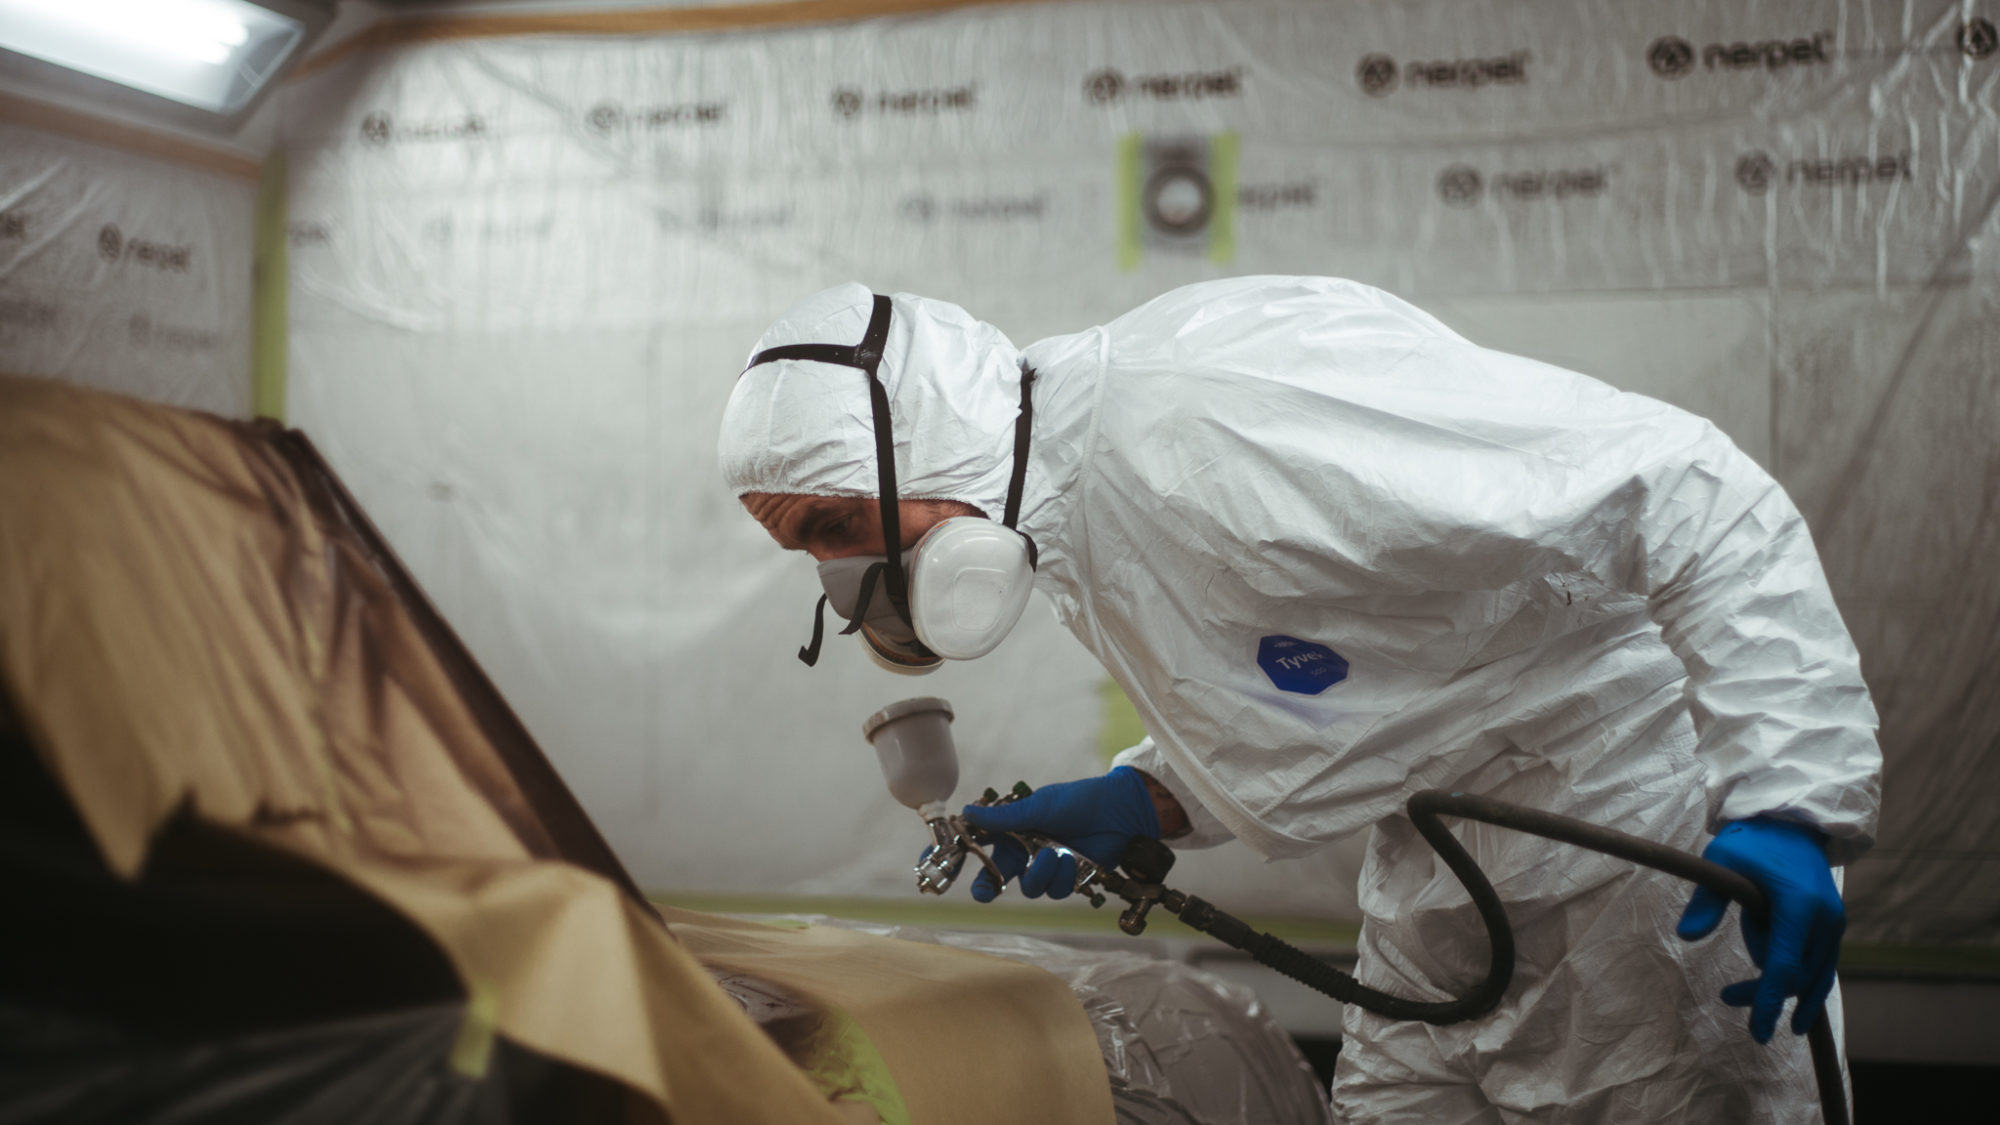
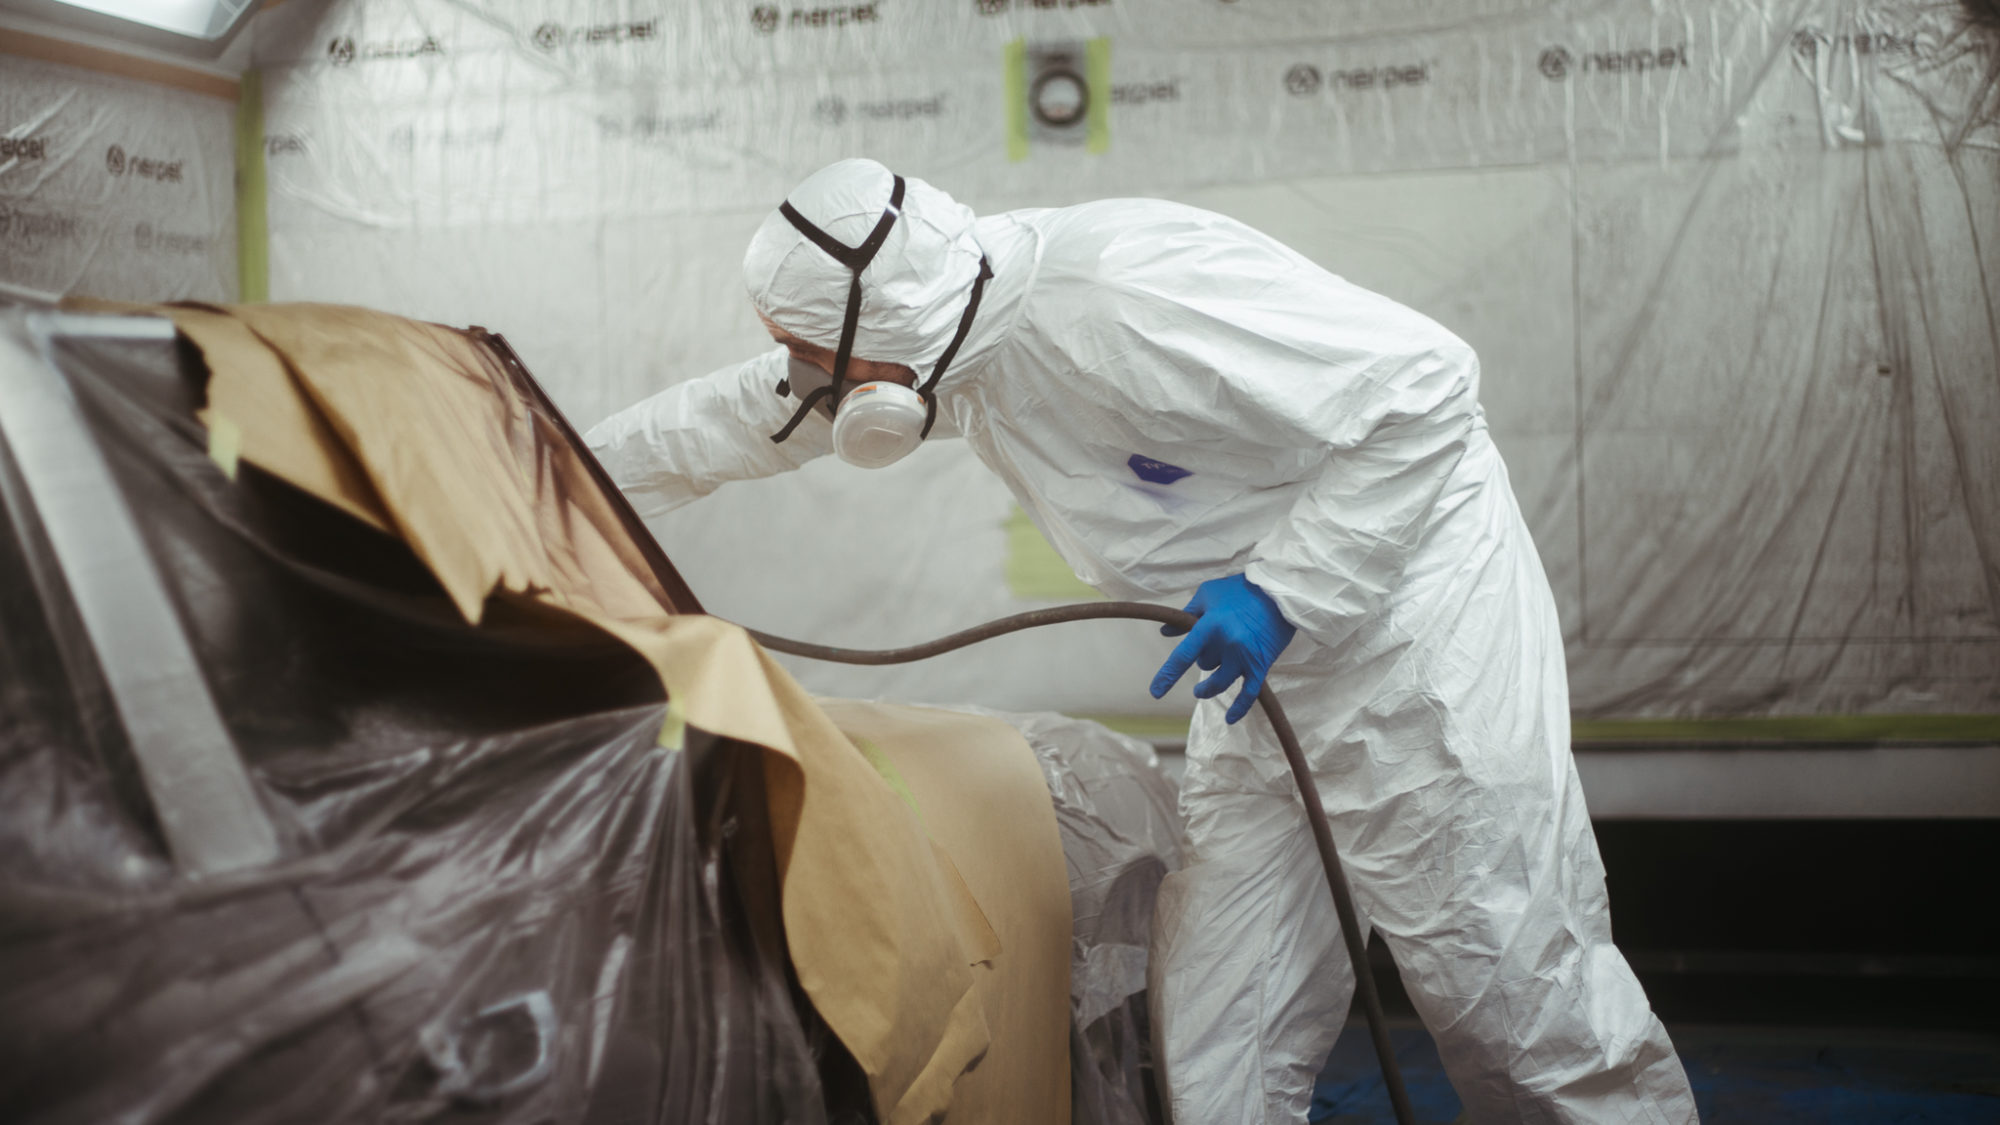
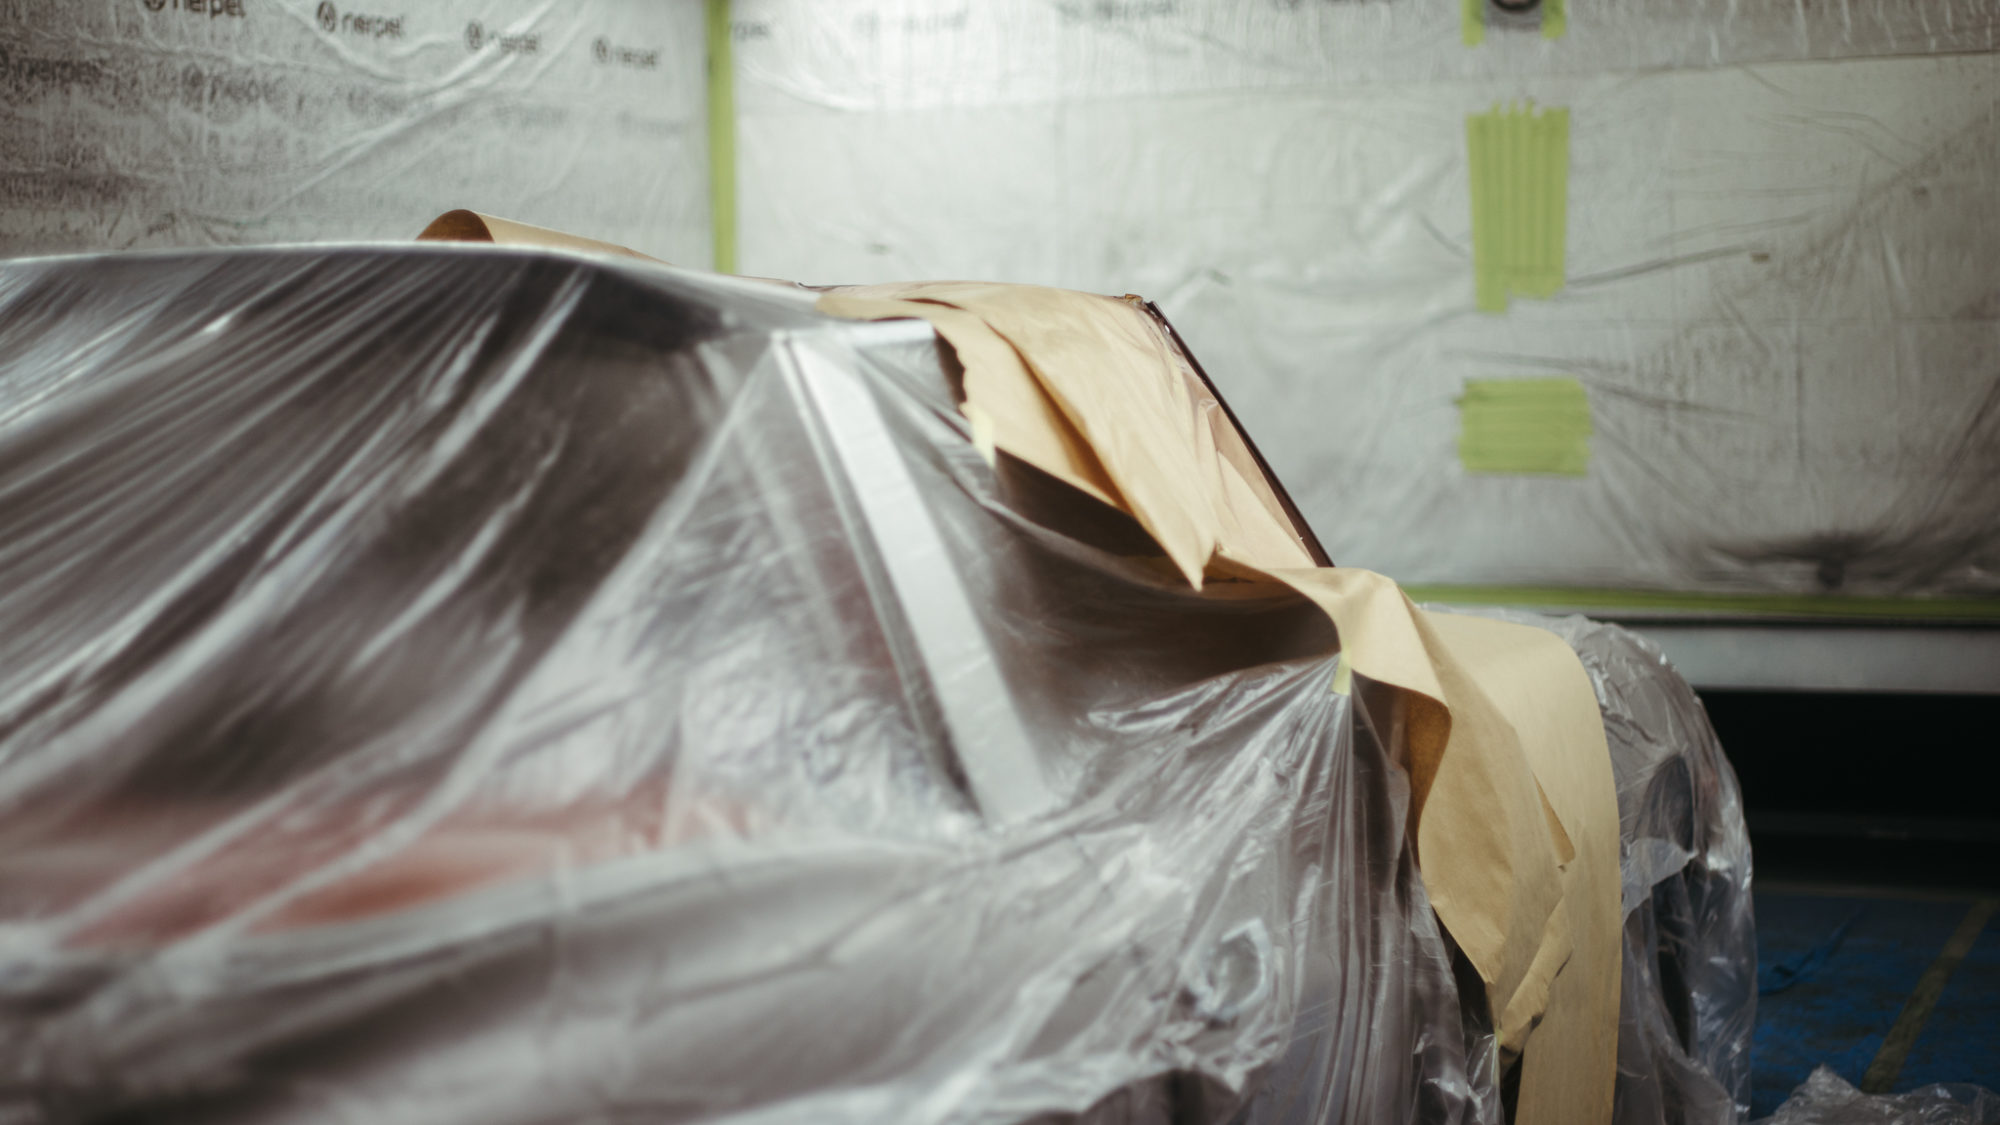
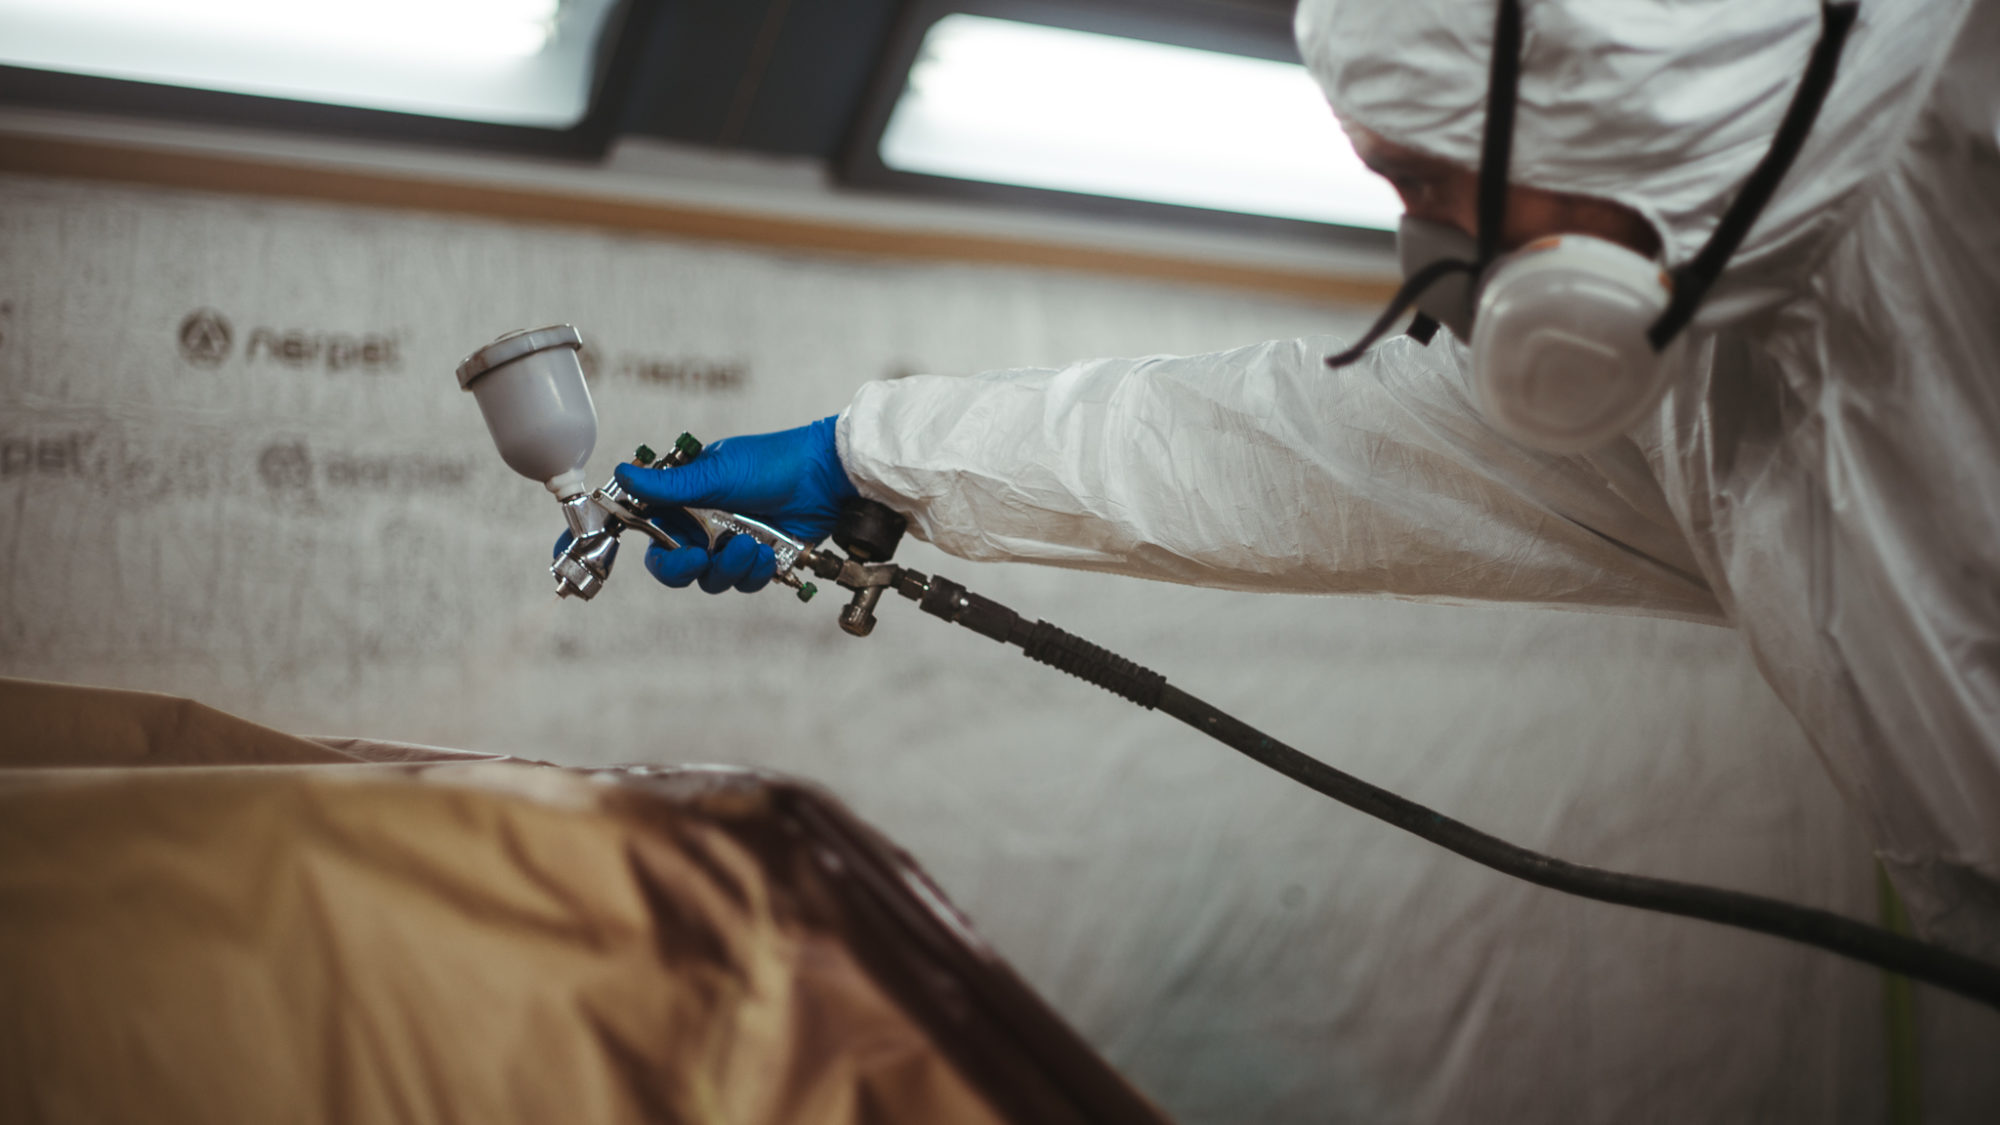
The Ferrari Daytona is currently sat in primer and is being smoothed and prepared for its final paint step: the official colour. Before it can
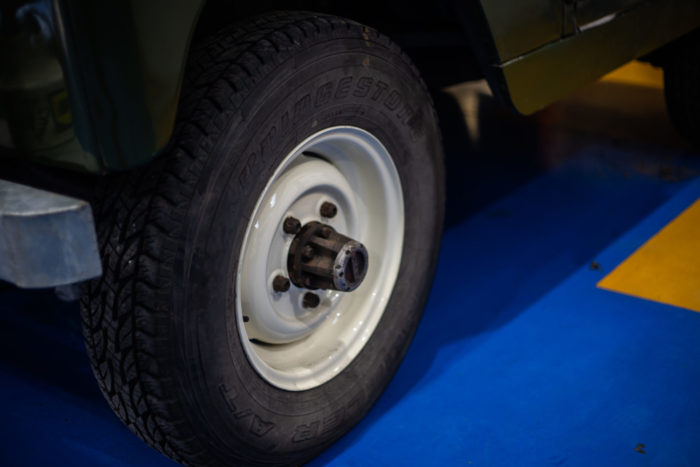
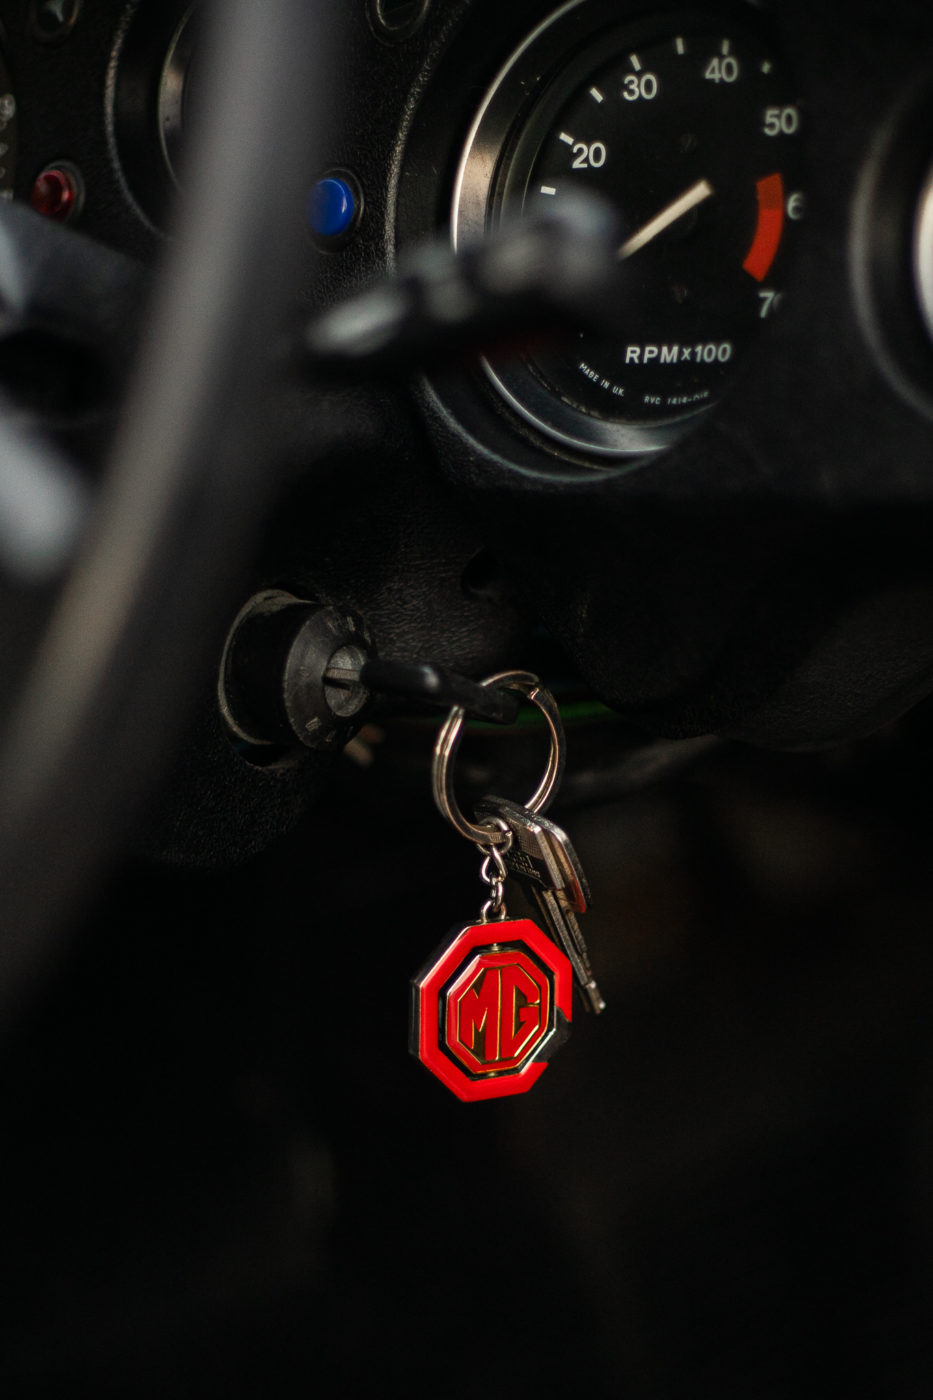
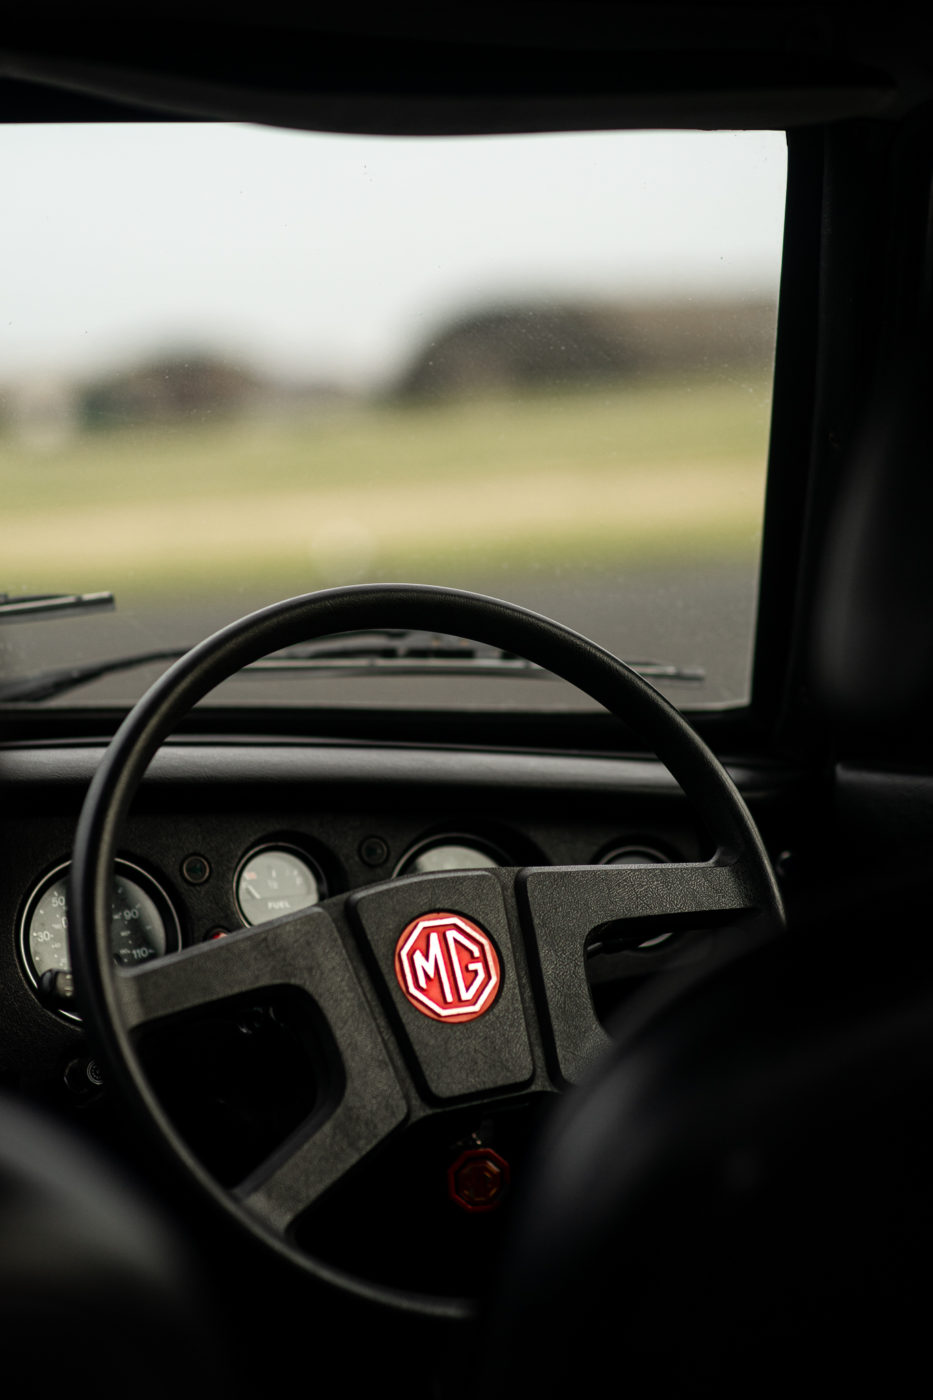
All we set out to do was fit new tyres but one of the centre badges was having none of it! The spring that holds
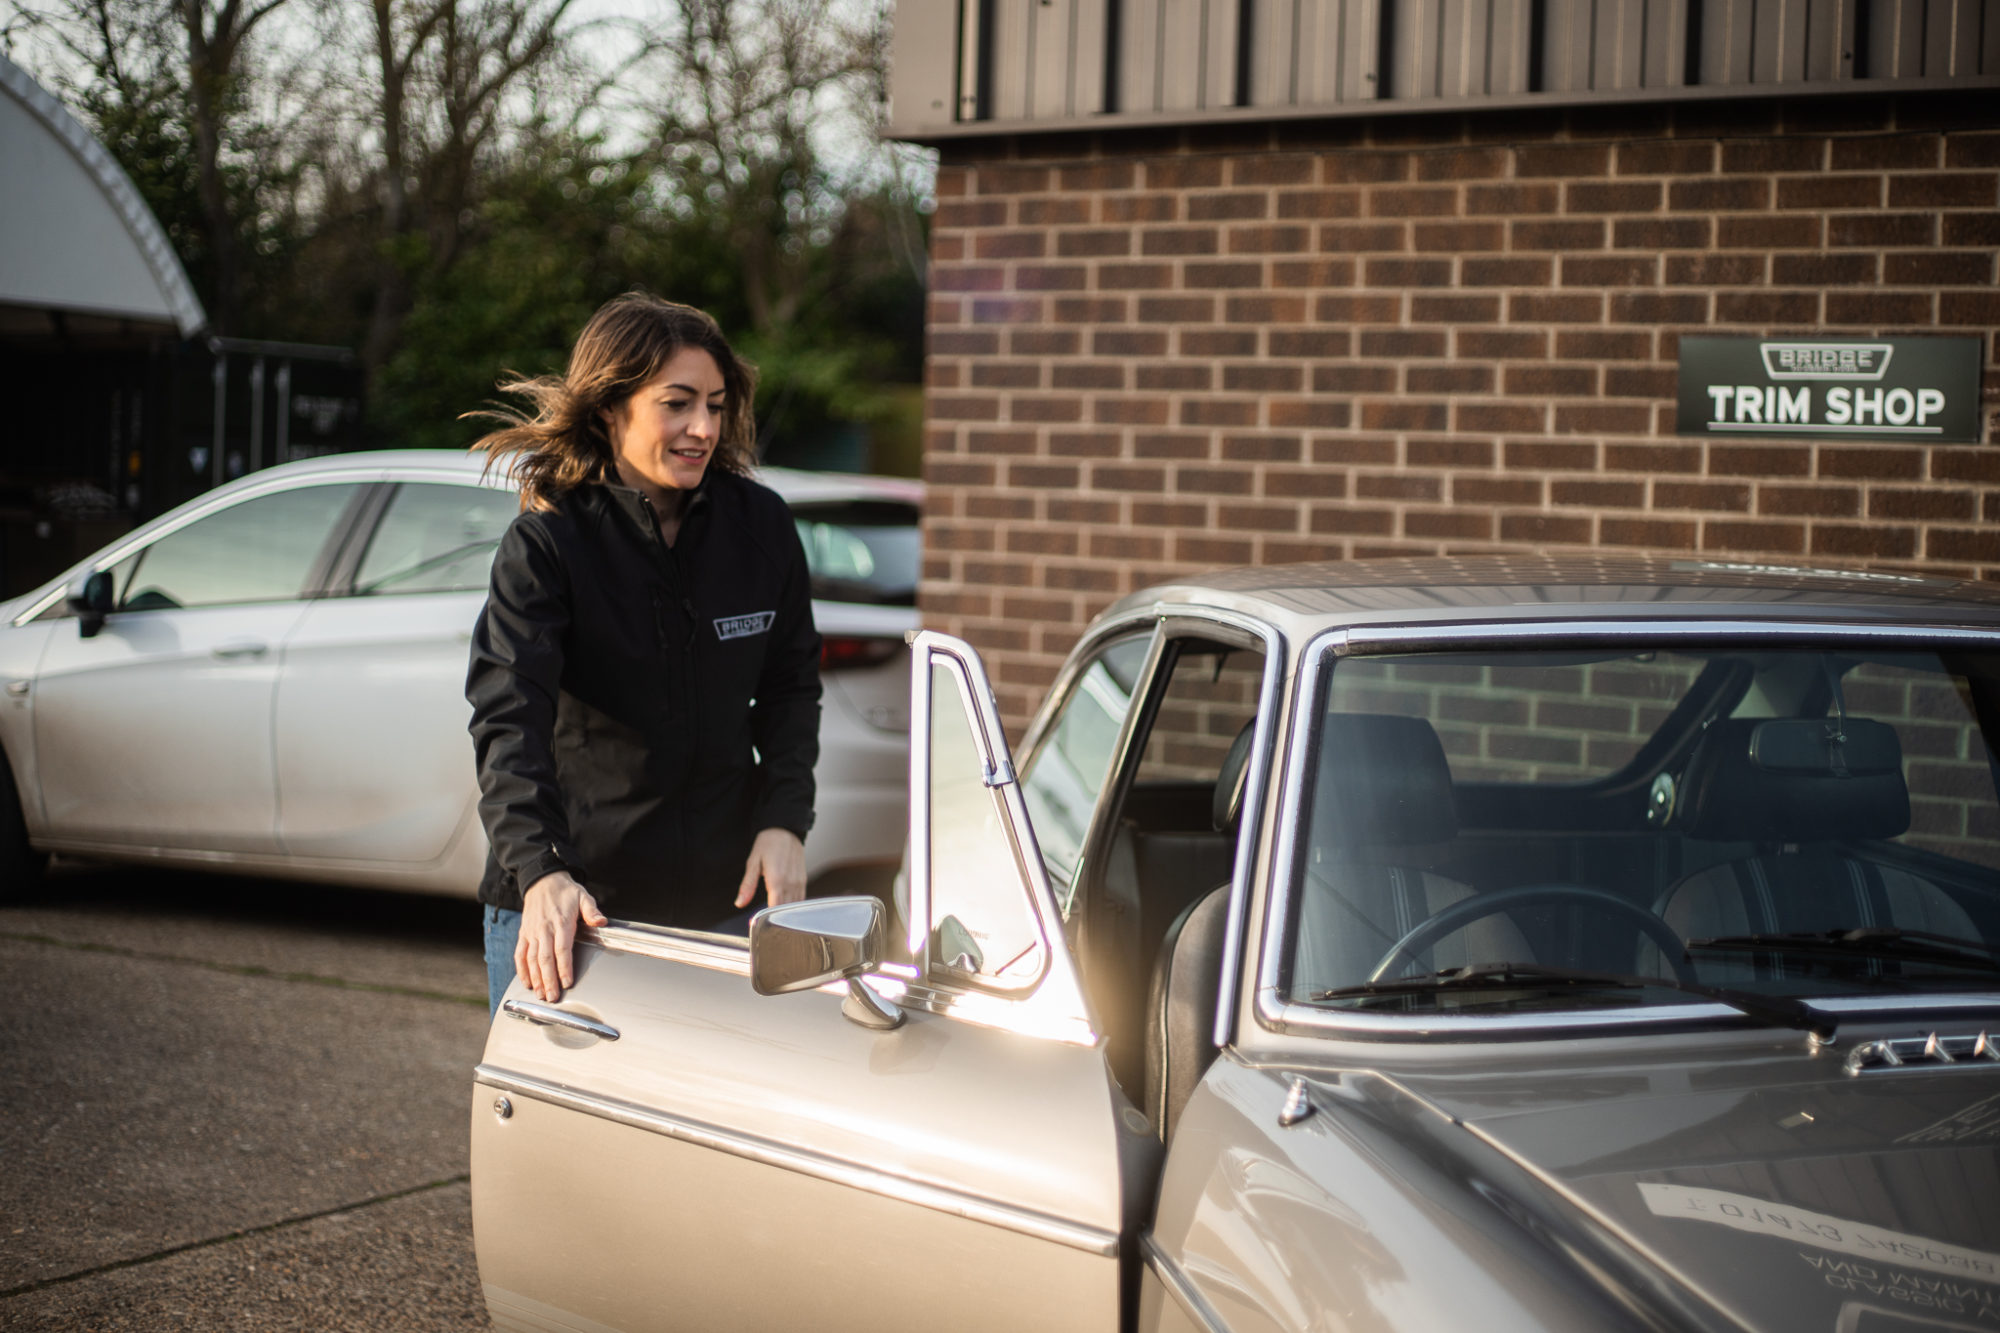
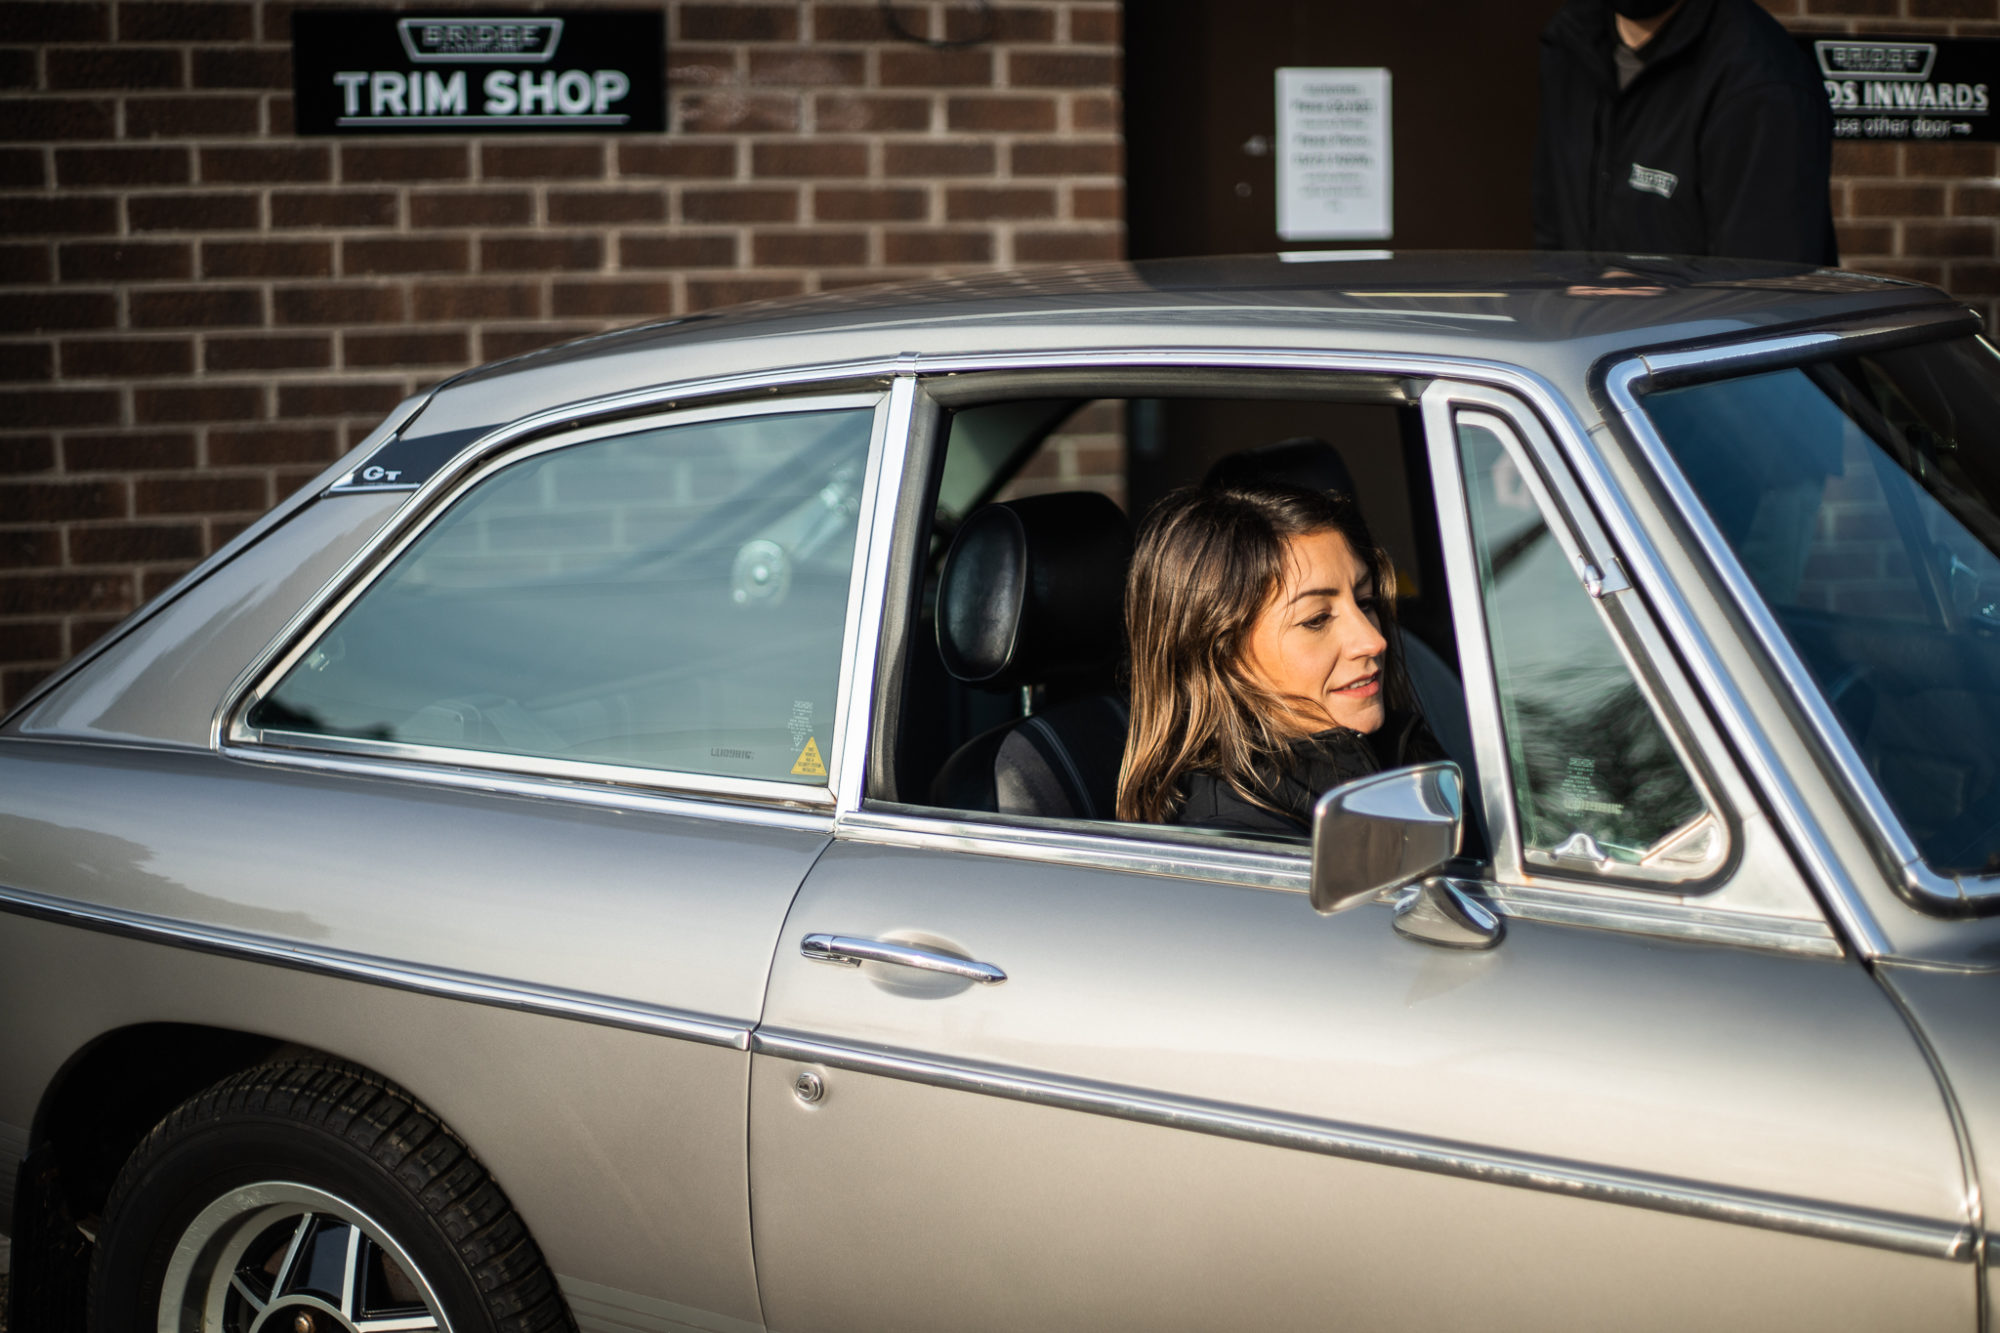
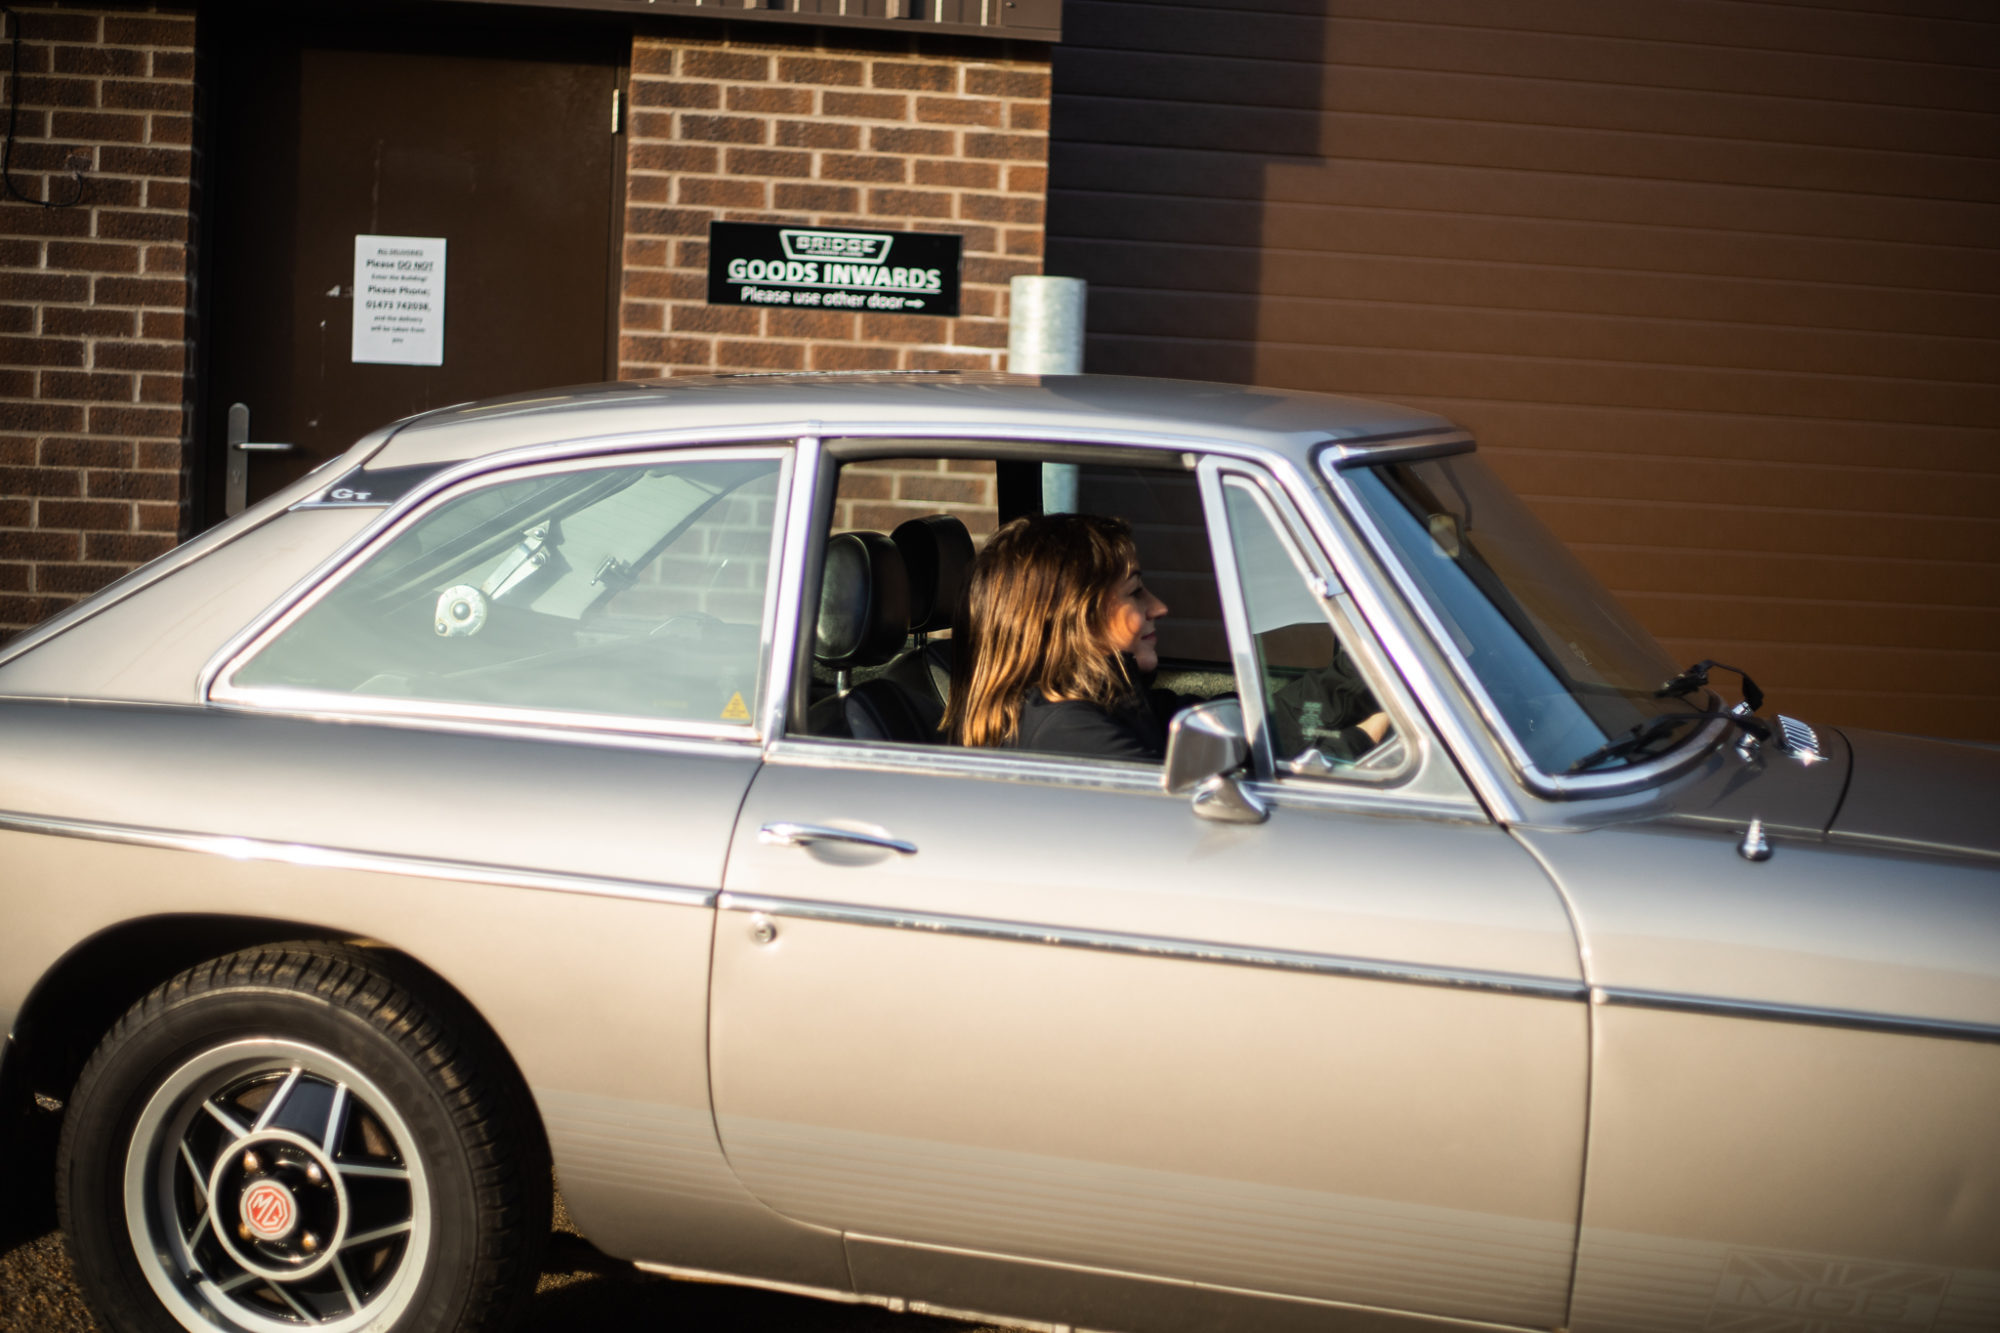
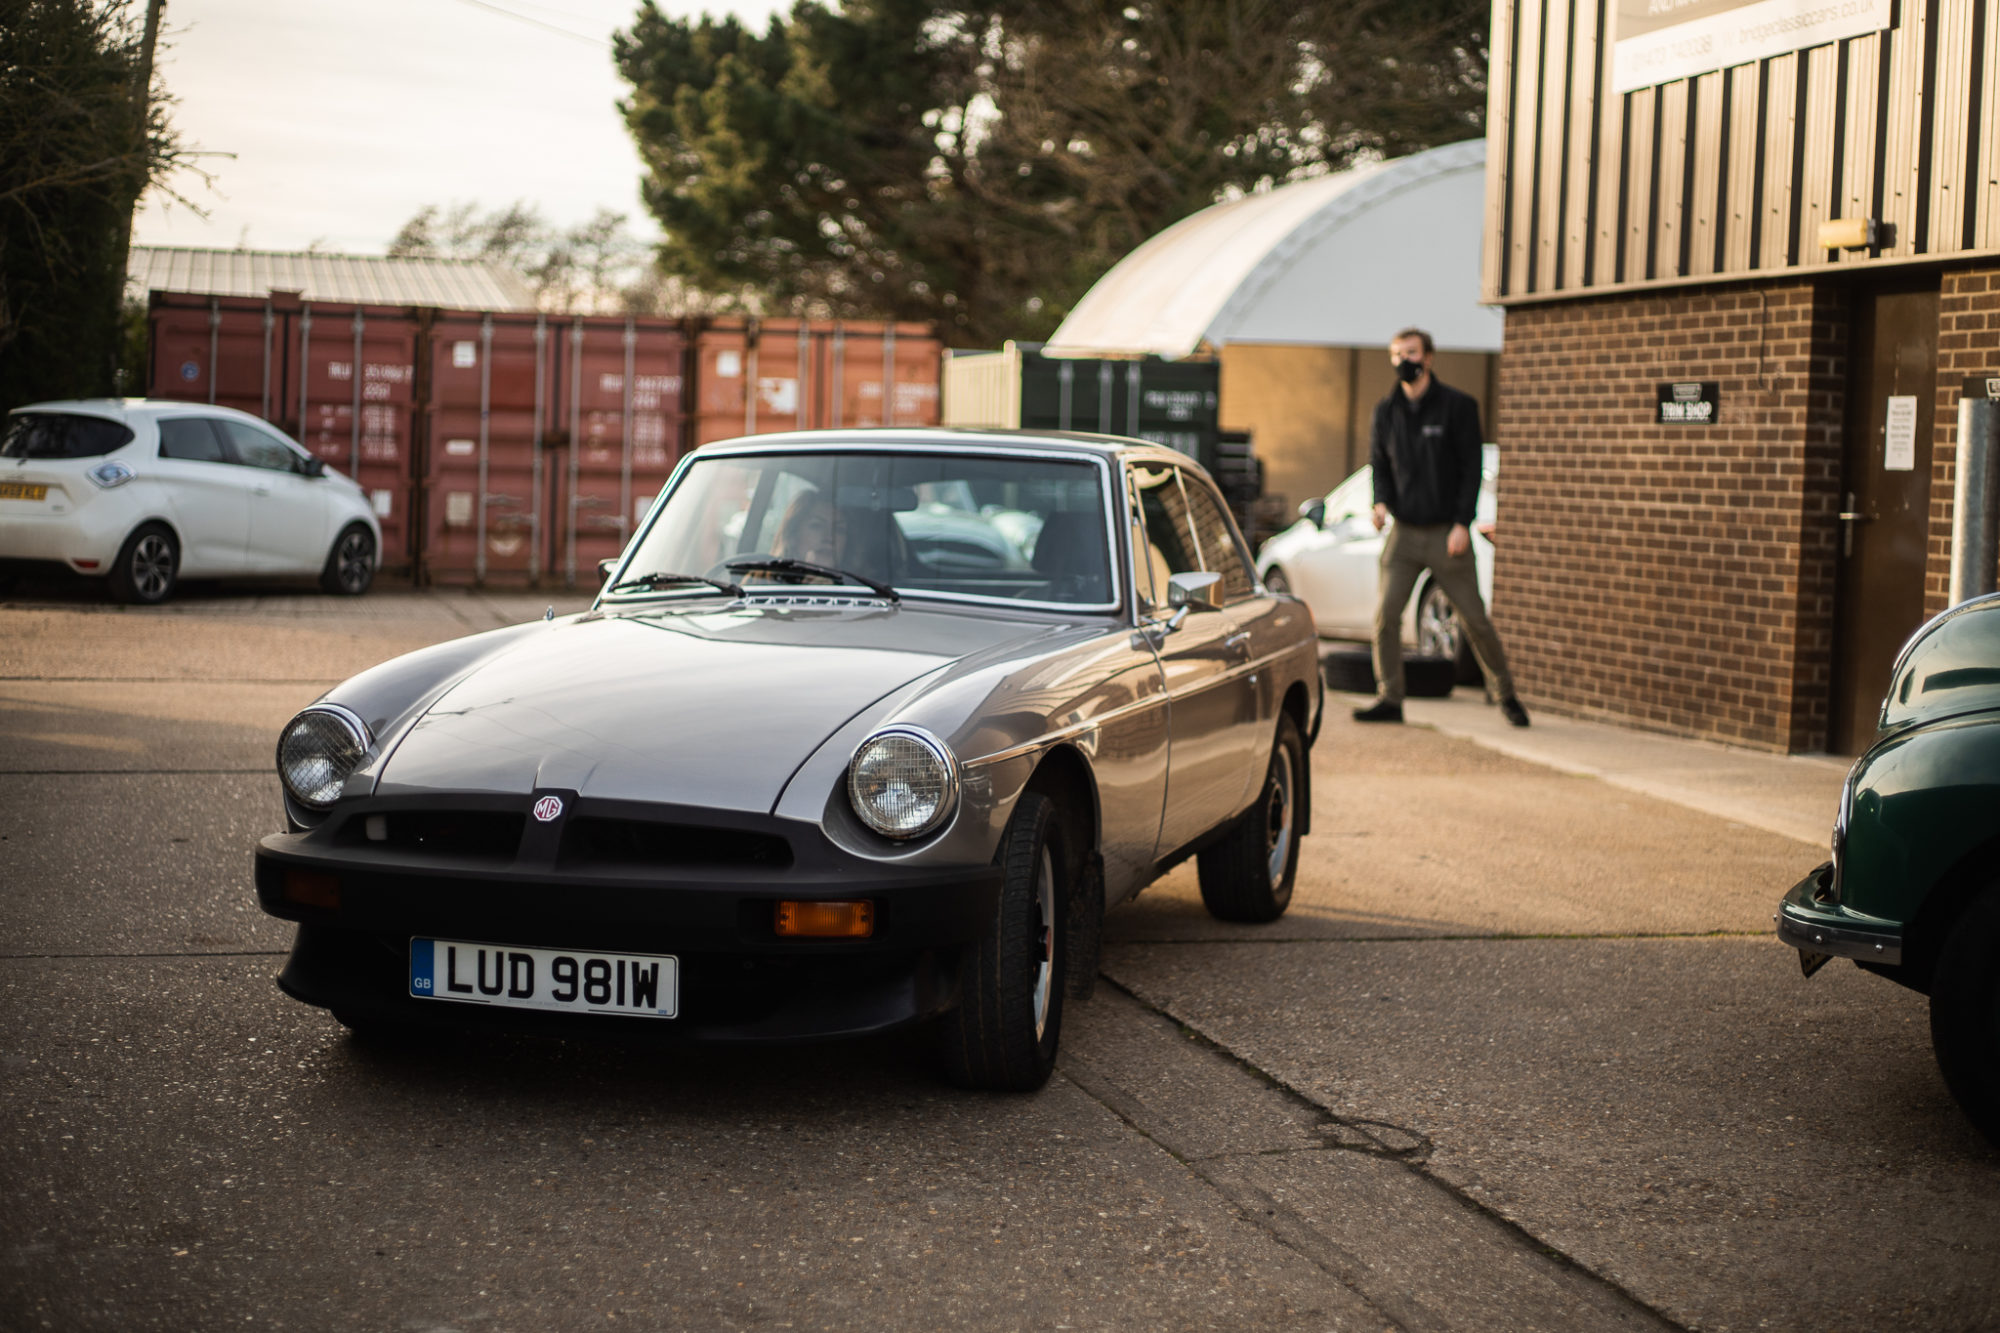
On friday, Ellie and Freddie took to Bentwaters to shoot our latest competition car, the 1981 MGB GT LE, a limited edition MGB GT. Its
Another live draw and two more winners! Last night we announced two more winners to add to our growing collective of lucky classic car winners!
Our success has been recognised by industry professionals, having recently been named Classic Car Restoration Specialists of the Year at the London and South East
“The quality will remain long after the price is forgotten.” – Henry Royce
This charming little Mini may be coming in soon to be recommissioned and assessed. Currently we’re at the enquiry stage but hope to see this
We’re delighted to see the Electric Classic Car’s electric mini is coming along well. If you’ve been following this story, you might remember that we
Our 1968 Triumph TR5 is still sat in the trim shop having its new interior fitted! Its a very exciting development as fitting trim to
We’ve had an enquiry for this charming Morris Minor 1000 that may be coming in for some work soon. The client currently has it in
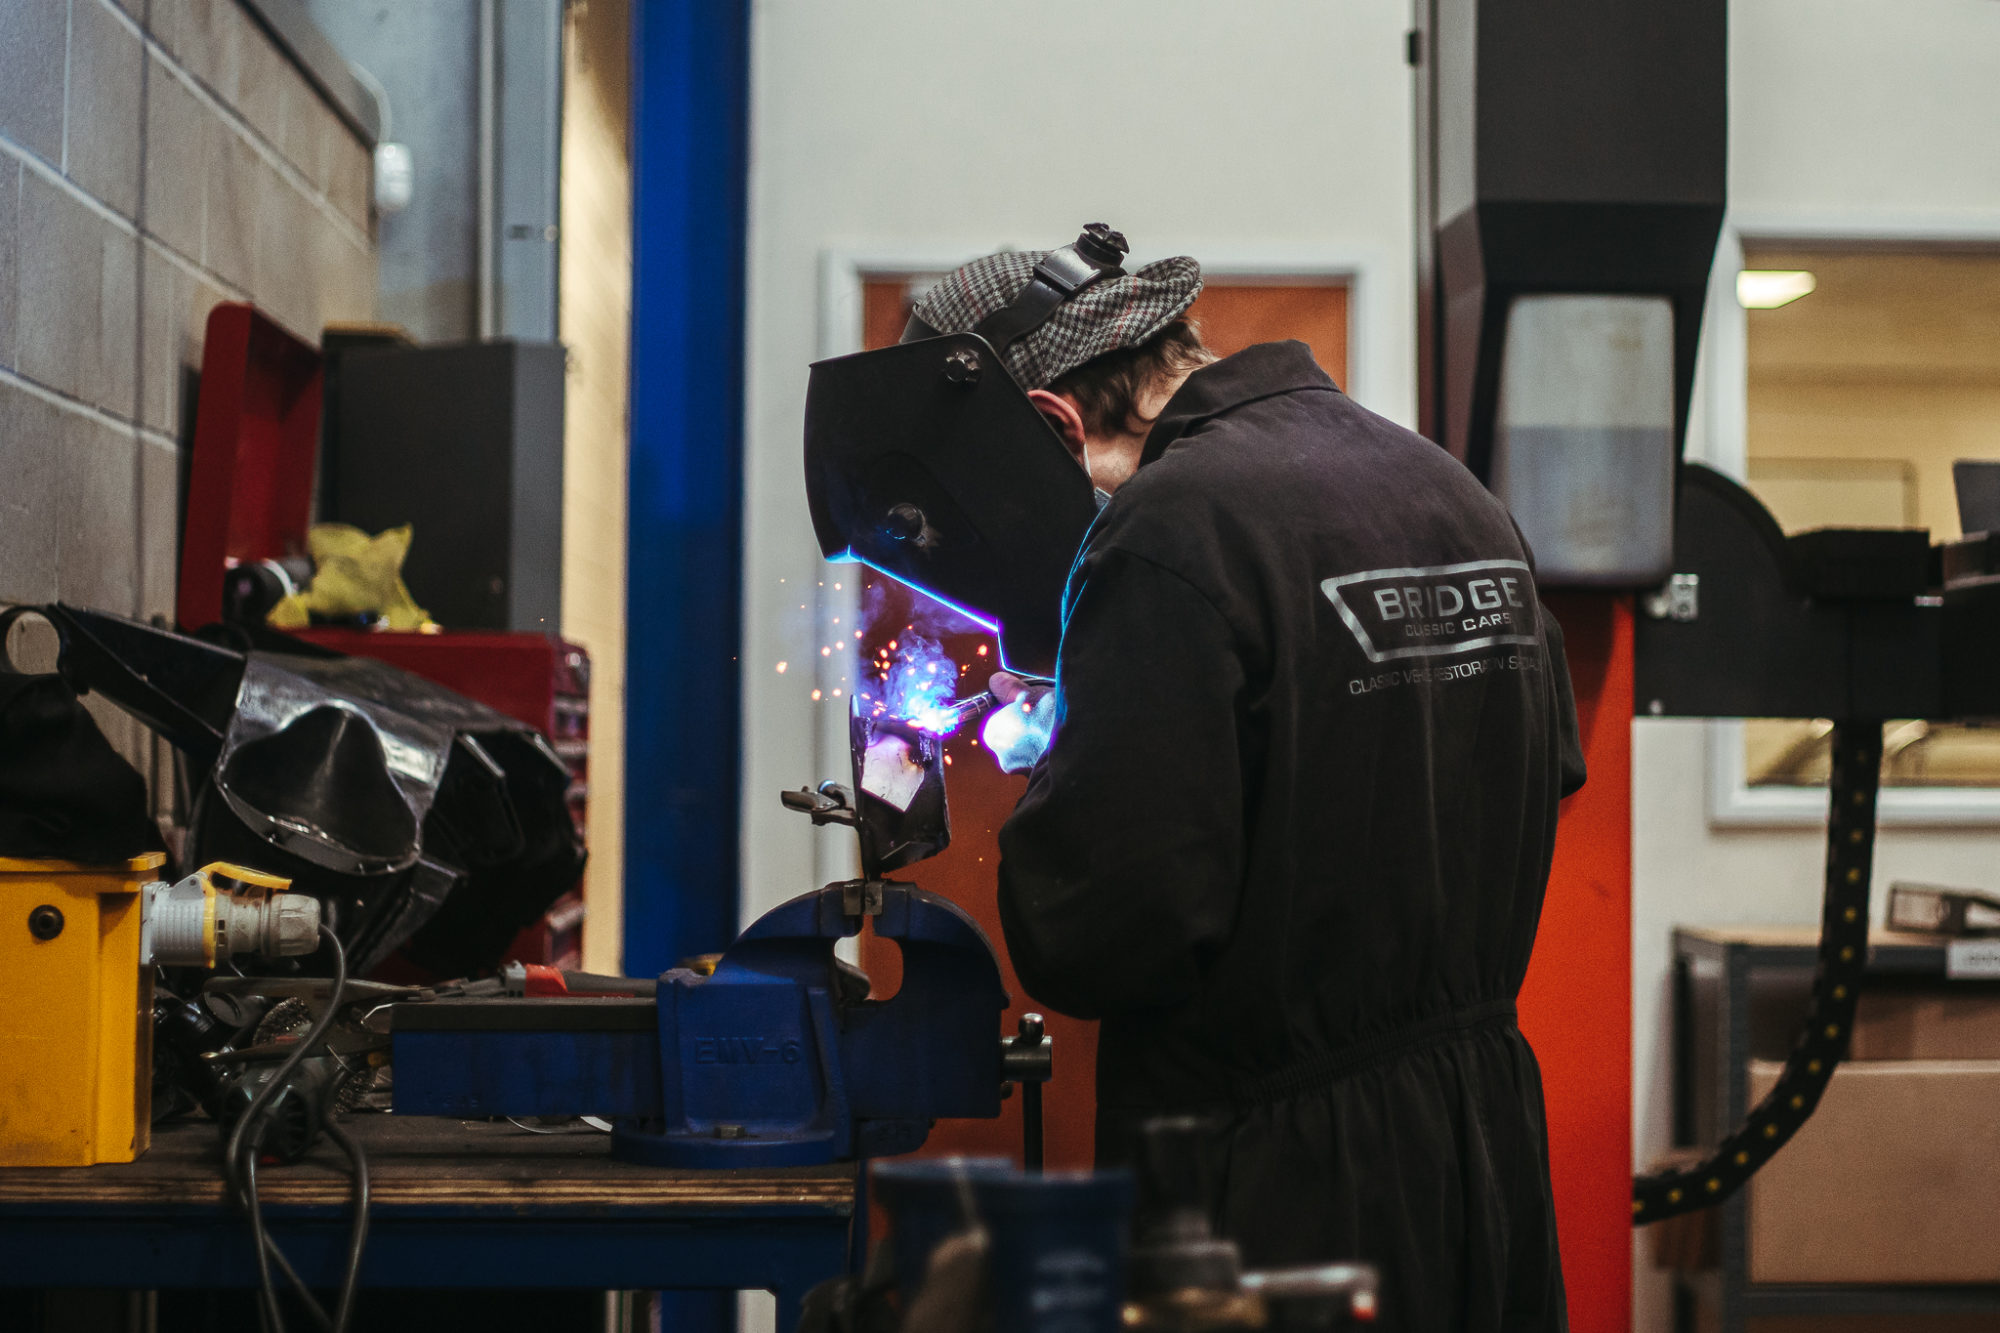
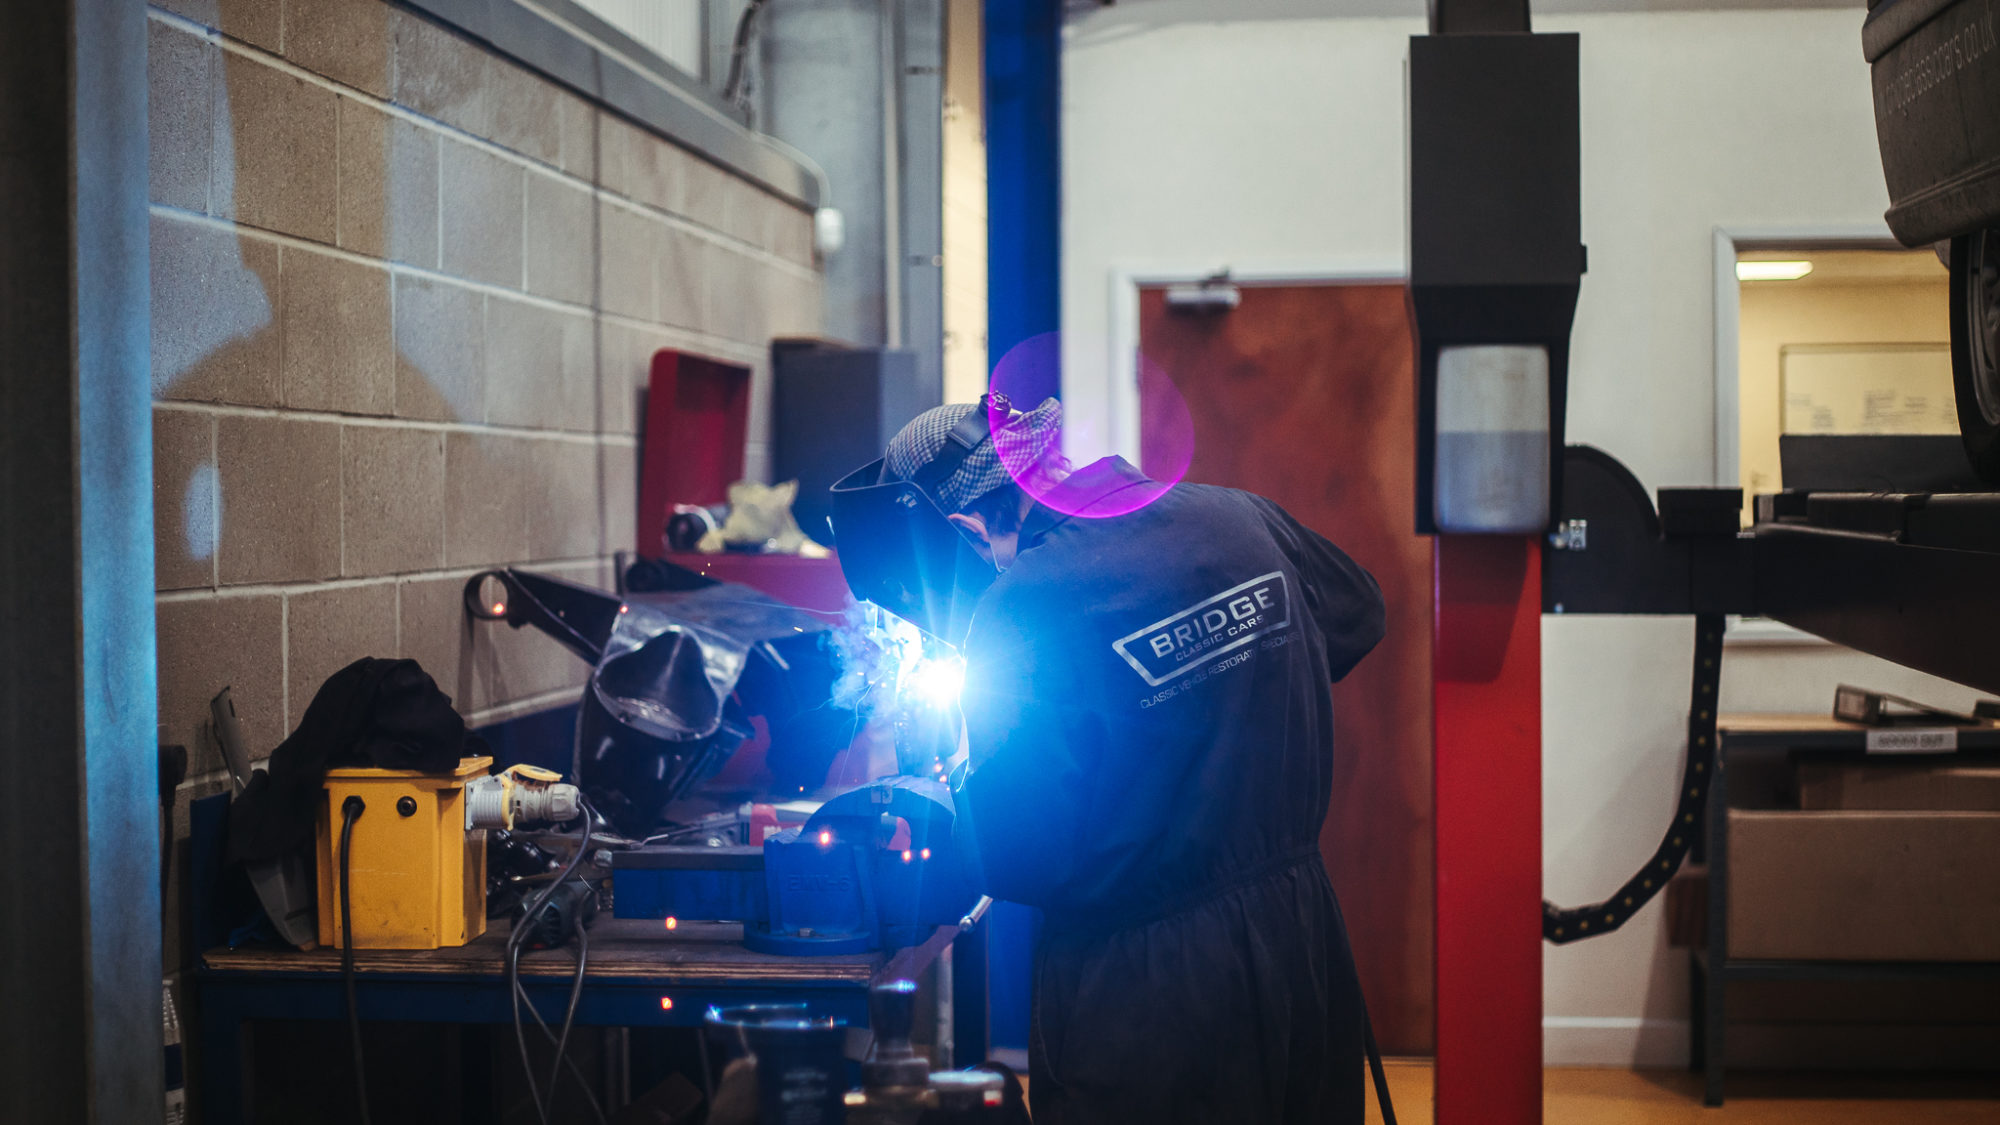
With Scott’s Land Rover hiatus now over, he can get back to the Daytona. Today he’s been welding the front cradle that holds the suspension

Lots have been happening with our new Land Rover Series IIa this week. Scott (our in-house Land Rover Specialist) has diligently attending to the issues
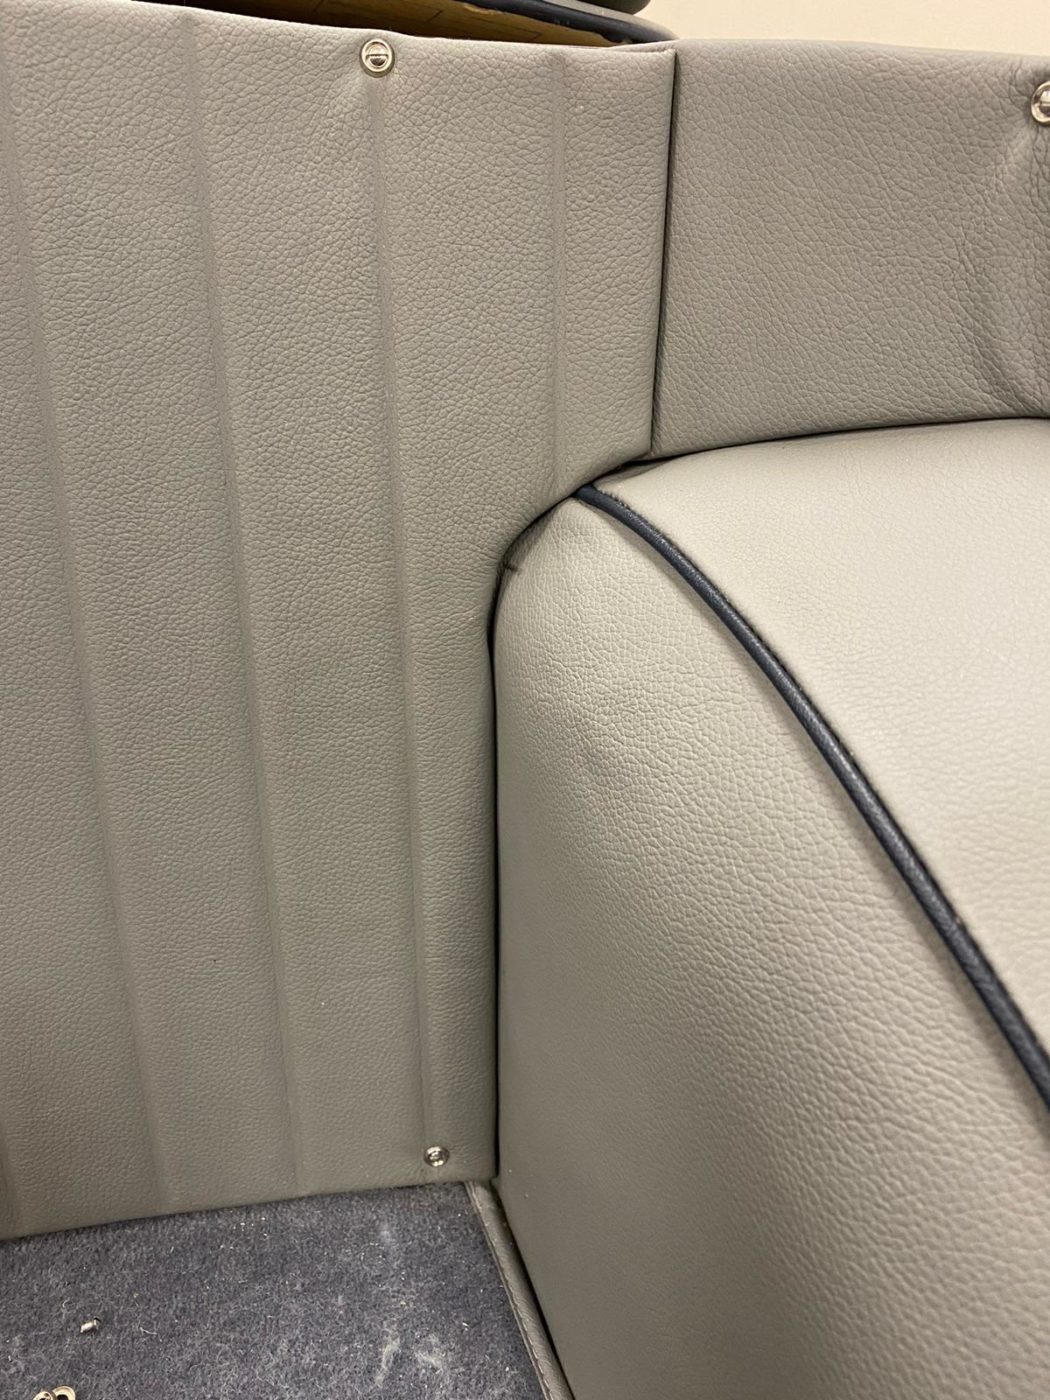
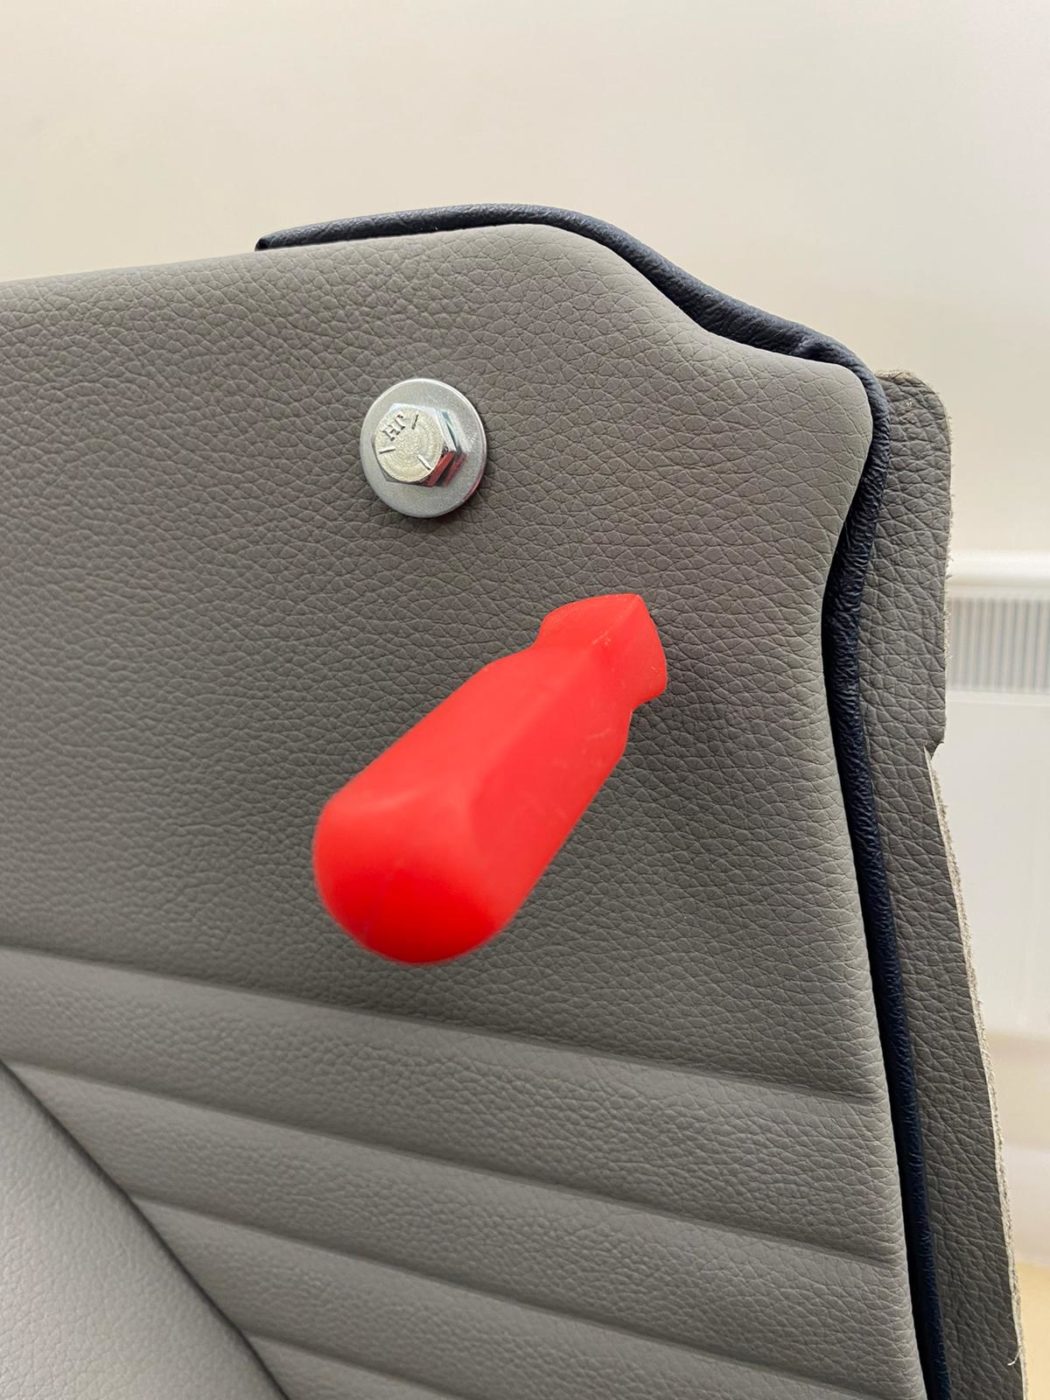
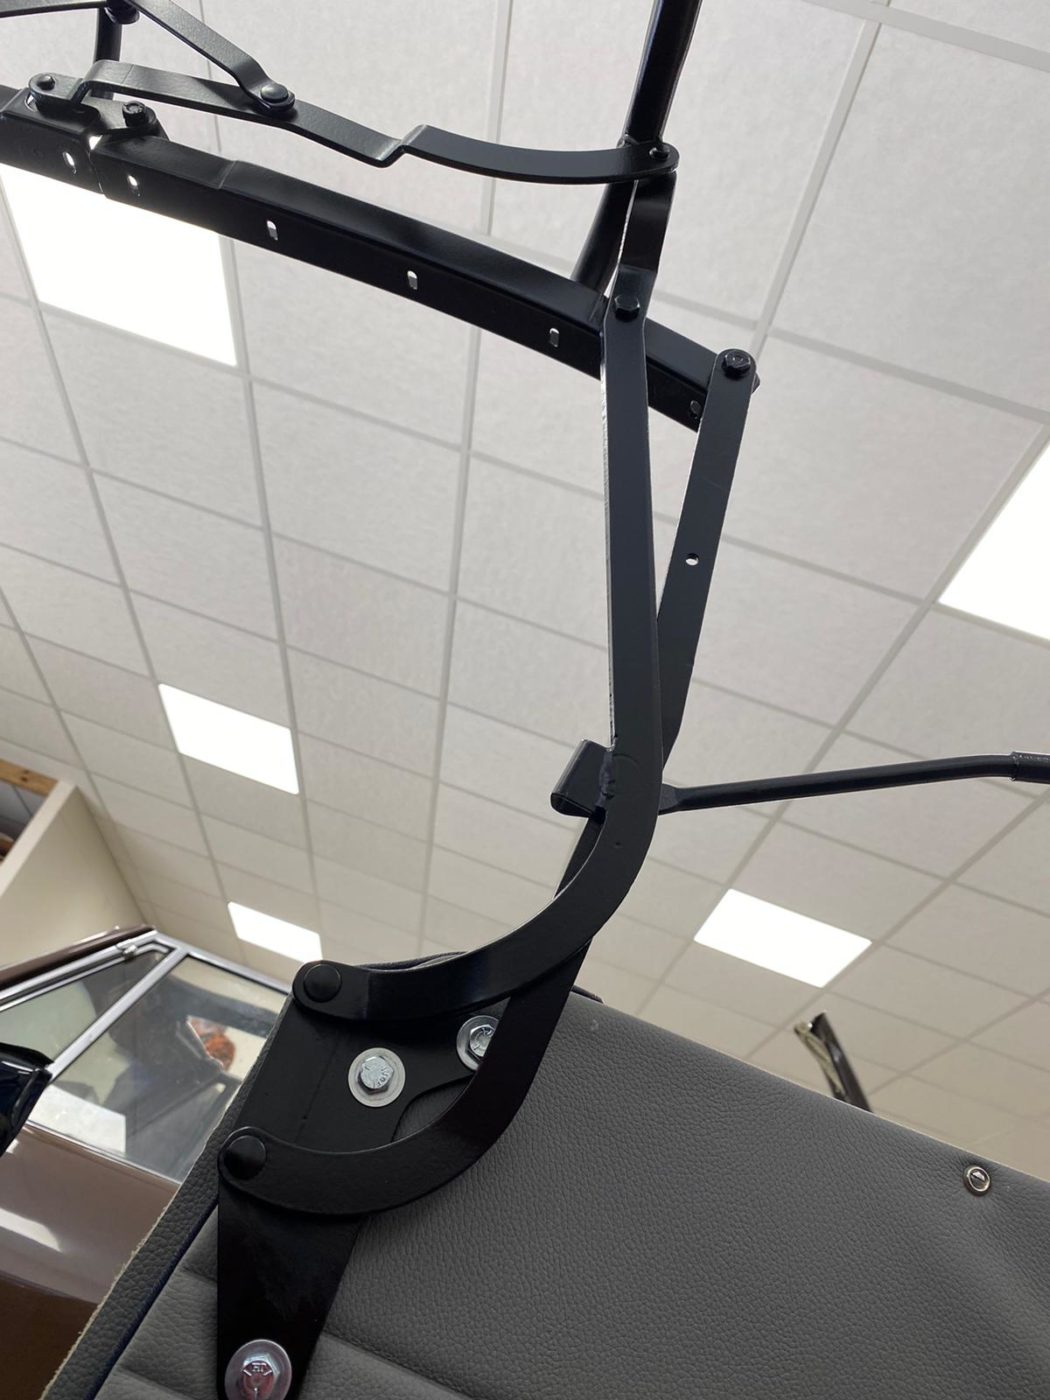
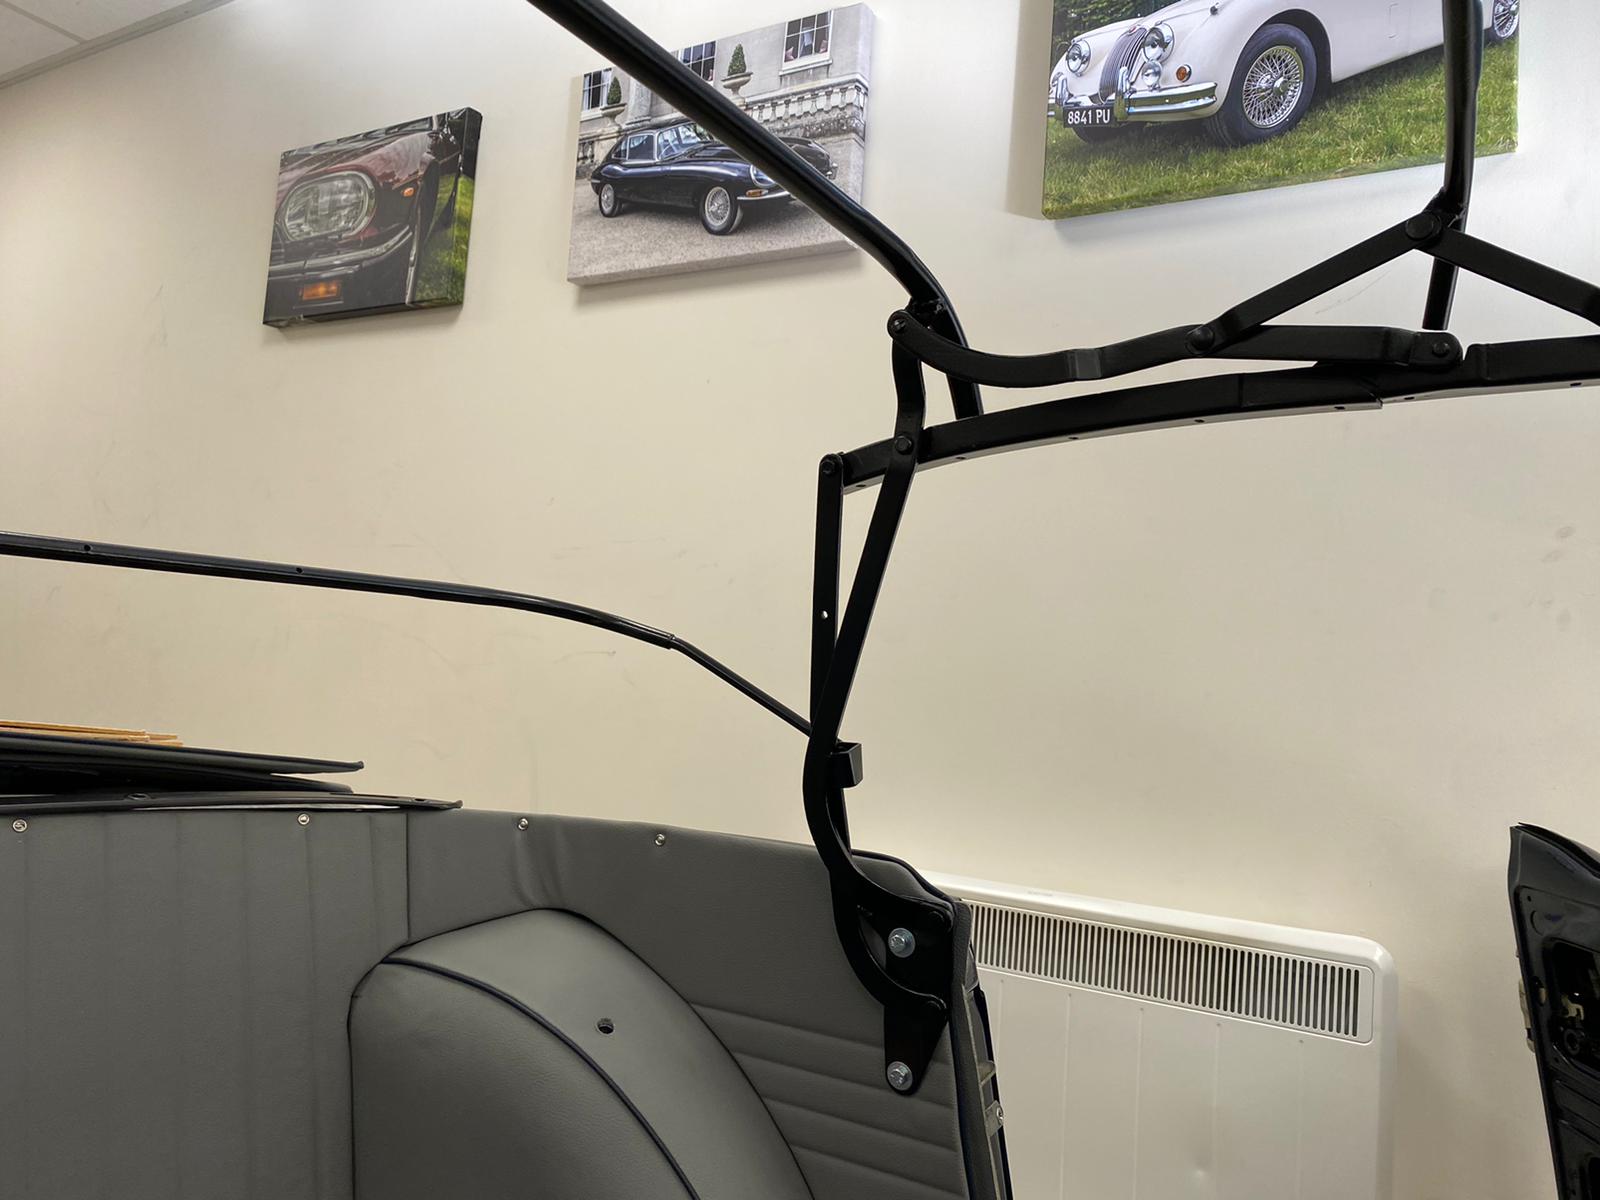
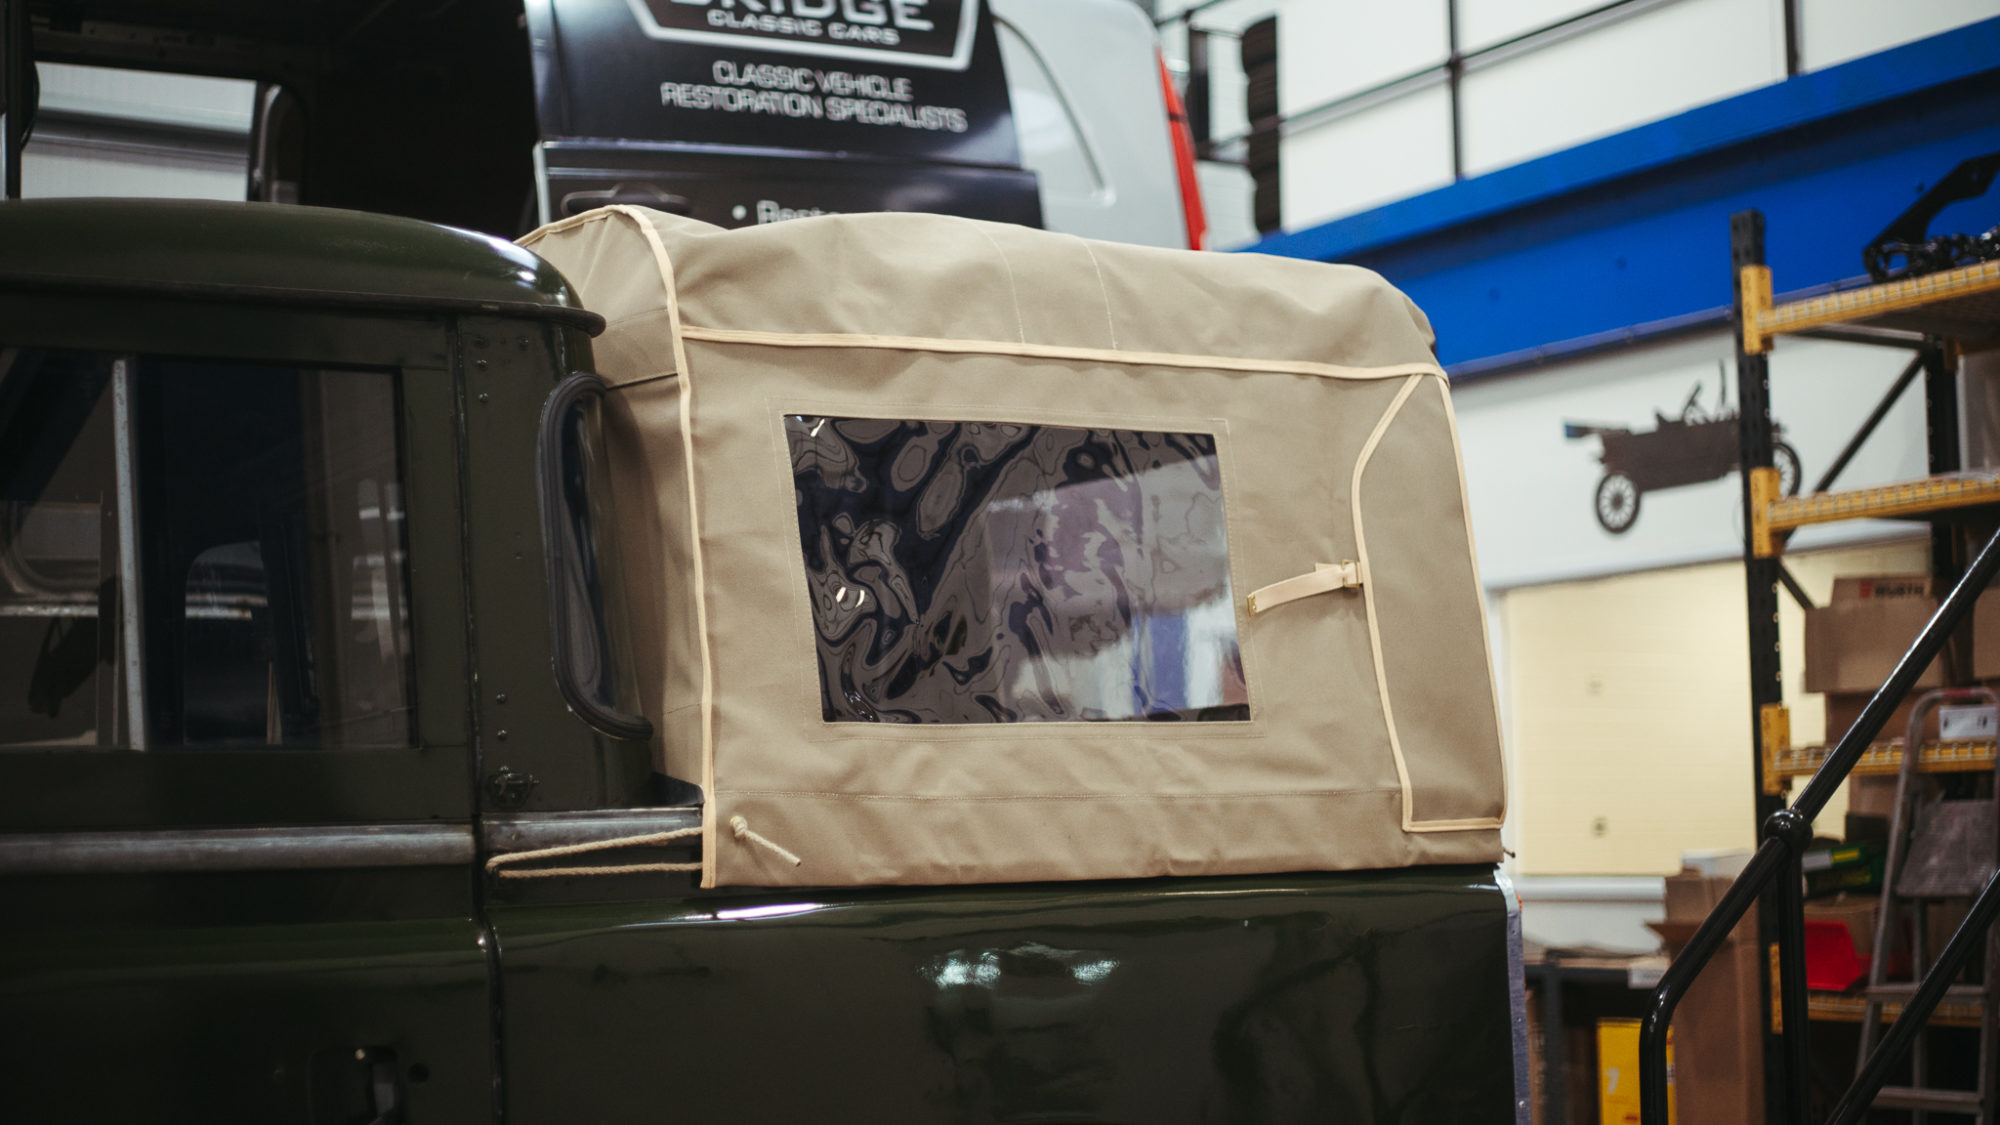
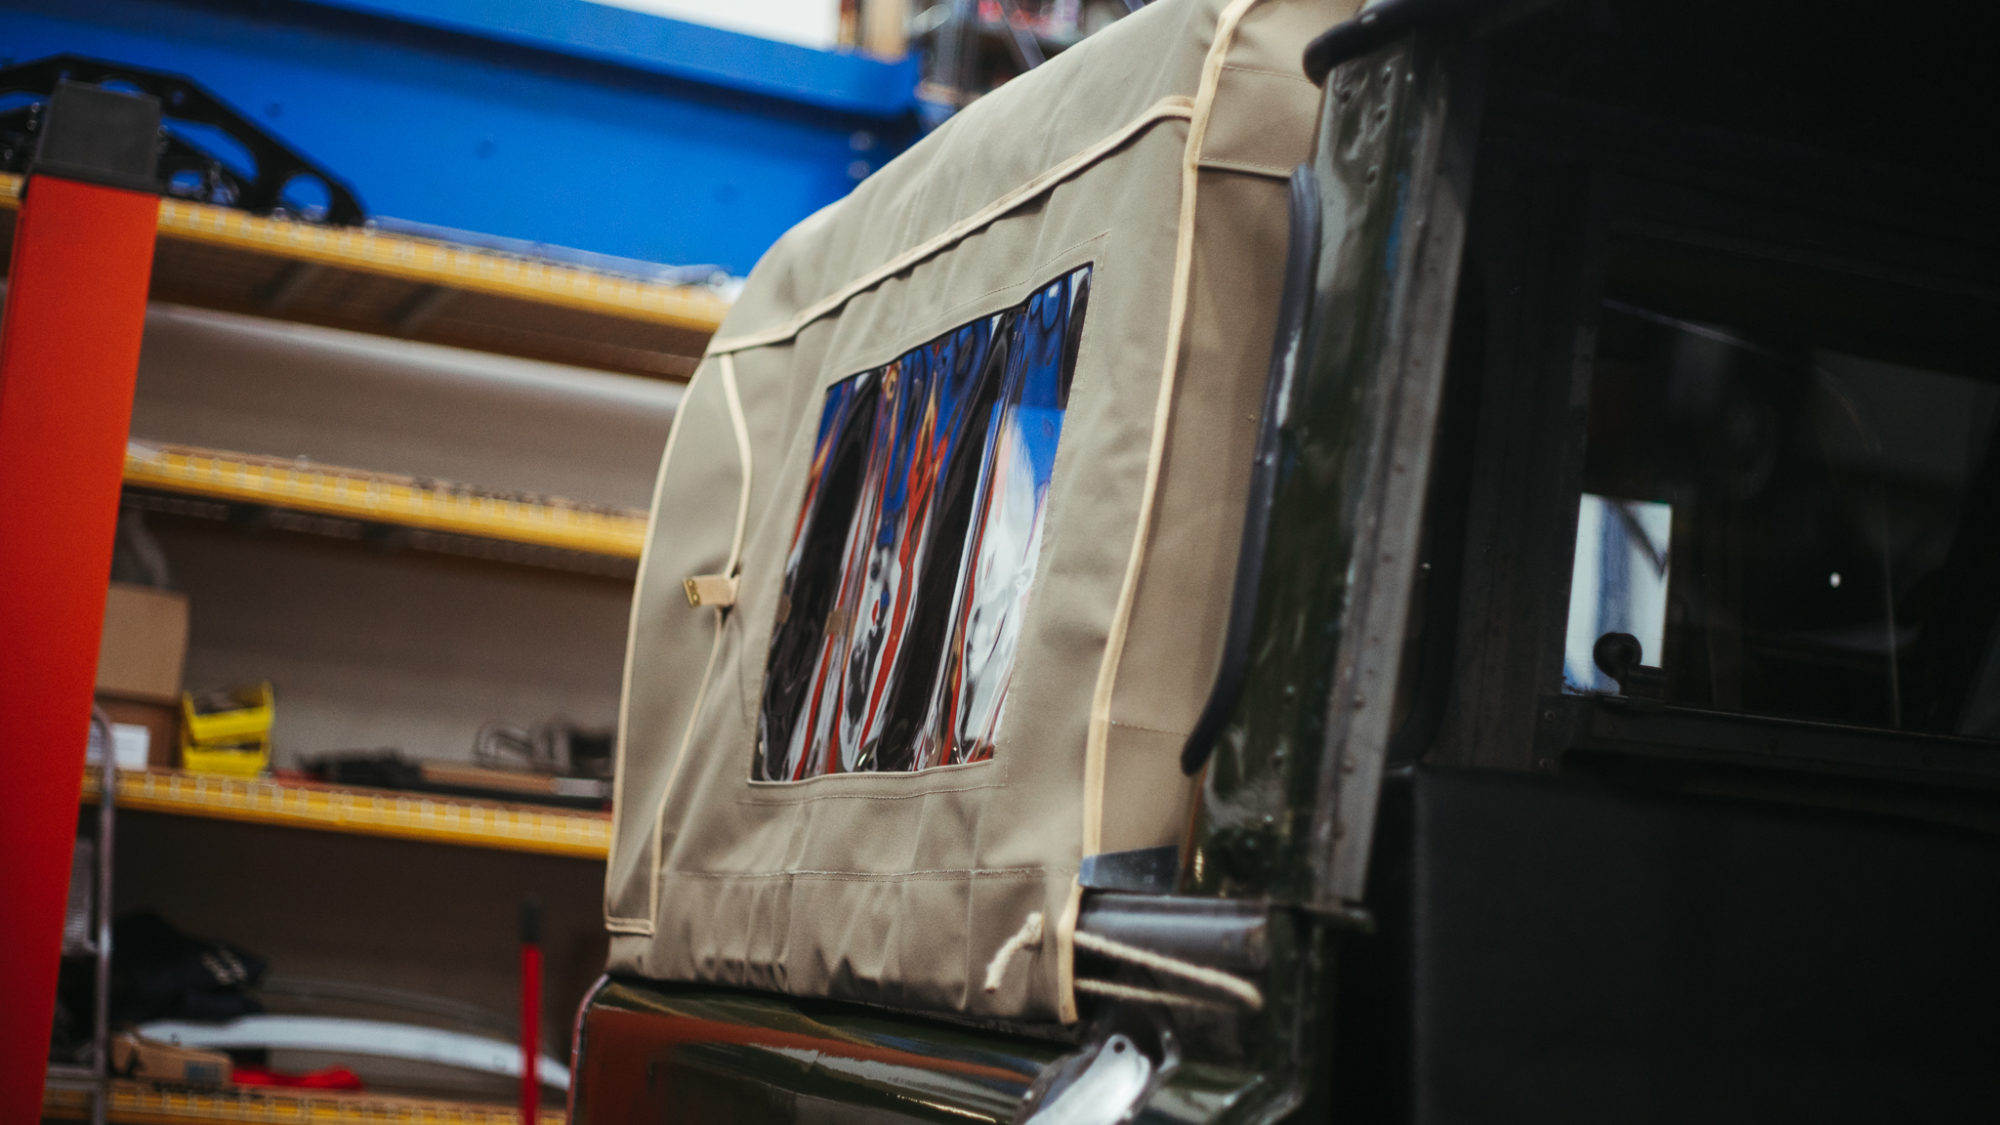
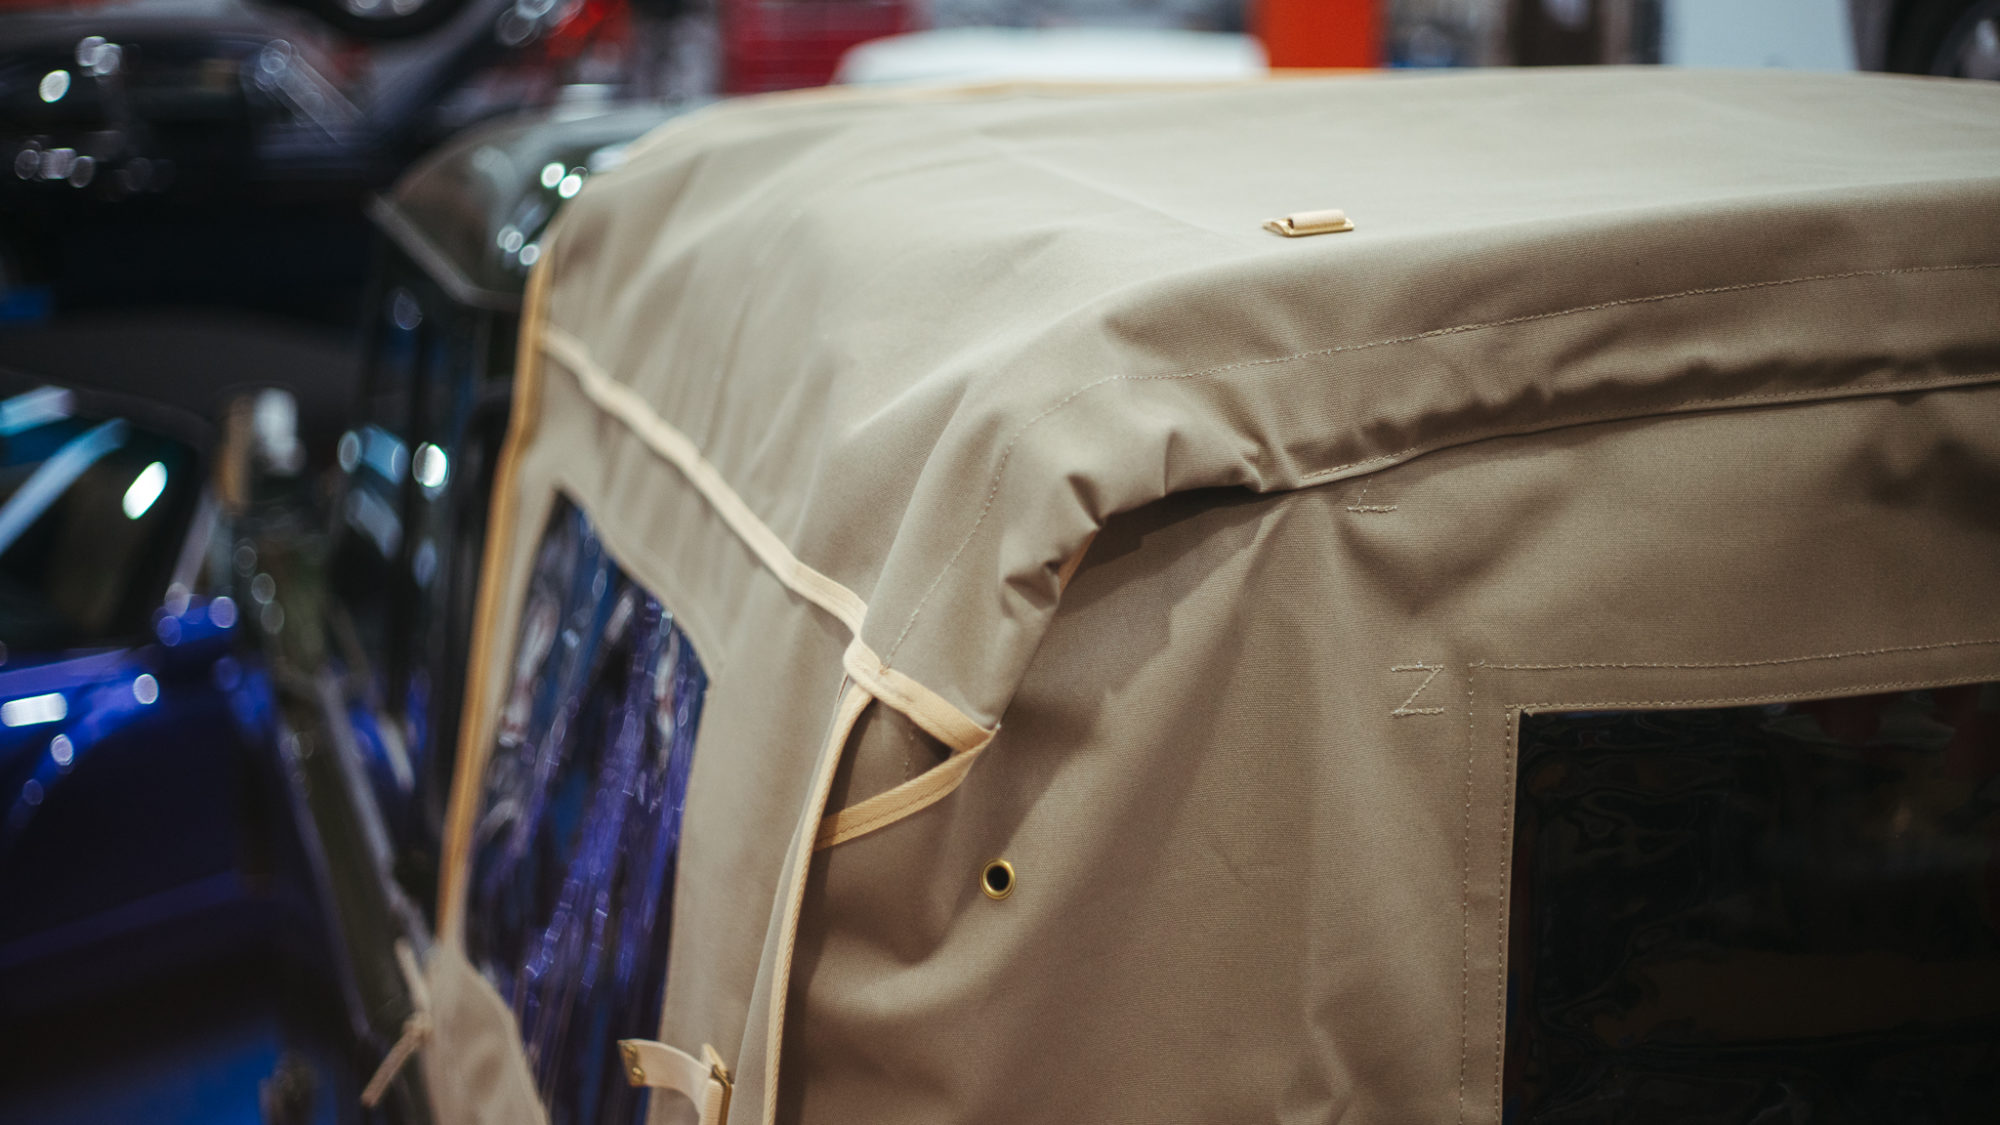
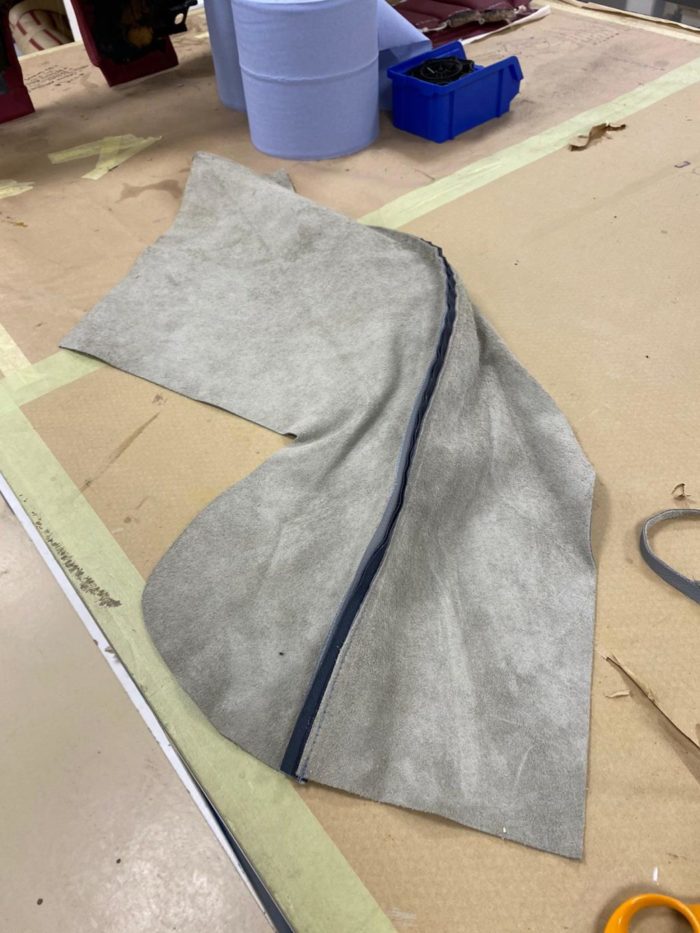
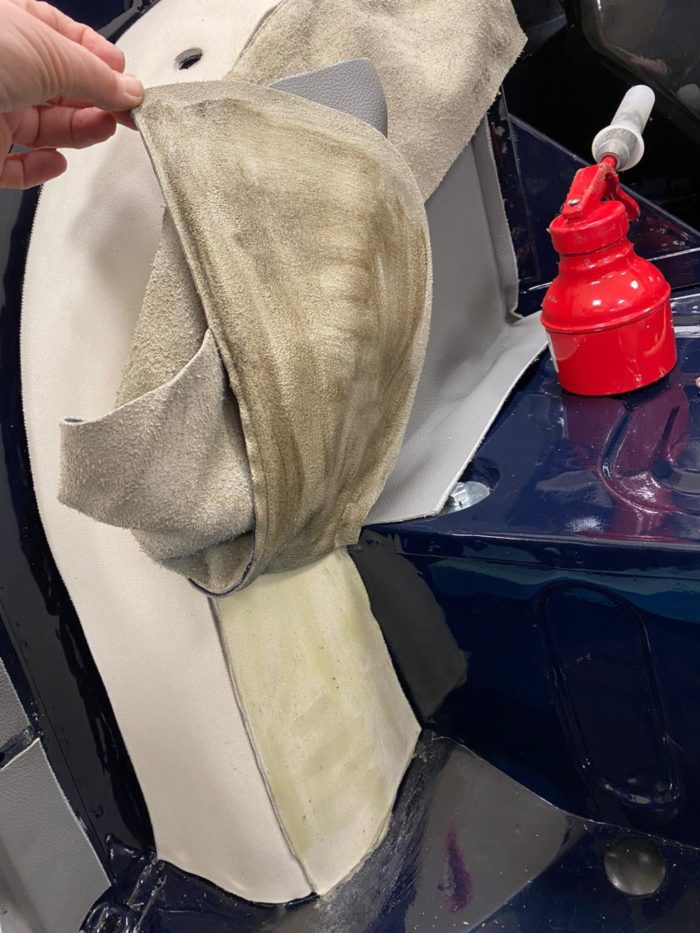
Scott, one of Bridge’s Classic Car Technicians has fitted this khaki canvas tilt to our Land Rover. As with all of our competition cars, our

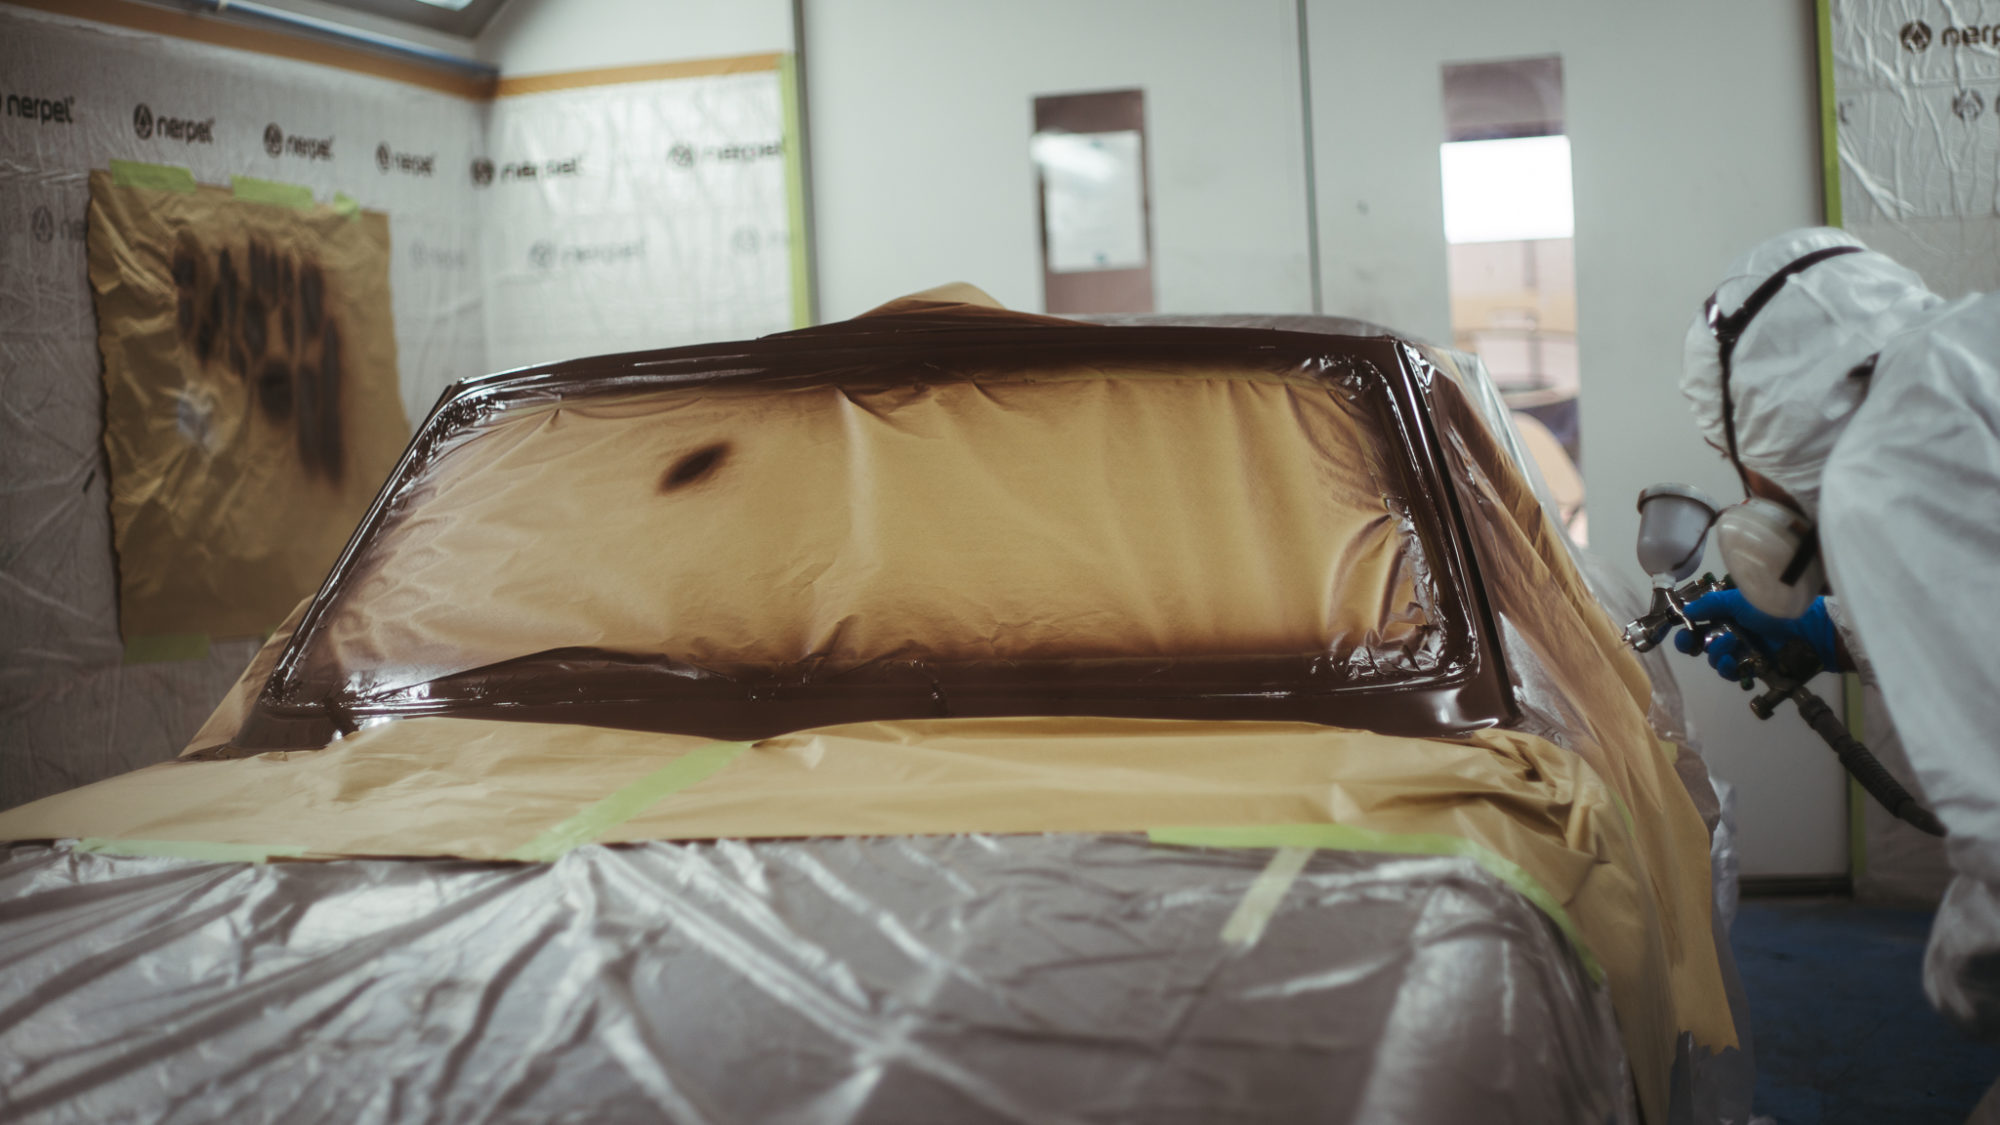
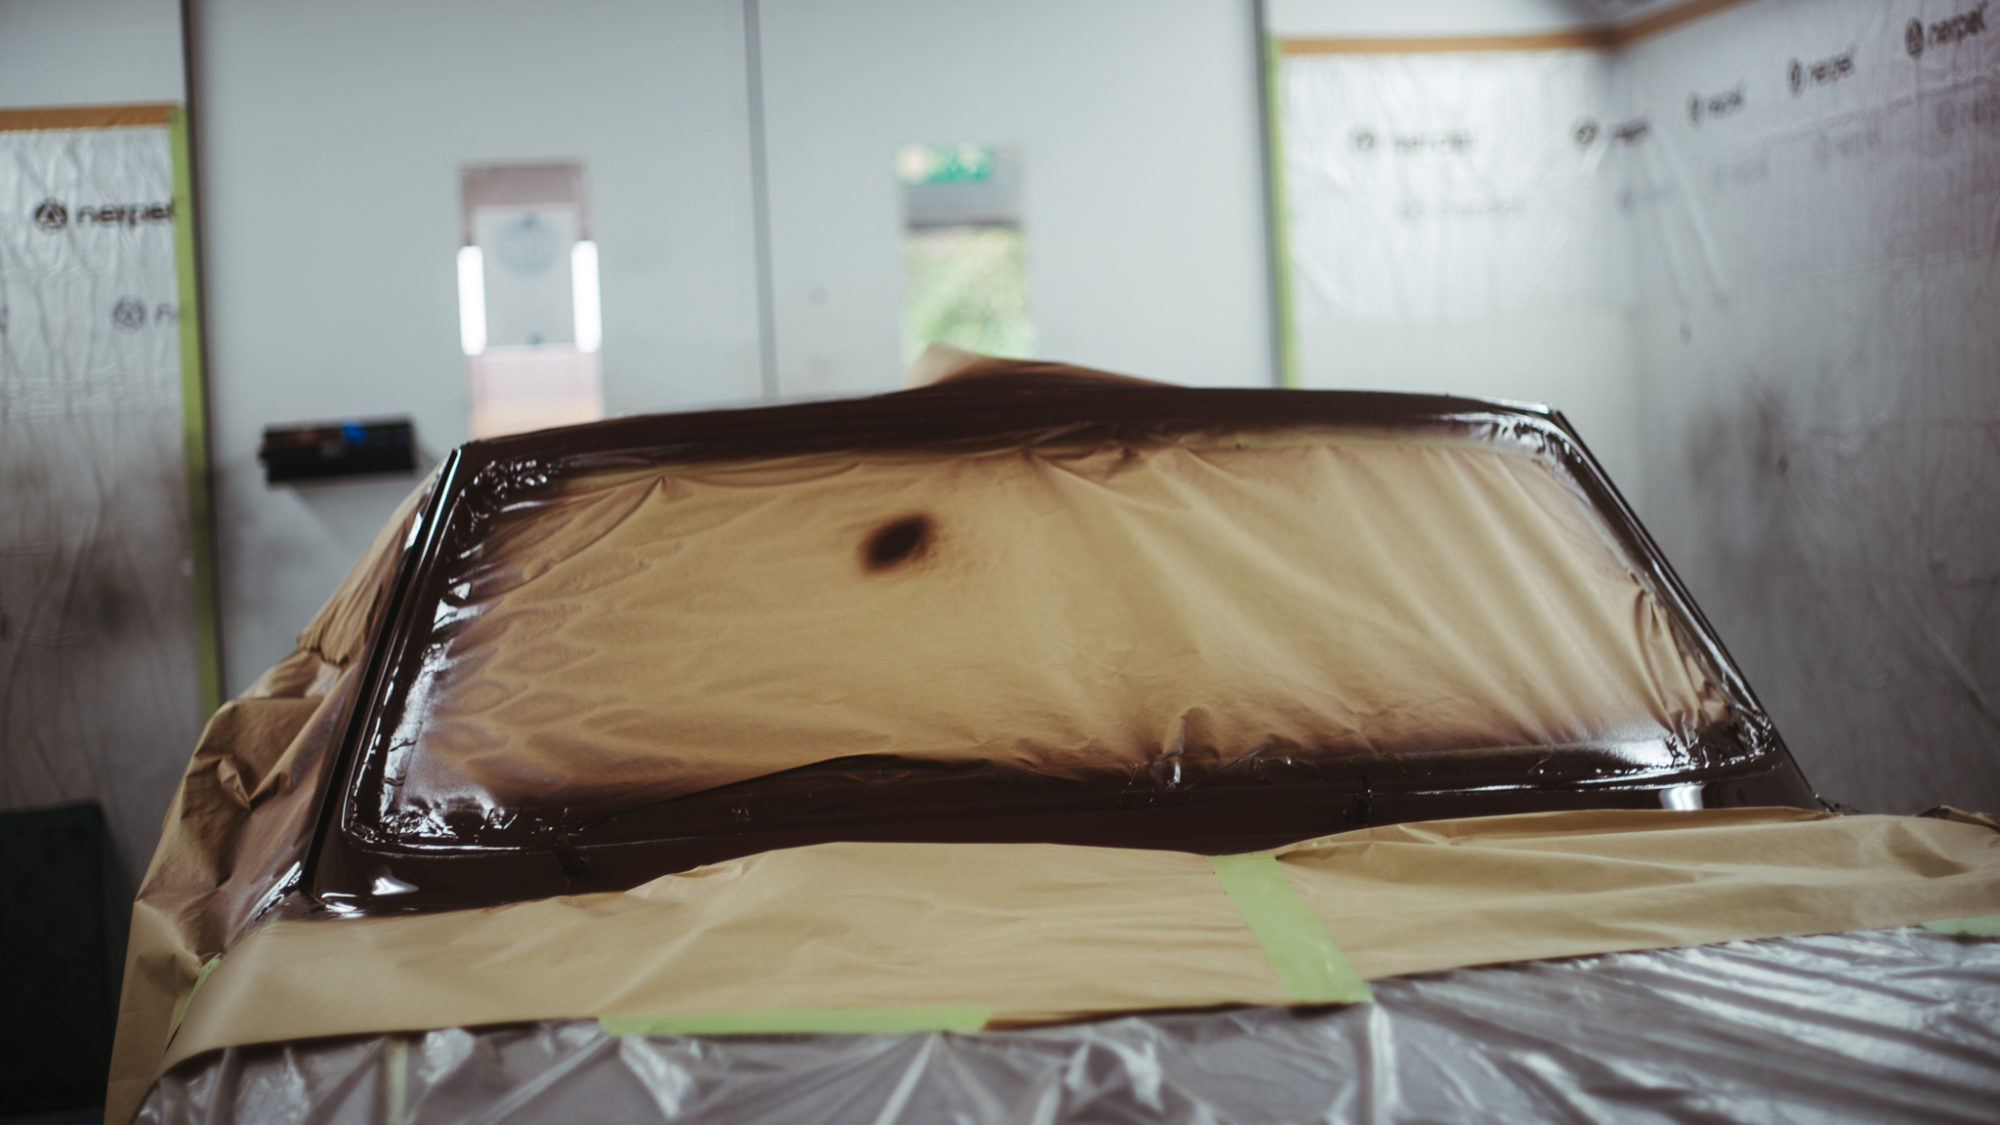
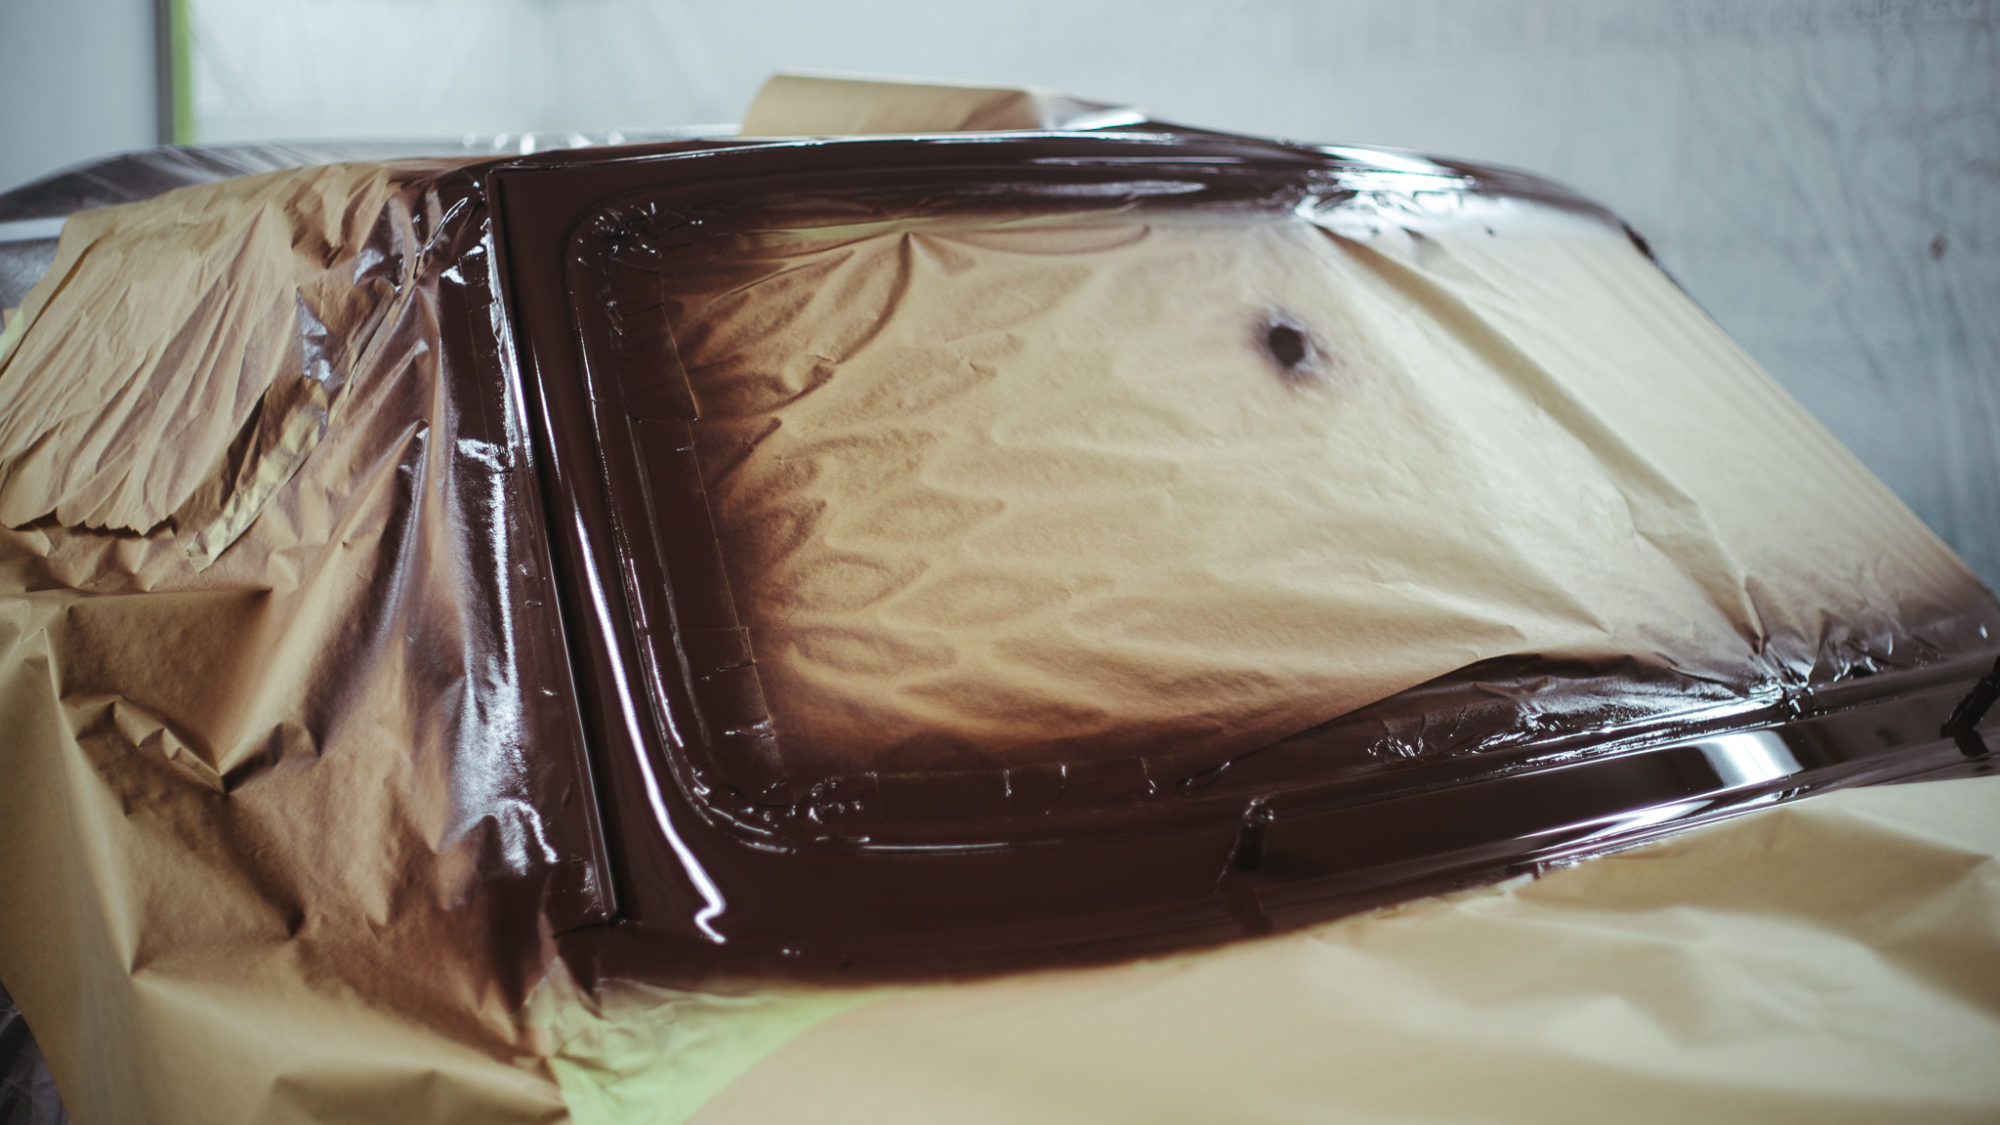
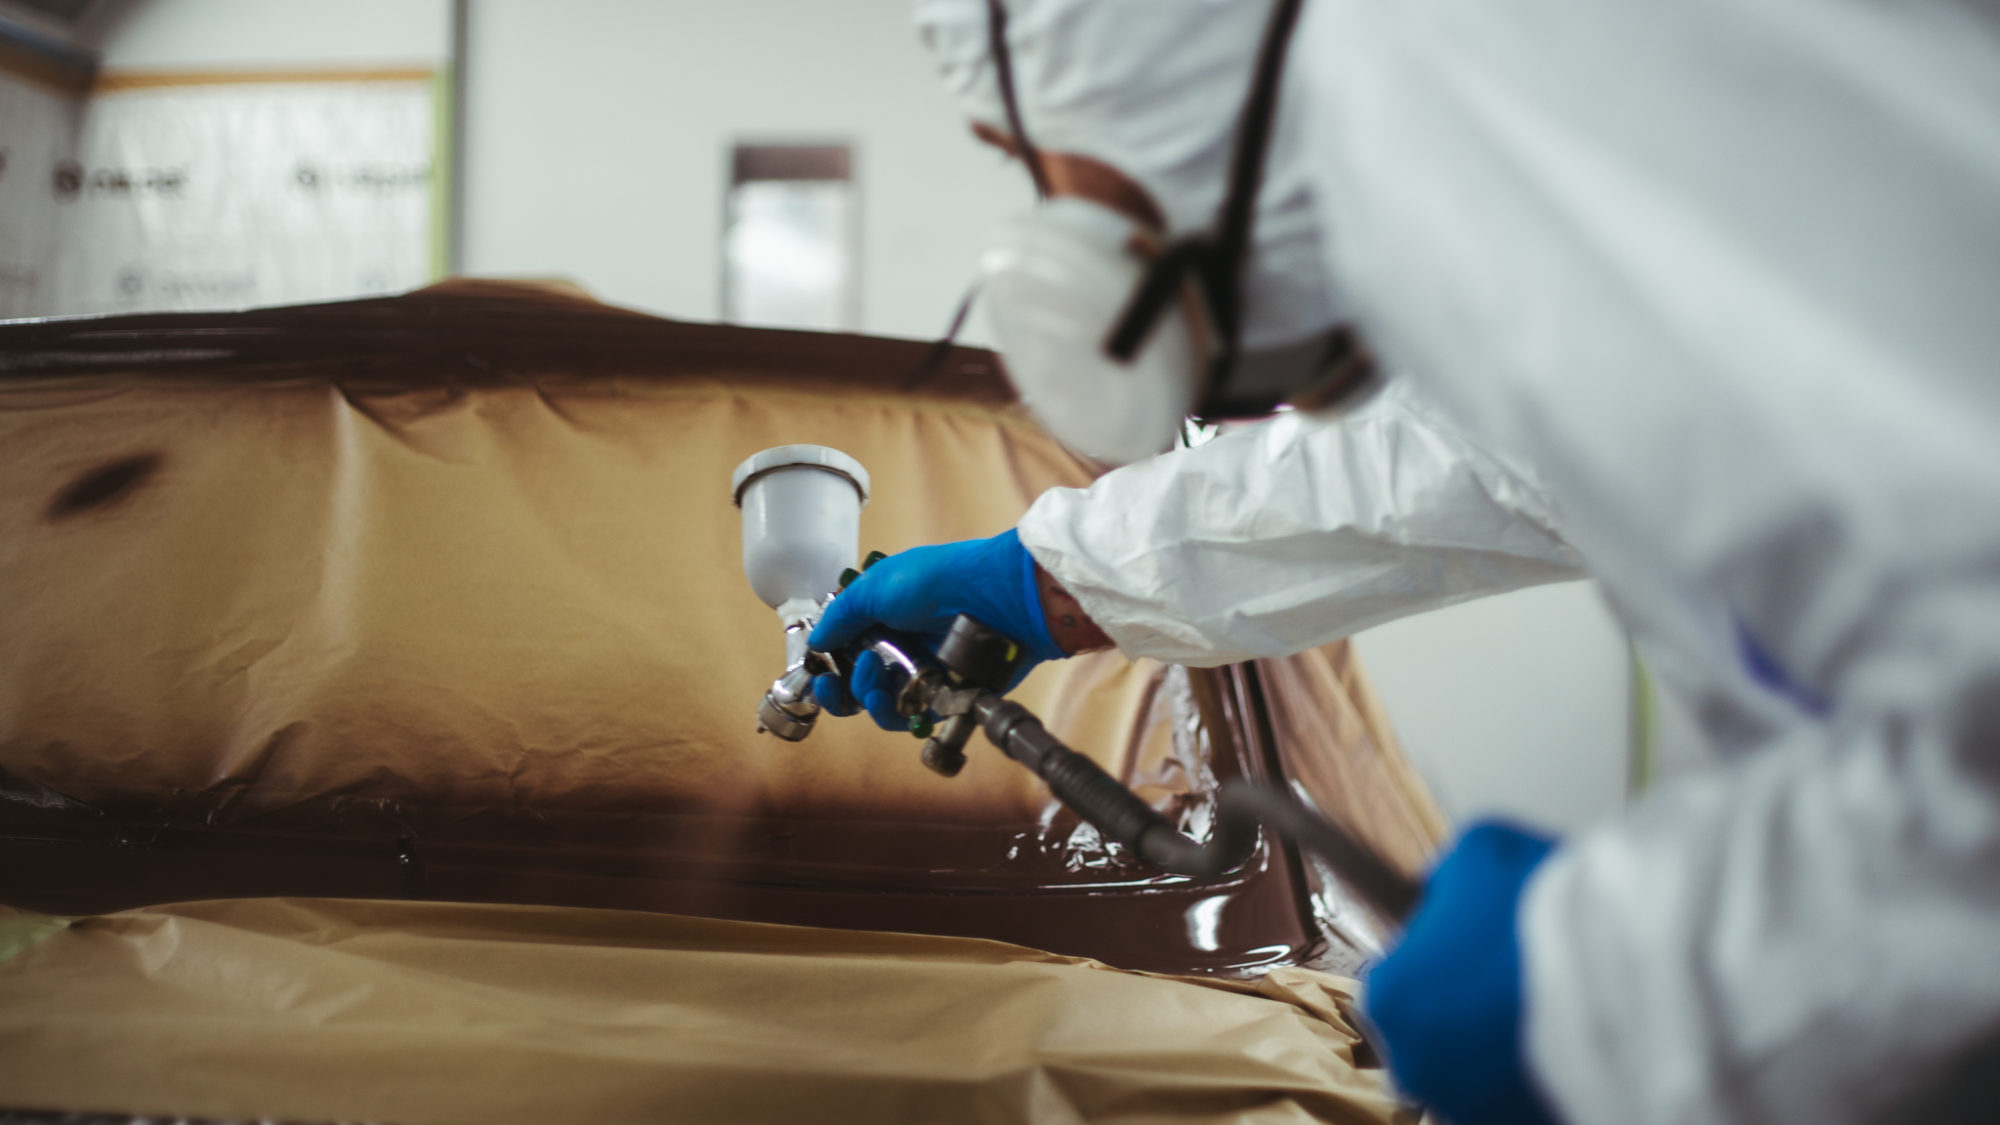
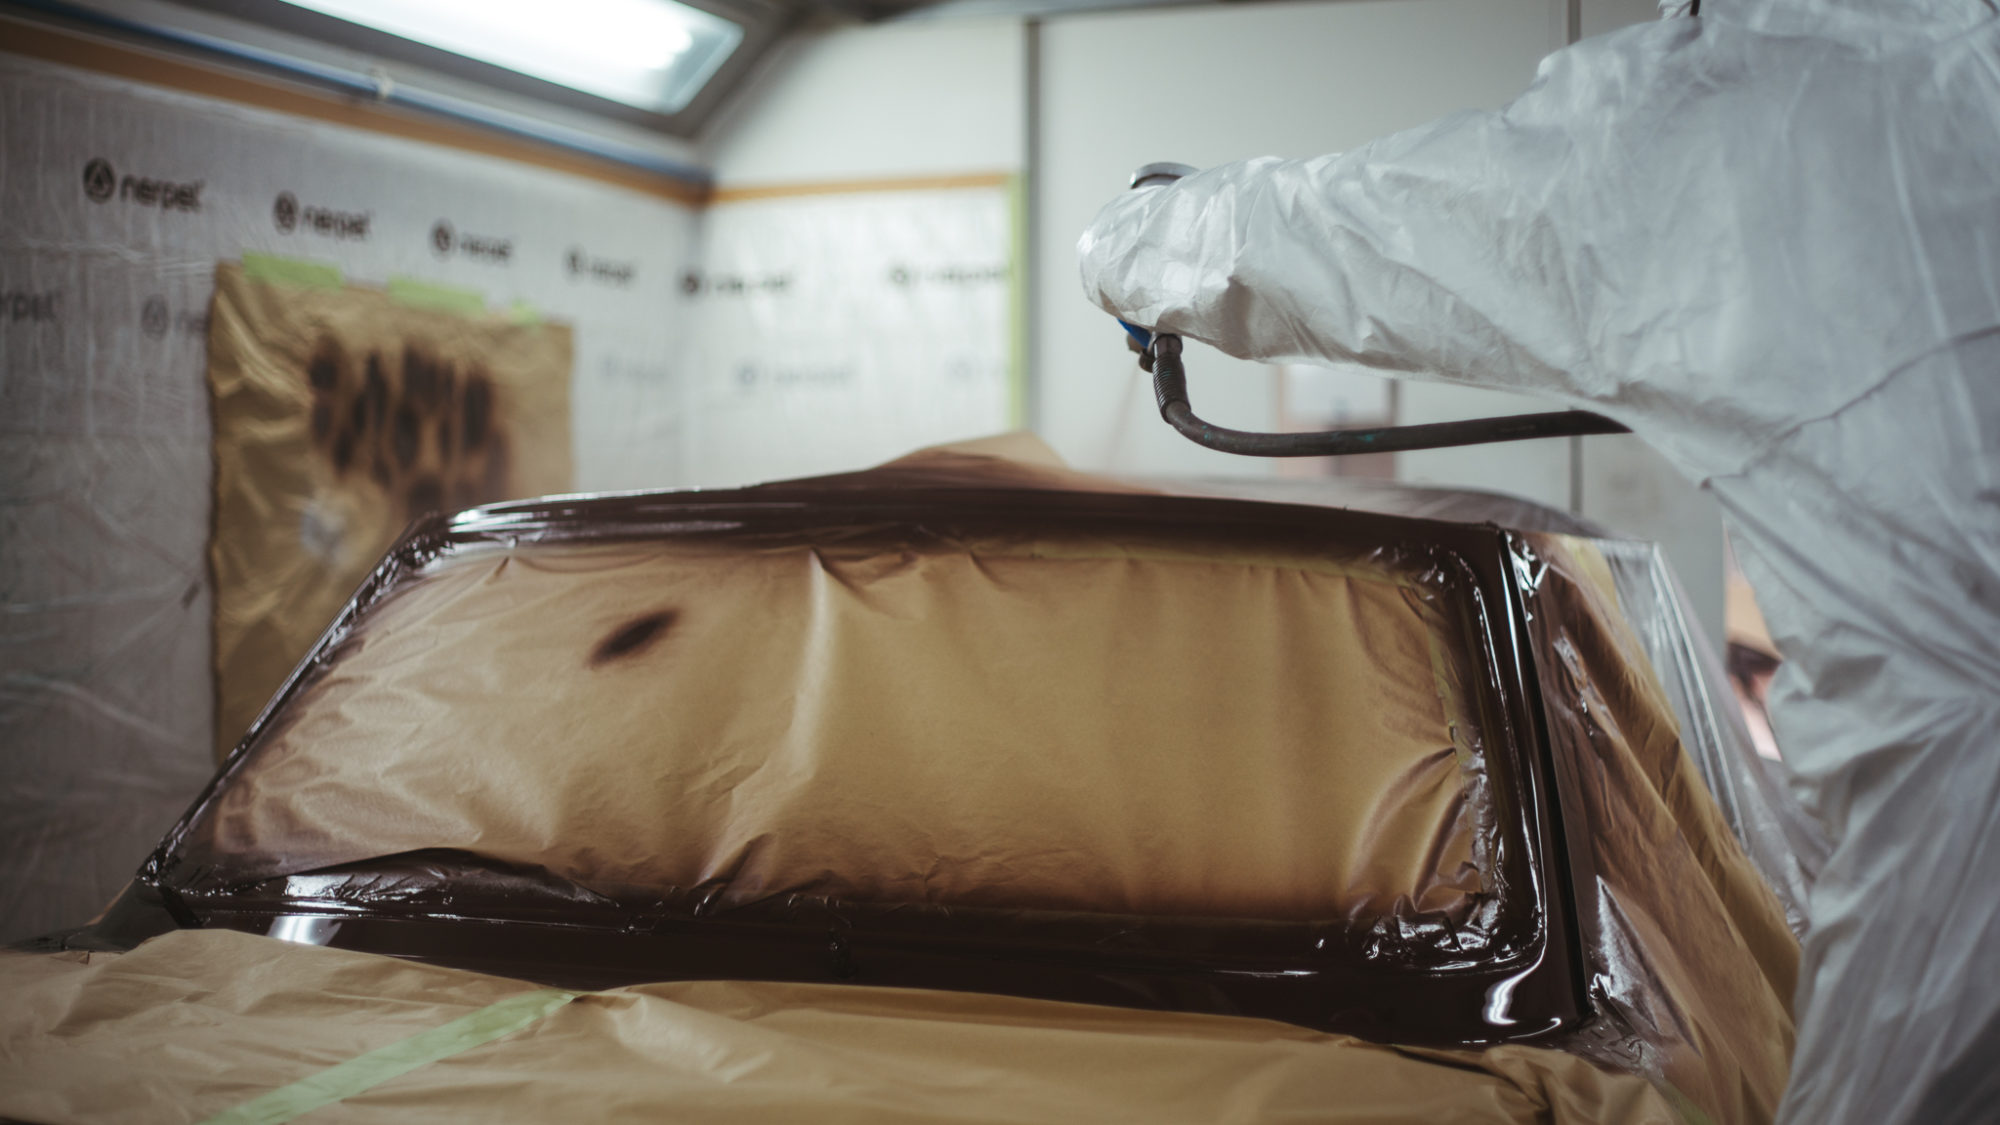
Our new 1971 Triumph Stag needs a small neaten up around the windscreen surround, so Matt masked up the Stag ready for paint. The paint,

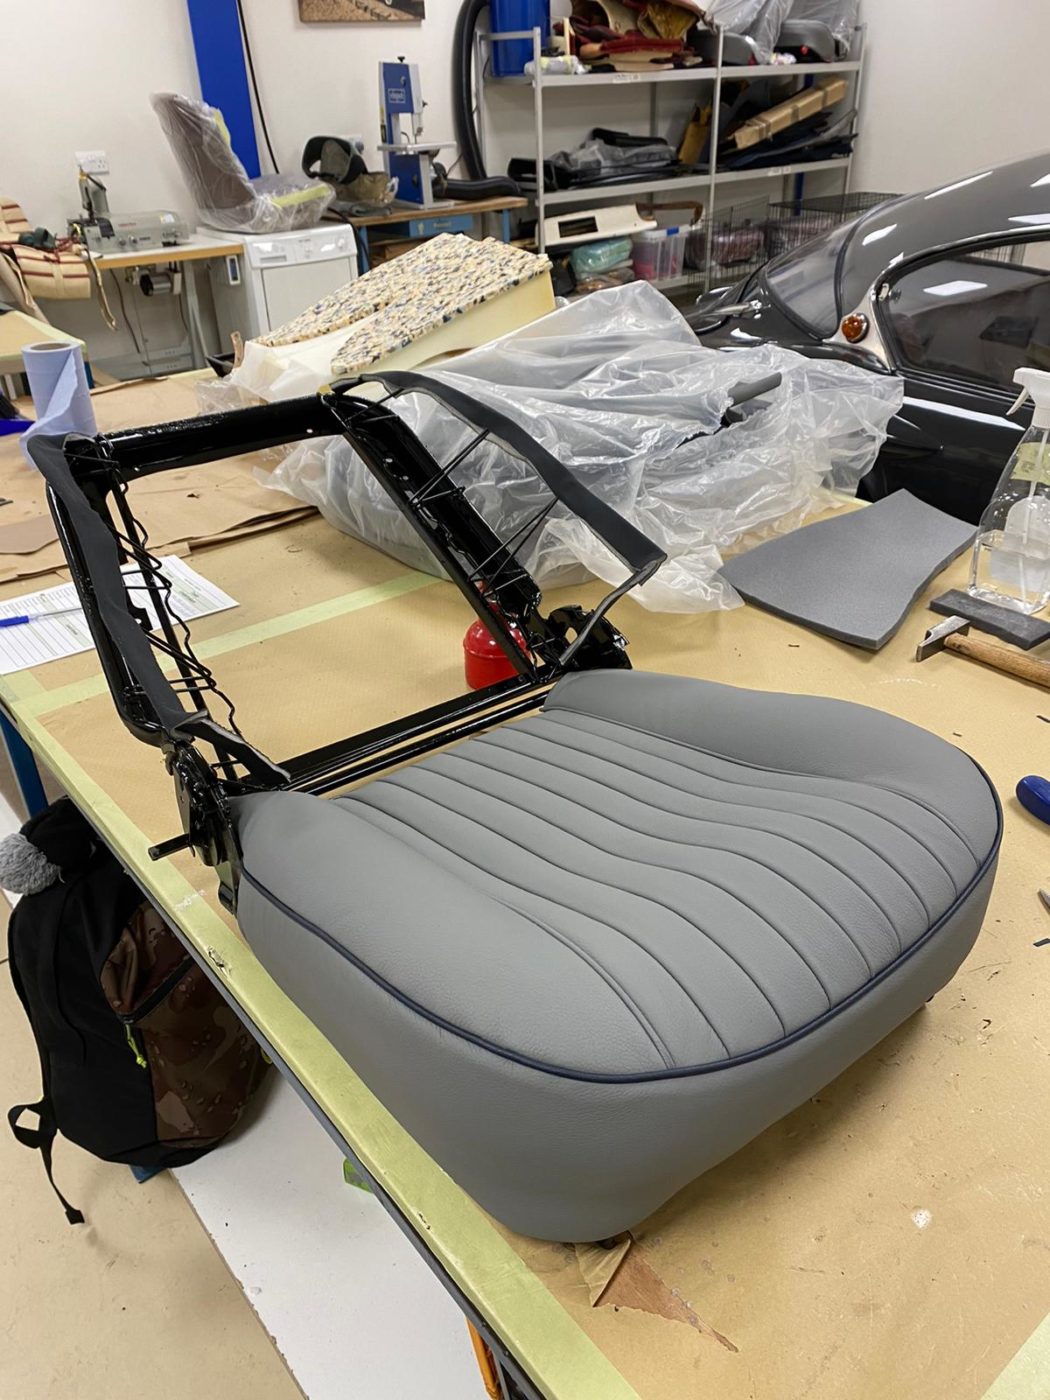
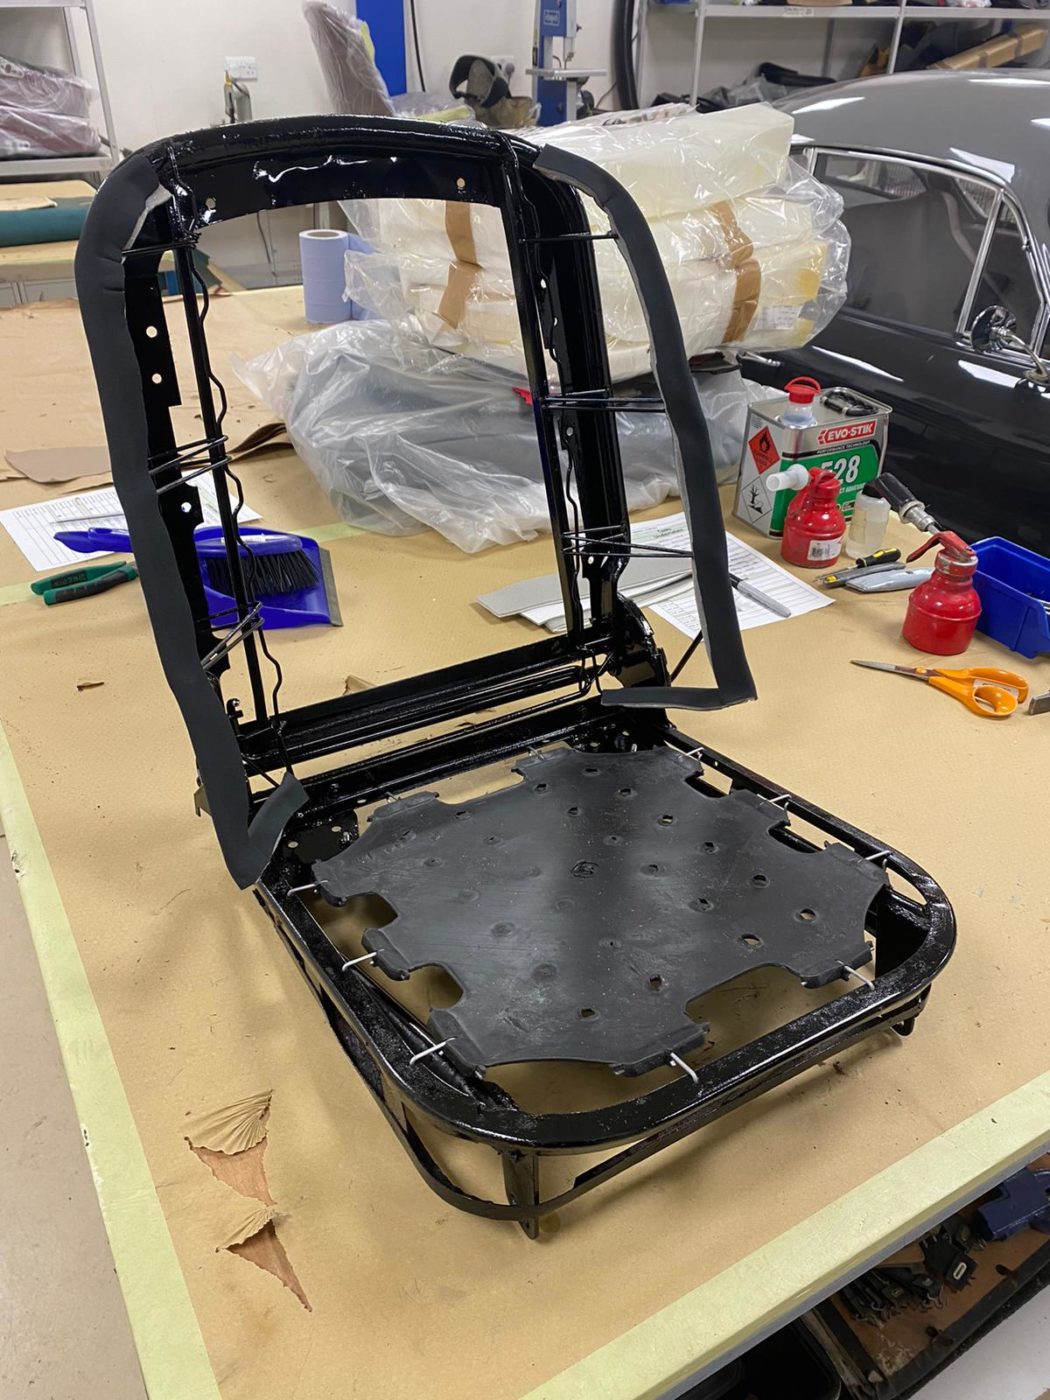
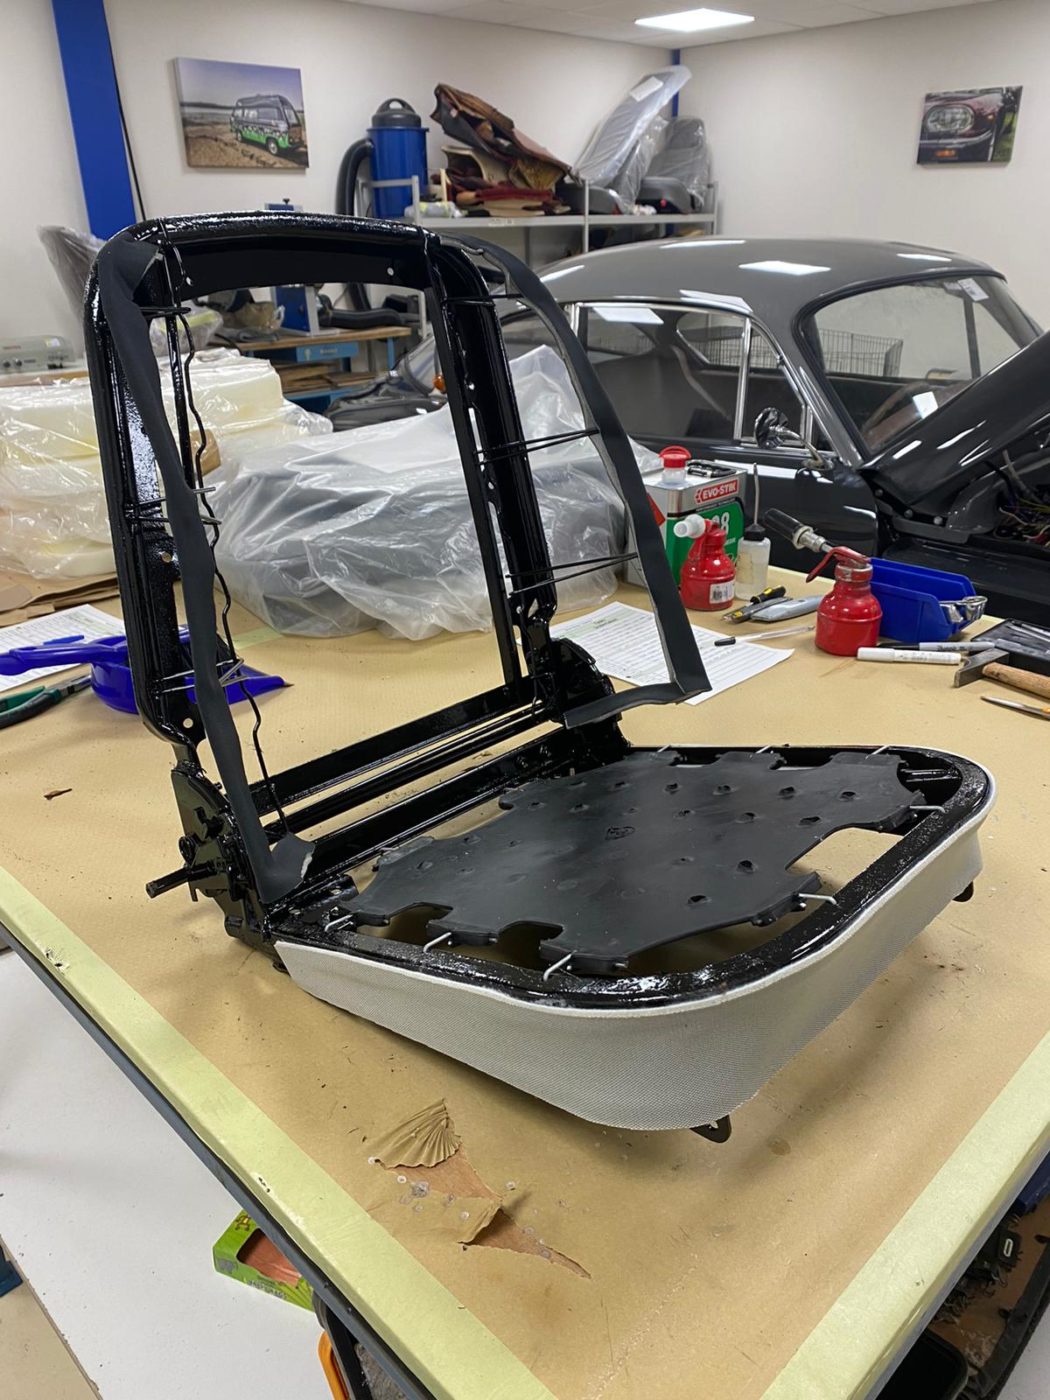
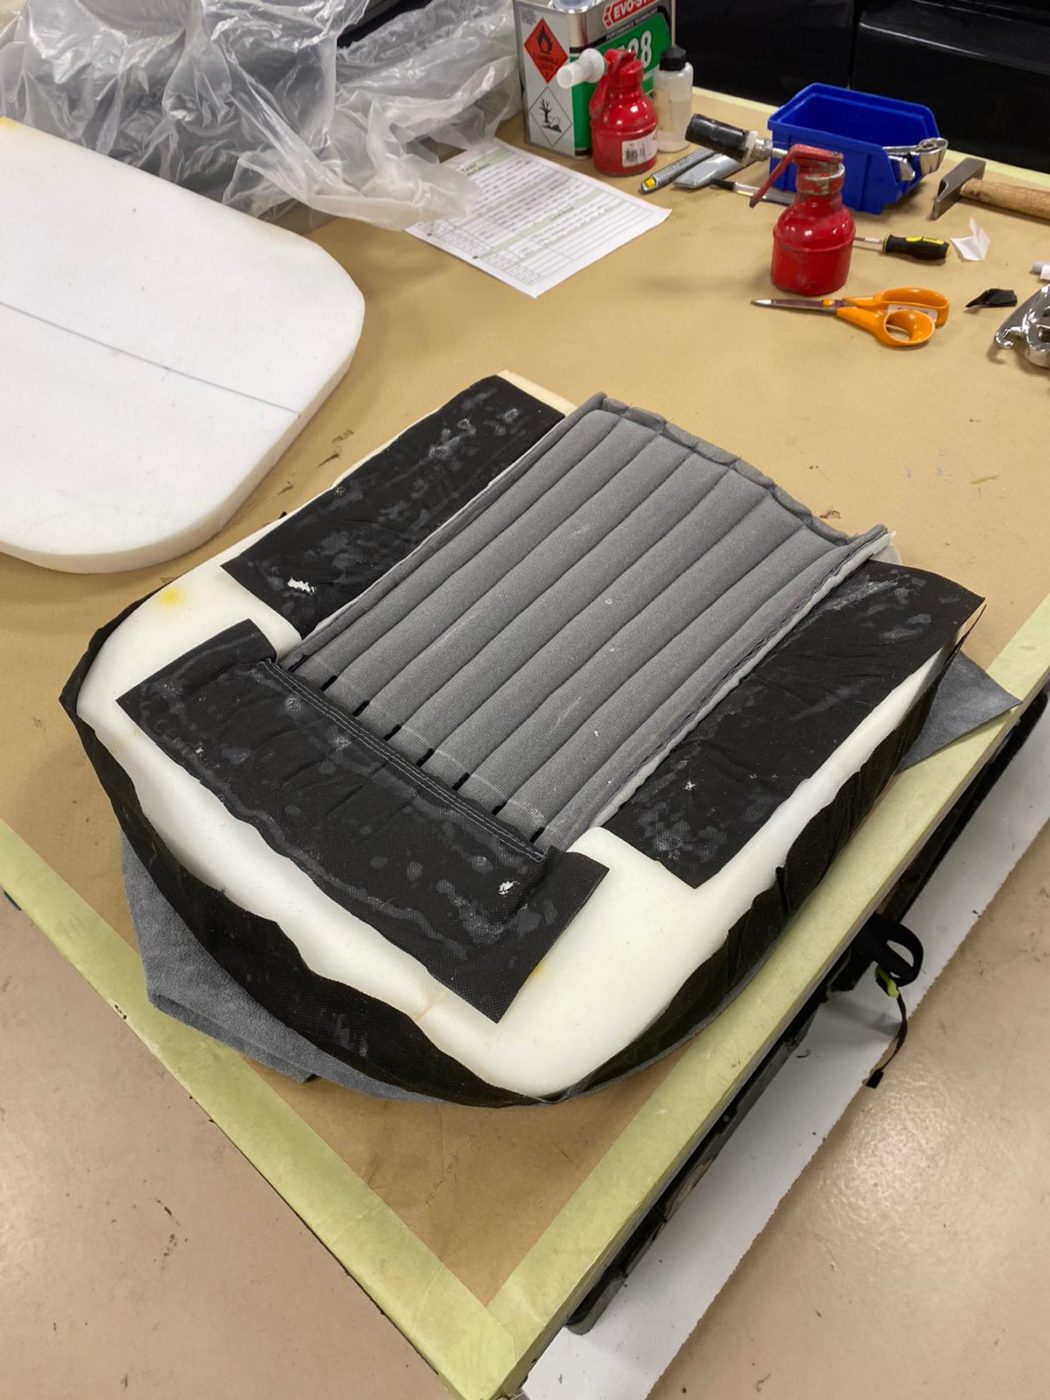
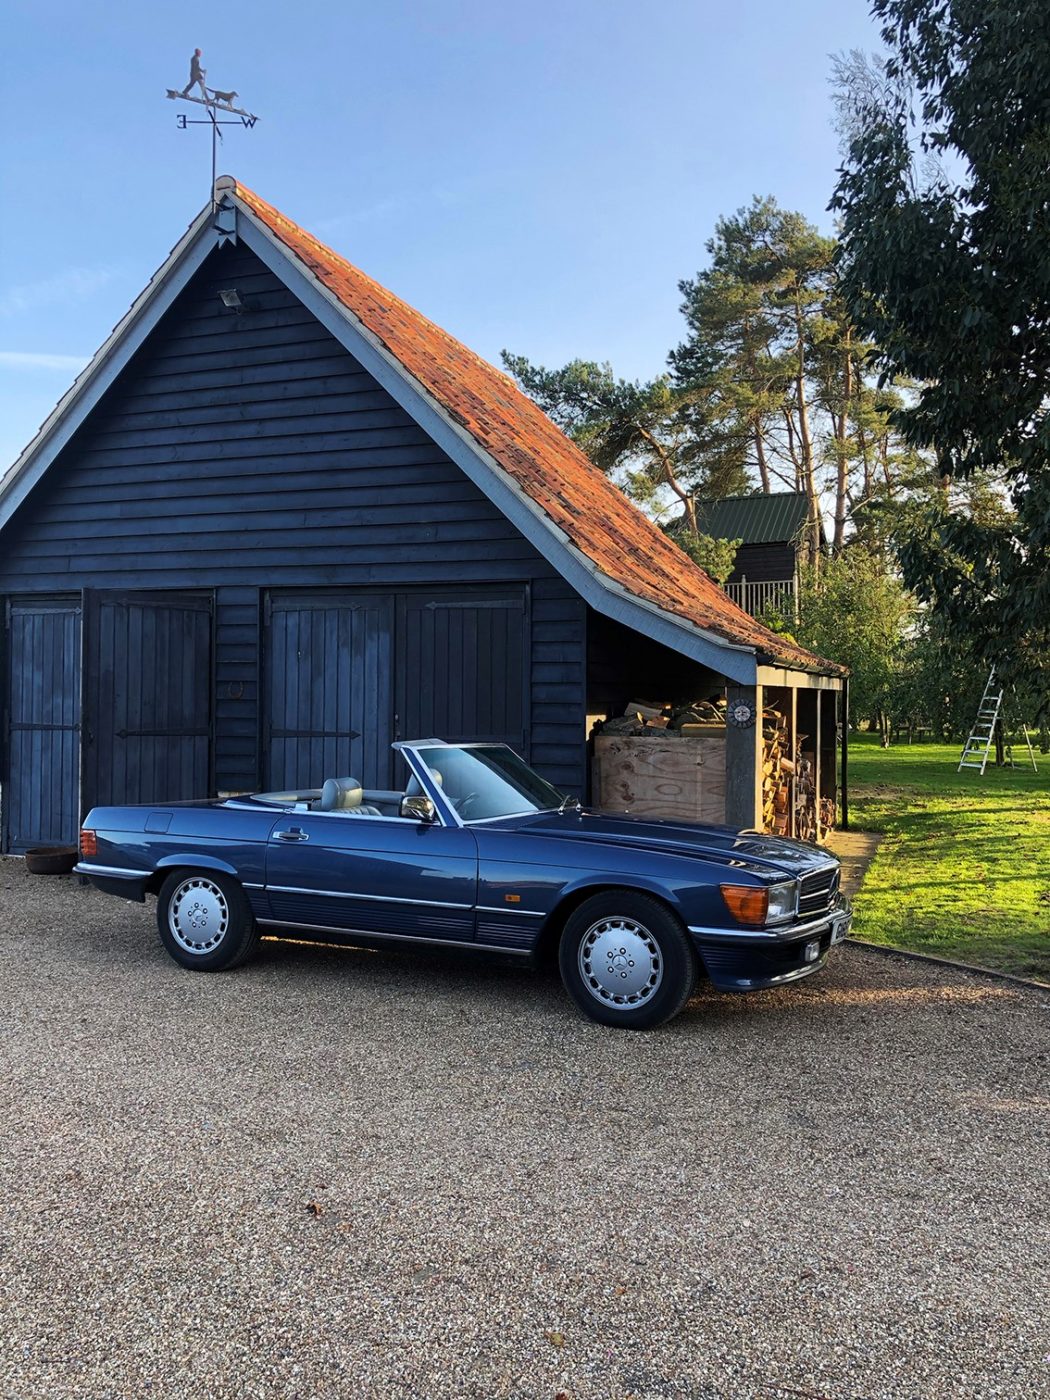
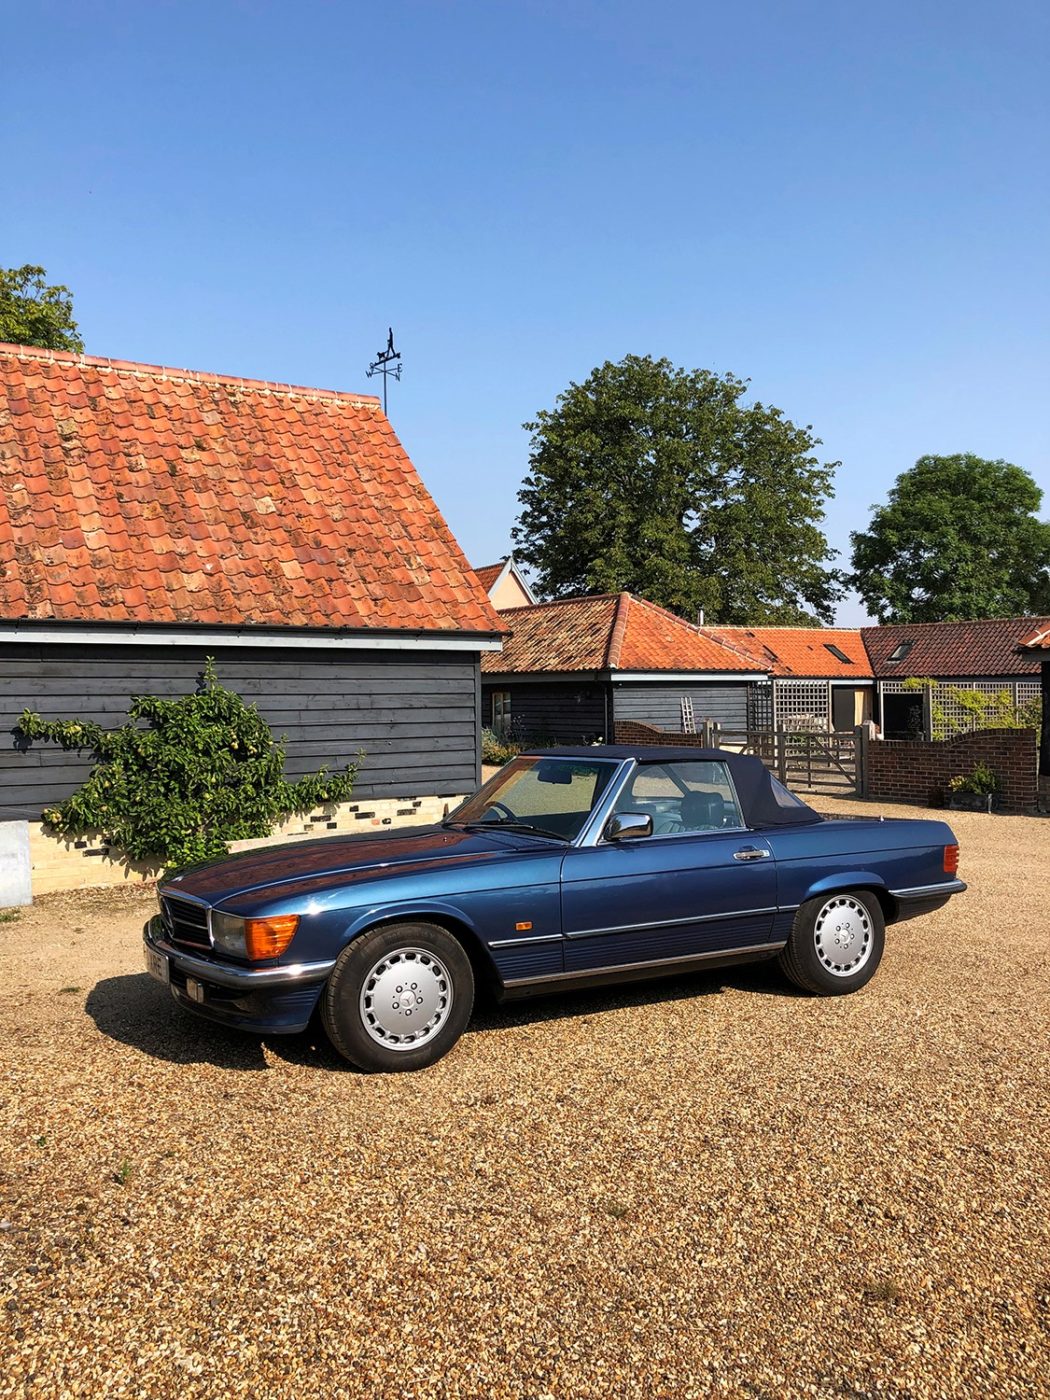
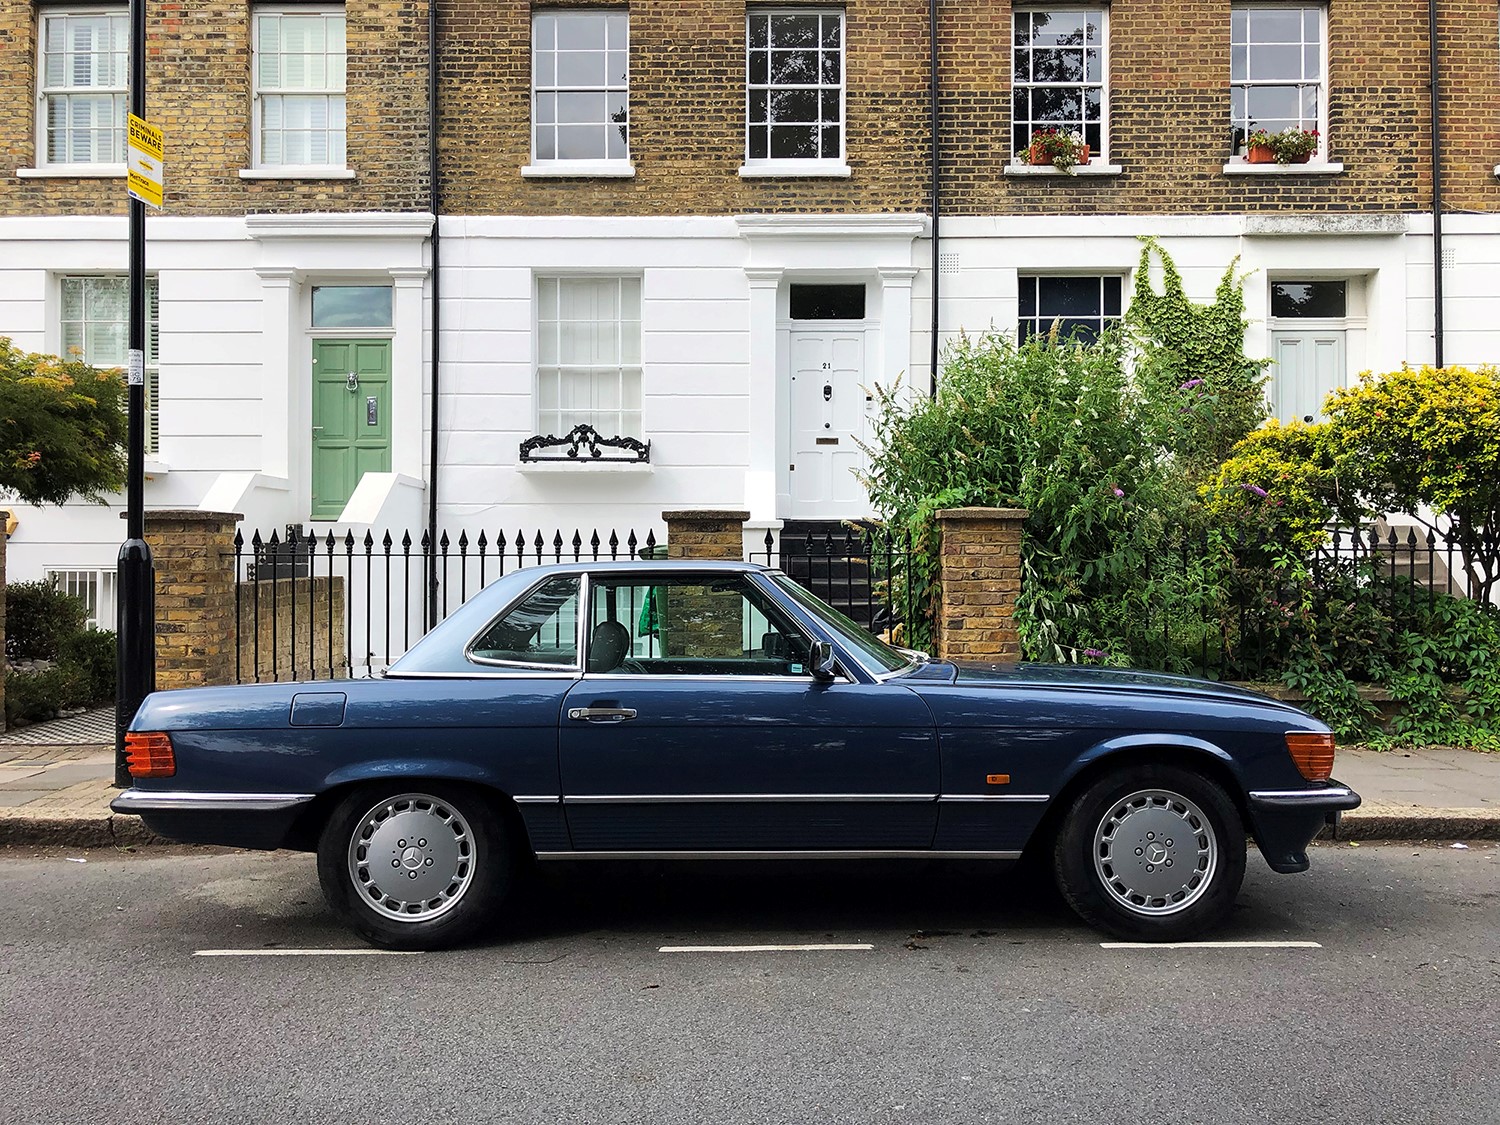
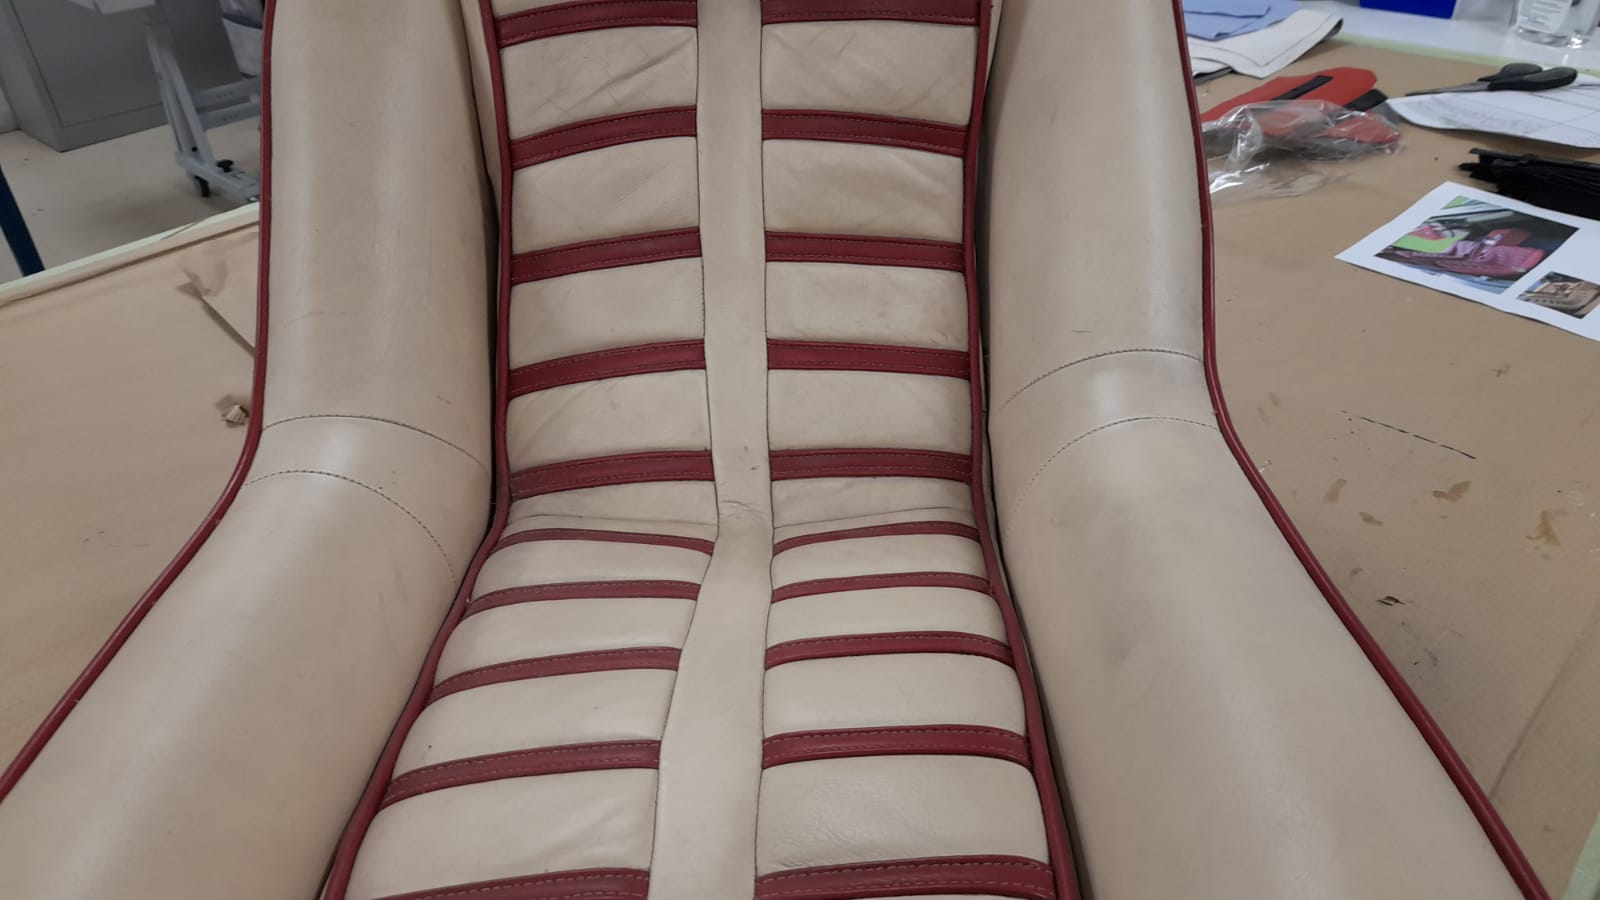
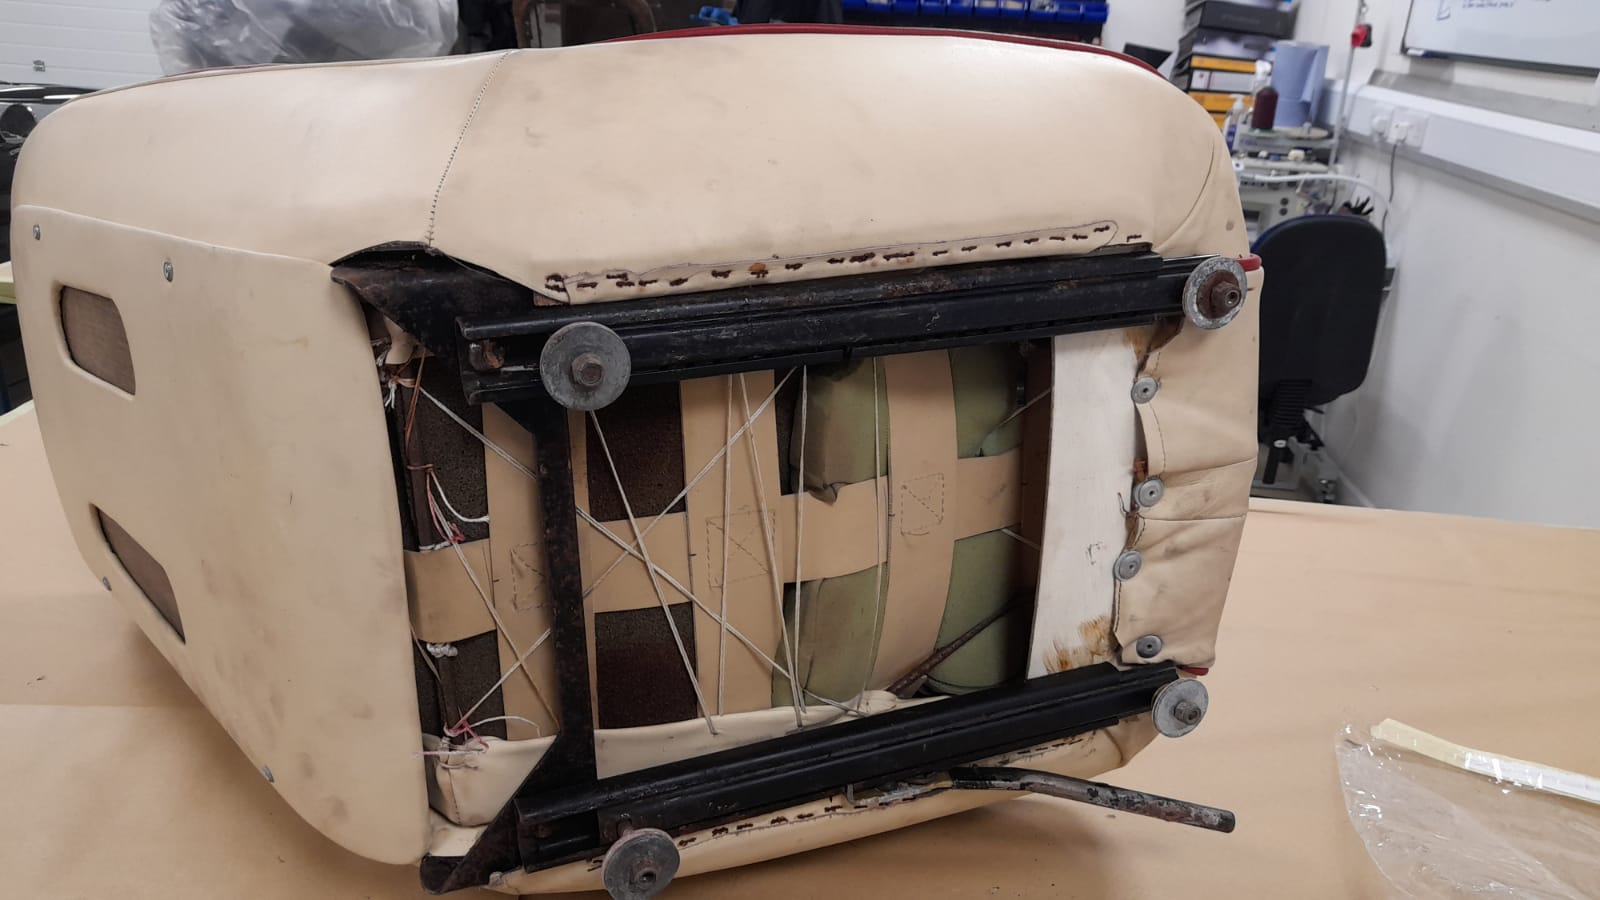
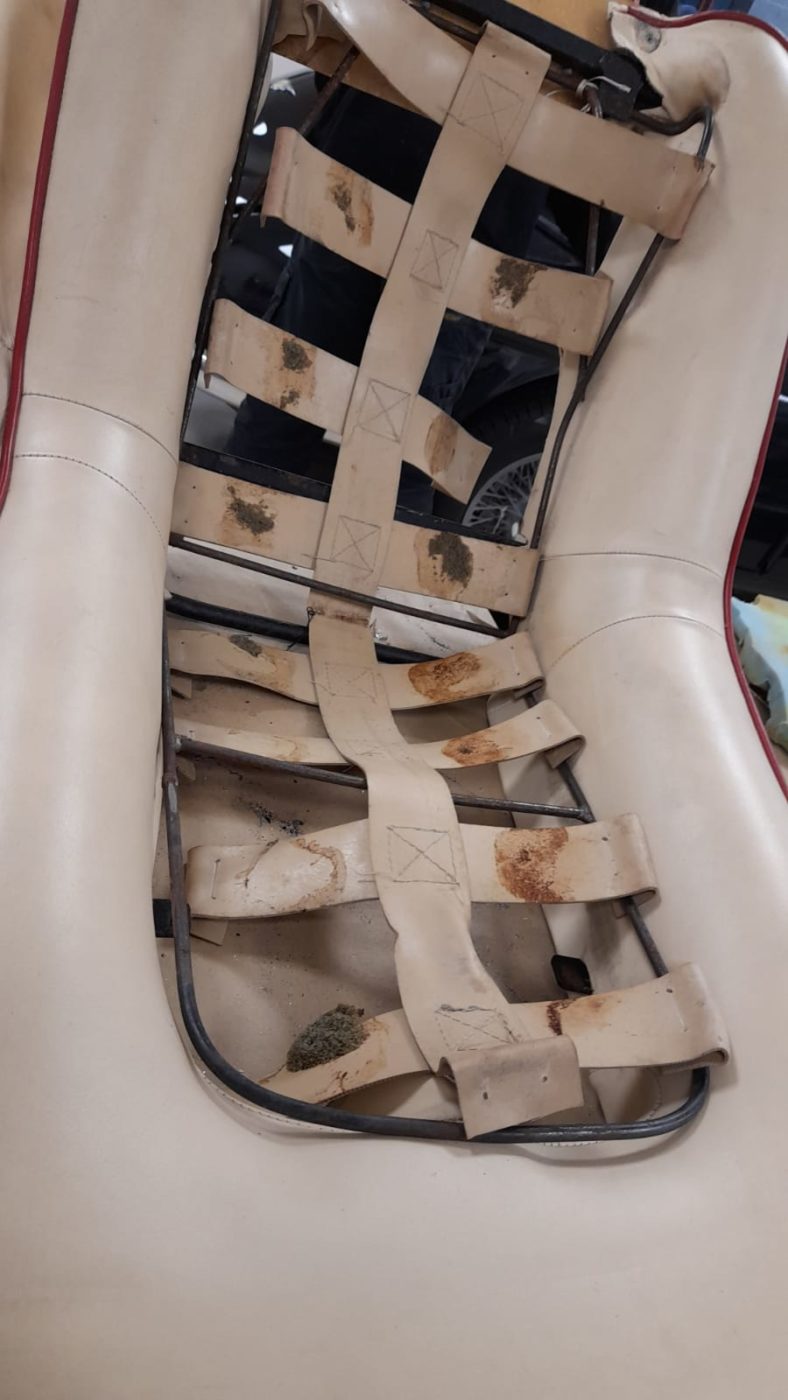
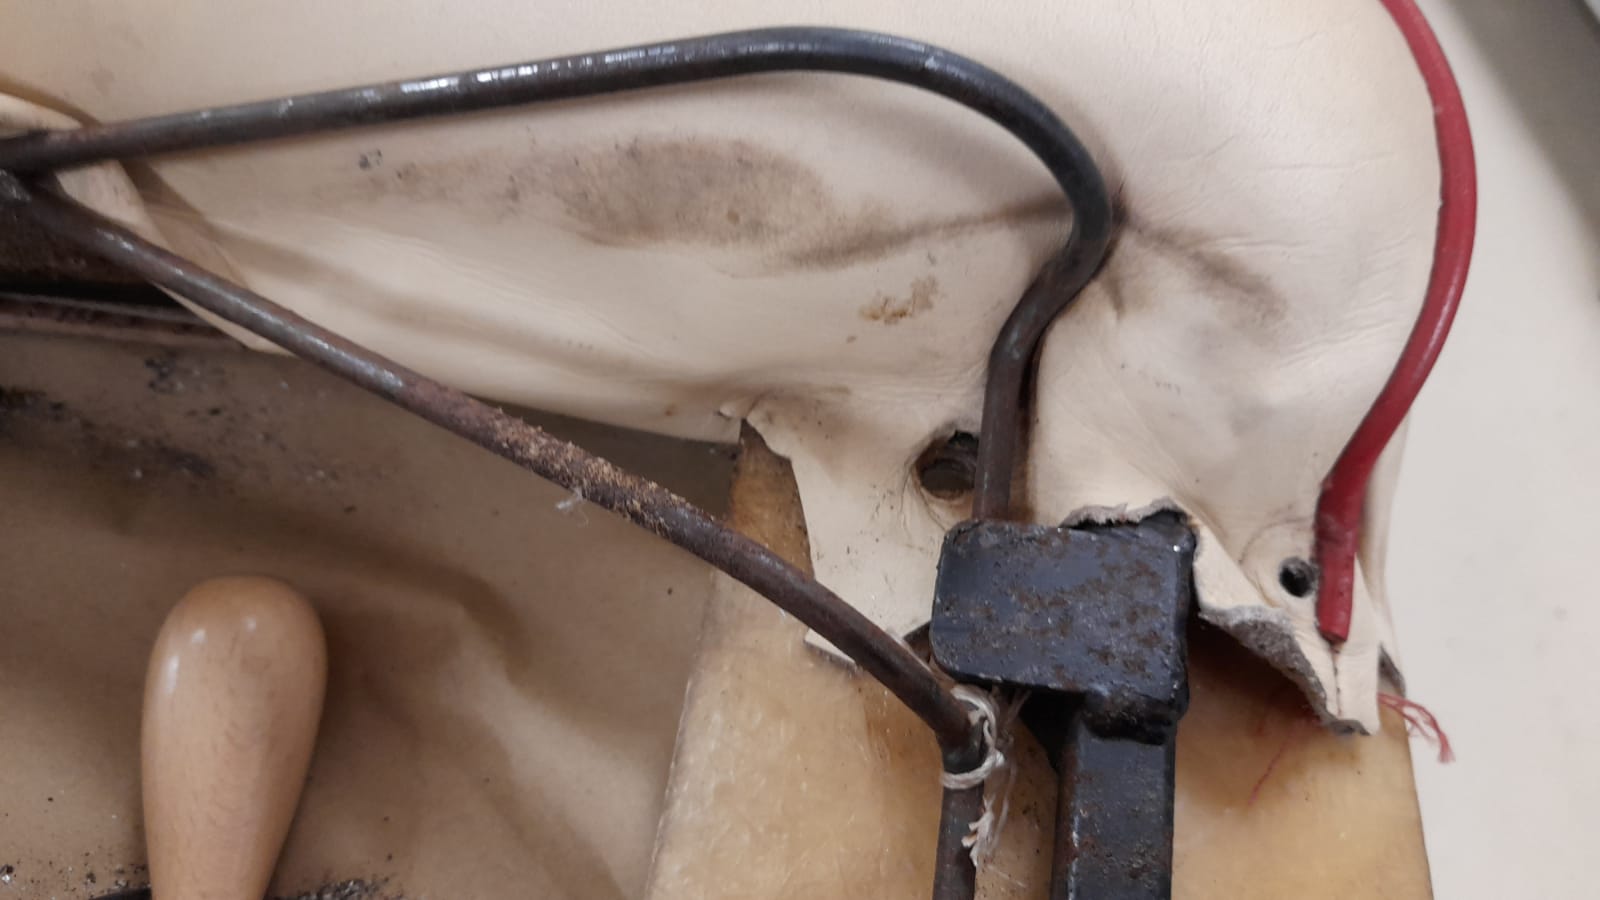
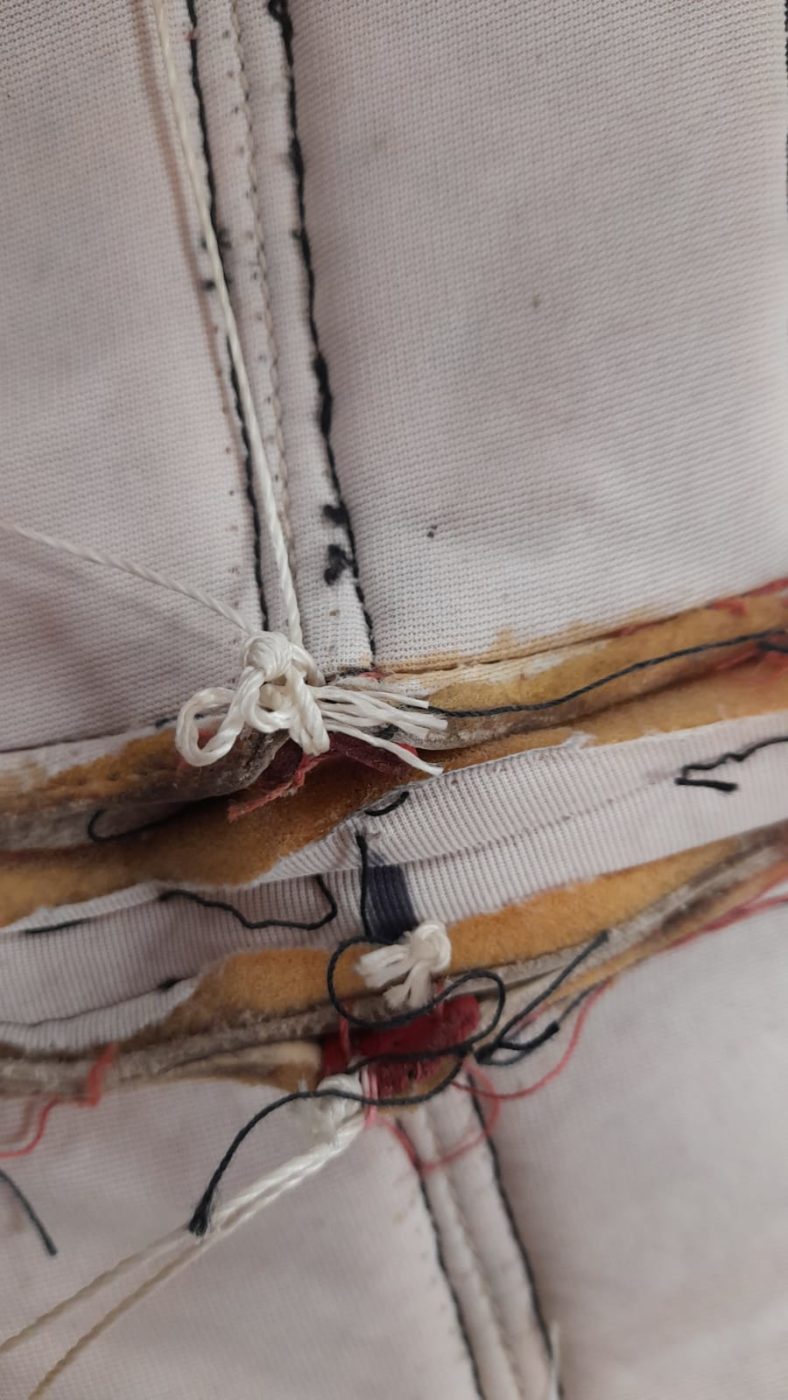
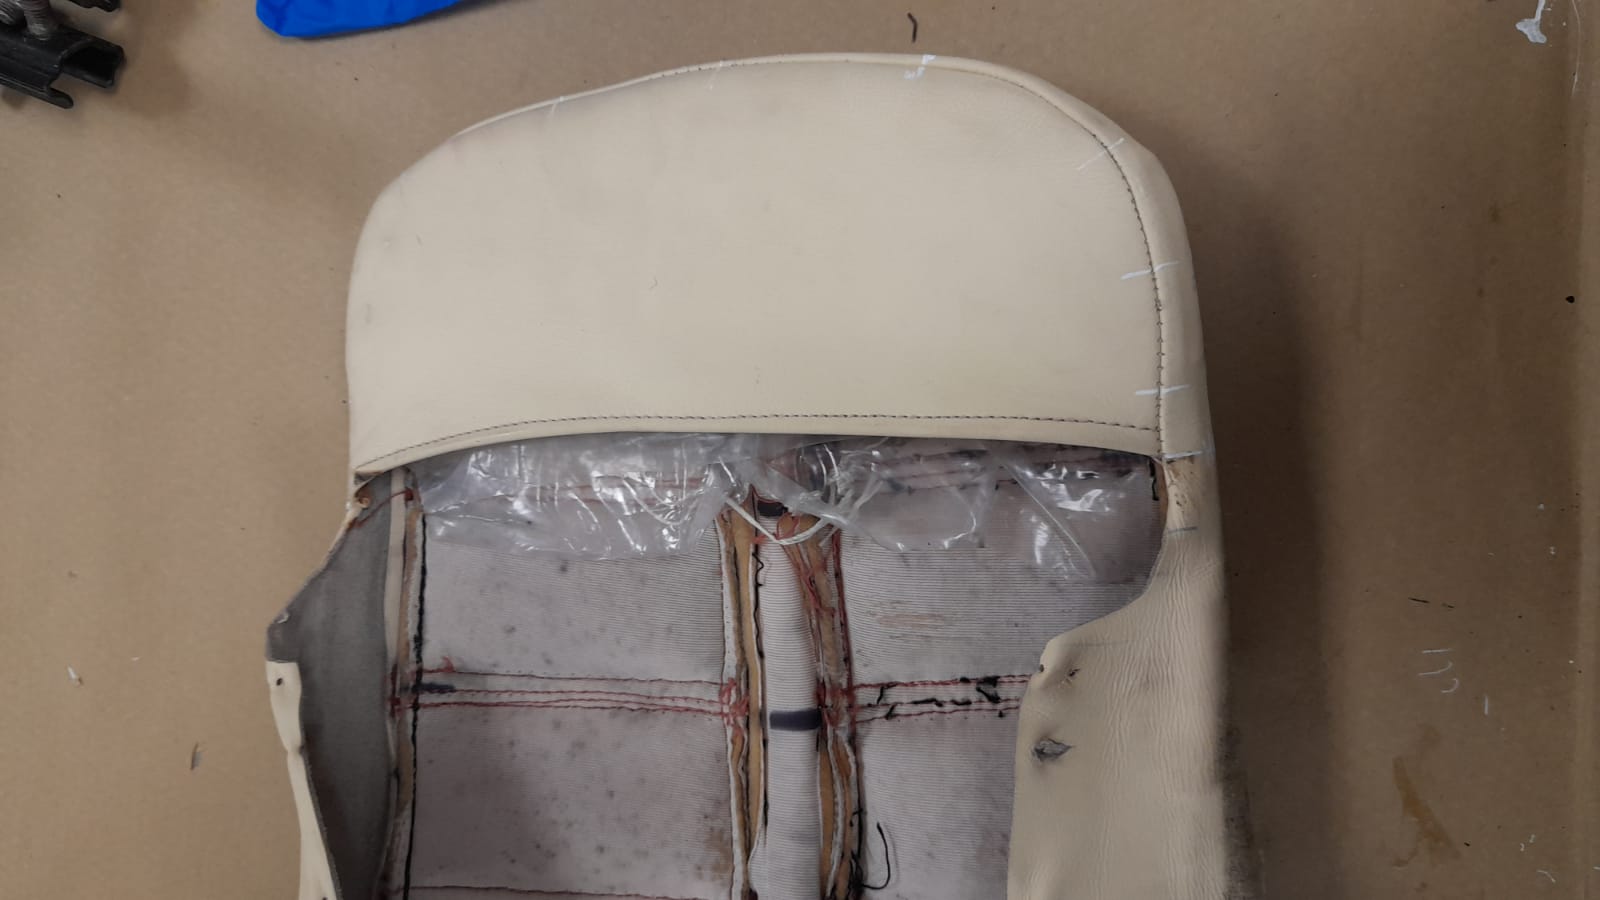
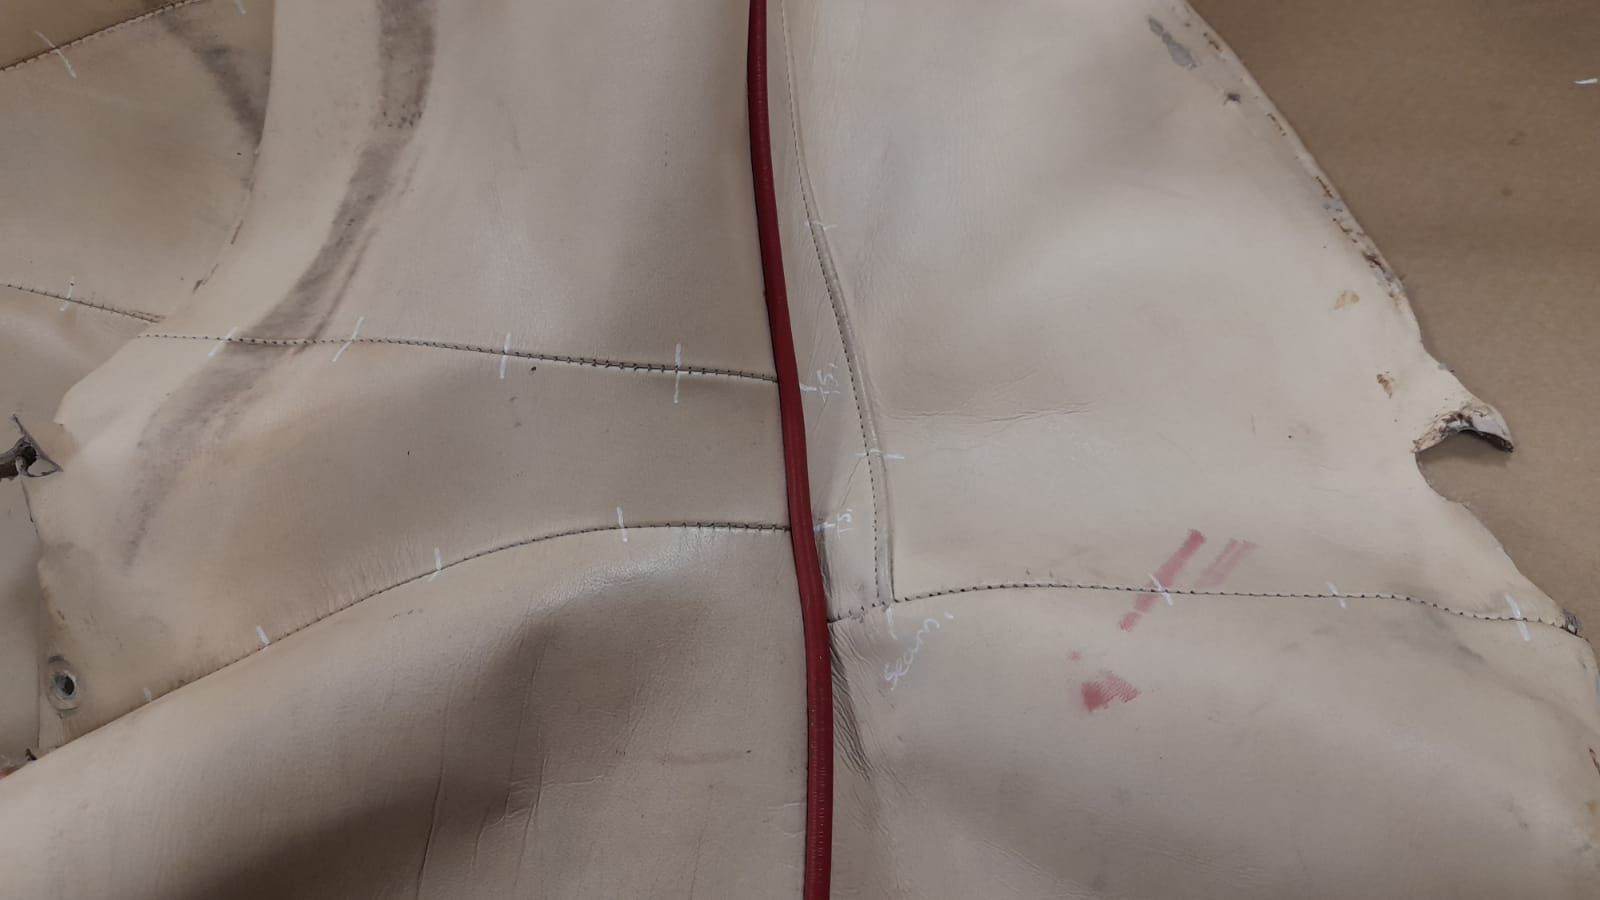
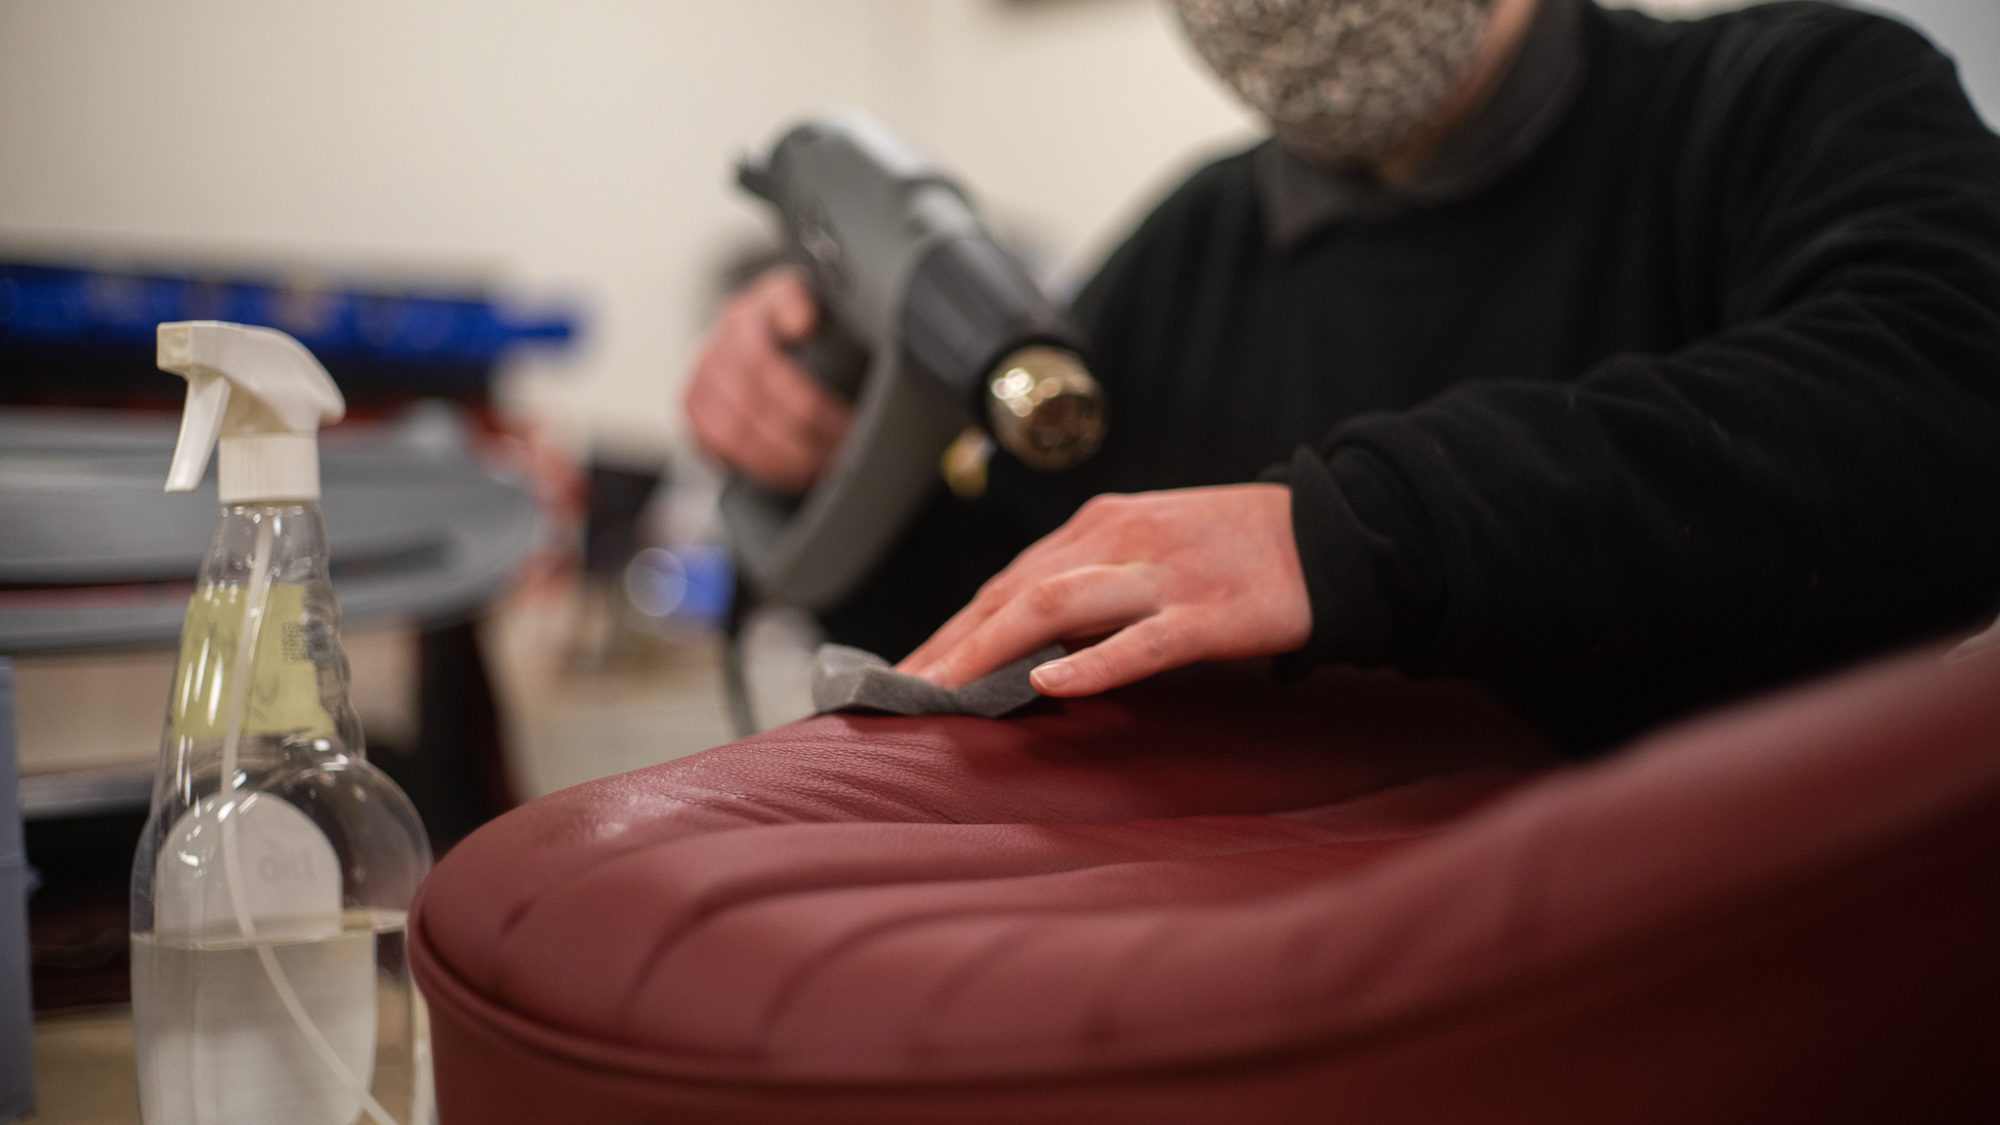
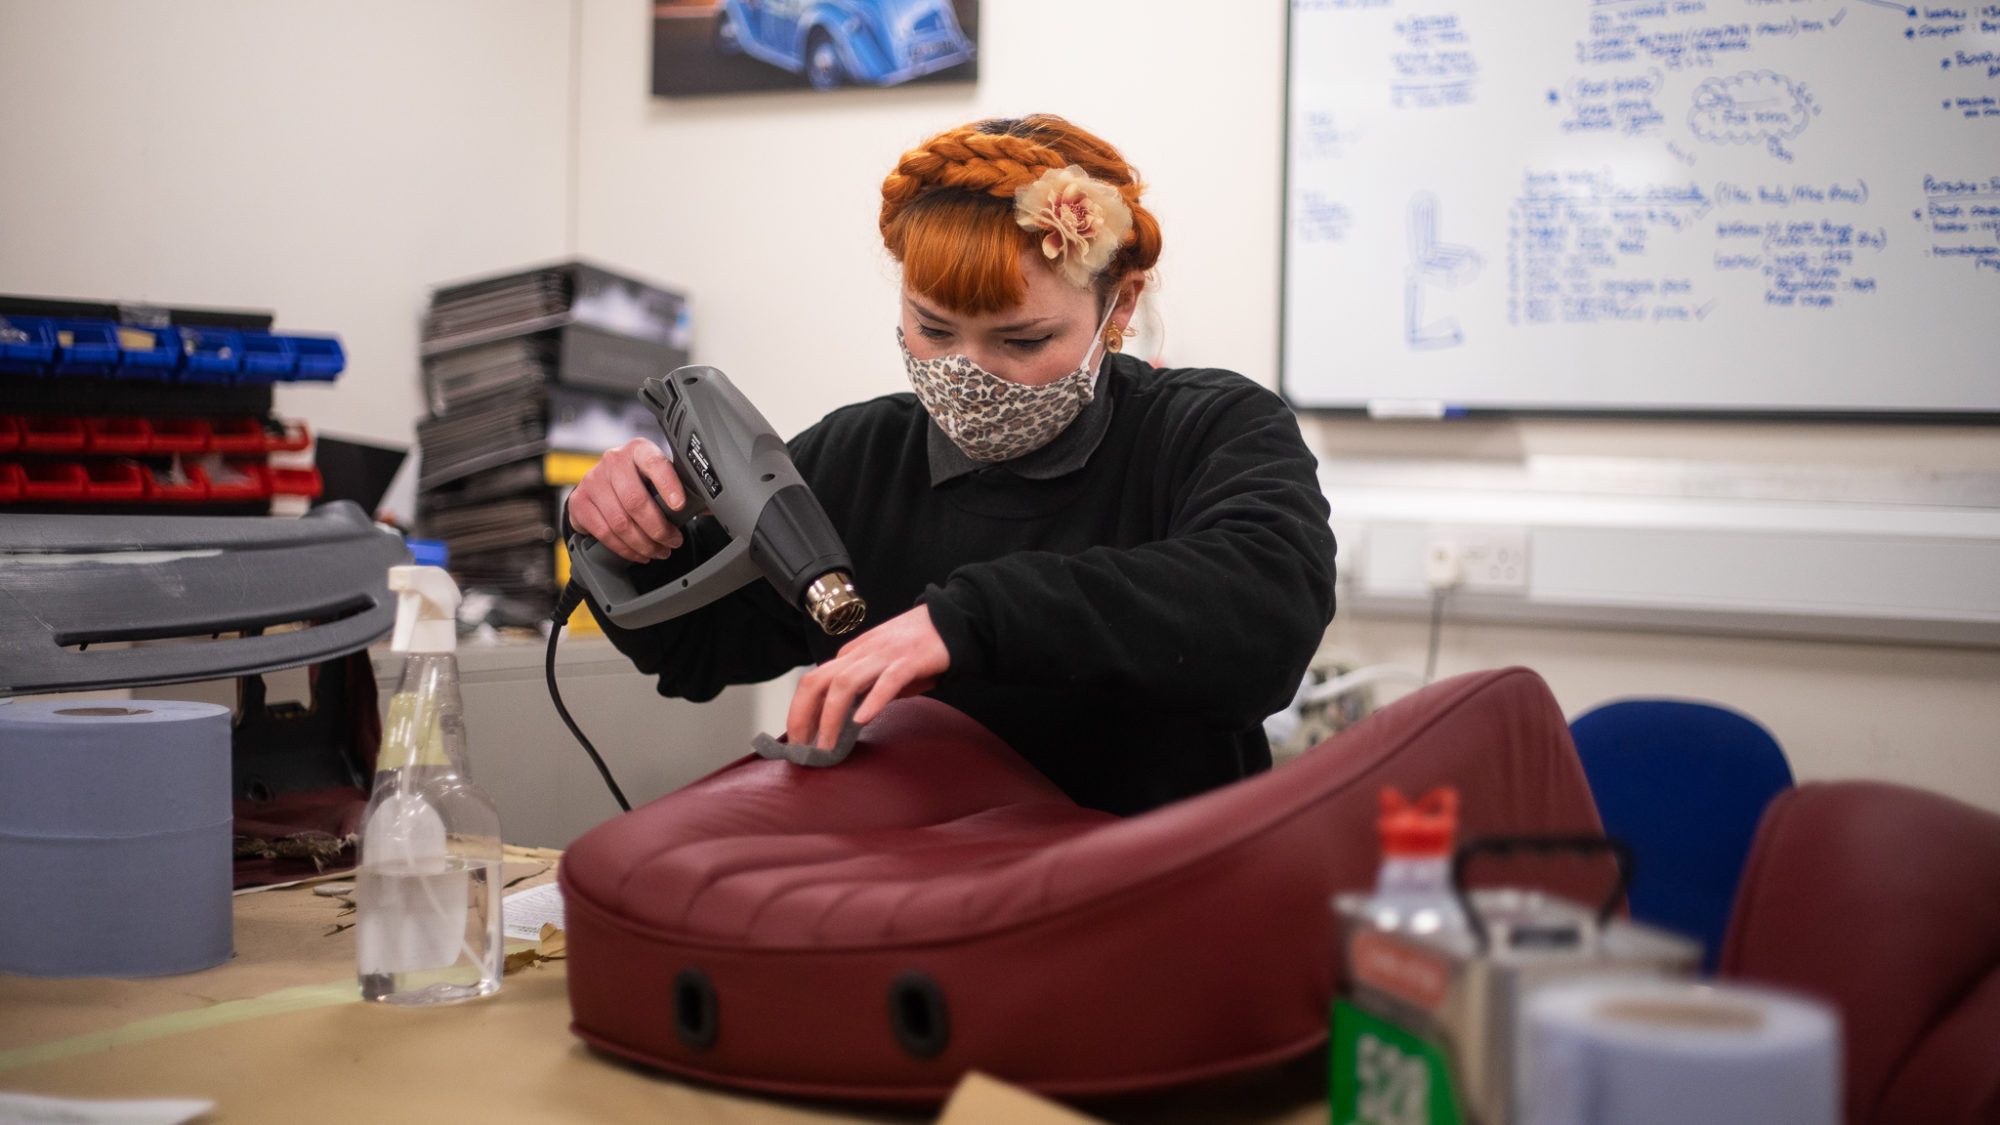
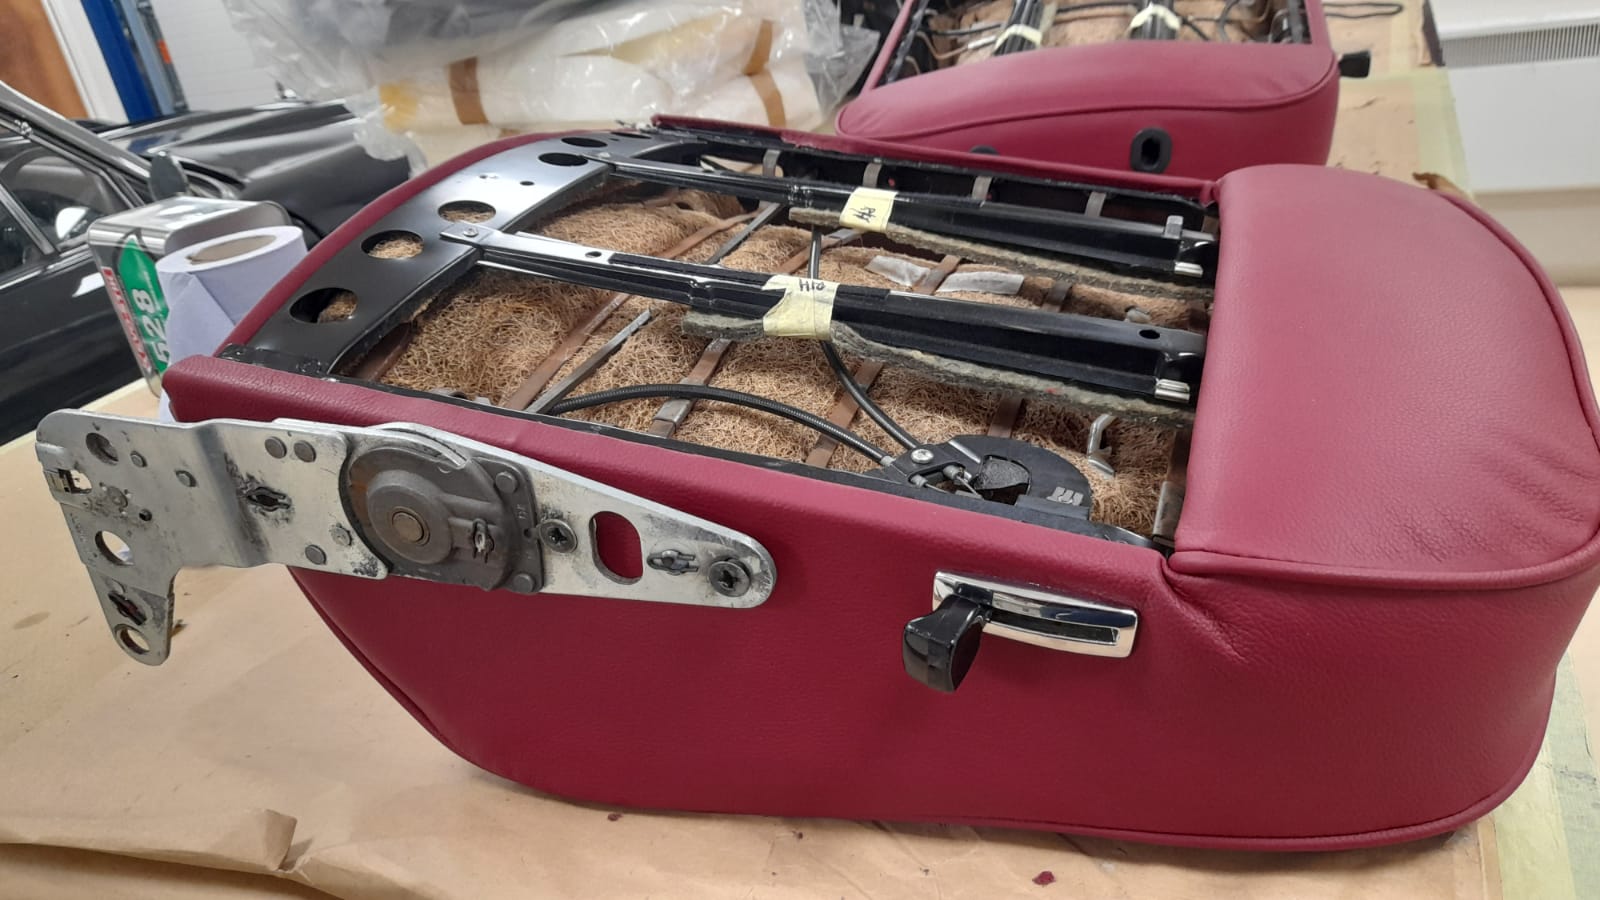
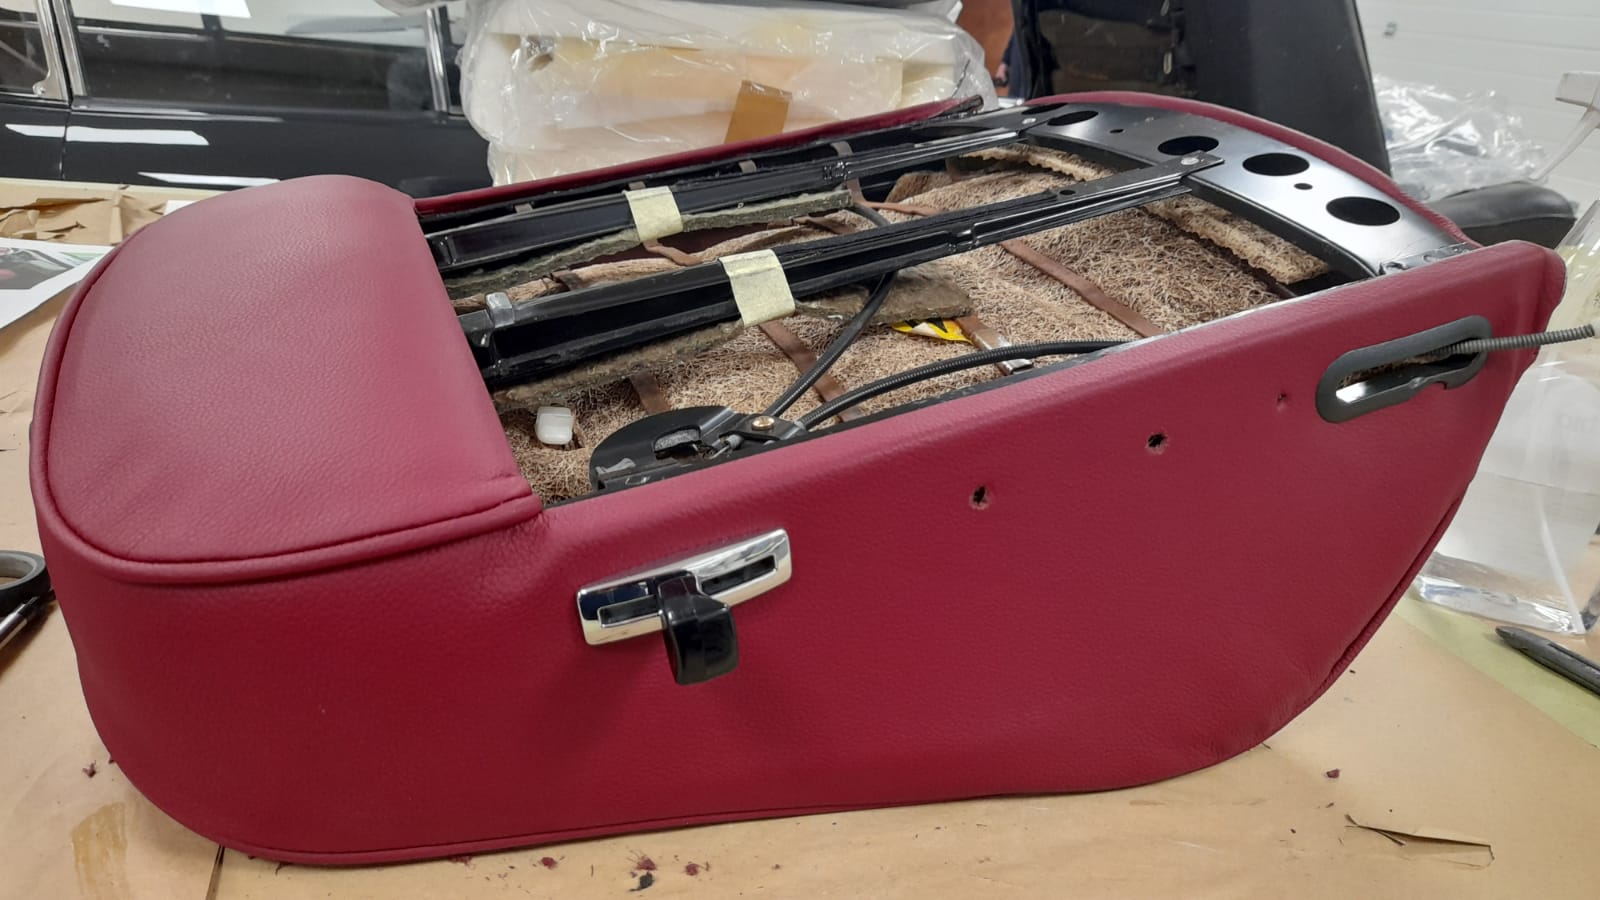
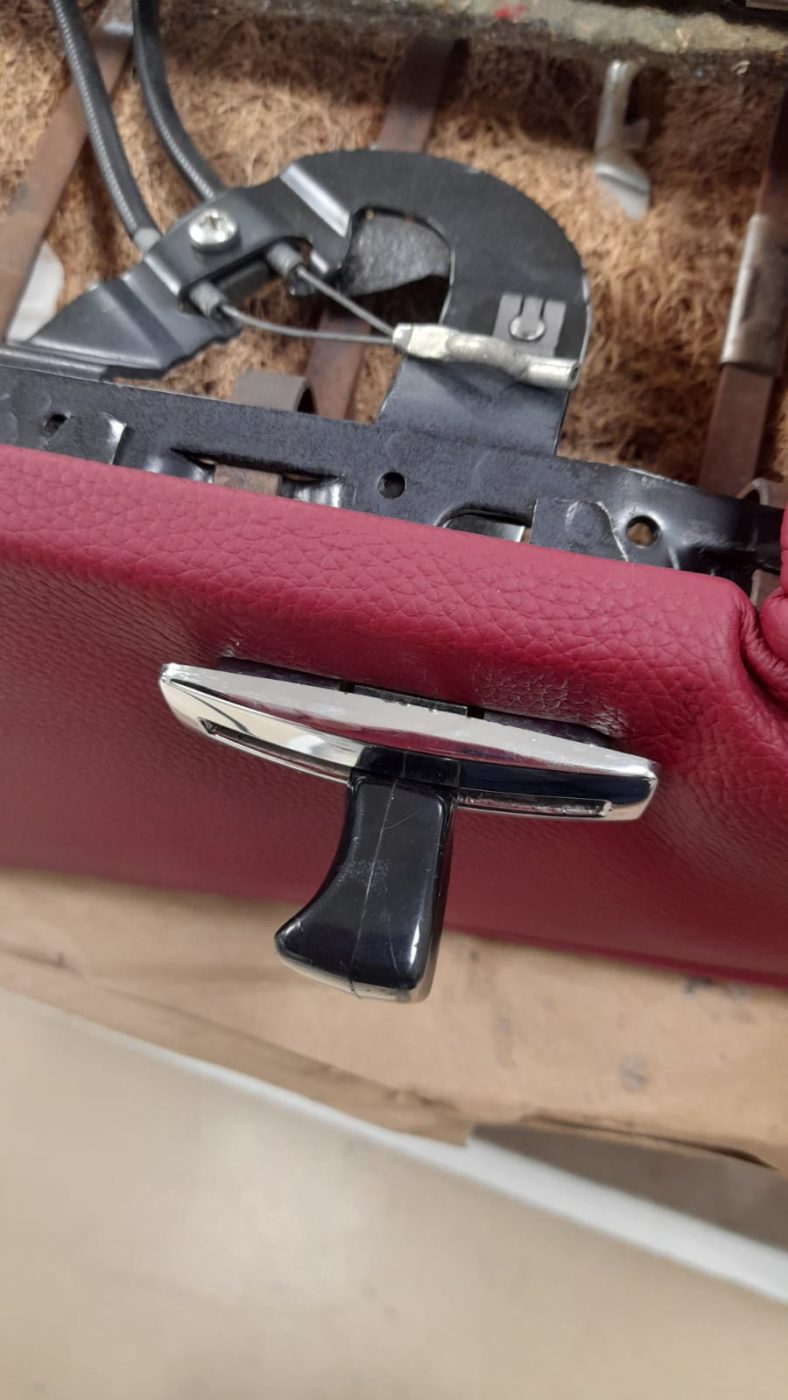
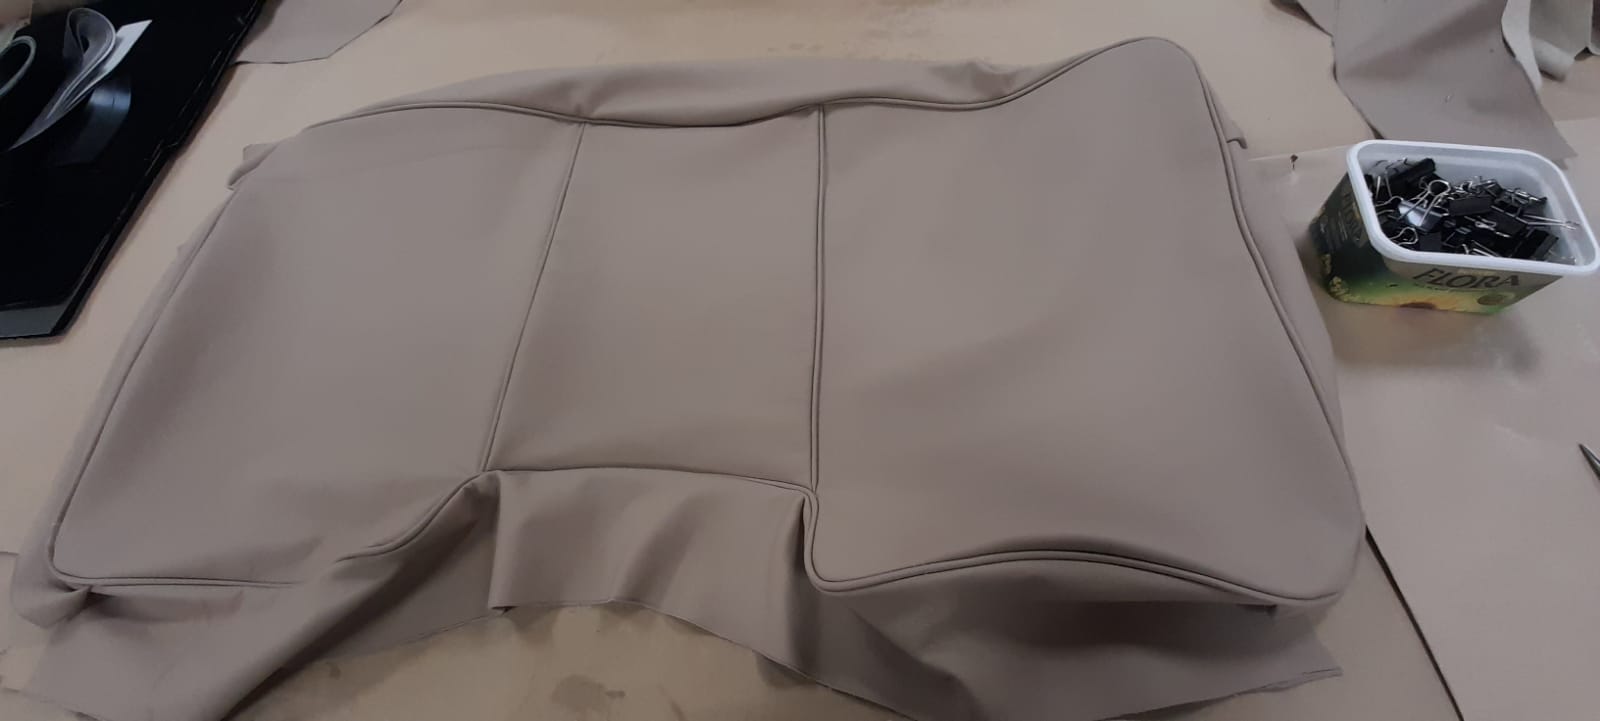
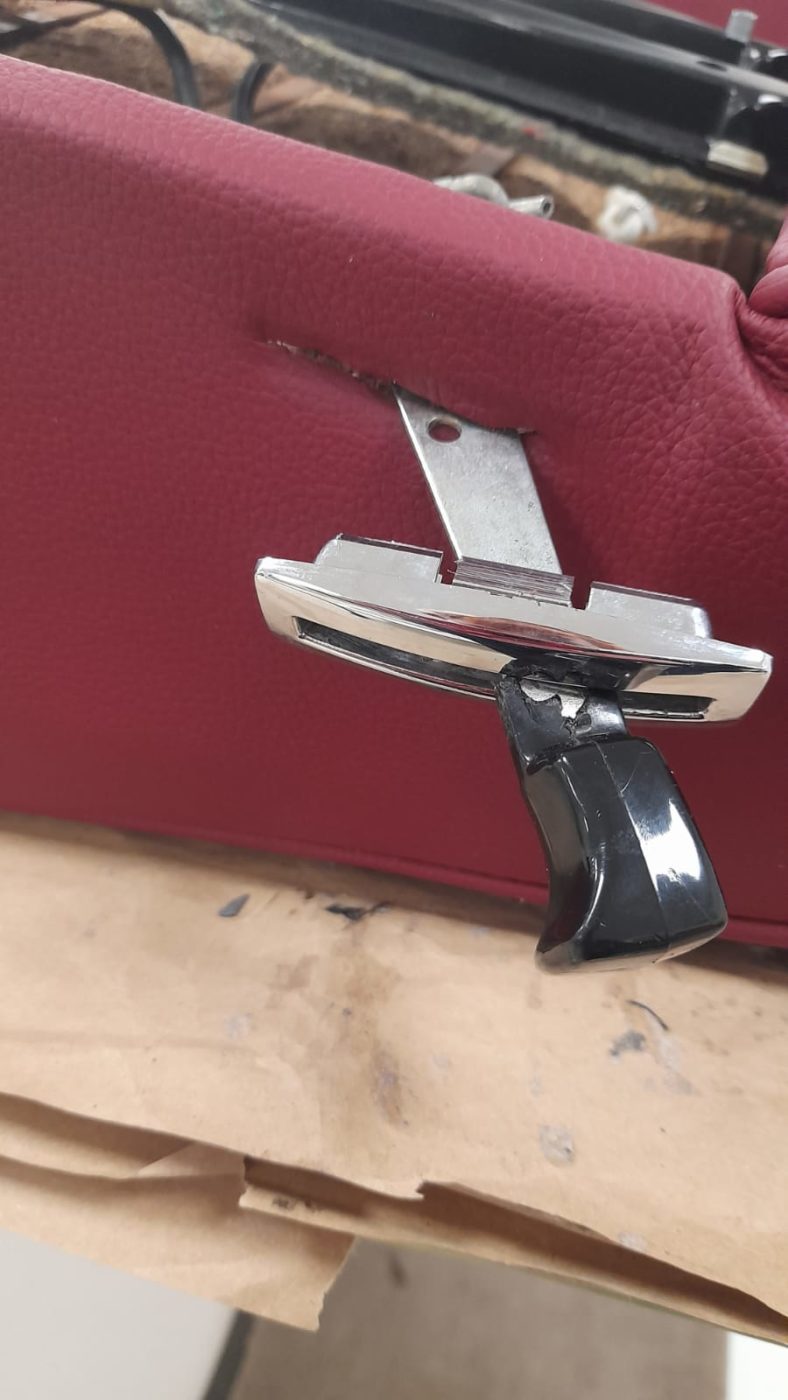
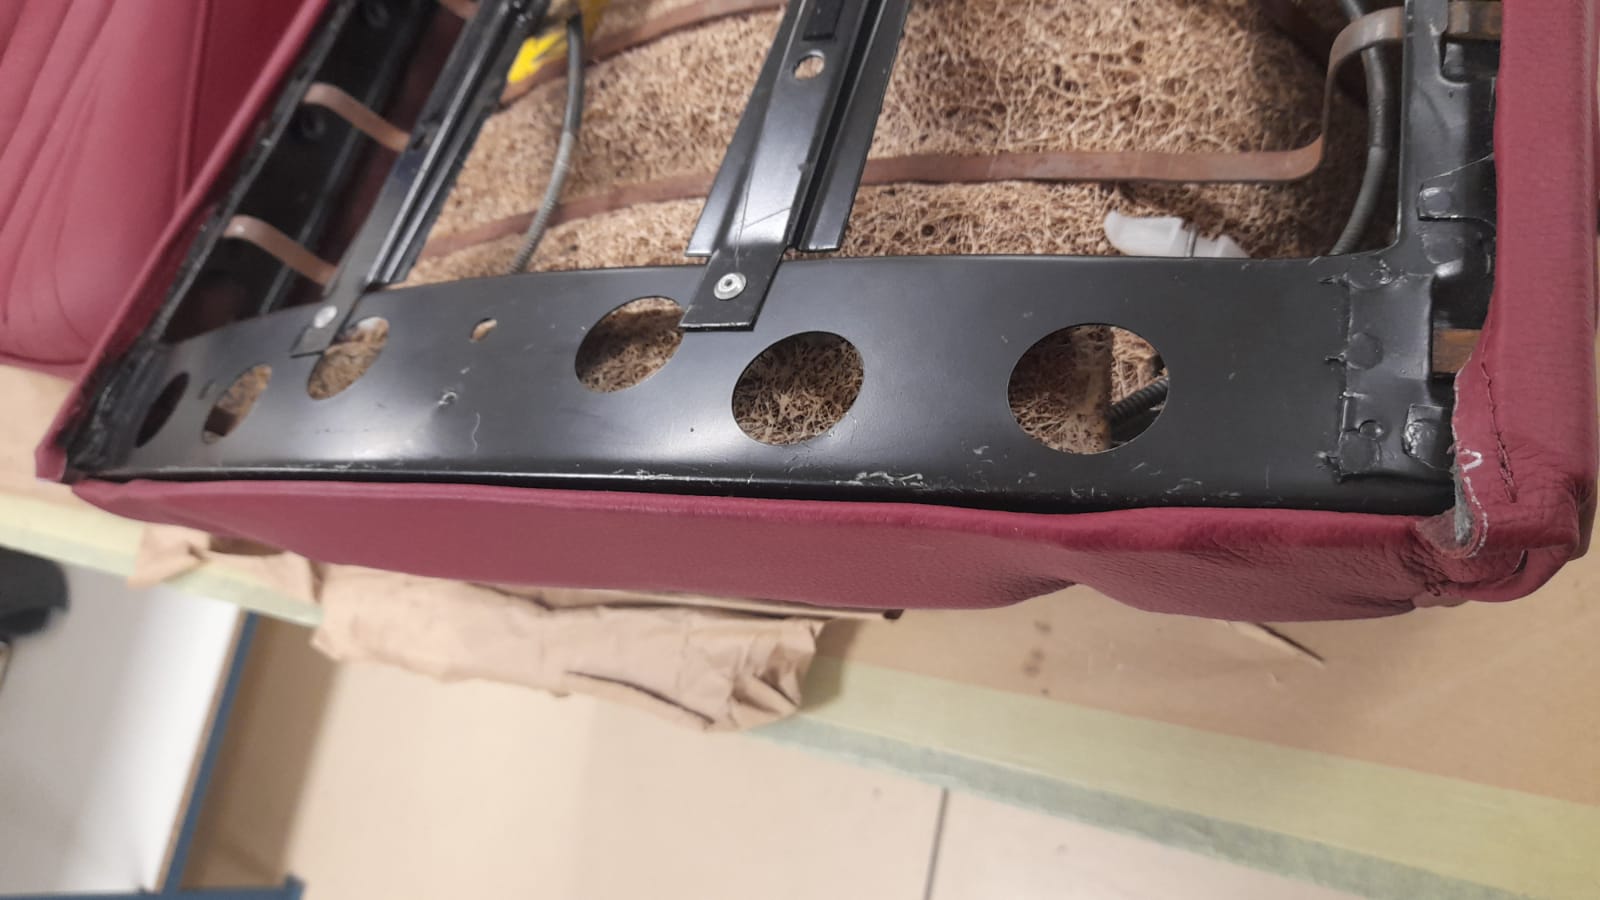
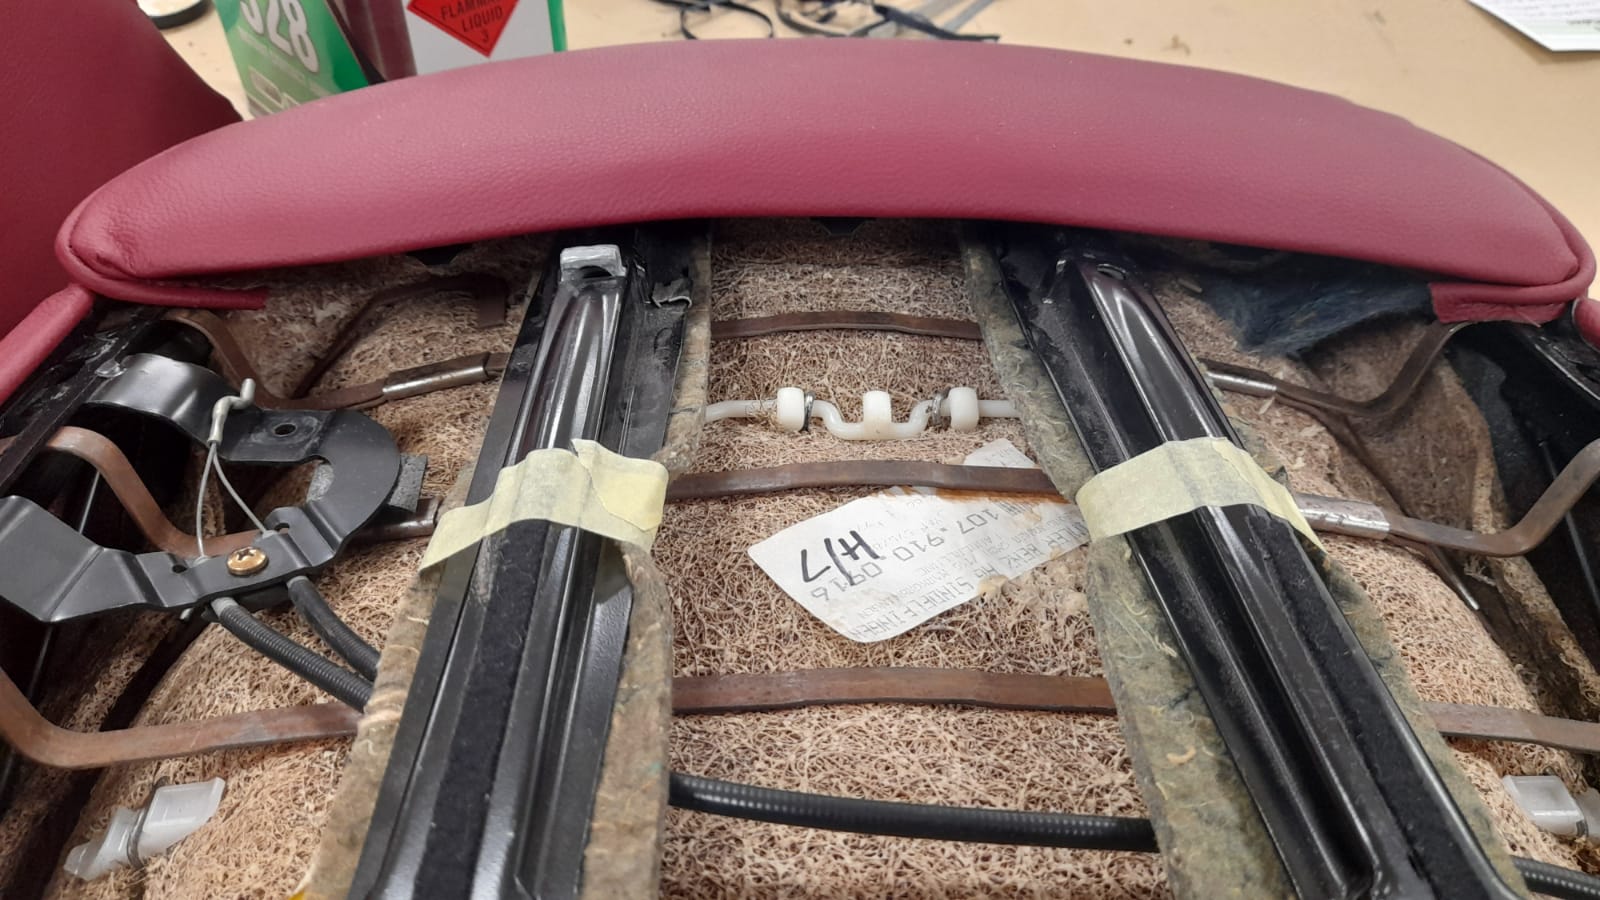
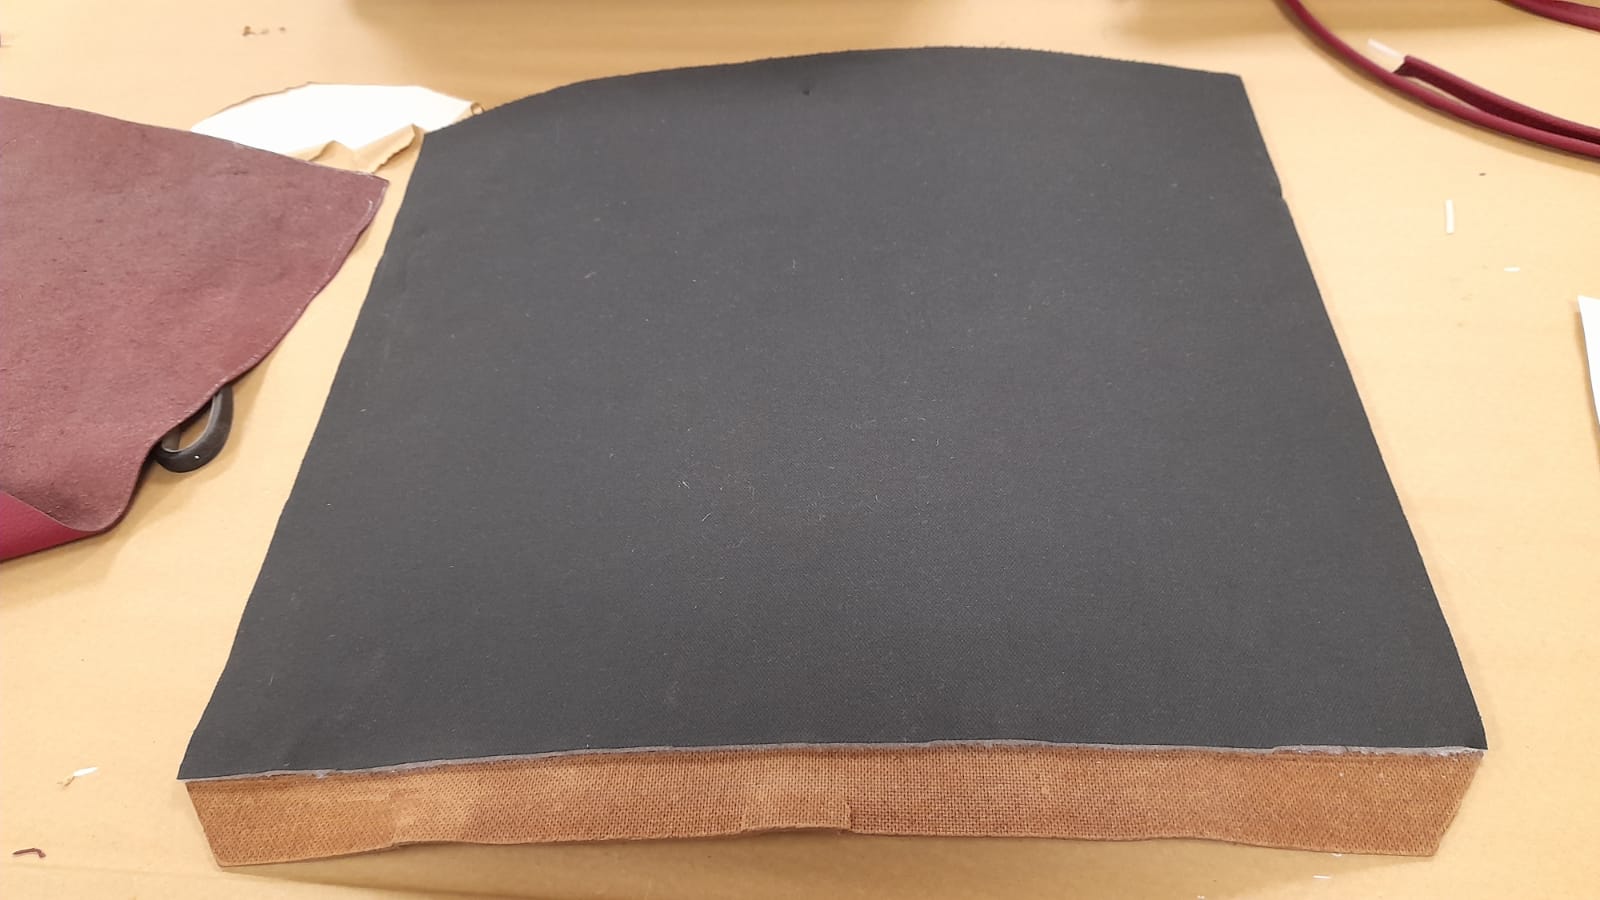
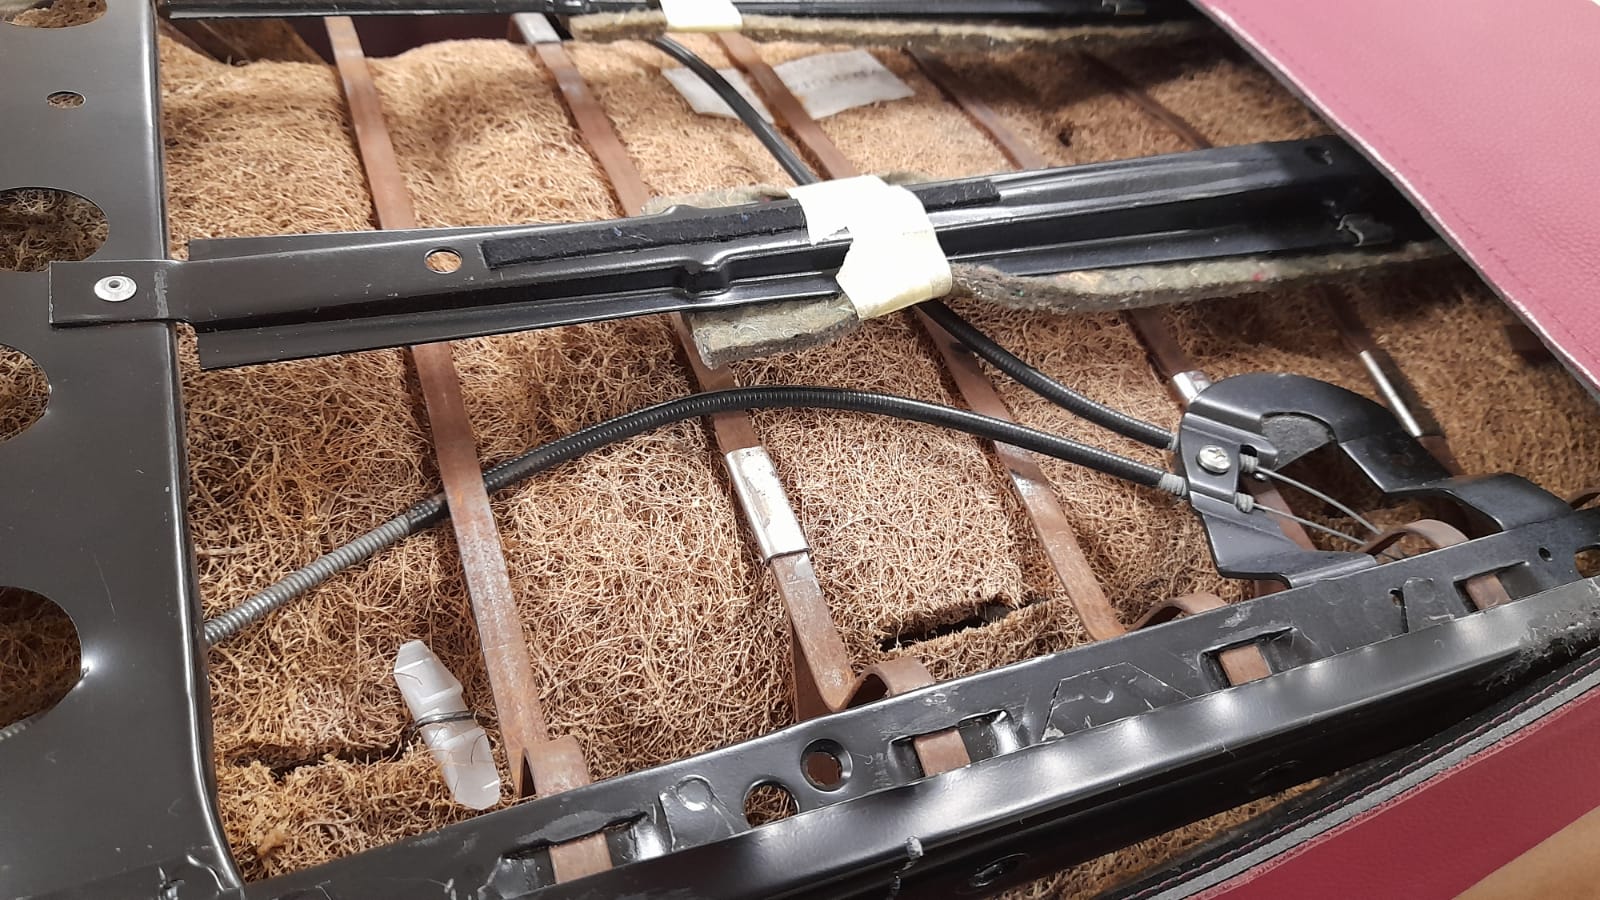
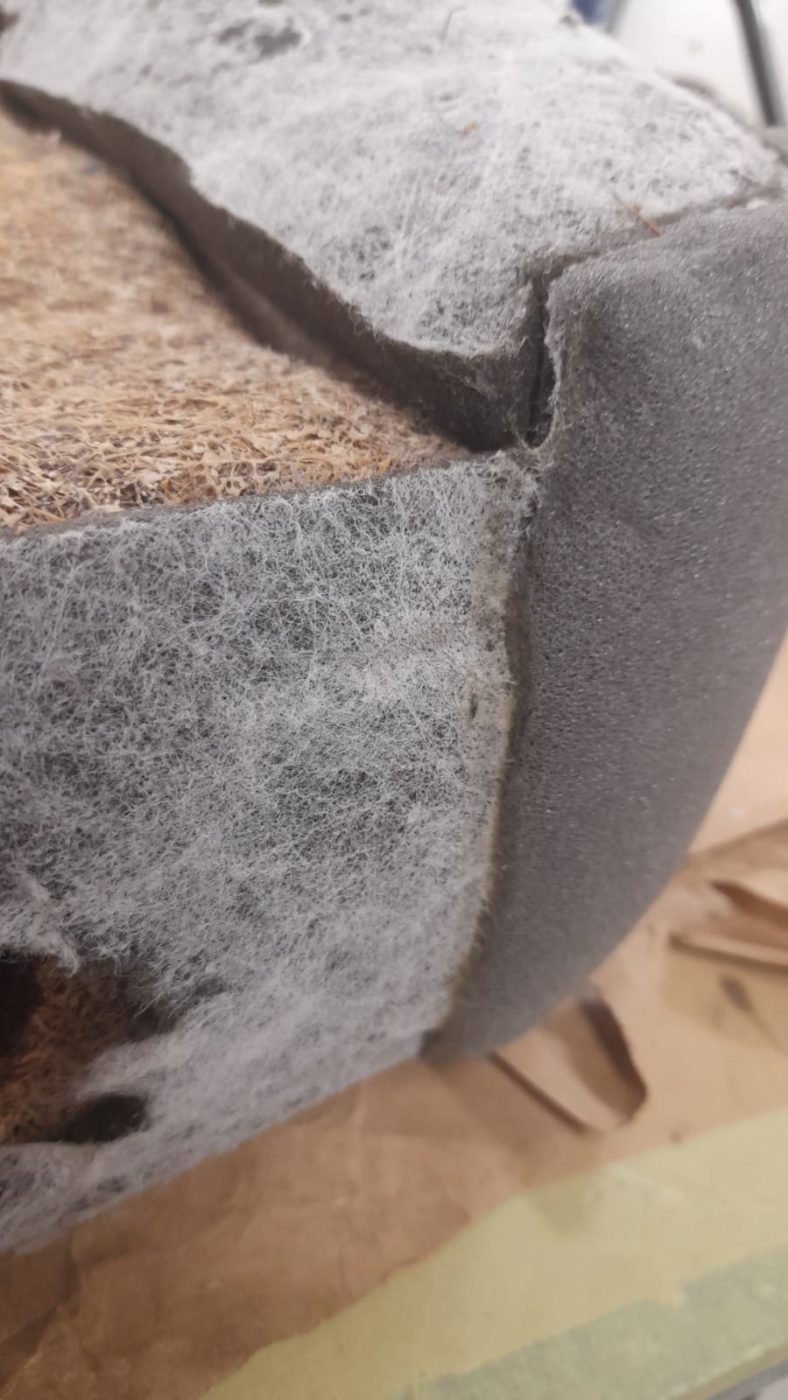
Craig’s 1987 Mercedes 500SL seats are still in the capable hands of our in house trim shop. Lydia has been leading the charge with the
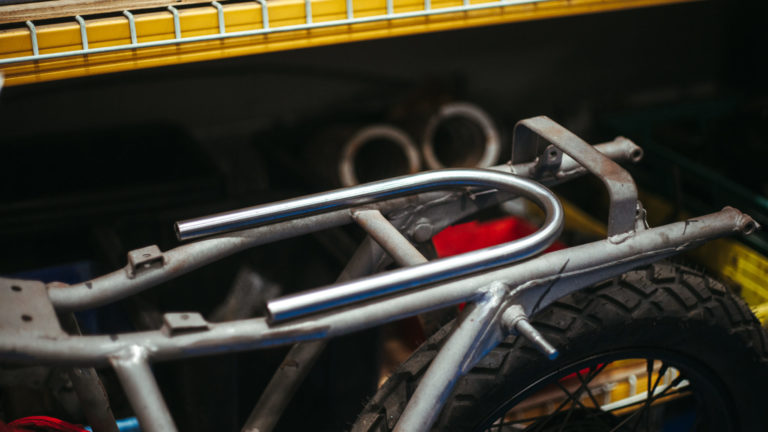
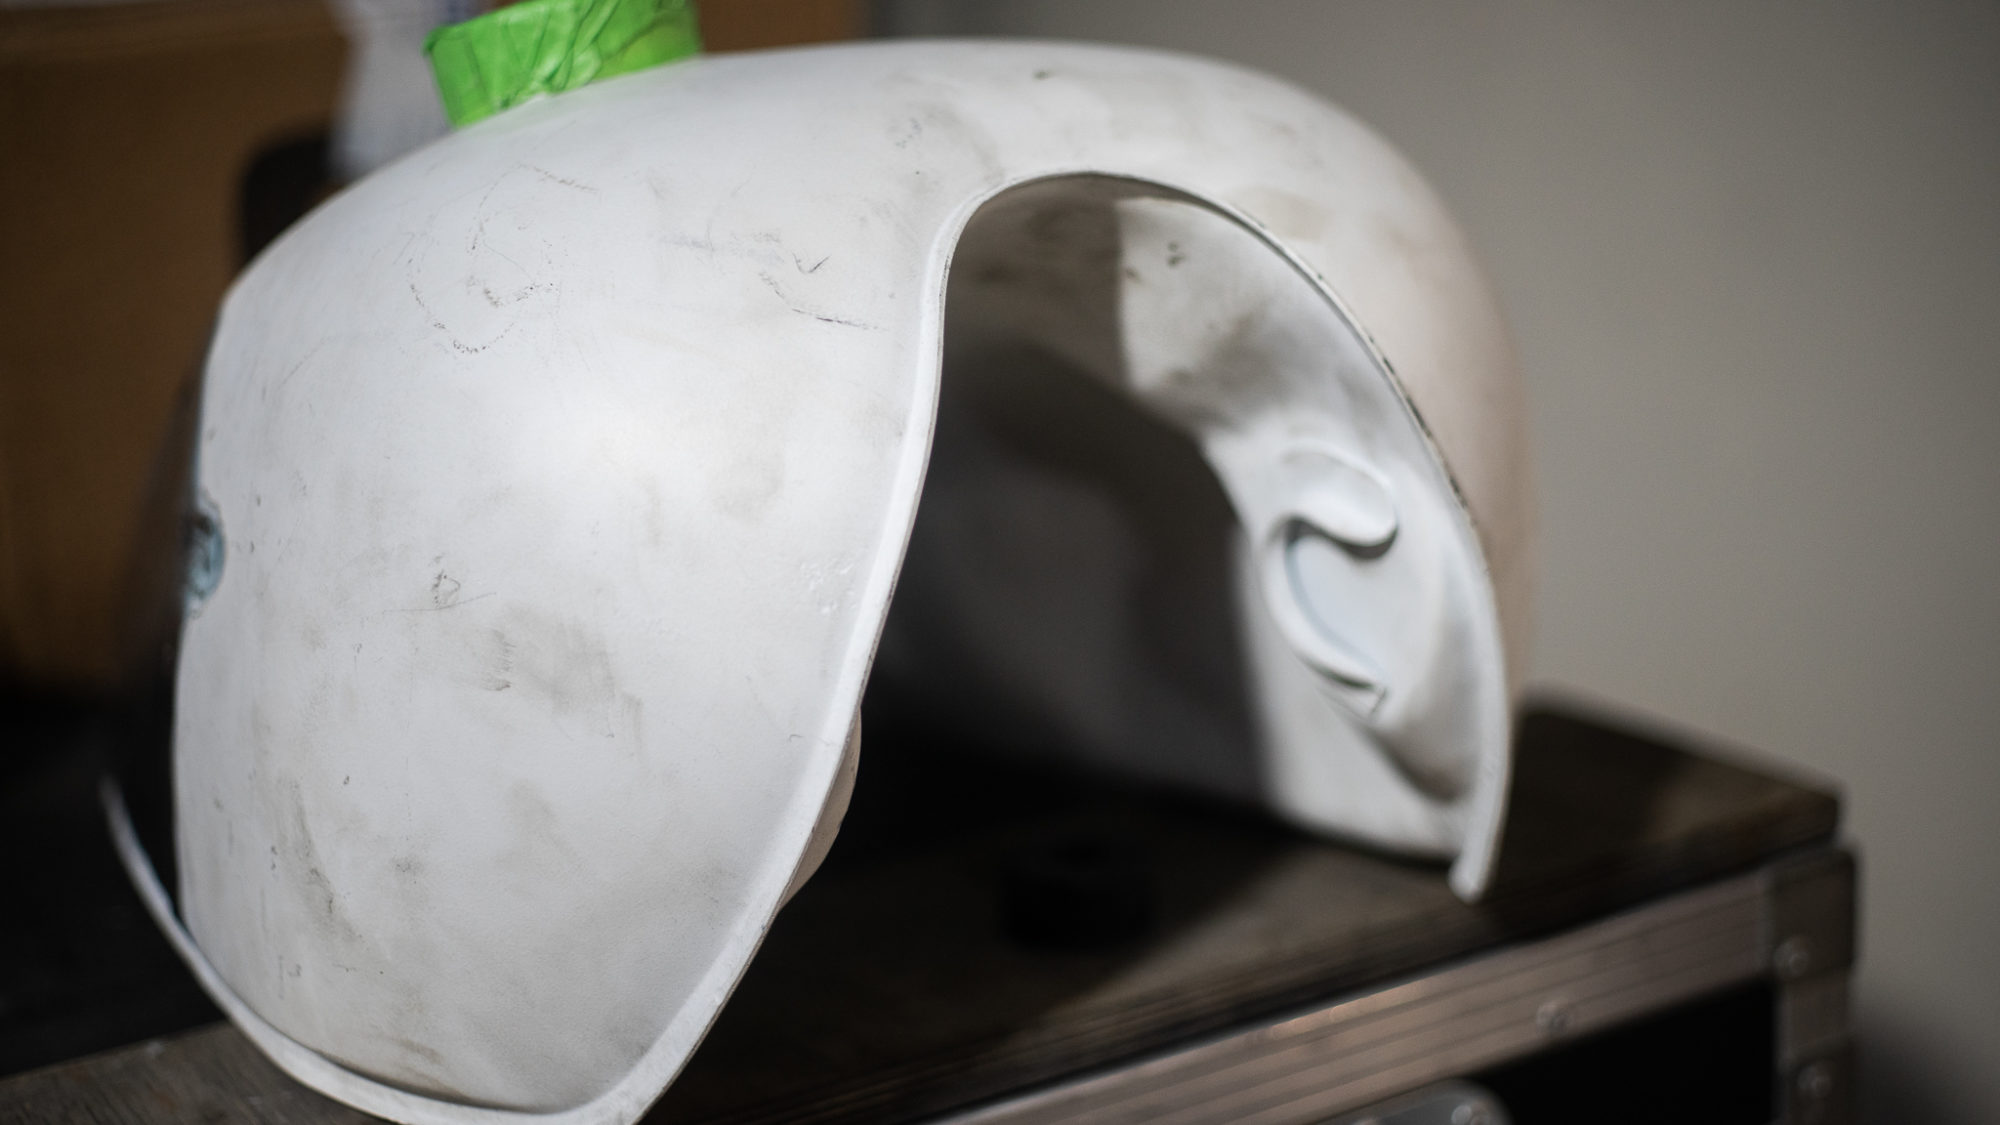
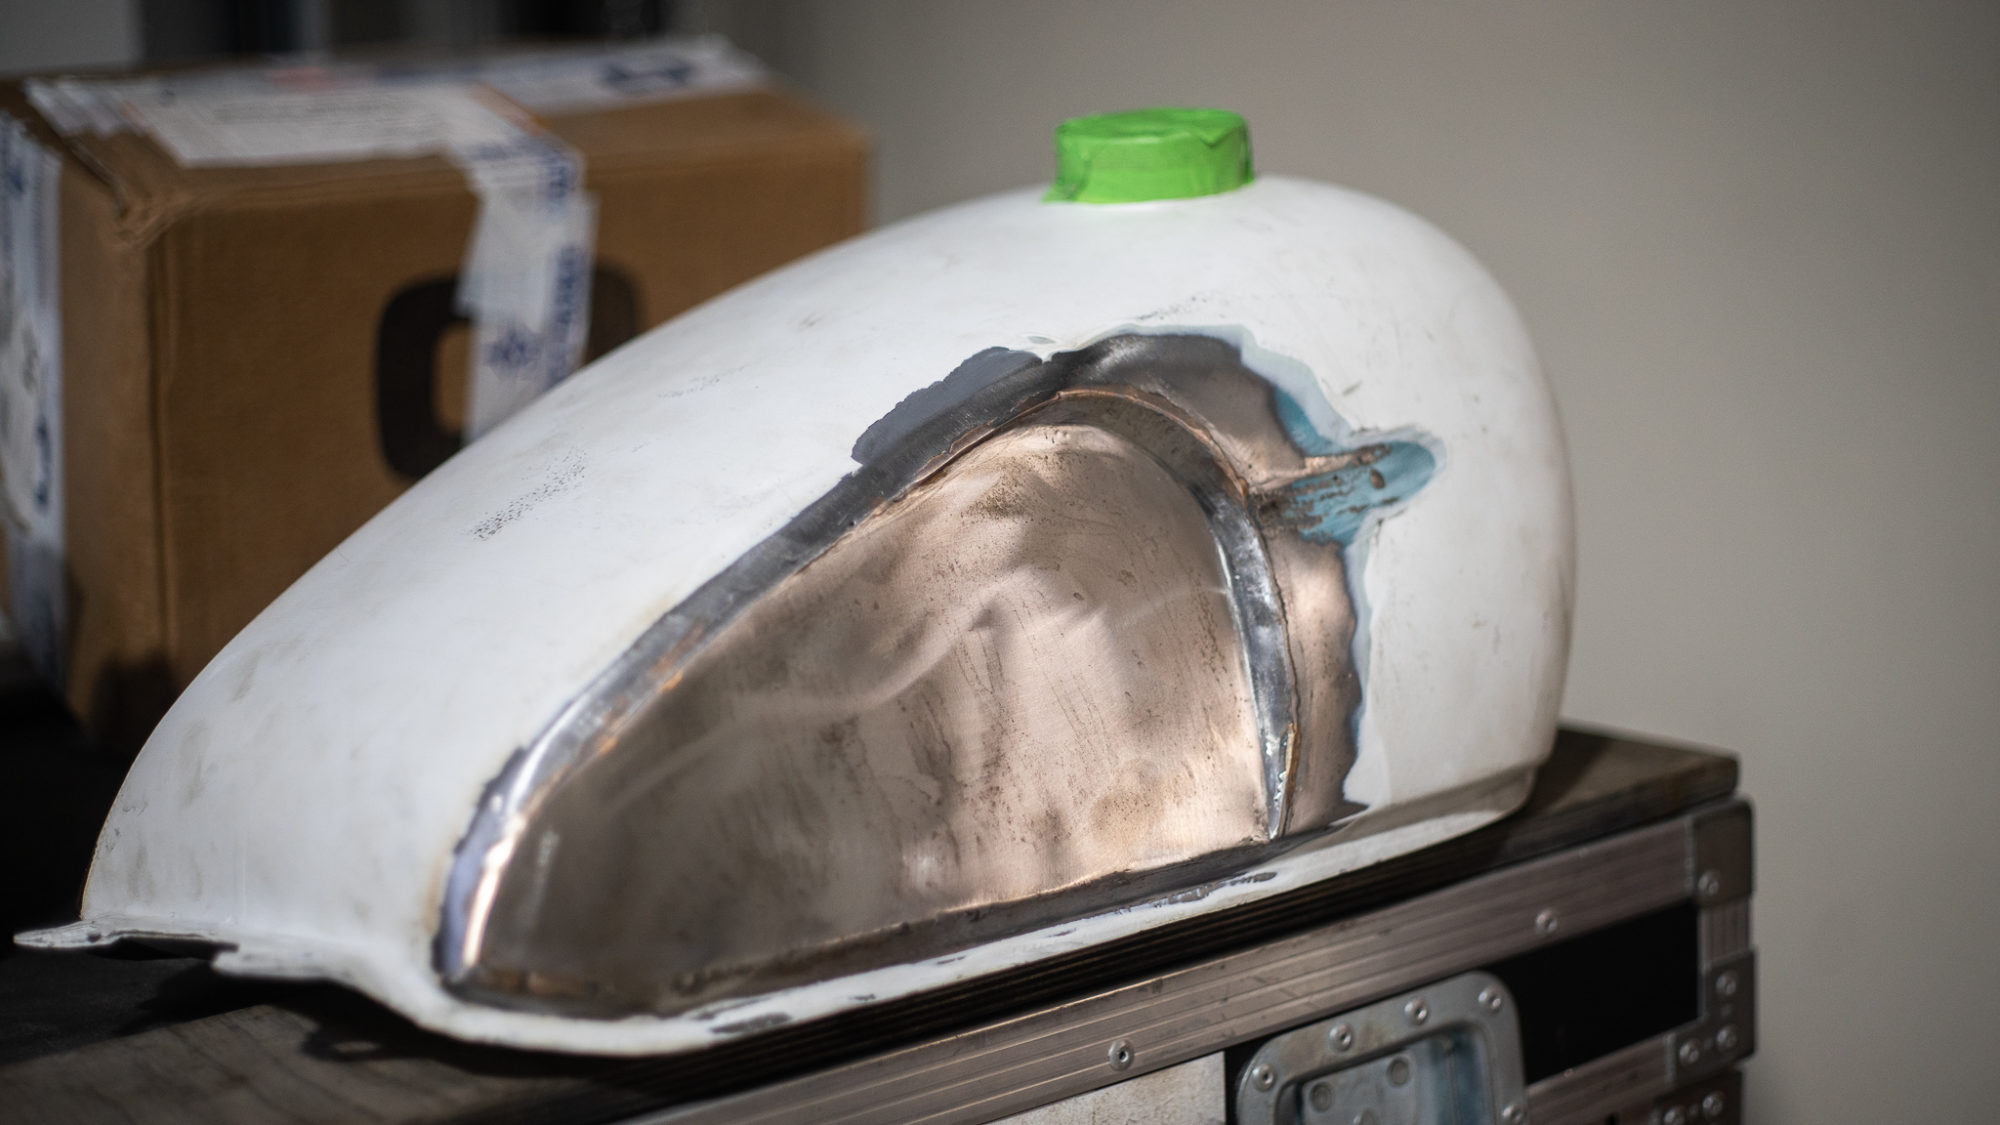
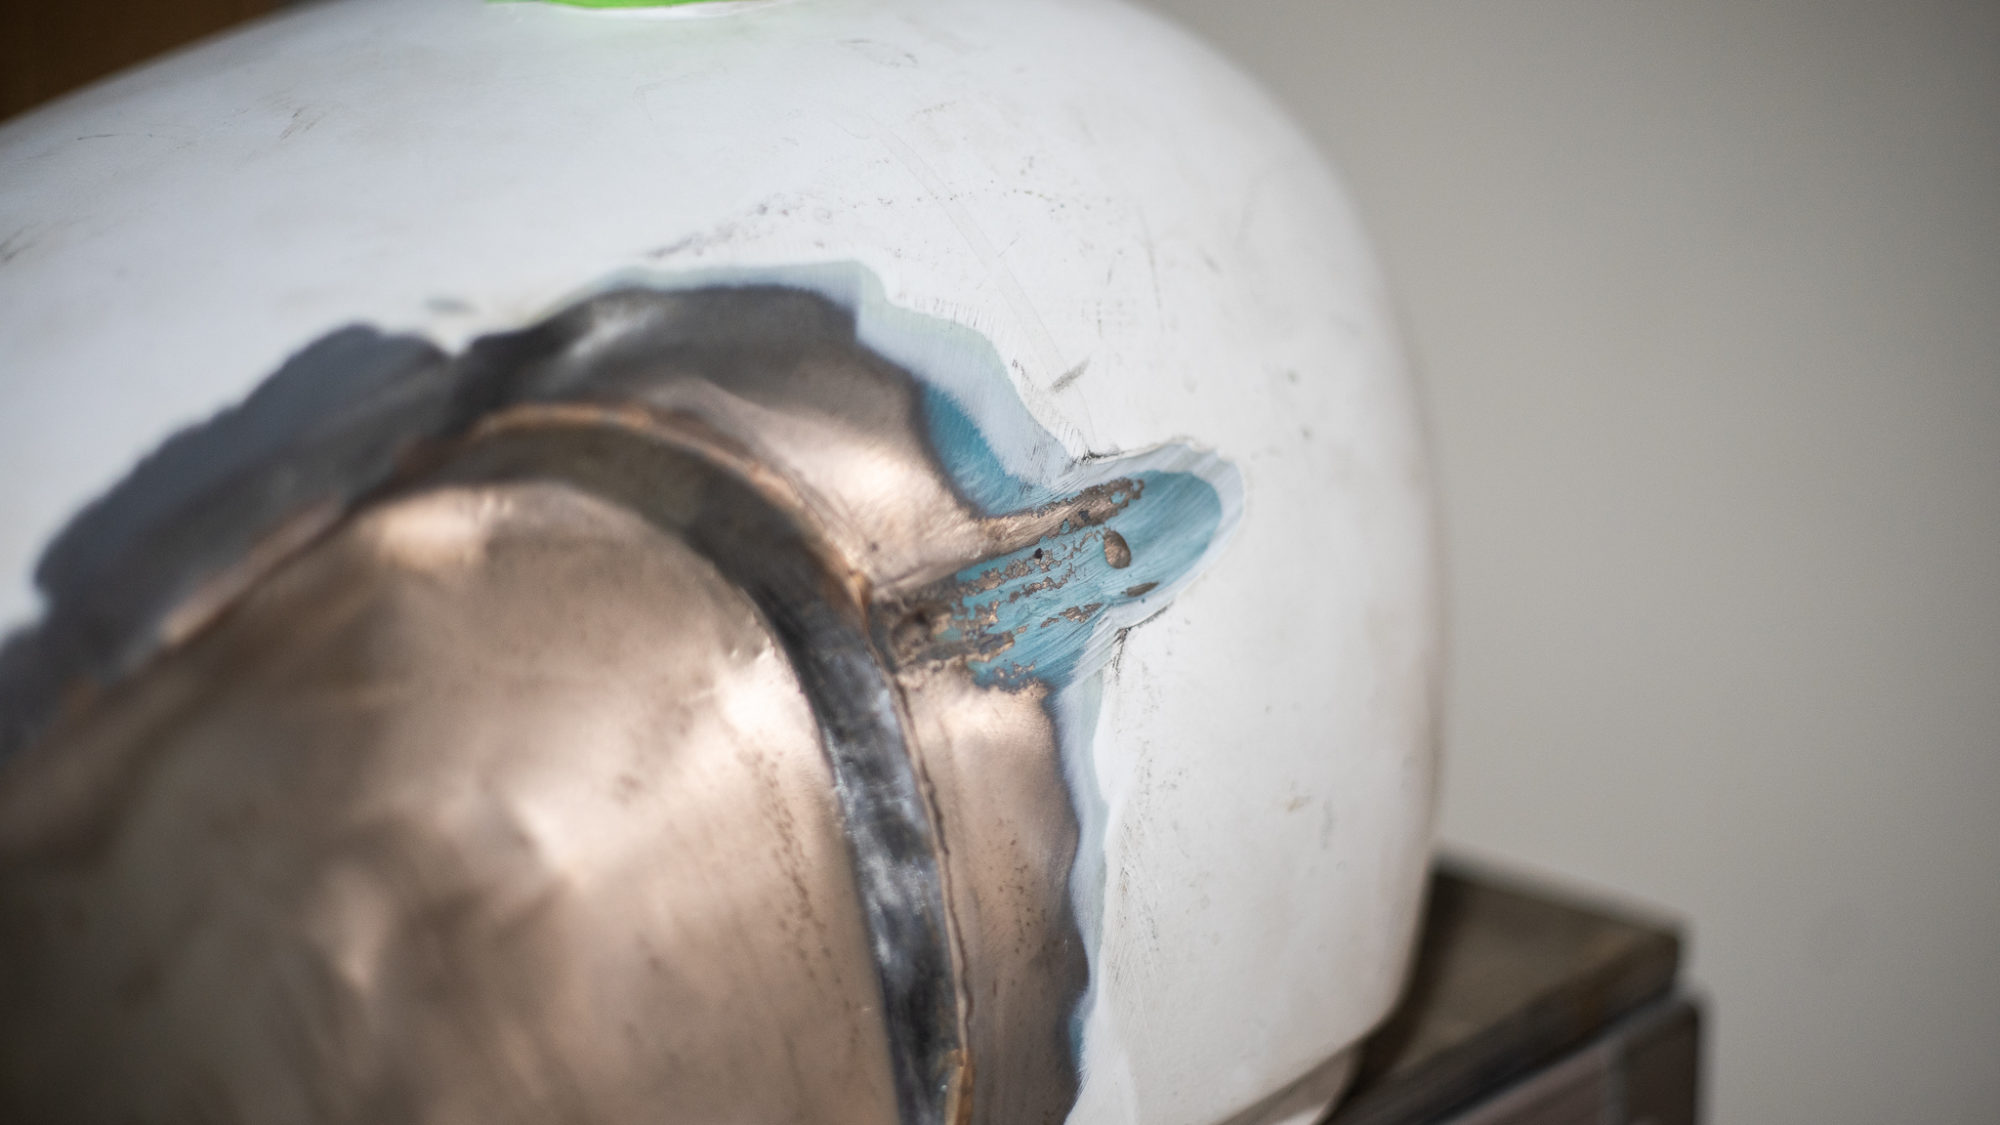
With the modified fuel tank back at HQ, Craig can begin to fit his 1984 Suzuki GSX 400T back together. The seat frame had also

The Peony Red Jensen, now finished in paint, has been moved into the workshop to begin its mechanical journey. Our technician Paul is currently fitting
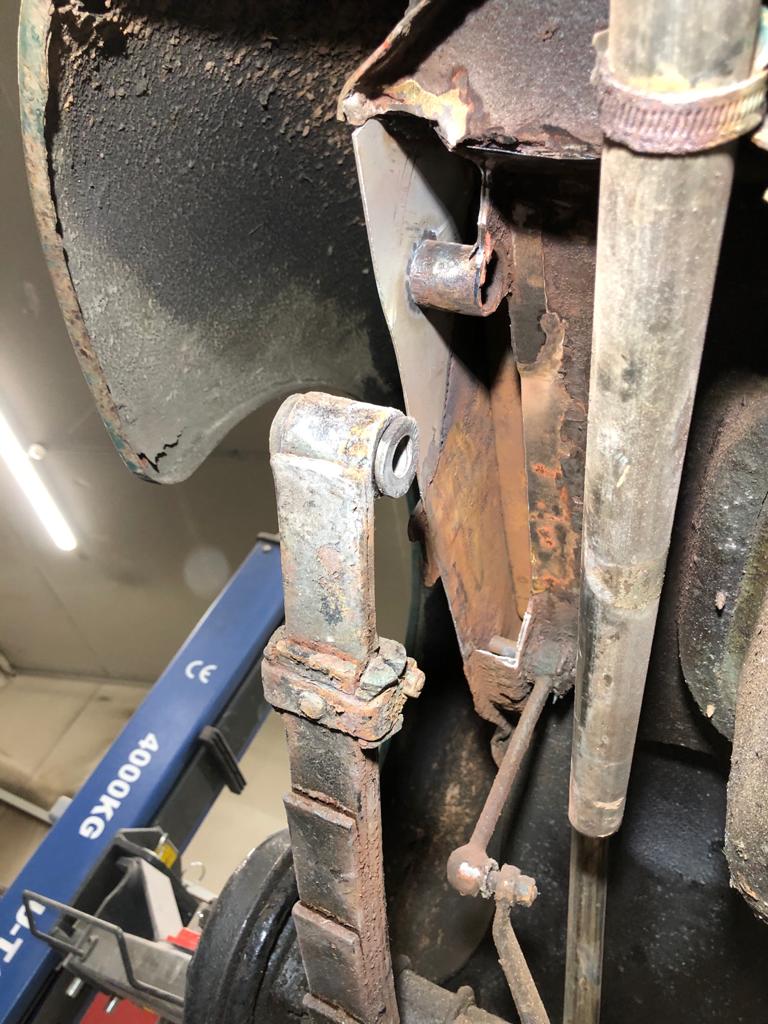
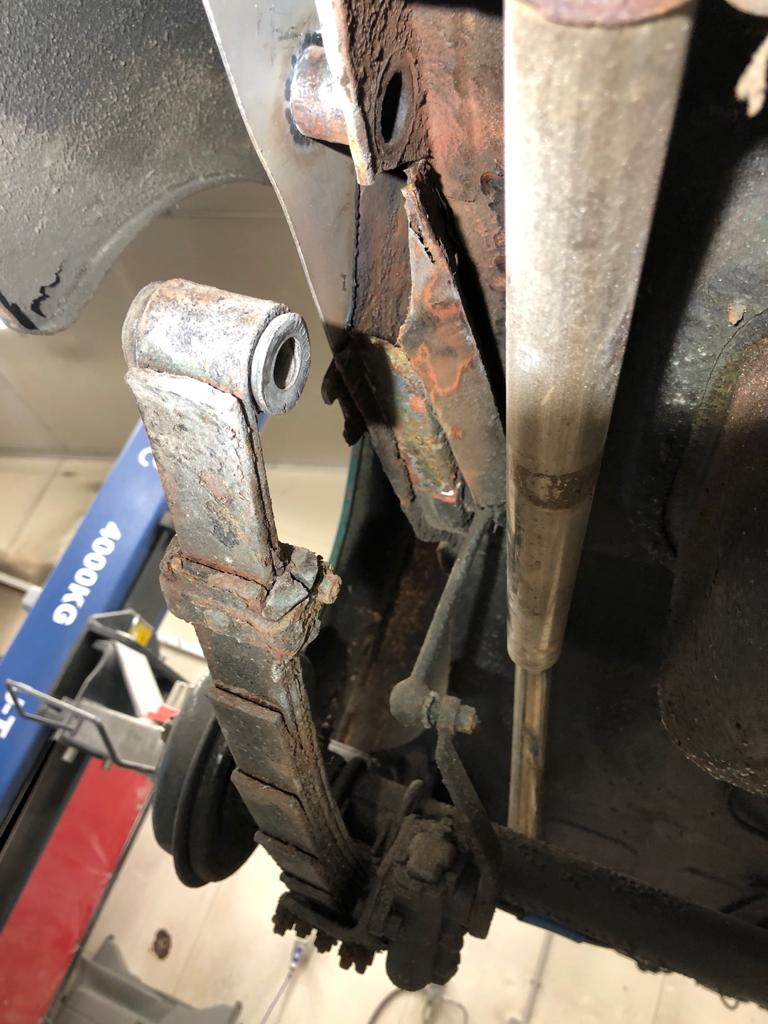
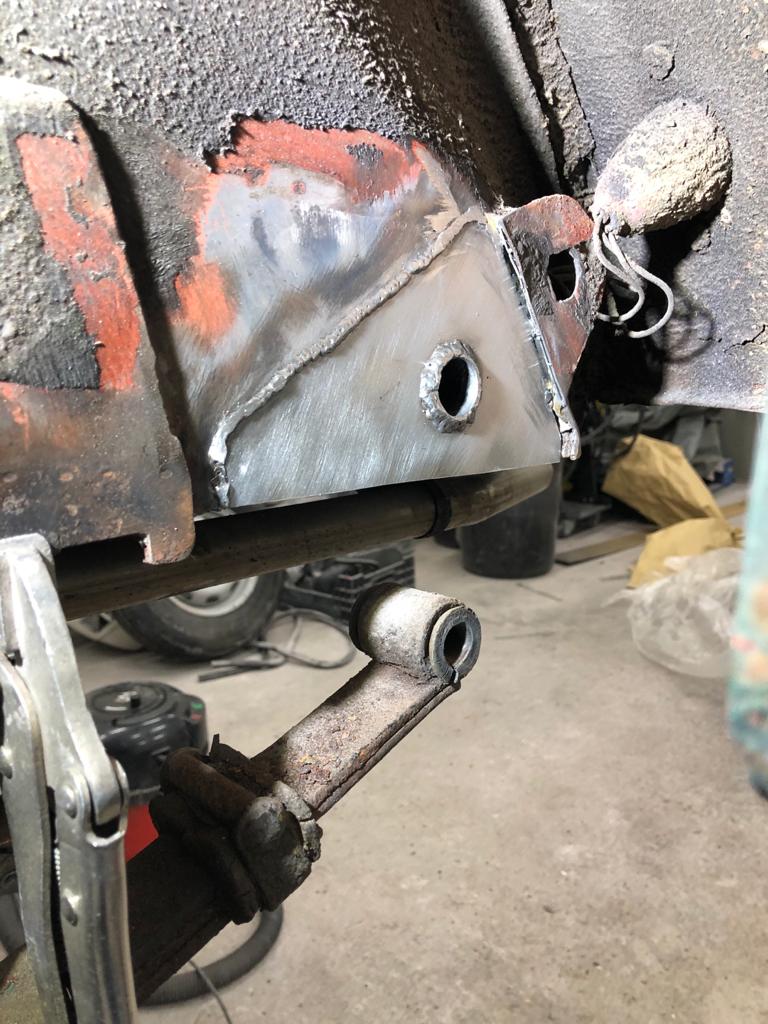
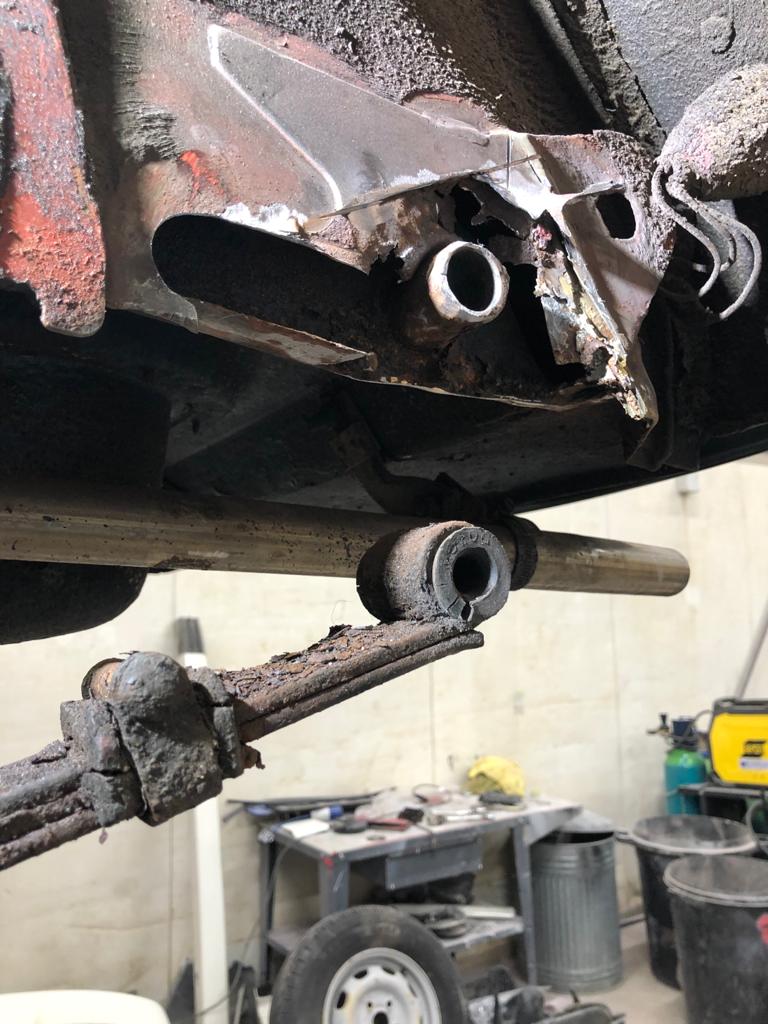
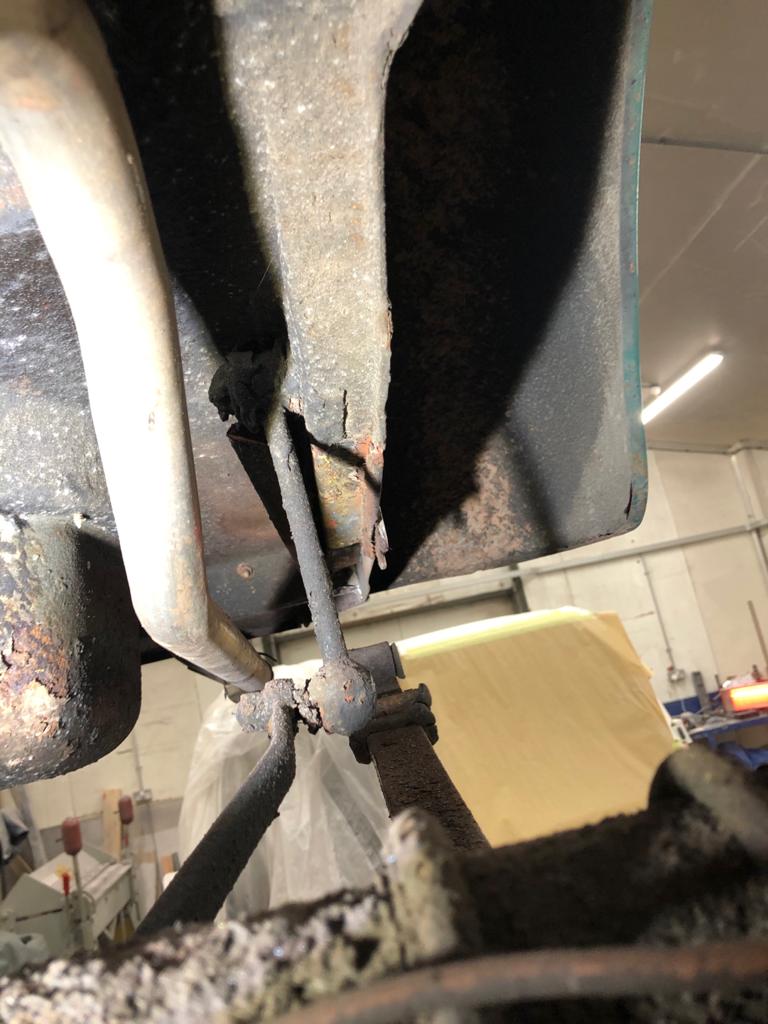
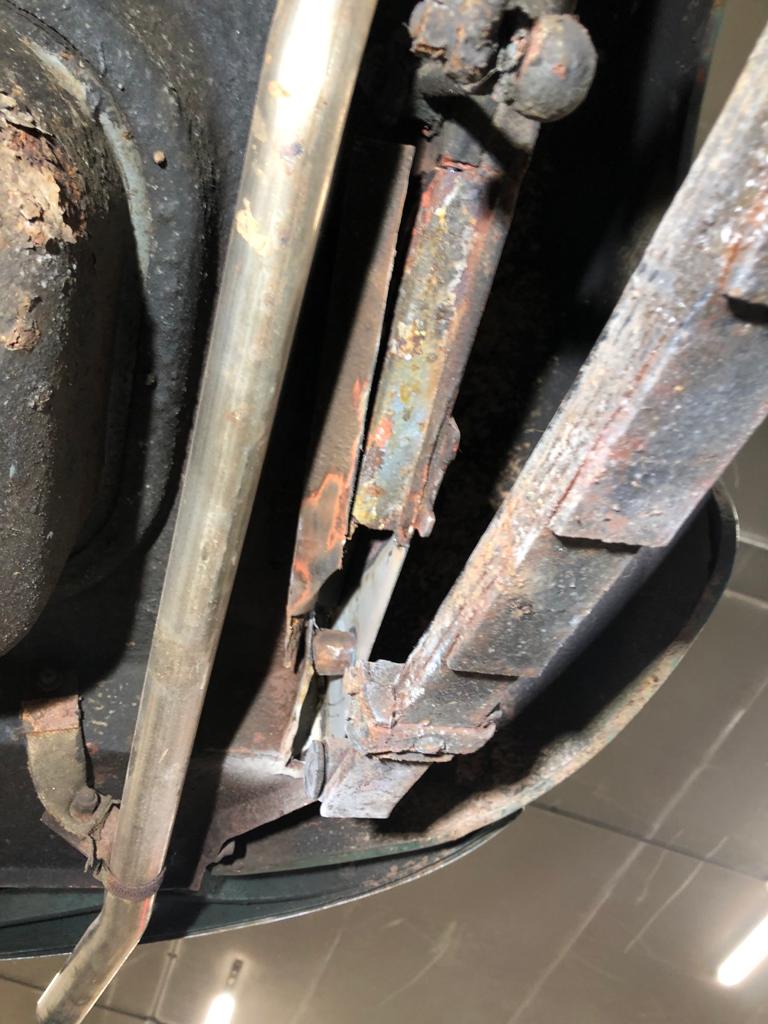
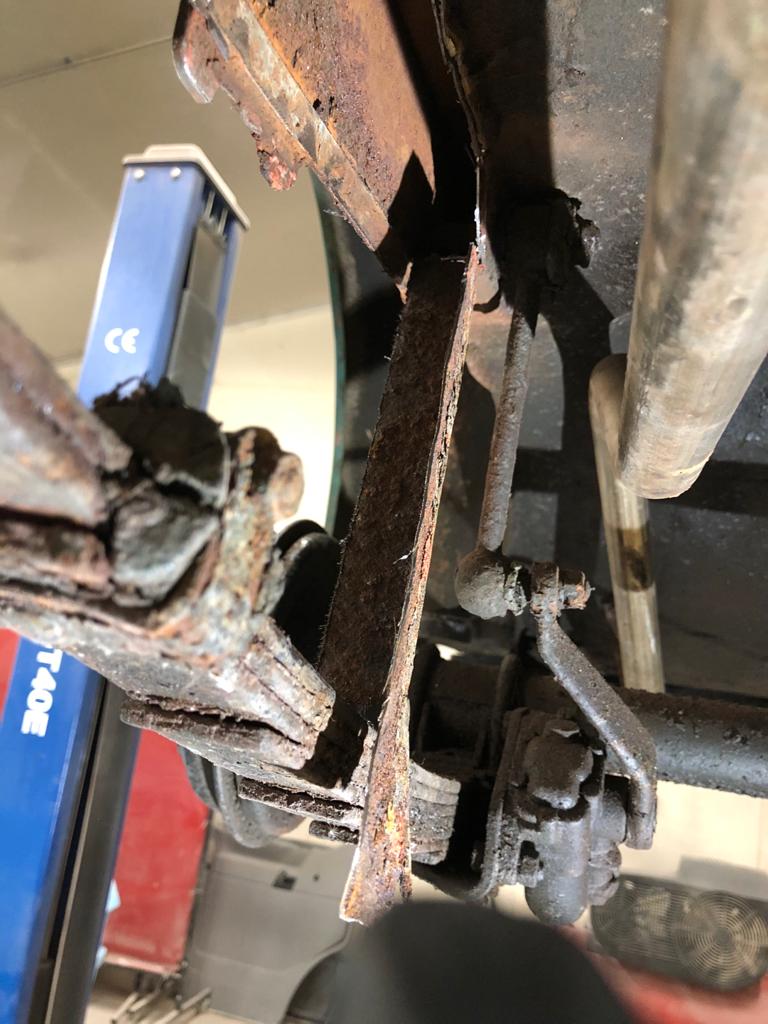
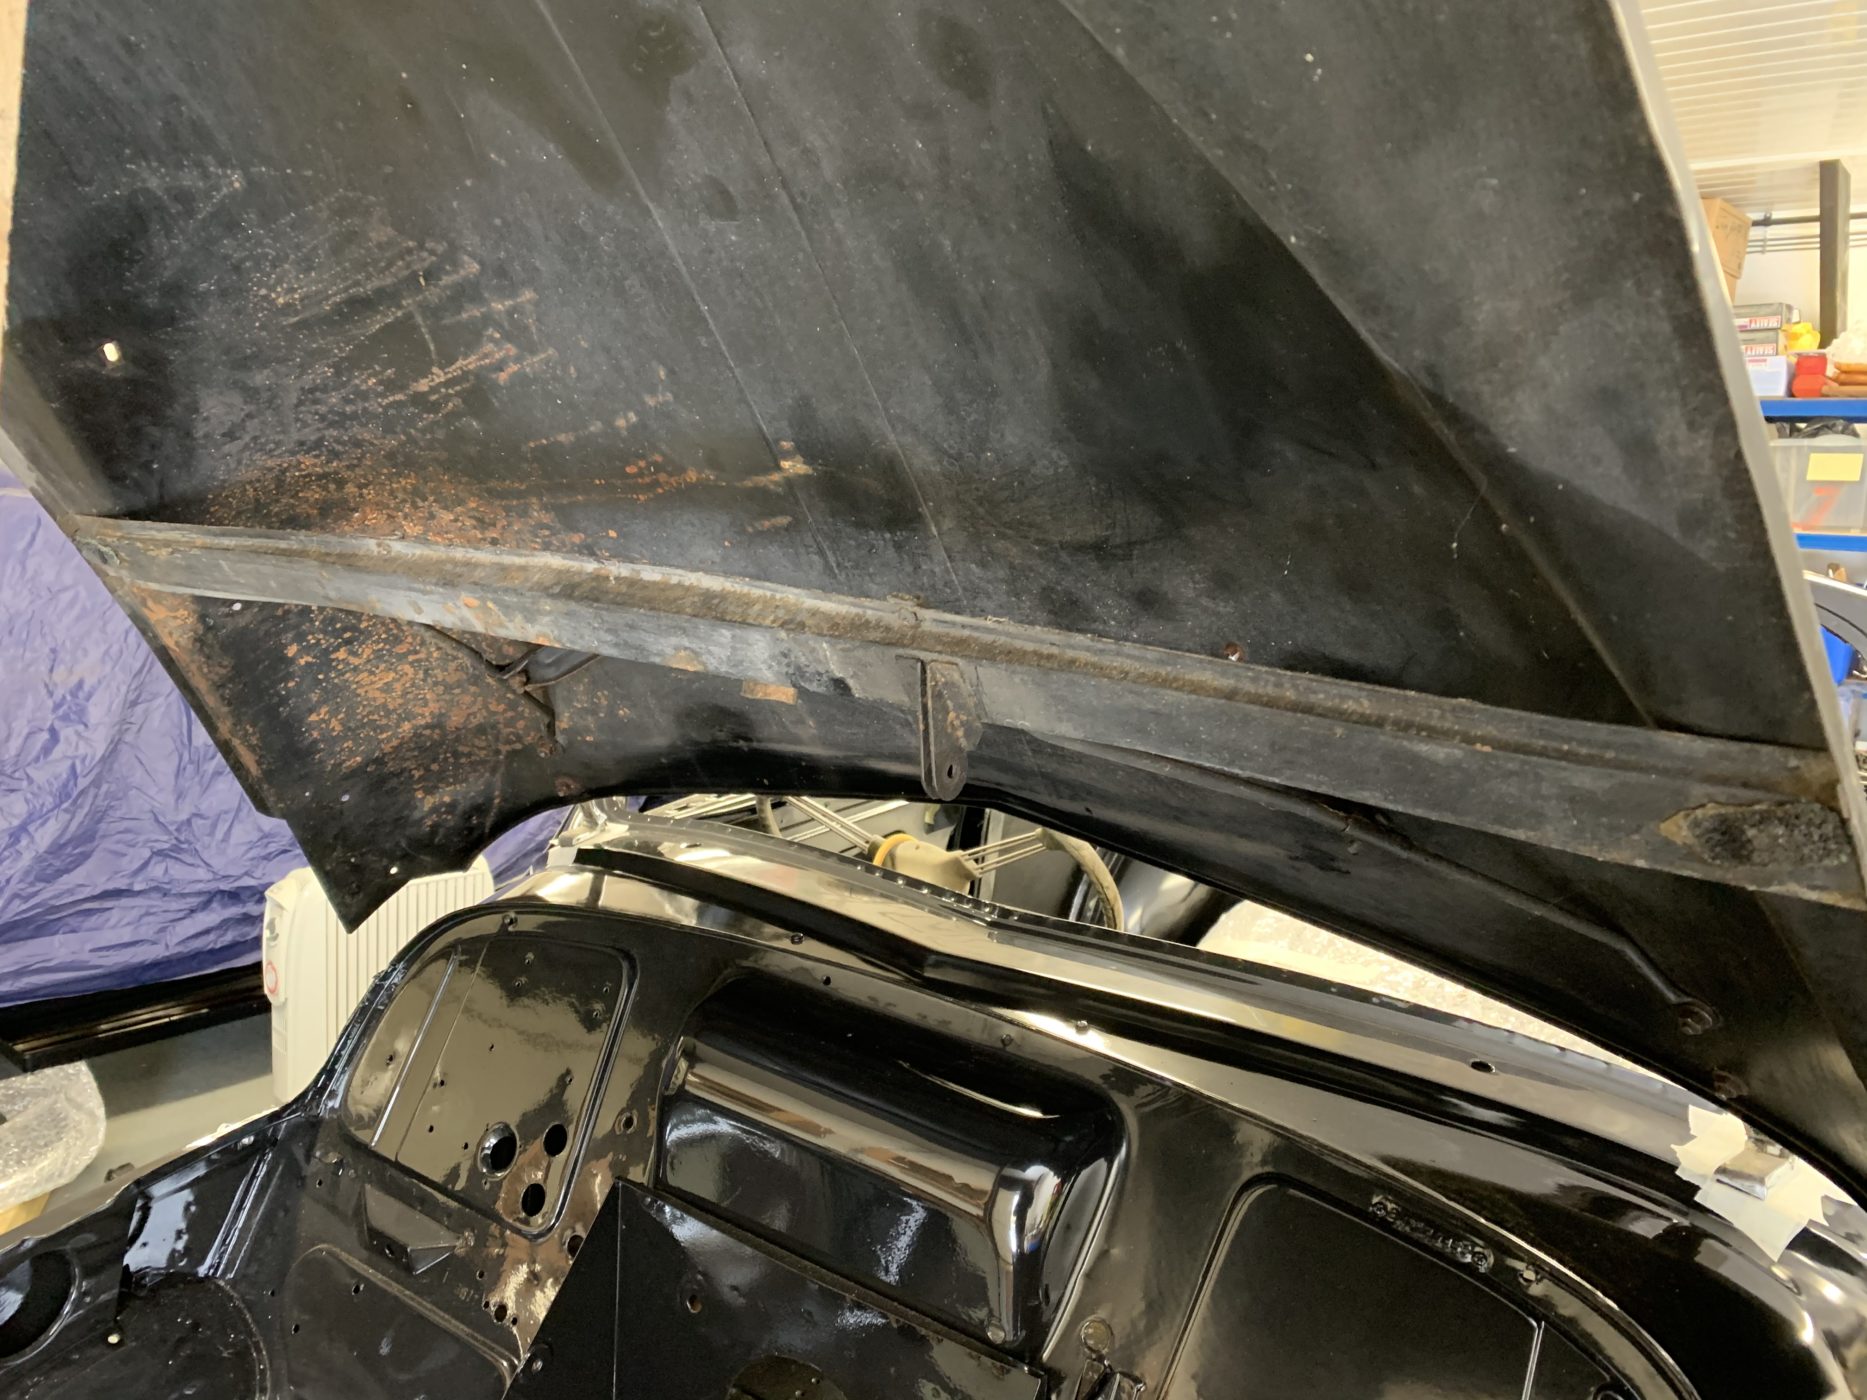
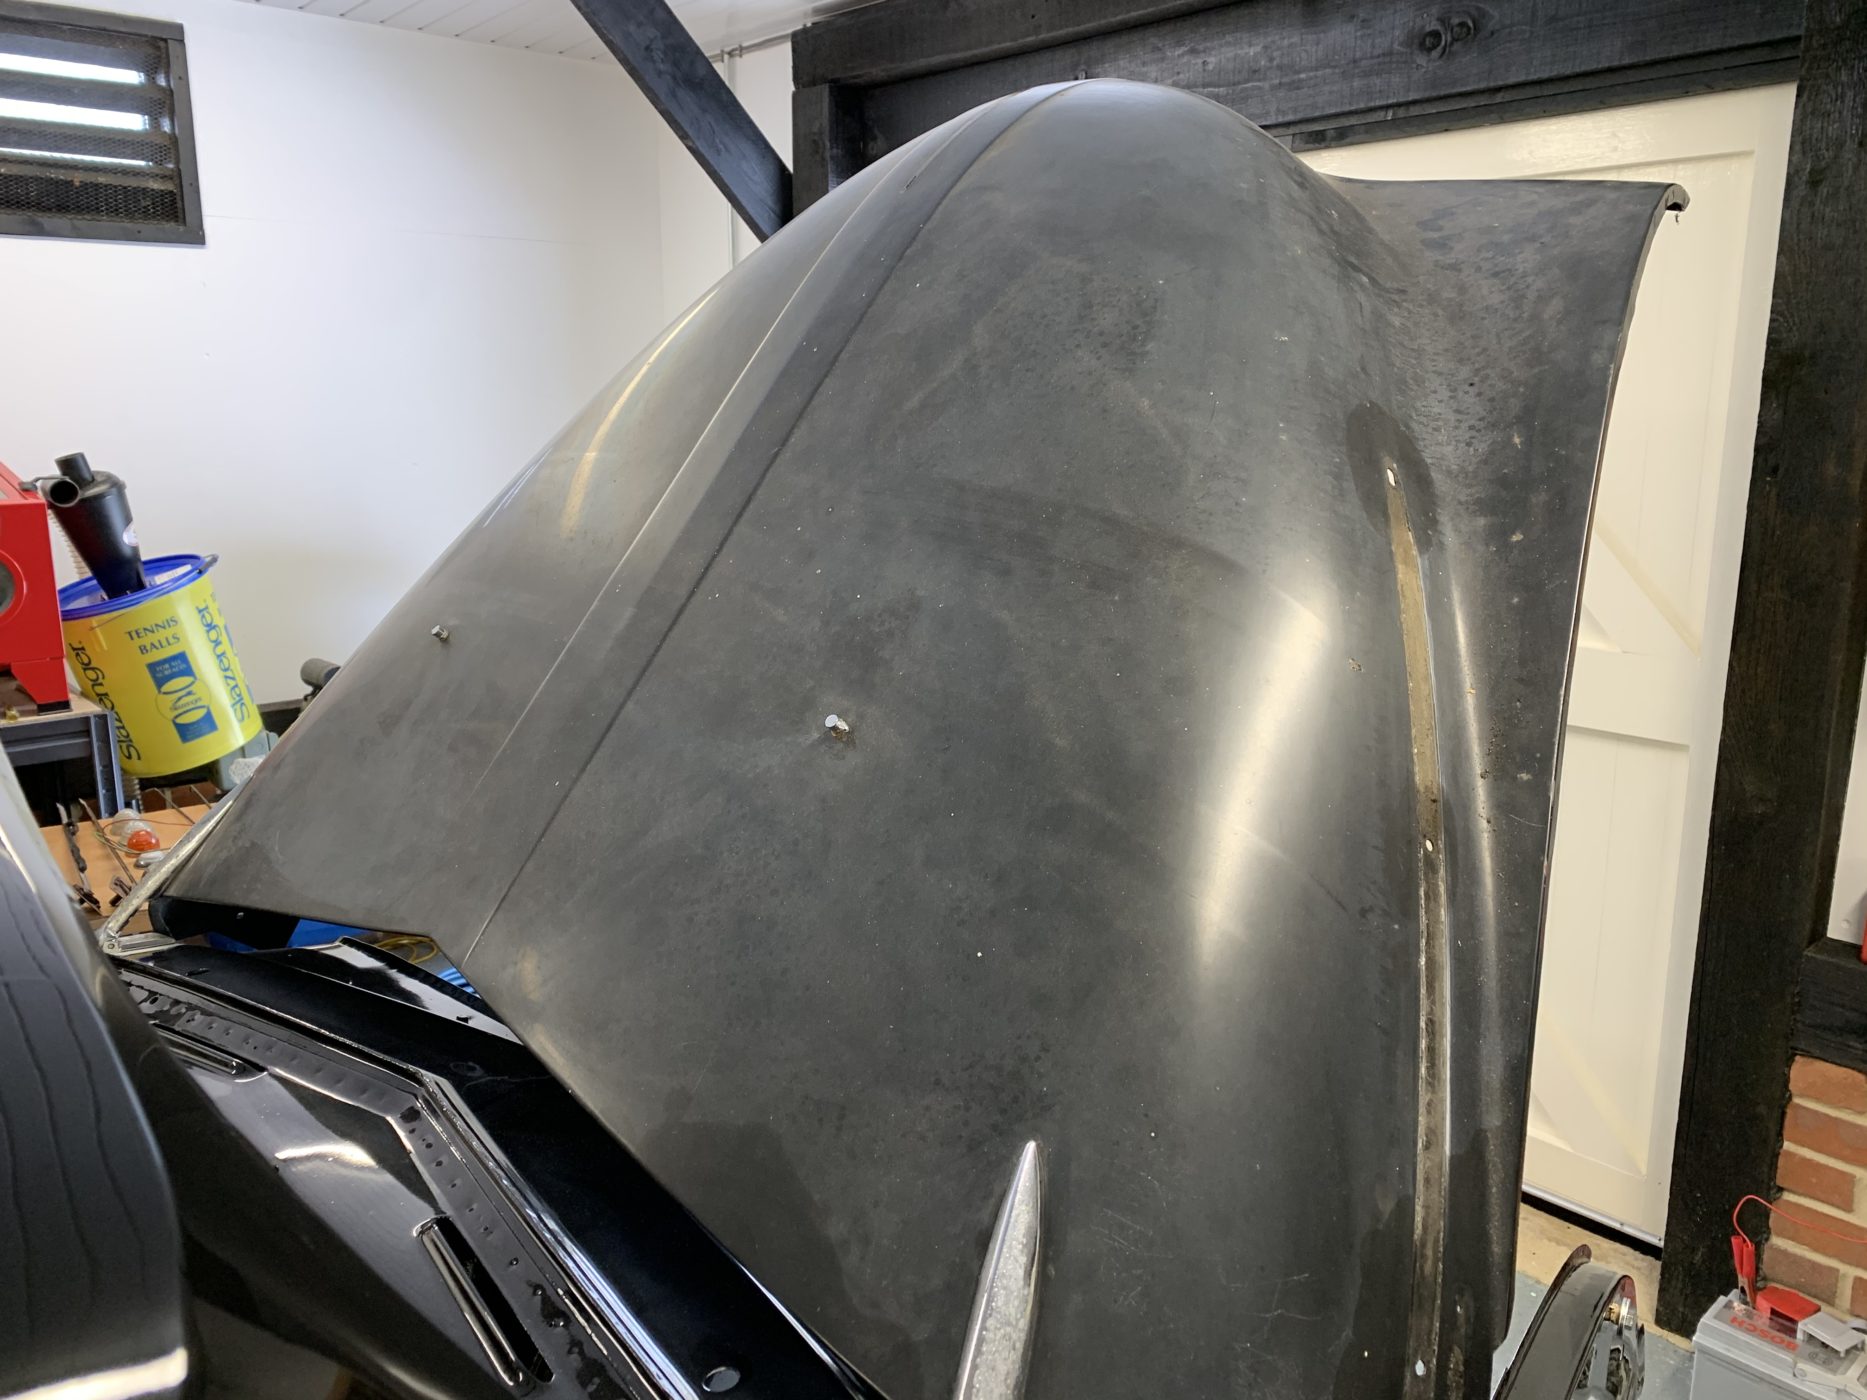
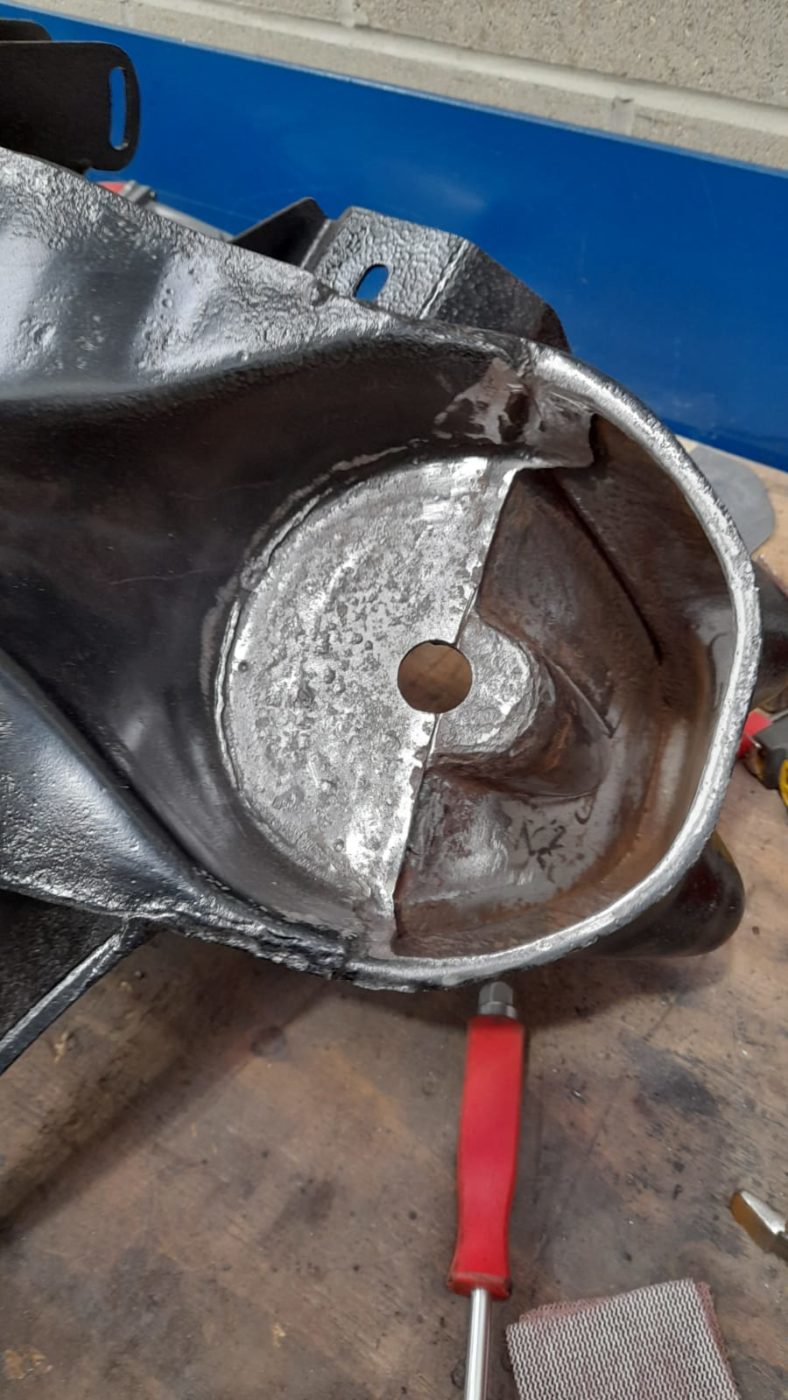
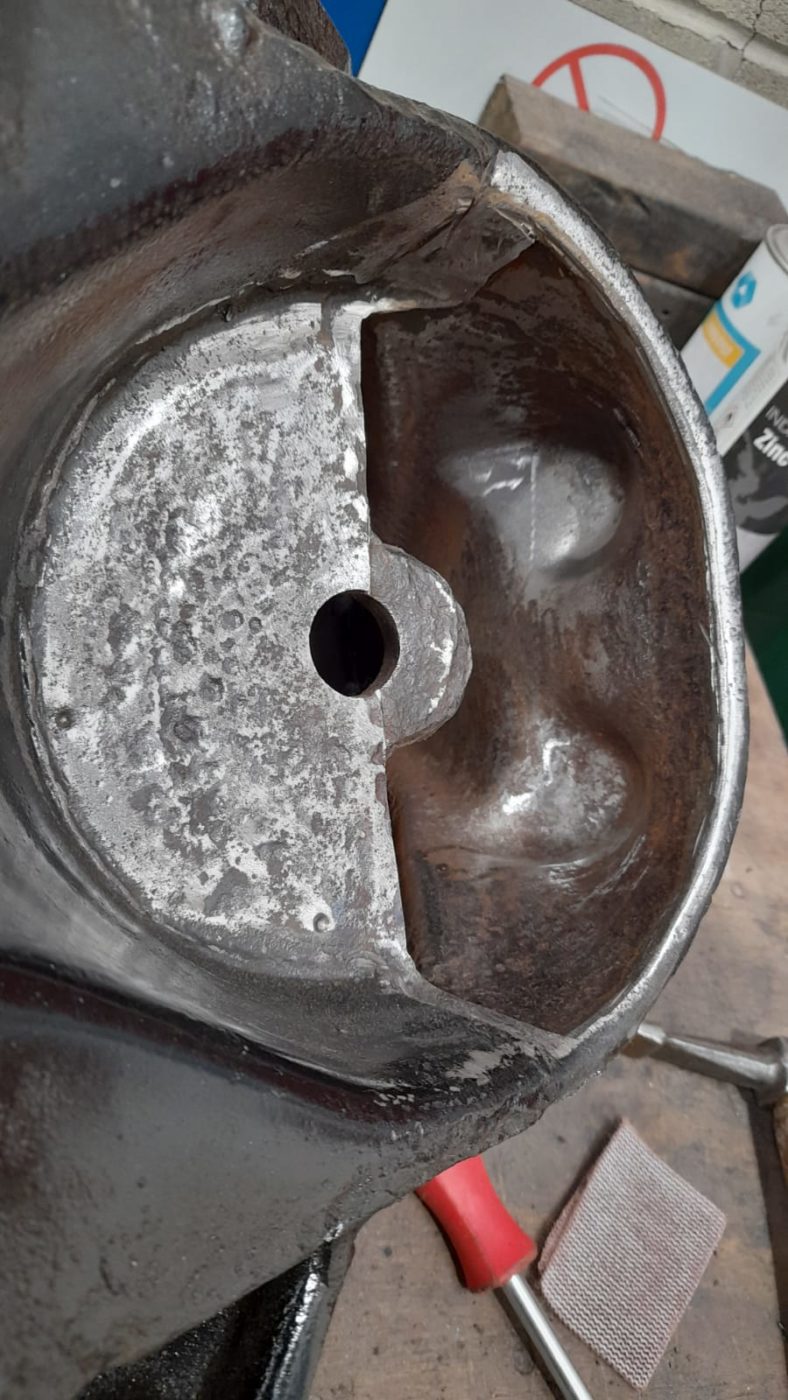
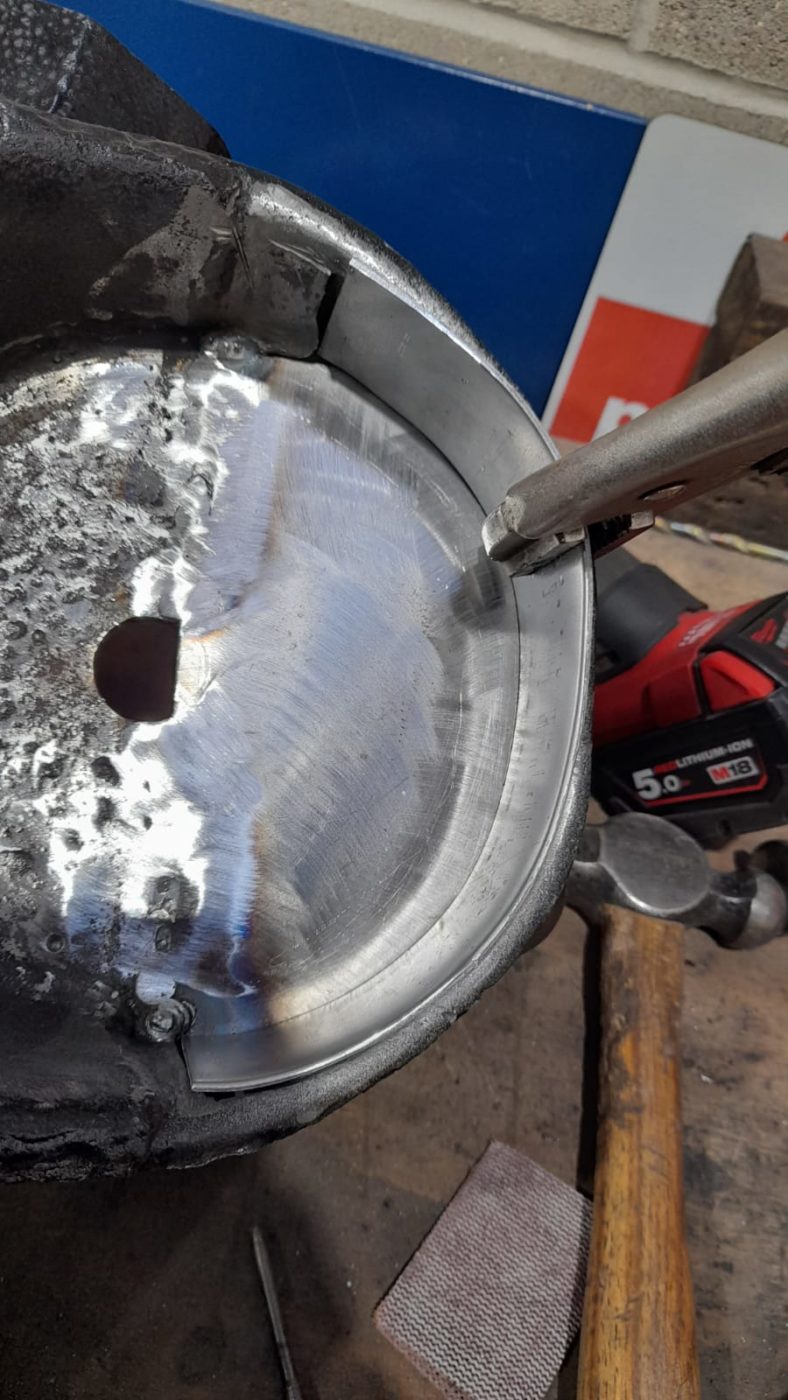
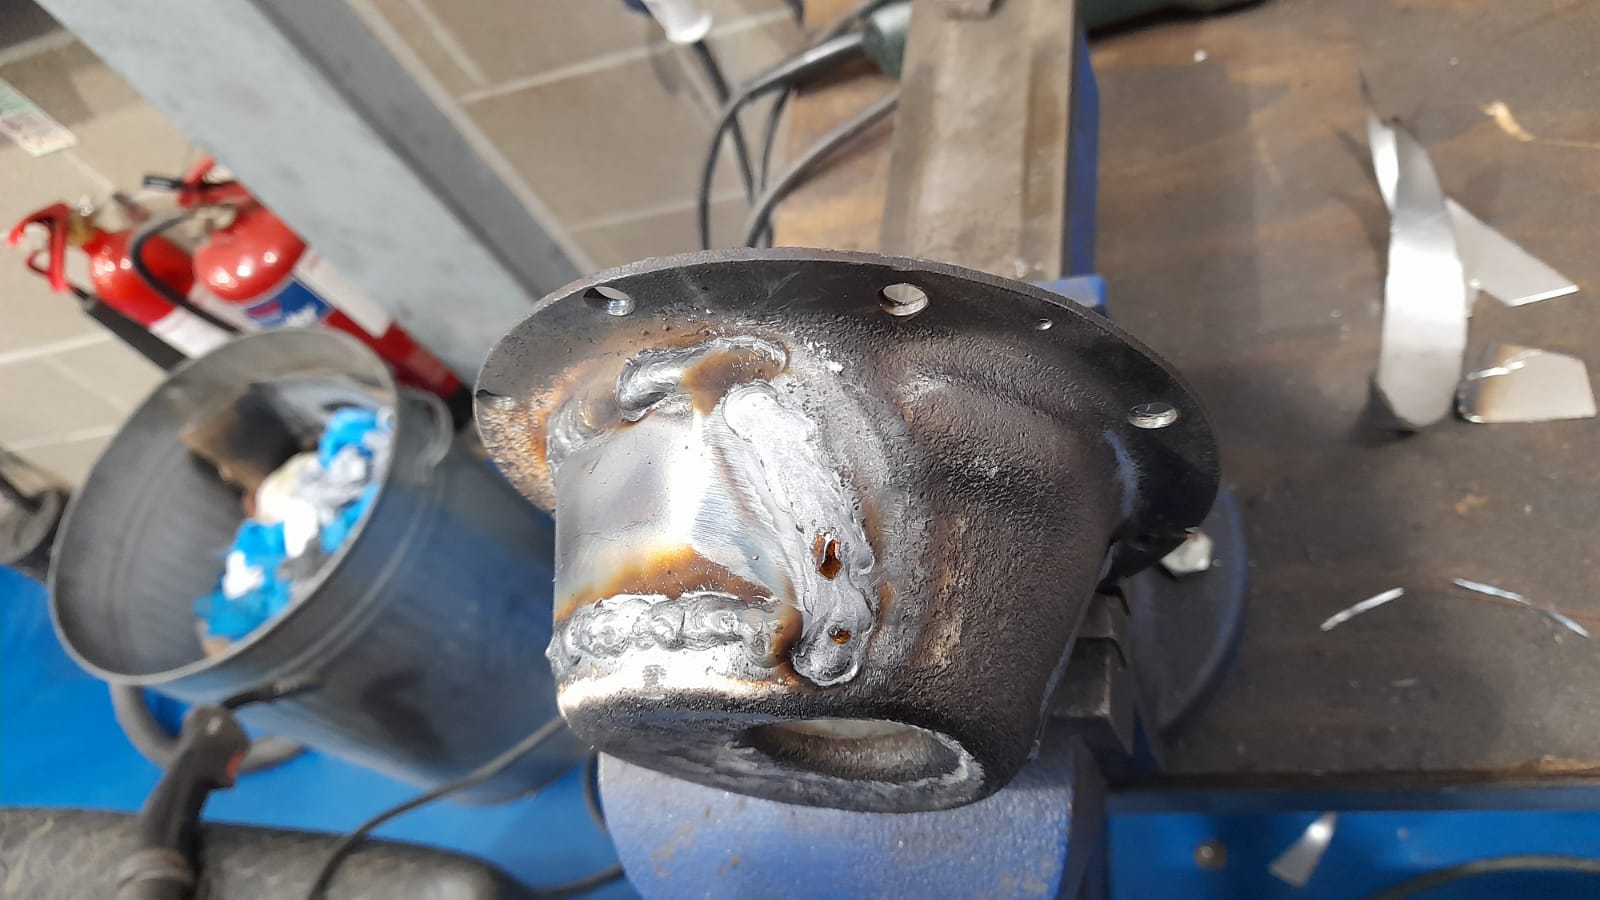
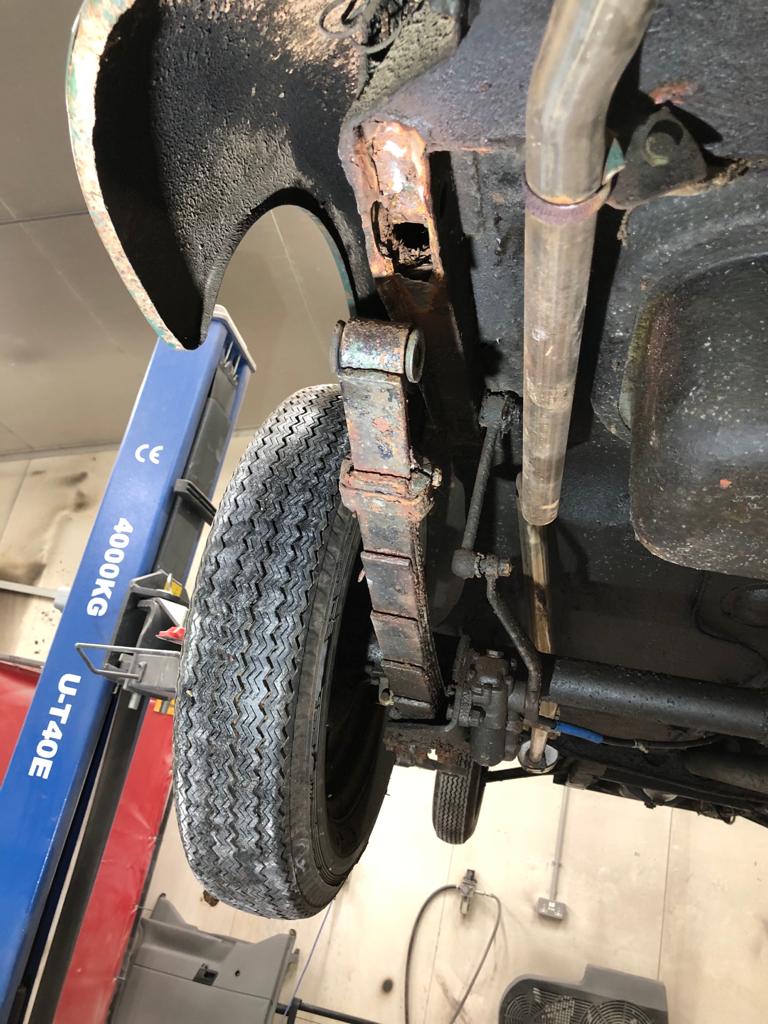
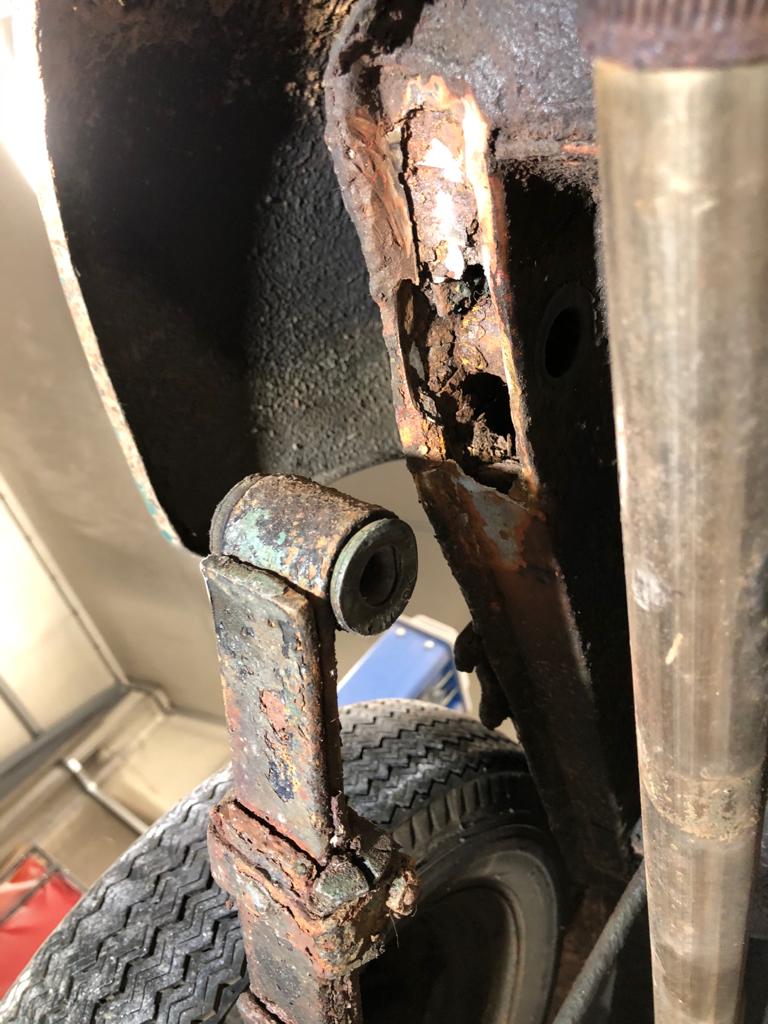
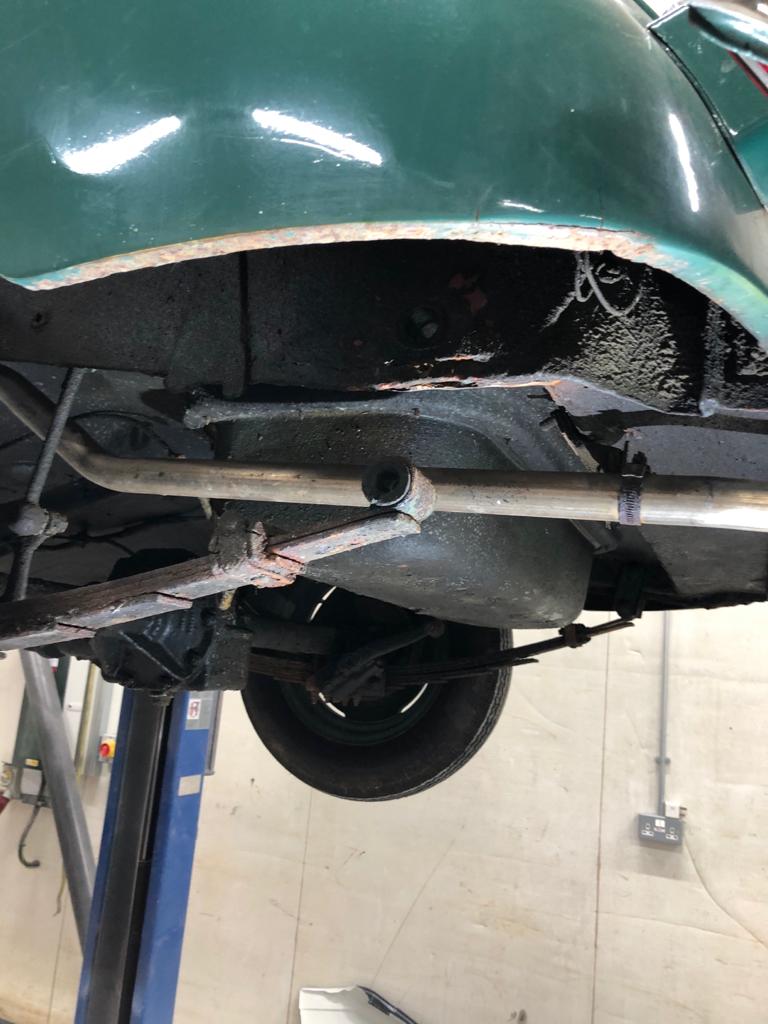
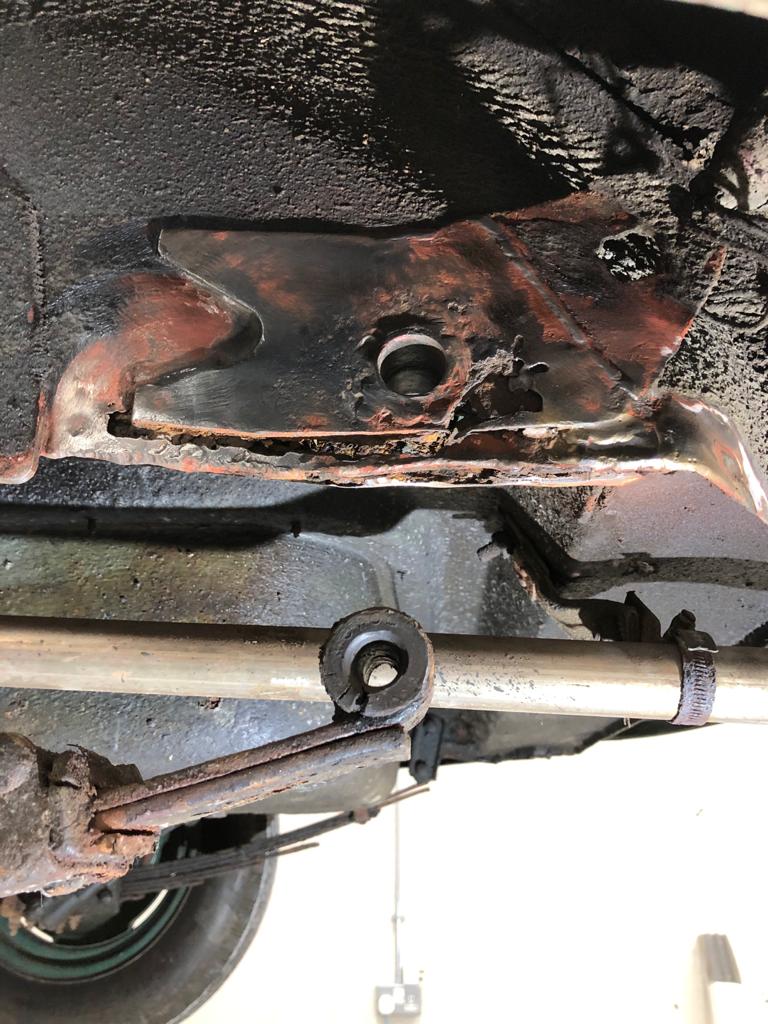
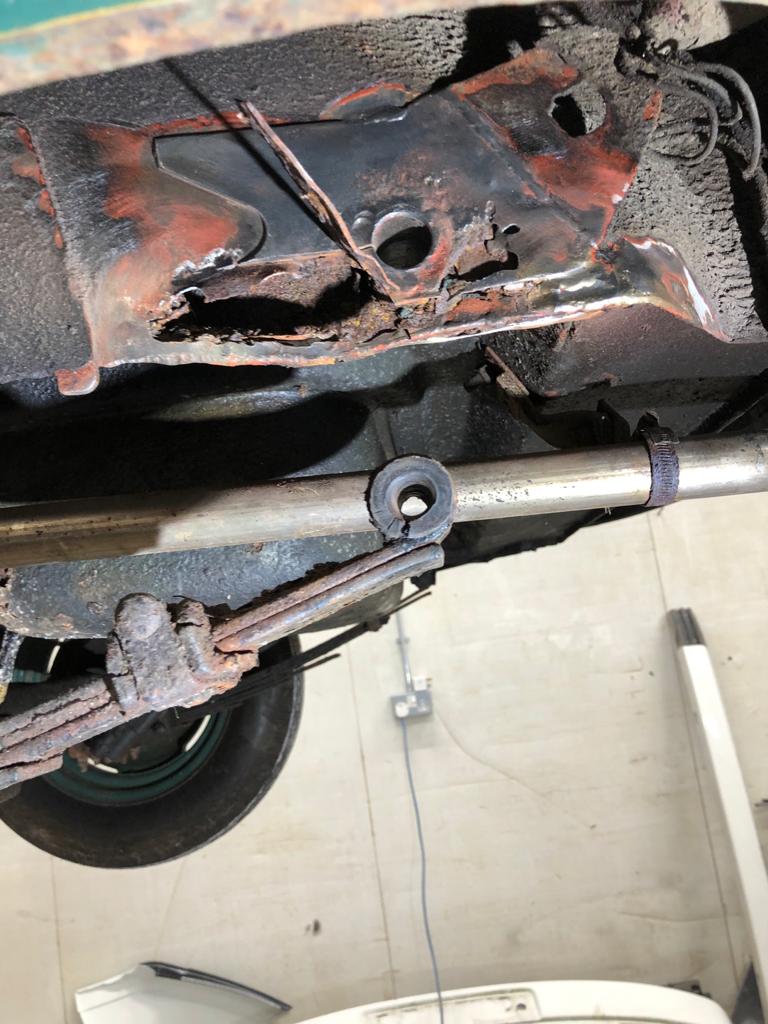
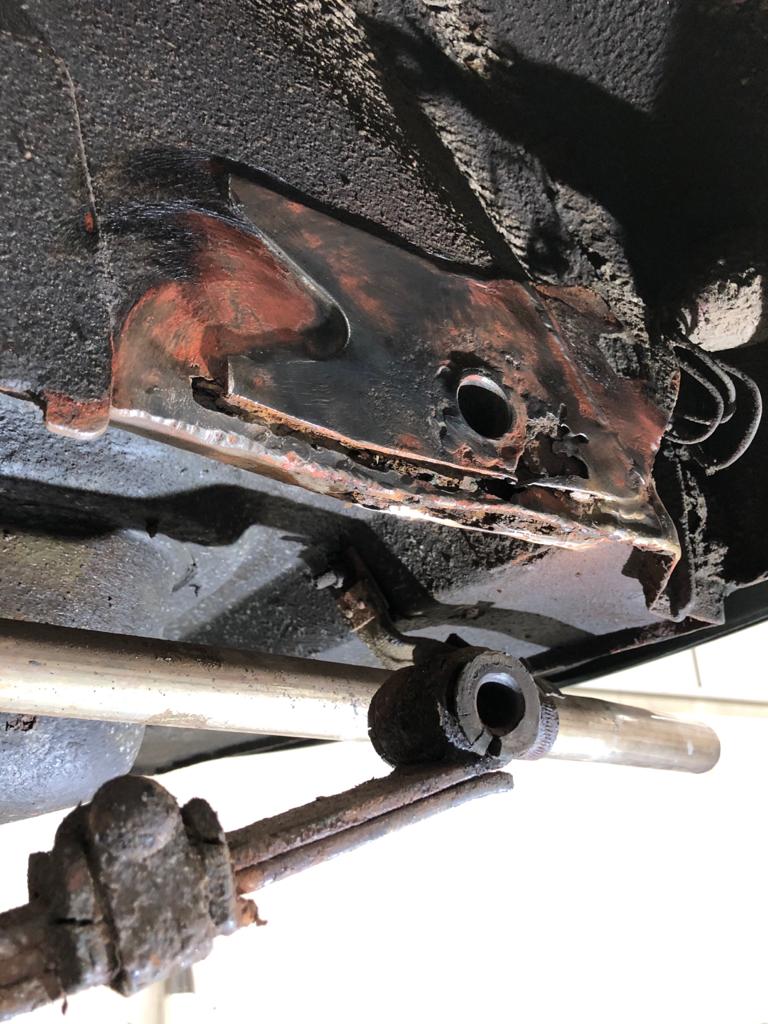
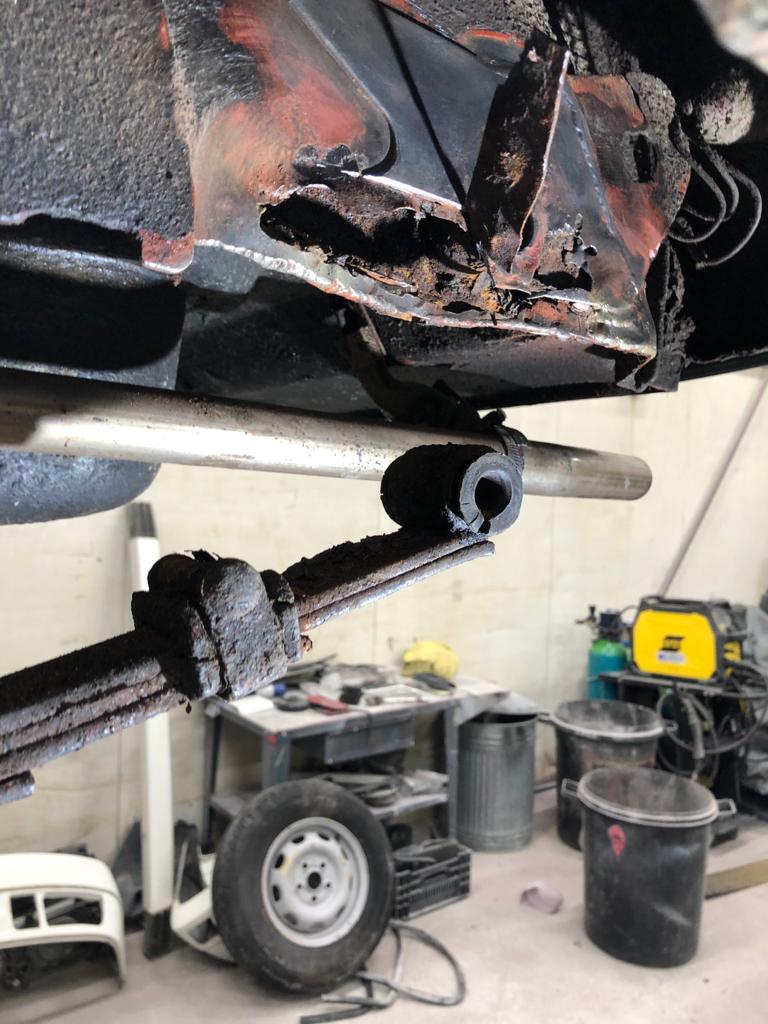
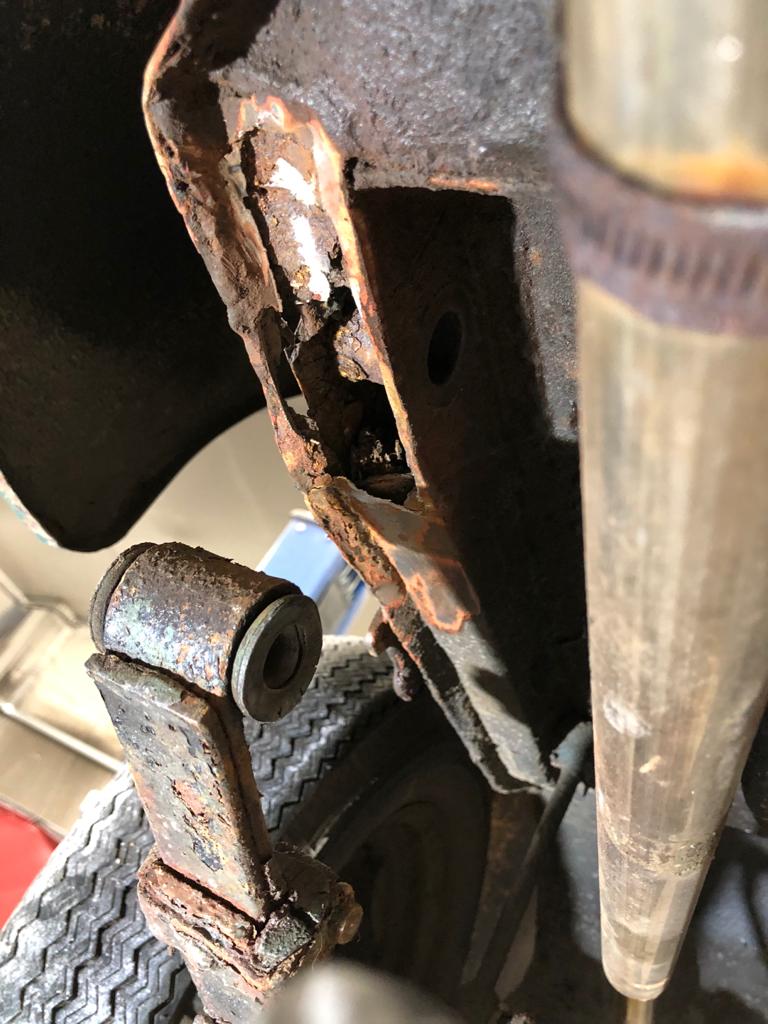
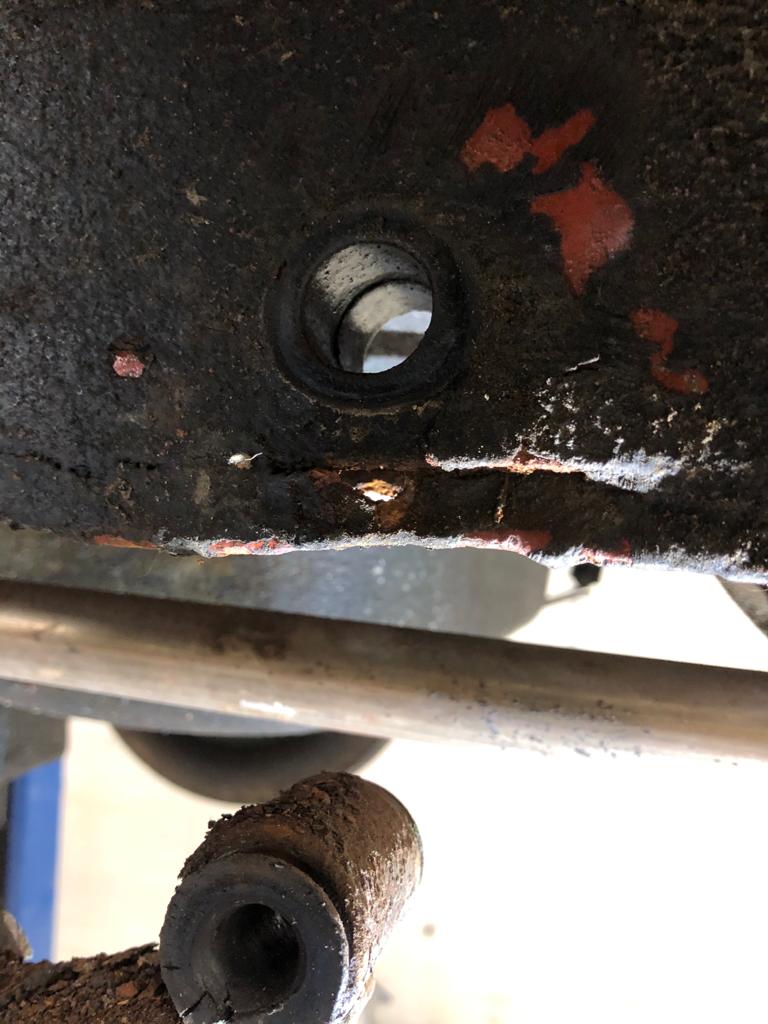
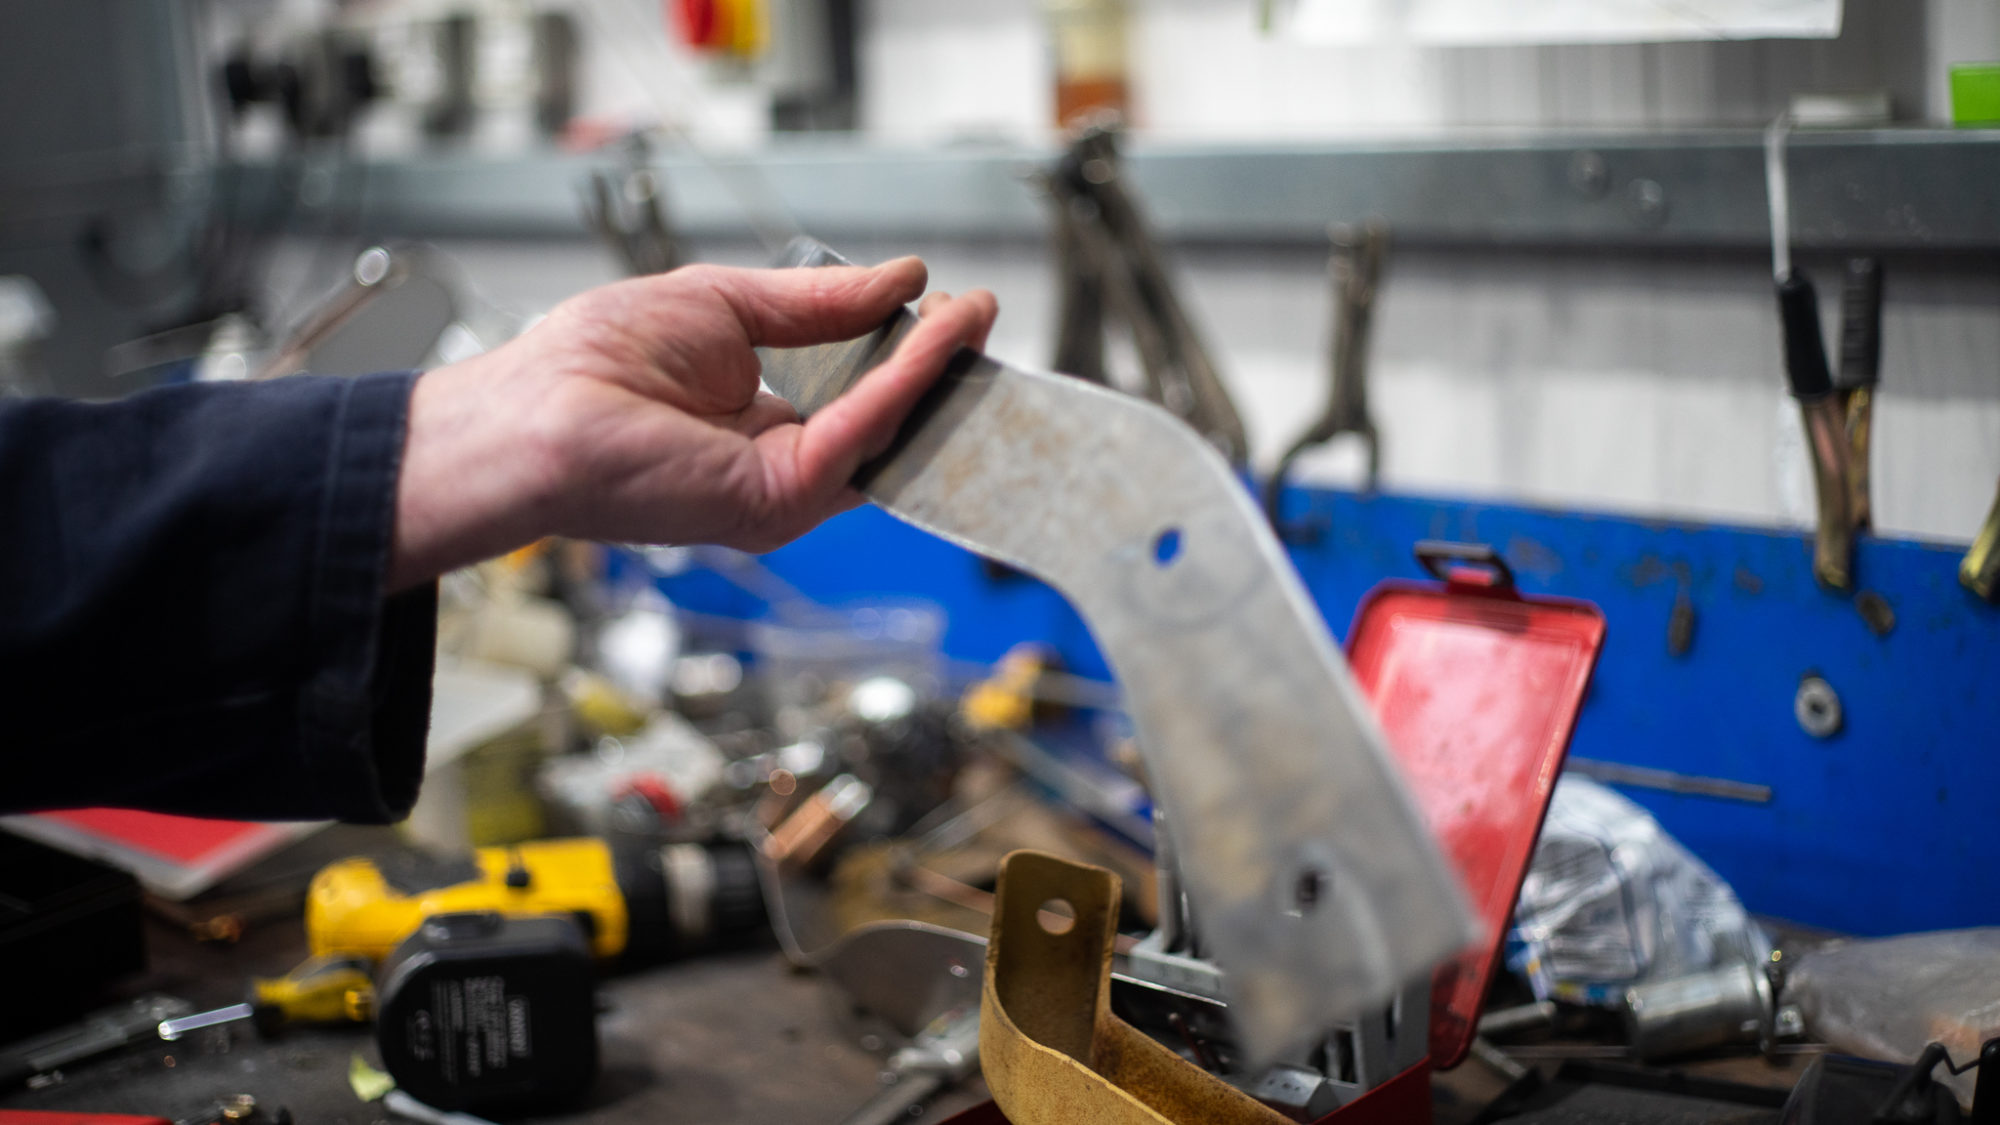
Our new Morris Minor Lowlight has undergone some welding fixes including repairing the leaf spring hanger which had begun to corrode. James soon got to
Our Triumph TR5 has had a bespoke bumper iron made in the workshop to fit underneath behind the front wheel. One of our technicians made
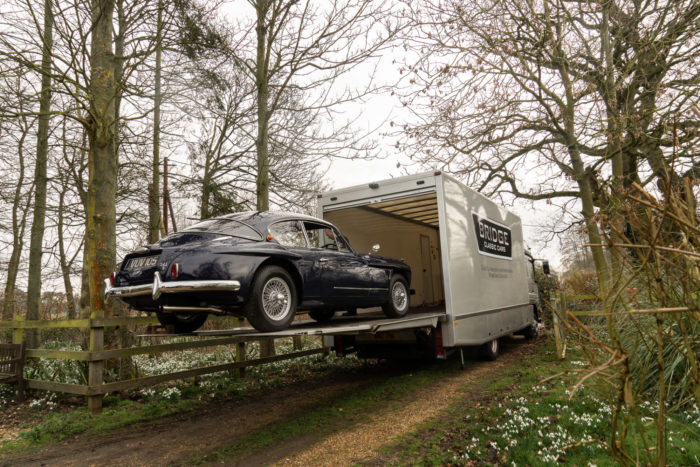
Late one evening last week, a Russell’s transporter lorry arrived with two new additions to the Bridge Classic Car family, one of which being this
James has dedicated the majority of his time to resurrecting our 1991 VW T4 Transporter which has been suffering from corrosion damage and rust. The
Our fantastic blue 1998 TVR Chimaera initially came in for a trim restoration and service however during the service, we’ve noticed some more serious issues
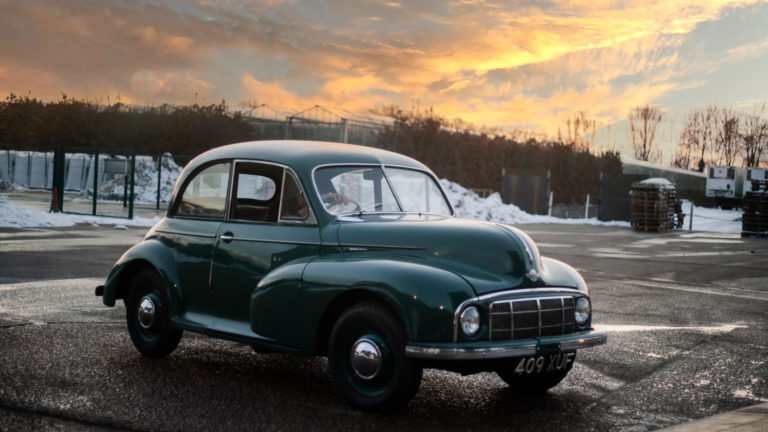
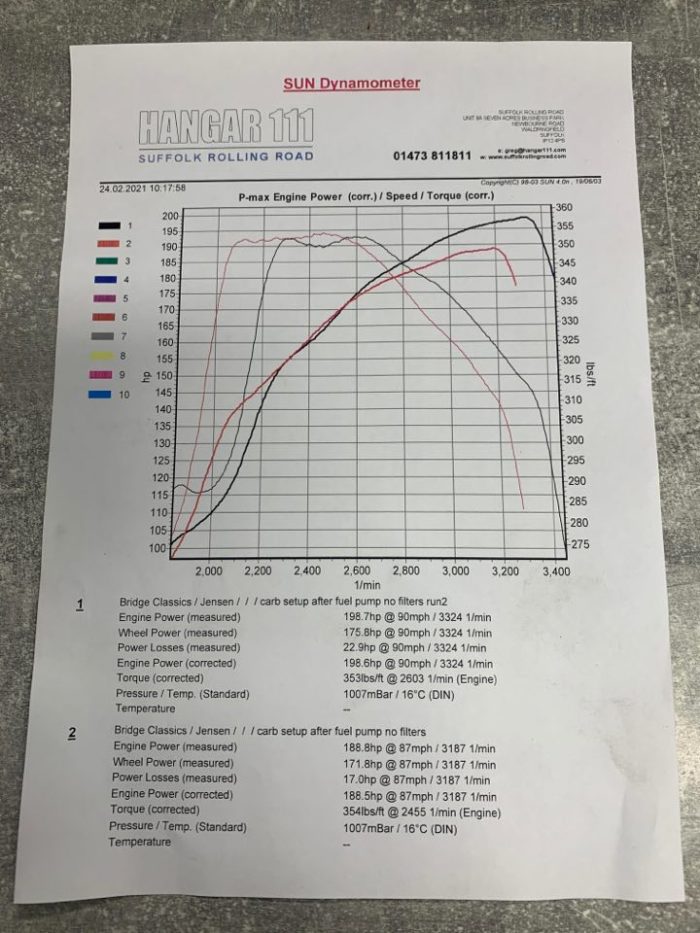
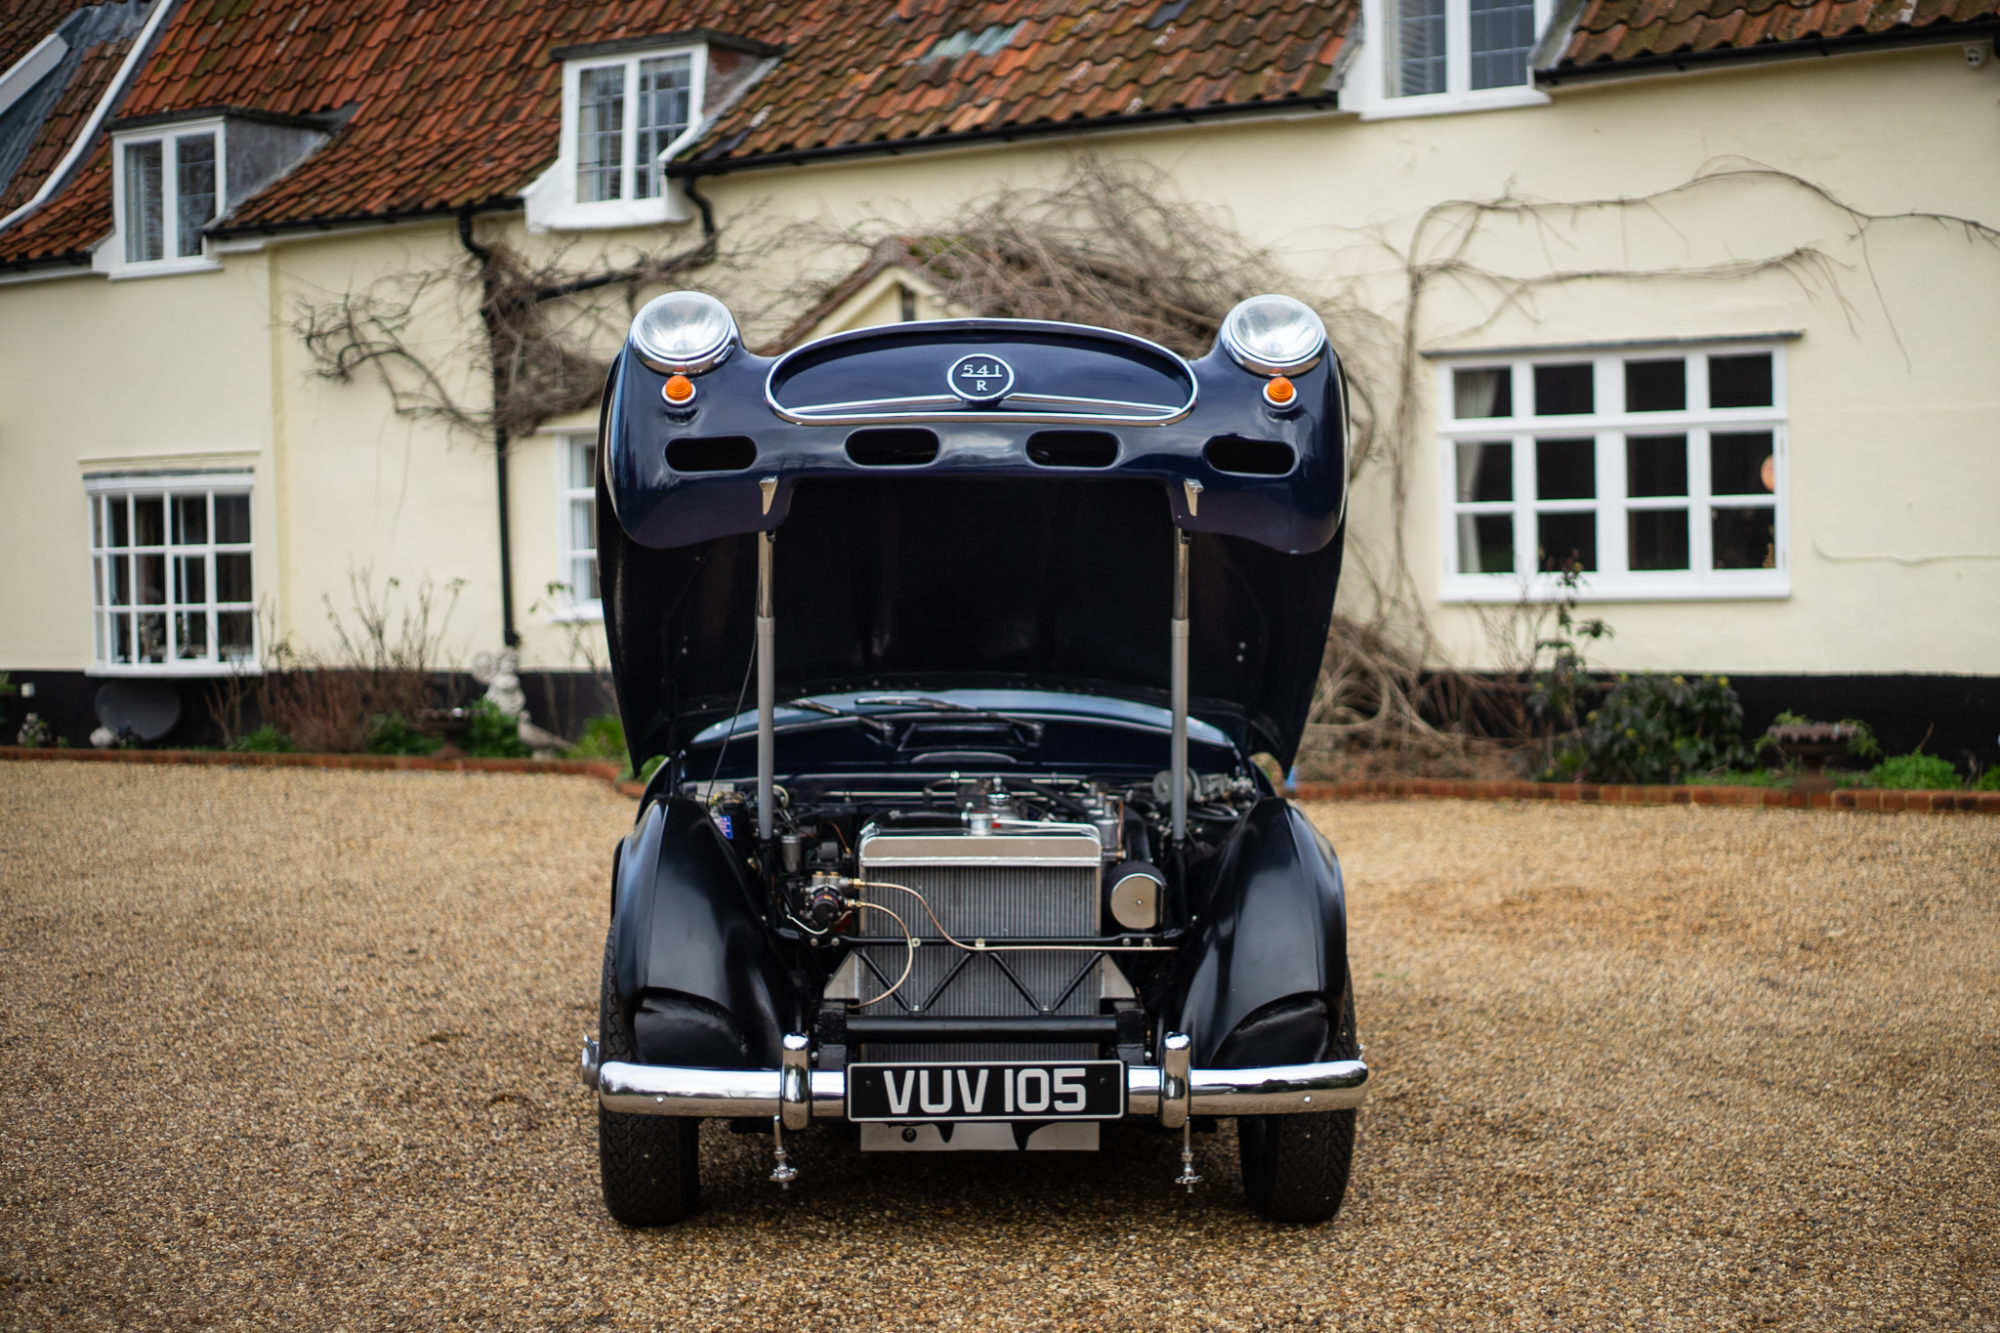
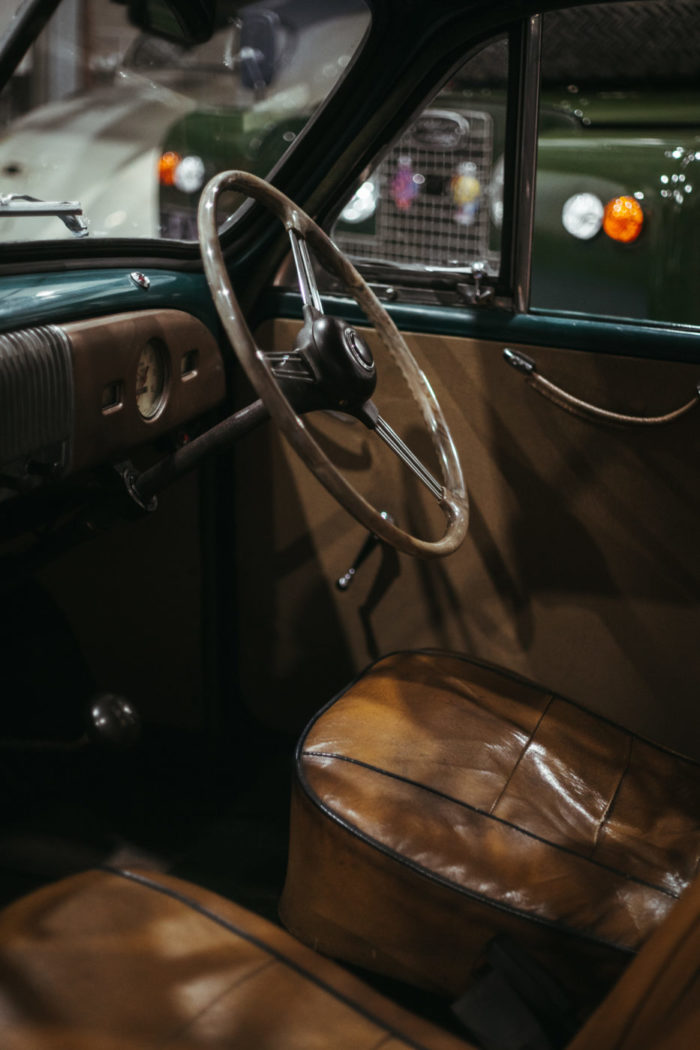
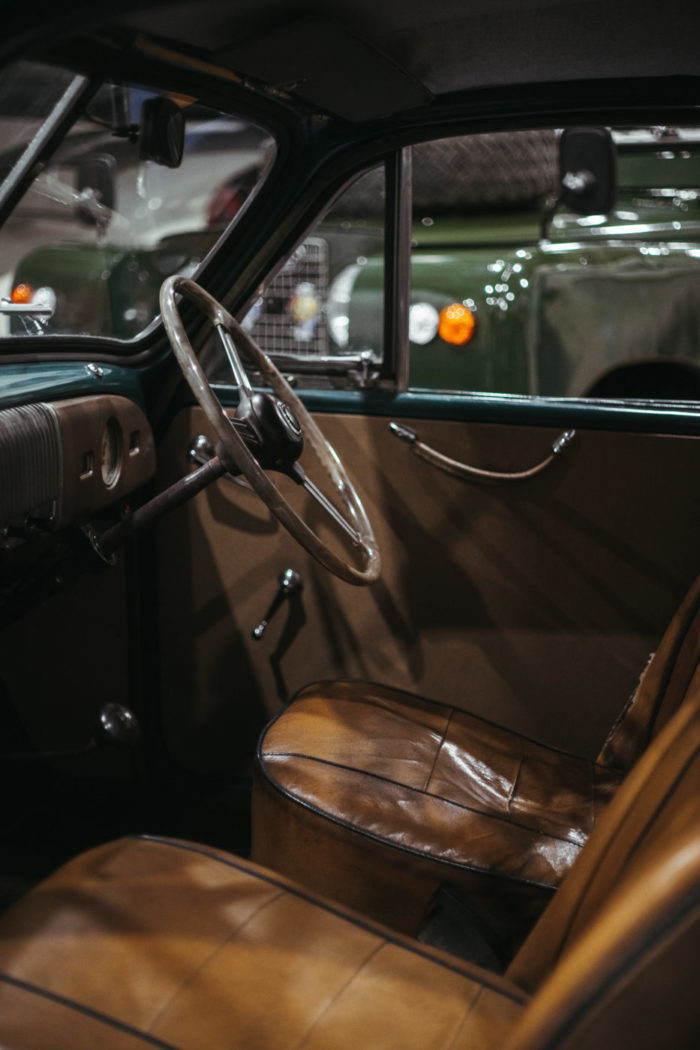
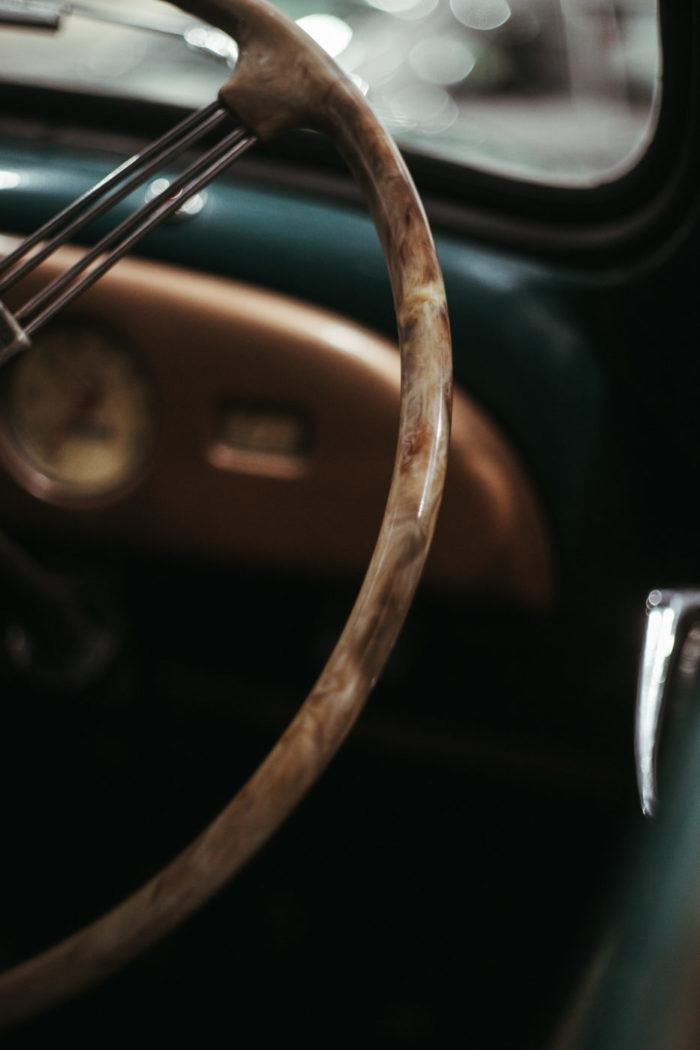
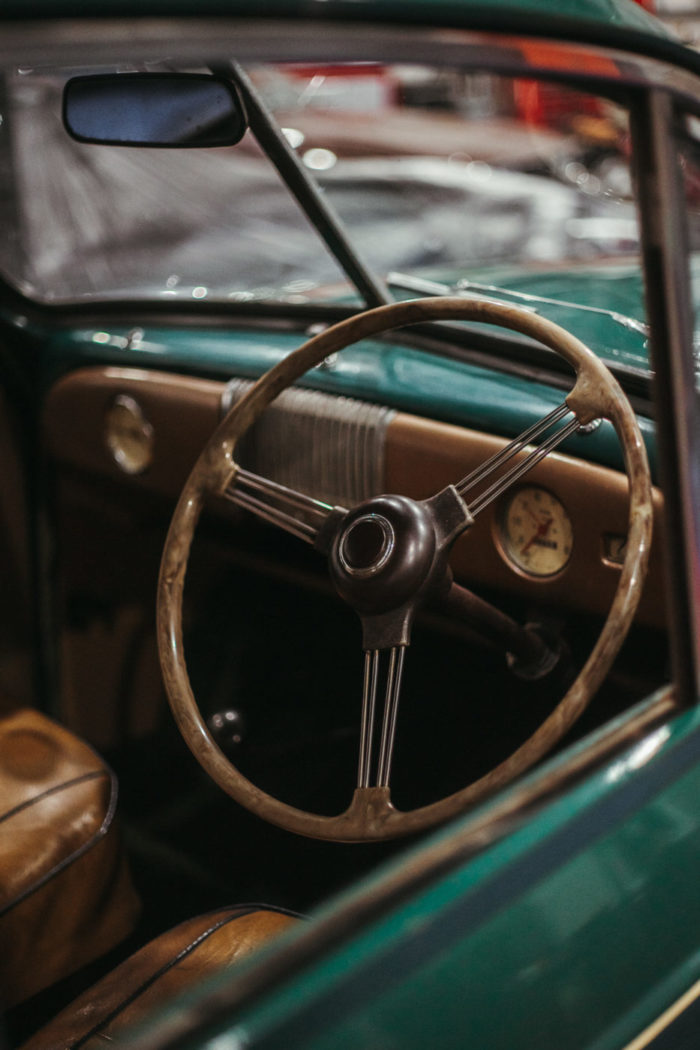
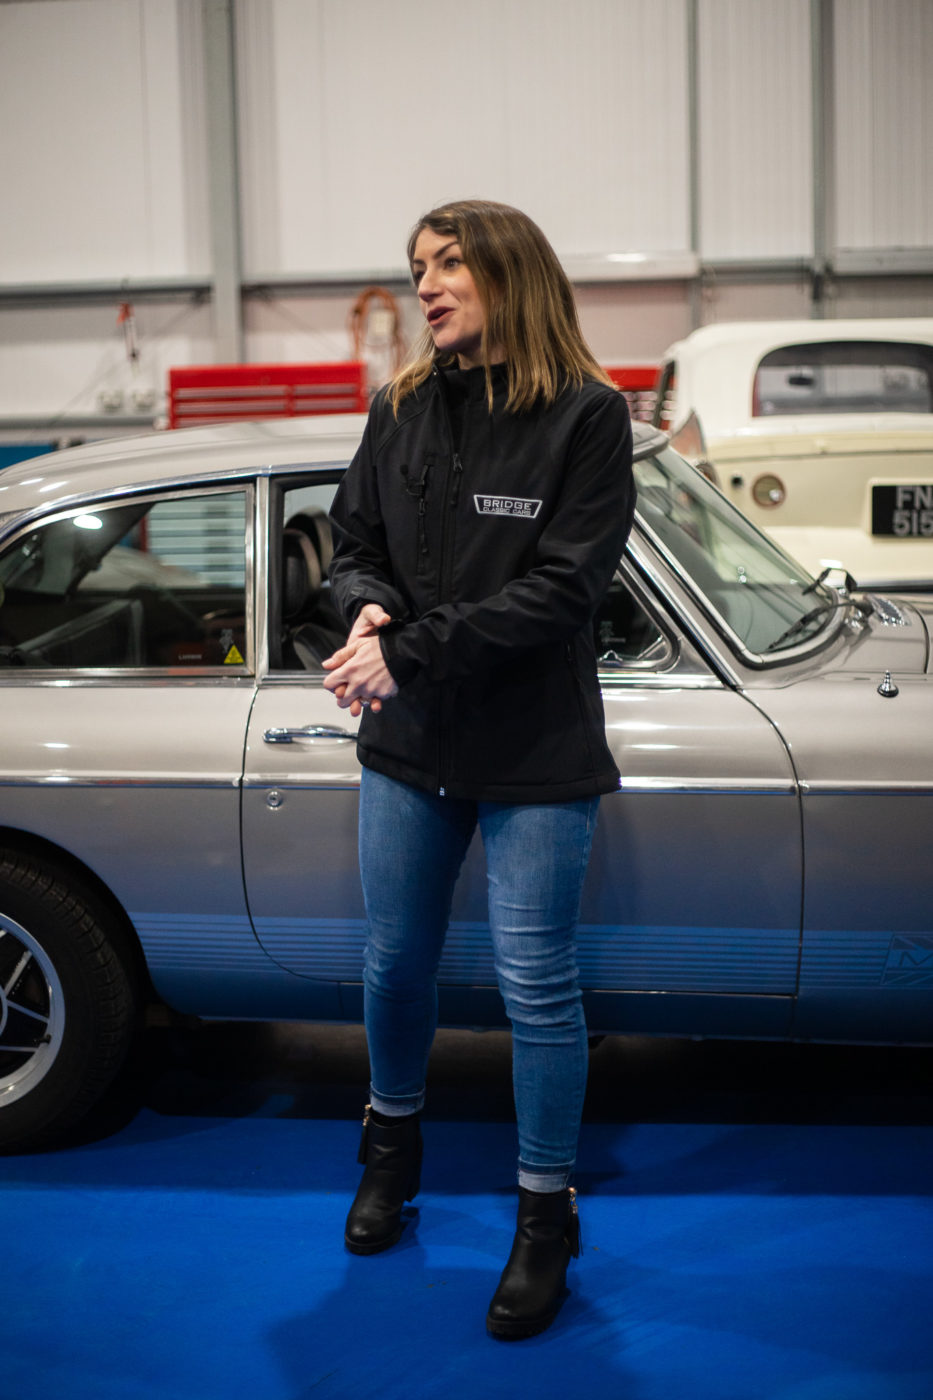
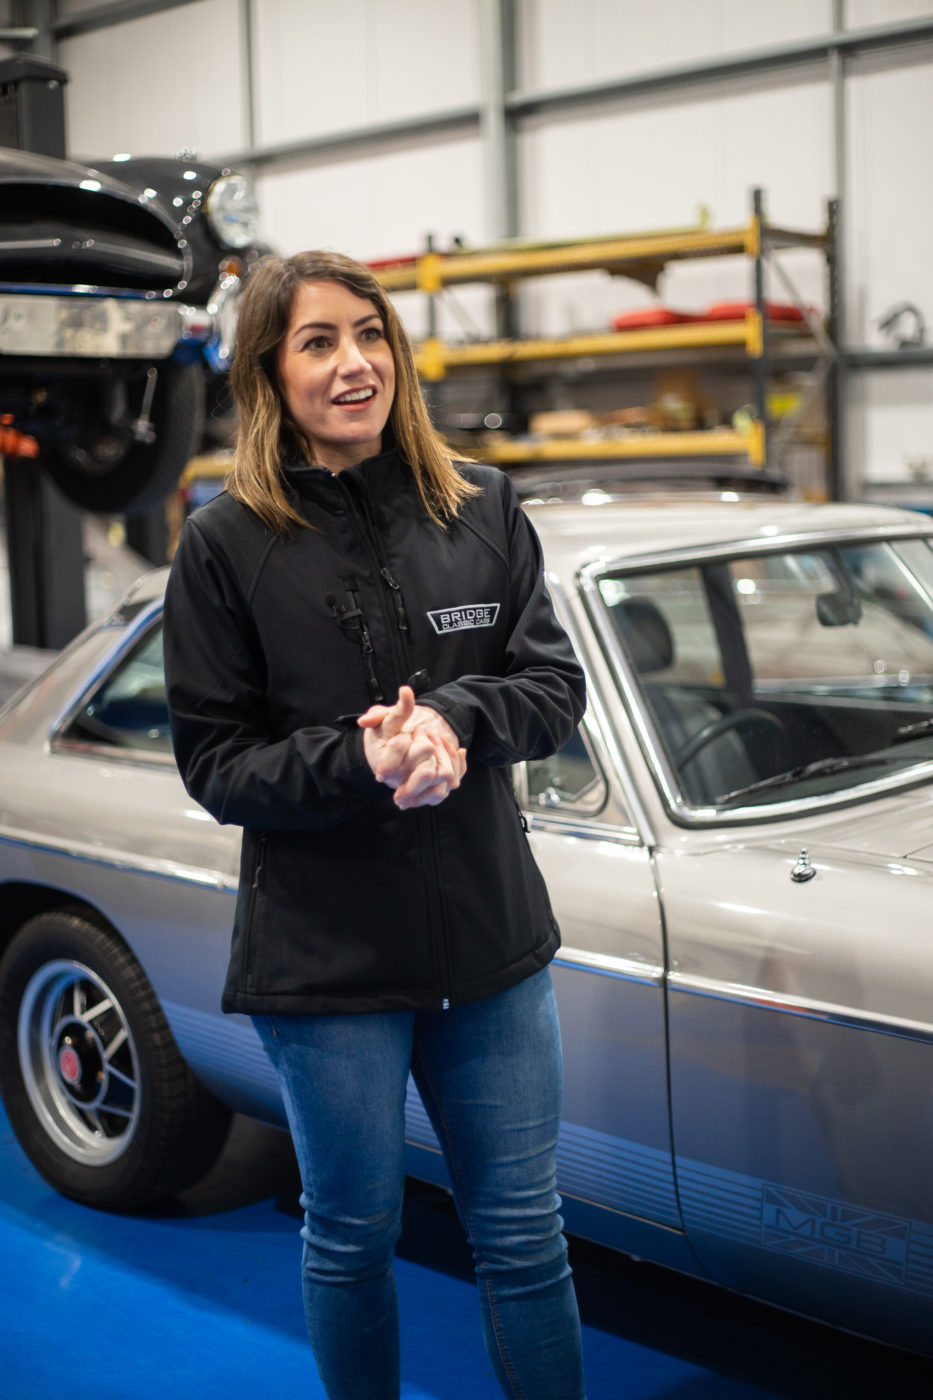
our 1960 Jensen 541R has had its rolling road test from Hangar 111. The test has come back incredibly positive. Often these rolling road tests flag more issues however on this occasion its come back perfect, and we’re delighted!
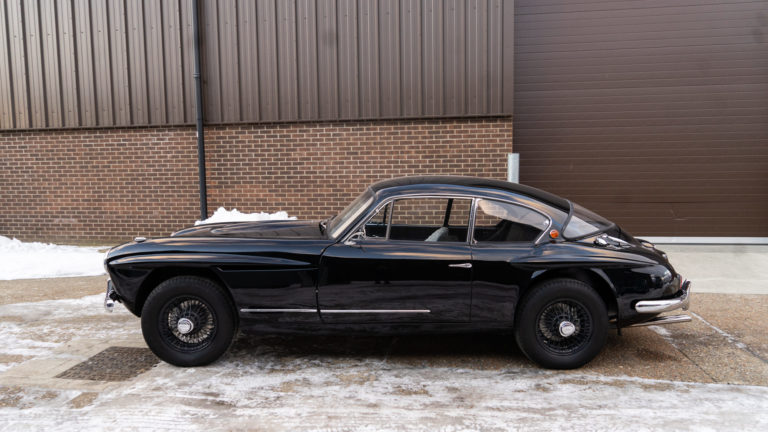
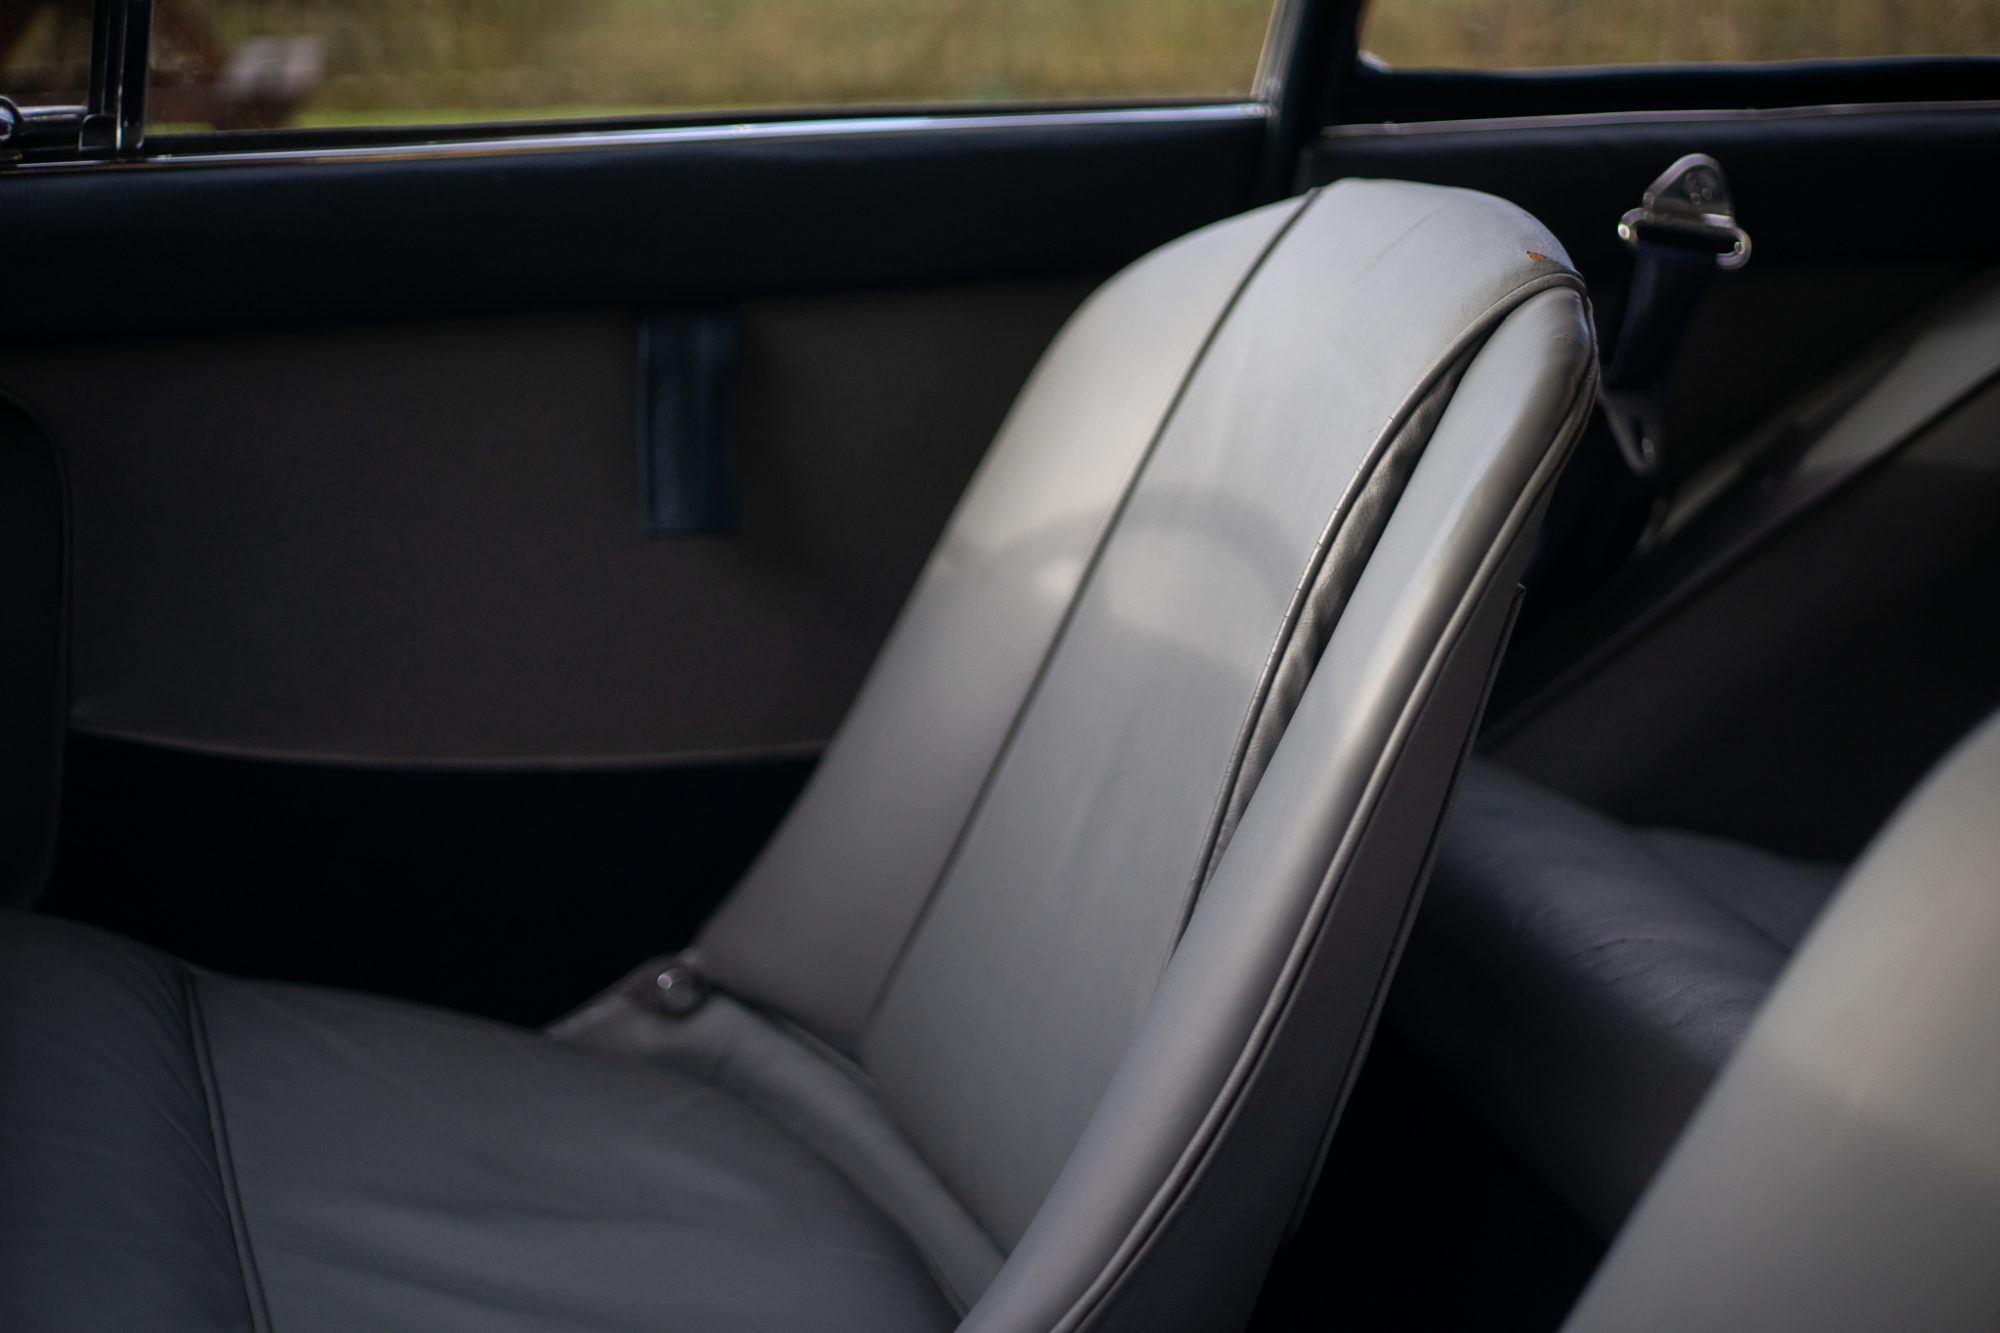
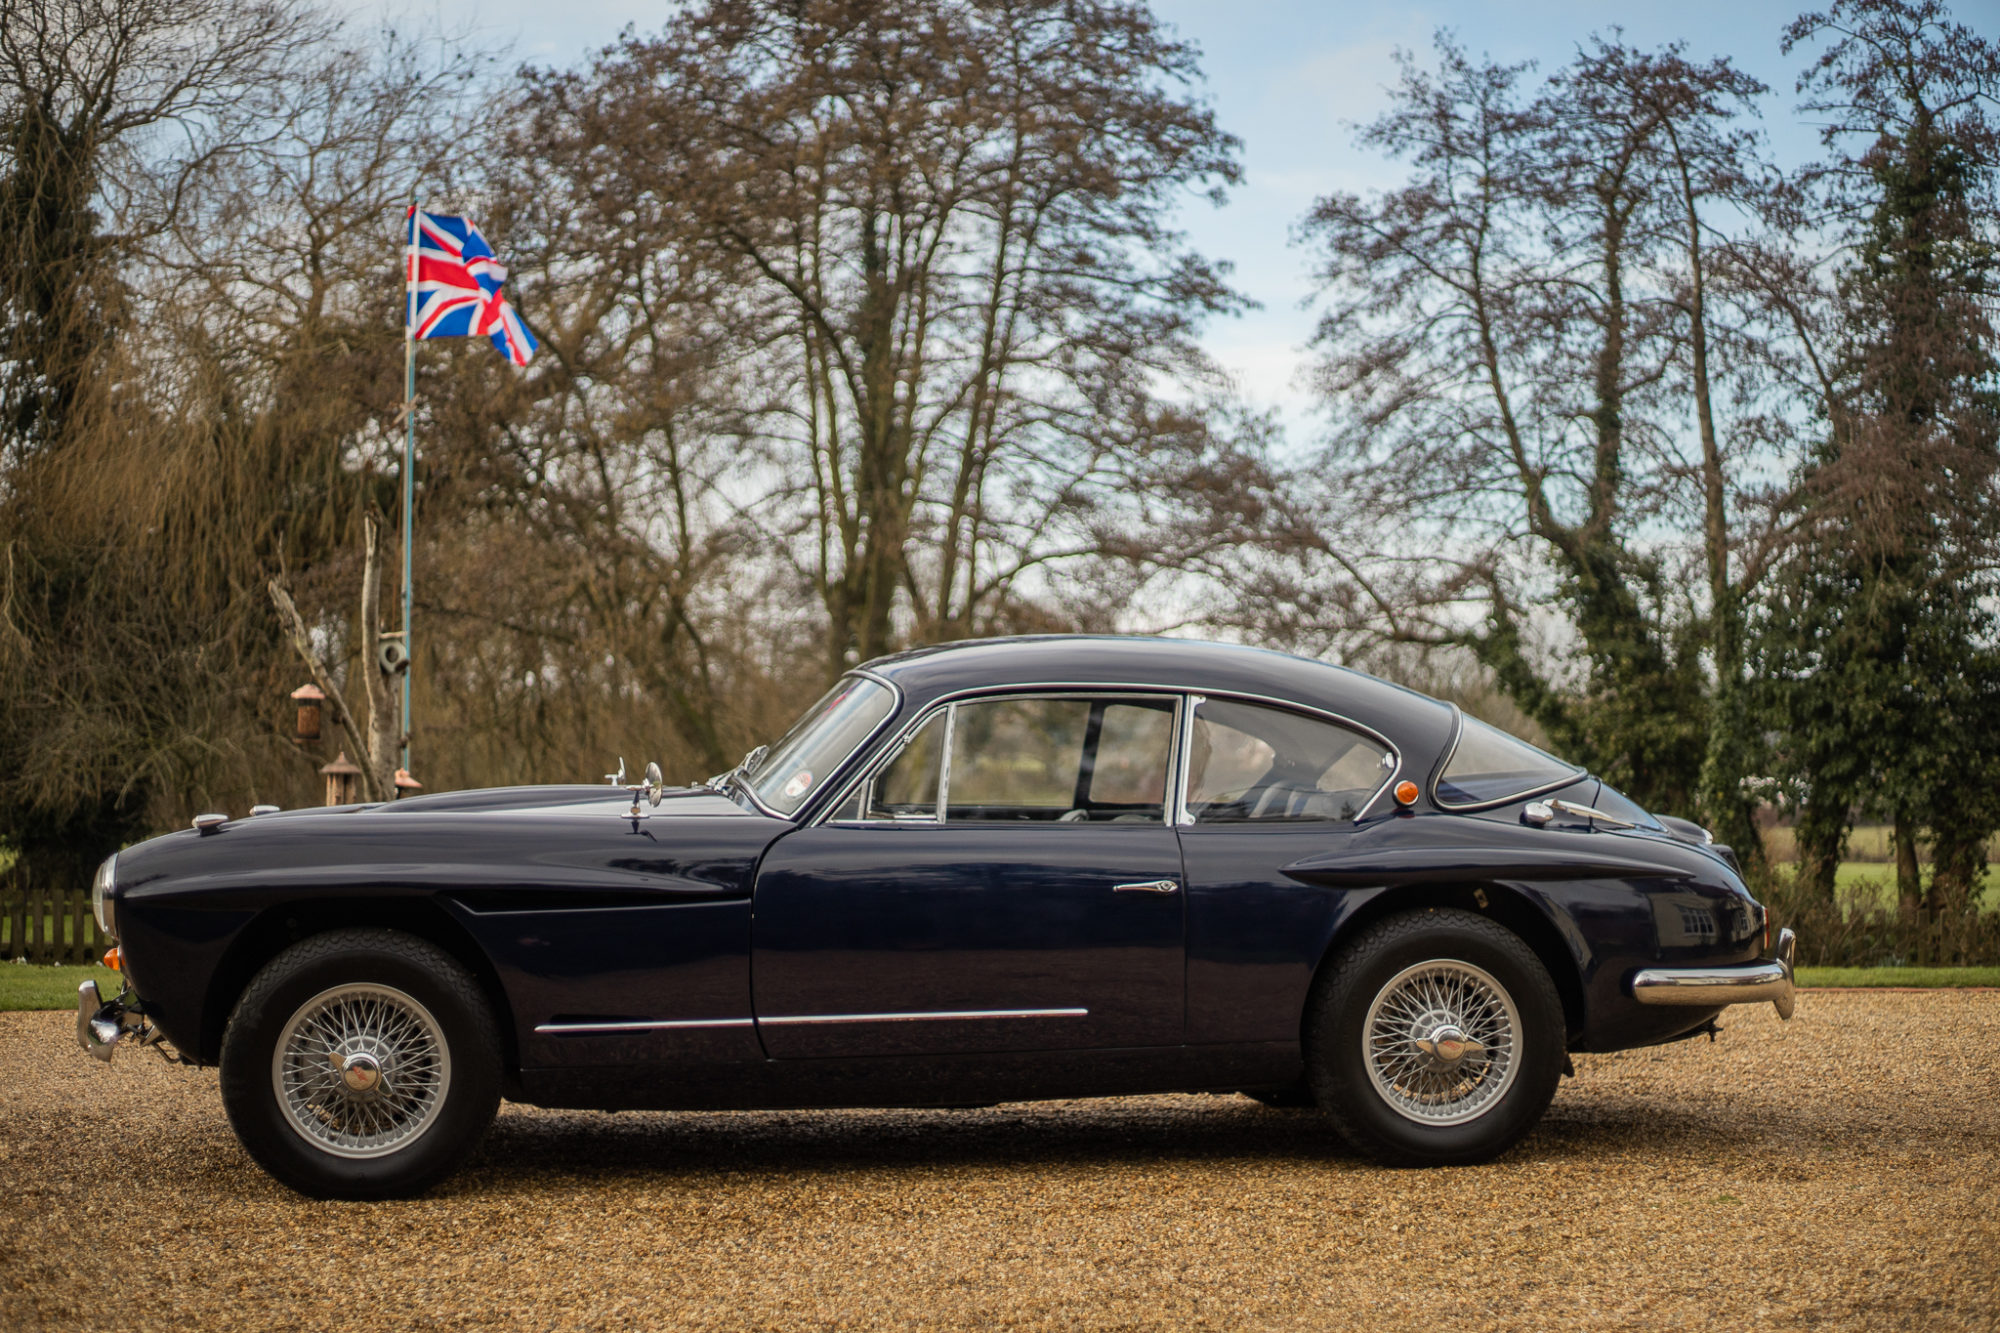
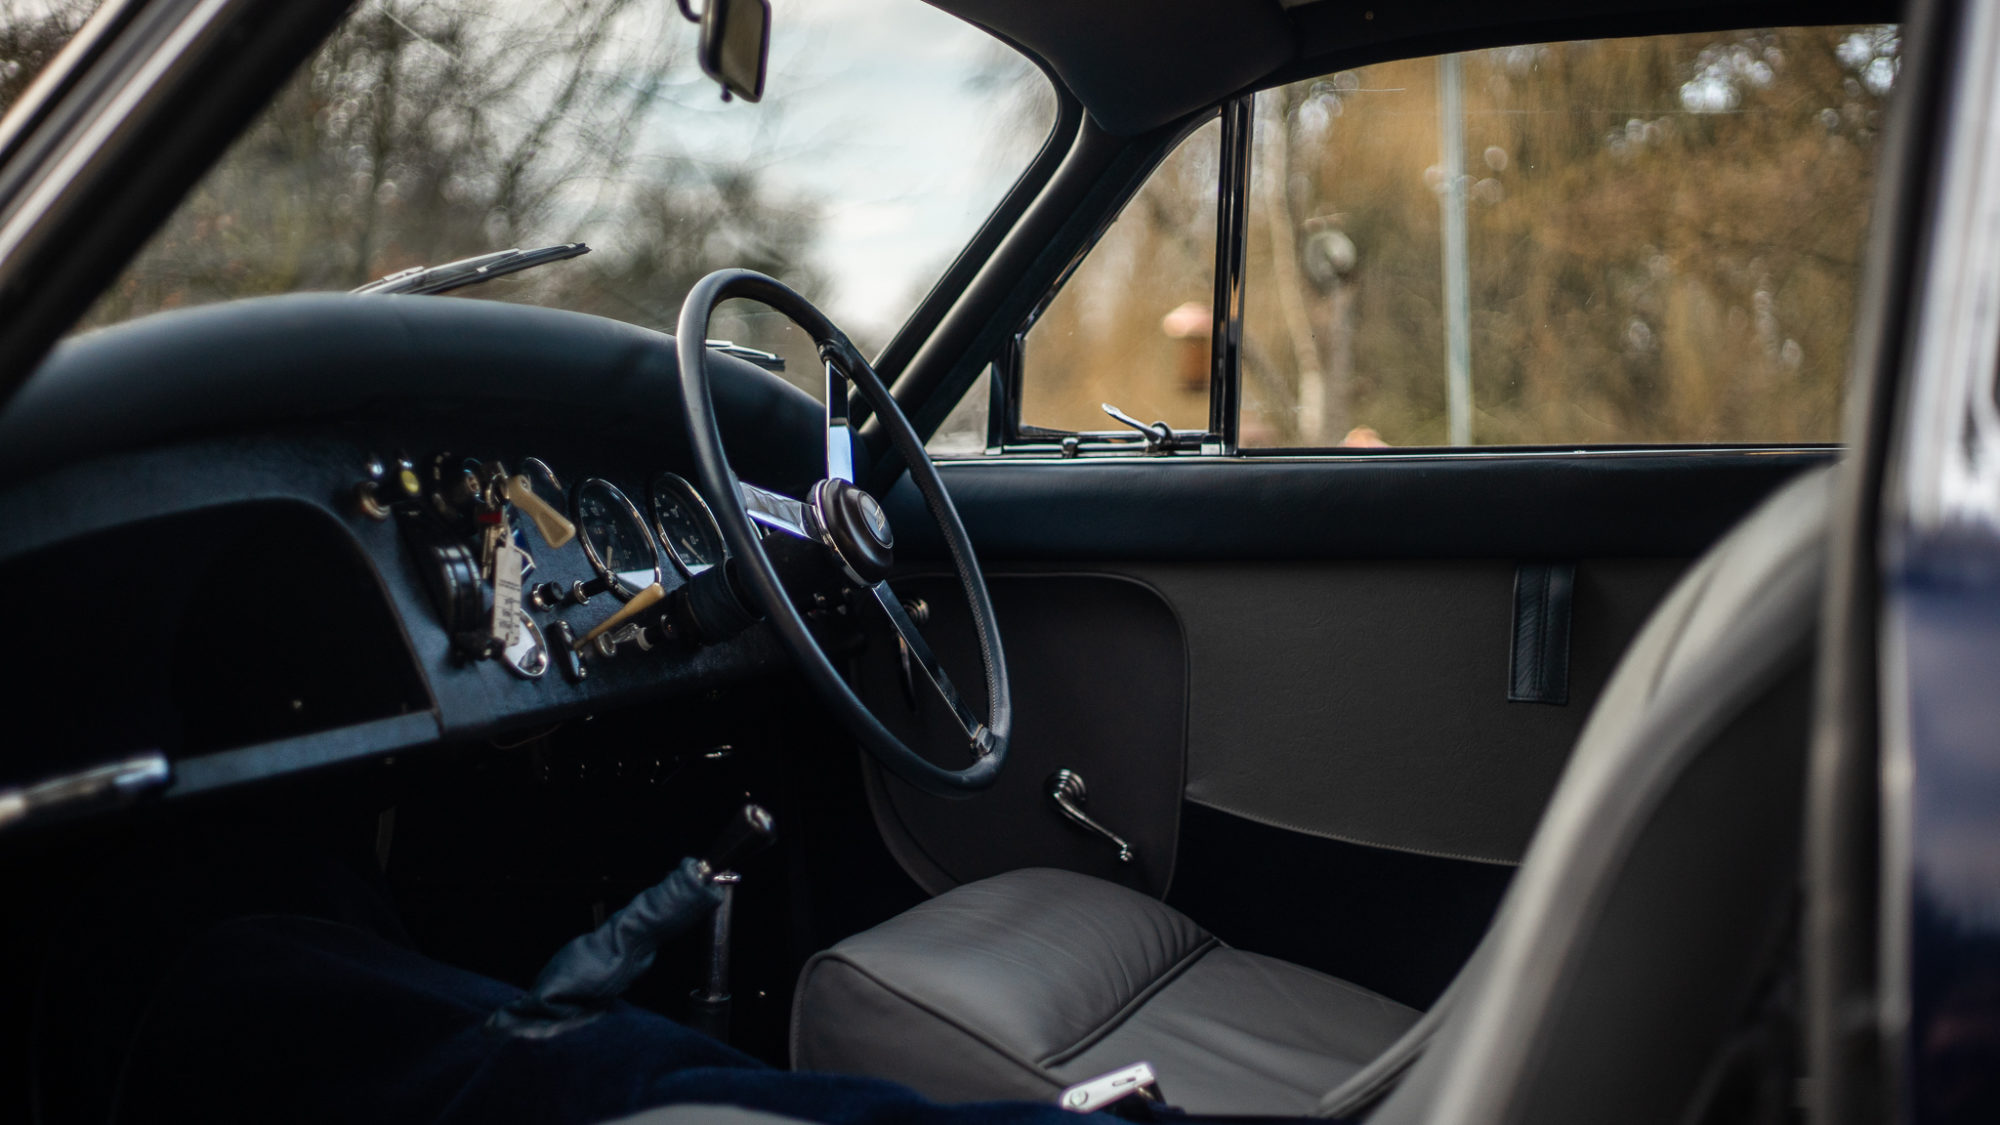
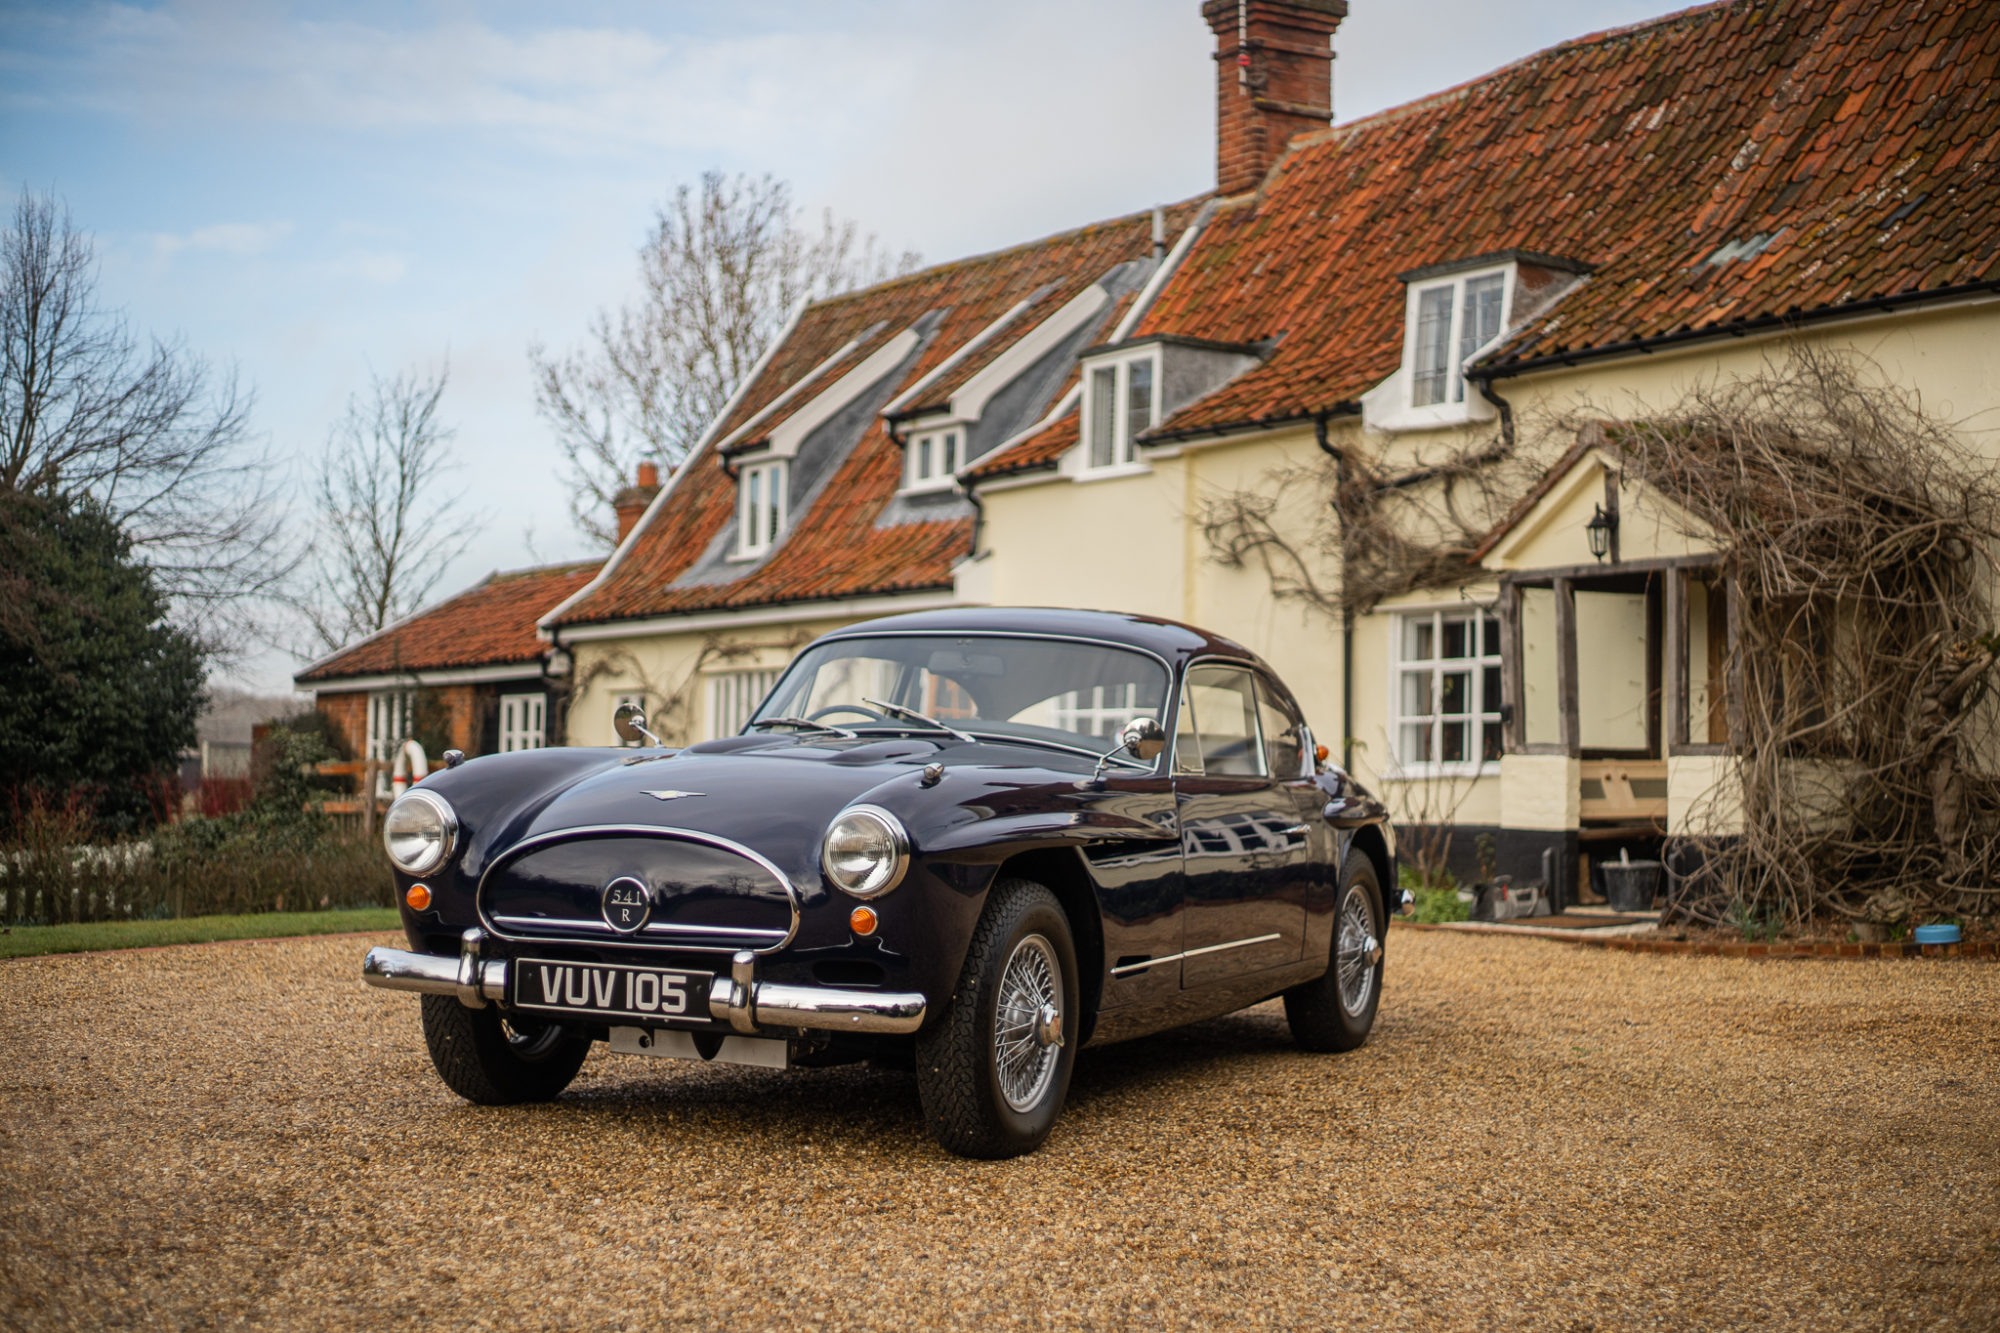
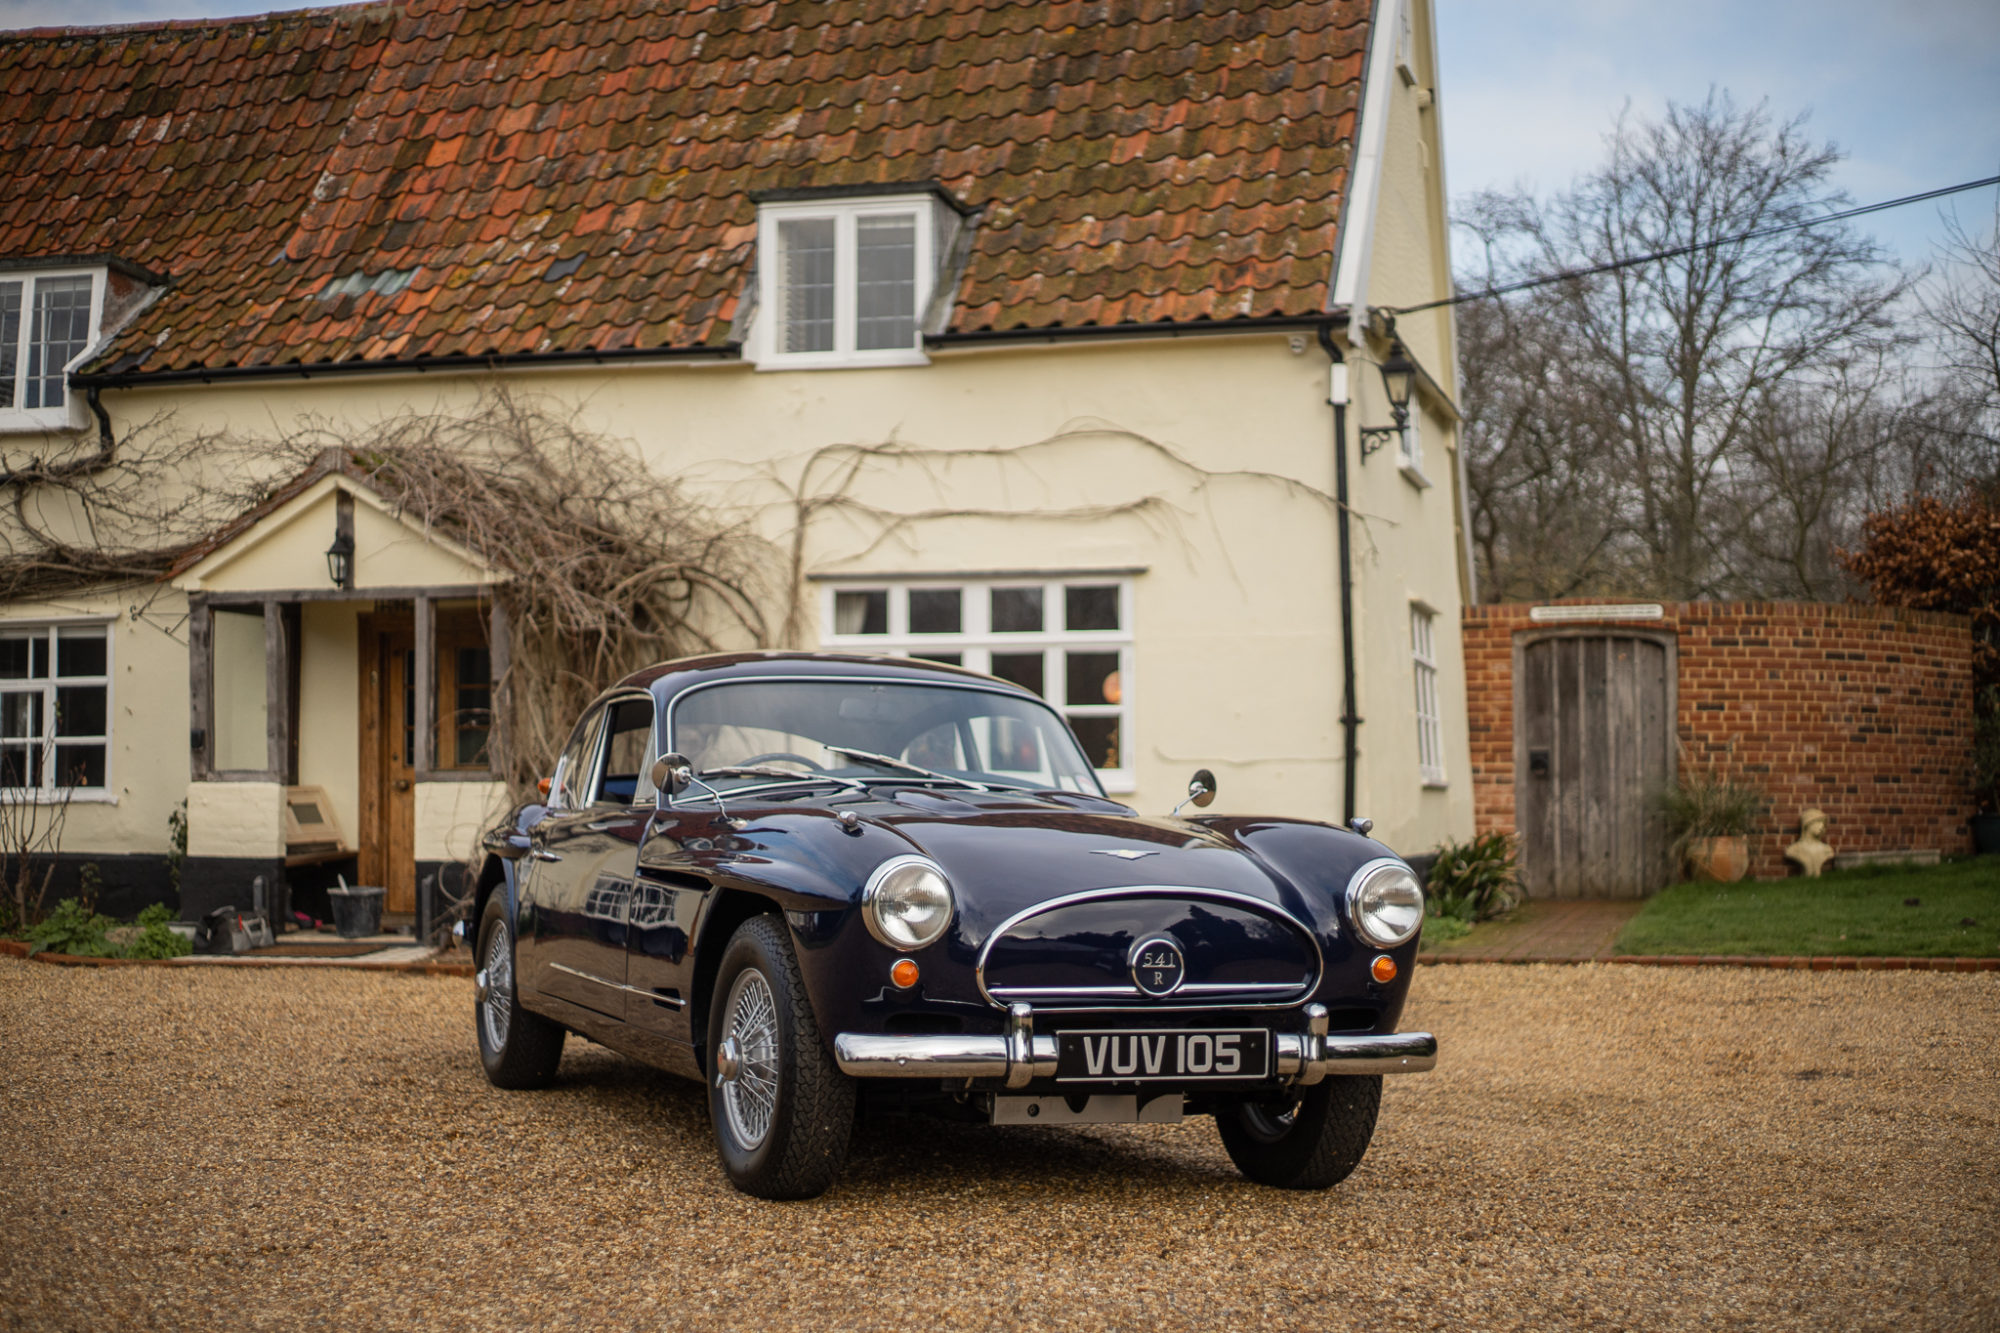
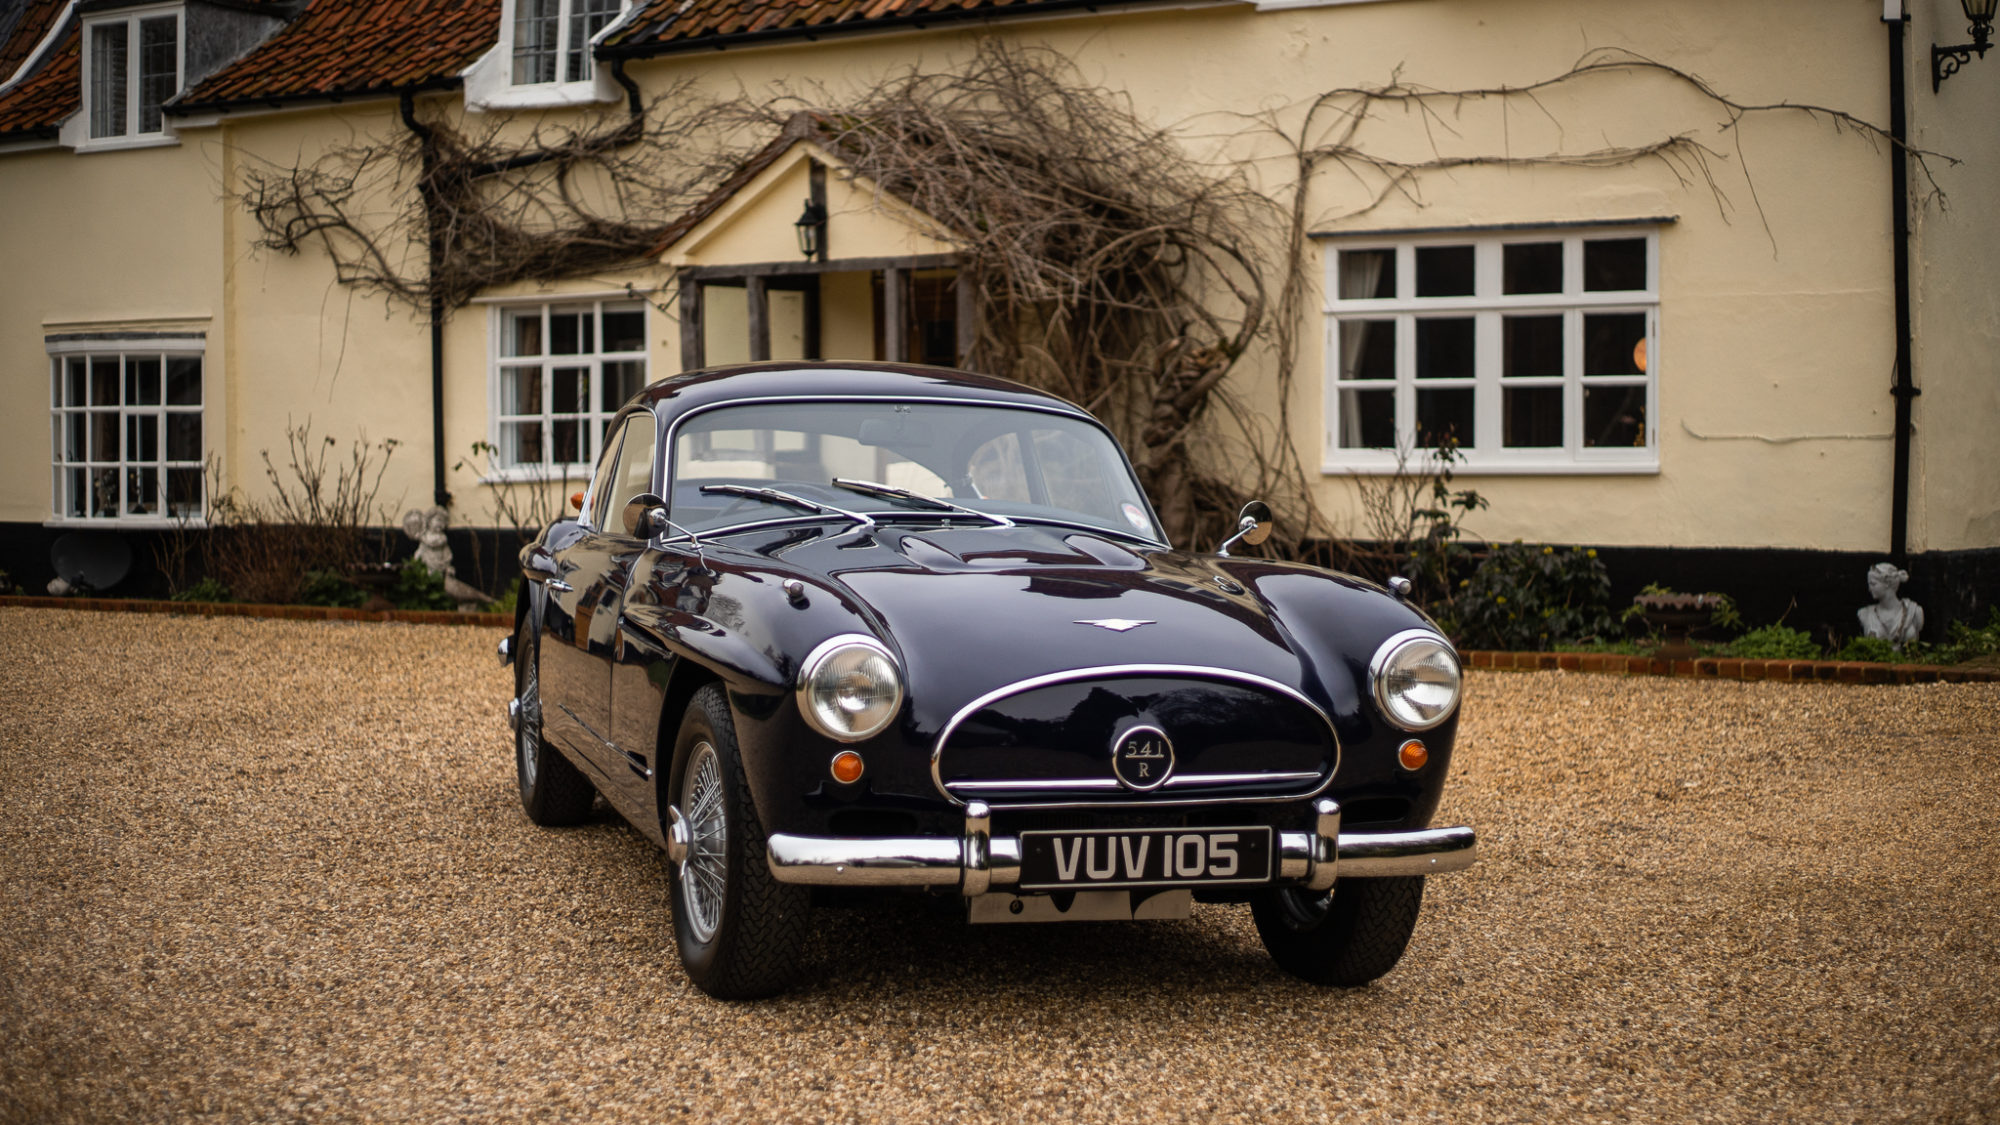
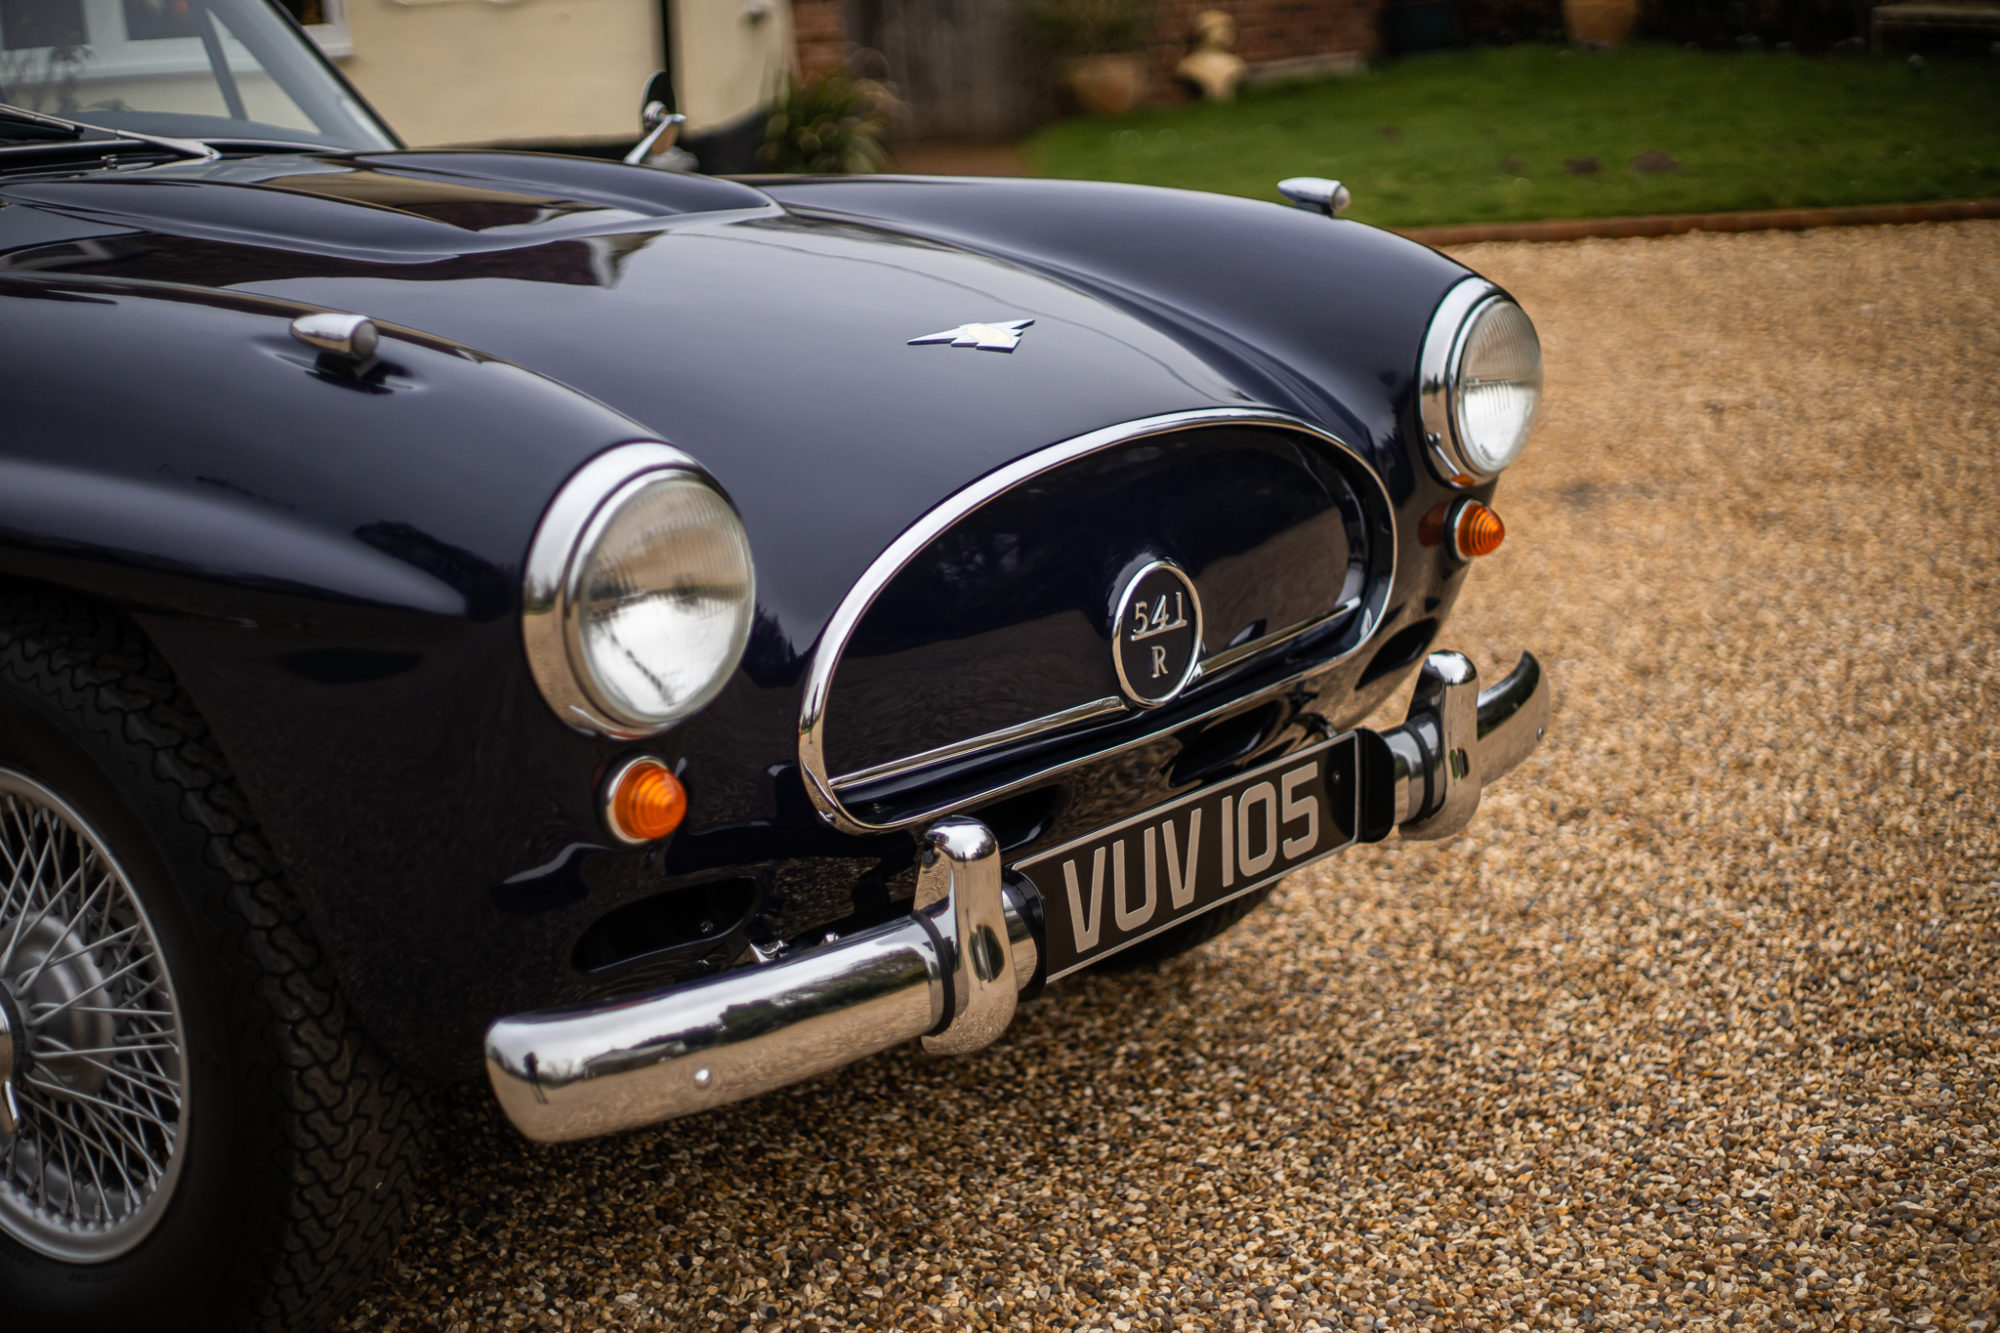
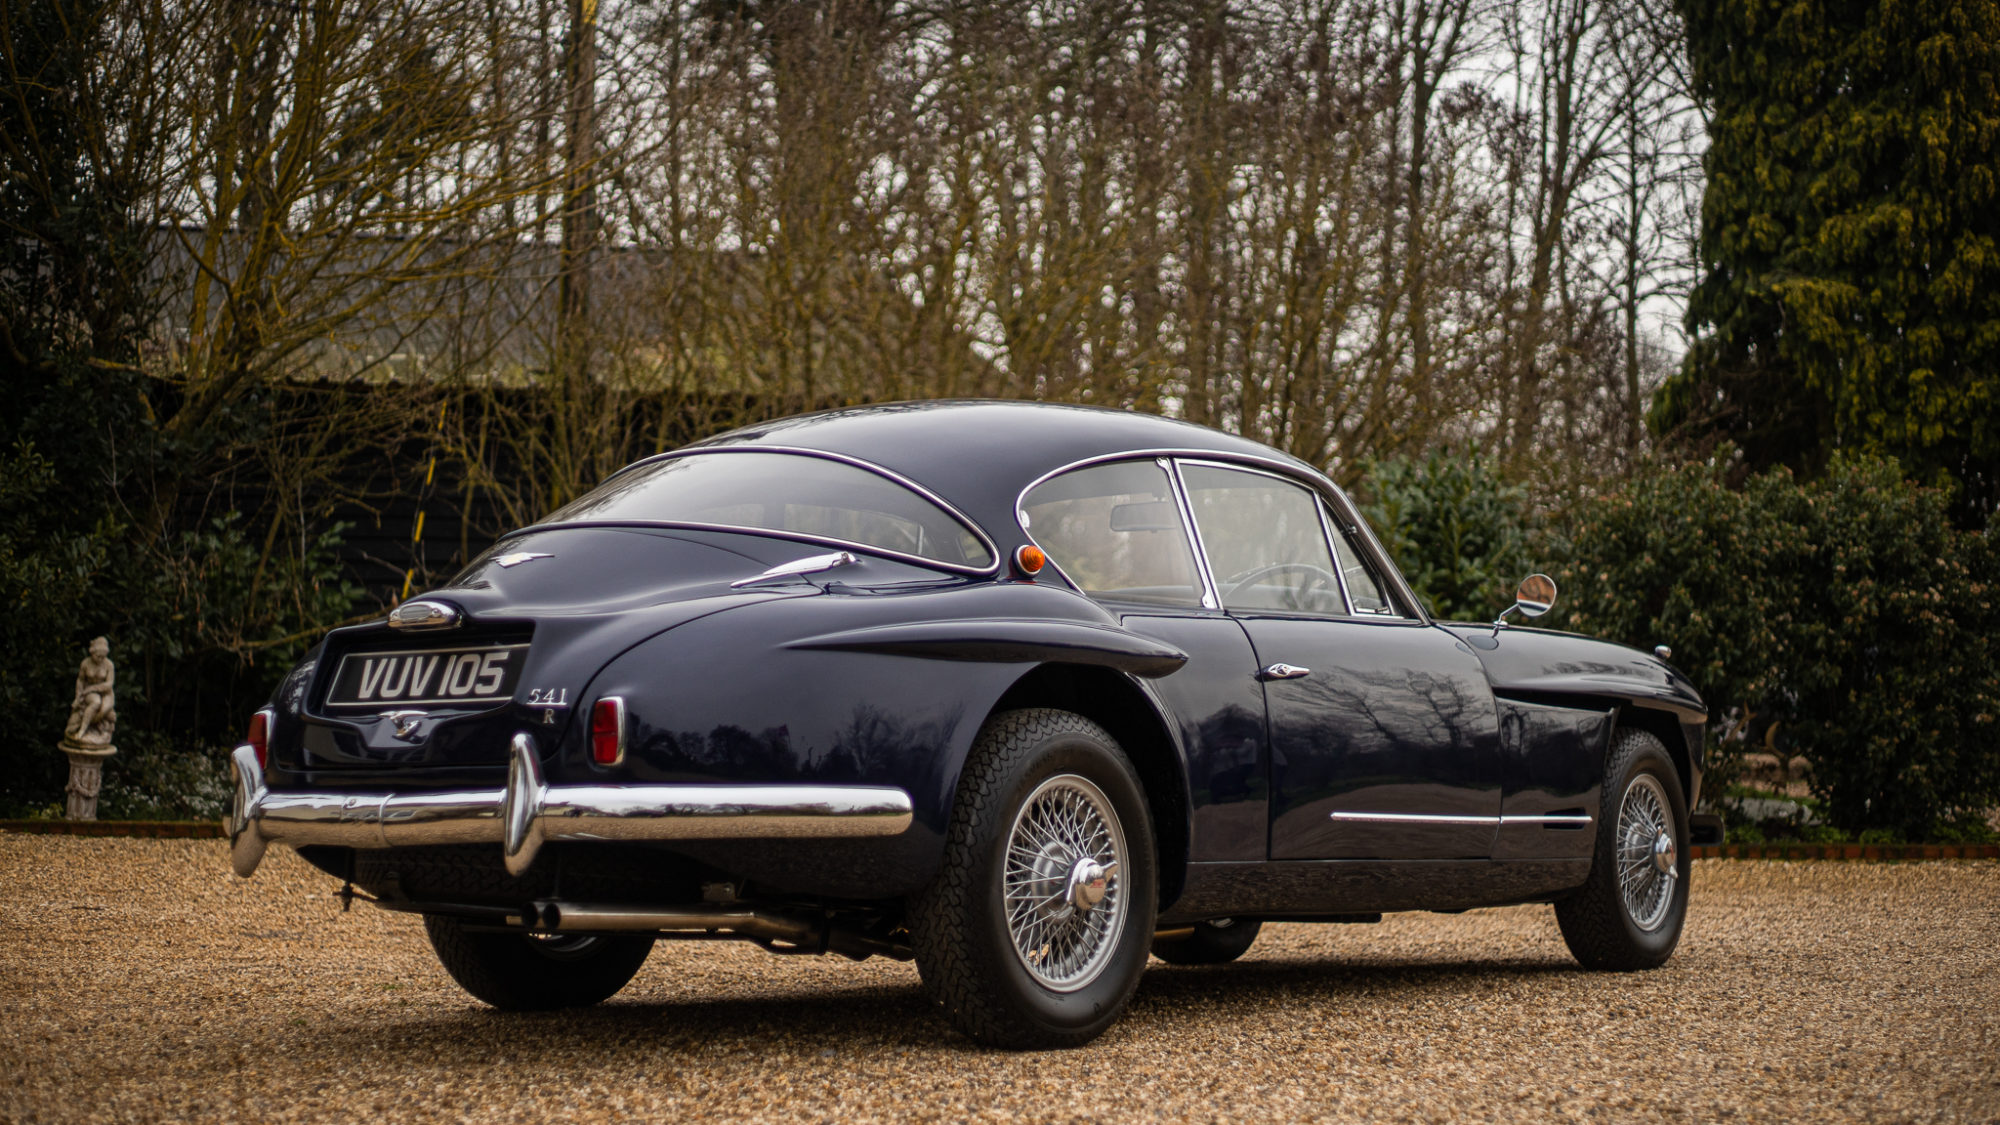
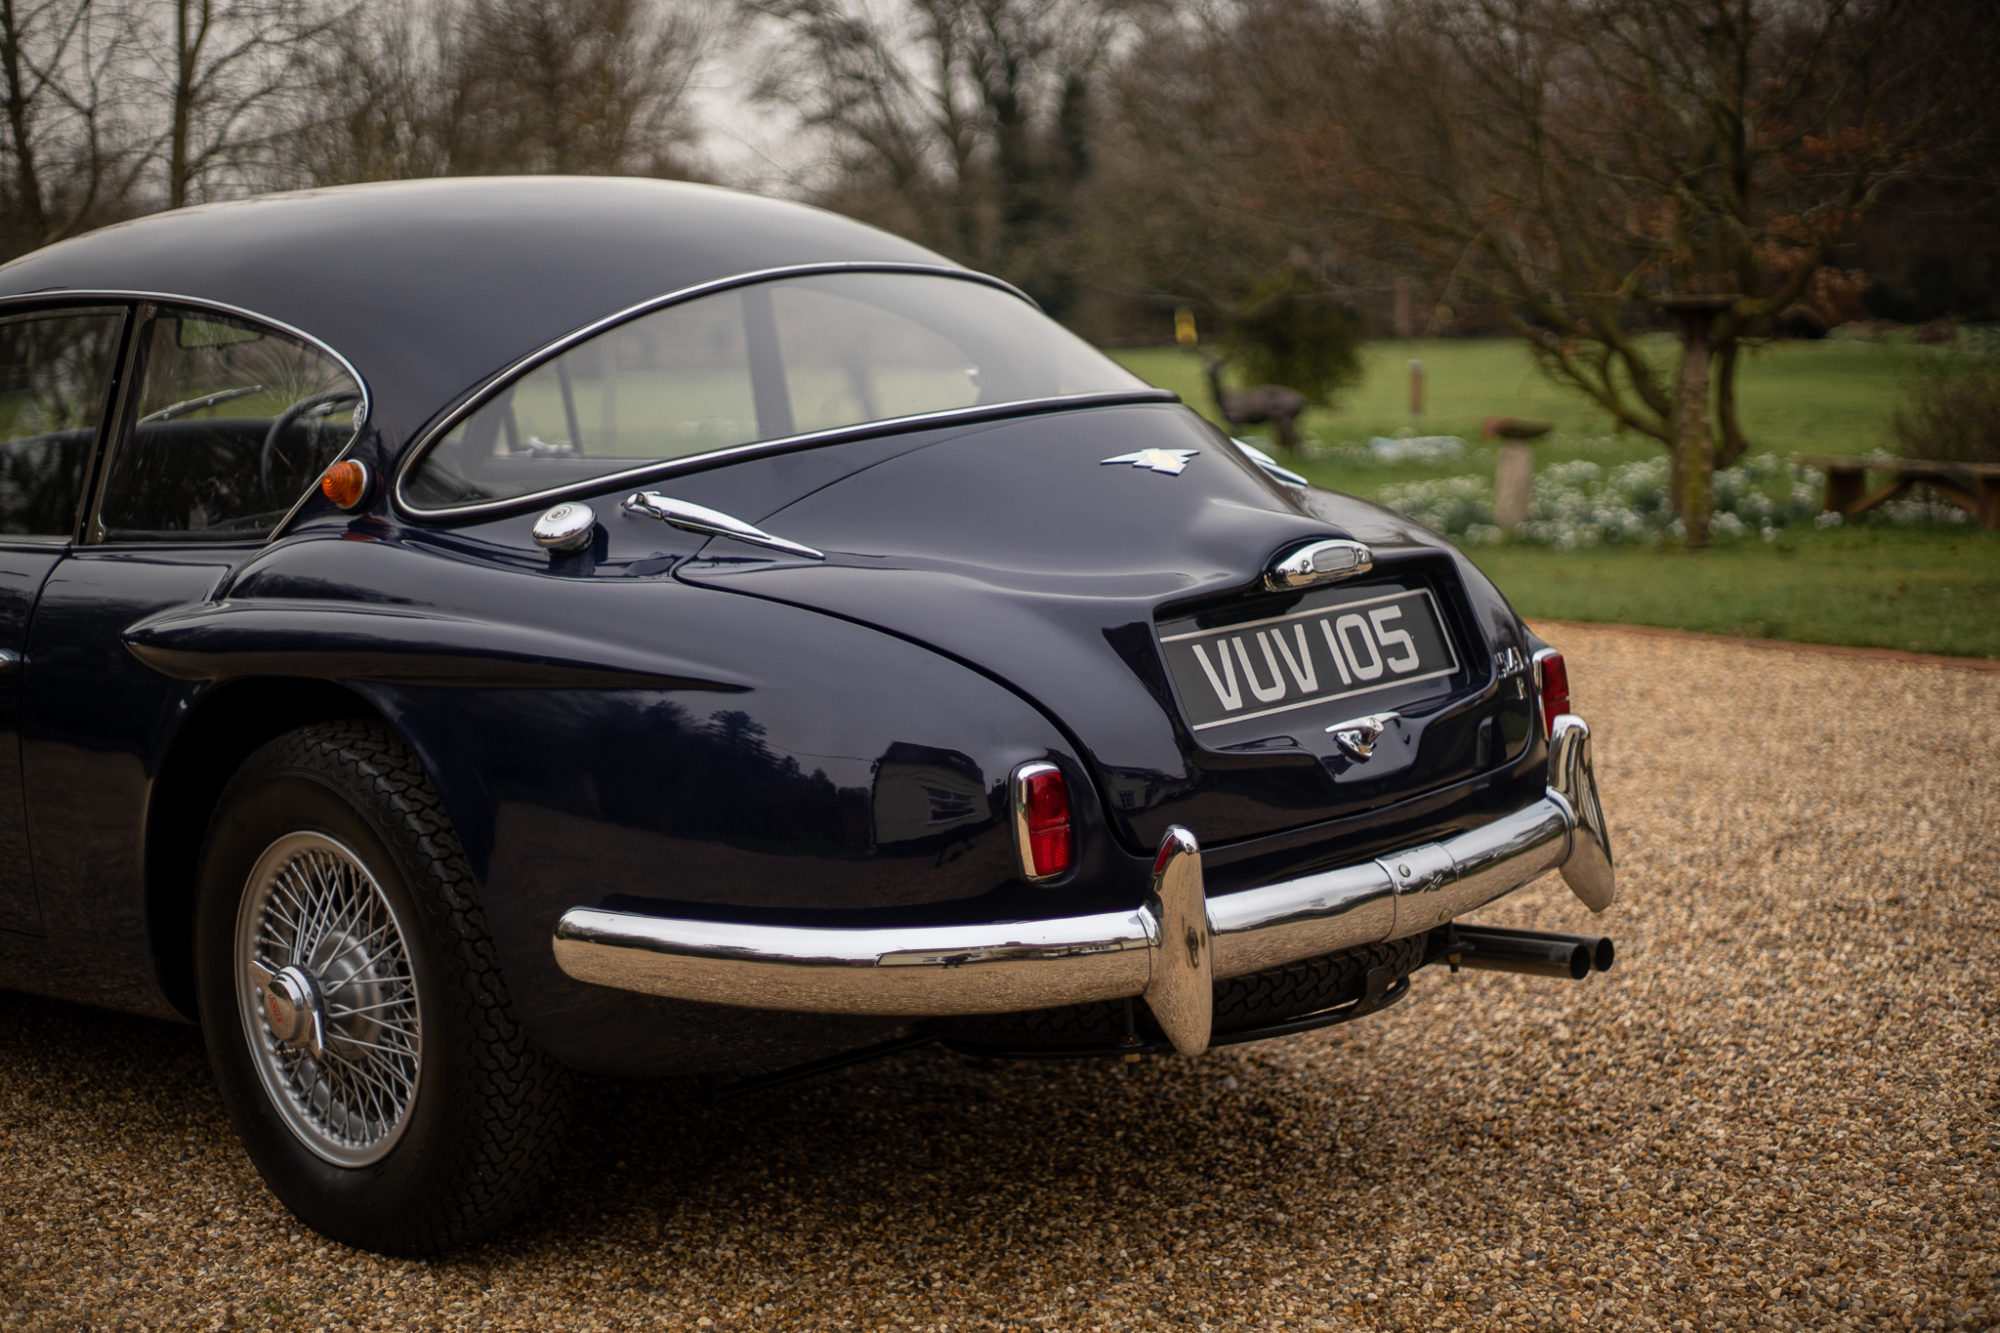
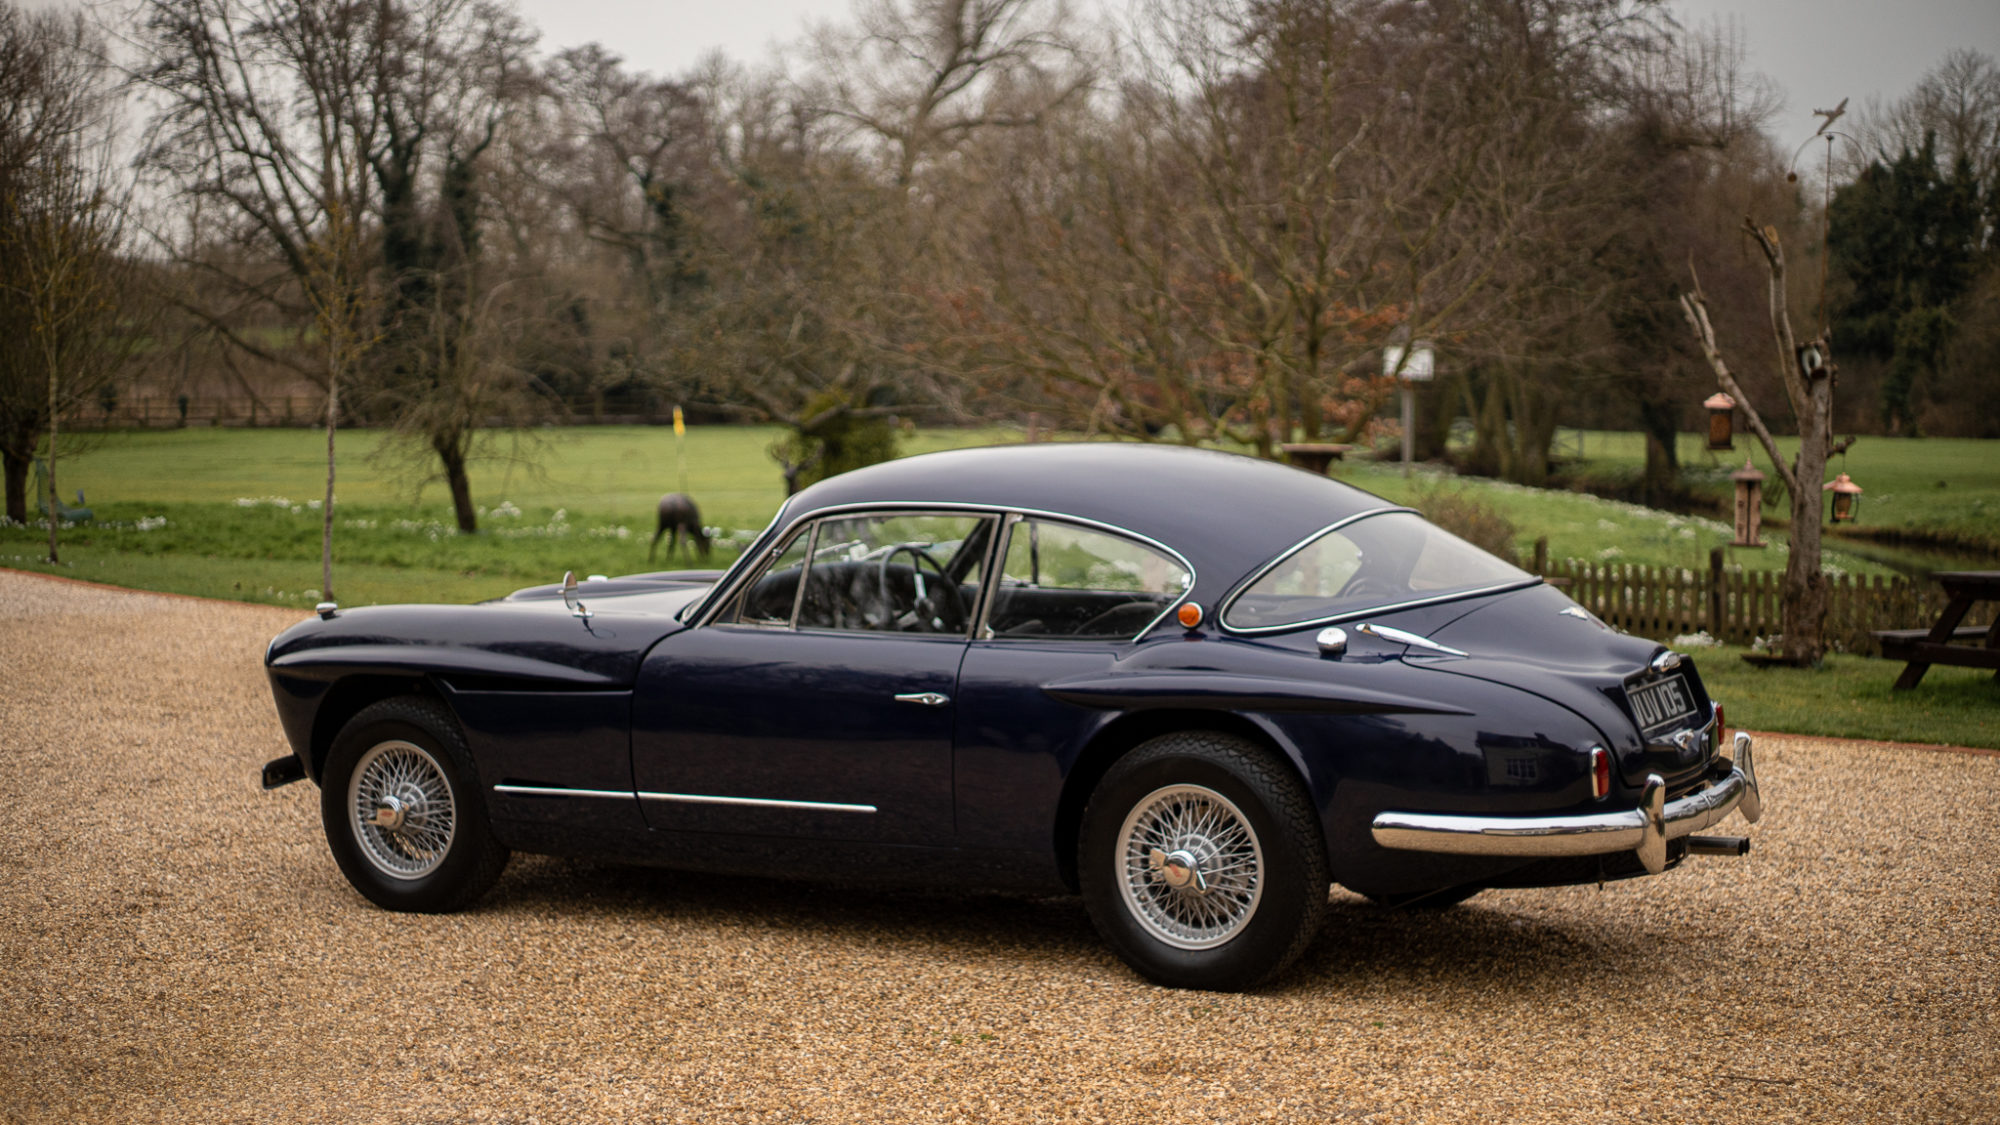
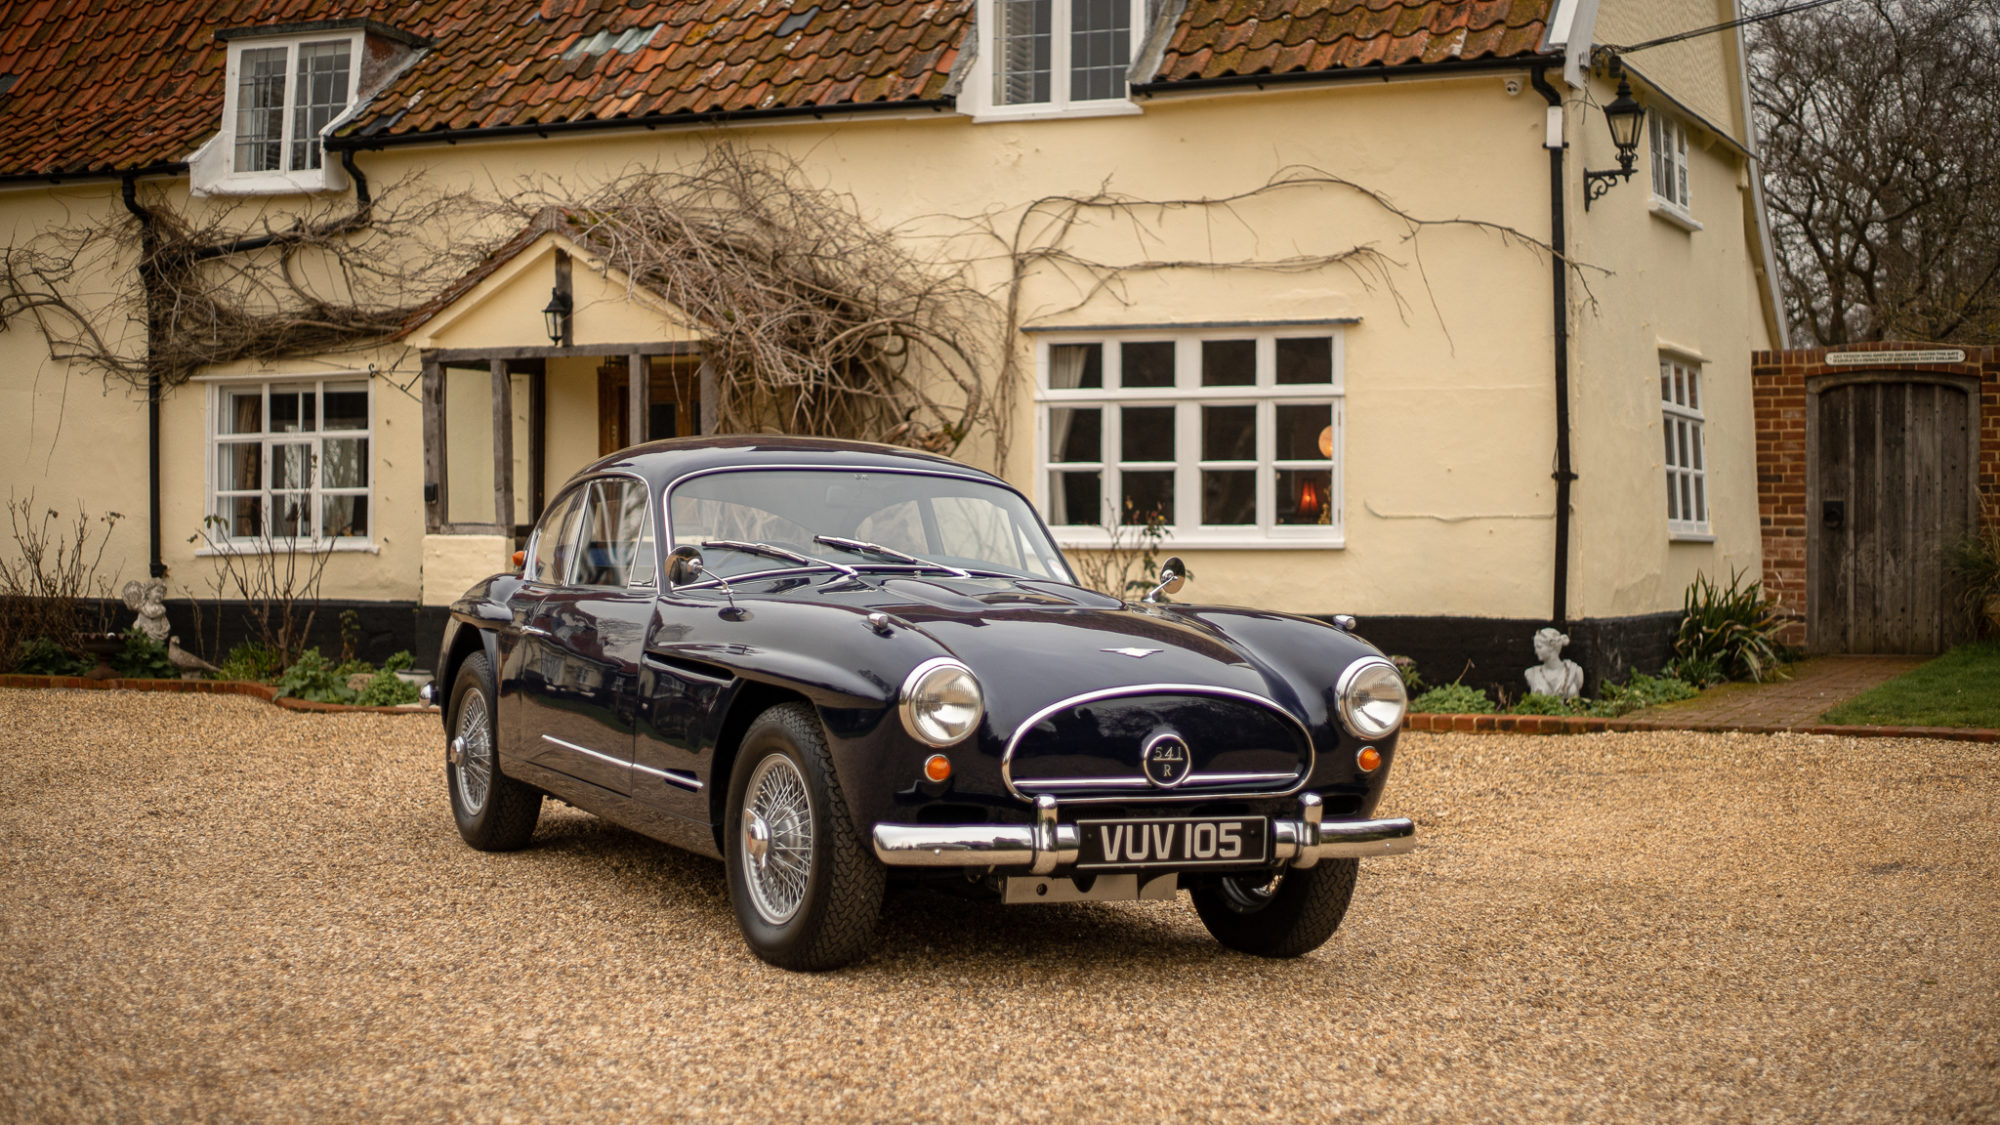
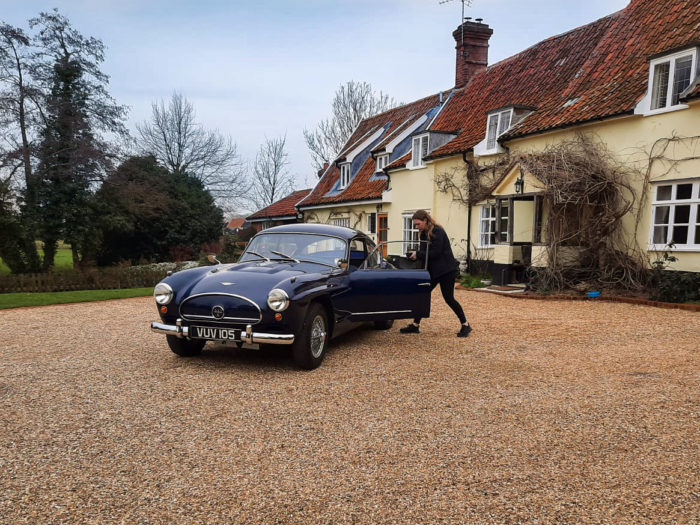
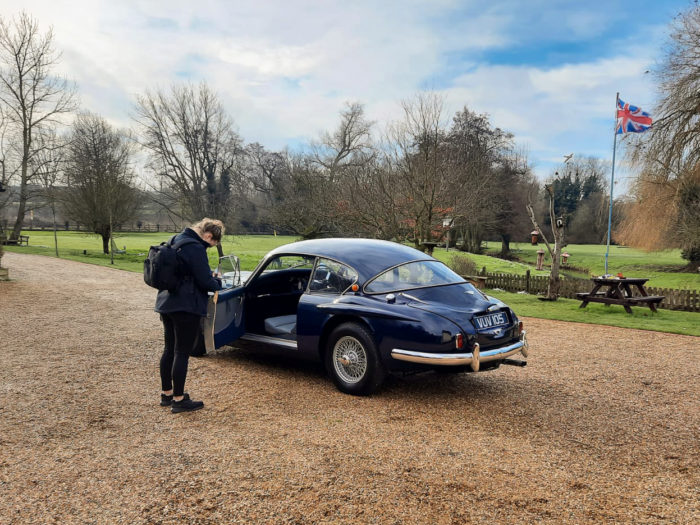
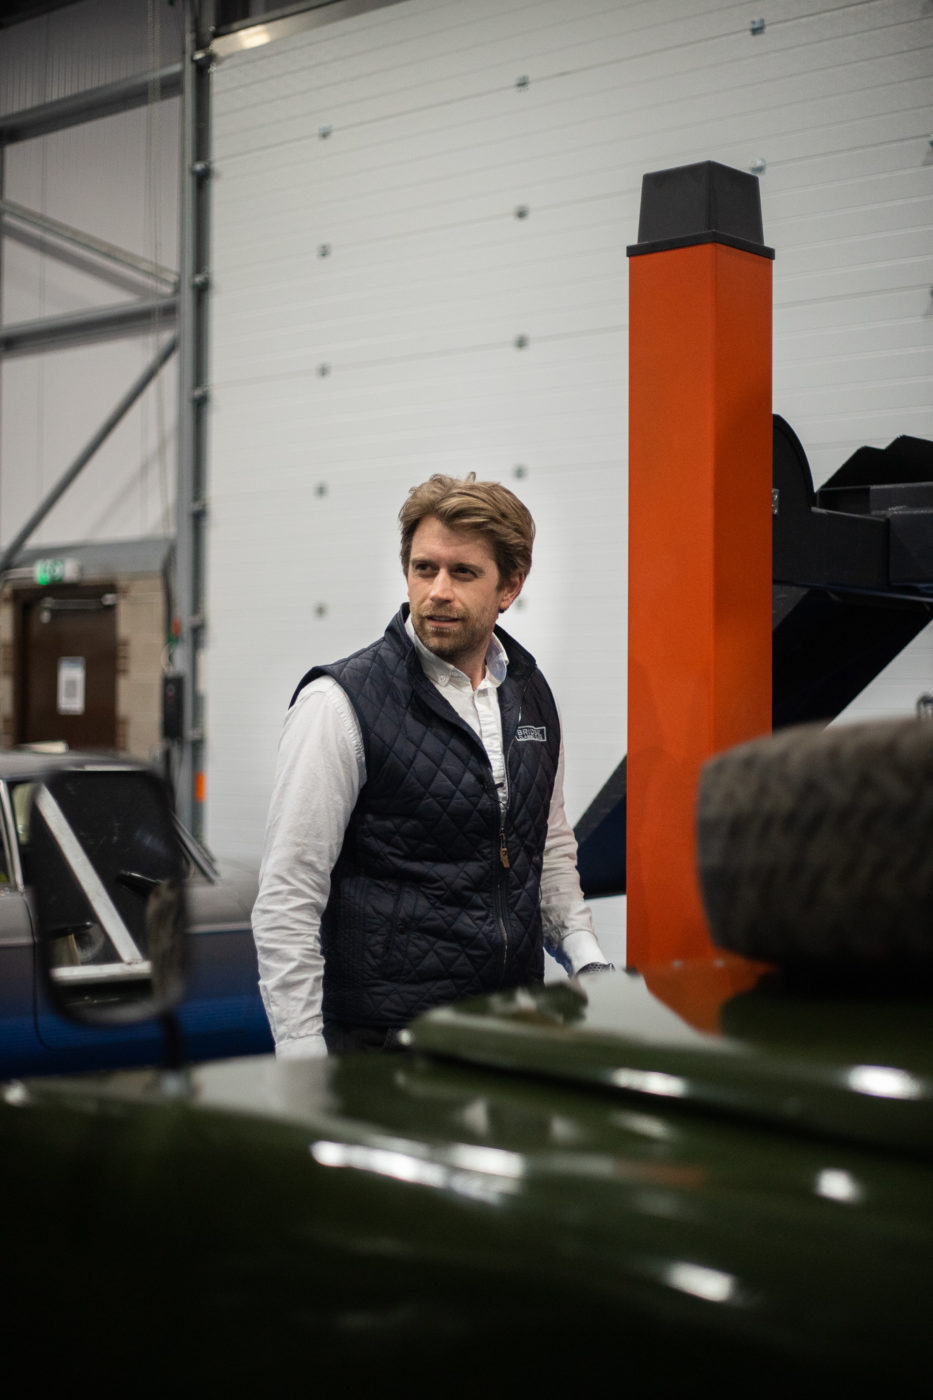
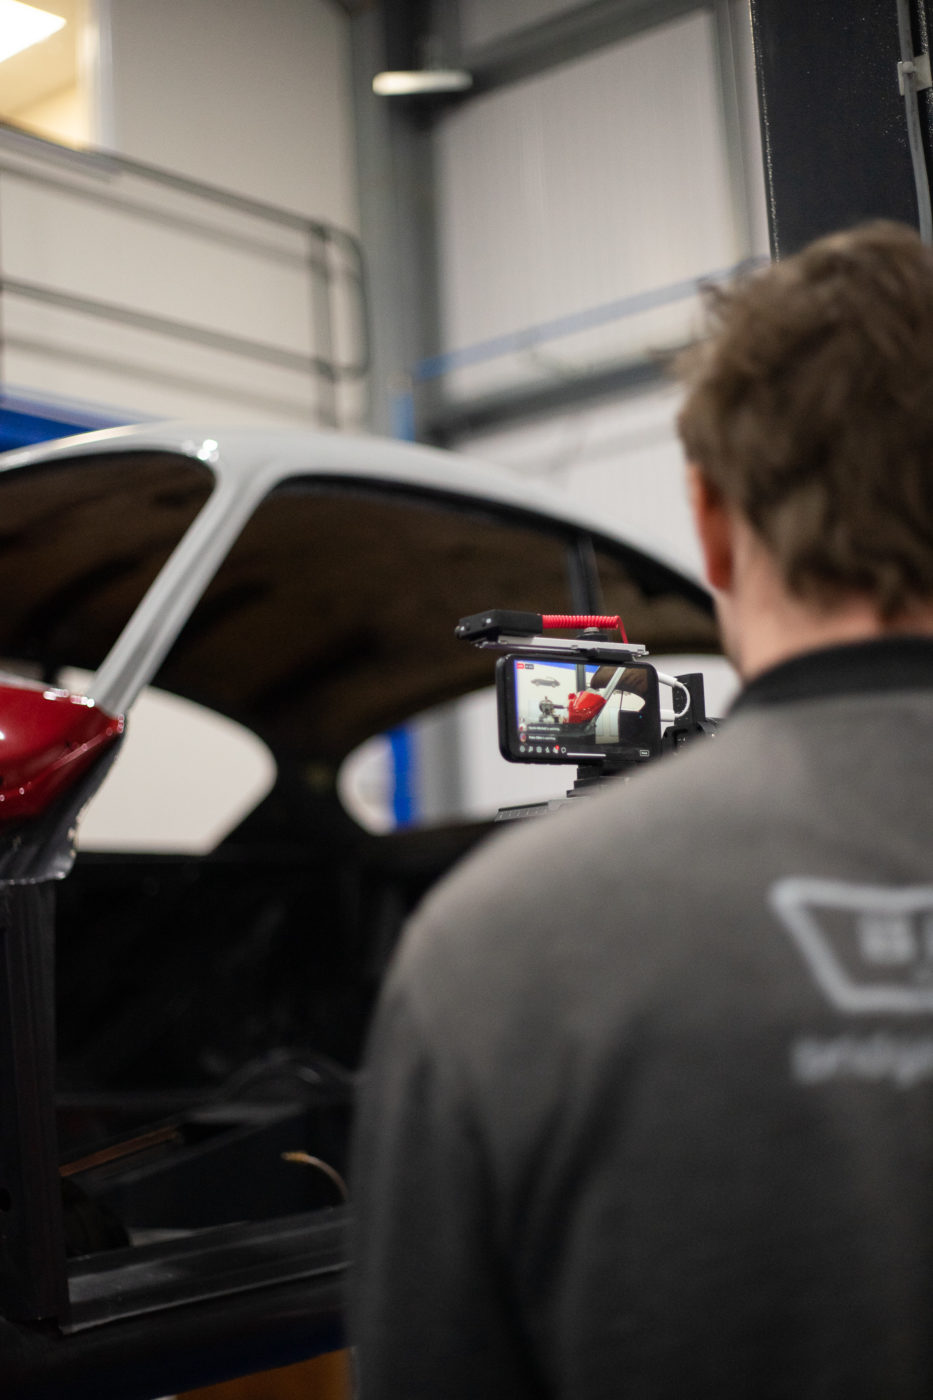
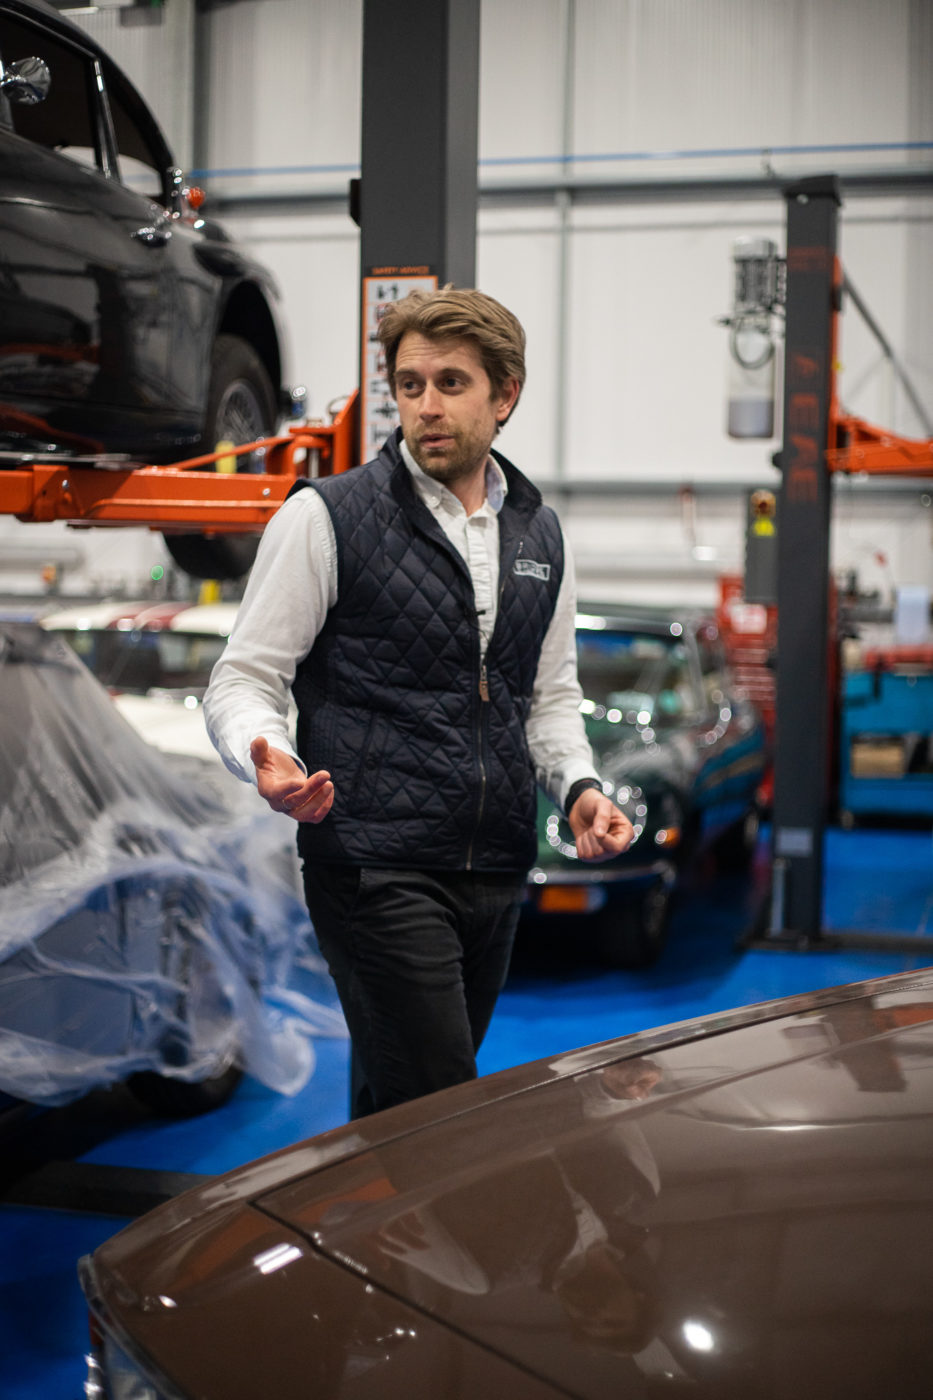
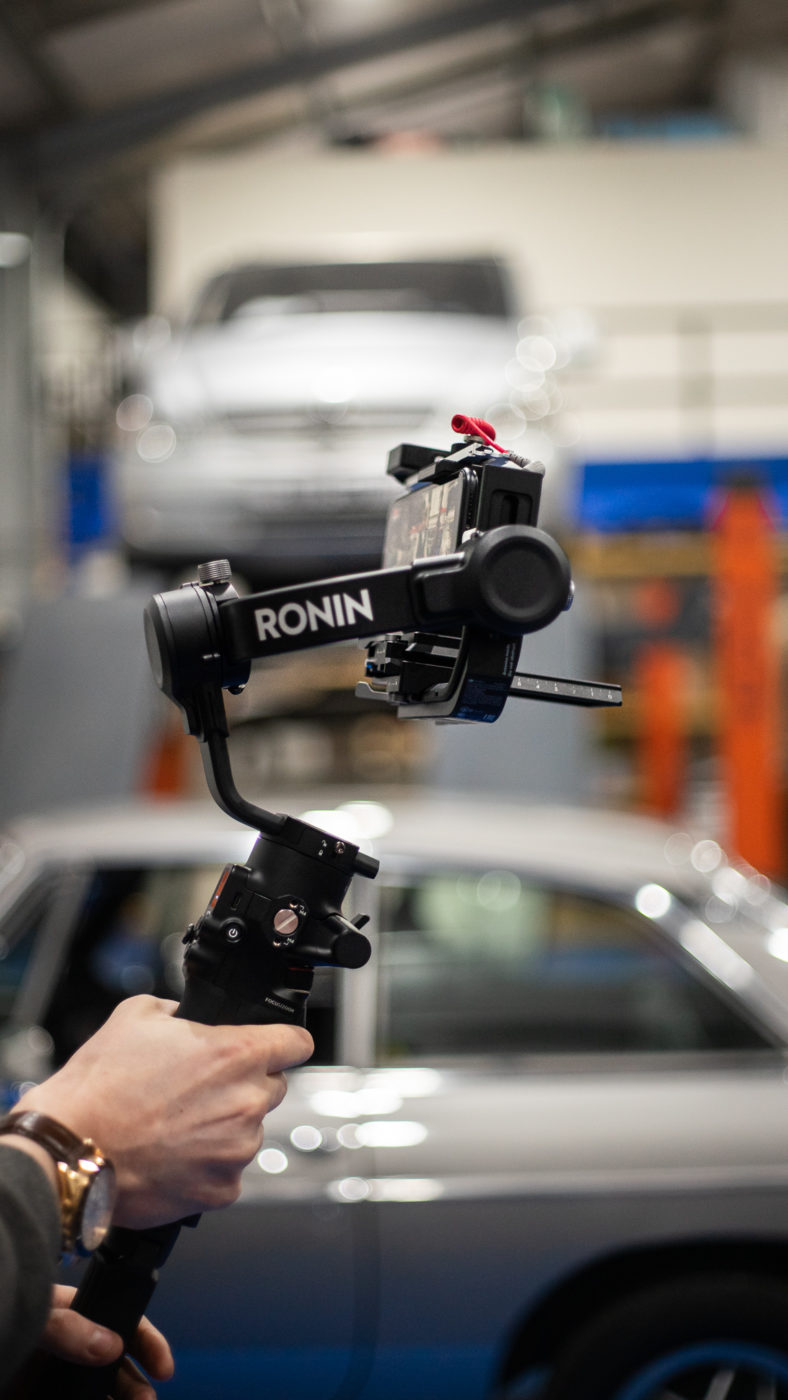
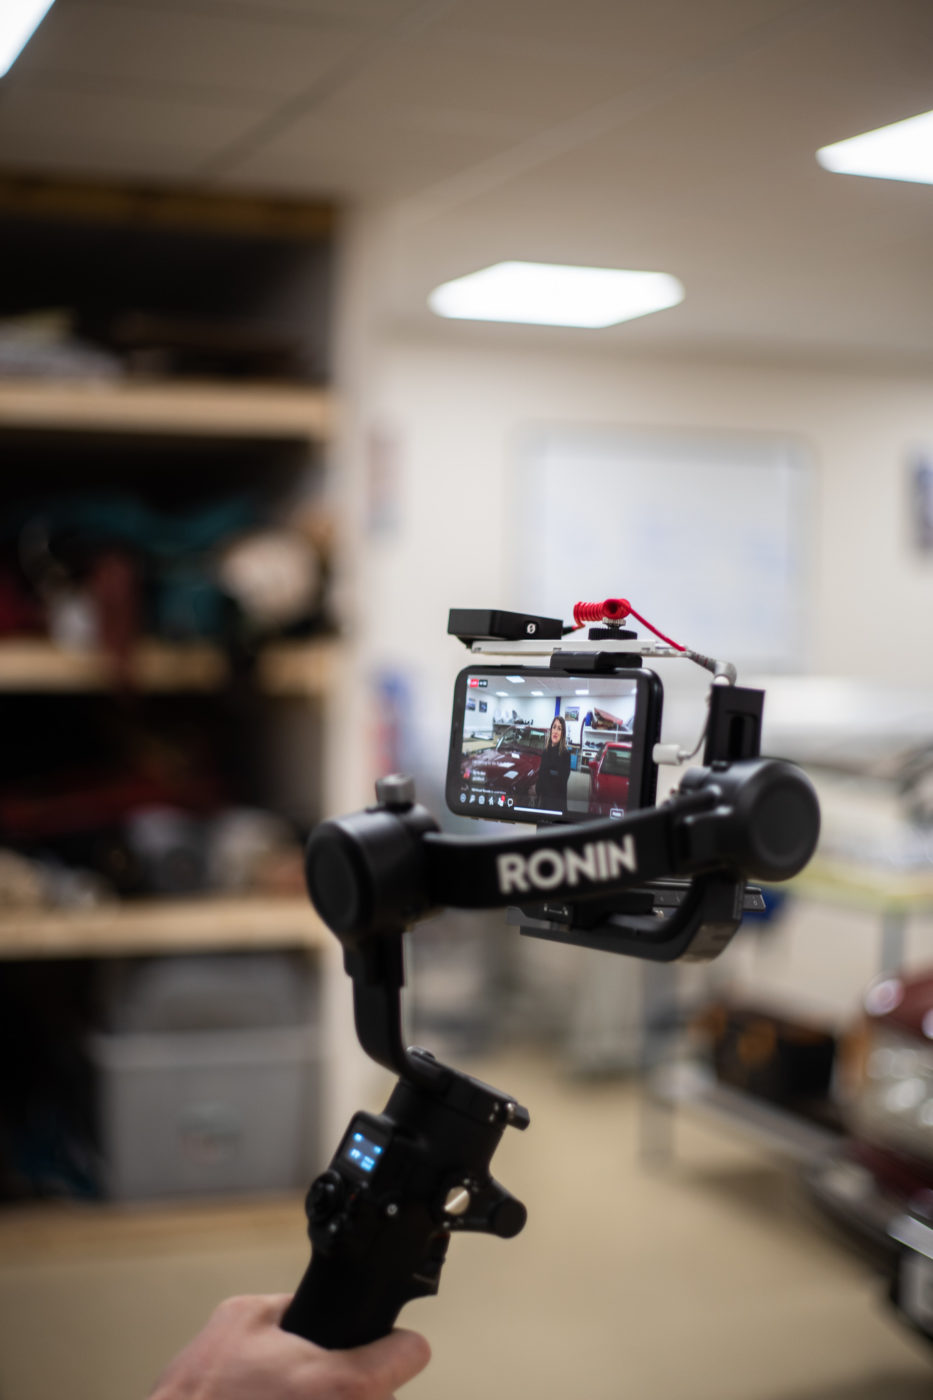
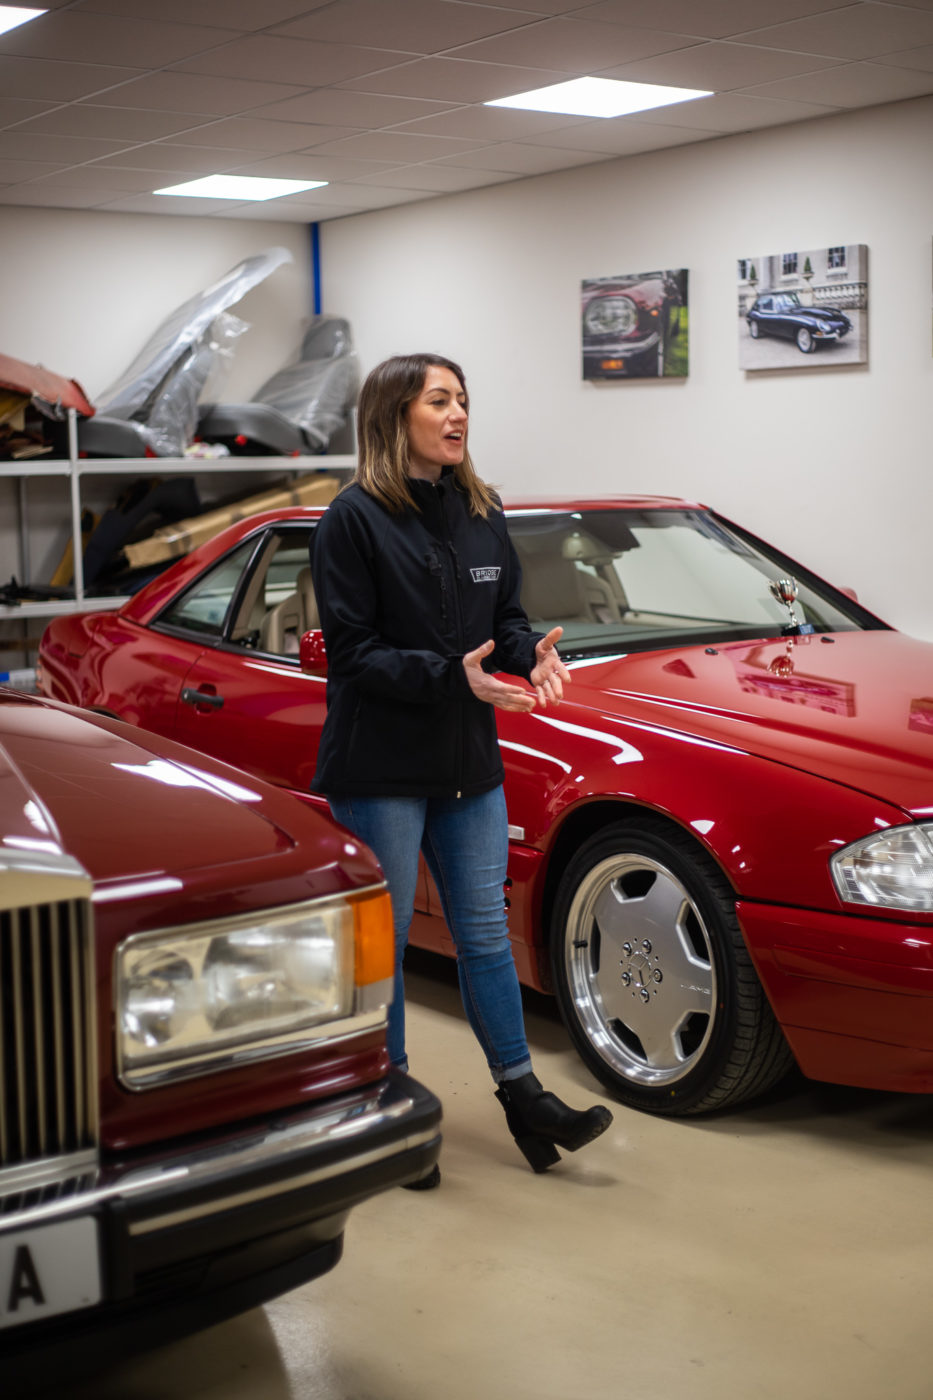
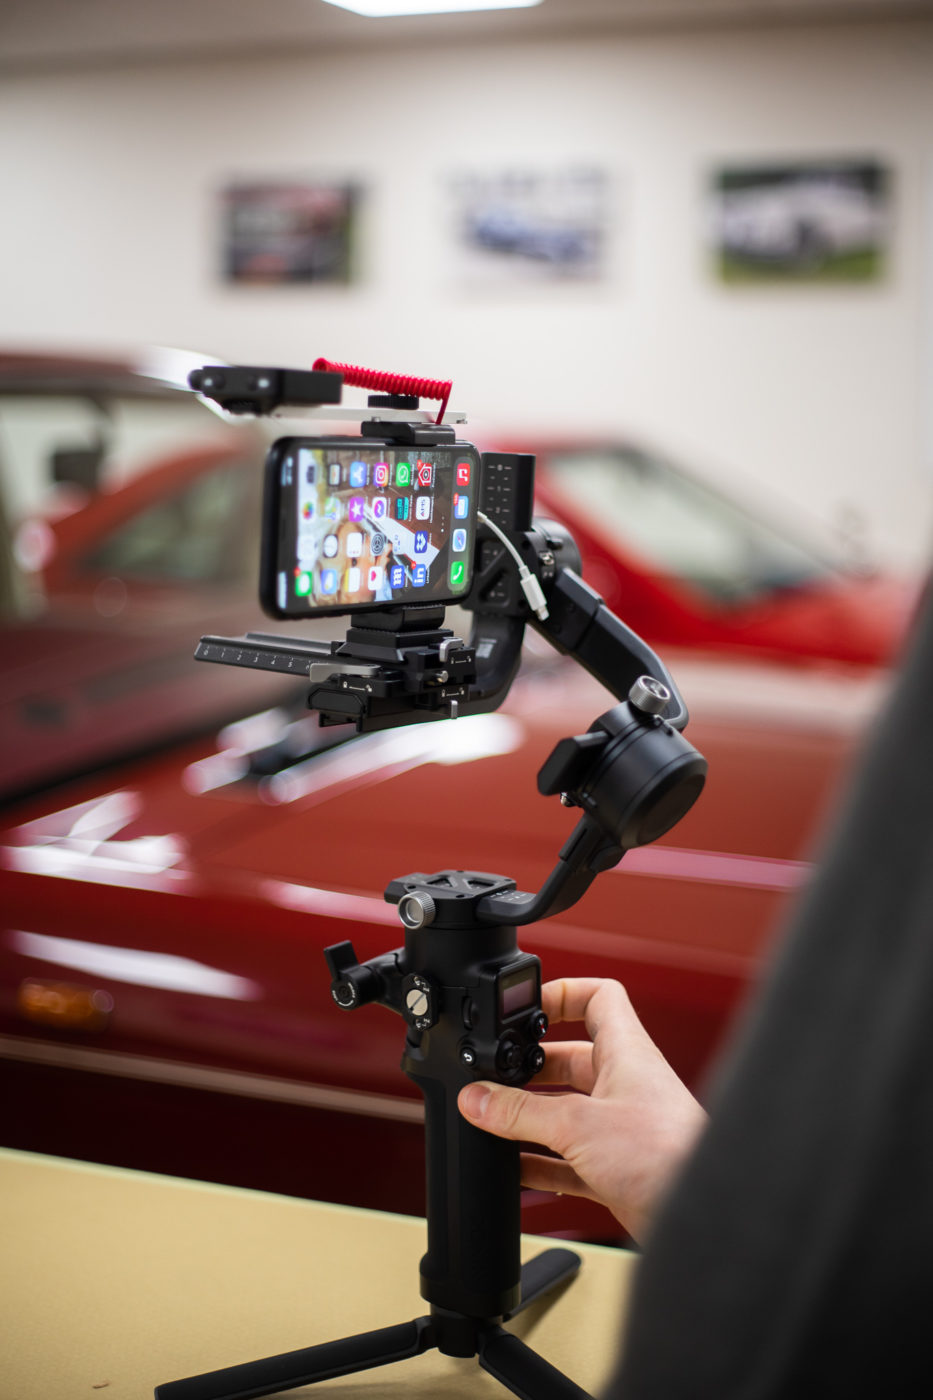
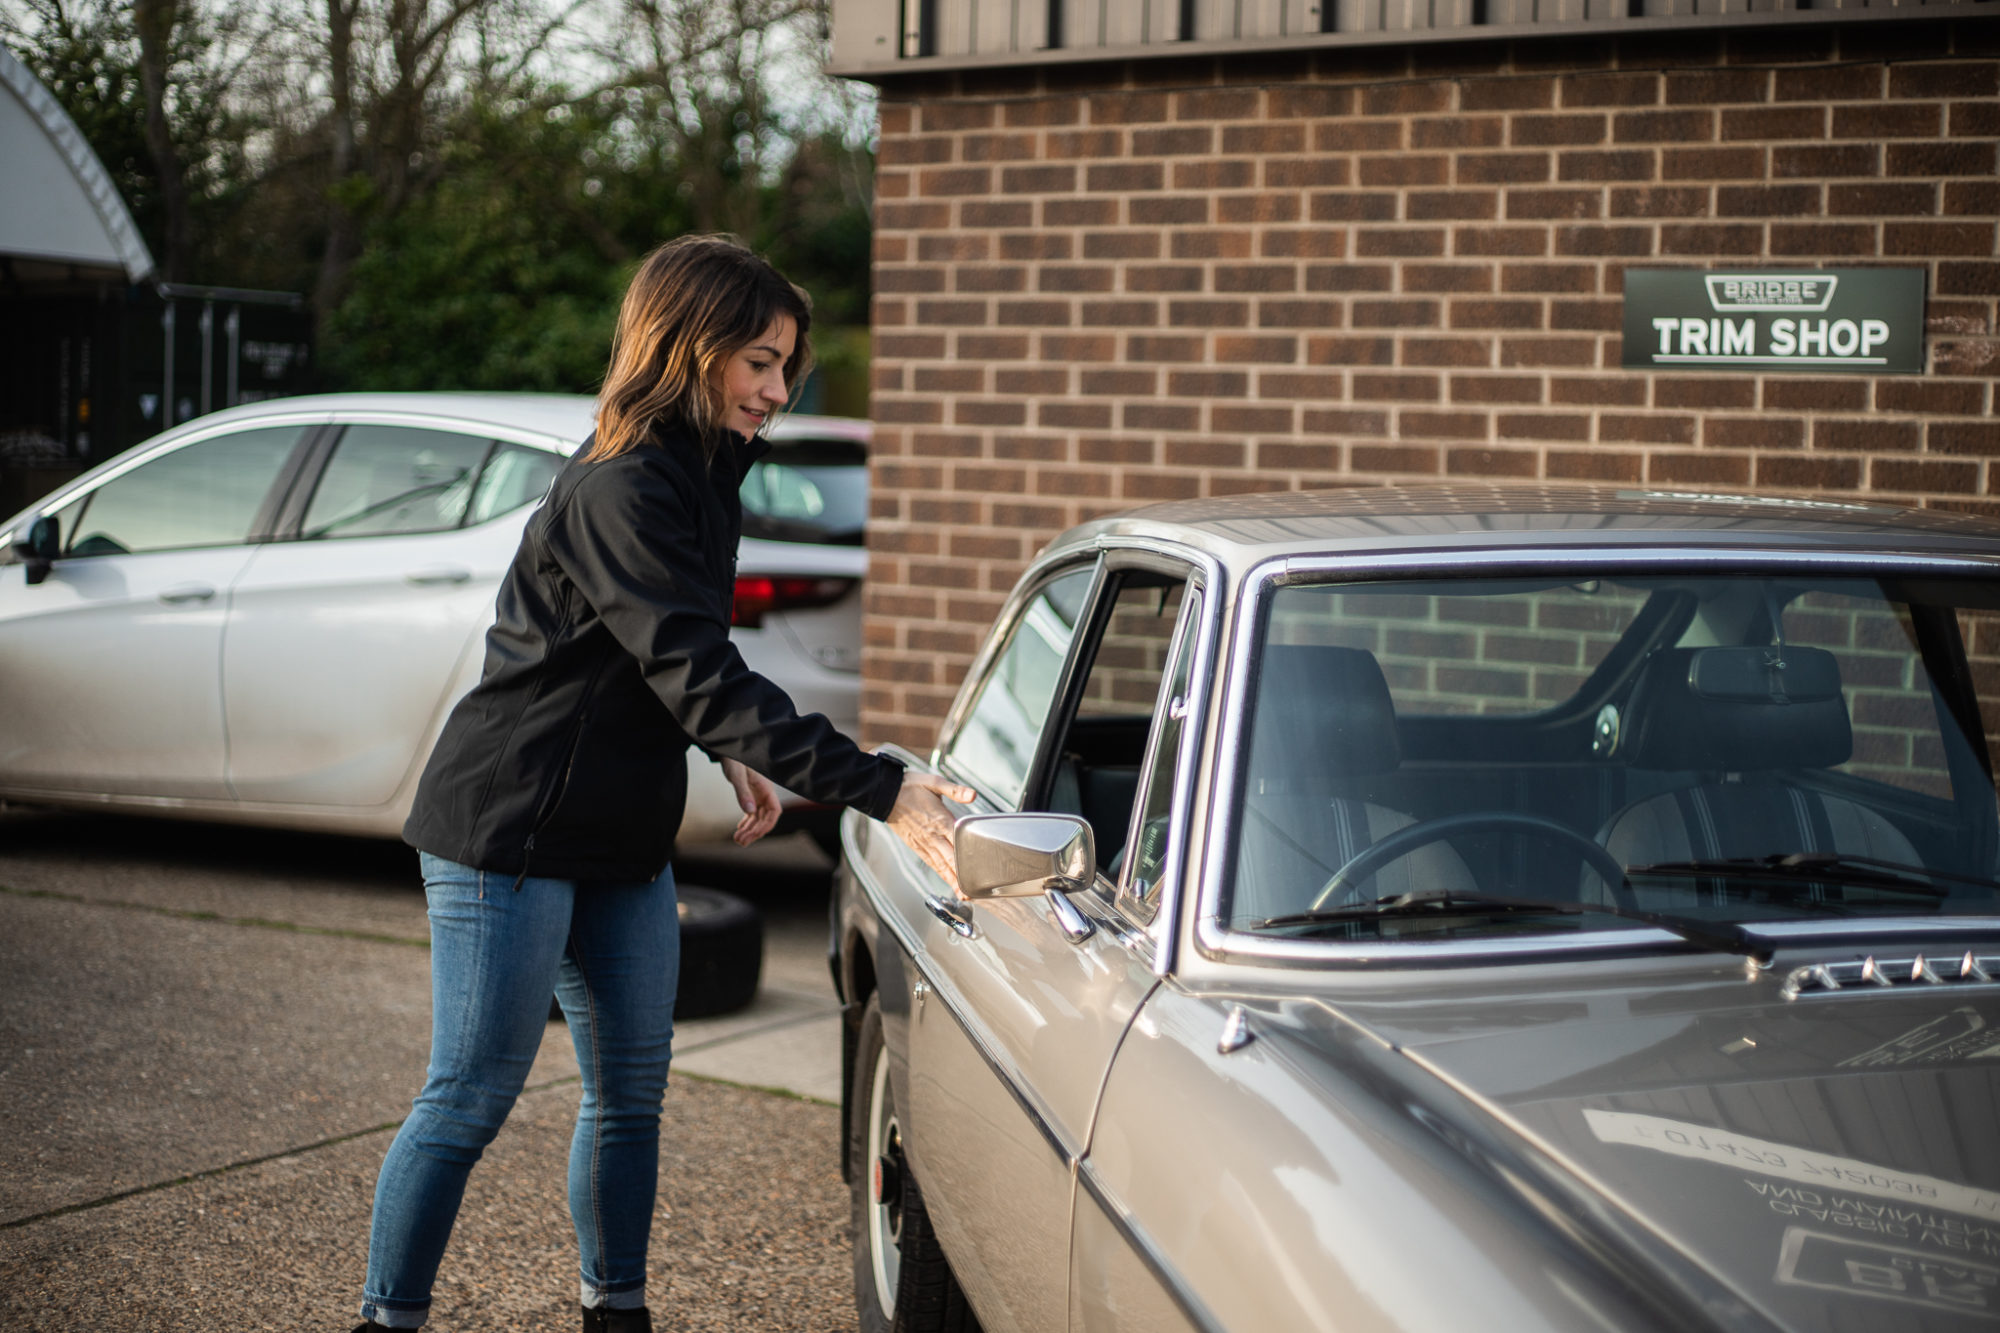
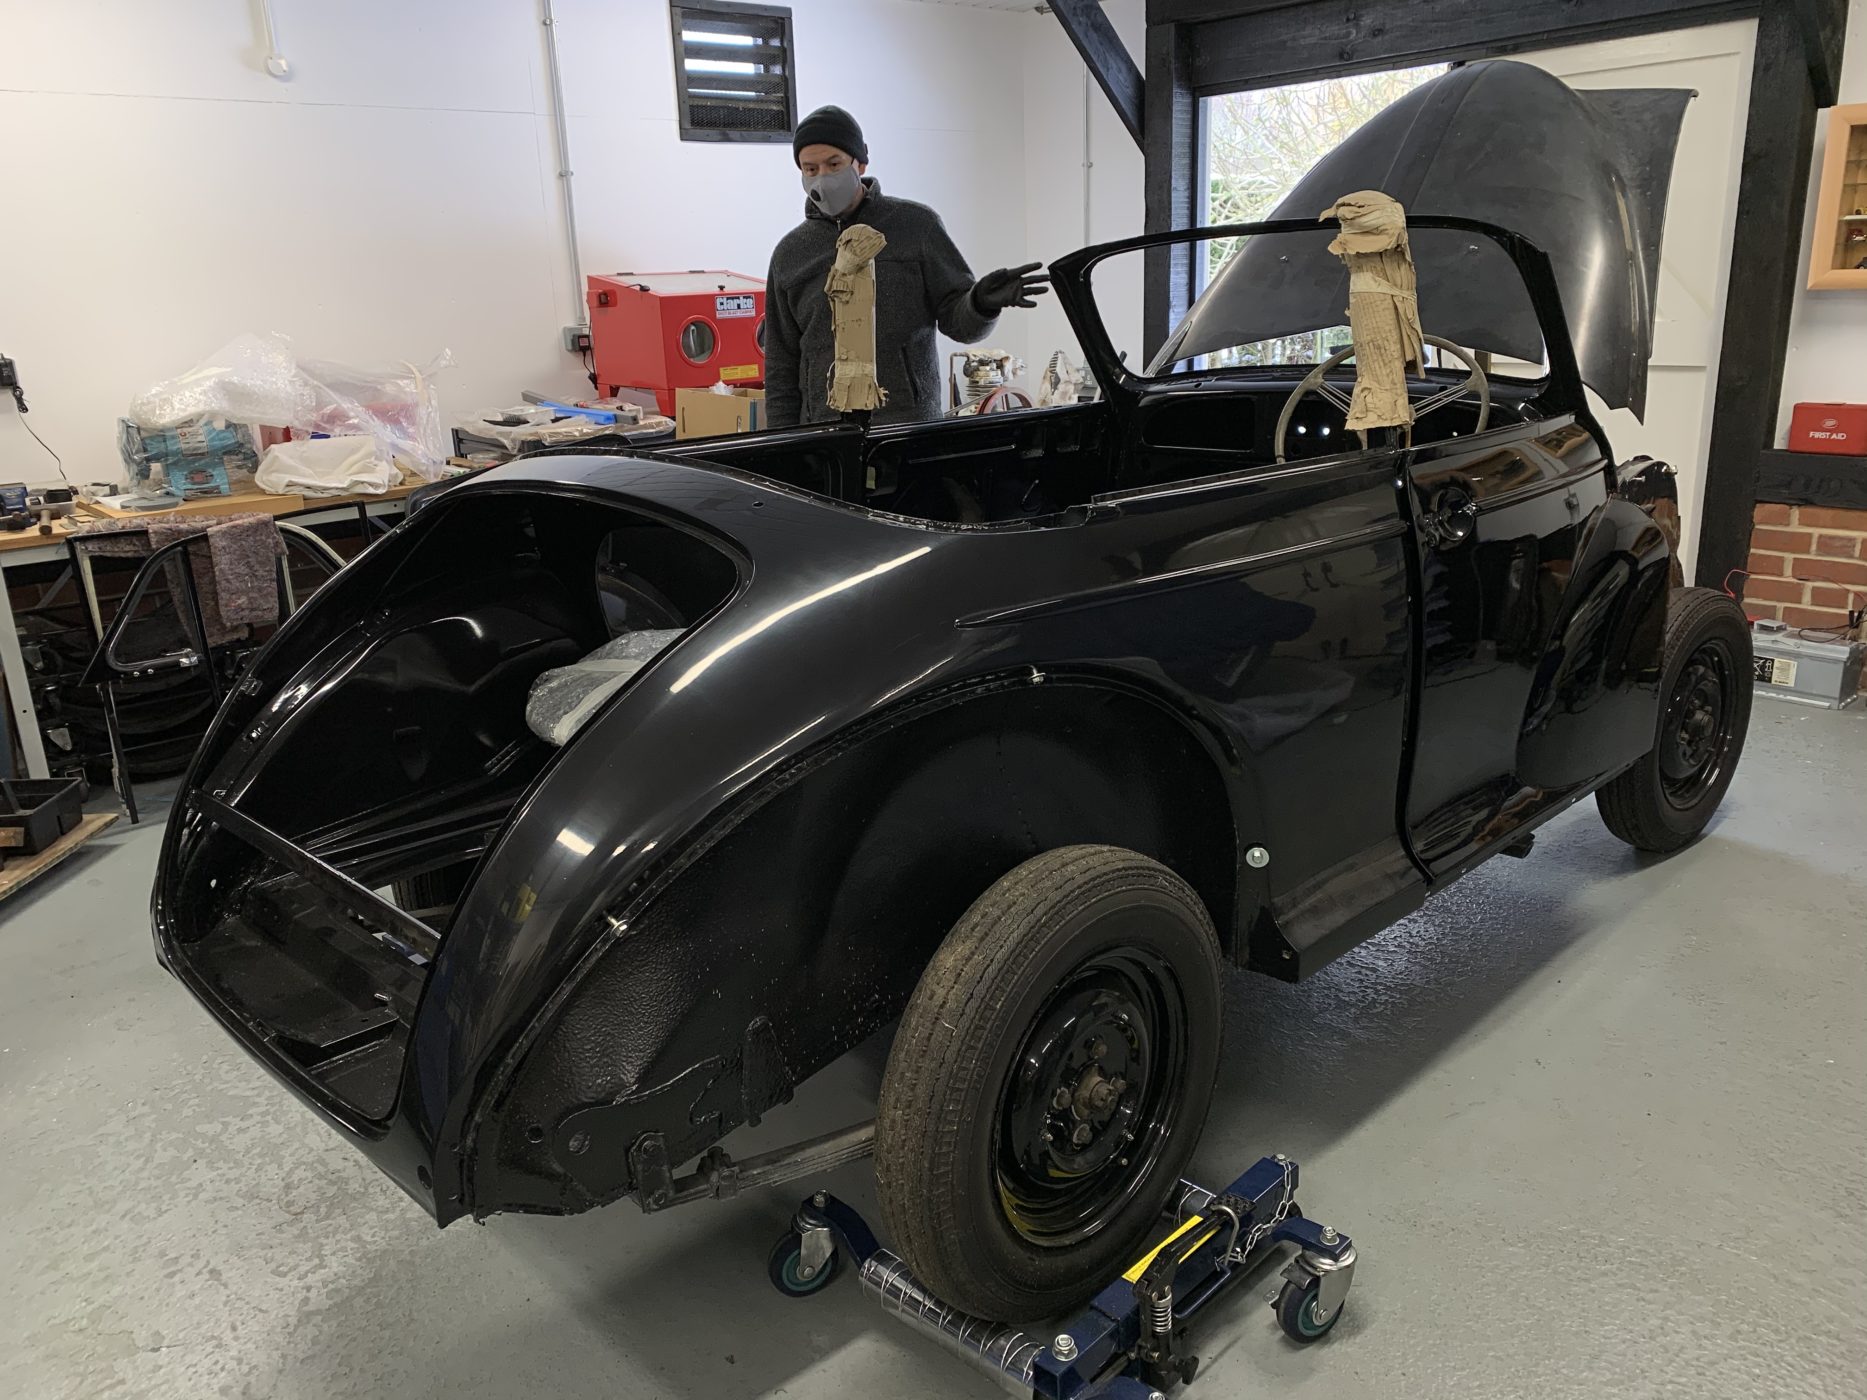
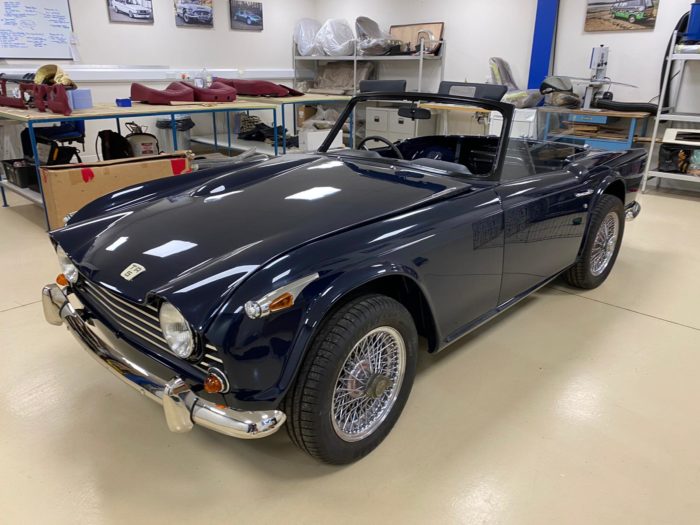
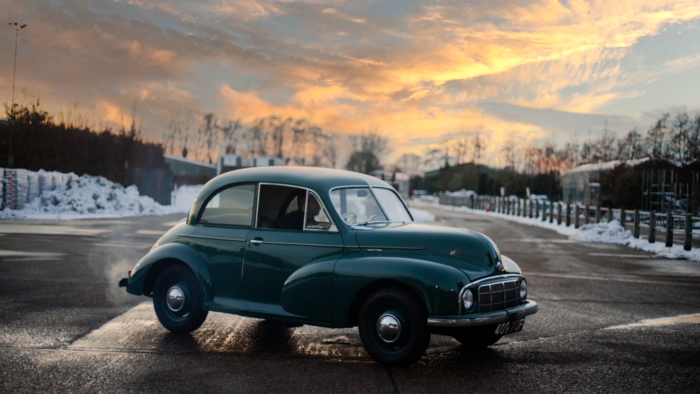
On Monday, Mauro and Ellie took the lorry and our 1958 Jensen 541R over to Glevering Mill to shoot it for our website. This stunning British classic is up for sale with us on our website, eBay, Car and Classic and Classic Car and Camper. In great condition, our Jensen is a stunning example of British engineering.
Monday turned from an overcast morning into rain and the shoot was halted early, however we were lucky enough to be able to come back the next day to continue to shoot. Denise and Allan, who live at Glevering Mill were enthusiastic and accommodating, working with us to help get the shoot done. Tuesday brought about blue skies and sunshine, making the paintwork really shine.
You can see this Jensen’s restoration story here.
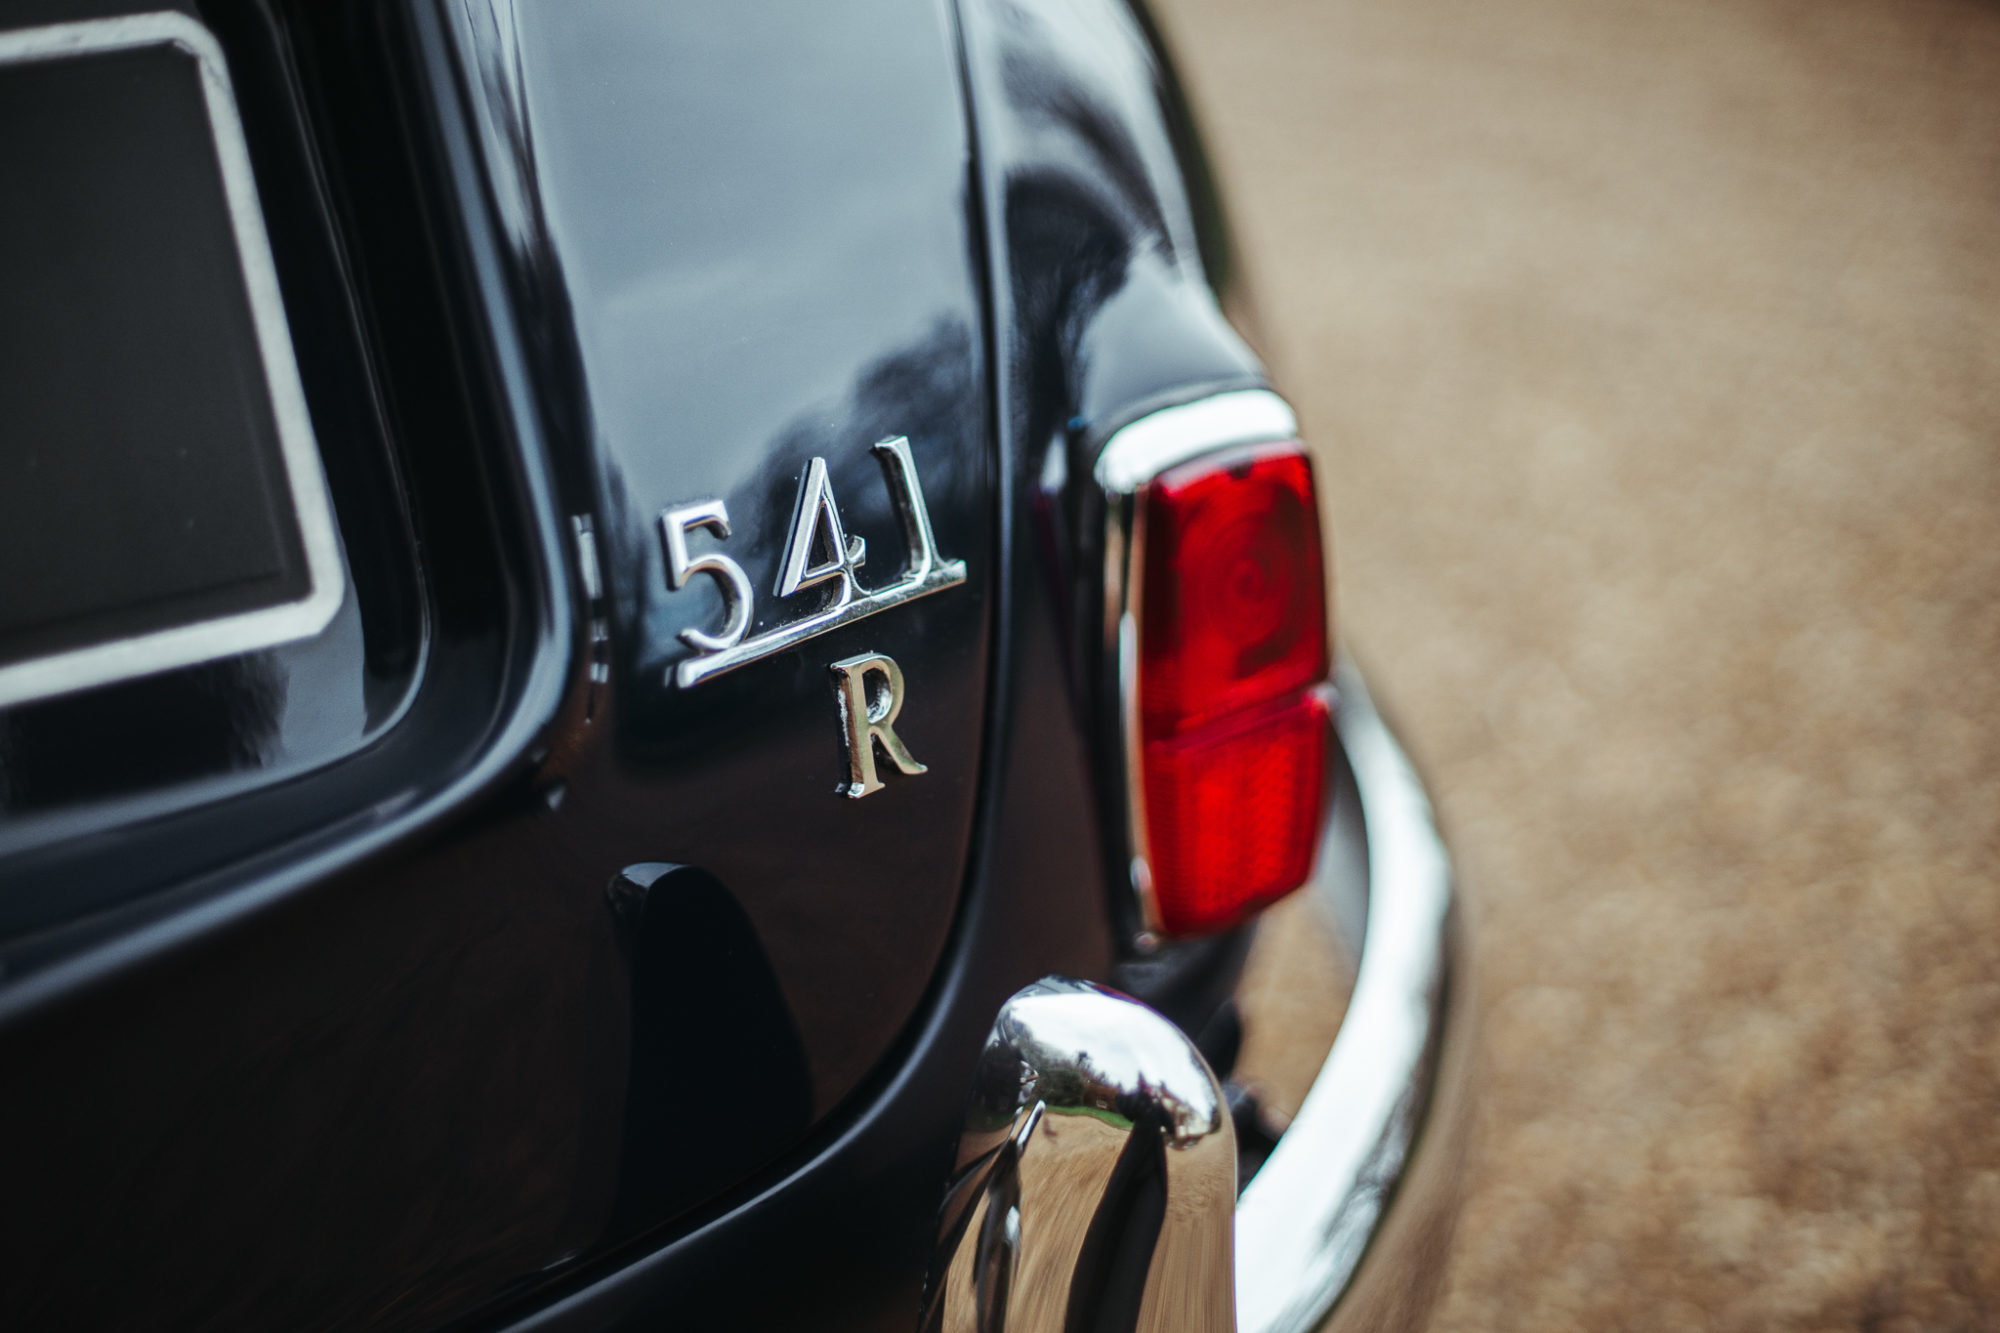
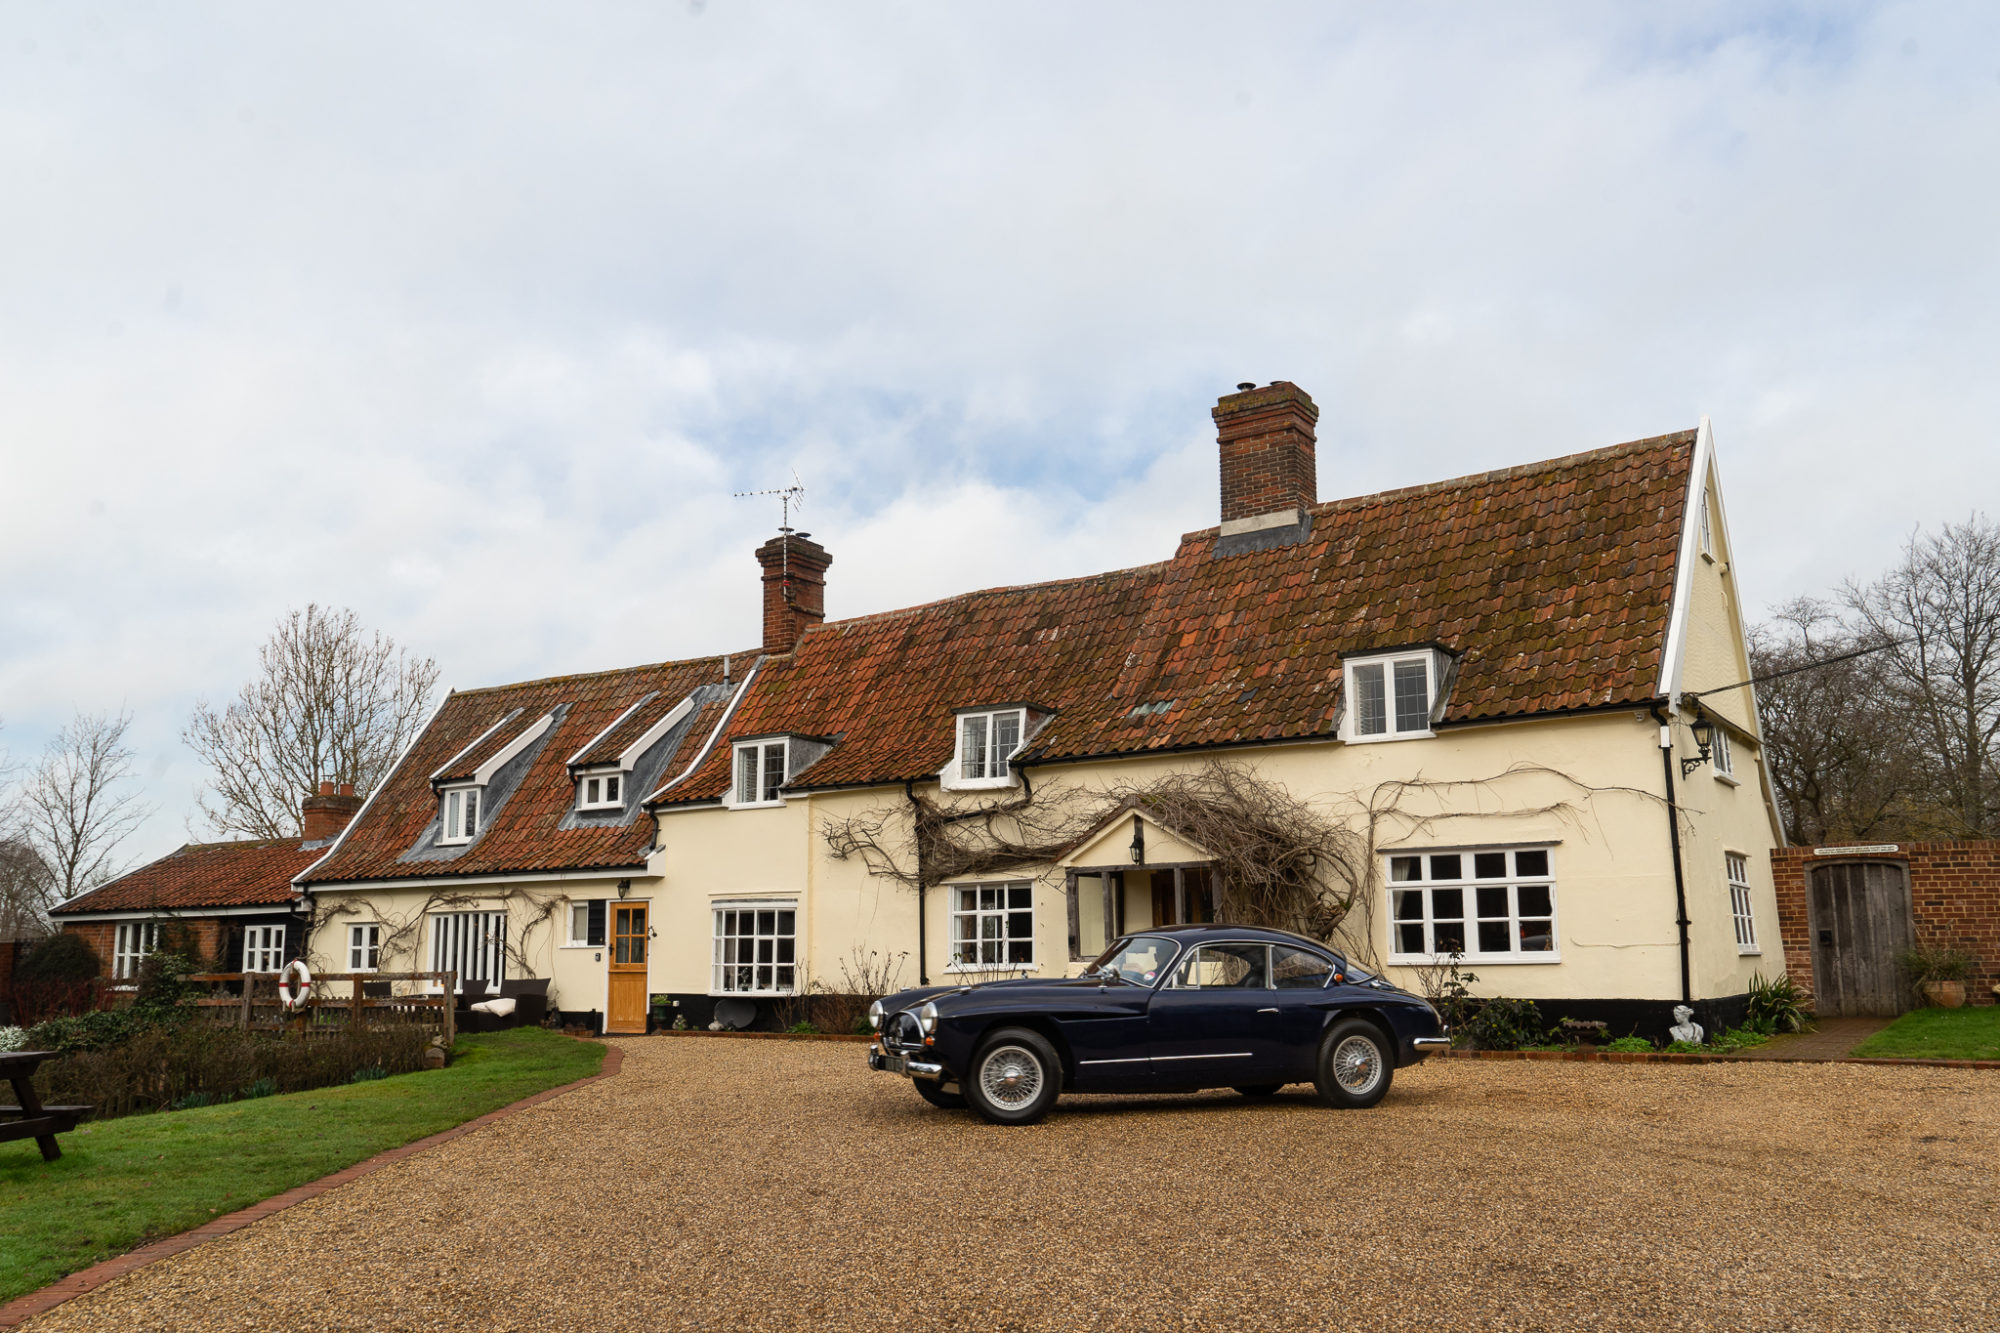


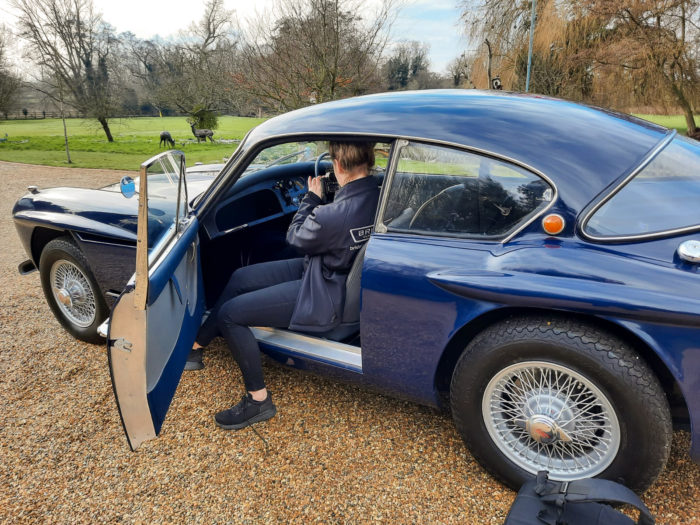
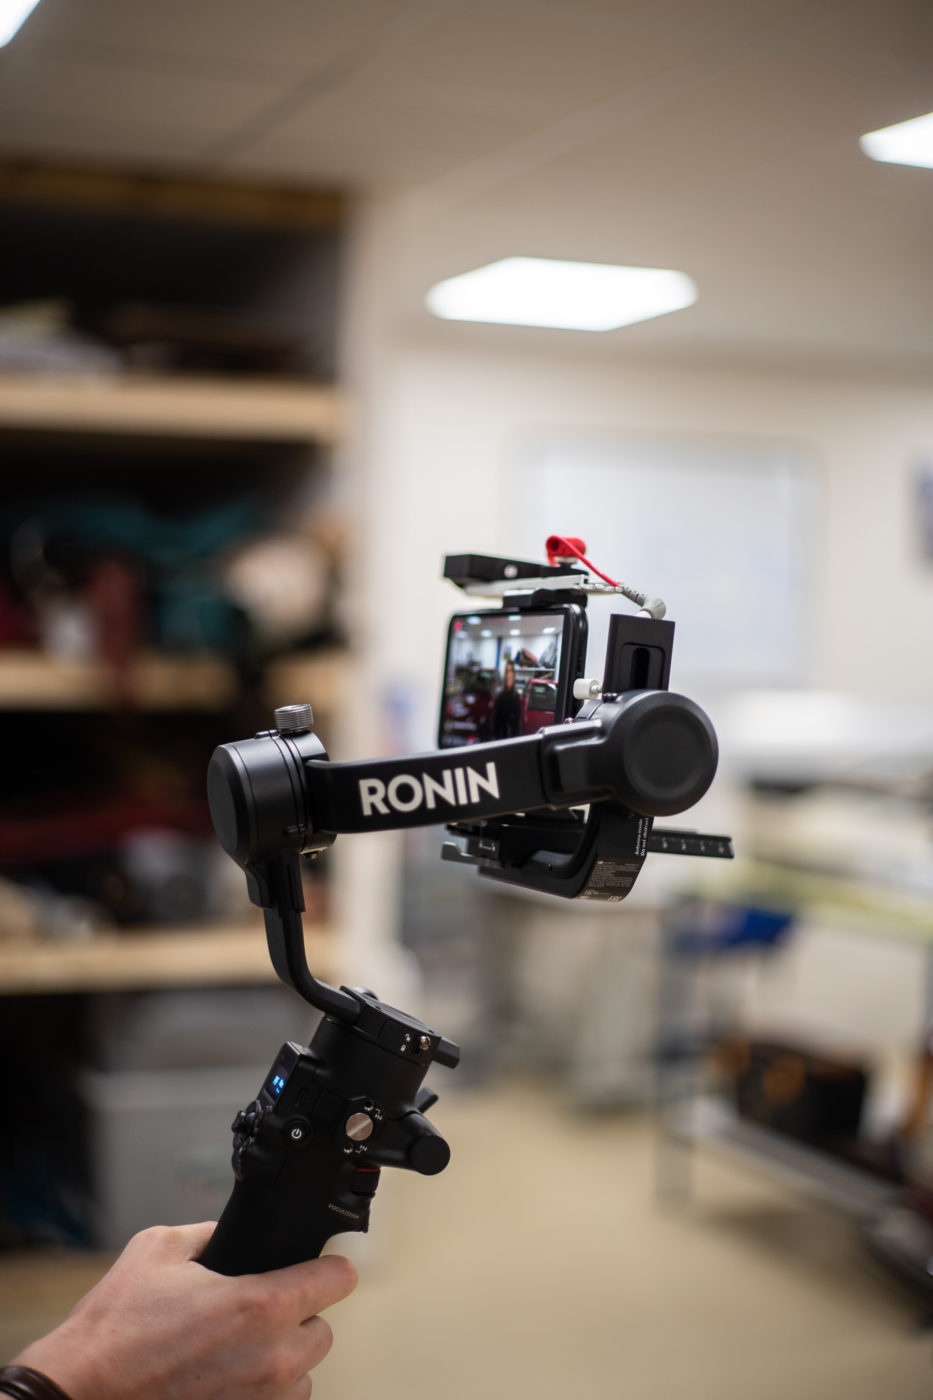
Here’s some behind the scenes of Ellie shooting the Jensen on the sunnier second shoot.

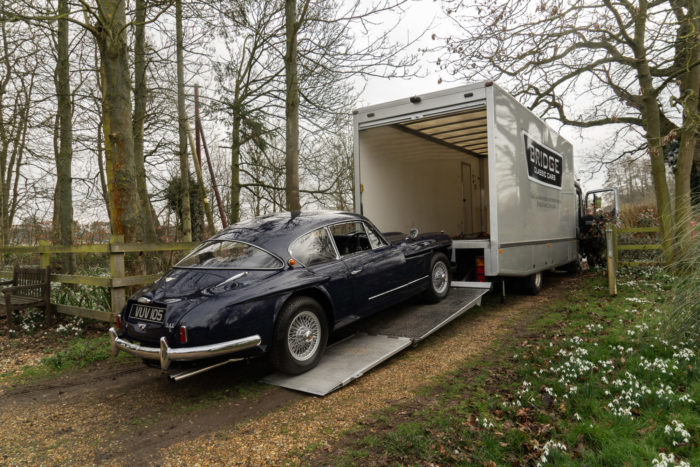
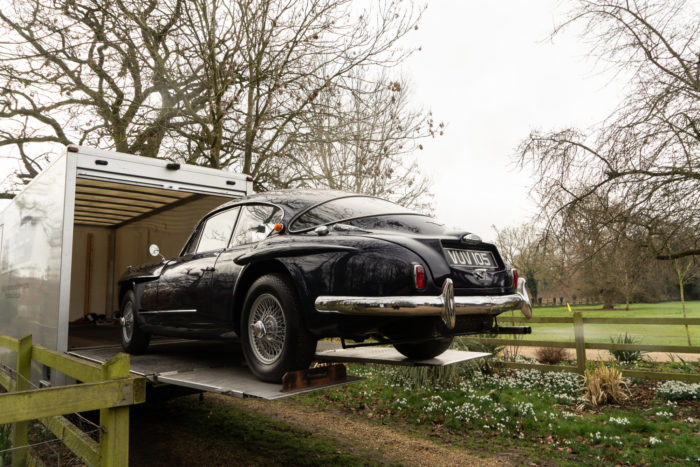
The Jensen also happened to be one of the first cars transported in the lorry with its new designs that were applied over the weekend!
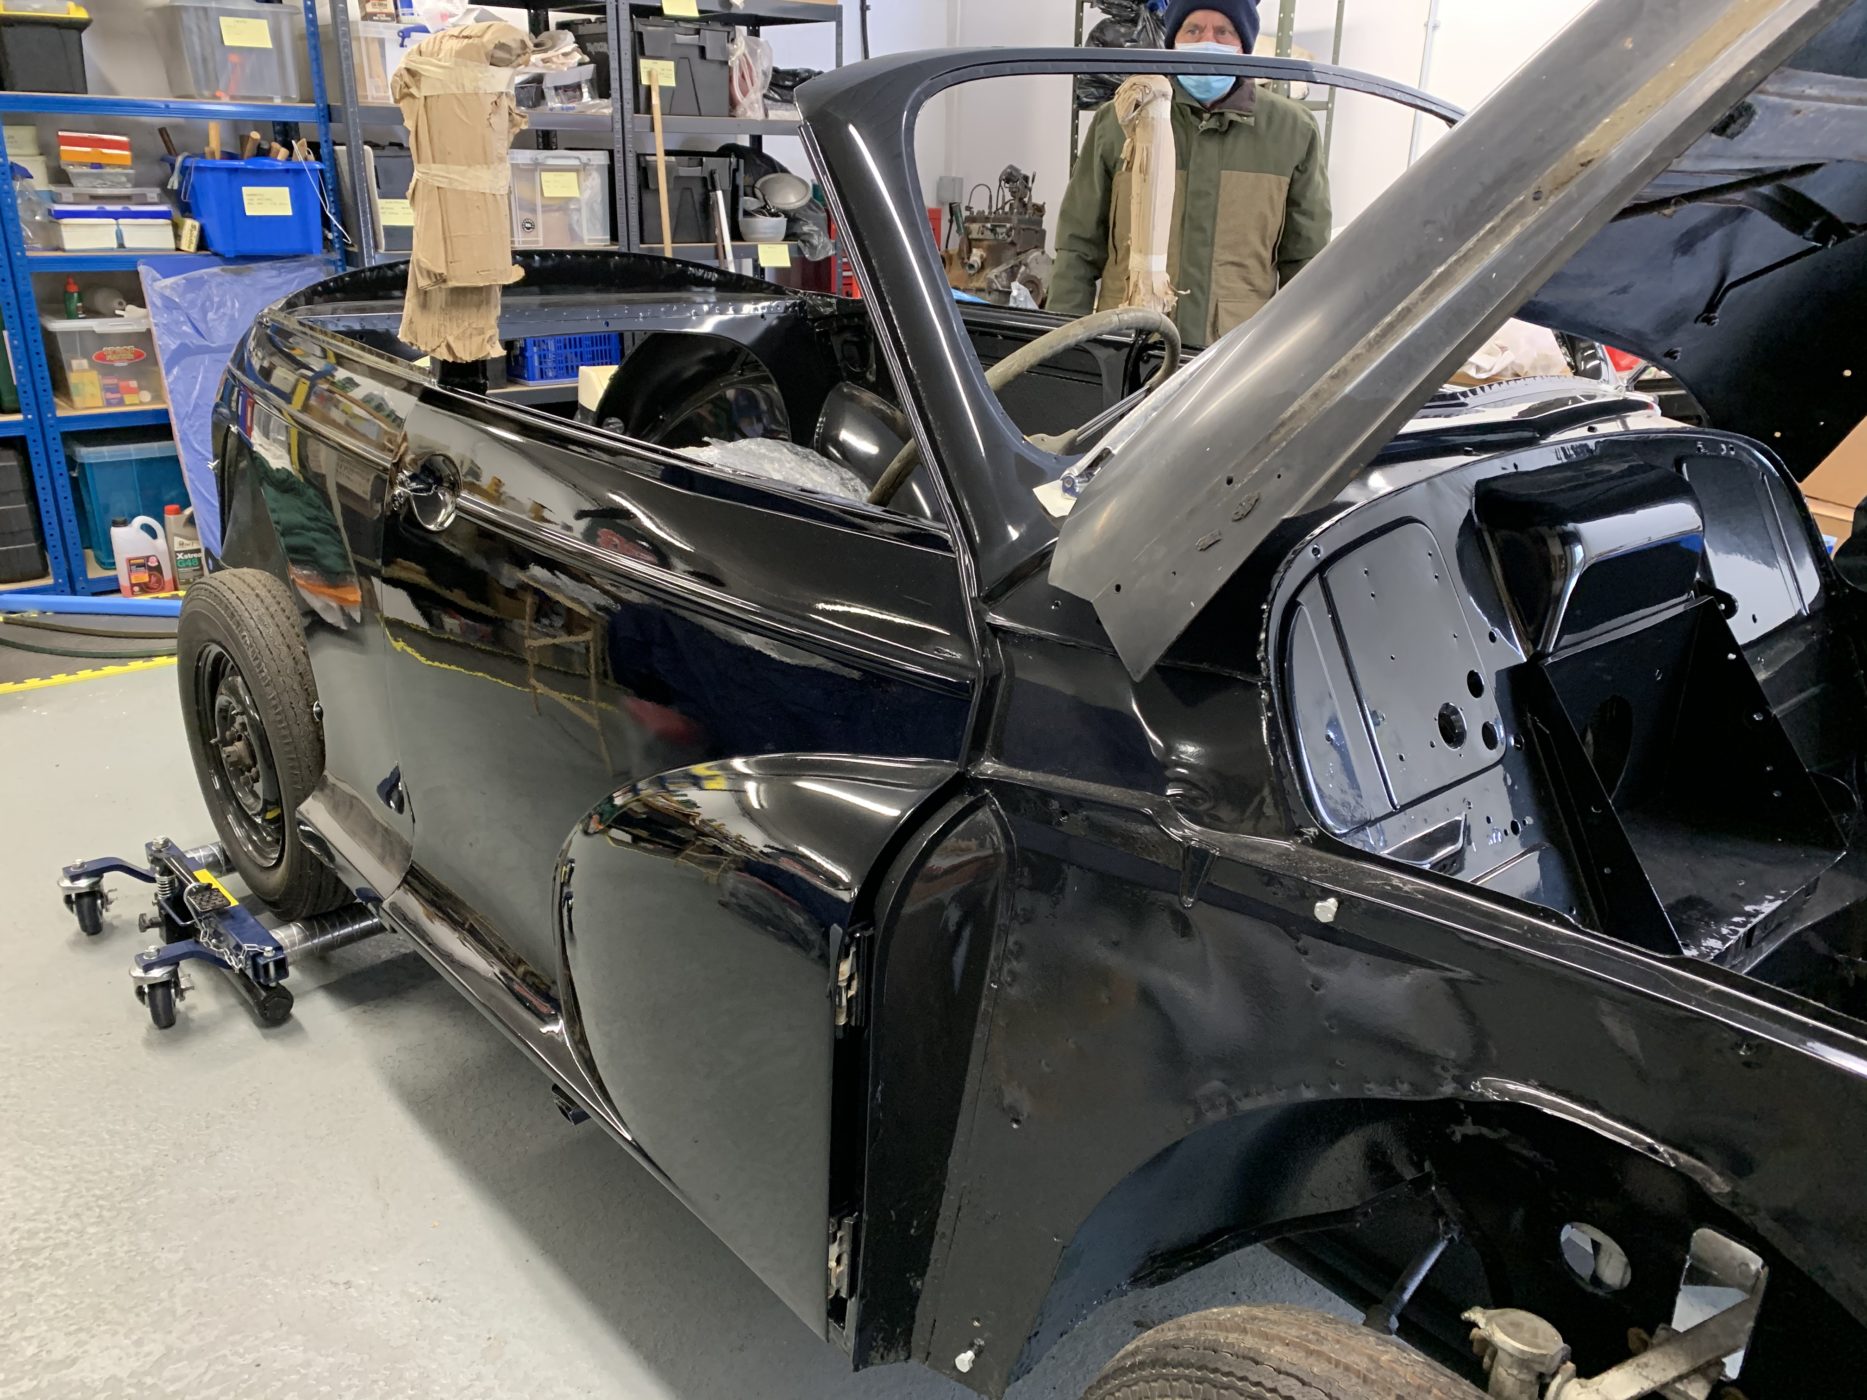
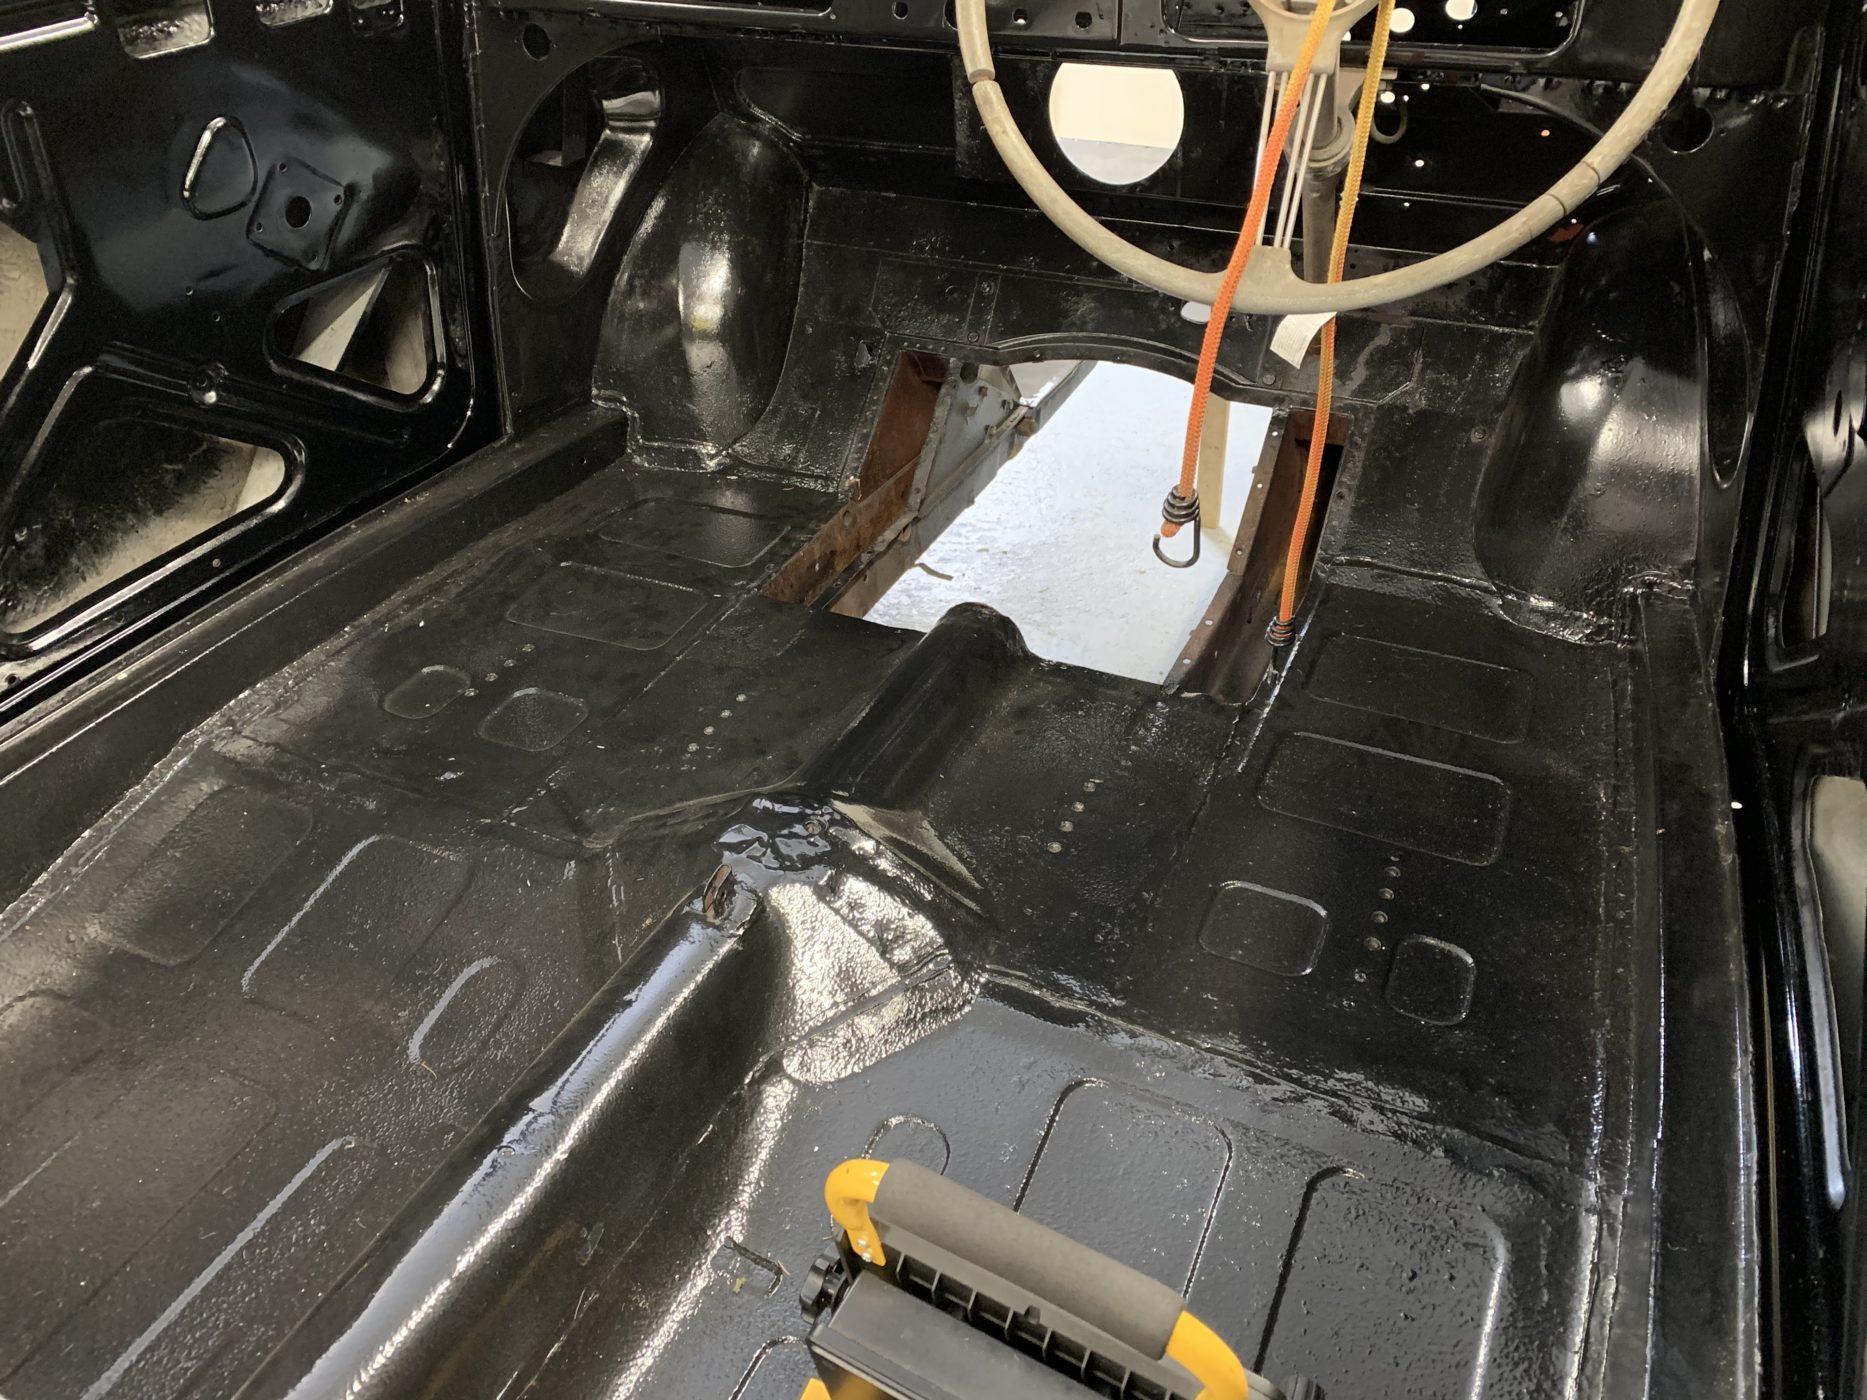
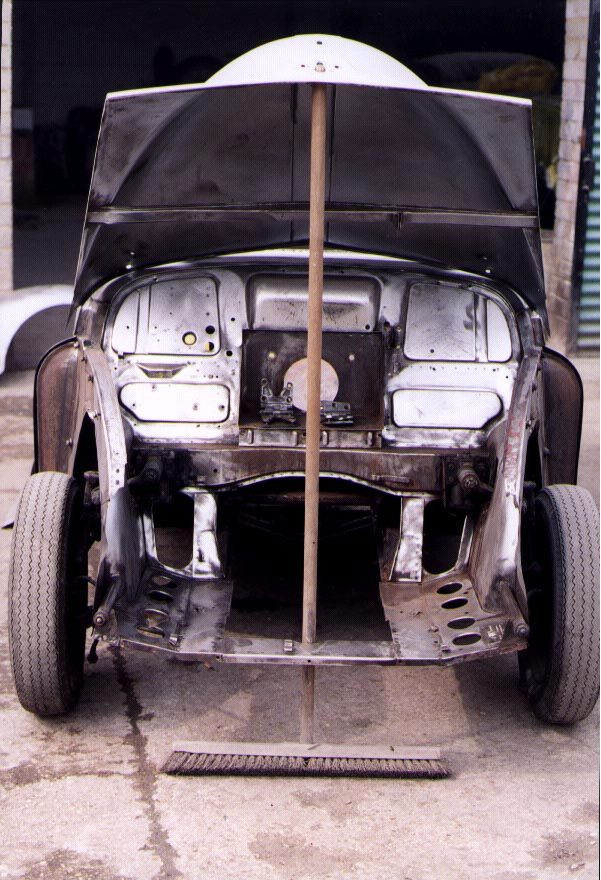
James has continued with correct the rust and corrosion on the chassis of the 1949 Morris Minor Lowlight. James made a template and then cut With the chassis now welded up, it has left the fabrication bay and made its way over to our hanger.


We managed to snap a few teaser photos of the Morris as it sat in our work shop before it went down to be stored at Bentwaters for the photoshoot. The interior is just stunning!

We are delighted to announce that we’ve teamed up with Car and Classic to share our Bridge Classic Cars’ services and competitions across their website. If you’re used to perusing the classifieds of Car and Classic, you’ll start to see our adverts popping up.
We’ve featured several times in Car and Classic’s Magazine. Most recently, our E-Type Racecar received a beautiful write up from Head of Editorial, Chris Pollitt. You can read Chris’ article here: https://www.carandclassic.co.uk/magazine/e-type-racer-built-for-the-thrill
We’re excited by this partnership and cannot wait to reveal more of our exciting plans with Car and Classic.
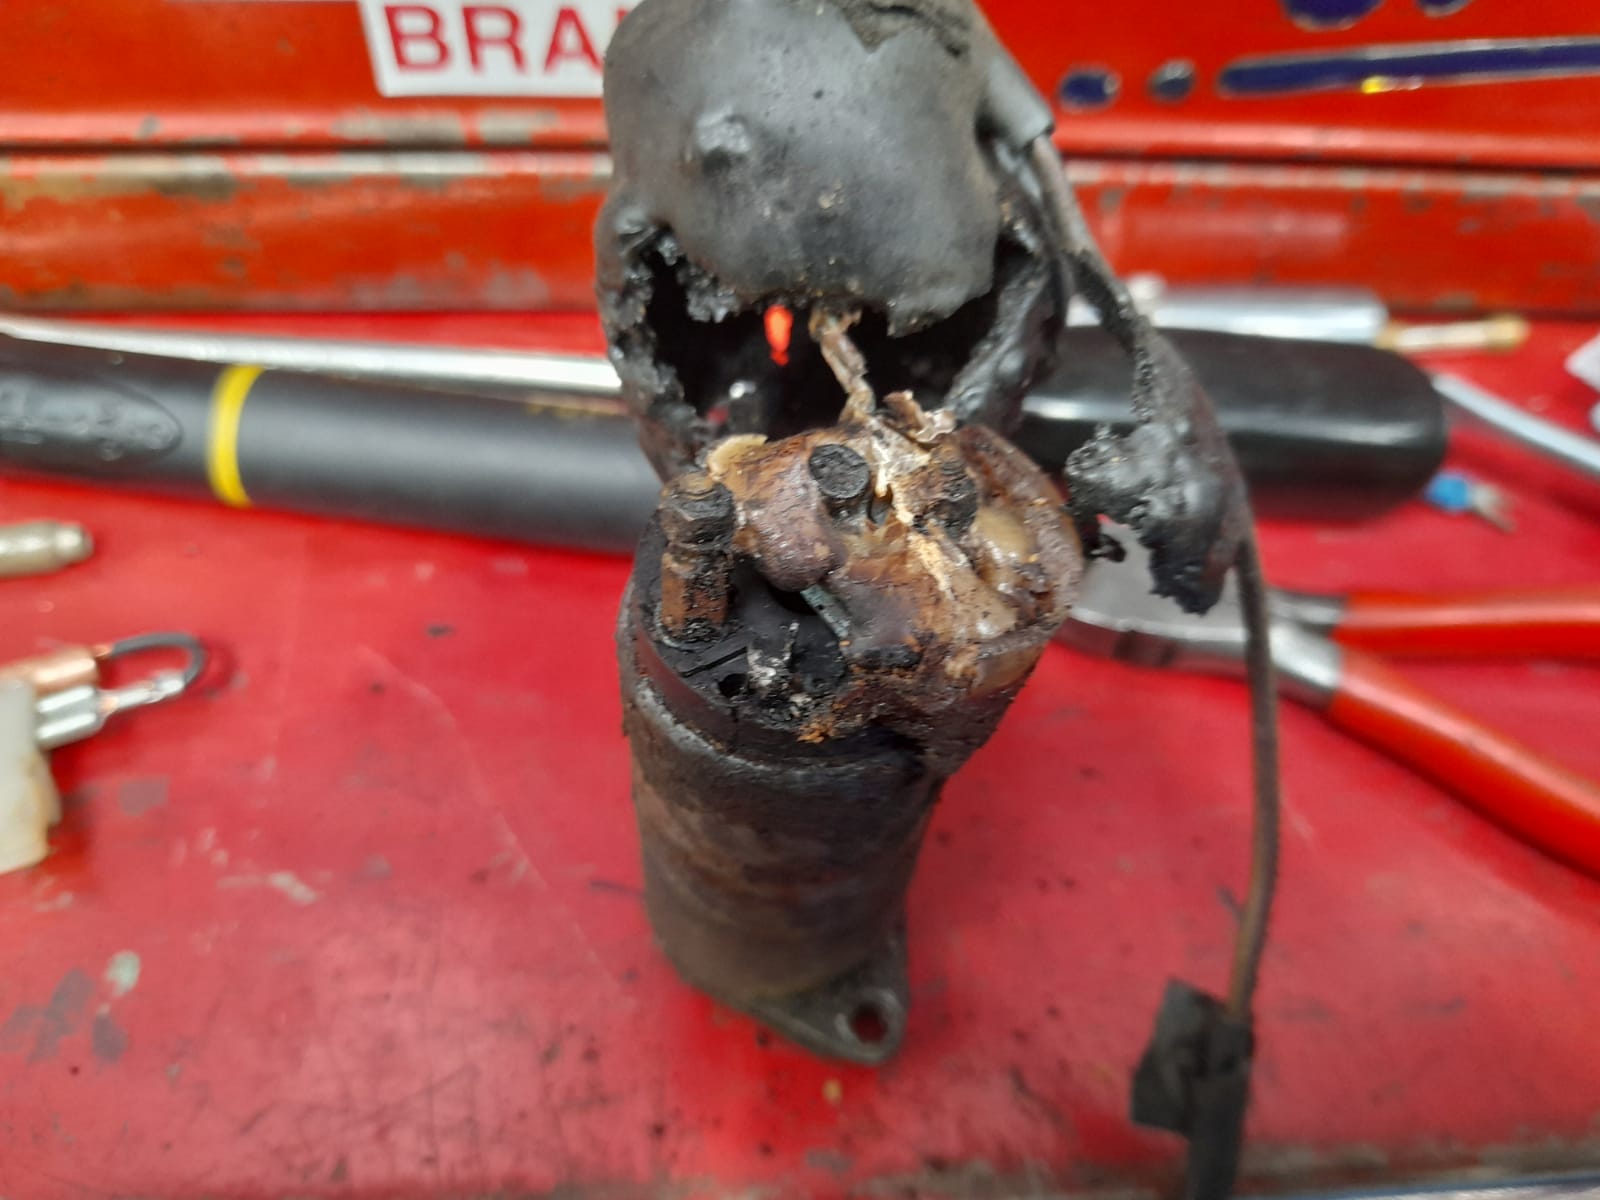
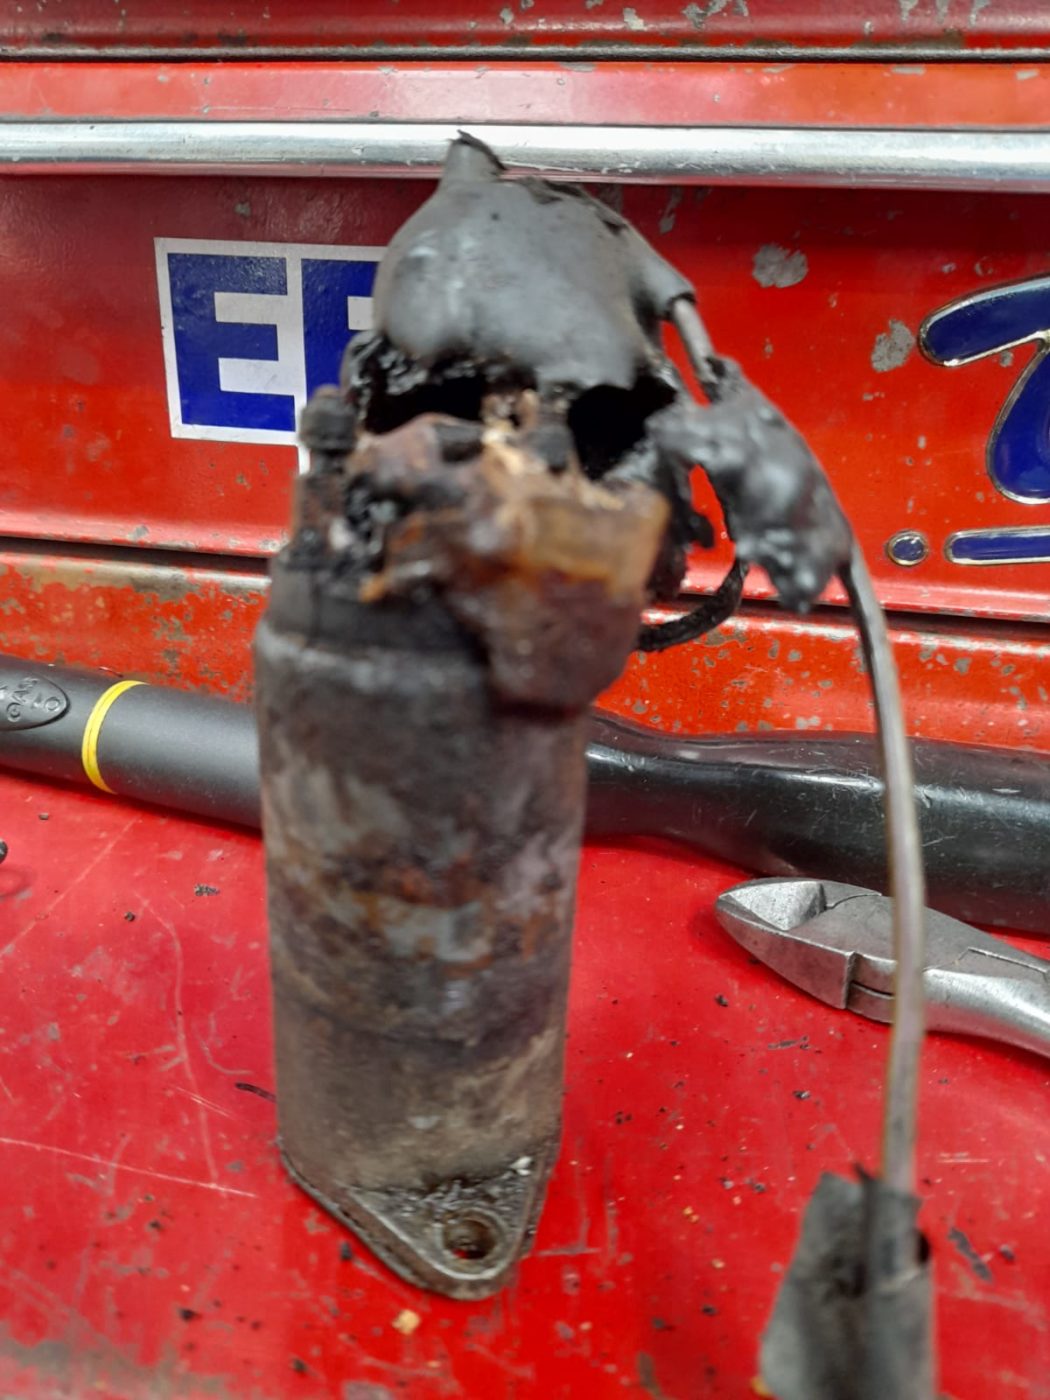
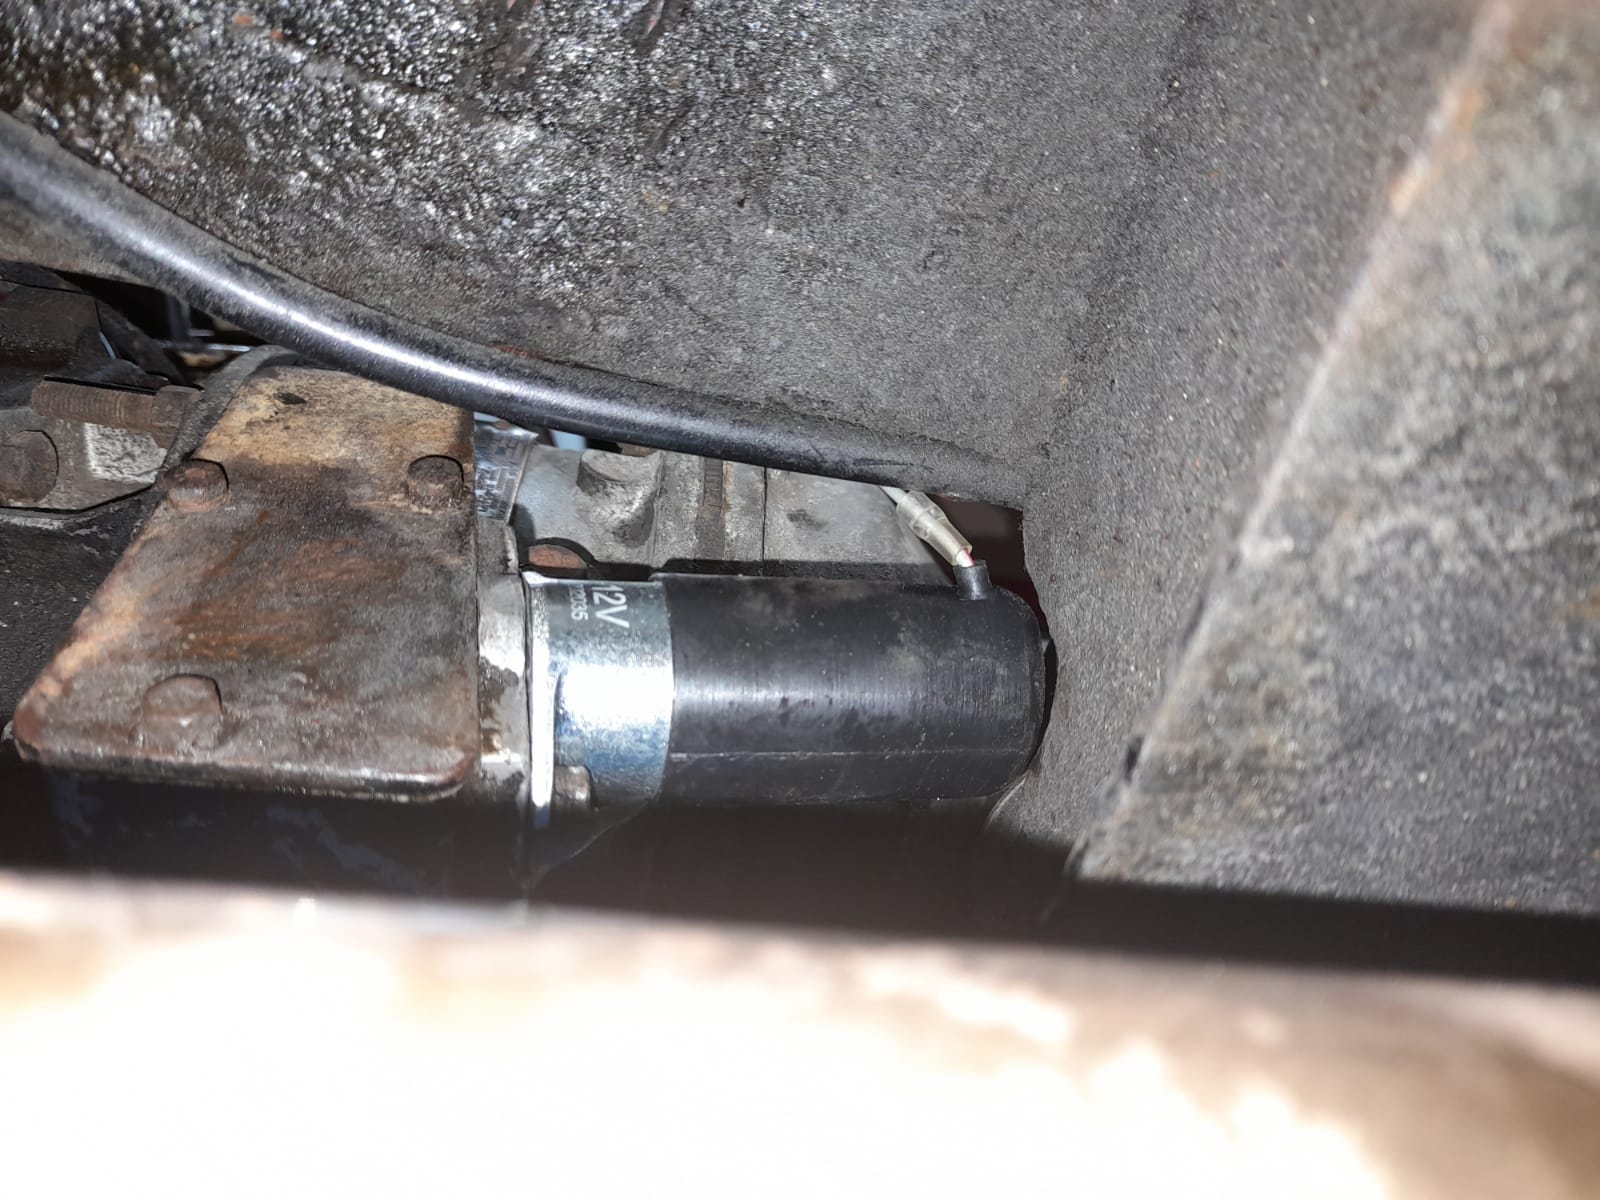
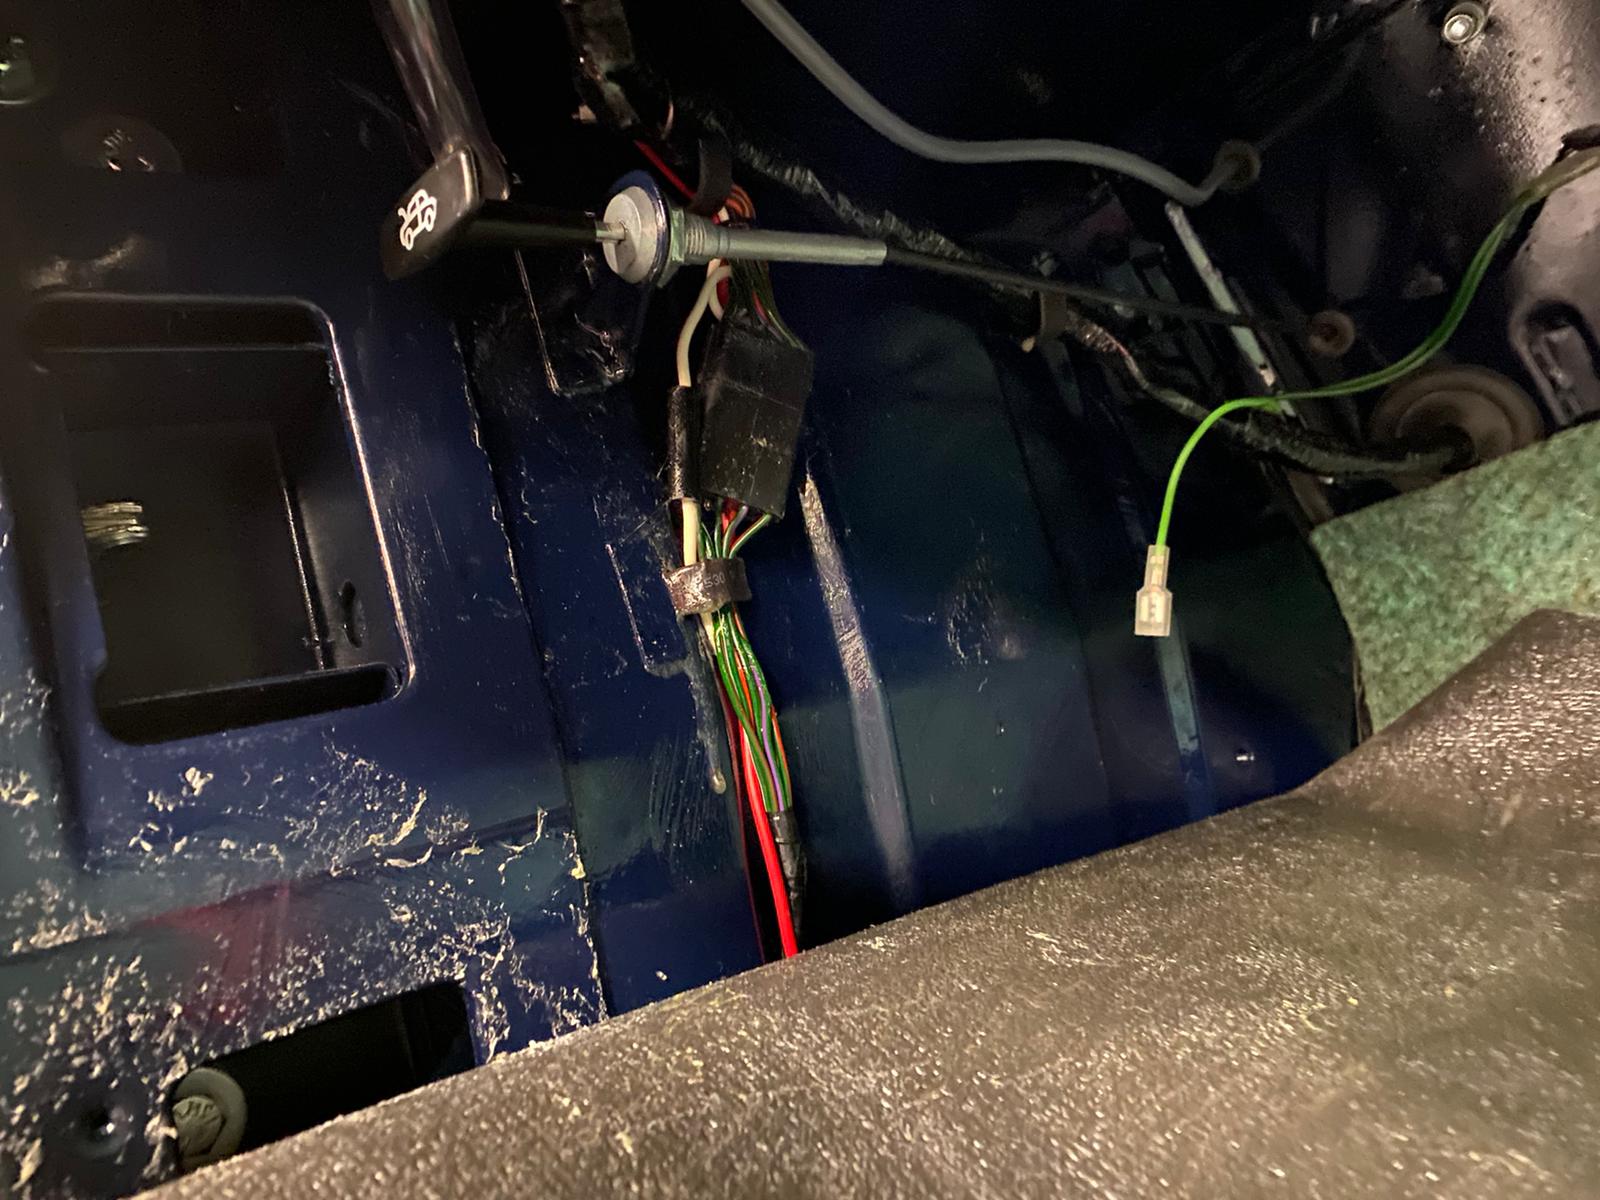
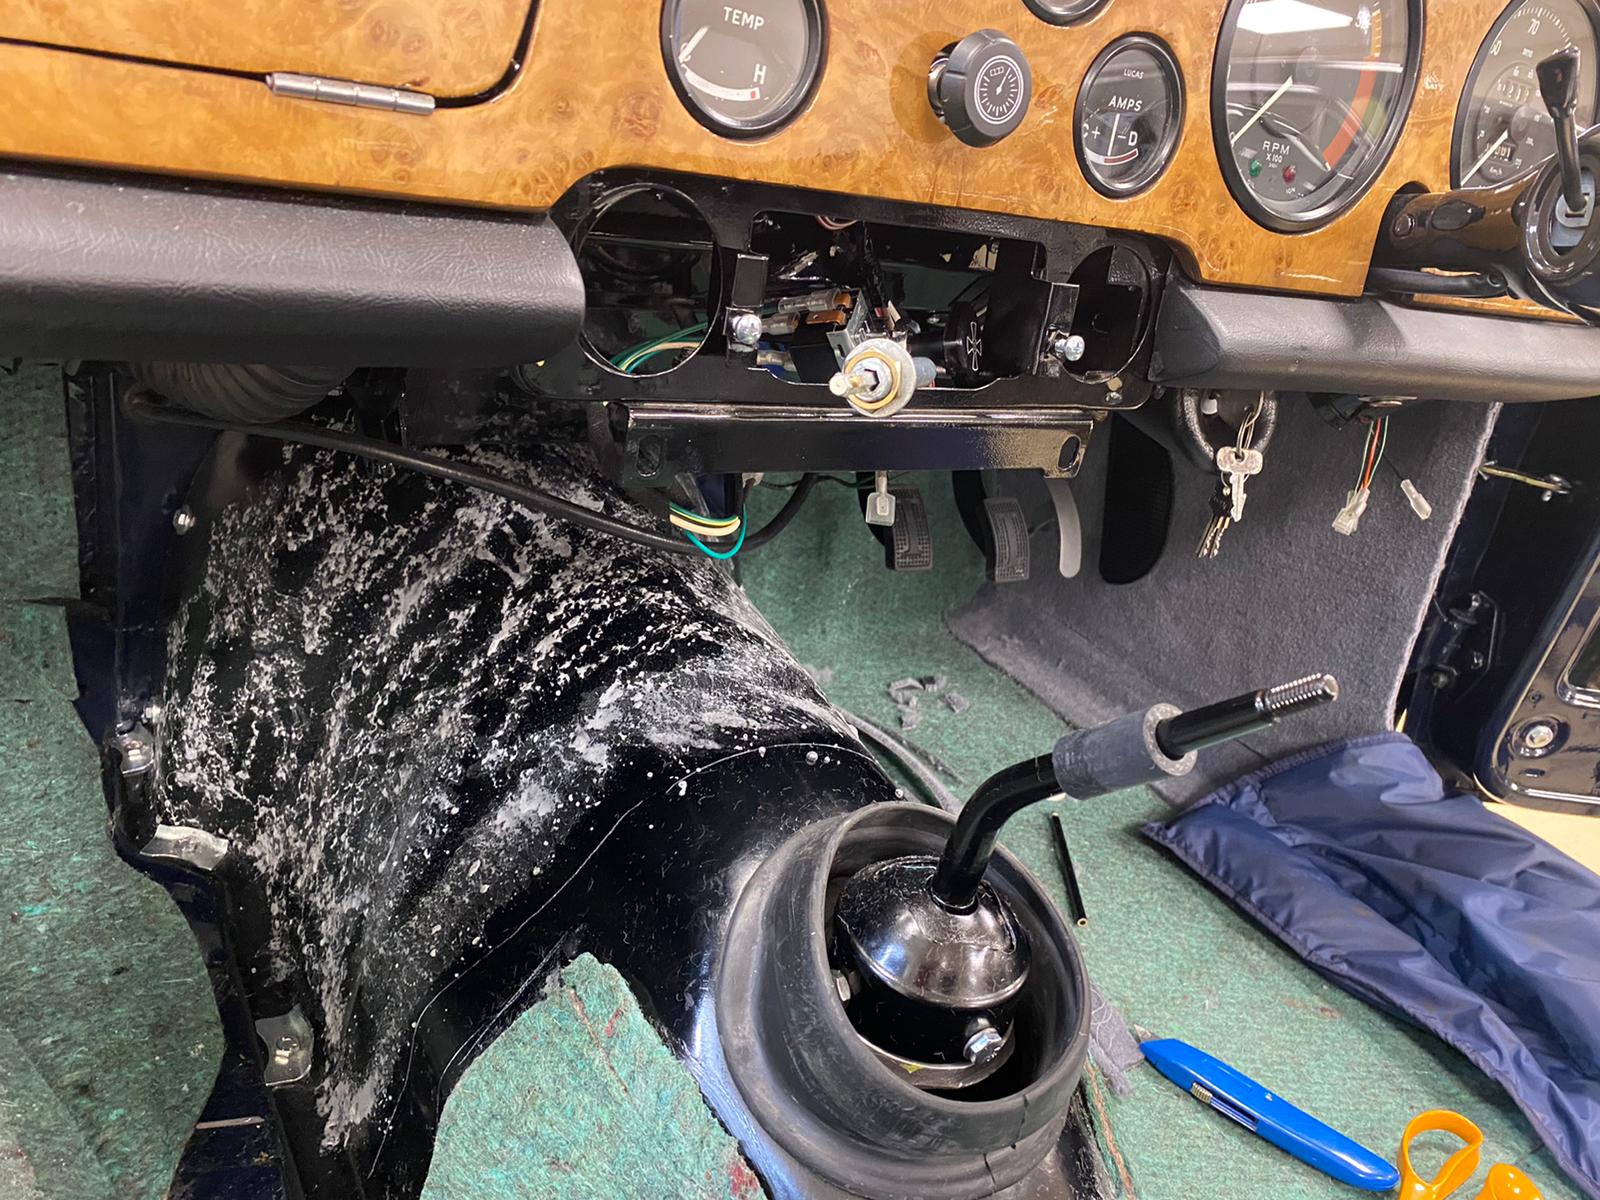
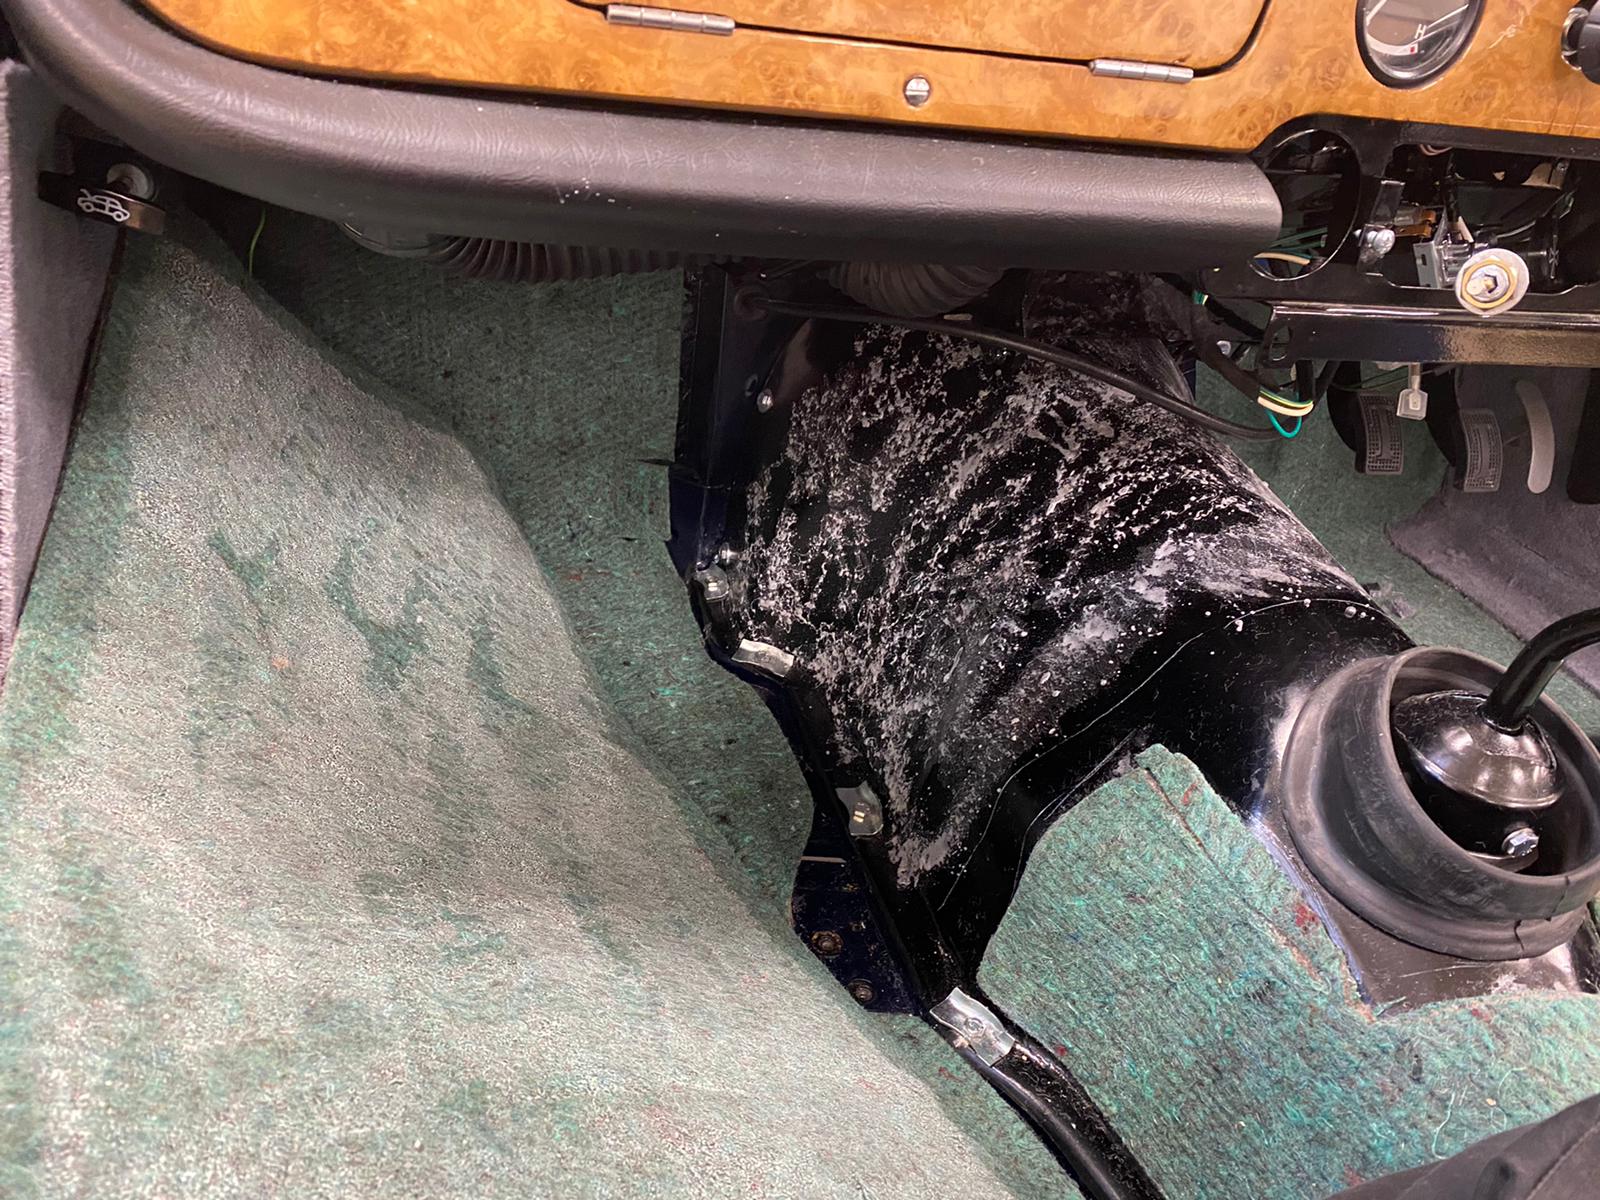
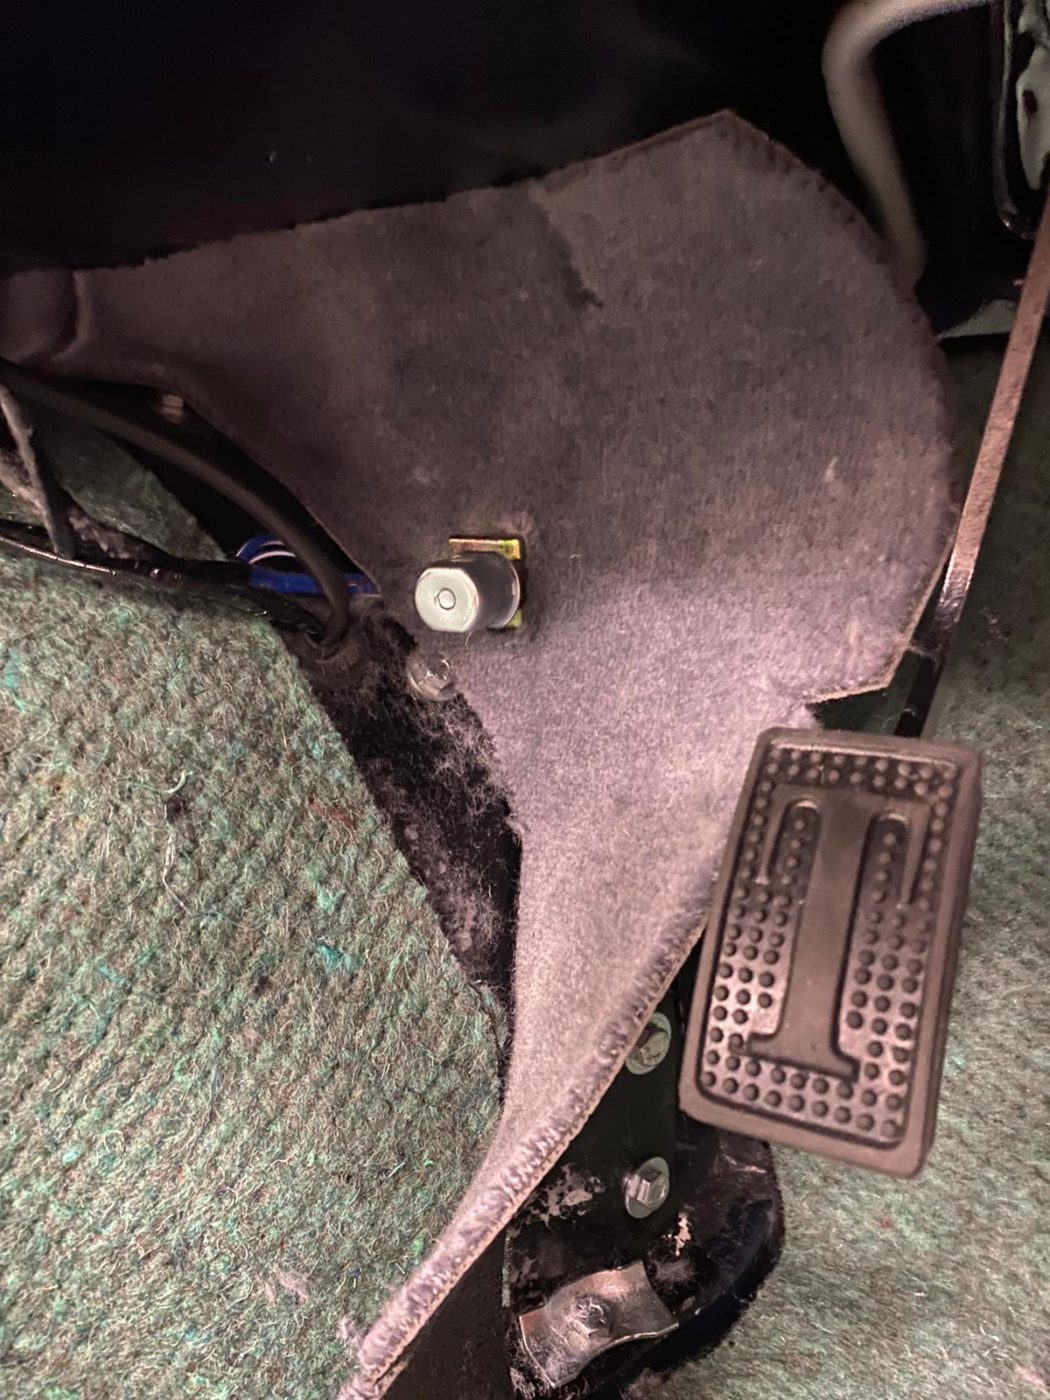
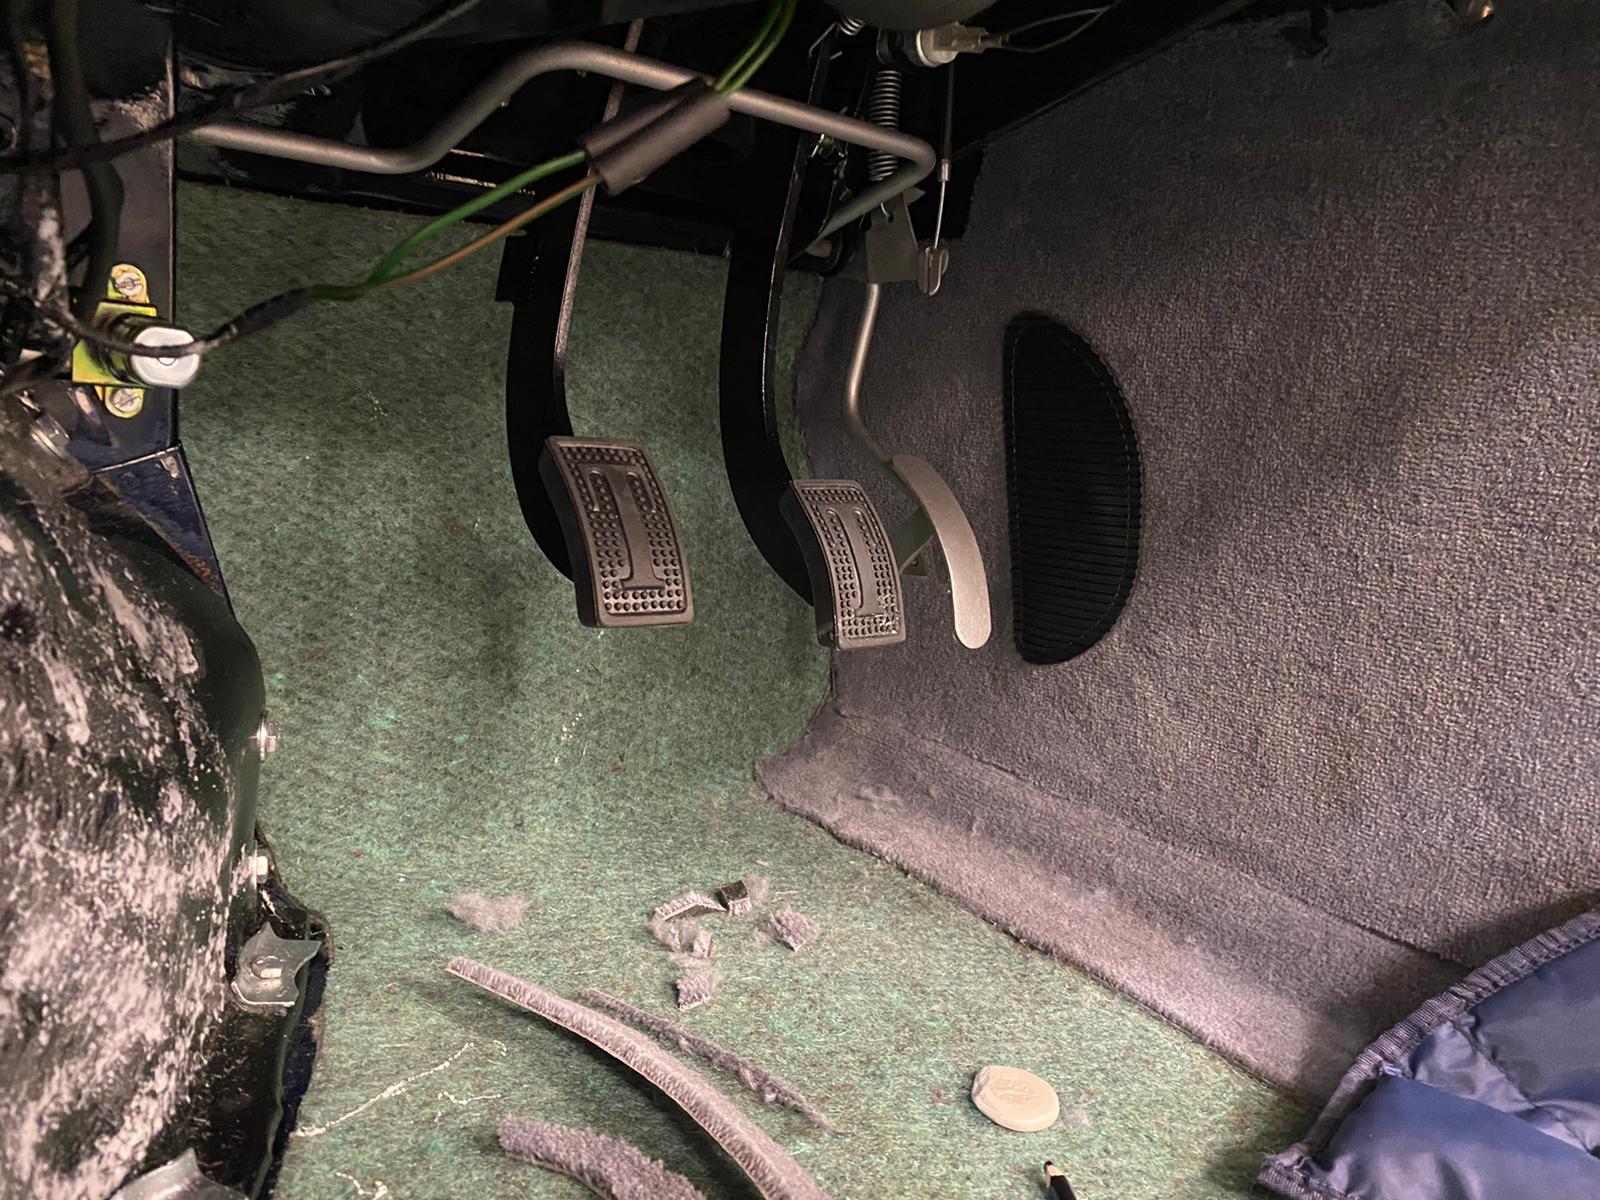
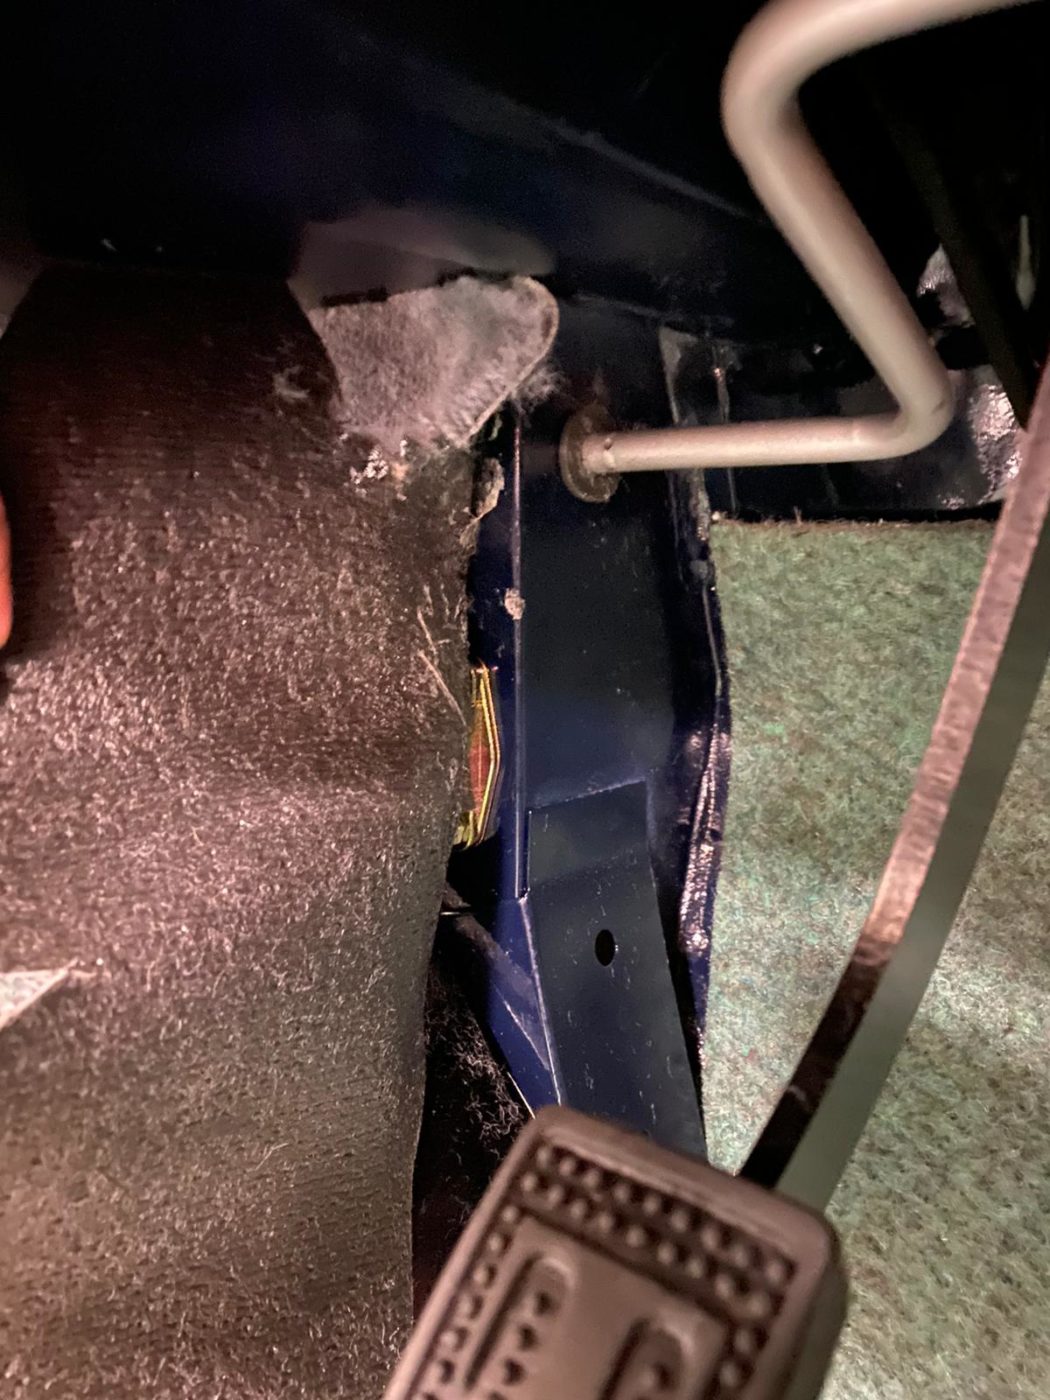
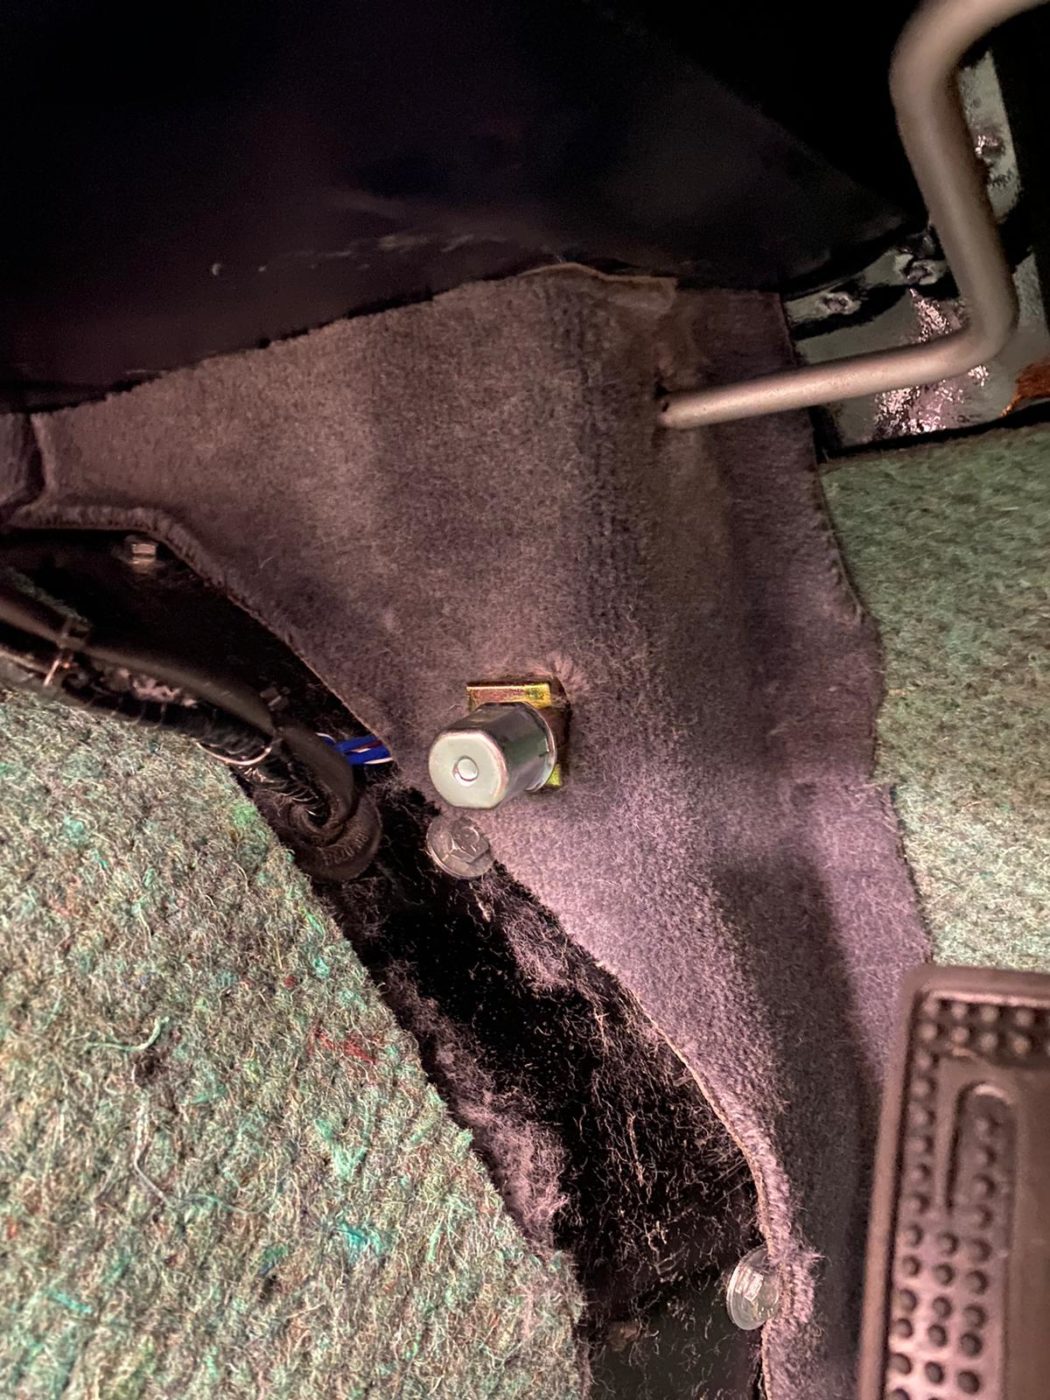
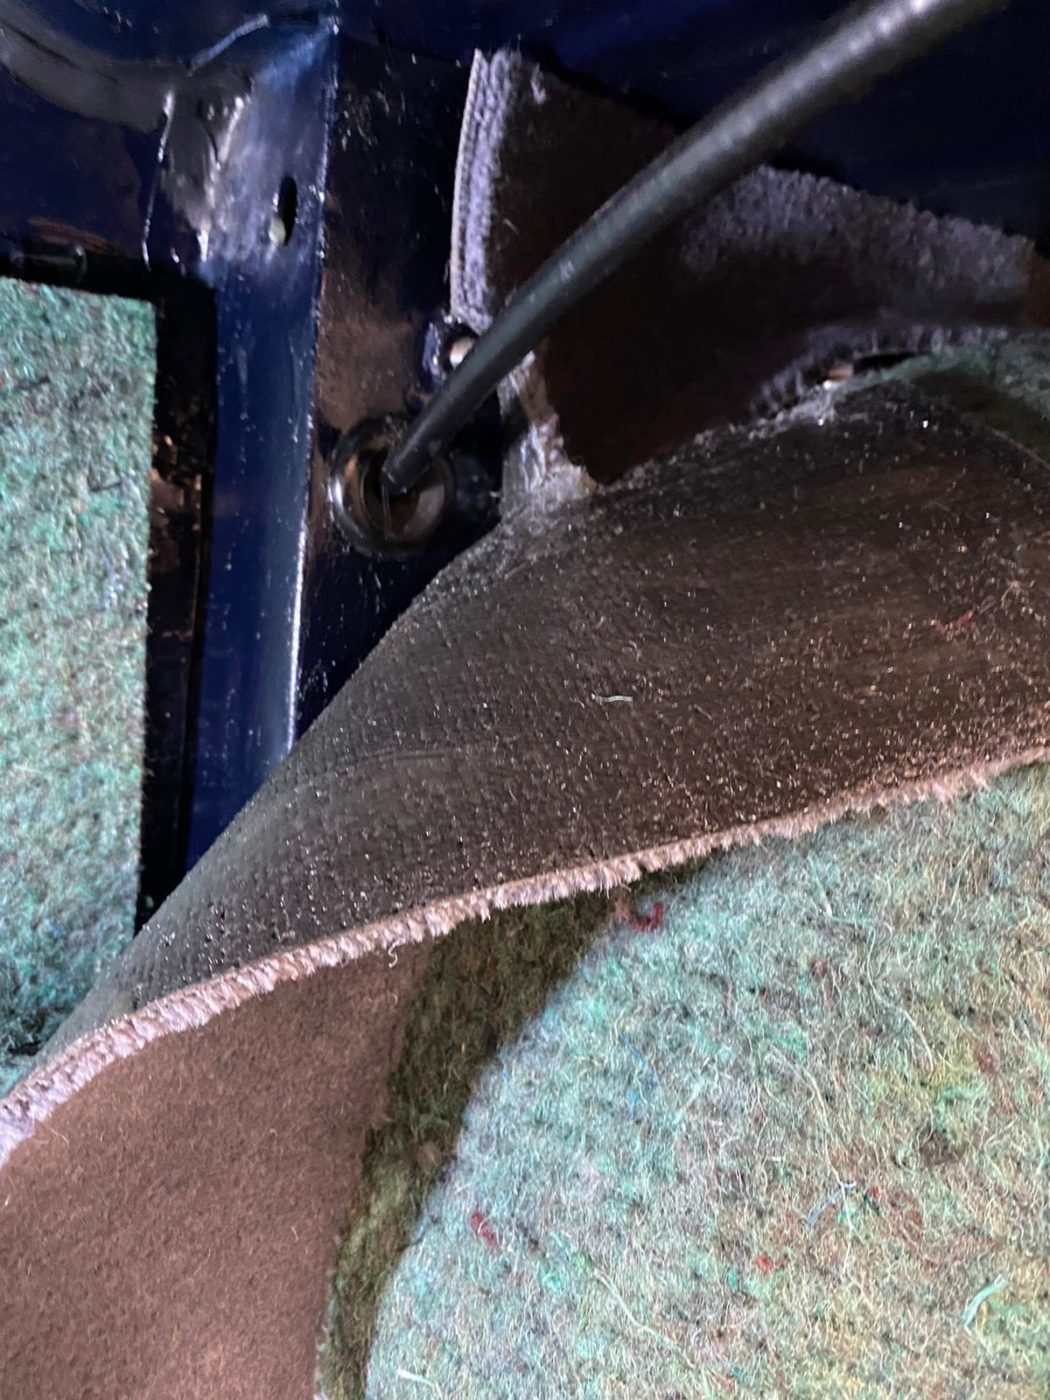
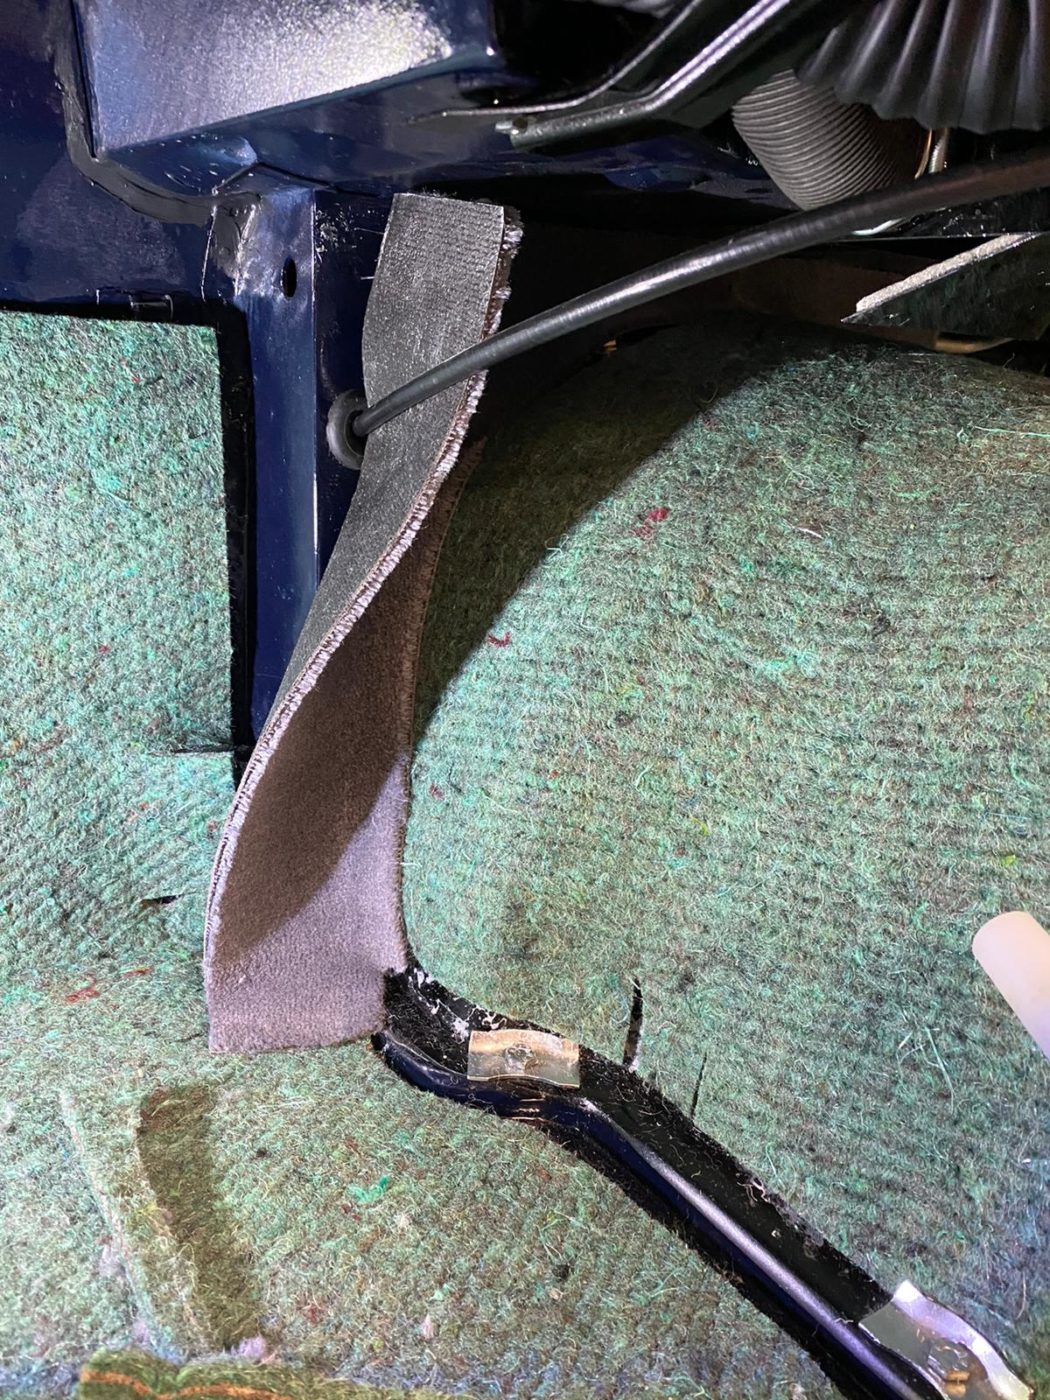
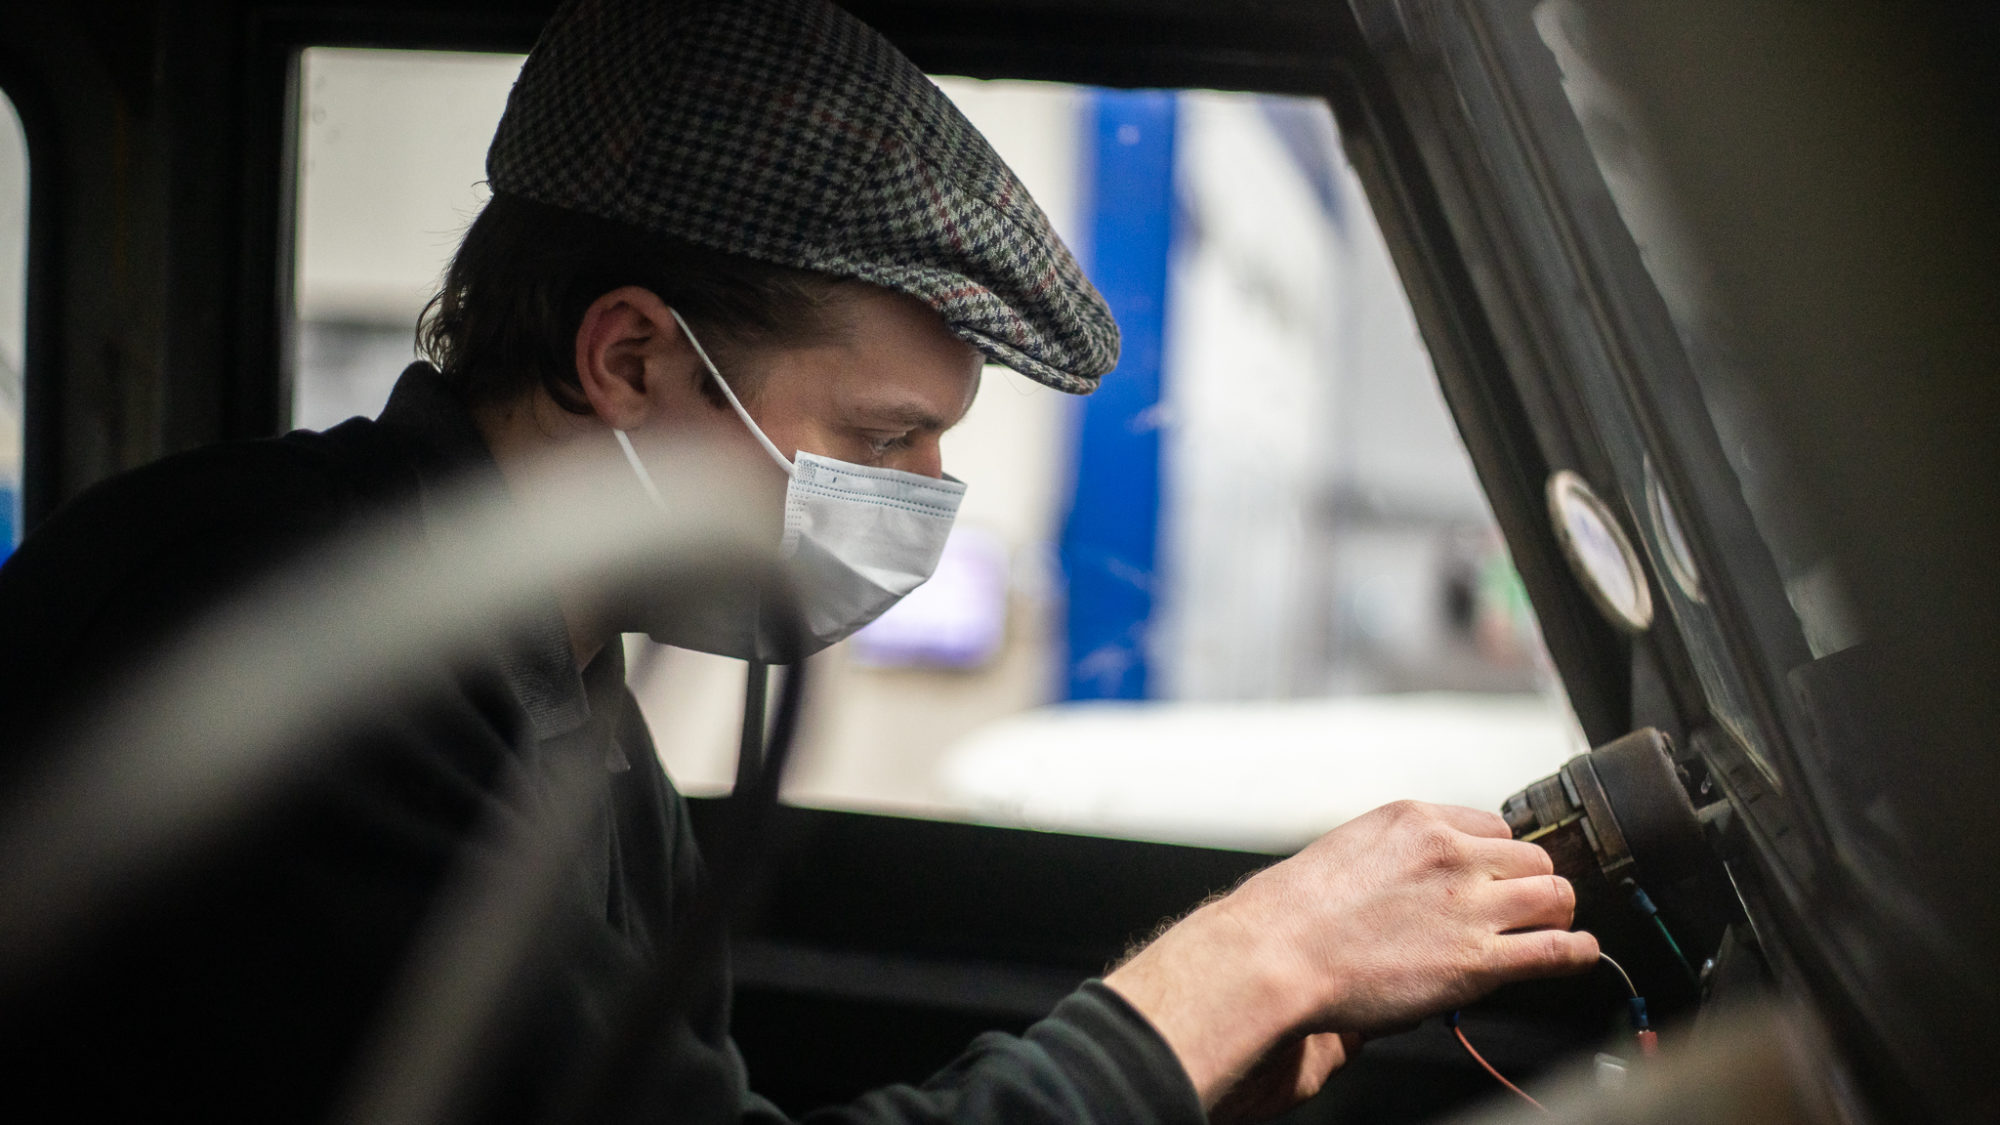
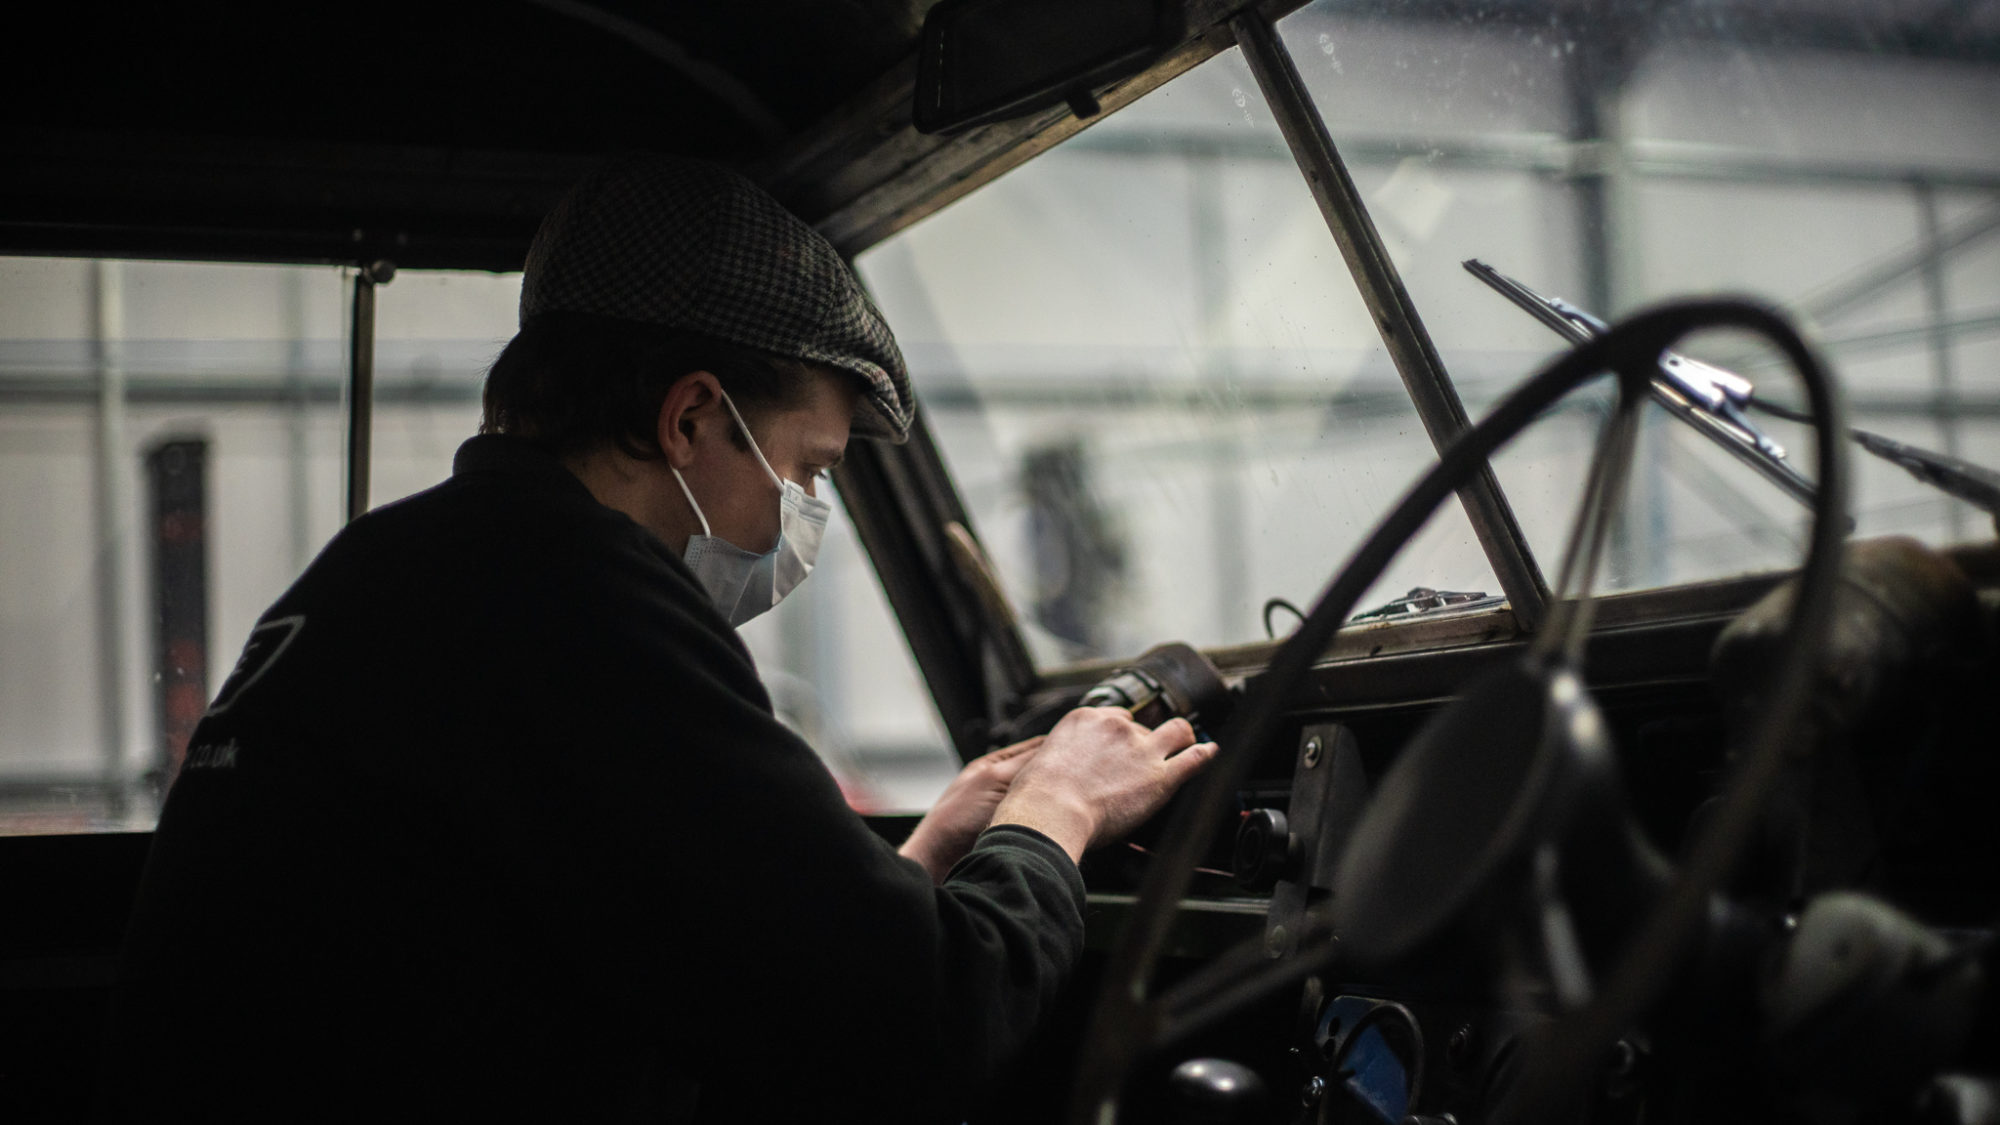
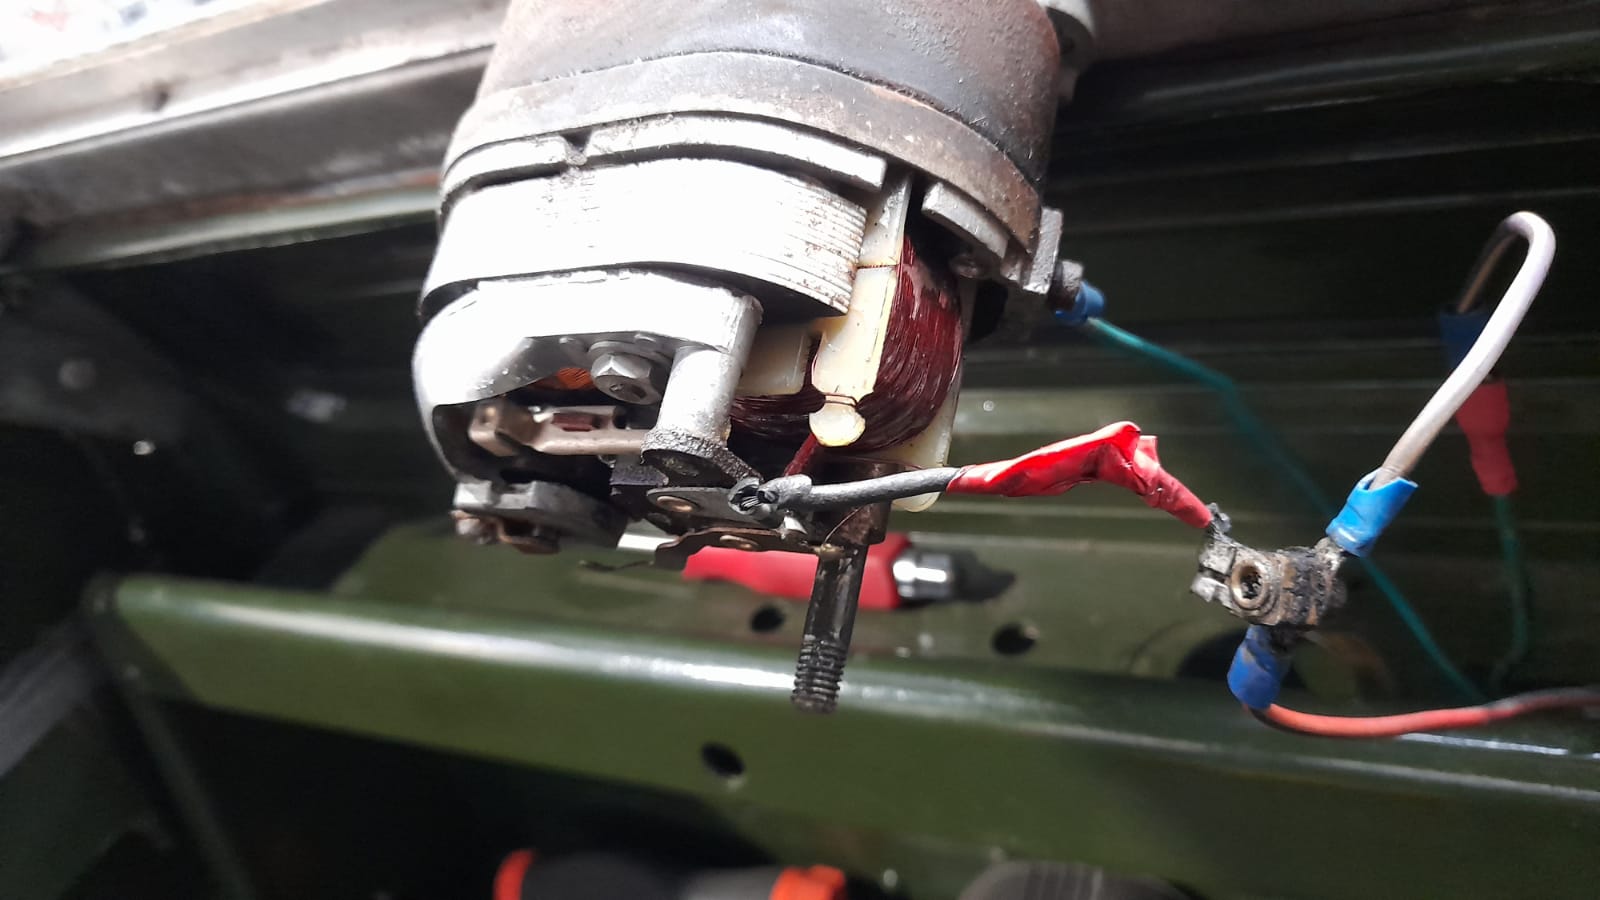
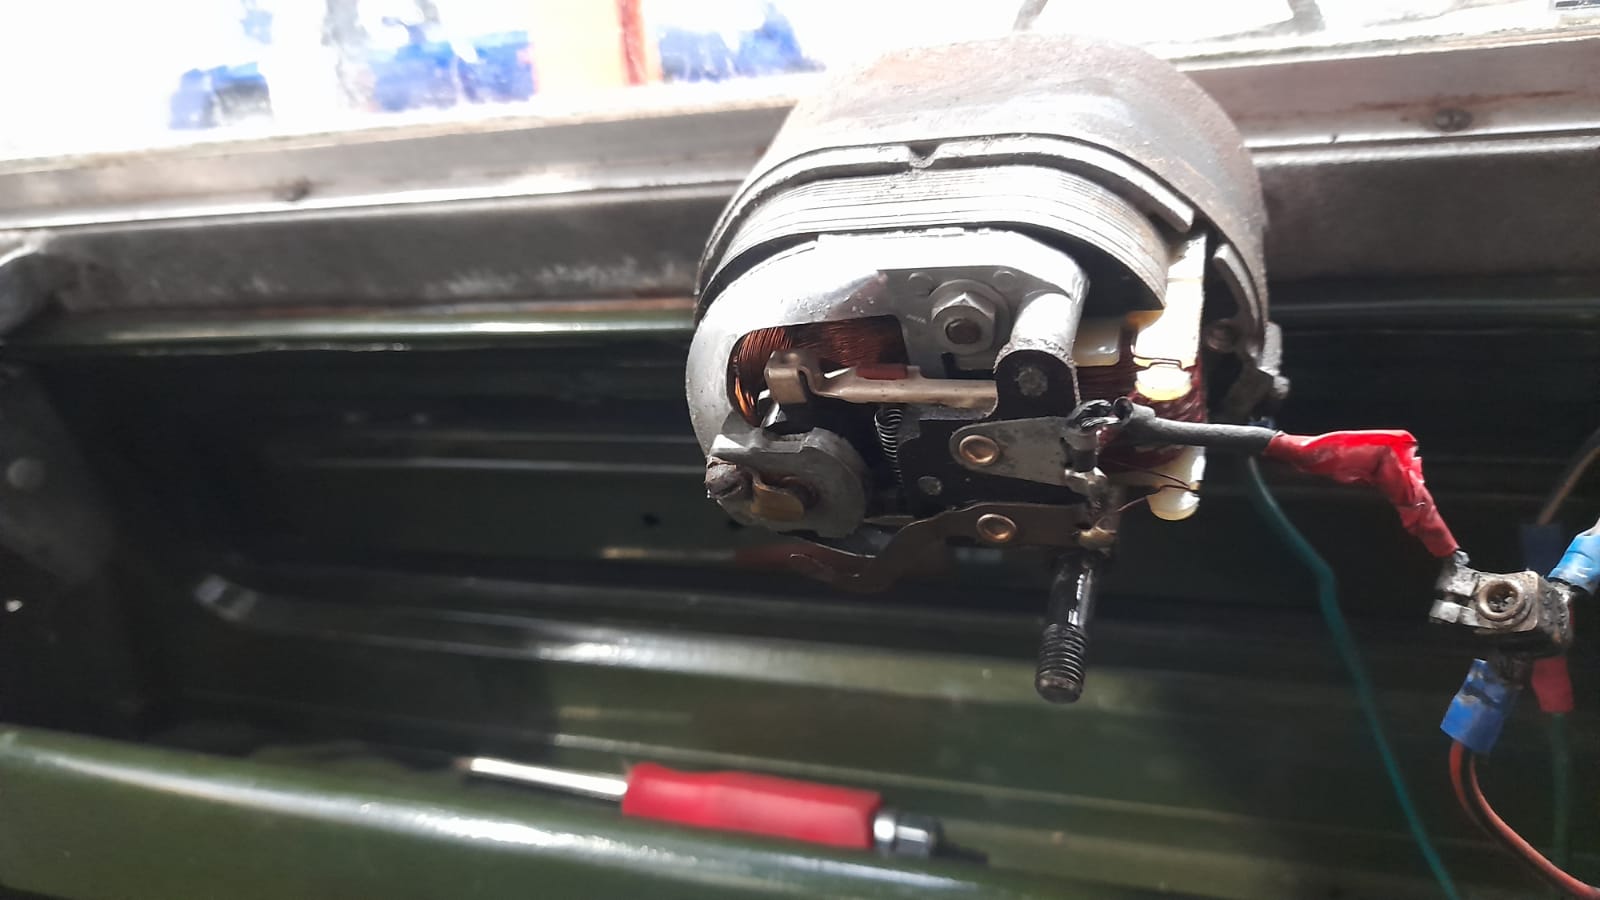
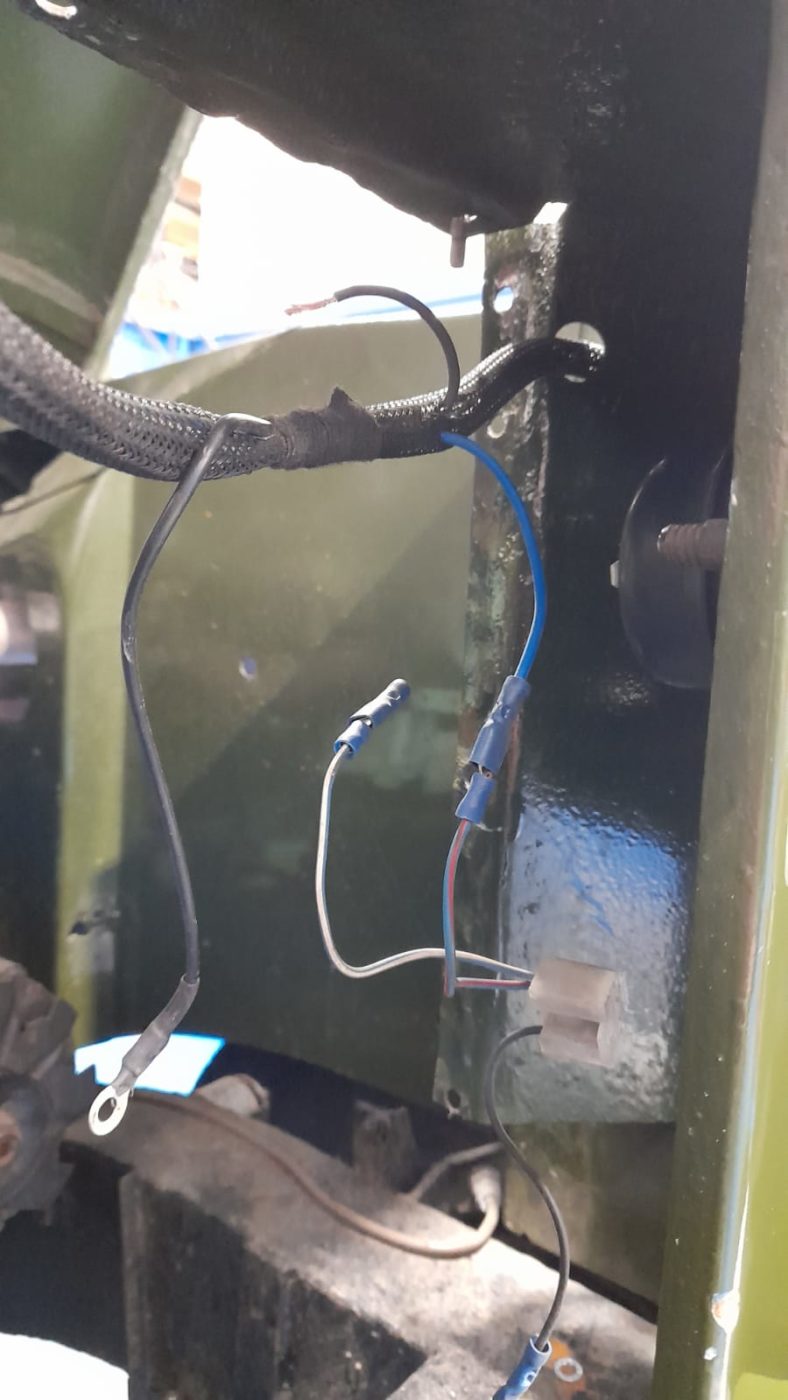
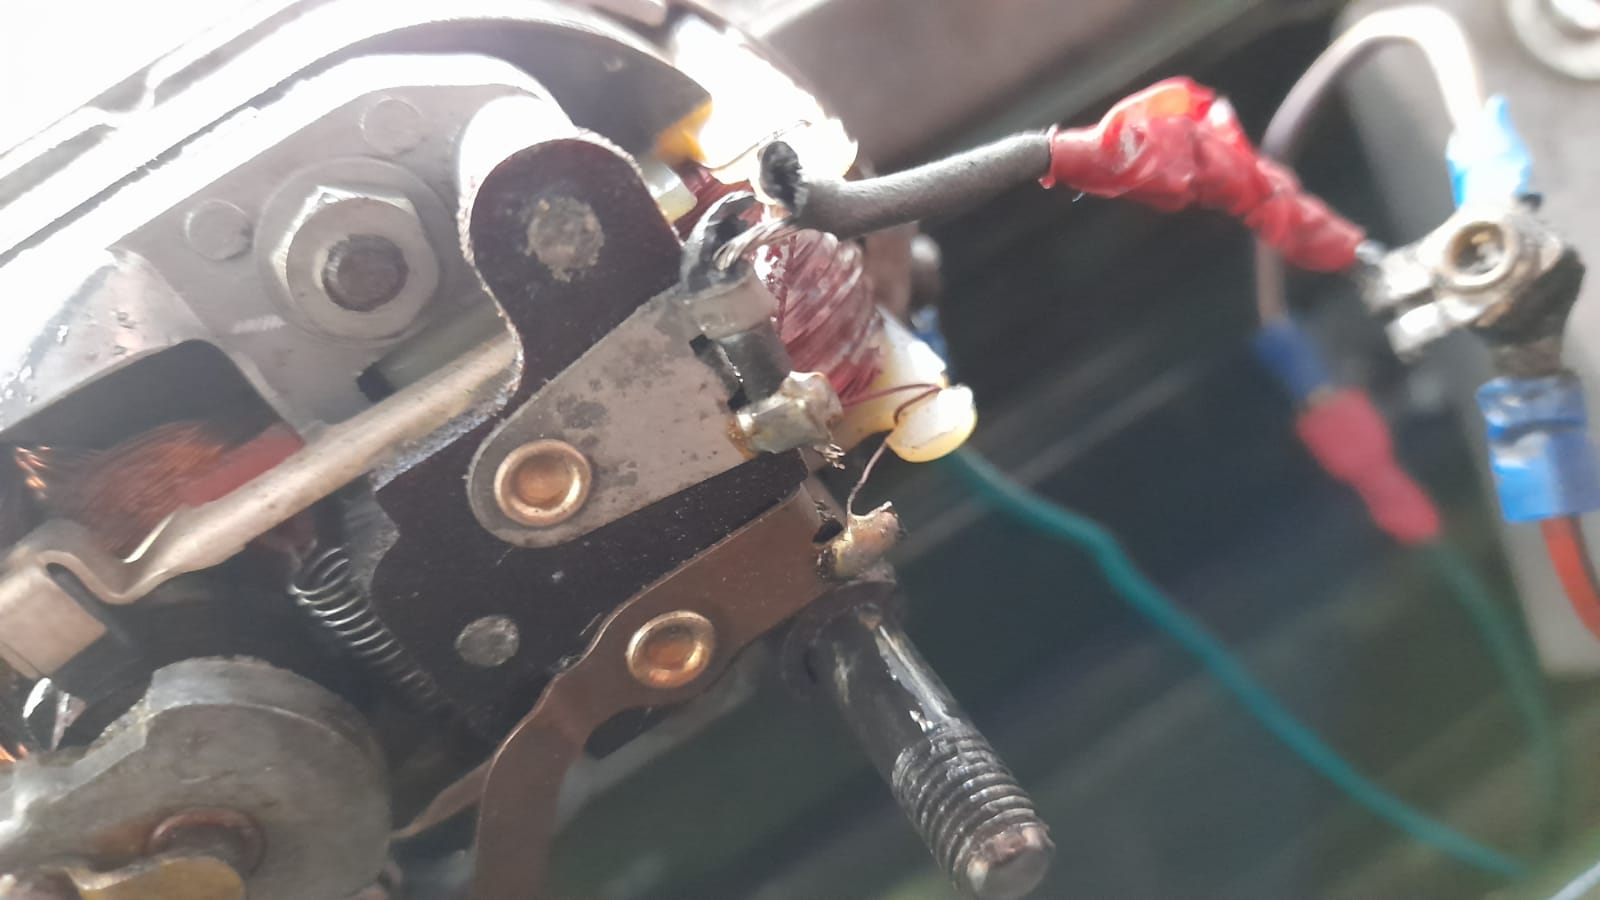
Pictured below is the Silver 1959 Jensen 541R recent wiring ammends. John had found that when wiring up, the overdrive didn’t engage. After an investigation, John found it was because the solenoid had overheated and melted the terminals, meaning a new solenoid was fitted.
A new stoplight switch has also been fitted because the old stoplight had seized and wouldn’t turn off.

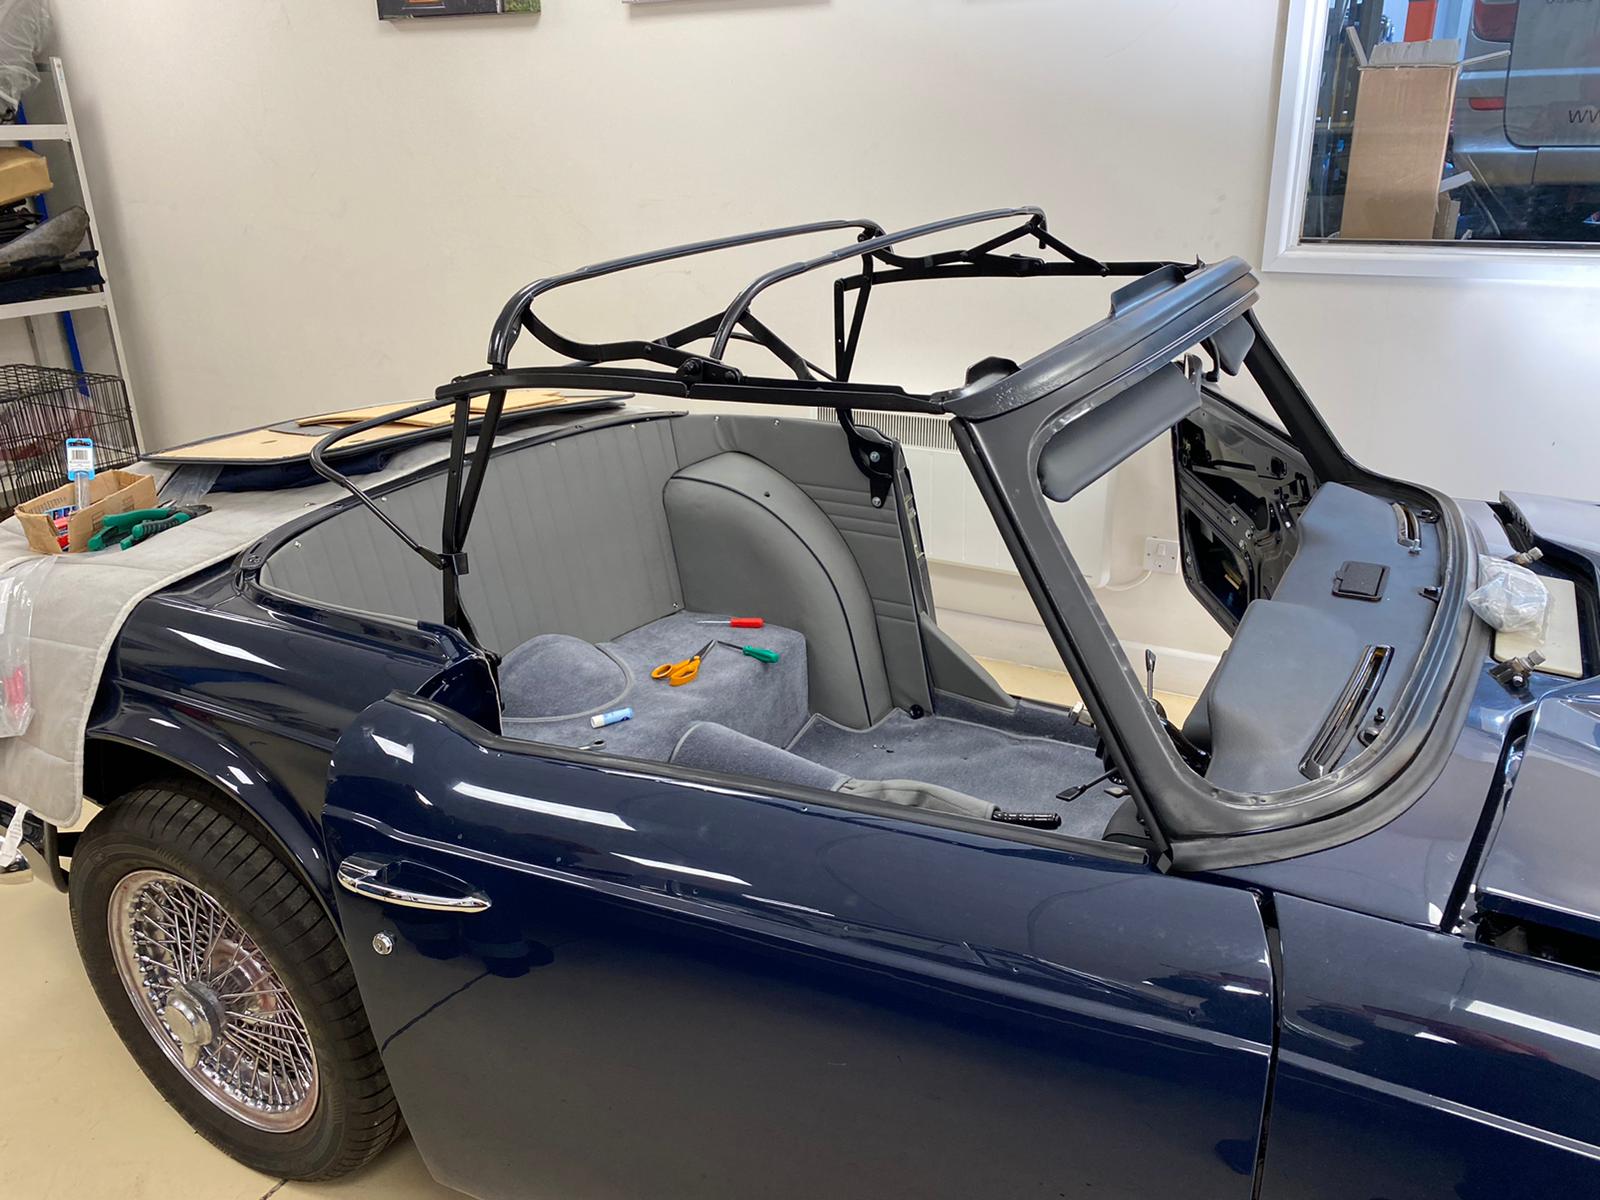
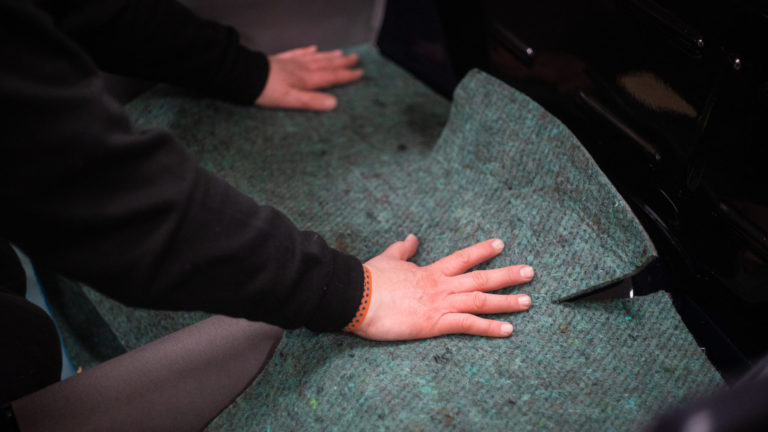
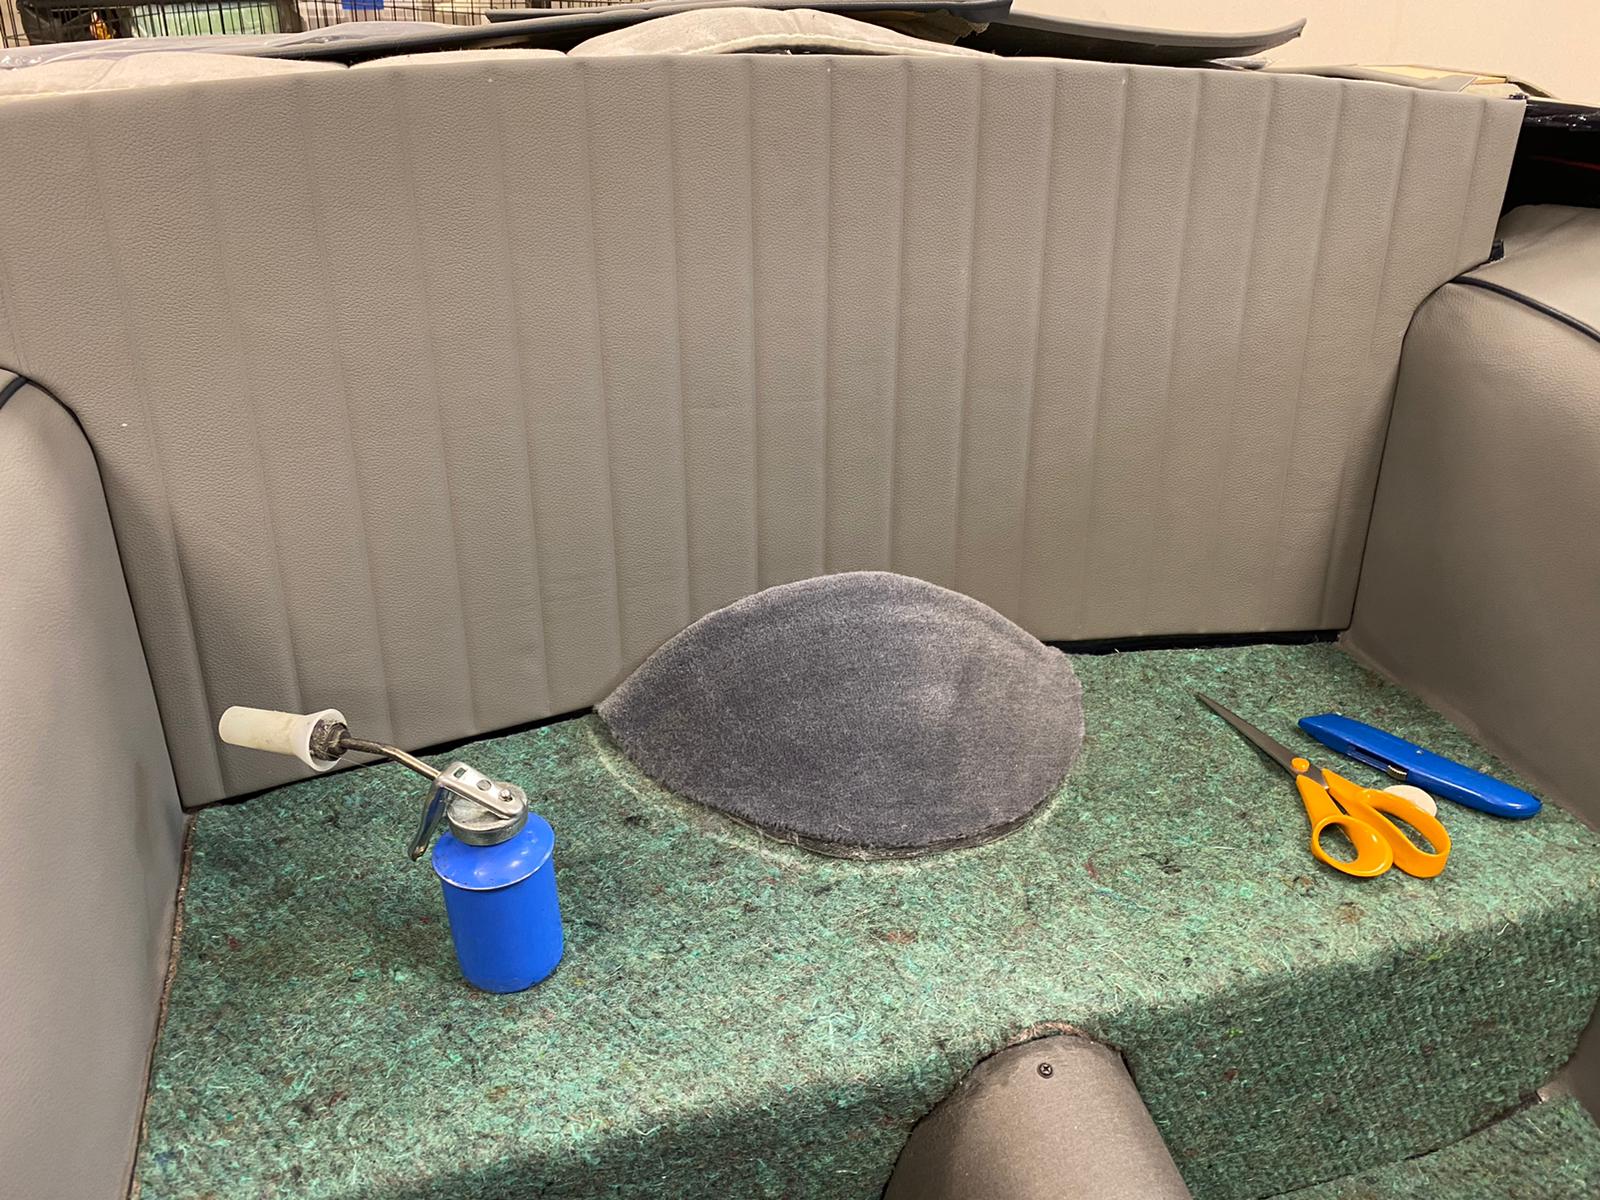
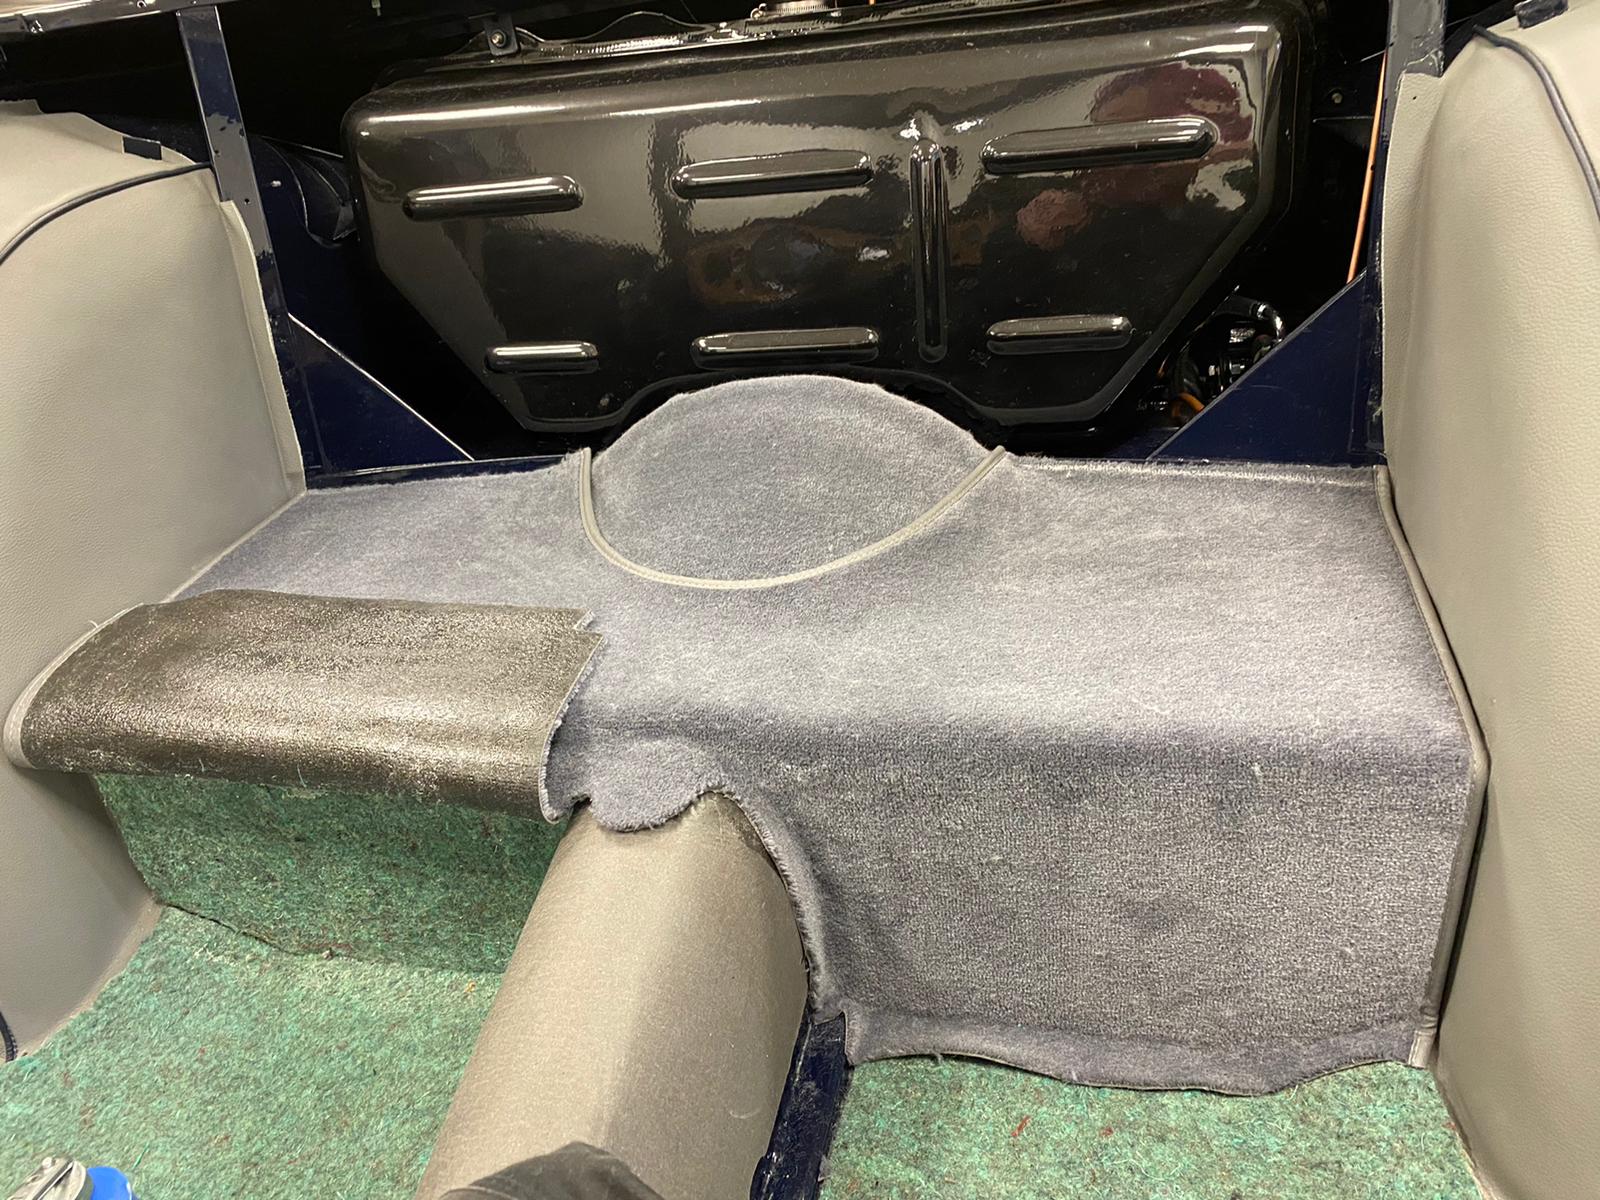
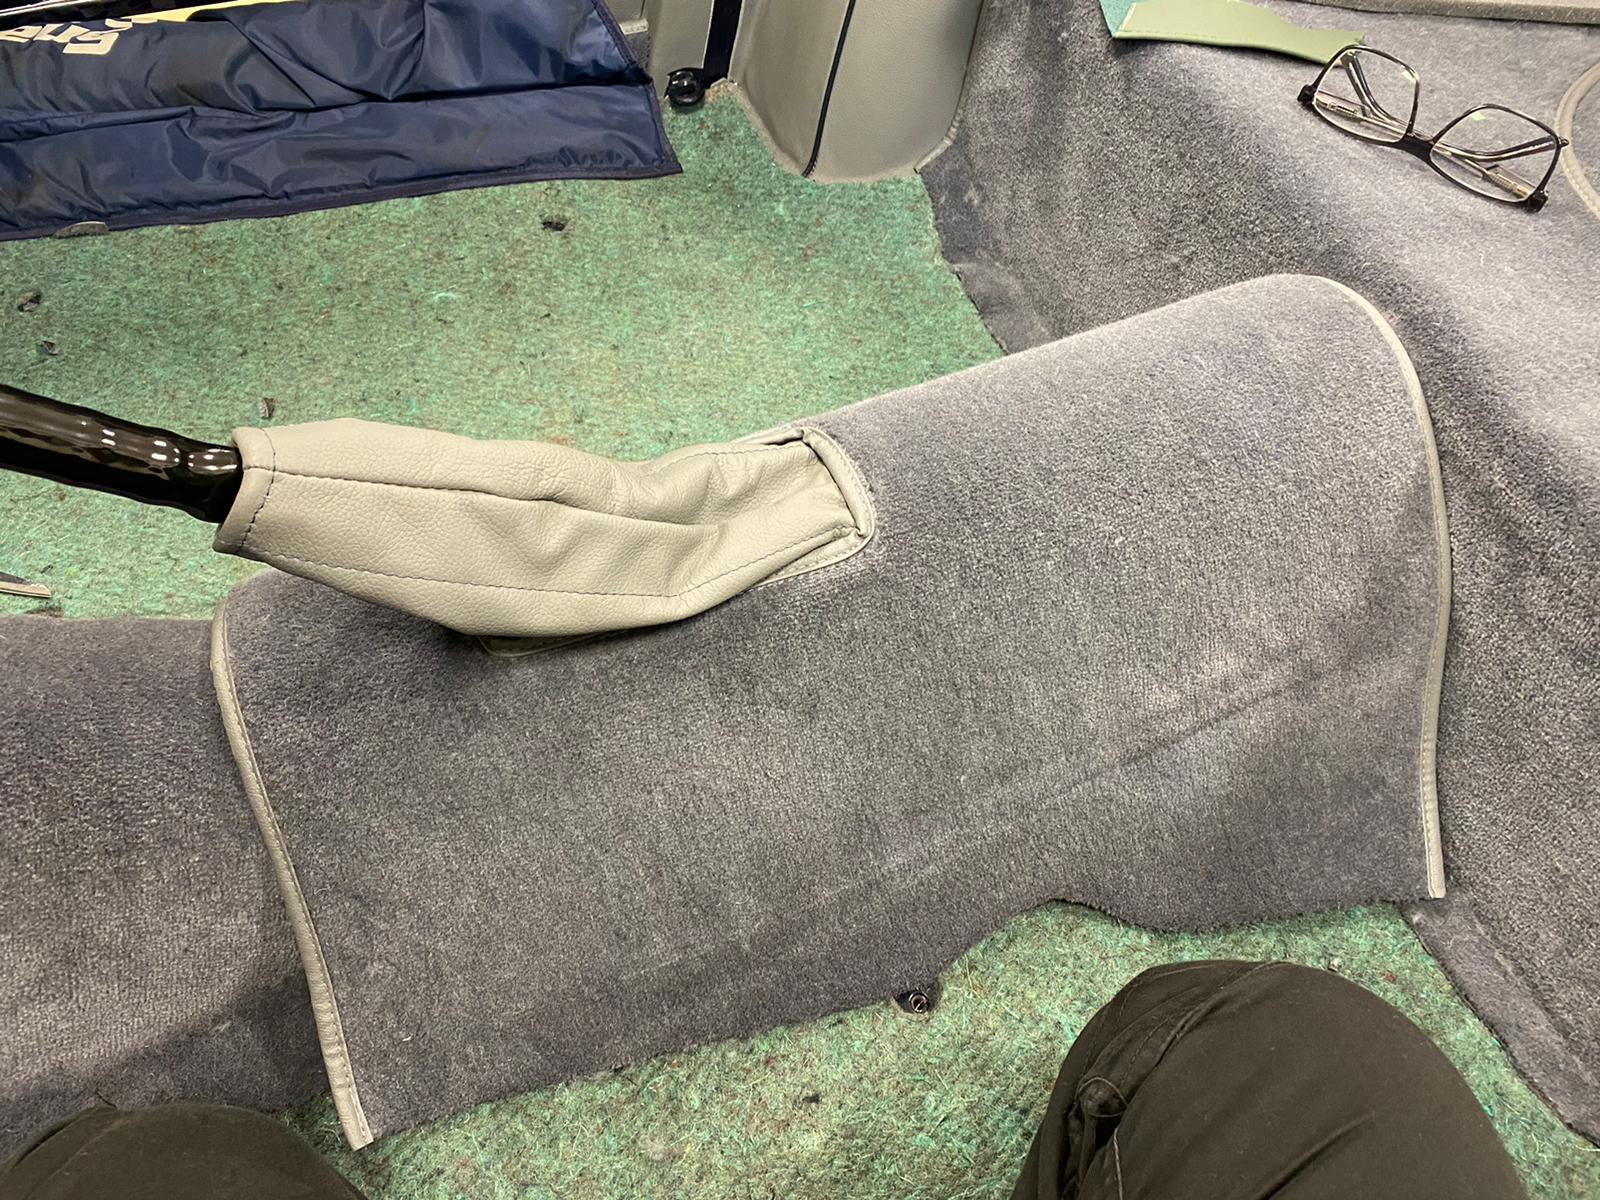
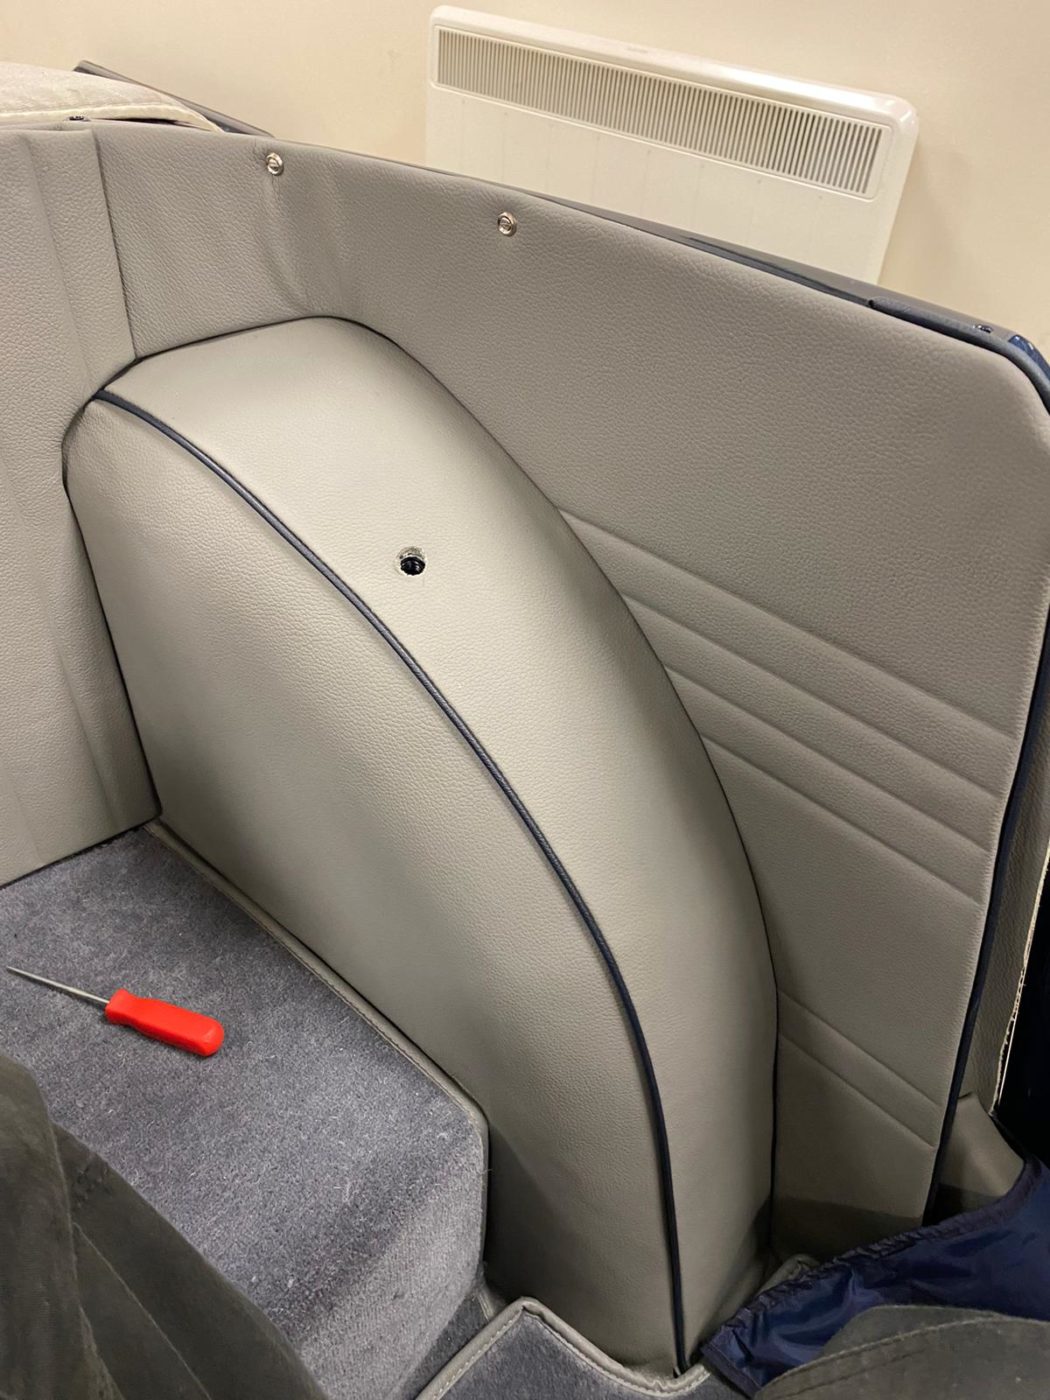
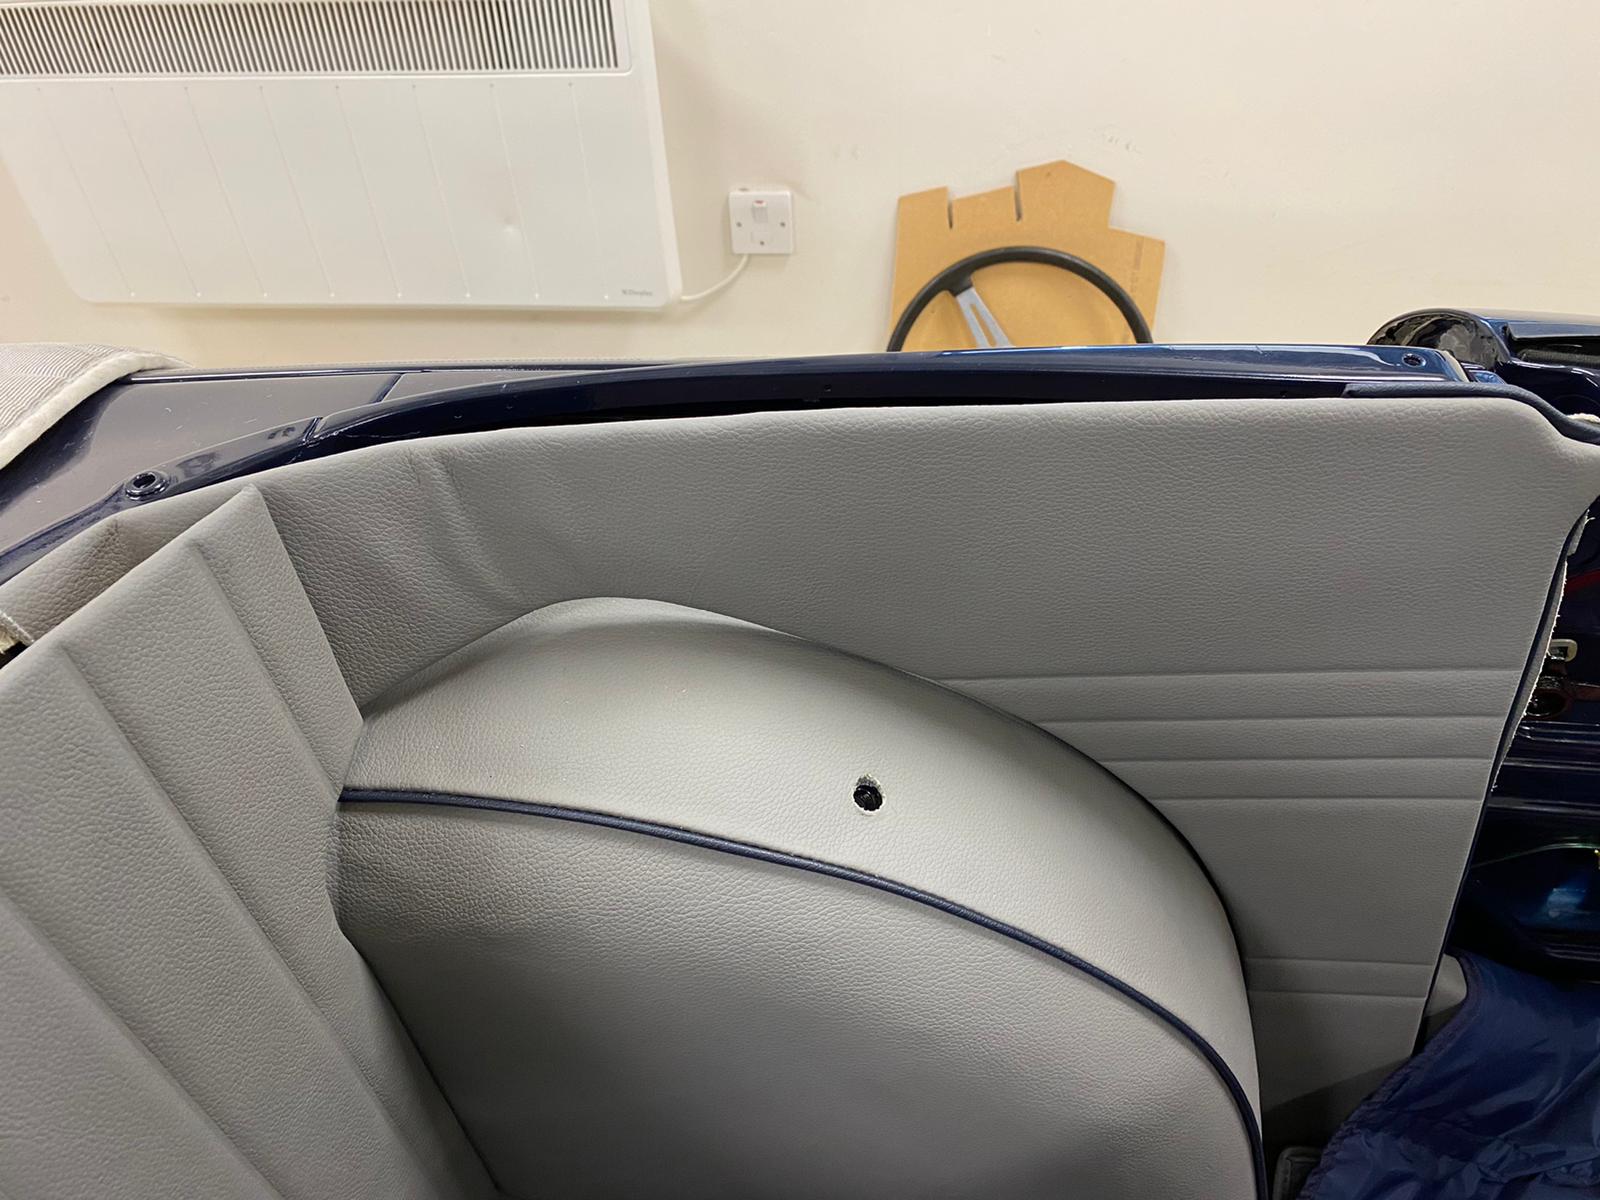
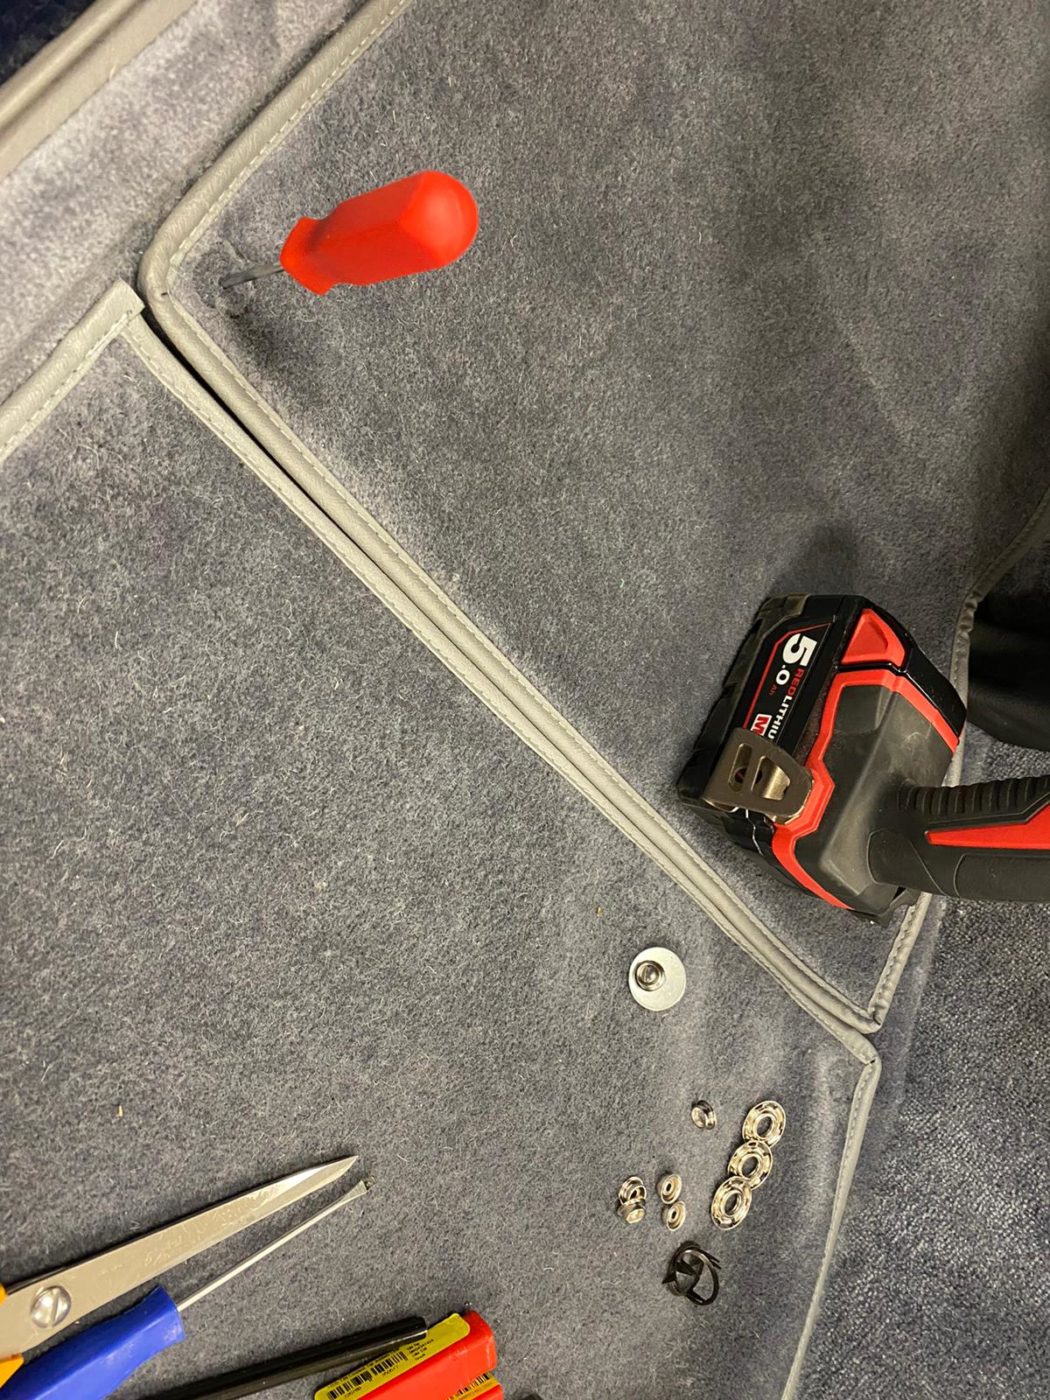
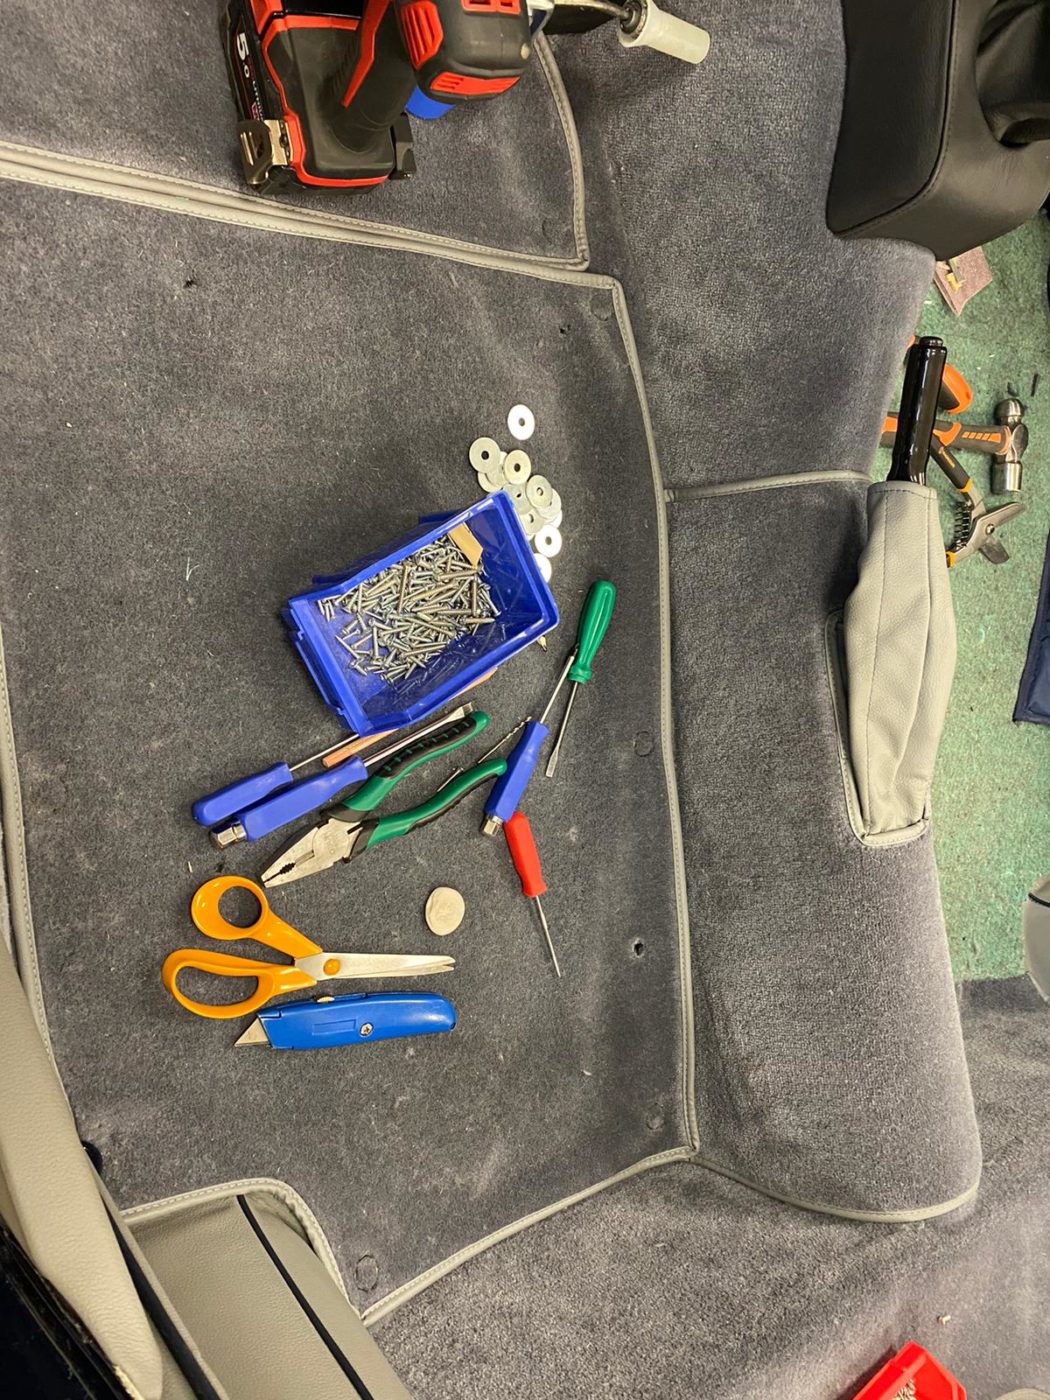
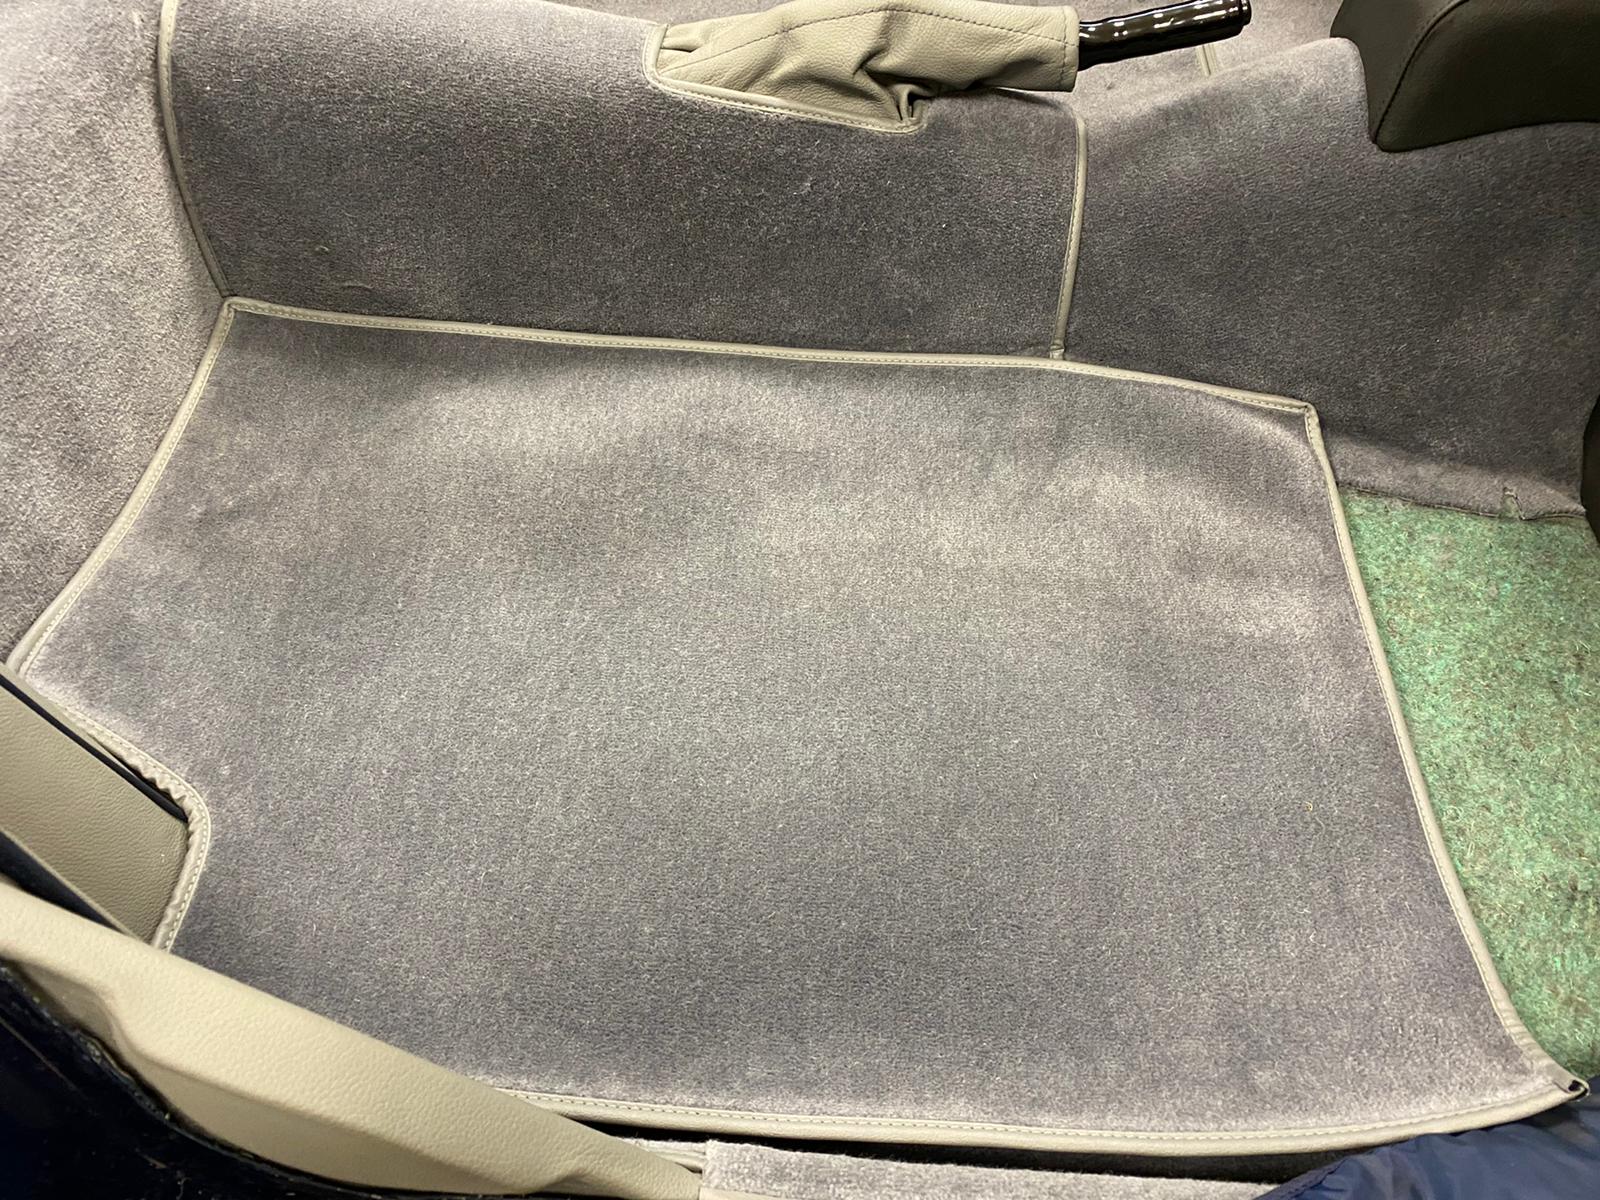
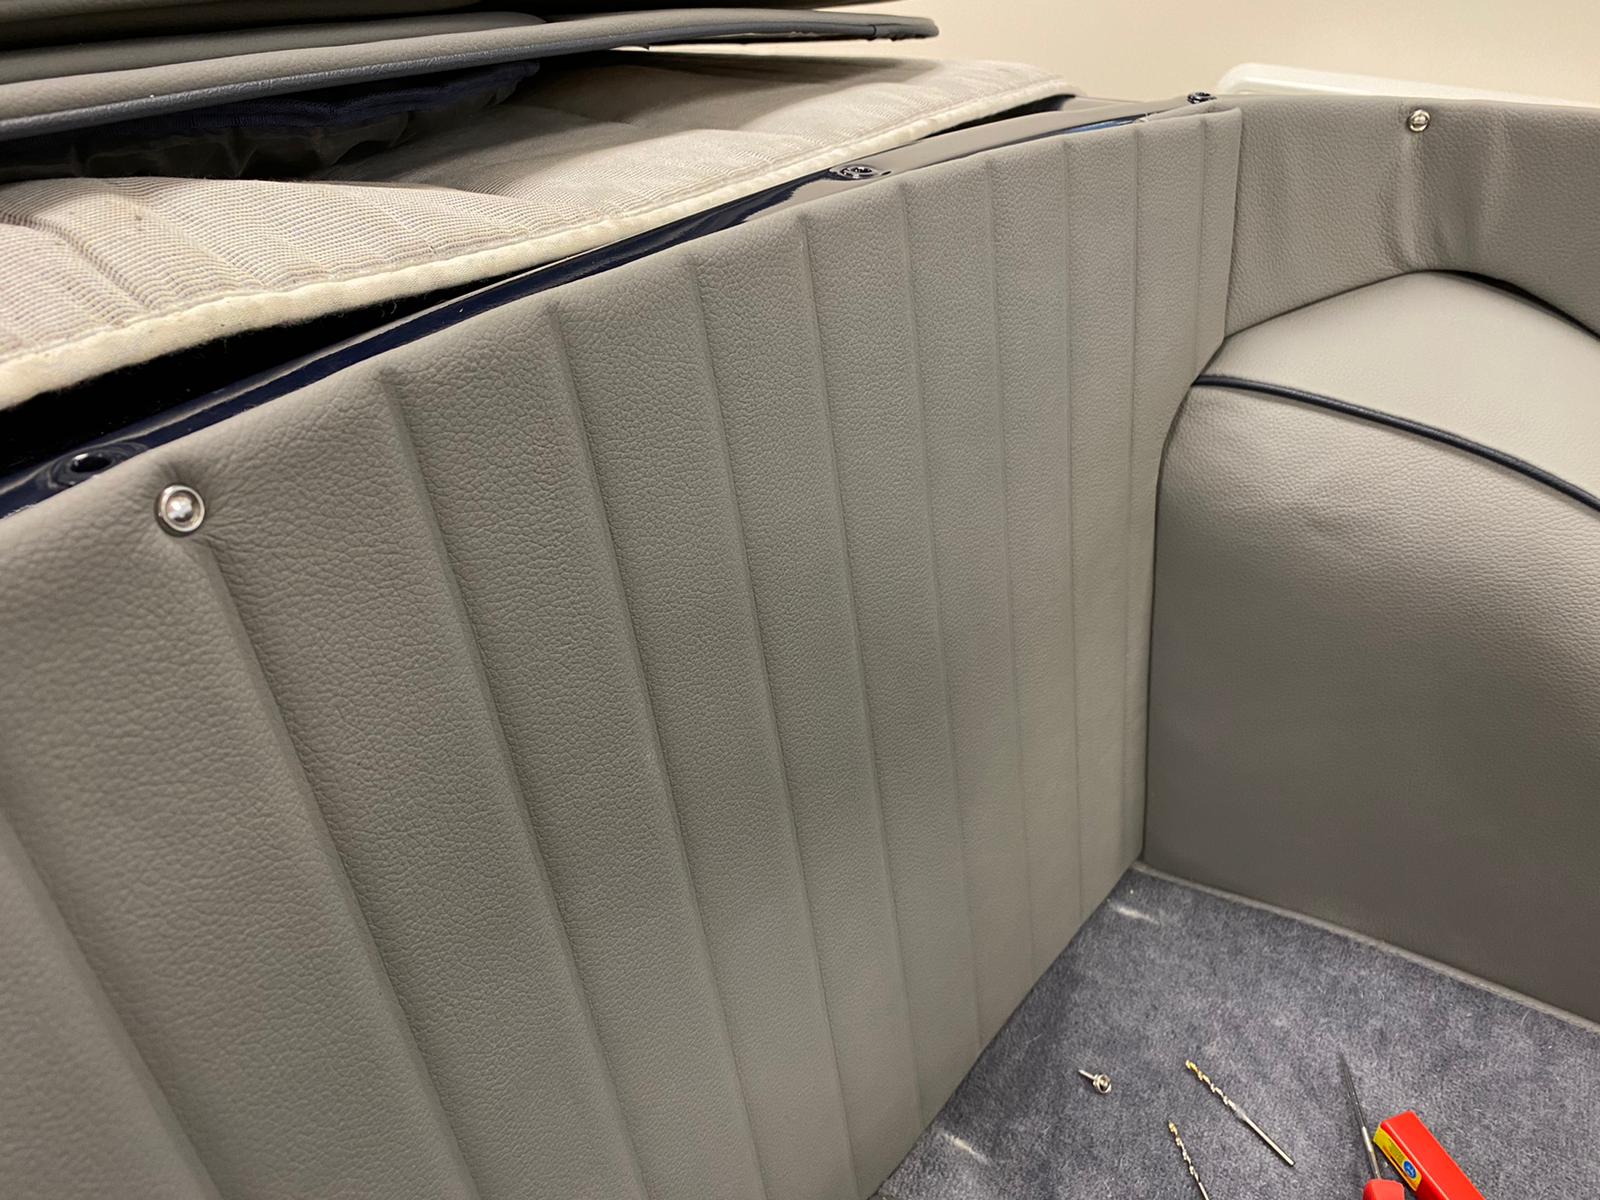
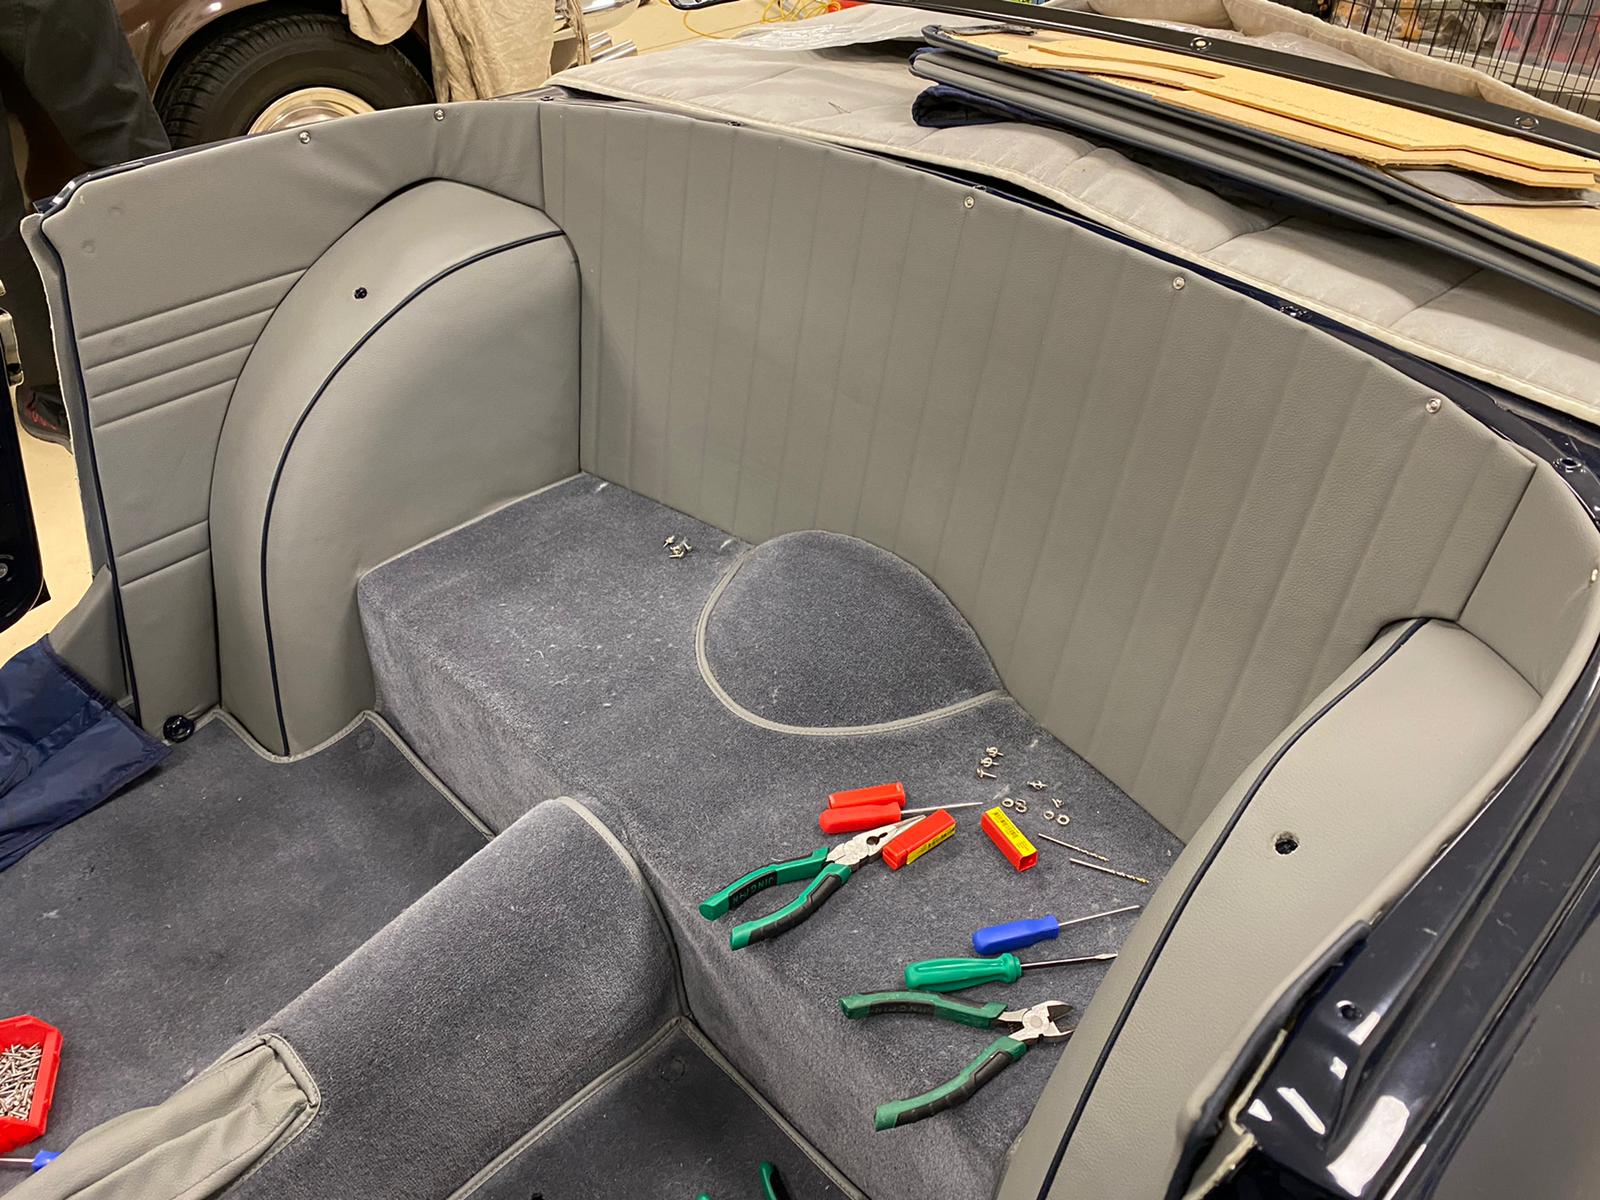
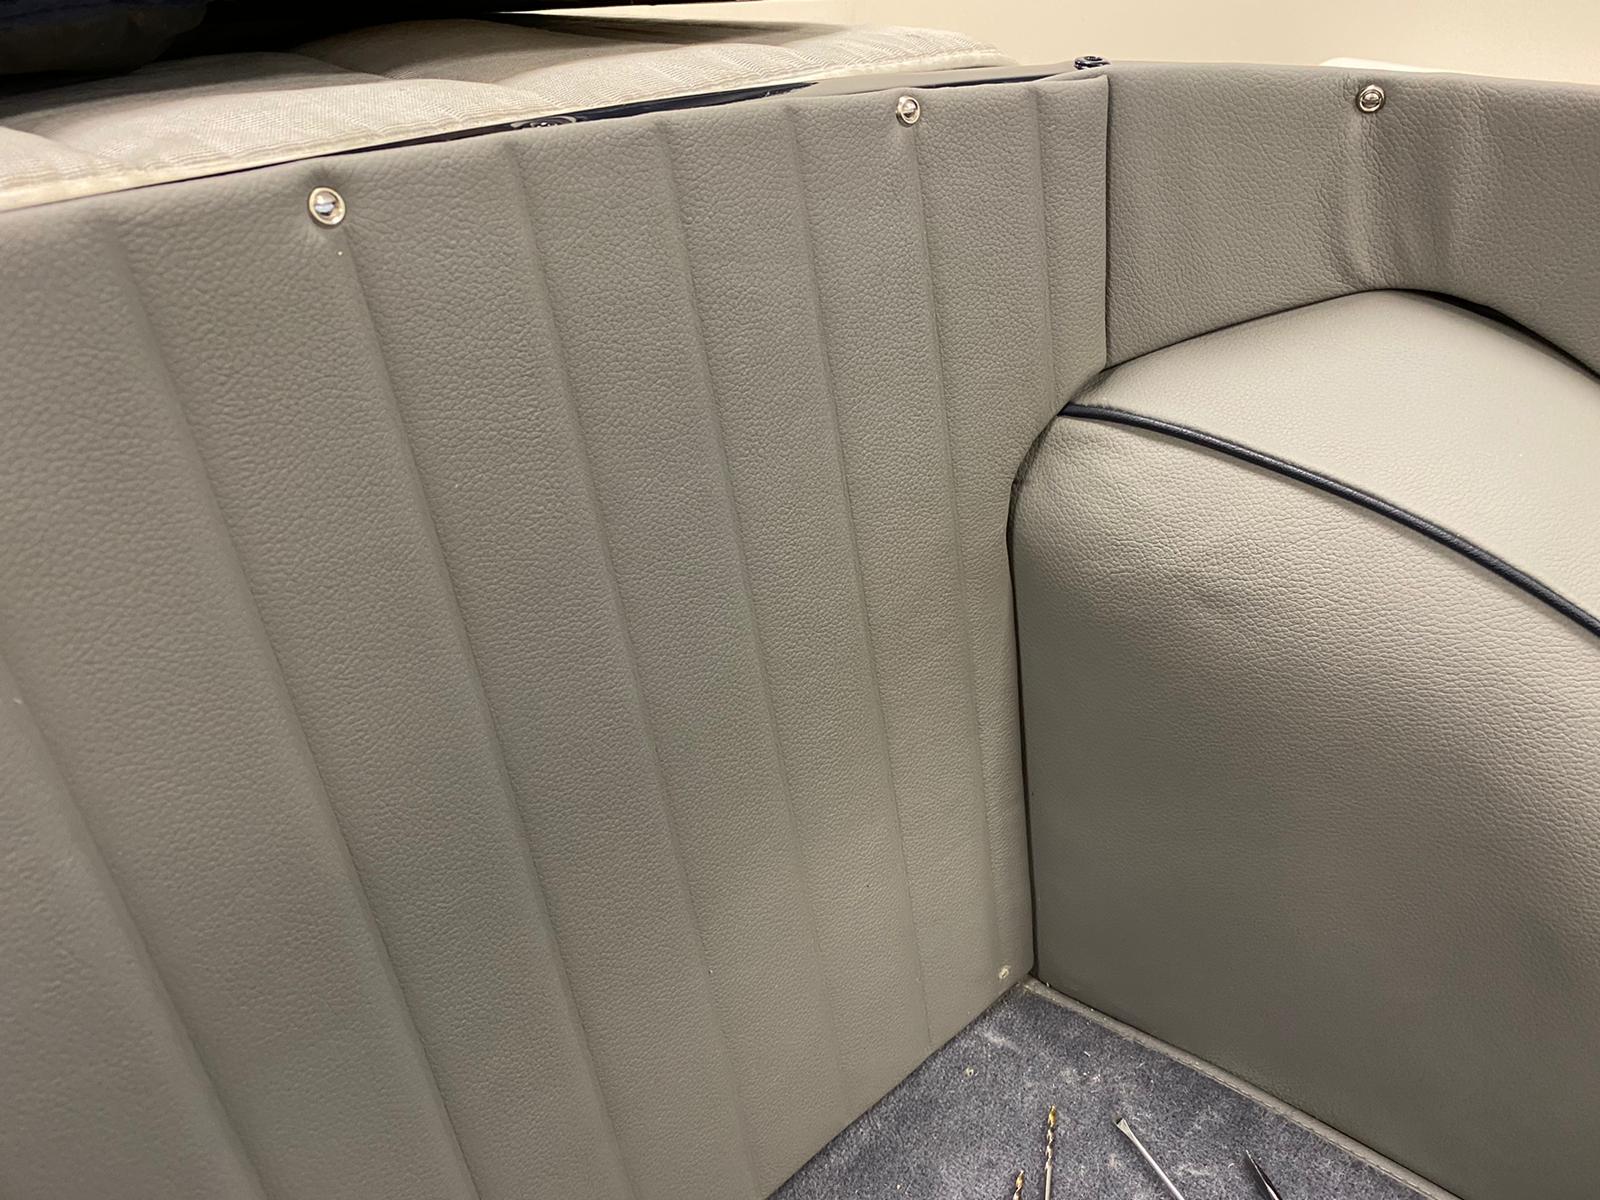
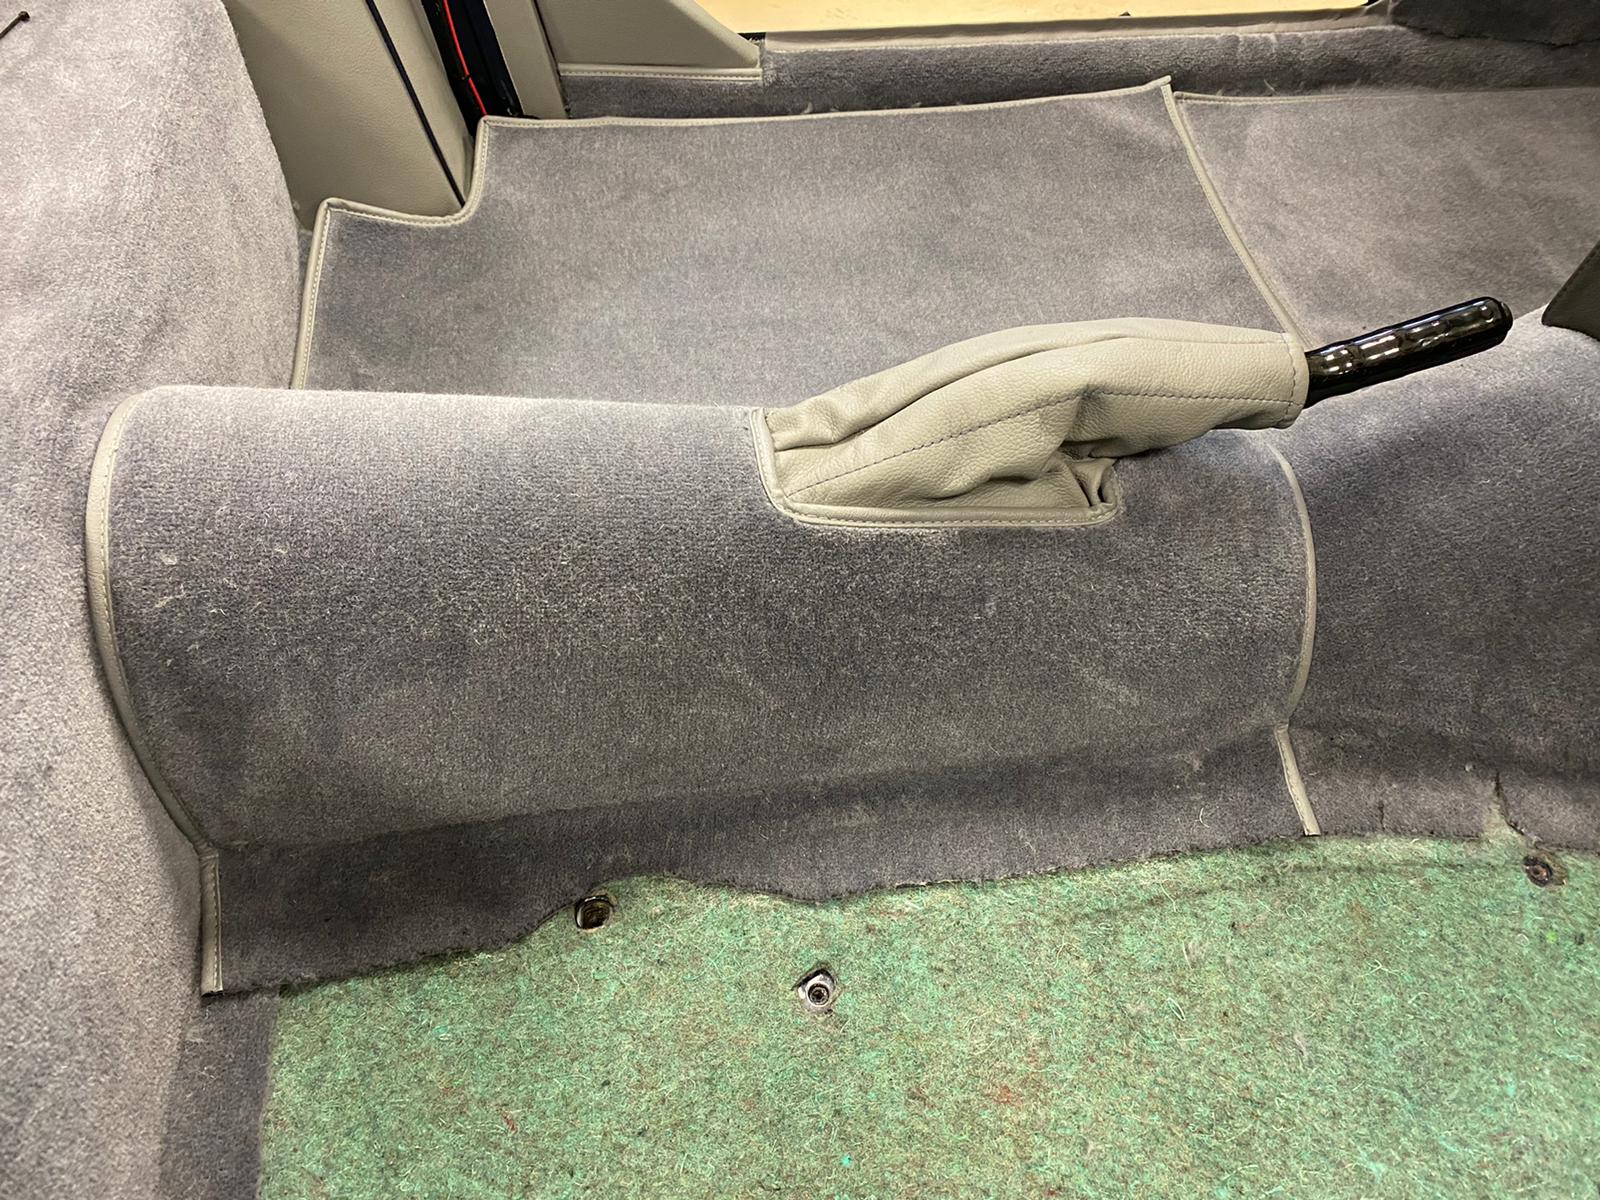
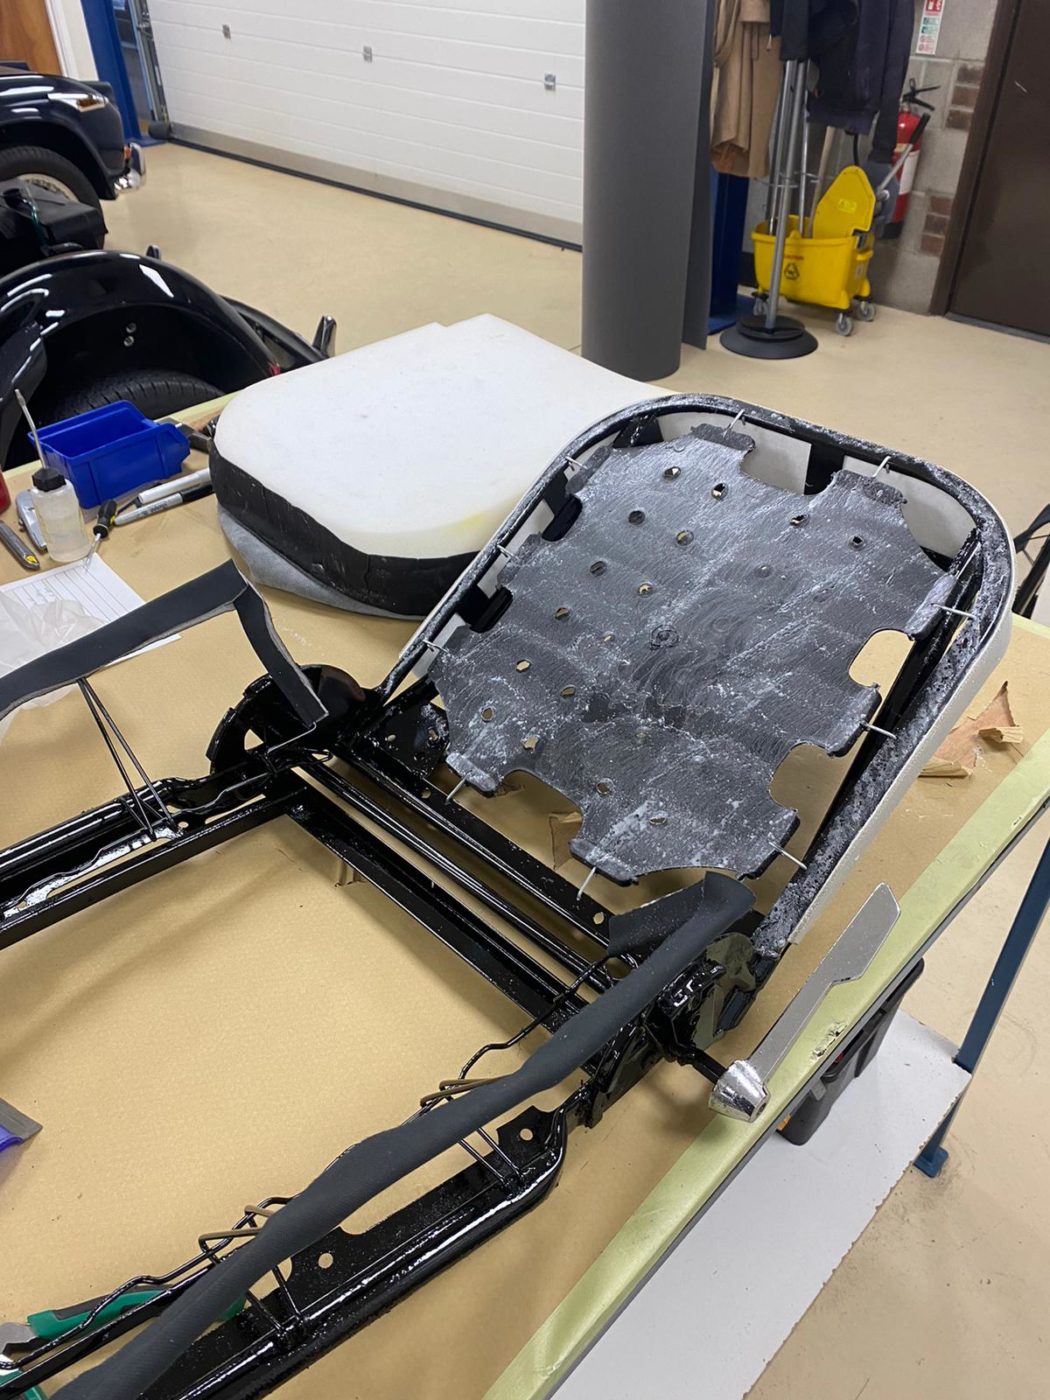
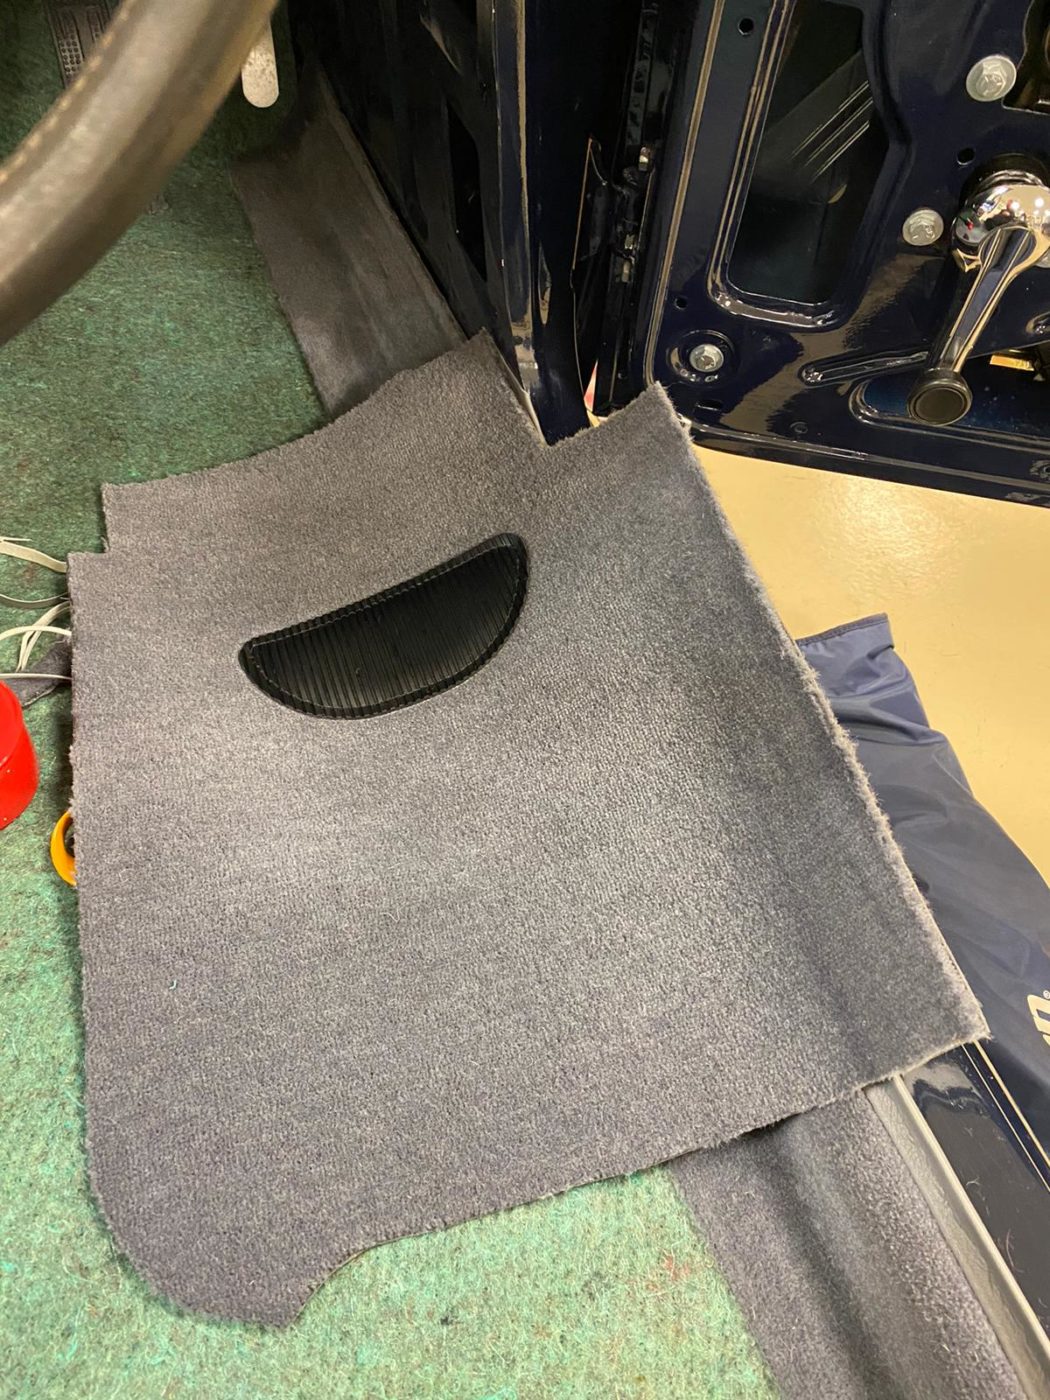
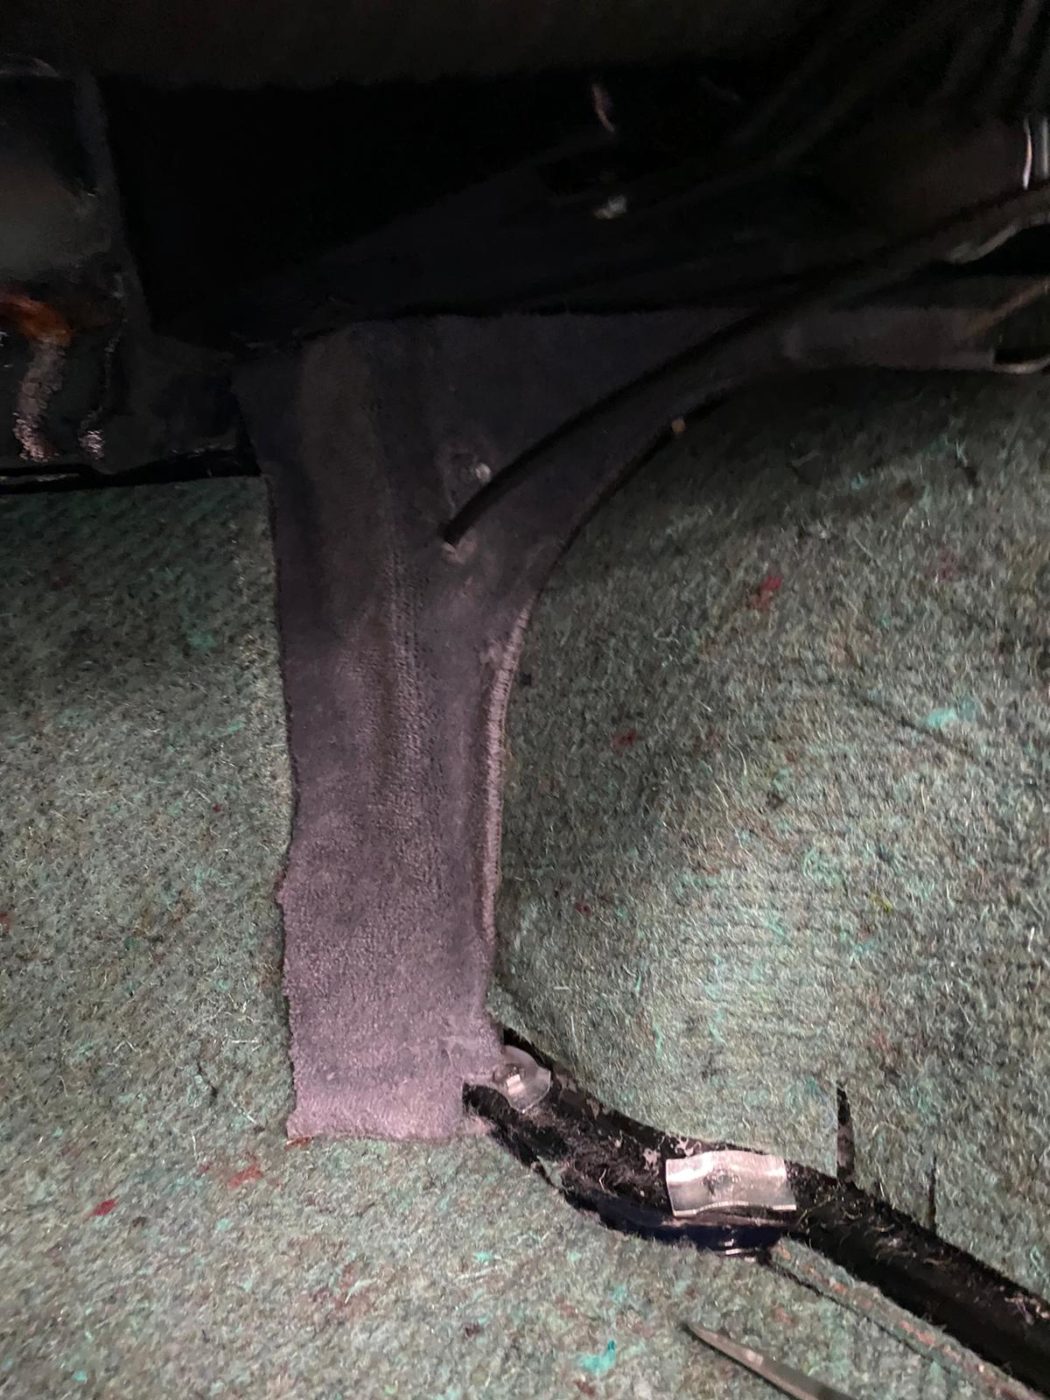
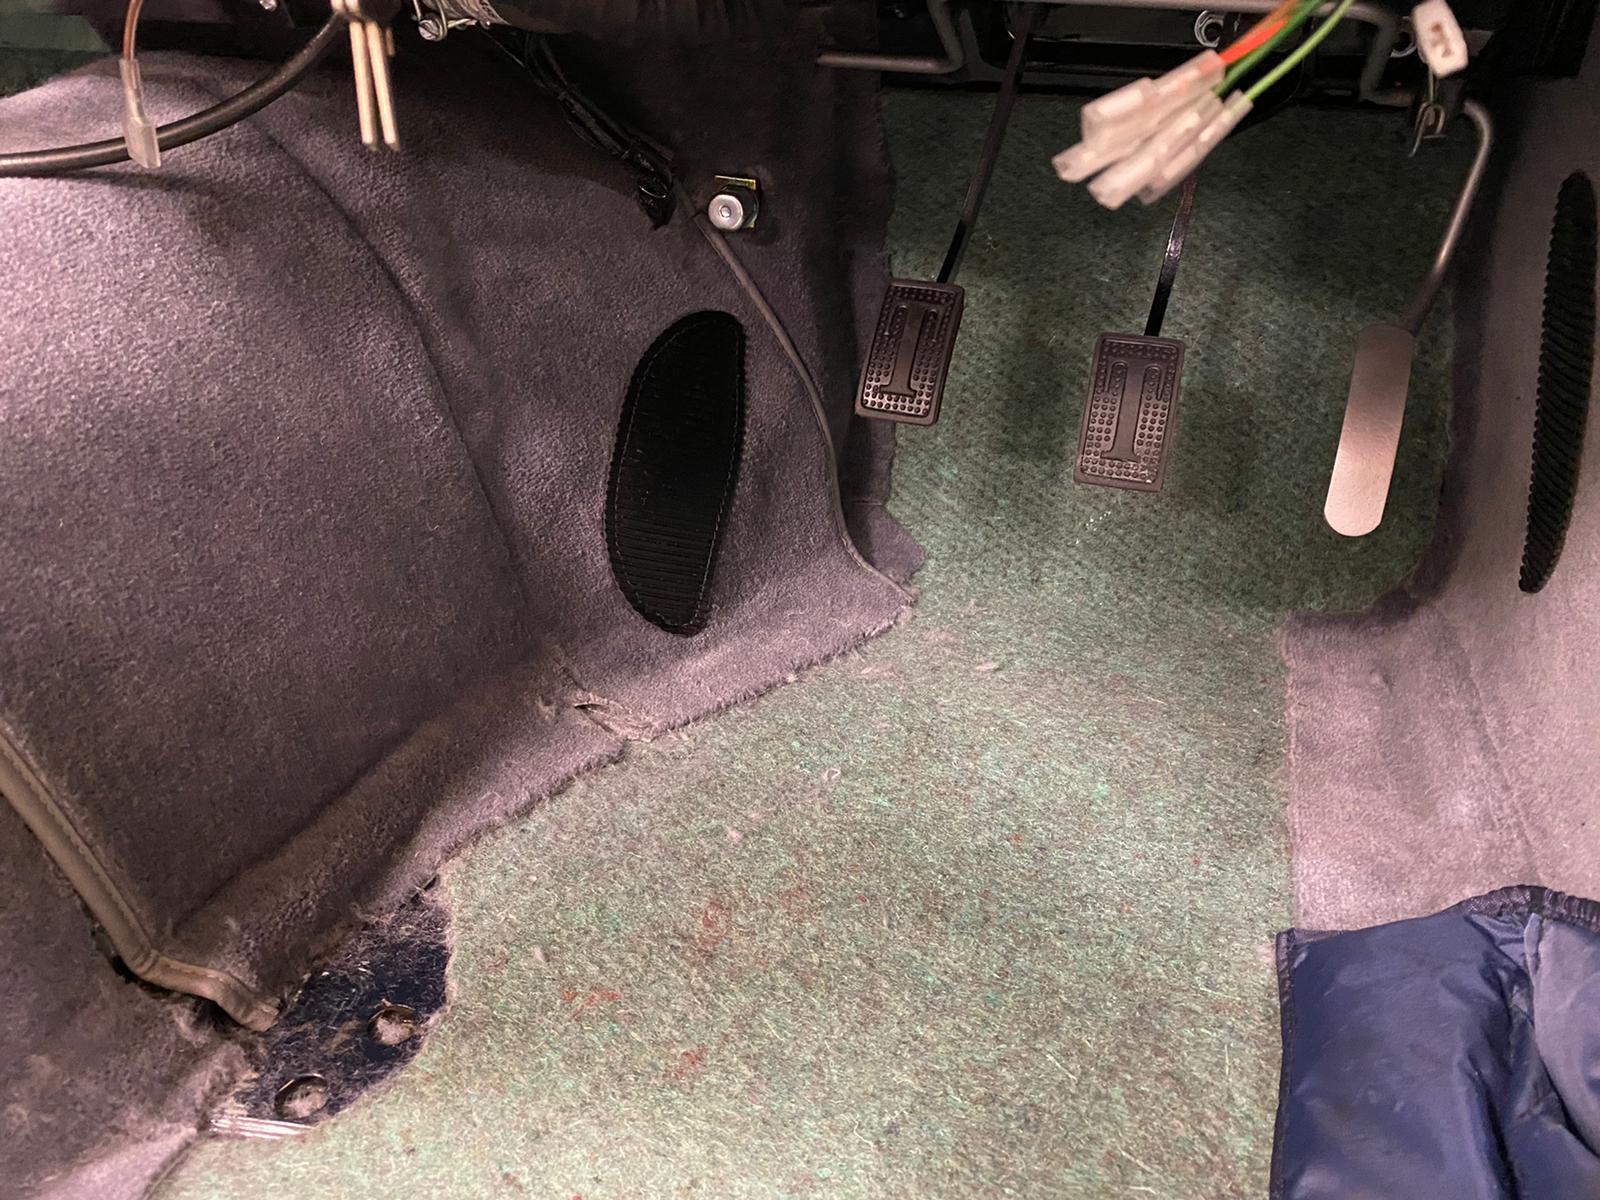
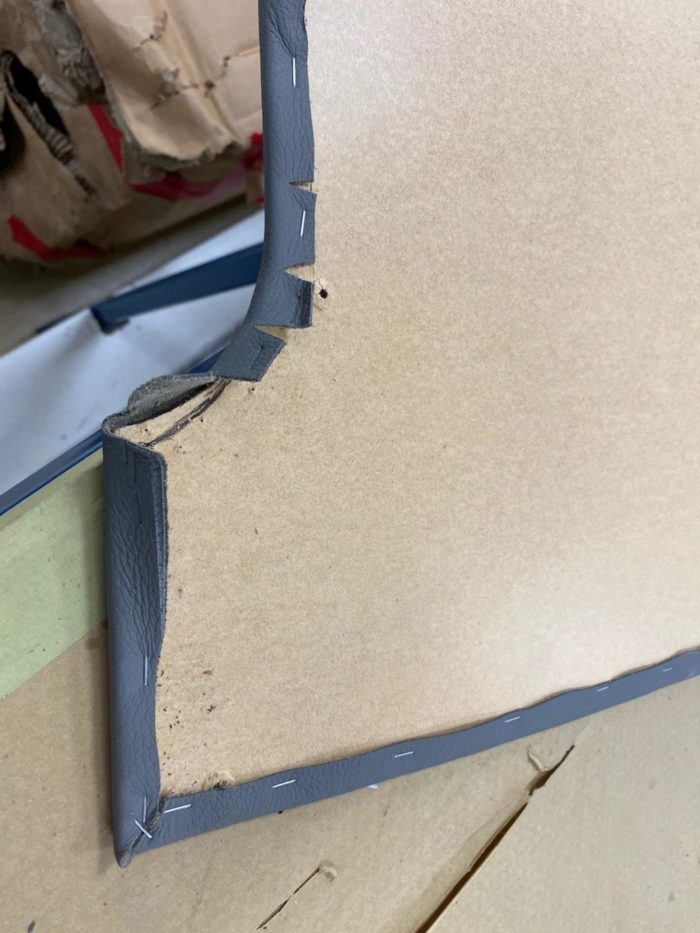
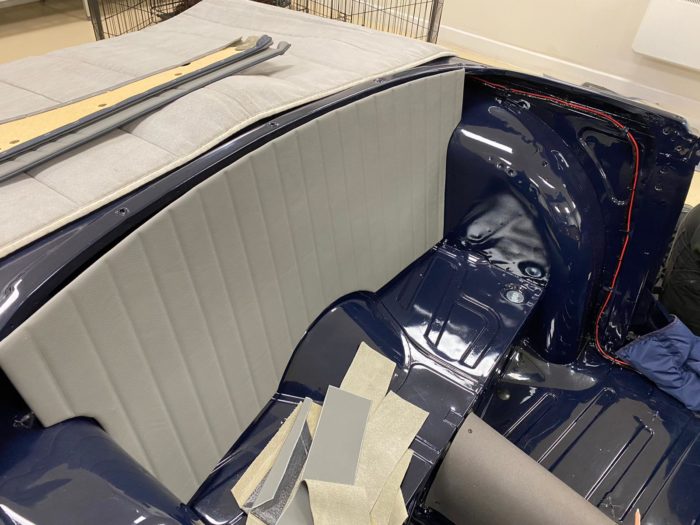
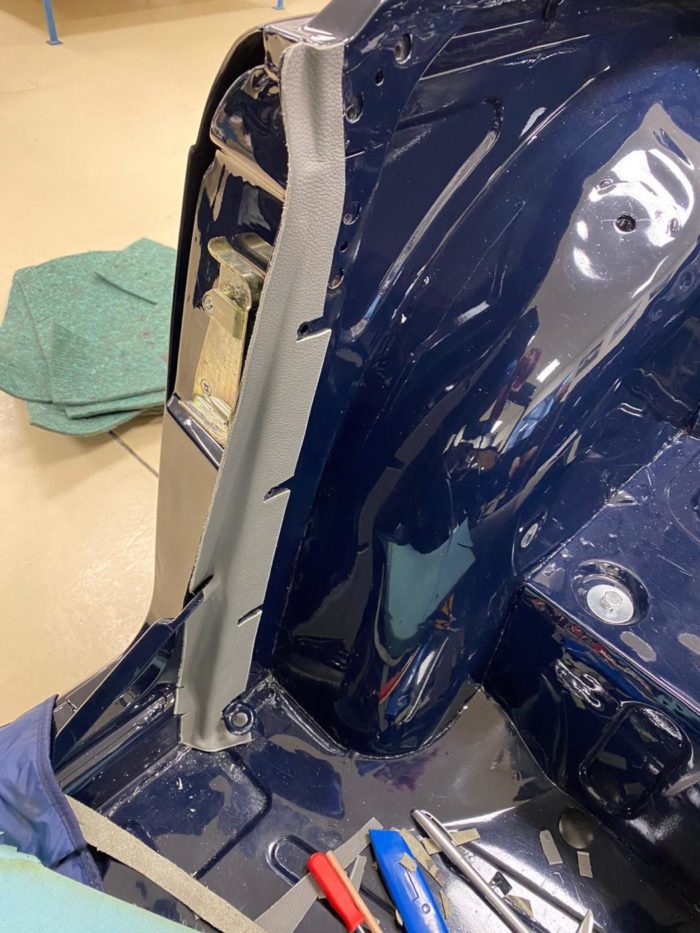
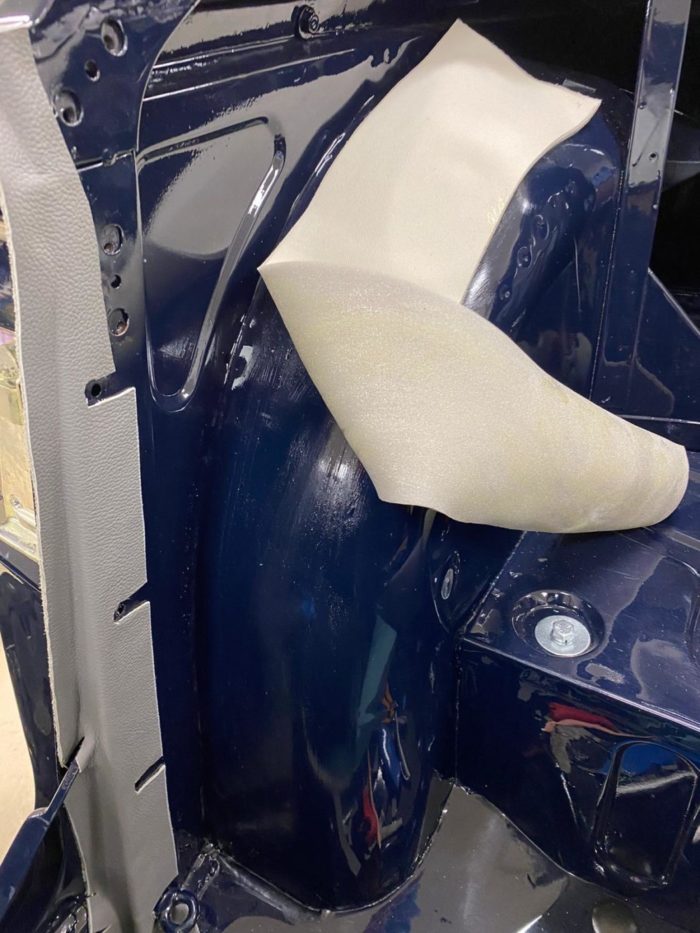
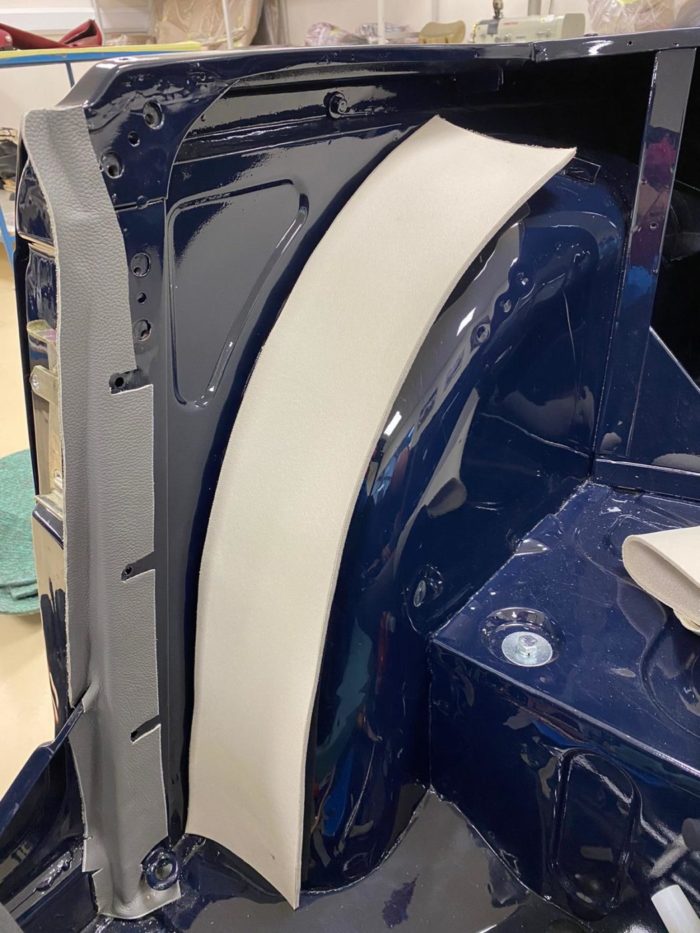
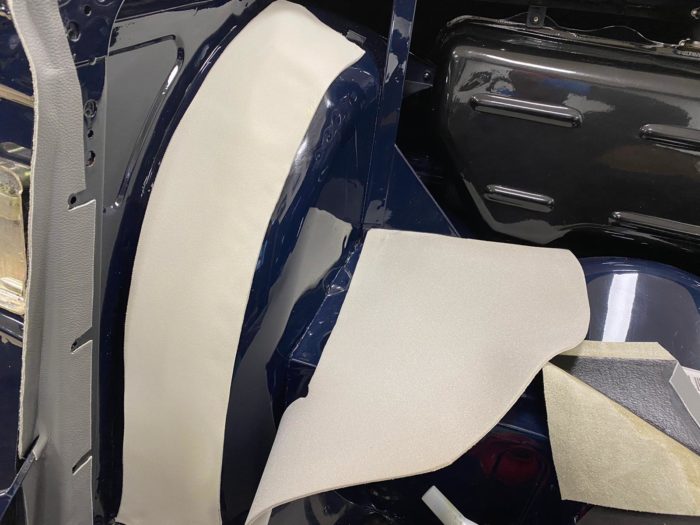
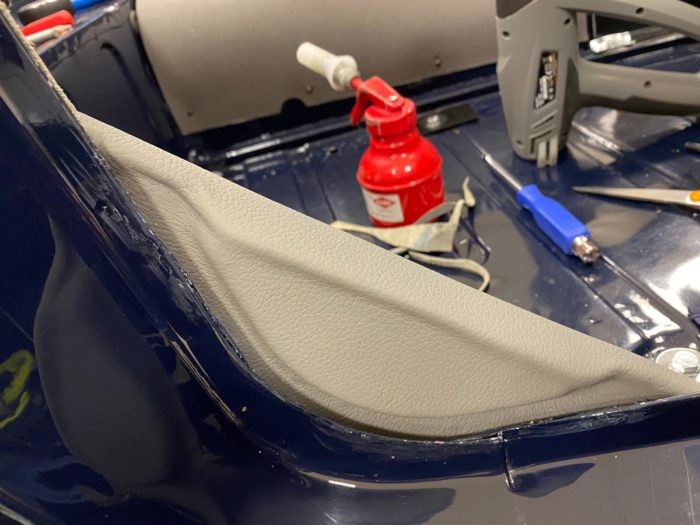
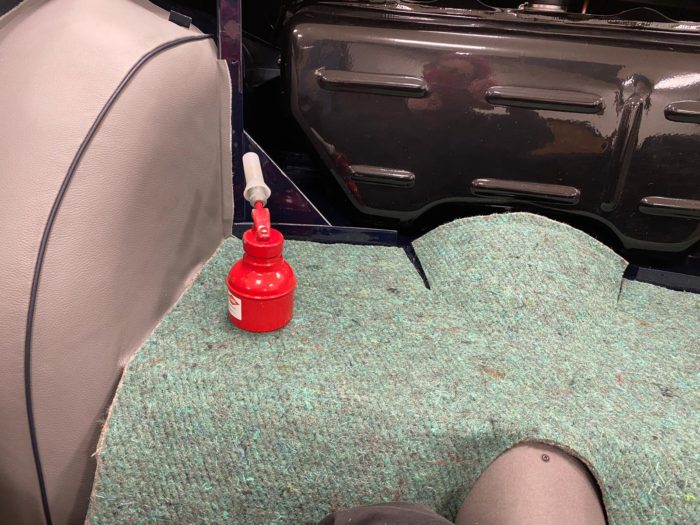
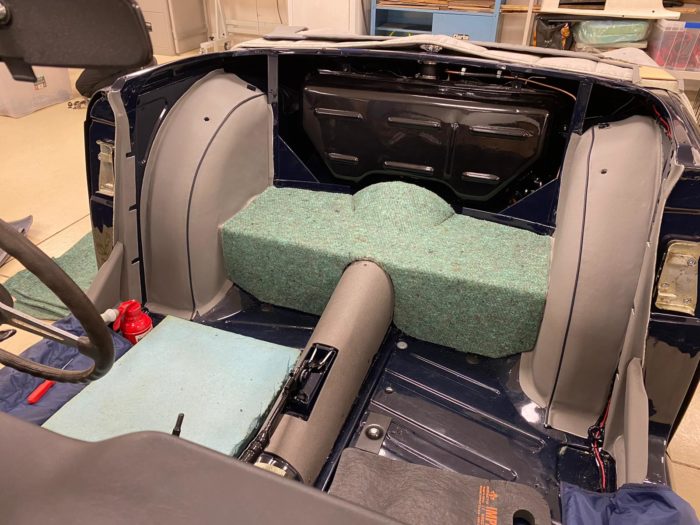
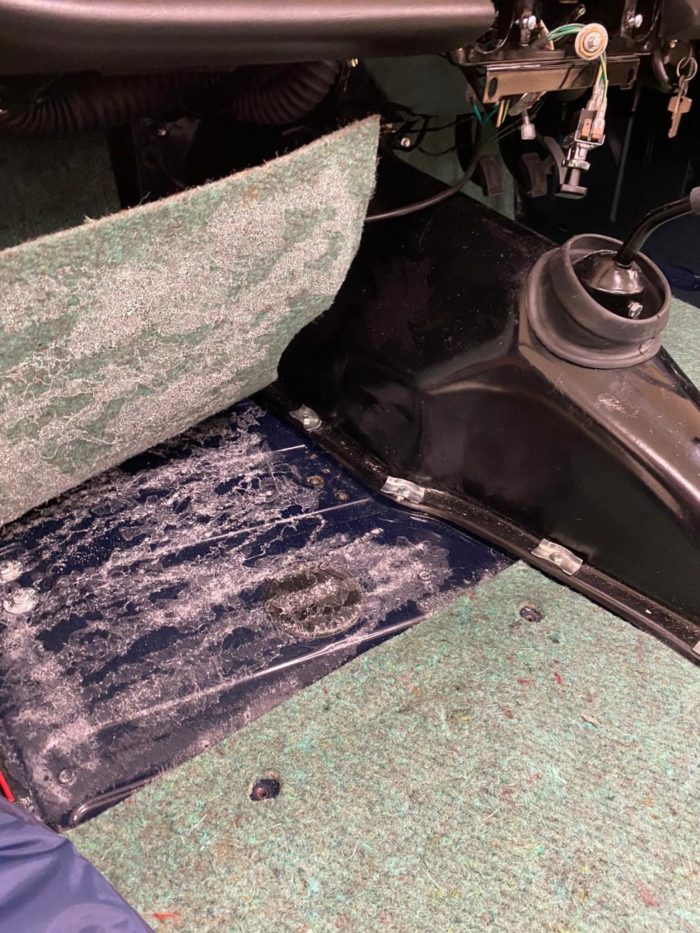
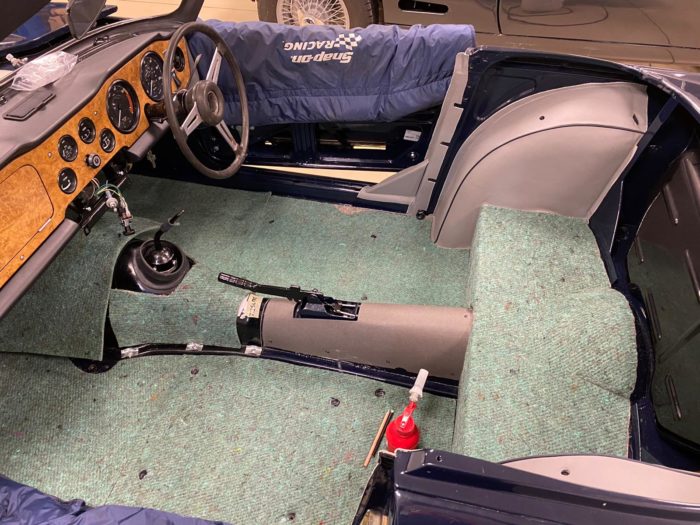
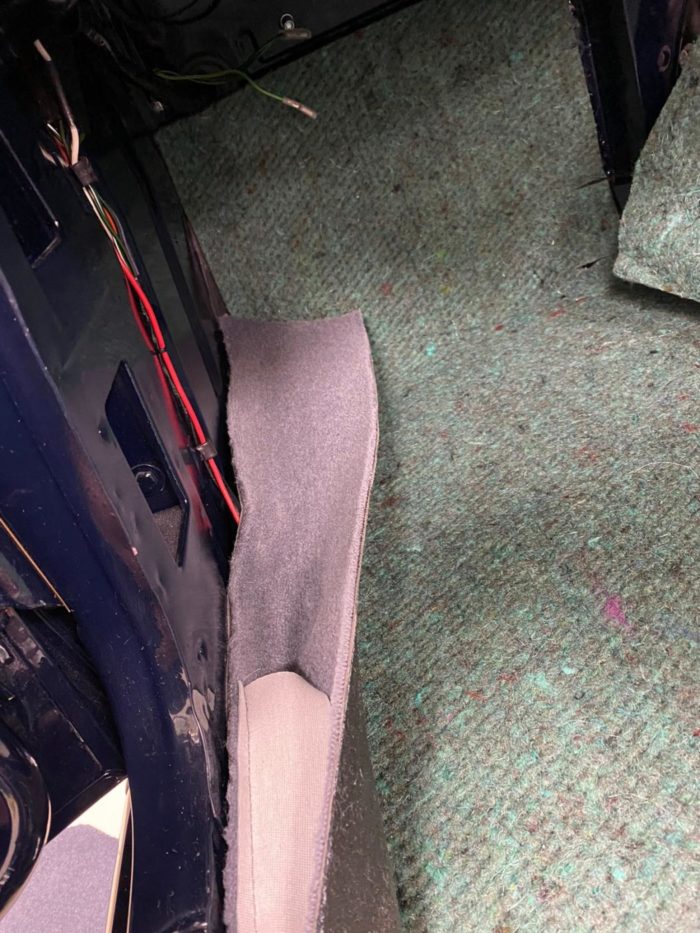
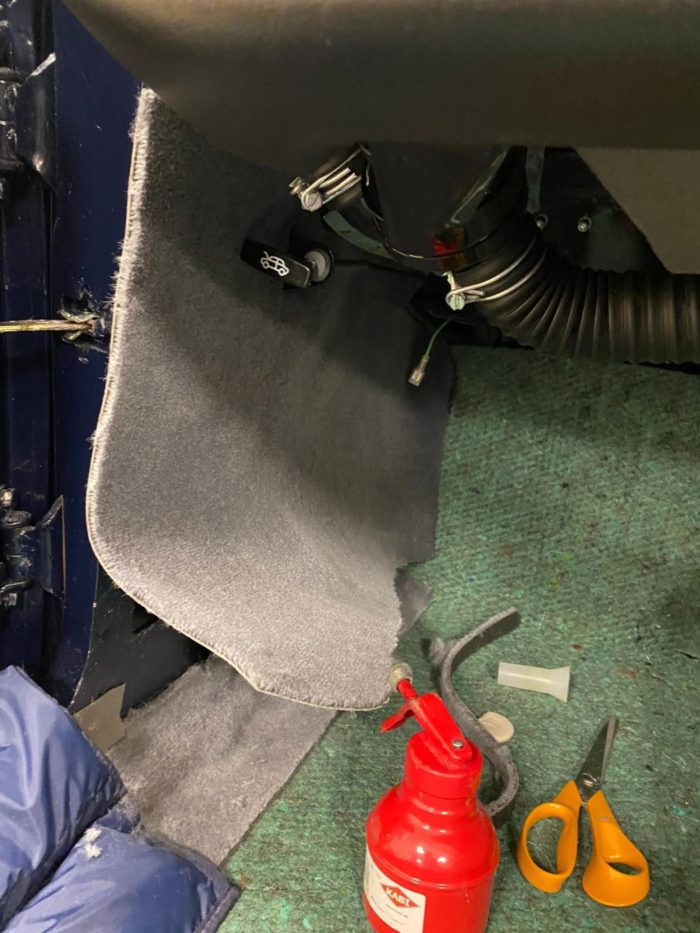
Kath and Brian have continued their work with the 1968 Triumph TR5 and are now tackling the rear quarter.
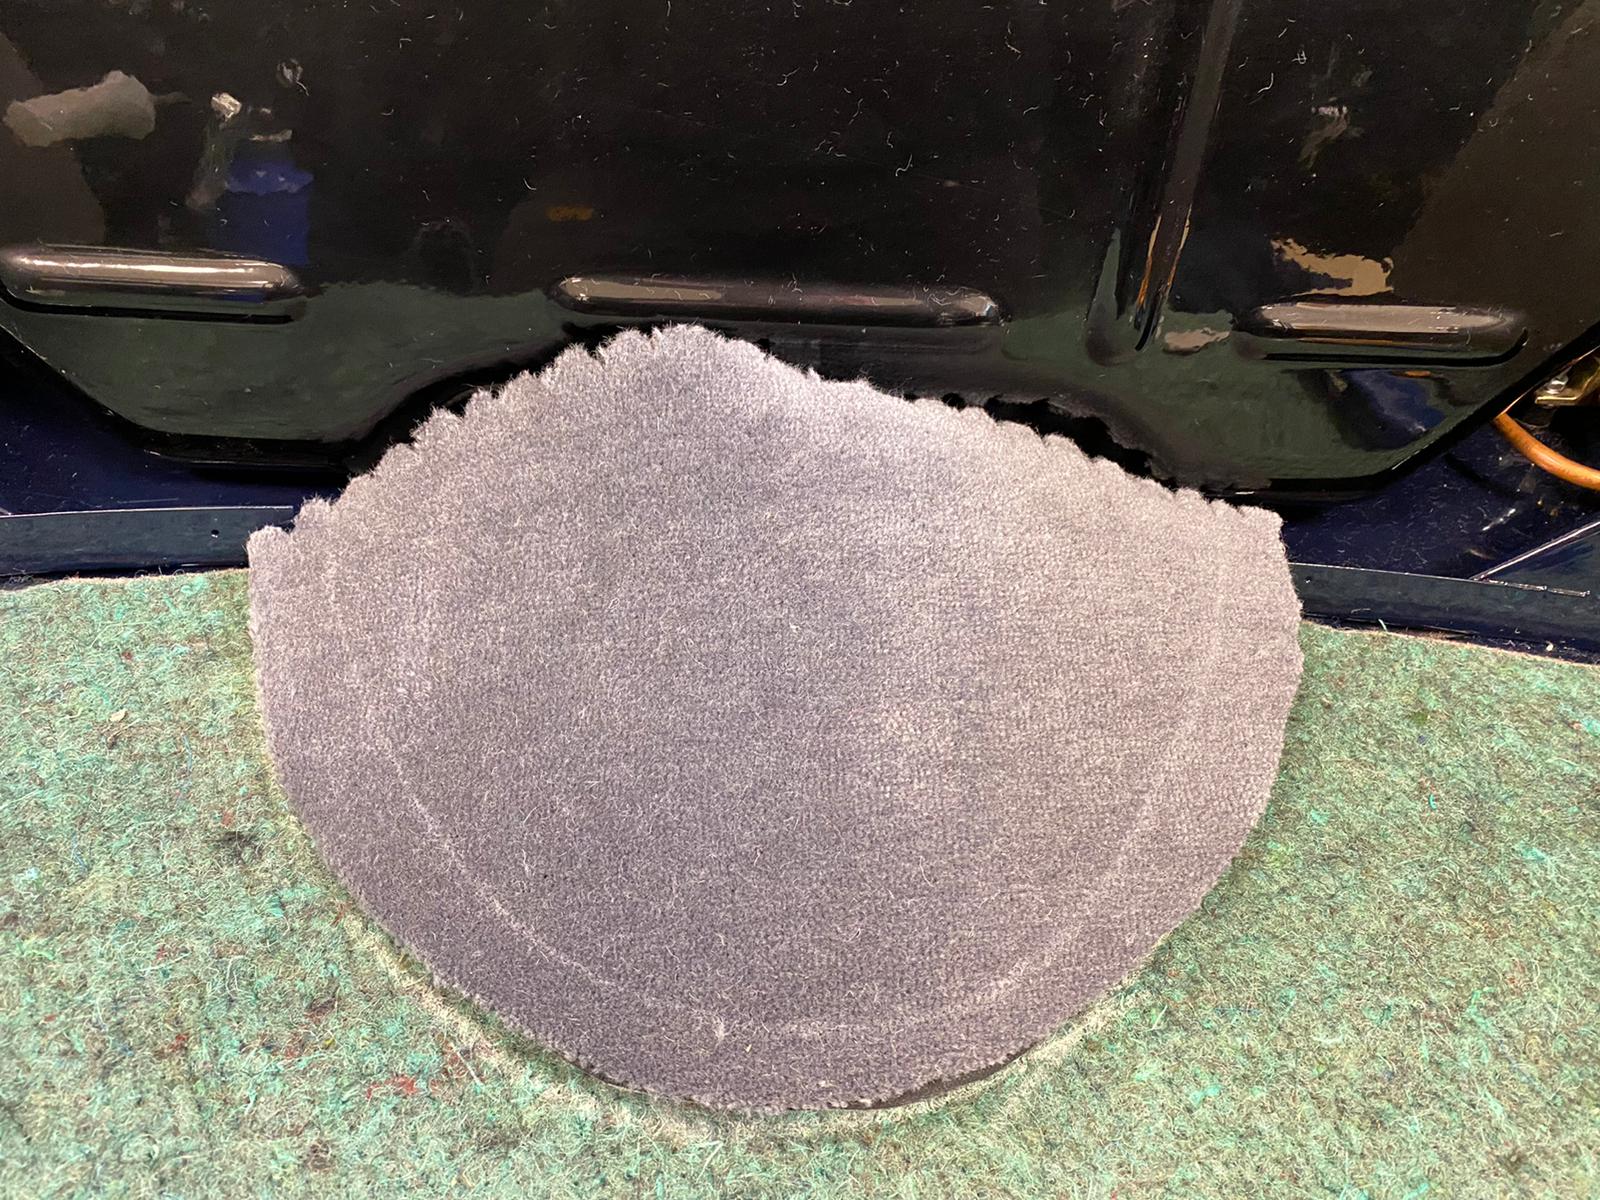
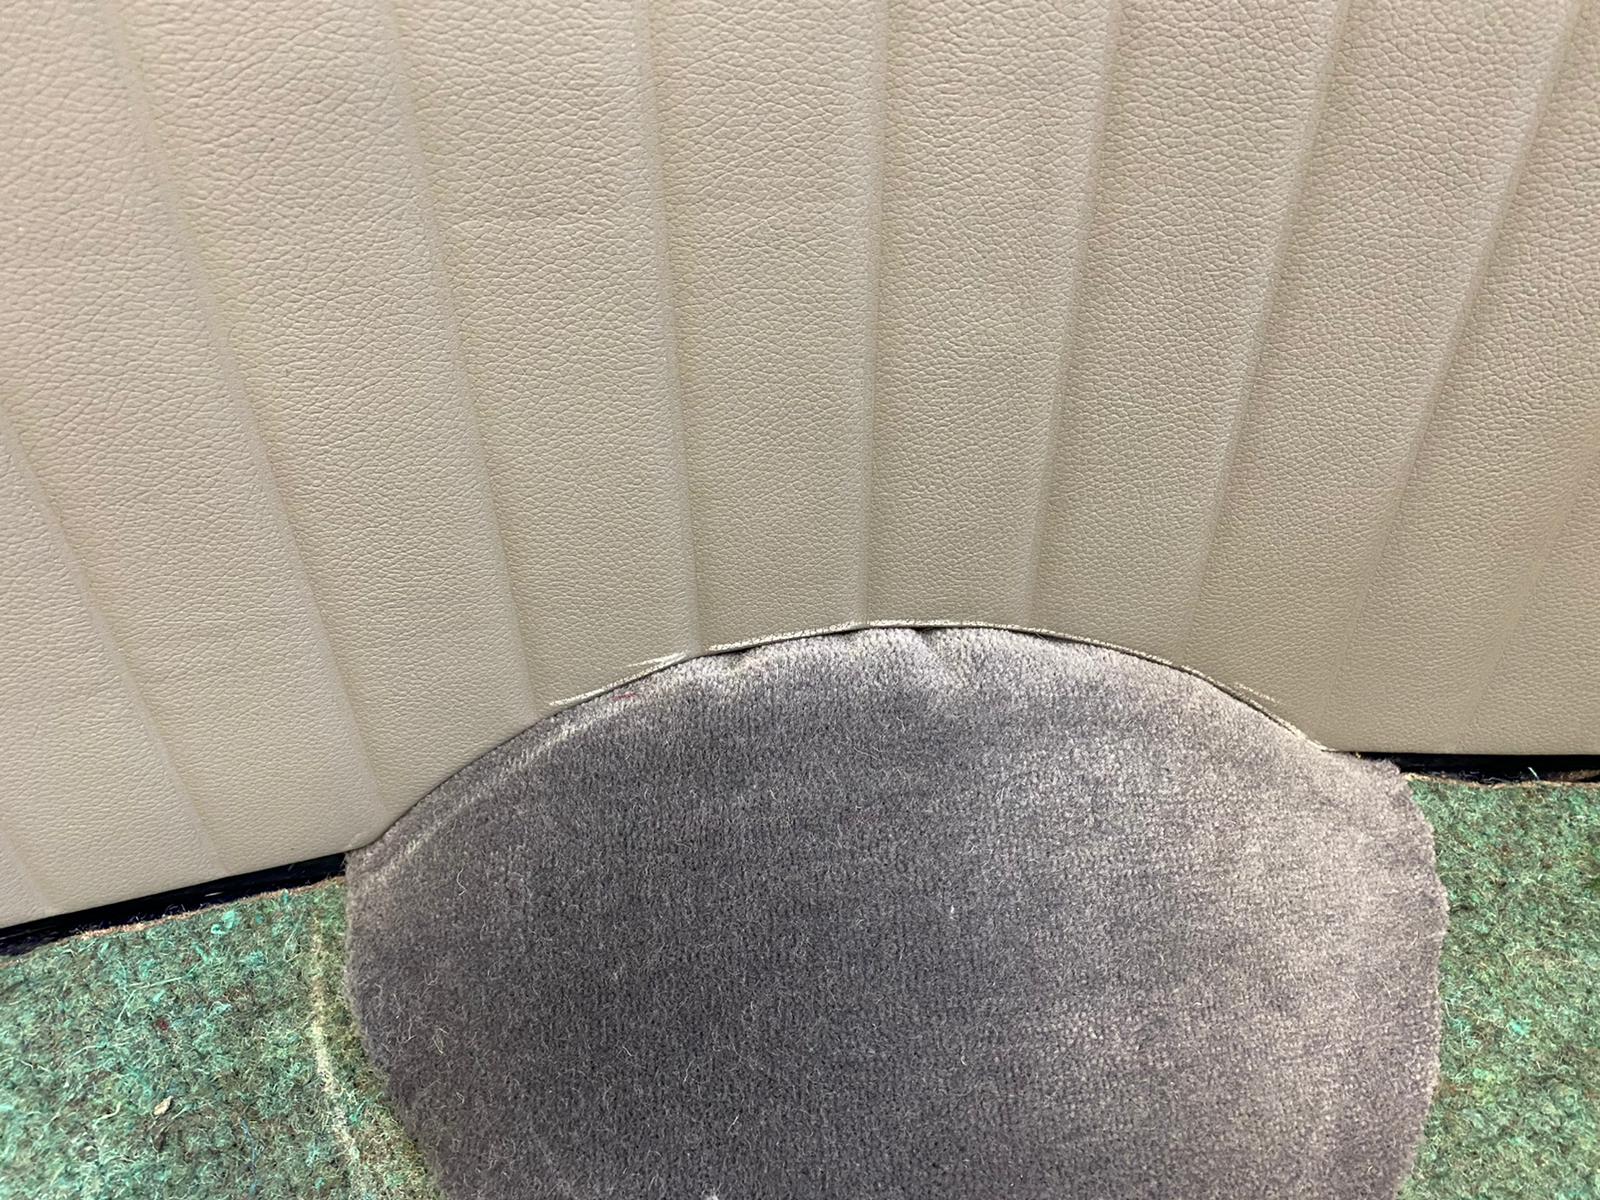
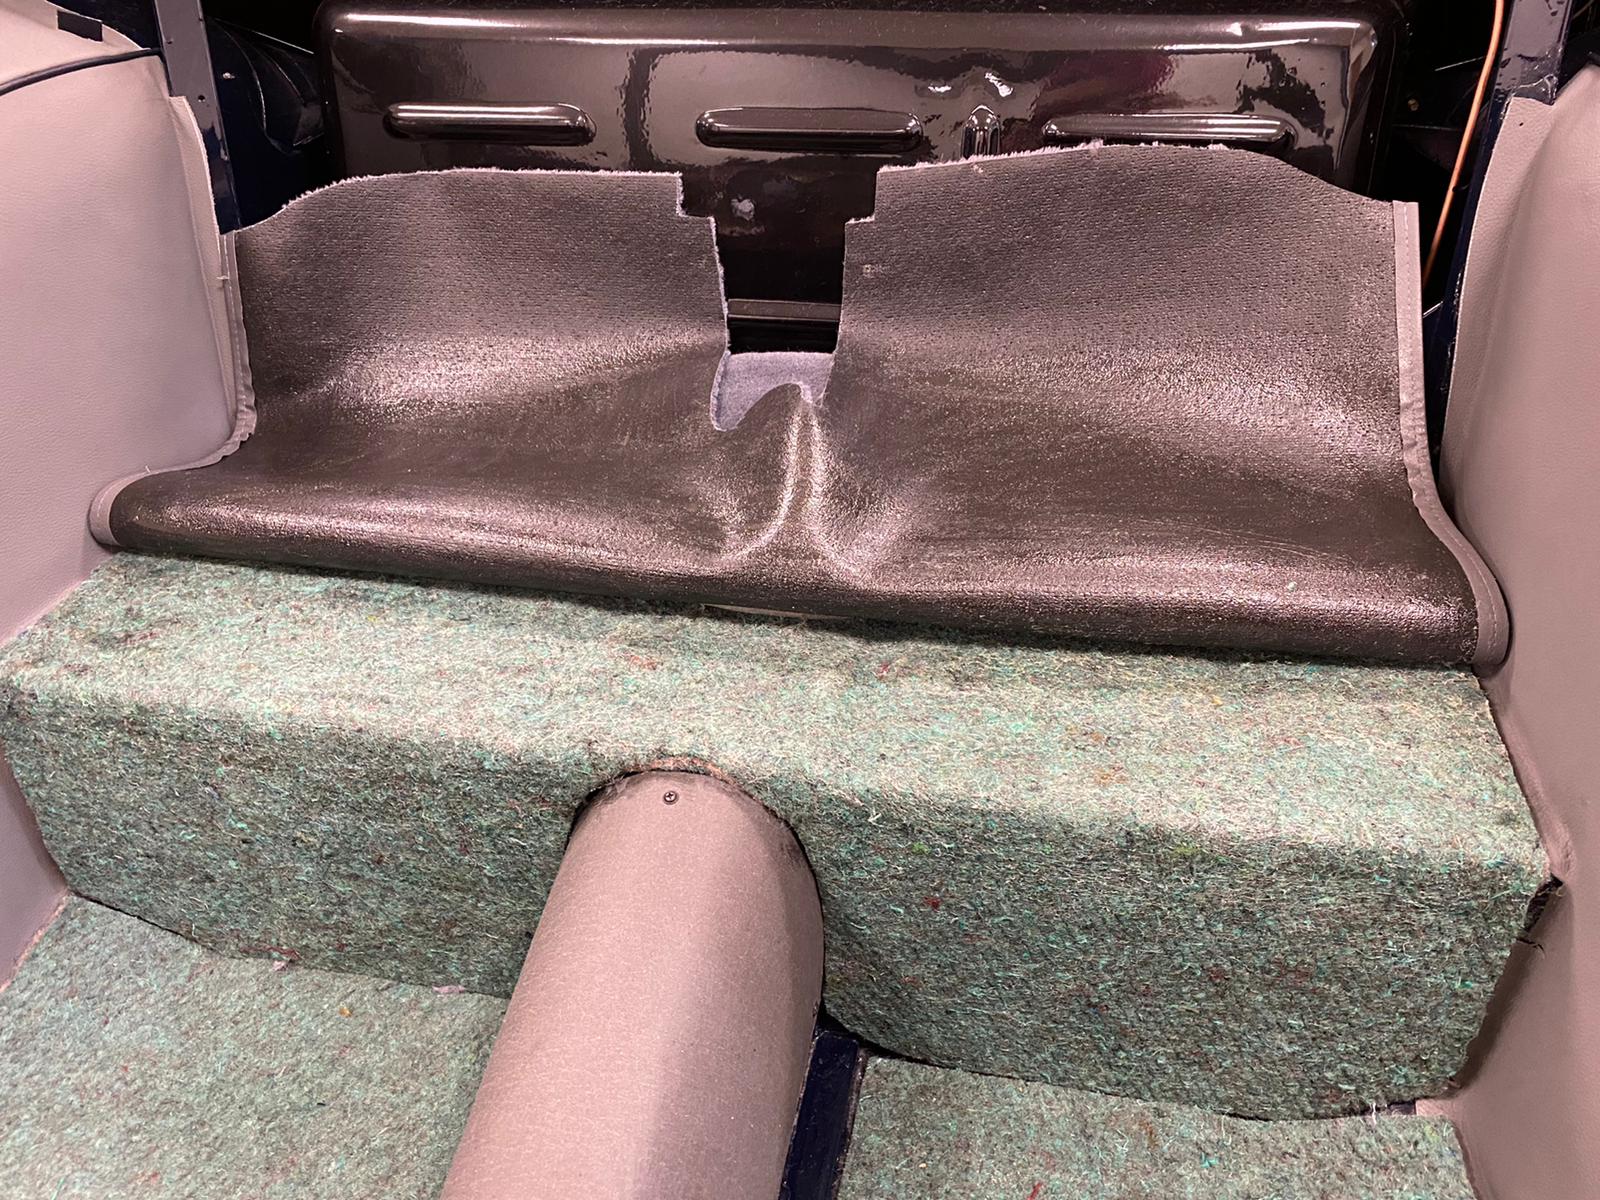
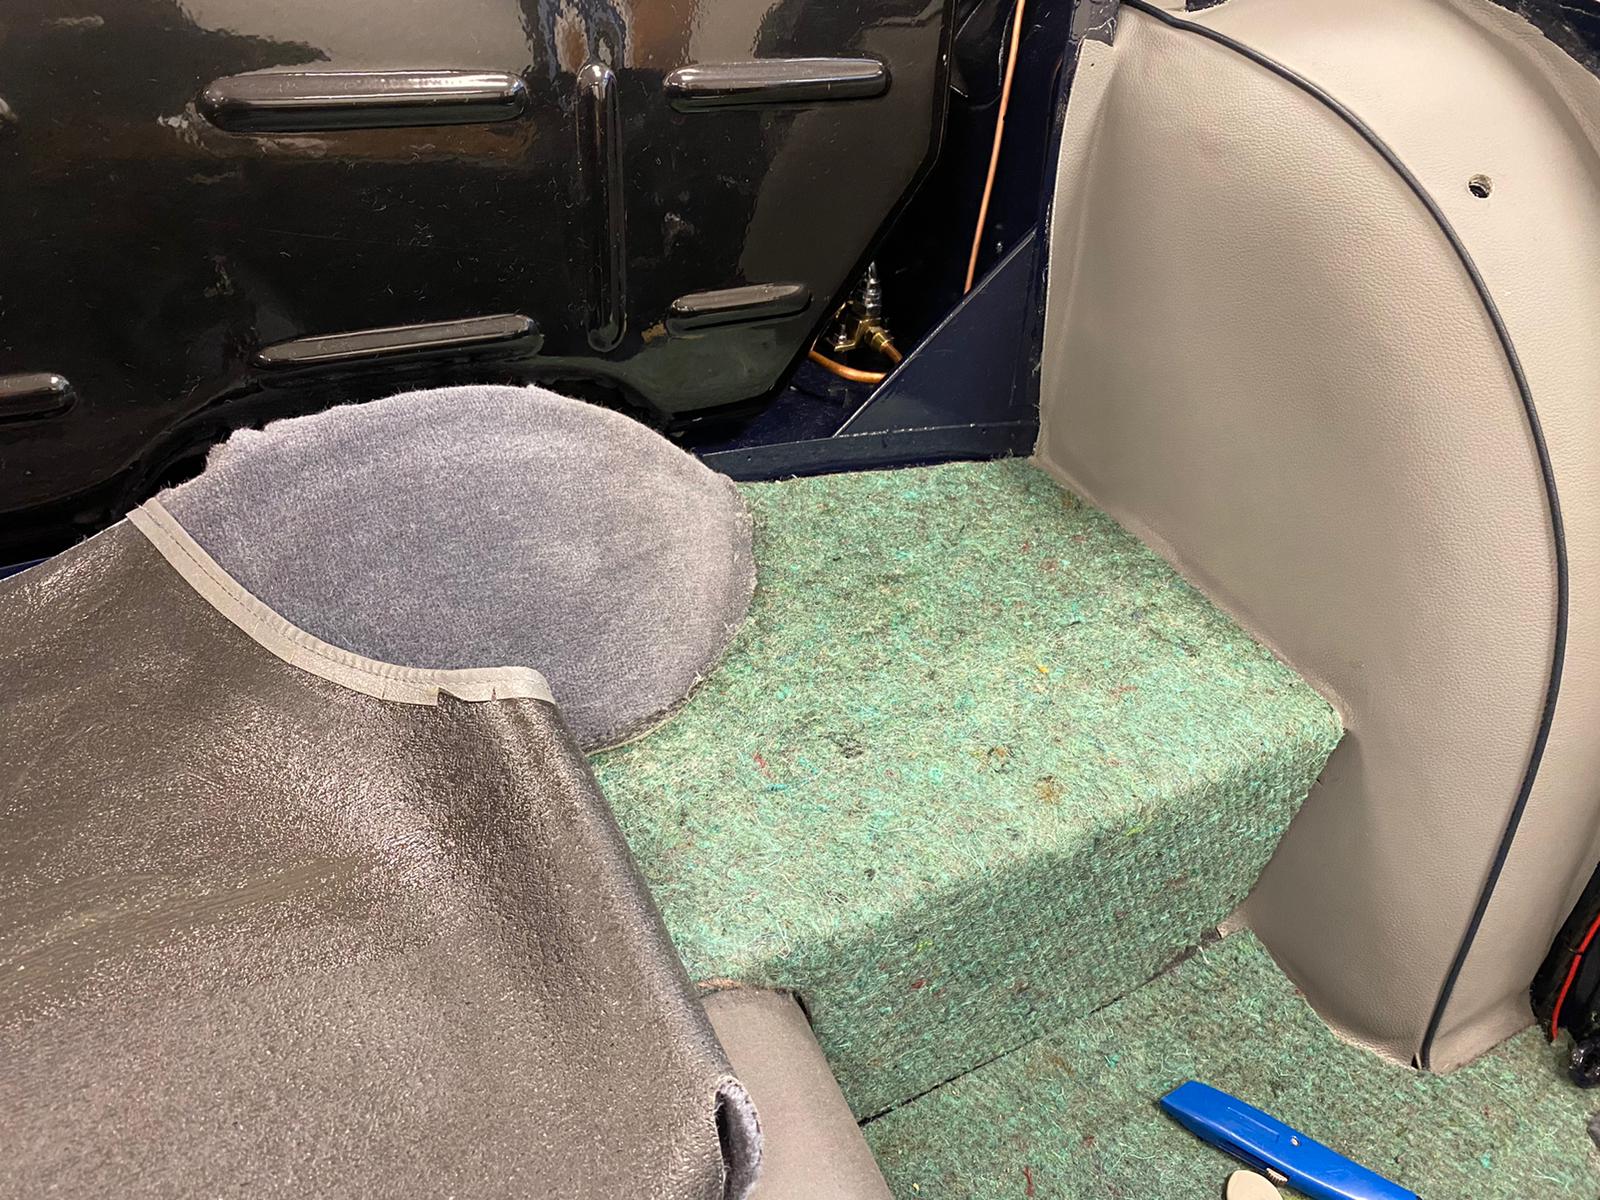
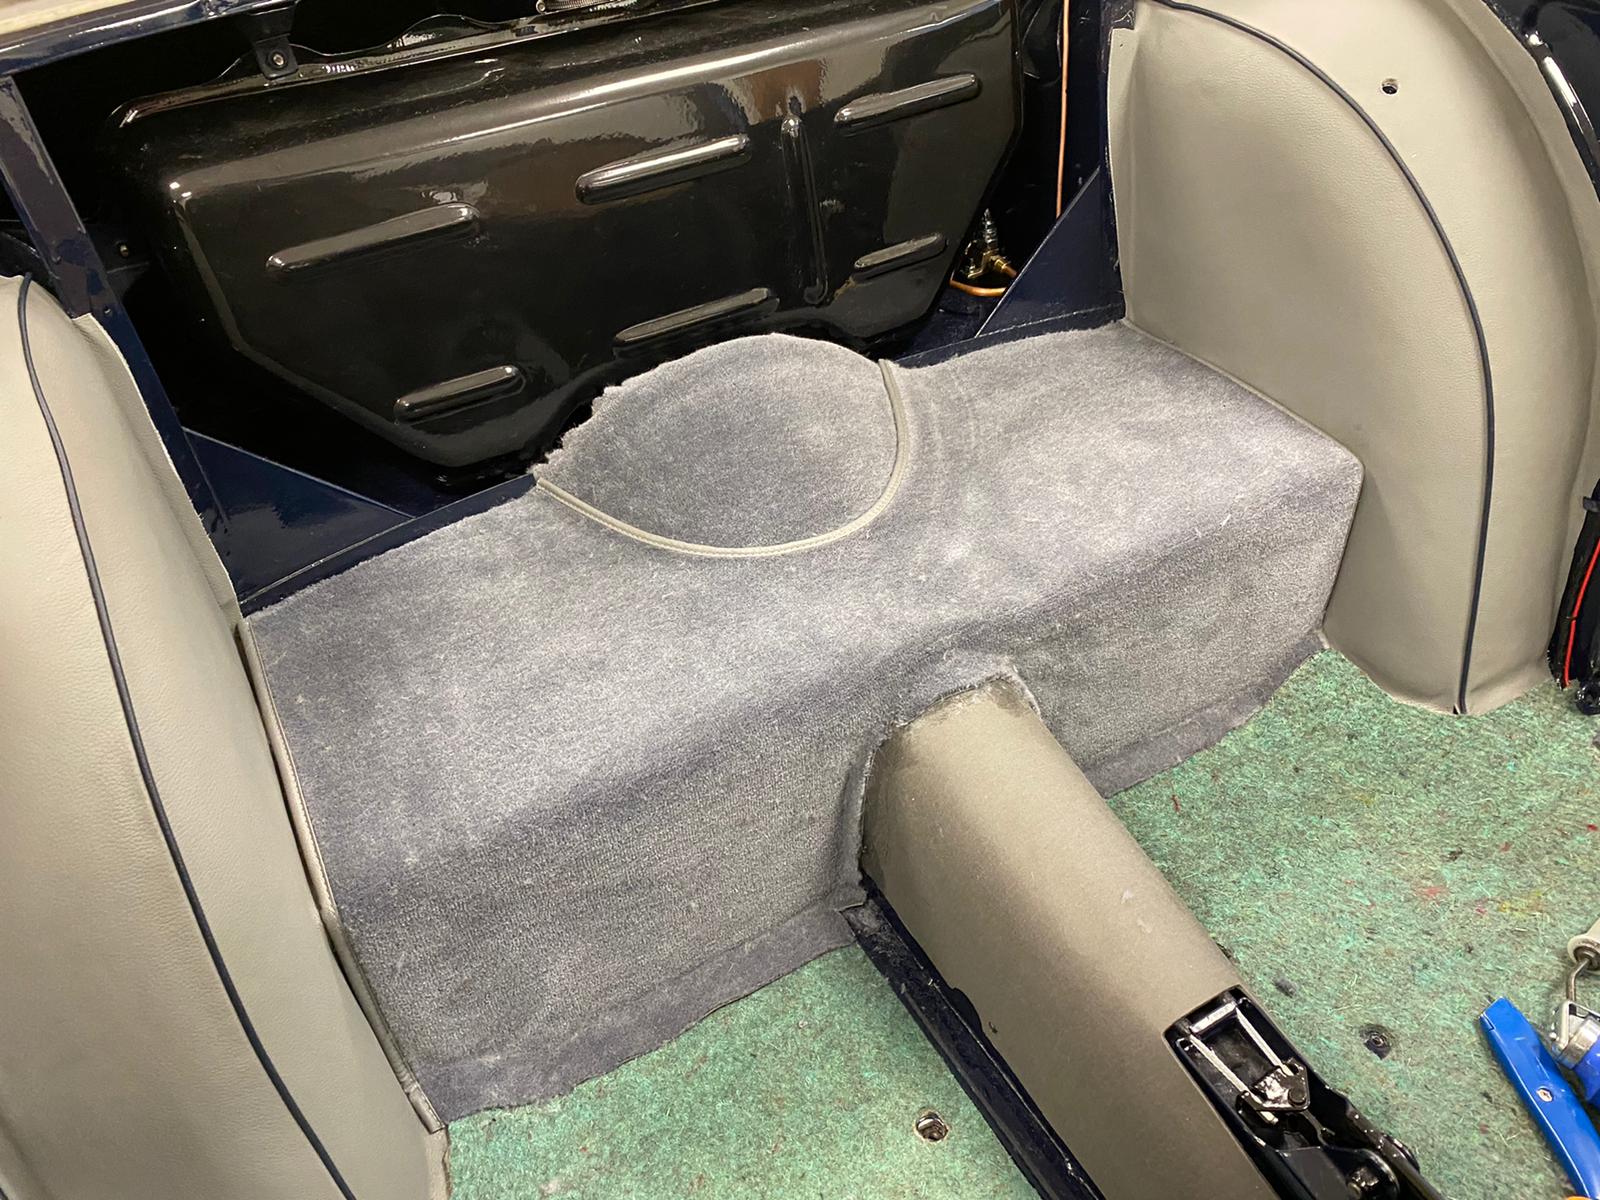
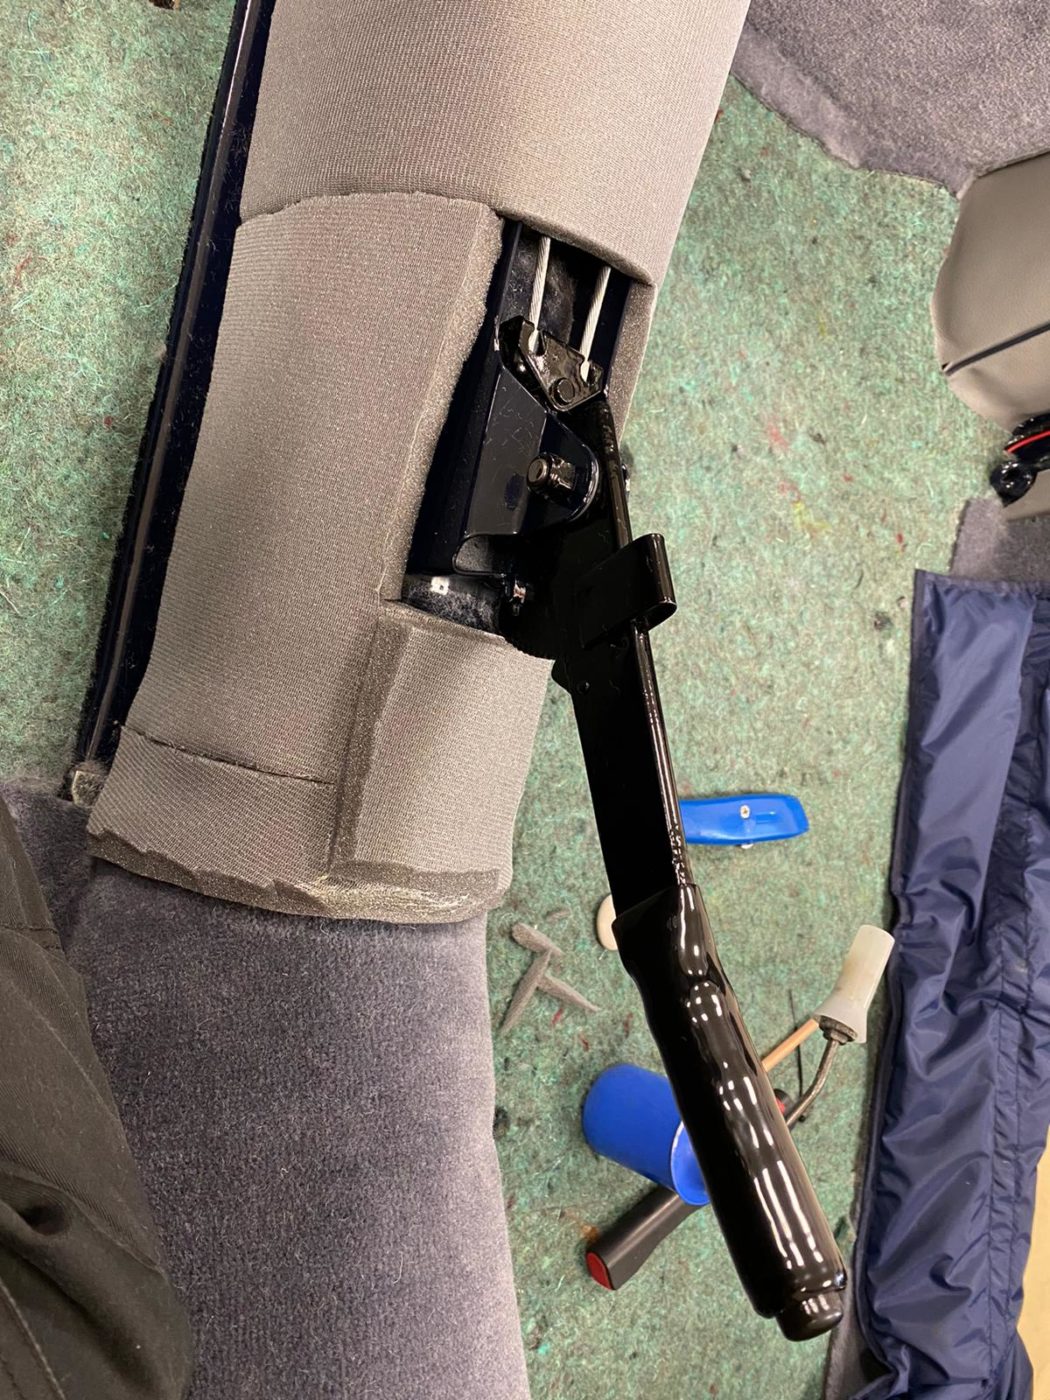
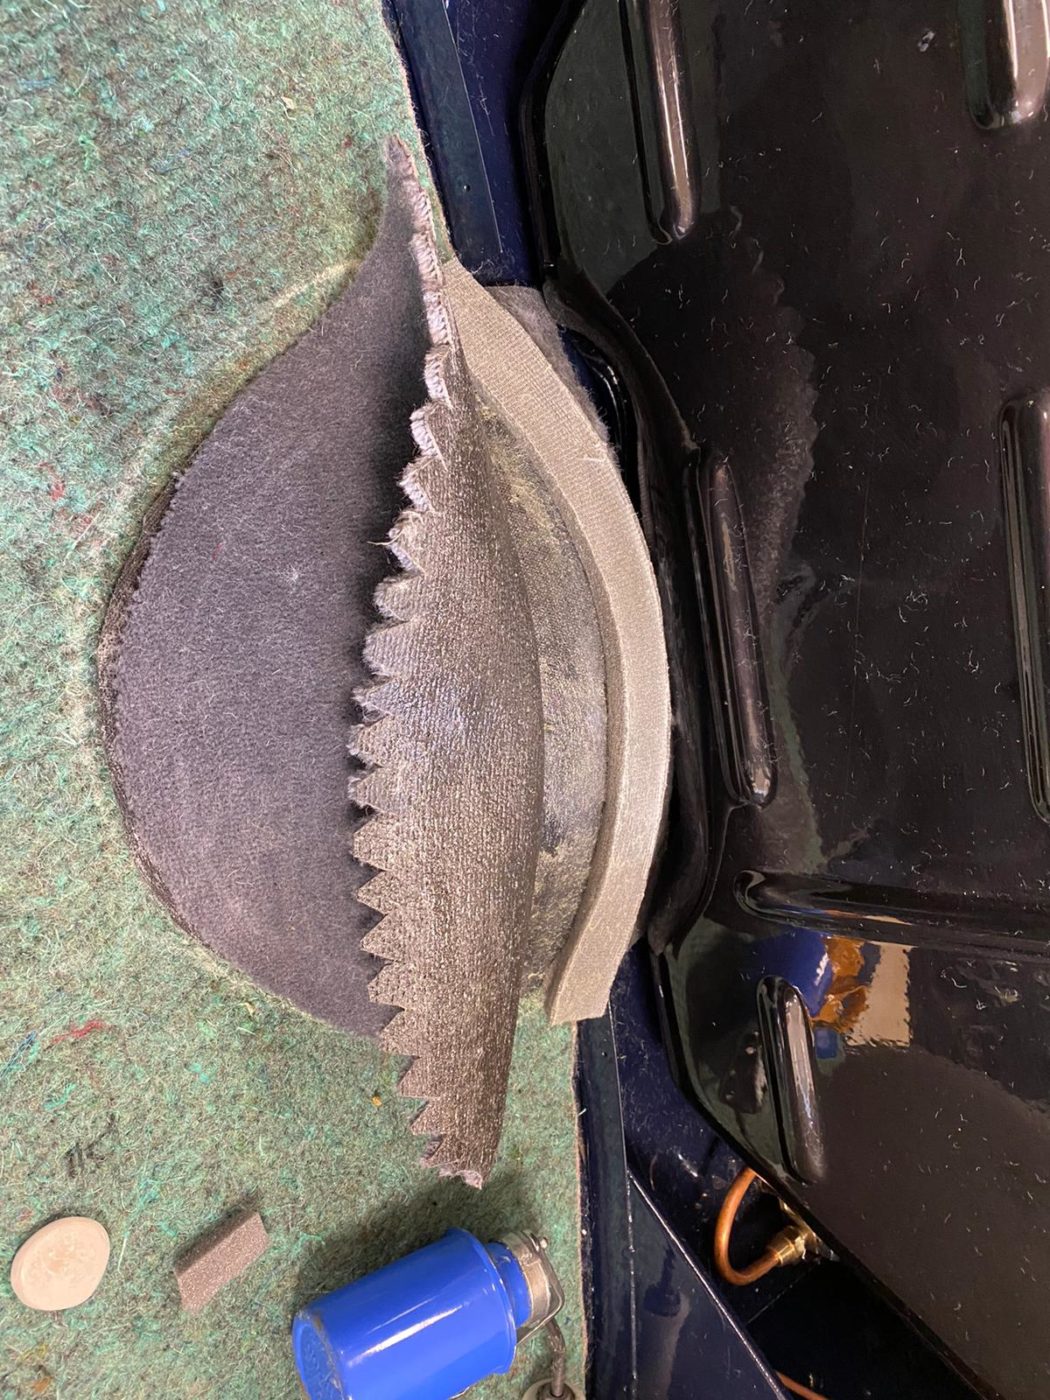
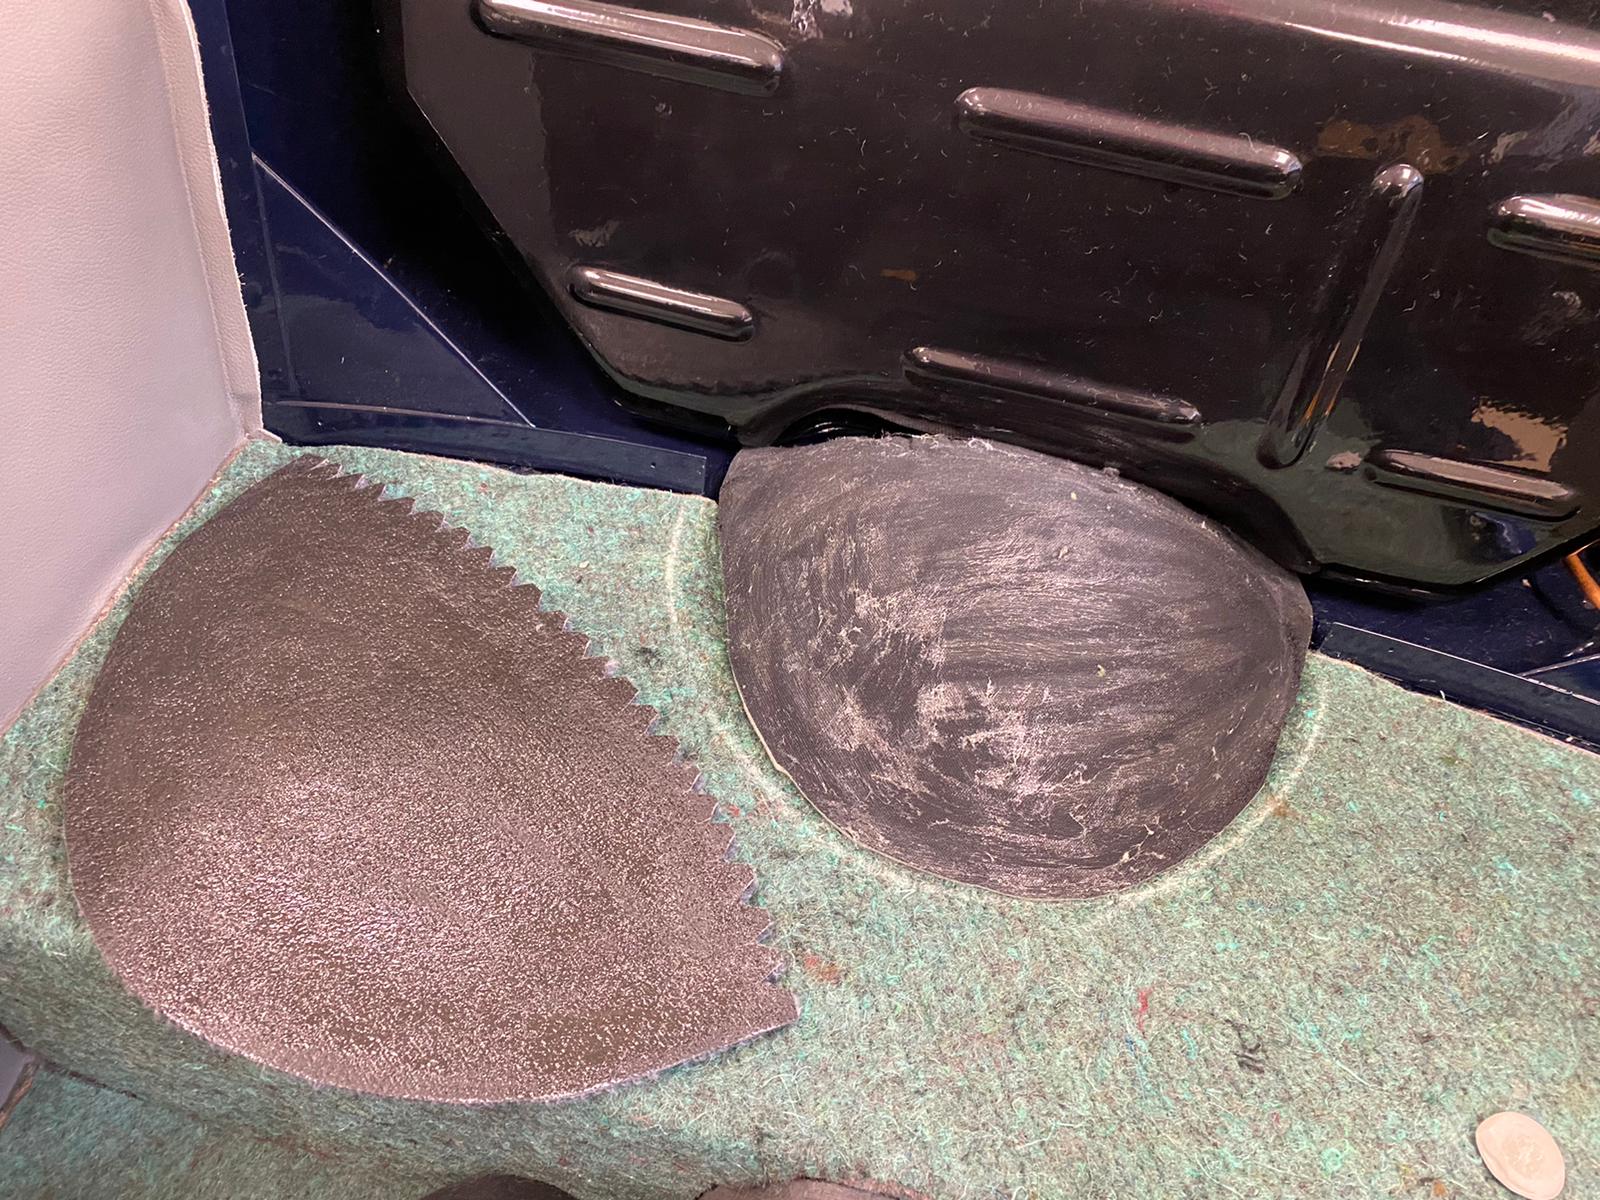
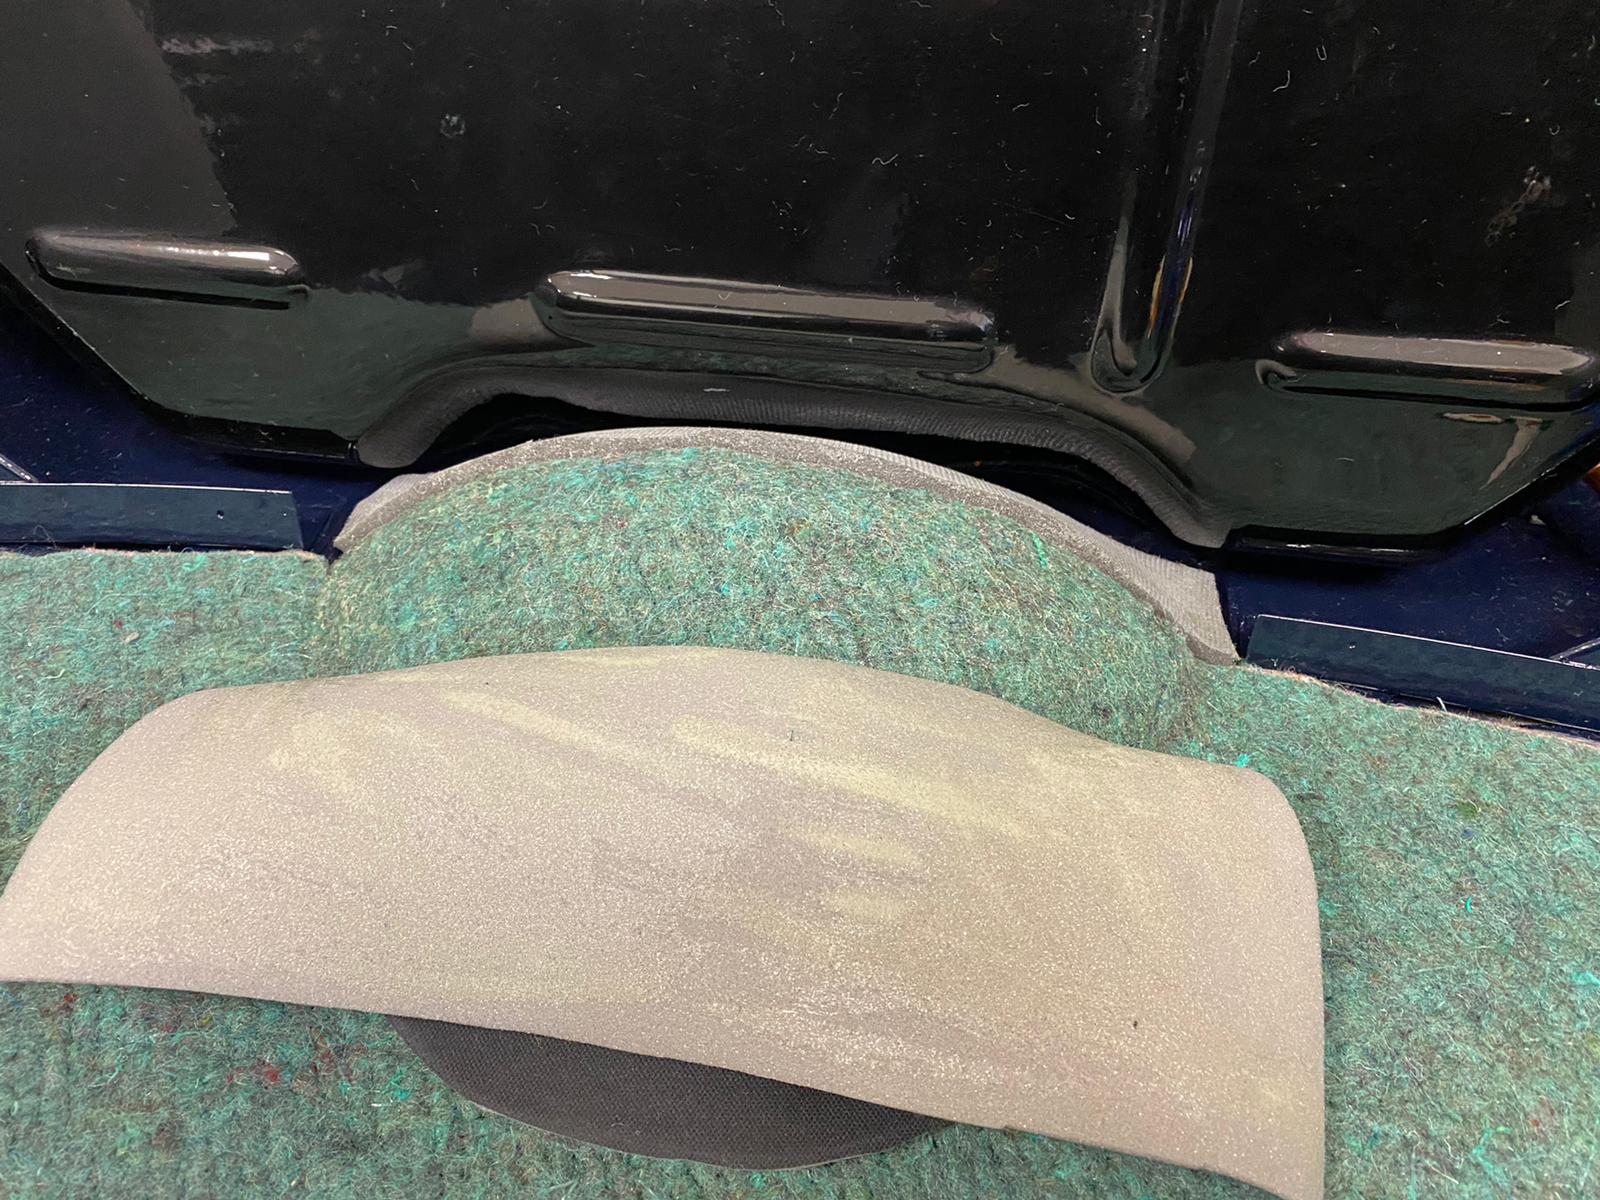
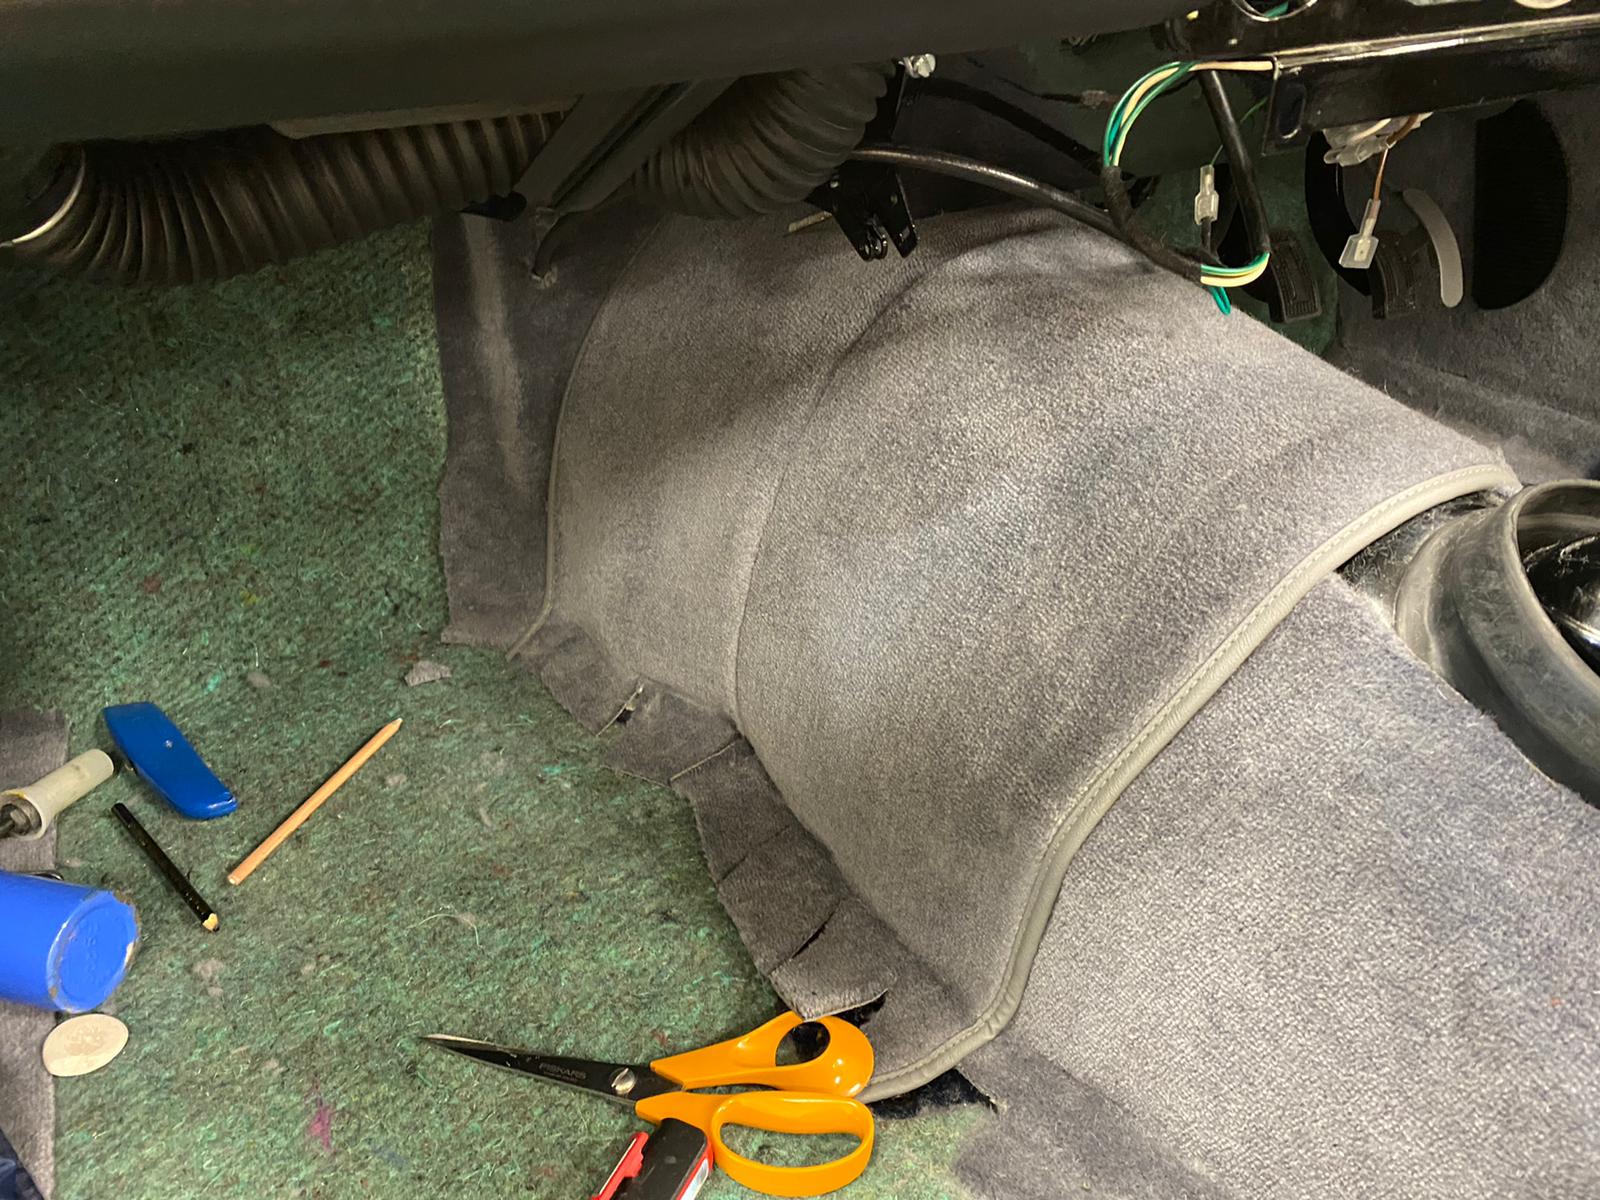
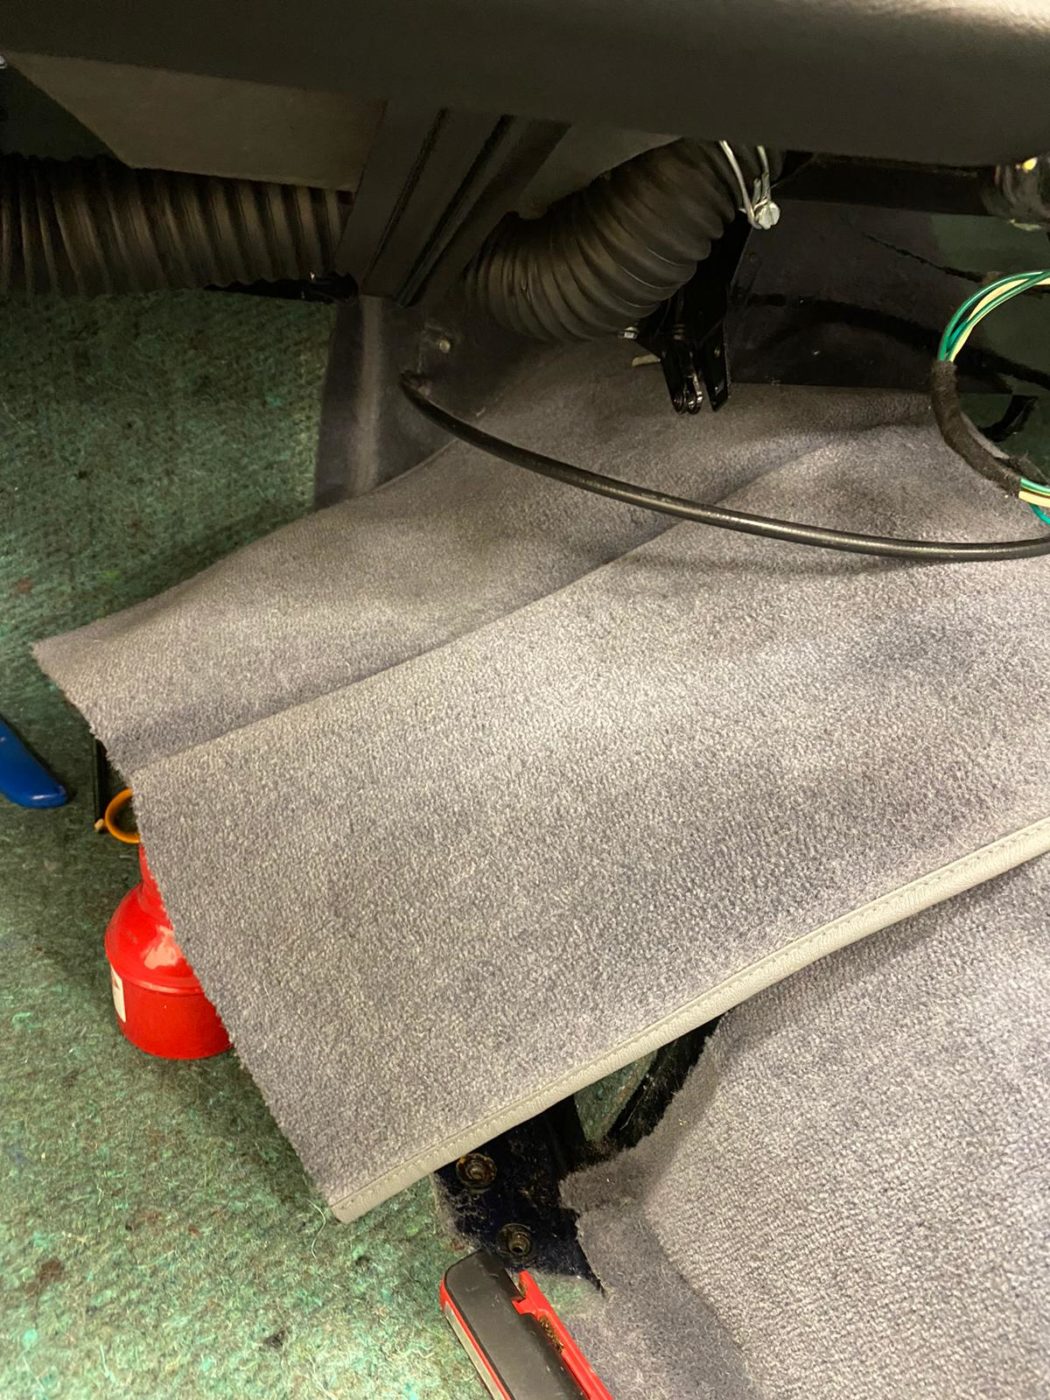
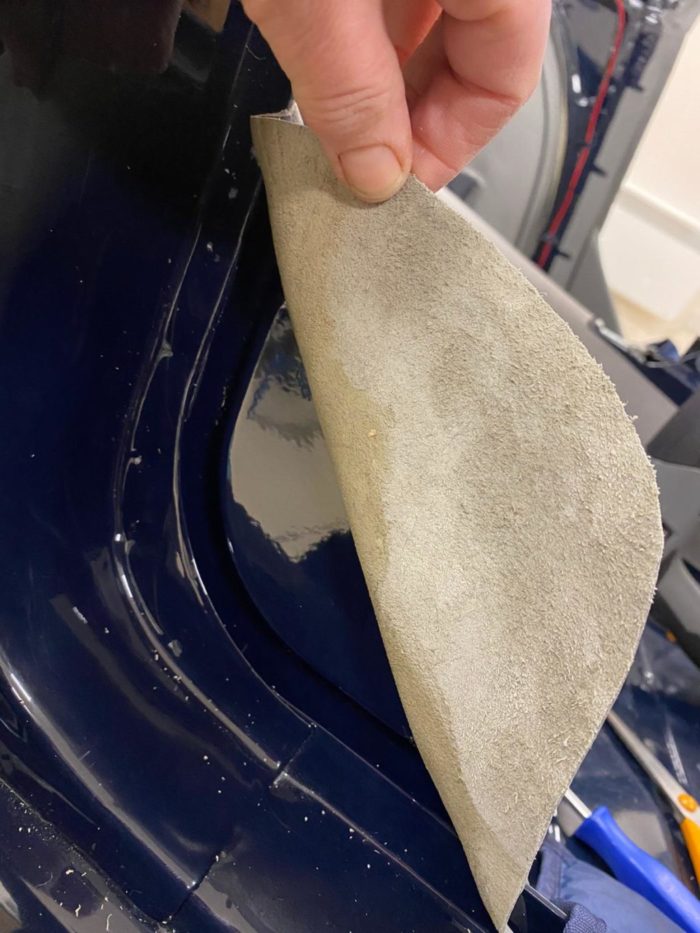
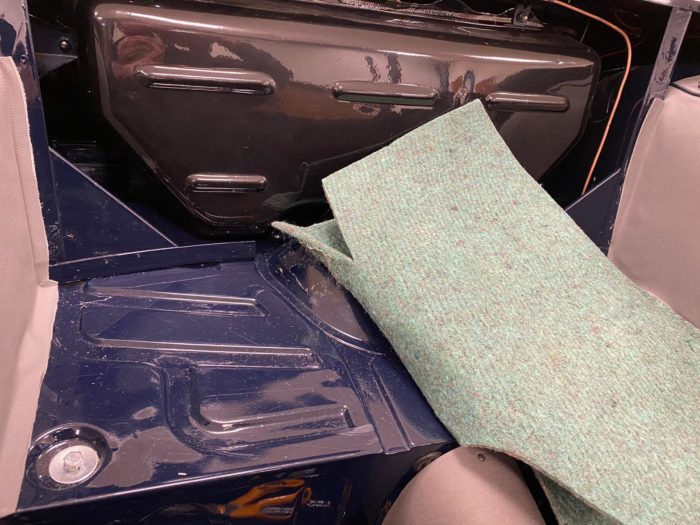
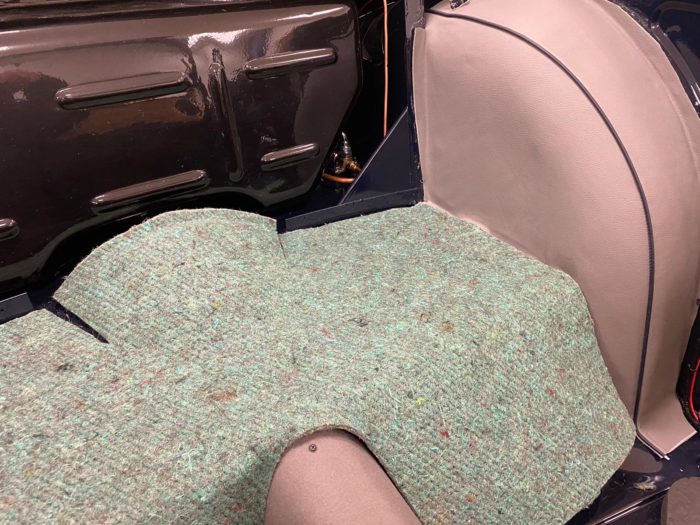
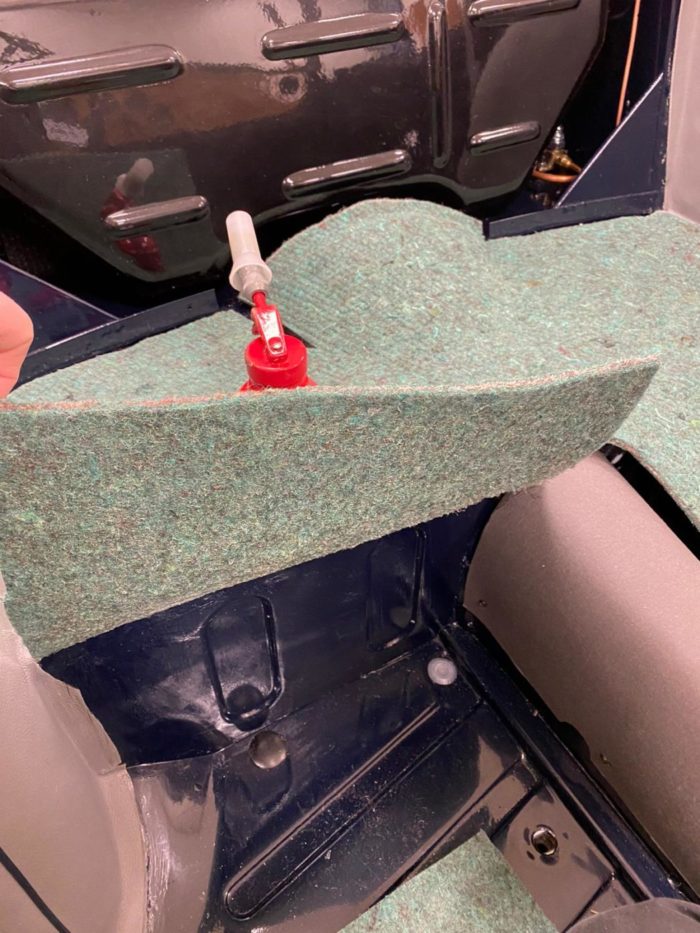
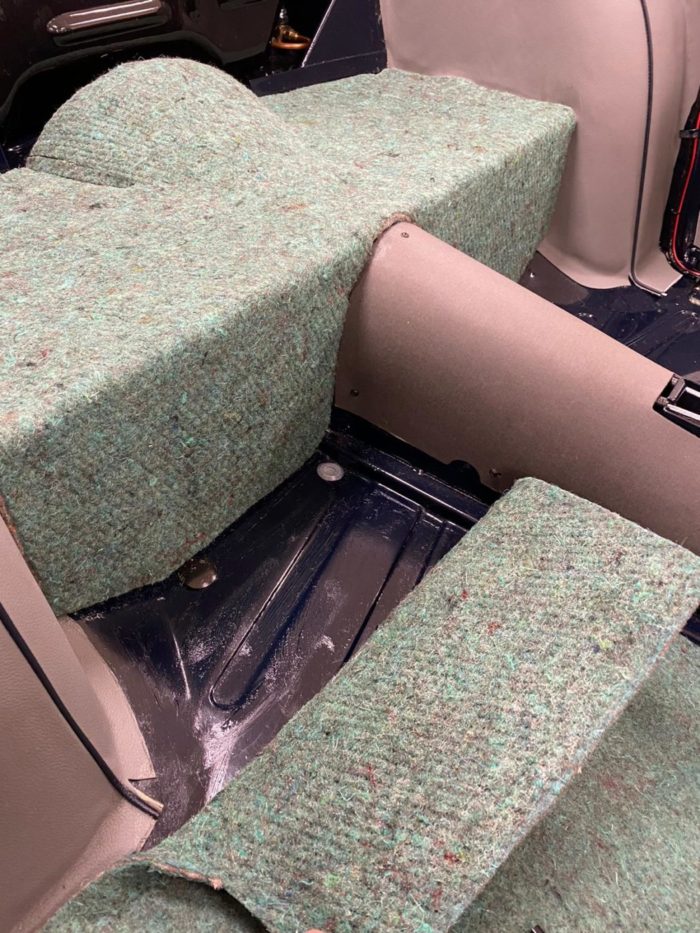
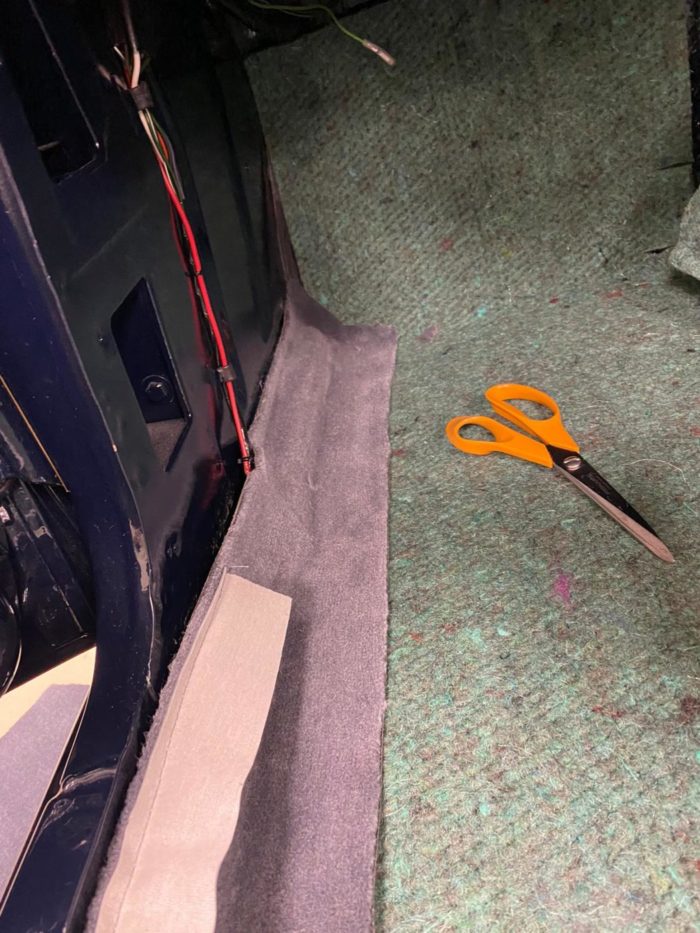
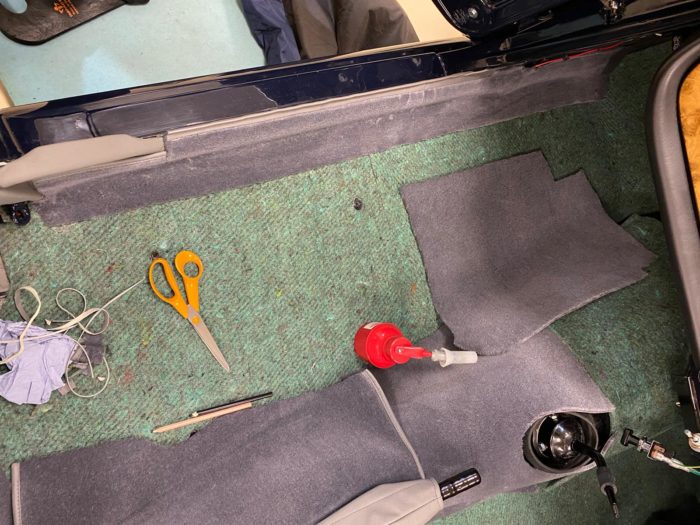
Kath has added foam over the raised section in the boot and positioned the carpet over the foam to get an idea of how it would fit. Once happy, Kath could then glue the foam sections down and pack it out around the fuel tank. Once the foam is stuck down, Kath could then lay in and glue down the carpet in sections, pulling the carpet over the edge and down into footwell so that it fits tight. Once in place, Kath could trim around the corners, and get started on the hand brake gaiter section.
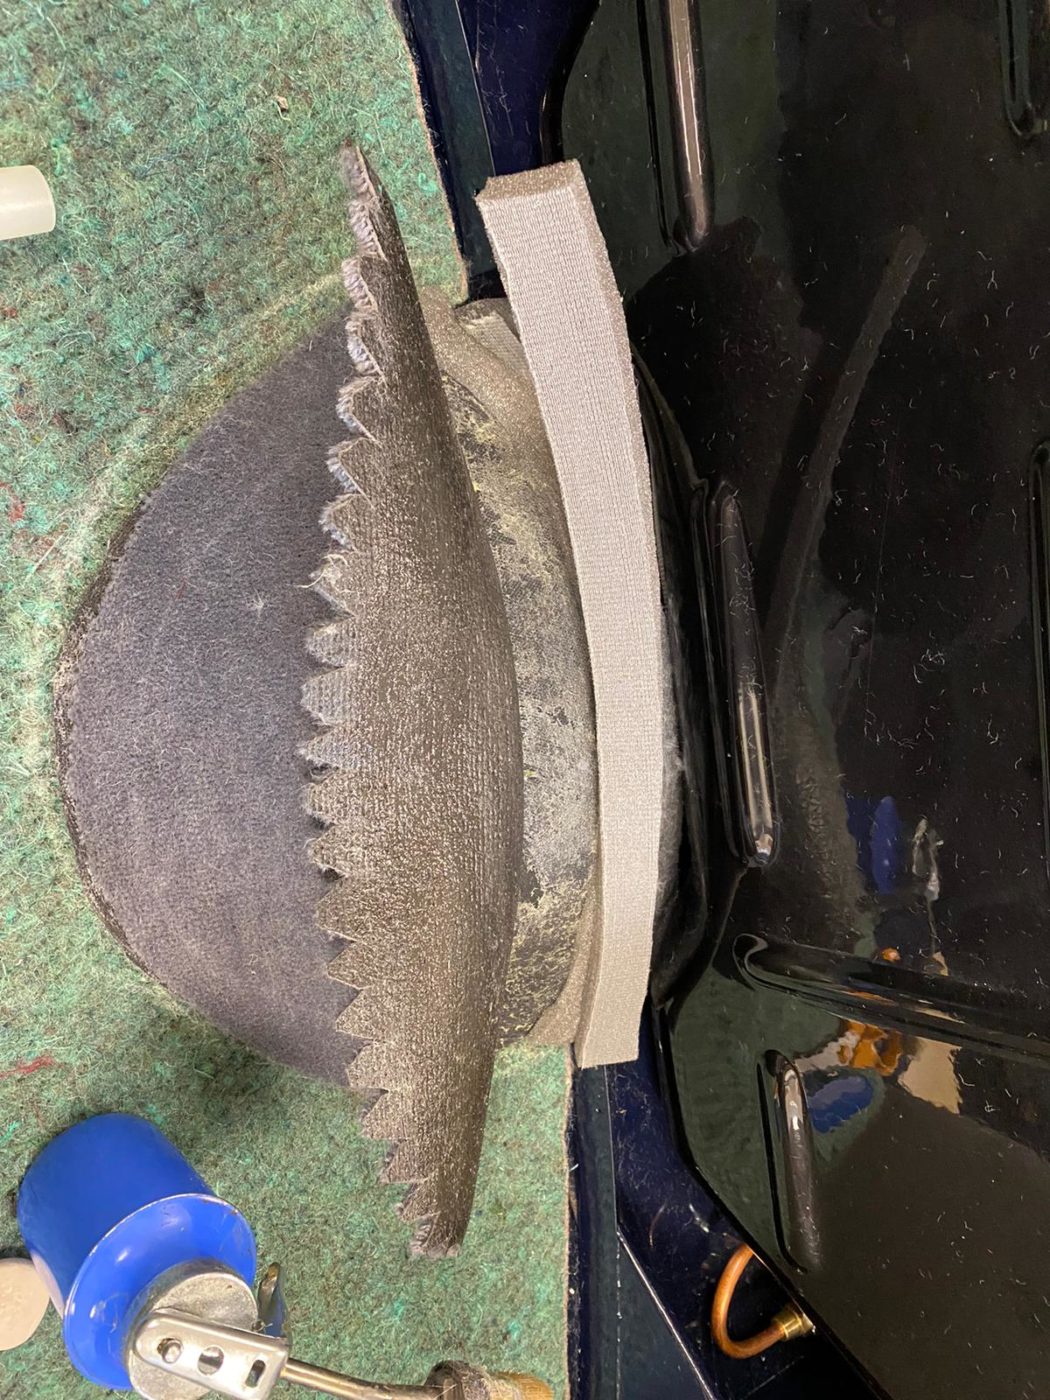
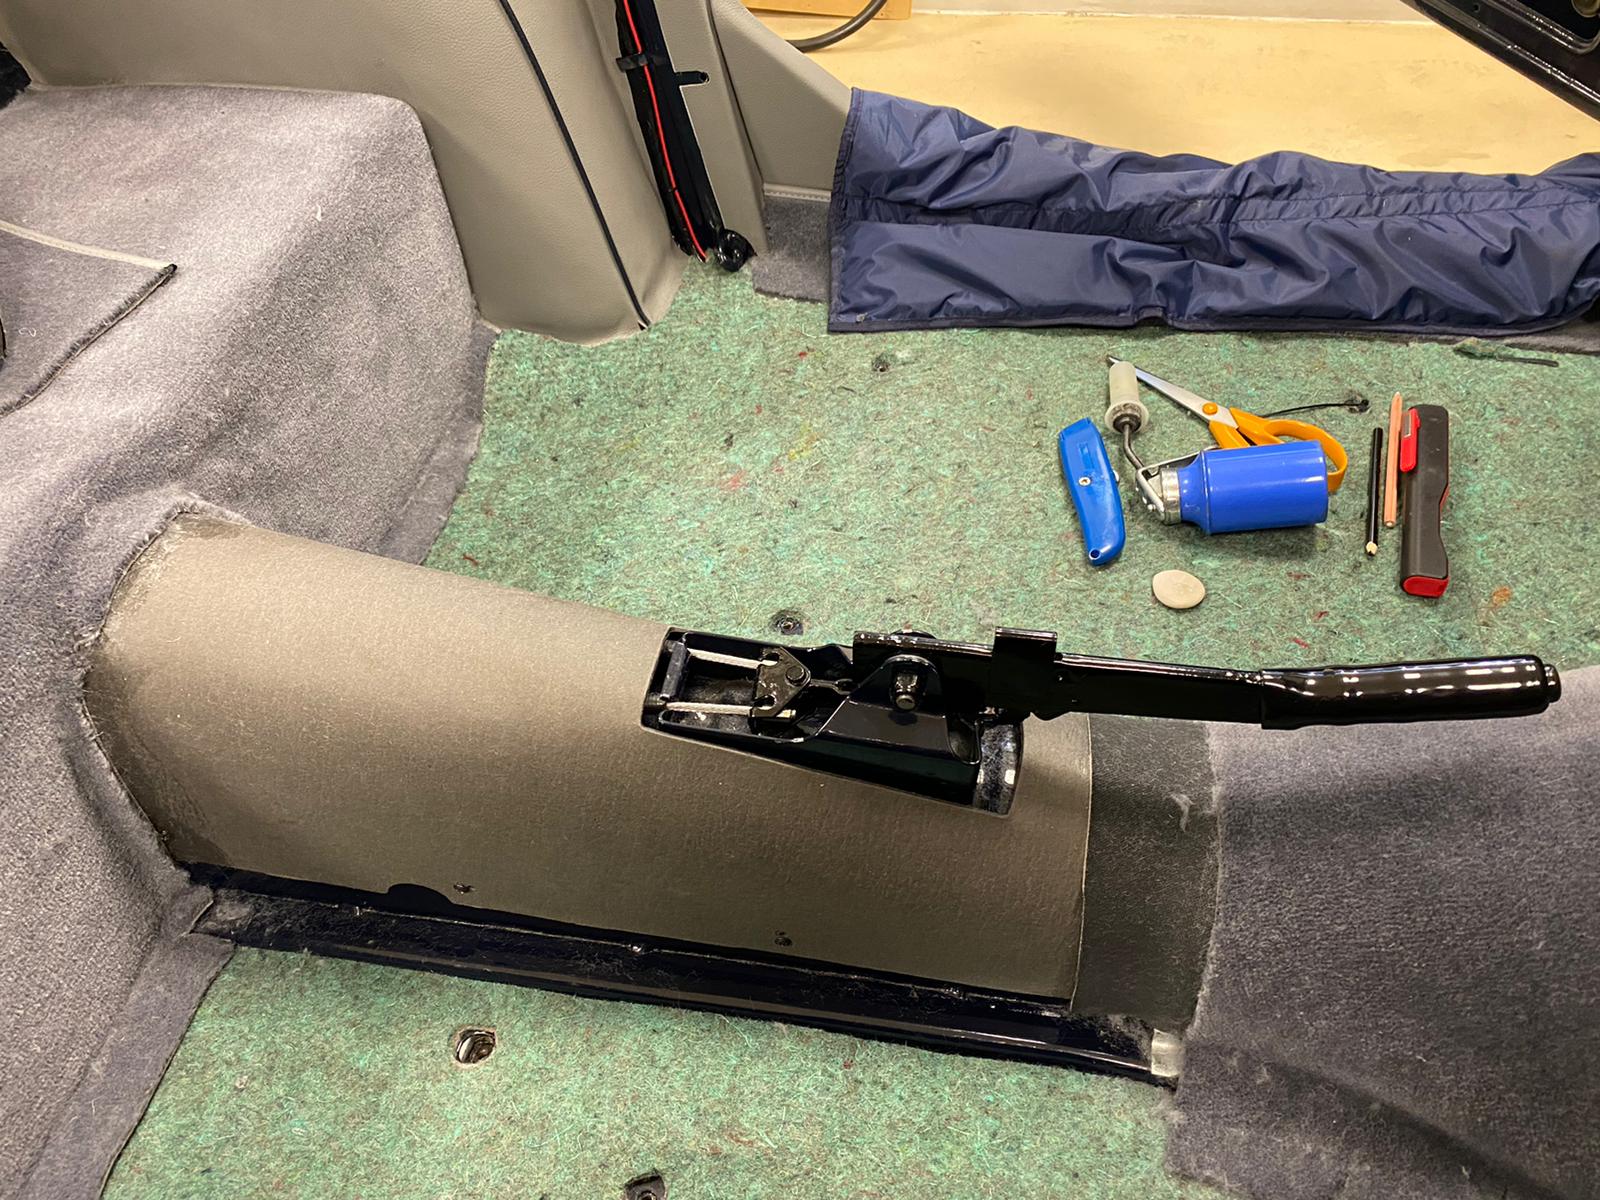
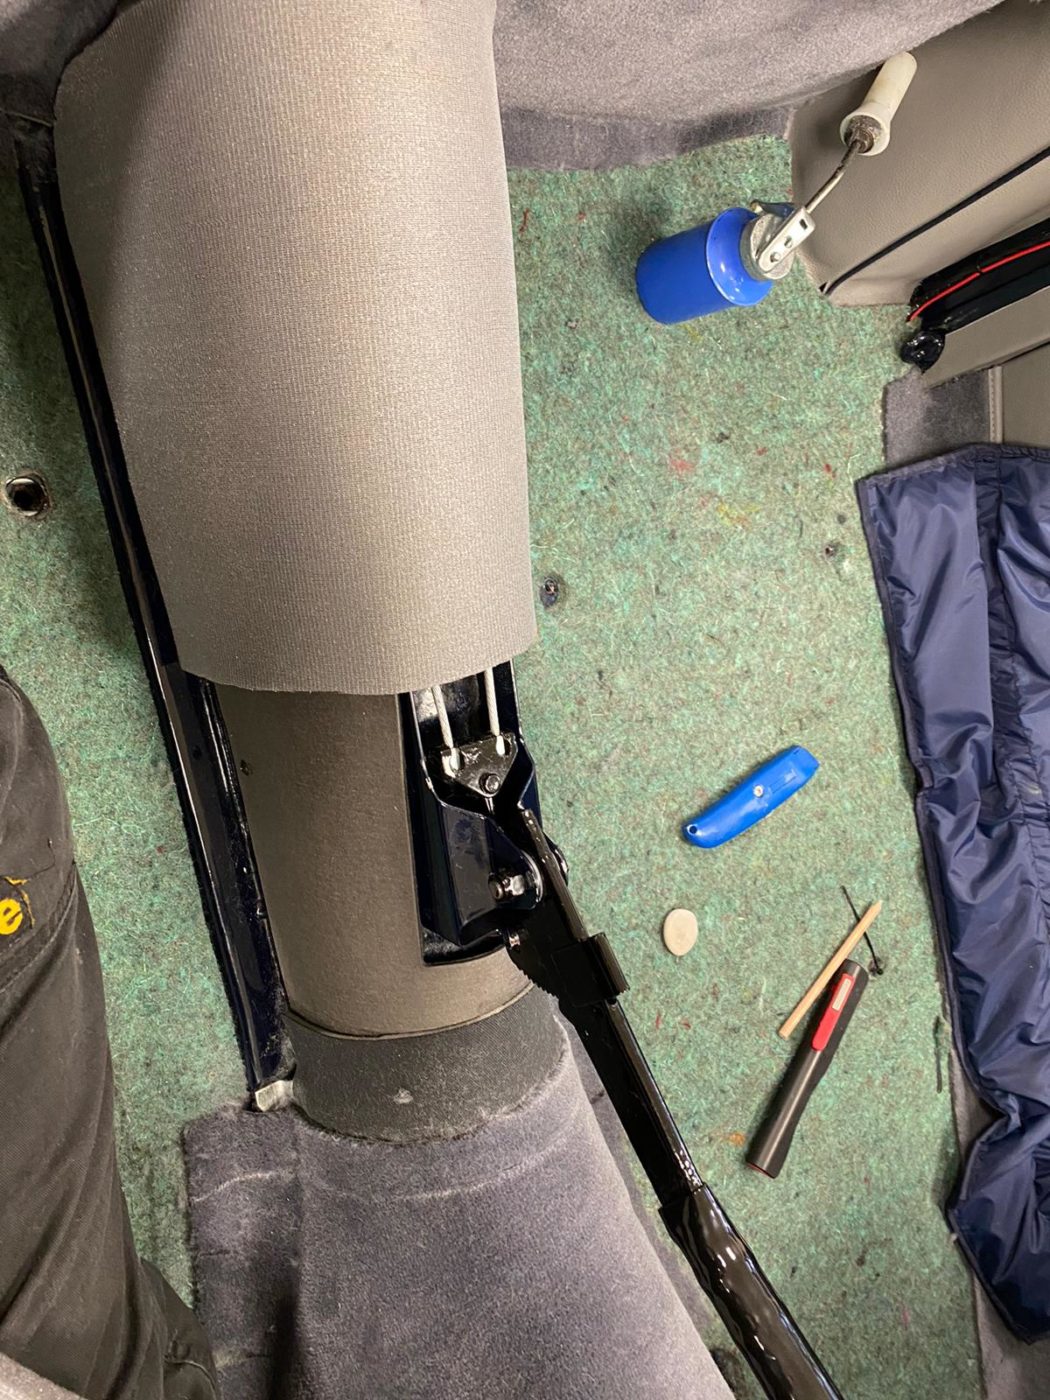
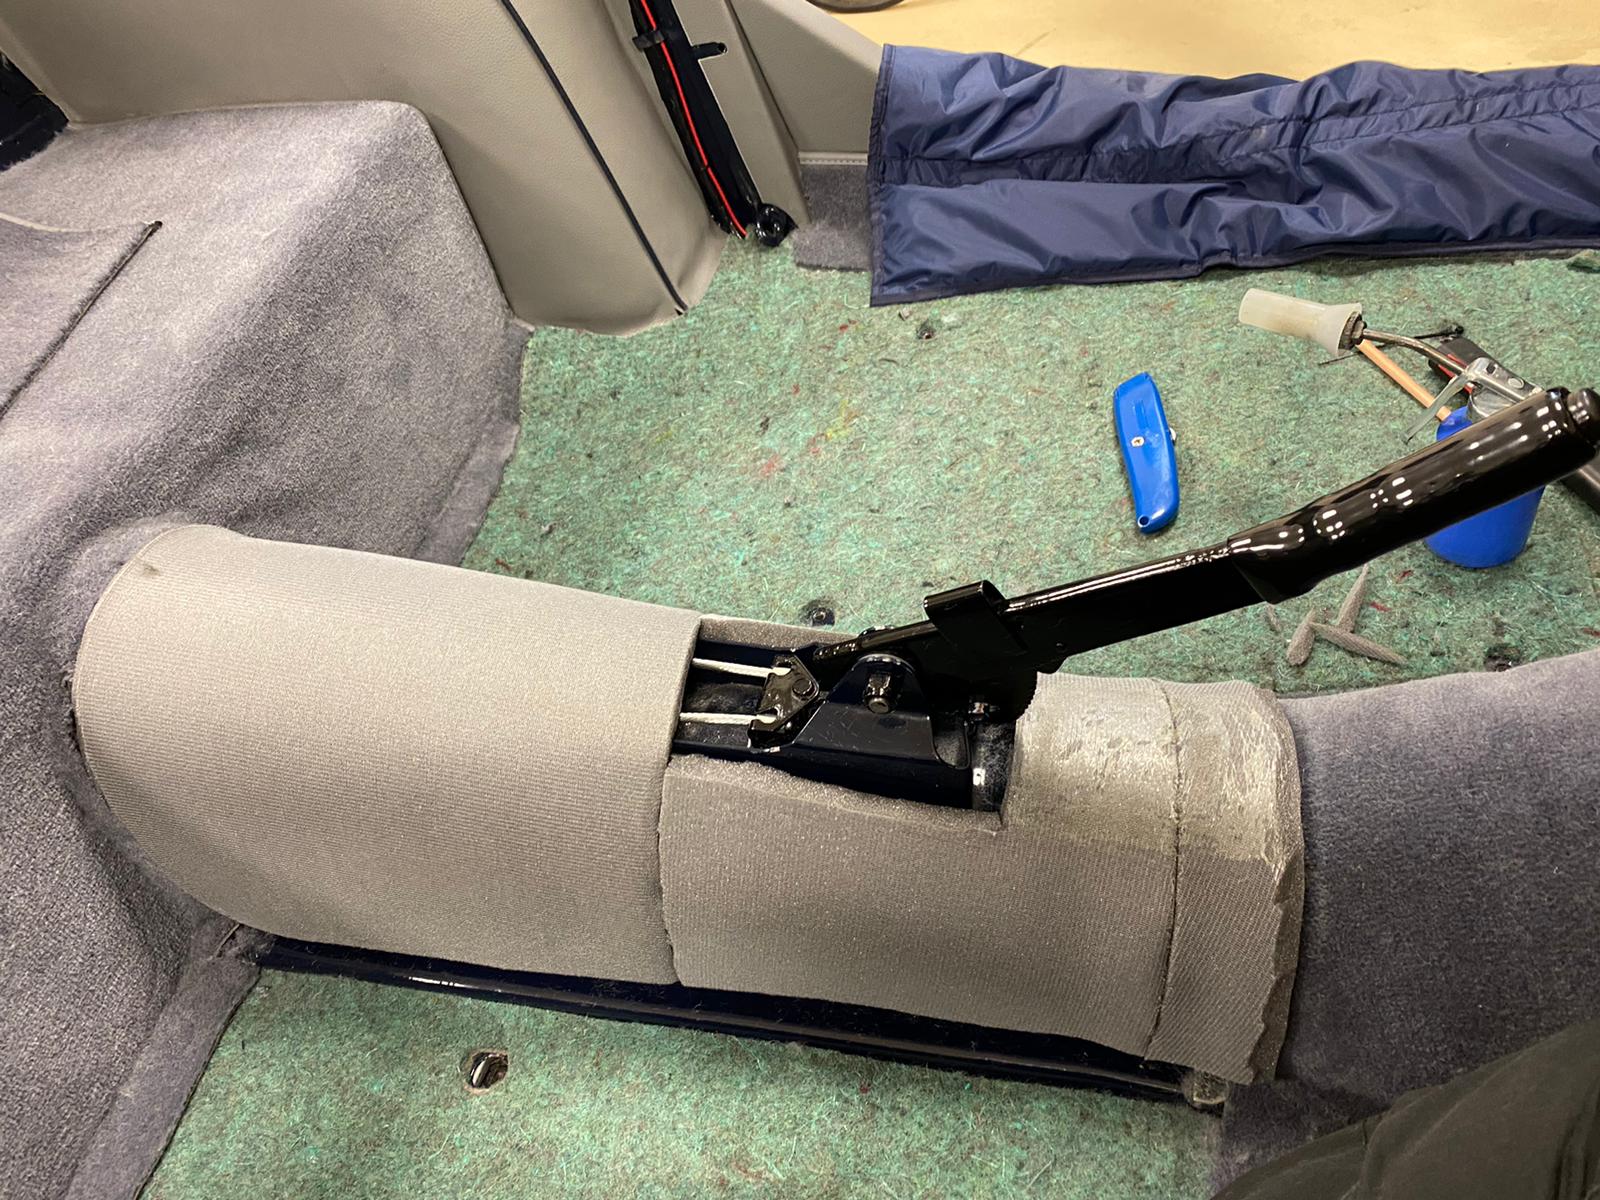
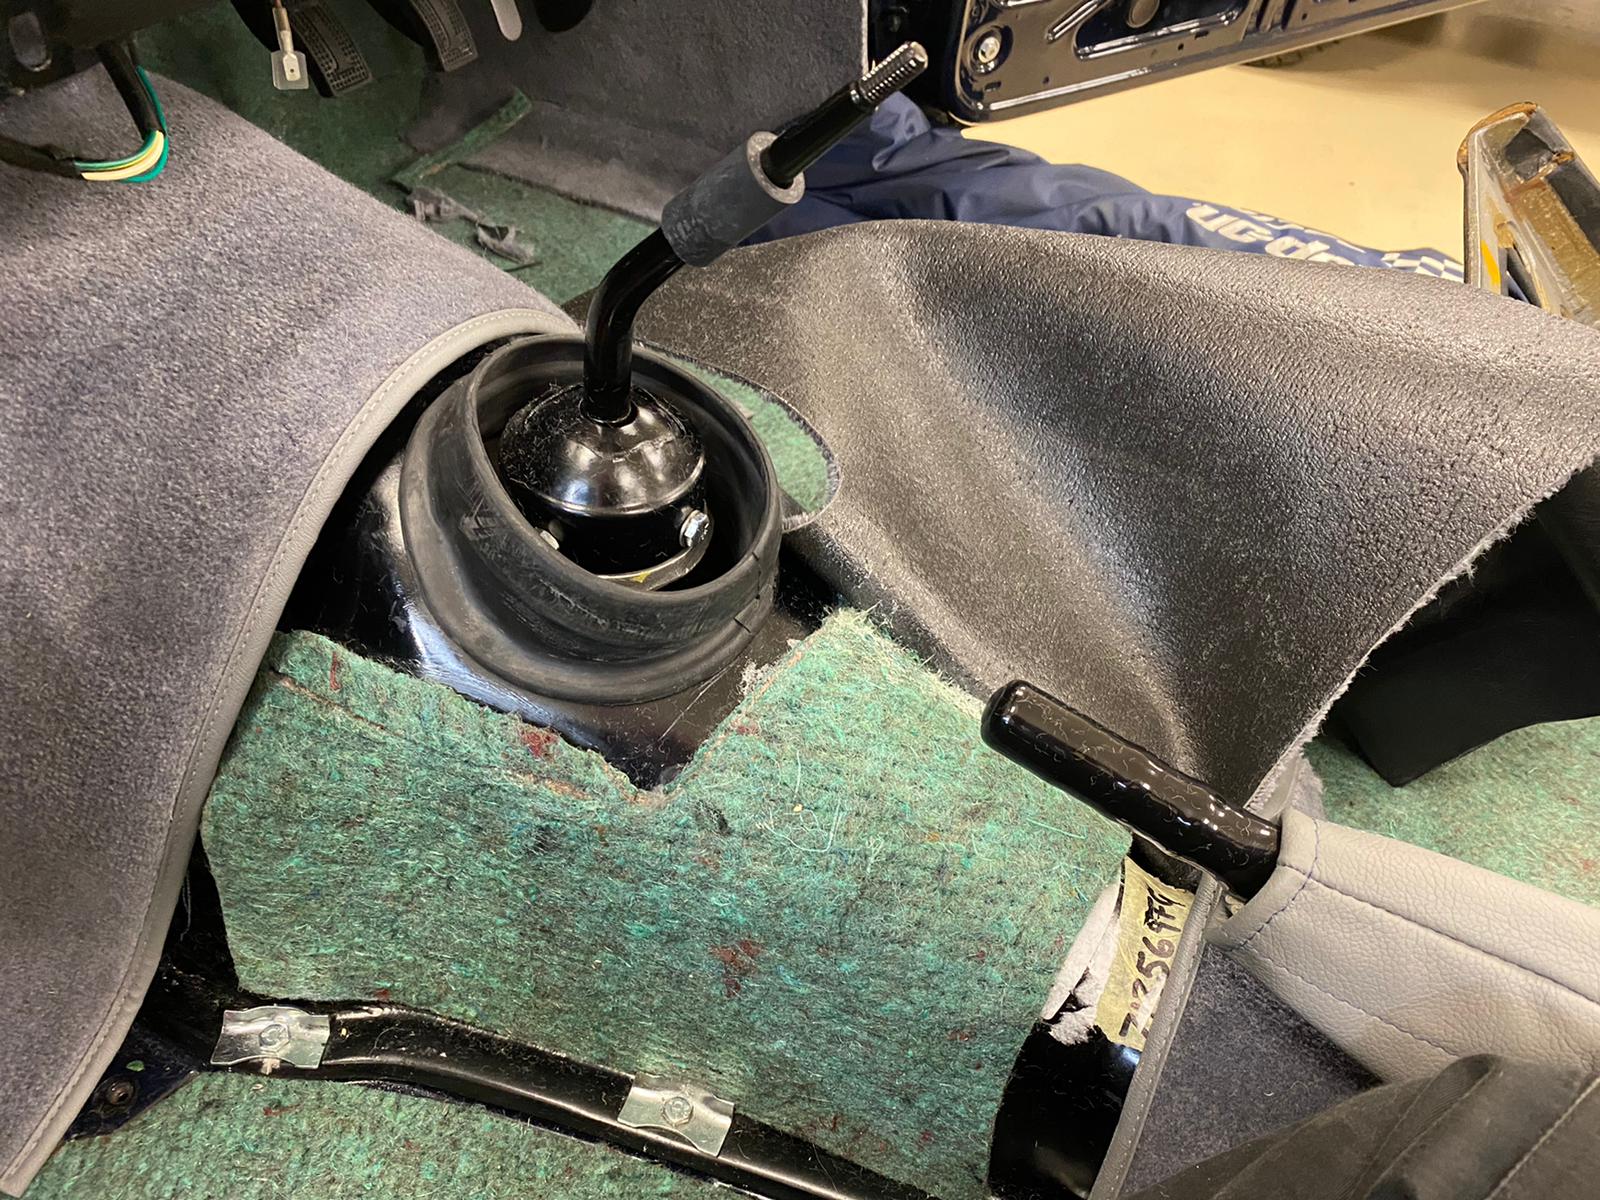
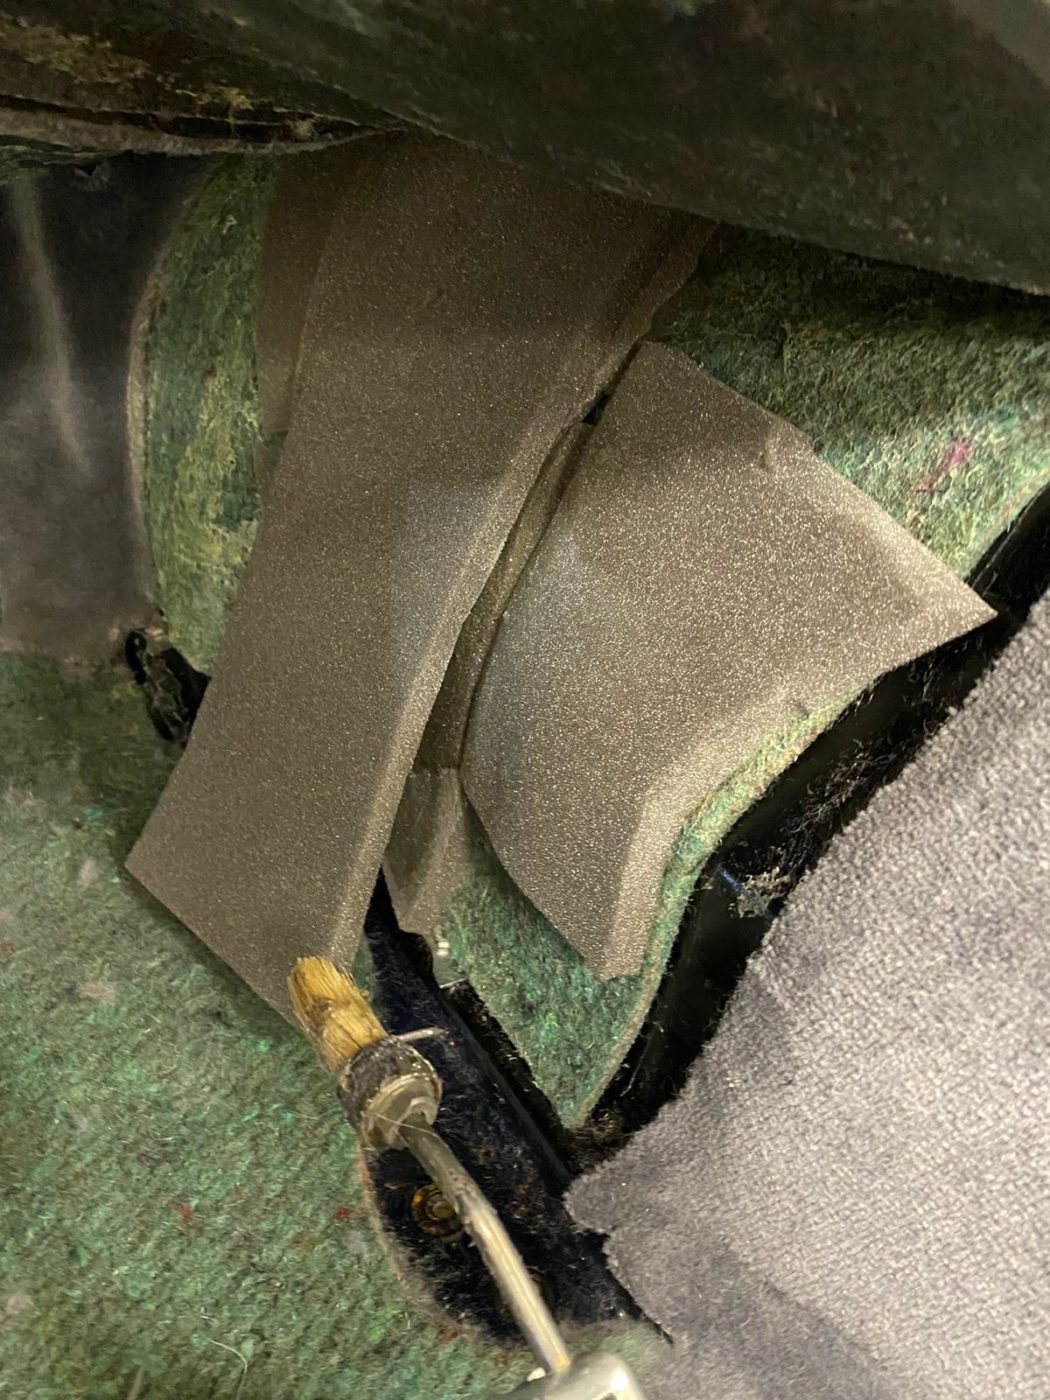
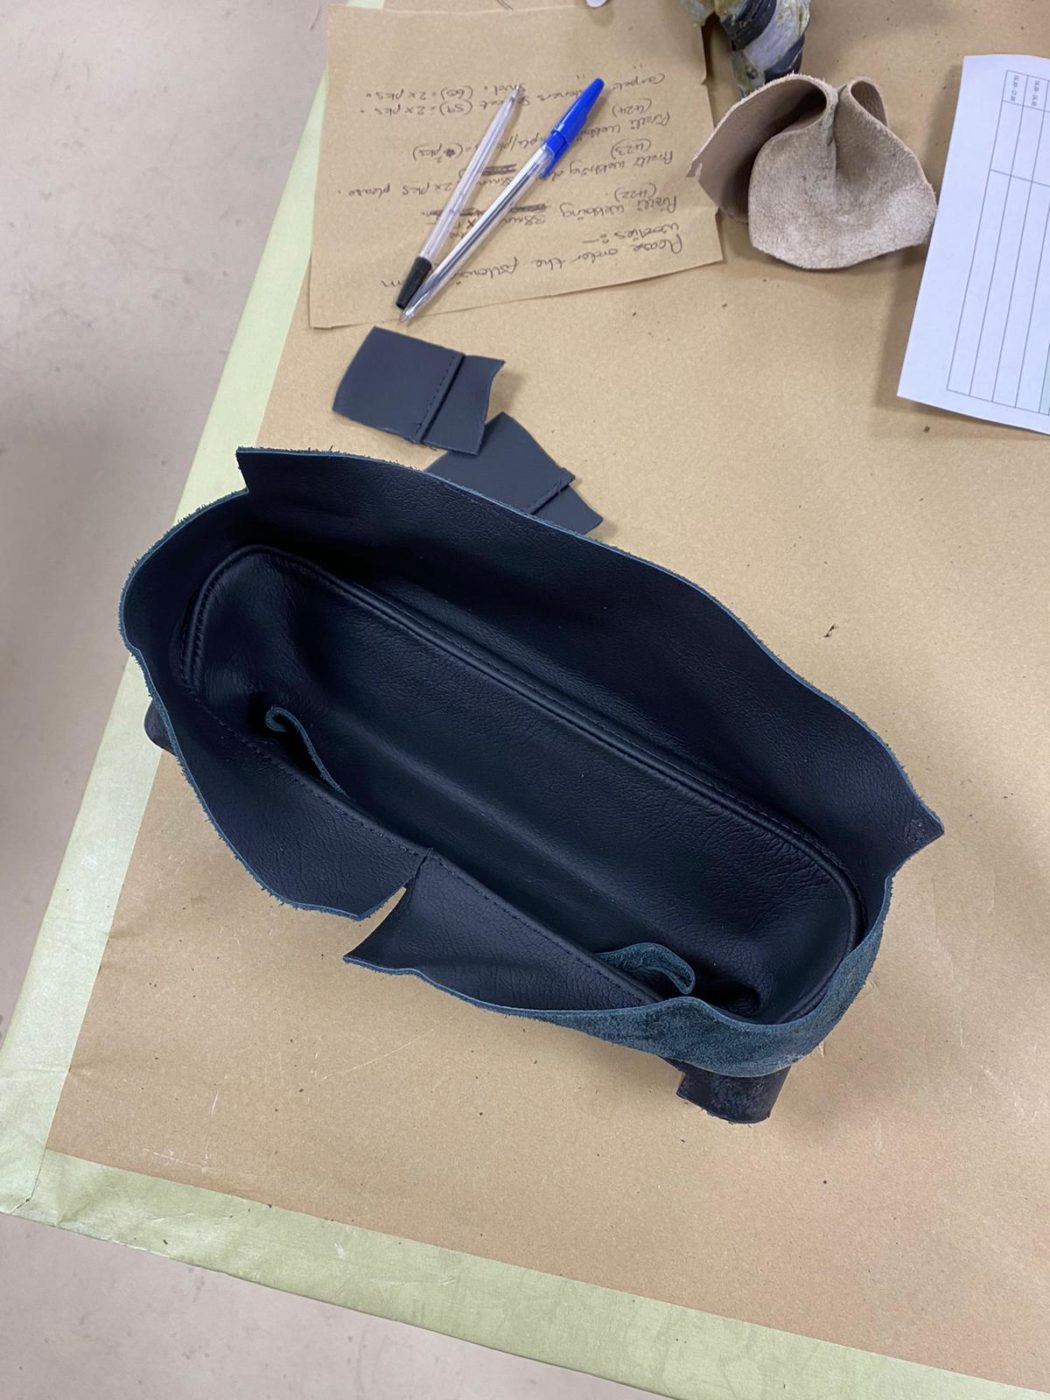
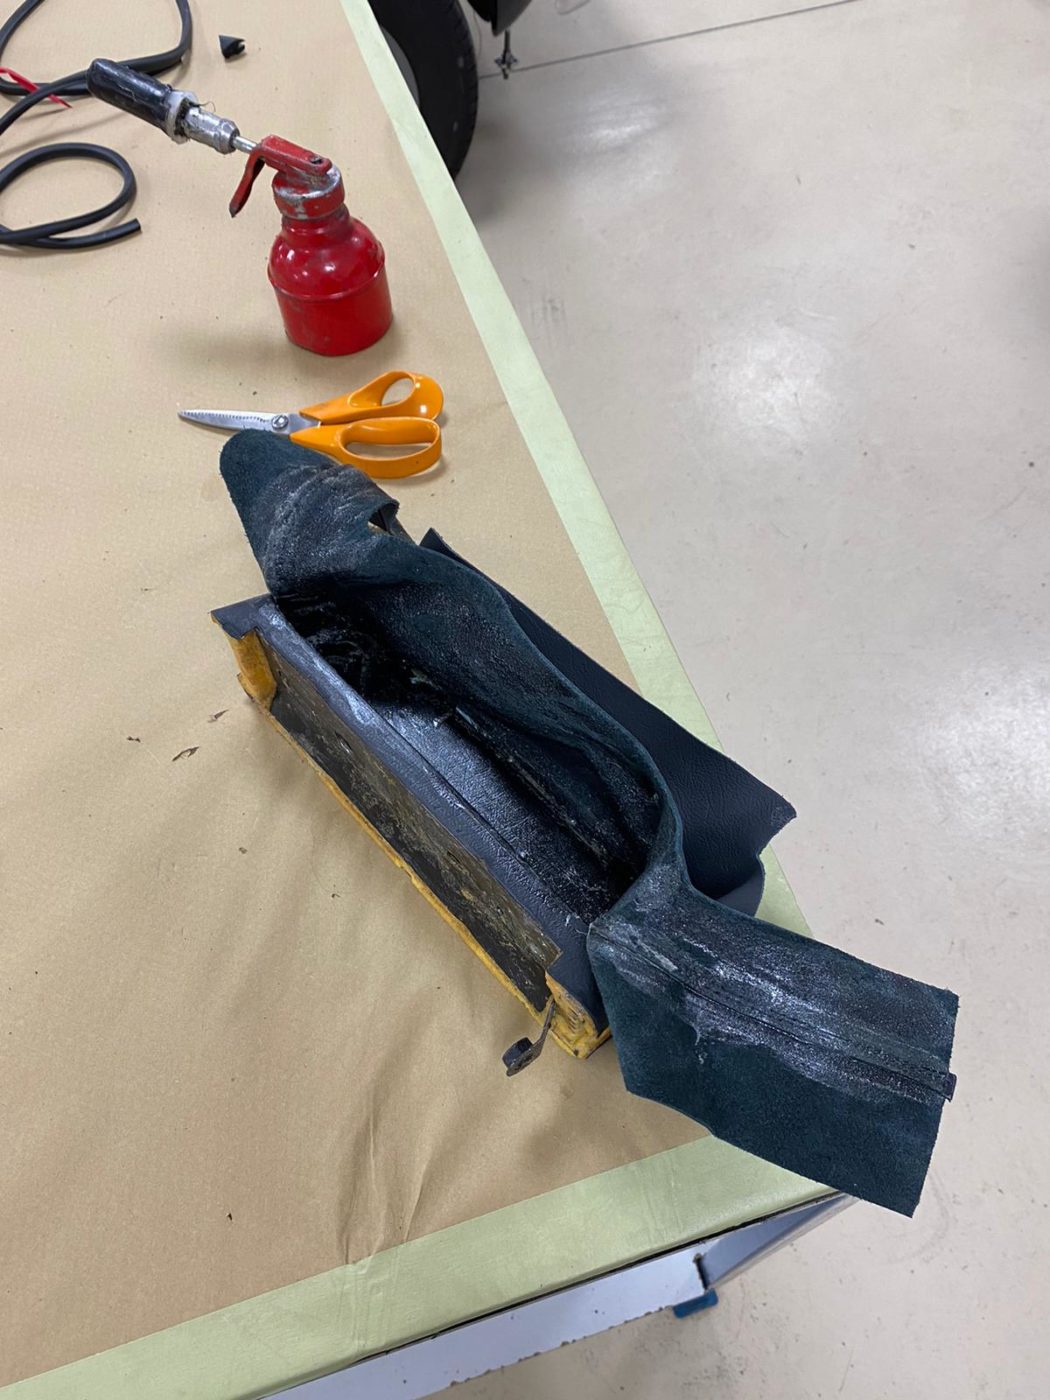
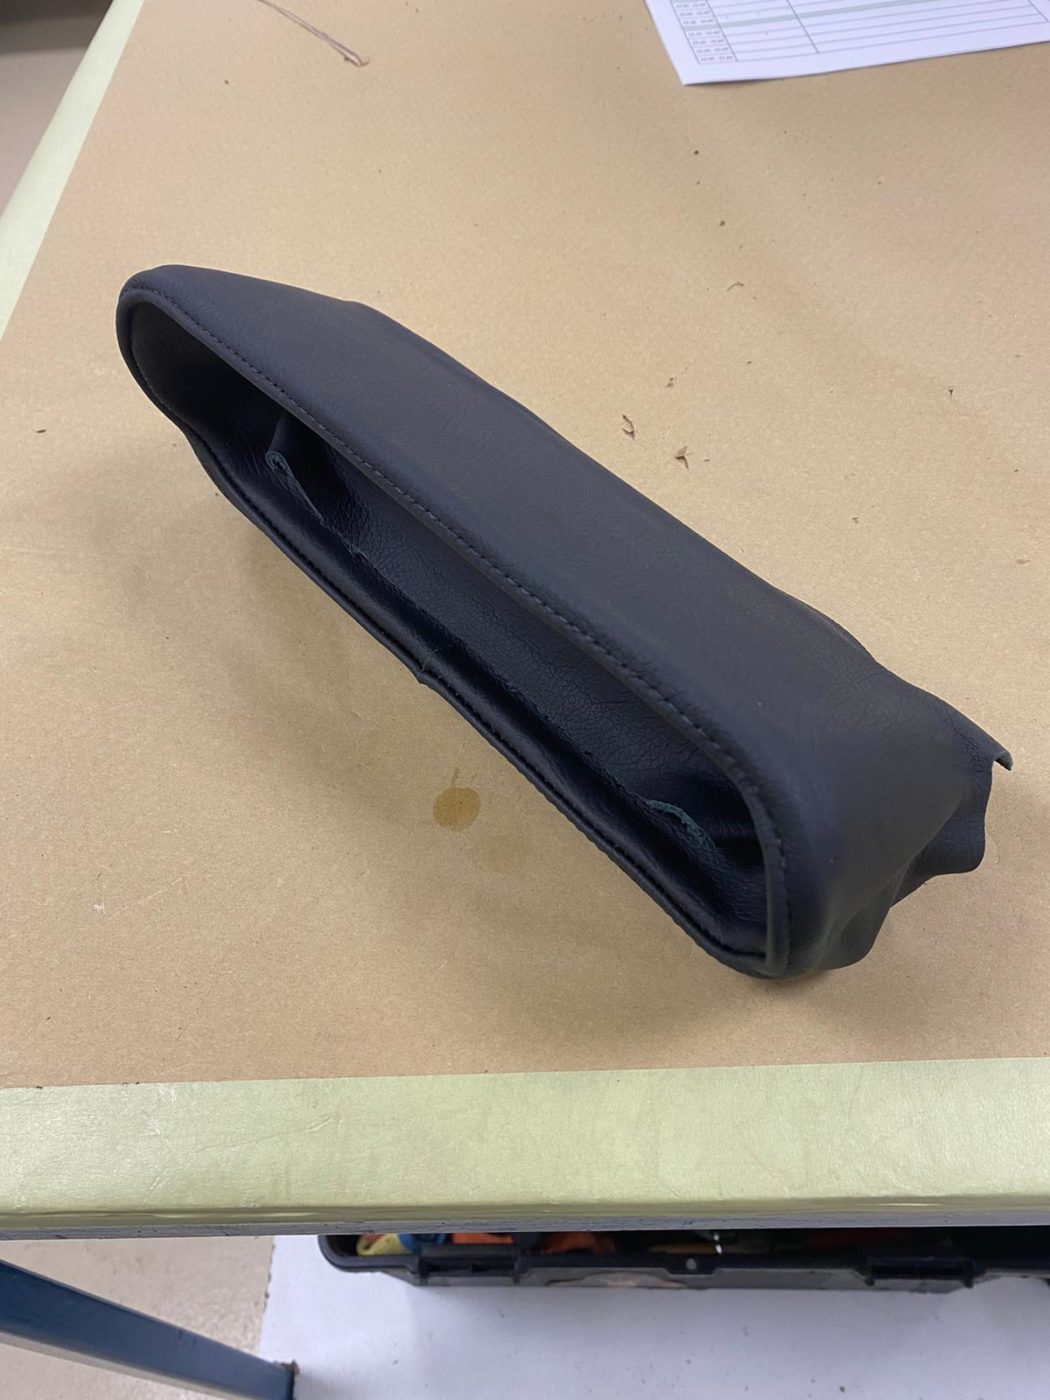
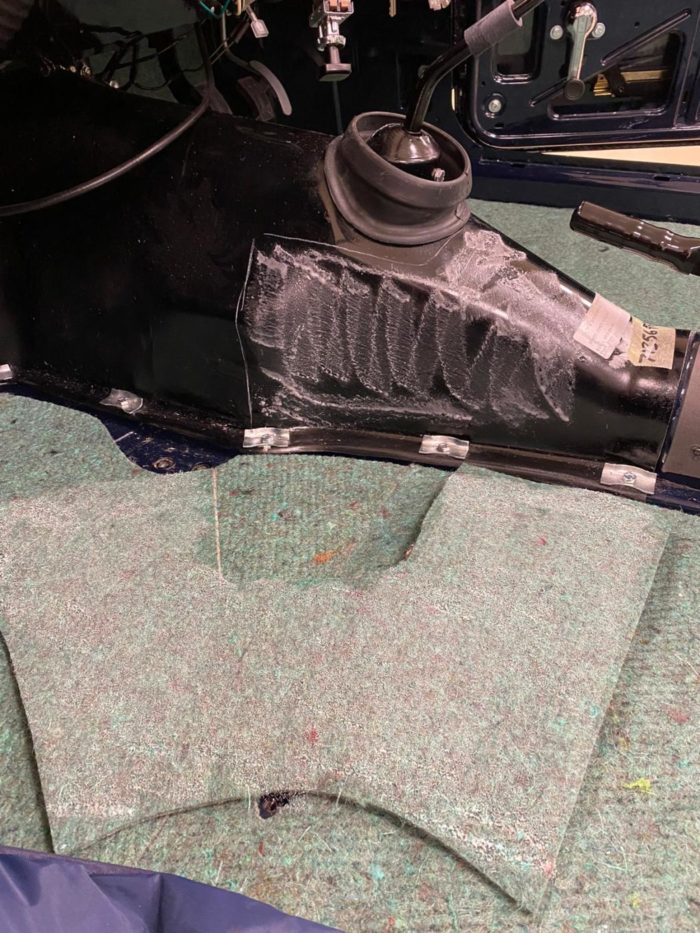
The hand brake gaiter section needed to have foam packed around the hand brake with an 11mm scrim foam piece so that the get carpet fits nicely. Once in position, the carpet can be glued down, making sure the fabric is pulled taught to ensure a fitted finish.
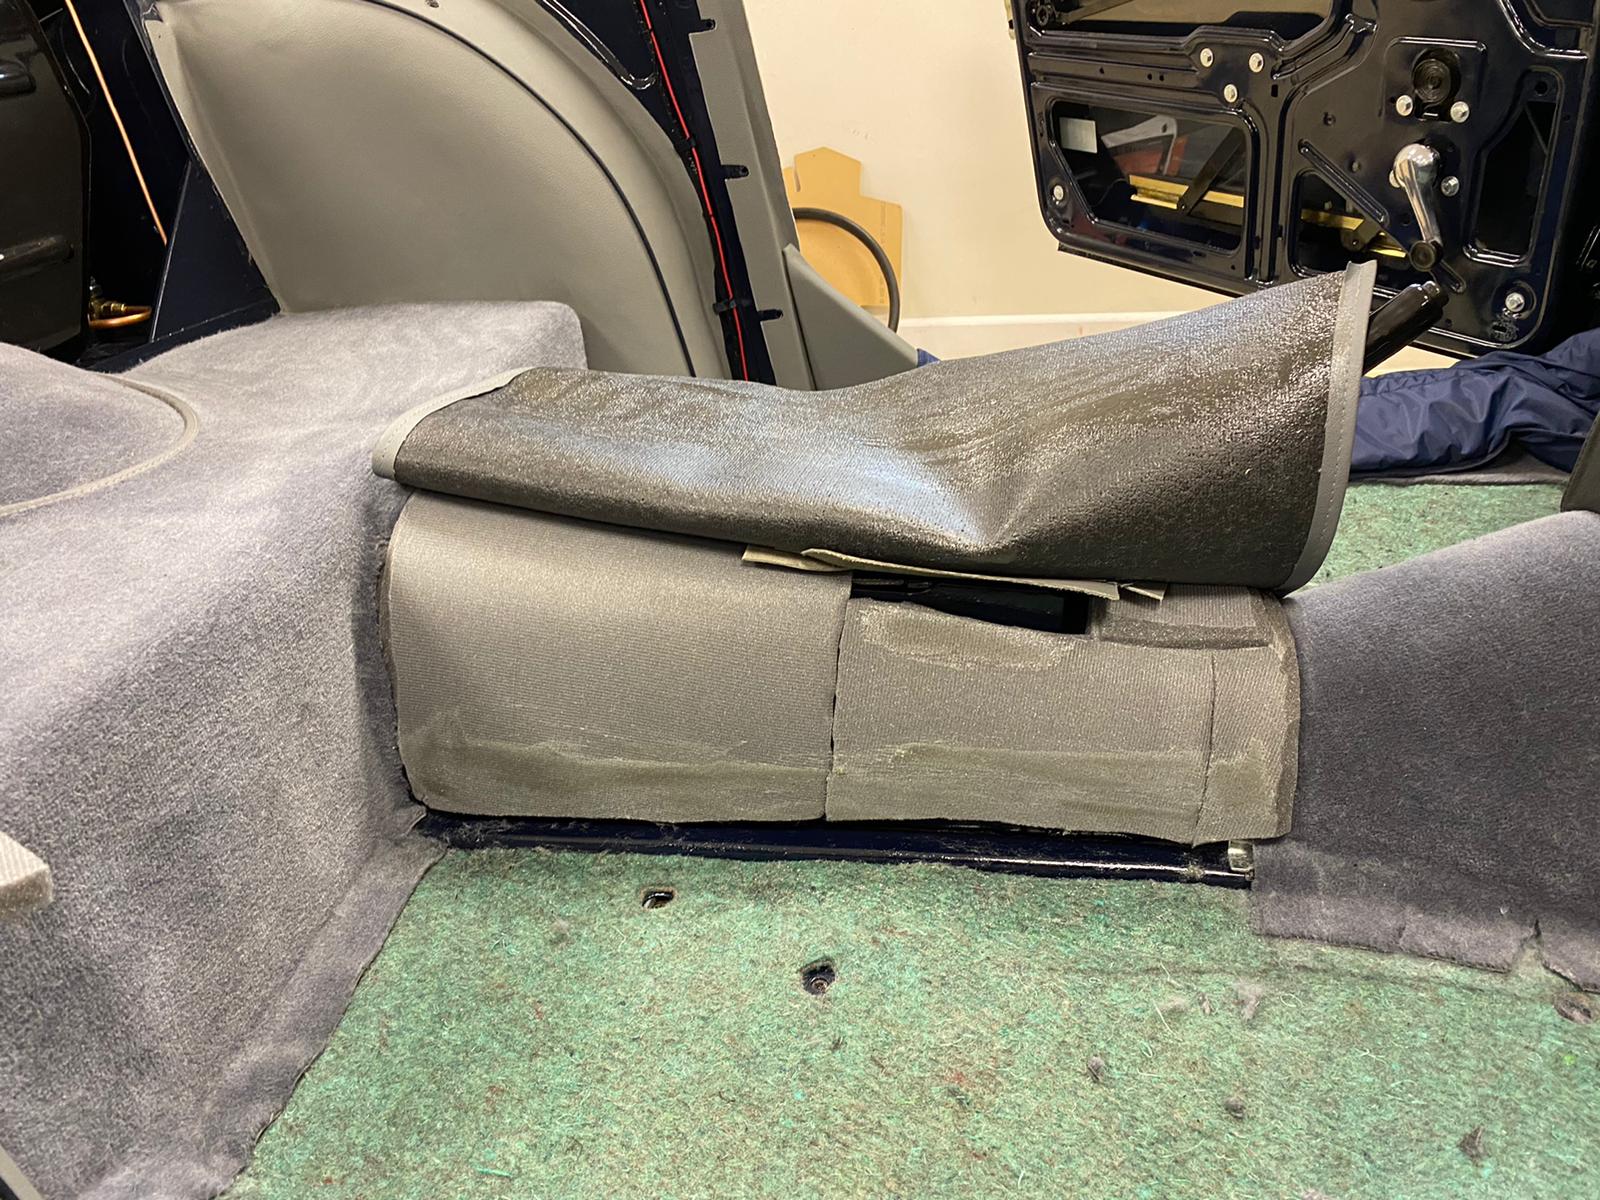
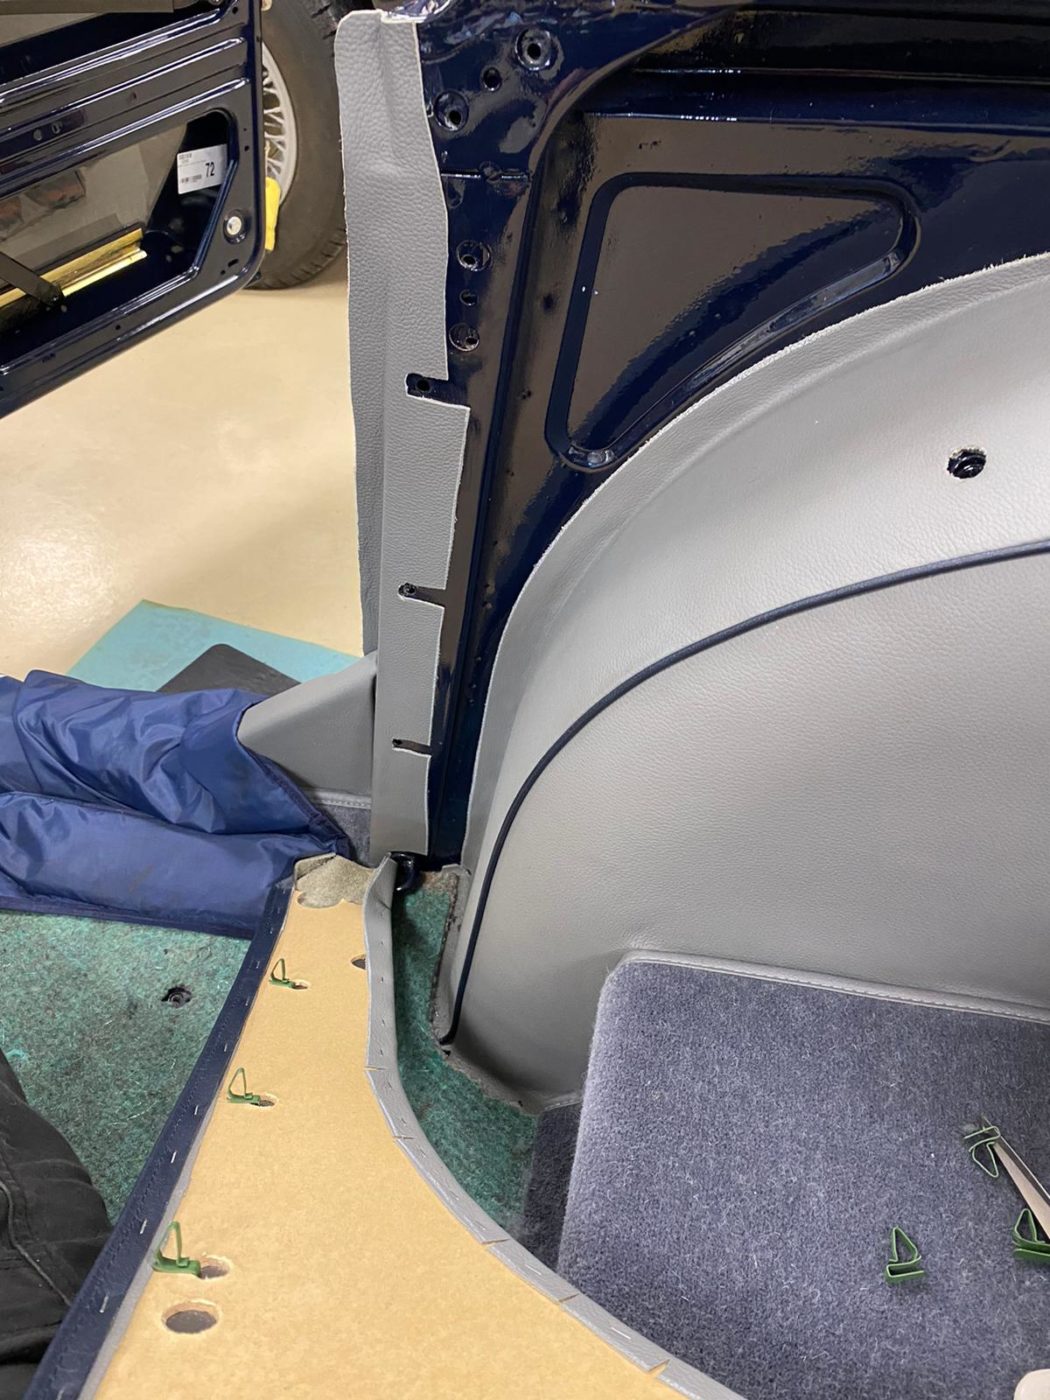
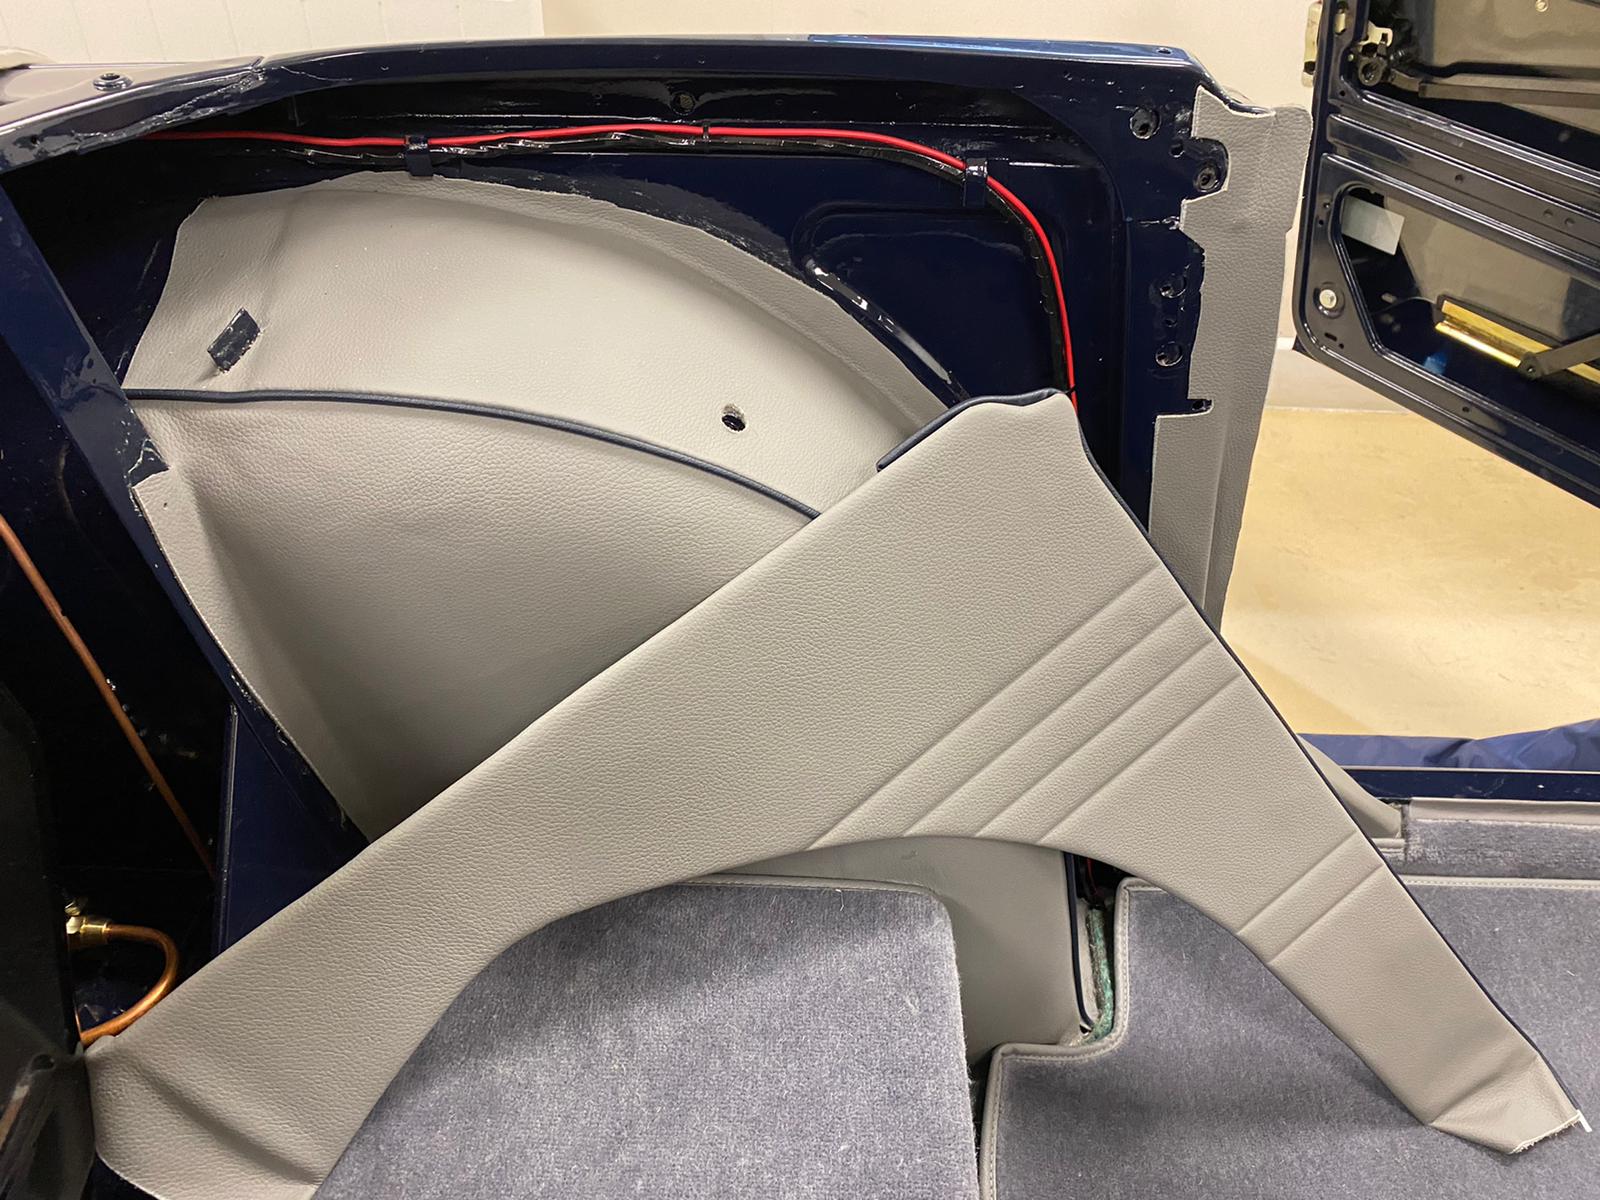
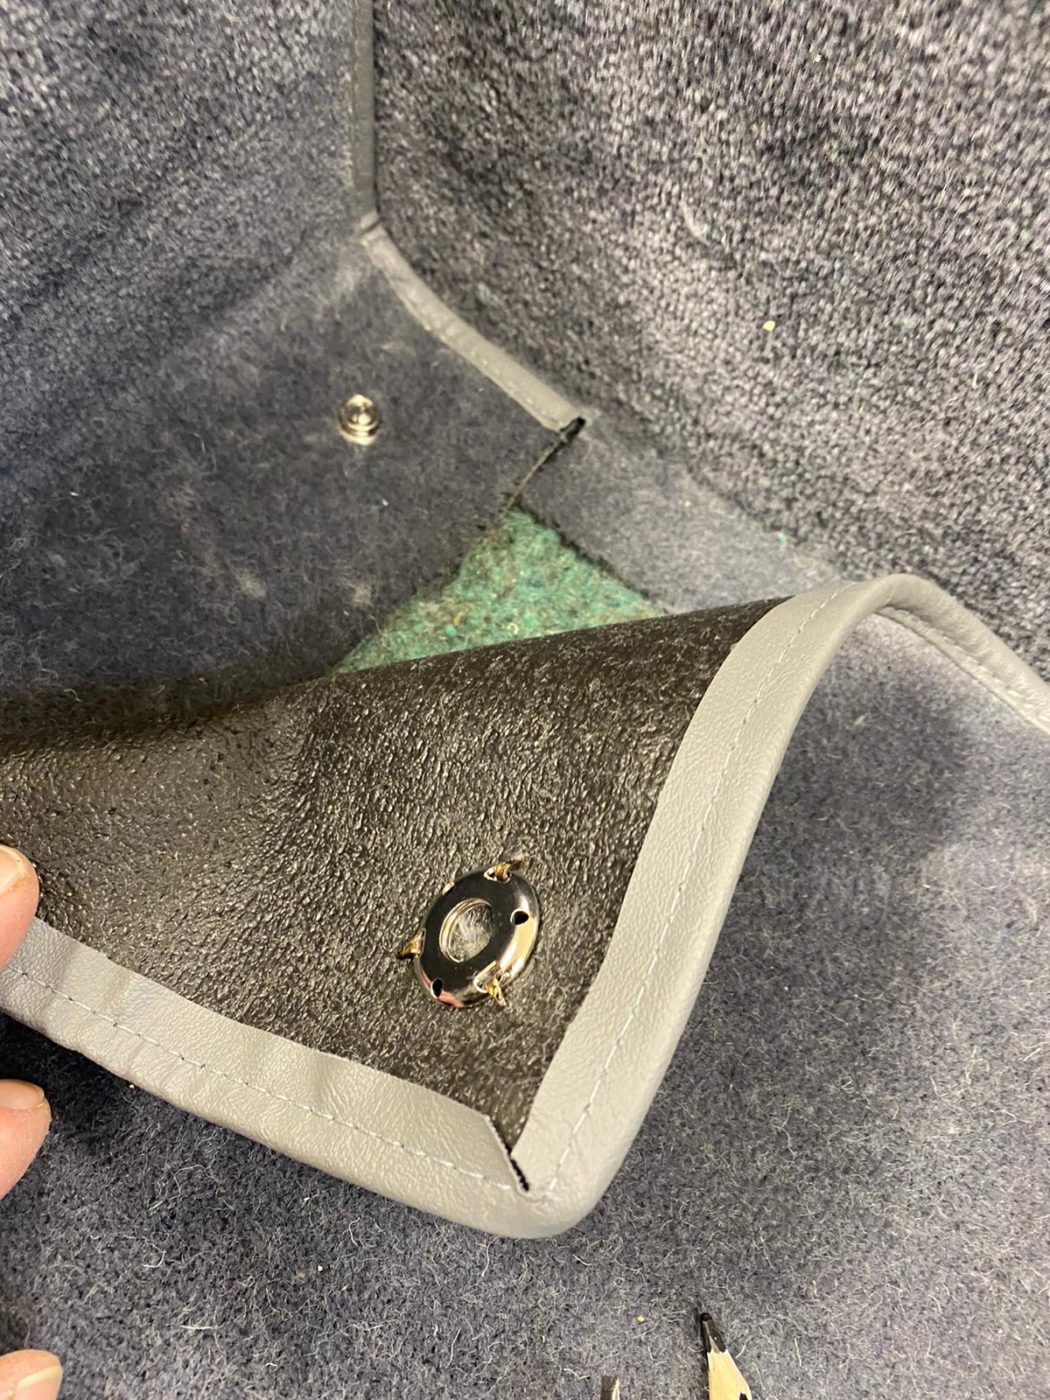
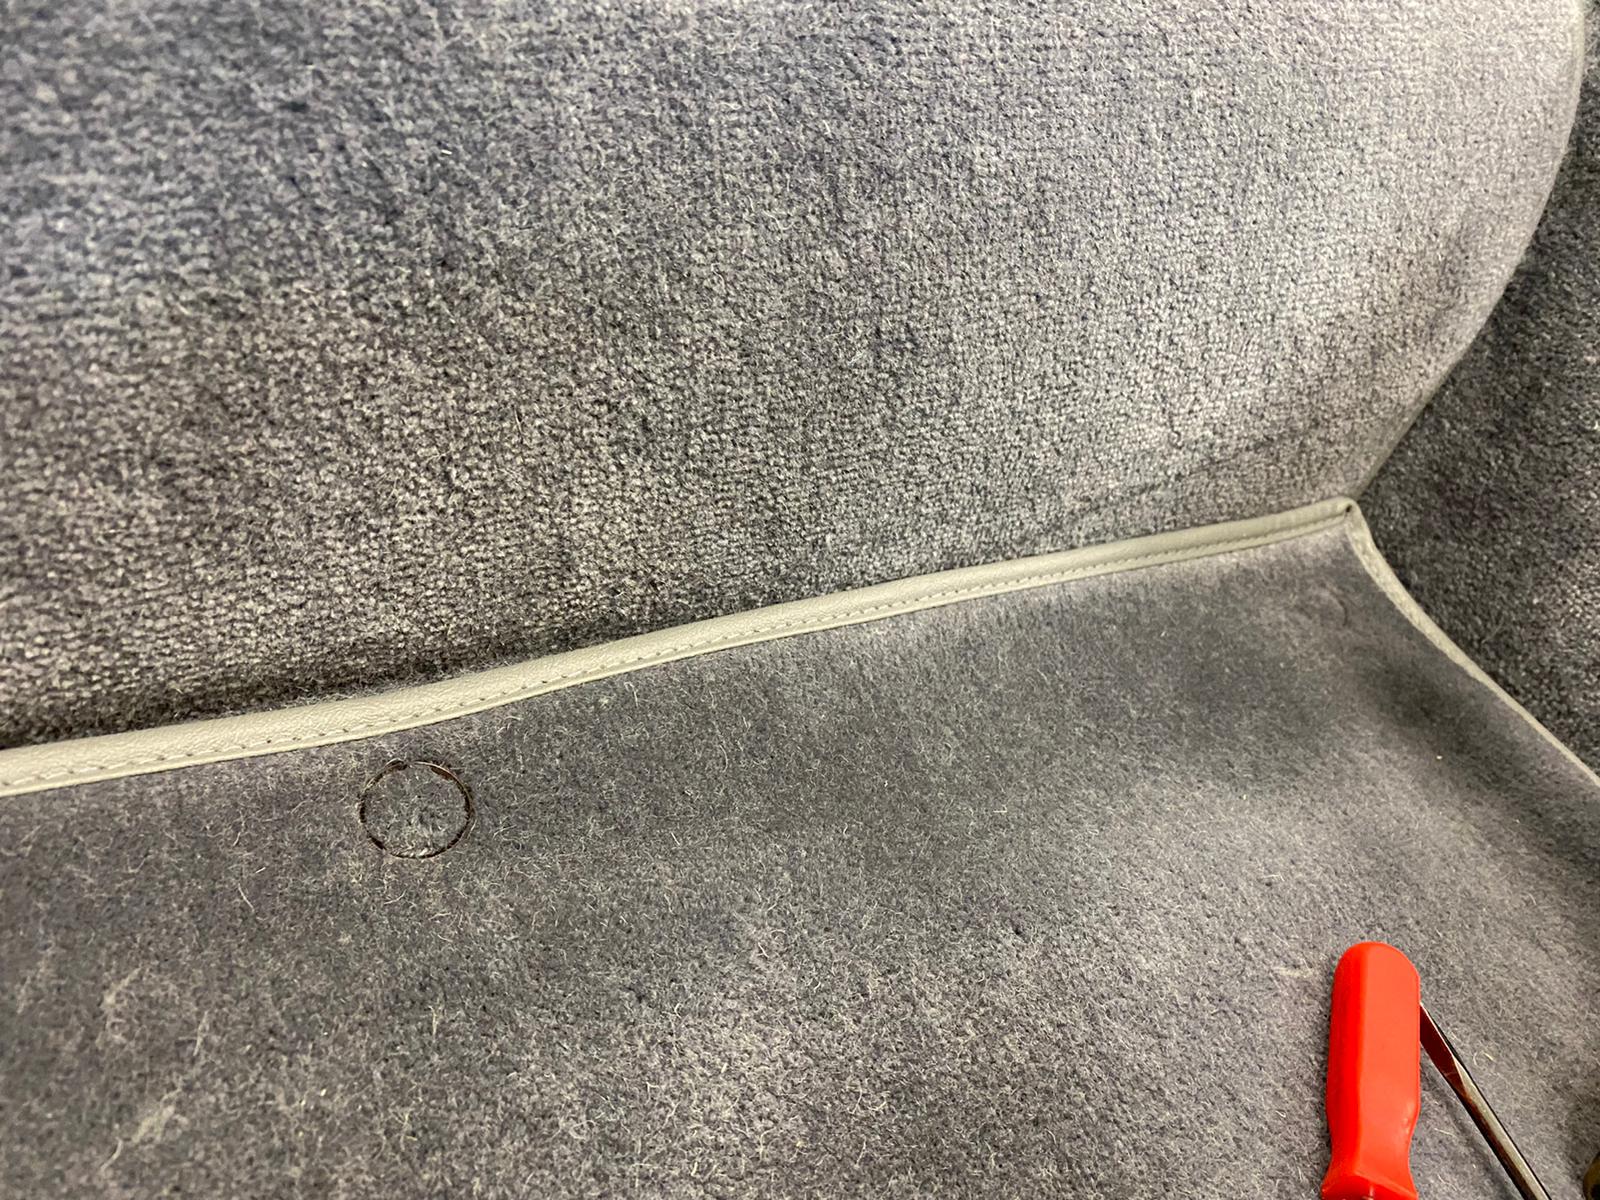
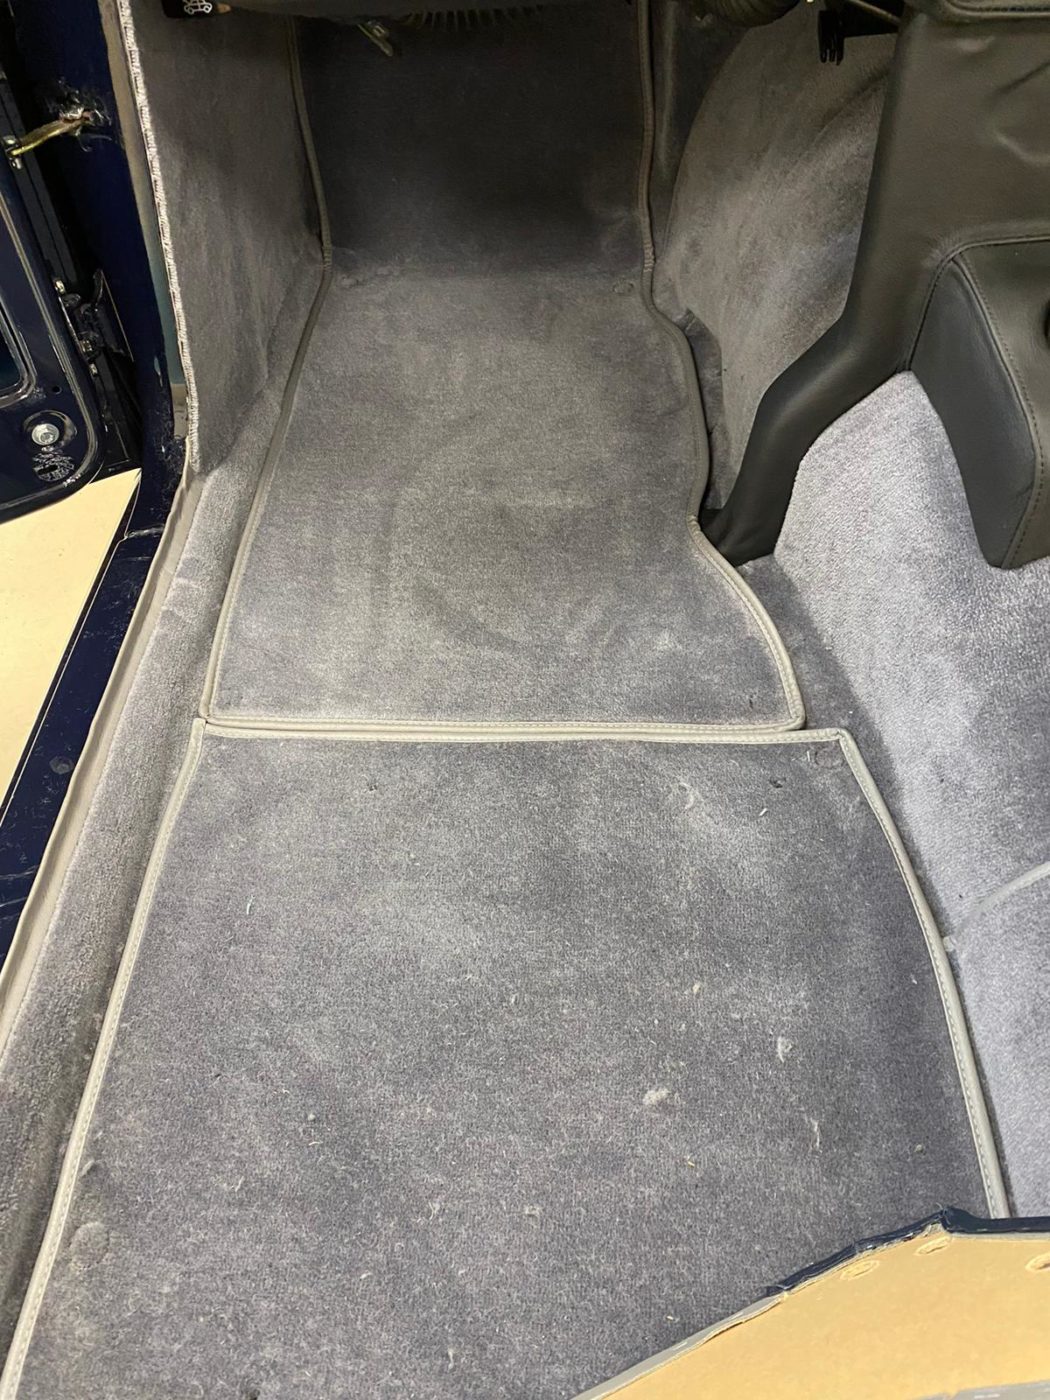
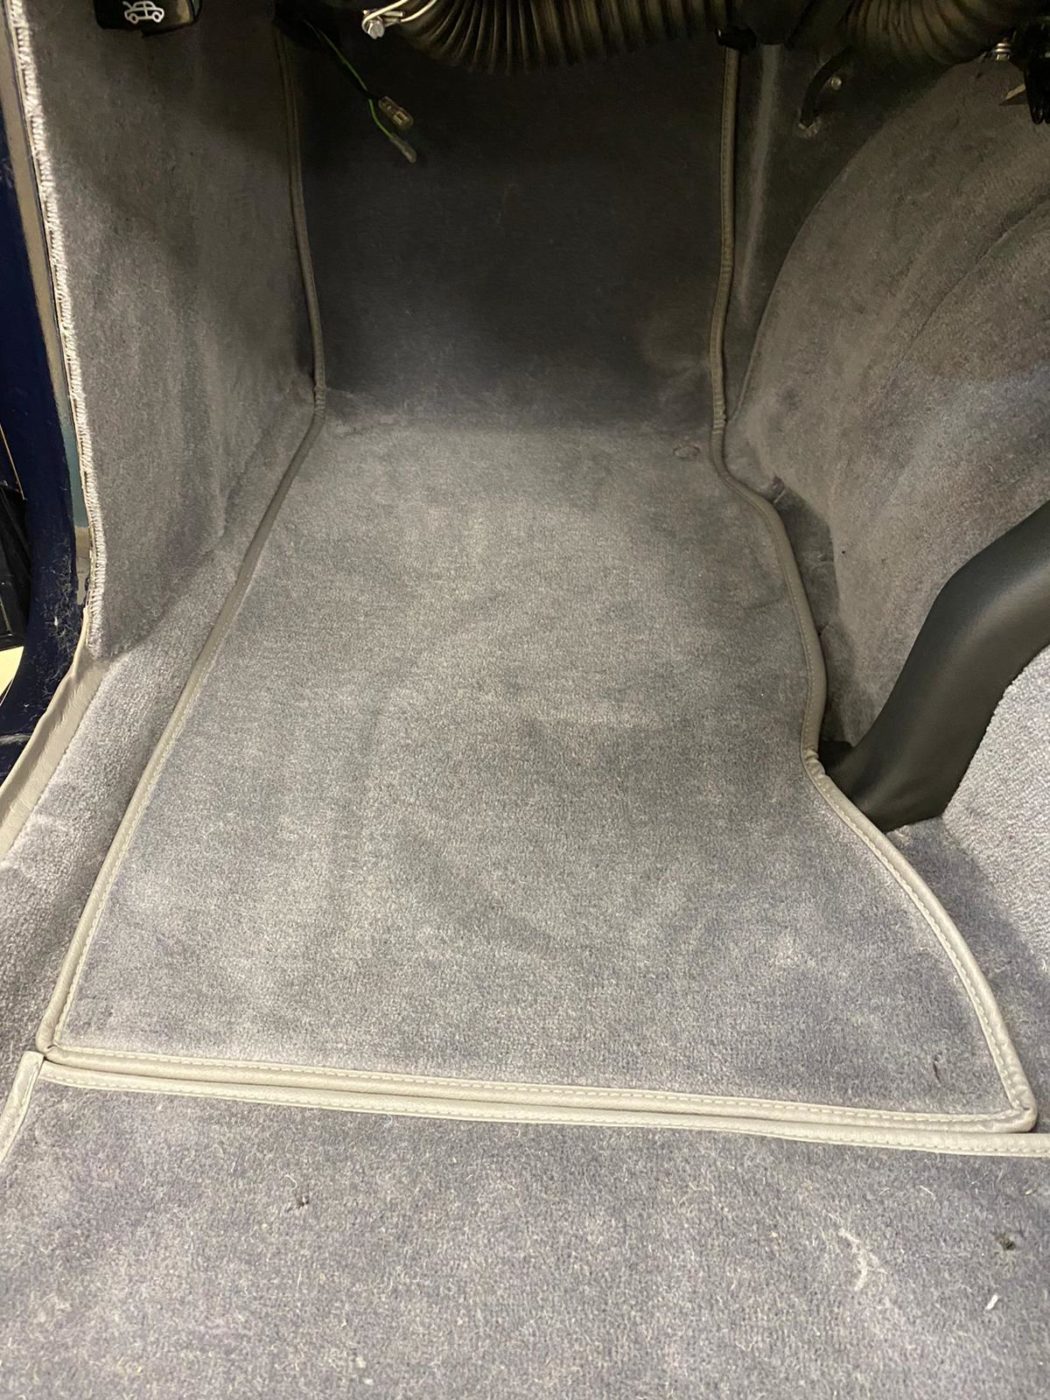
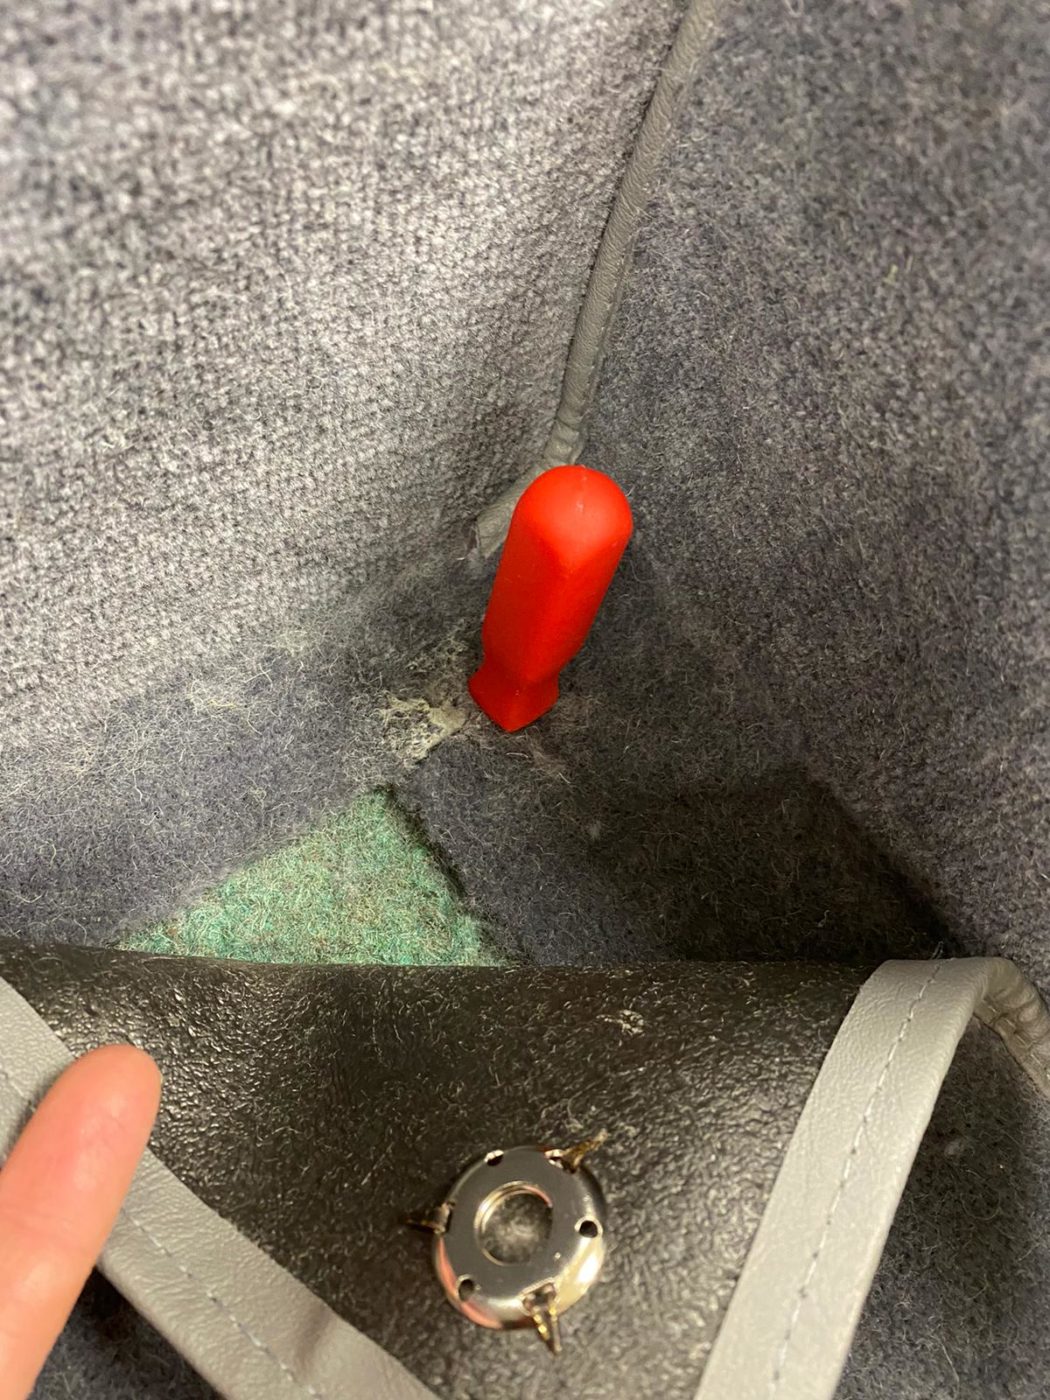
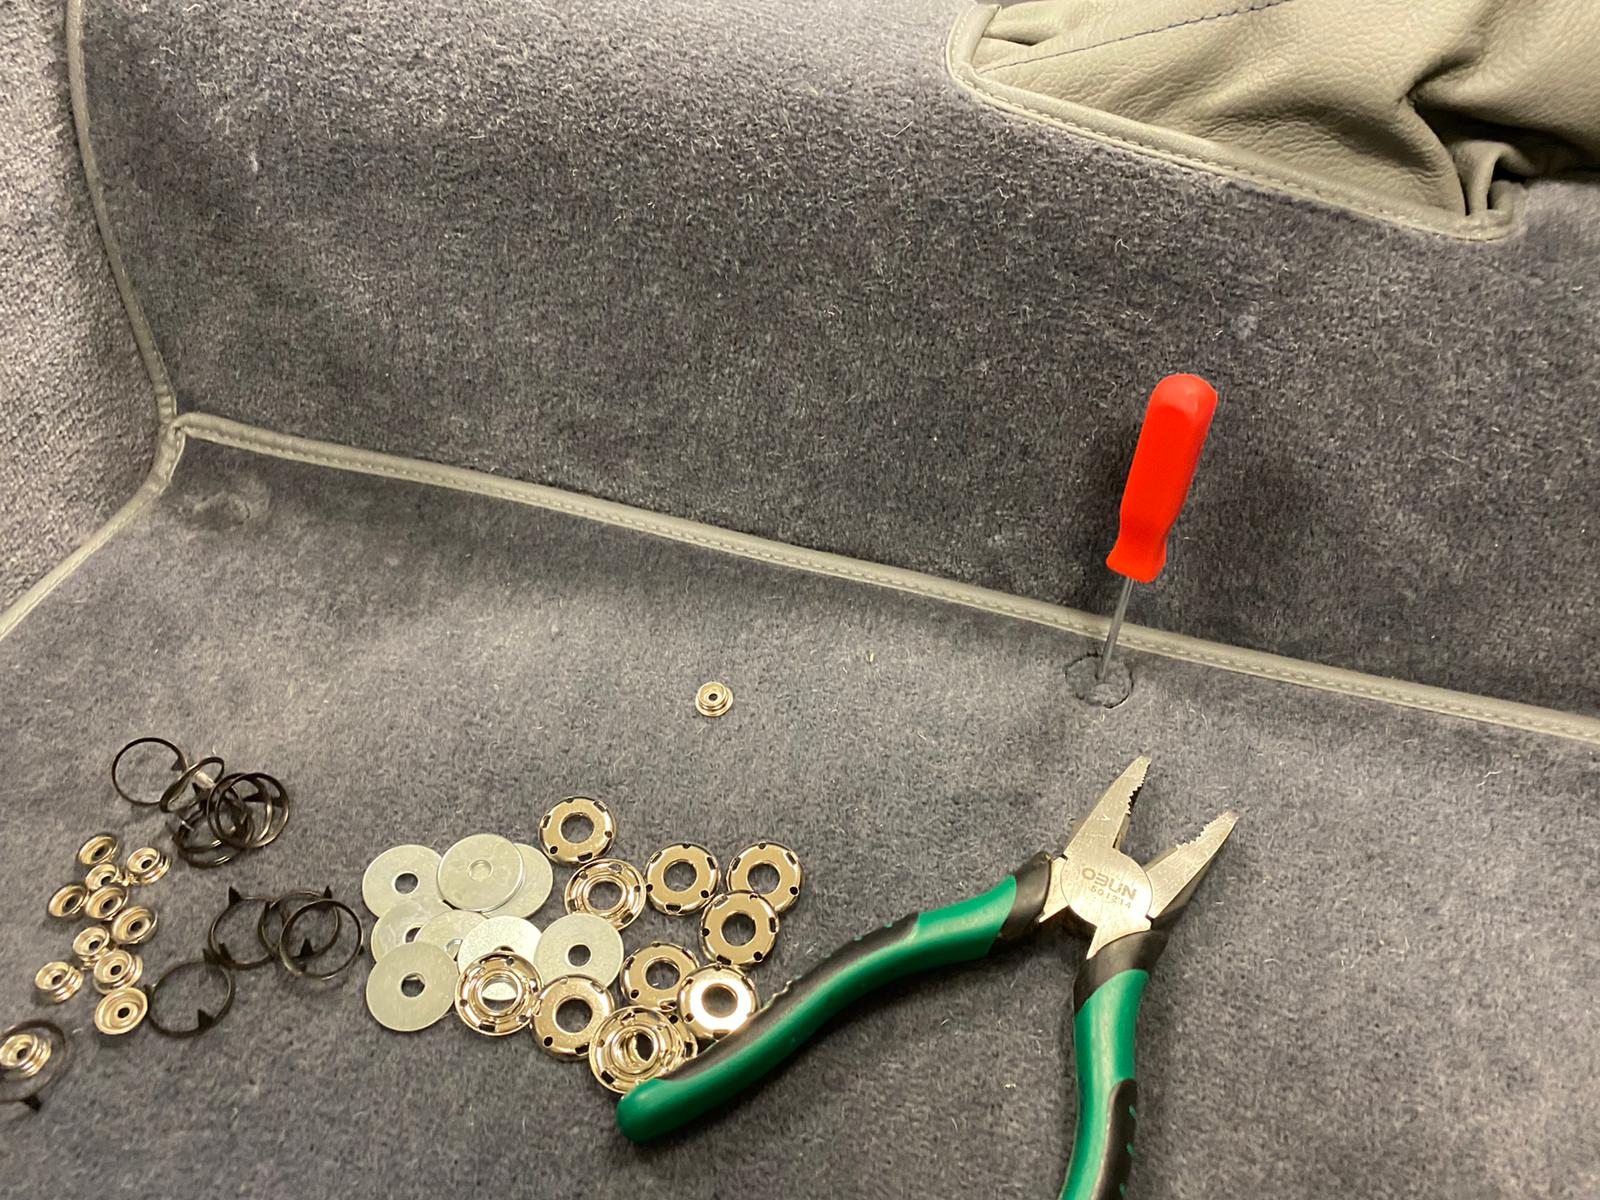
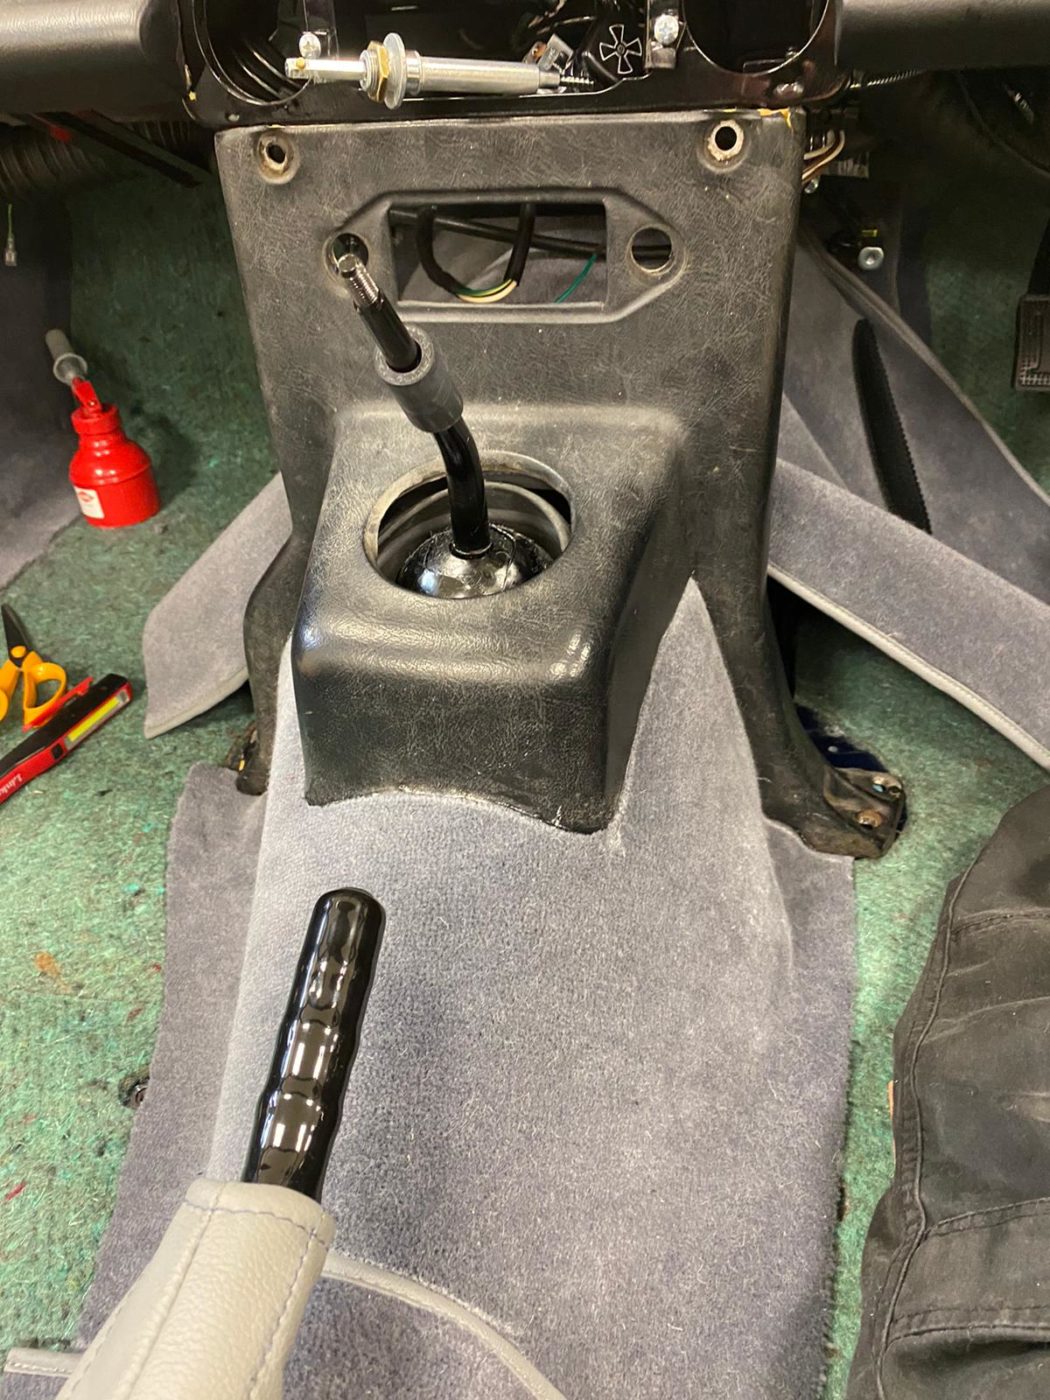
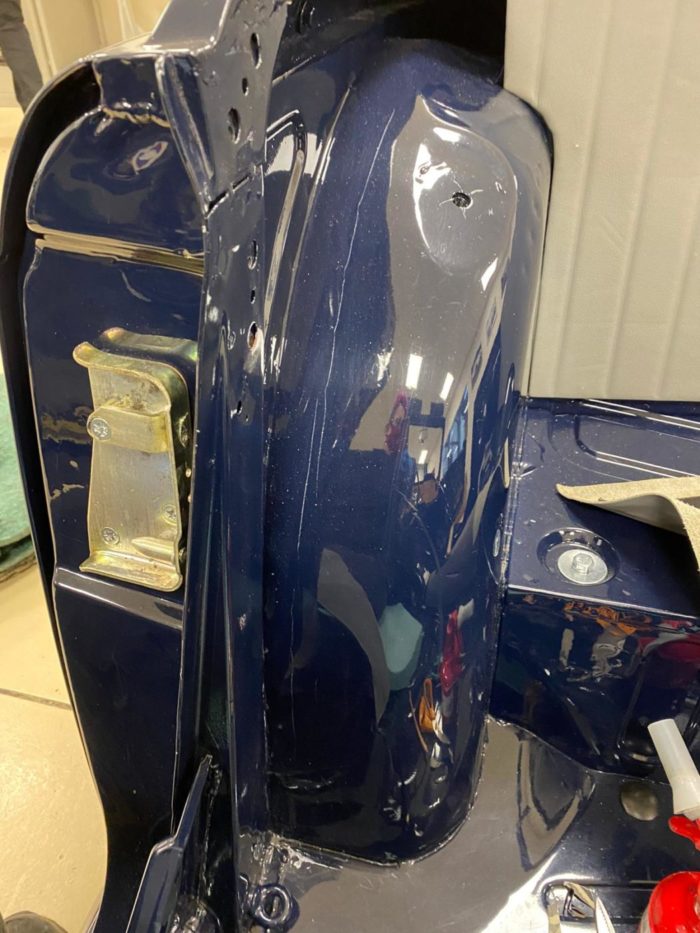
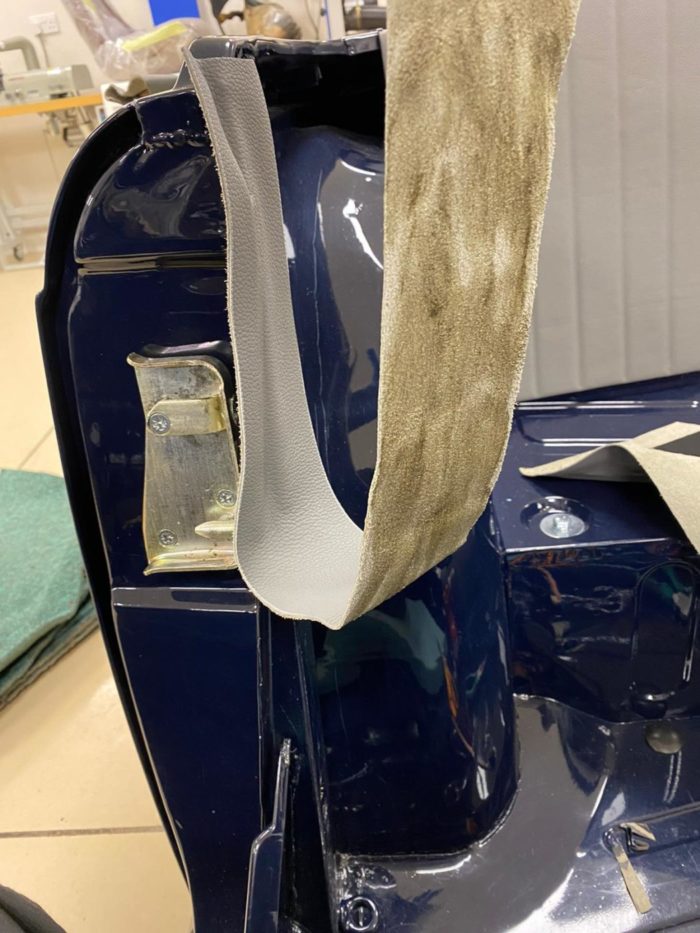
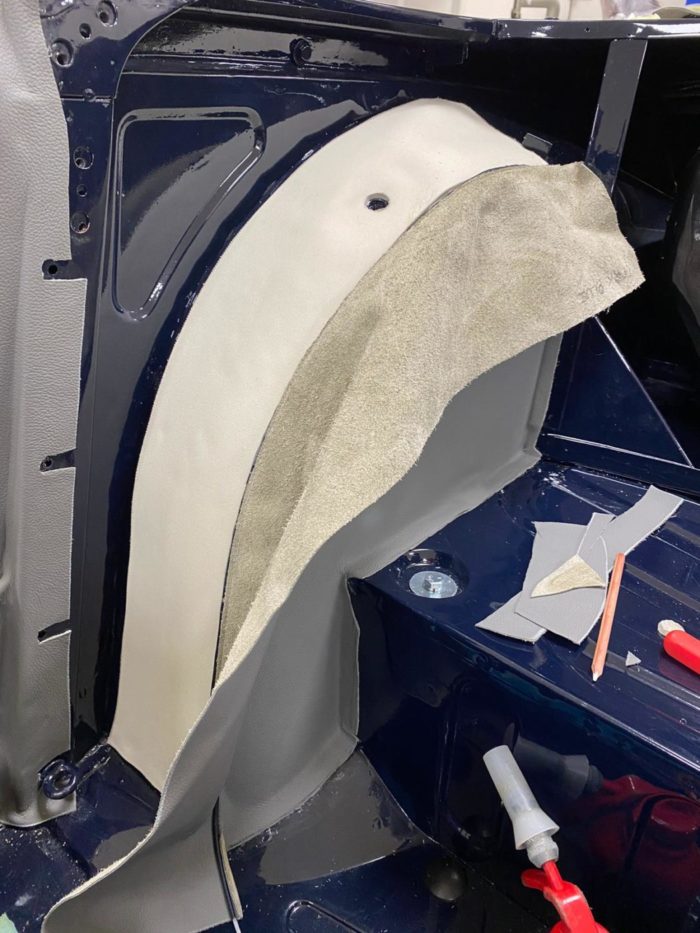
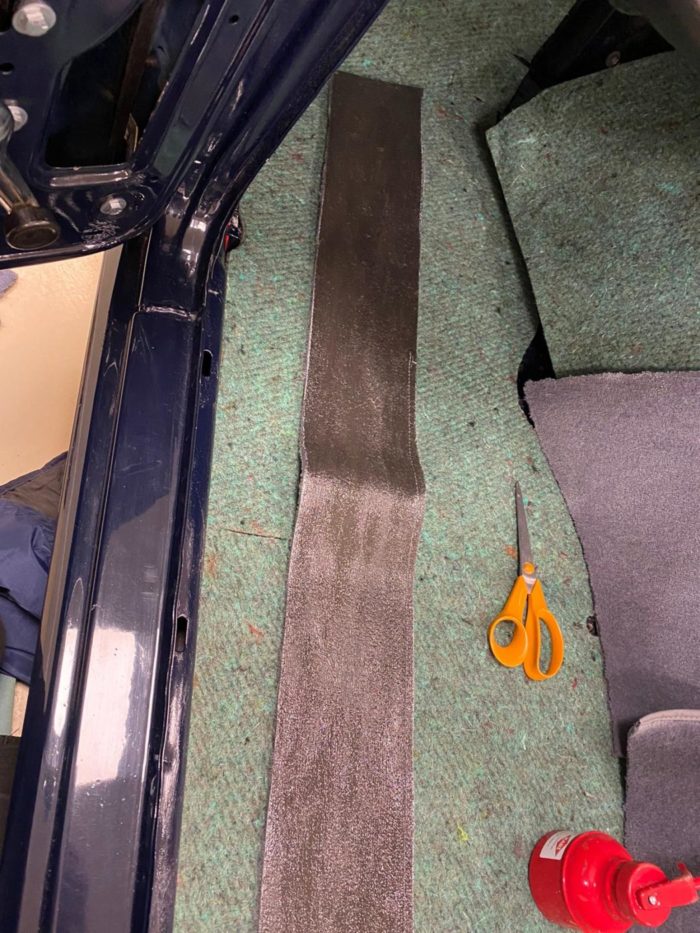
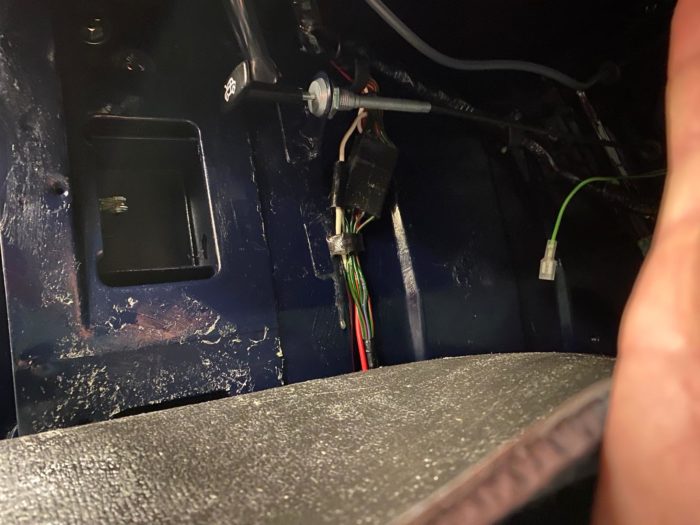
The next step was to fit the rear quarter panels and the door panel which clips onto a board. Kath found that she needed to adjust the panel around the wheel arch and the bottom section for seat belt eyelet first before fitting the sections. Once she had fitted the drivers side rear, Kath could then fit the passenger side and attach the carpet fasteers to footwells so that the mats don’t move about.
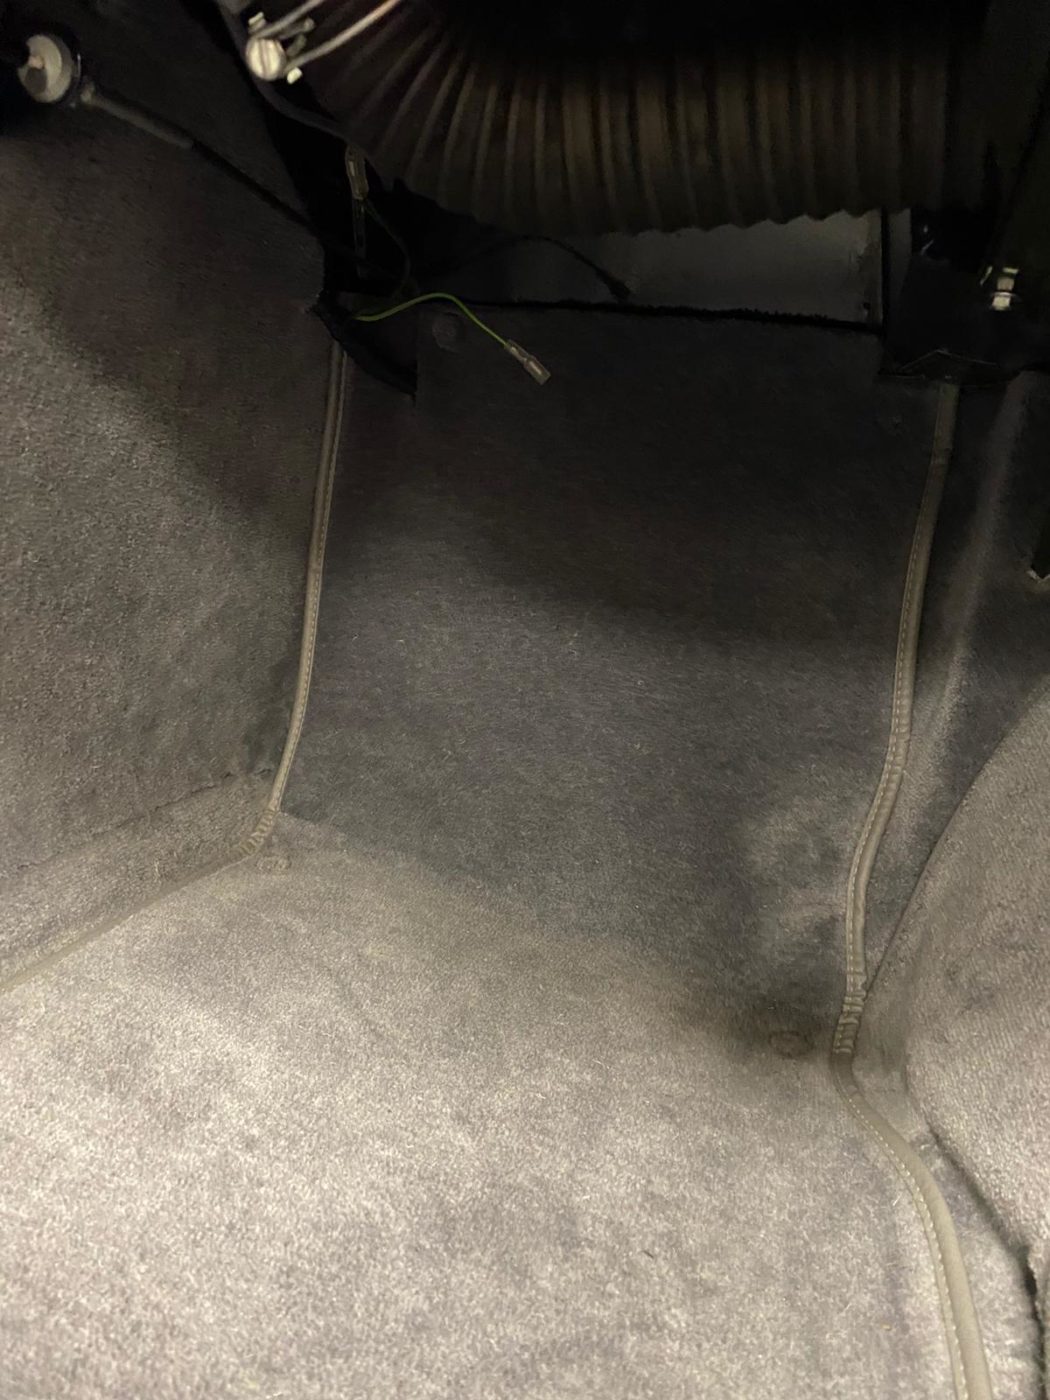
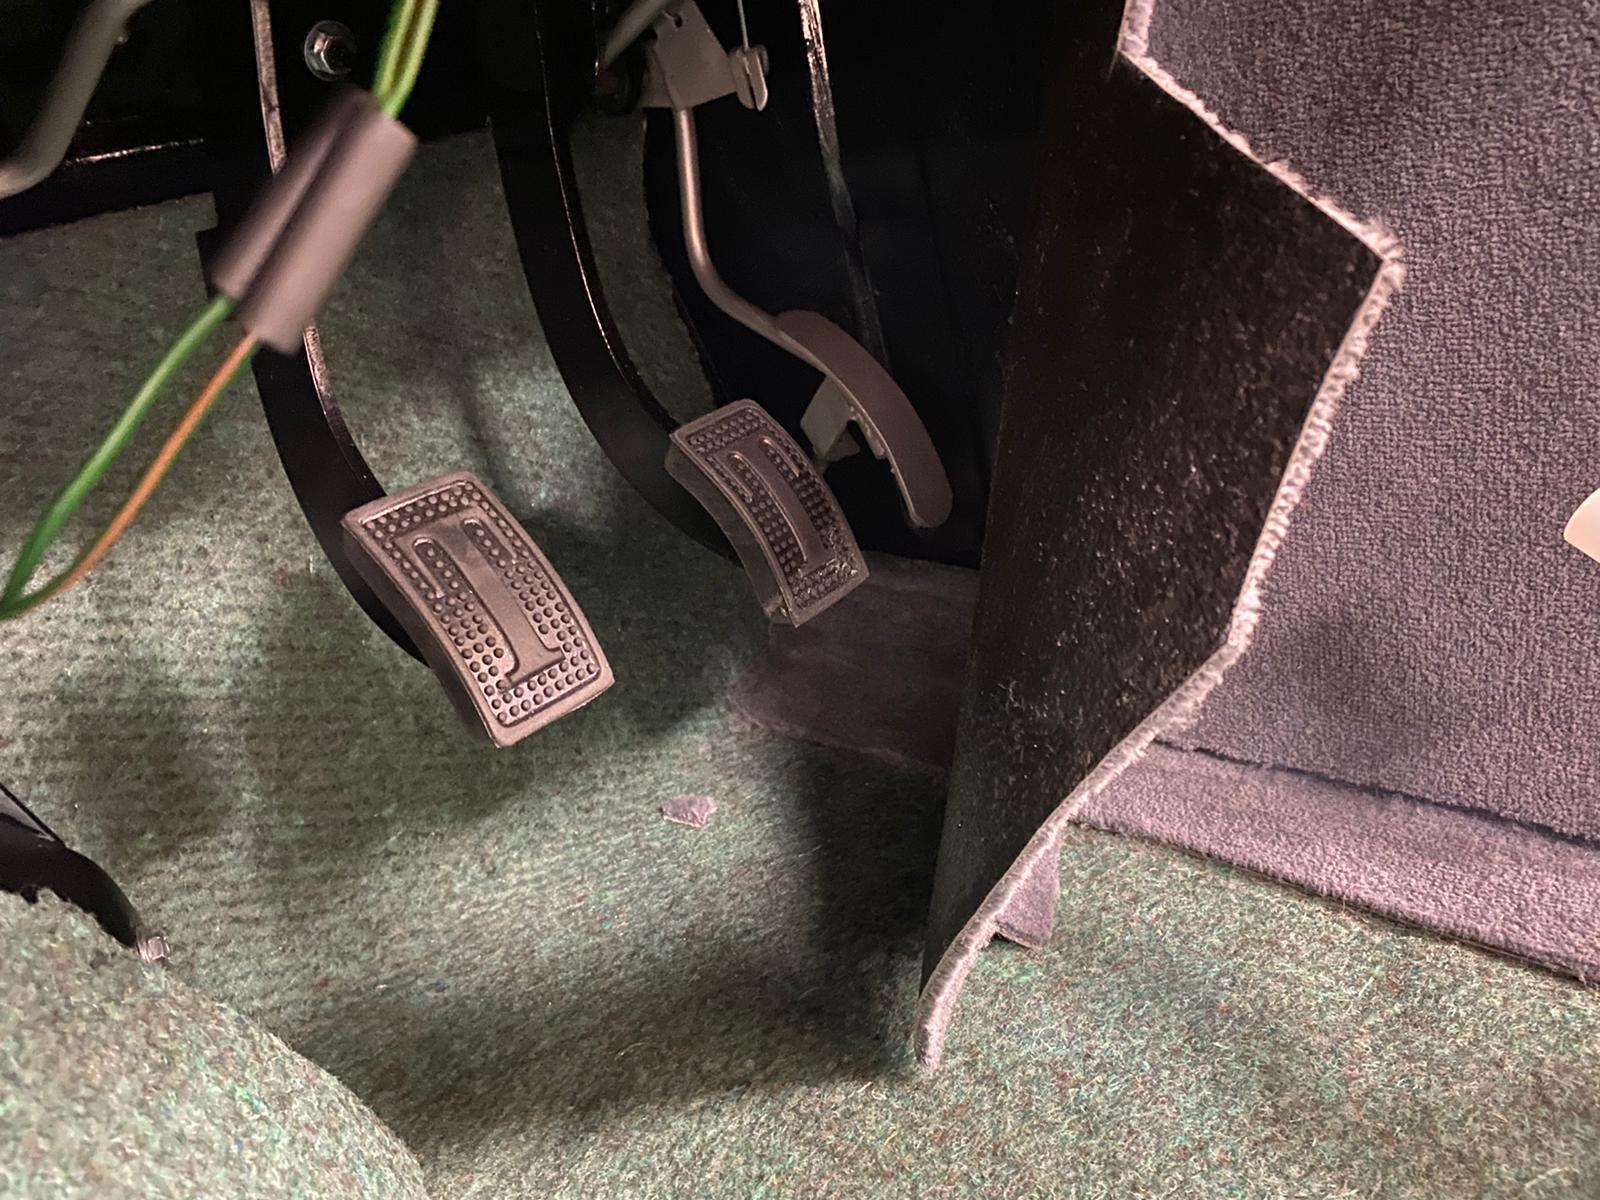
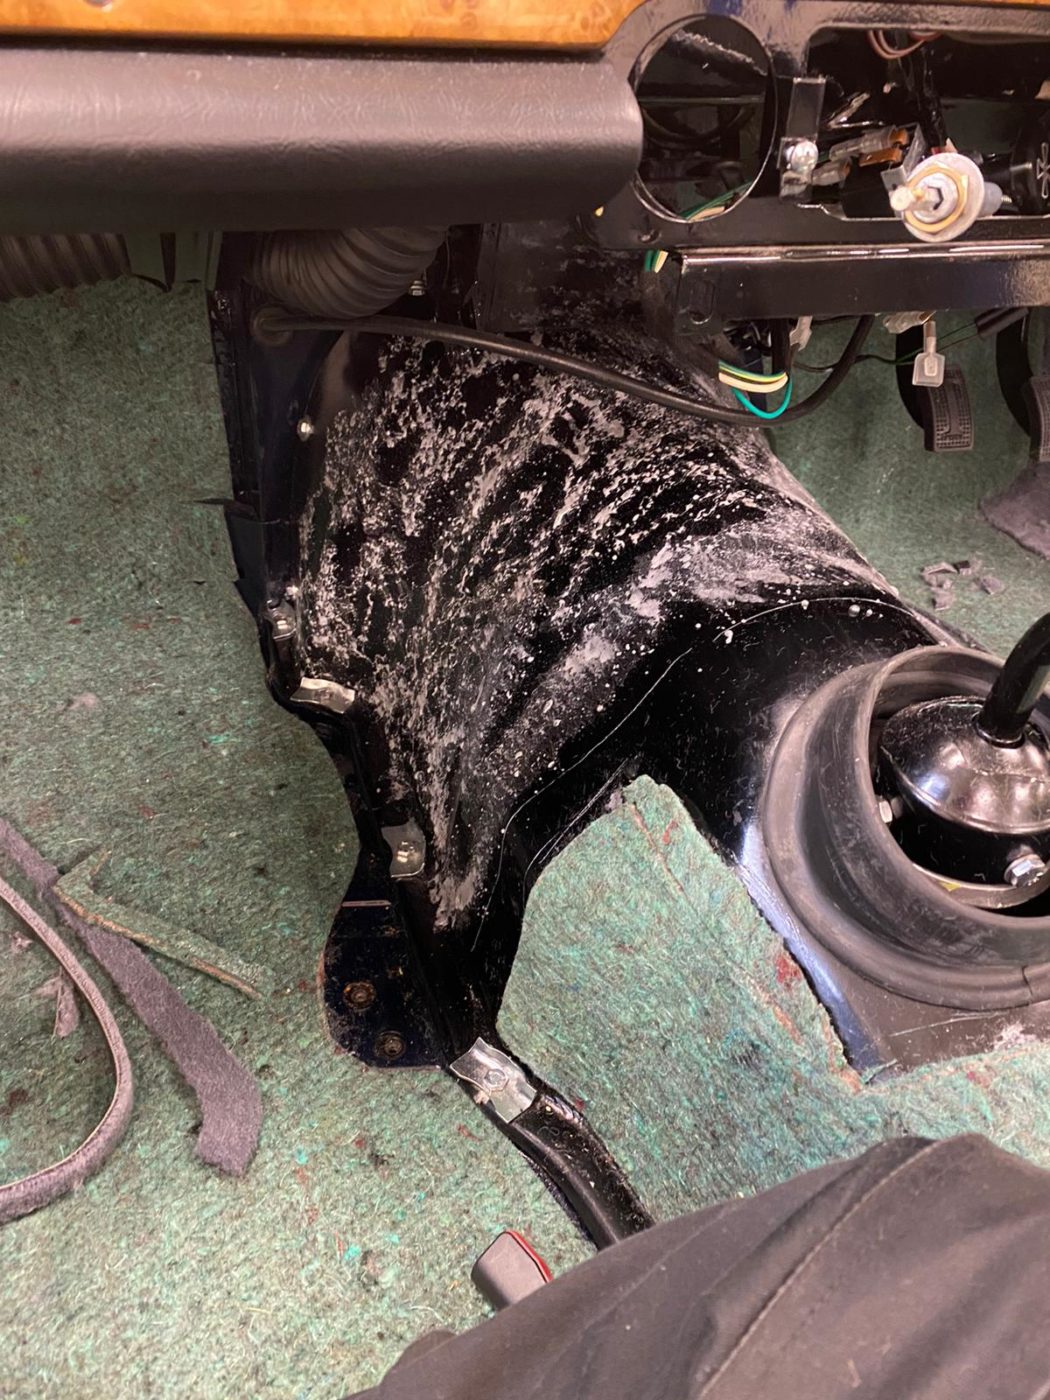
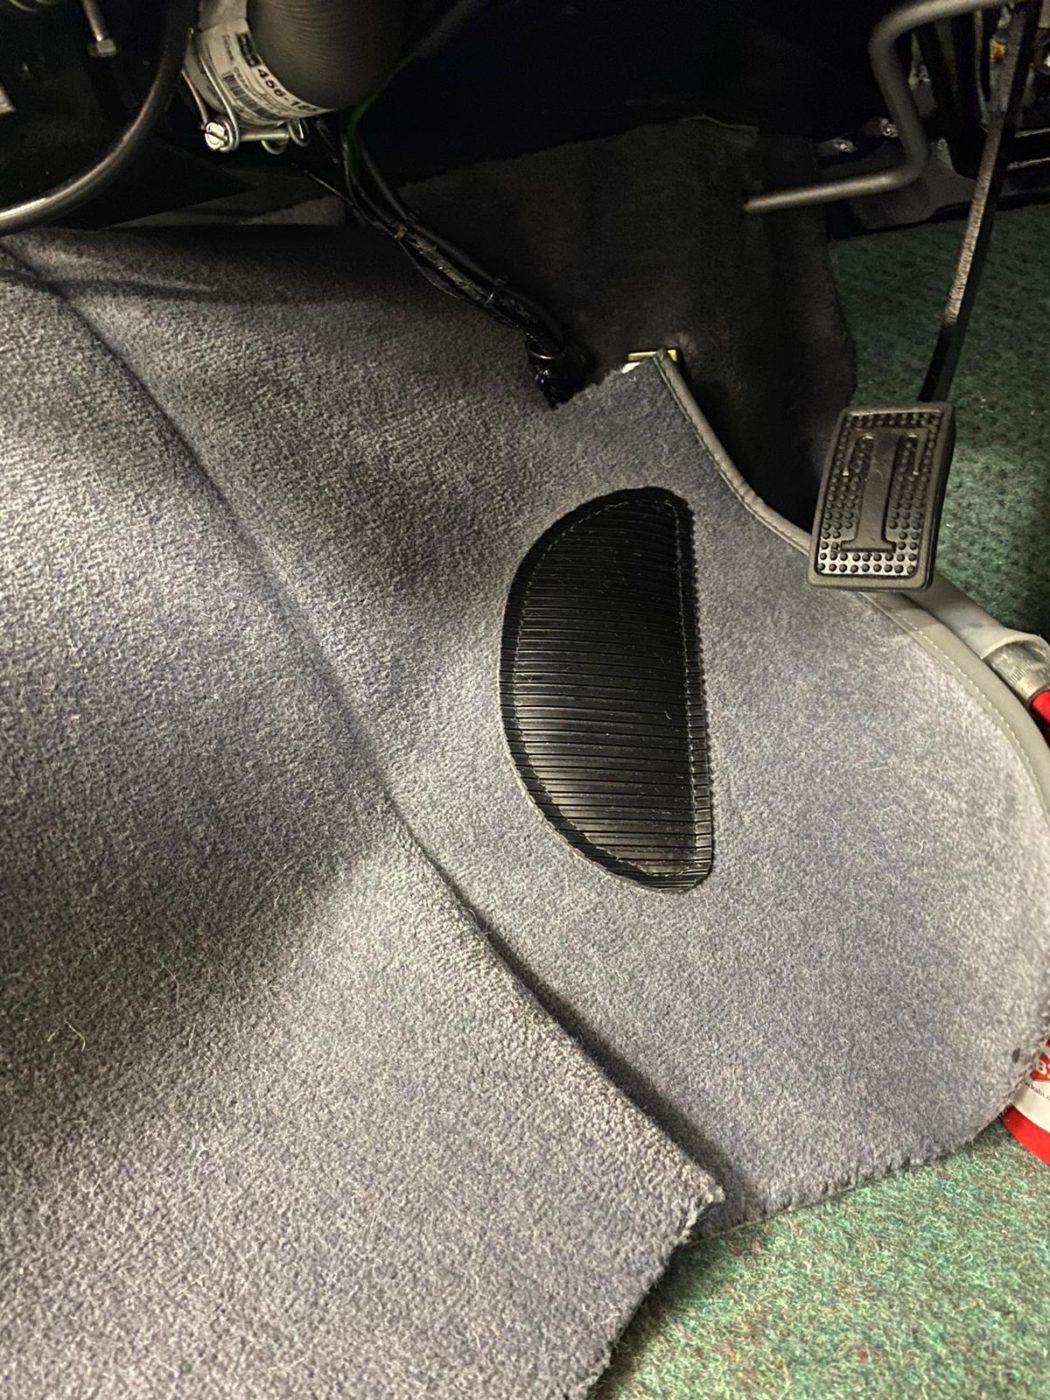
Finally, Kath could secure the carpet down in the upper foot well around the pedals and focus on the rear cockpit panel which needed to be screwed into place. Kath cut holes out for the hood mechanism and fit the hood mechanism in place so that it’s ready for the hood.


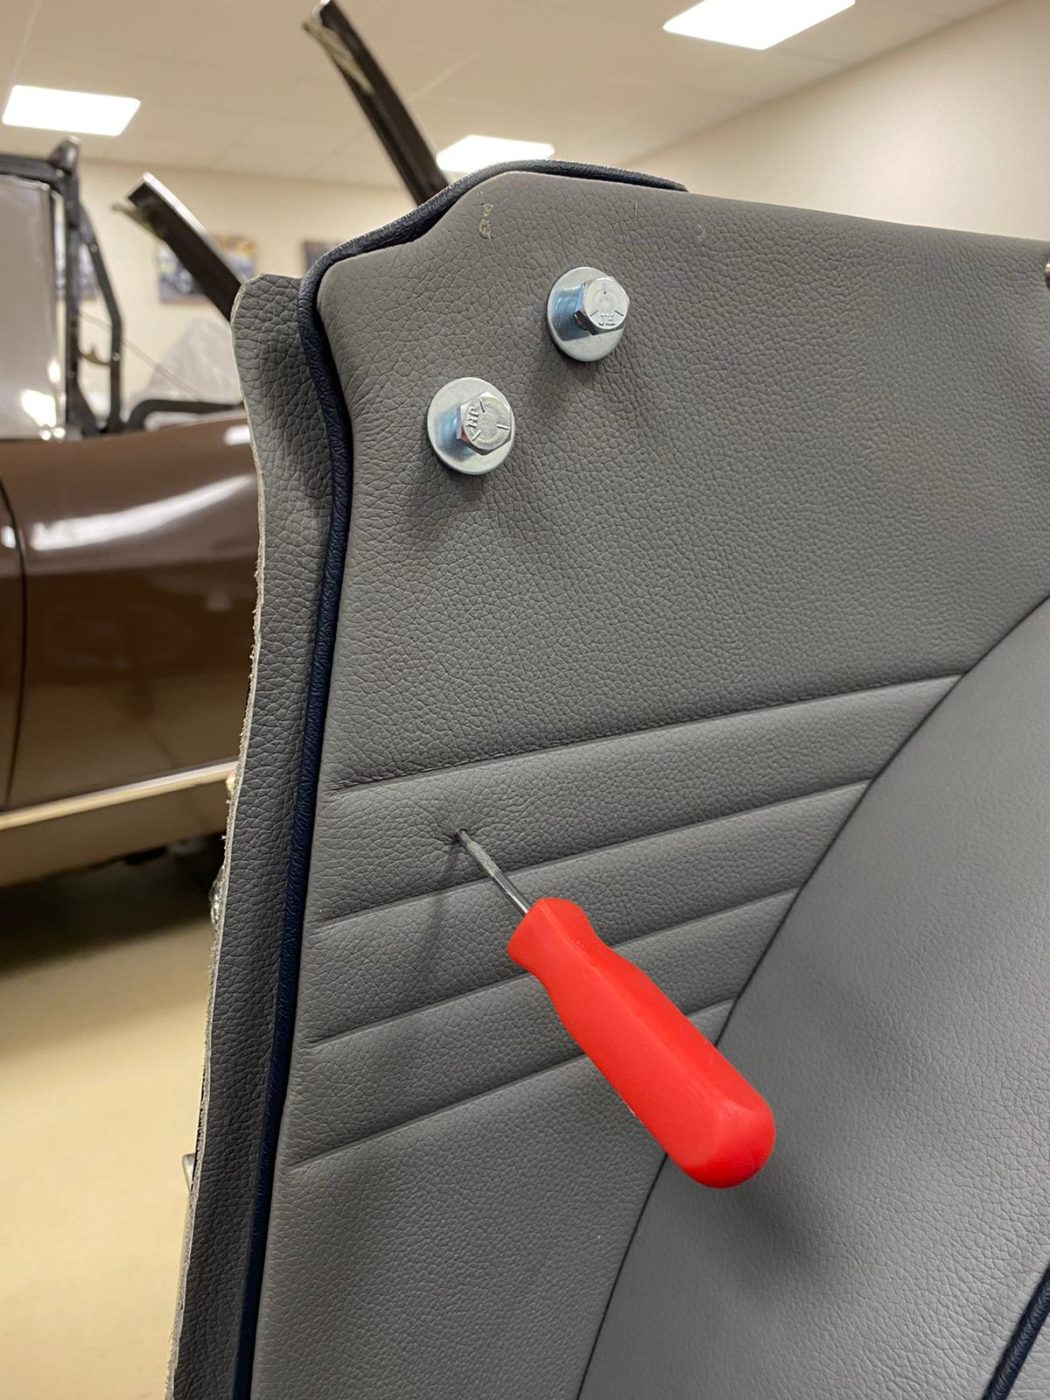
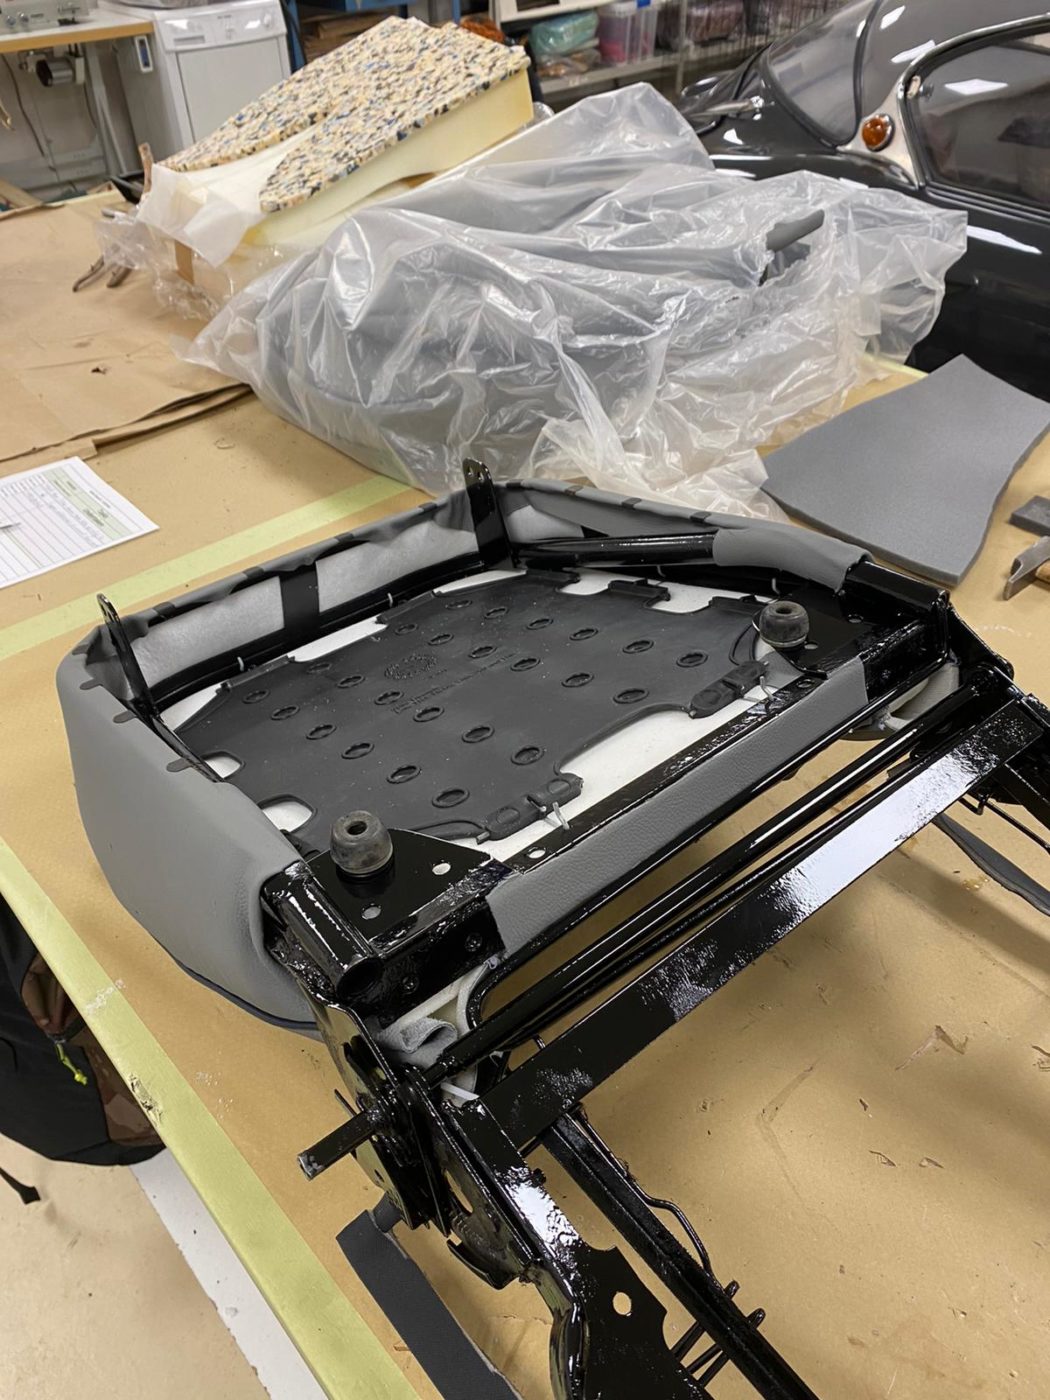
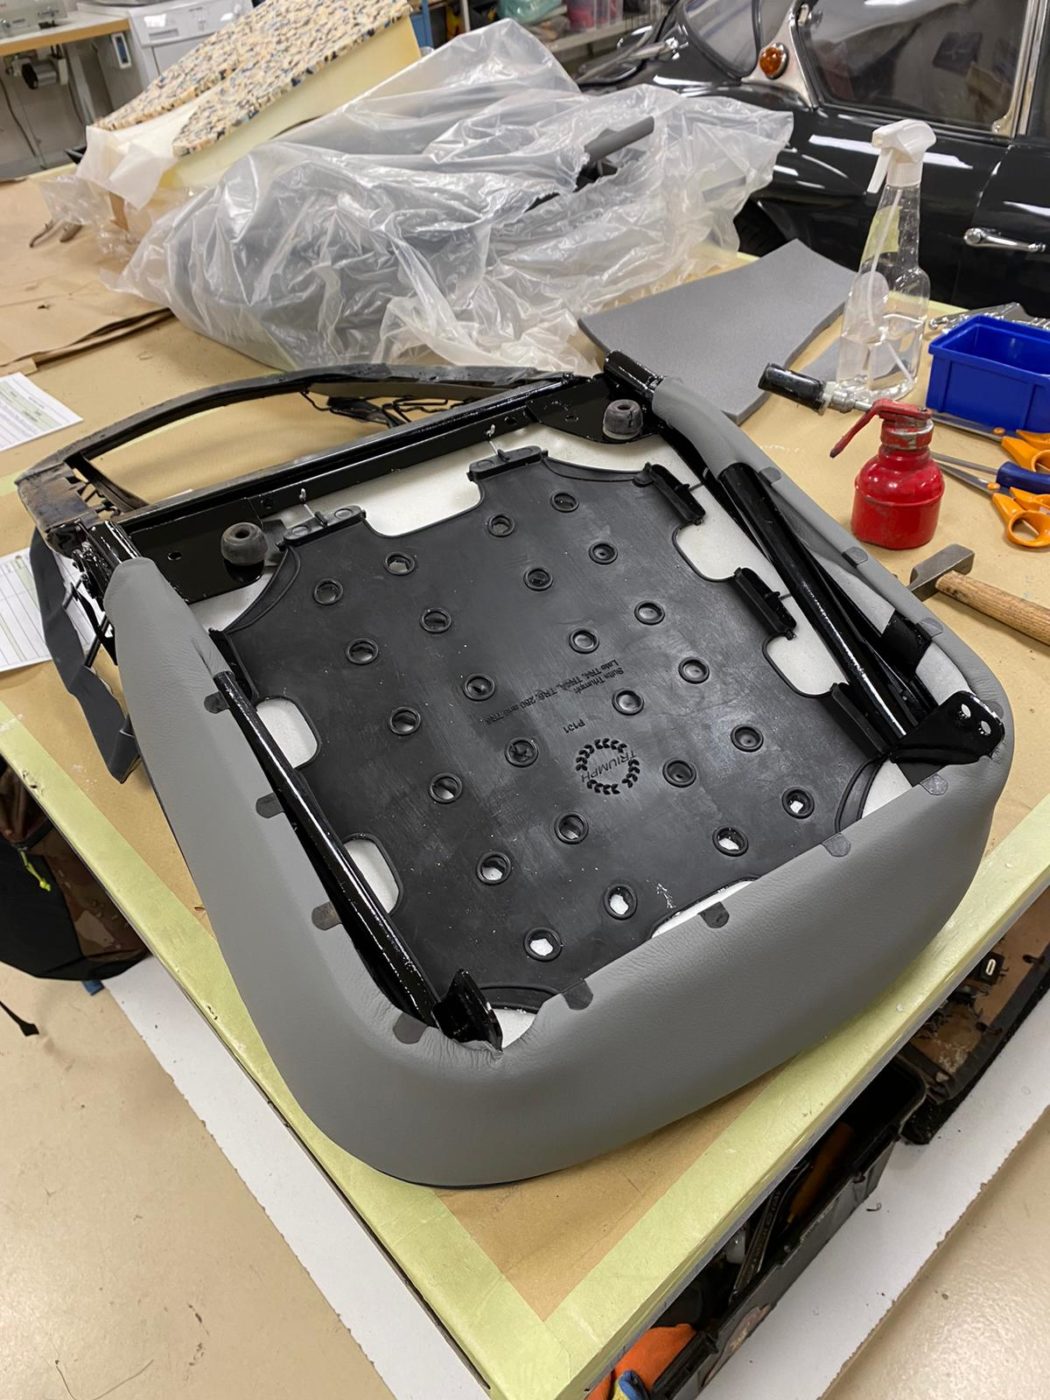
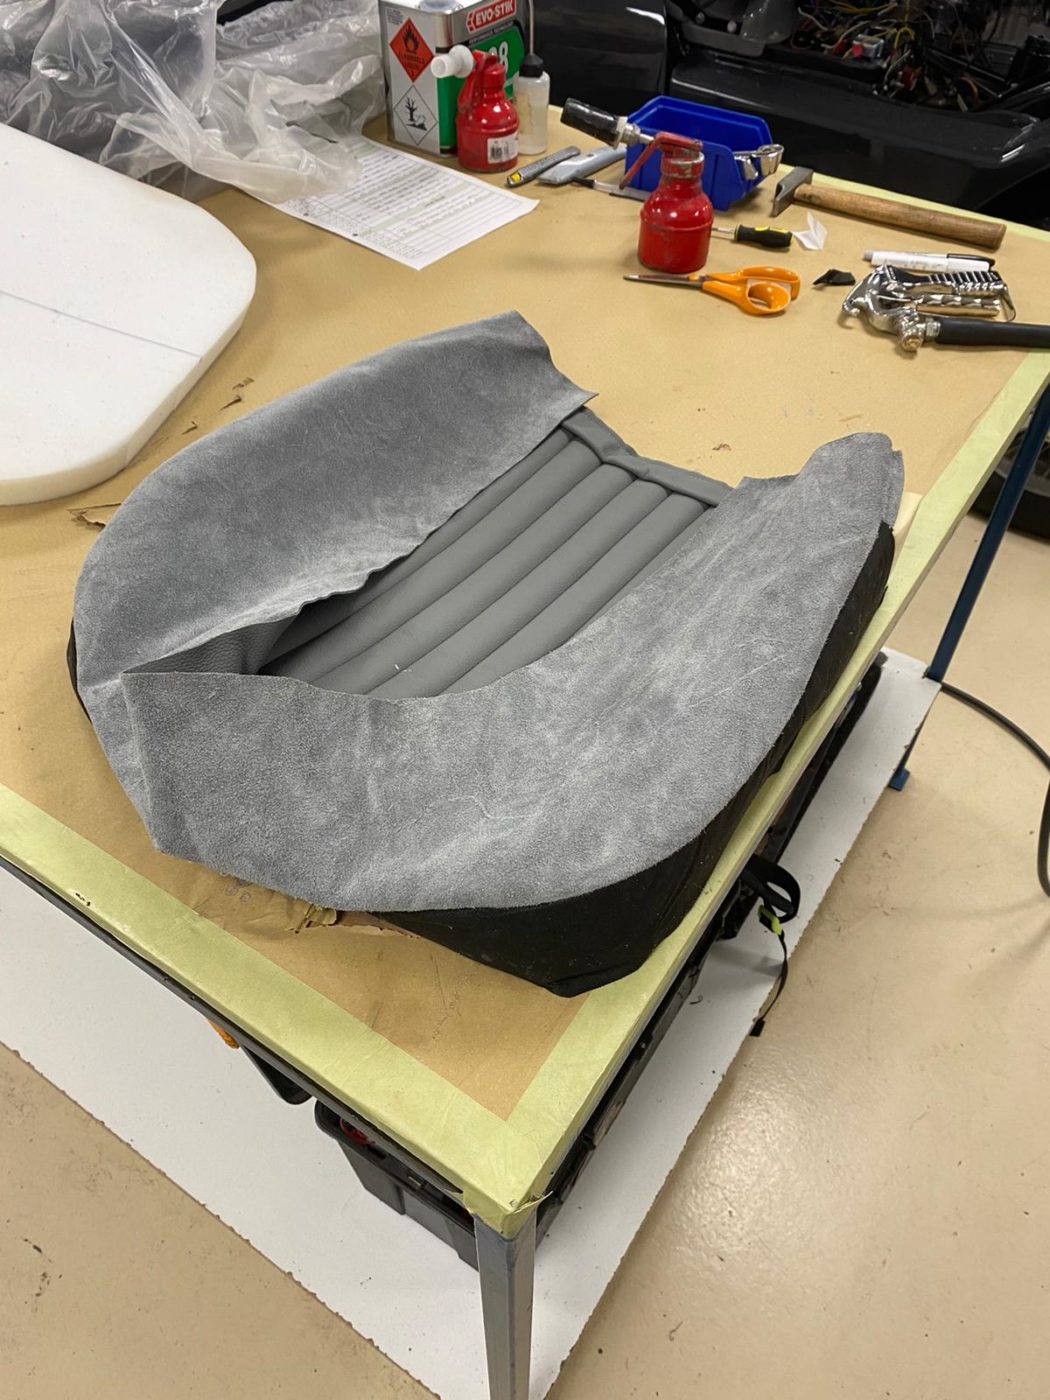
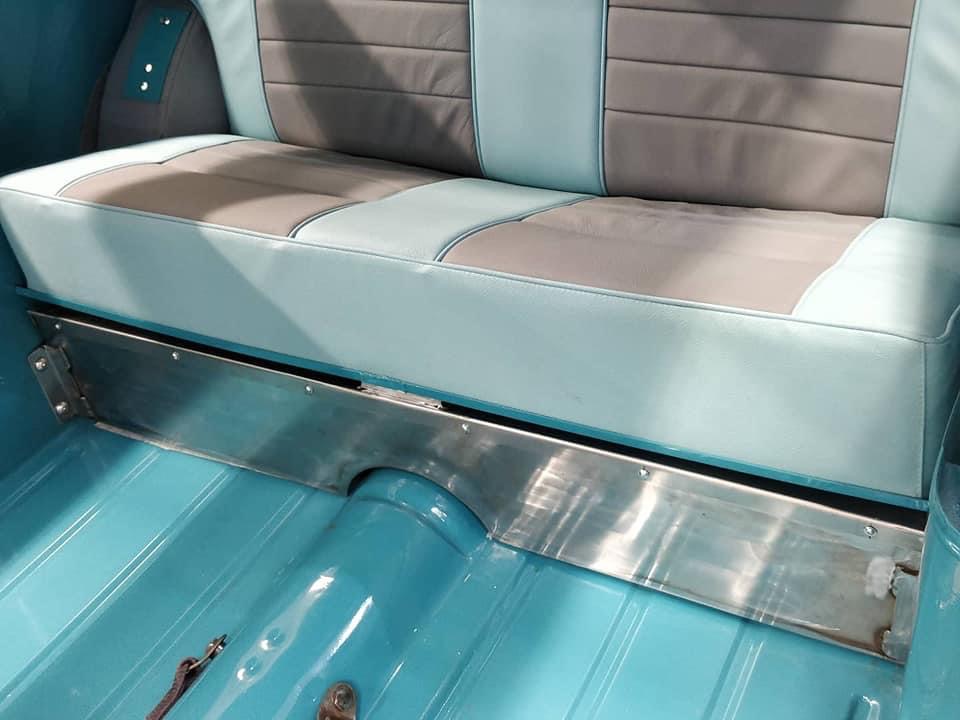
Brian started on the seats and their frames. He began by fitting the rubber diaphragm to the base seat and added foam around the front edge. He then glued the base cover to the upper foam and secured the lower foam in place underneath. The next step was to glue the base foam and cover to the seat frame and add extra foam around the front edge. By pulling the cover tight around the frame and clipping it in place, Brian could then glue the rear flap to the frame.
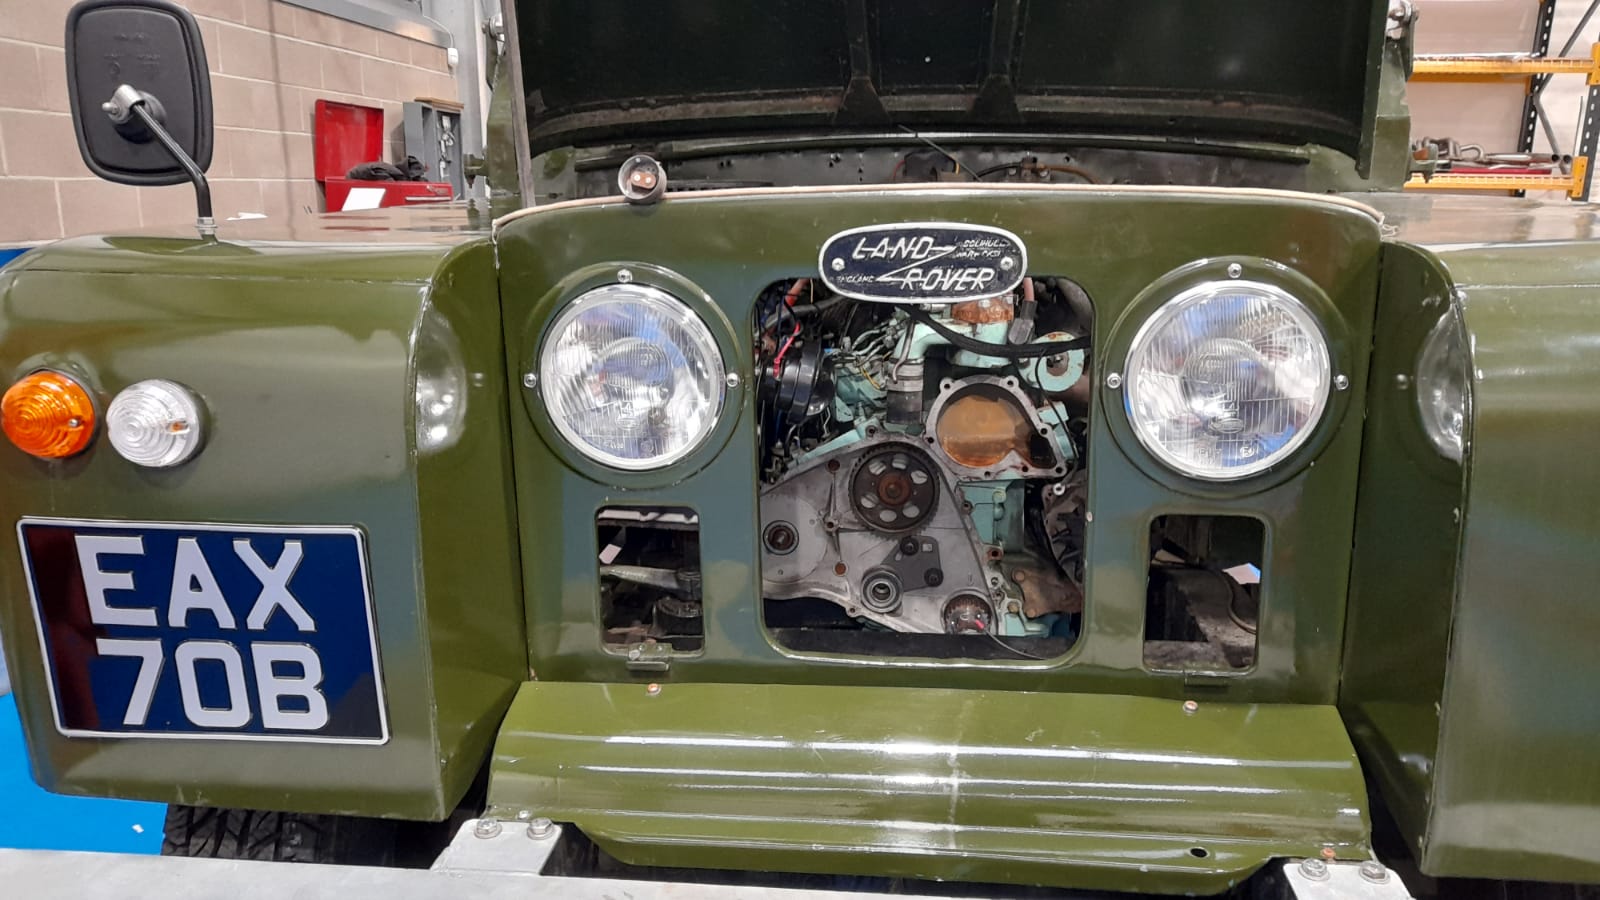
The paint shop have added the finishing touches to our 1964 Land Rover Series 2a by painting the wheels cream. The injector fuel pump has also arrived and been fitted, making it photoshoot ready for its editorial on friday!
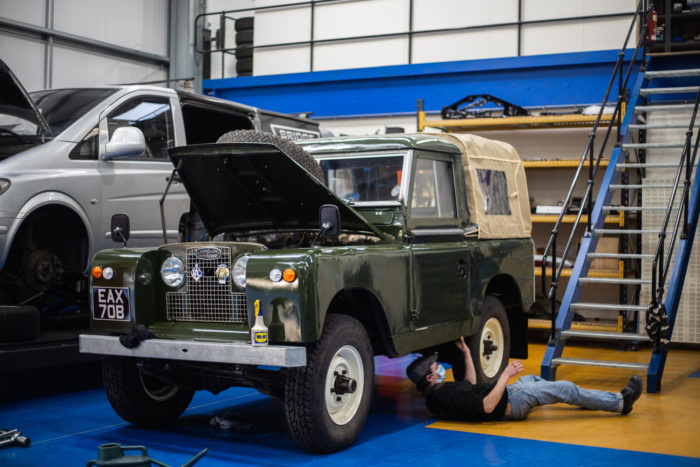

The wheels were first coated in an epoxy primer and then painted over in an originally land rover ‘off white’ cream finish.

James has been sanding and smoothing the door frame window sill using the wire wheel on the grinder.
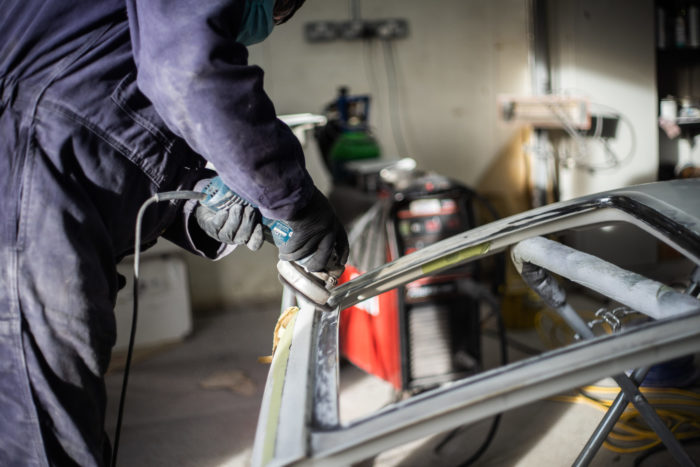
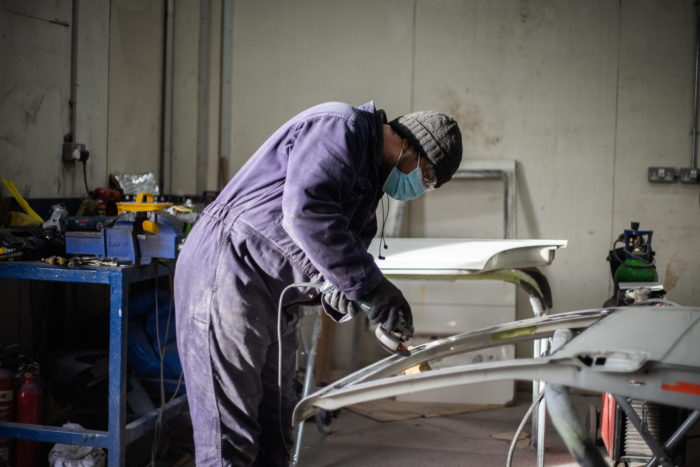
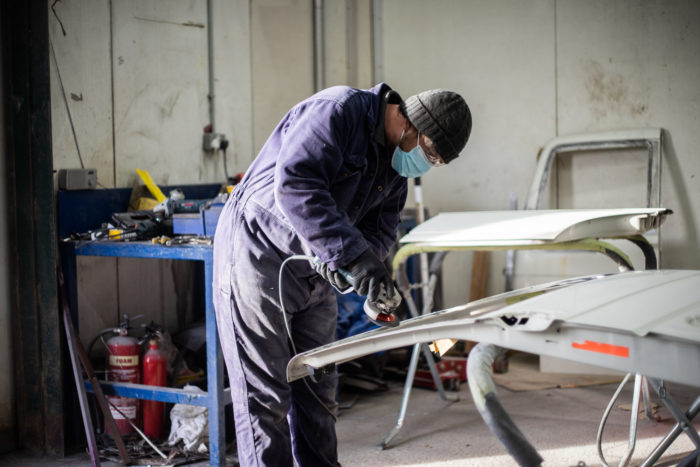
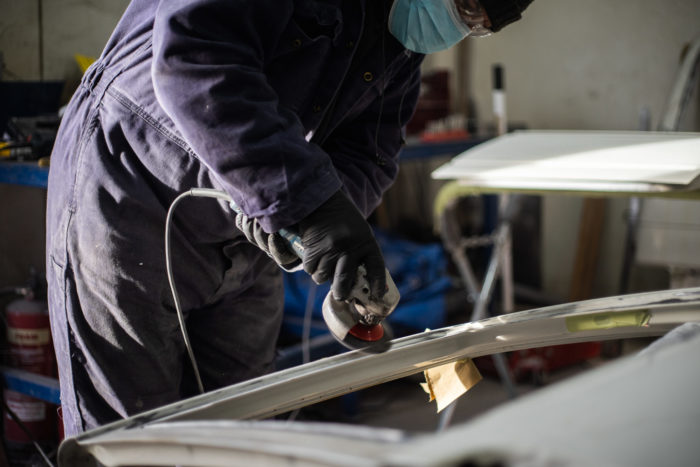

Four out of five doors have been prepared and are now ready for primer. James has discovered that the 5th door doesn’t need such extreme work meaning its ready to go to Chris tomorrow after its been lined up on the van to make sure it still fits straight.
The Ferrari Daytona is currently sat in primer and is being smoothed and prepared for its final paint step: the official colour. Before it can be painted, it needs to be masked. We hope to see the shell painted by the end of the week which will mark an exciting milestone in this restoration.

Here are some examples of different stitching options for the interior of the Daytona. The trim is set to be a similar tone of green to the exterior.
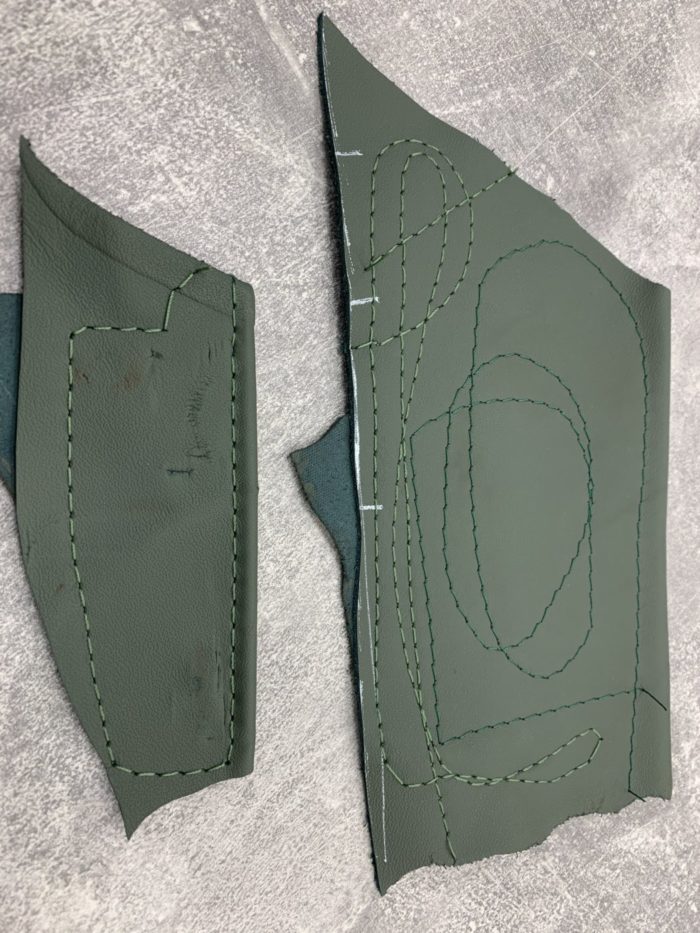
Scott has also been continuing his welding to the front subframe of the Daytona. The bottom of it was heavily damaged so he cut the damaged area out and straightened the supports inside. He then, cleaned up the rust inside and treated it by applying a zinc primer. Scott then fabricated a new panel and welded it in. Finally, he dressed the welds so it was ready to go to paint.


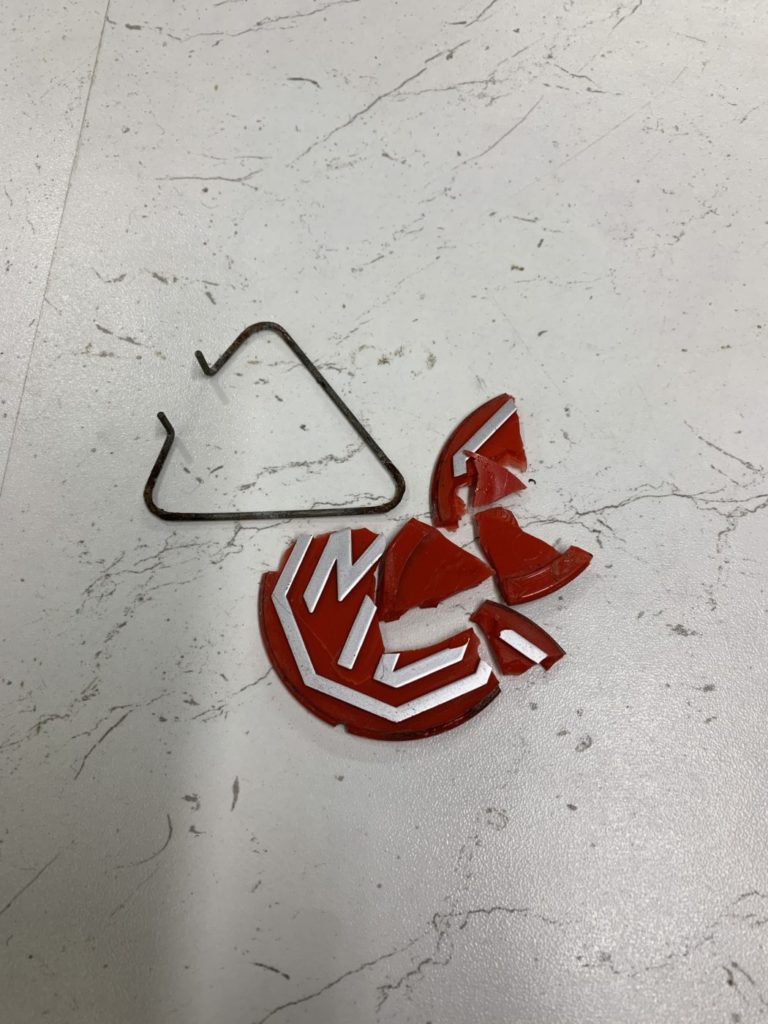
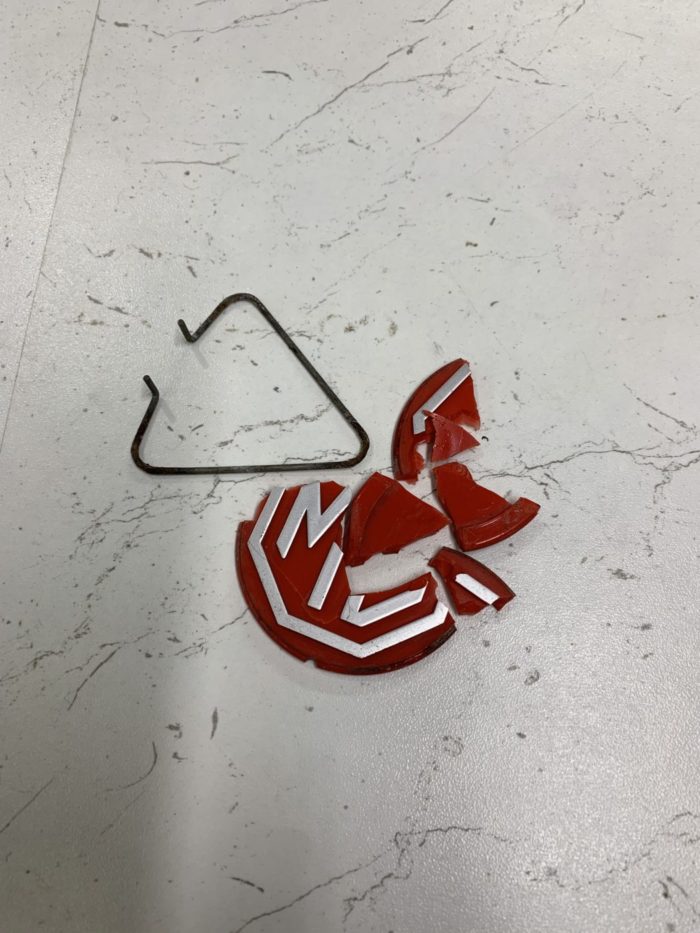
All we set out to do was fit new tyres but one of the centre badges was having none of it! The spring that holds the badge in place survived but the plastic/perspex logo is unfortunately no more.
A new badge has been ordered and fitted.

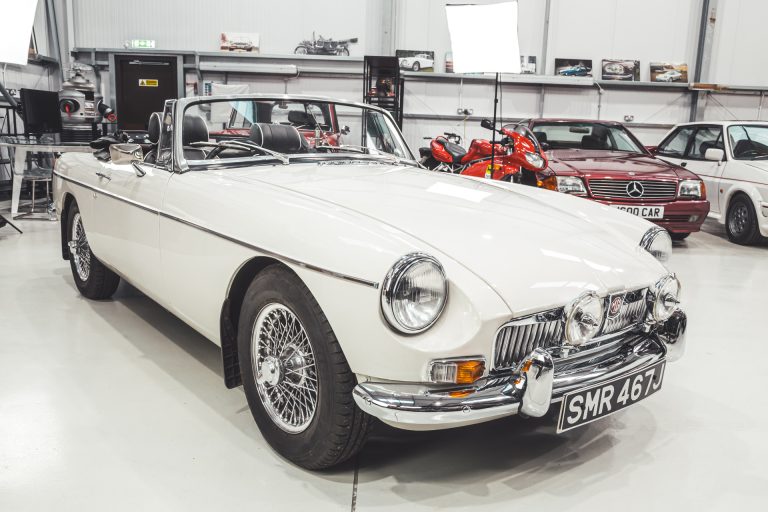
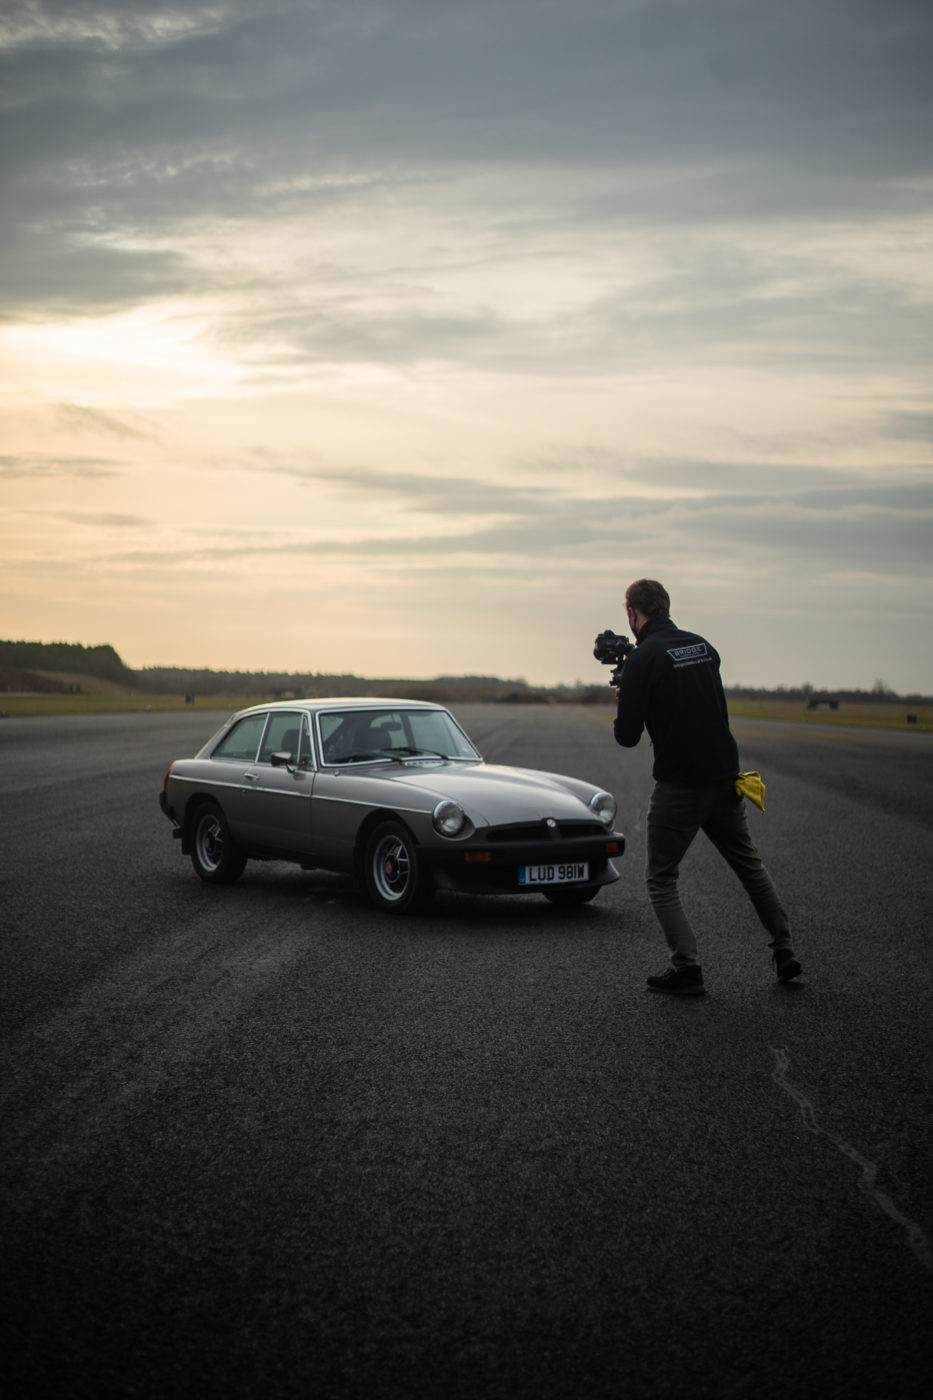
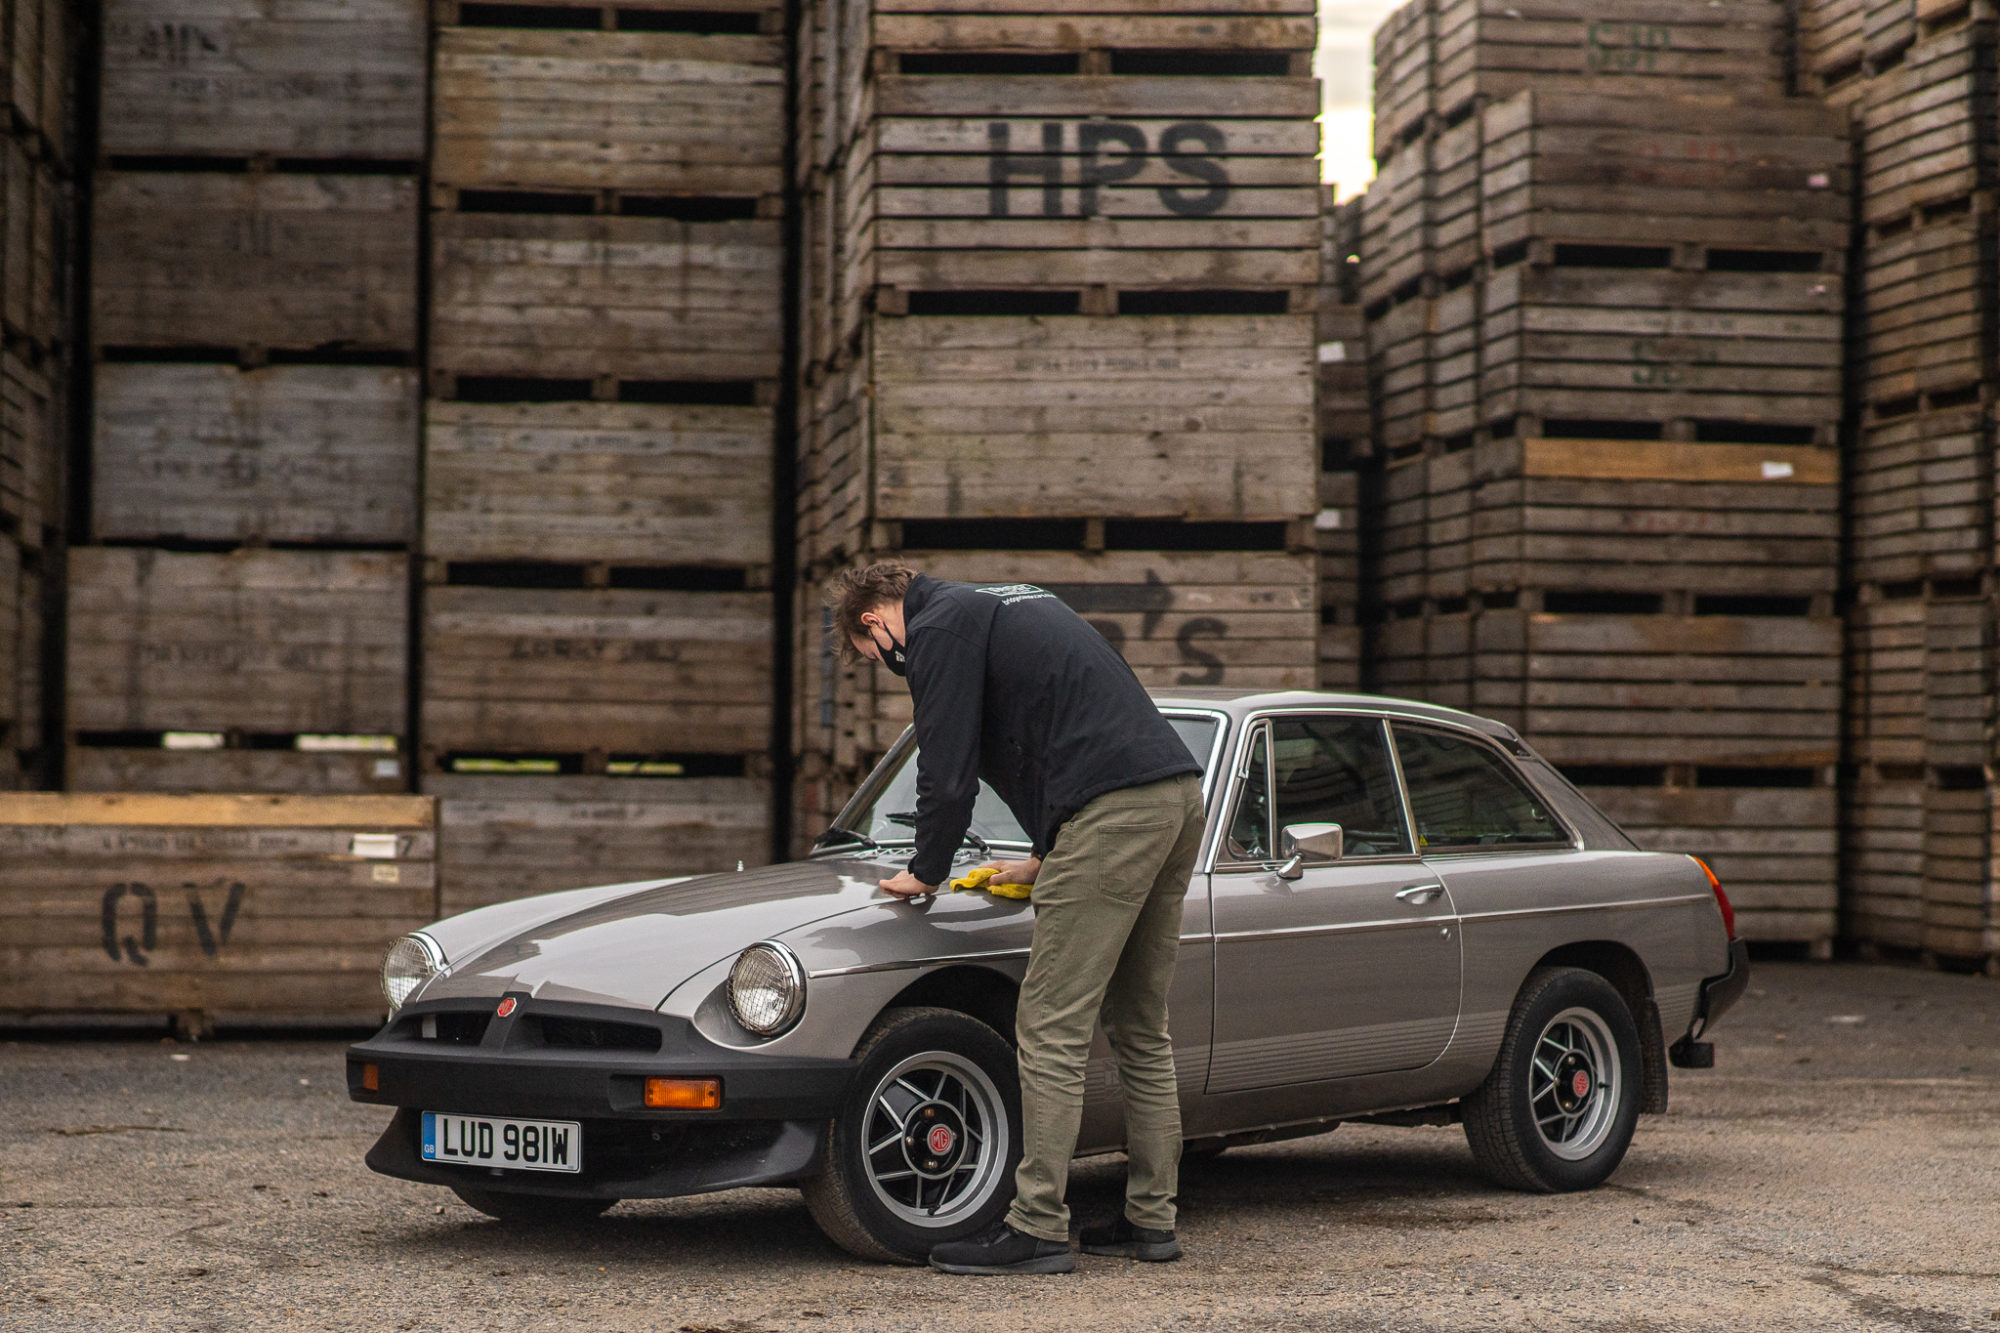
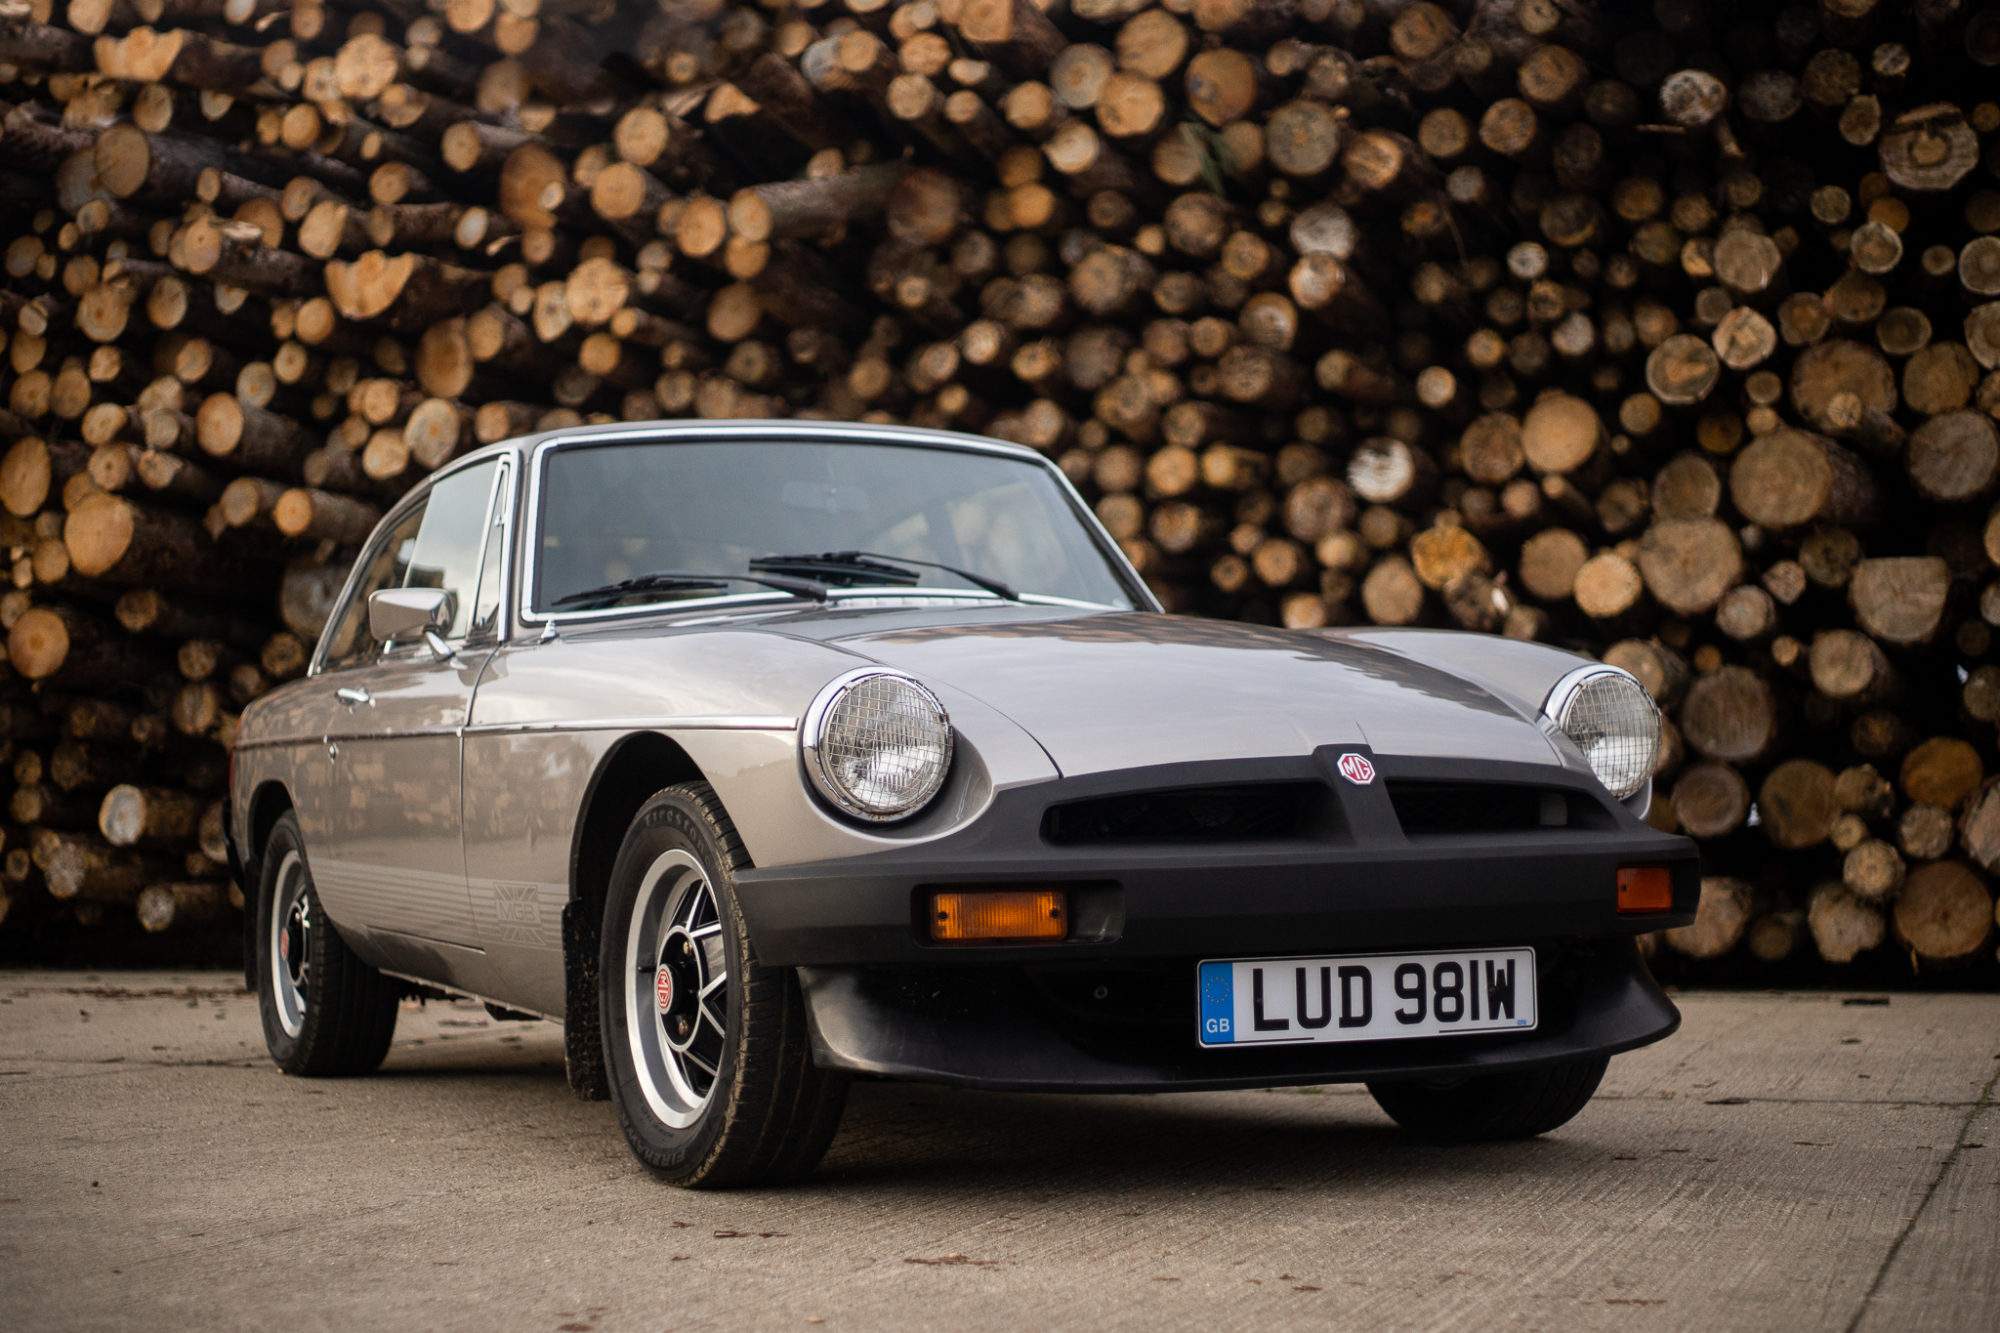
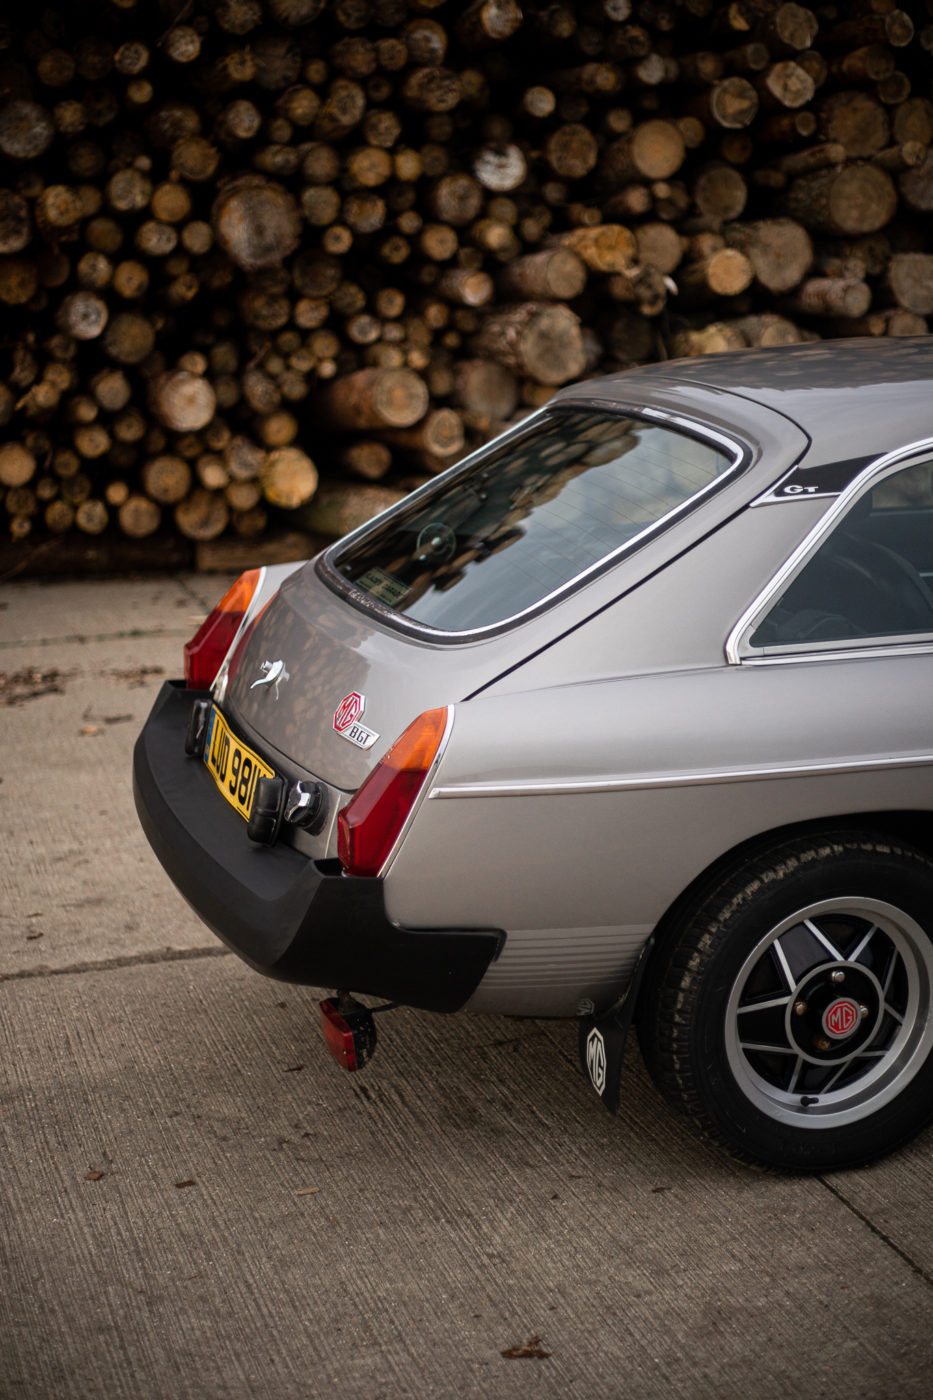
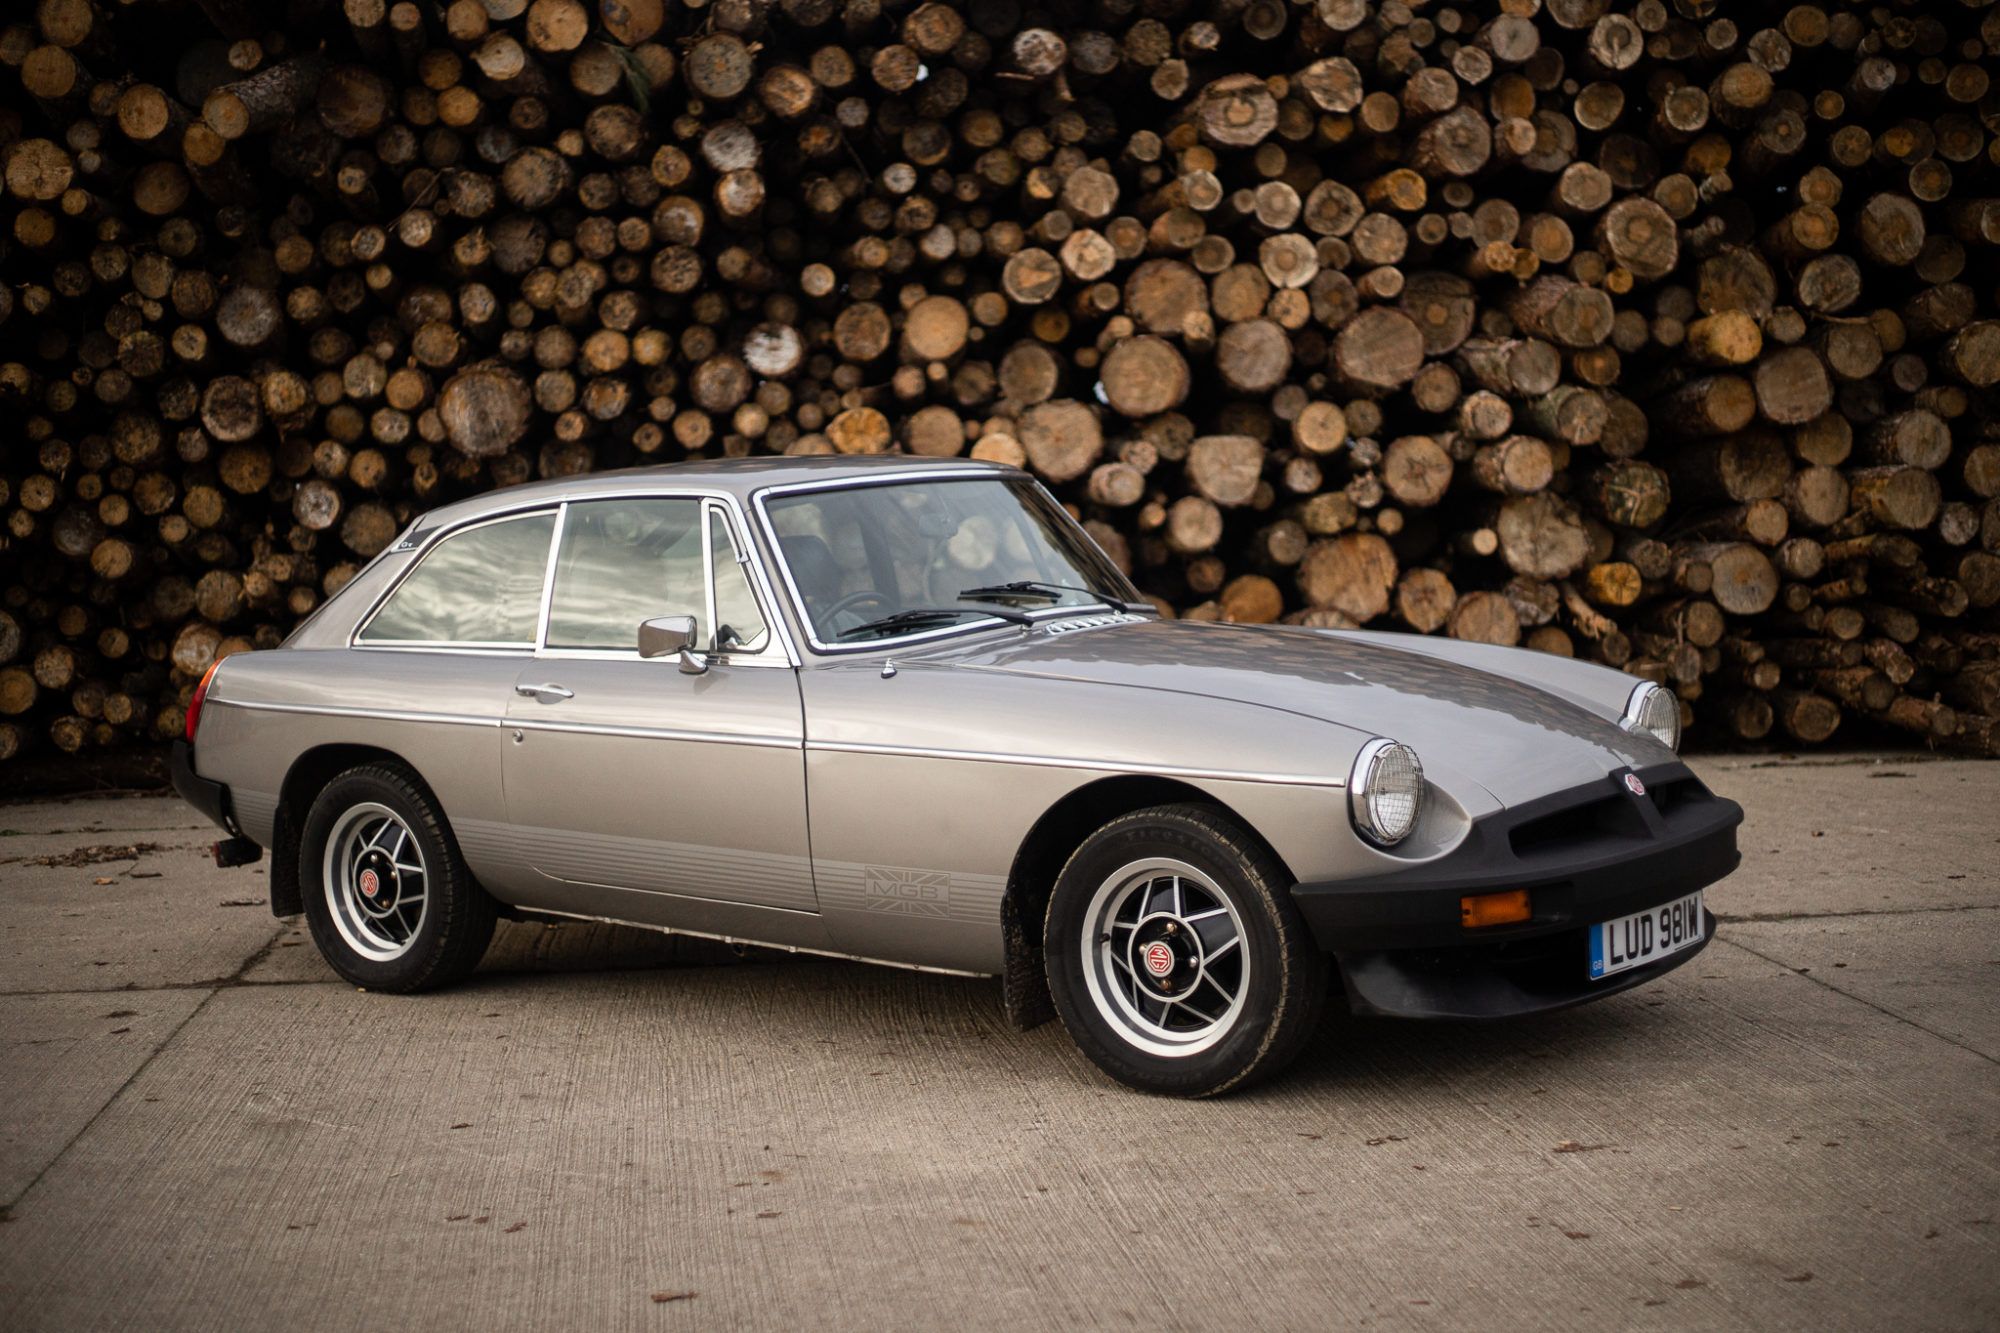
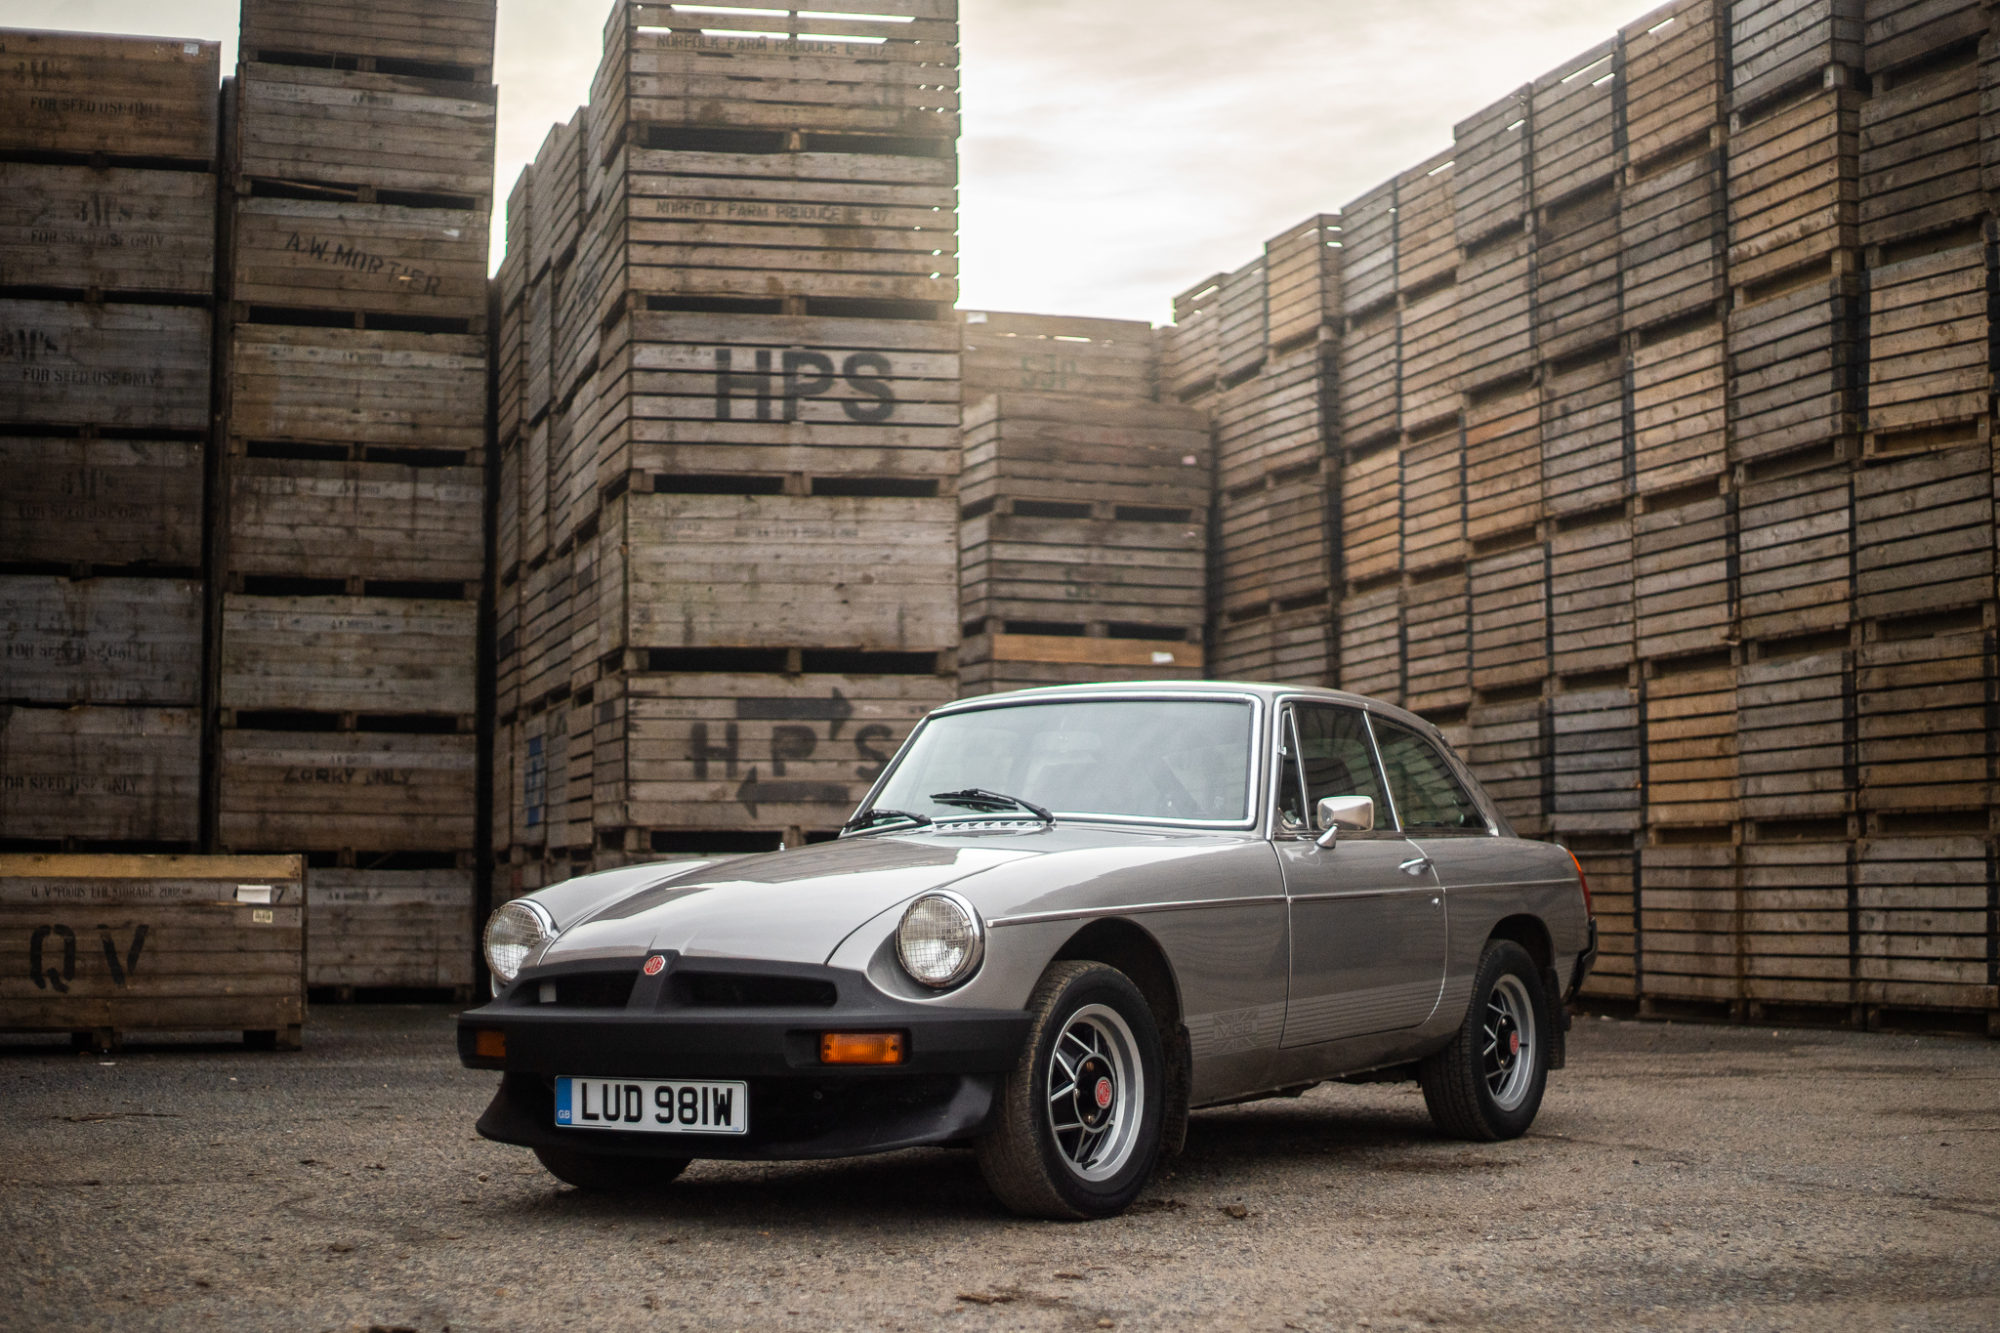
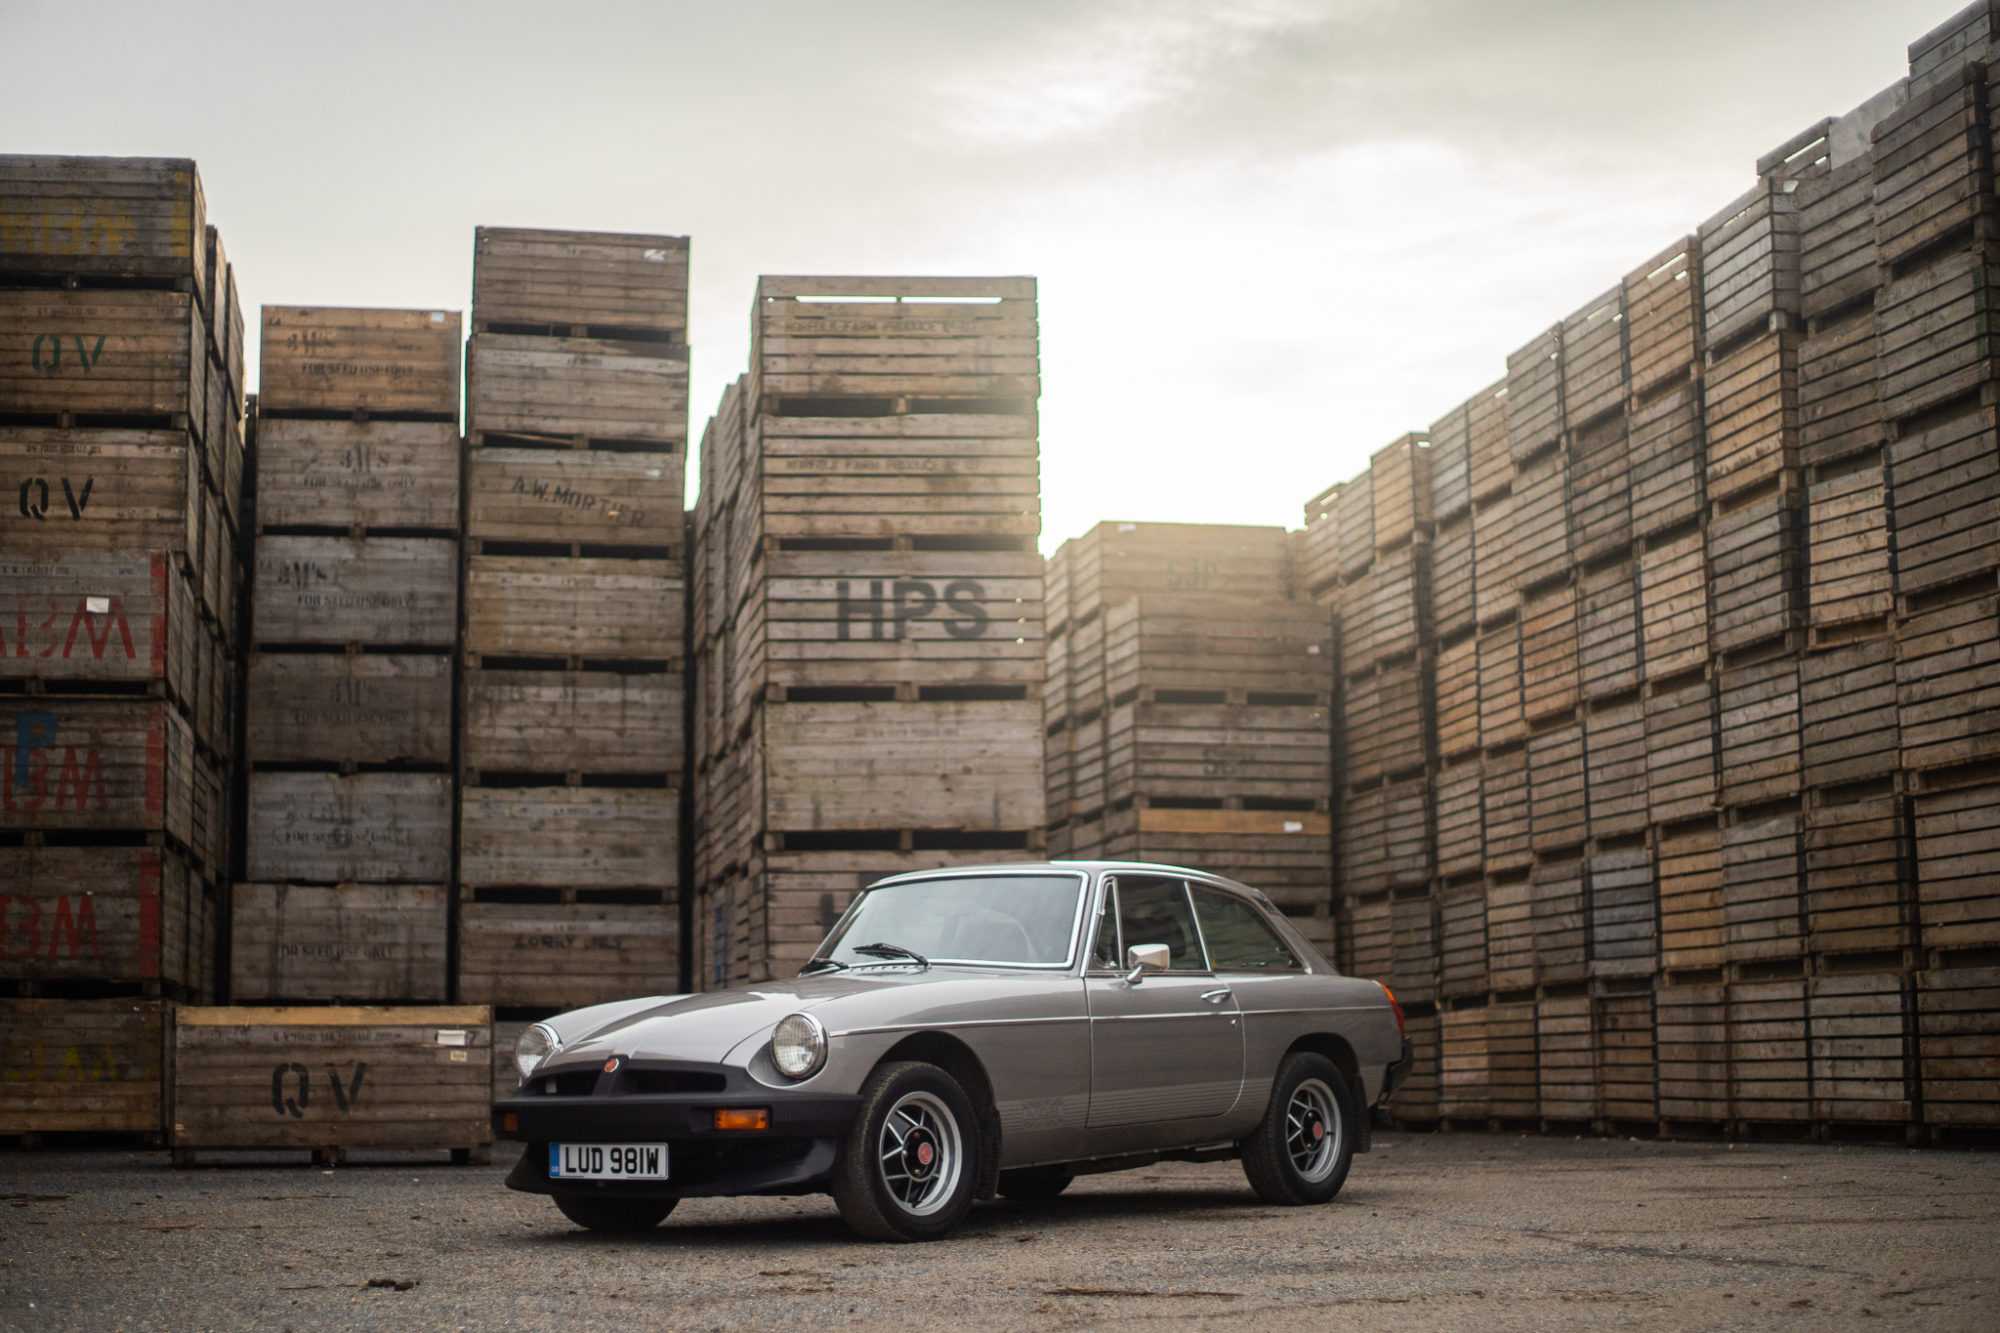
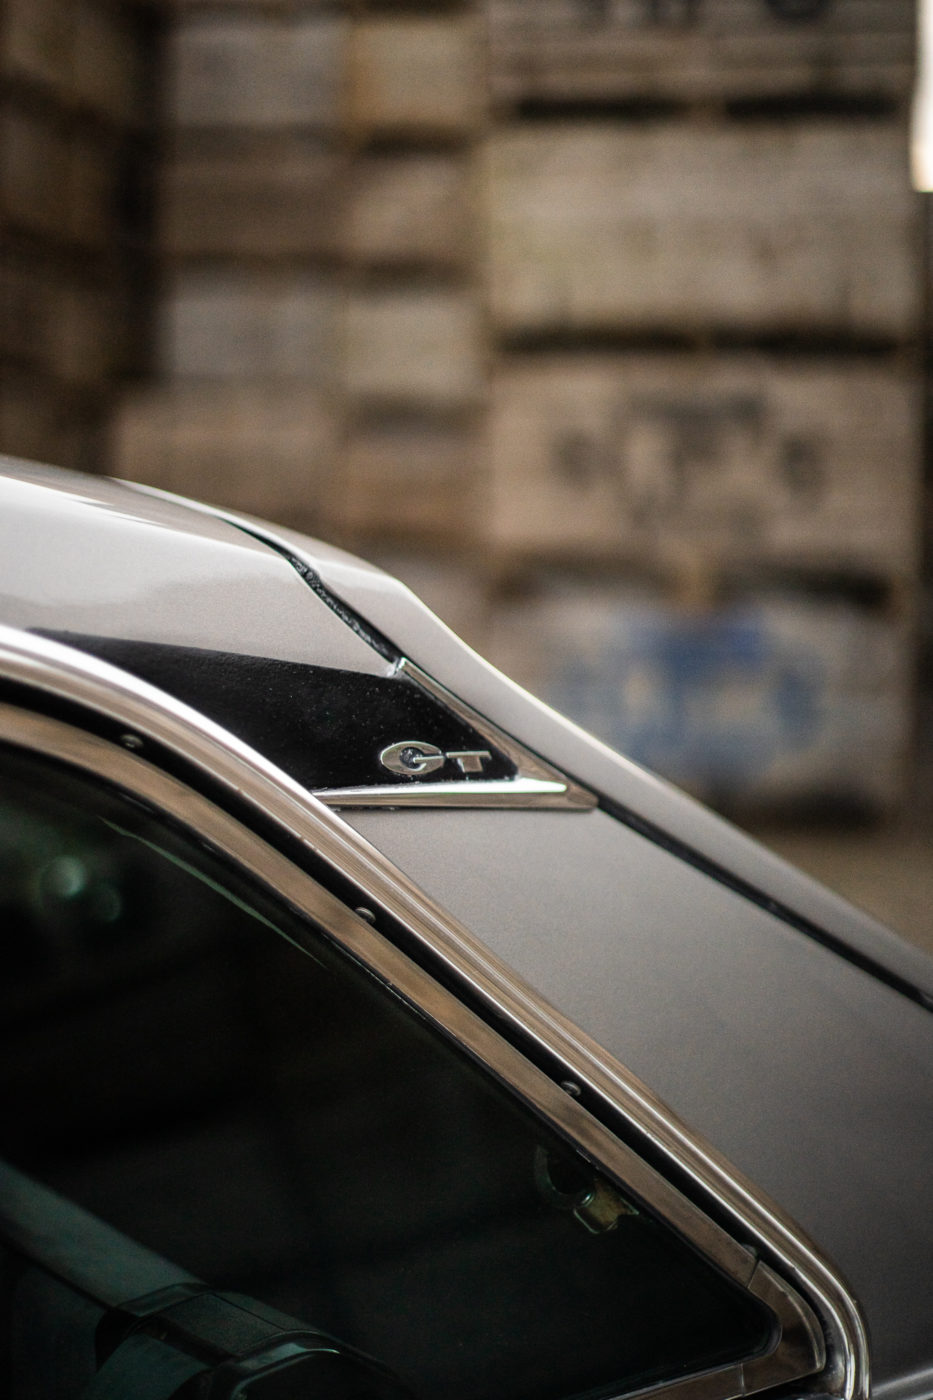
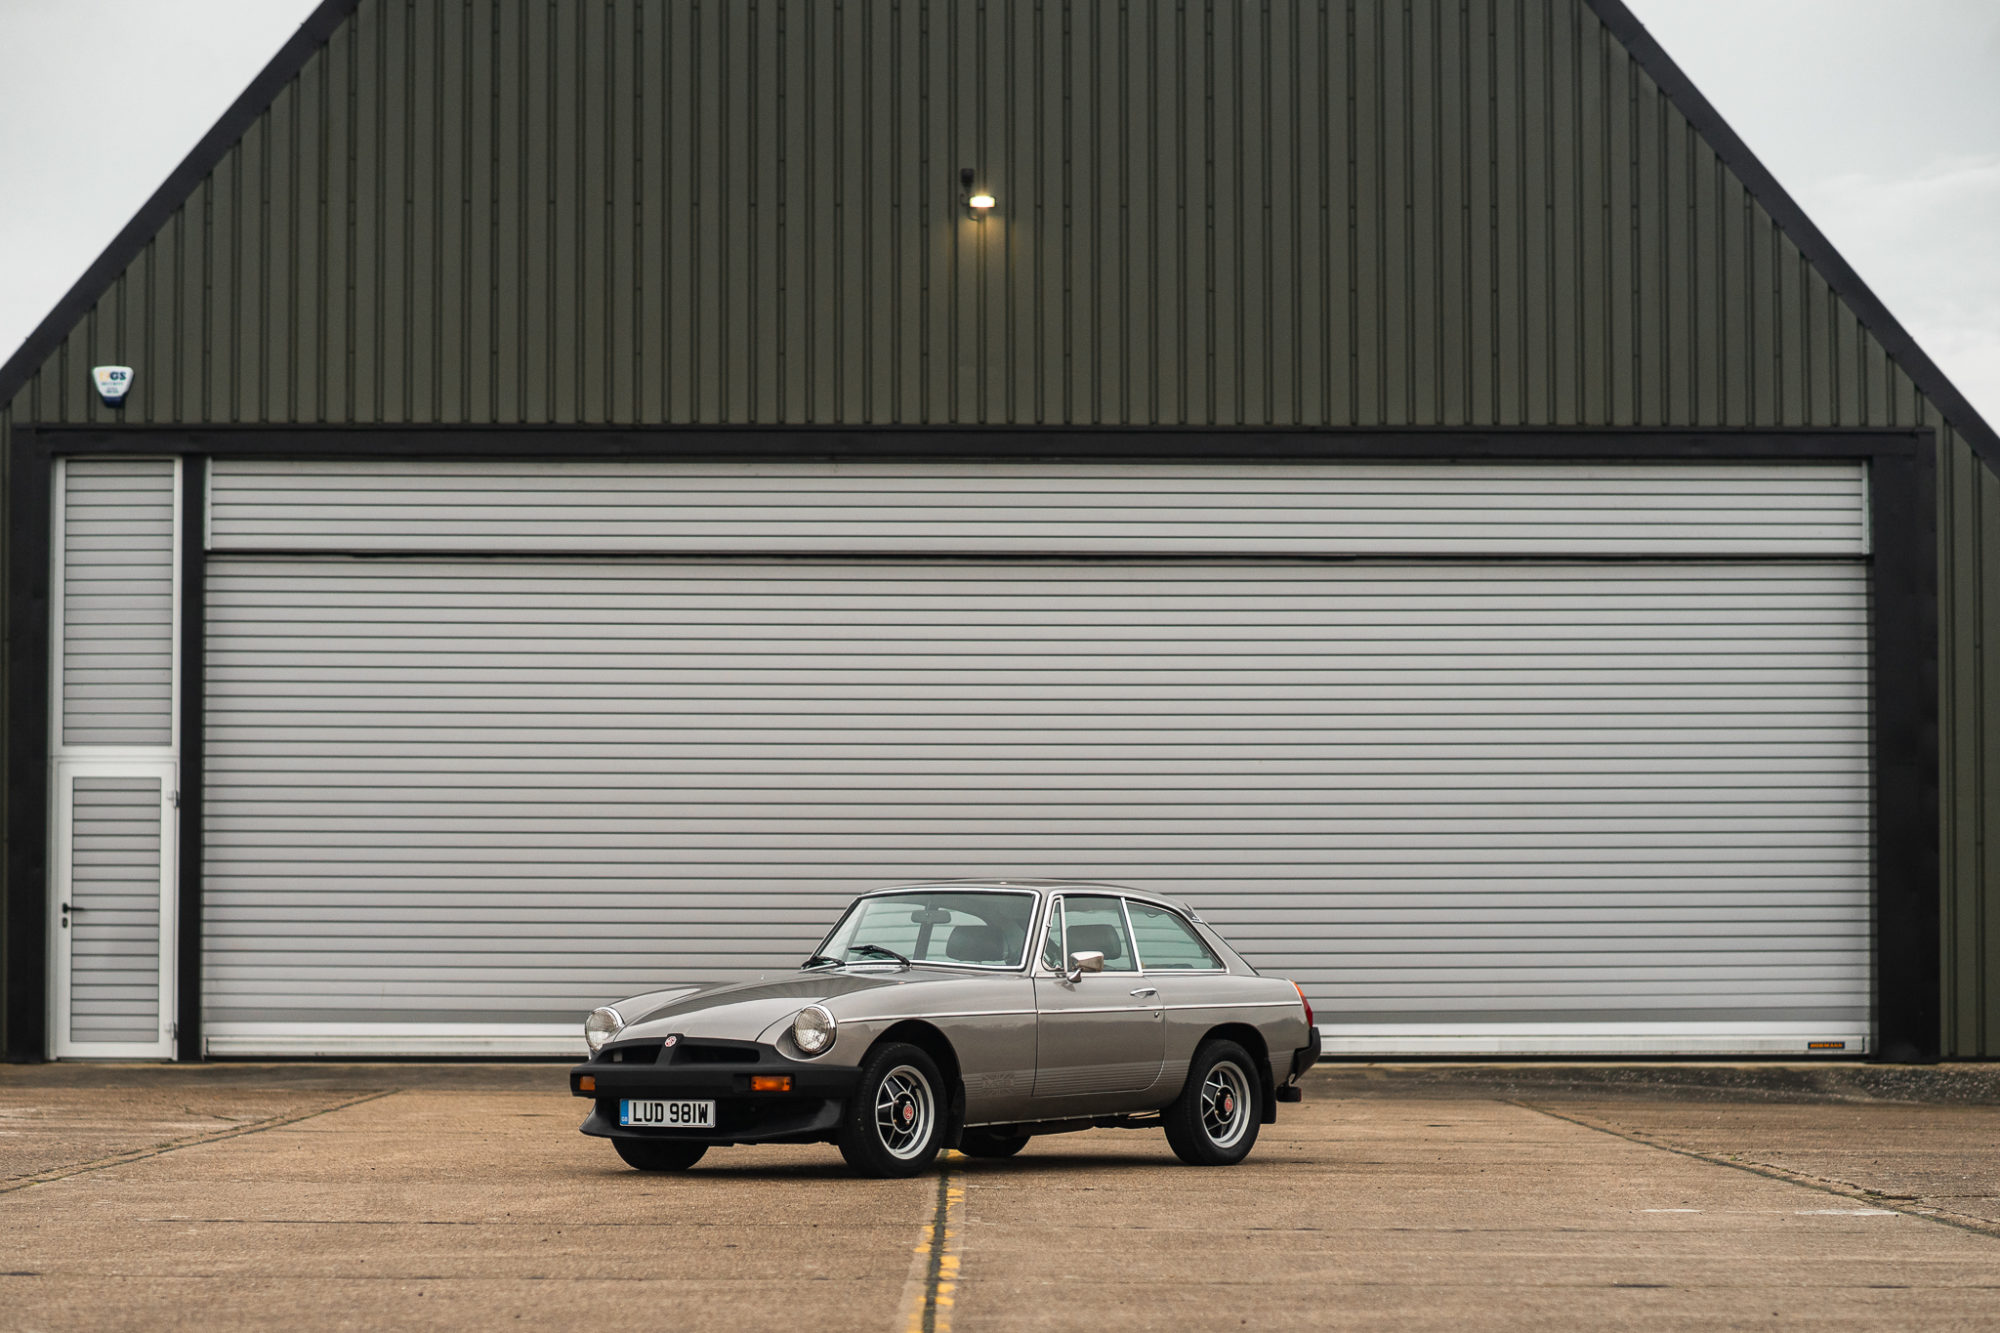
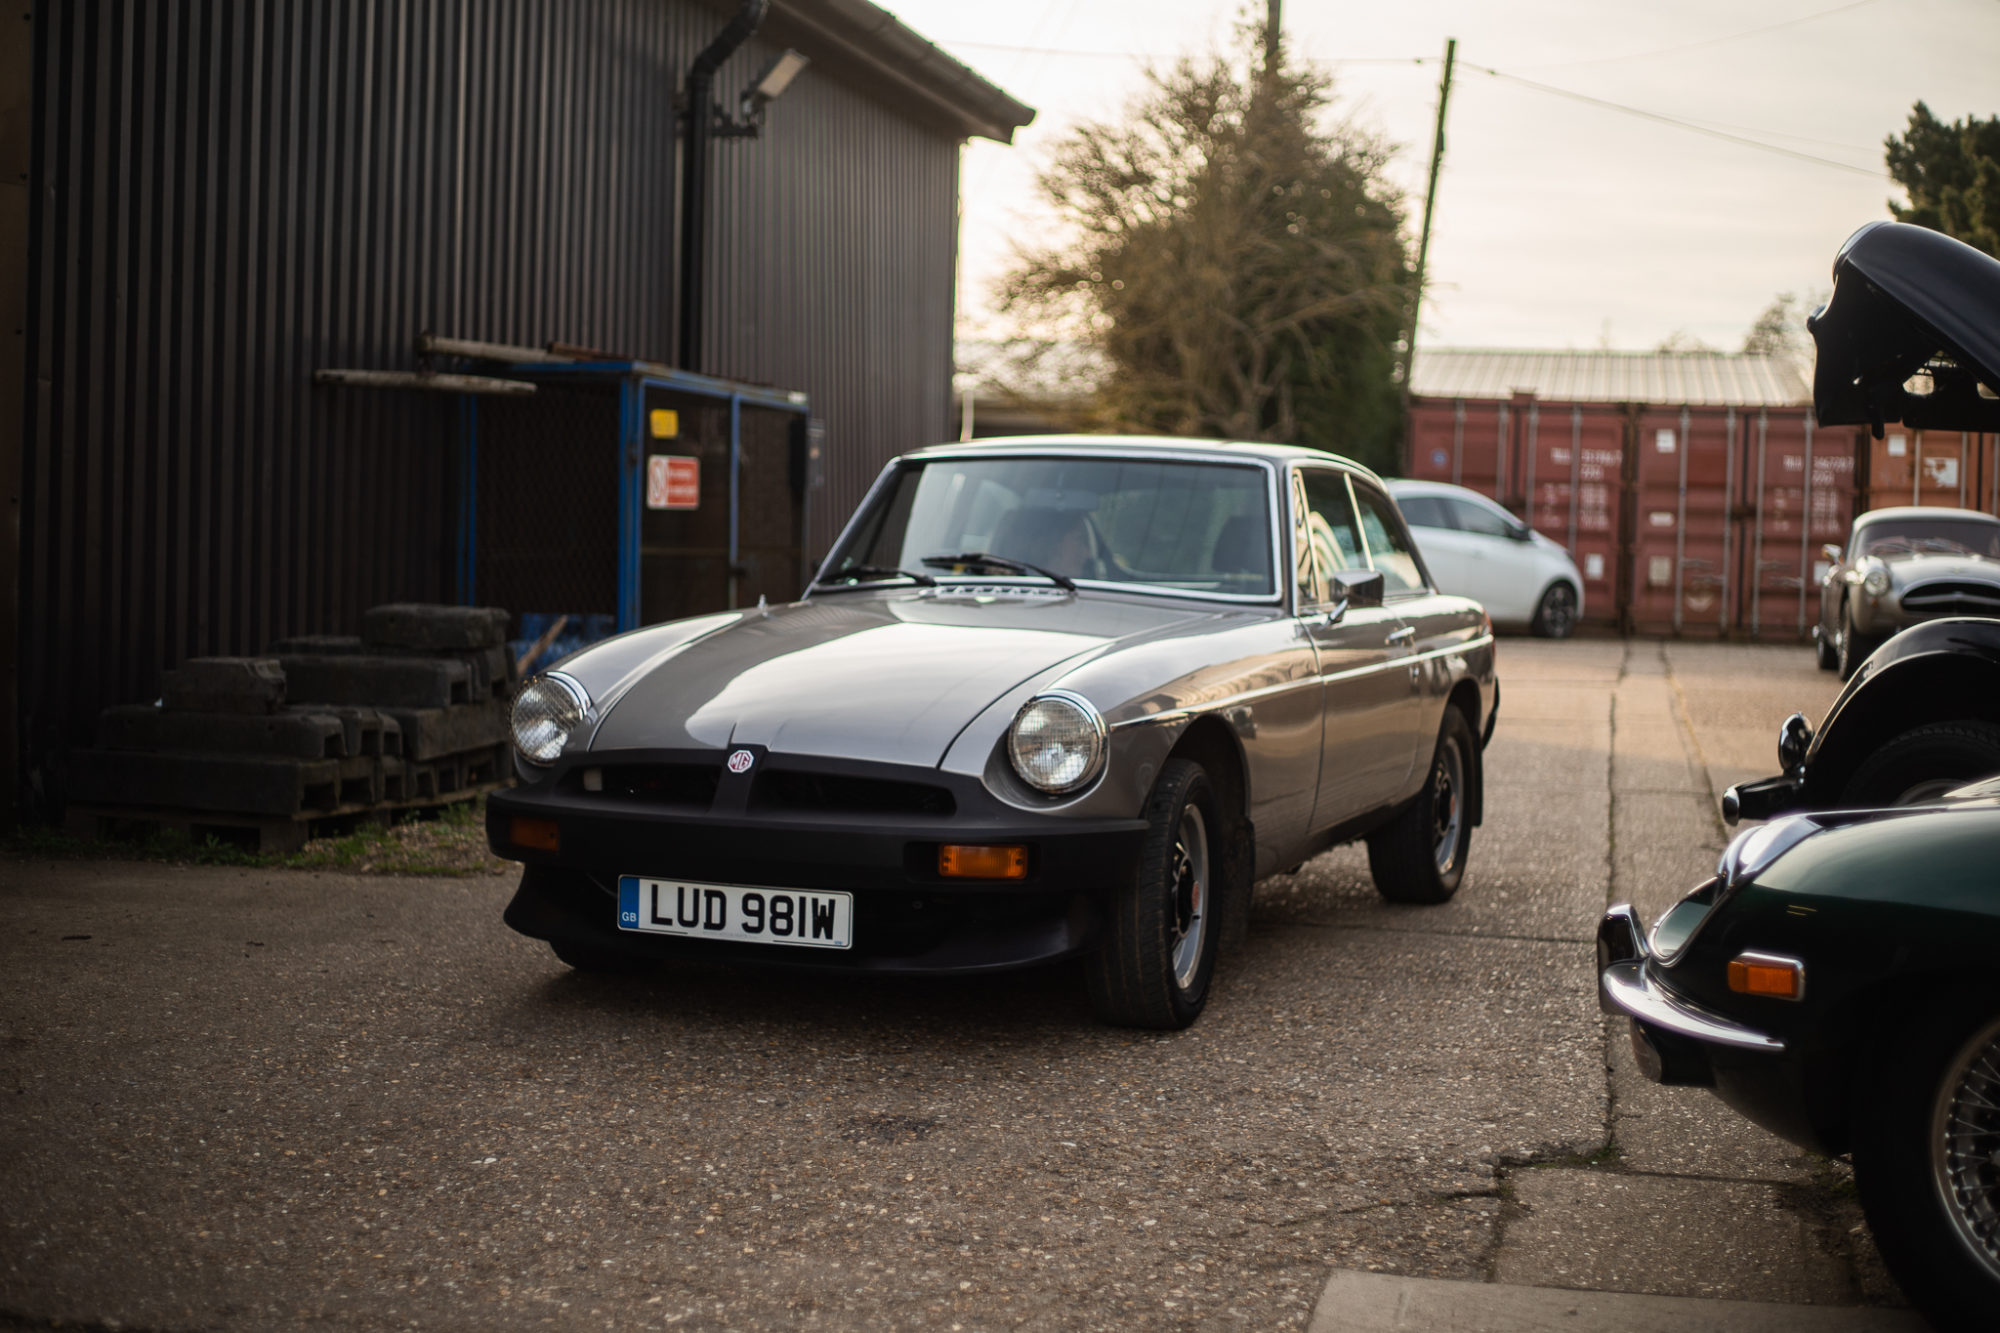
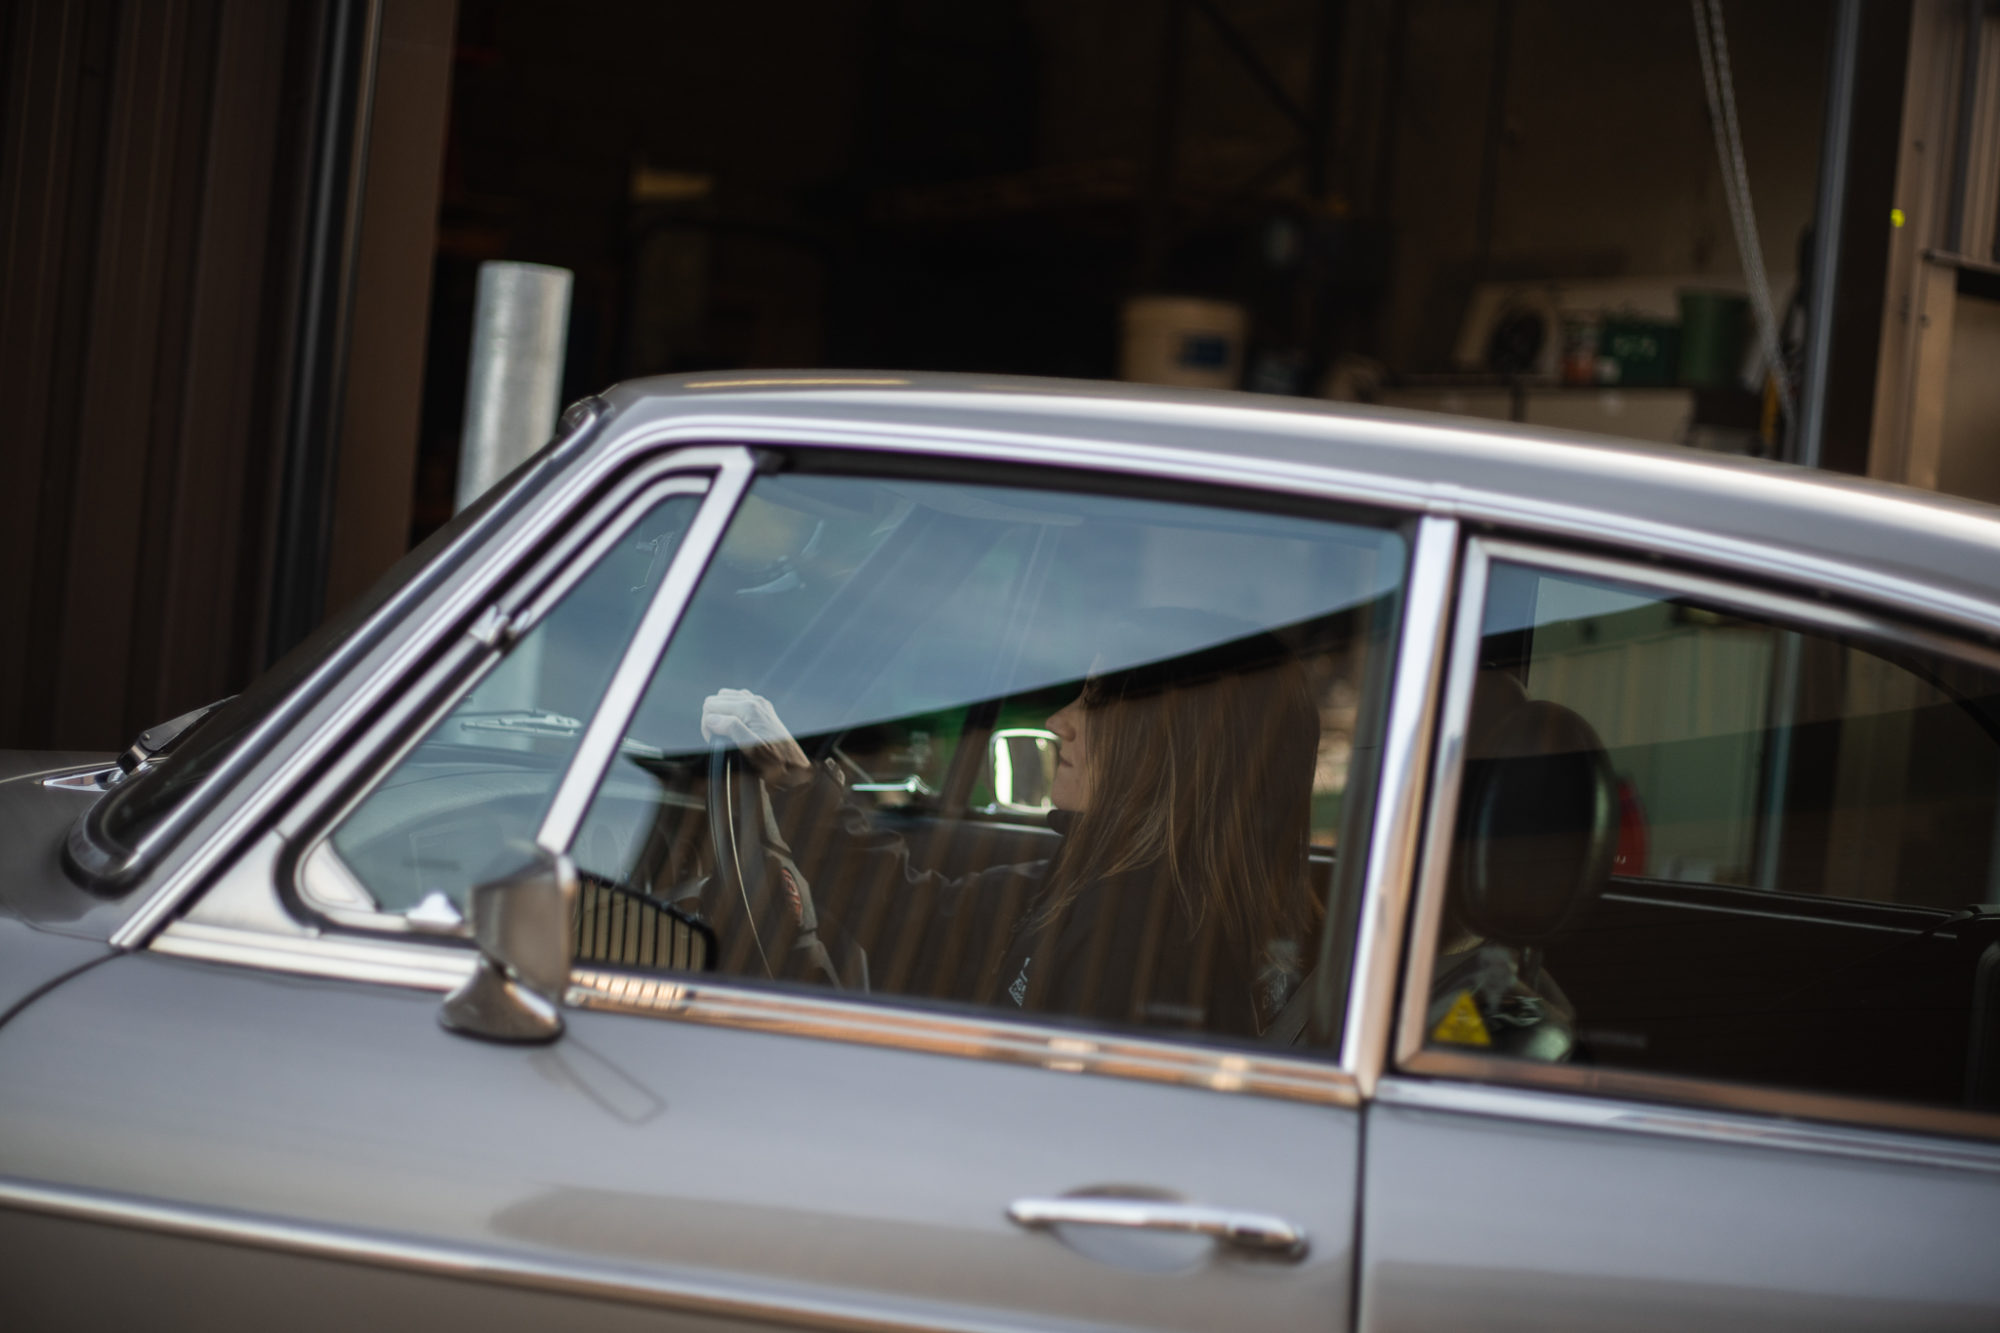
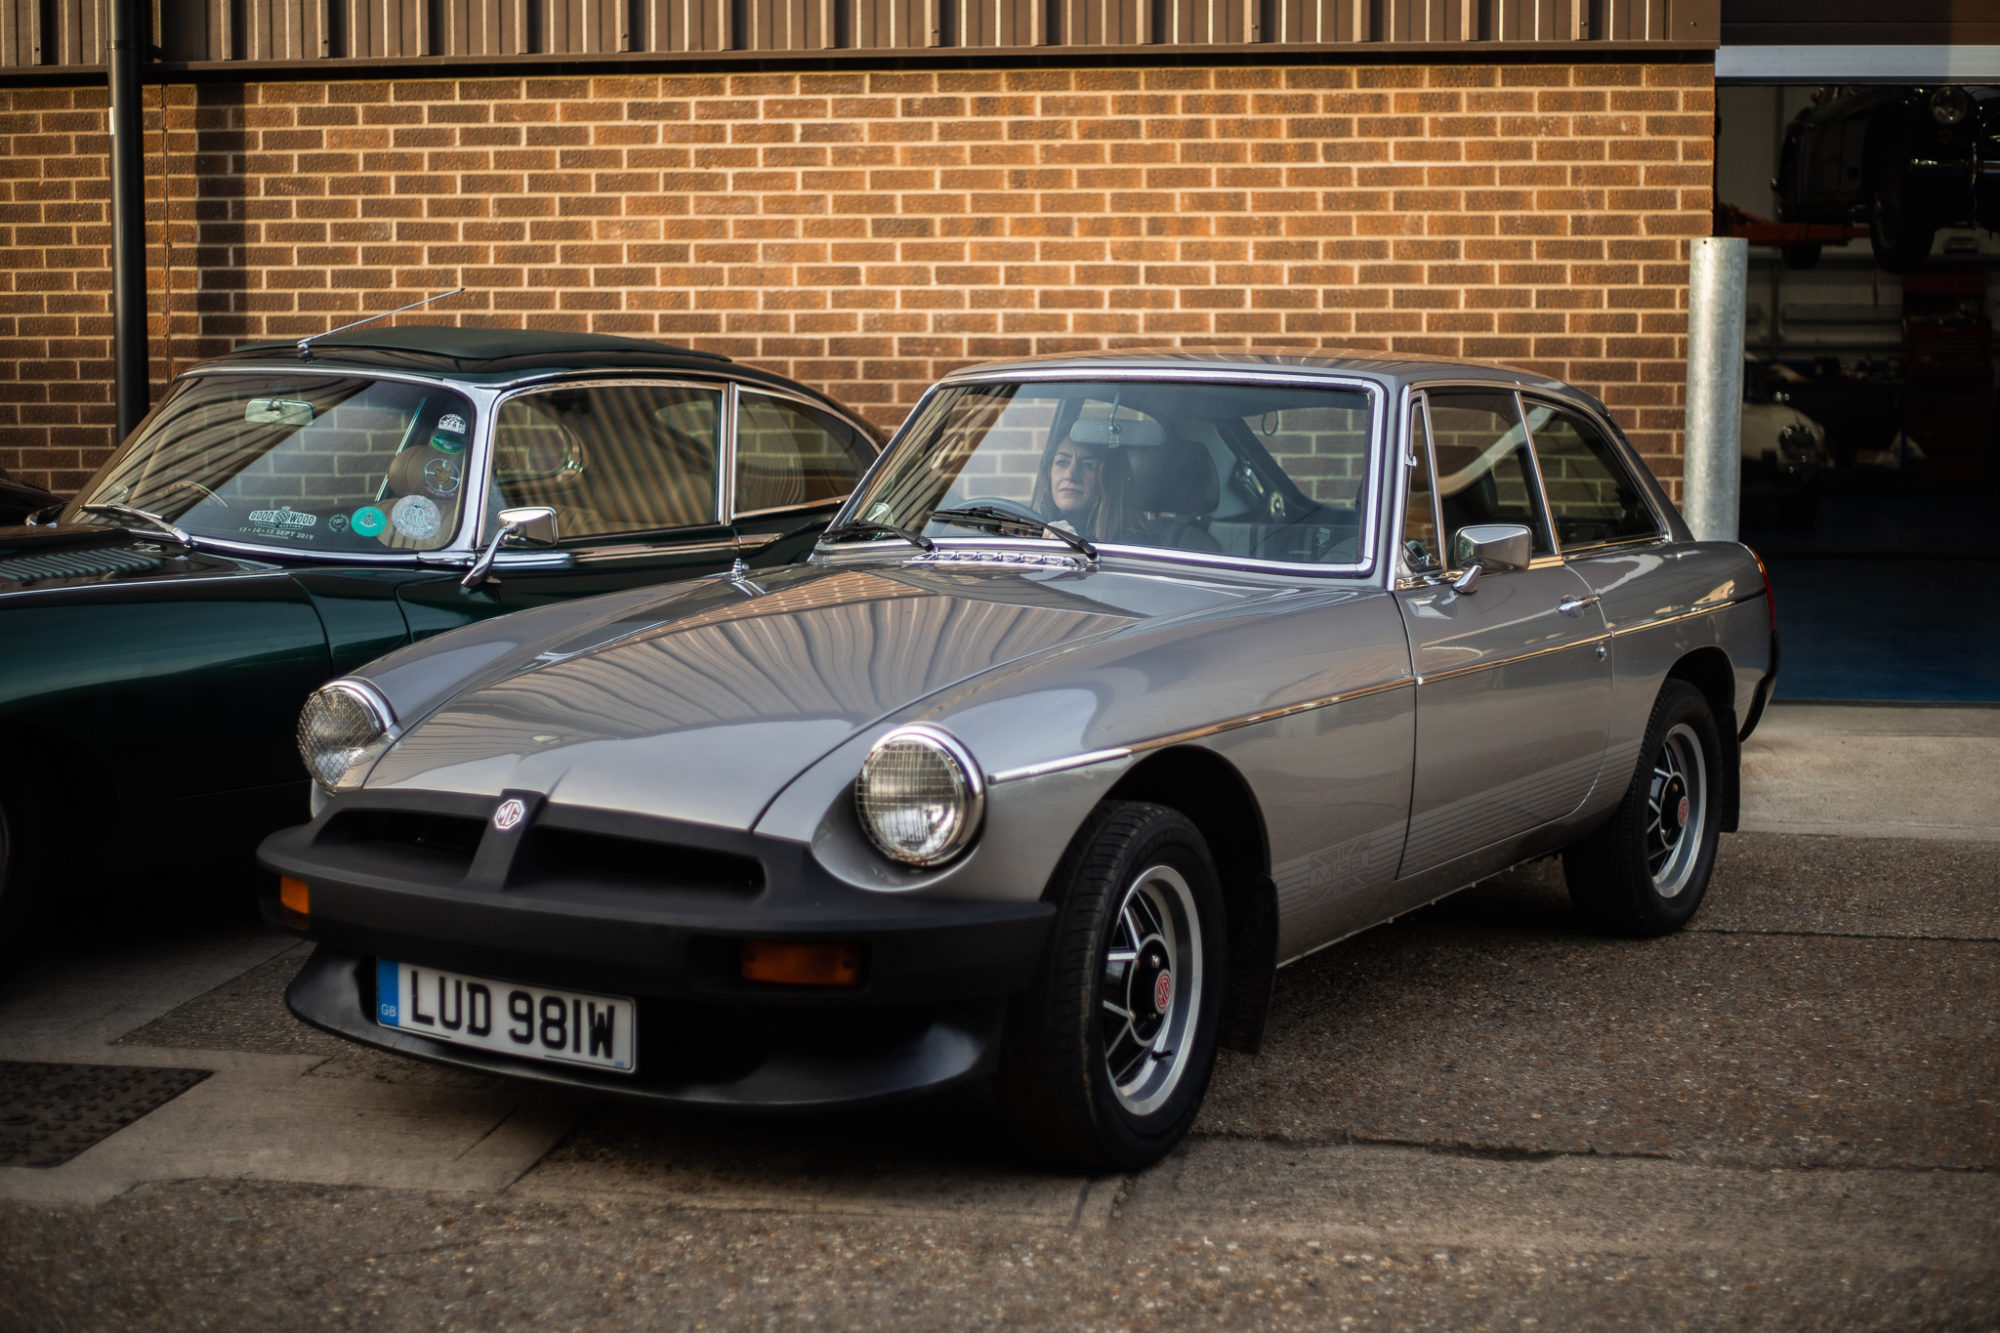
On friday, Ellie and Freddie took to Bentwaters to shoot our latest competition car, the 1981 MGB GT LE, a limited edition MGB GT. Its fast back rear and silver exterior makes for a trendy classic car.
1 of only 580 MGB GT LE’s built, this rare model was one of the final run to leave the production line before the closure of the Abingdon factory in 1980. This MGB is not only a lovable and affordable classic, but makes a great every day vehicle too.
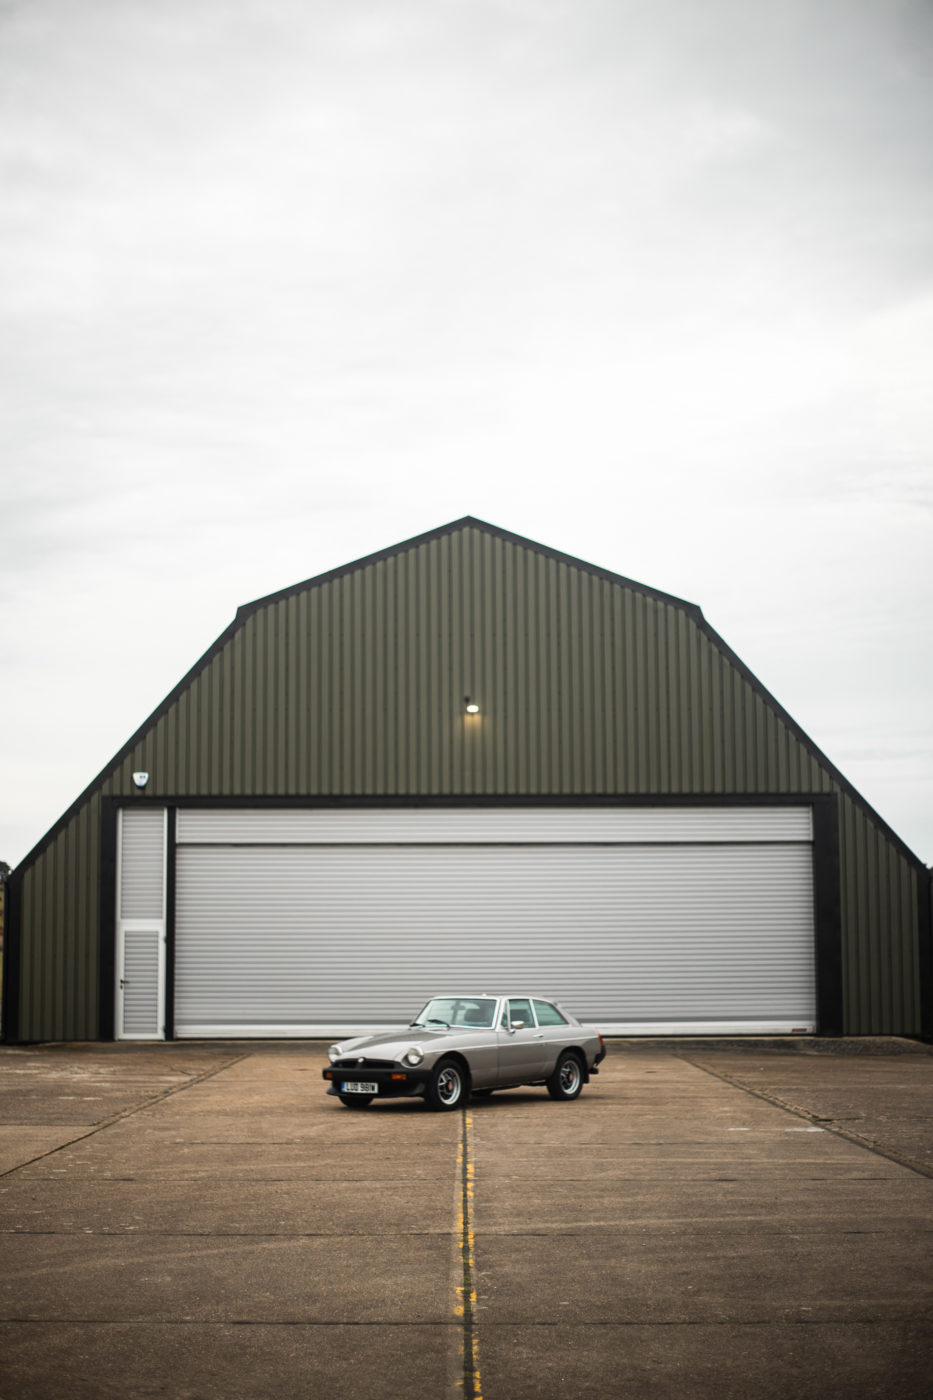
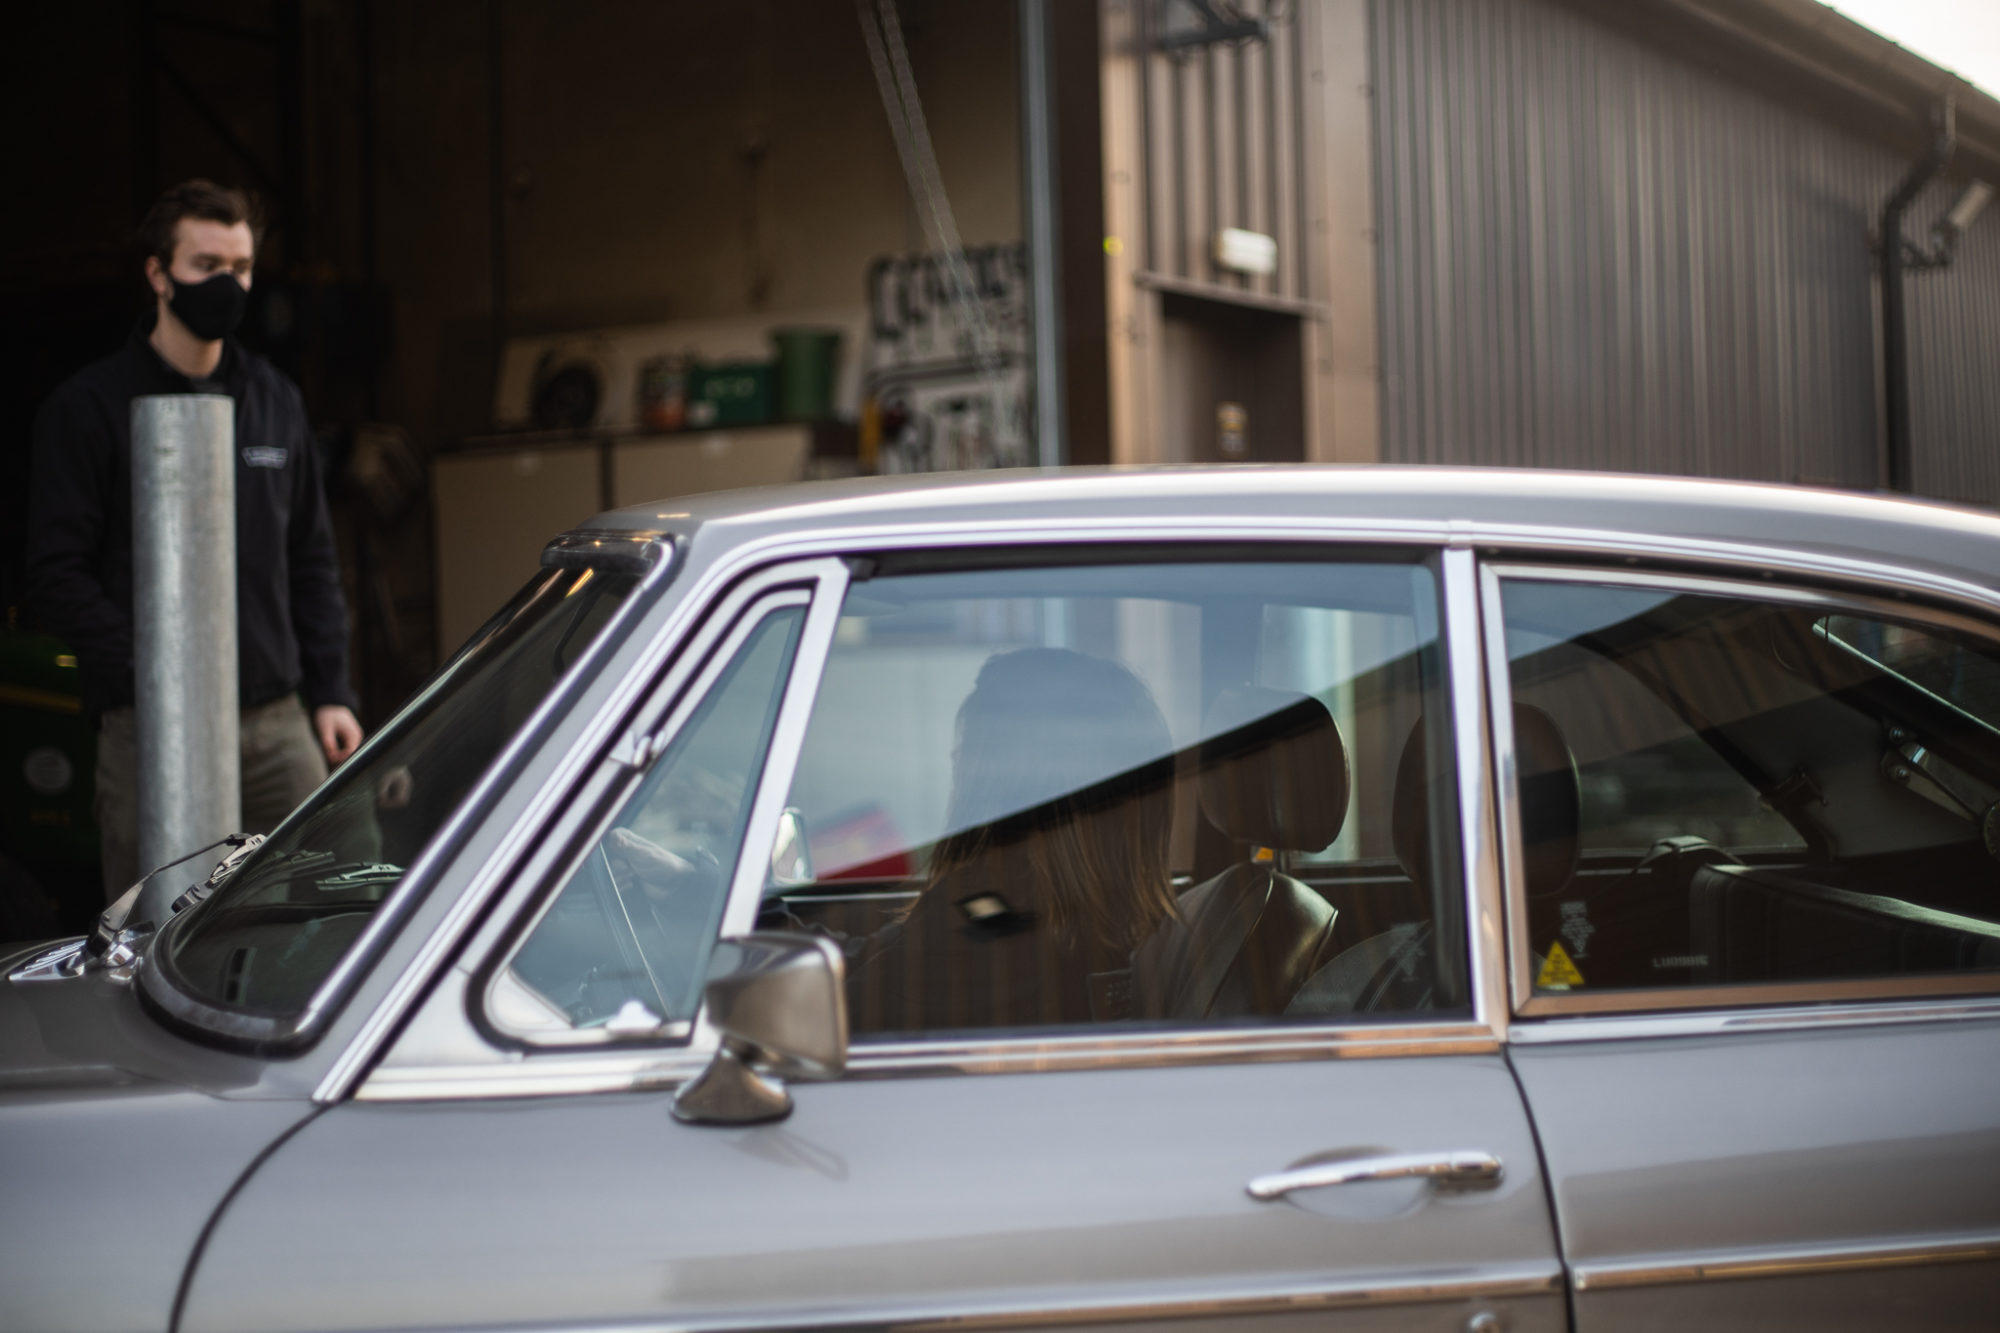
With Freddie handling the video and main visuals, Ellie worked on capturing the behind the scenes insights and artistic shots. After scouting out multiple locations across Bentwaters, the team settled on the run way after shooting some content on the access roads and by the log piles.
The MGB has had its PDI (Pre-Delivery Inspection) and only had a few small leaks which have been fixed.
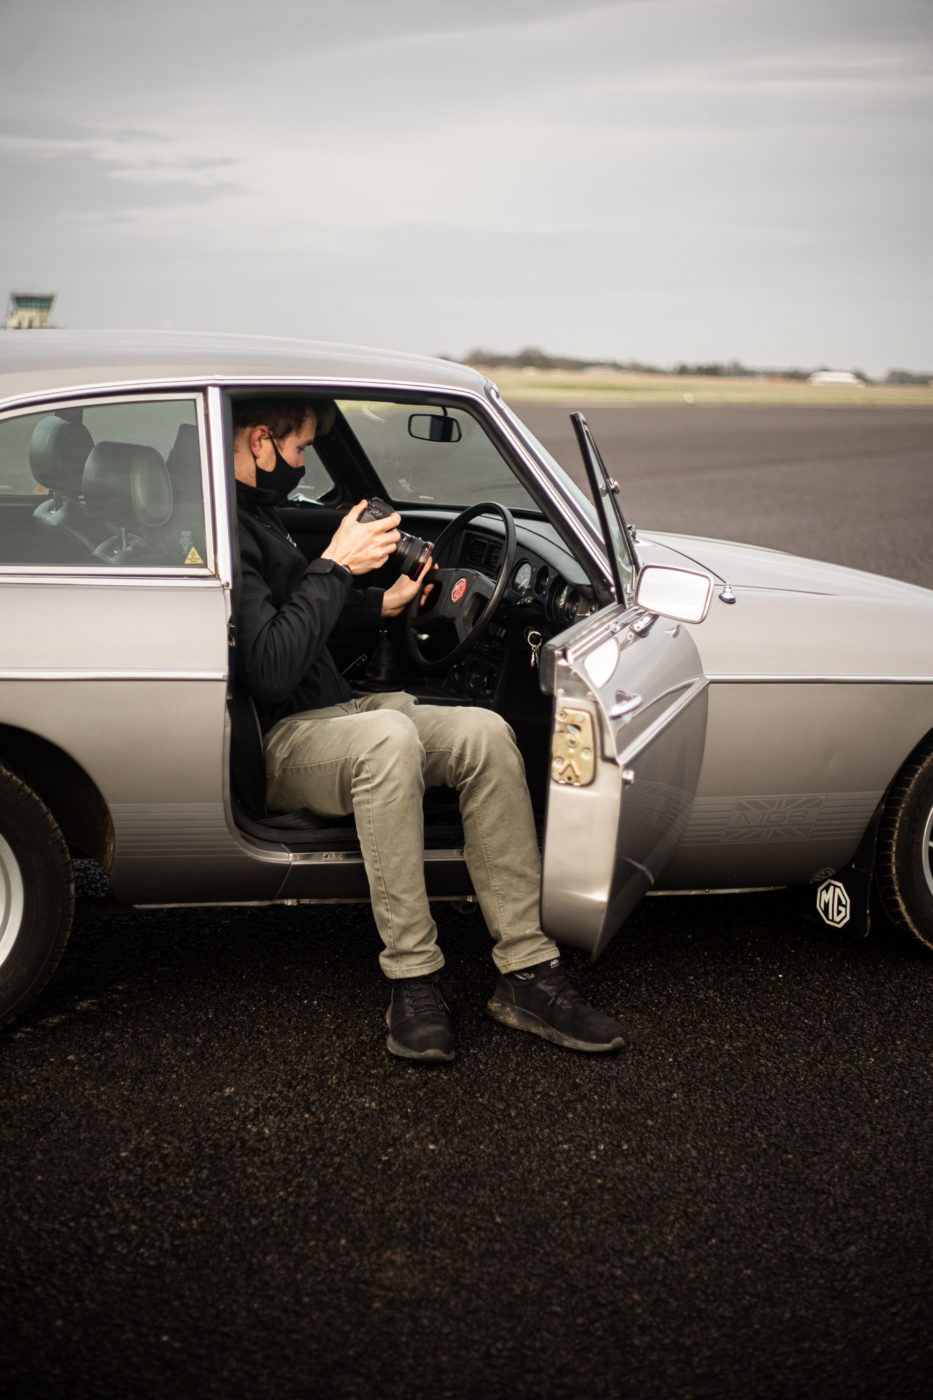
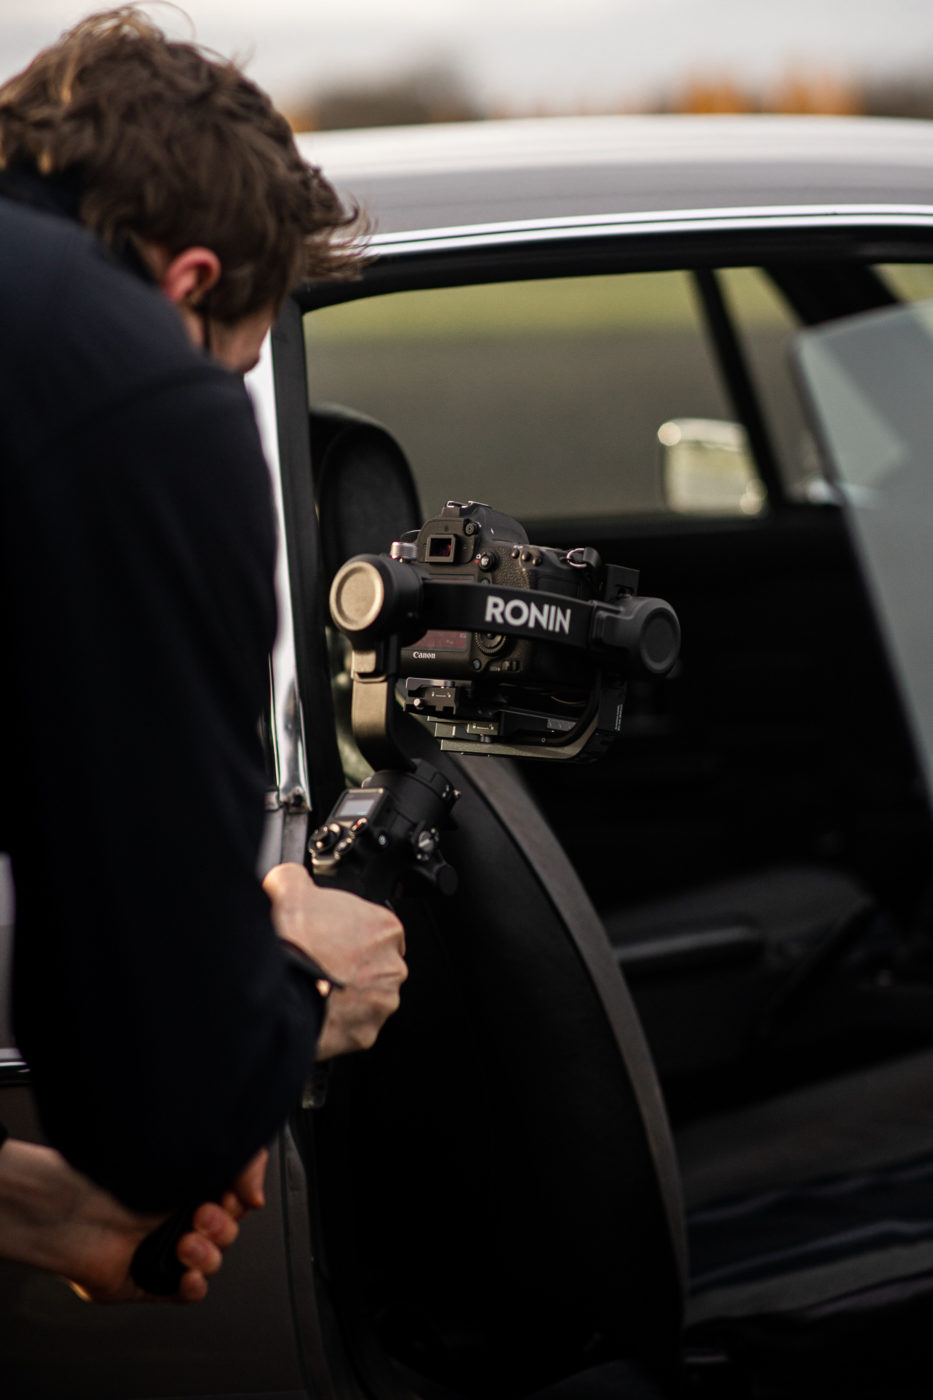

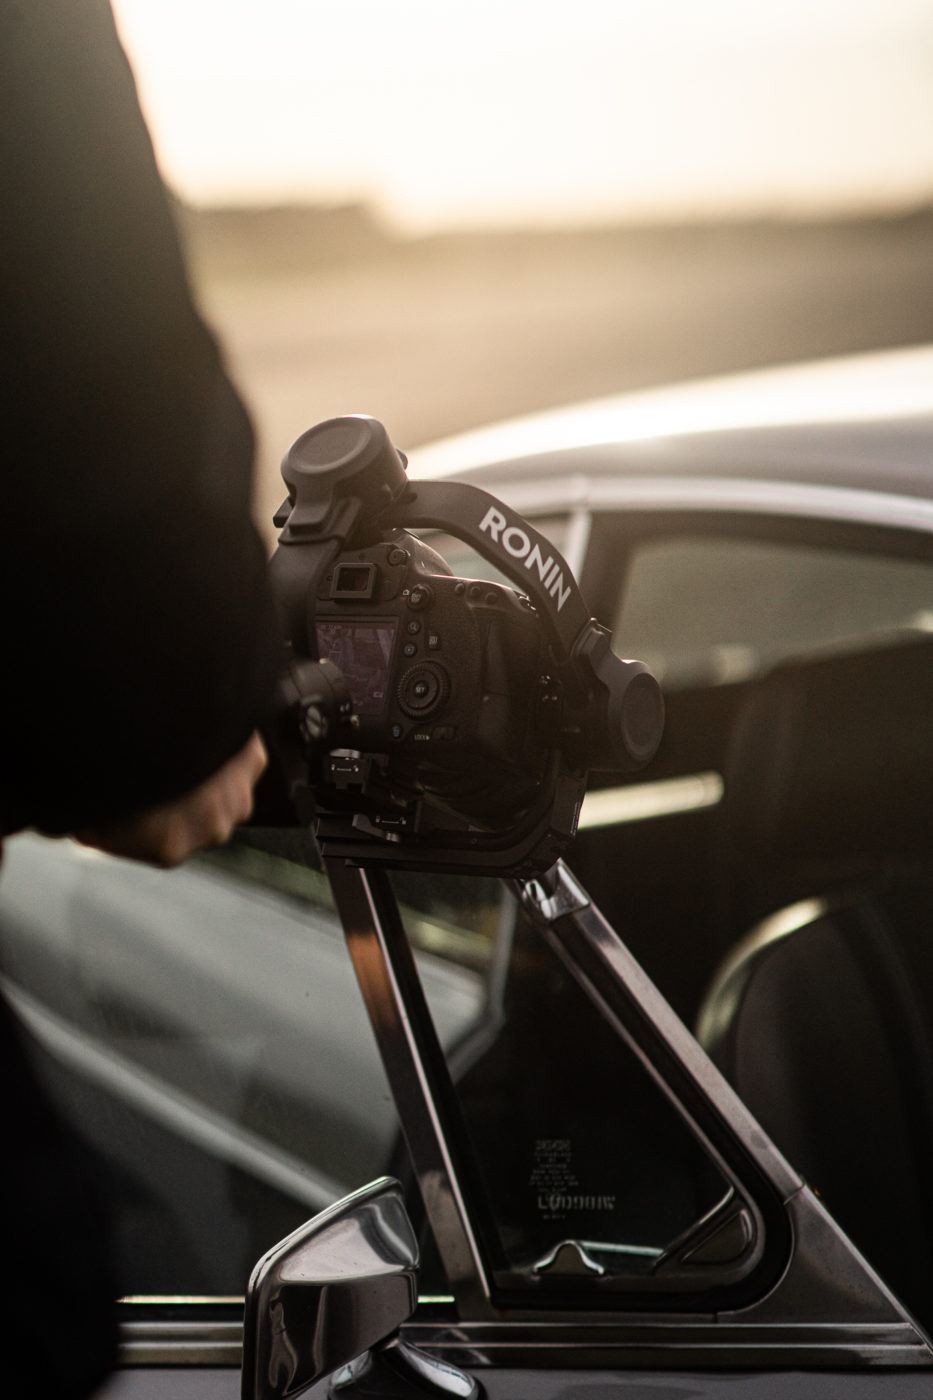
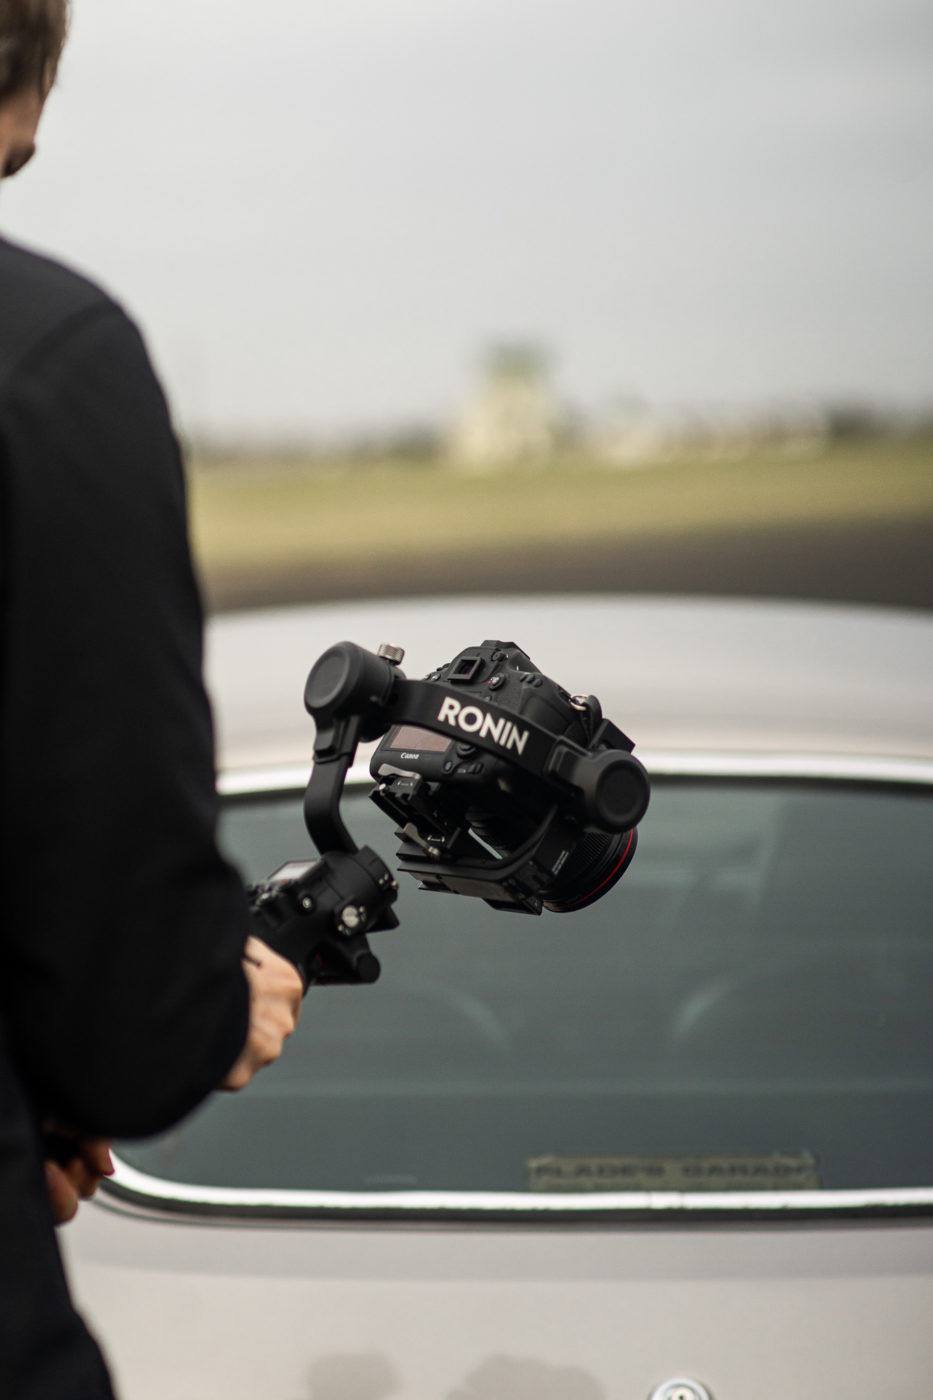
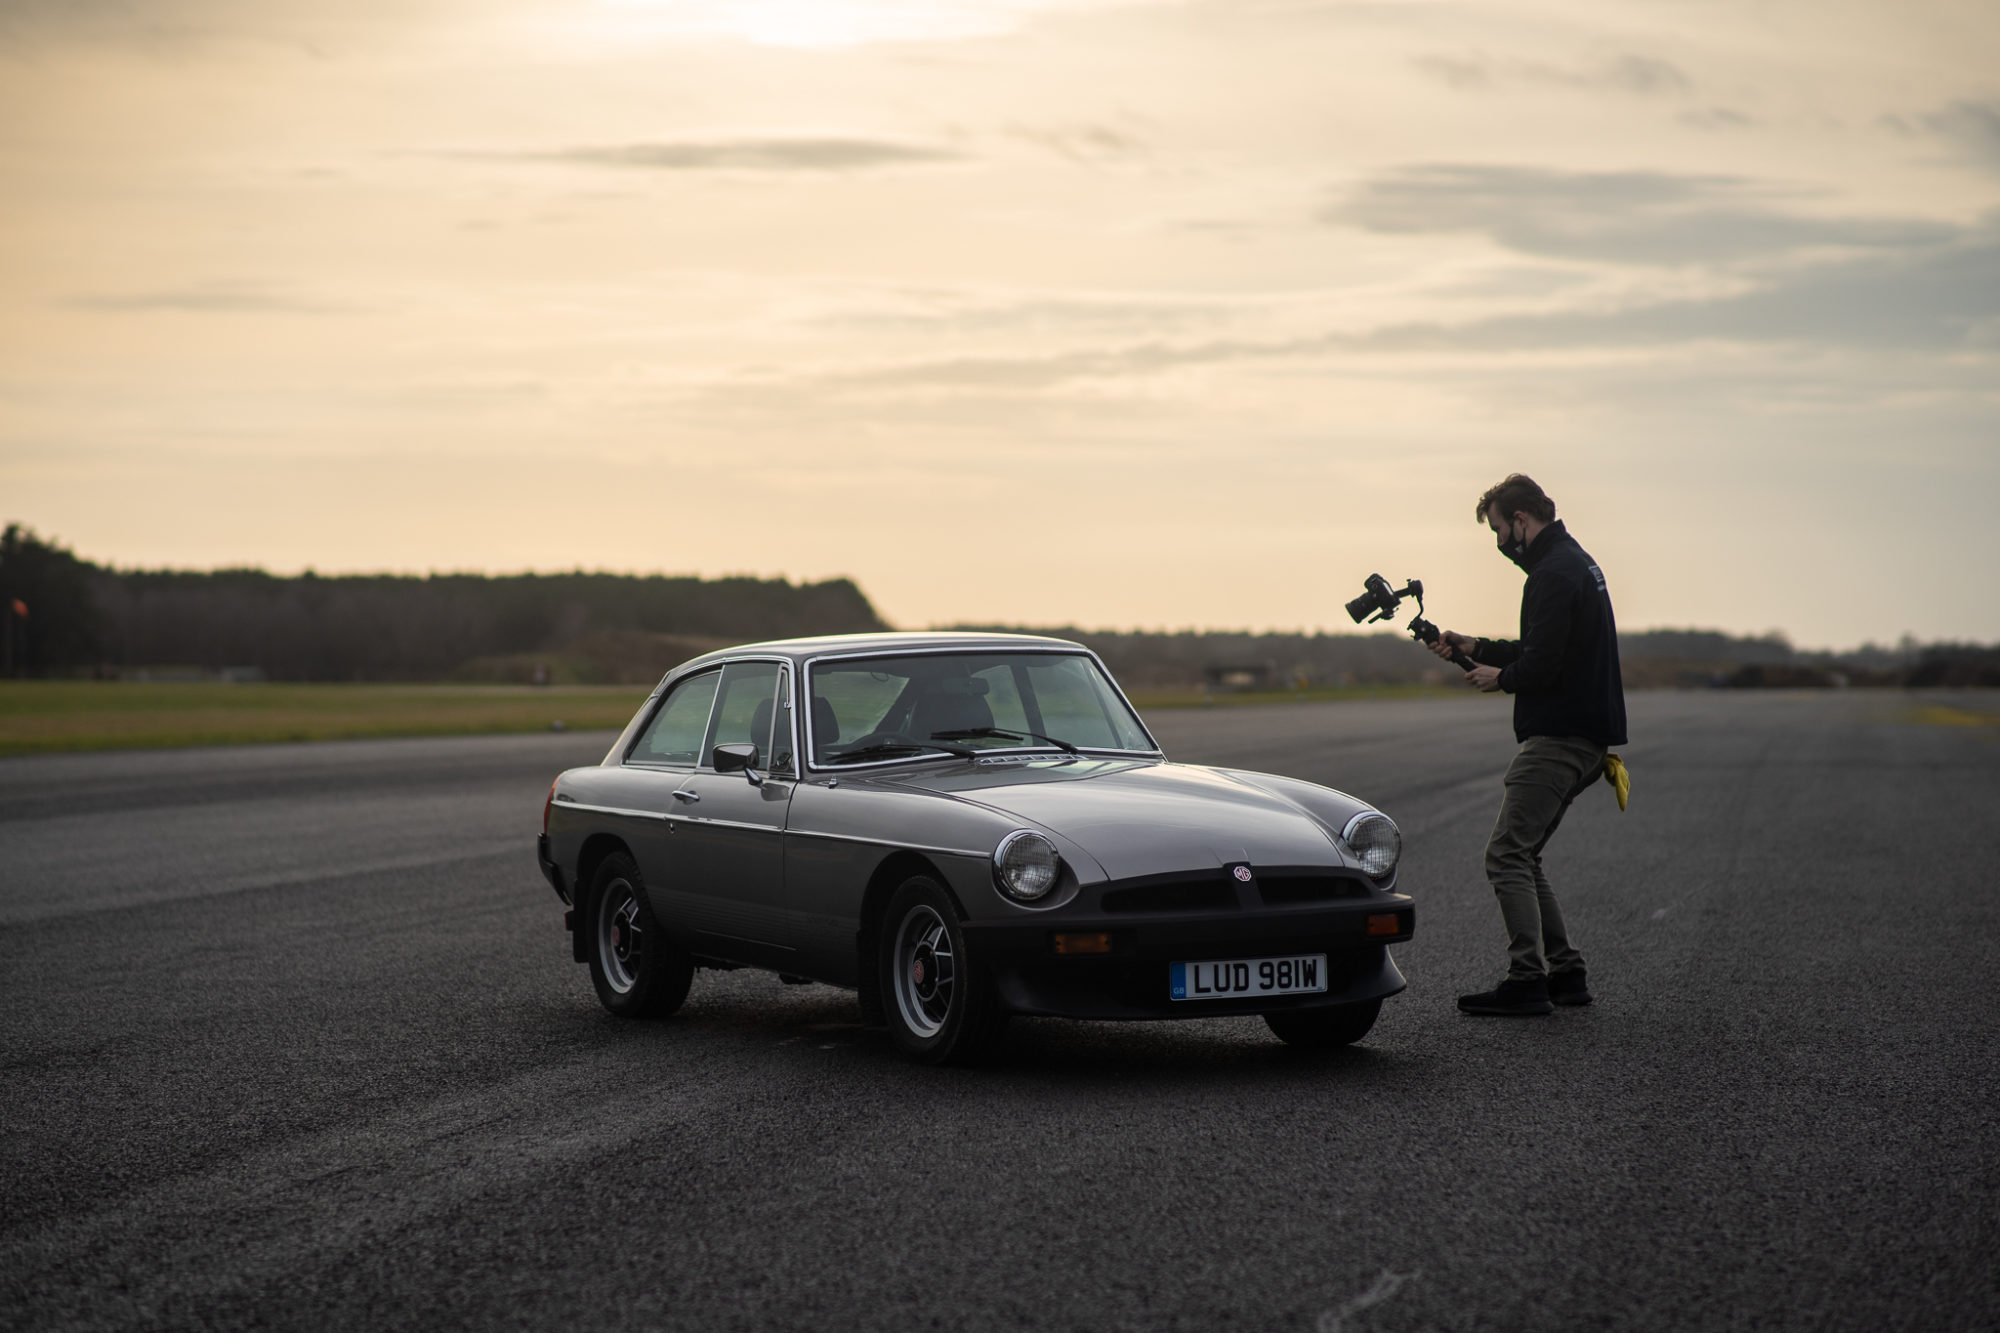
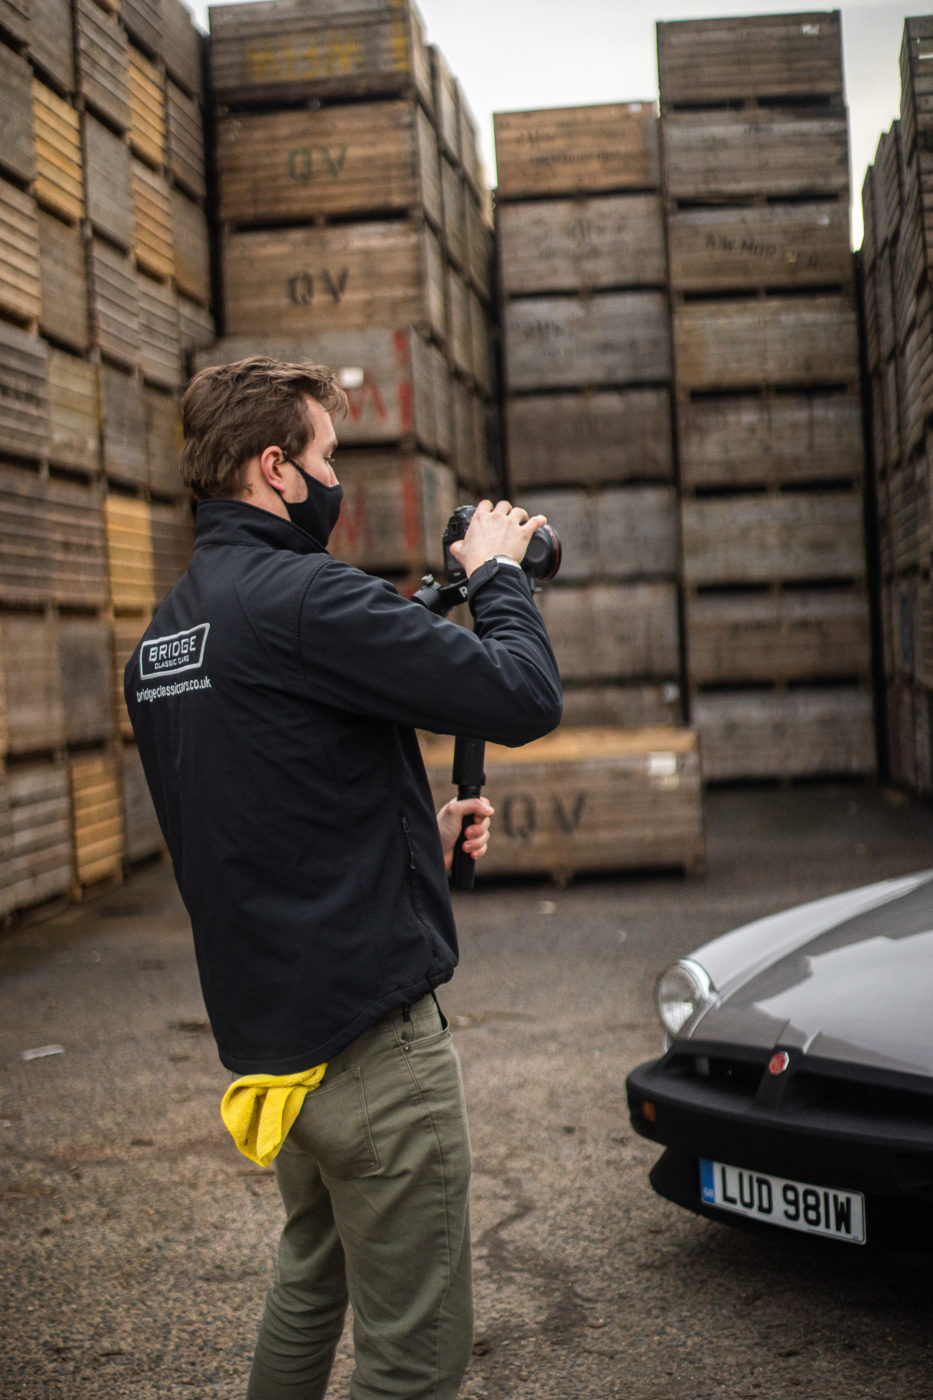
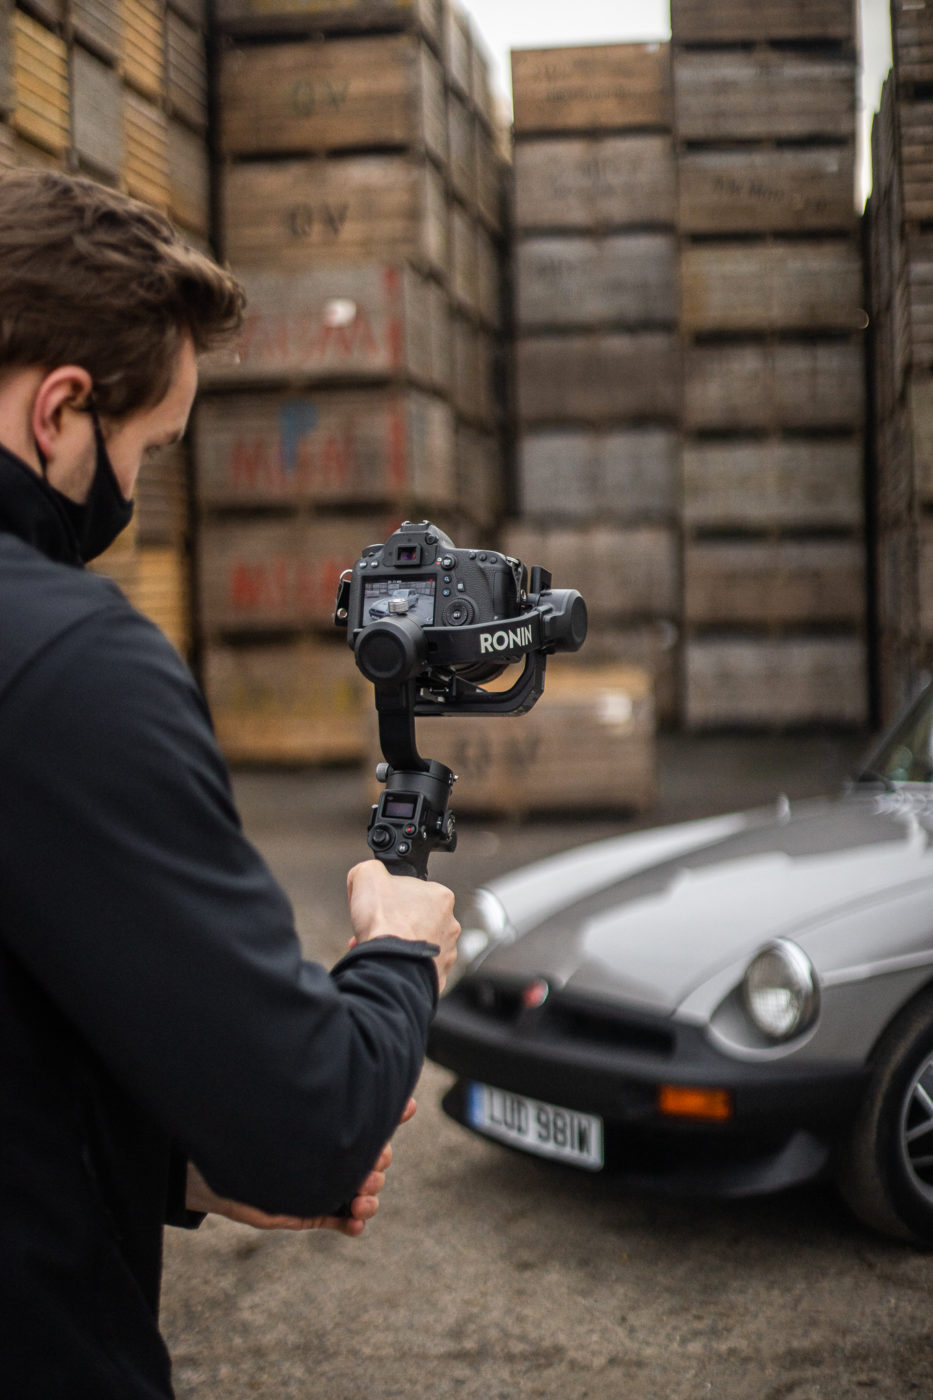
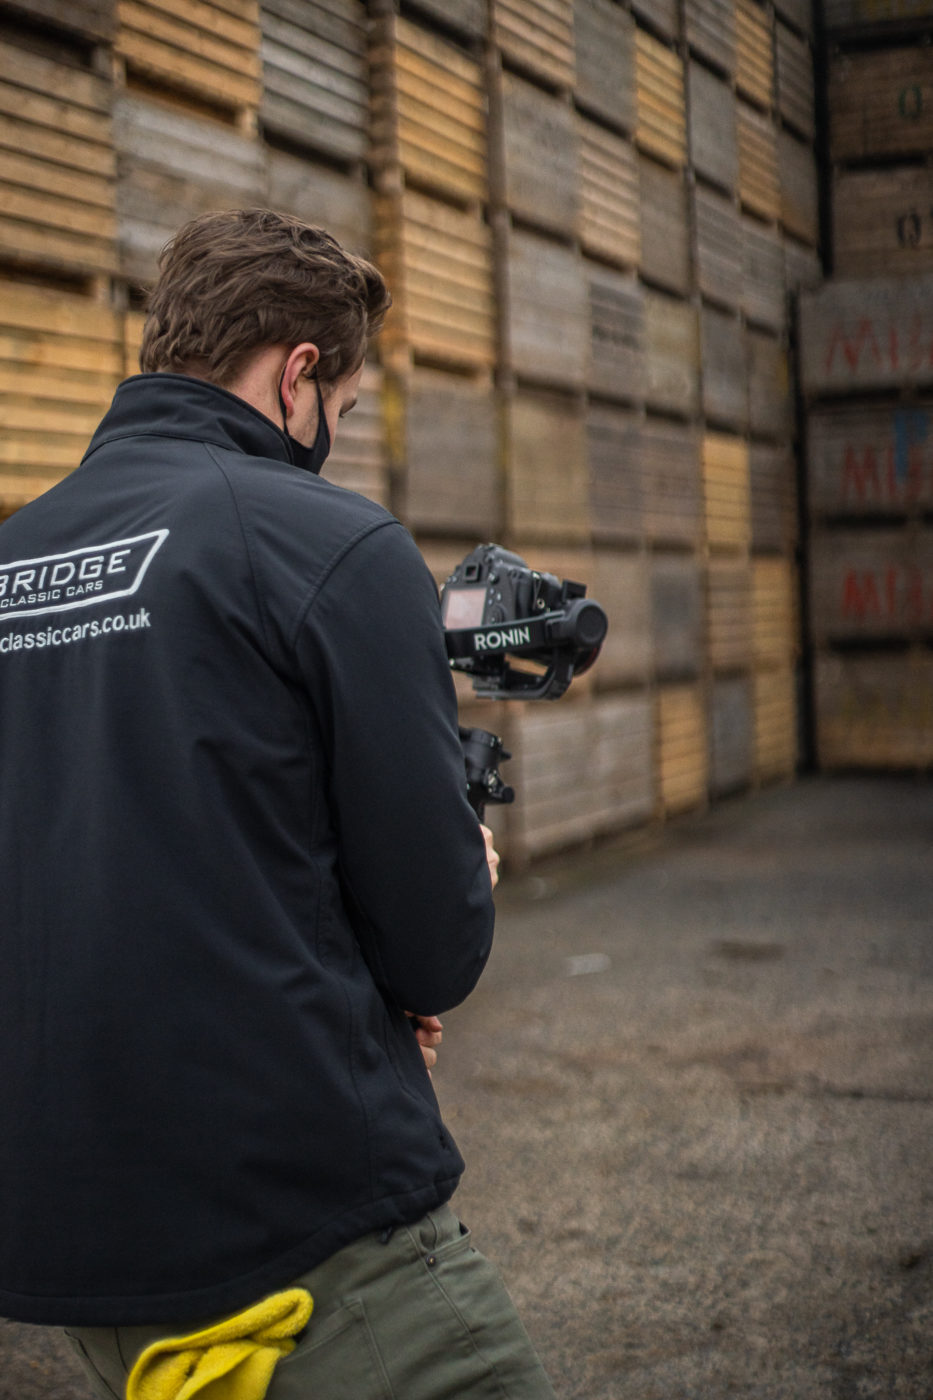

Here’s an exclusive view on some of the extra visuals shot last week…
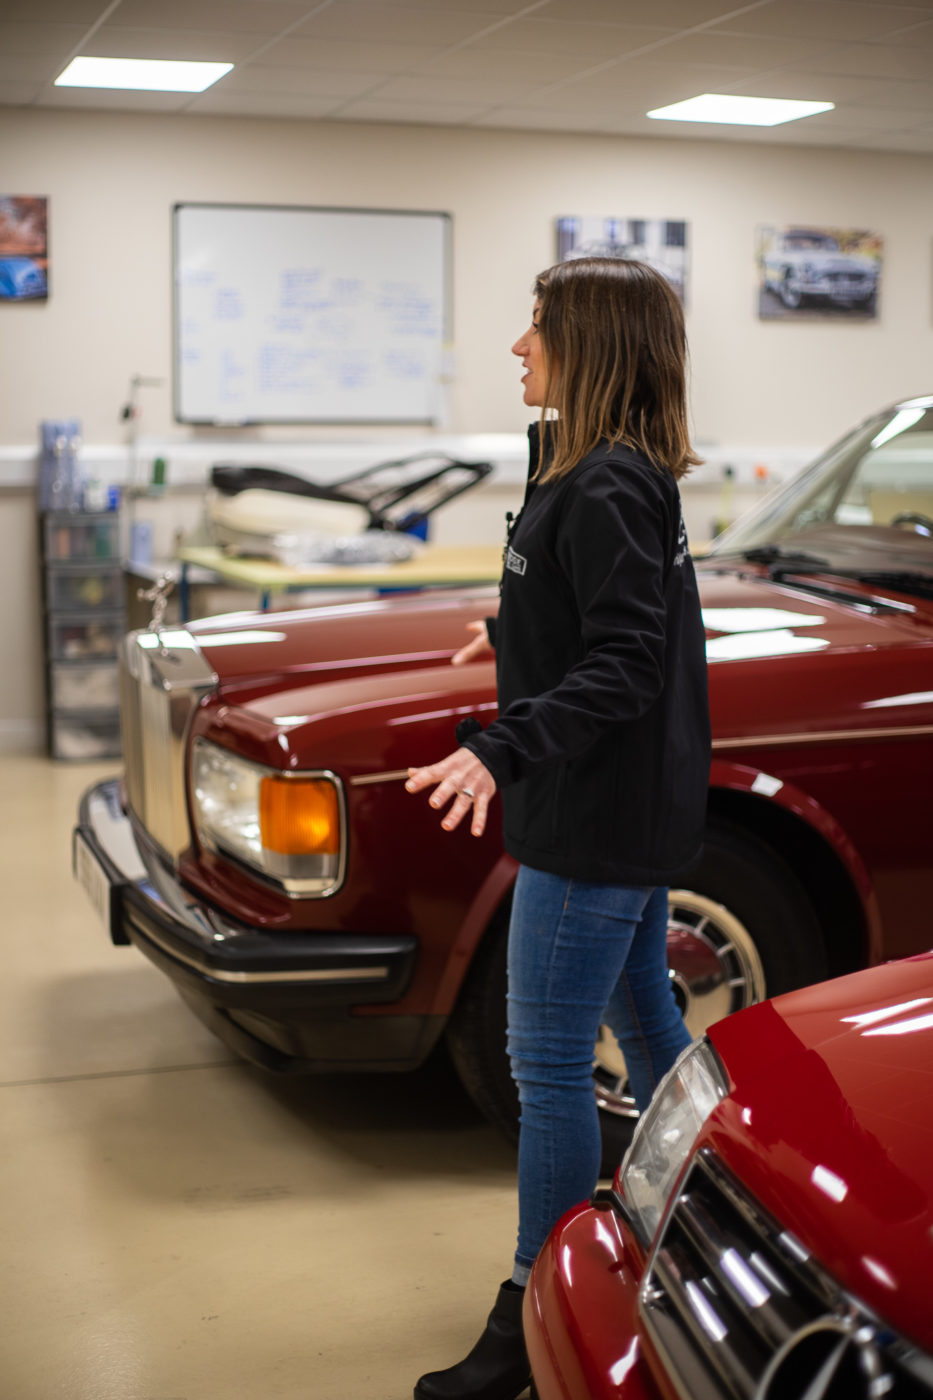
Another live draw and two more winners! Last night we announced two more winners to add to our growing collective of lucky classic car winners! Our 1996 Mercedes 320SL and 1992 Rolls Royce Silver Spirit II found their new owners during our live draw that we hosted at our HQ in Pettistree.
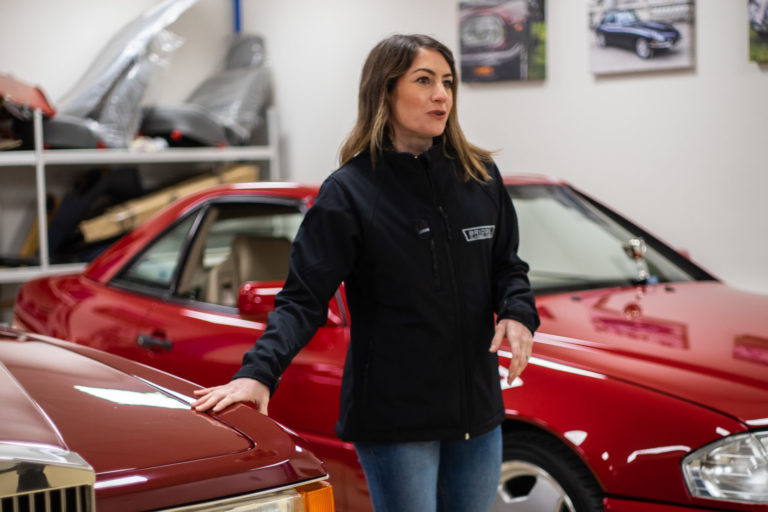
Charlotte and Craig took us around the workshops to show off our current restoration projects and upcoming vehicles. With lots of exciting cars soon to be released, the live draw was jam-packed with exclusive news.
A big congratulations to Russ Warman who won our classic Rolls Royce with his lucky ticket number 499 and Steven Lambe who won the characterful Mercedes with his ticket number 950!
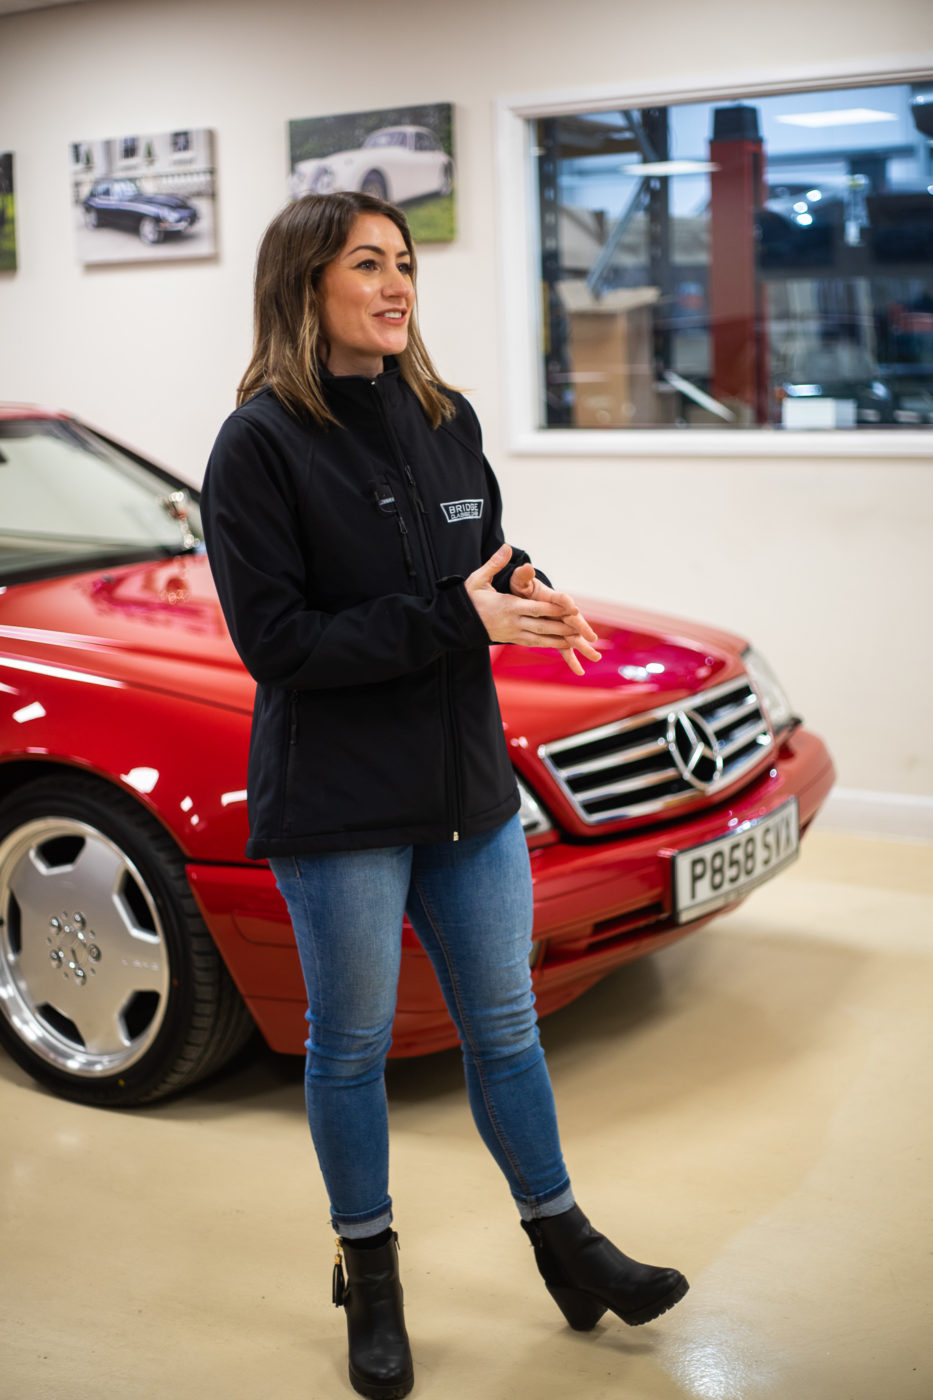


Charlotte also helped us move the cars around before the draw and had a go in our MGB GT LE, which she agreed is a pleasant drive! Keep an eye out for the release of our MGB, which is set to be our next competition car.

Our success has been recognised by industry professionals, having recently been named Classic Car Restoration Specialists of the Year at the London and South East Prestige awards from Corporate LiveWire.
The judges were impressed with your team’s personal touch, consistency of reviews and overall attentiveness. The passion for what you do really comes across and I hope this achievement brings more success in 2021. I will highlight all the information and if you need anything else at all just let me know.
The Corporate Livewire London & South East Prestige Awards 2020/21 recognise small and medium-sized businesses that have proven to be the best in their market over the past 12 months.

We have also been awarded both Best Classic Vehicle Restoration and Maintenance Company and Innovation in Automotive Marketing 2020 at Corporate Vision’s Global Automotive Awards.
We would like to thank you, the classic car community reading this. Our successes are nothing without this community. We are so immensely proud of the wonderful group of enthusiasts we have following our journey and it is with great excitement we anticipate the re-introduction of in-person meetings. But until we meet again, we hope you all stay safe, stay well and we look forward to a brighter future.
“The quality will remain long after the price is forgotten.” – Henry Royce
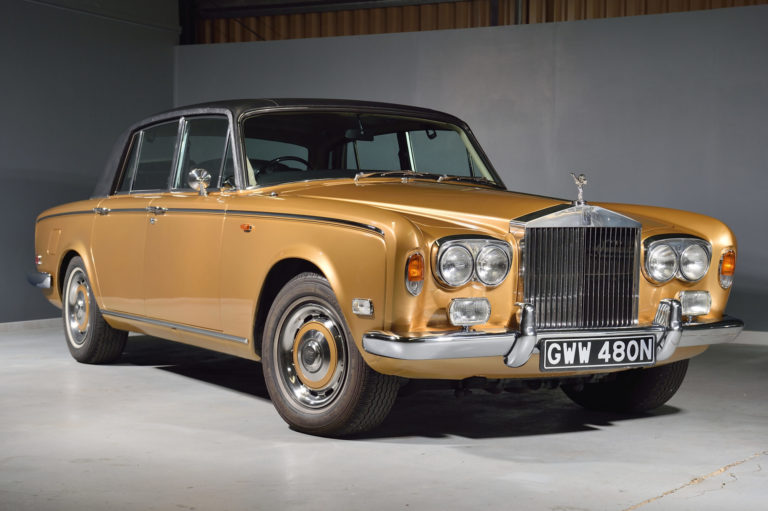
Nothing quite says luxury like a golden Rolls Royce. A timeless classic, oozing with nobility and class, this 1974 Rolls-Royce Silver Shadow I left our doors just over a year ago. Its proud new owner, Michael, has been enjoying cruising around in his beloved Rolls Royce, documenting his travels on Instagram.
With just a service and a small neaten up from the workshop, this stunning gold motor was in perfect condition when we sold it on behalf of a client in February 2020.

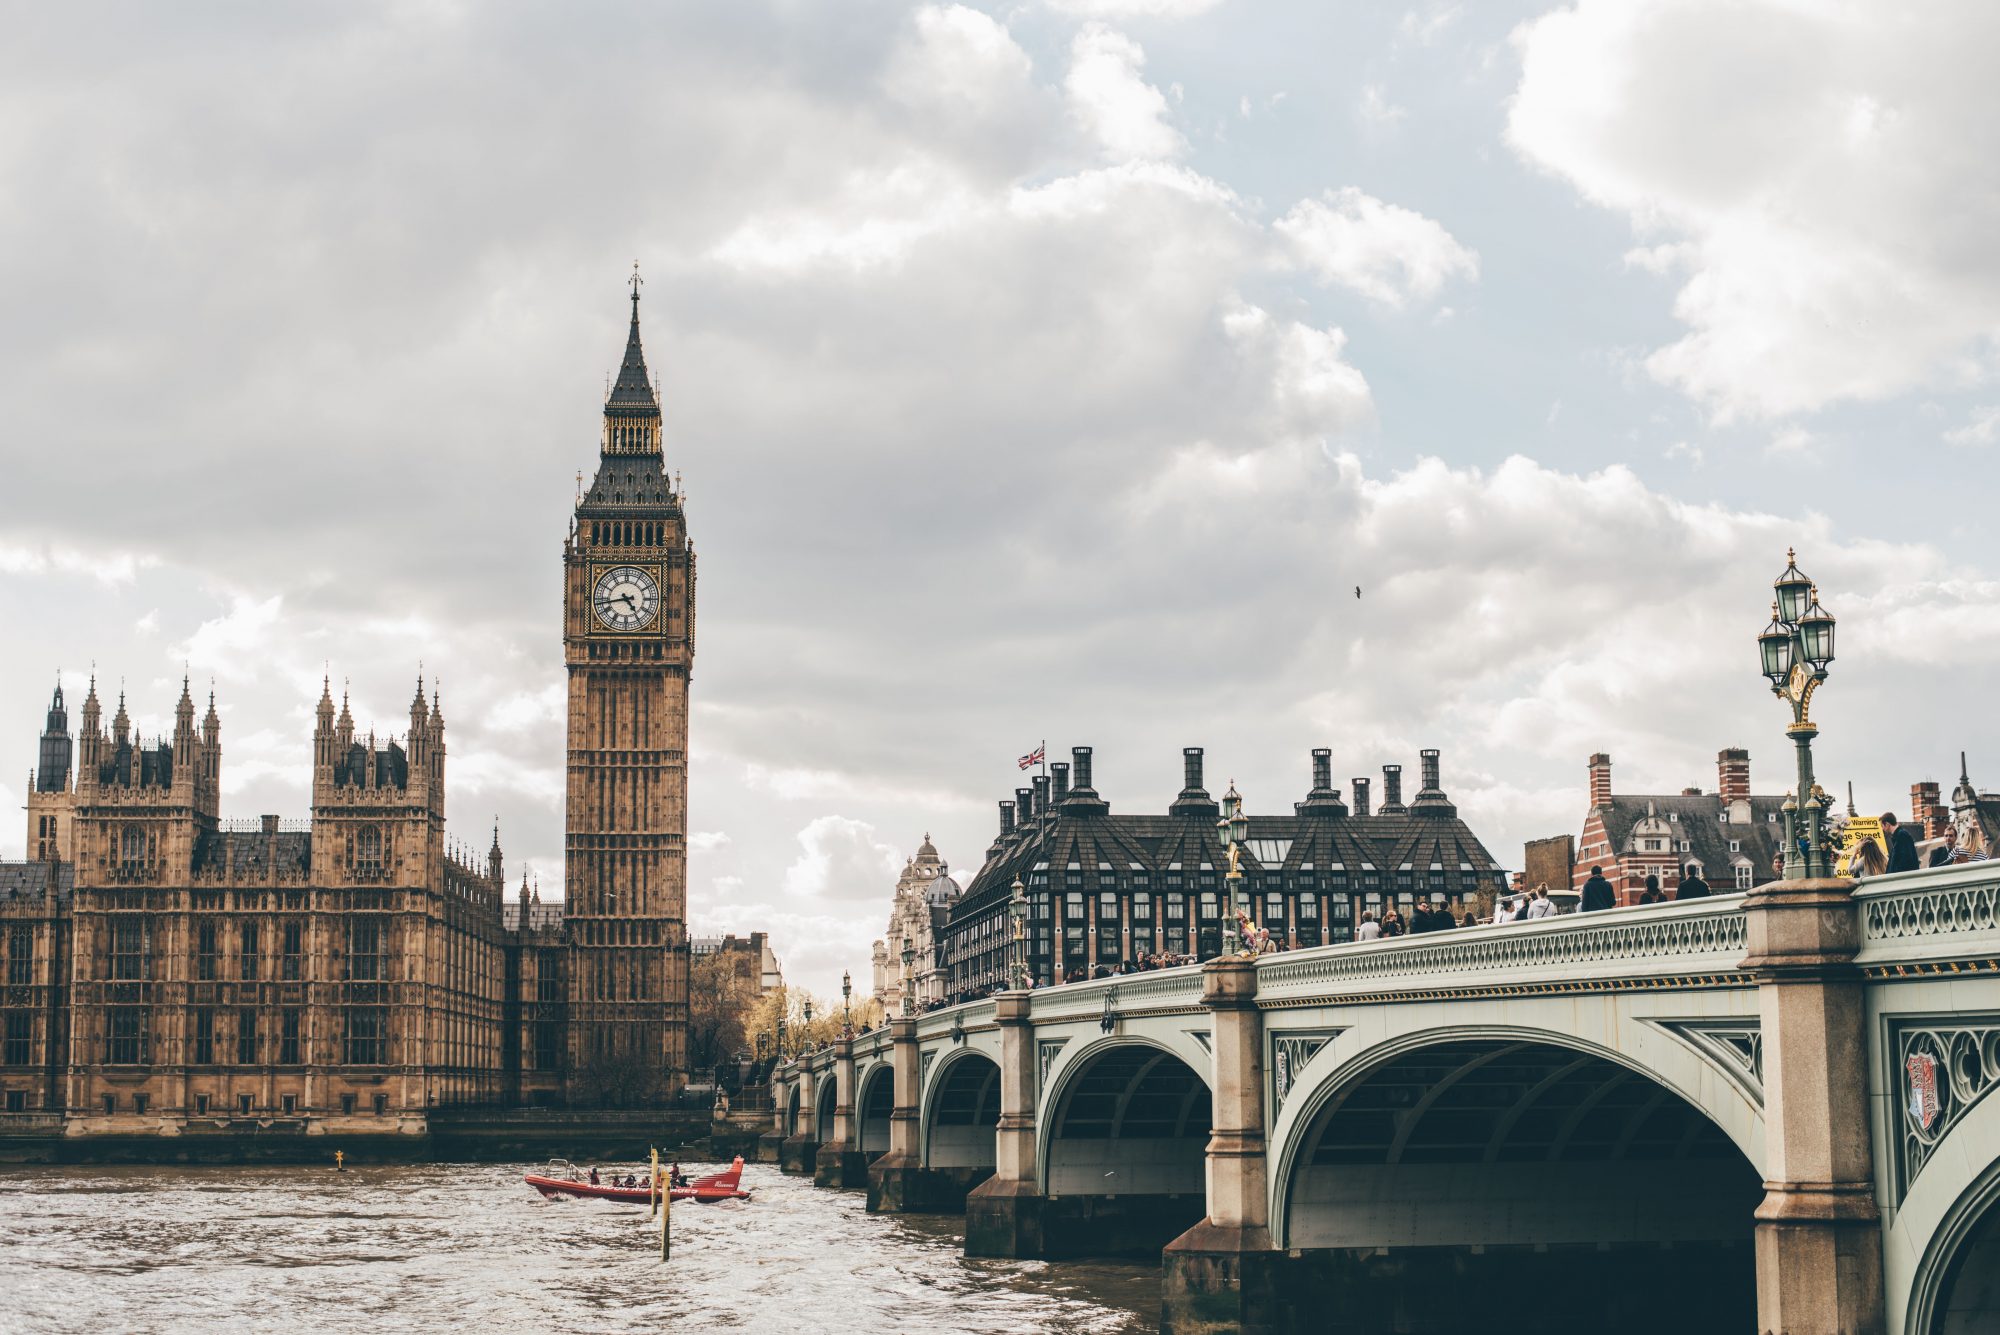
We’ve been keenly following the trips and adventures of Michael and ‘Auric’ on their appropriately named Instagram page, ‘The man with the golden roller’ (@themanwiththegoldenroller). Over the last year, Auric has been pictured dotted around London from Buckingham Palace to Richmond Green and Chelsea, Westminster Abbey and Knightsbridge. Michael continued the very royal road trip theme out to Windsor Castle, Blickling Estate, Clivedone House, Combe, home of 007; Pinewood Studios, and Denham! He’s even photographed Auric around Norfolk! Auric even featured in ‘Spirit and Speed’ magazine last year!
A Rolls Royce is the epitome of British nobility in the car world, and driving one is said to be a unique and timeless pleasure. We’ve currently got a 1992 Rolls Royce Silver Spirit II up for grabs over on our competition page and could be yours for just £9! Alternatively, for those who just cant wait and want their own golden roller now, our 1973 Golden Rolls Royce Corniche is up for sale with us and could be yours straight away!
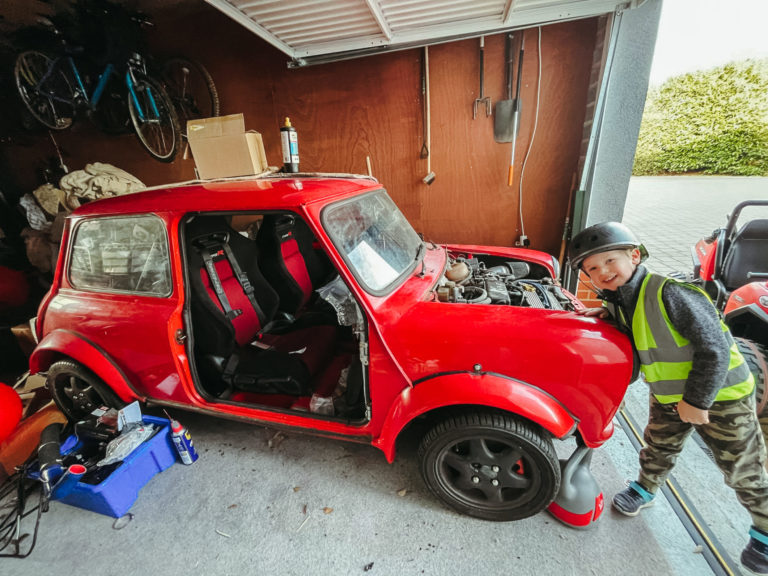
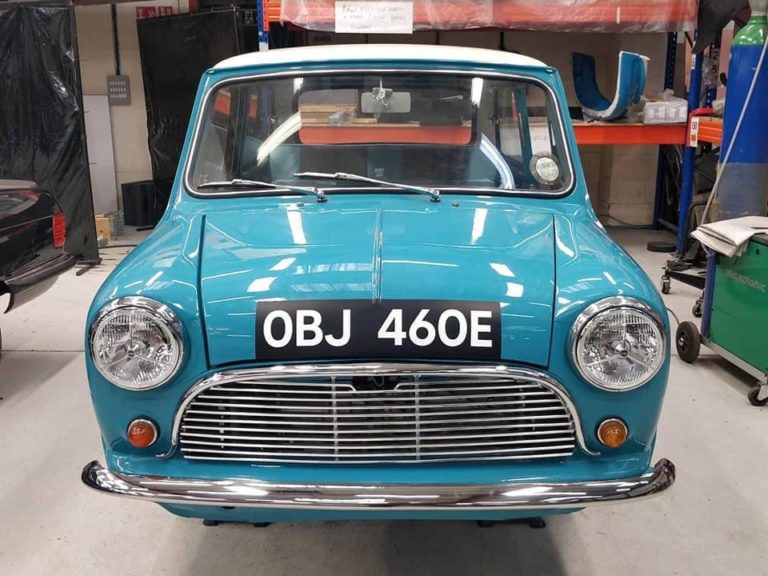
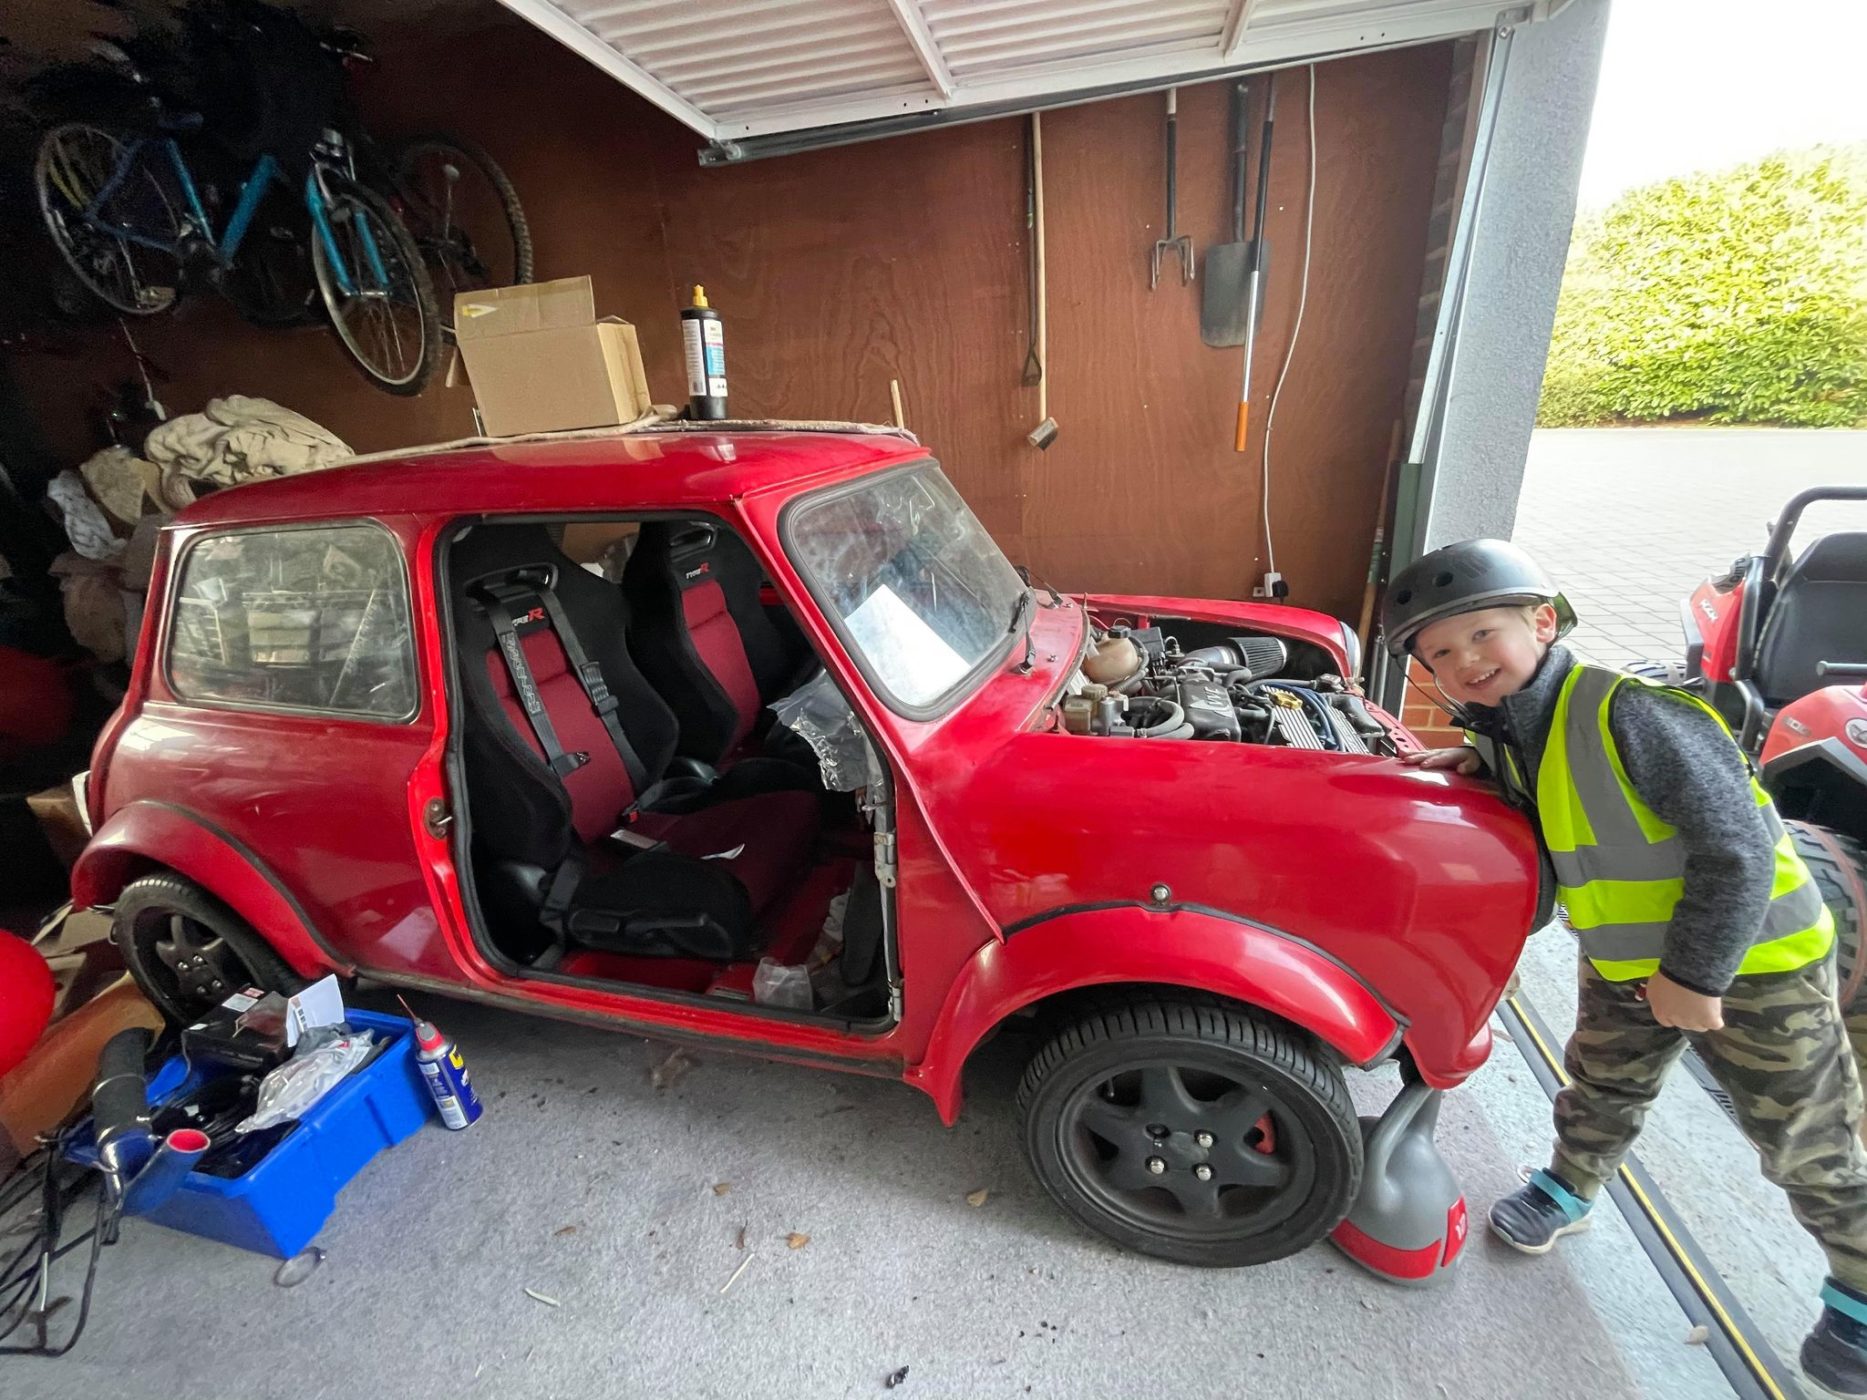
This charming little Mini may be coming in soon to be recommissioned and assessed. Currently we’re at the enquiry stage but hope to see this little red motor come in soon!
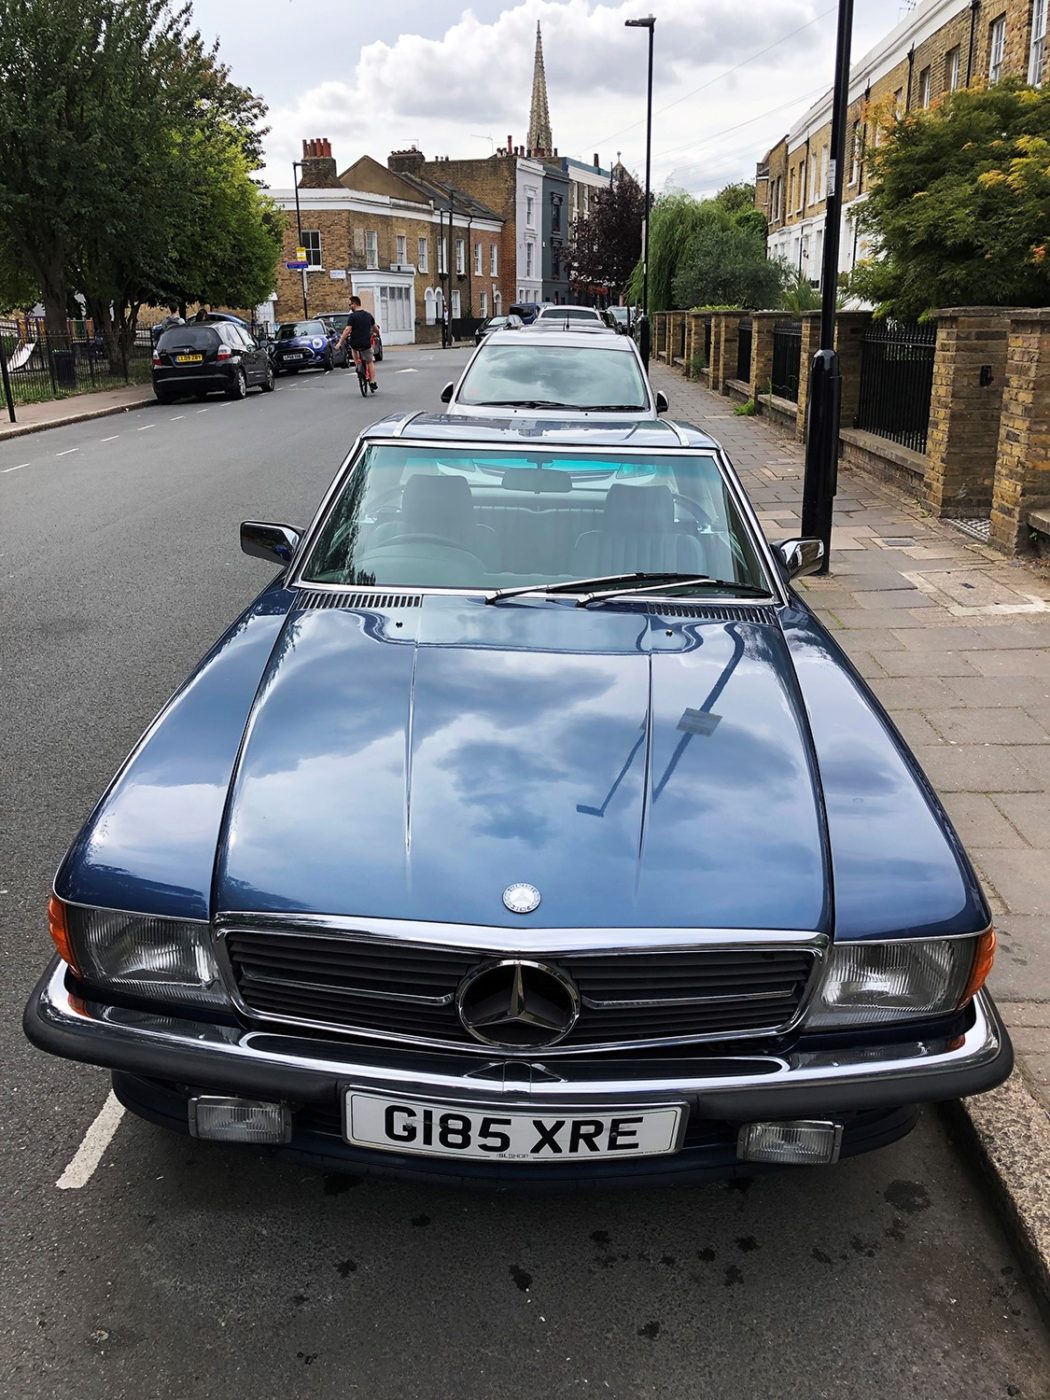
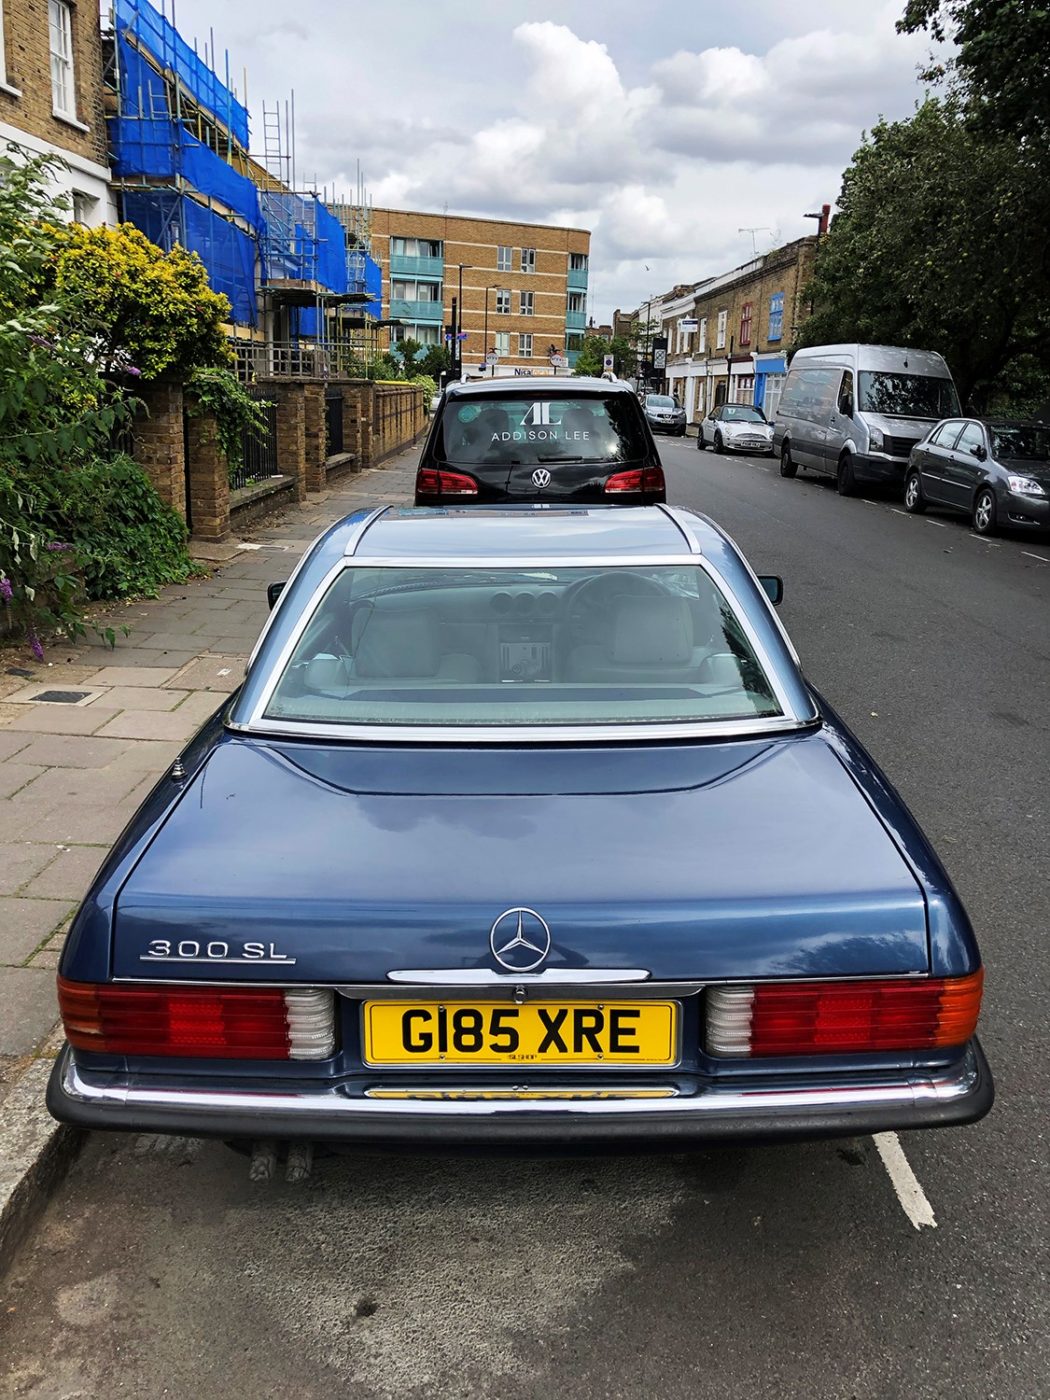
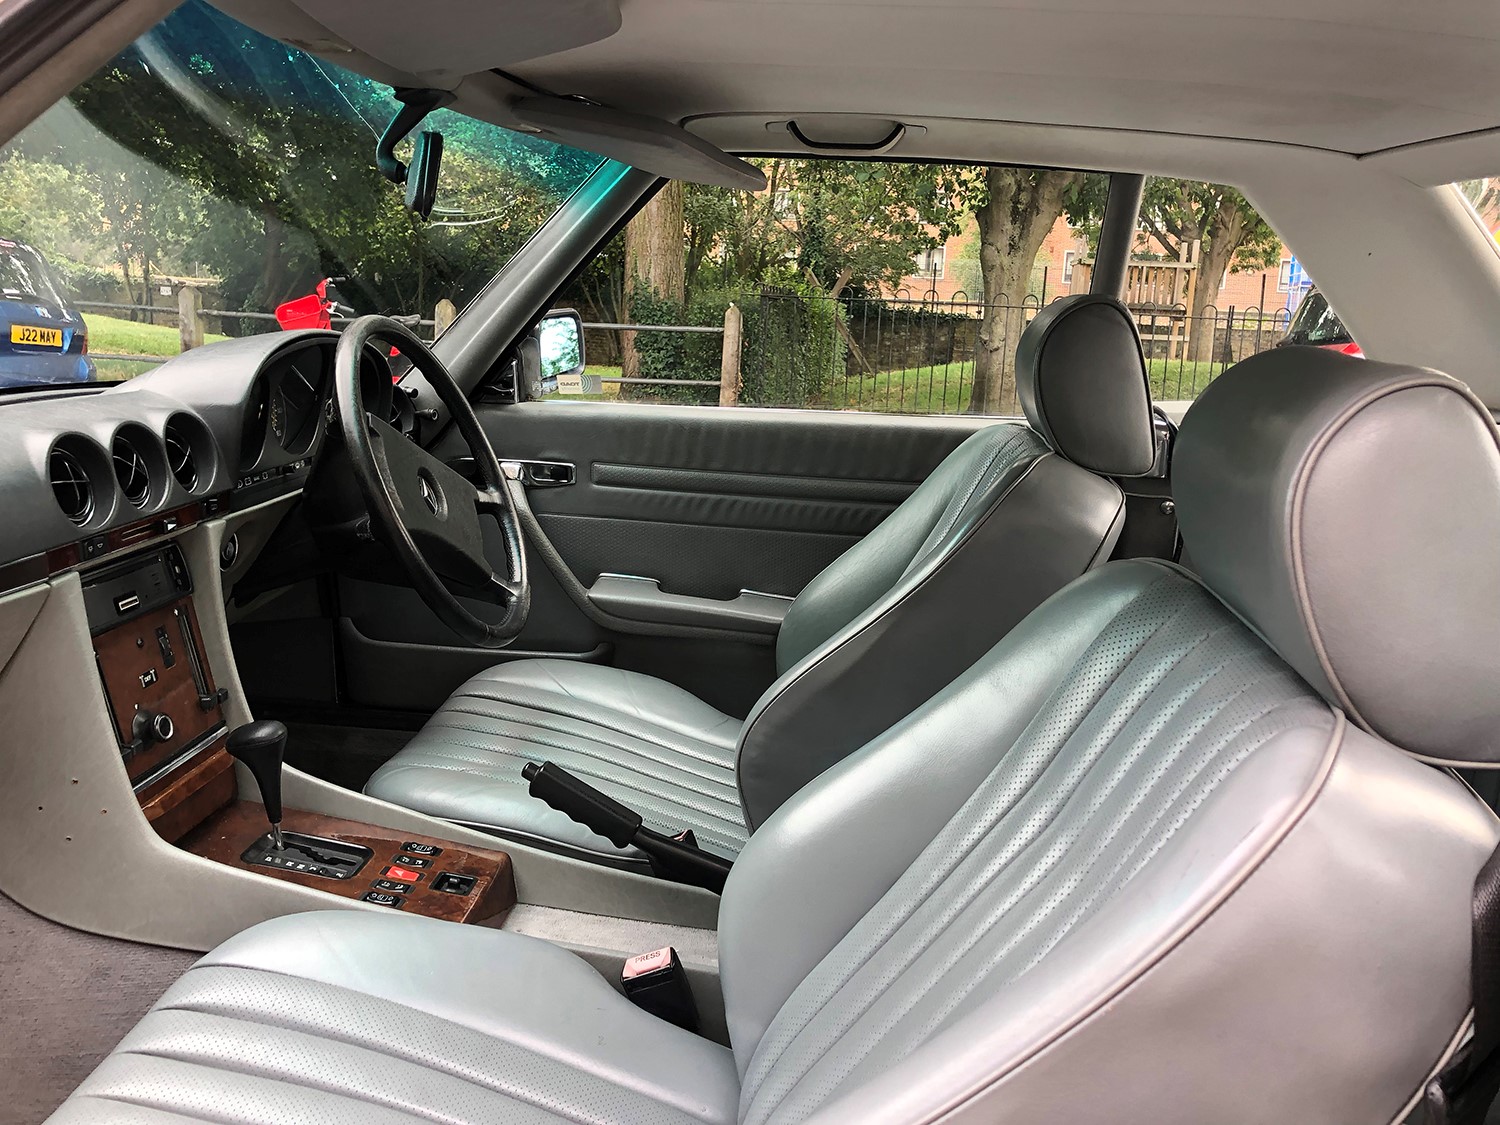
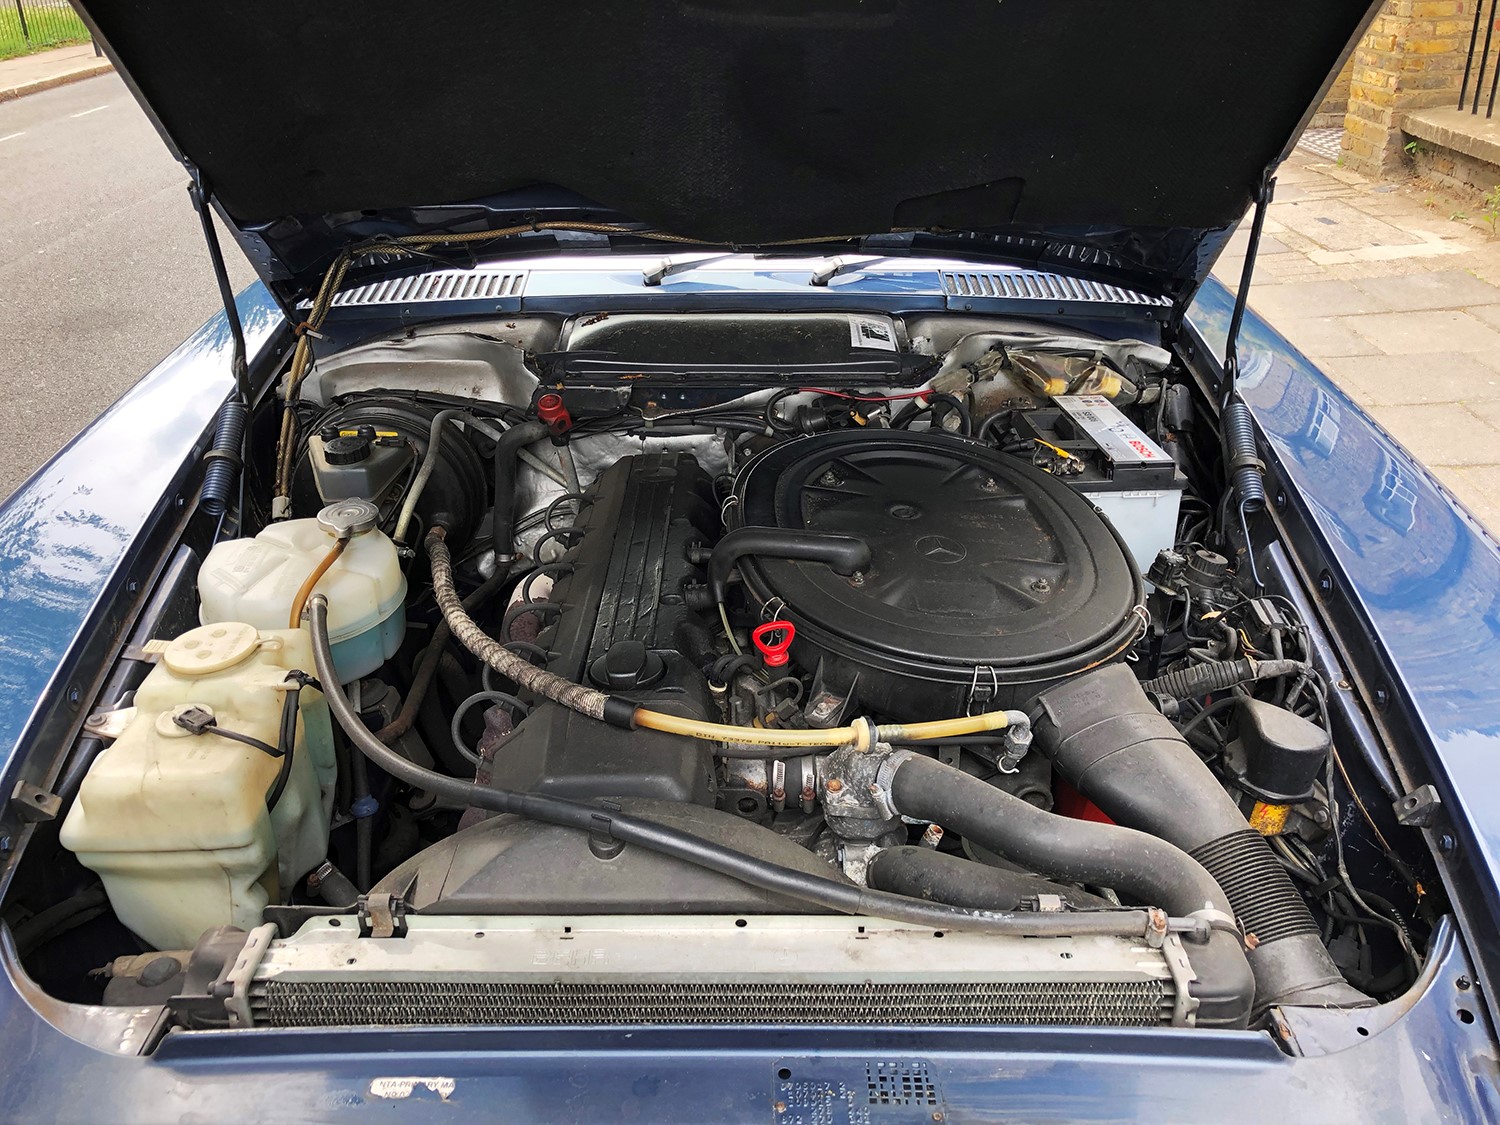
And we have our 300 SL Mercedes with the usual bulkhead corrosion concerns. This could be another exciting project to come into our workshops in the coming months.
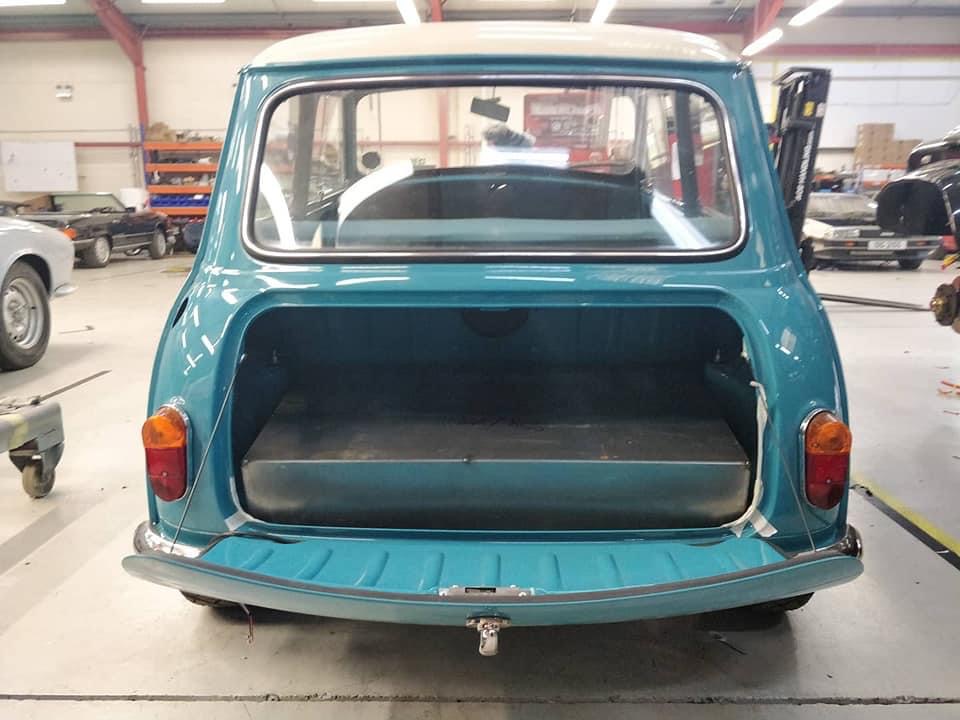
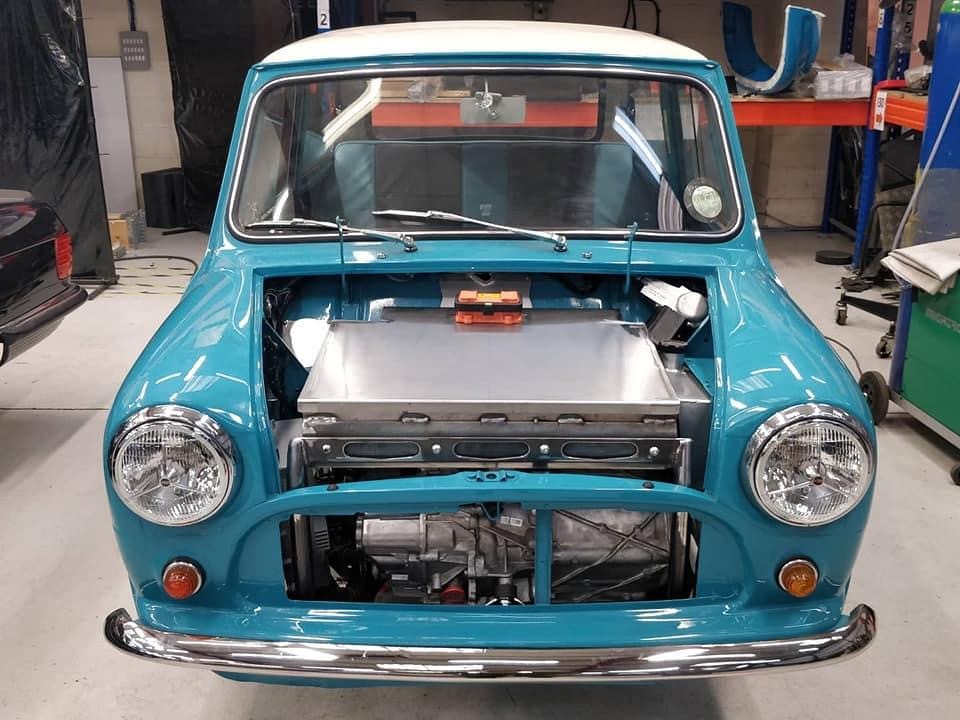
We’re delighted to see the Electric Classic Car’s electric mini is coming along well. If you’ve been following this story, you might remember that we painted this mini before it was handed over to Electric Classic Cars to be turned into an electric classic.
This car belongs to a client of Team C Racing and has been carefully restored by Ted before being passed on to ourselves and Electric Classic Cars to be completed.
The Tesla powered Mini is being fitted with a 31kWh battery pack, that has 100-300hp power options. Electric Classic cars suggest that a bolt-in kit will be available from them soon. Their Instagram post (featured below) explains that more details, including pricing, will be announced after rigorous testing. We’re excited to see how this characterful mini develops as it leads the way to be among the first Tesla classic cars.

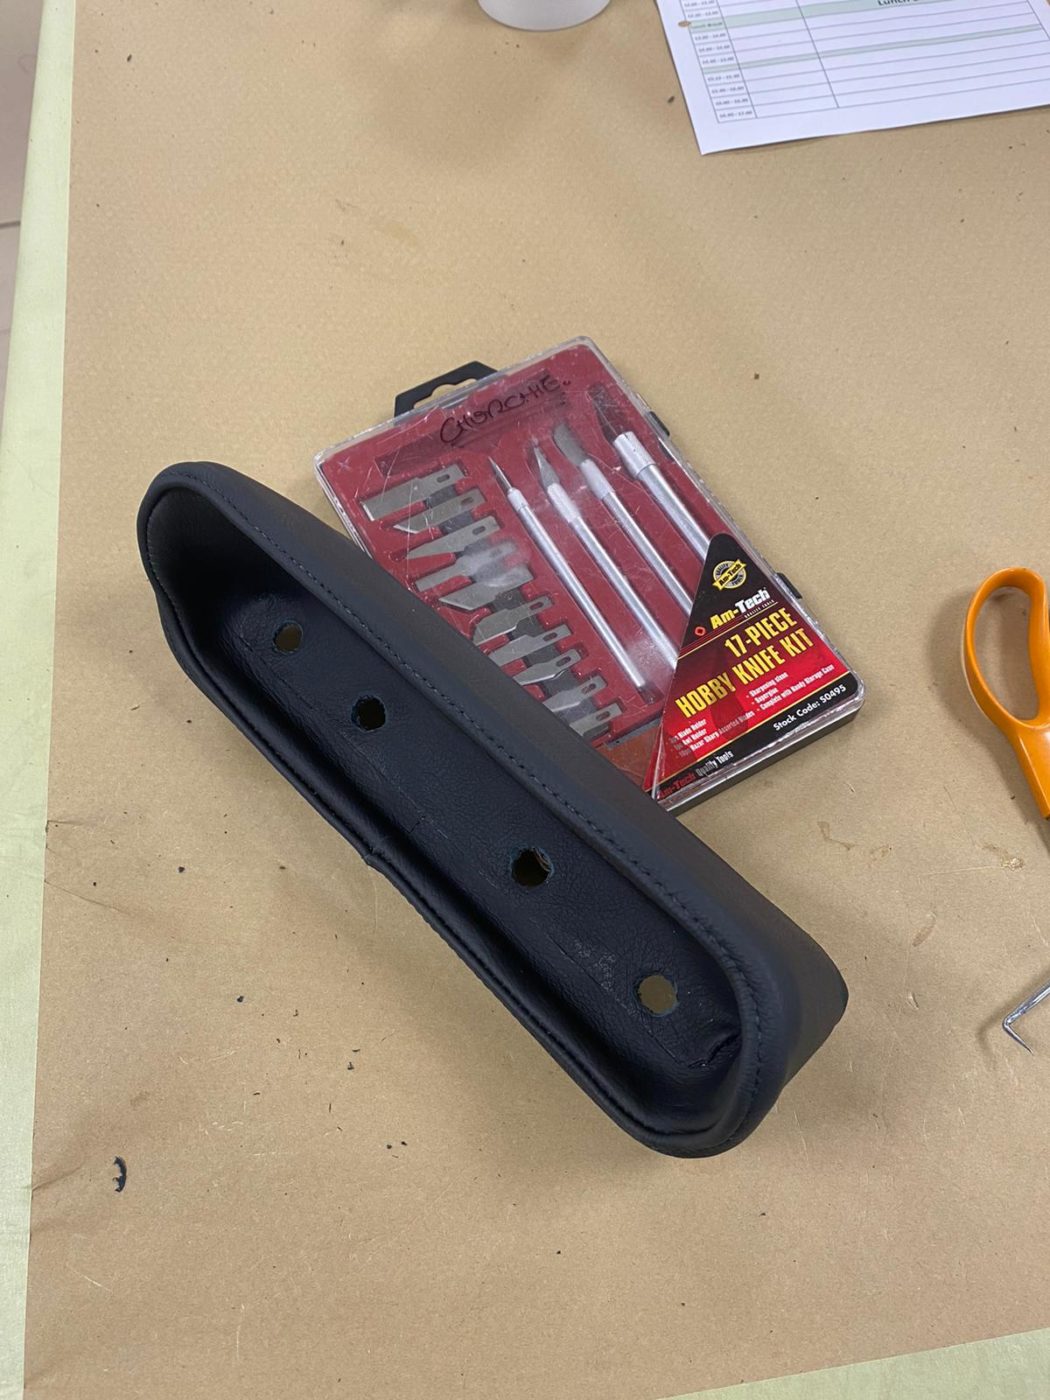
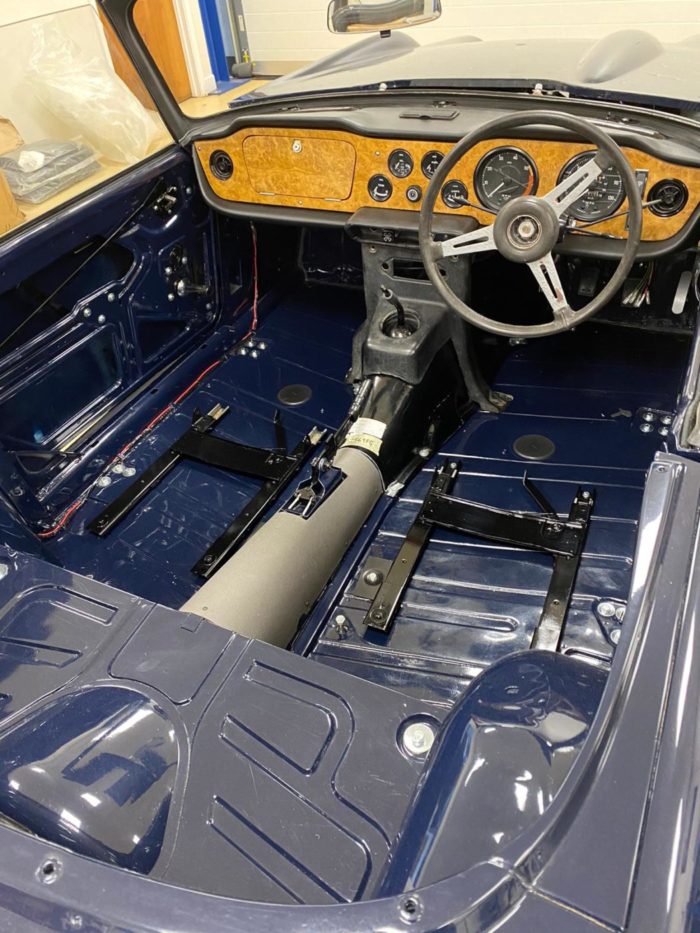
Our 1968 Triumph TR5 is still sat in the trim shop having its new interior fitted! Its a very exciting development as fitting trim to a vehicle is one of the final sections that really makes all the difference visually!
Kath has trimmed around and glued into position the carpet on the driver’s side under the pedals. She’s also fitted the driver’s side sill and the carpet near the accelerator pedal.
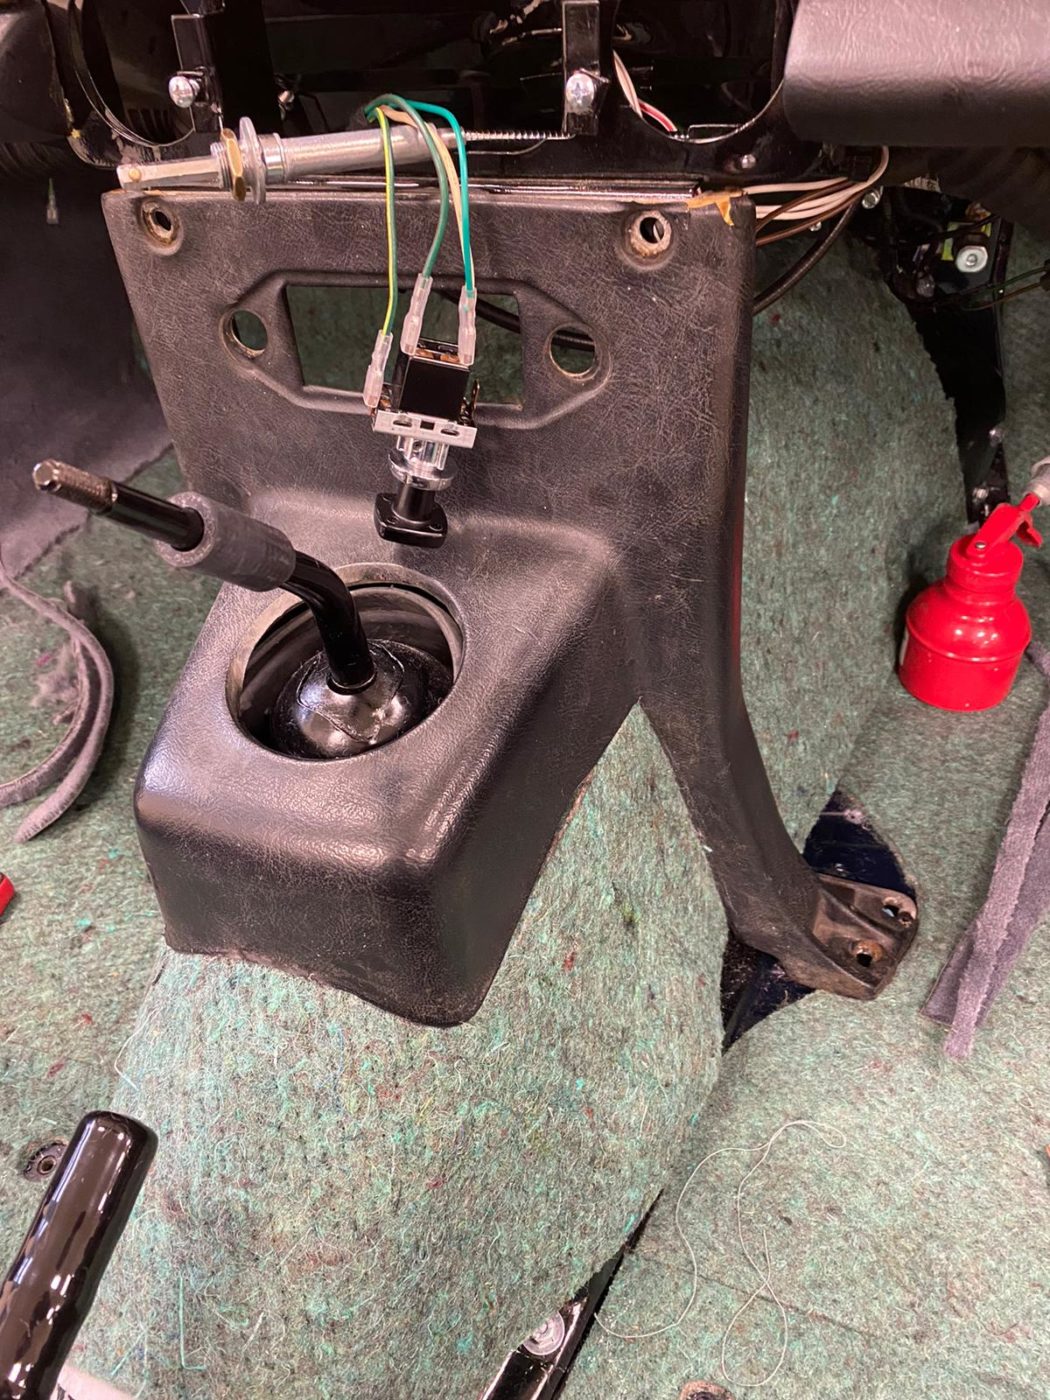
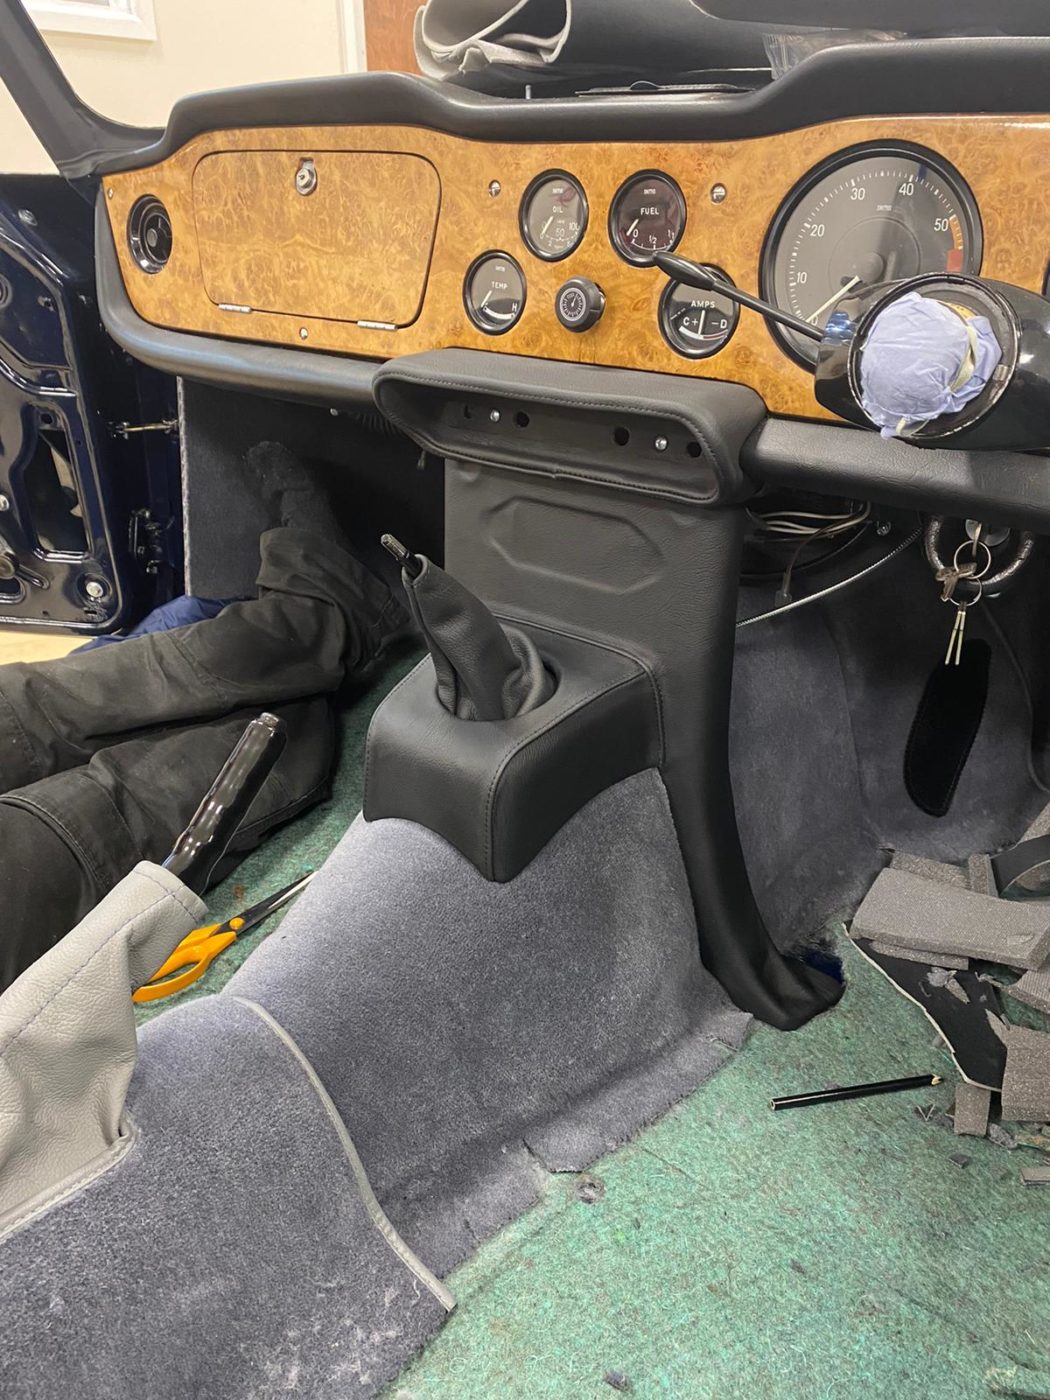
The centre console was then just laid in place to make sure it fits with the sound deadening now in place. Once everything definitely fit, Kath could glue in the sound deadening around the upper tunnel section and glue the carpet in the upper head of the tunnel. She then trimmed around the pipes and wires and lay in the tunnel section. The next step was to then put the centre console in over the carpet to make sure it still fits after each modification. The driver’s side and passenger tunnel section could then be glued in and packed out with foam to make a better fit.
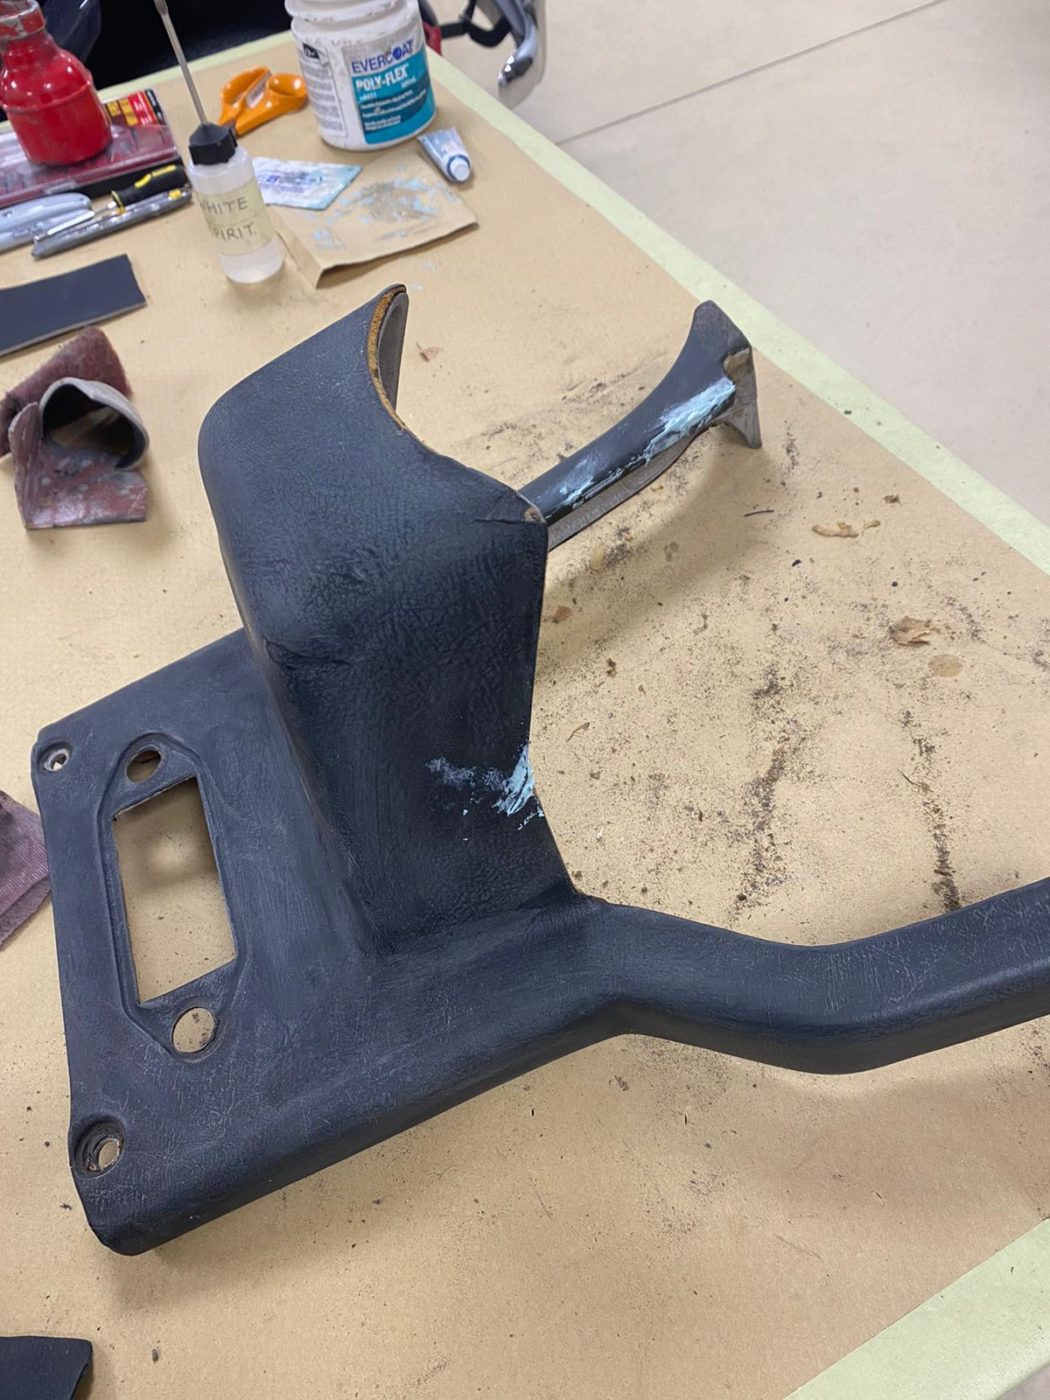
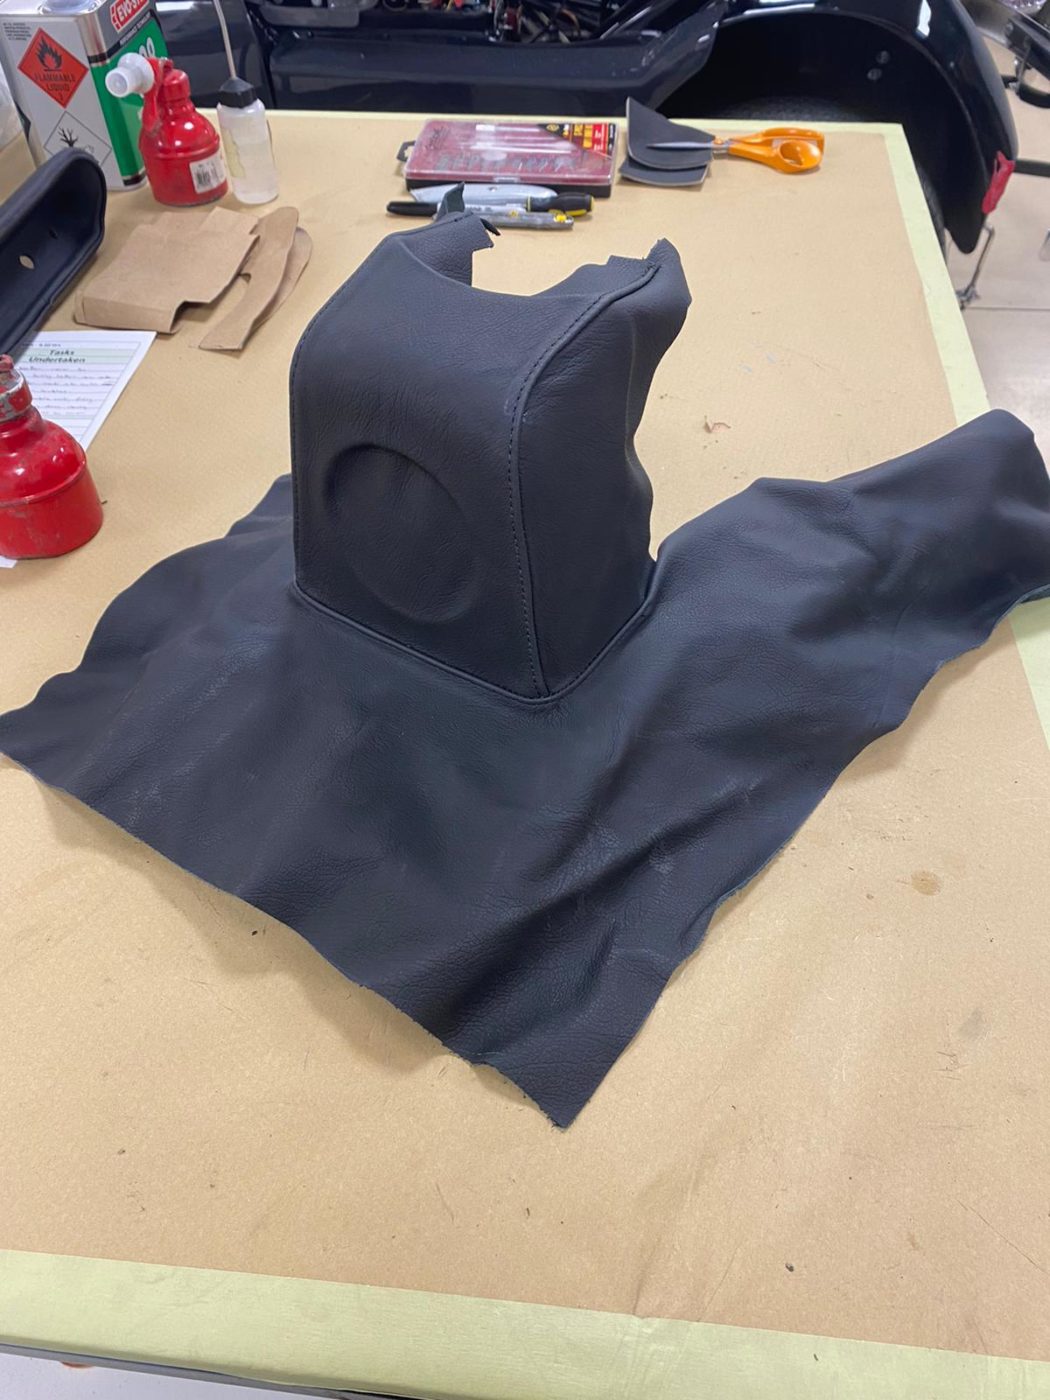
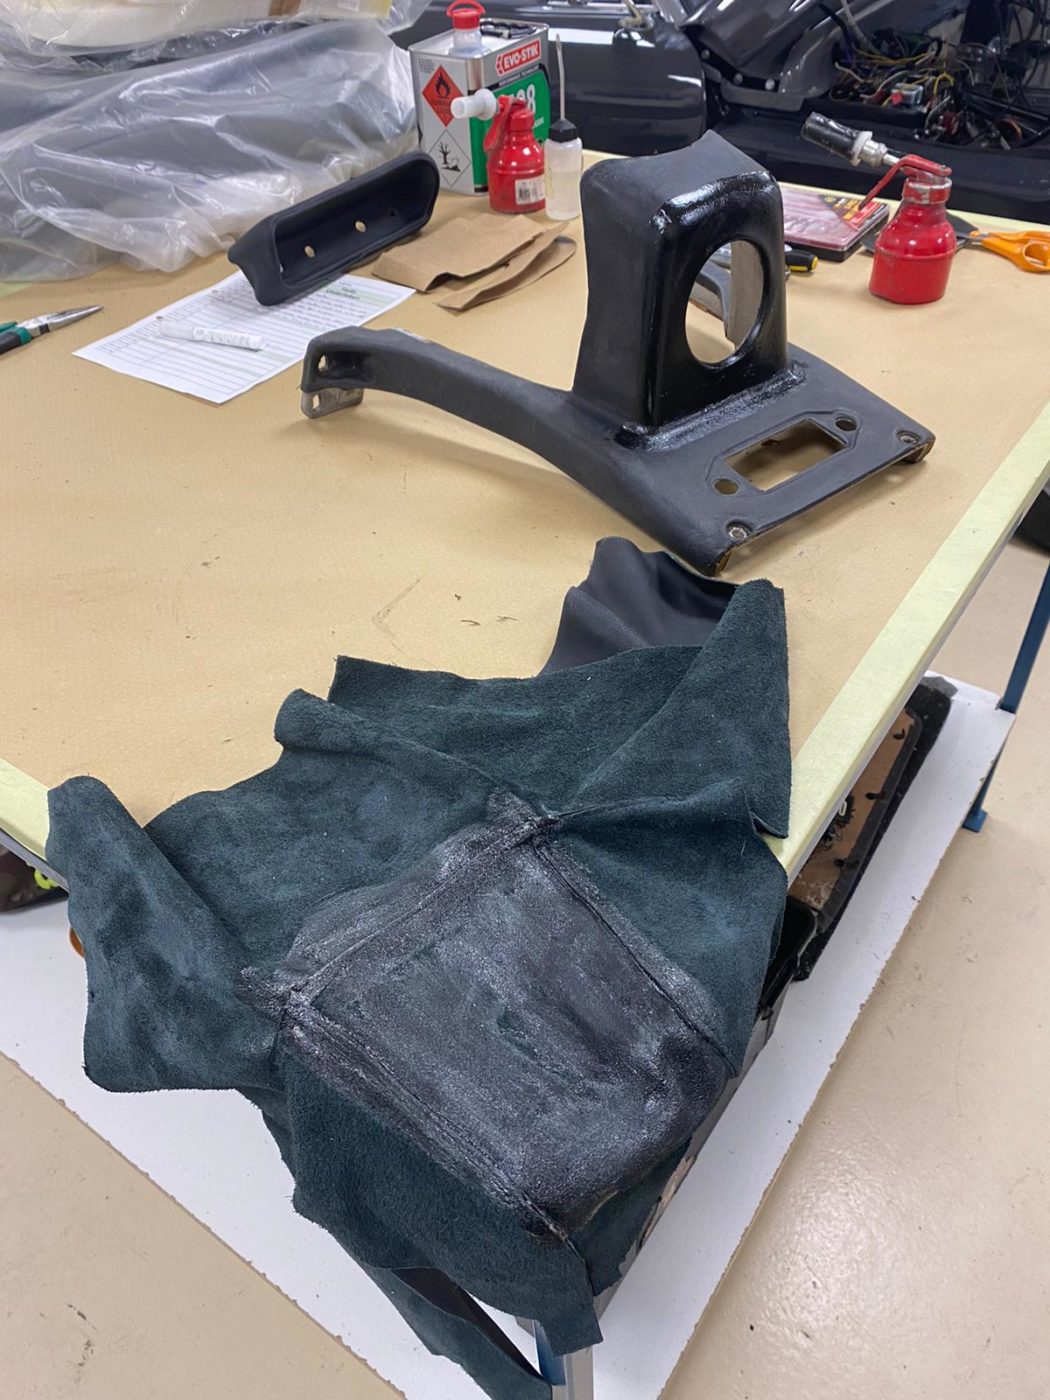
Brian has made up the centre console by sanding and filling the cracks in the existing centre console switch unit. He’s glued the inner section and pushed the leather into place and followed it up by glueing the outer section and pulling it tight around all edges.
Brian could then cut the holes for the switches and fill the cracks. Once repaired and sanded, Brian was ready to glue the leather to the console, and start on the gearstick section by glueing and stretching the leather around all edges of the console. He then cut and trim the leather to get it to fit perfectly around the back of the console. Once these modifications were made, he could glue the leather and turn over the edges for the gearshift hole. Once these steps were completed, Brian fitted the console into the TR5.


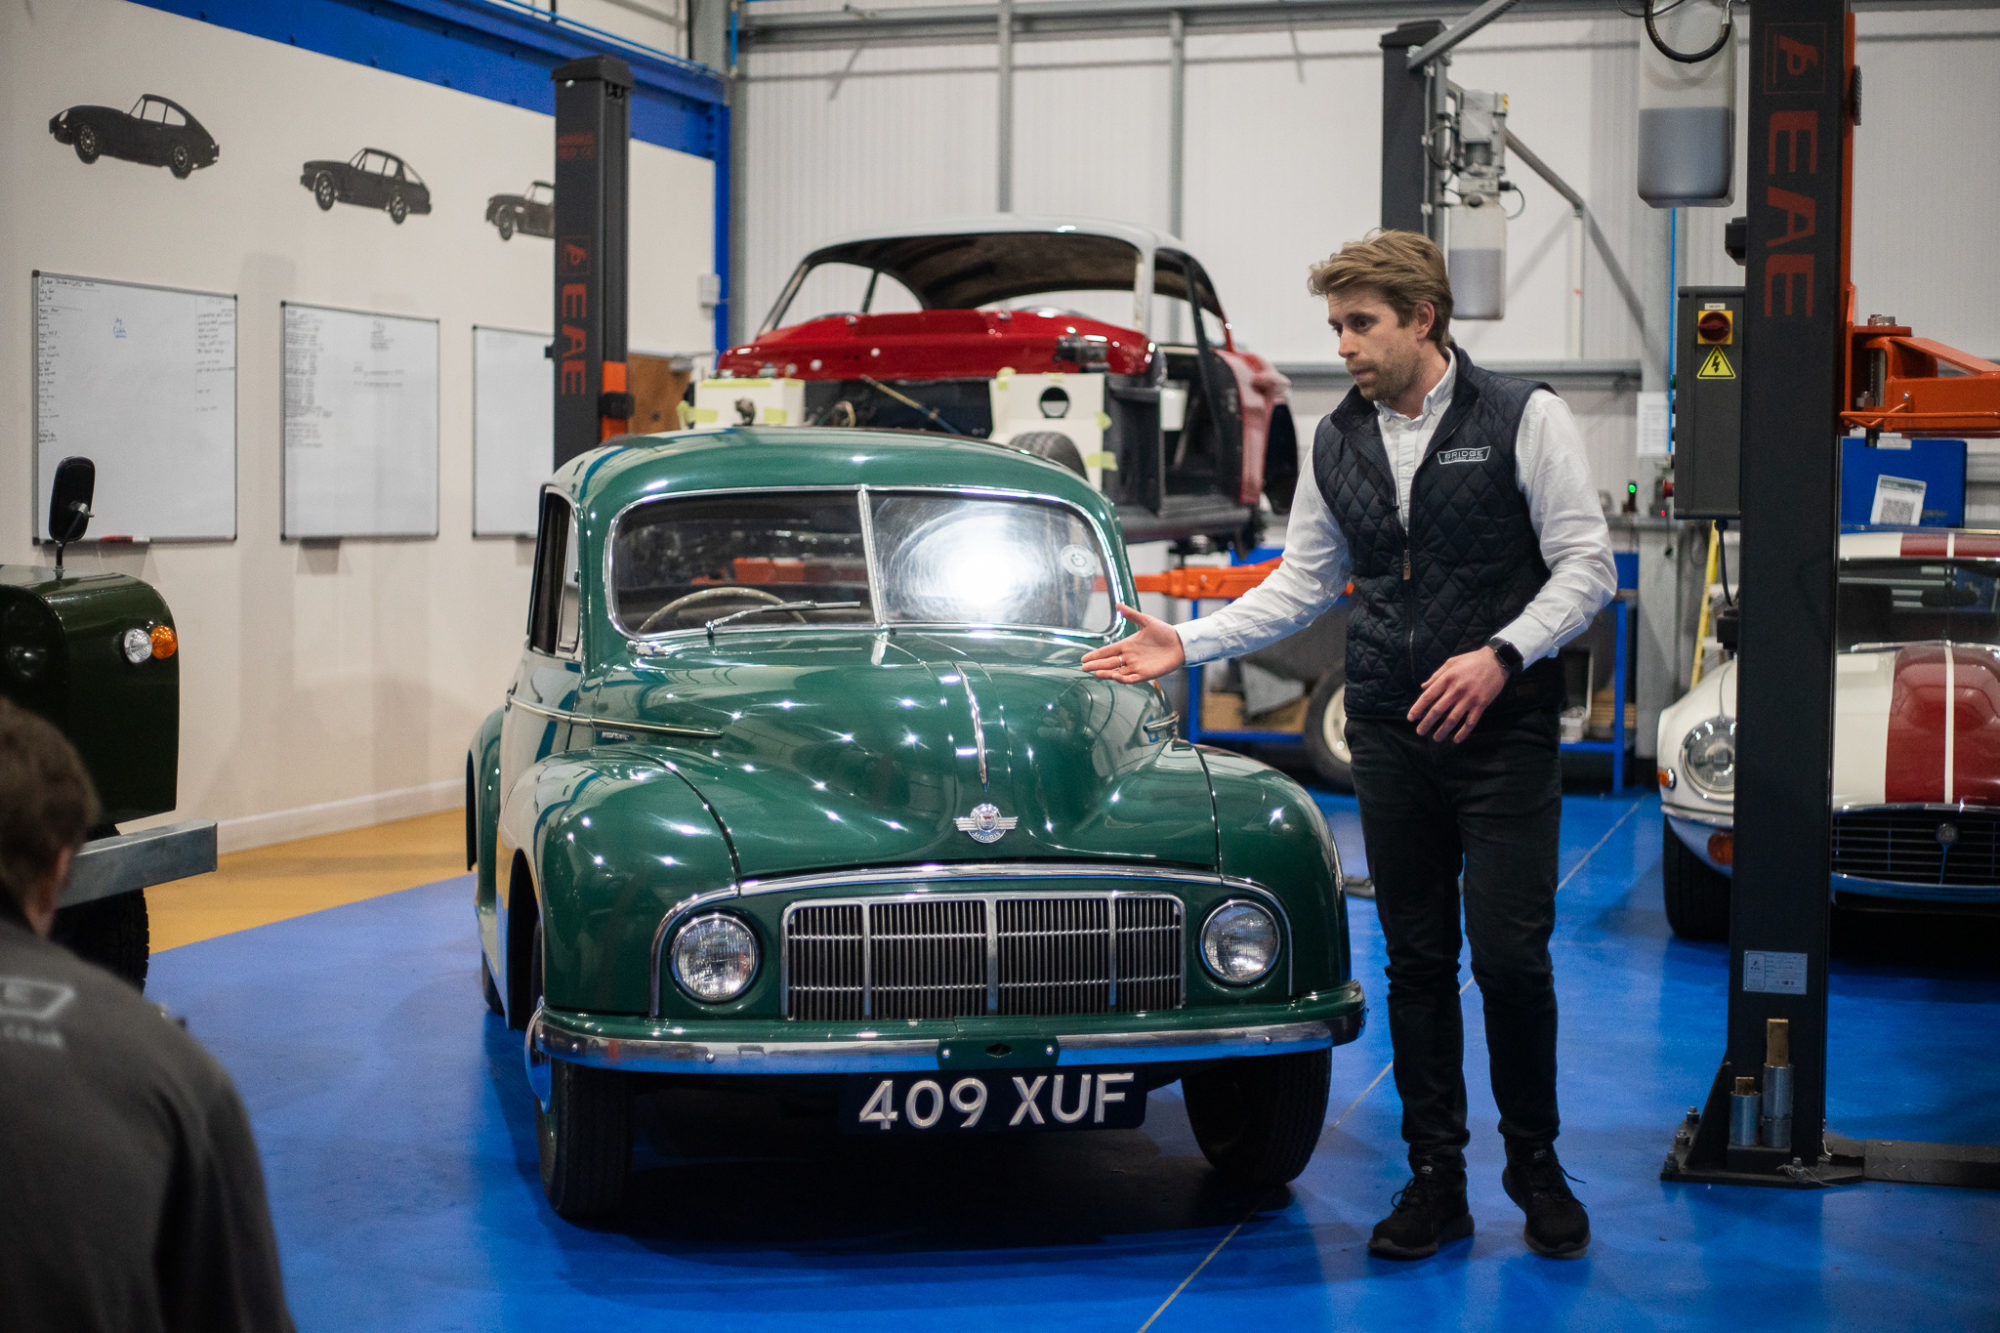
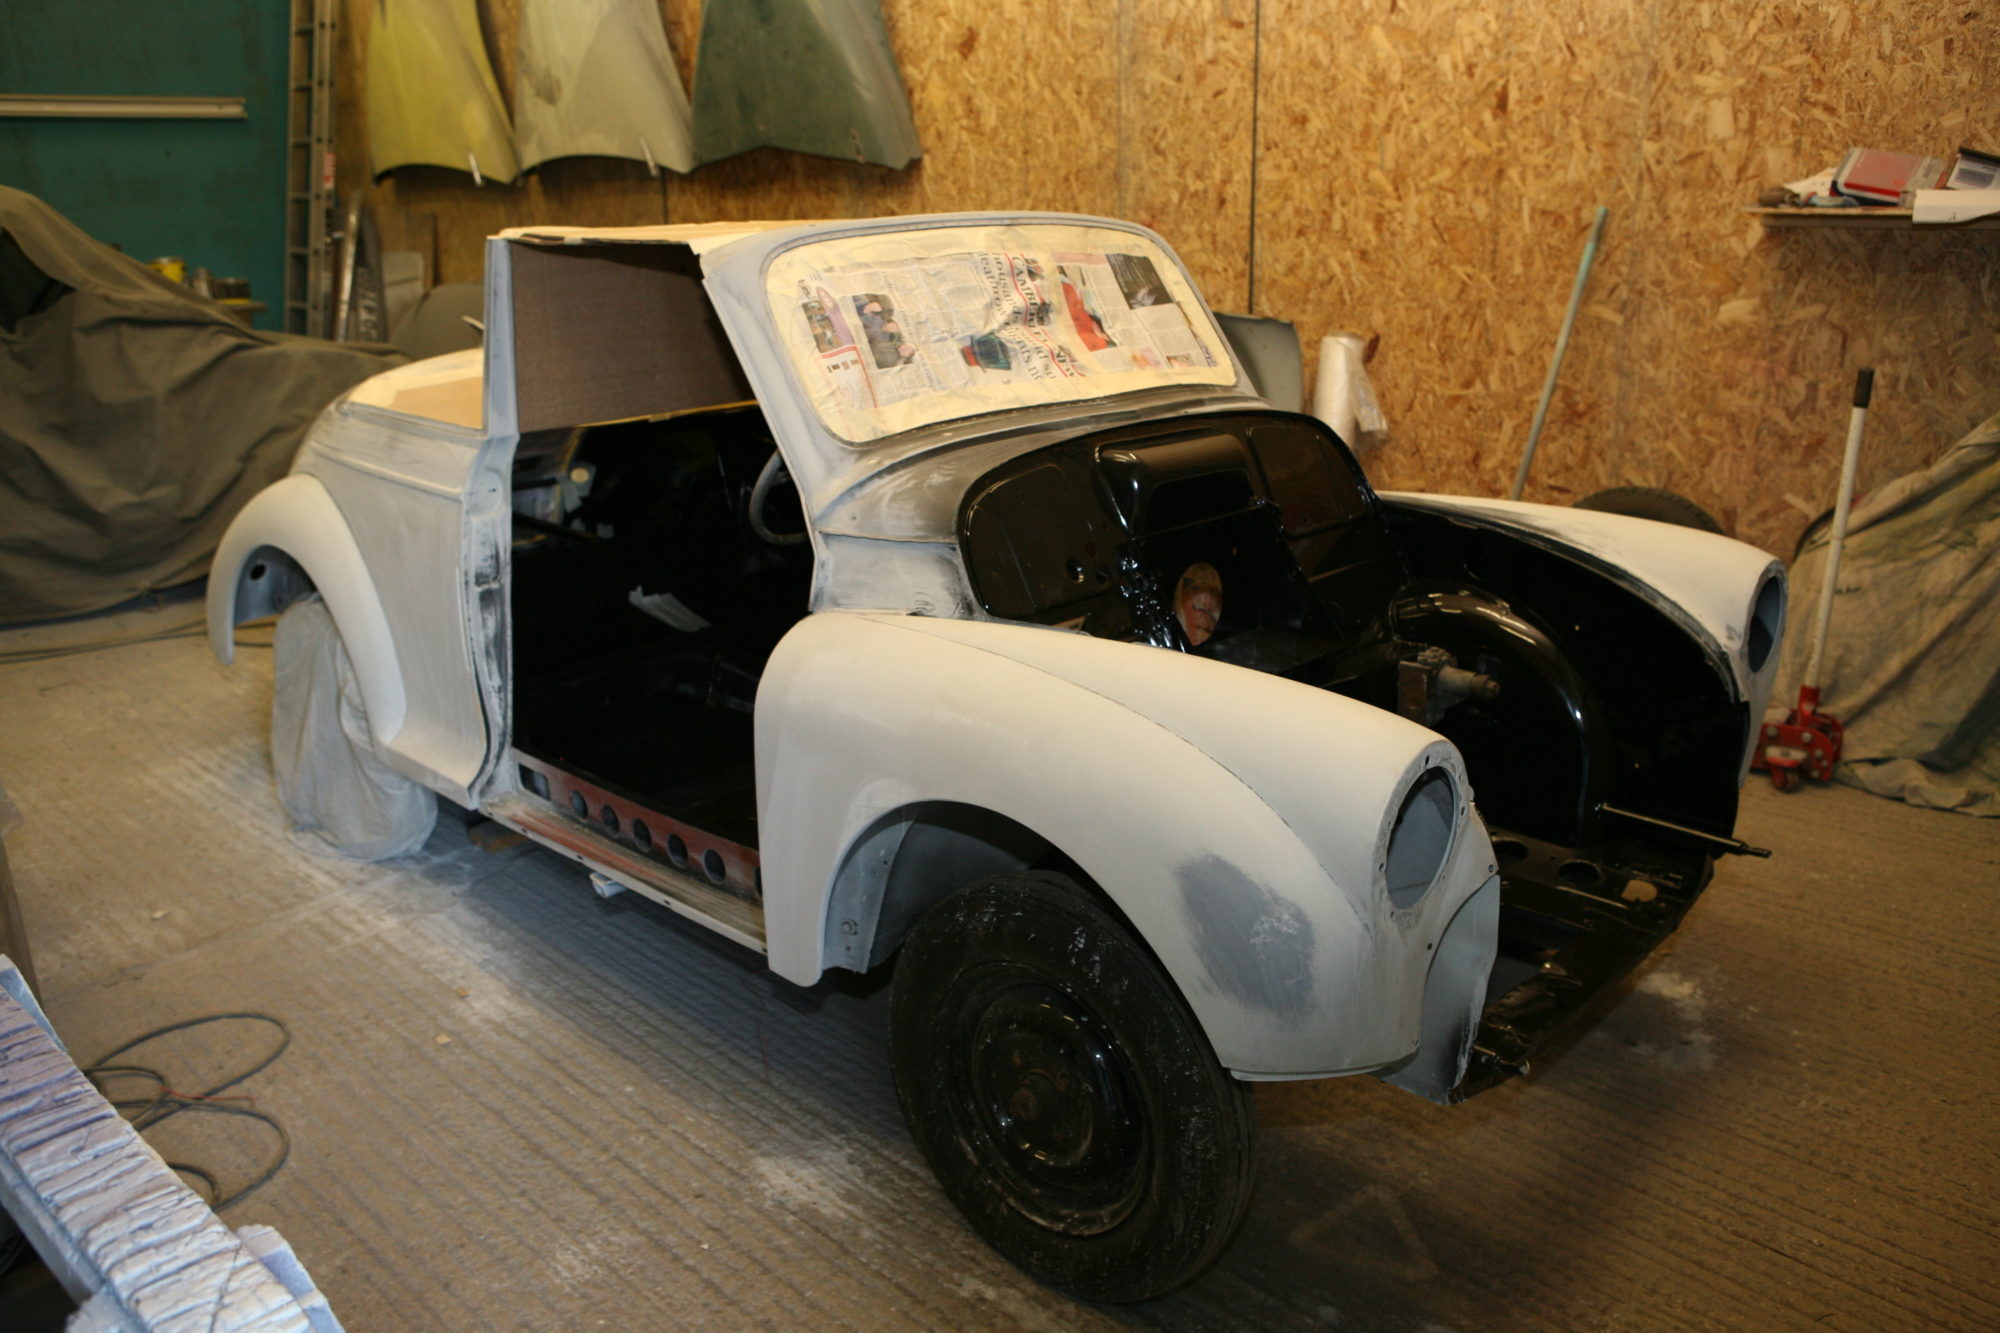
We’ve had an enquiry for this charming Morris Minor 1000 that may be coming in for some work soon. The client currently has it in this condition and just needs some help finishing the project.
Watch this space…

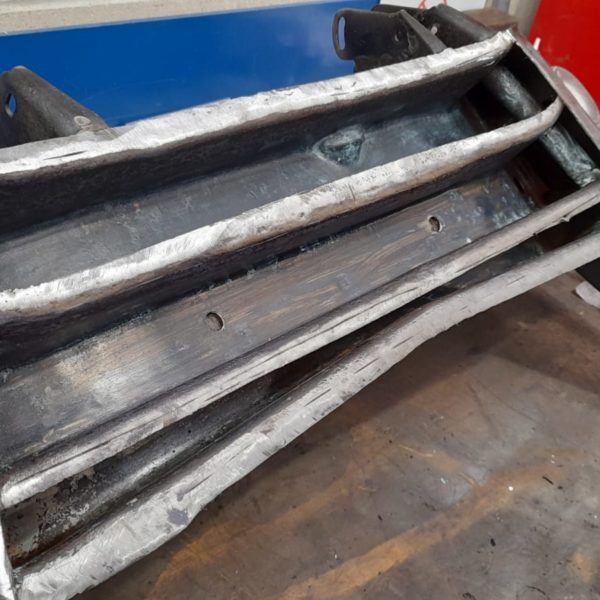
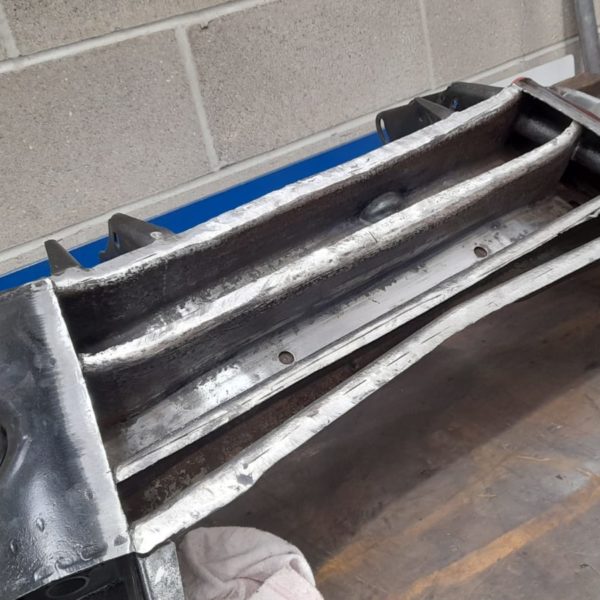
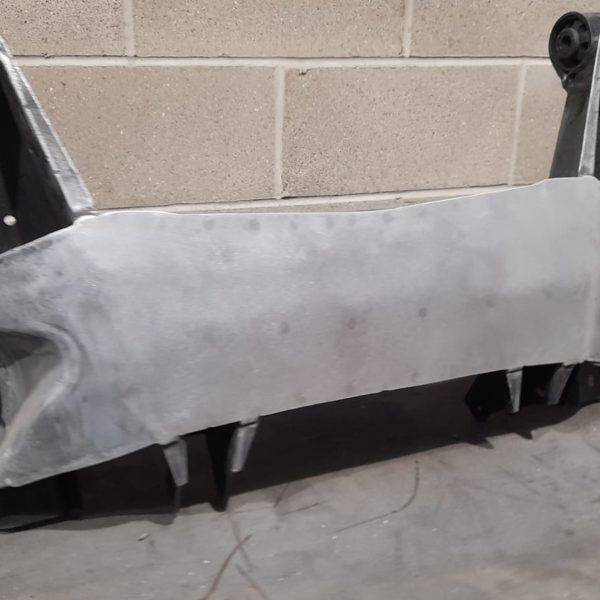
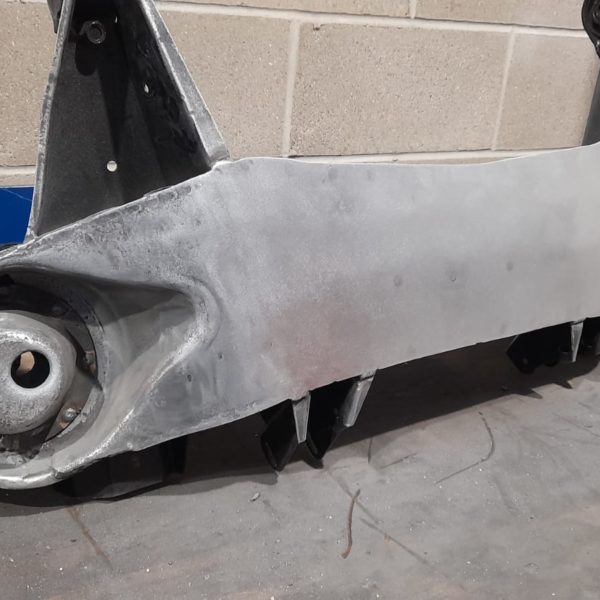
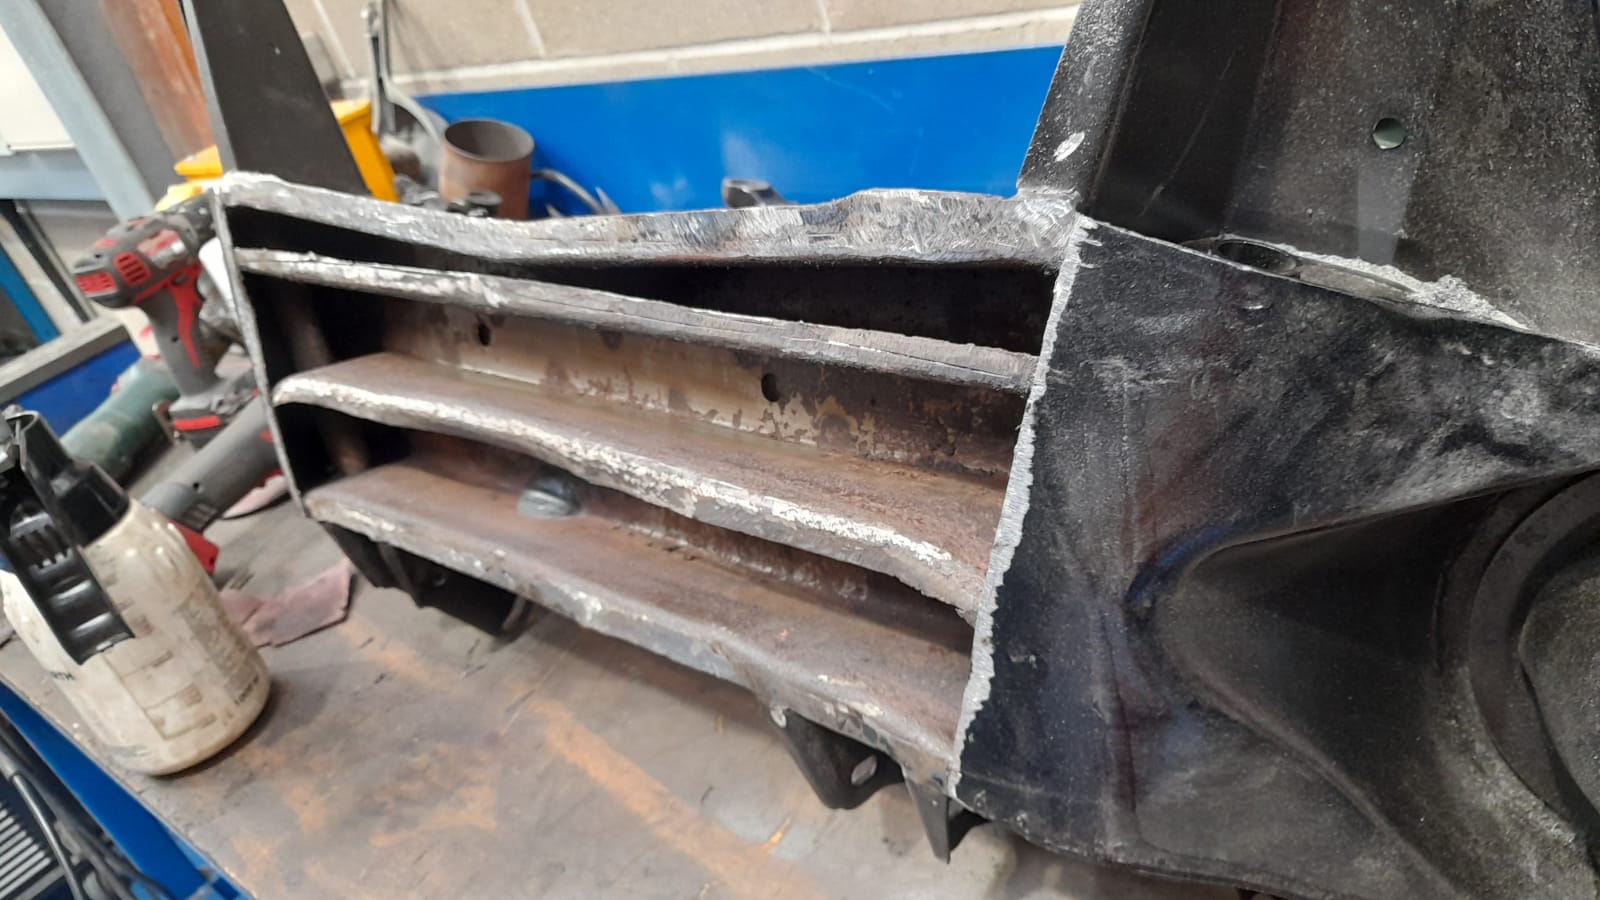
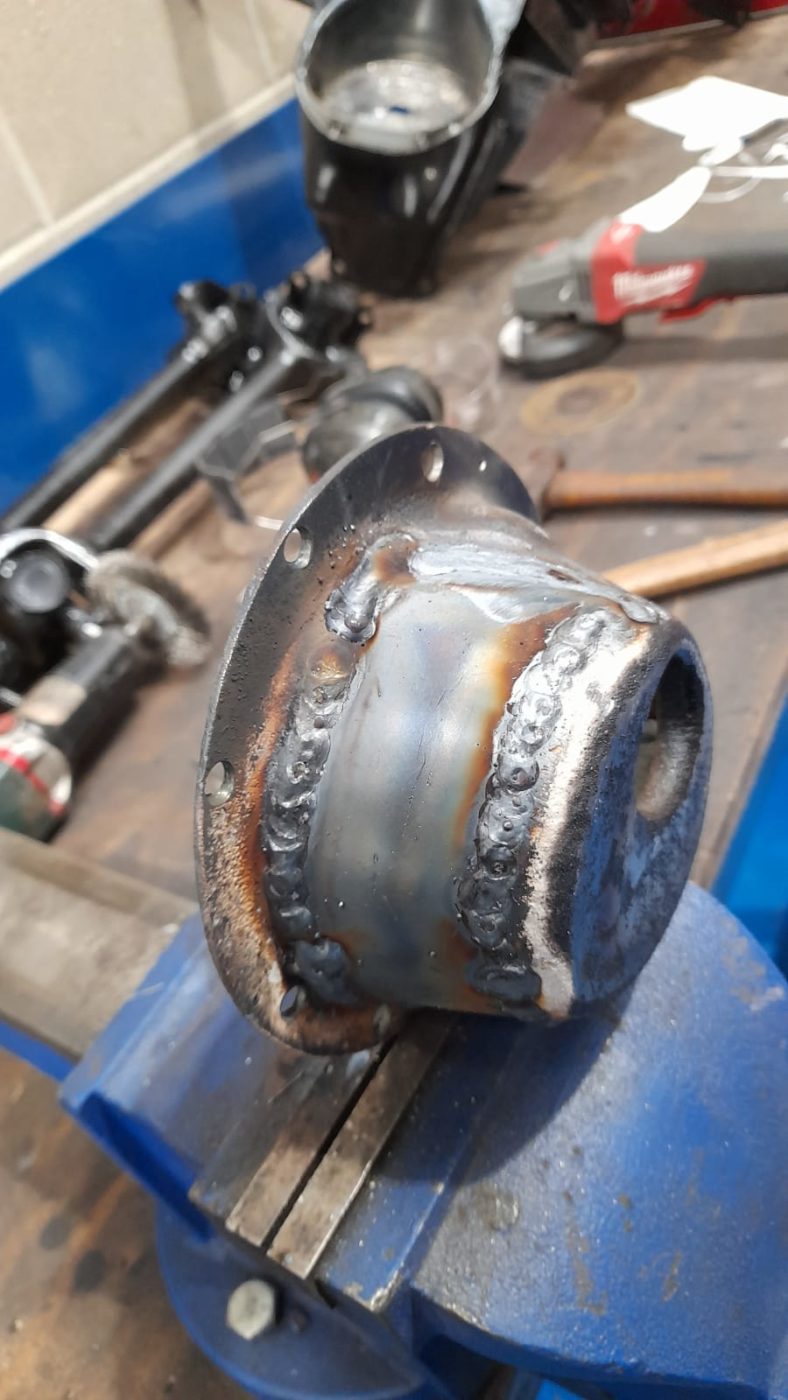
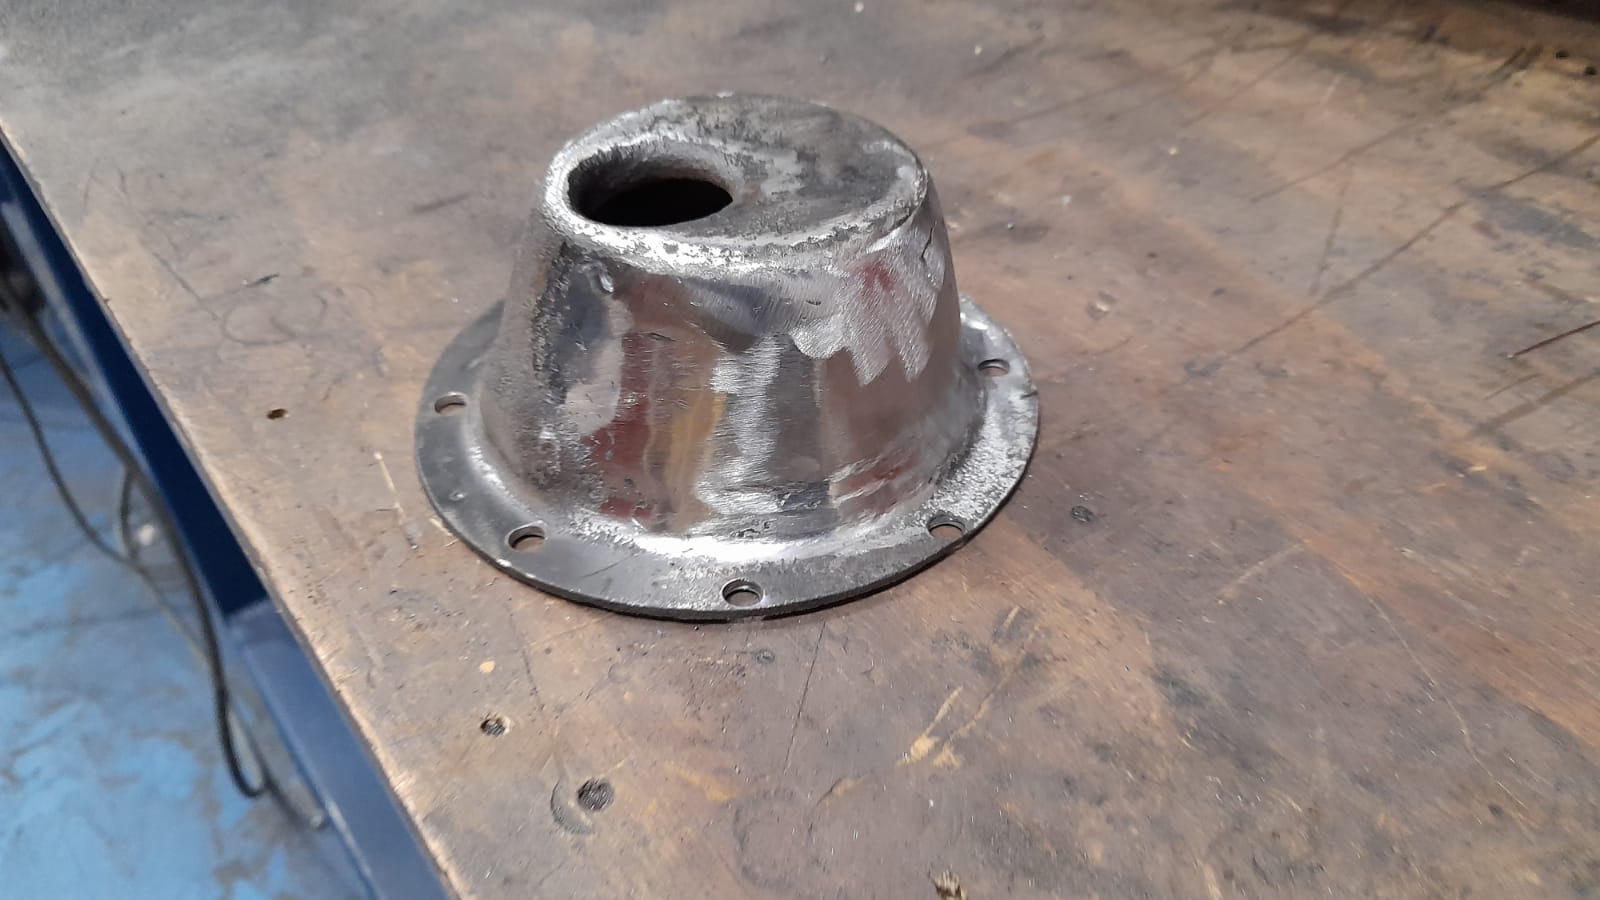
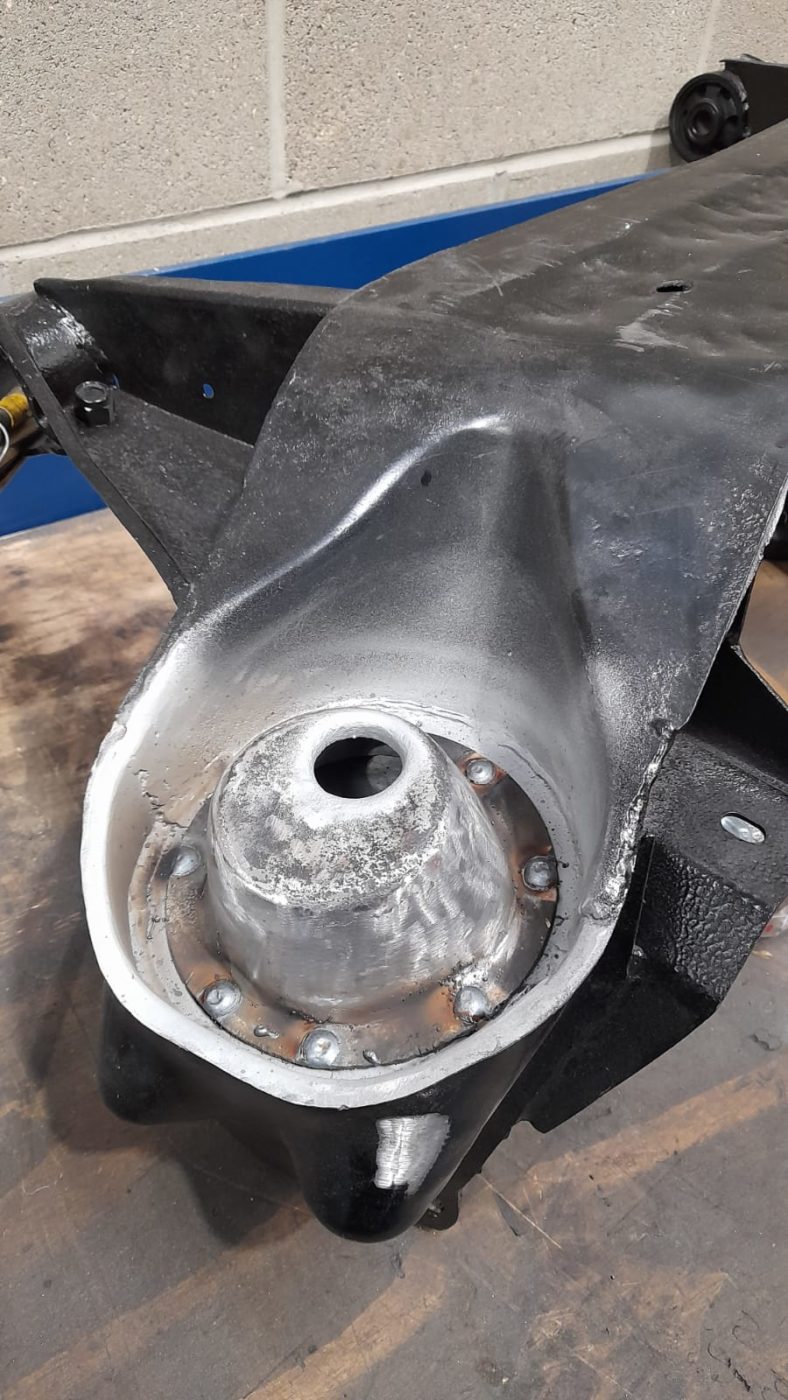
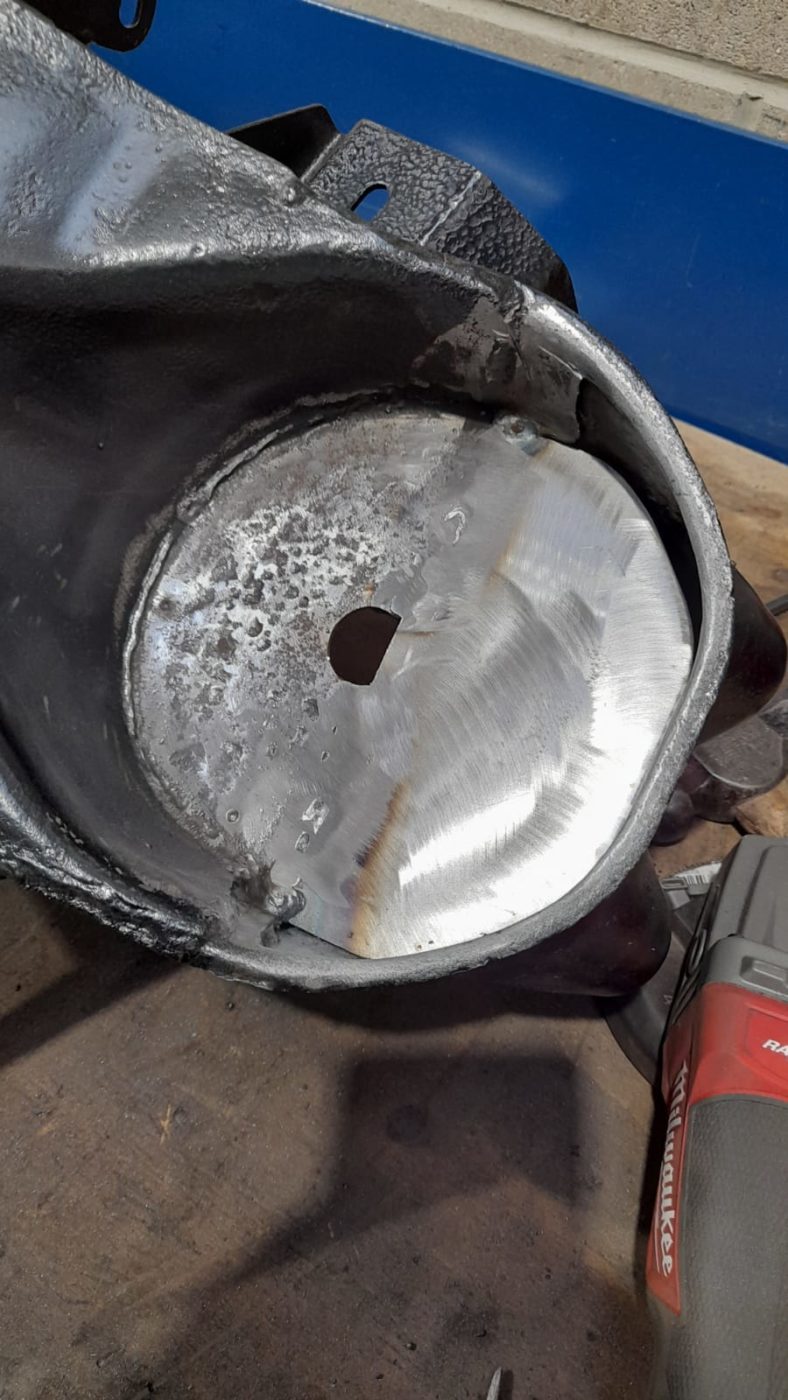
With Scott’s Land Rover hiatus now over, he can get back to the Daytona. Today he’s been welding the front cradle that holds the suspension as the element was suffering from some intense rust and corrosion. With new patches welded in, Scott can put it aside to fit once the Daytona has come out of paint.


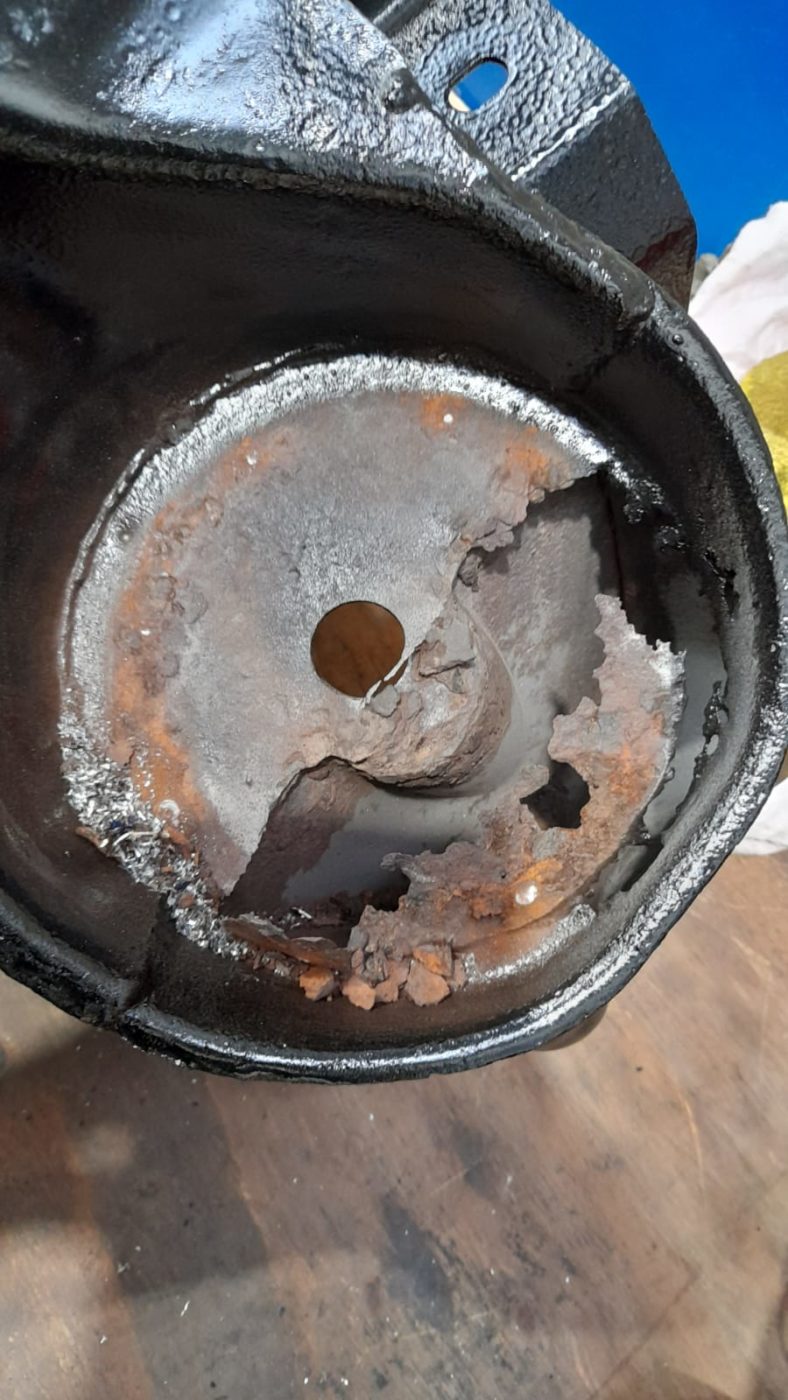
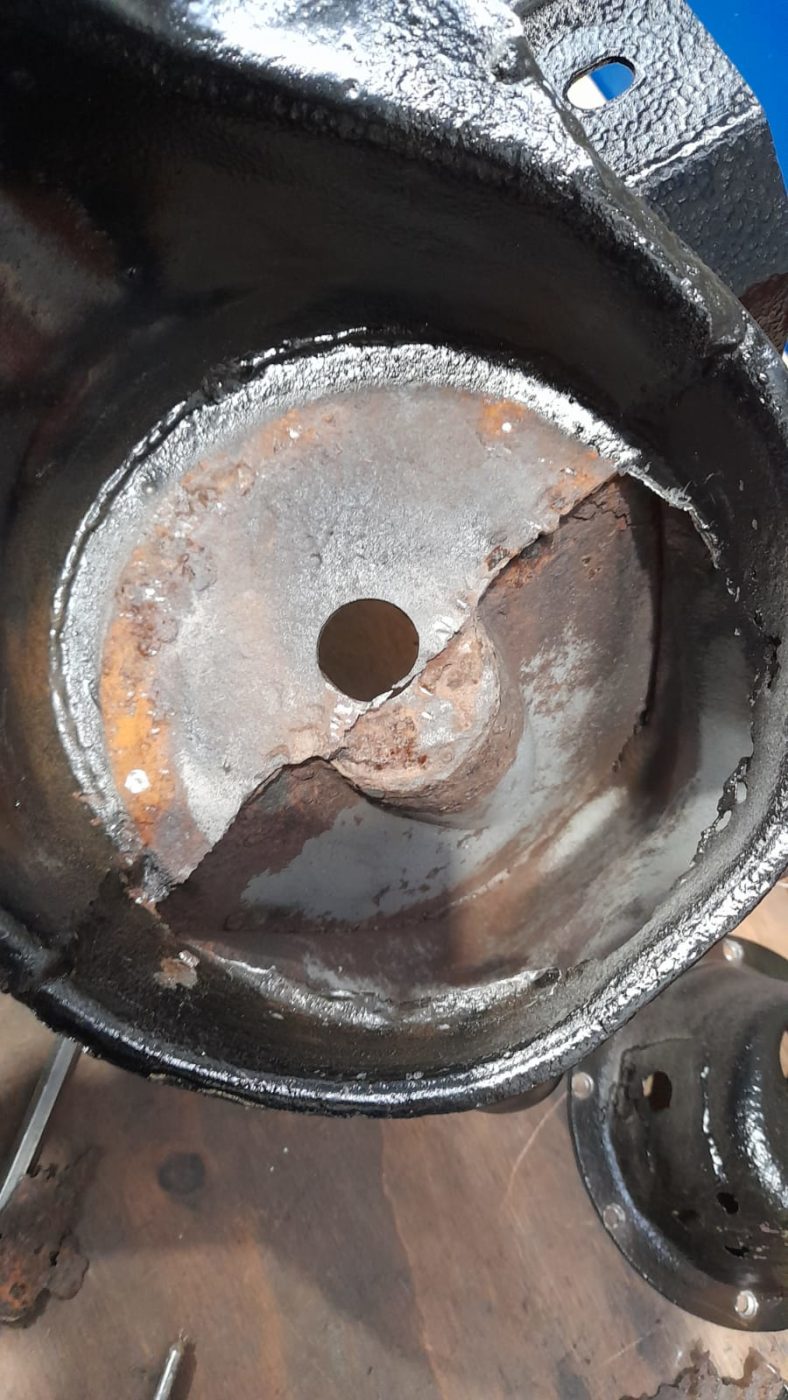
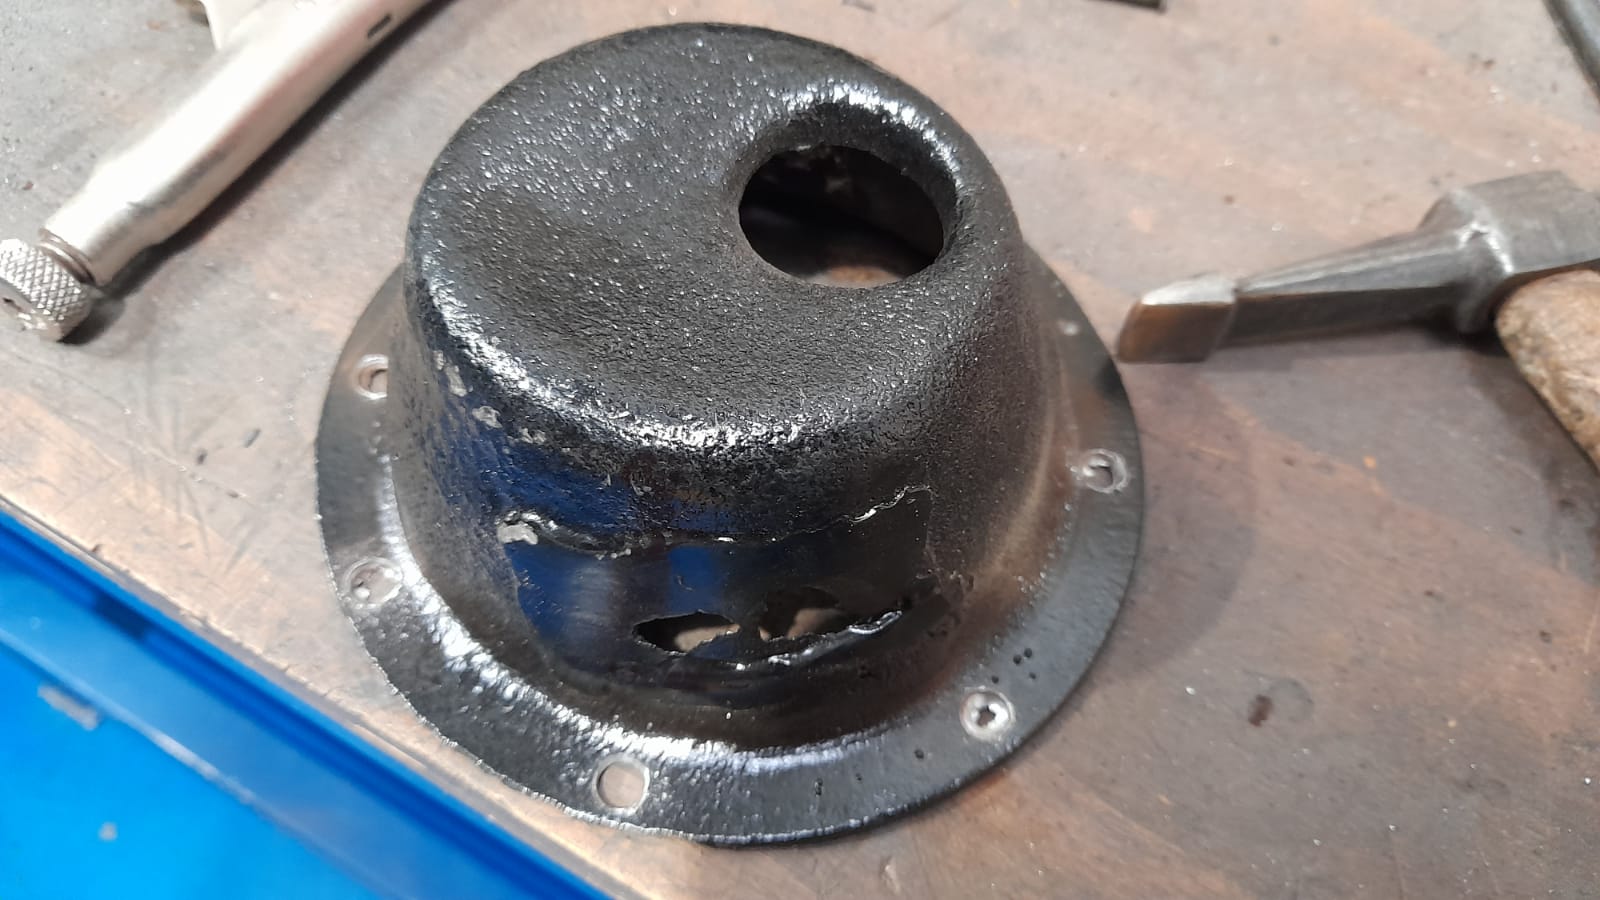
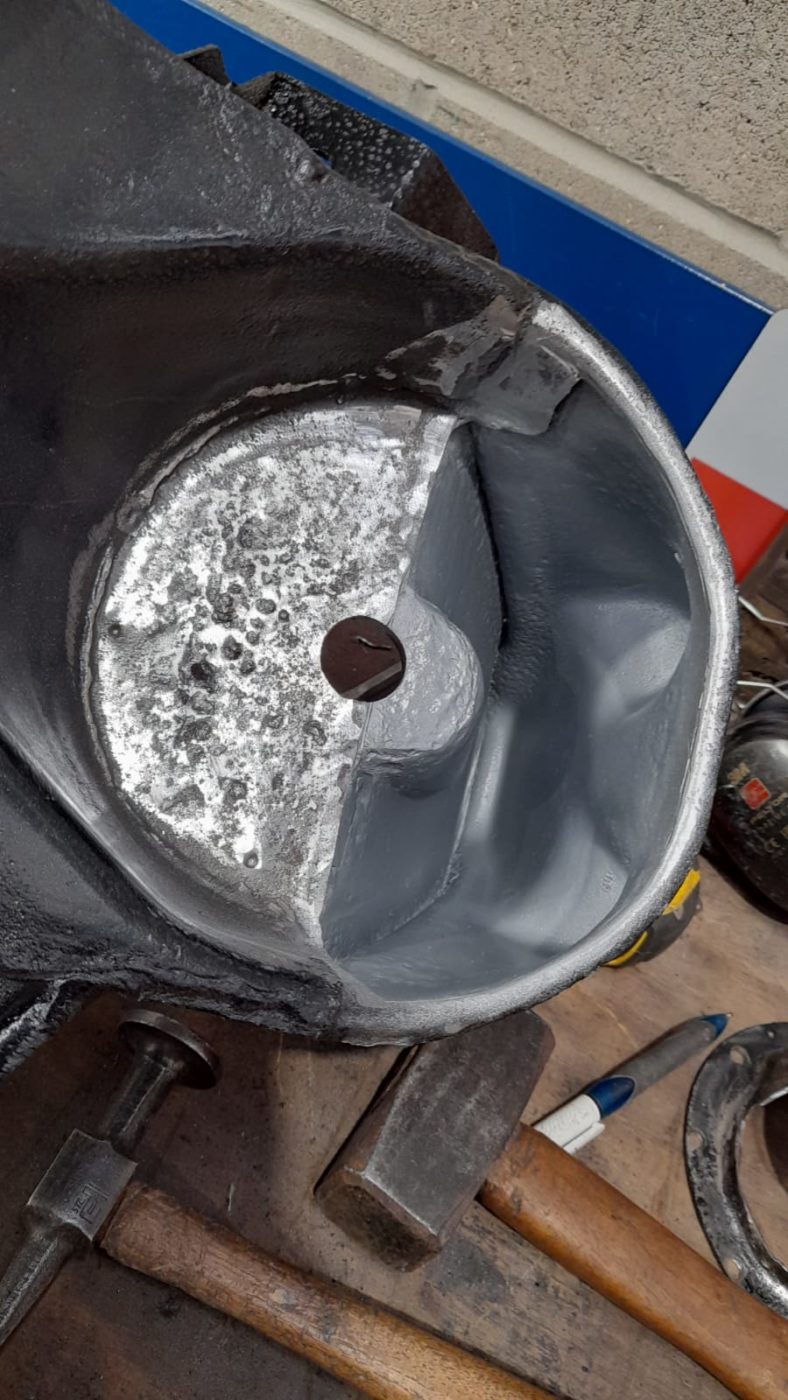
Scott has drilled out the spot welds that held the spring locator into the spring seat to gain access to the rot underneath. He then cut all affected metal out and cleaned up rust off the sound metal and applied a zinc primer to the parts he knew wouldn’t be able to access after its welded back up. Scott then fabricated a new piece and welded that in place. After repairing the spring locator, Scott lined it up perfectly to where it came off and then placed it back on. He finished by grinding flat the plug welds so that once its painted it will look like it’s never been touched. Success!


The Daytona shell is sat in the paint shop in a bright green primer as we prepare it for its final paint. Chris hand made the green primer by adding a tint of green paint into the body primer. This allows the final green paint to sit more naturally.

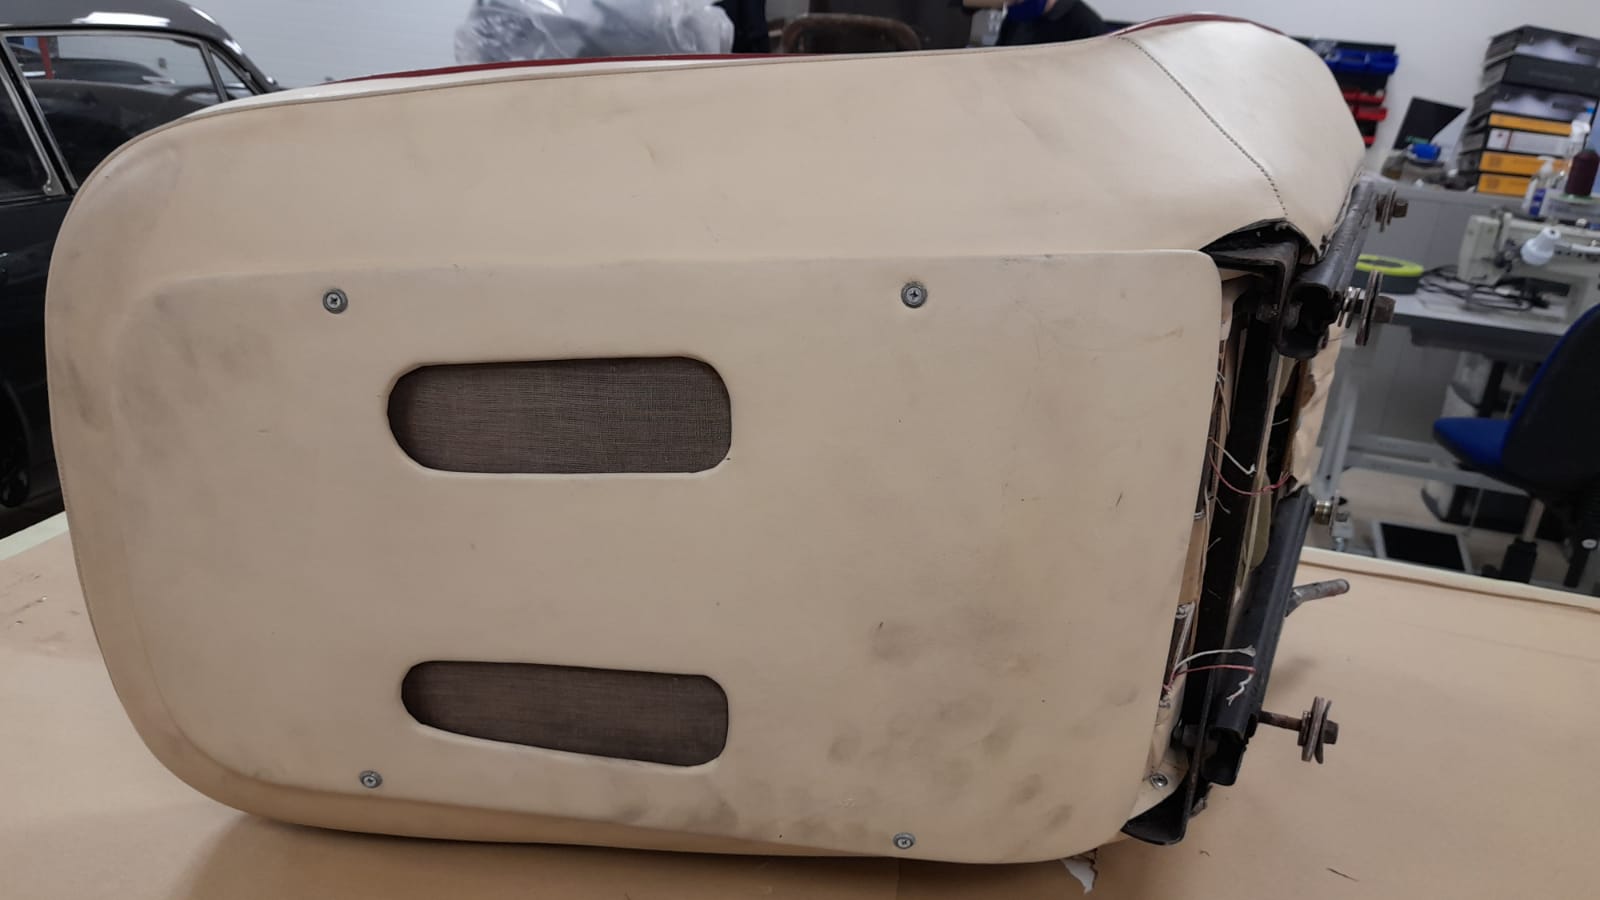
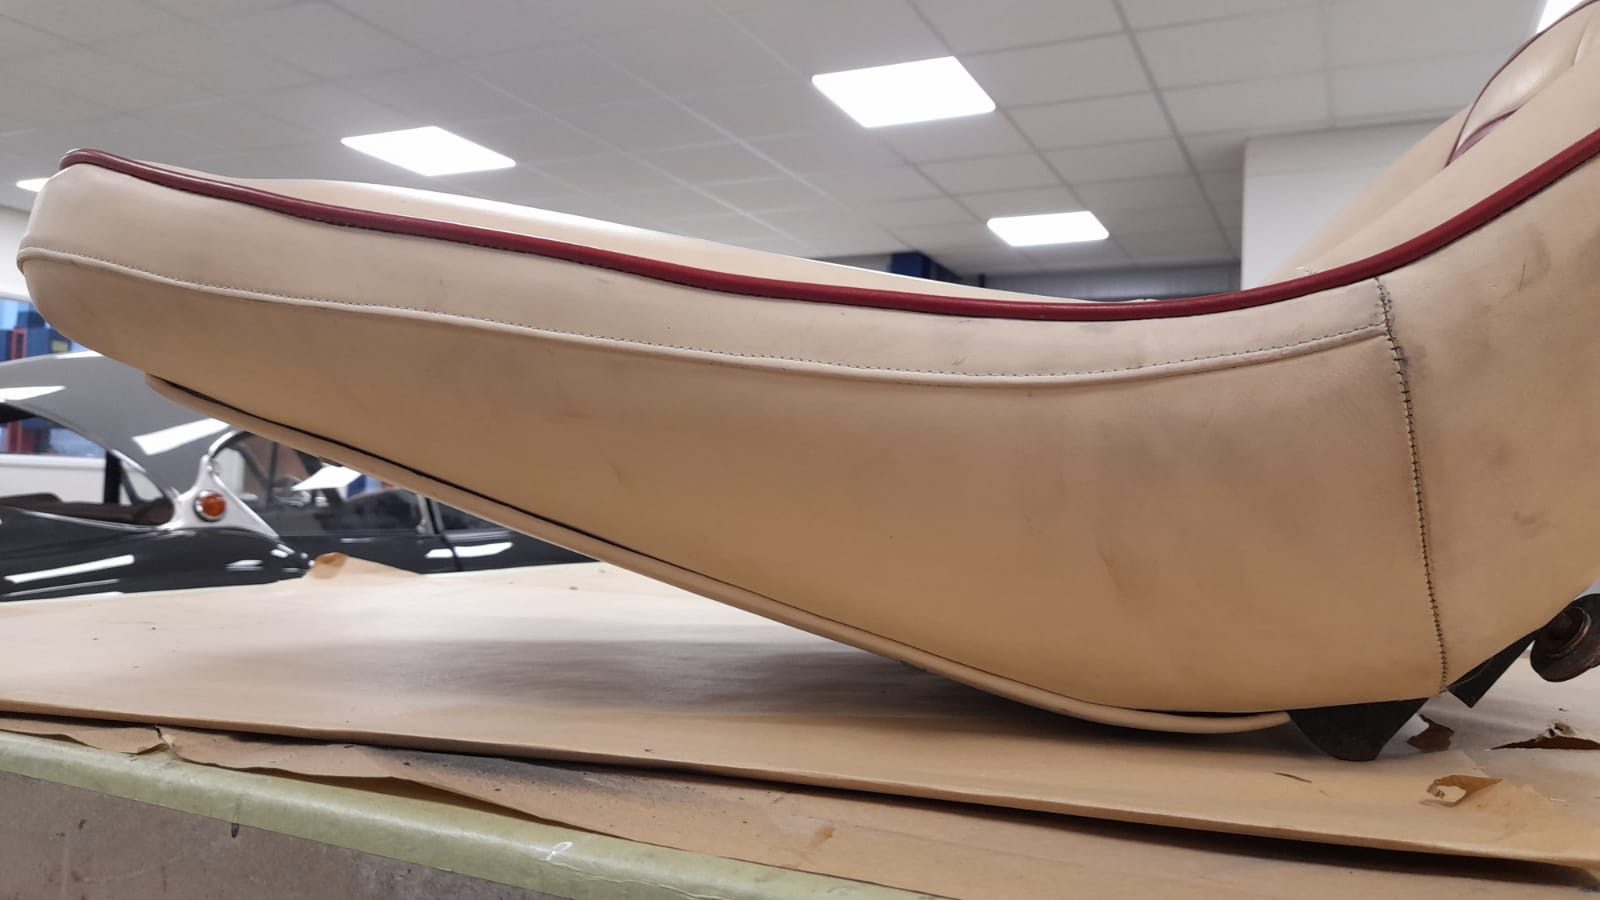
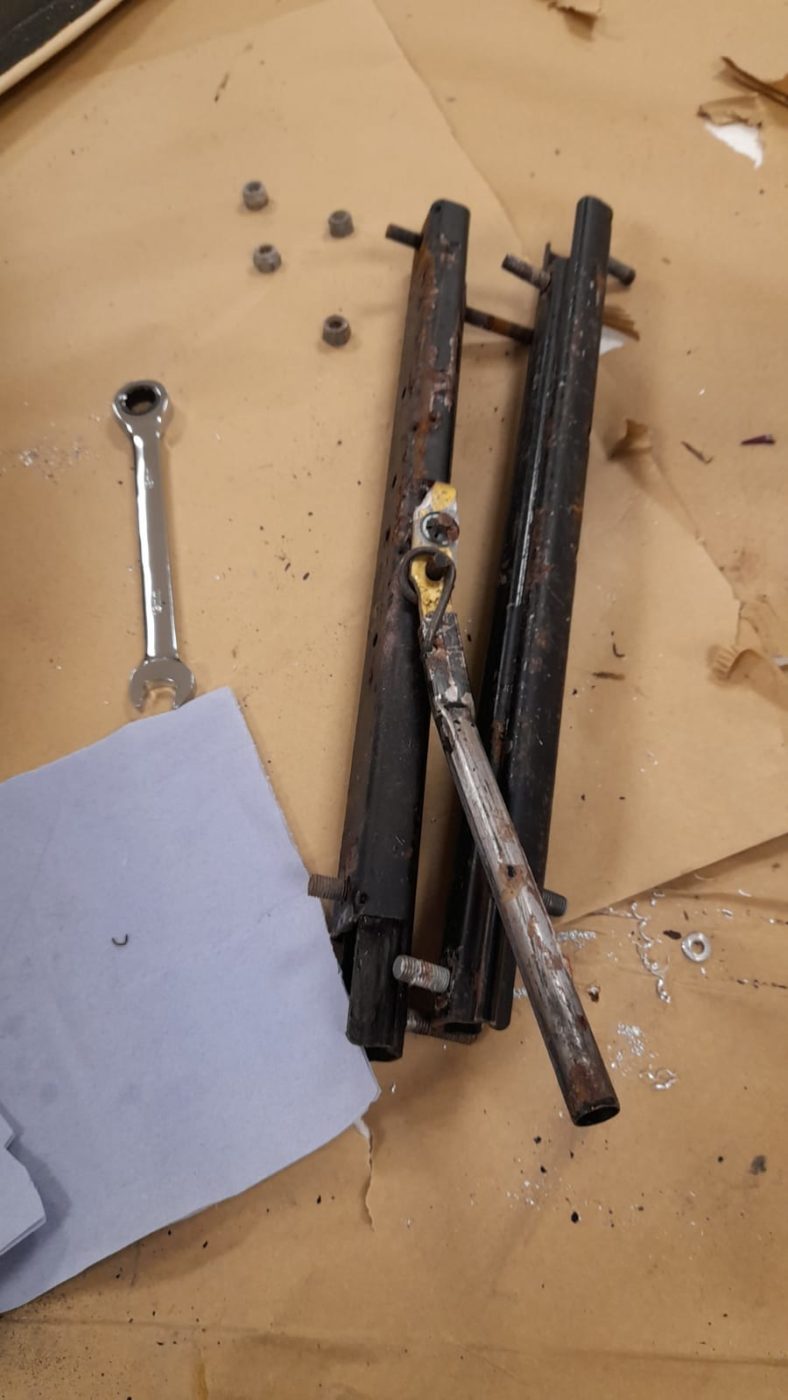
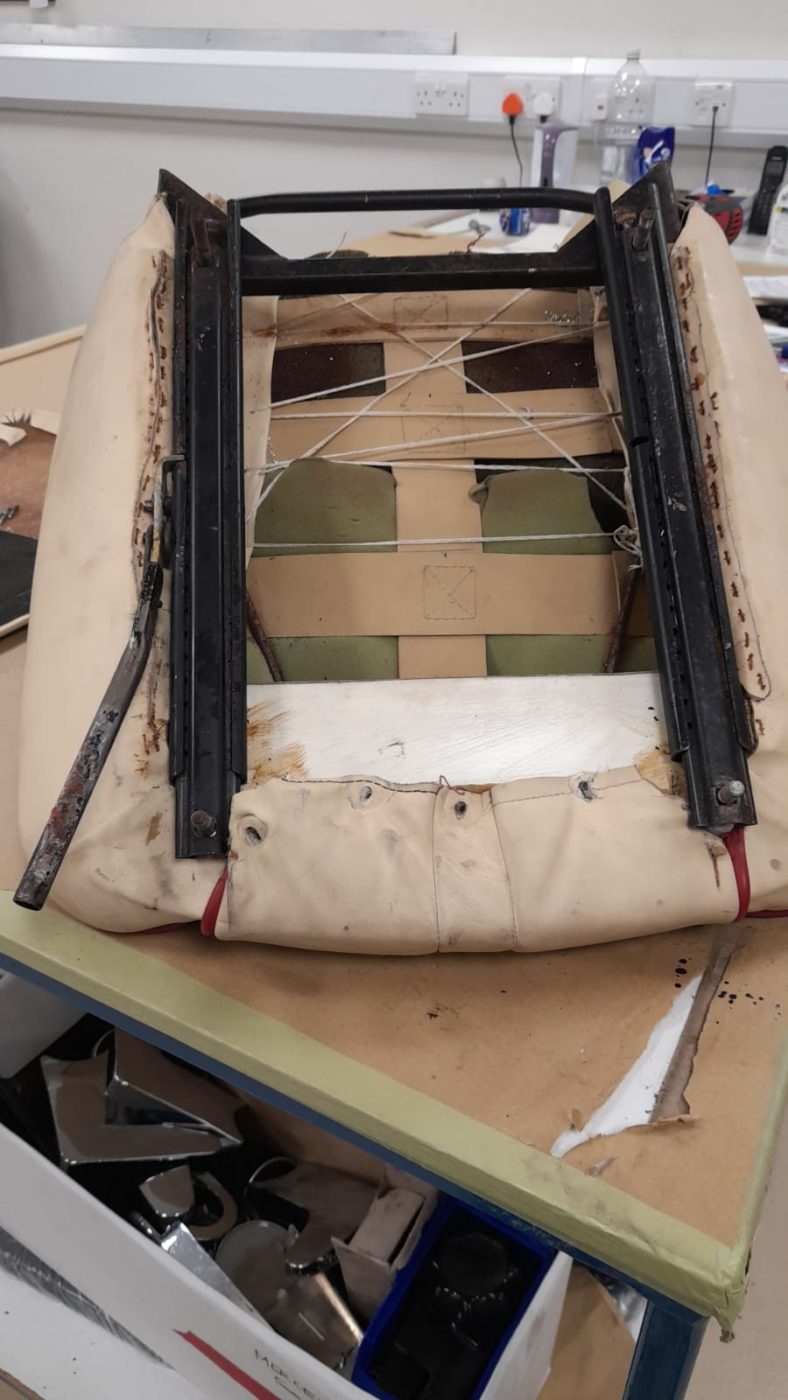
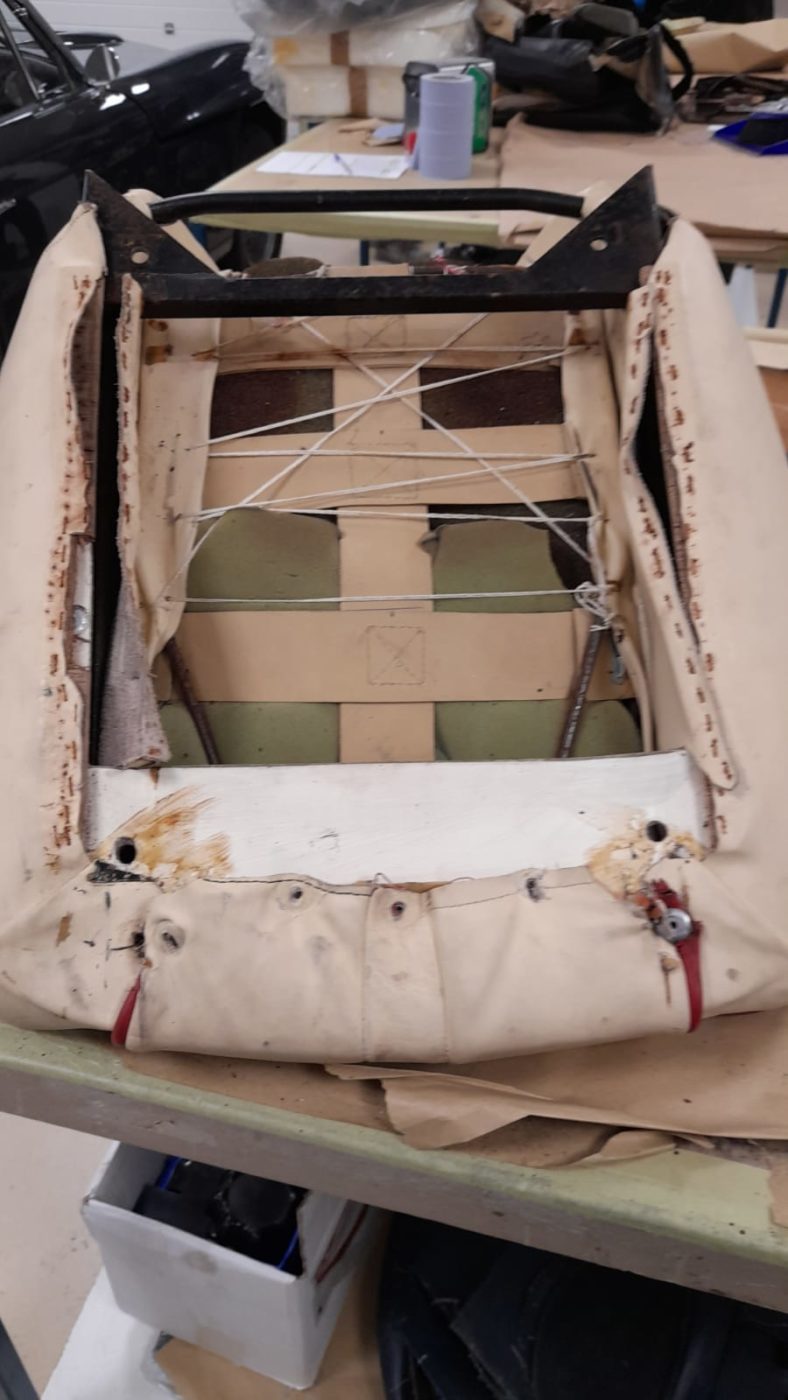
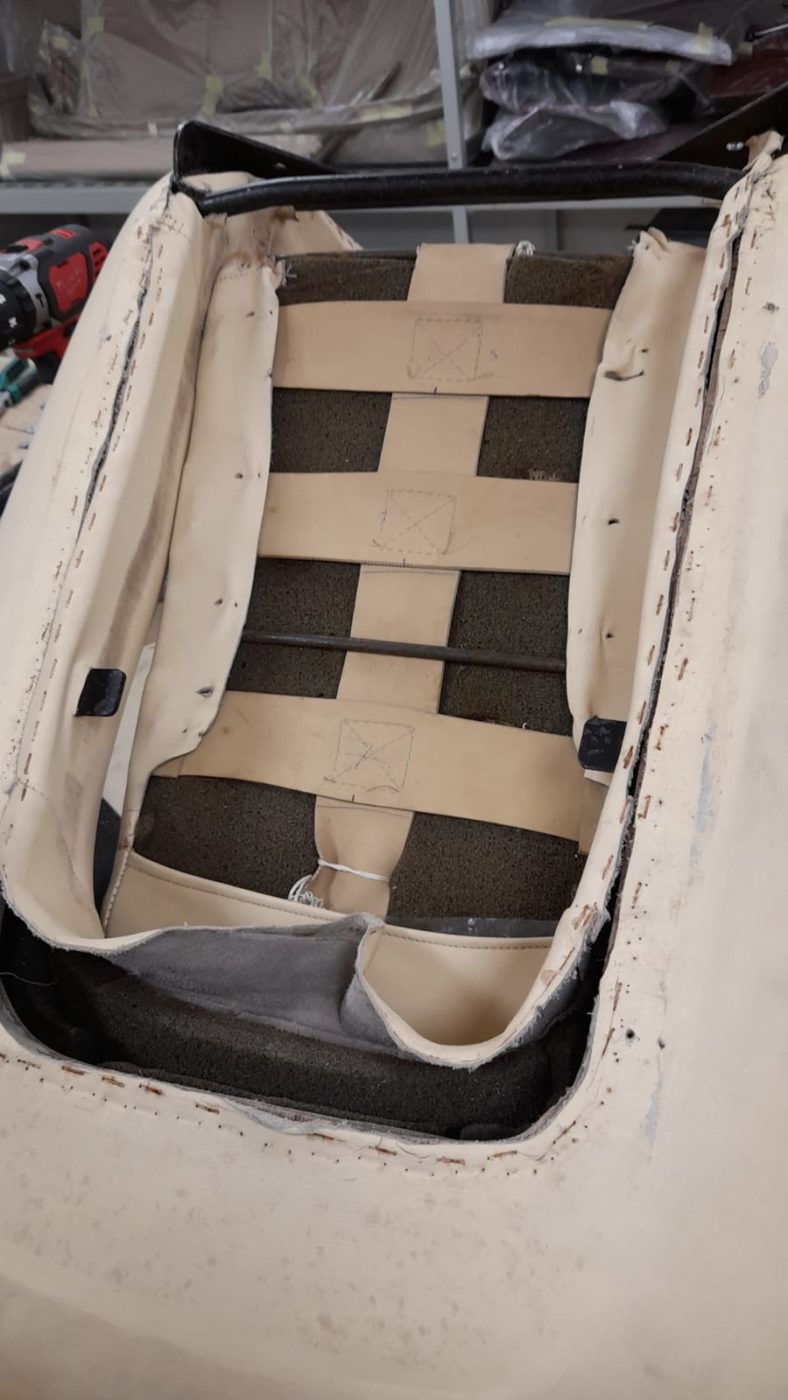
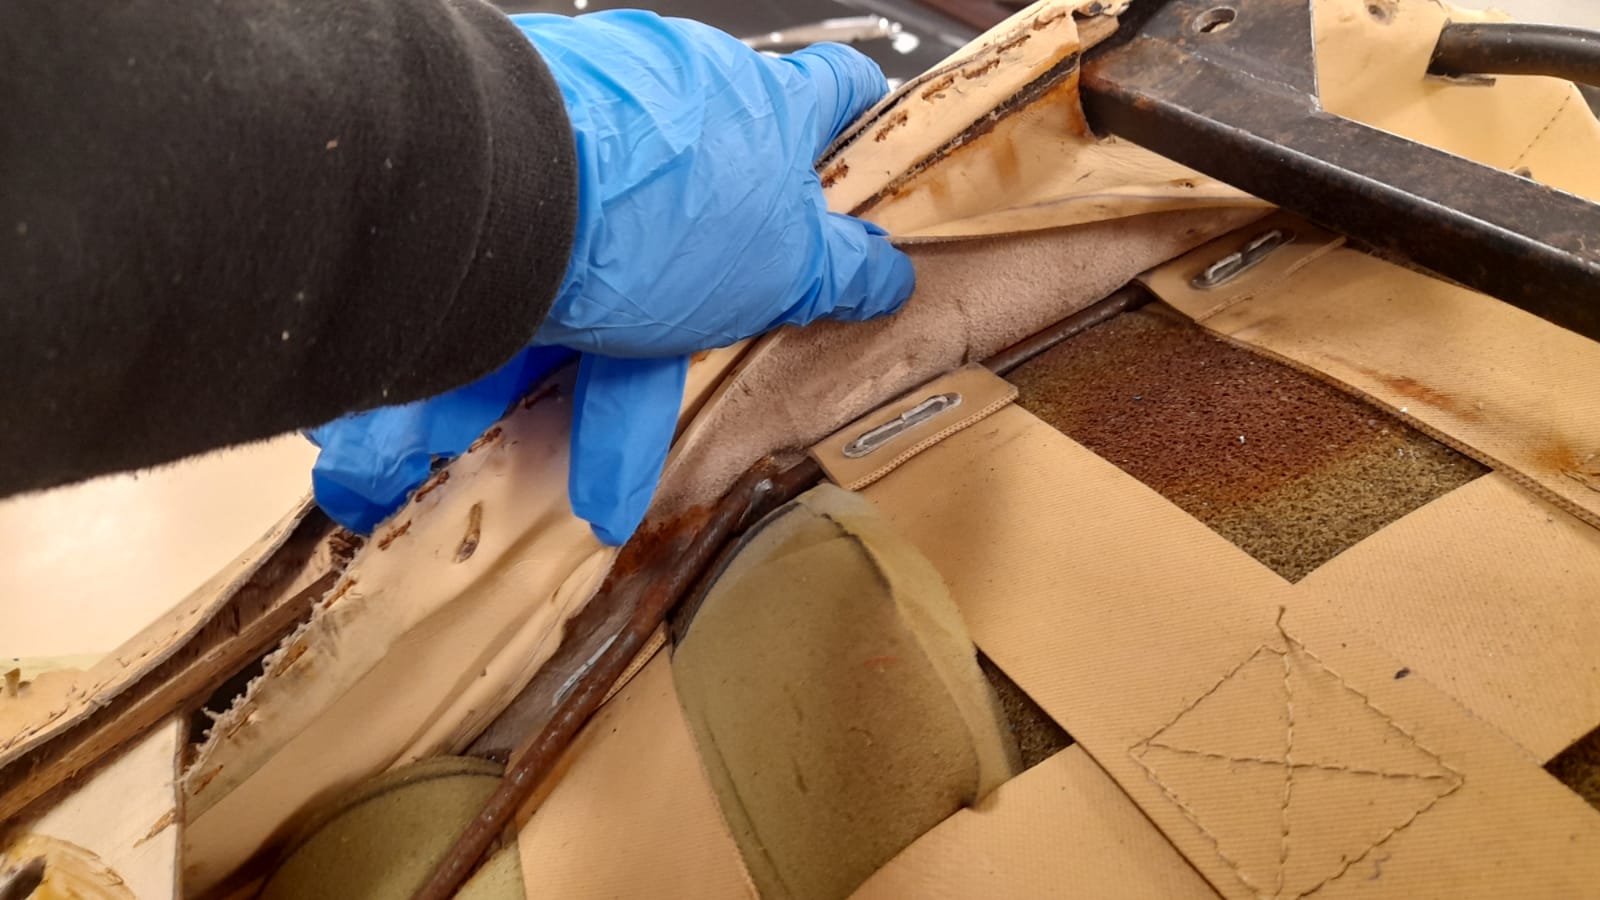
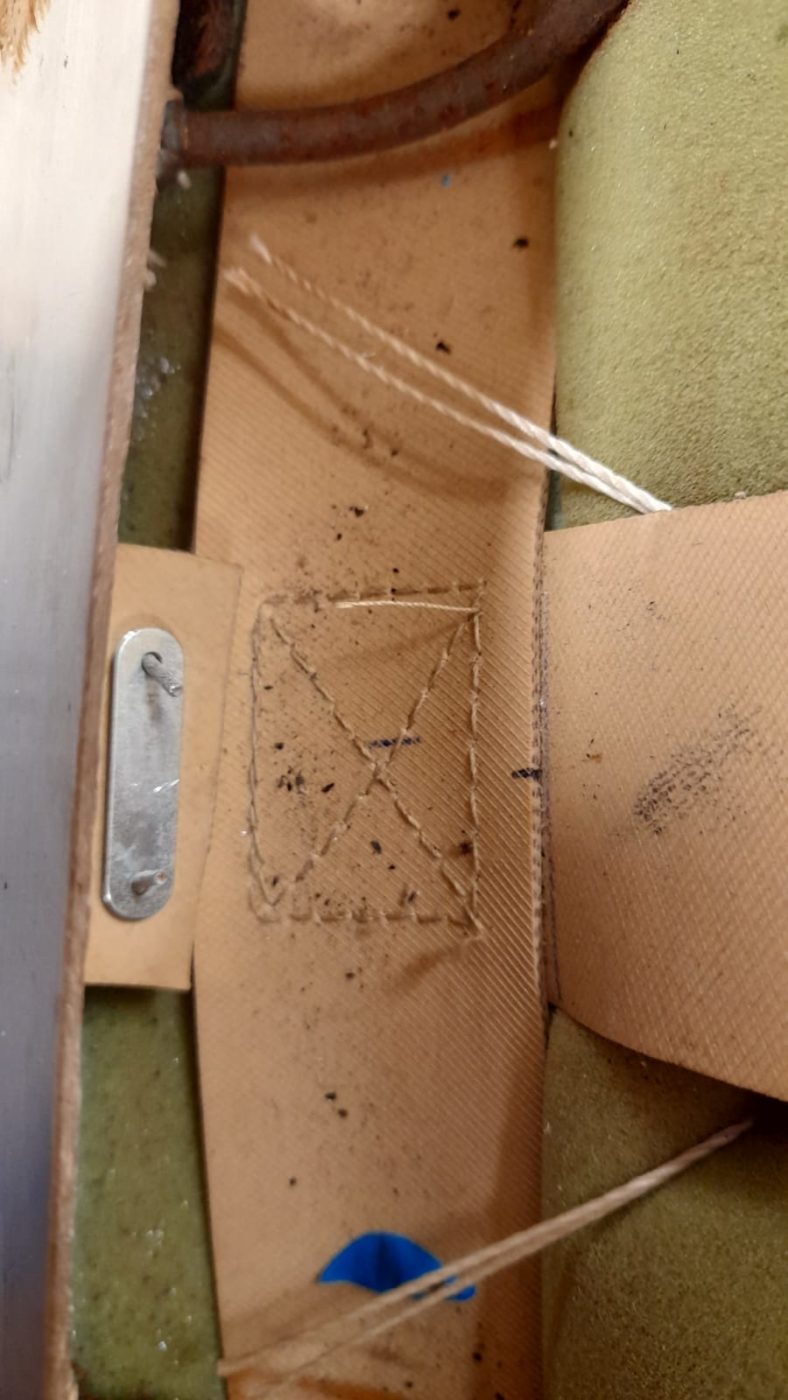
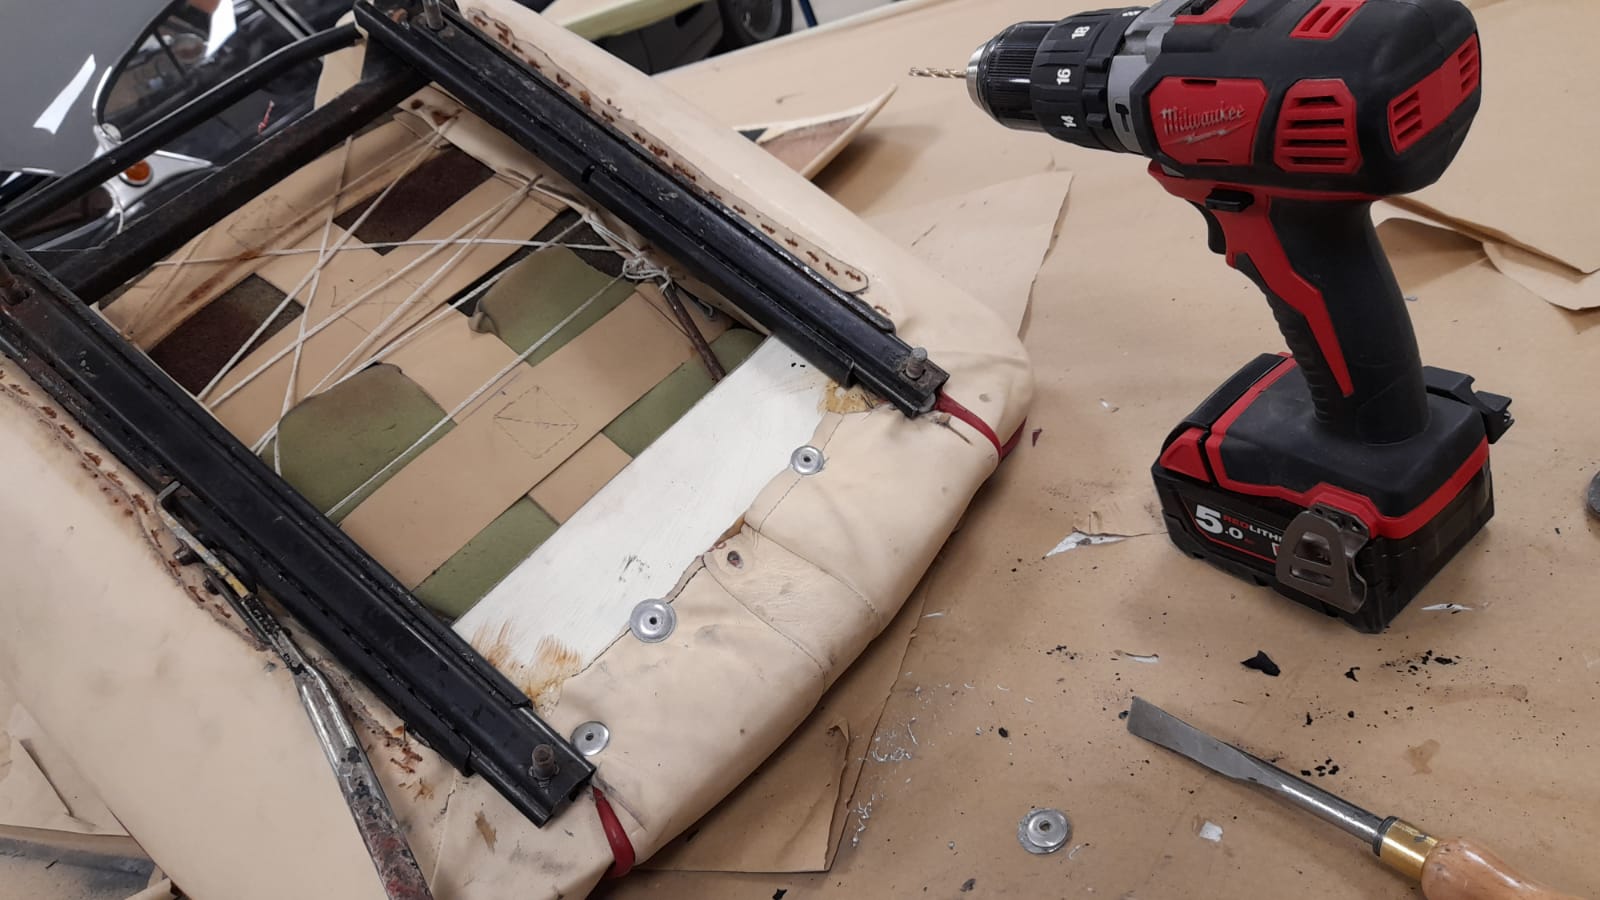
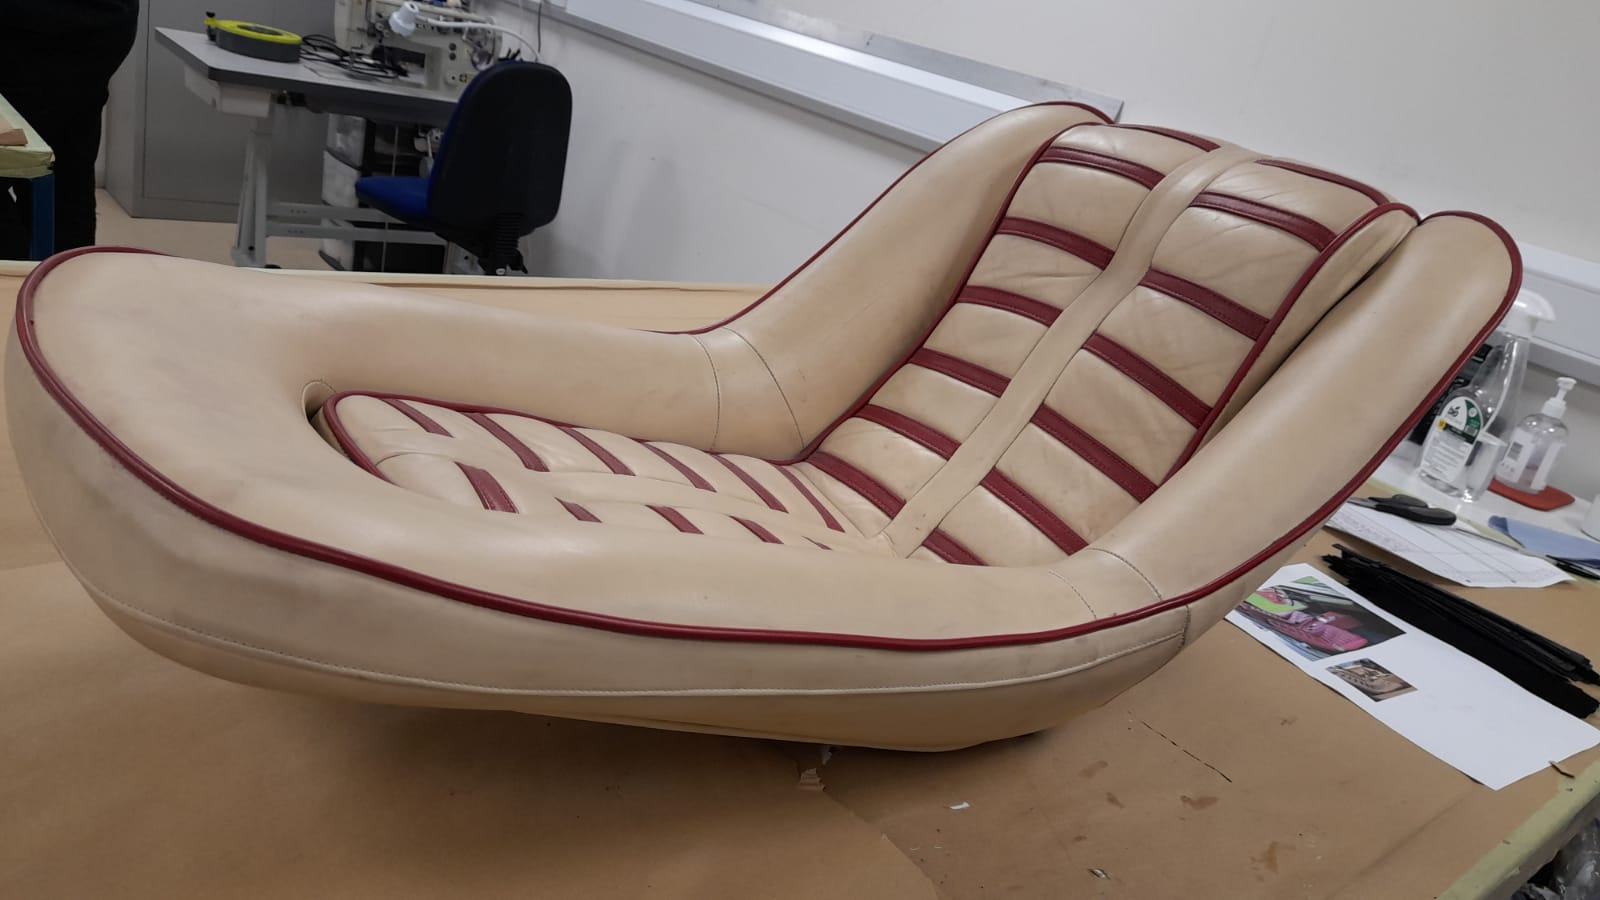
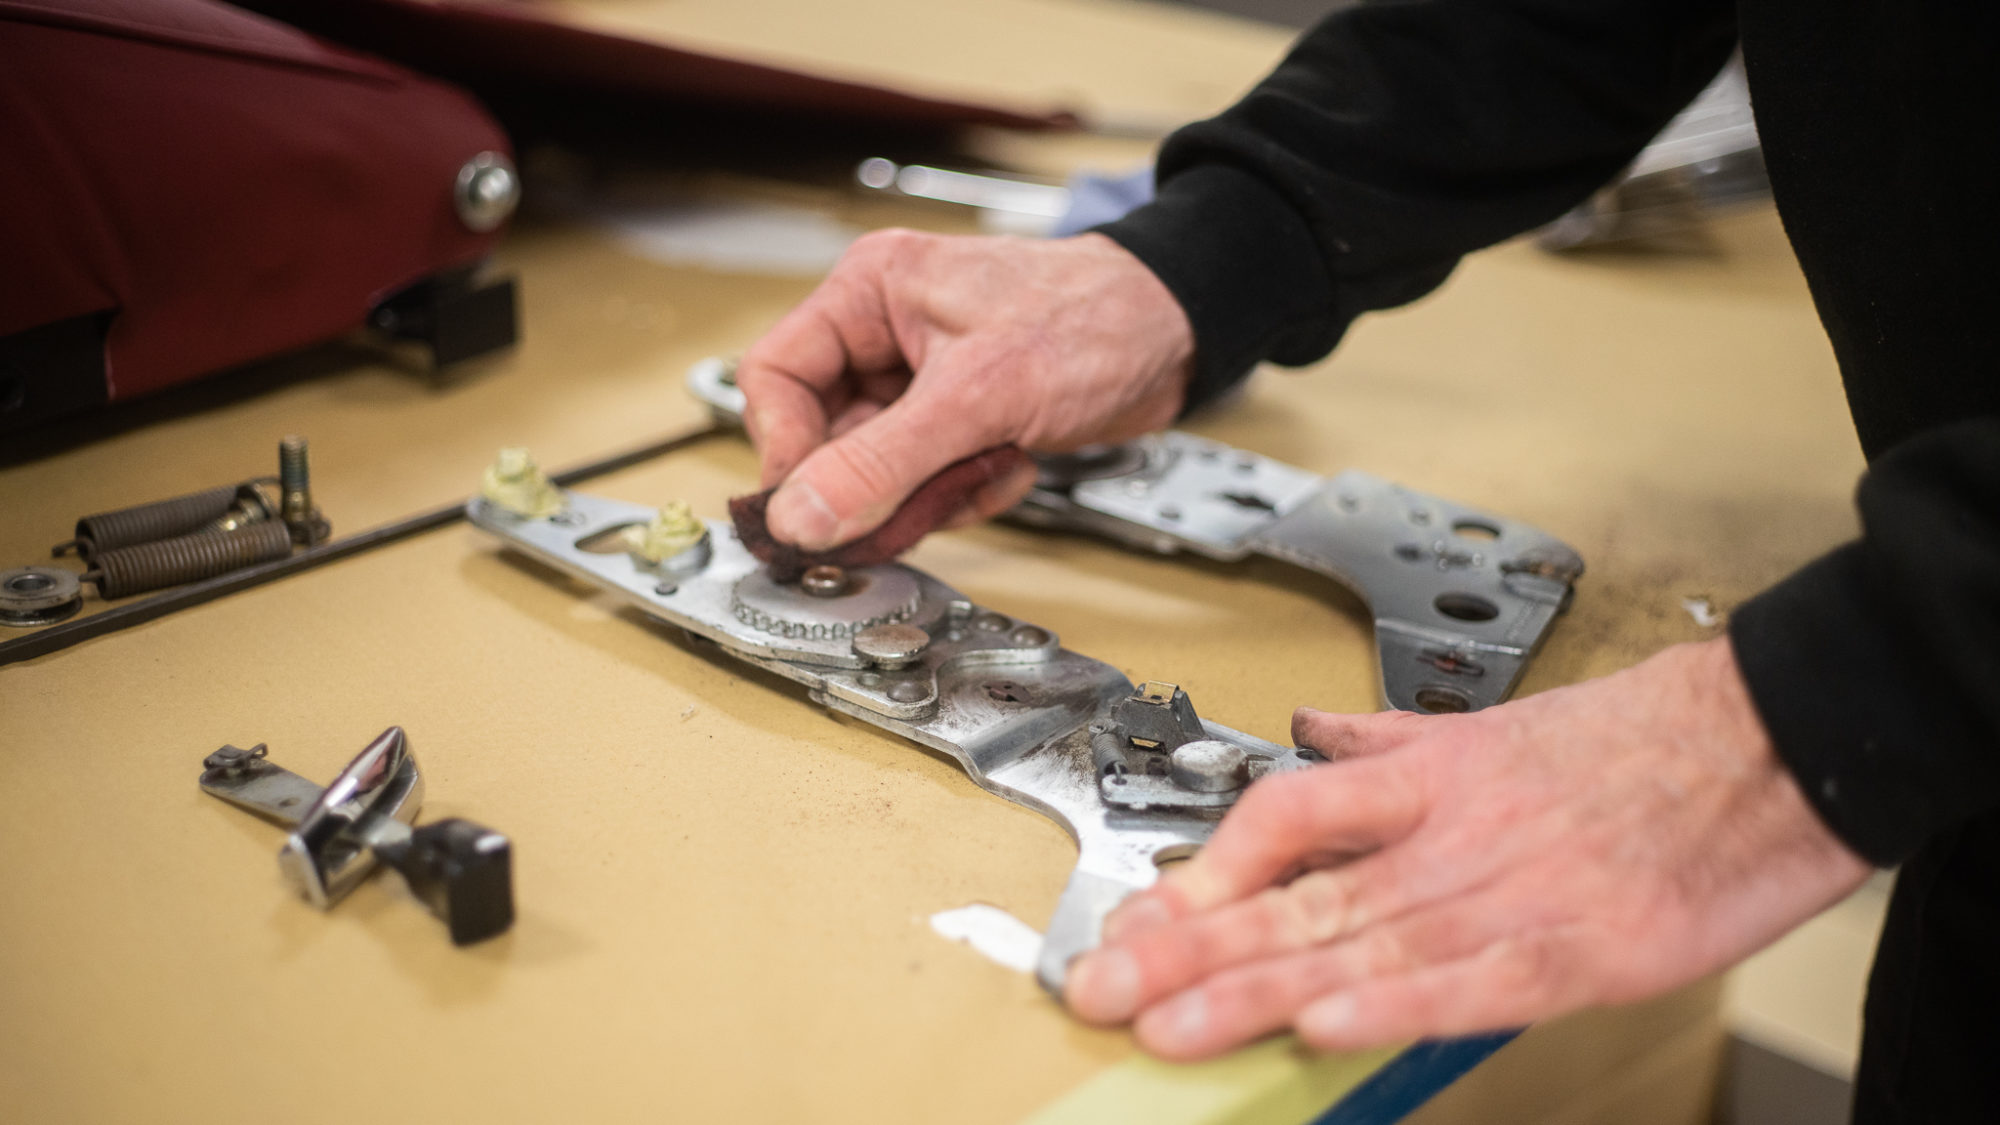
Meanwhile, the interior trim has landed in the trim shop for our team to begin tackling. Lydia has begun taking apart the seats by removing the old and deteriating staples. Lydia then drilled out all the rivets, hiding the bottom flap in place and the sides. the next step was to undo all the bolts with a spanner which were holding these metal bars in place. These metal bars hold the seat down into the car on the floor. Lydia then begun undoing all the laces that run through the back straps and the inner seat cover. After more staples were taken out, Lydia had to undo these metal bars holding the edges of the rubber straps in place going along the back. Before Lydia could start to get the covers off, she had to then cut the strings running down the middle, which help the cover keep tight. Lydia could then take off the middle cover from the foam and frame, peeled the foams off the rubber straps that were held in place with glue and took the outer cover of the foam and frame. Once the covers had all come off, Lydia could then look at the construction of them properly and start marking them up to help make new ones in the future.


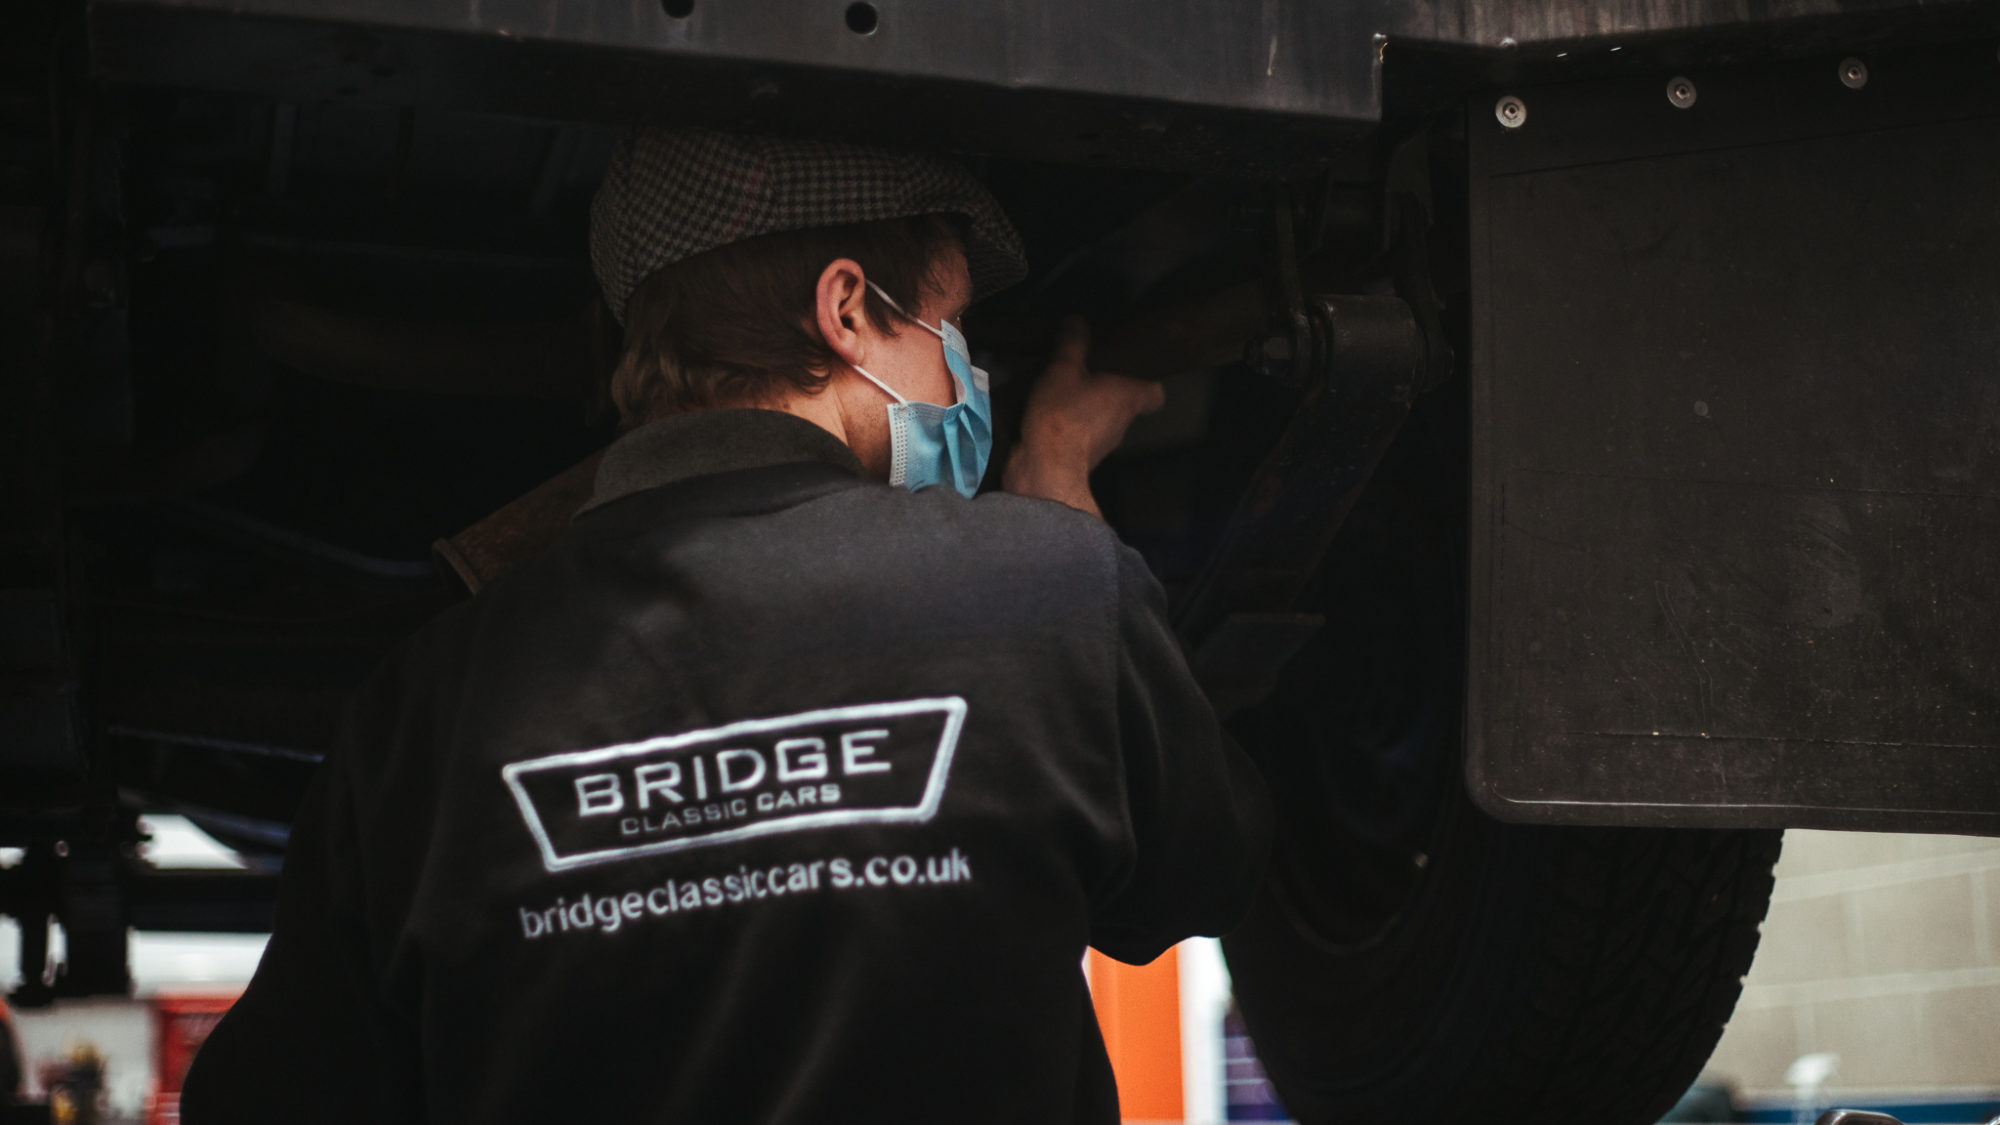
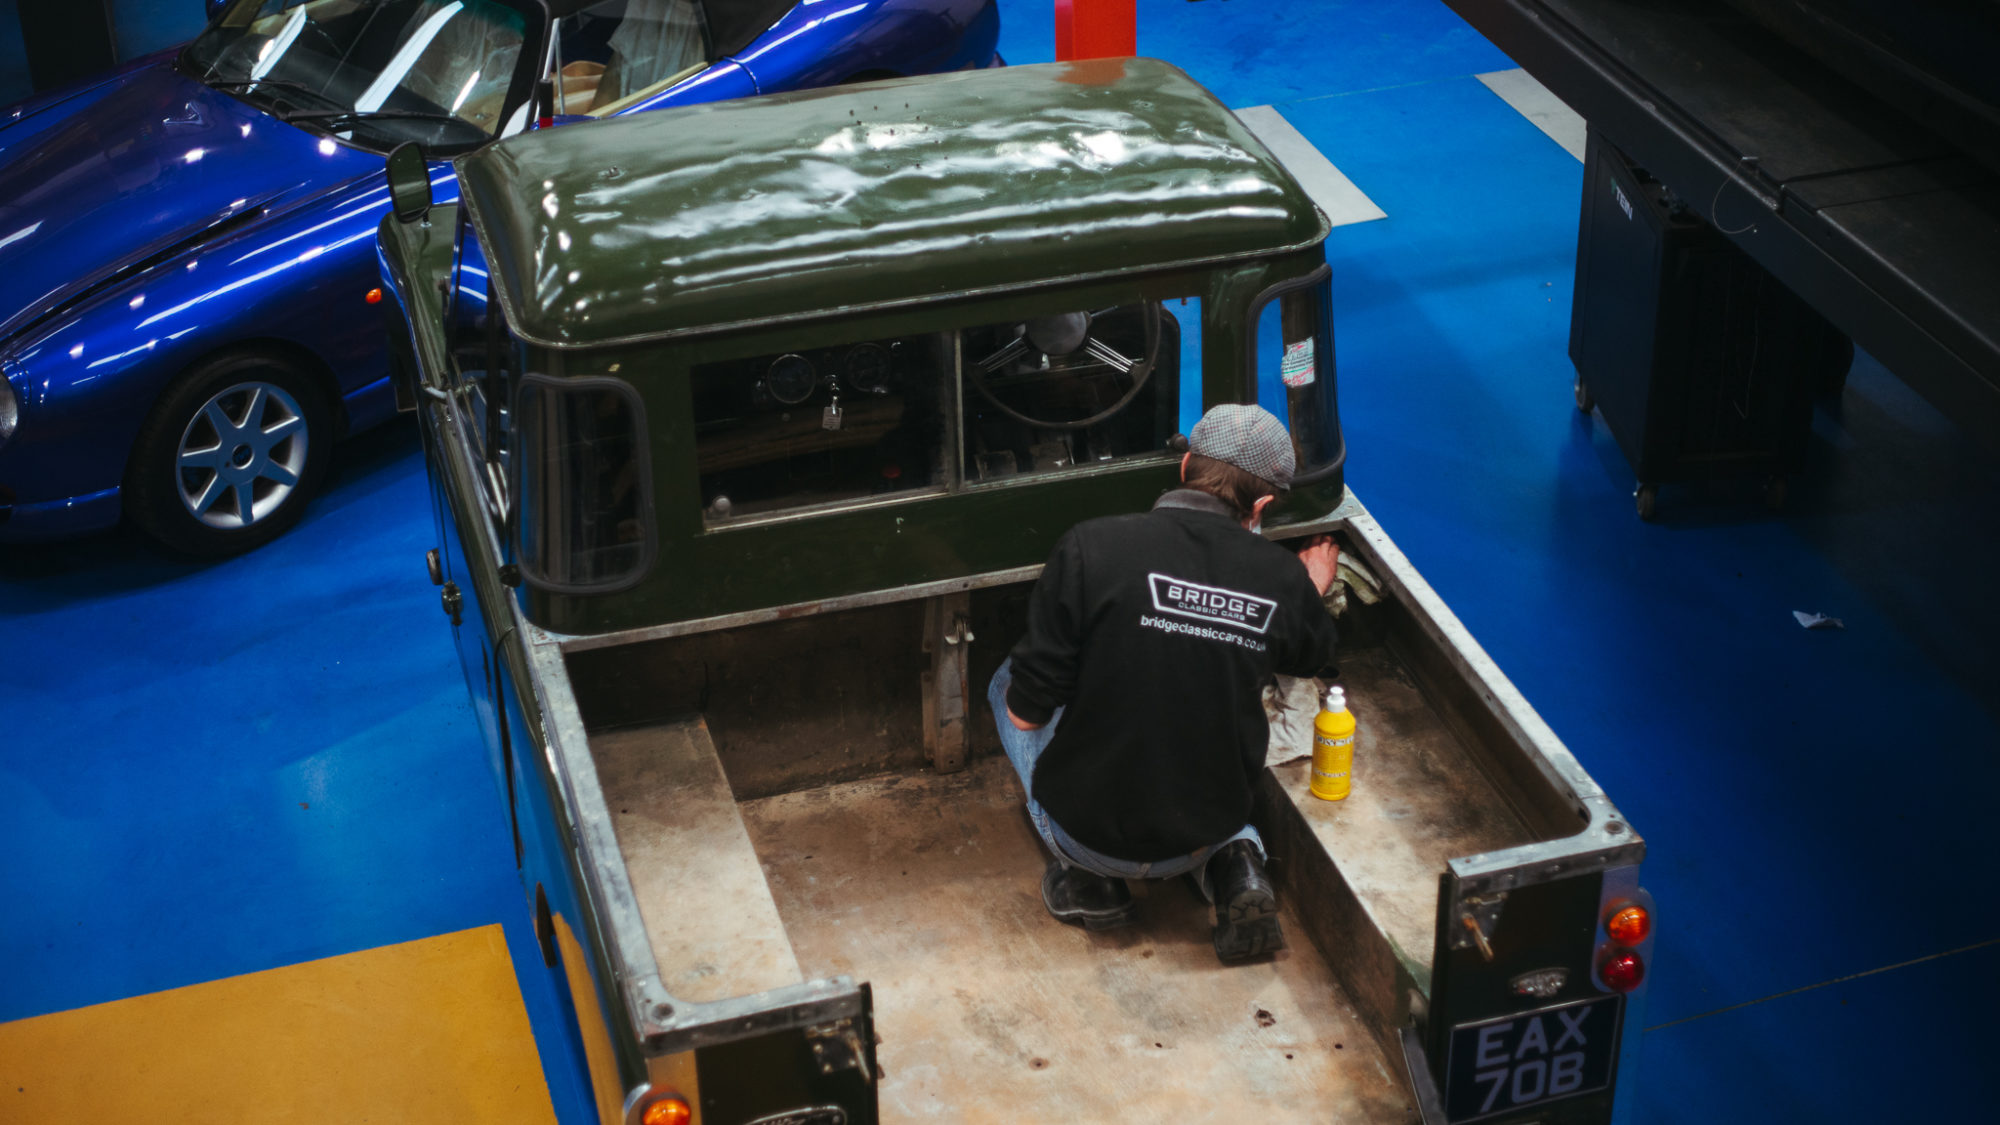
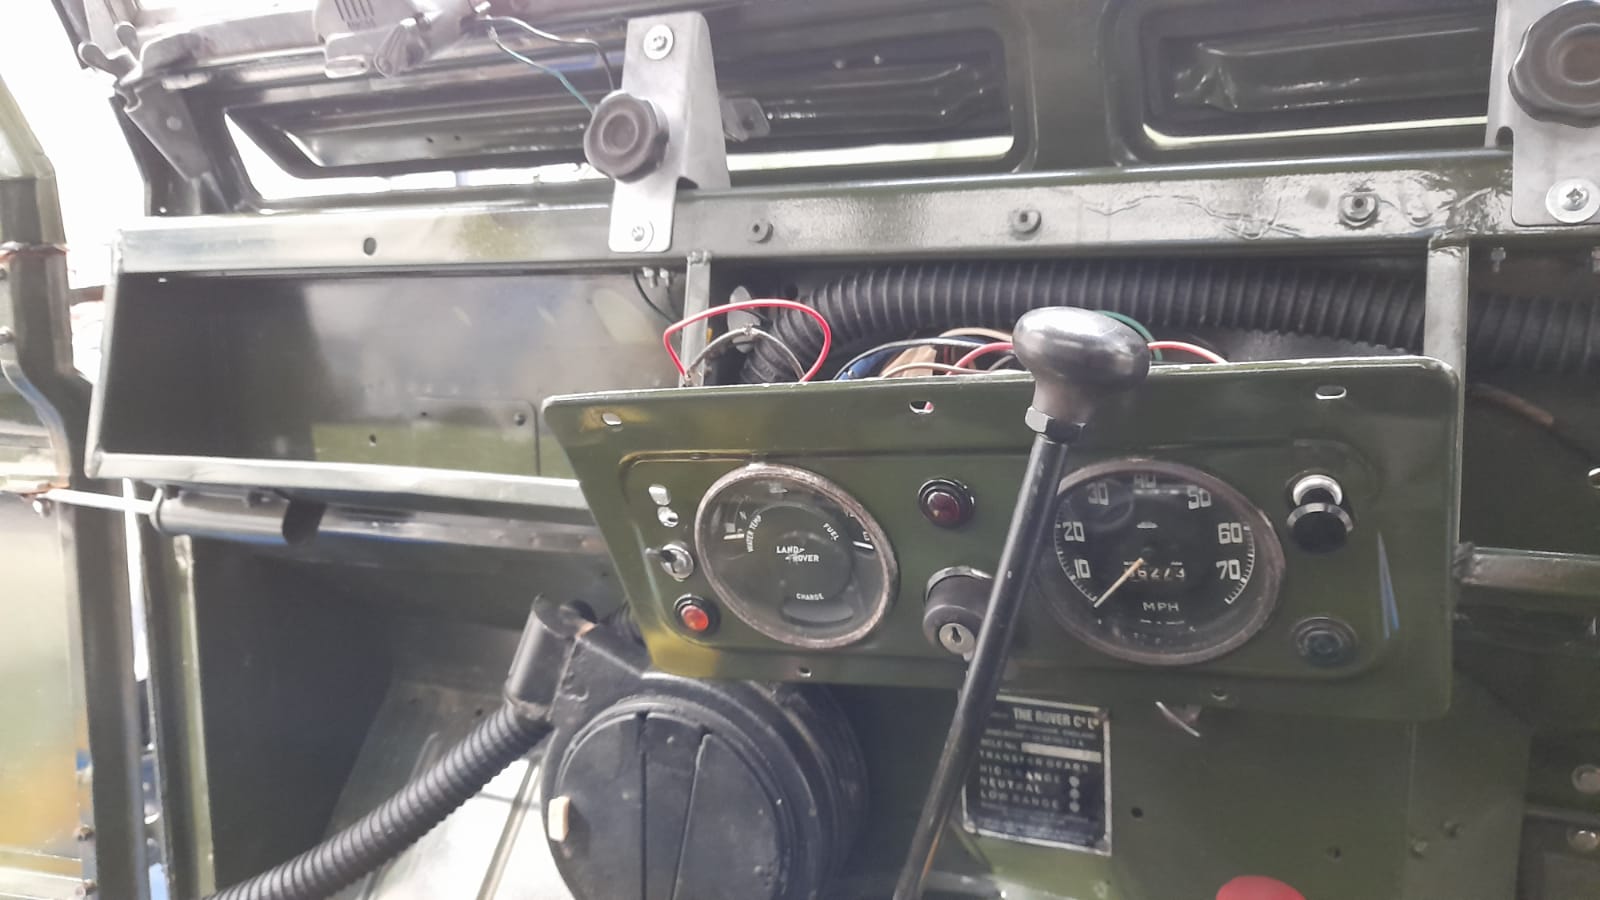
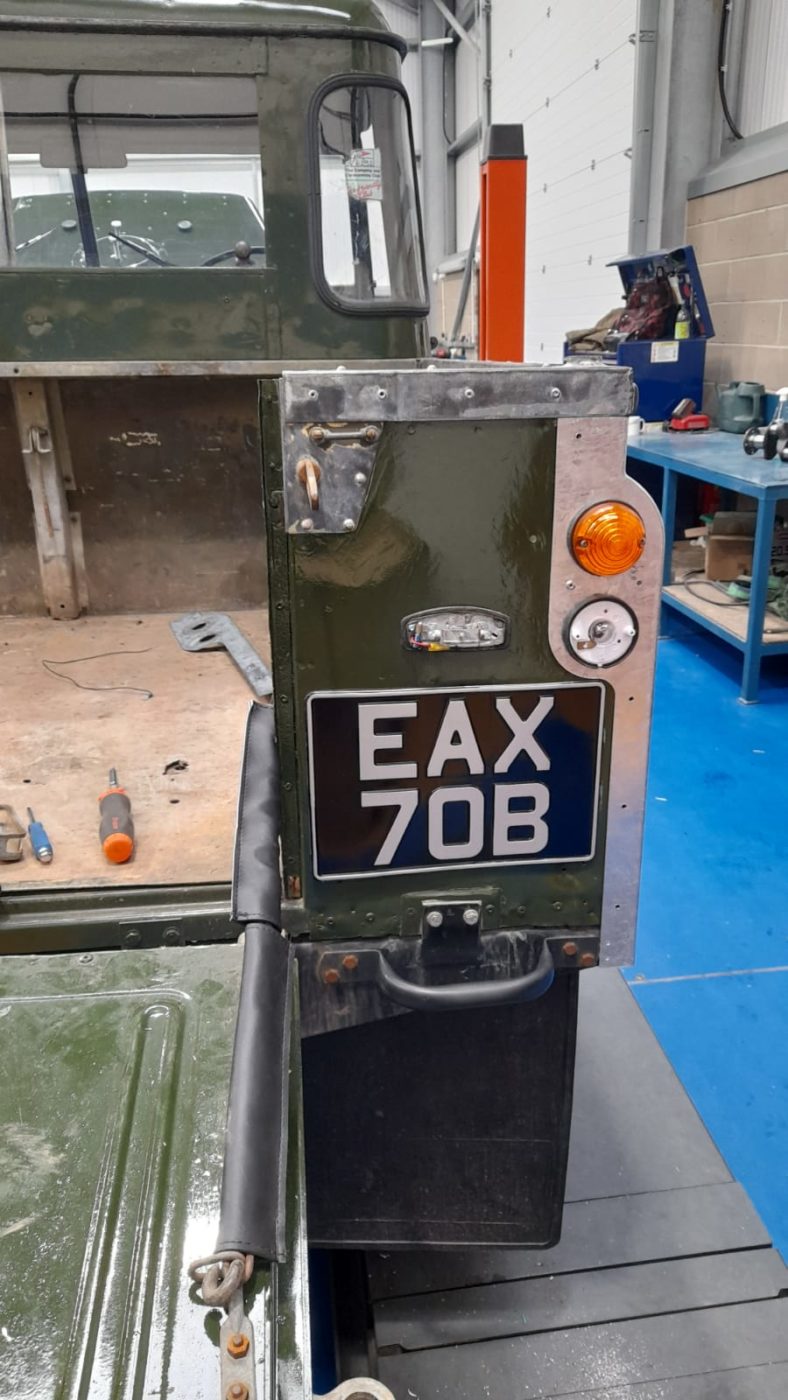
Lots have been happening with our new Land Rover Series IIa this week. Scott (our in-house Land Rover Specialist) has diligently attending to the issues and has now almost completed it. We’ll be aiming to shoot it next week so keep your eyes peeled!
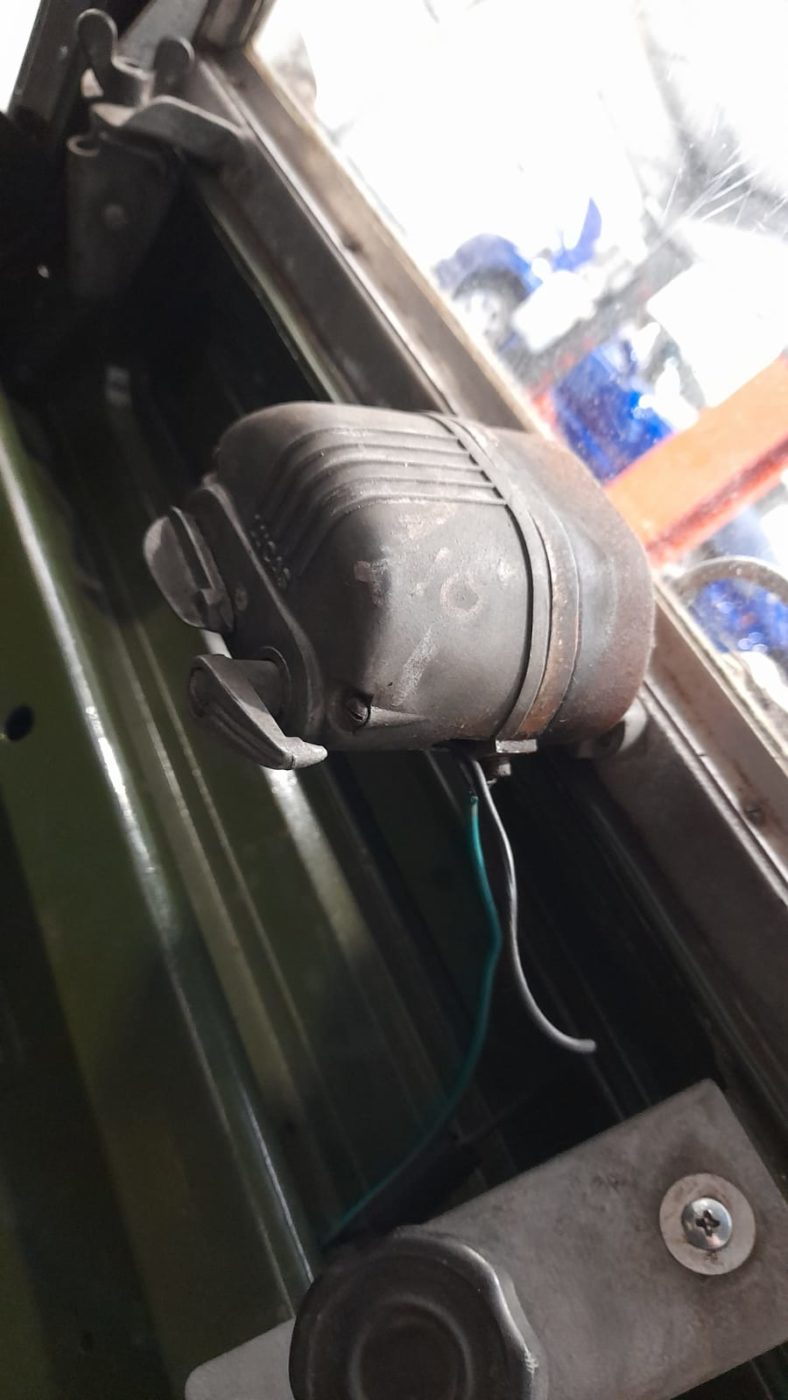
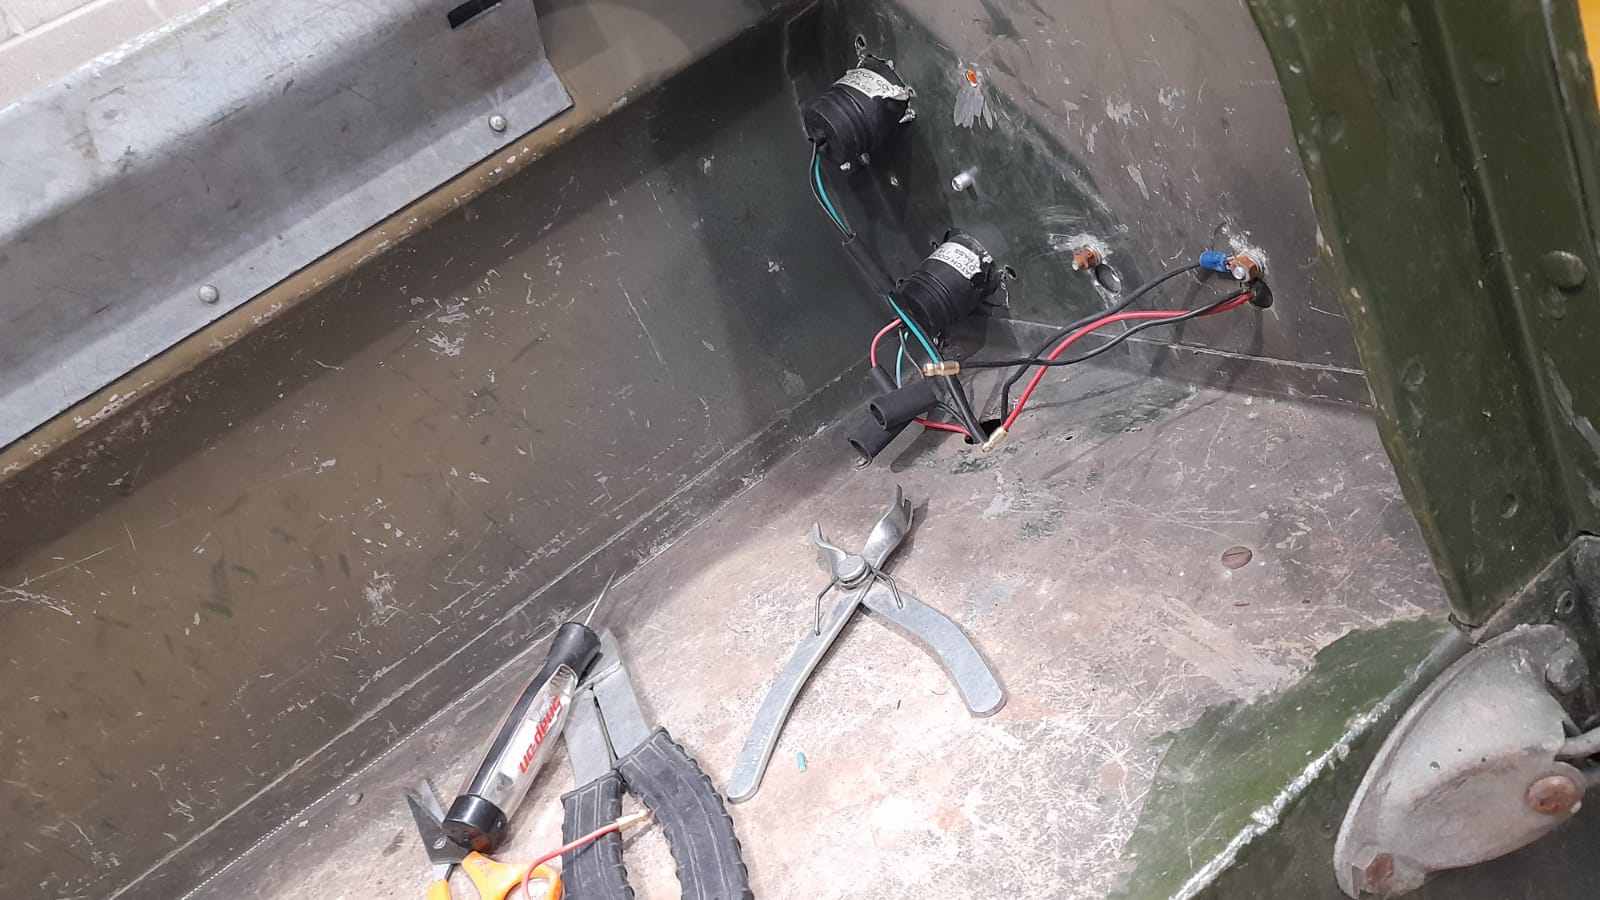
Scott has replaced an rewired the window wiper mechanisms which sit in the cab on the dashboard.
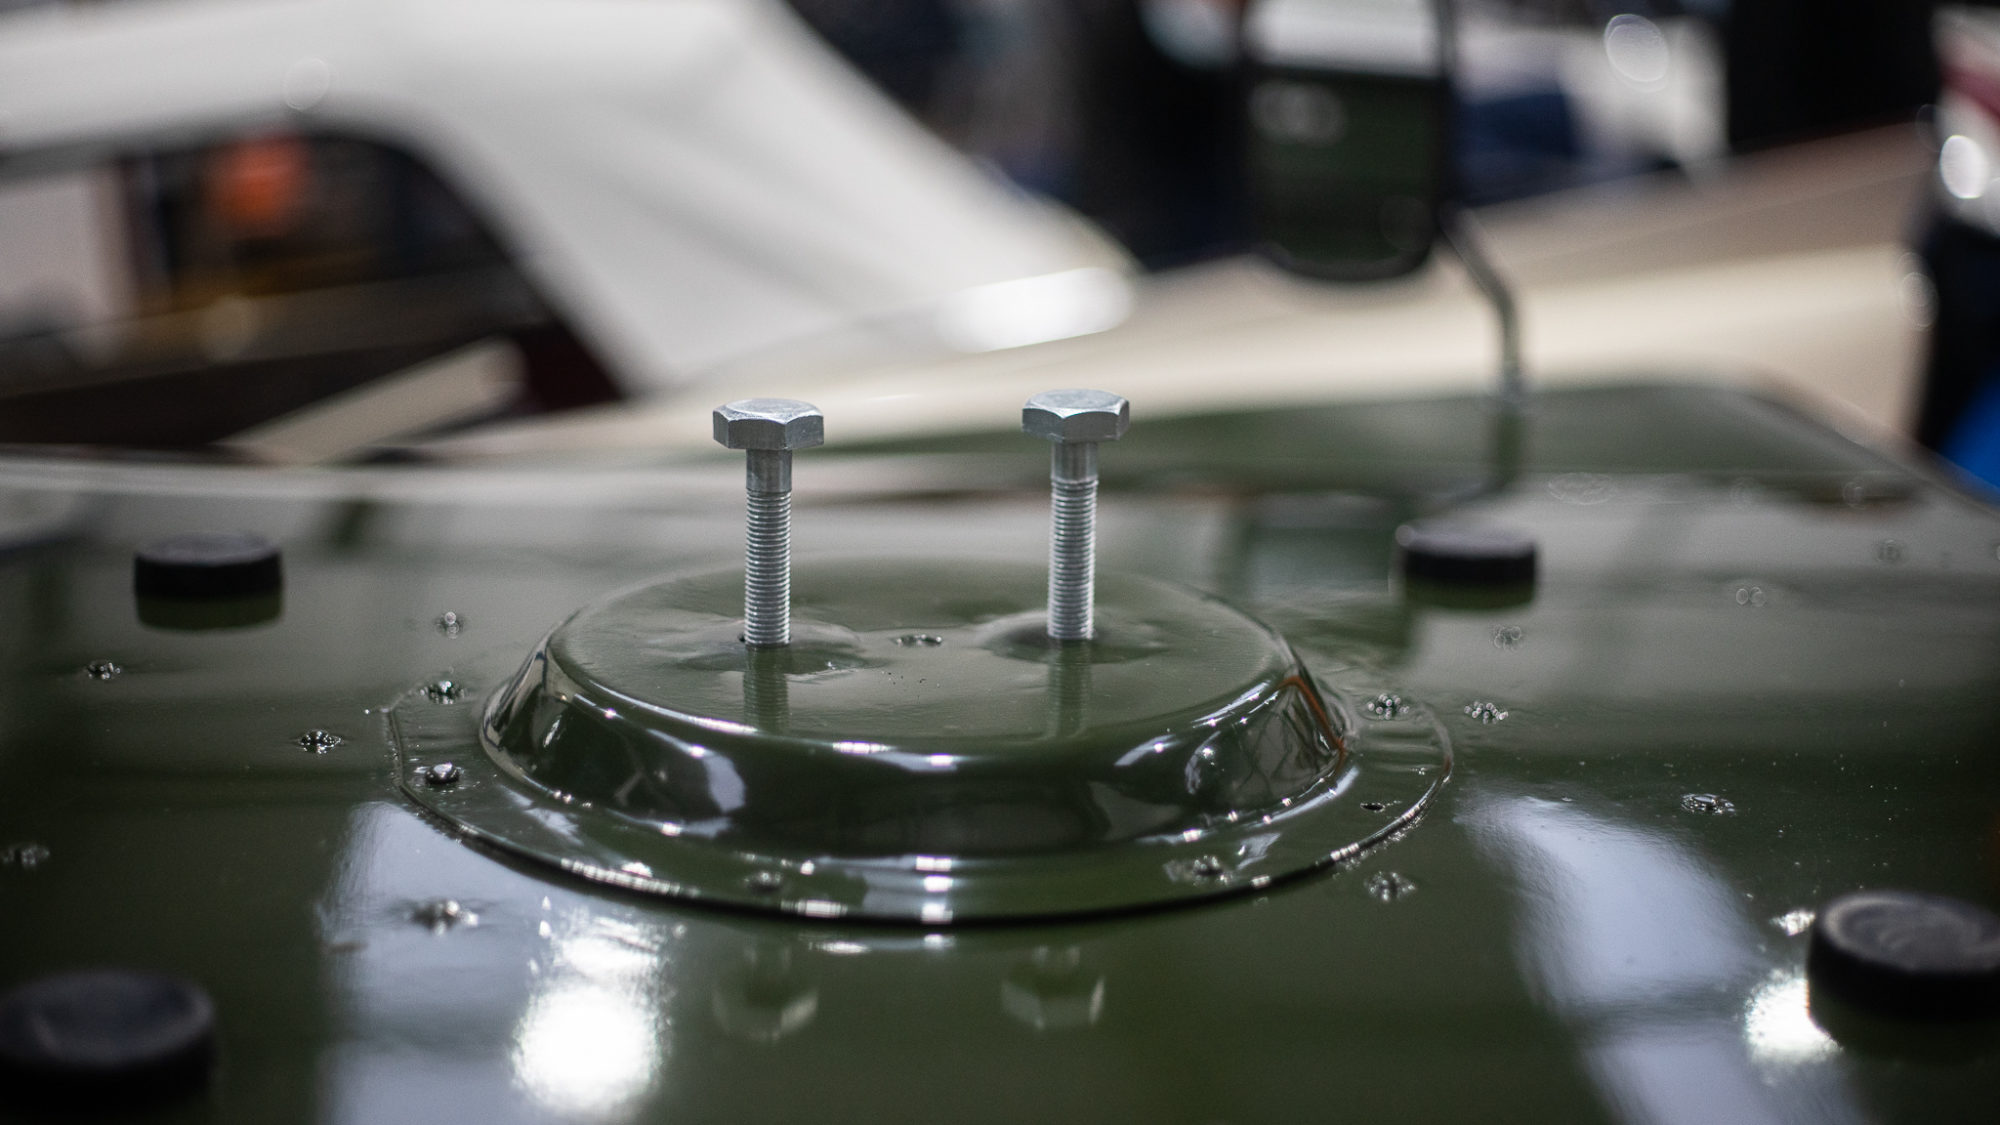
We’ve also ordered a front bonnet spare wheel holder kit which has been bolted onto the front and now just awaits a spare wheel to grace it.
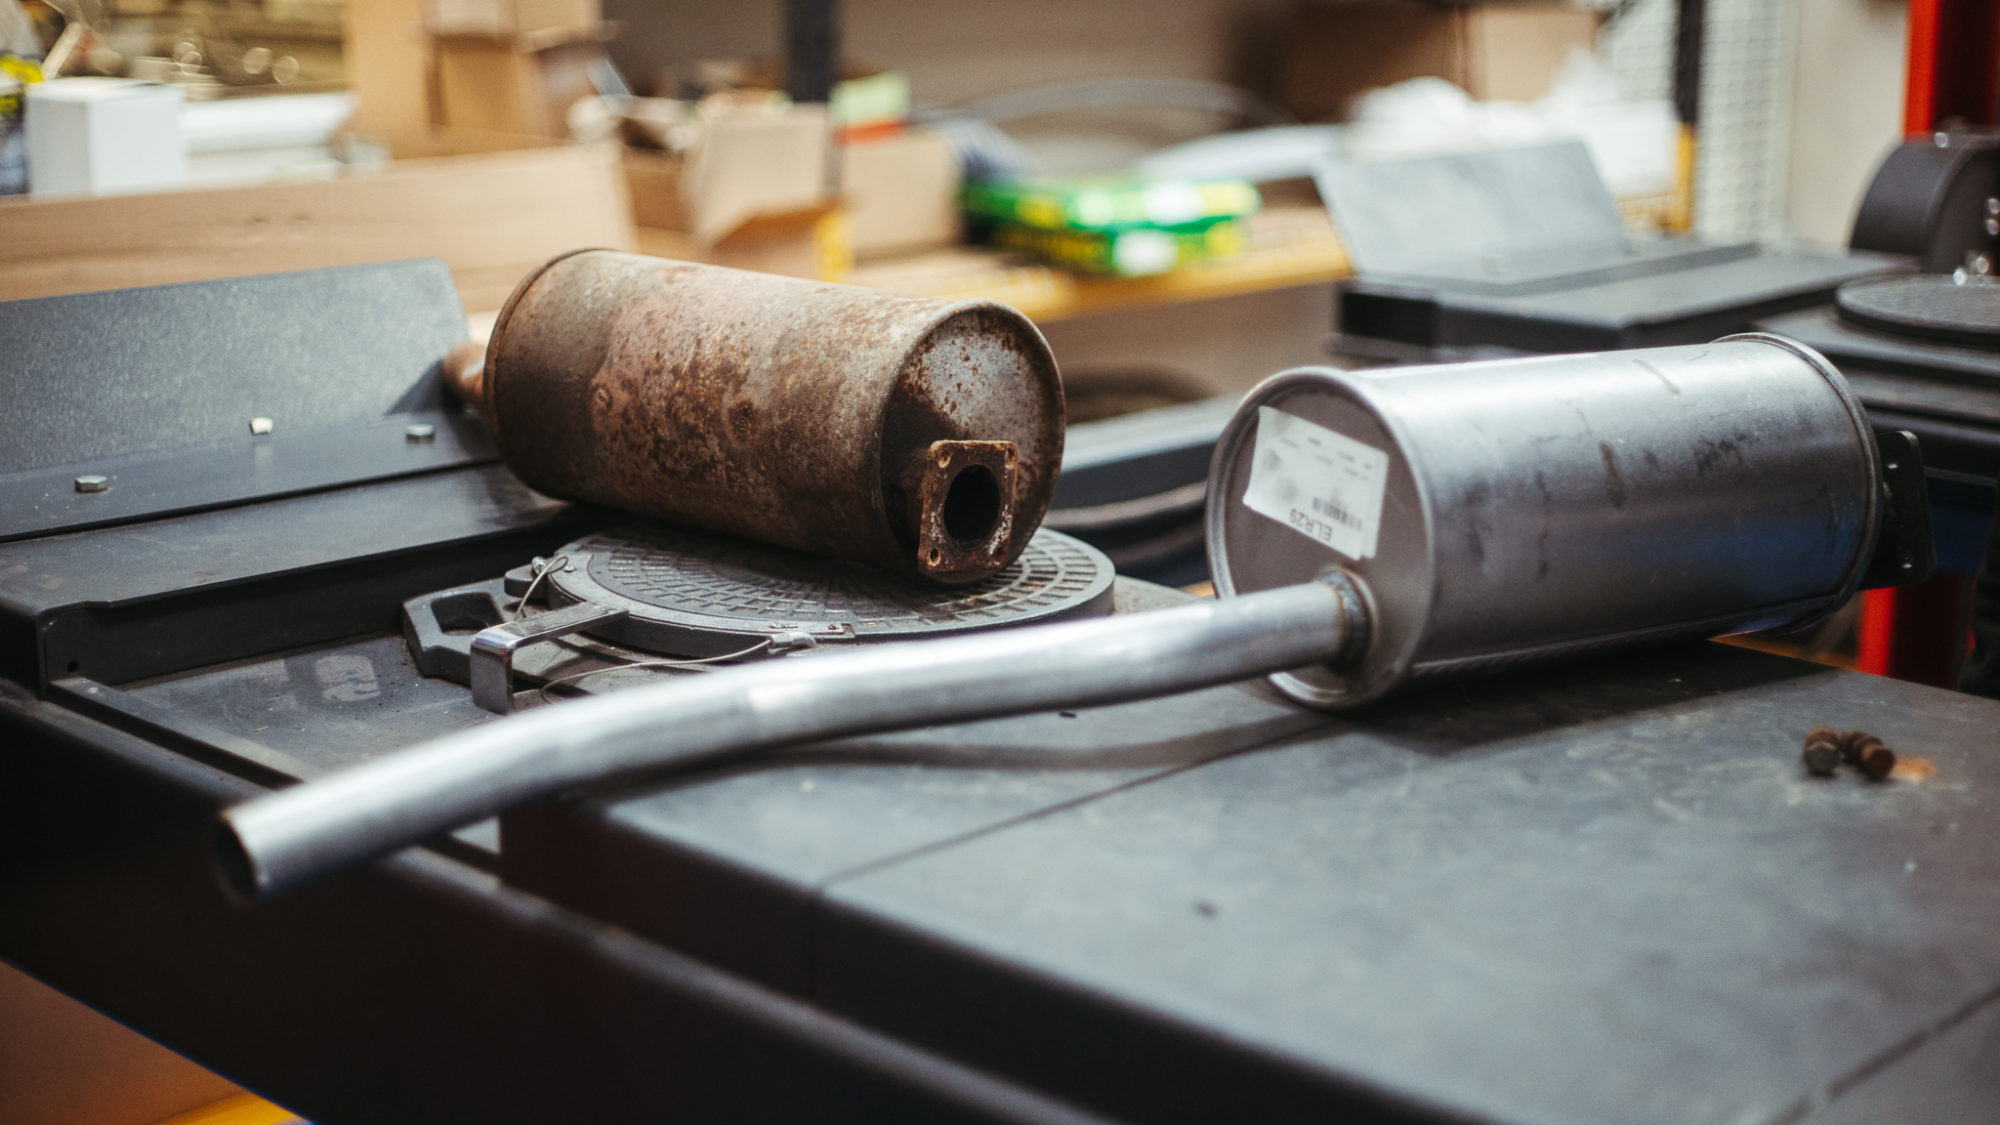
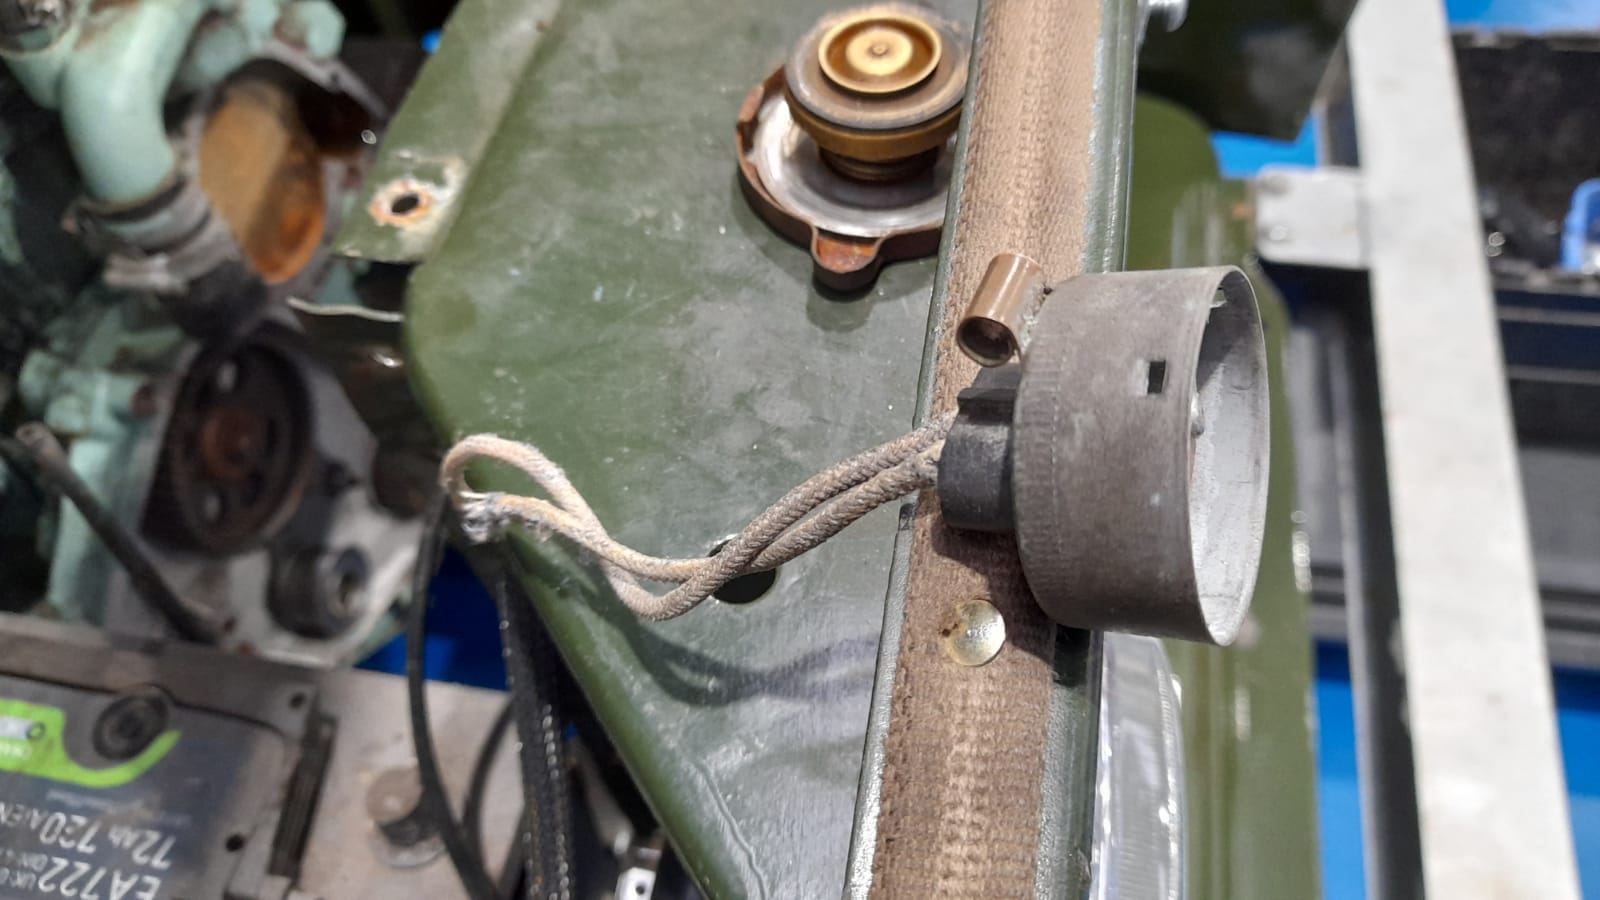
Scott has also replaced the rear exhaust box as the original was showing signs of rust beyond repair.

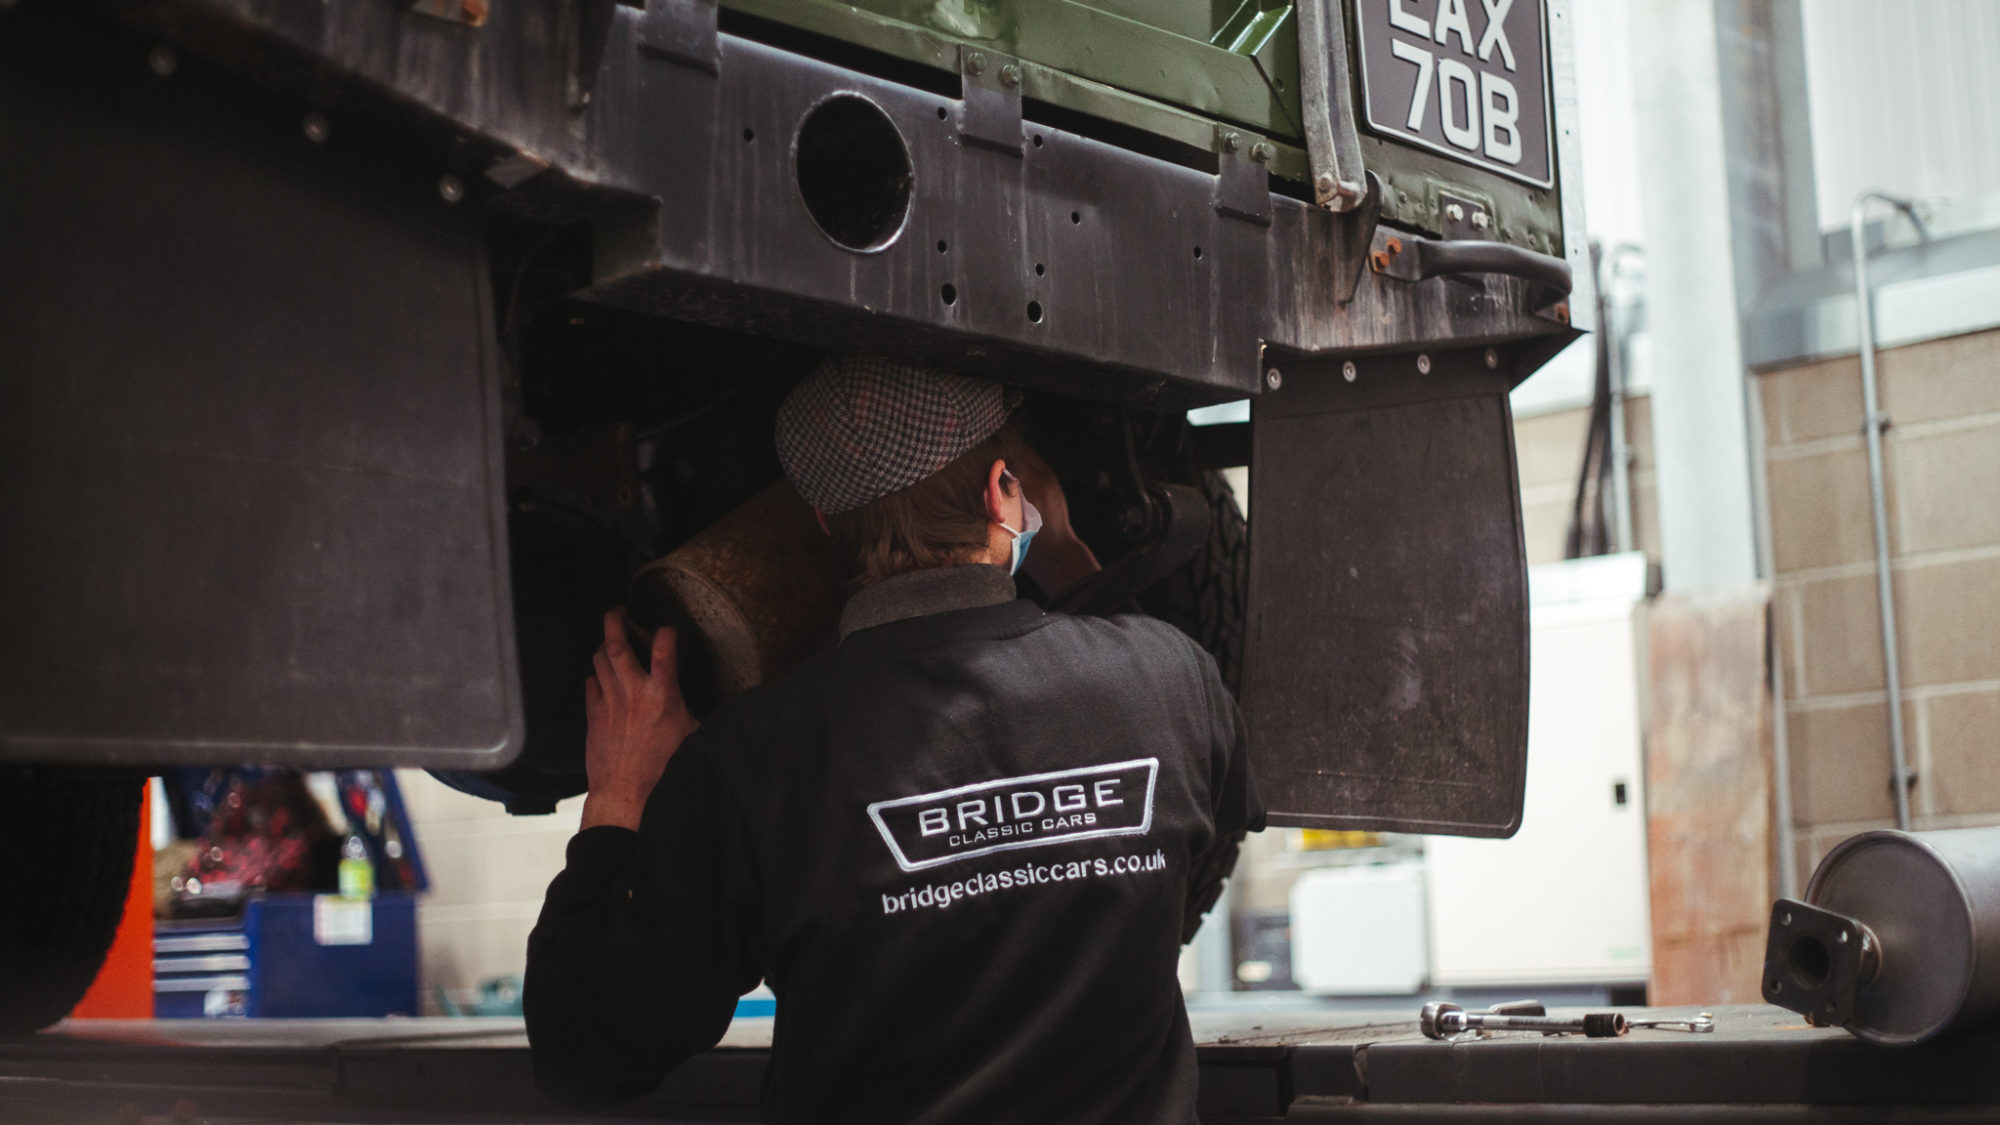
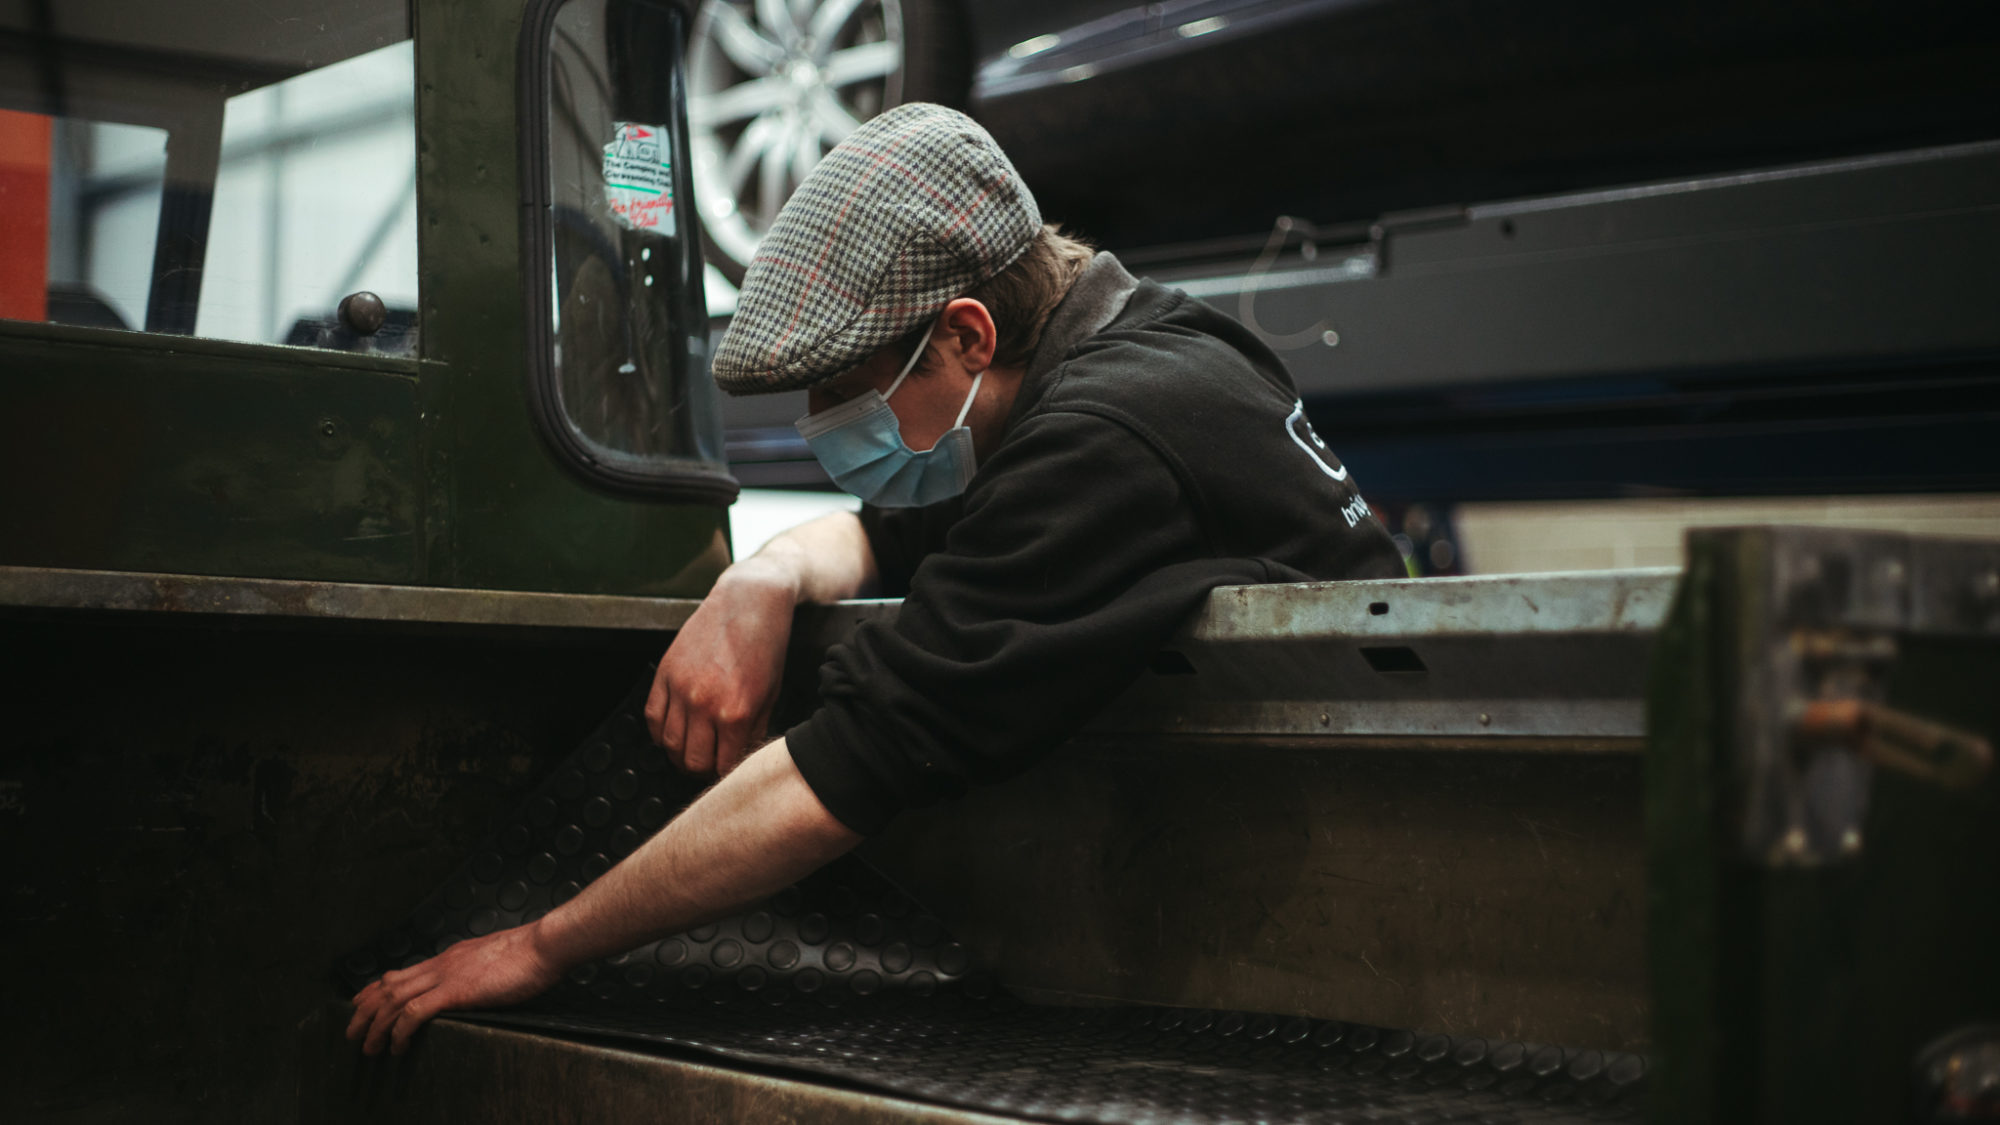
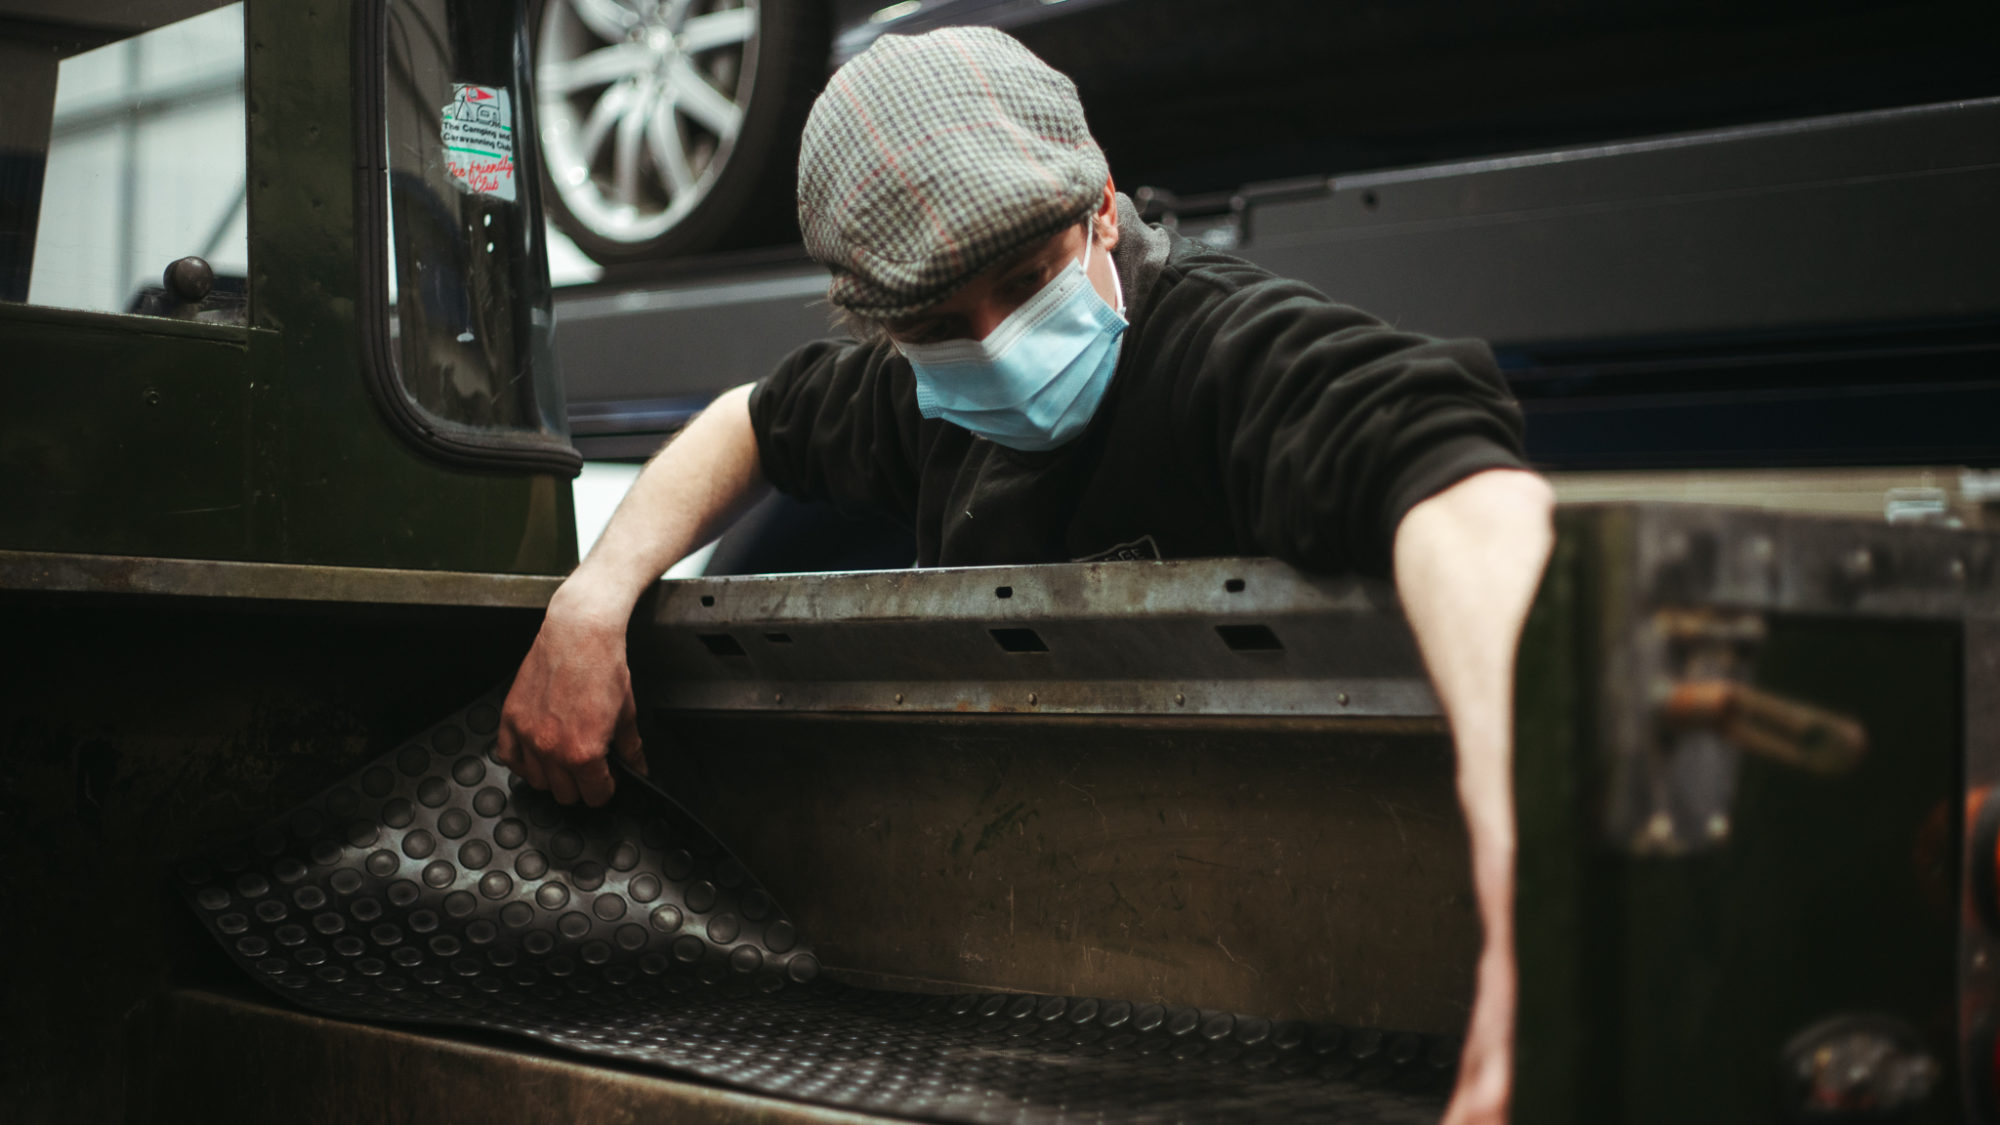
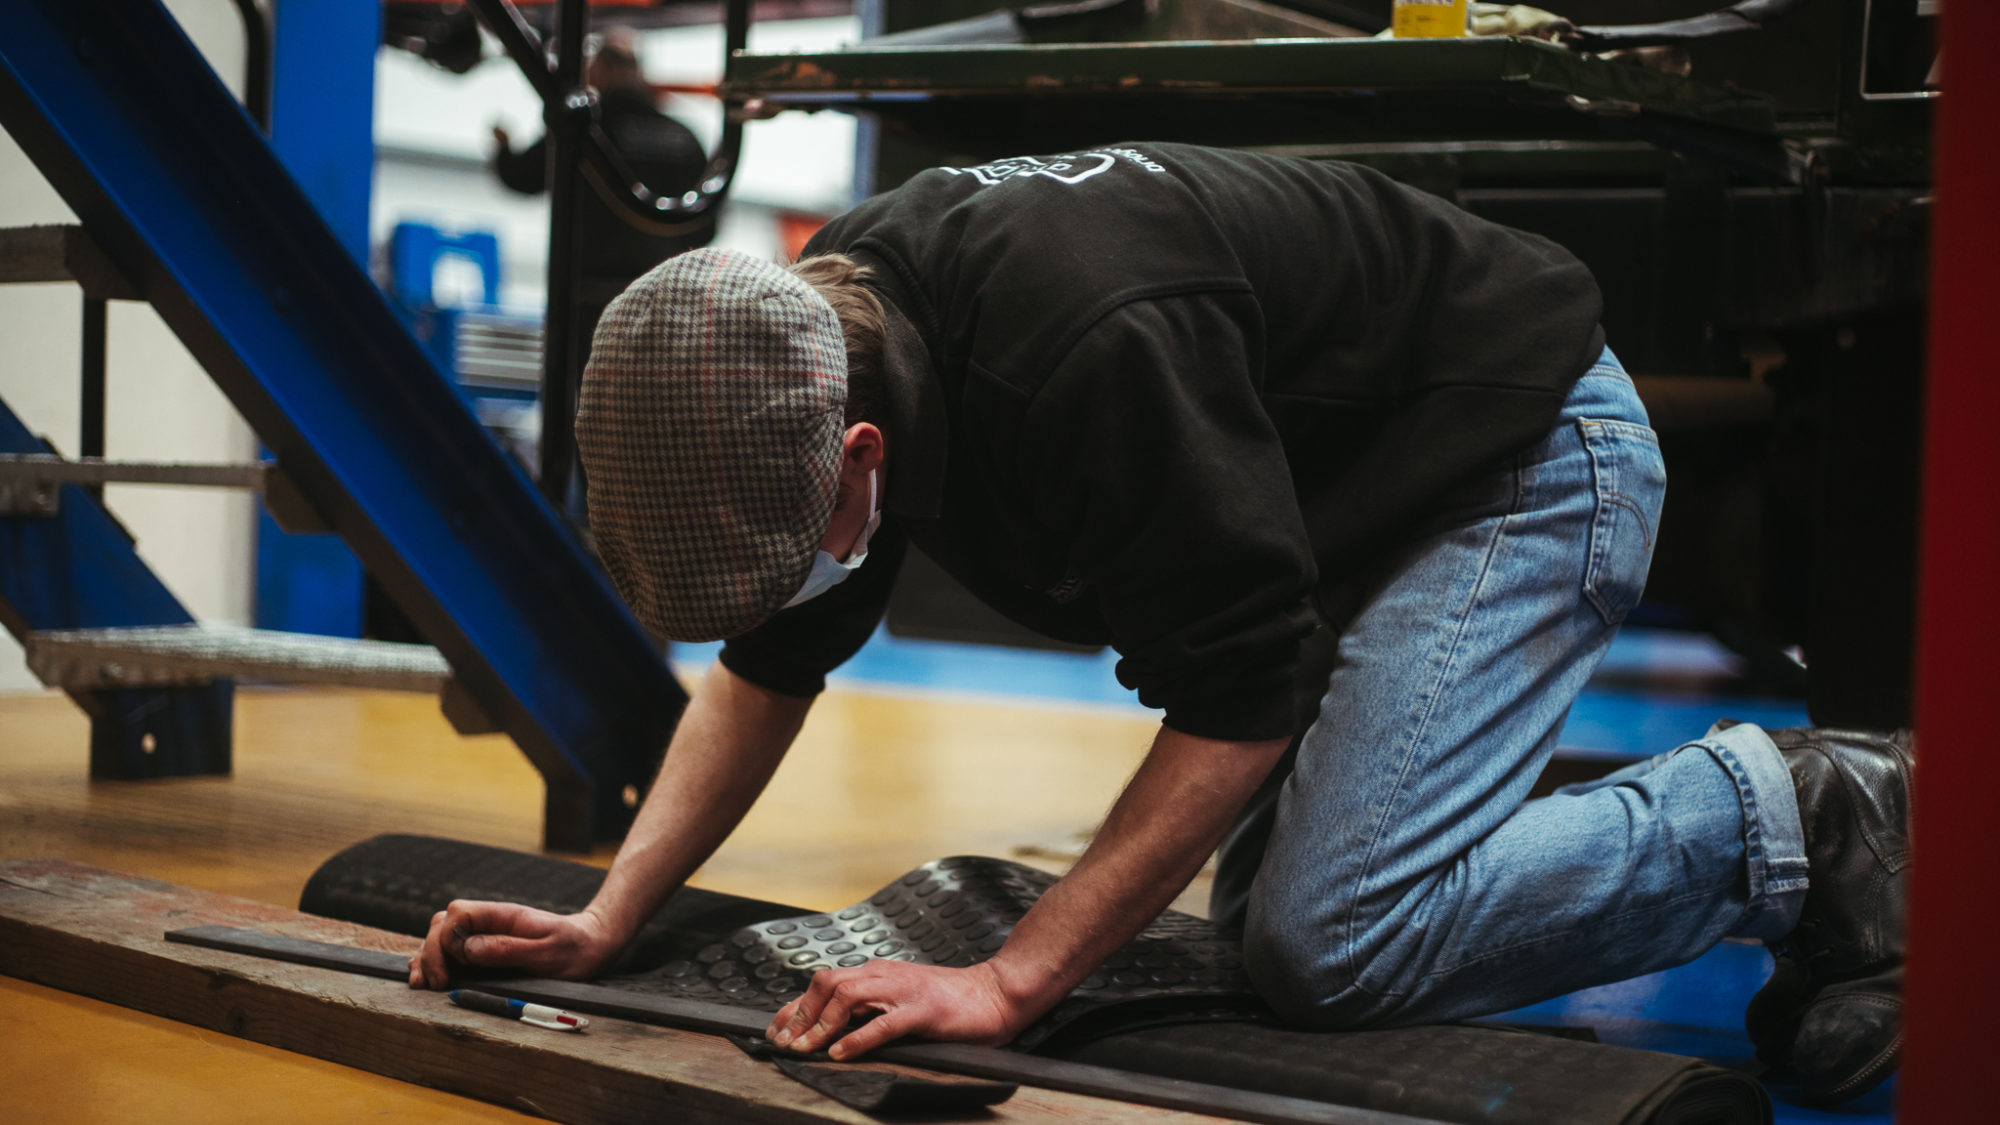
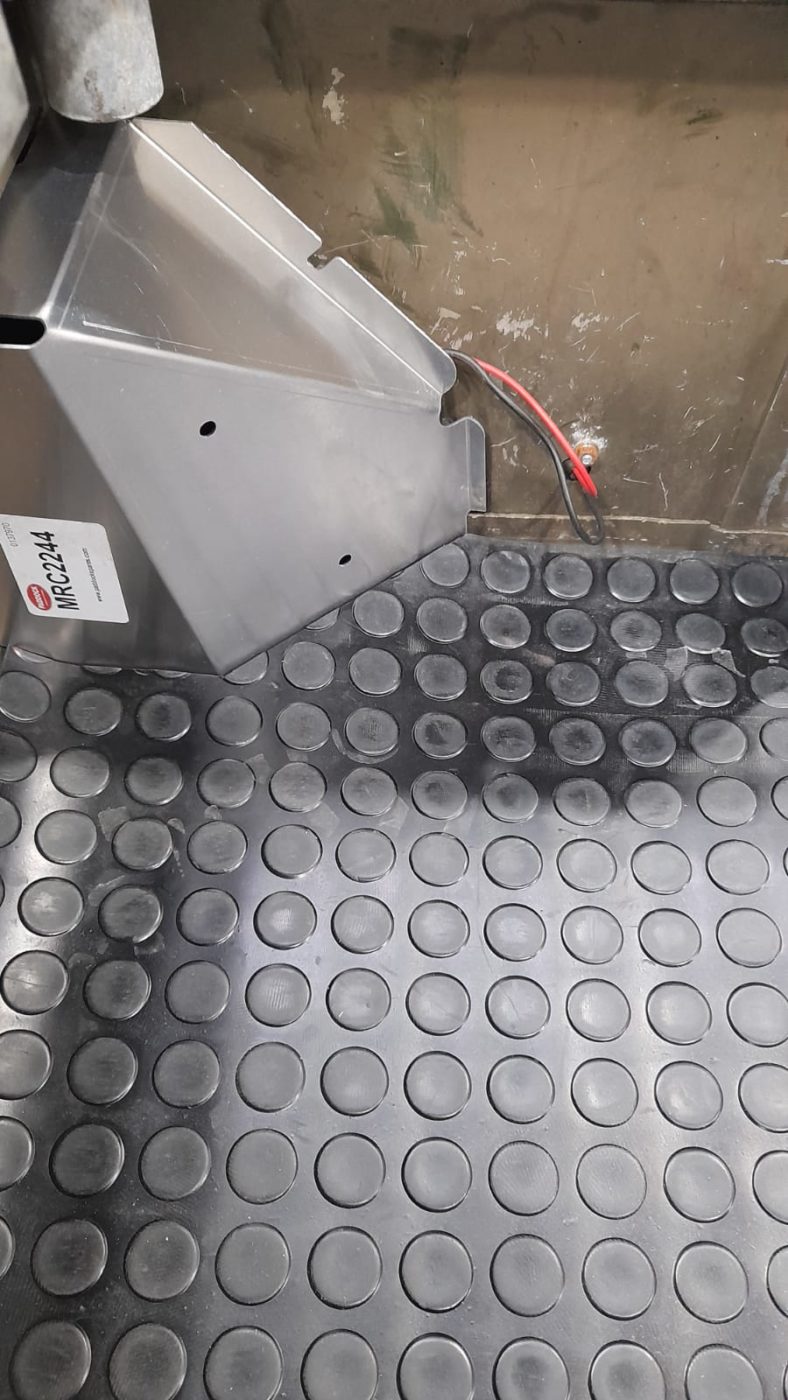
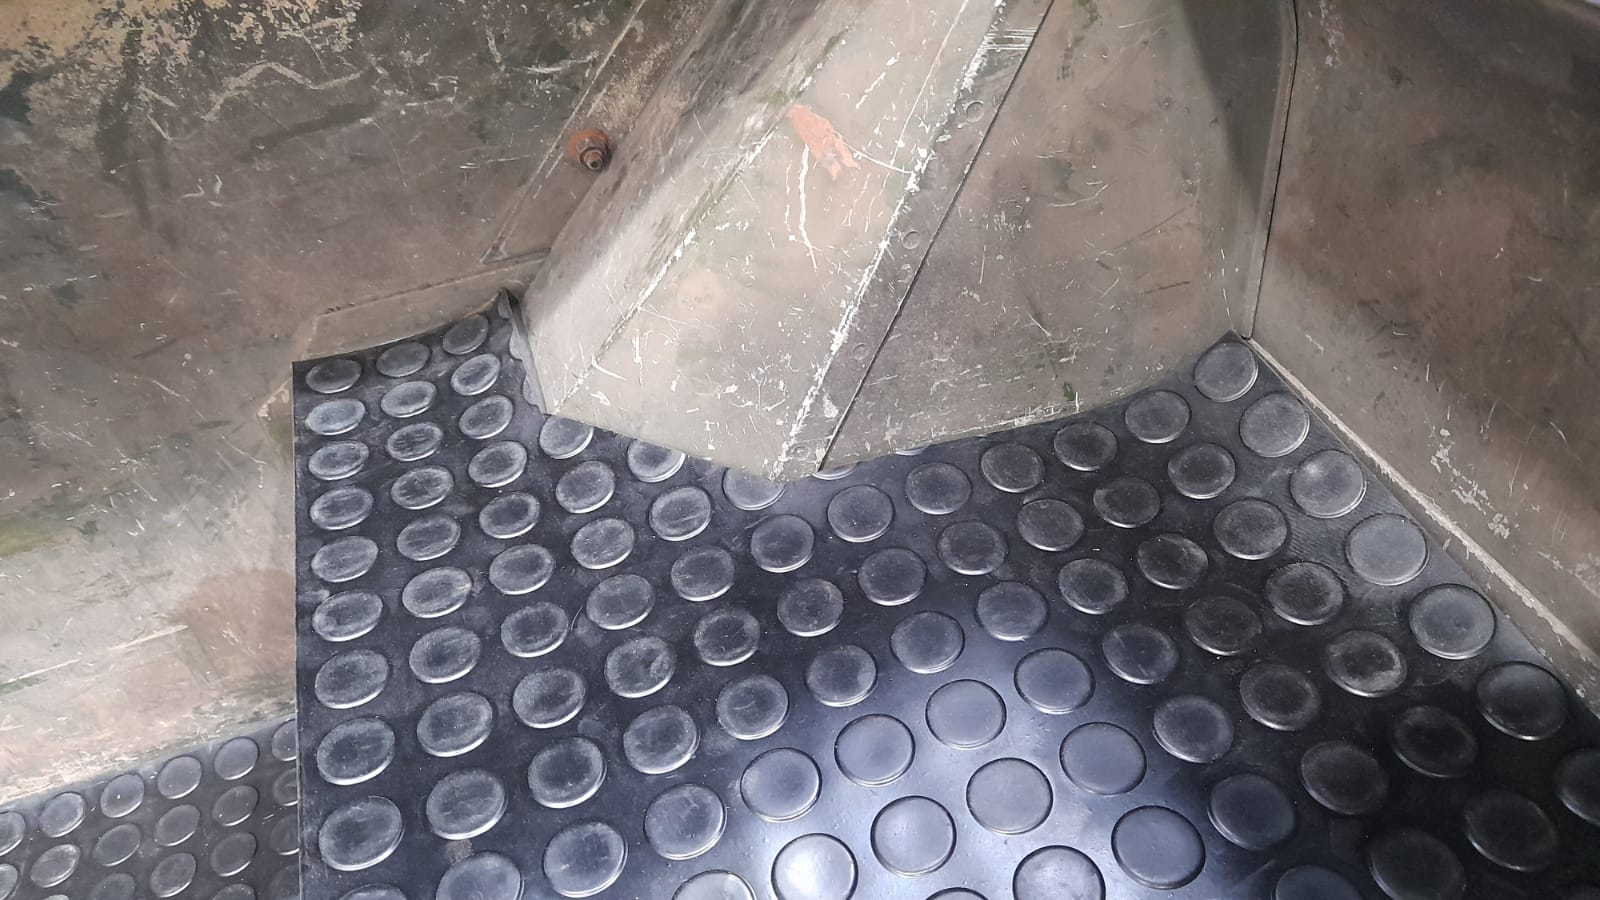
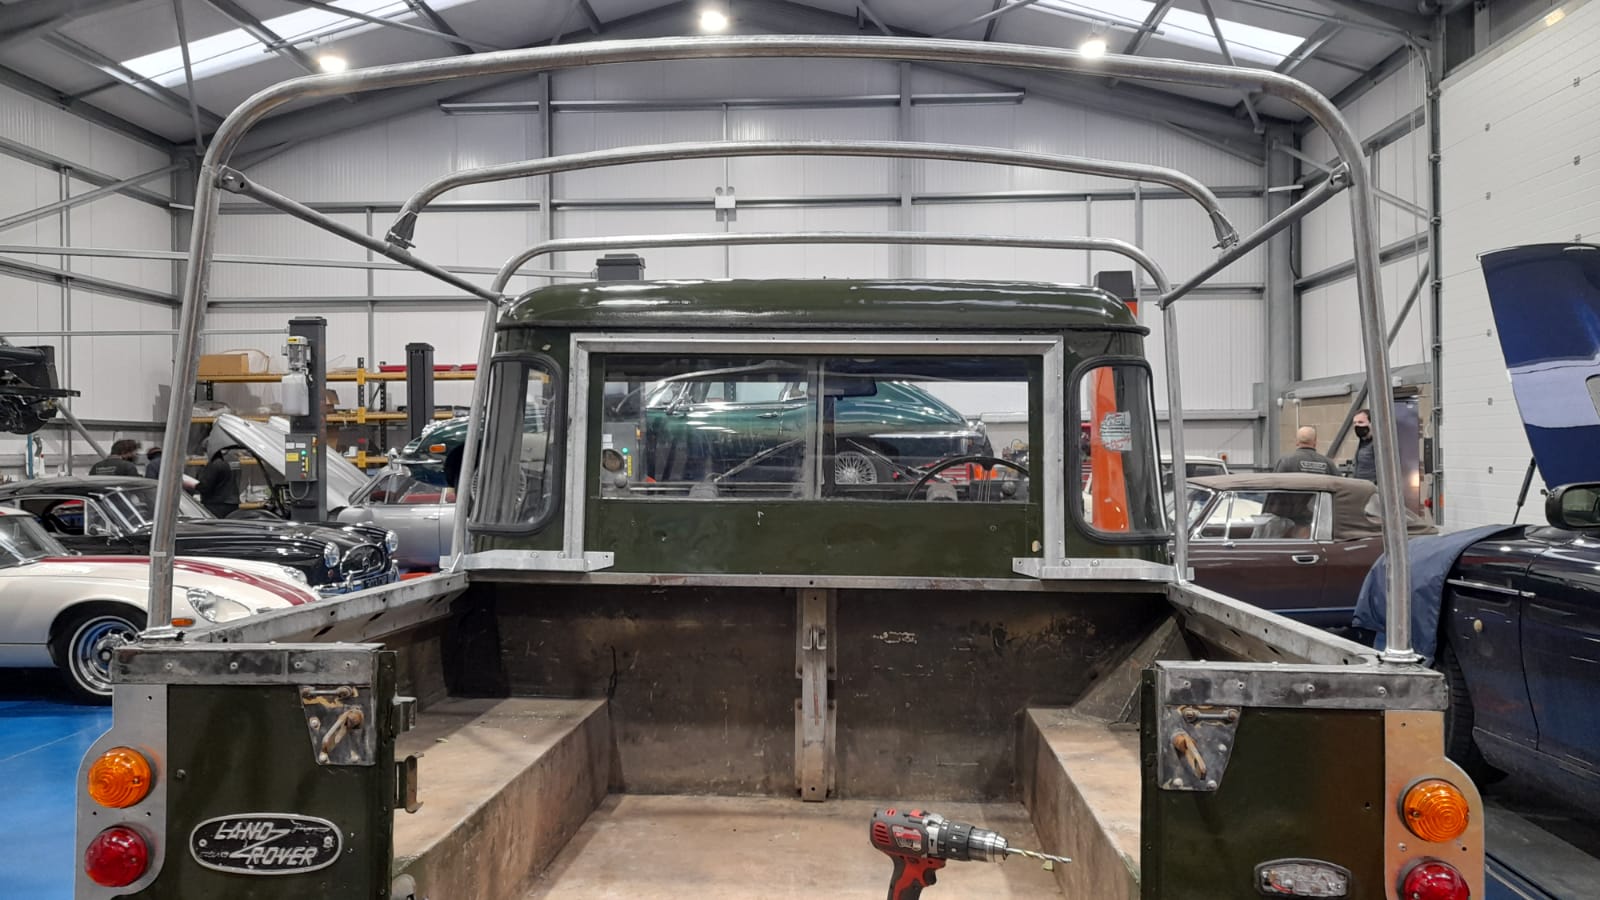
New rubber matting has been made, cut and fitted for the back pick up area. Originally just bare metal, the pick up interior is now kitted out in fresh matting.
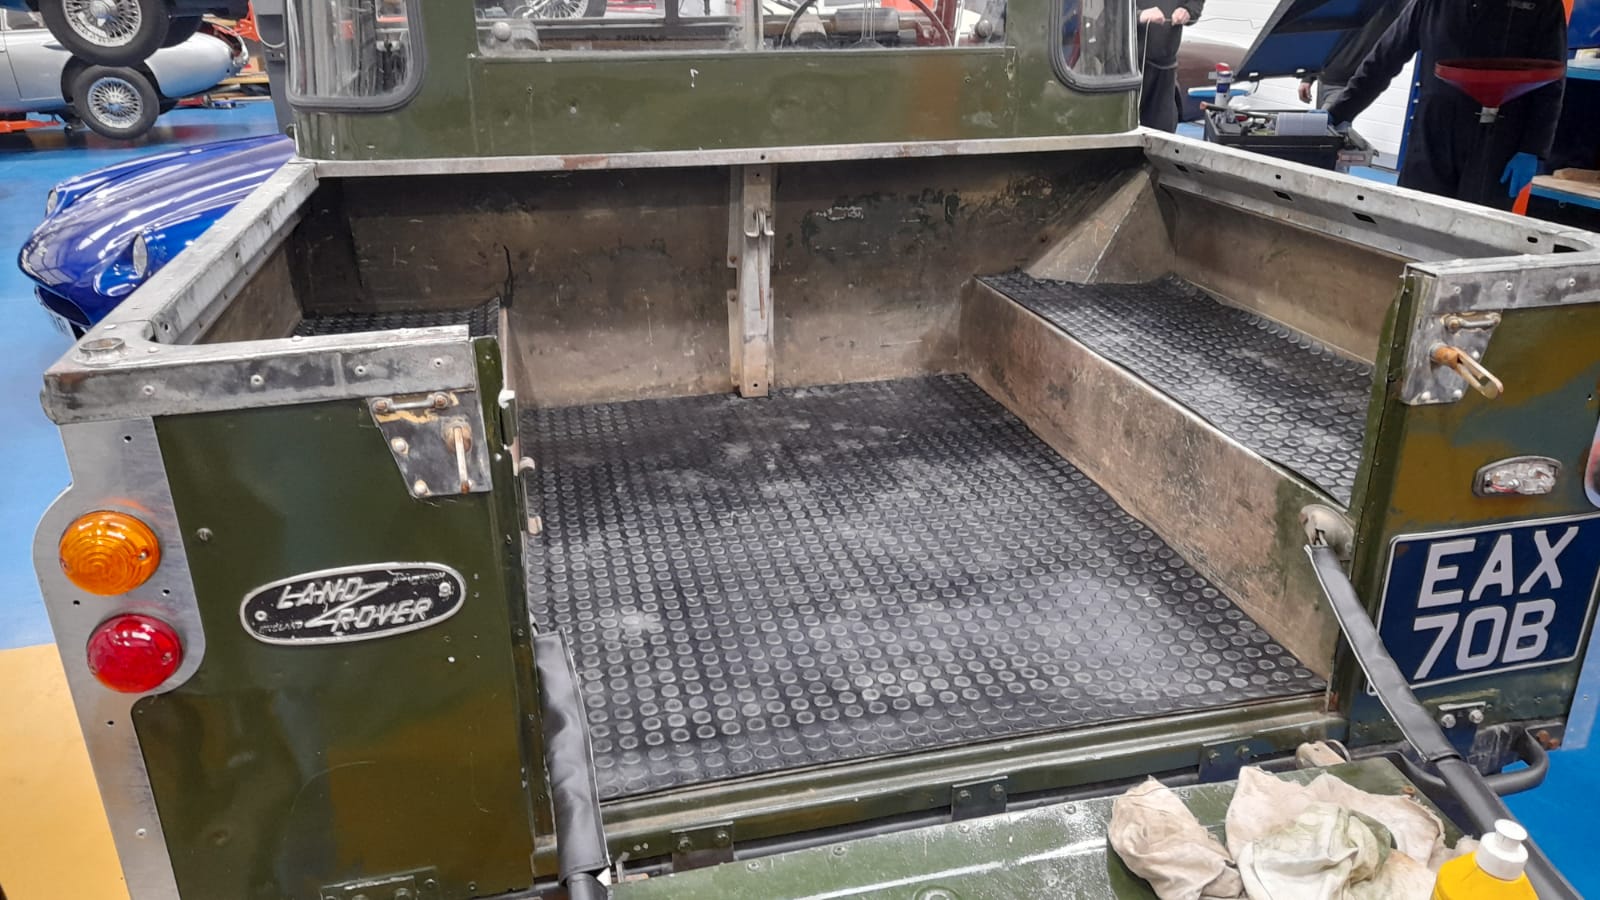
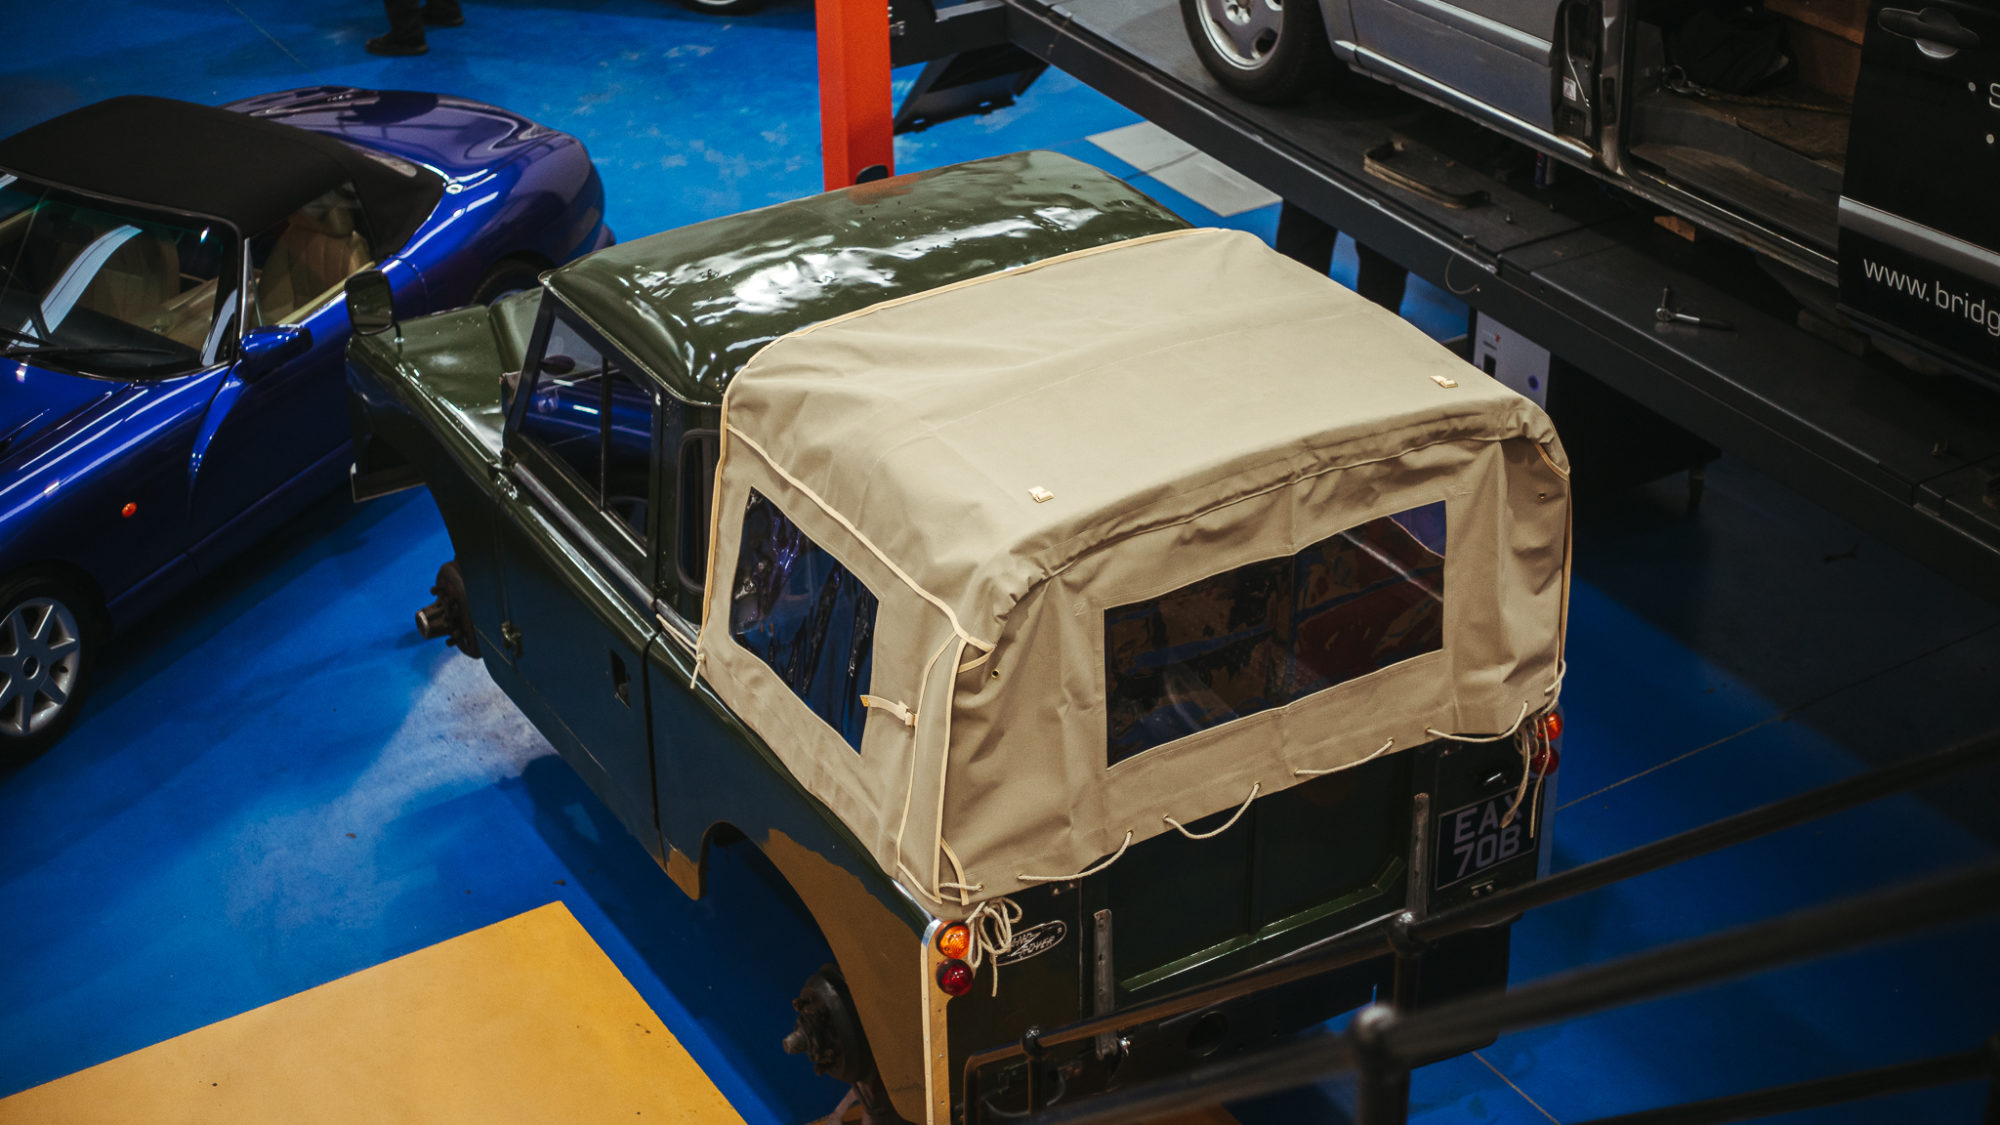
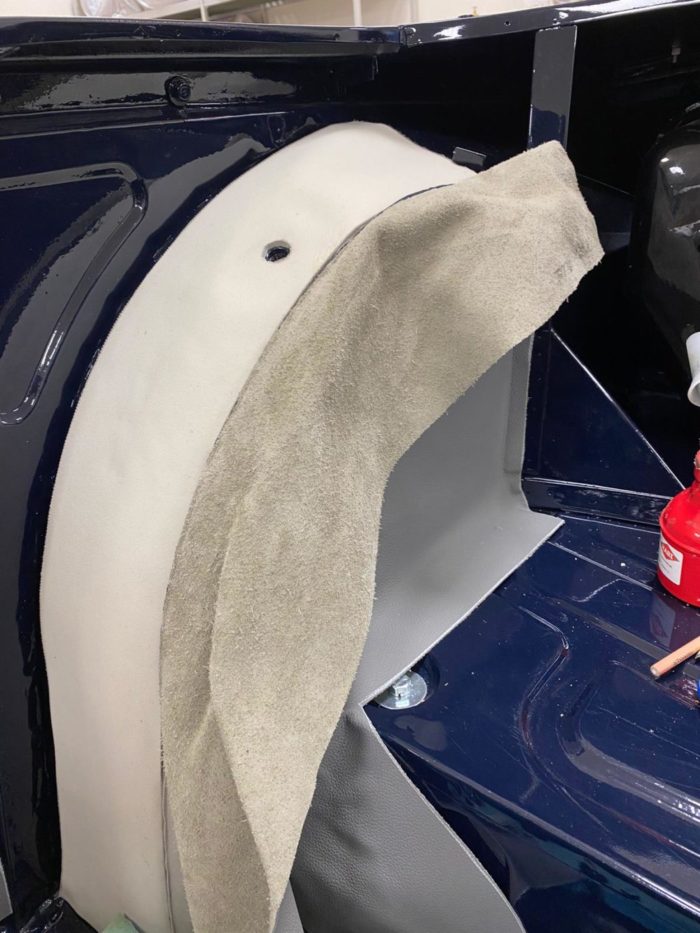
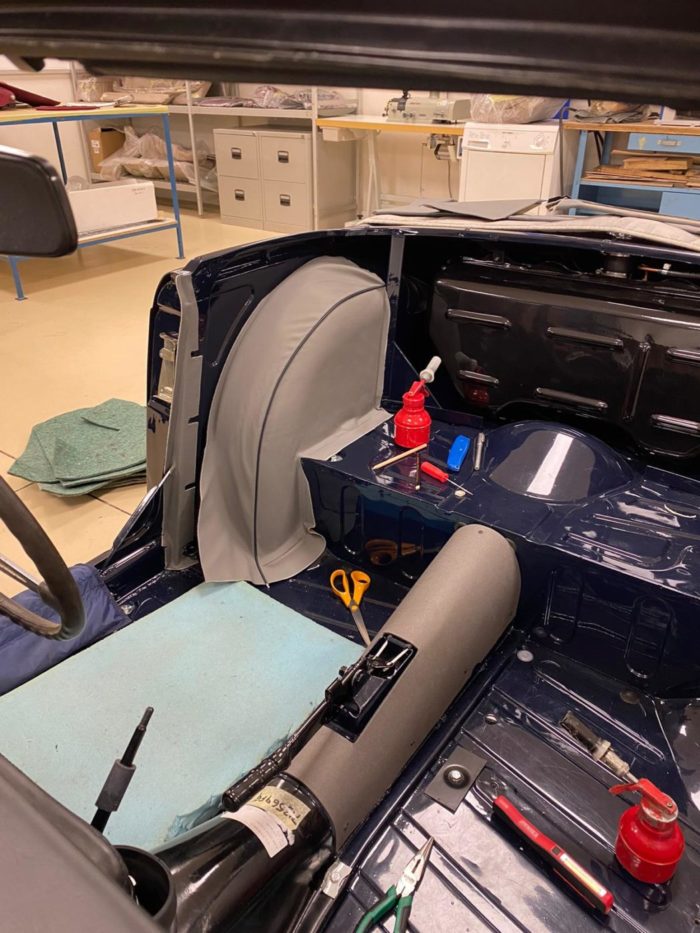
The most noticeable change is of course the new canvas tilt which Scott fitted yesterday. The tilt process includes fitting a metal frame and pulling of the canvas over and tying it down.

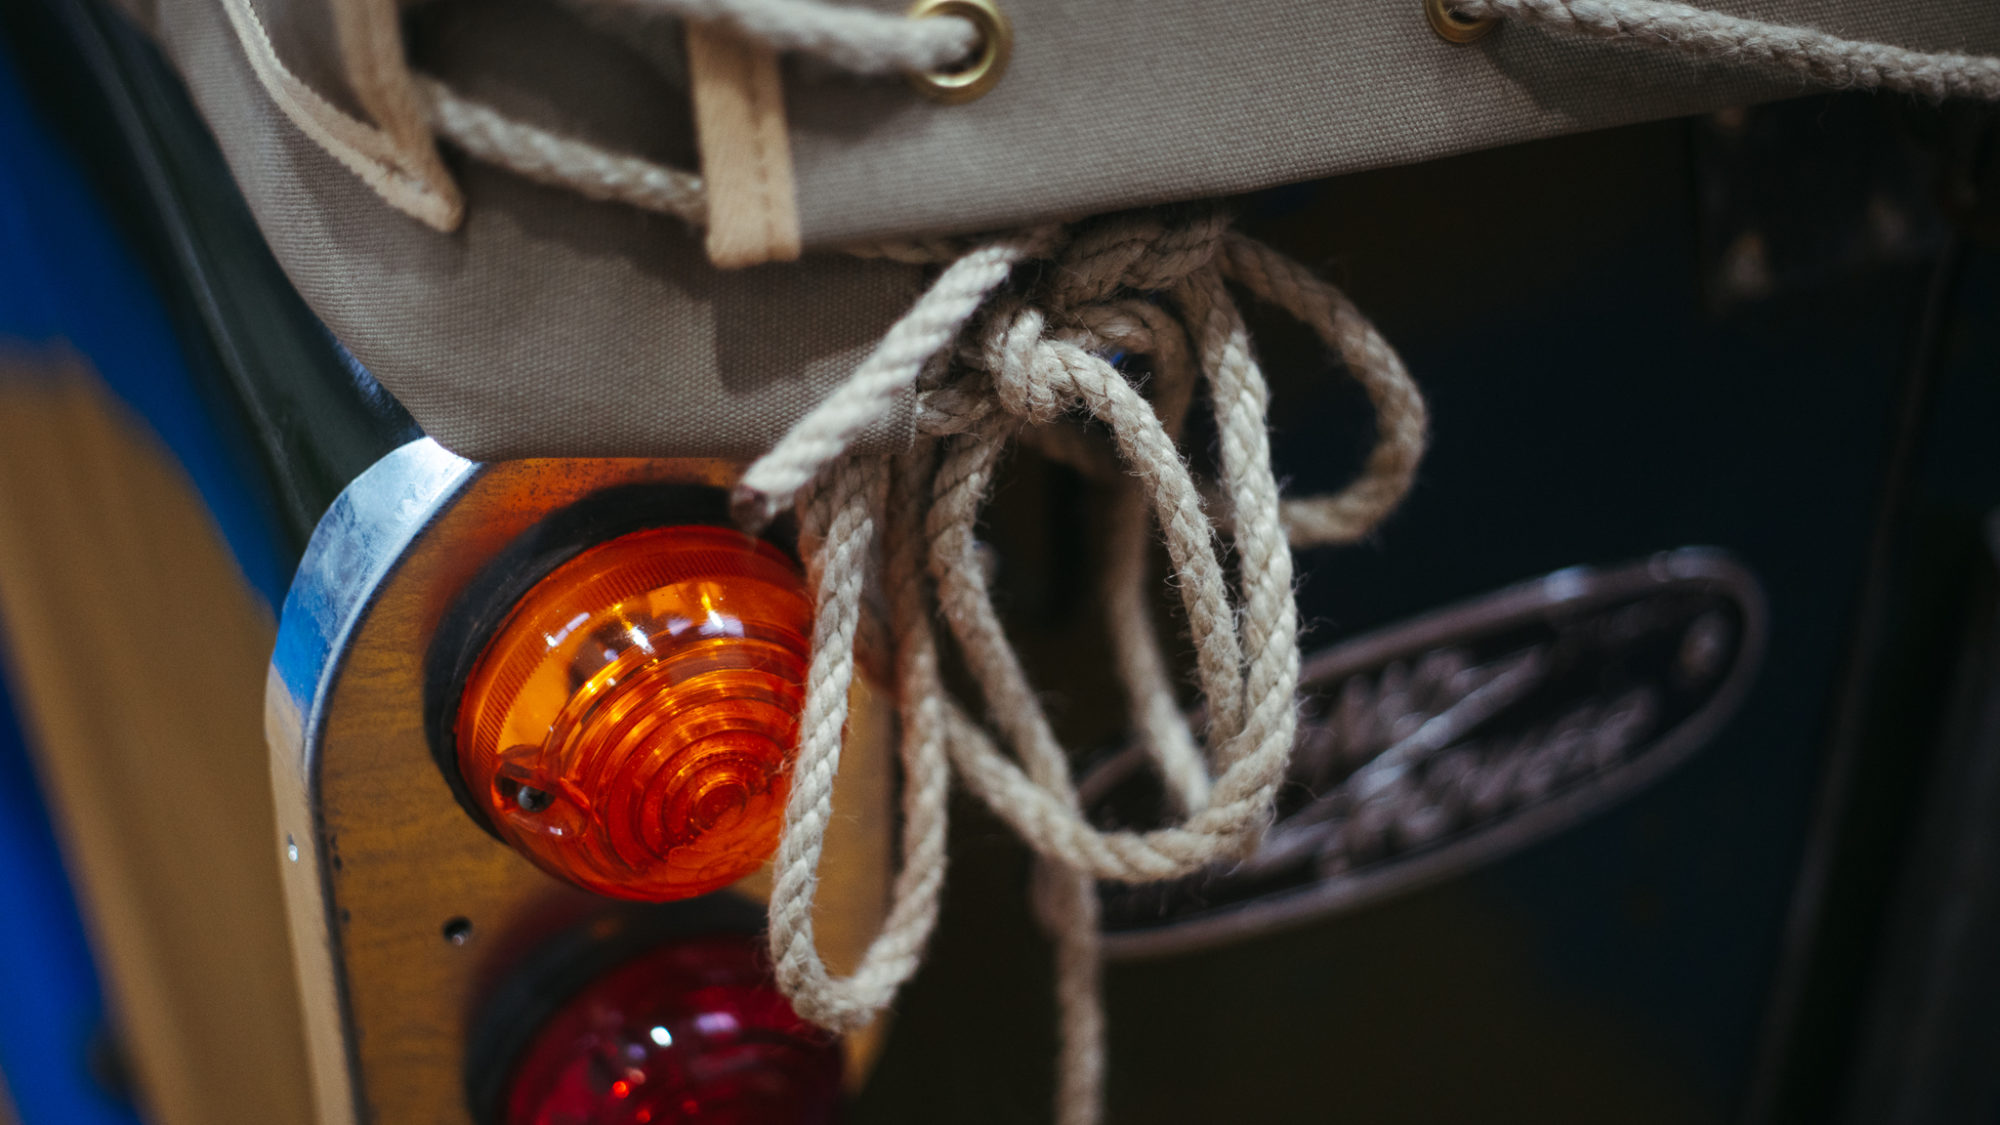
Scott has been working on some wiring issues, he’s fitted new headlamps and changed the galvanized corner capping on the rear of the buck.
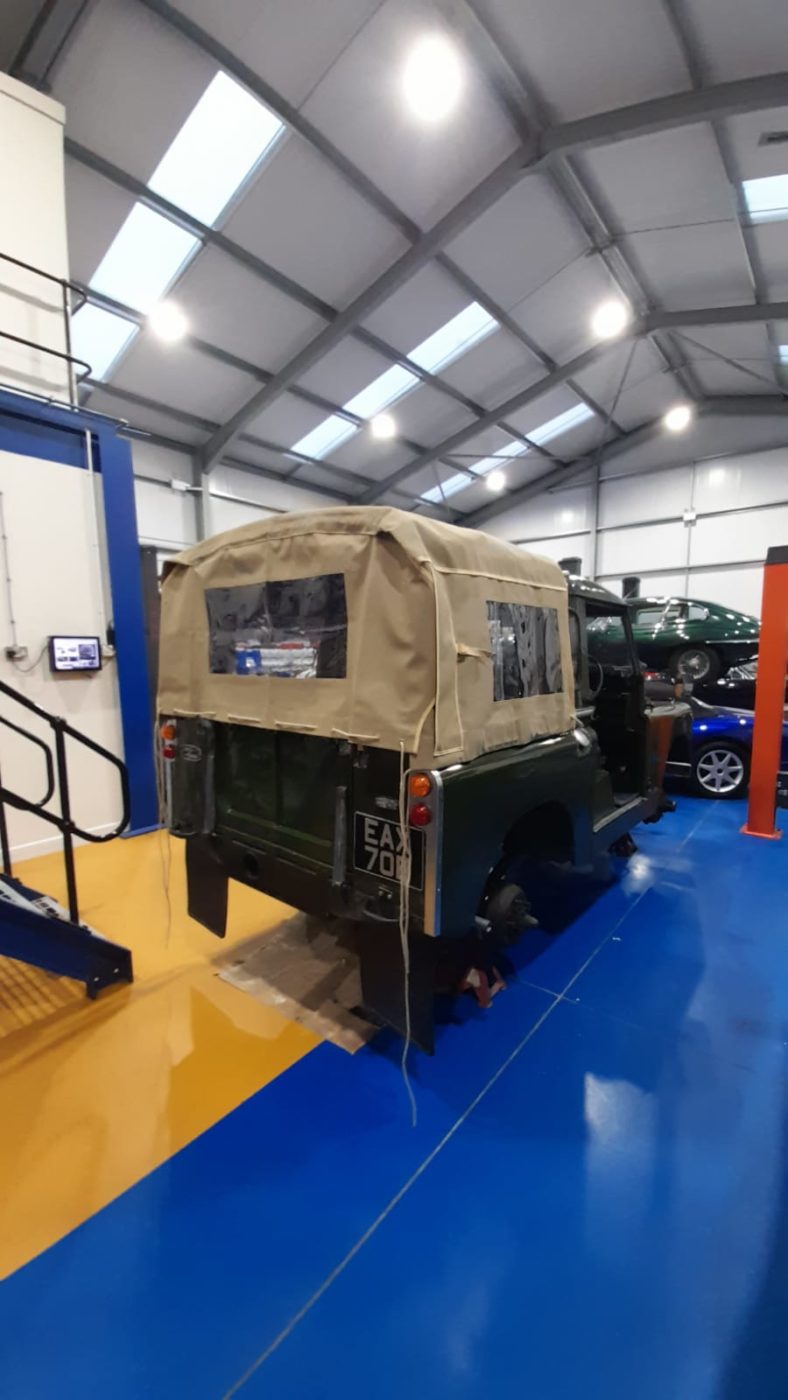
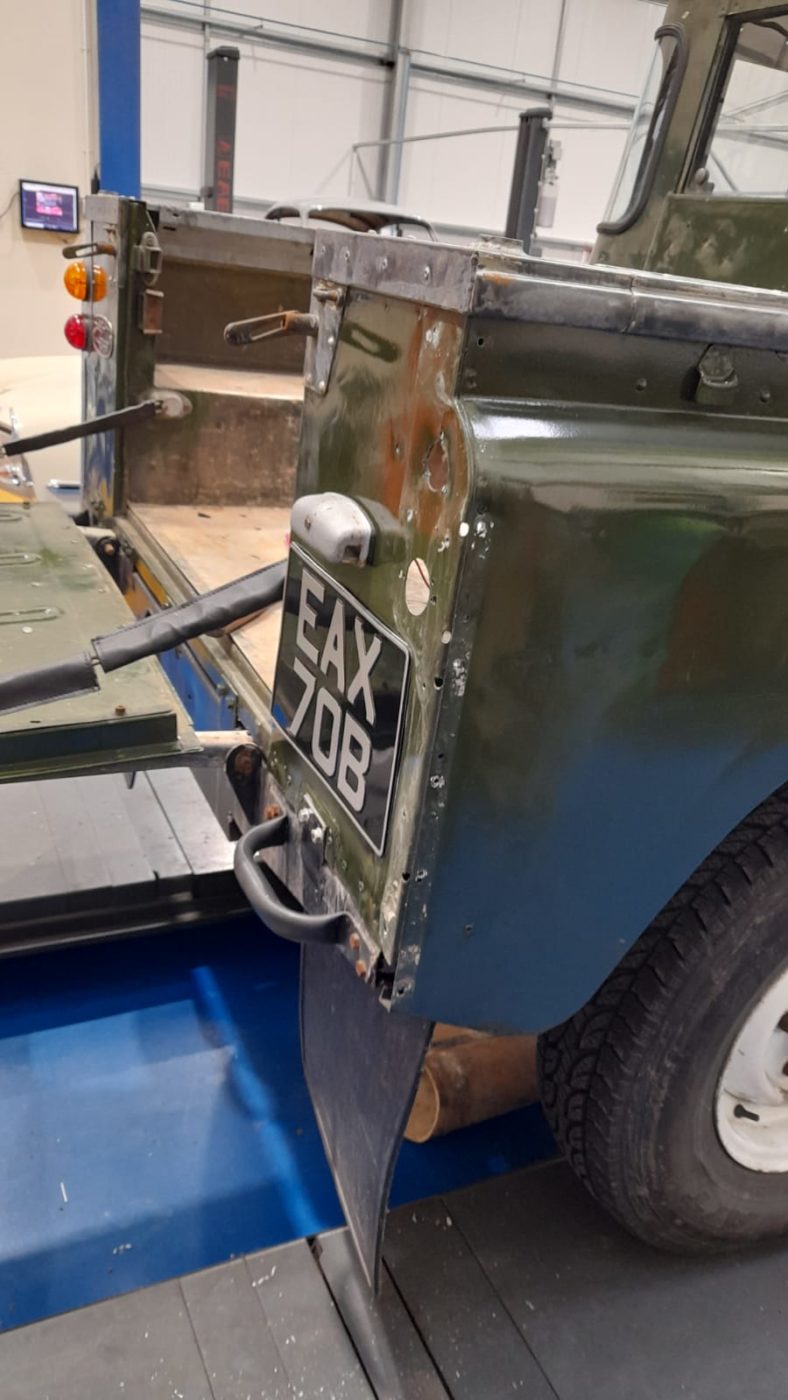
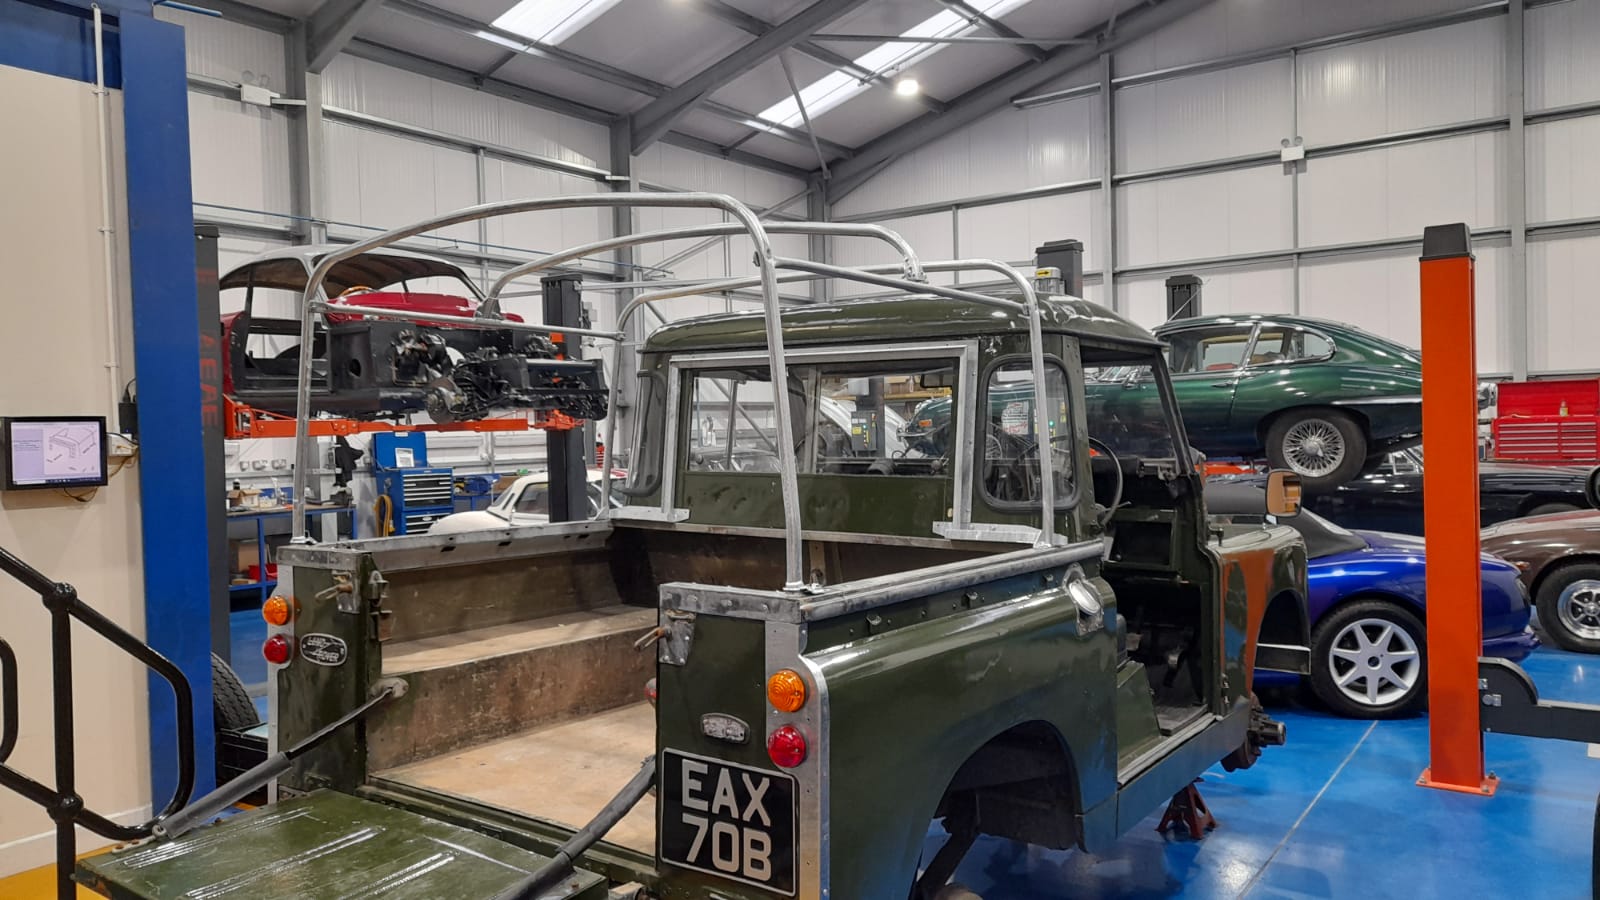
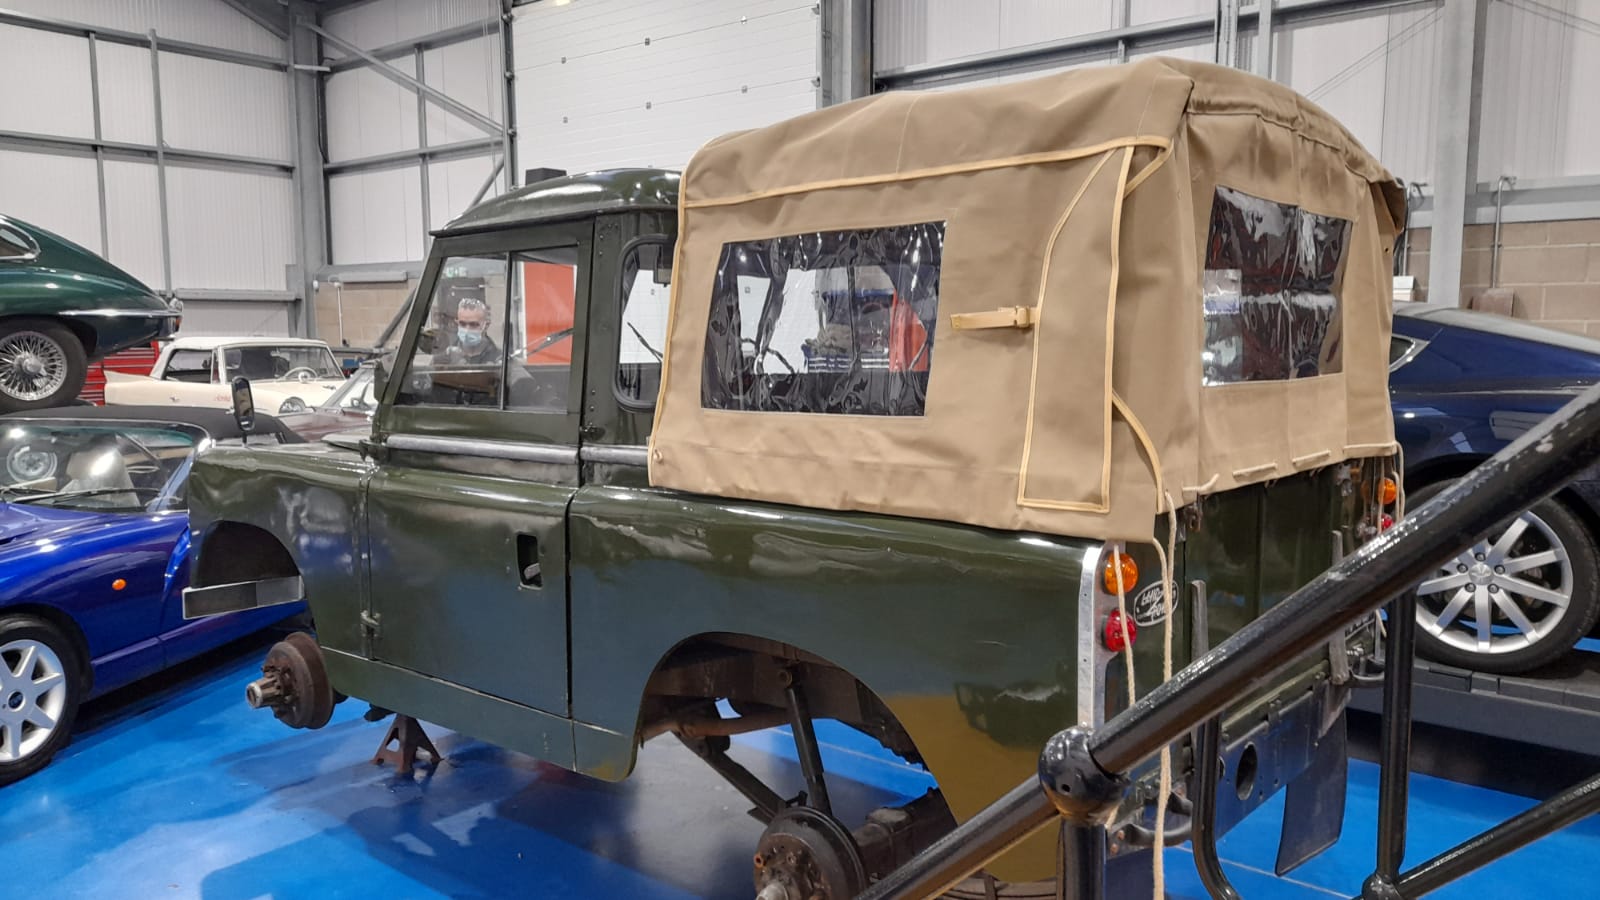
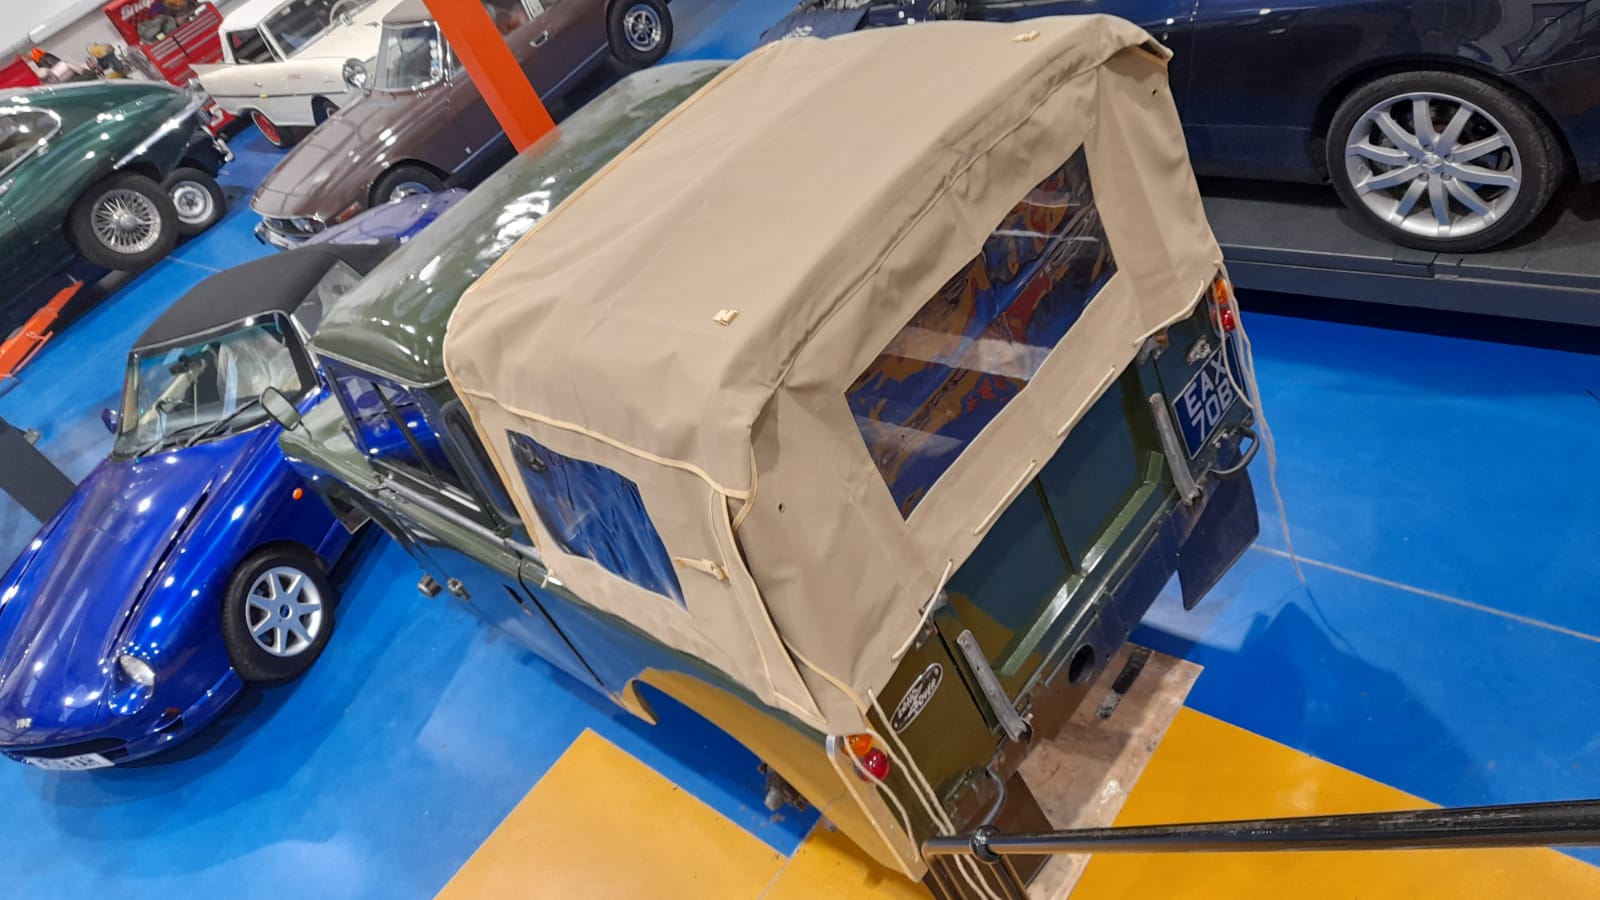
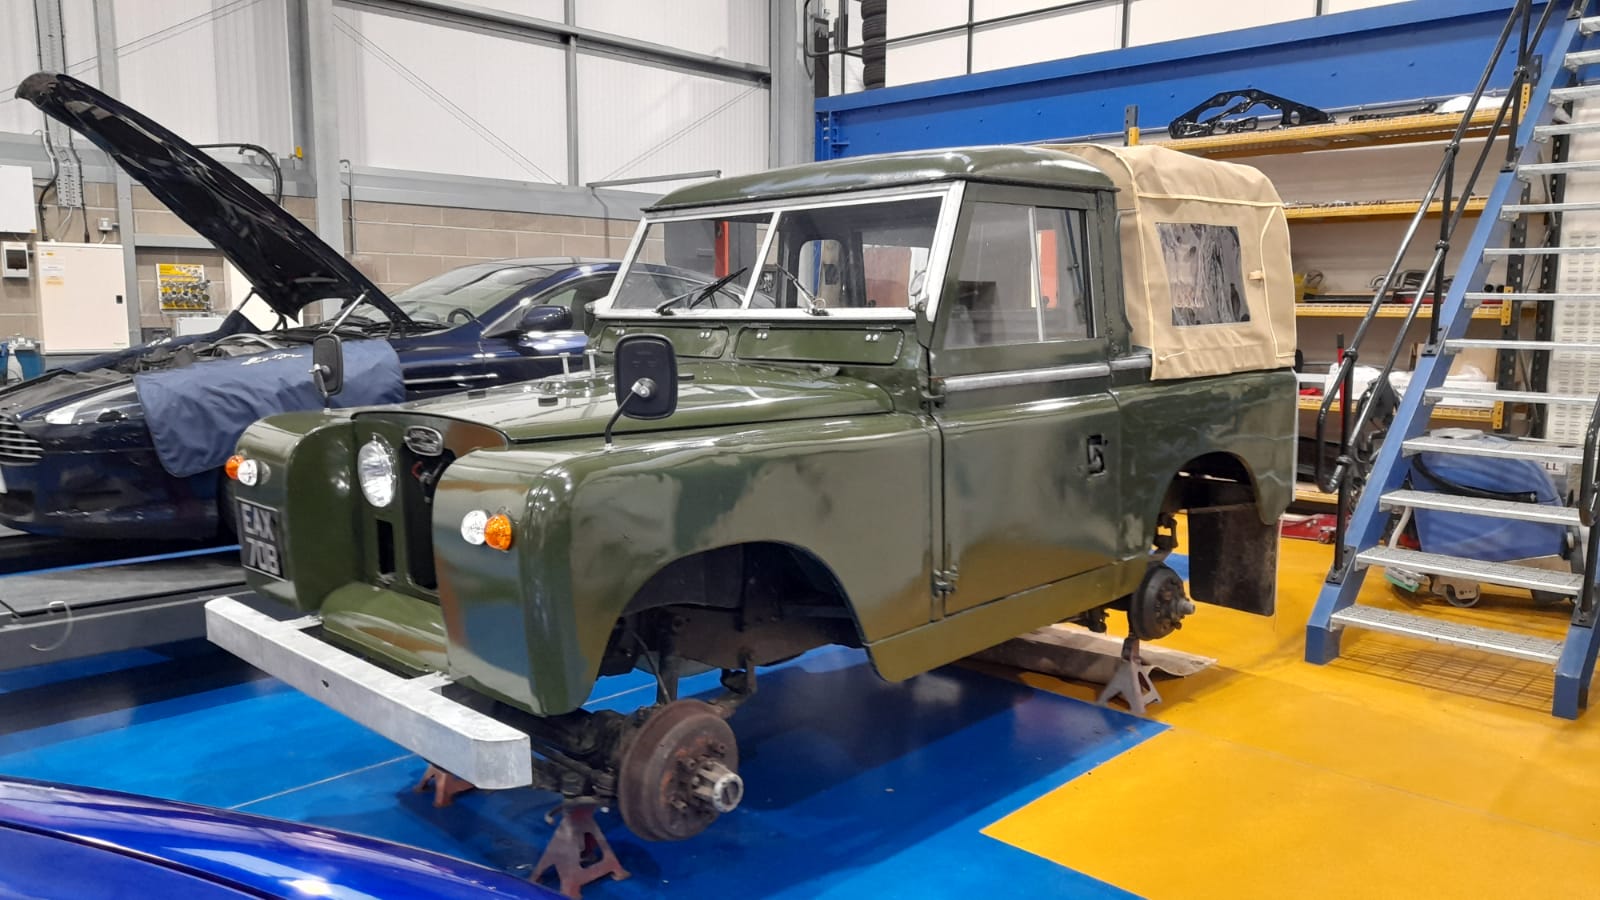
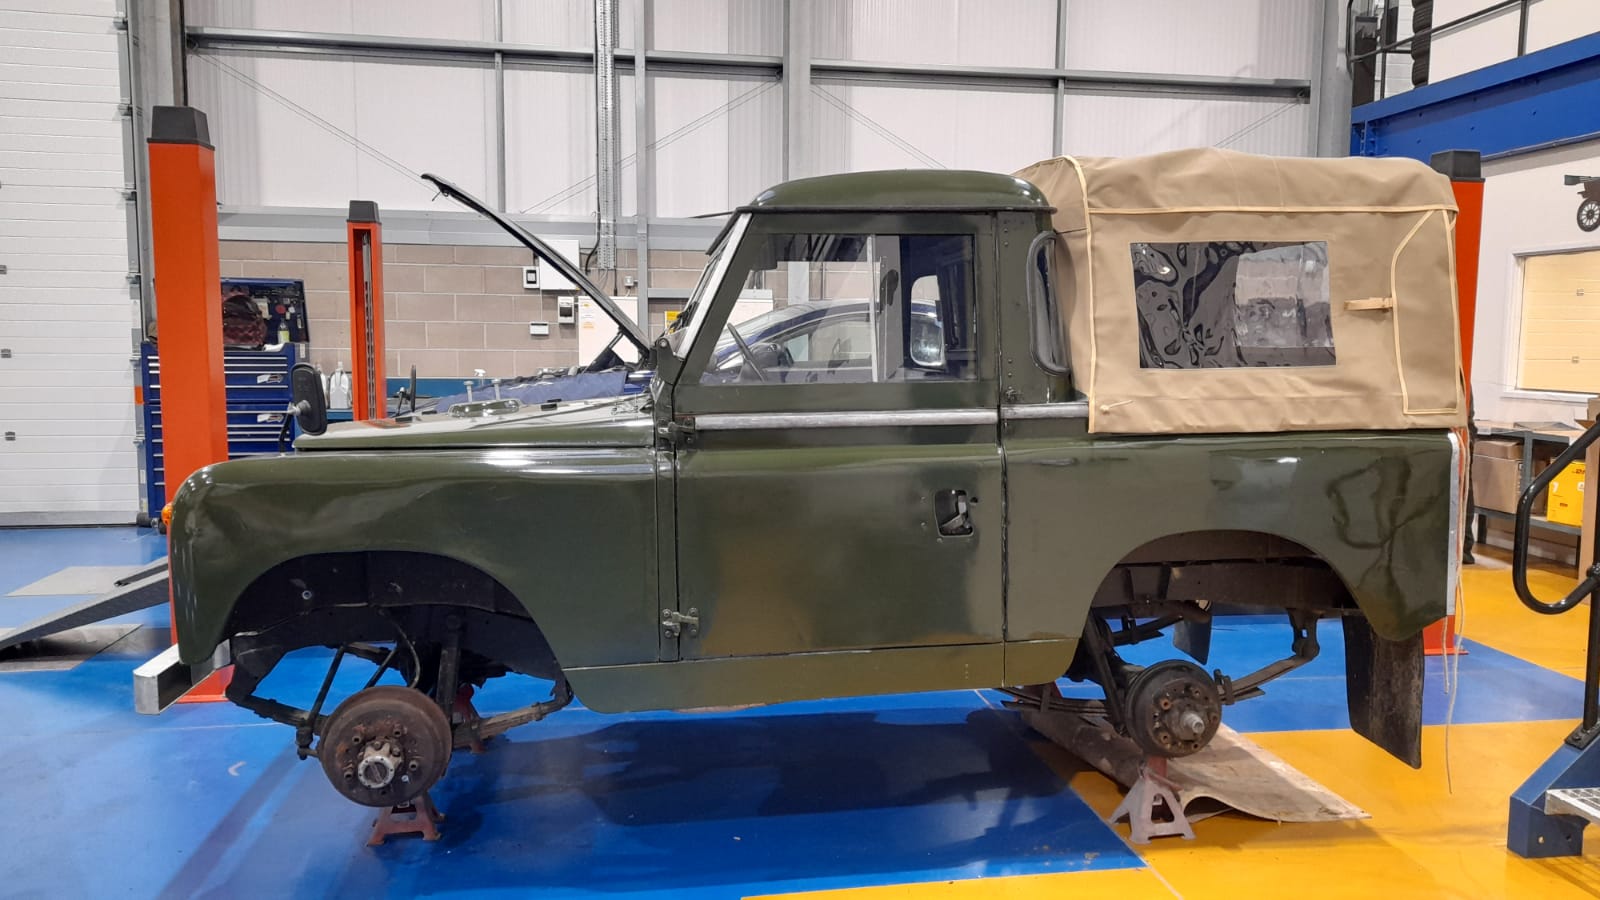
Scott, one of Bridge’s Classic Car Technicians has fitted this khaki canvas tilt to our Land Rover.
As with all of our competition cars, our Series II is having a full check over in the Bridge Classic Cars Workshop, with any necessary works carried out before it goes up on the website to be won.
In addition to the mechanical work we are doing to prepare our Land Rover, we decided to fit a brand new canvas tilt to make the rear buck a bit more practical. A popular choice for Land Rover owners, we also think a canvas tilt improves the looks, what do you think to the new addition?
To be notified when our Land Rover goes live, sign up to our Mailing List. We also send out exclusive discounts only by email 👉 http://eepurl.com/gXSlMf
Our new 1971 Triumph Stag needs a small neaten up around the windscreen surround, so Matt masked up the Stag ready for paint.
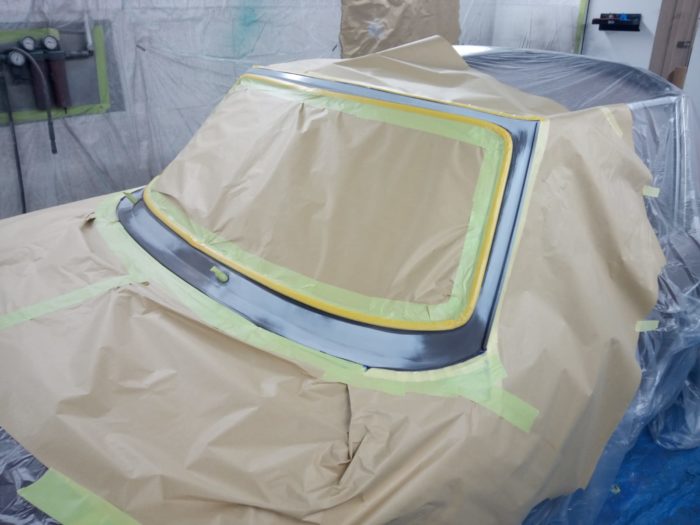
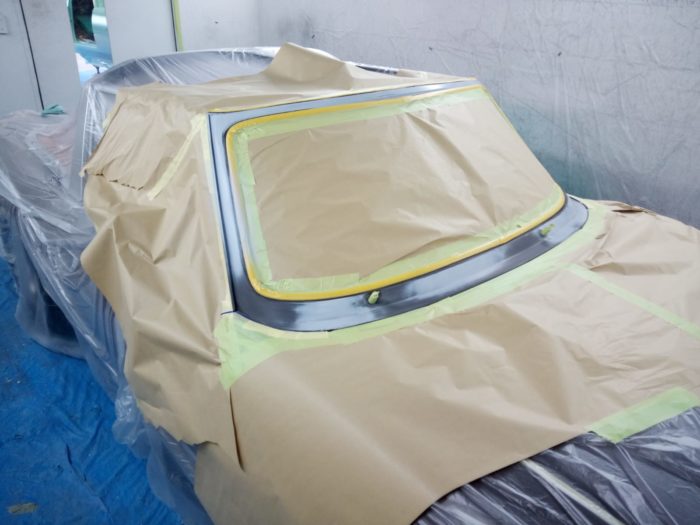
The paint, the same colour as the body, is sprayed on in an efficient yet methodical manner, evenly covering the surround. Working his way around the frame, Matt ensures that the paint covers the windshield frame.

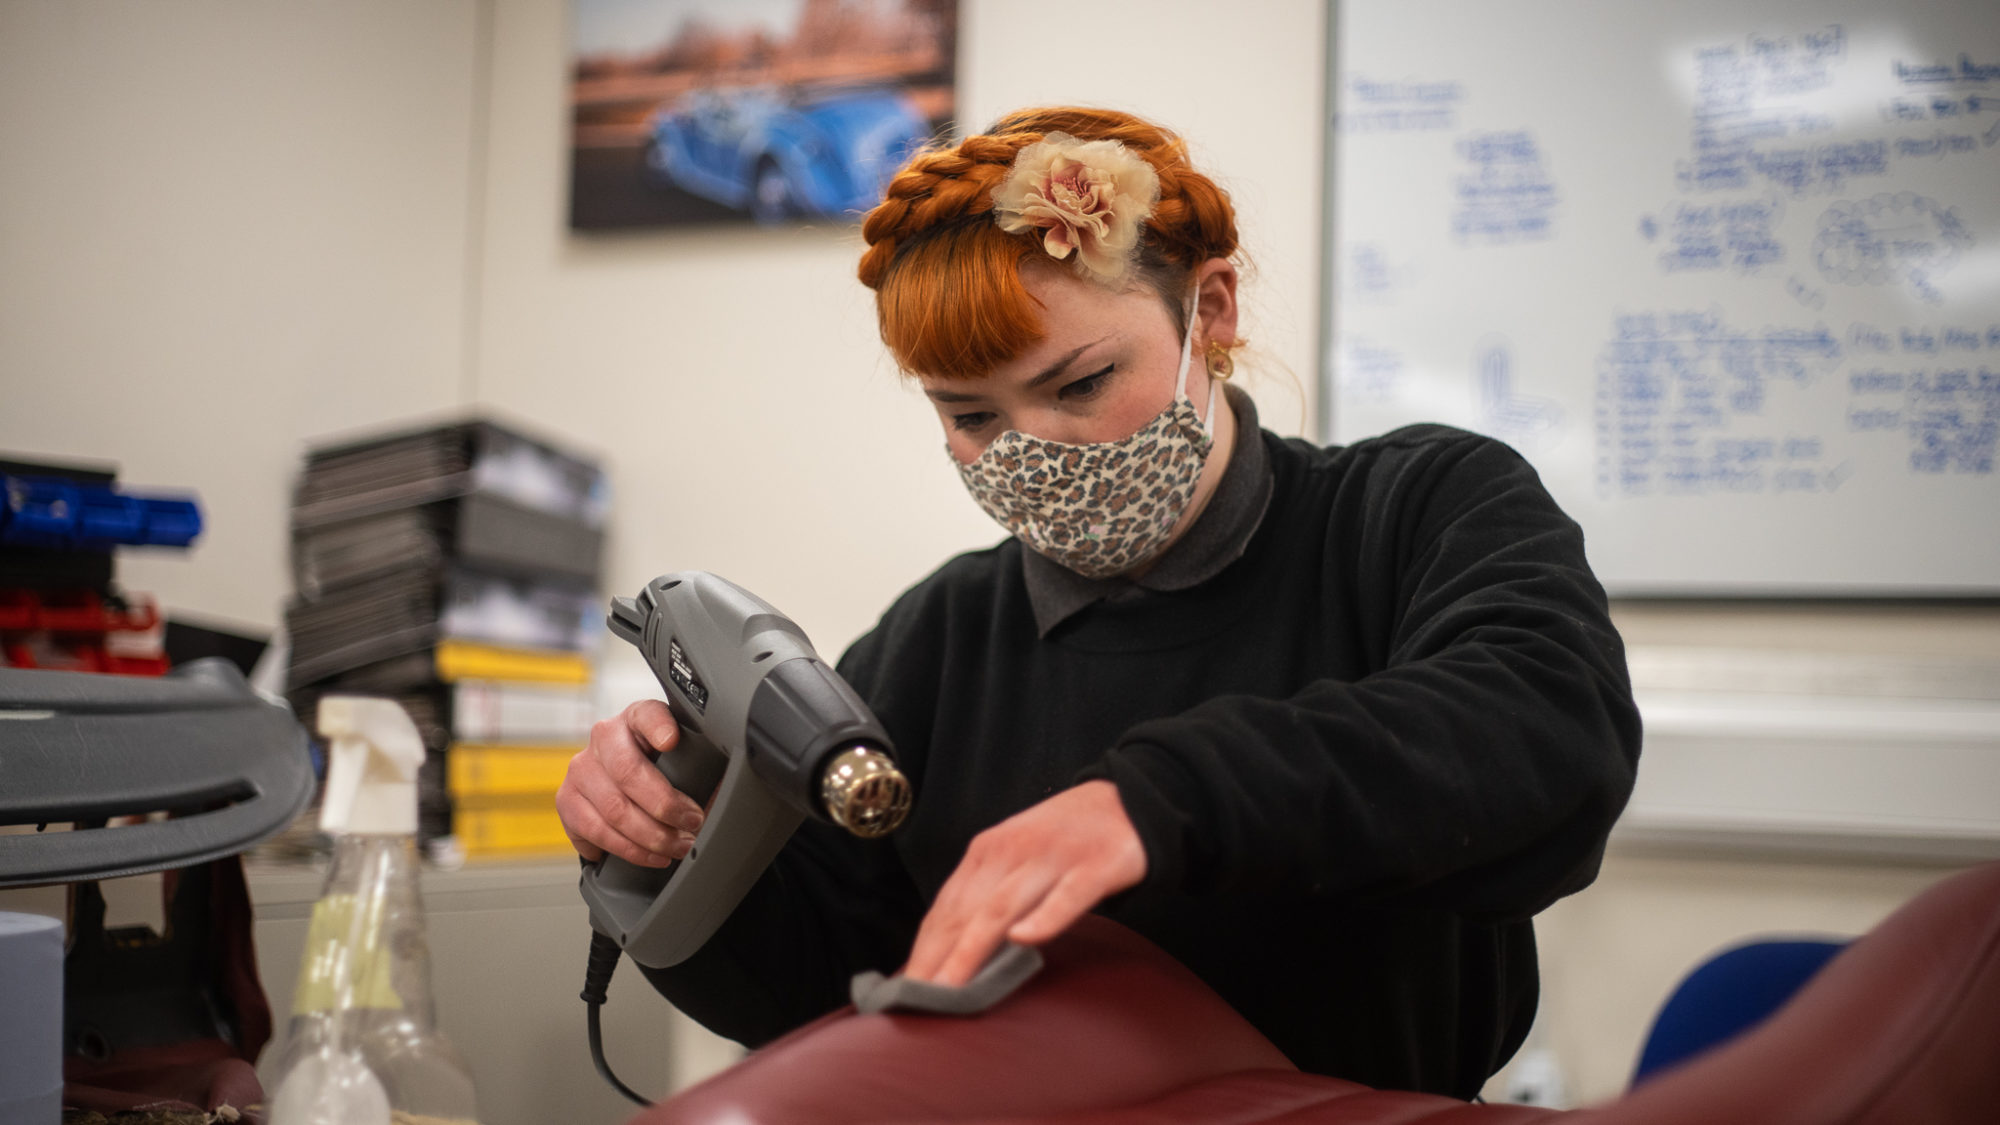
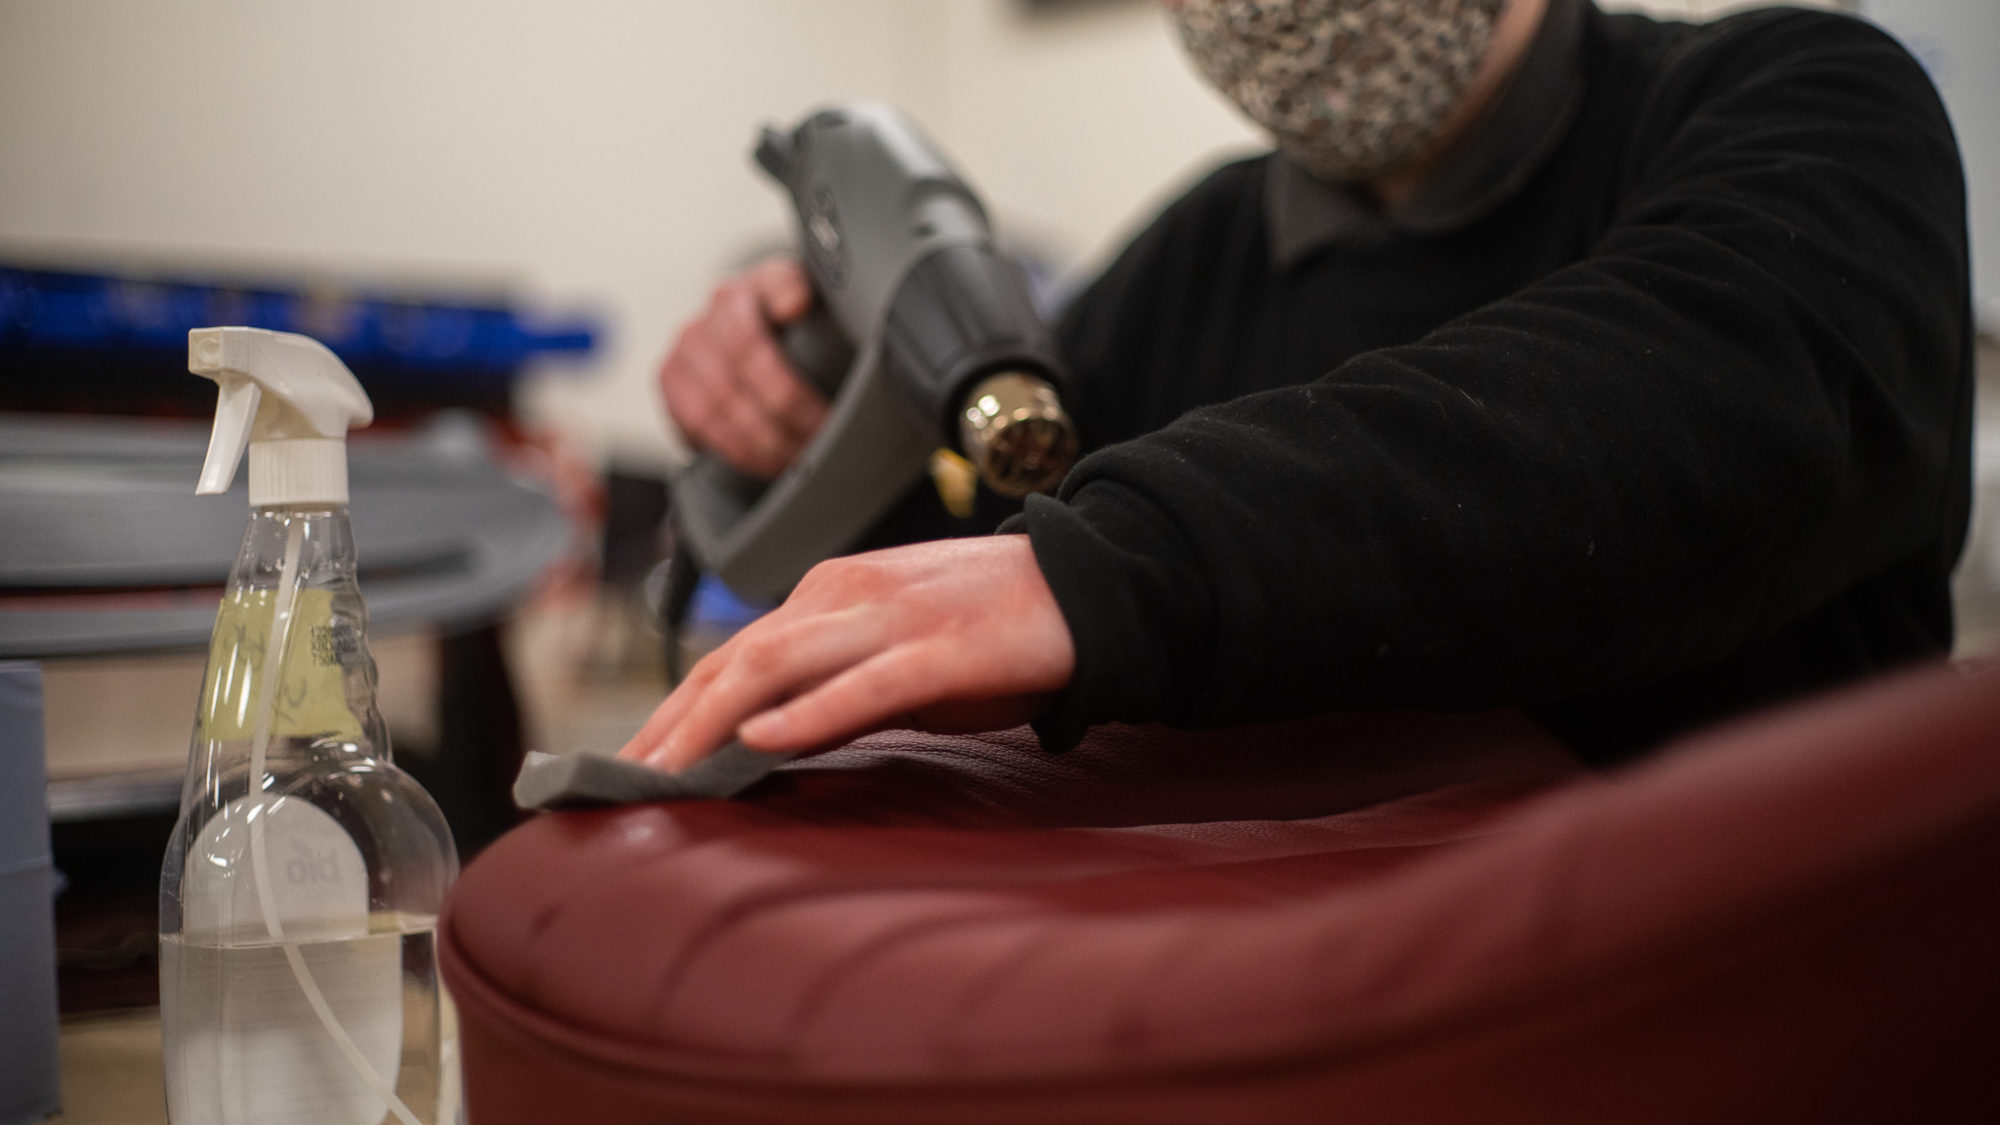
Craig’s 1987 Mercedes 500SL seats are still in the capable hands of our in house trim shop.
Lydia has been leading the charge with the interior, creating each seat cover by hand. Brian has also lent a helping hand with the frame and hind mechanisms. Lydia has recently been heating and stretching the fabric, applying sprays of water to help steam and stiffen the leather in the process.
Brian has been fitting the cover to the base of the front seat, pulling the cover tight around the frame and glueing the flaps at the back and hog ringing the rear flap. He has fitted the cover to the front squab seat and glued the centre in place. Pulling the cover around the frame, Brian works on fitting the material tight to the frame and securing it into slots on the side of the frame. The next step included Brian cutting headrest holes out and fitting the plastic trims. With the cover fitted, all that’s left to do is to fit the metal runners and sliding mechanisms to bottom of the base frame.
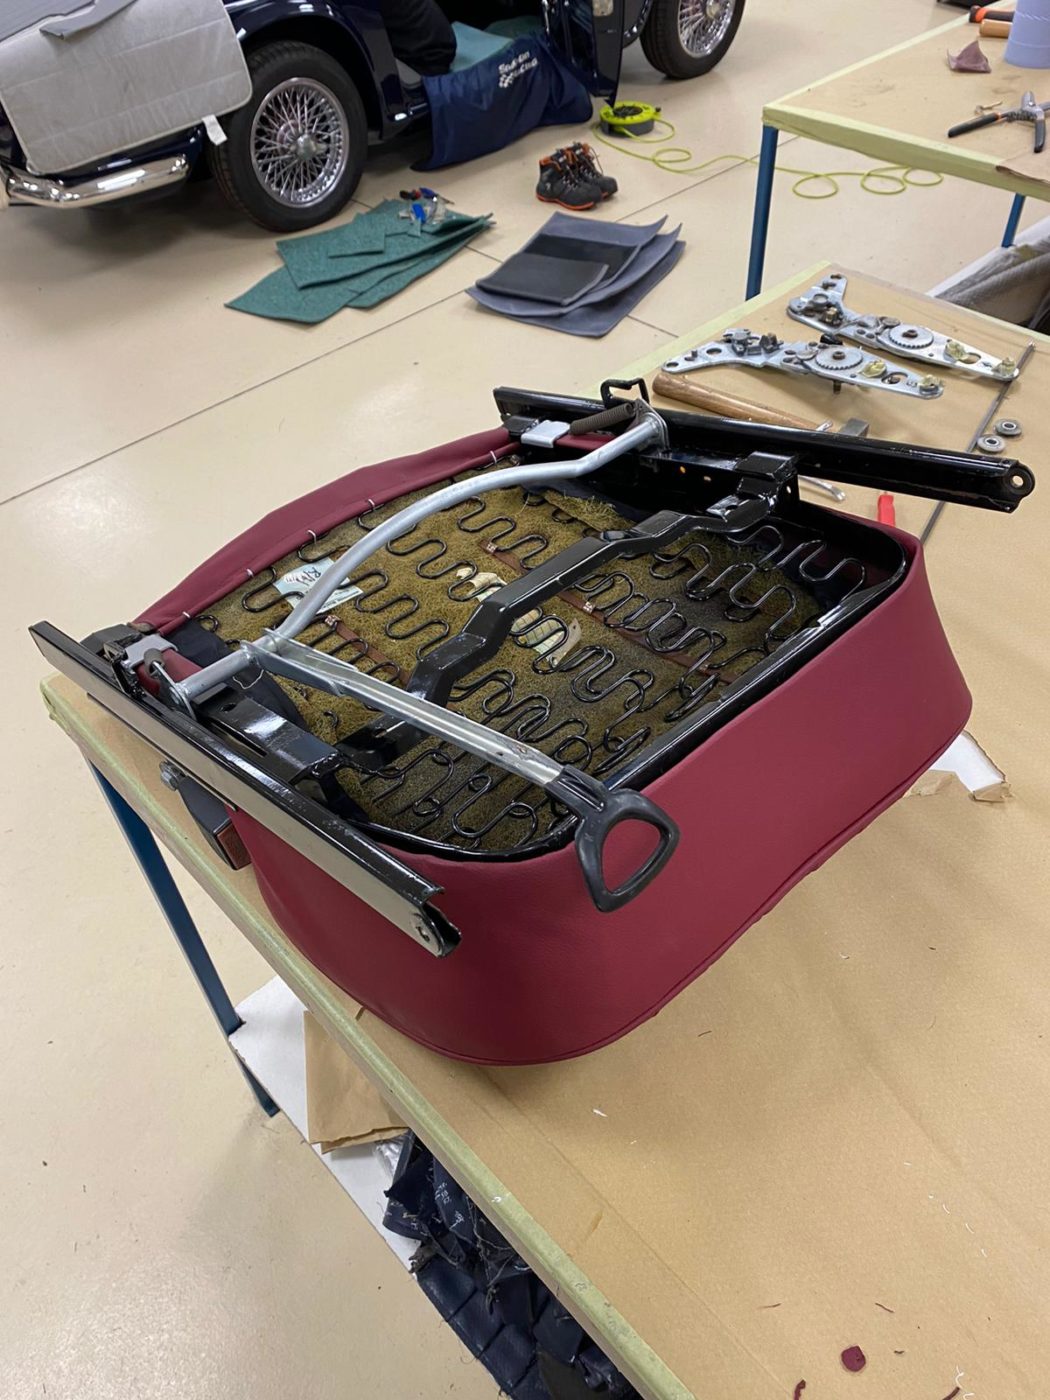
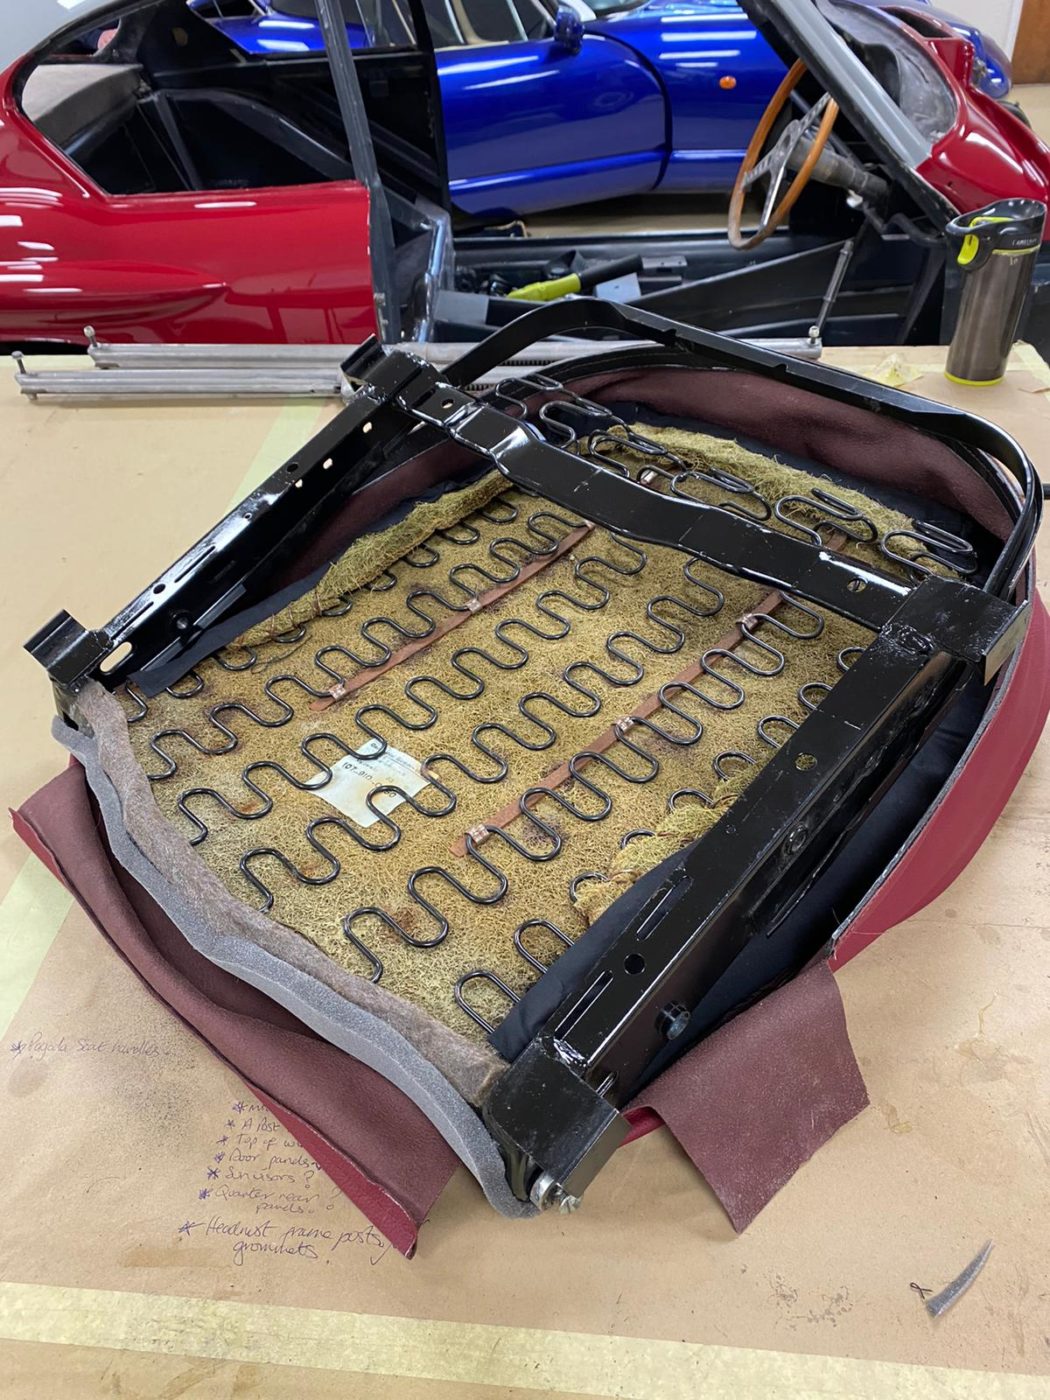
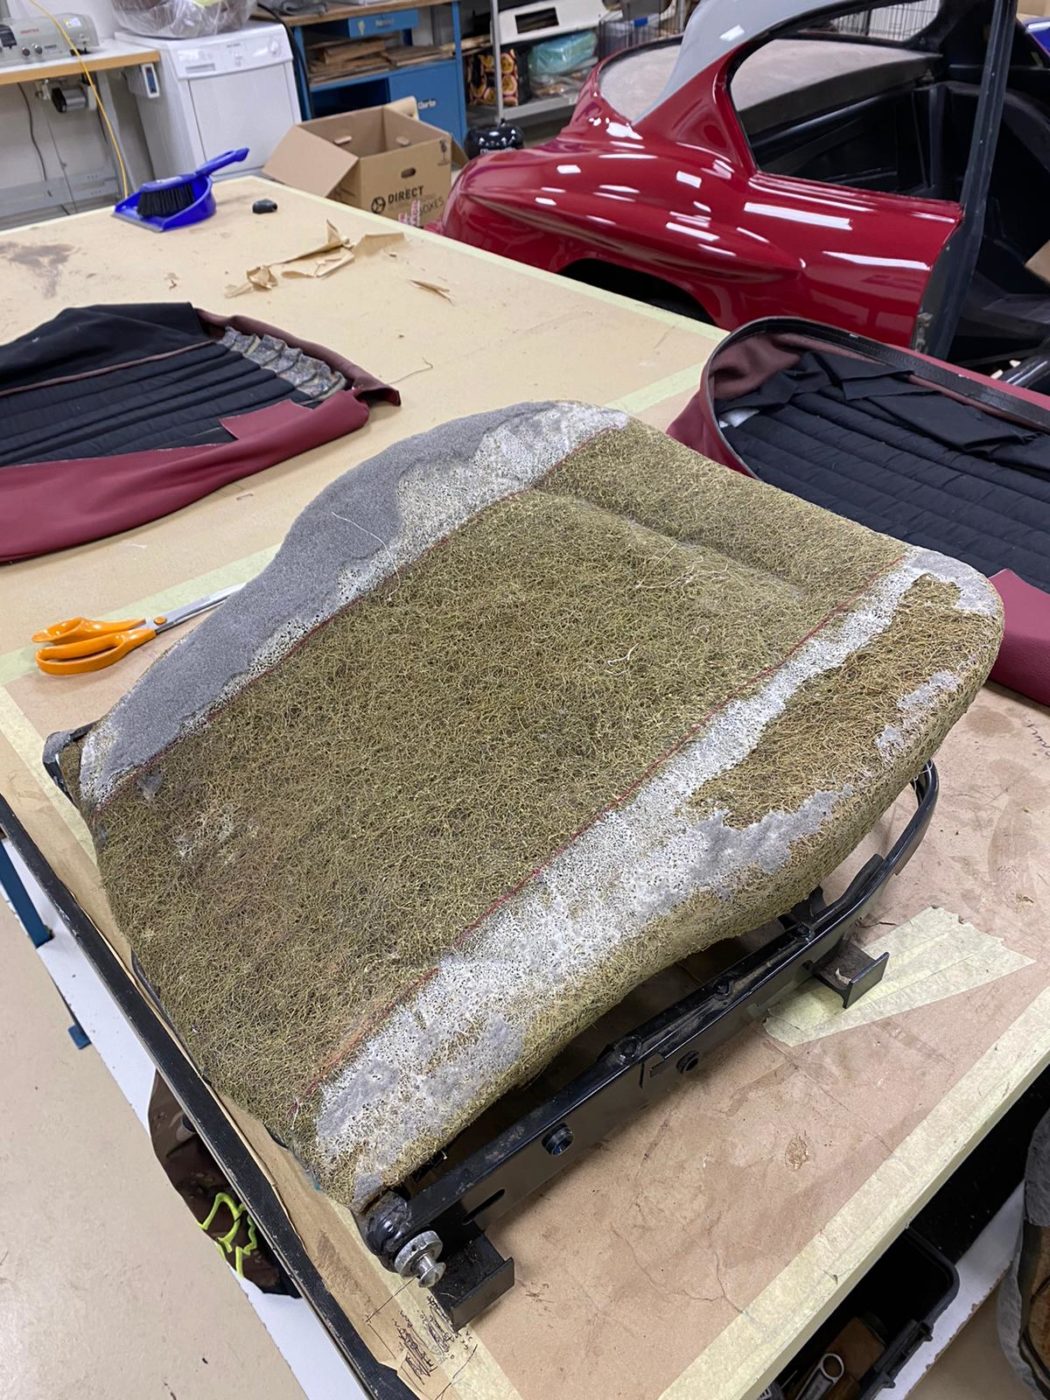
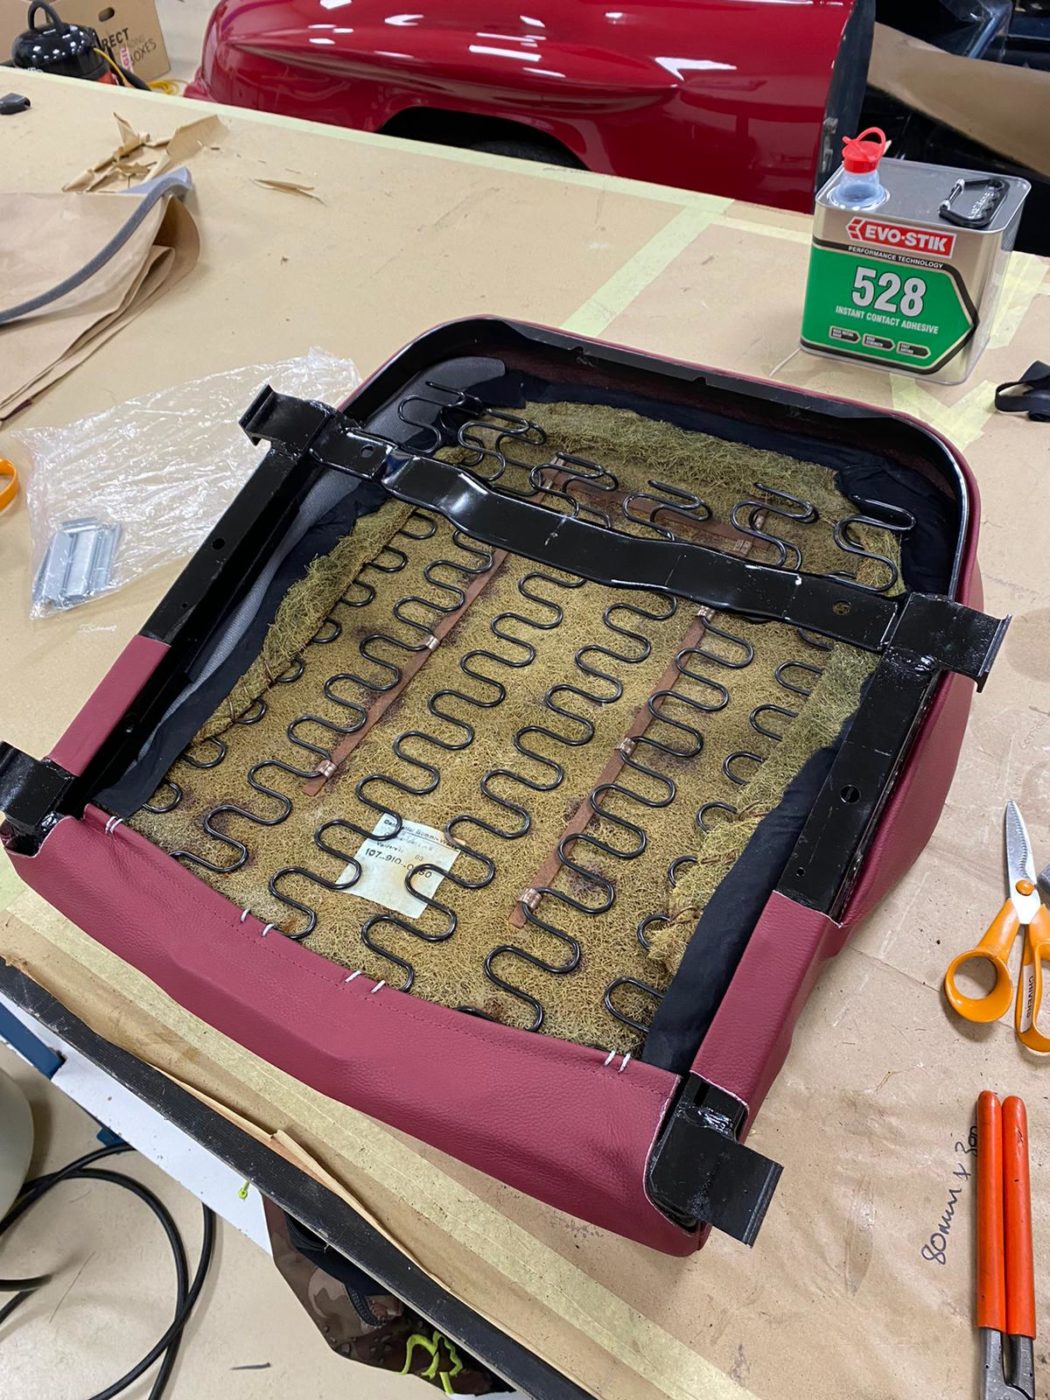
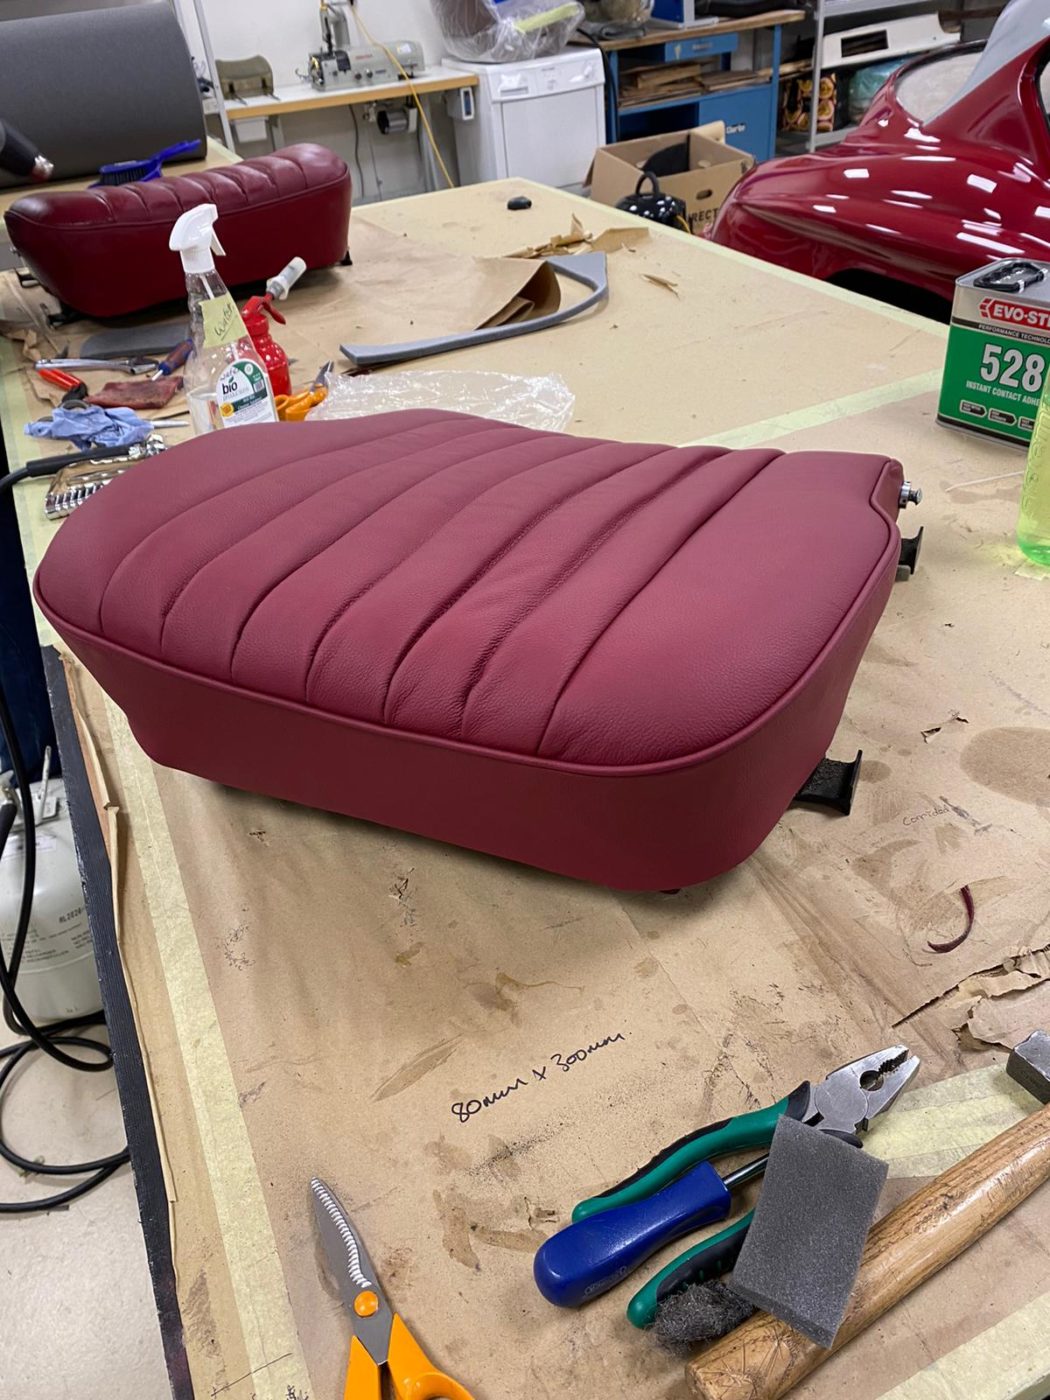
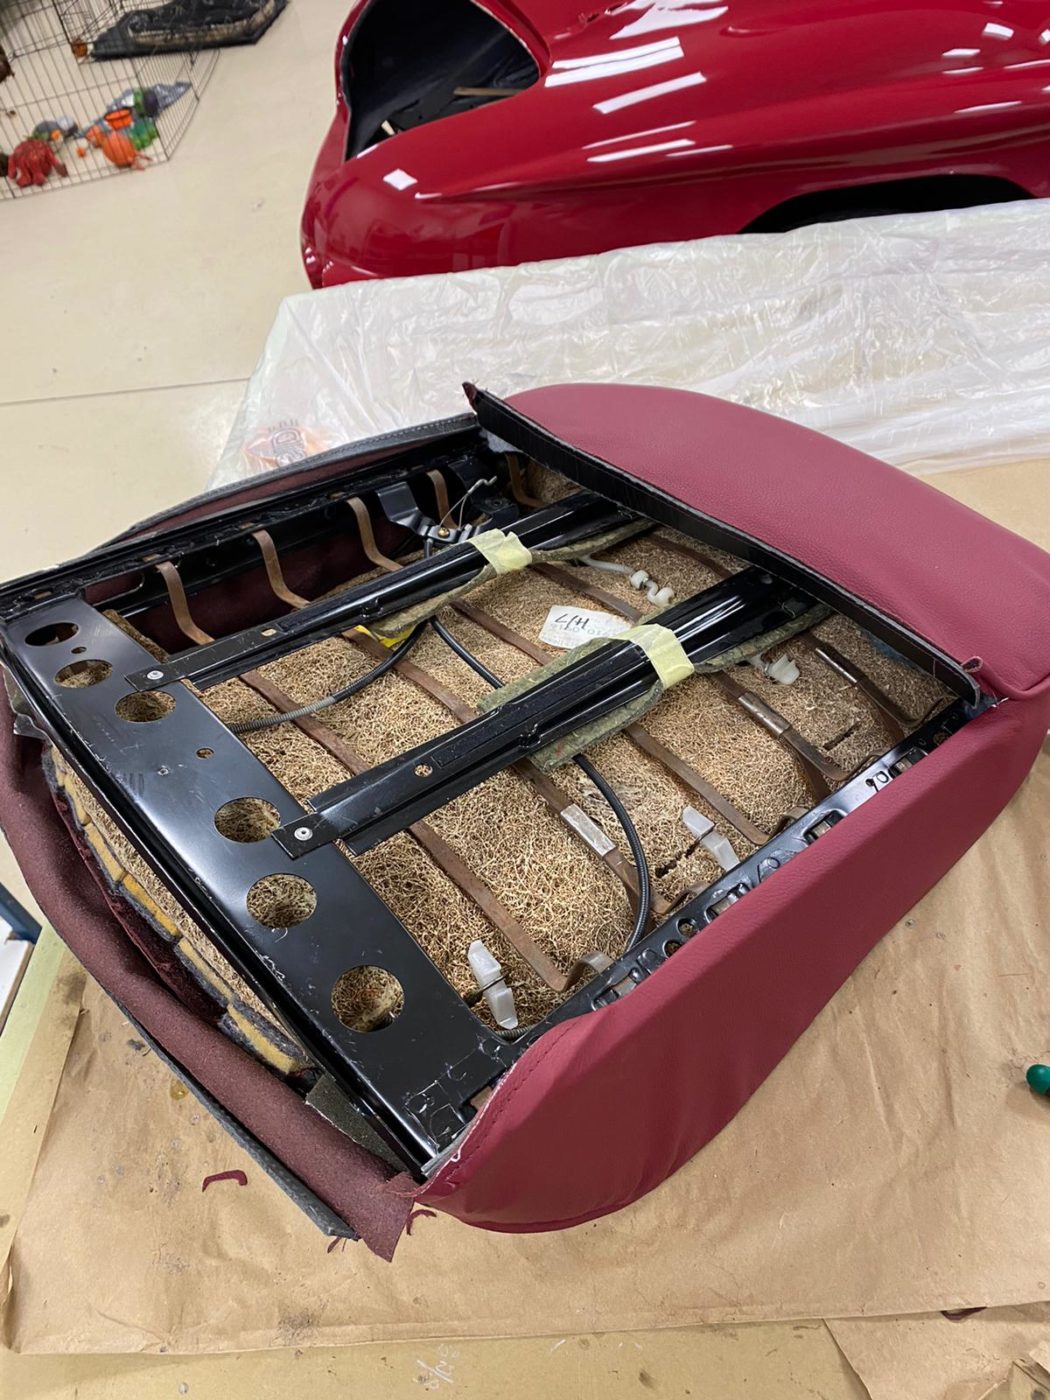
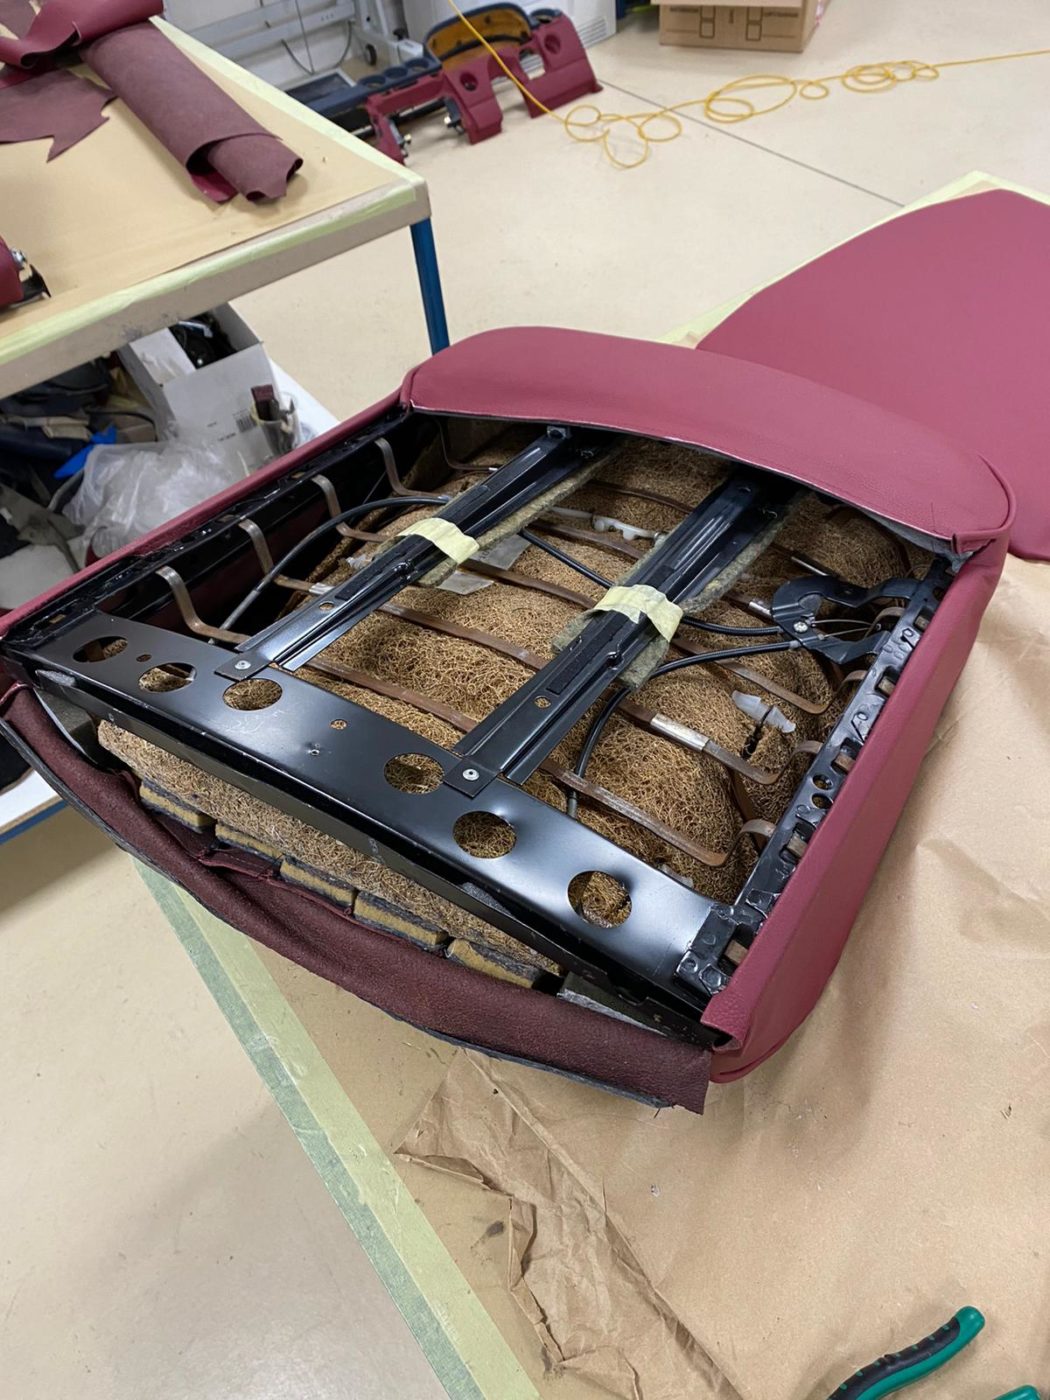
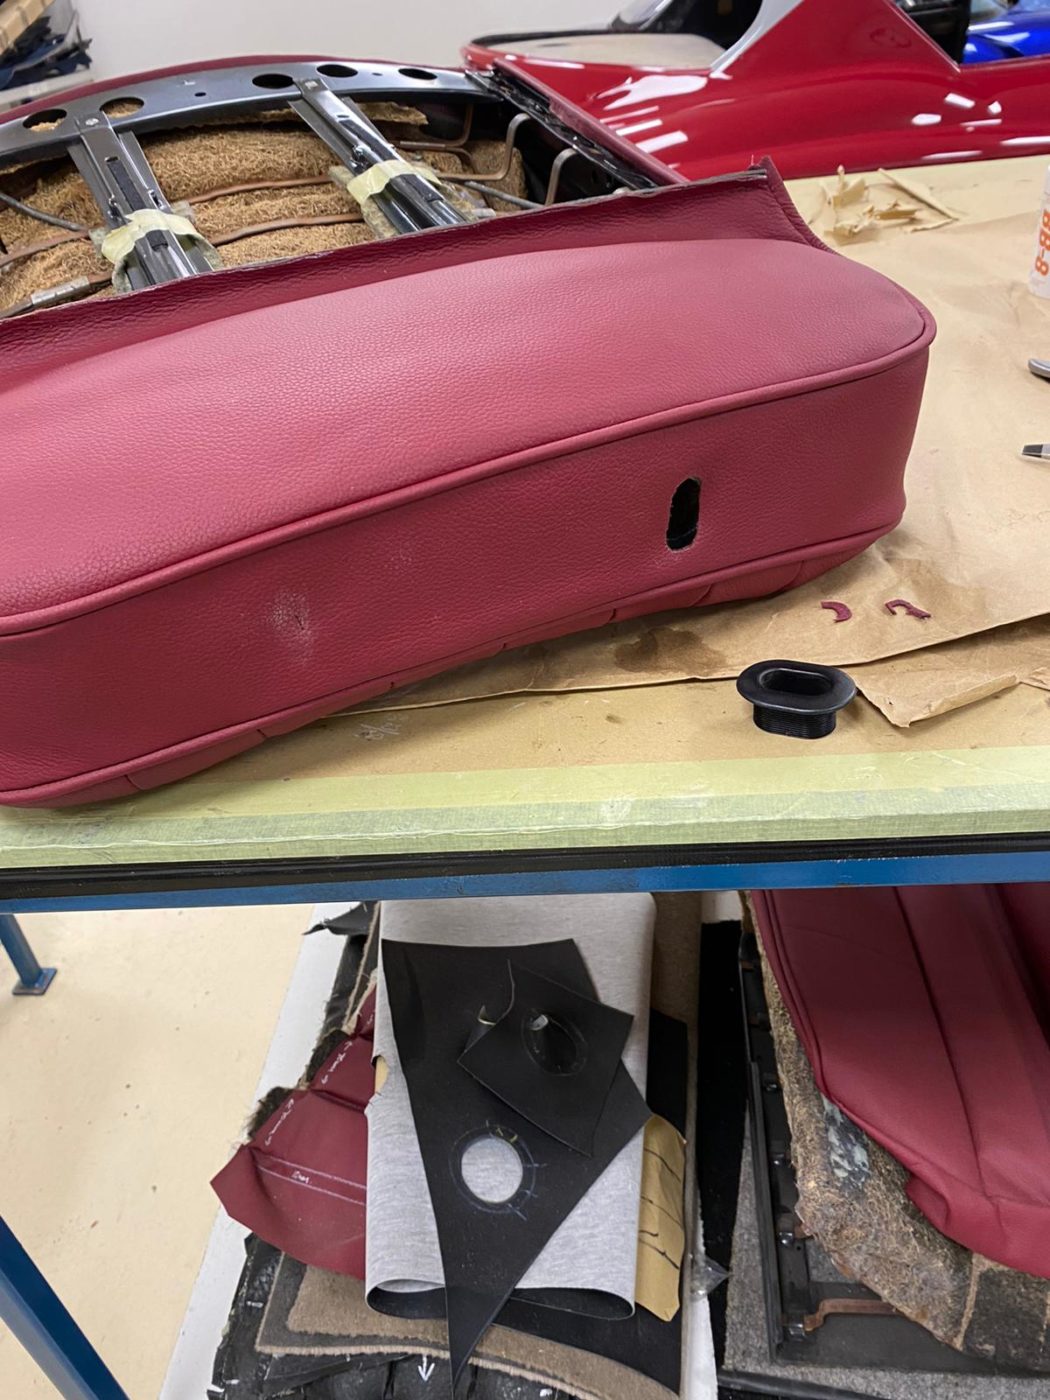
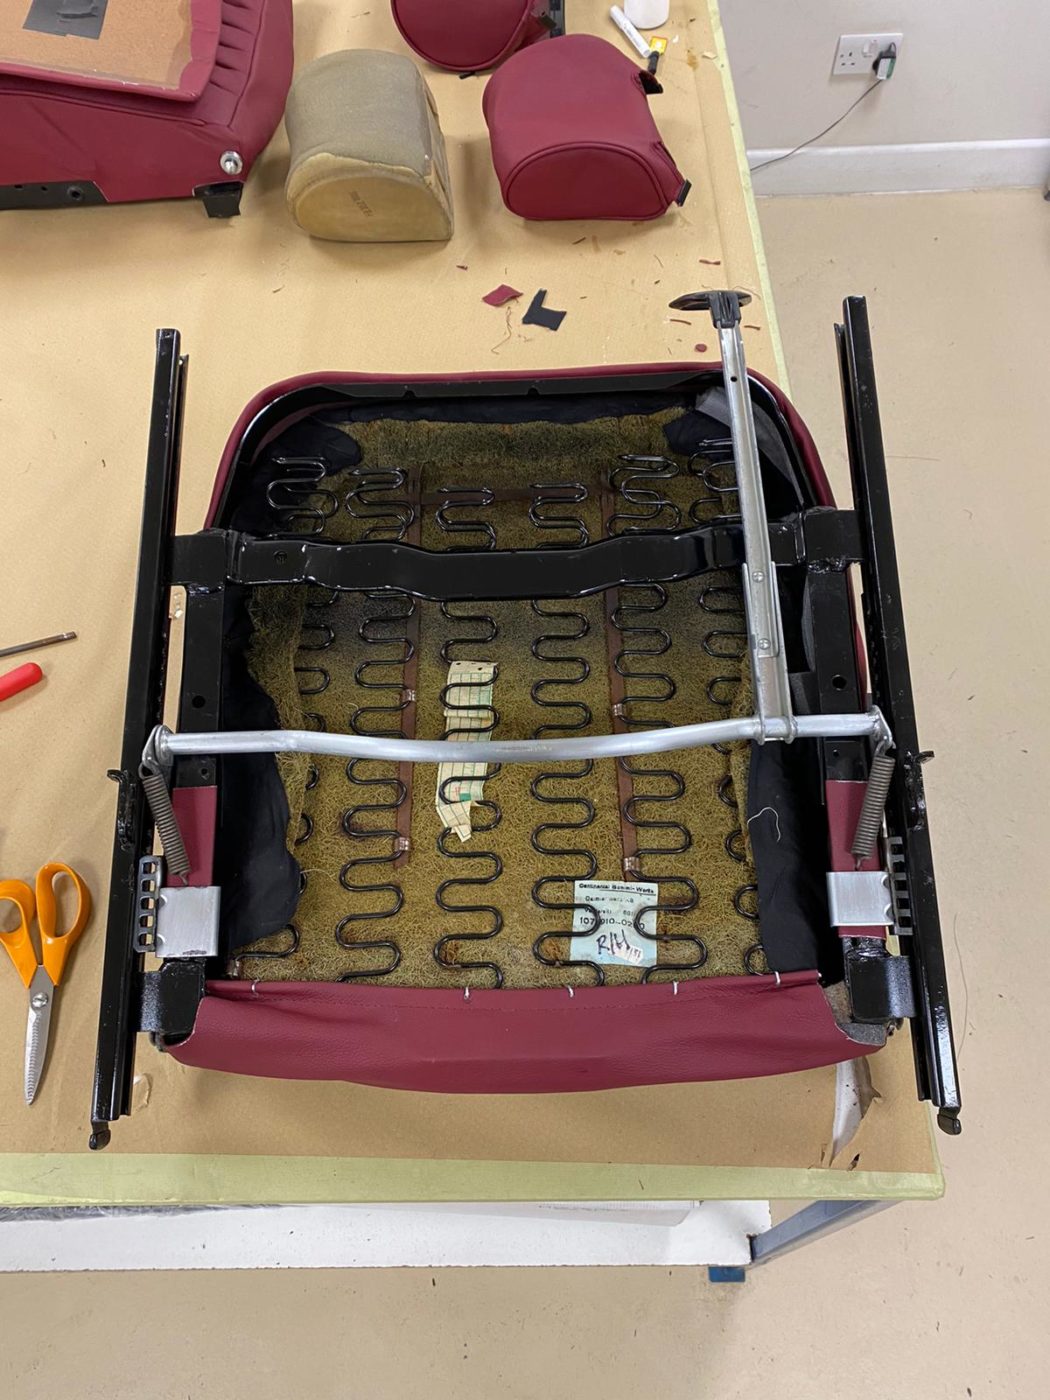

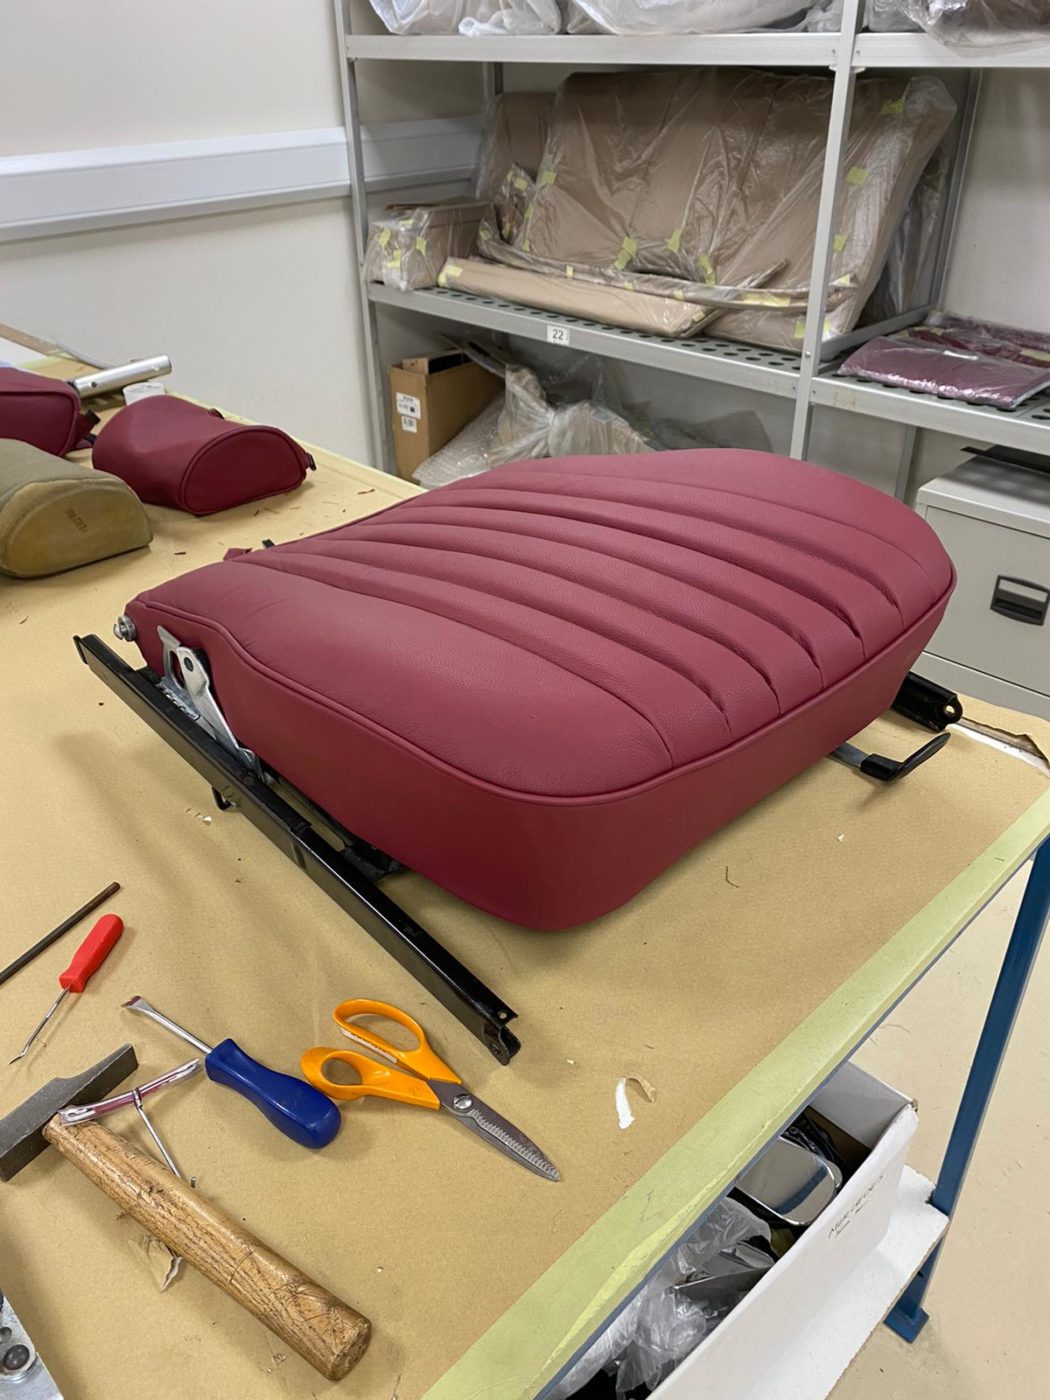

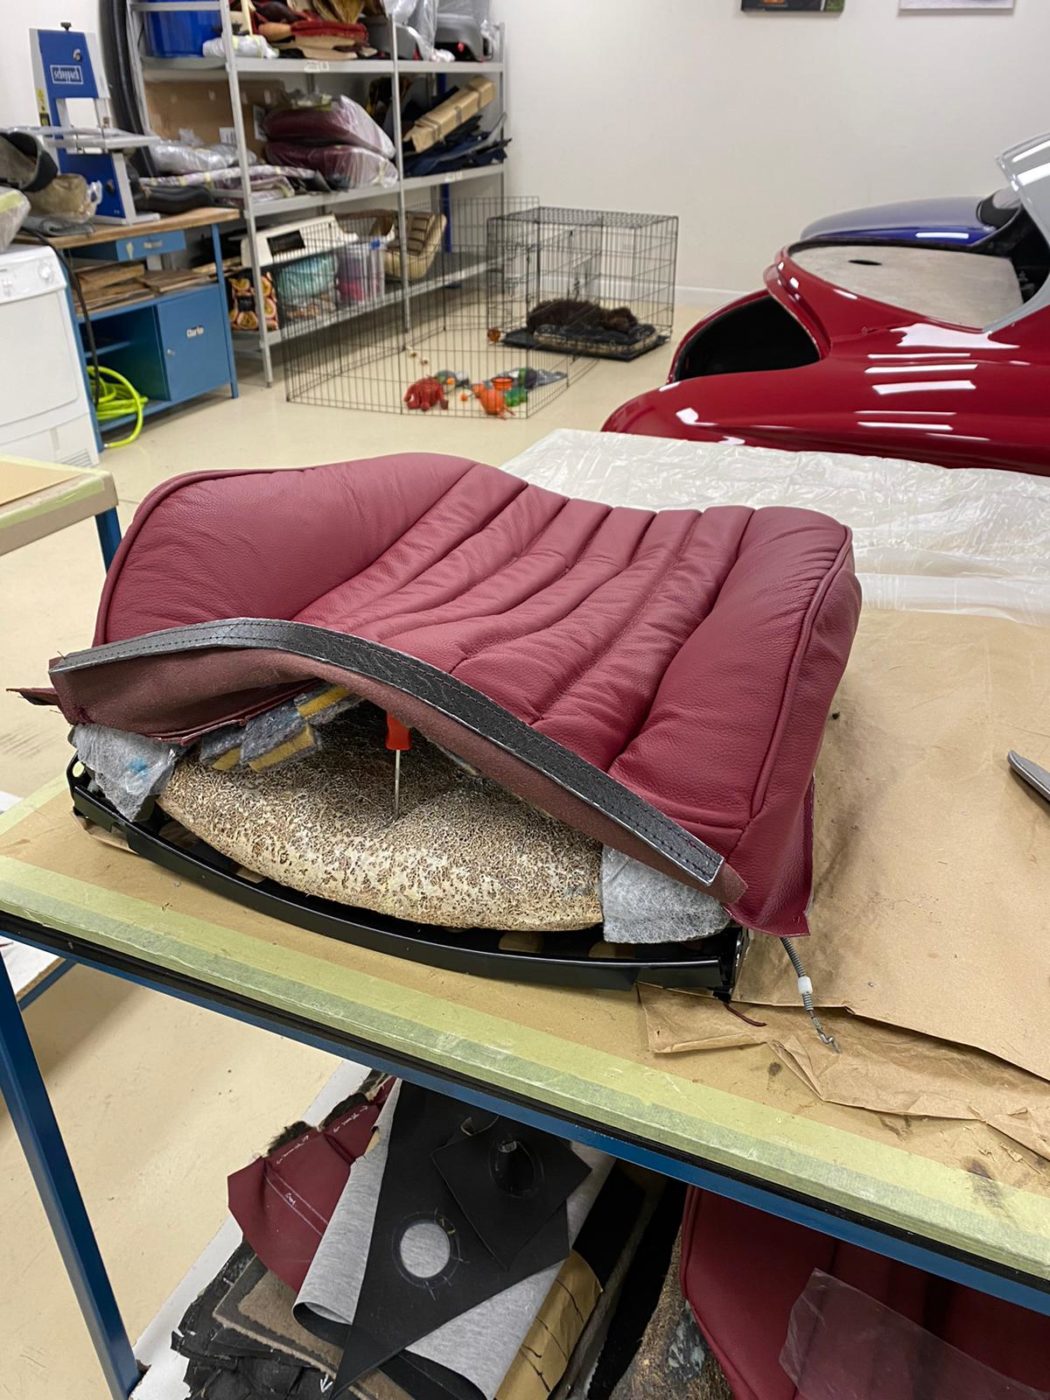
Lyda has added foam to the shoulders of the front squab seat frame. This ensures the cover fits well enough. Lydia then glued inside for the flute lines to stick to which helps give it definition. Lydia then glued new leather to the backboard which goes with the squab. The backboard slots into place at the back, the sides tuck under the frame to hold in place and plastic ring inserts are added for the headrest poles to go through and connect the seat and headrest. Lydia made slits and holes in the sides of the squabs for the mechanism pieces to slot into place and finished by cleaning up the parts and putting the mechanisms in place.


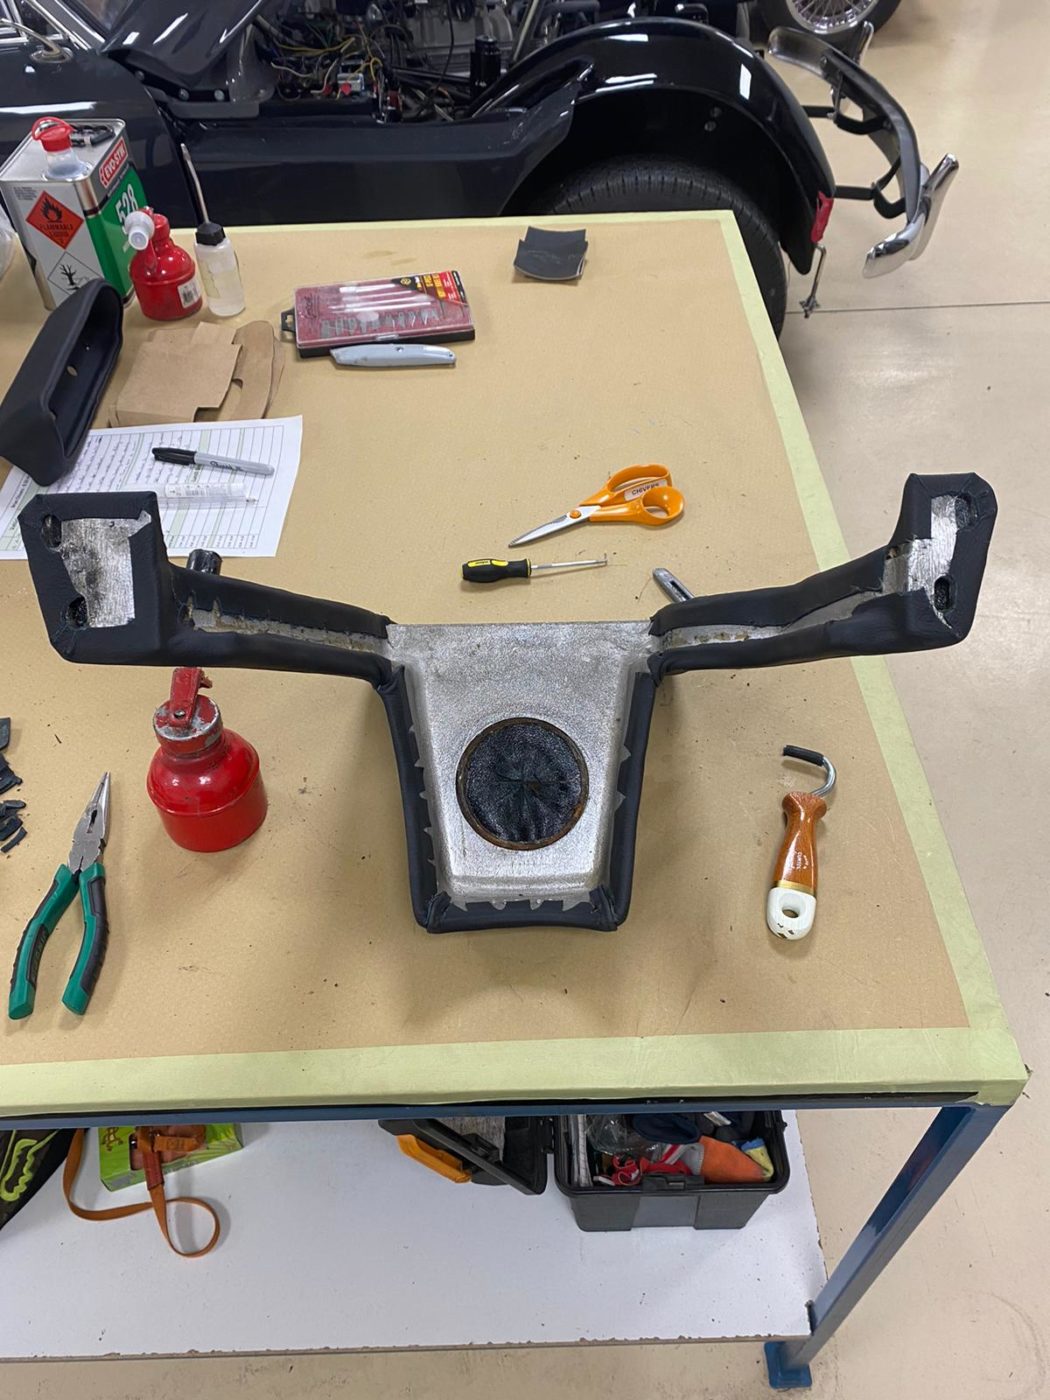
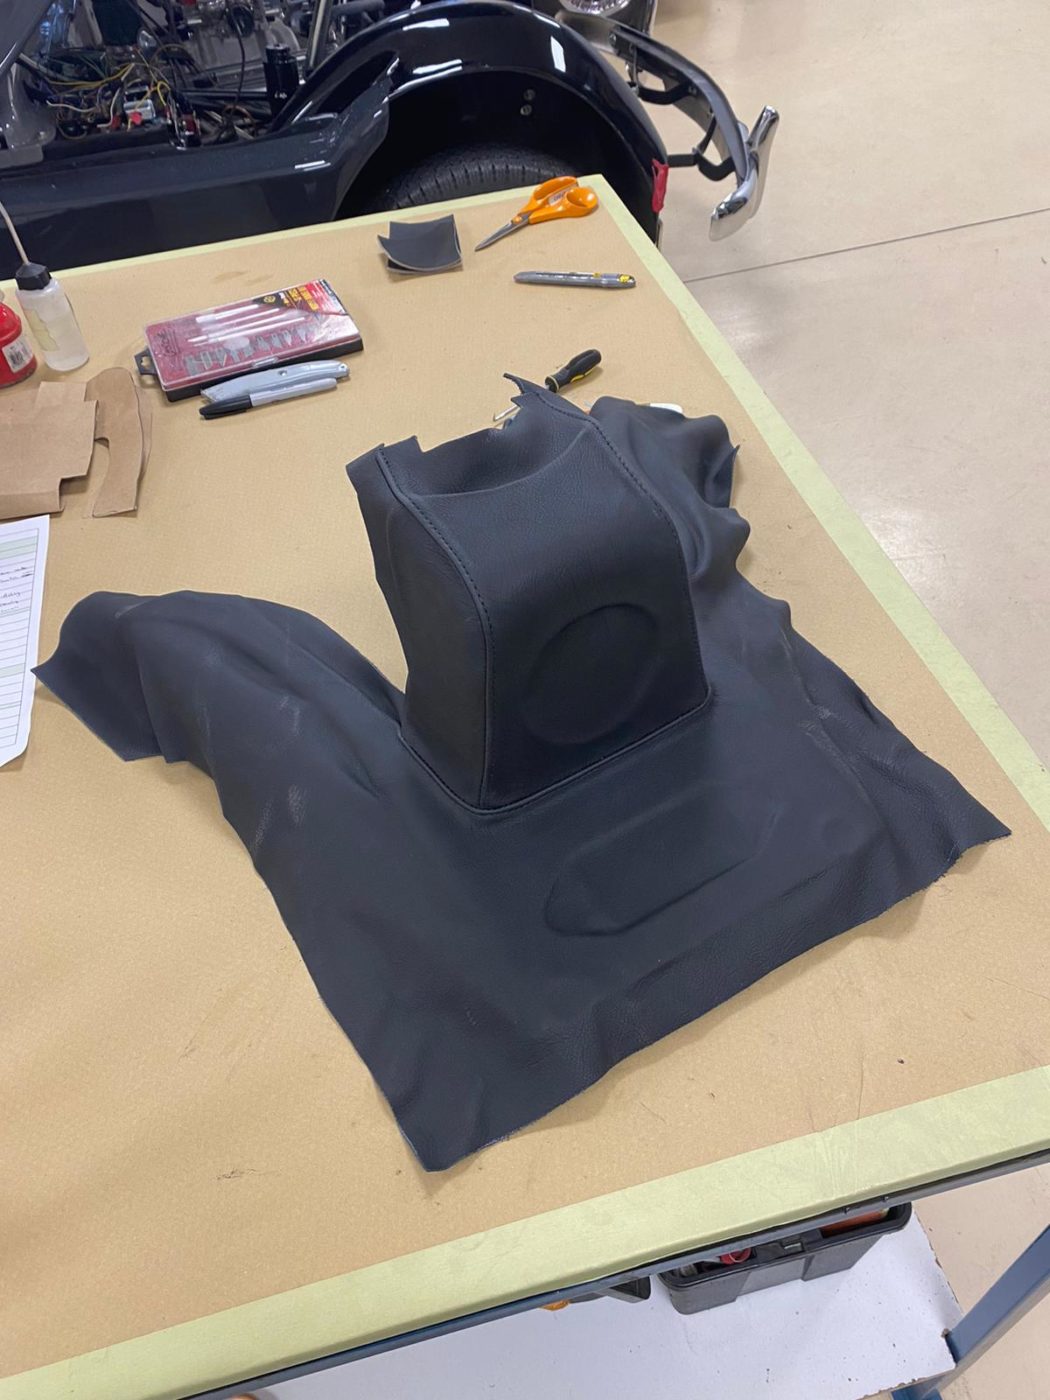
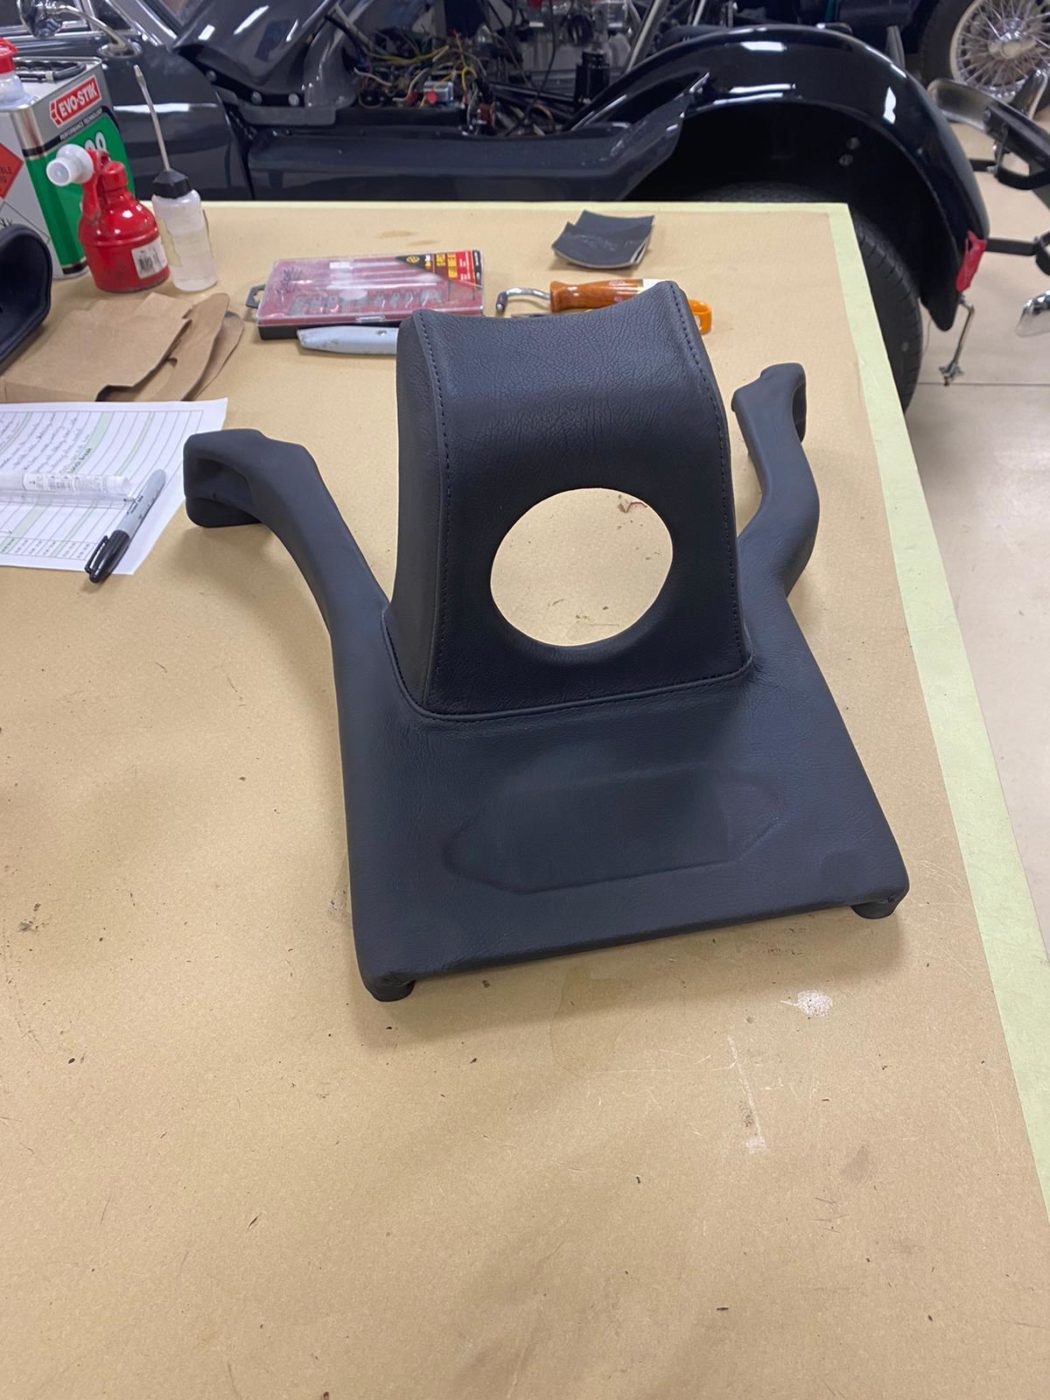
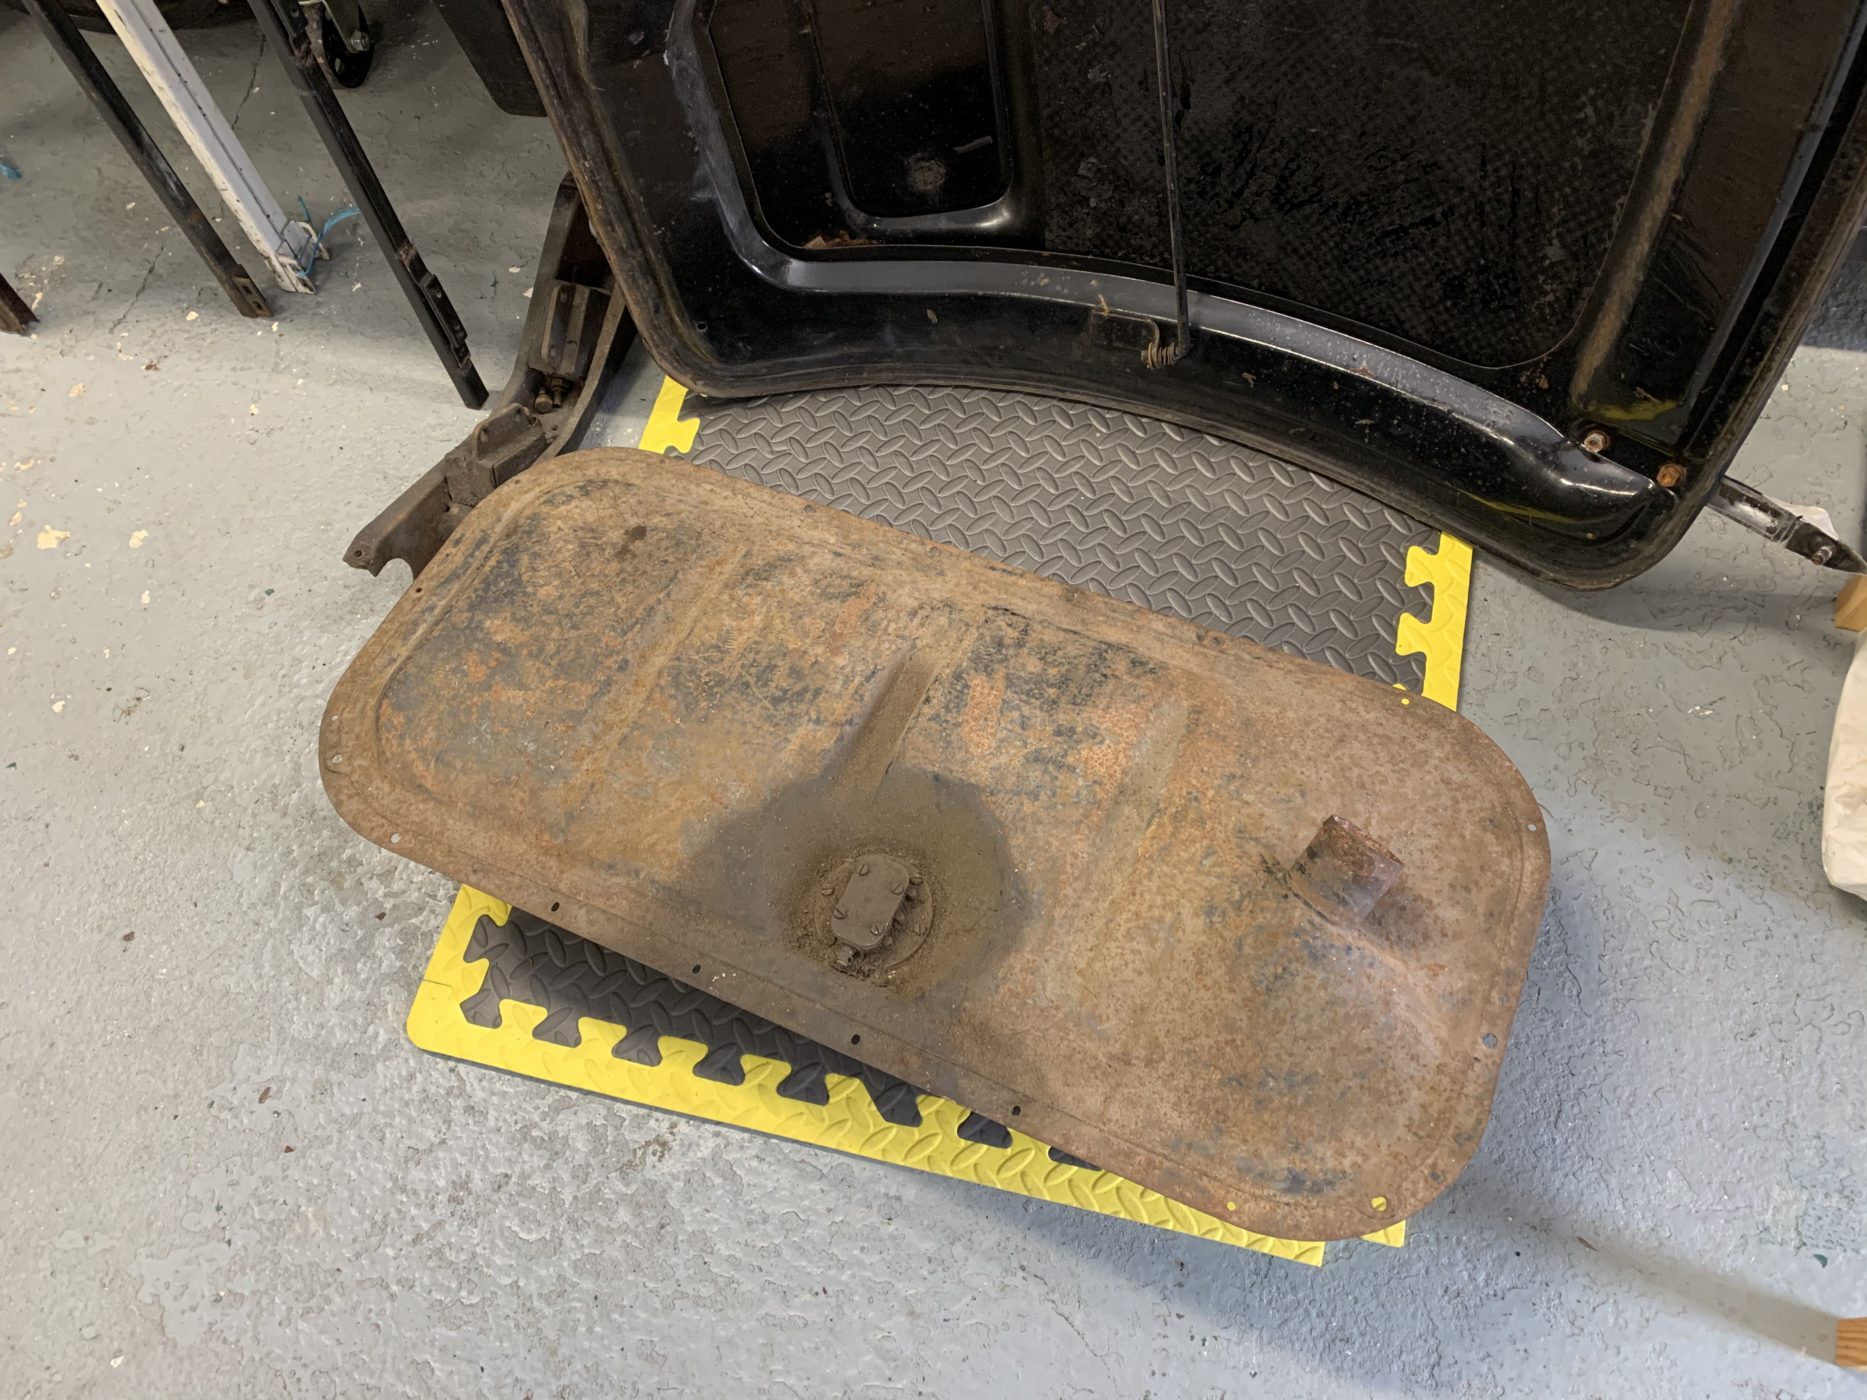
With the modified fuel tank back at HQ, Craig can begin to fit his 1984 Suzuki GSX 400T back together. The seat frame had also come back and is ready to start being assembled.

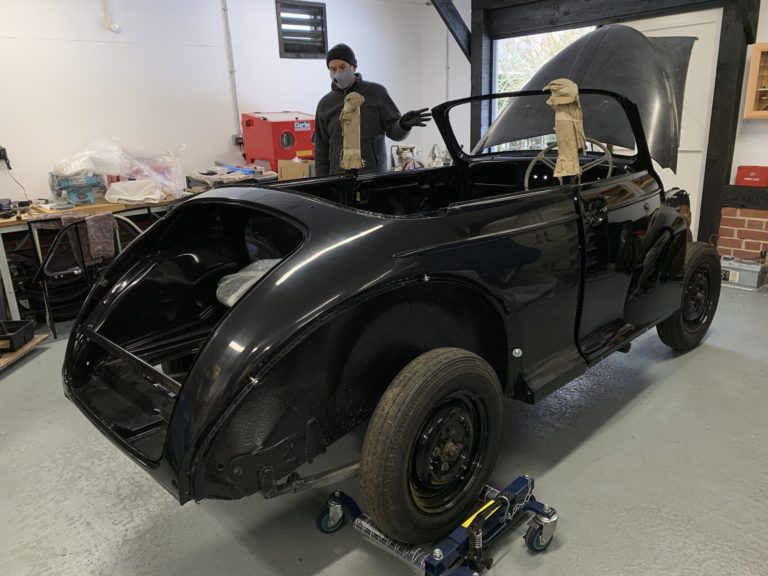
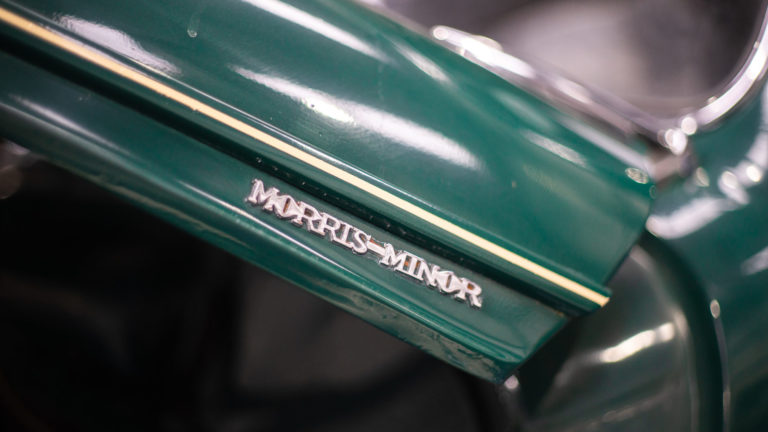
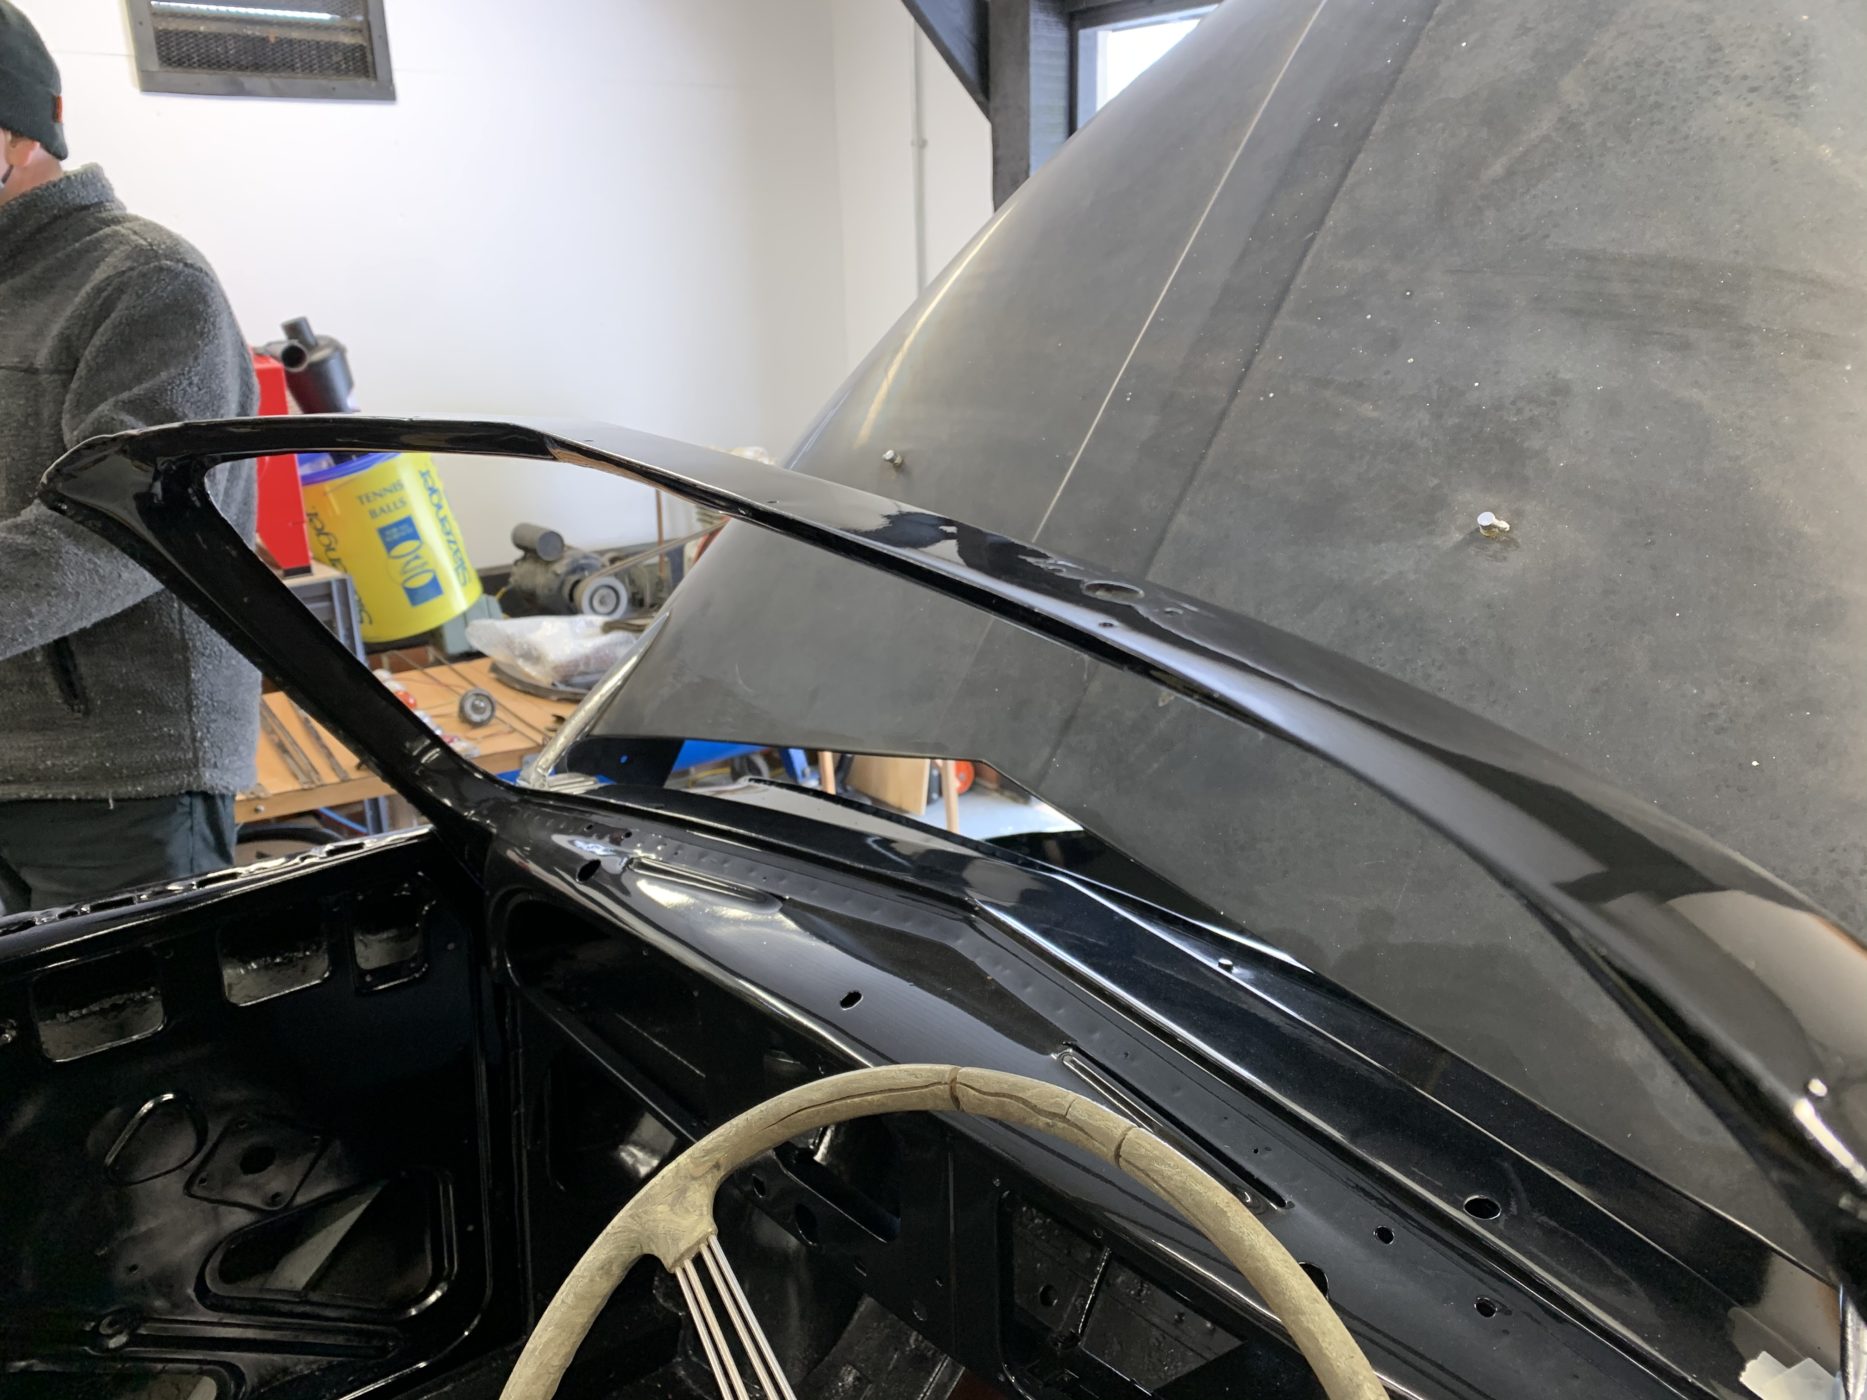
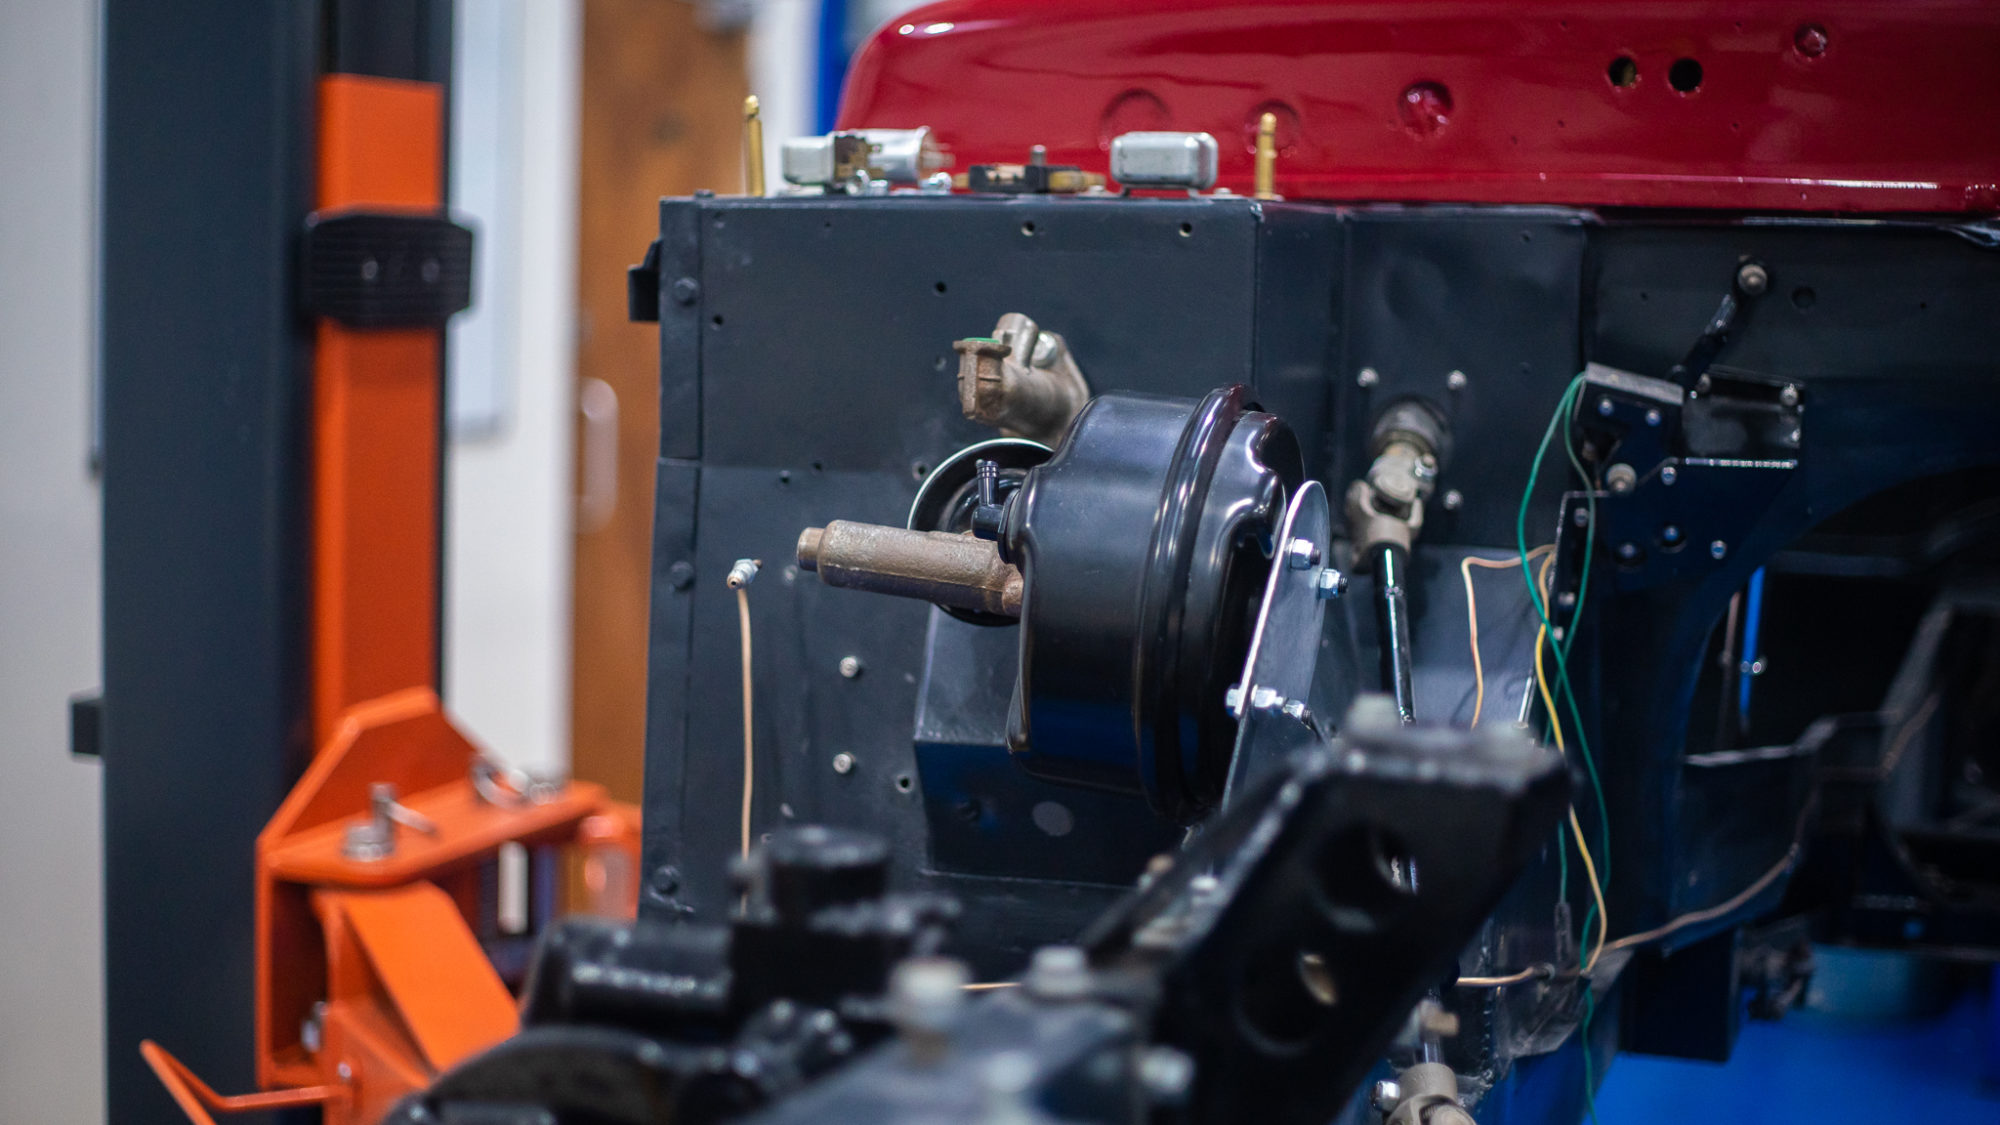
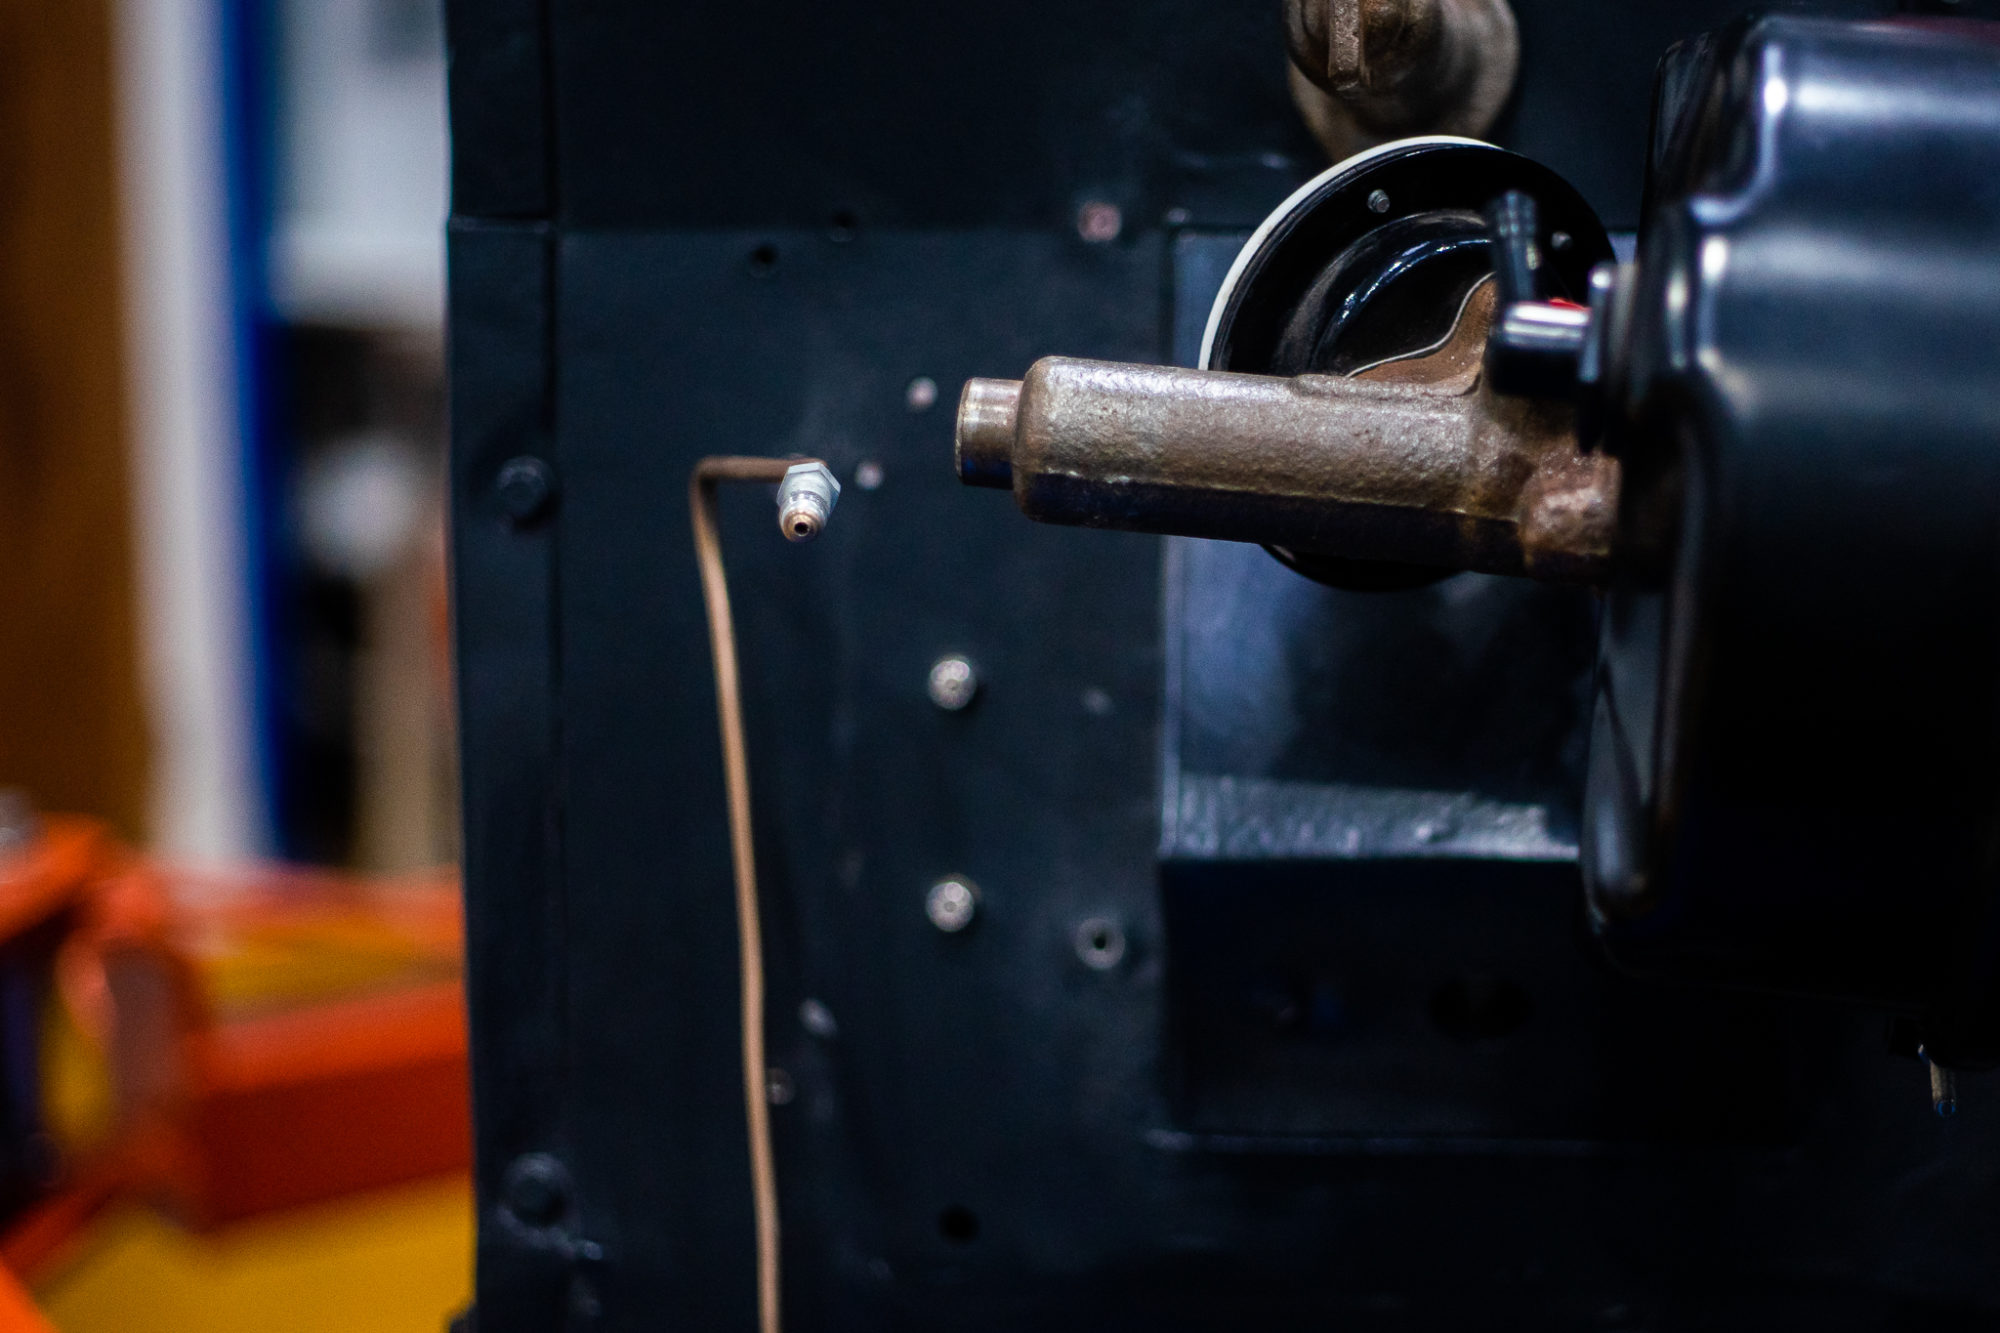
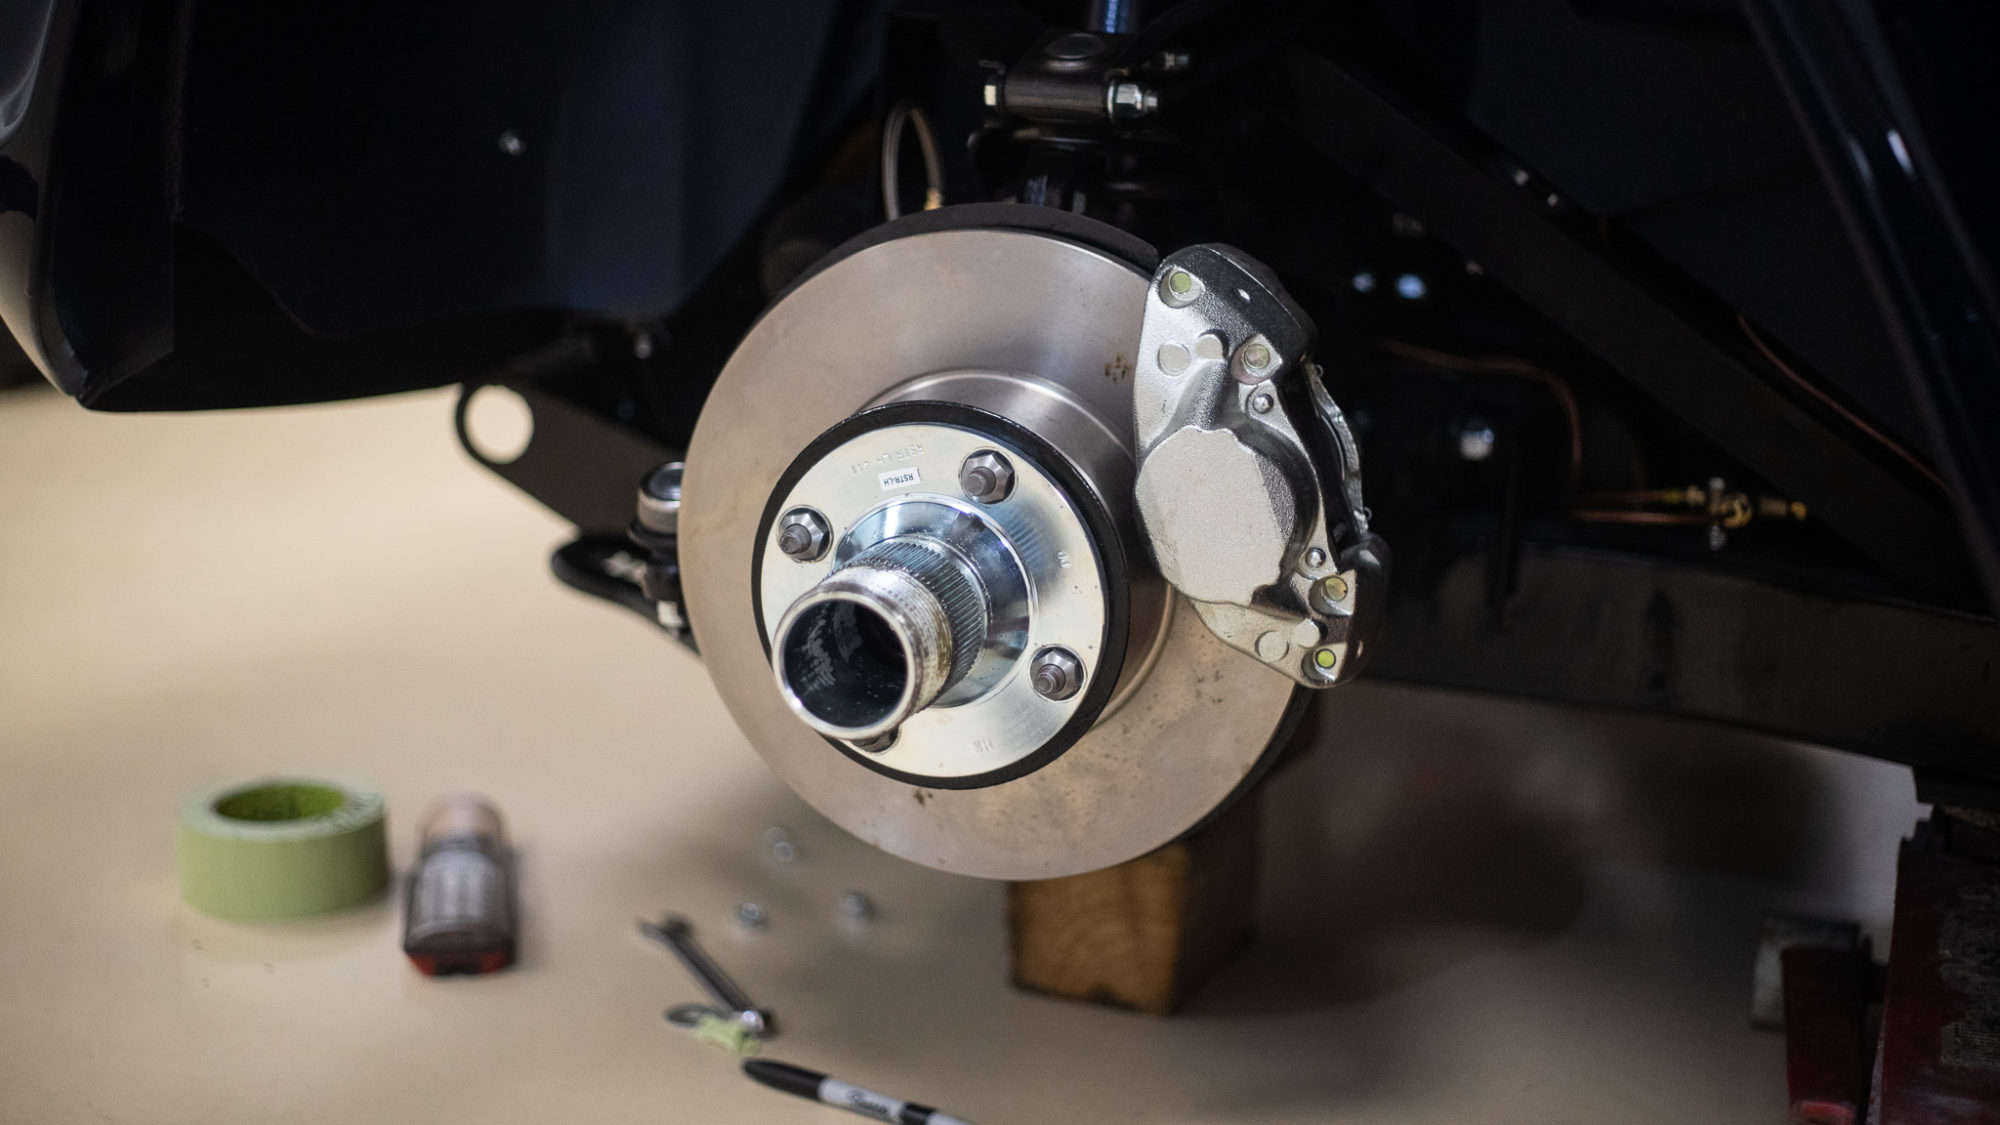
The Peony Red Jensen, now finished in paint, has been moved into the workshop to begin its mechanical journey.
Our technician Paul is currently fitting new brake lines as the original ones are worn out.

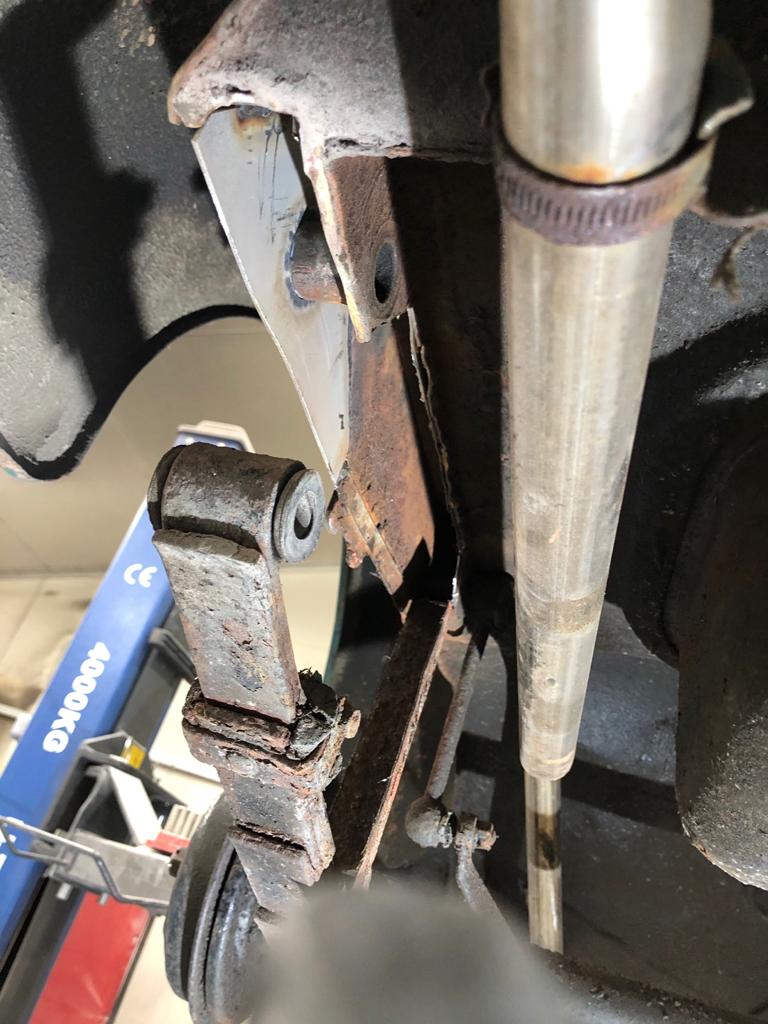
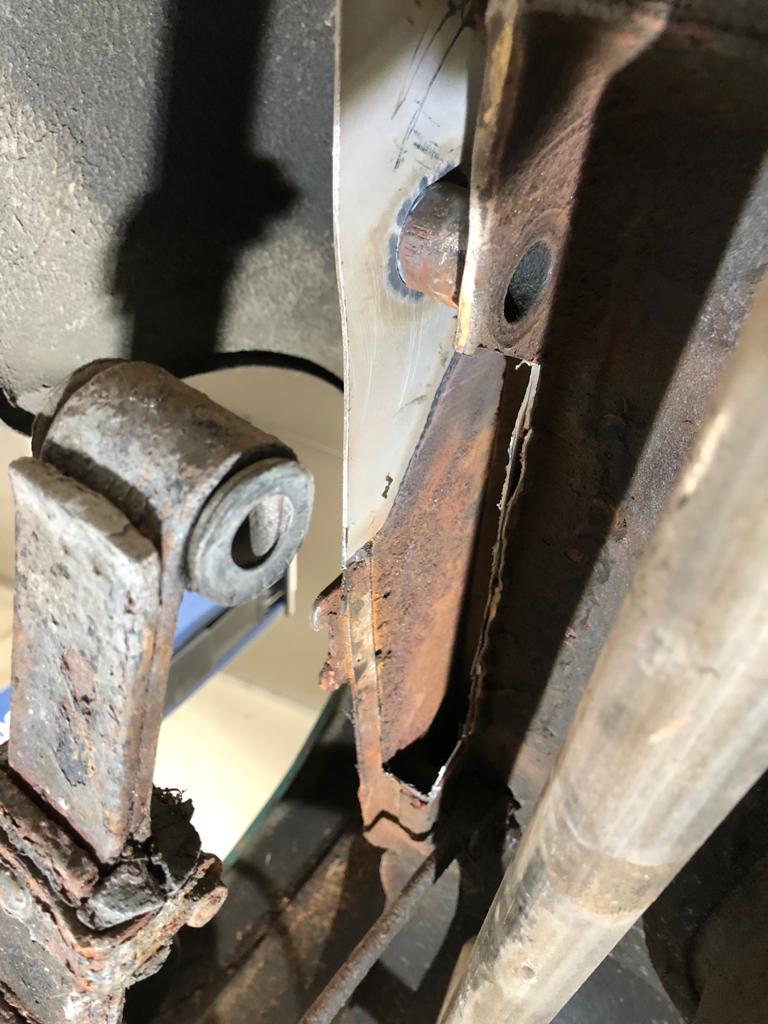
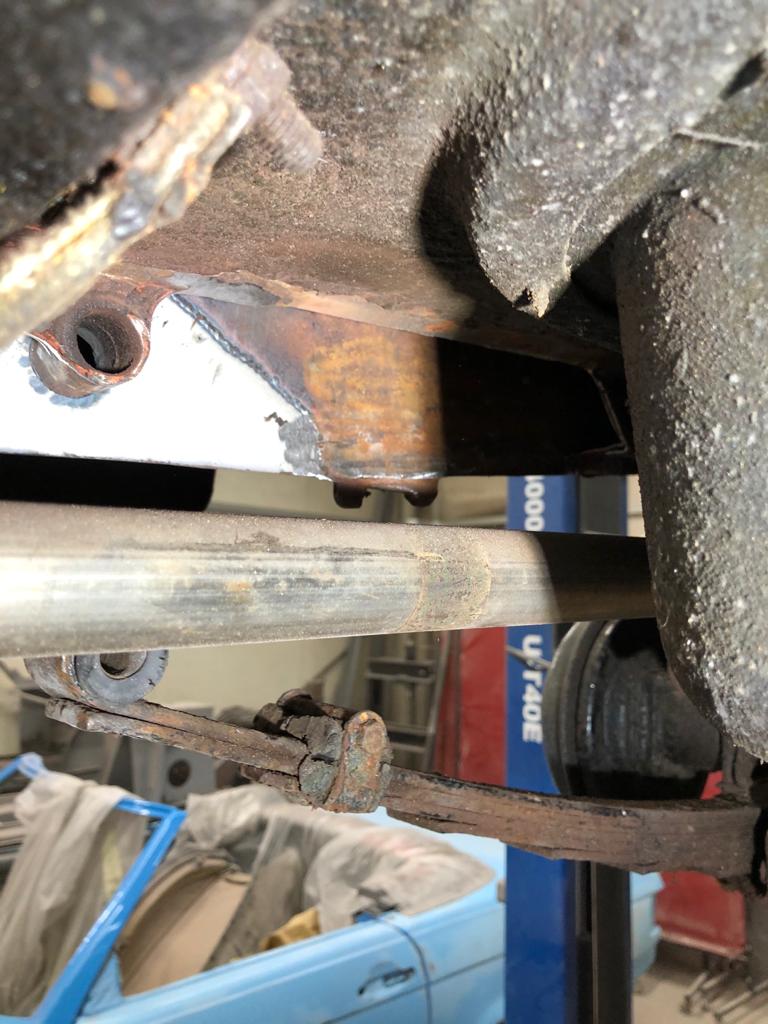
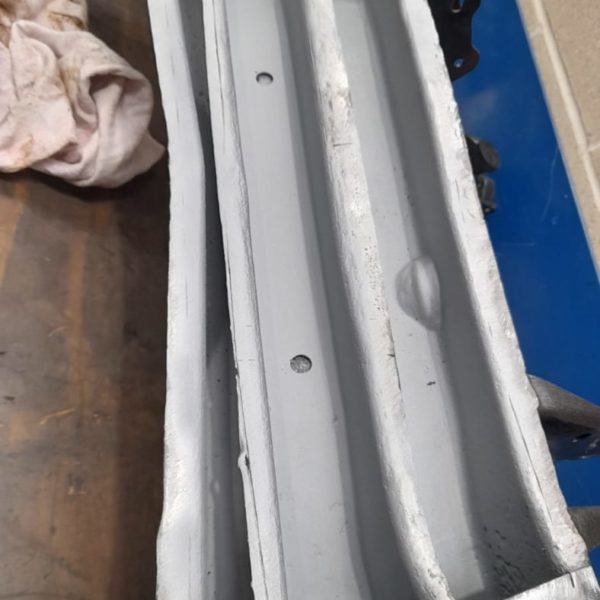
Our new Morris Minor Lowlight has undergone some welding fixes including repairing the leaf spring hanger which had begun to corrode. James soon got to work on repairing this in our fabrication bay.
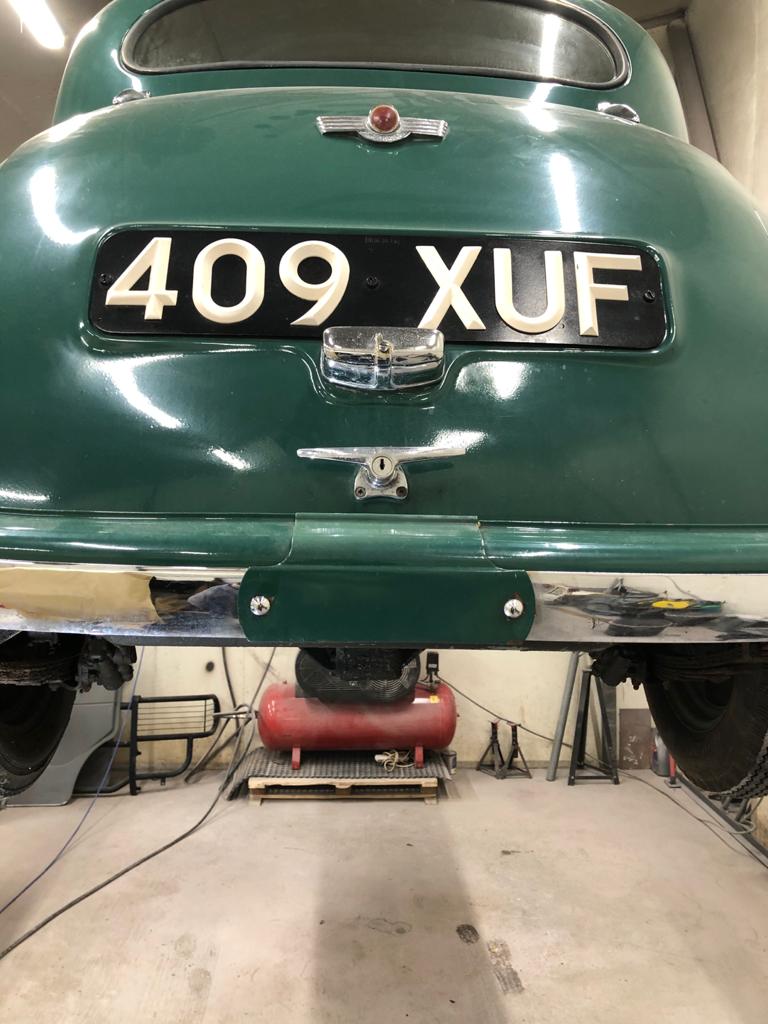
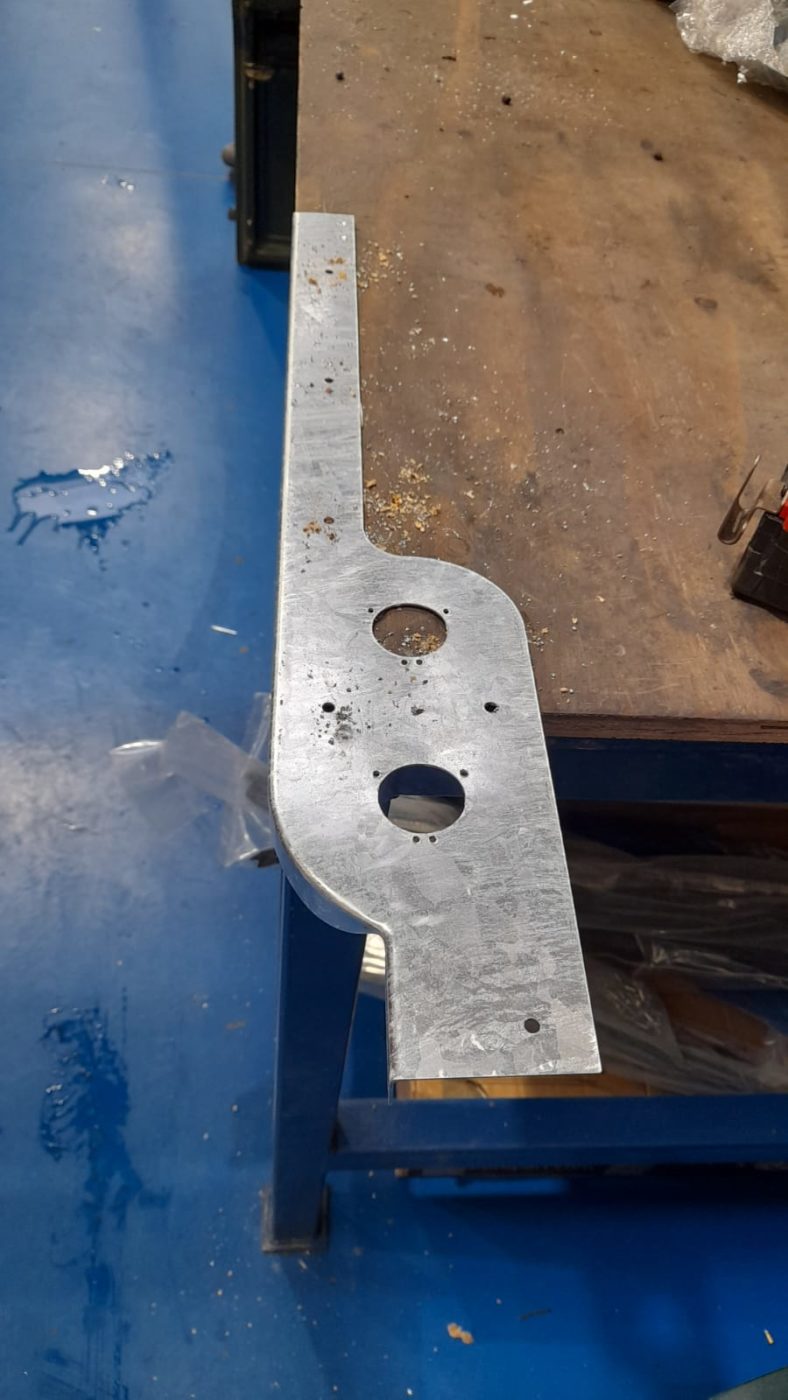
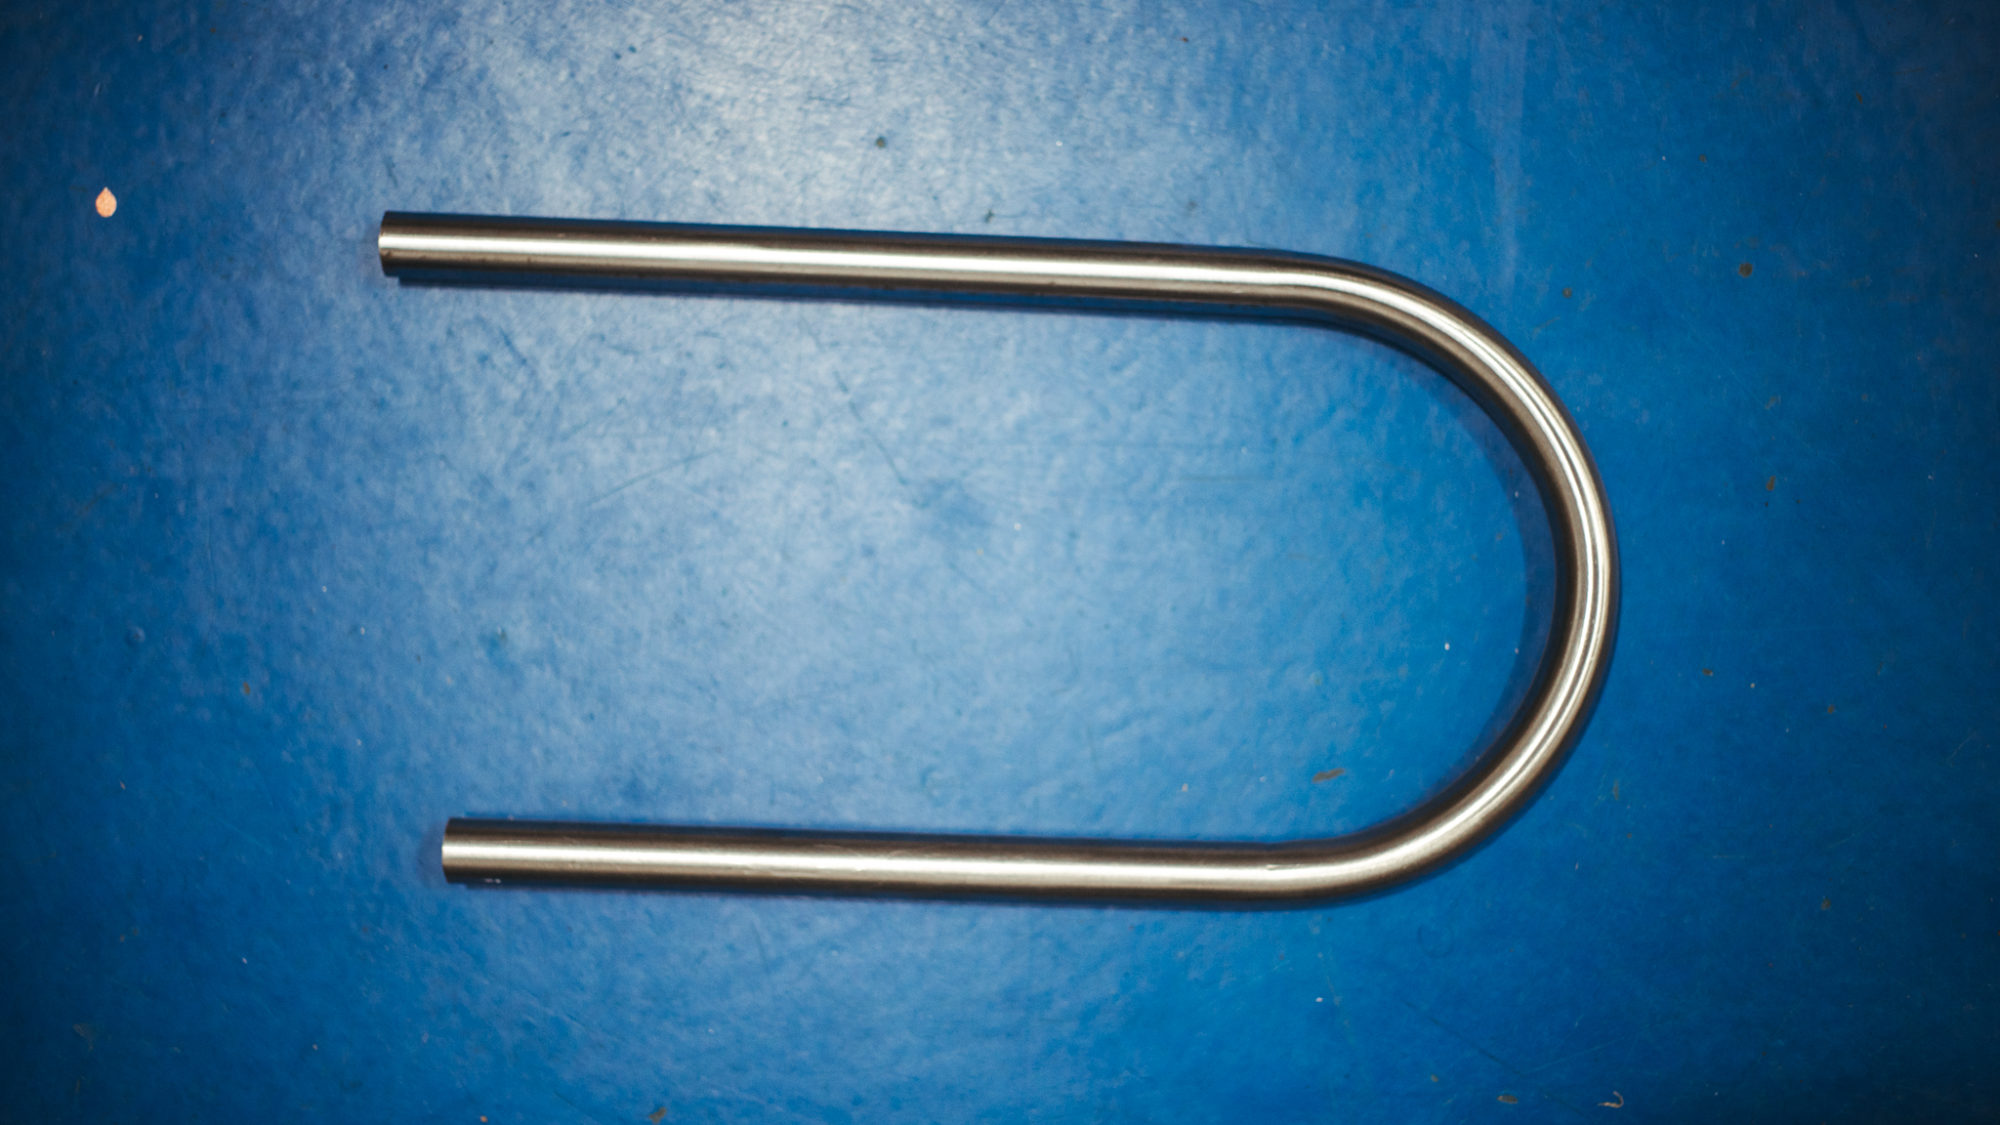
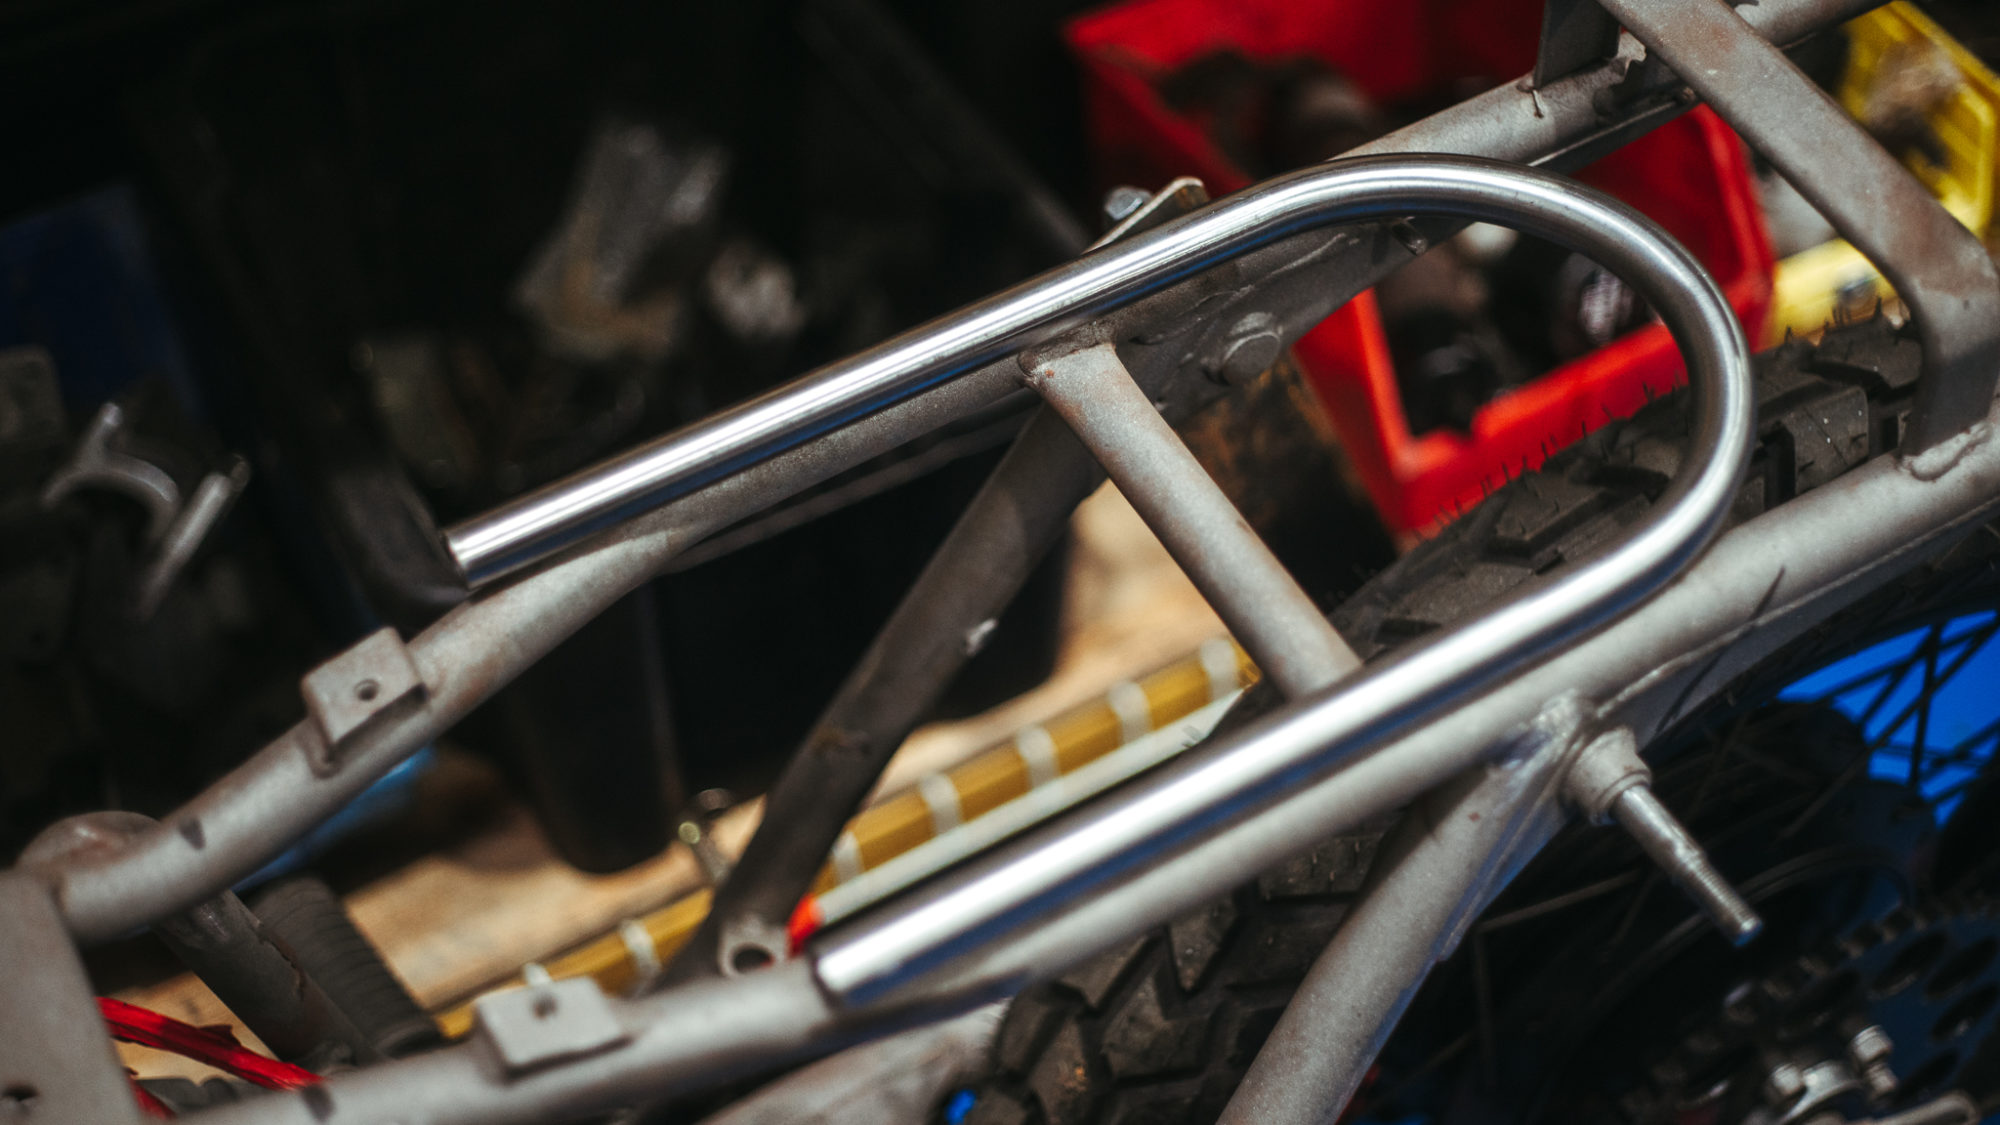
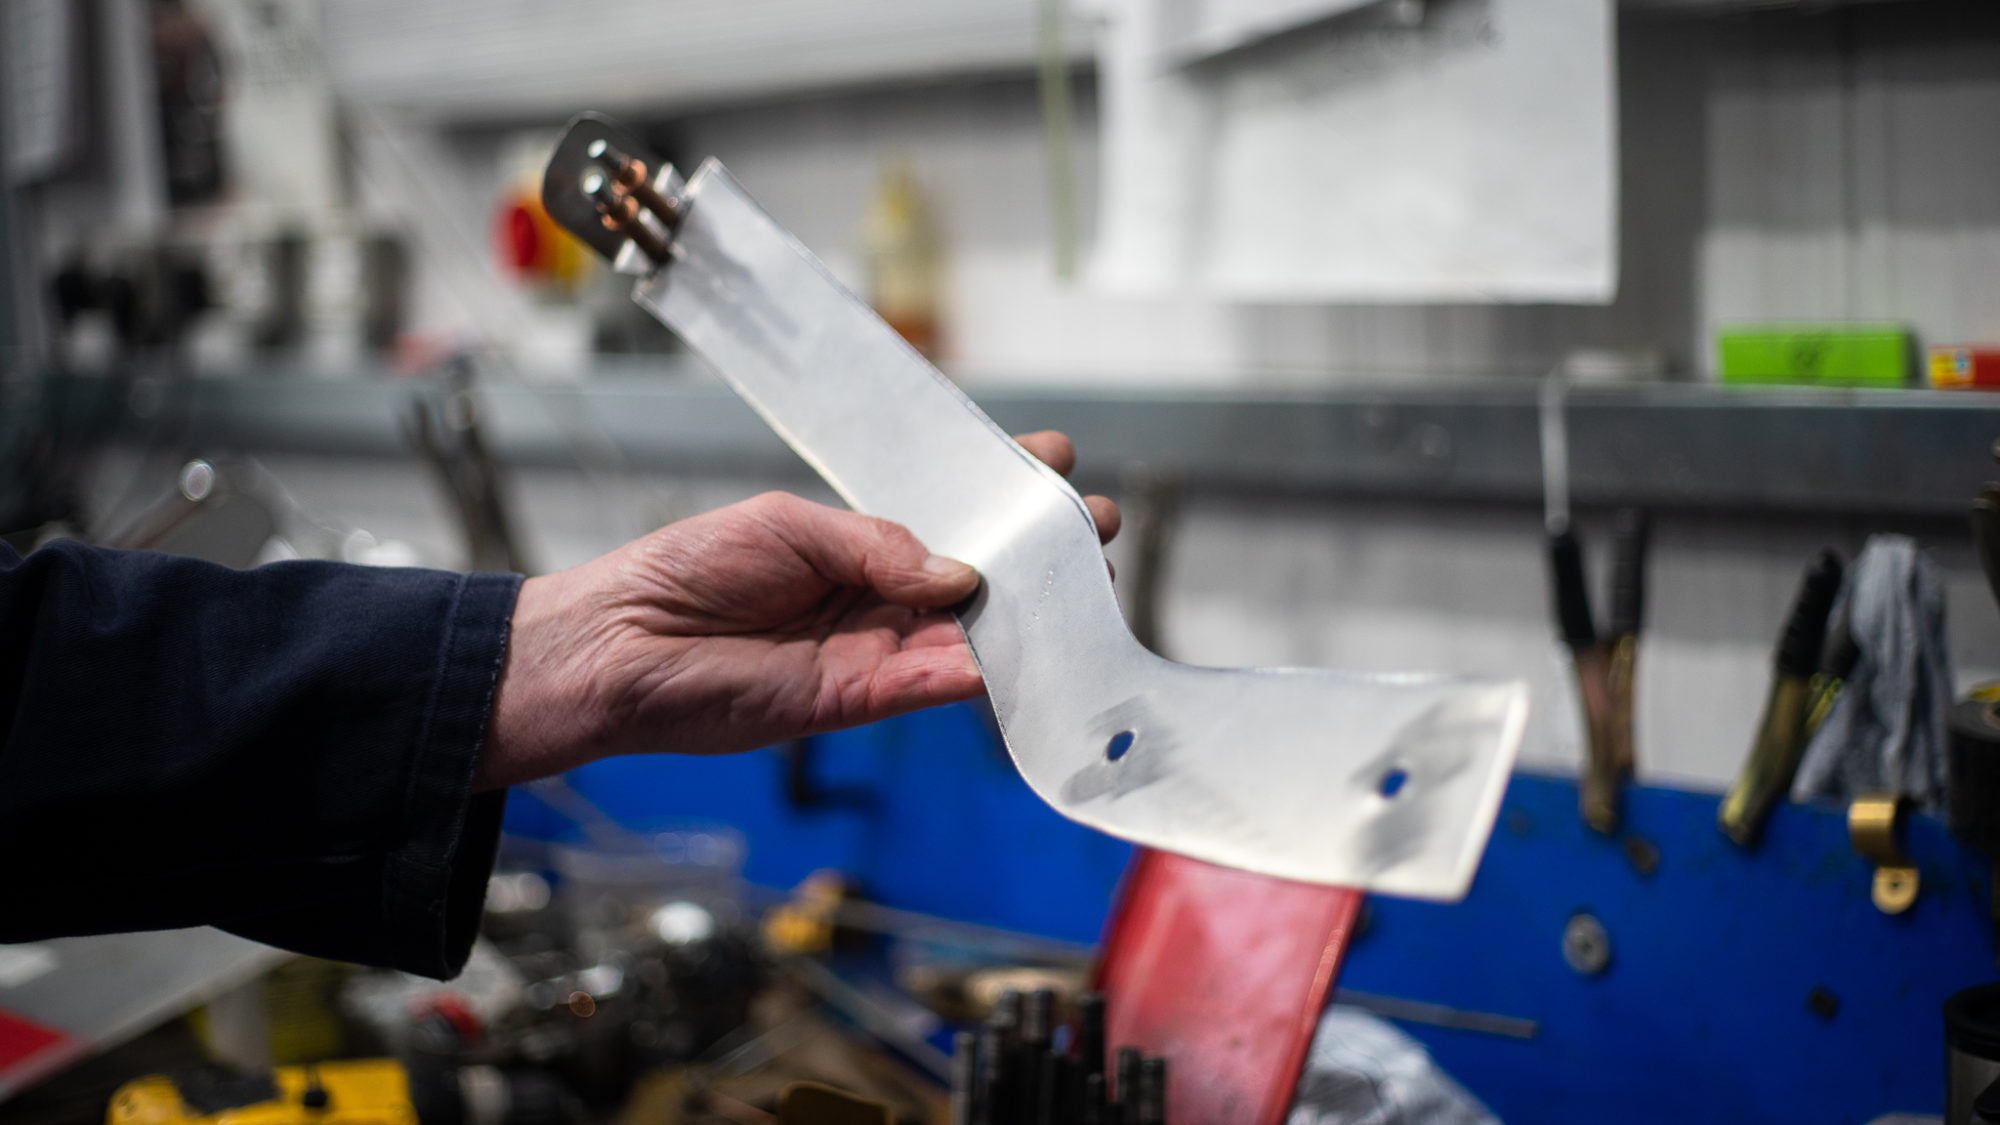
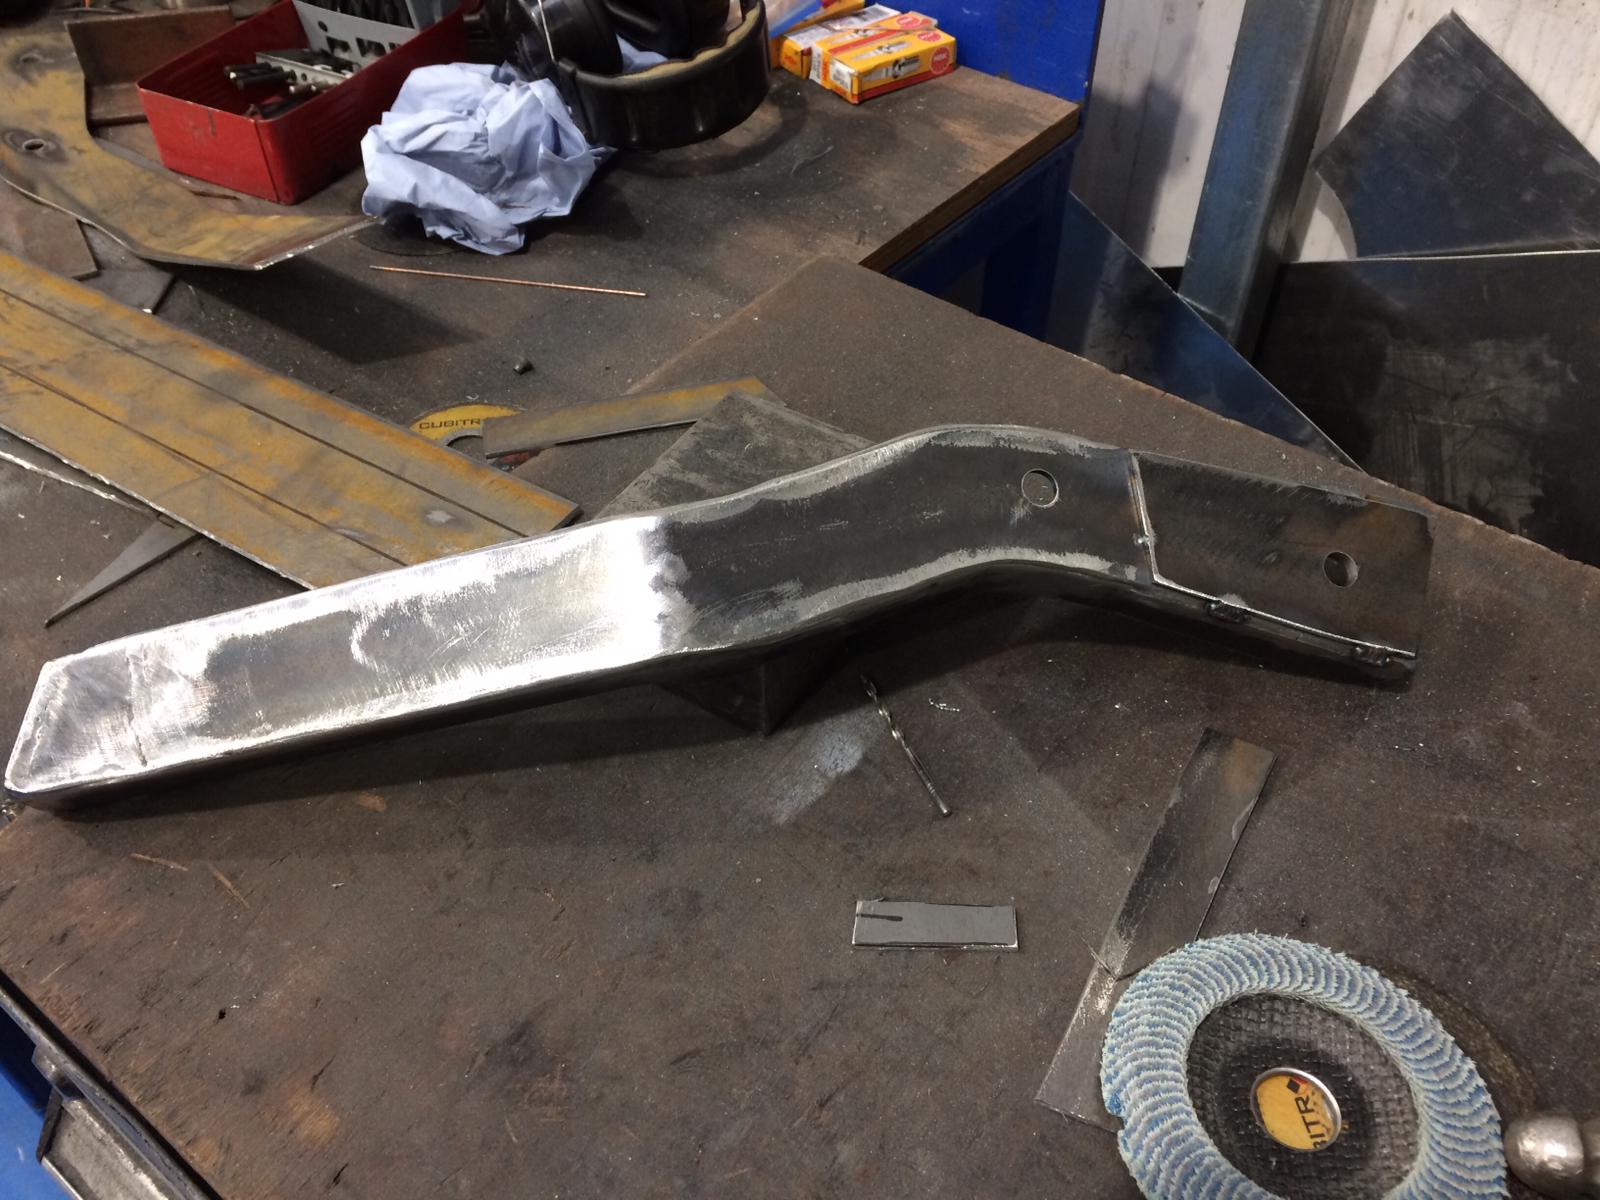
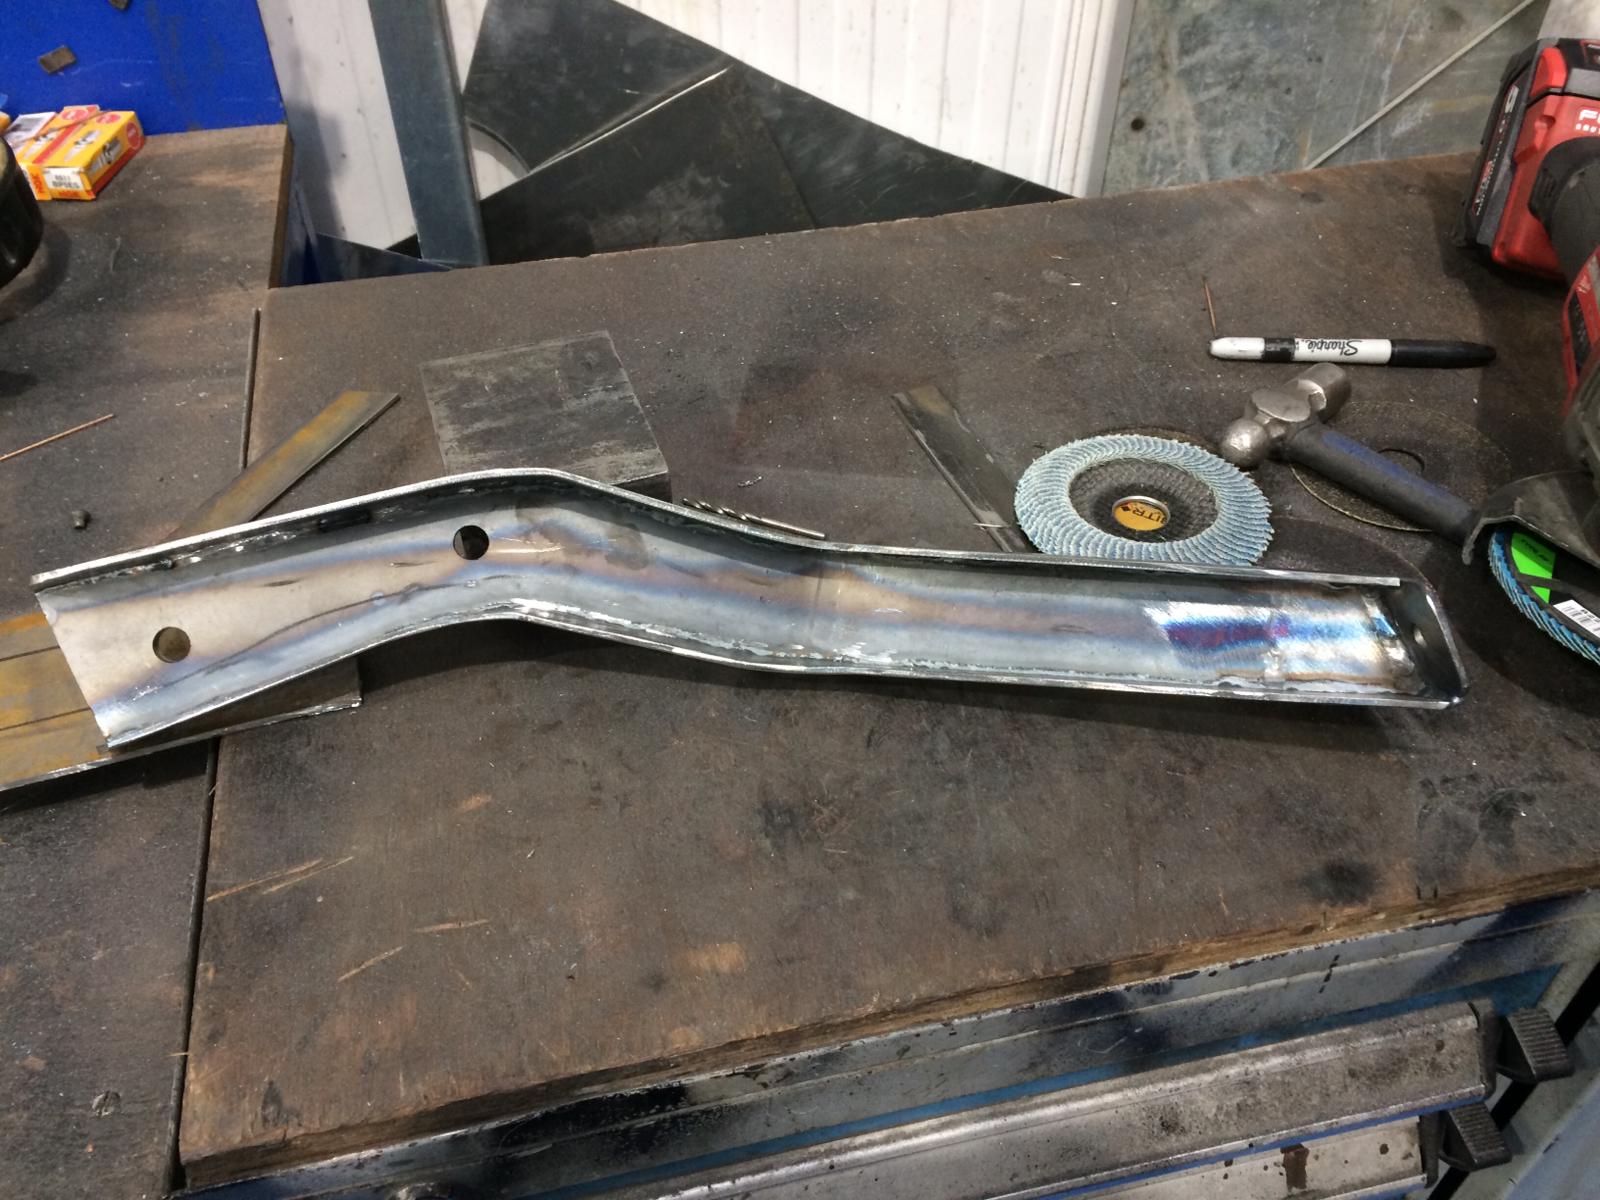
Our Triumph TR5 has had a bespoke bumper iron made in the workshop to fit underneath behind the front wheel. One of our technicians made a template based off a similar car’s bumper iron and once he was happy, then made up the final design.
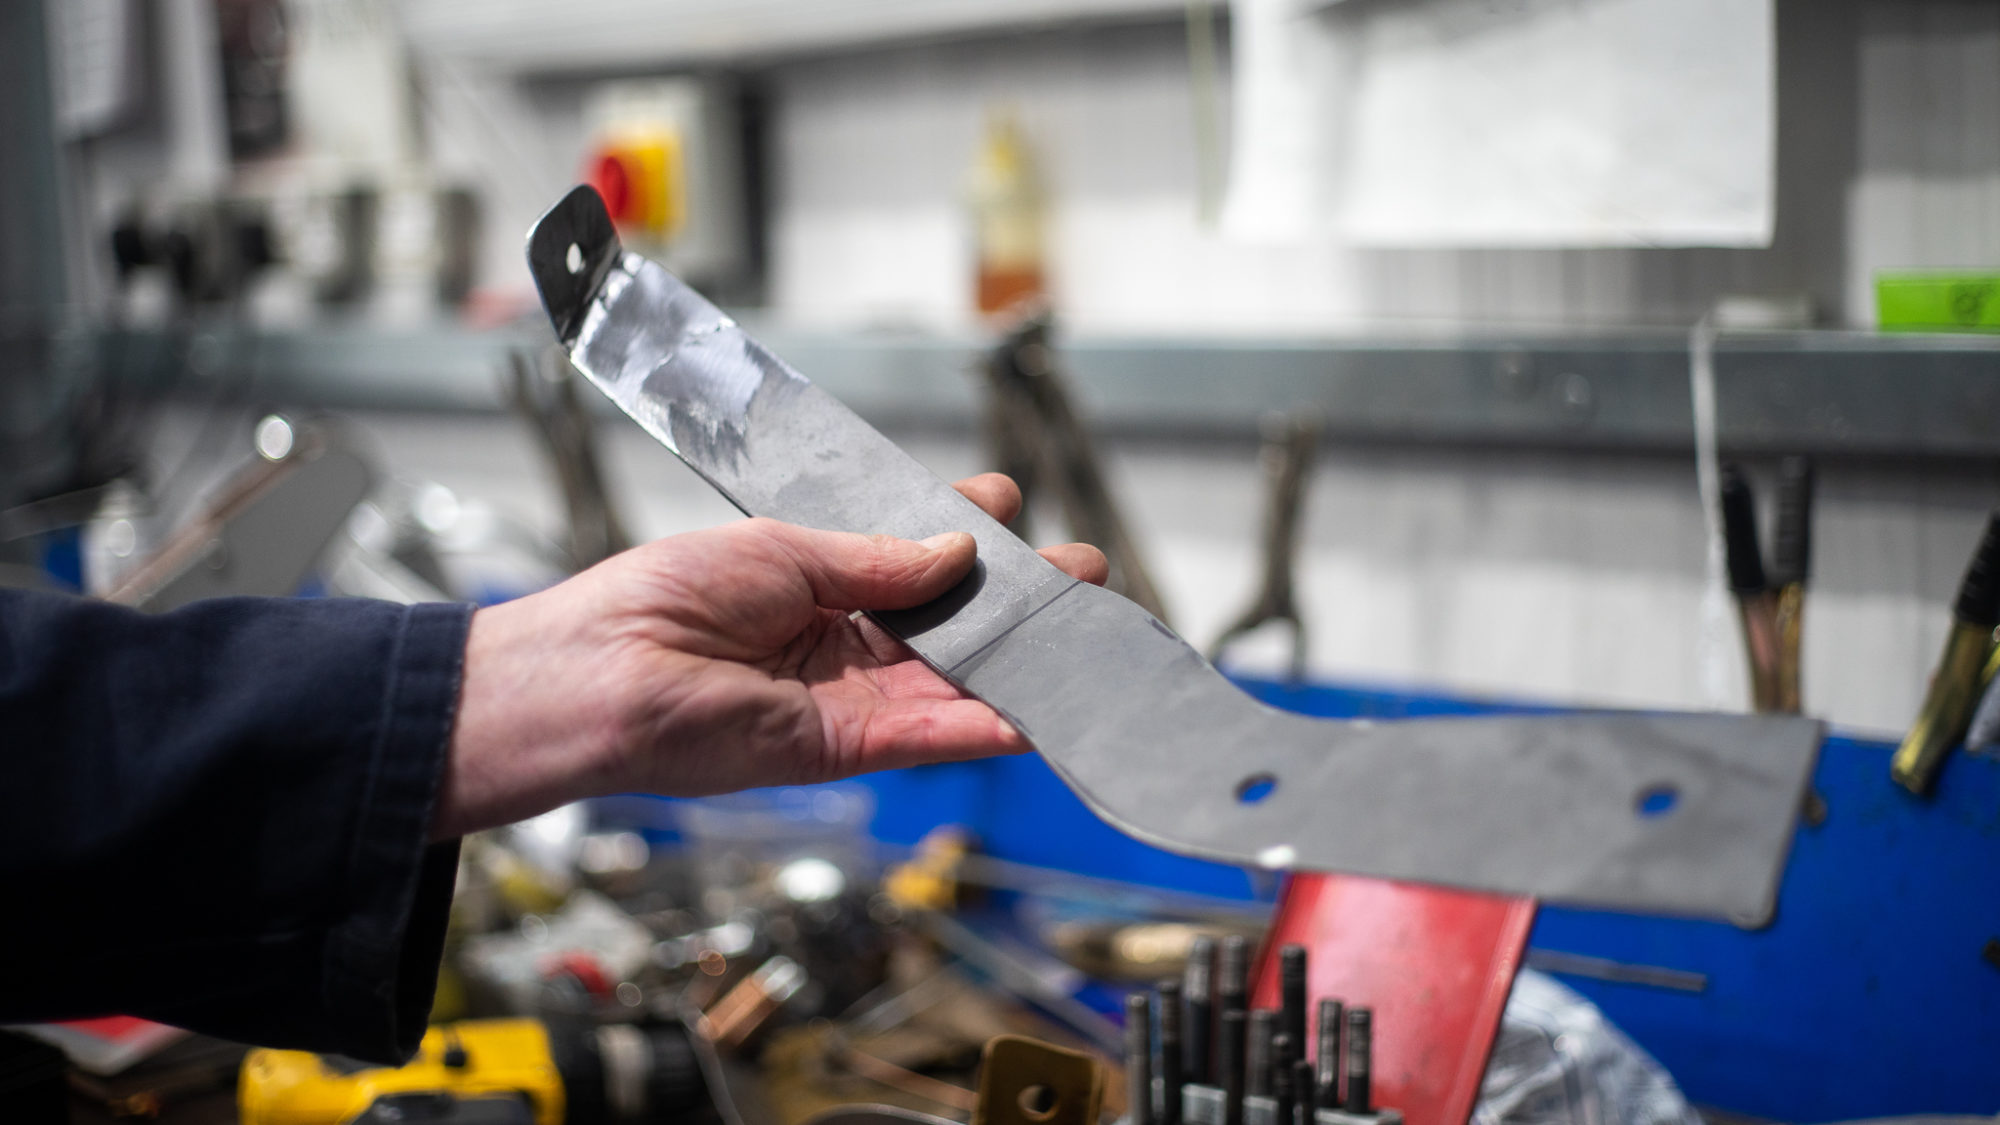
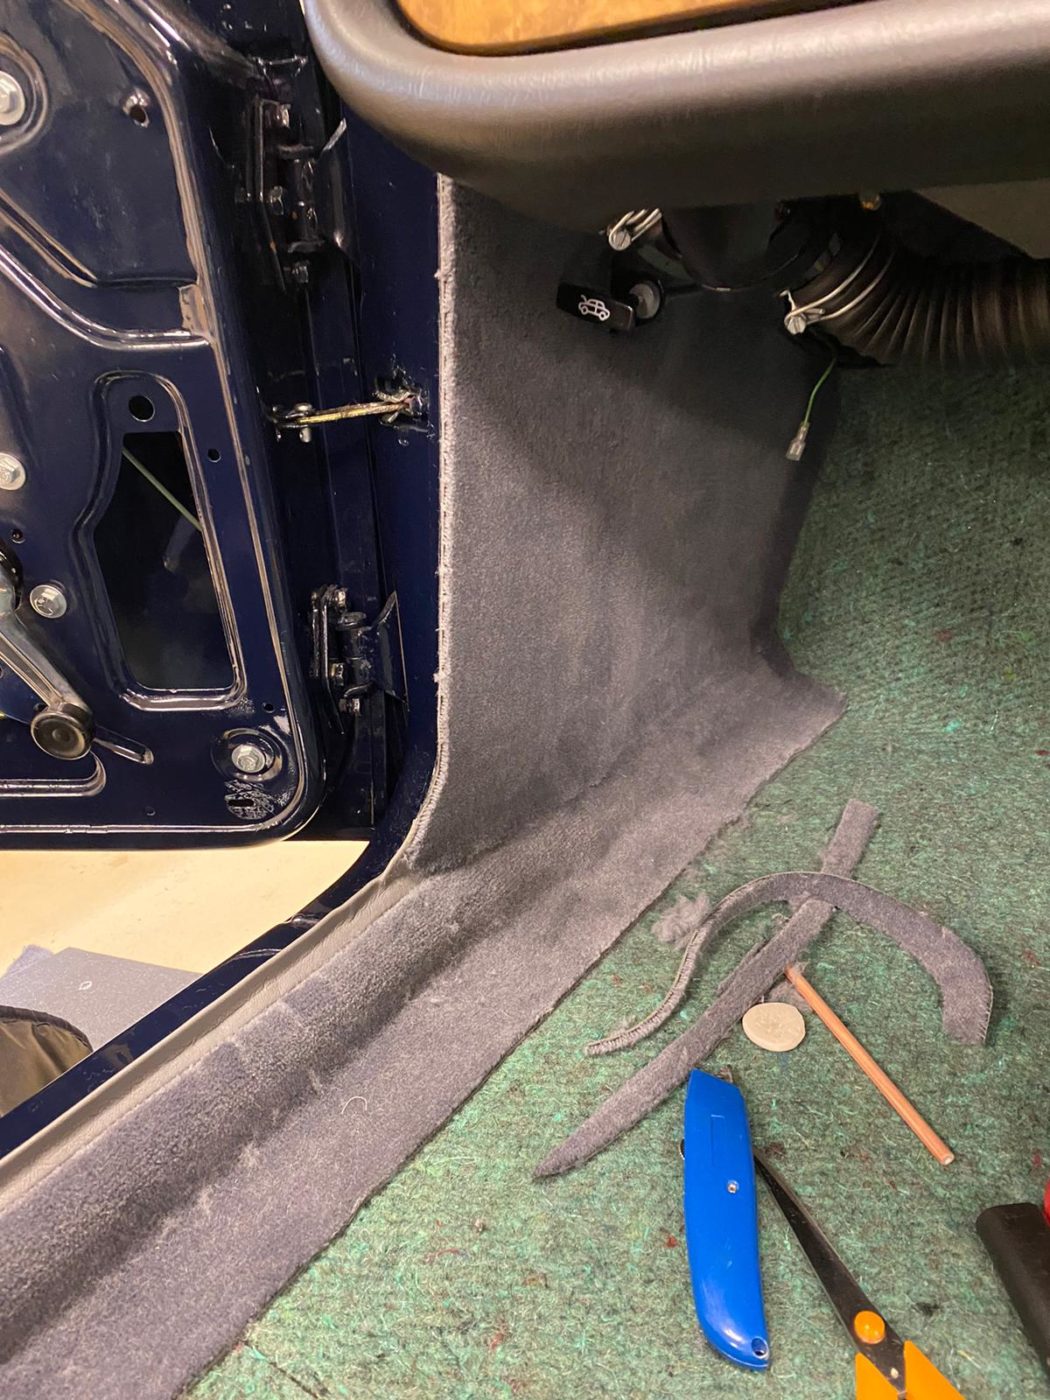
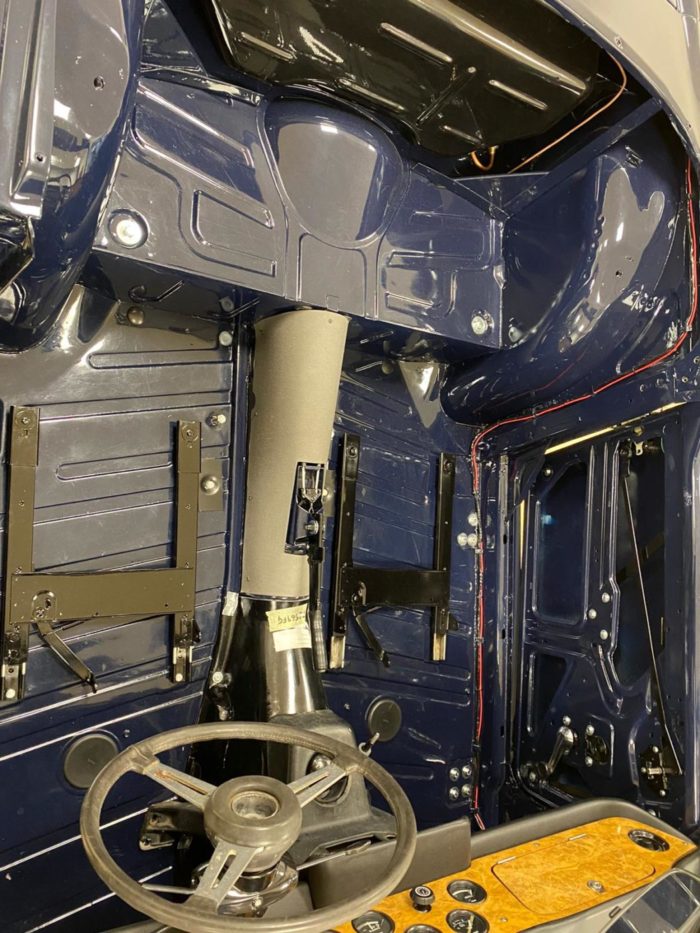
The TR5 has also entered the trim shop where our trim team are fitting the interior fabric. On this occasion, the client ordered a pack of TR5 interior pieces meaning we’re just fitting the sections rather than making them from hand. Although these sets are designed to fit perfectly, sometimes they need to be modified as every classic is unique. The majority of the work will include sticking and bolting each piece in place and ensuring that it all fits perfectly.
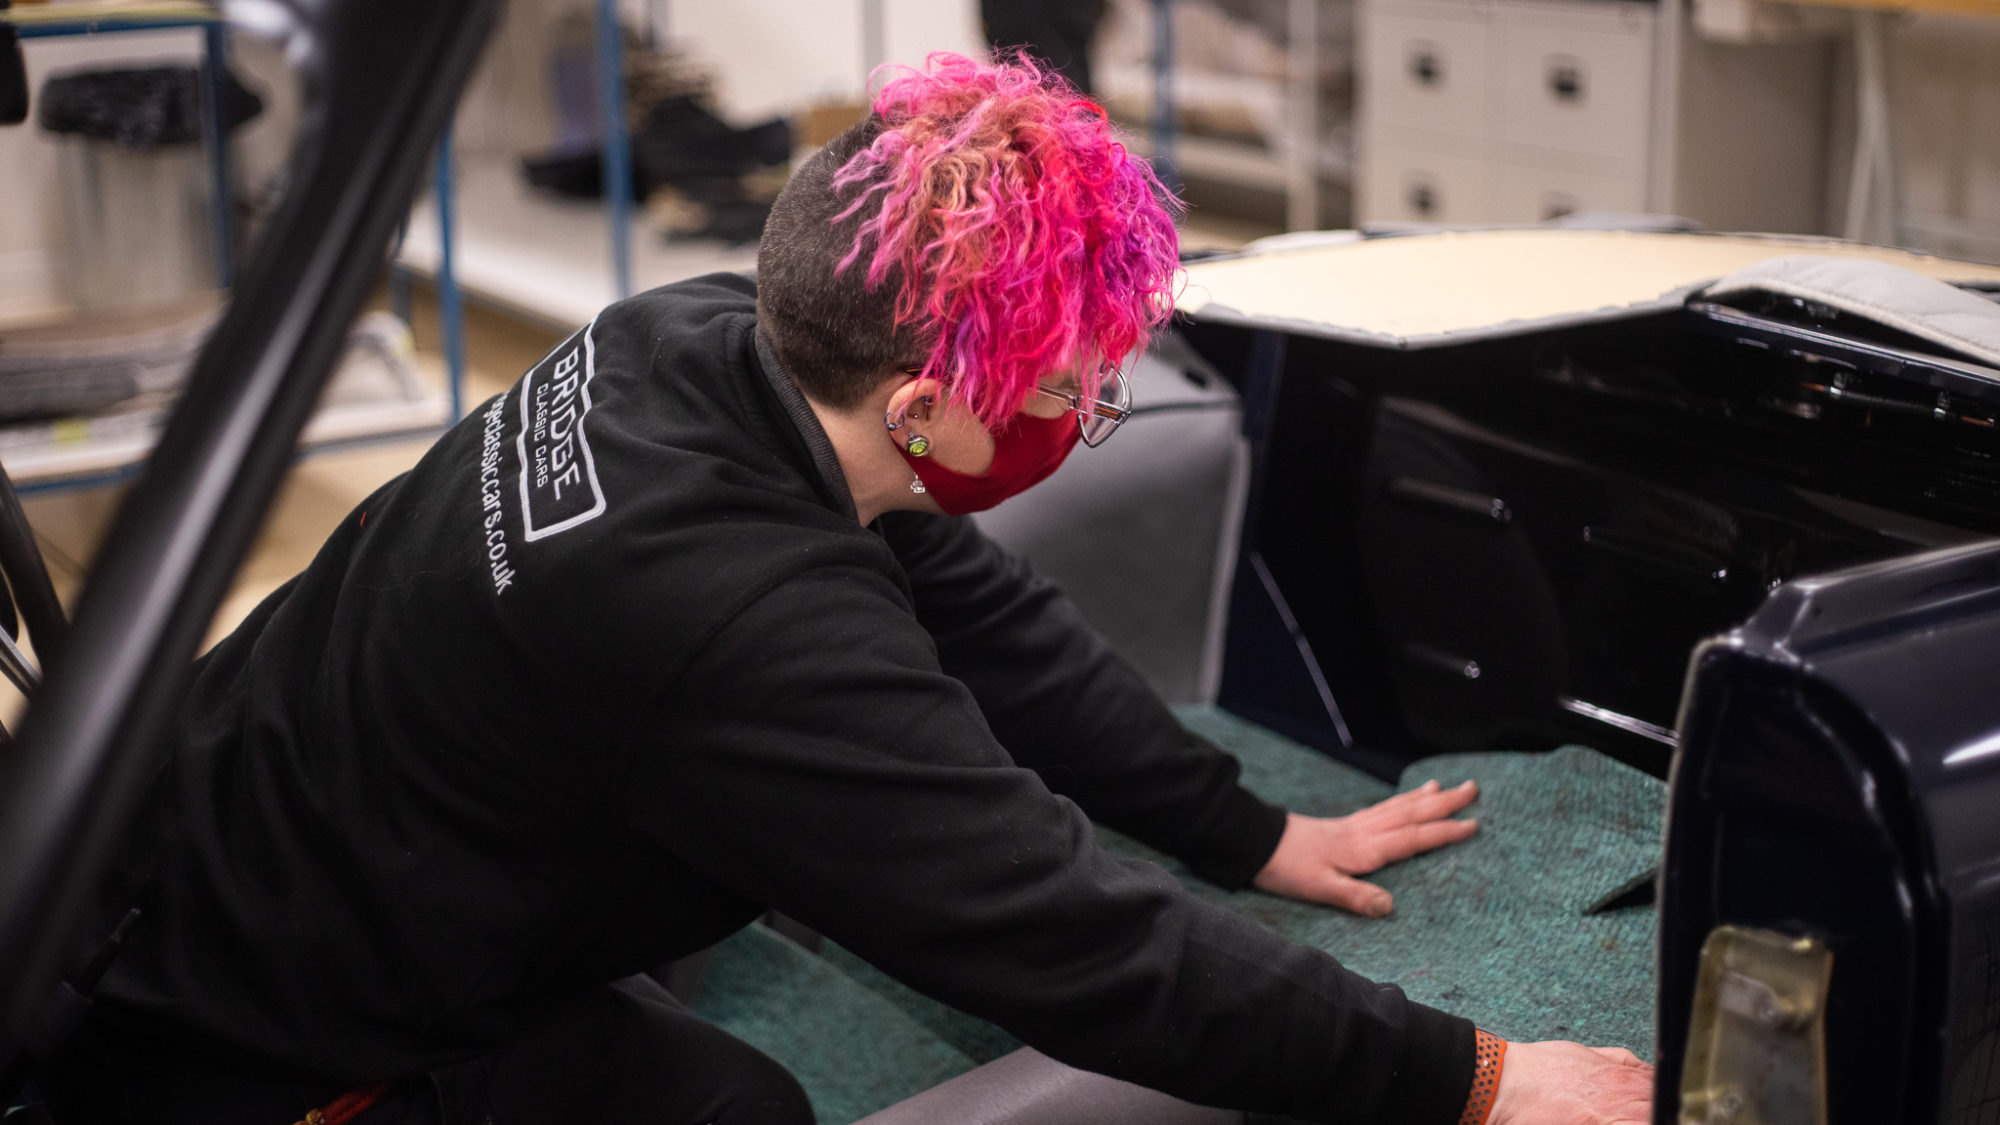
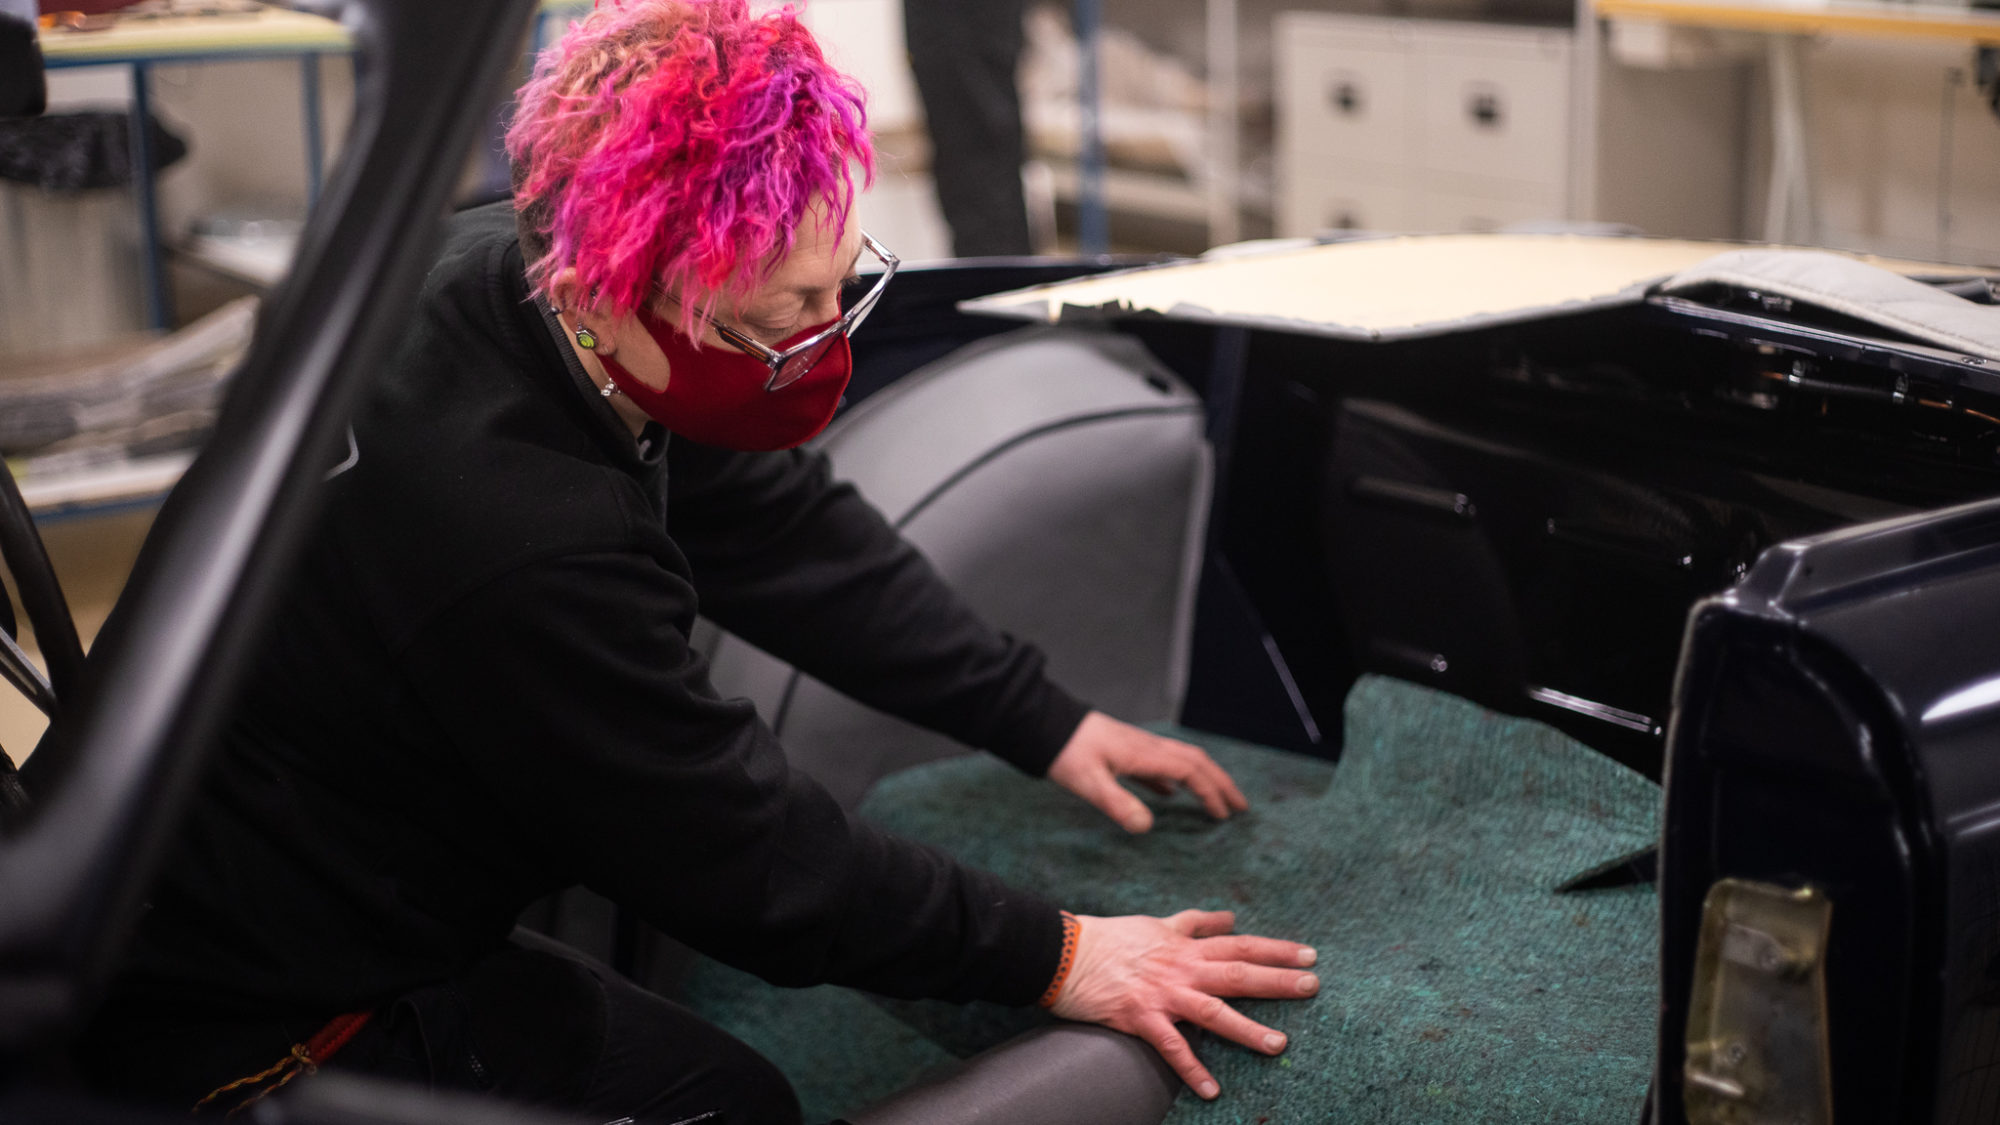


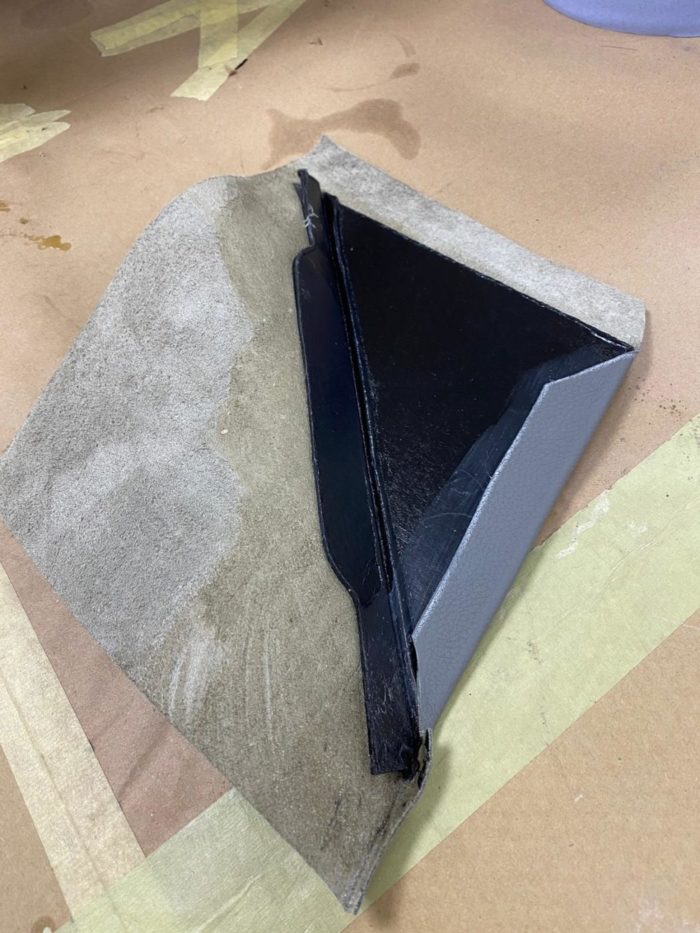
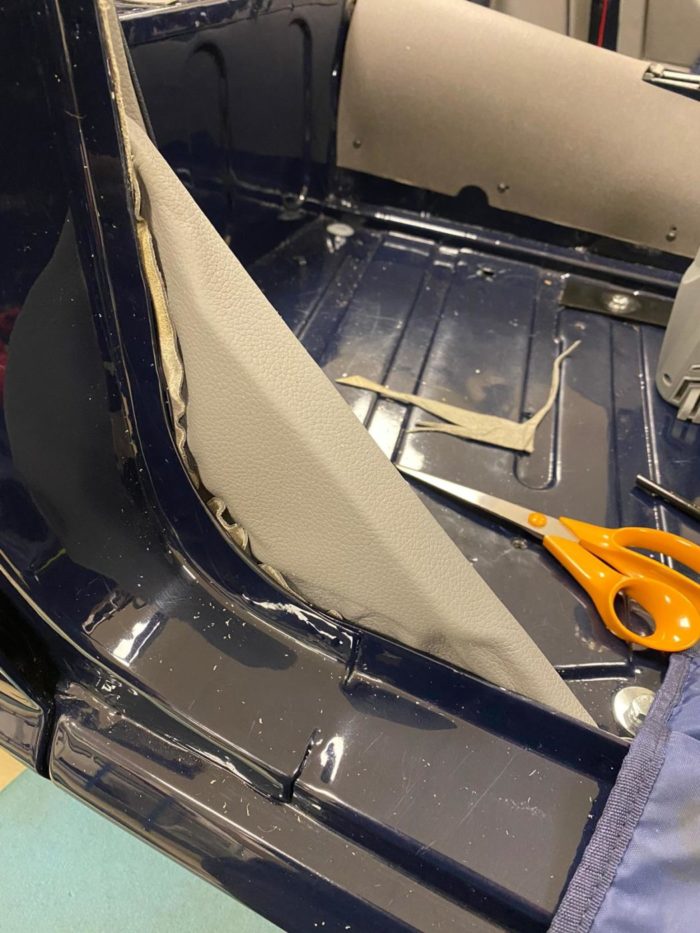
Kath began by adjusting and cutting around the corners of the panels so they fit well when applied later. The Kath glued the foam in place under the wheel arches and trimmed the excess material off along the seam of the wheel arch trim. Once done, she could glue in place the wheel arch cover and glue in the triangle piece down near the bottom door seal.
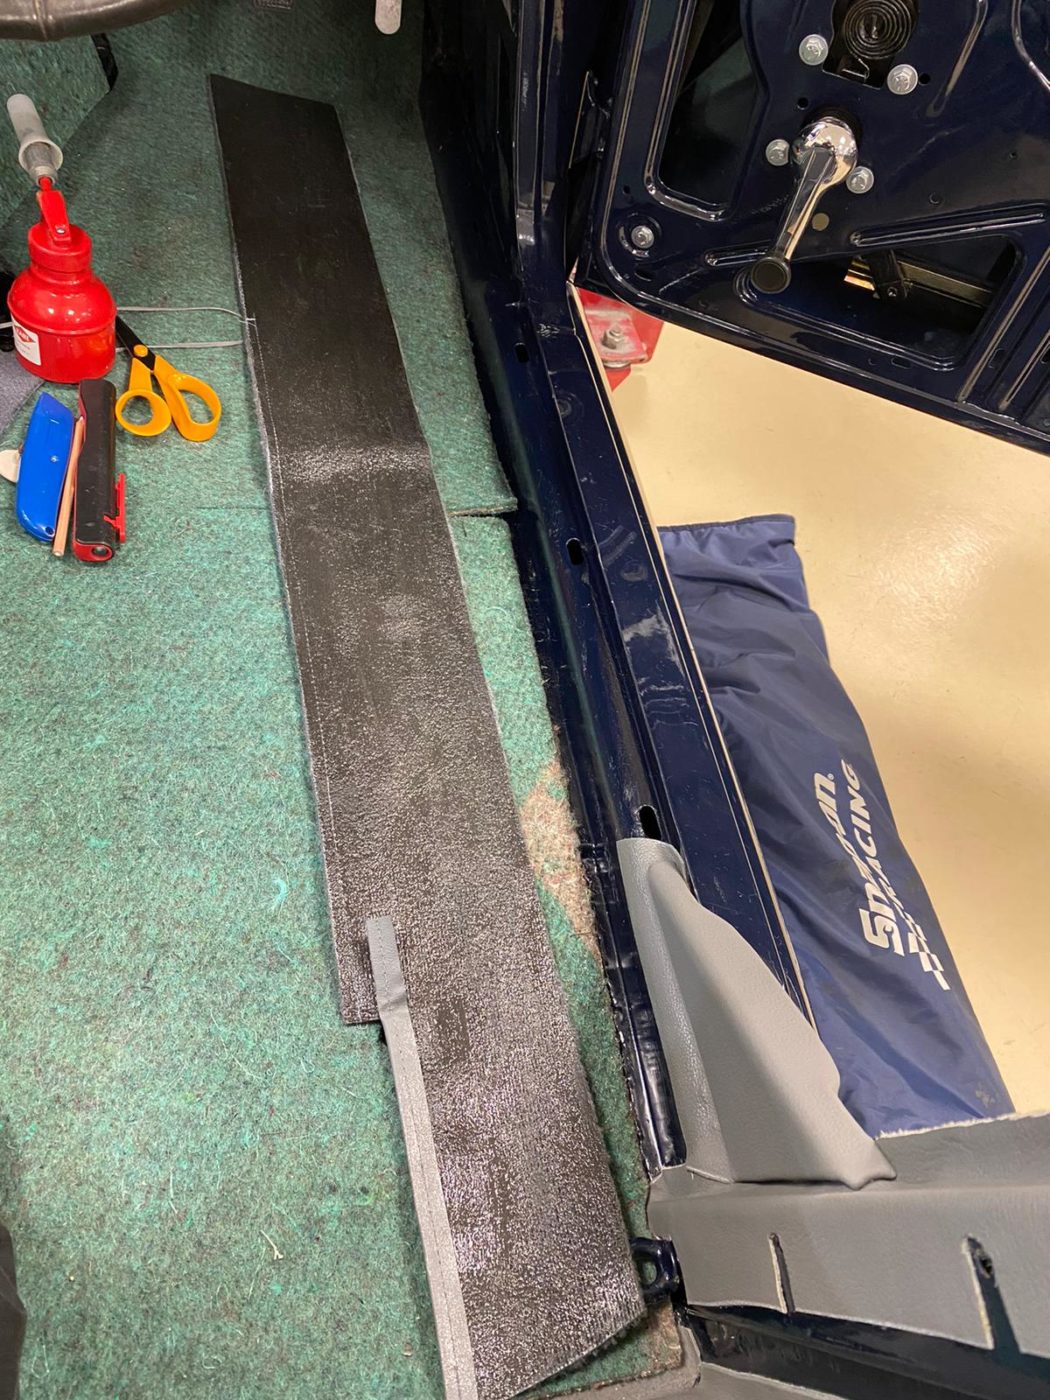
Kath also fitted the sound deadening and glued it in place throughout the vehicle. Once fitted in place, Kath then begun to trim along the sides of the sills to remove any extra deadening fabric.
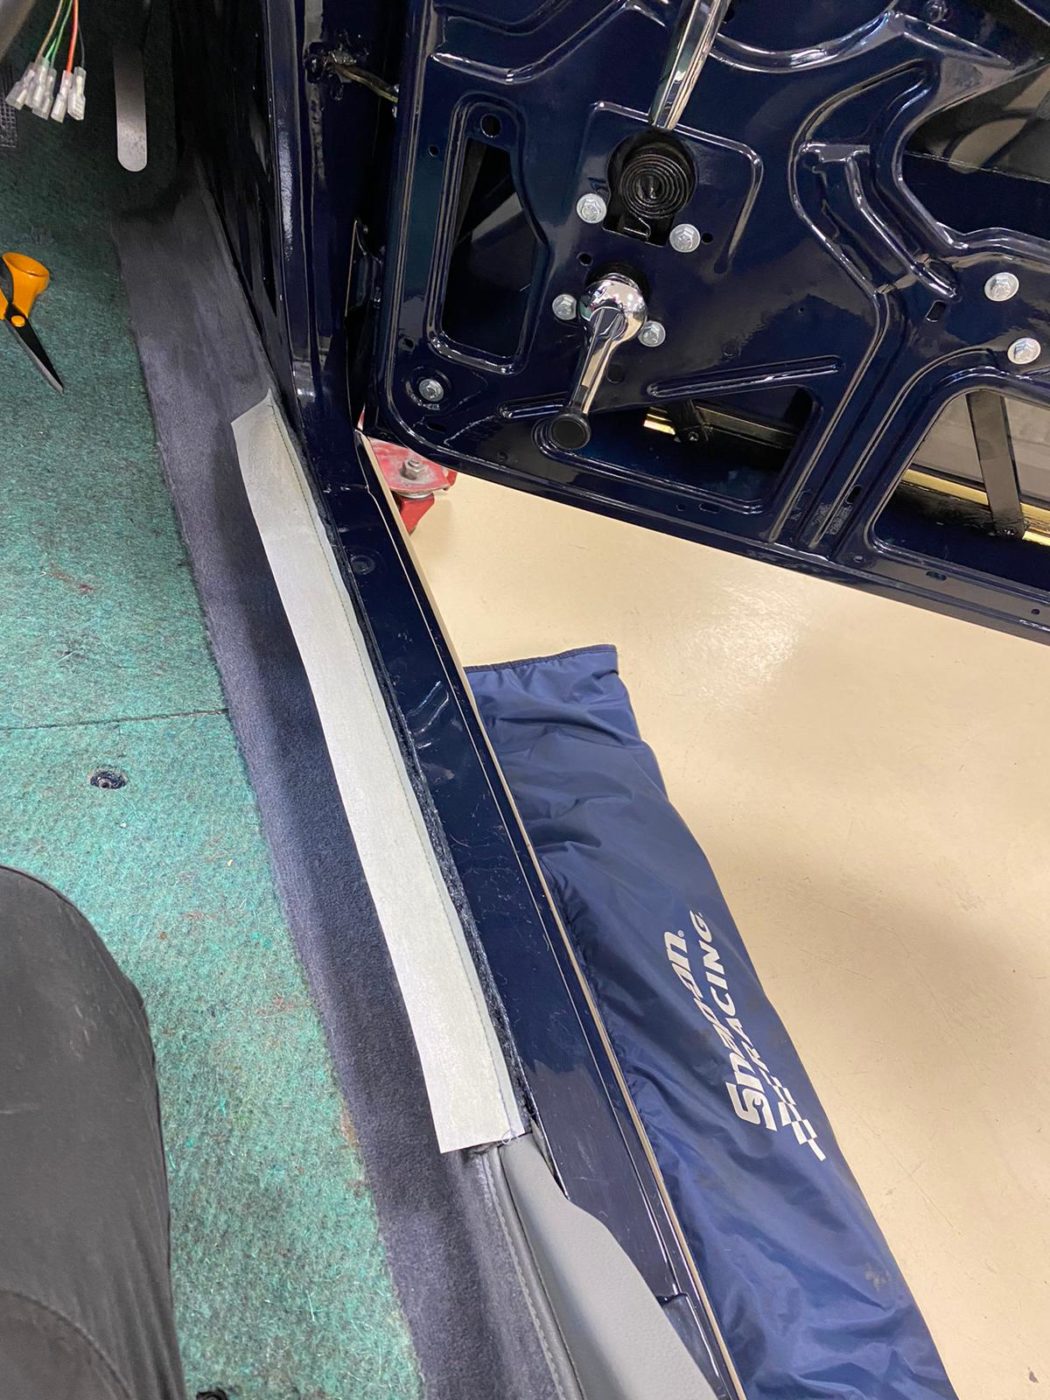
Once complete, the passenger footwell carpet could be laid and the sill fitted to the drivers side.


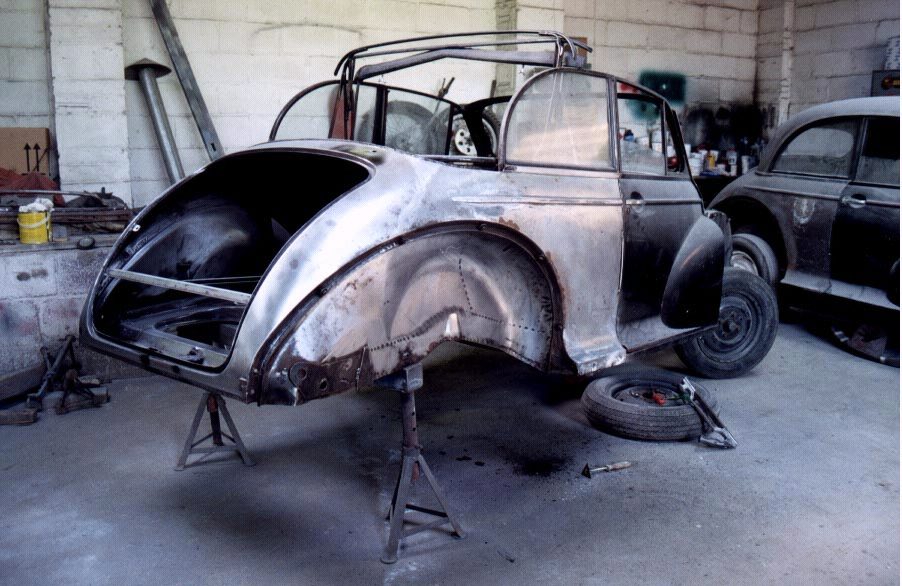
Late one evening last week, a Russell’s transporter lorry arrived with two new additions to the Bridge Classic Car family, one of which being this 1949 Morris Minor Lowlight.
This is soon to be a competition car but before we can shoot and release it, it needs some TLC. Stay tuned…

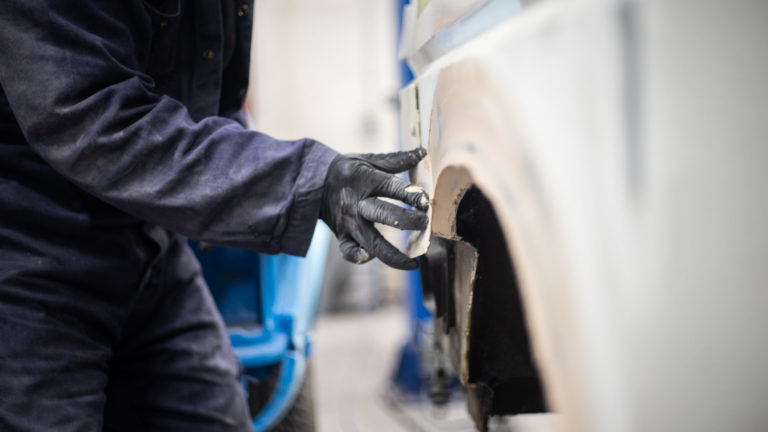
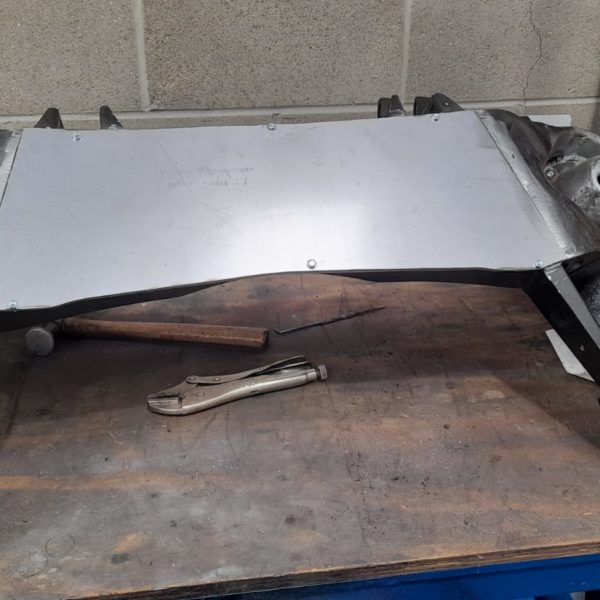
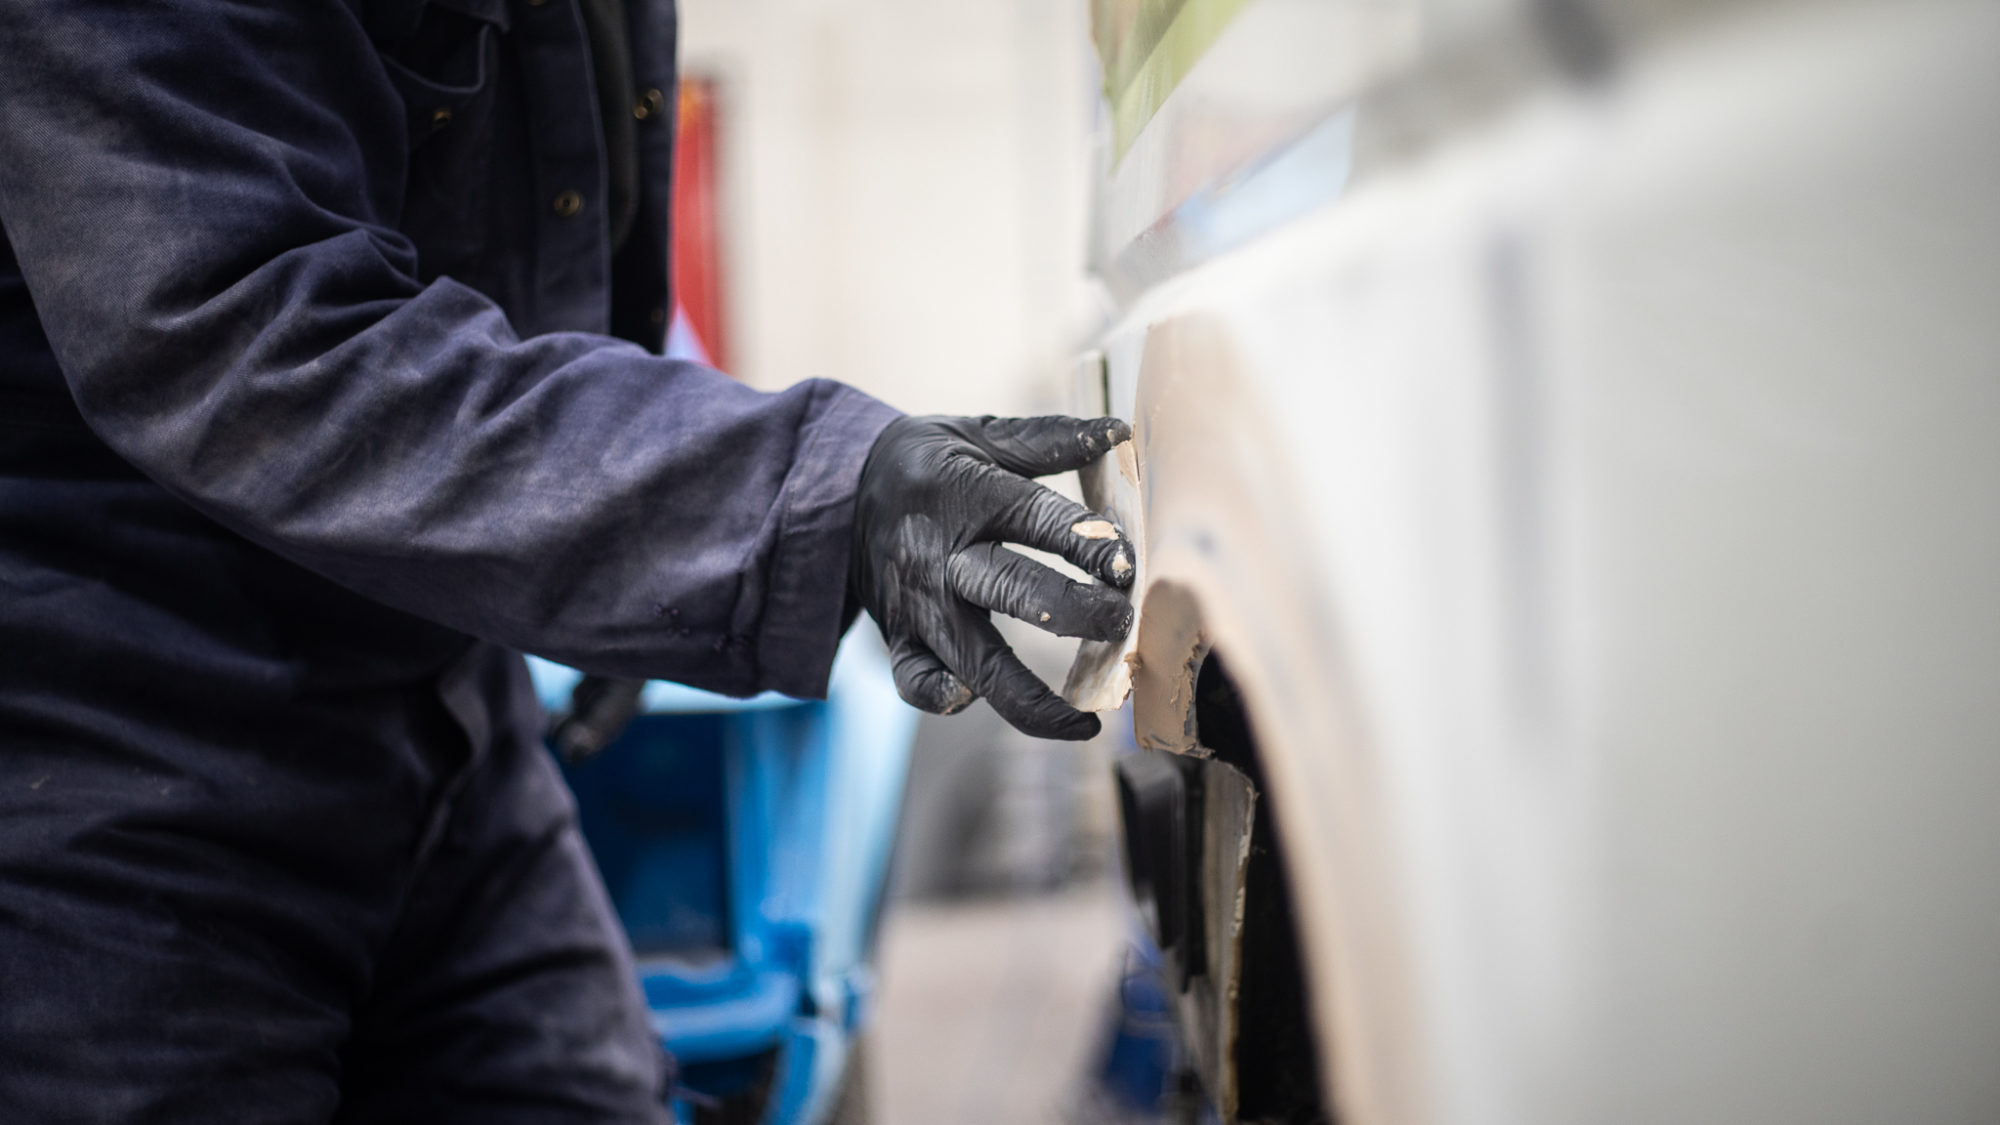
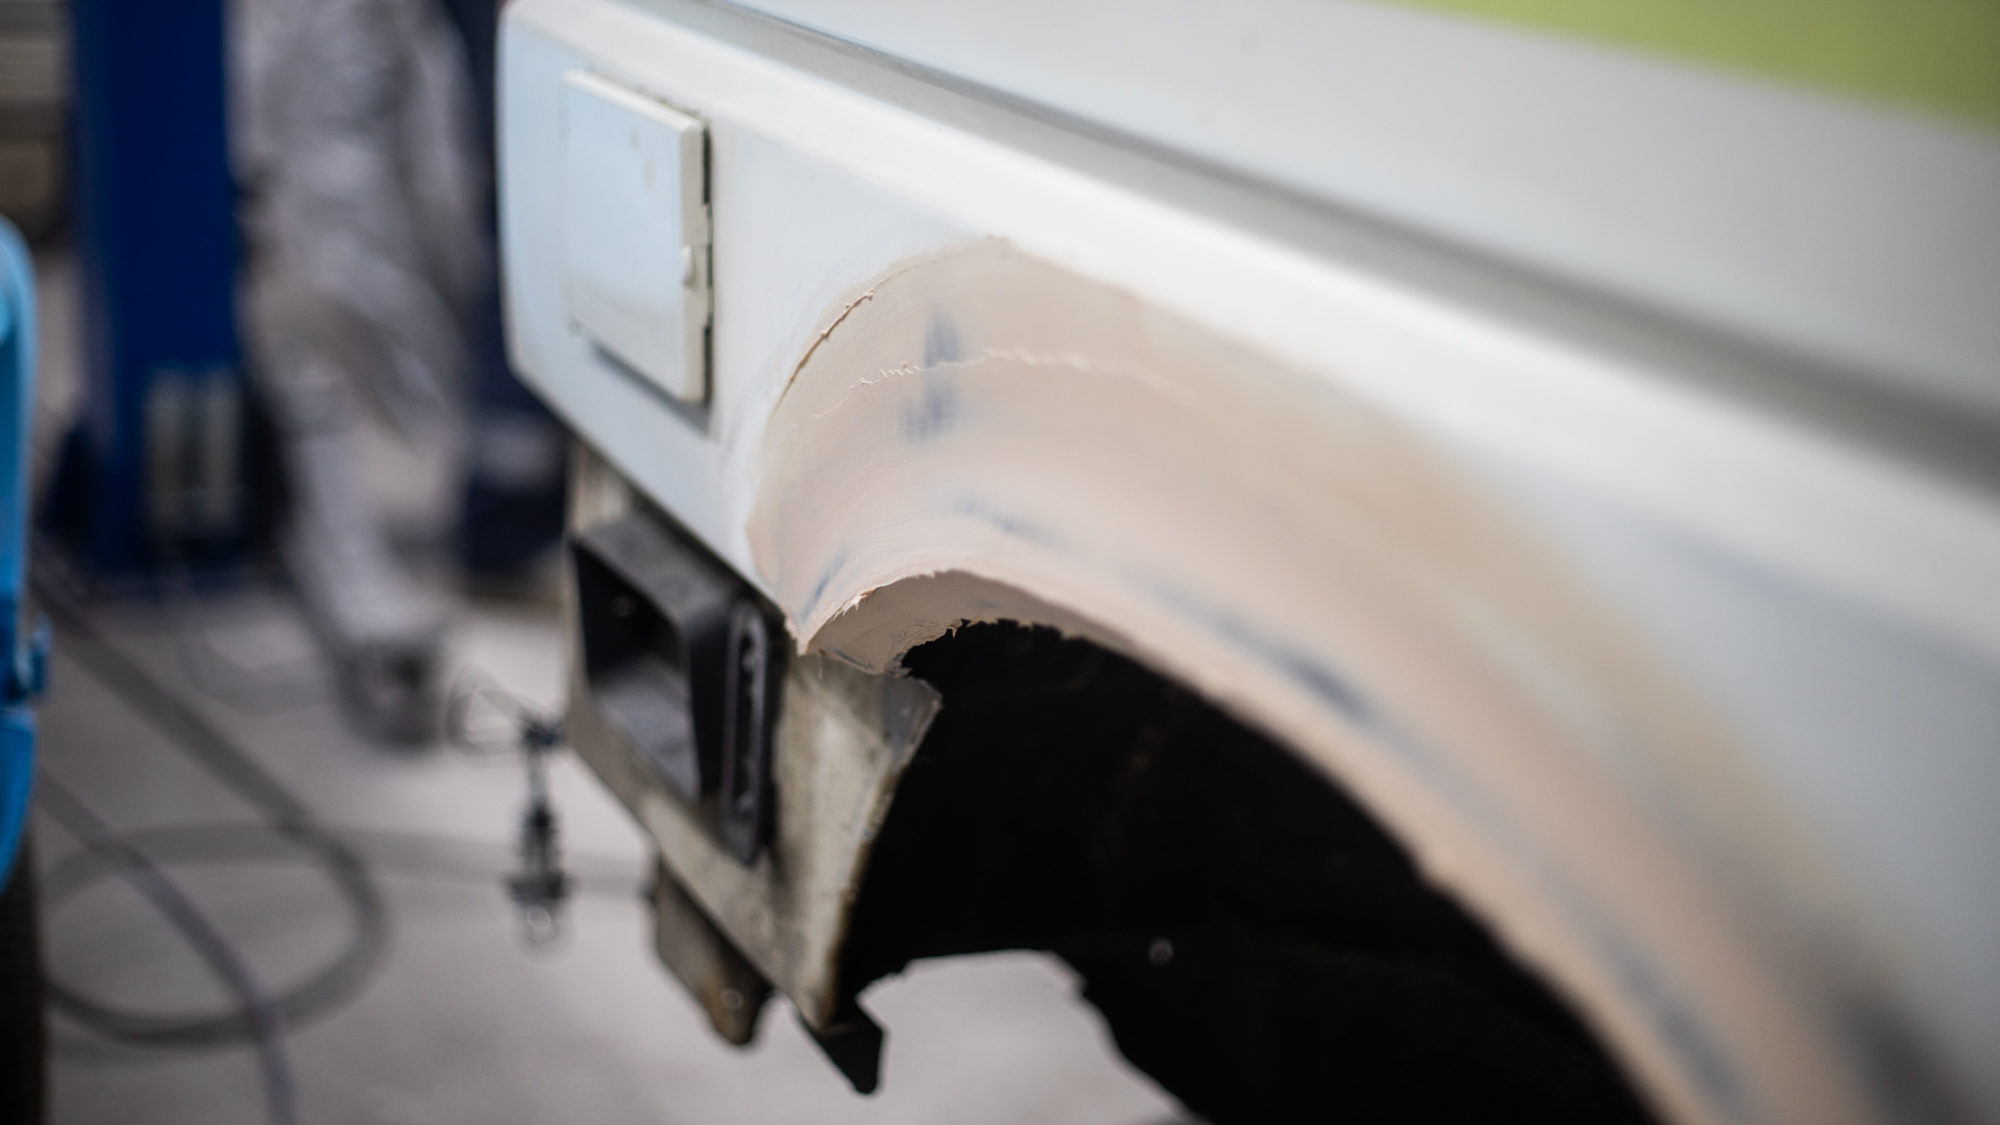
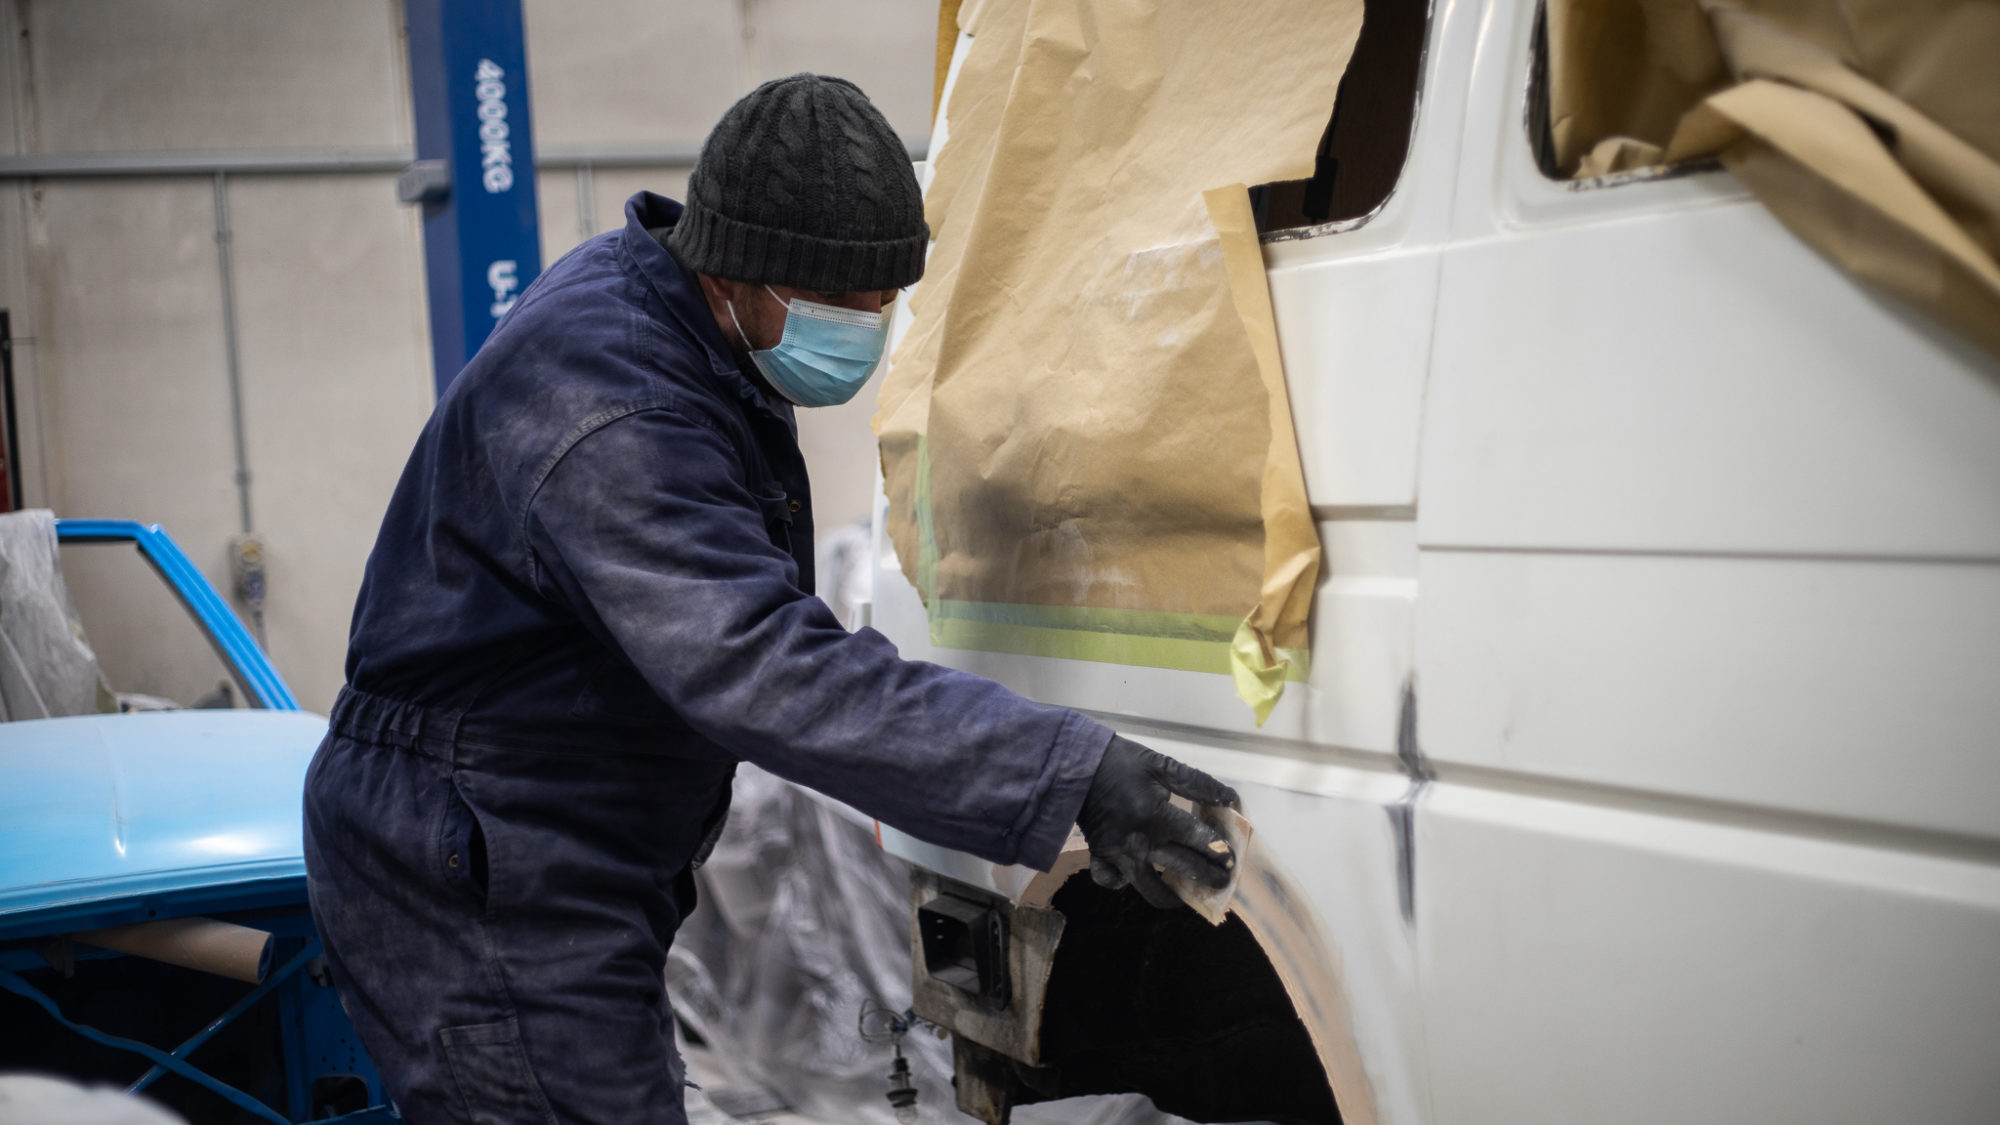
James has dedicated the majority of his time to resurrecting our 1991 VW T4 Transporter which has been suffering from corrosion damage and rust.
The latest development with the wheel arch has included adding a body filler primer over the repaired elements to fill in any dents or imperfections. The trick is to use as little as possible and after applying an amount, working over it with a spreader to take off the exess filler.
This putty-like primer allows for an even finish and prepares it to be painted. Working with the curves of the panel means James can get a more even and neat finish.
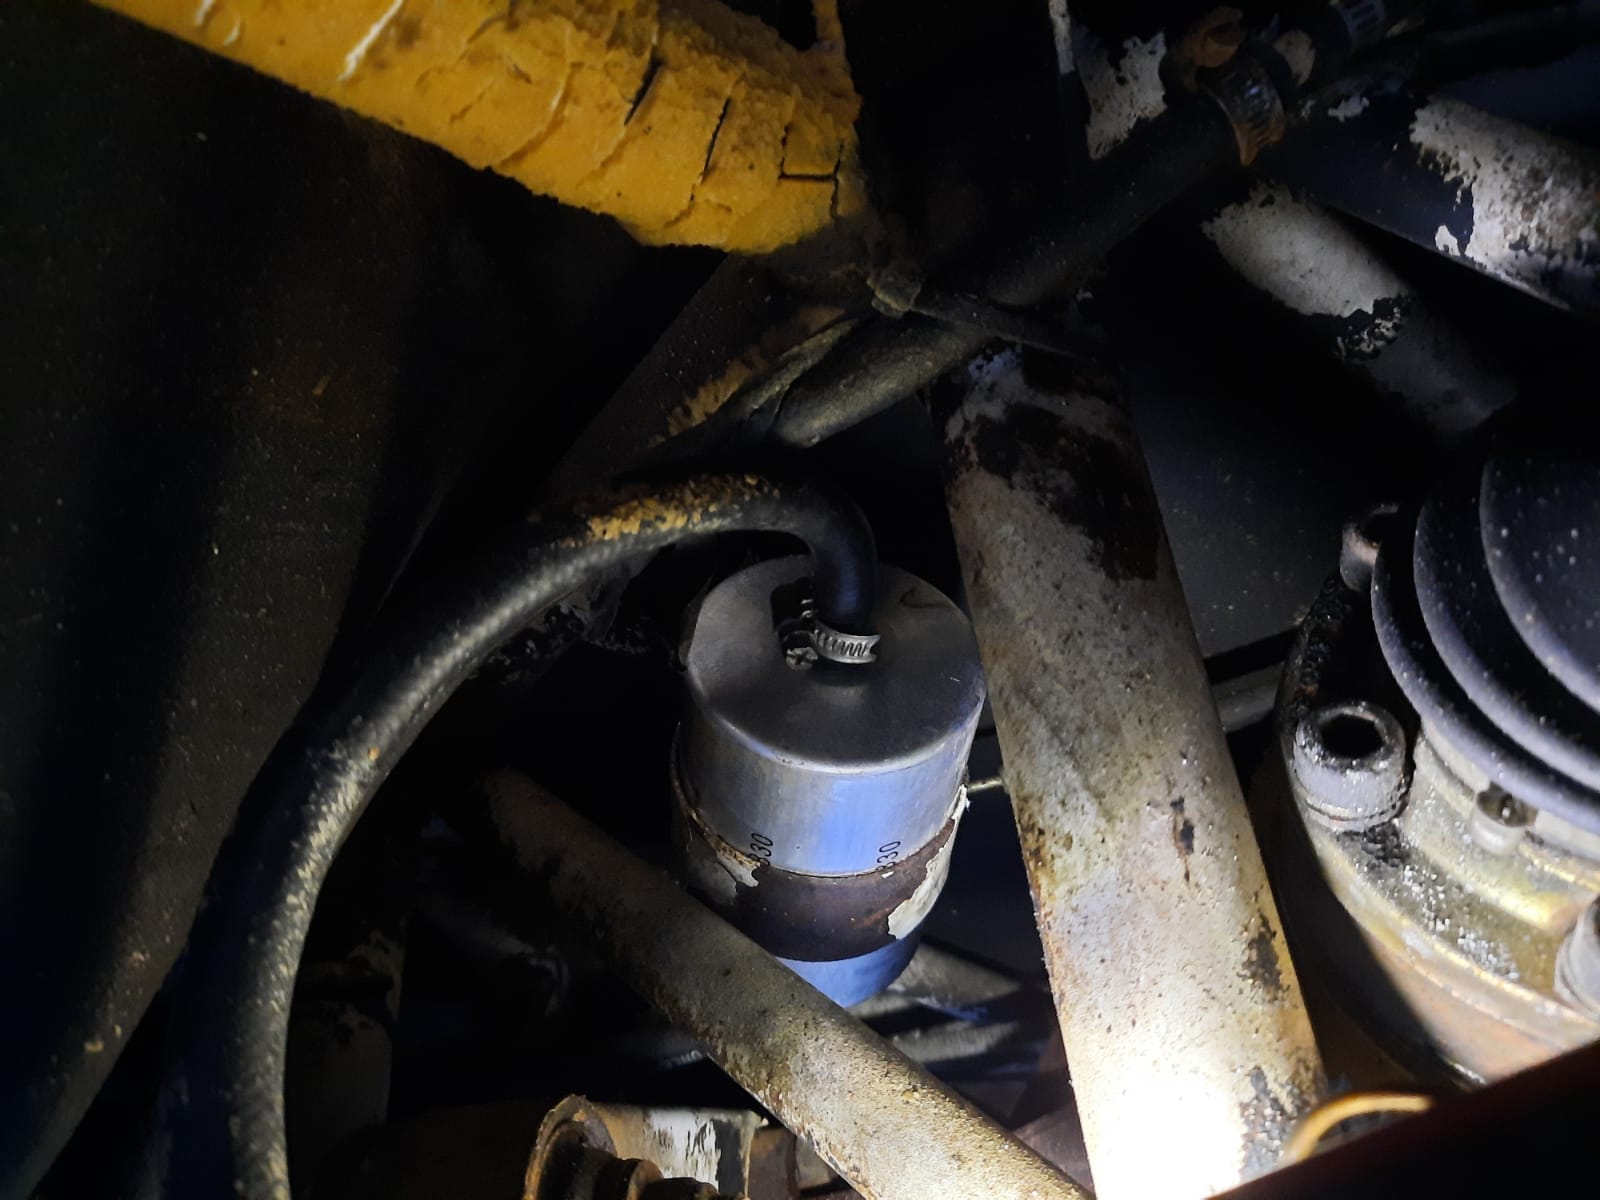
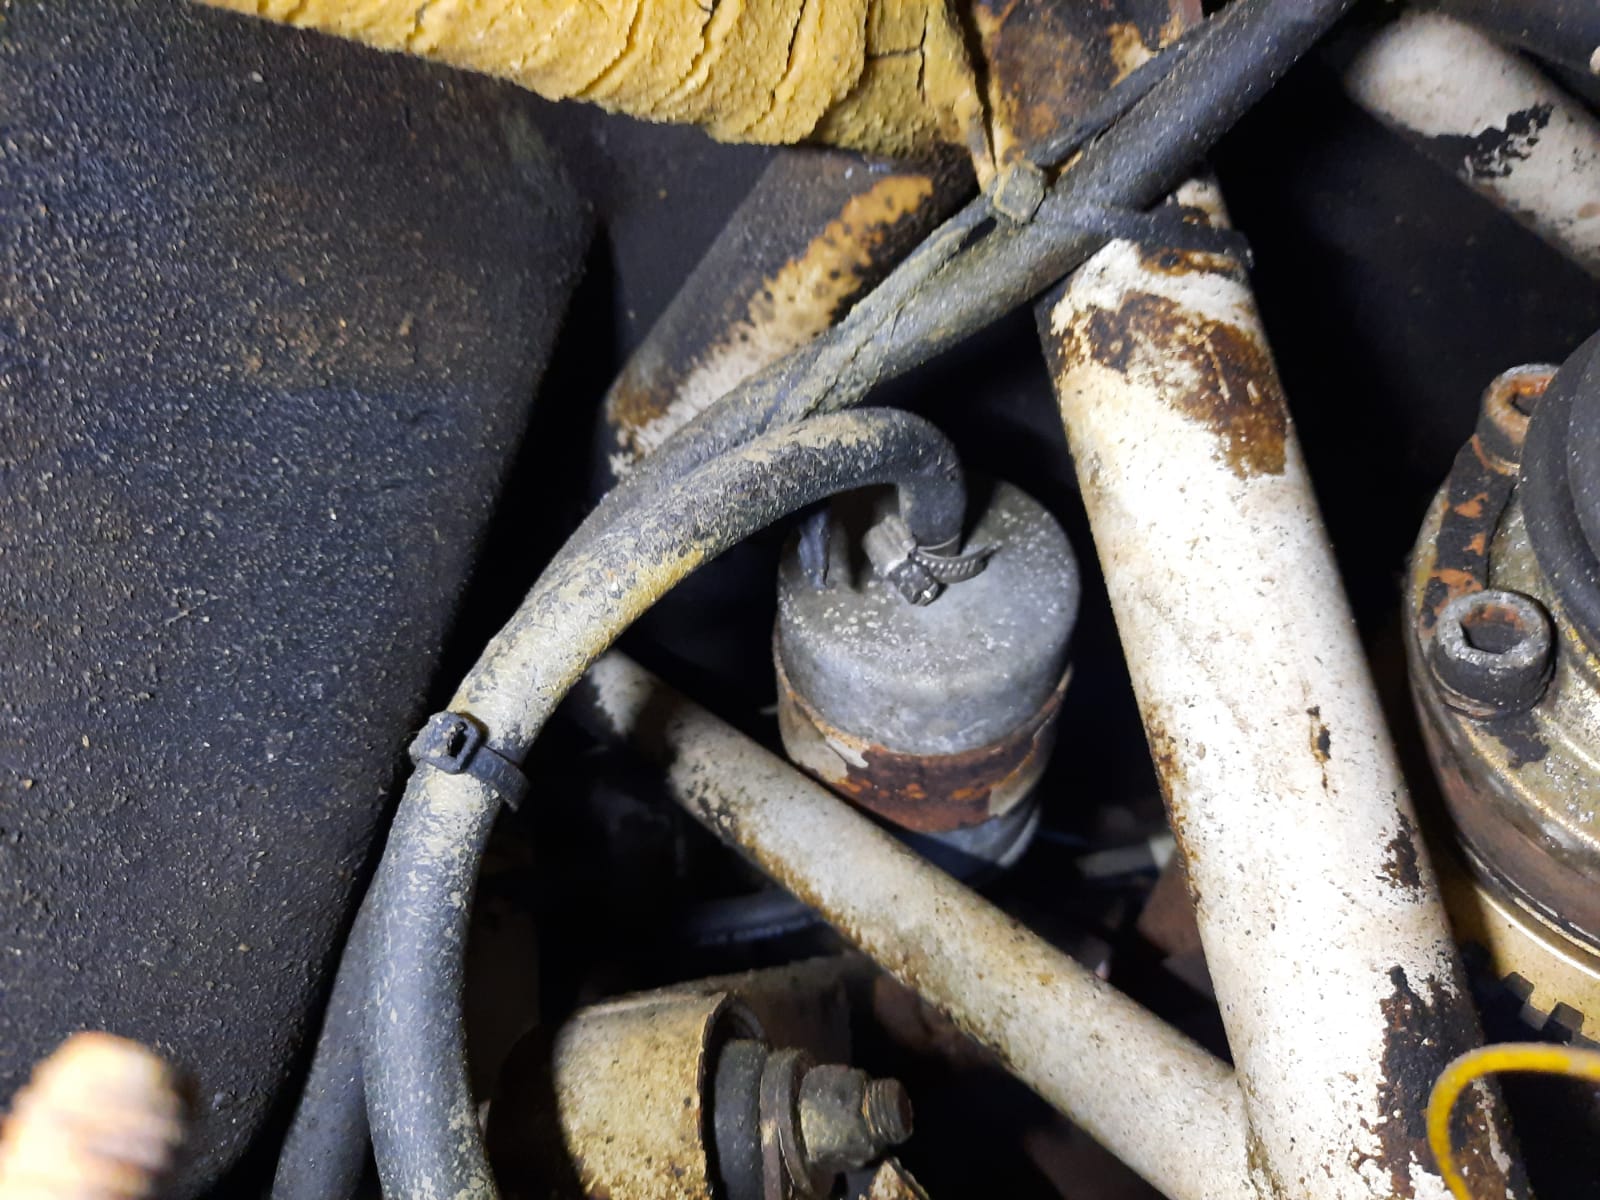
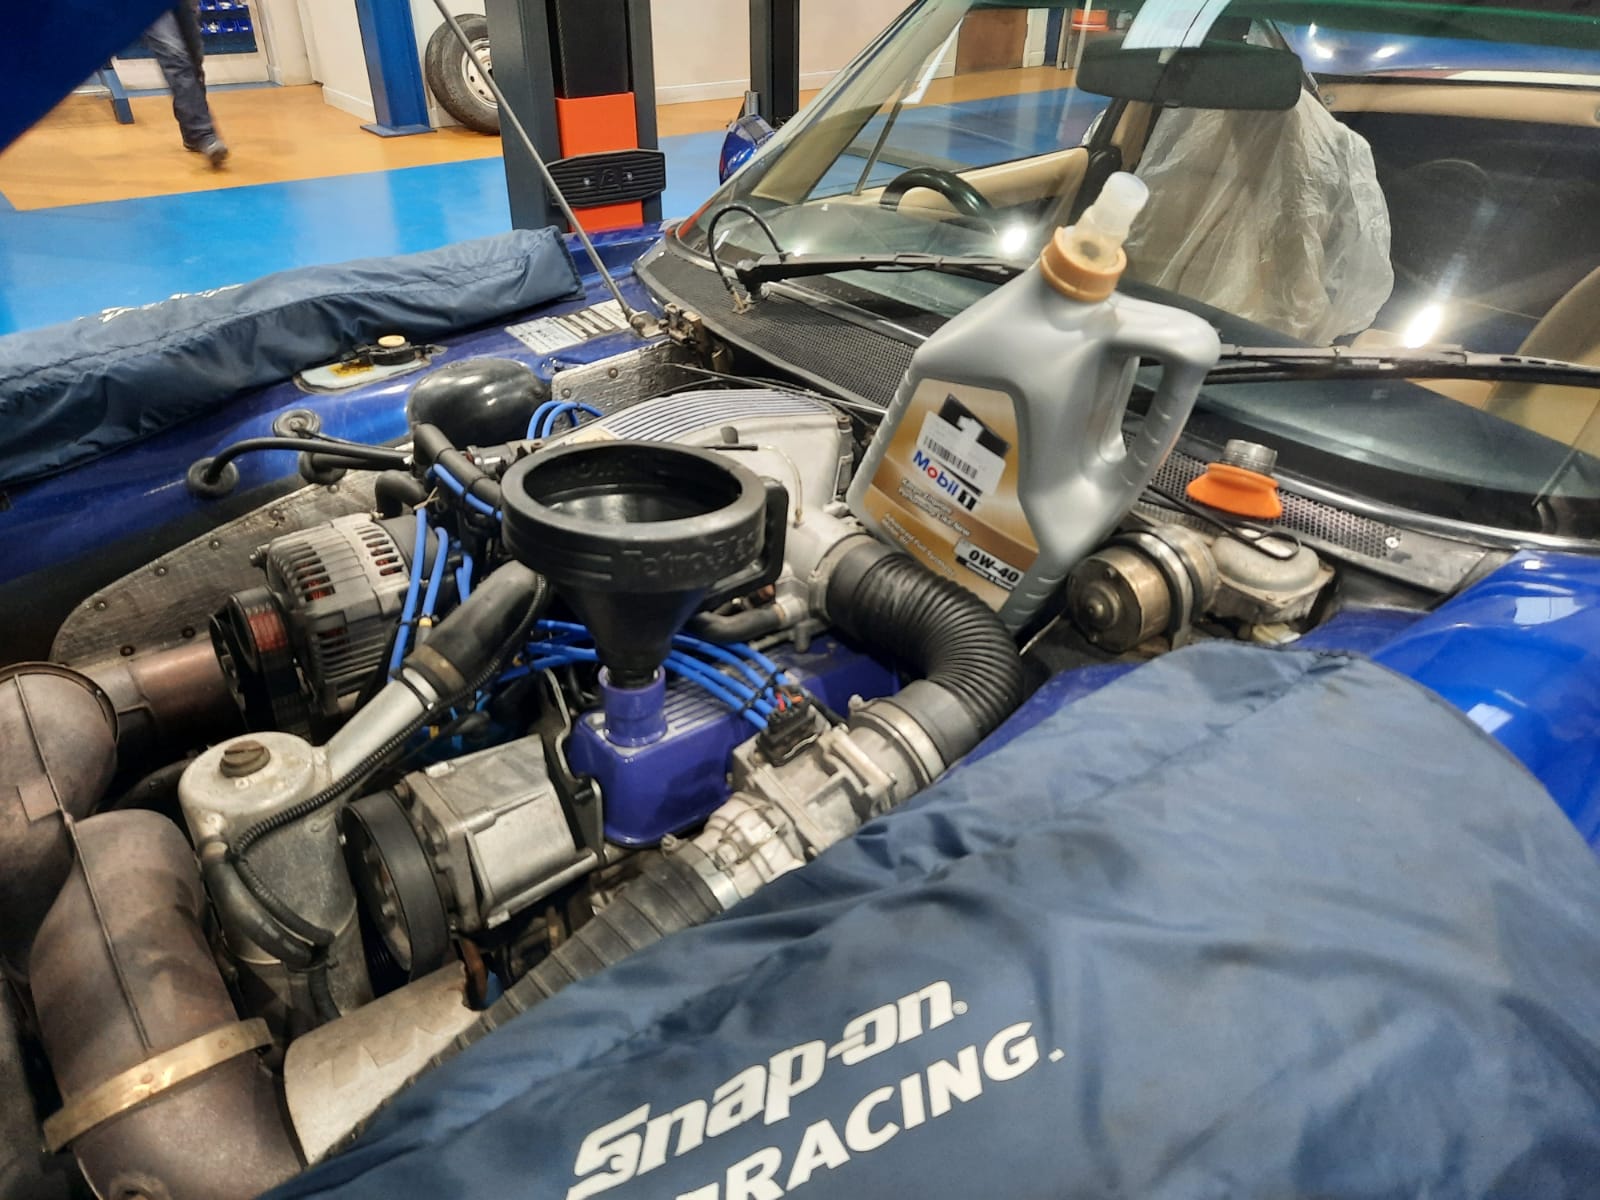
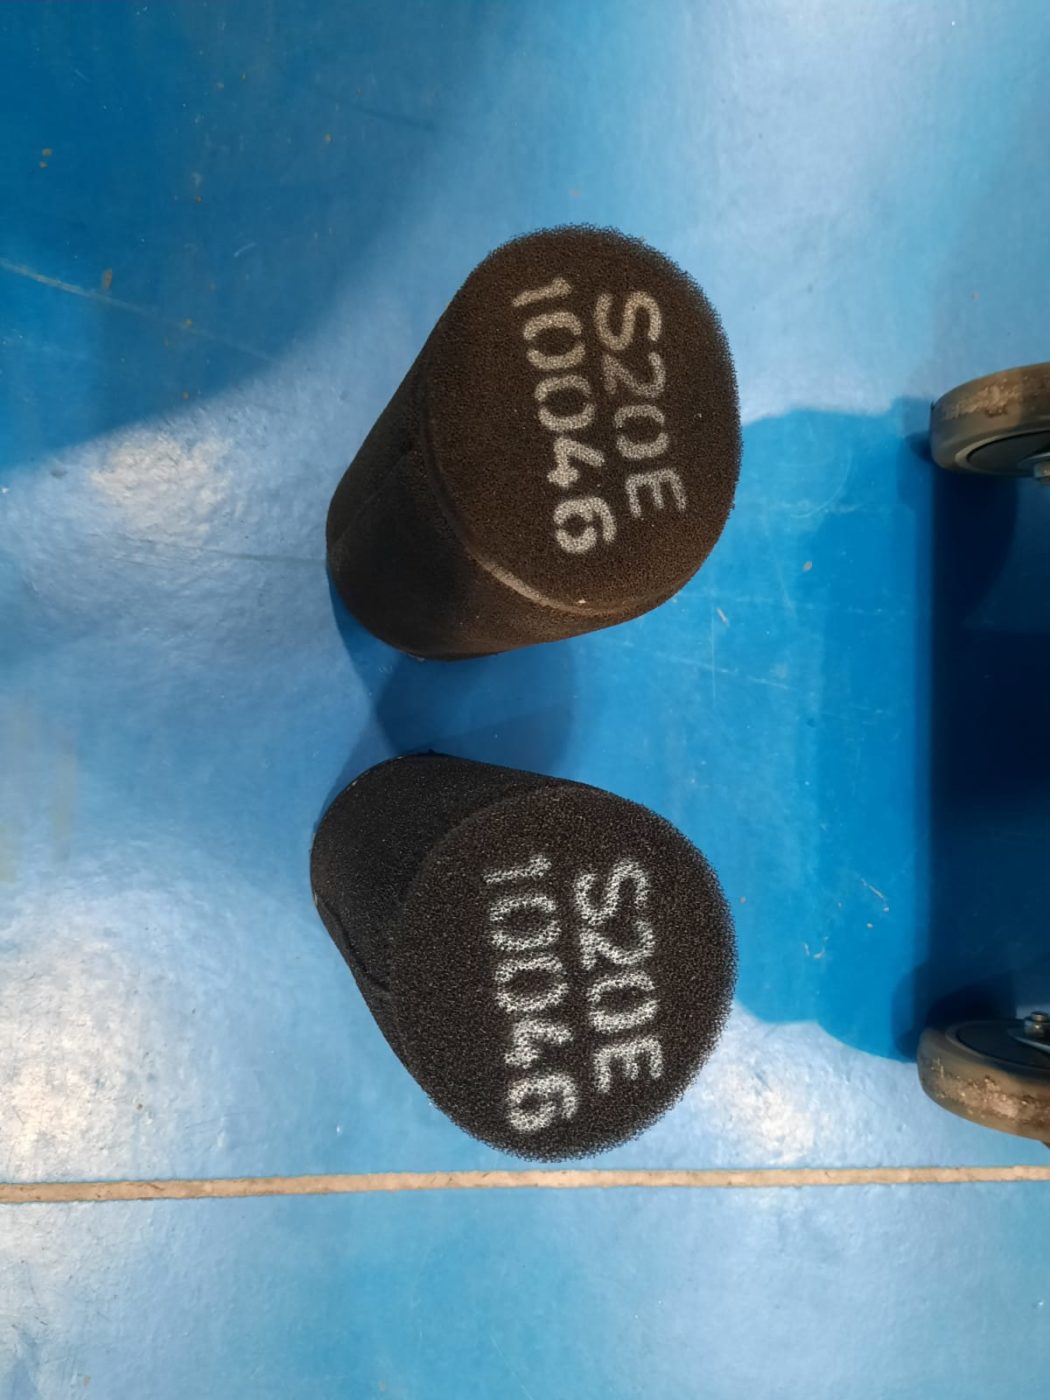
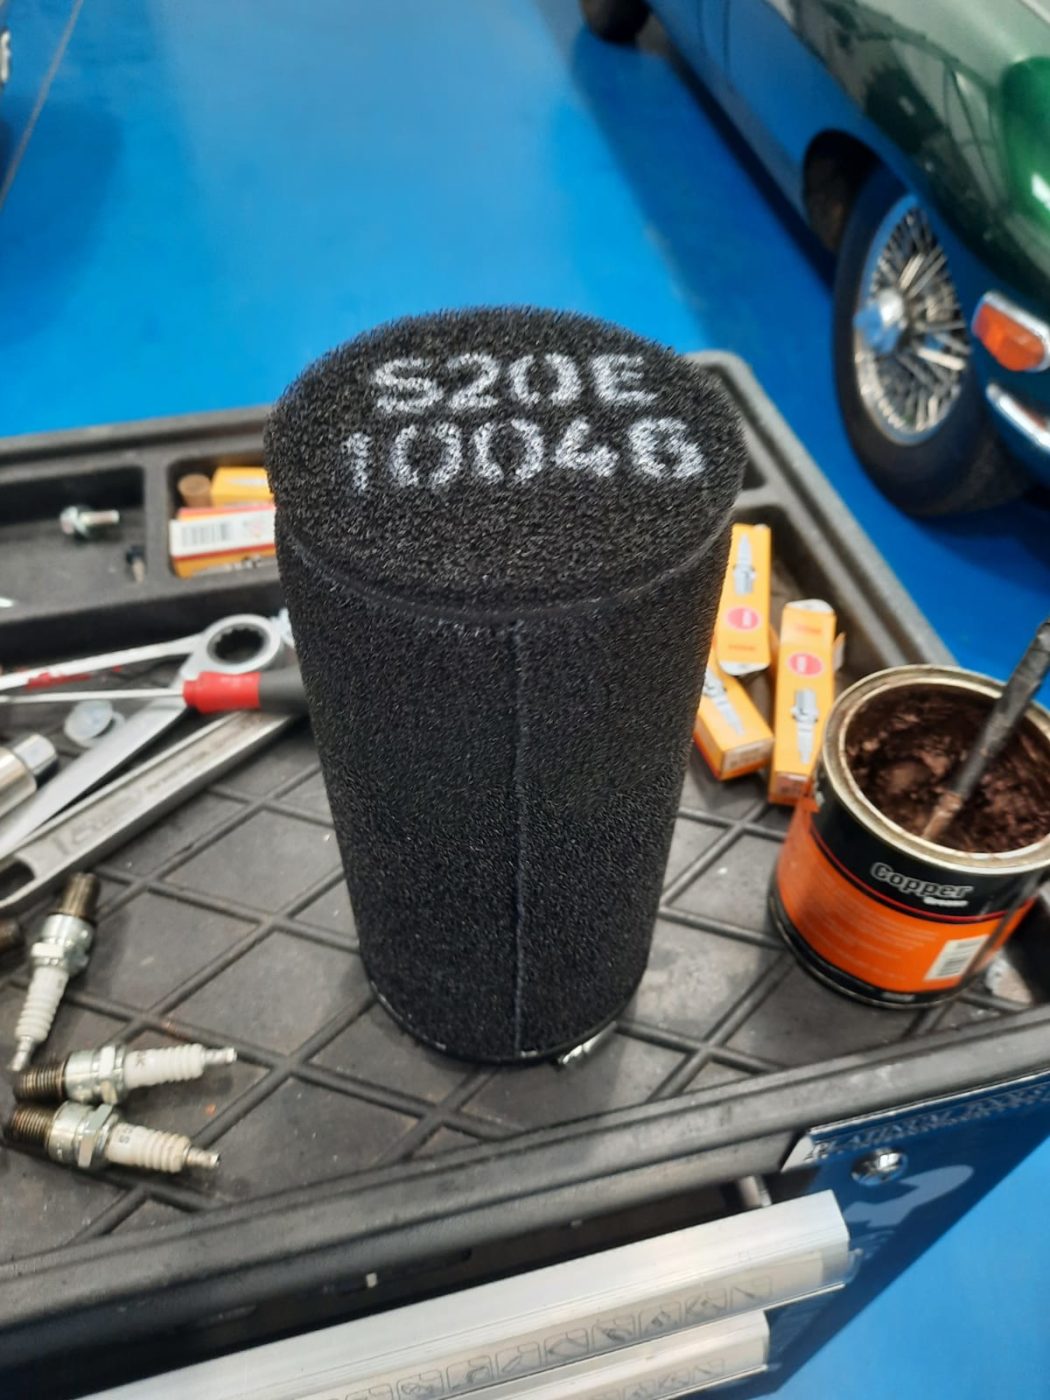
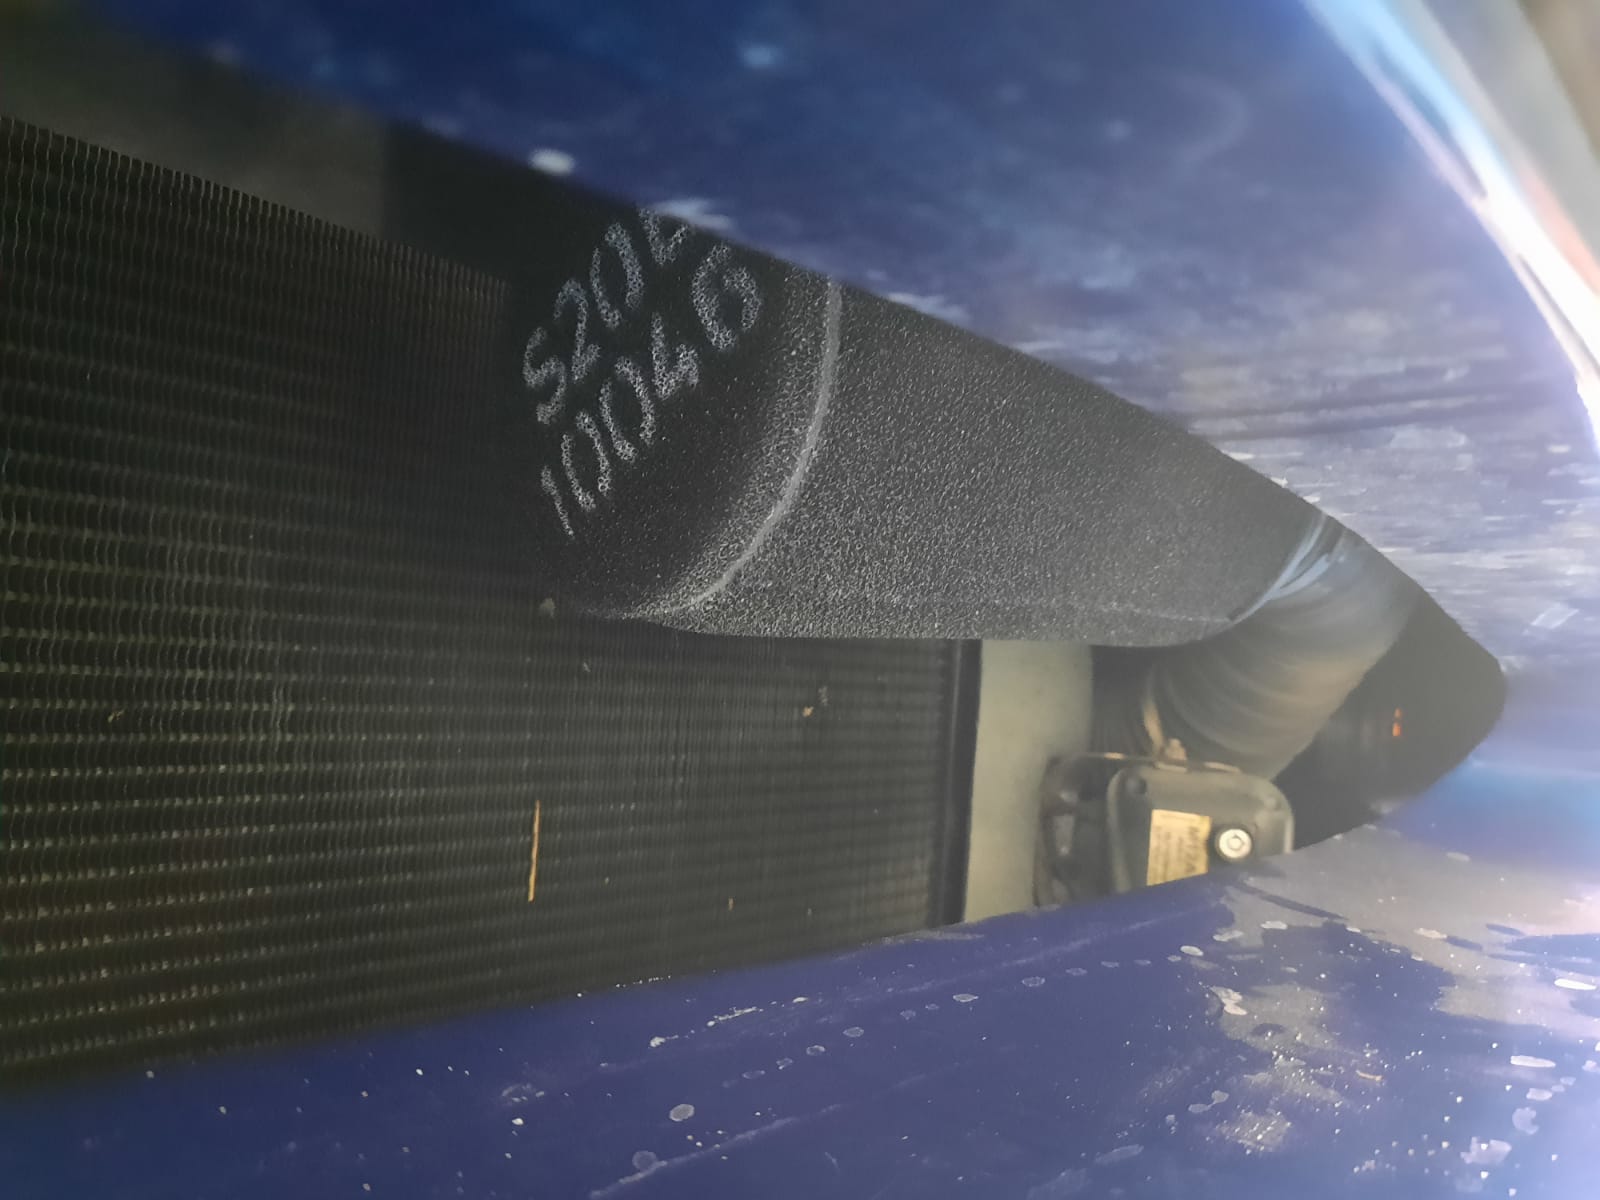
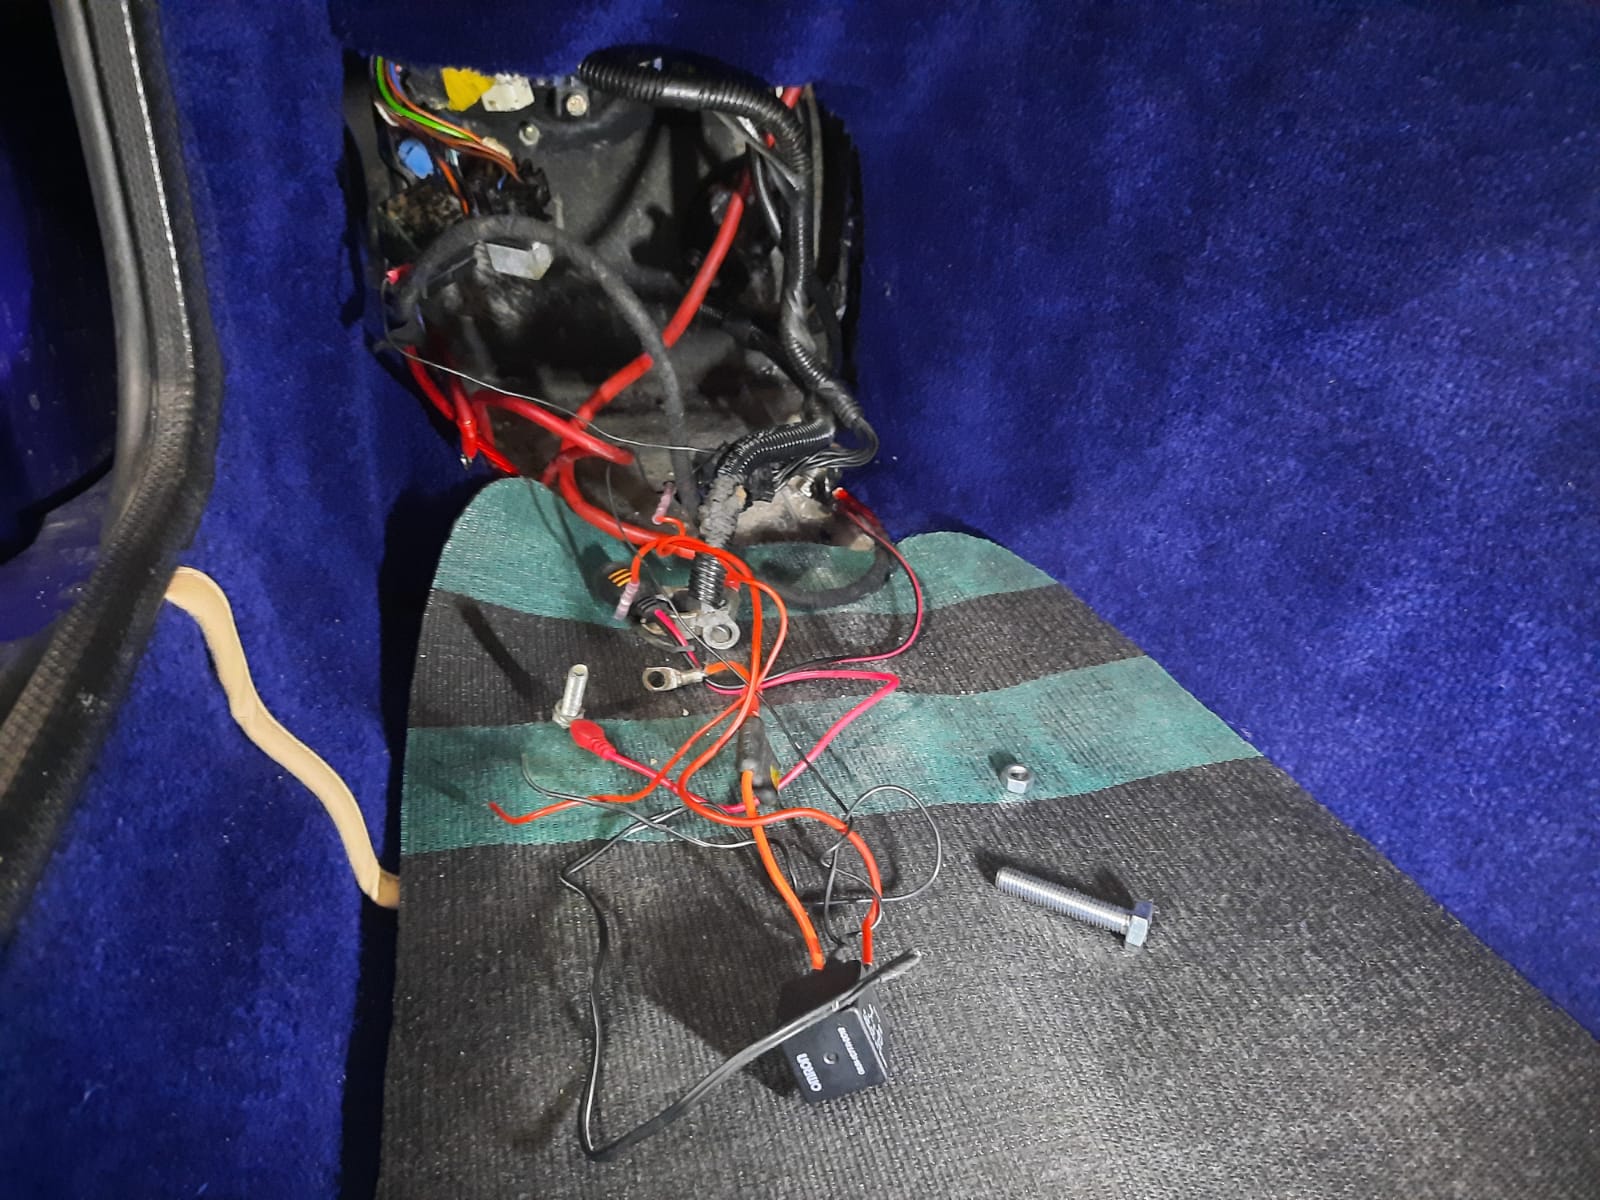
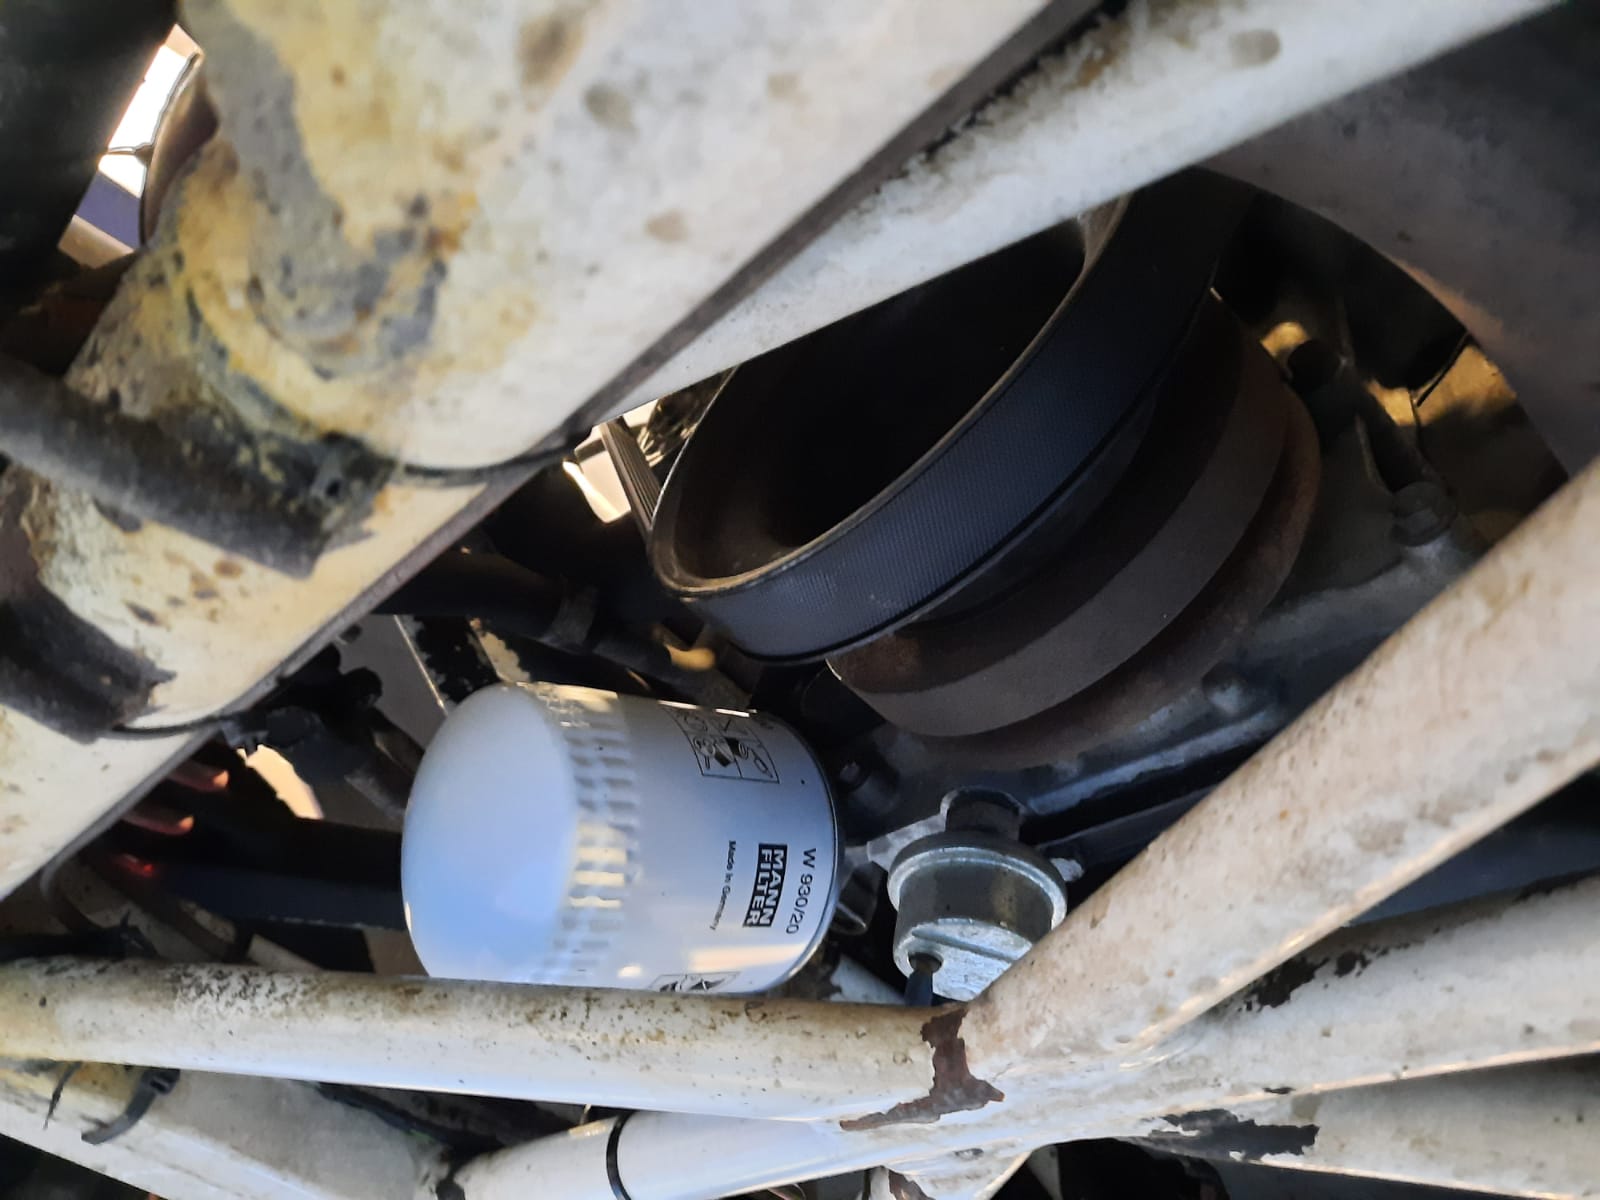
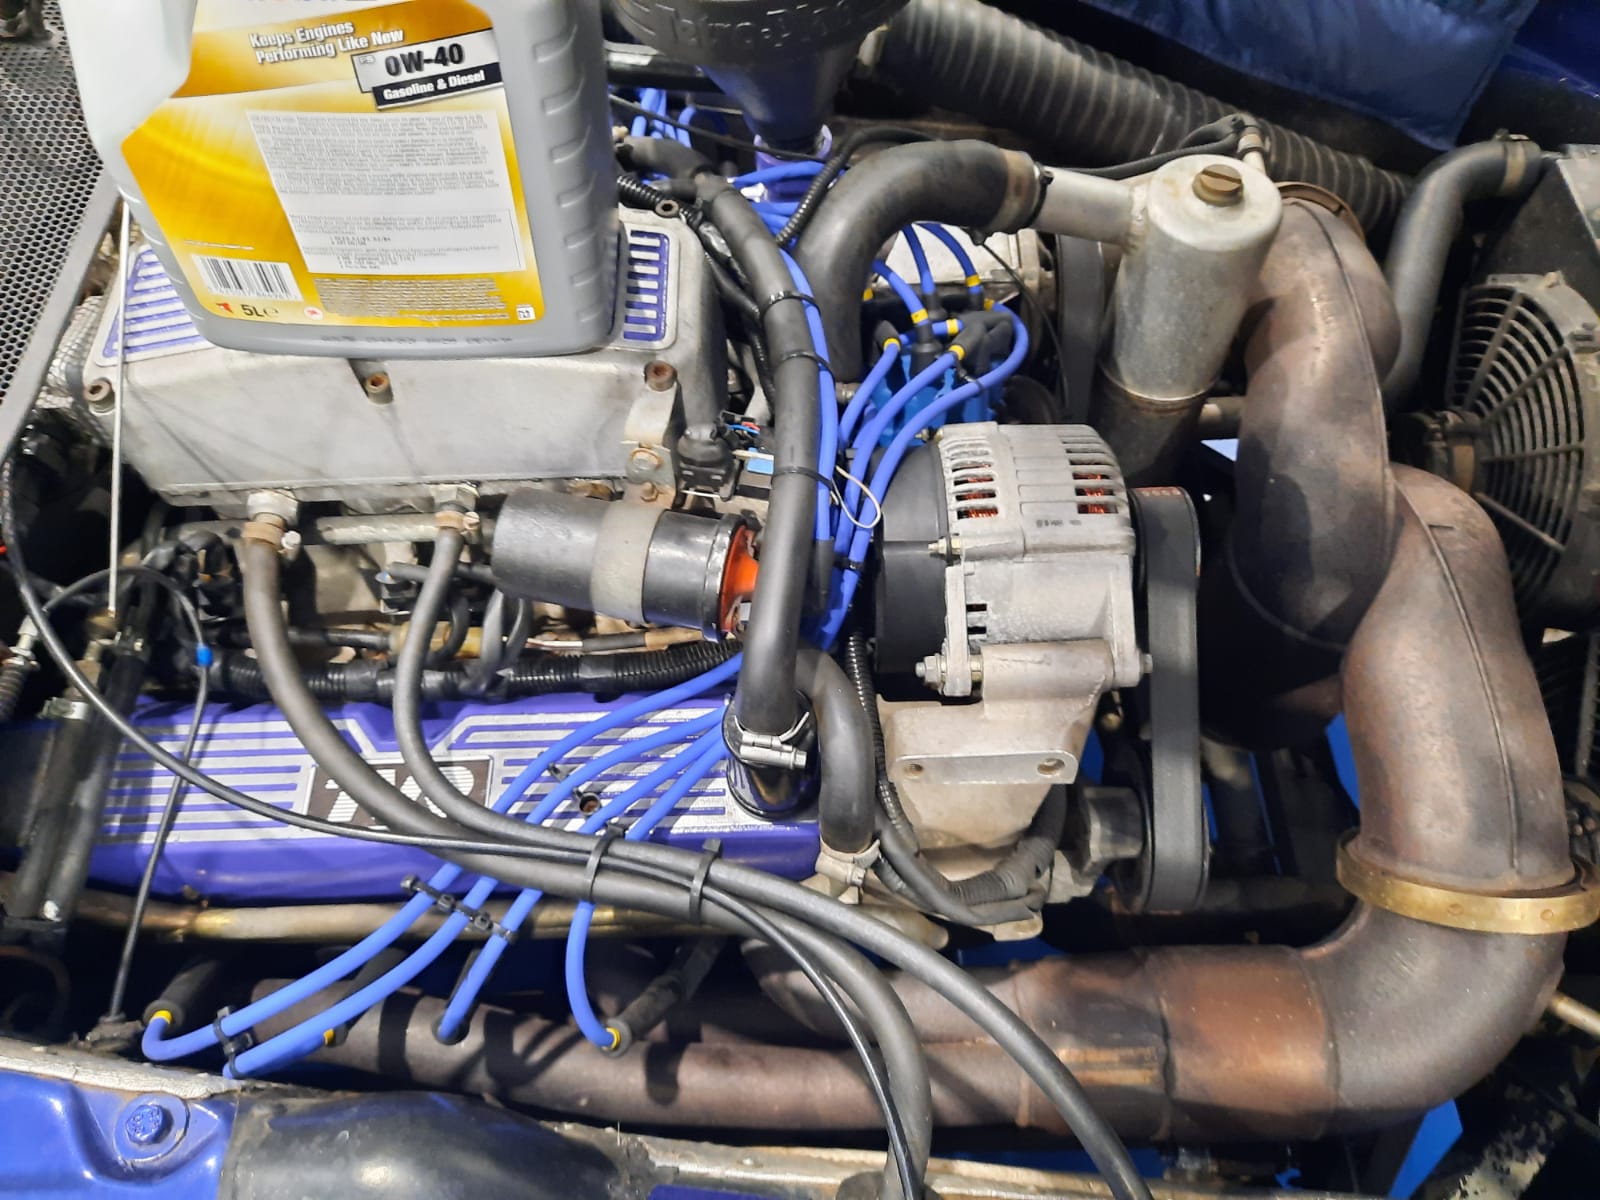
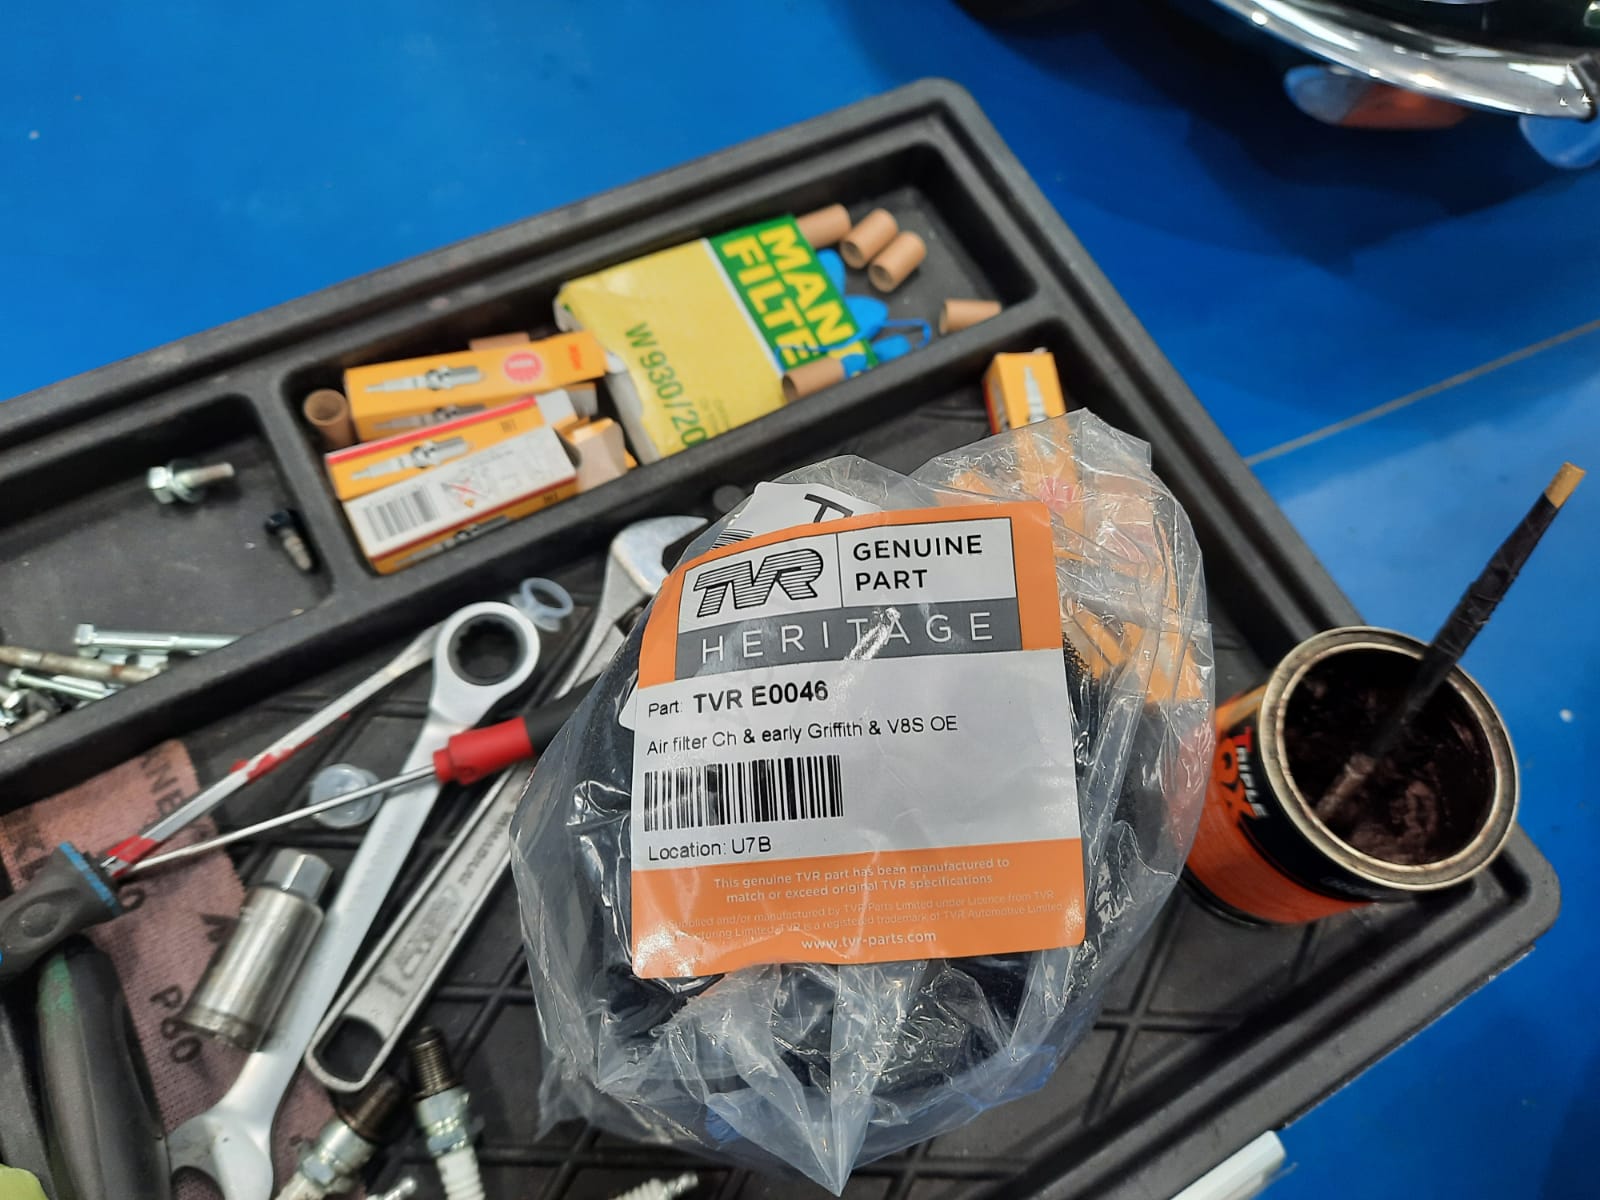
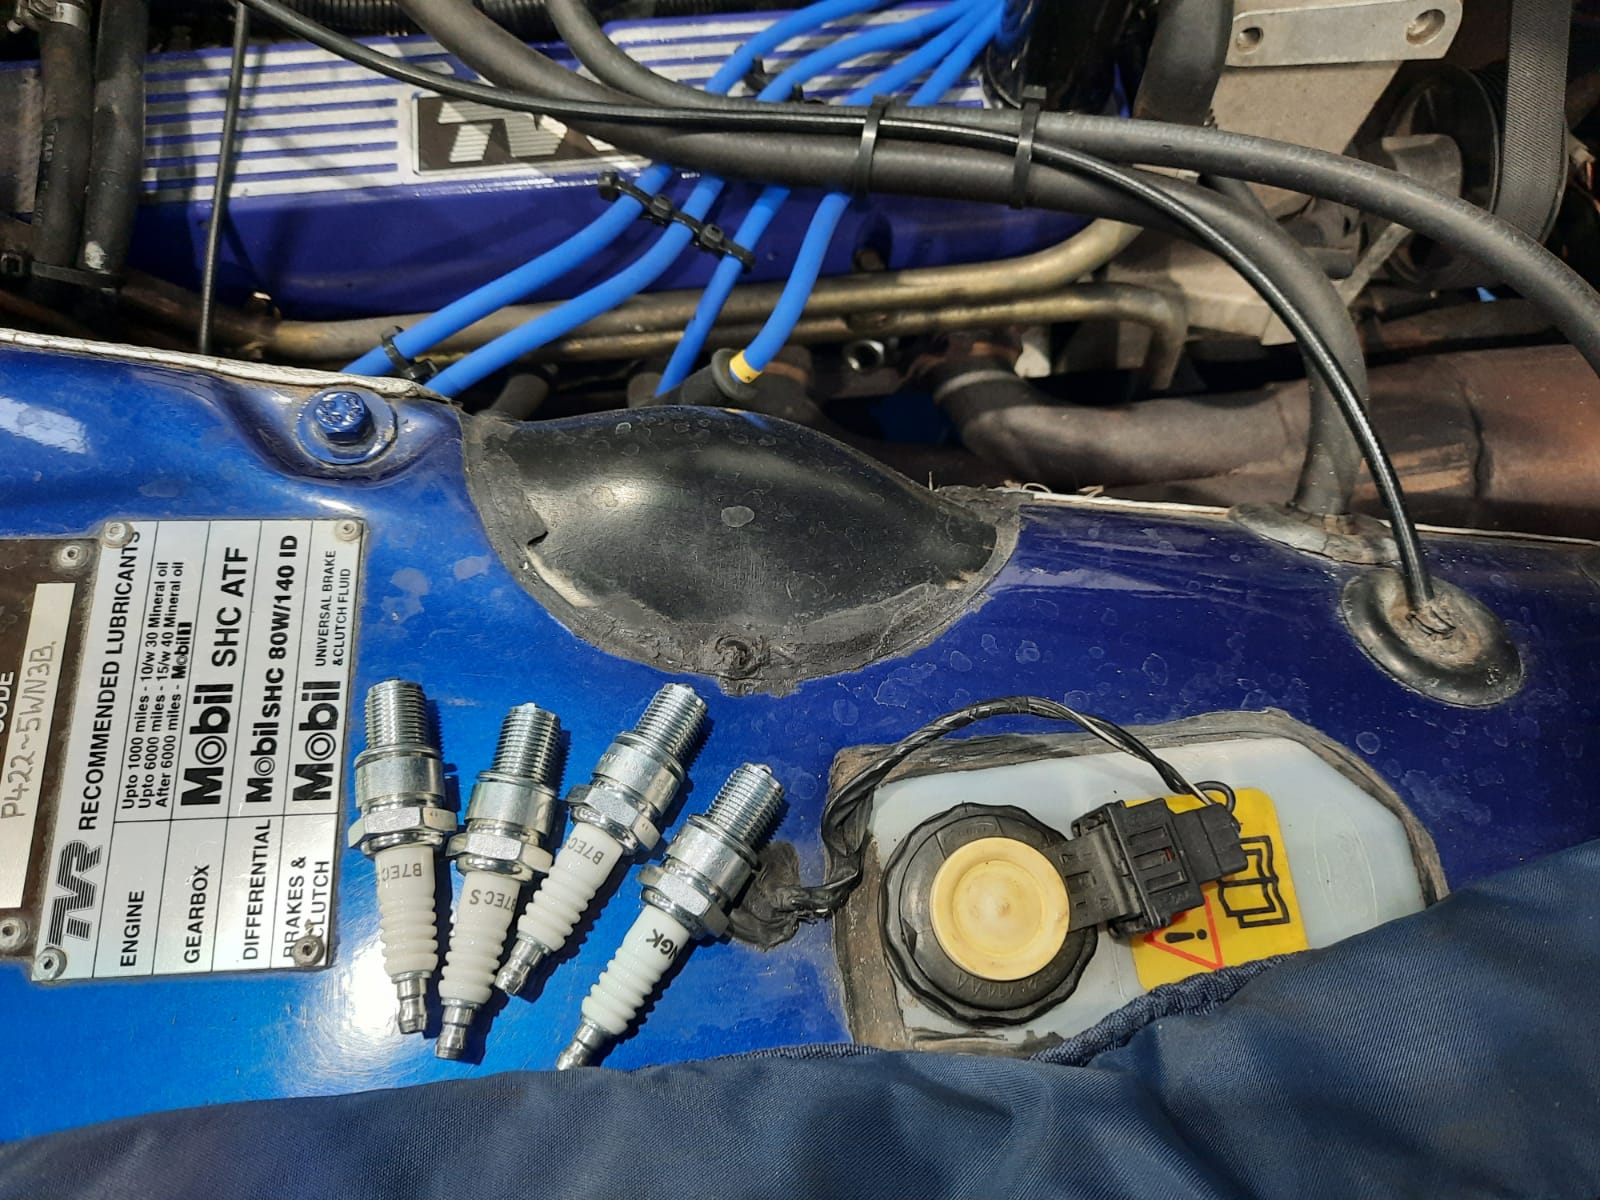
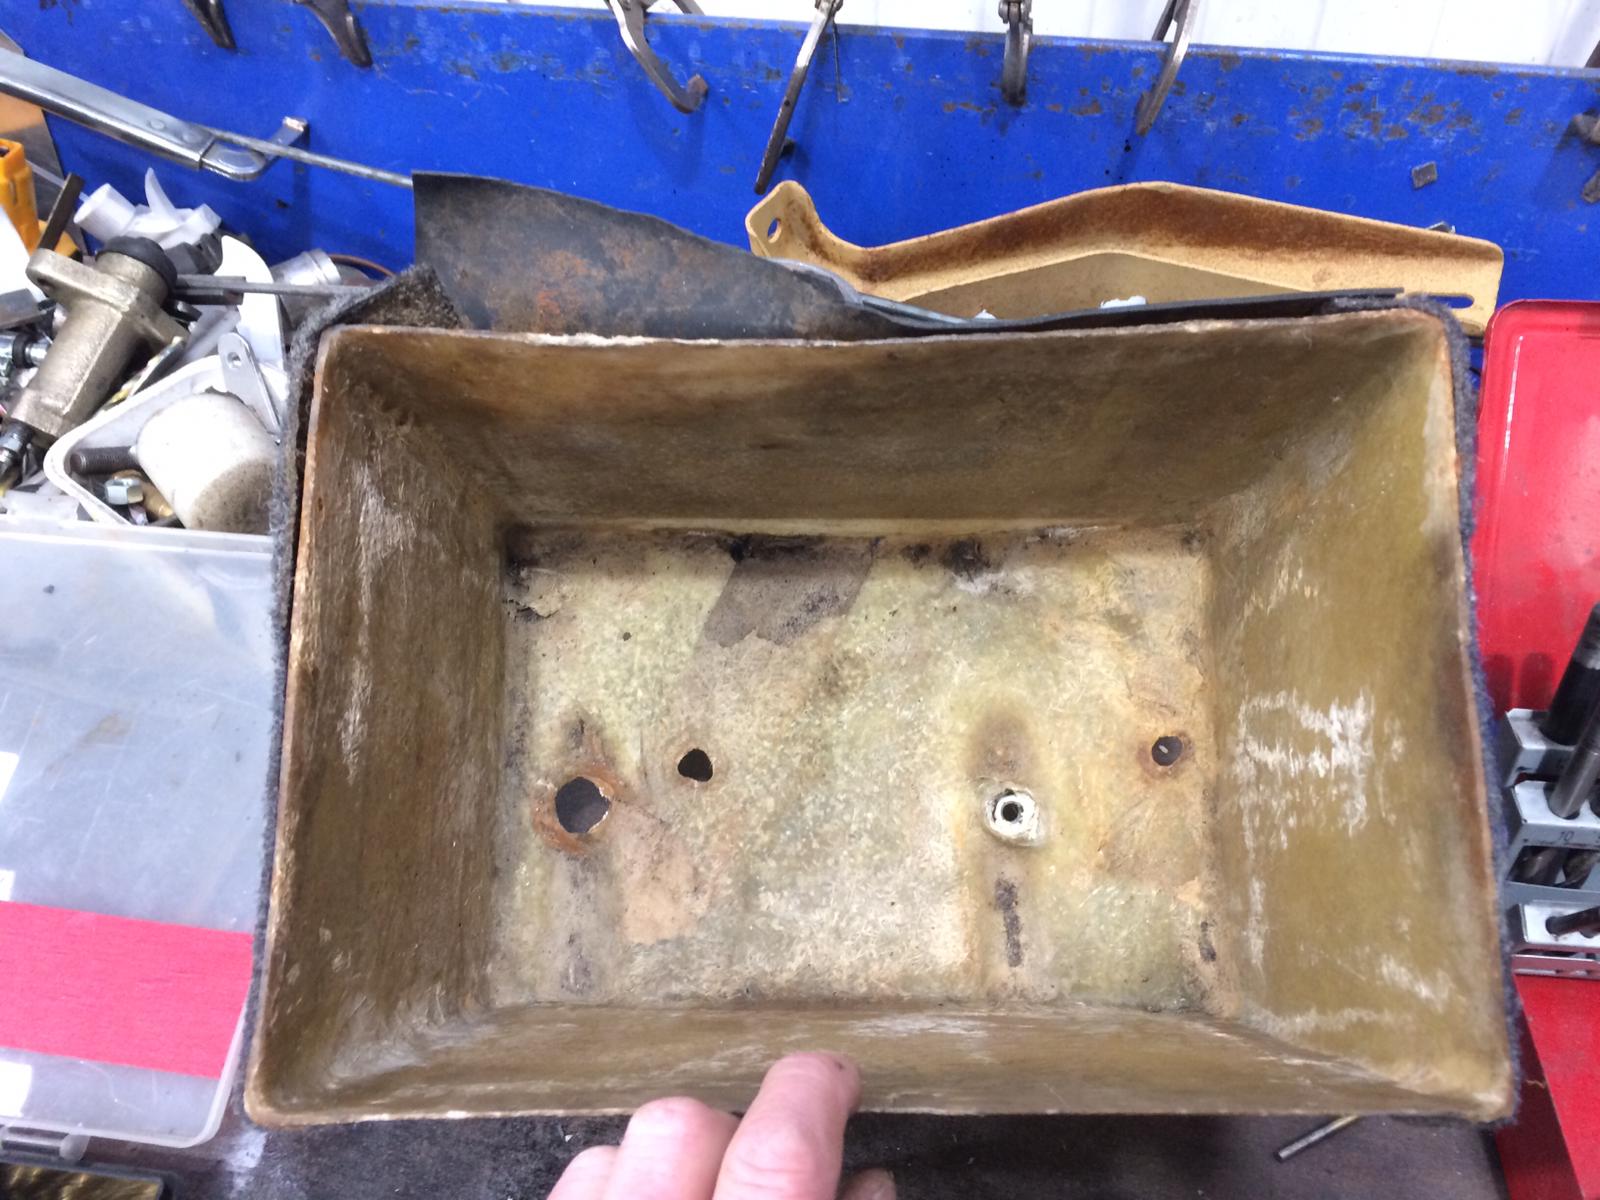
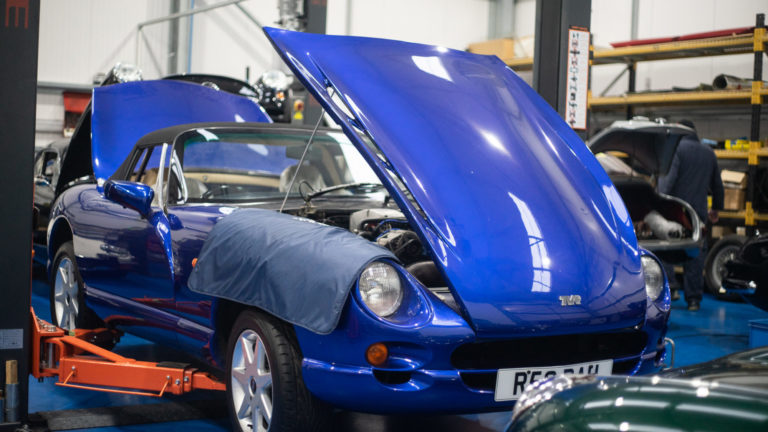
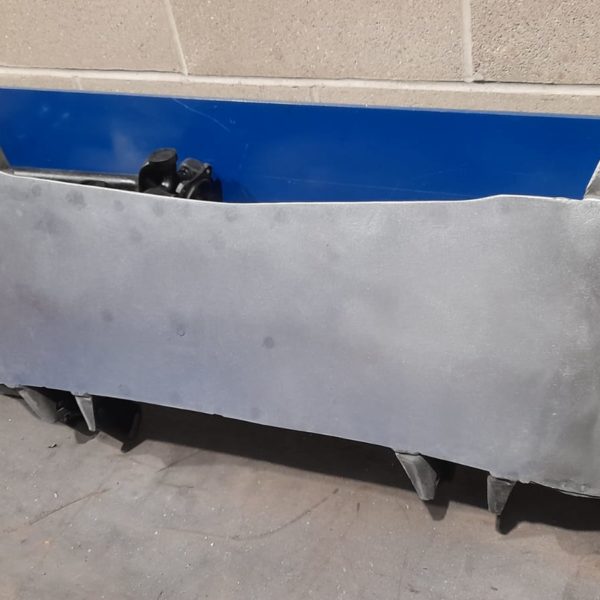
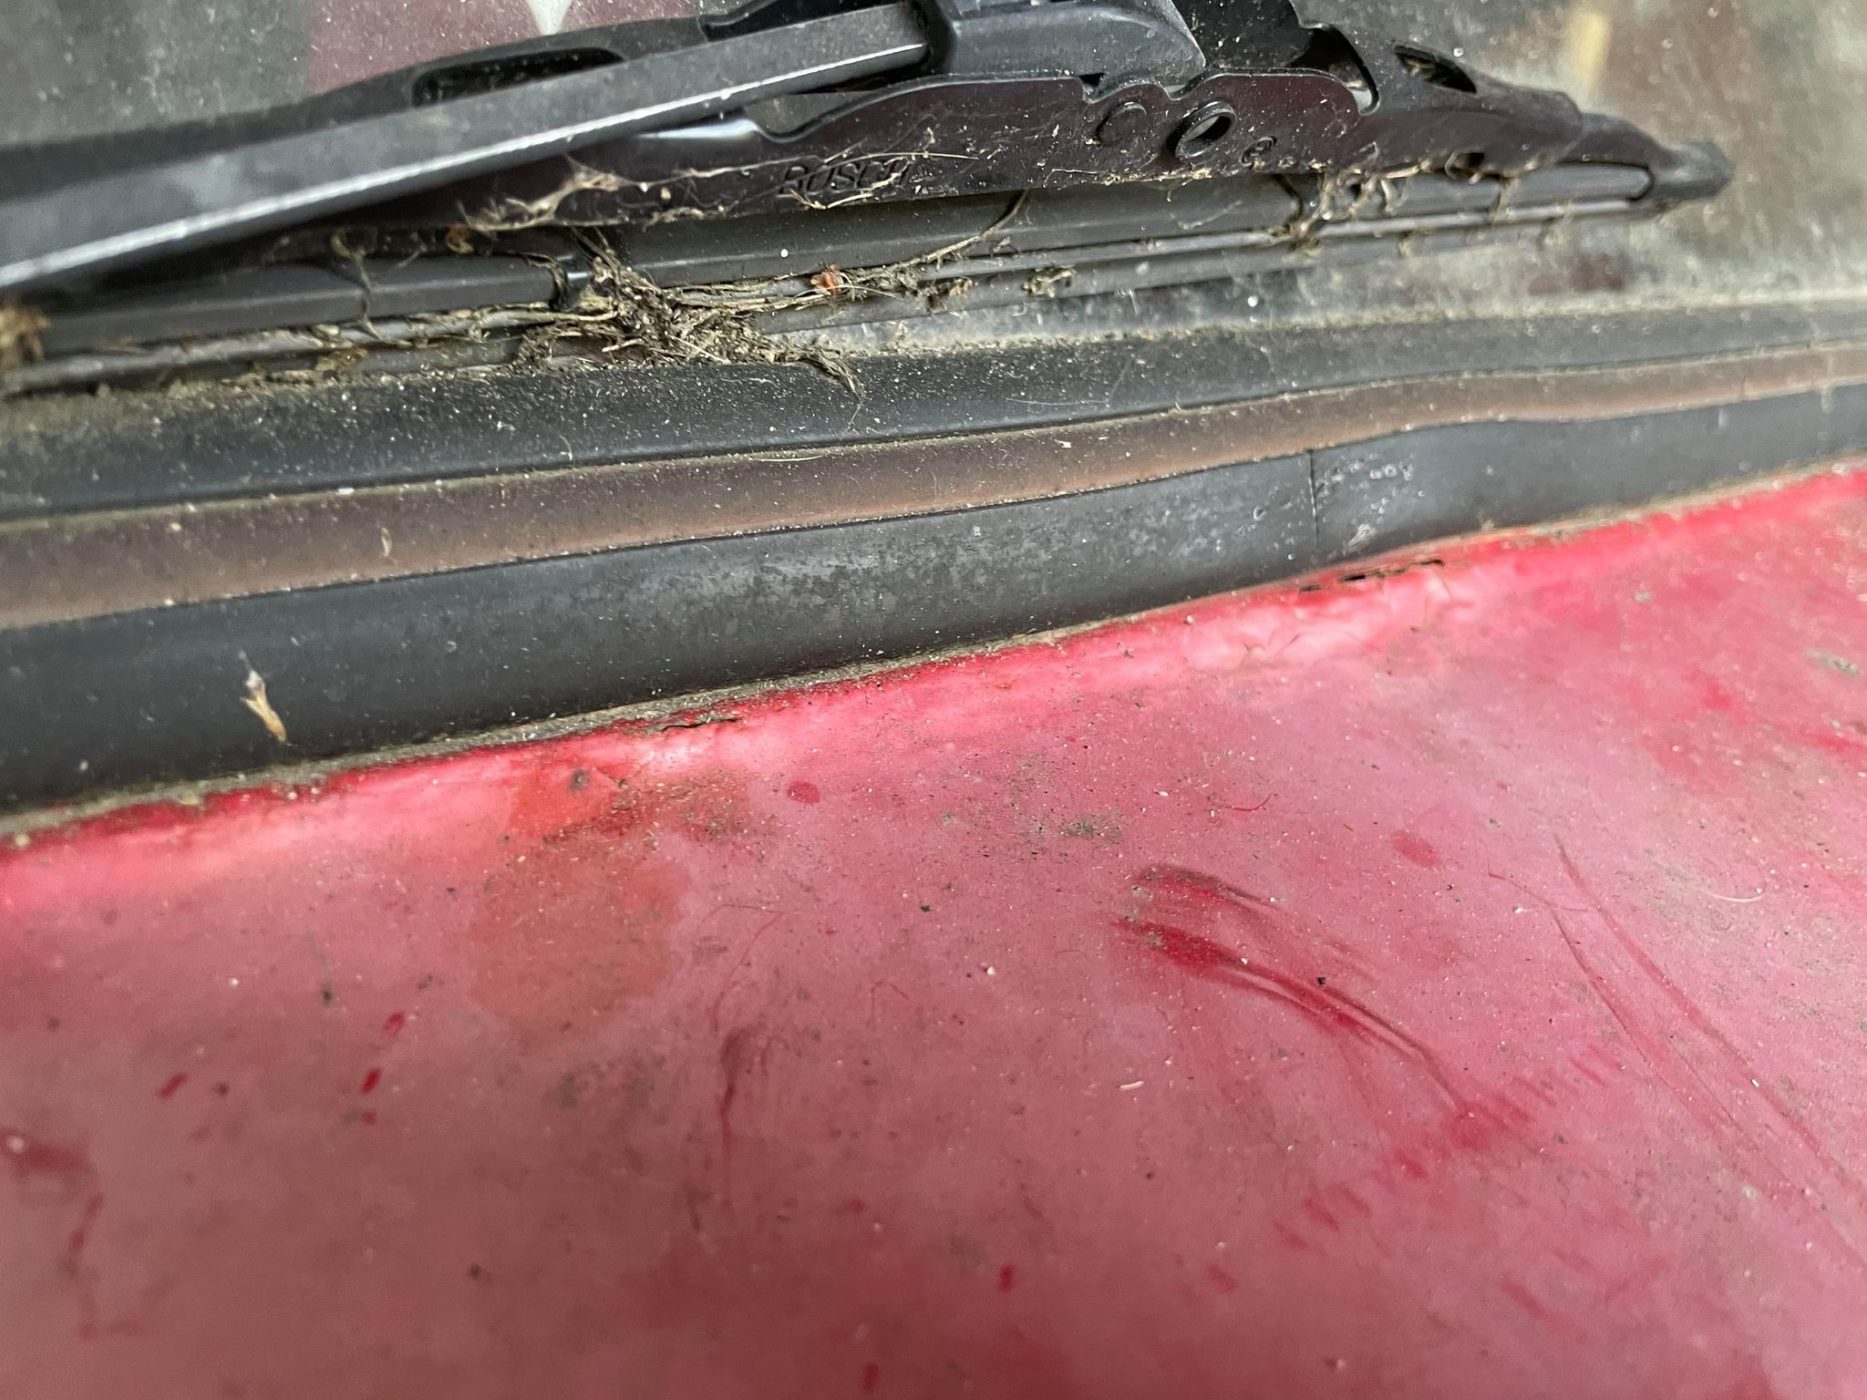
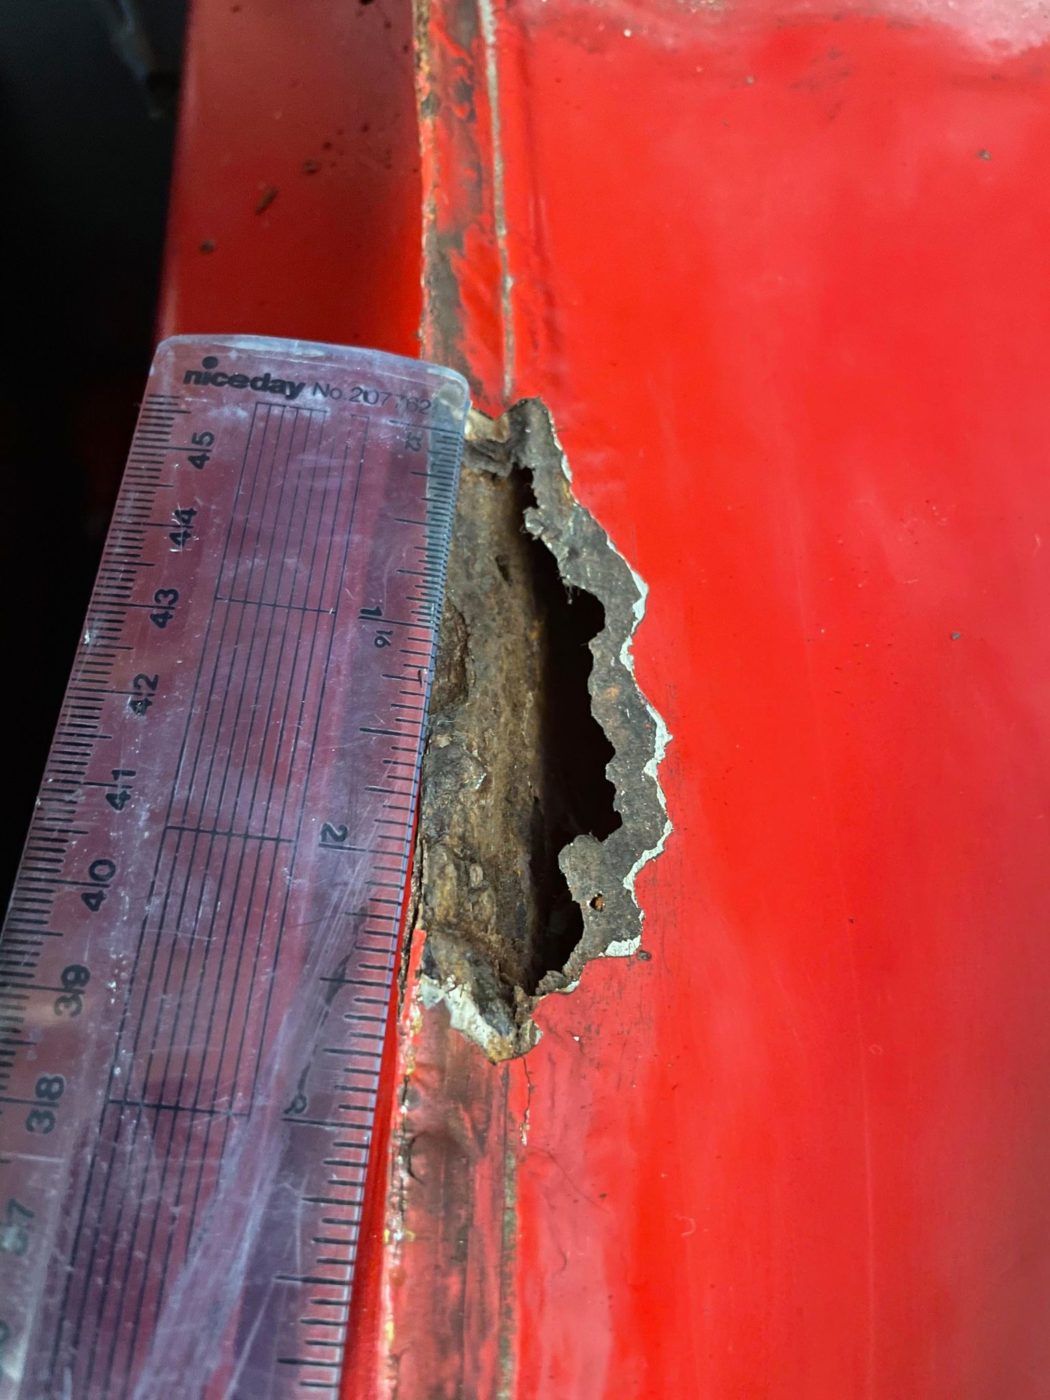
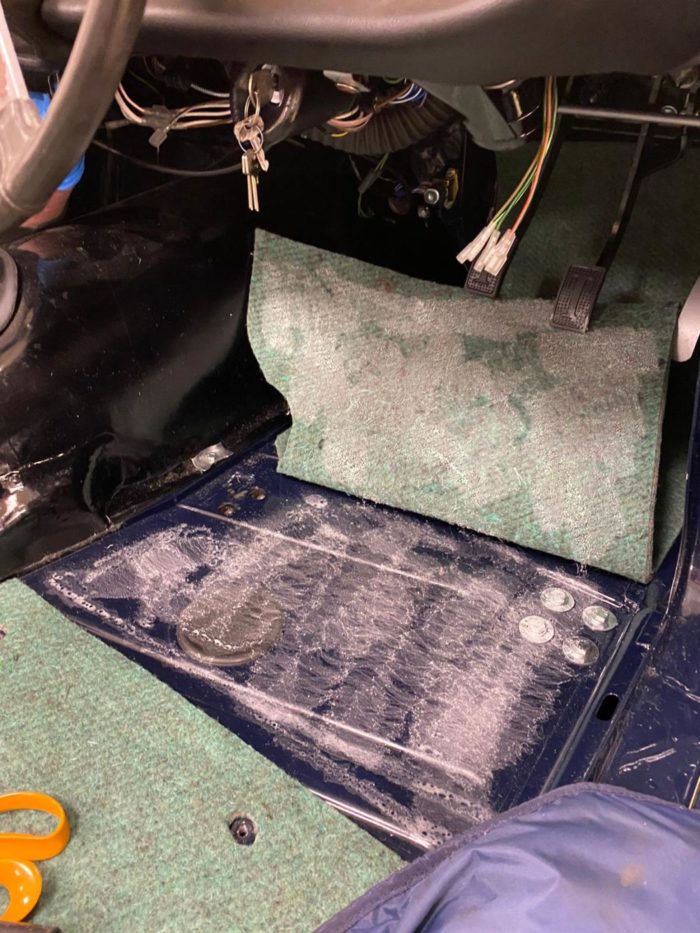
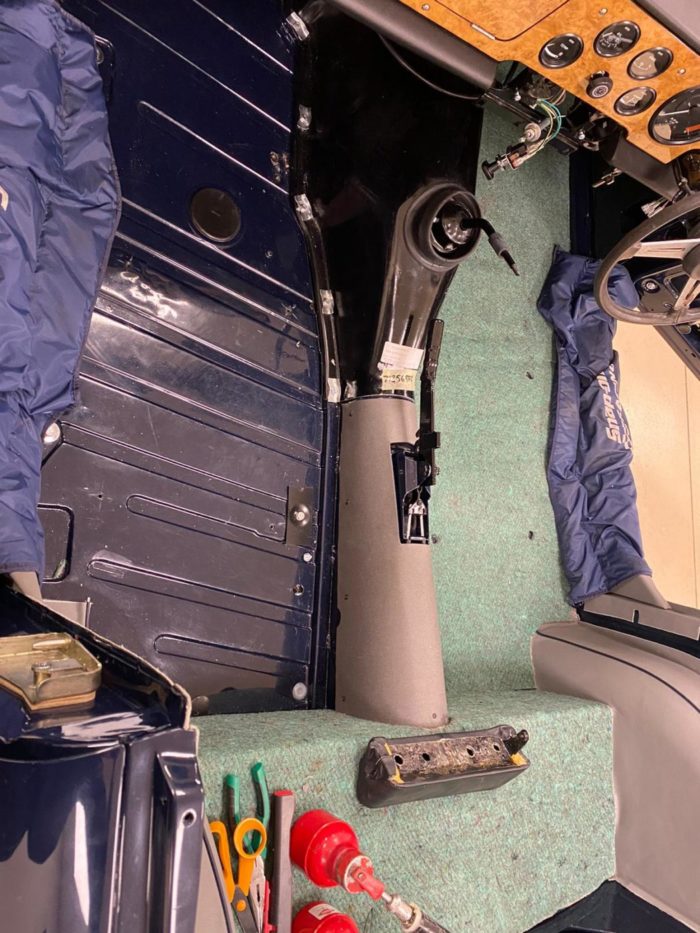
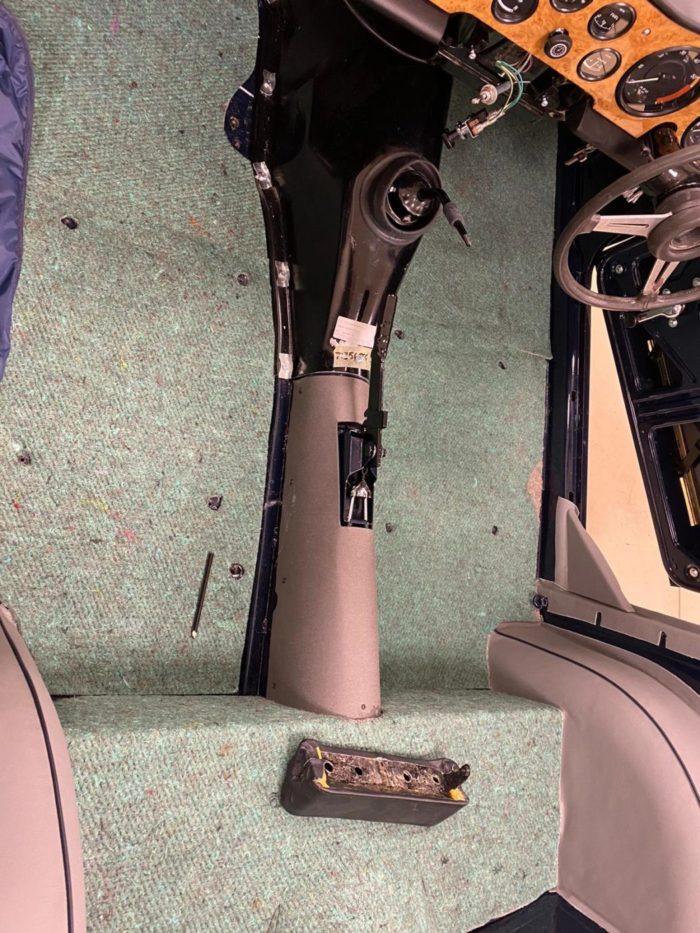
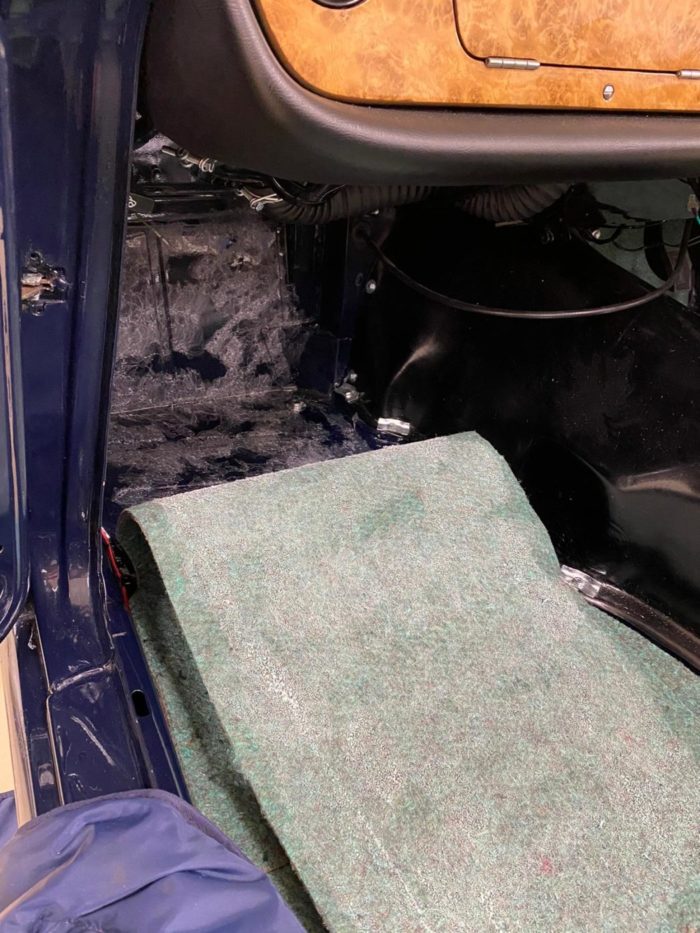
Our fantastic blue 1998 TVR Chimaera initially came in for a trim restoration and service however during the service, we’ve noticed some more serious issues that need addressing.
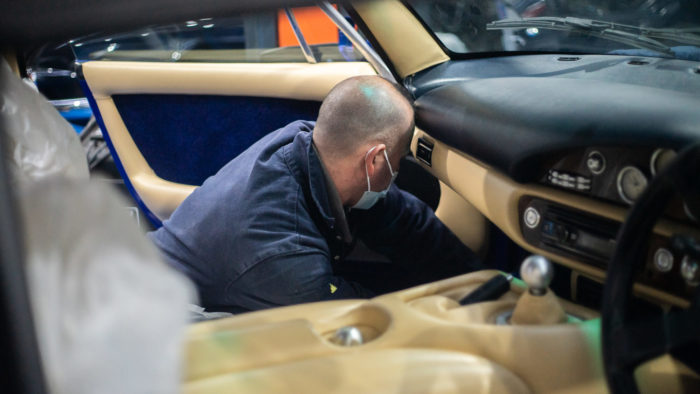

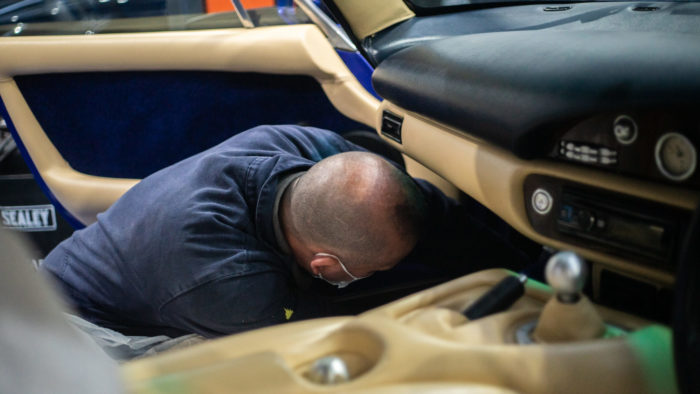
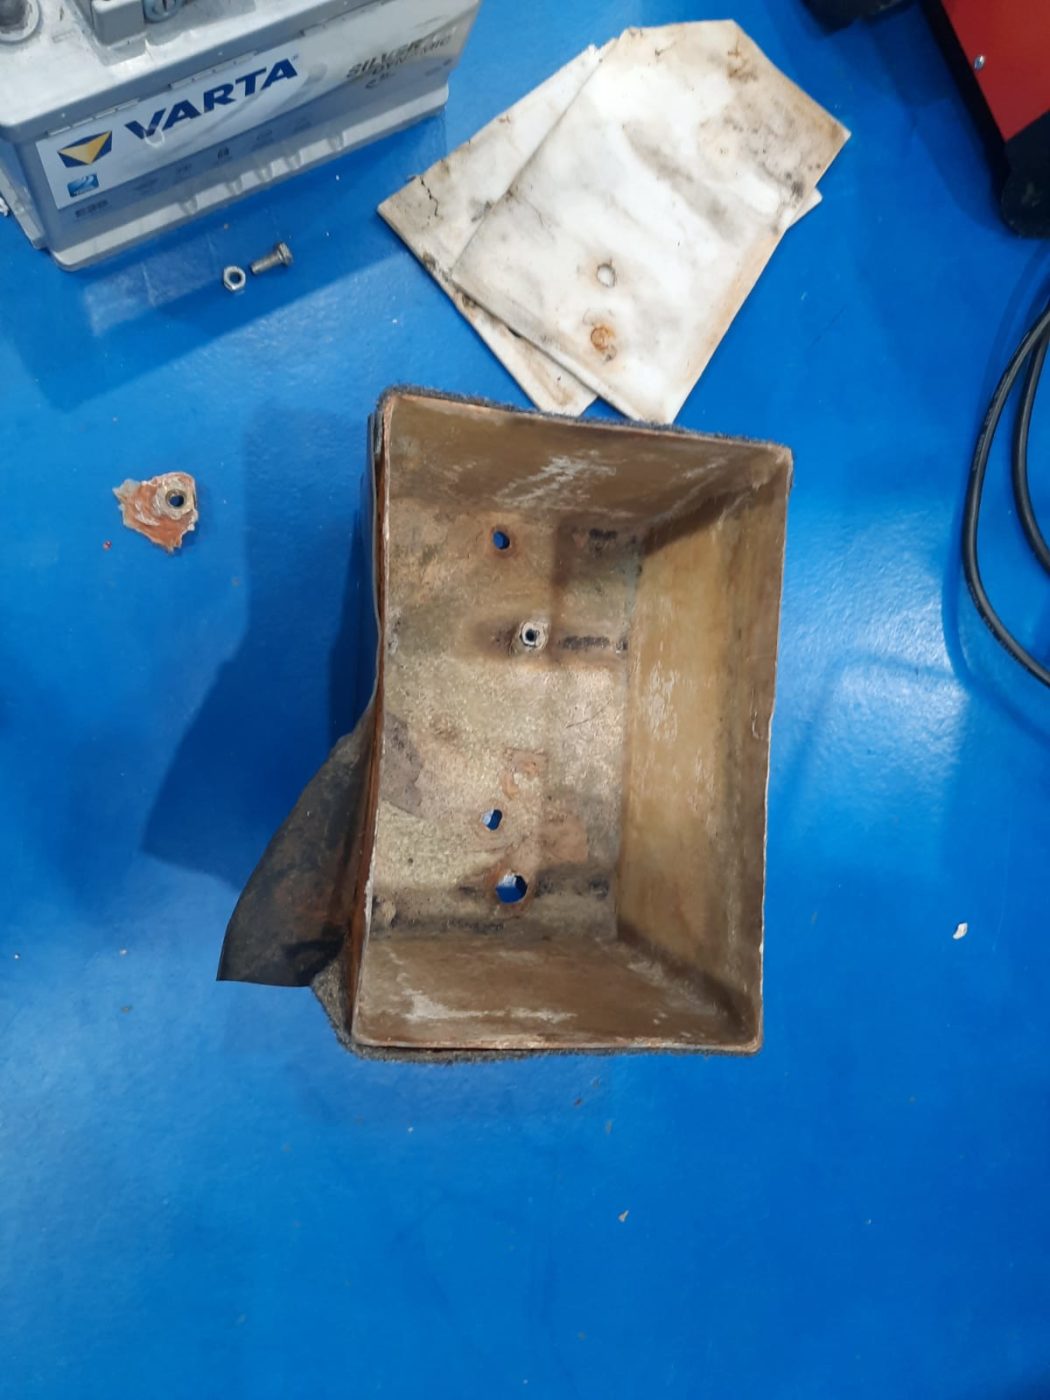
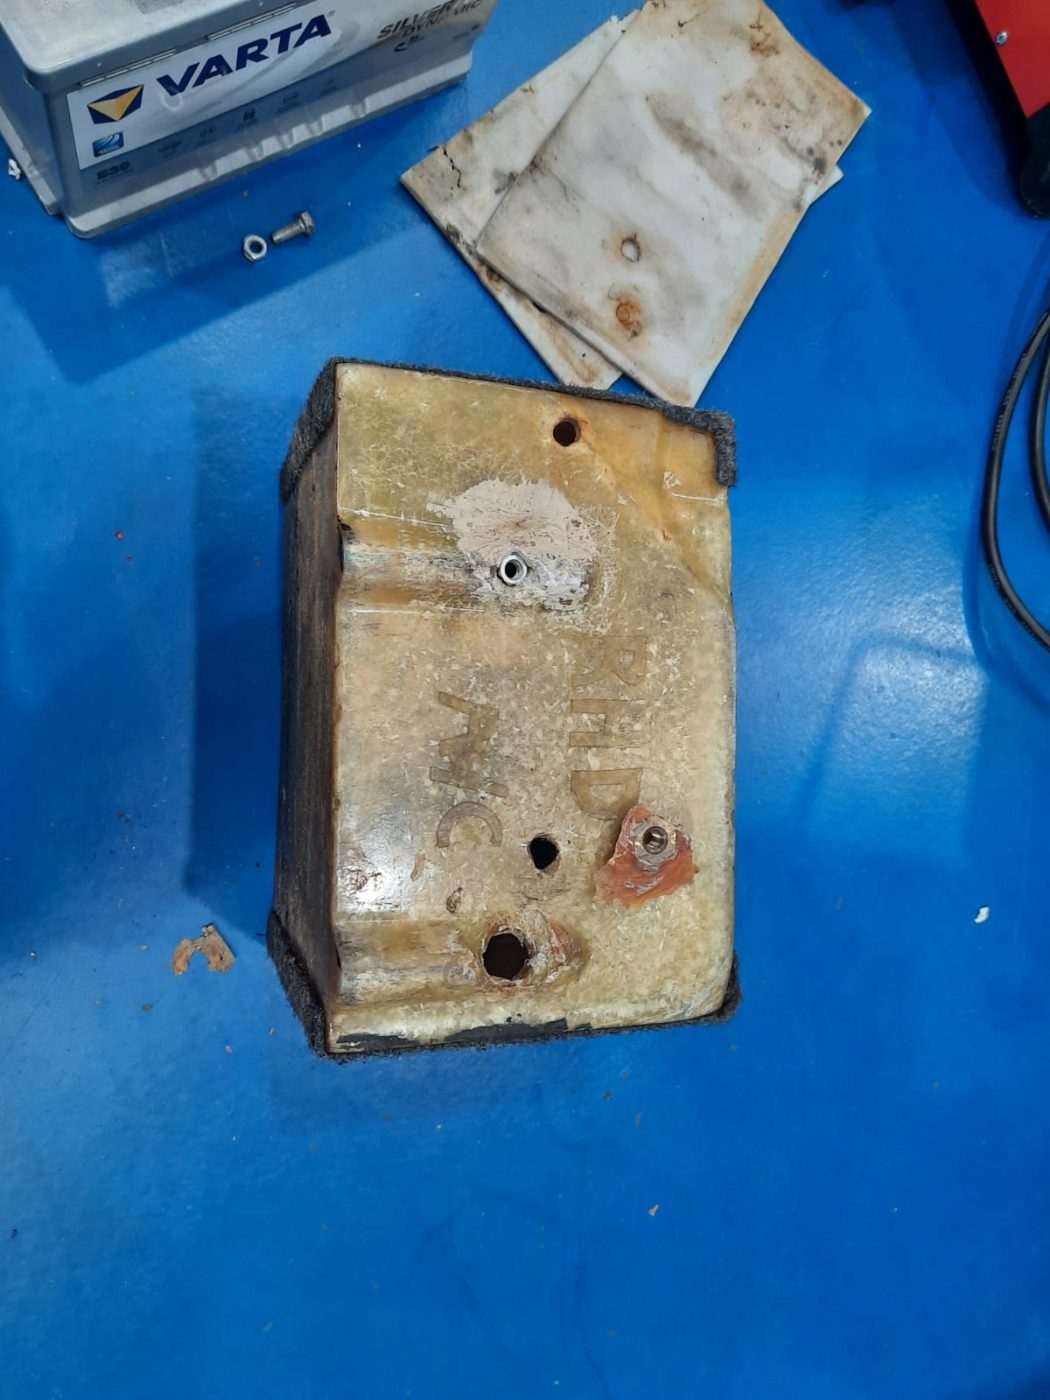
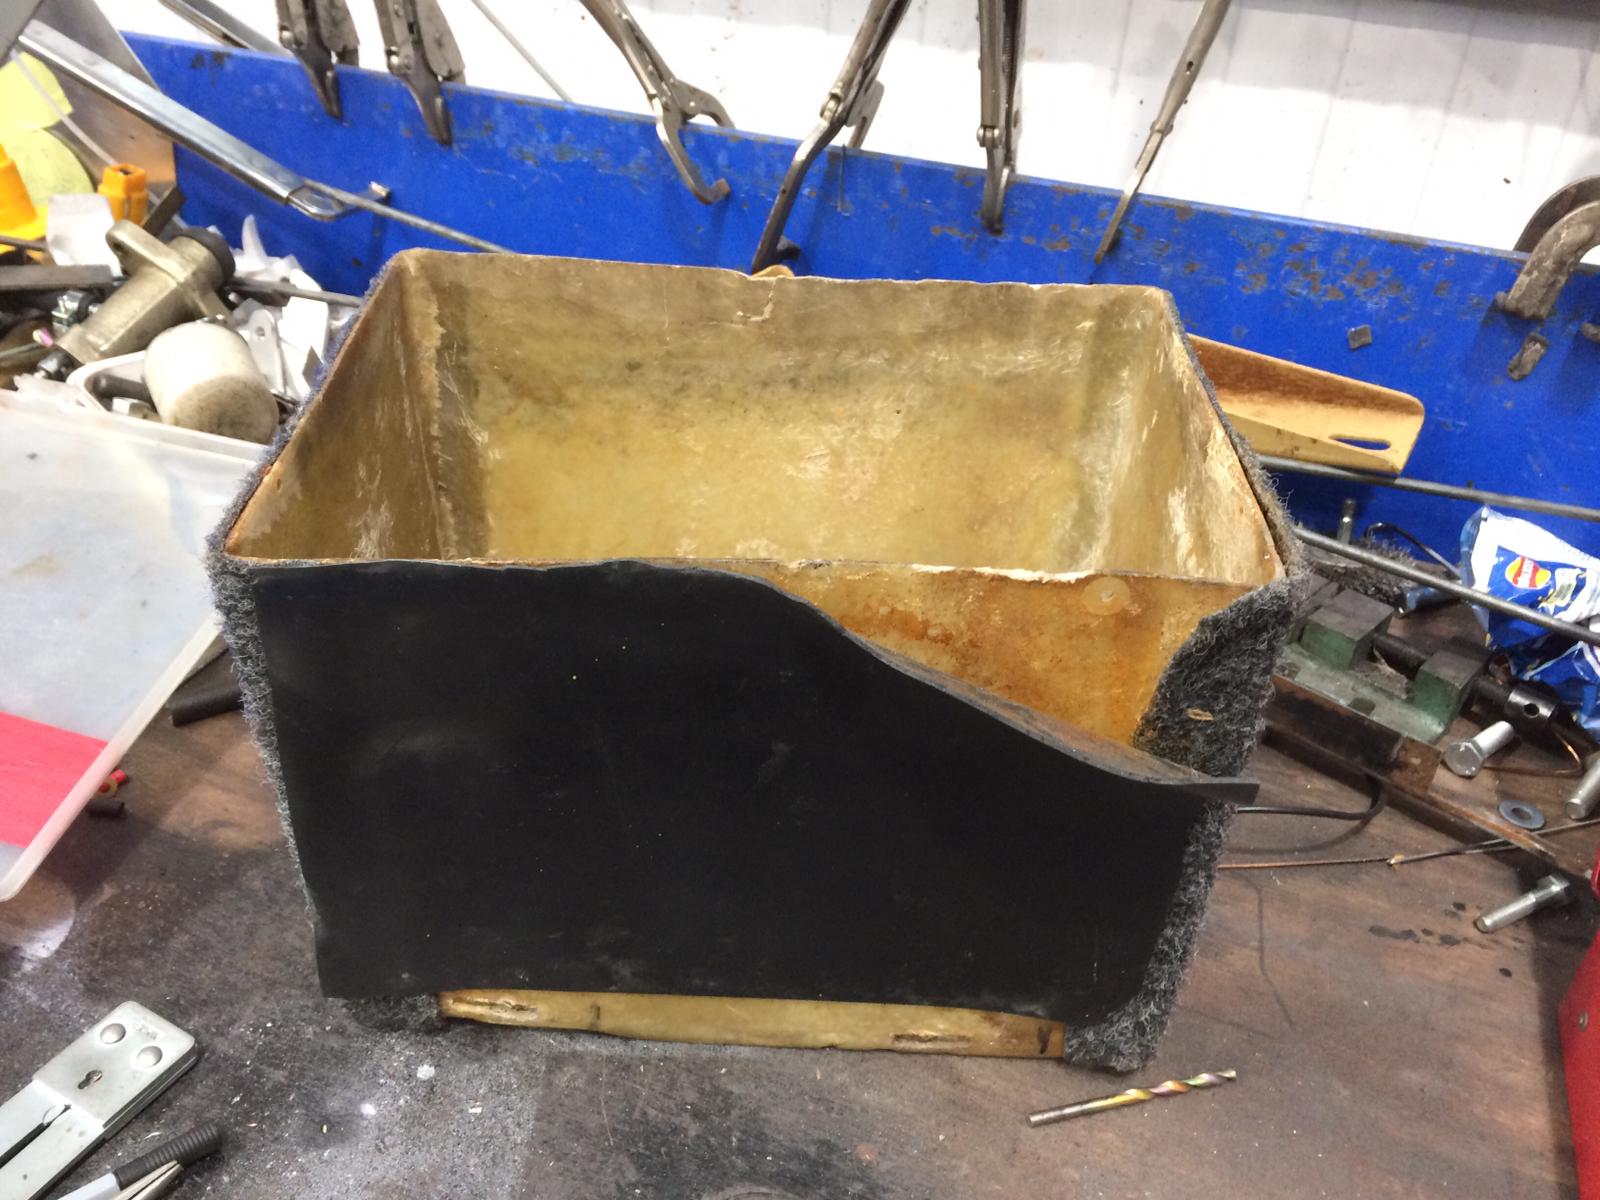
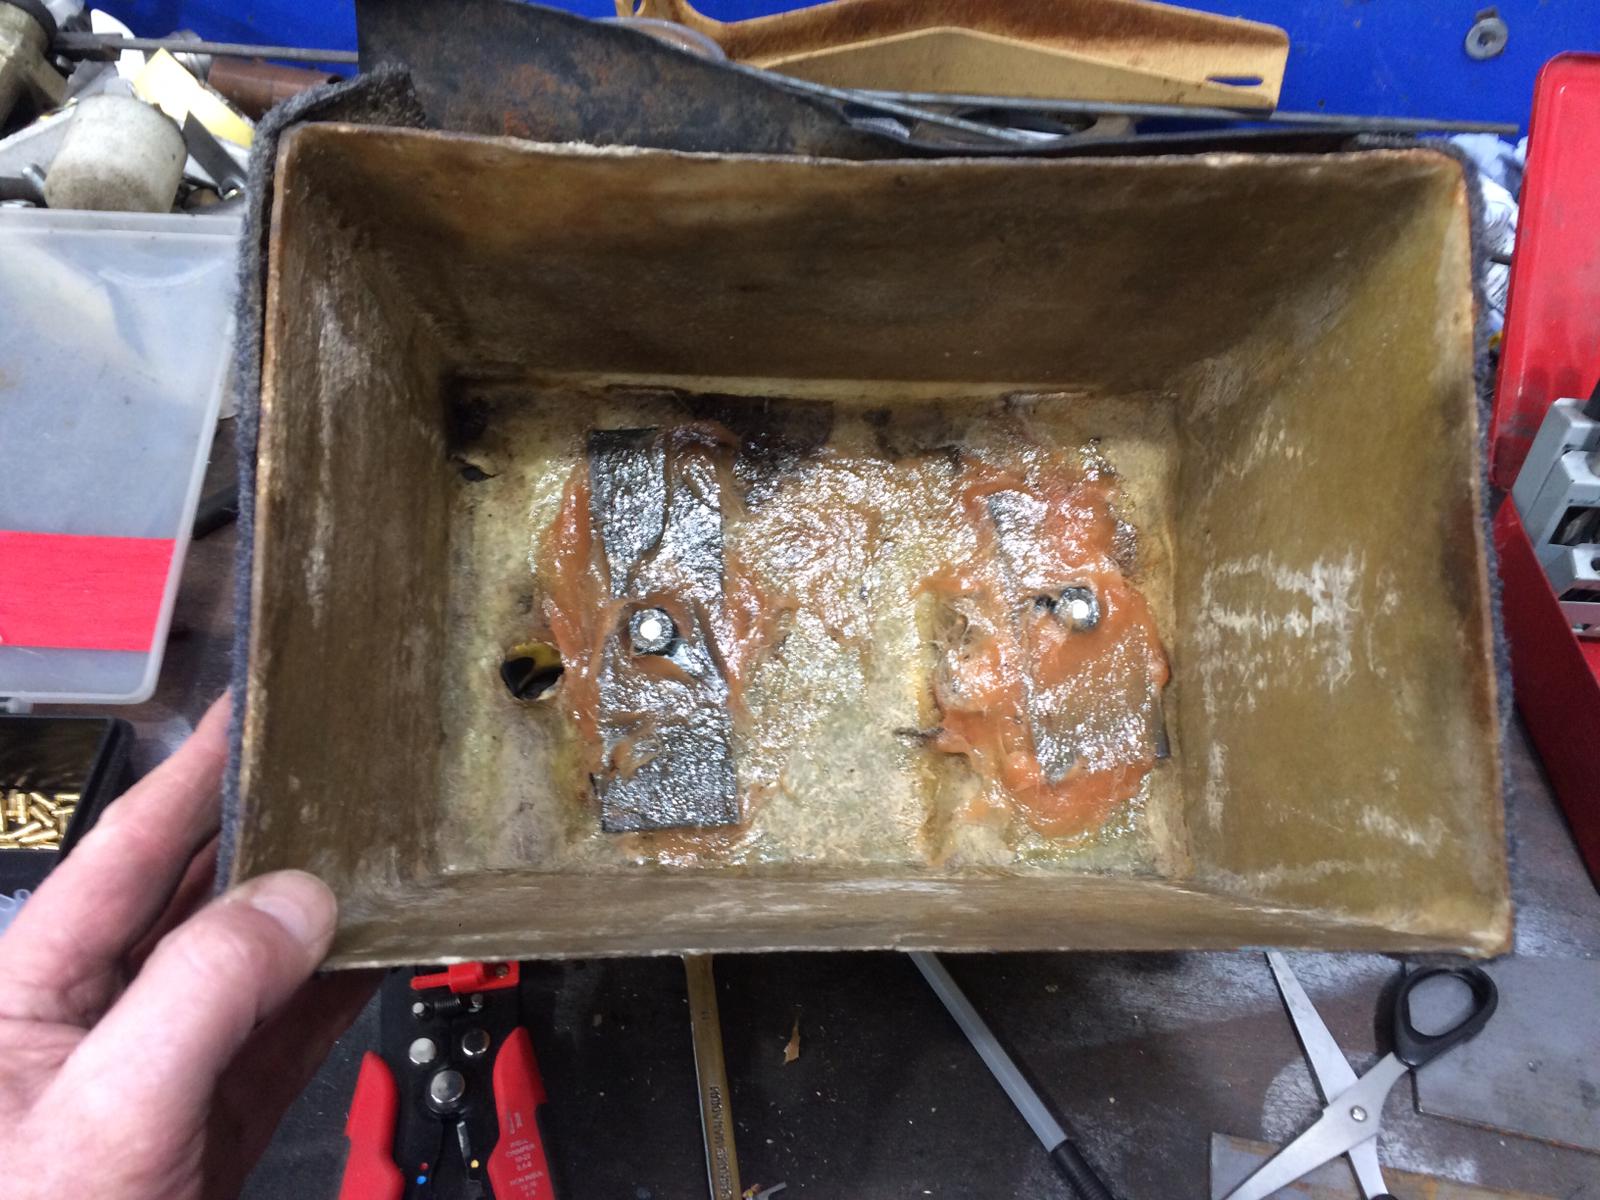
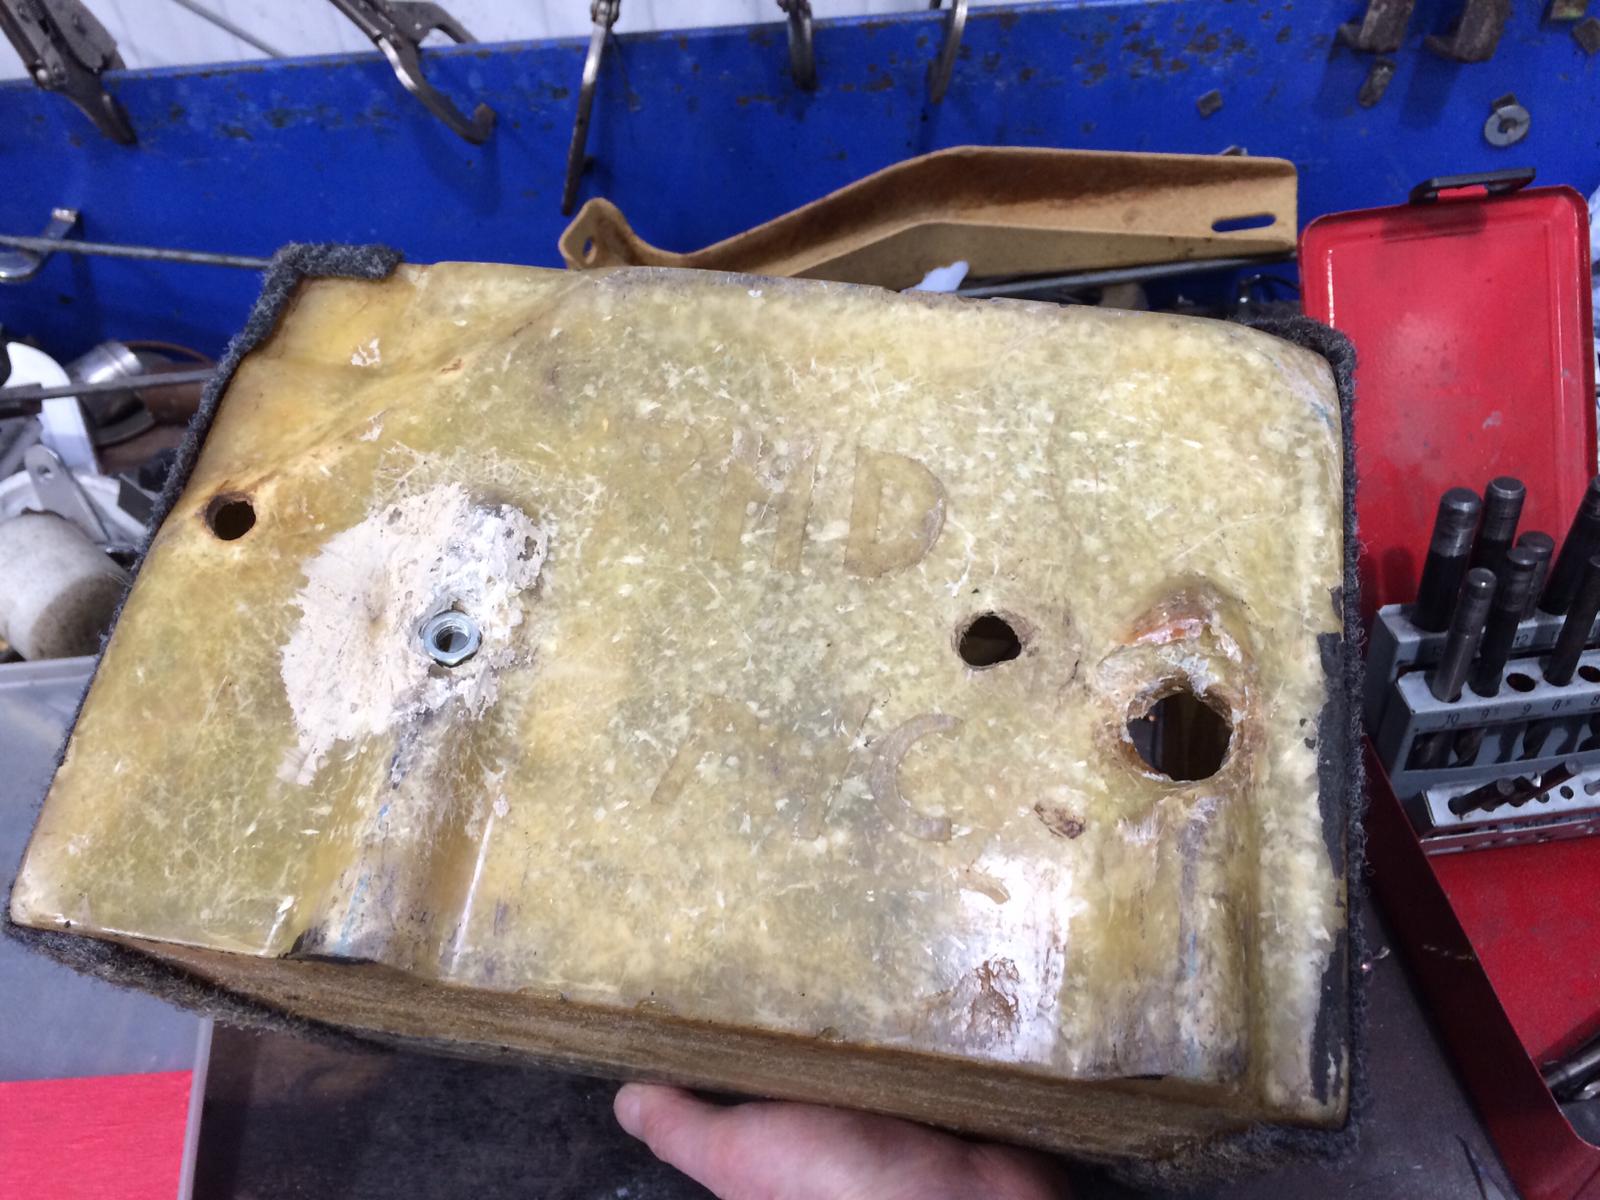
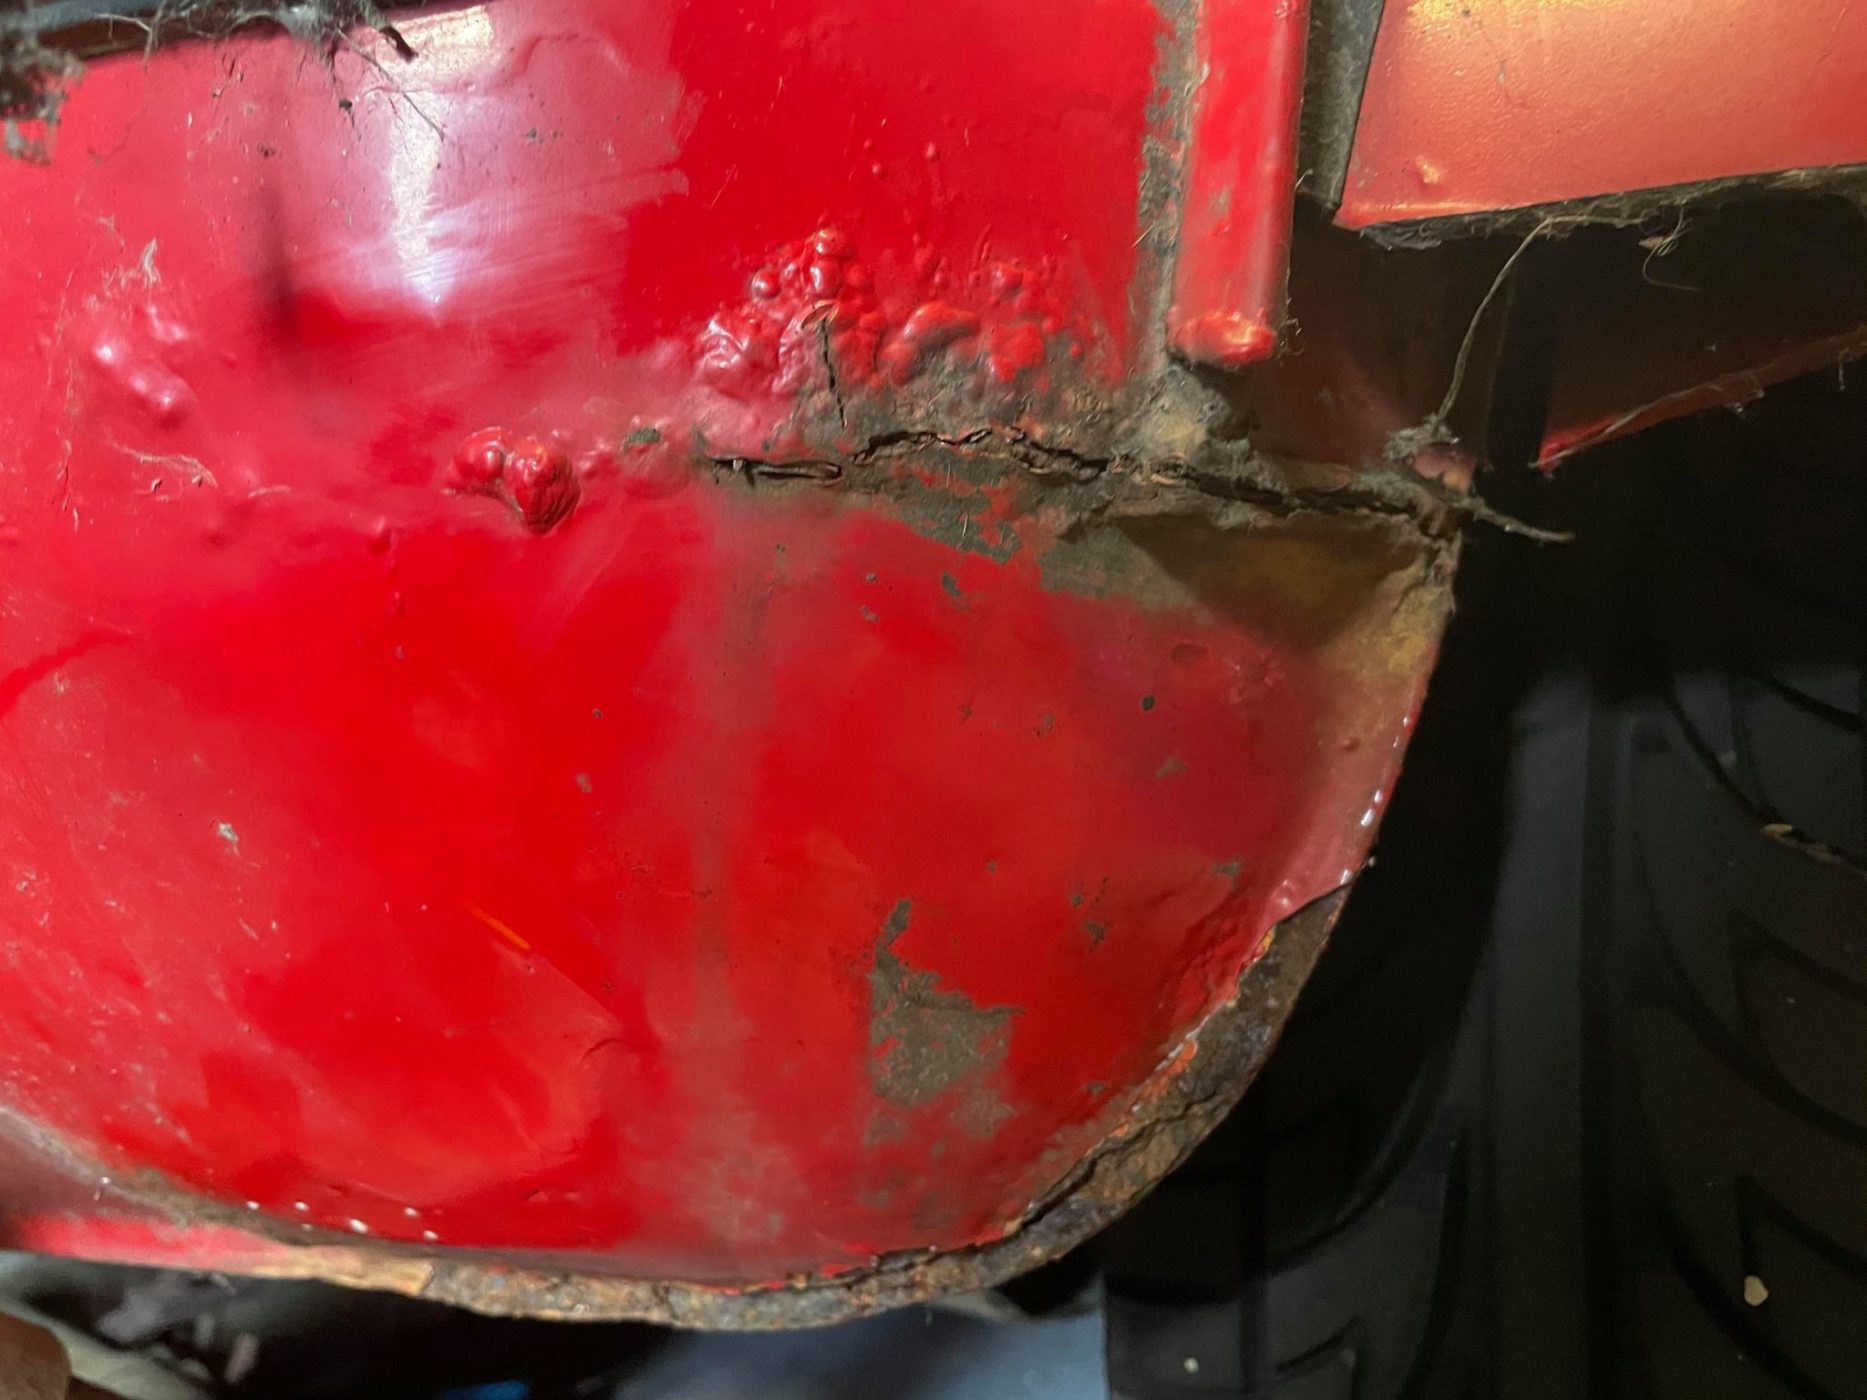
Mauro began the service by checking and replacing the standard elements such as the engine oil, spark plugs, and the oil and air filters. We discovered that there’s some serious damage to the fibreglass battery box that needs attending to as well as some re-wiring issues. Although we also hope service is straight forward, we understand that the importance of a service is to highlight any more serious issues that are less obvious.
There were some substantial wiring problems which needed attending to as some of the wires were at breaking point. Mauro has re-wired the TVR and replaced some of the wires.
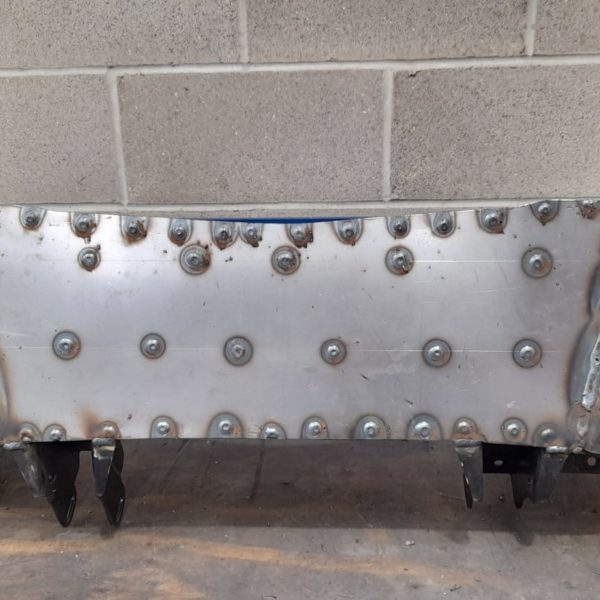
We’ve reinforced the bolting of the battery box with fabricated plates and nuts welded to steel plates.