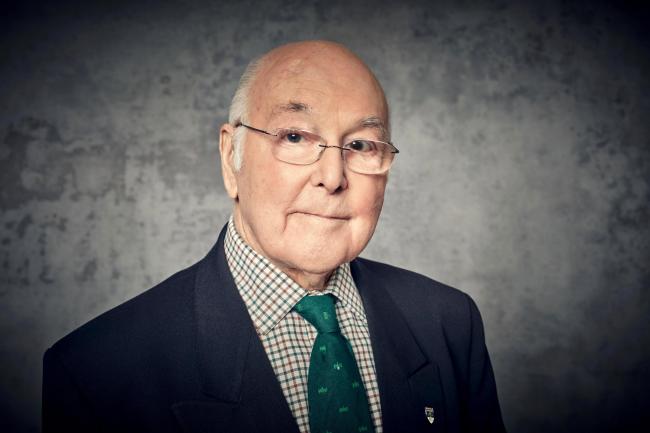
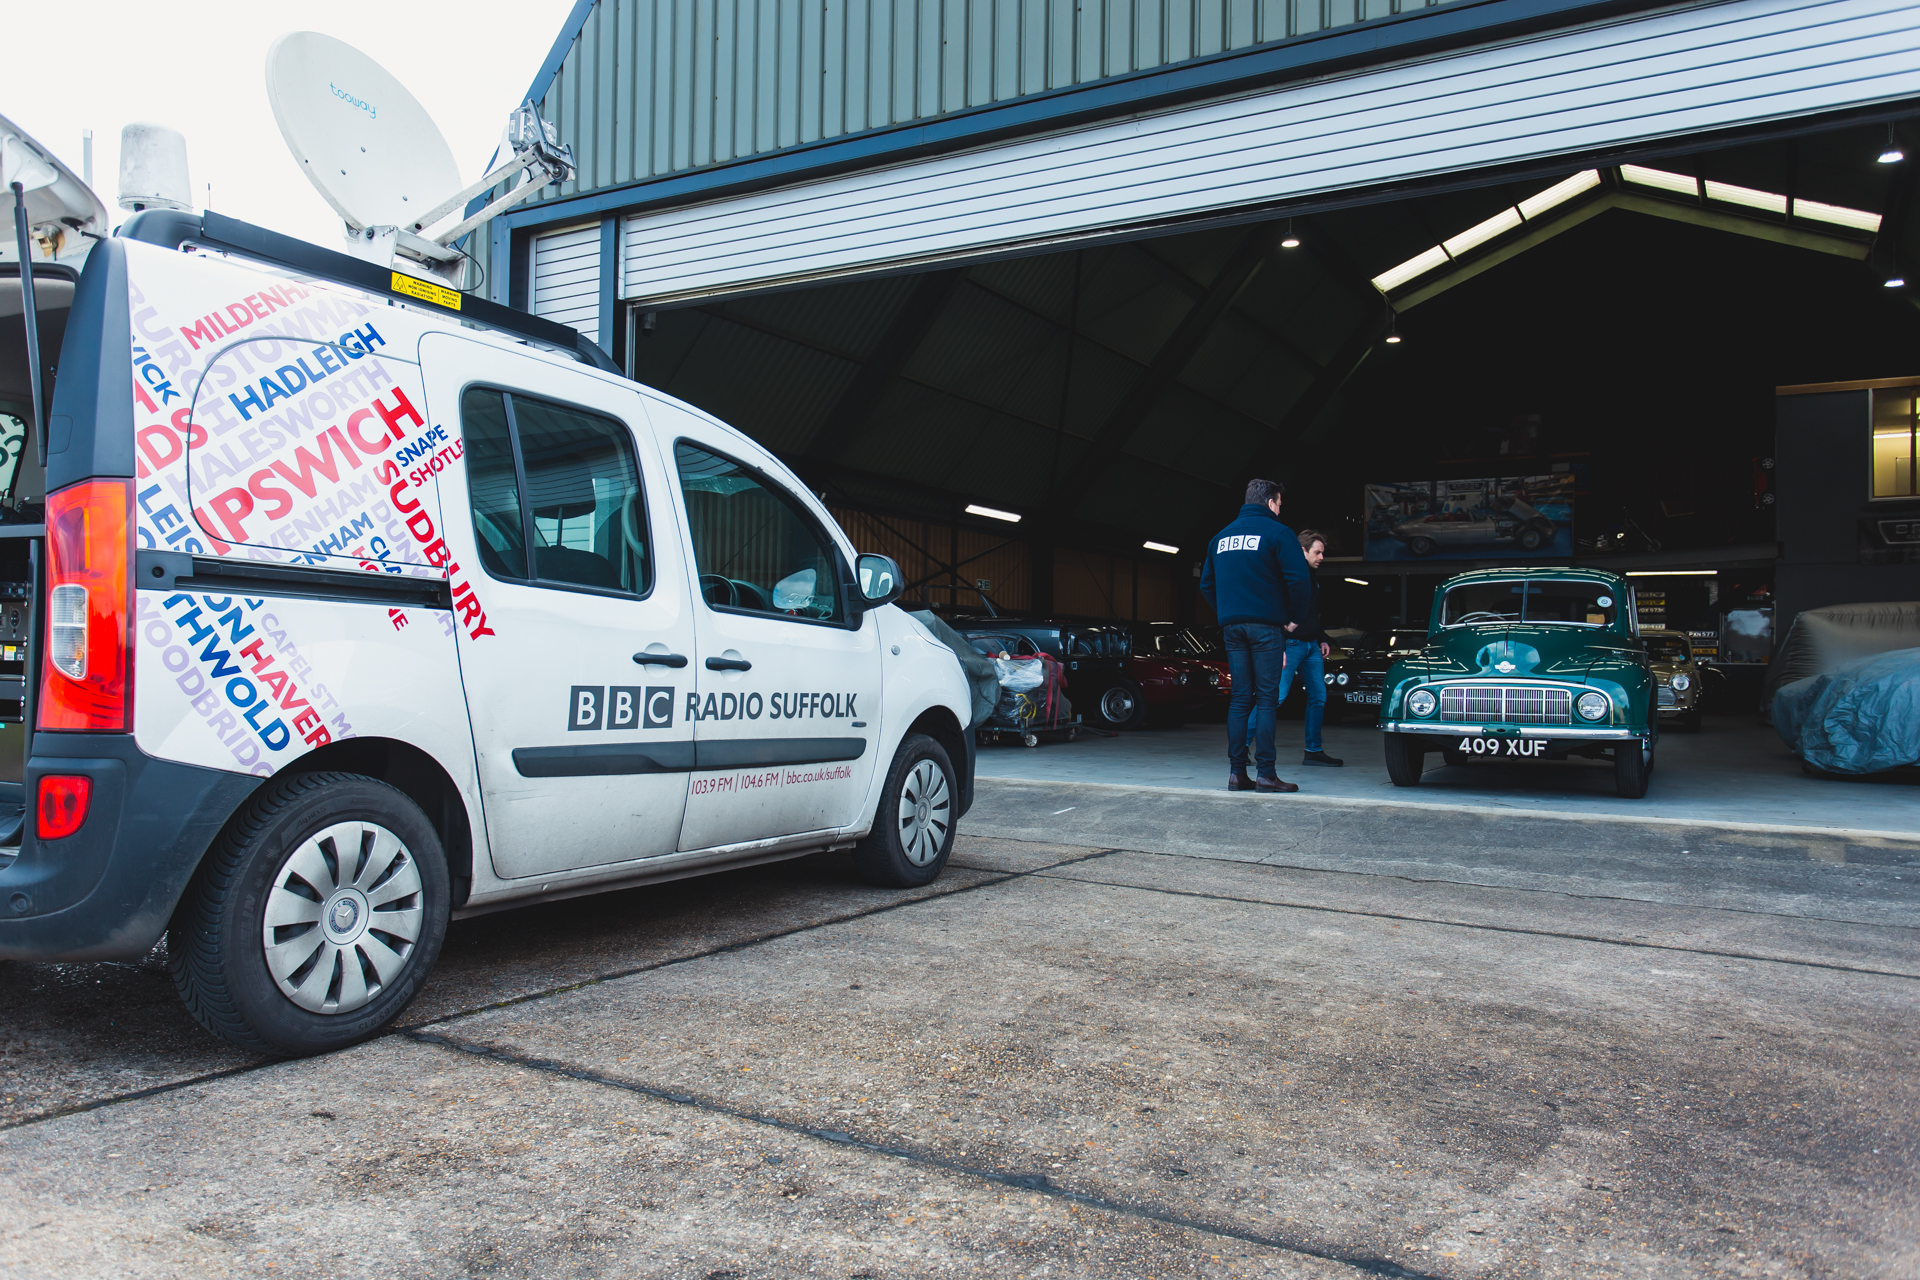
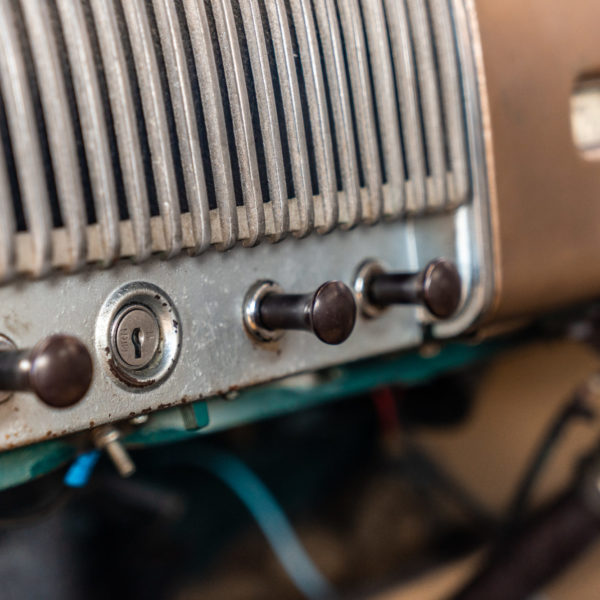
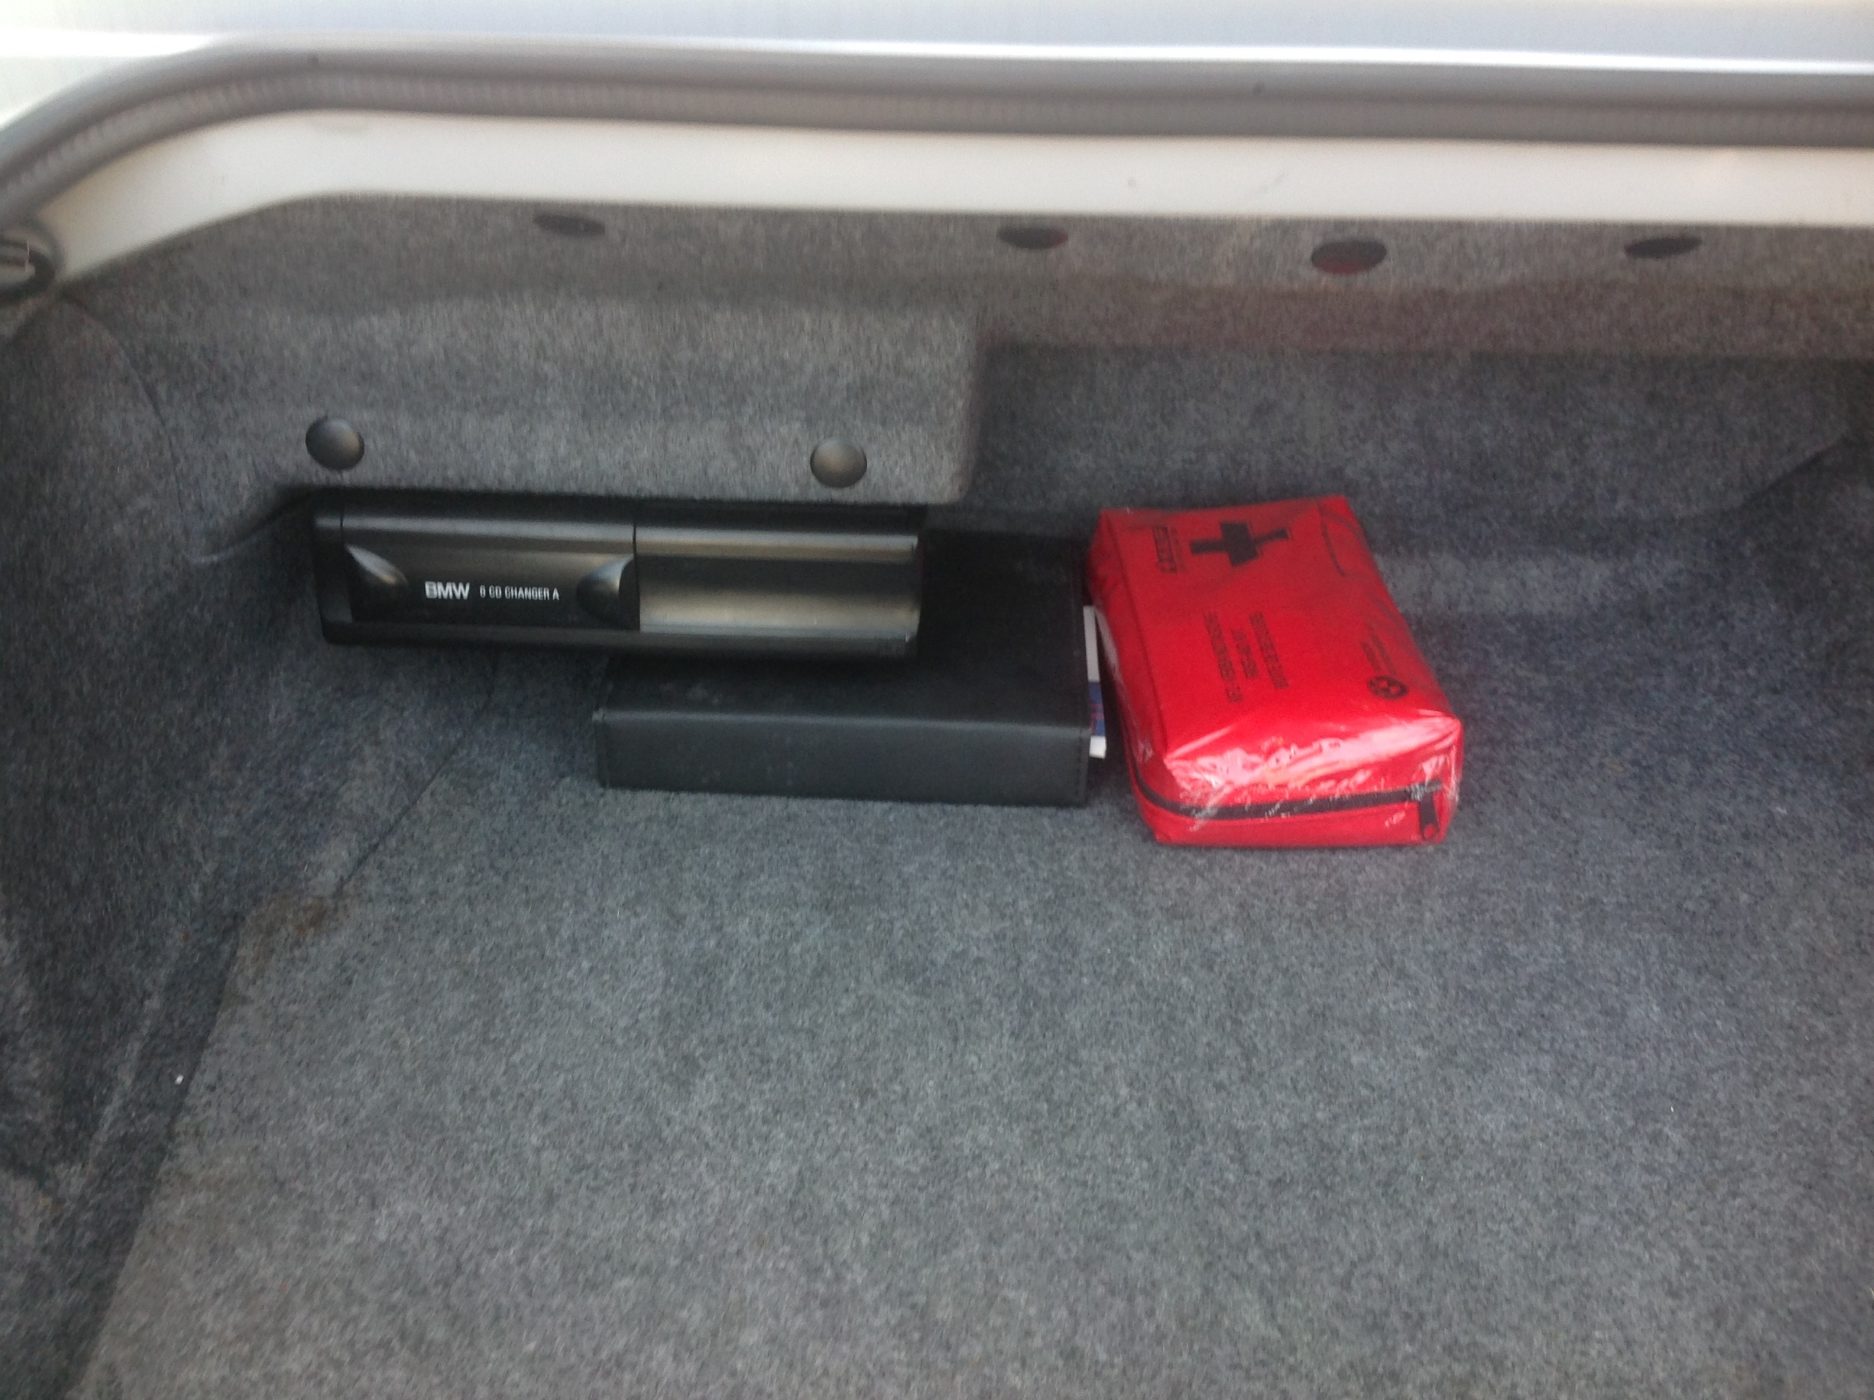
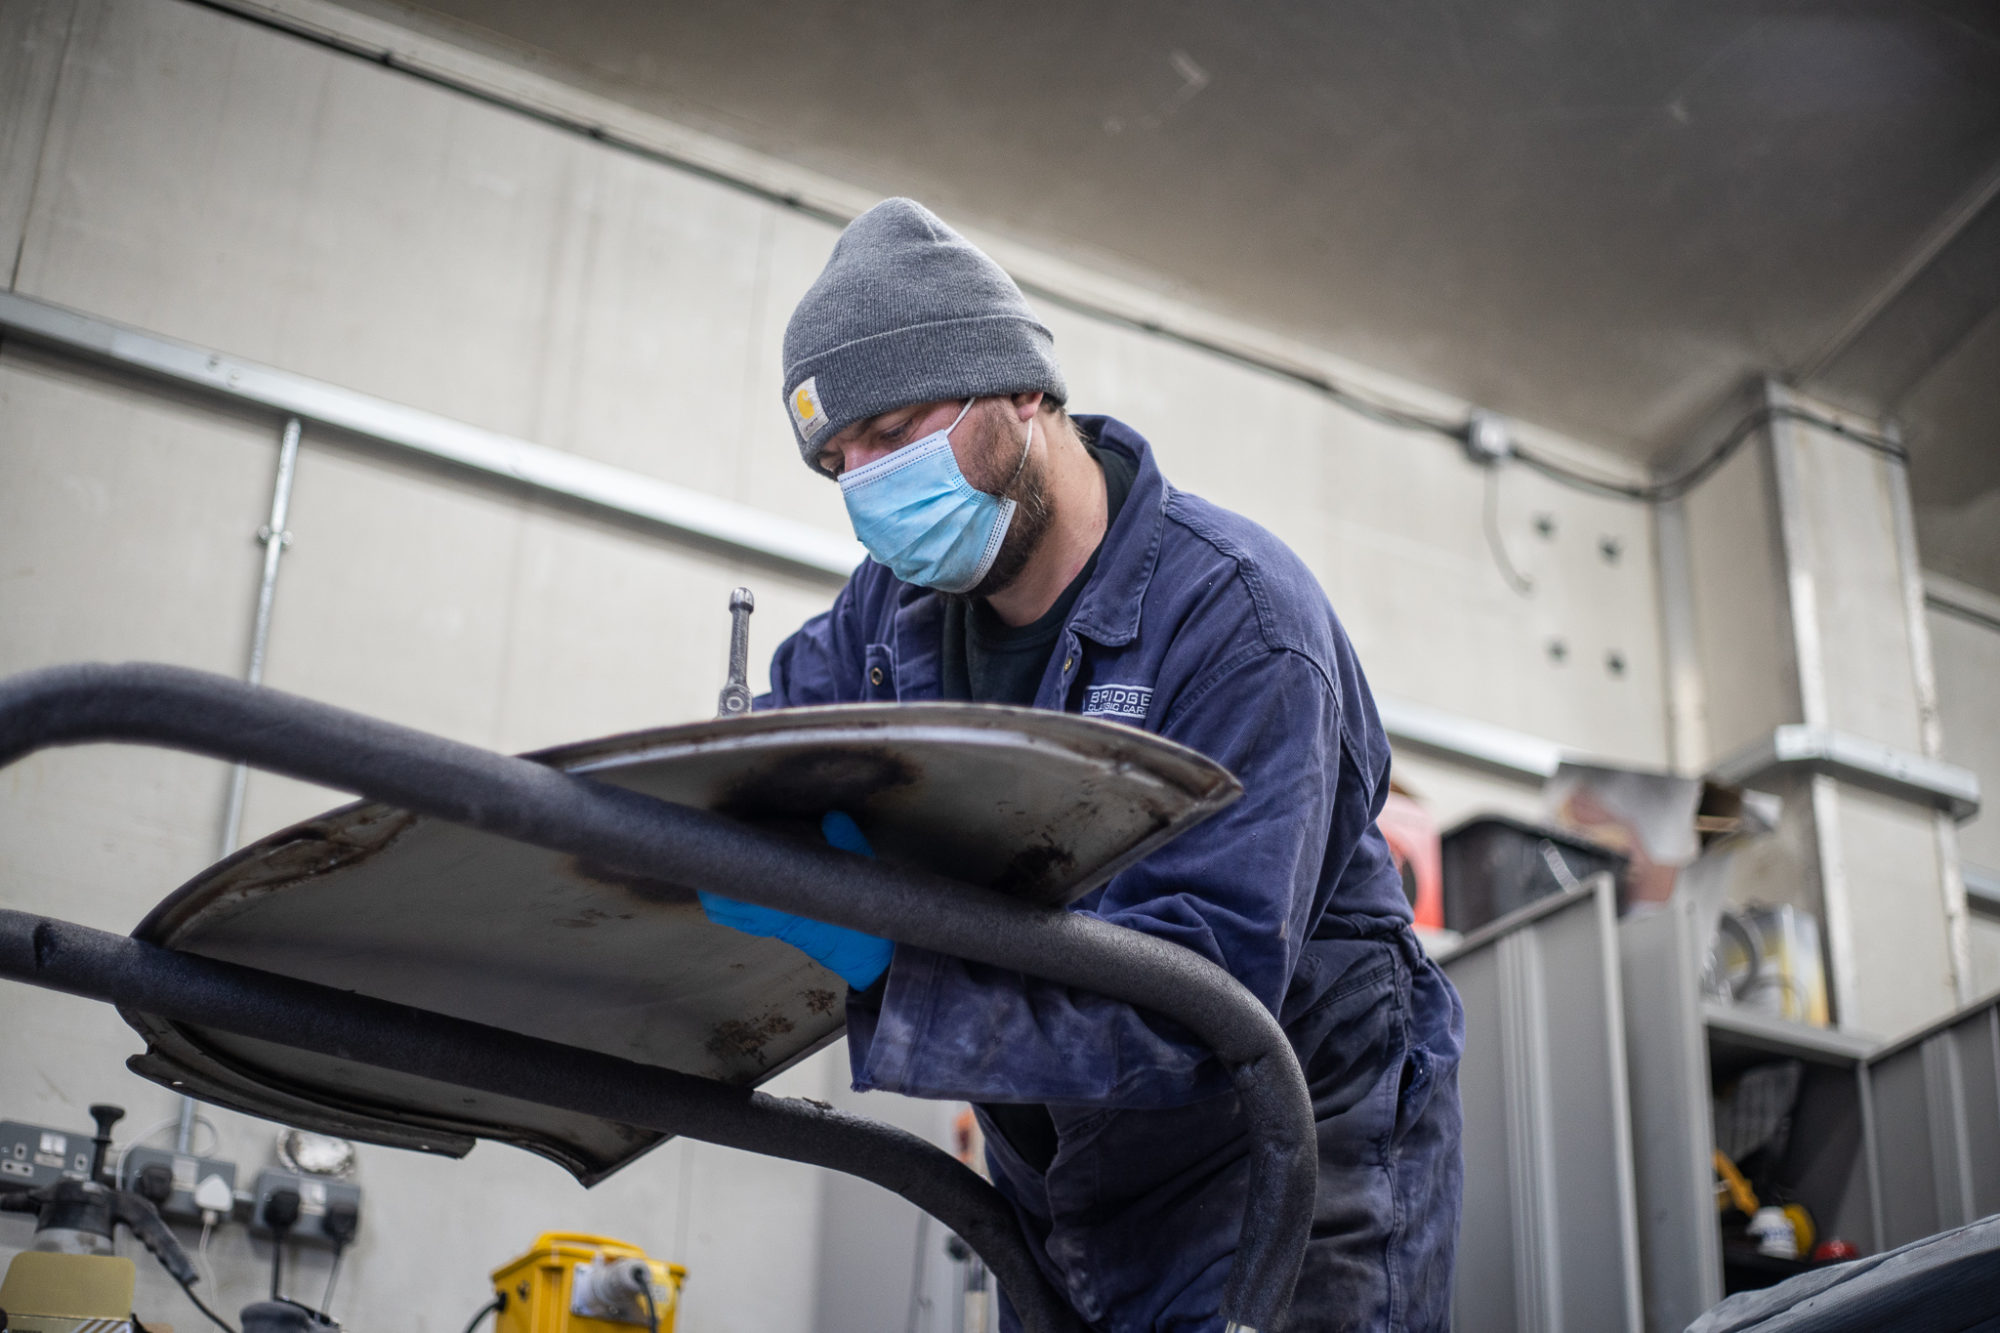
BBC Radio Suffolk Interview With Luke Deal
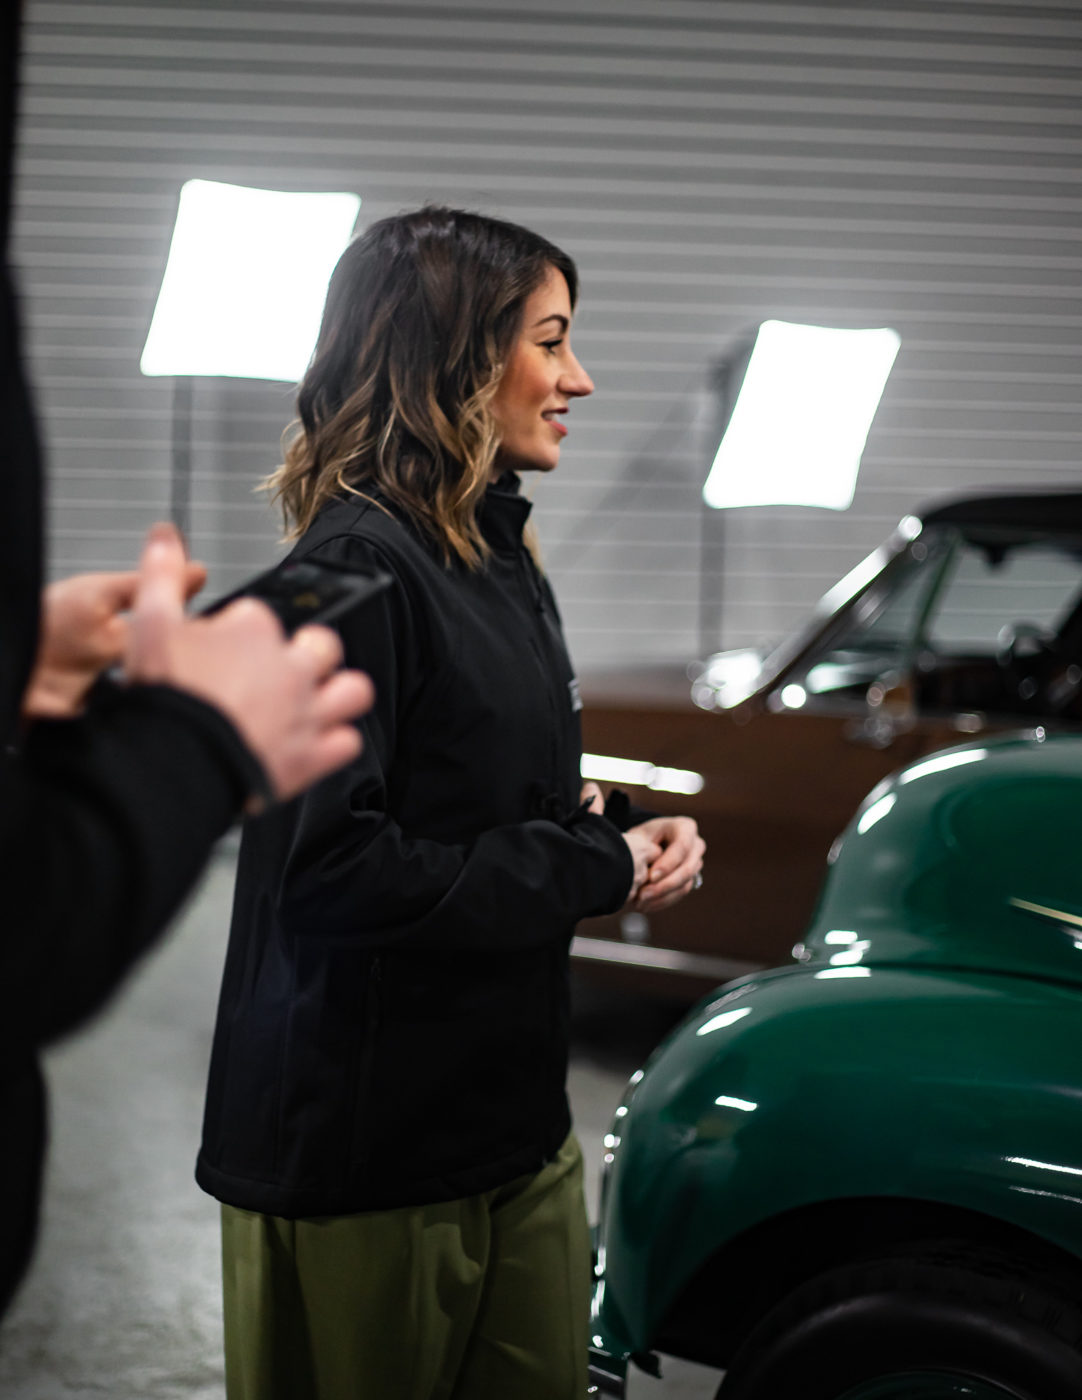
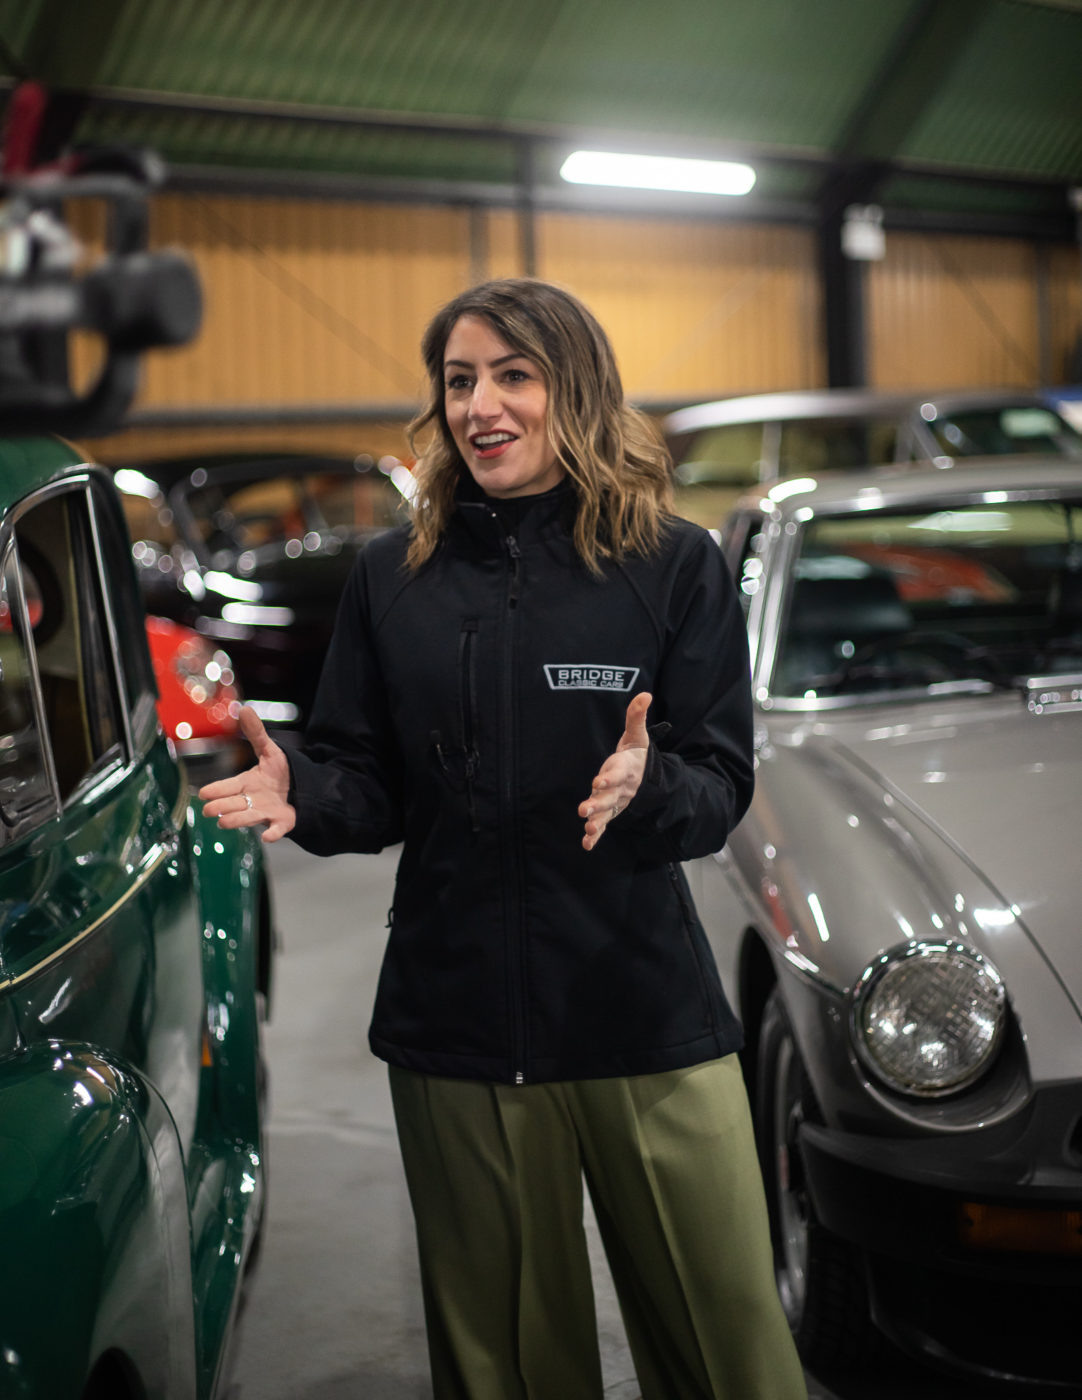
Today we had Luke Deal from BBC Radio Suffolk come down to join us at our Hanger at Bentwaters. Luke popped down to chat with


Today we had Luke Deal from BBC Radio Suffolk come down to join us at our Hanger at Bentwaters. Luke popped down to chat with

Today marks the 60th anniversary of Jaguar’s iconic E-Type, known for its long linear styling and irresistible British charm which became synonymous with the sixties.
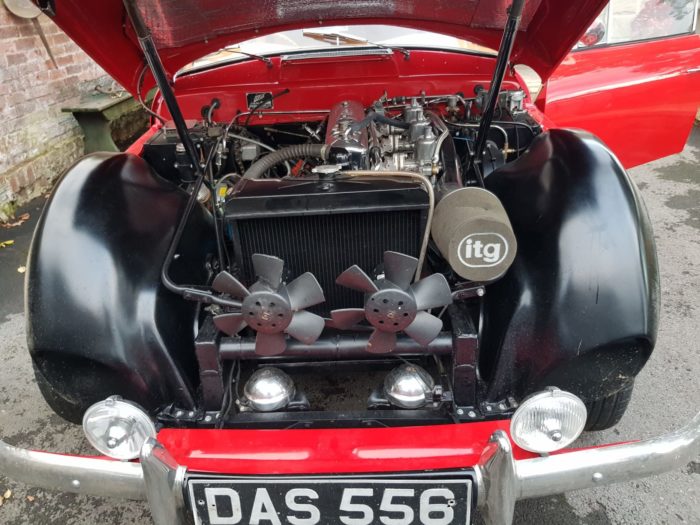
The internet is a wonderful thing. No sooner had we released images of our latest competition car did we hear from Daz! Daz resides in
Motorsport legend Murray Walker has died aged 97. Best known for his iconic voice and commentating, Murray became synonymous with Formula 1. Murray is best

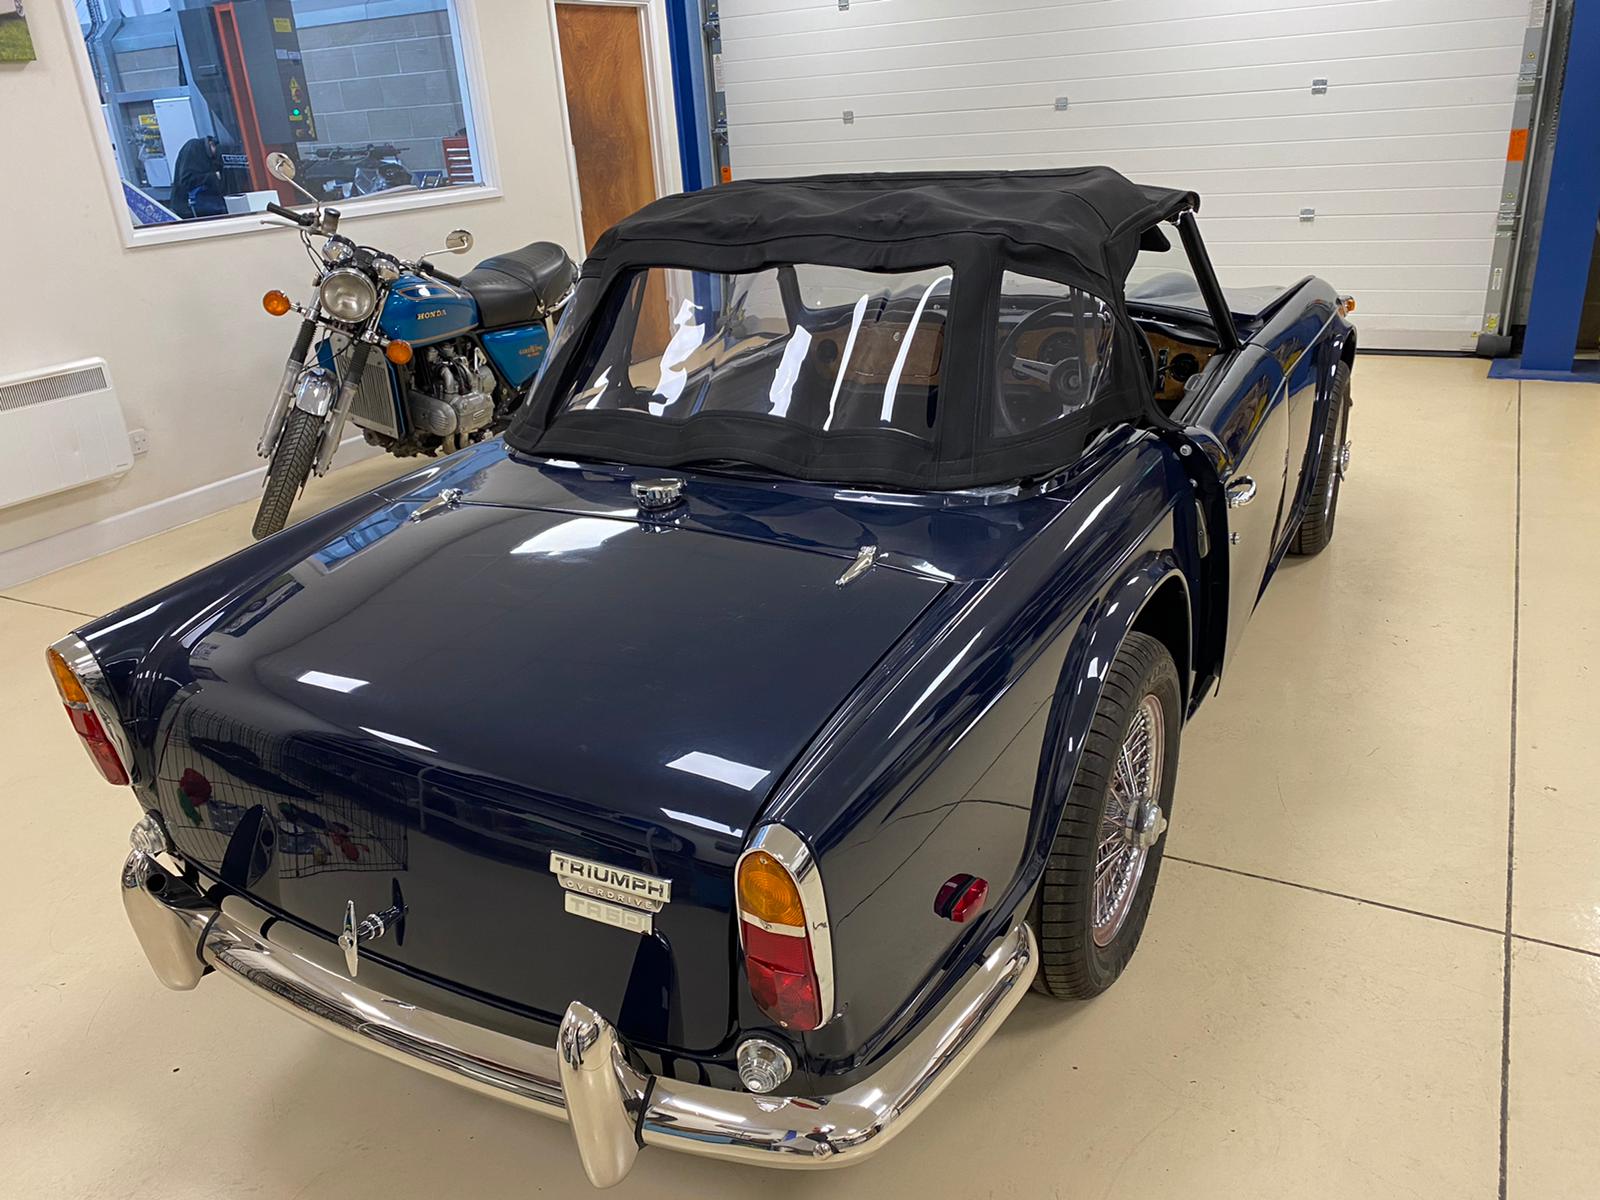
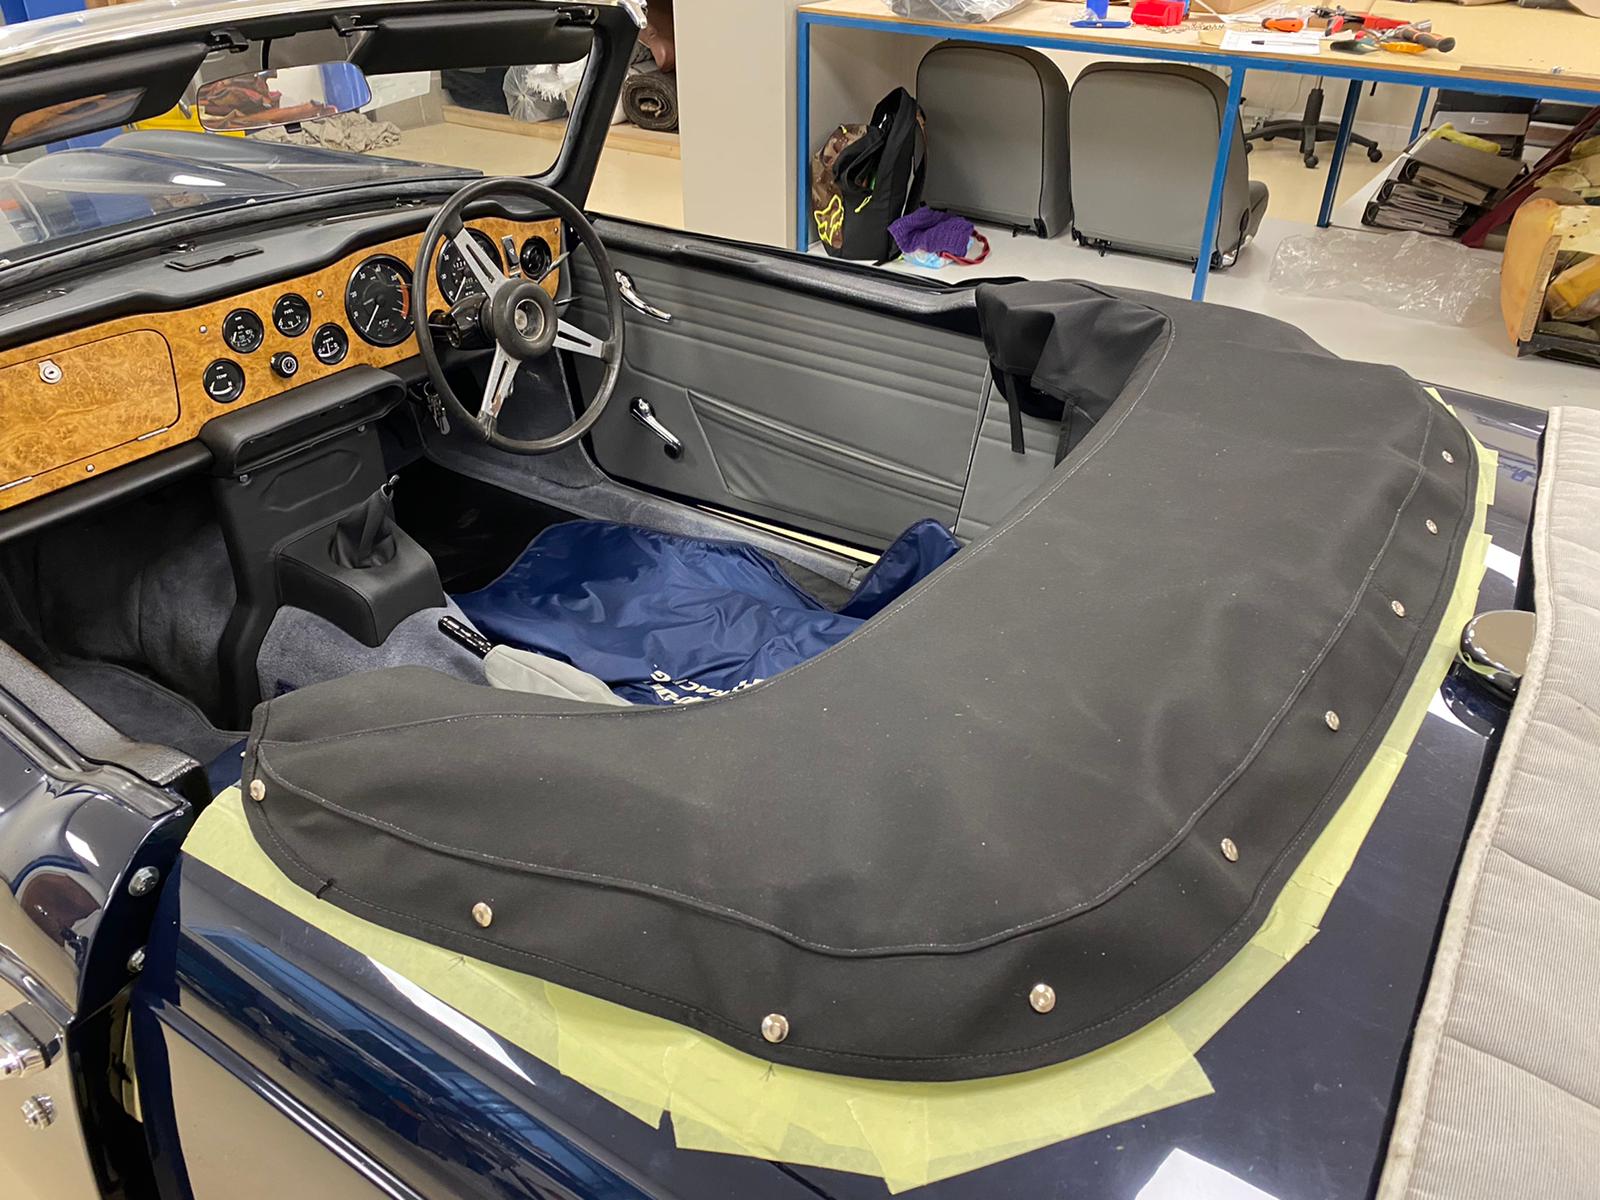
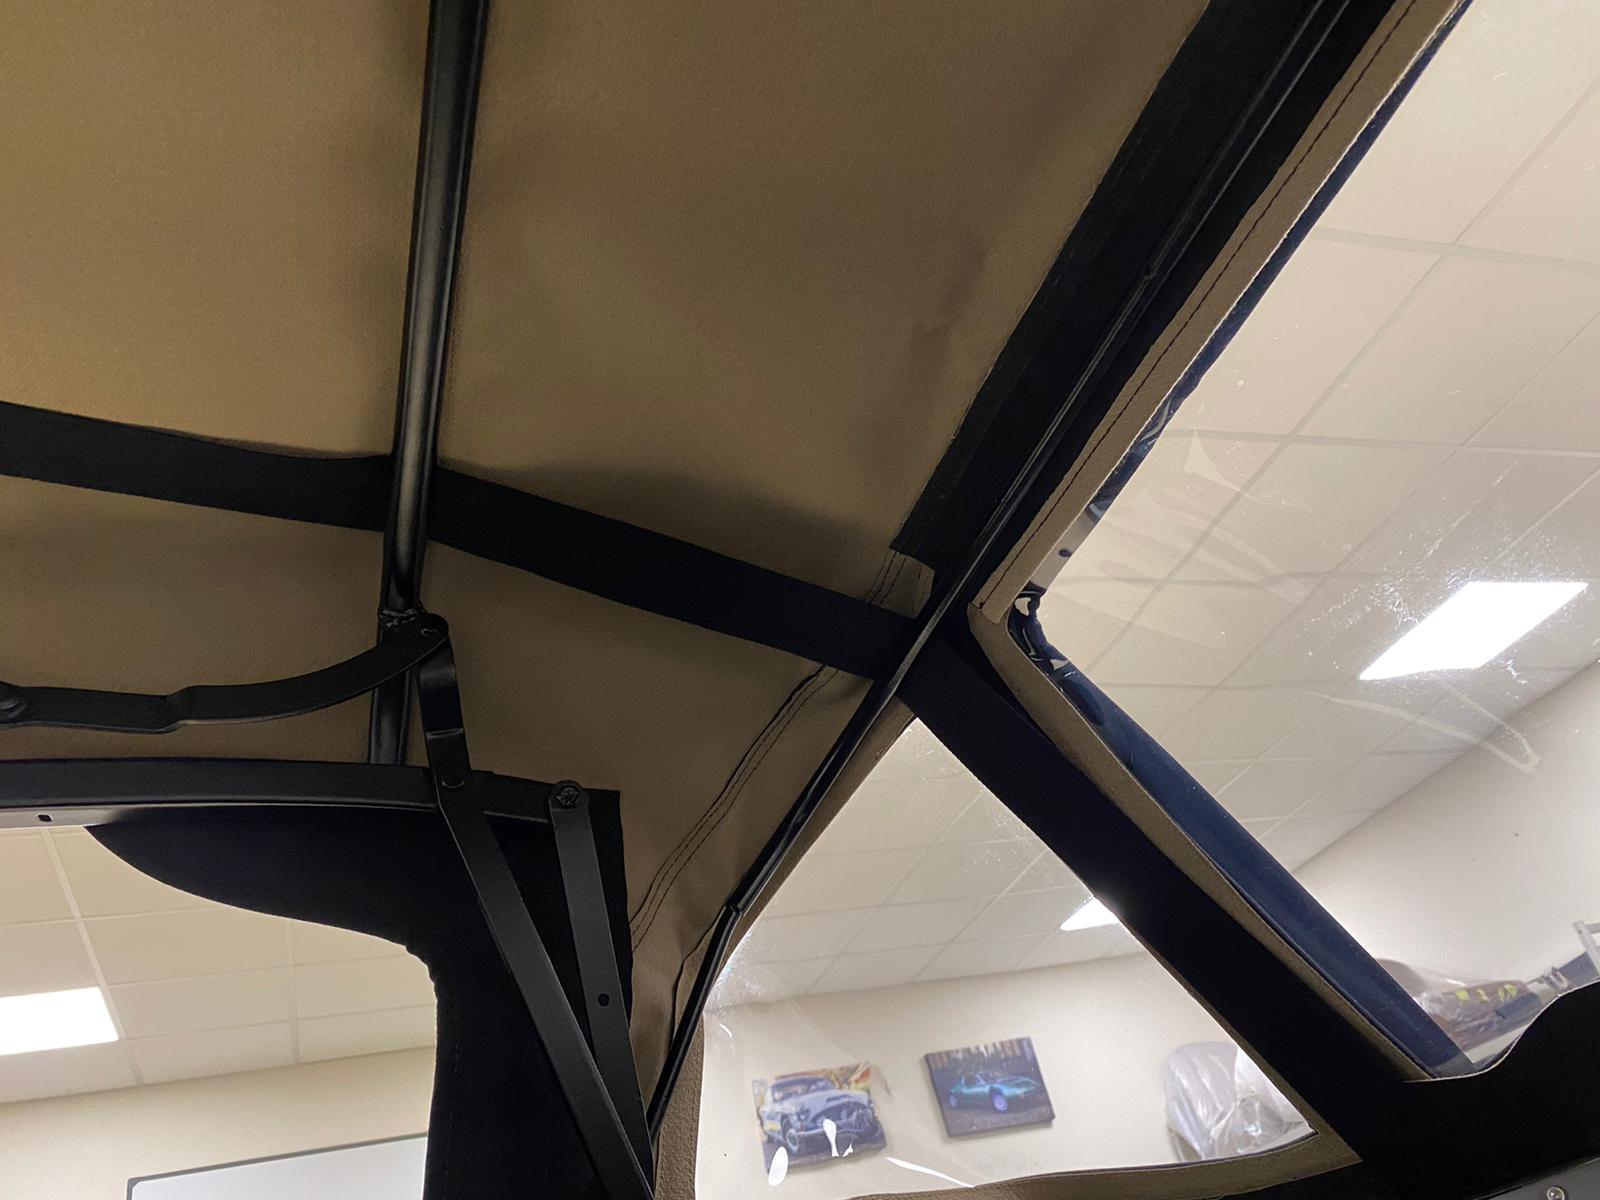
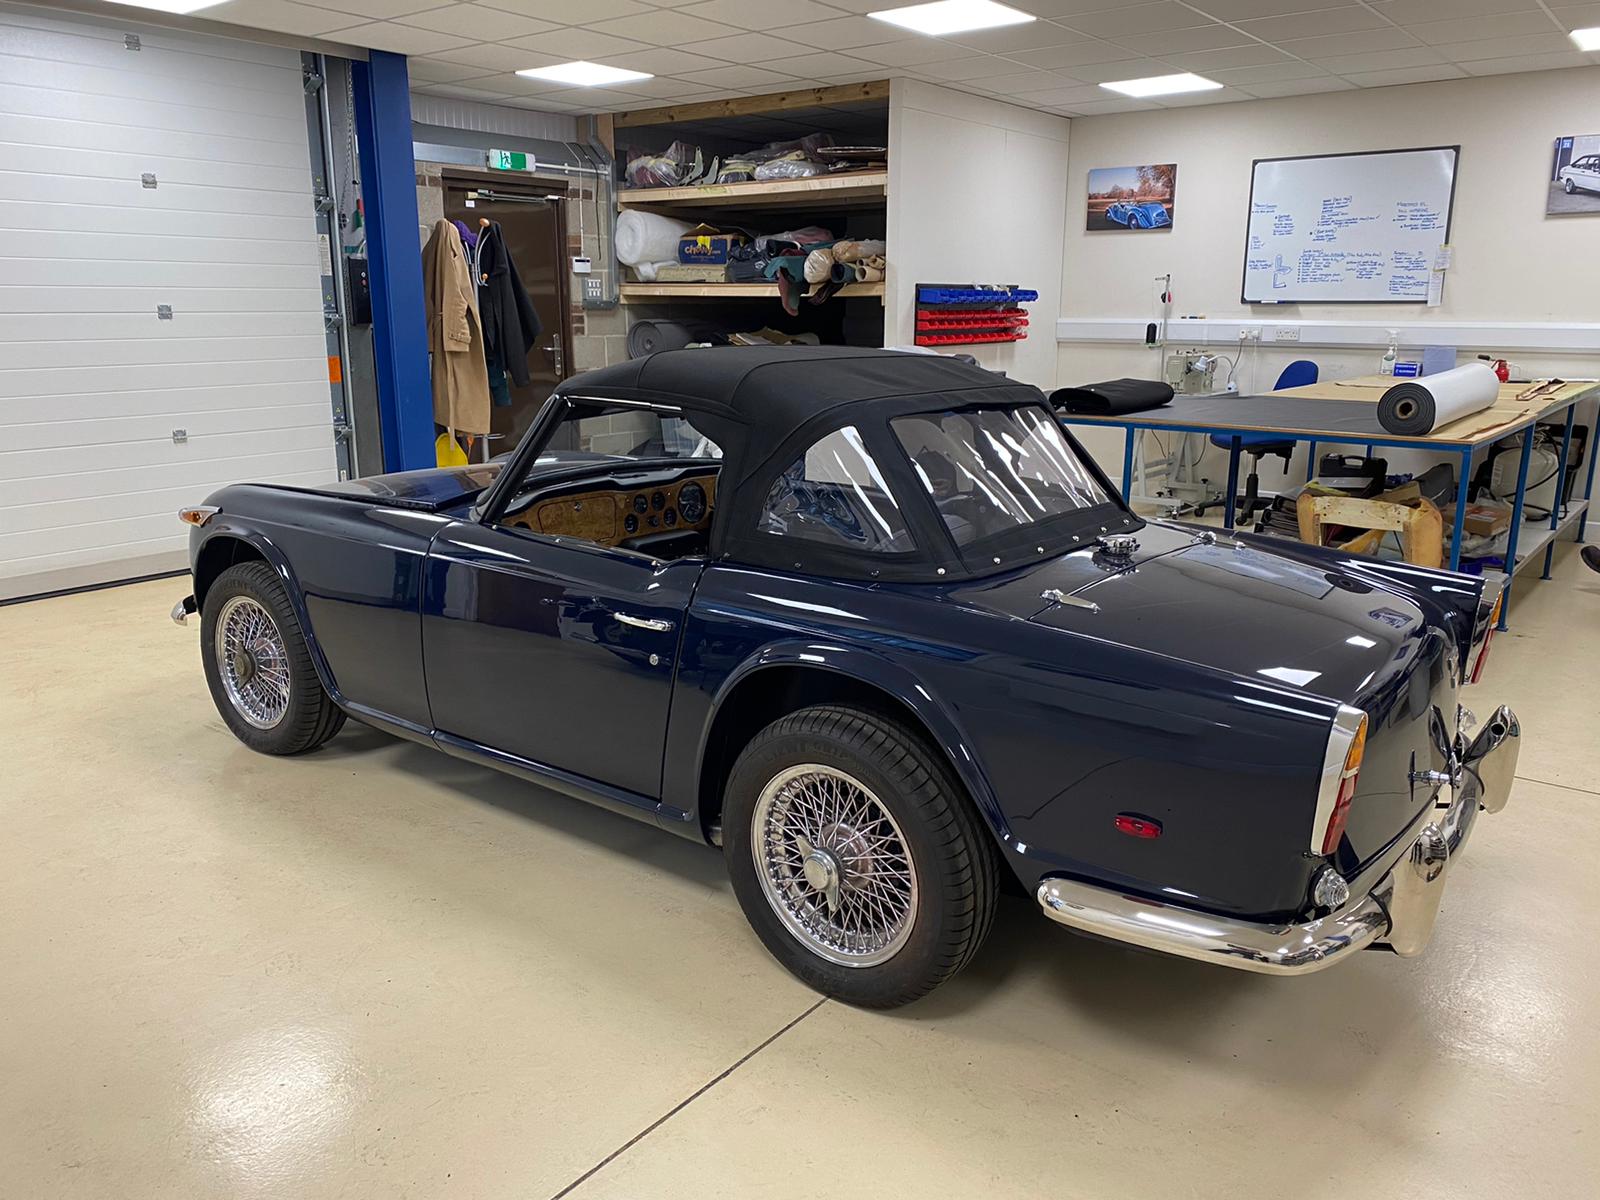
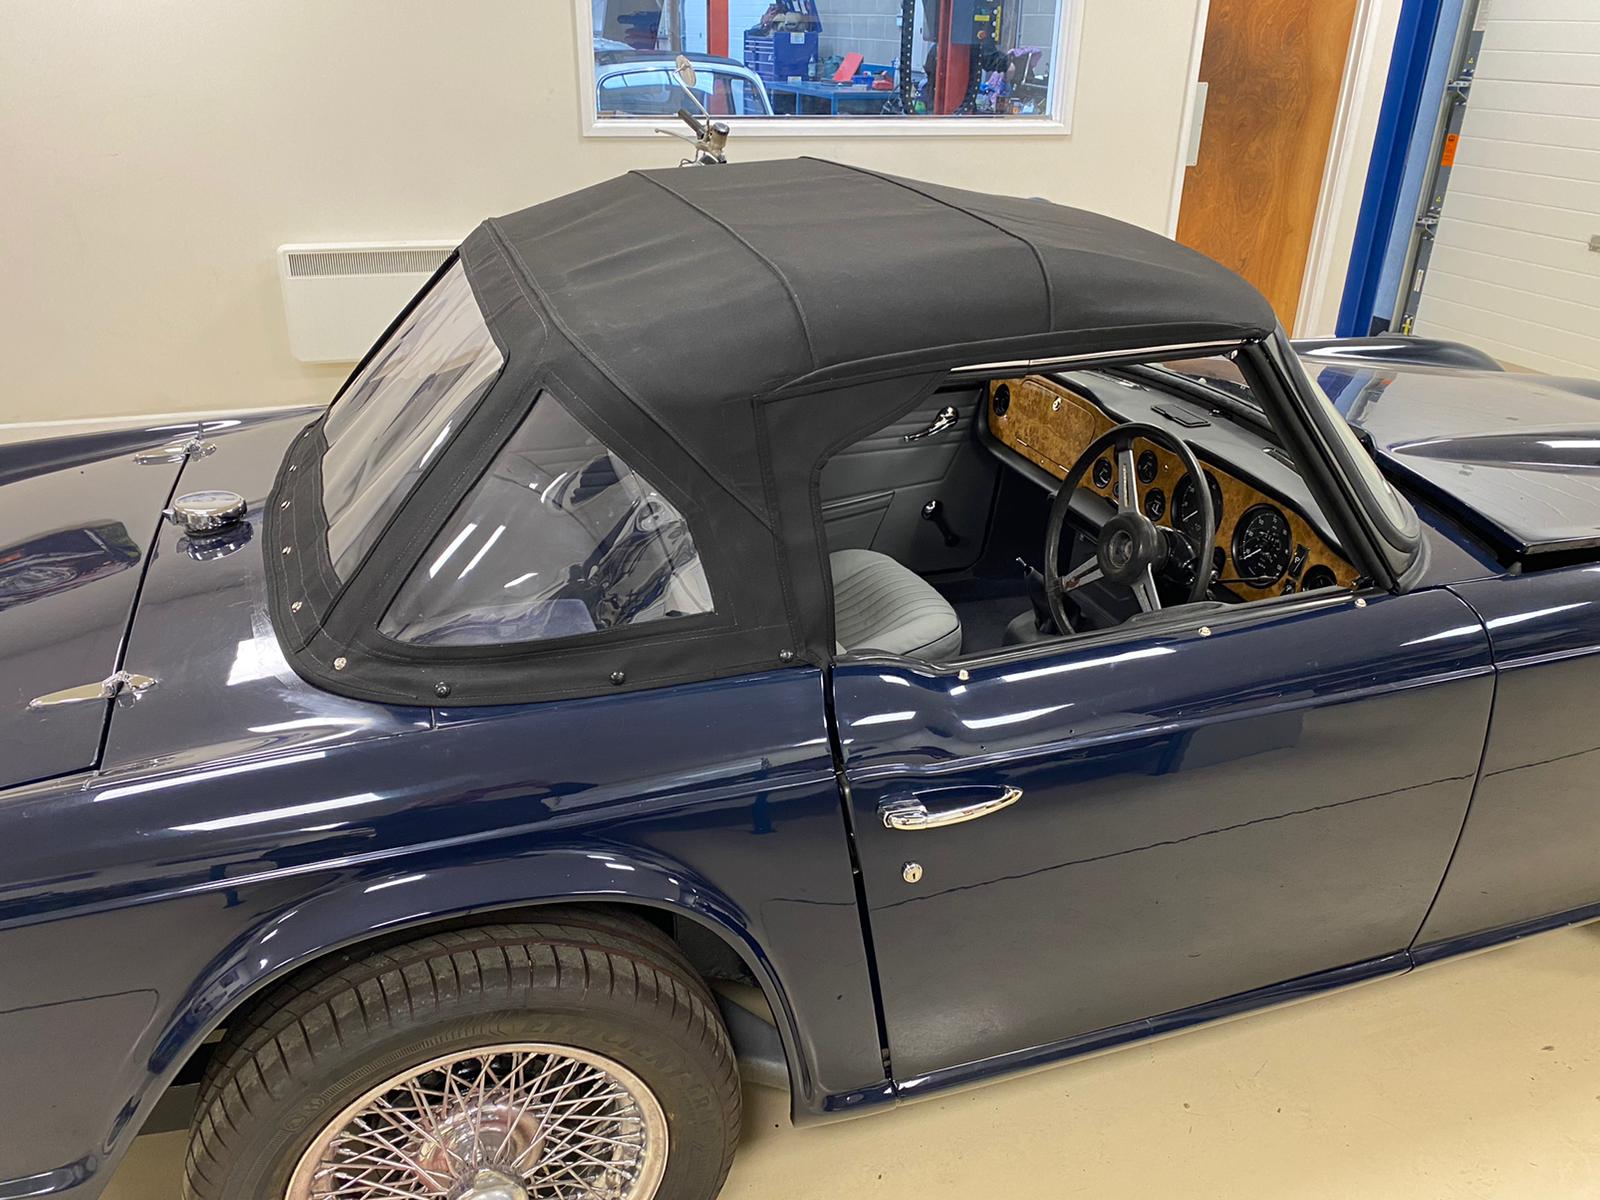
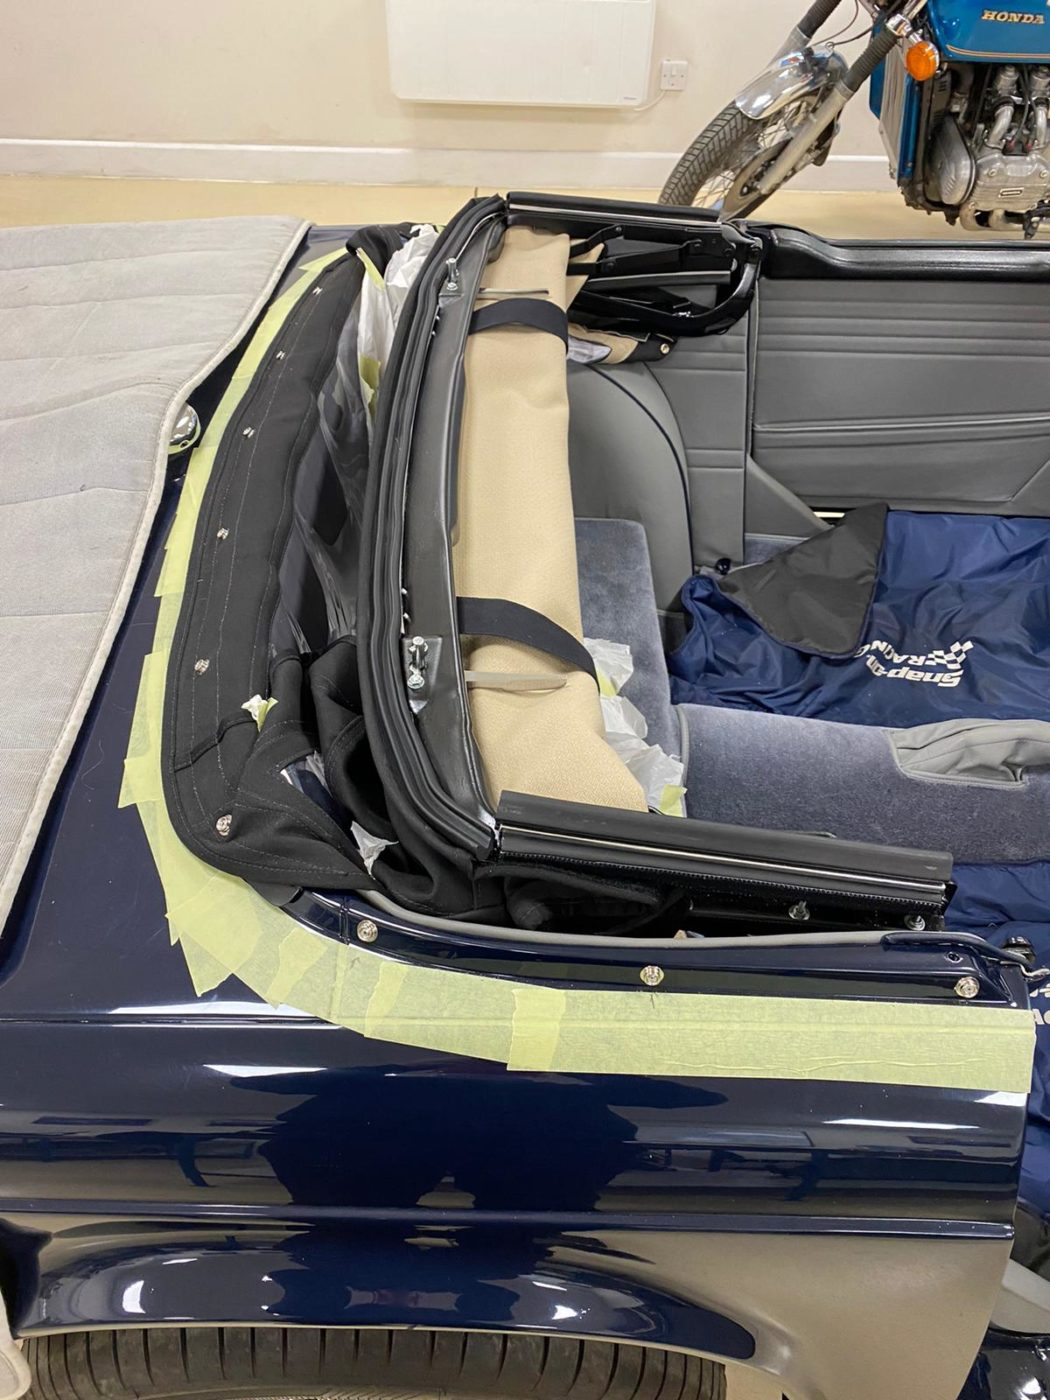
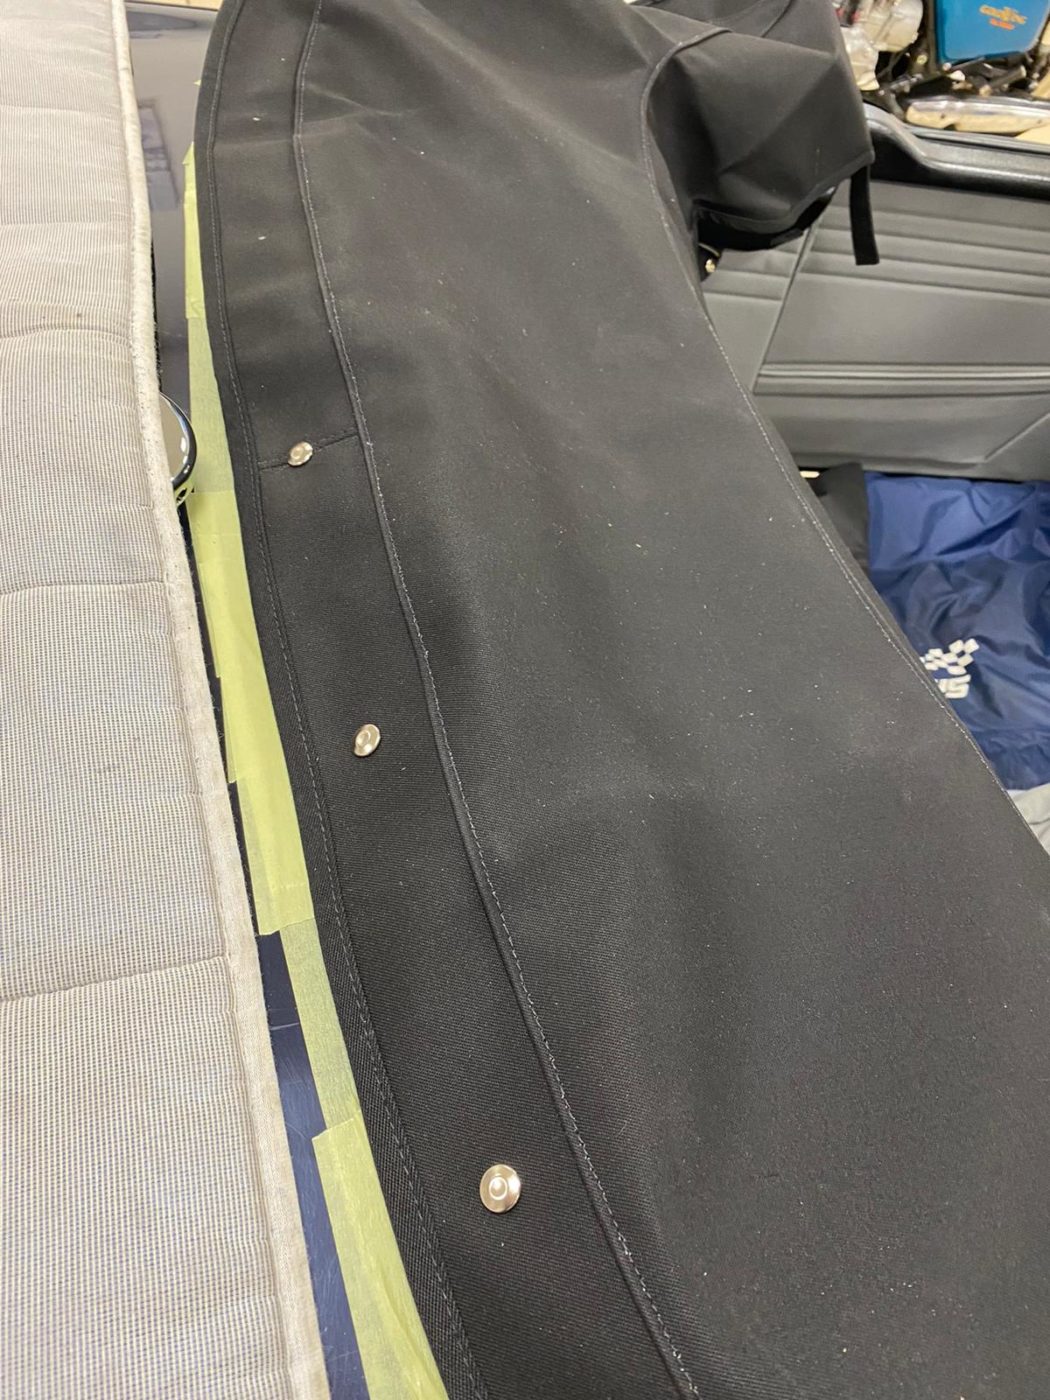
Kath has been working on the TR5 hood recently in the trim shop with the rest of the team. She bagan the process of making
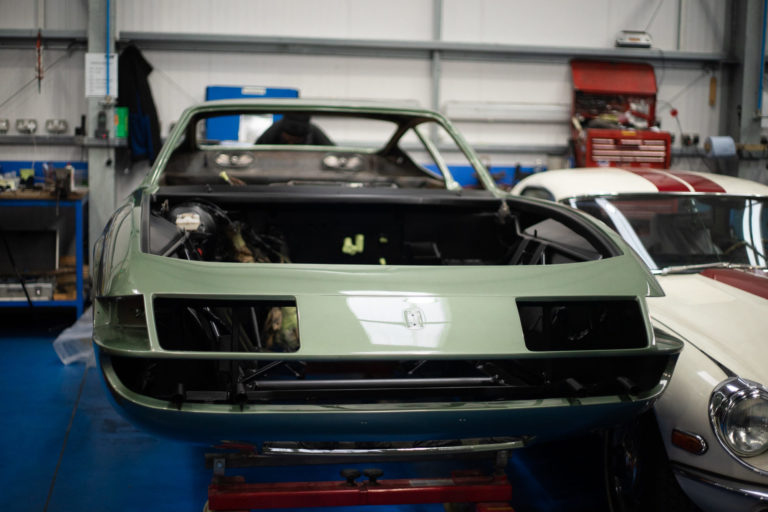
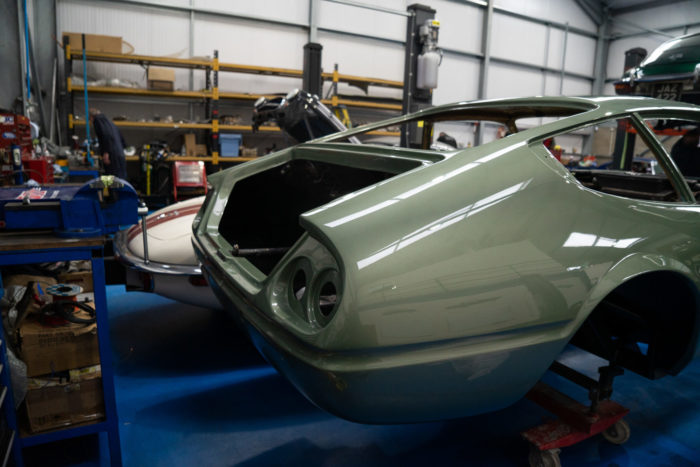
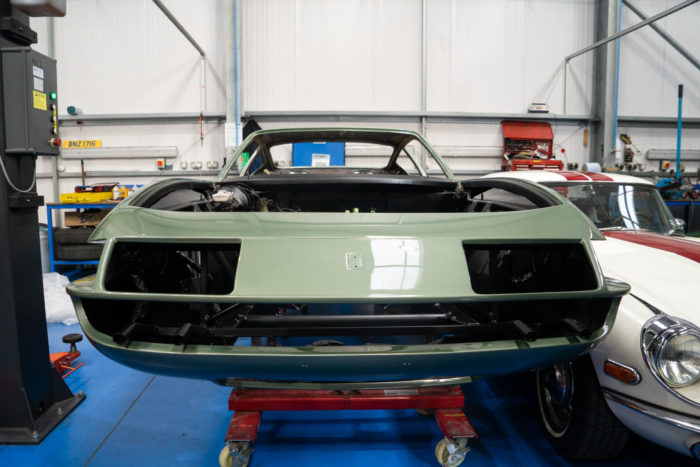
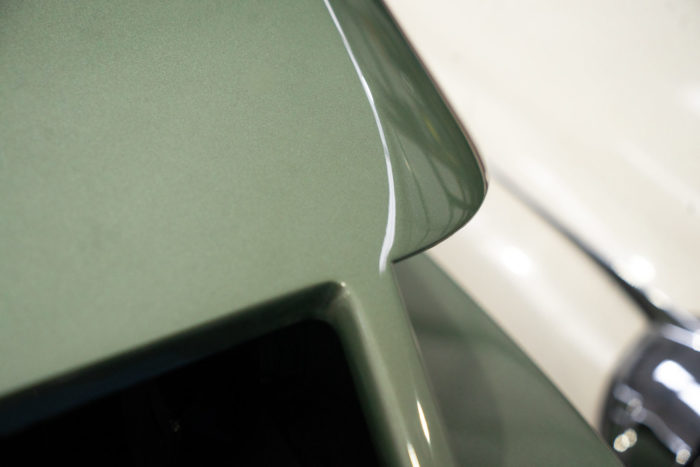
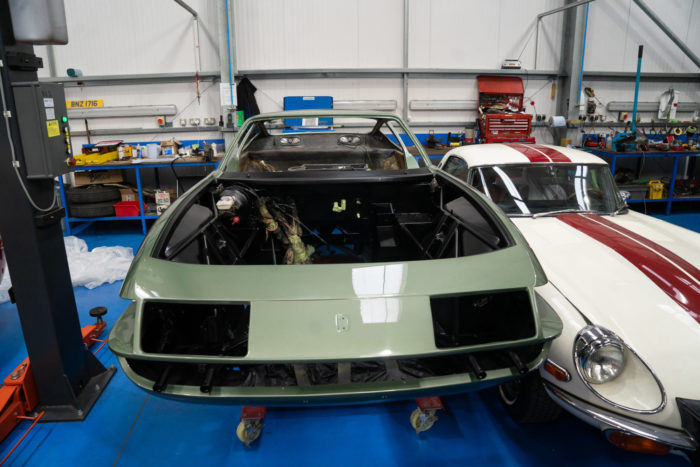
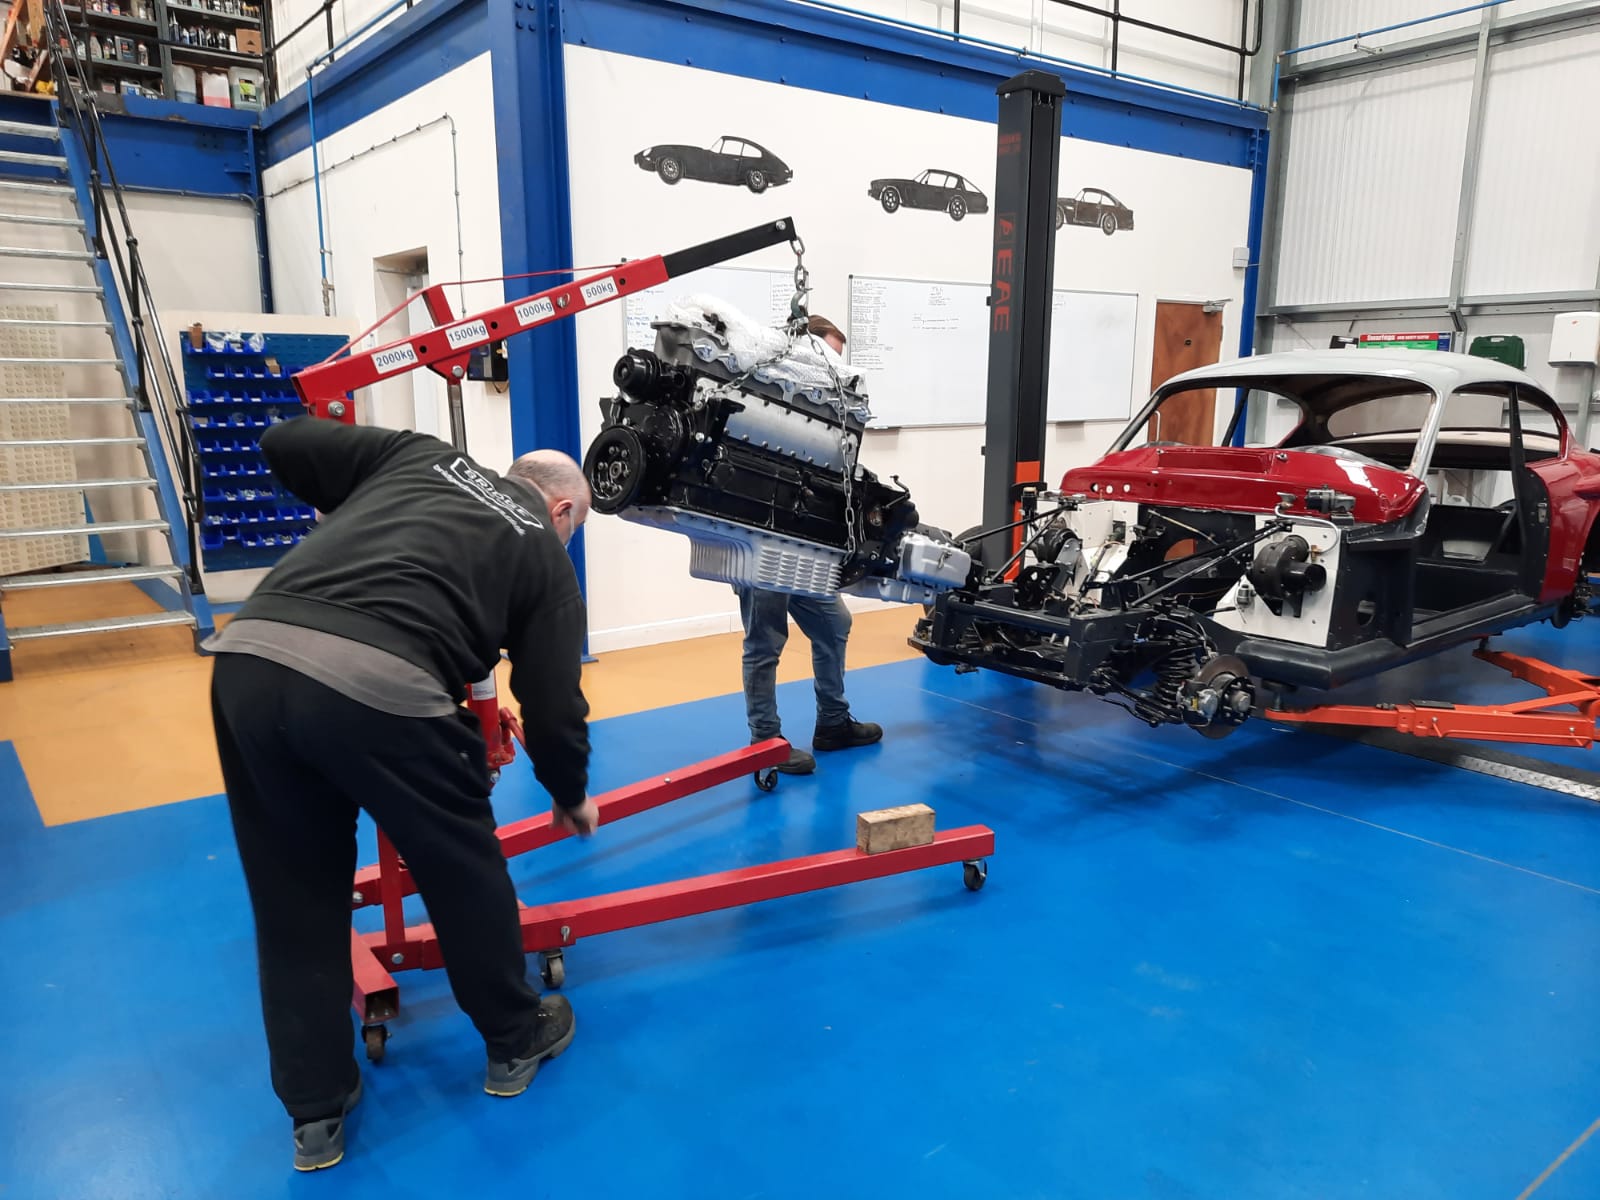
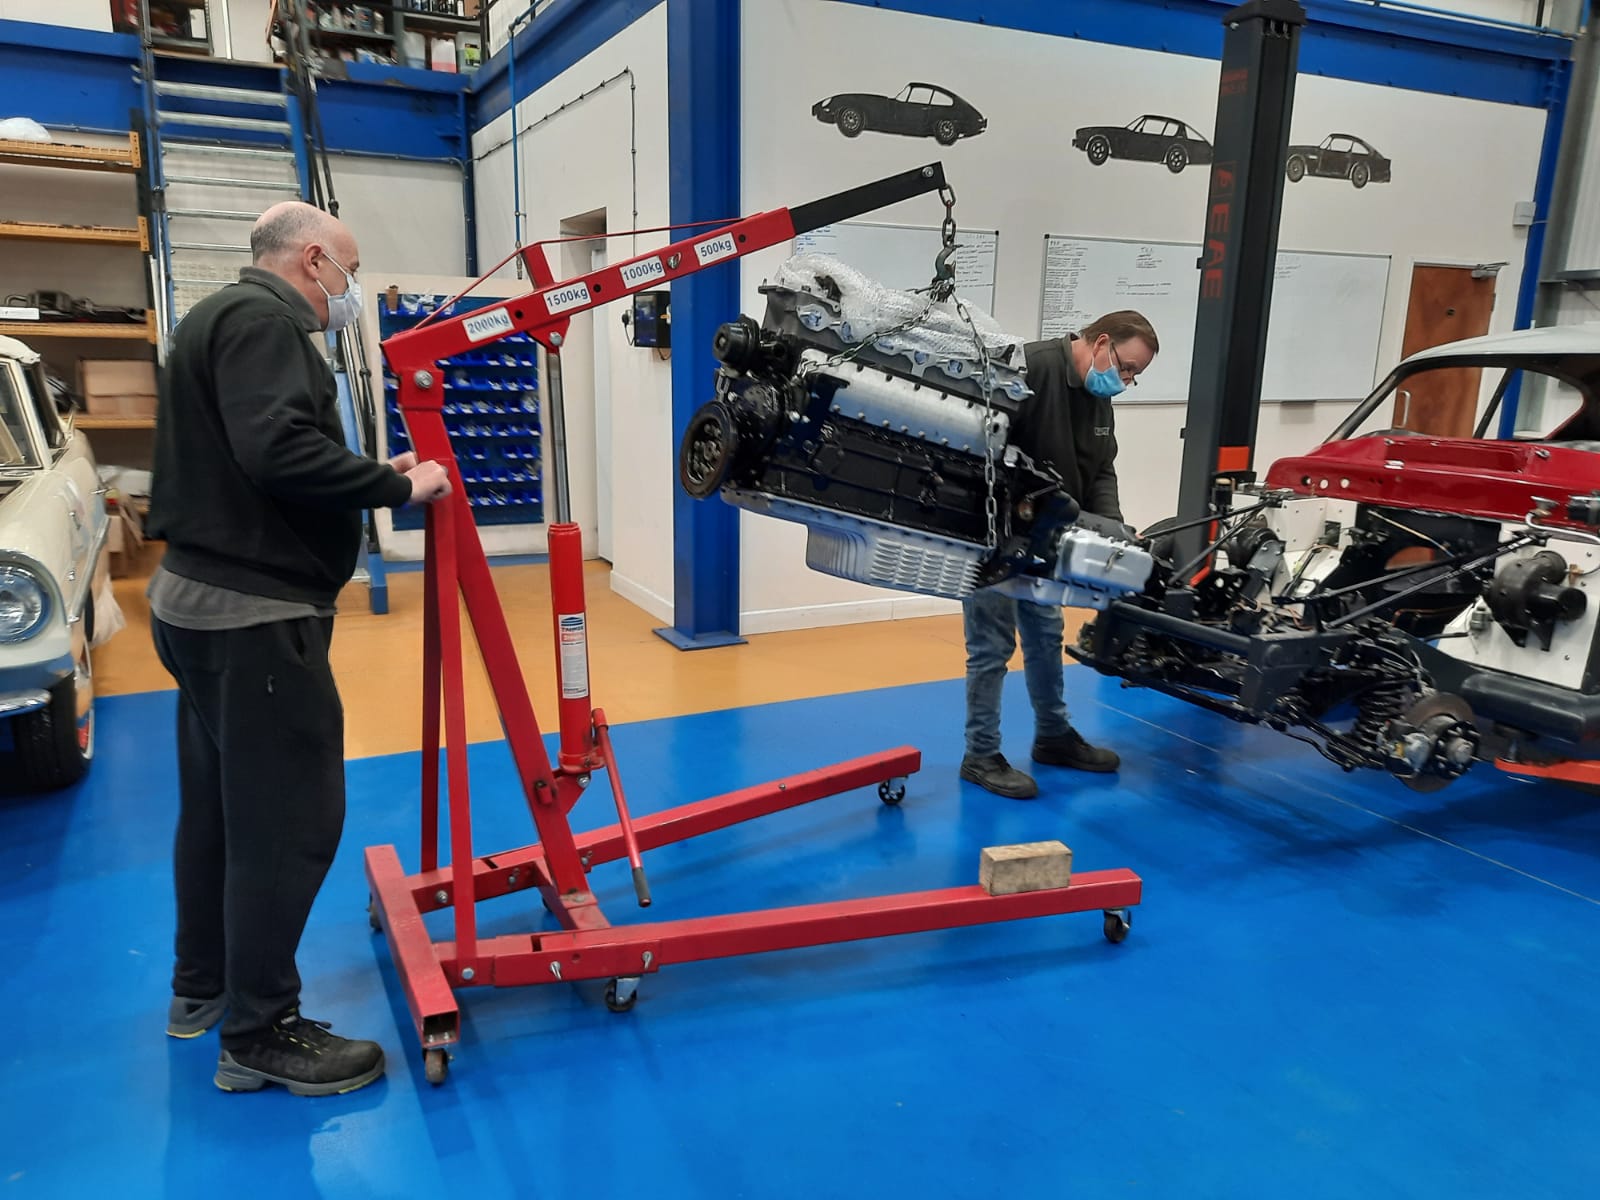
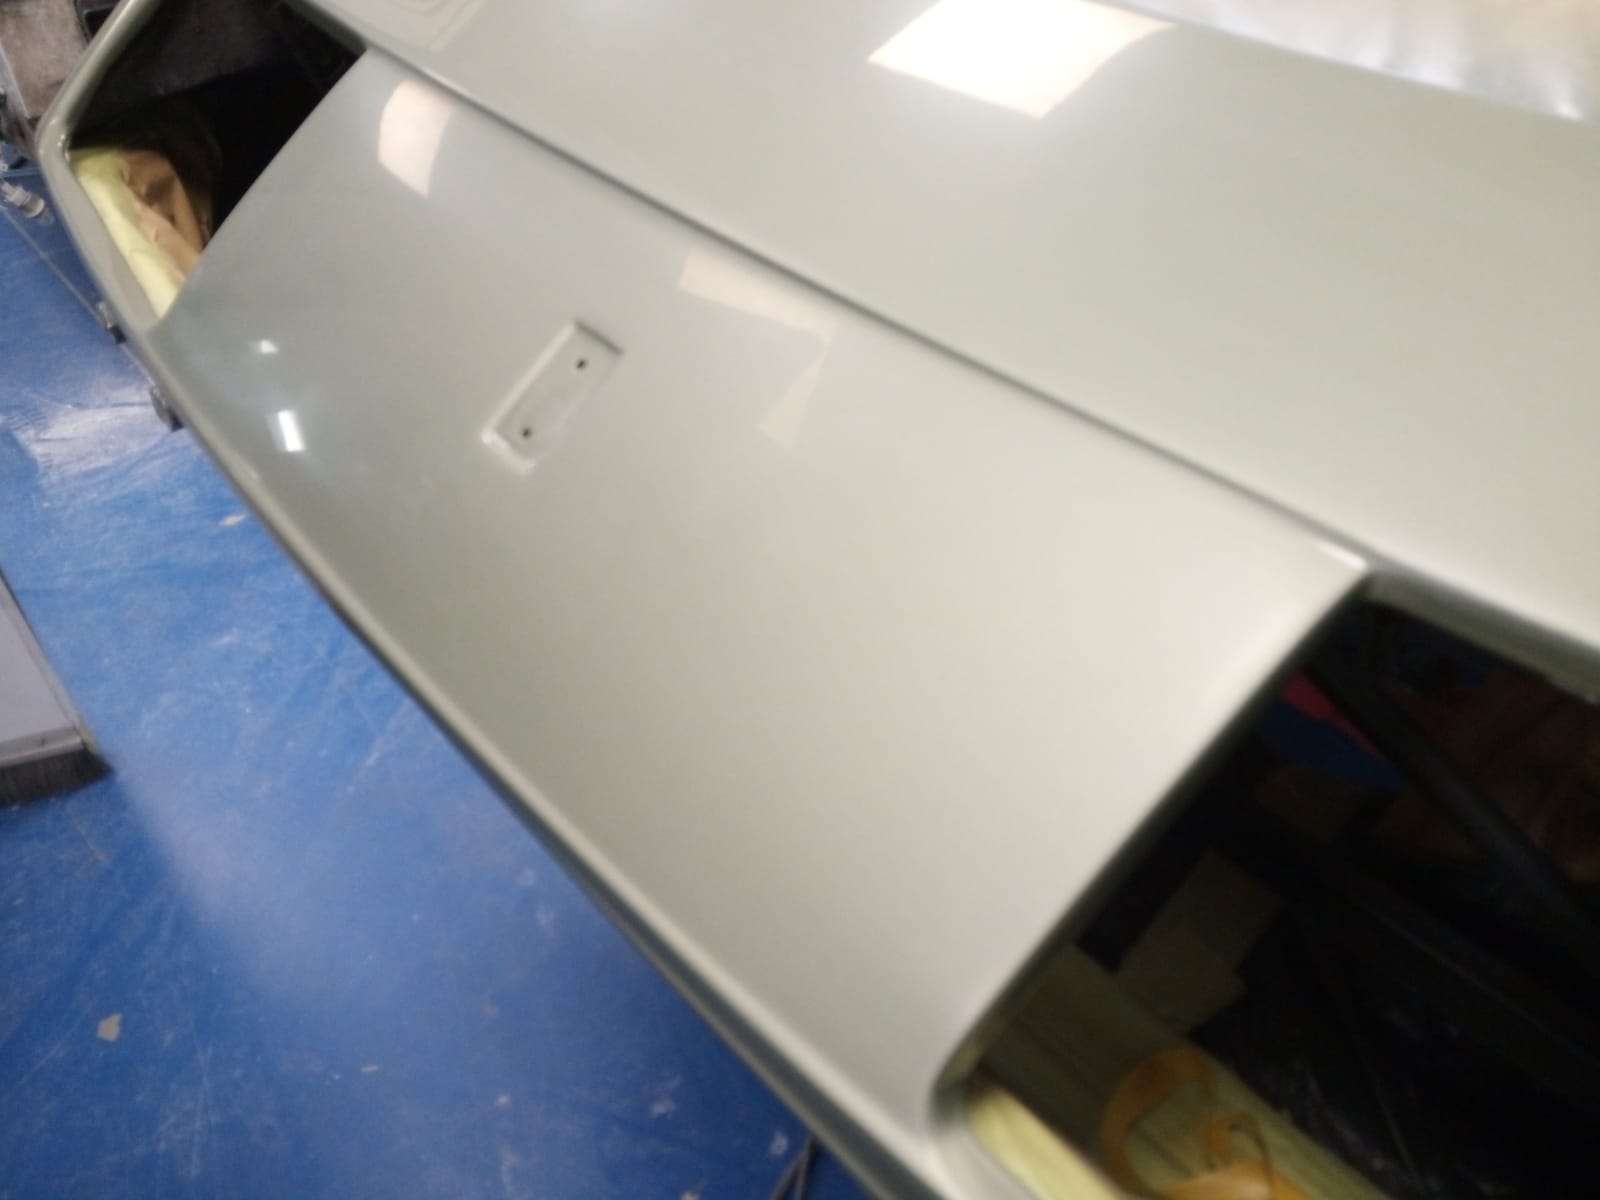
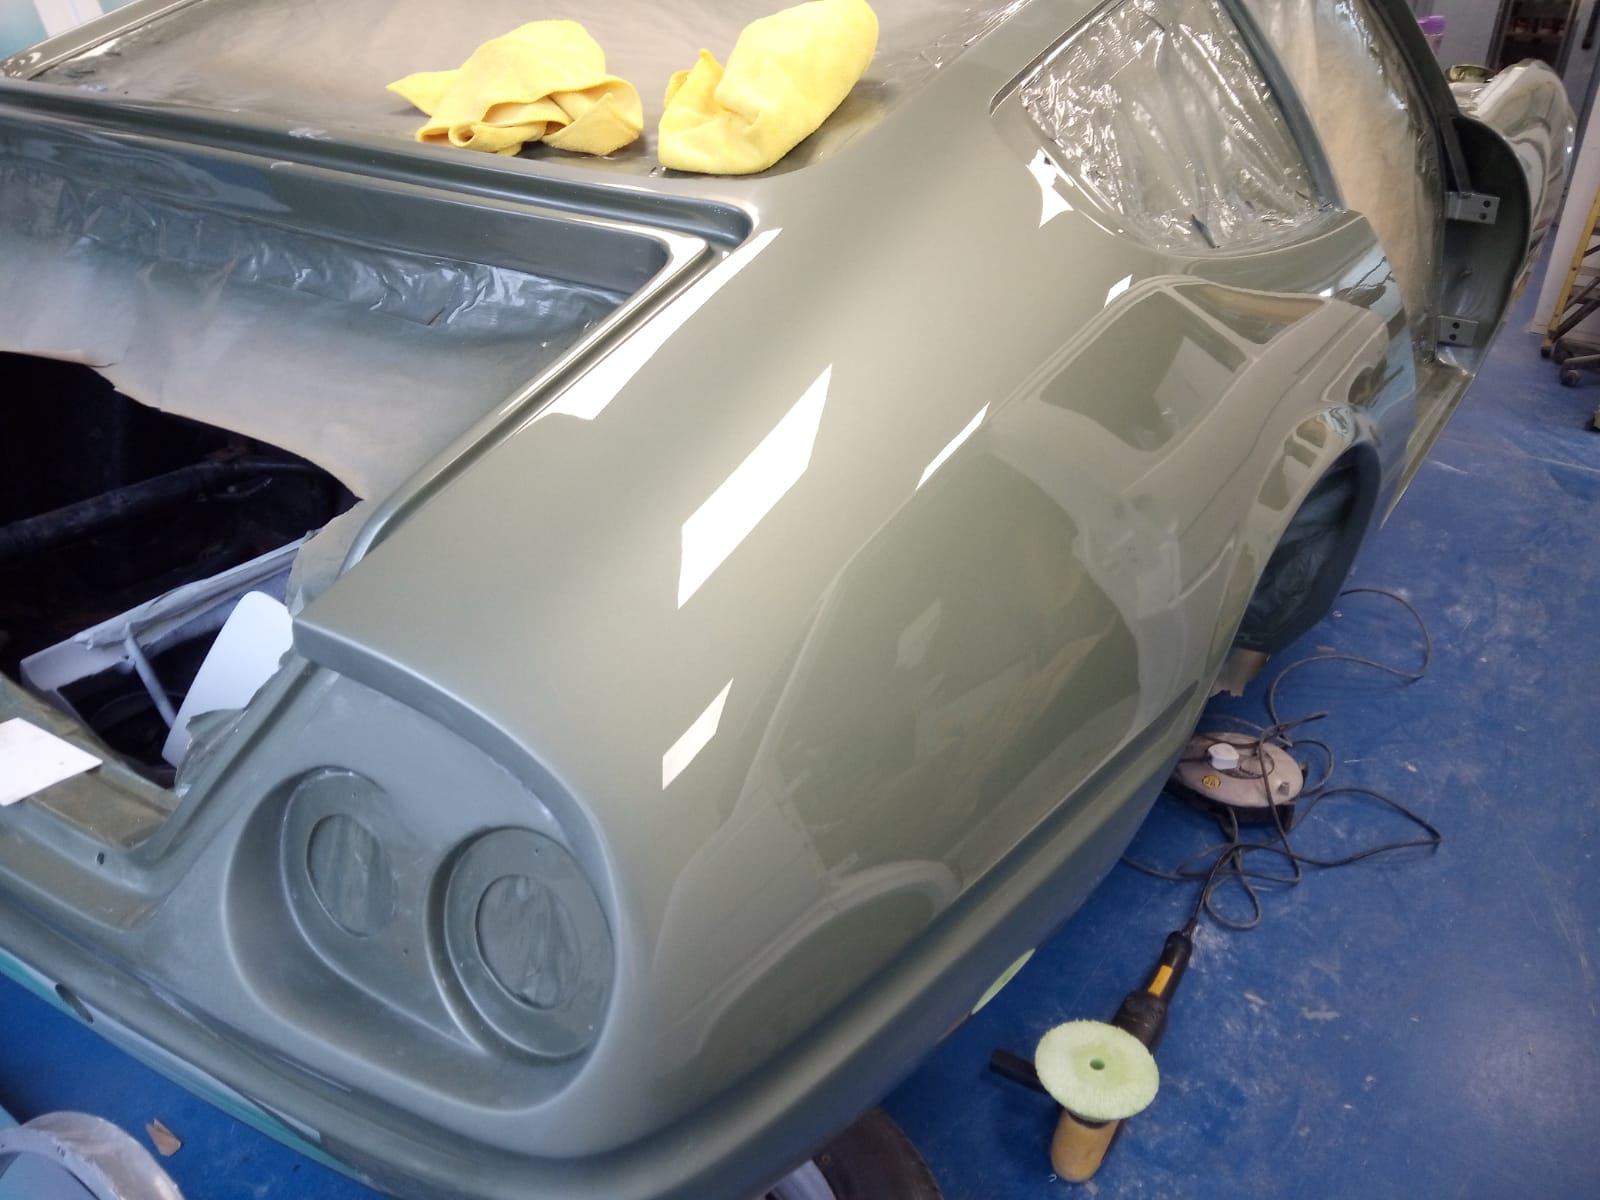
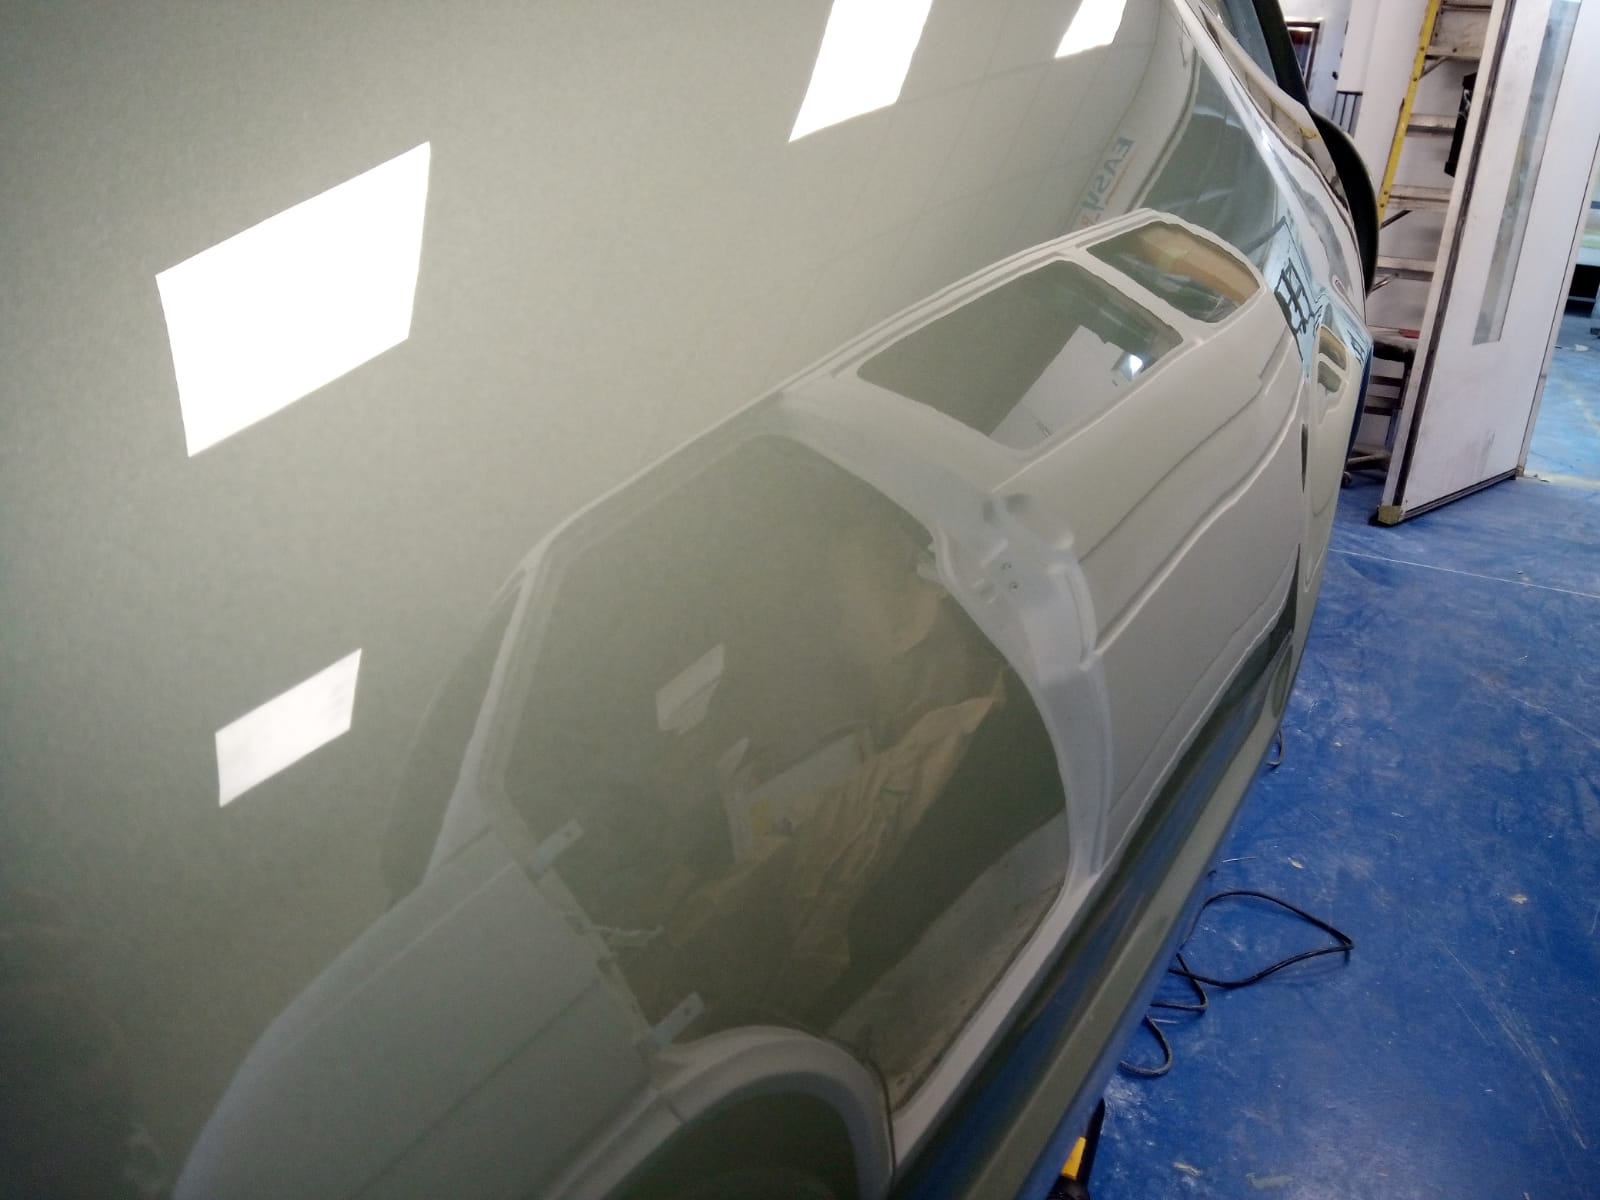
The body of our Ferrari Daytona has officially left the paint shop and found its place in our main workshop, ready to begin the next
Our 1954 Jaguar MKVII has had its wheels painted in Epoxy primer and then painted in its final cream colour. These have been hung up
Our lovely 1960 Peony Red Jensen 541S is at the stage where we’re putting lots of pieces back together and fitting them in, meaning that
Last night’s live draw was all focused around our delightful 1981 MGB GT LE that’s been won by Duncan Walker with his lucky ticket 1056.
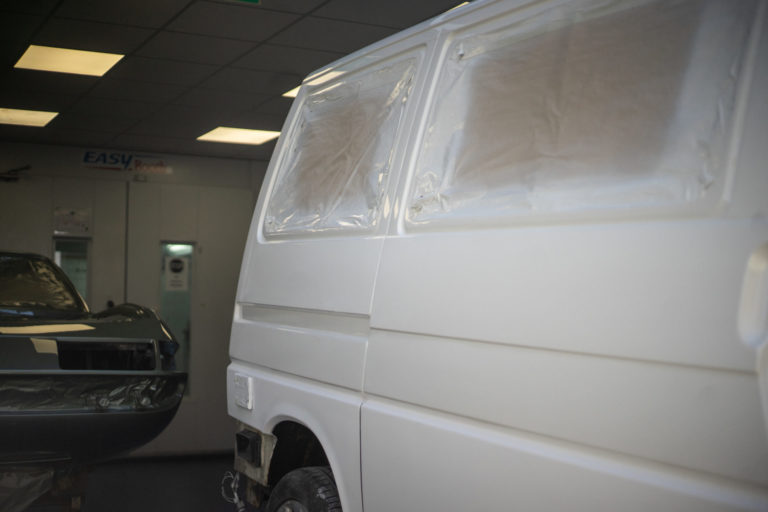
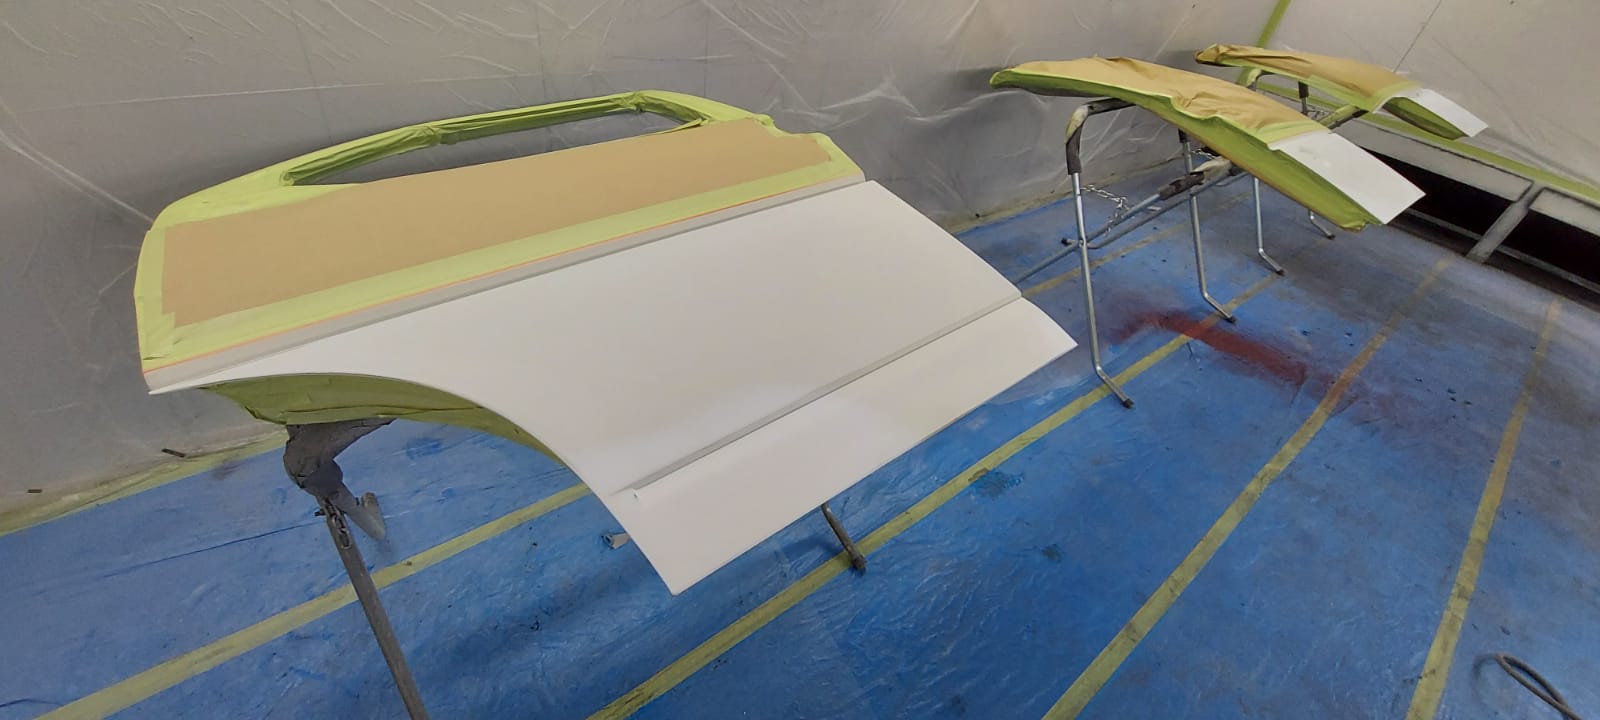
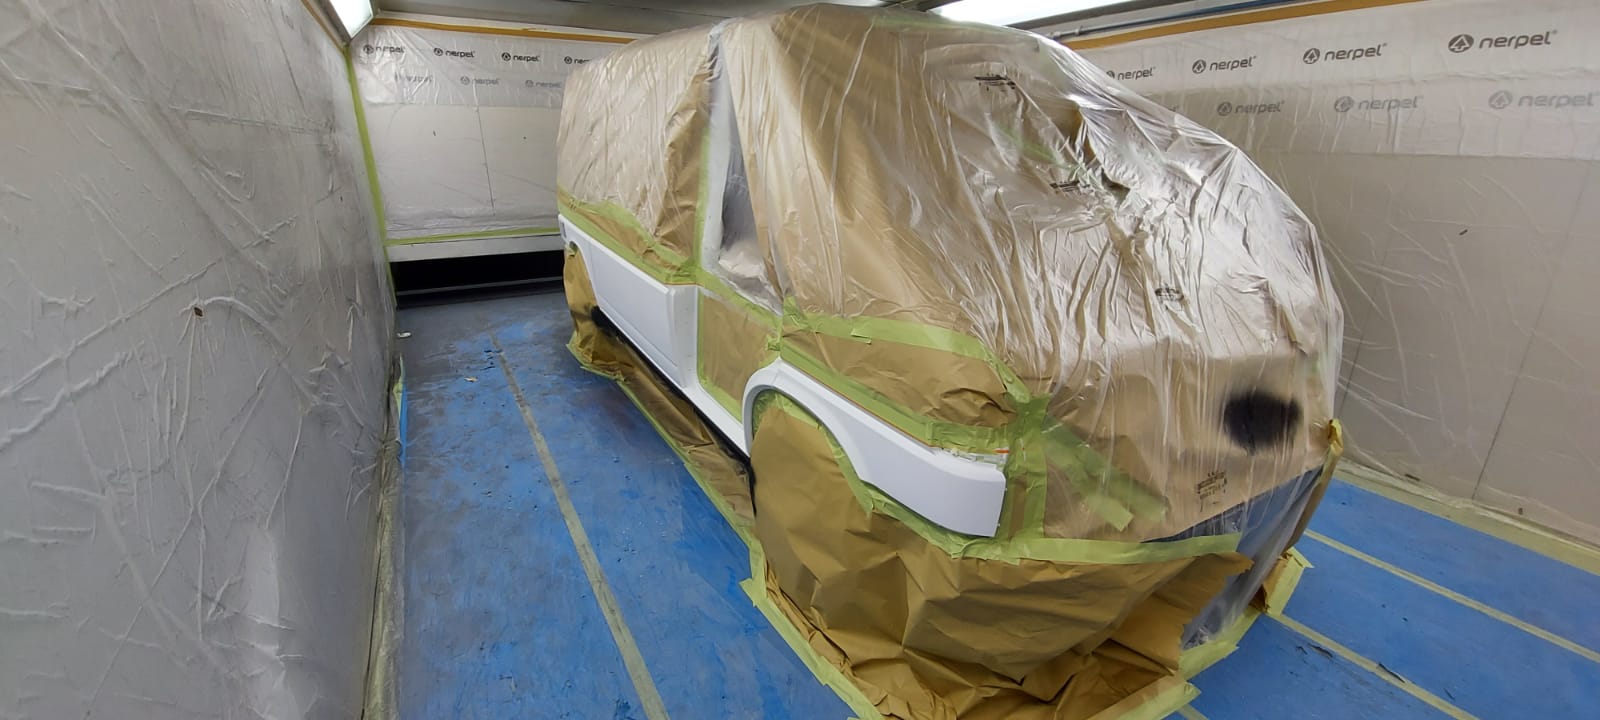
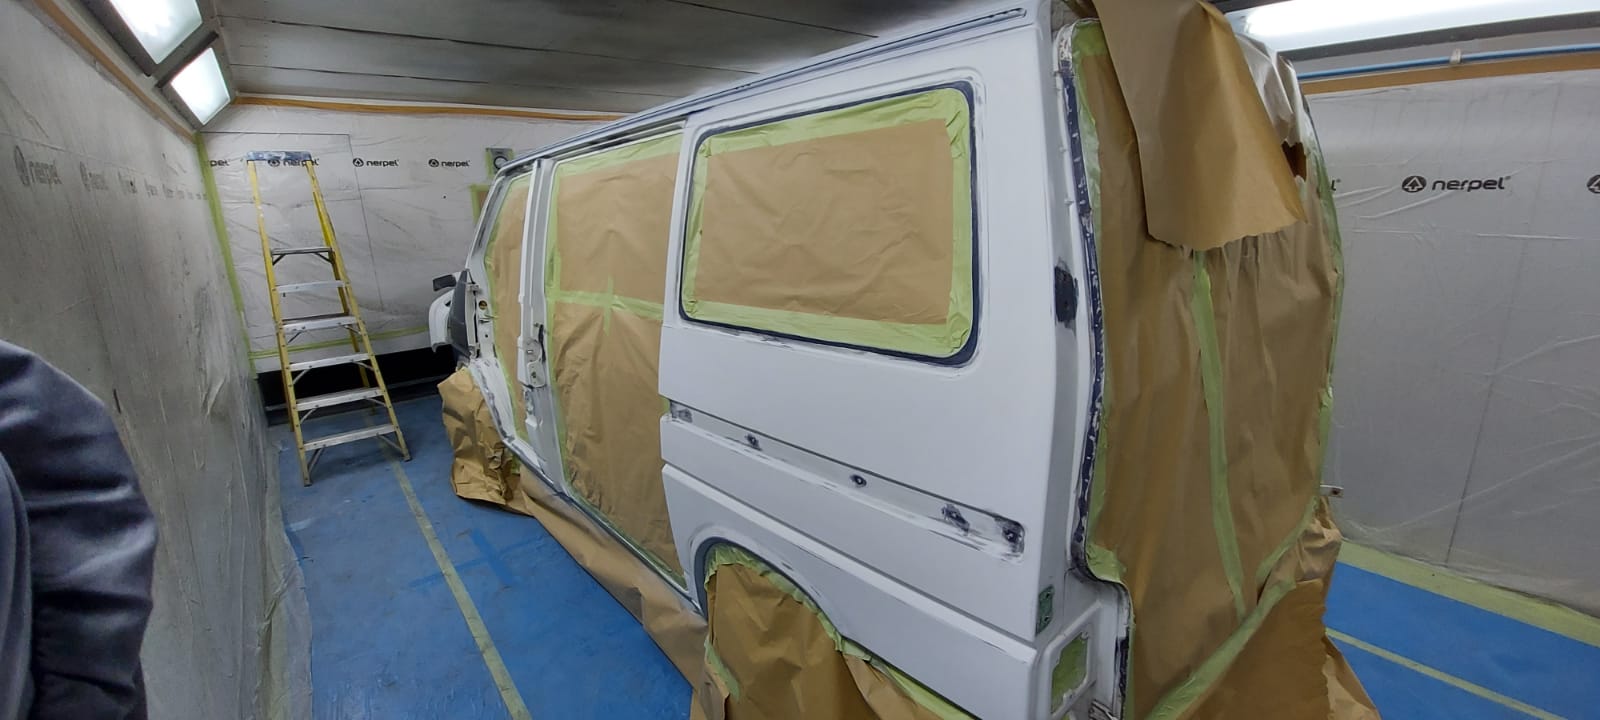
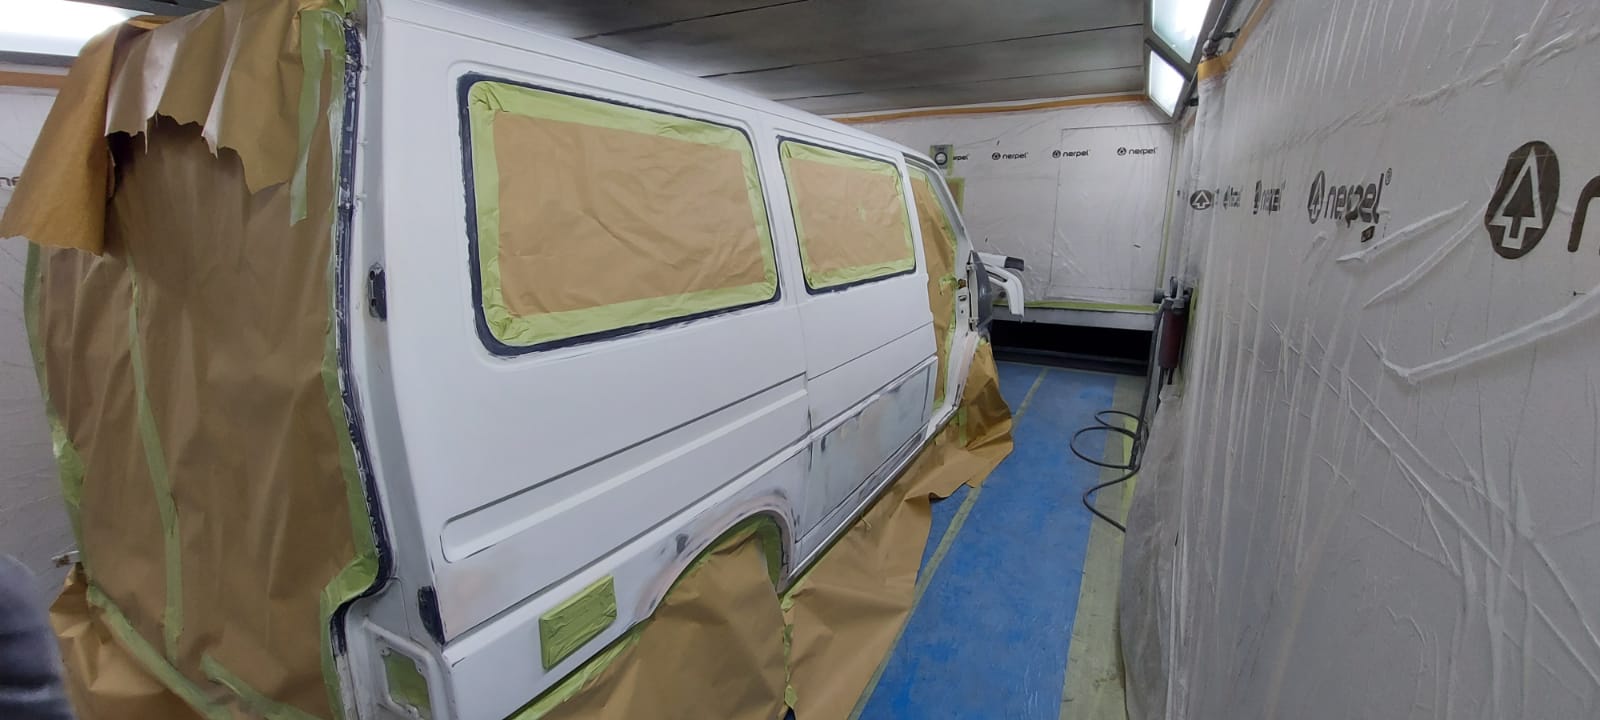
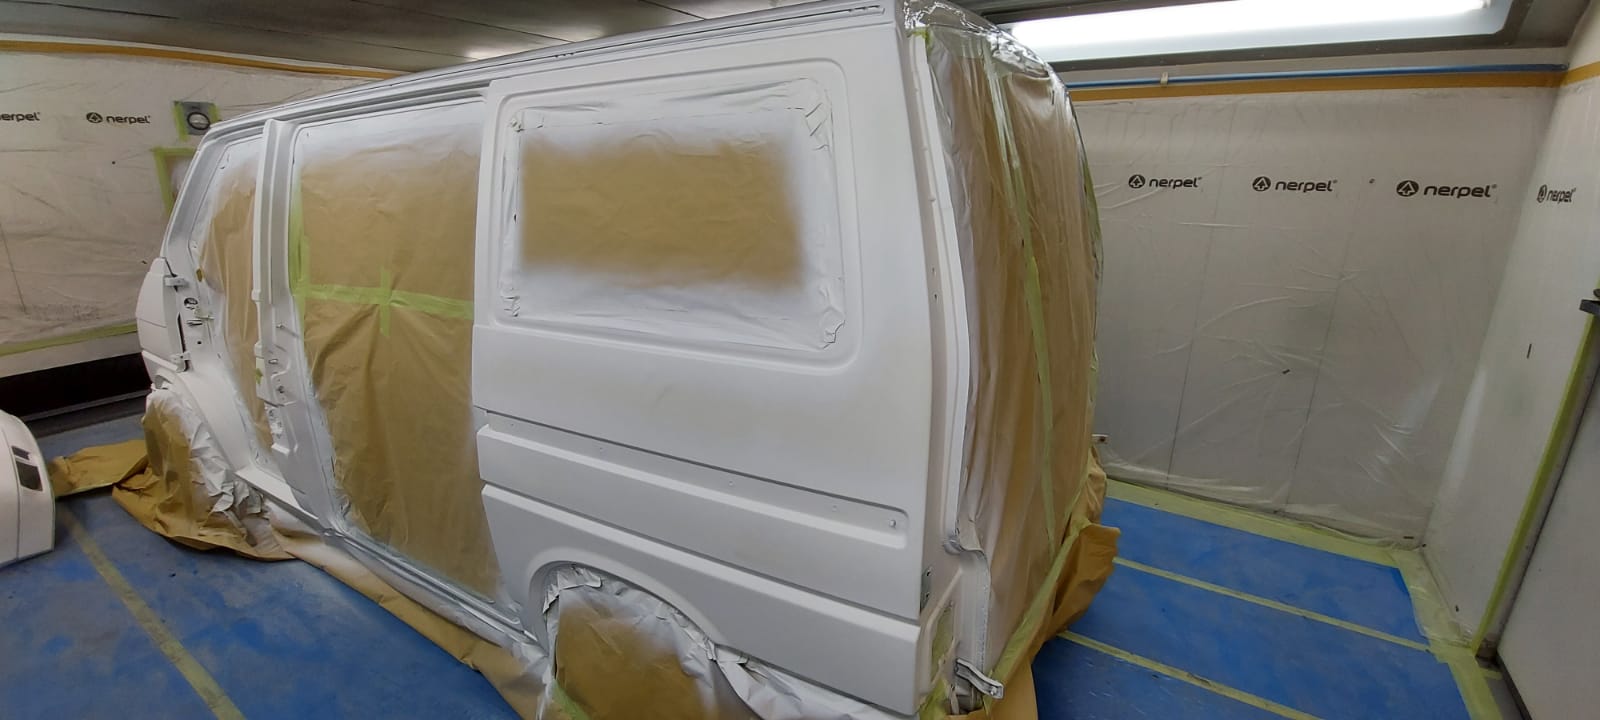
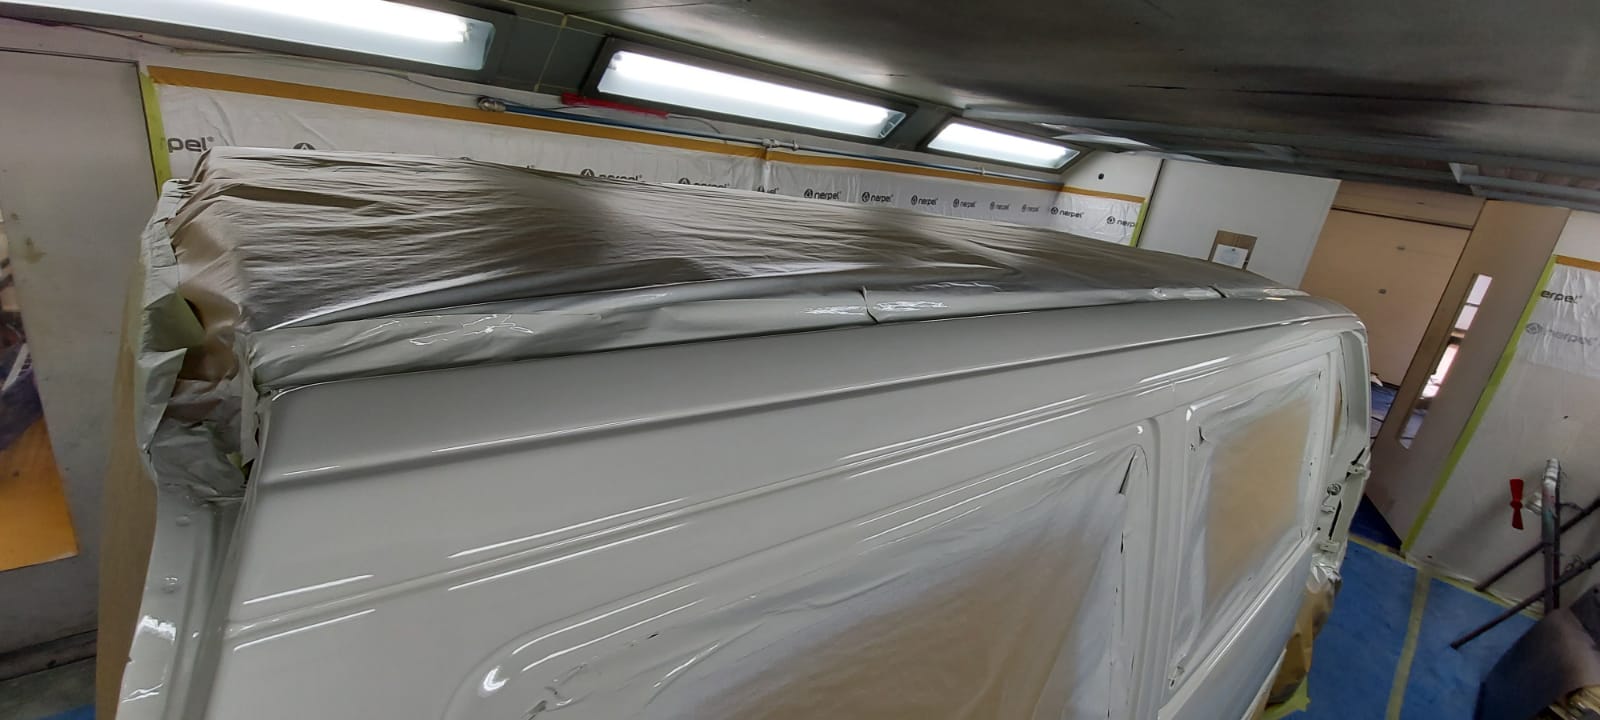
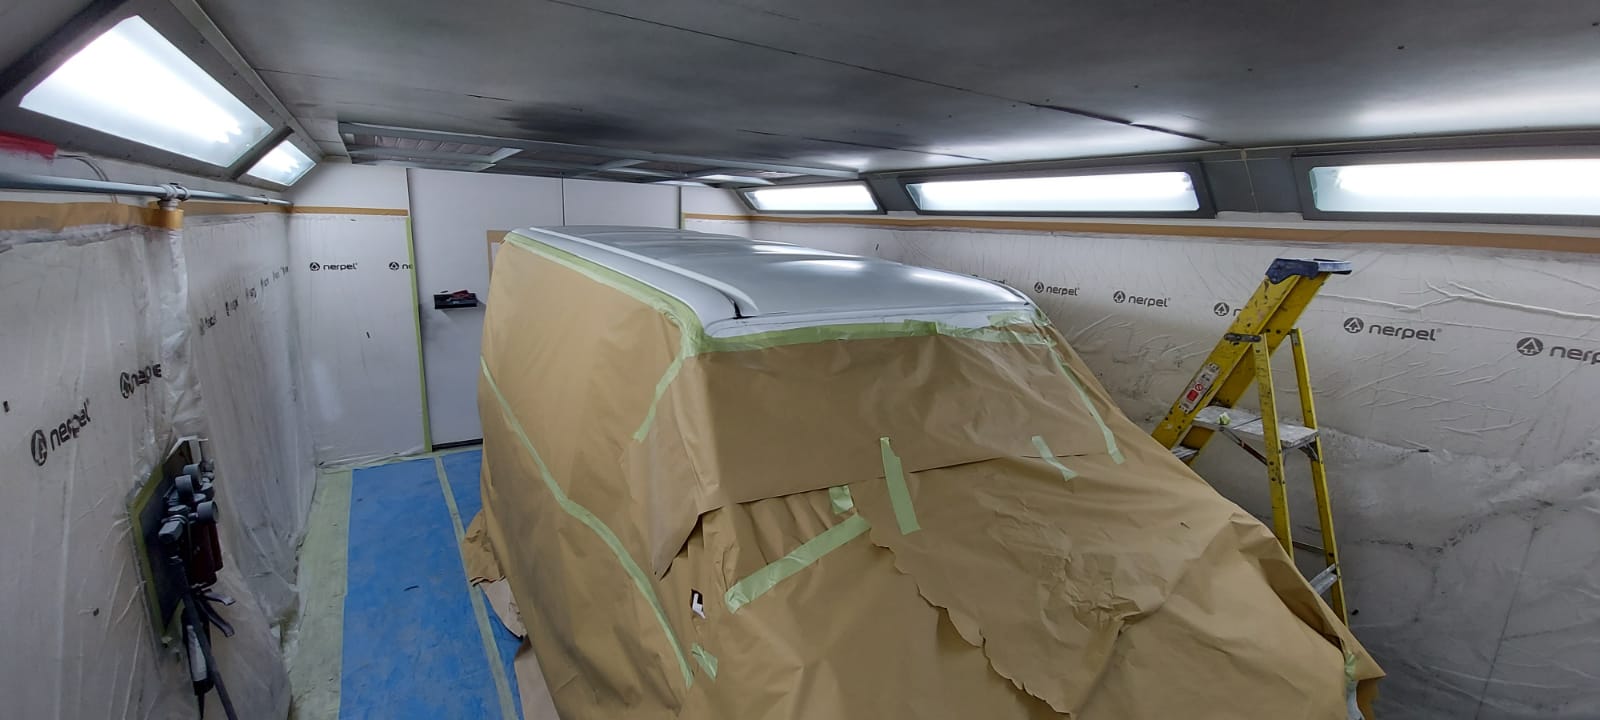
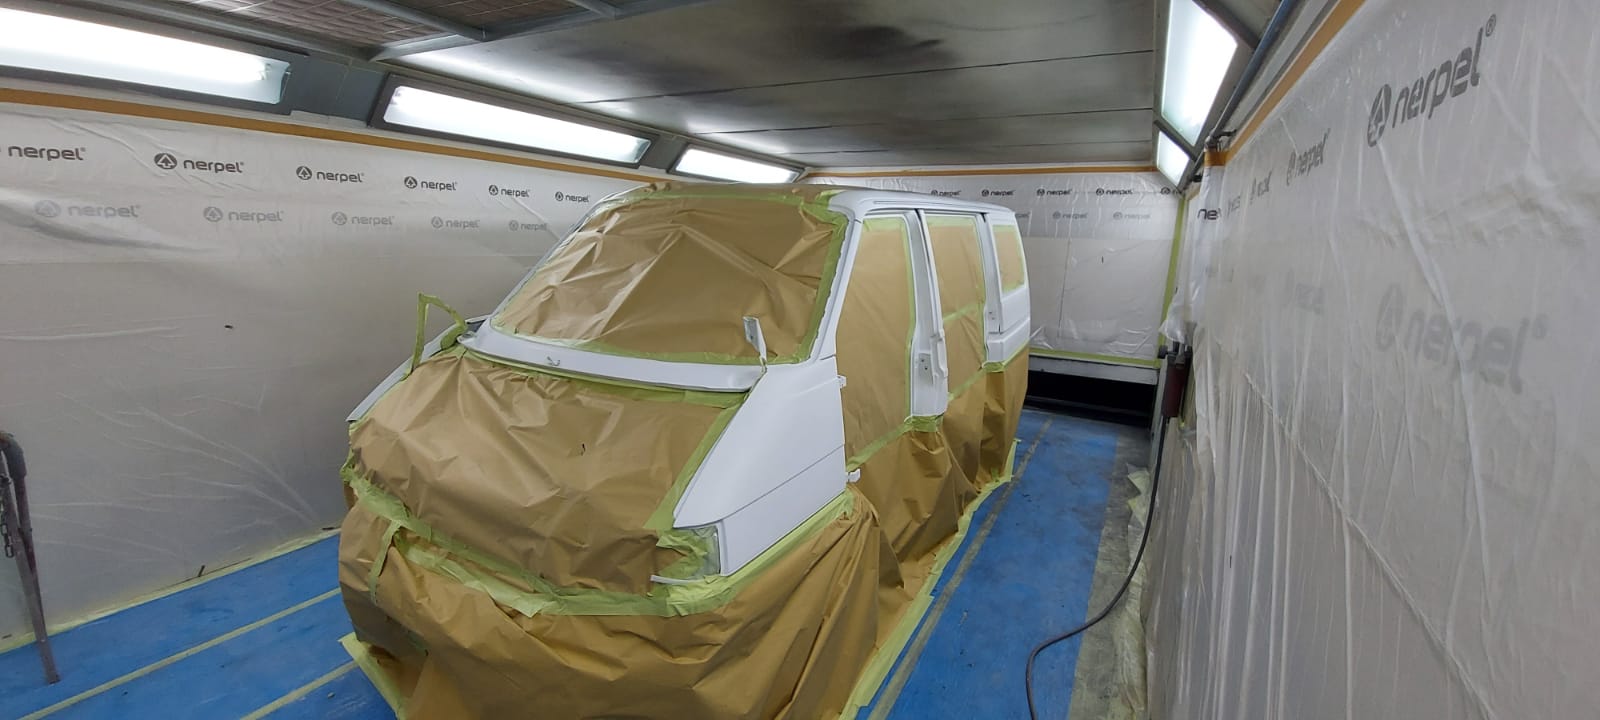
The doors and van have all been masked up ready for paint in the paint booth by Chris. Our 1991 VW T4 campervan is getting
Petrolicious has done an interesting mini-documentary series called ‘Made To Drive’ where they focus on cars, their drivers and their stories. In one of their
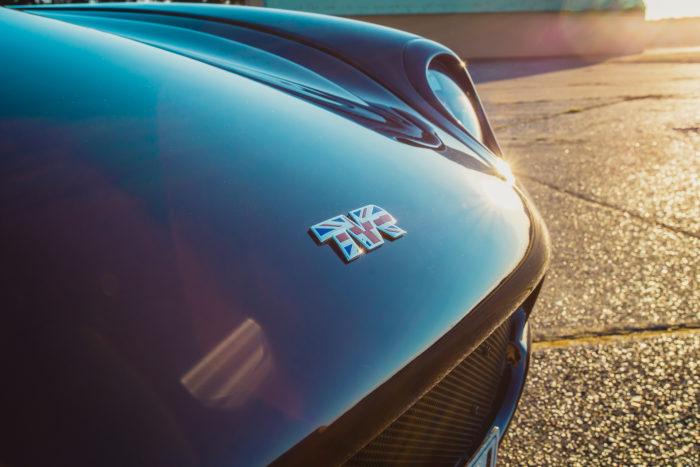
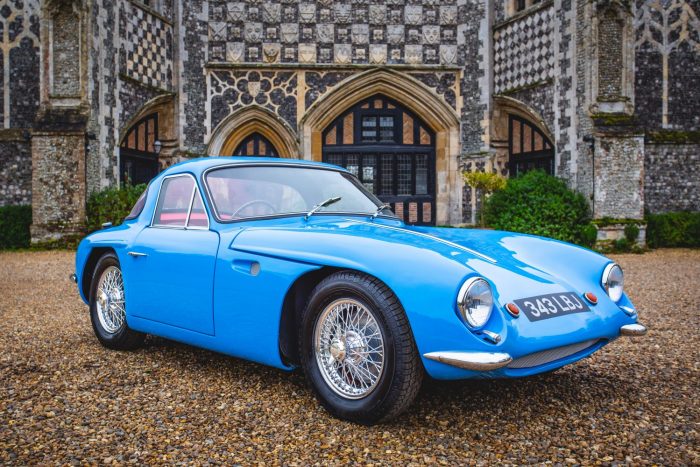
Goodwood recently published an article about the 9 best TVRs for the road. The article opens with: “TVR is one of those unlucky British car
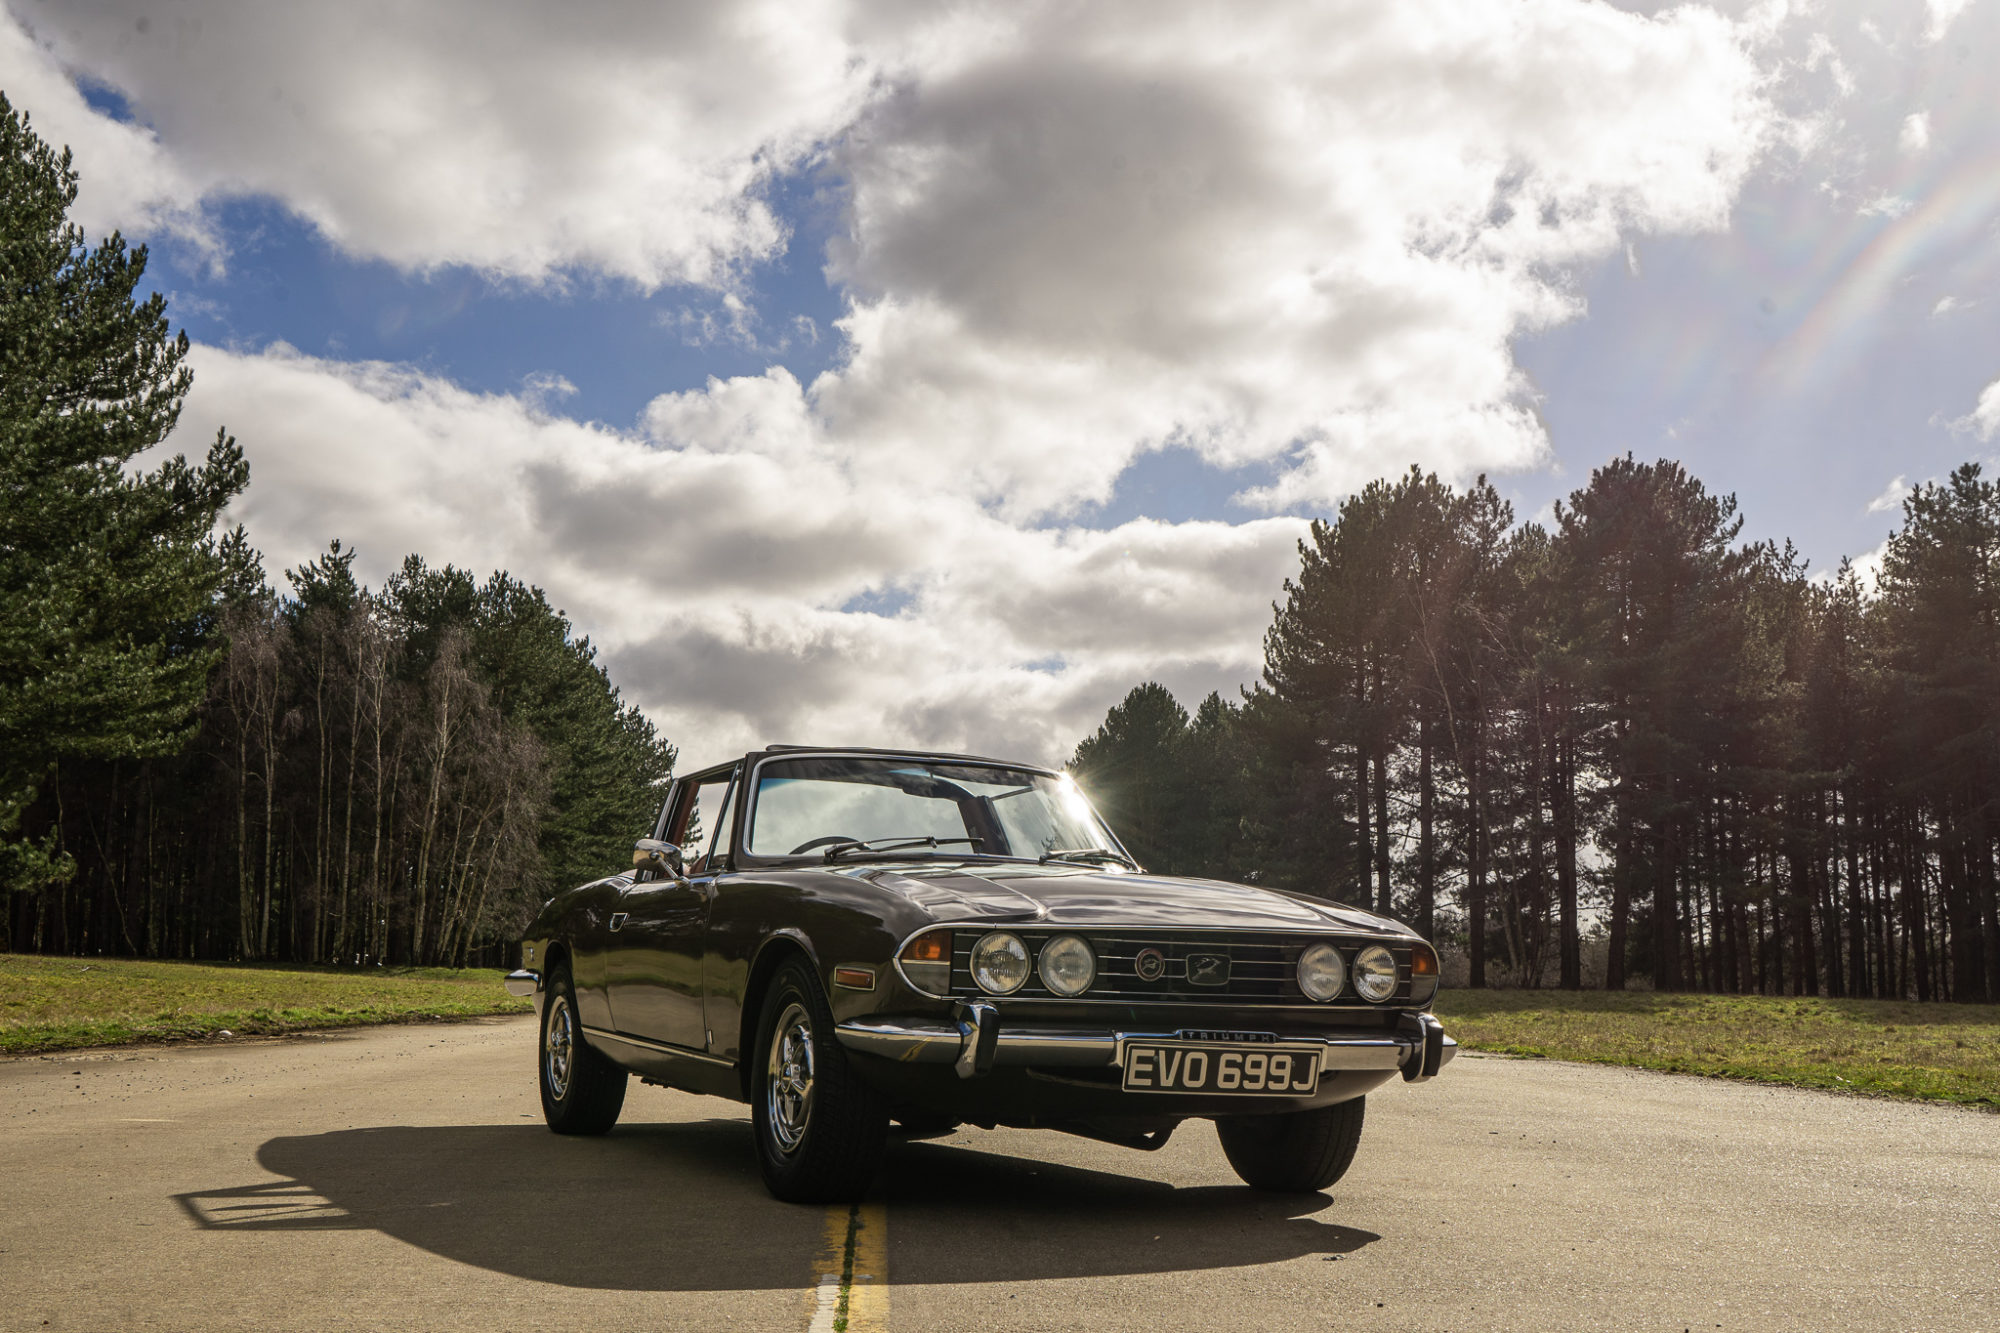
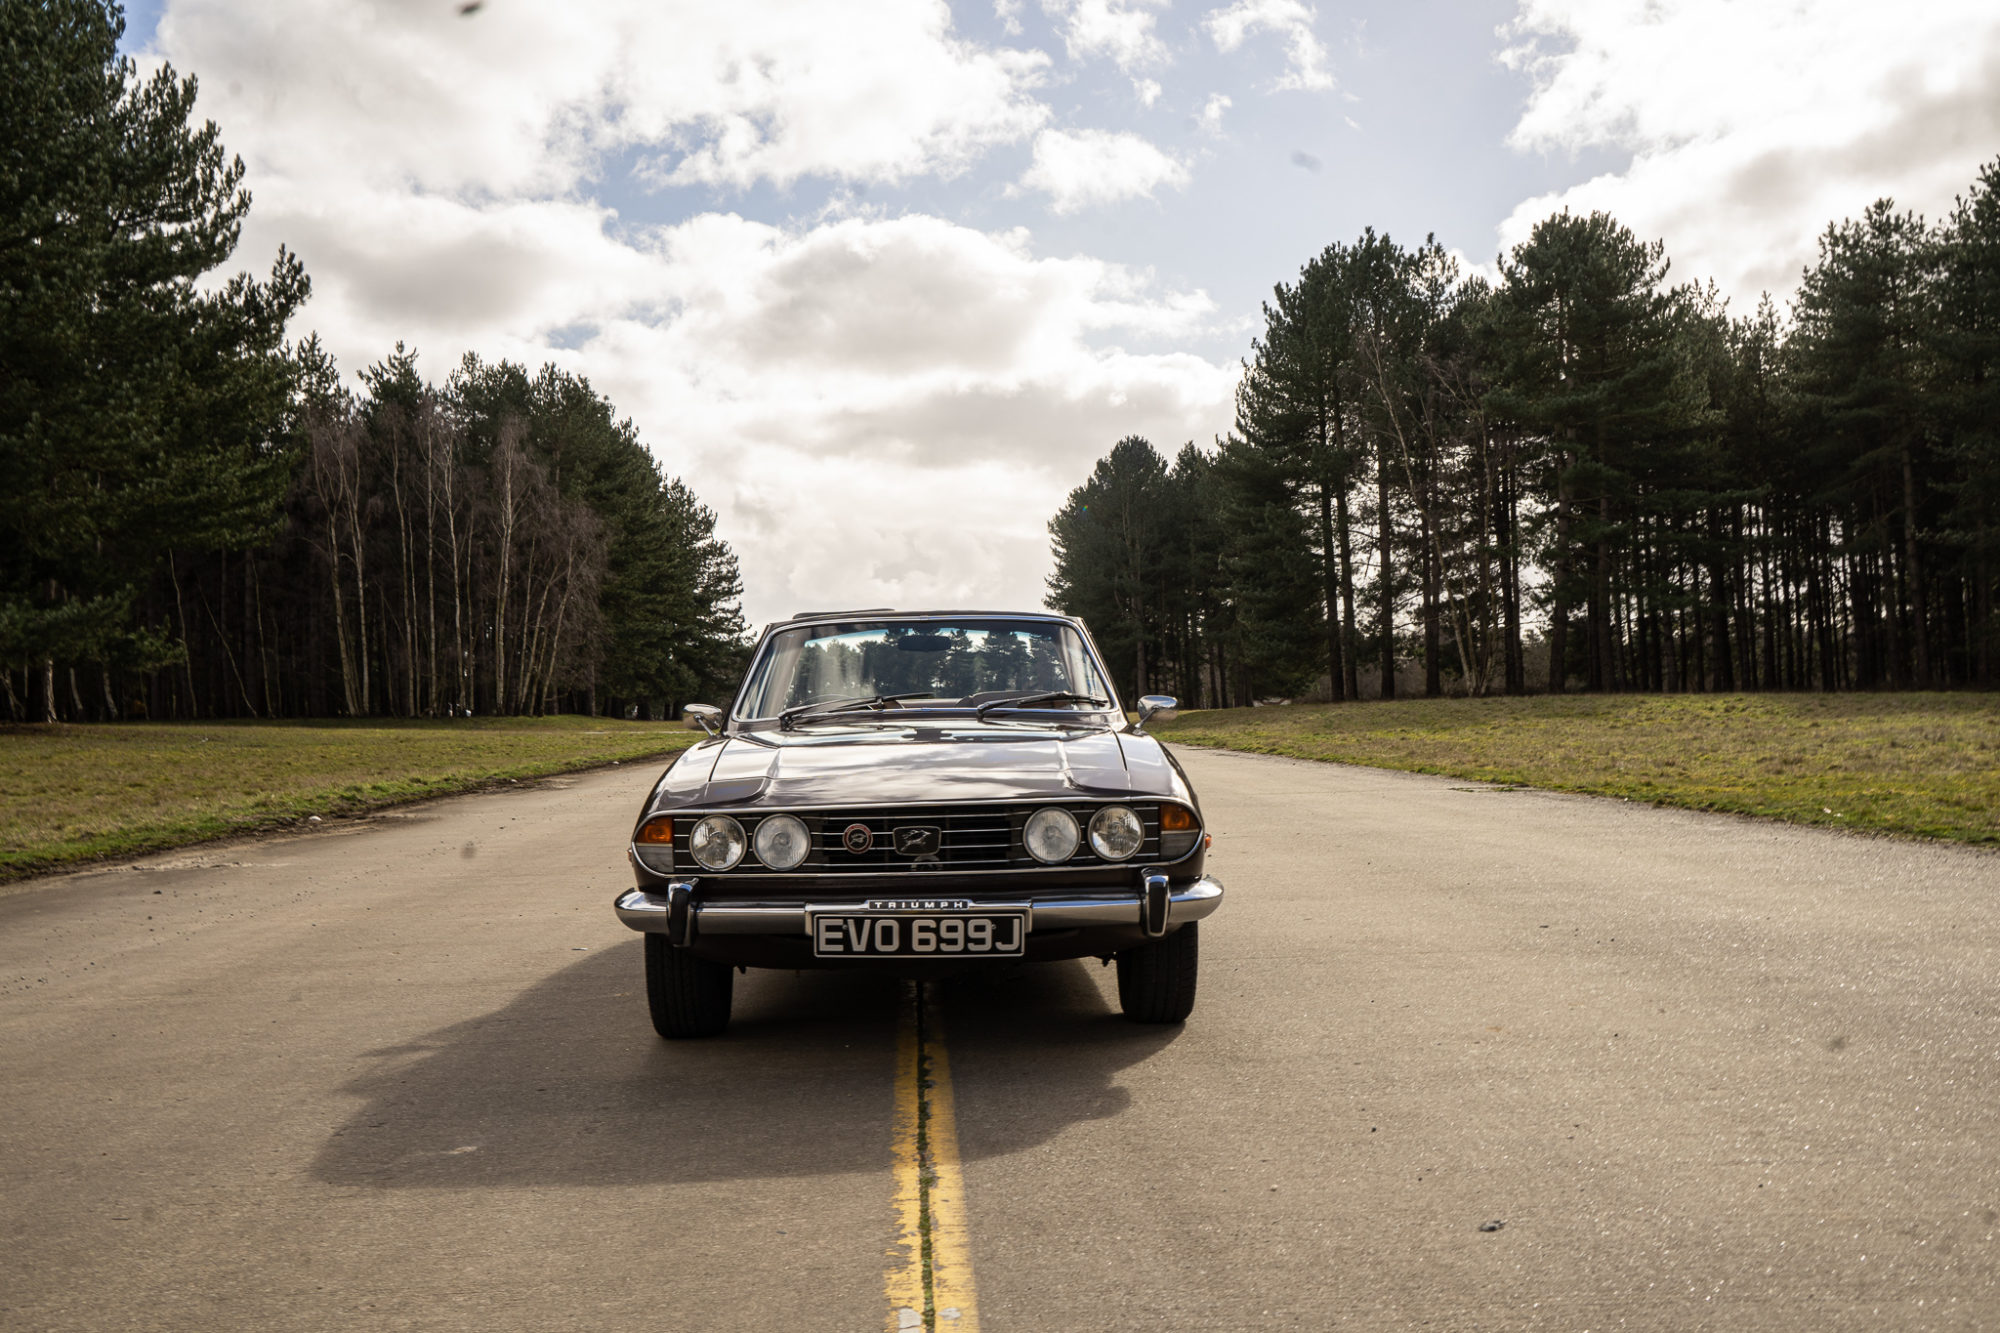
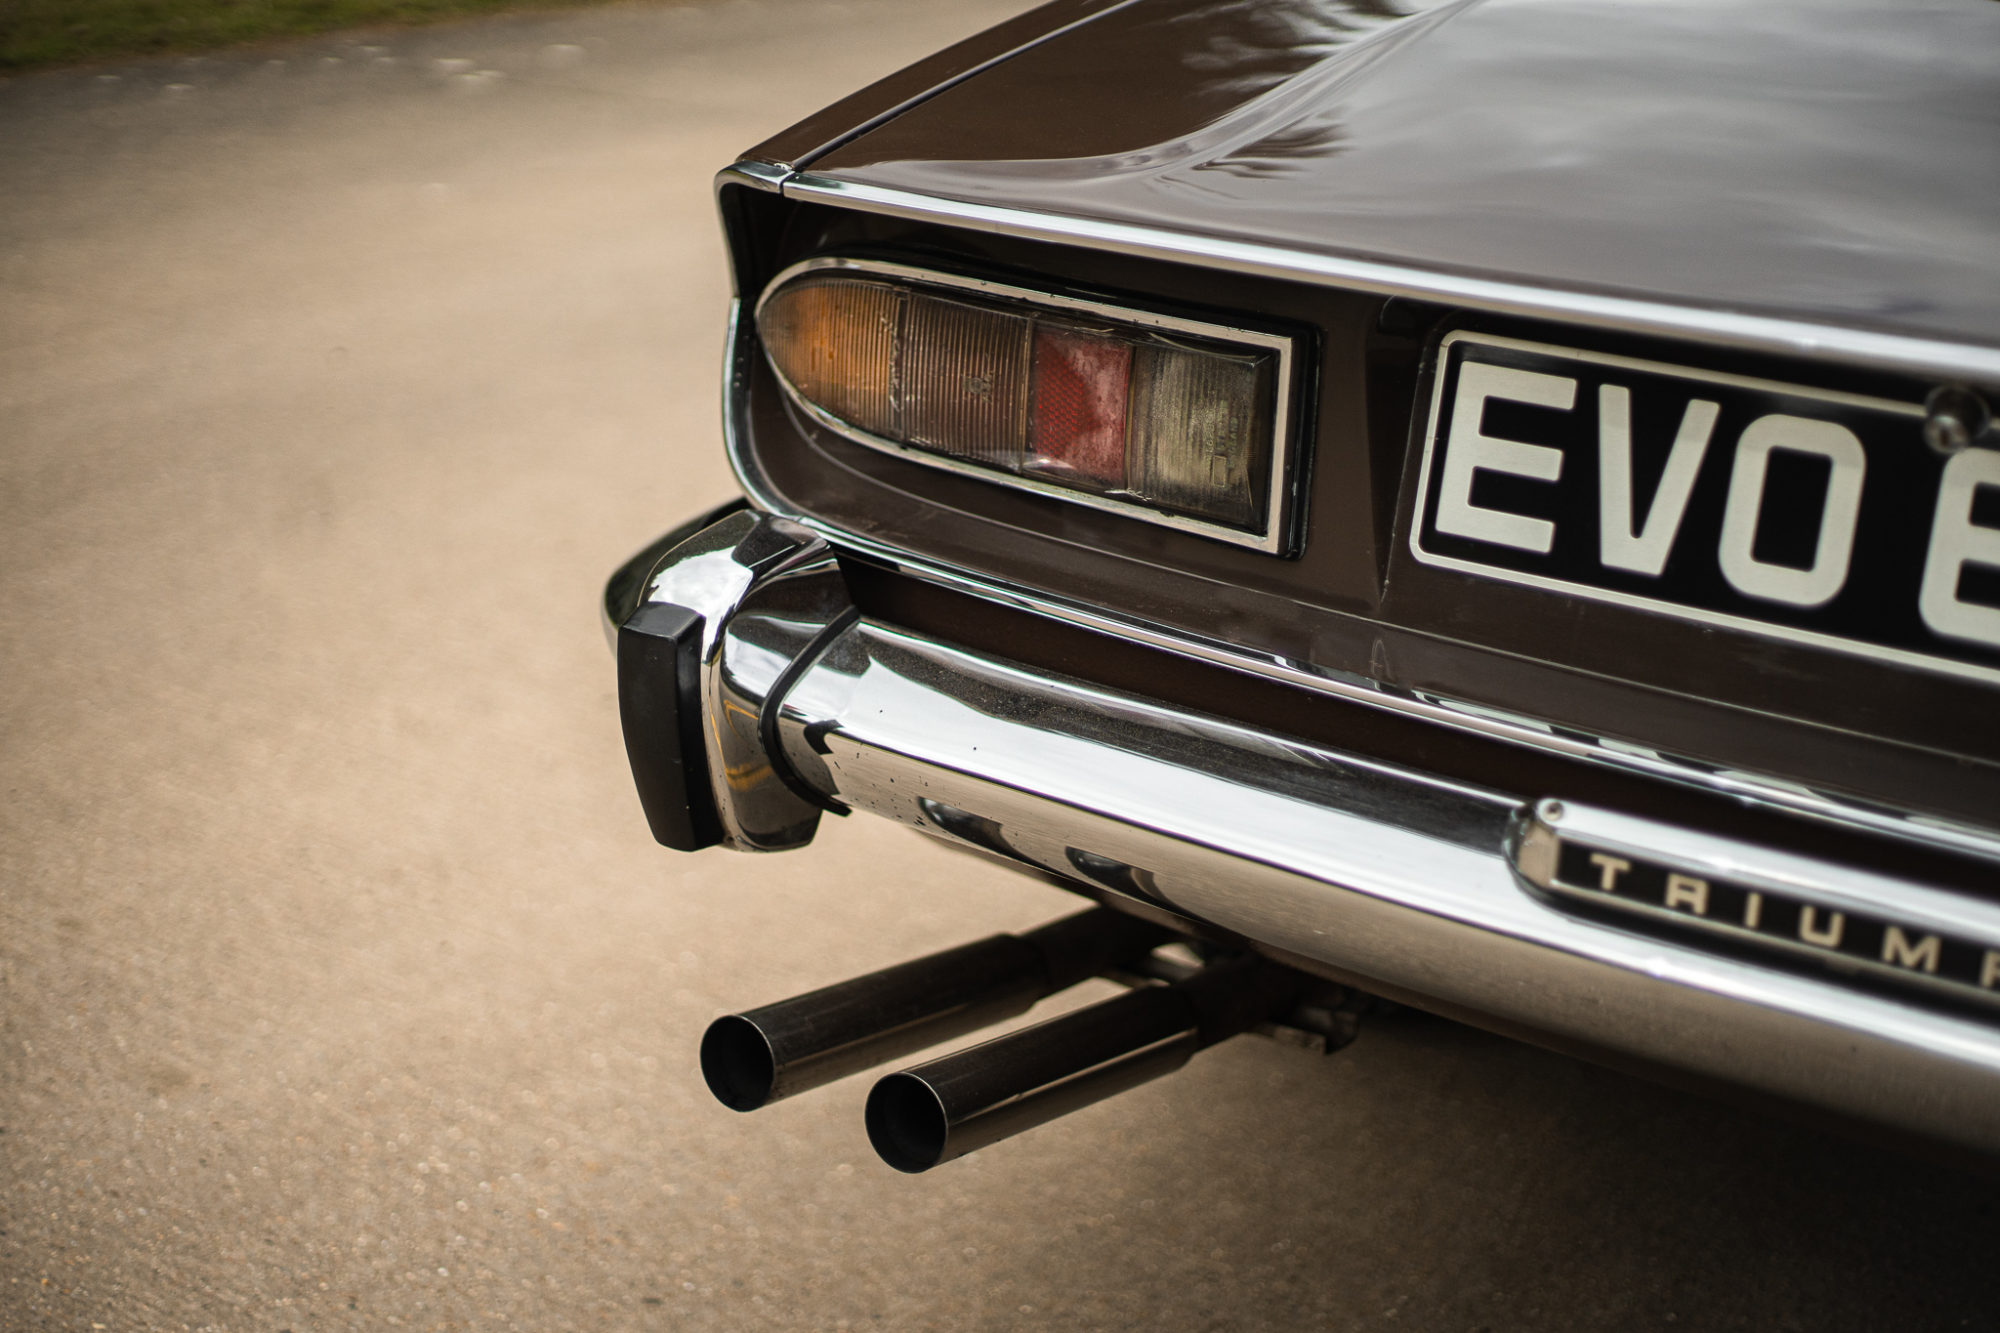
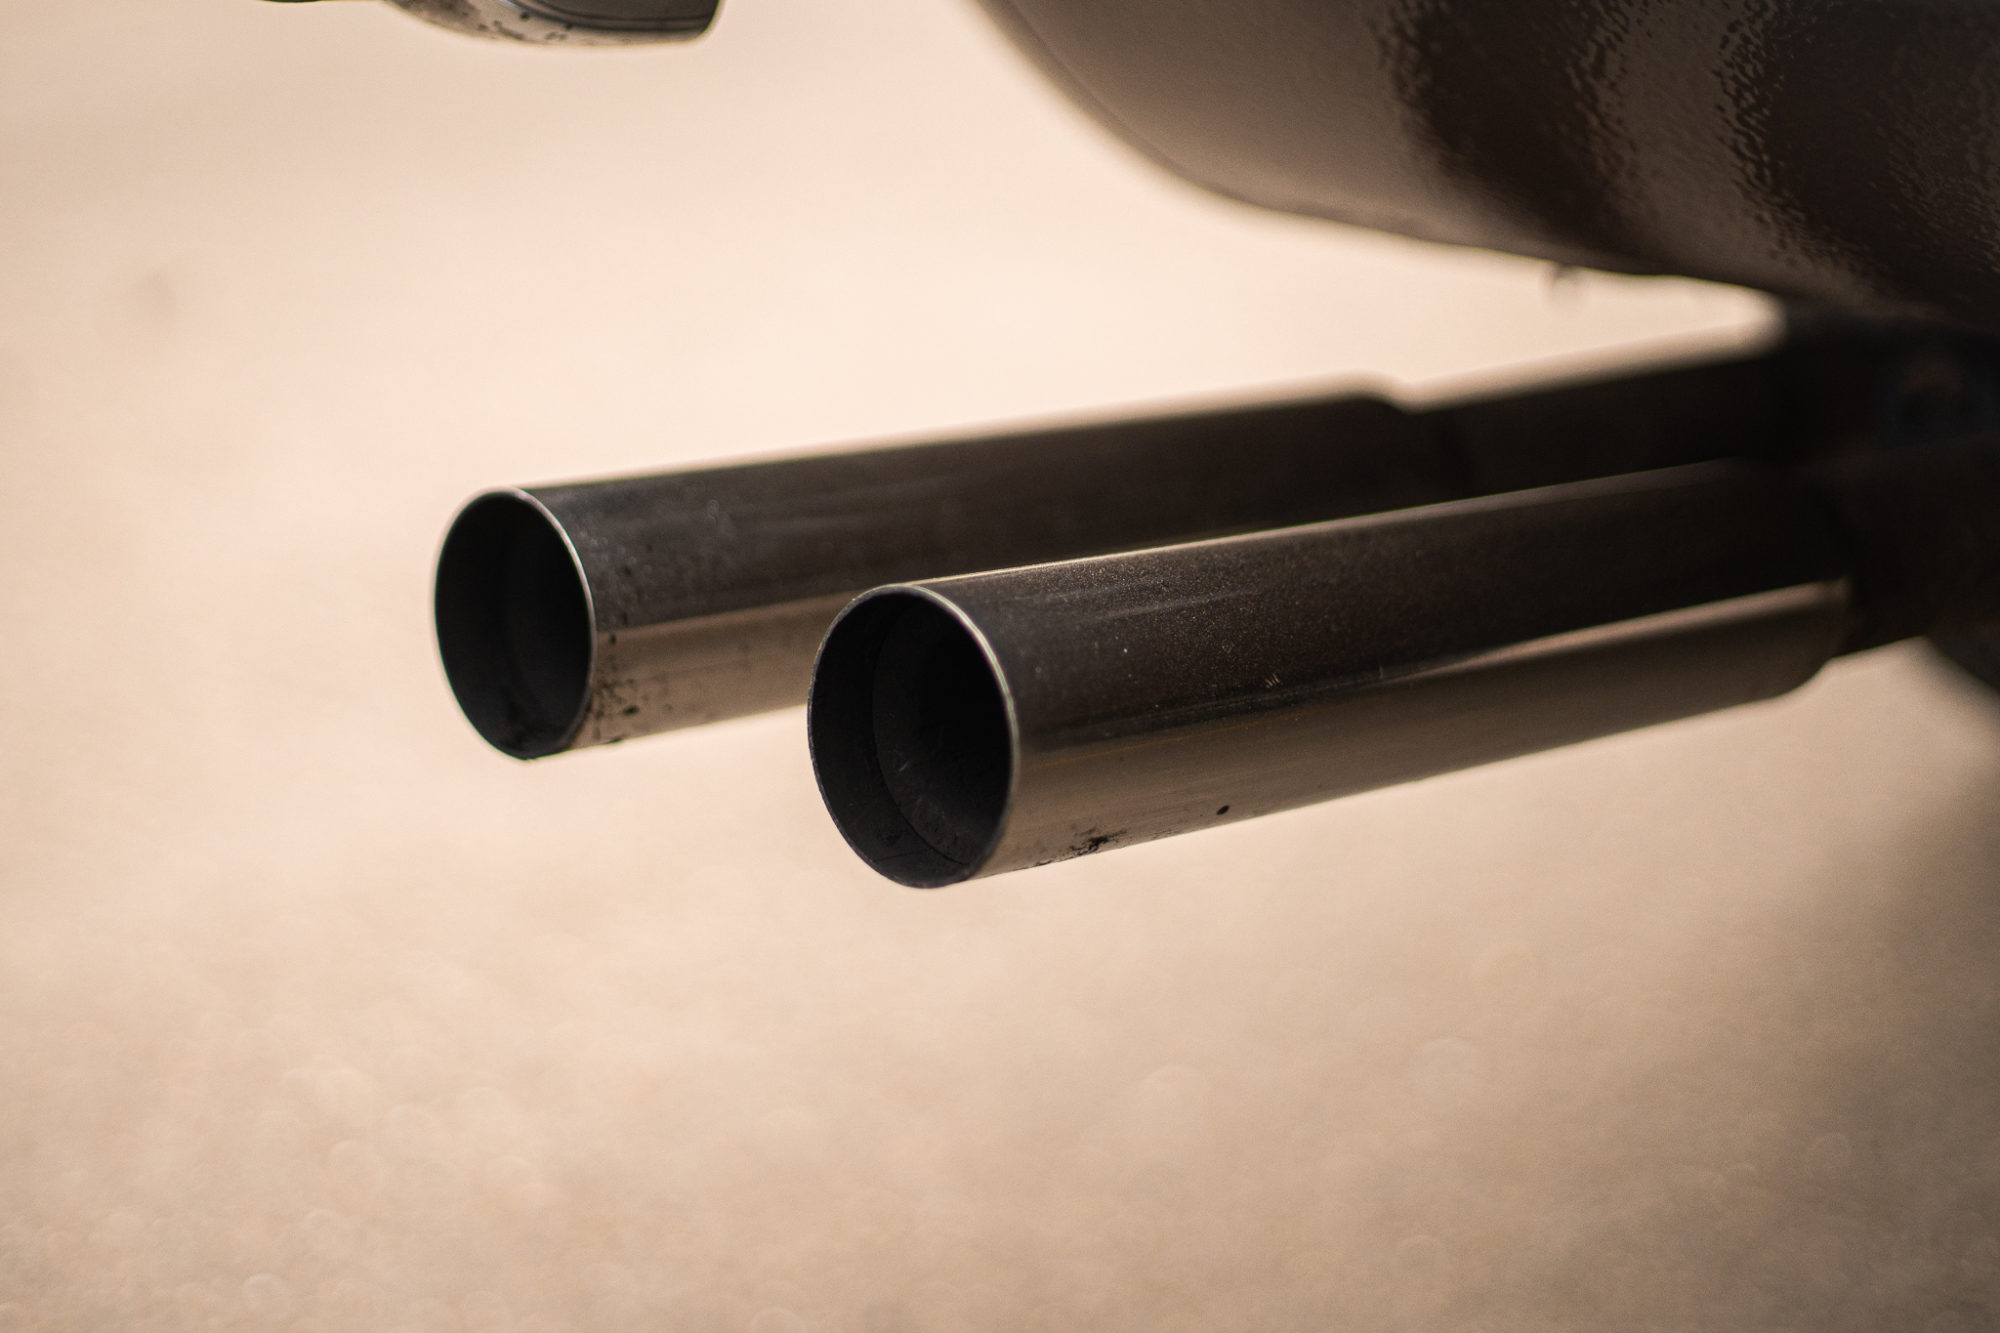
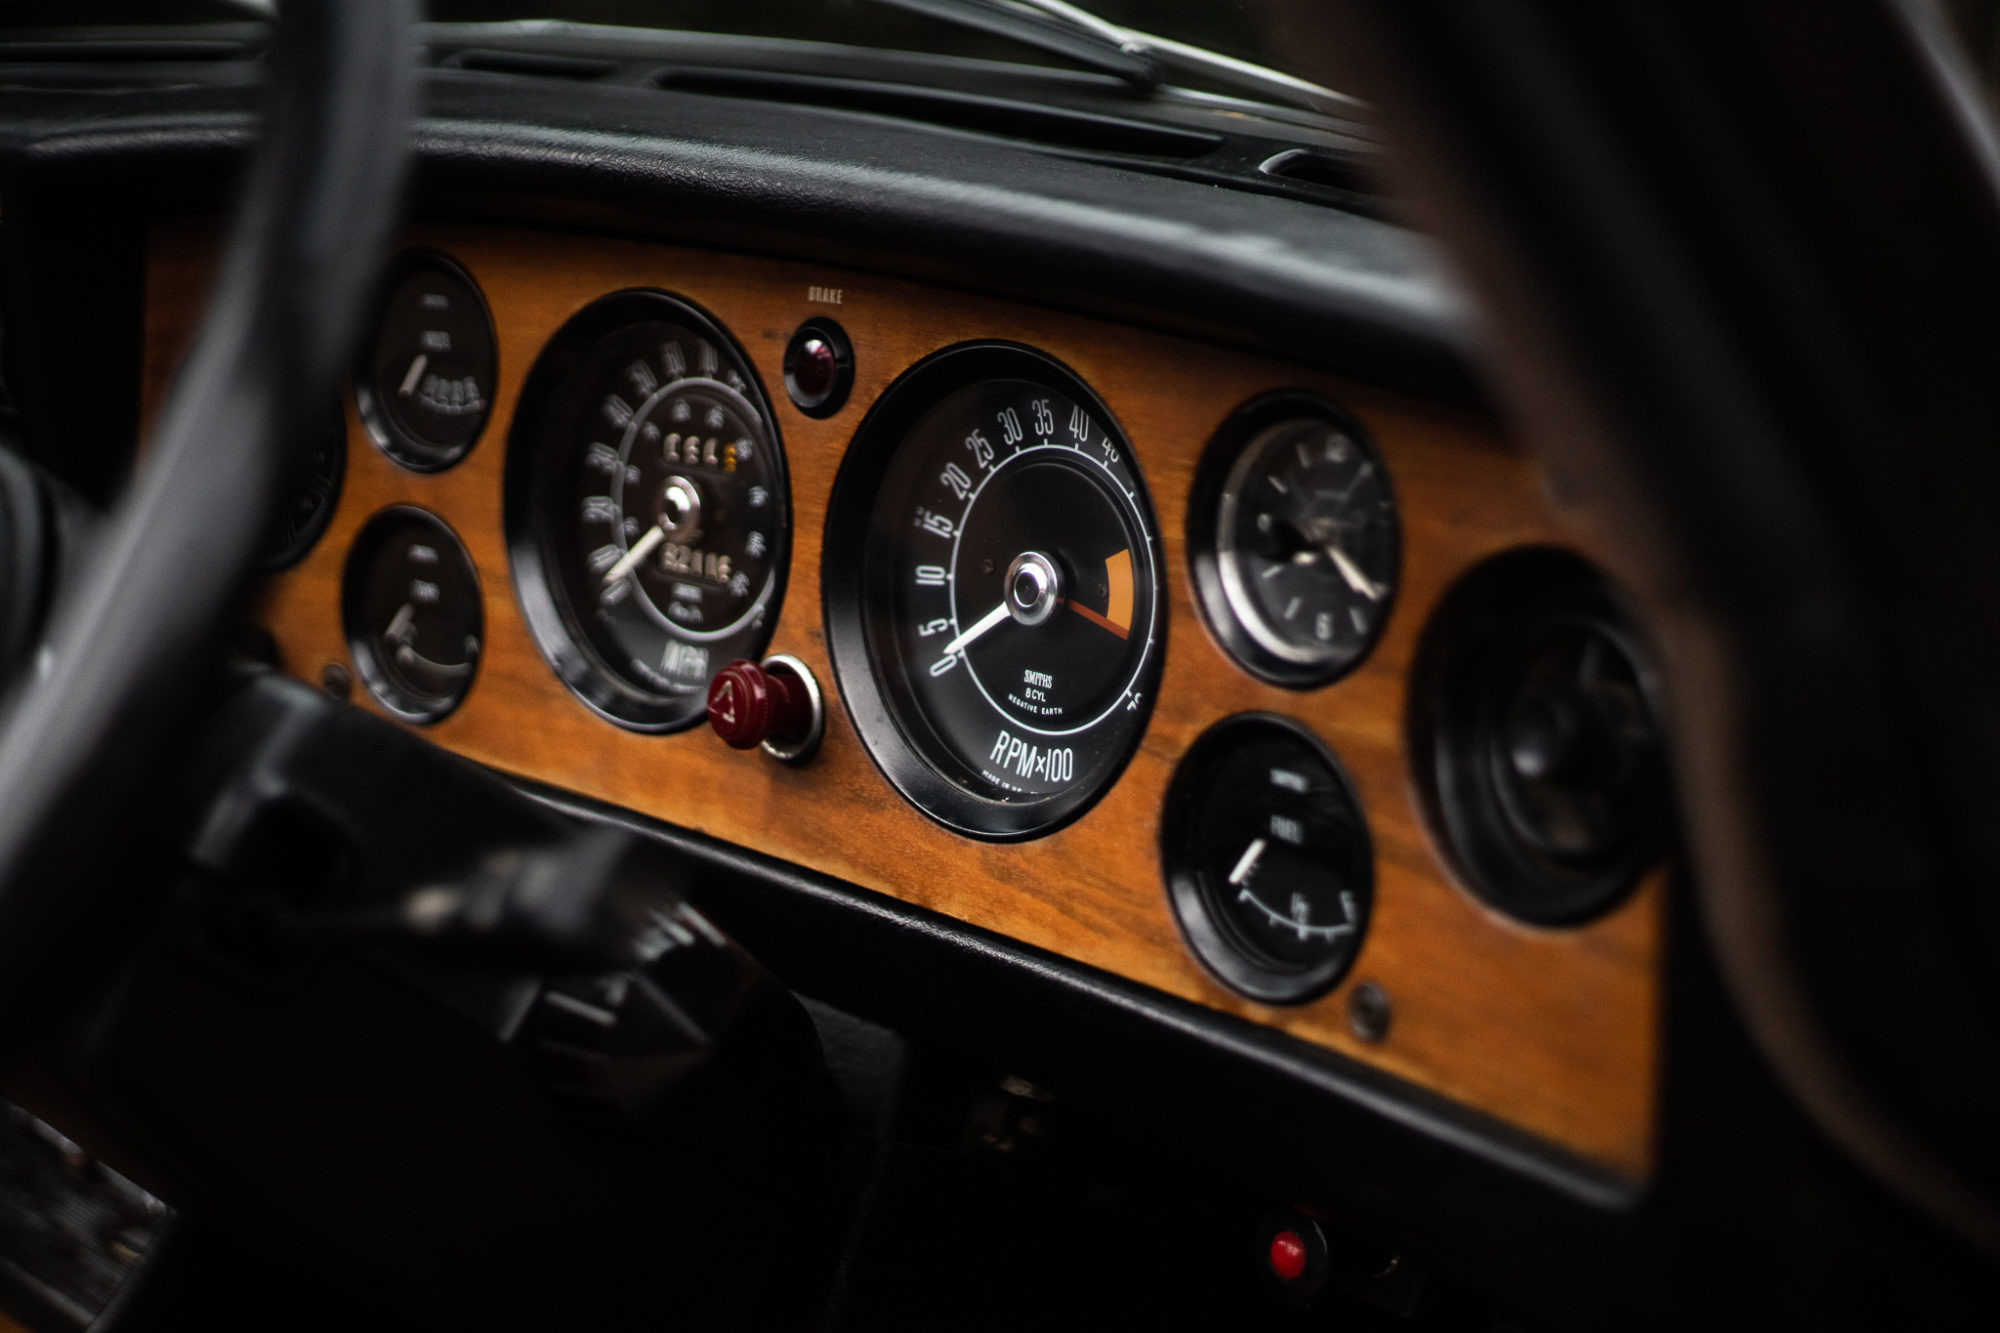
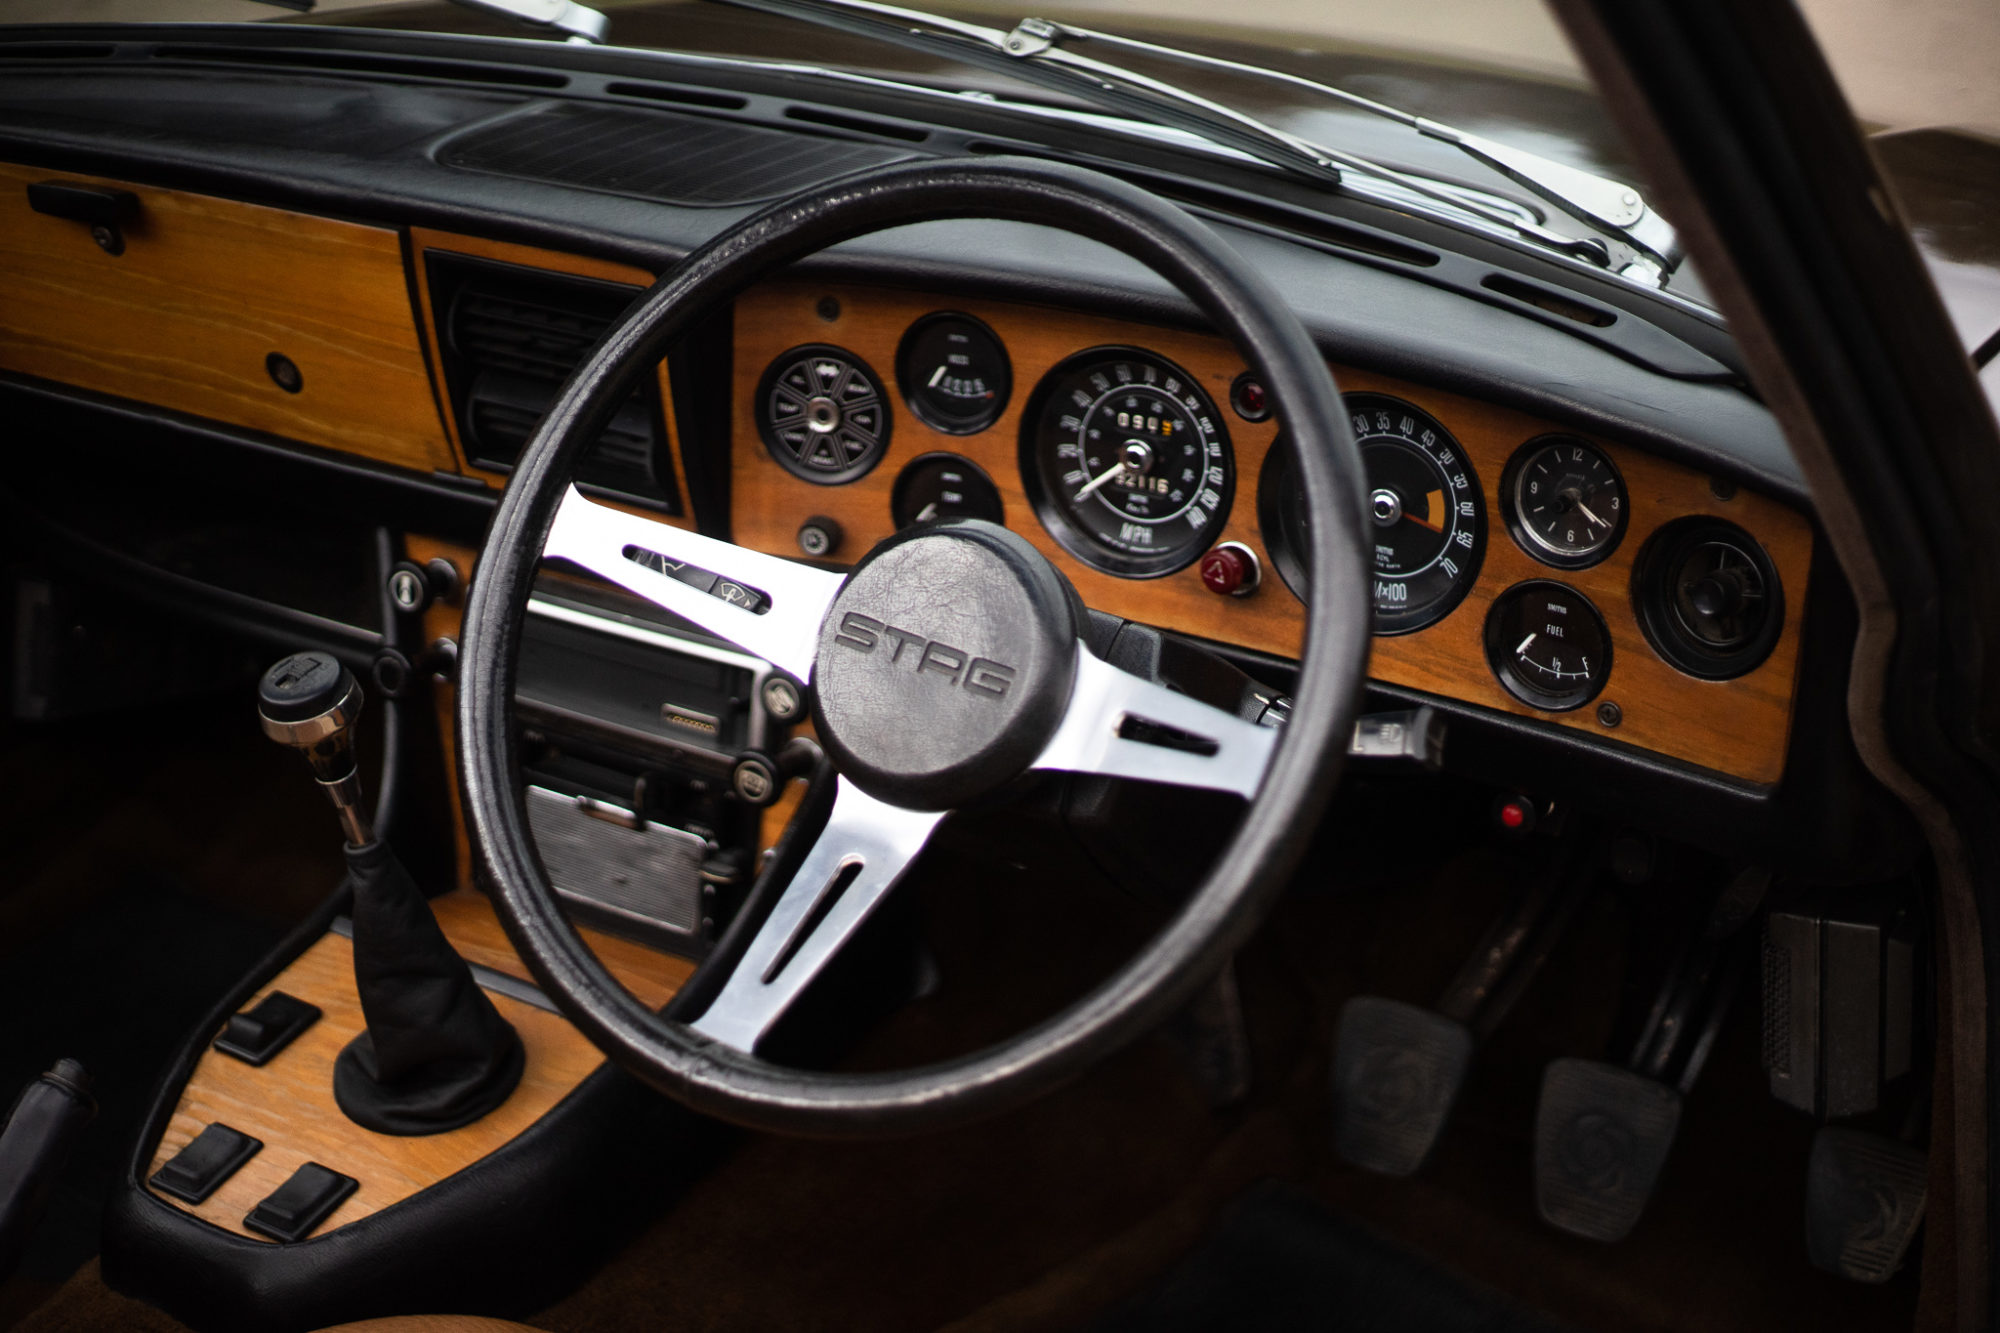
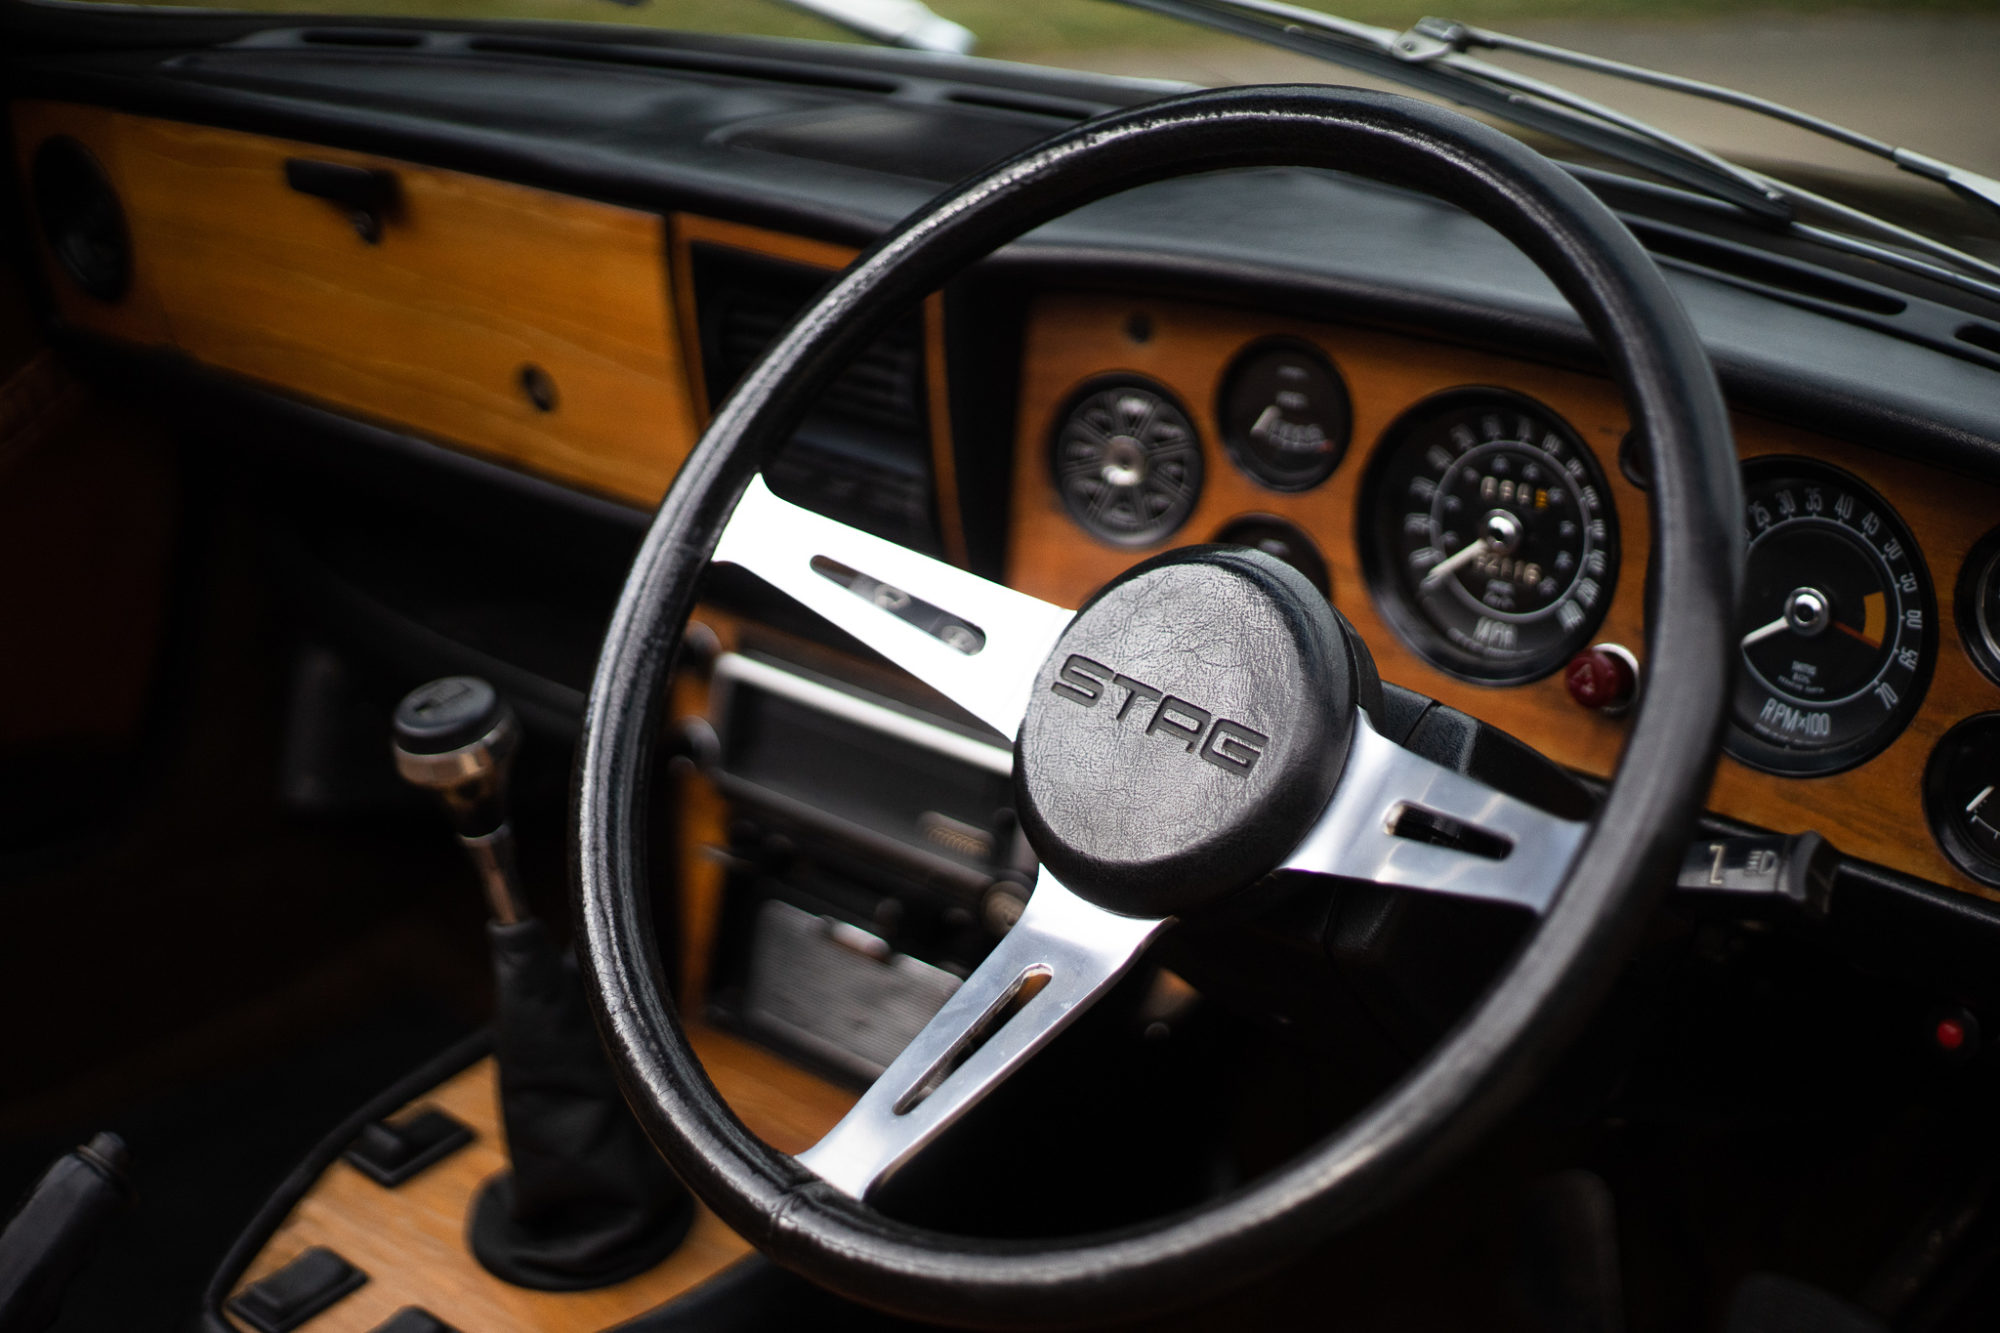
Last week, the team drove over to our hanger at Bentwaters to shoot our Triumph Stag, which you may recognise as one of our latest

Our lovely silver 1959 Jensen 541R has been completed and is leaving the workshop today. Although that’s one less Jensen in our workshop, we have
Our 1970 Jaguar E-type Series 2 4.2 is currently have its service. Mauro has been taking care of this project and is in charge of
Here at Bridge Classic Cars, we’re become Jensen specialists, meaning whether you have a Jensen to bring in or you’re just inquiring about, we can
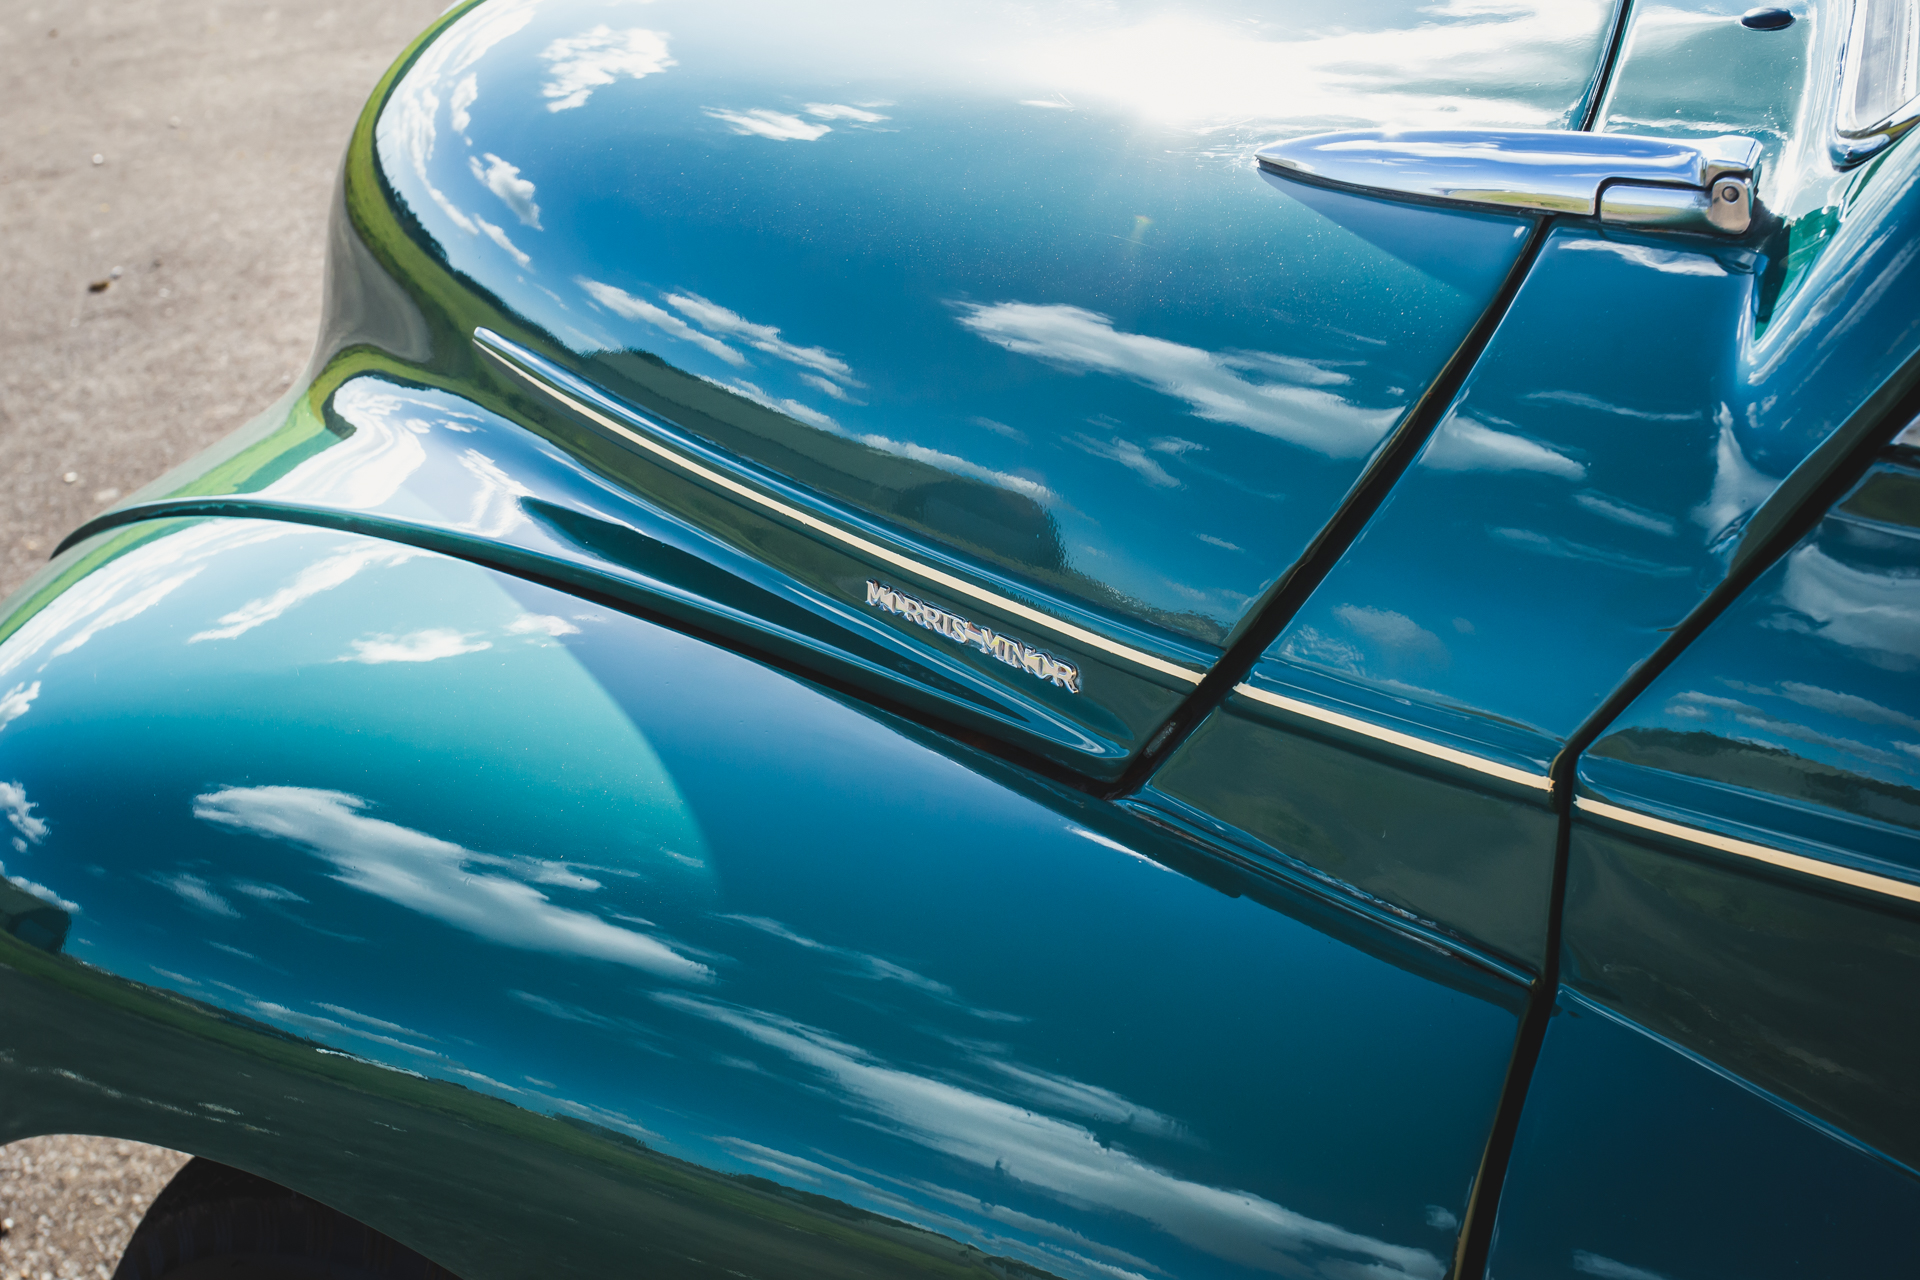
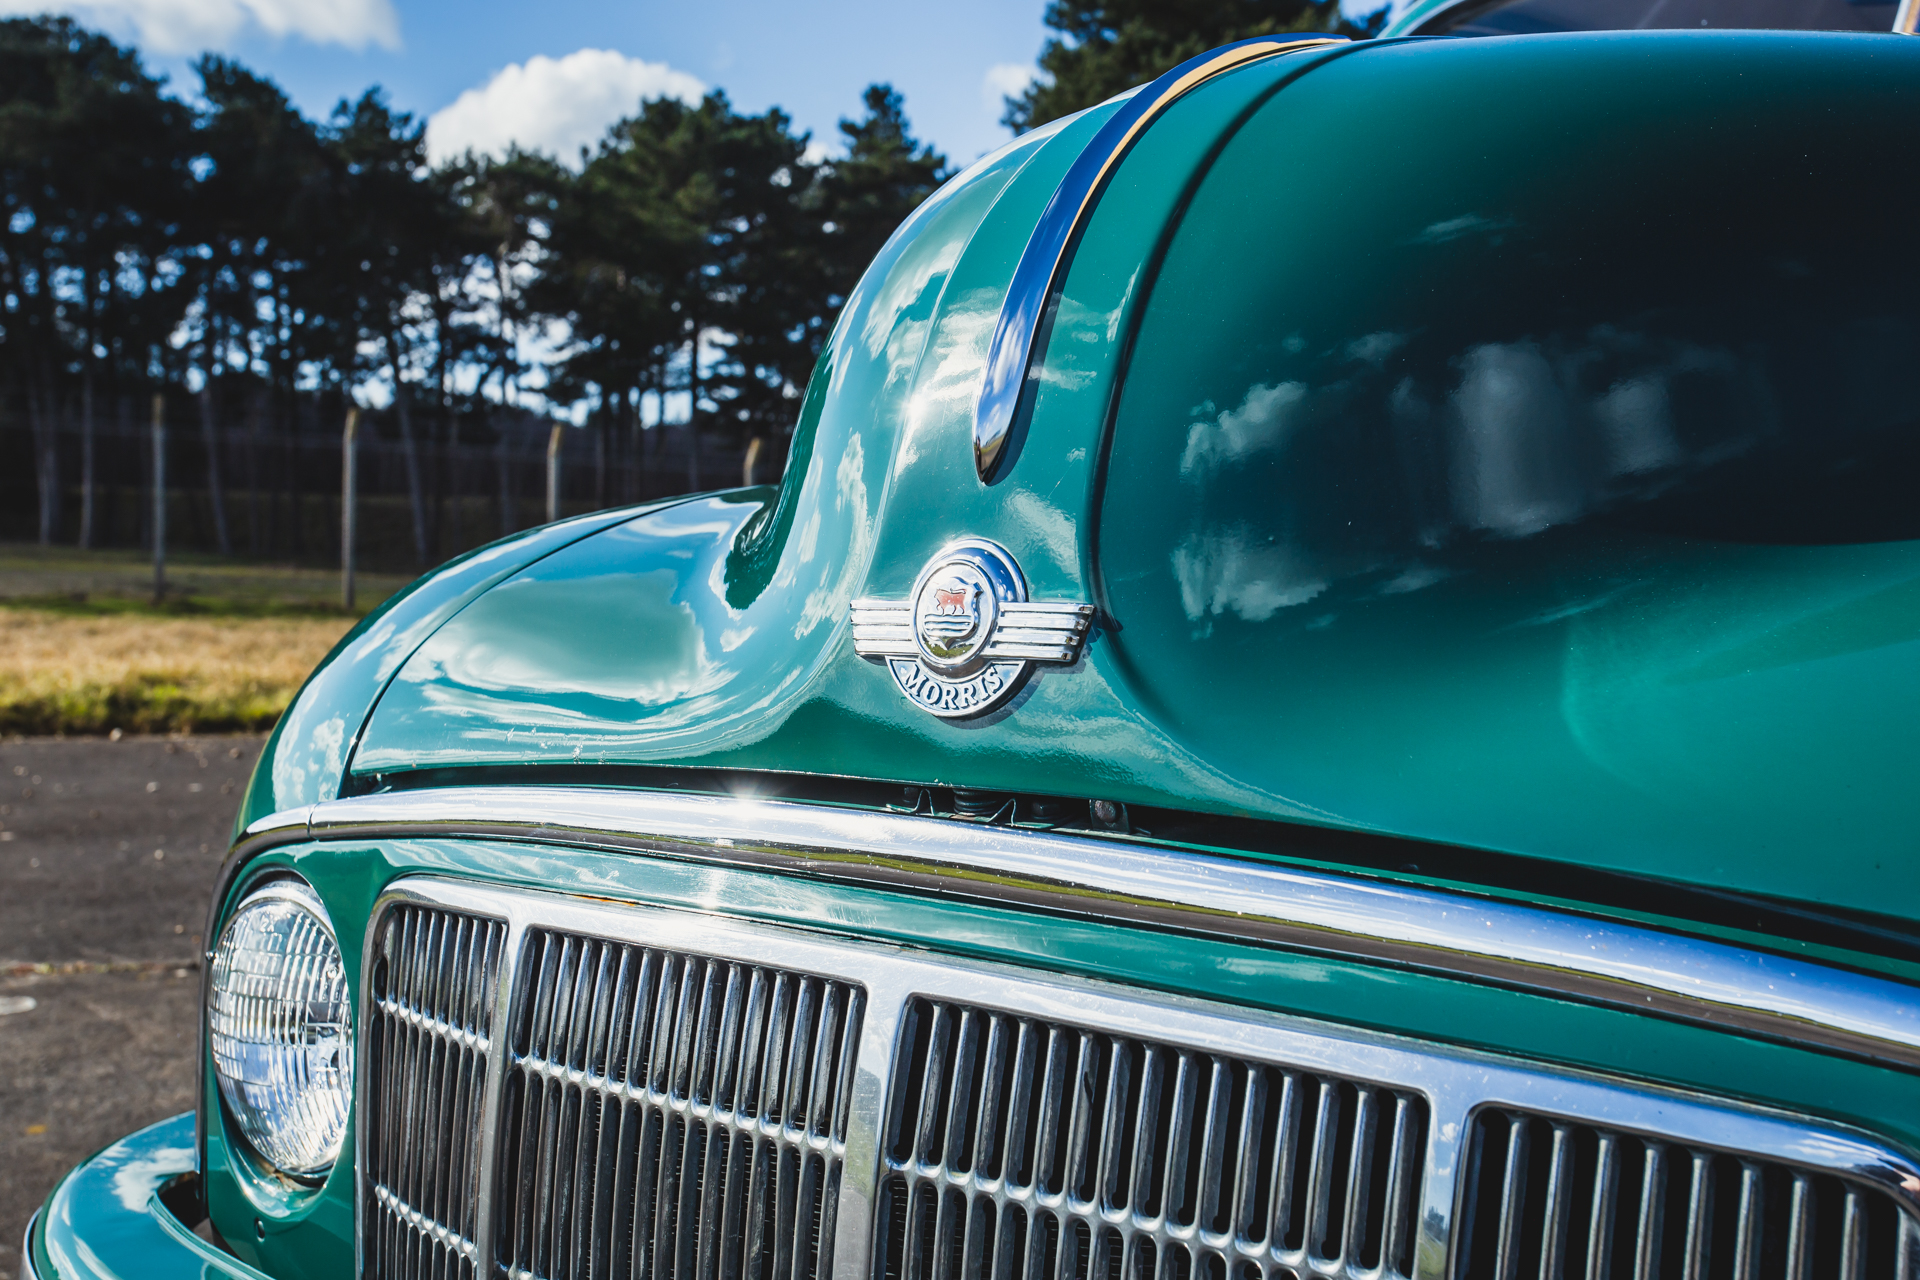
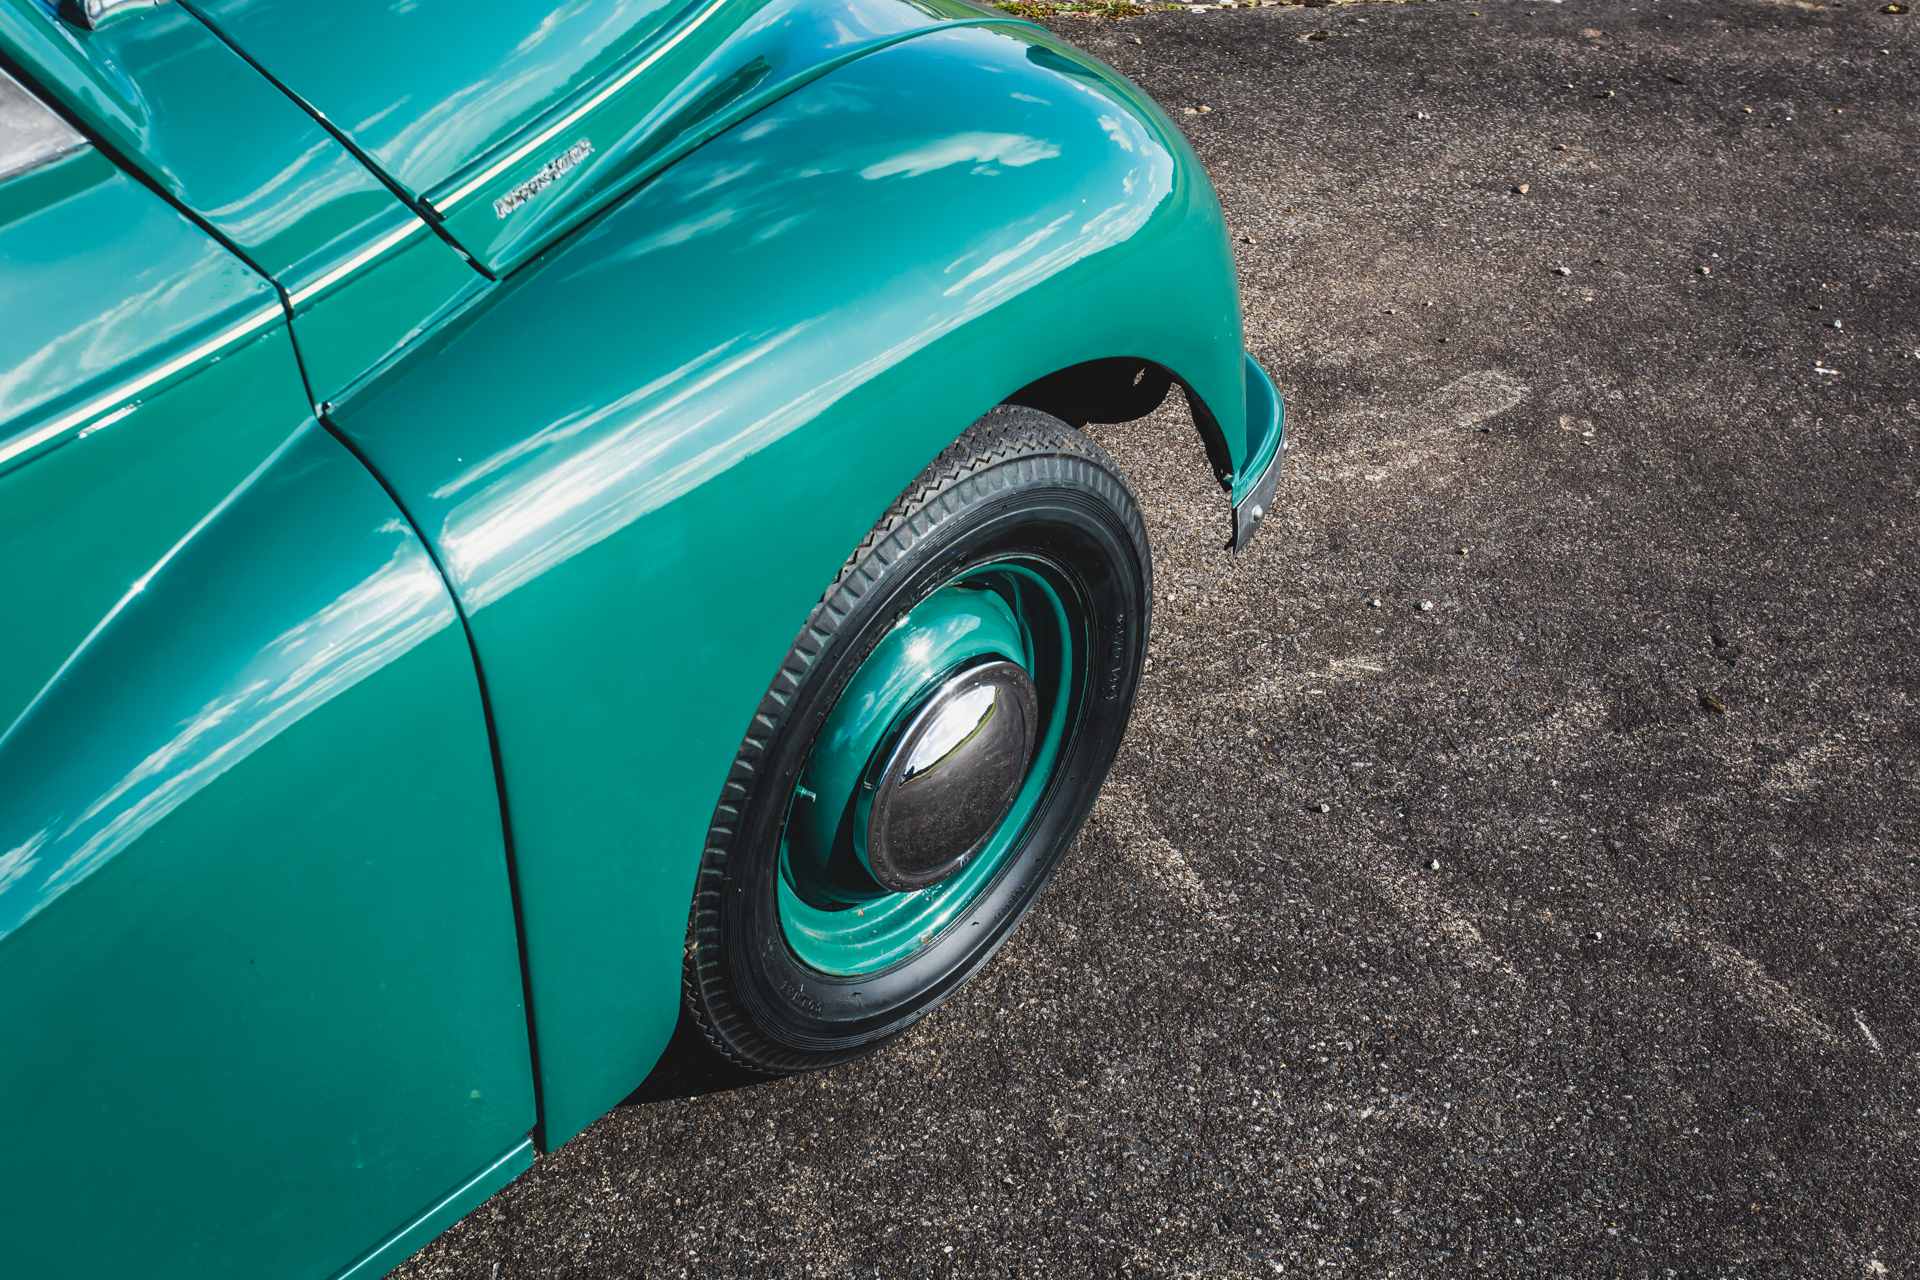
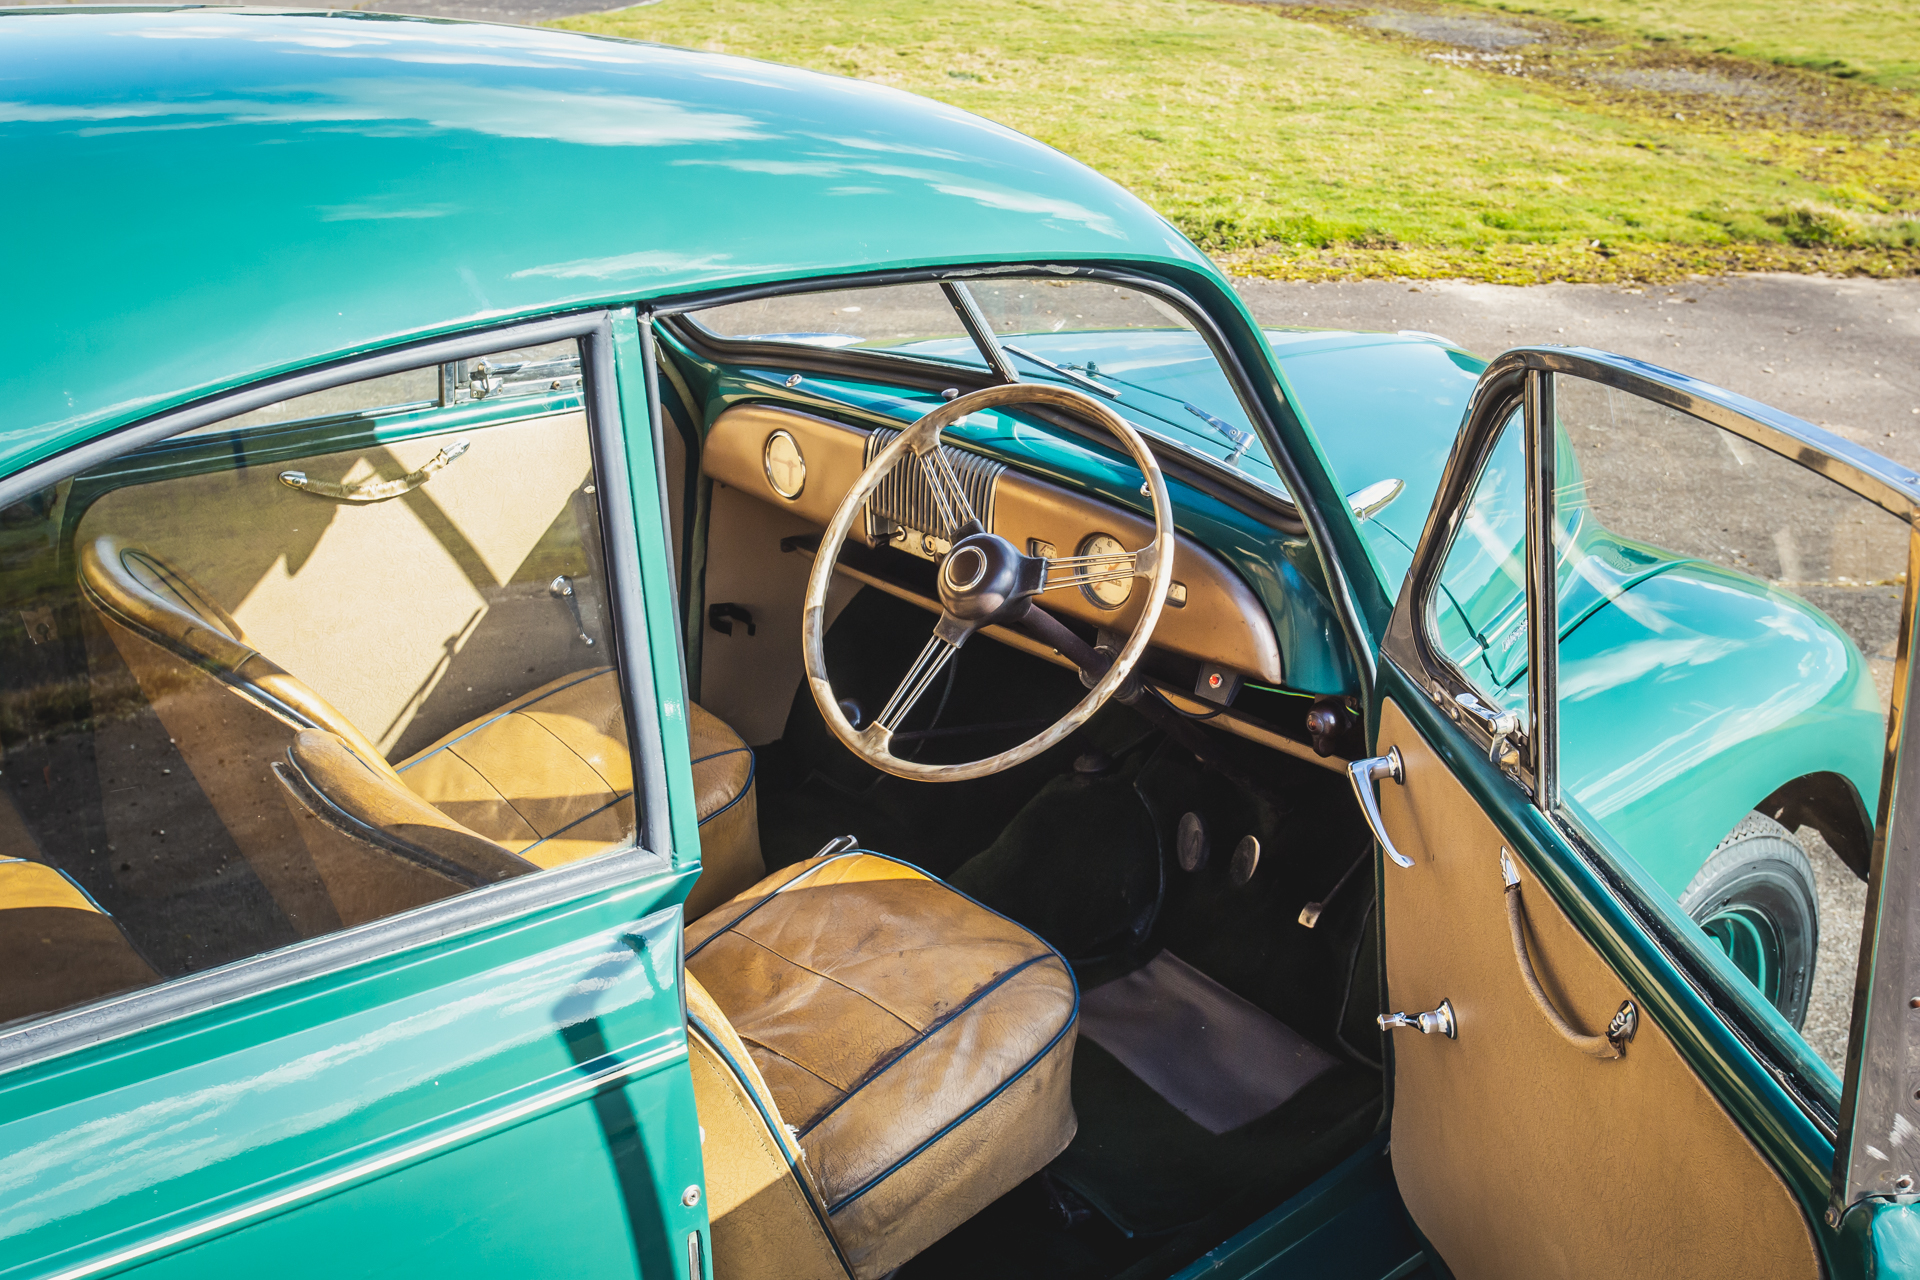
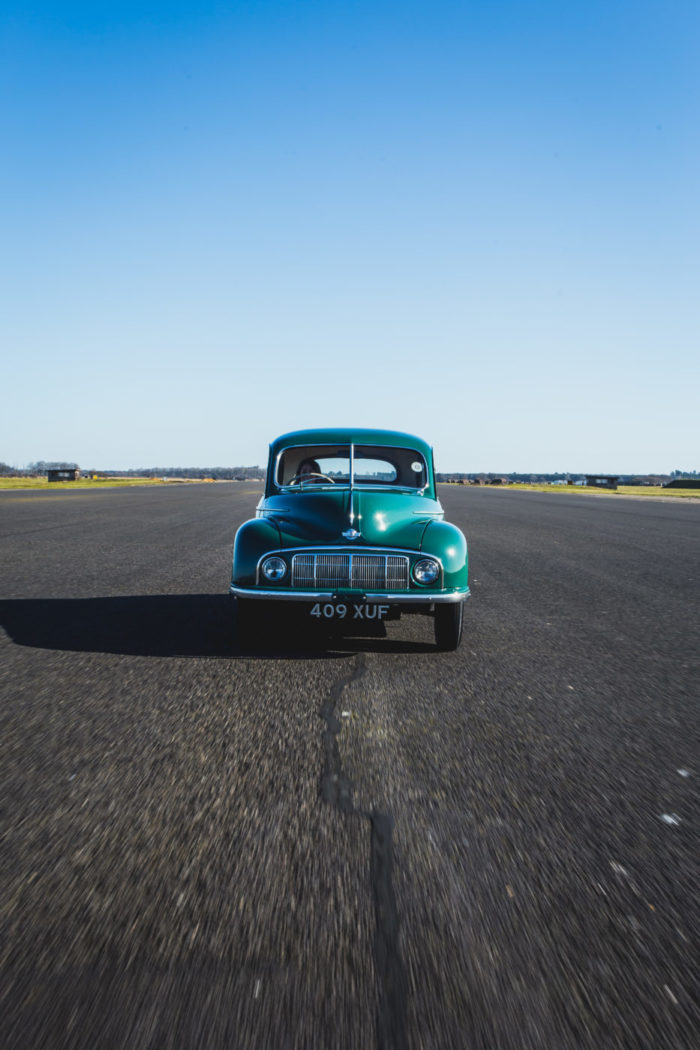
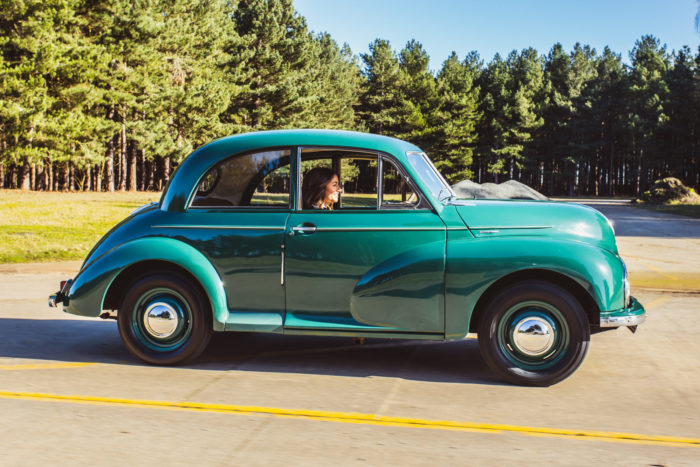
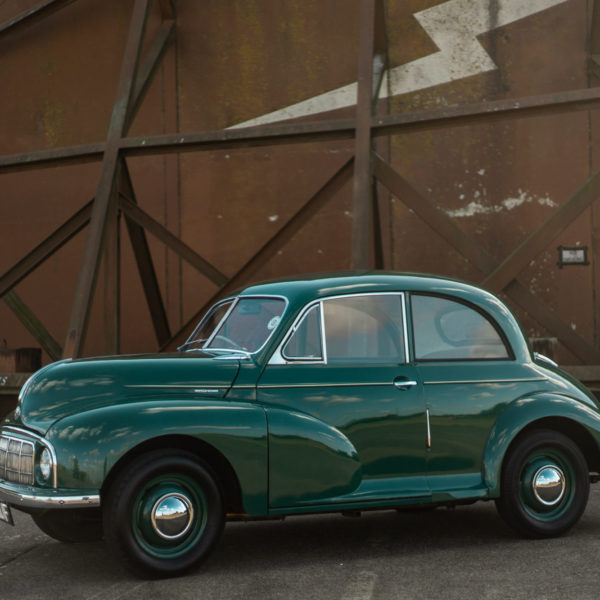
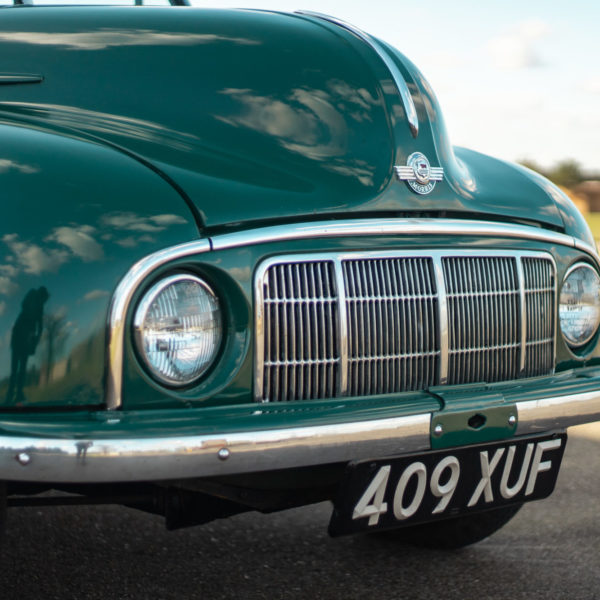
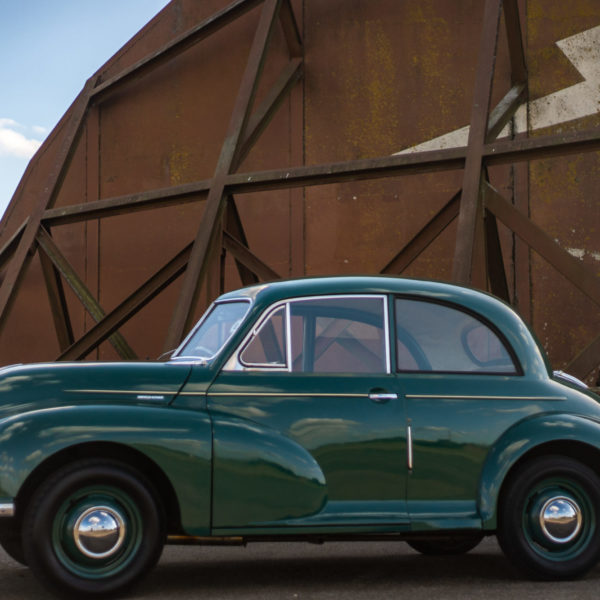
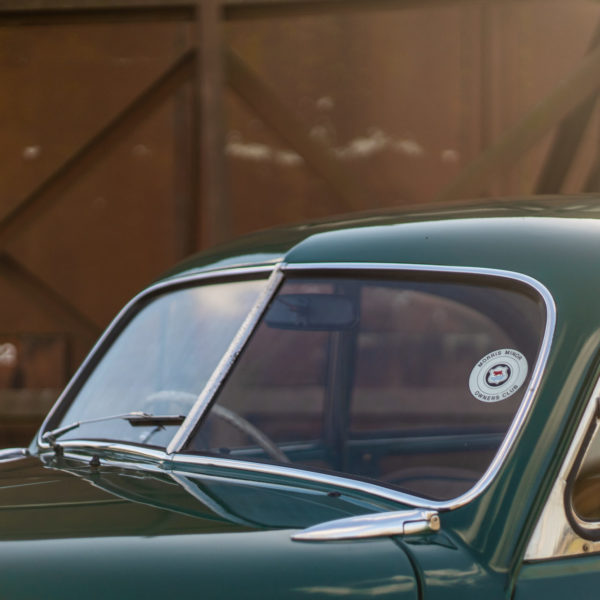
In February, we shot this characterful Morris Minor ‘Lowlight’, which you may recognise as out current competition car. We were lucky with the weather as

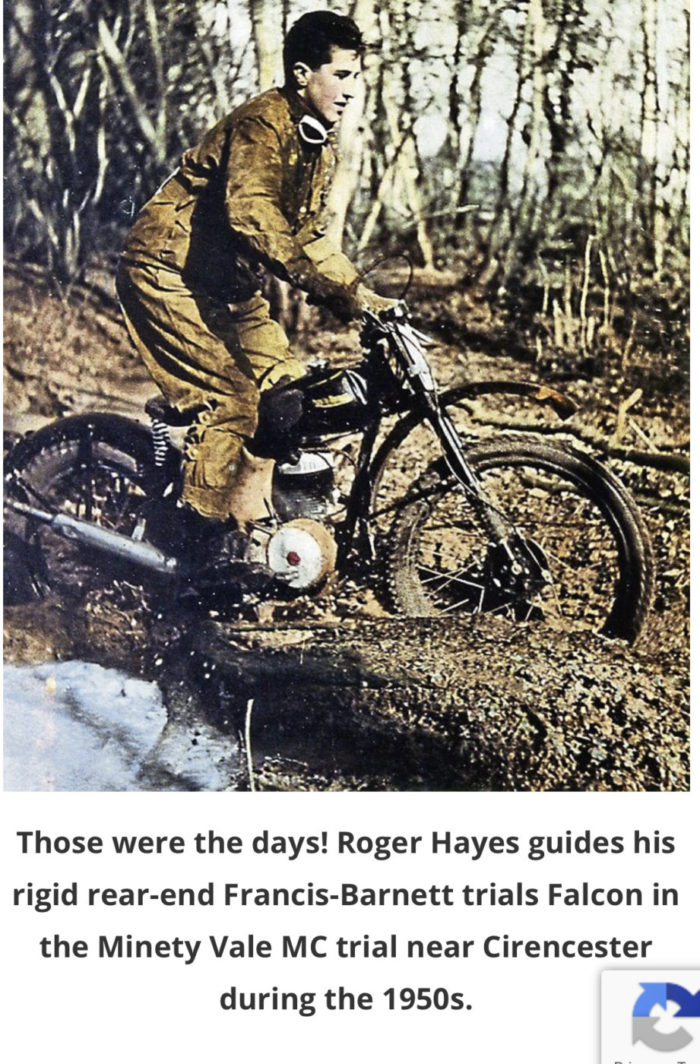
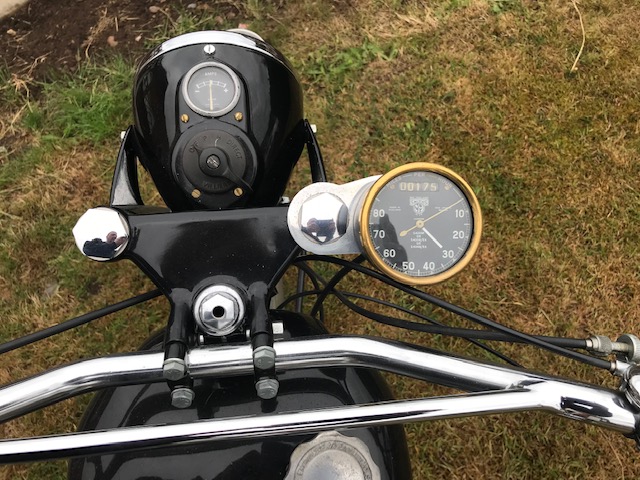
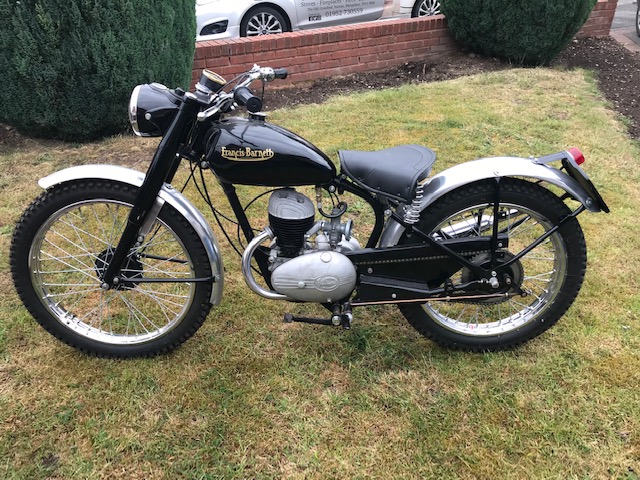
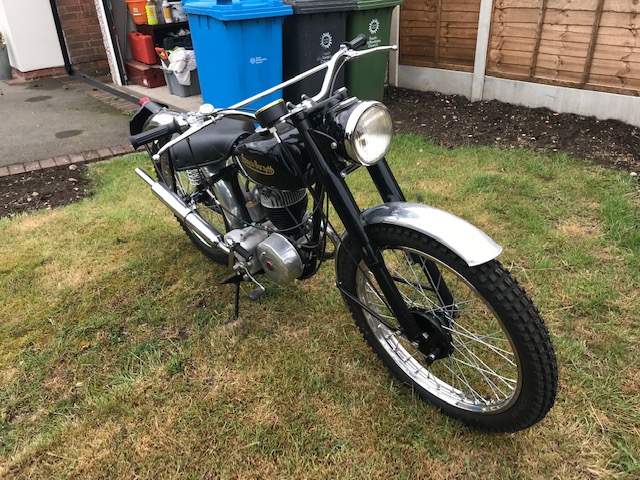
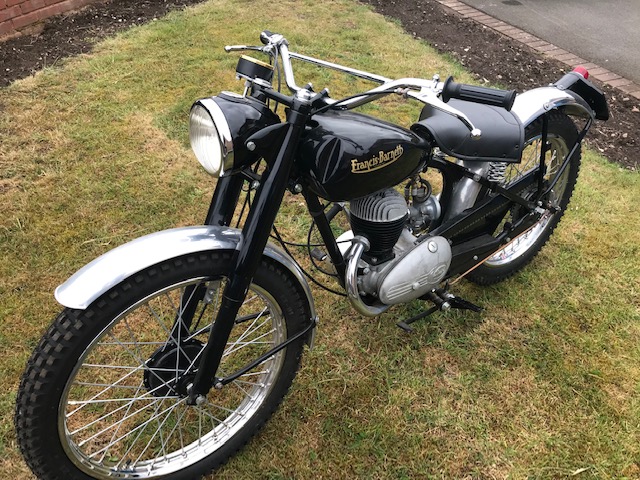
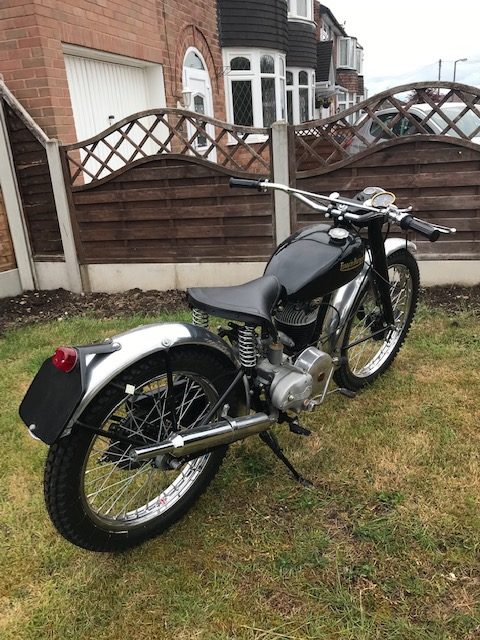
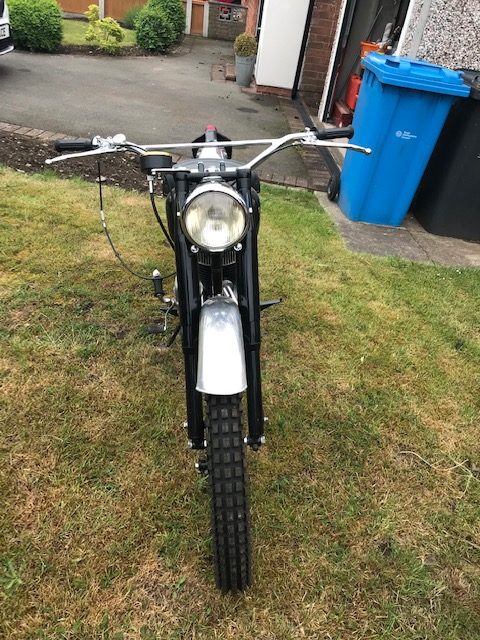
We are very excited to reveal 3 incredible machines arriving in our workshops very soon. First up we have our beautiful 1953 Francis Barnett Rigid

We’ve been featured in the EADT who have written about our charming 1949 Morris Minor Lowlight. We love seeing our work in local publications!
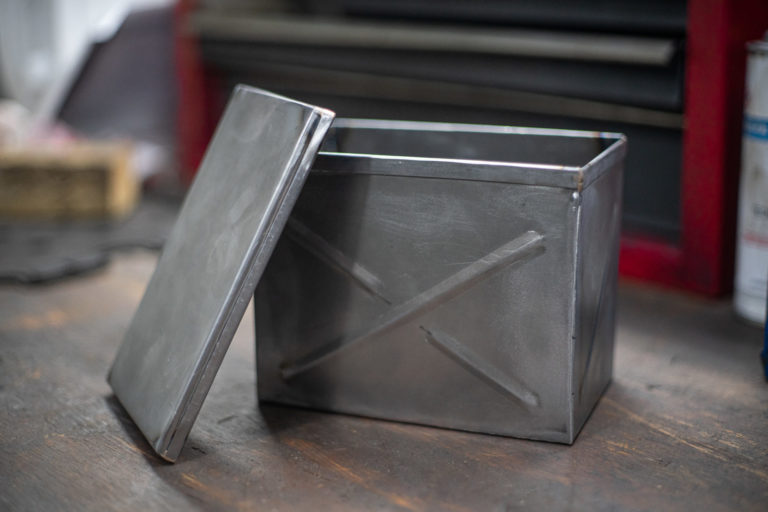
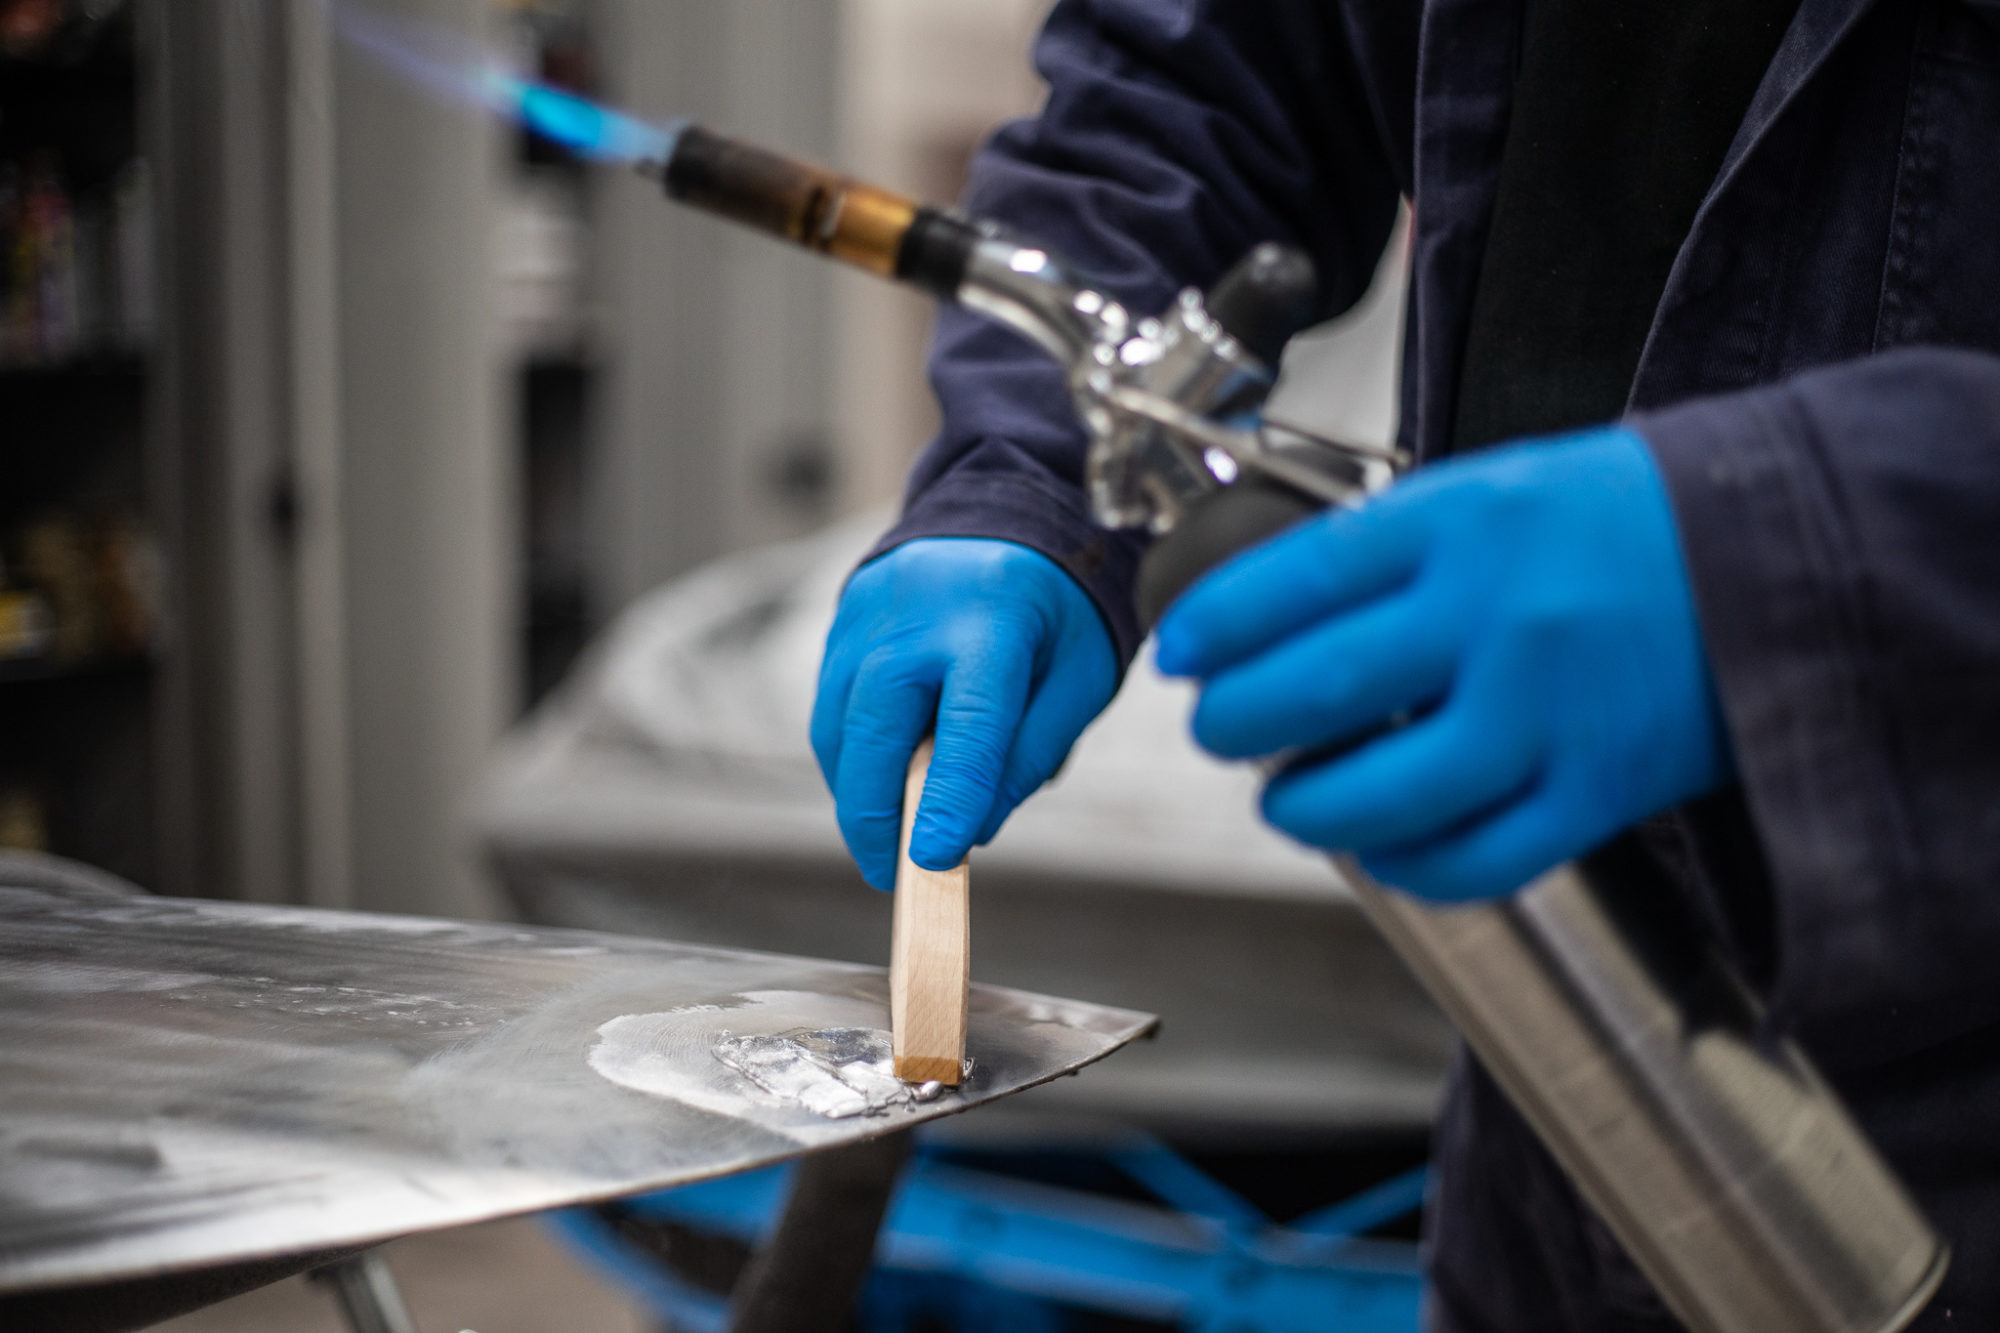
Our friend Clinton from Holdsworth Artisan Metalwork has made this custom battery box for Craig’s 1984 Suzuki GSX 400T cafe racer motorbike. Clinton has carefully
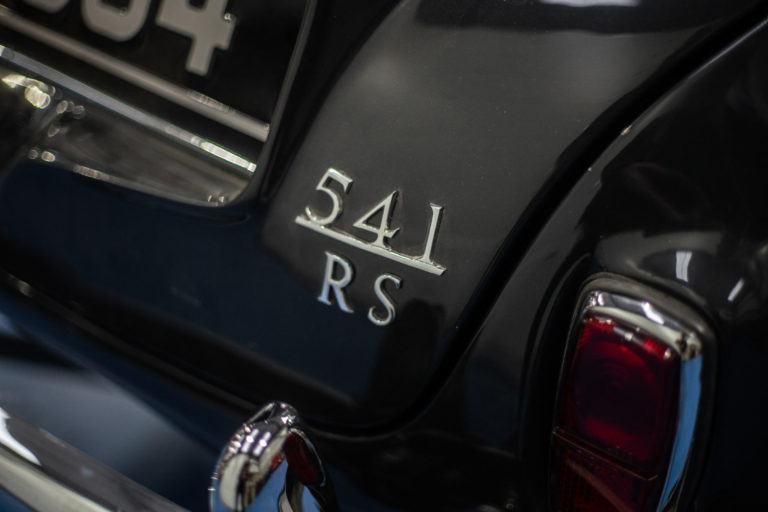
Our 1957 Jensen 541 R(S) is currently being worked through its snag list, which is essentially a list compiled of areas that need to be

These tangled looking metal pieces are fondly named ‘mousetrap springs’ which are fitted on the clutch fork fingers. However, these have unfortunately given in and

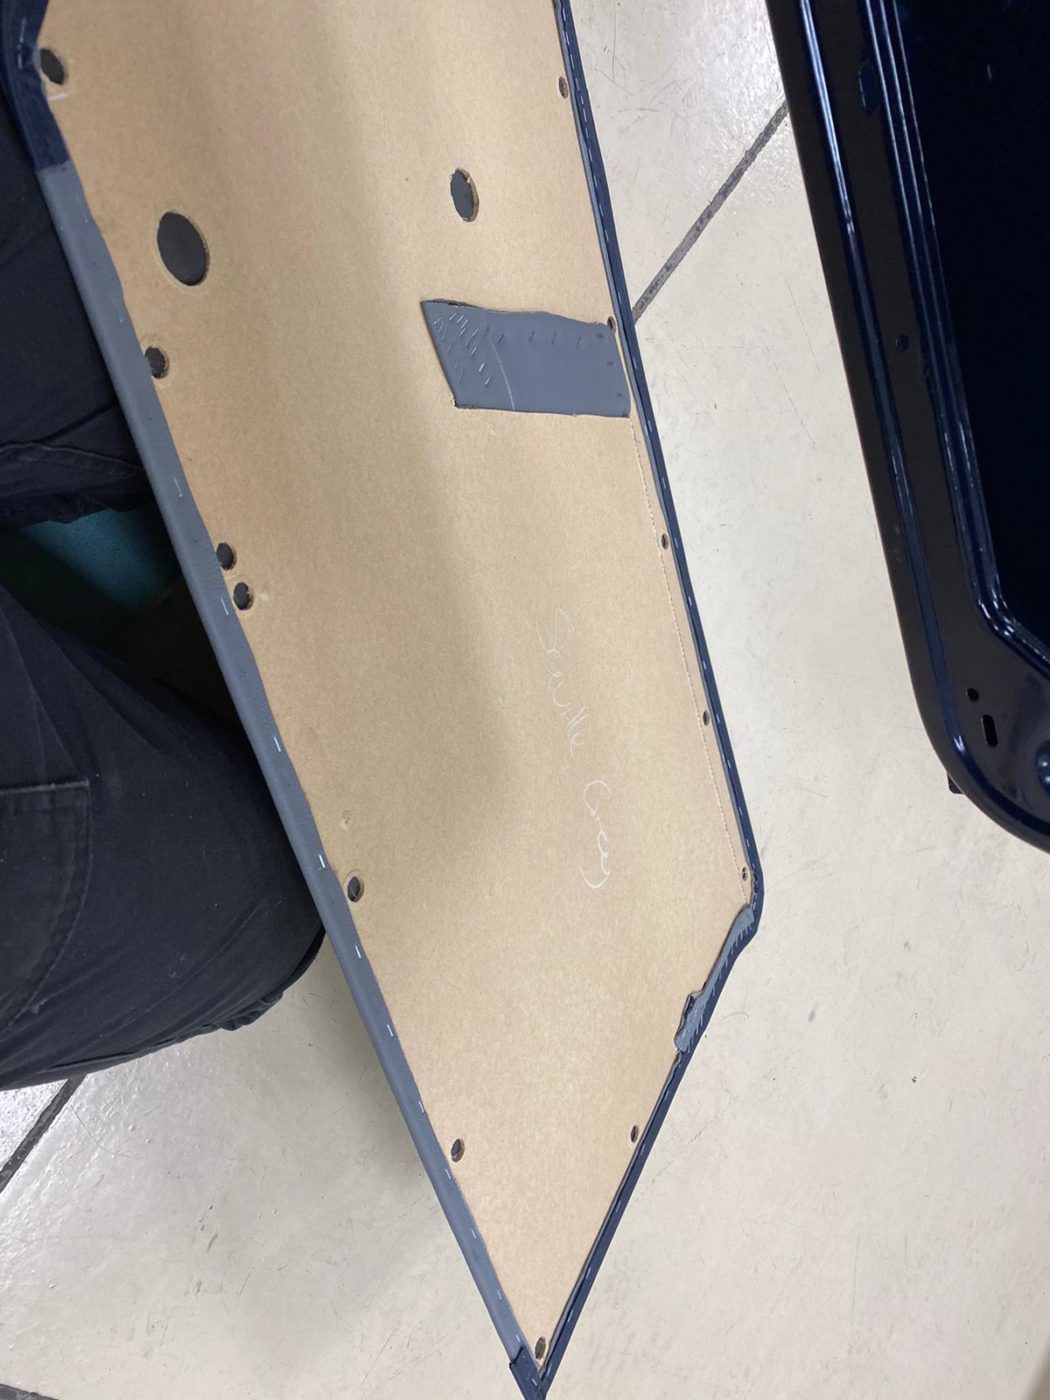
Our trim shop have been dedicating their efforts to our Ferrari Daytona recently, which is one of the largest nut and bolt restorations we have

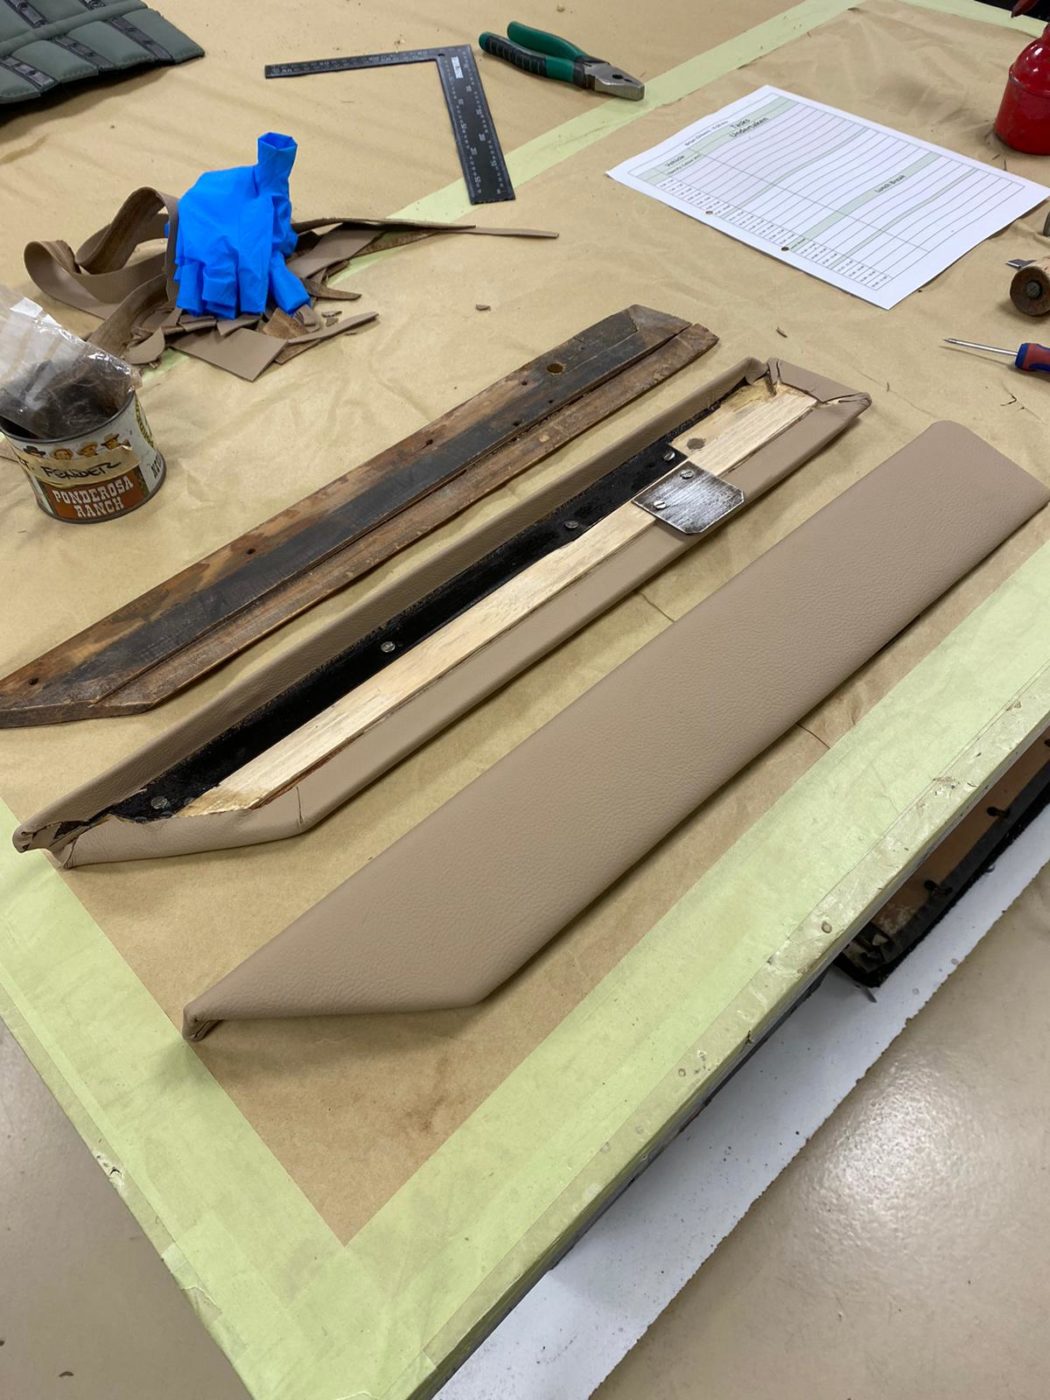
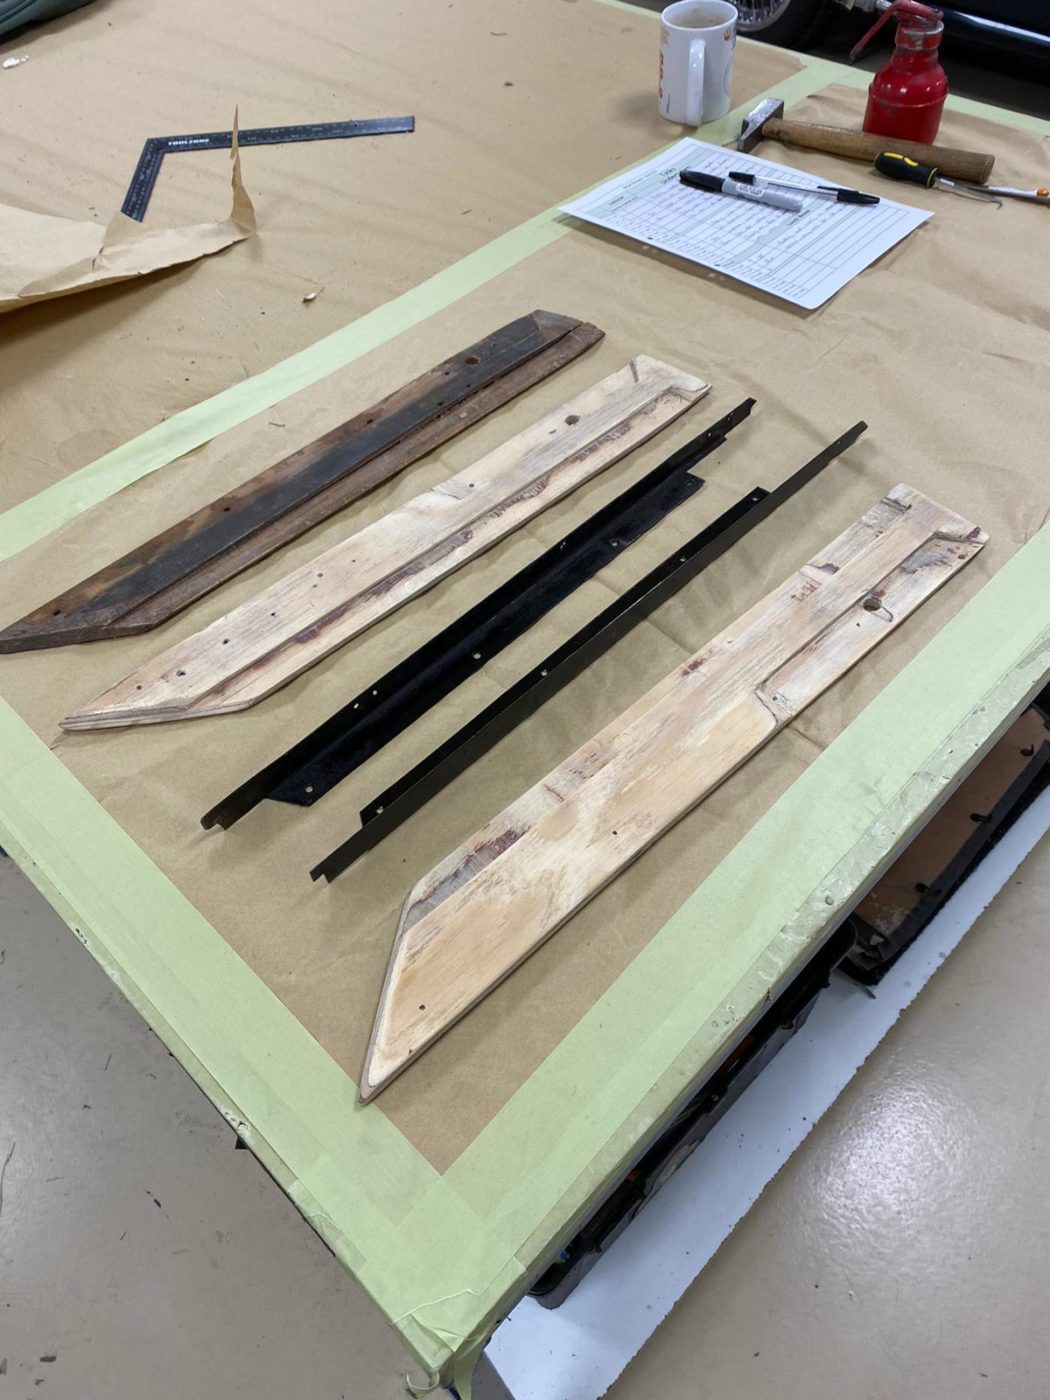
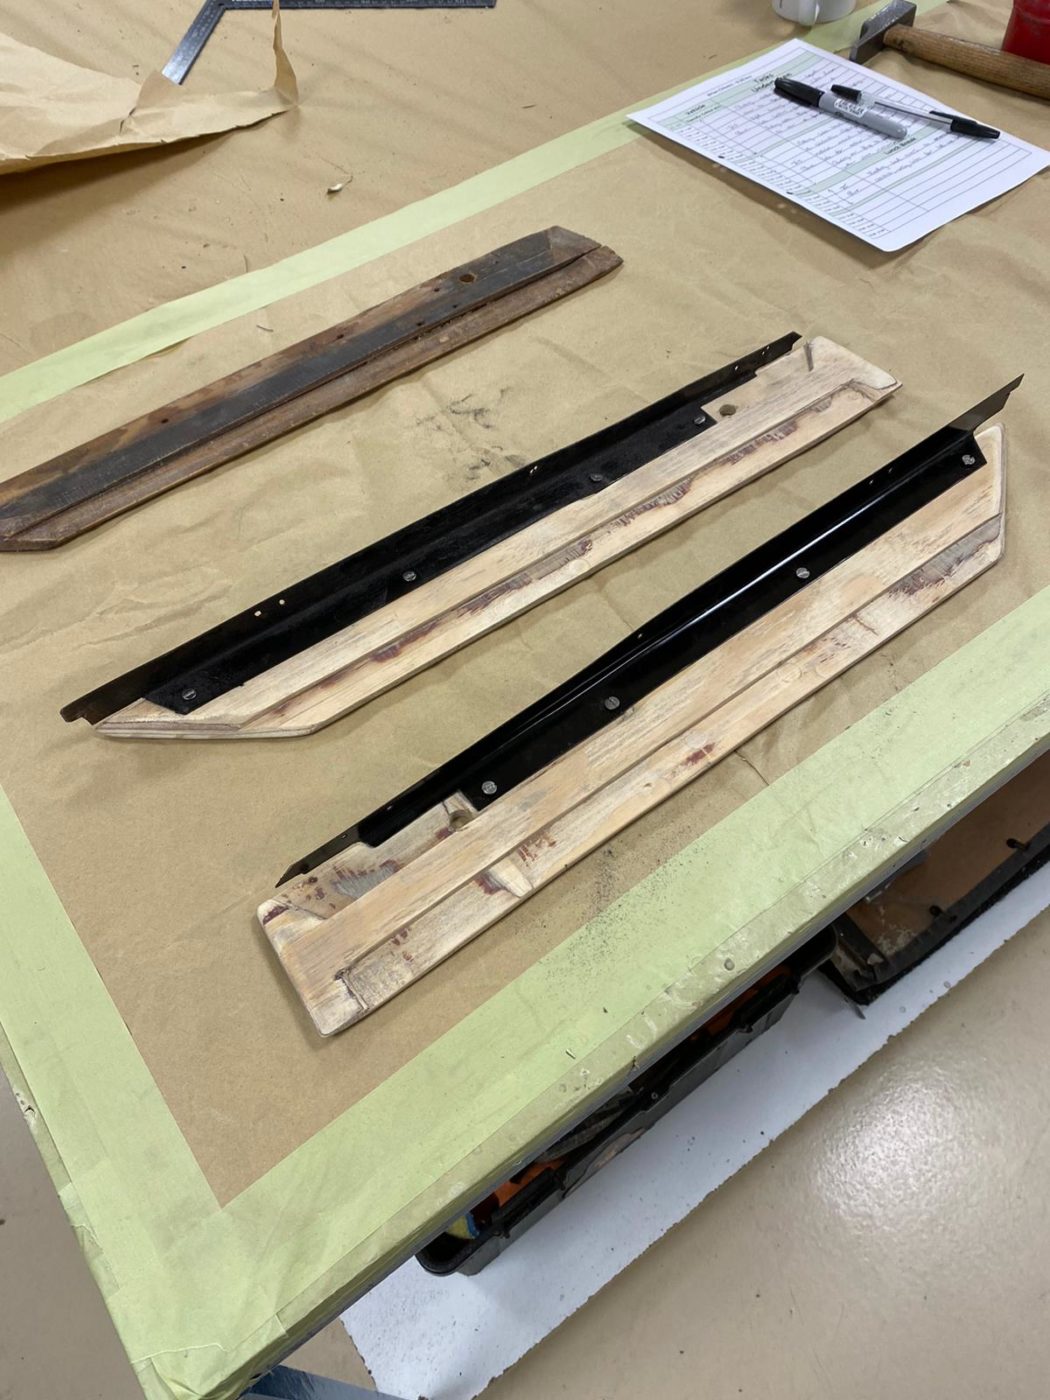
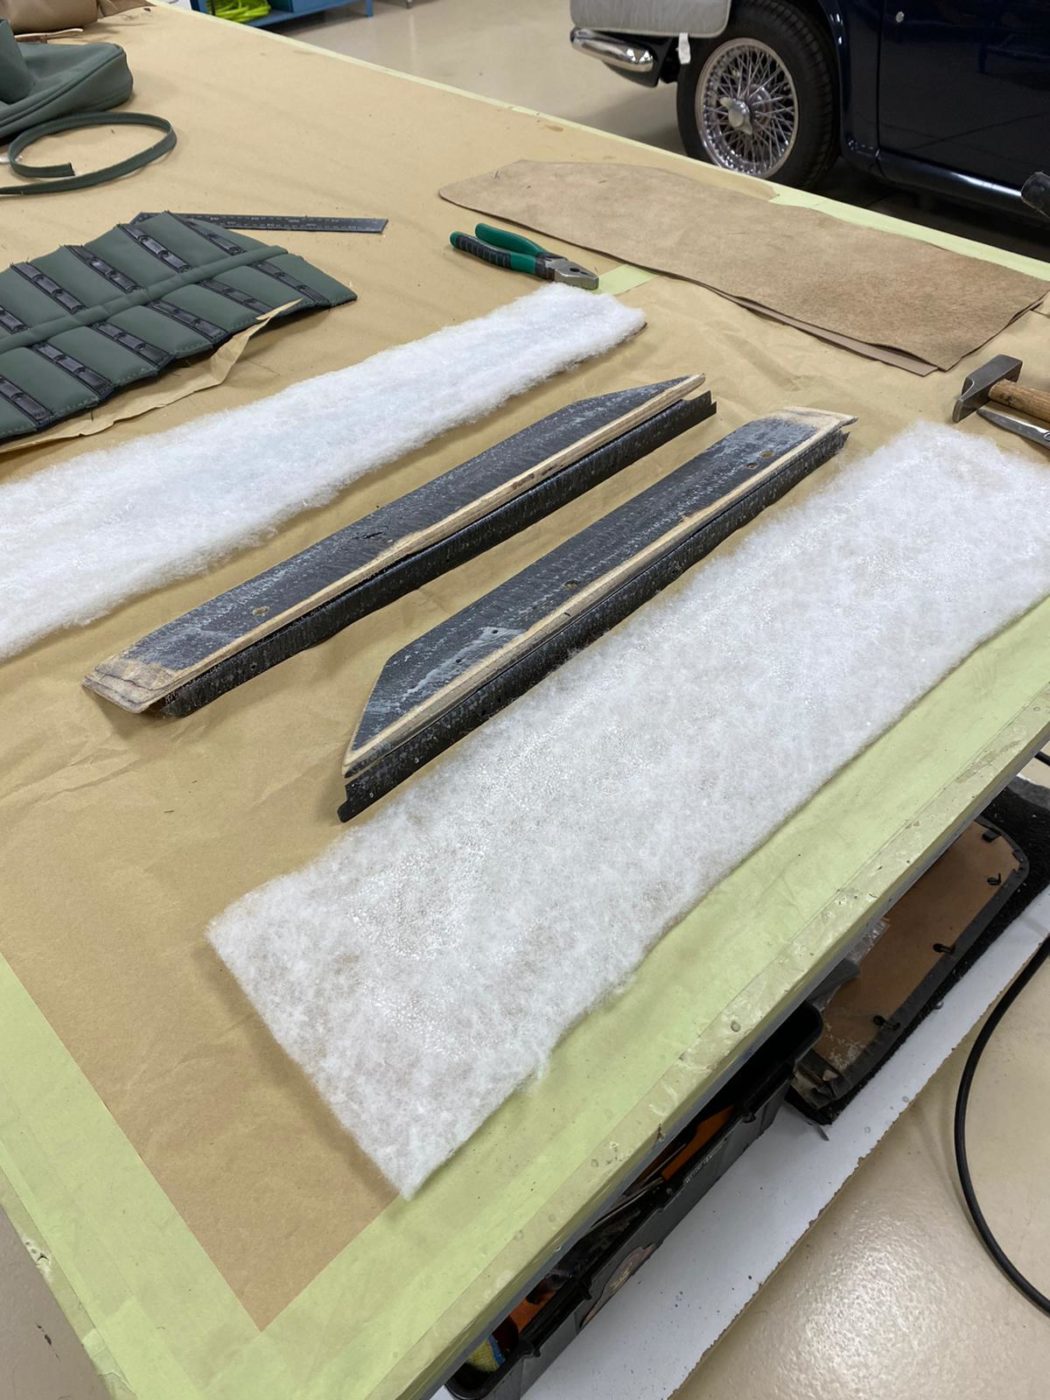
Brian has been working on the door cappings for our 1960 Peony Red Jensen 541S. He began by fitting metal brackets to the rear door
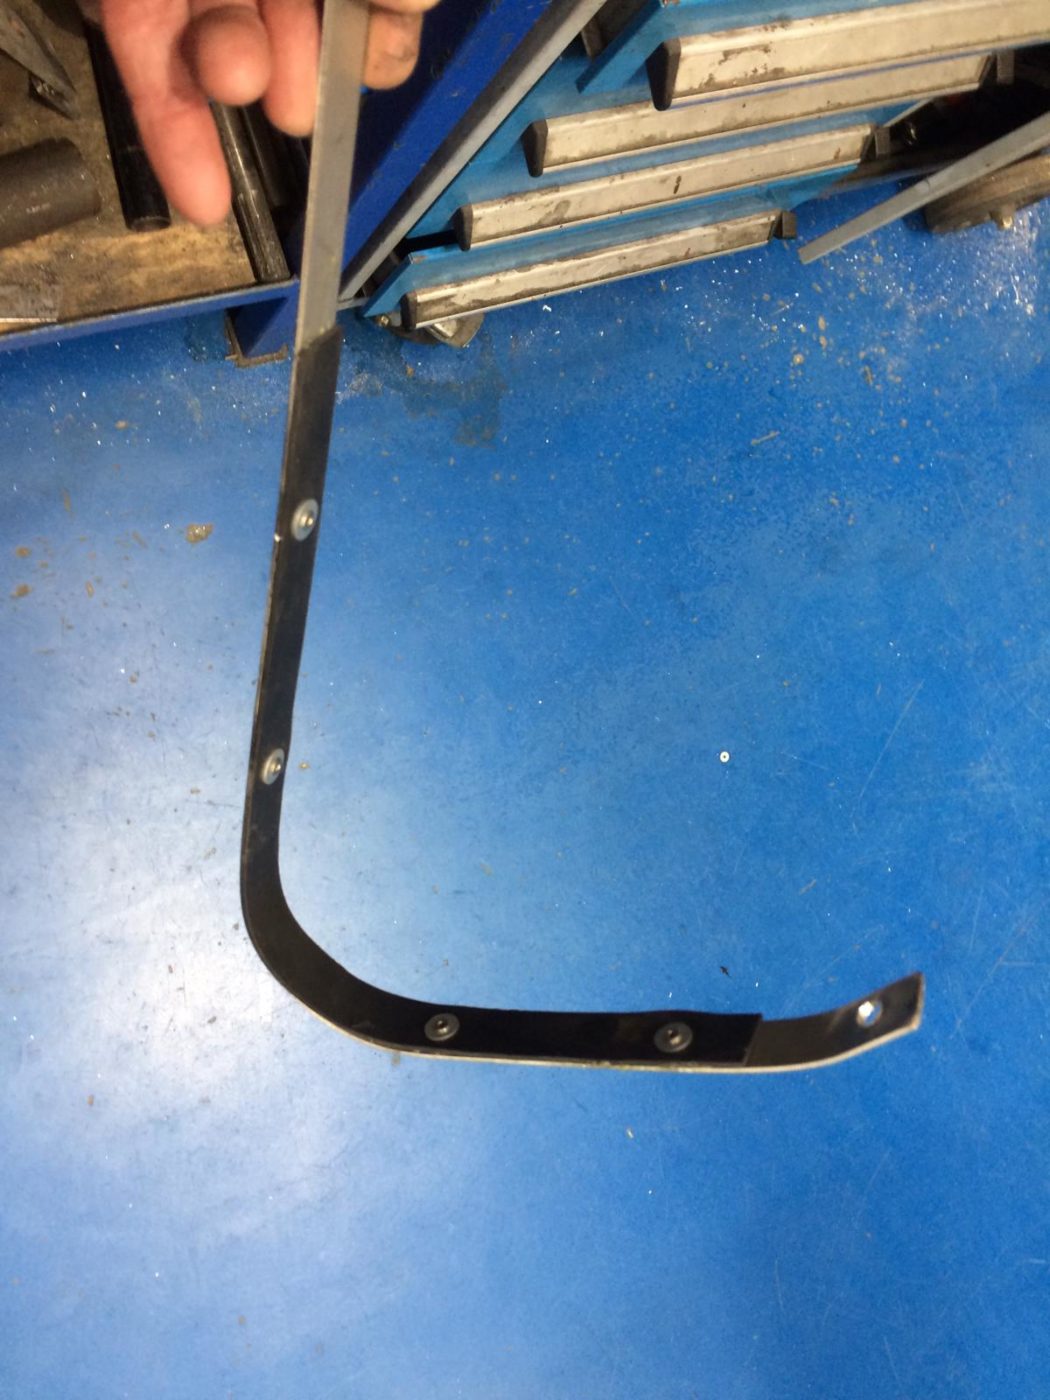
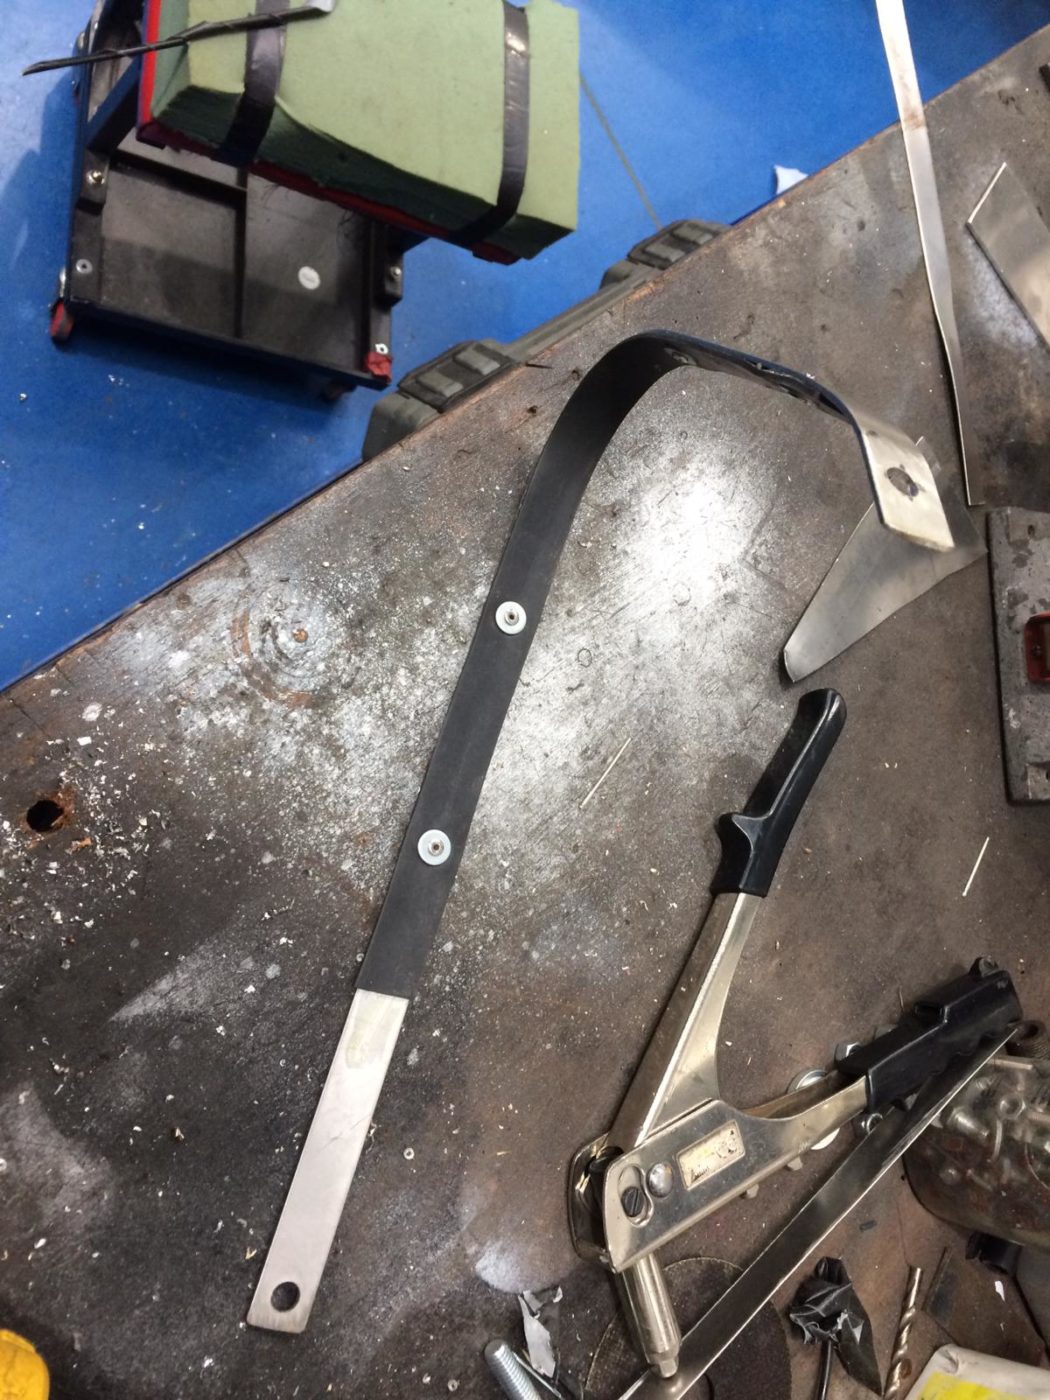
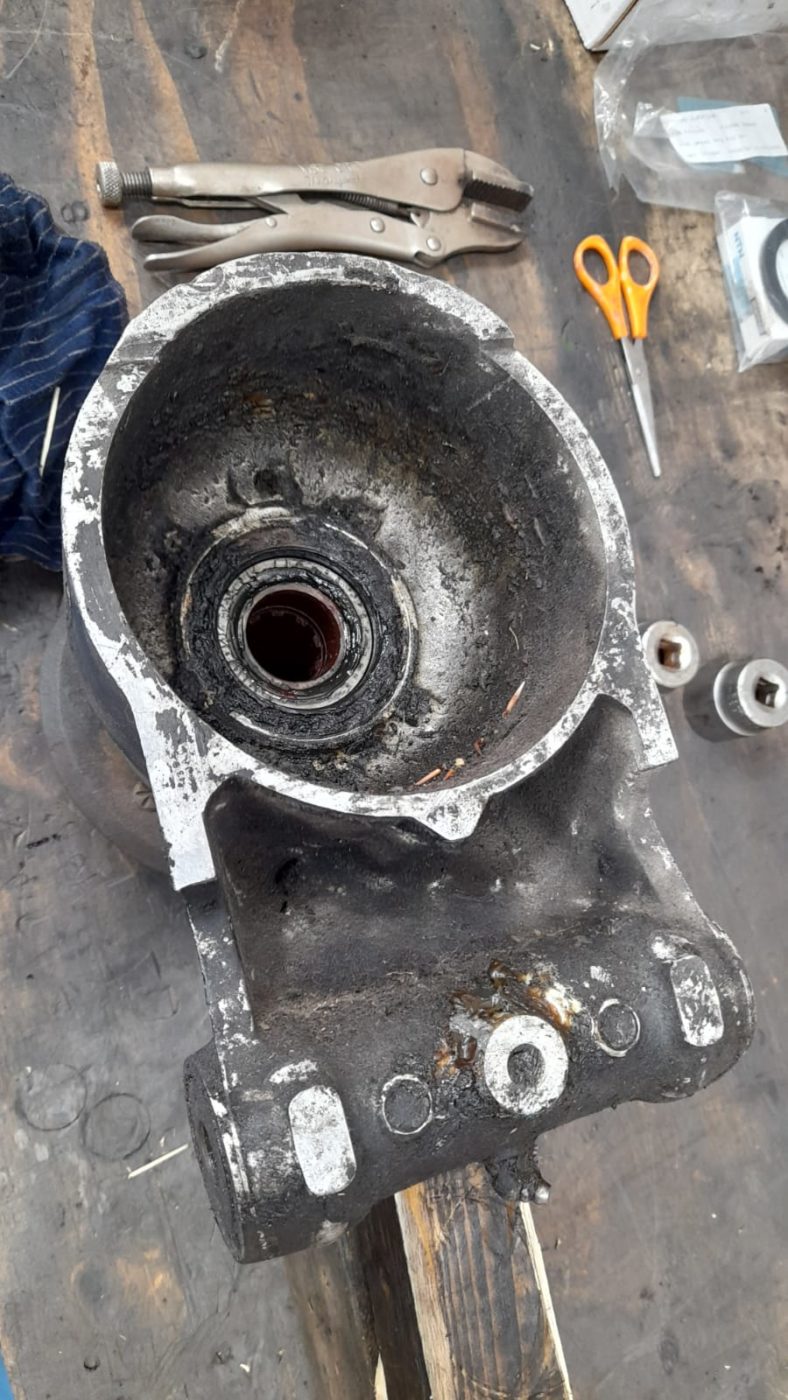
We’ve been working on securing the 1959 Jensen 541R’s rear axle frame. New rear axle straps have been manufactured by hand in the workshop and
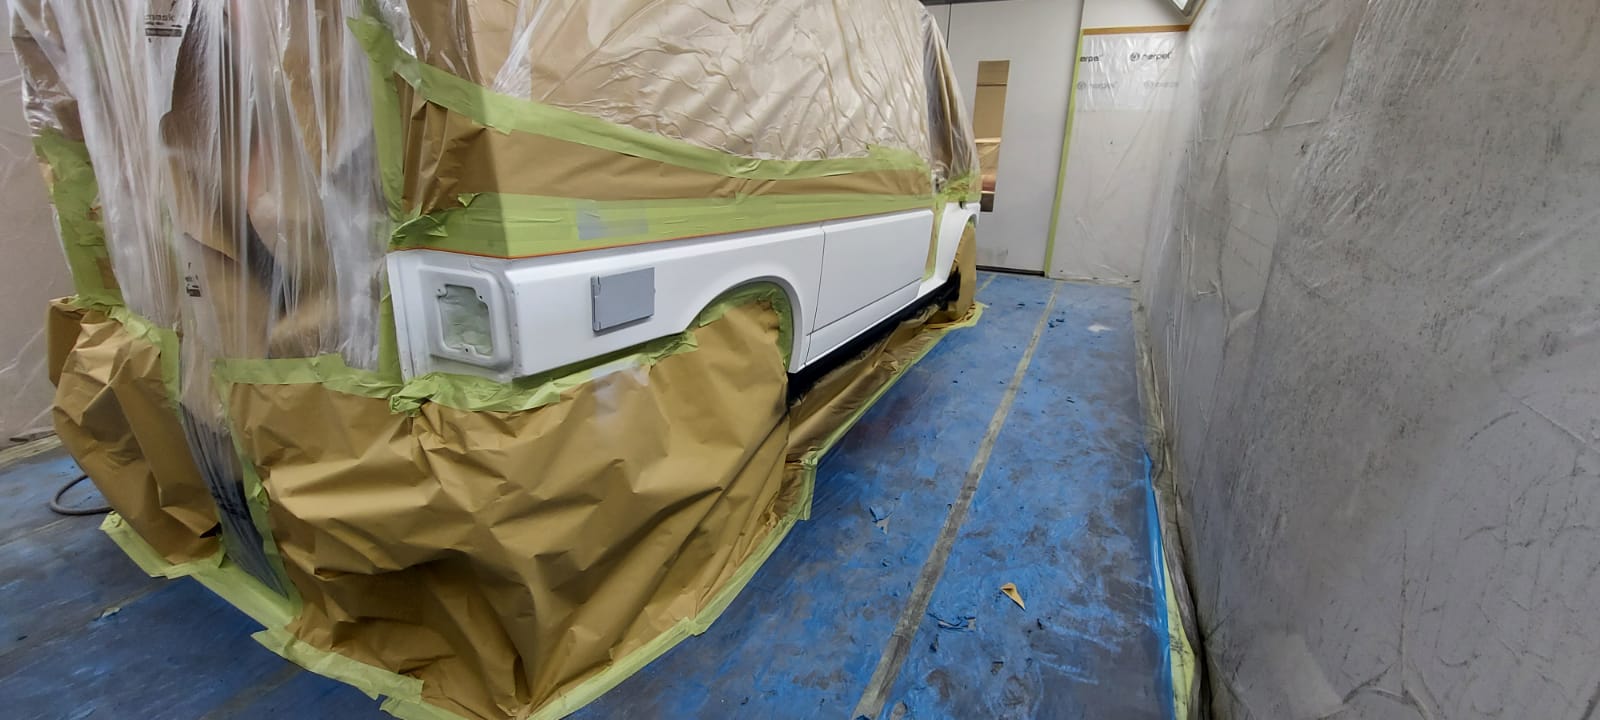
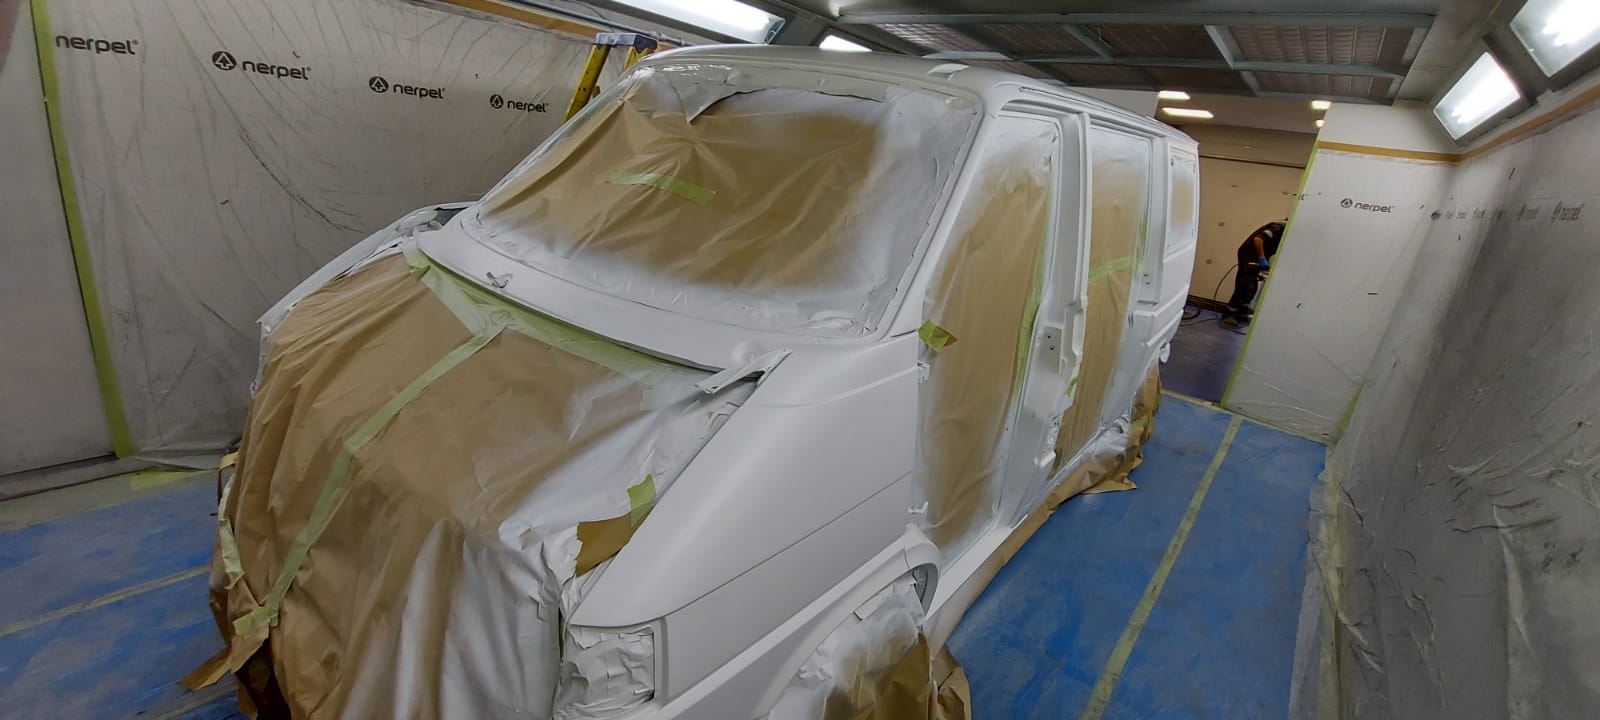
The first stage of our 1991 VW T4 Campervan paint has been completed. With the entire body masked and painted in a solid white, the

James and James have been working on shrinking and re-shaping the panels for our 1954 Jaguar MKVII however they’ve taken to doing it the traditional
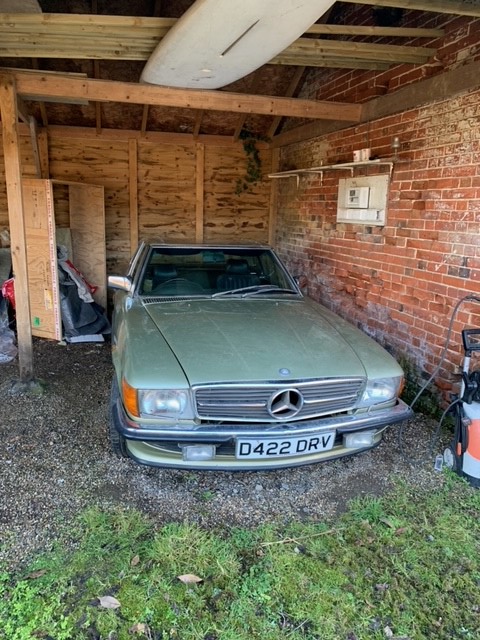
This metallic green classic 1986 Mercedes 420SL is coming in soon to be re-commissioned and assessed to see how much needs doing to it. We
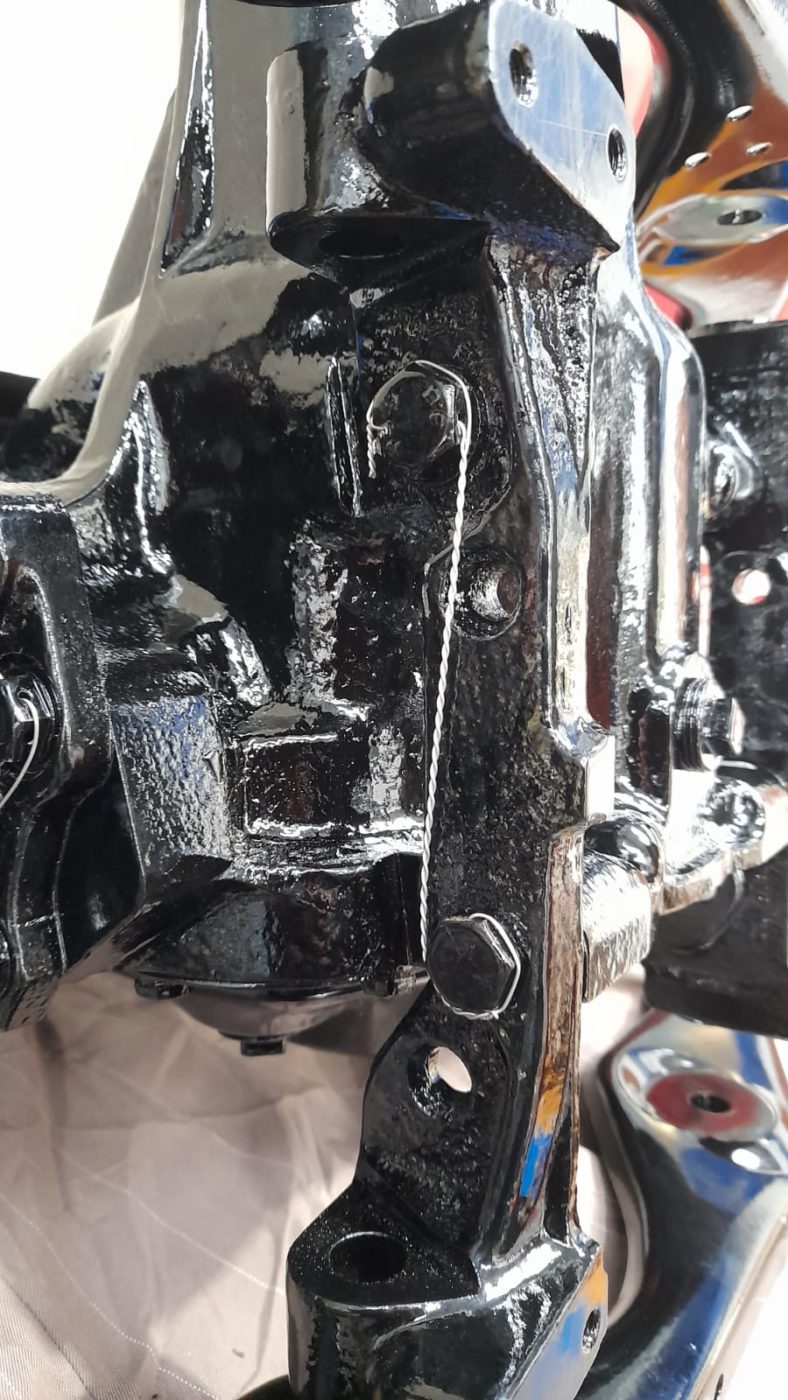
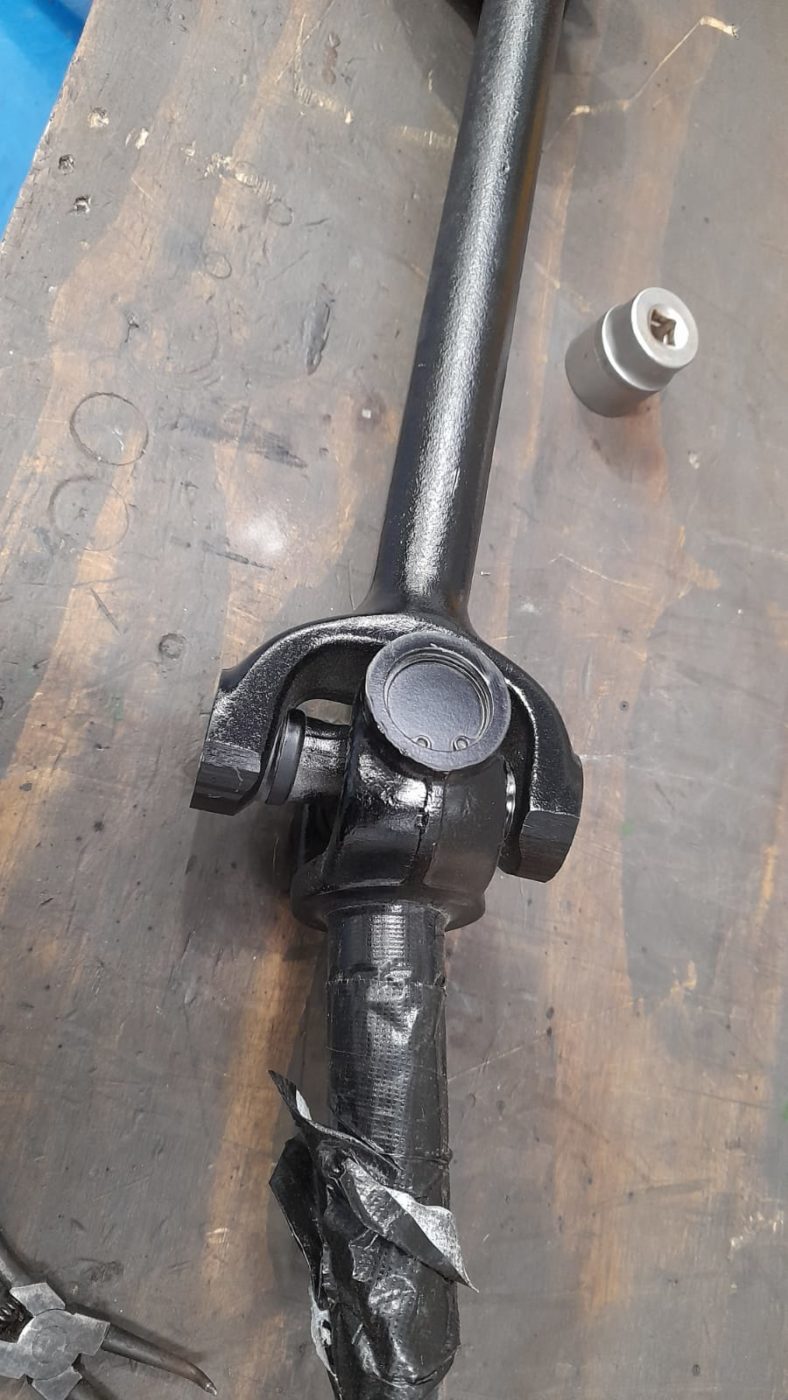
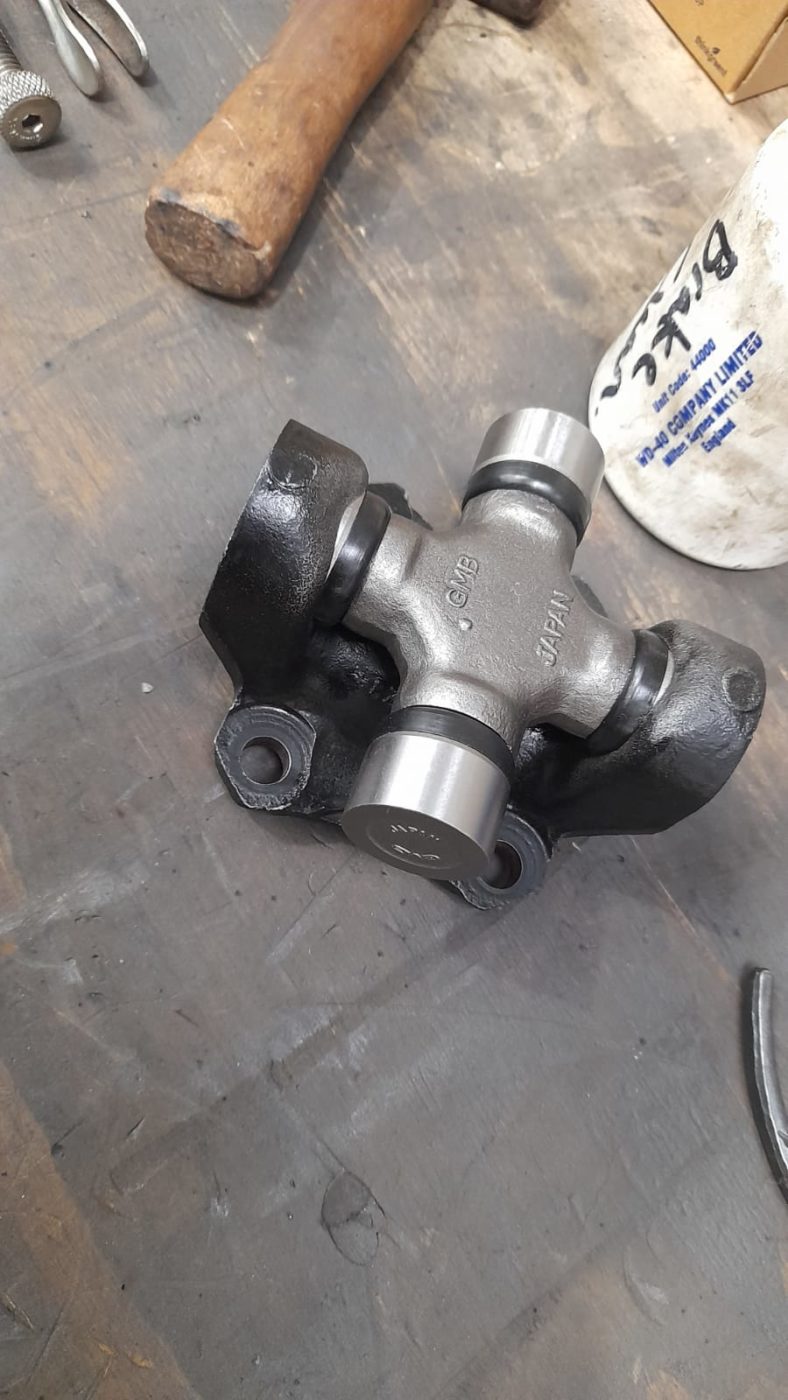
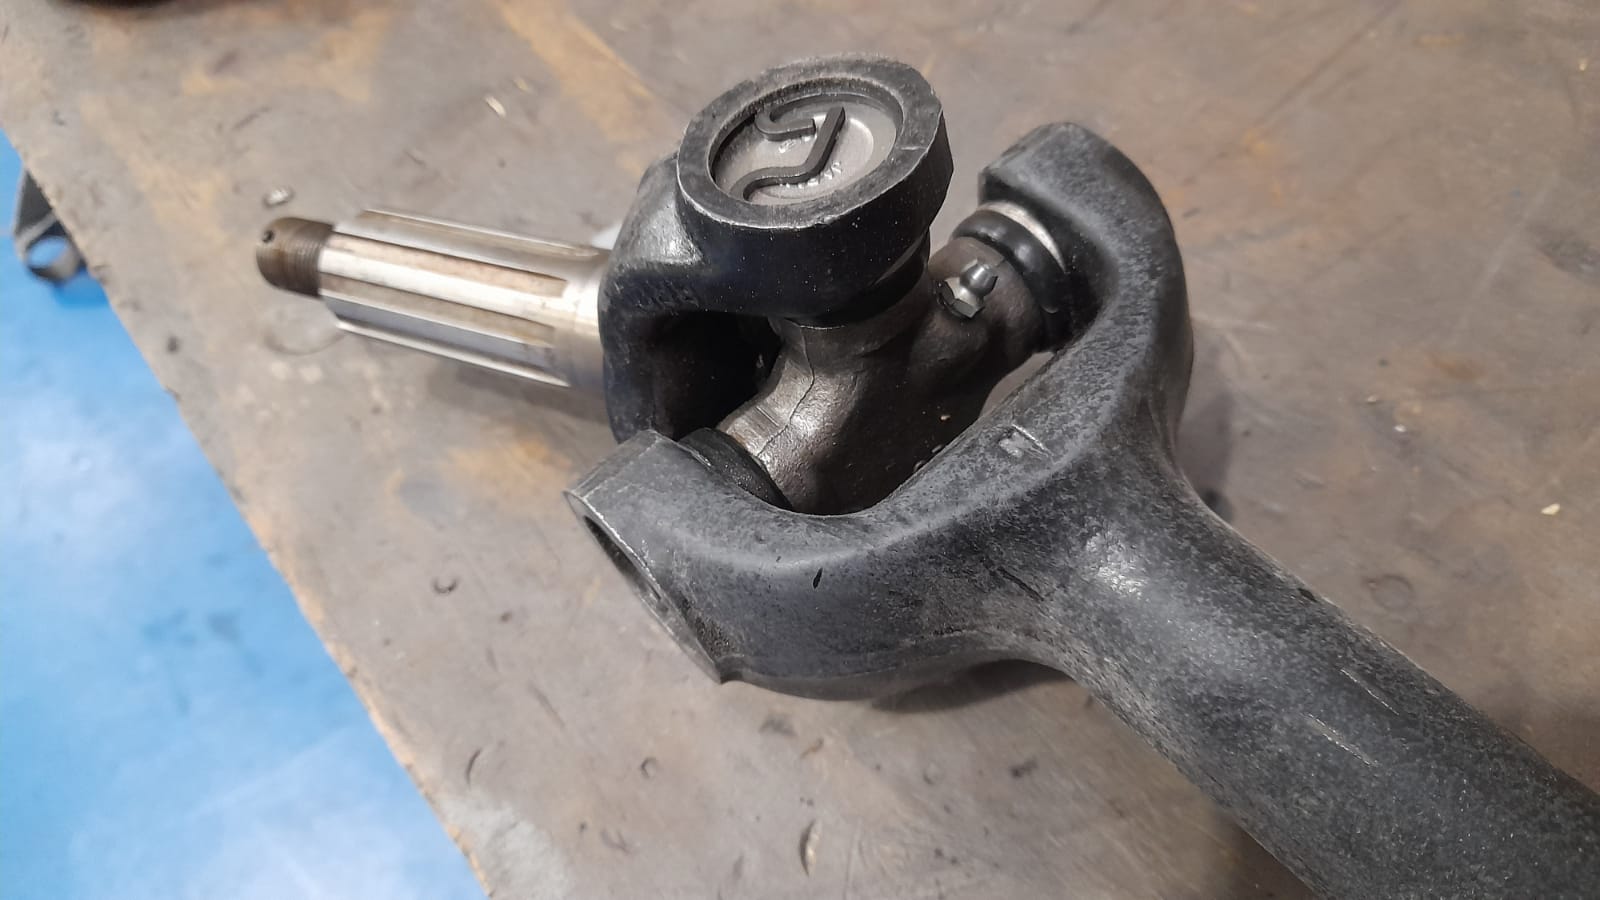
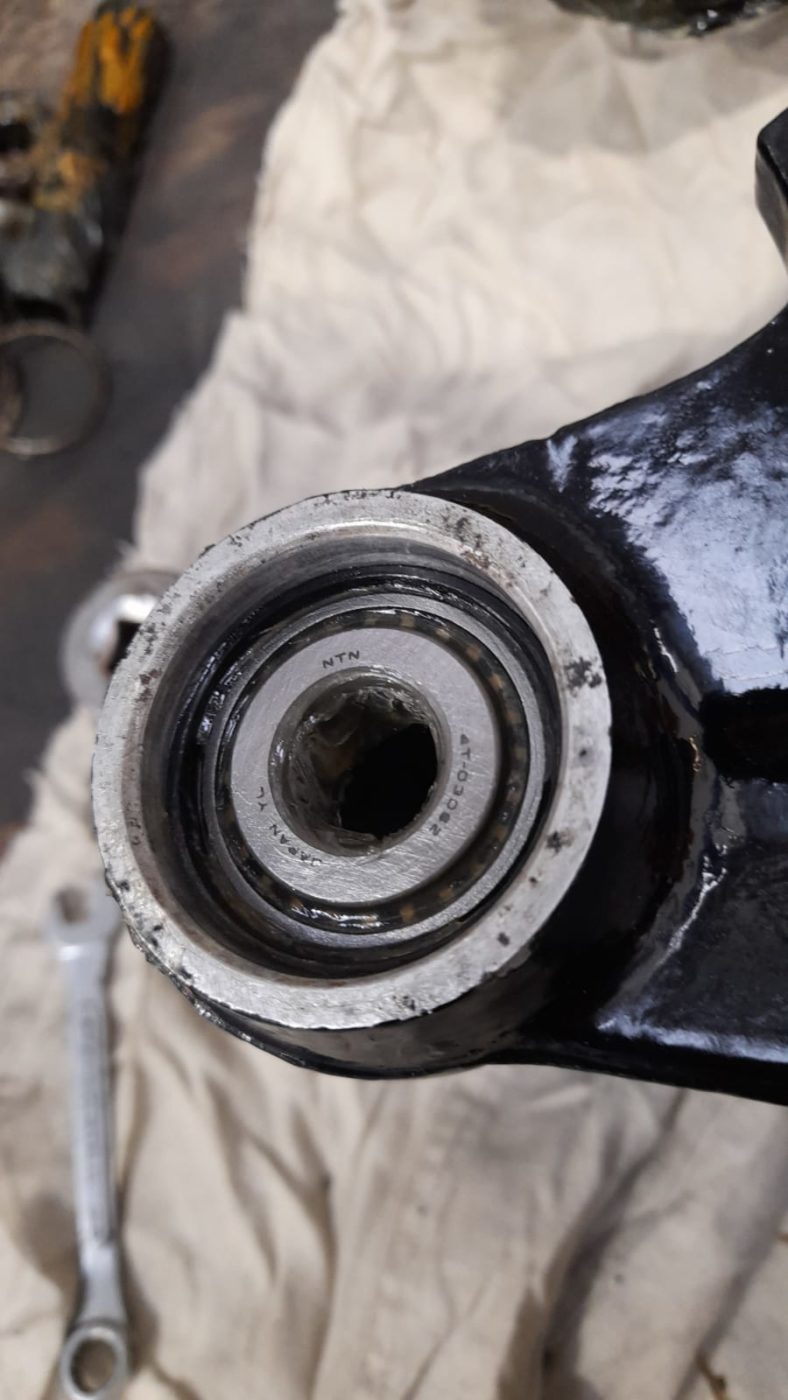
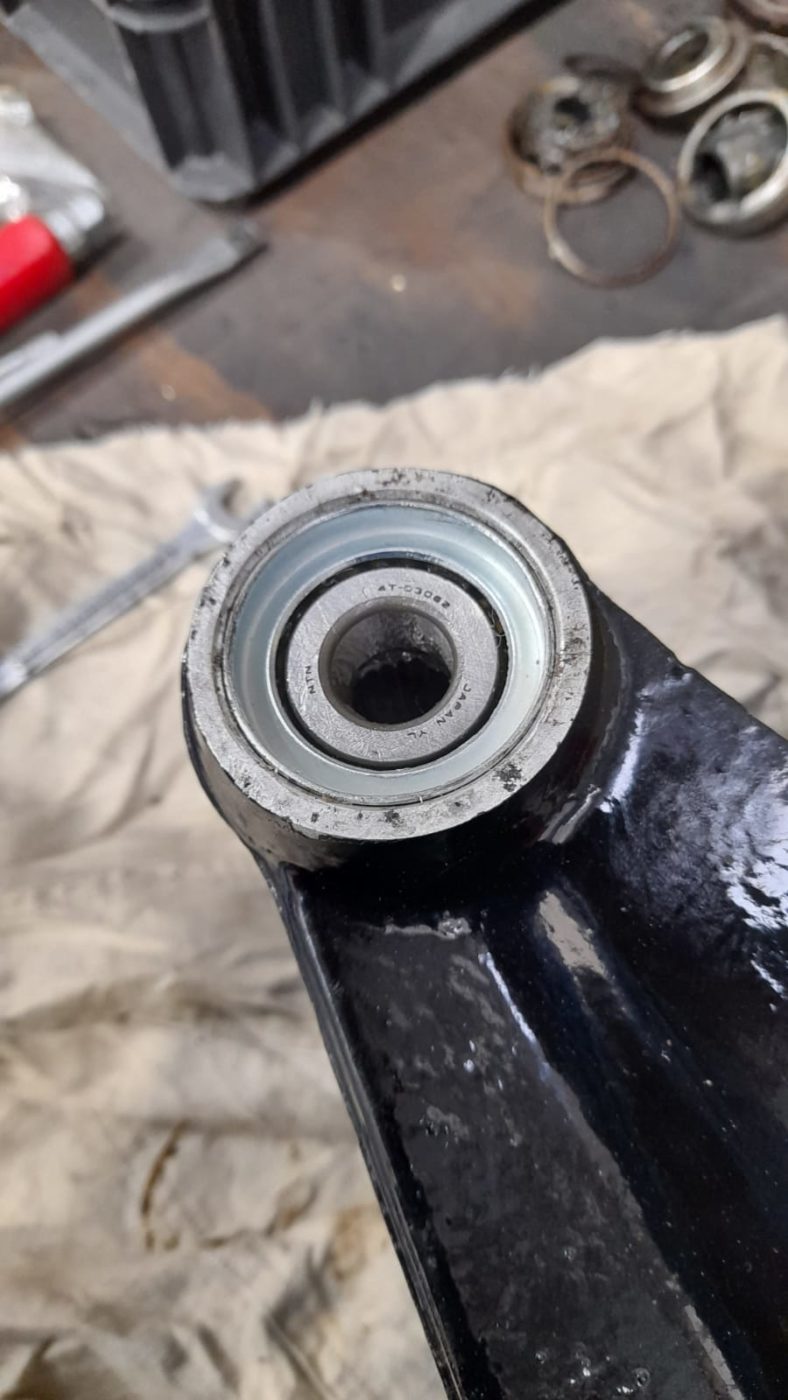
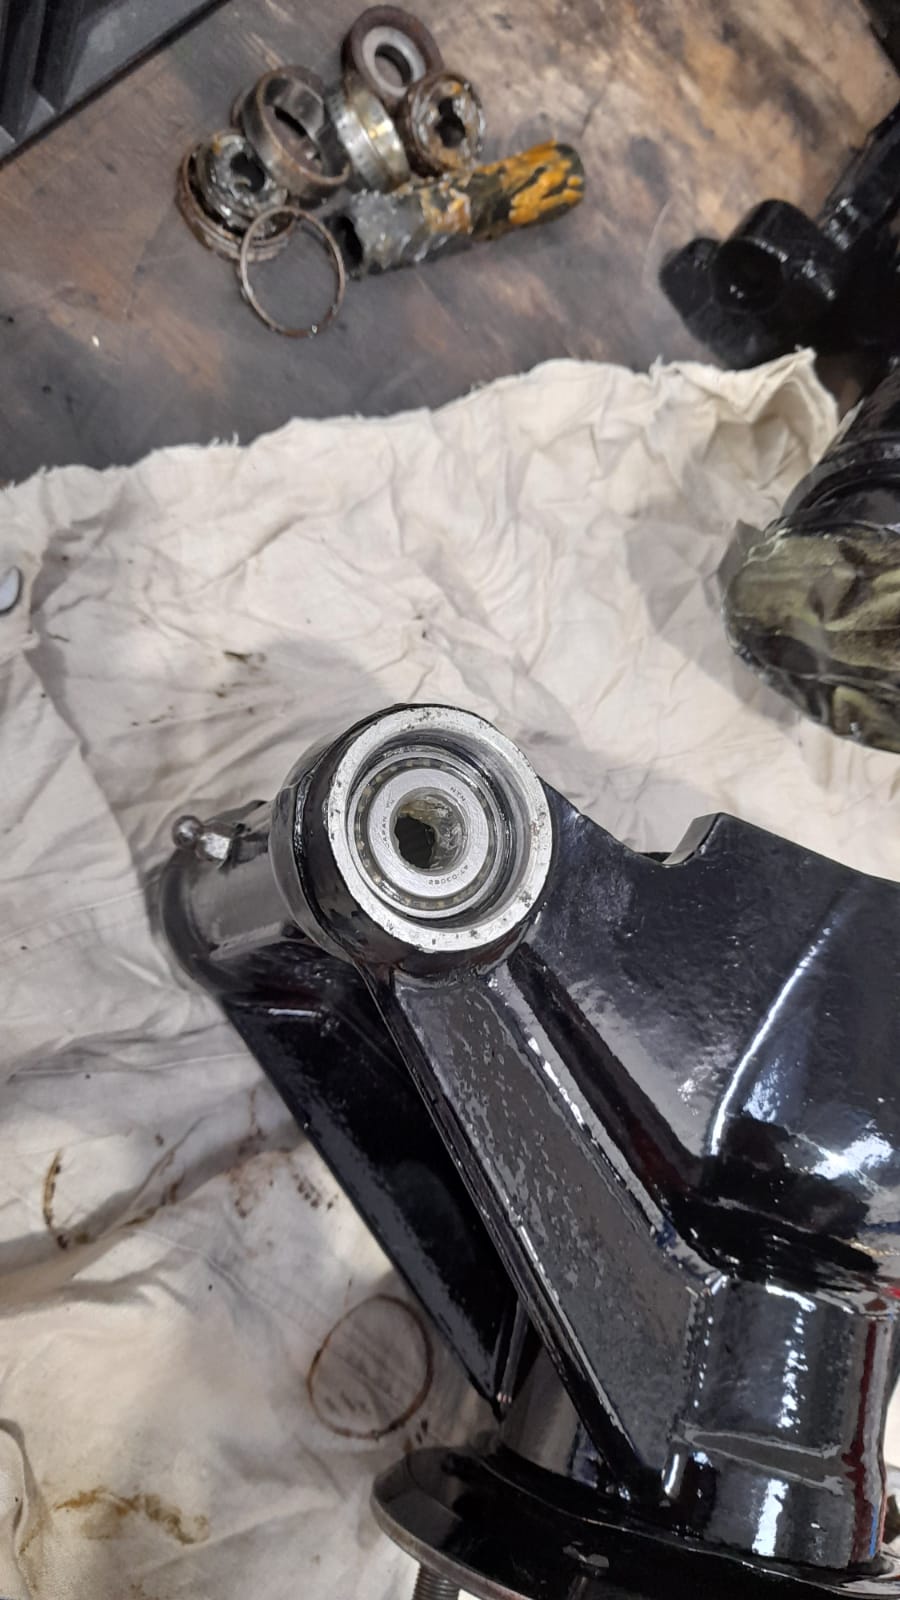
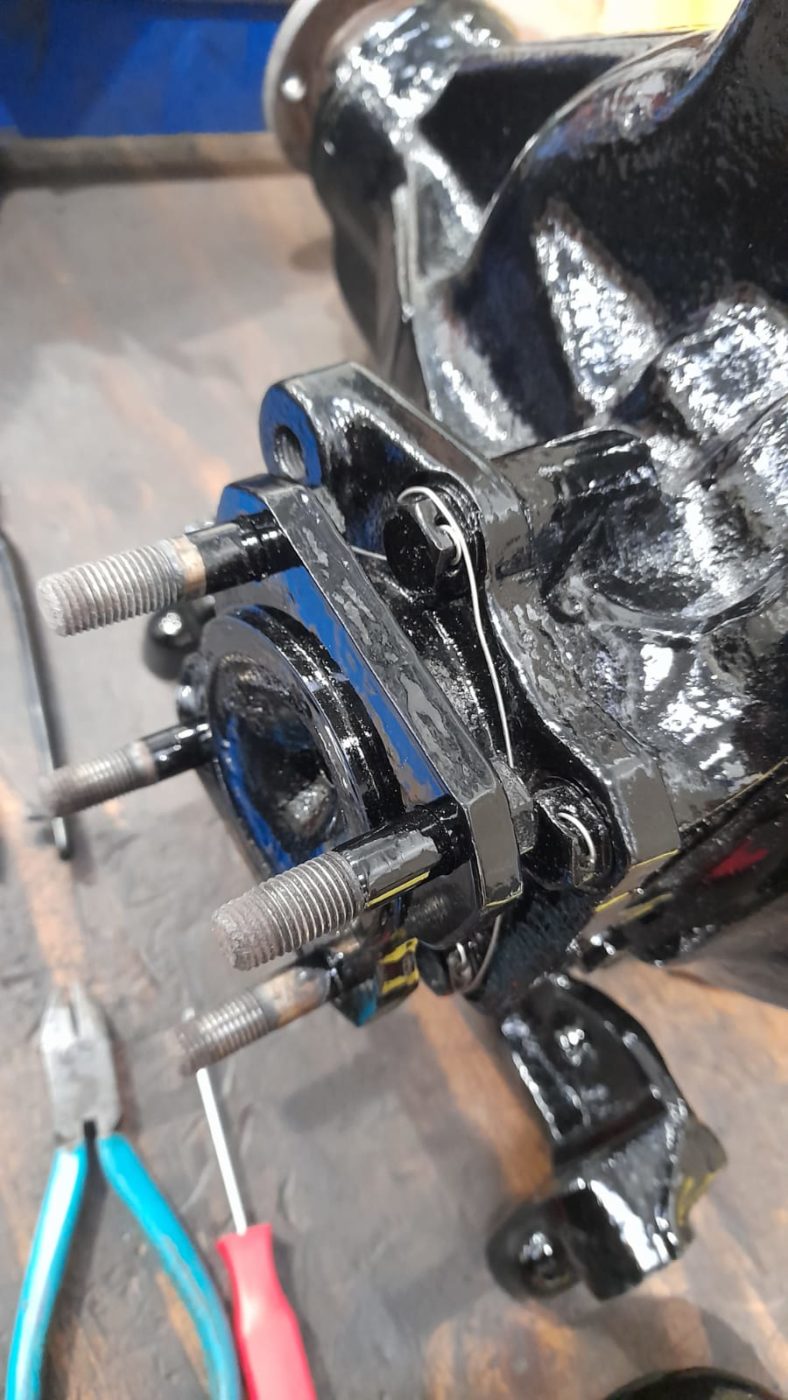
Scott has been working on the suspension for our Ferarri Daytona. He’s replaced all the UJs, bearings and bushes on the front and rear suspension.

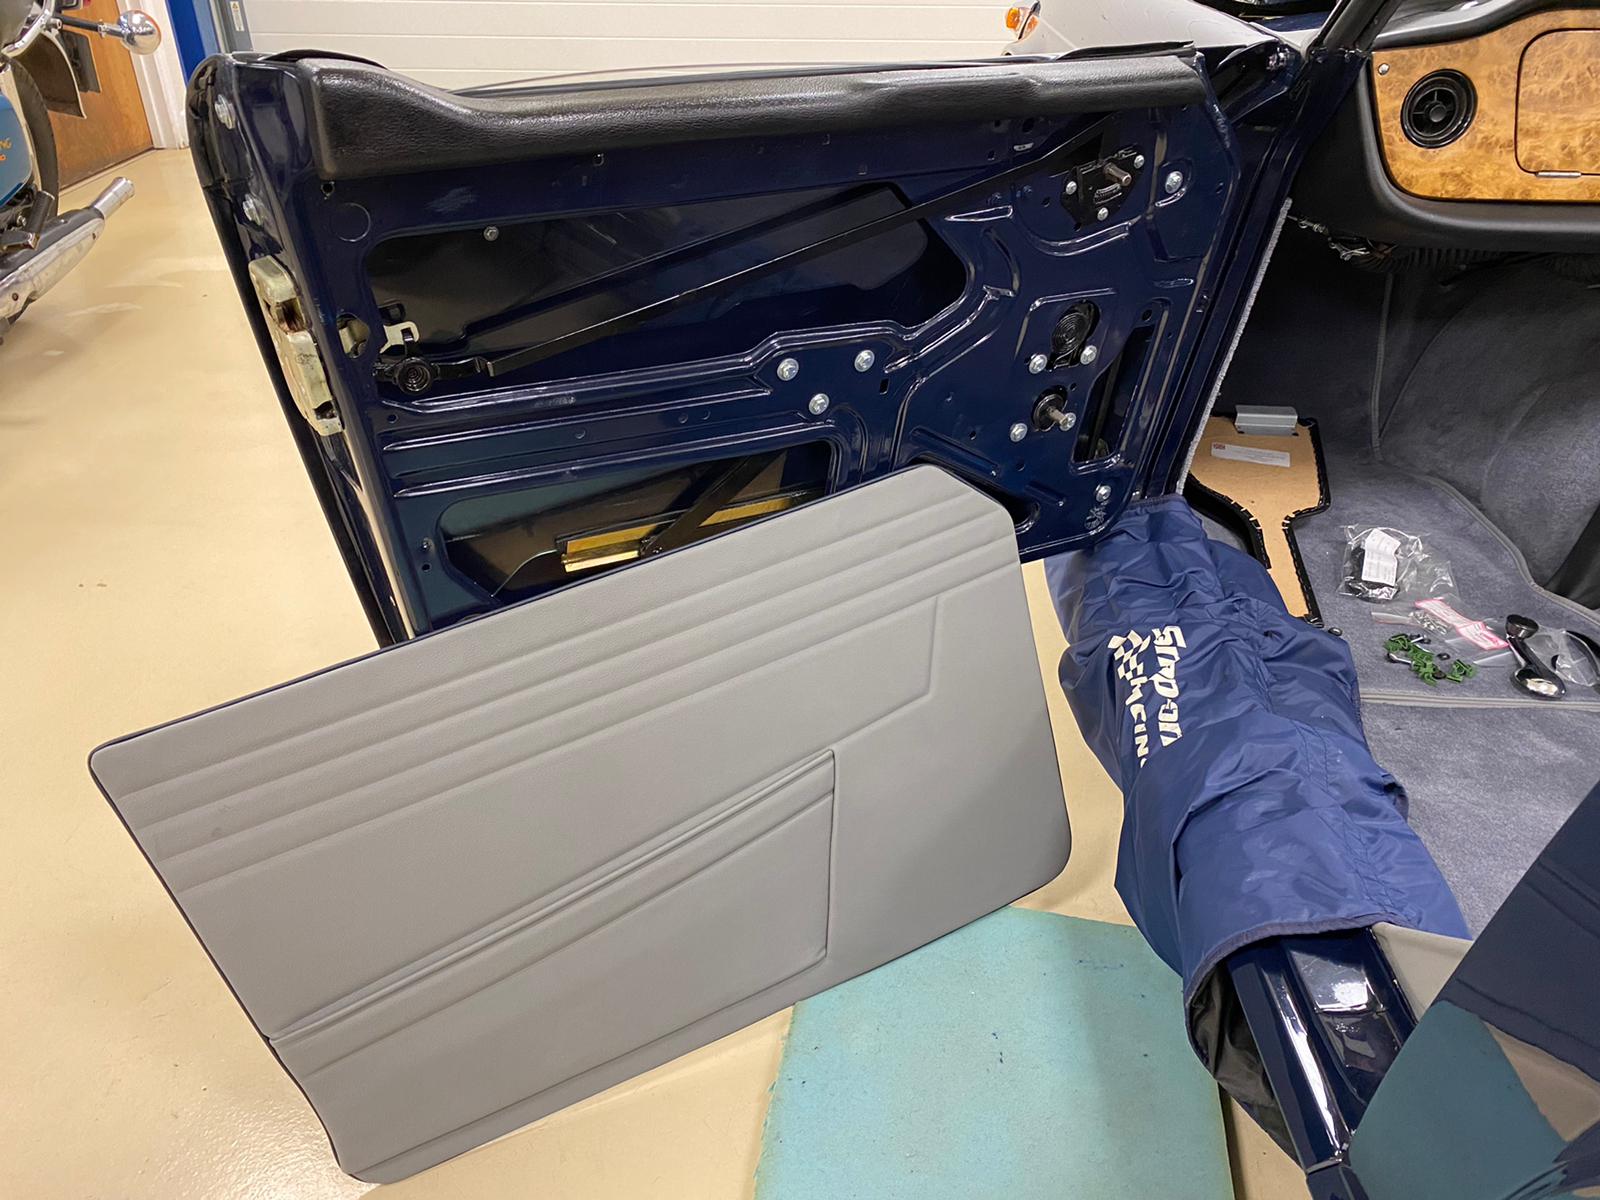
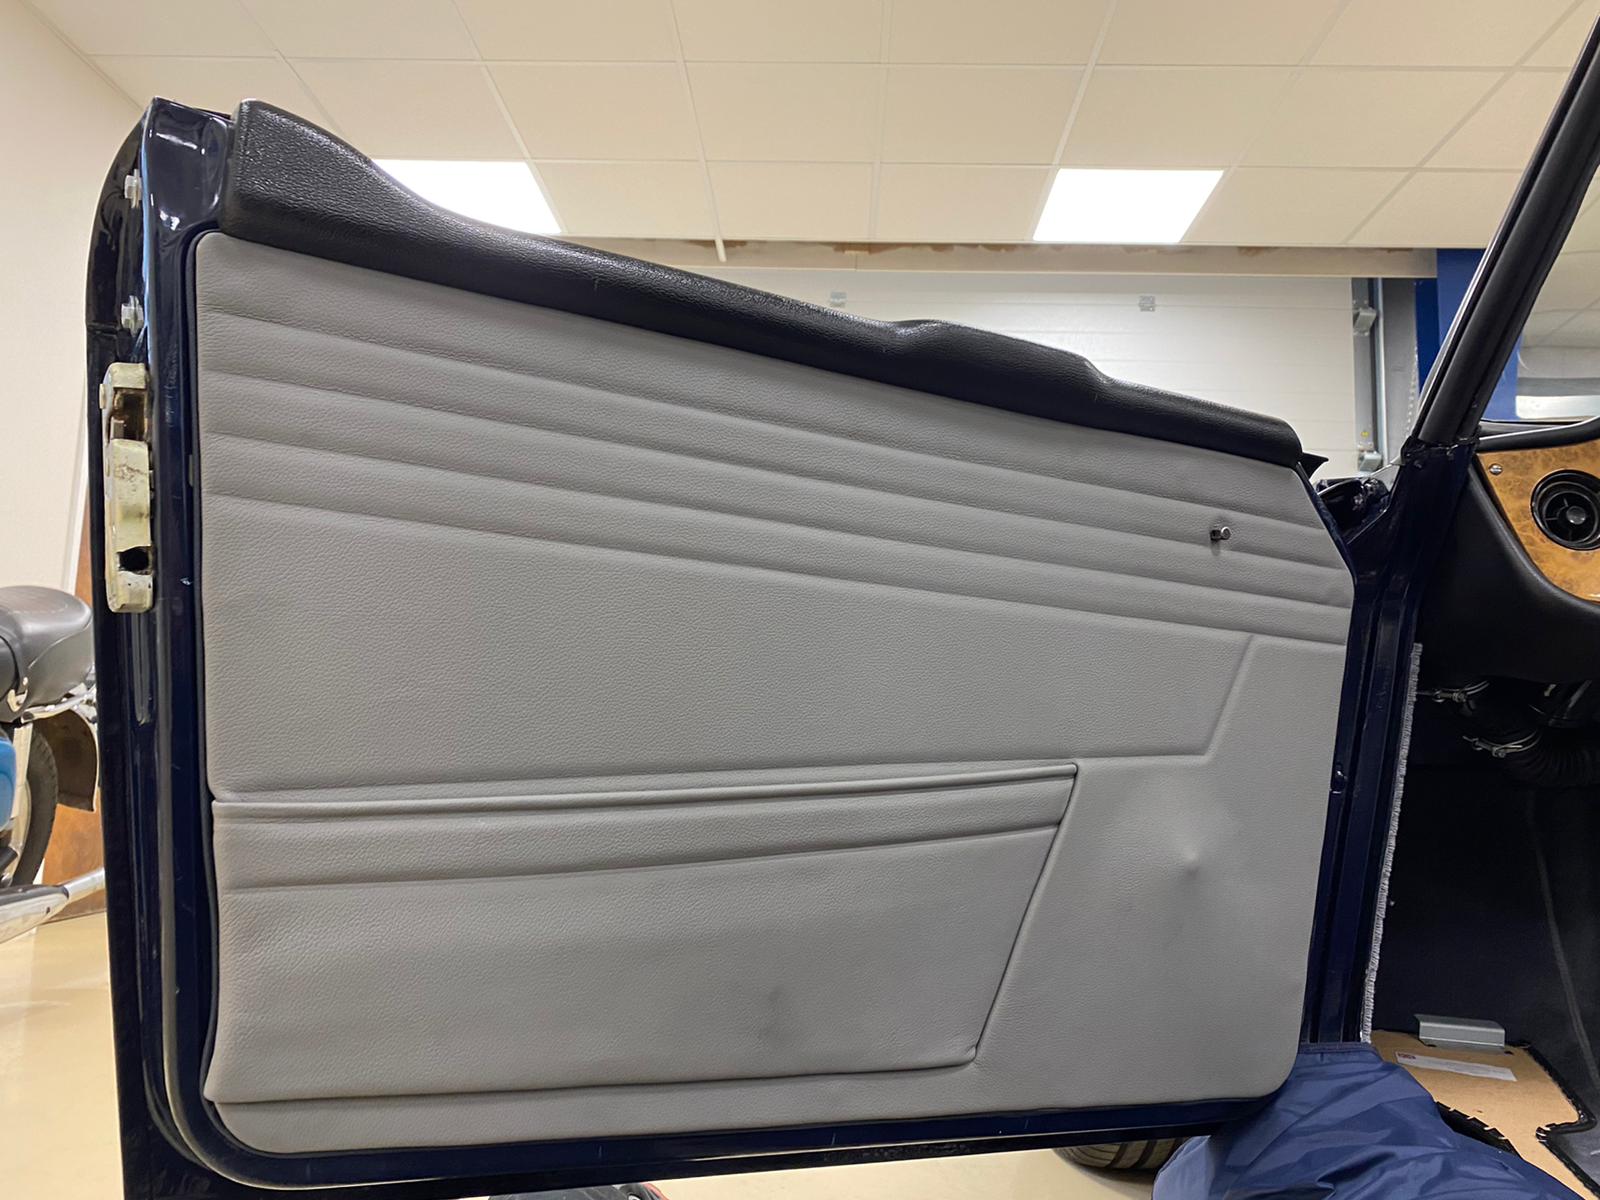
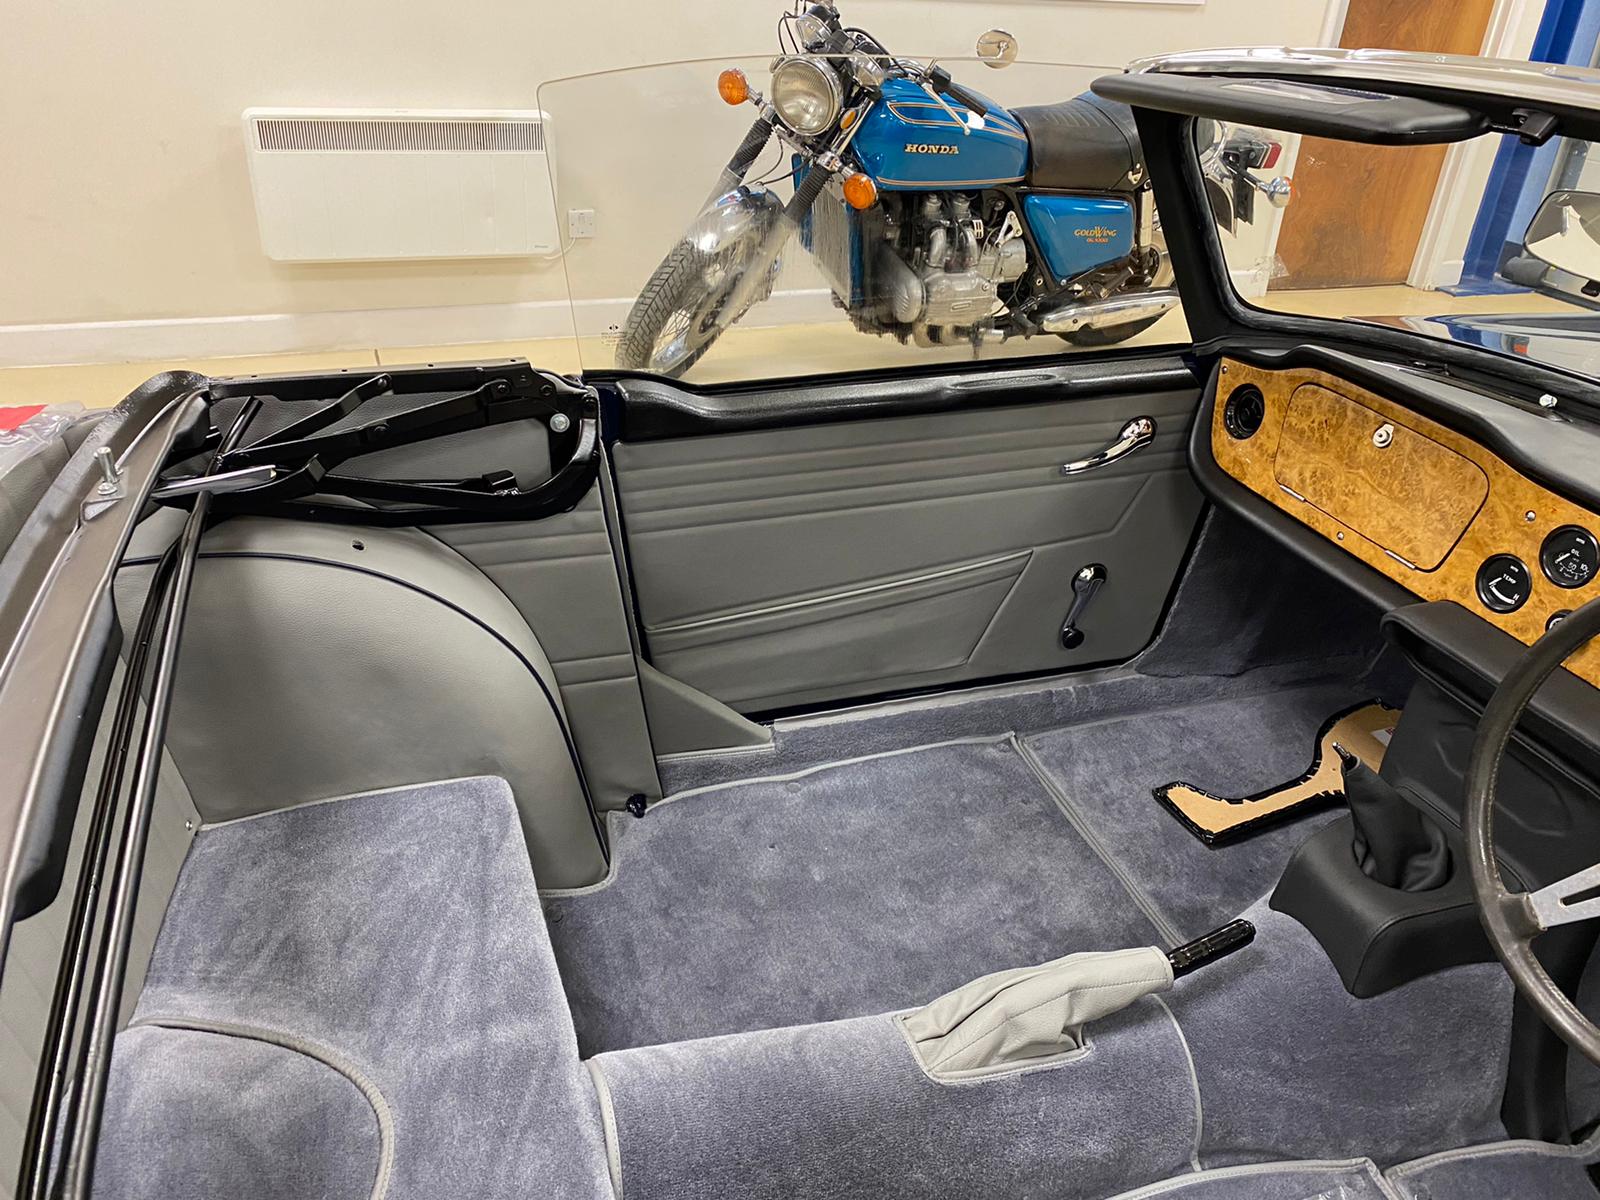
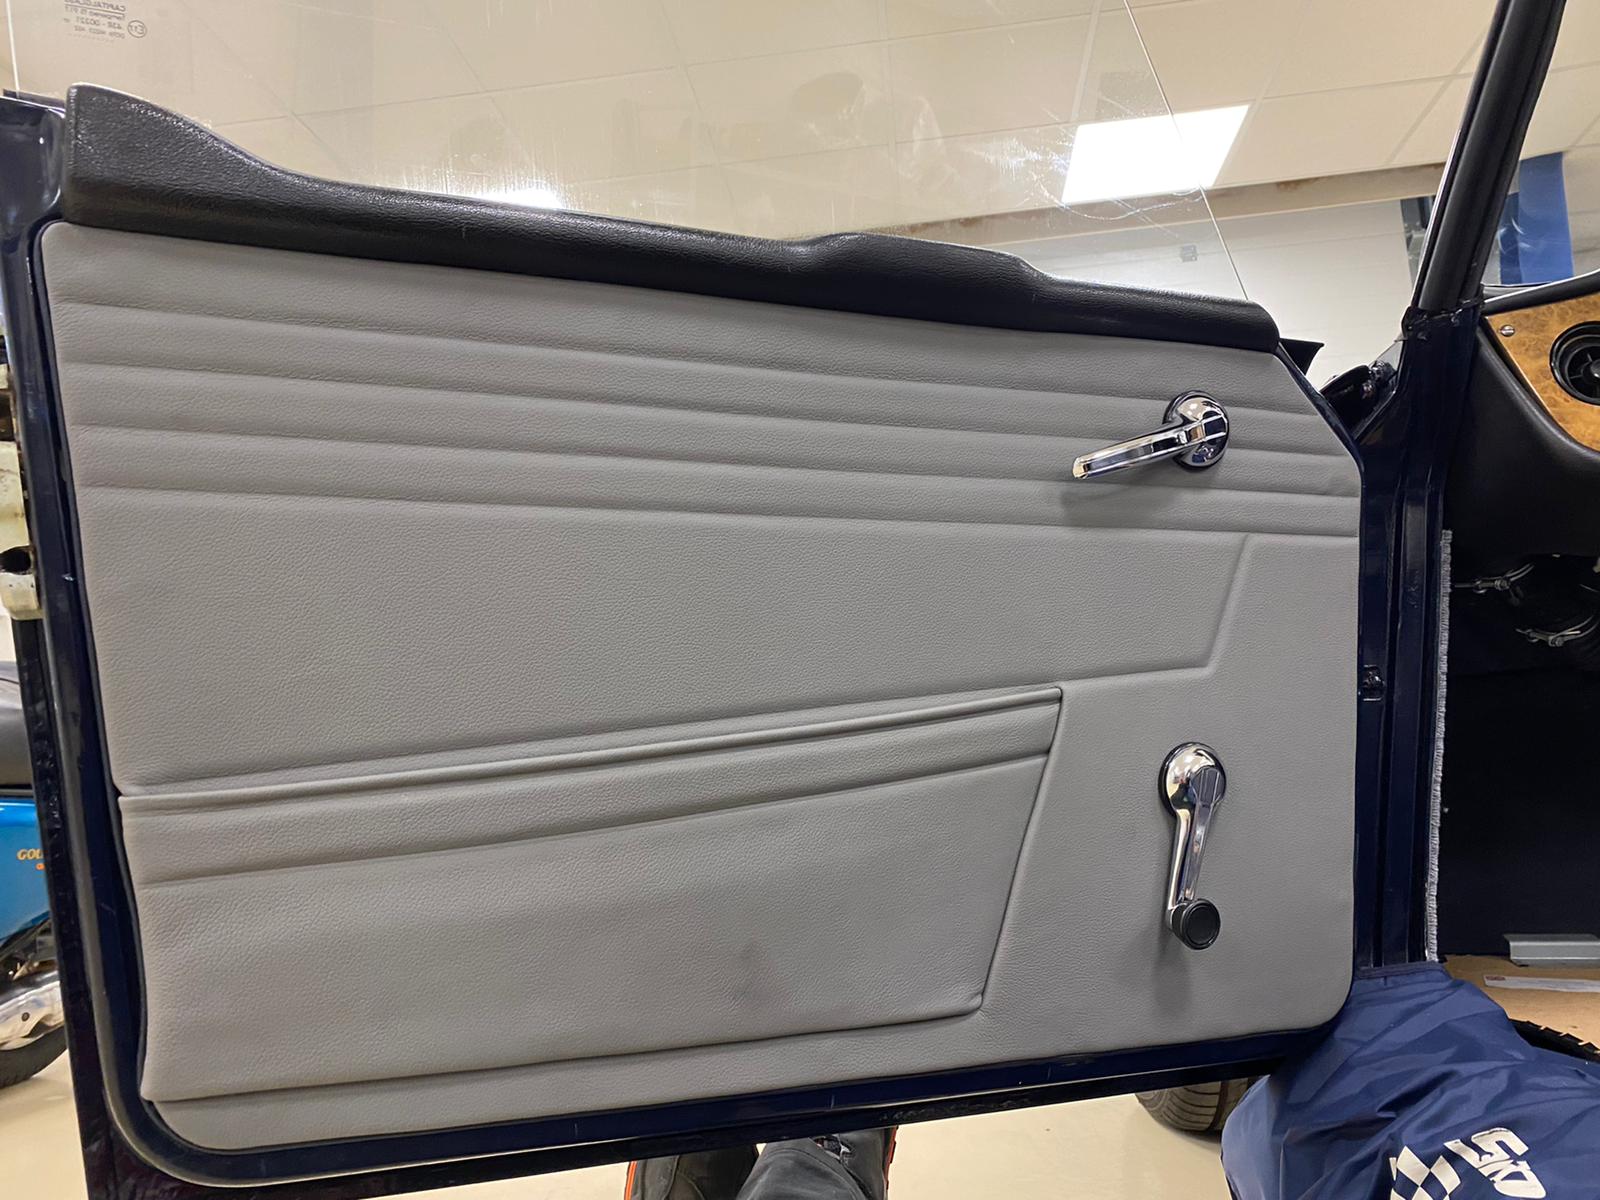
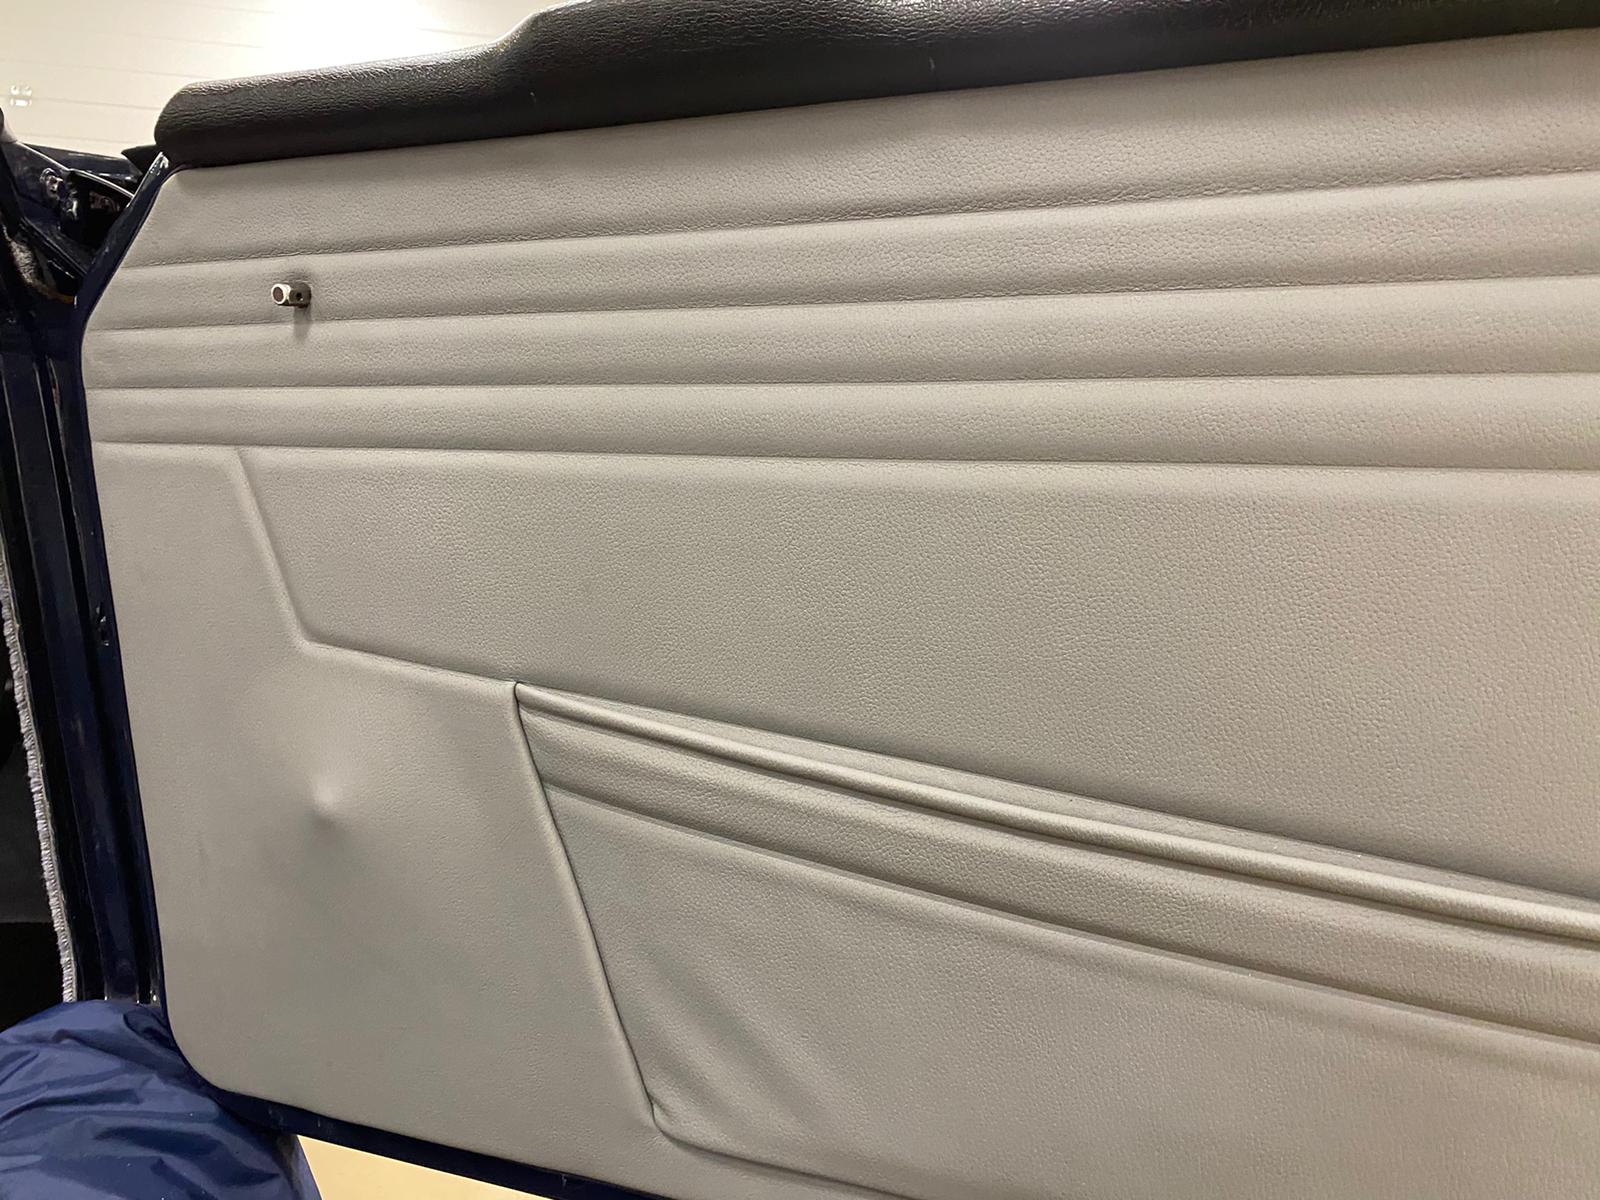
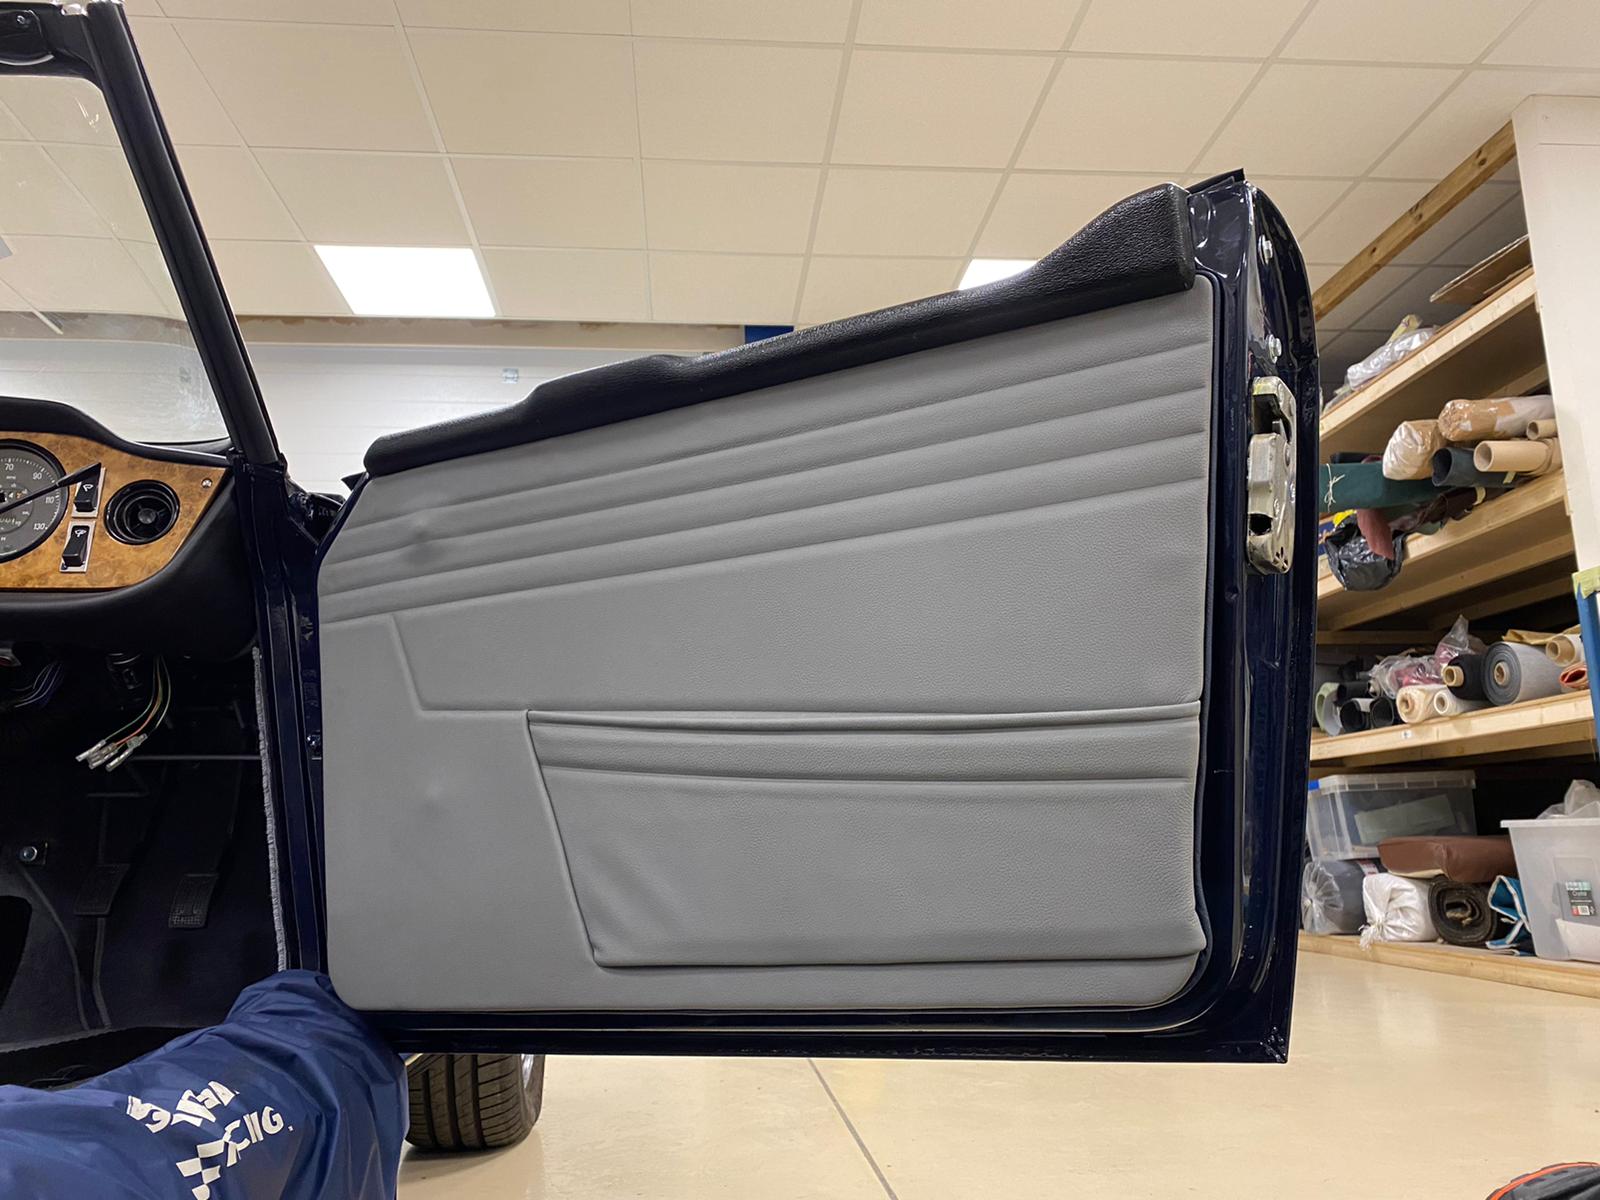
Kath and Brian have both been working on our 1968 Triumph TR5 recently. Kath has fitted the door cards which could be placed in now
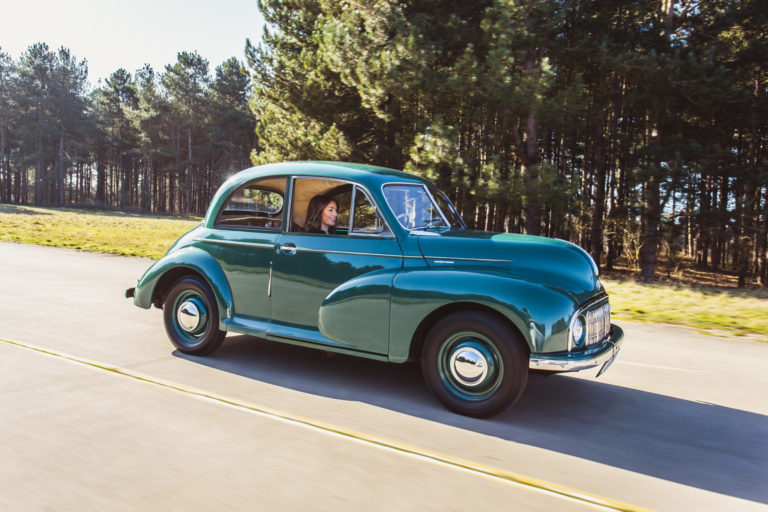
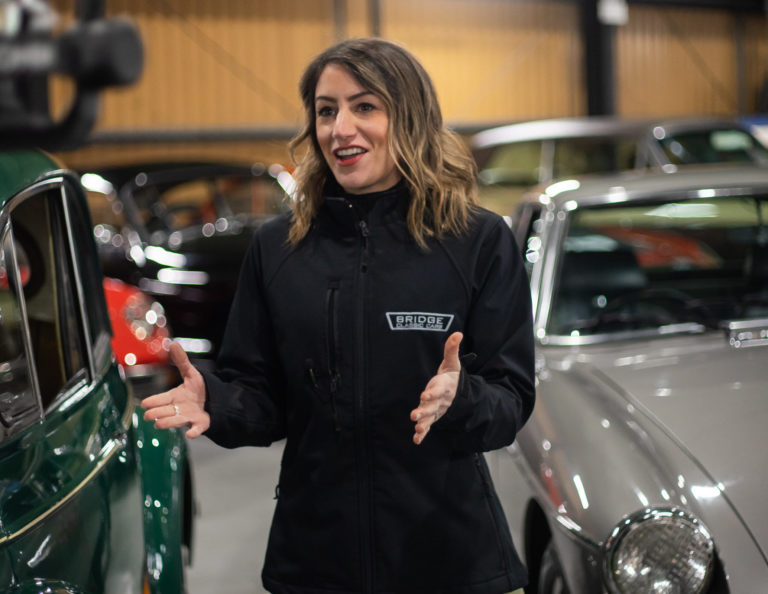
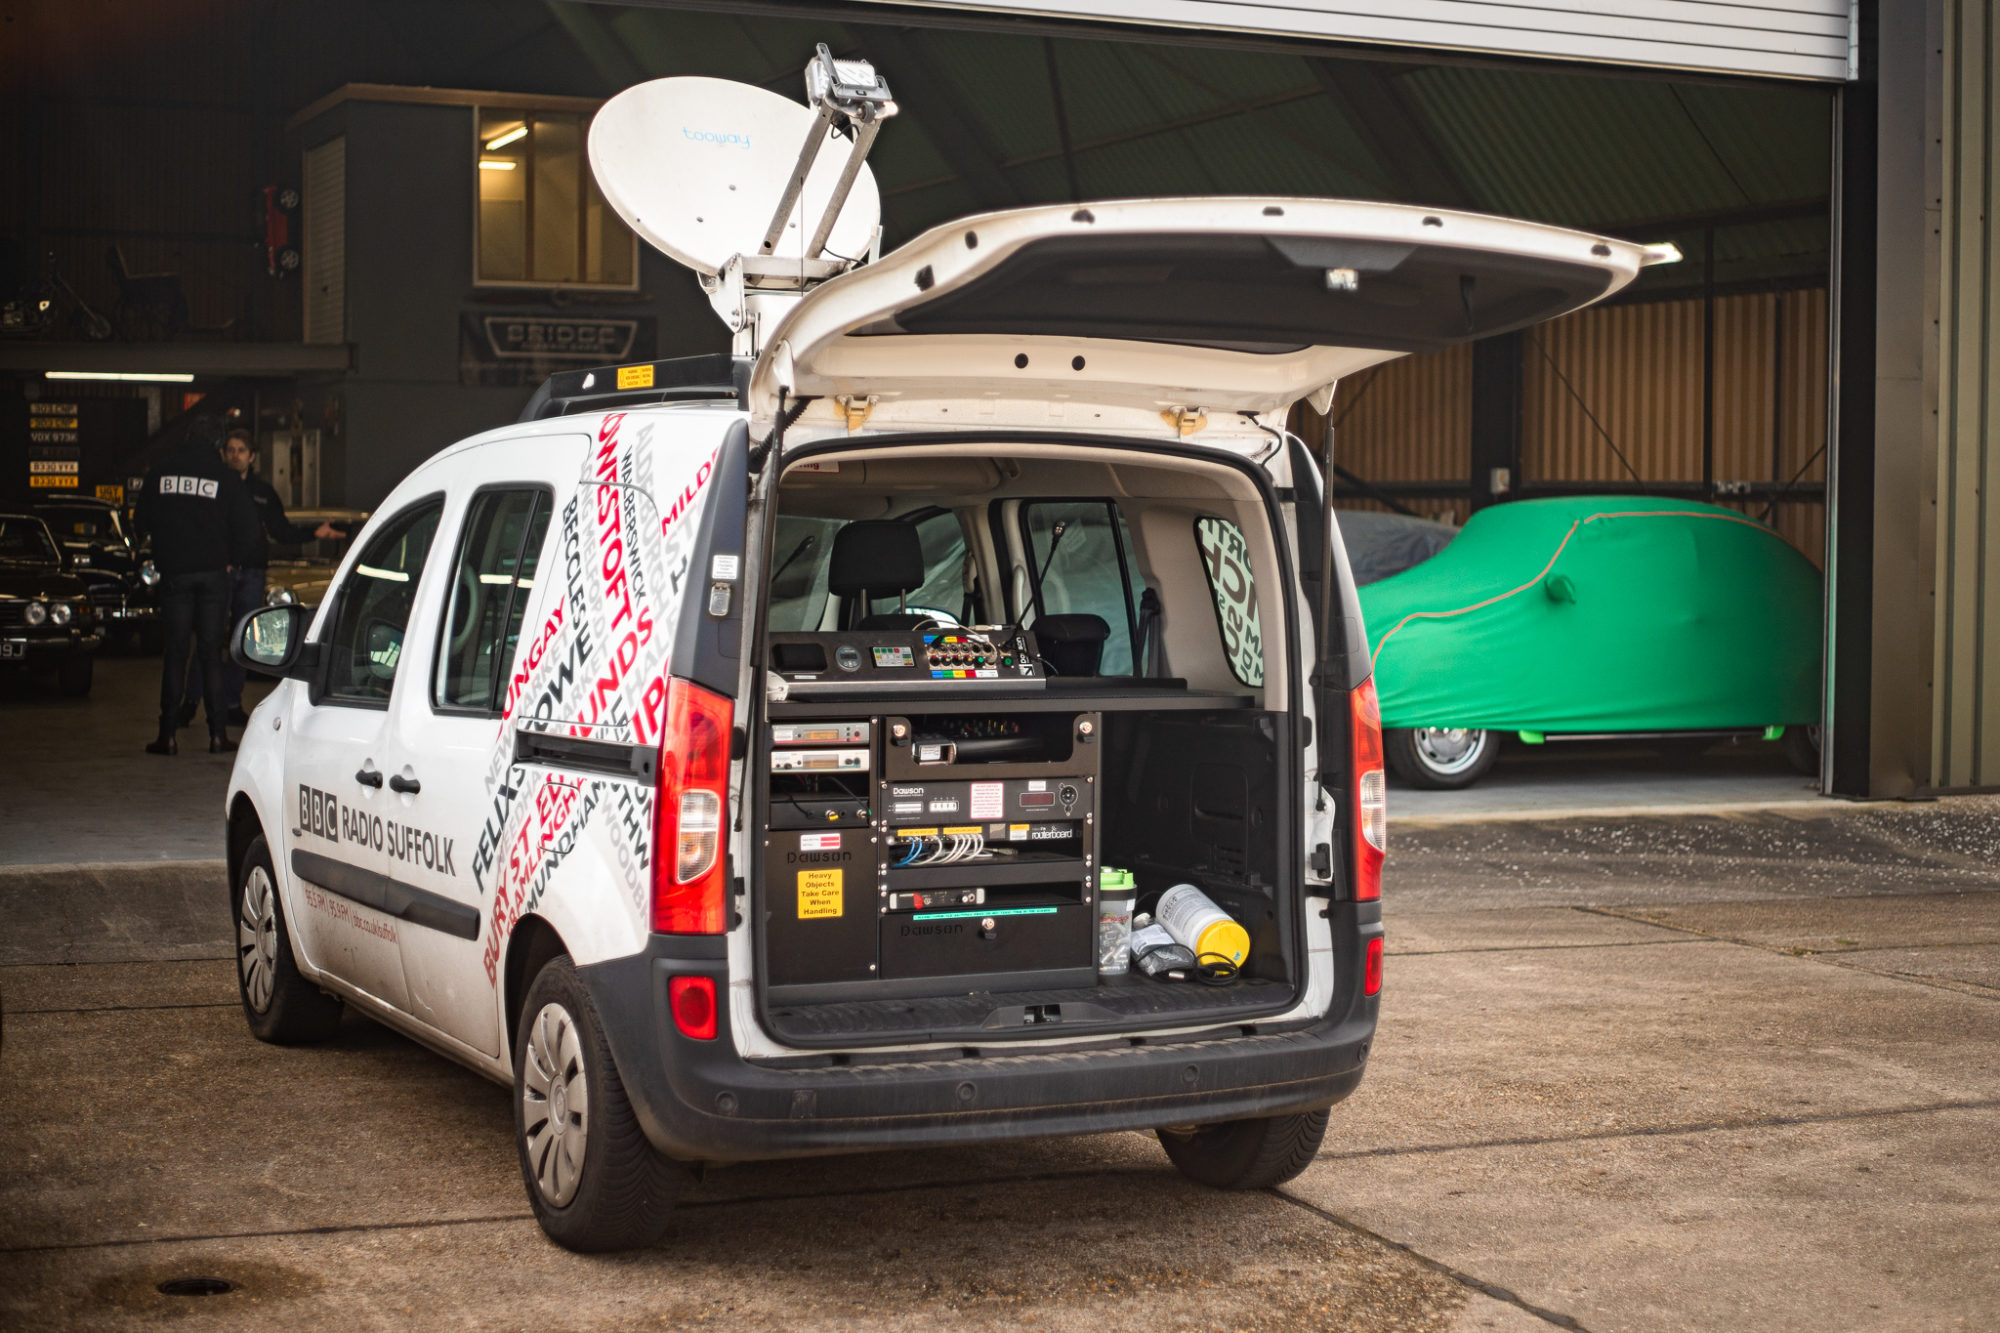
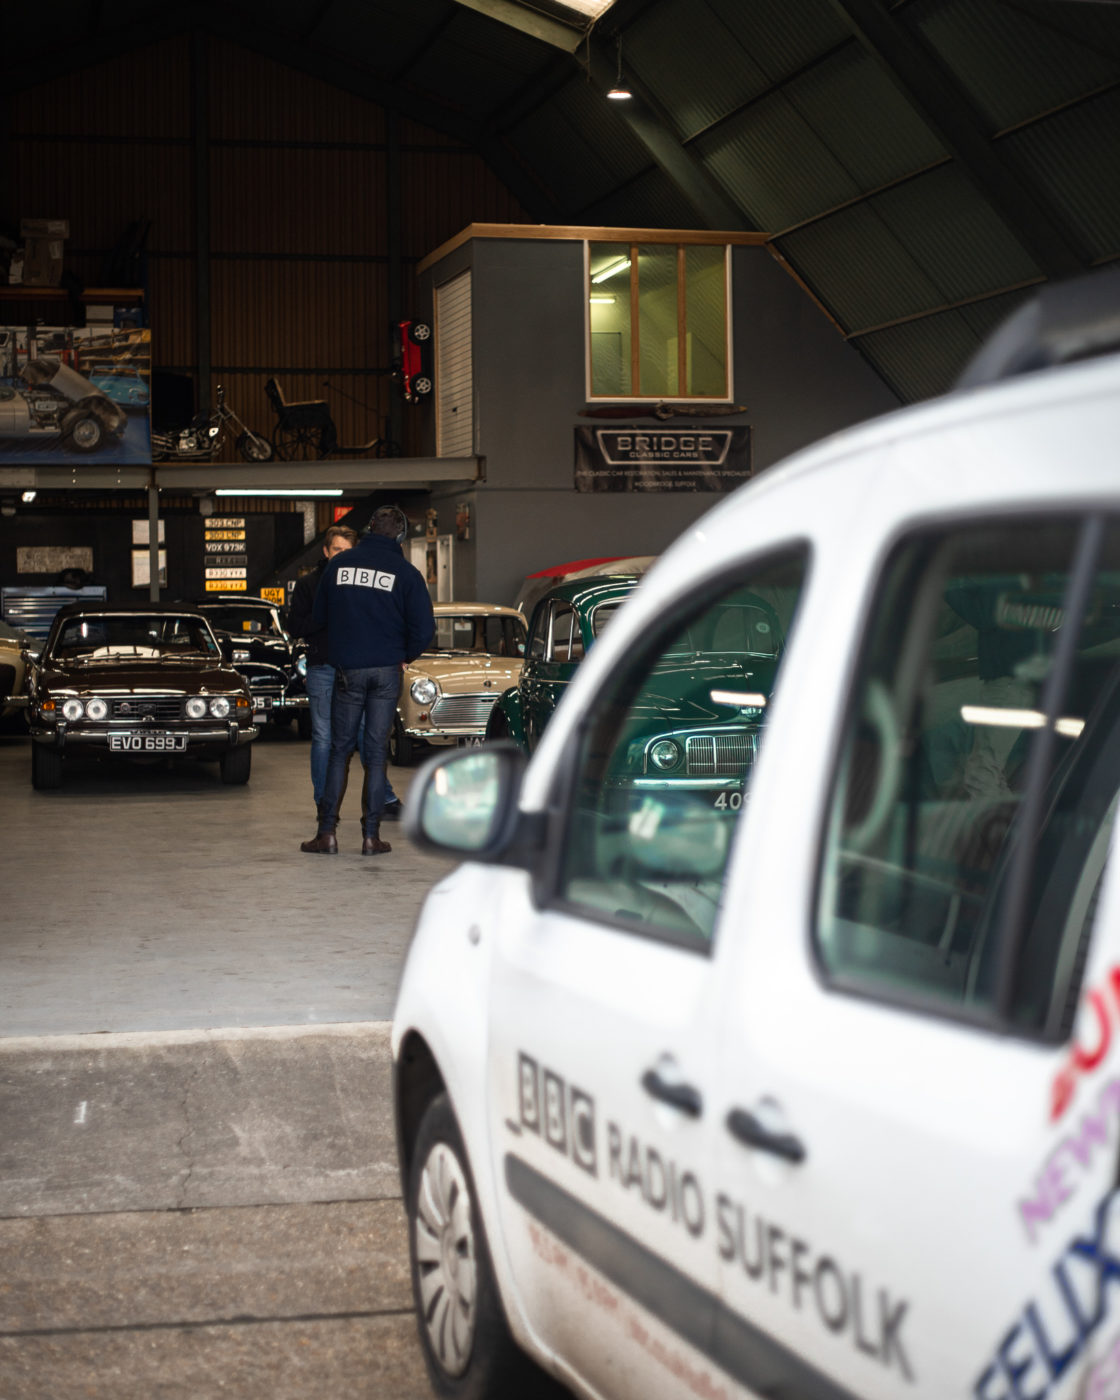
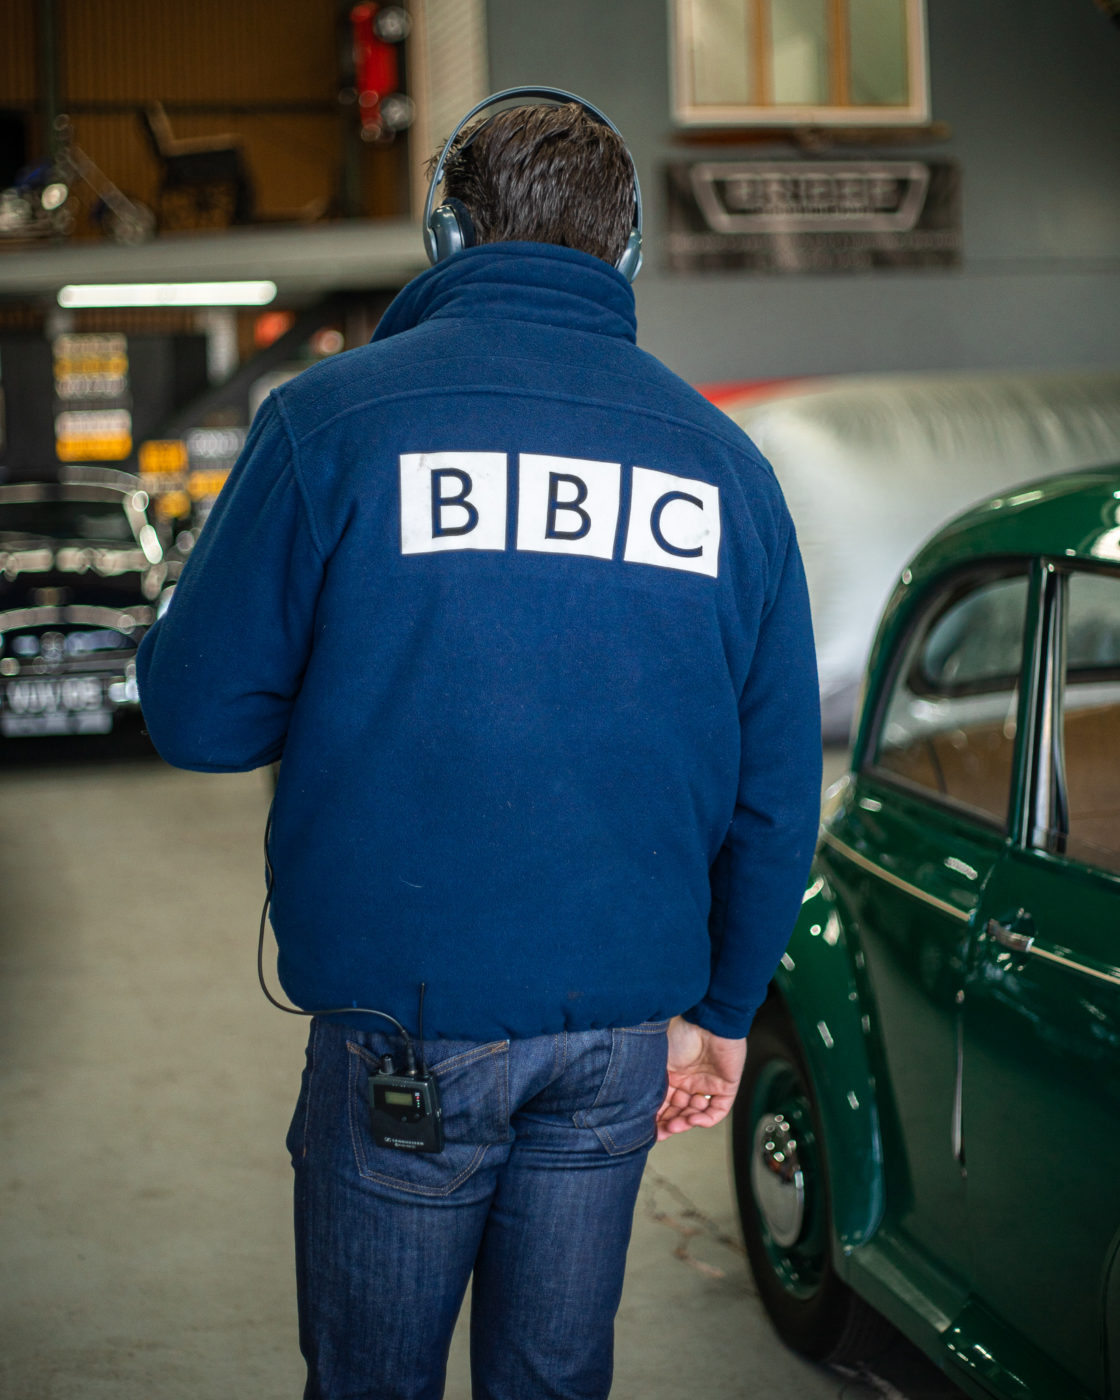
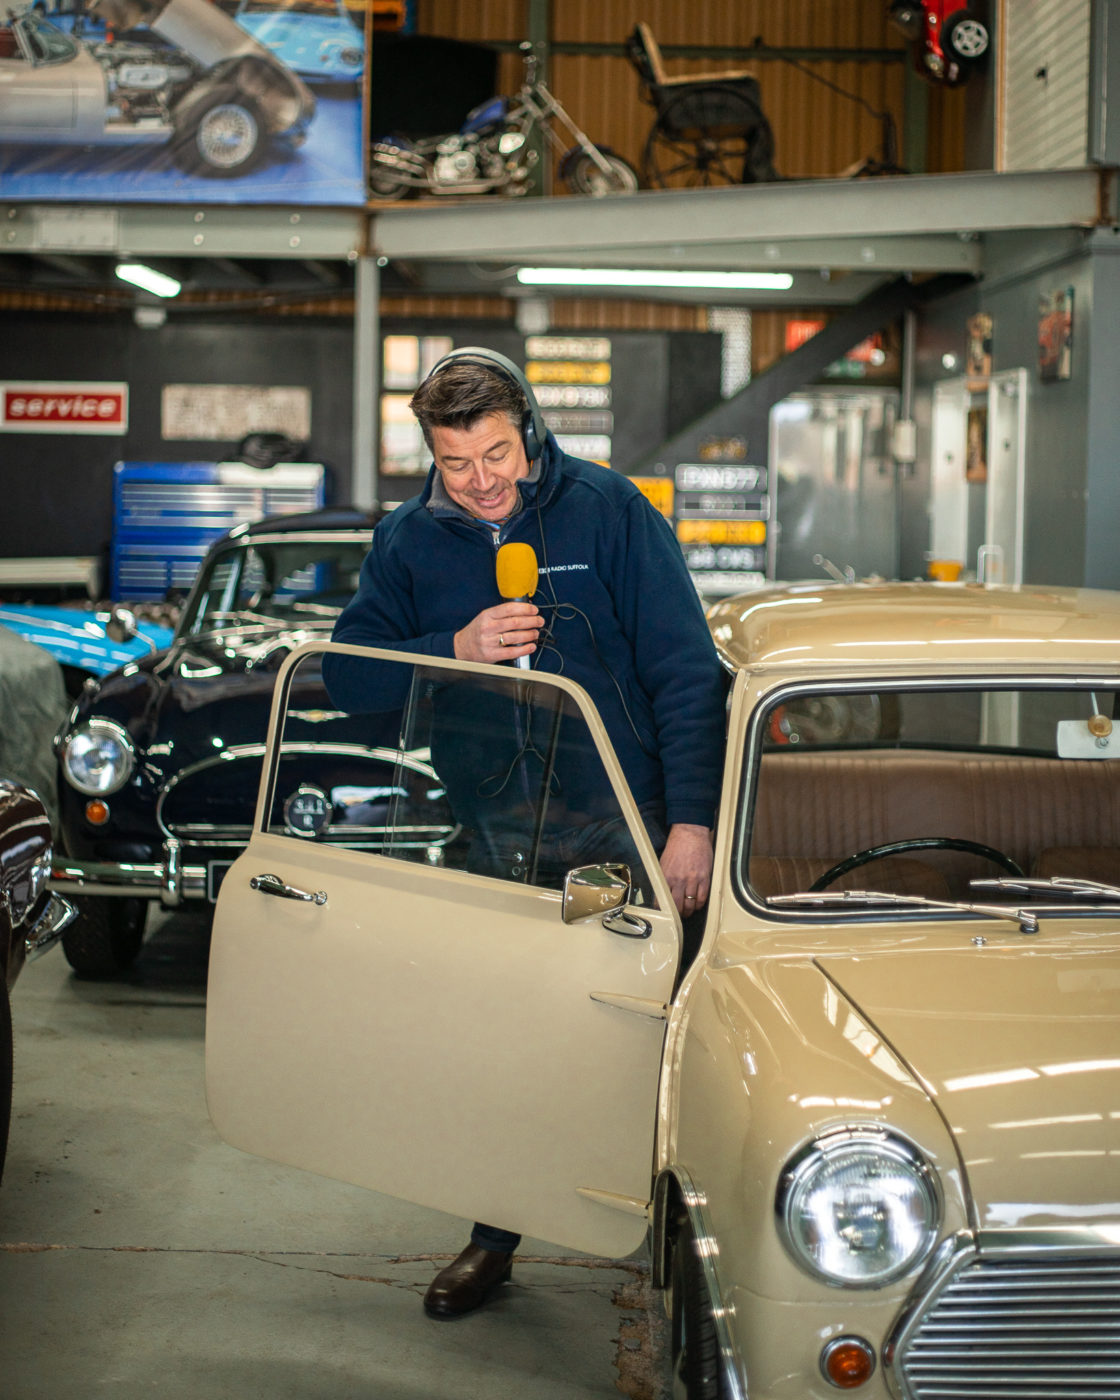
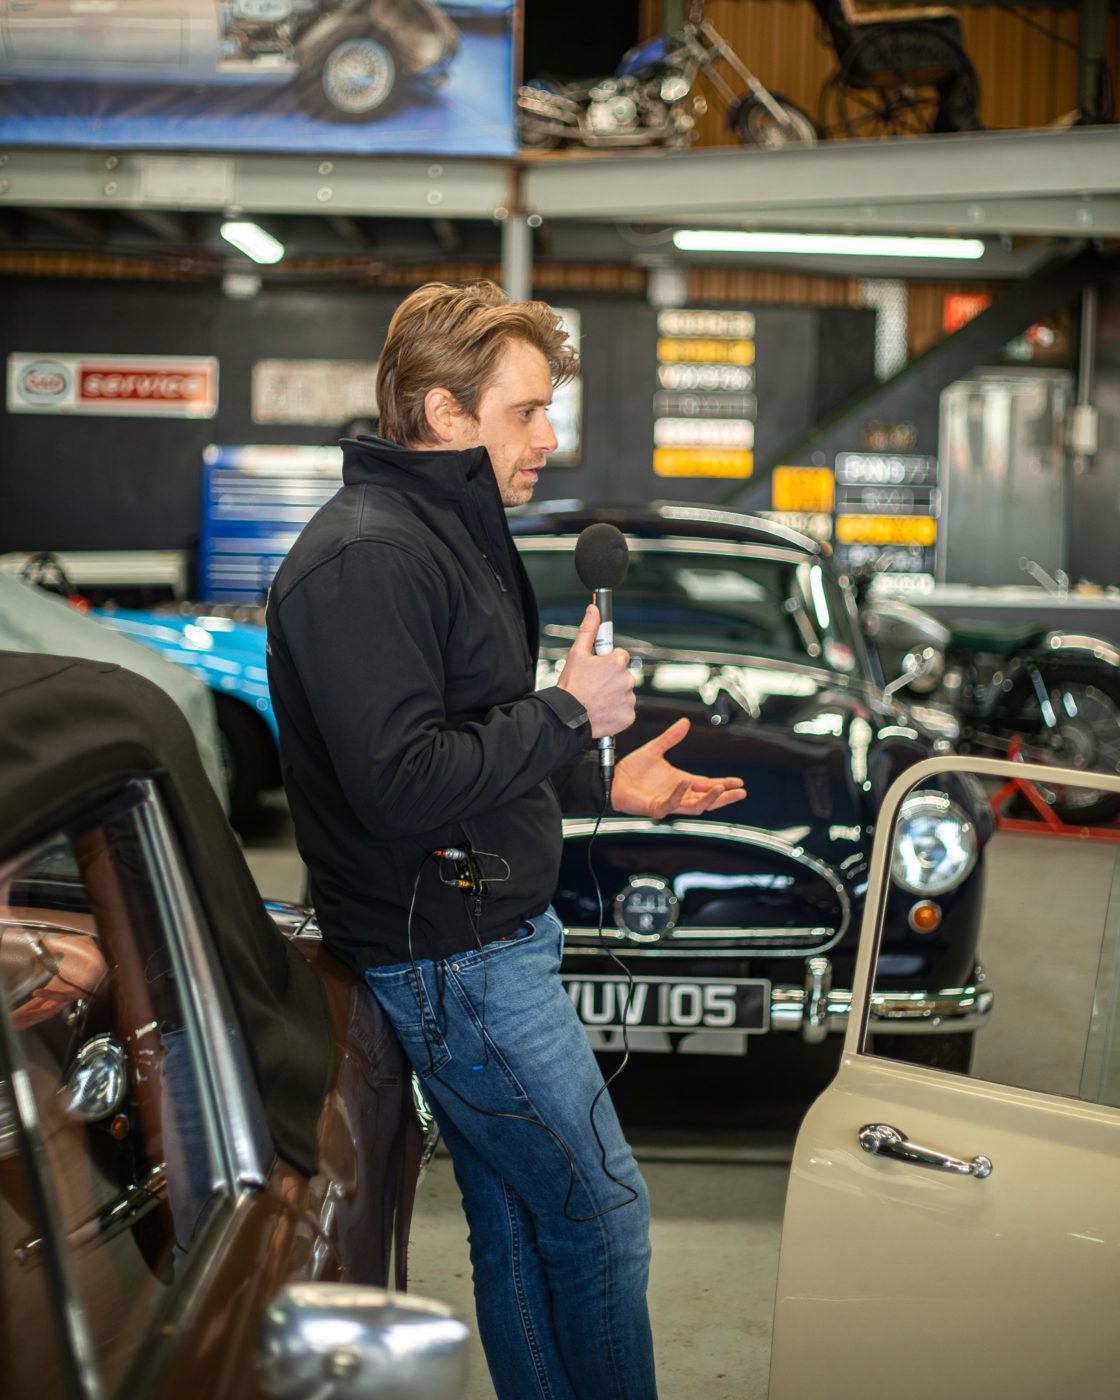
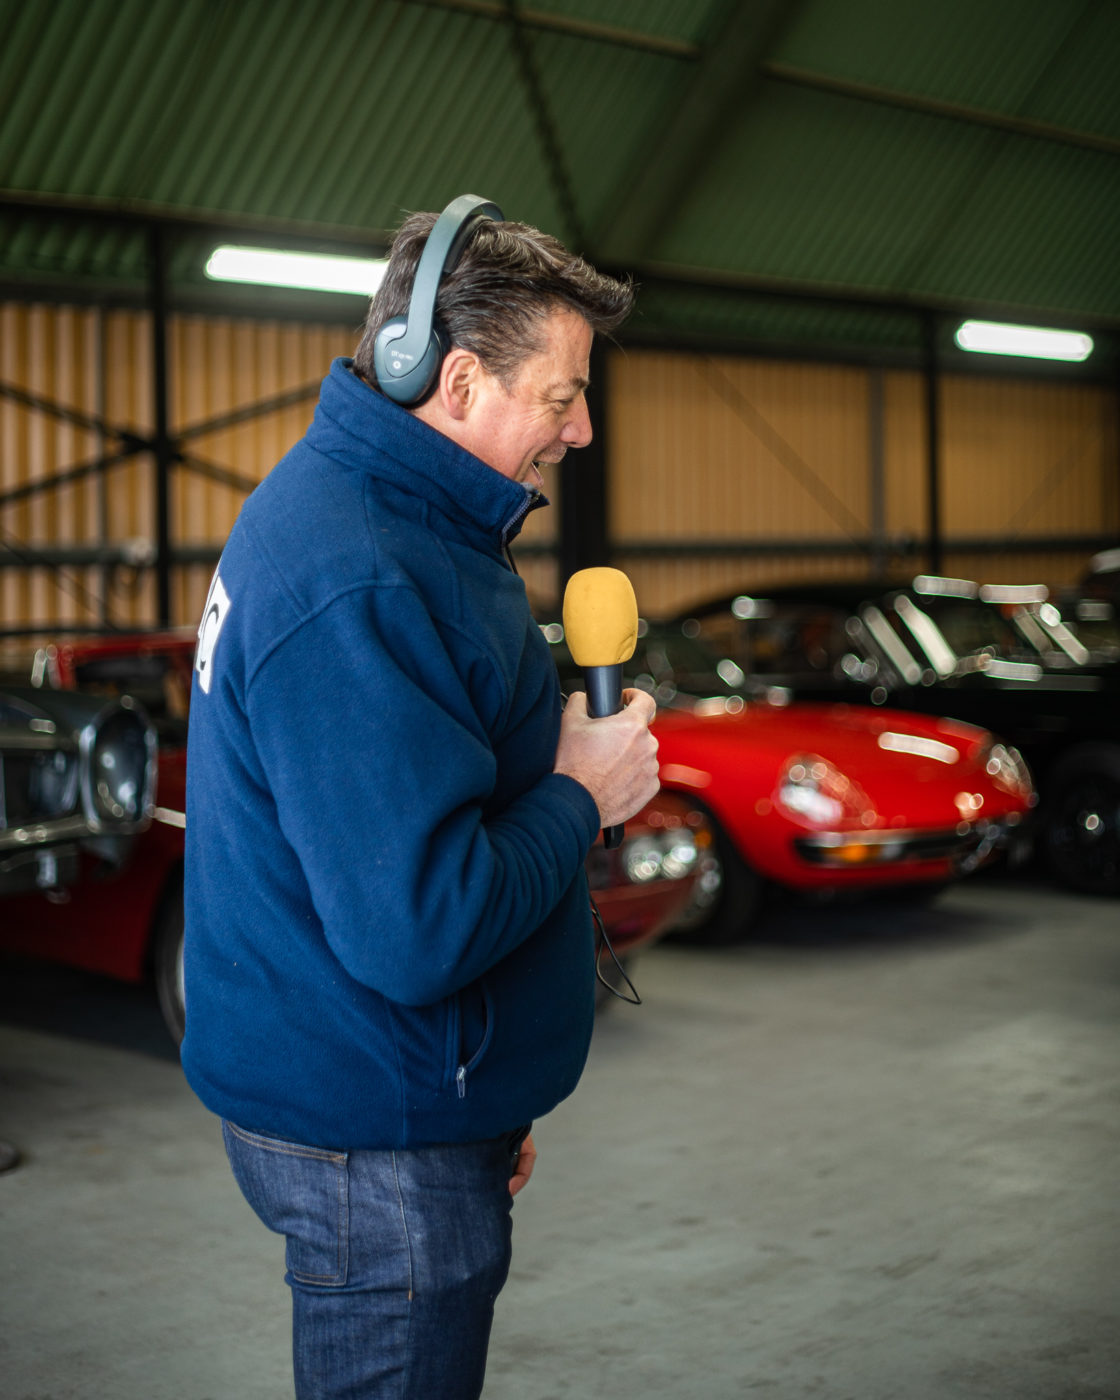
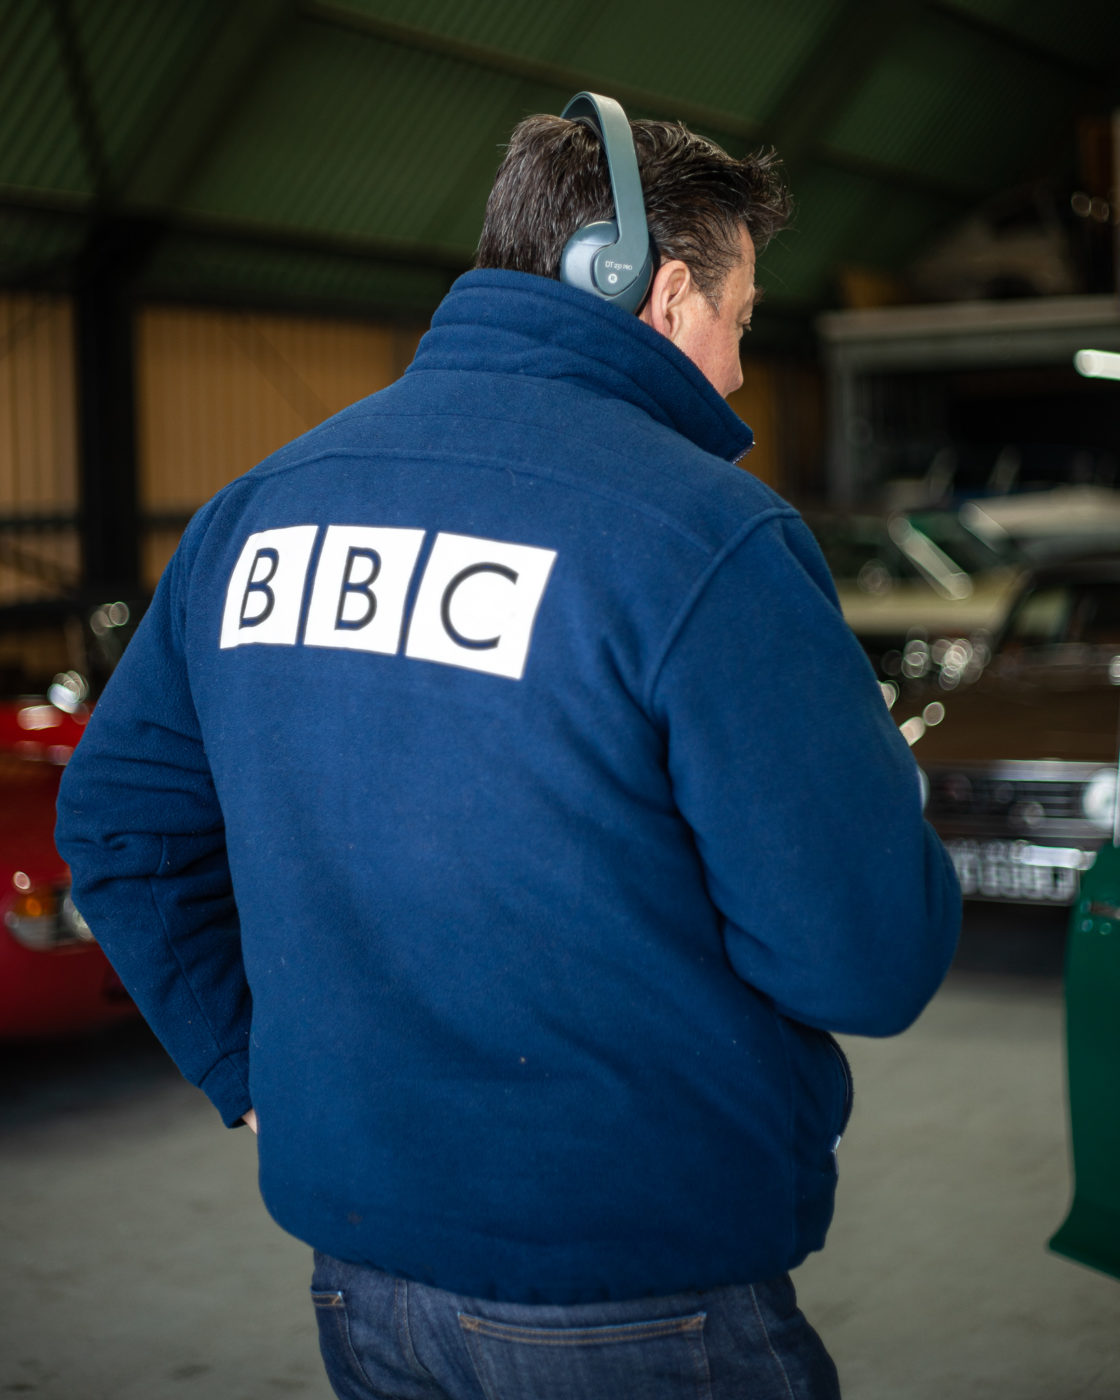
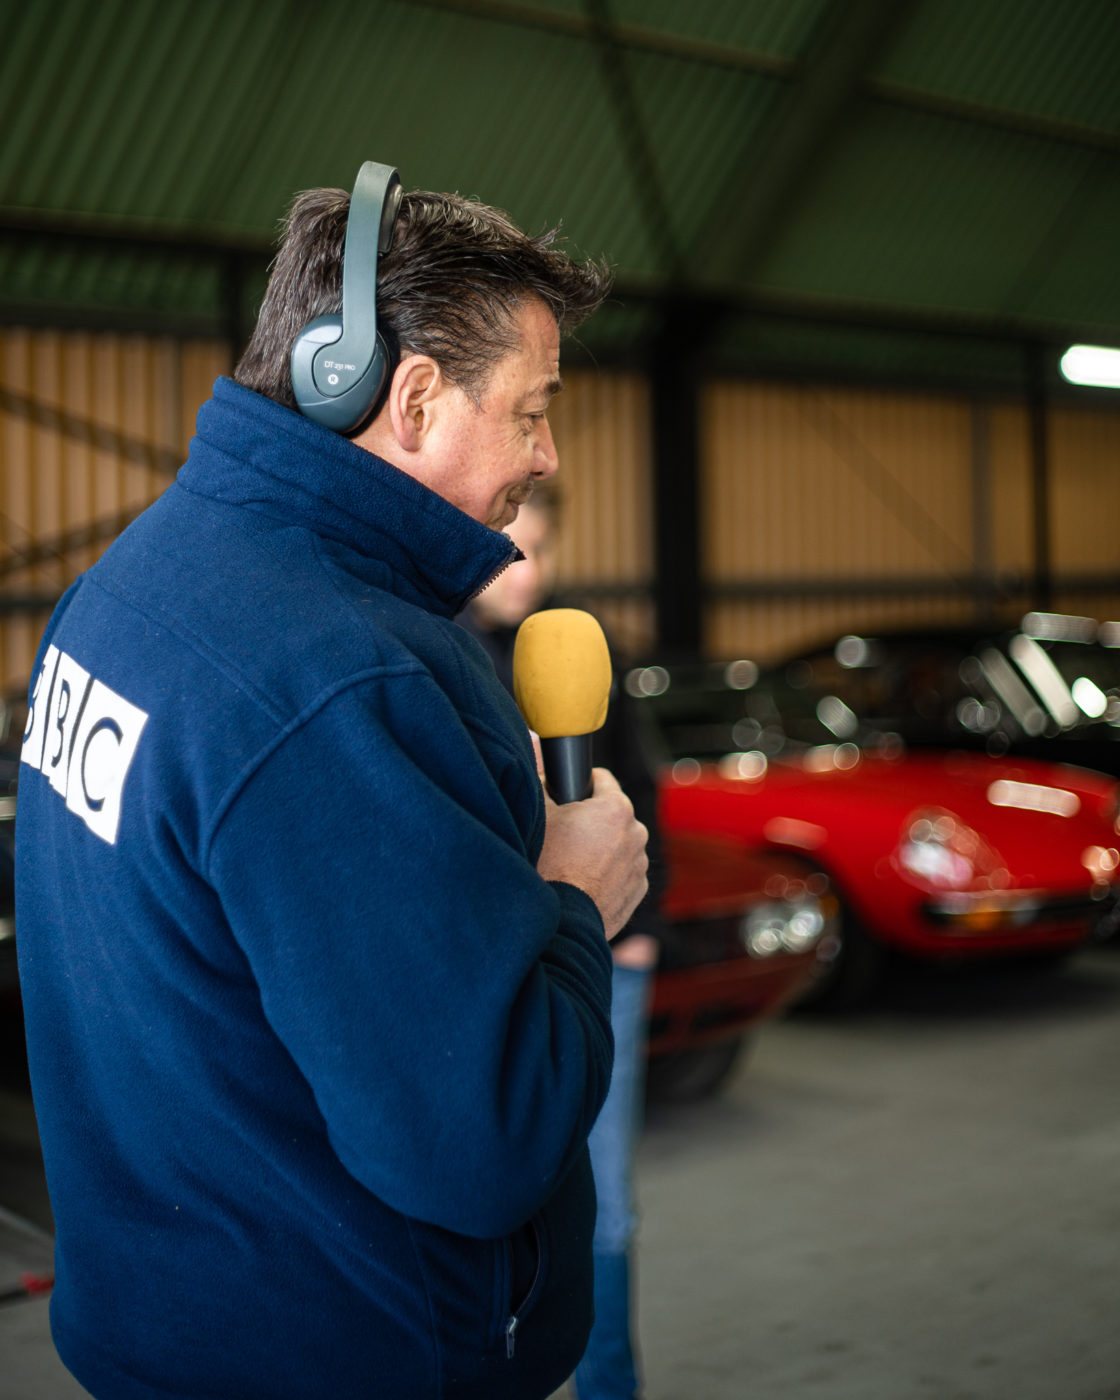
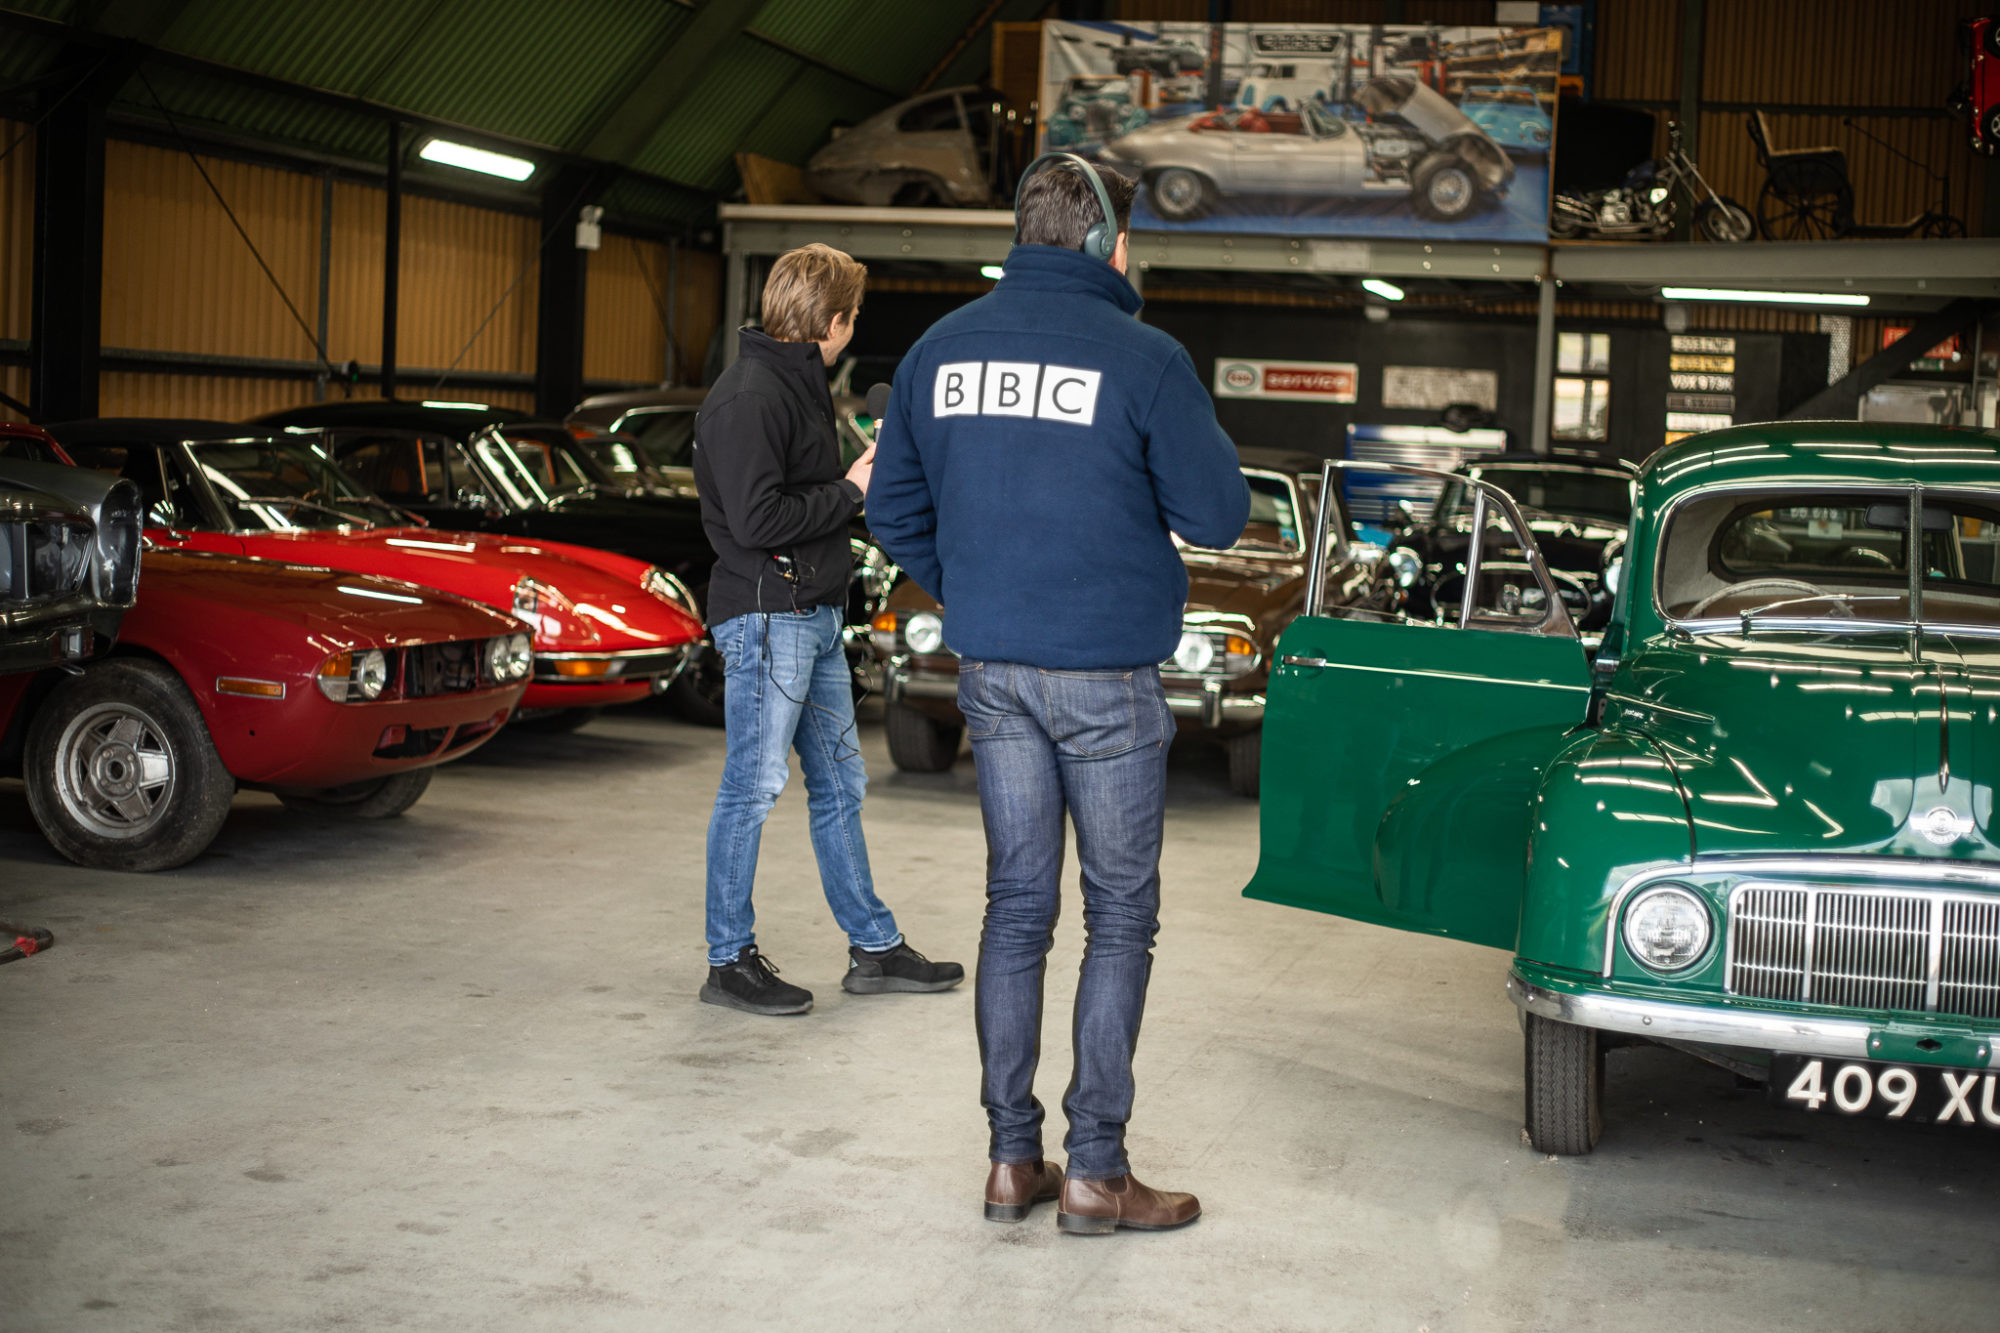
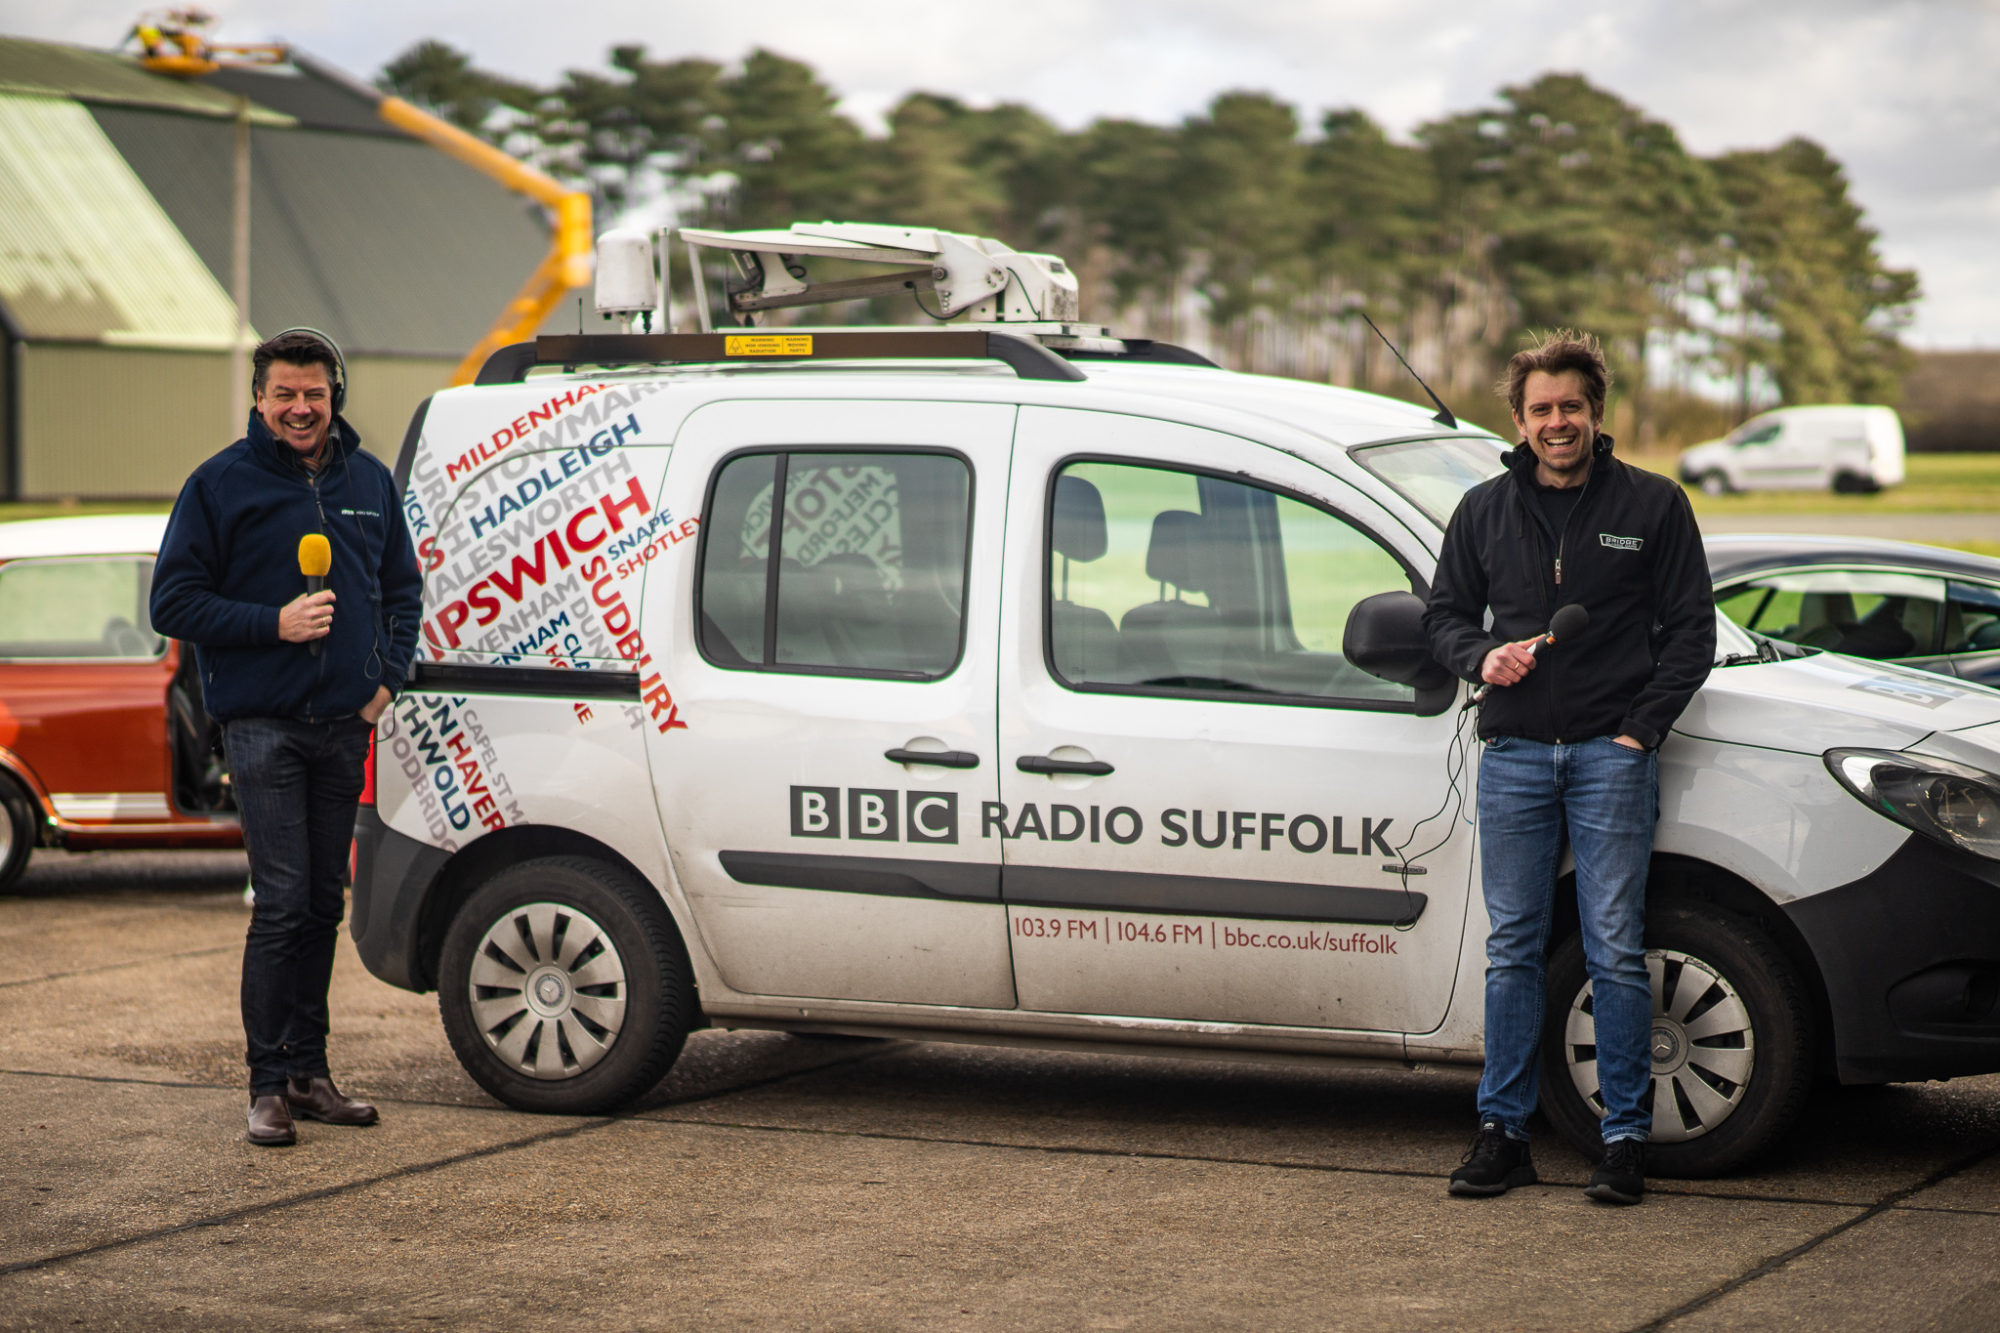
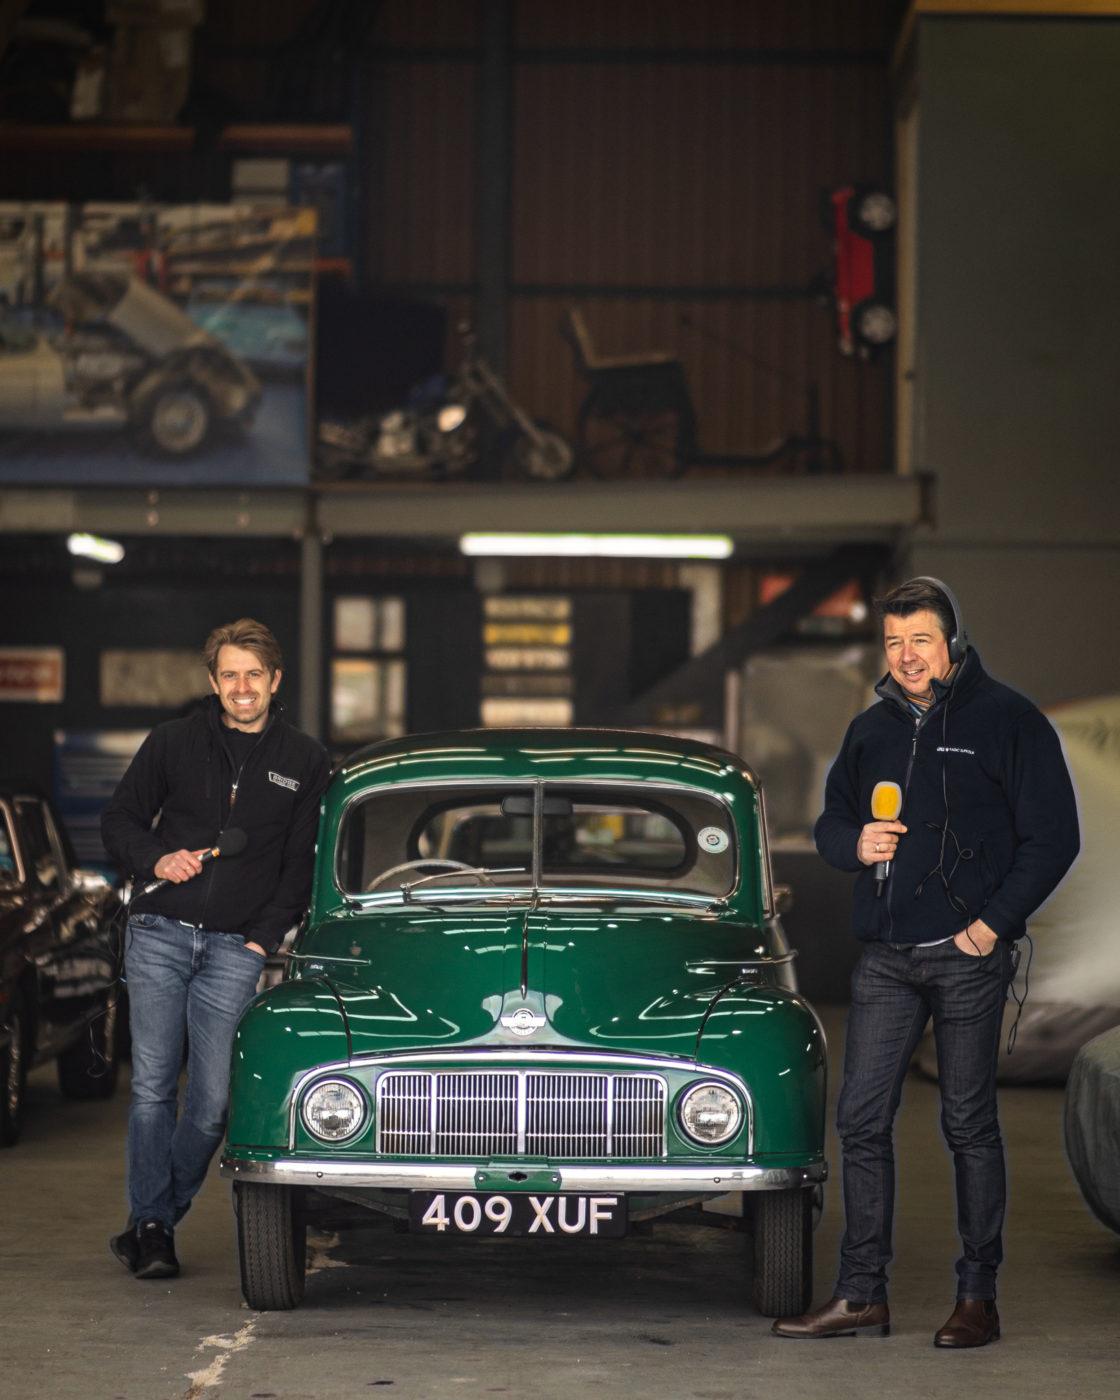
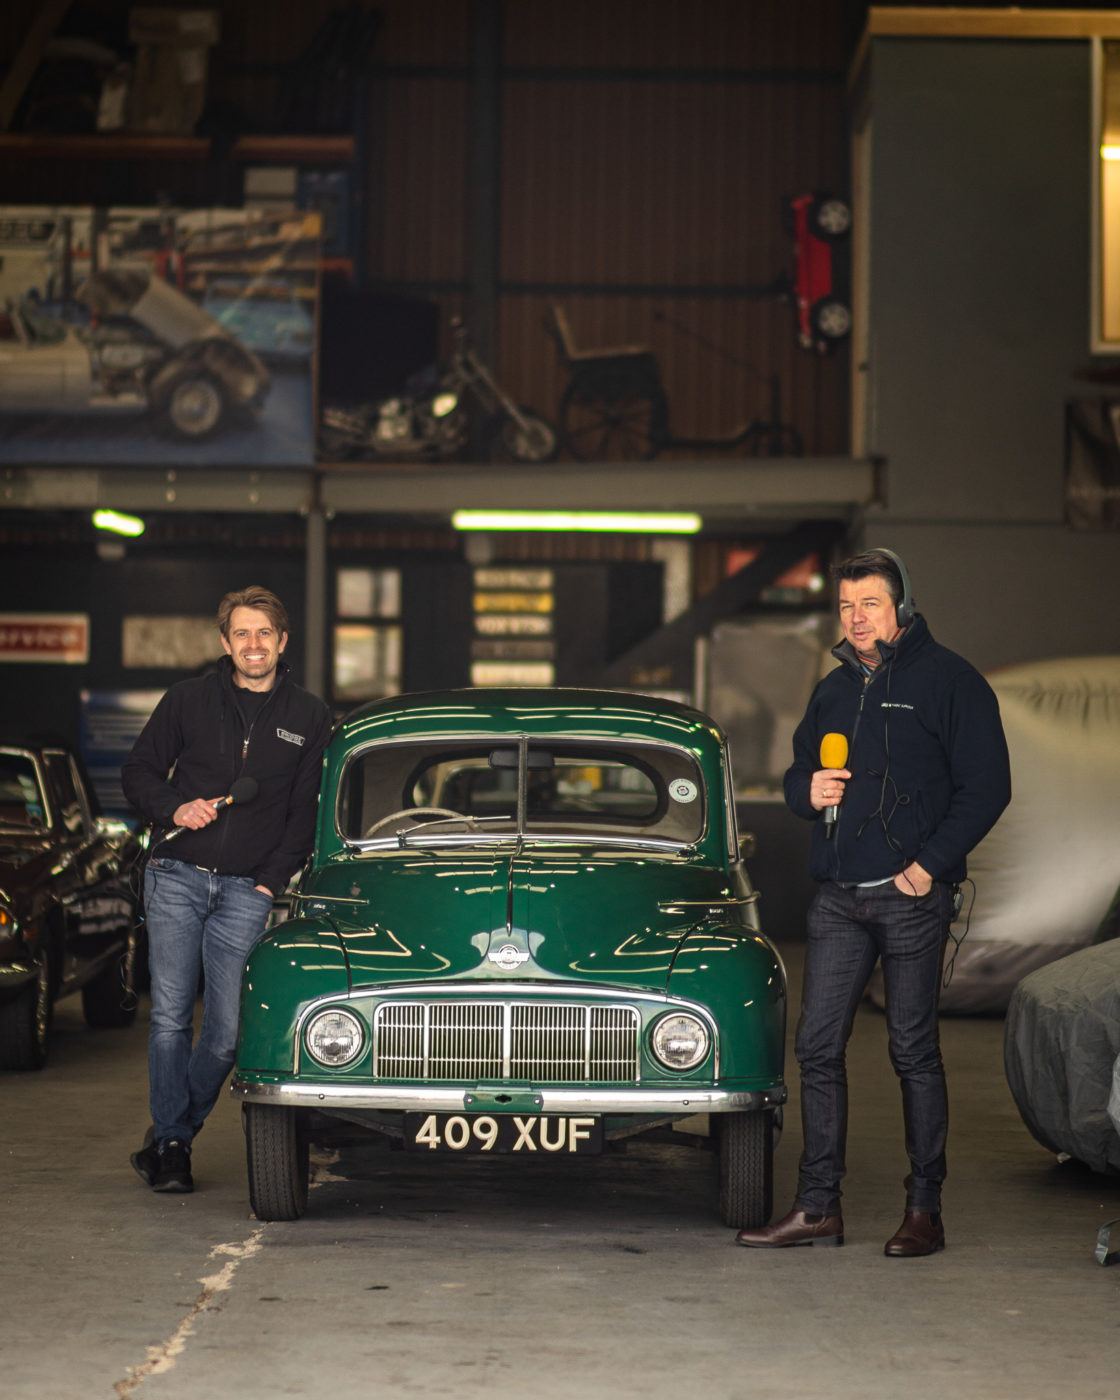
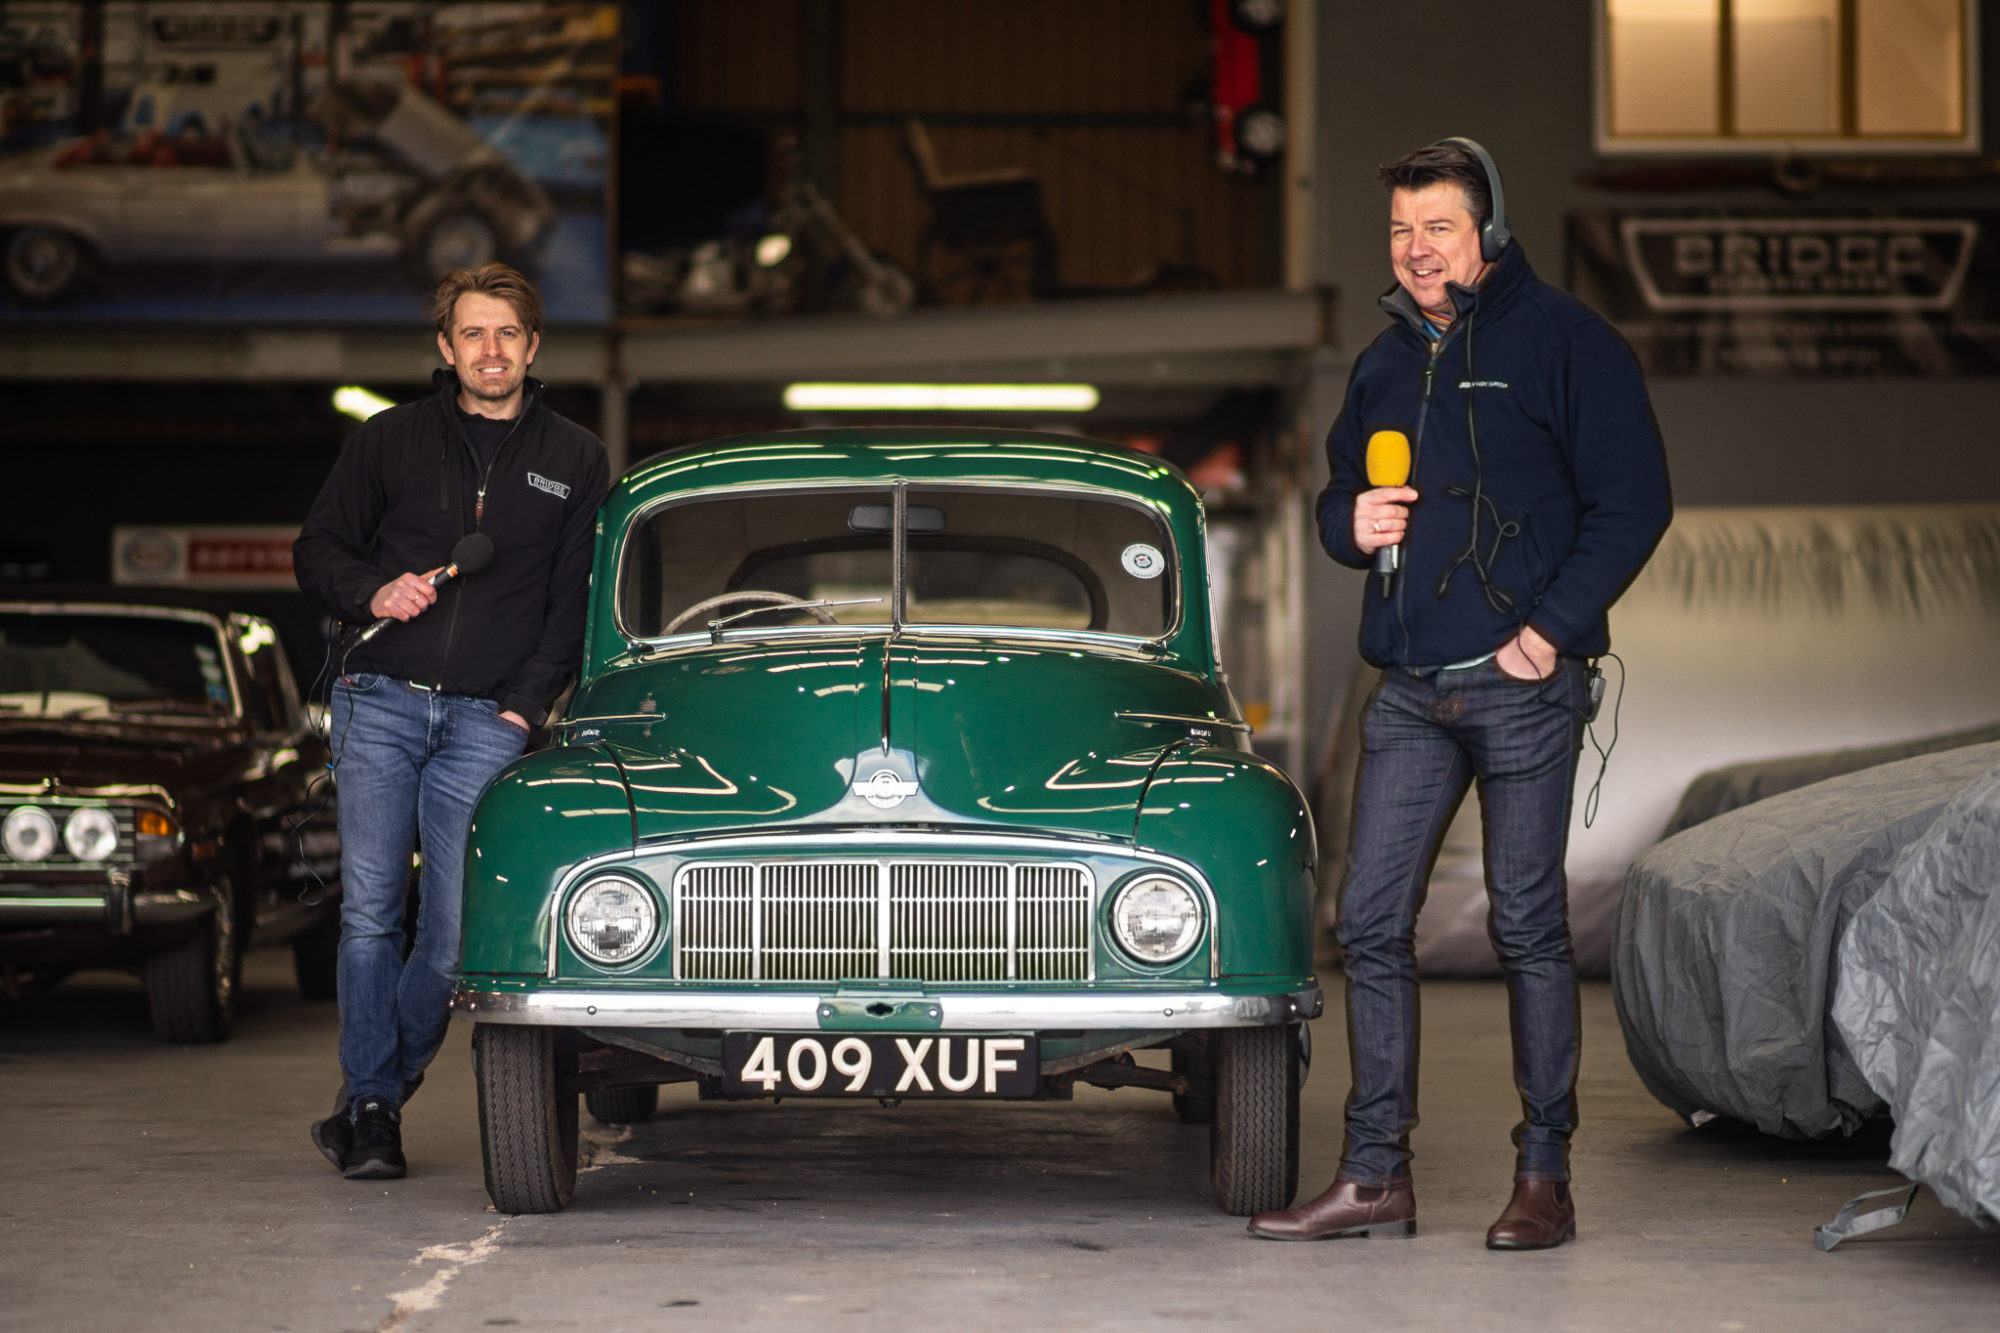
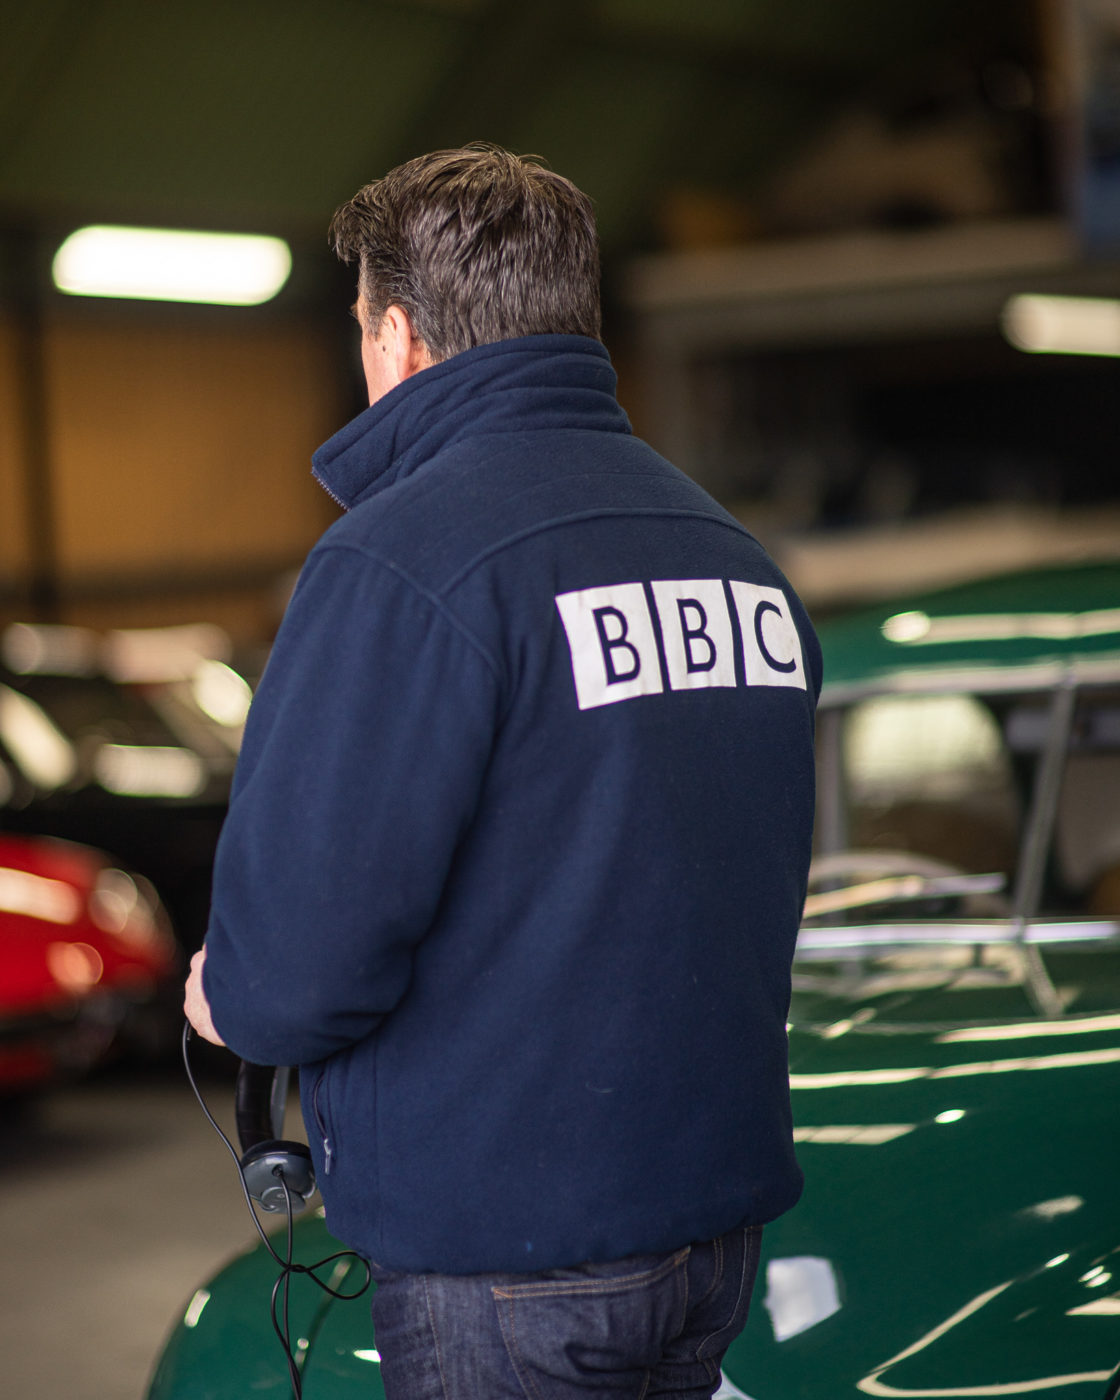
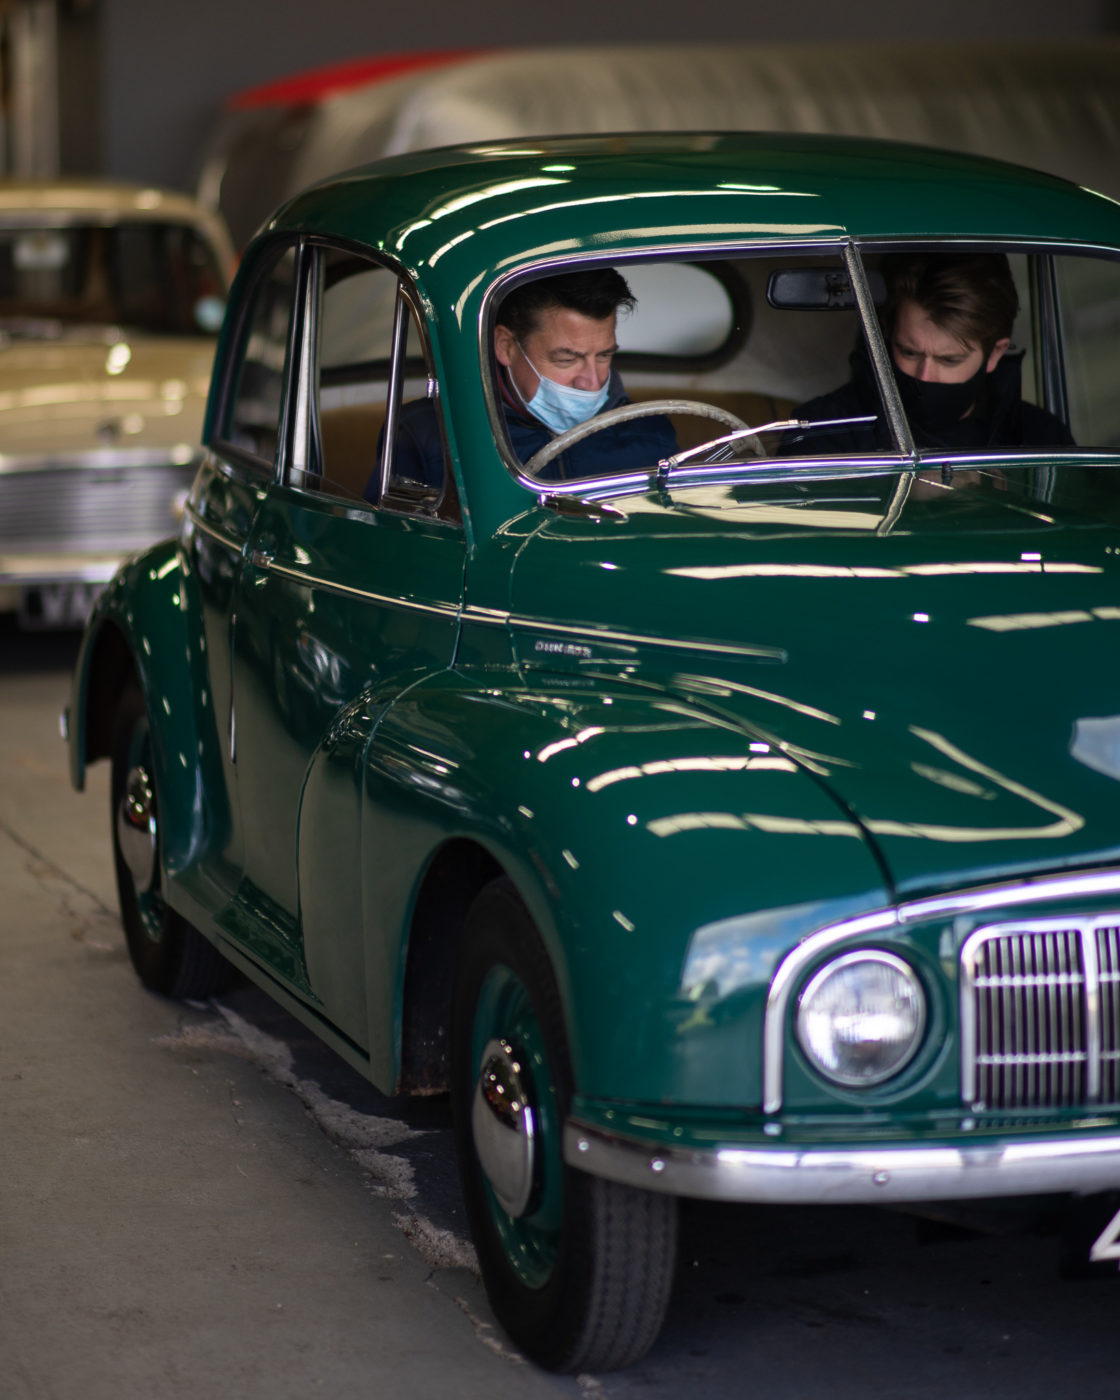
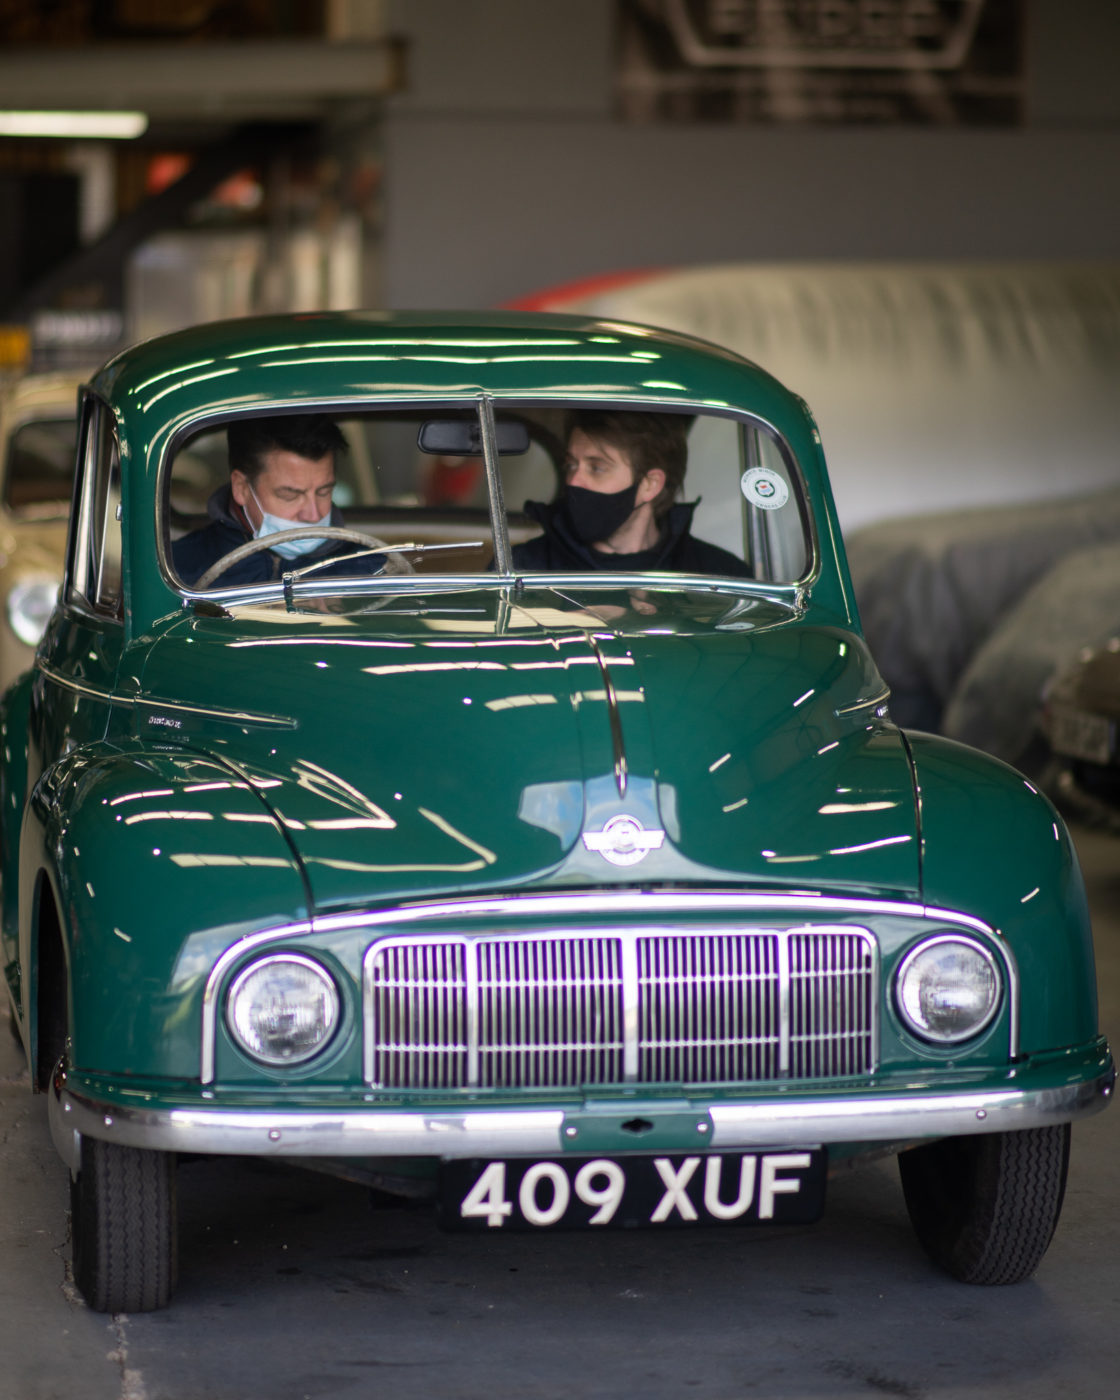
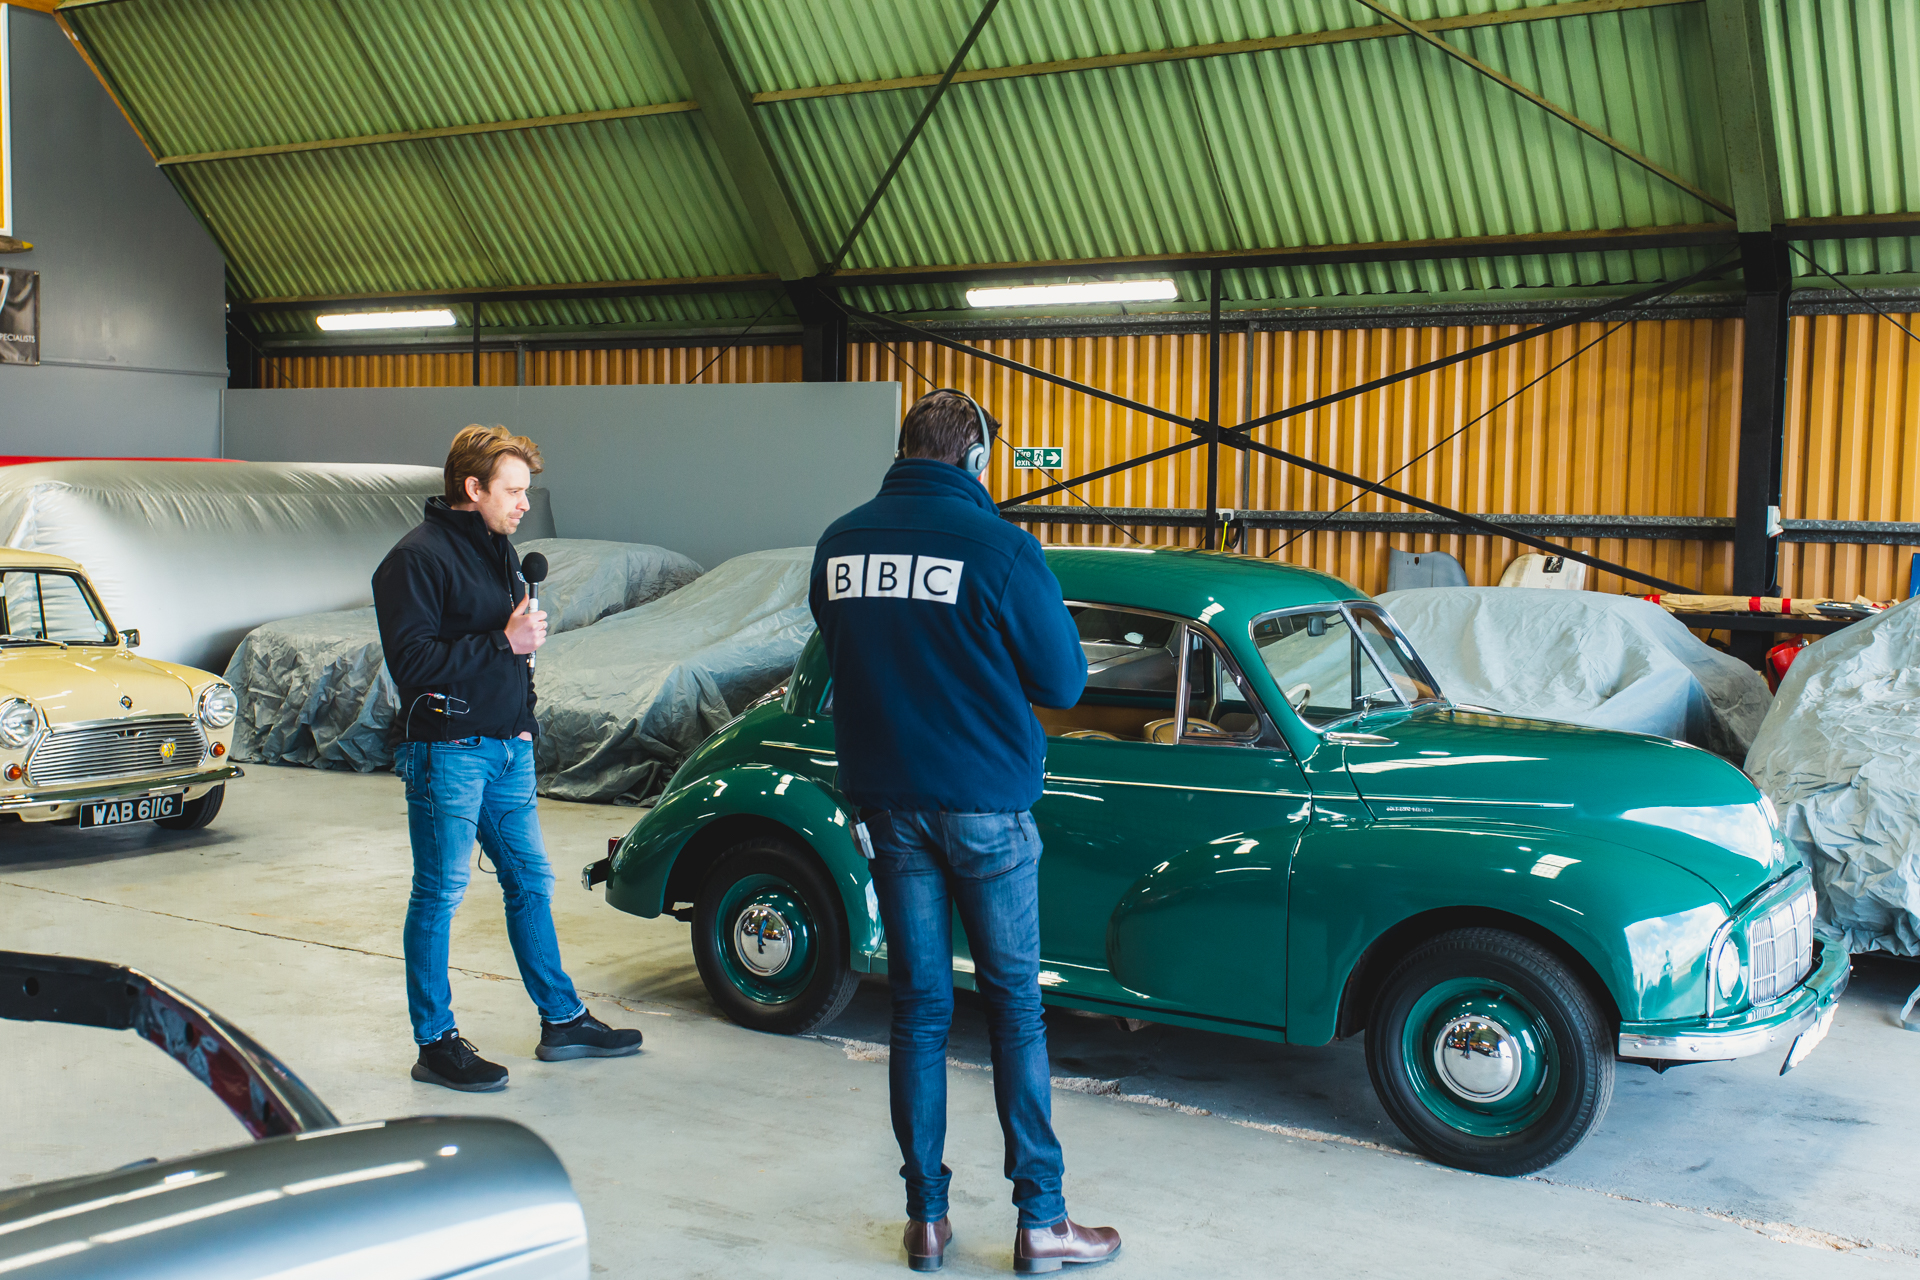
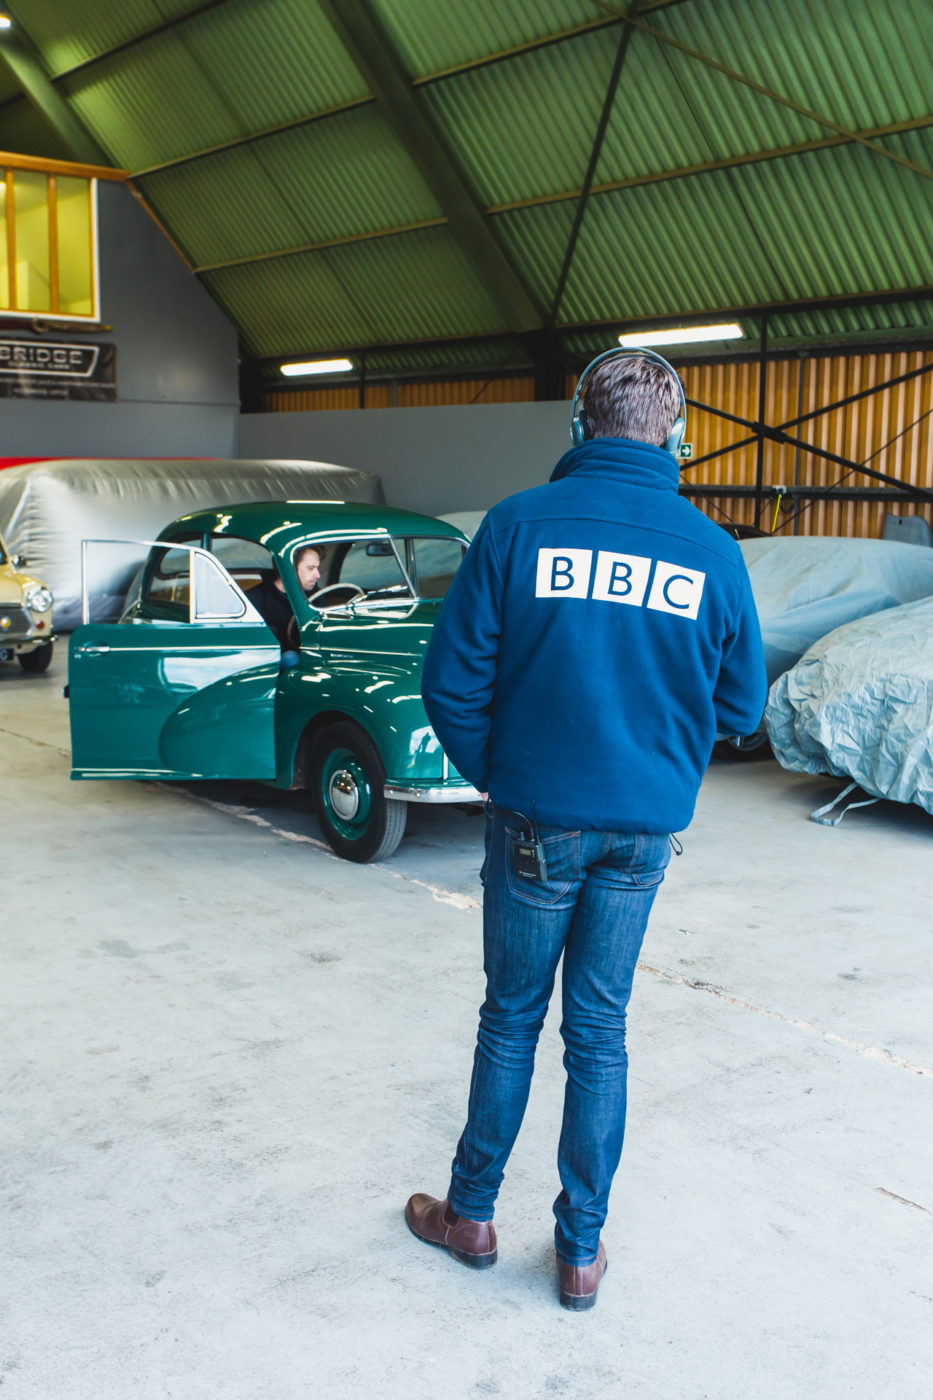
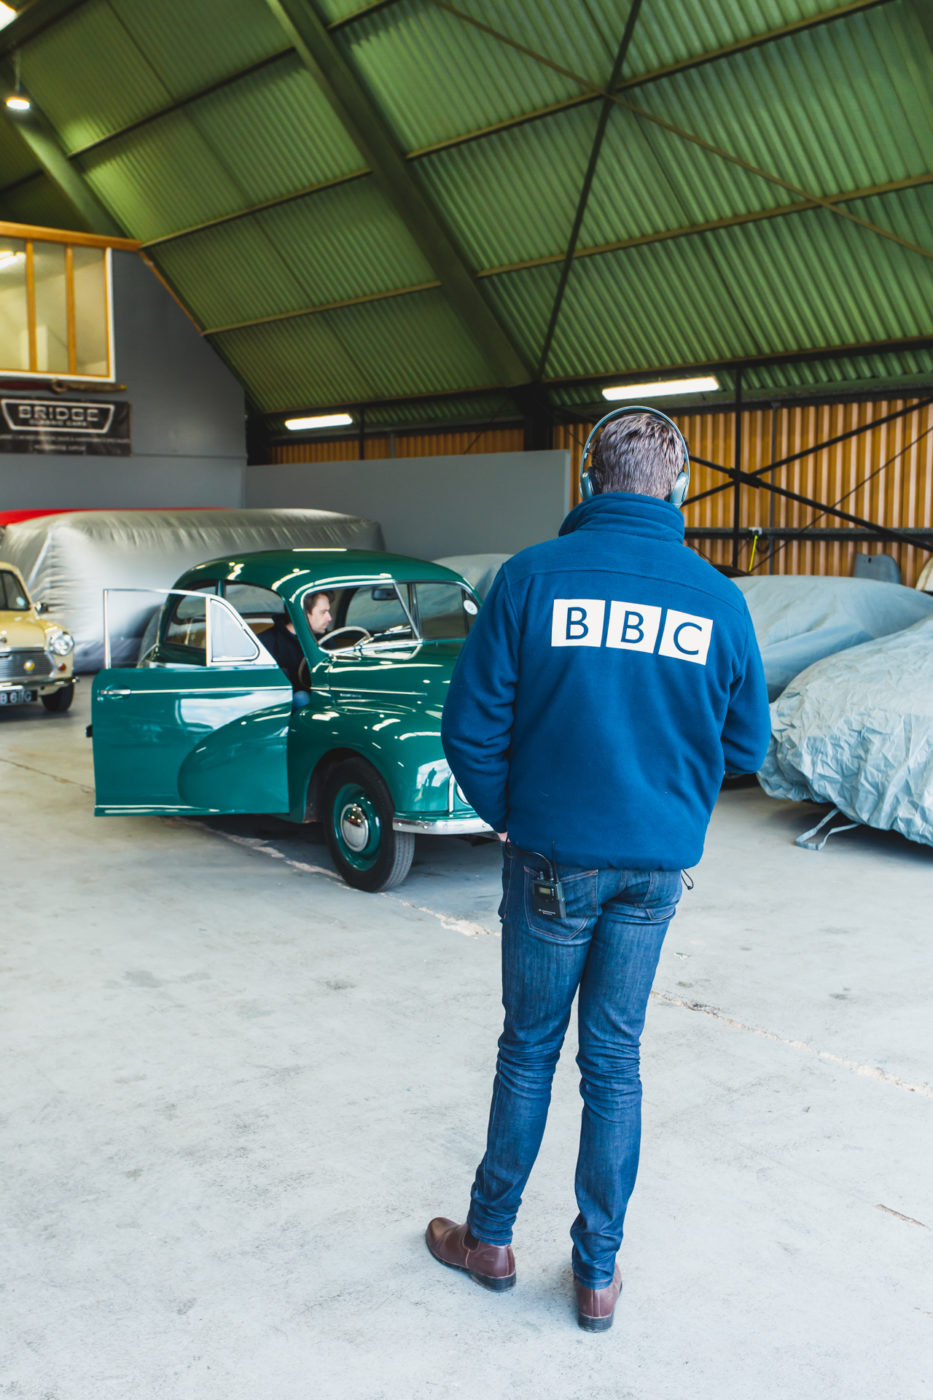
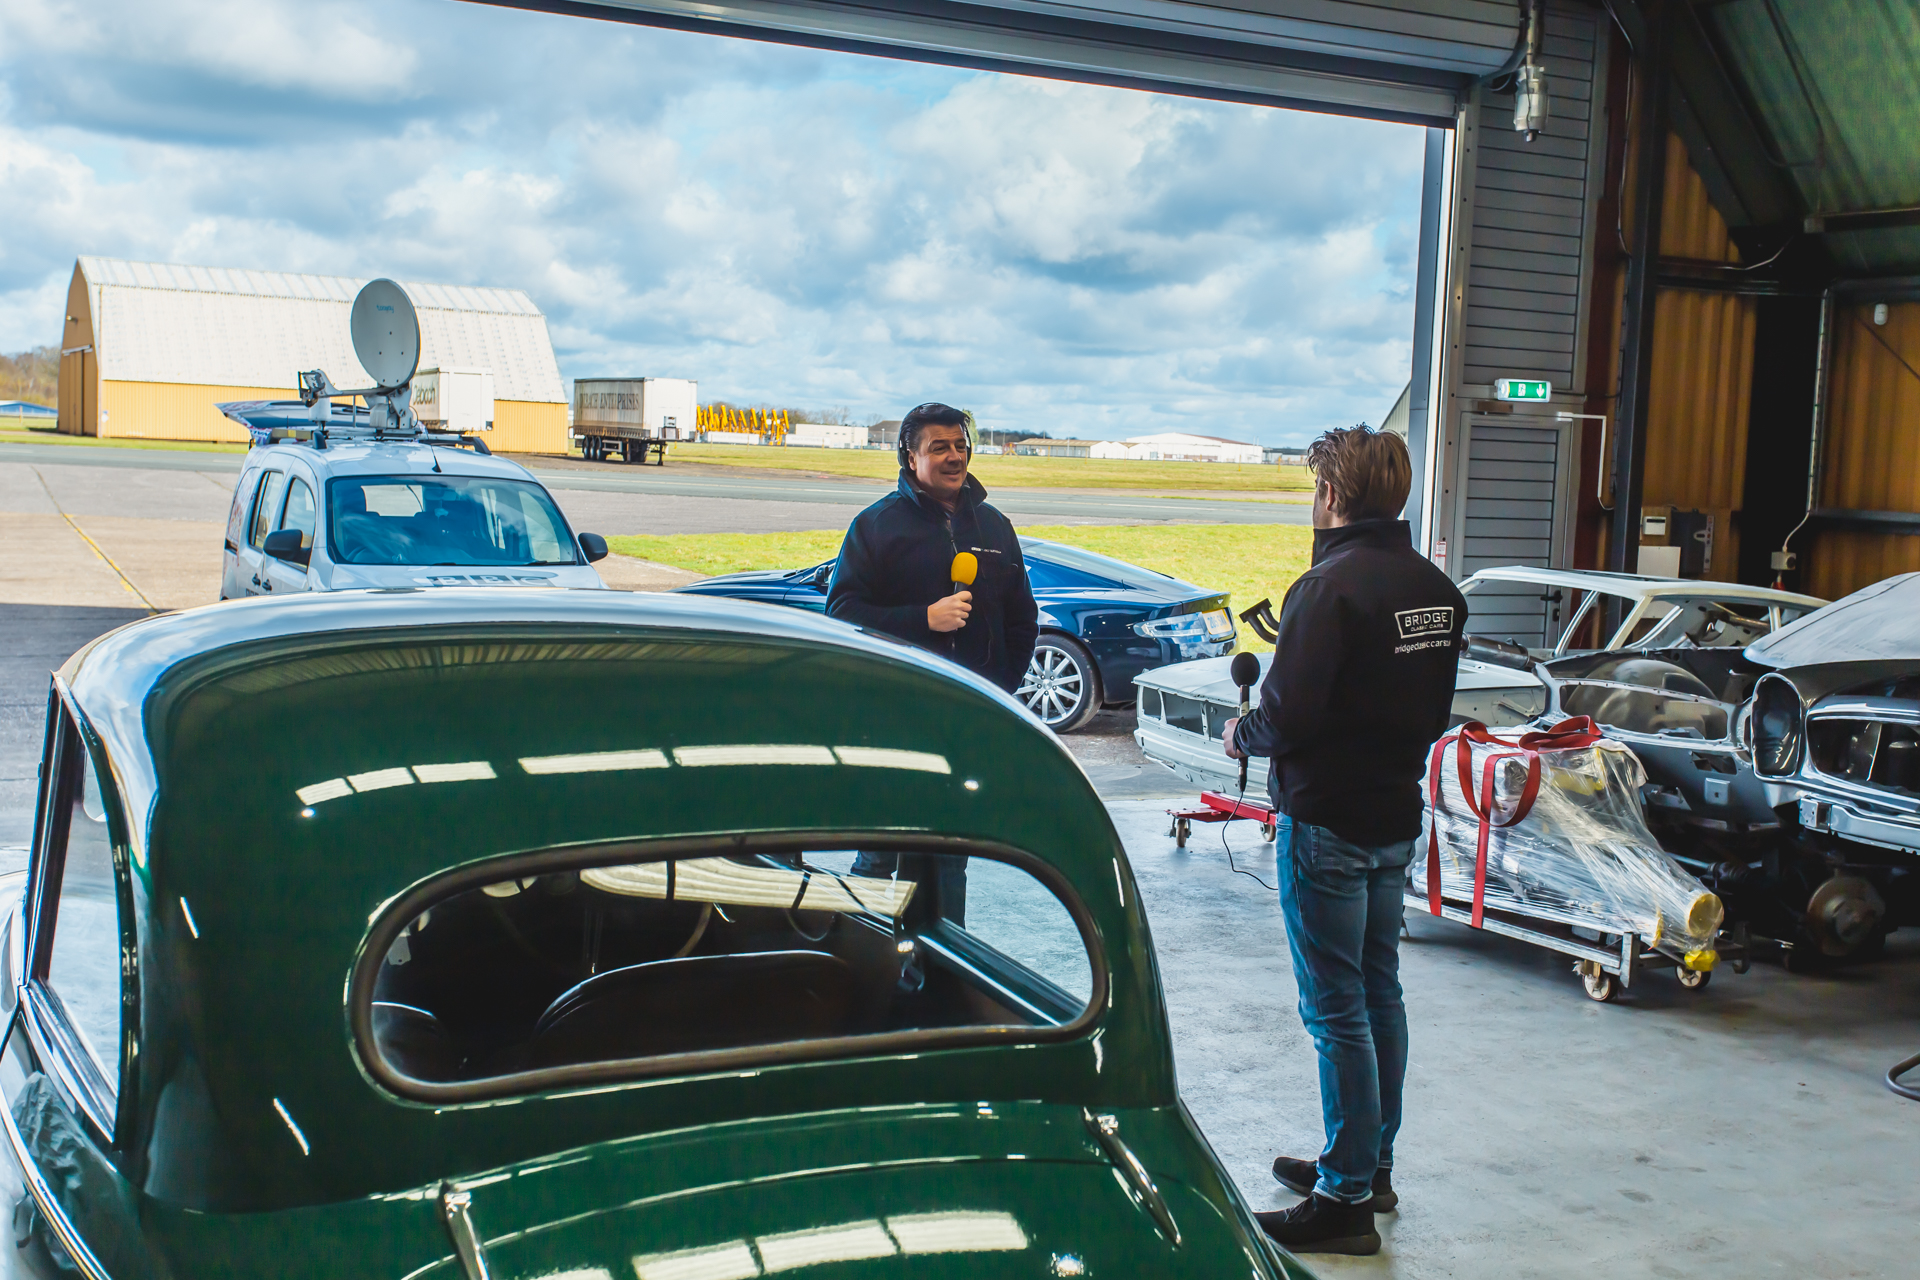
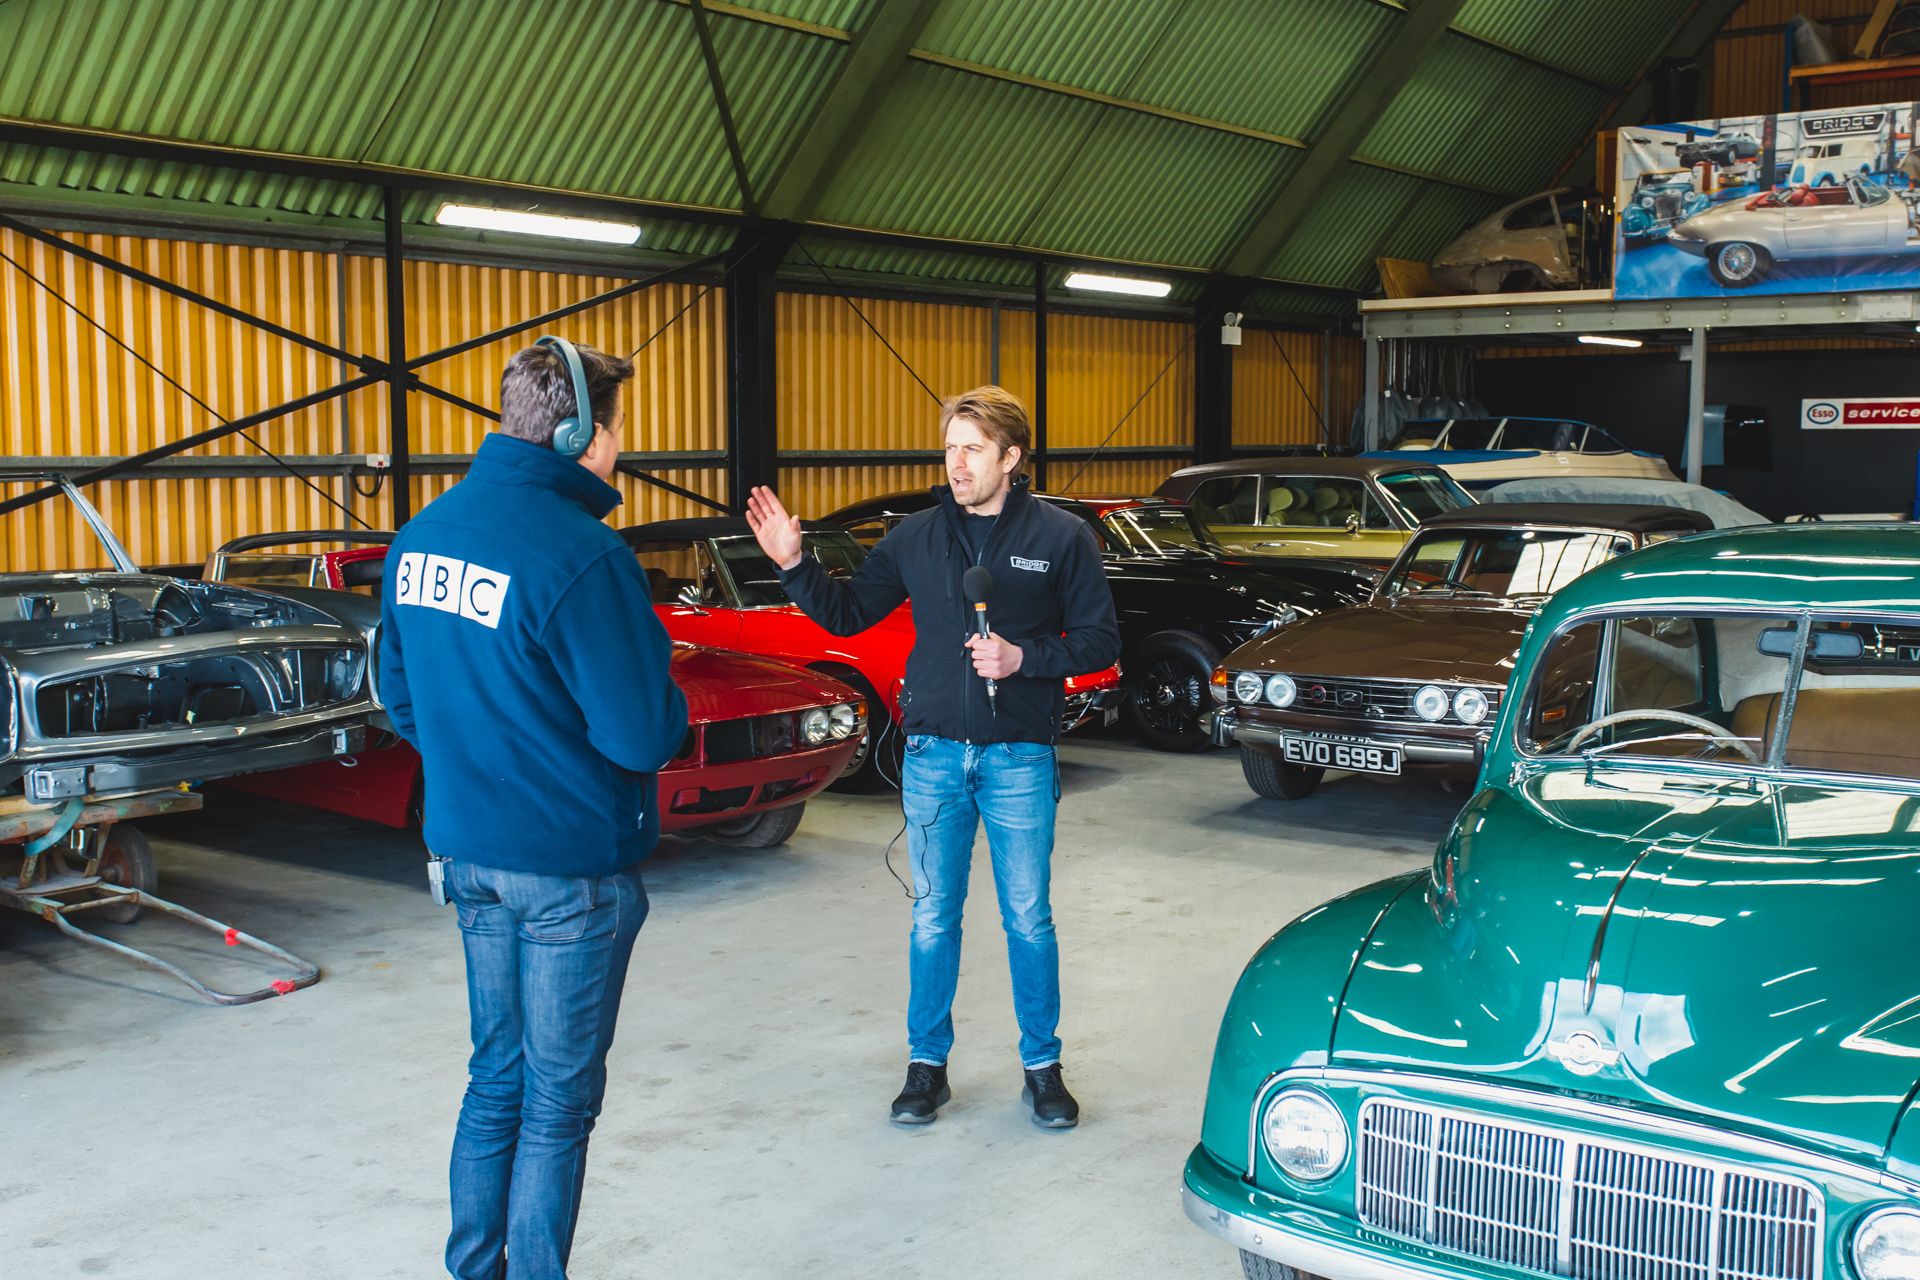
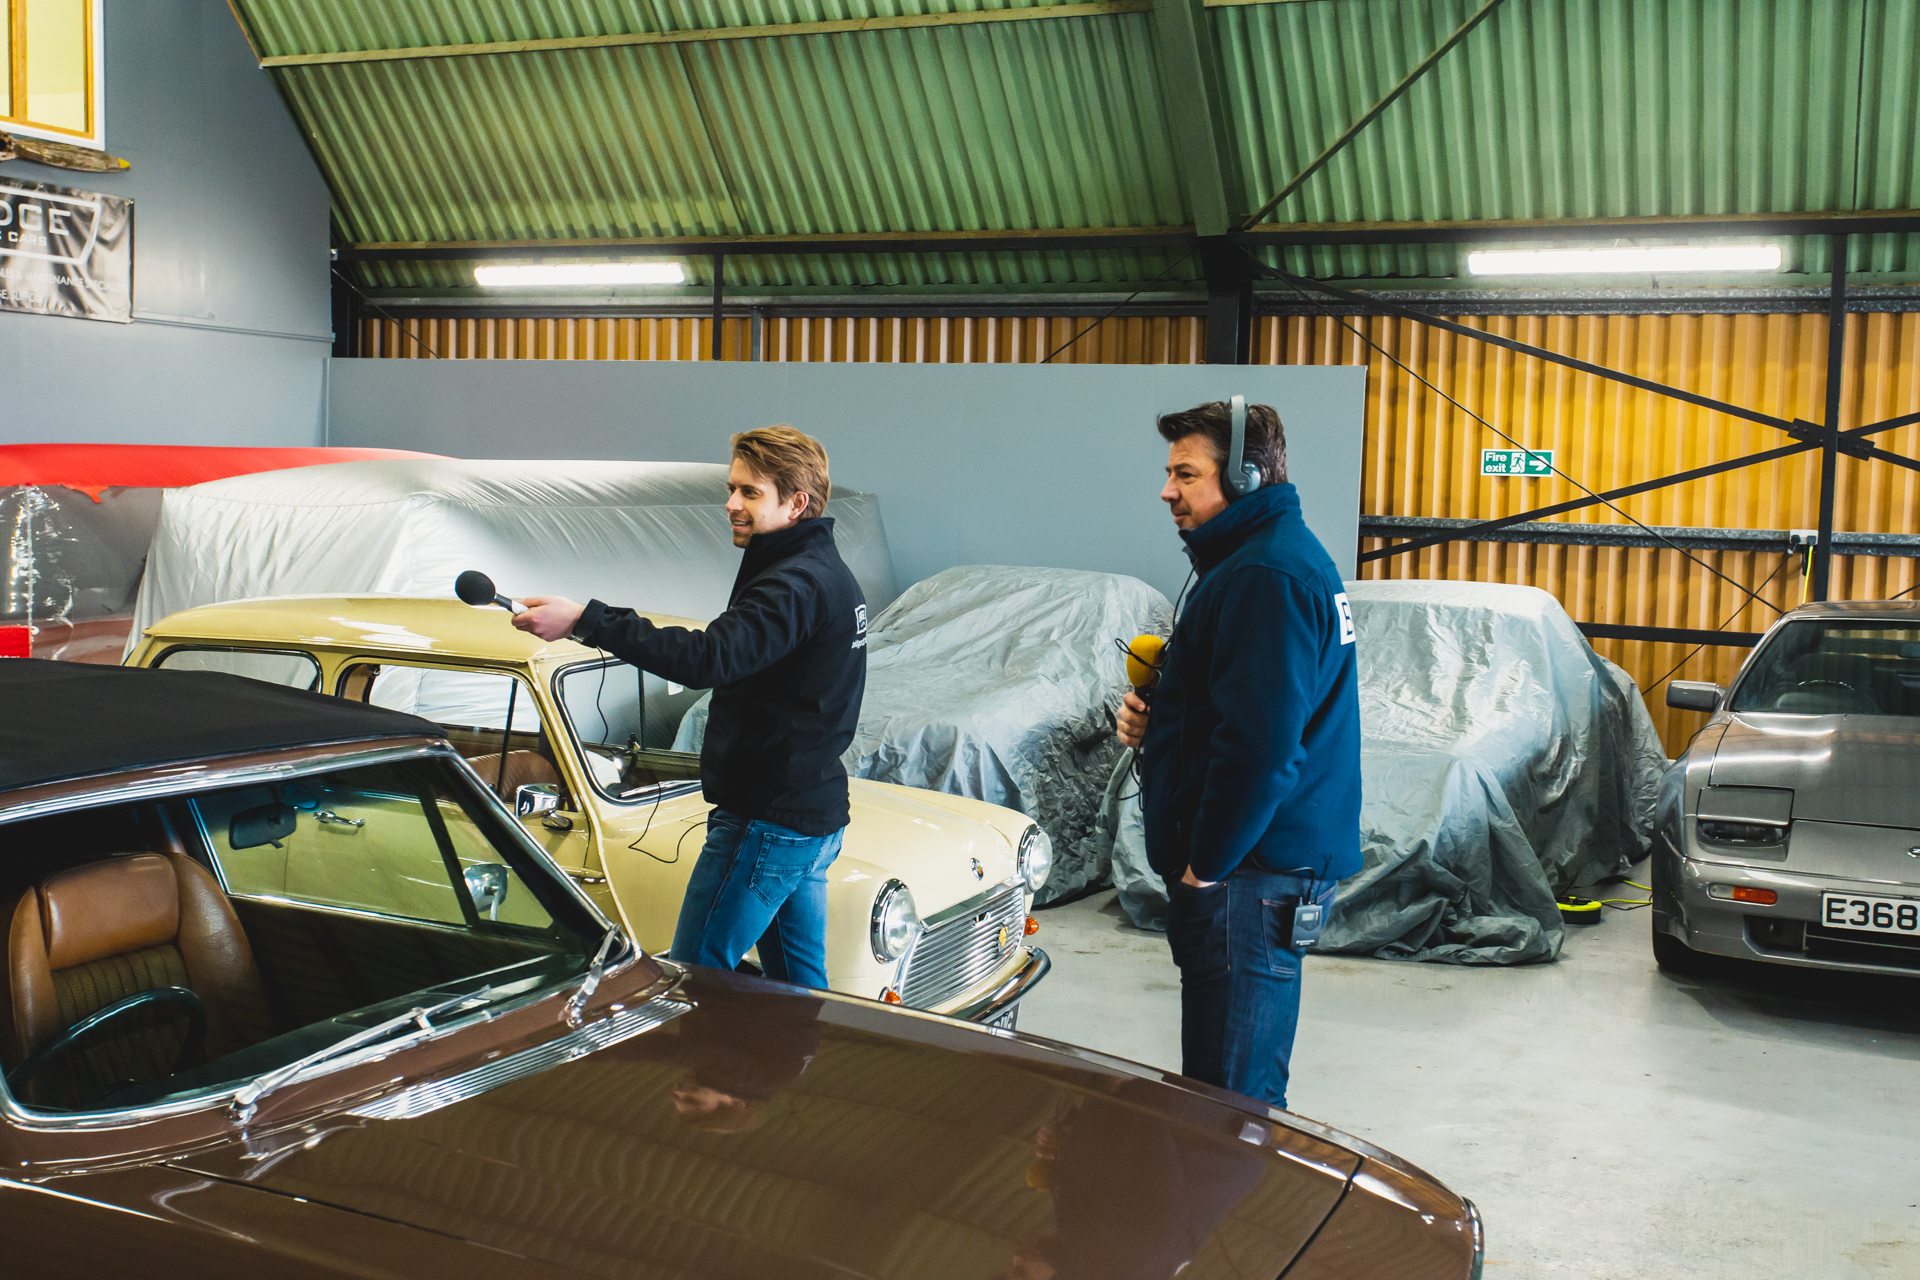
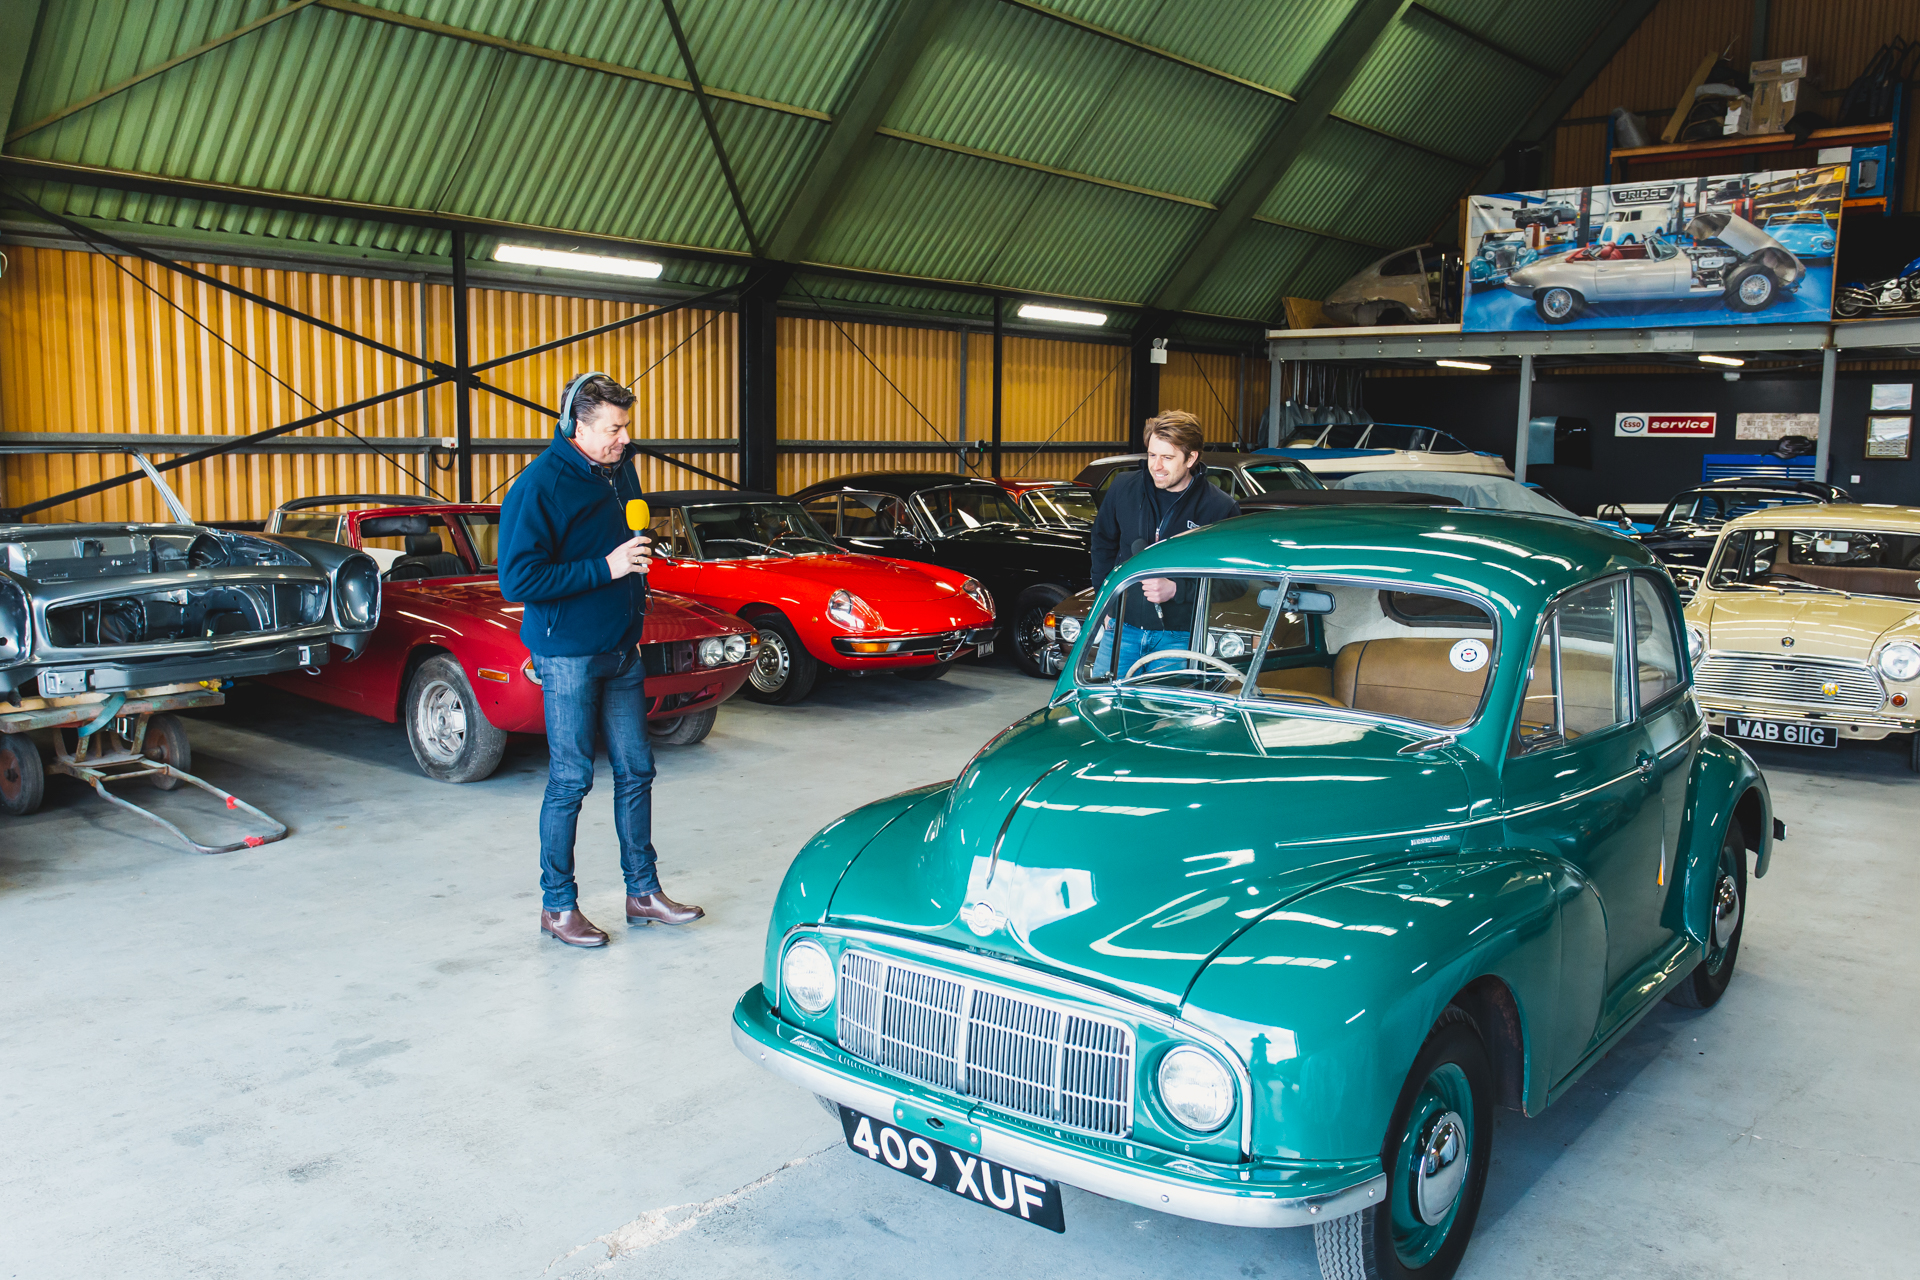
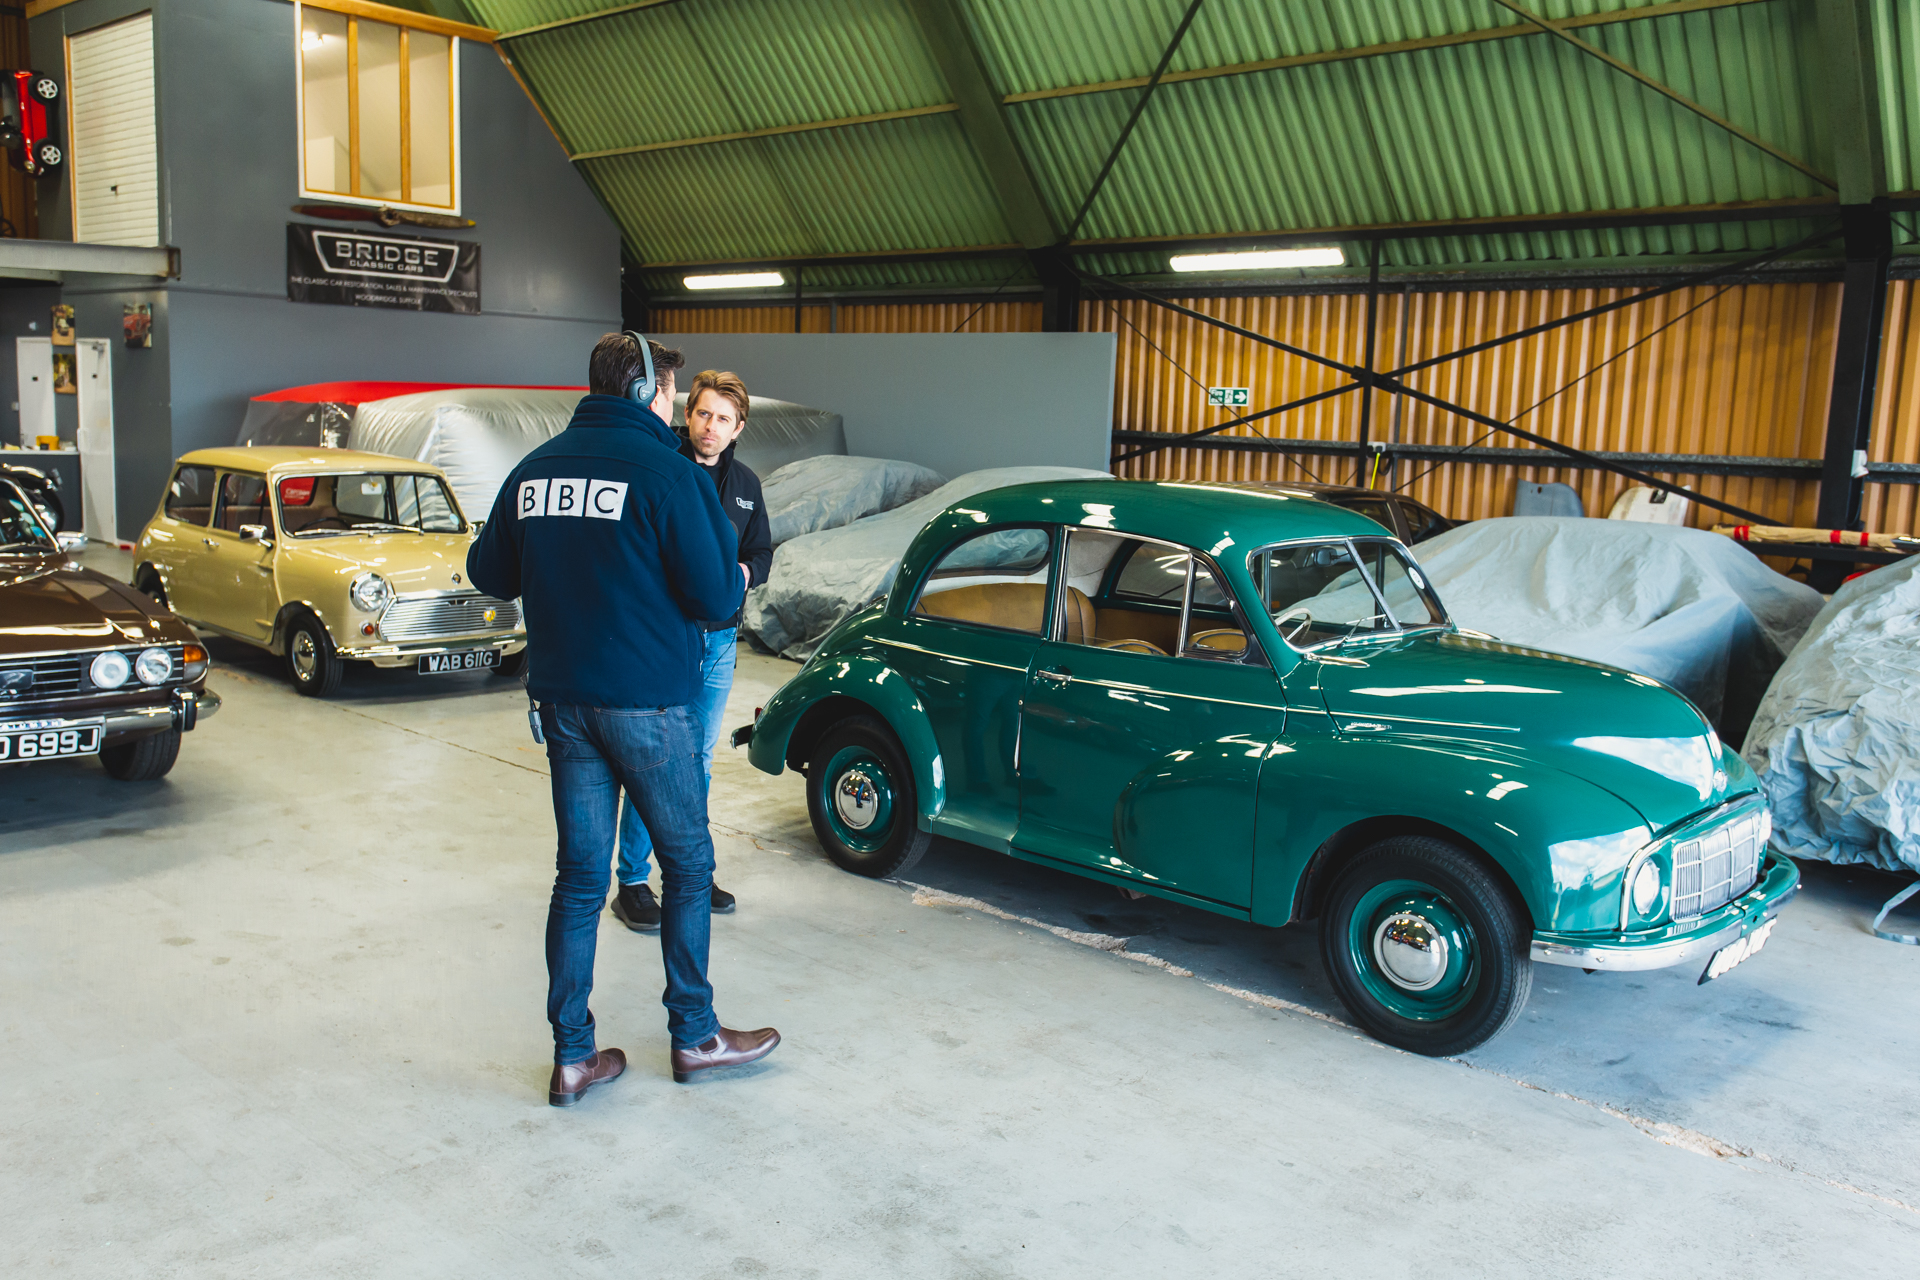
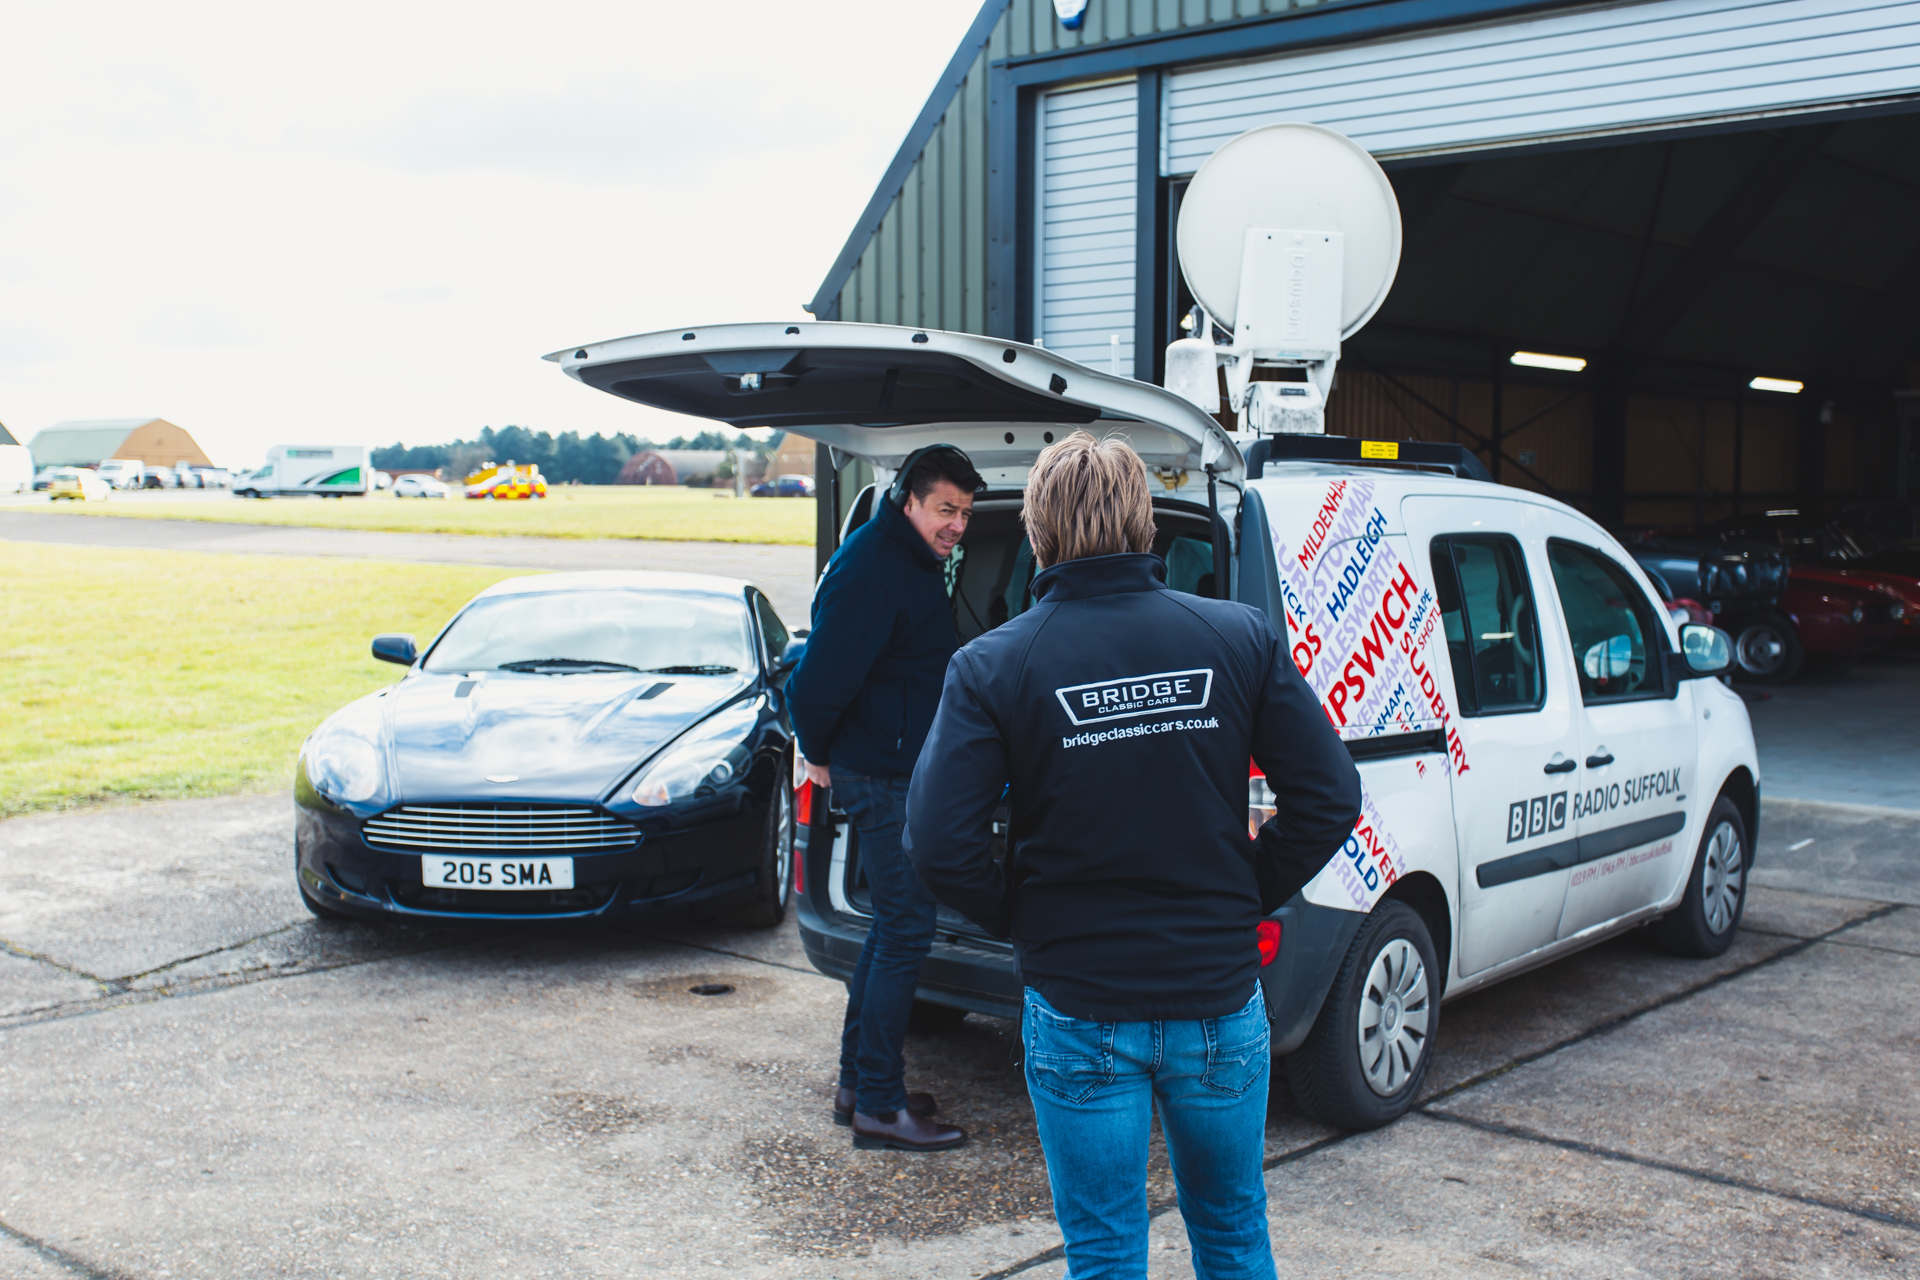
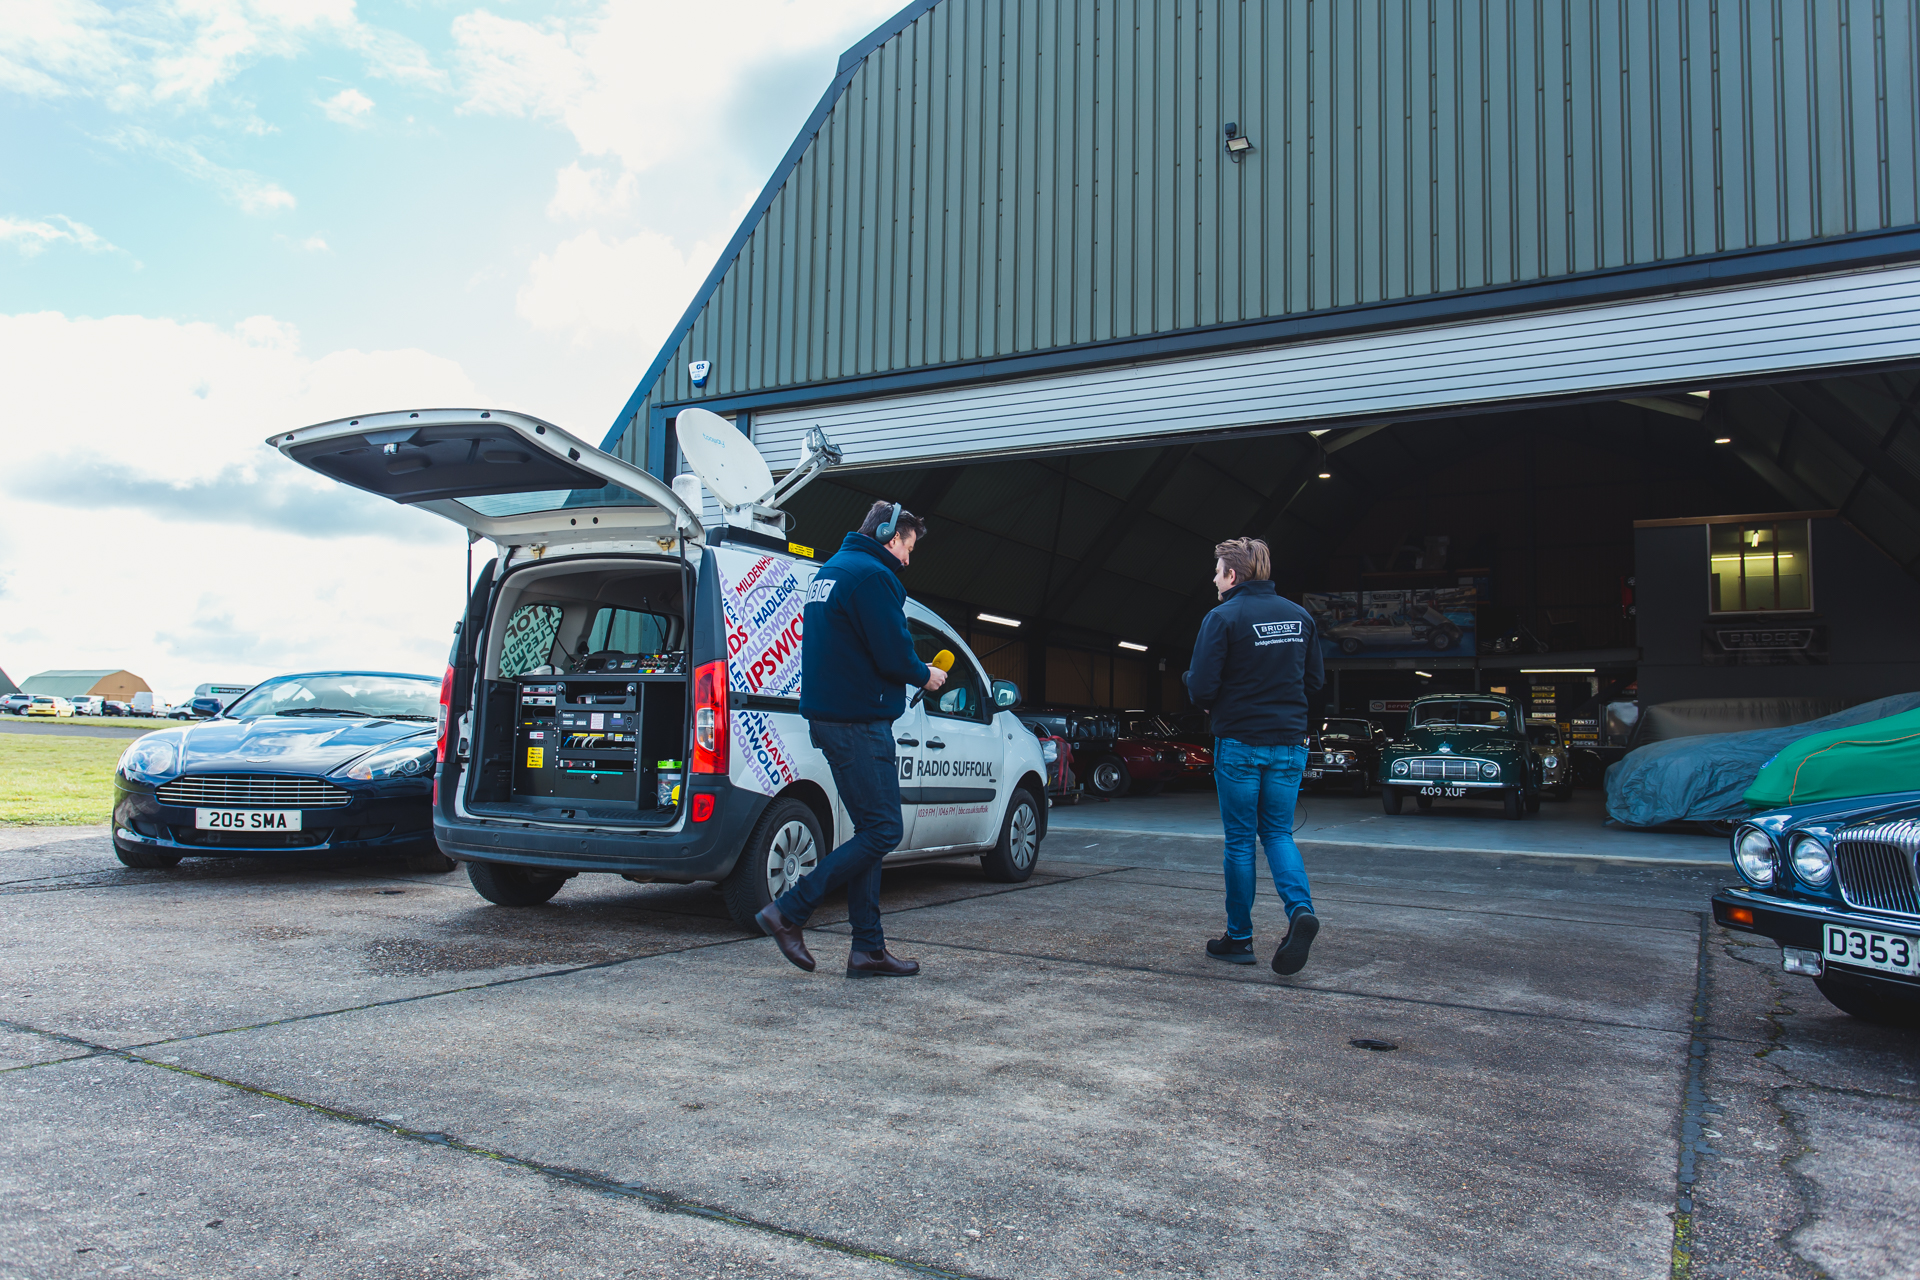
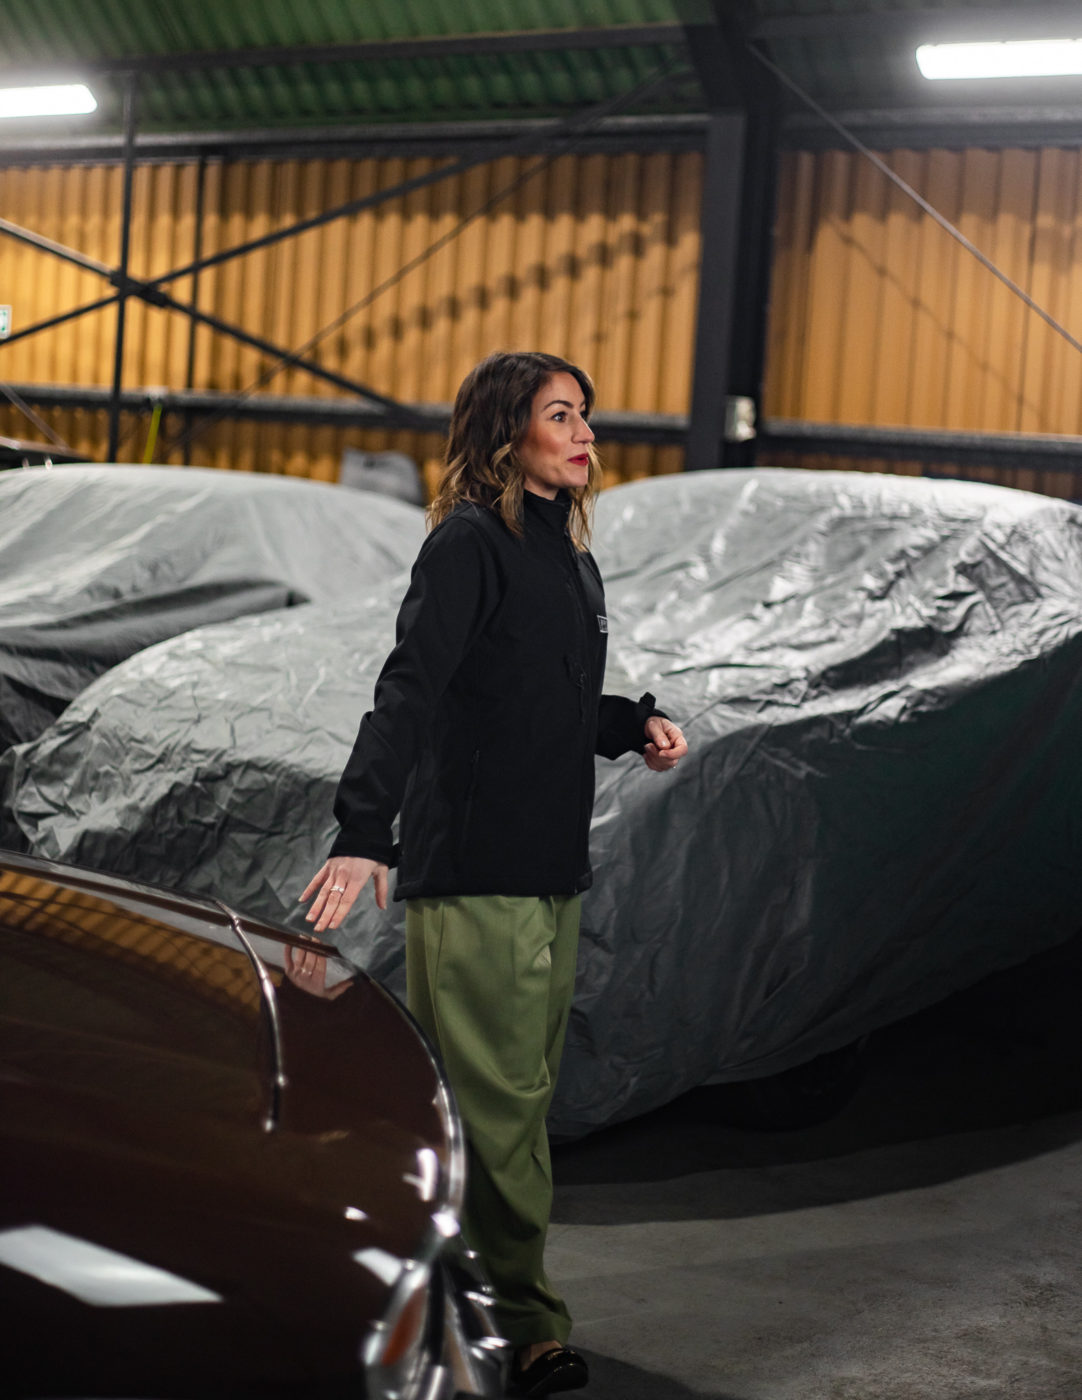
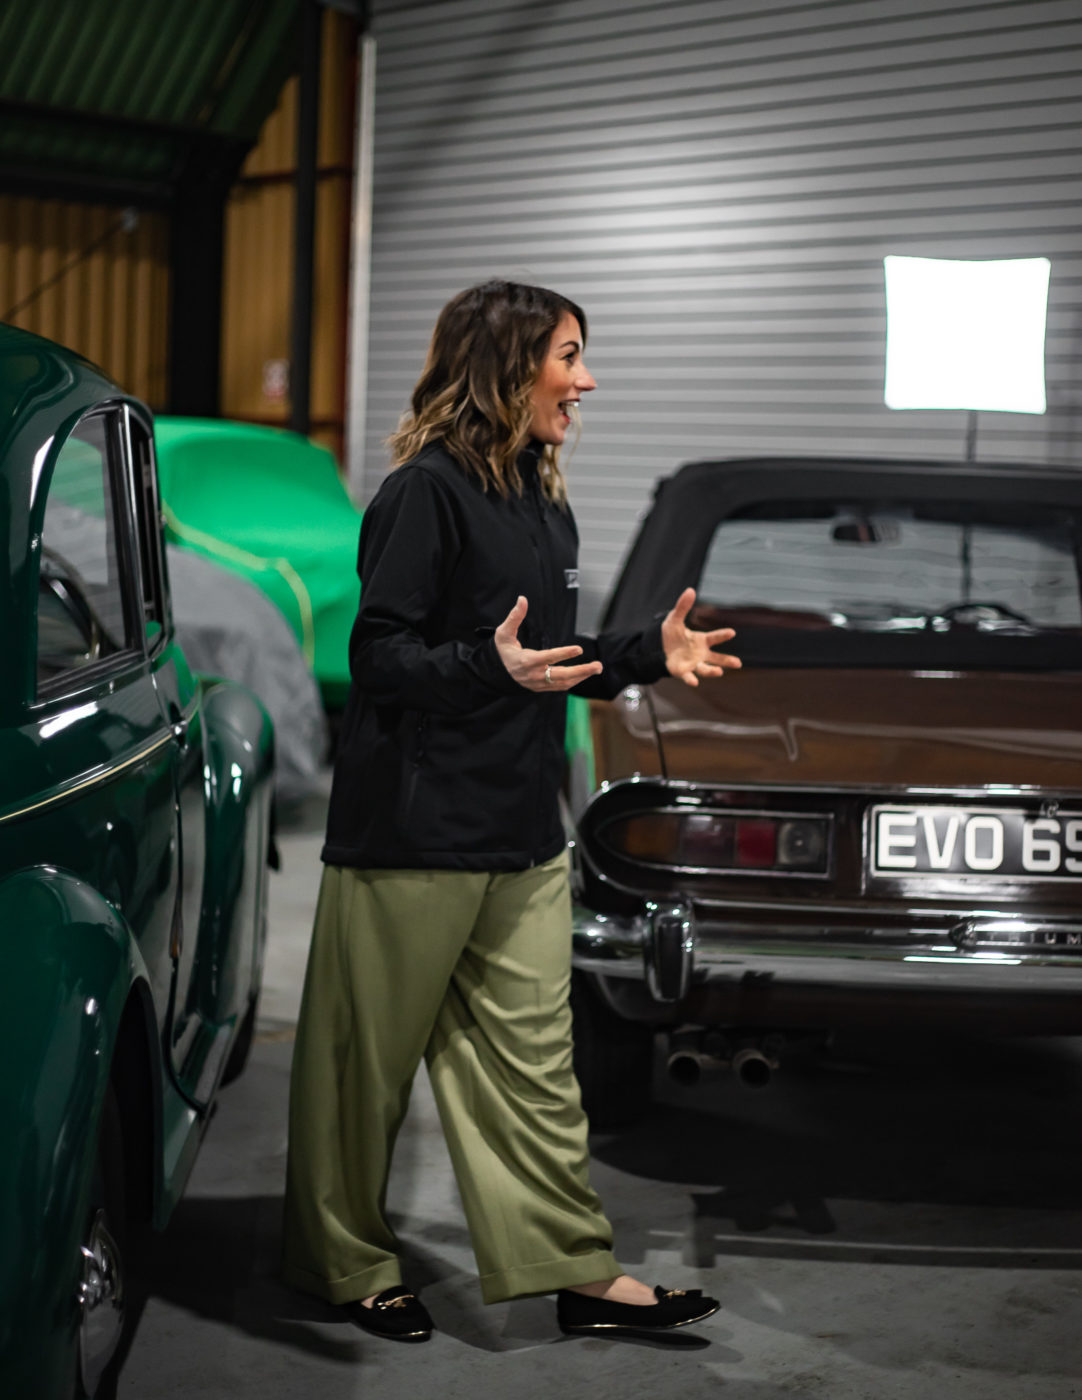
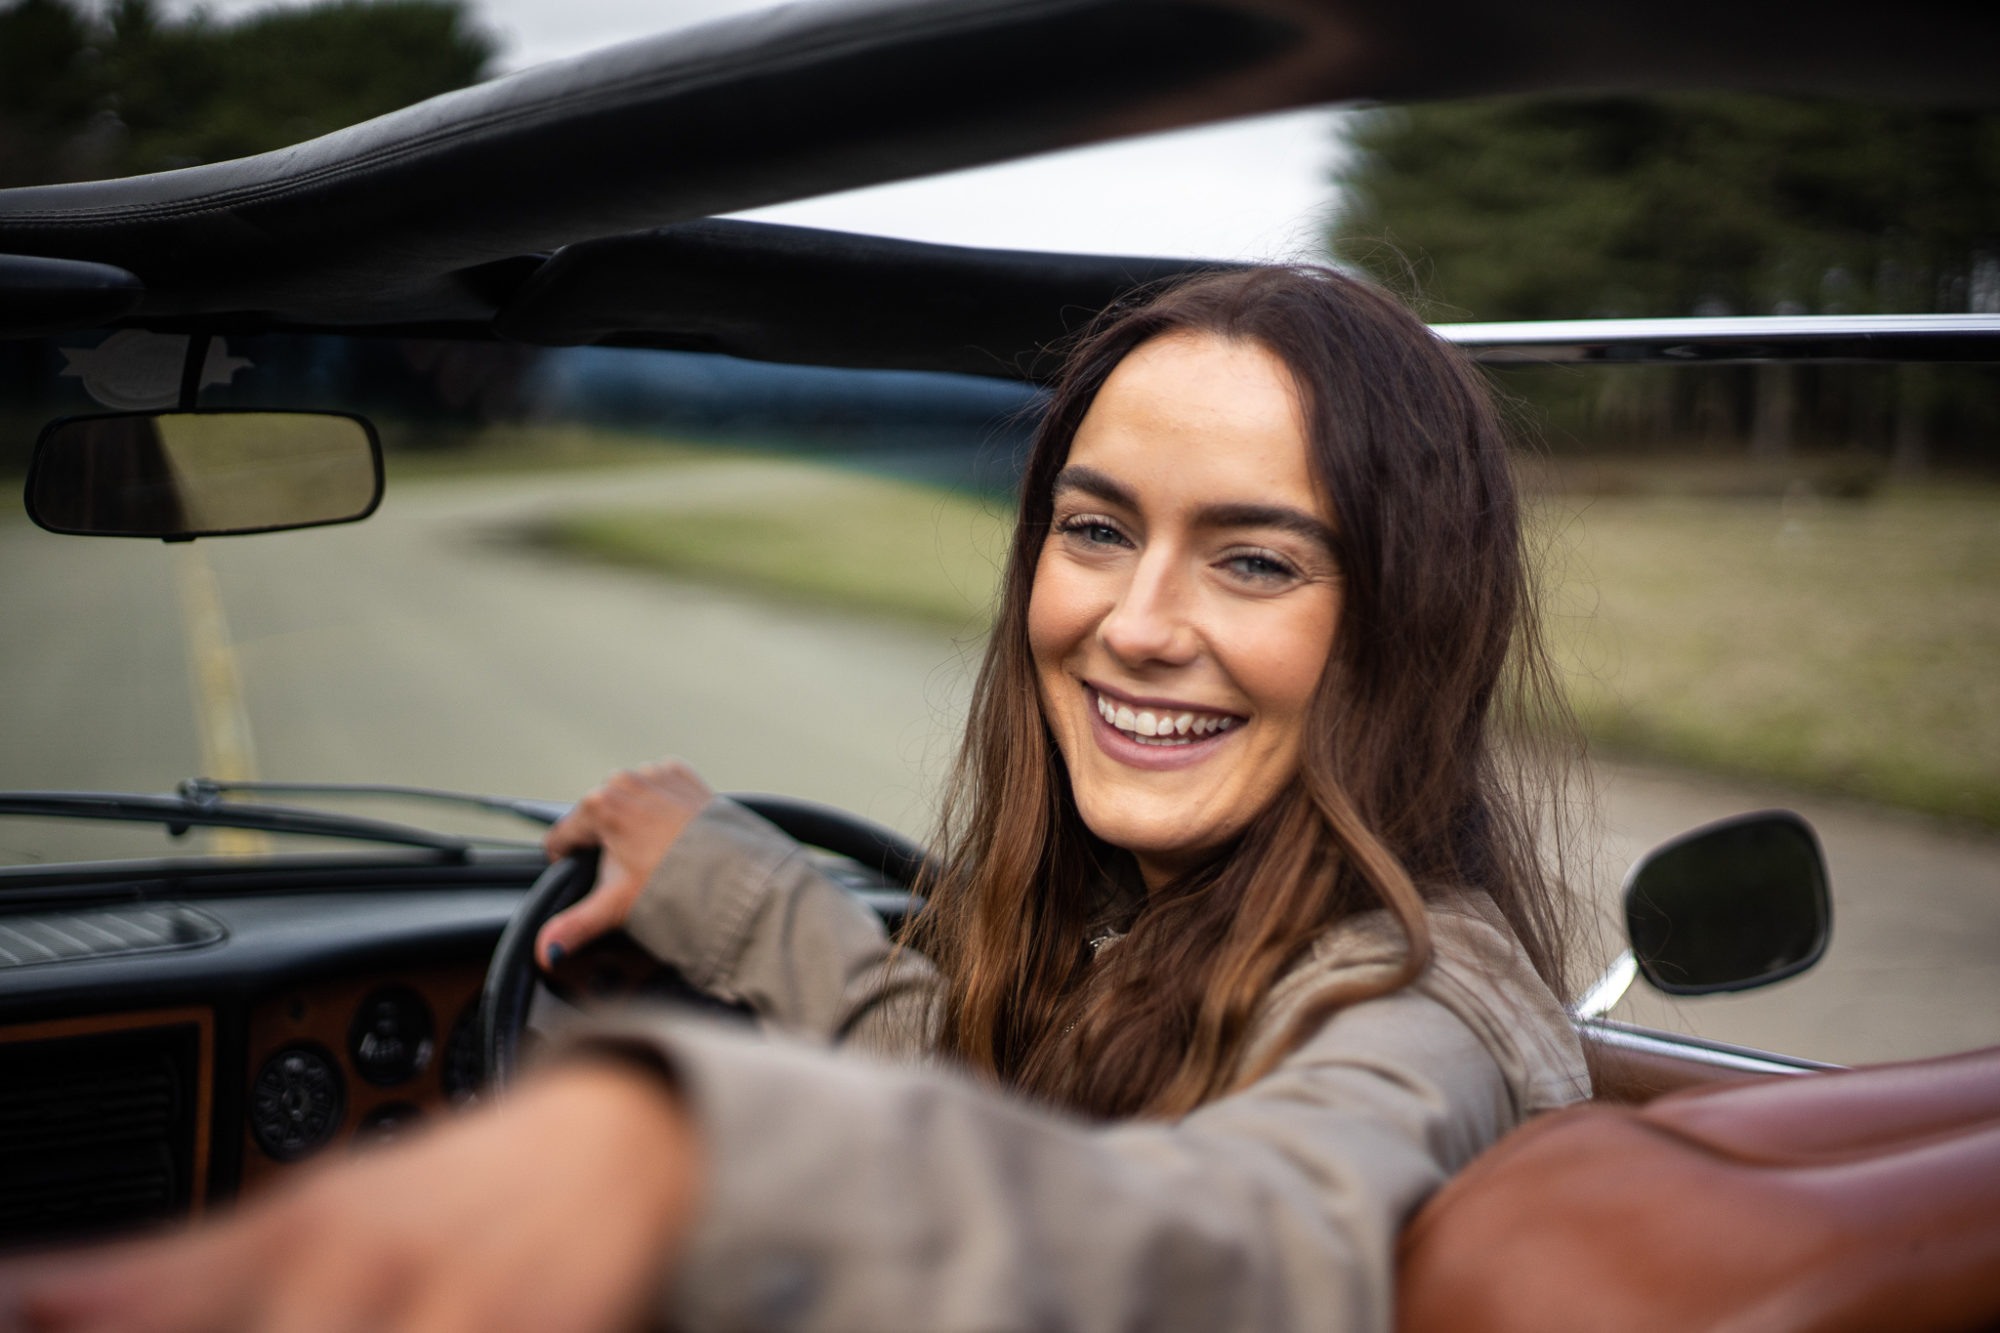
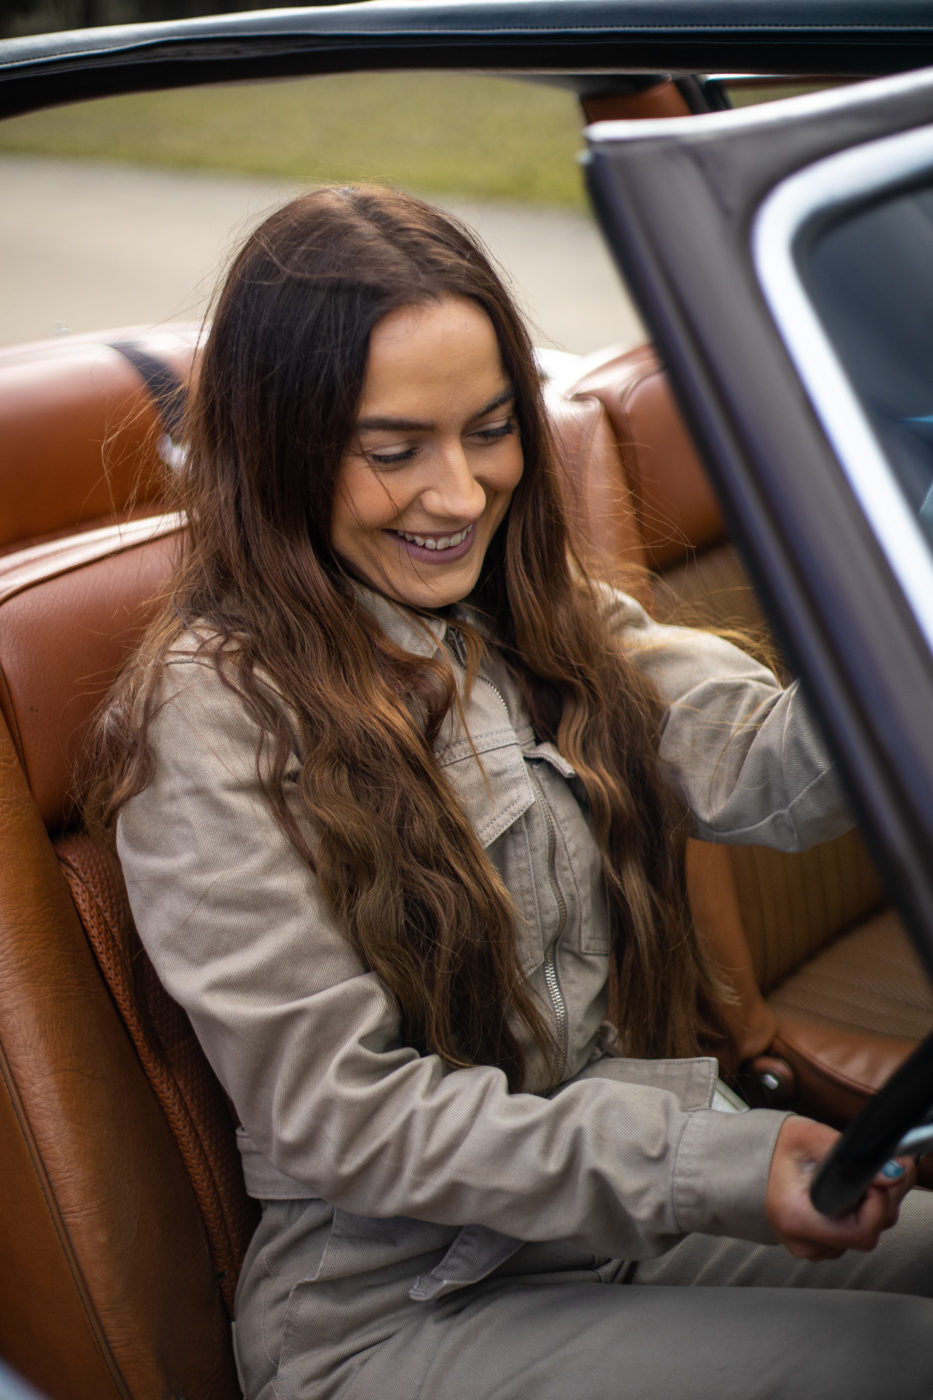
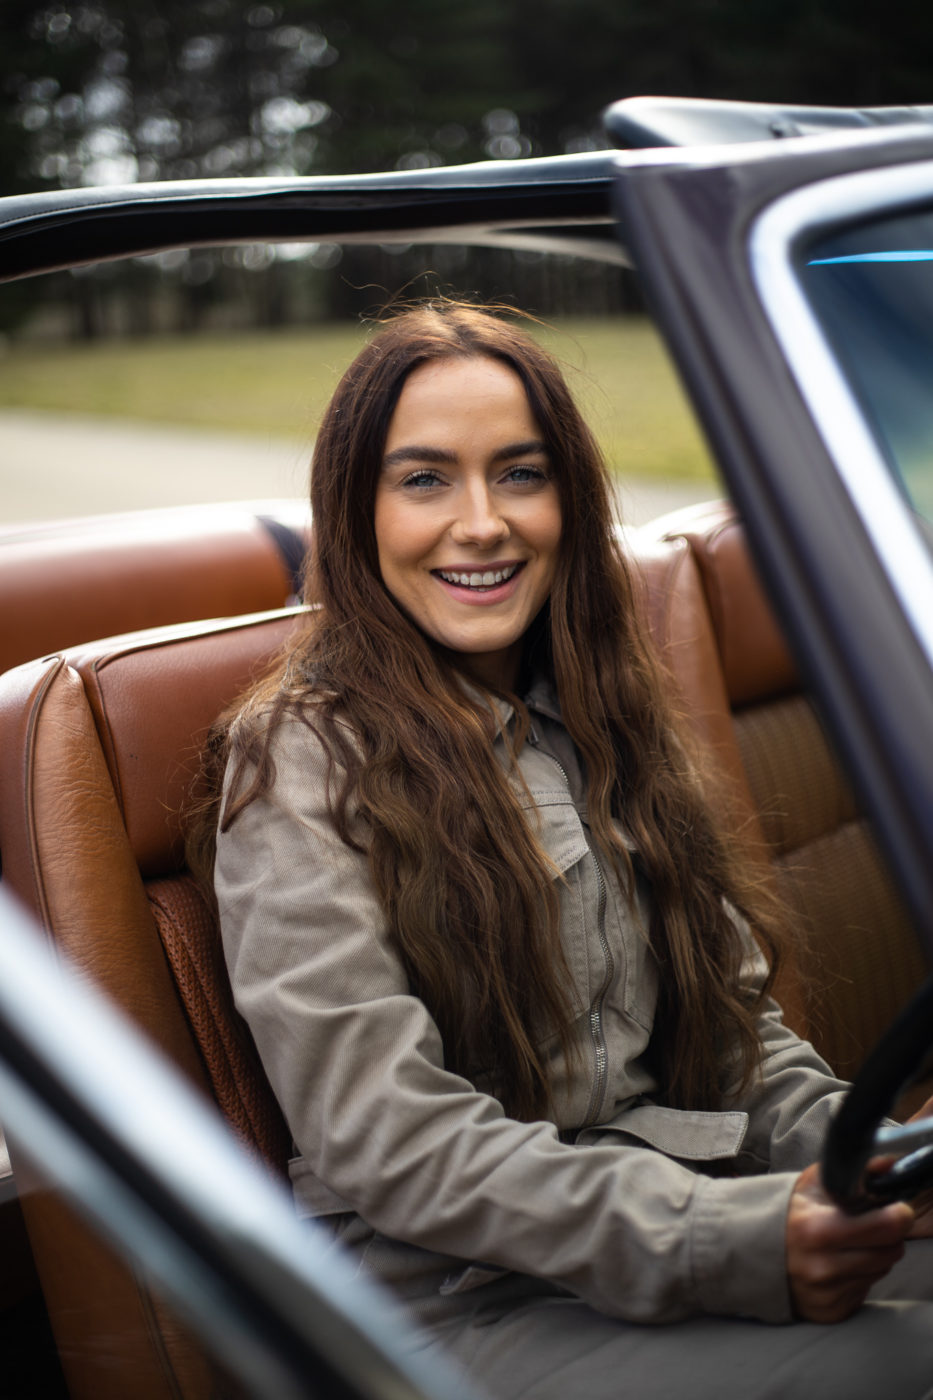
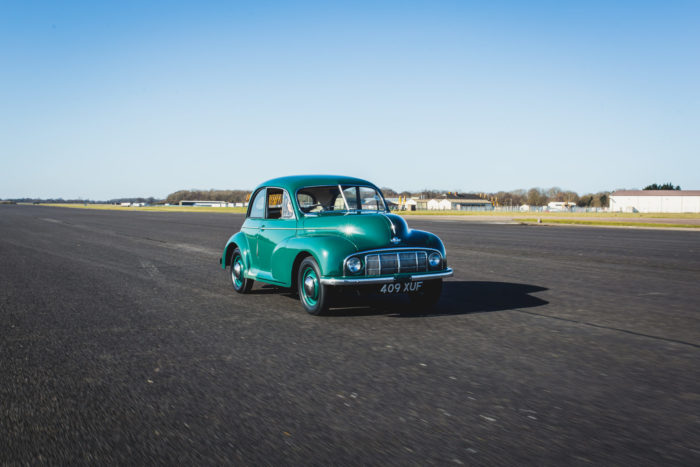
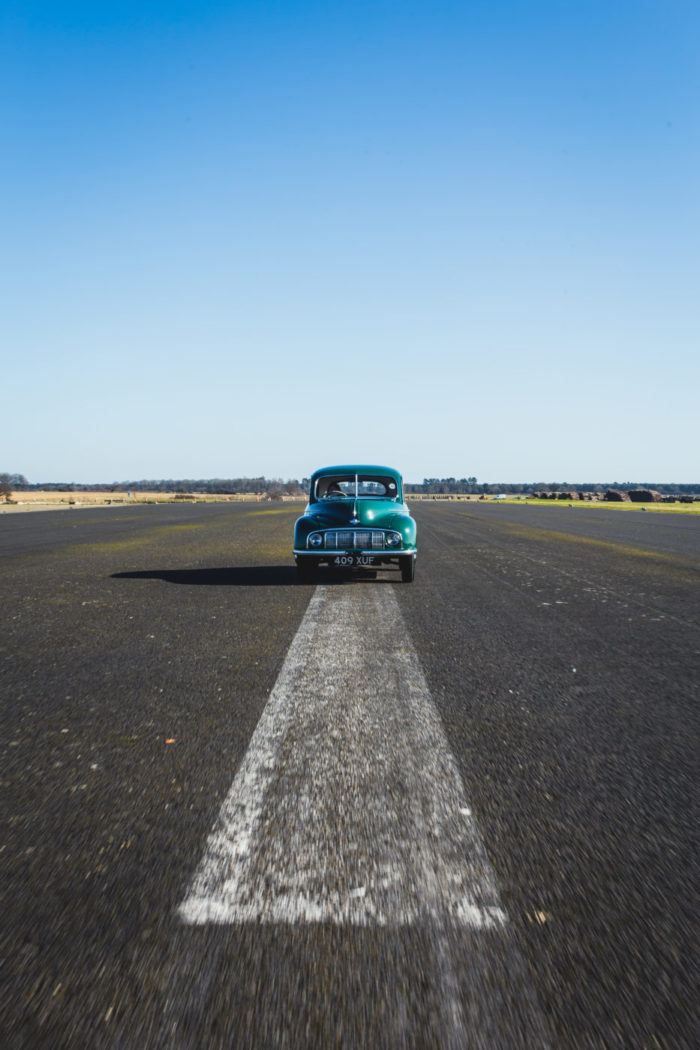
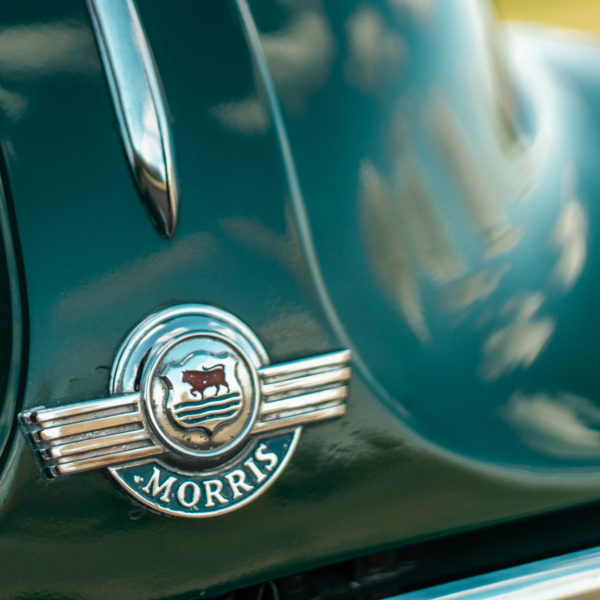
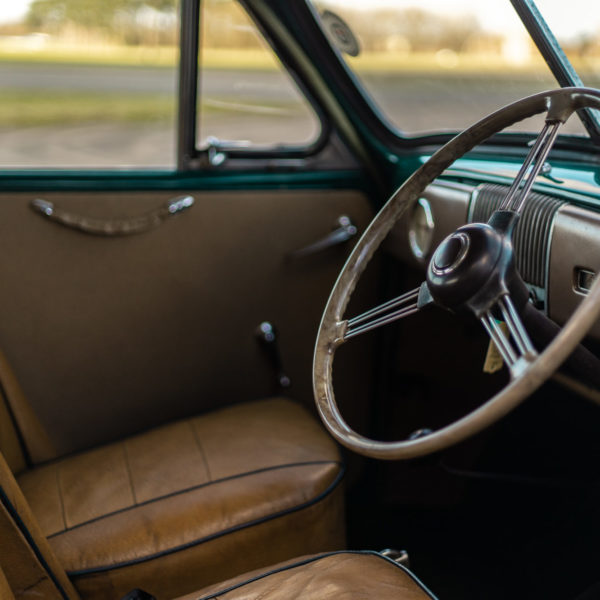
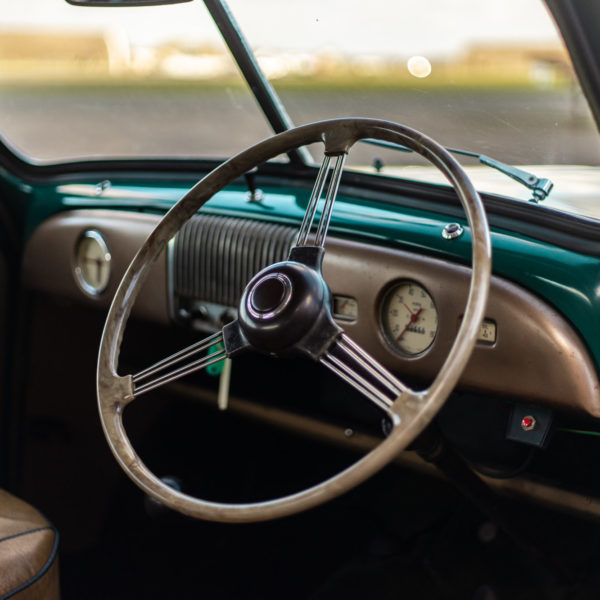
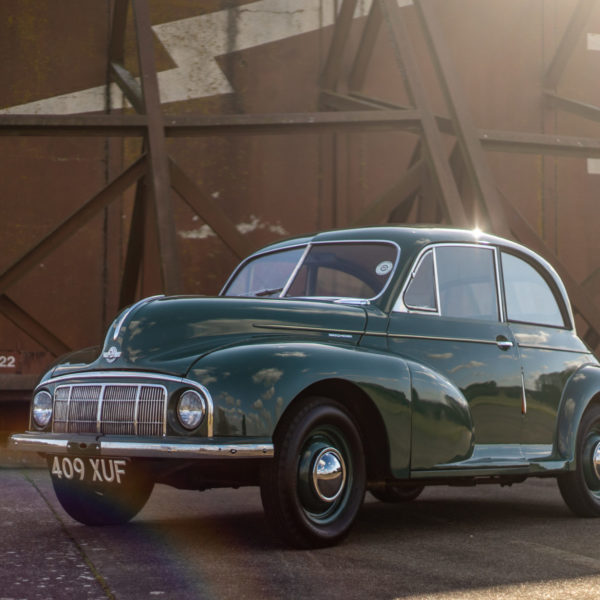
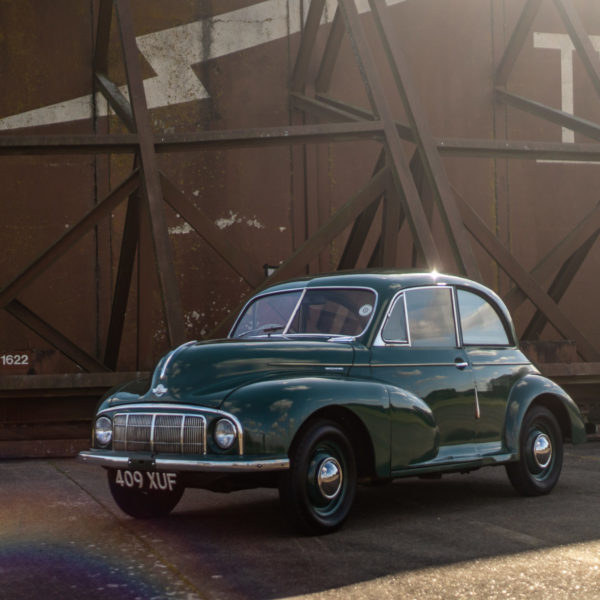
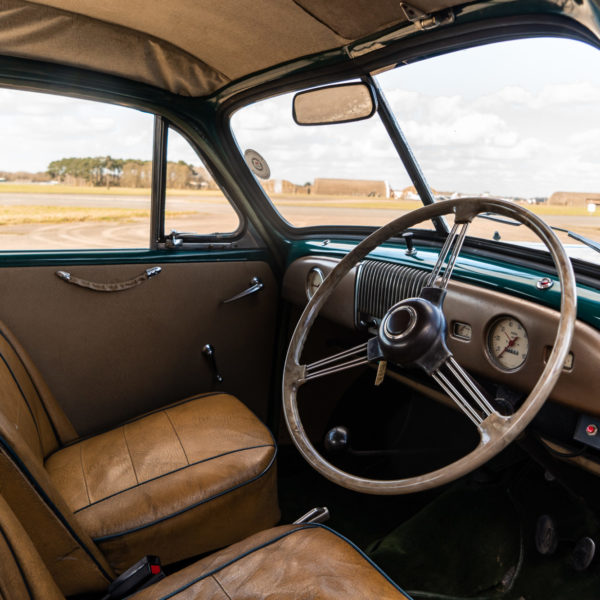
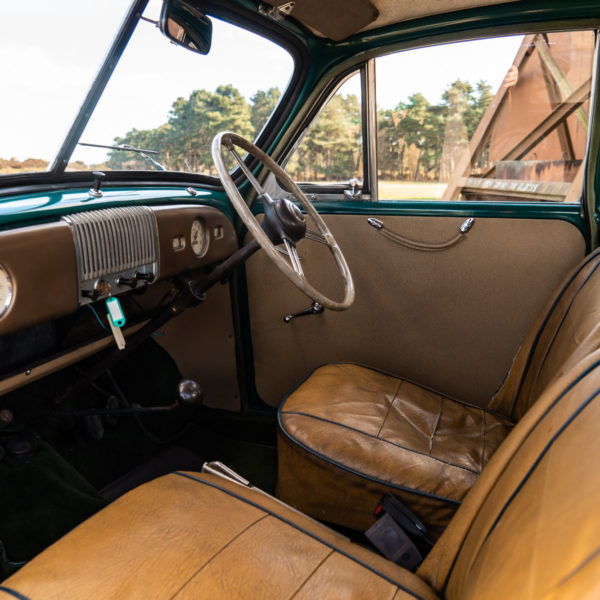
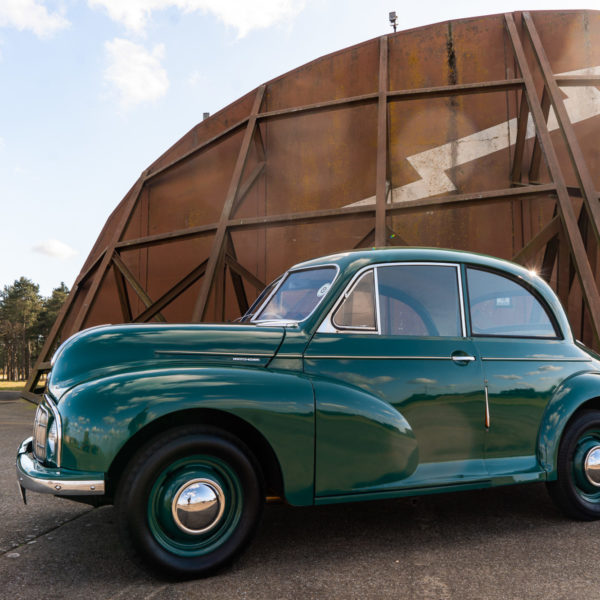
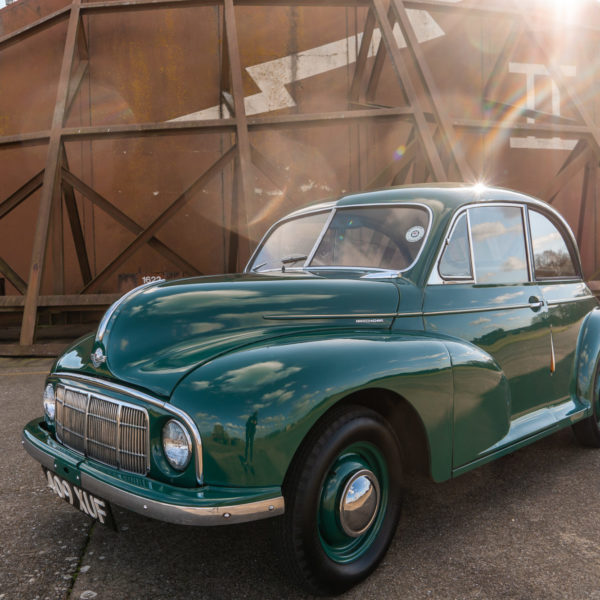
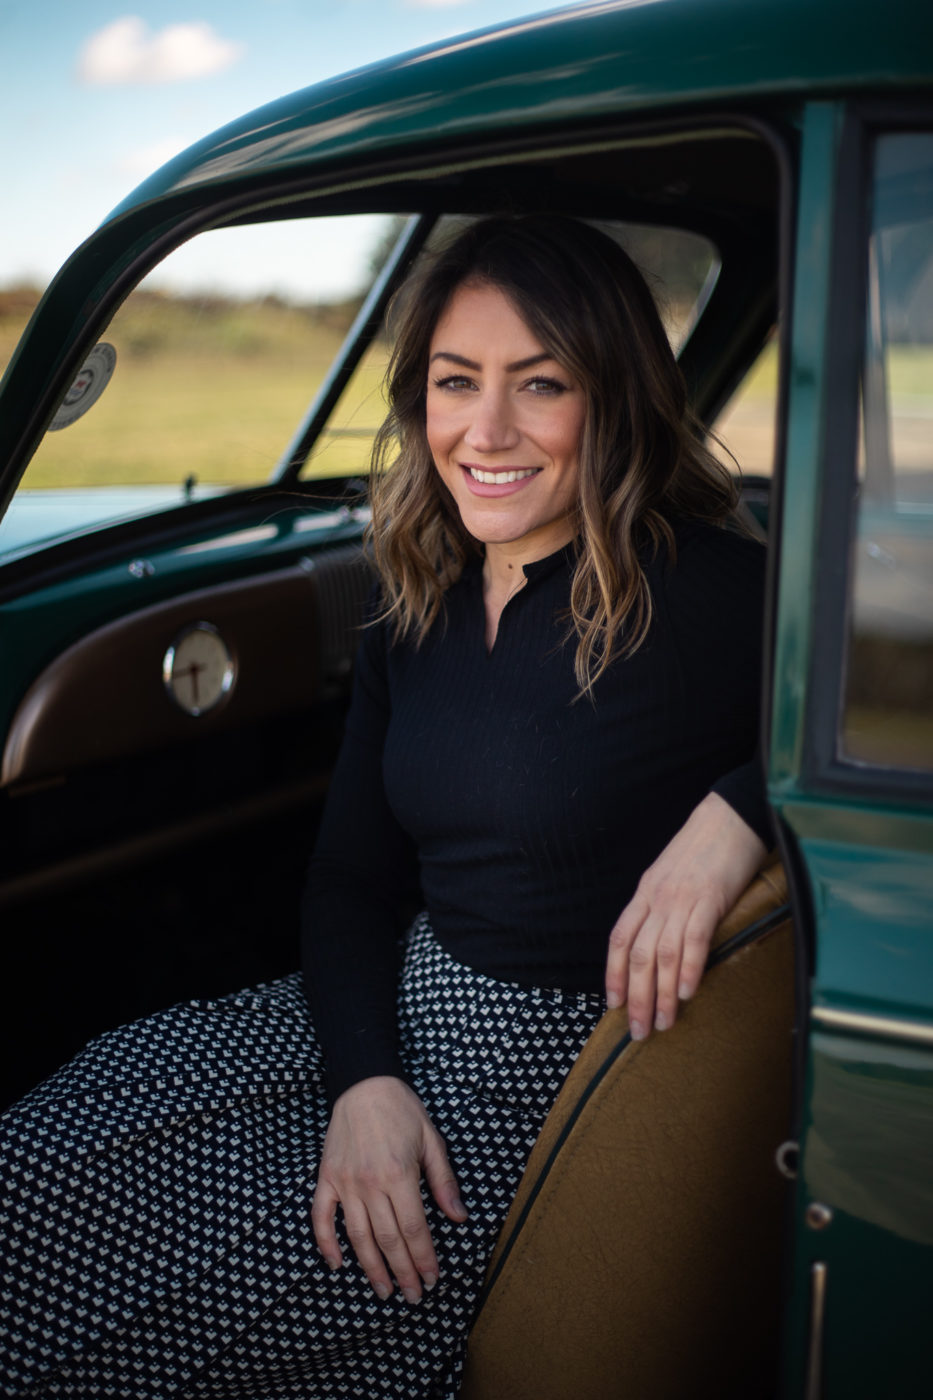
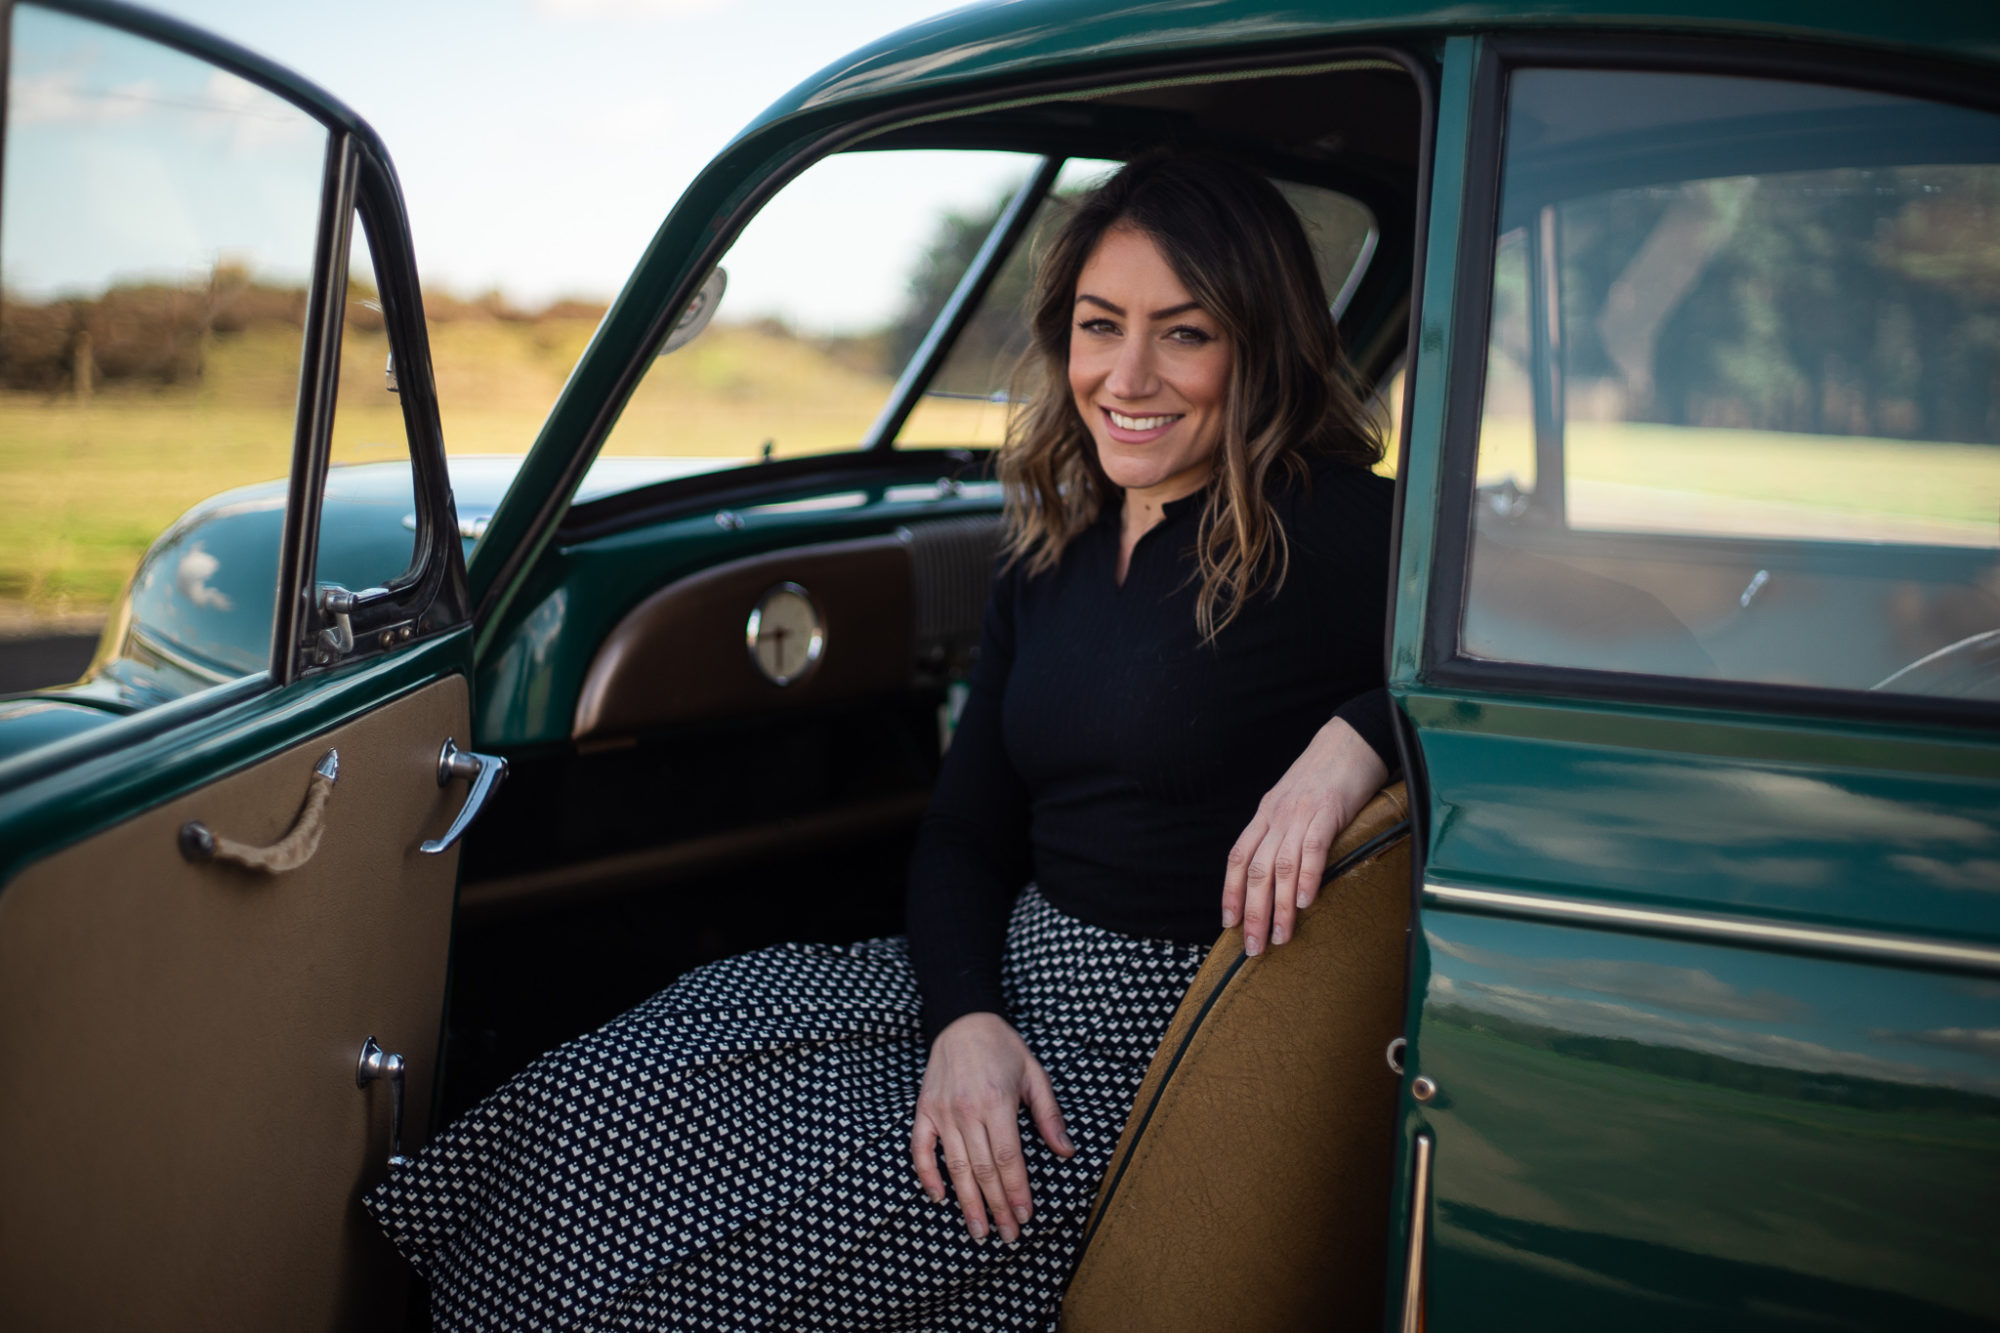
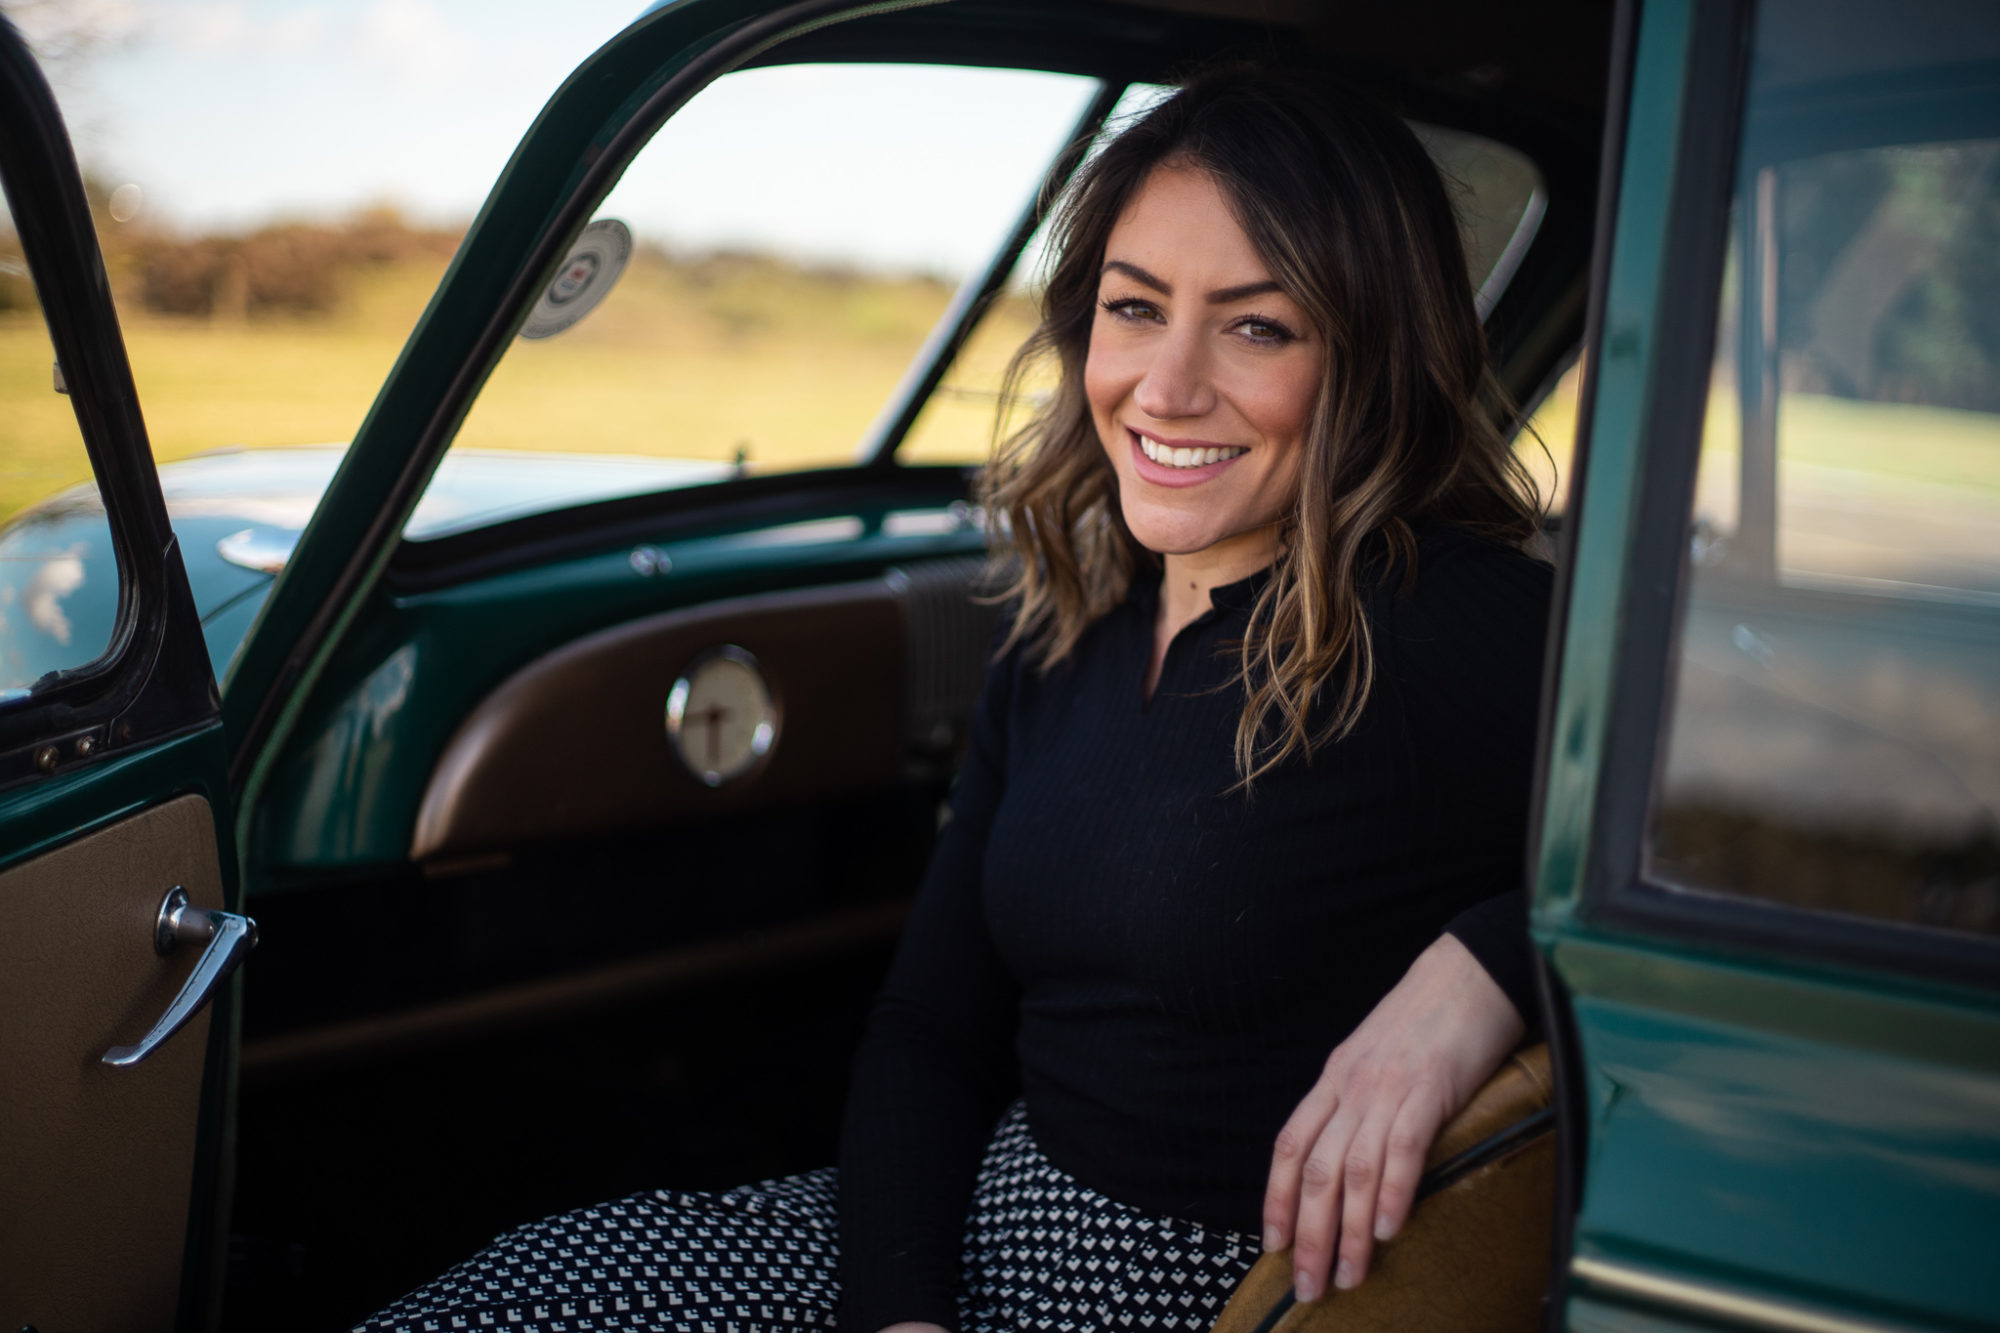
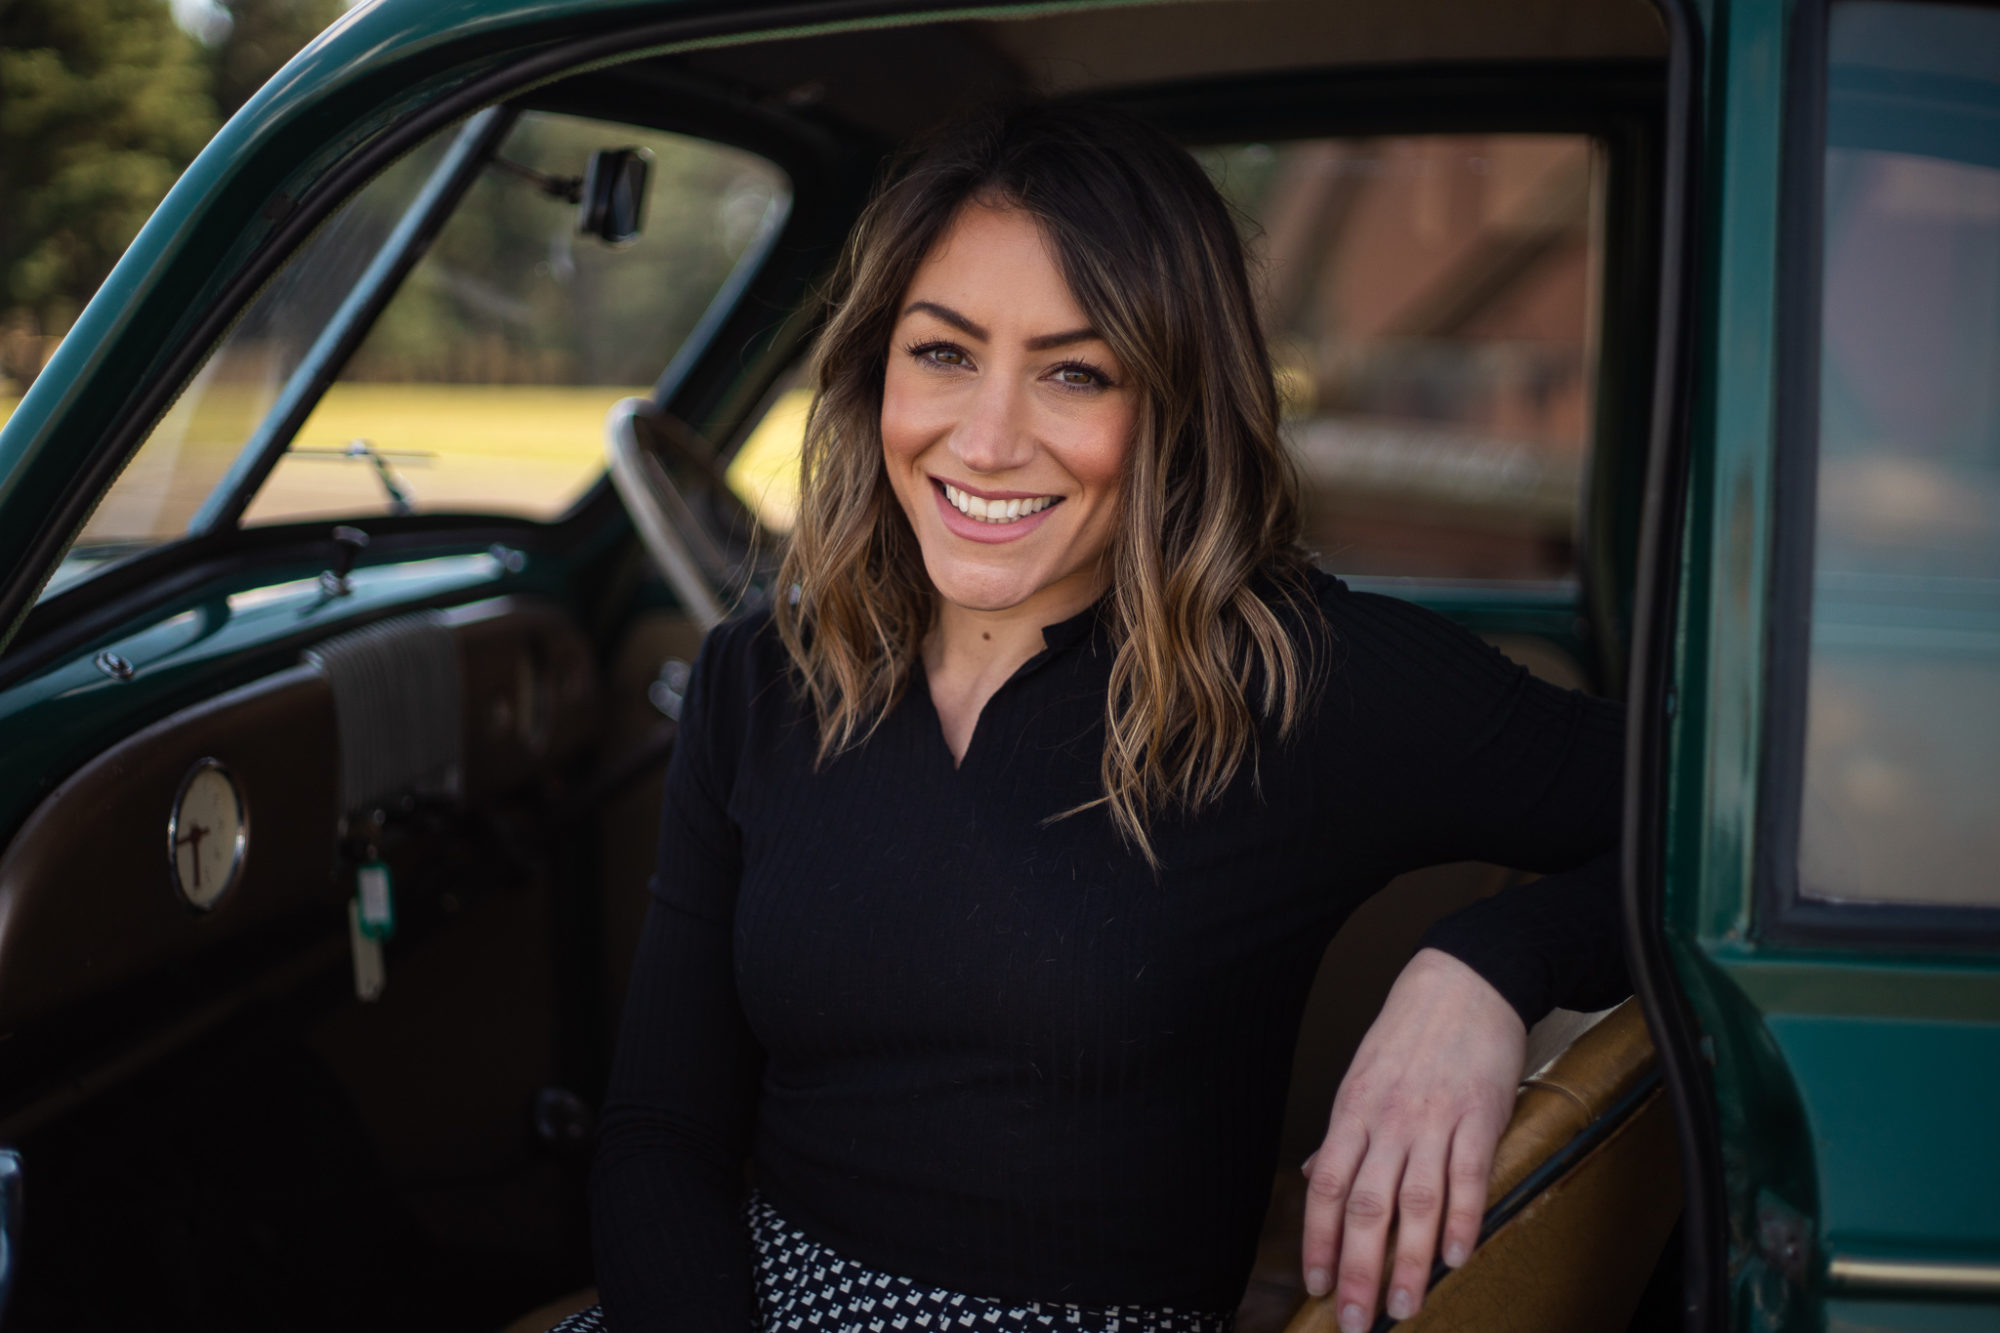
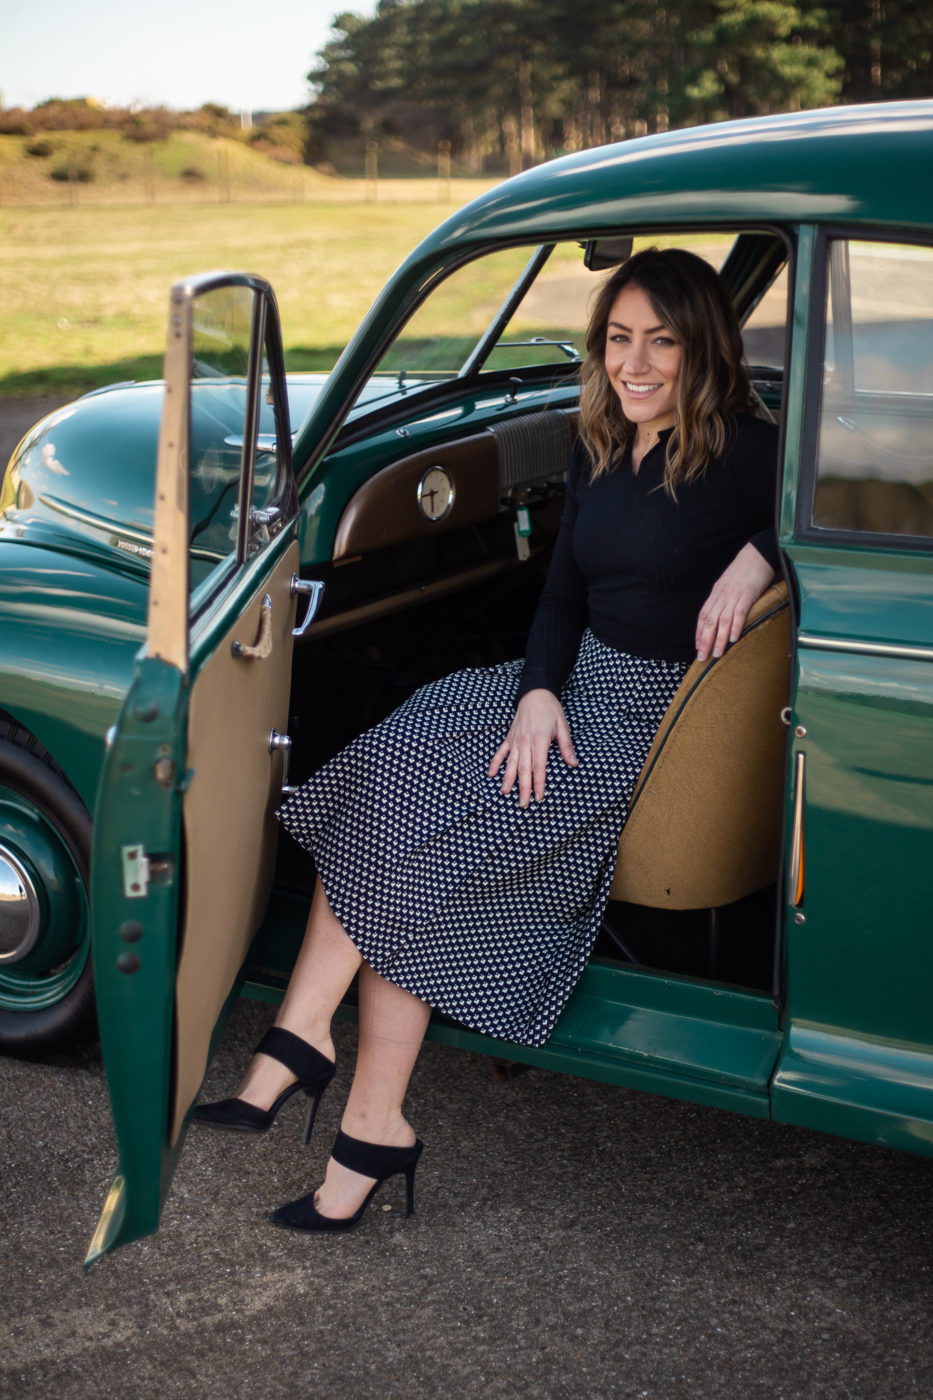
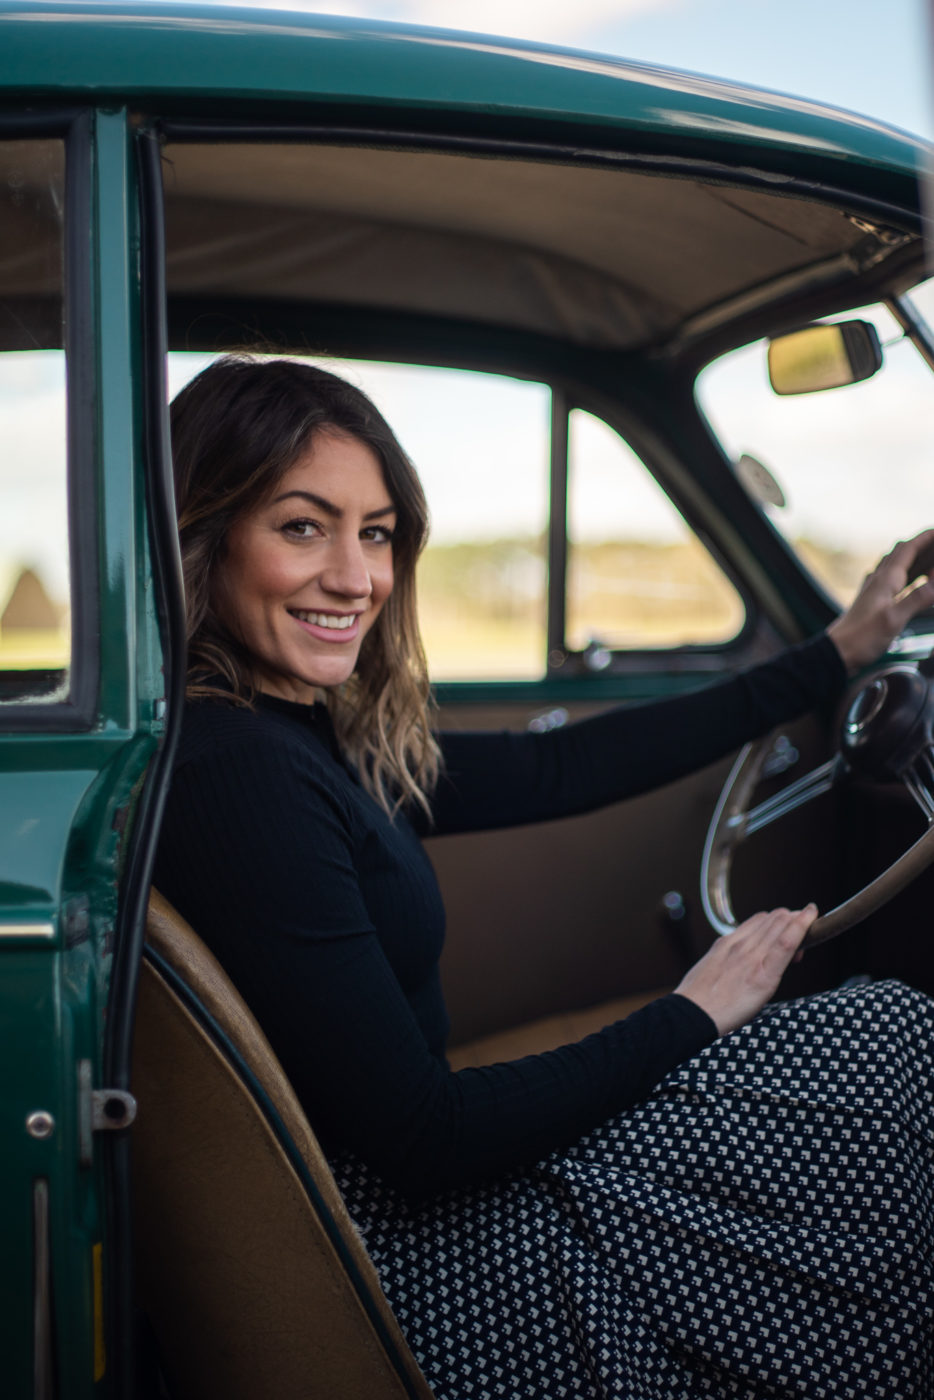
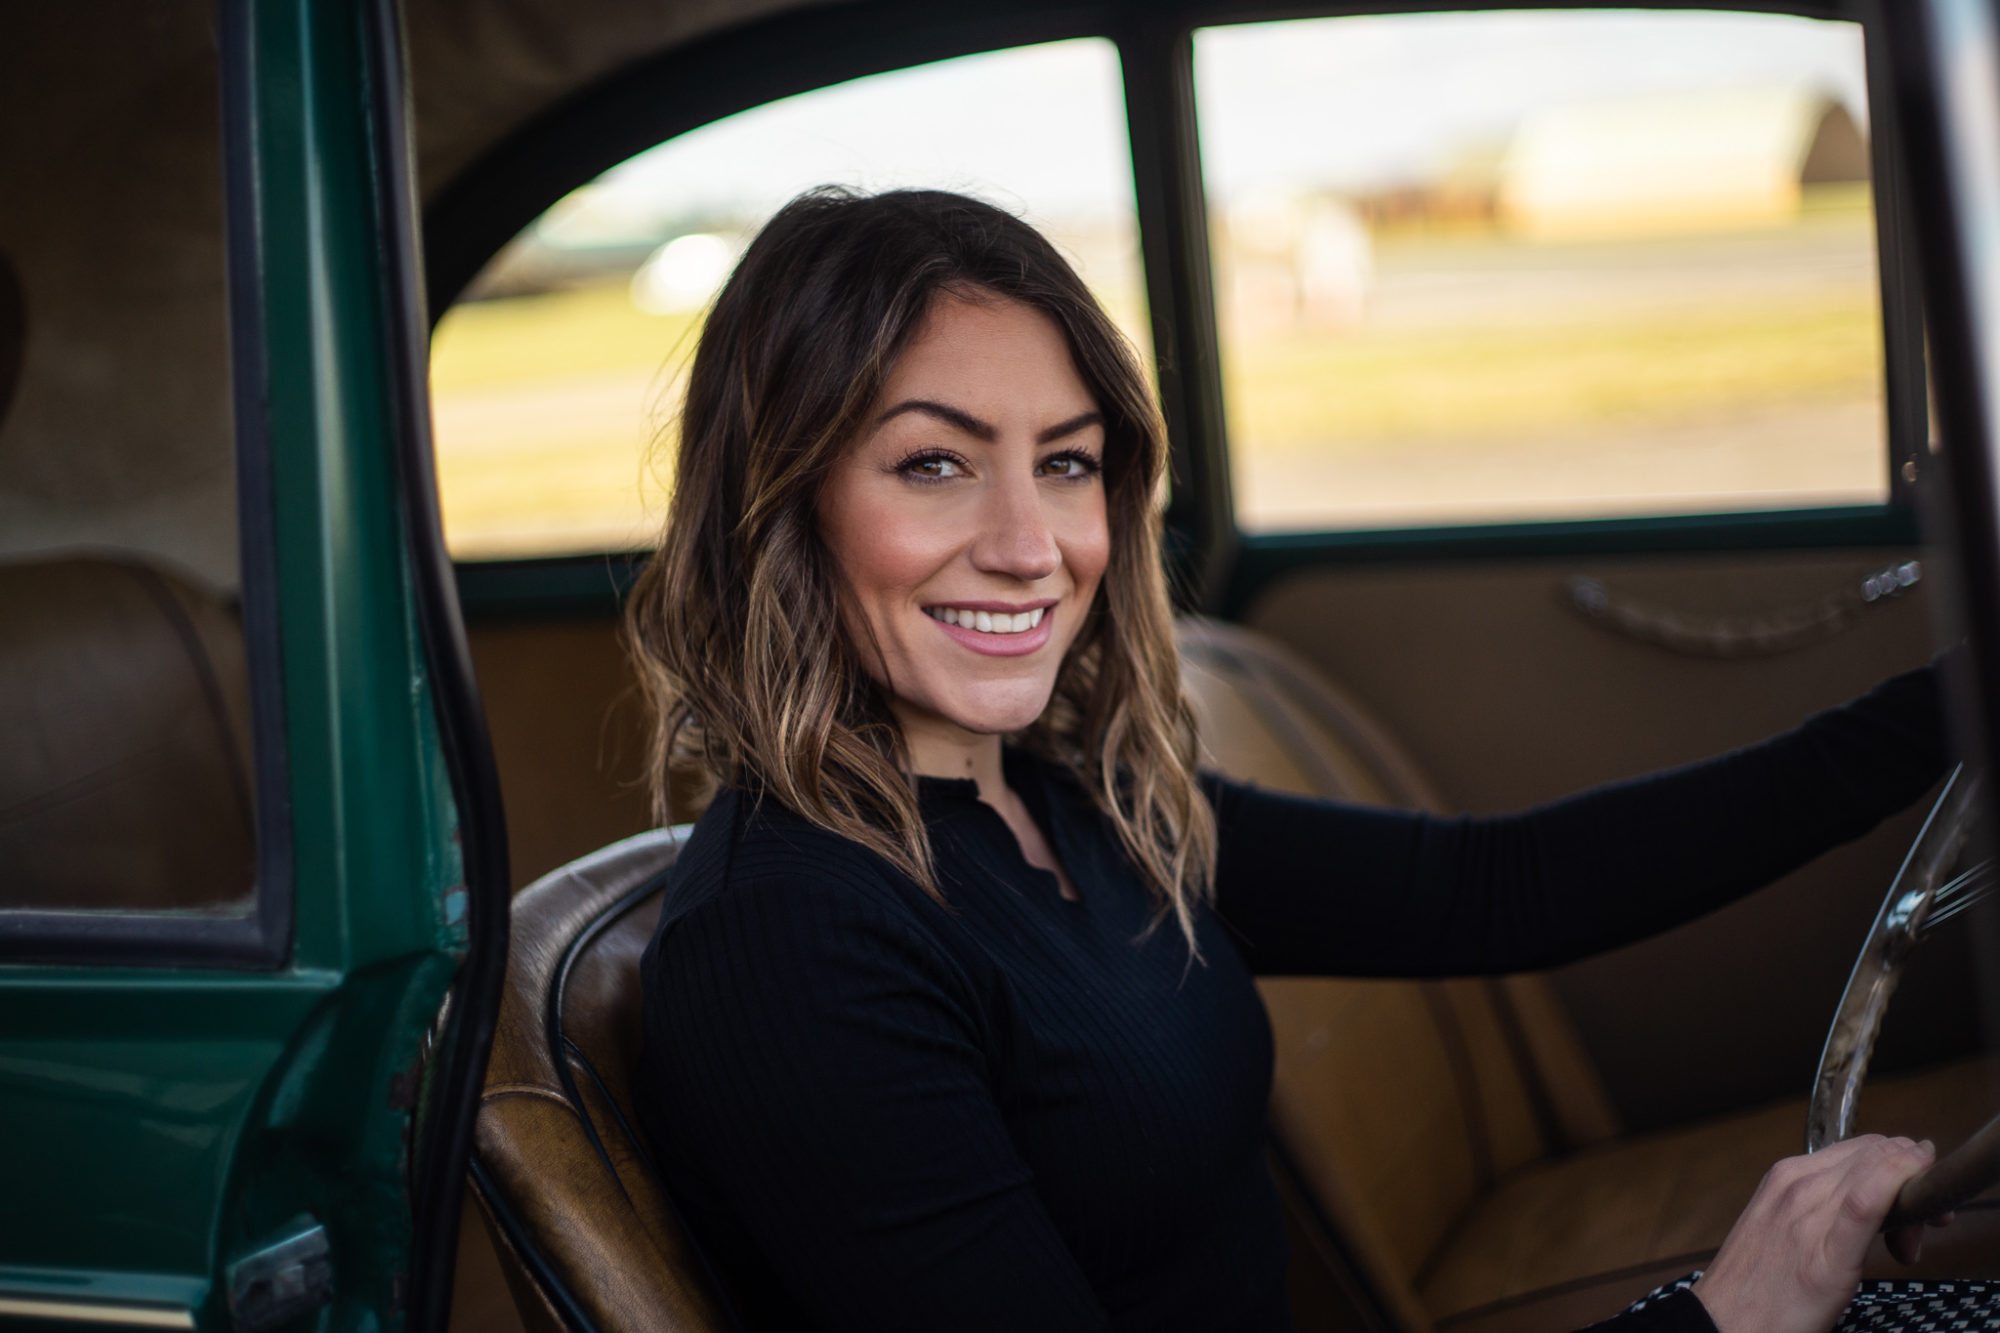
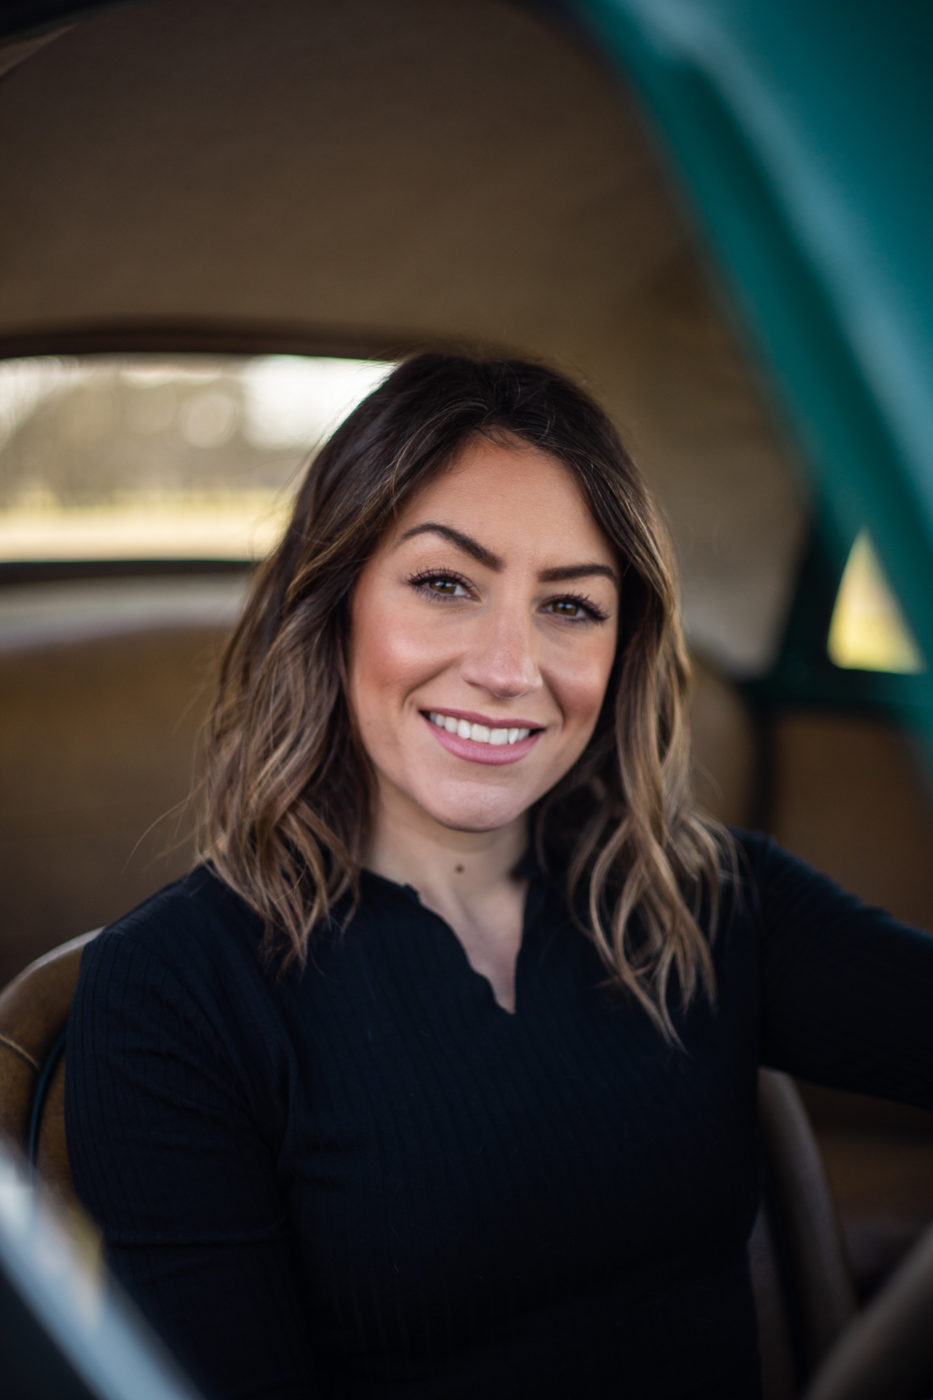
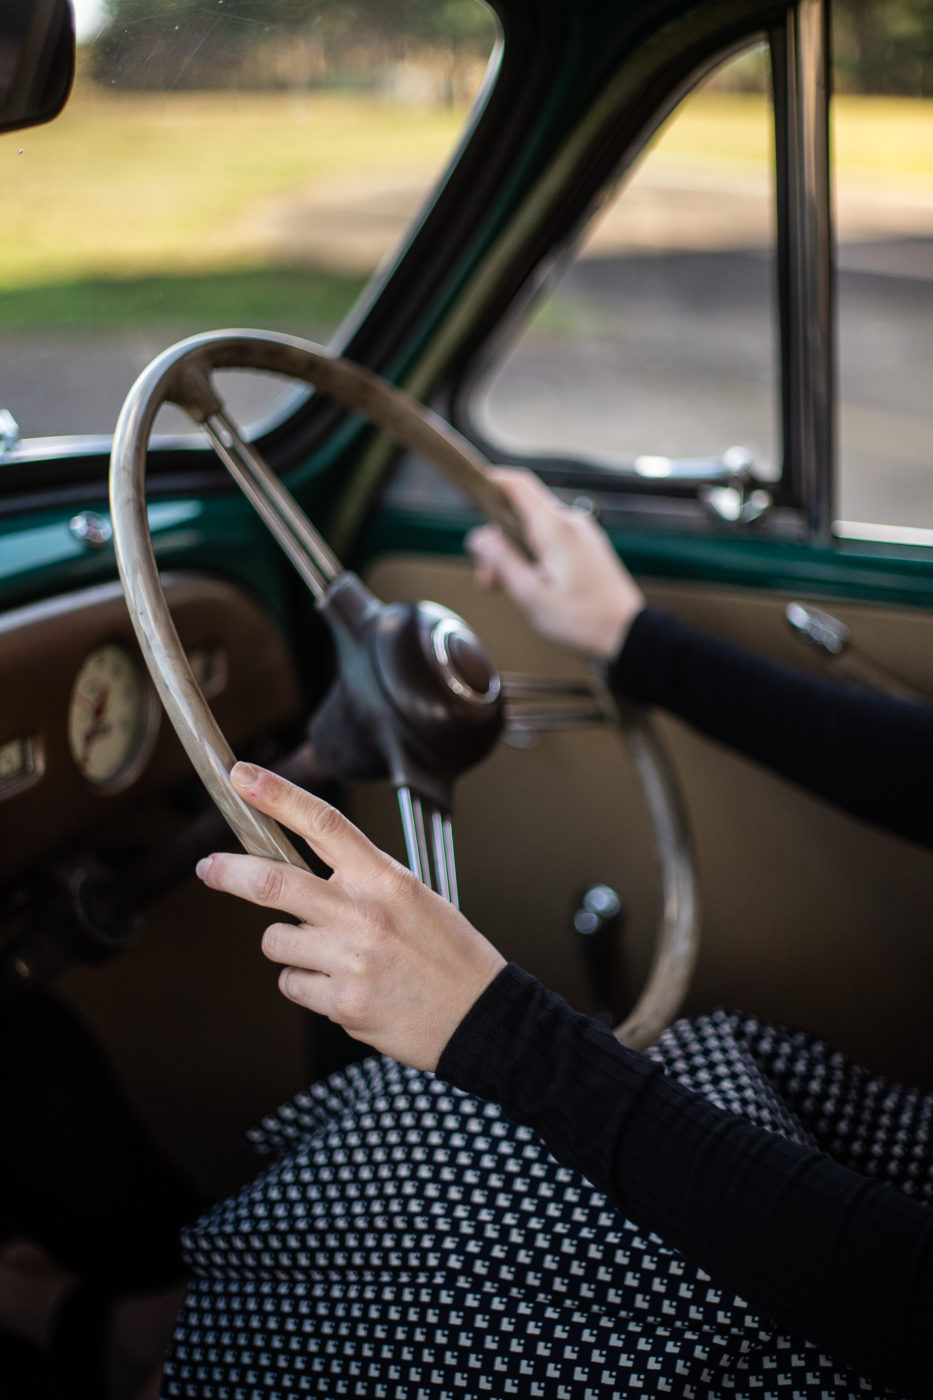
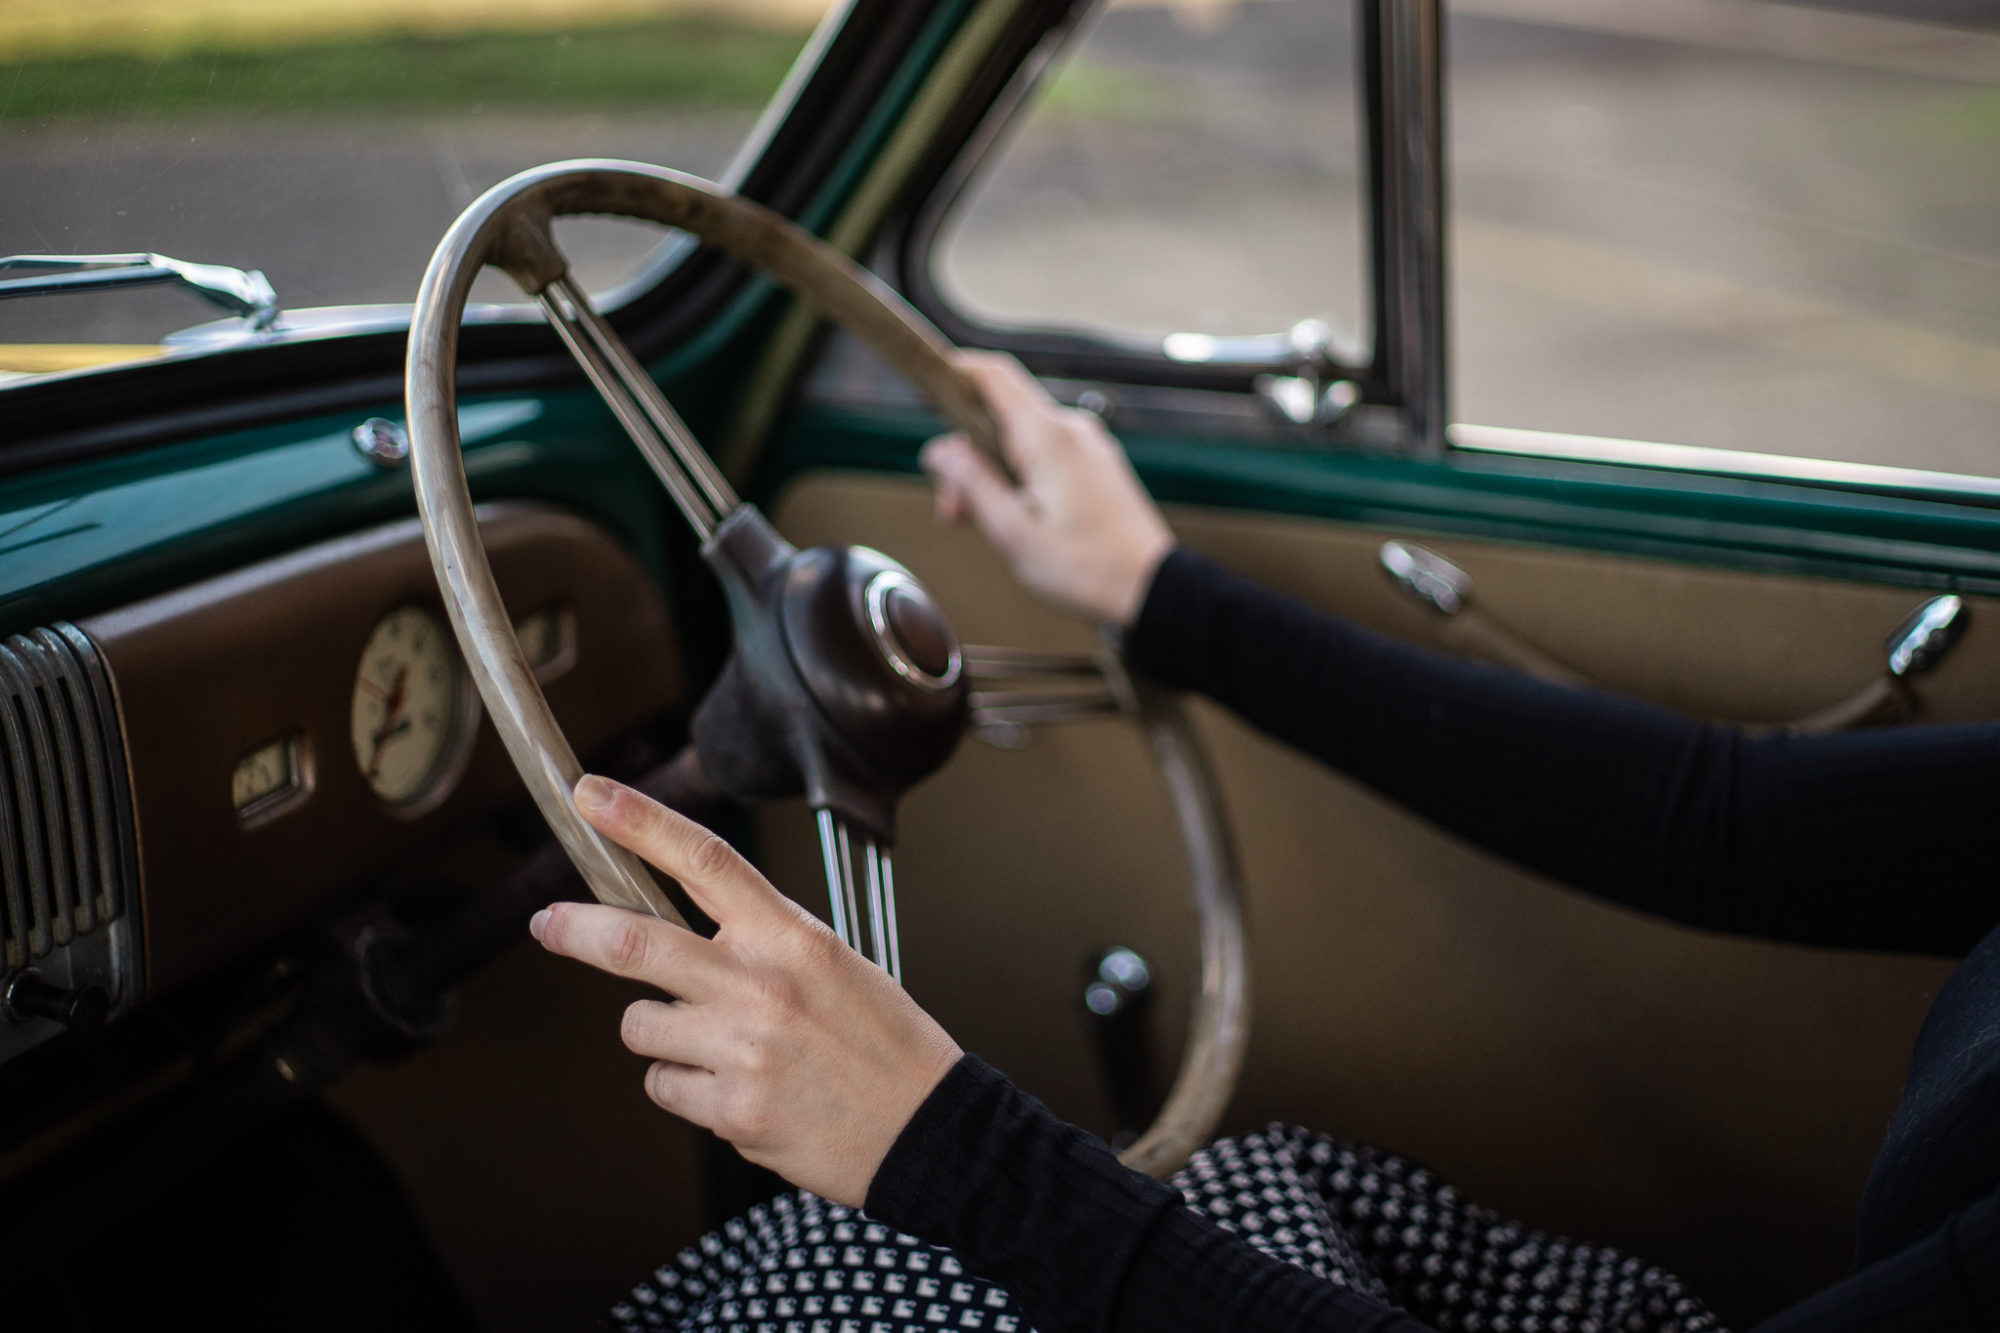
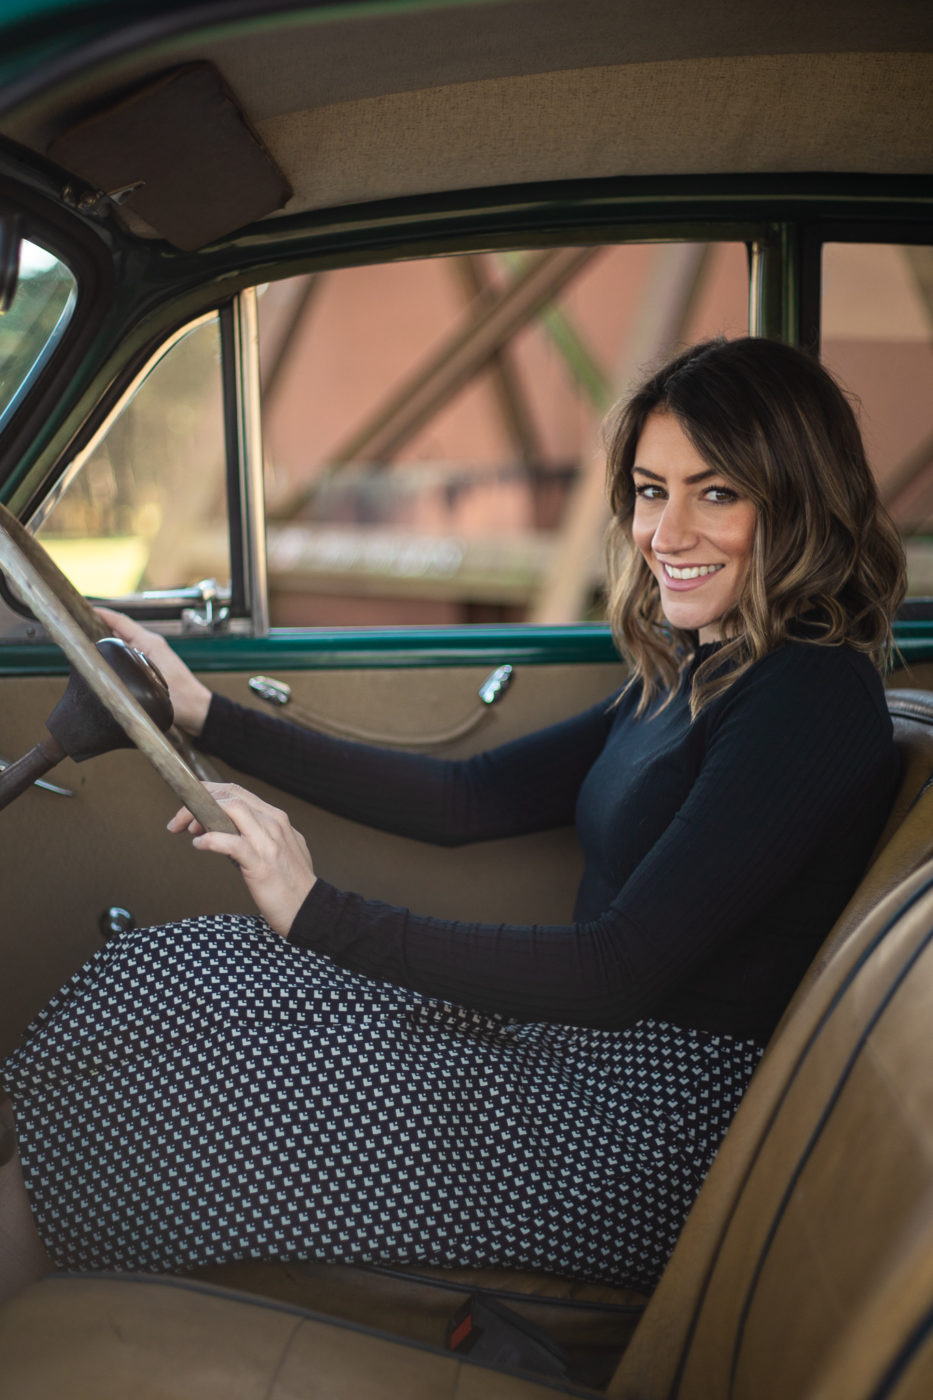
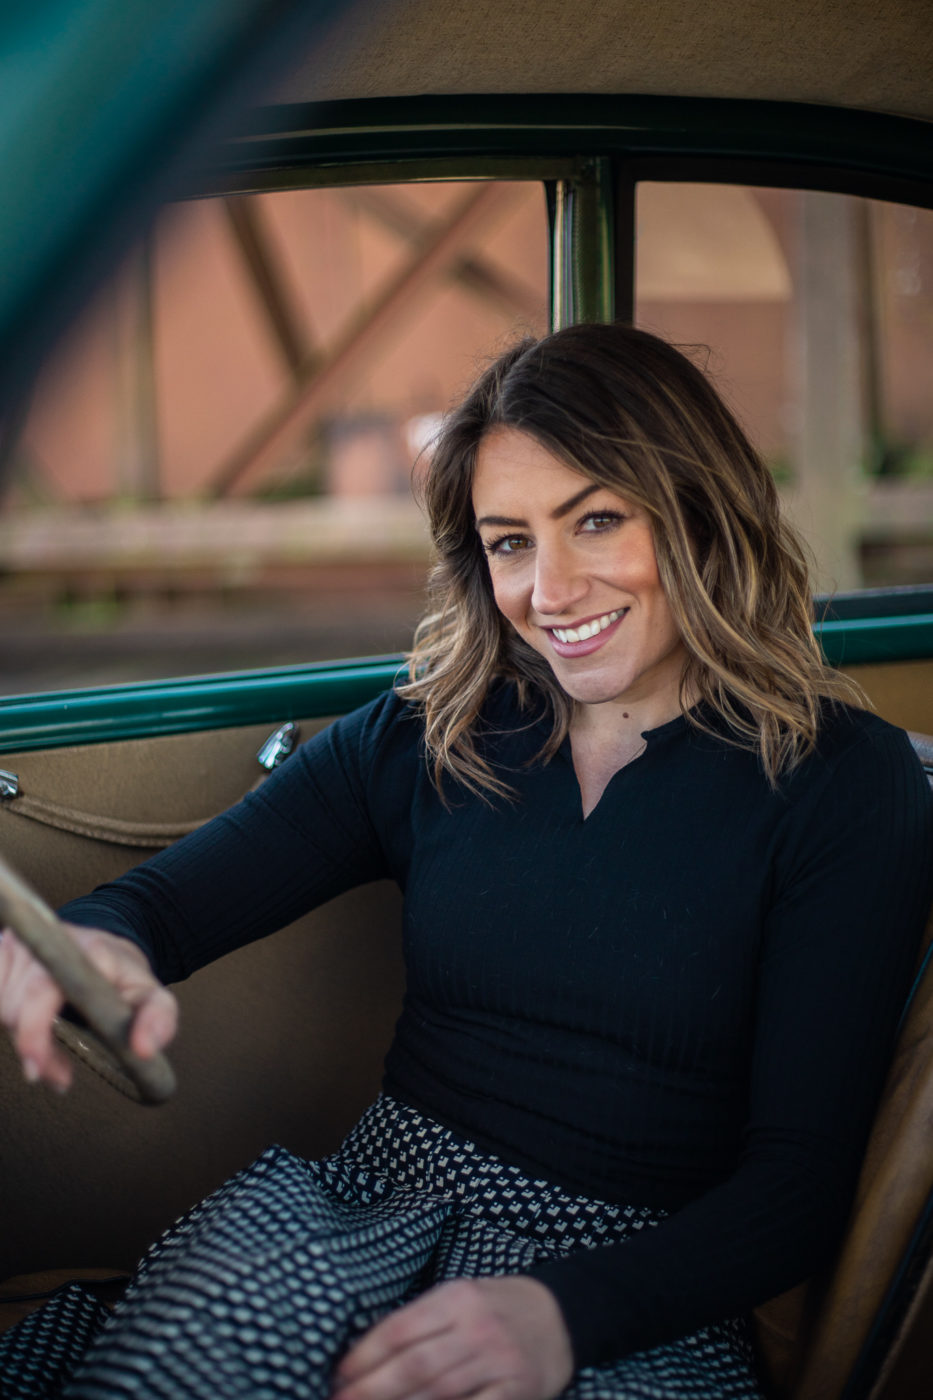
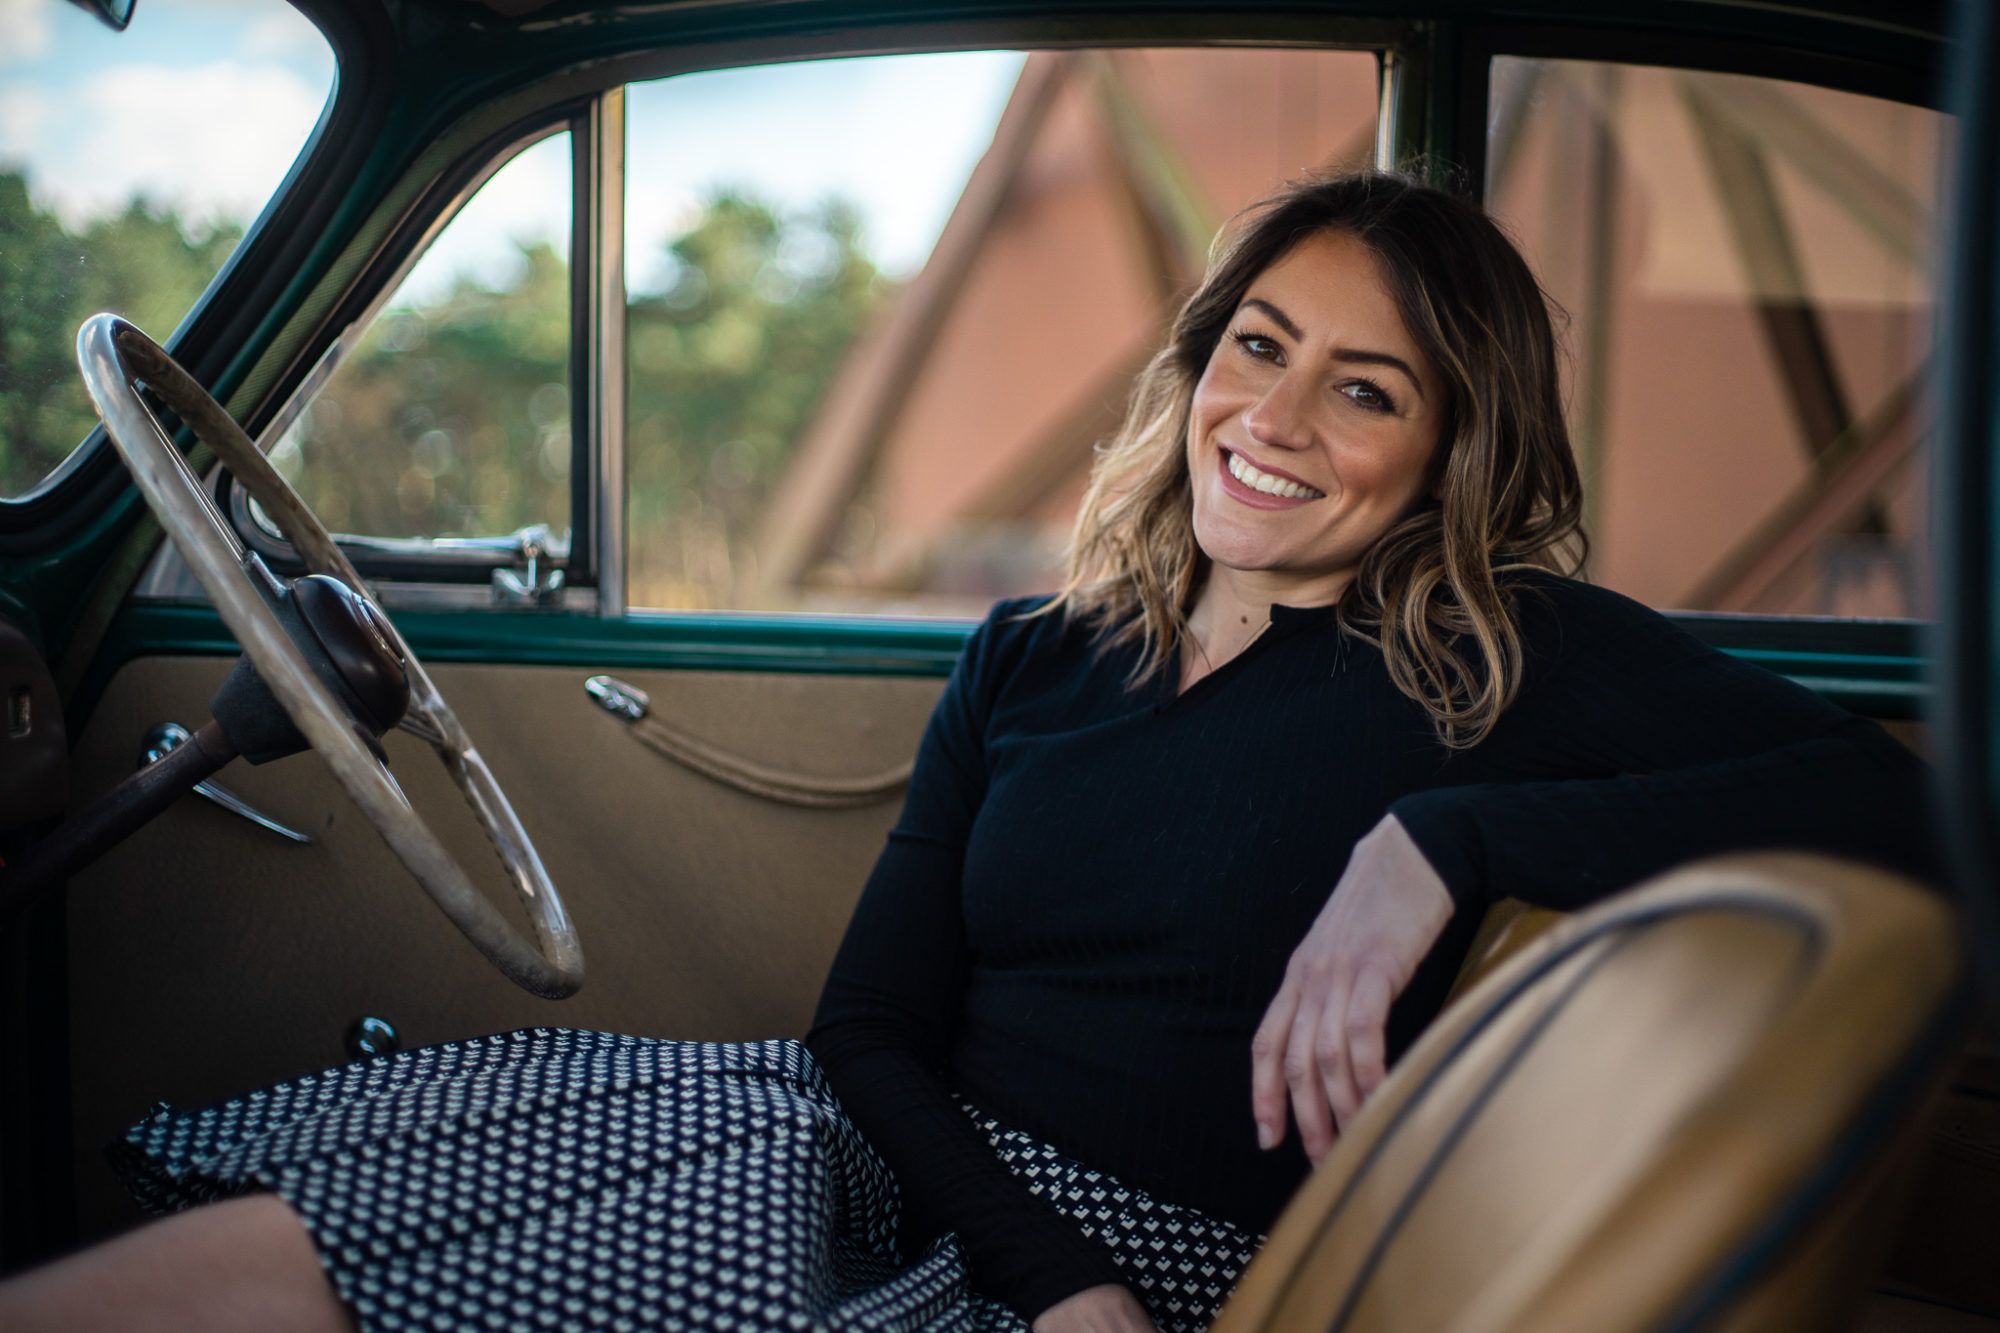
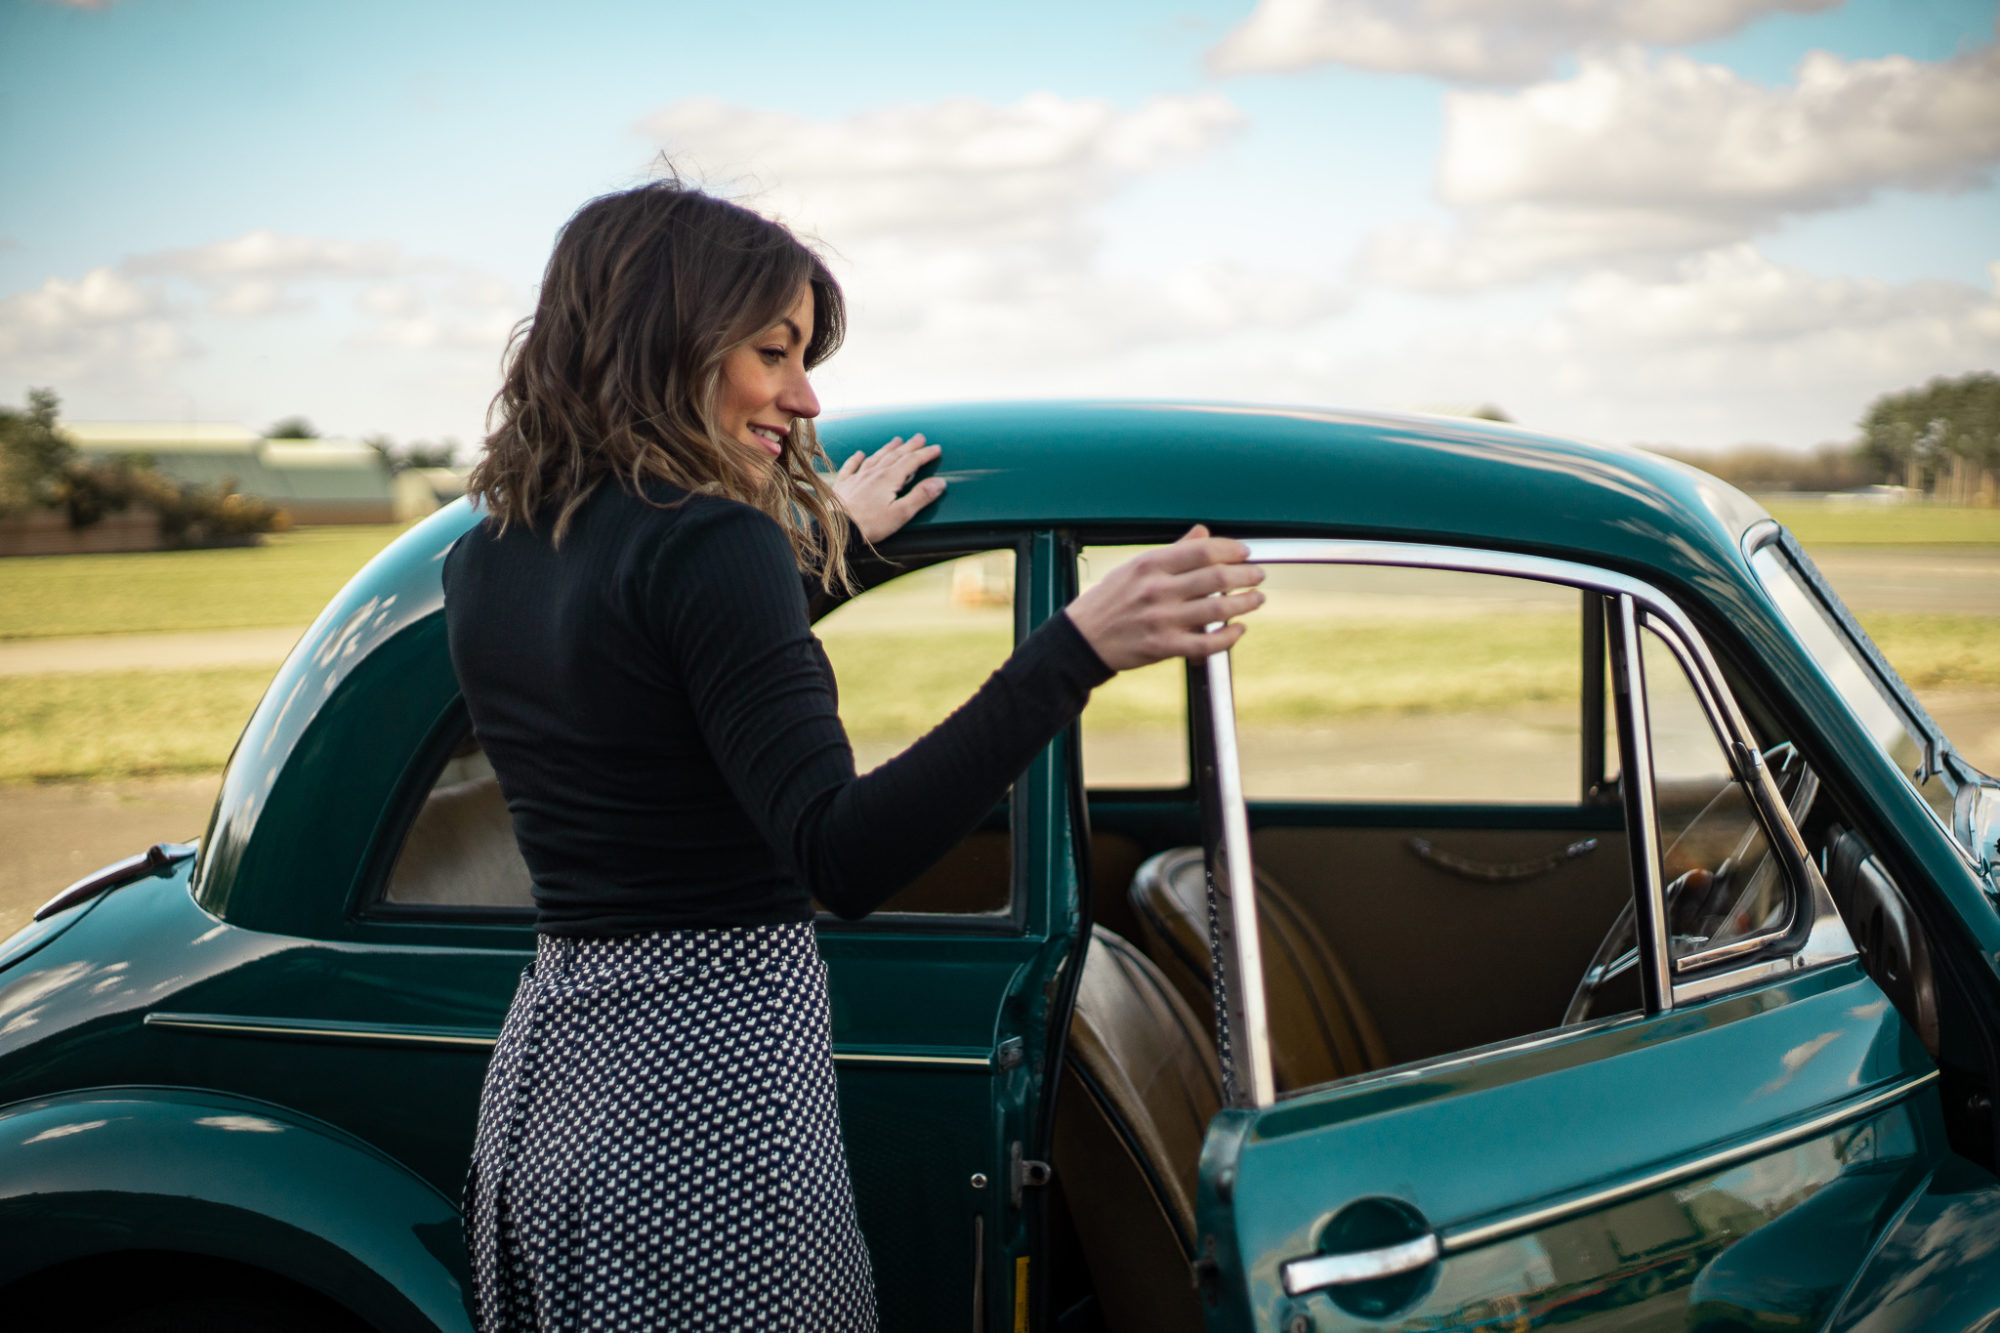
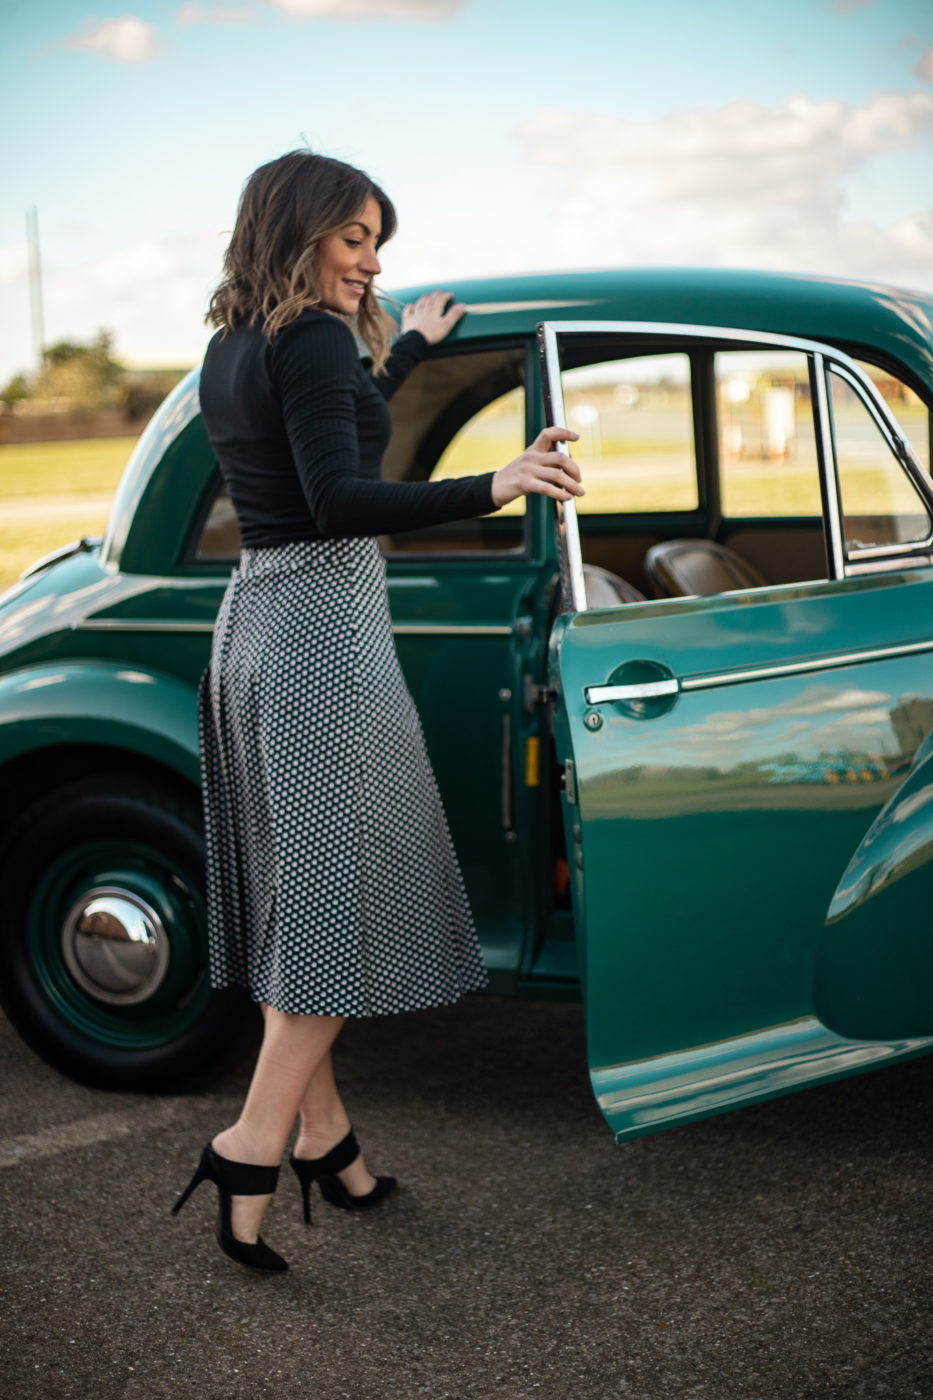
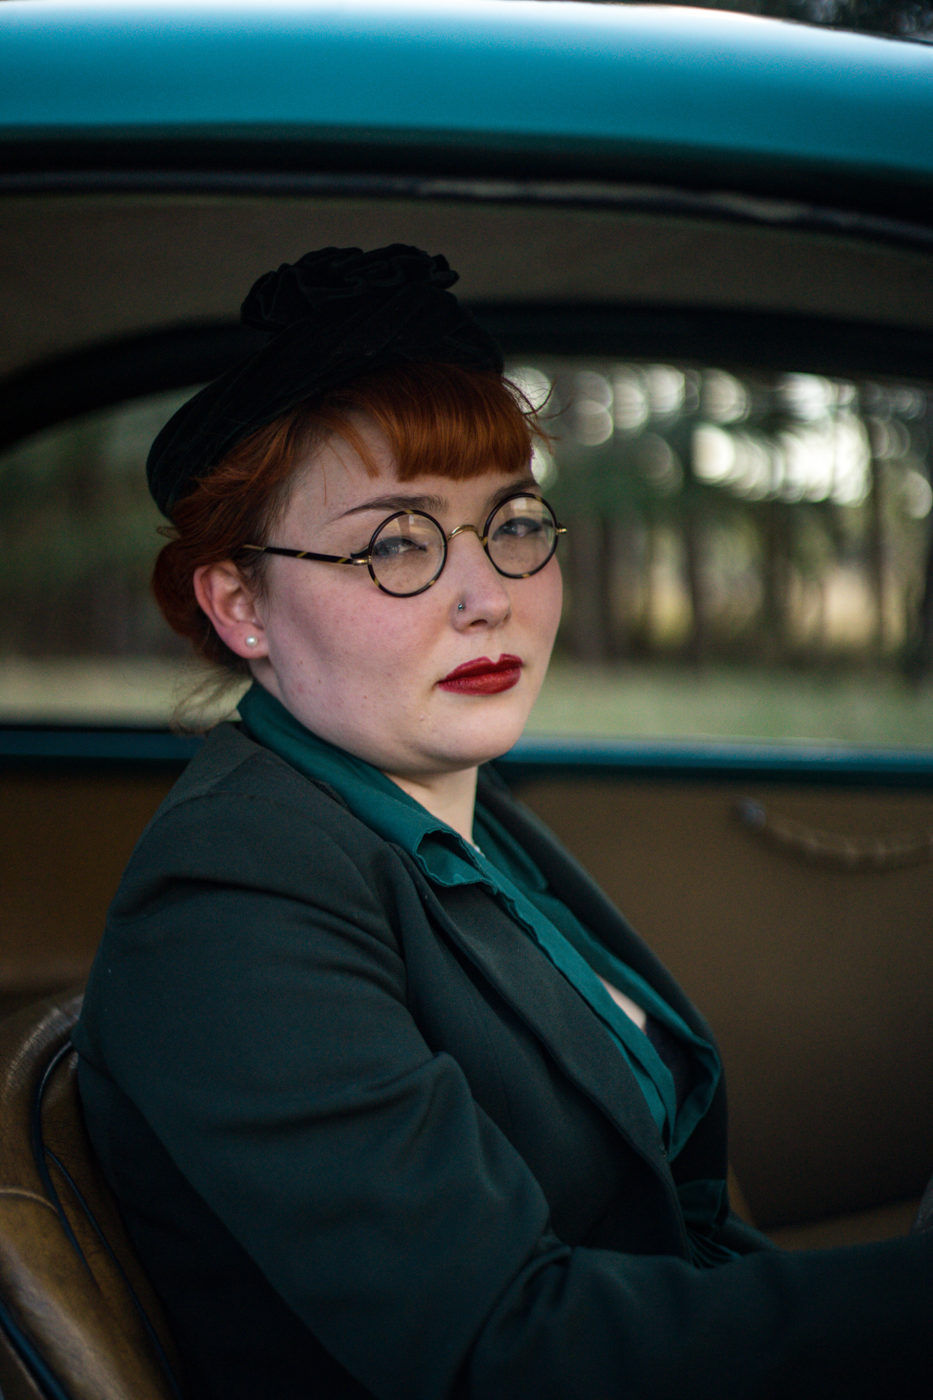
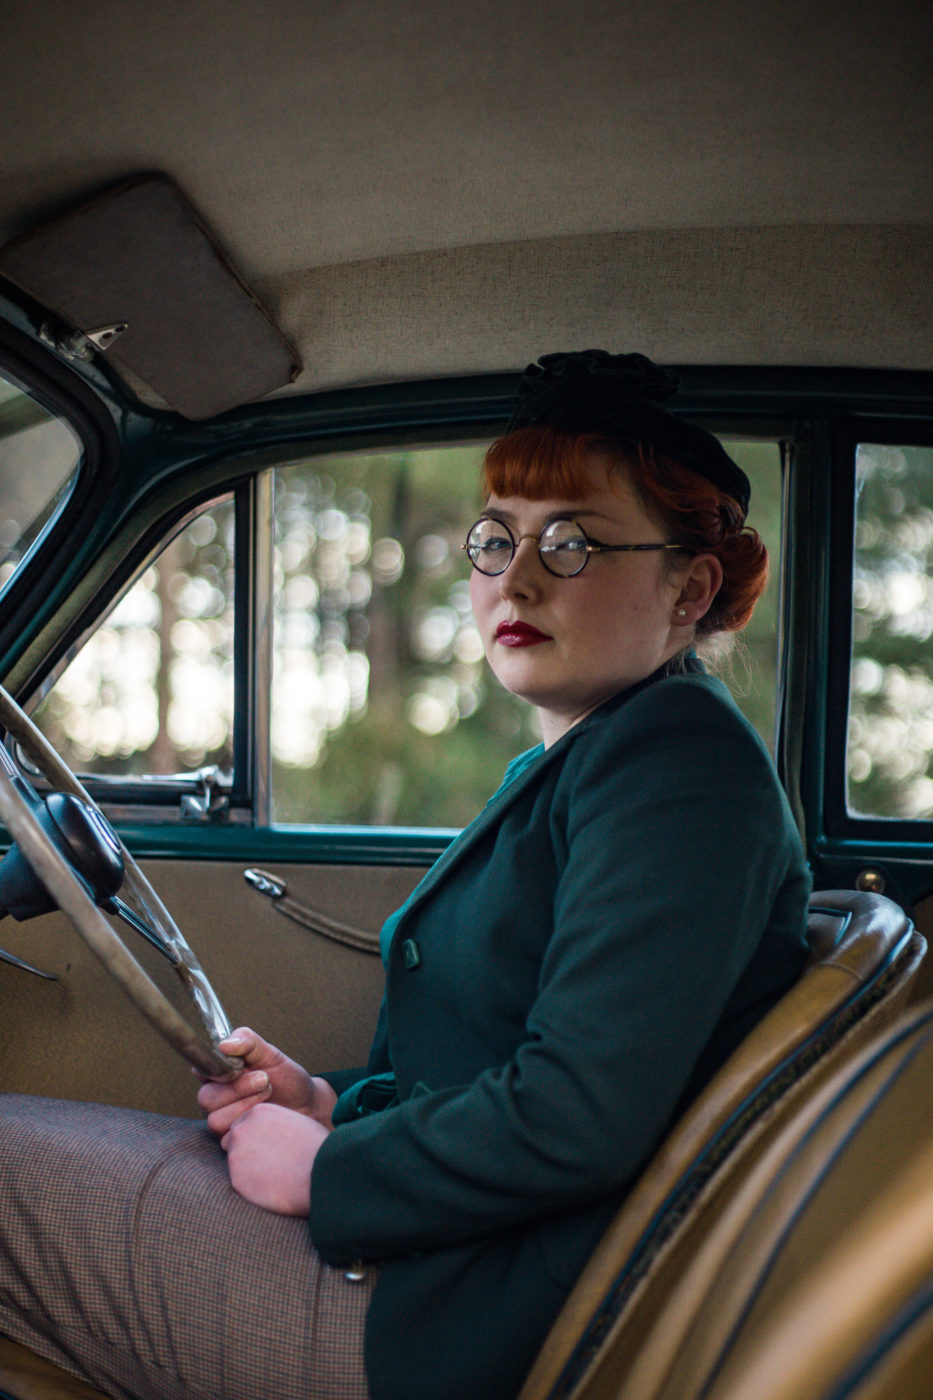
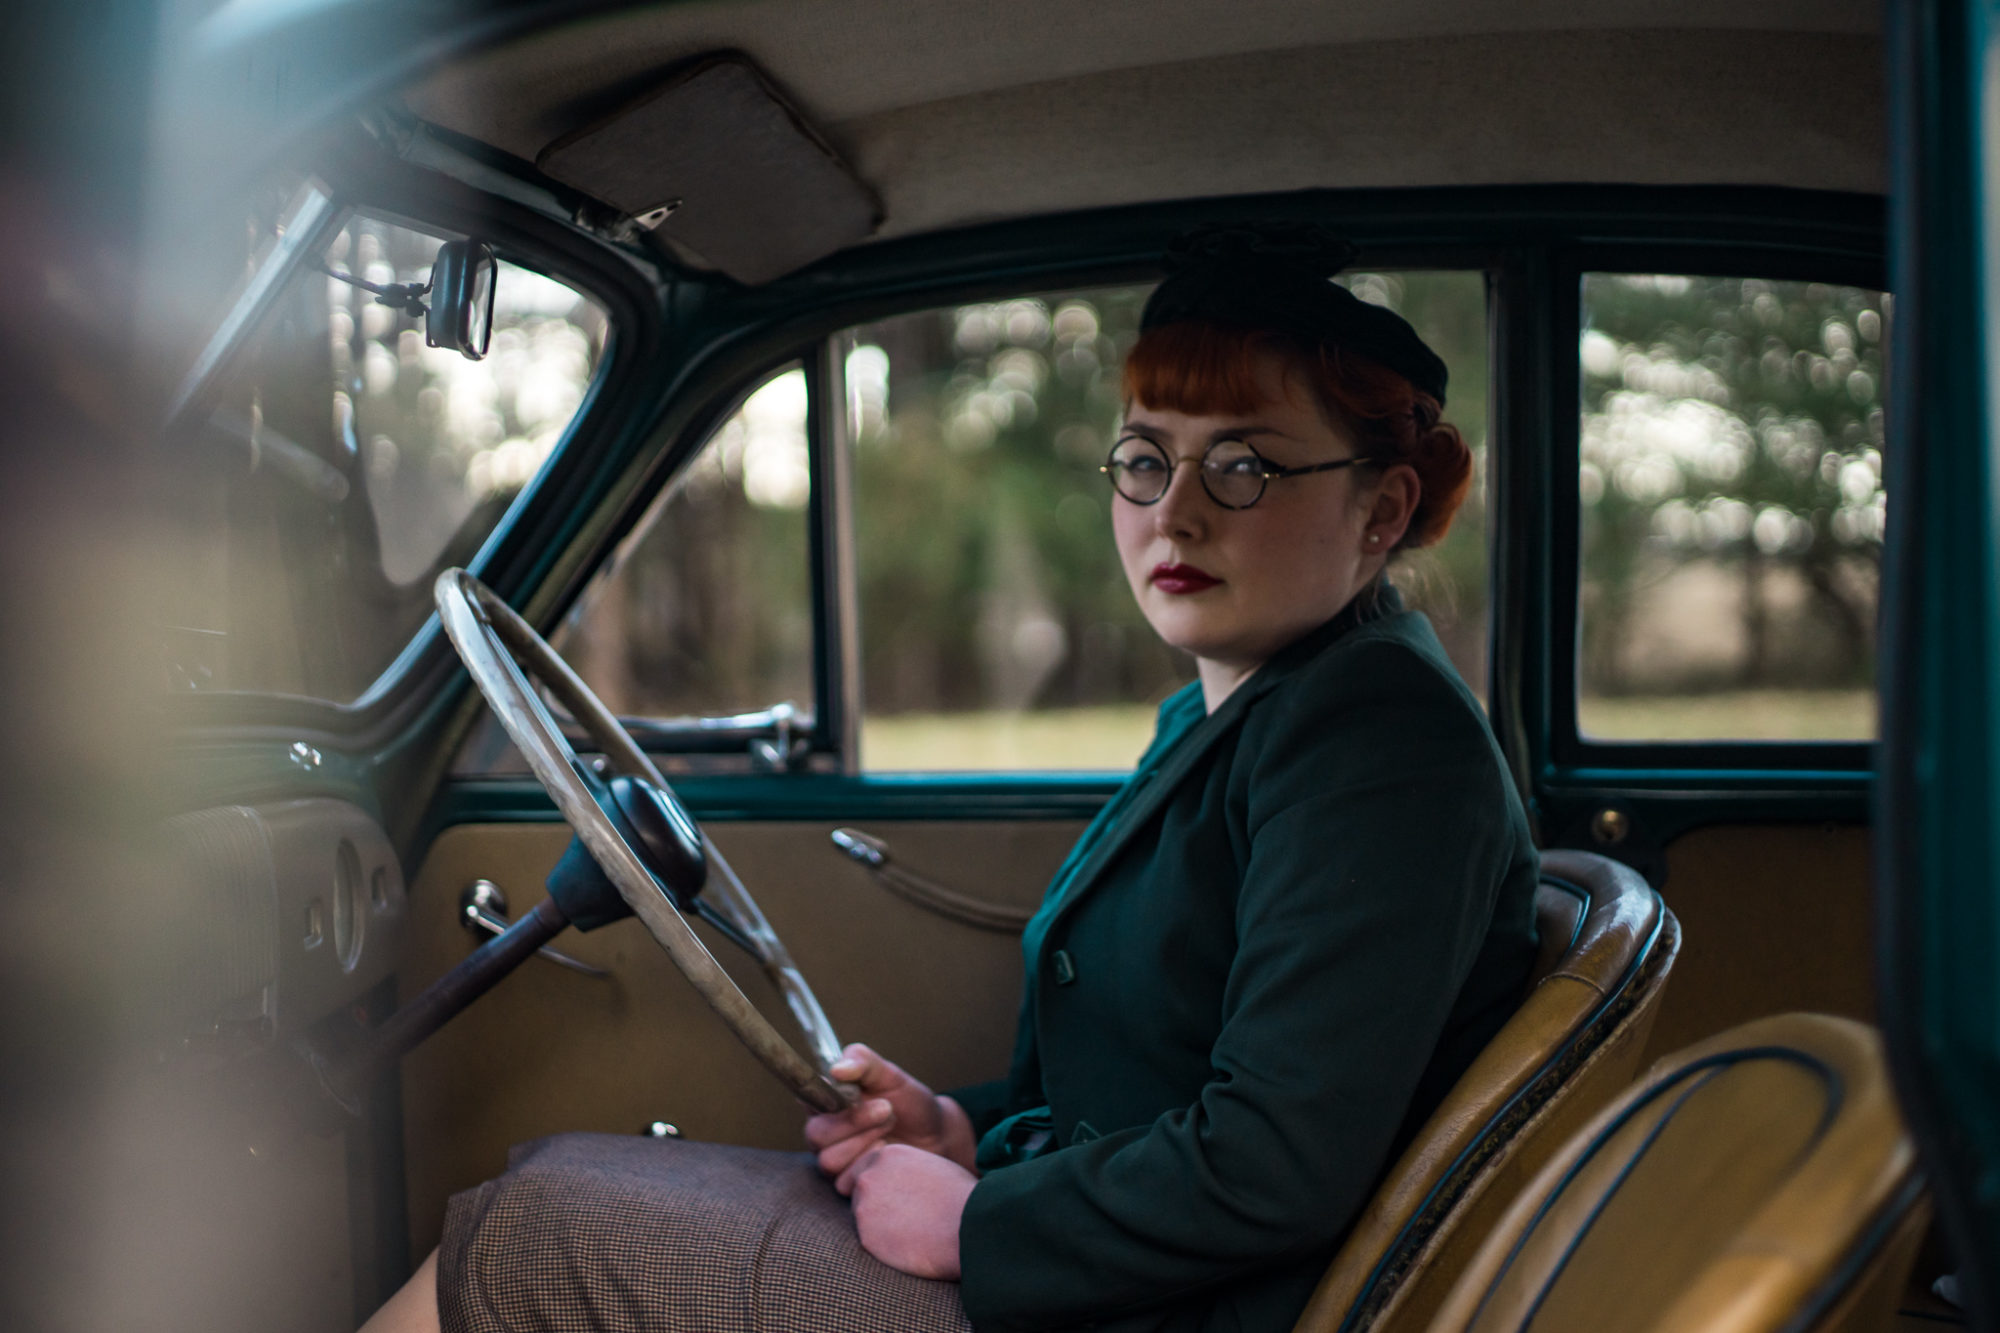
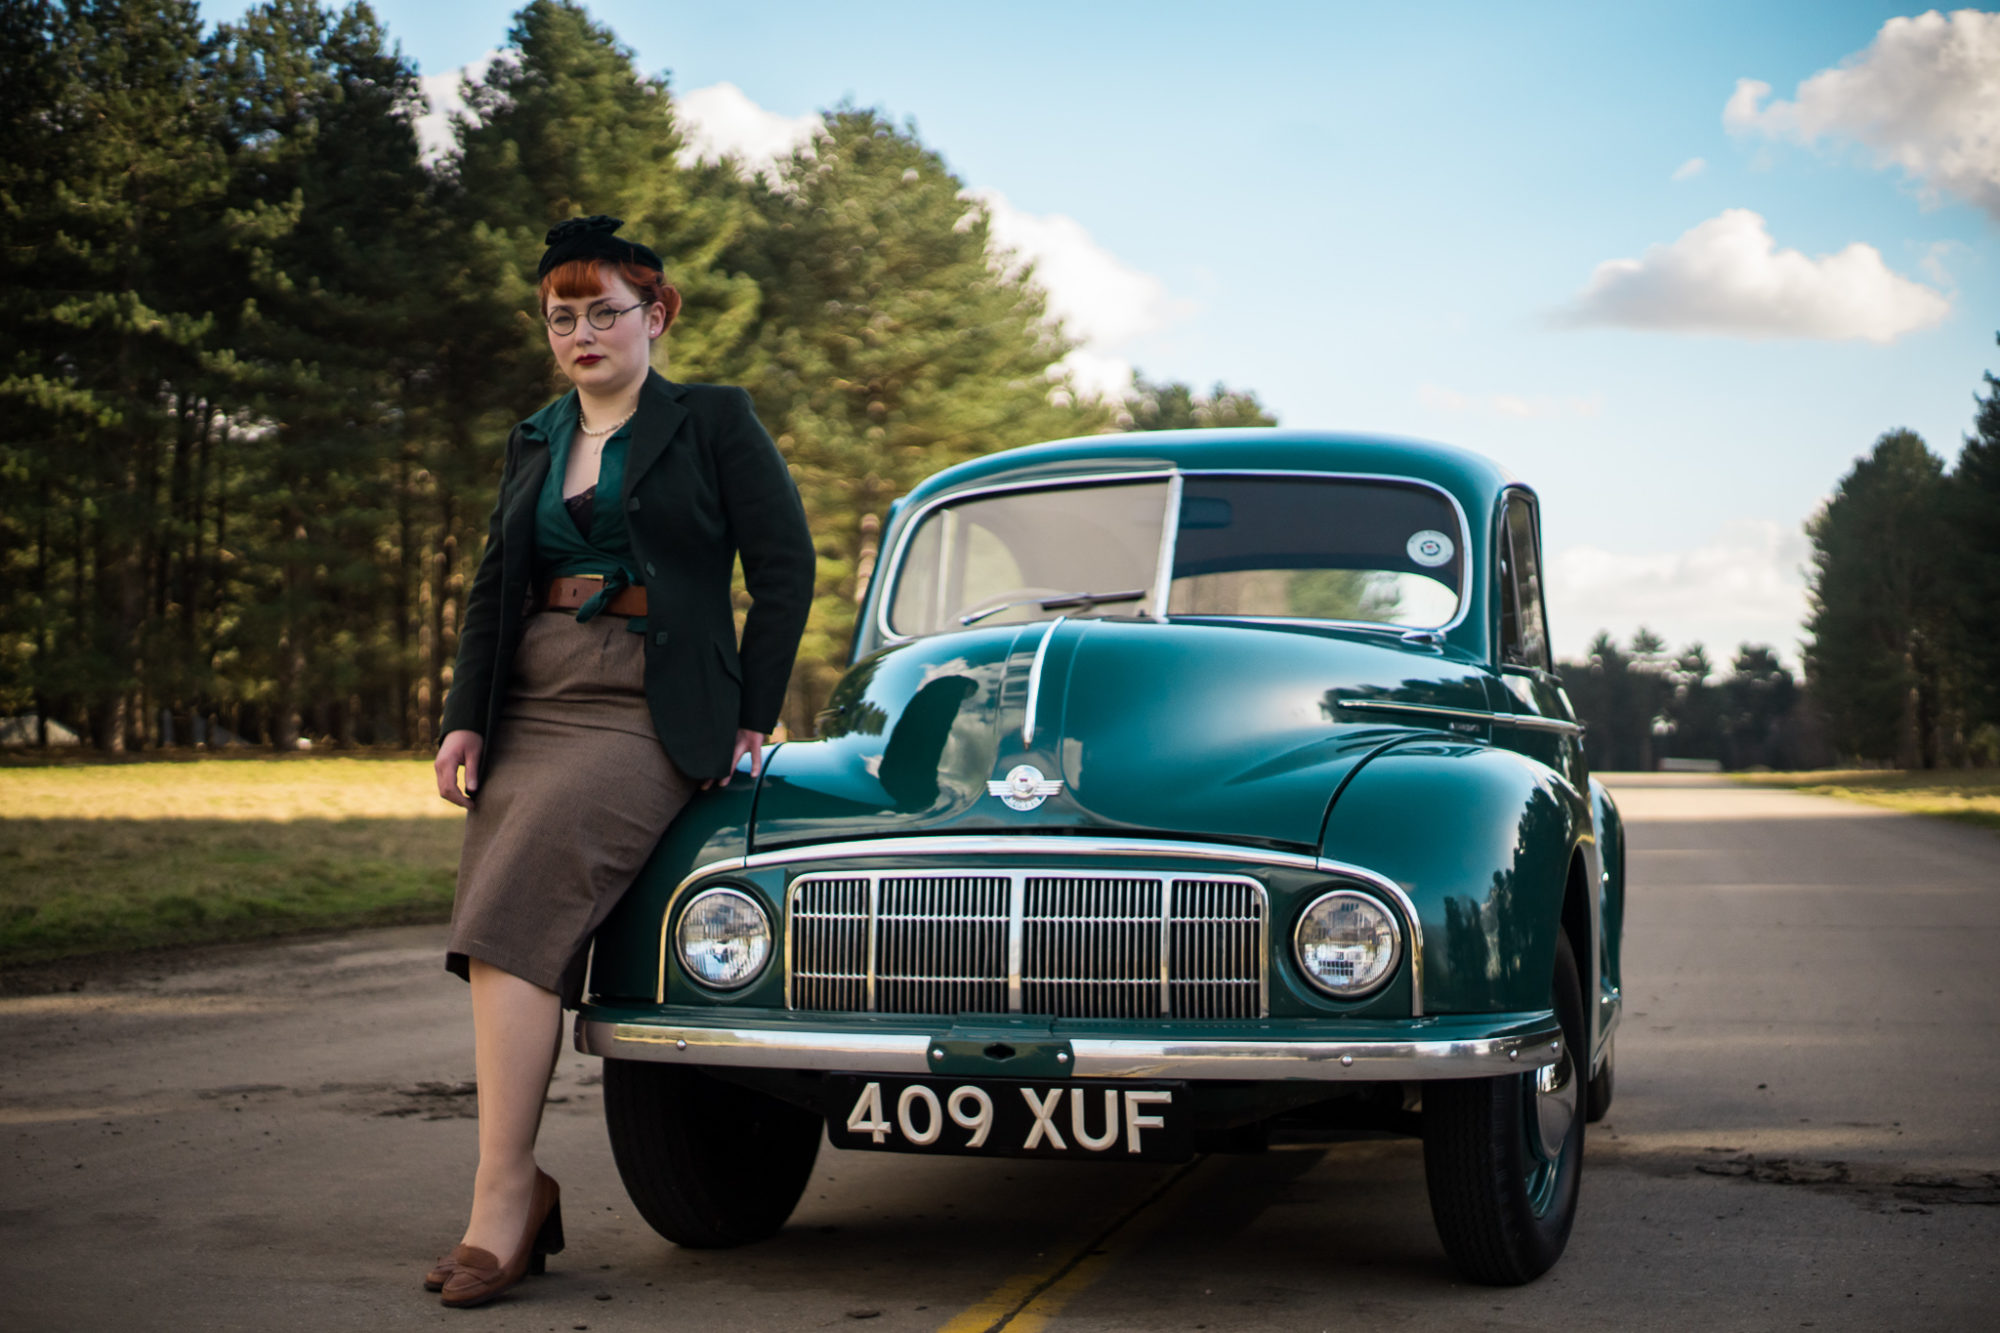
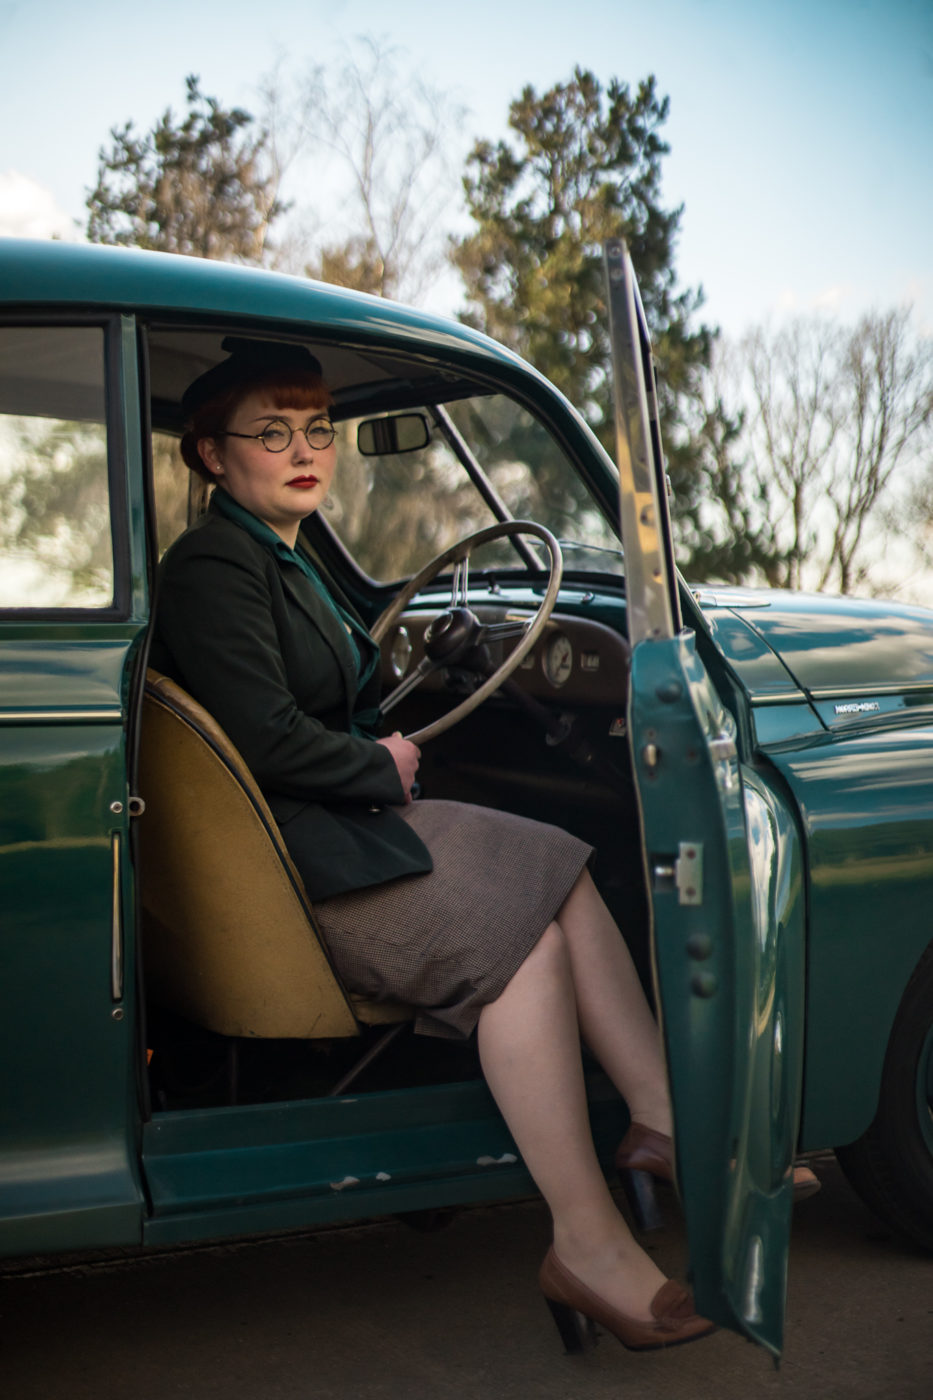
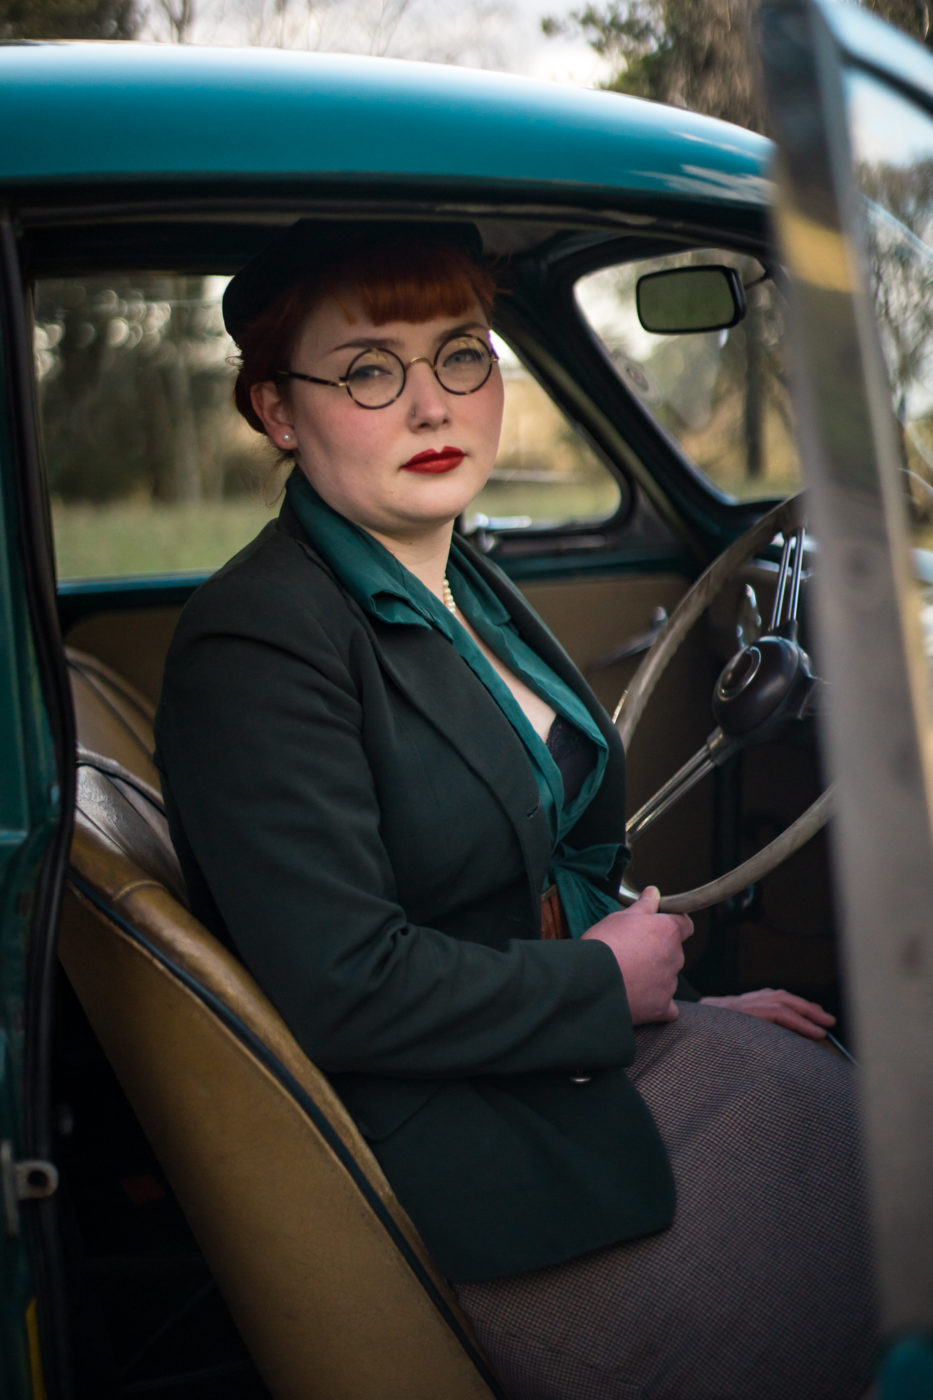
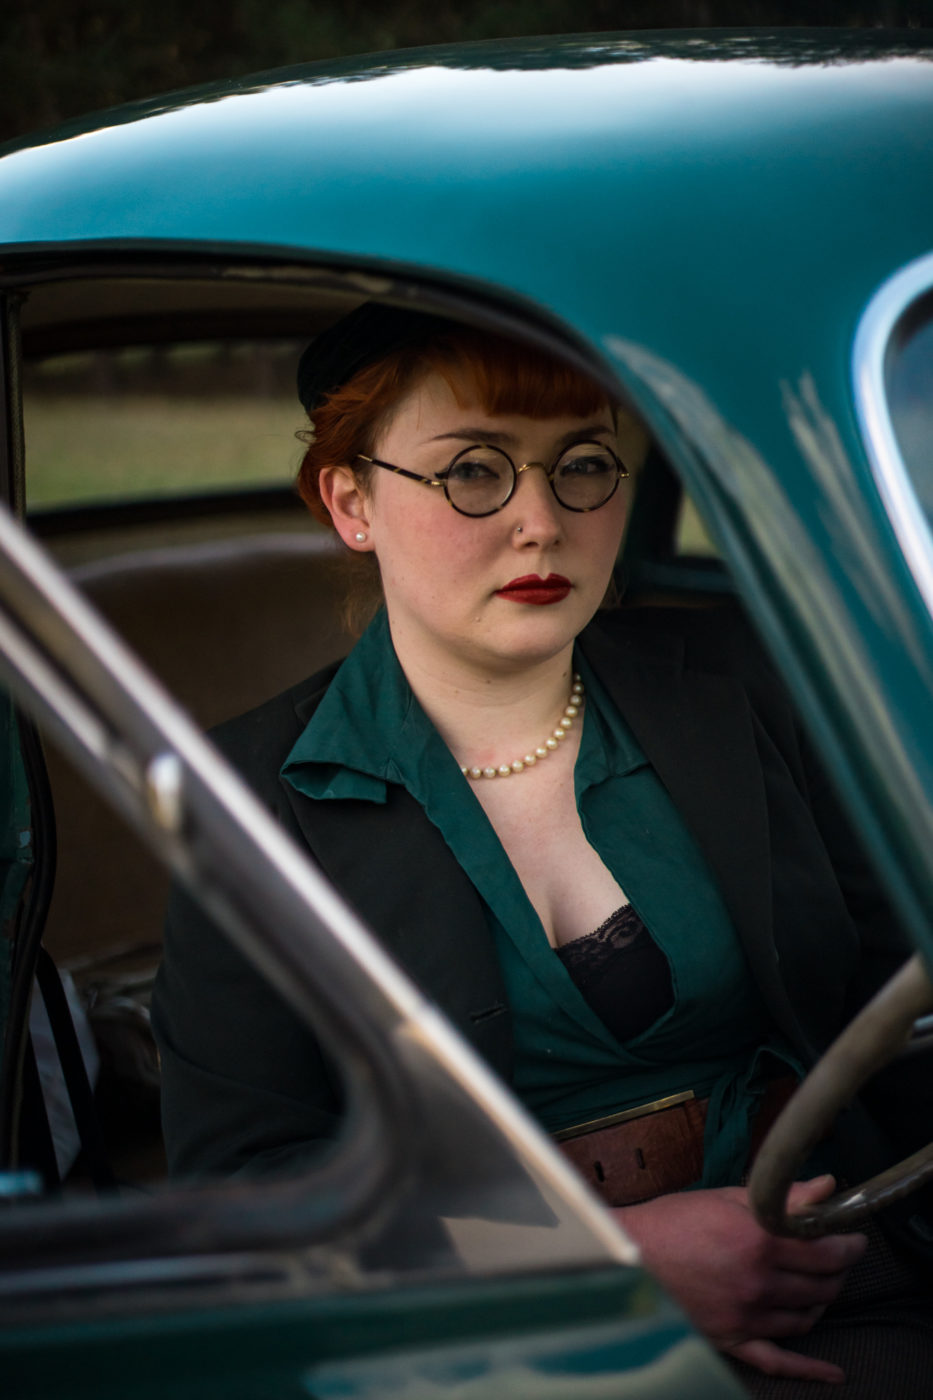
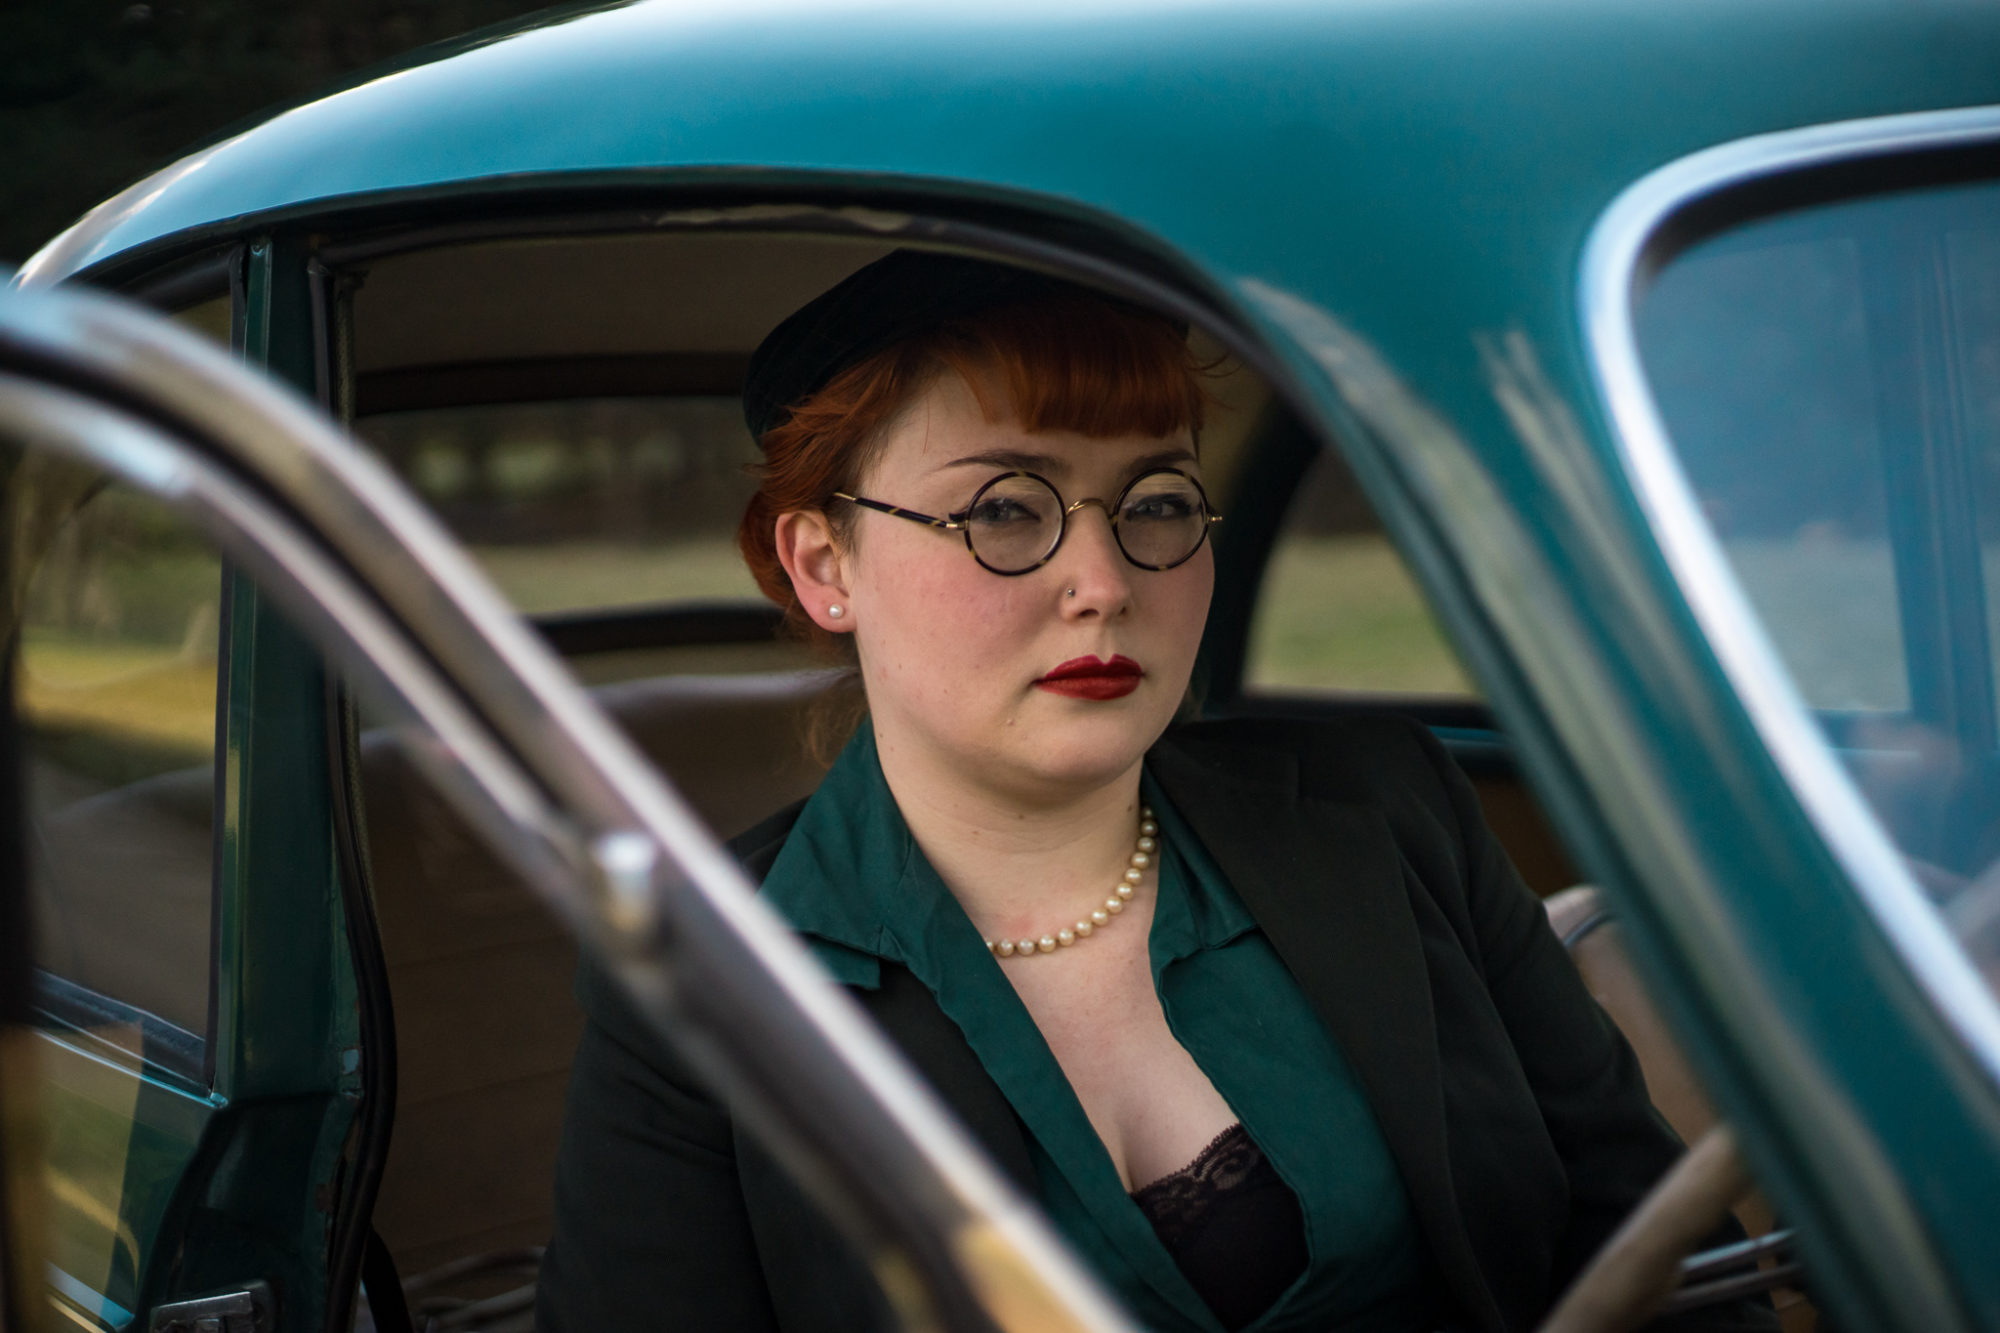
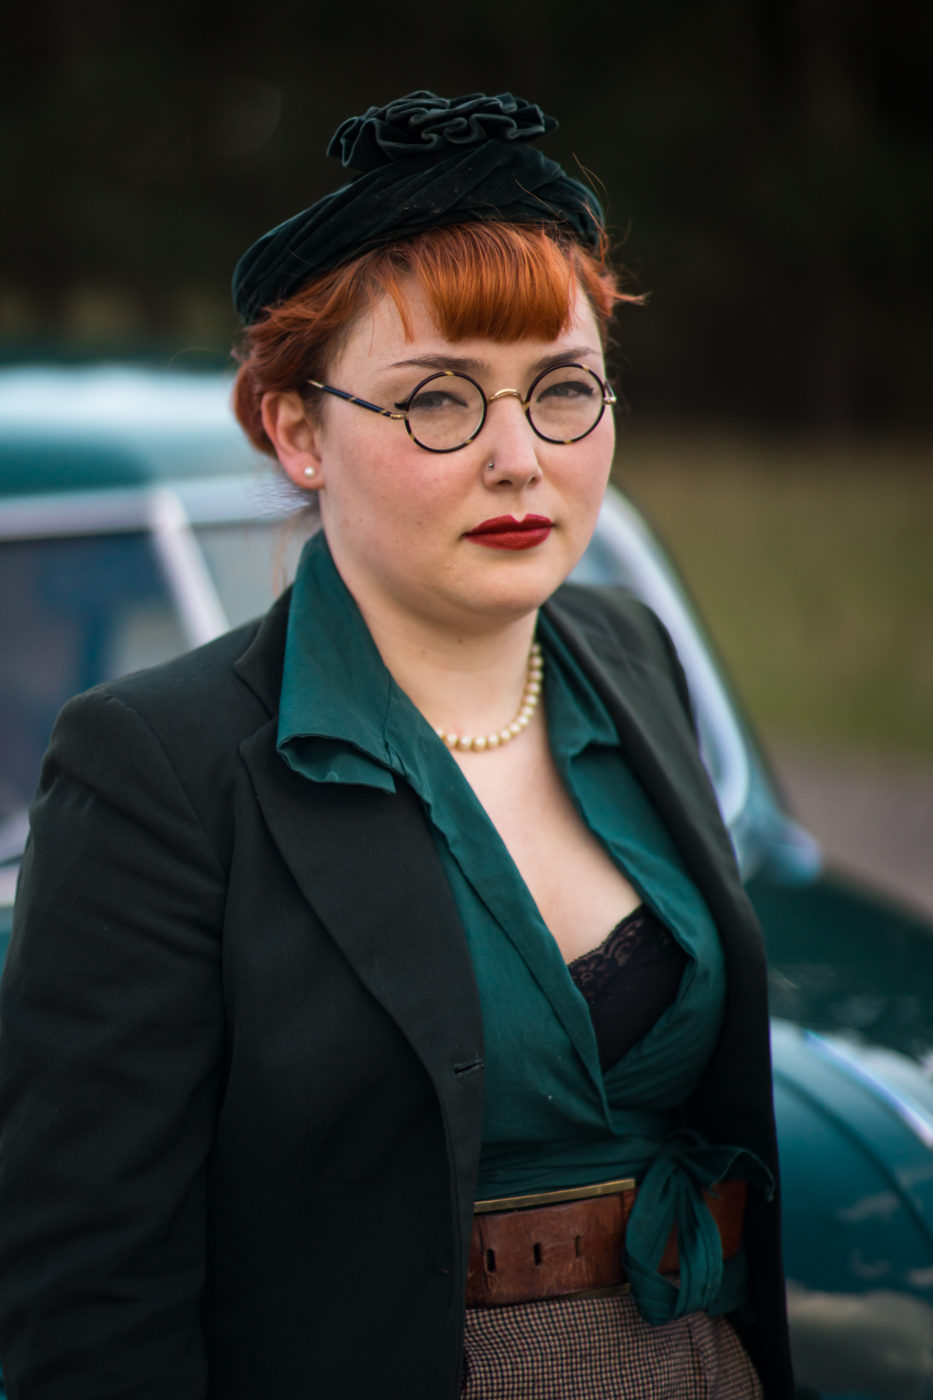
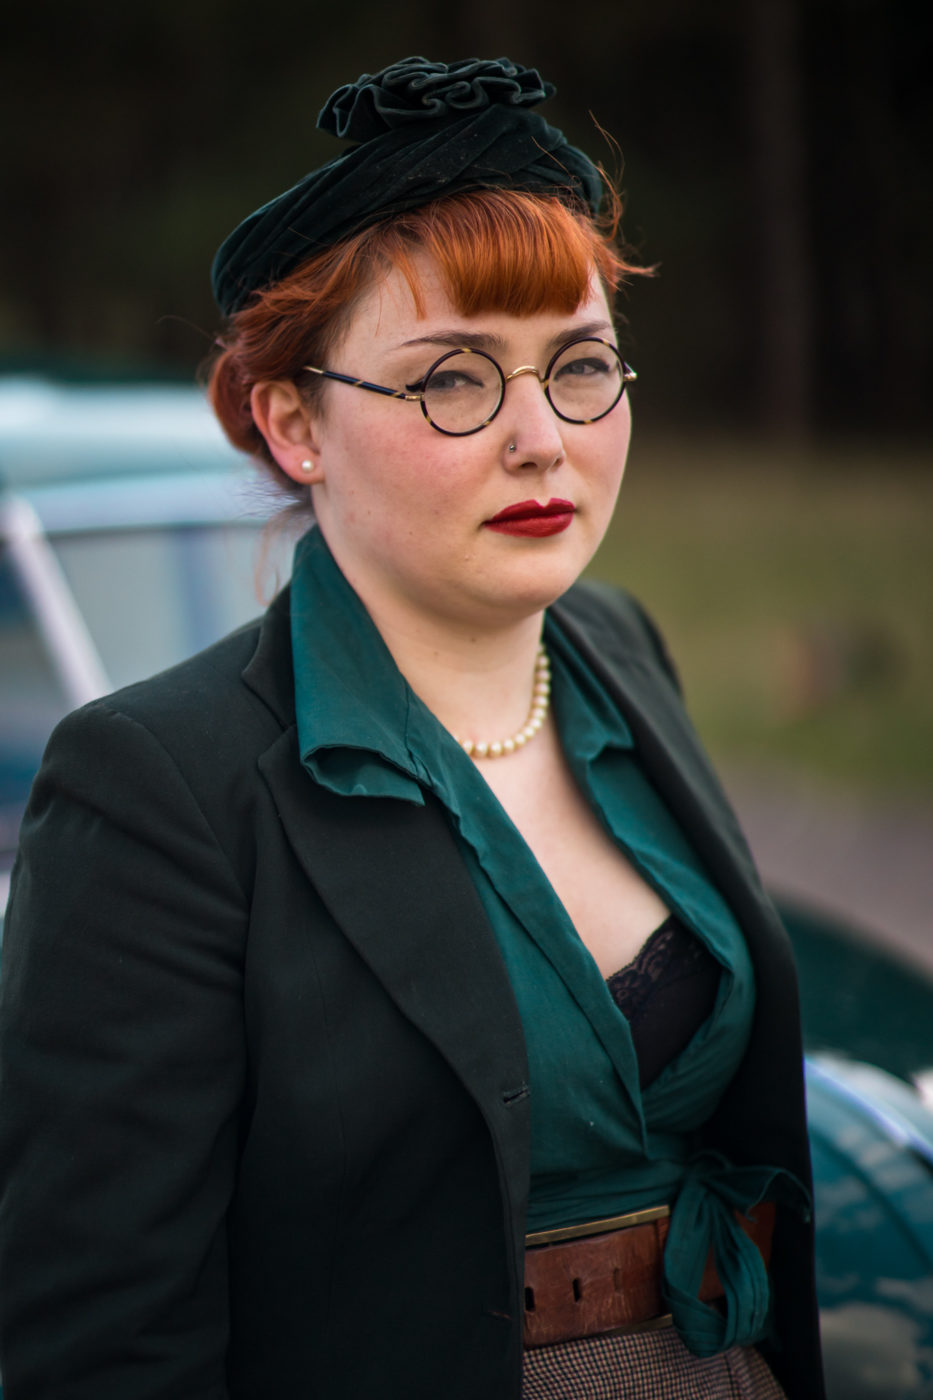
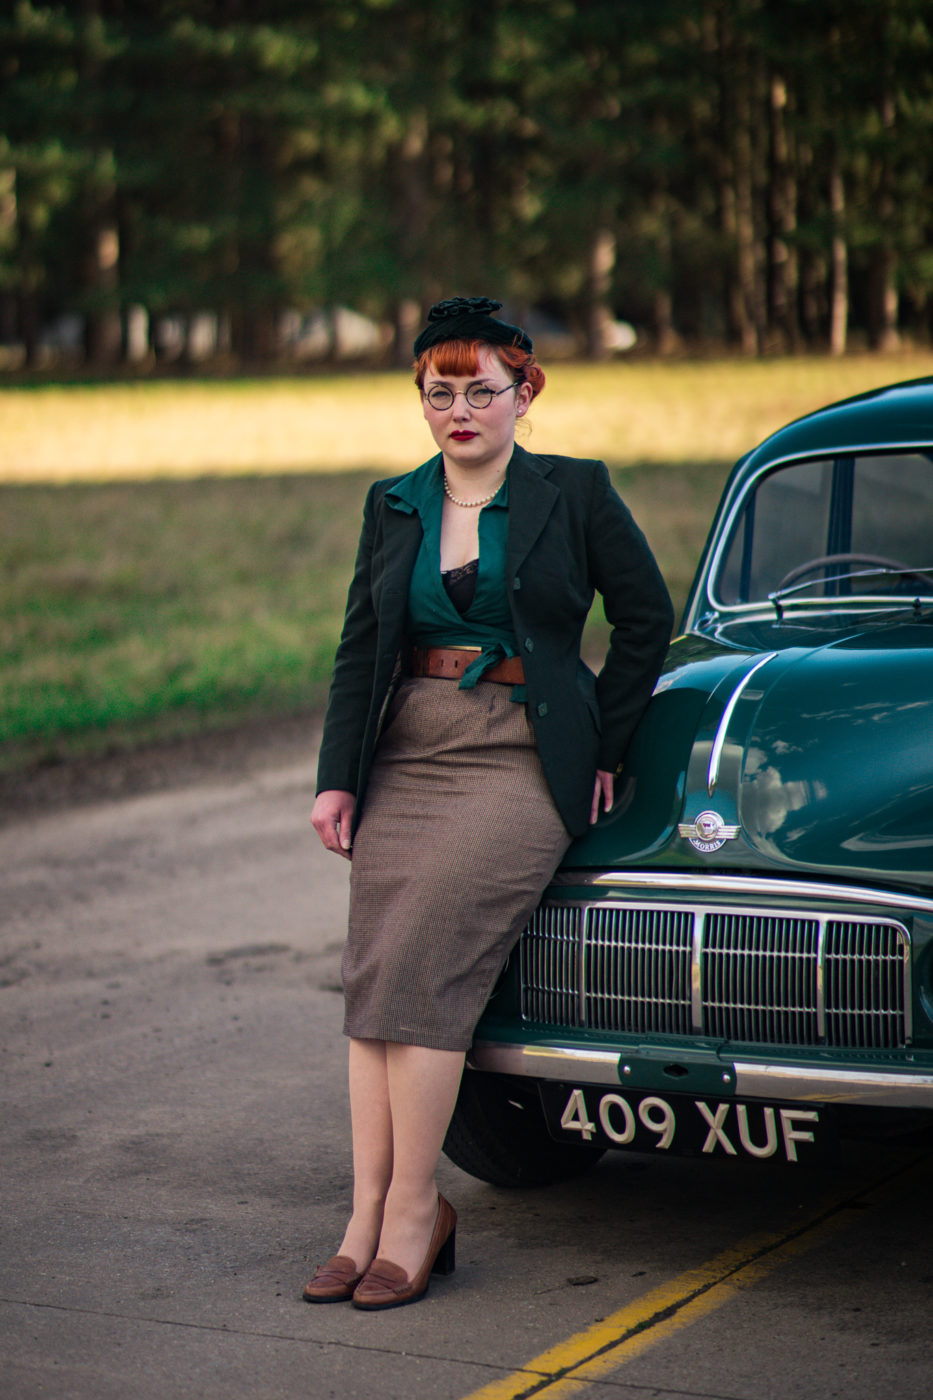
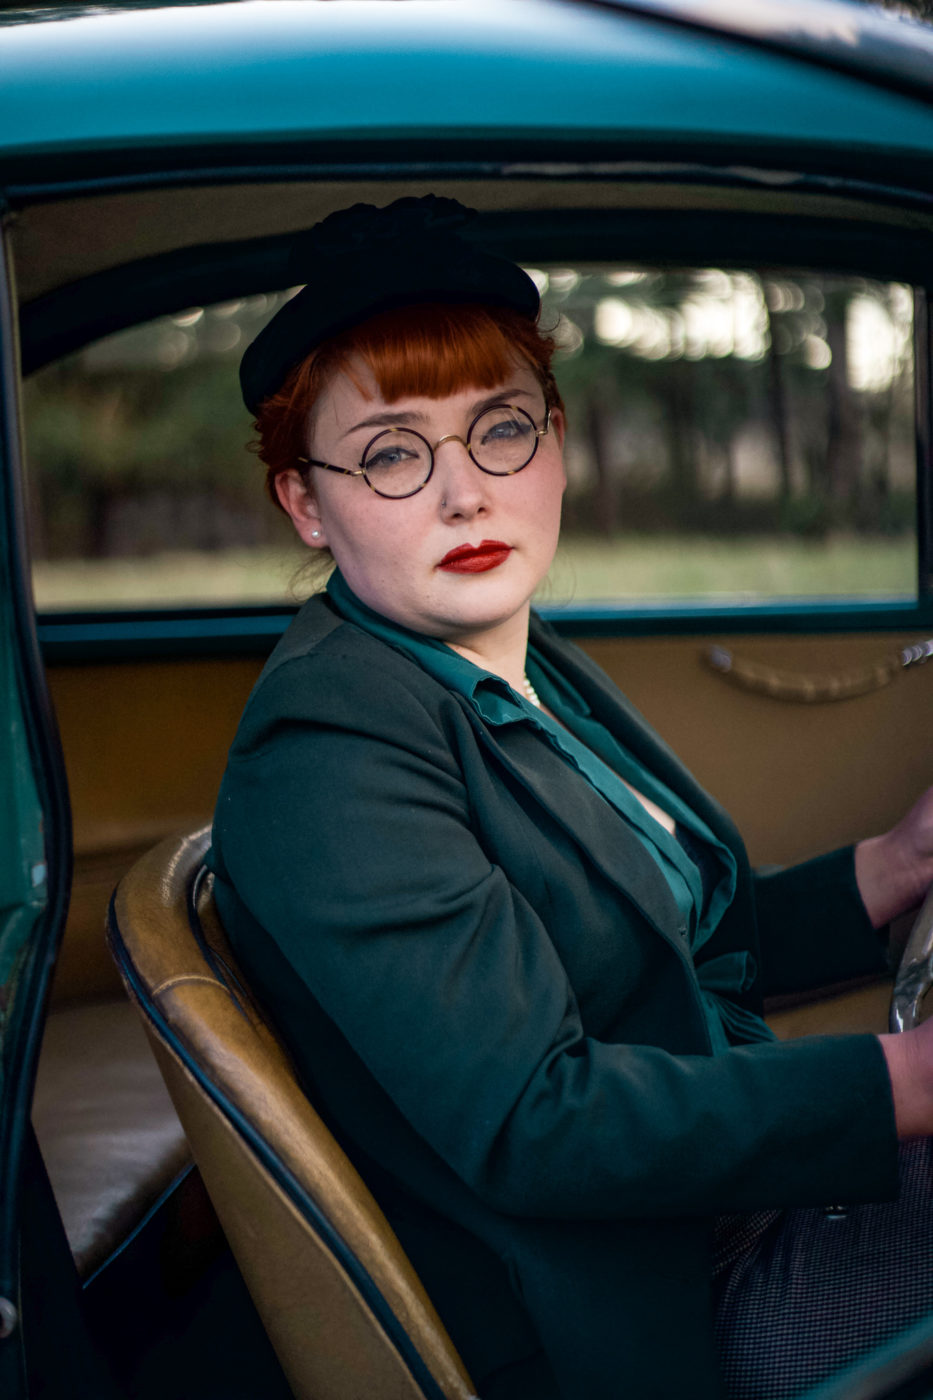
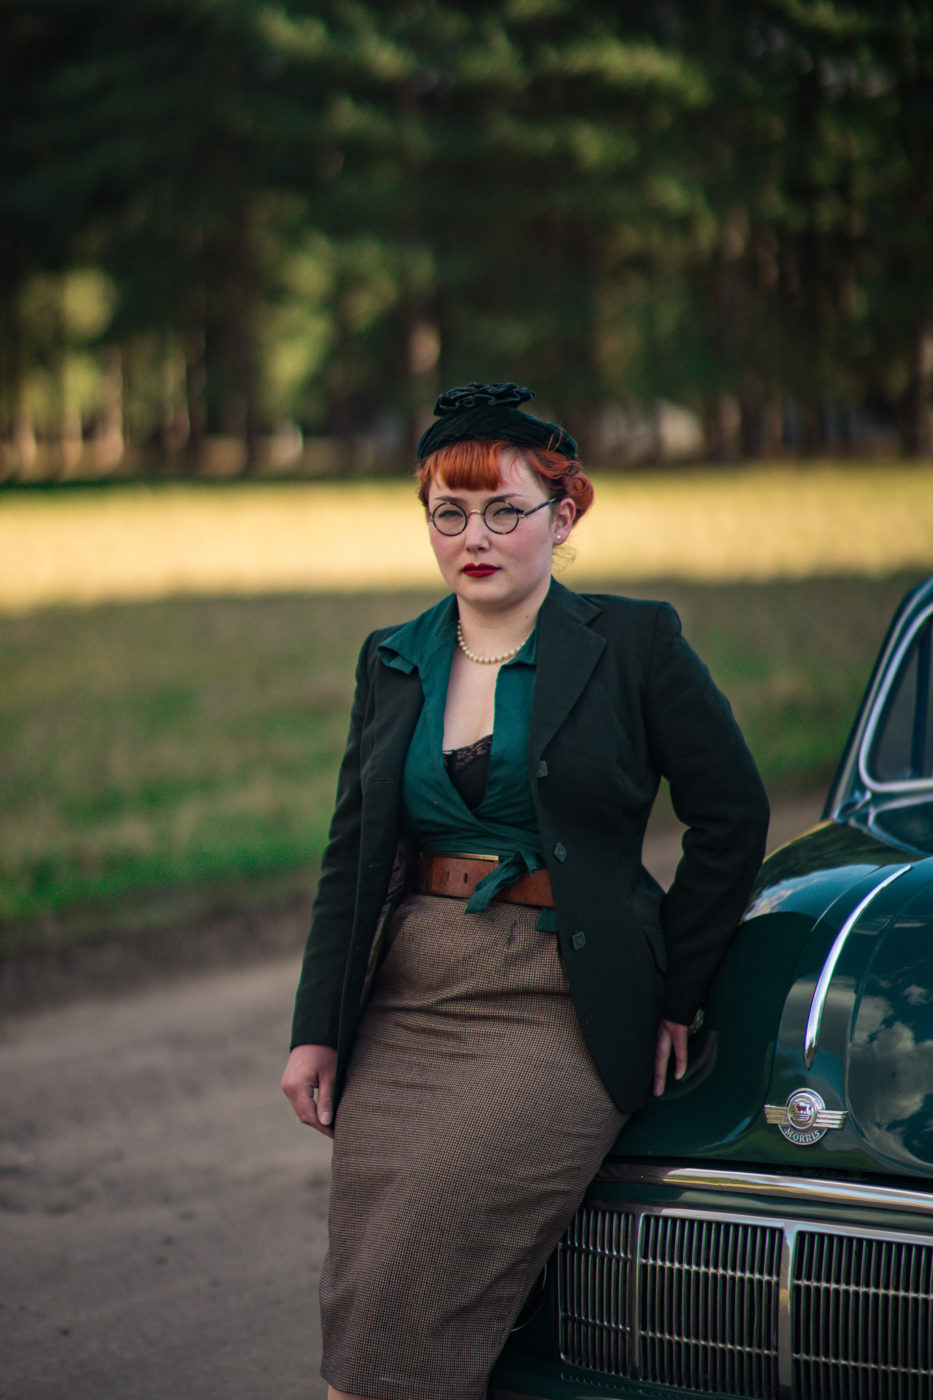
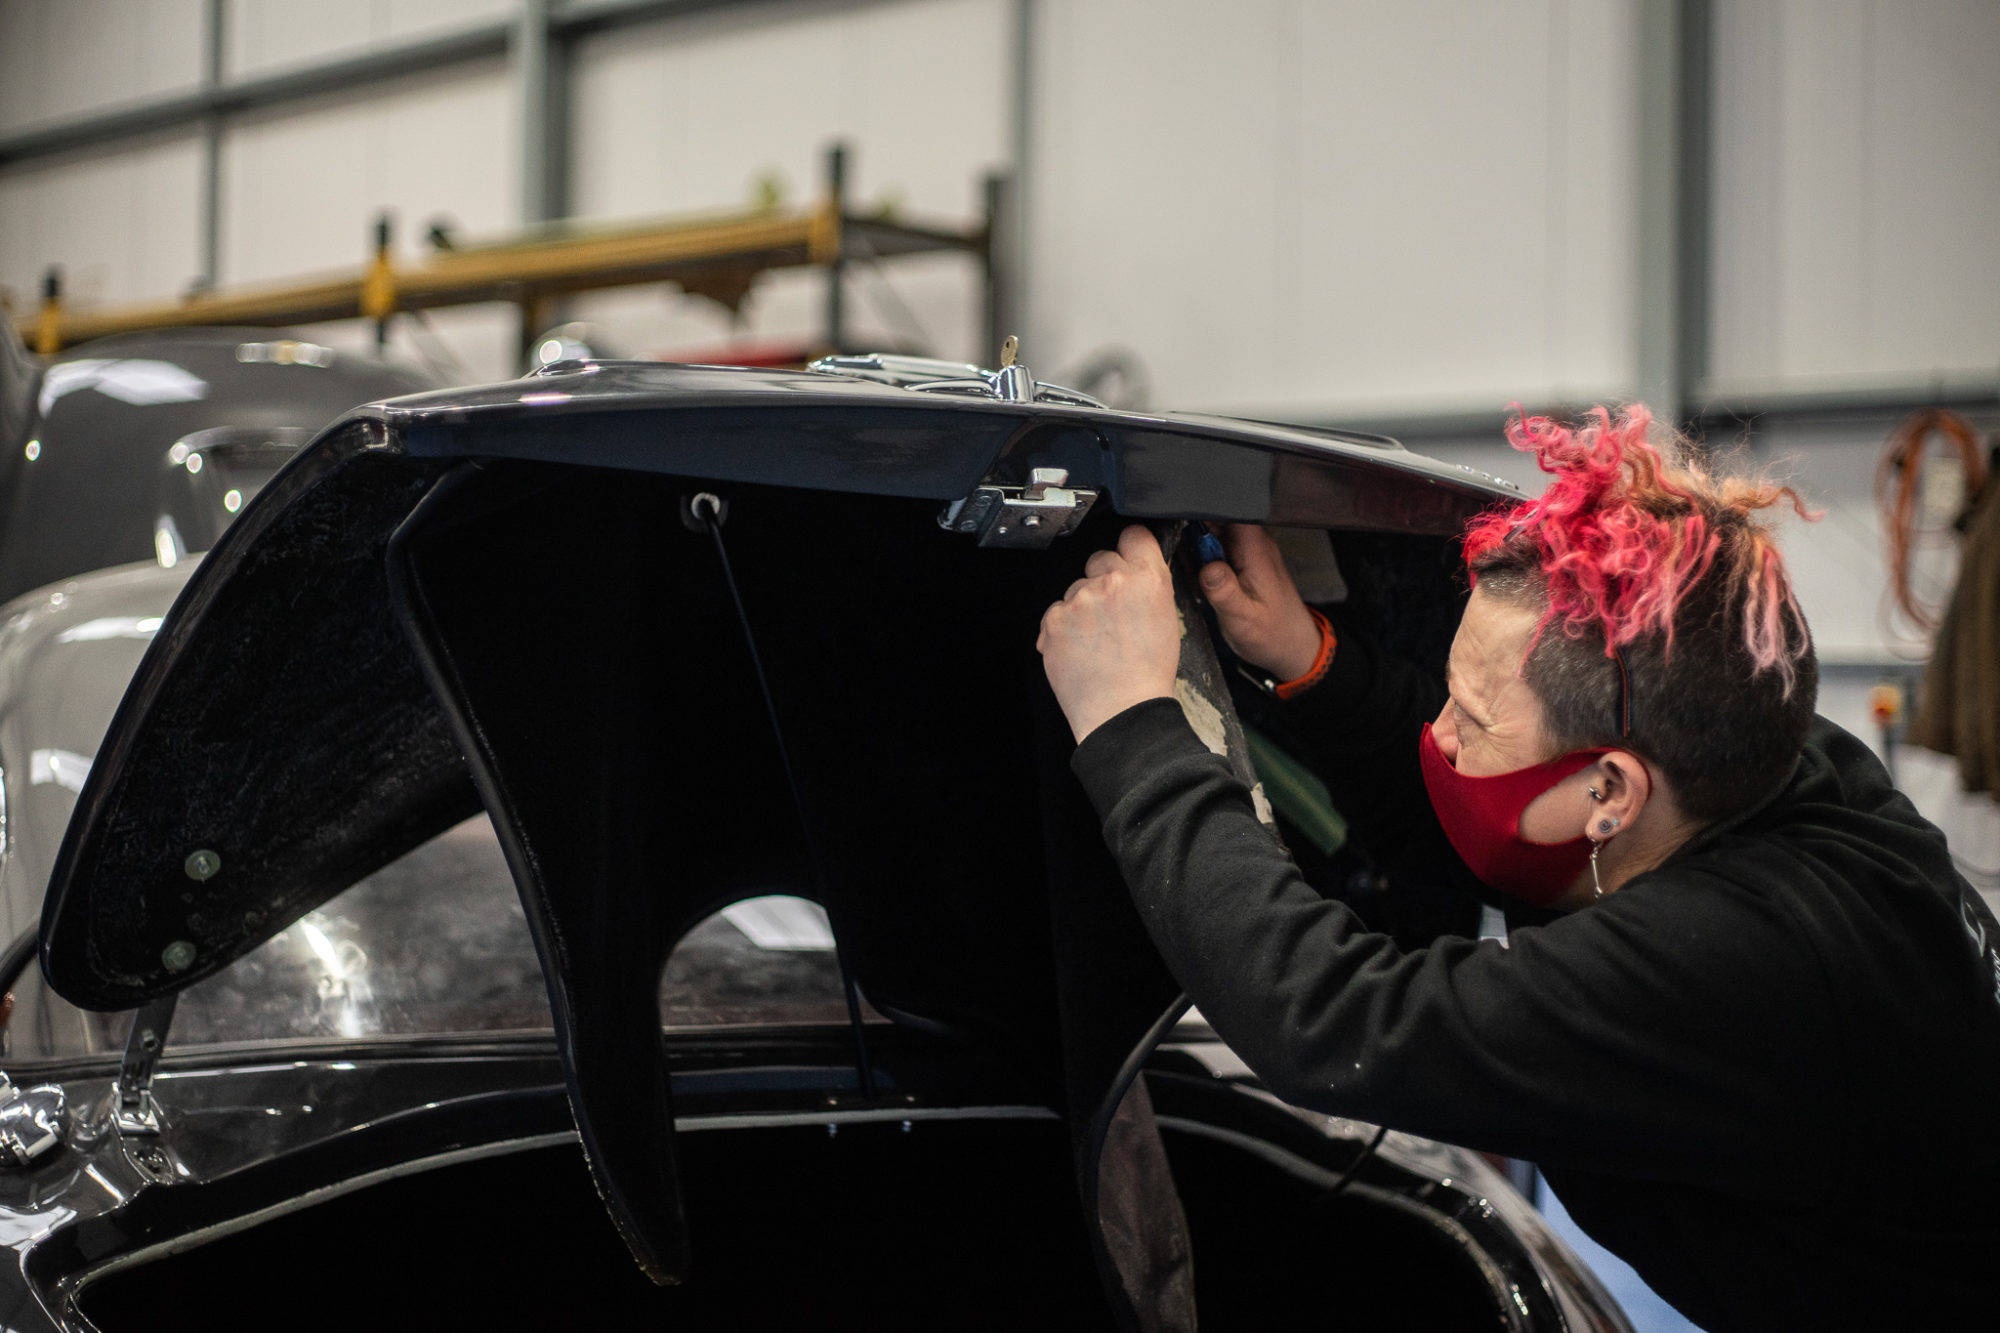
Today we had Luke Deal from BBC Radio Suffolk come down to join us at our Hanger at Bentwaters. Luke popped down to chat with our director Craig about our Morris Minor, our raffles and all things classic cars! Luke is a classic car enthusiast himself and was keen to have a go in our Morris Minor. Take a look at the behind the scenes photos and interview below.

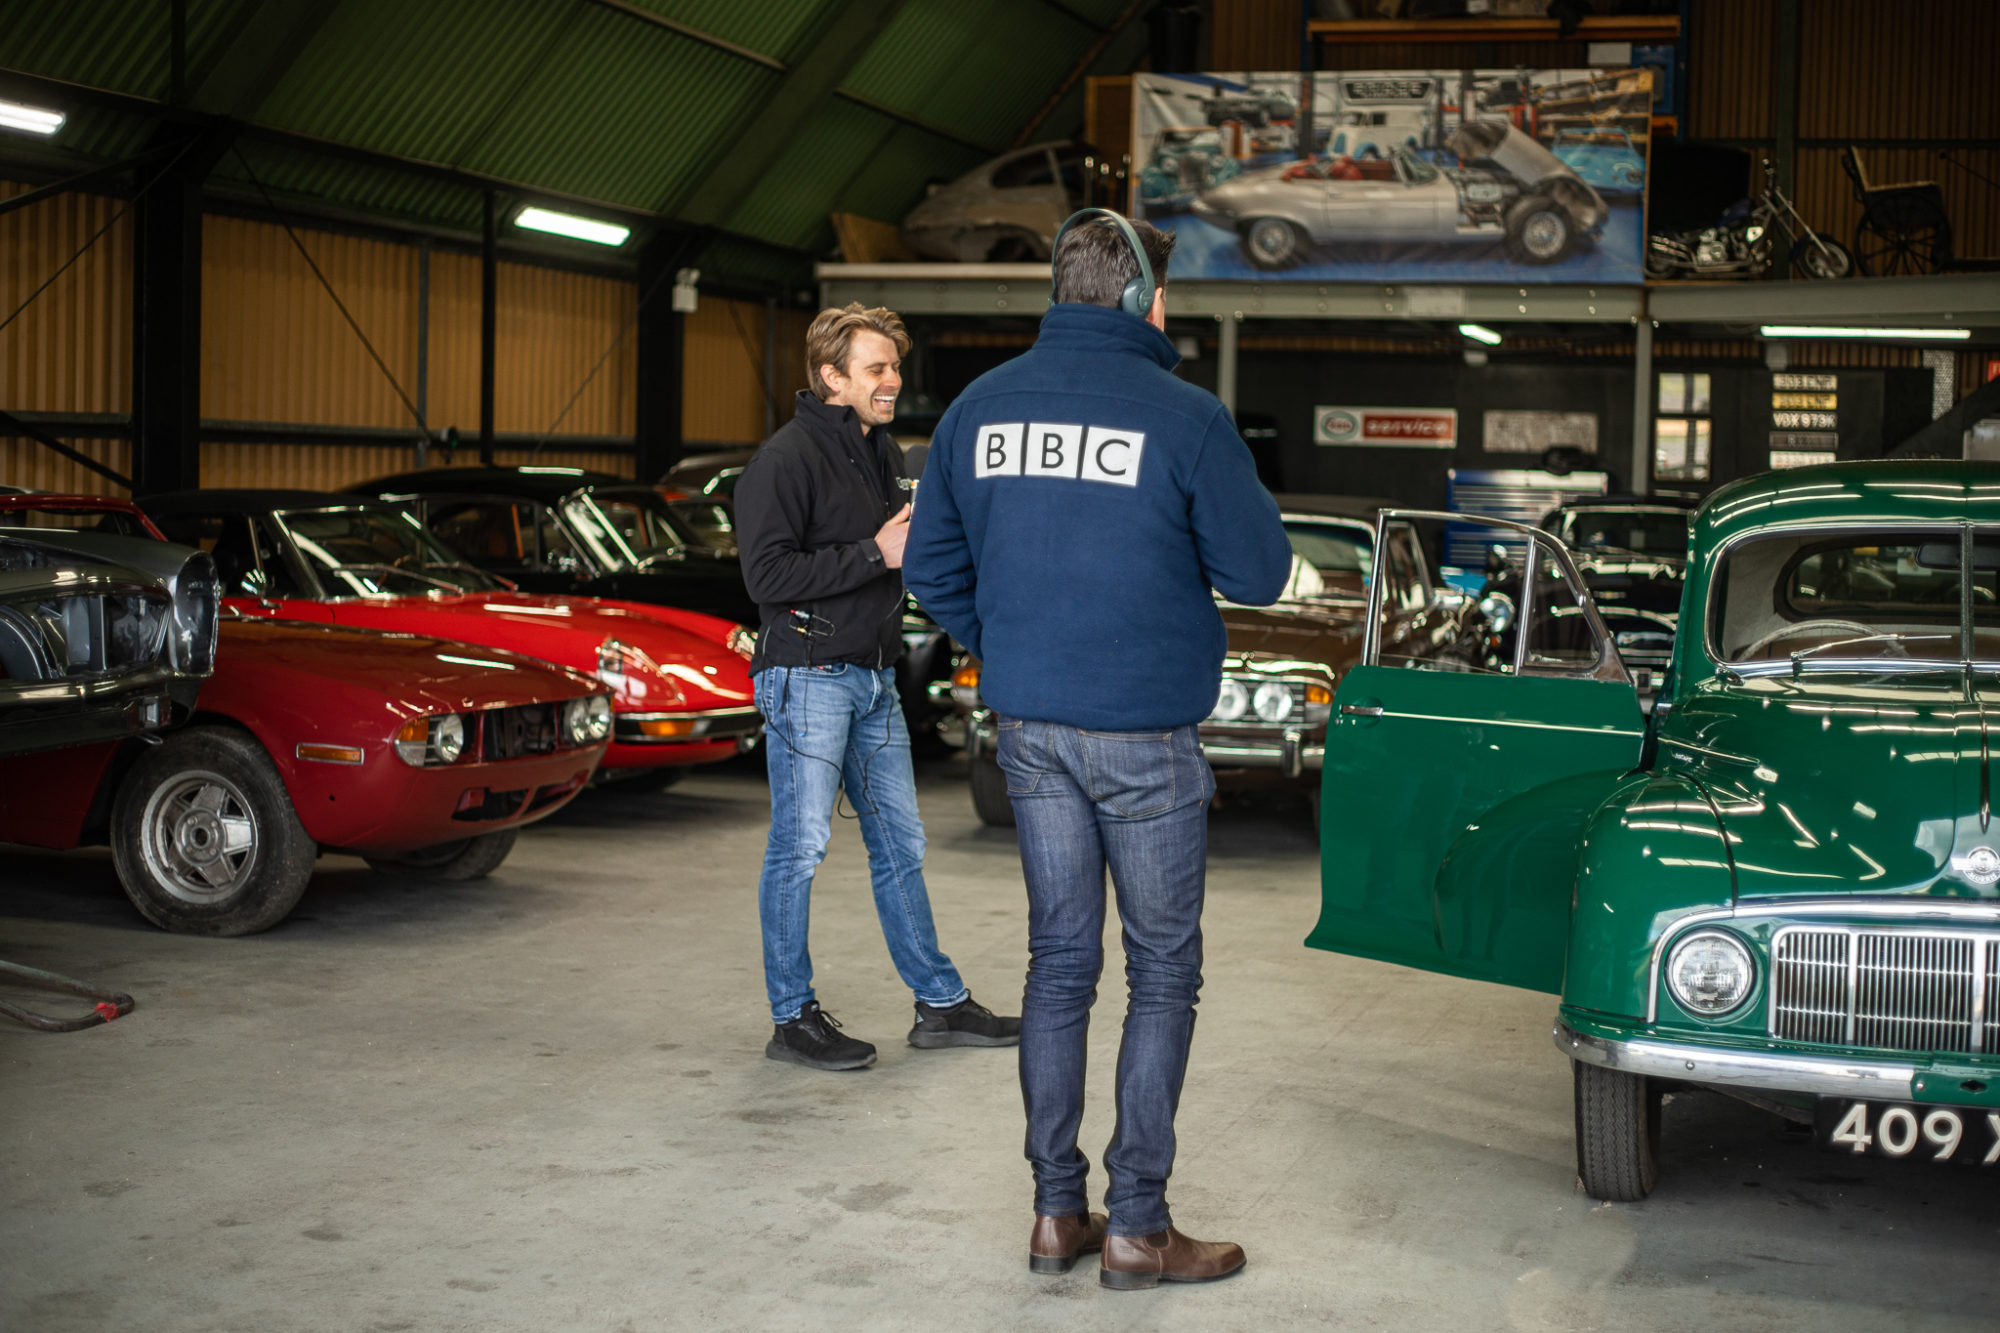
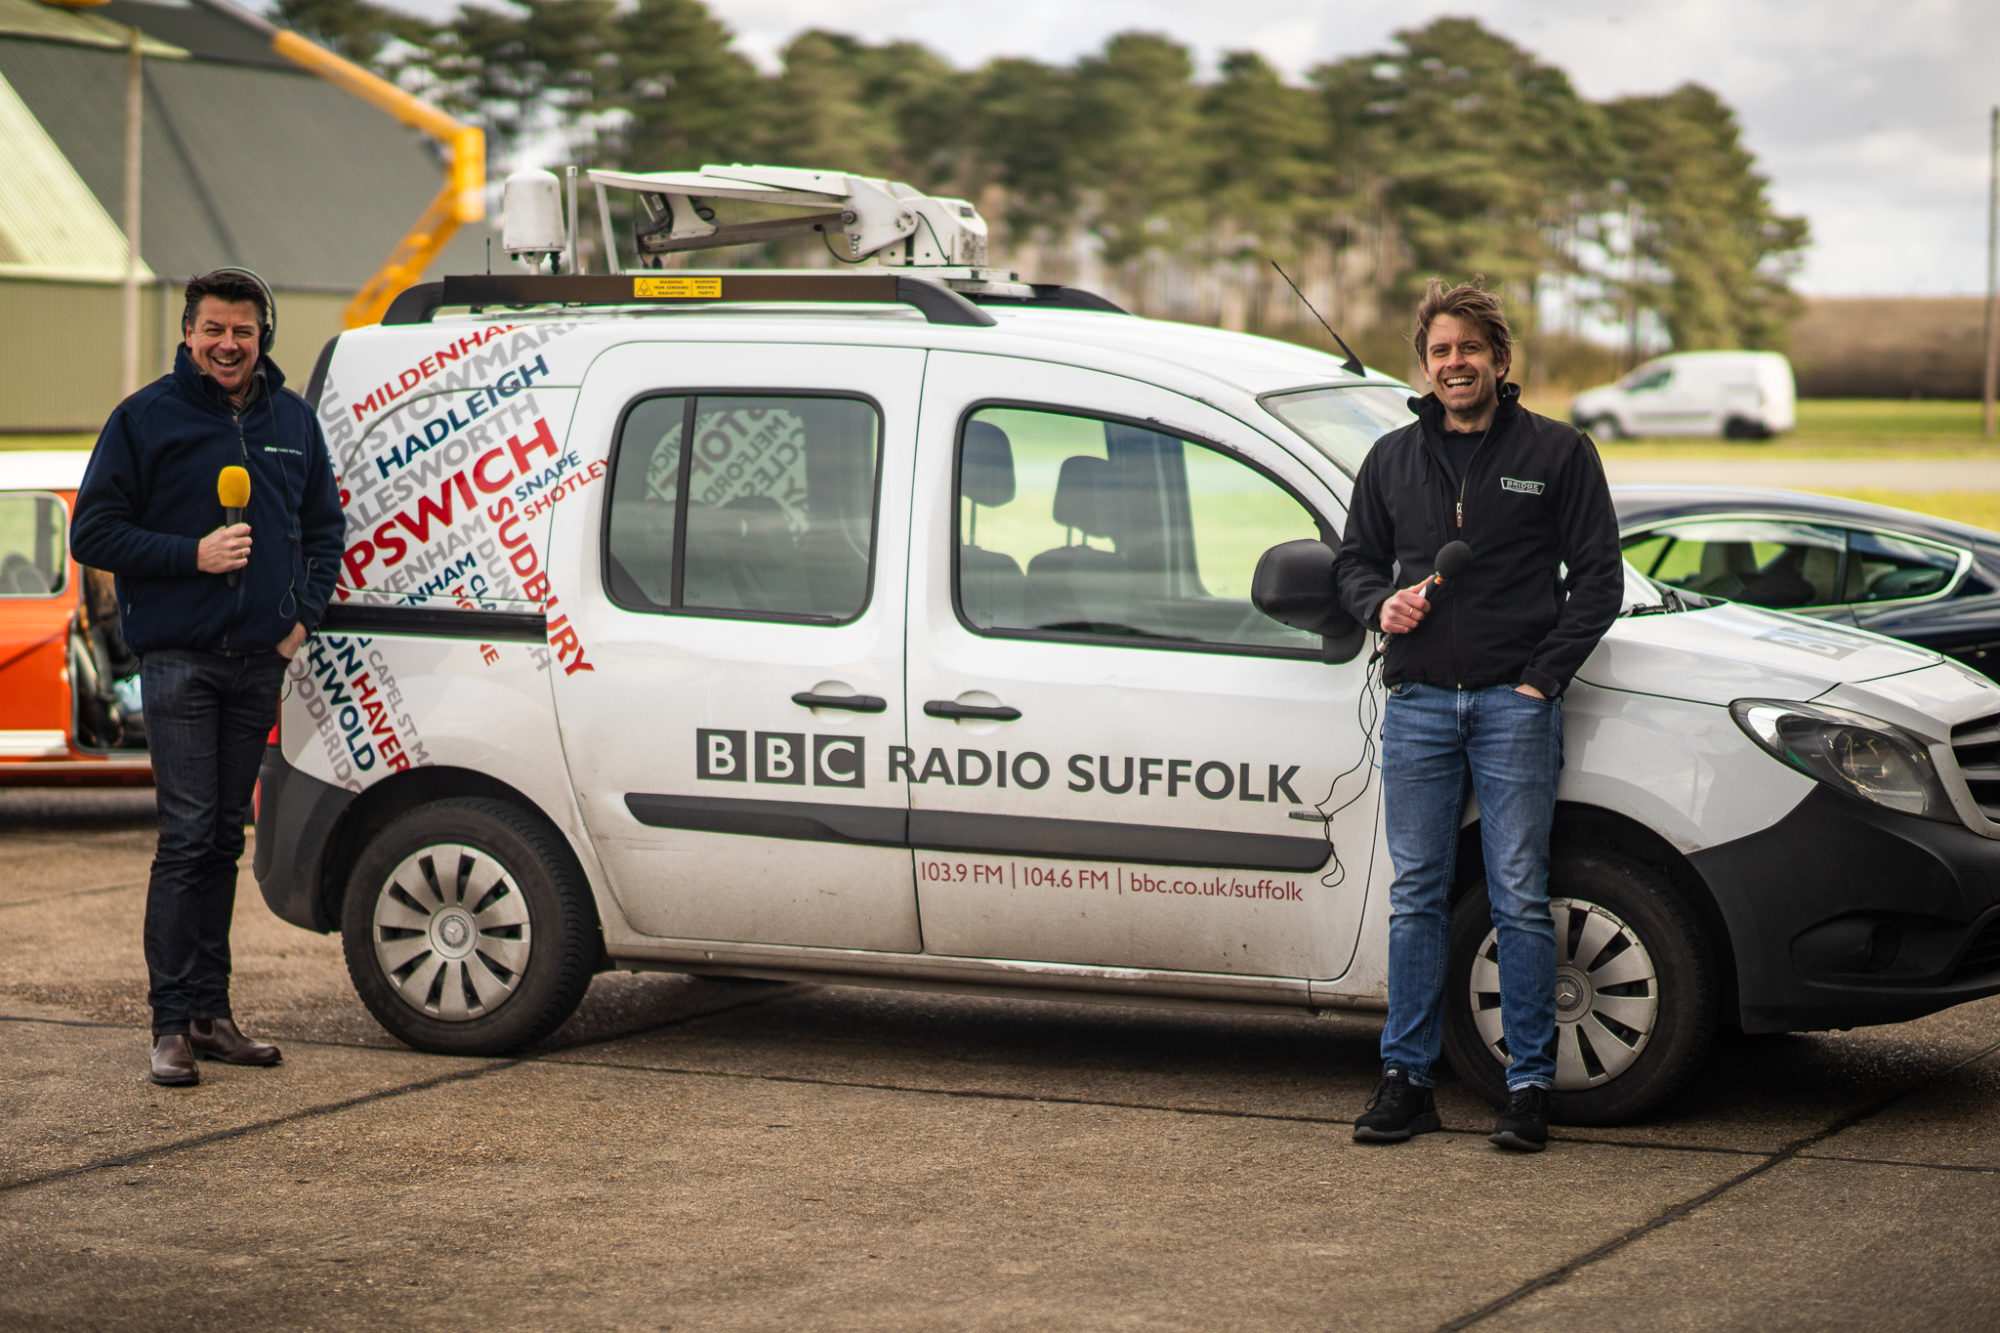
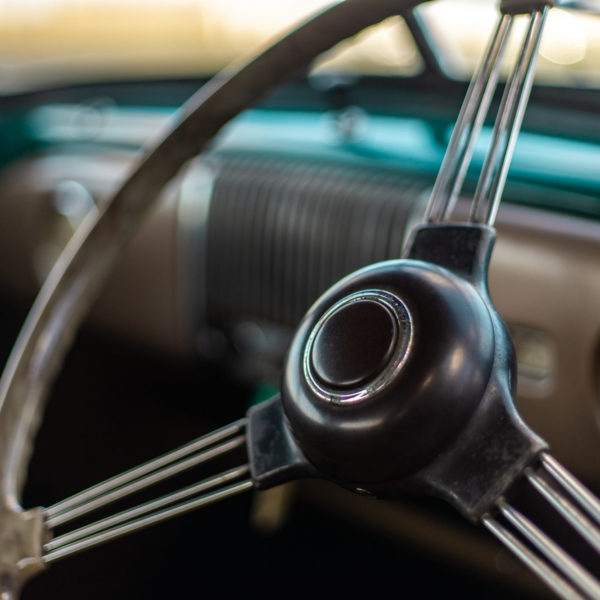
Luke talks about his fascination for Morris Minors as his father ‘had many’ he tells us; “my father had many a Morris Minor so it’s a privilege to be here this morning to find out more about this classic car.”
Luke took a look around our little Morris and remarked “Something that strikes me is that It’s in immaculate condition for something that’s so old”.
We love getting involved with local businesses and people so it was great to have Luke down at the hangar today.


Today marks the 60th anniversary of Jaguar’s iconic E-Type, known for its long linear styling and irresistible British charm which became synonymous with the sixties. To celebrate this anniversary, Jaguar is releasing six limited-edition matching pairs of restored 3.8 E-Types. Inspired by the iconic 9600HP and 77RW examples that featured in Geneva’s 1961 Launch.
The limited-edition 9600HP E-types will be finished in a timeless Flat Out Grey paintwork with Smooth Black leather interior as well as unique 1961 tribute details. The six 77RW E-Types will come in a classy Drop Everything Green styled with Suede Green leather interior and will also come with 1961 tribute details.
All models will come with limited editions 60th details such as a commemorative 60 logo on the bonnet badge, fuel cap, chassis plate and tachometer clock face which has been designed in conjunctions with Julian Thomson, the Jaguar Design Director.
Along with the limited edition badge, these 60th anniversary E-Types also come with bespoke designed and engraved centre consoles by artist King nerd to celebrate the grandeur of road trips taken by Jaguar test driver Norman Dewis and PR man Bob Berry who are to thank for E-Types 1961 launch.
“Sixty years after its unveiling at the Geneva Motor Show in March 1961, the talented team at Jaguar Classic are releasing the ultimate birthday present to the E-type: The E-type 60 Collection. The attention to detail demonstrates how this project has been a labour of love for our designers, engineers, craftspeople and partners. Exquisite detailing combined with enhanced usability ensure these E-types will be coveted and enjoyed for decades to come by their discerning owners, starting with a once-in-a-lifetime Coventry to Geneva pilgrimage for our six customers and their guests in Summer 2022.”

Each limited edition motor features a specially developed close ration five speed manual gearbox with a 3.8 litre in-line six cylinder Jaguar XK engine.
In the summer of 2022, the 6 customers and their guests till take part in a once in a lifetime Coventry to Geneva road trip experience to parade the new motors.
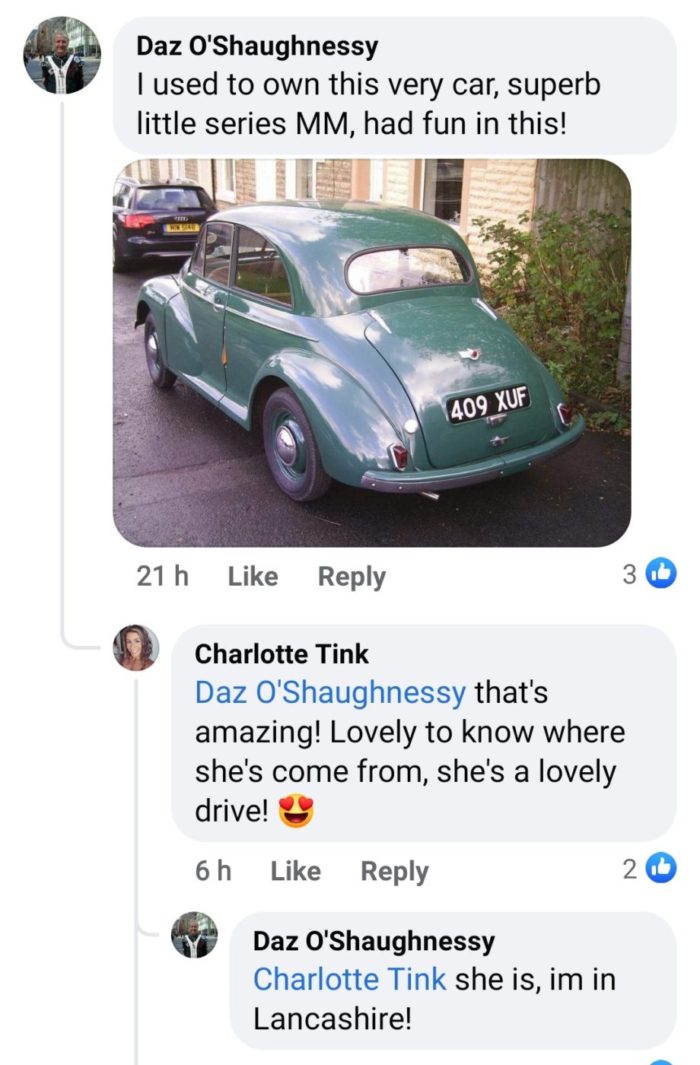
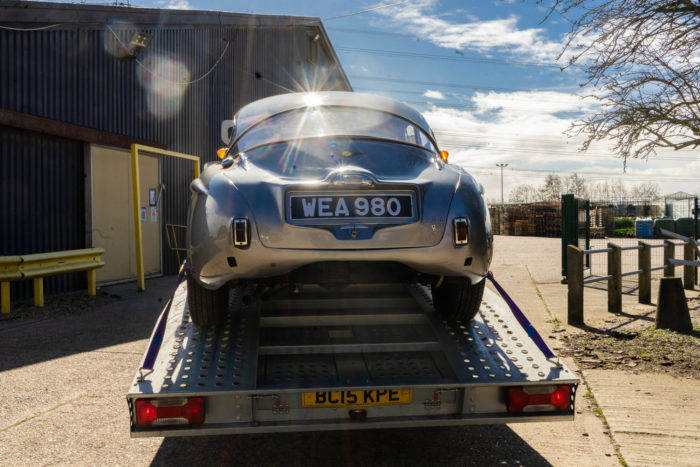
The internet is a wonderful thing. No sooner had we released images of our latest competition car did we hear from Daz!
Daz resides in Lancashire and happen to stumble across one of our advertisements for the competition. He was shocked to see that the car that Charlotte was happily driving around the Suffolk roads was in fact his old from many years ago.
So don’t just take our word for it, hear it from Daz ‘I used to own this very car, superb little MM, had fun in this!’
Great to hear from you Daz…
Motorsport legend Murray Walker has died aged 97. Best known for his iconic voice and commentating, Murray became synonymous with Formula 1. Murray is best remembered for his endearing and characterful commentating, leading to colloquialisms and mistakes soon referred to as Murray-isms. One of his most famous lines came about when announcing the Damon Hill became the F1 Champion in 1996; “”I’ve got to stop now, because I’ve got a lump in my throat”.
Damon Hill said in an interview after Murray’s death: “He could emote the events that happened in our sport. The shocking moments and the dramatic moments all have Murray’s reaction to them and he made those events stick in your mind forever. And he allowed himself not to be the know-it-all commentator, but the fan who, at times, got over-excited.”
Murray was passionate about all things with wheels and a motor, from bikes and cars. Although his career started in advertising, he soon brought his ear for catchy slogans to F1 in 1978.
“The iconic voice of our sport and a great man, thank you for all you did, you will never be forgotten,” said Lewis Hamilton.
In a touching video by Formula One, they describe Murray as part of the F1 family, for racers and fans, “It was never work to Murray, it was never just commentating, it was simply telling the world about something he loved. And for that, the world loved Murray too.”
You can read more about Murray Walker here. You can also see his life in pictures here.
According to Eurosport, here at the top Murray-isms:
“Unless I am very much mistaken…. I AM very much mistaken!”
“Mansell is slowing down, taking it easy. Oh no he isn’t IT’S A LAP RECORD.”
“This is an interesting circuit, because it has inclines. And not just up, but down as well.”
“The lead car is absolutely unique, except for the one behind it which is identical.”
“The most important part of the car is the nut that holds the wheel.”
“I know it’s an old cliche, but you can cut the atmosphere with a cricket stump.”
“Tambay’s hopes, which were nil before, are absolutely zero now.”
“And there’s no damage to the car. Except to the car itself.”
“That’s the first time he had started from the front row in a Grand Prix, having done so in Canada earlier this year.”
“Here in Malaysia, it doesn’t rain here by the bucketful, it rains by the ocean.”
“How you can crash into a wall without it being there in the first place is beyond me!”
“Excuse me while I interrupt myself”
“And the first five places are filled by five different cars.”
“And Damon Hill is following Damon Hill.”
“Michael Schumacher is leading Michael Schumacher.”
“Jean Alesi is 4th and 5th.”
“Villeneuve is now twelve seconds ahead of Villeneuve.”
“Frentzen is taking, er, reducing that gap between himself and Frentzen.”
“This has been a great season for Nelson Piquet, as he is now known, and always has been.”
“It’s lap 26 of 58, which unless I’m very much mistaken is half way.”
“I’m ready to stop my start watch.”
“Only a few more laps to go and then the action will begin. Unless this is the action, which it is!”
“I can’t imagine what kind of problem Senna has. I imagine it must be some sort of grip problem.”
“He’s obviously gone in for a pit stop. I say obviously, because I cannot see anything.”
“And the first three cars are all Escorts, which isn’t surprising as this is an all Escort race.”
“He is exactly 10 seconds ahead, or more approximately, 9.86 seconds.”
“Look up there! That’s the sky!”
“There’s nothing wrong with his car except that it’s on fire.”
“I don’t want to tempt fate but Damon Hill is now only half a lap from his first Grand Prix win and… and HE’S SLOWING DOWN, DAMON HILL IS SLOWING DOWN… HE’S… HE’S STOPPED!”
“As you look at the first four, the significant thing is that Alboreto is fifth.”
“He’s the only man on the track, except for his car.”
“You might think that’s not cricket, and it’s not. It’s motor racing.”
“And Michael Schumacher is actually in a very good position. He is in last place.”
“One light, two lights, three lights, four laps, five lights, go, go, go!”
“That’s history. I say history because it happened in the past.”
“There are a lot of IFs in Formula One, in fact IF is Formula One backwards!”
“Anything happens in Grand Prix racing, and it usually does.”
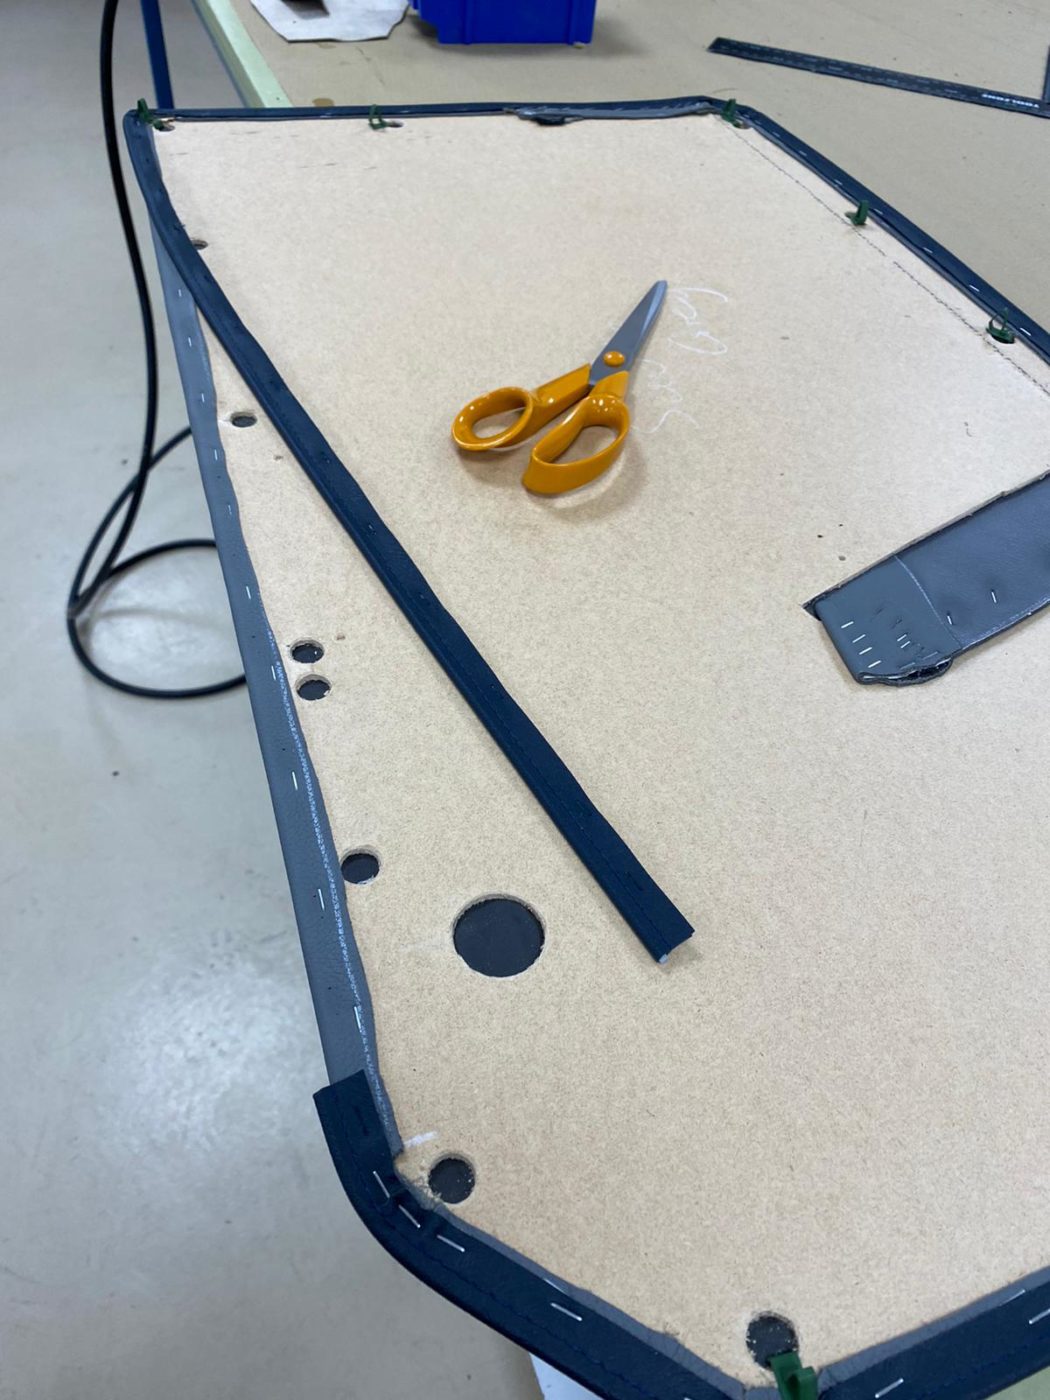
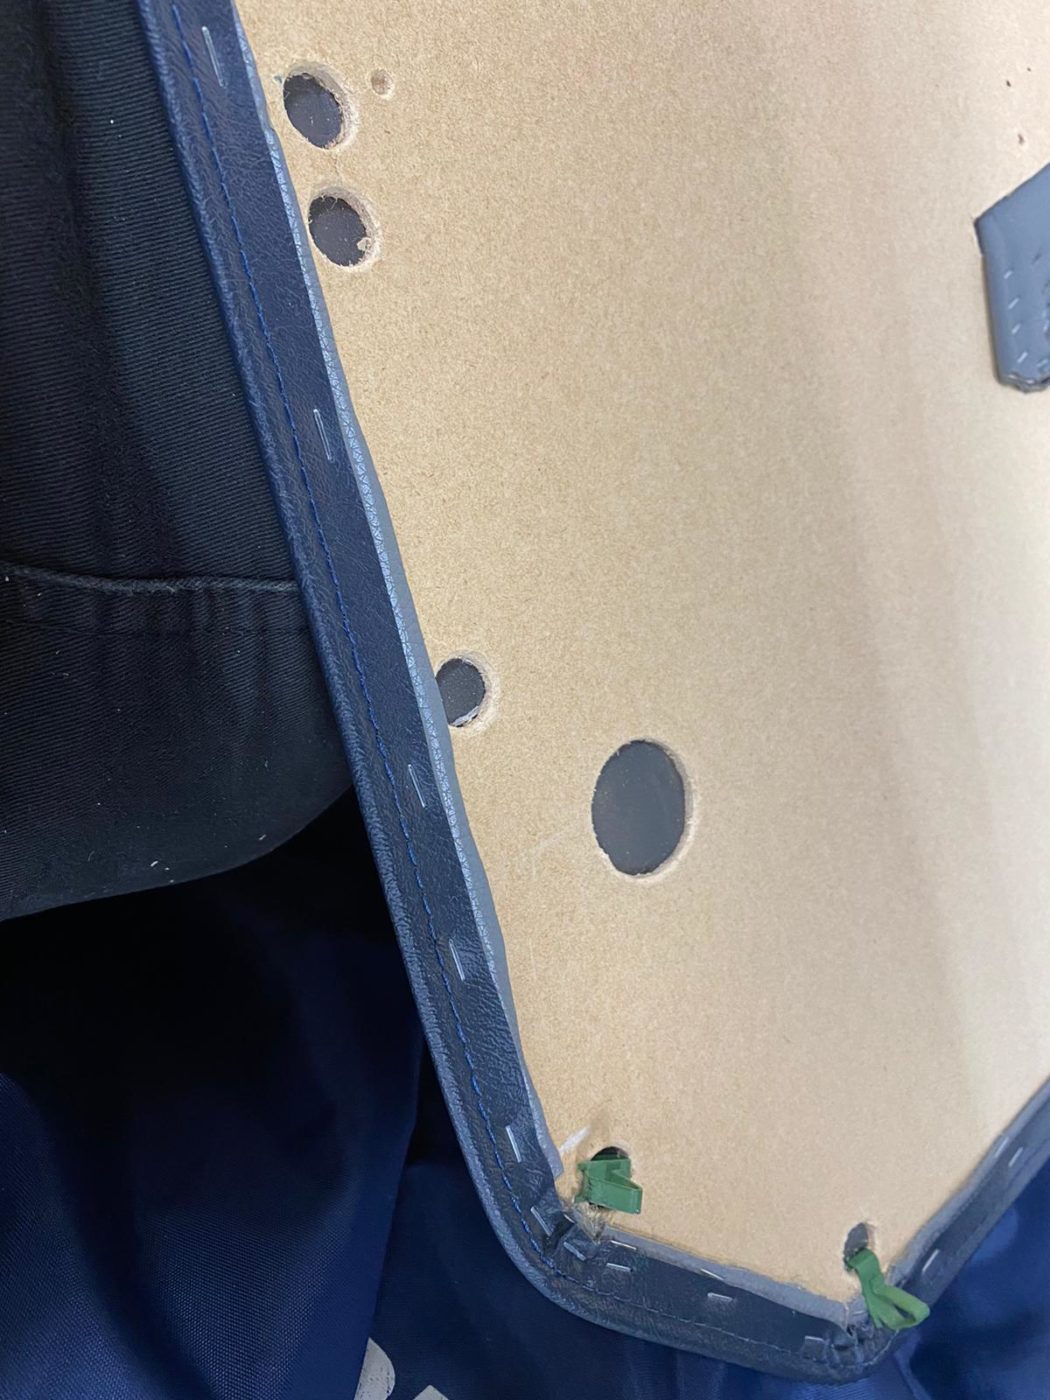
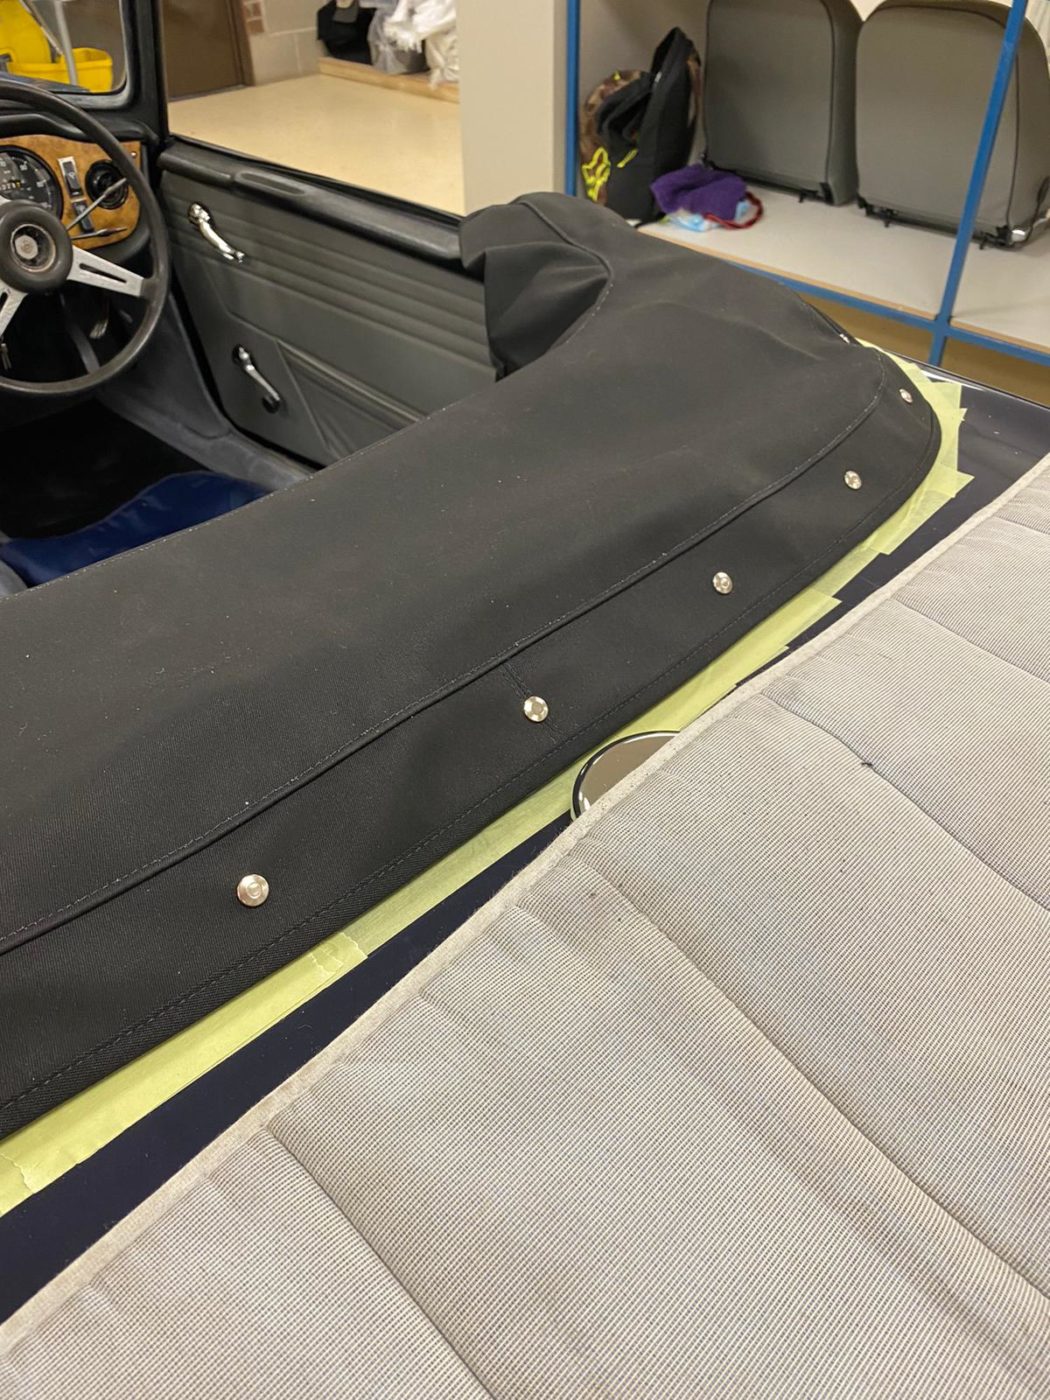
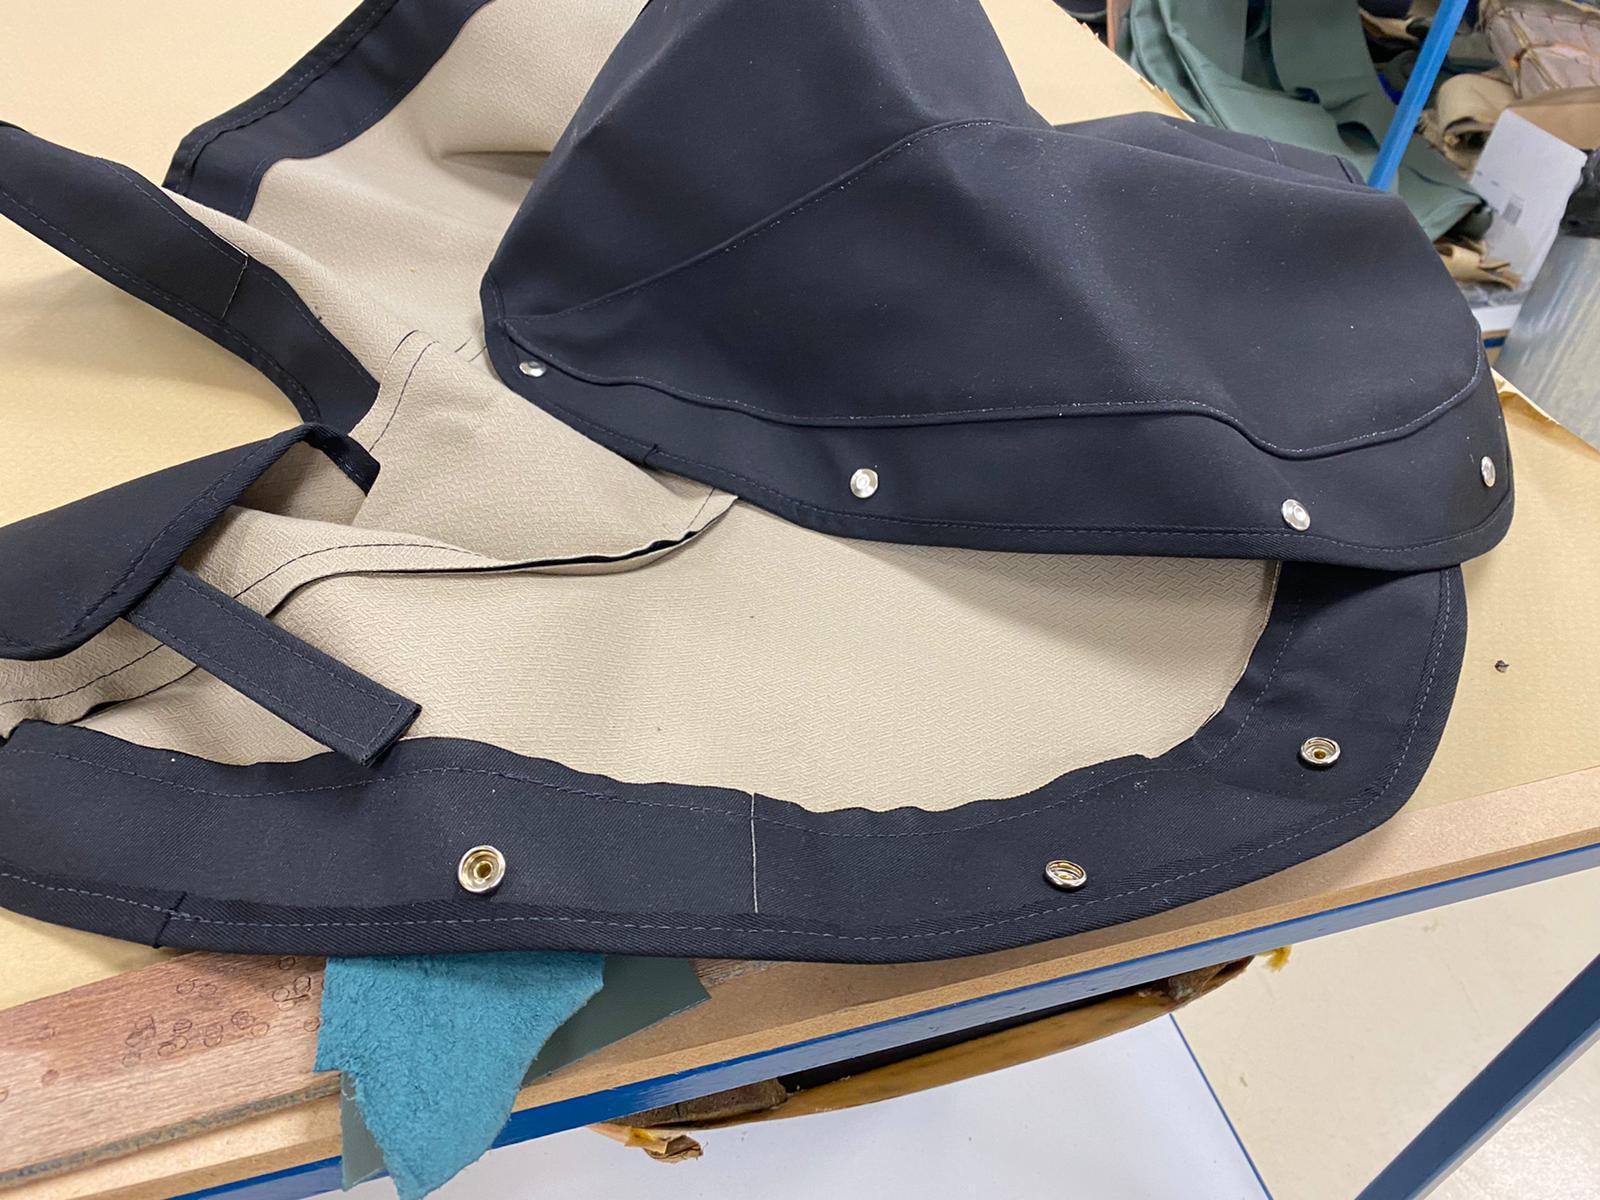
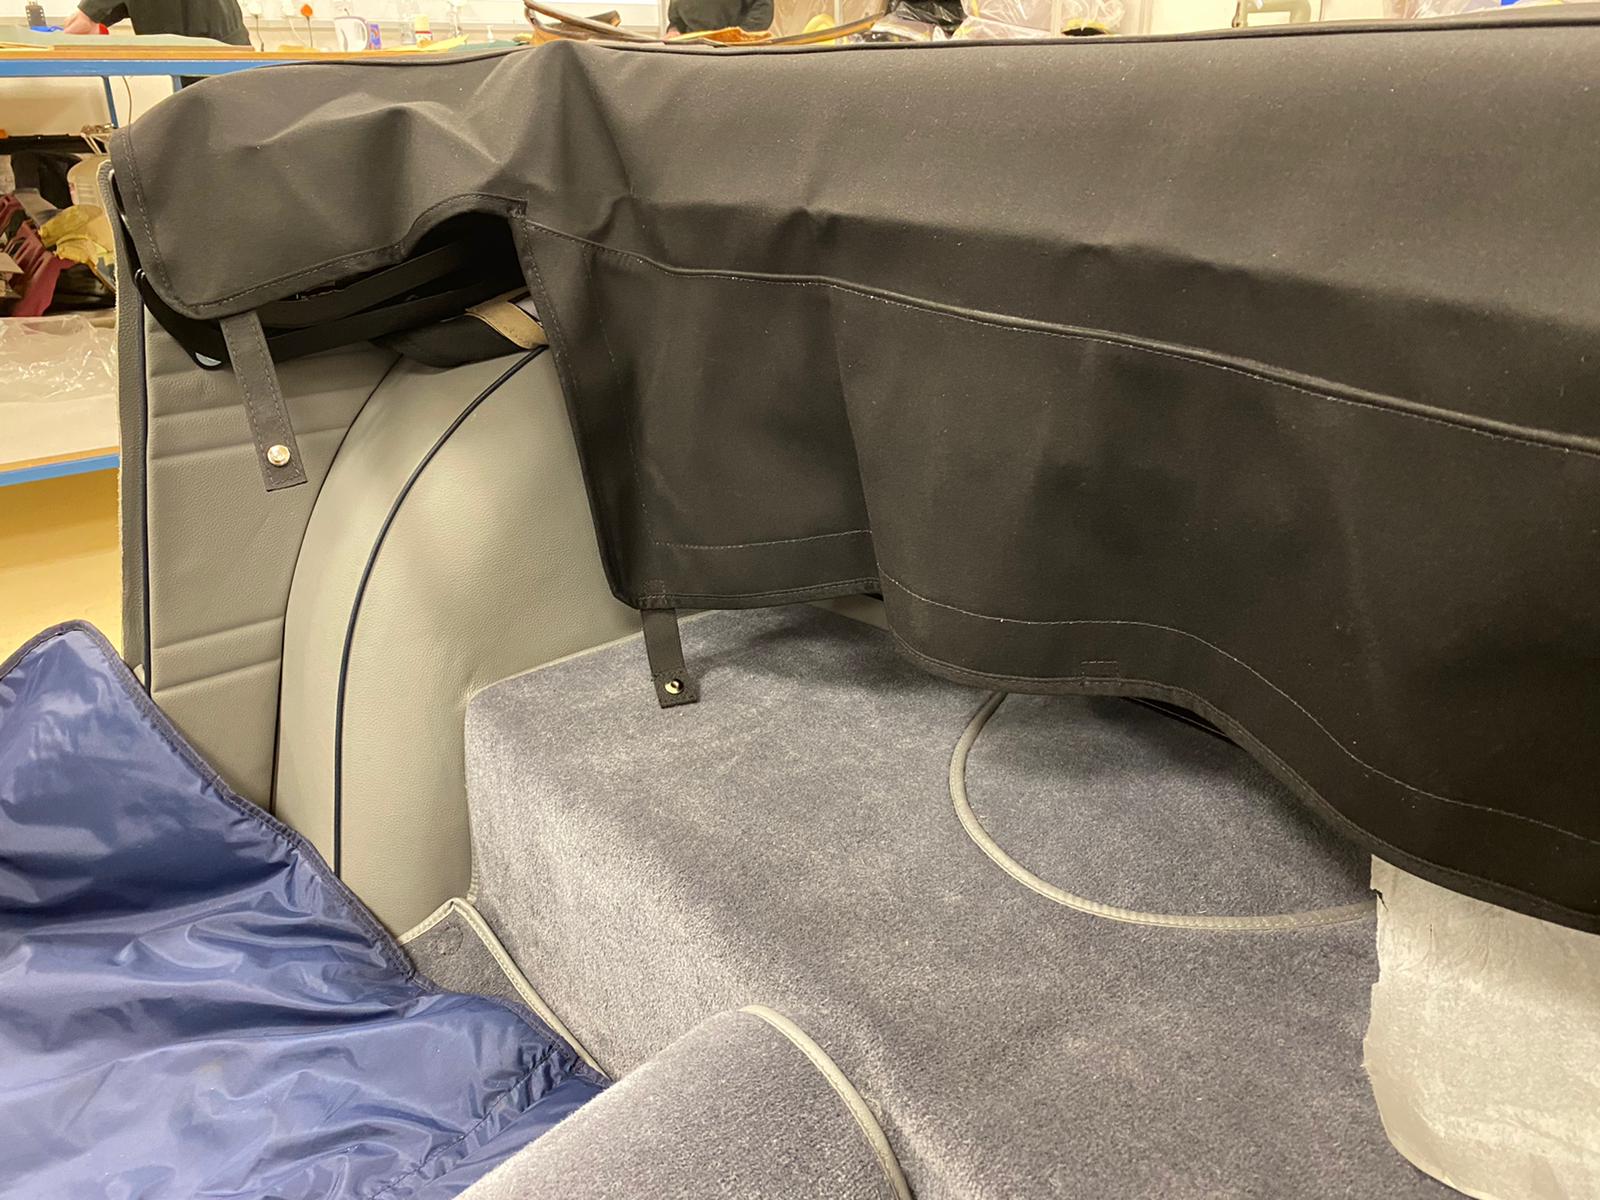
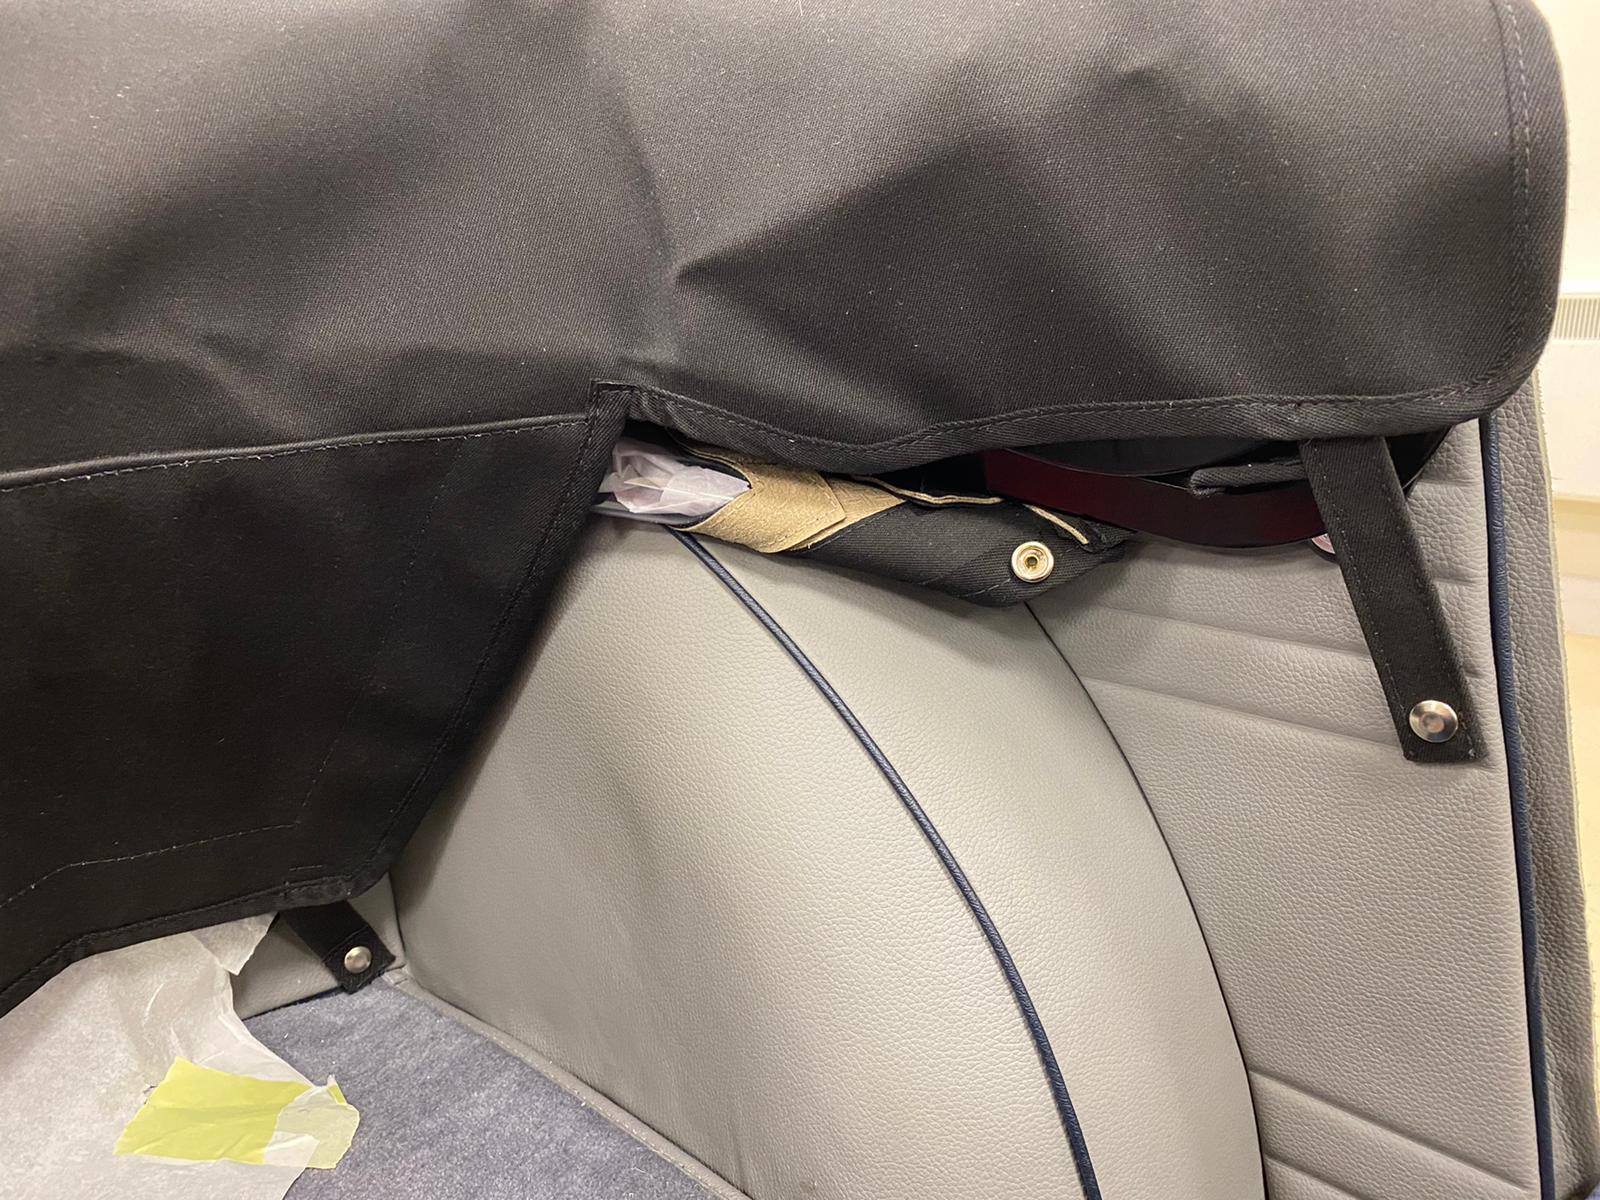
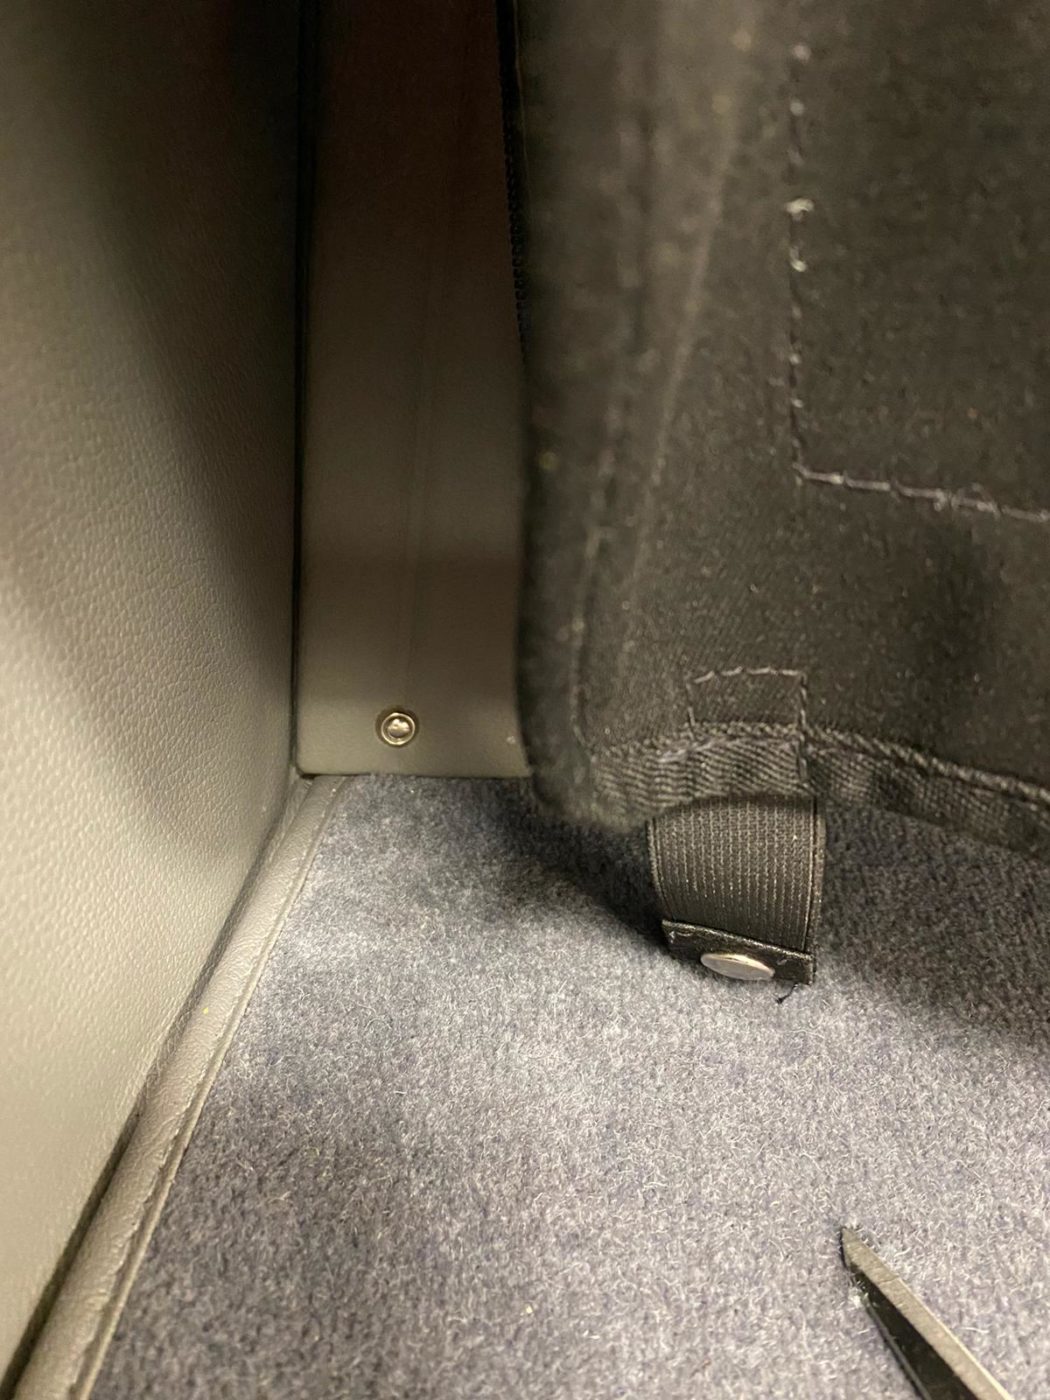
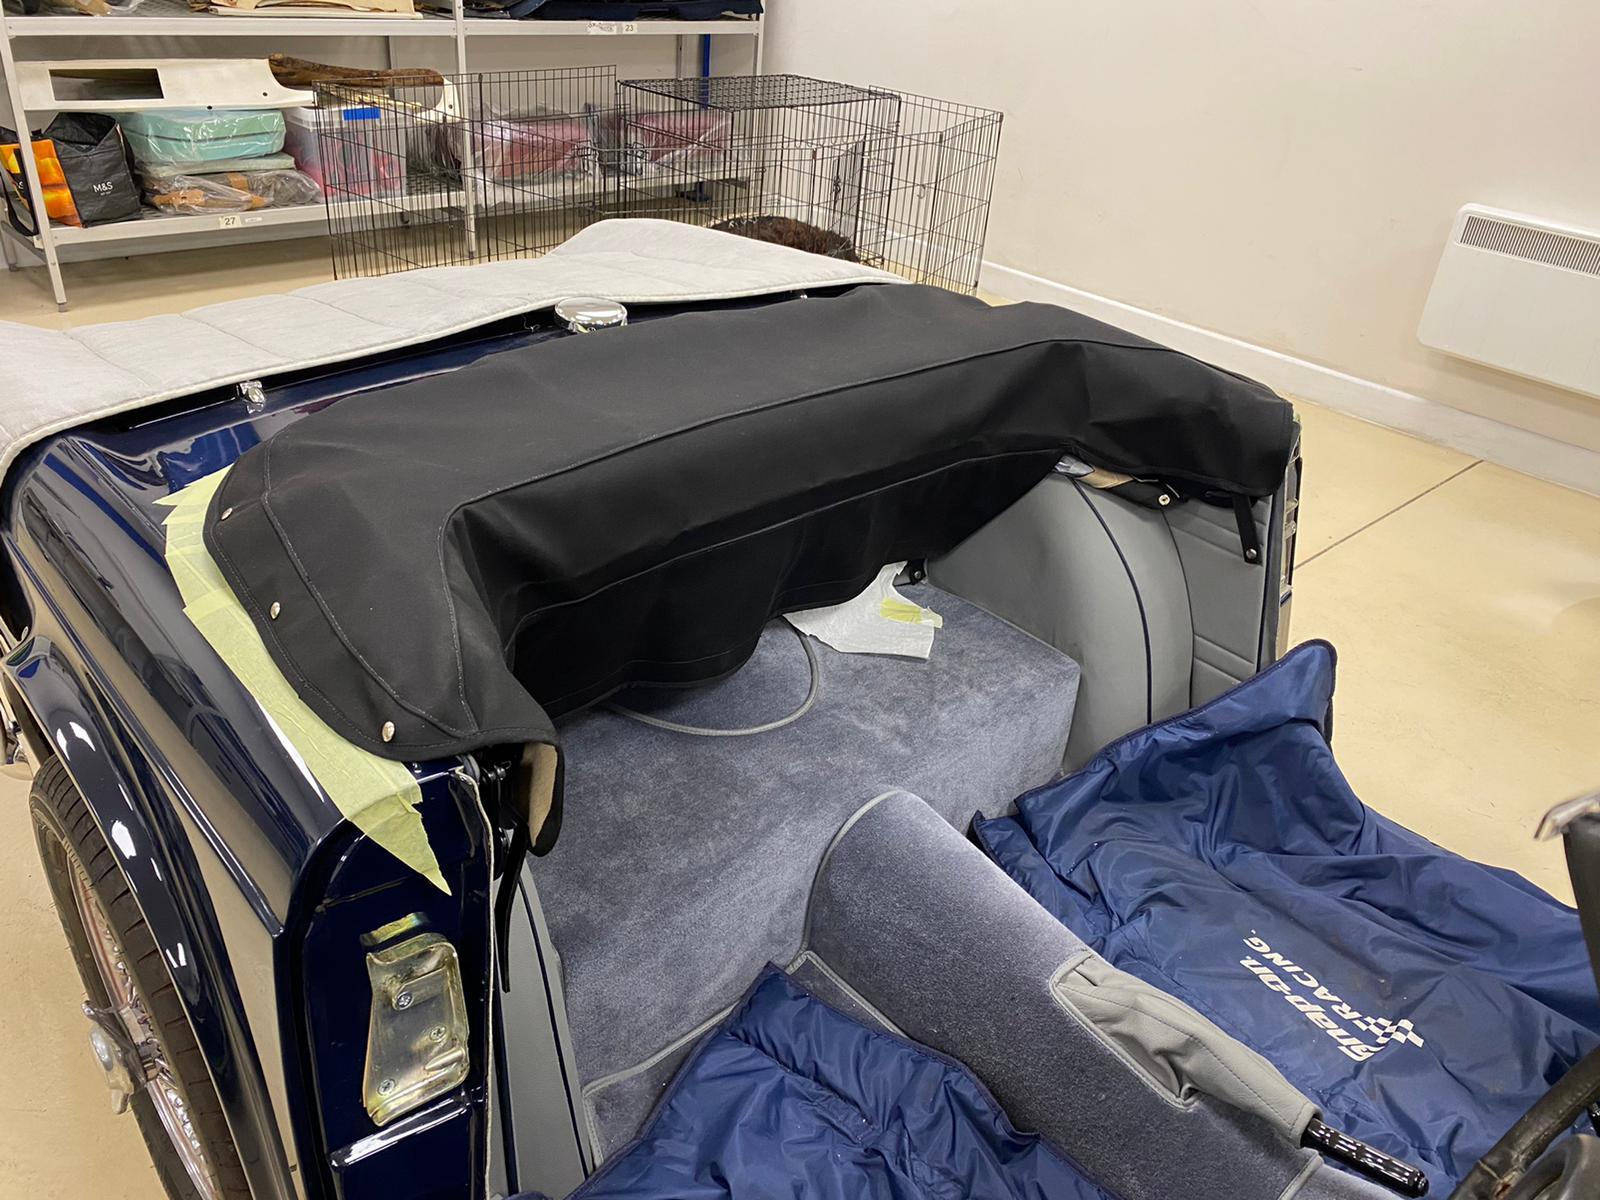
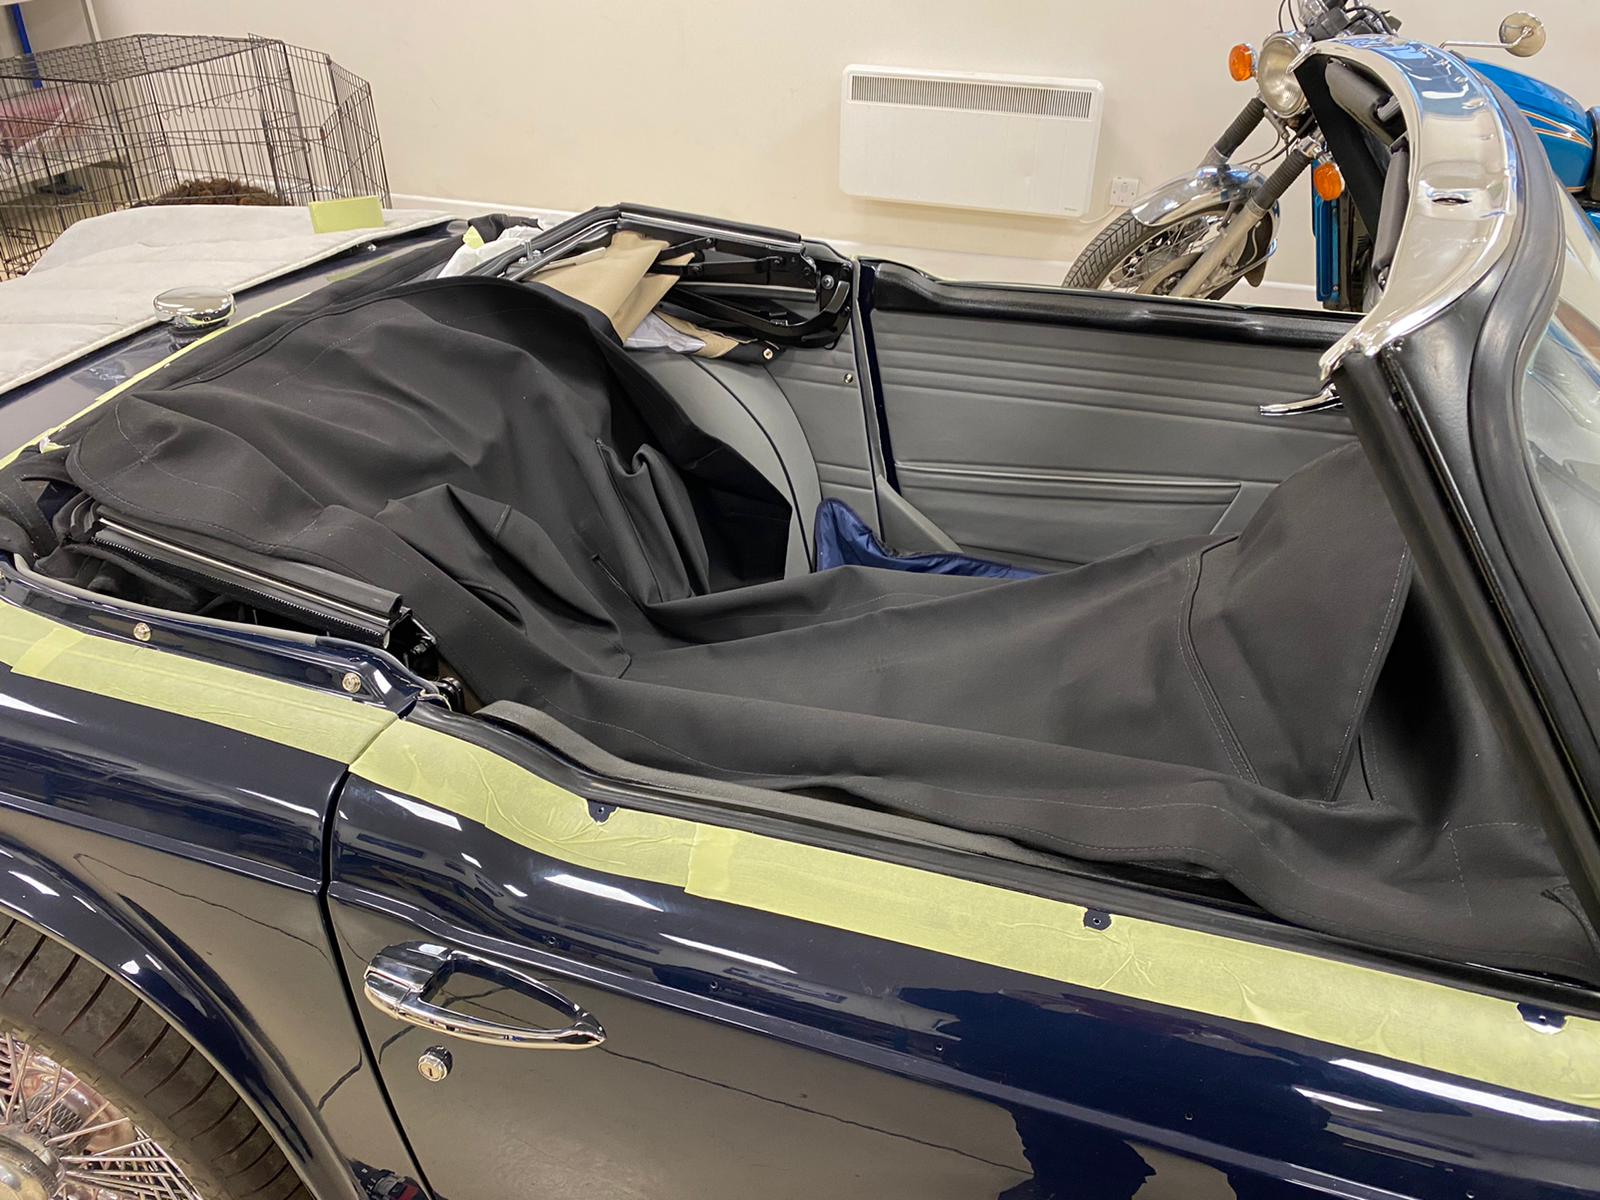
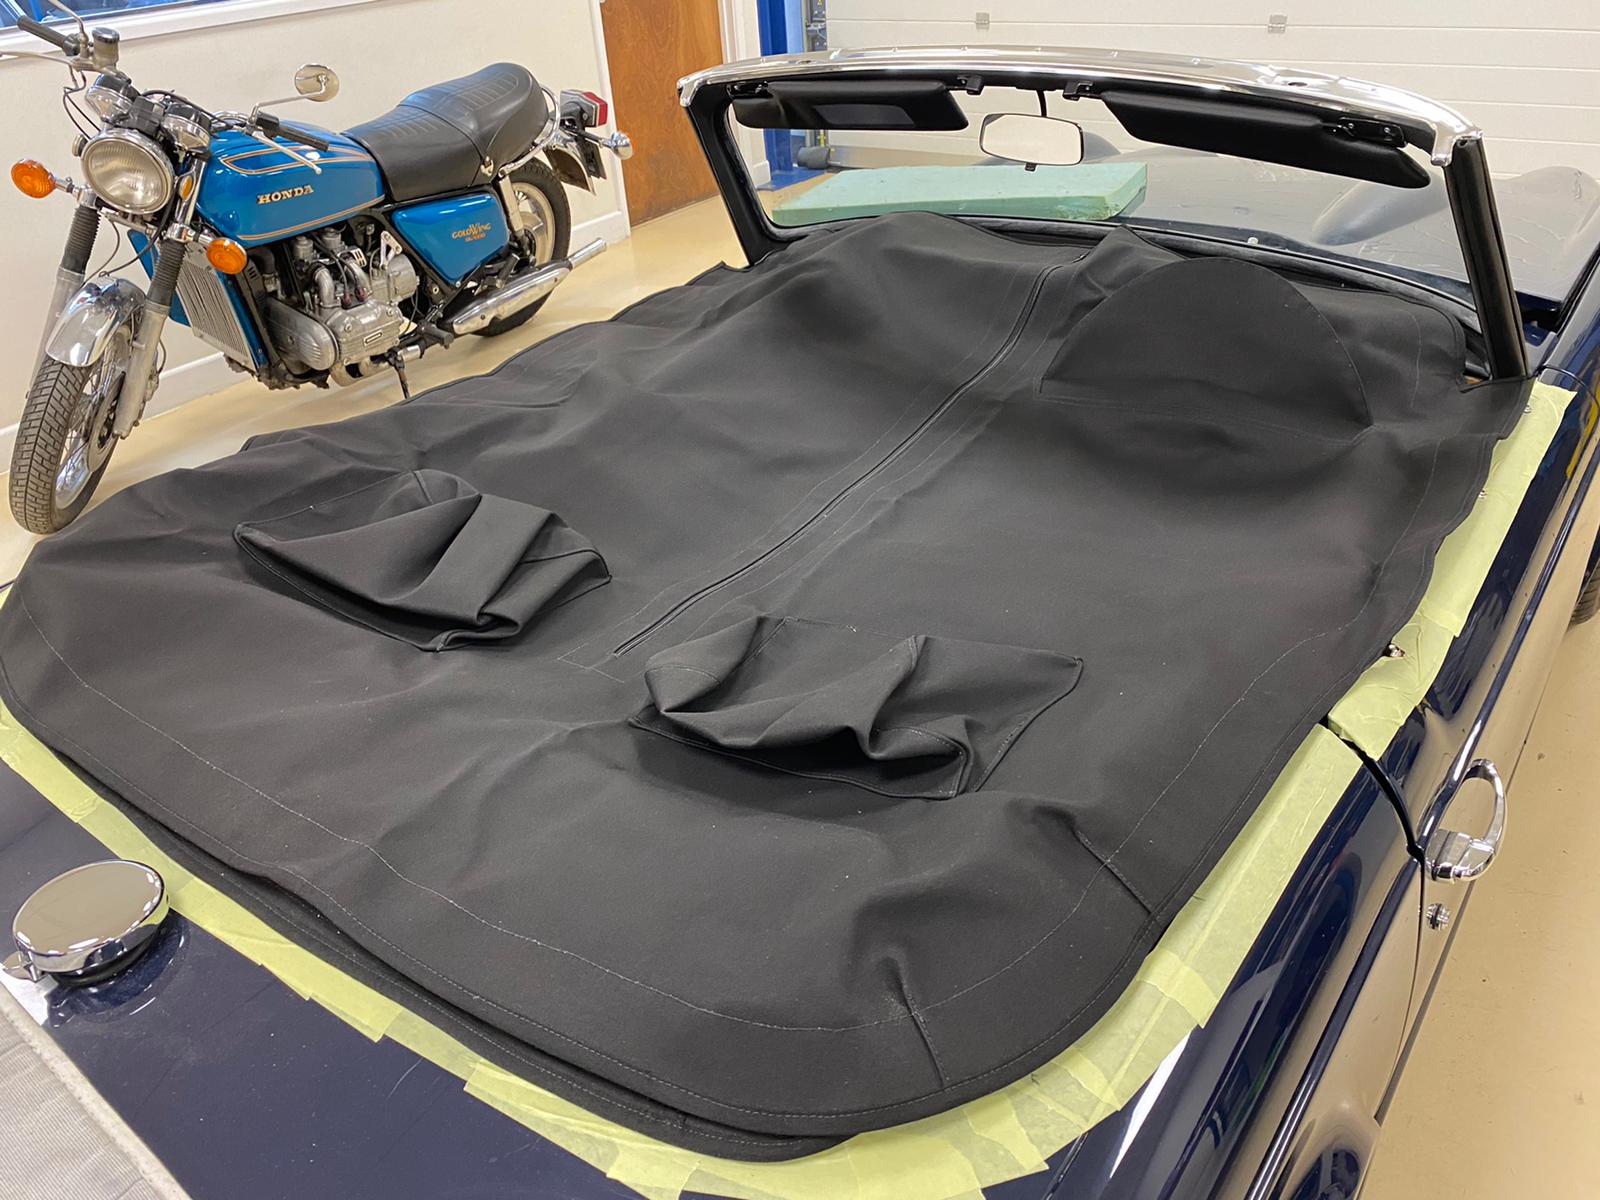
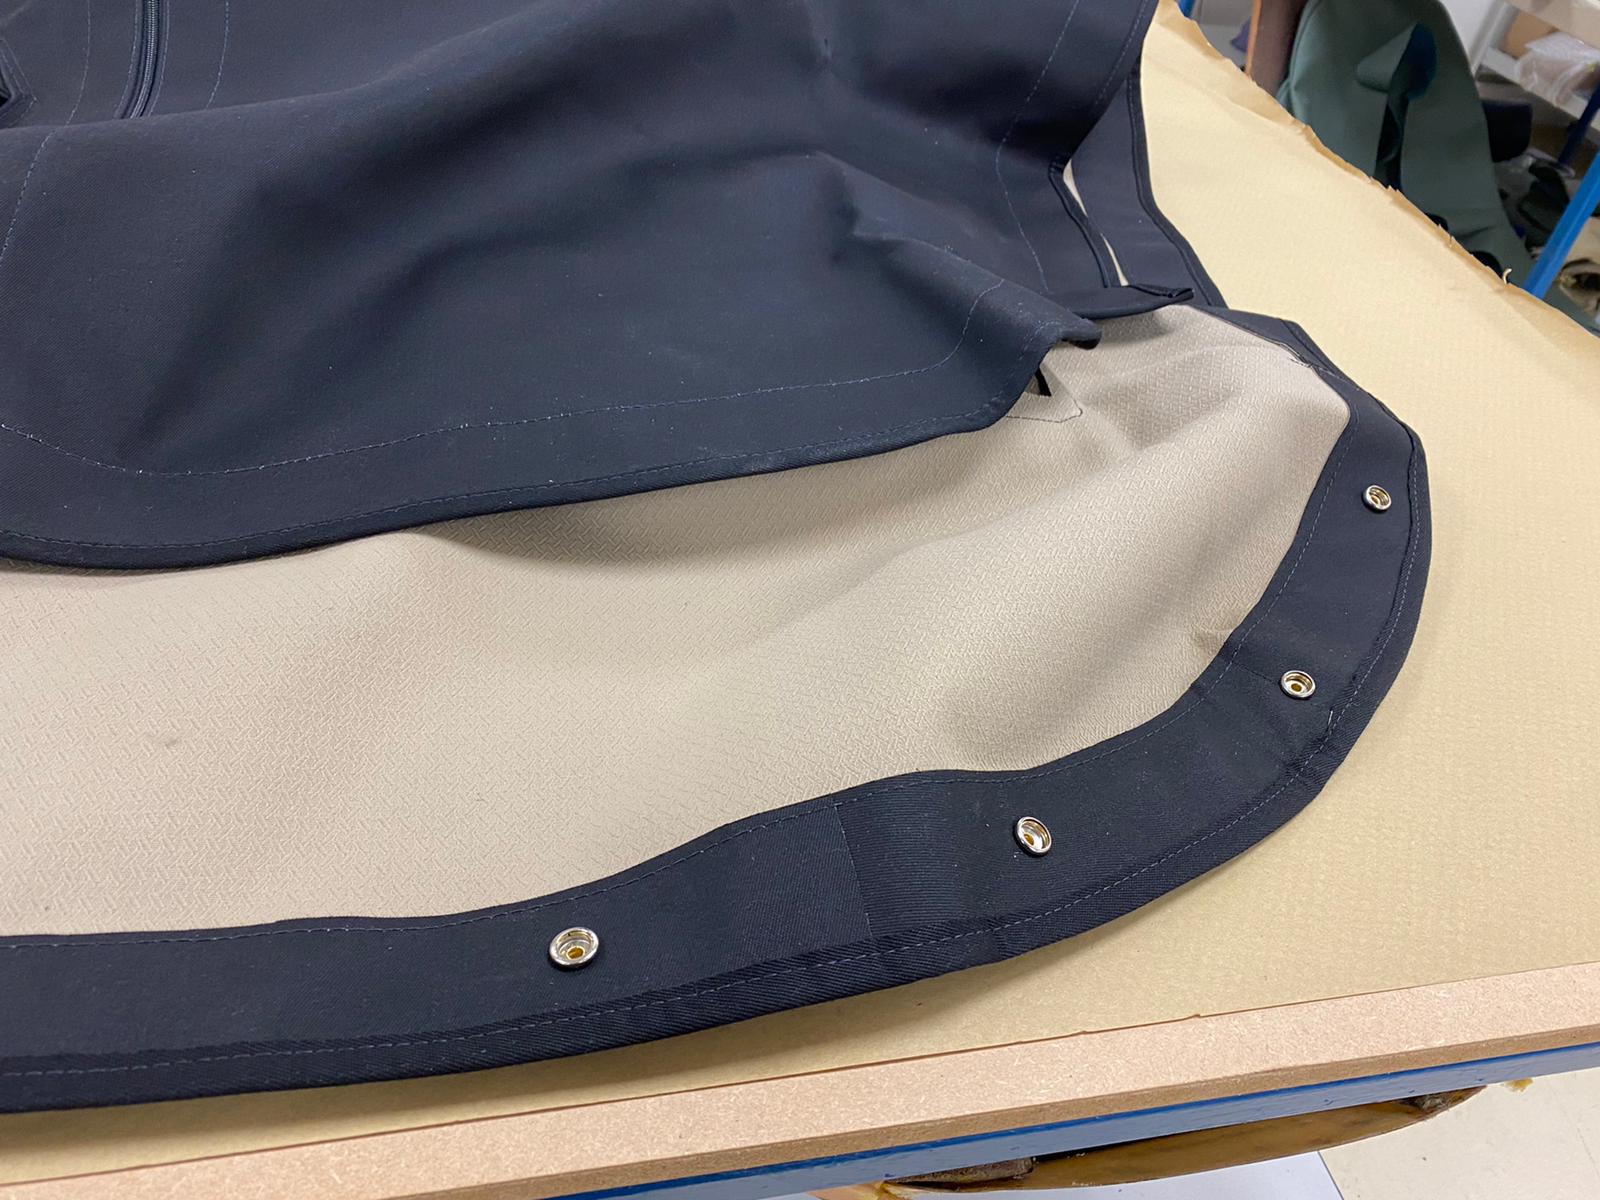
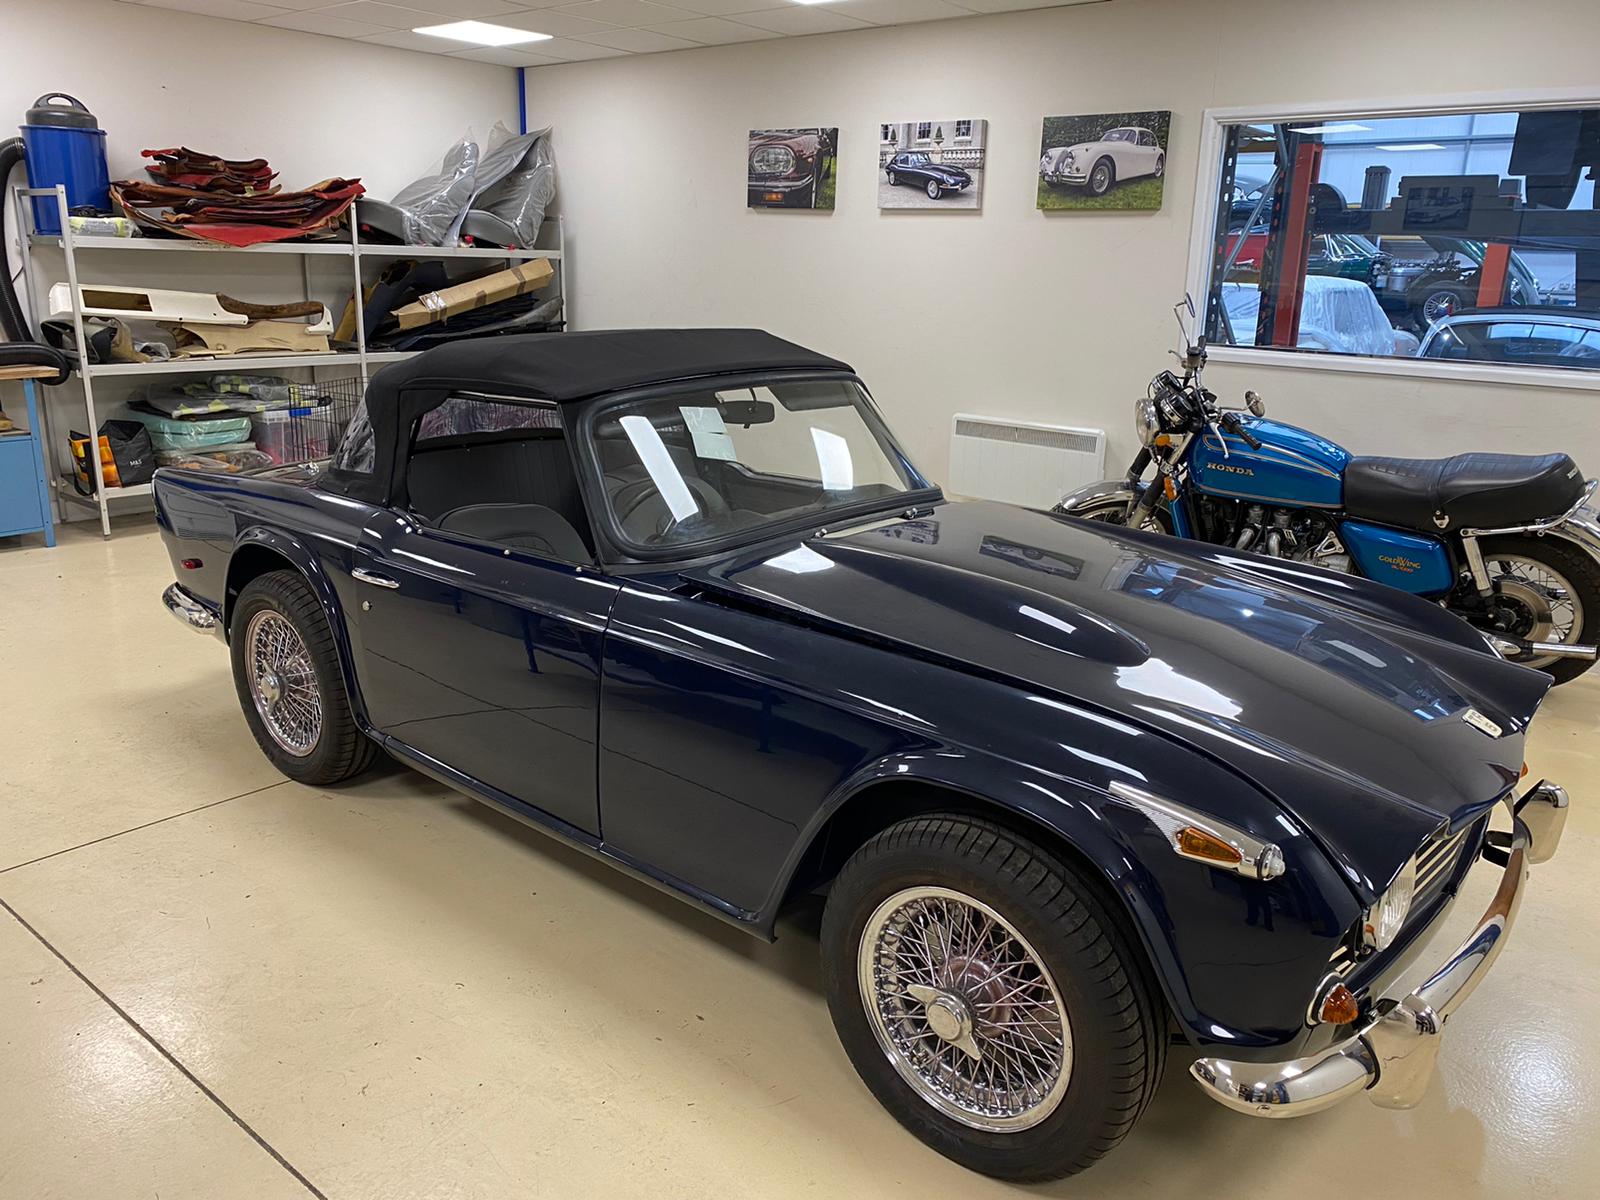
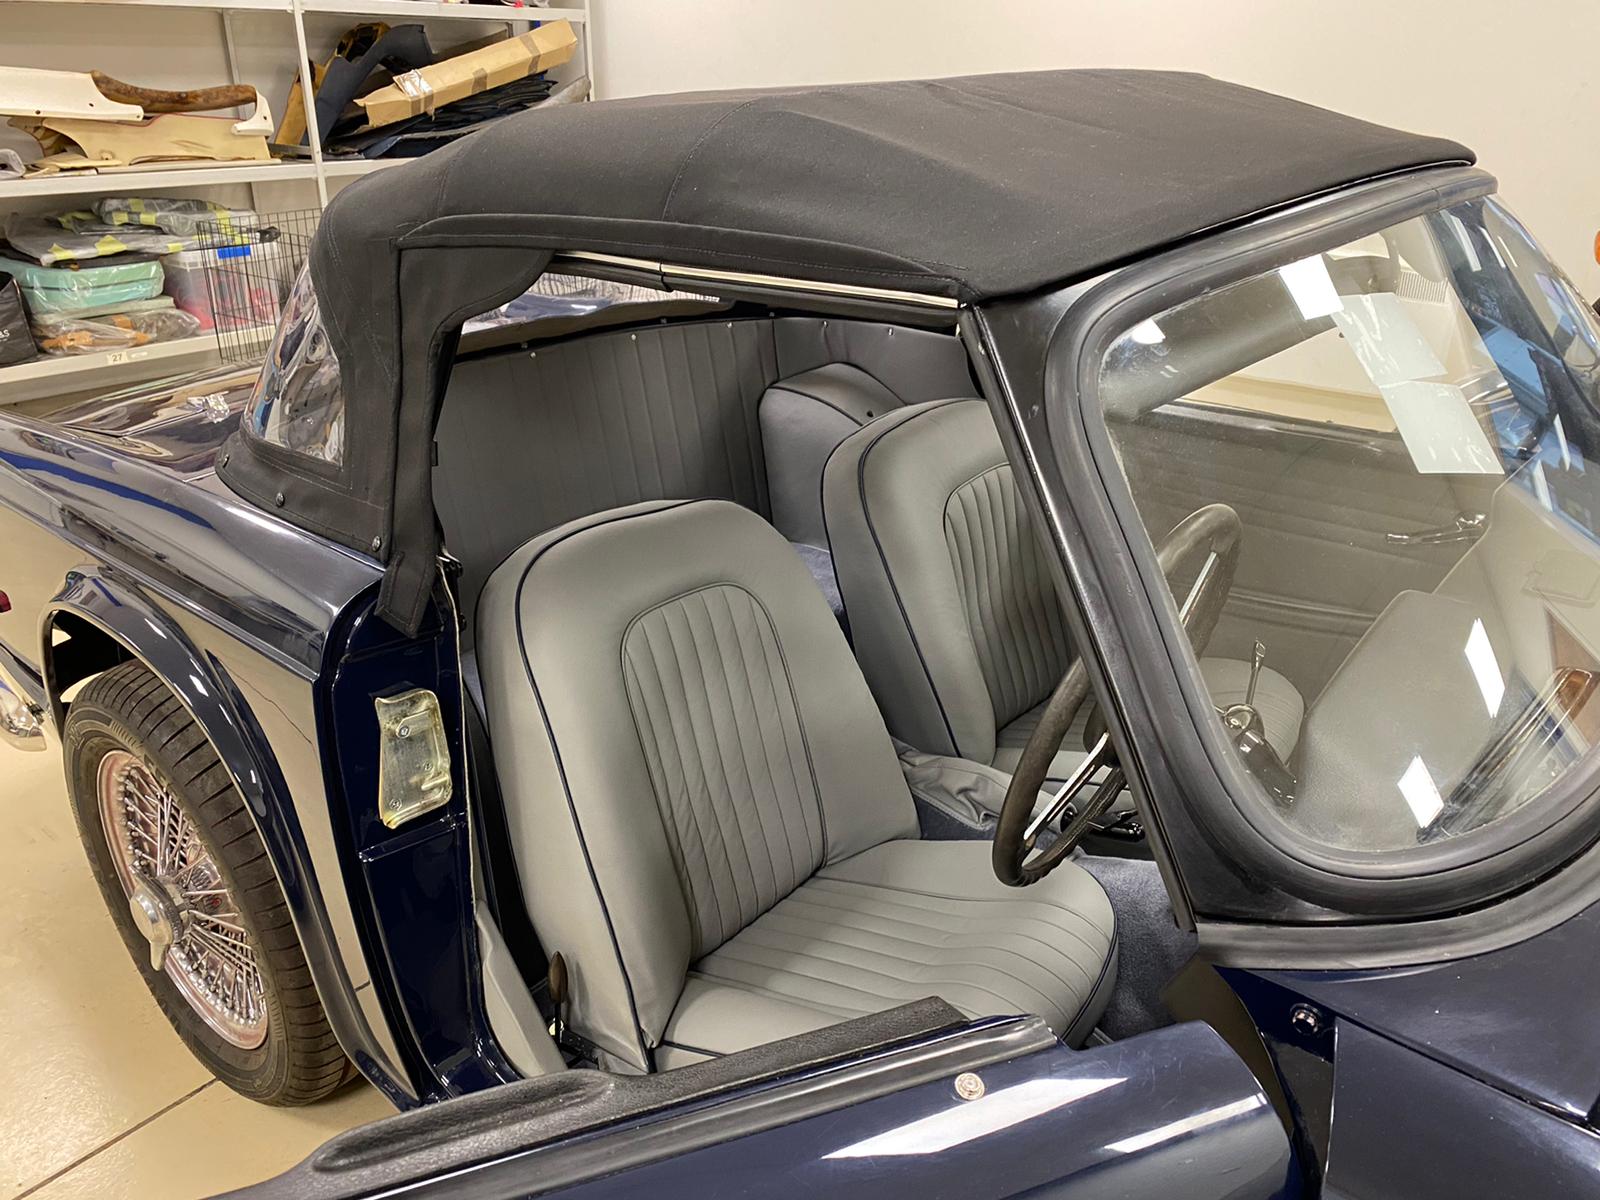
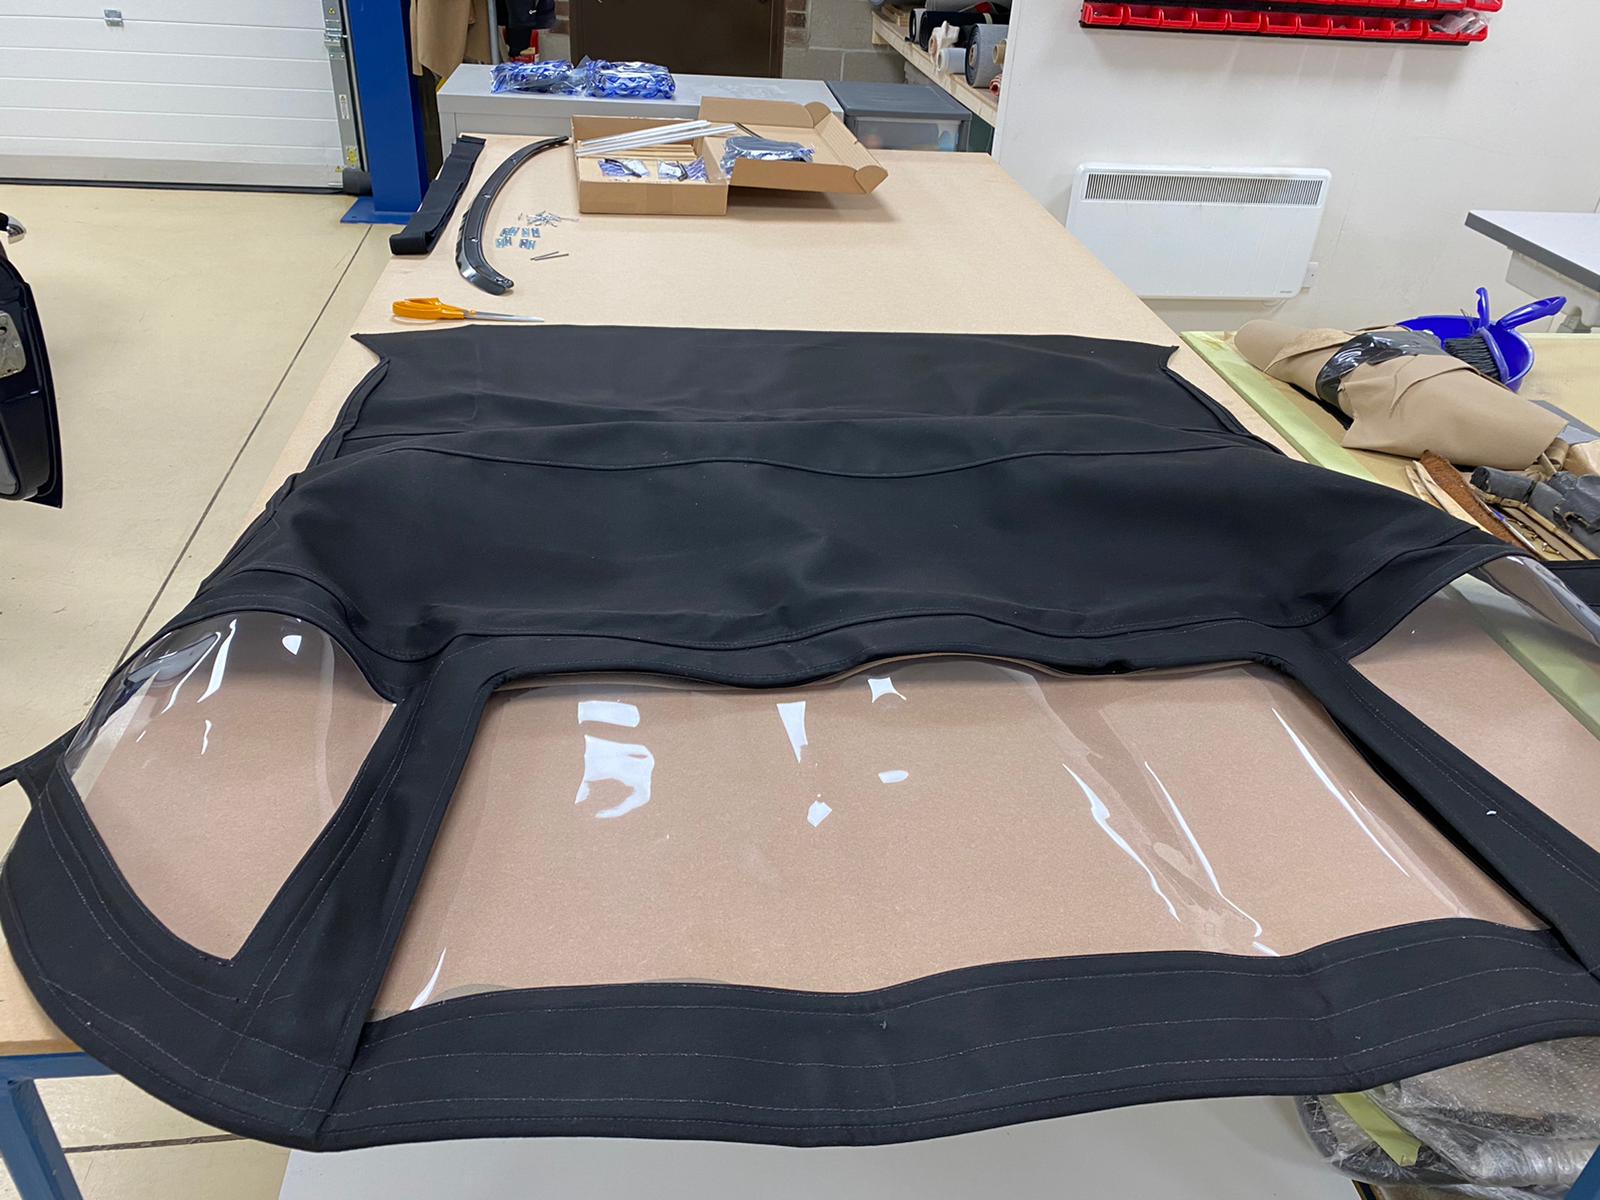
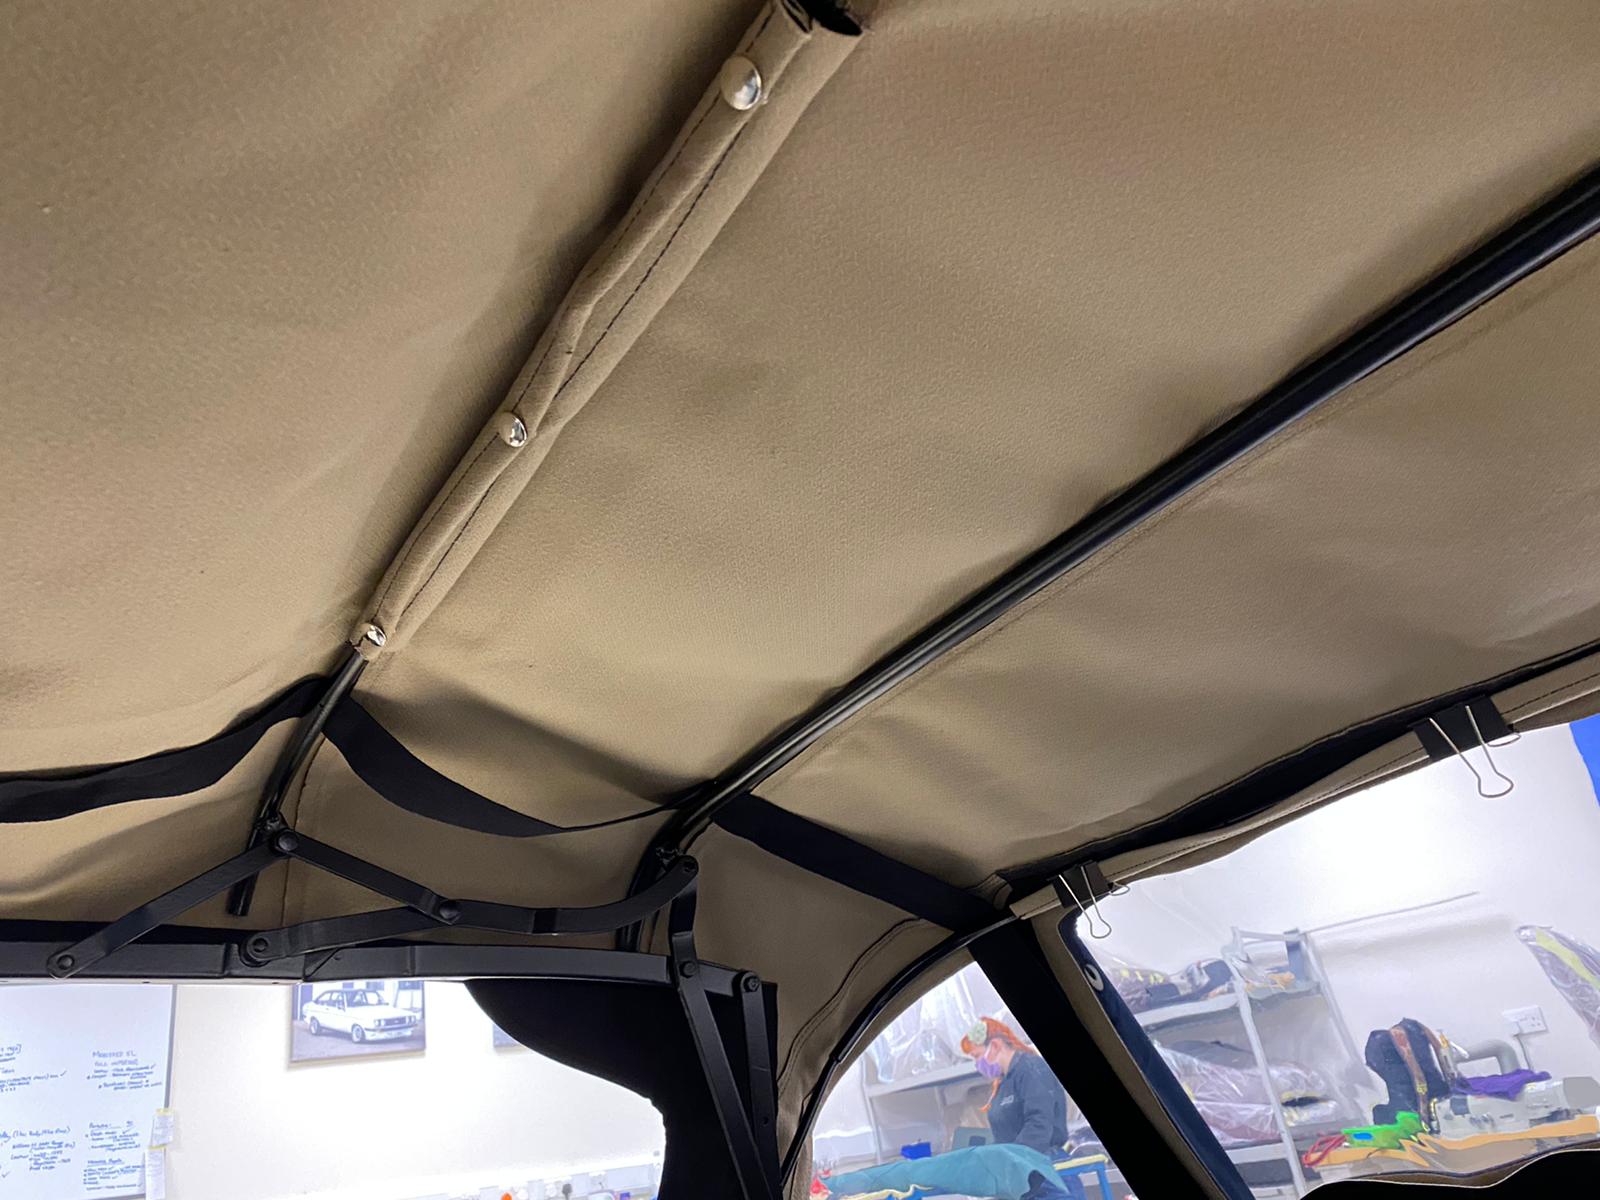
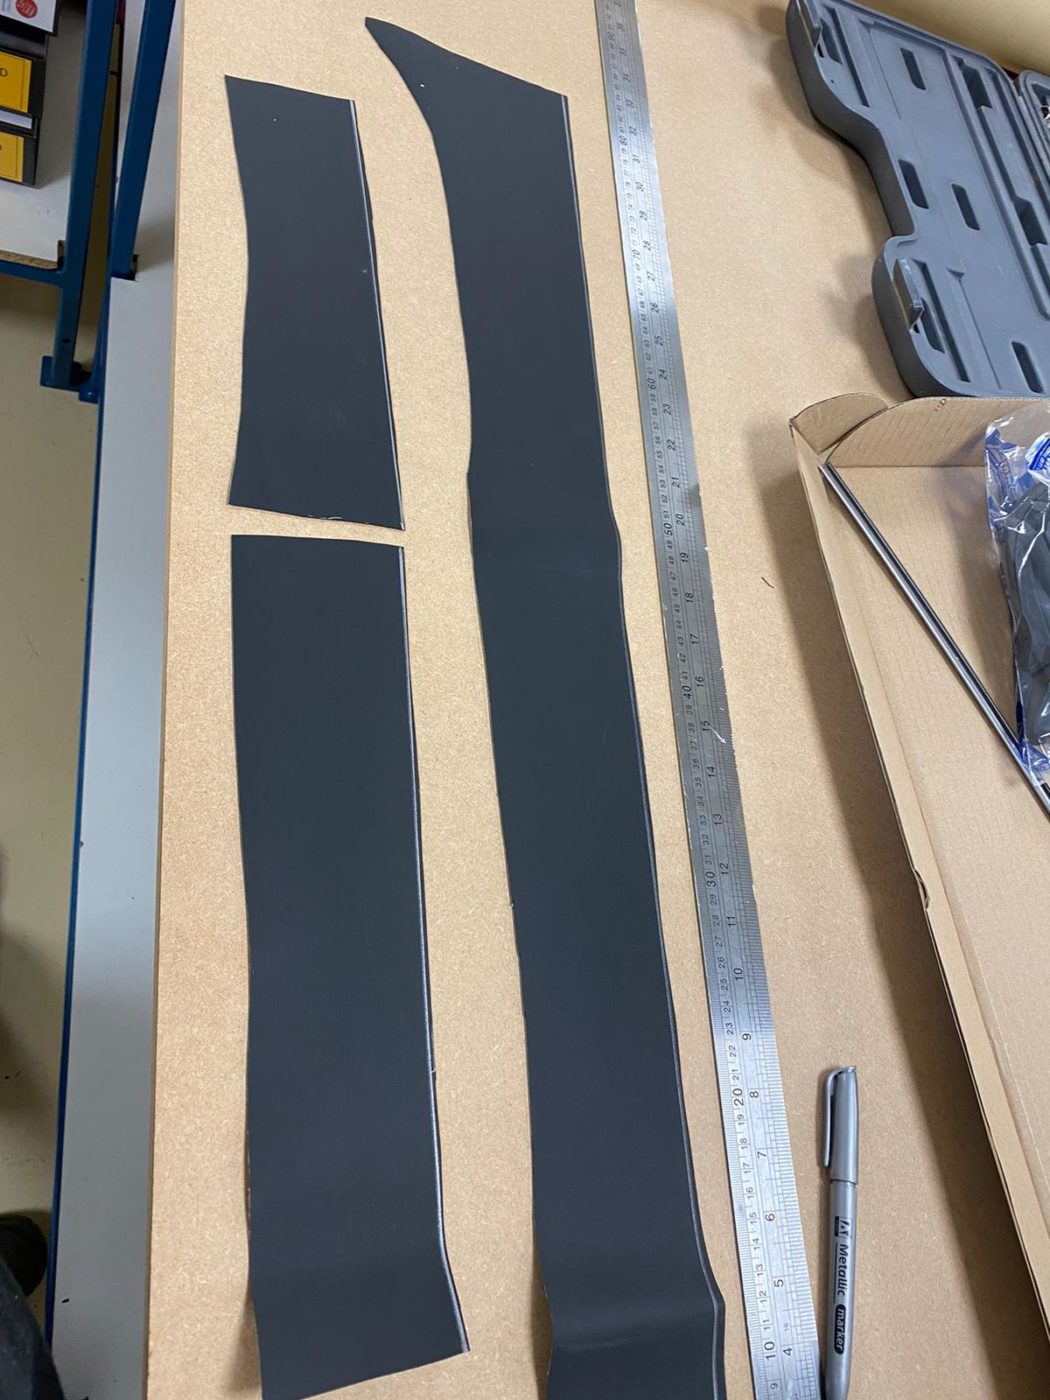
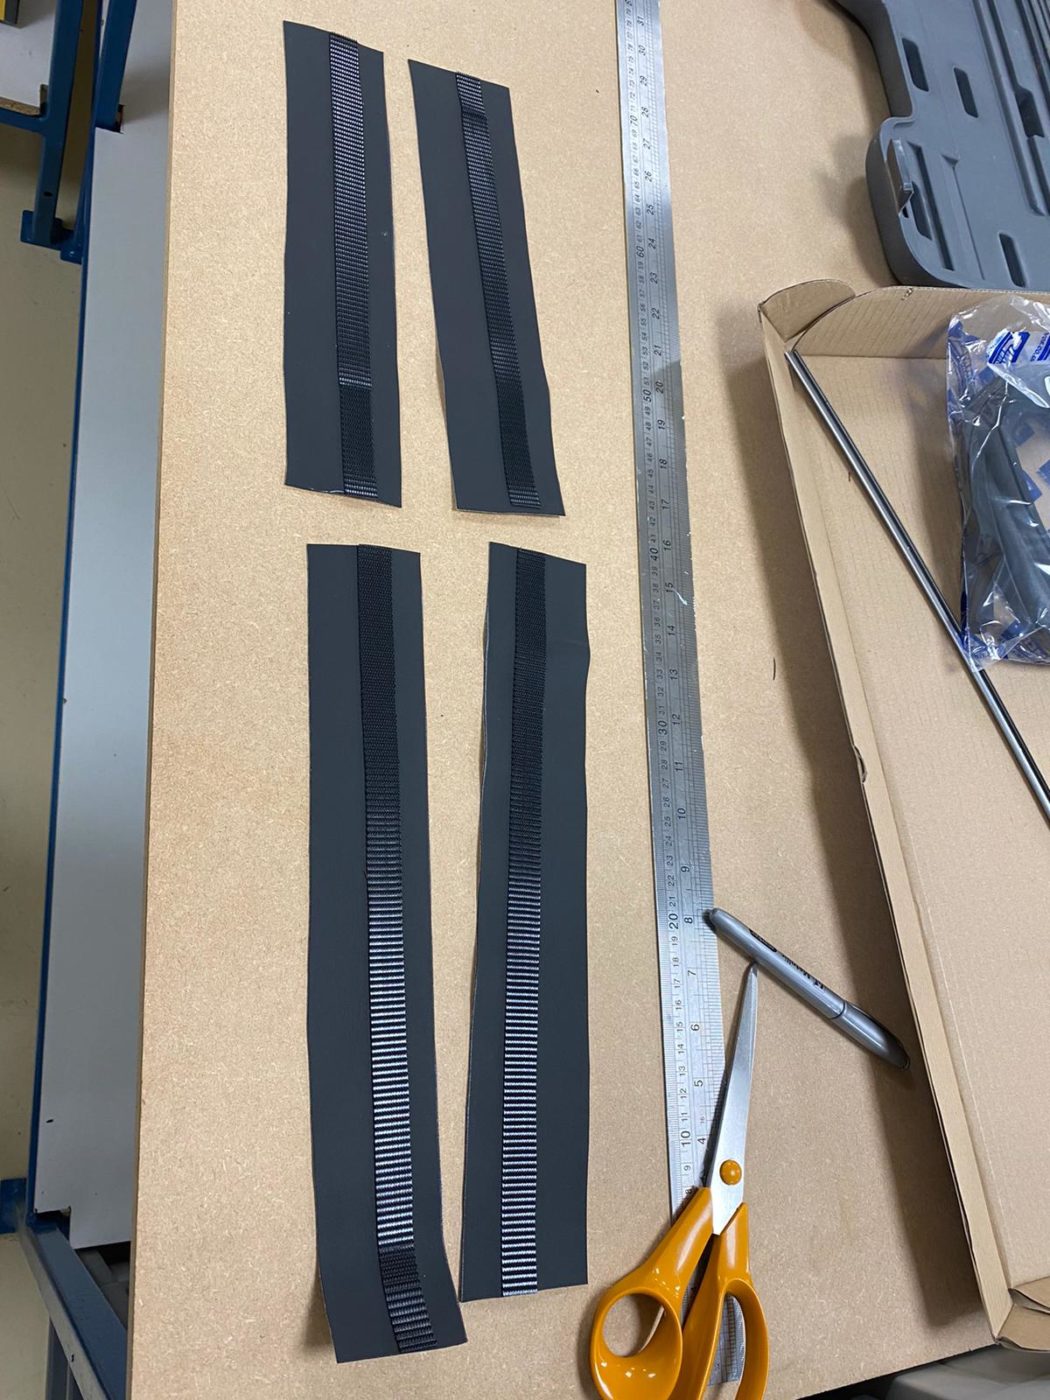
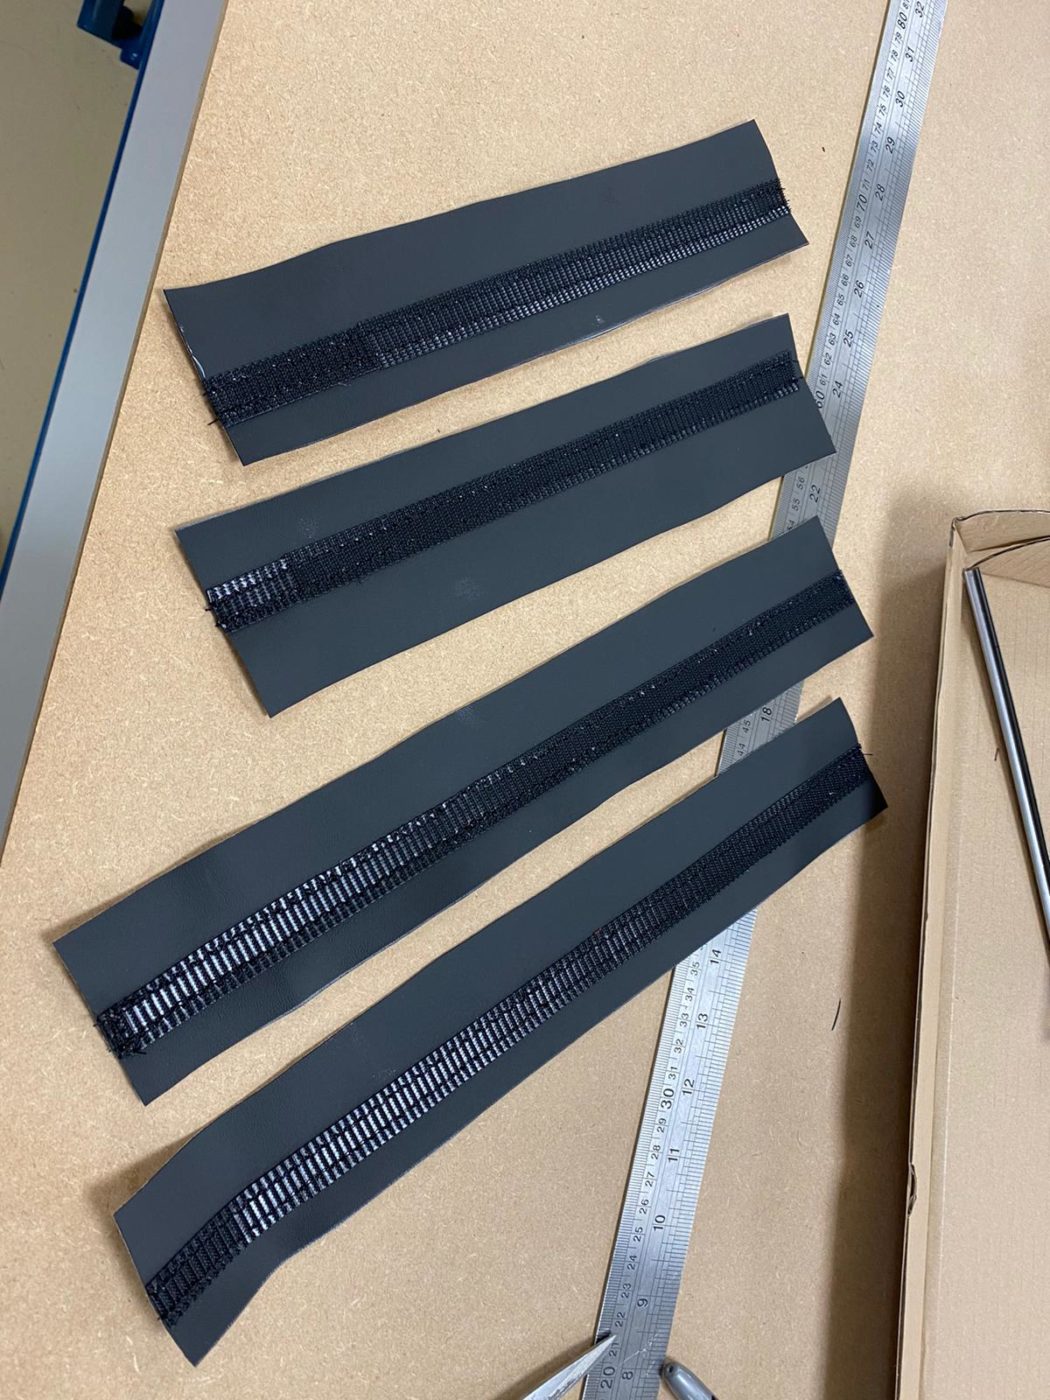
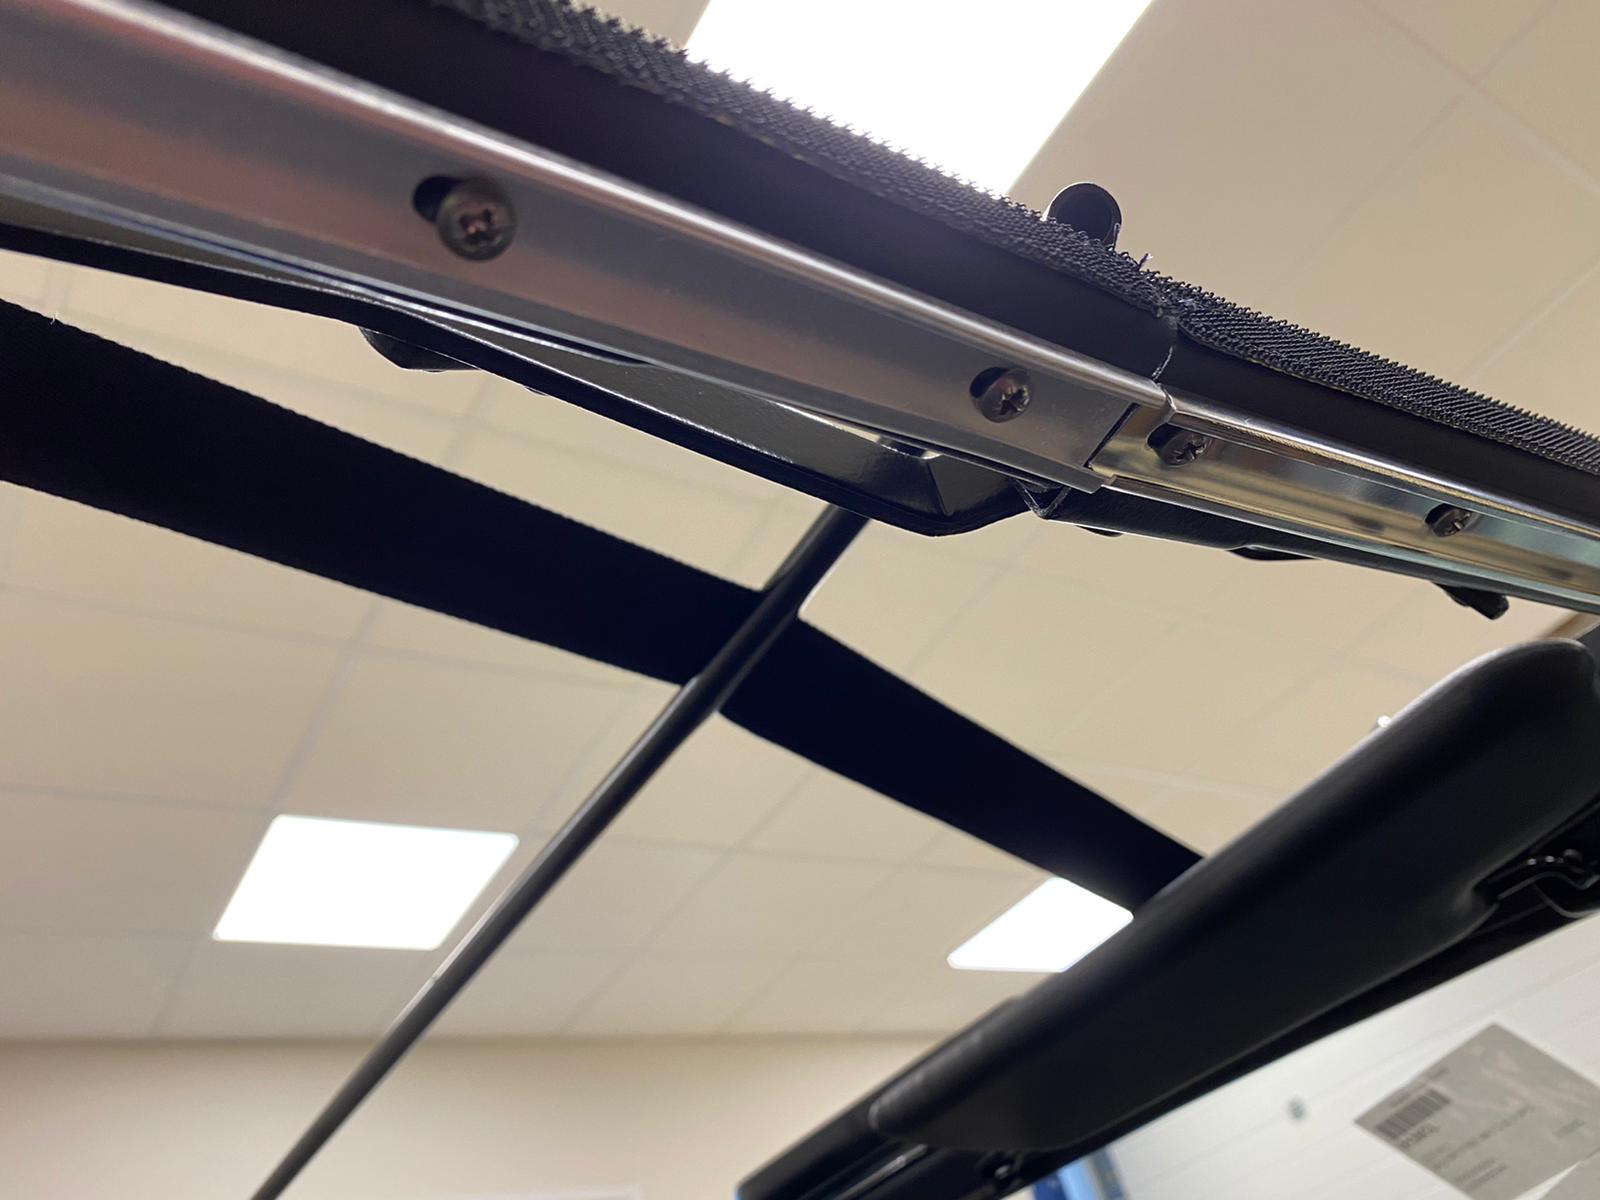
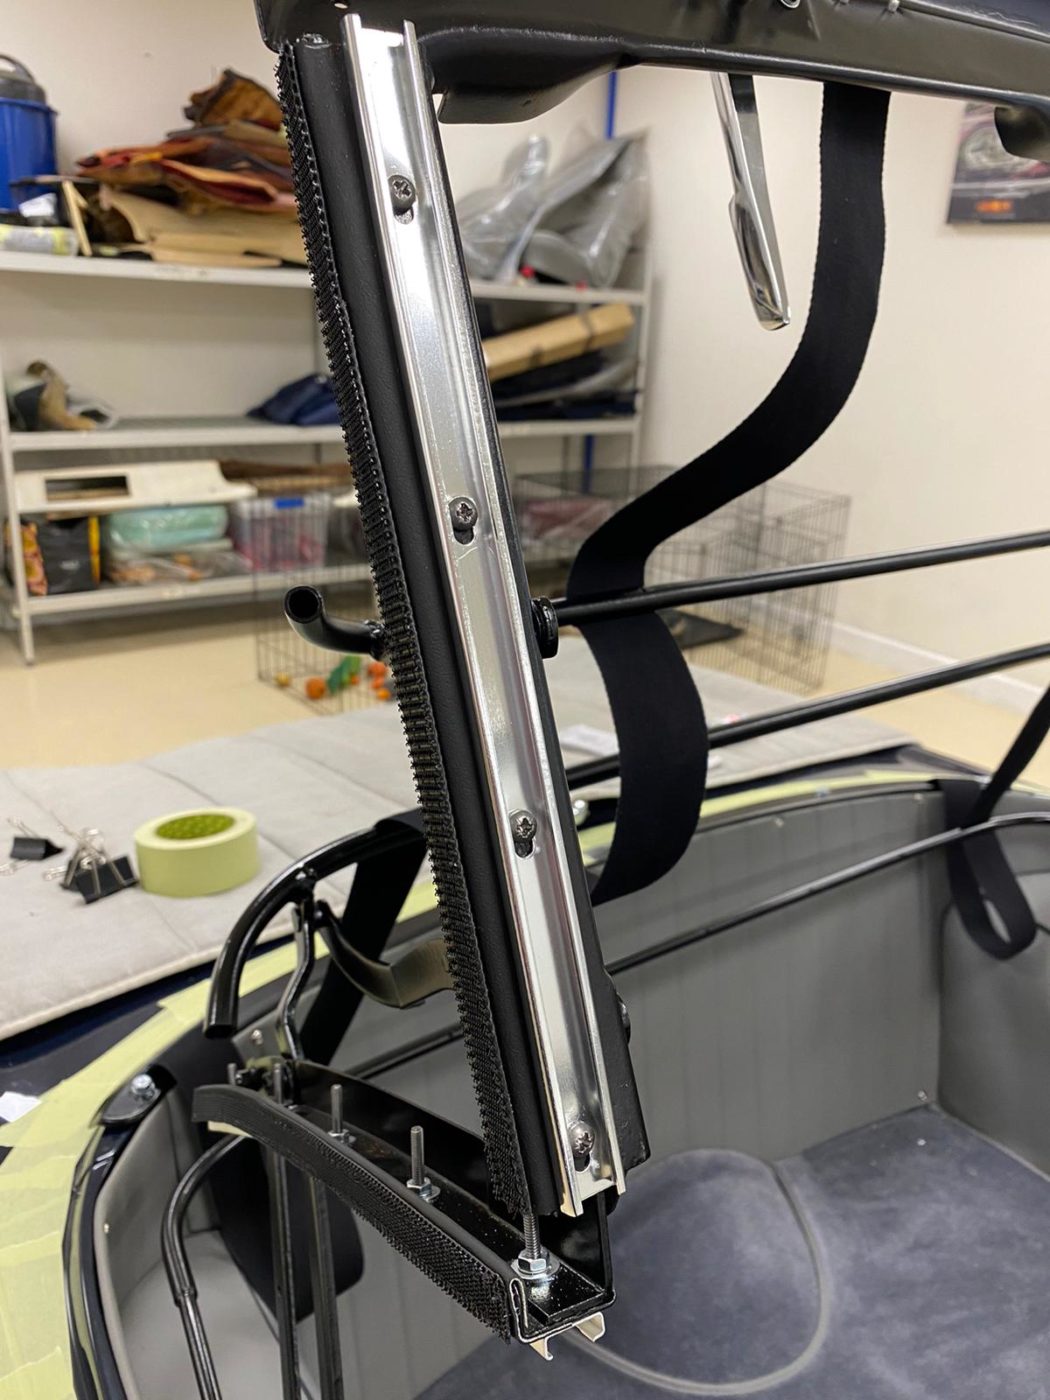
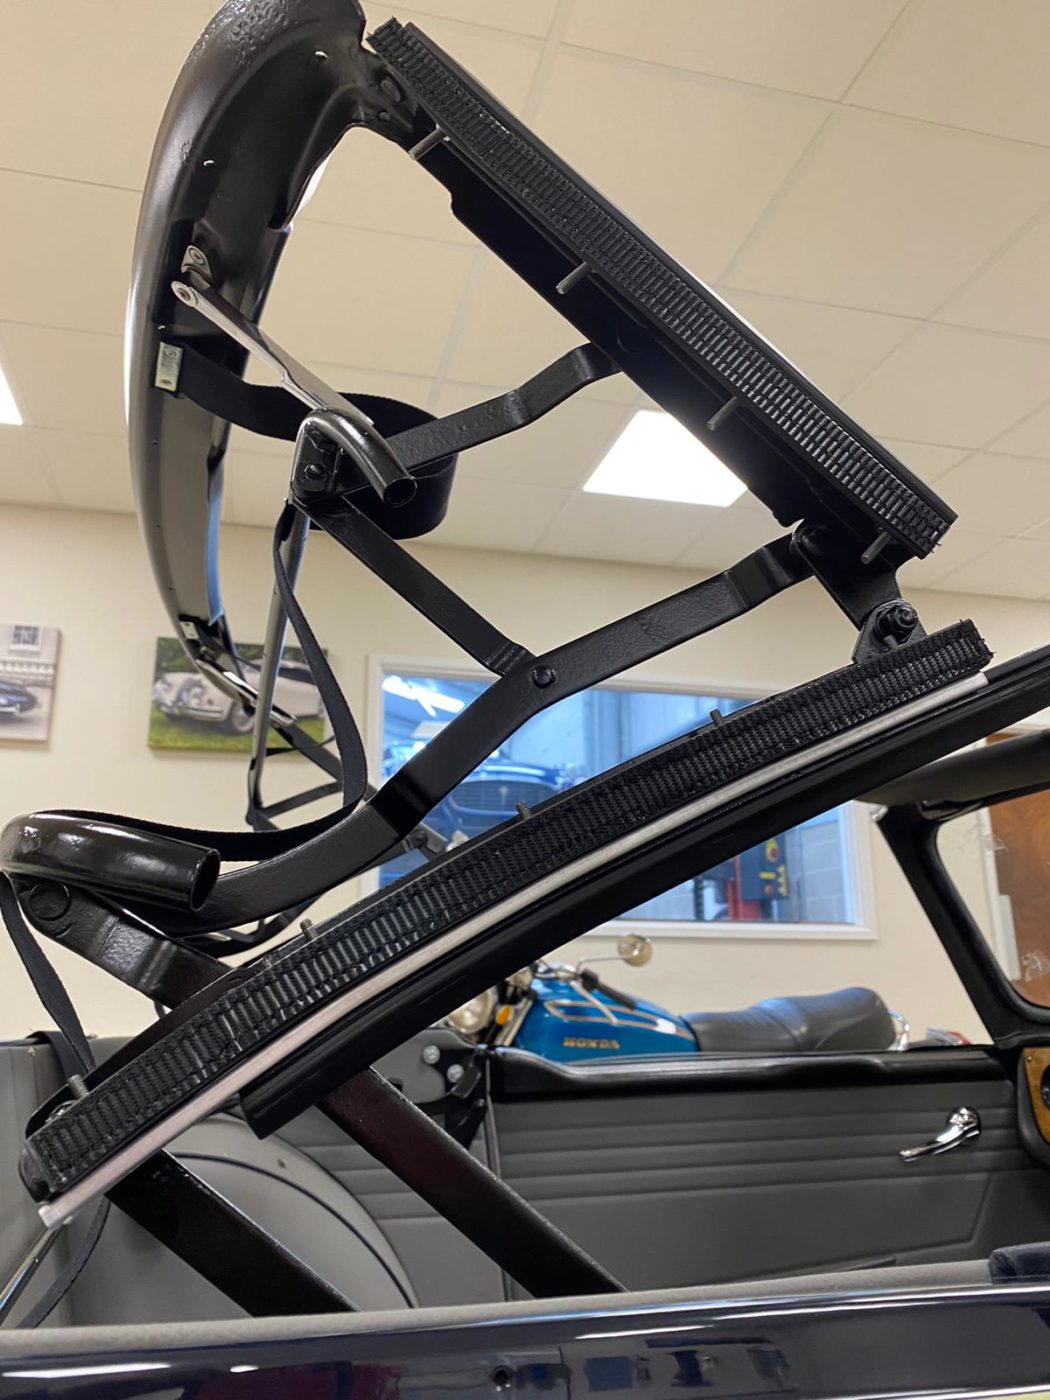
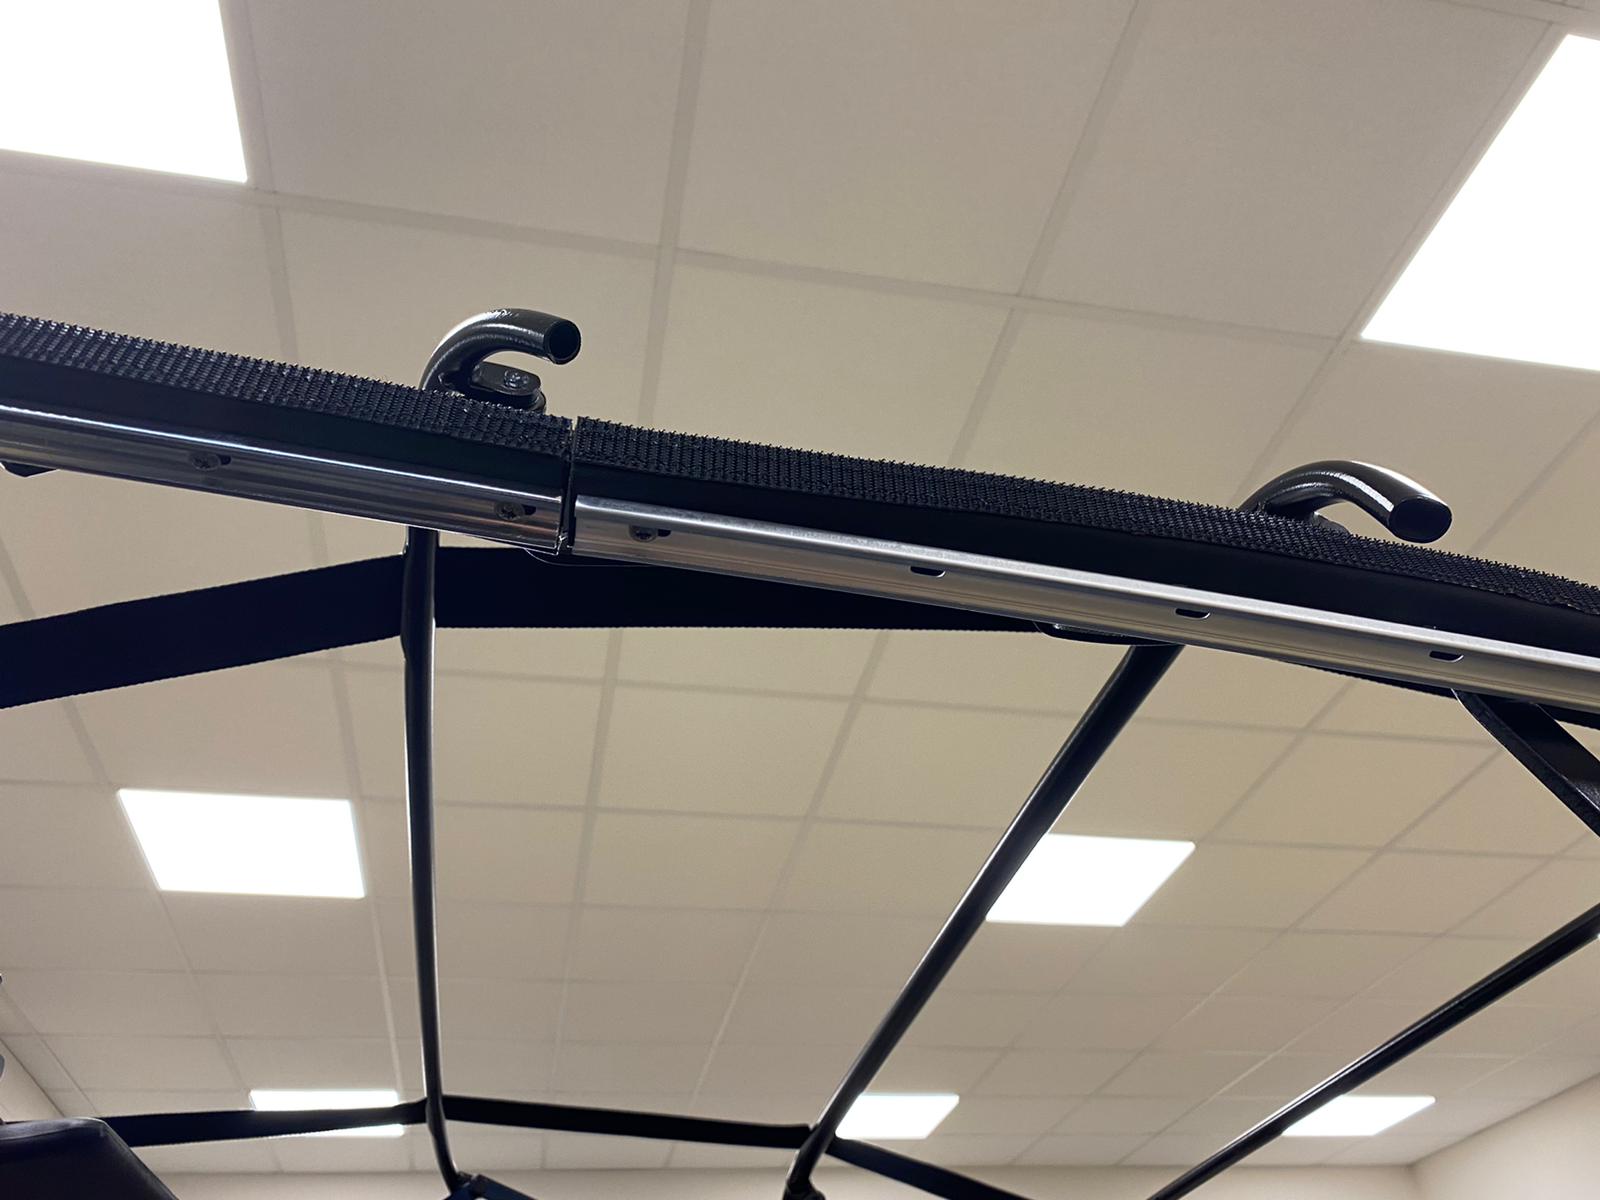
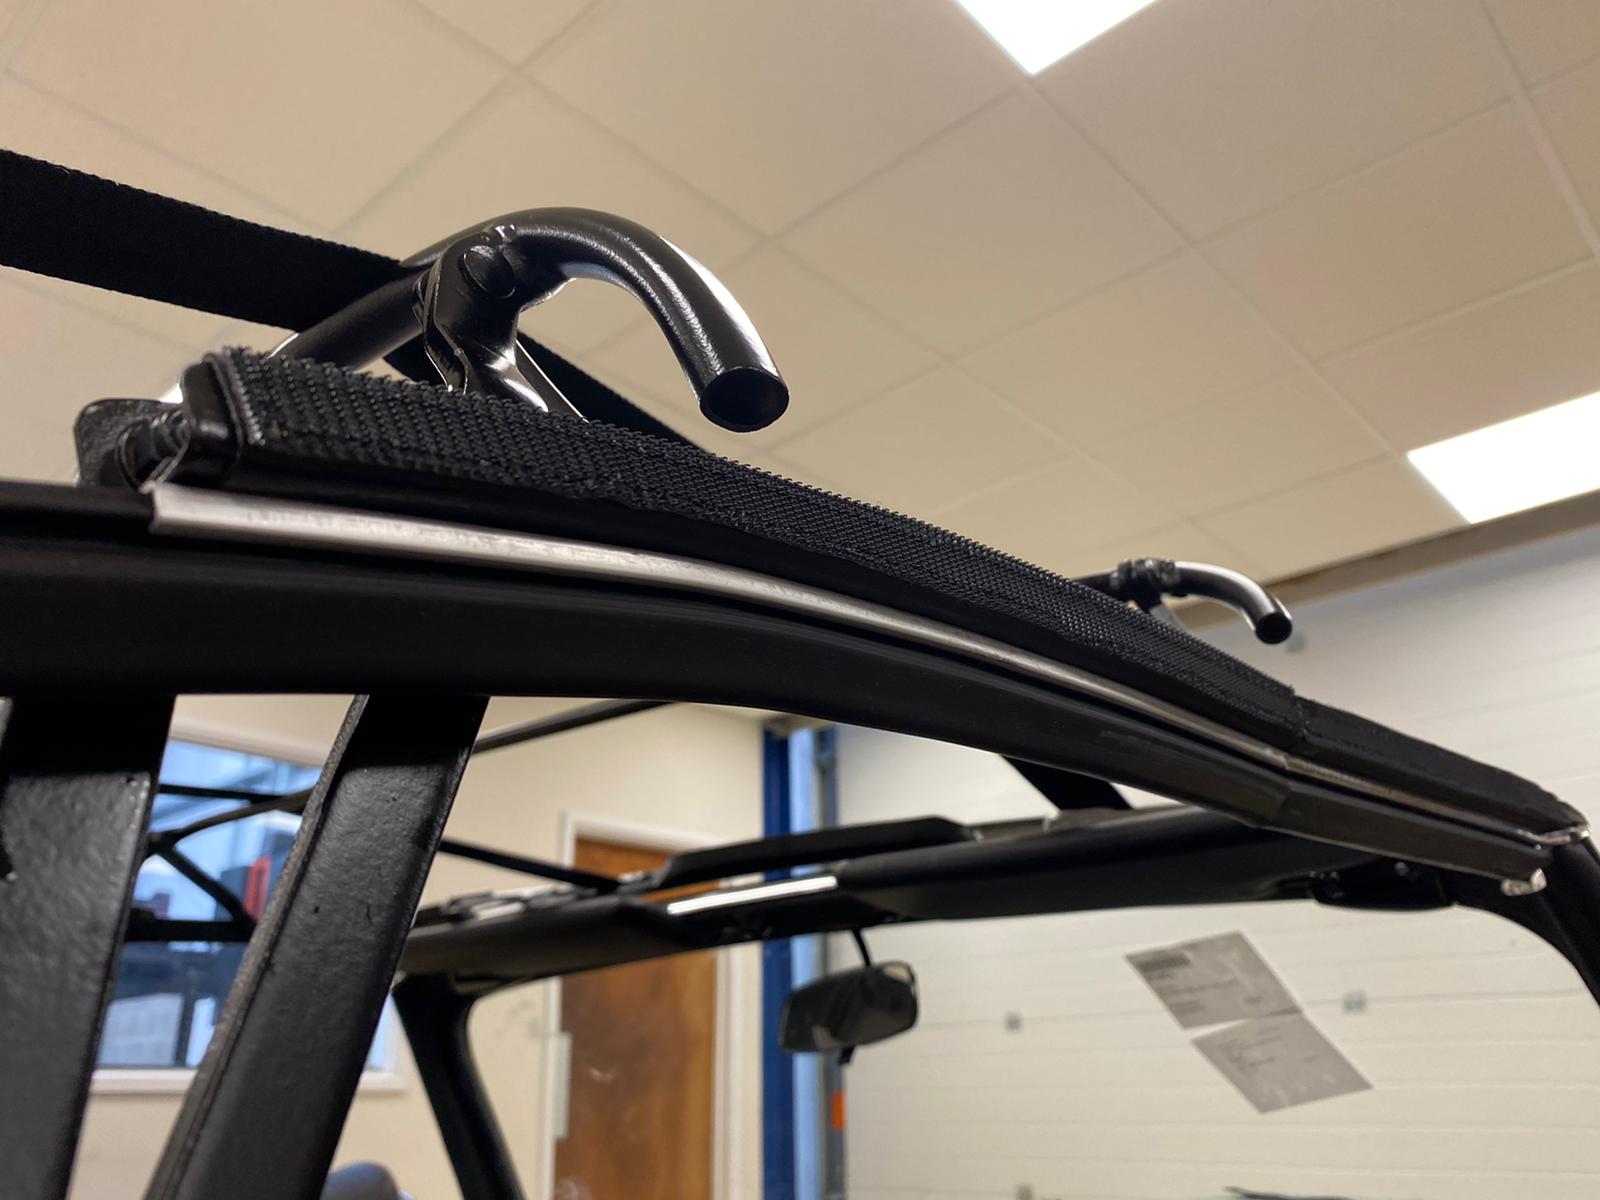
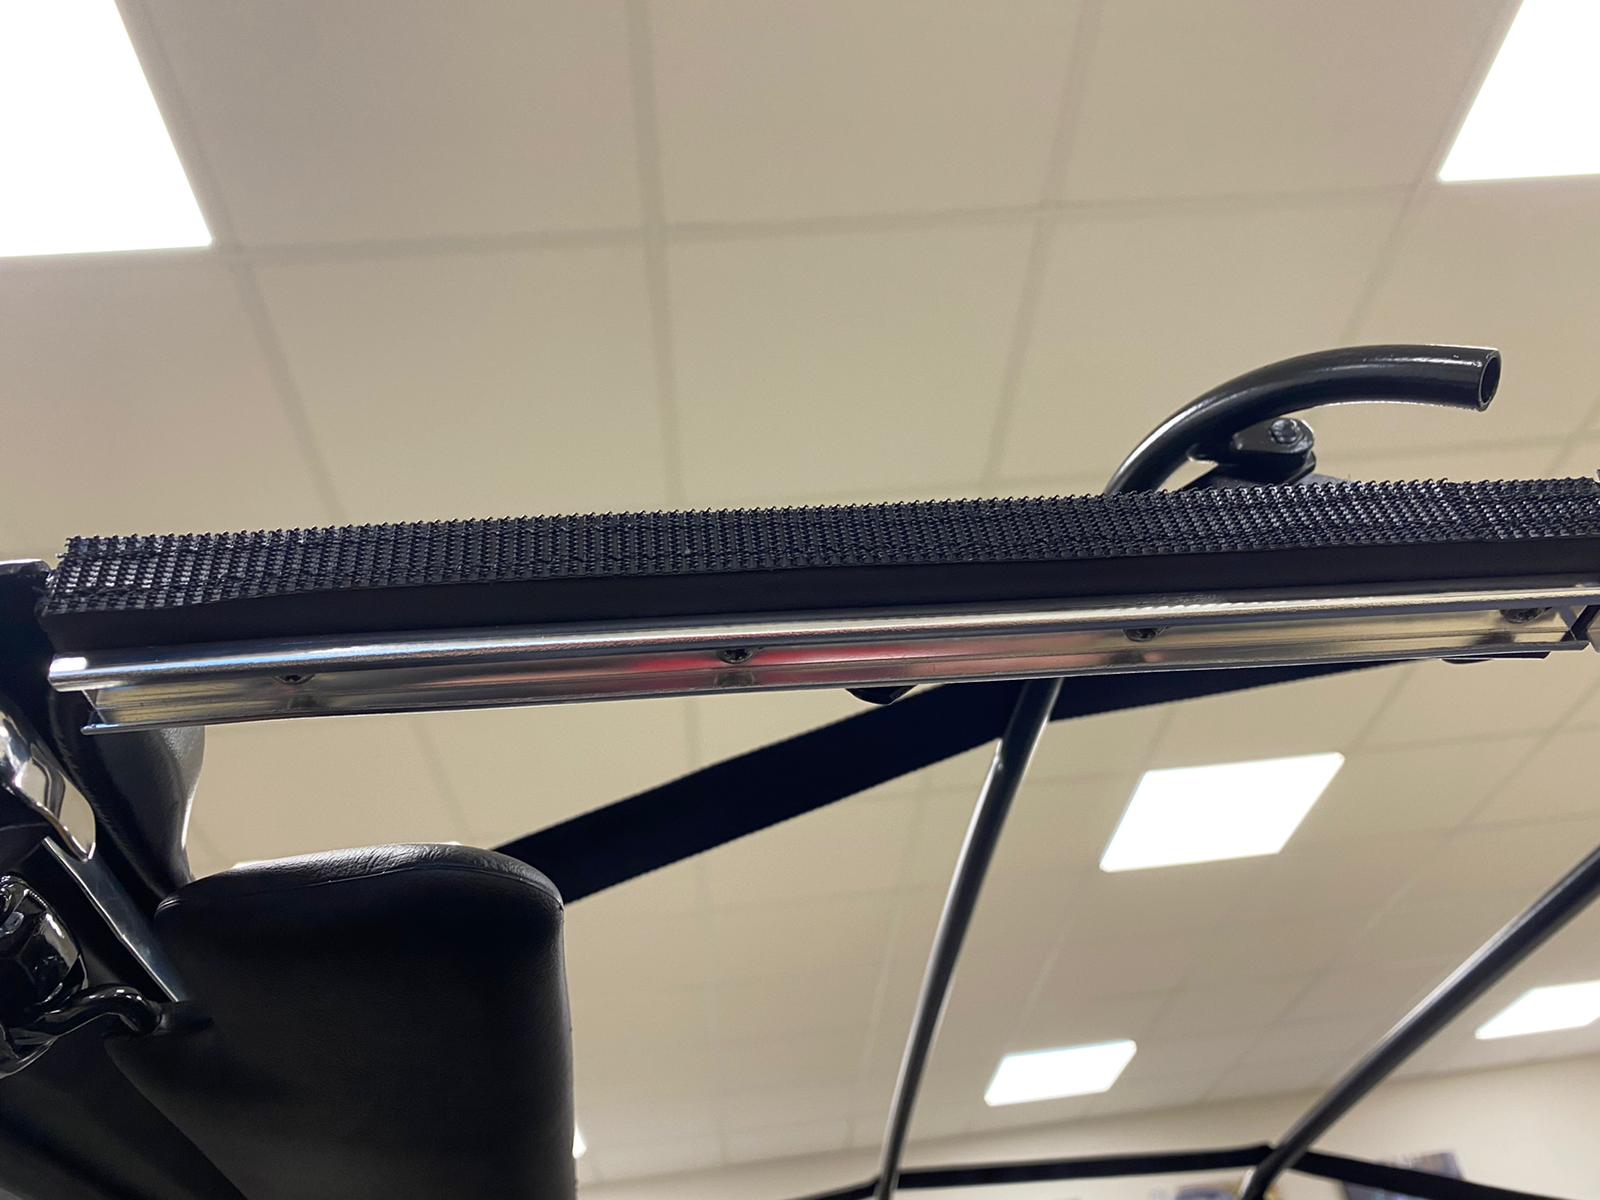
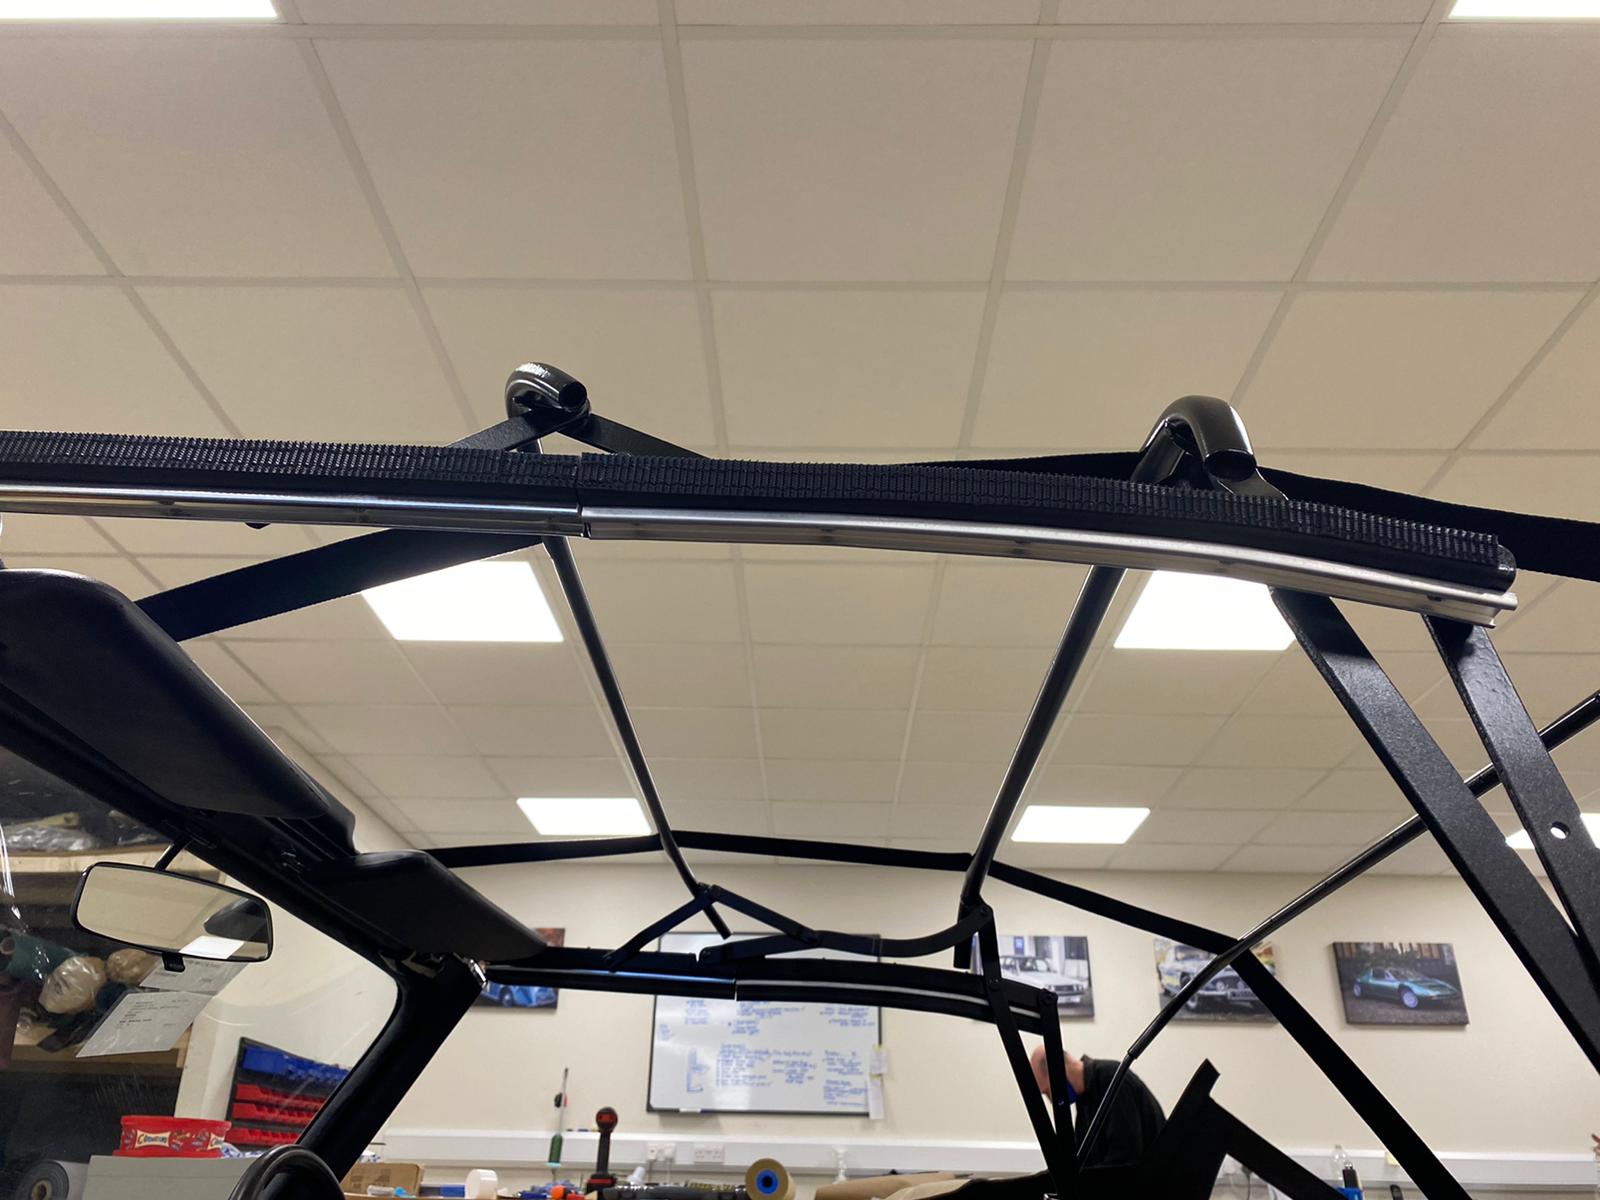
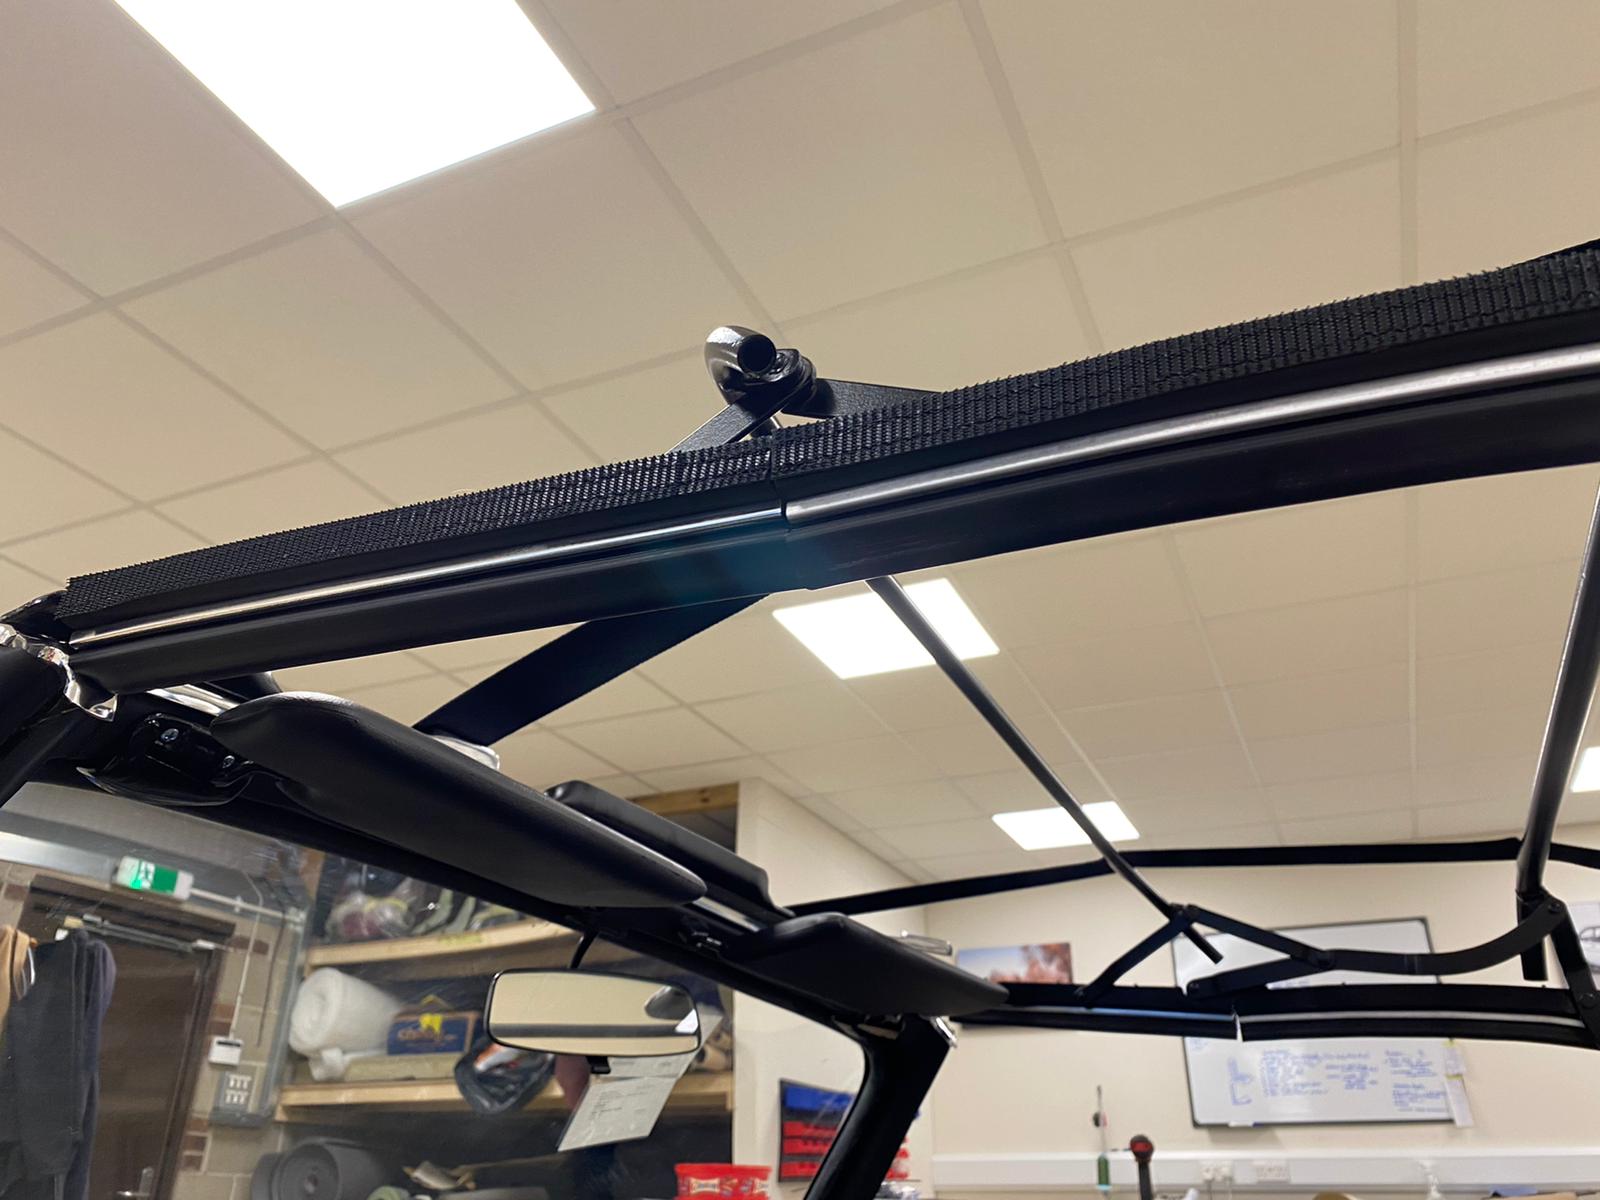
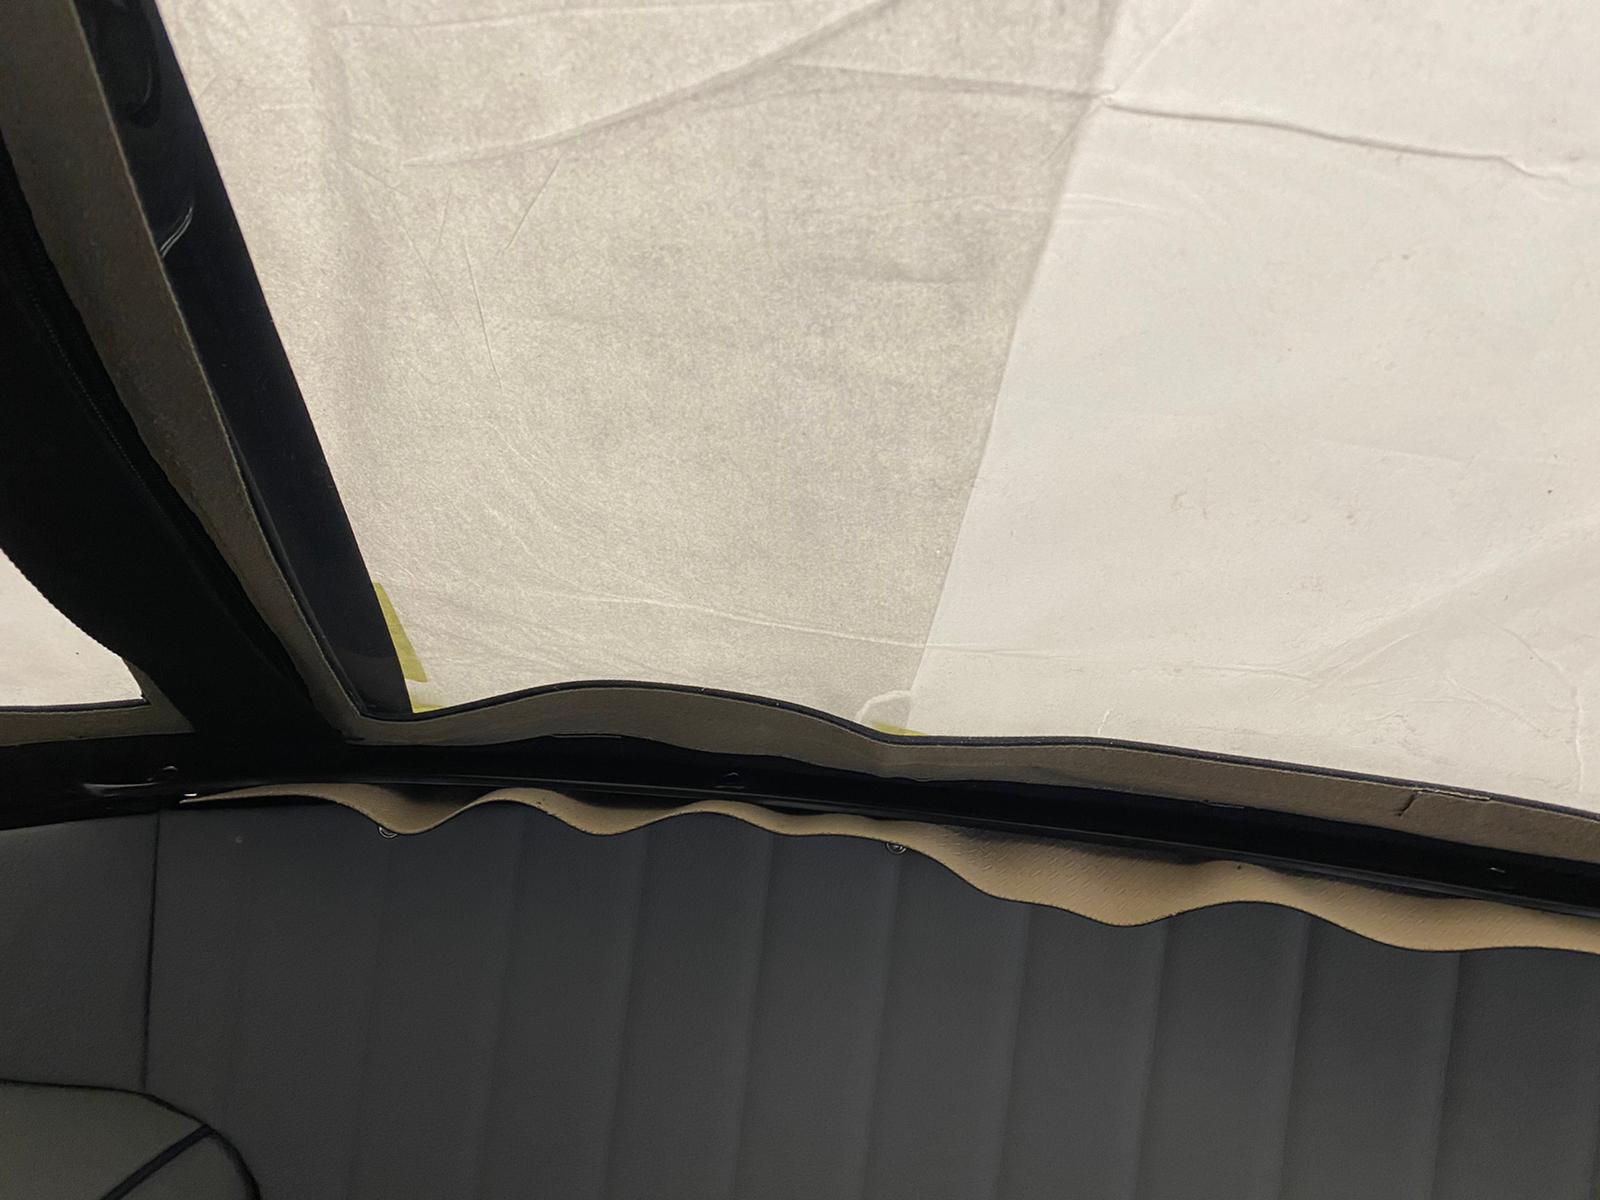
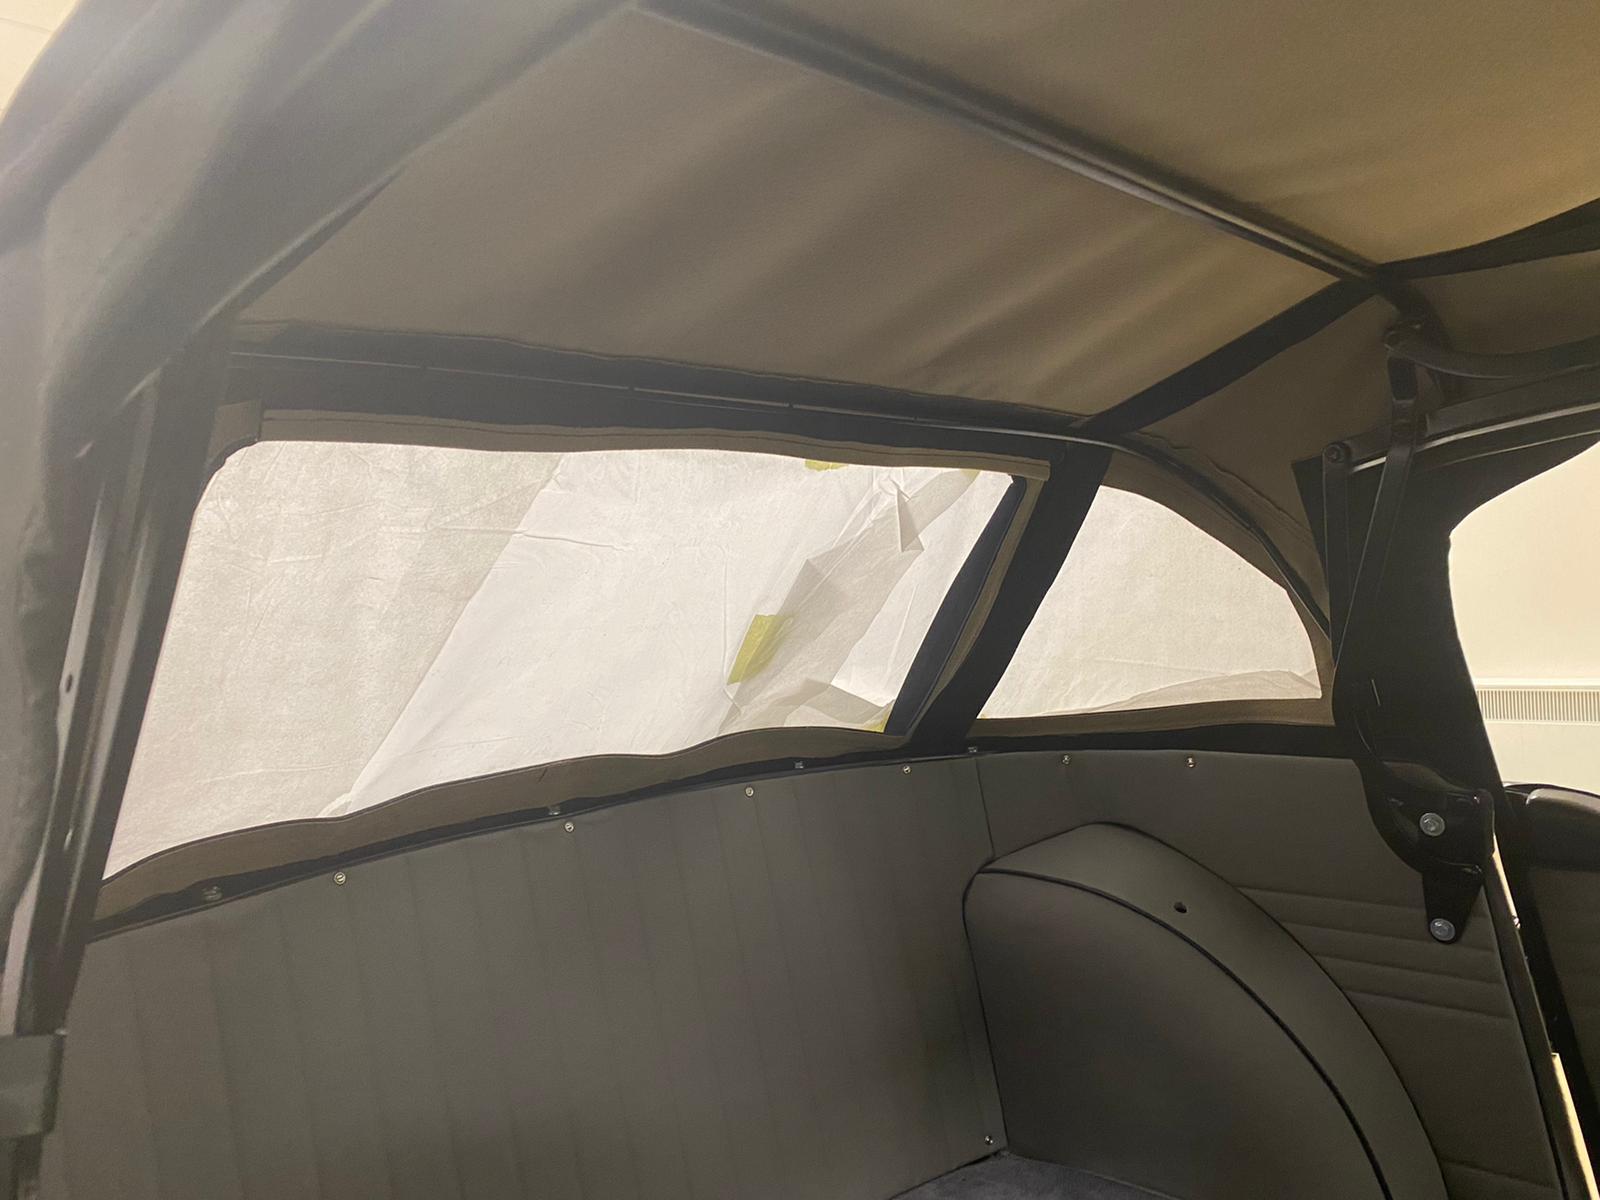
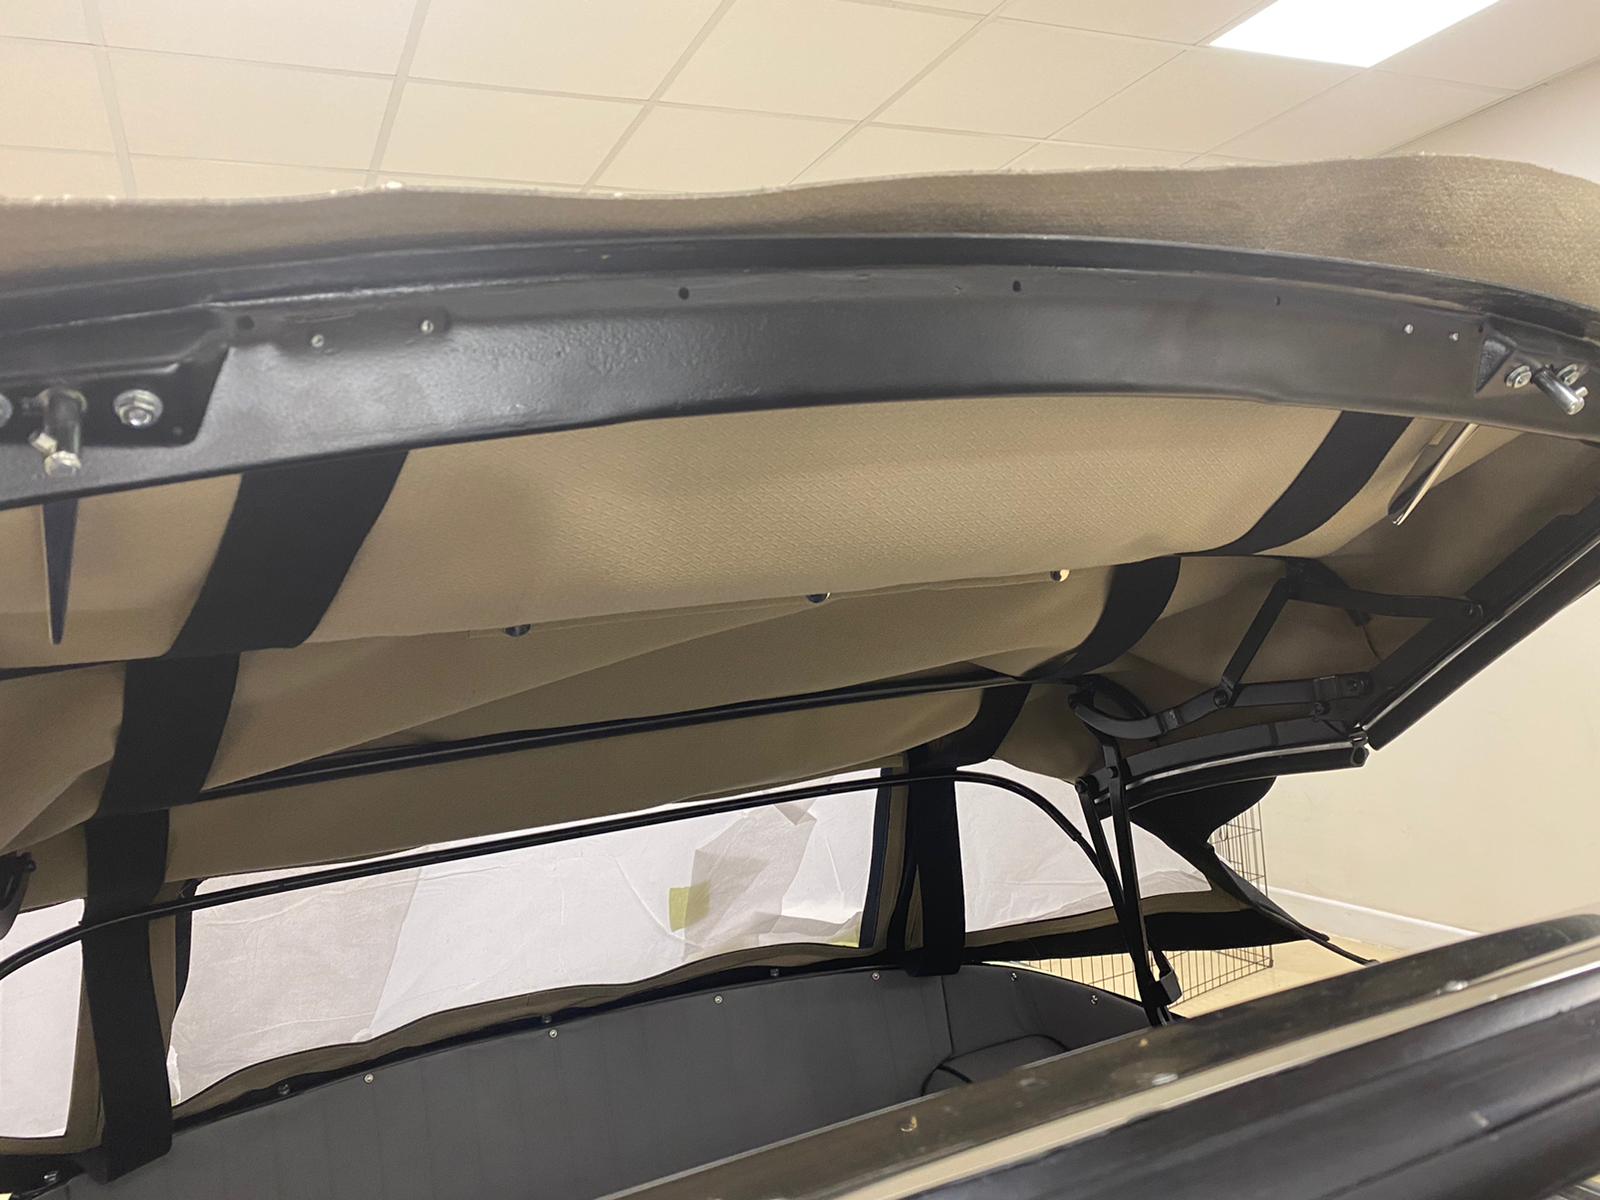
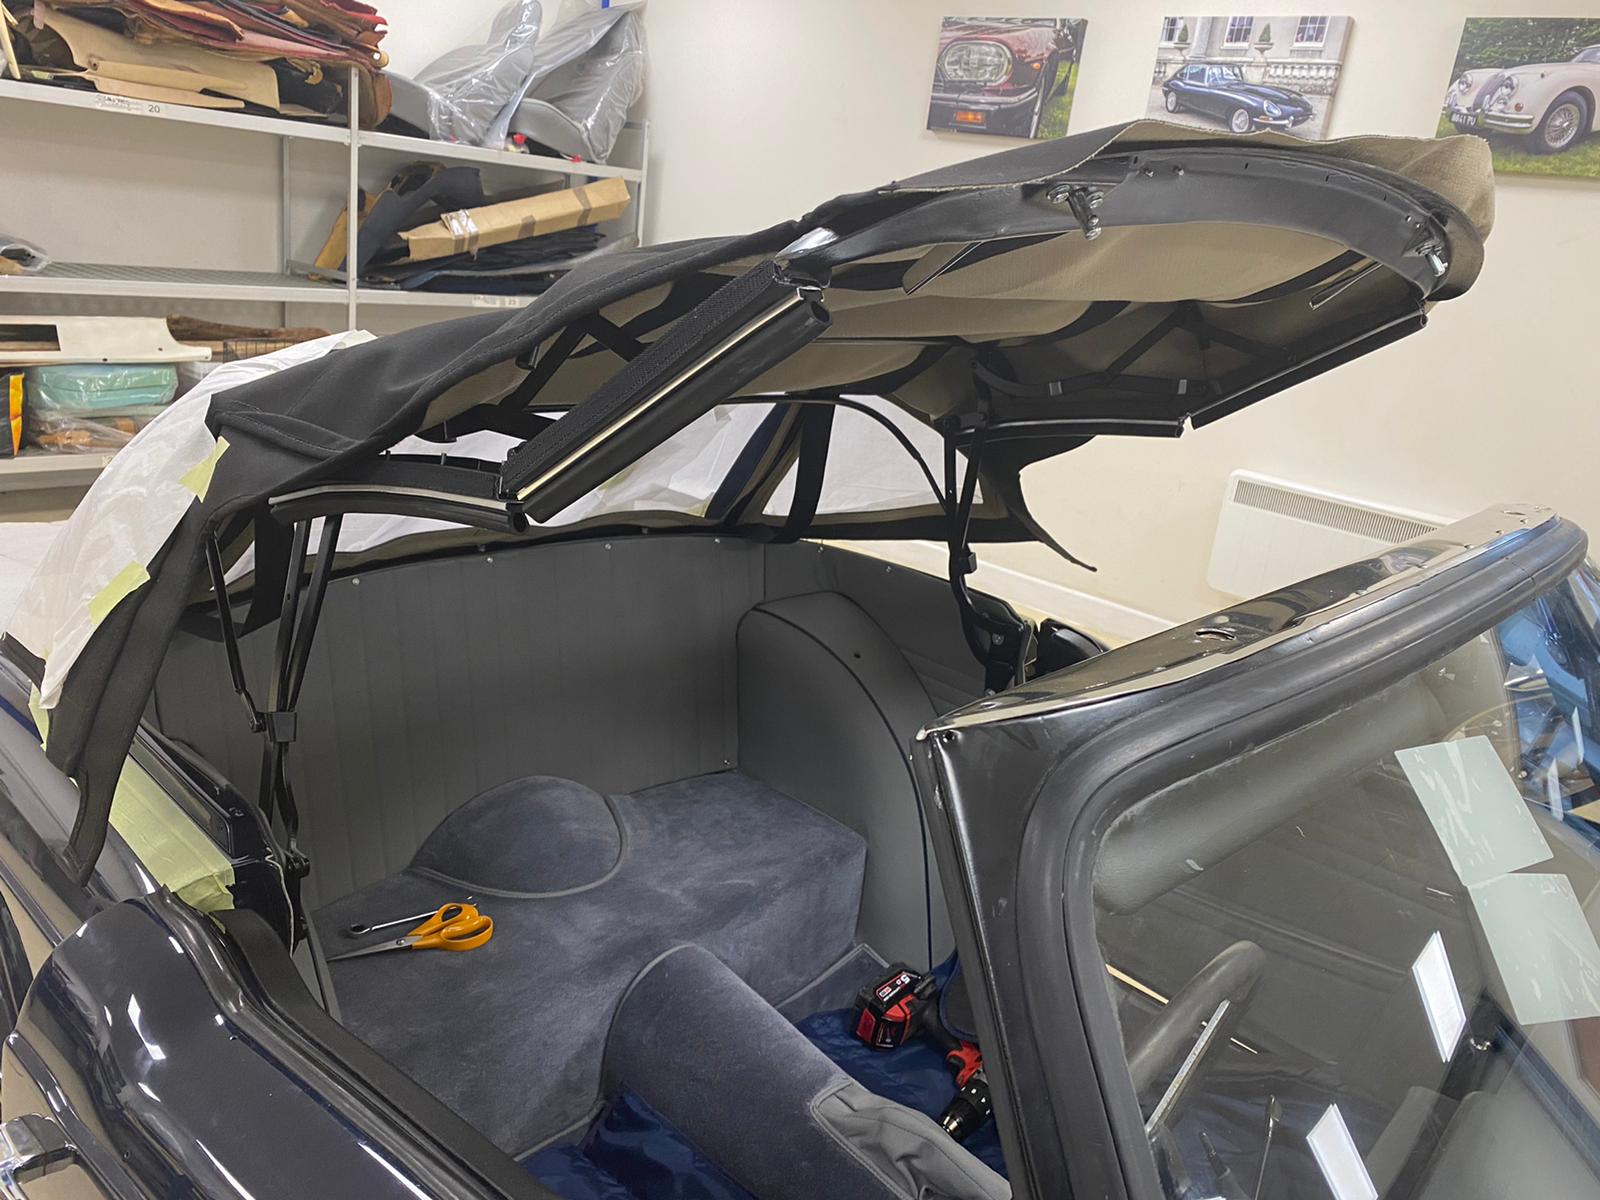
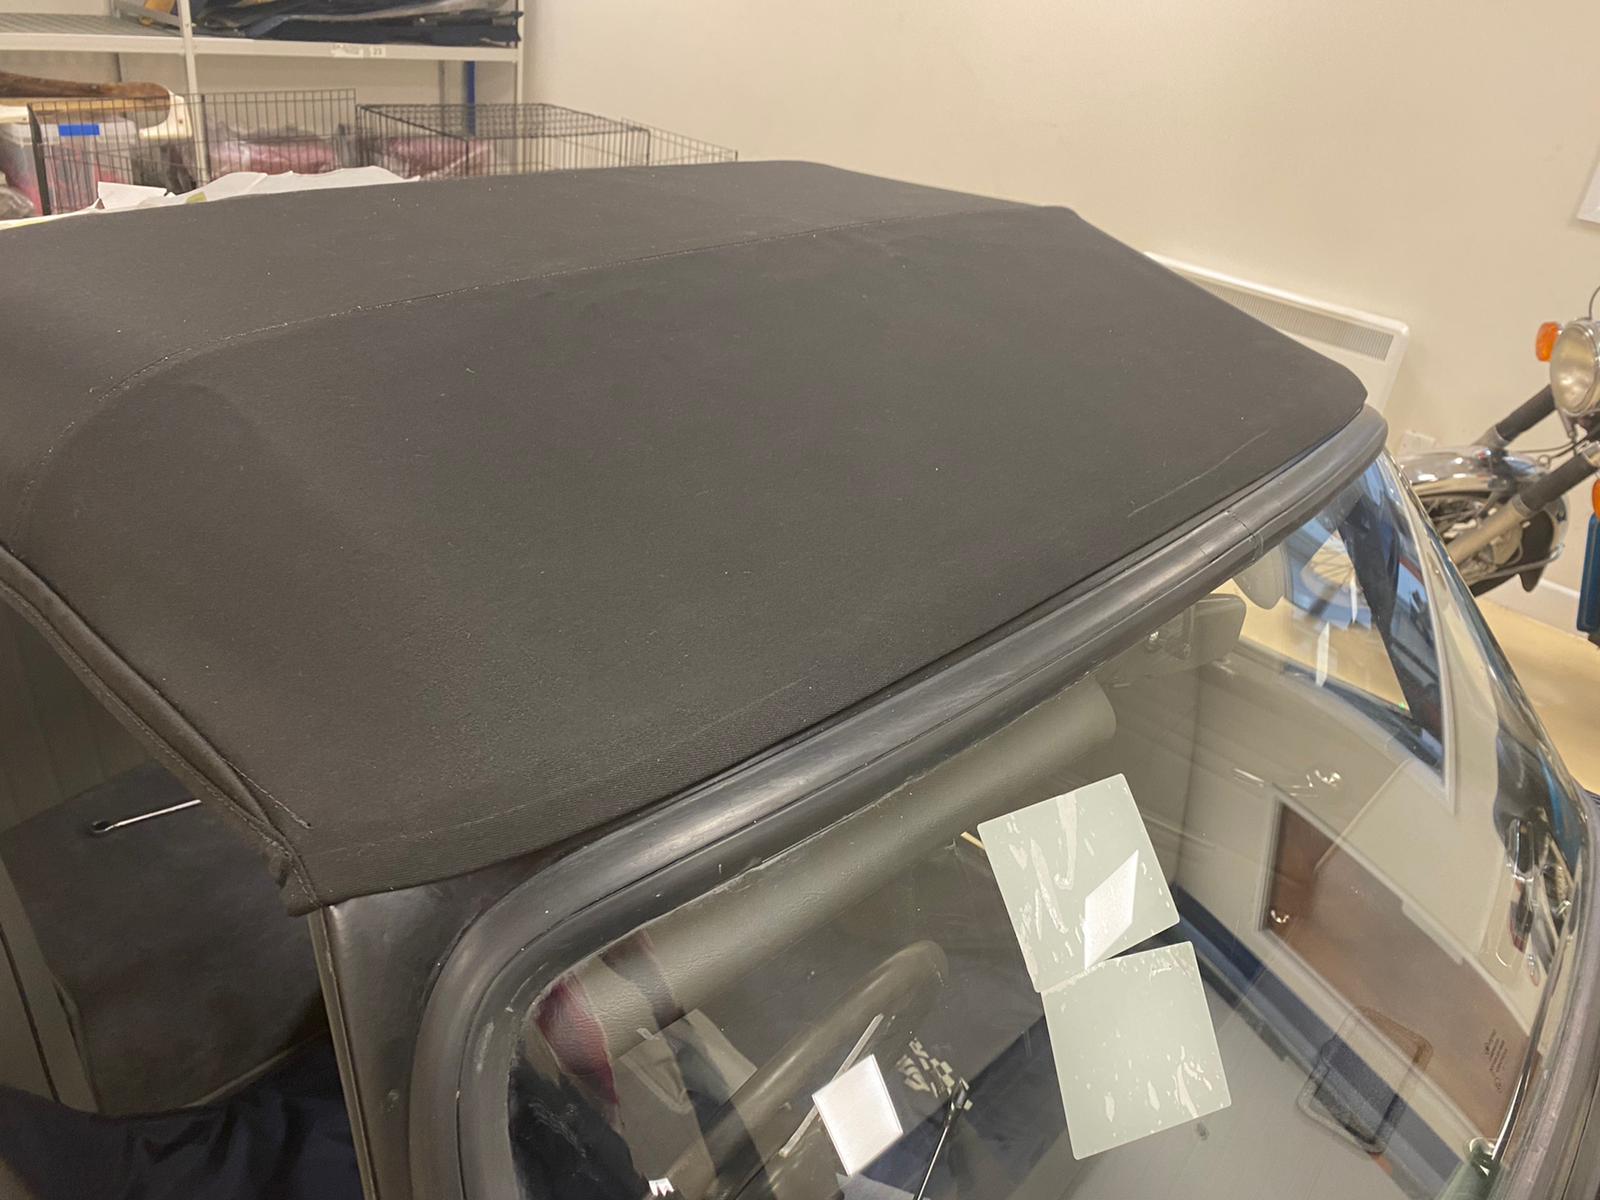
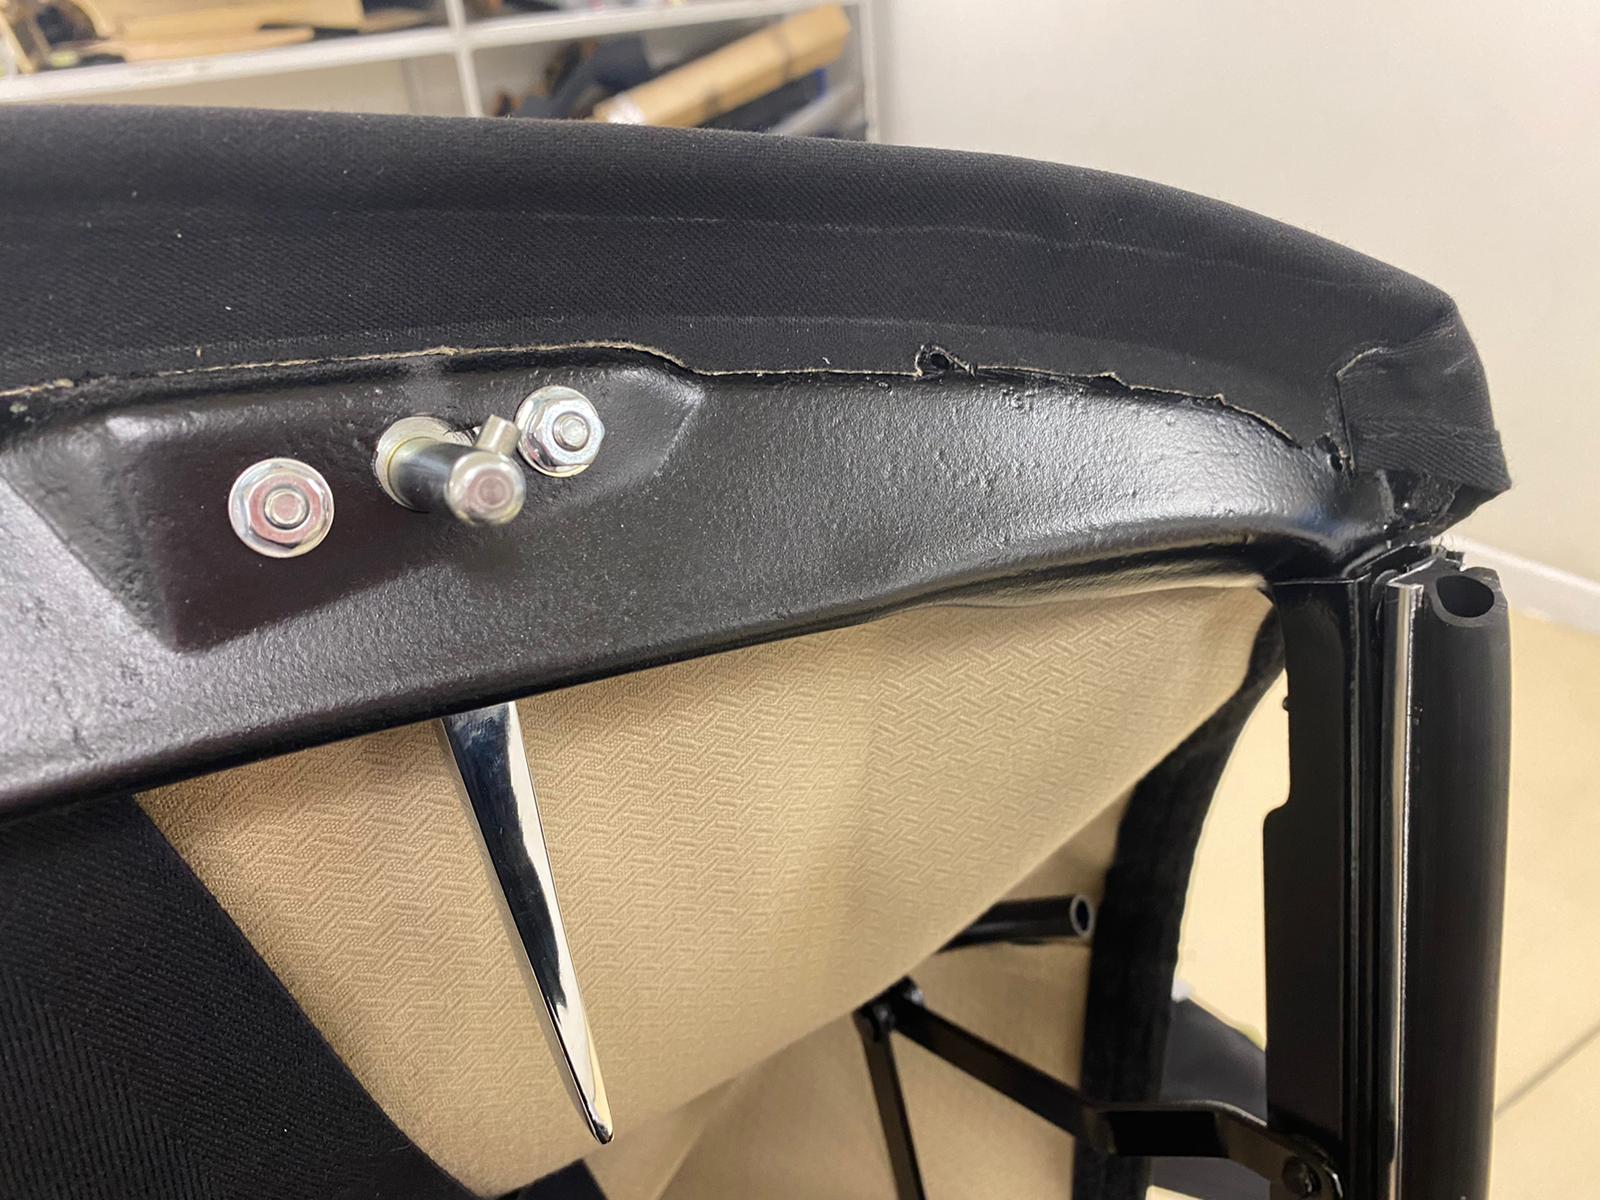
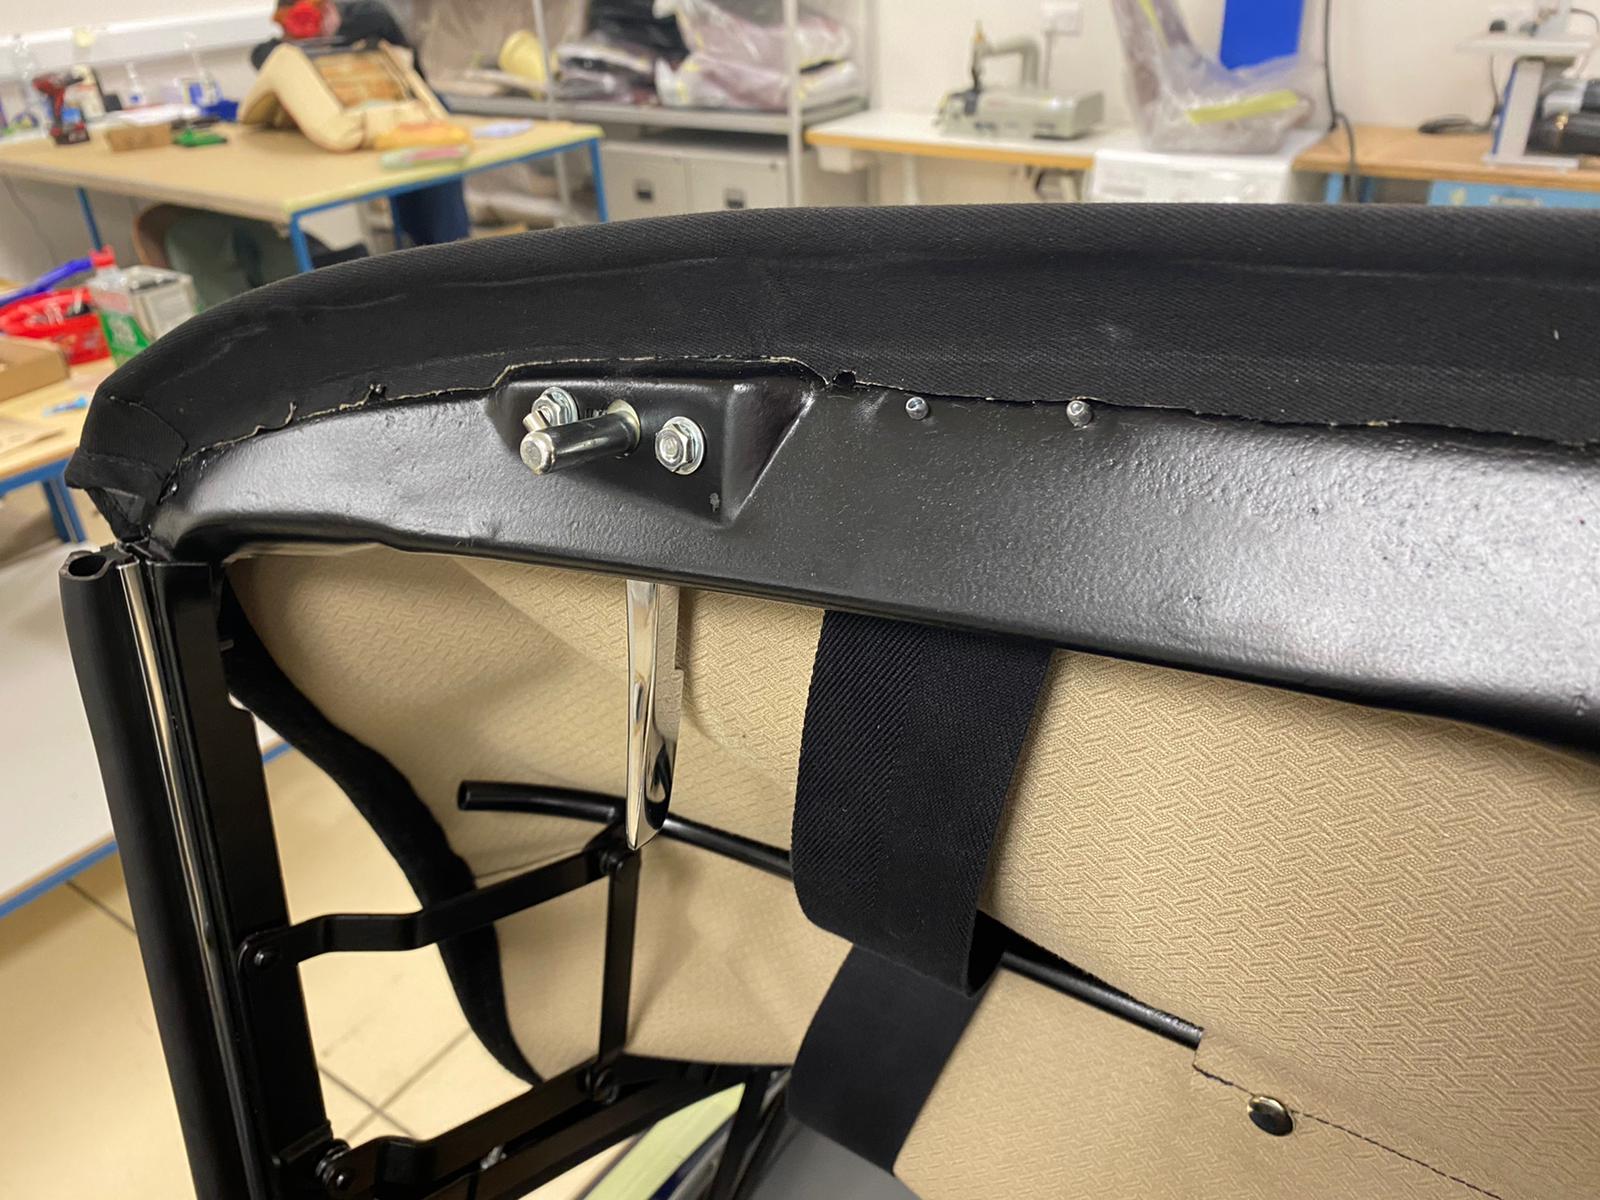
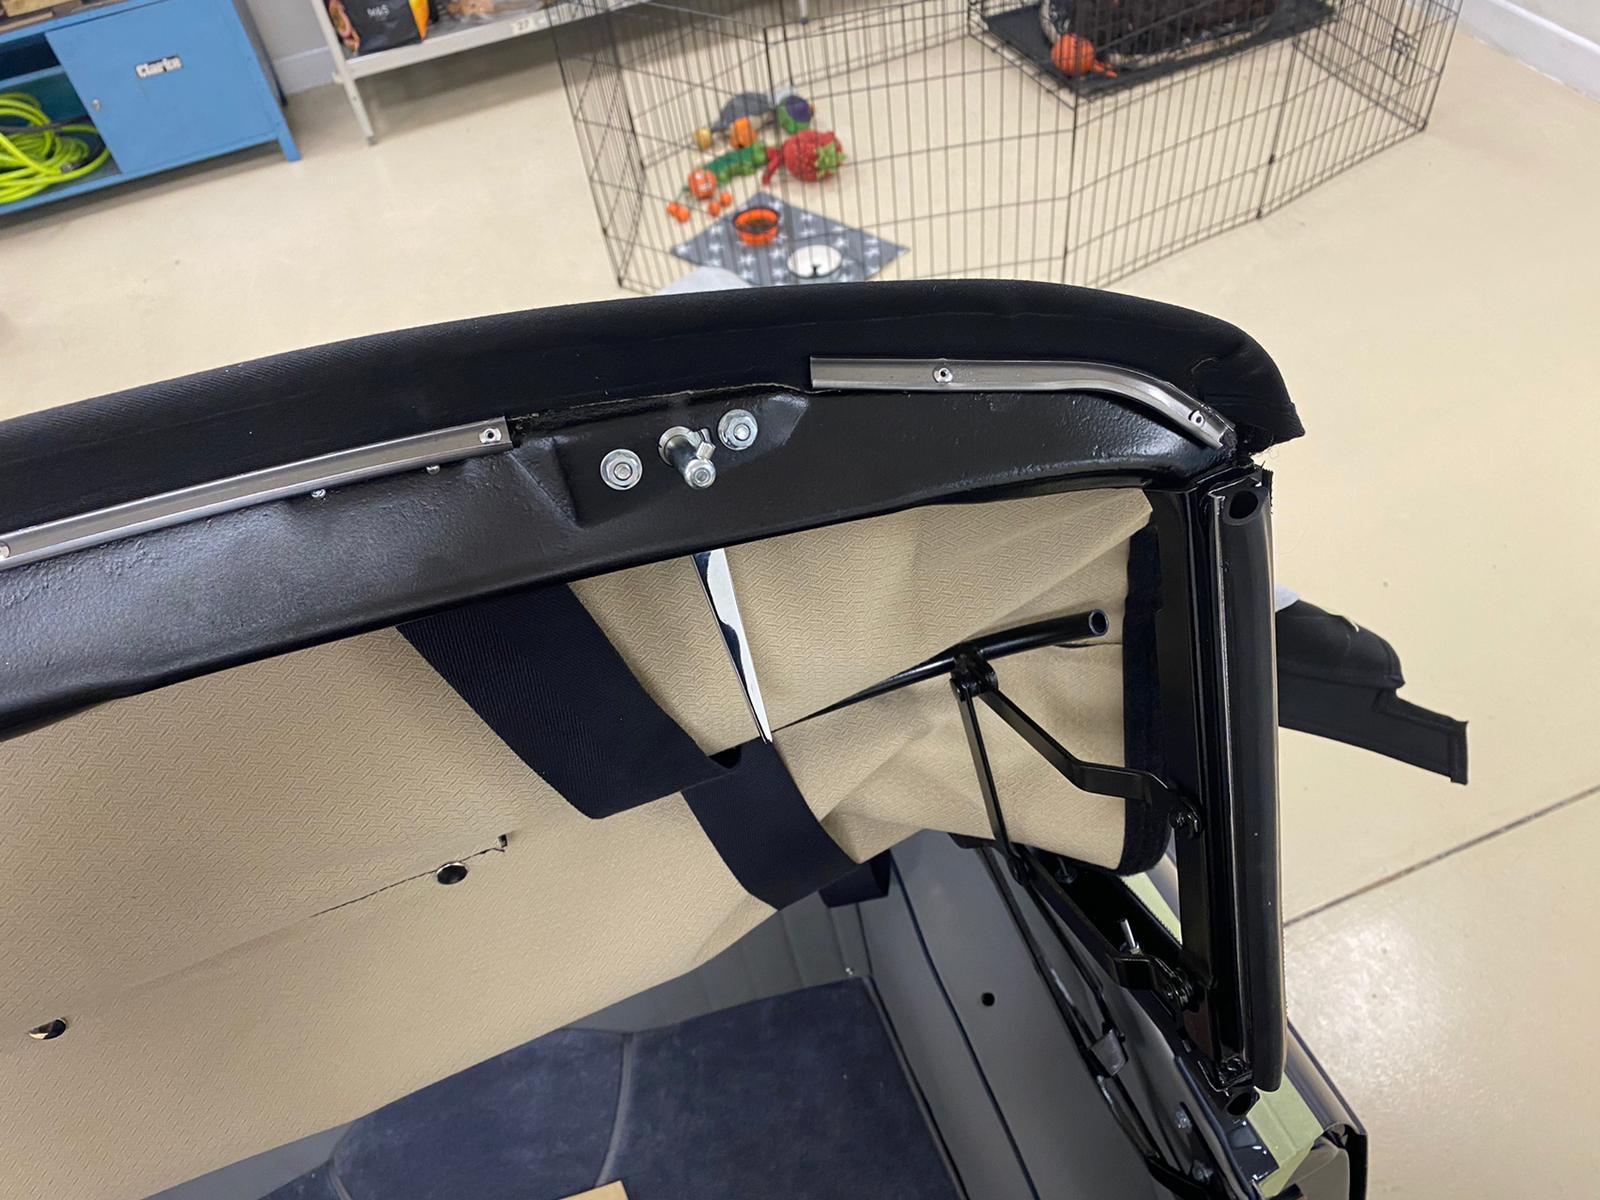
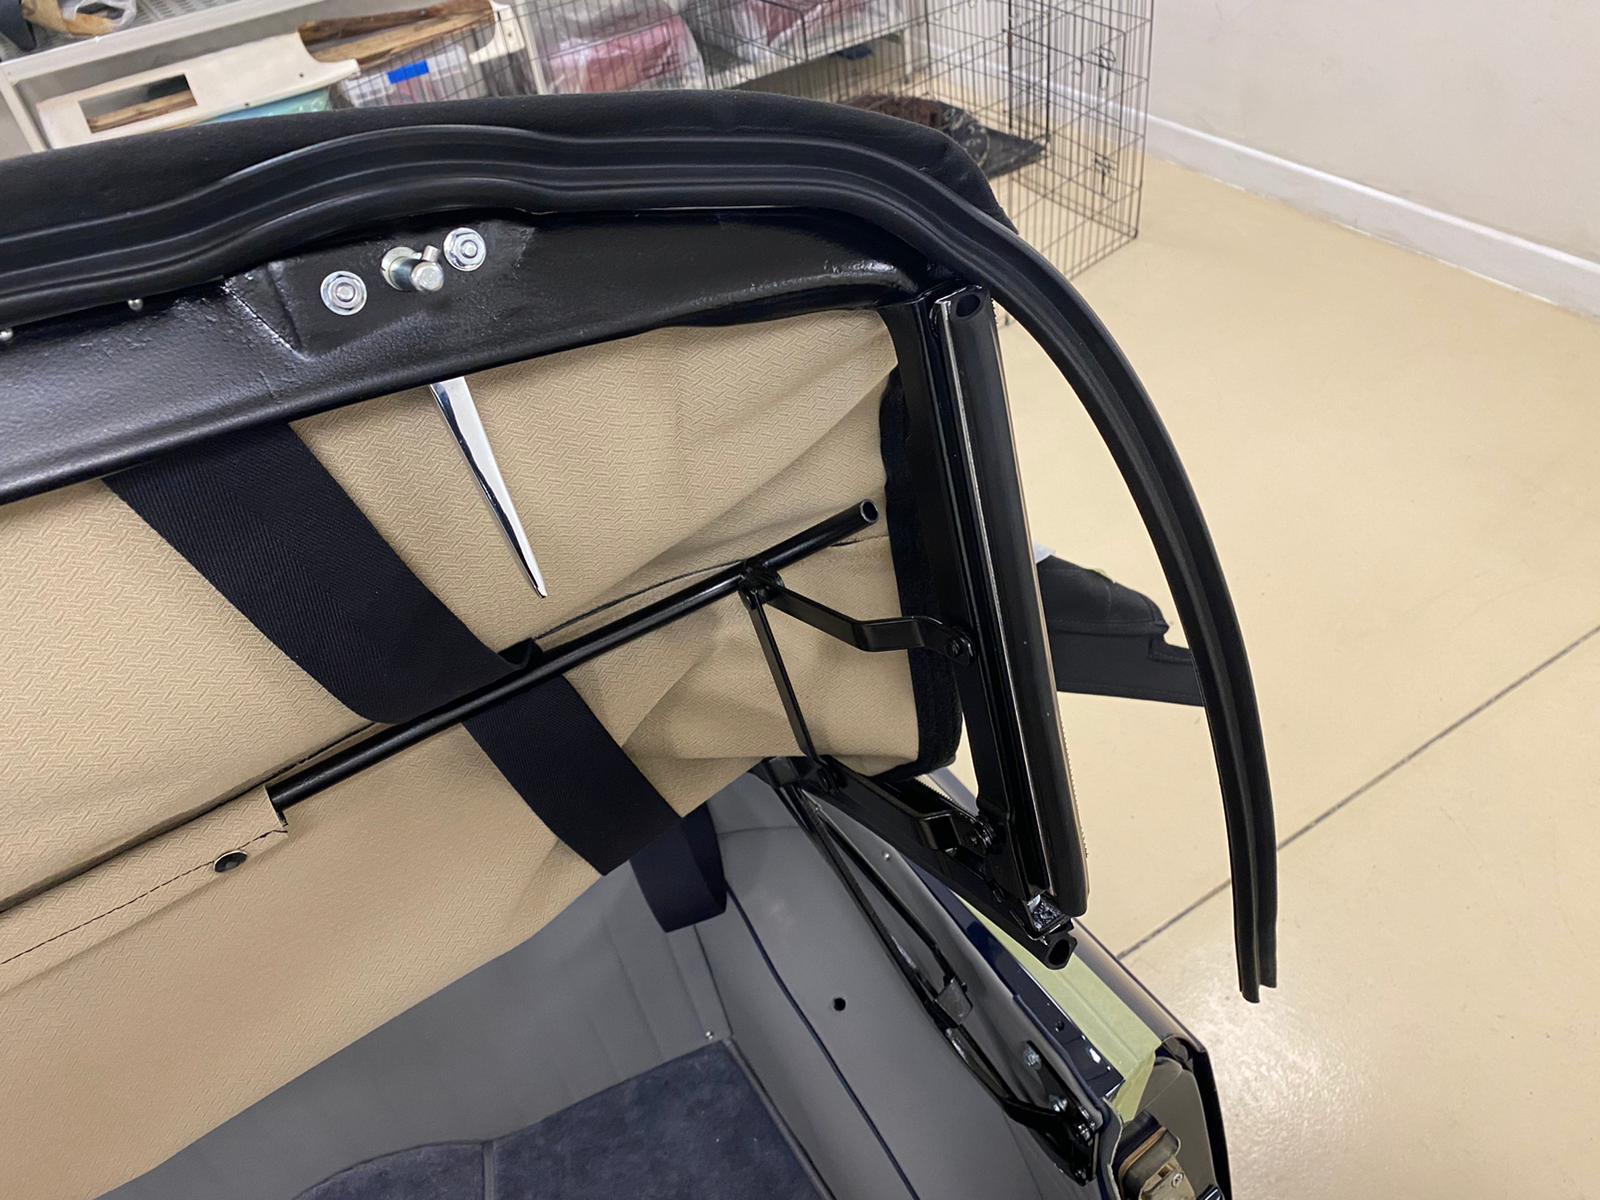
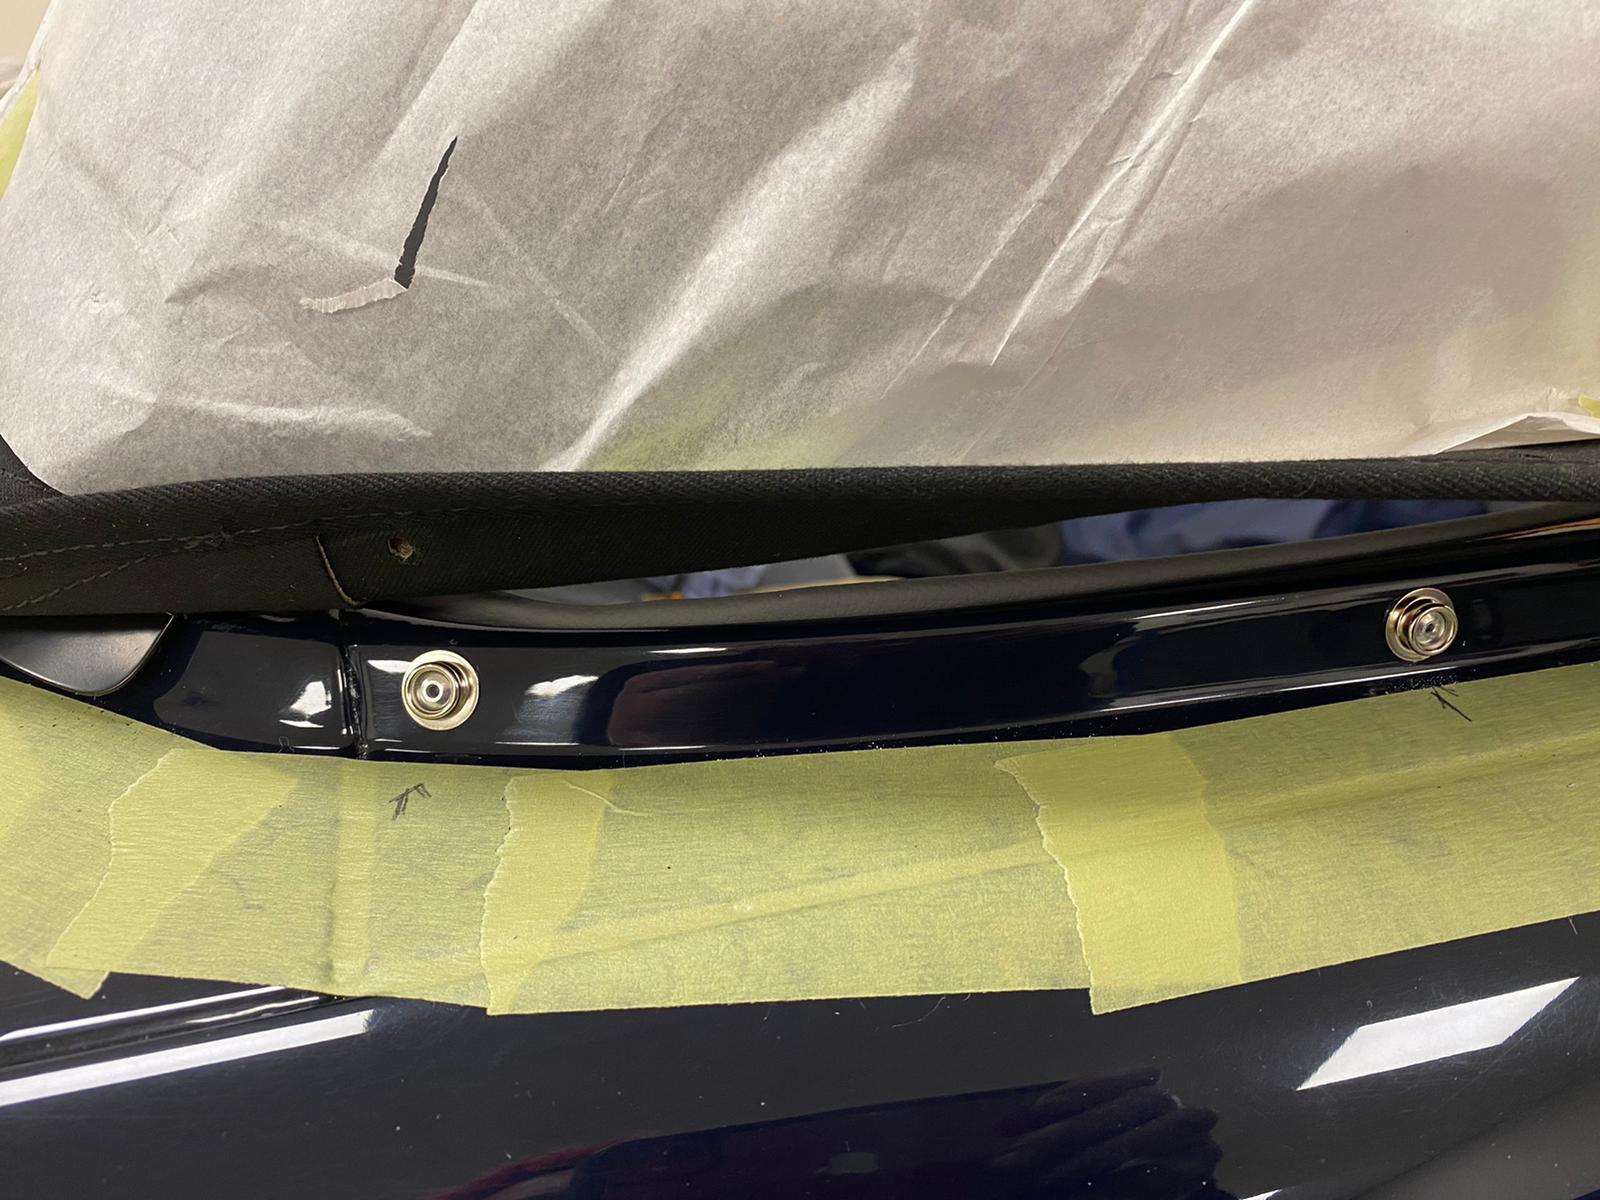
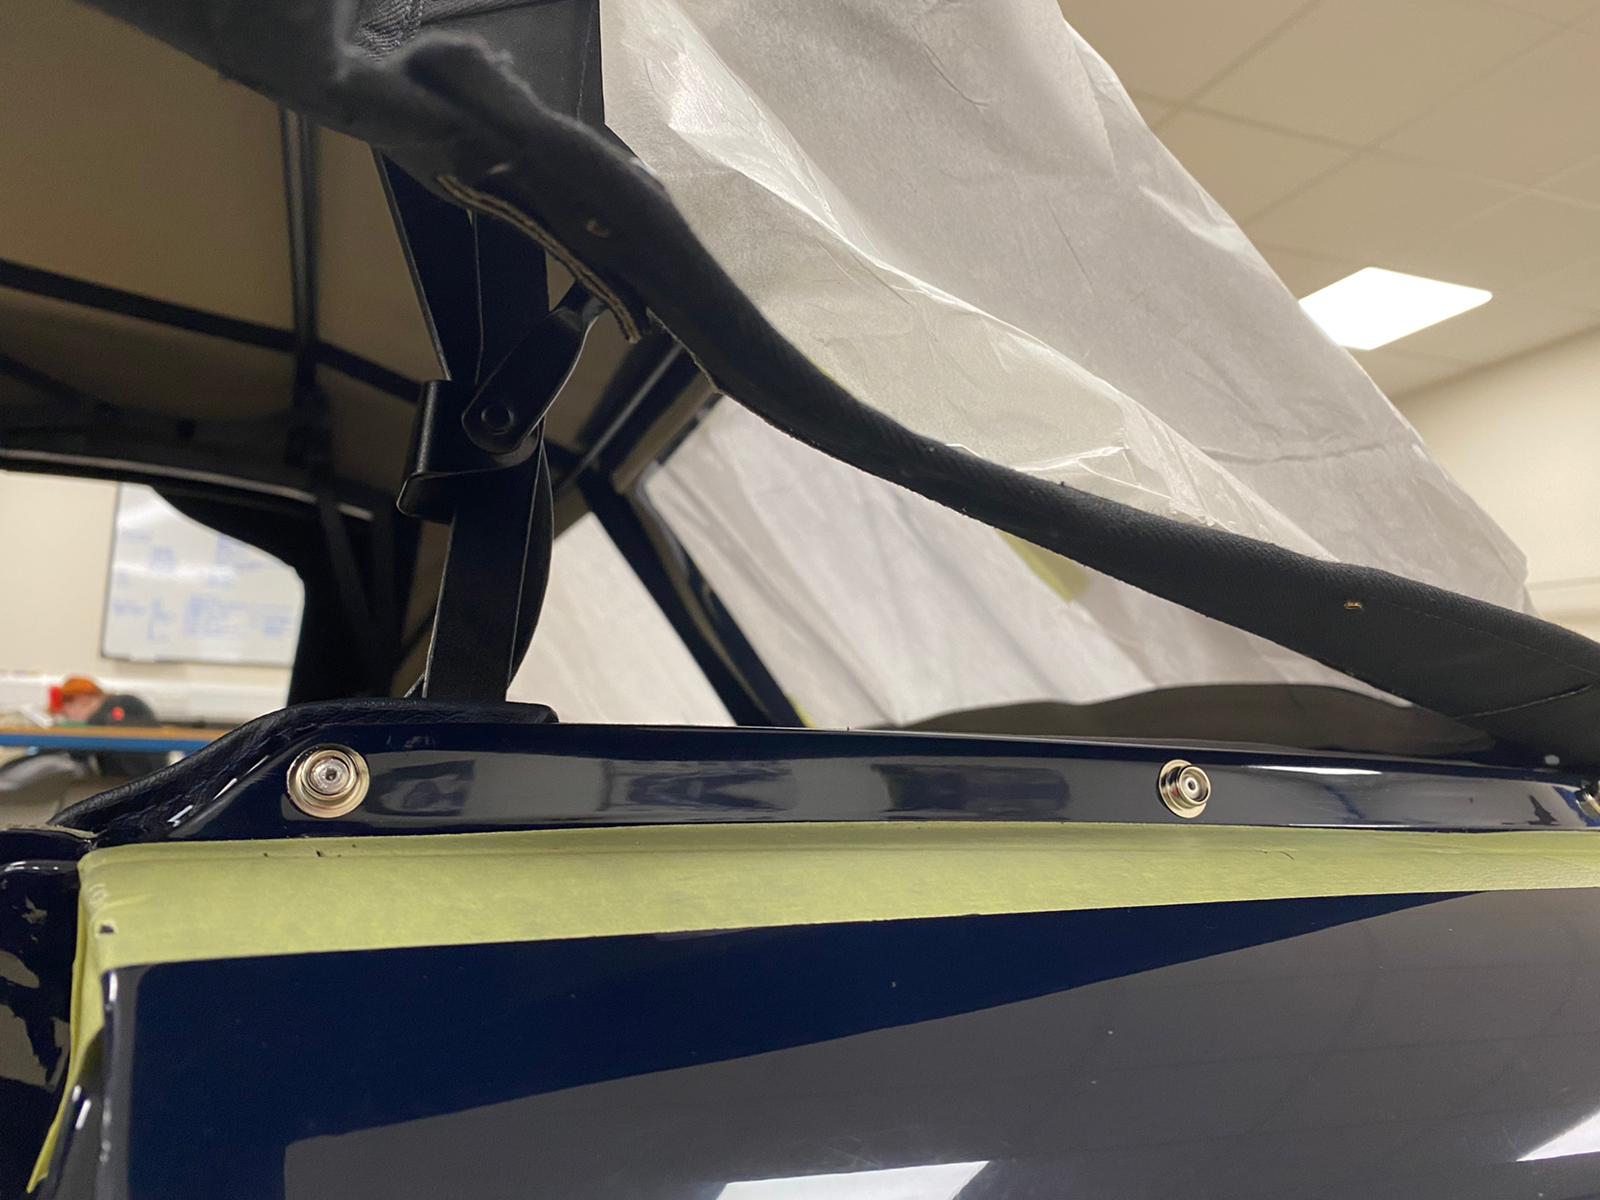
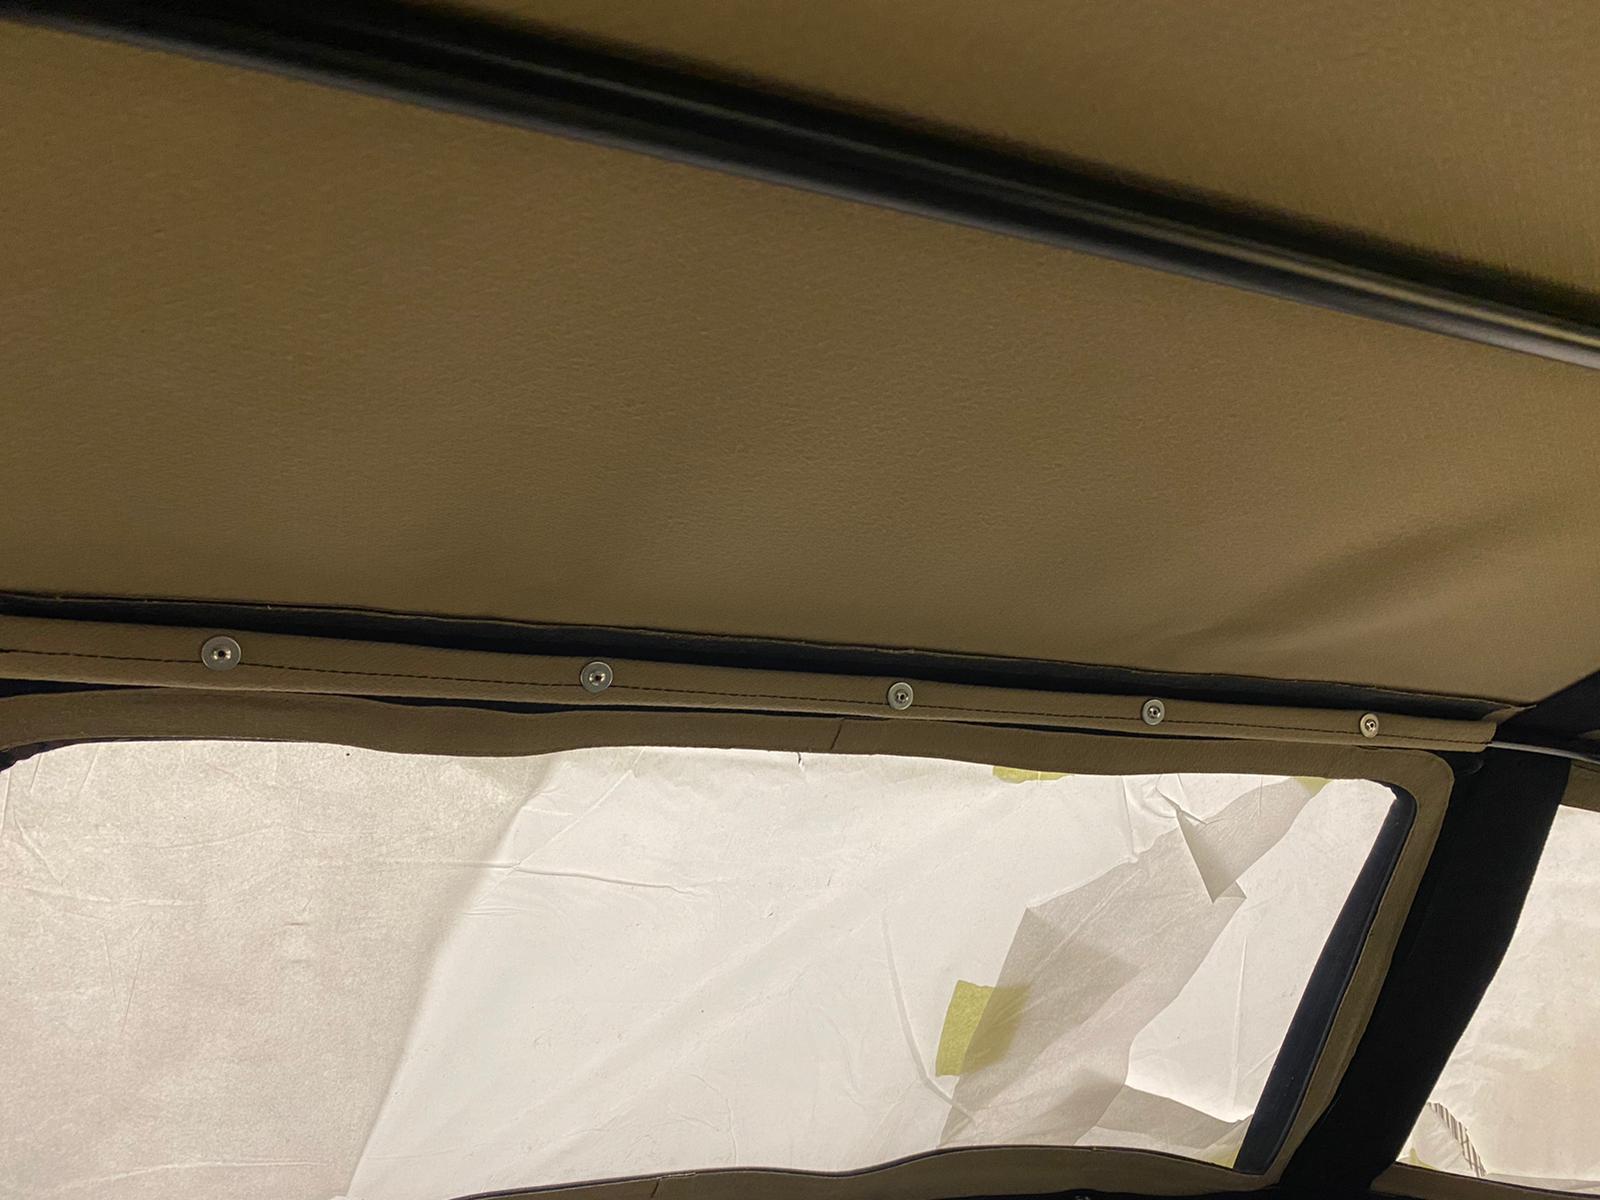
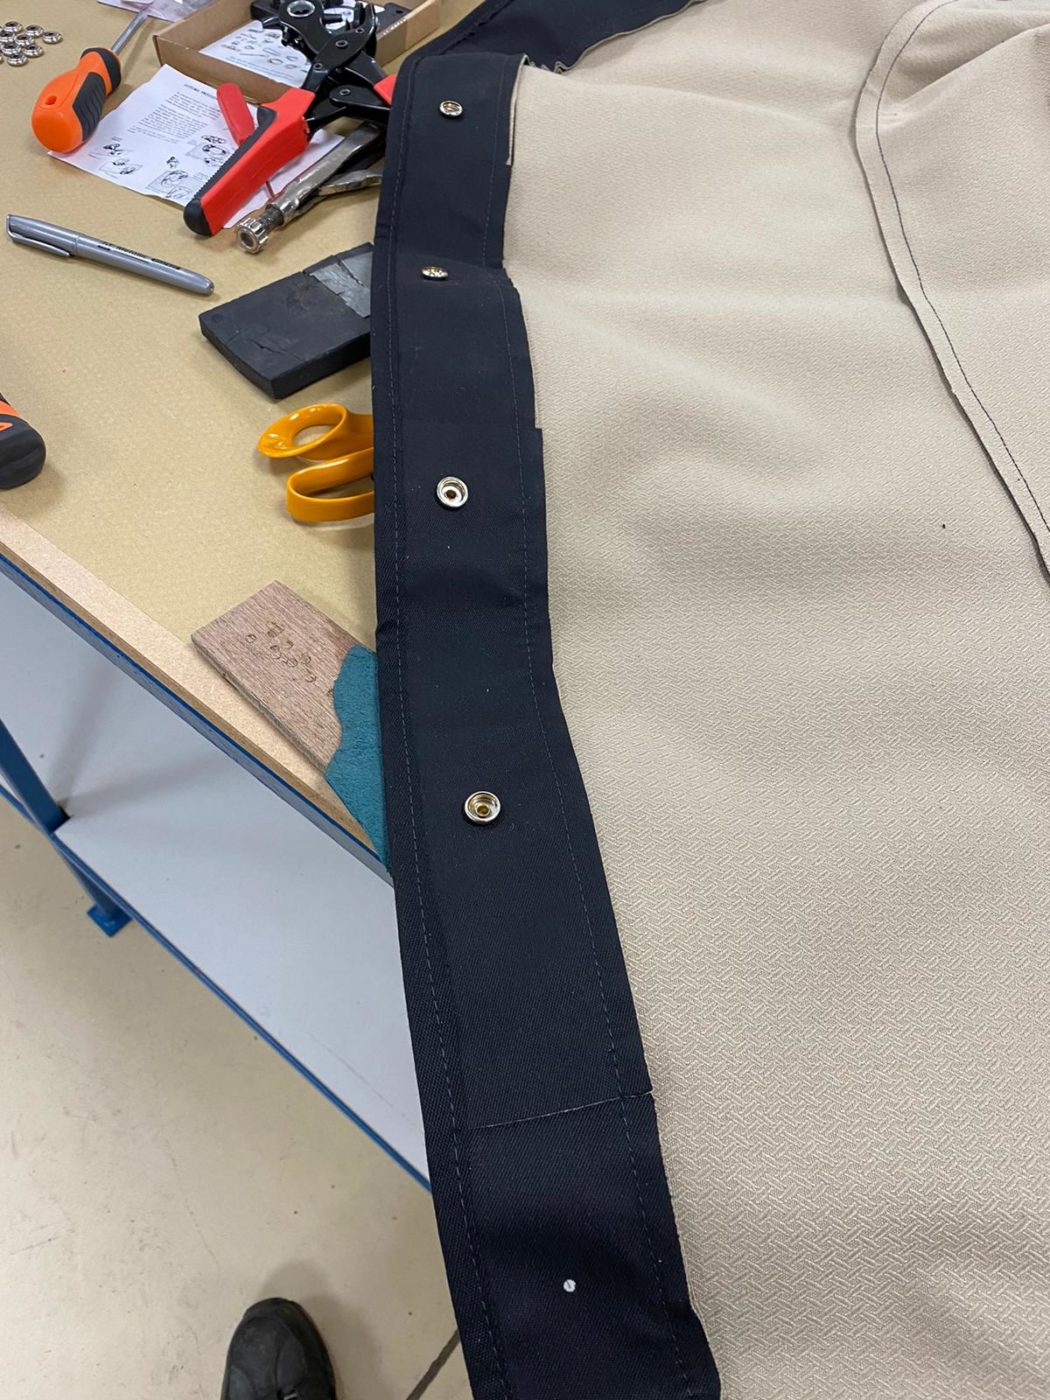
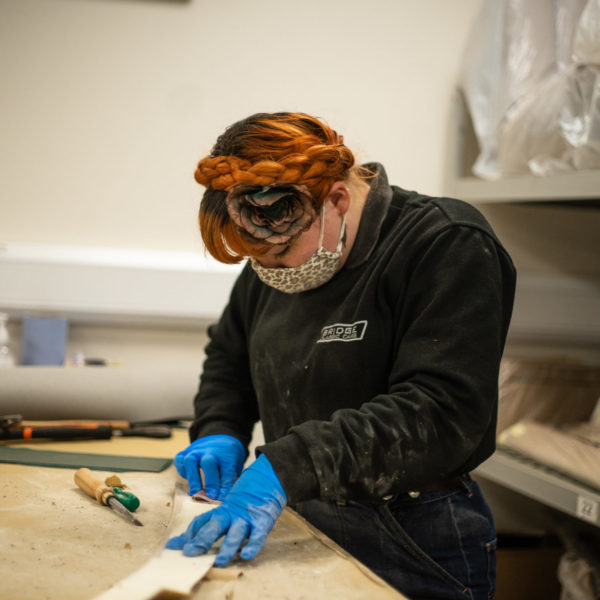
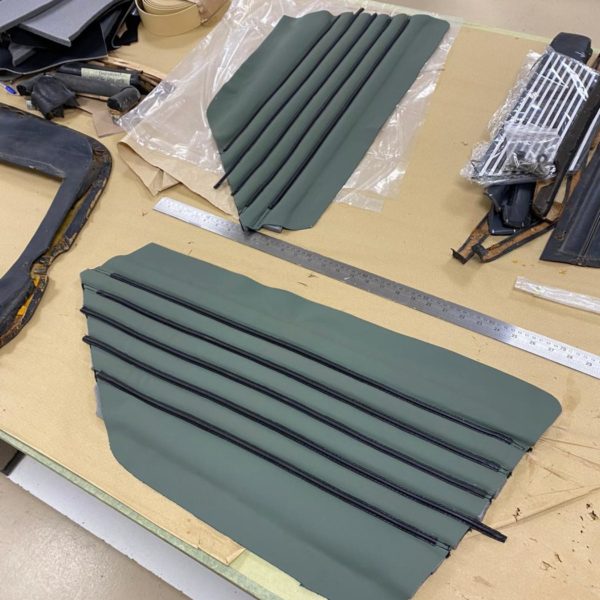
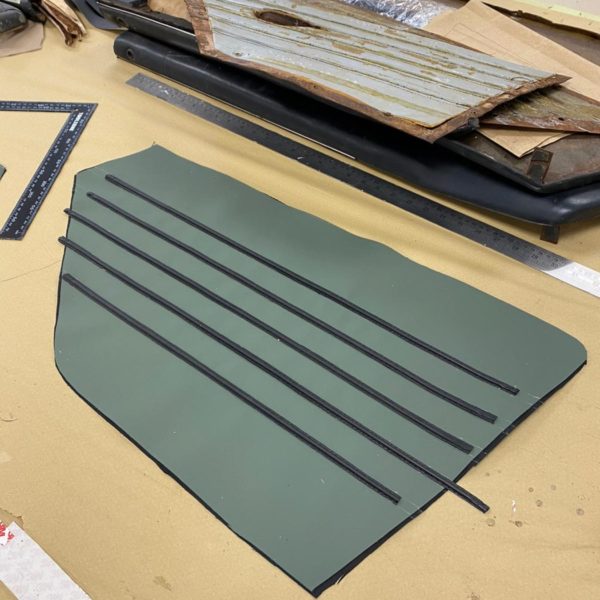
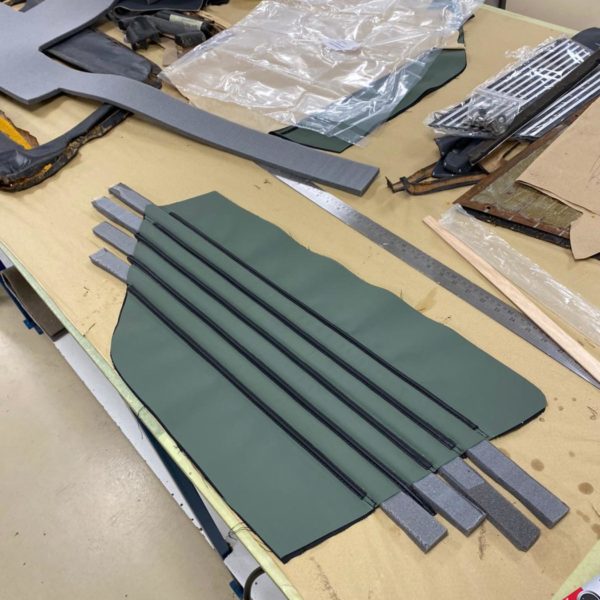
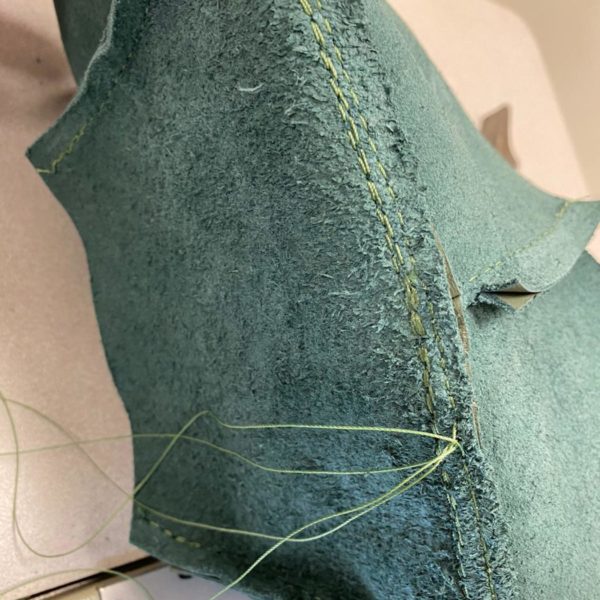
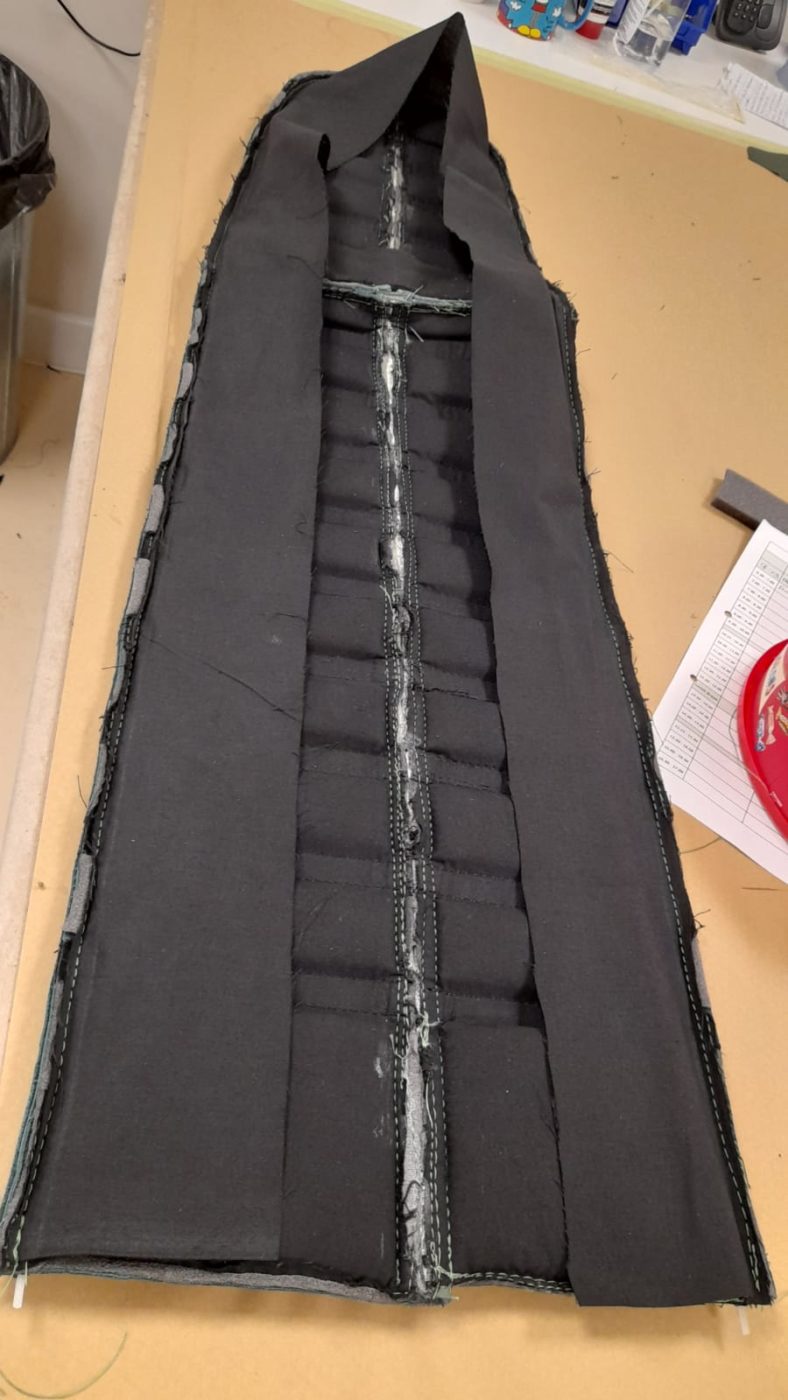
Kath has been working on the TR5 hood recently in the trim shop with the rest of the team. She bagan the process of making the hood by laying the cover over the hood frame and lined up the roof bars with the hood seams. She then took the cover off, attached the webbing to the bars to keep the frame in the right position using the rivets and metal plates. She then made up some vinyl for the edges to go along the side of the frame with Velcro sewn on. This is done so the hood can fasten to the frame.
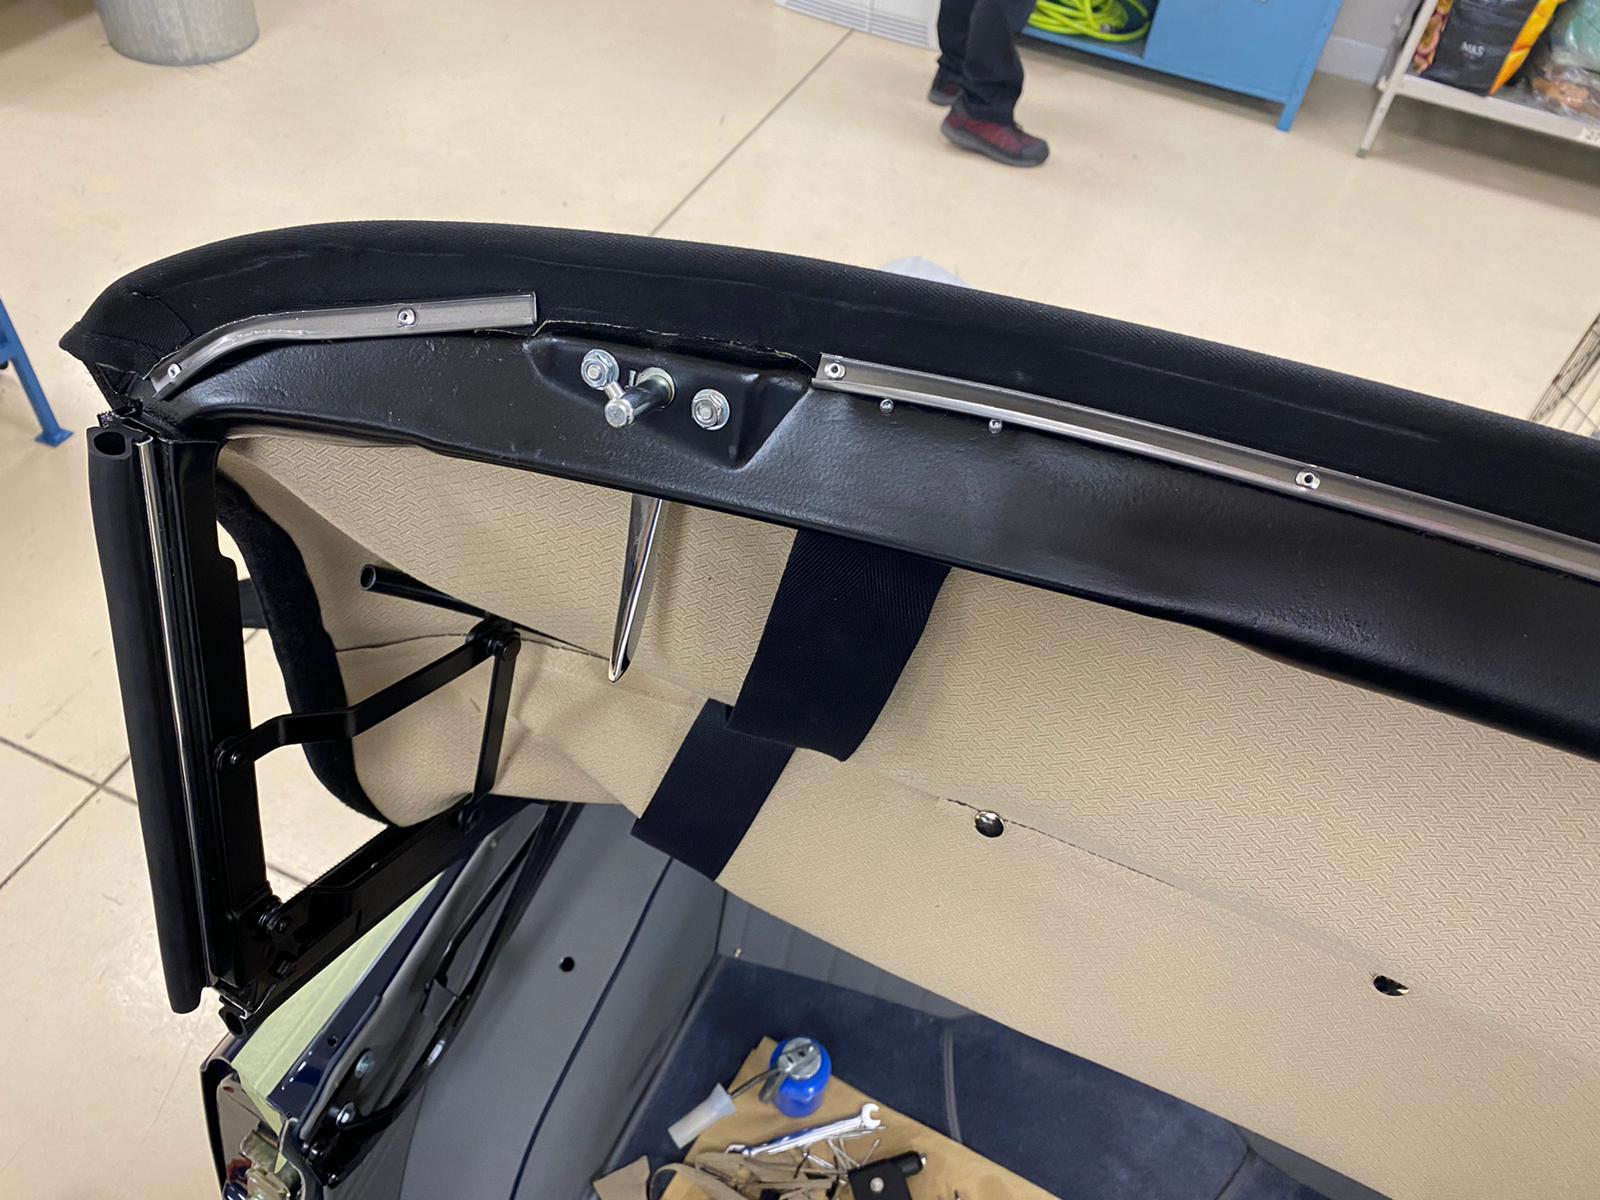
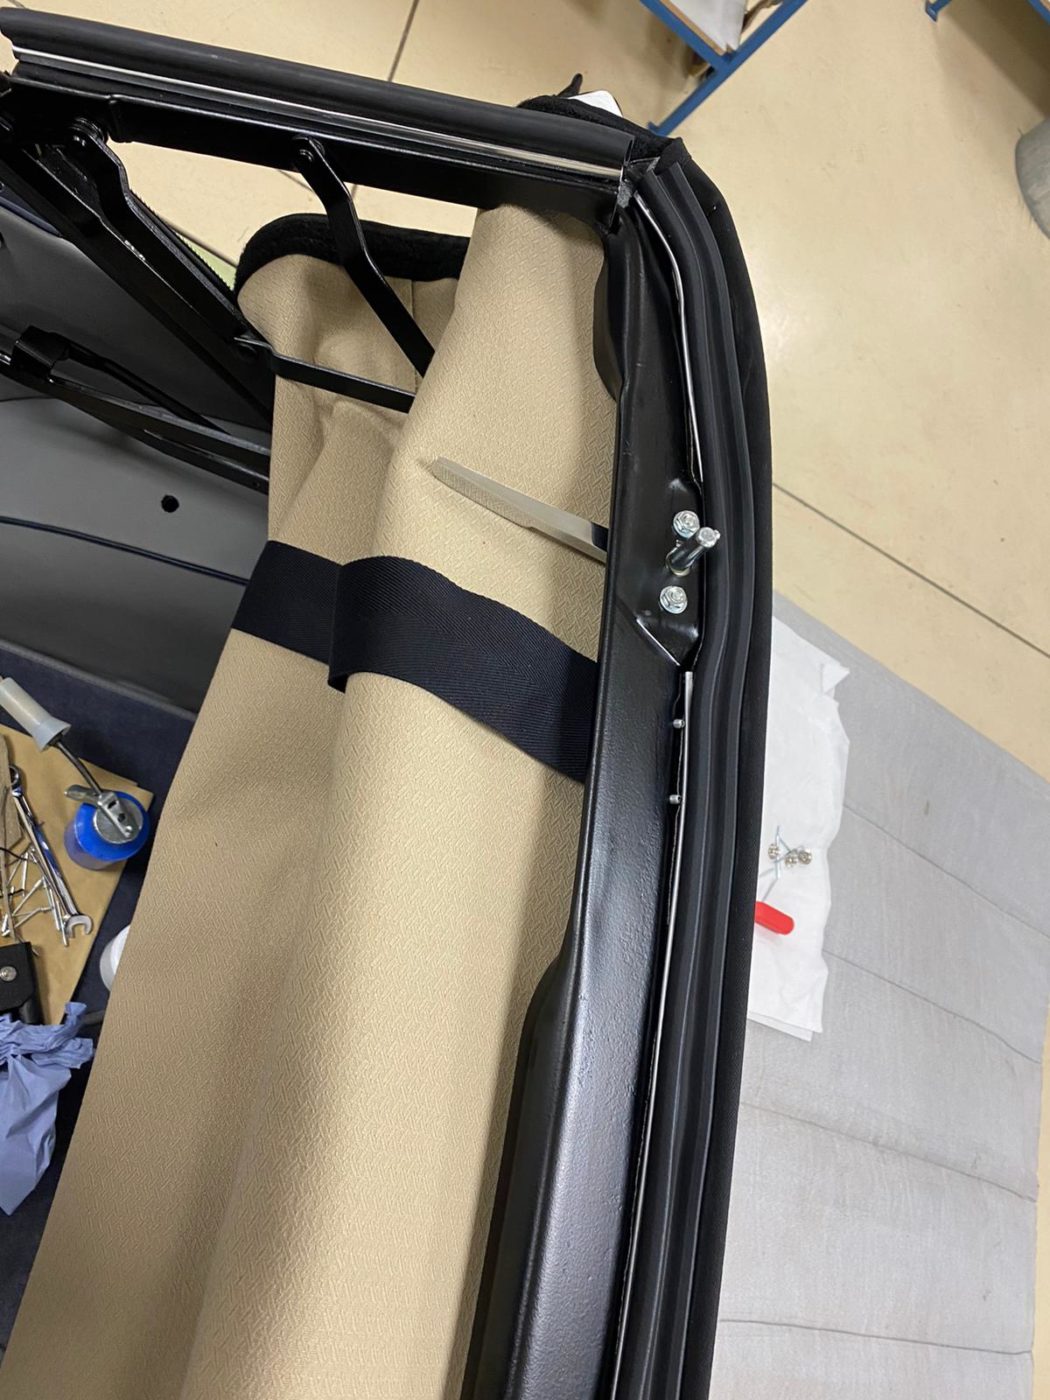
Kath then glued up the frame and vinyl, attached the Velcro strips and bolted on the metal channels on each side for the rubber seal around the top of the window. The next step was to insert the rubber seal, trim the excess off once in the channel and fit a rubber seal along the windows. The rear window rail was then pushed in between the hood cloth so it sits comfortably in the middle.
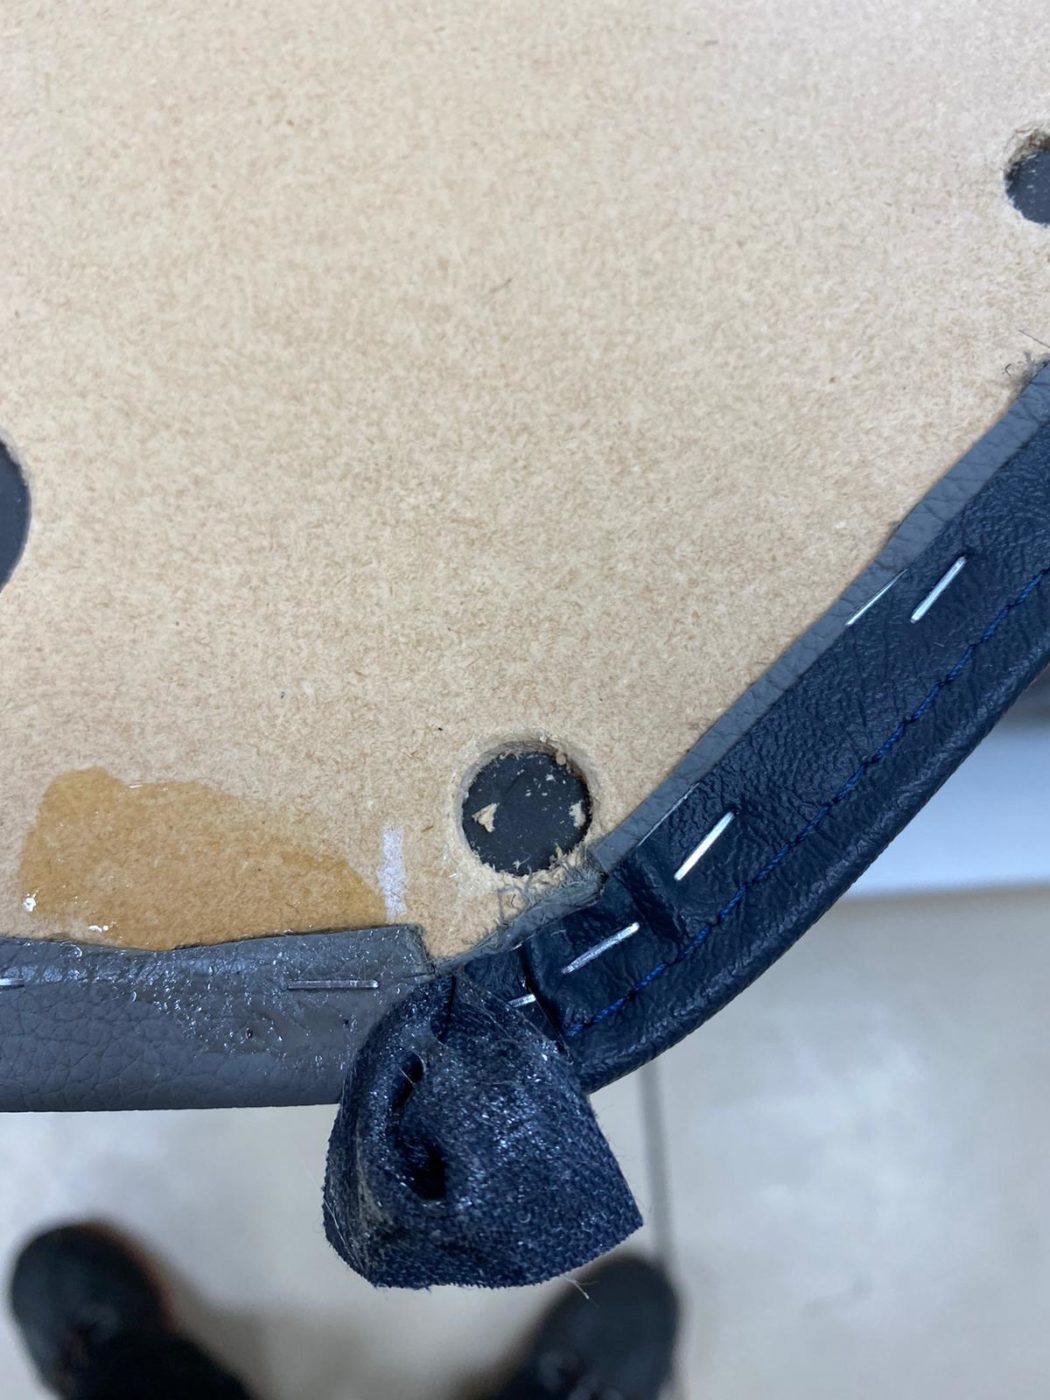
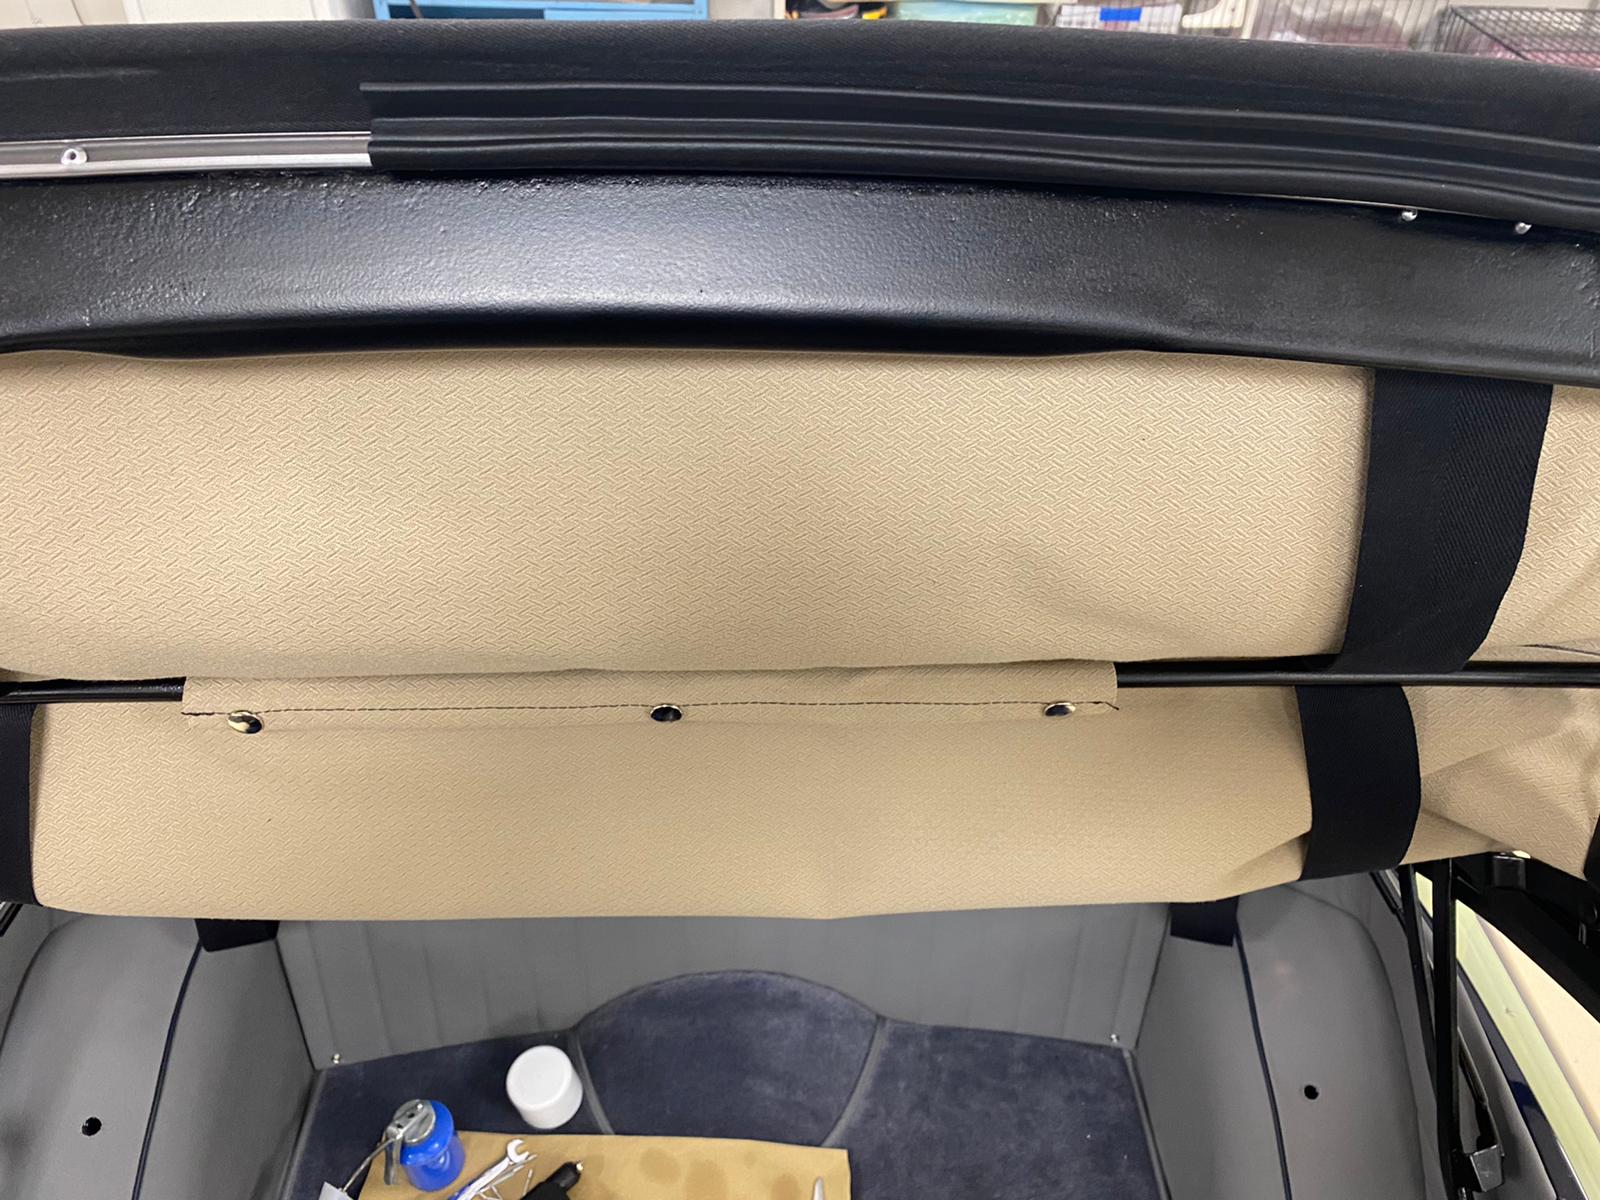
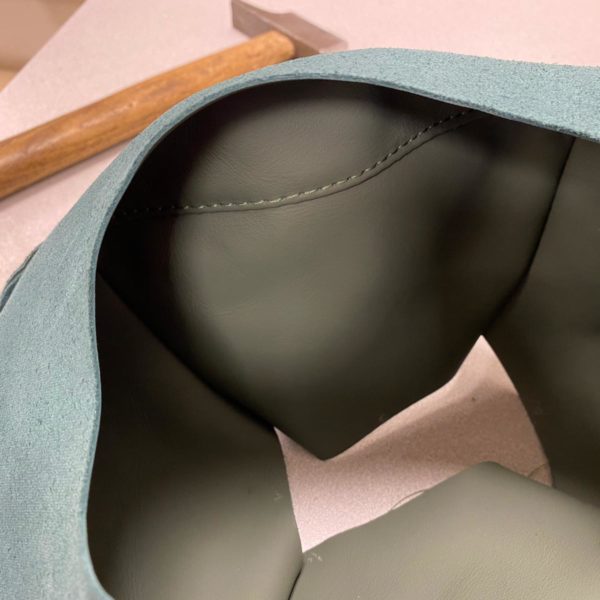
Kath then centred up and glued the cover in underneath the rail. To neaten it up, Kath trimmed off the excess material and bolt down the rear rail onto the car. She then attached stud sockets to the top of the cover at the back and riveted them in place. She could then pull the cover tight at the front of the car, marked the position on the front of the car with some chalk and glued along the header rail and under the front cover. Kath attached the metal channel along the front with the rivets so that they ready to have the rubber inserted in. The rubber is often hard to fit into the riverts so Kath applies some ‘easy slide’ to help it fit in.
The next step in the process was to attach 3 stud buttons on each rear side to secure hood down. These were riverted on each side of car. Next Kath wrapped the rear rail around & secured it with rivets.
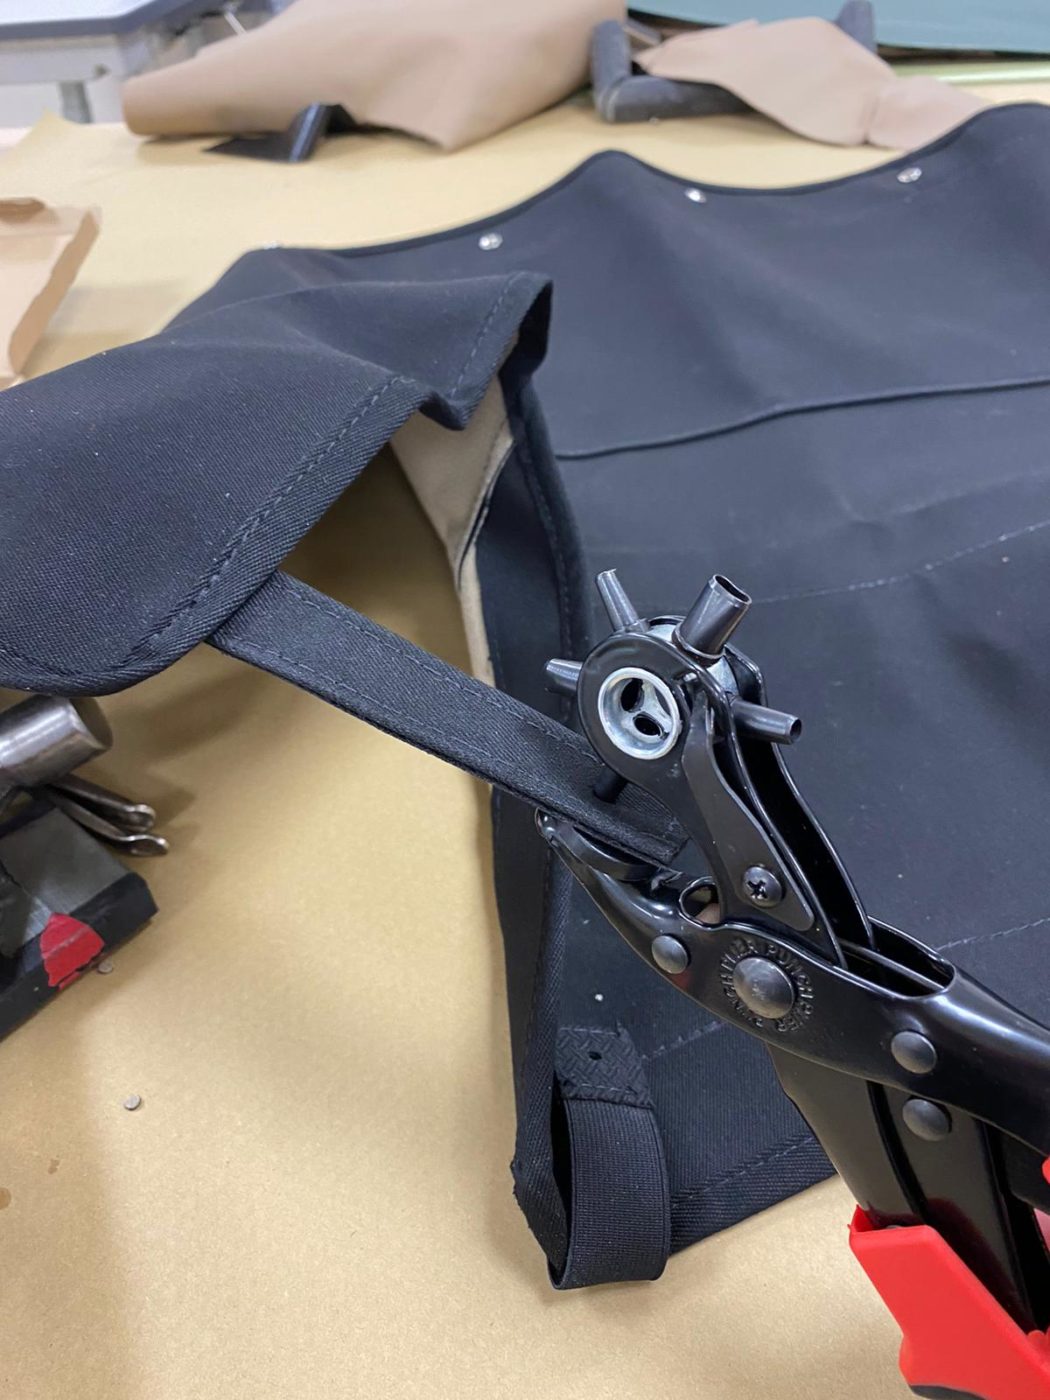
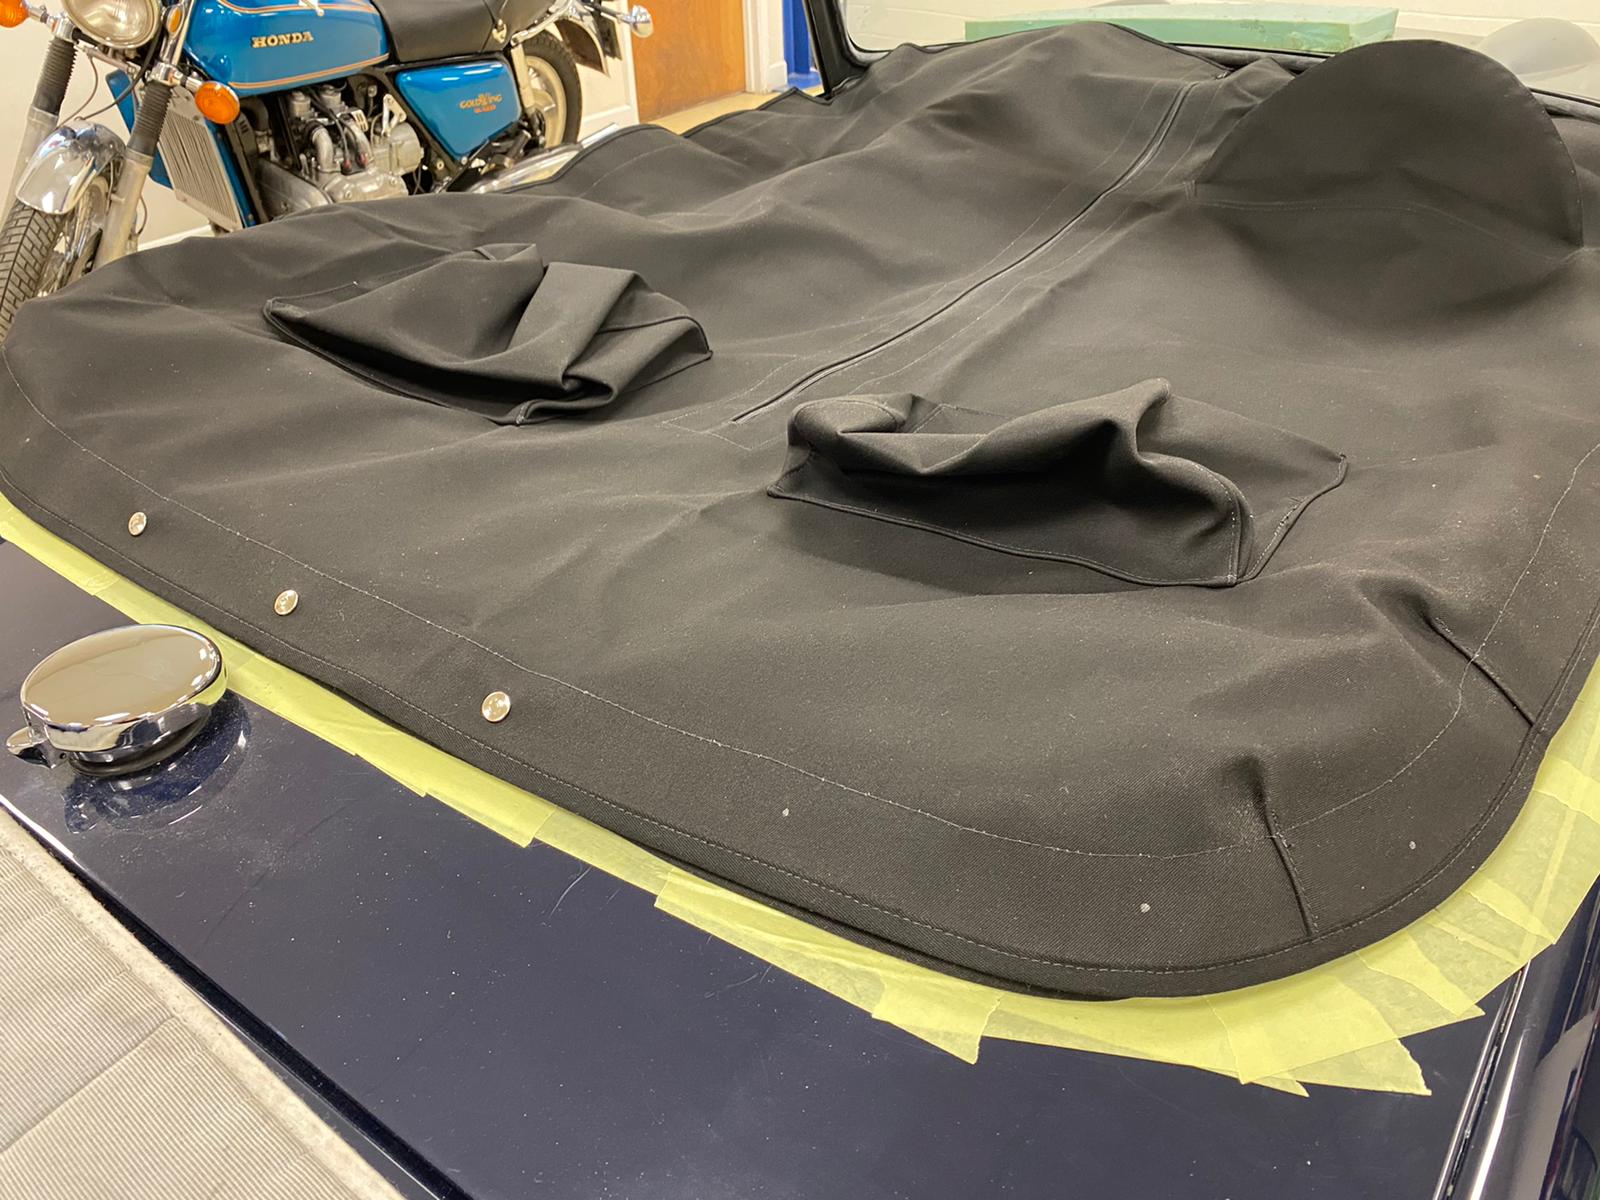
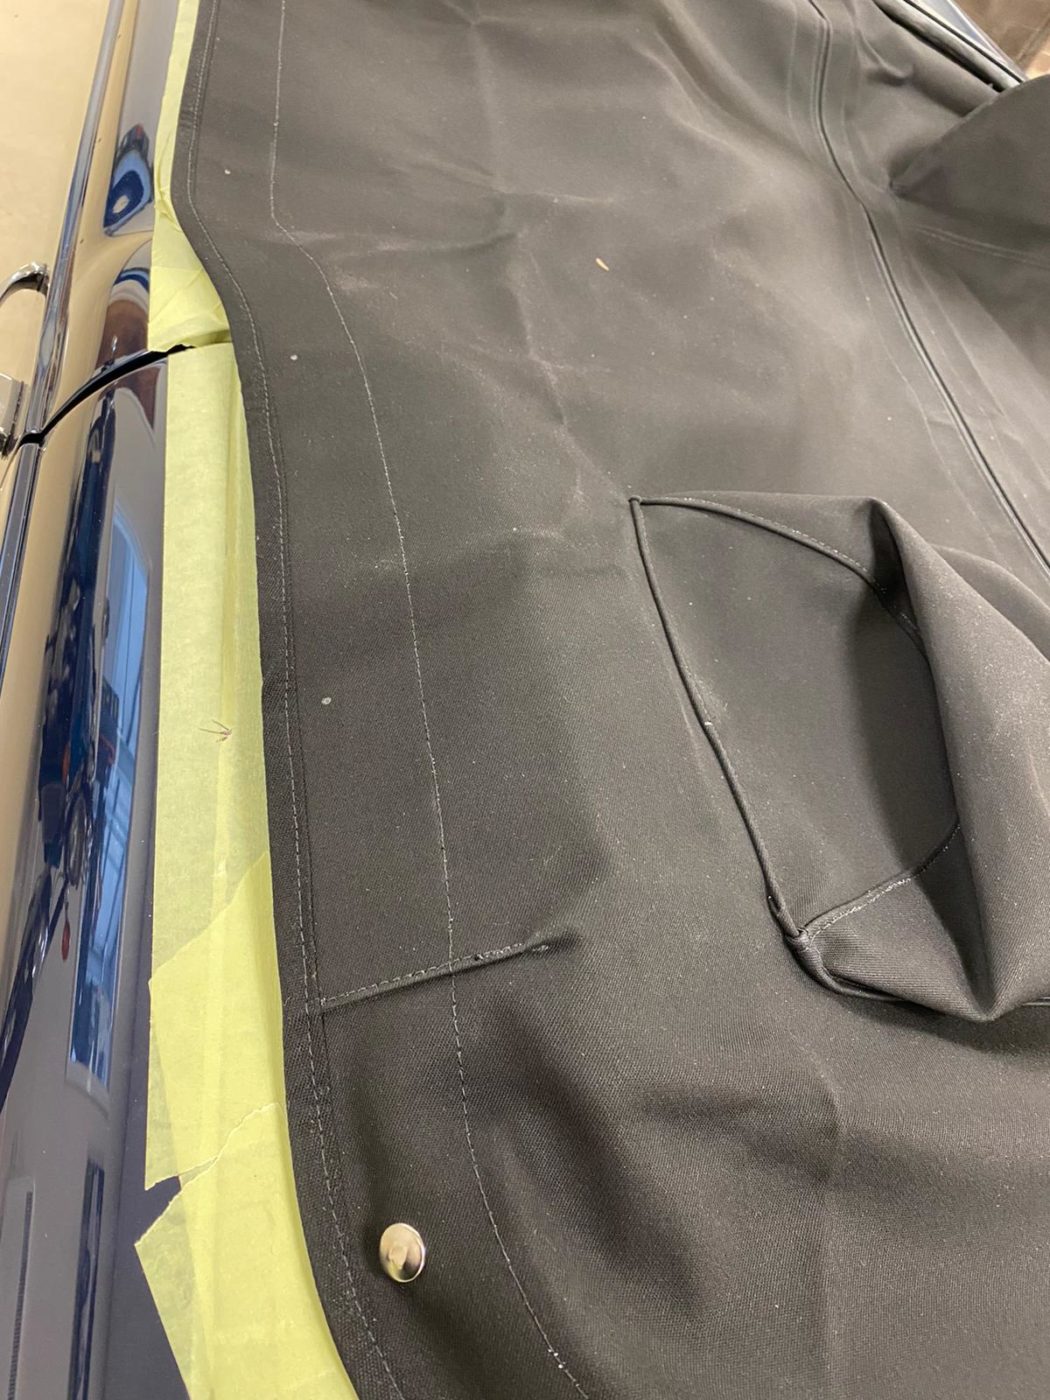
The rear hood cover has also been made by positioning the template cover over the hood and Kath marked the centre. She attached a fastener, pulled the cover tight and marked a few positions of fasteners. She punched the hole out and then attached the buttons. She did this around the outside edge and once the outside was complete, she attached a couple of fasteners inside.
The final step was to make the tonneau cover. Kath added some fasteners along the top edge of the door, riveted them in place on both sides and centred up the cover before adding any fasteners. Kath marked the position of the first few stud buttons, attached the fasteners, clipped them down and finished by gradually go around the edge pulling the cover tight.


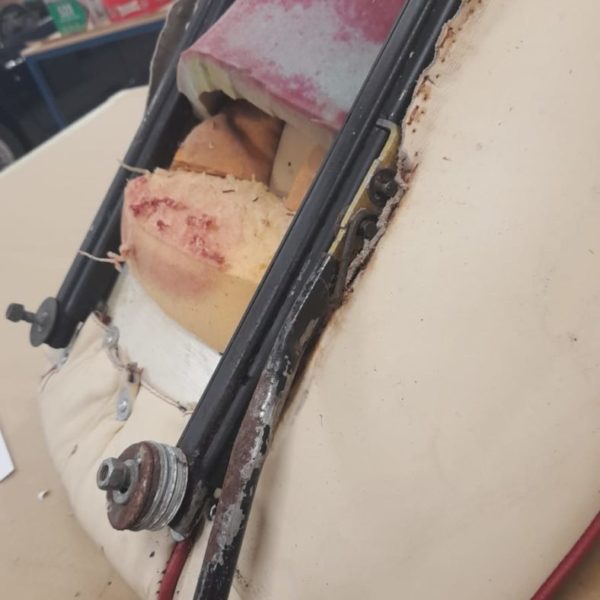
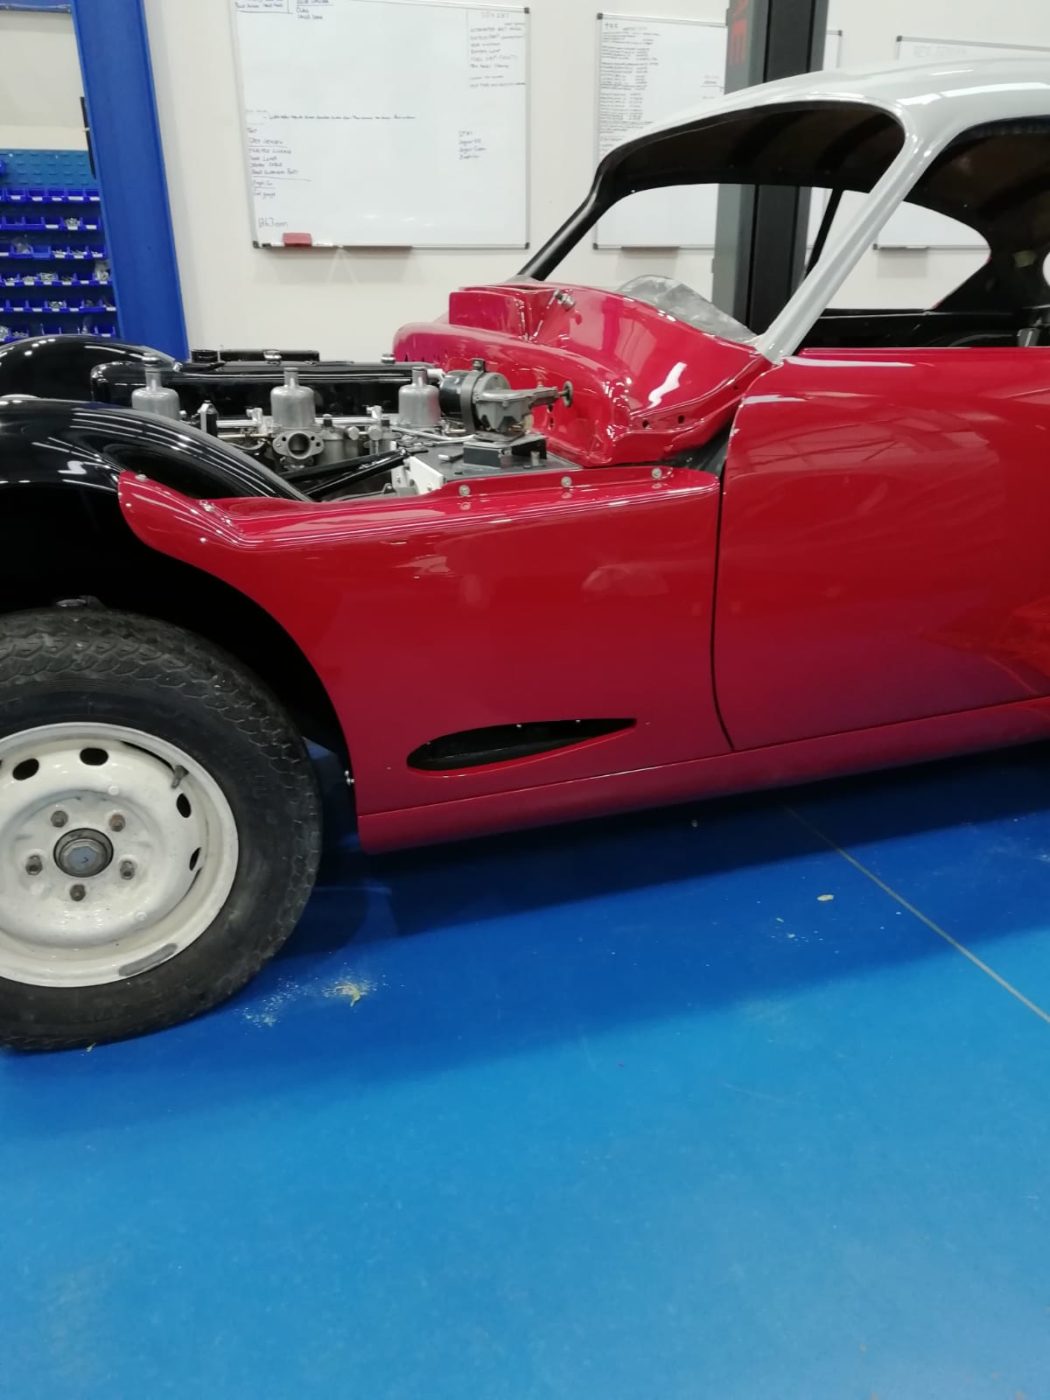
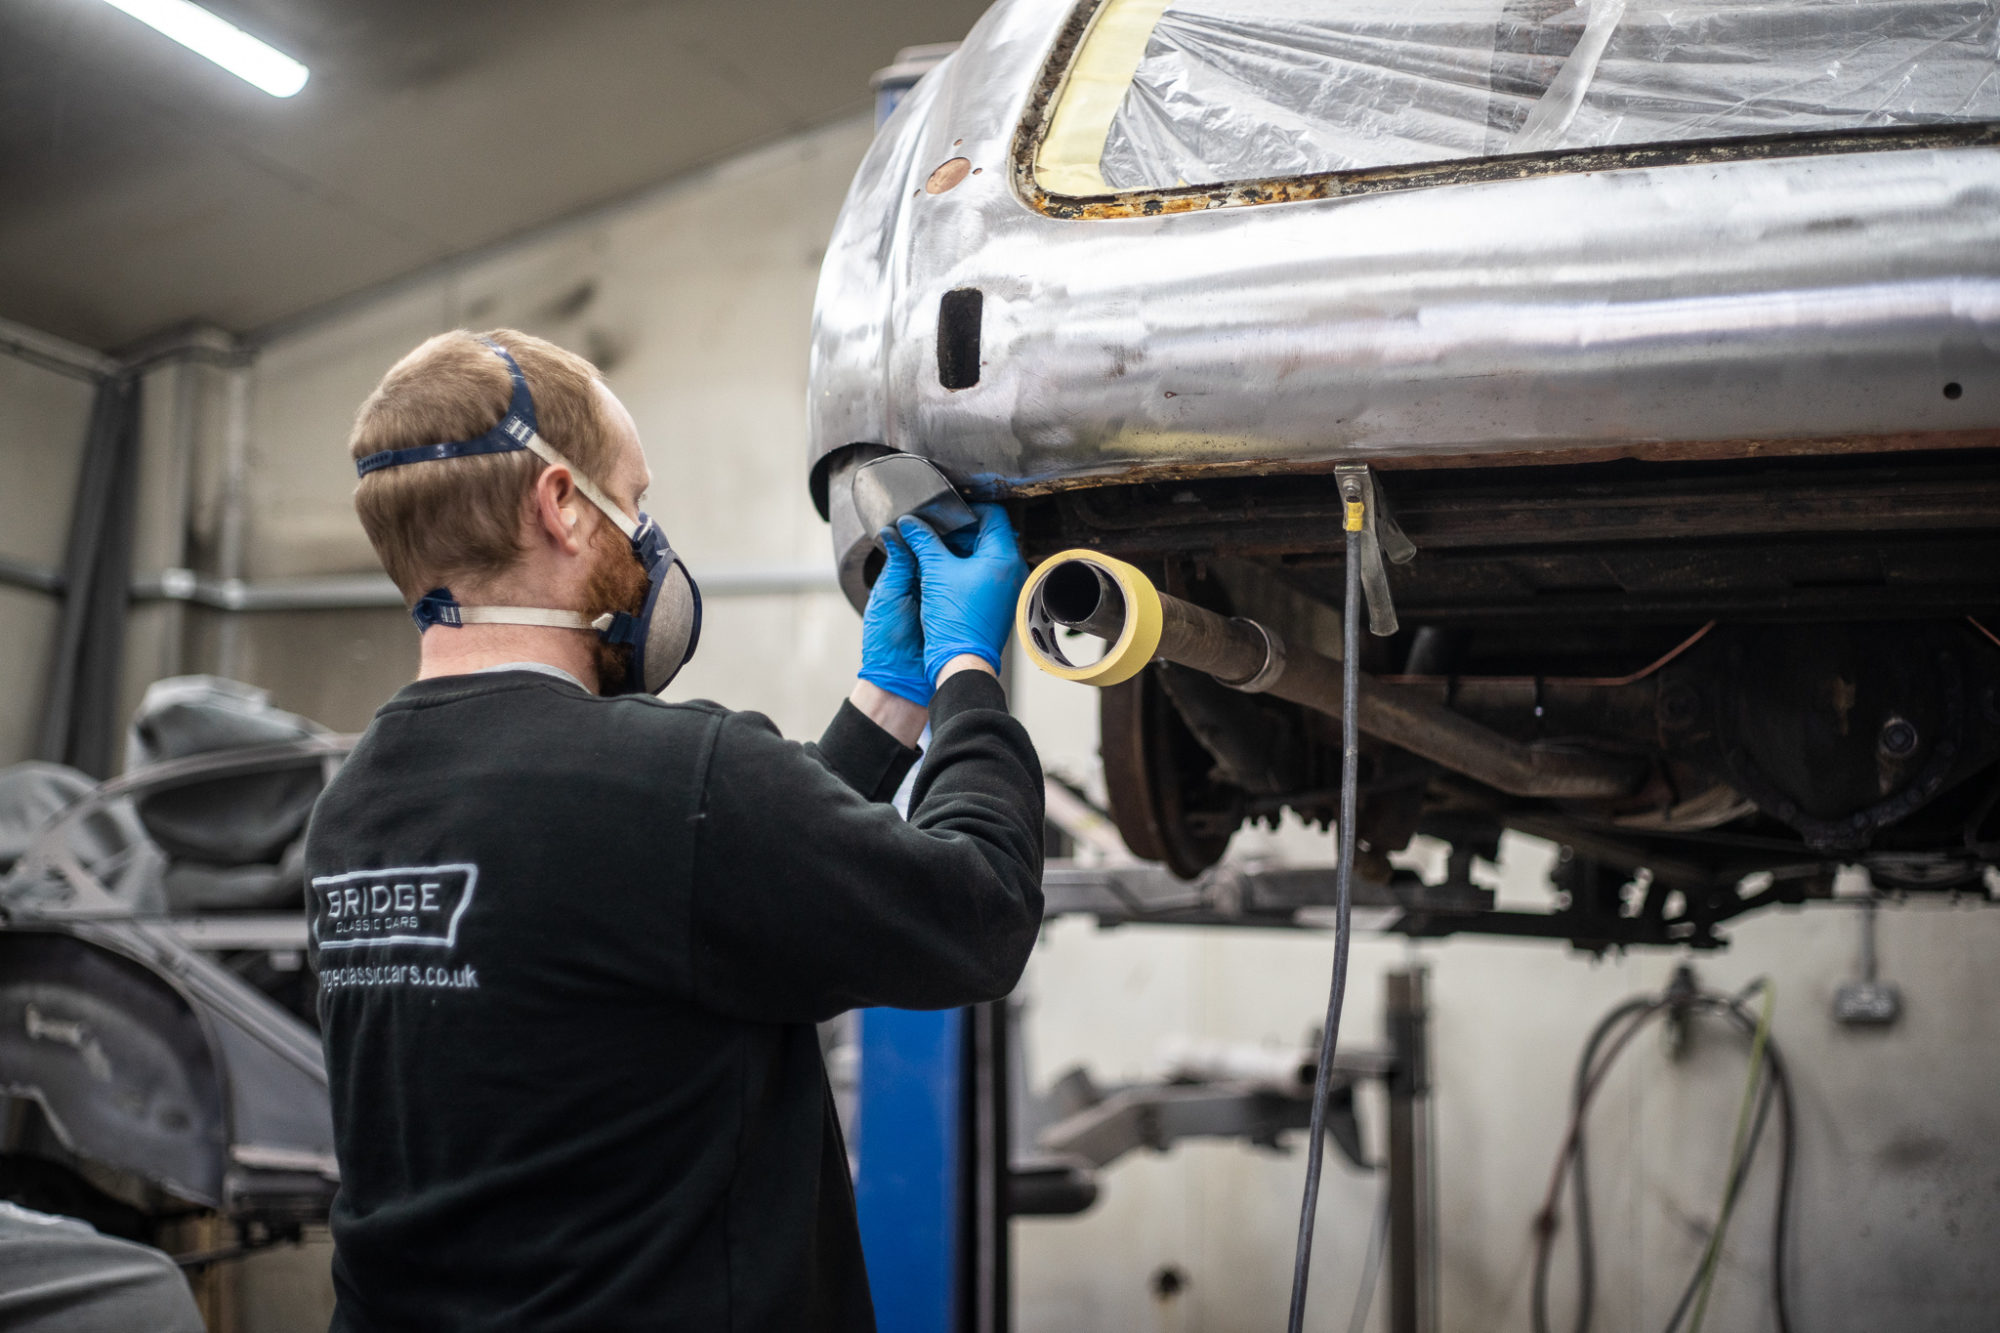
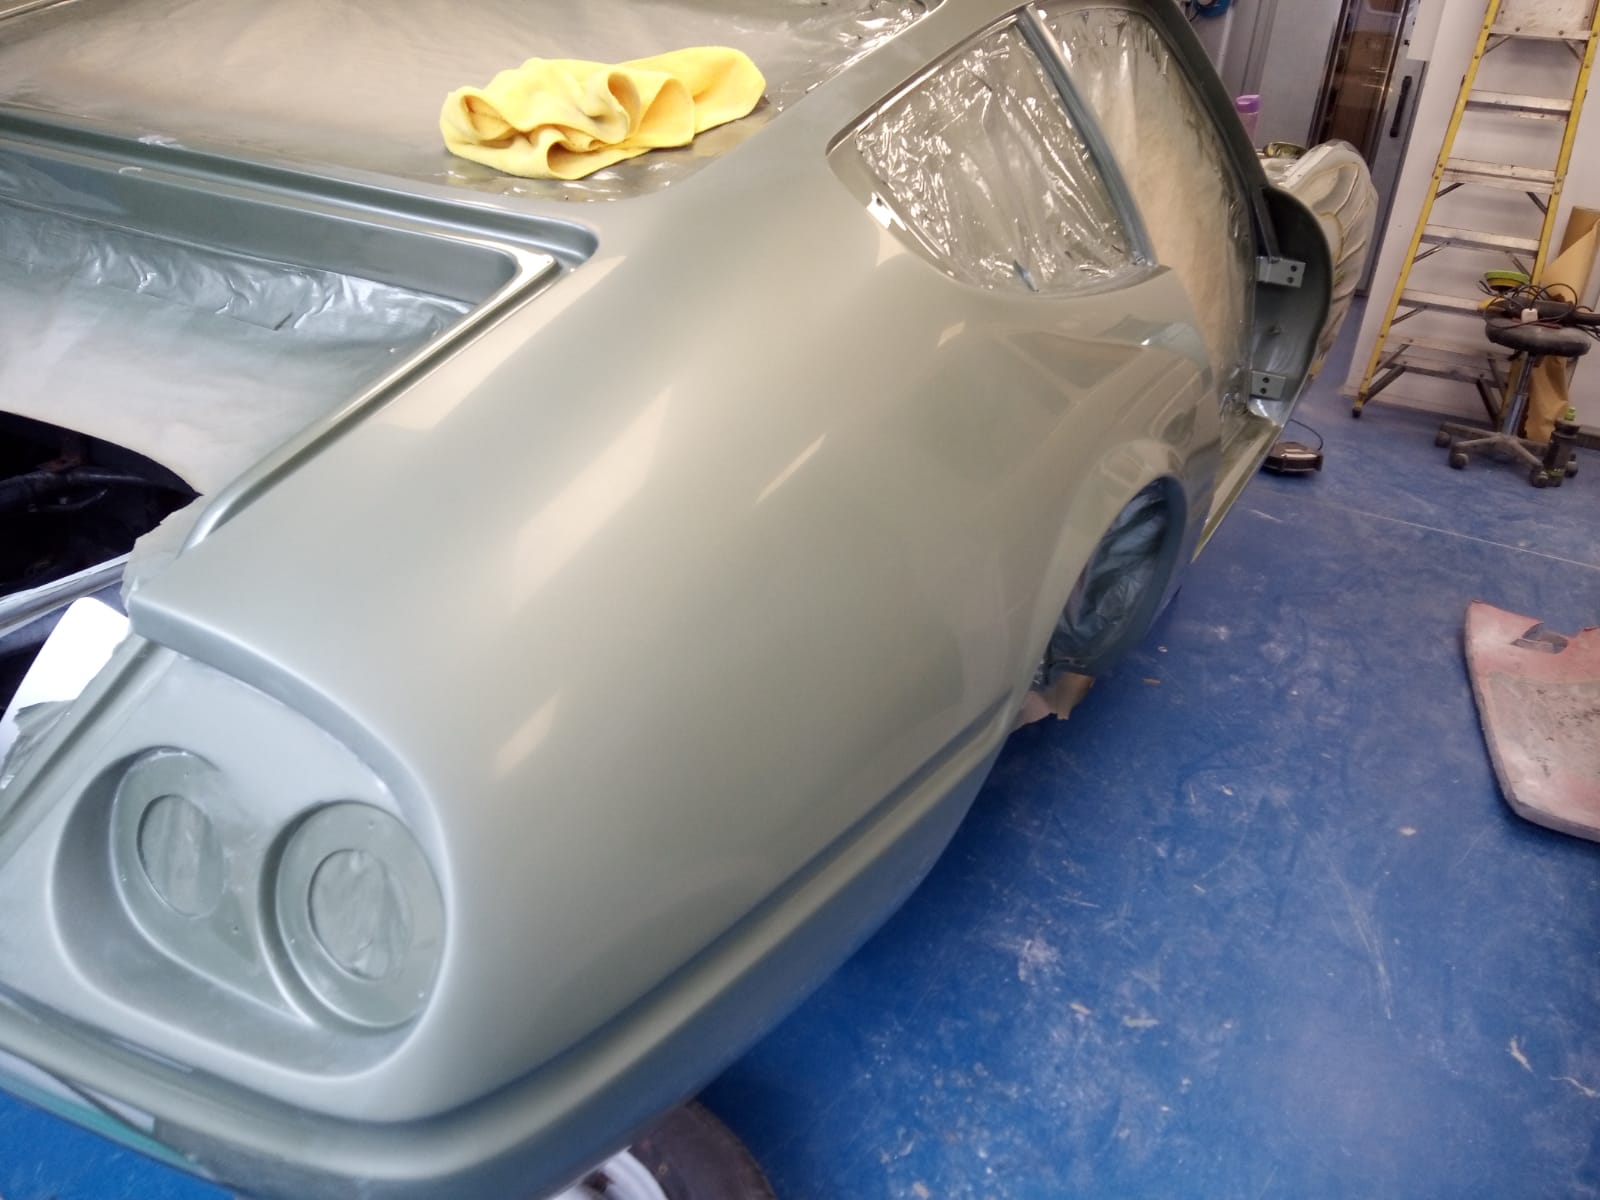
The body of our Ferrari Daytona has officially left the paint shop and found its place in our main workshop, ready to begin the next step in its mechanical journey. The doors, boot and bonnet are set to be completed imminently and will join the body to be fitted.
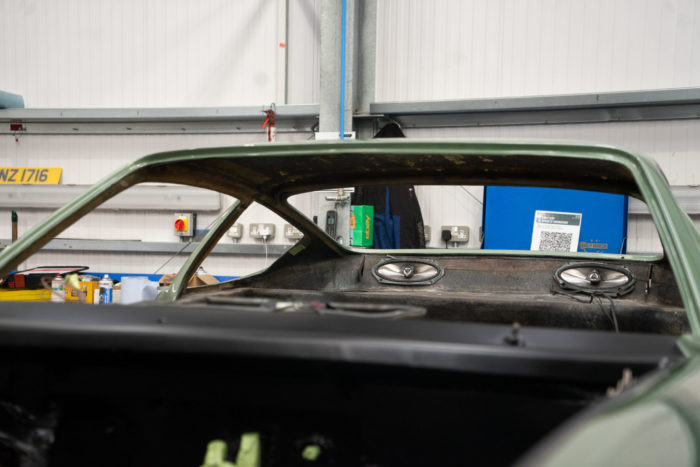
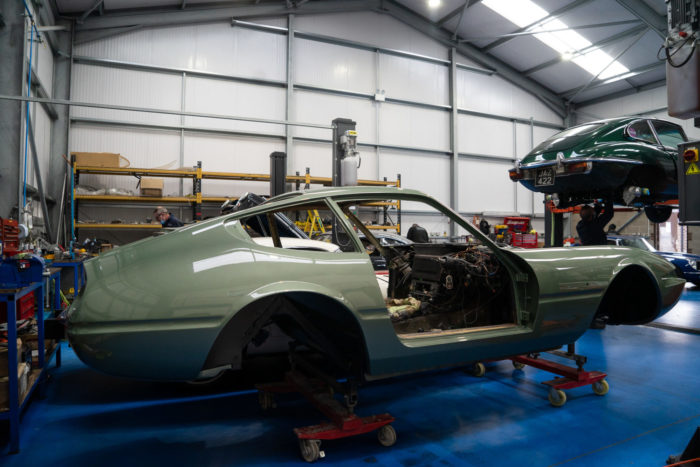
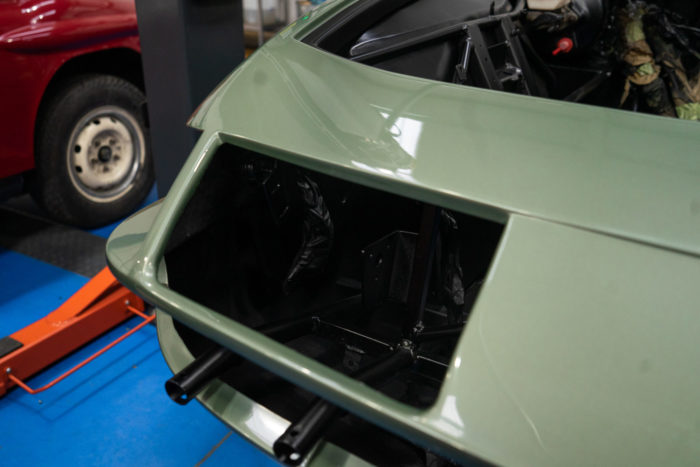
Scott has been working on re-aligning the front suspension of the Daytona as well, making sure all the elements fit back together nearly after its refurbishment.

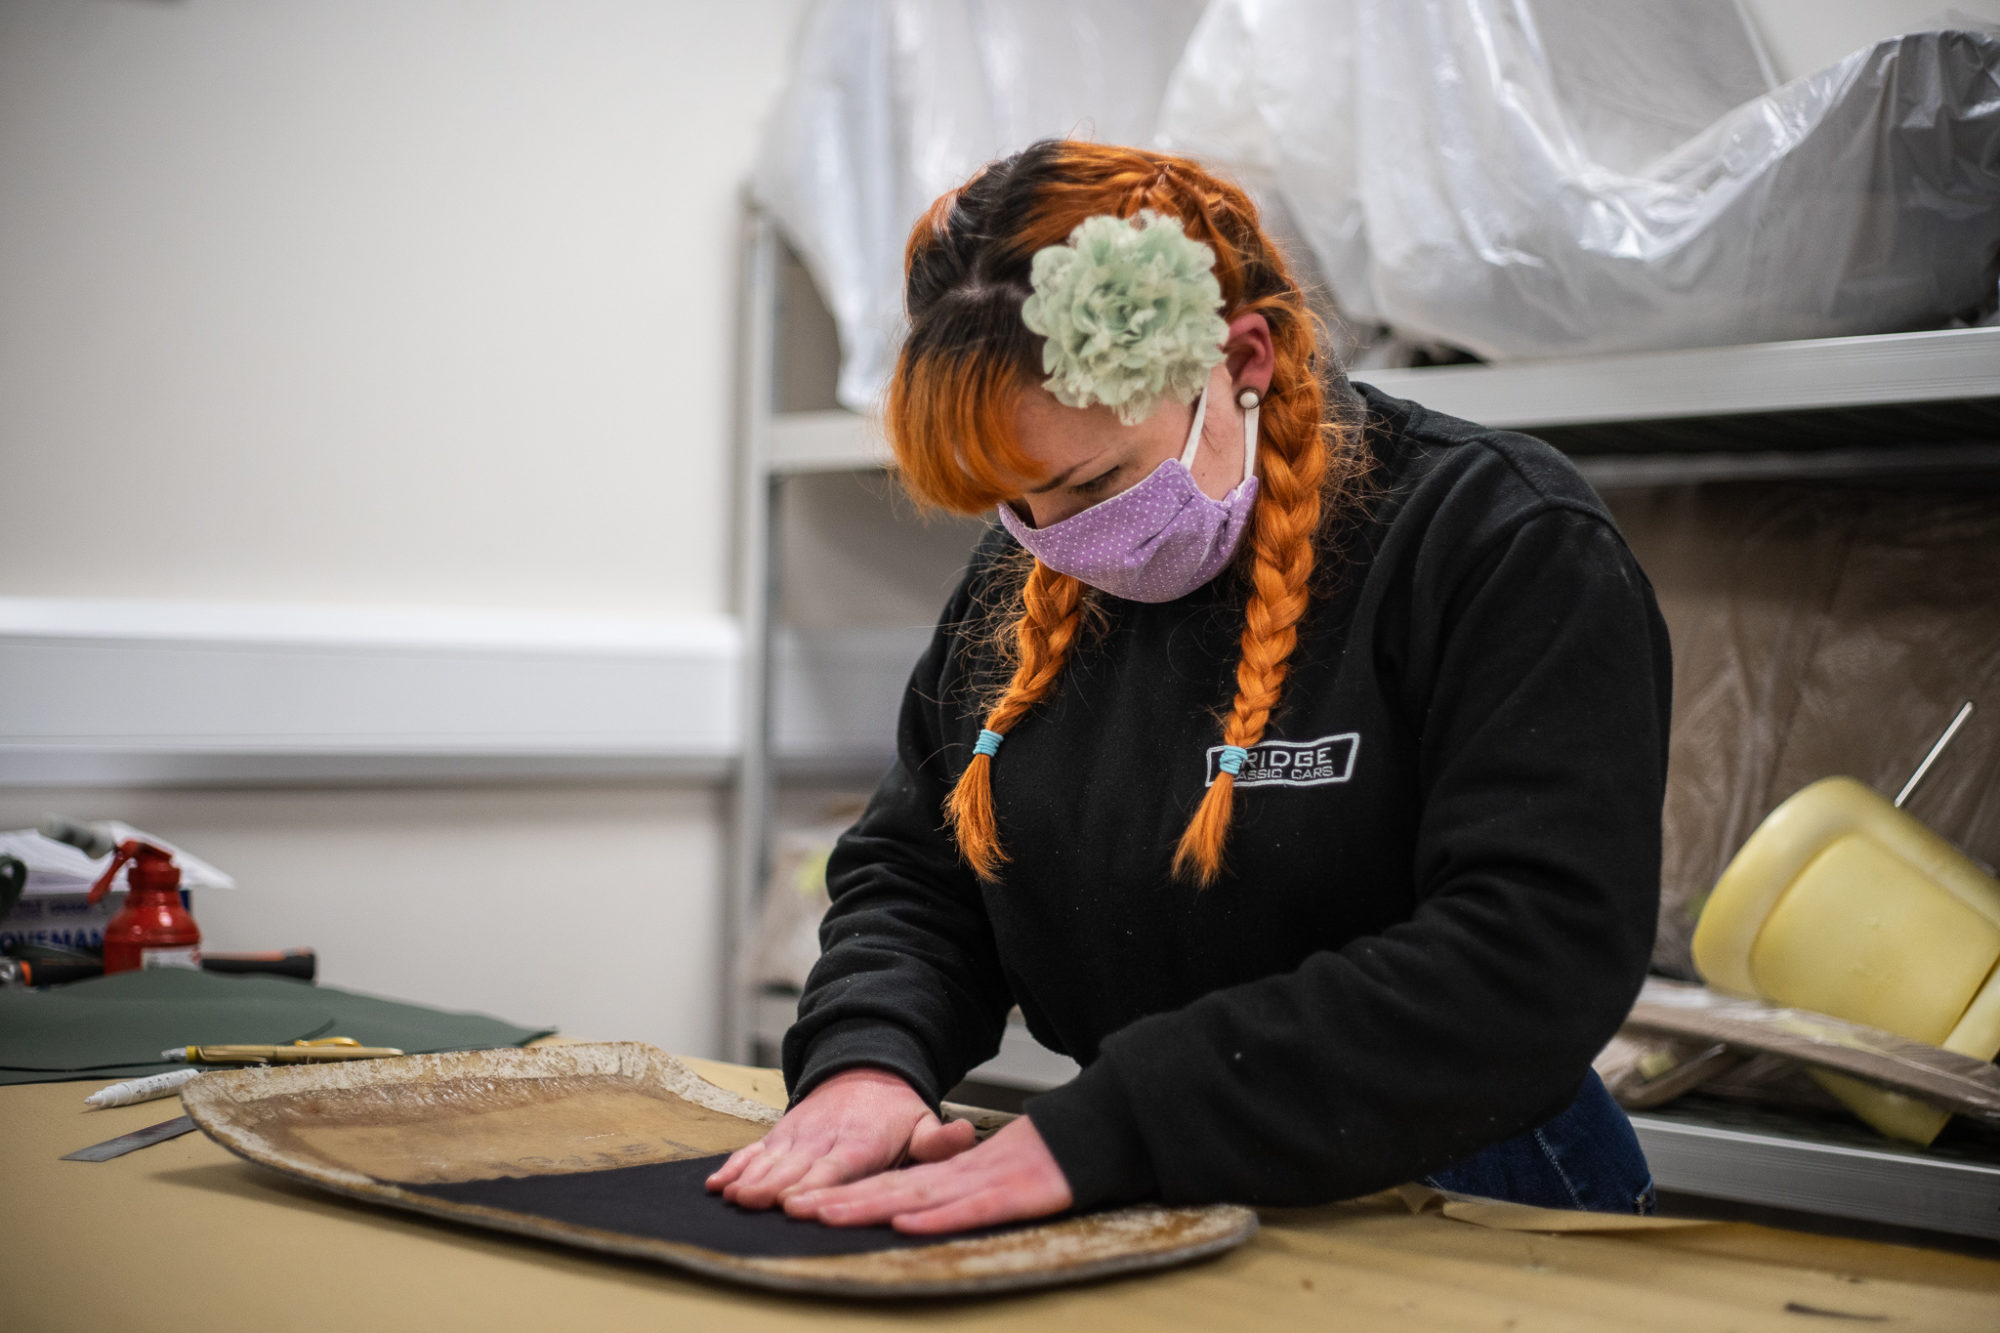
The trim shop are continuing with the interior with Lydia focusing on the rear quarter panels. She started off by taking the original leather and foam off them both, glued new 3mm foam onto each one and placed new leather over the top. She then turned her focus to working on the bottom sills where she started off by taking the original leather and foam off and sanded off the surface rust.
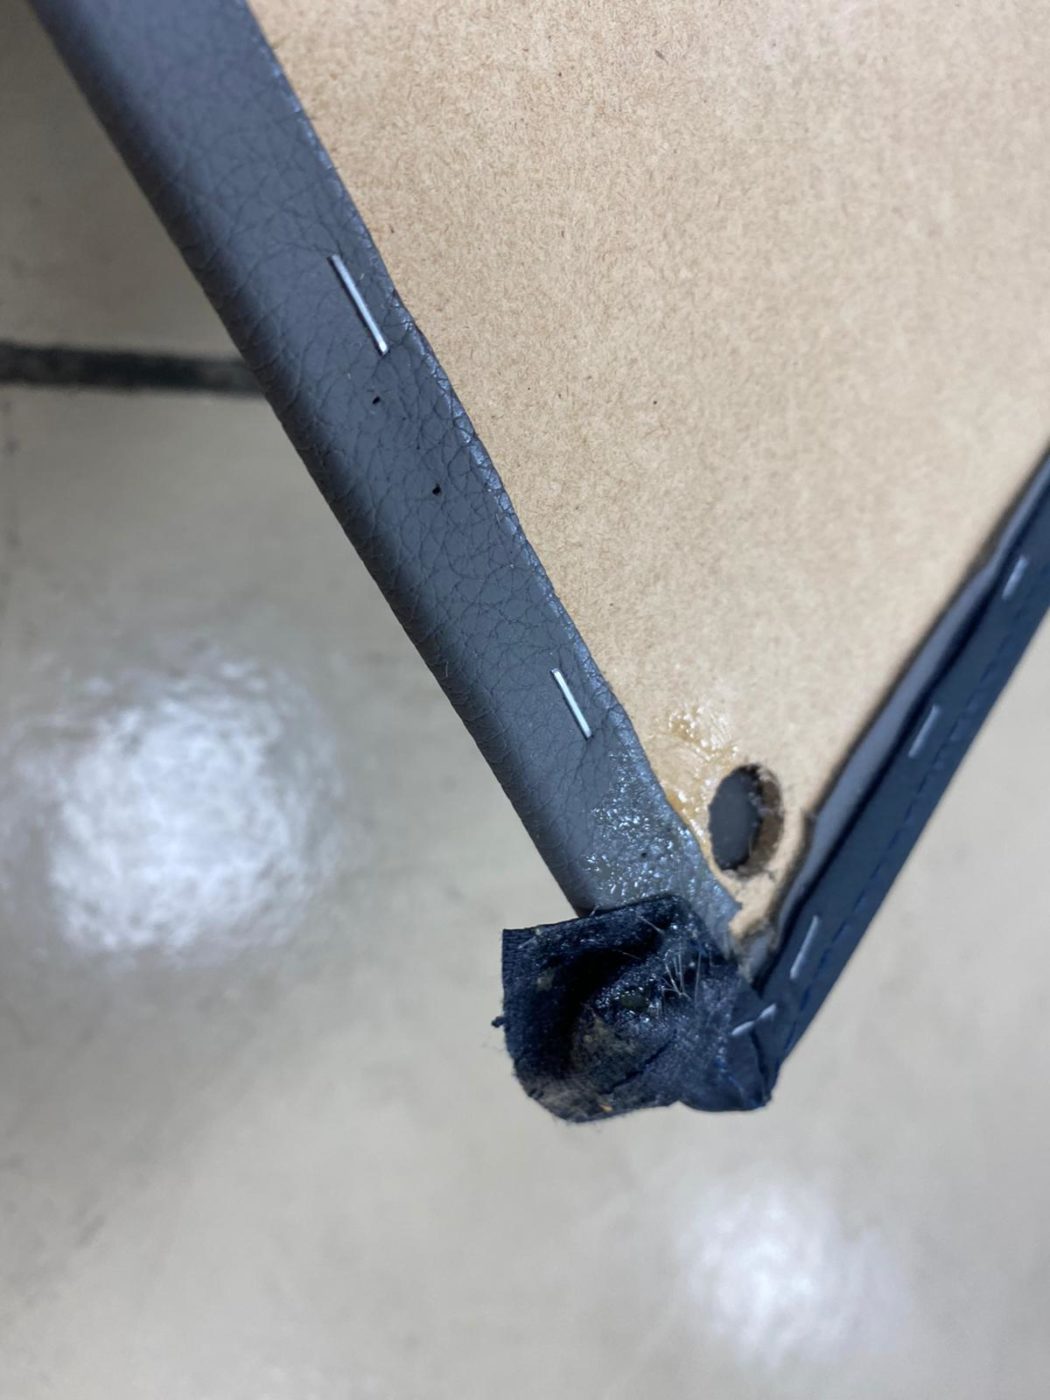
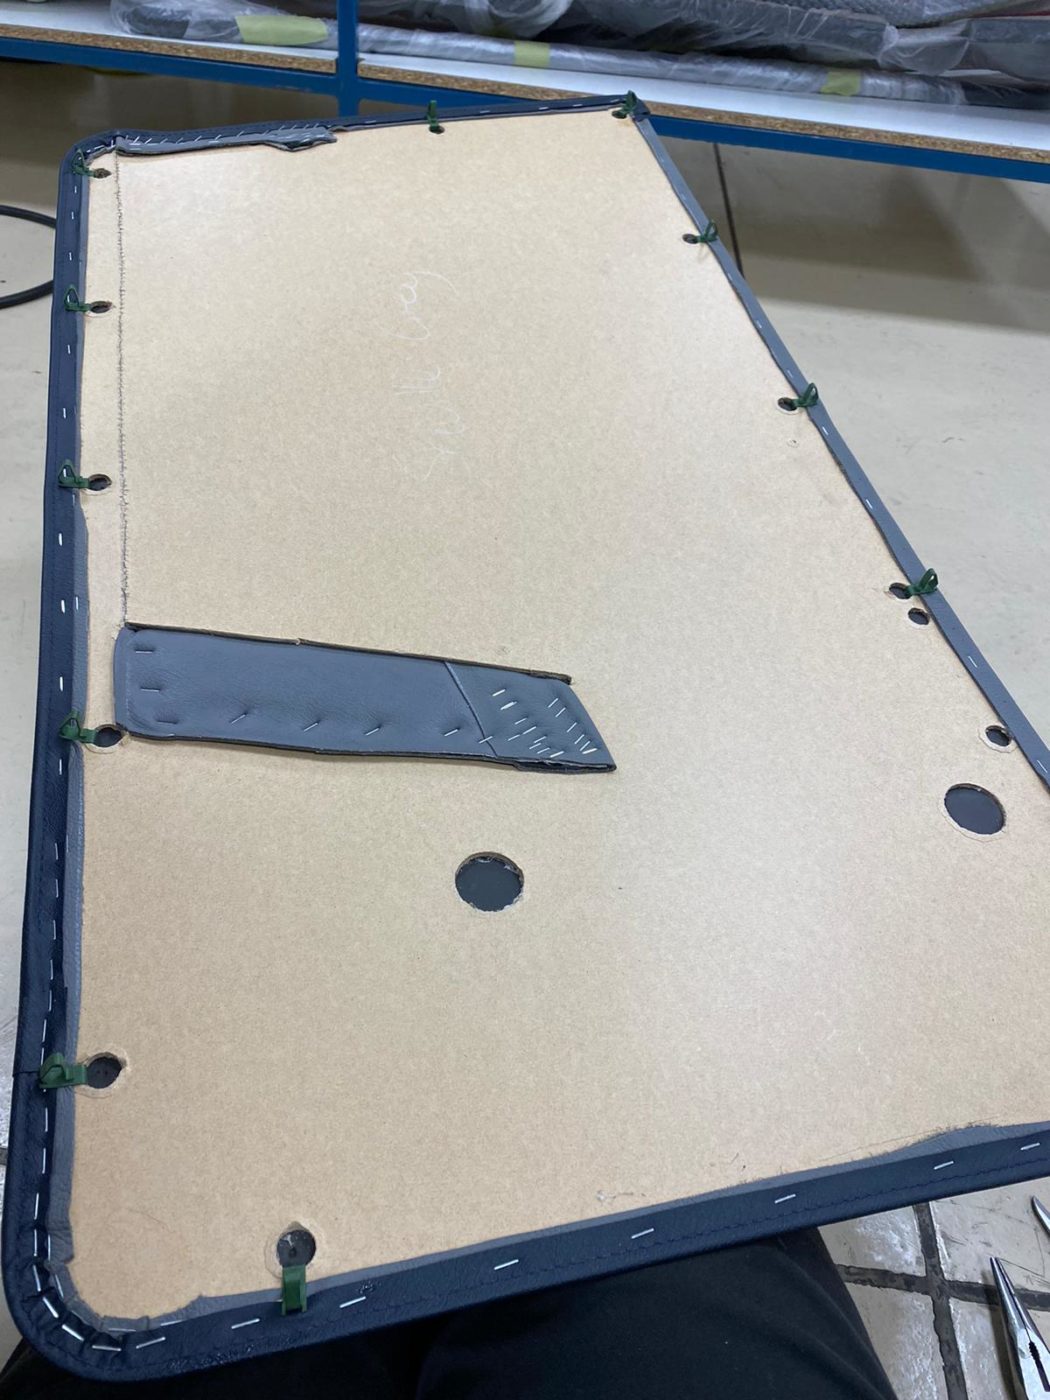
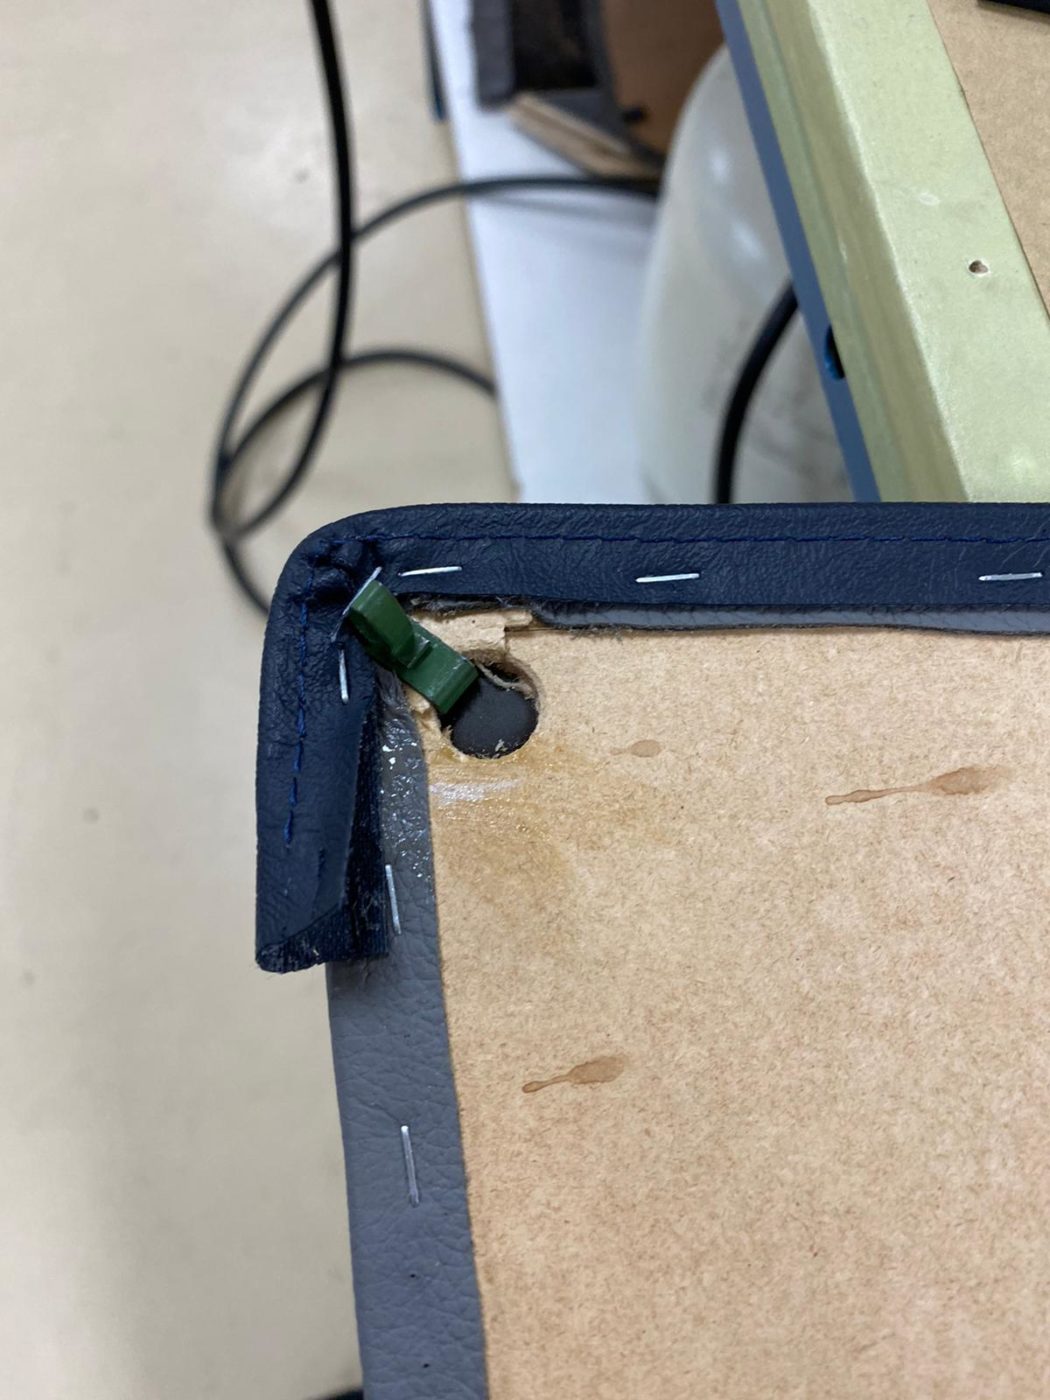
Brian has continued to strip down the old door panels and has added new foam to the panels as well. He’s then marked out new leather for the doors, glued the cover around the edges and pulled the leather tight. Brian also turned the fabric over the edges of the hole for the centre section and speaker hole. He has also fit rubber grommet for the door lock button to finish.
Lydia has also continued to take the covers off the seats. First, she undid the bolts holding the wide bars down which hold the seat in place in the car, then she drilled the rivets outs holding the covers into place. Next Lydia took out all the rusted staples which originally held the covers in place. Lydia had to twist the hog rings out, which were holding the inner seat cover tight around the frame as well as cutting the strings holding the inner seat tight in the middle and at the top. She then took the metal bars off that hold the rubber webbing over the frame and took the inner cover off, and then had to drill out a couple of more rivets to get the surrounding cover off.


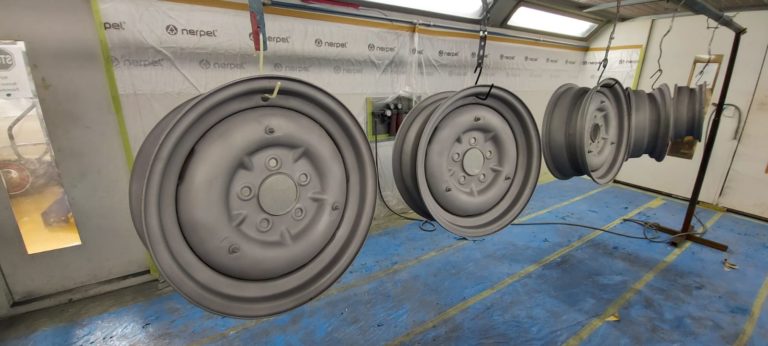
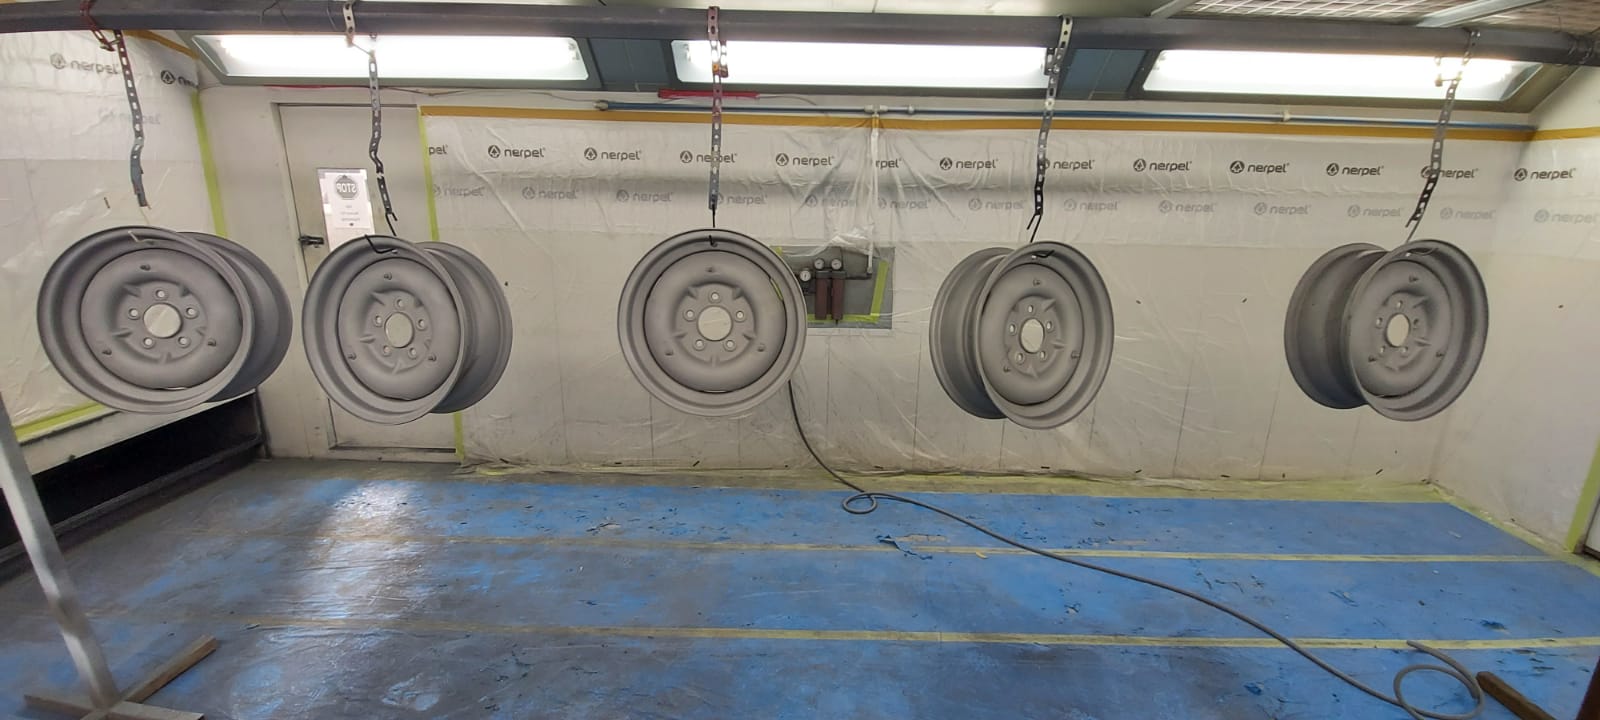
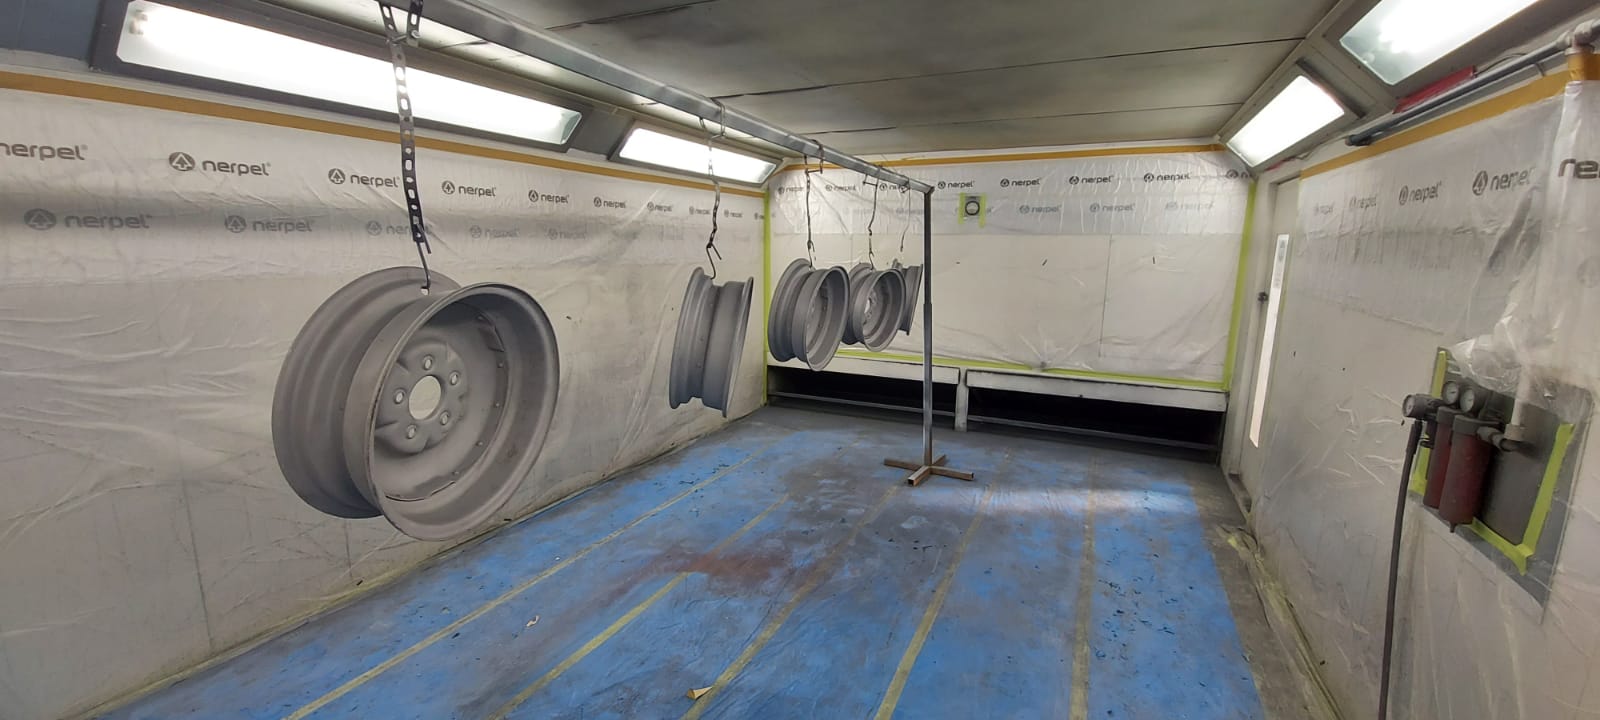
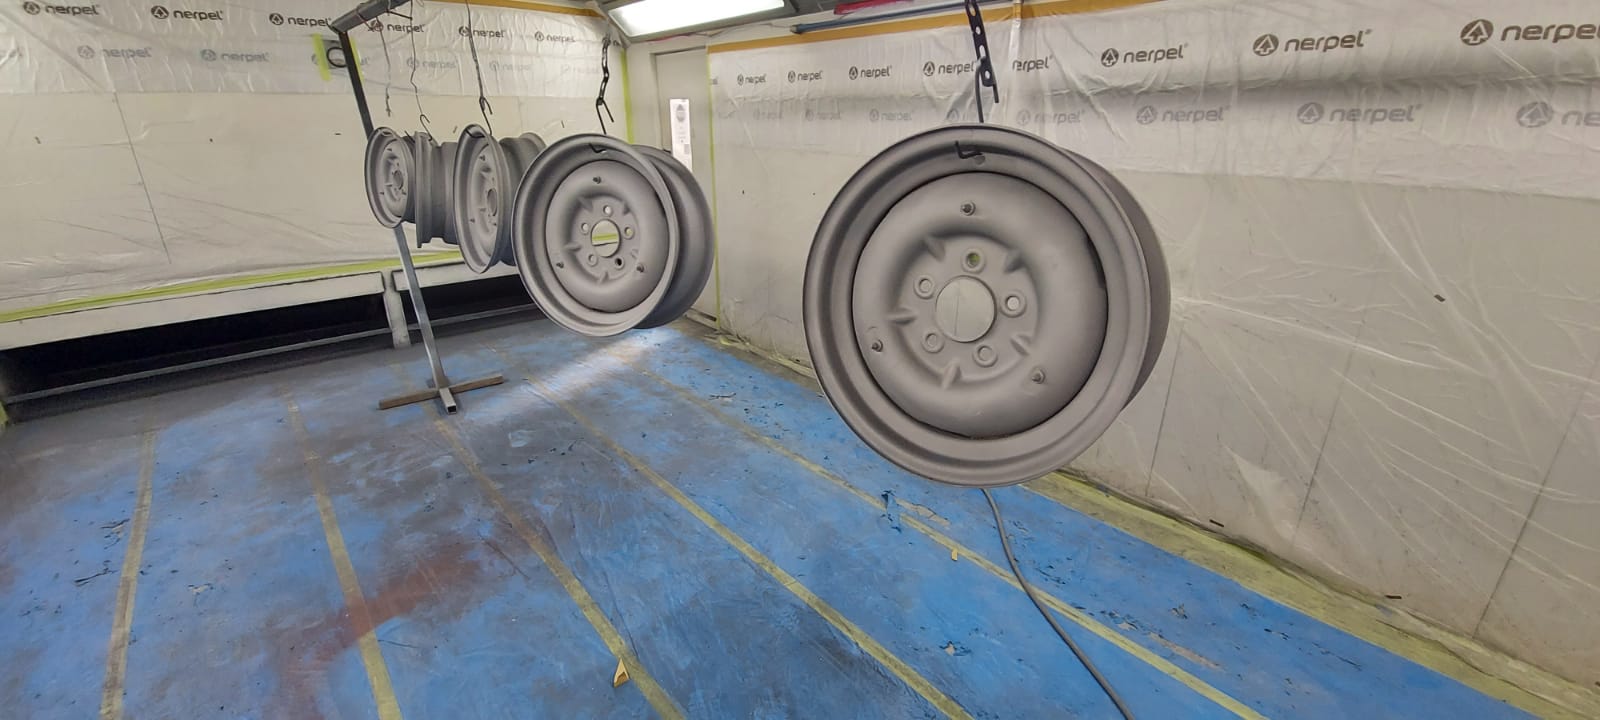
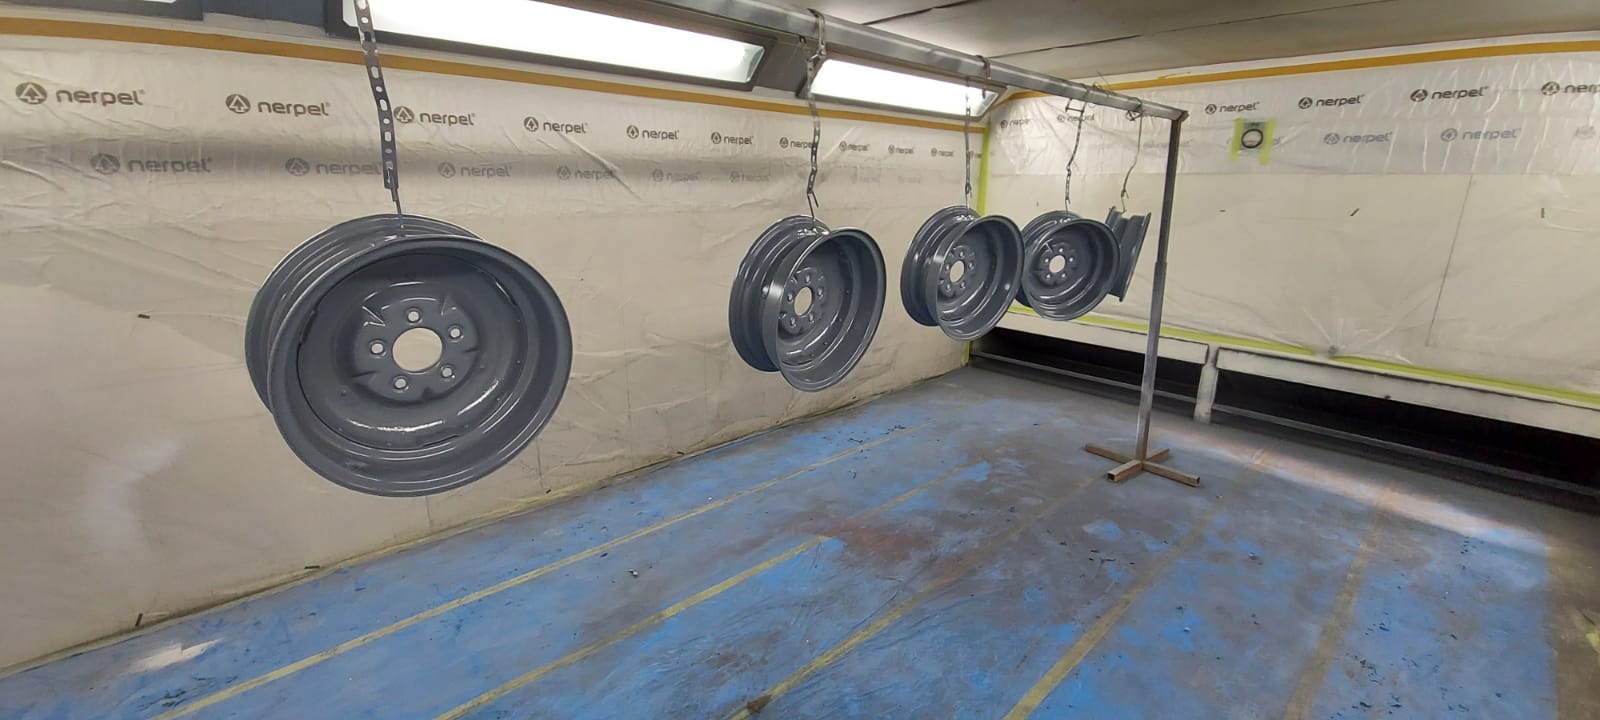
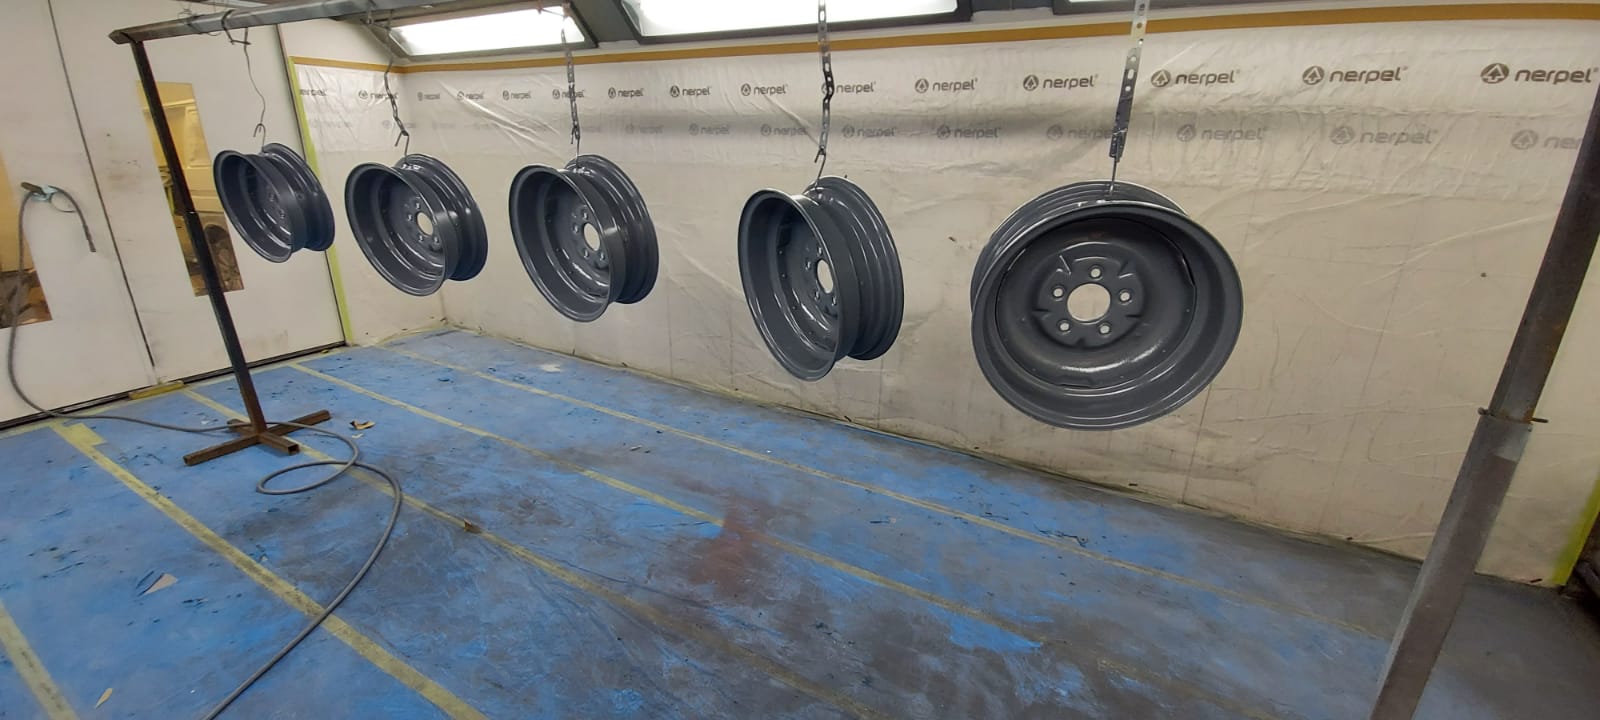
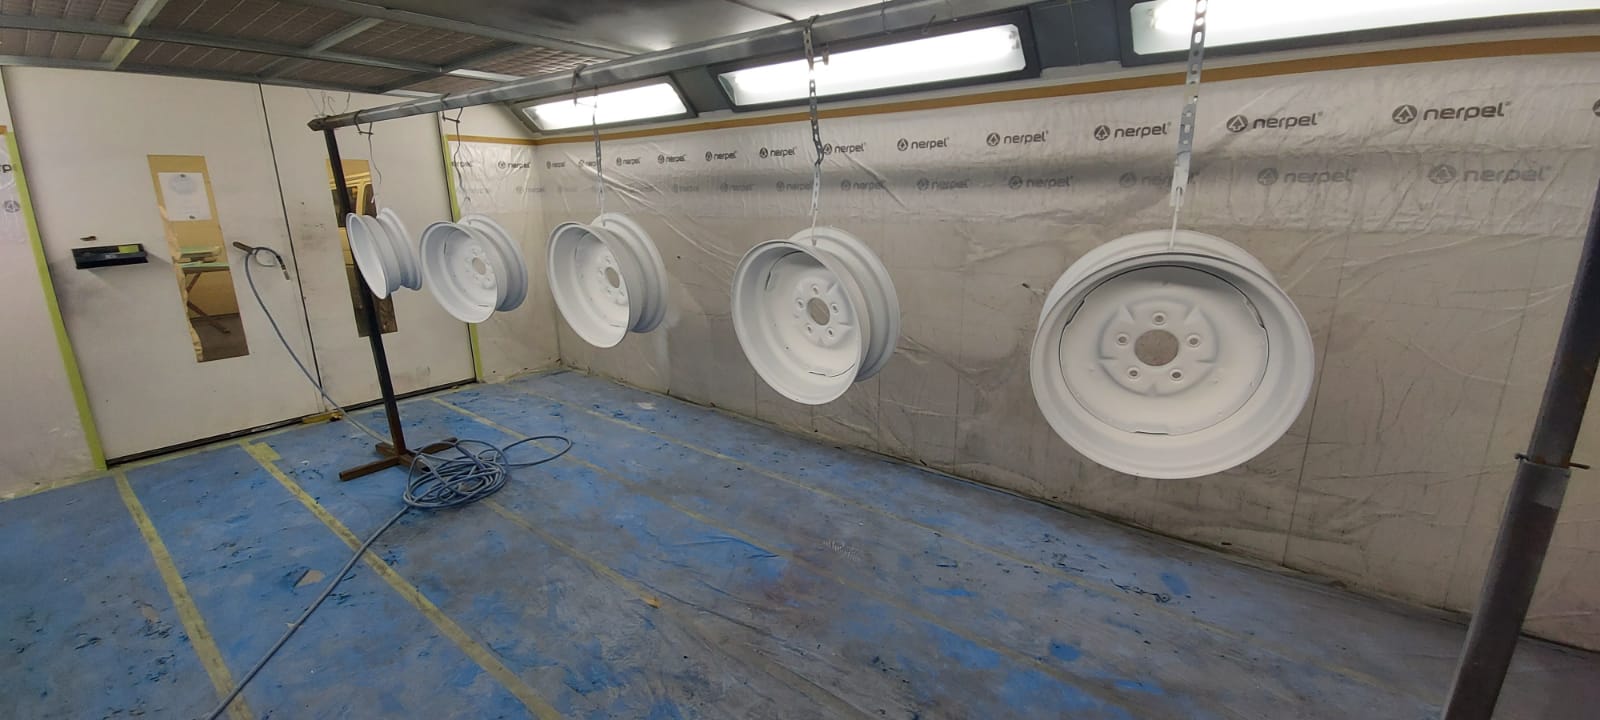
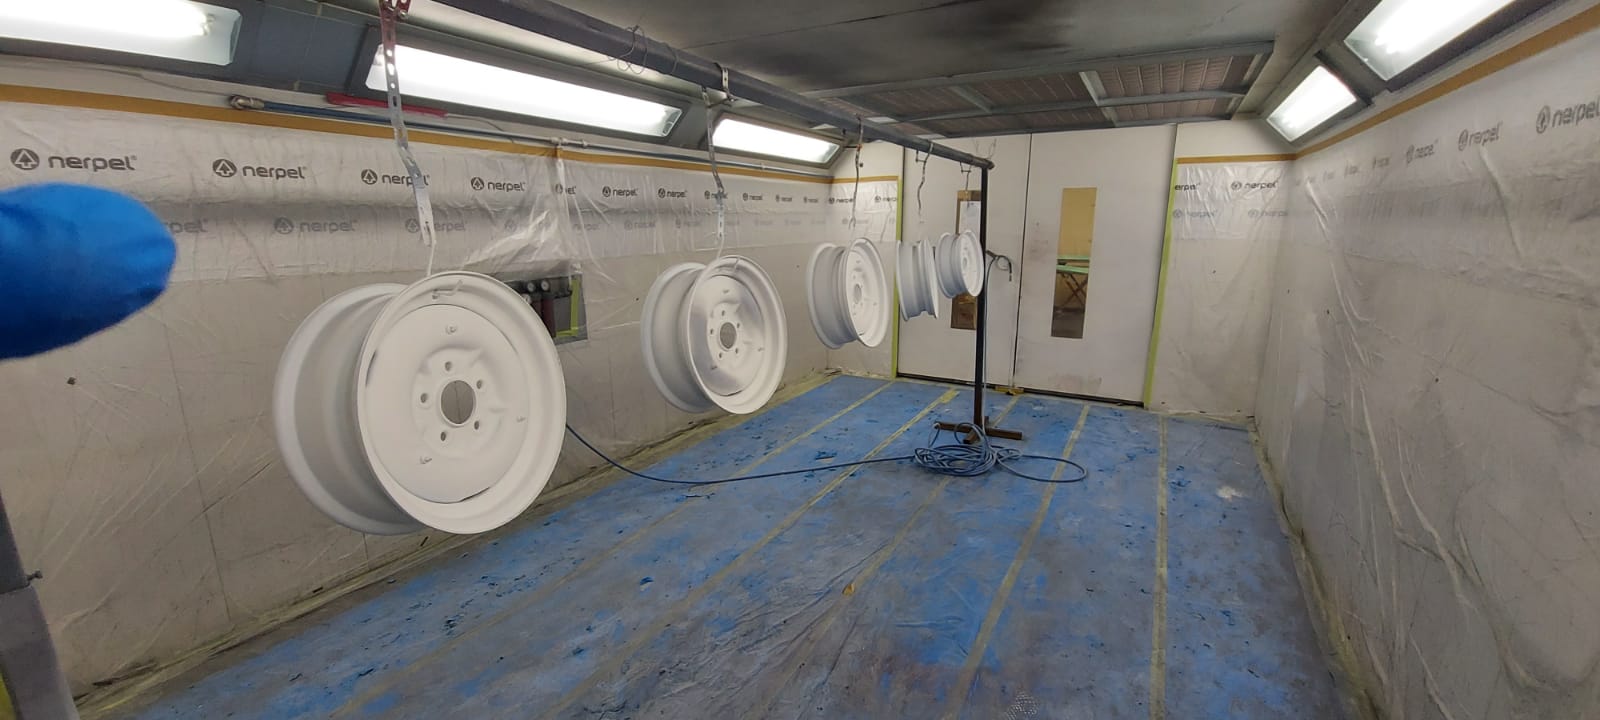
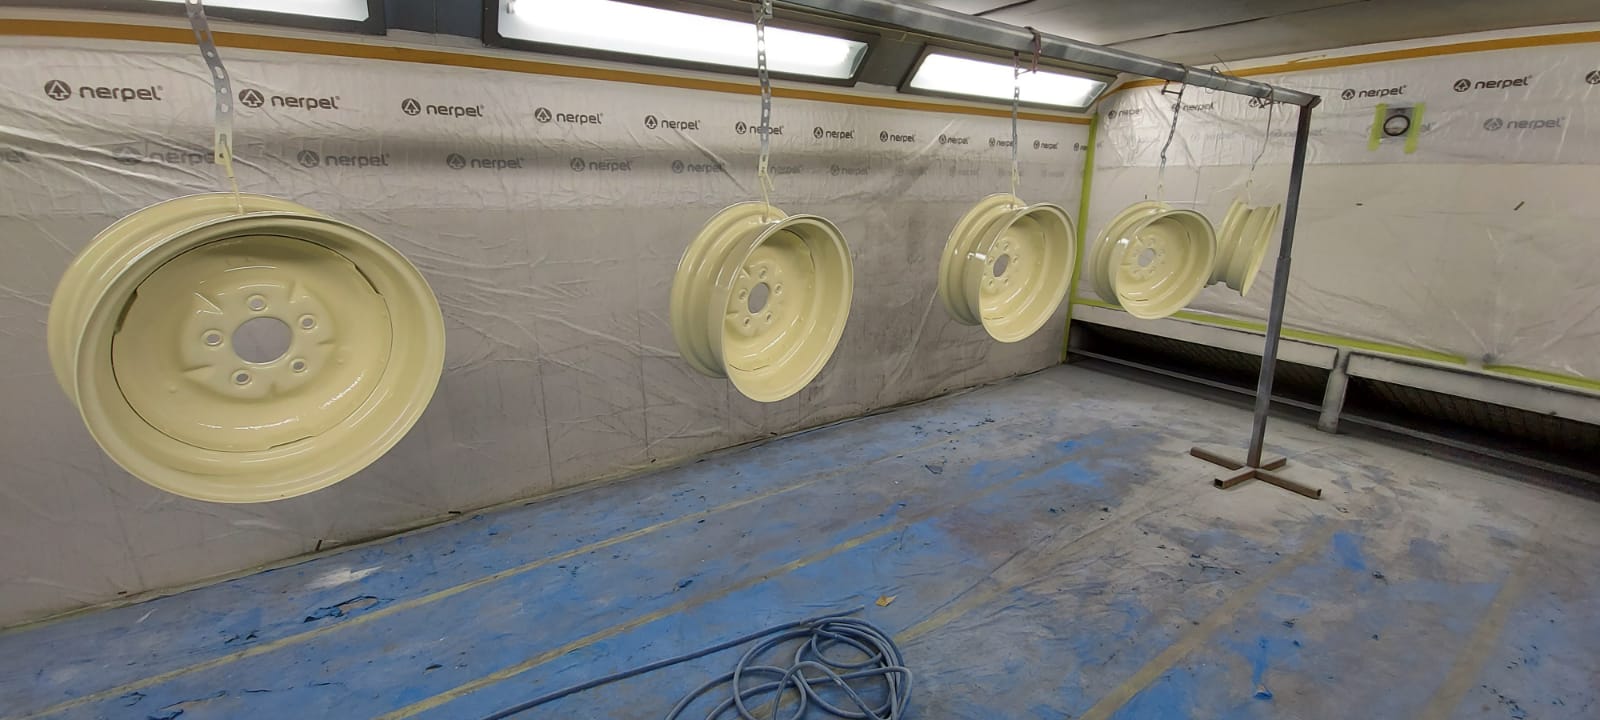
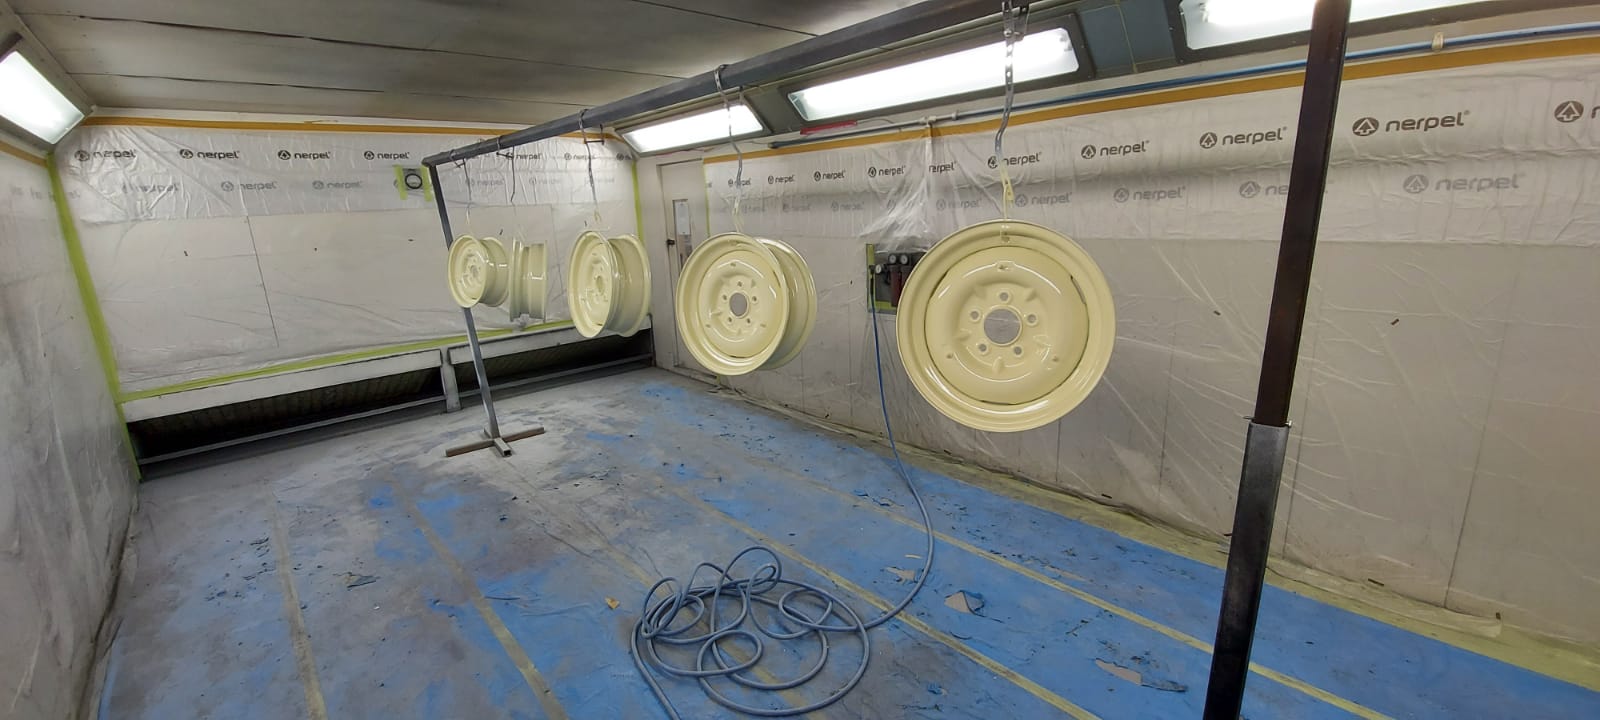
Our 1954 Jaguar MKVII has had its wheels painted in Epoxy primer and then painted in its final cream colour. These have been hung up and sprayed in the paint shop and worked on by Chris and Matt.

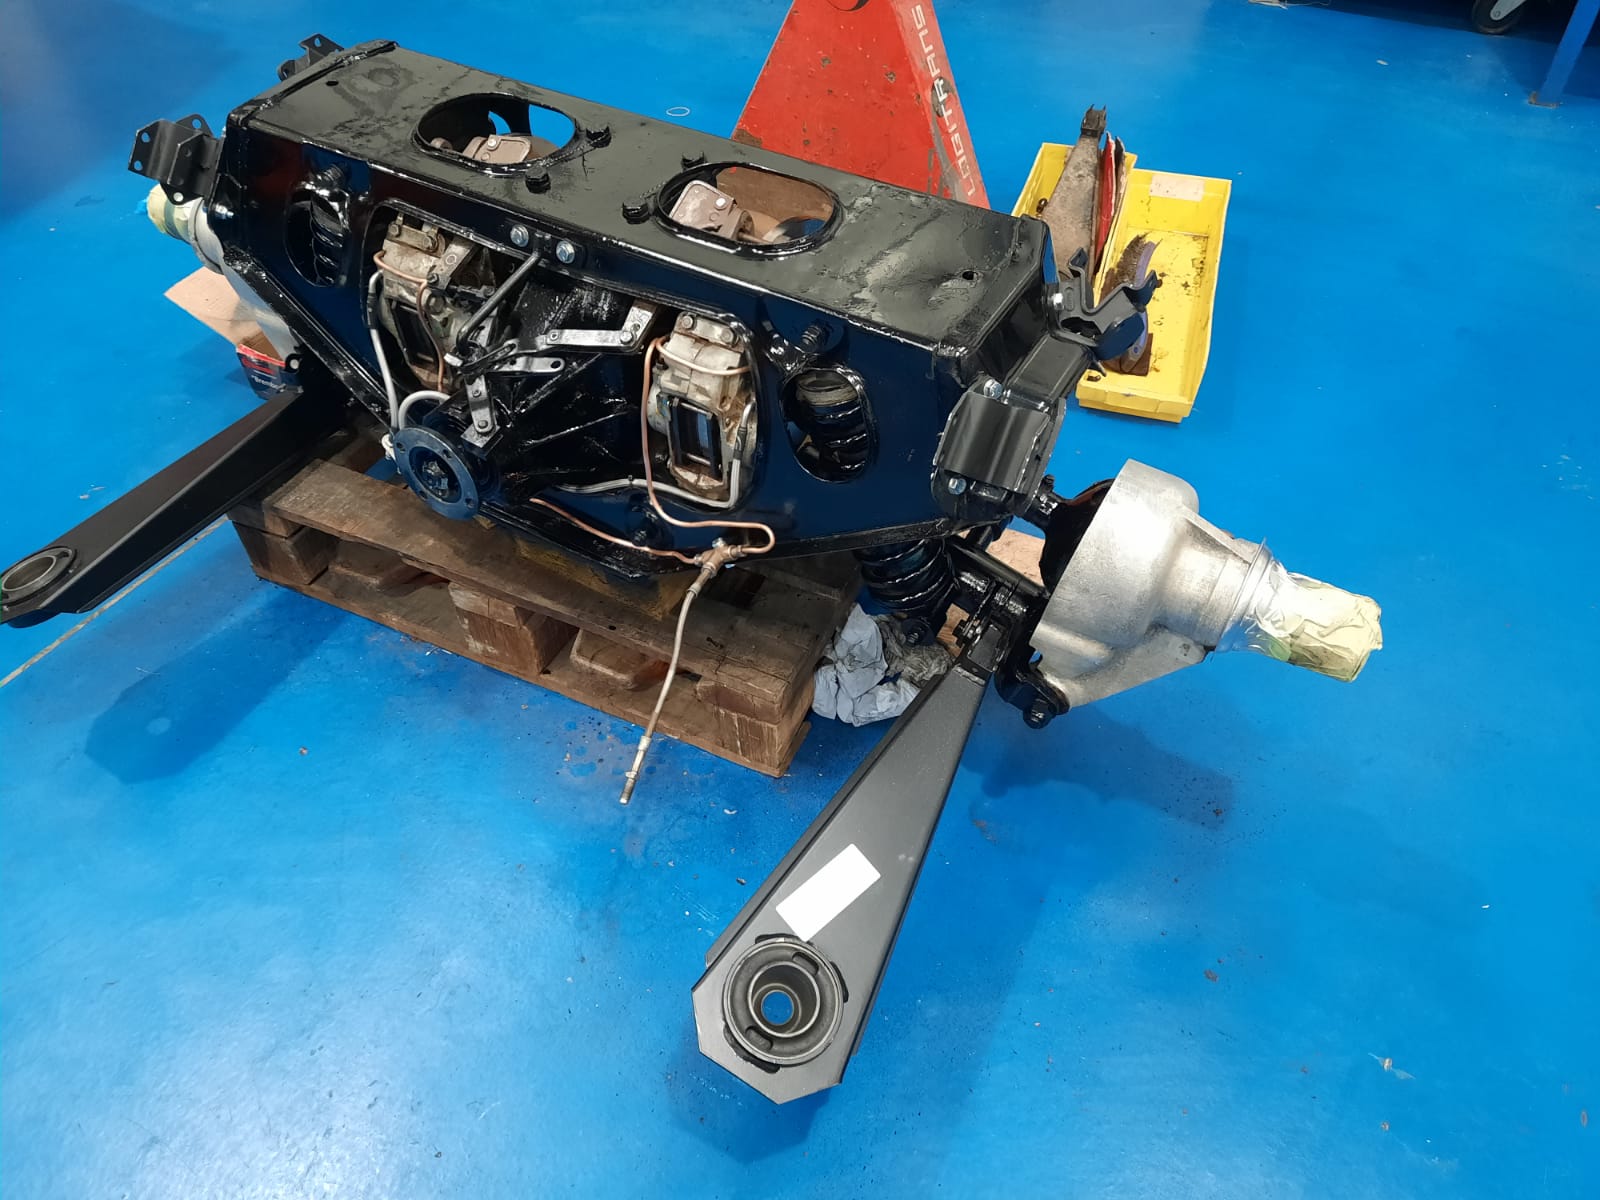
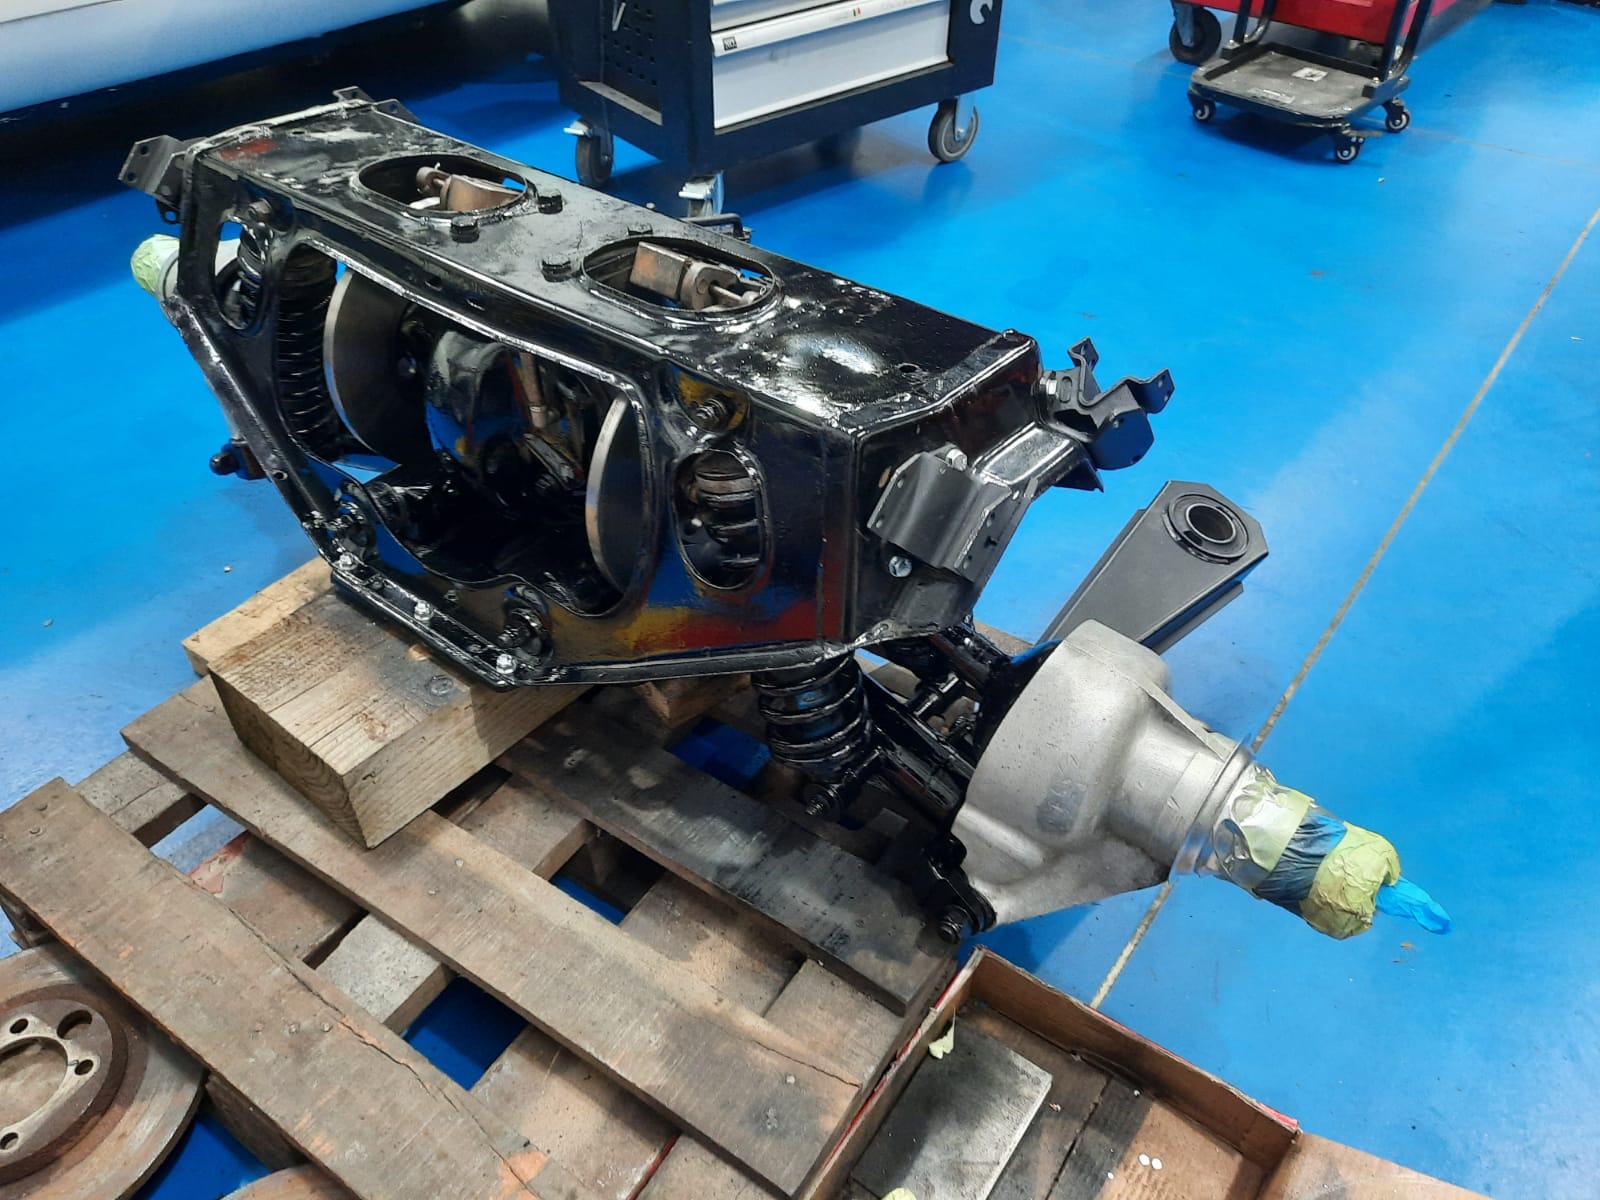
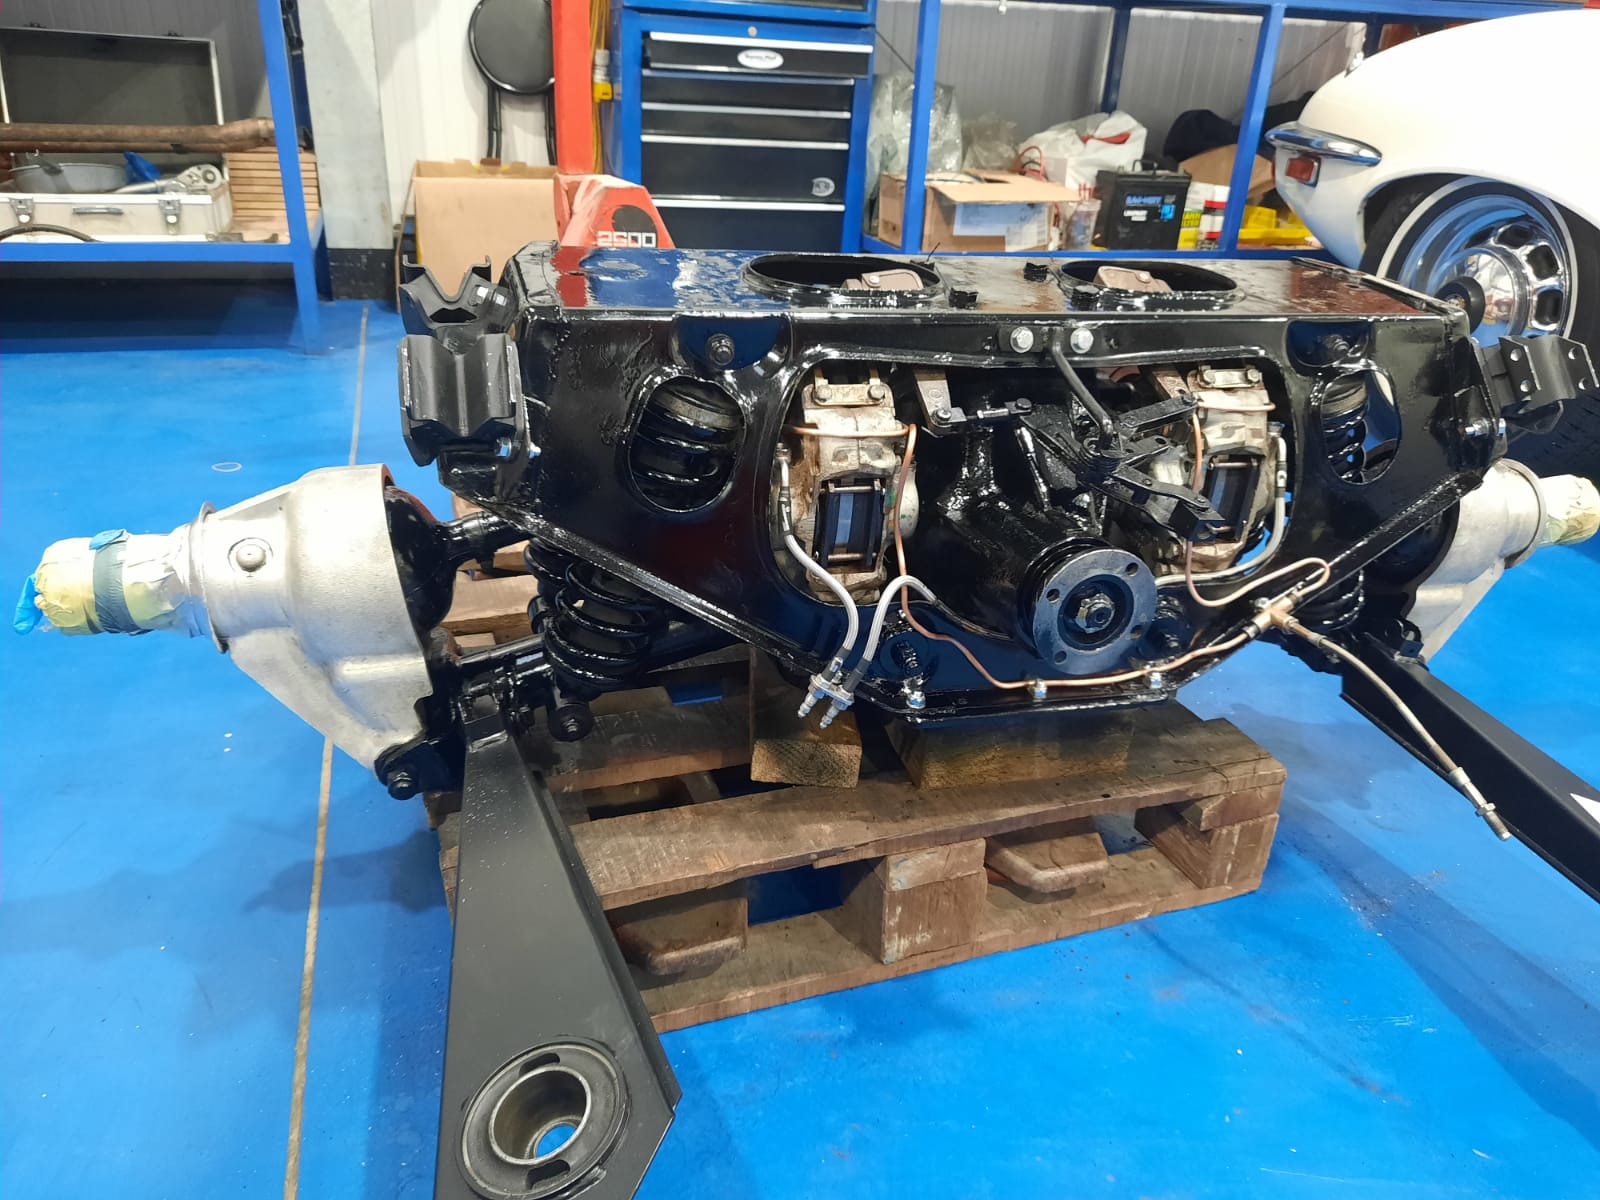
Our lovely 1960 Peony Red Jensen 541S is at the stage where we’re putting lots of pieces back together and fitting them in, meaning that day by day, its looking more like a Jensen. Paul has fitted the vacuum pipe for the carburettor manifold as well as working alongside Tom to fit the sills. With the doors now on as well, the body of the car is more or less recognisable.


Last night’s live draw was all focused around our delightful 1981 MGB GT LE that’s been won by Duncan Walker with his lucky ticket 1056. We’ll be delivering his new classic down to Hampshire as soon as we’ve run it through its PDI (pre-delivery inspection).
We’ve still got two other wonderful classics up for grabs so head over to our competitions website to check them out as tickets are selling fast!
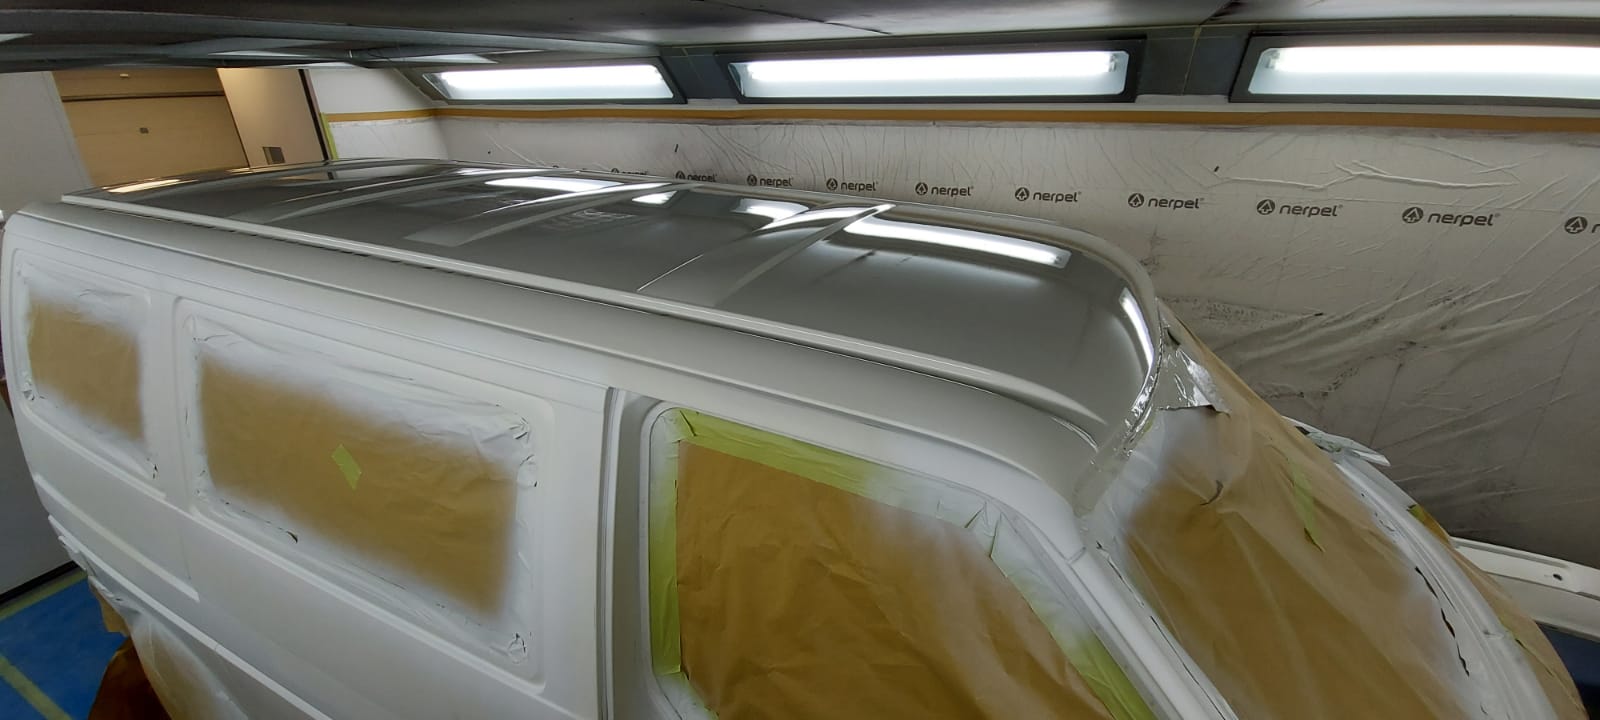
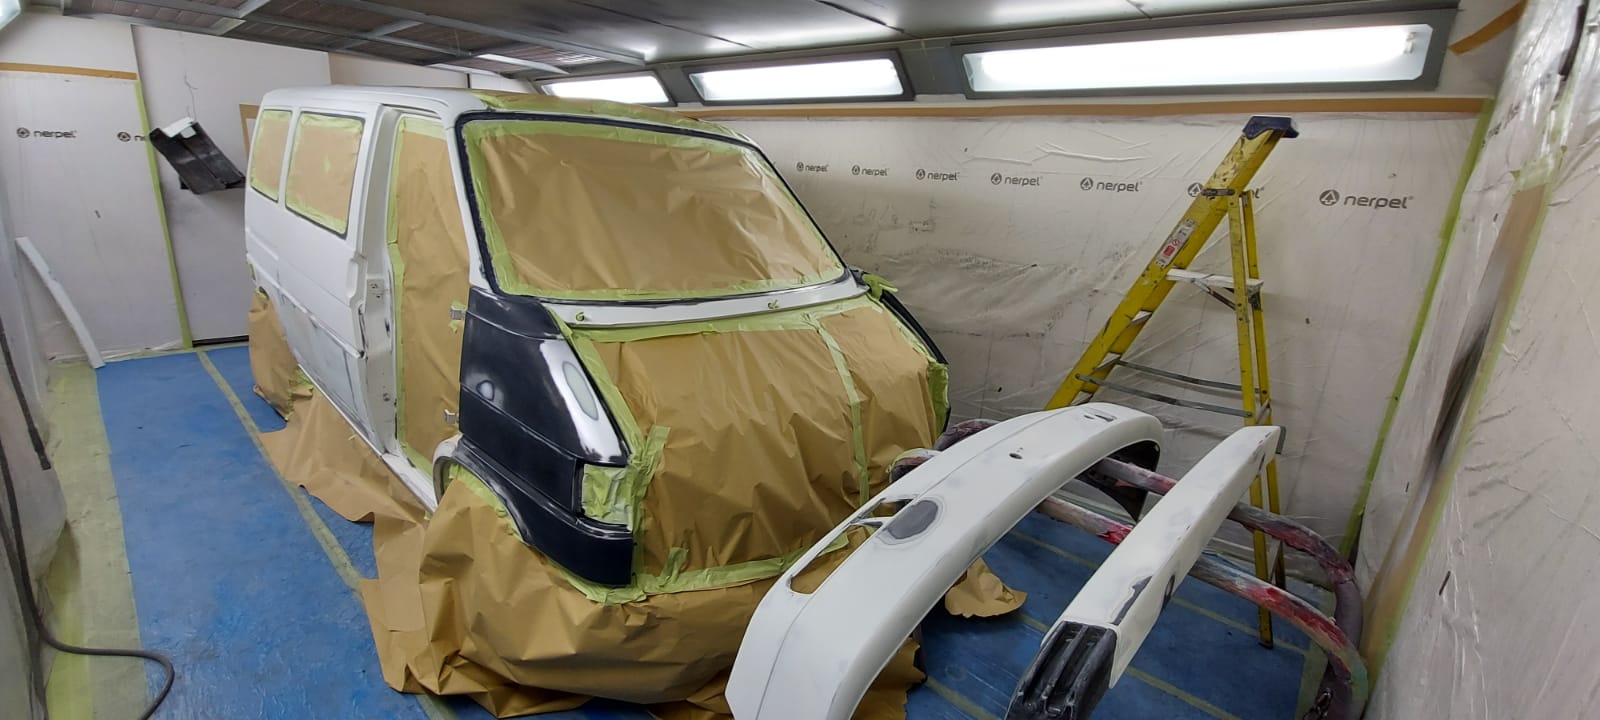
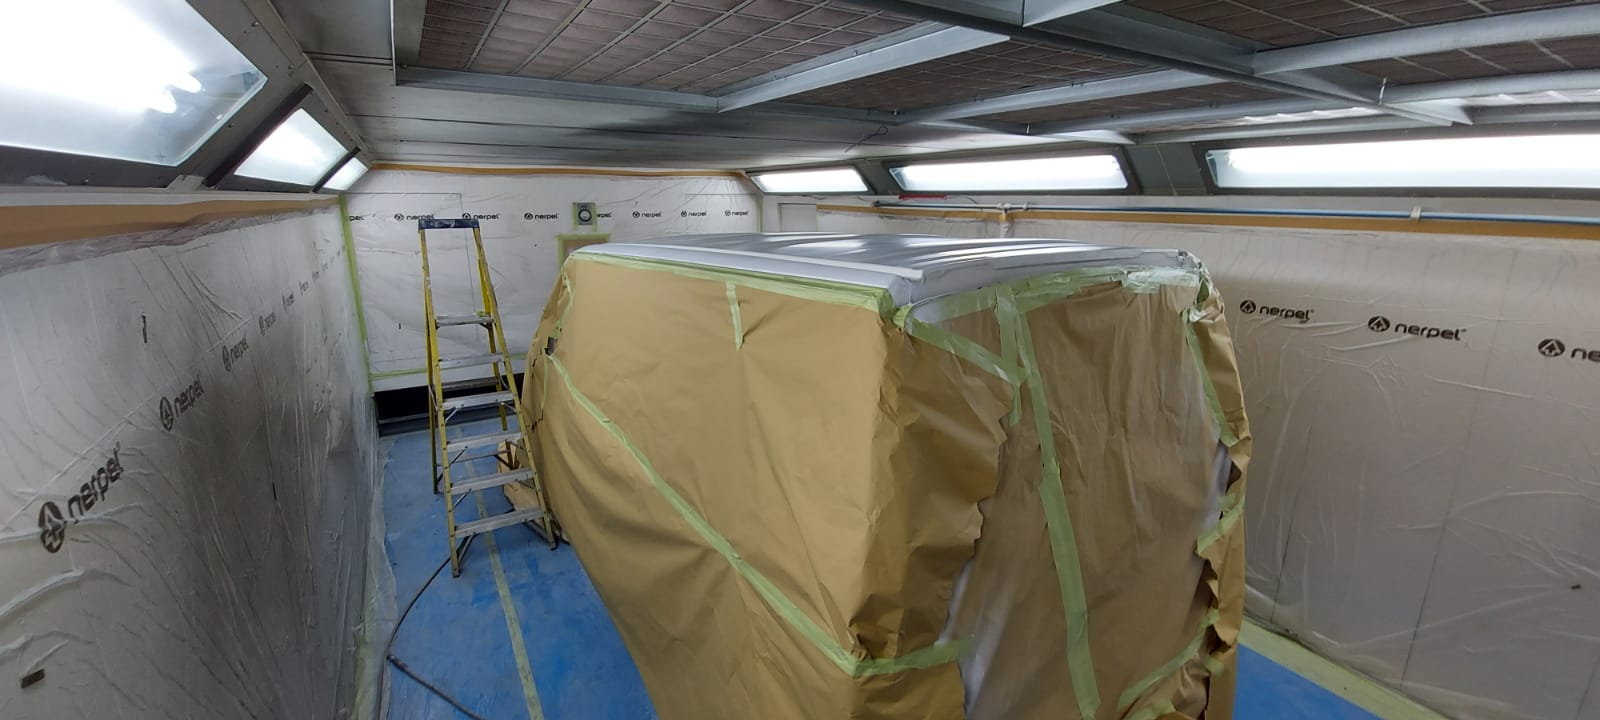
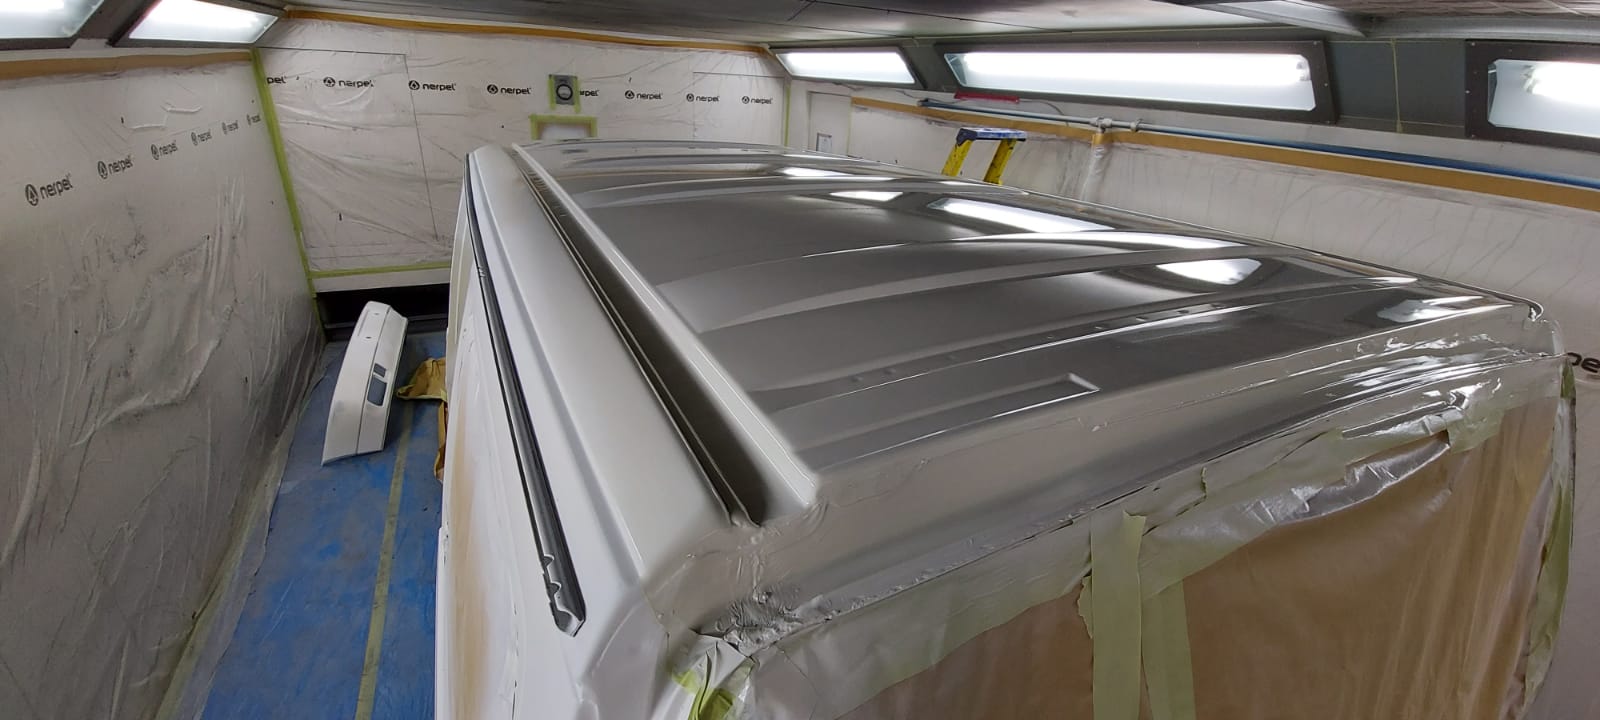
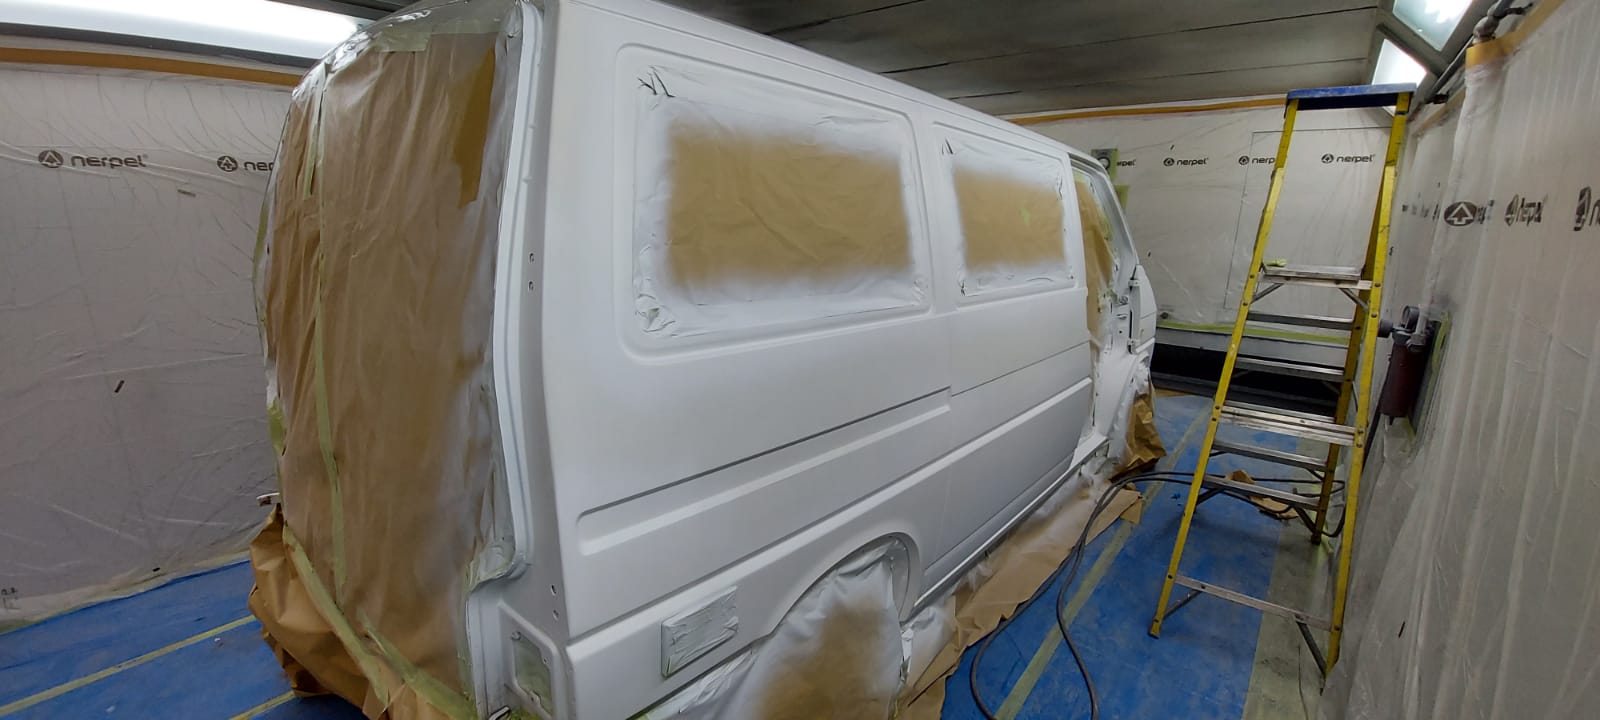
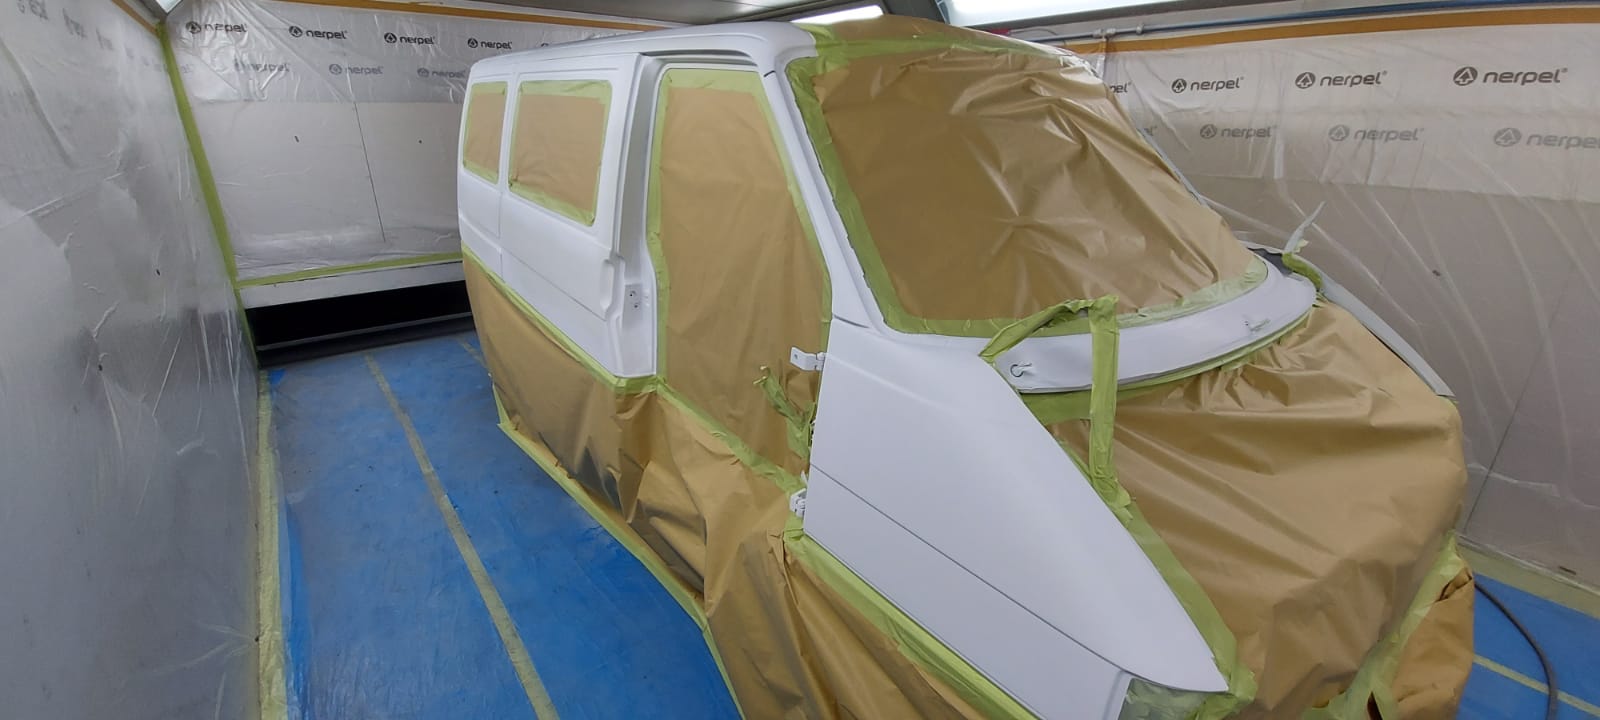
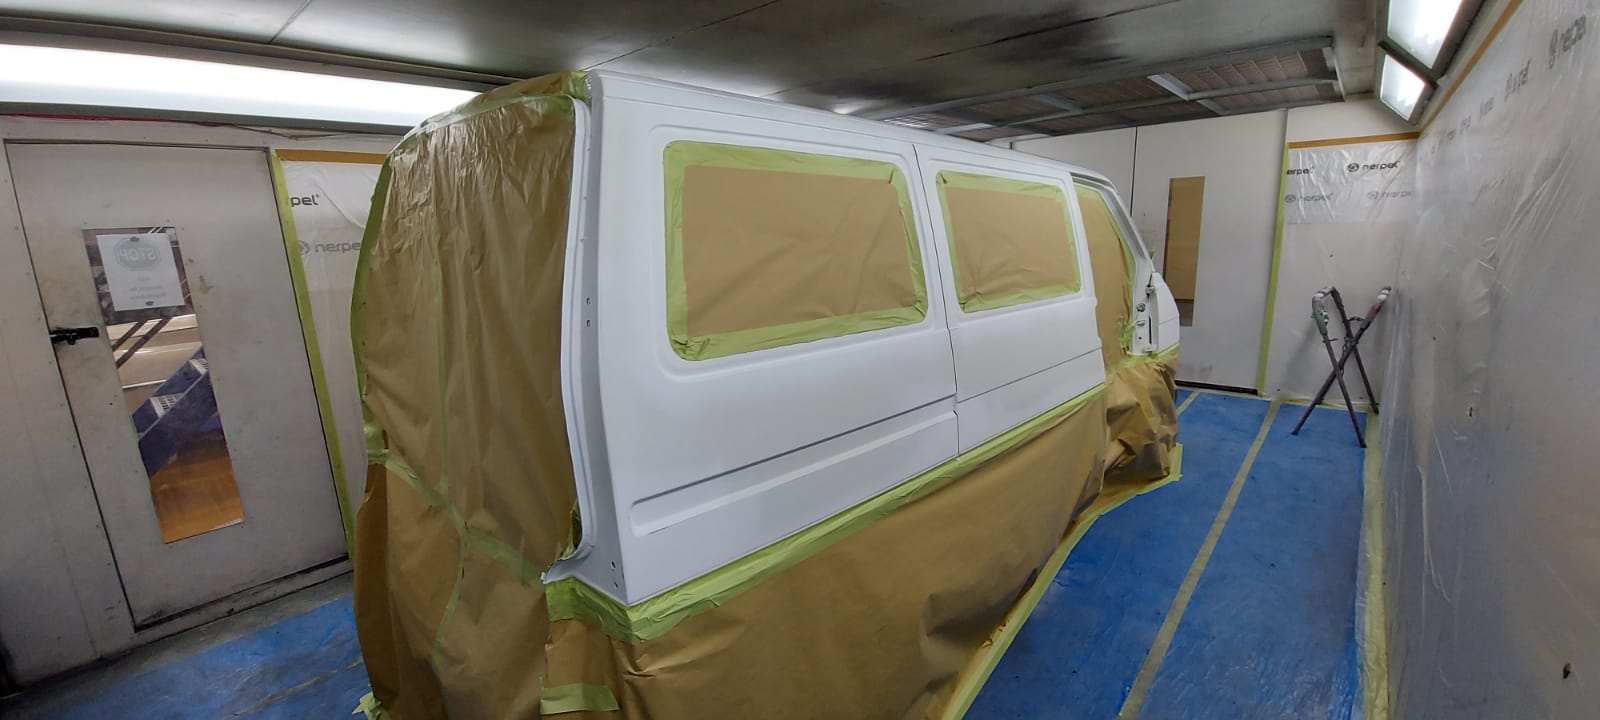
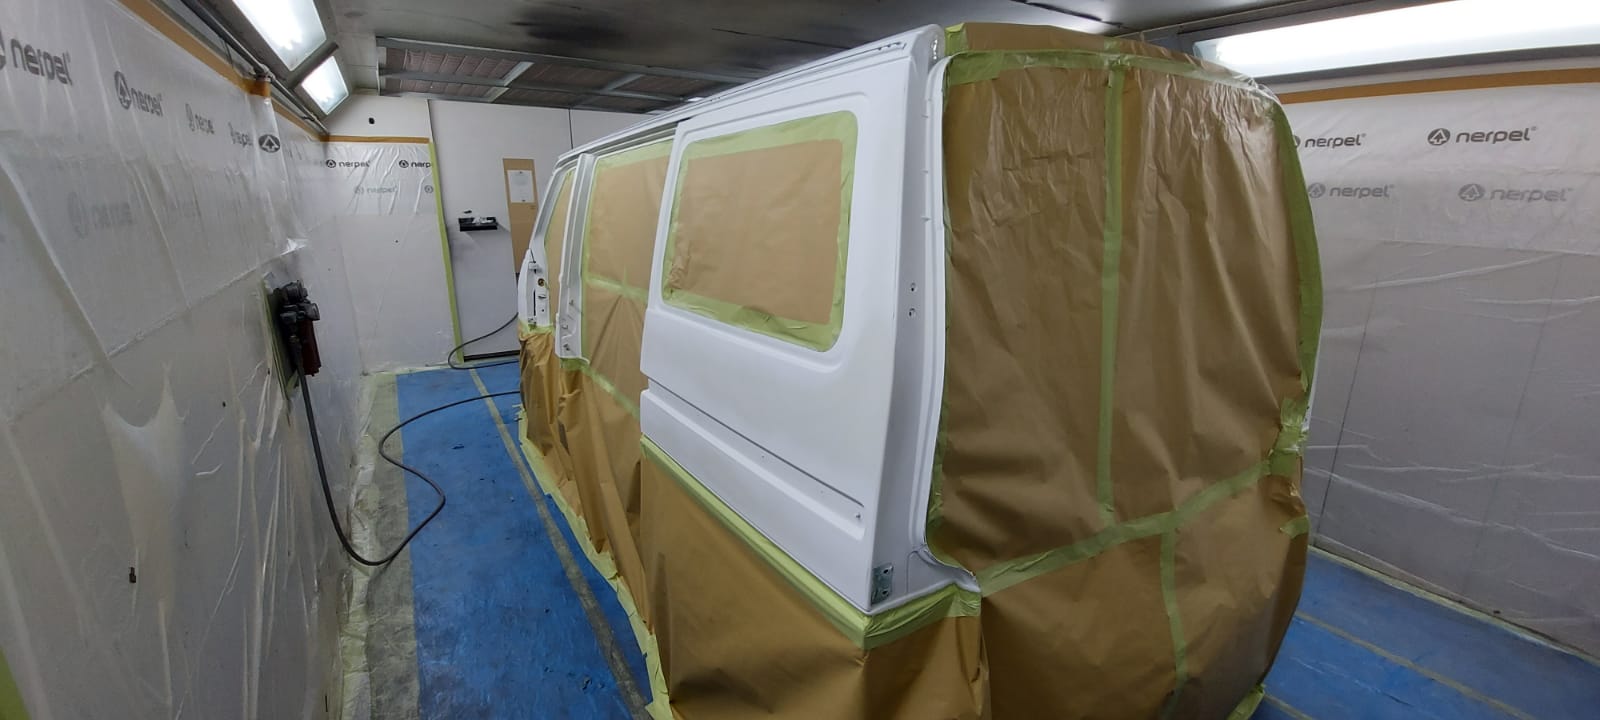
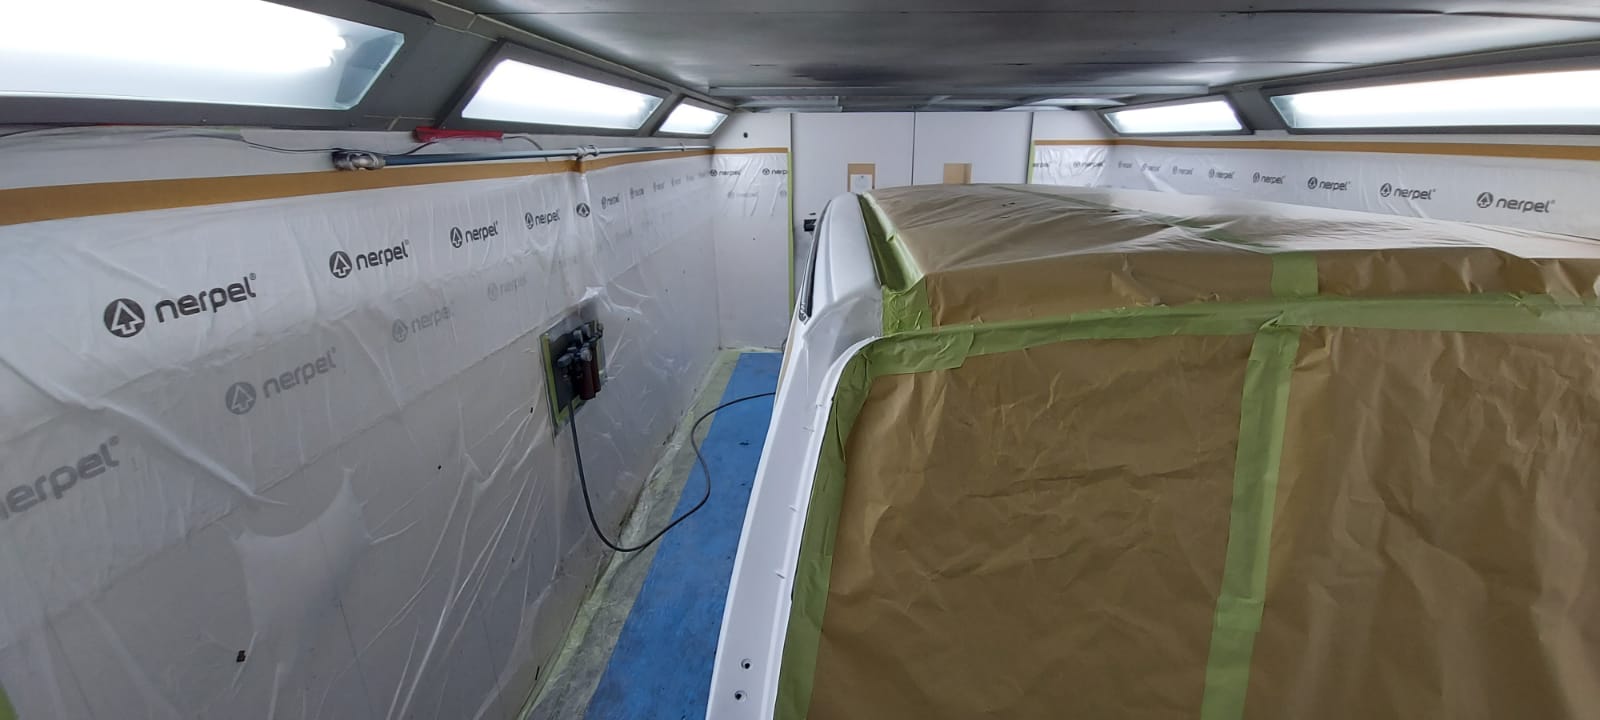
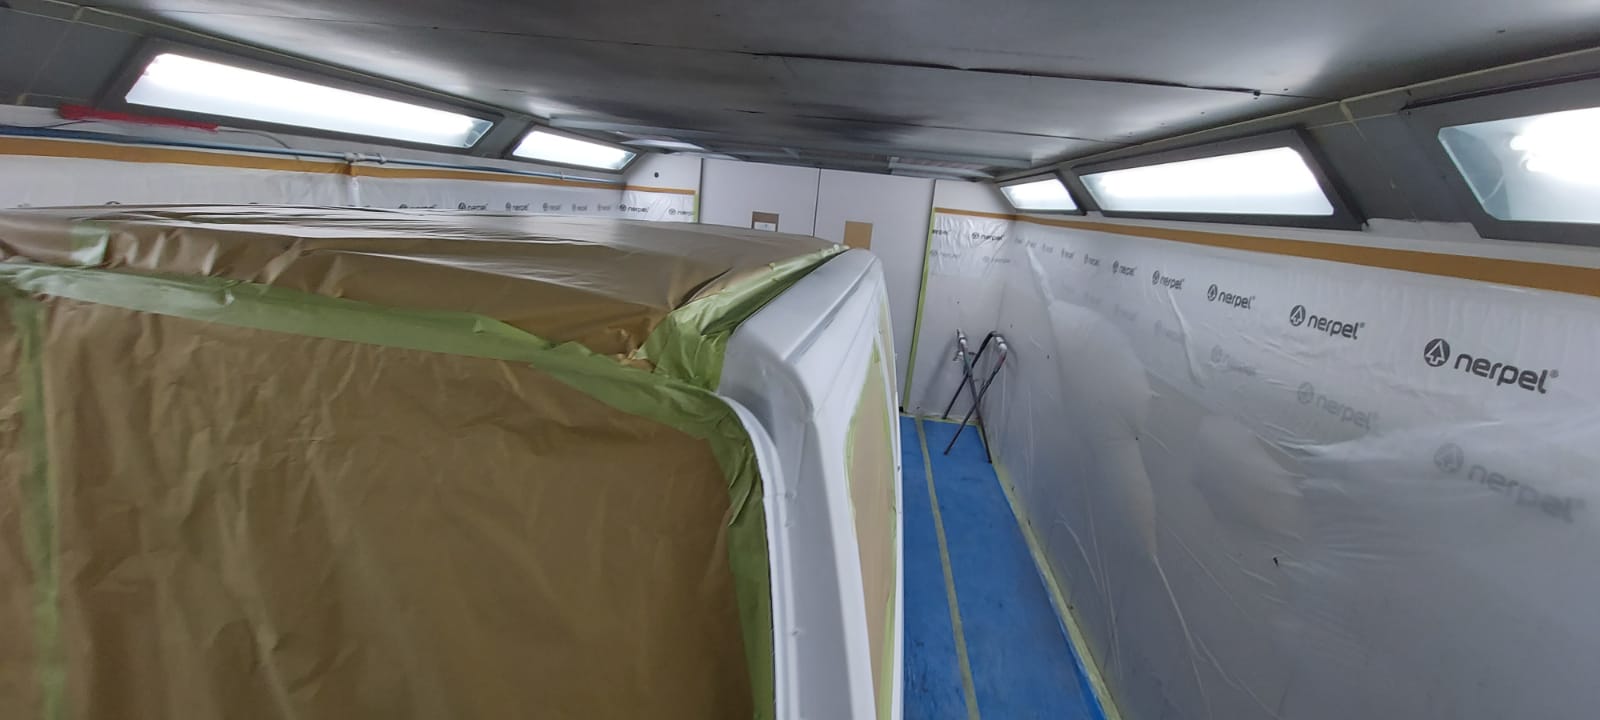
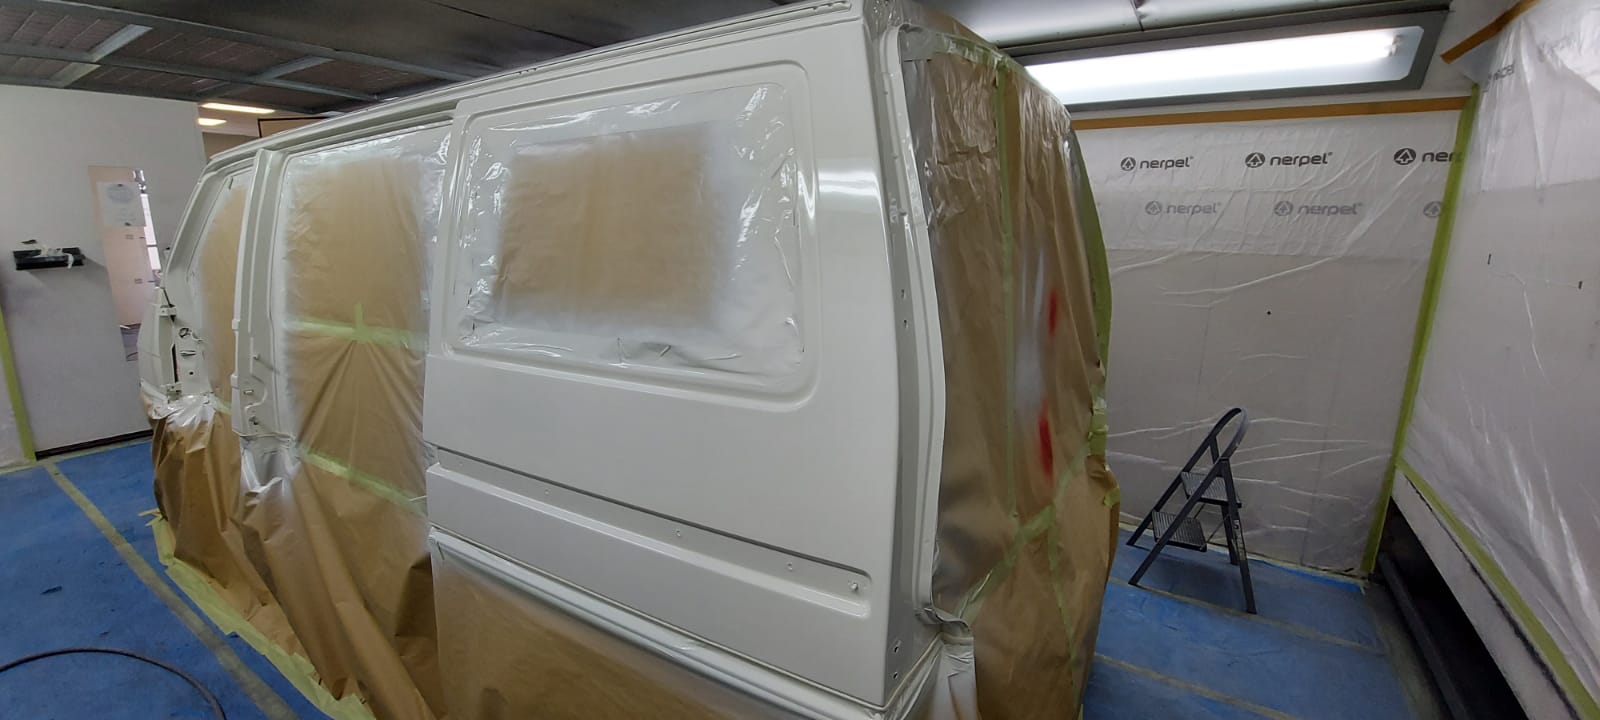
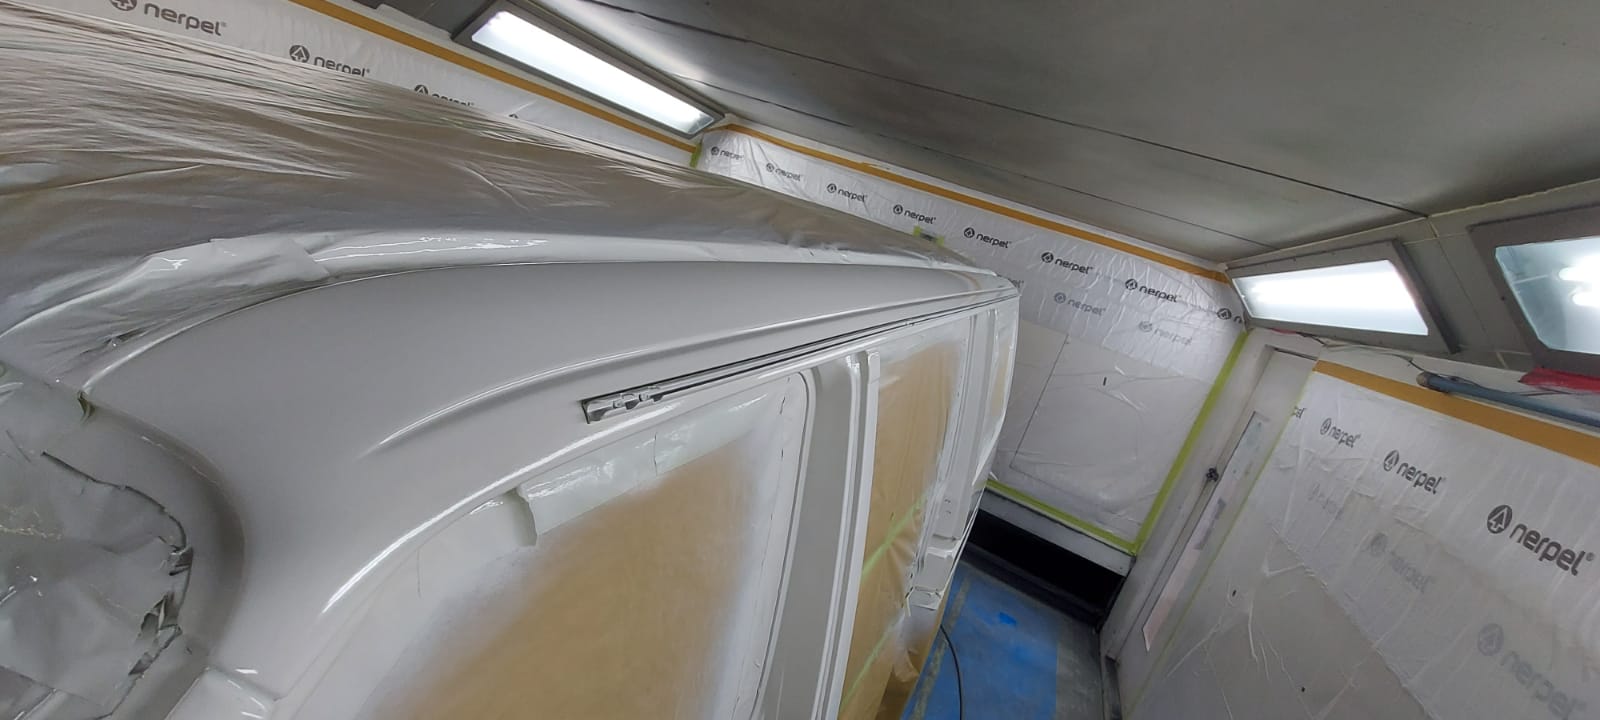
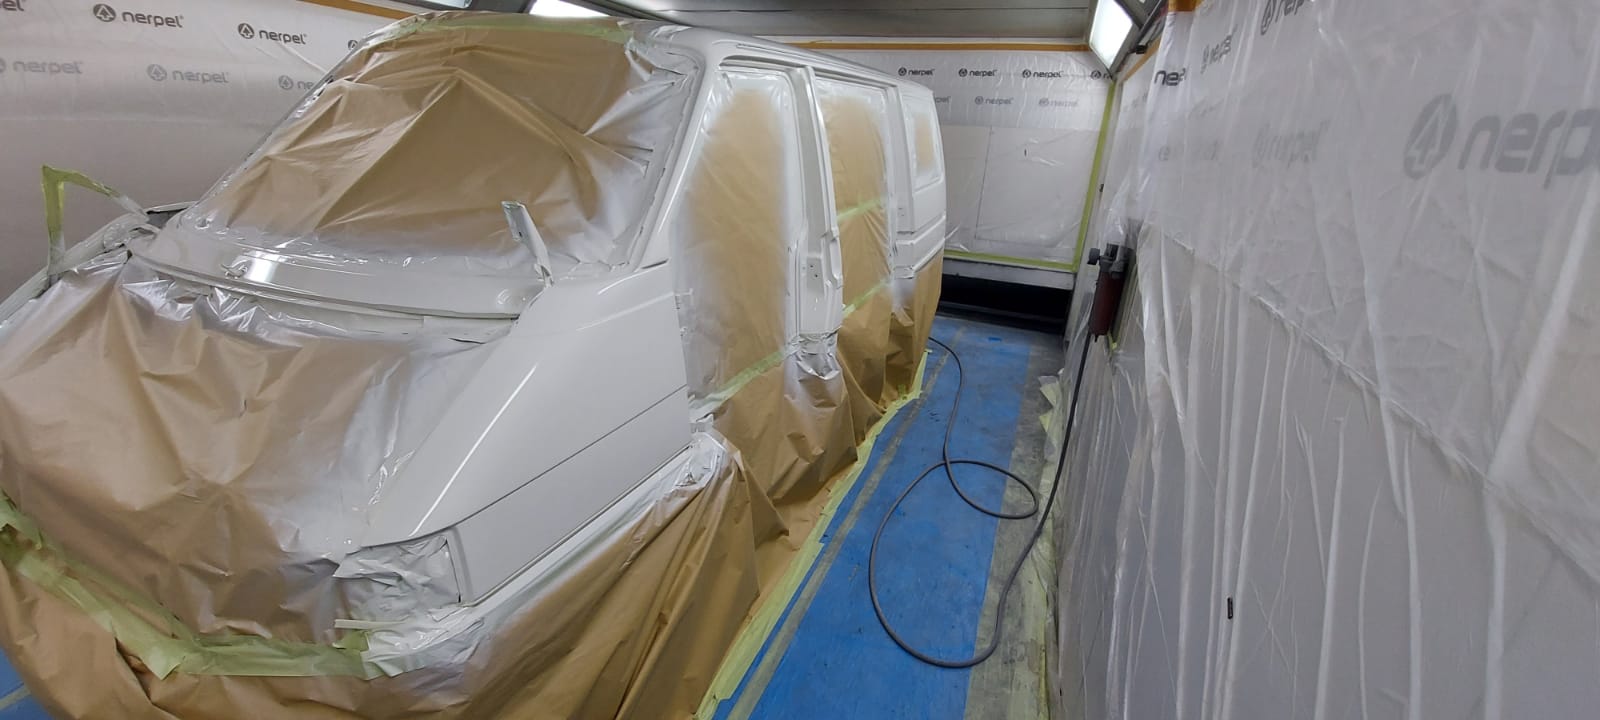
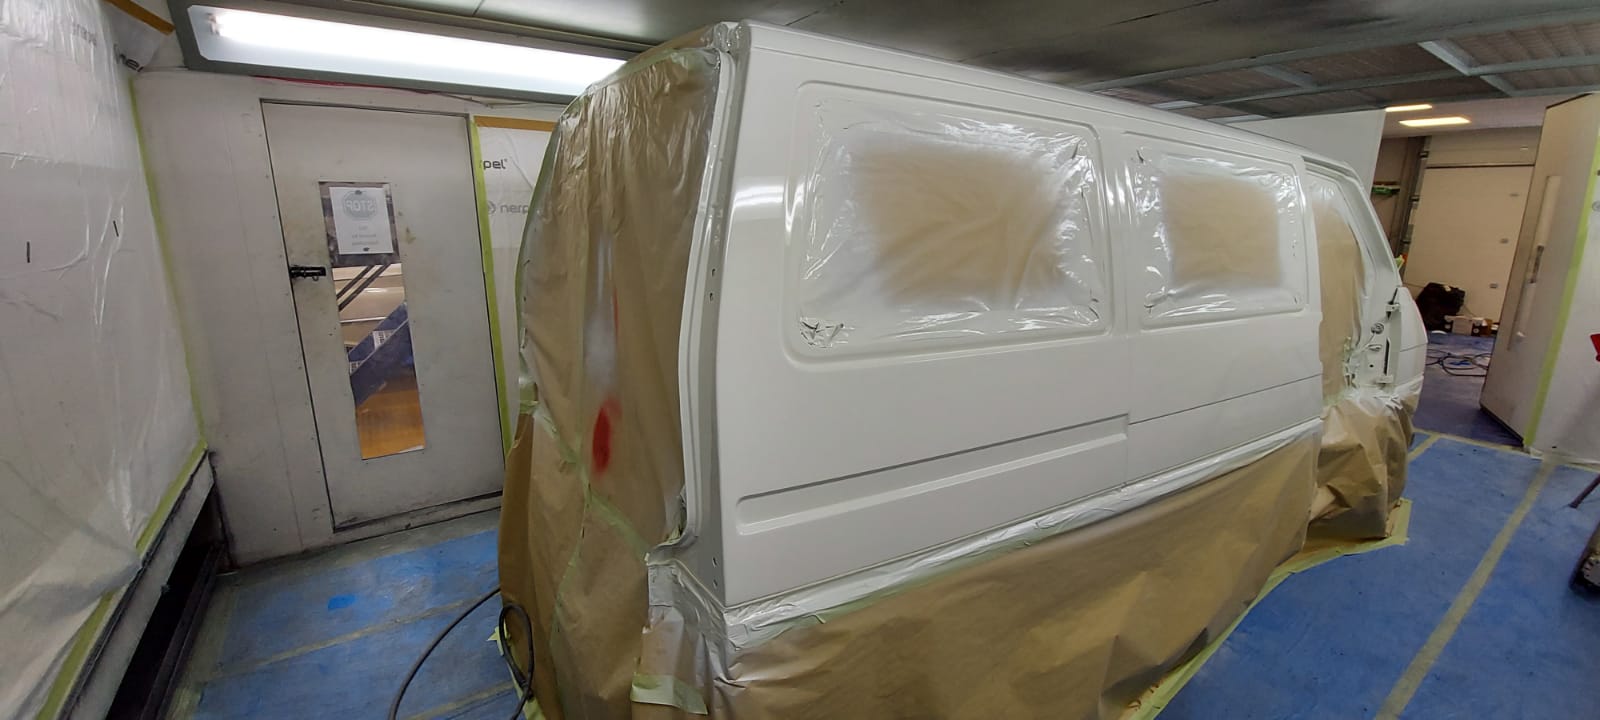
The doors and van have all been masked up ready for paint in the paint booth by Chris. Our 1991 VW T4 campervan is getting nearer to looking healthy again.

Petrolicious has done an interesting mini-documentary series called ‘Made To Drive’ where they focus on cars, their drivers and their stories. In one of their instalments, they talk to engineer, Carlo Neiro who drives a 1971 Alfa Romeo Spider 1300 Junior as his everyday car. The film takes you down scenic Italian roads is it talks to Carlo about his love for his Alfa and why he got one. It’s easy to fall in love with the car and the countryside when pictured in the dazzling warm sun and nestled between greenery, en route to a restaurant with your loved ones.
We’ve got a similar Alfa in our hanger at the moment that is in search for its new home. Our Alfa is the slightly later but just as lovable 1972 Alfa Romeo Series 2 Spider in the same burnt orange hue which contrasts beautifully with blue skies and green views, evoking memories of blissful roundtrips. You might not be able to get to the Italy at the moment, but you can certainly imagine yourself there a bit closer behind the wheel of an Alfa Romeo roadster.
Take a look at our charming Alfa here.
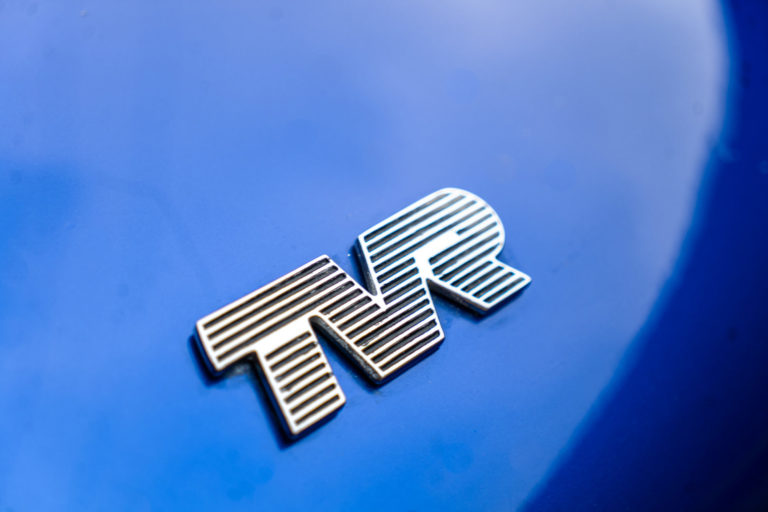
Goodwood recently published an article about the 9 best TVRs for the road. The article opens with:
“TVR is one of those unlucky British car brands that didn’t quite make it. You can trace its roots back to 1946, an engineering business set up out of a small warehouse in Blackpool by a young Trevor Wilkinson. The name changed in 1947 to TVR engineering (remove a few letters from ‘Trevor’ and you’ll see where the name came from), and over the following 60 years, the business produced some of the most exciting, fastest and loudest cars on the road. The cars weren’t always perfect – far from it, in many cases – and the company saw a number of owners before production stopped in 2006. But still, as you’ll see, TVR had a seriously good run”
Within the article, Goodwood break down their top 9 TVR’s which include the TVR Grantura – 1958, TVR Taimar Turbo – 1976, TVR 420 SEAC – 1986, TVR Griffith – 1991, TVR Chimaera – 1993, TVR Tuscan – 1999, TVR Tuscan – 1999, TVR T350T – 2002 and the TVR Sagaris – 2005.
Here at Bridge we’ve worked on a TVR Grantura and TVR Chimaera recently as well as giving away a Chimaera and have become very fond of the practicality, affordability and styling.
The article eloquently explains that “In many ways the Chimaera name, derived from the Greek name ‘Chimera’, epitomises so many TVRs. Chimera was said to be a fire-breathing monster of Greek mythology, a hybrid of creatures with, most notably, a lion’s head, a goat’s body and a snakes tail.”
Grantura’s are arguably the iconic TVR’s “The earliest TVRs are funny little creations. The very first car with a TVR badge, for example, the TVR 1 from 1949 which sadly no longer exists, was a split-screen, roofless two-seater with Morris 8 mechanicals, a Ford 100E engine and a handmade metal body. The TVR 2 from later the same year, meanwhile, was another roofless two-seater that was used as a racer and had the rev counter from a Spitfire. Not the car, the World War II fighter plane.”
We’ve worked on two Grantura’s and found them to be charming and quirky early TVR’s that lend themselves well to every day use.
You can read the full article here.
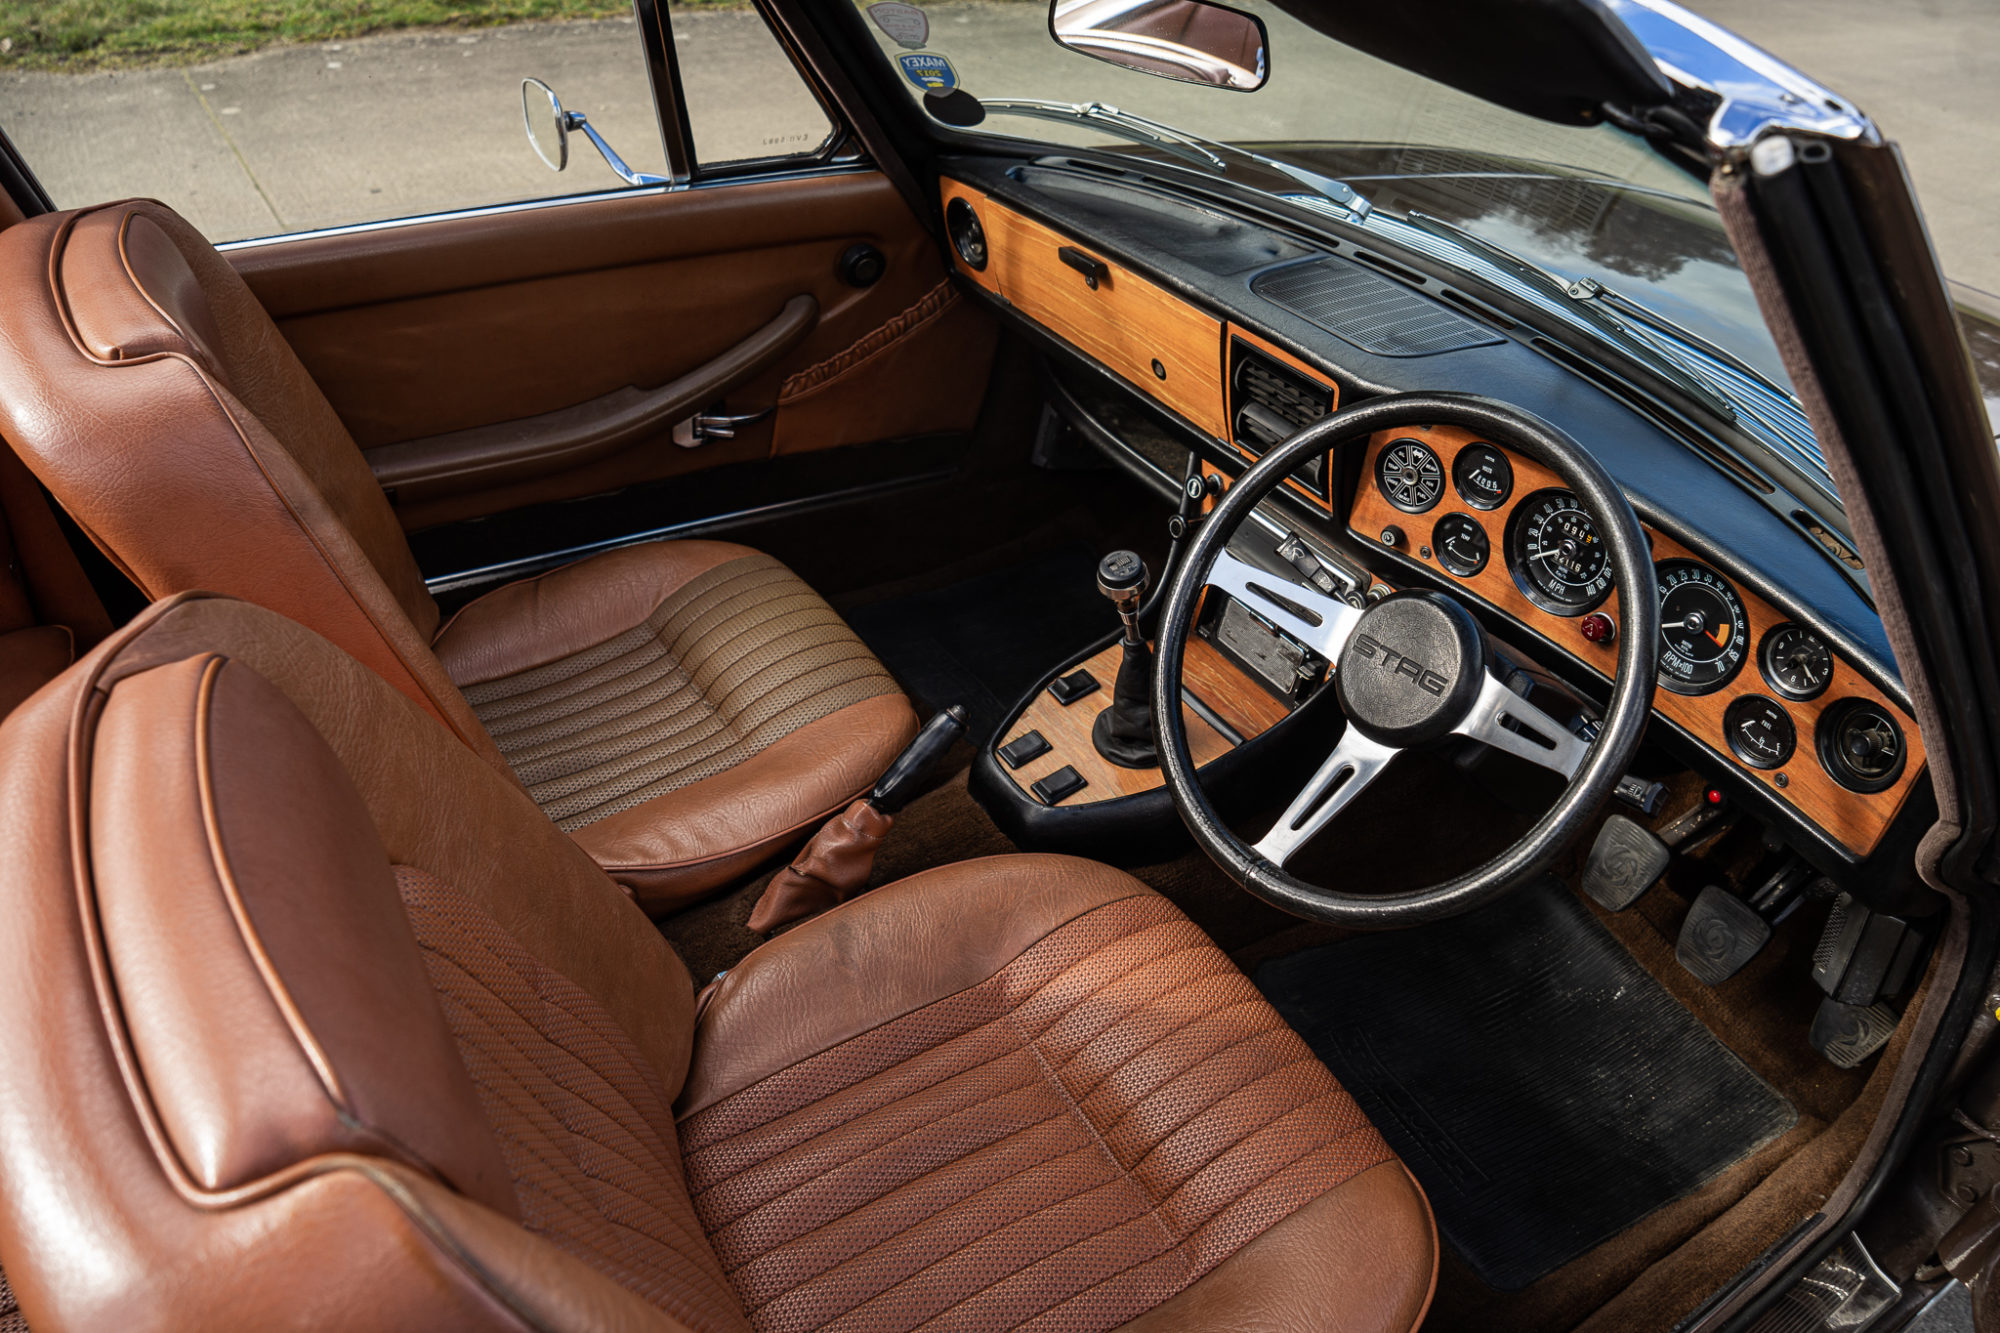
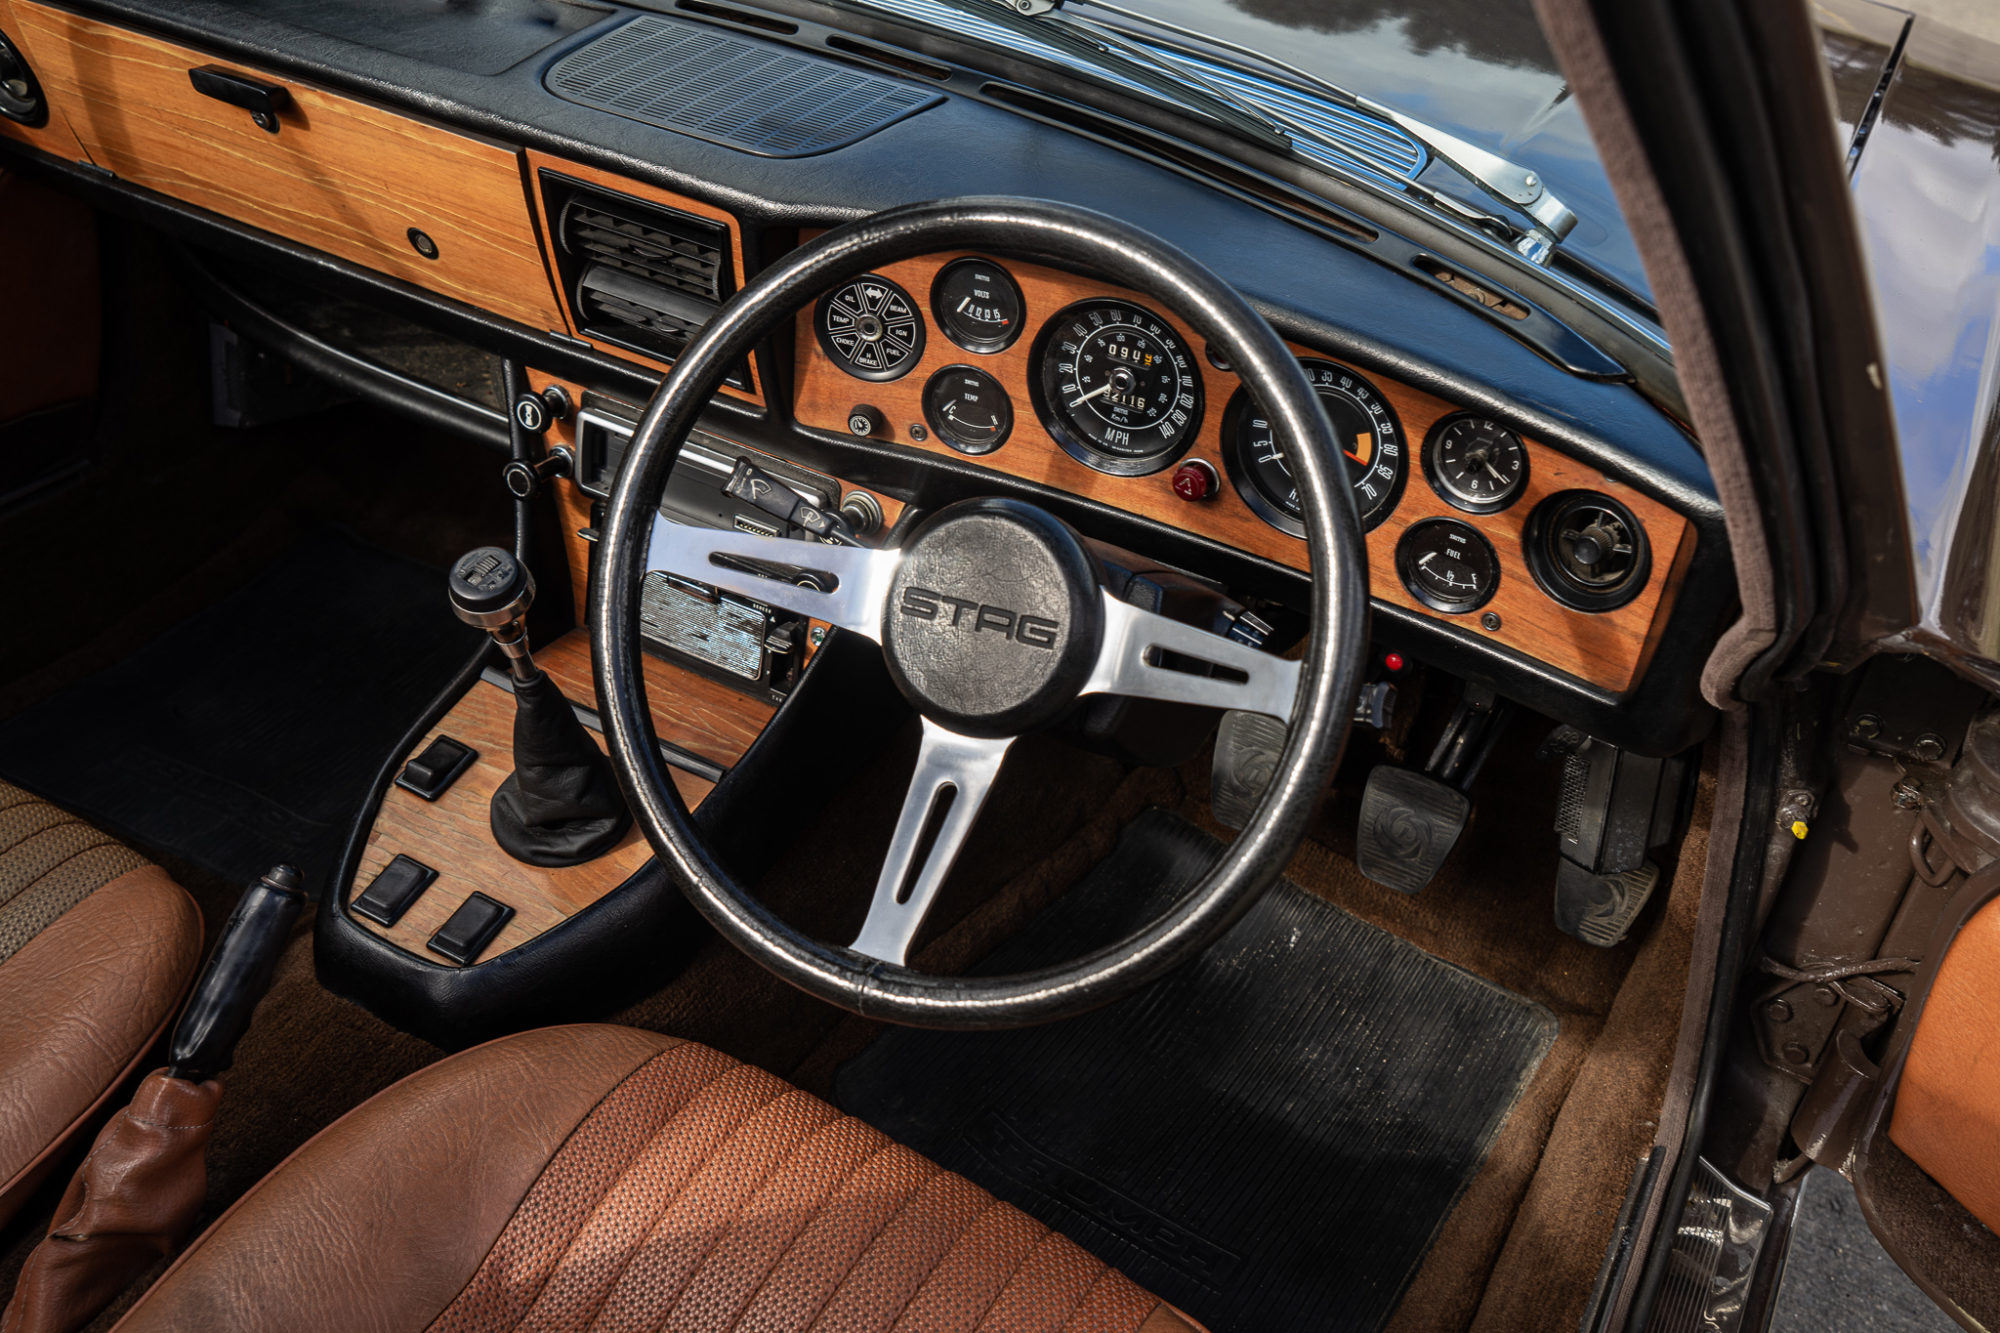
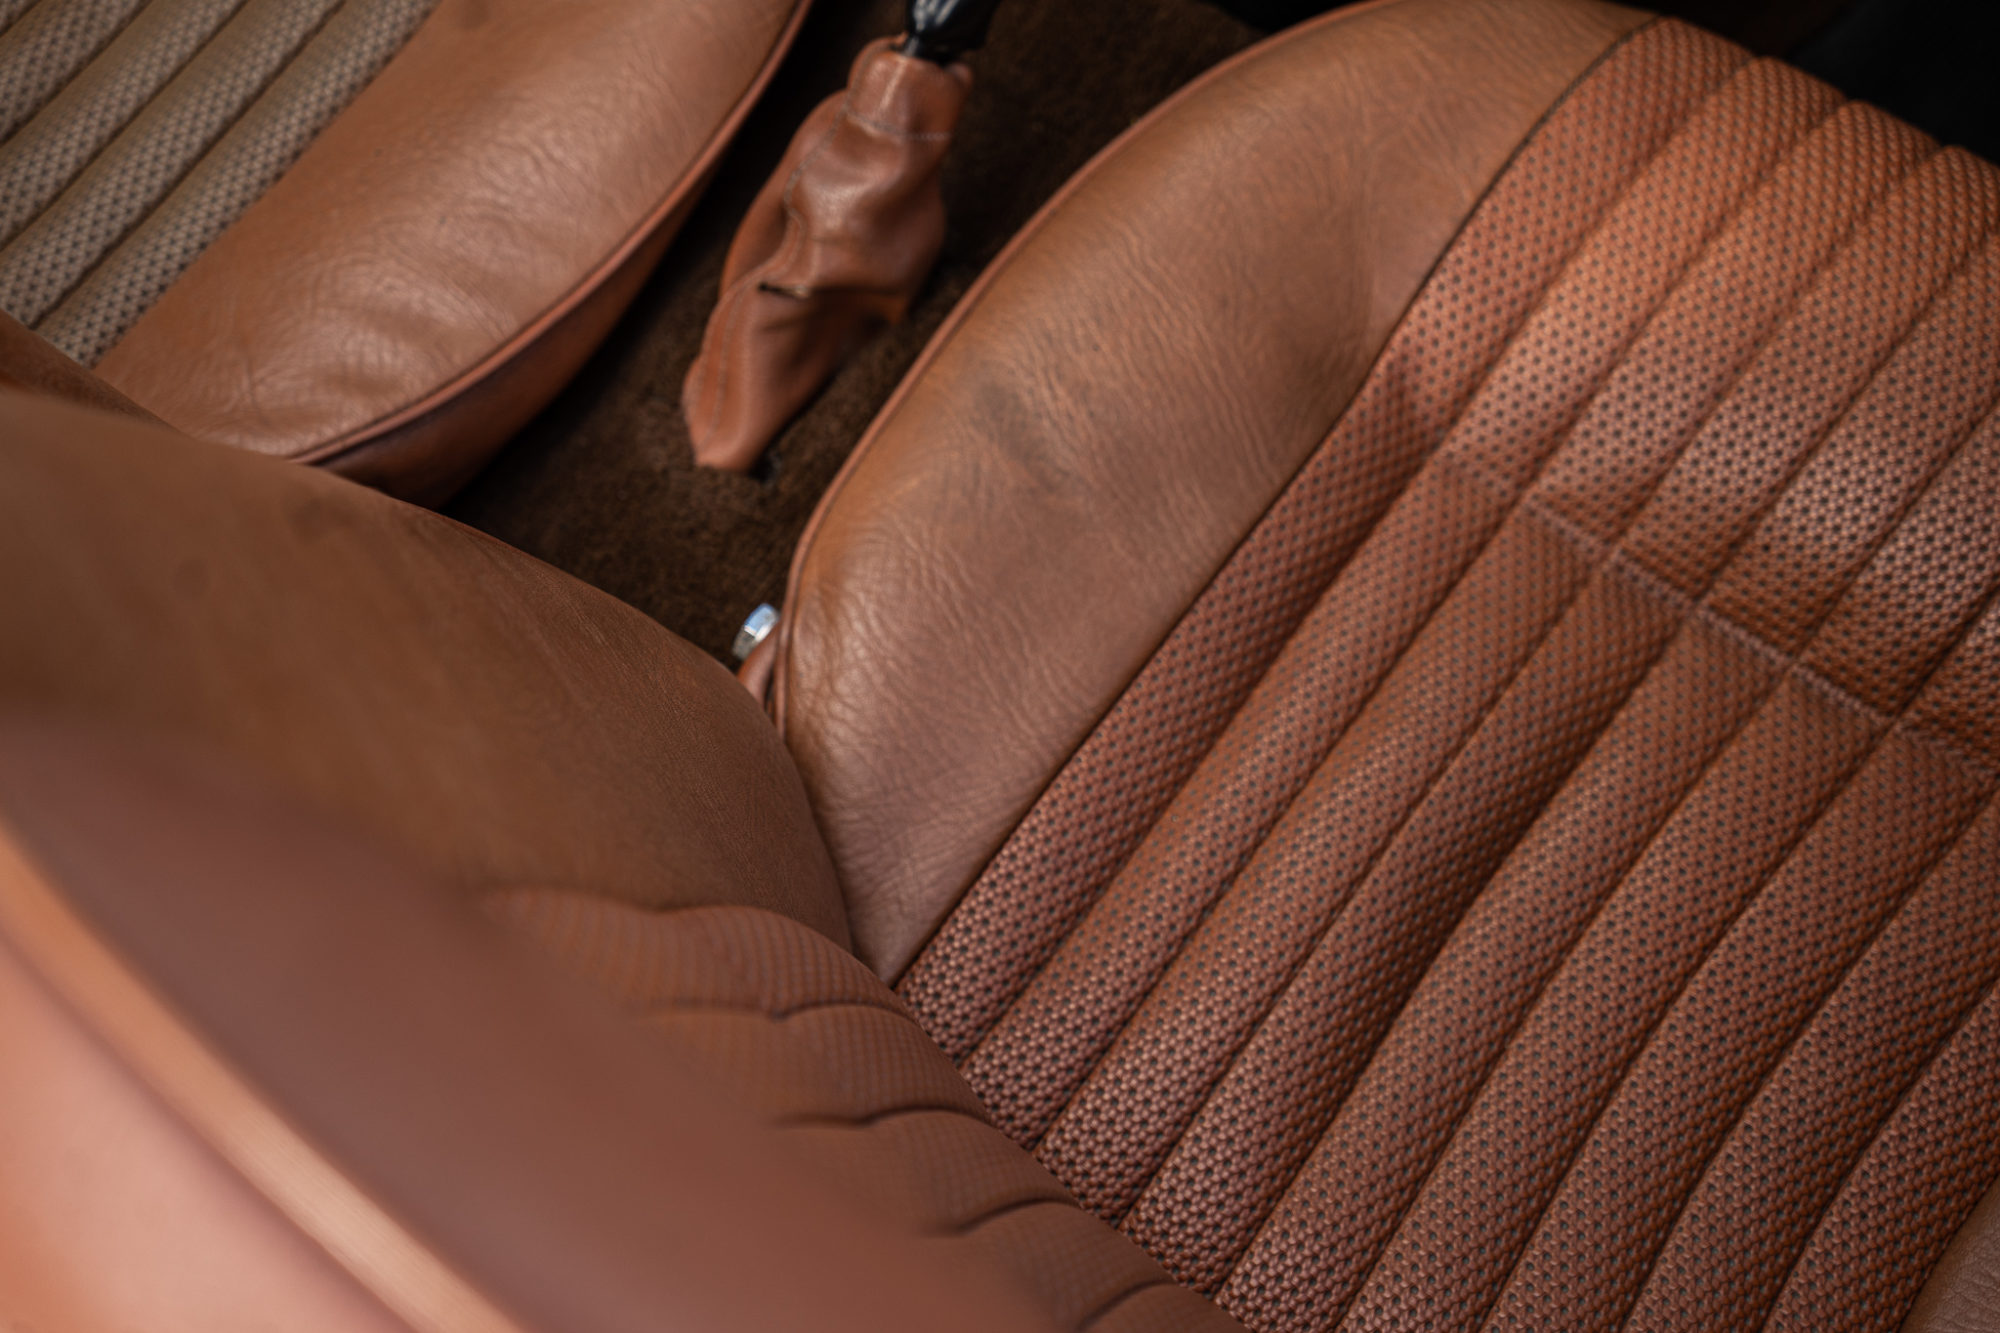
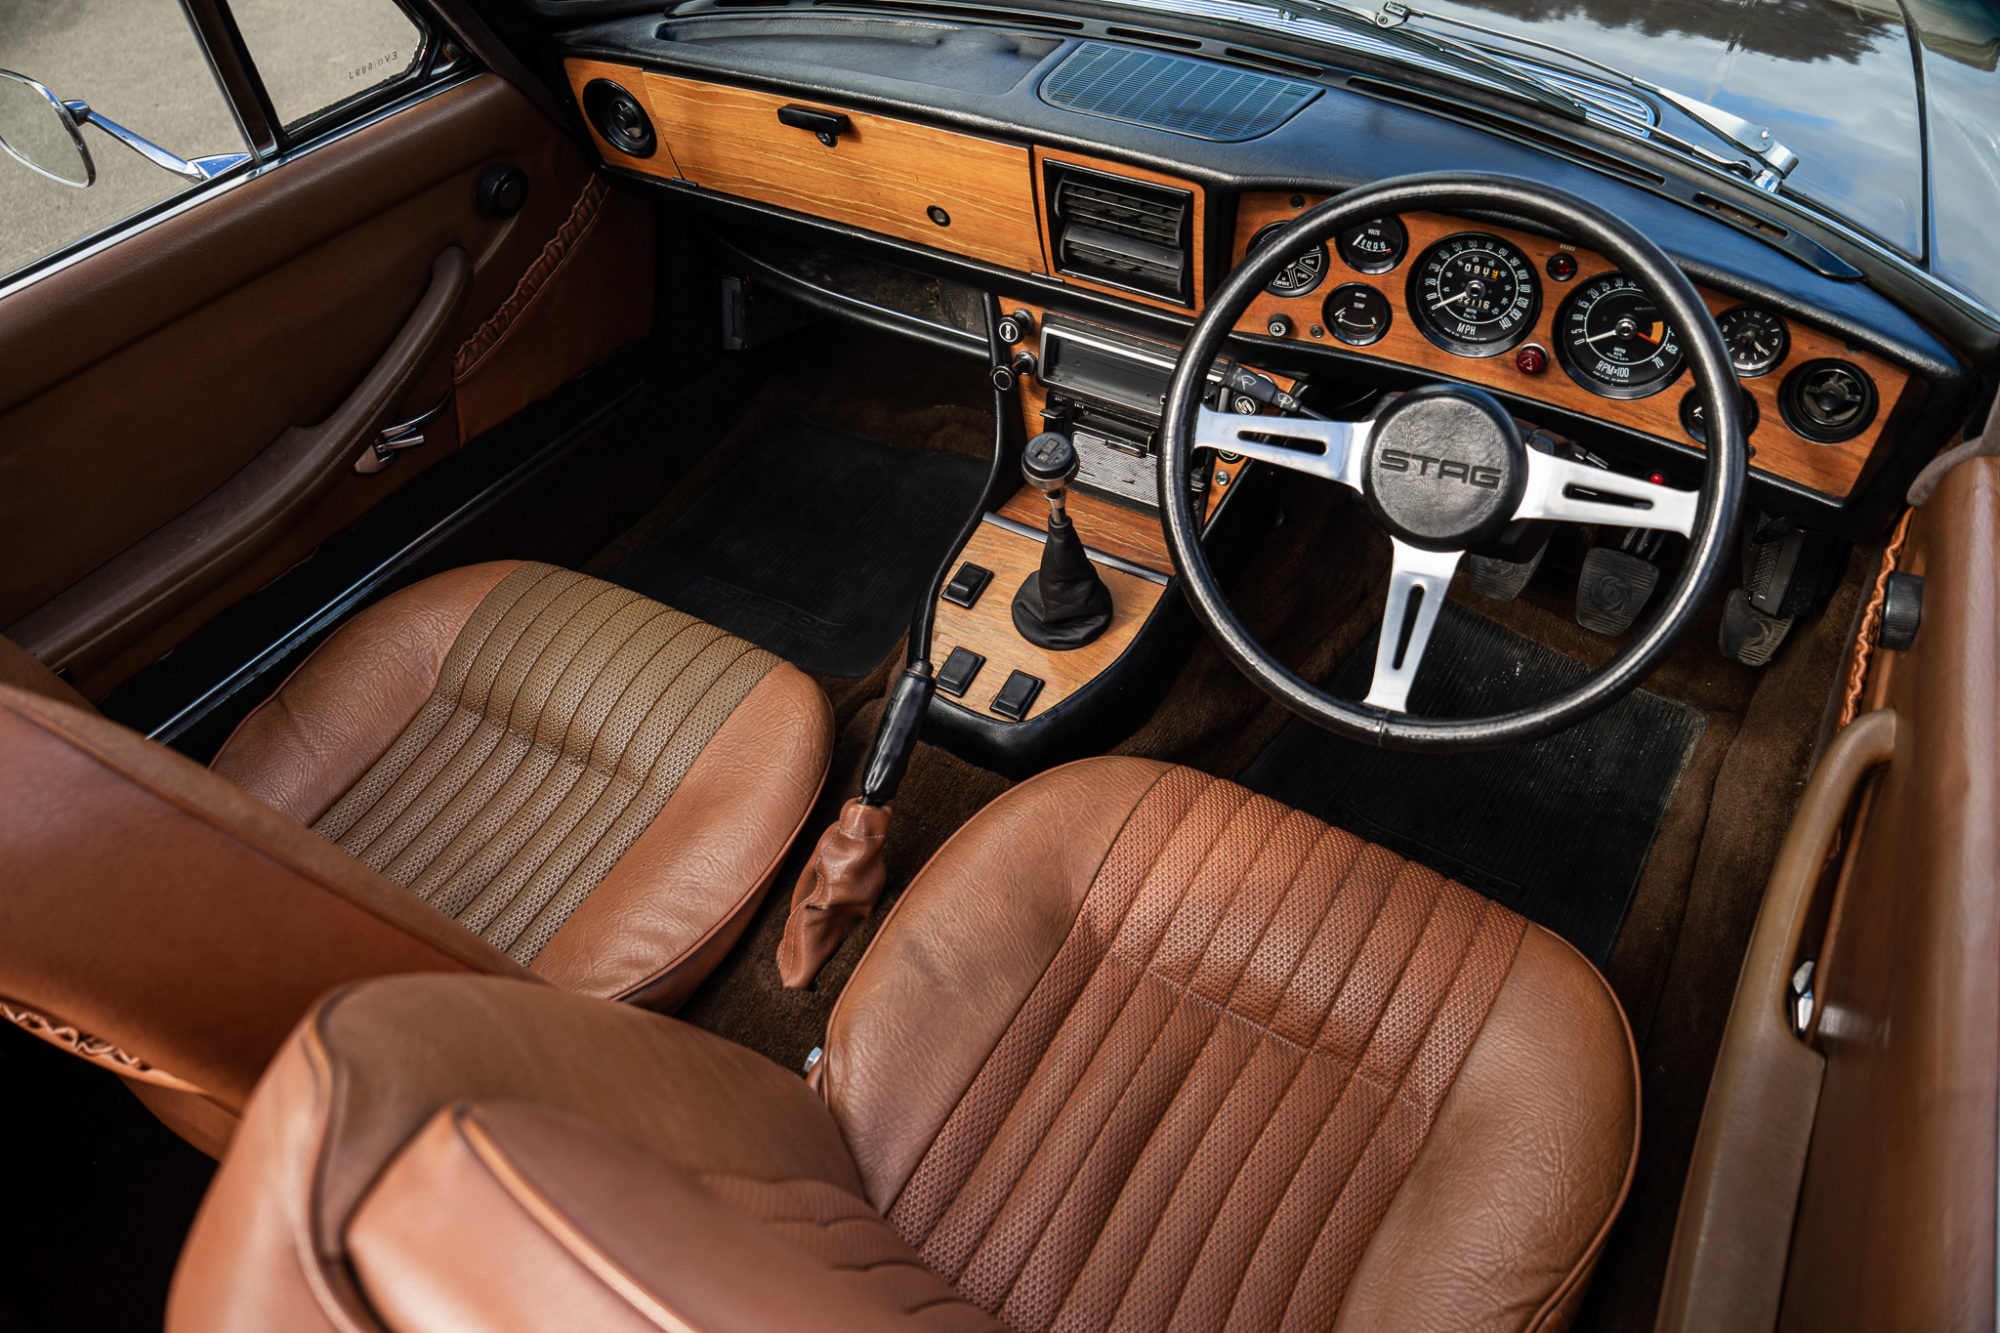
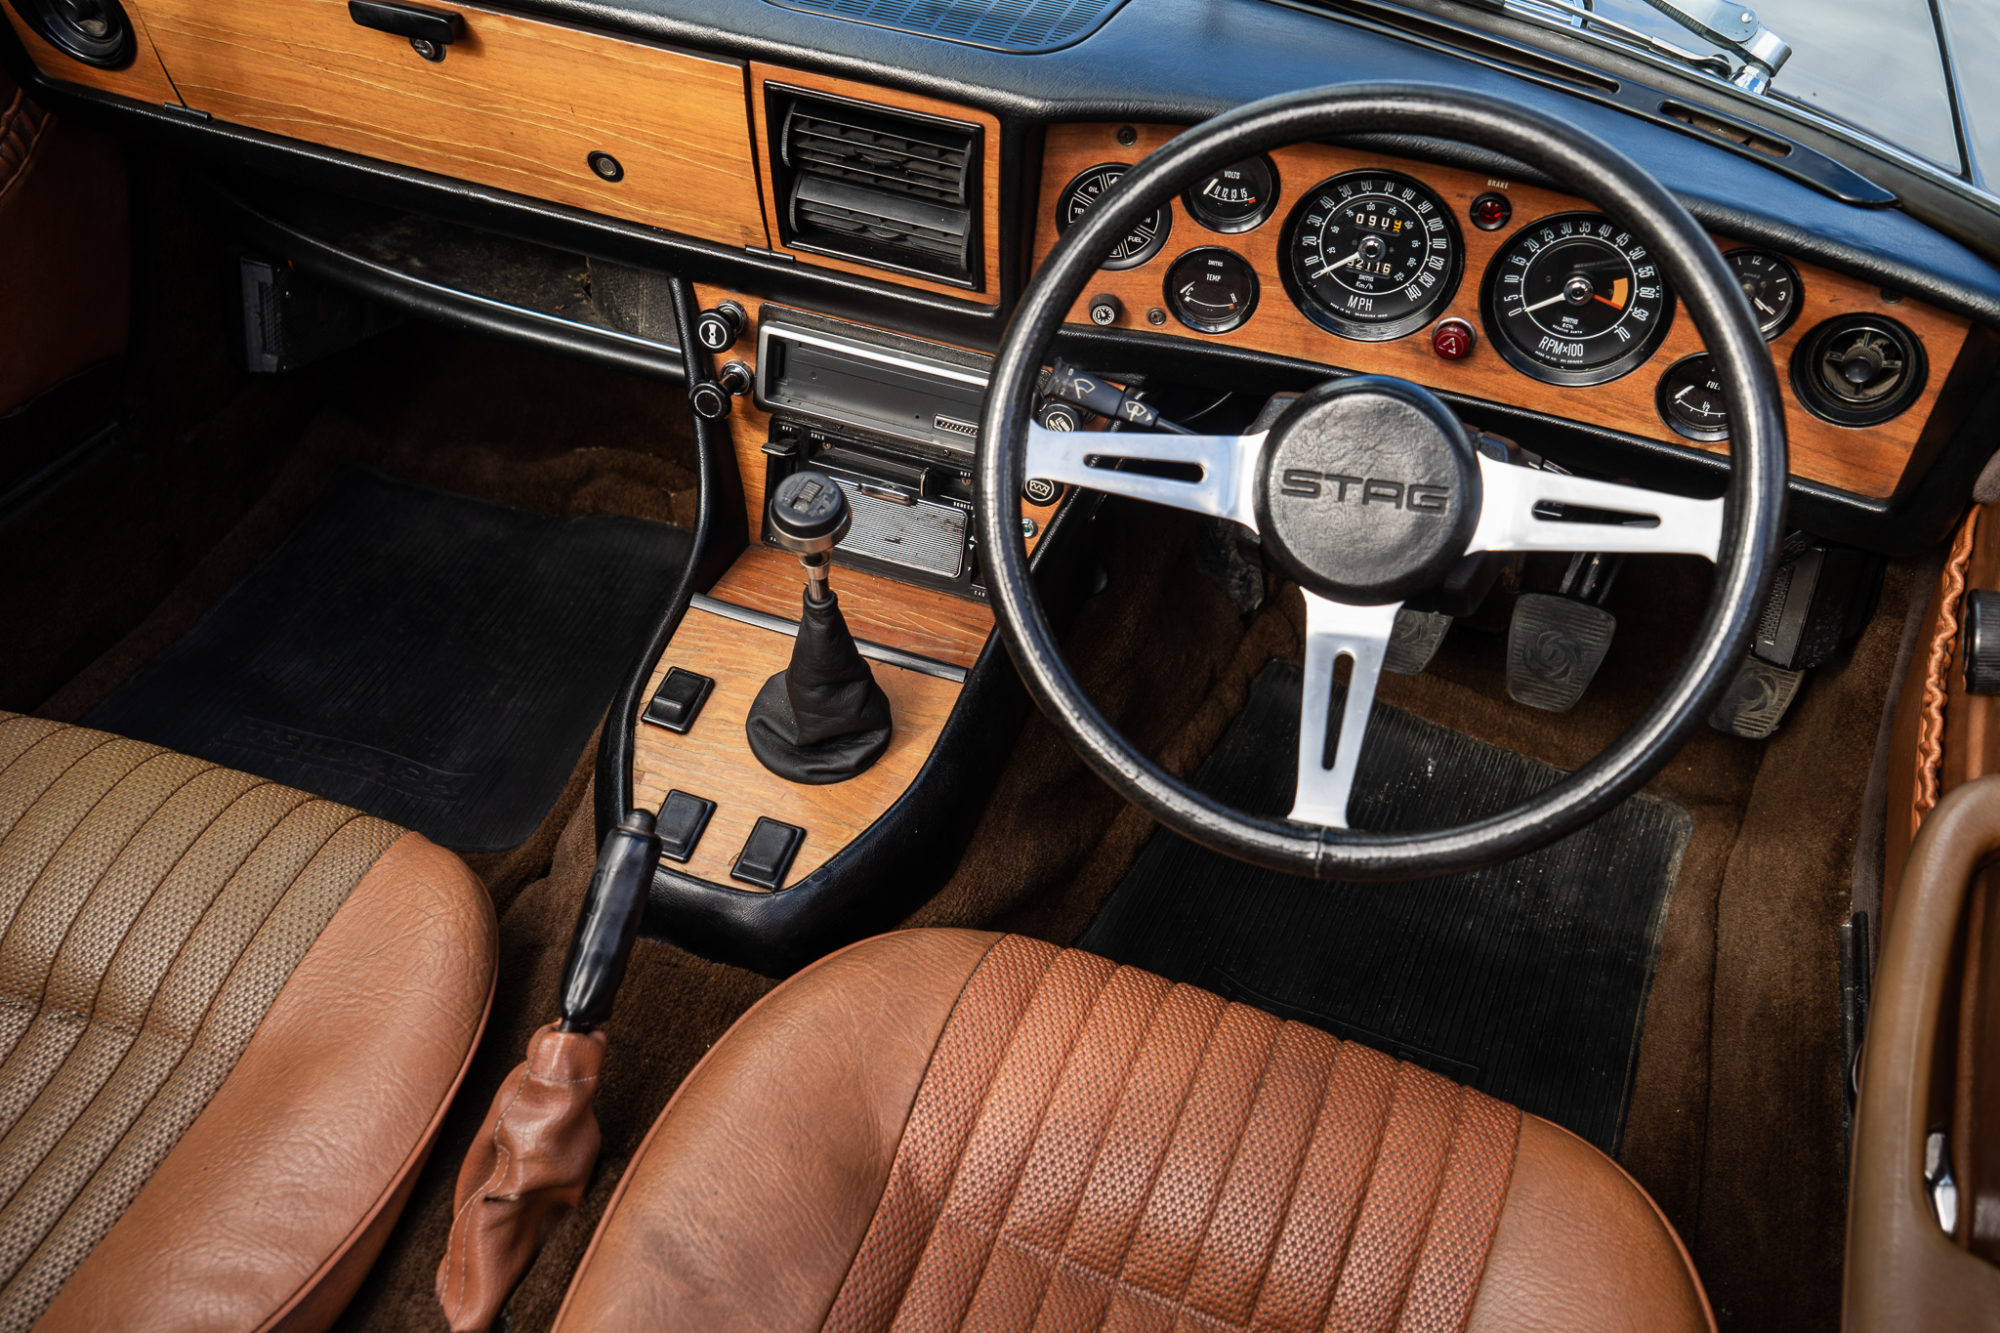
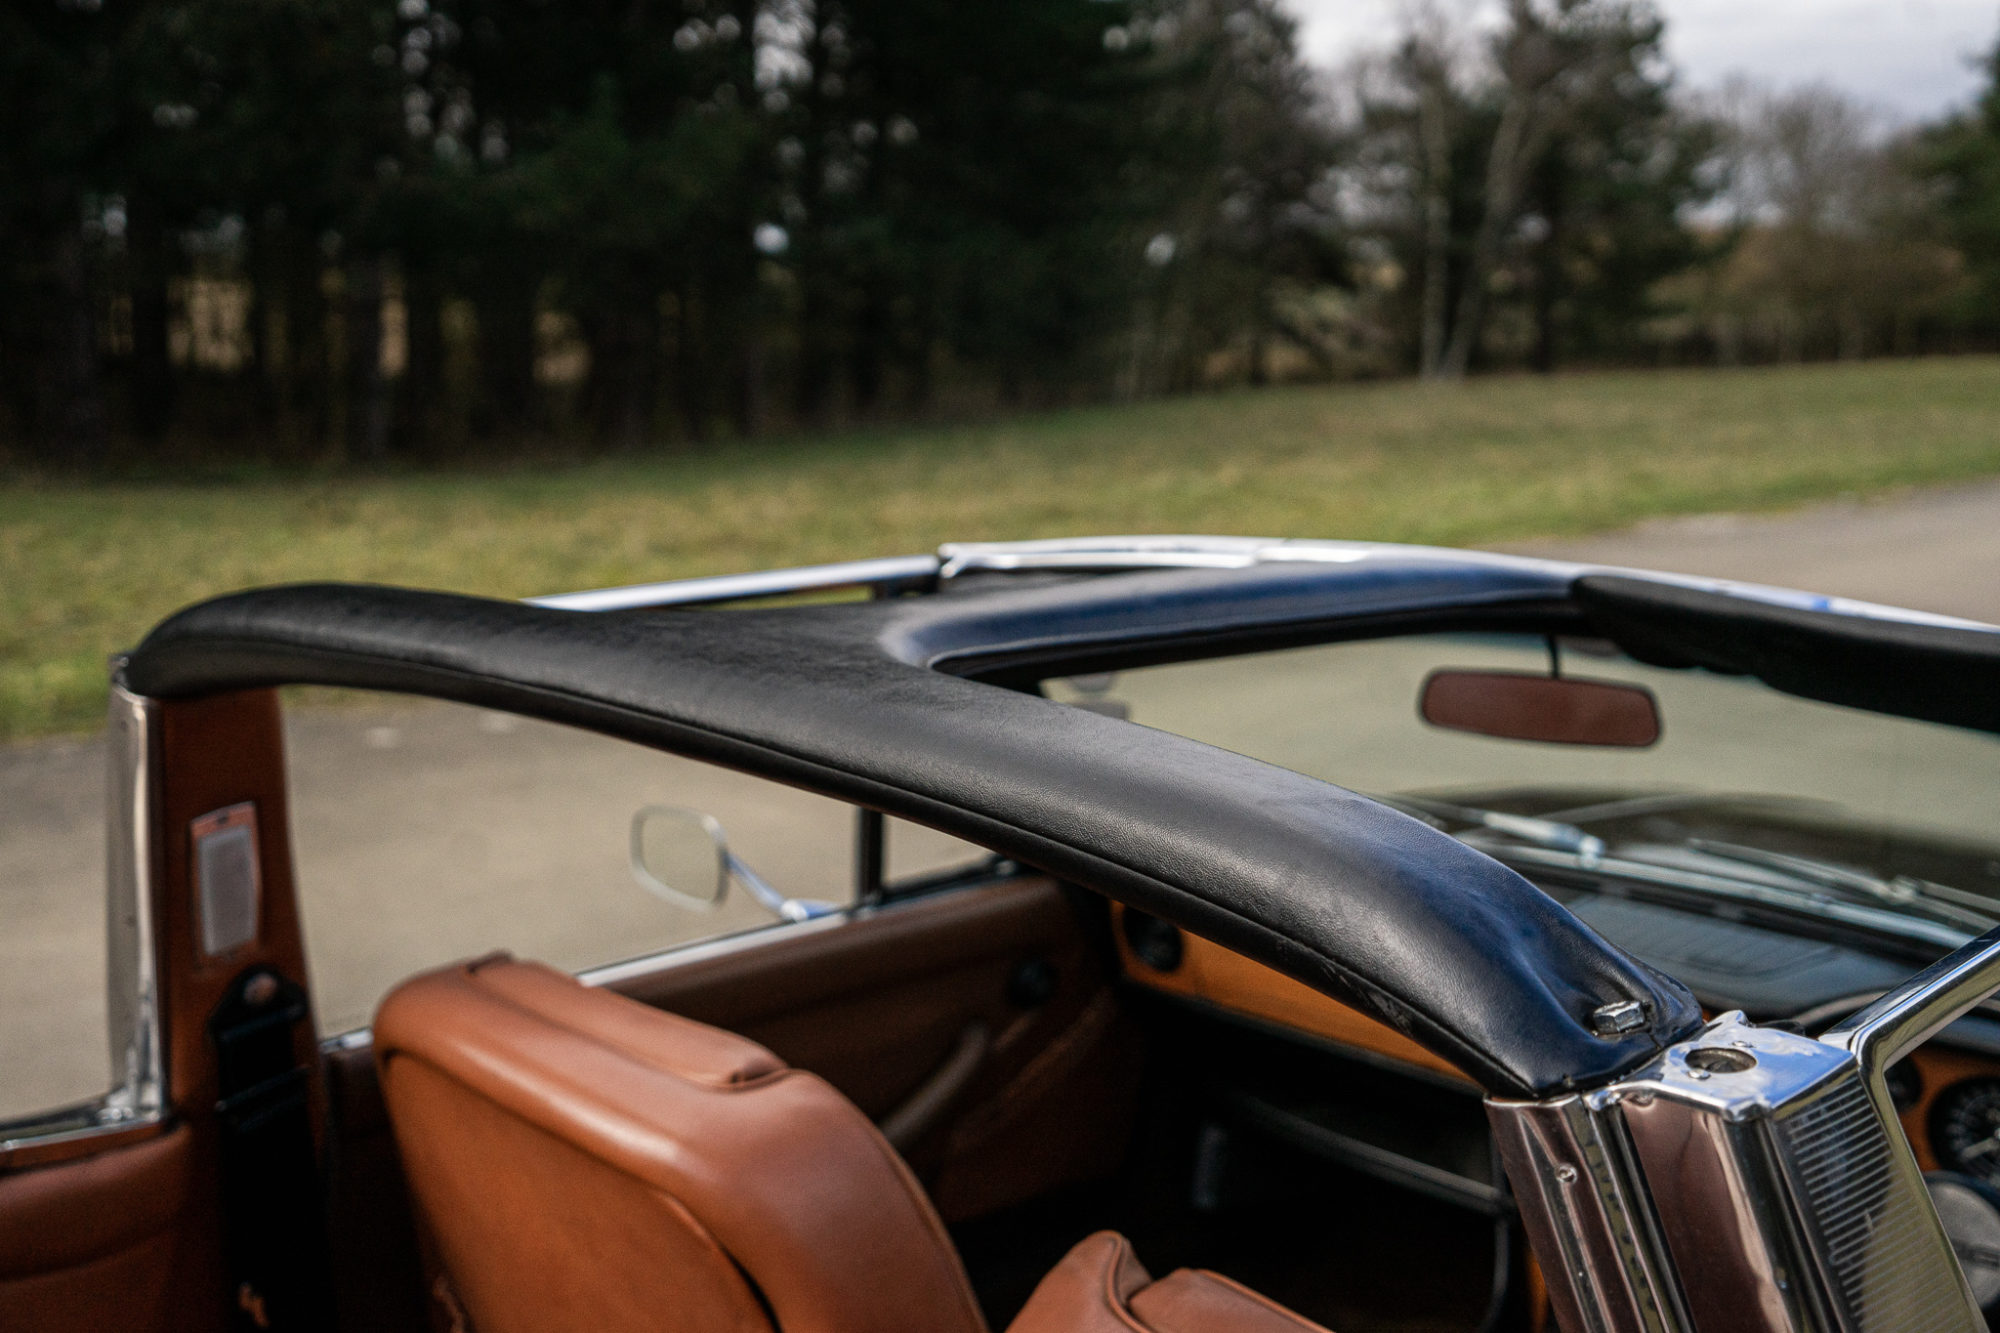
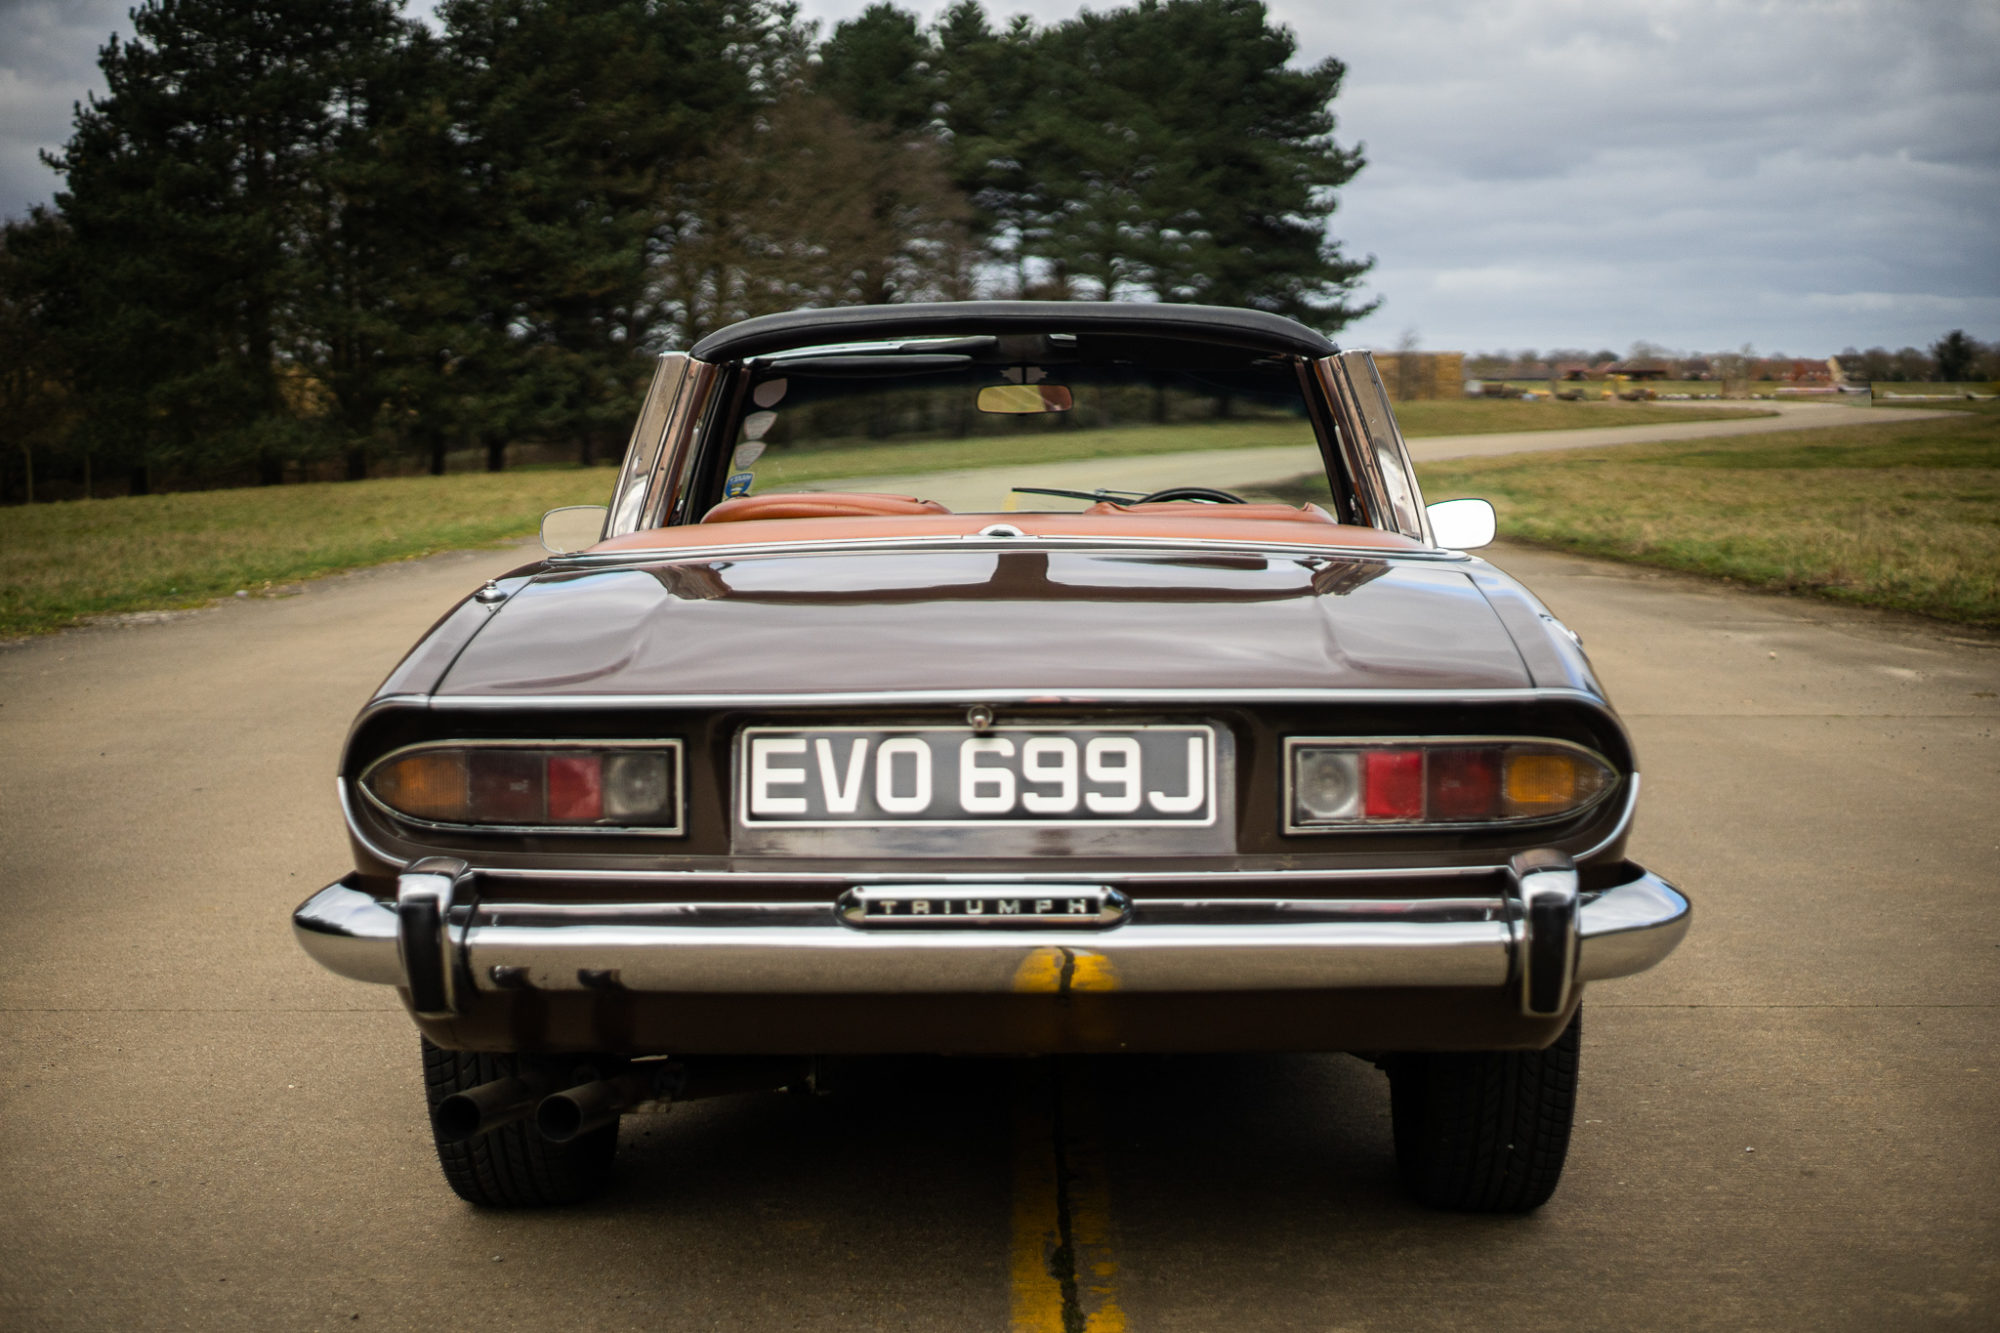
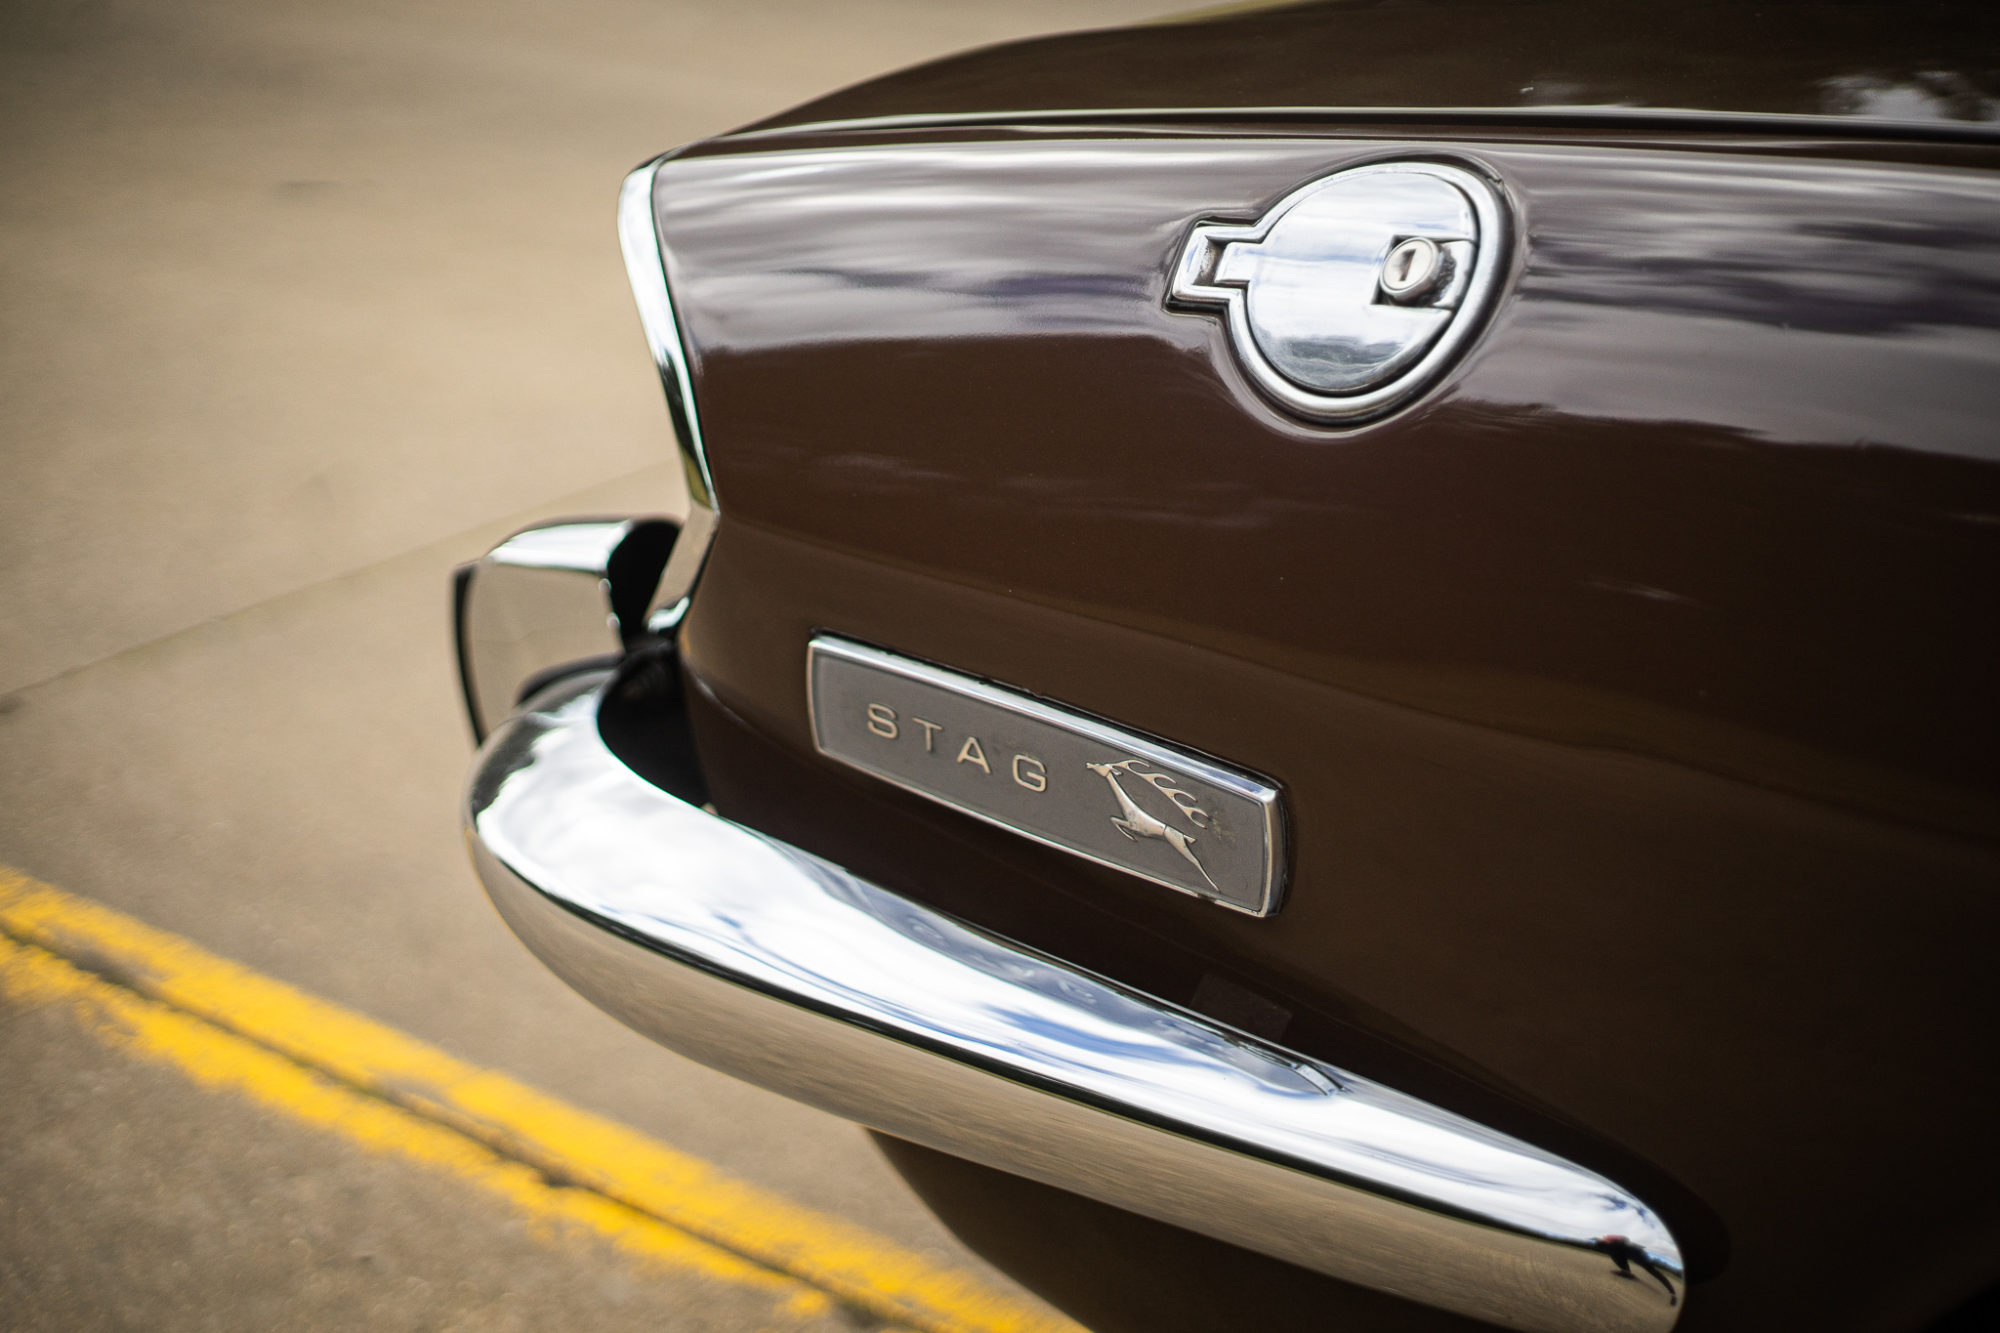
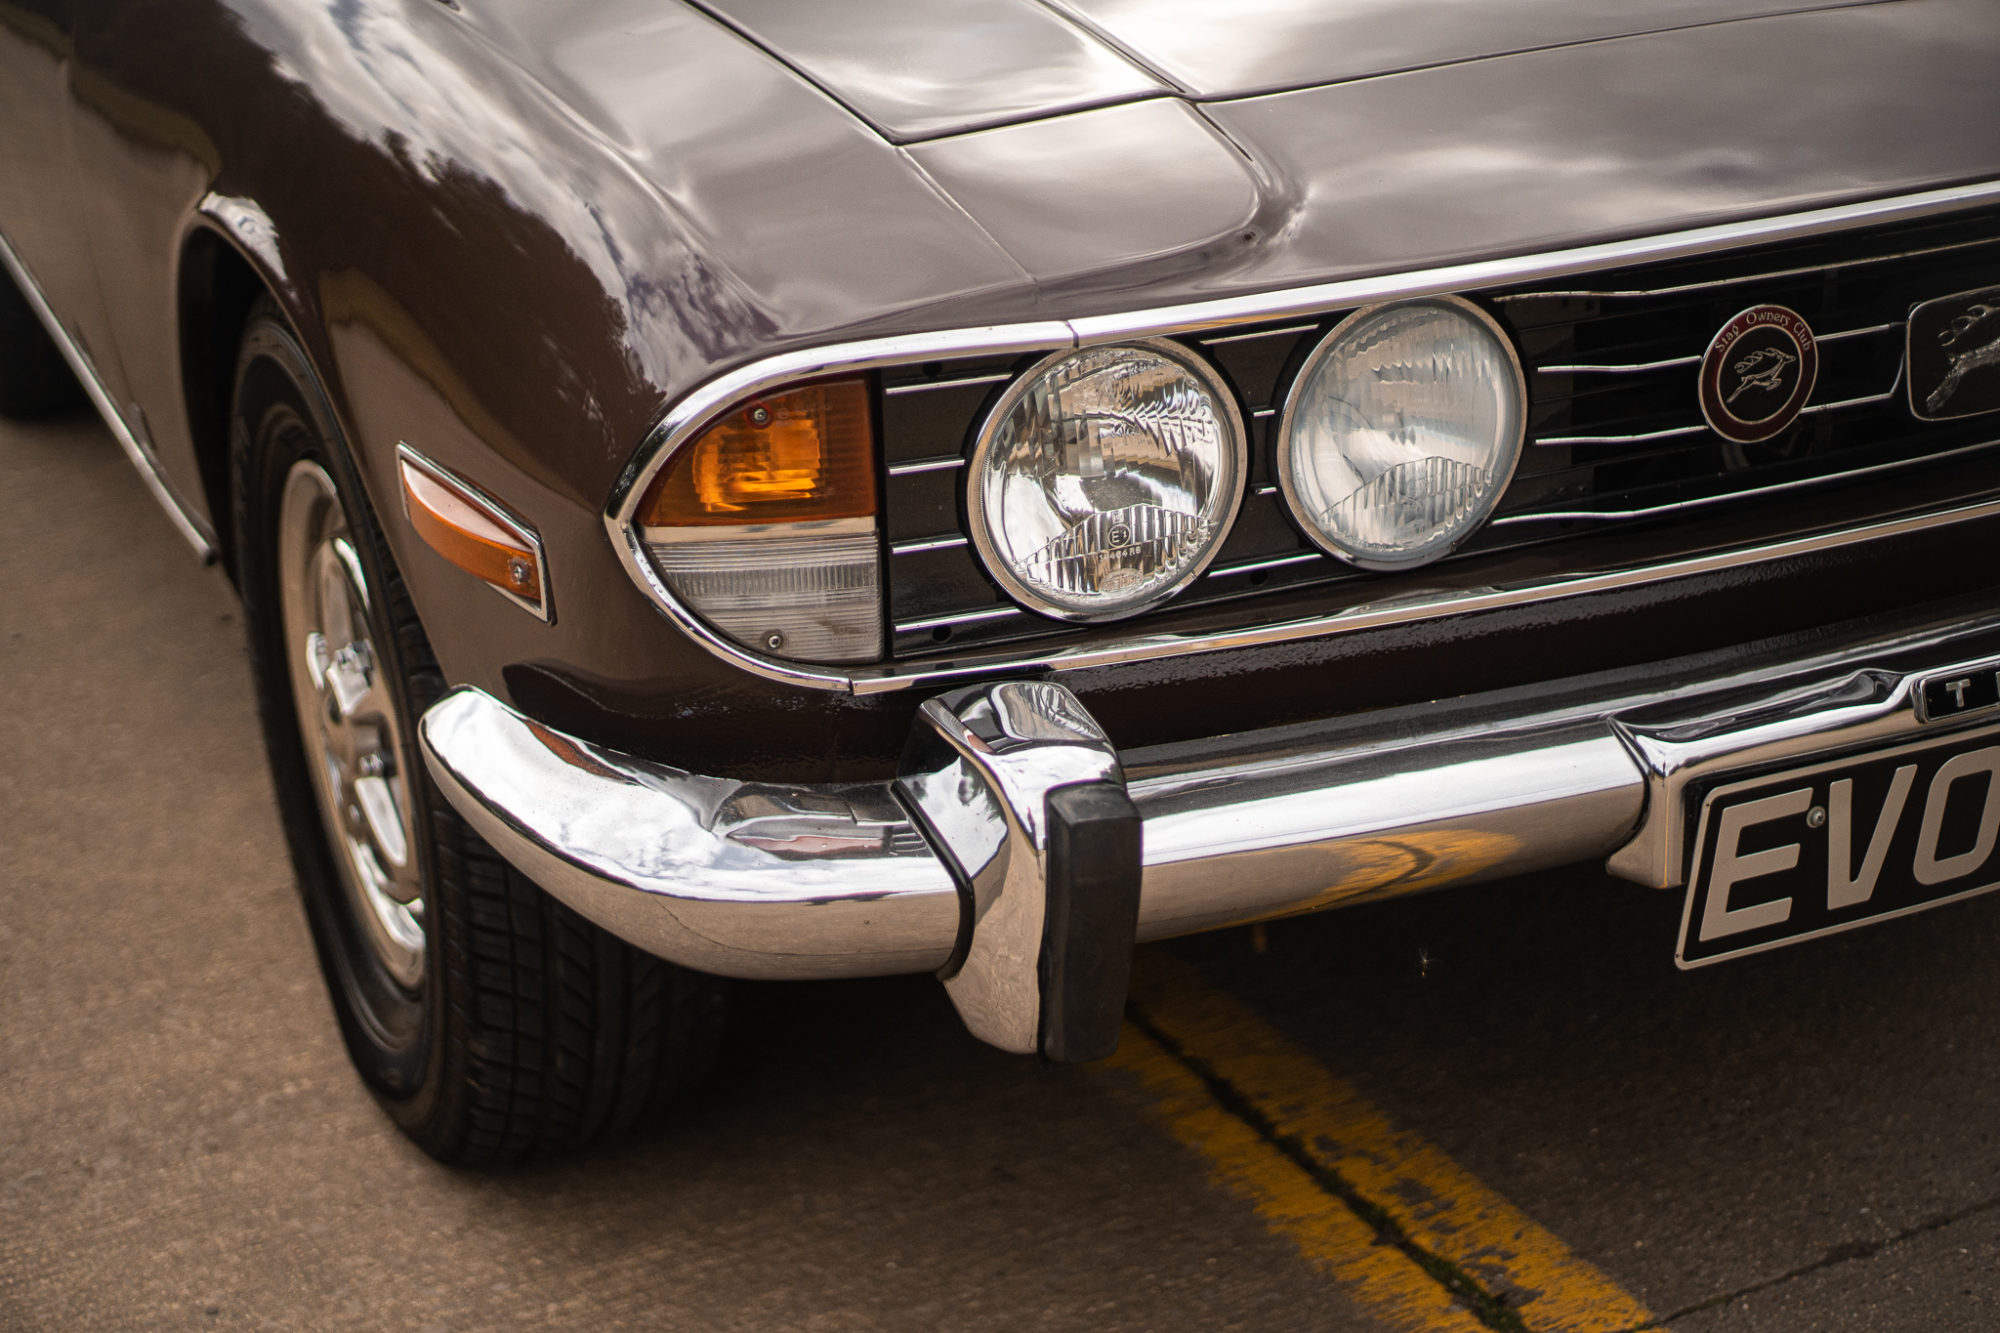
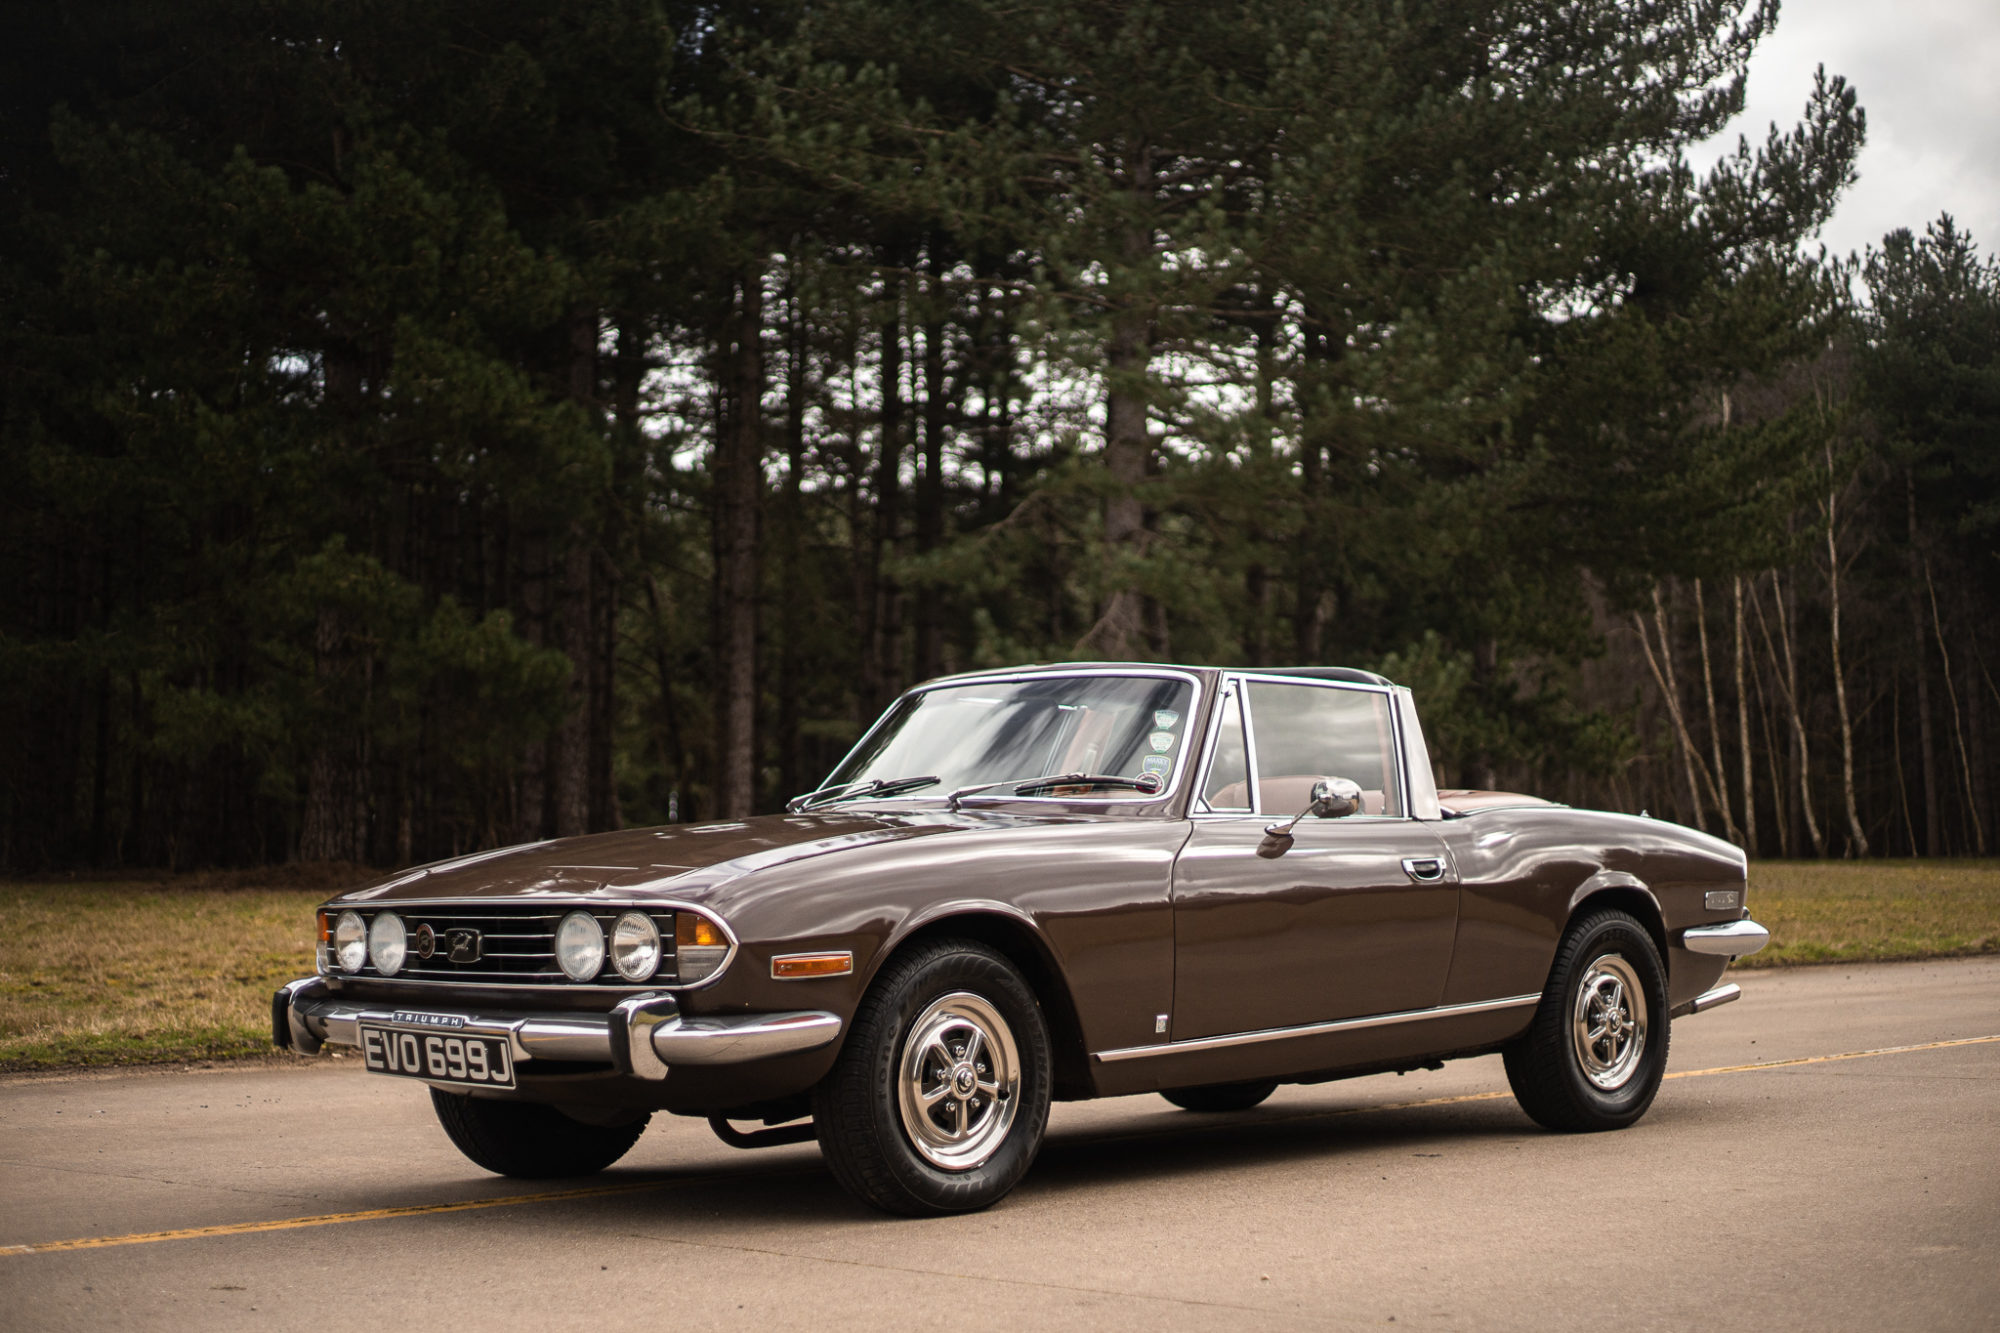
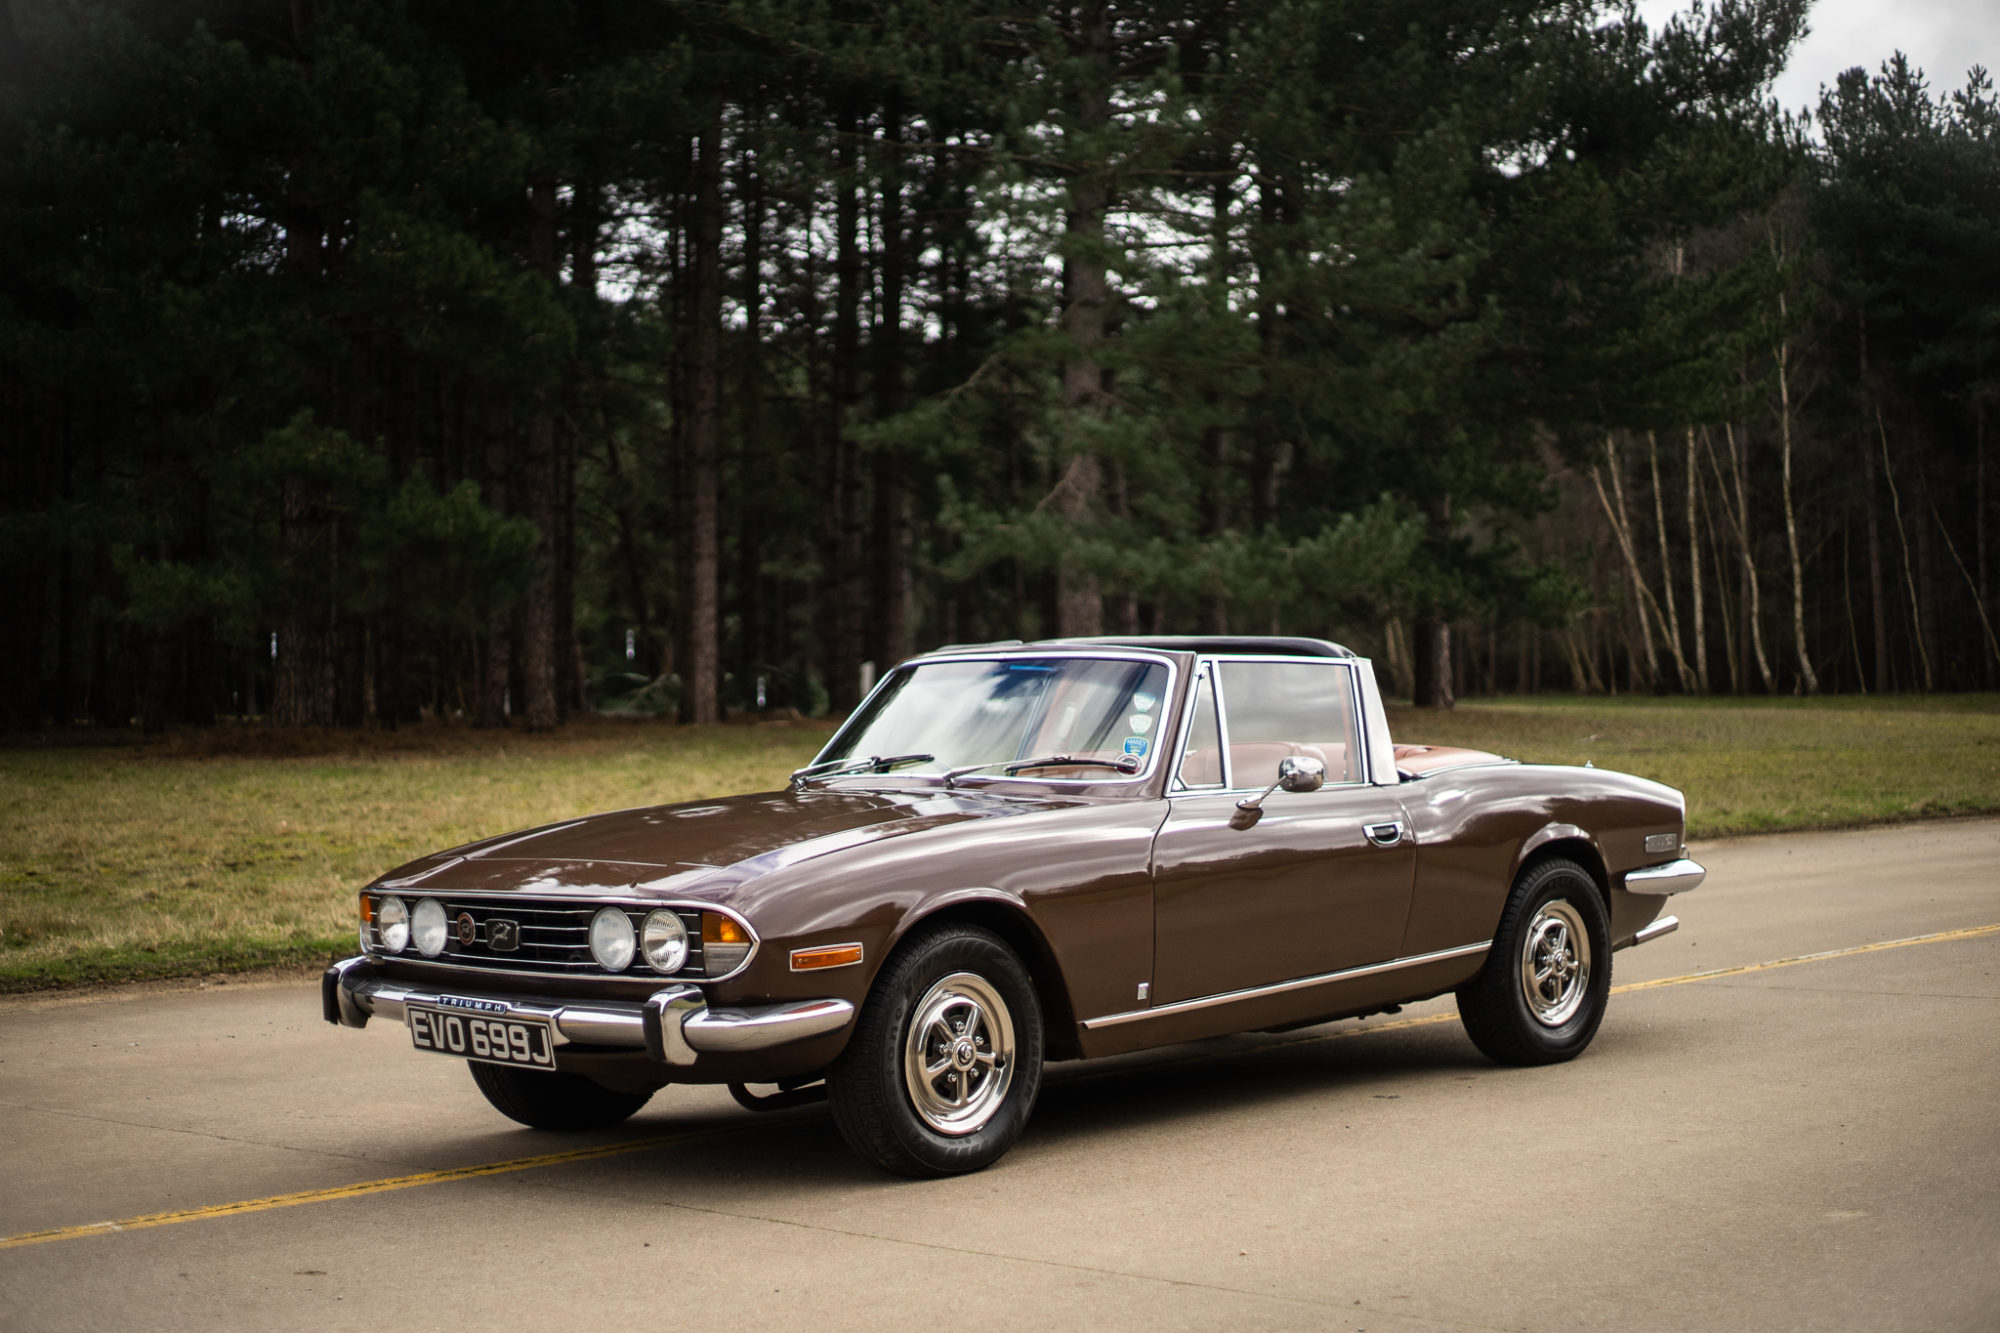
Last week, the team drove over to our hanger at Bentwaters to shoot our Triumph Stag, which you may recognise as one of our latest competition cars. Alongside the standard shoot, we also had our friend and model, Hannah, accompany us to take some portraits with the car. We’ve found that in recent months, adding in portrait shots with our photo collections is a great way to mix up our content and show the car in action.
We were lucky with the weather as the sun graced us with its late winter warmth. With a large film crew set up at Bentwaters, we’ve found ourselves exploring new locations on the base.


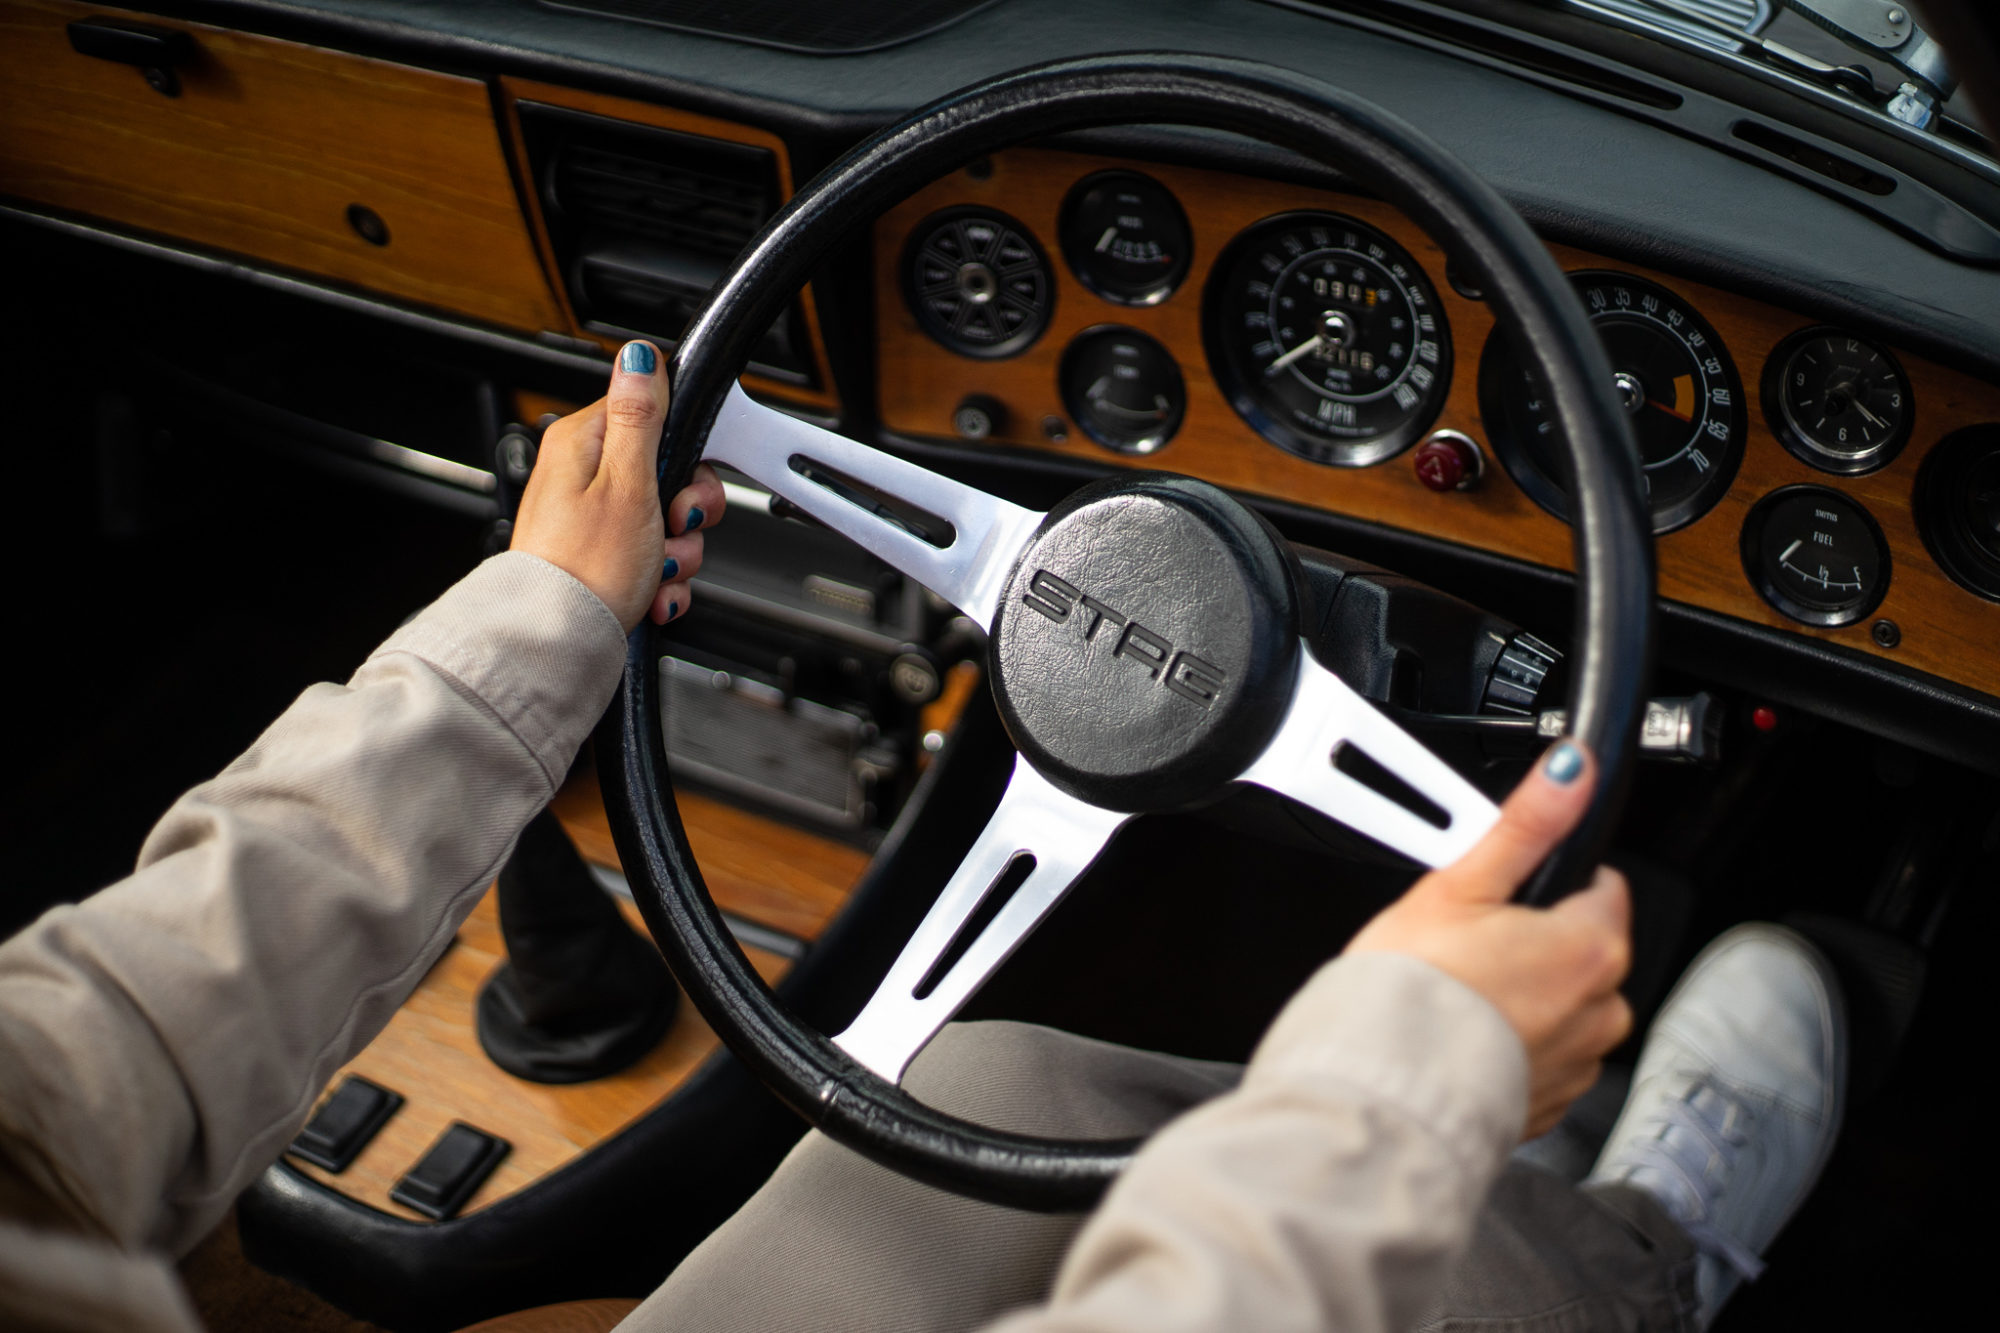
You may have seen a lot of these photos over on our competition site or on our social pages such as Facebook, but for those that havent, or what to see the whole collection, you can browse the Stag in full detail here.


Our lovely silver 1959 Jensen 541R has been completed and is leaving the workshop today. Although that’s one less Jensen in our workshop, we have plenty more still to be worked on.
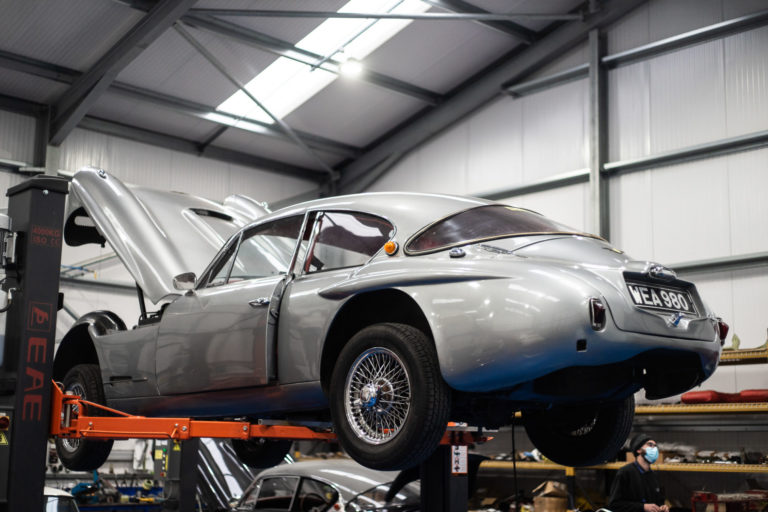
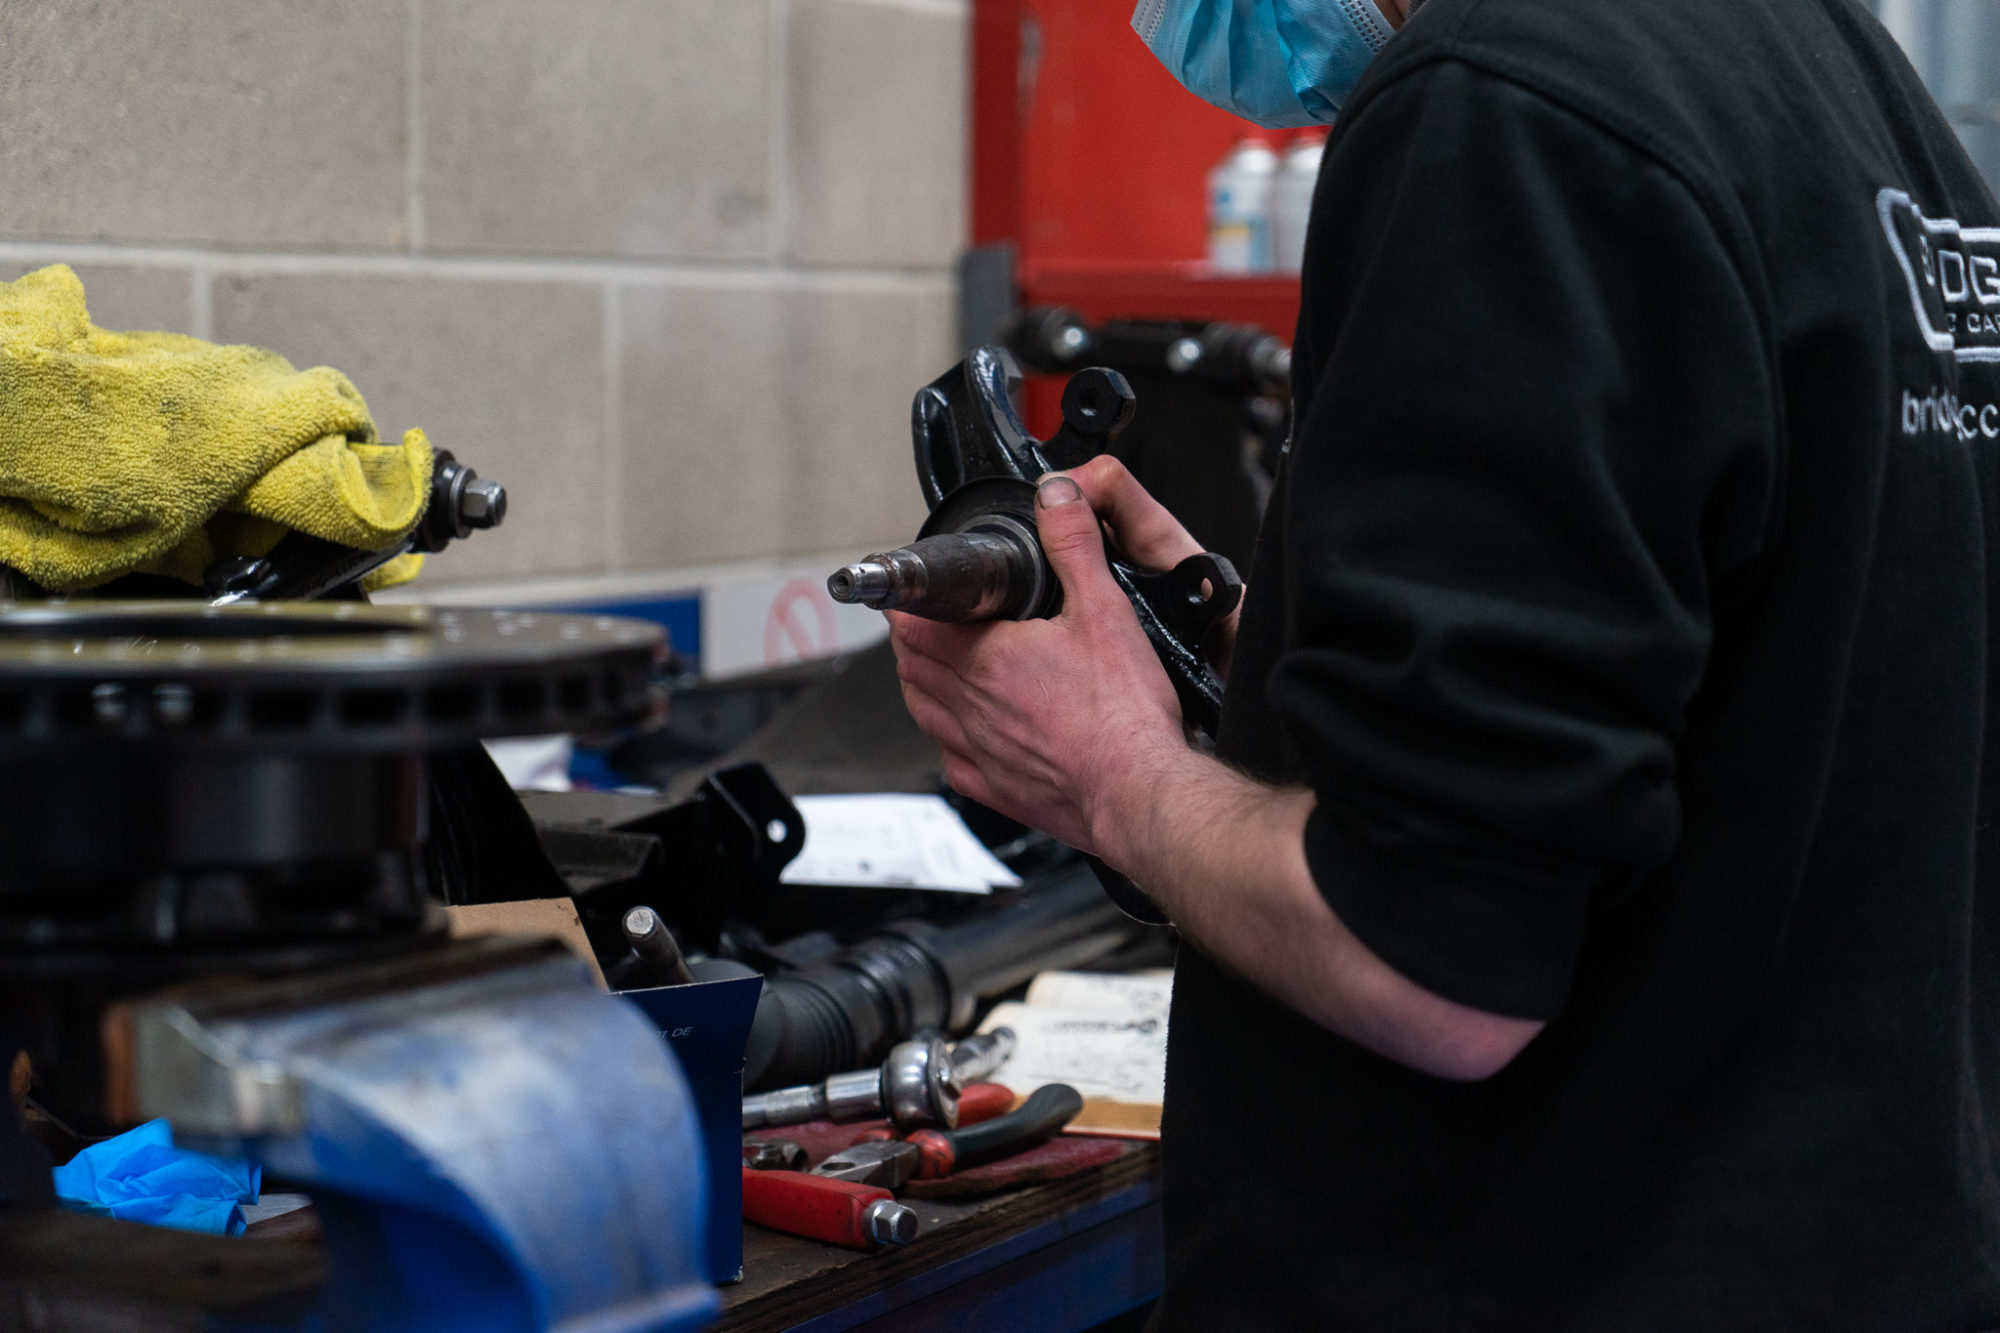
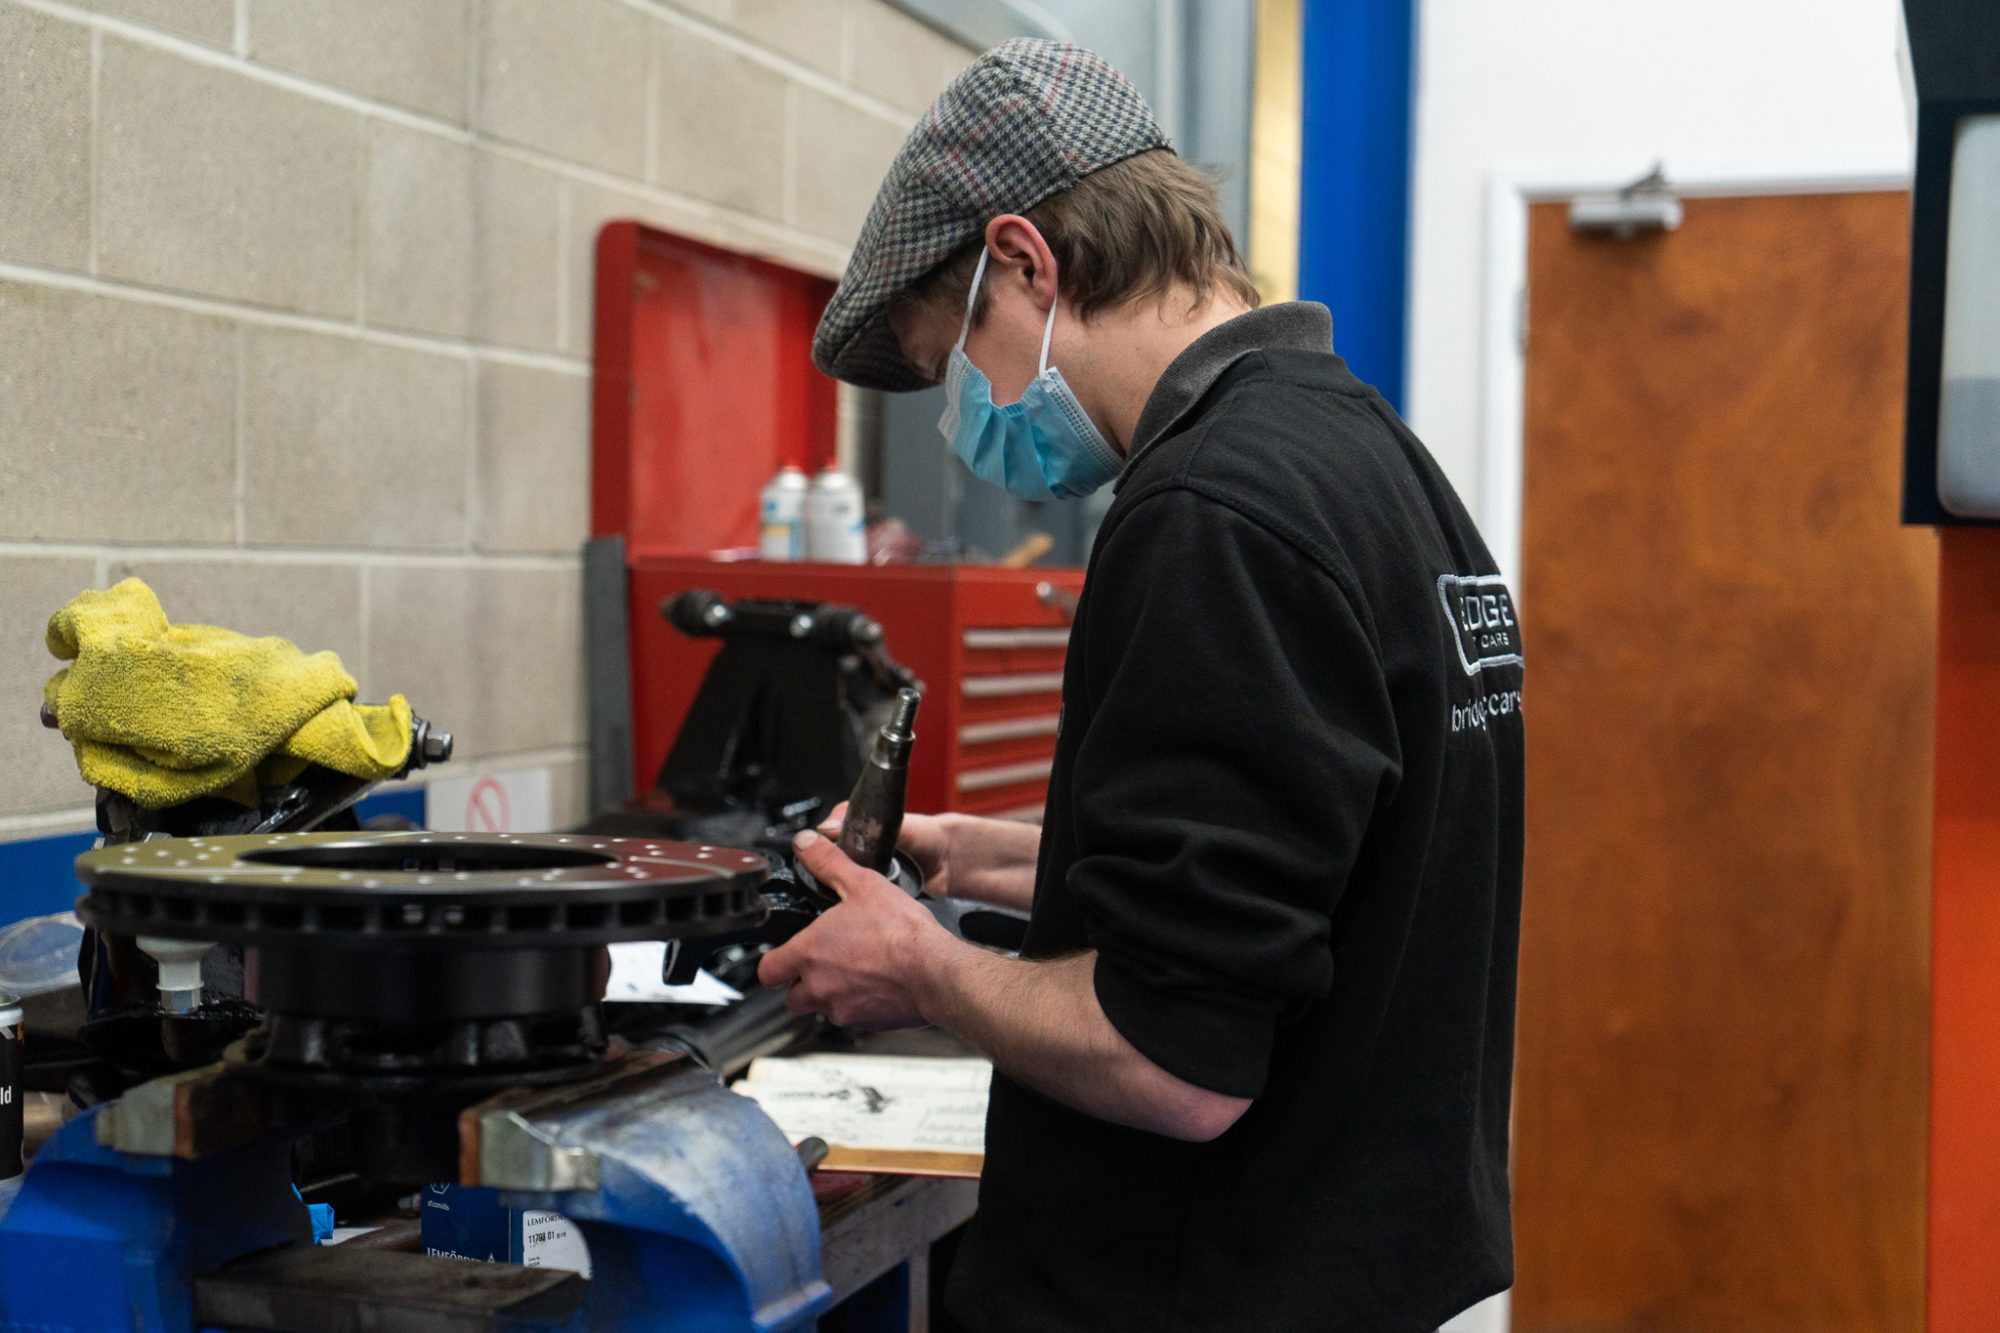
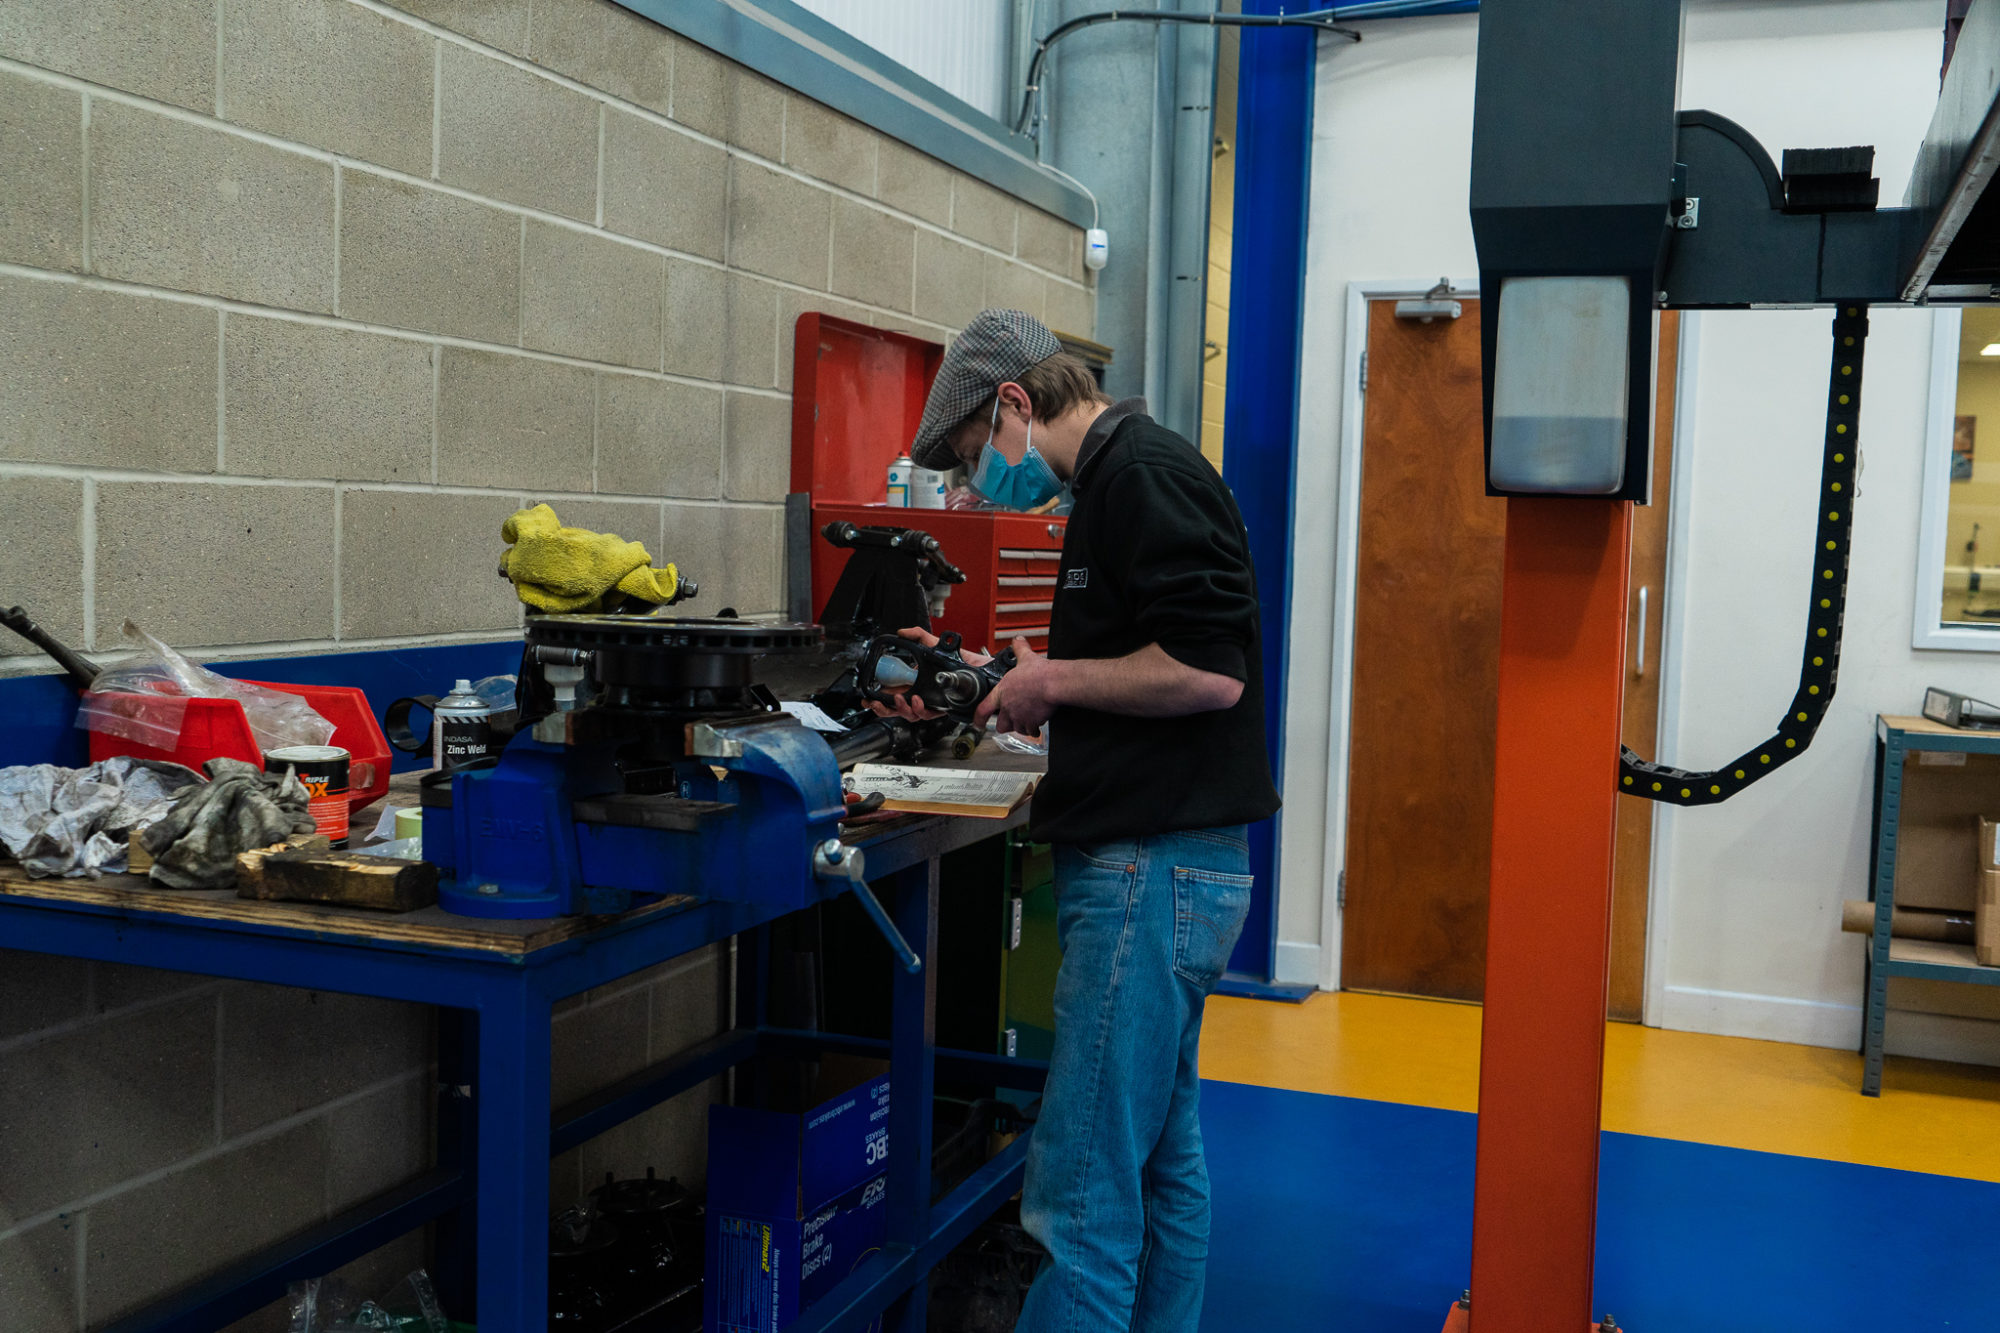
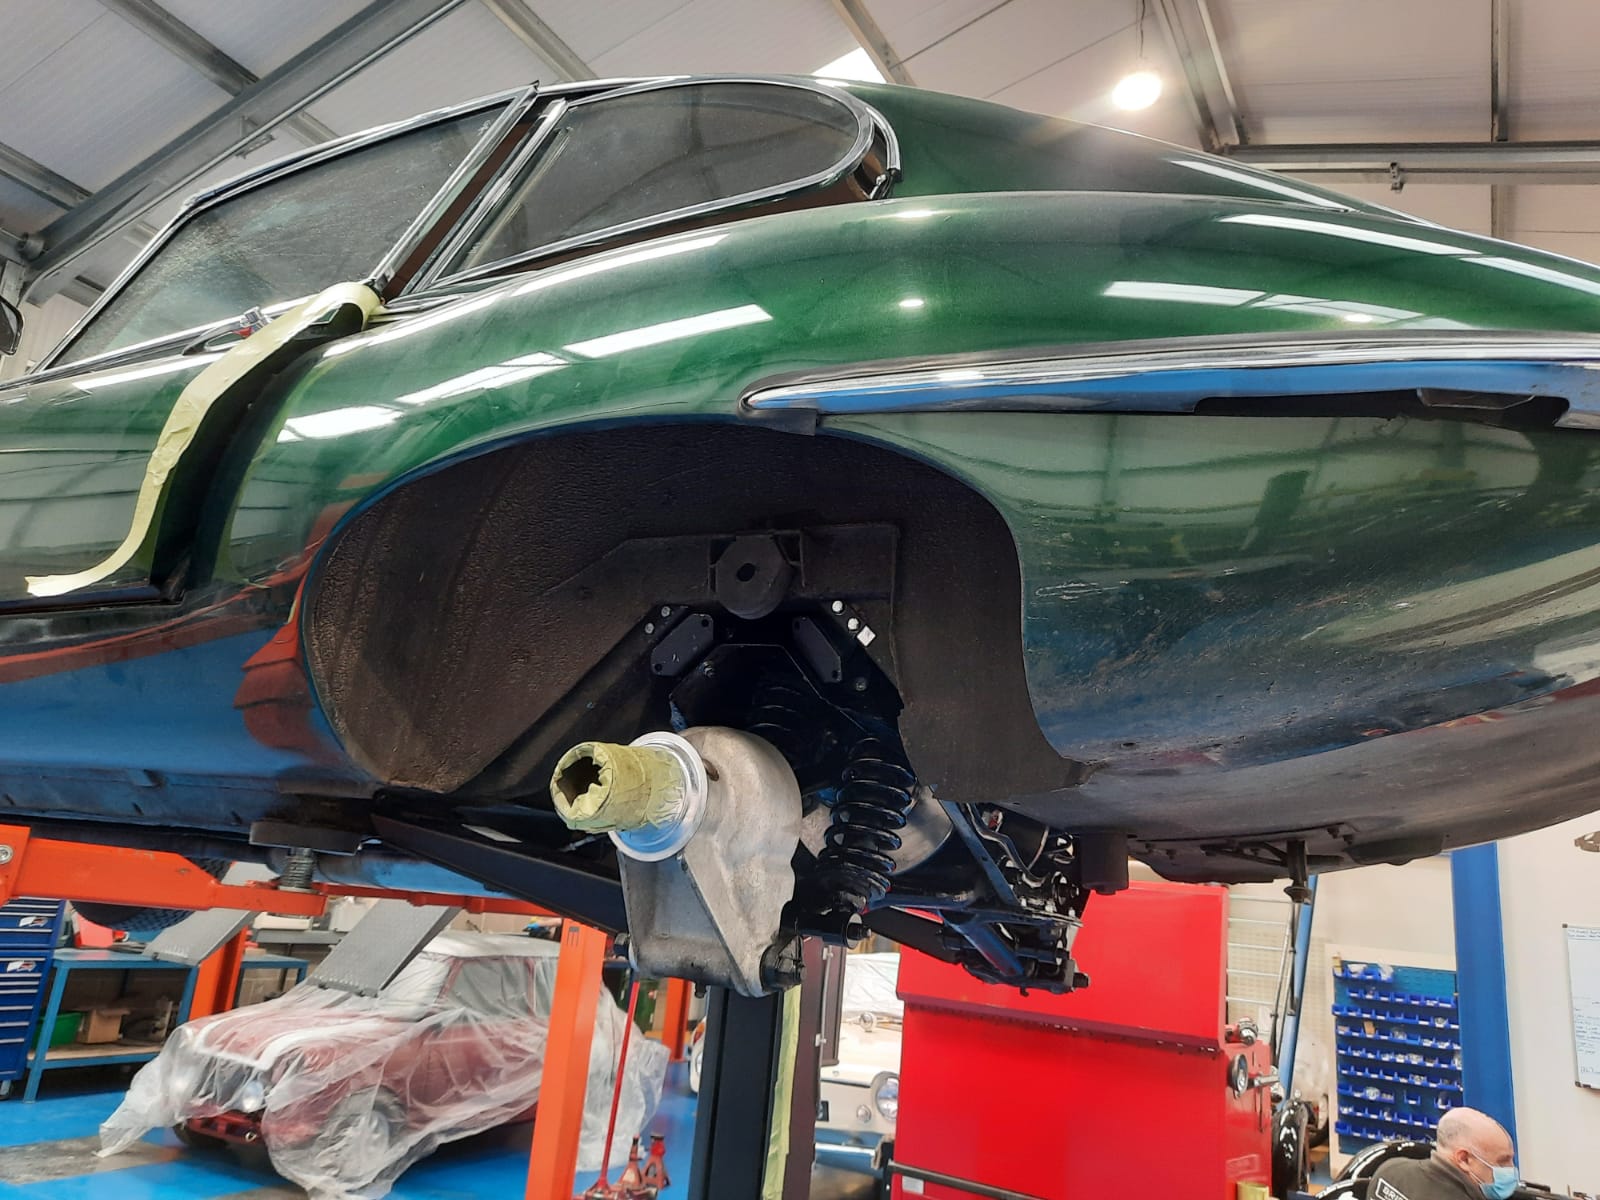
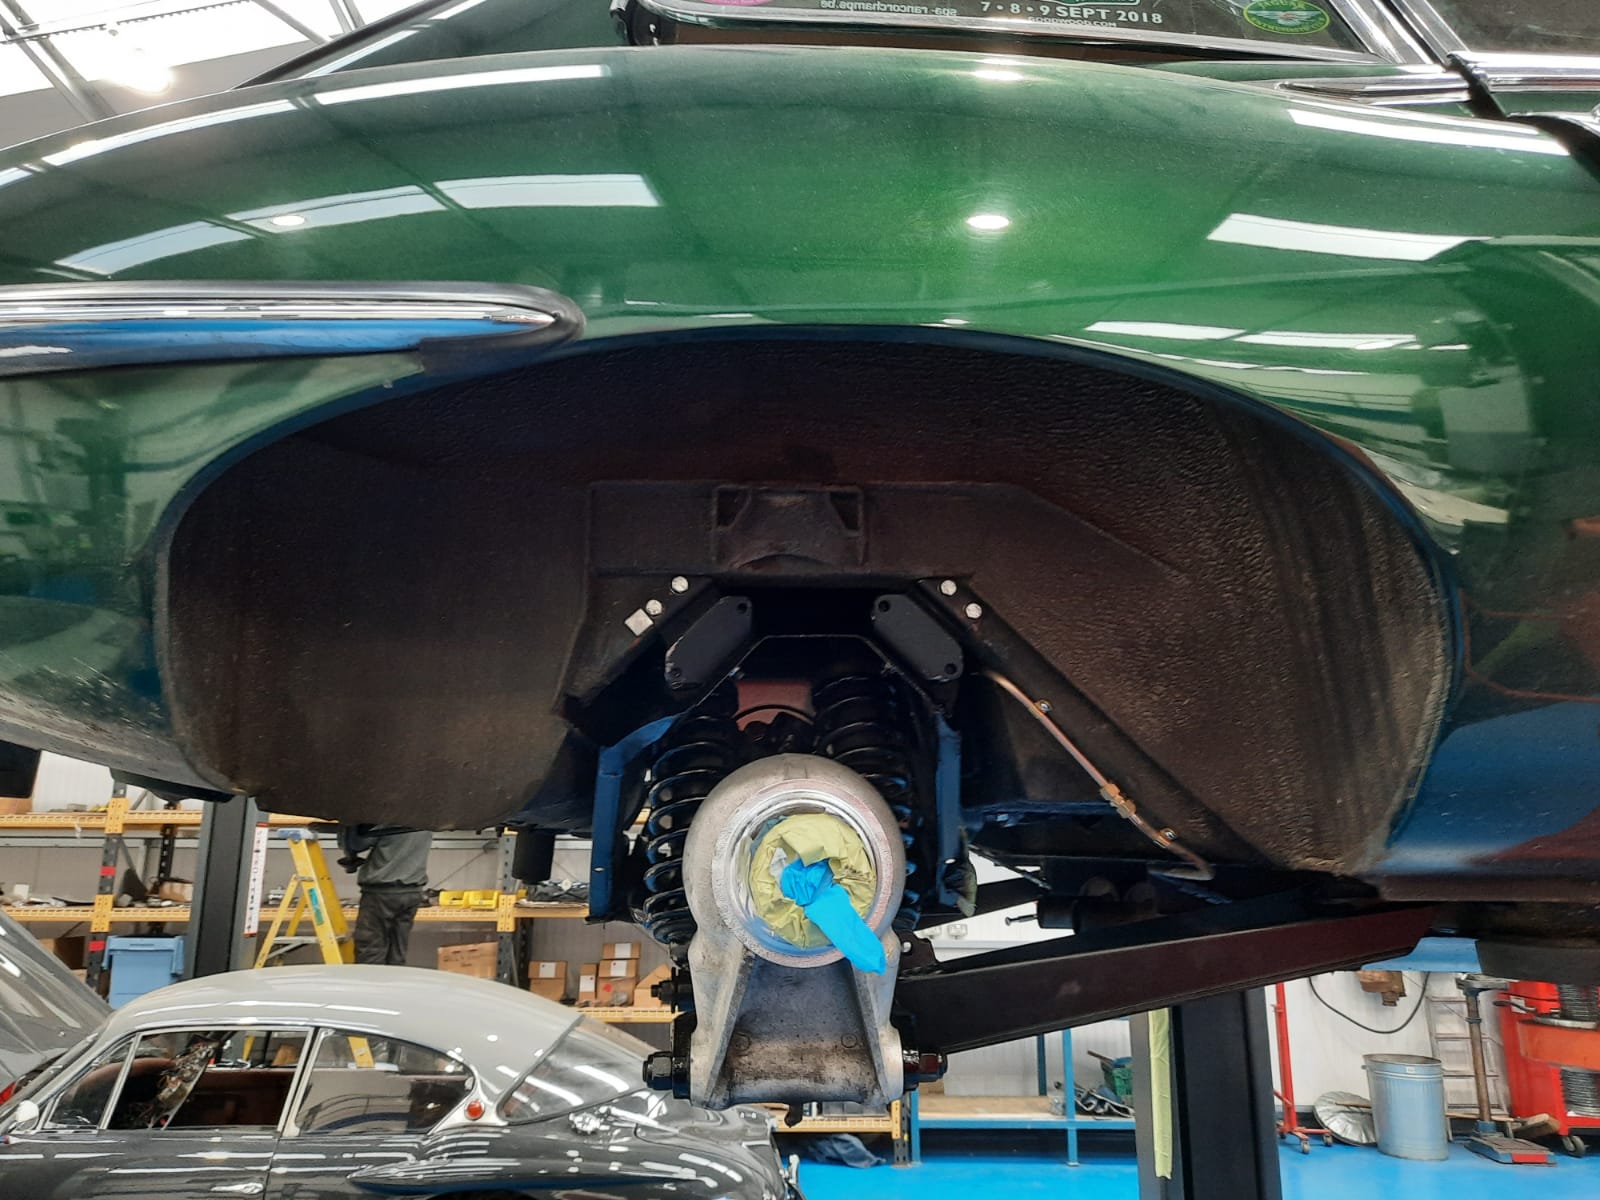
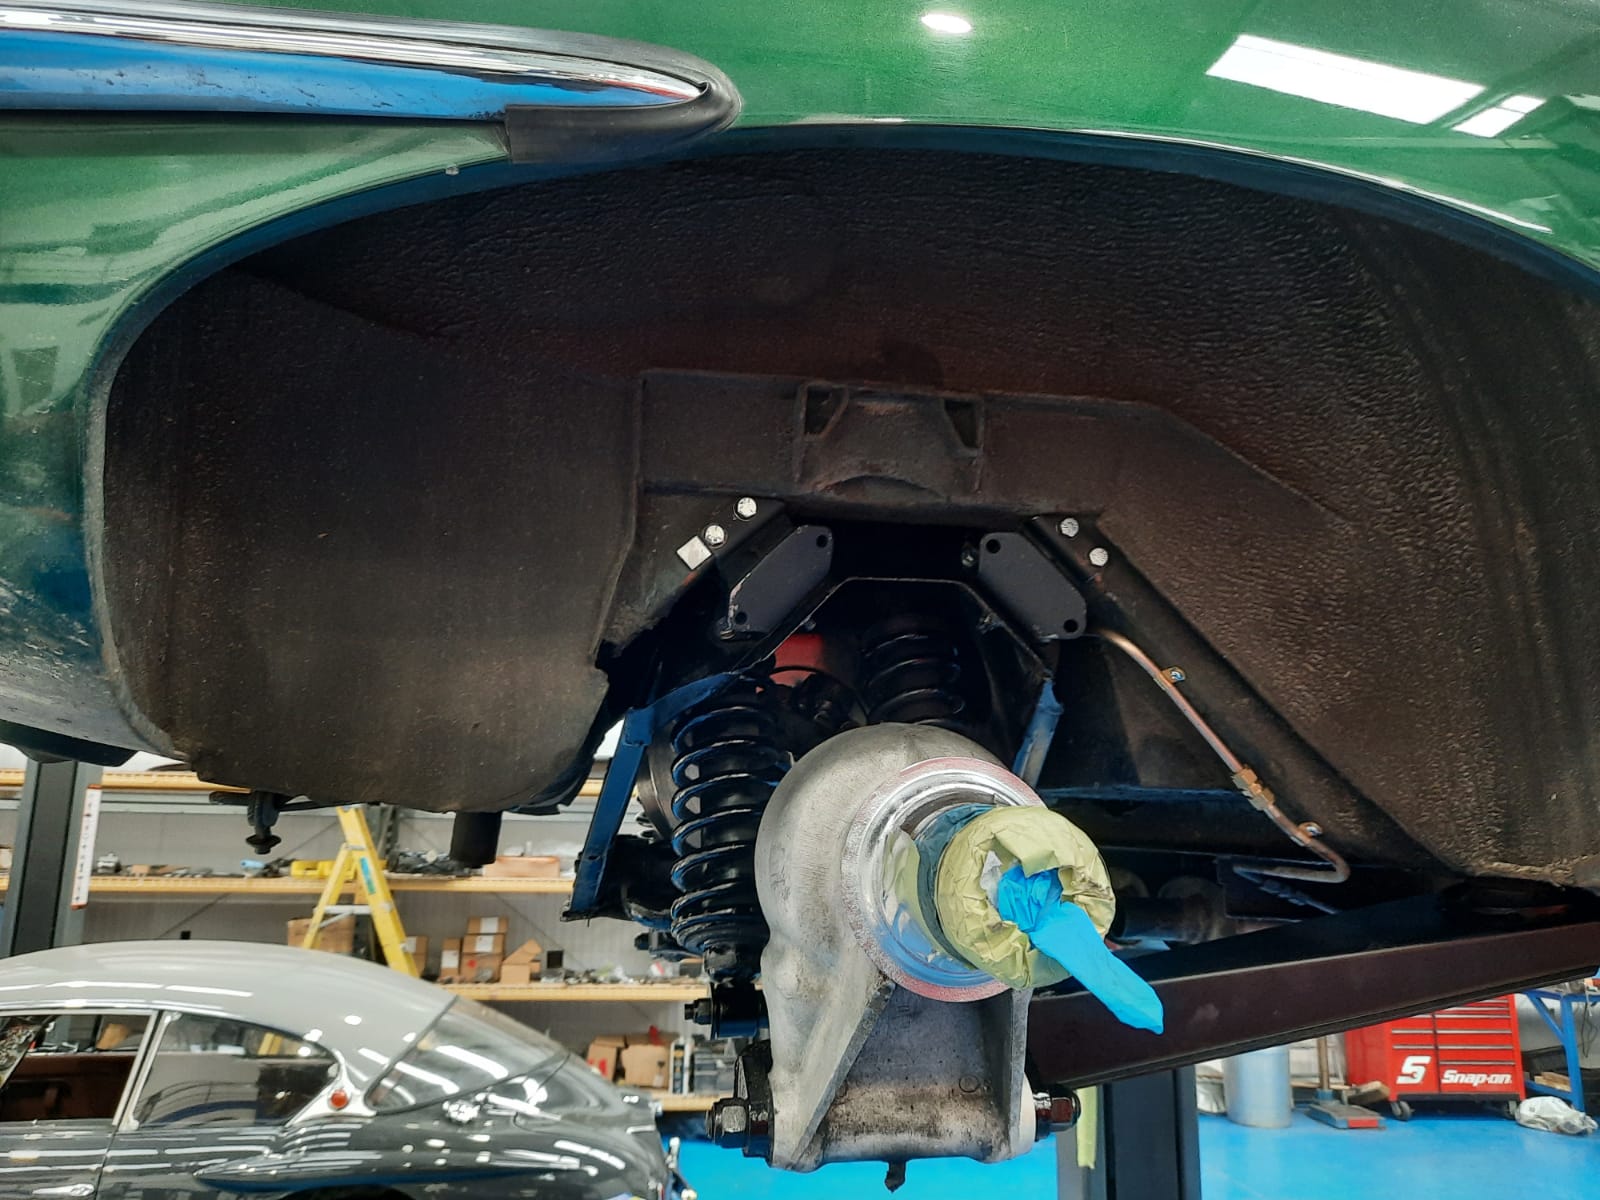
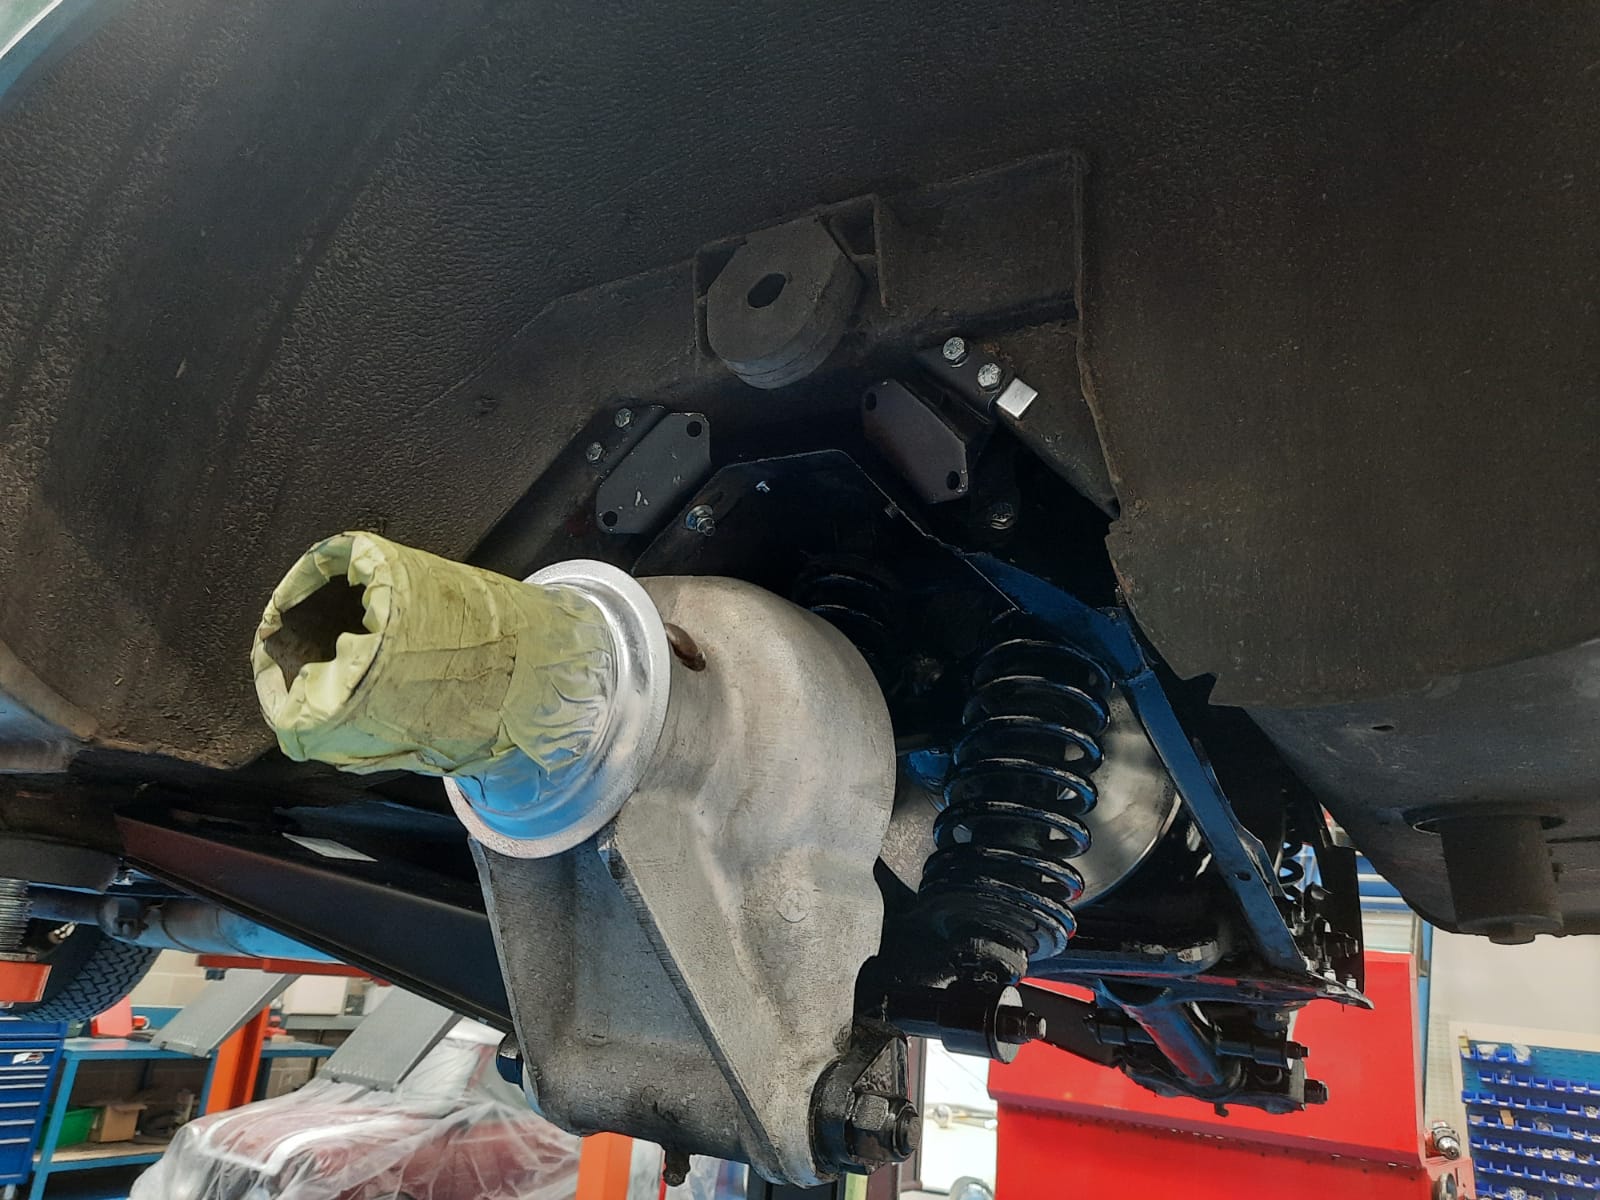
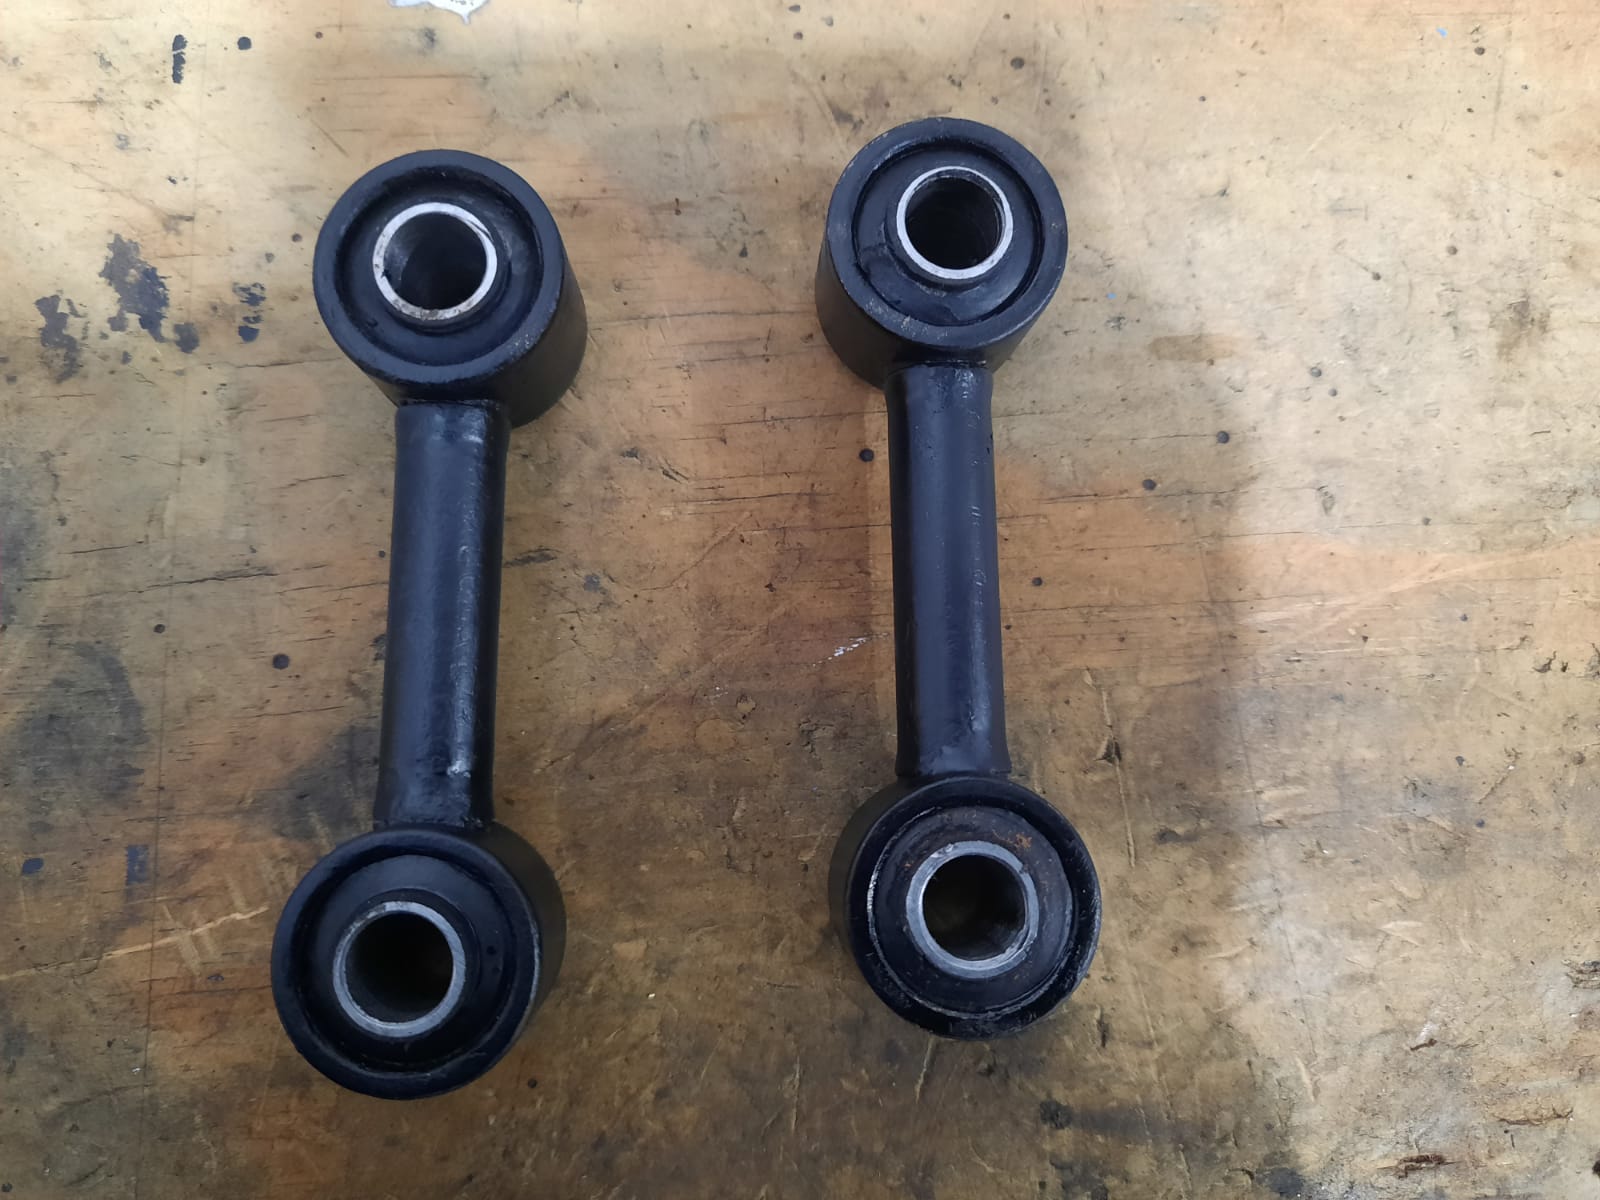
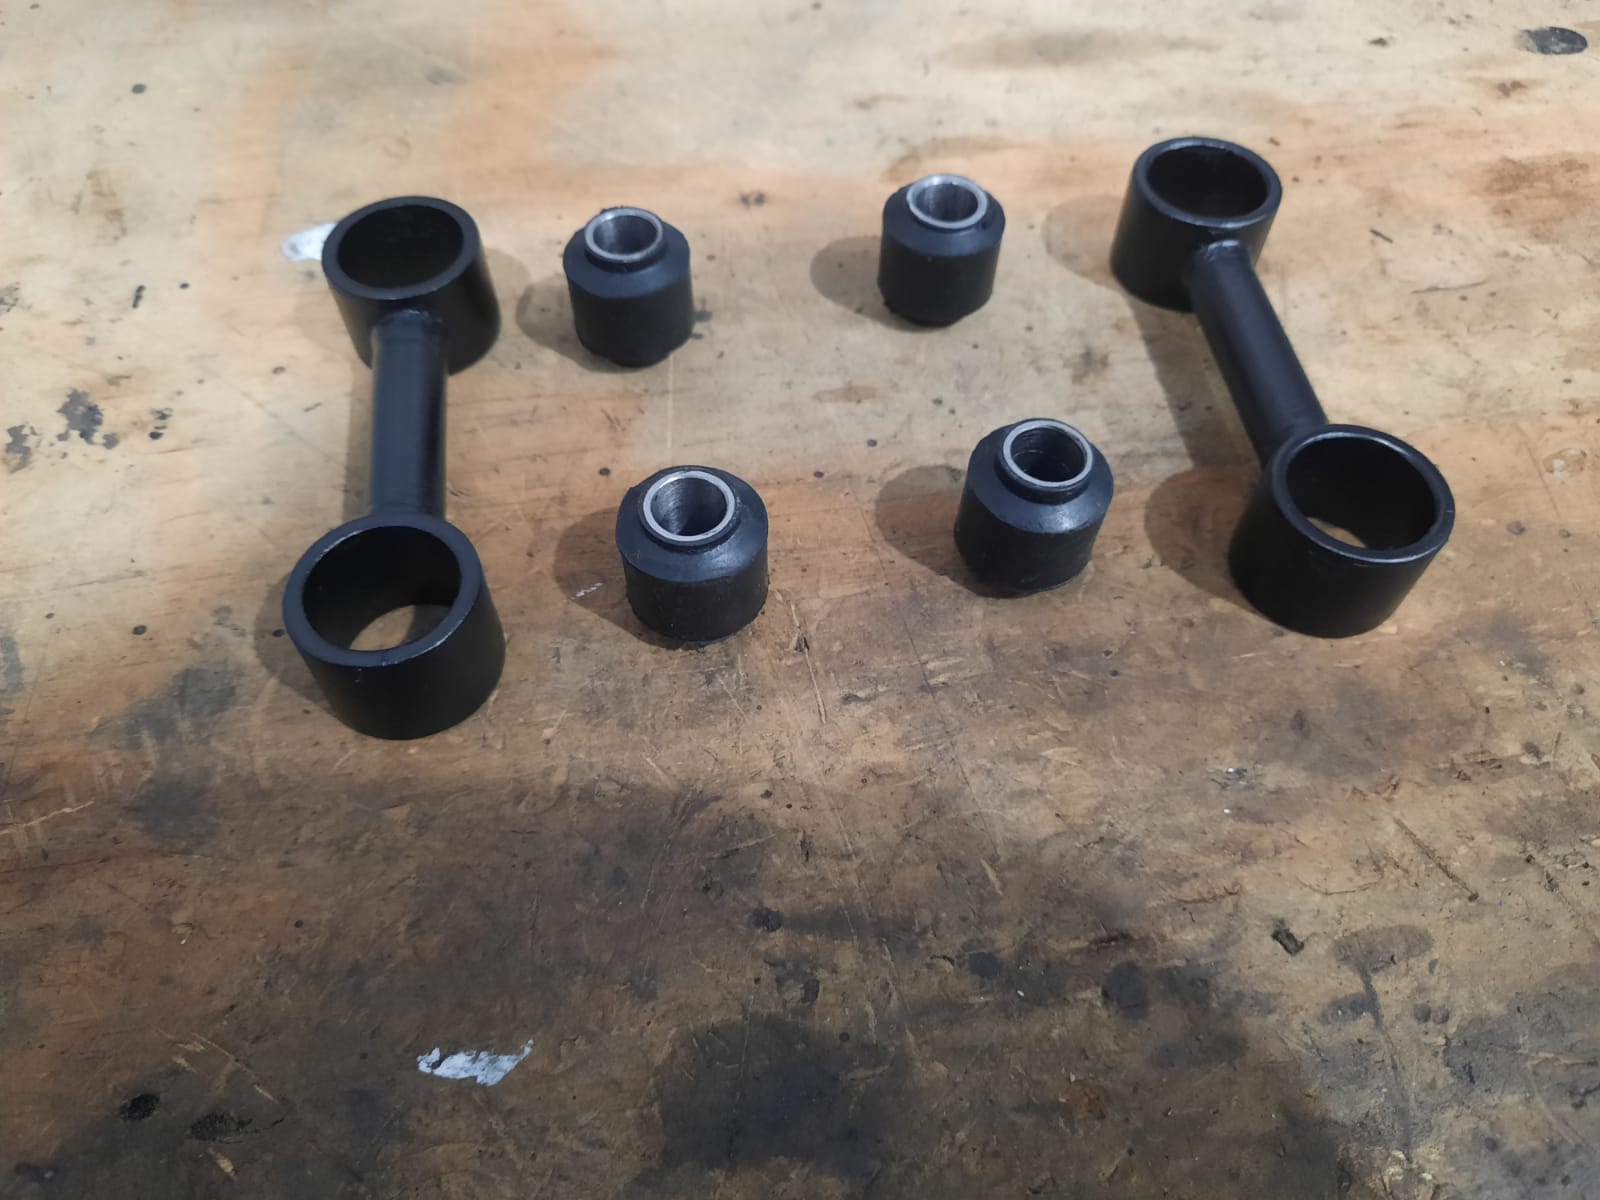
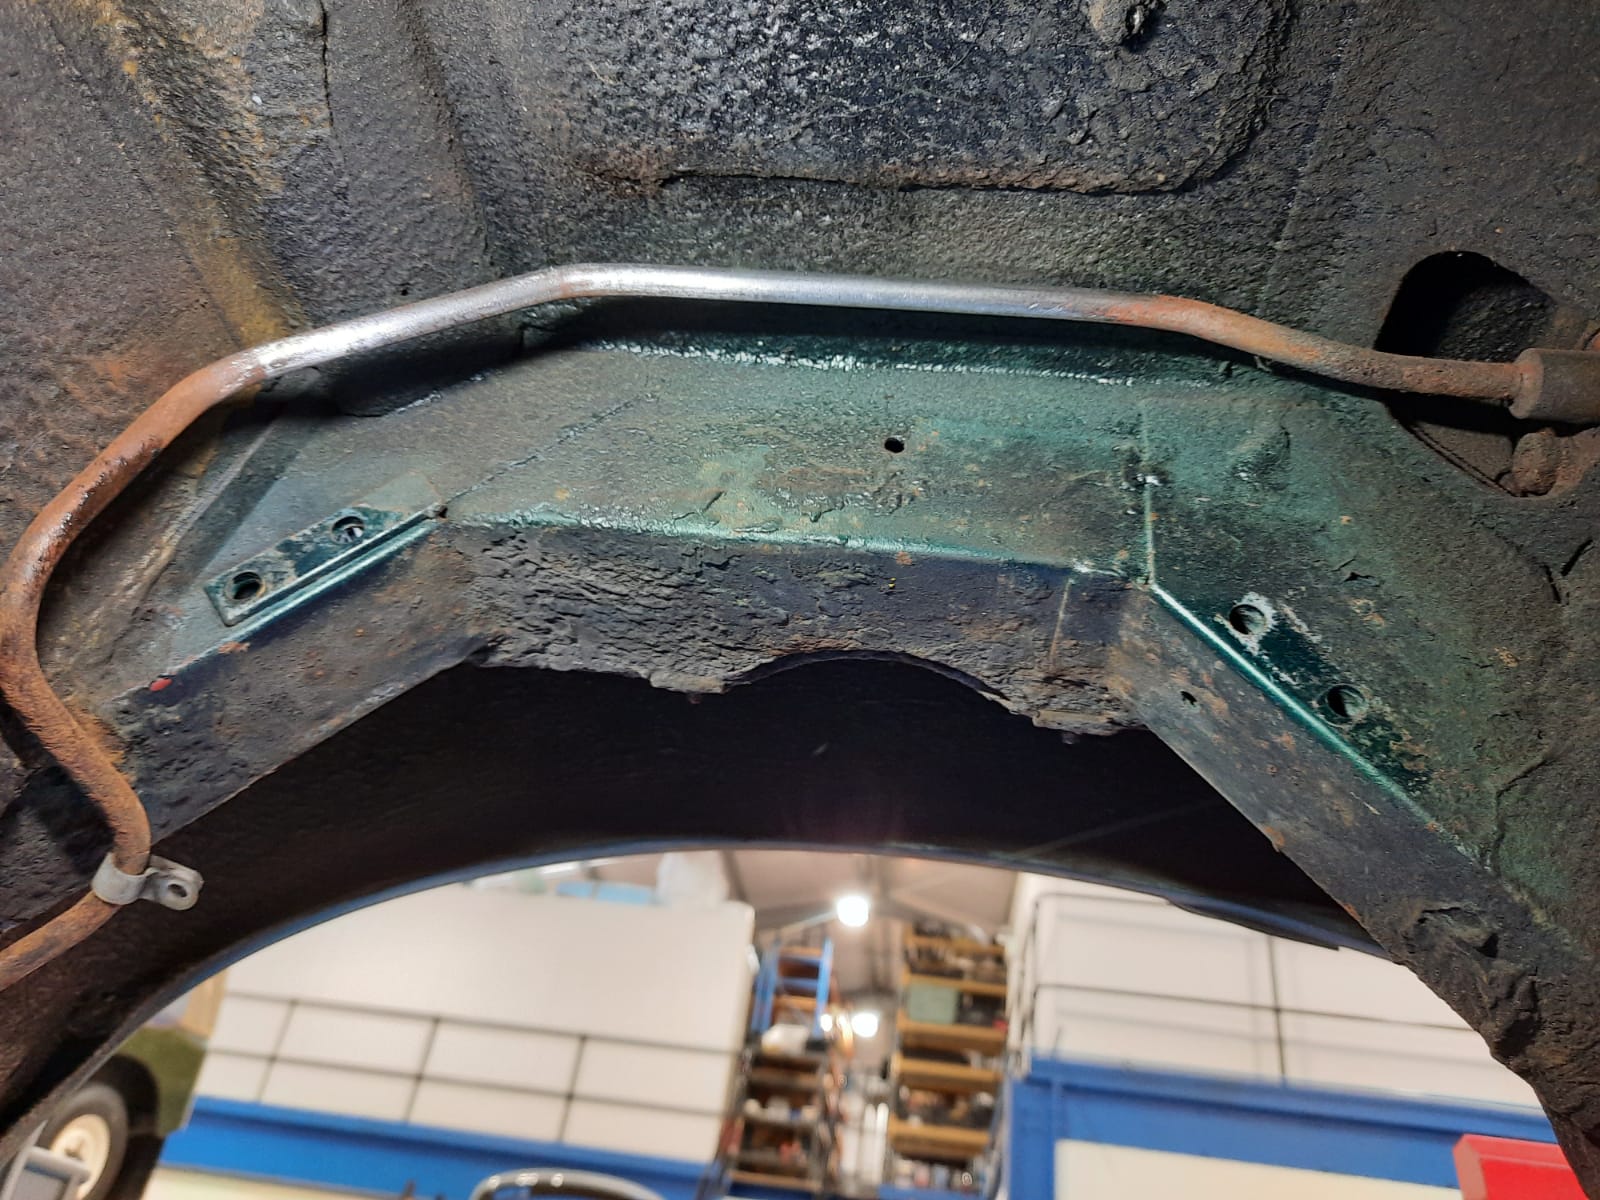
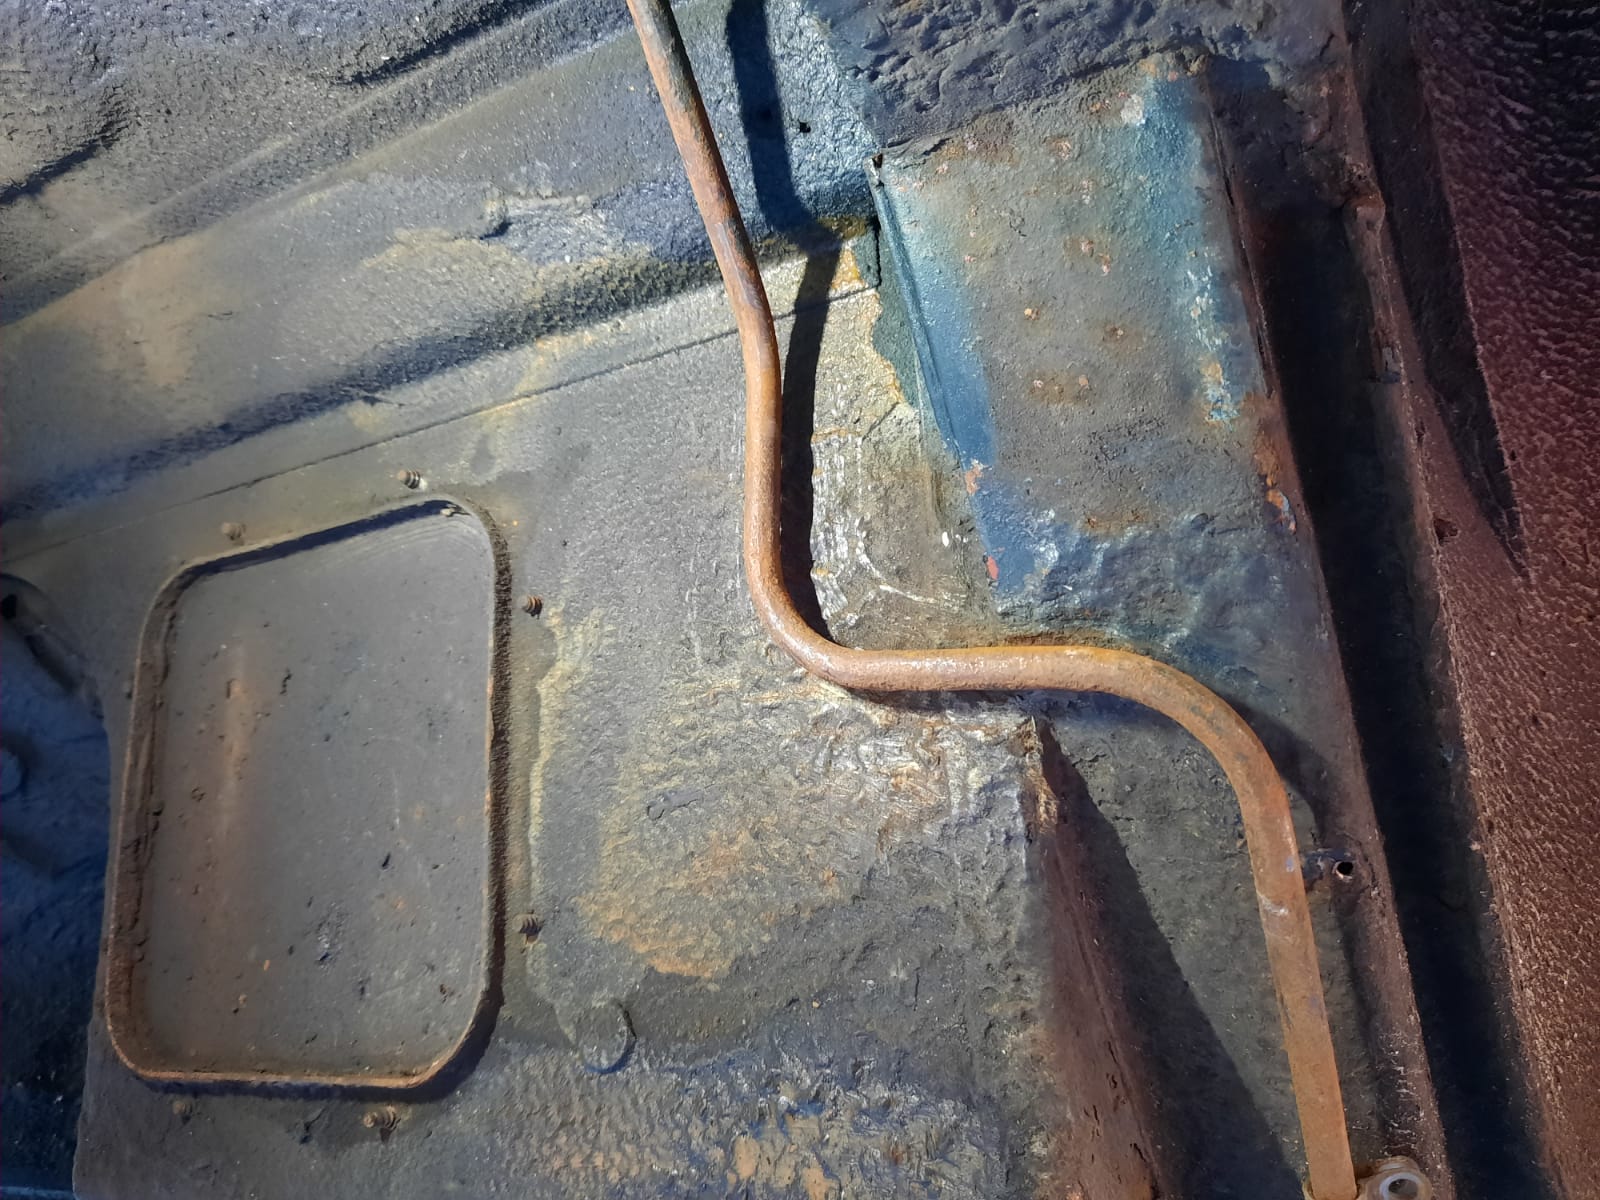
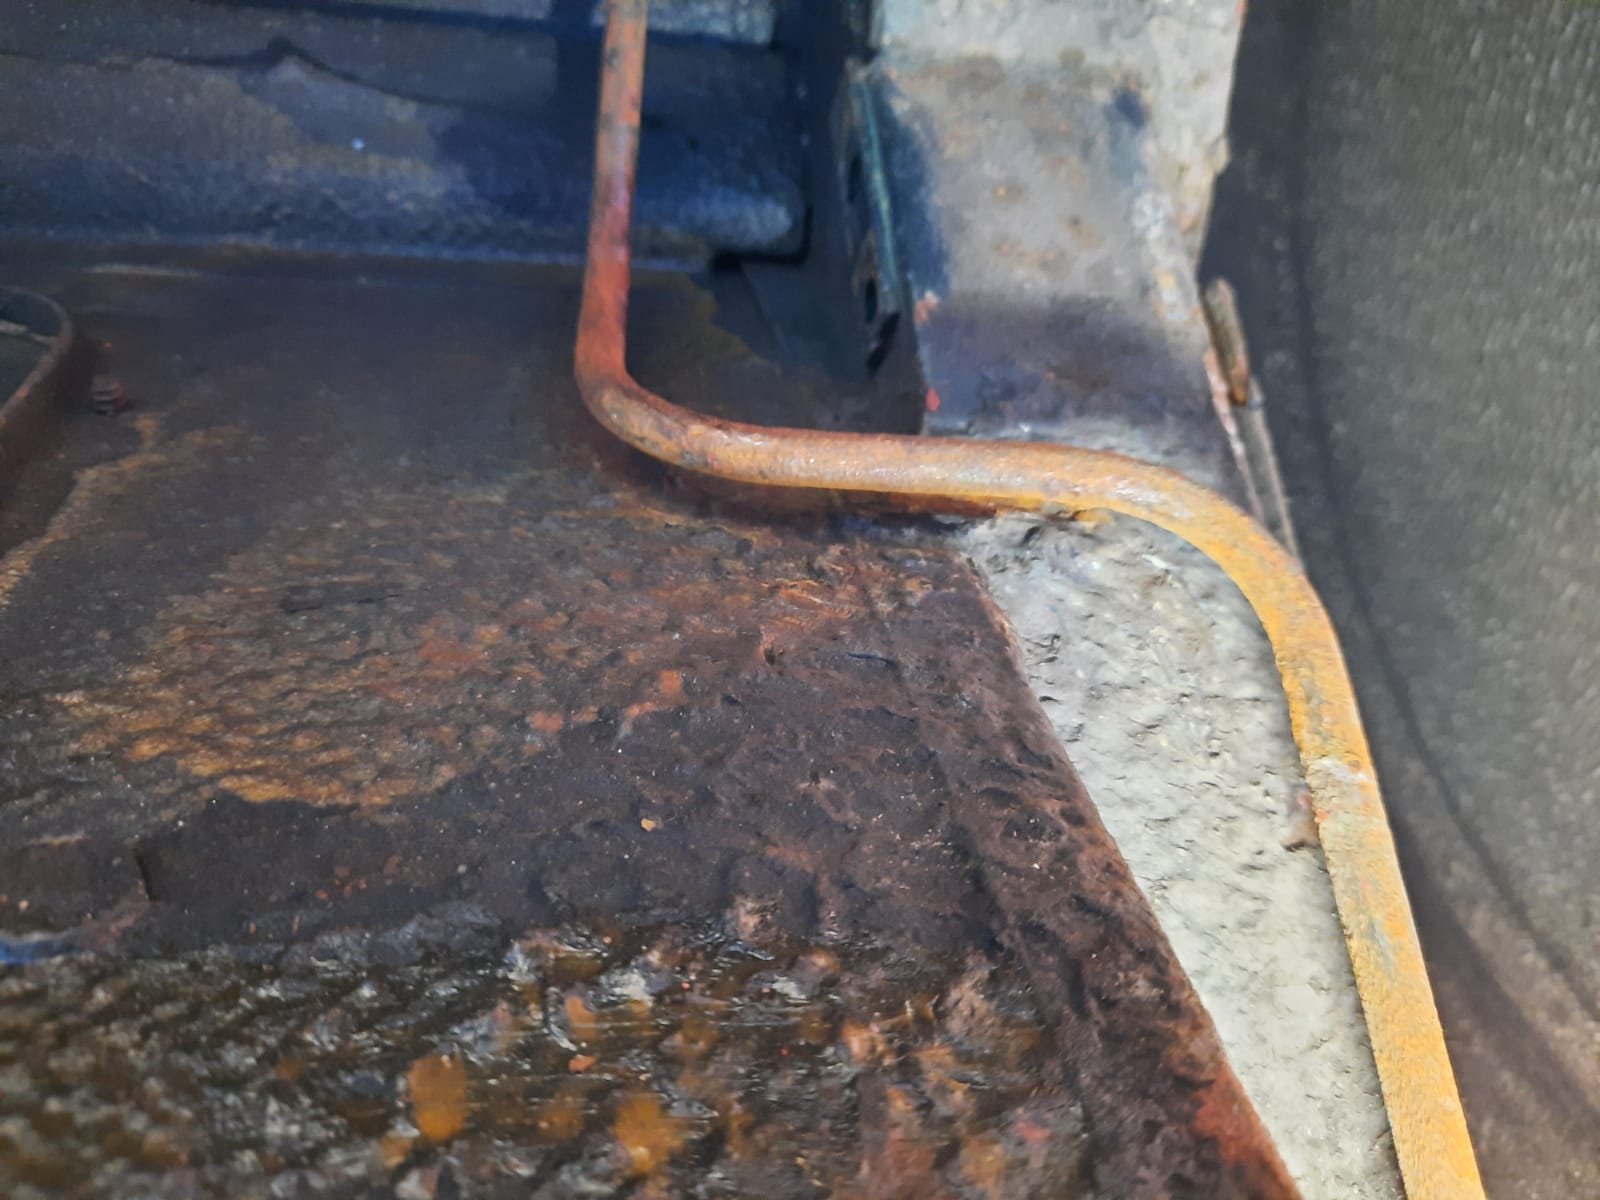
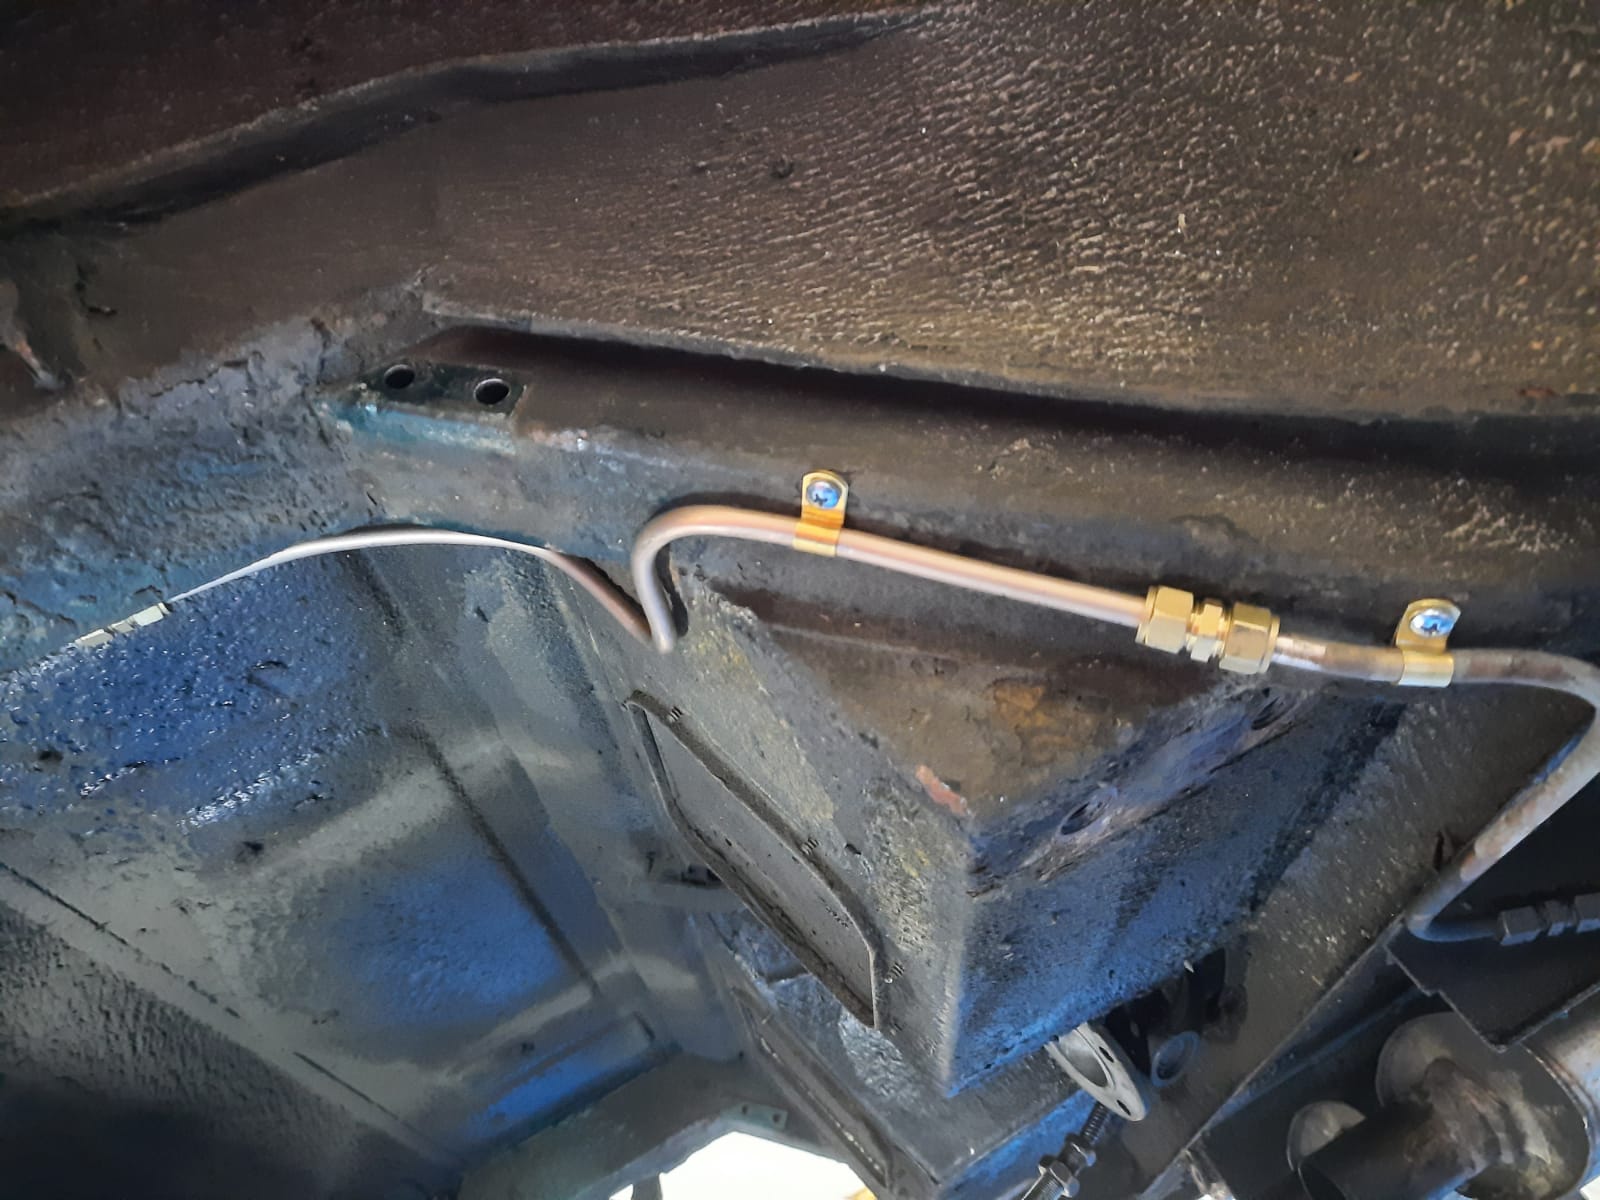
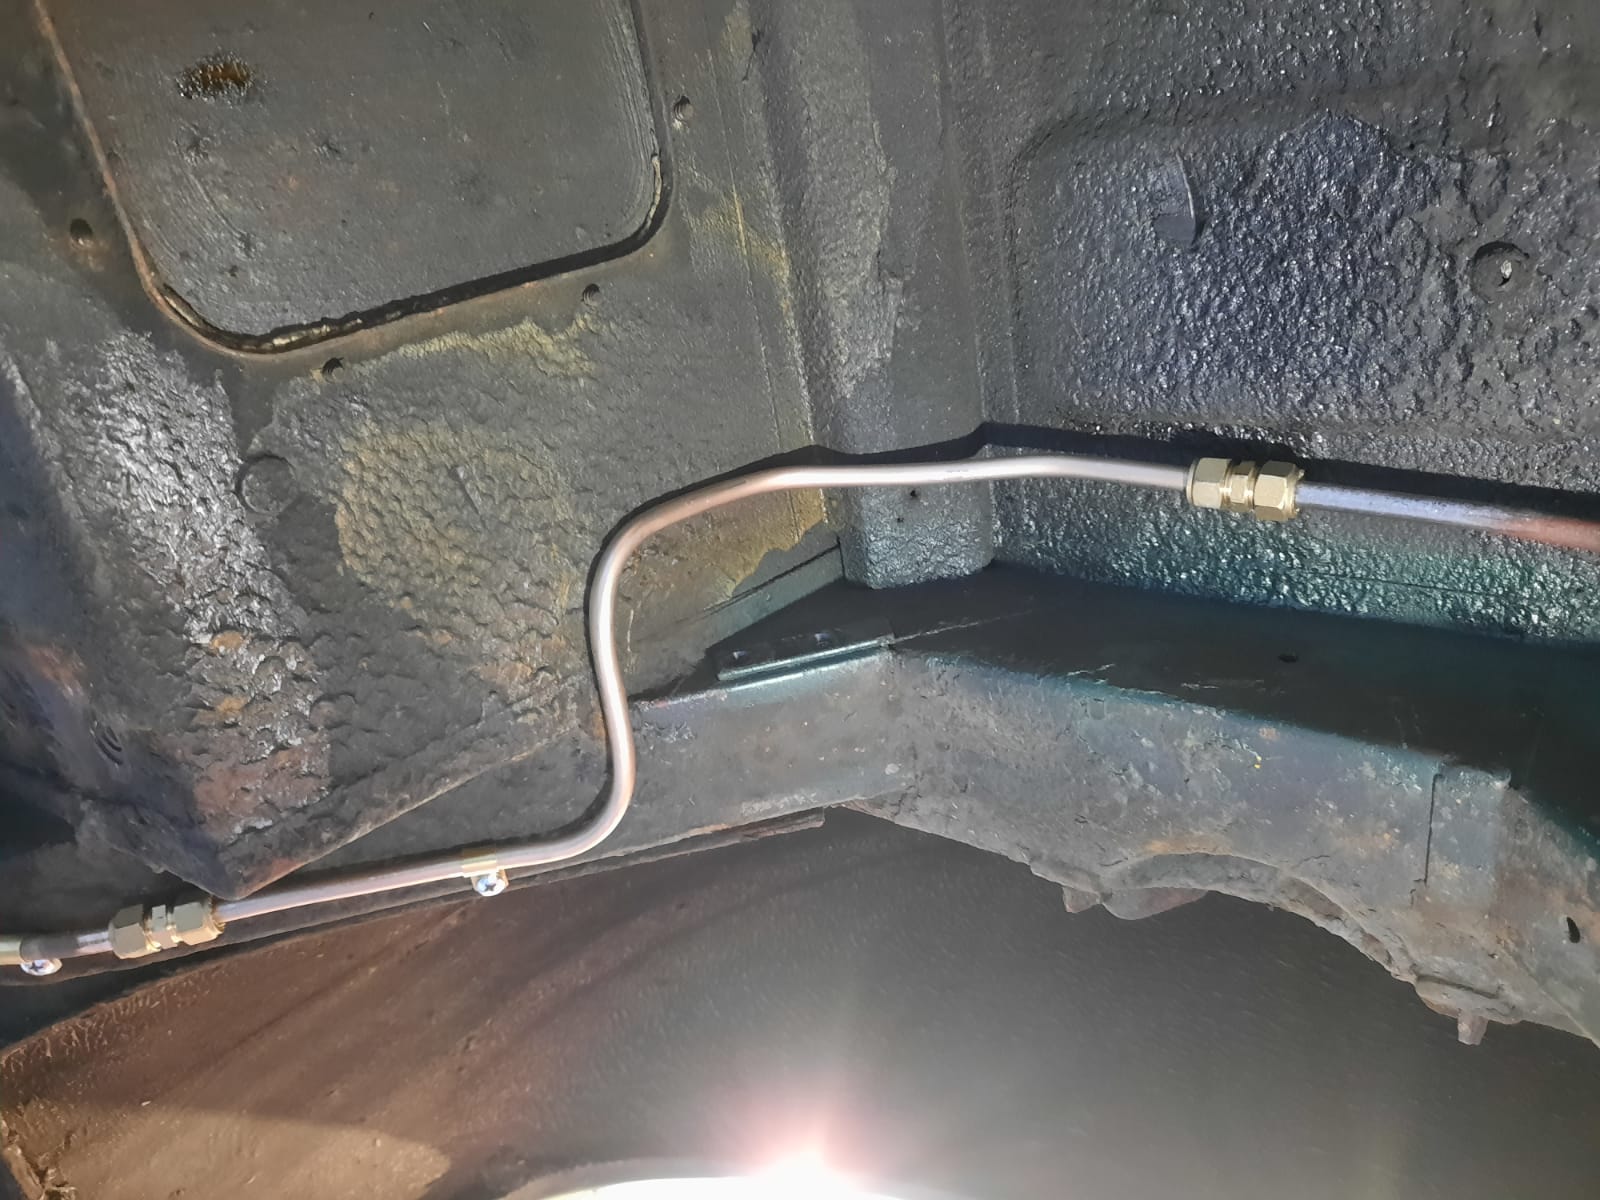
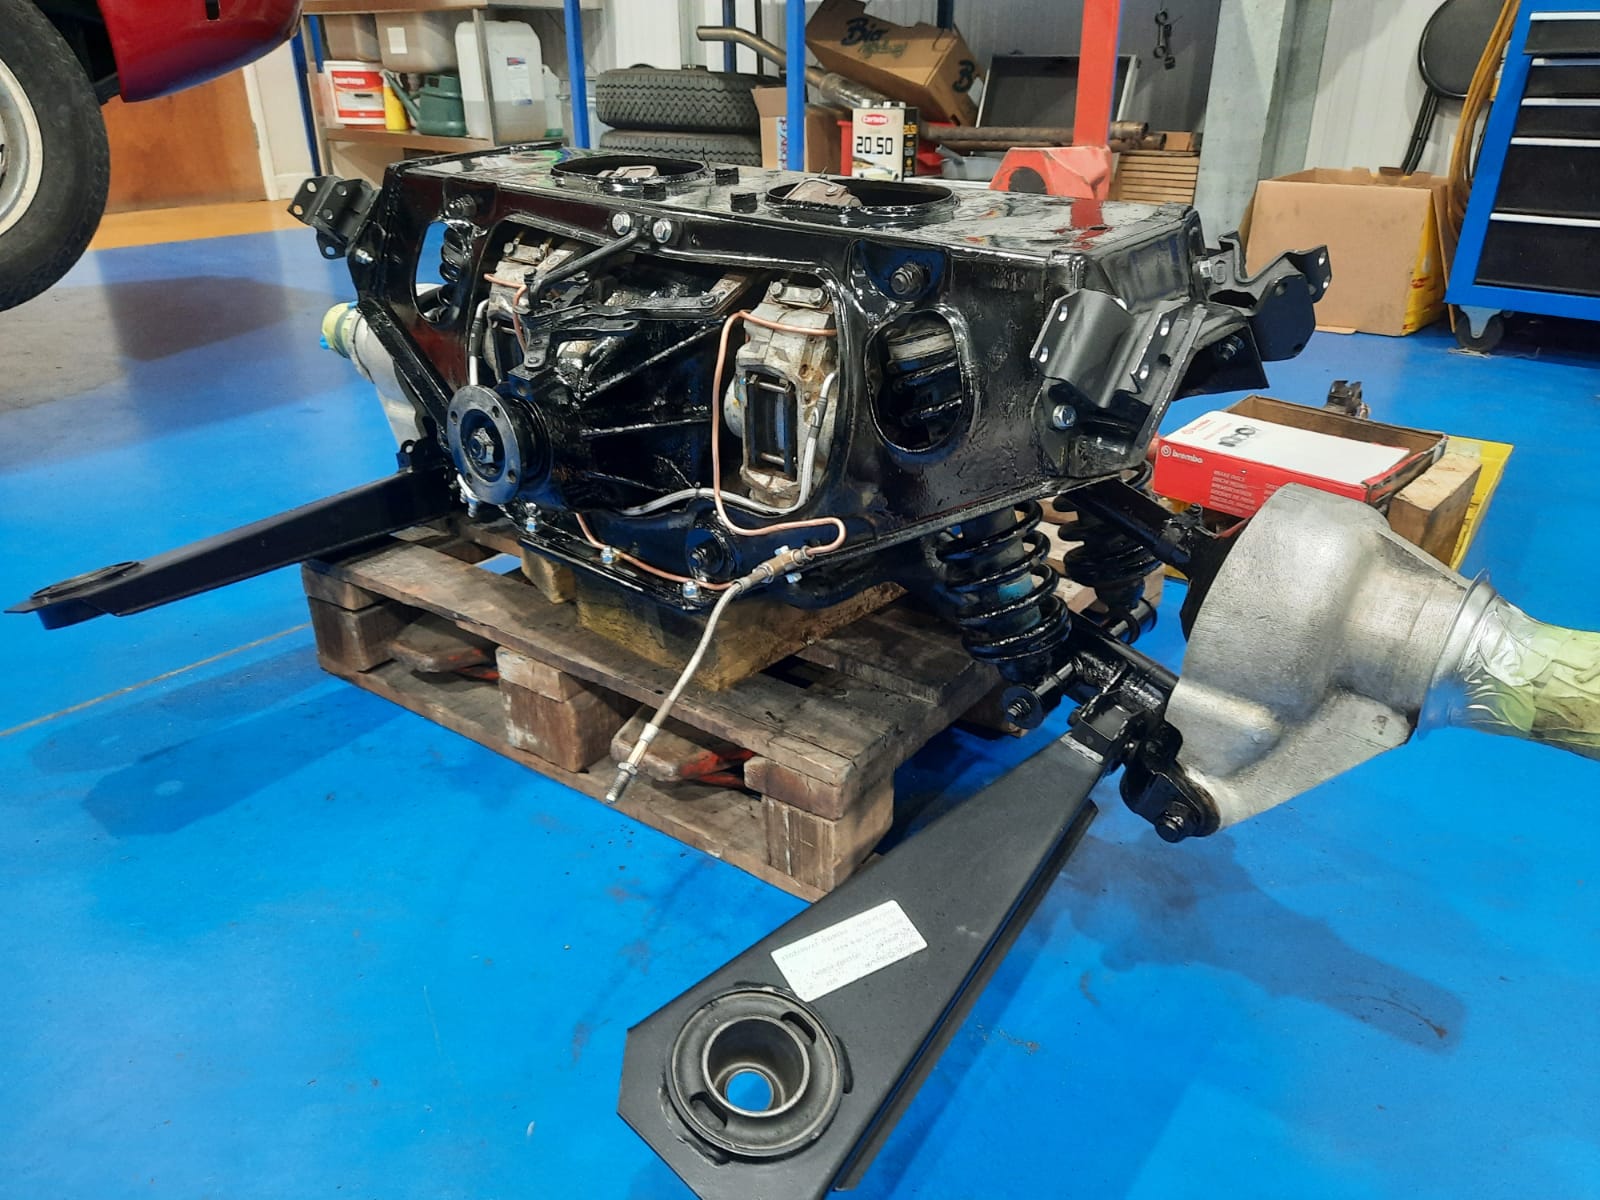
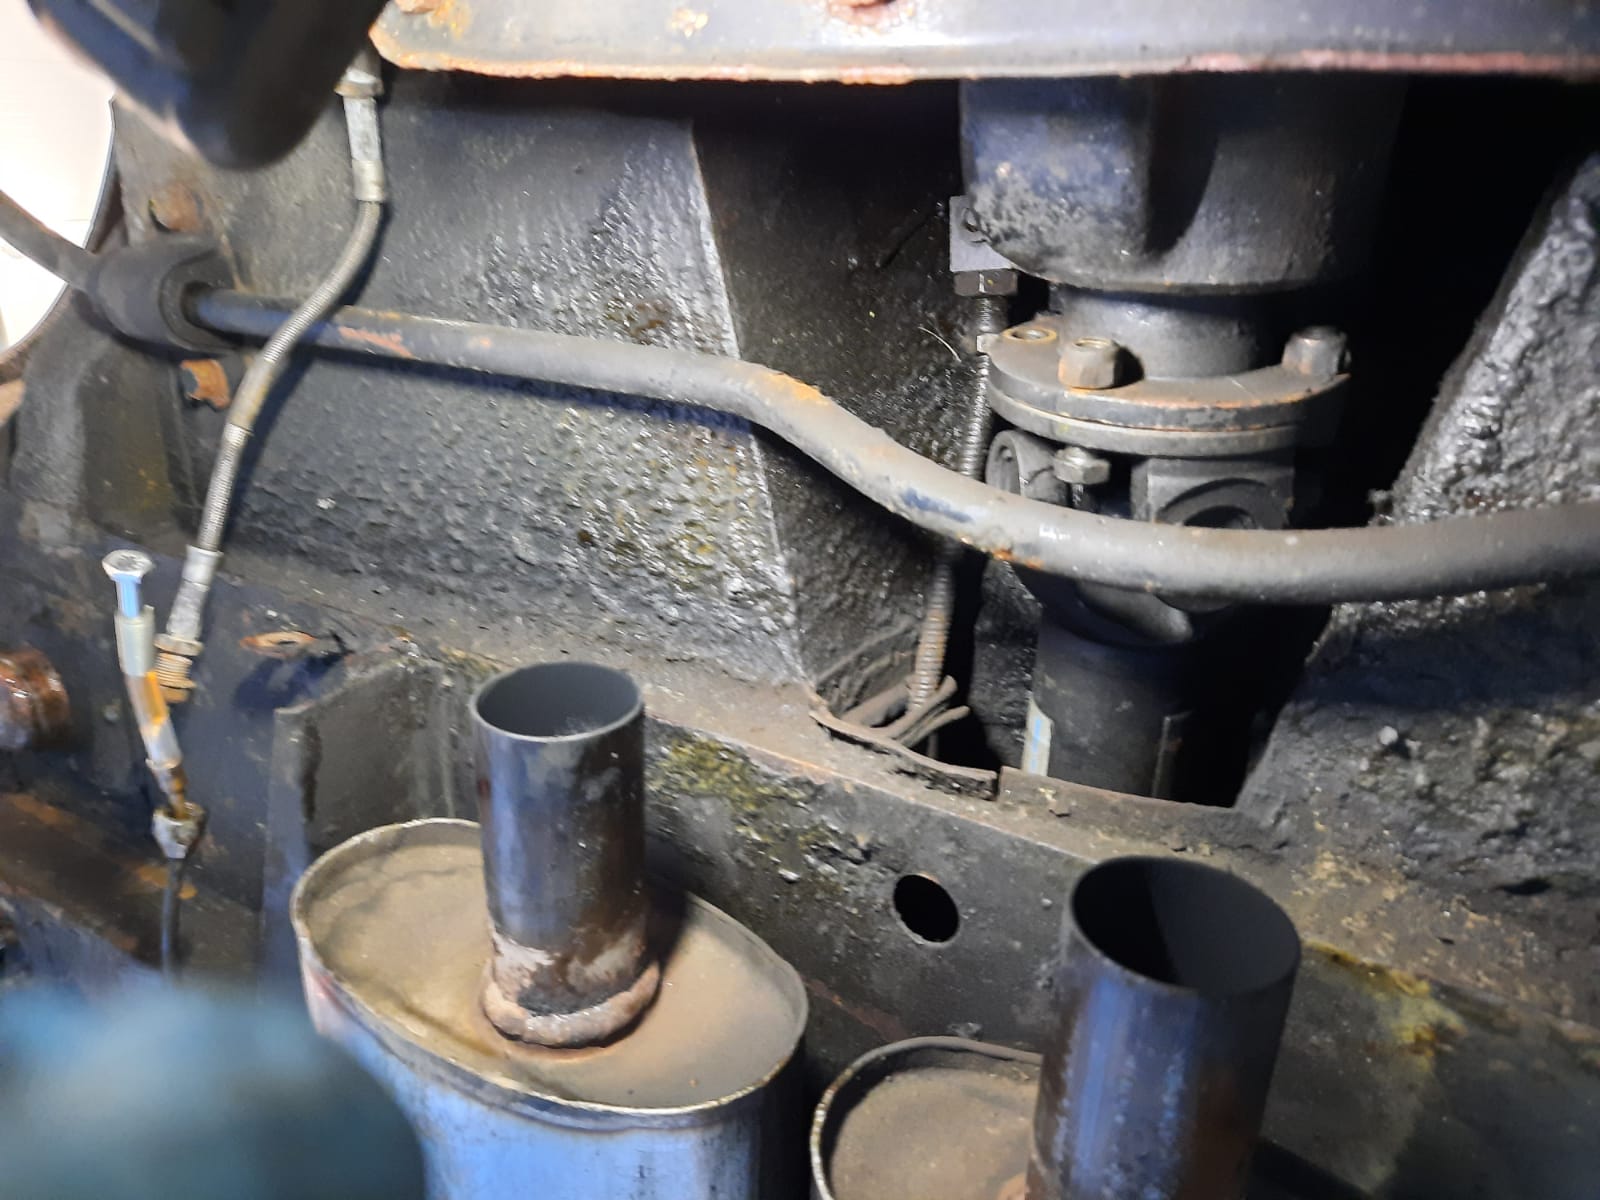
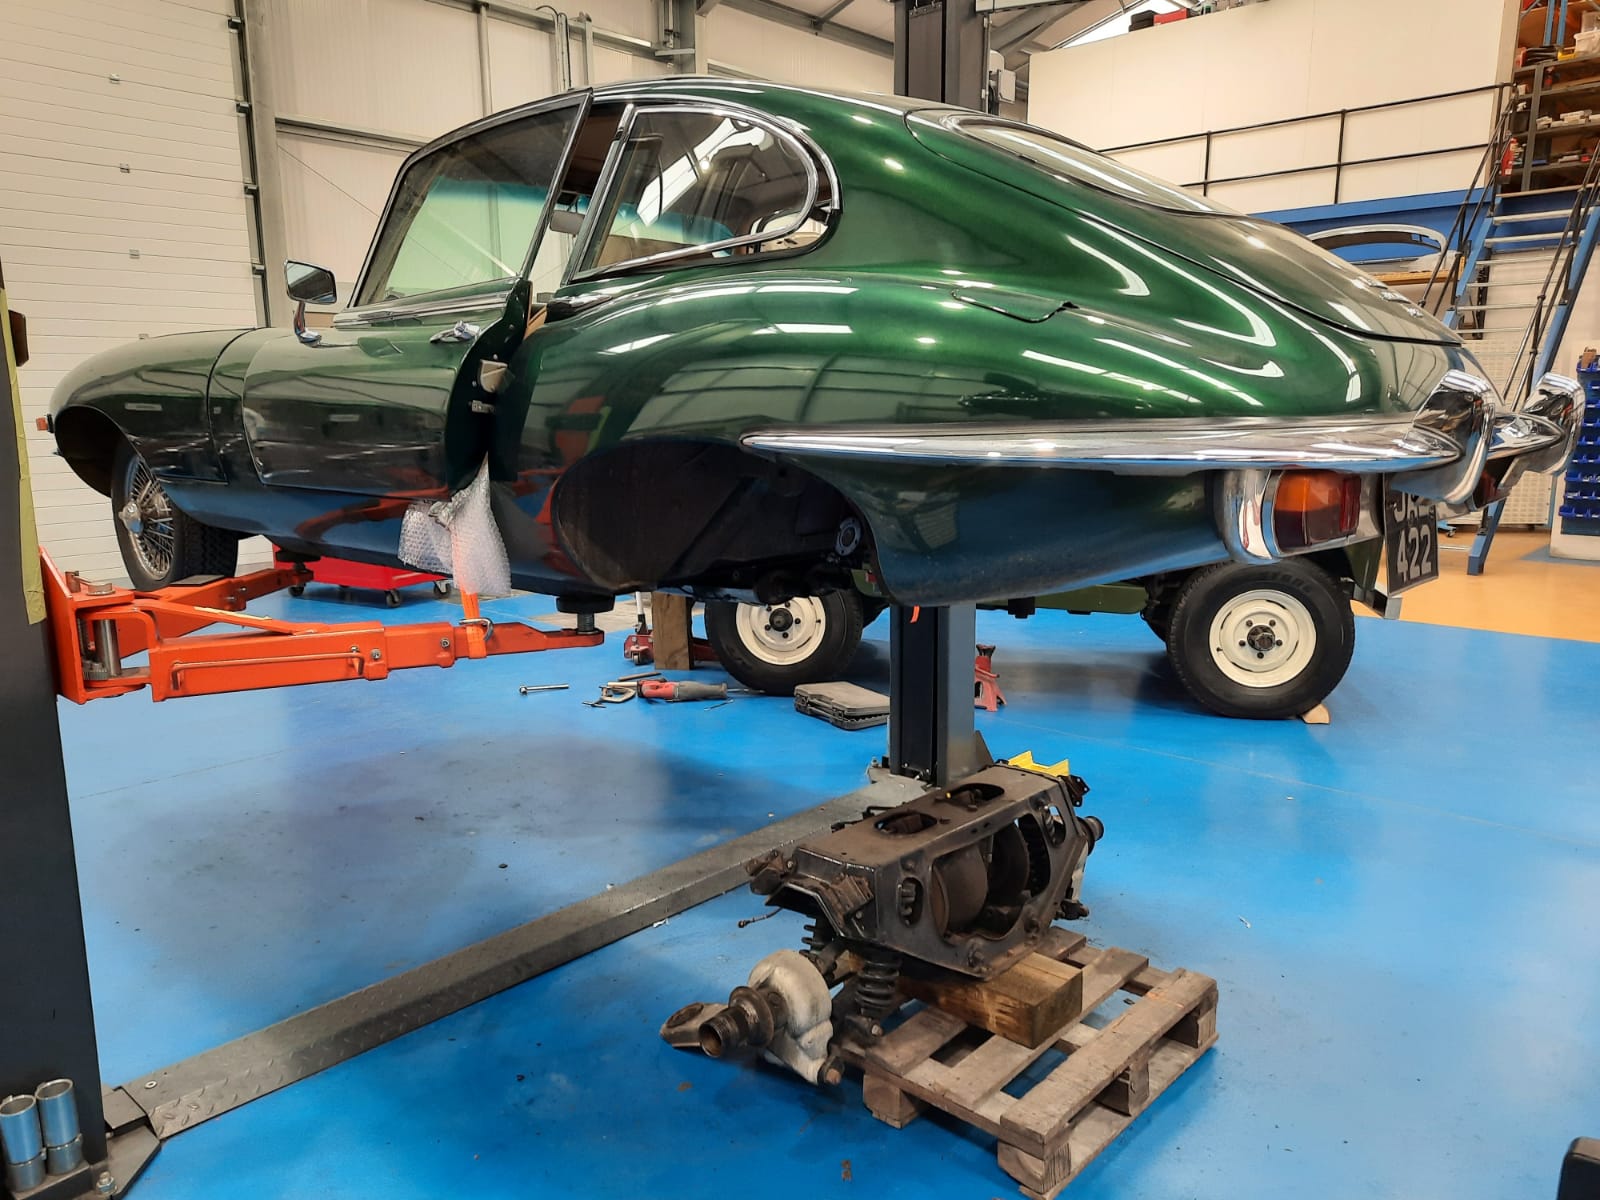
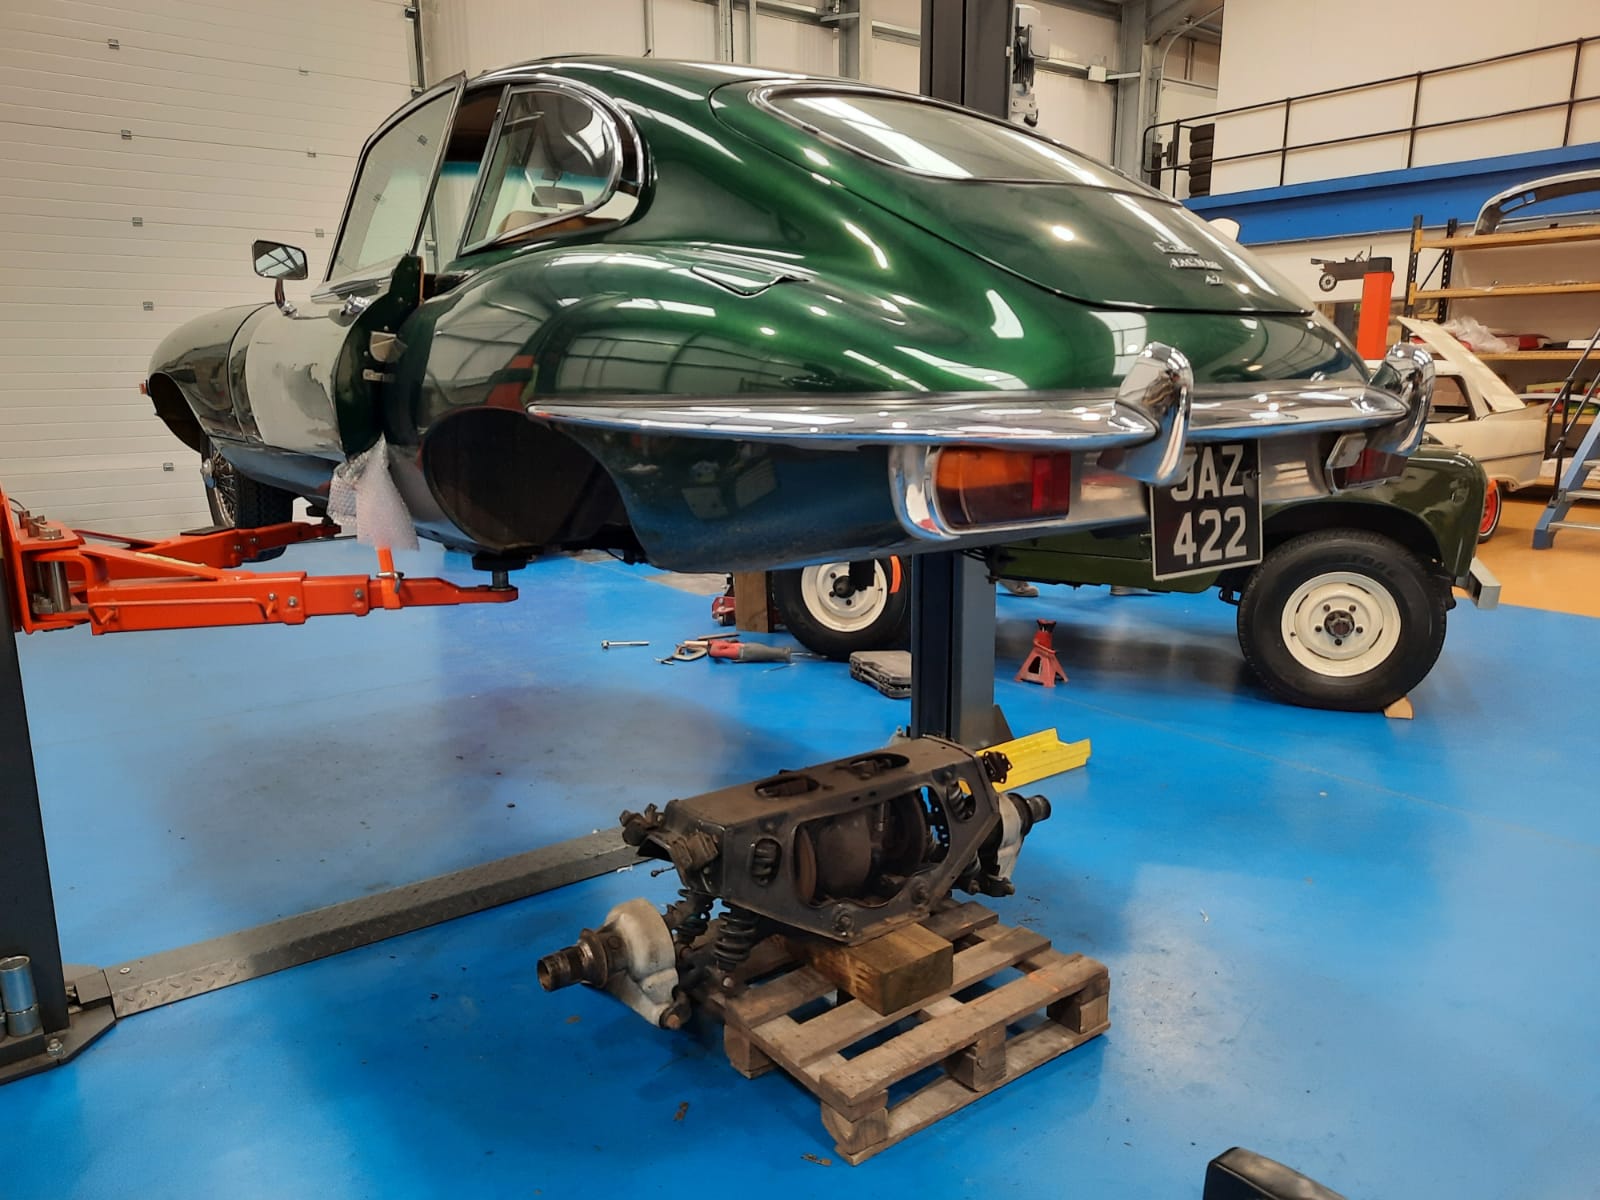
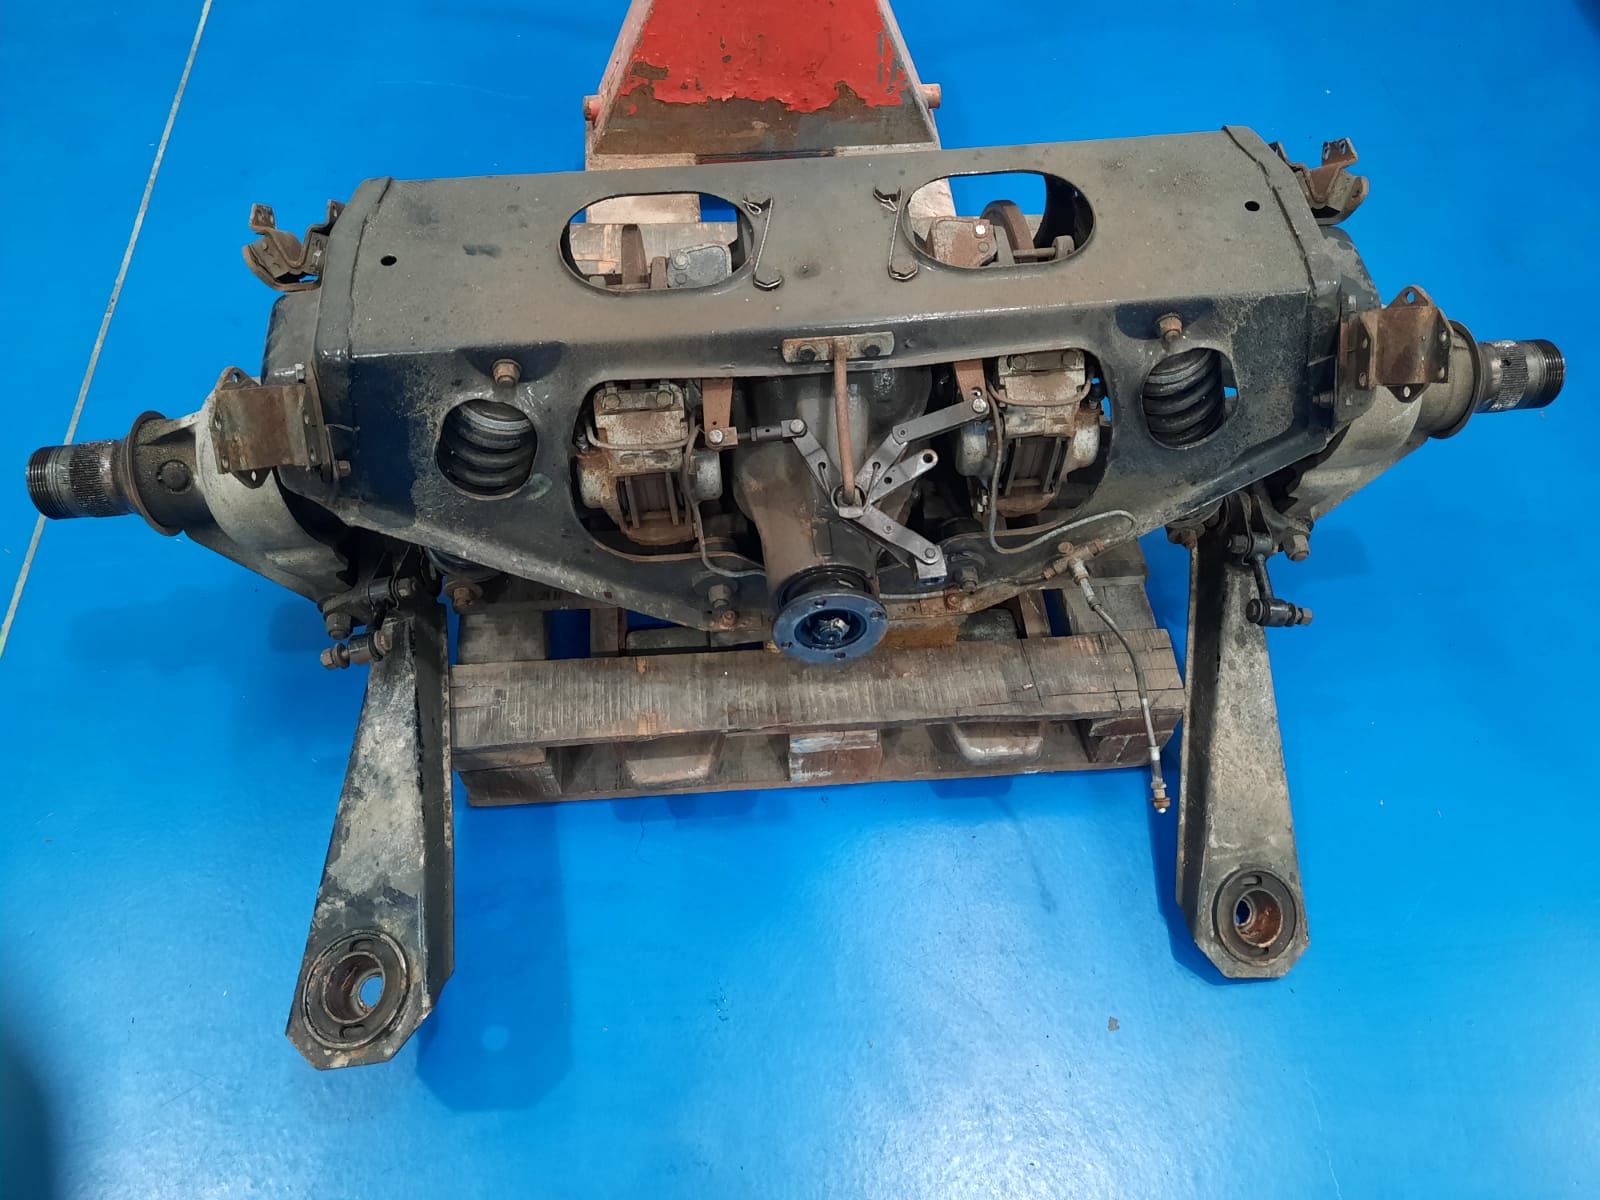
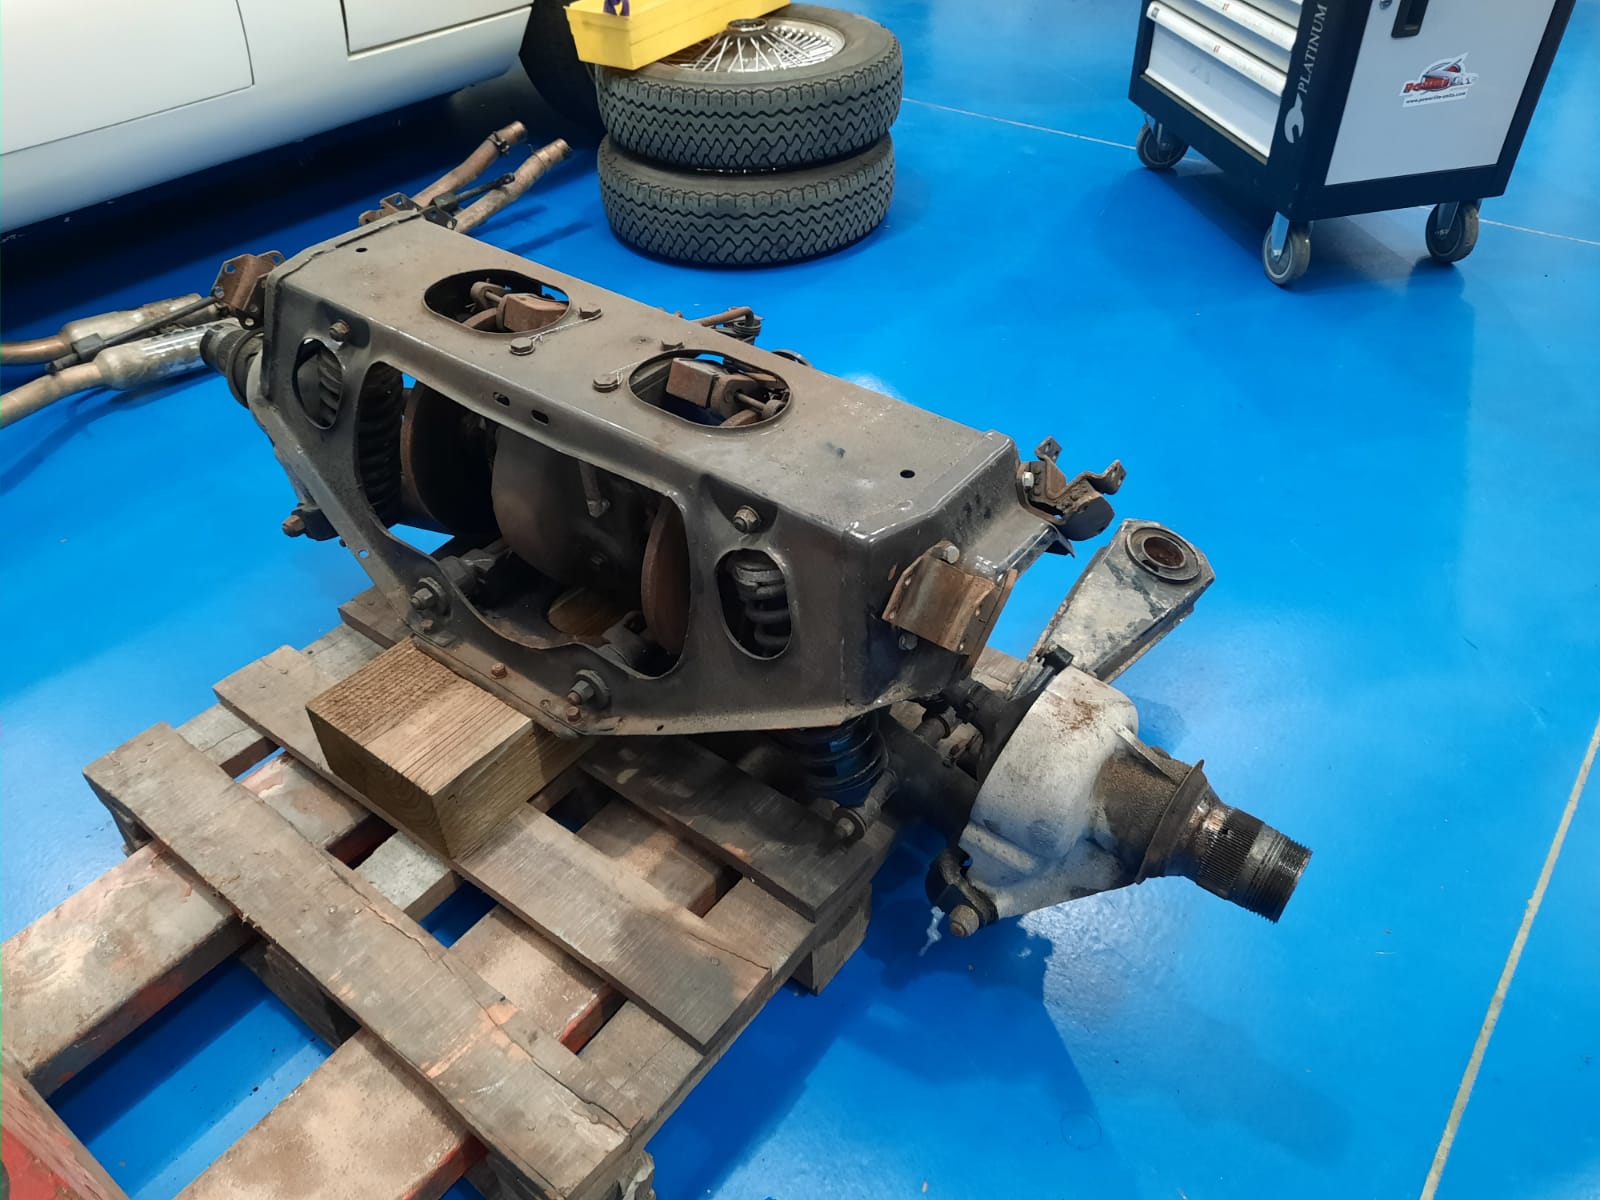
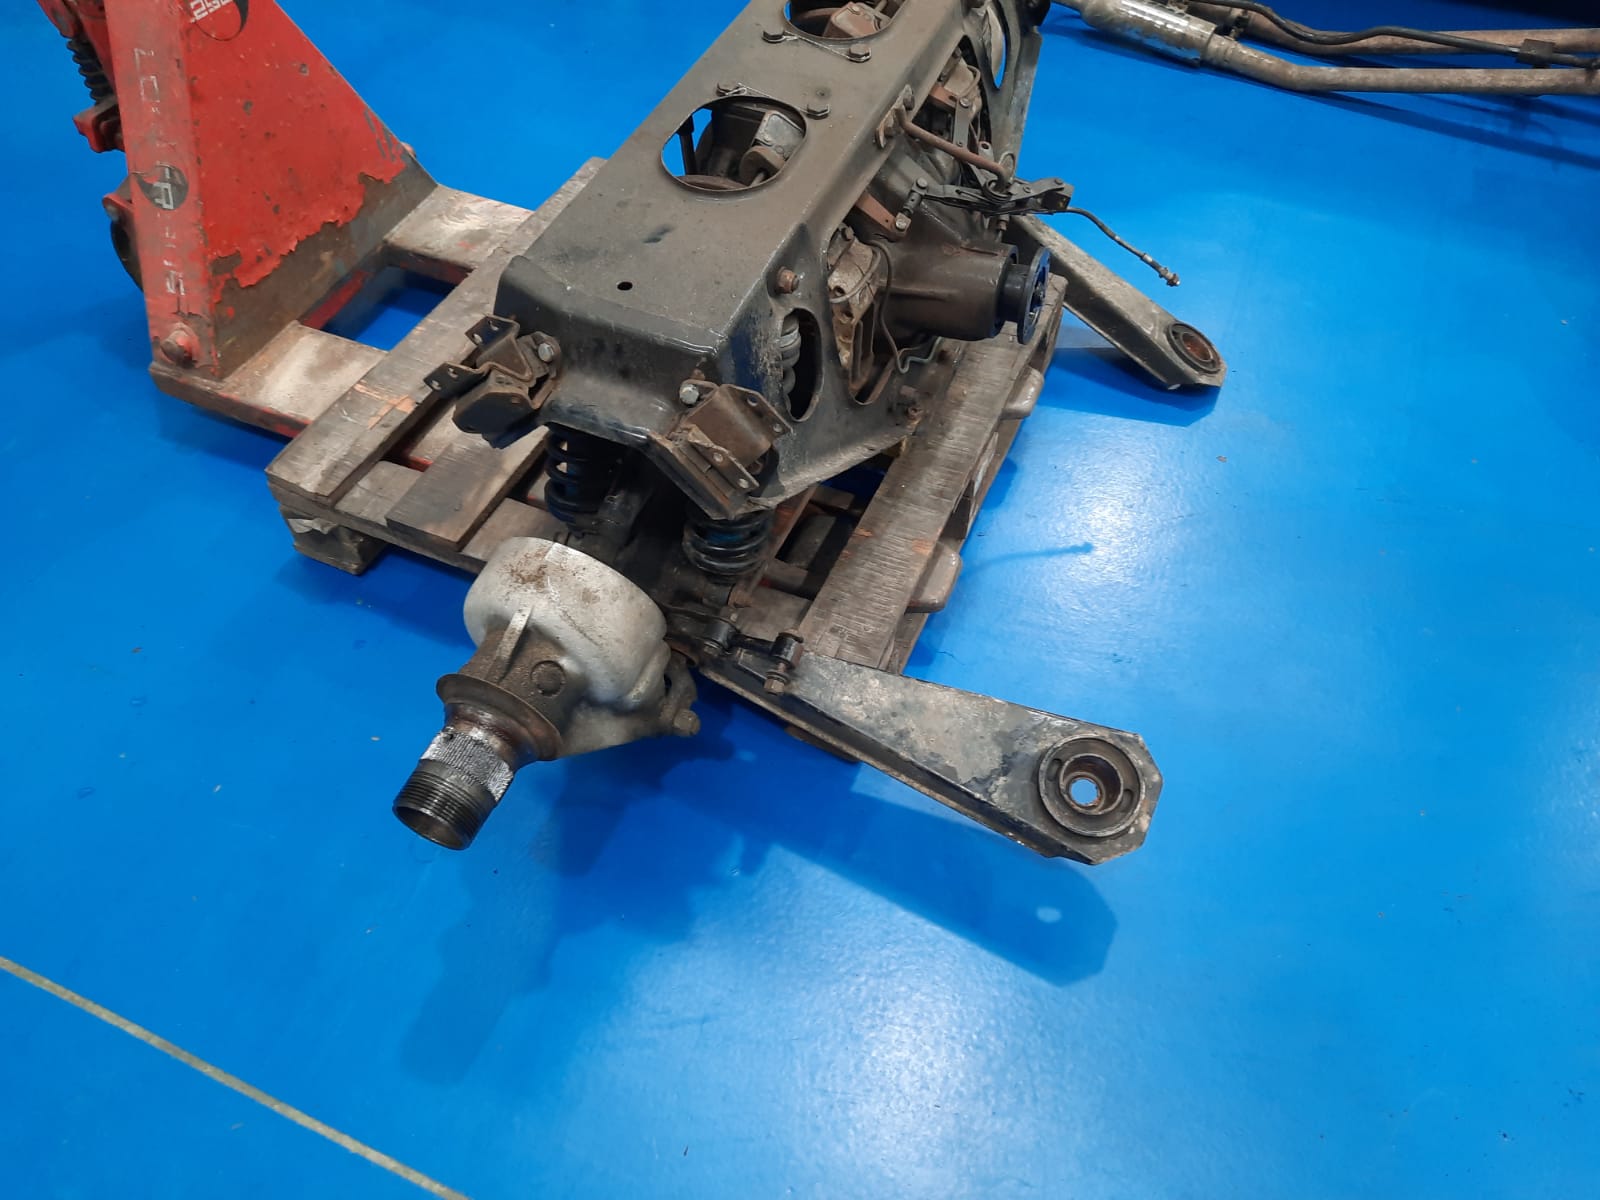
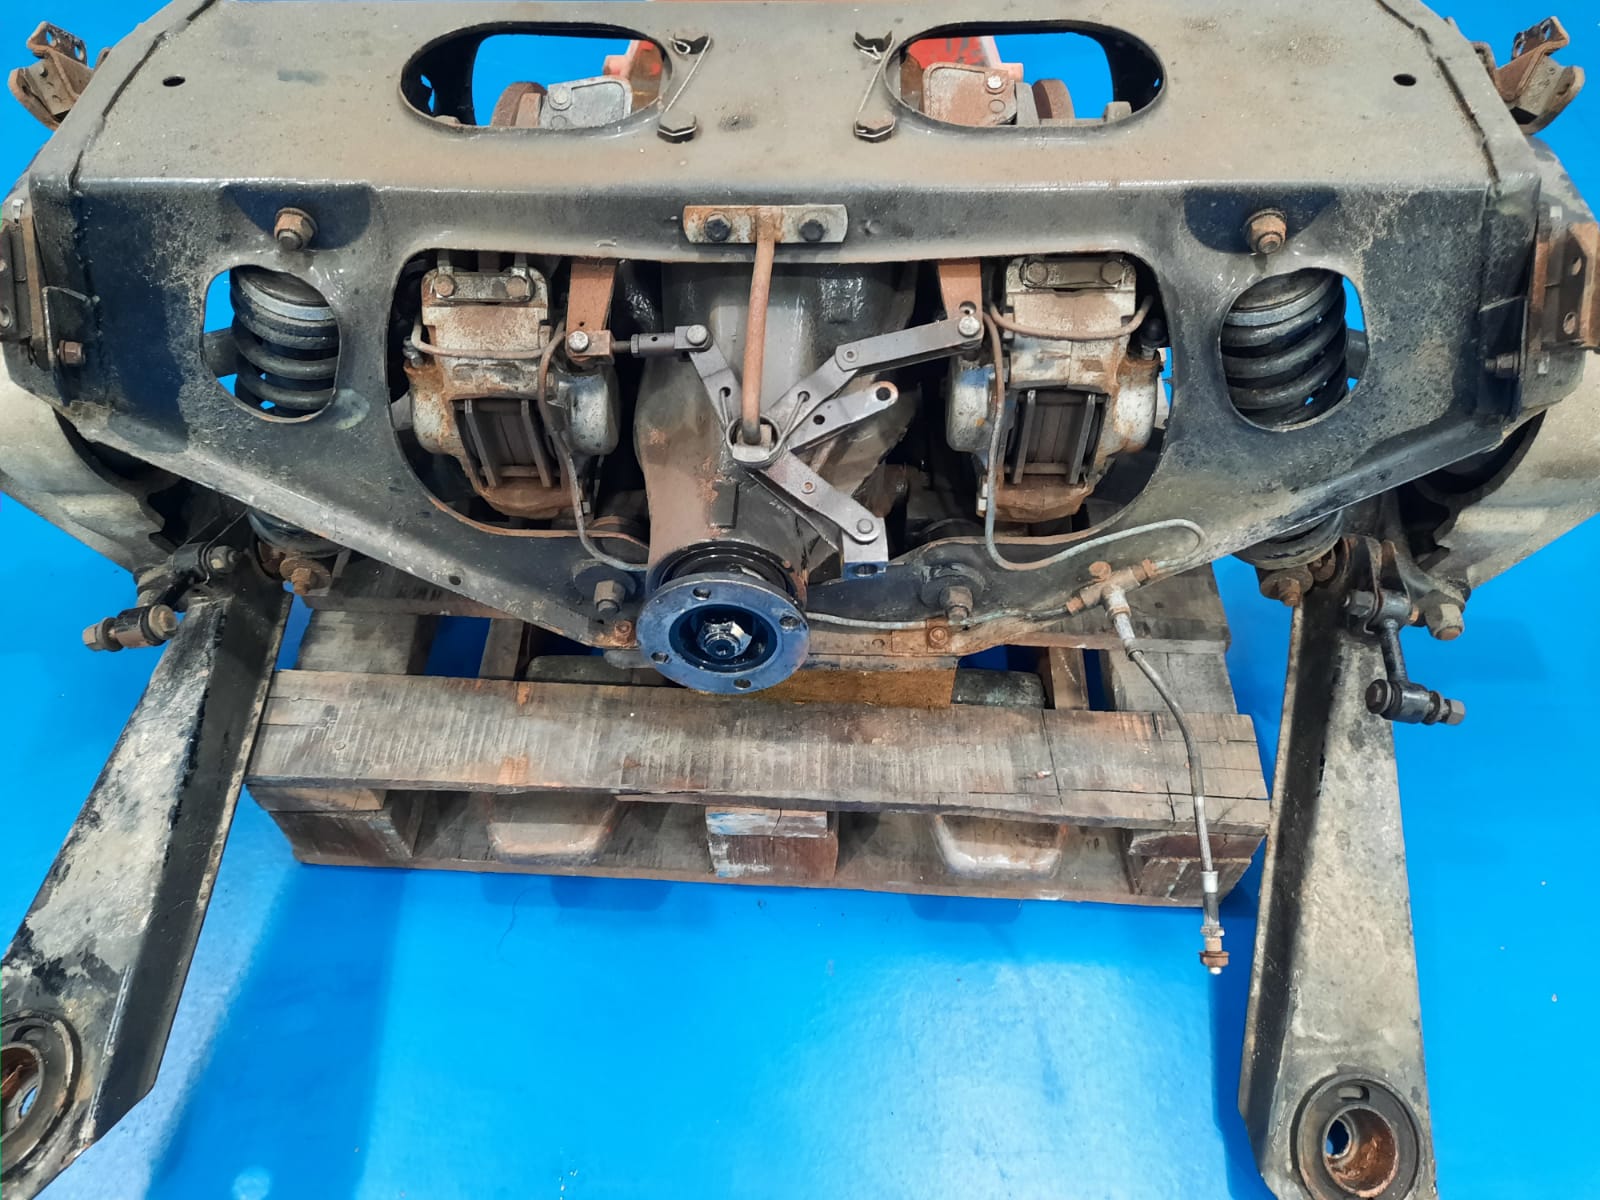
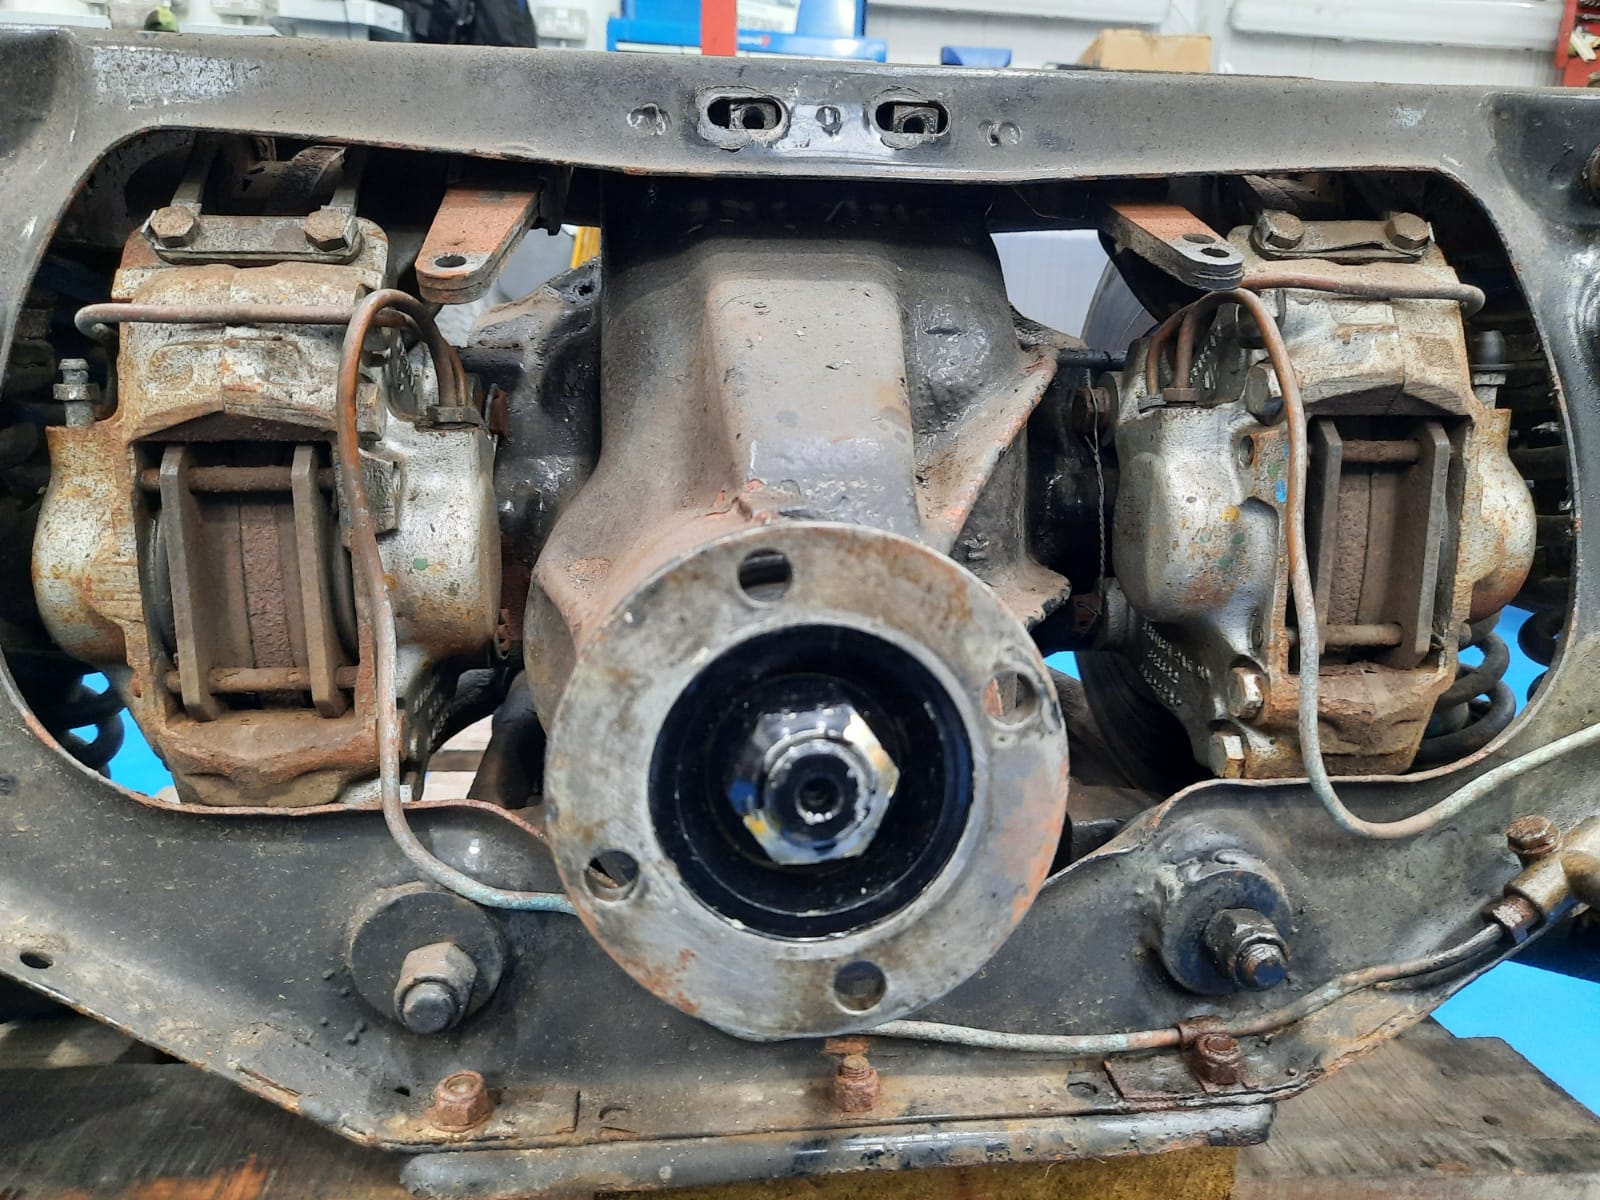
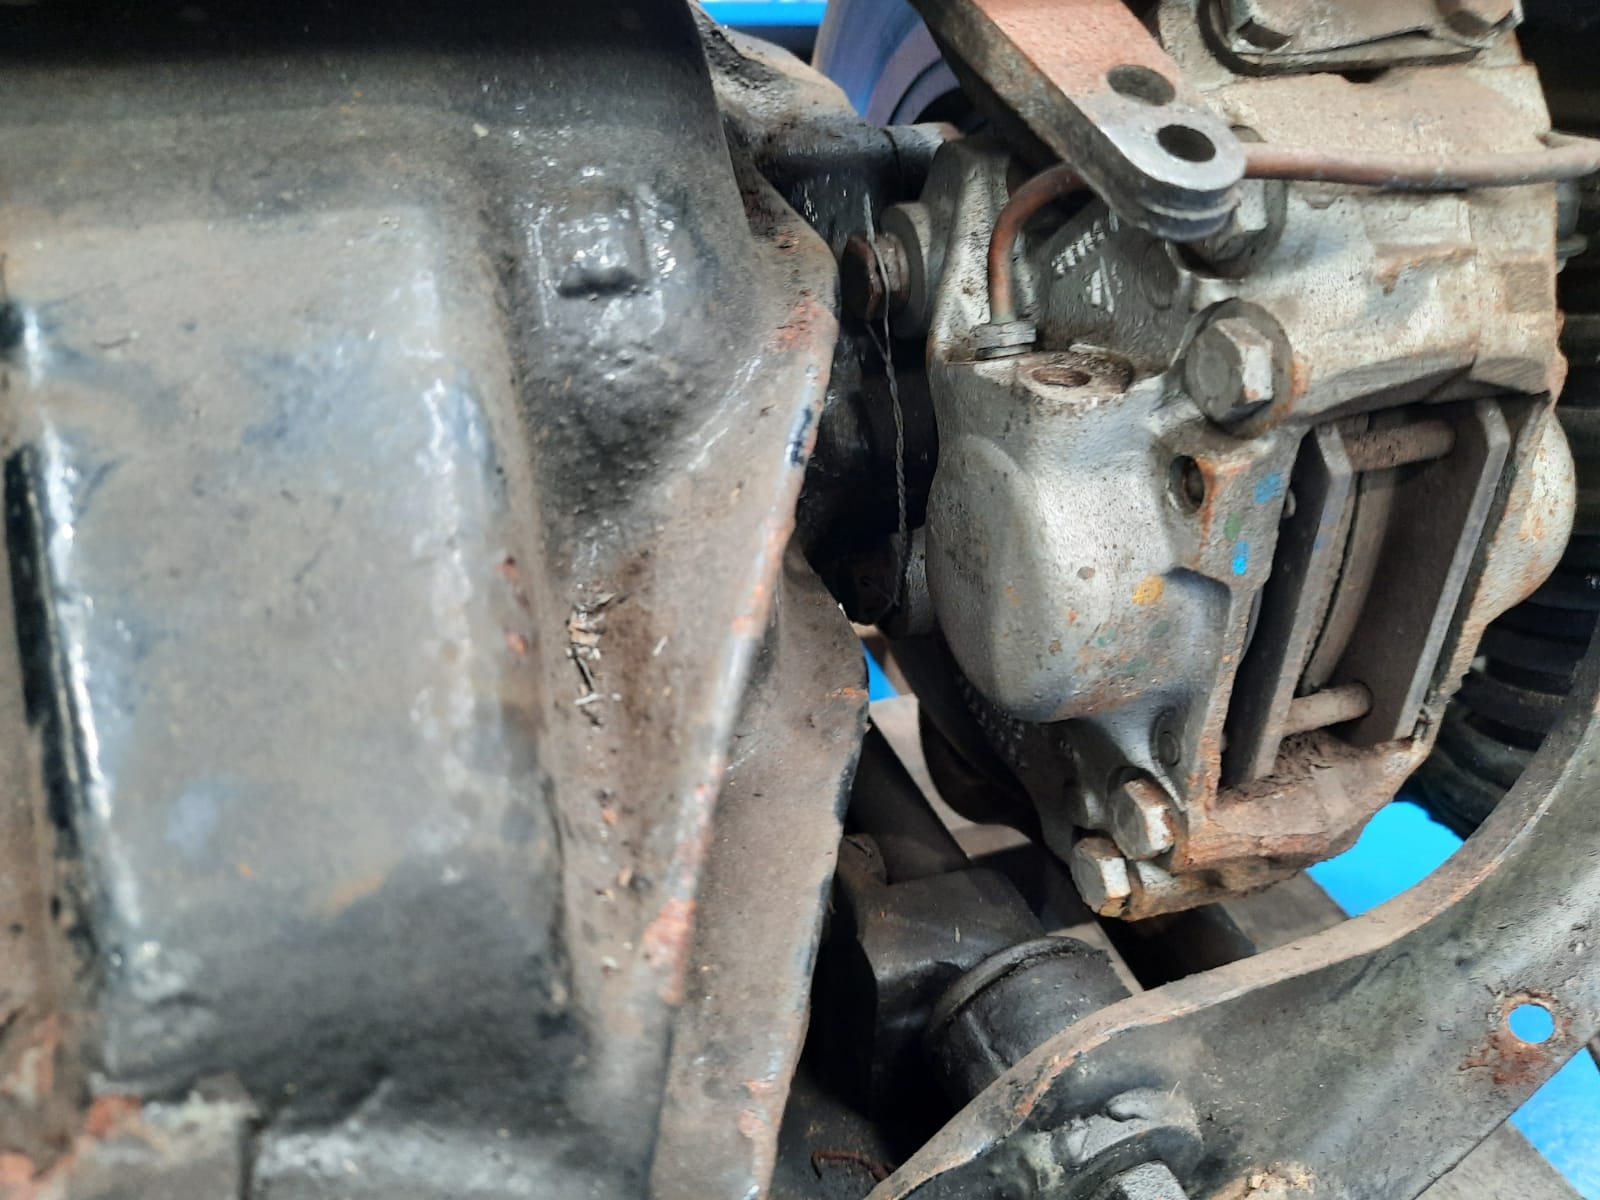
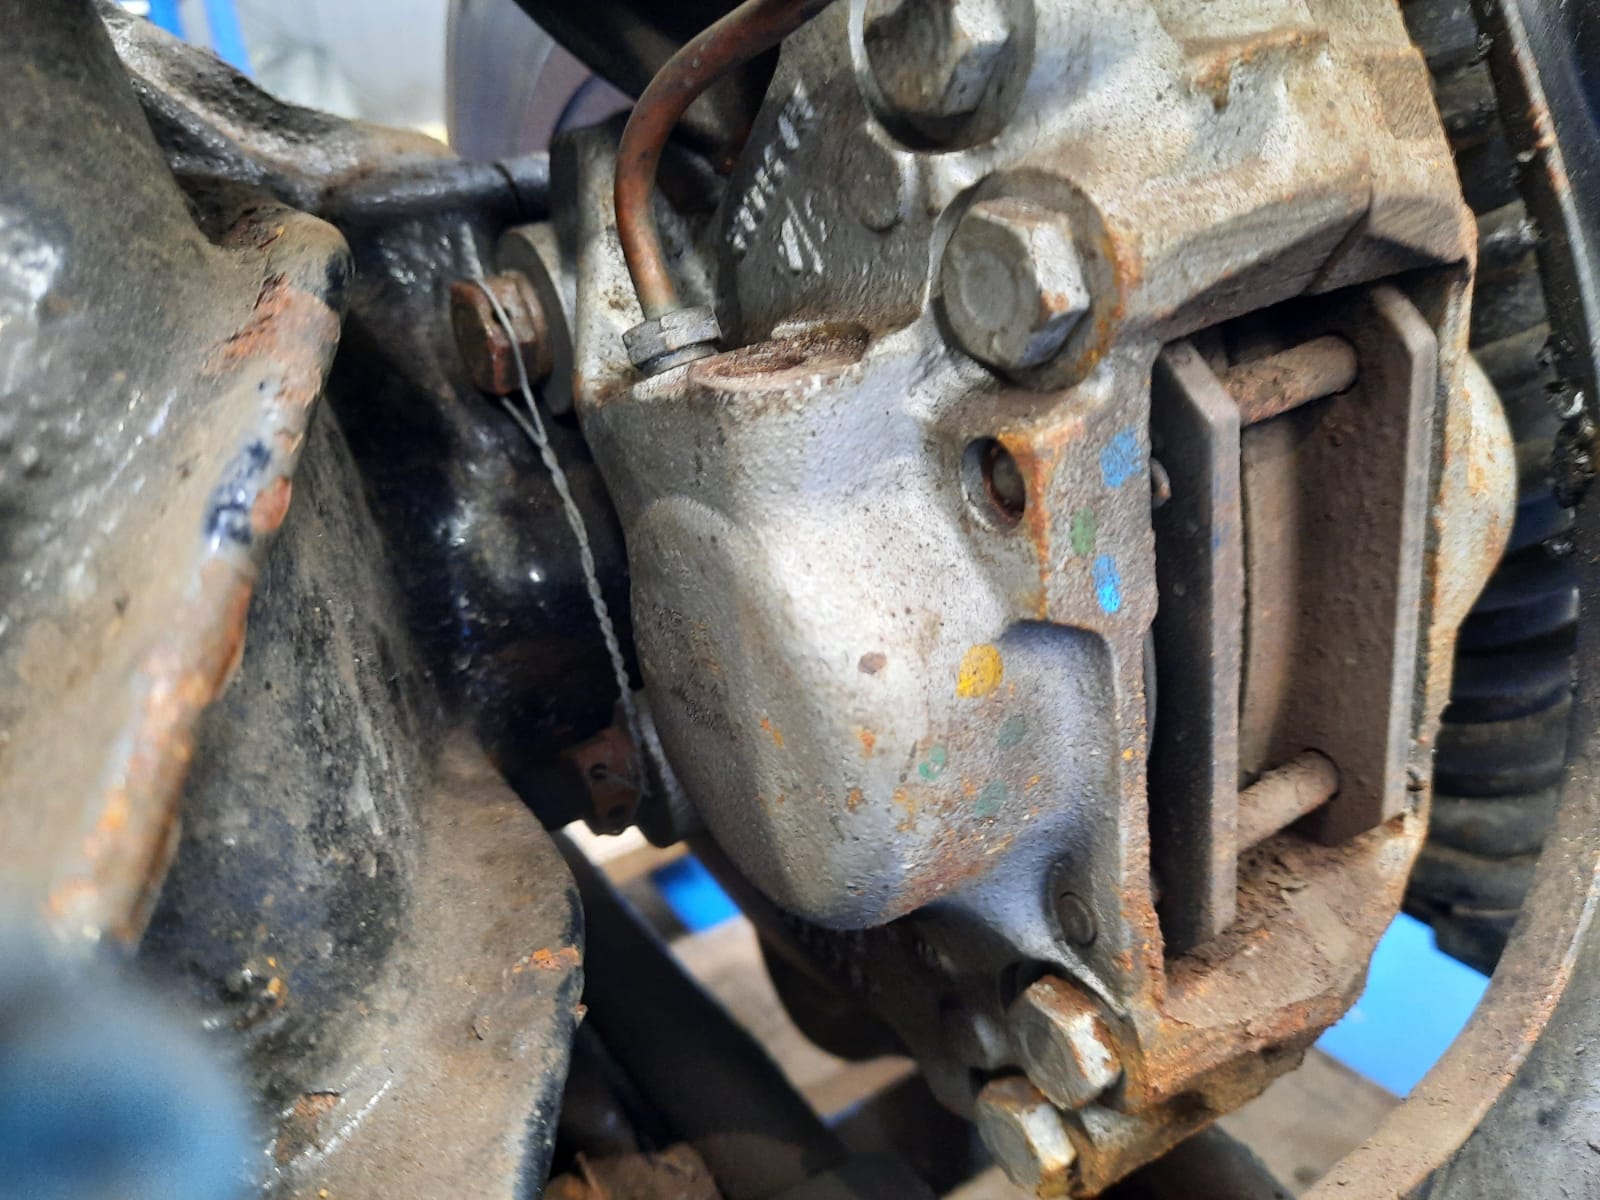
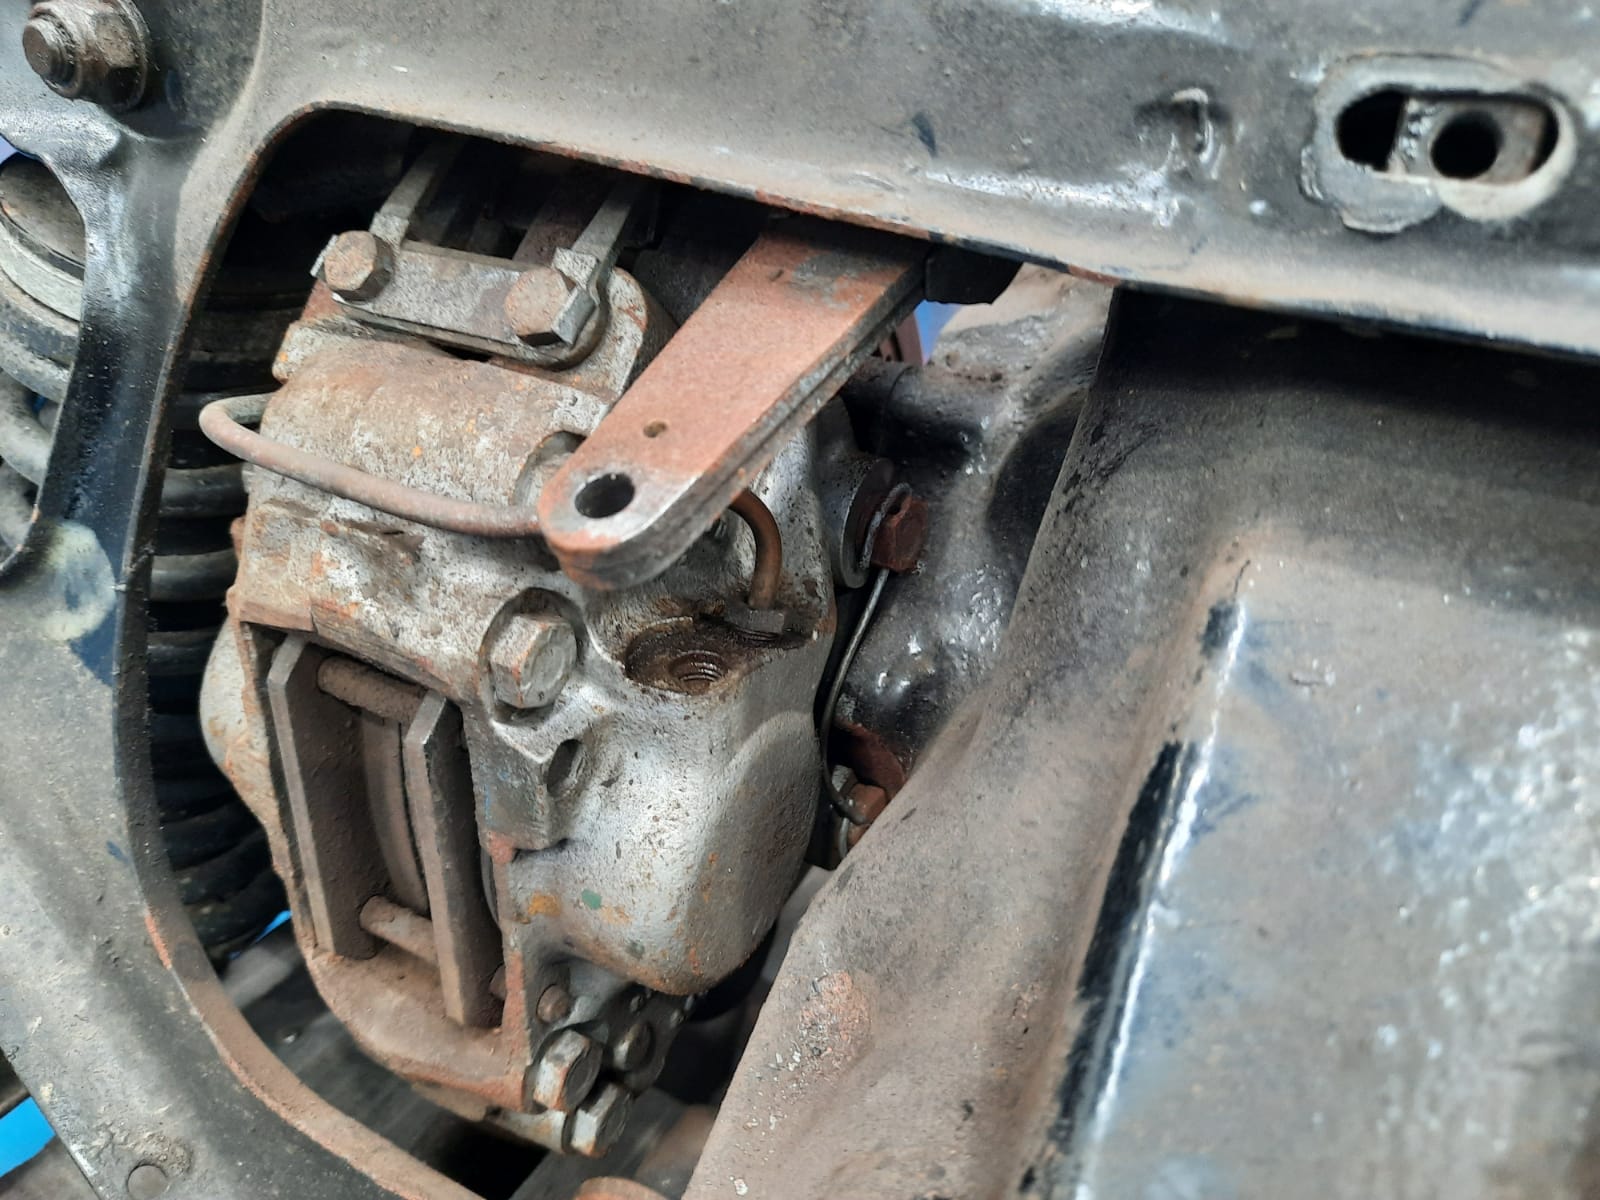
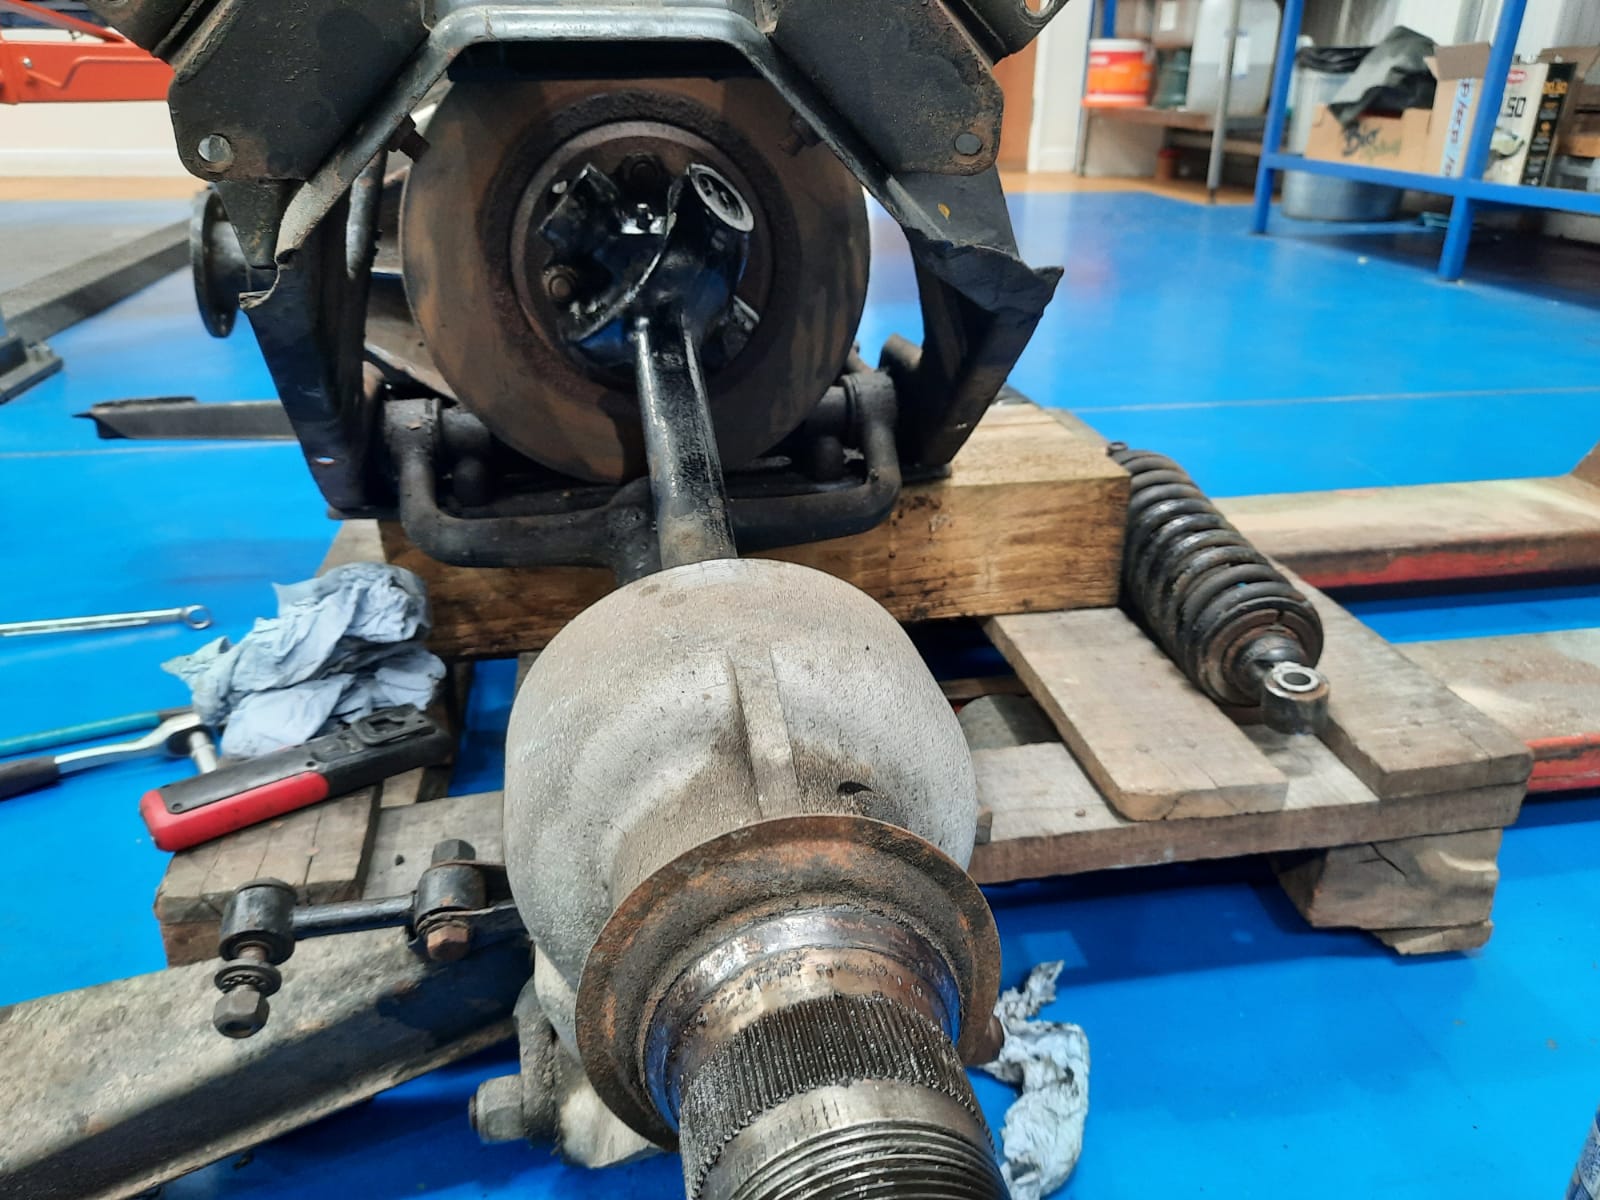
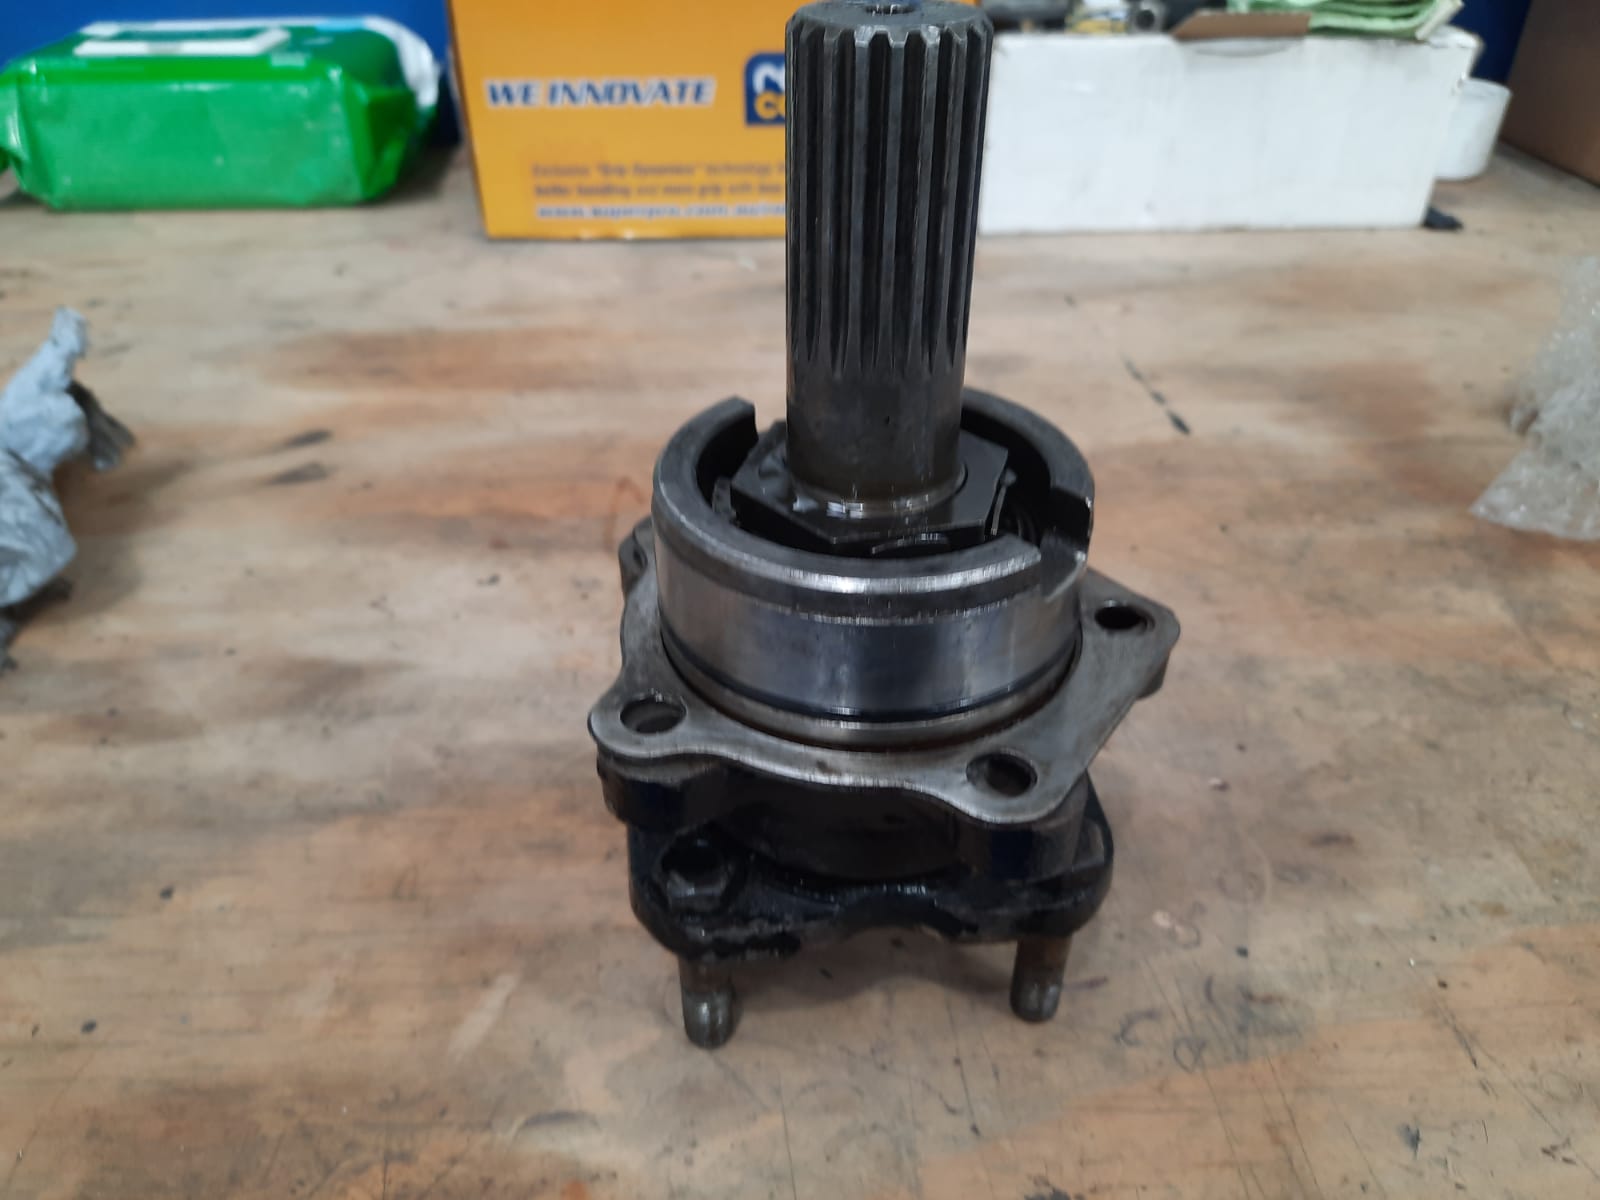
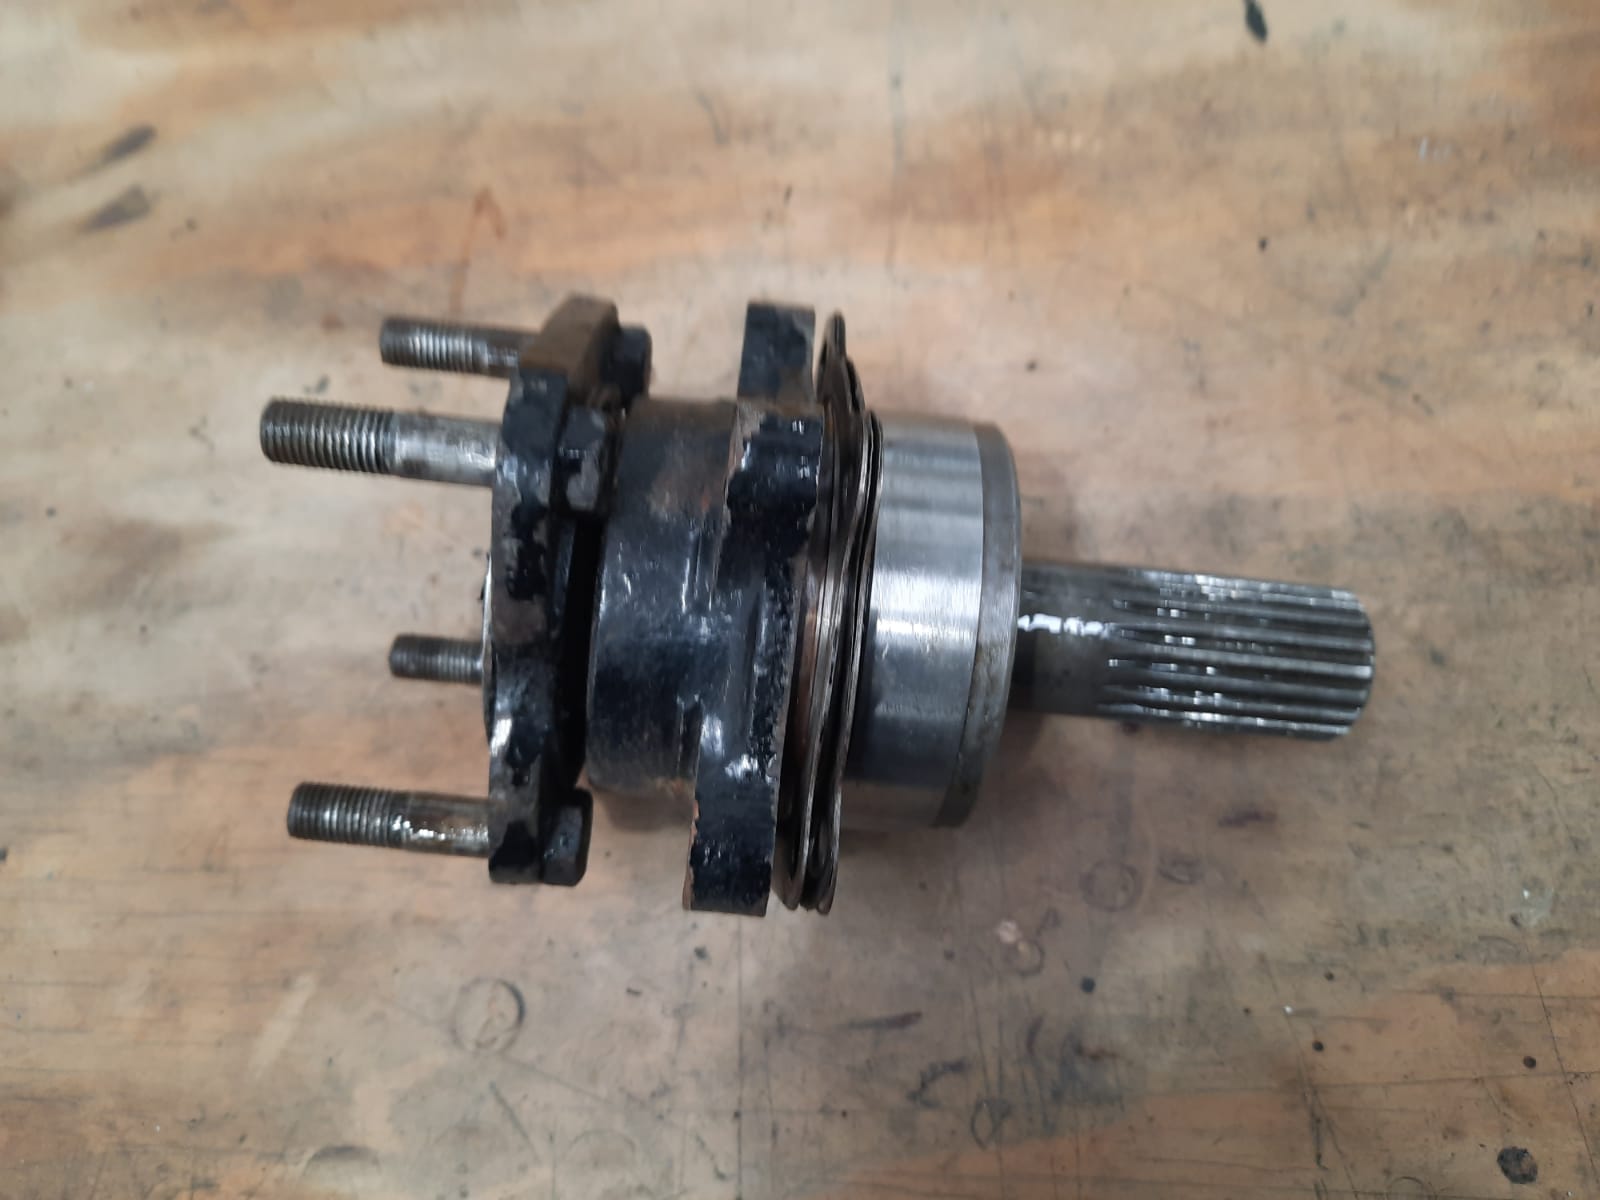
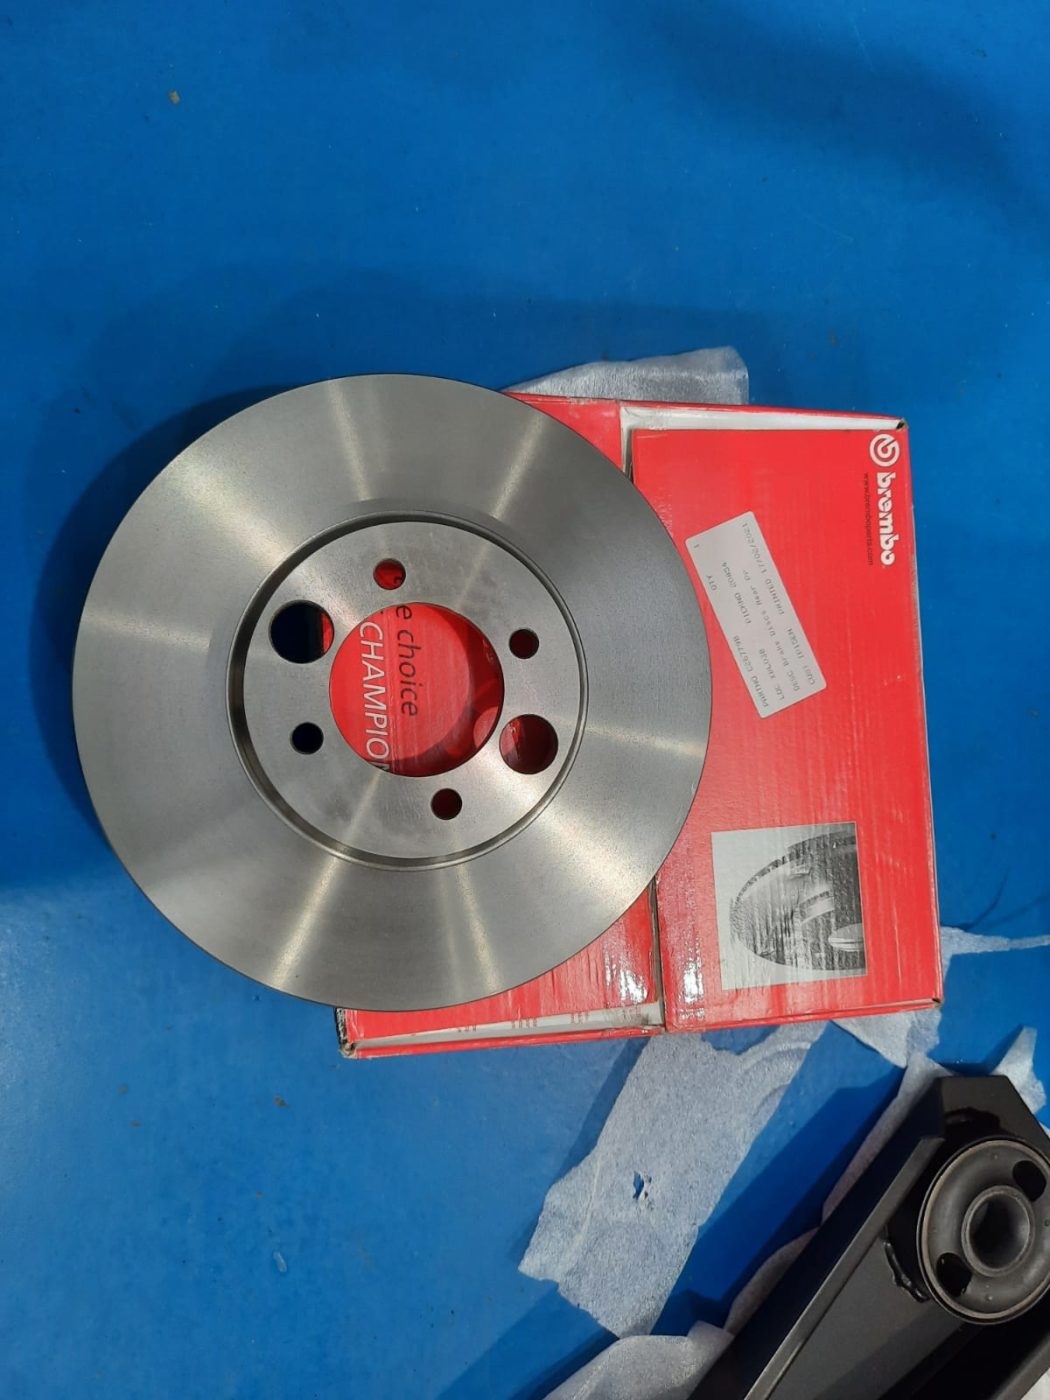
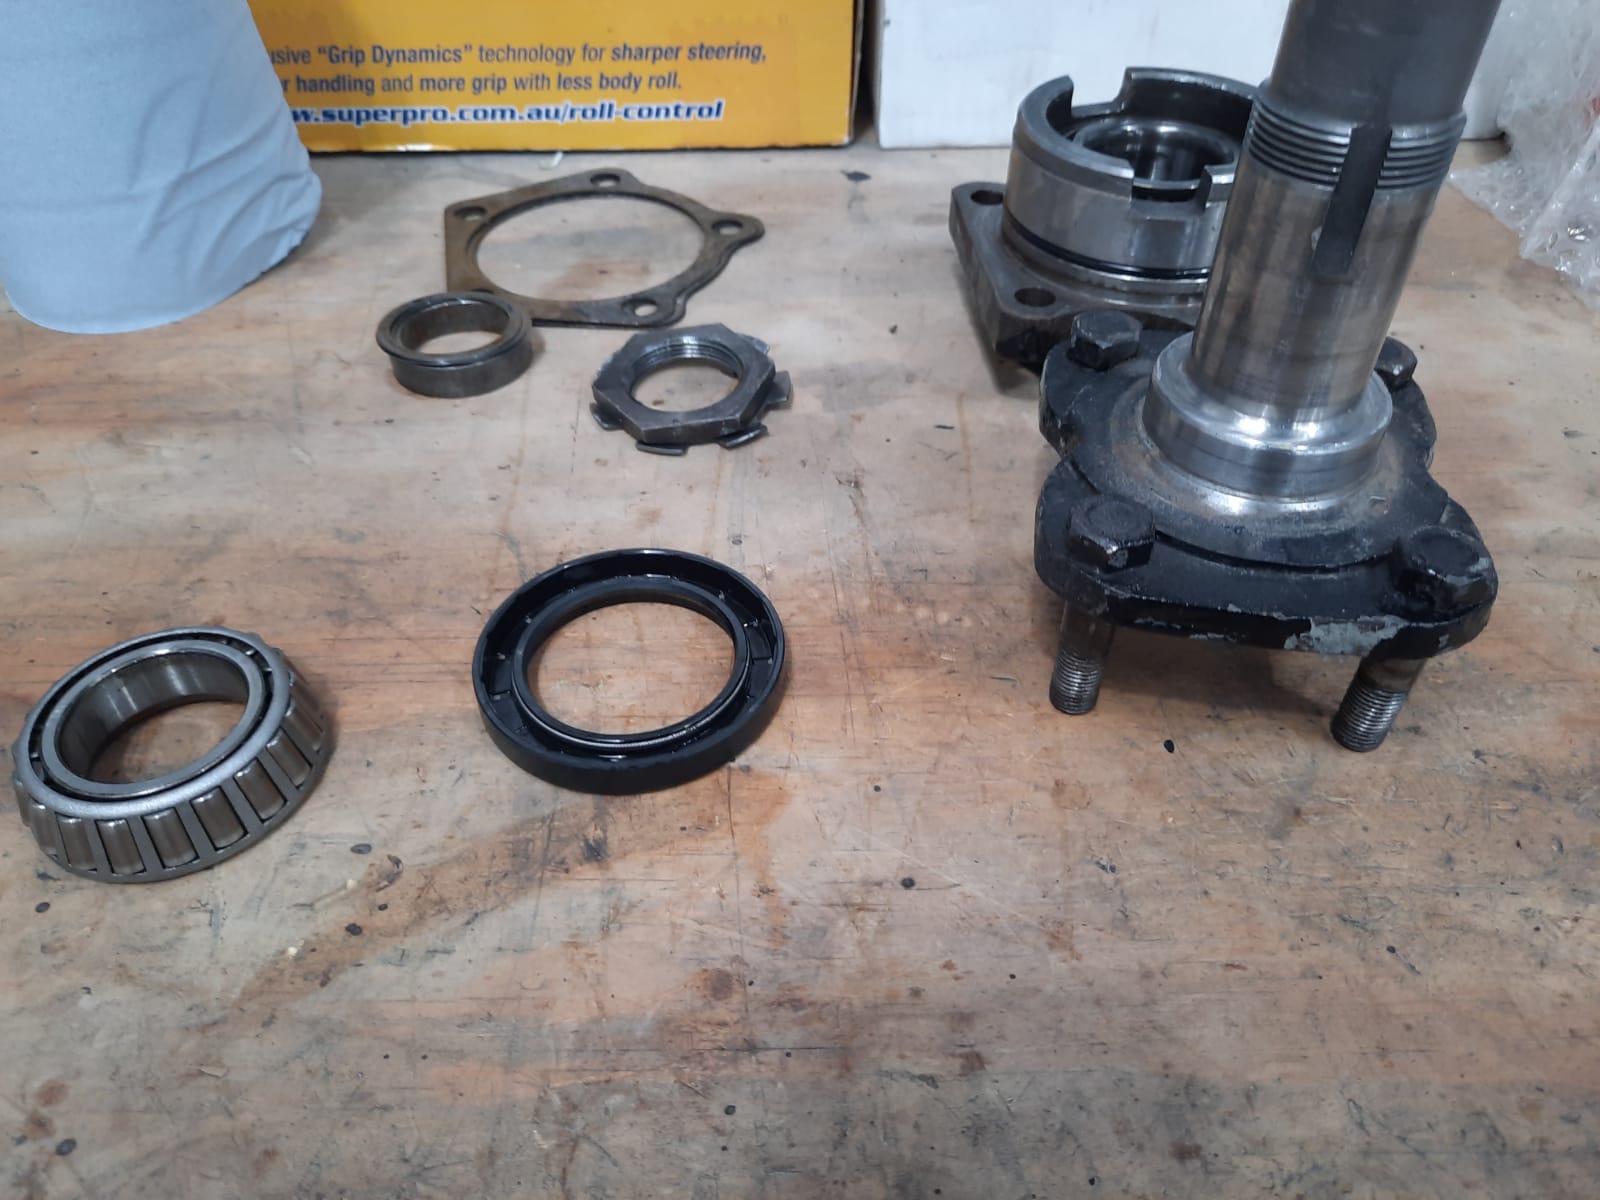
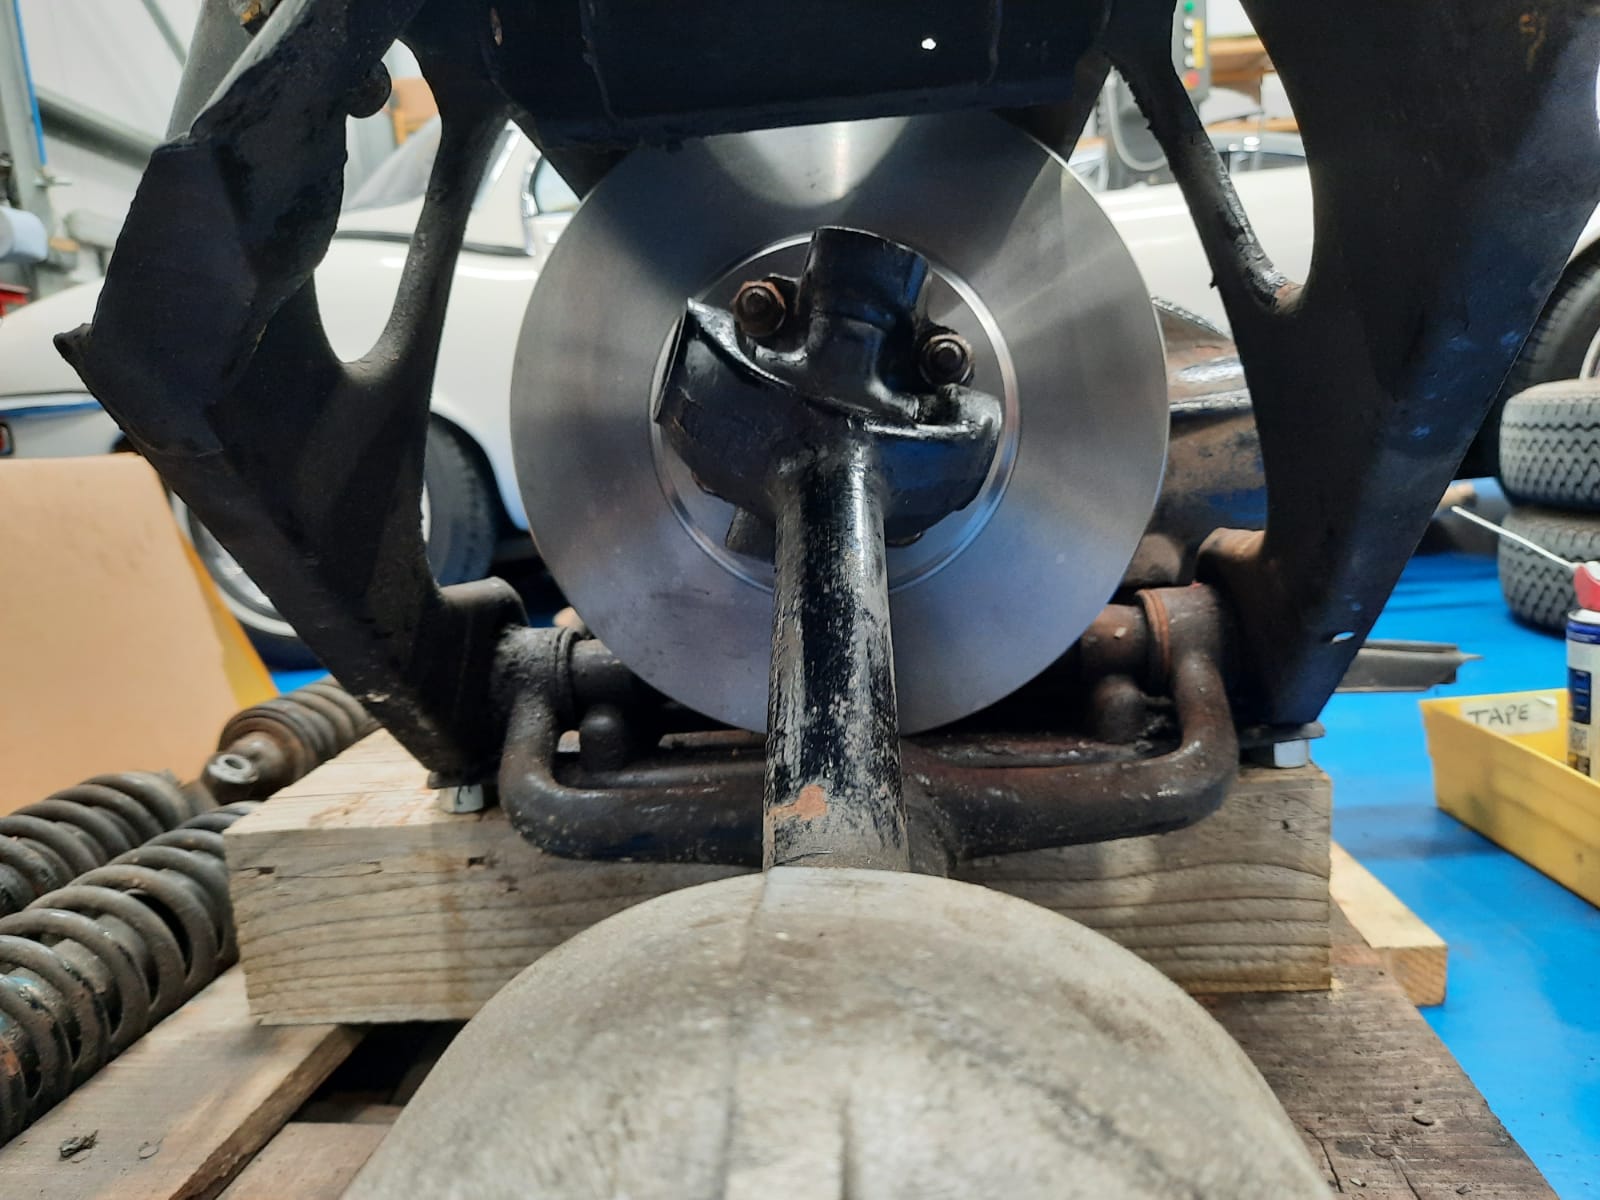
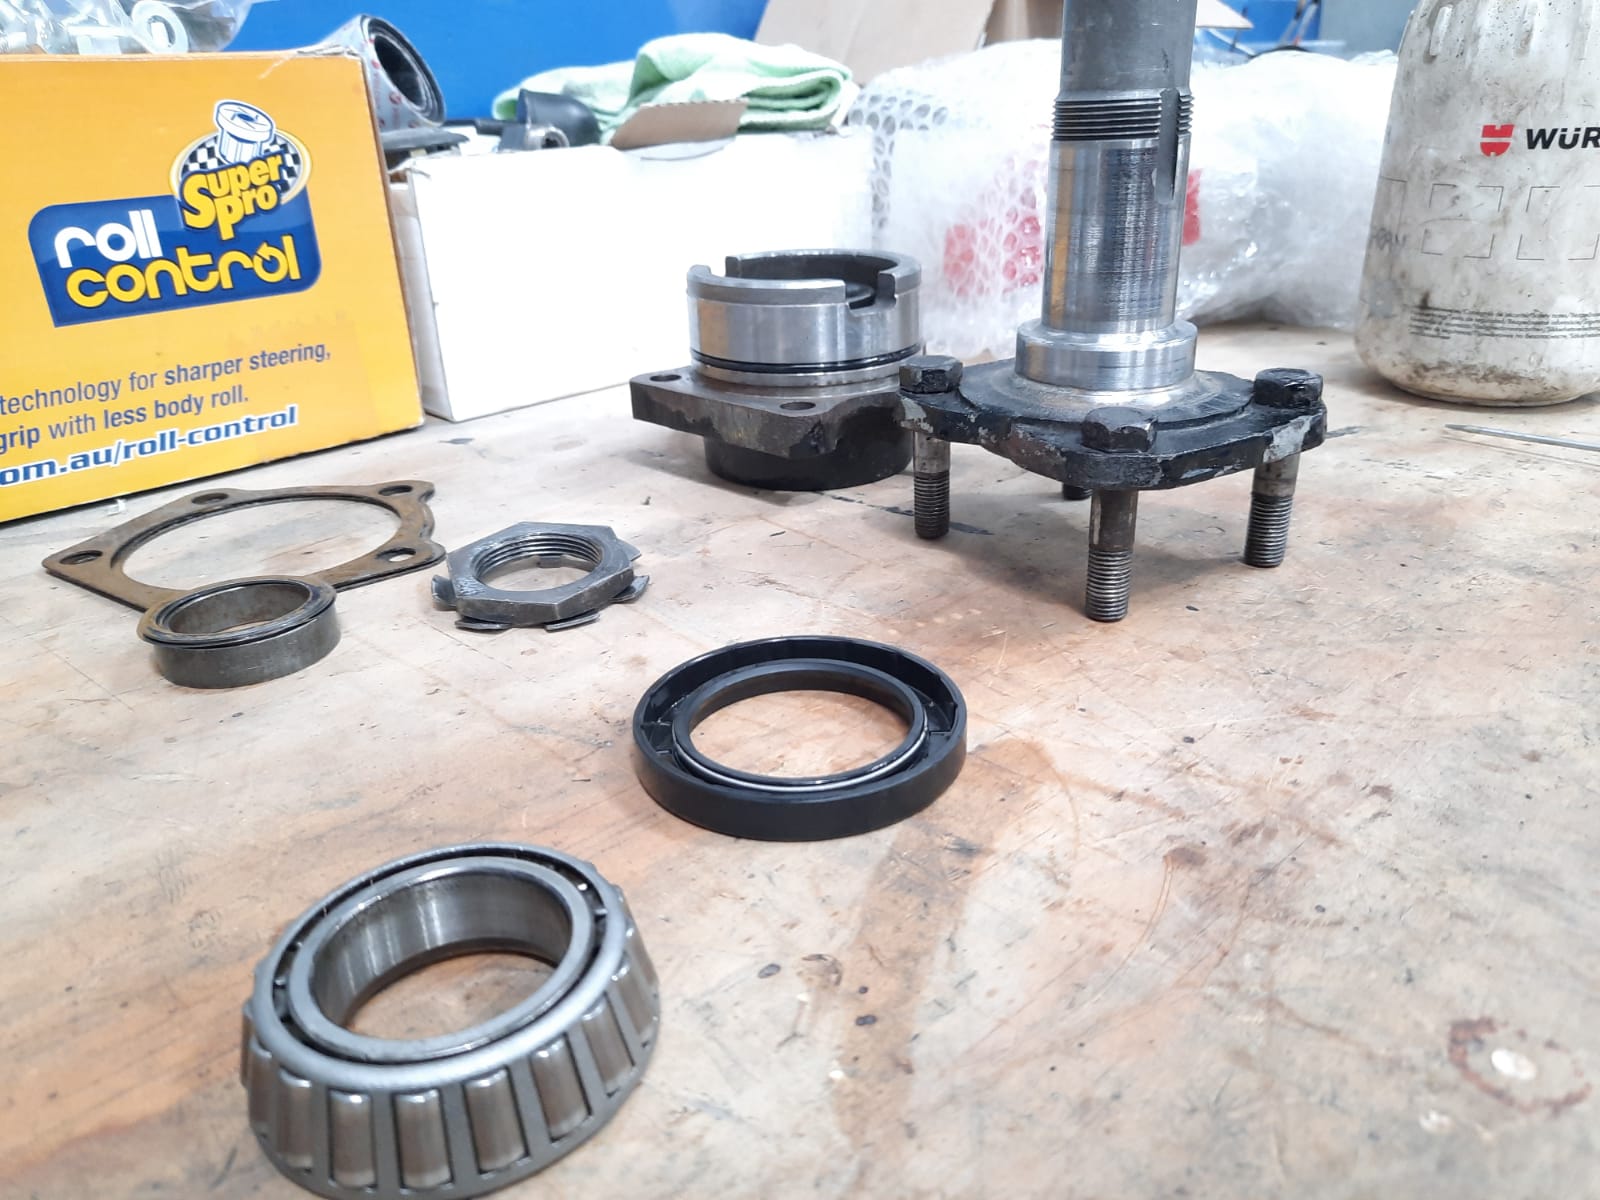
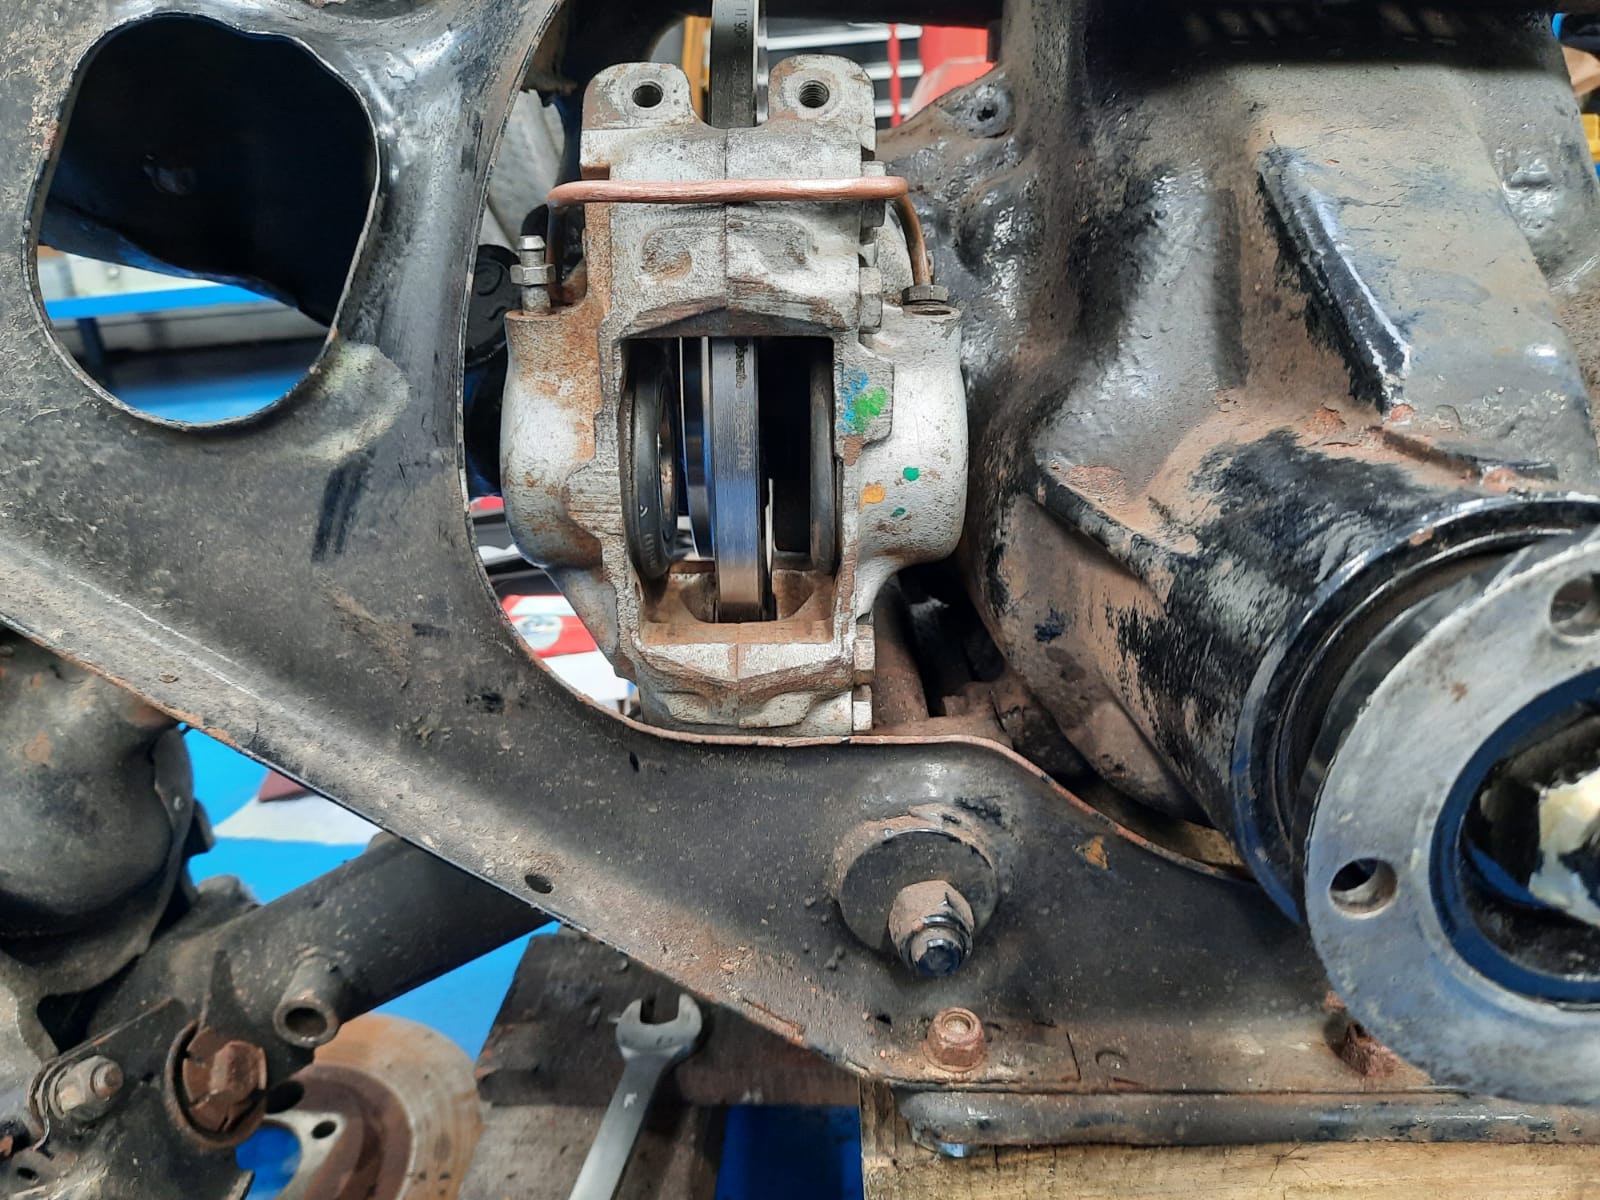
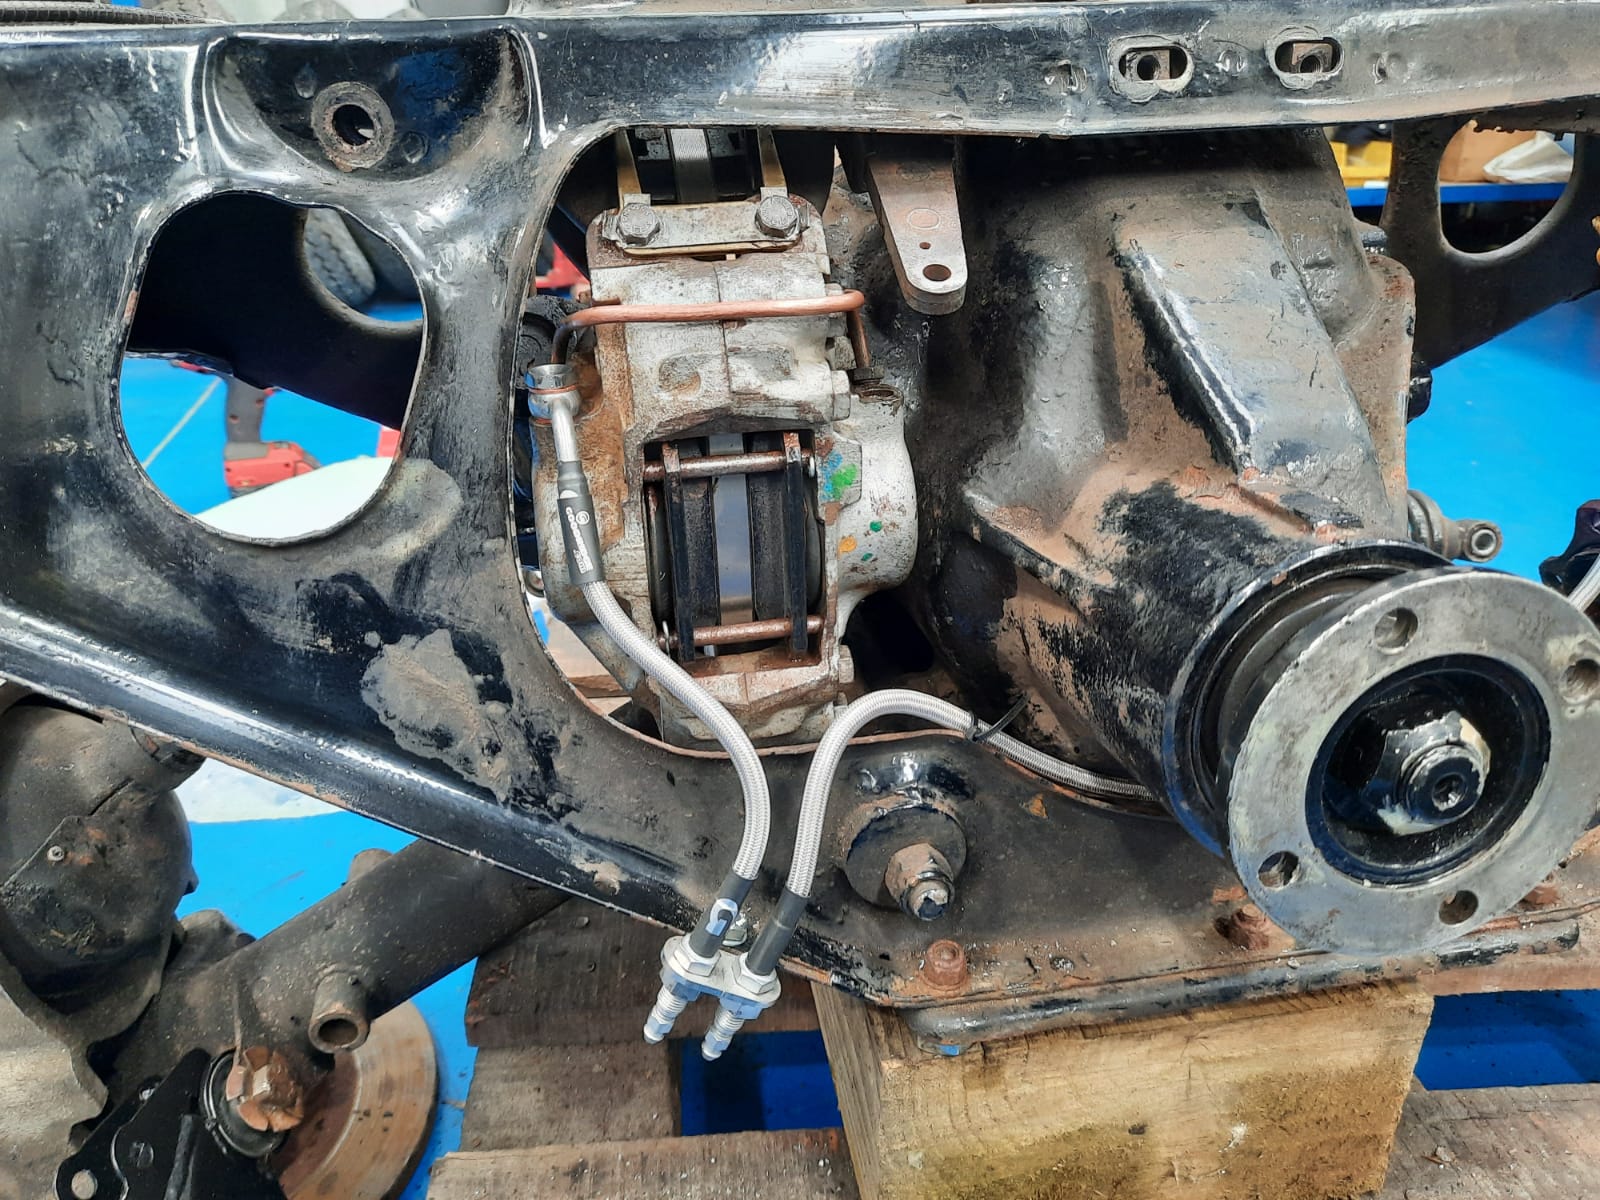
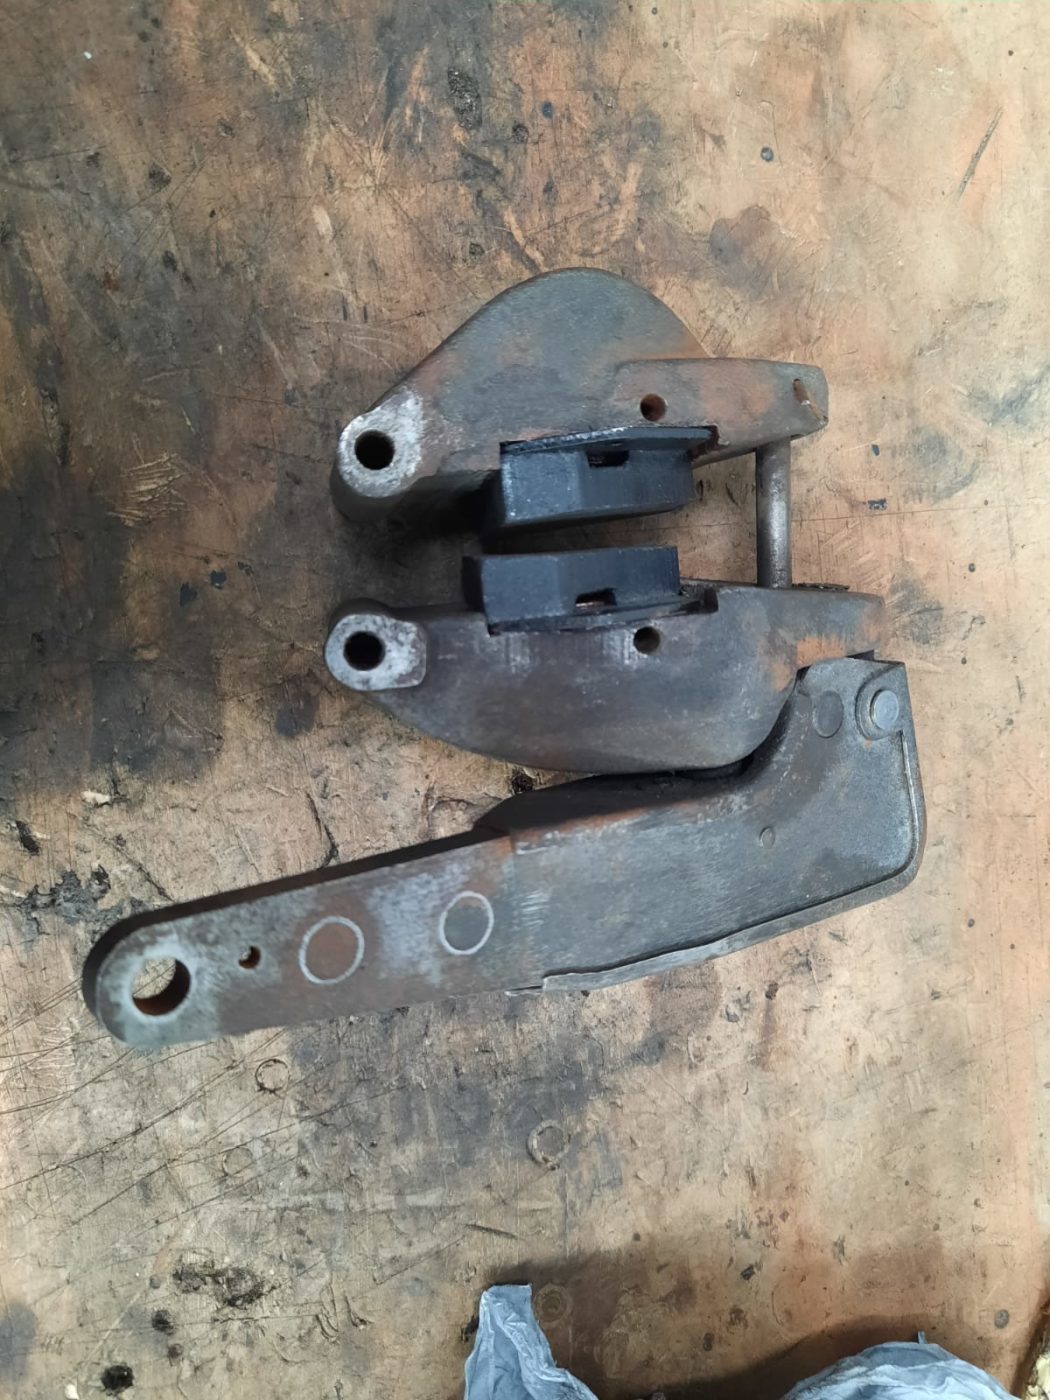
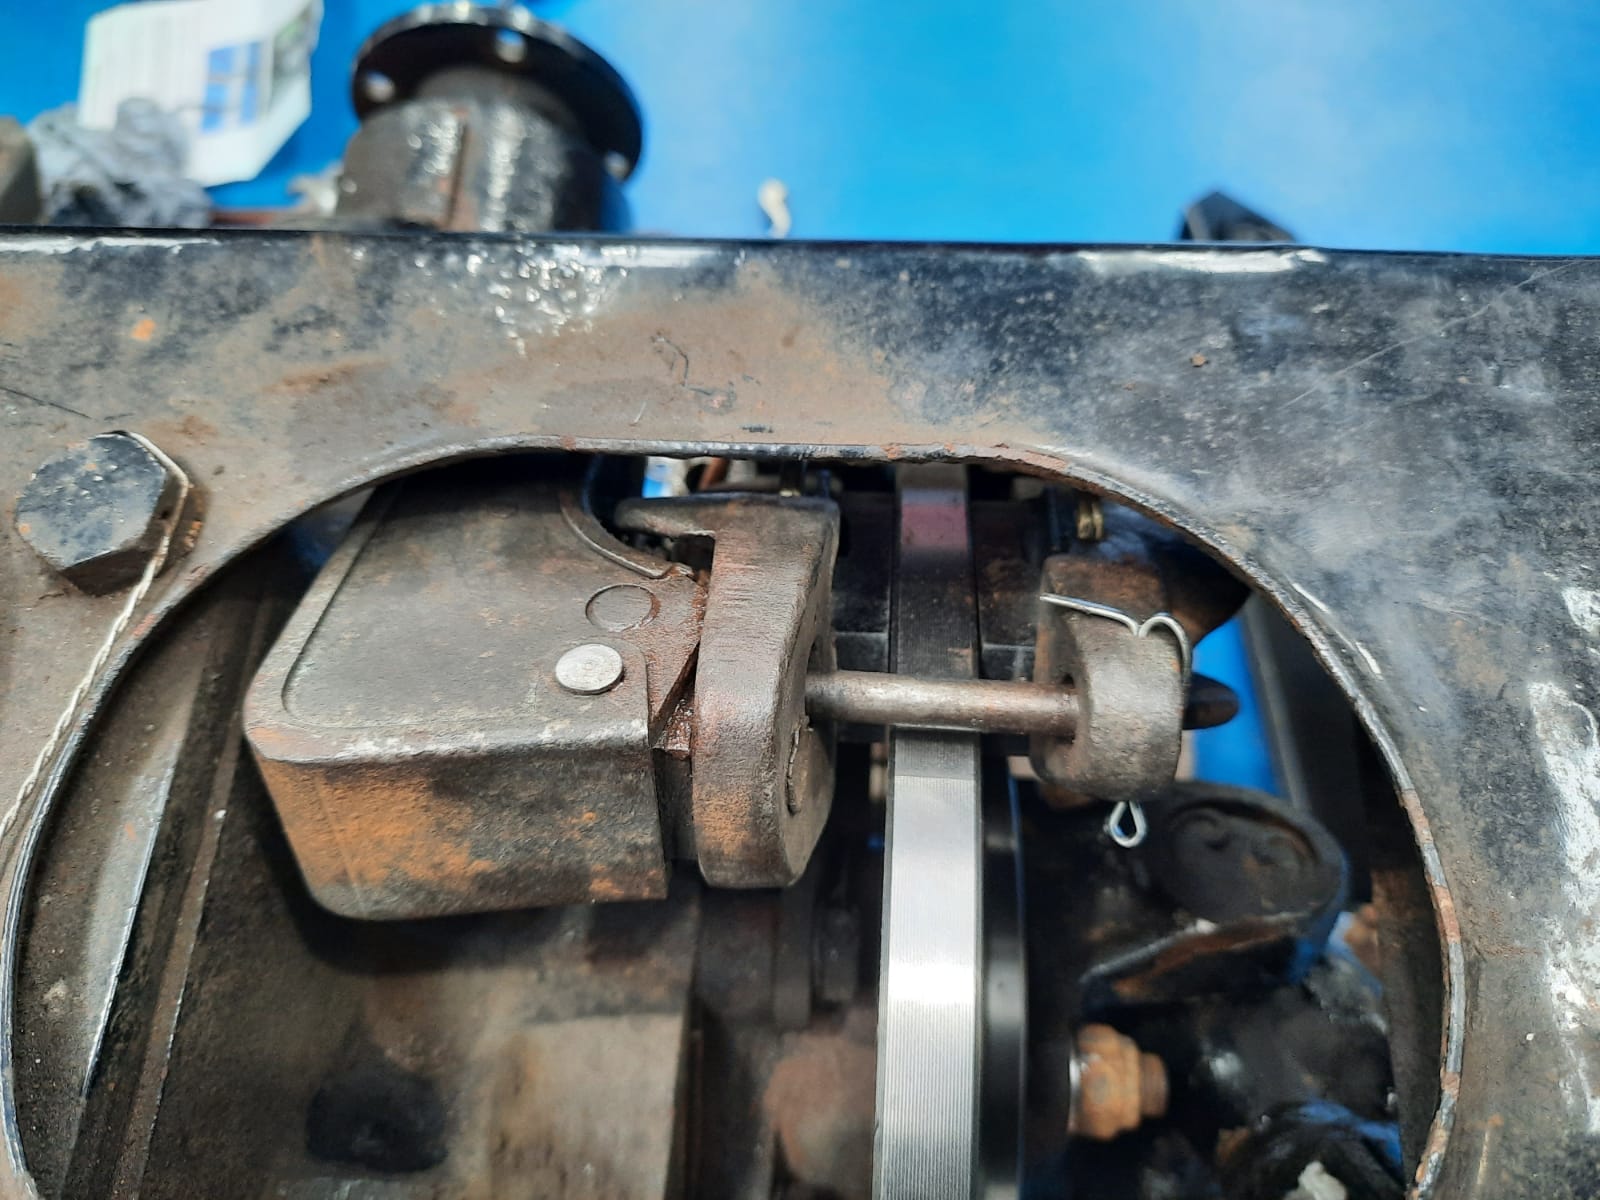
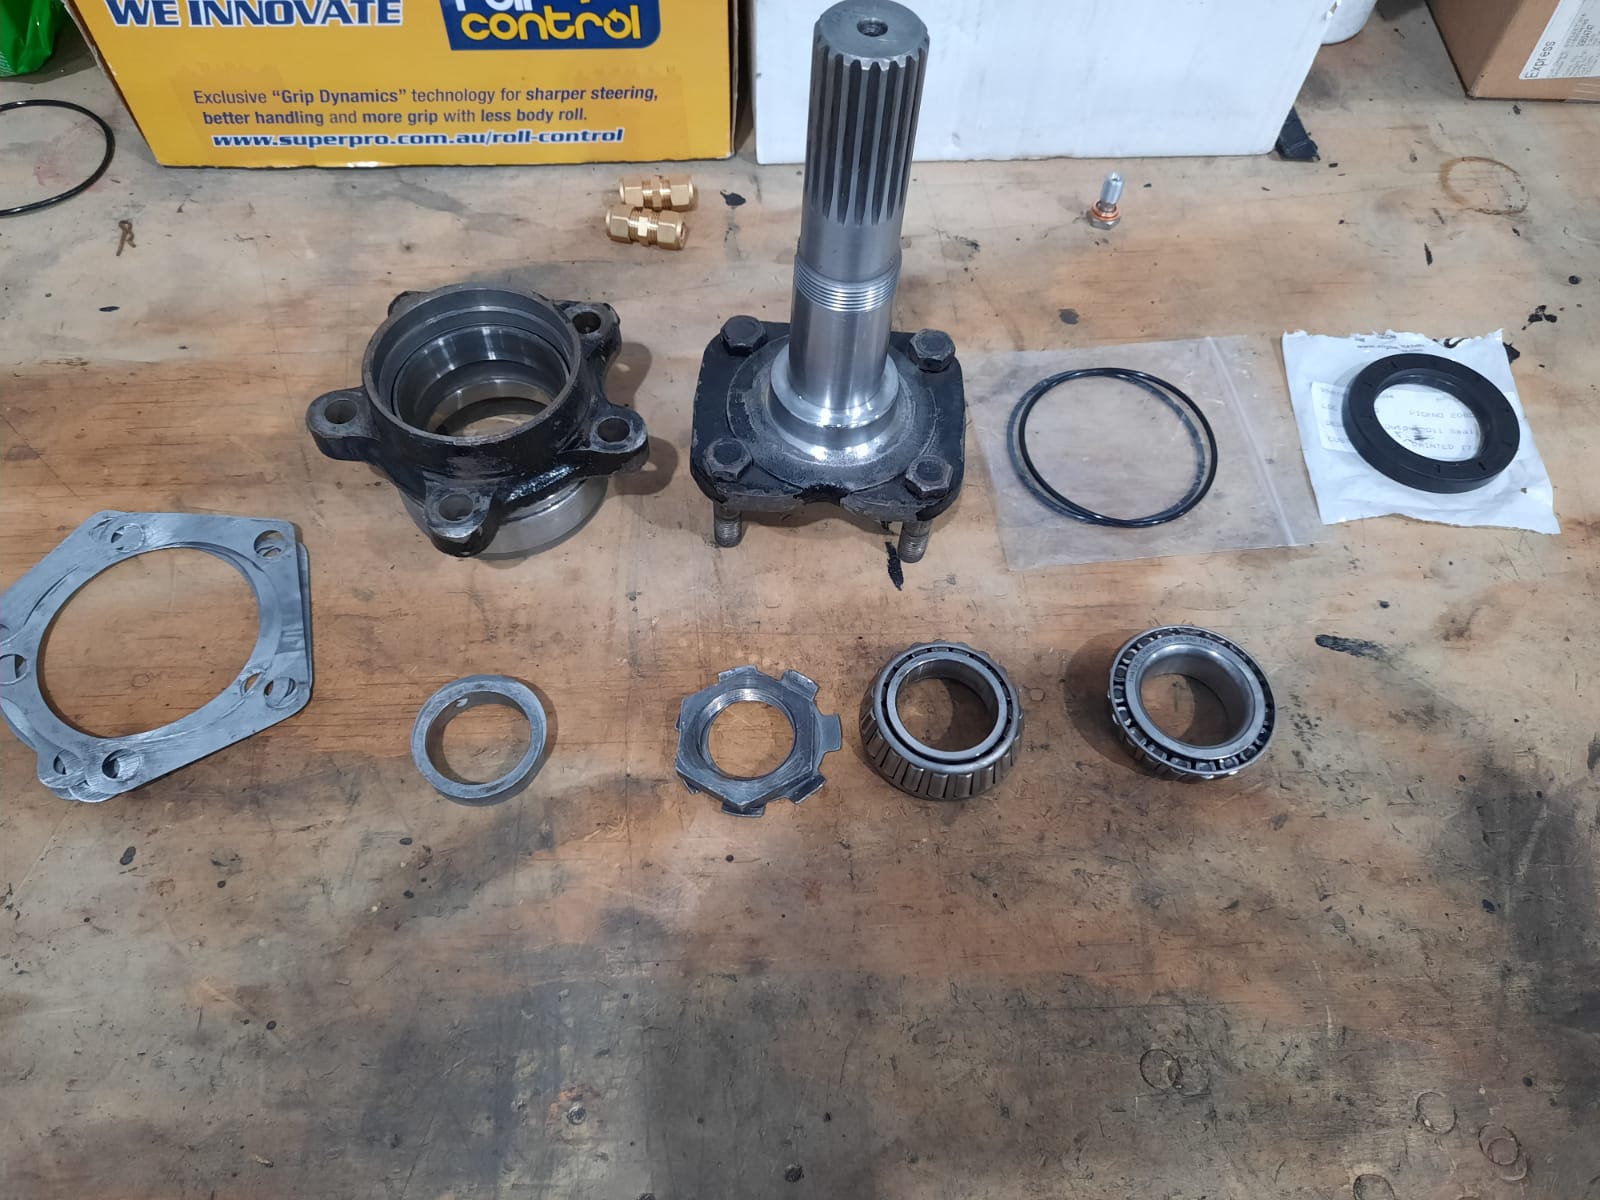
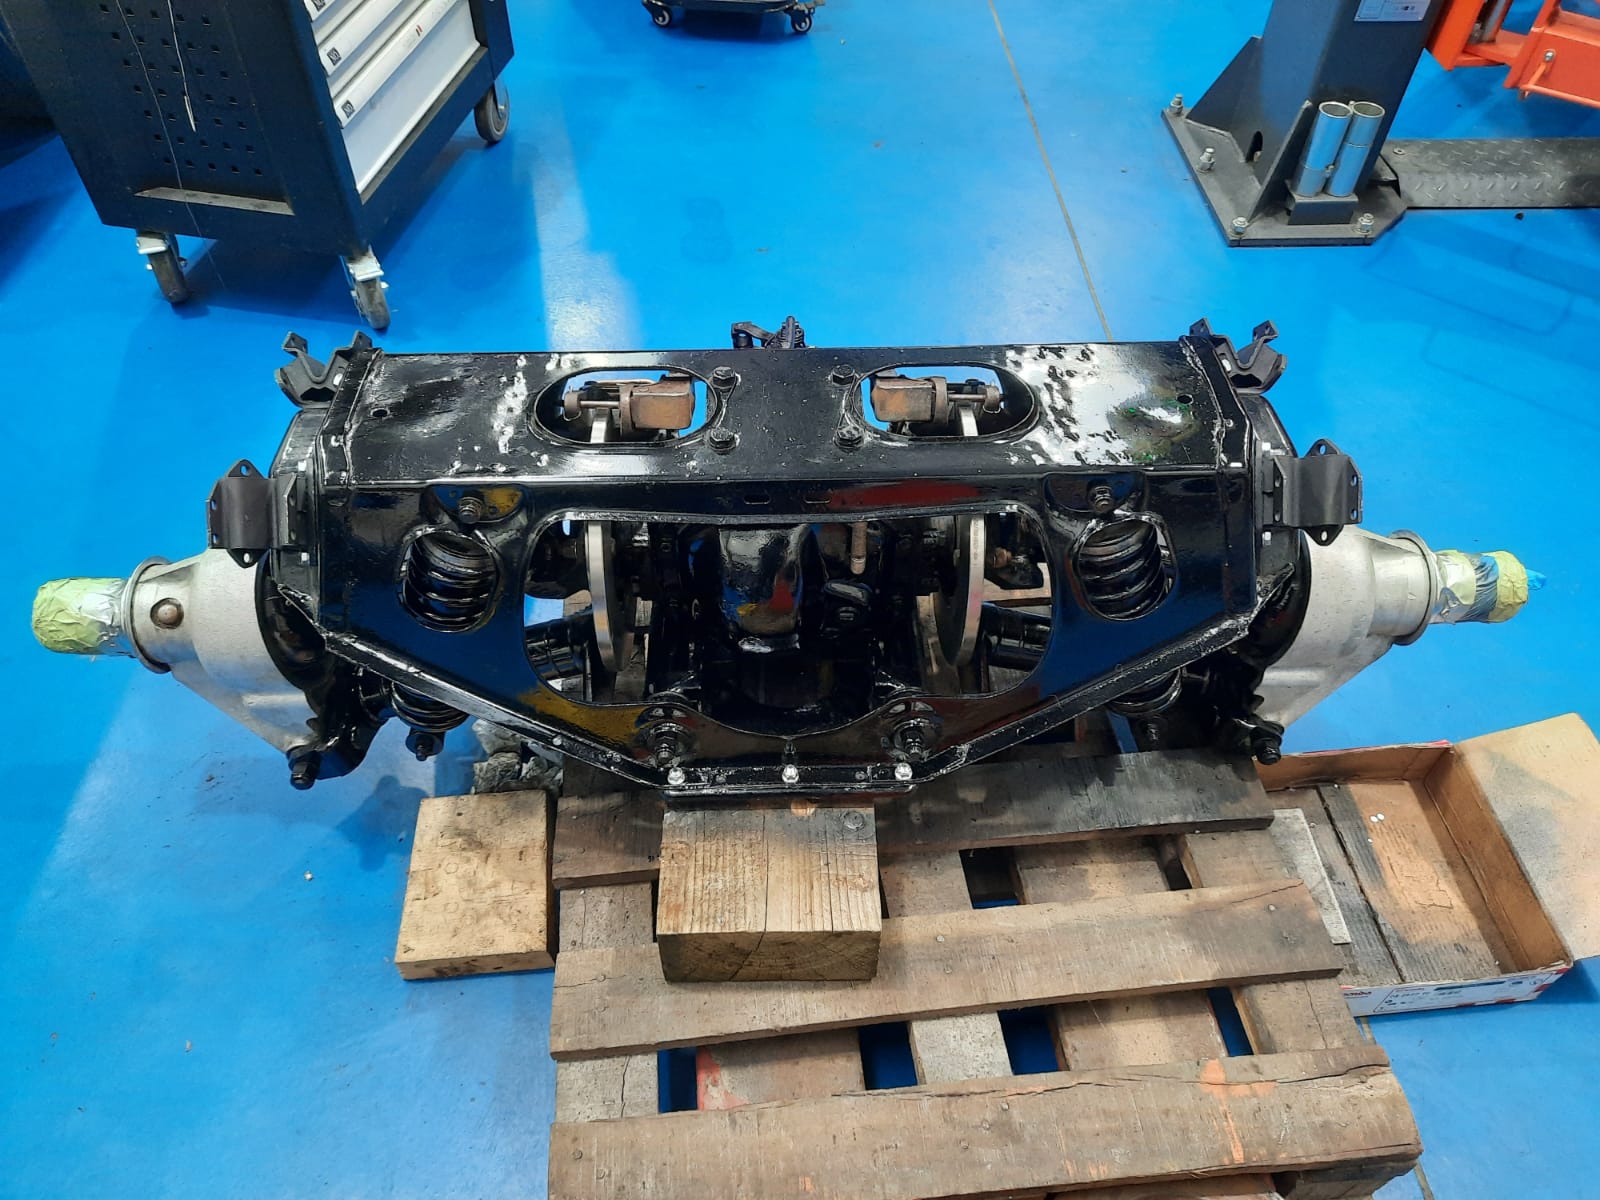
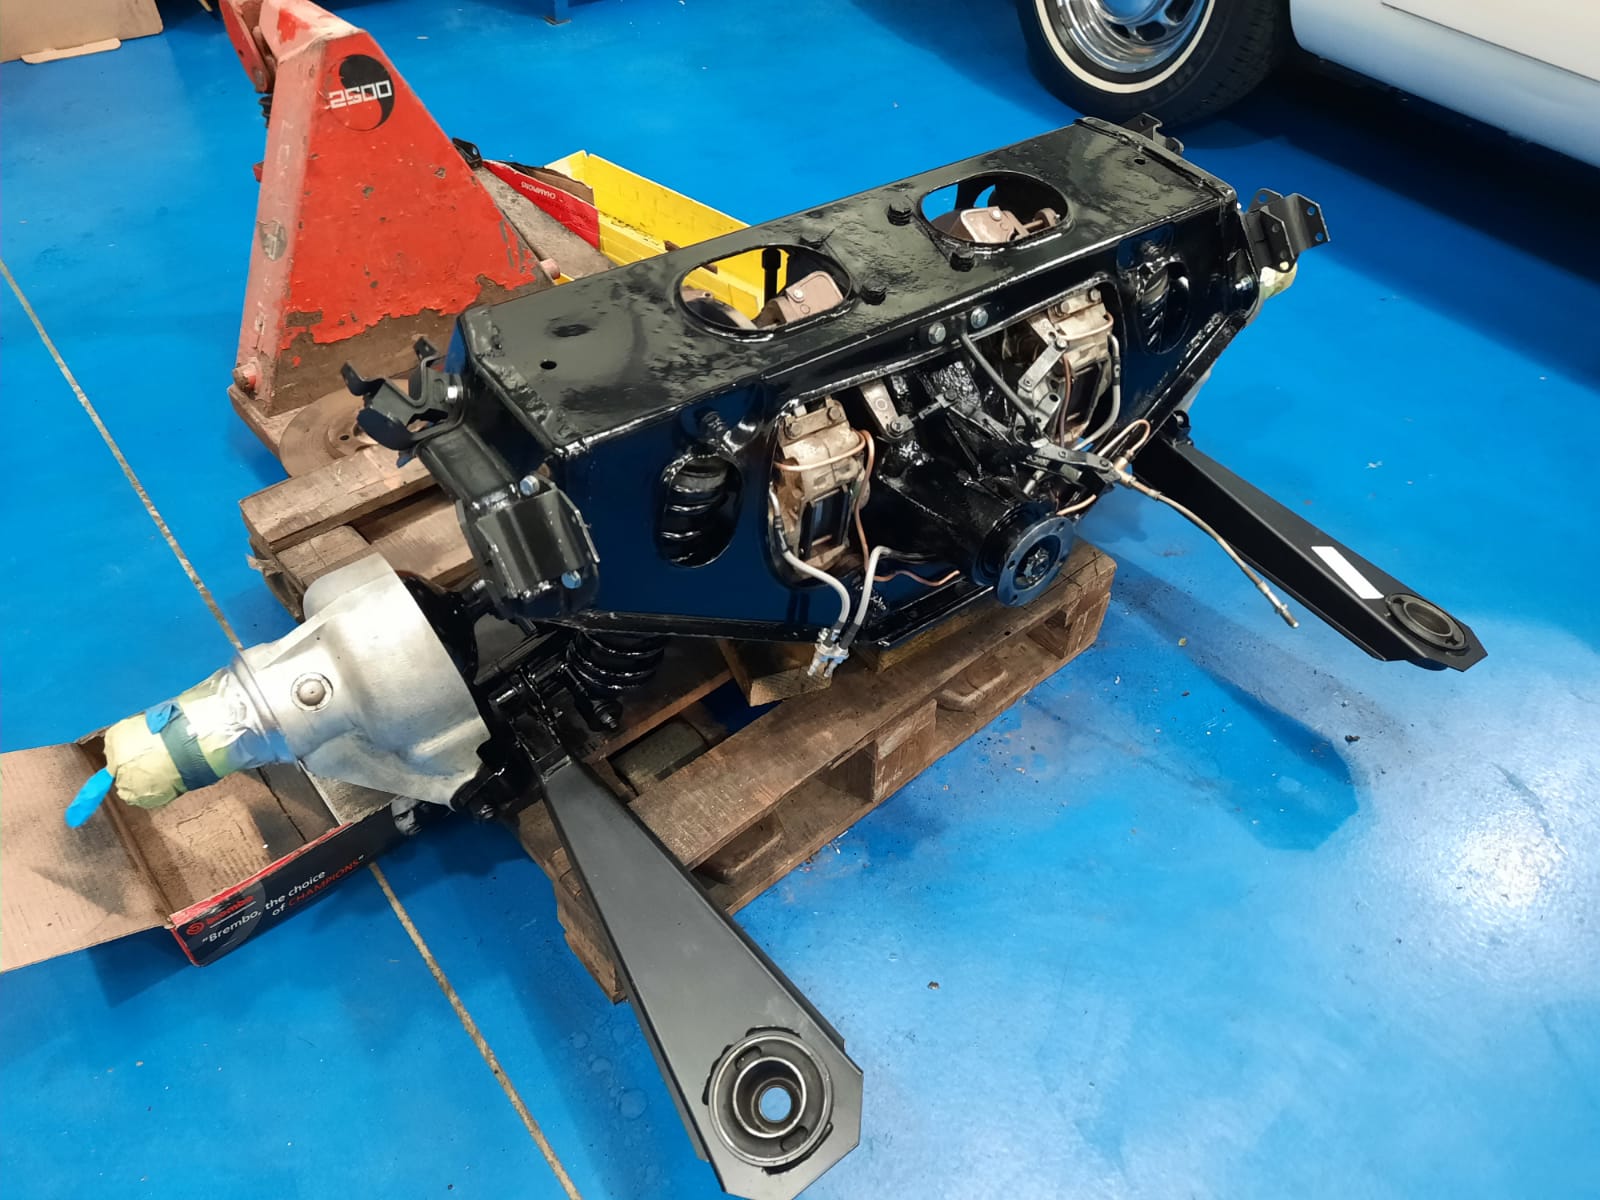
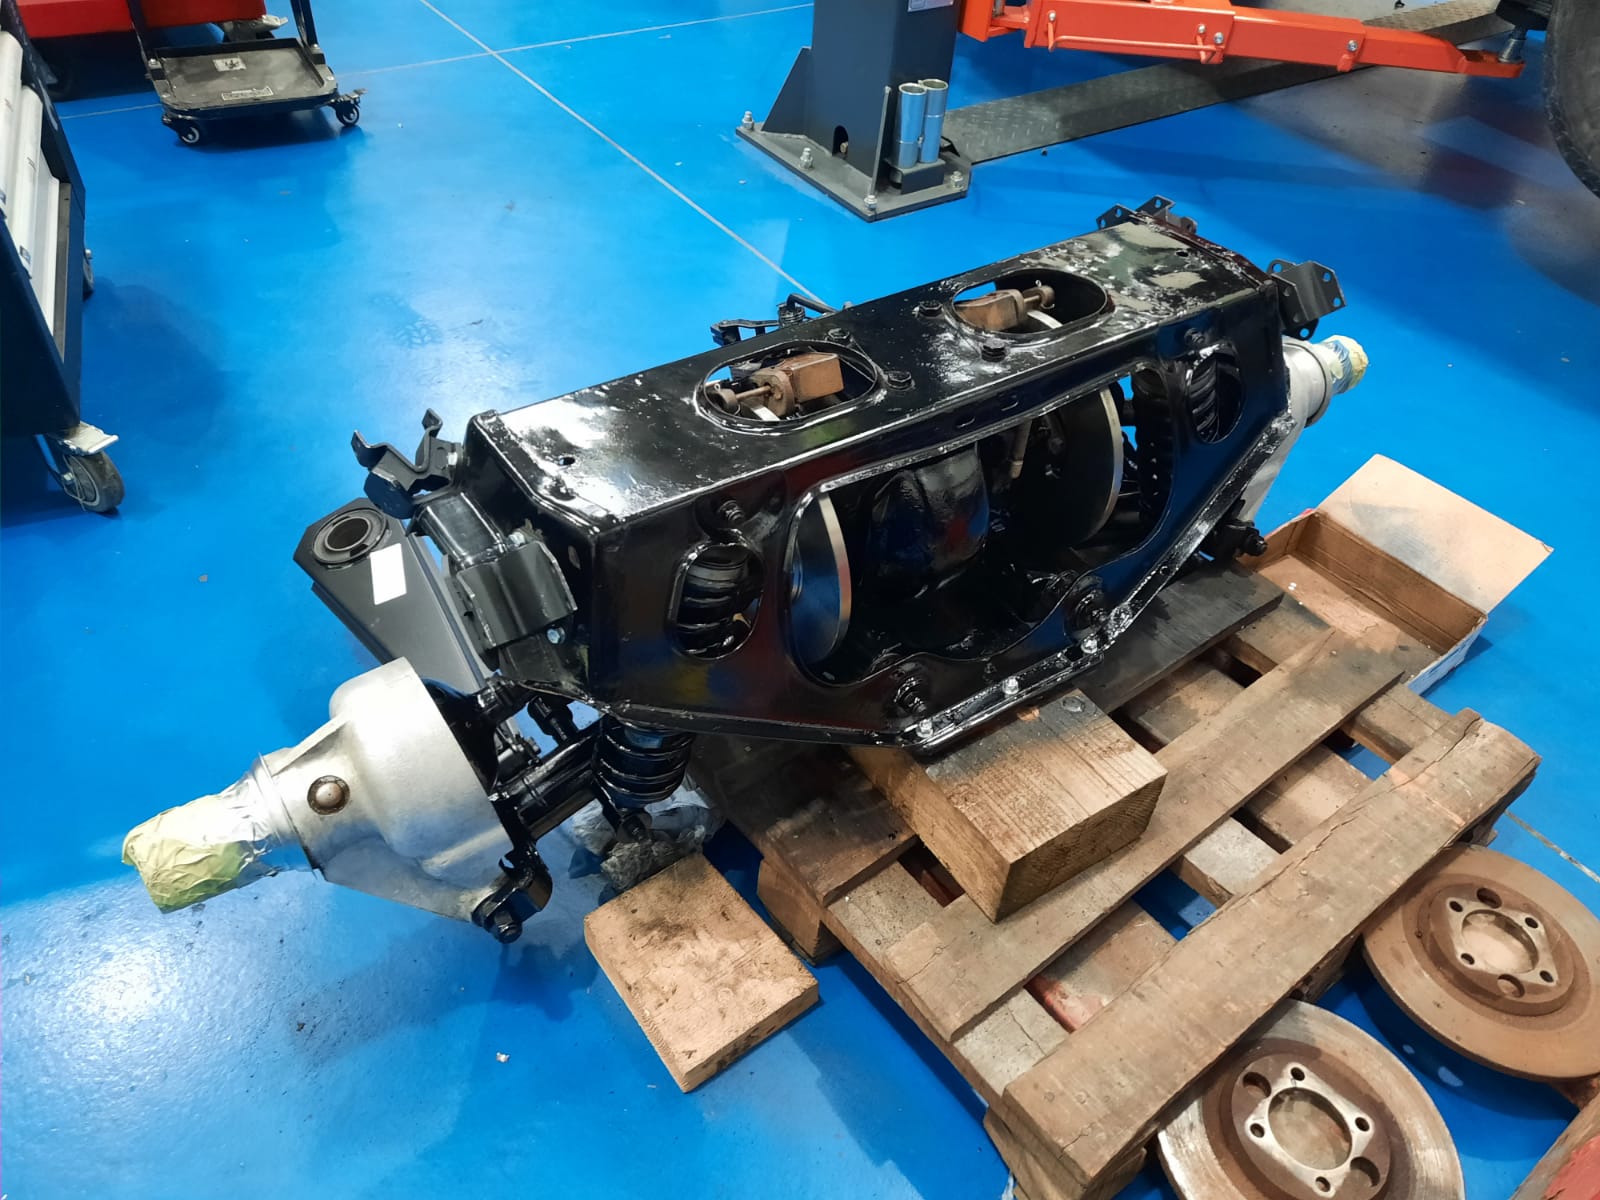
Our 1970 Jaguar E-type Series 2 4.2 is currently have its service. Mauro has been taking care of this project and is in charge of ensuring that this charming classic is back on the road asap.

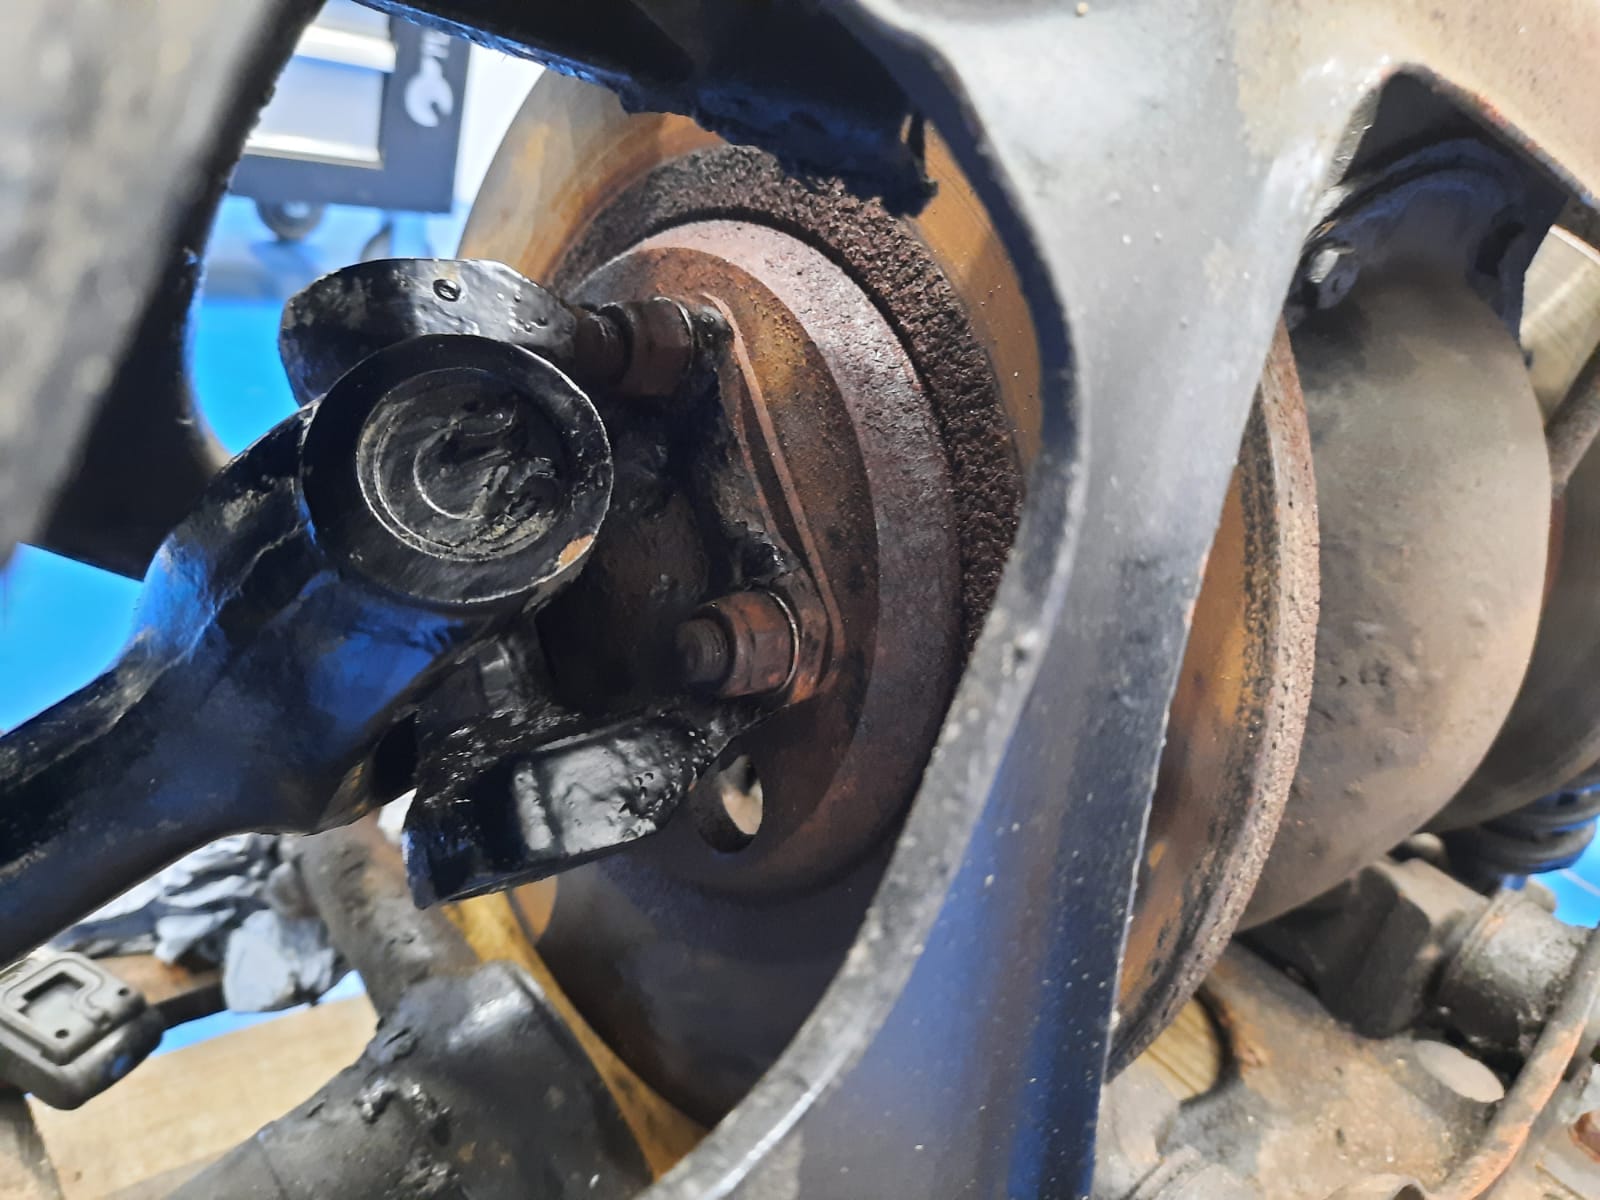
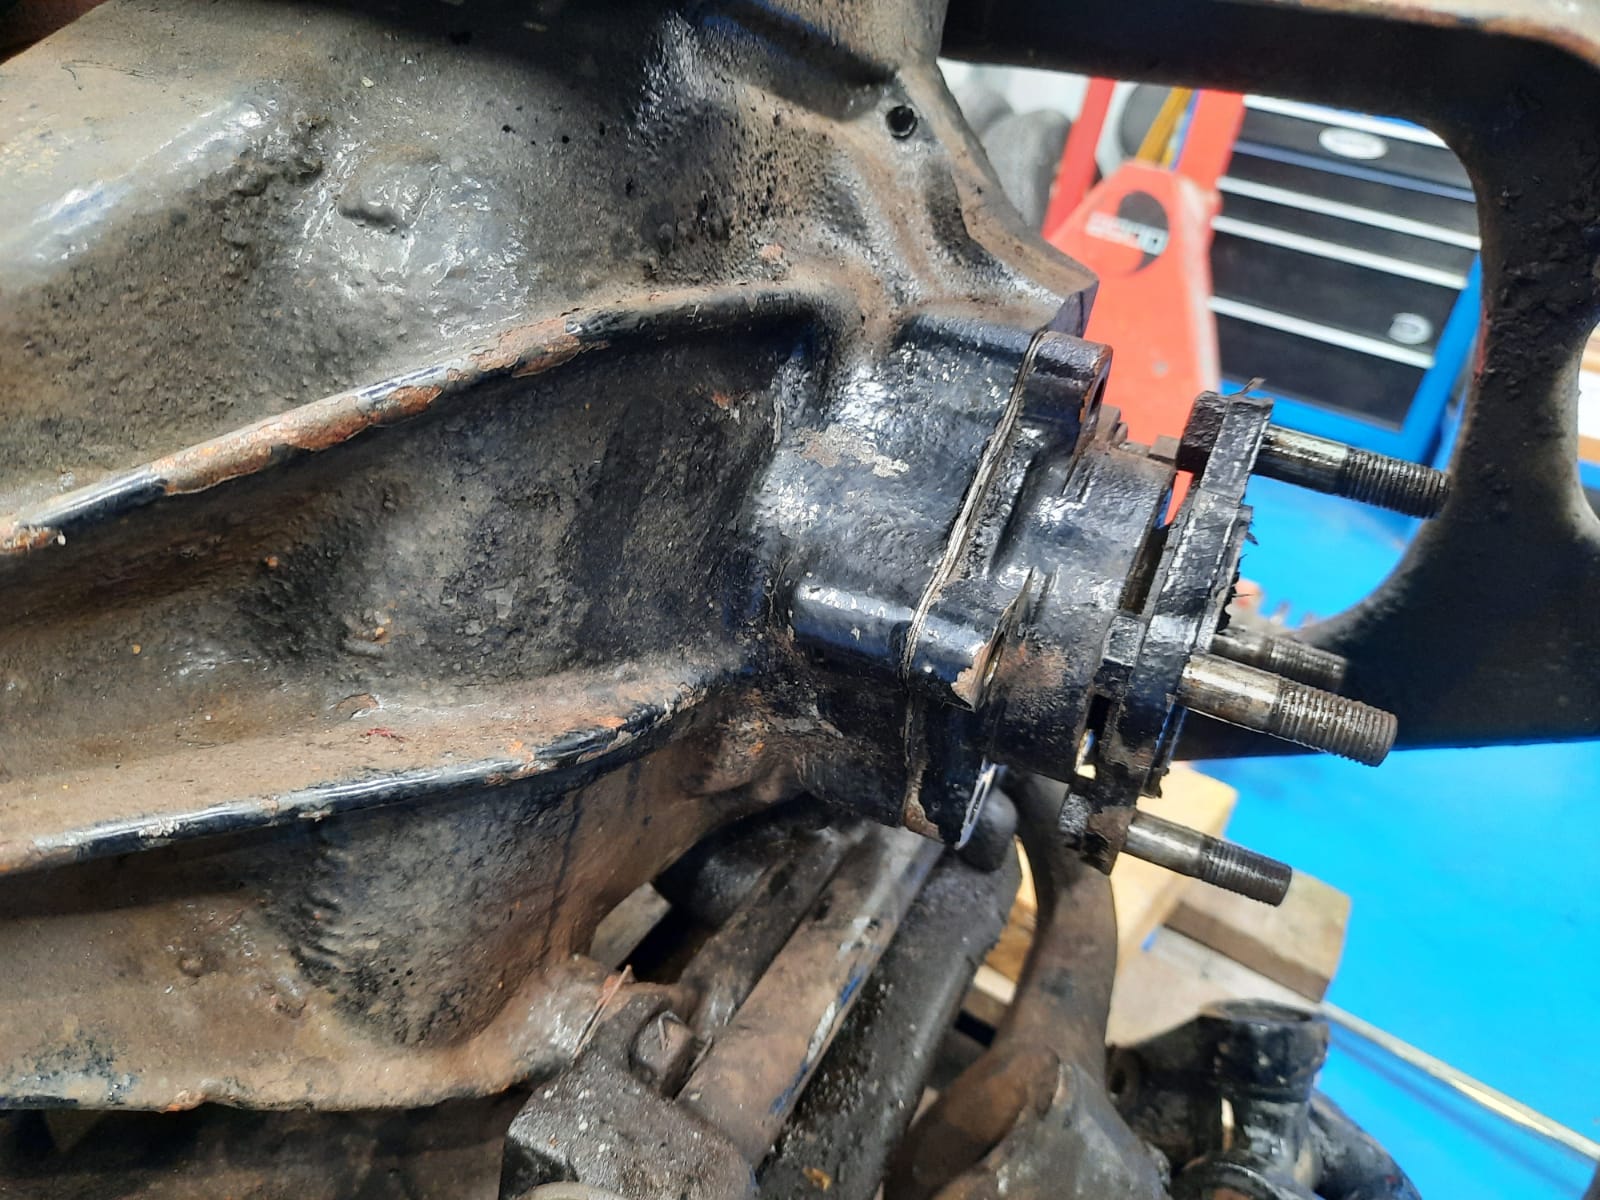
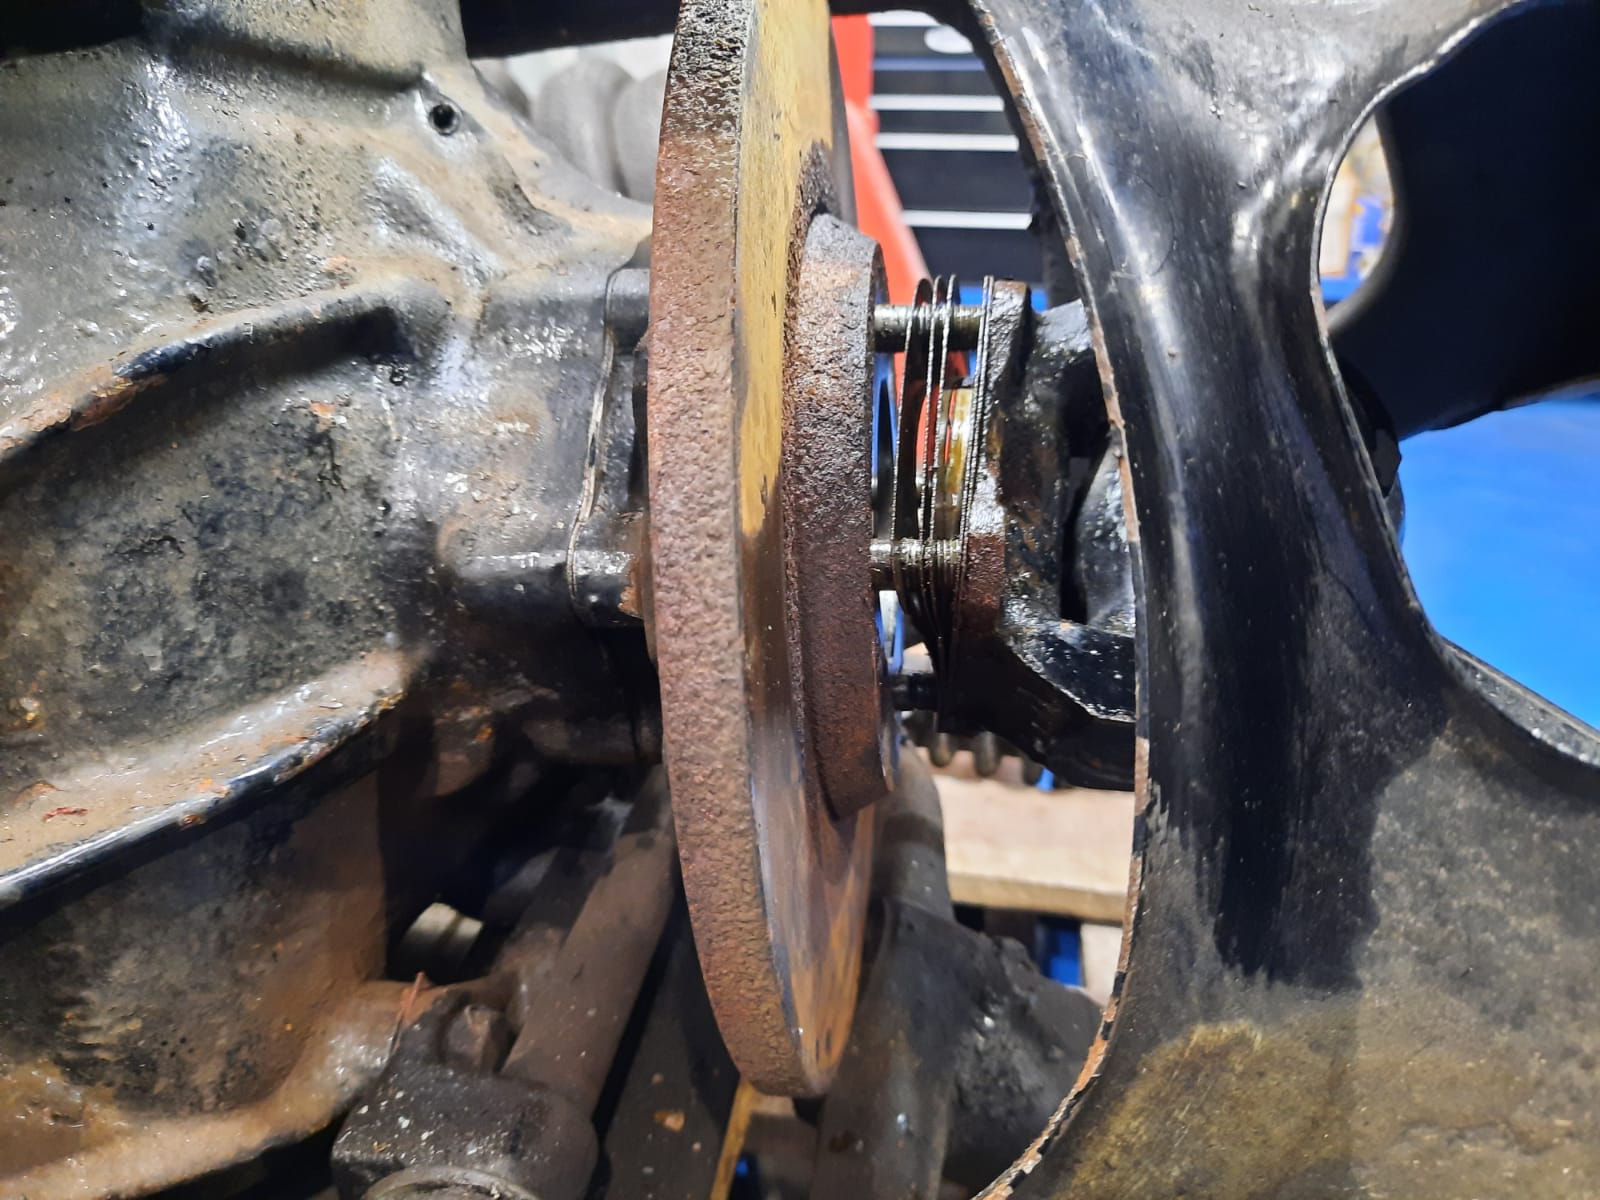
Mauro has fitted new rear anti roll bar, link and bush as well as repaired the rusty fuel lines. Mauro has also been carefully reassembling and rebuilding the rear axle, fixing an oil leak by fitting new seals, fitting new brakes, discs and pads. Once he had finished rebuilding the rear axel, Mauro could fit it back in.


Here at Bridge Classic Cars, we’re become Jensen specialists, meaning whether you have a Jensen to bring in or you’re just inquiring about, we can help. This gentleman was enquiring about a part for his Jensen.

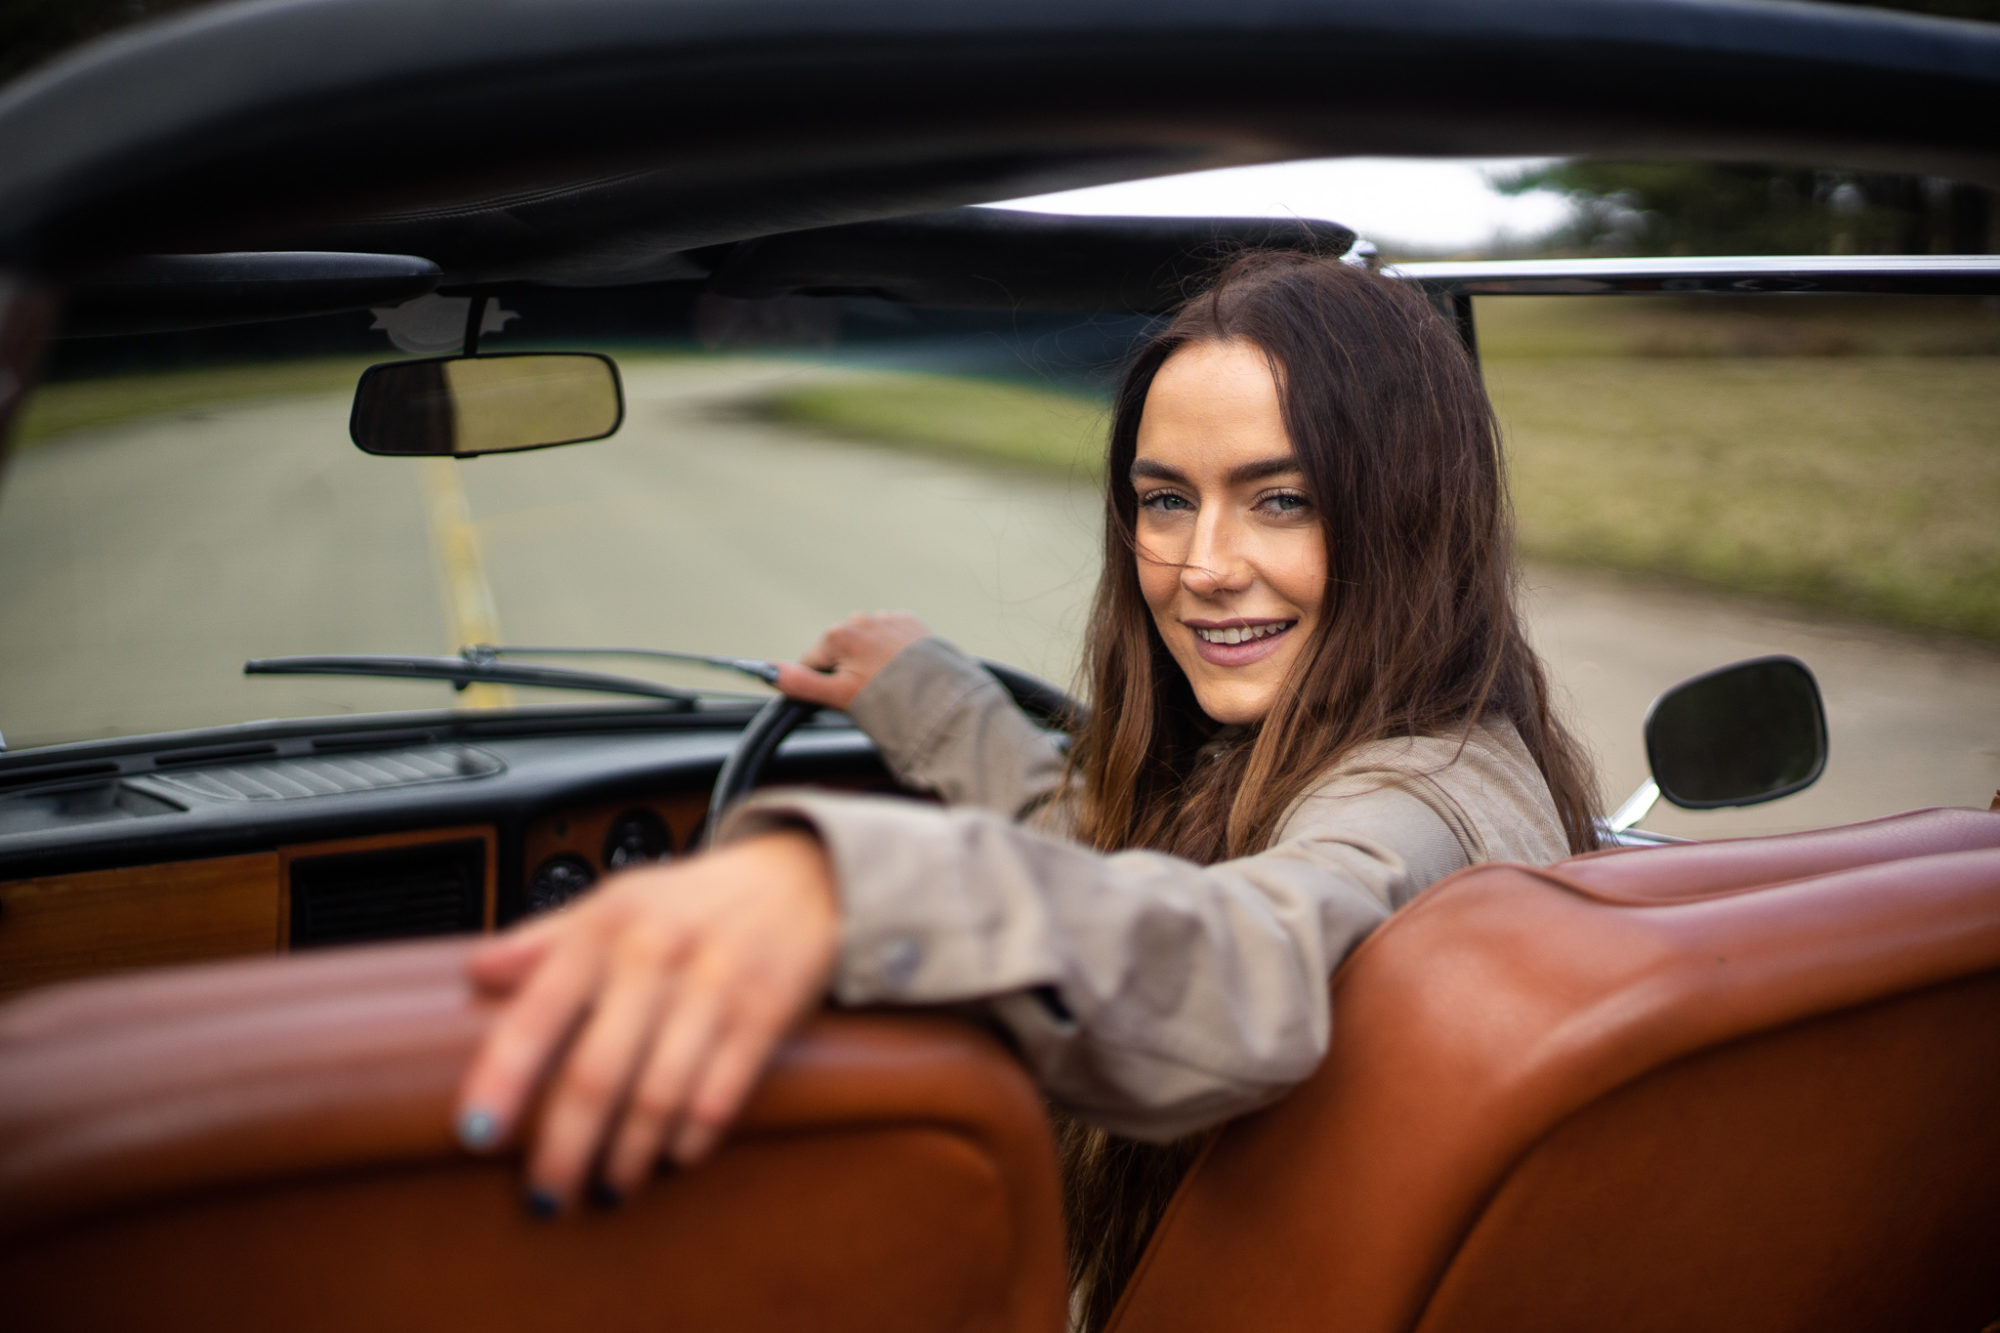
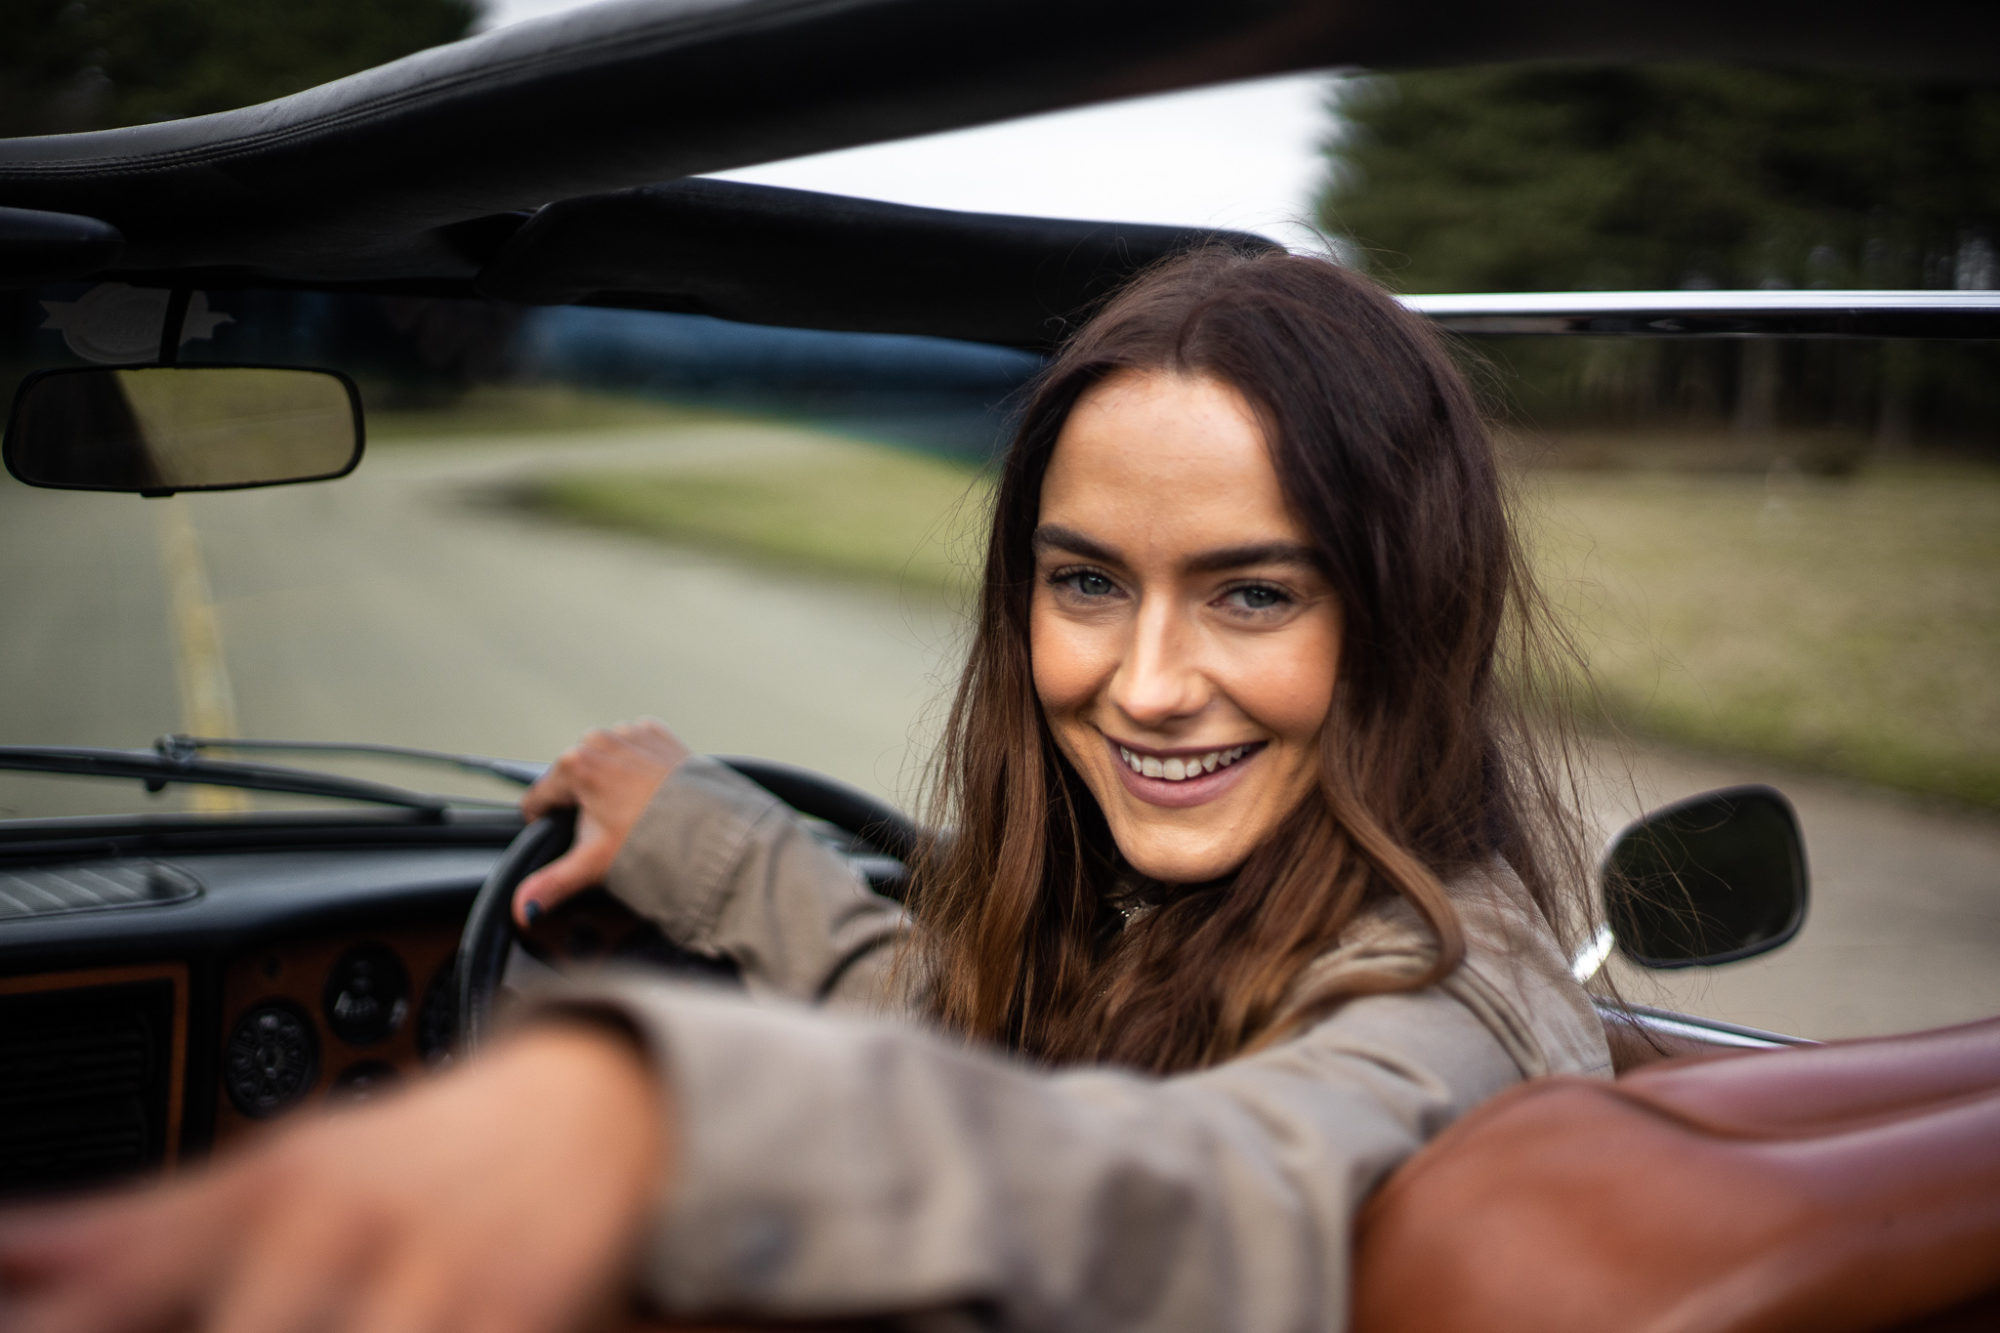
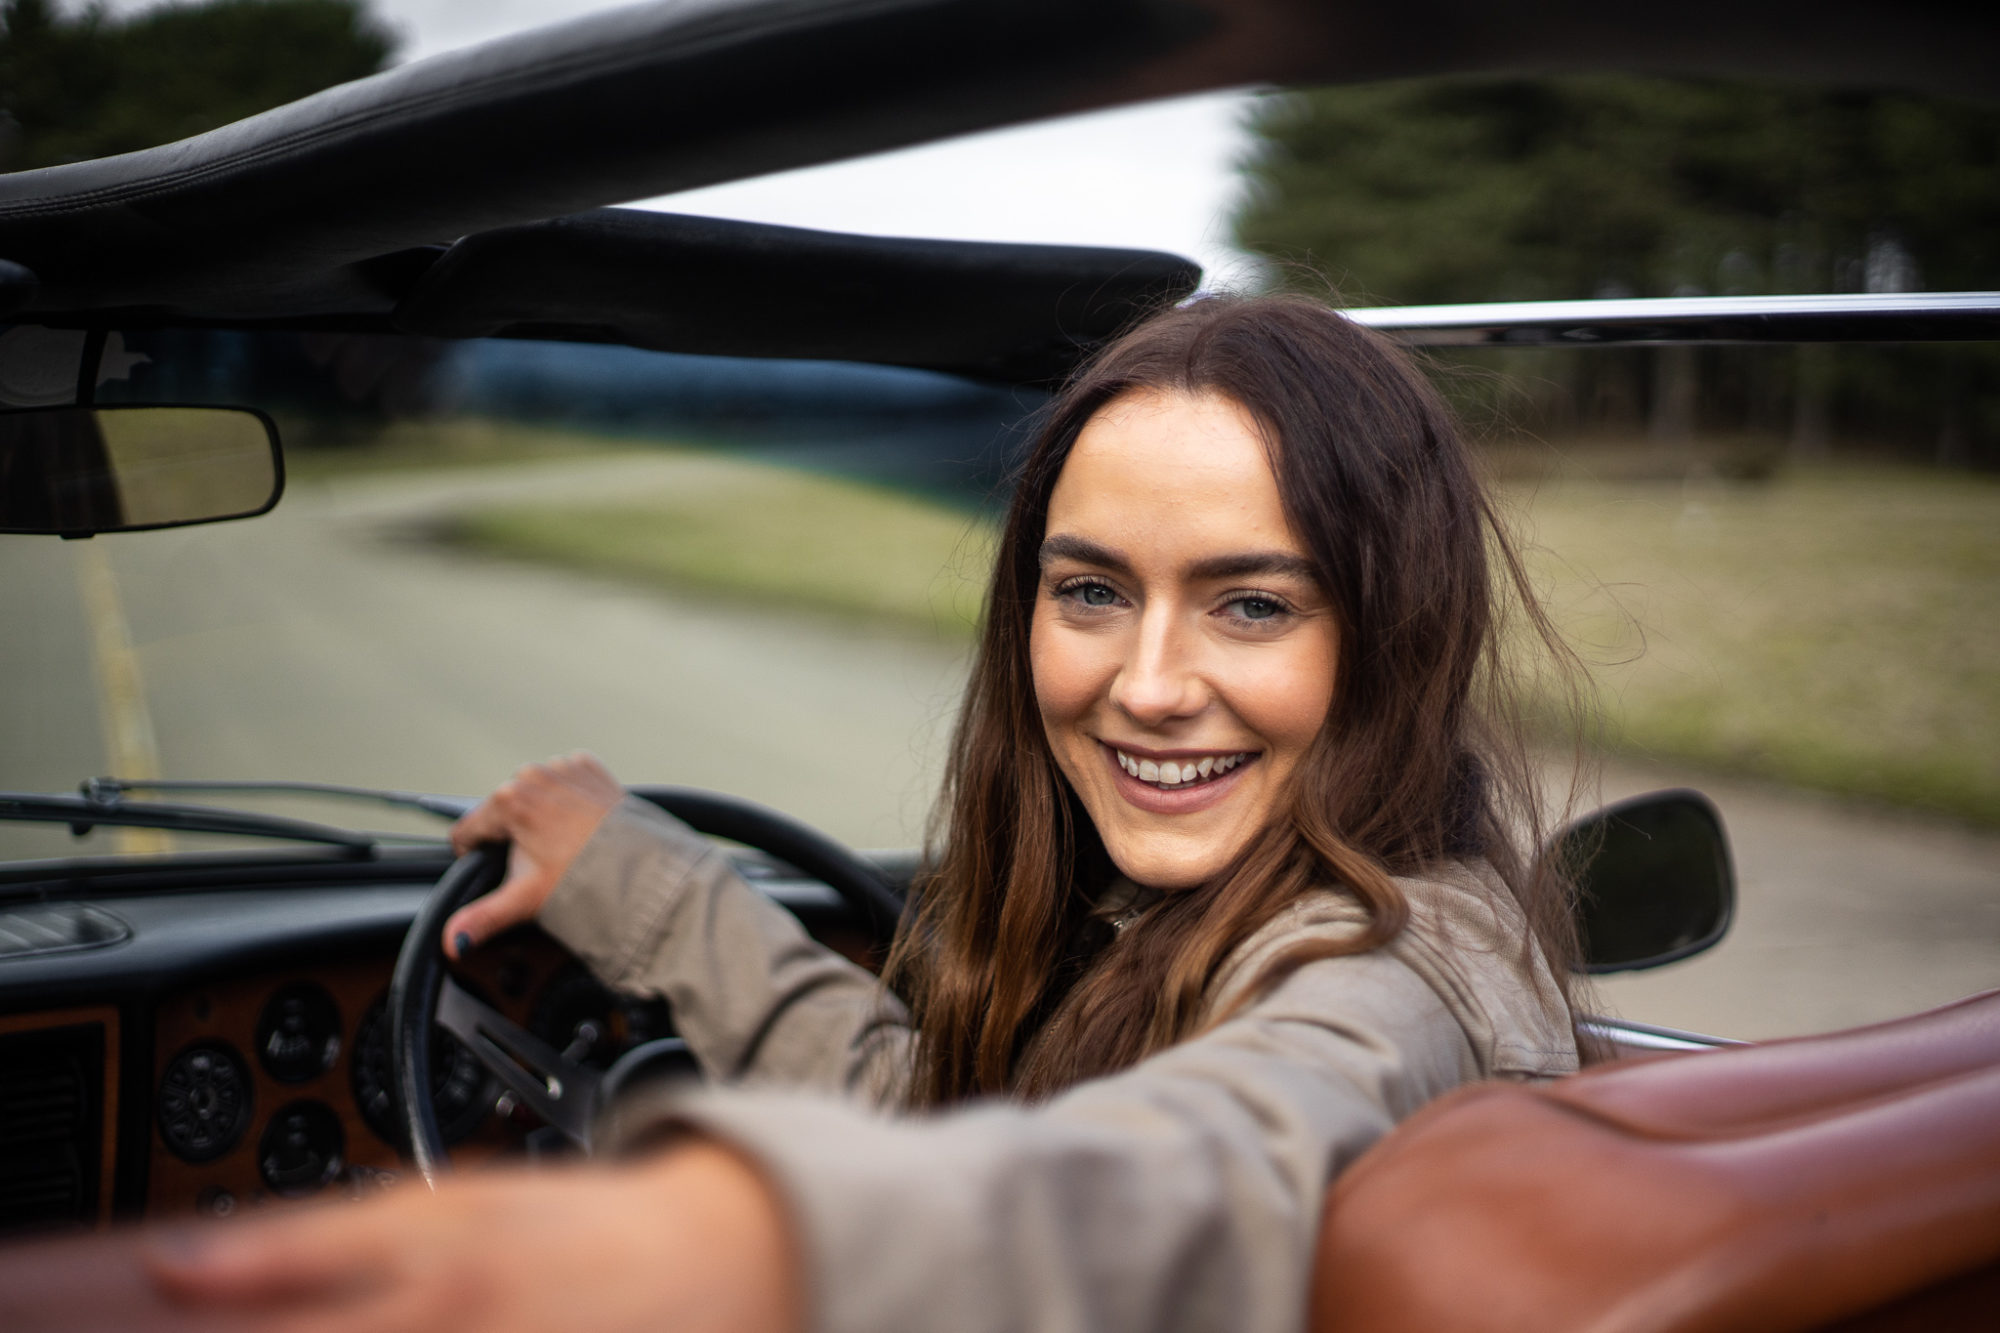
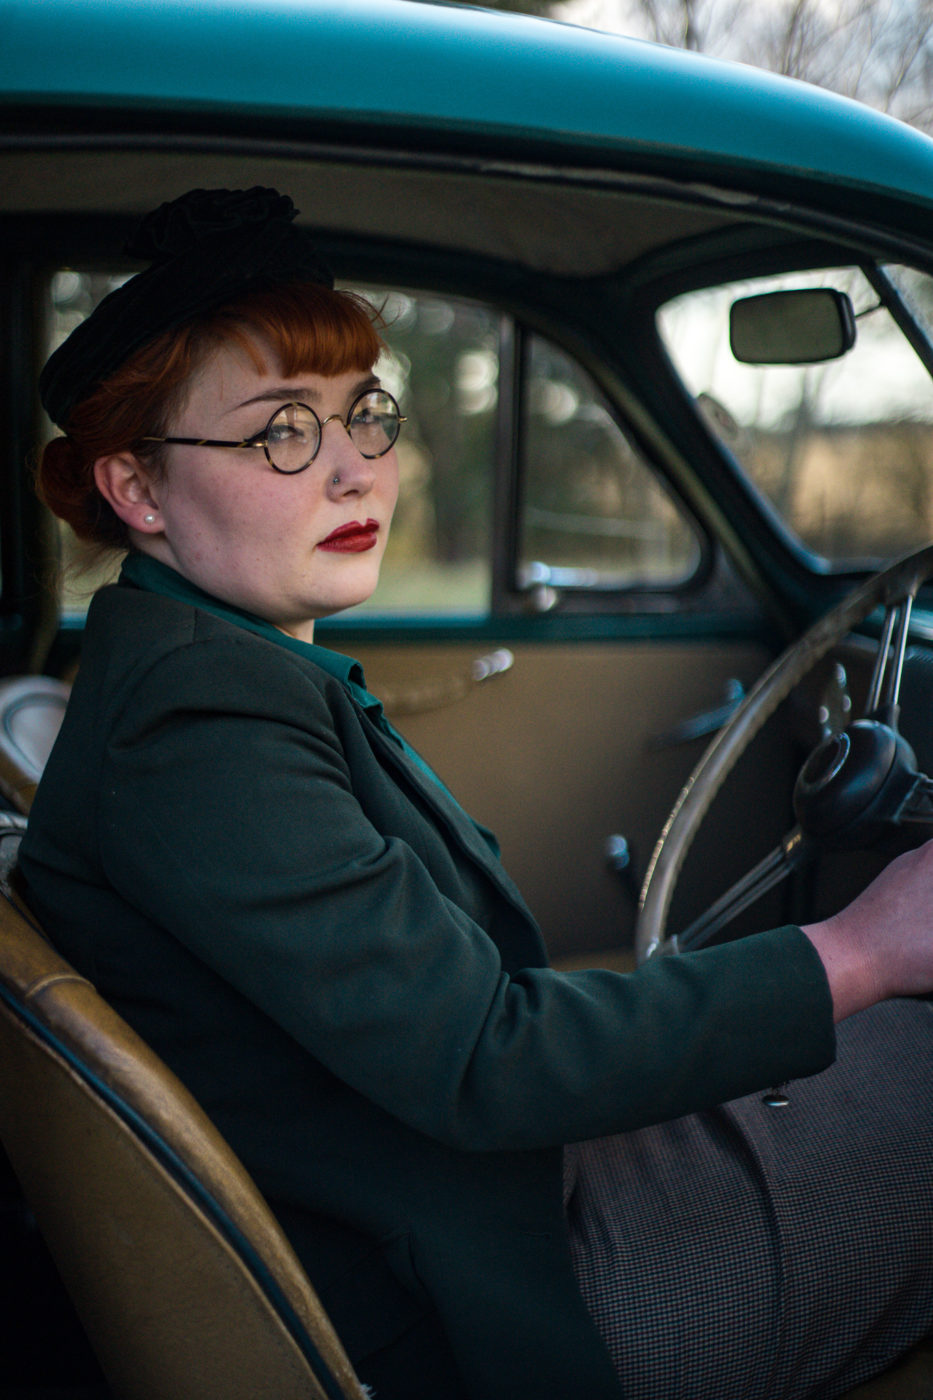
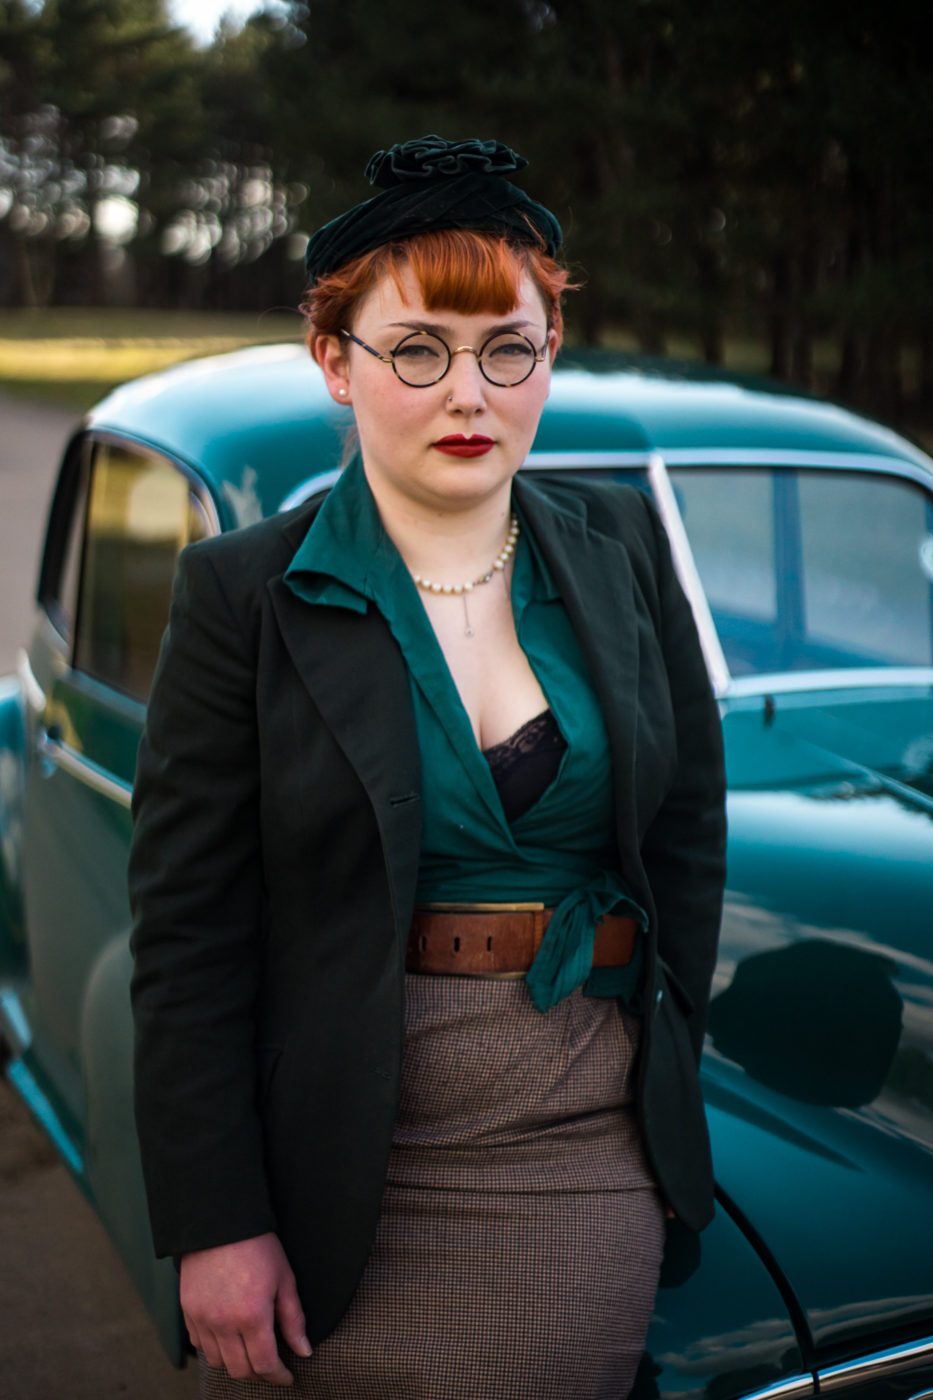
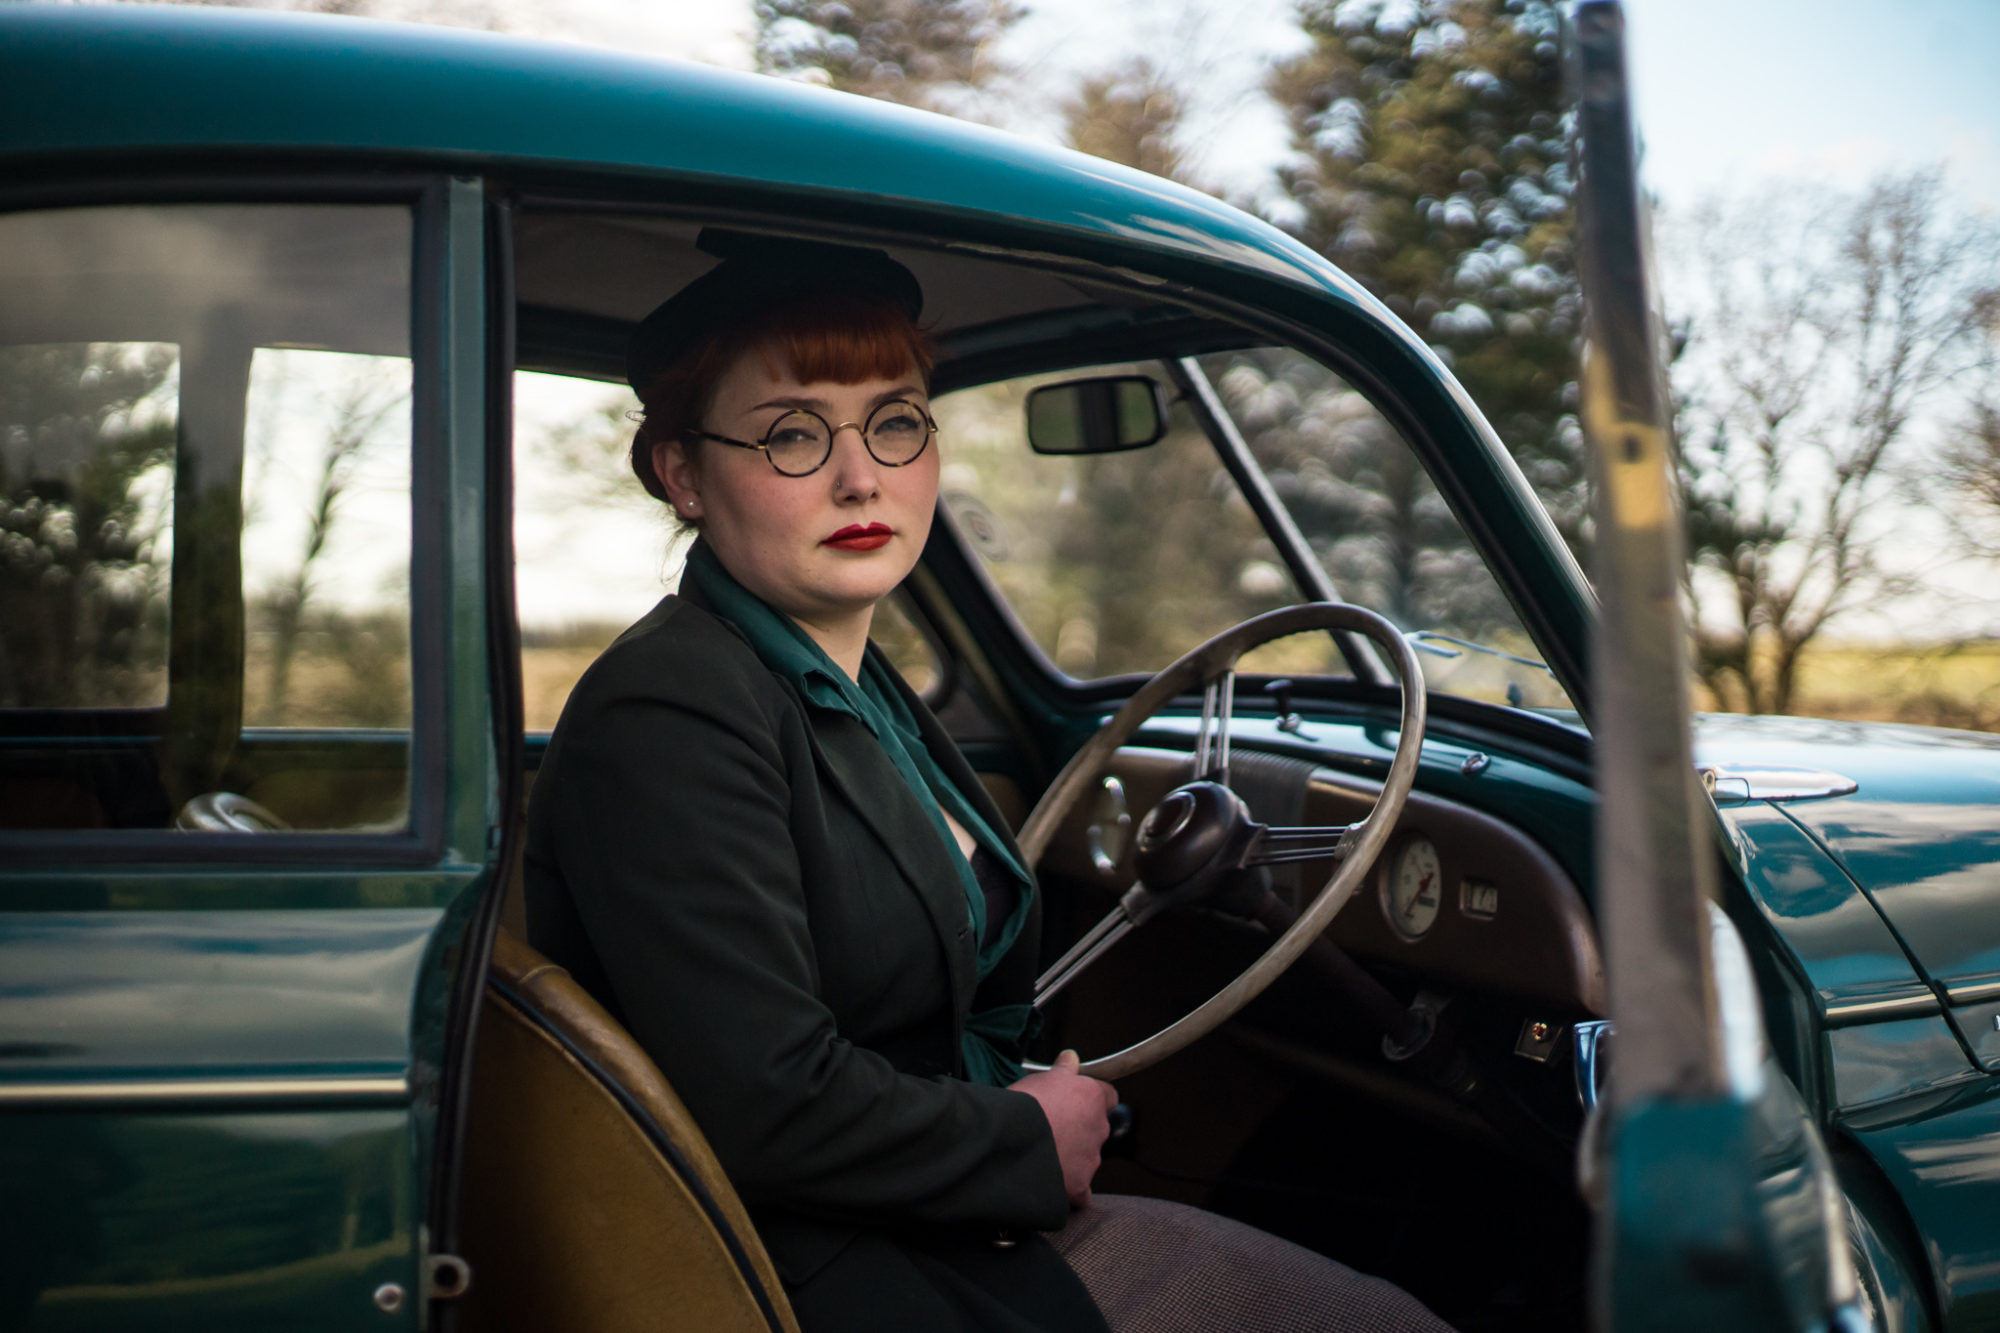
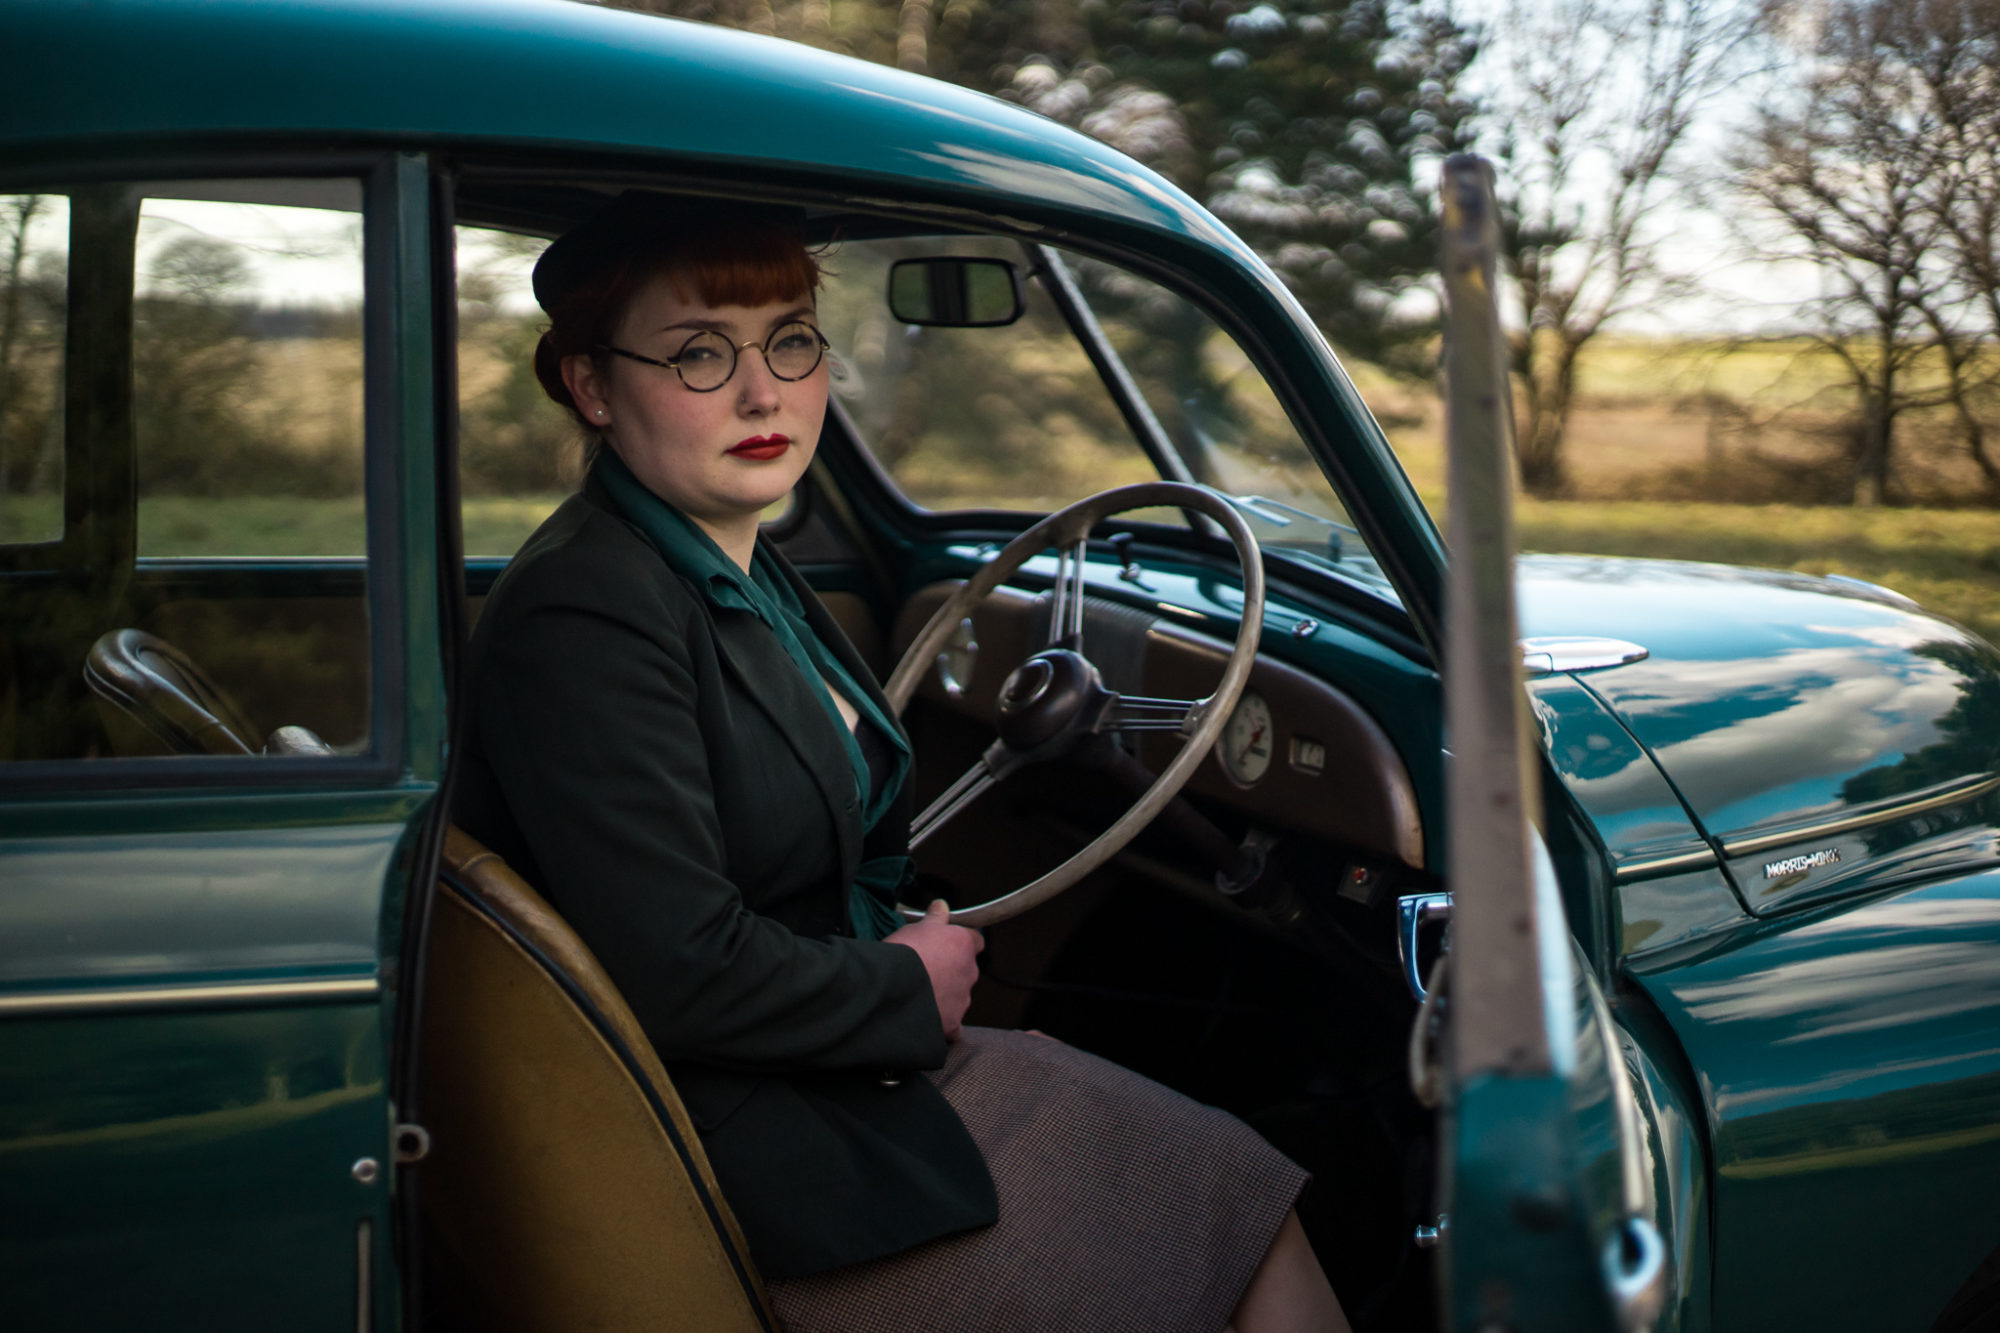
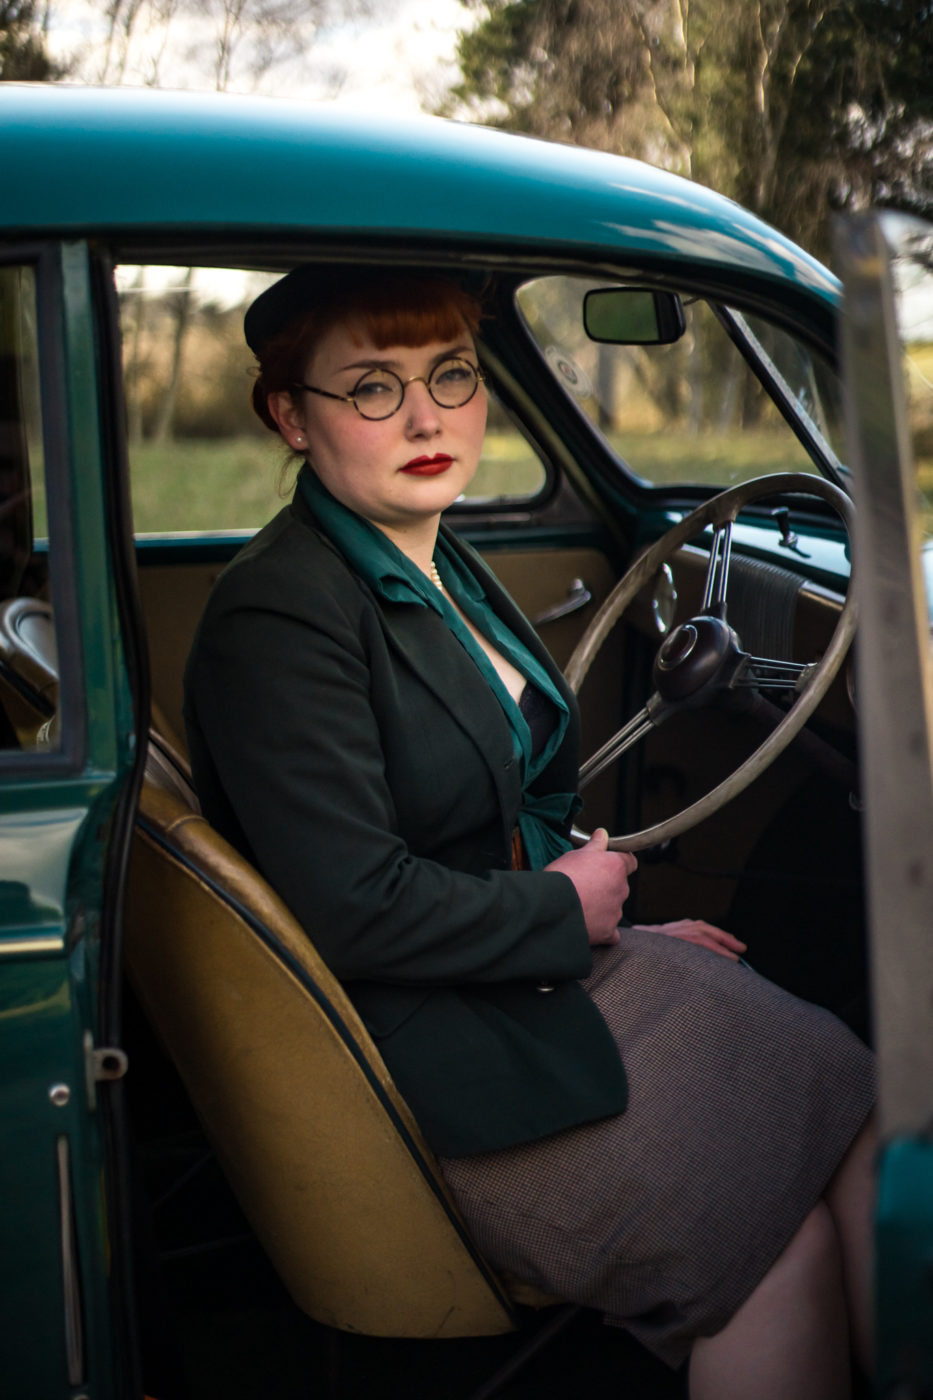
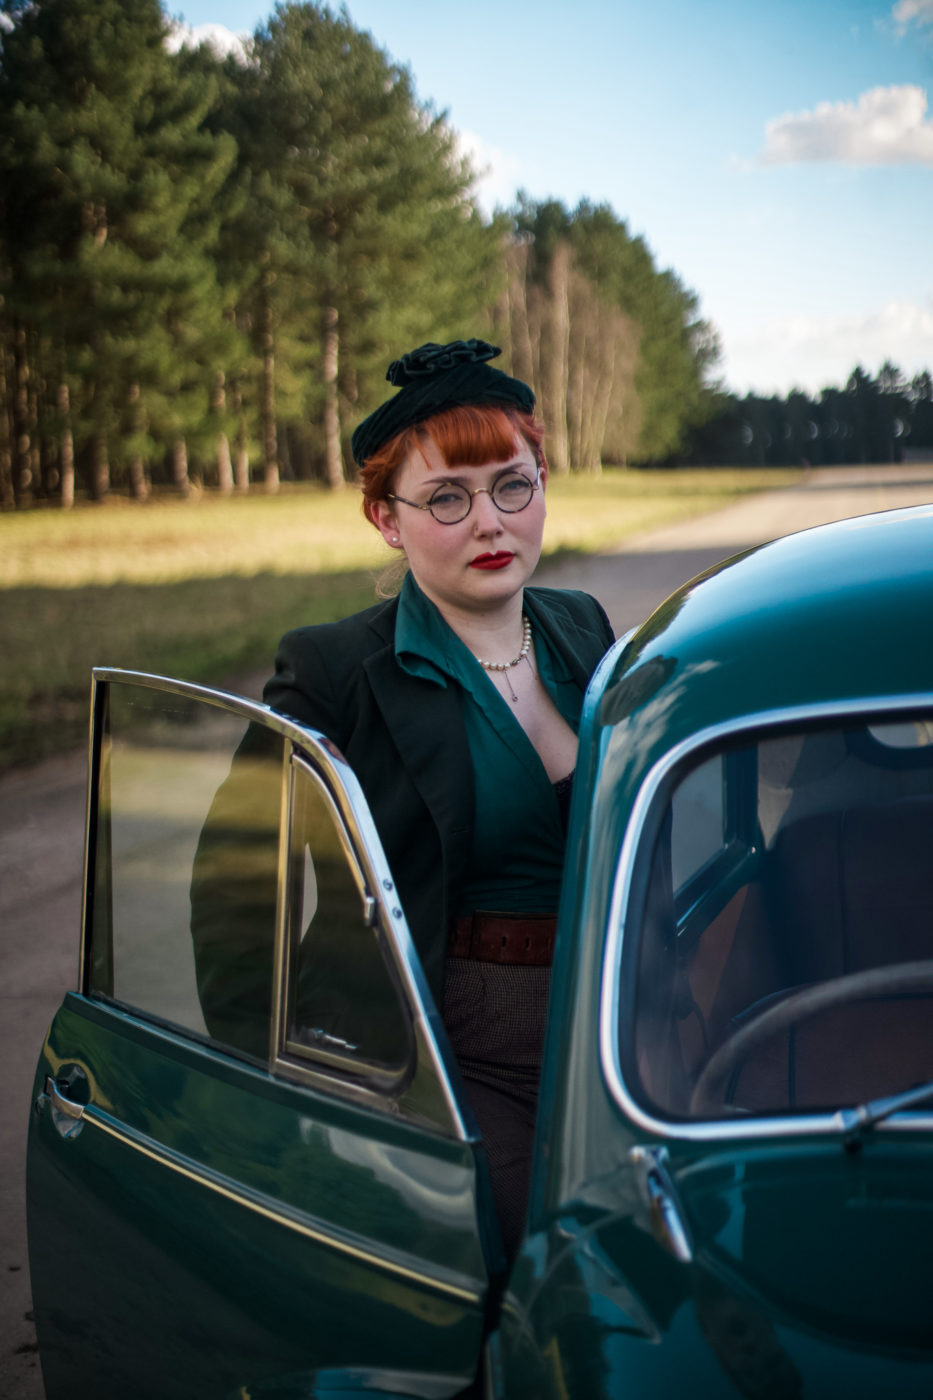
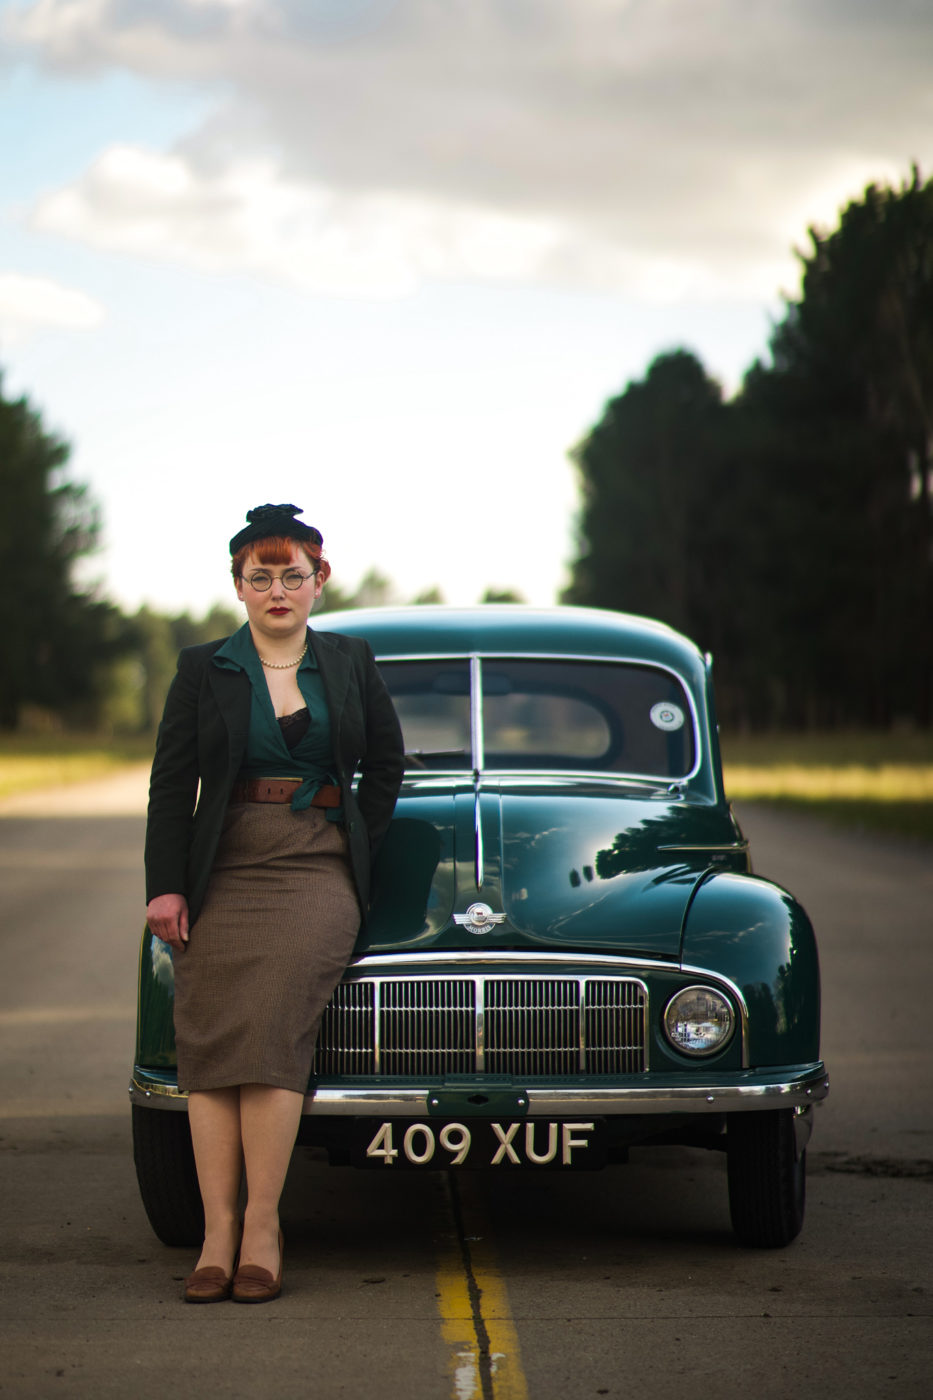
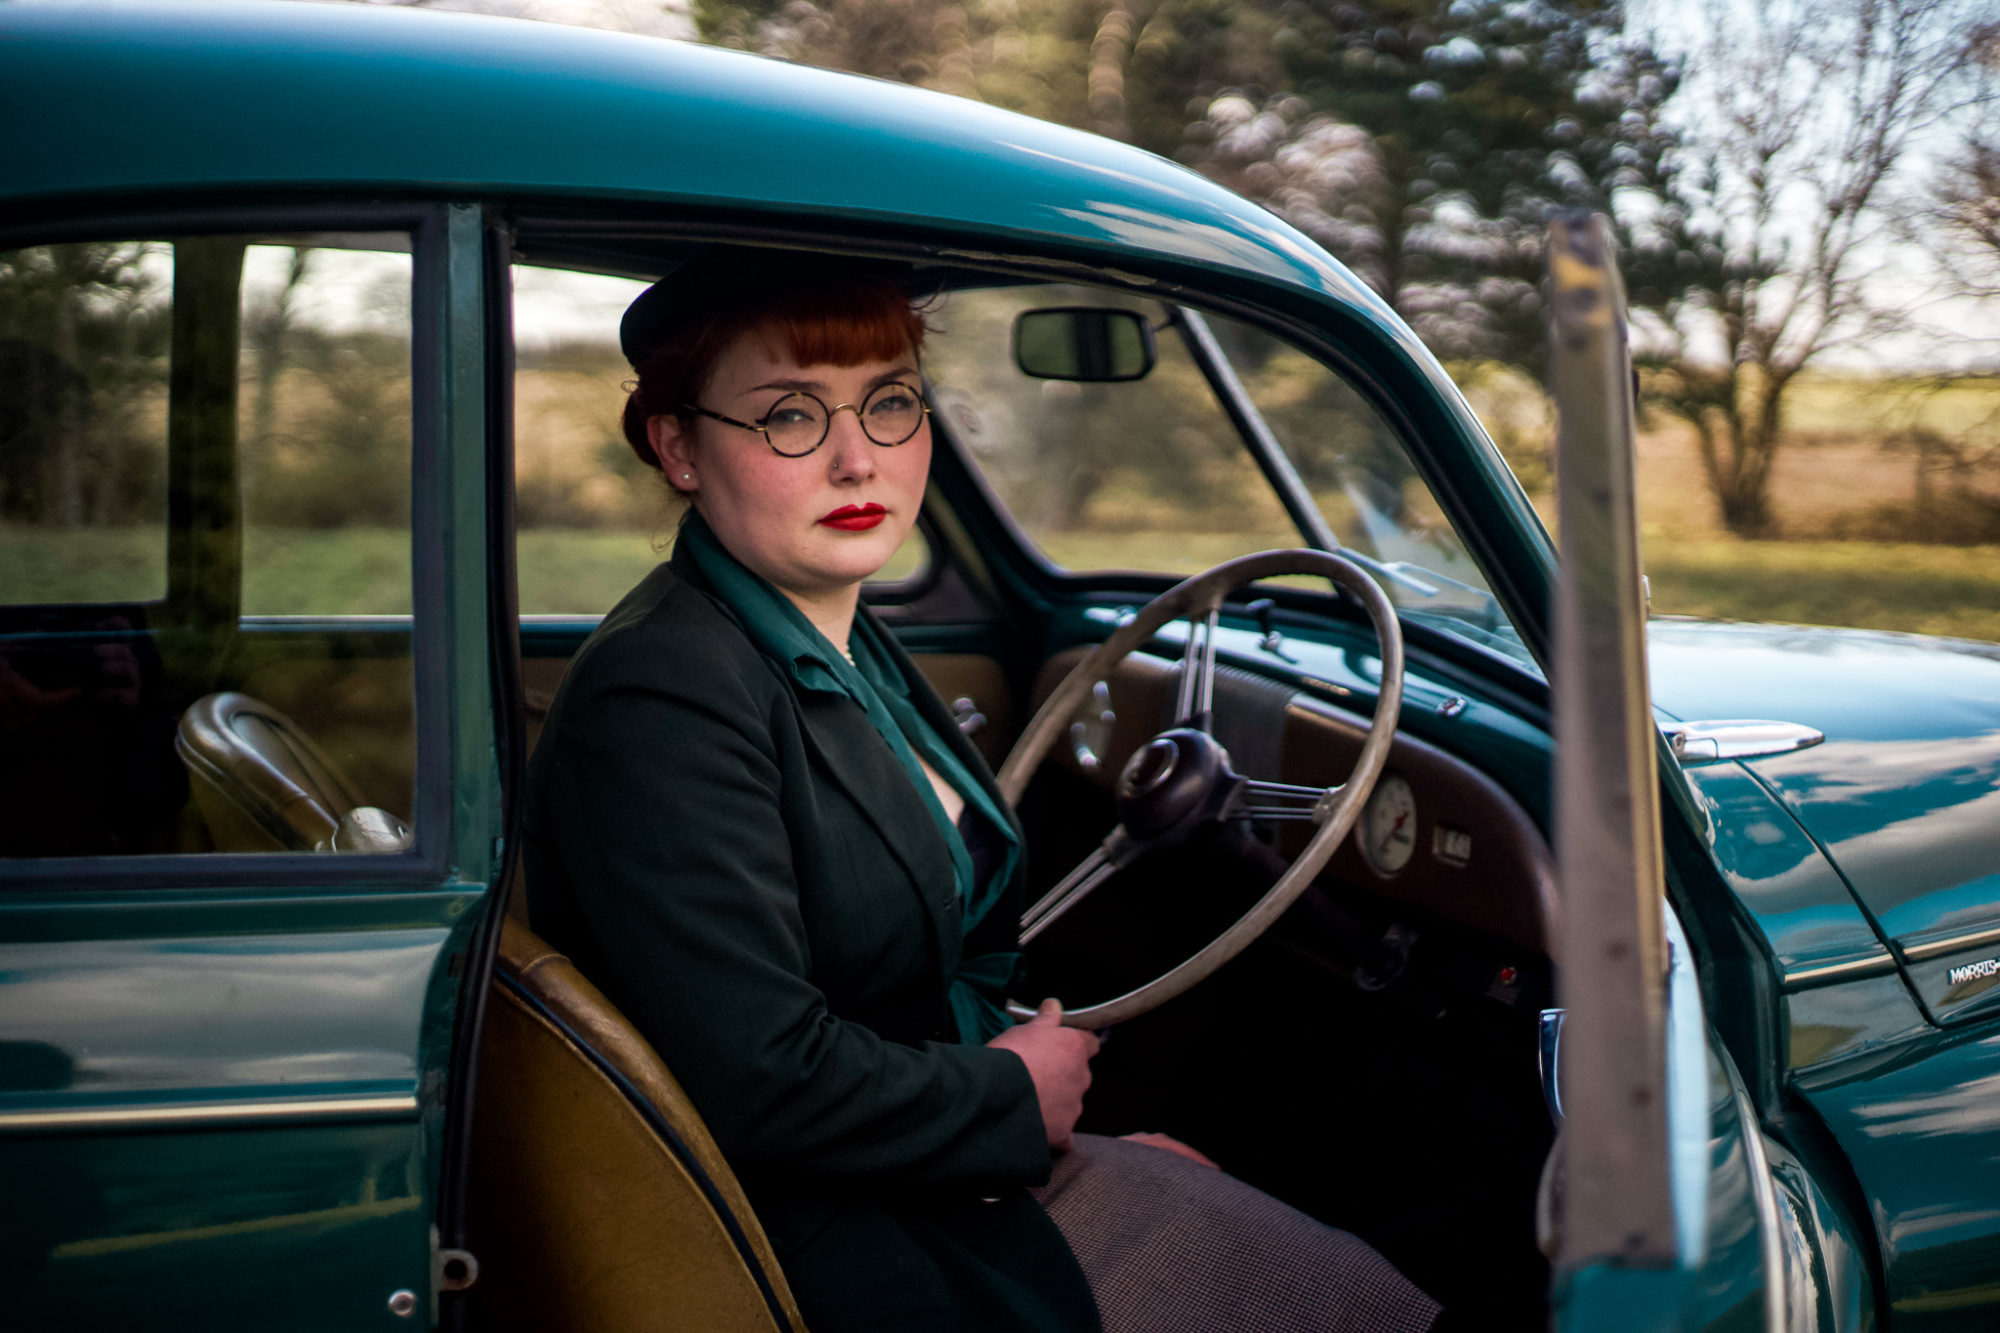
In February, we shot this characterful Morris Minor ‘Lowlight’, which you may recognise as out current competition car. We were lucky with the weather as a warm late winter sun graced the skies over Bentwaters RAF base. Ellie and Freddie headed down to our hanger to start photographing and filming our beloved Morris in preparation to be launched on the website.
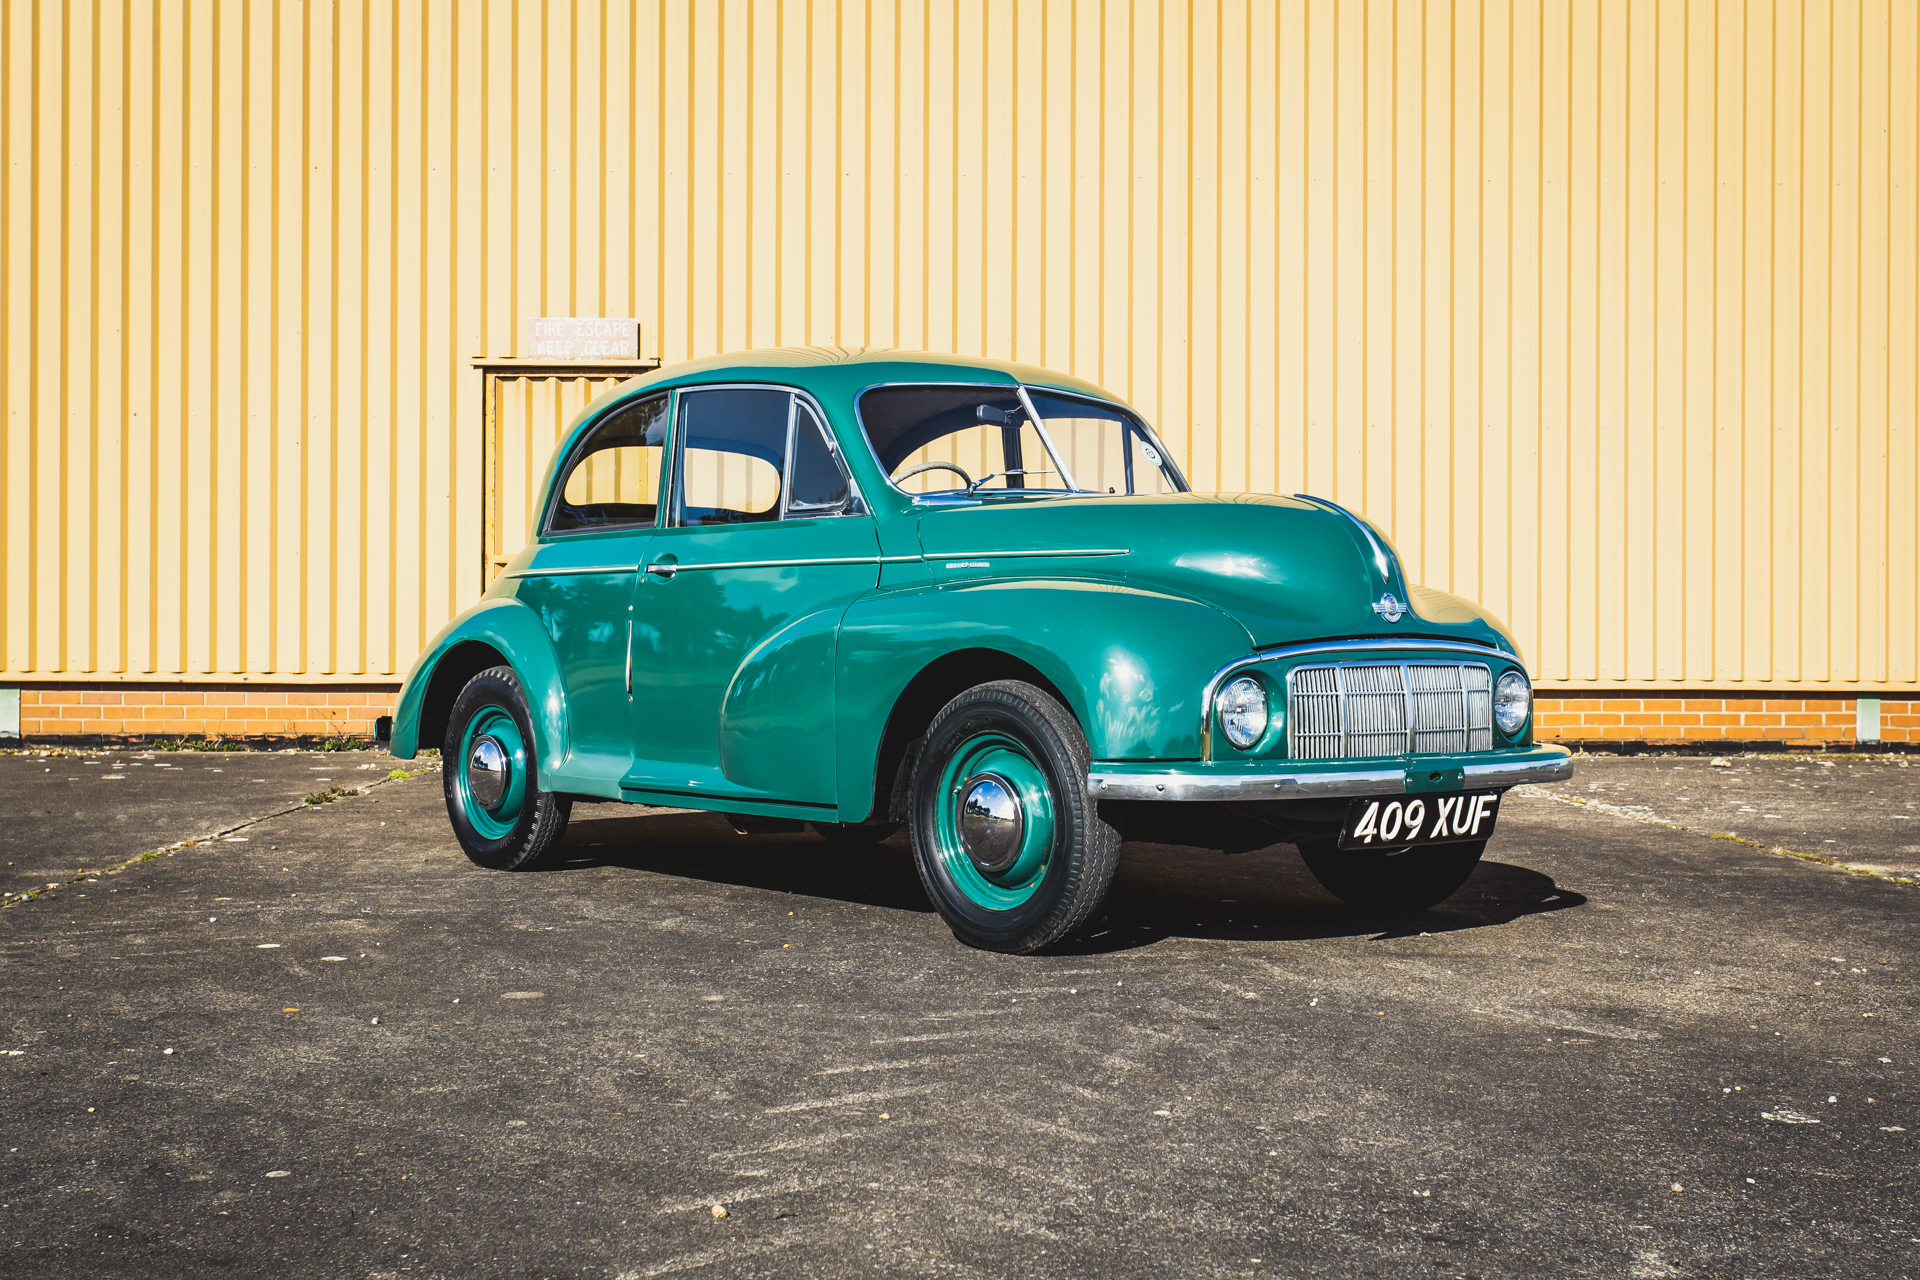
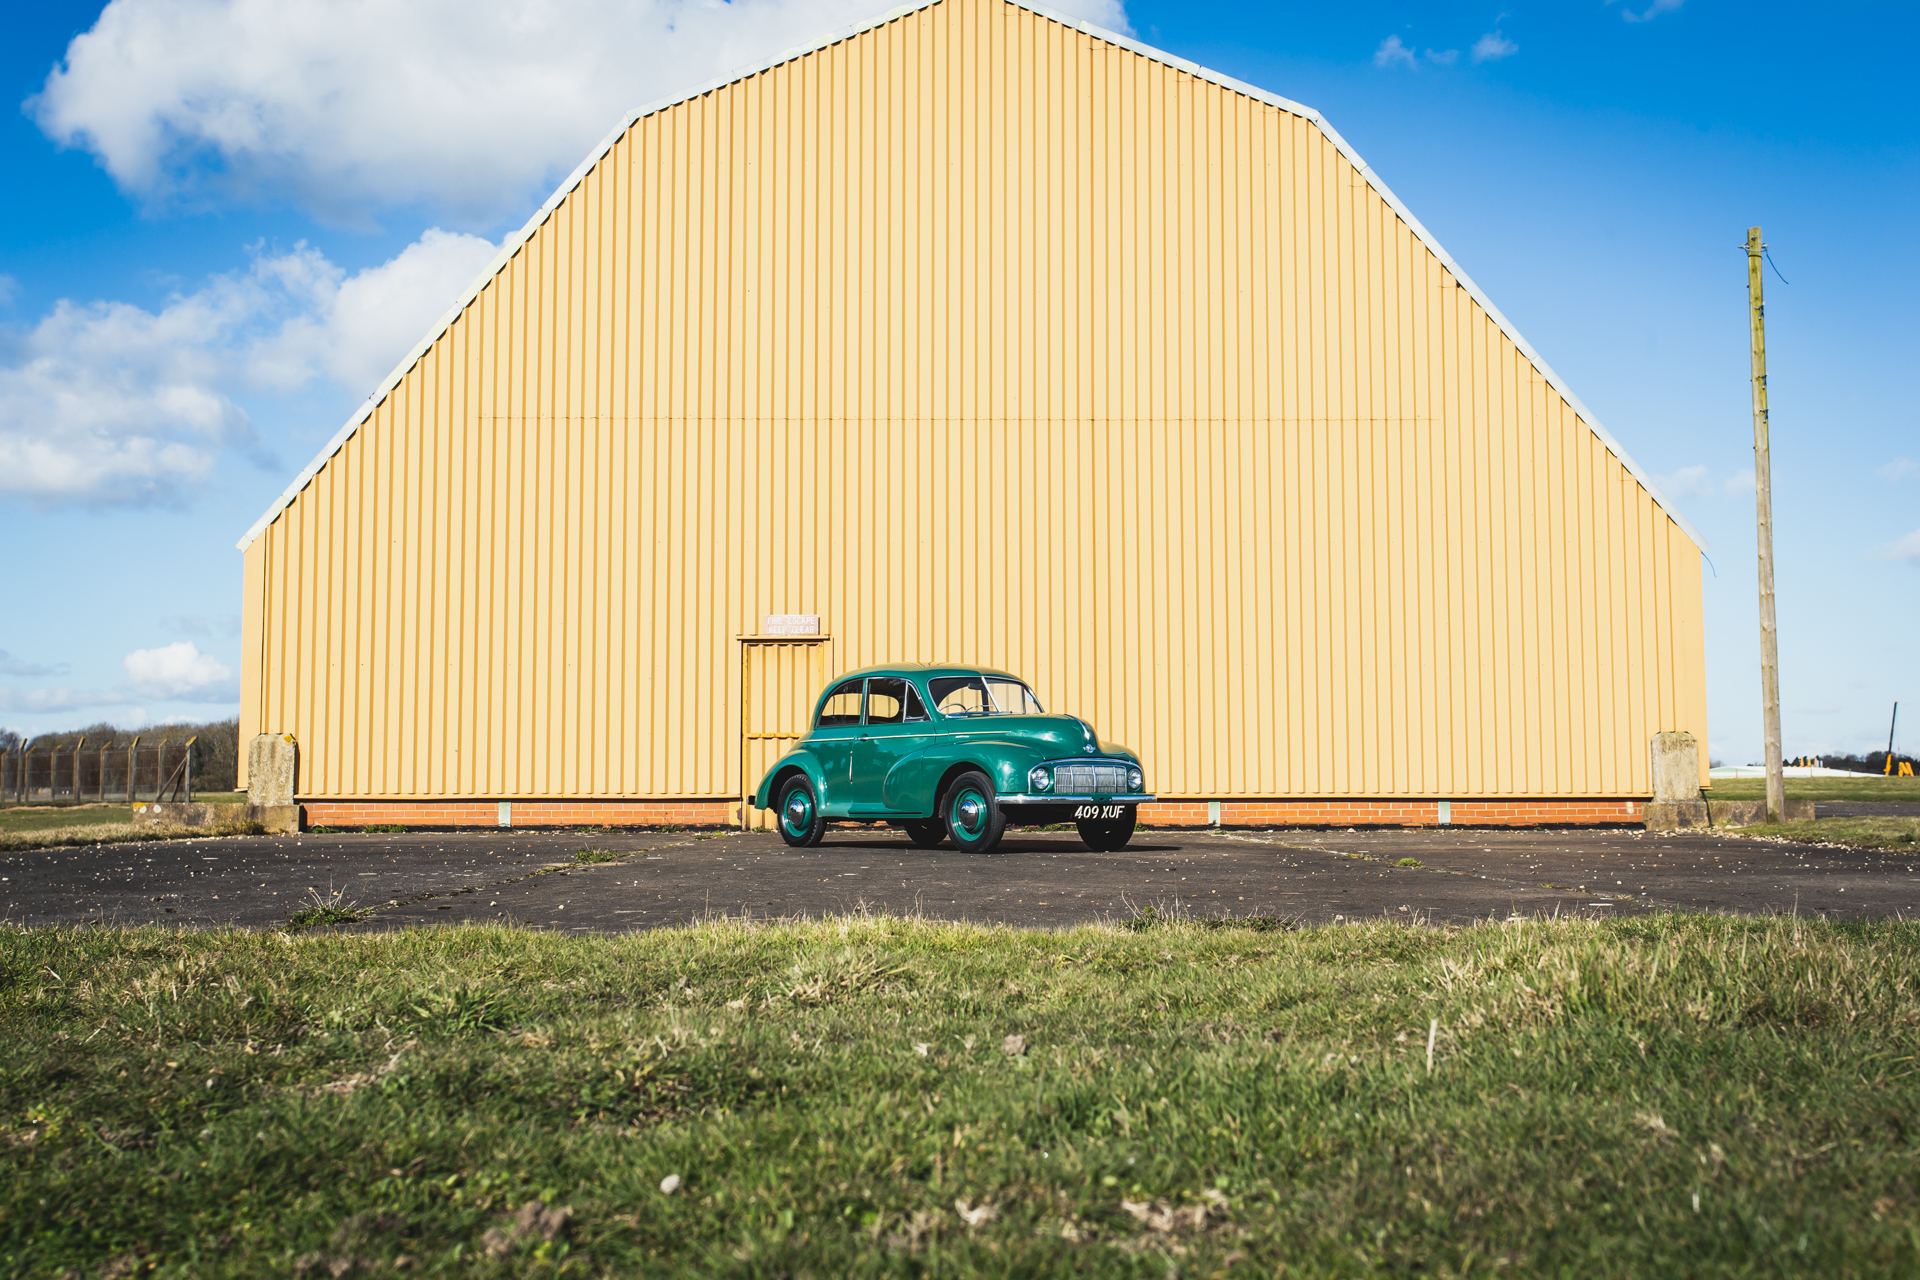
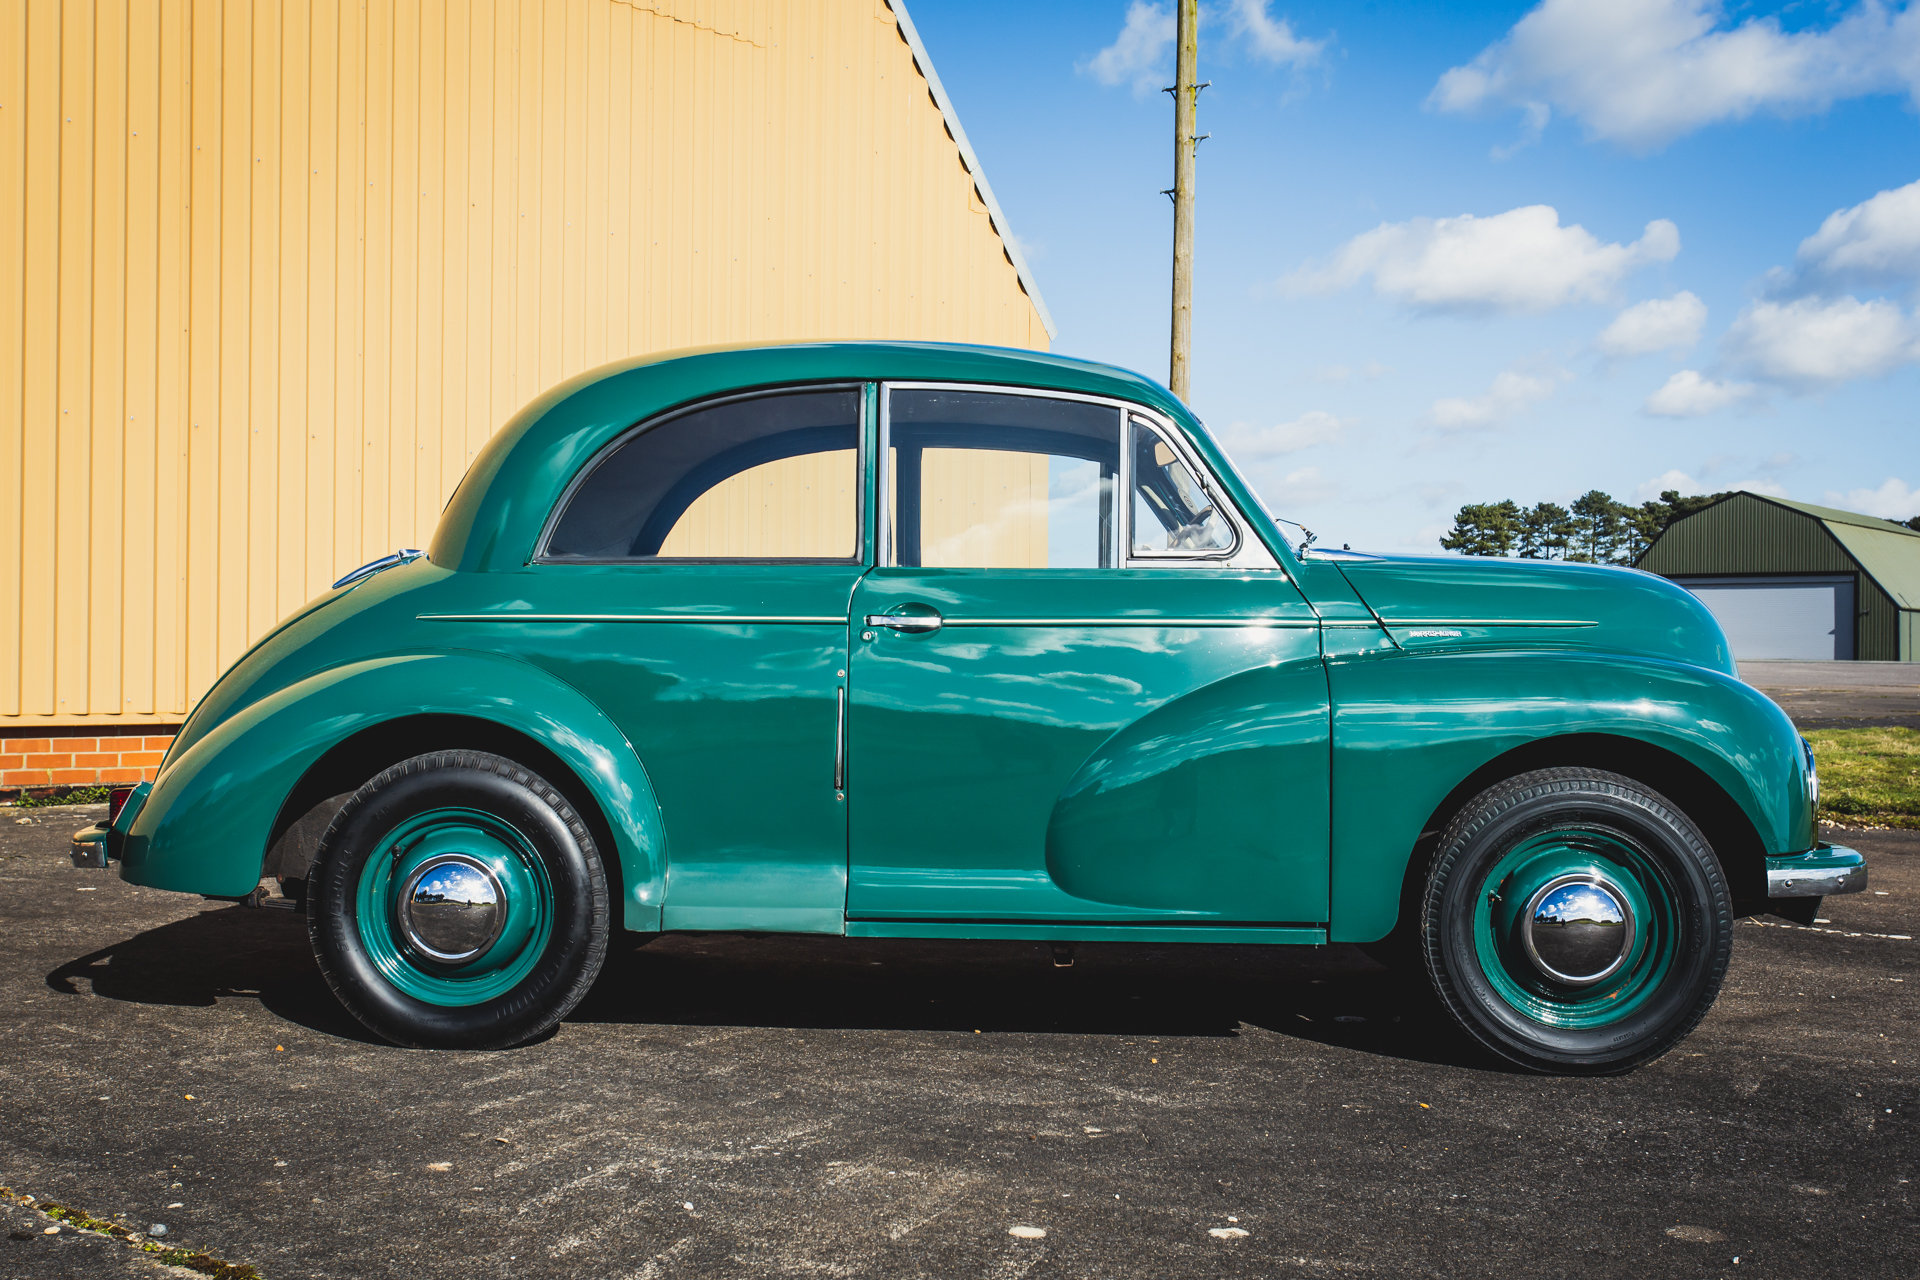
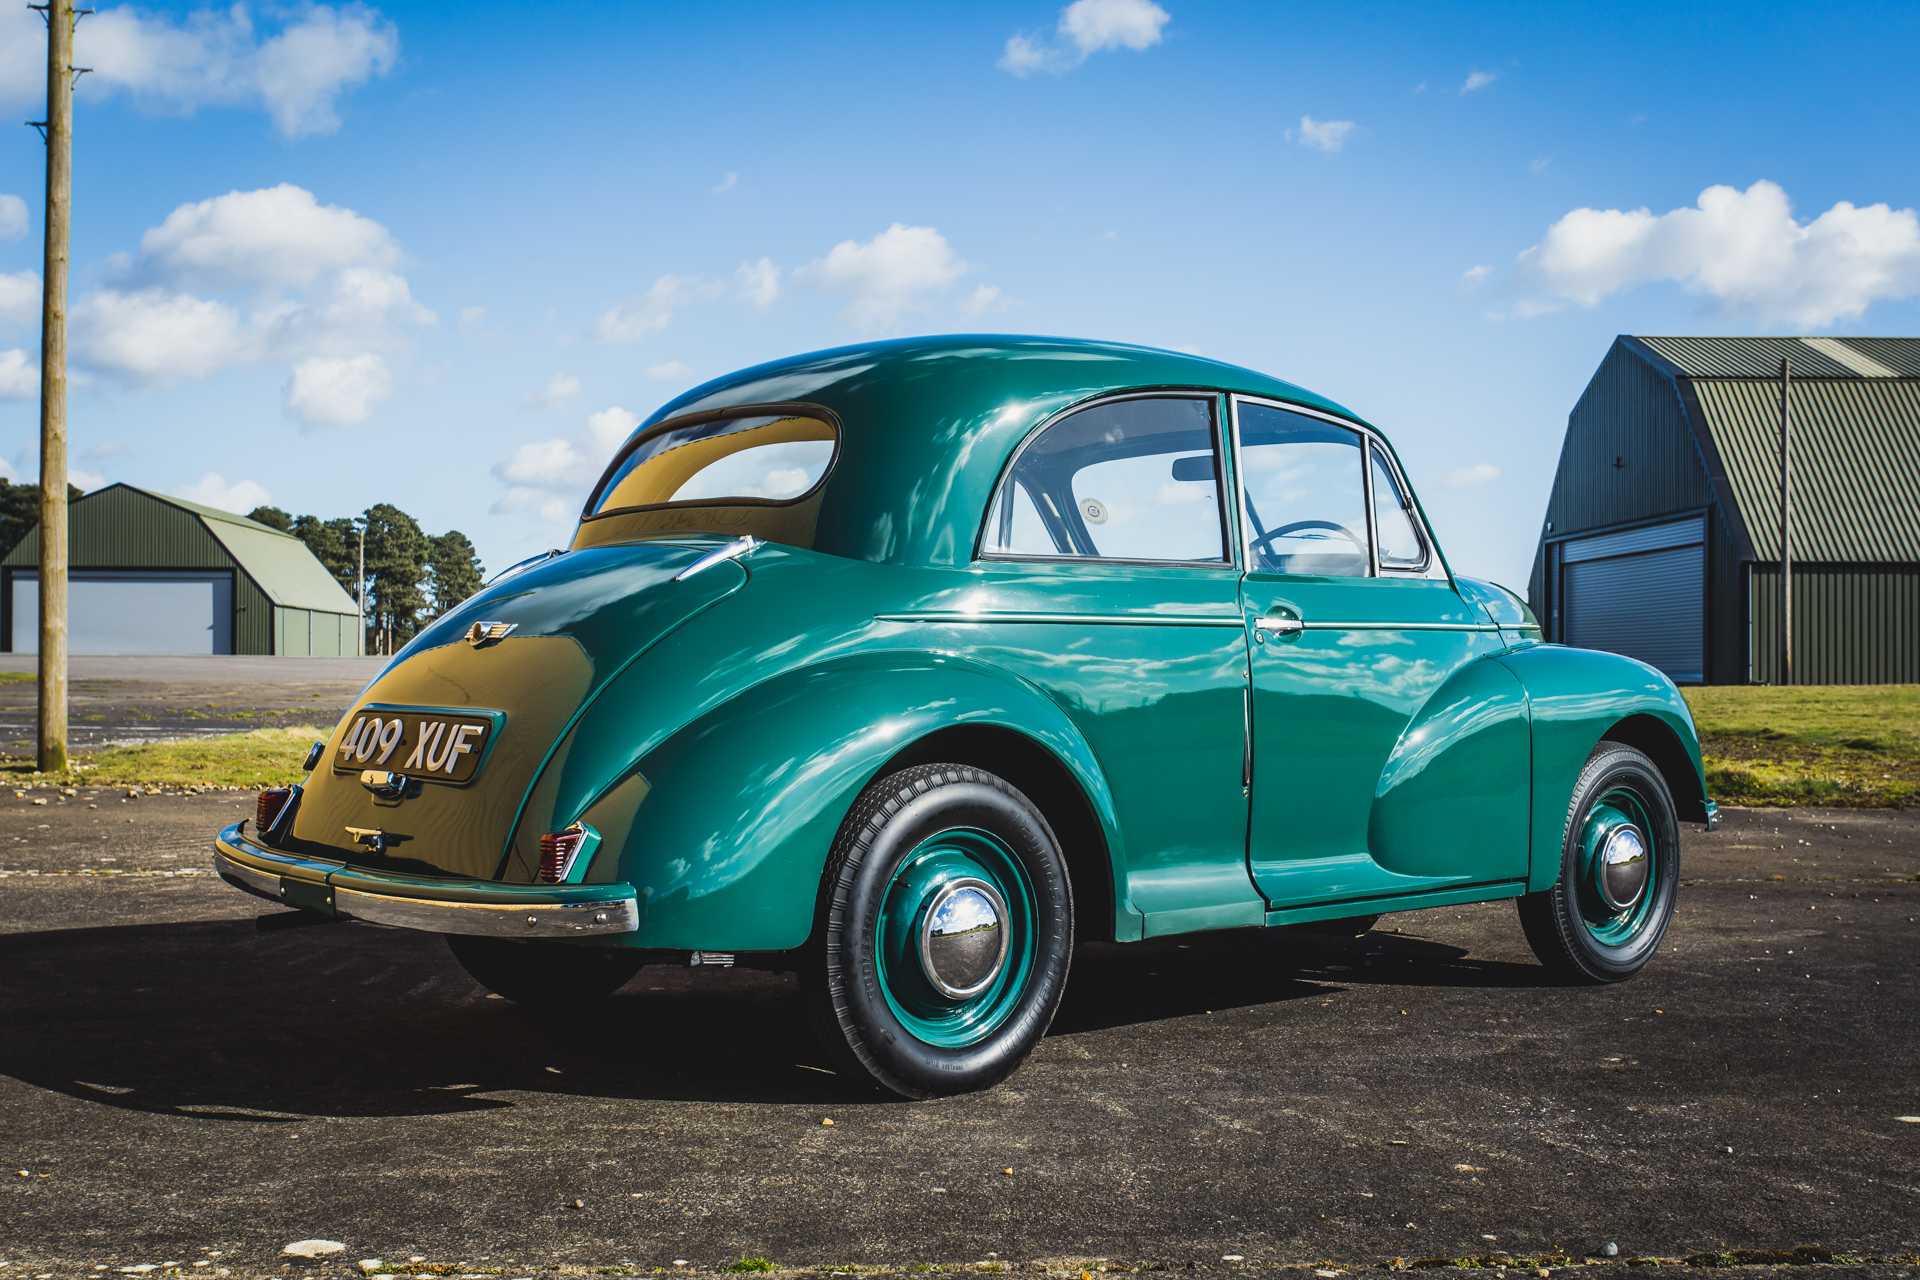
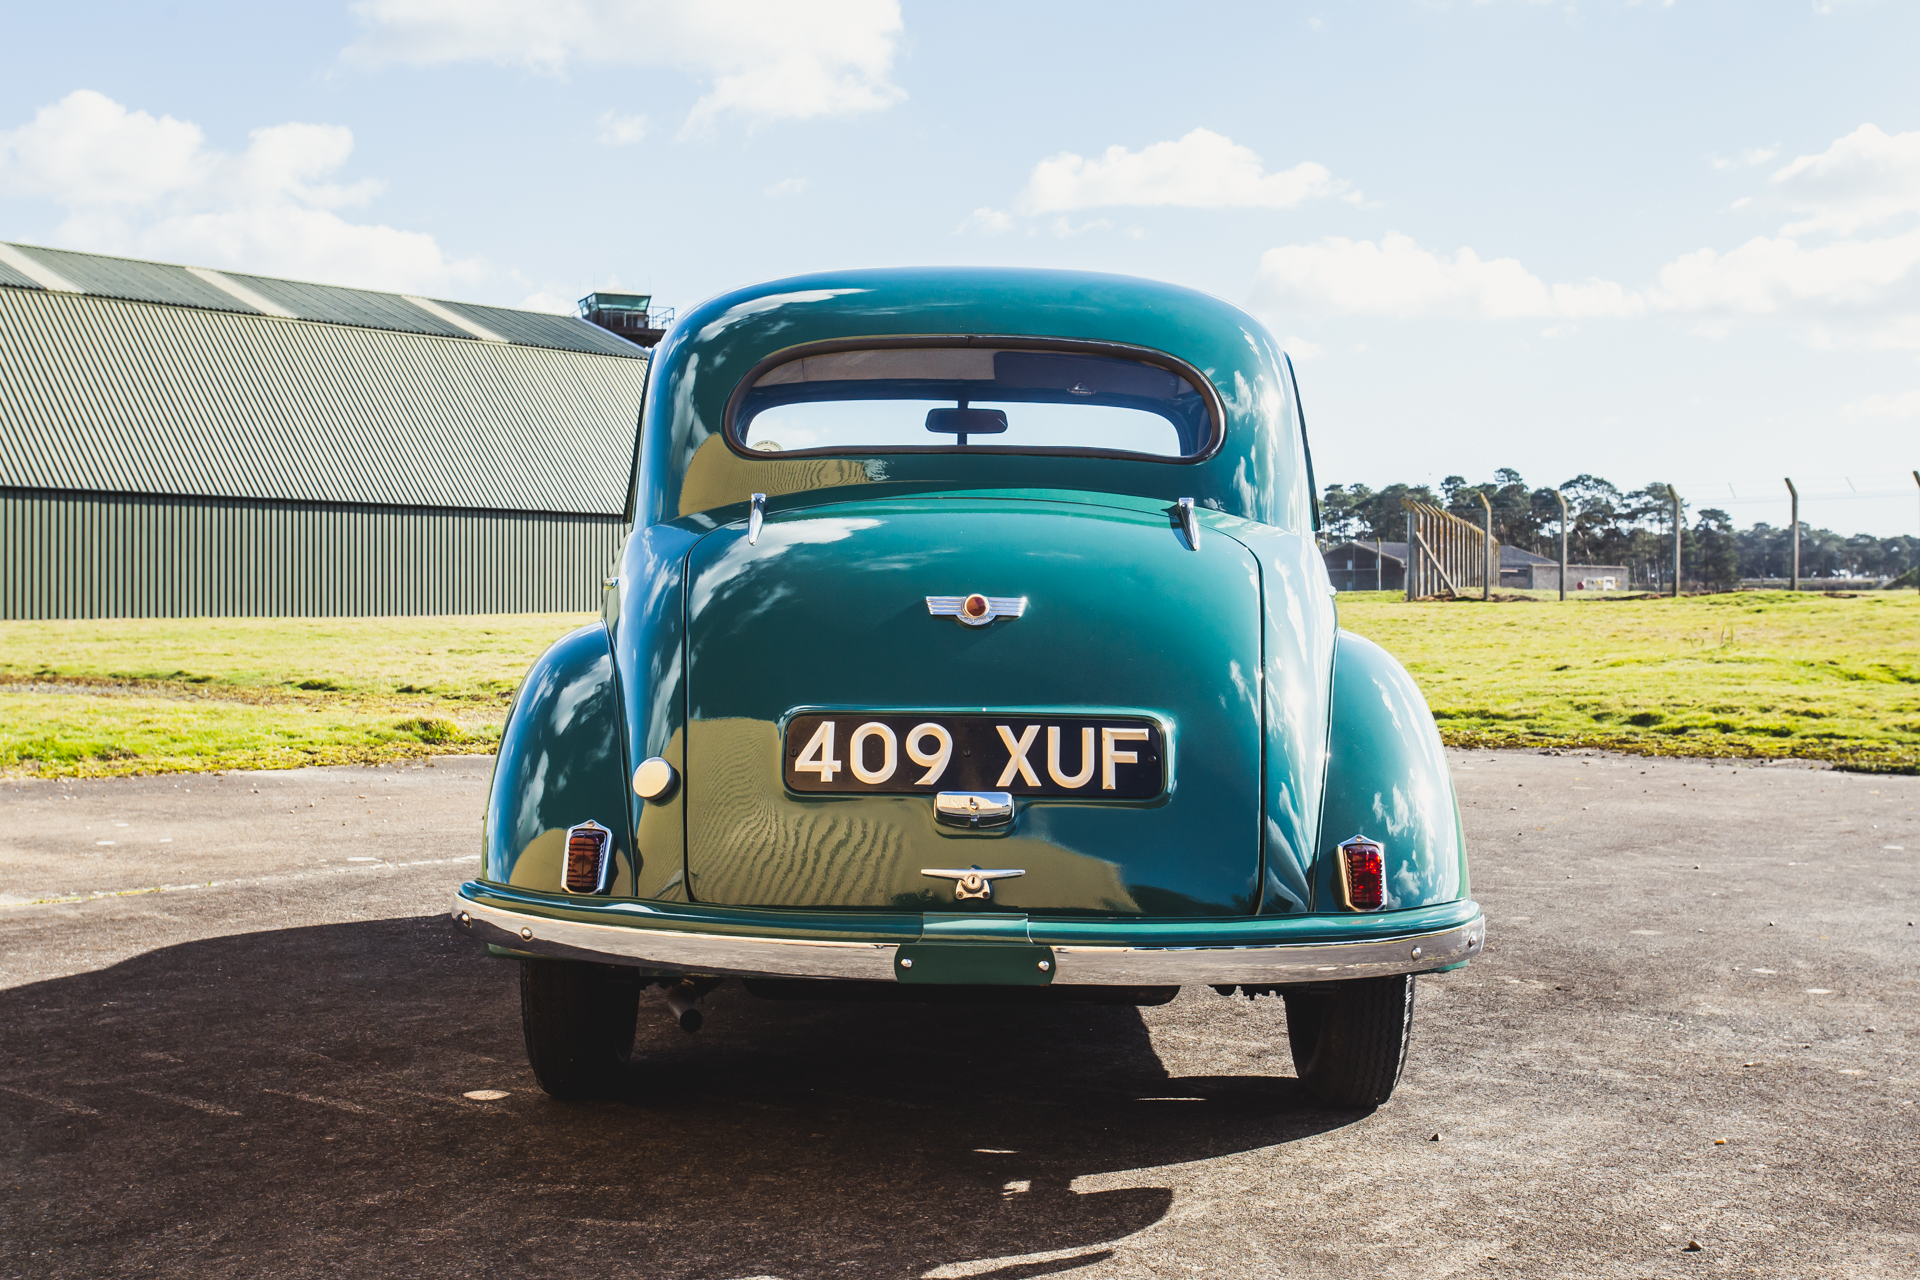
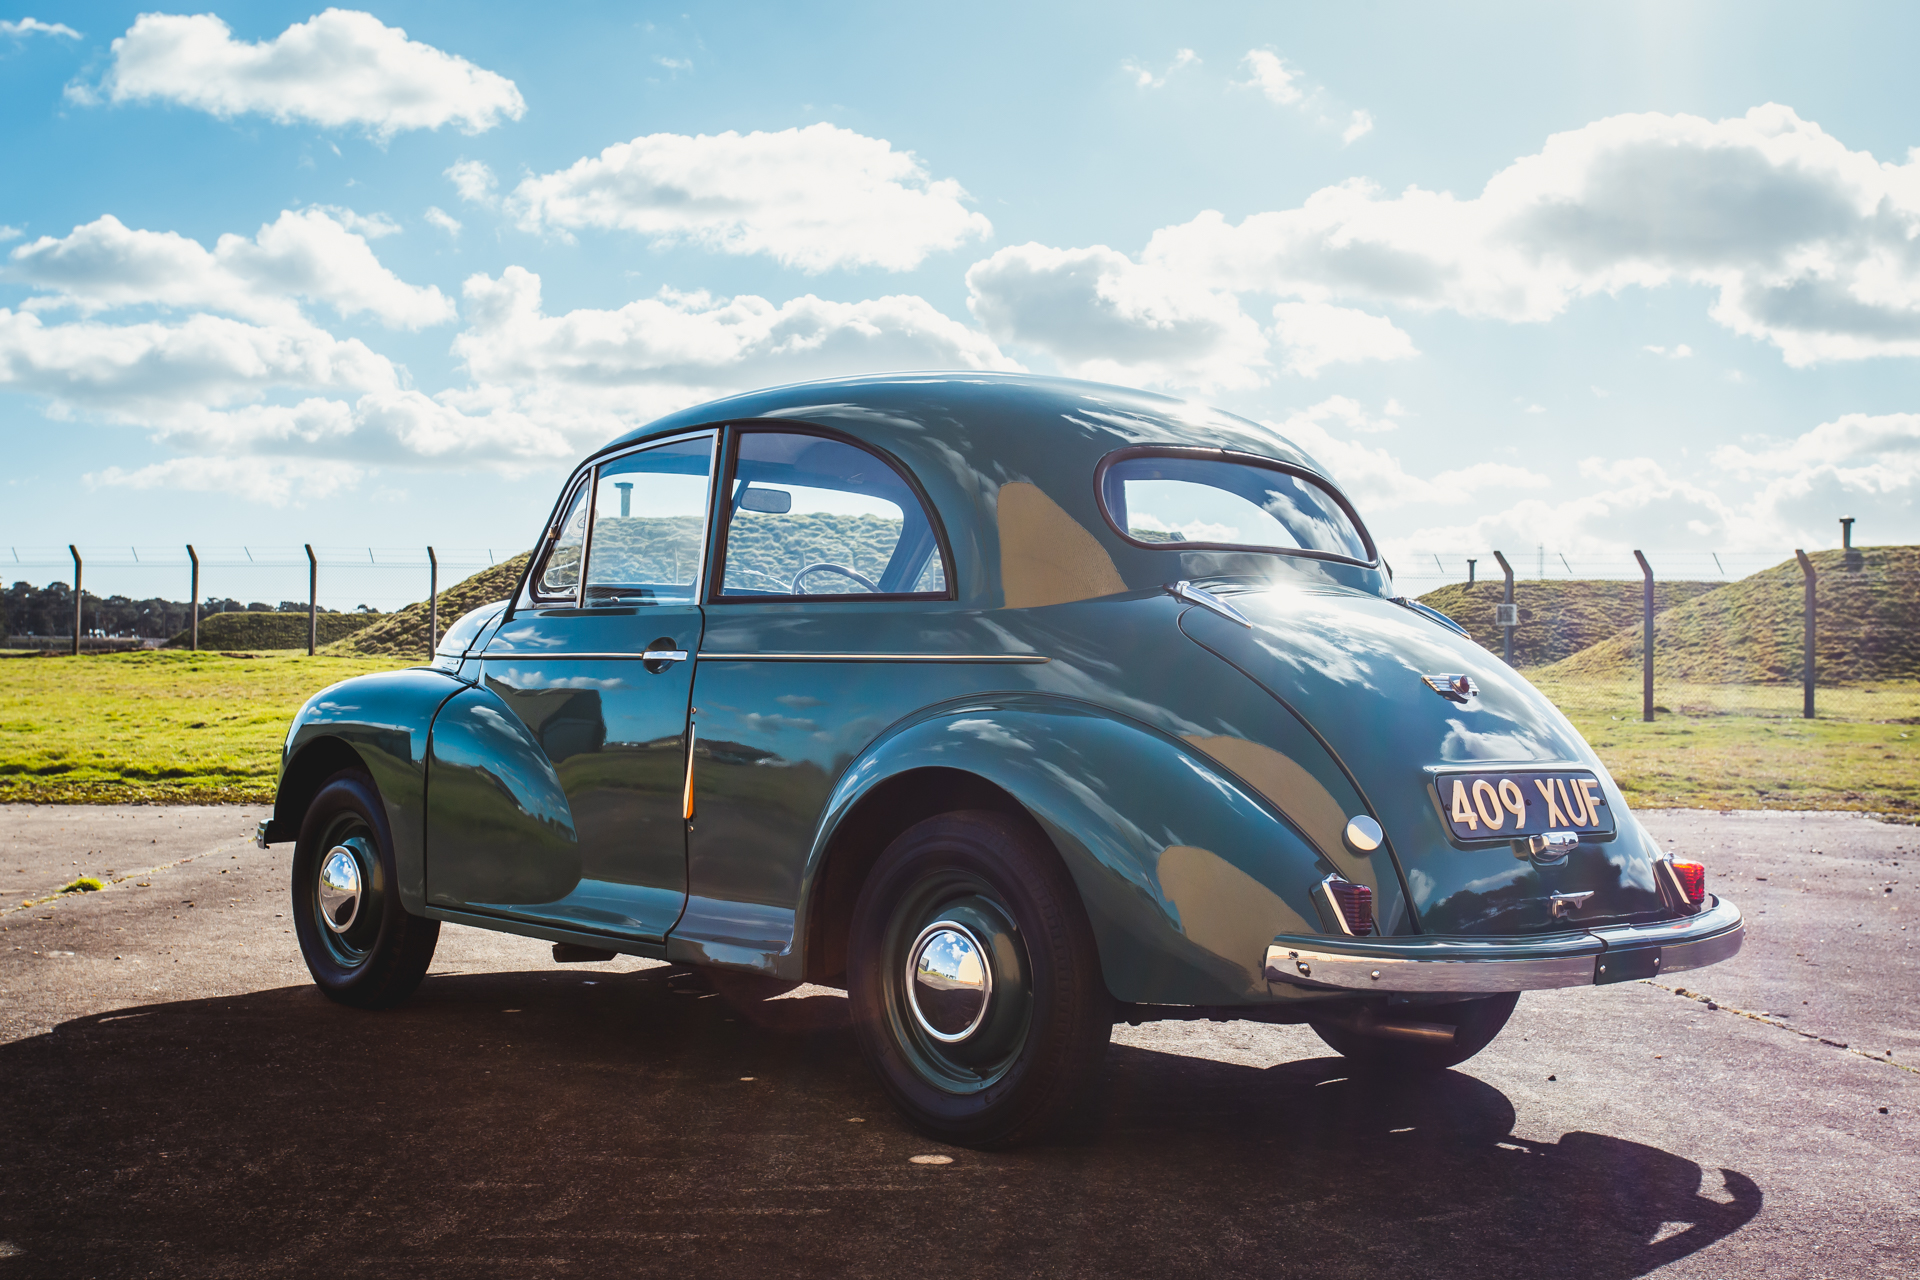
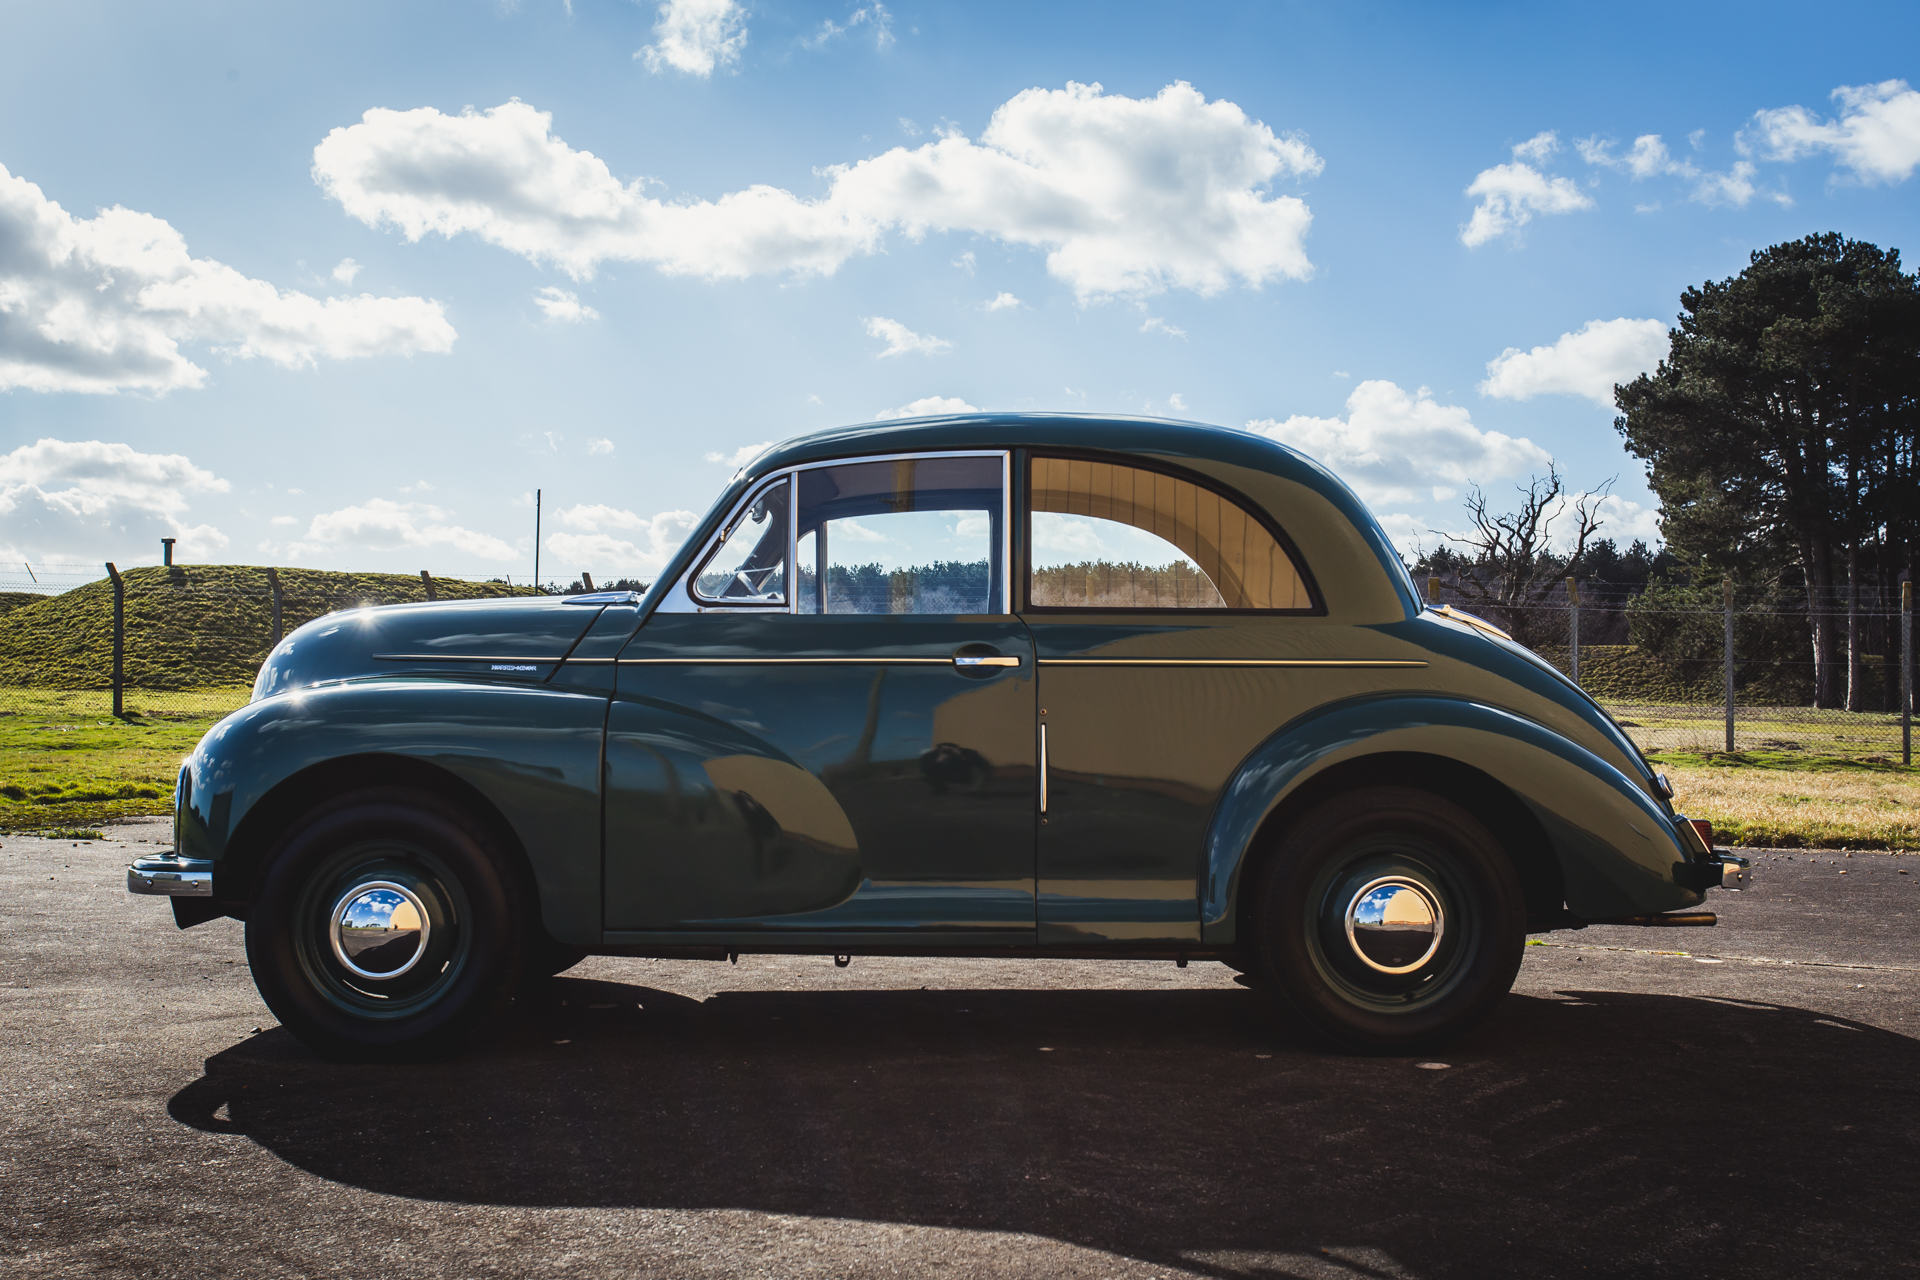

Alongside our stationary photos, we always capture in-motion shots of the car driving, as well as videos to capture the spirit of the motor.
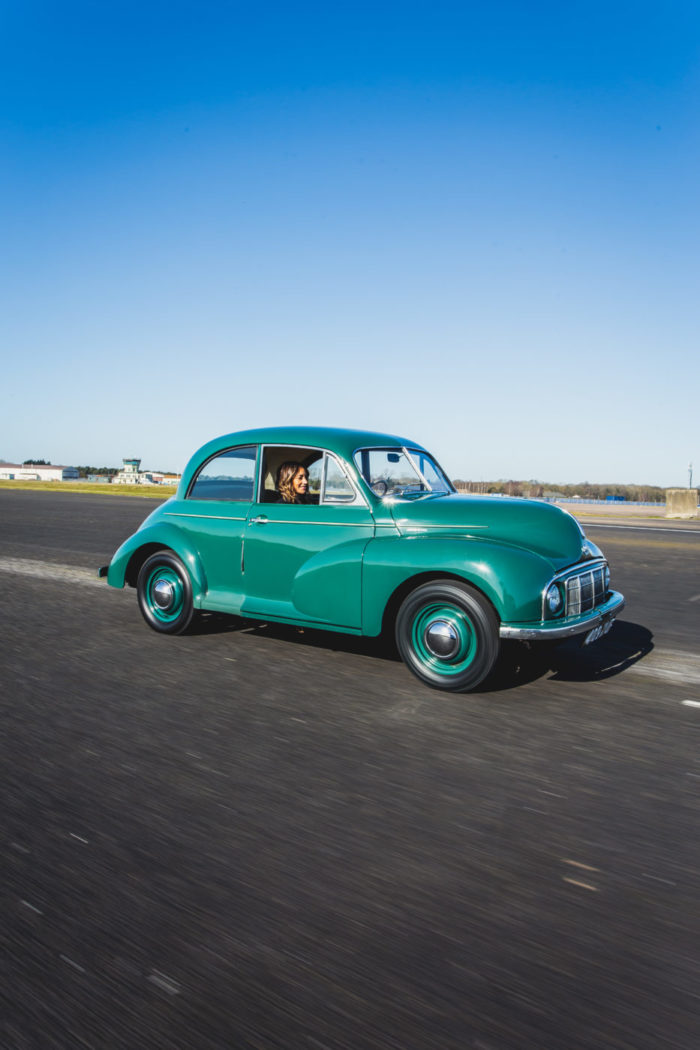
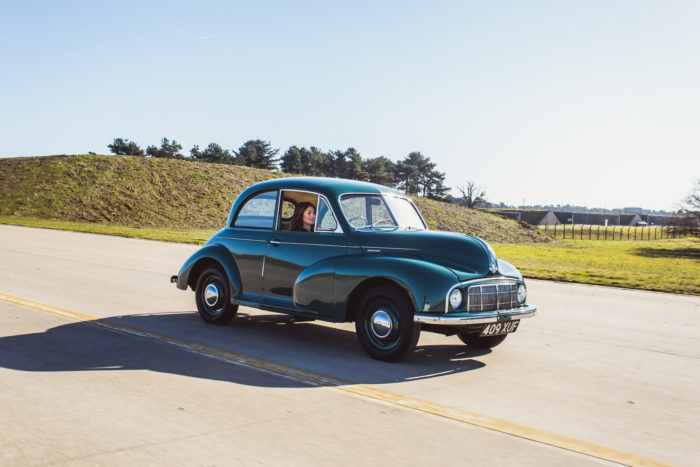
Detailed shots of the exterior and interior are captured in several locations, giving the team plenty of content to post over the course of the competition.


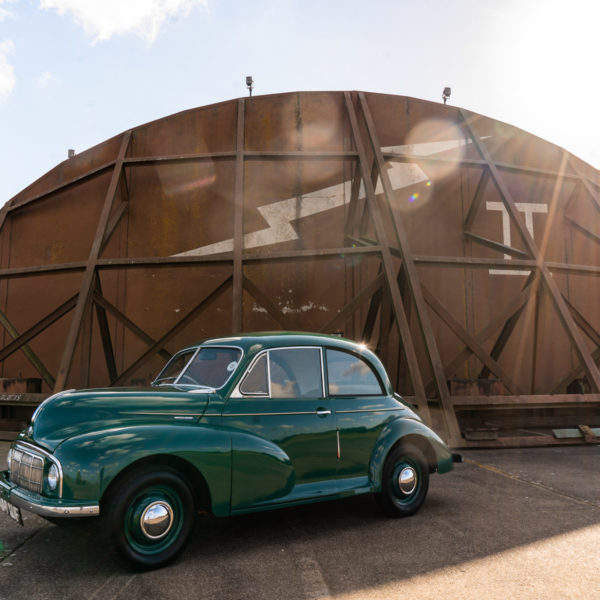
We were lucky to have our presenter Charlotte join us for the shoot as well, allowing Ellie to snap some portraits of her with our characterful moggy. Charlotte selected her outfit carefully to compliment our motor and set the scene of a sunny roadtrip.

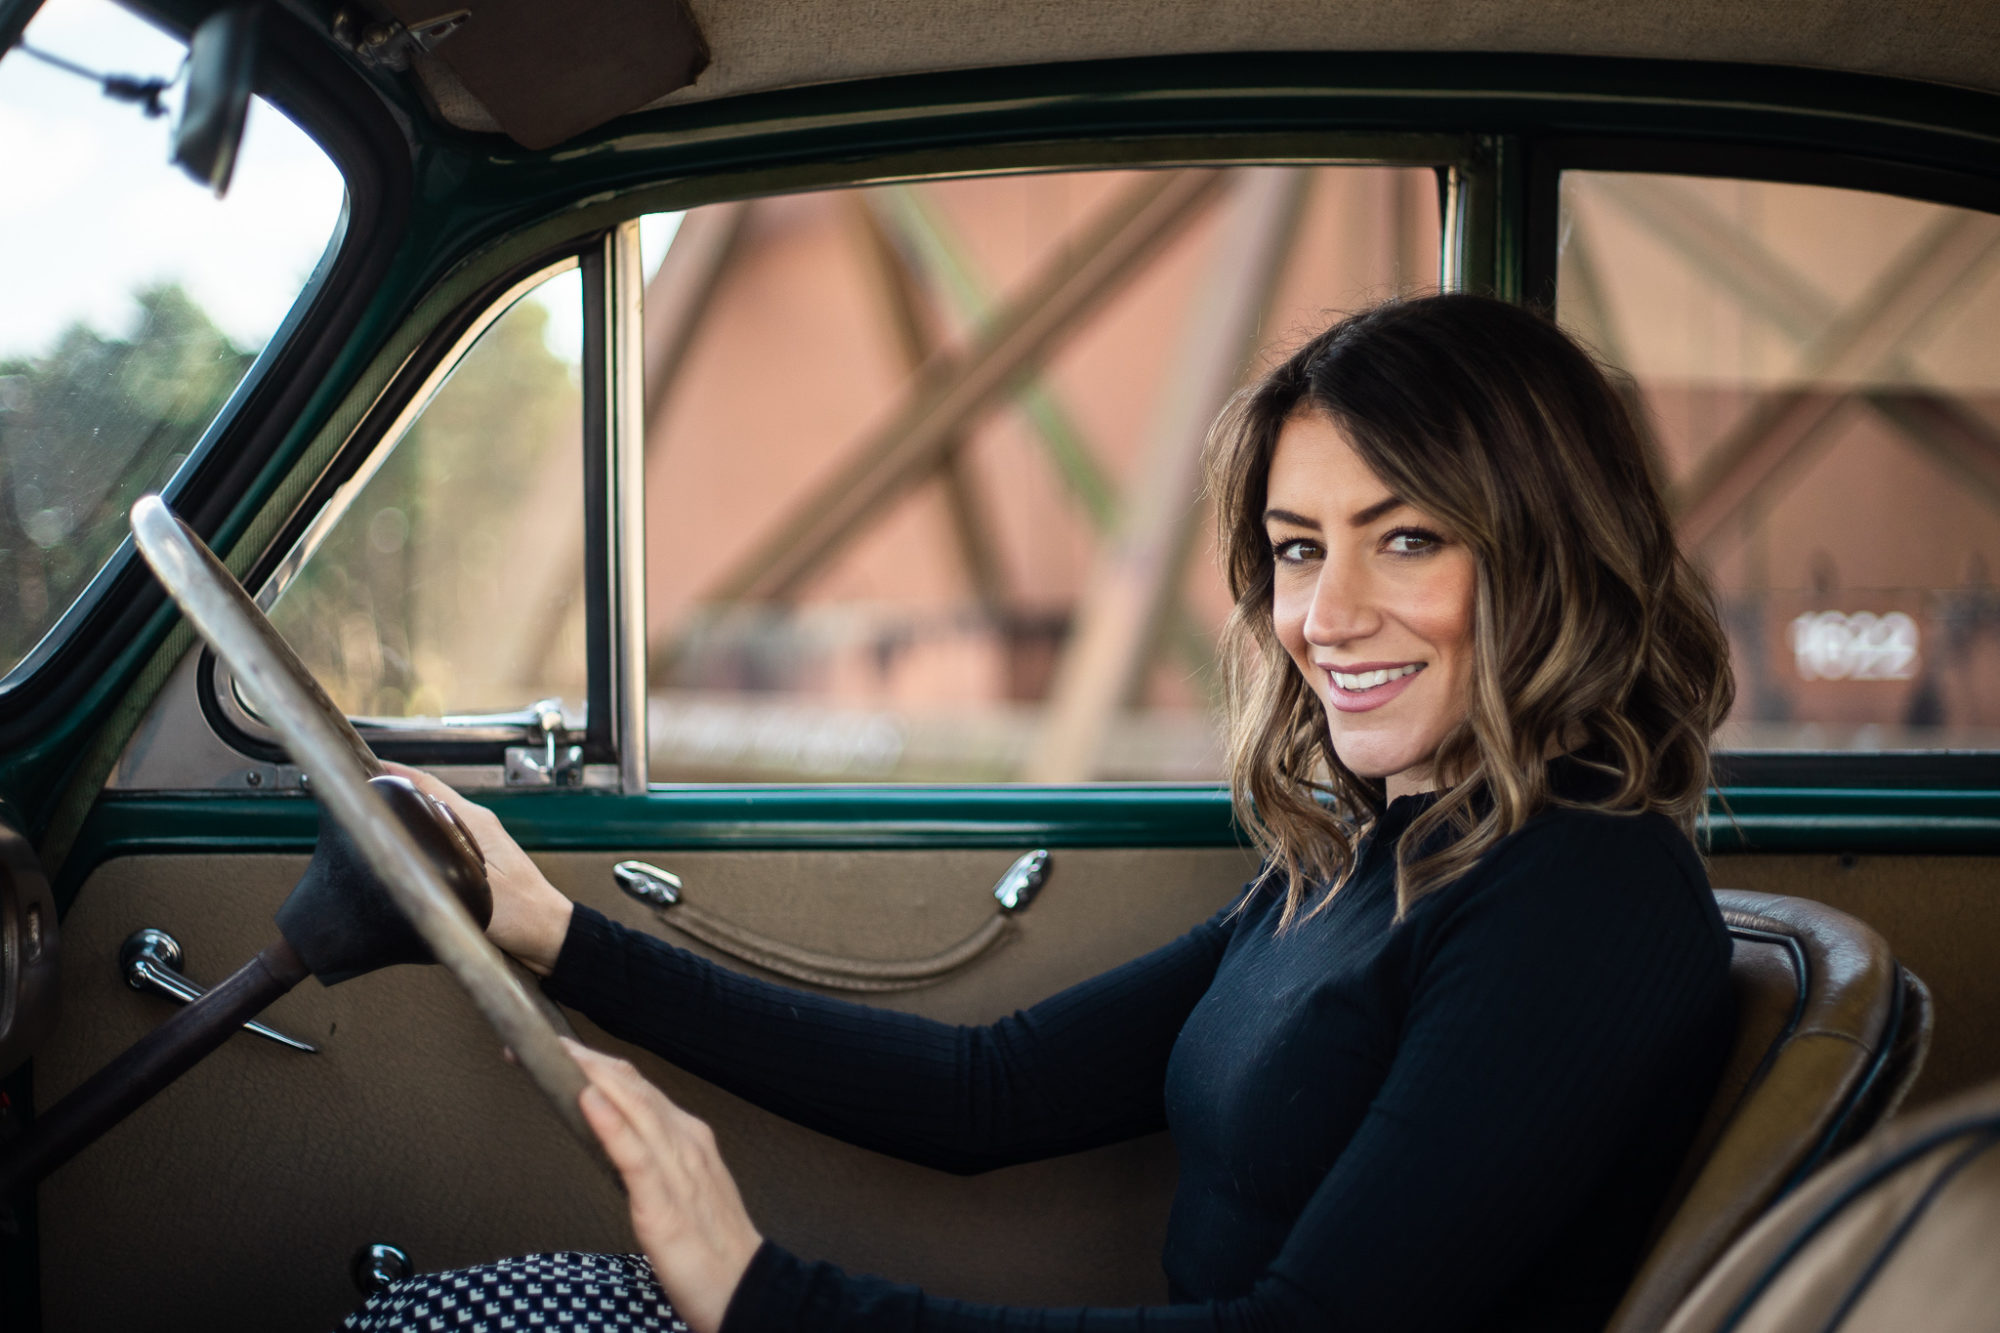
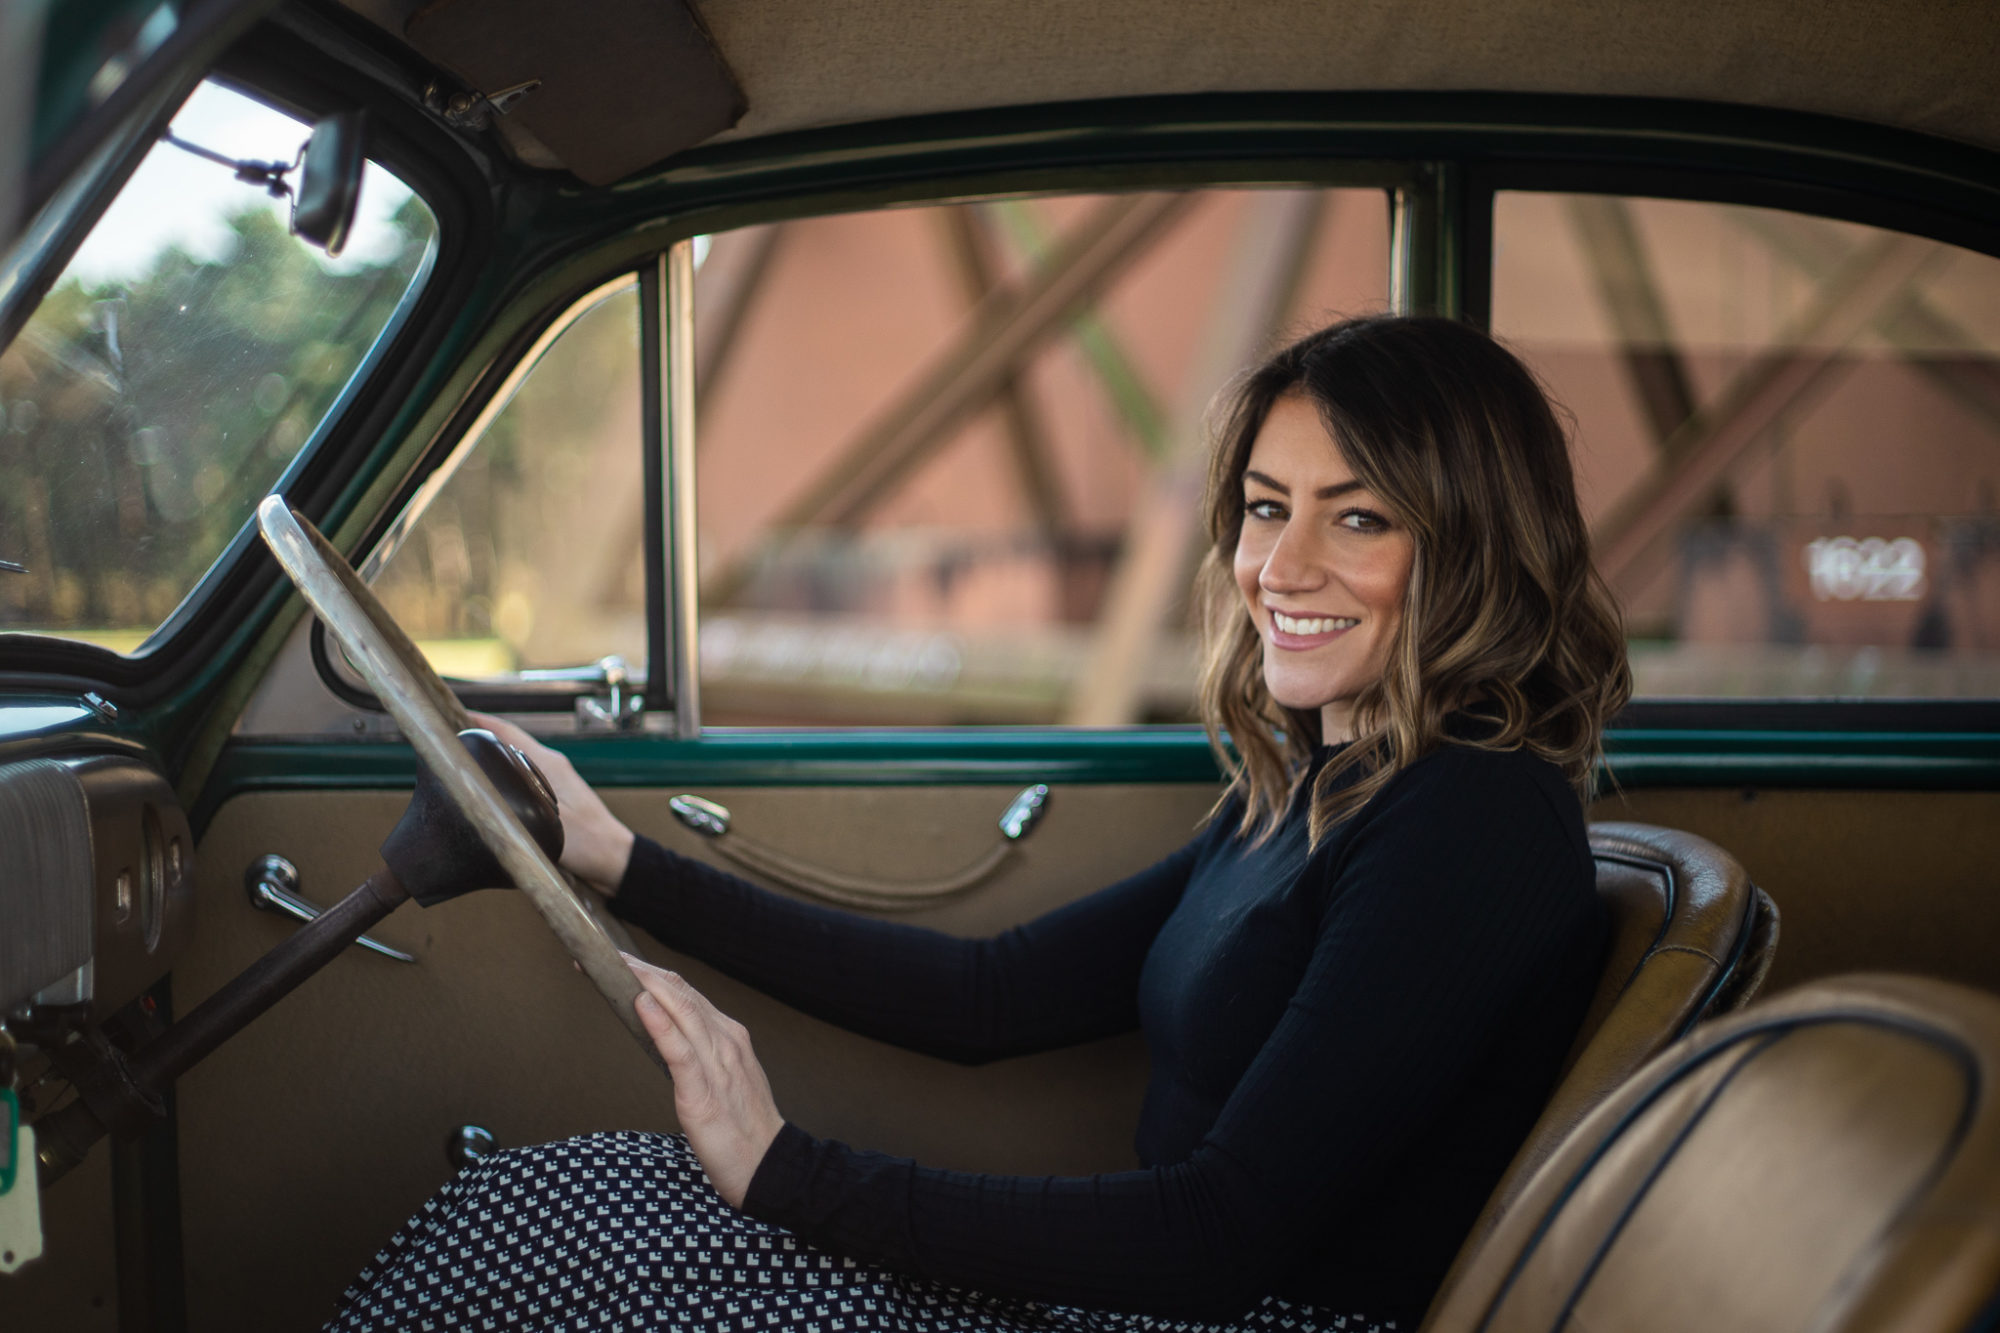
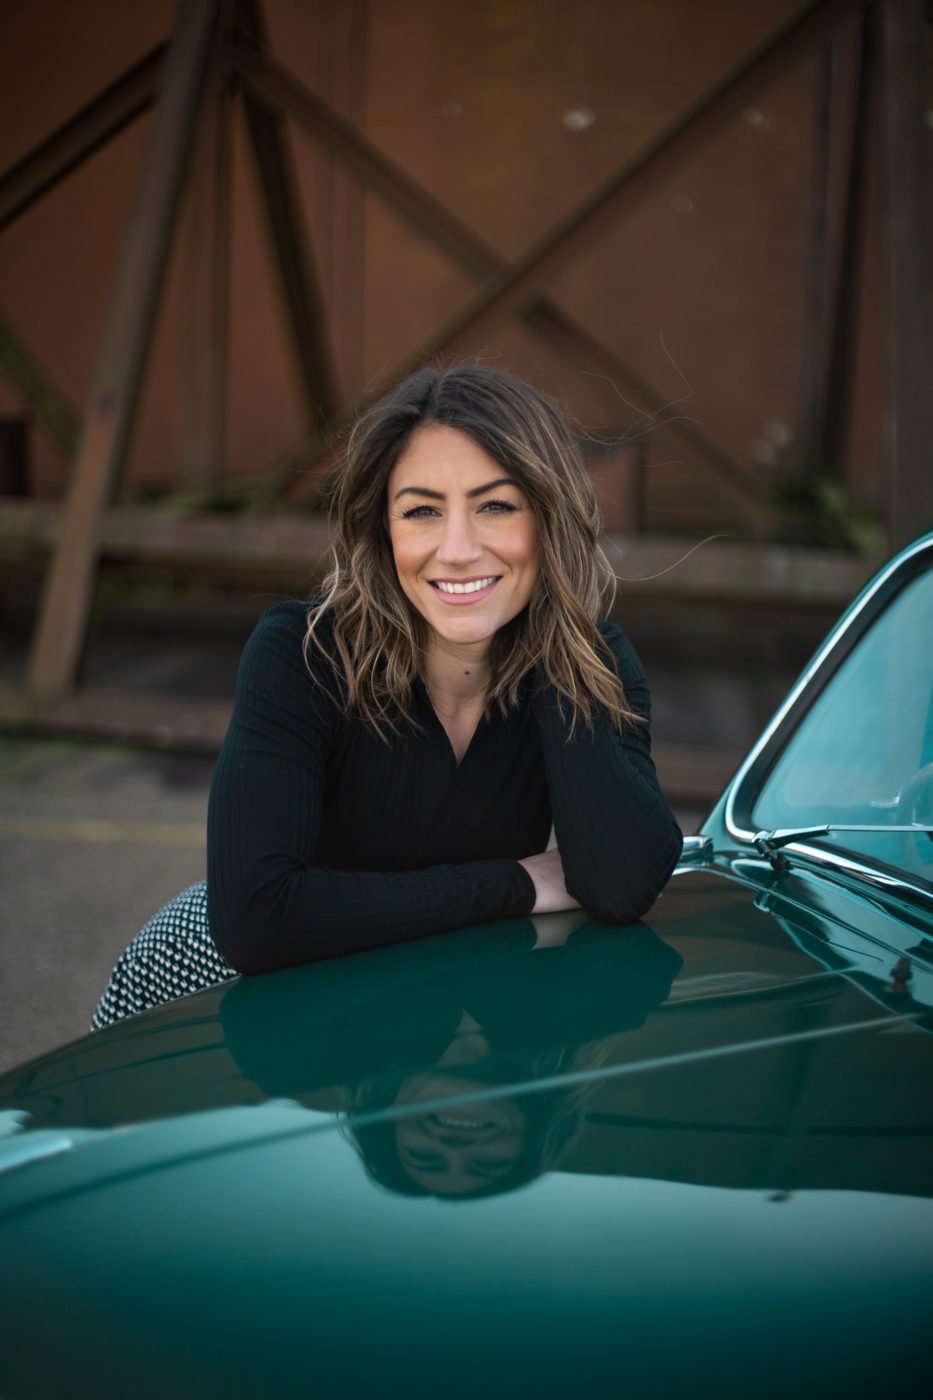

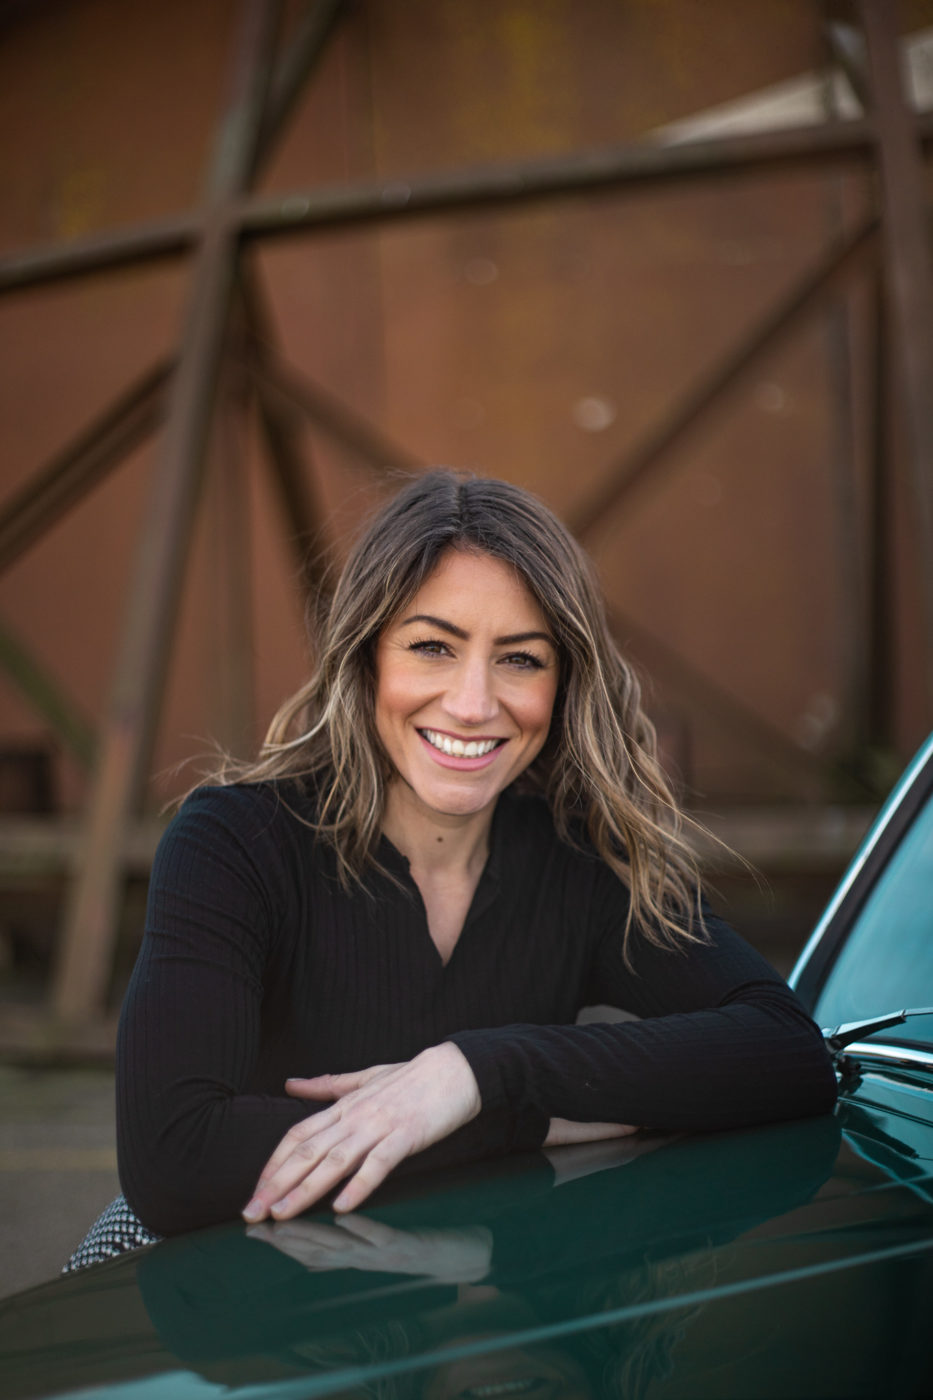
One of our skilled technicians, Lydia, a vintage lifestyle enthusiast joined us on the shoot as well for some portraits. With a carefully selected colour co-ordinating outfit, Lydia perfectly captured the era and charm of our Morris.


We are very excited to reveal 3 incredible machines arriving in our workshops very soon.
First up we have our beautiful 1953 Francis Barnett Rigid Trials bike. A perfect addition to the Hangar to sit beside our 1961 Francis Barnett Trials 85. The current owner has kindly taken some photographs of the bike prior to us taking ownership…just to keep us excited!
We are planning to collect later this week so we will have more images to share with you very soon.


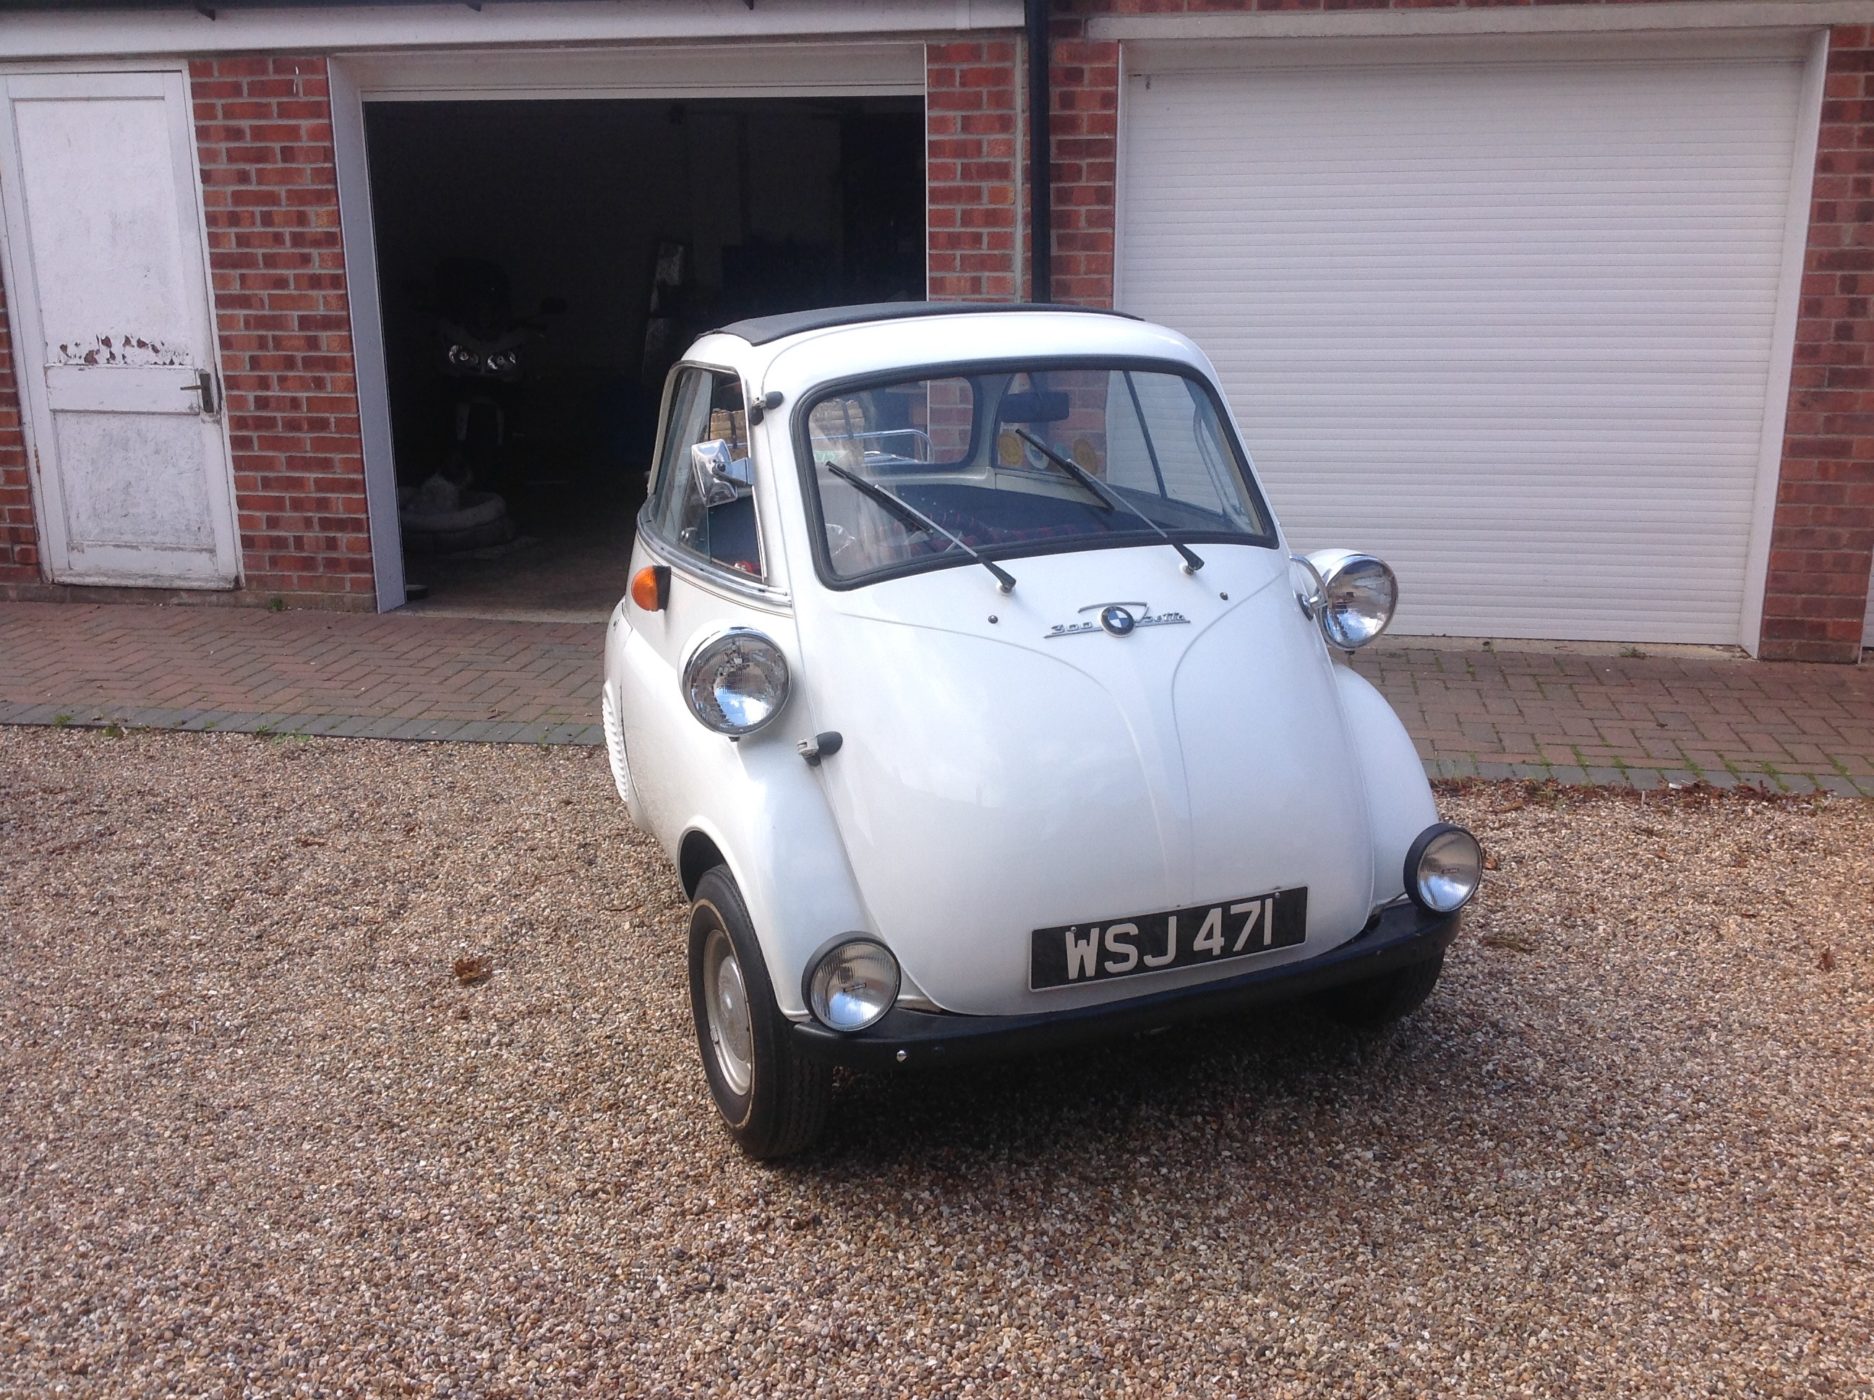
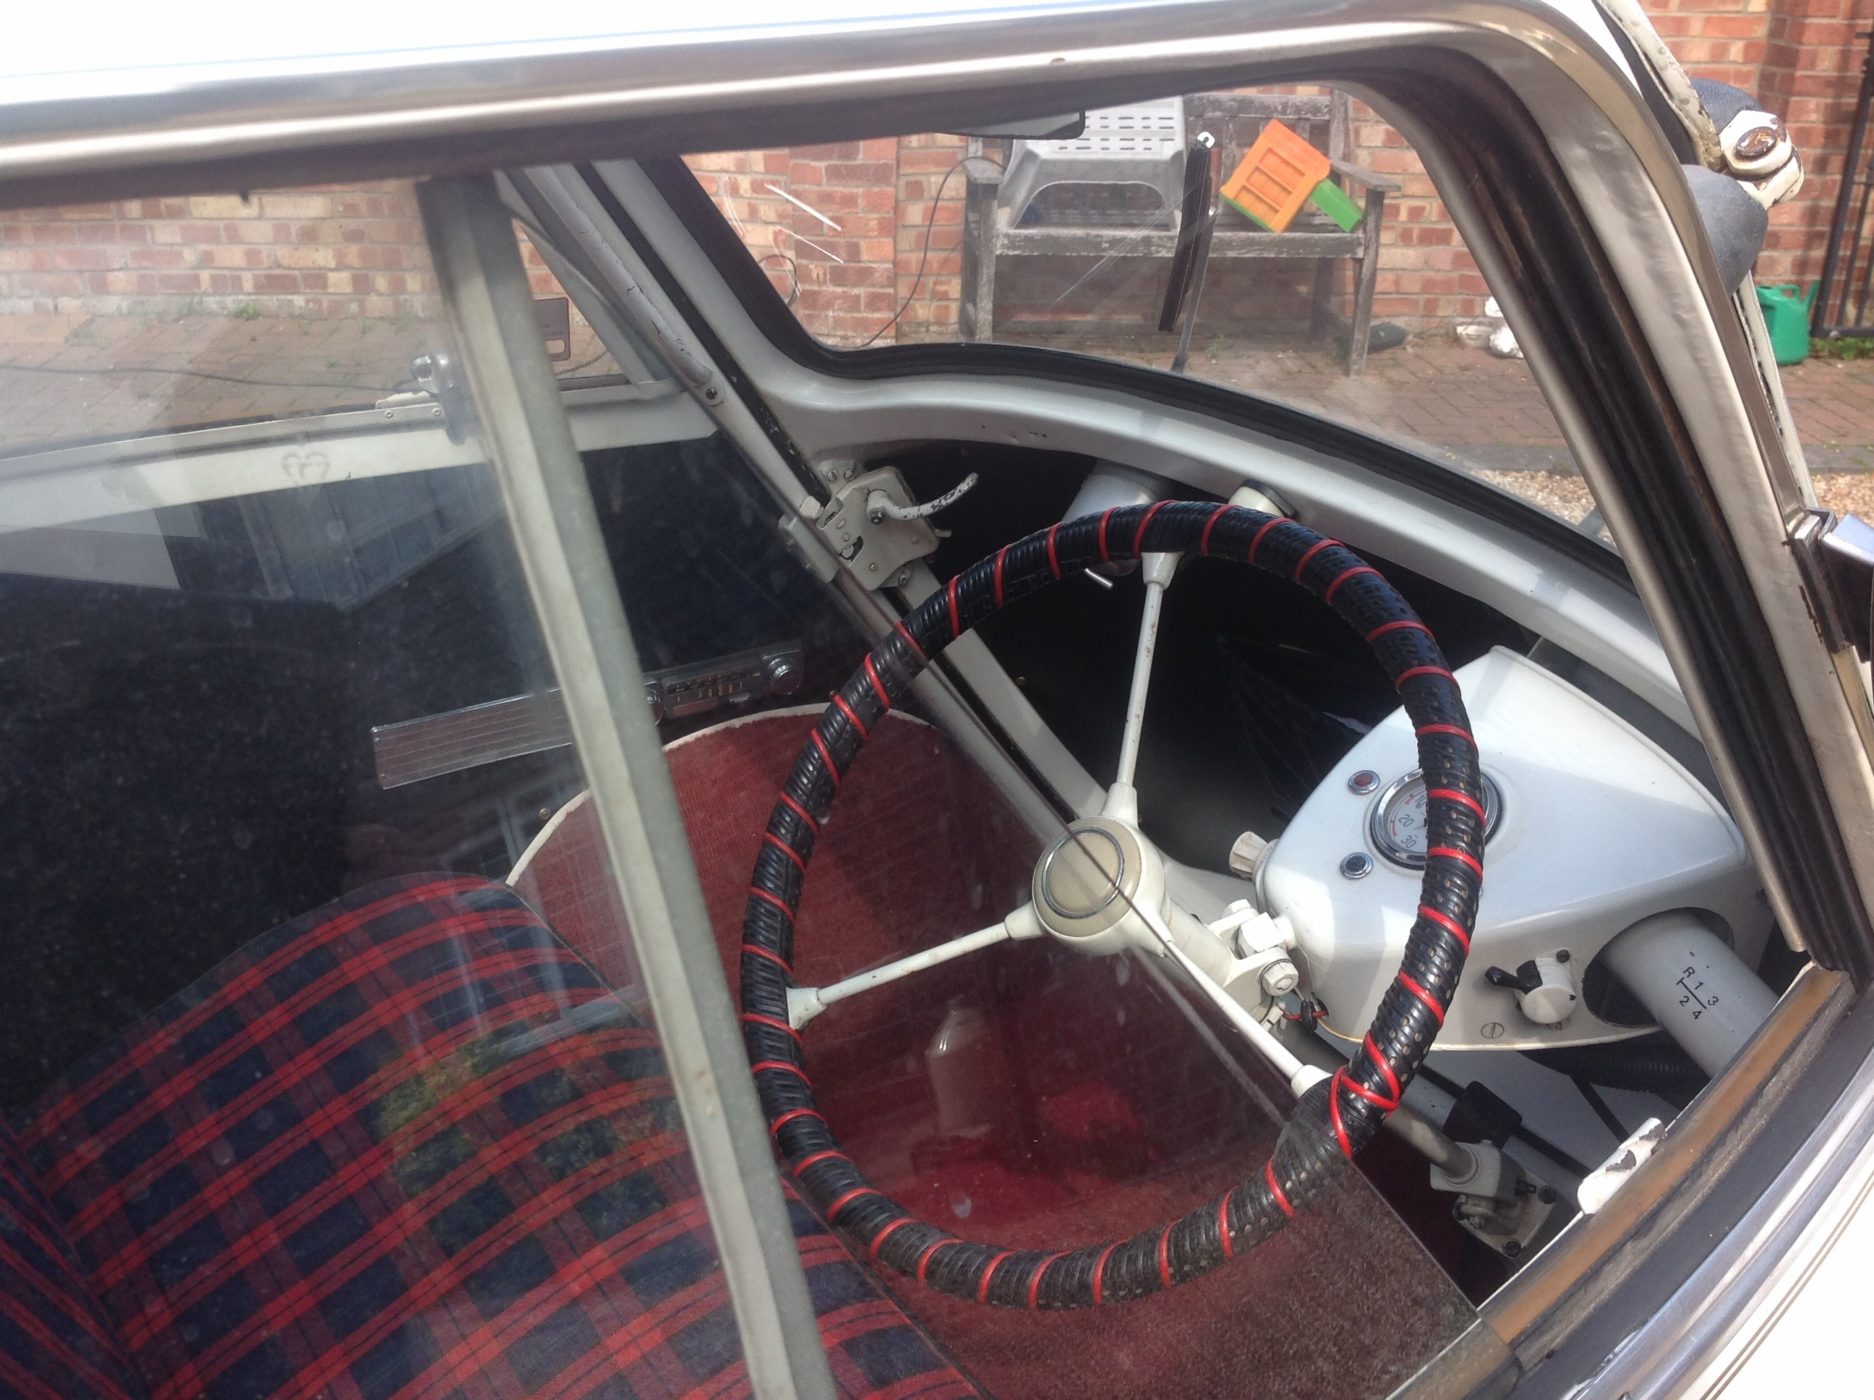
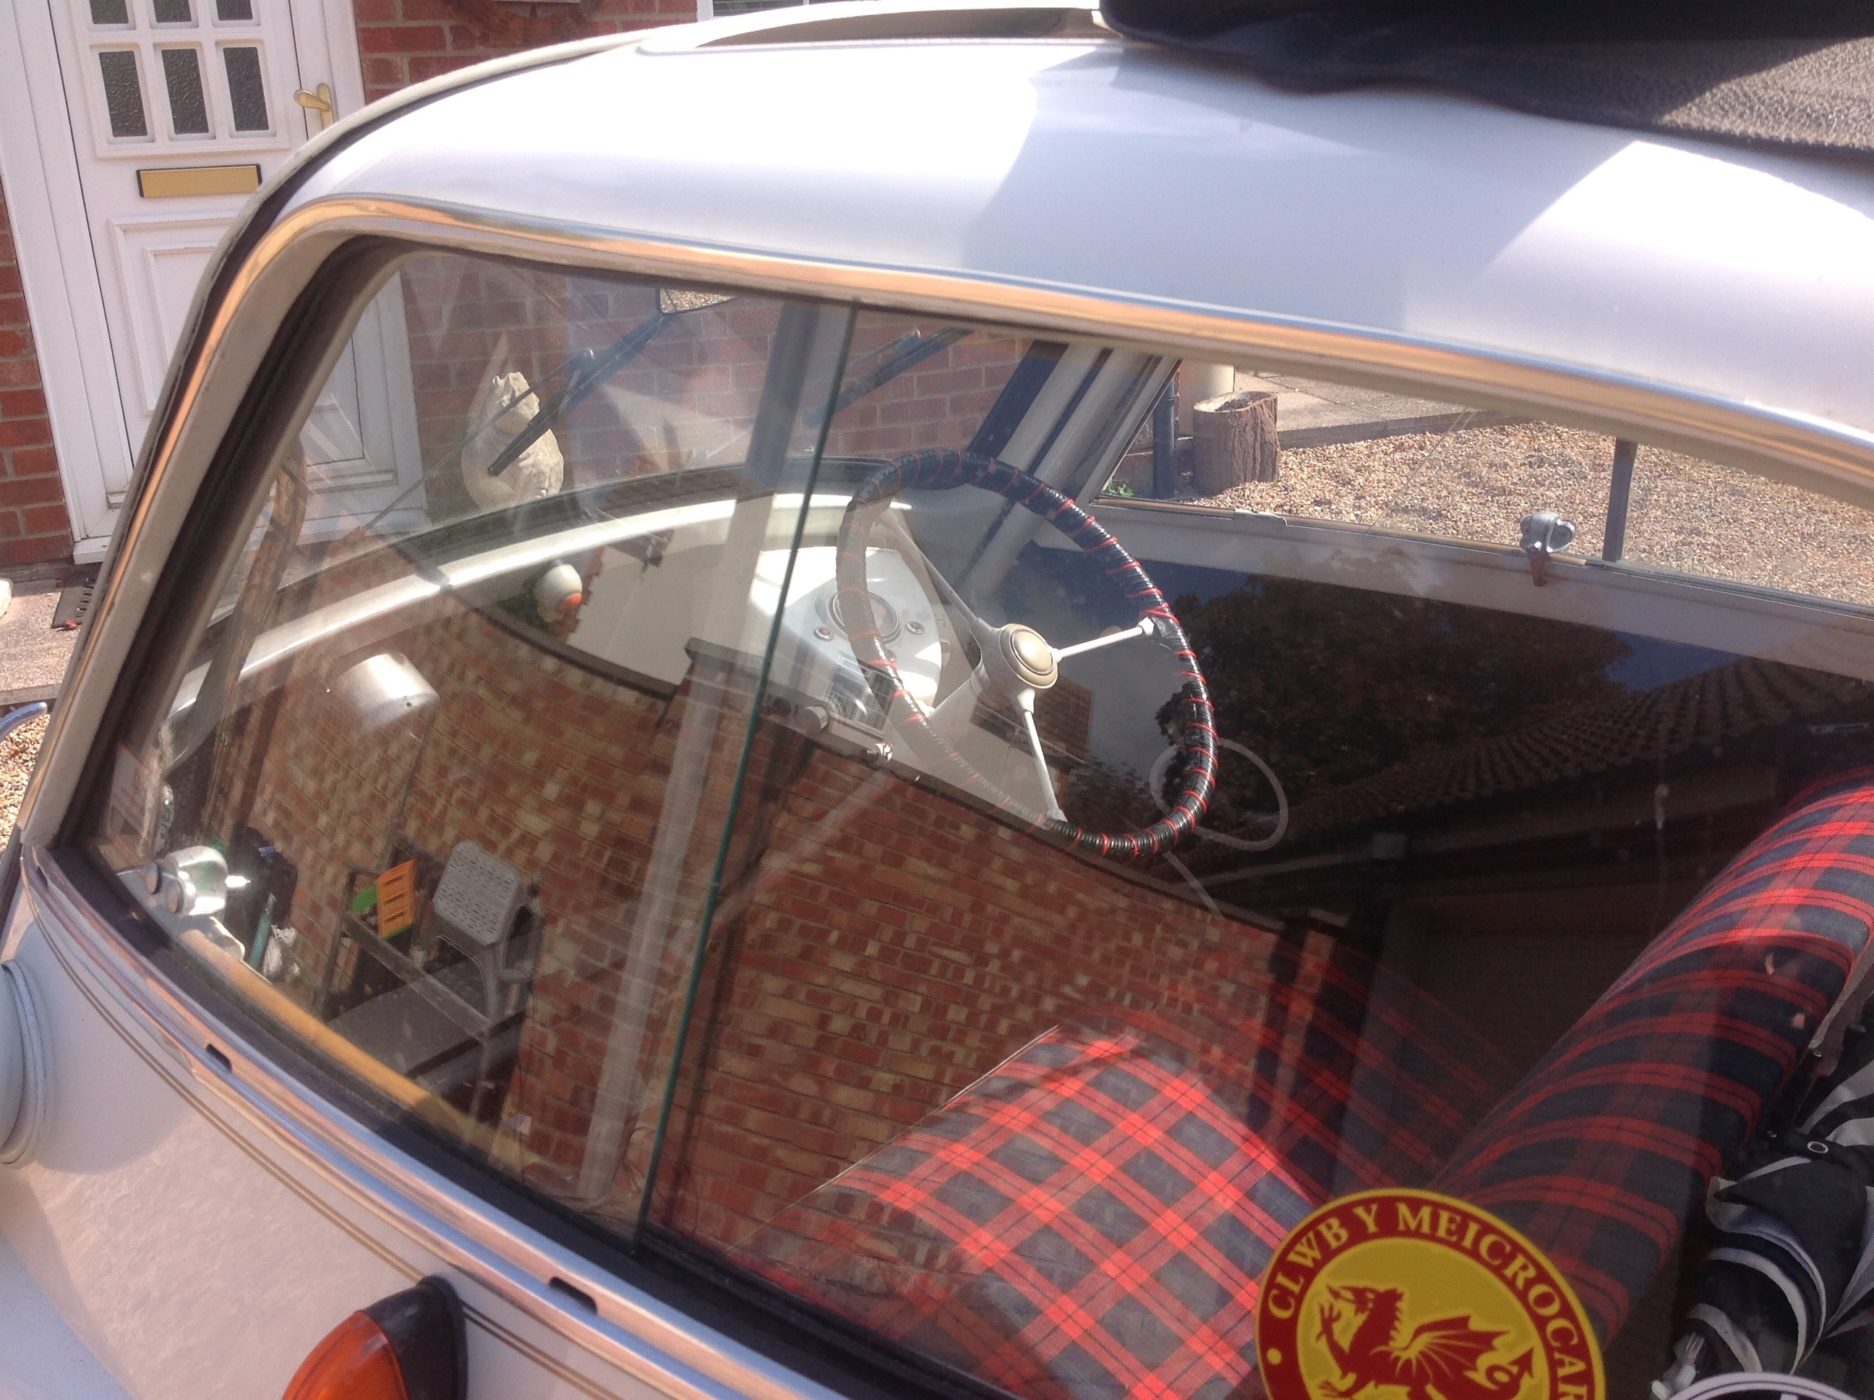
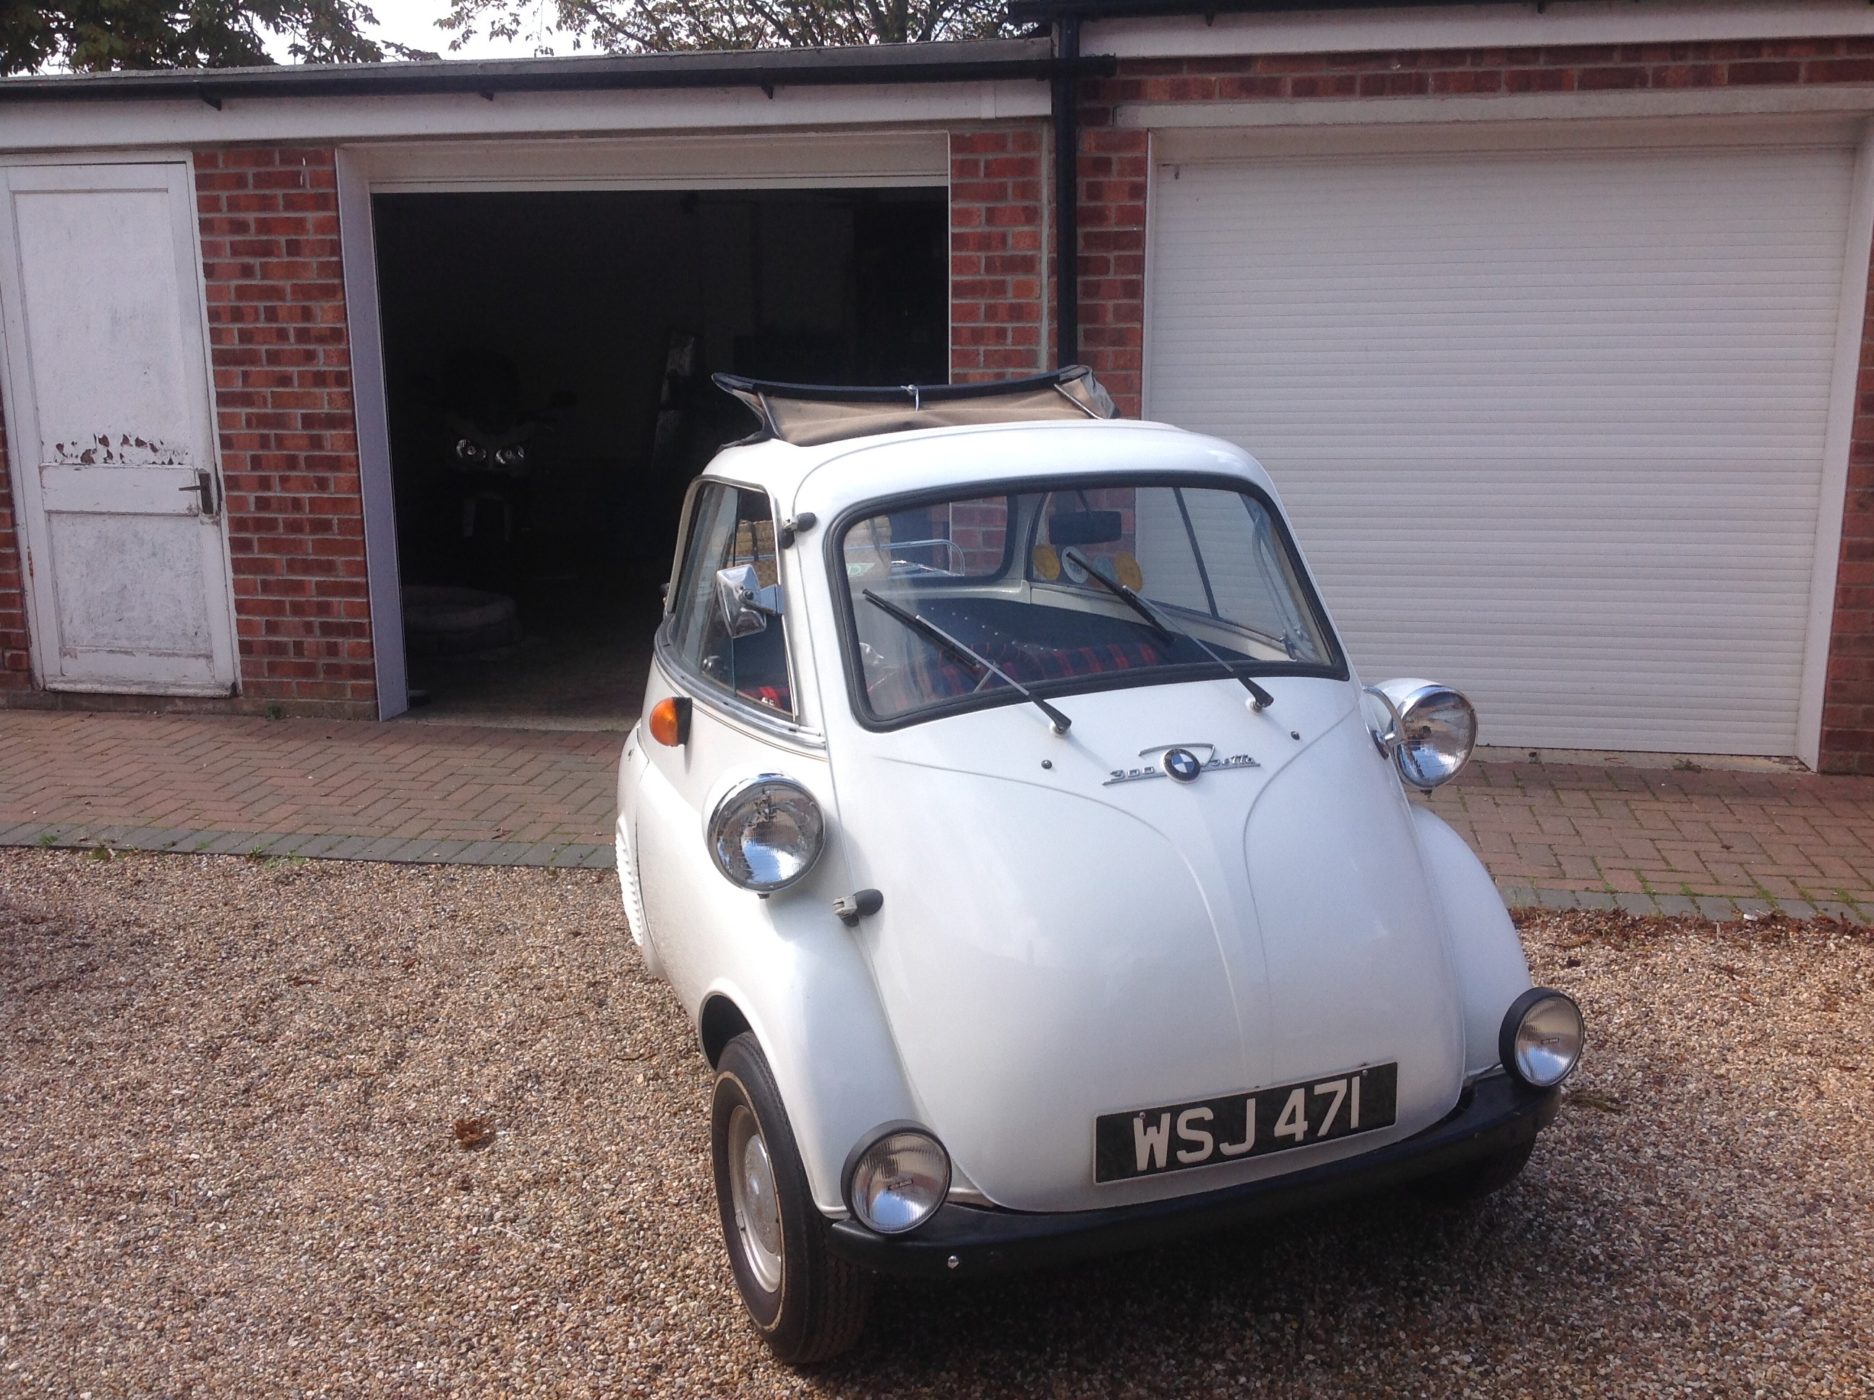
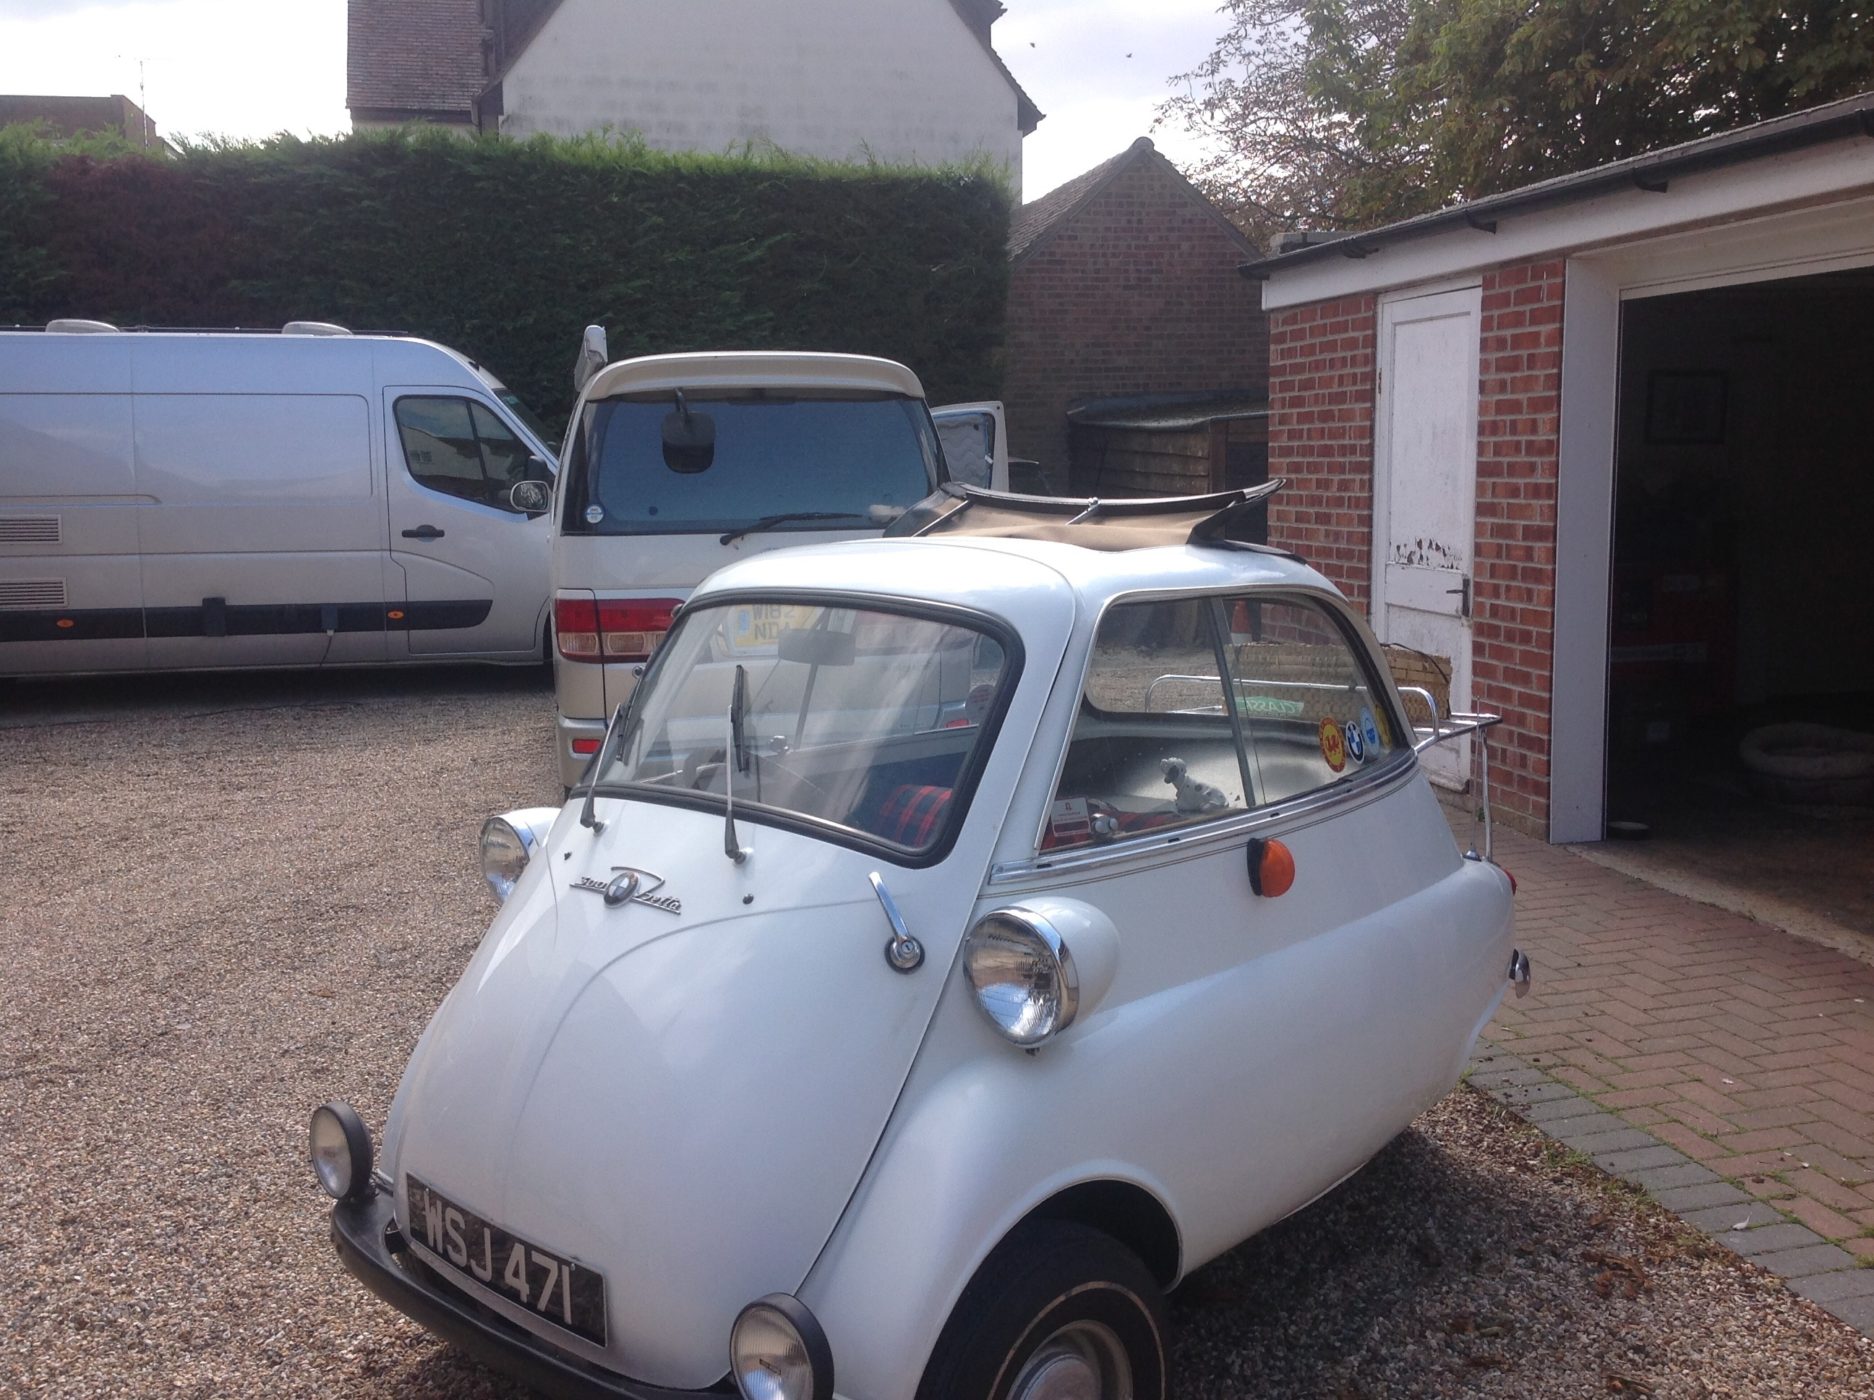
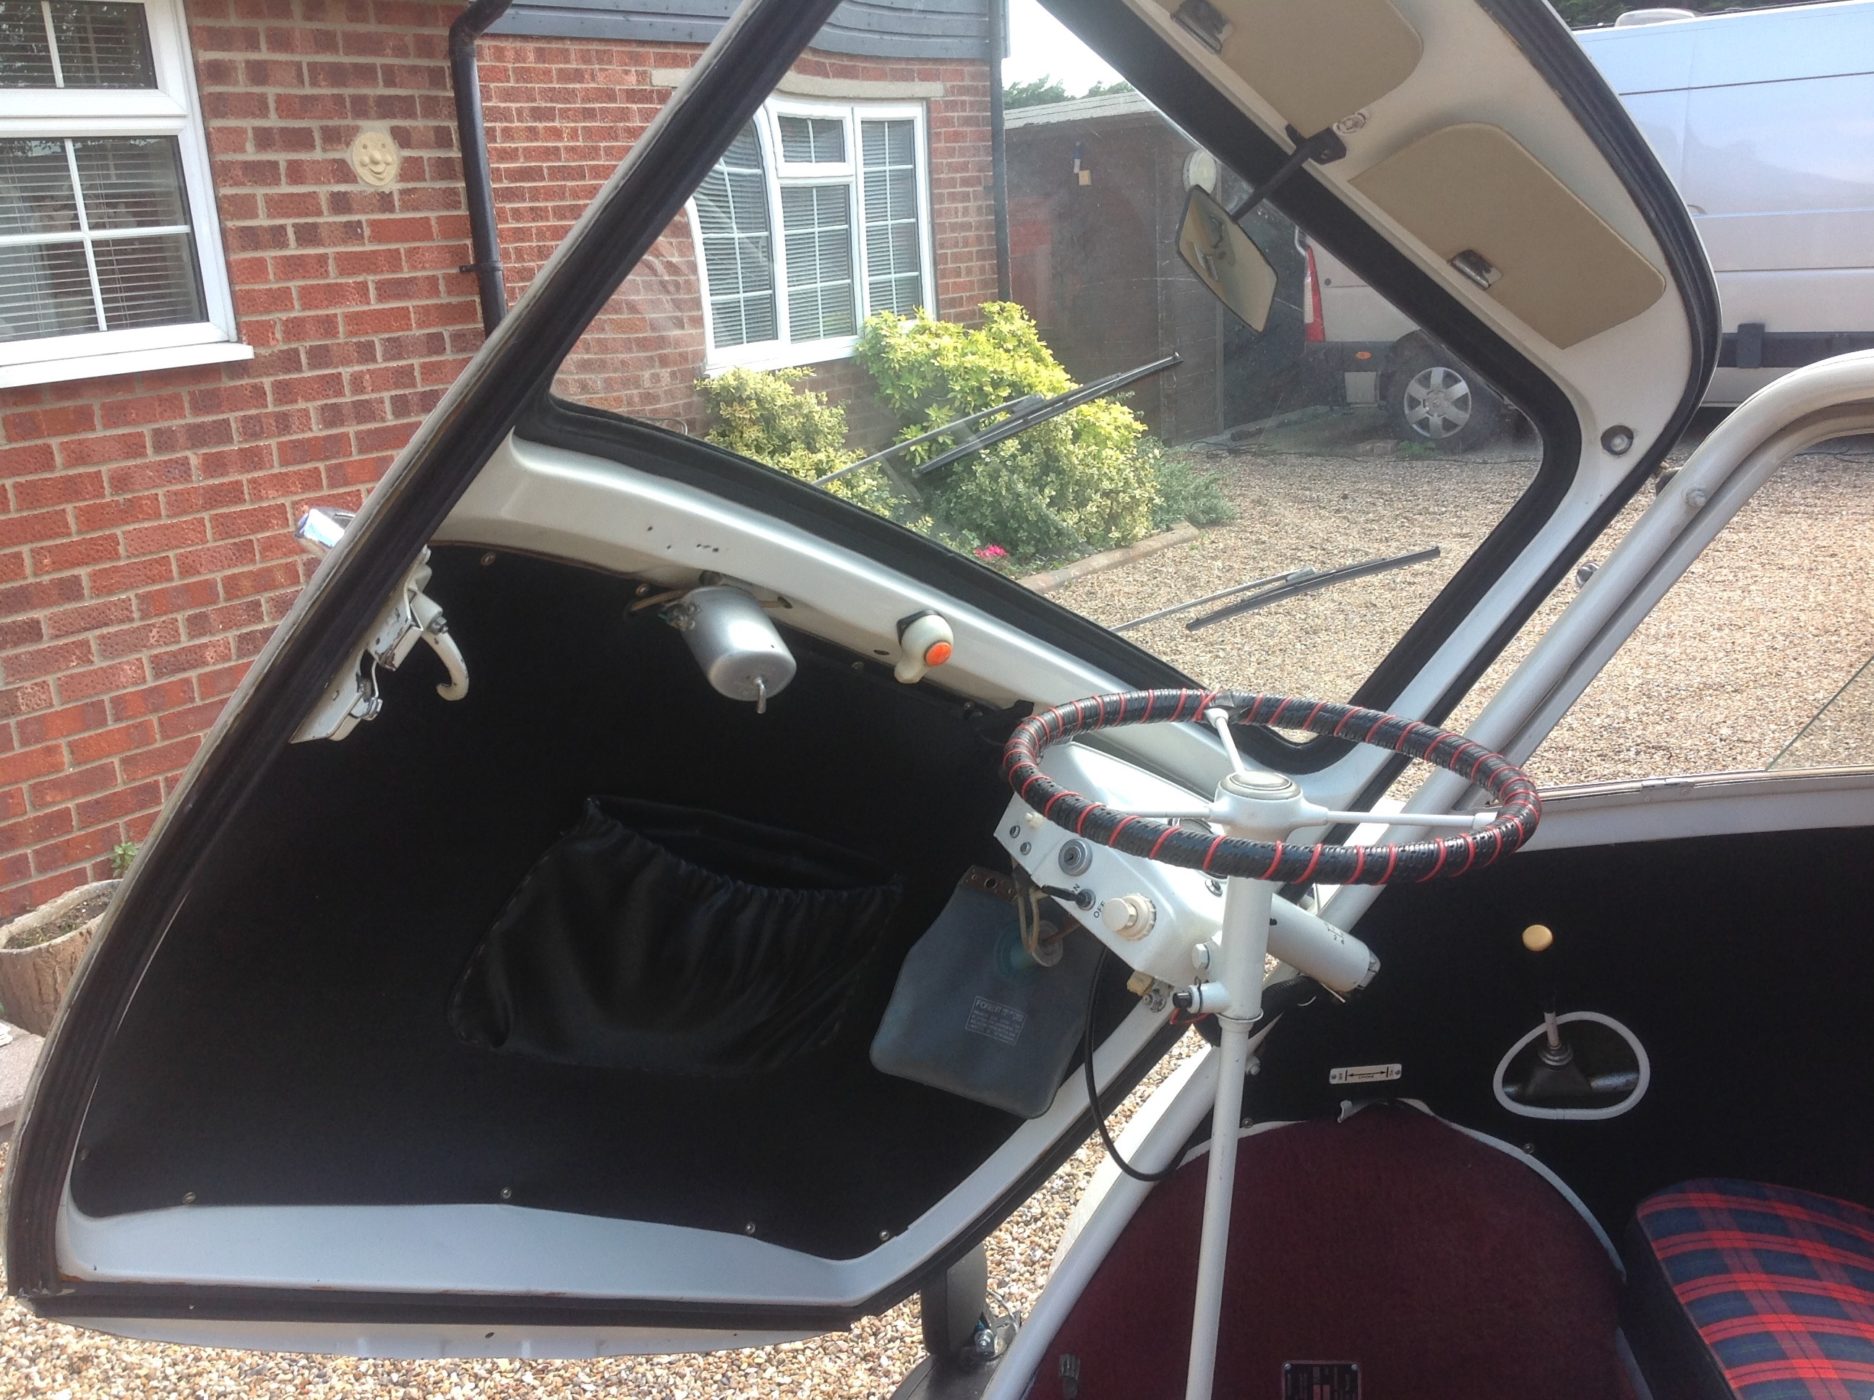
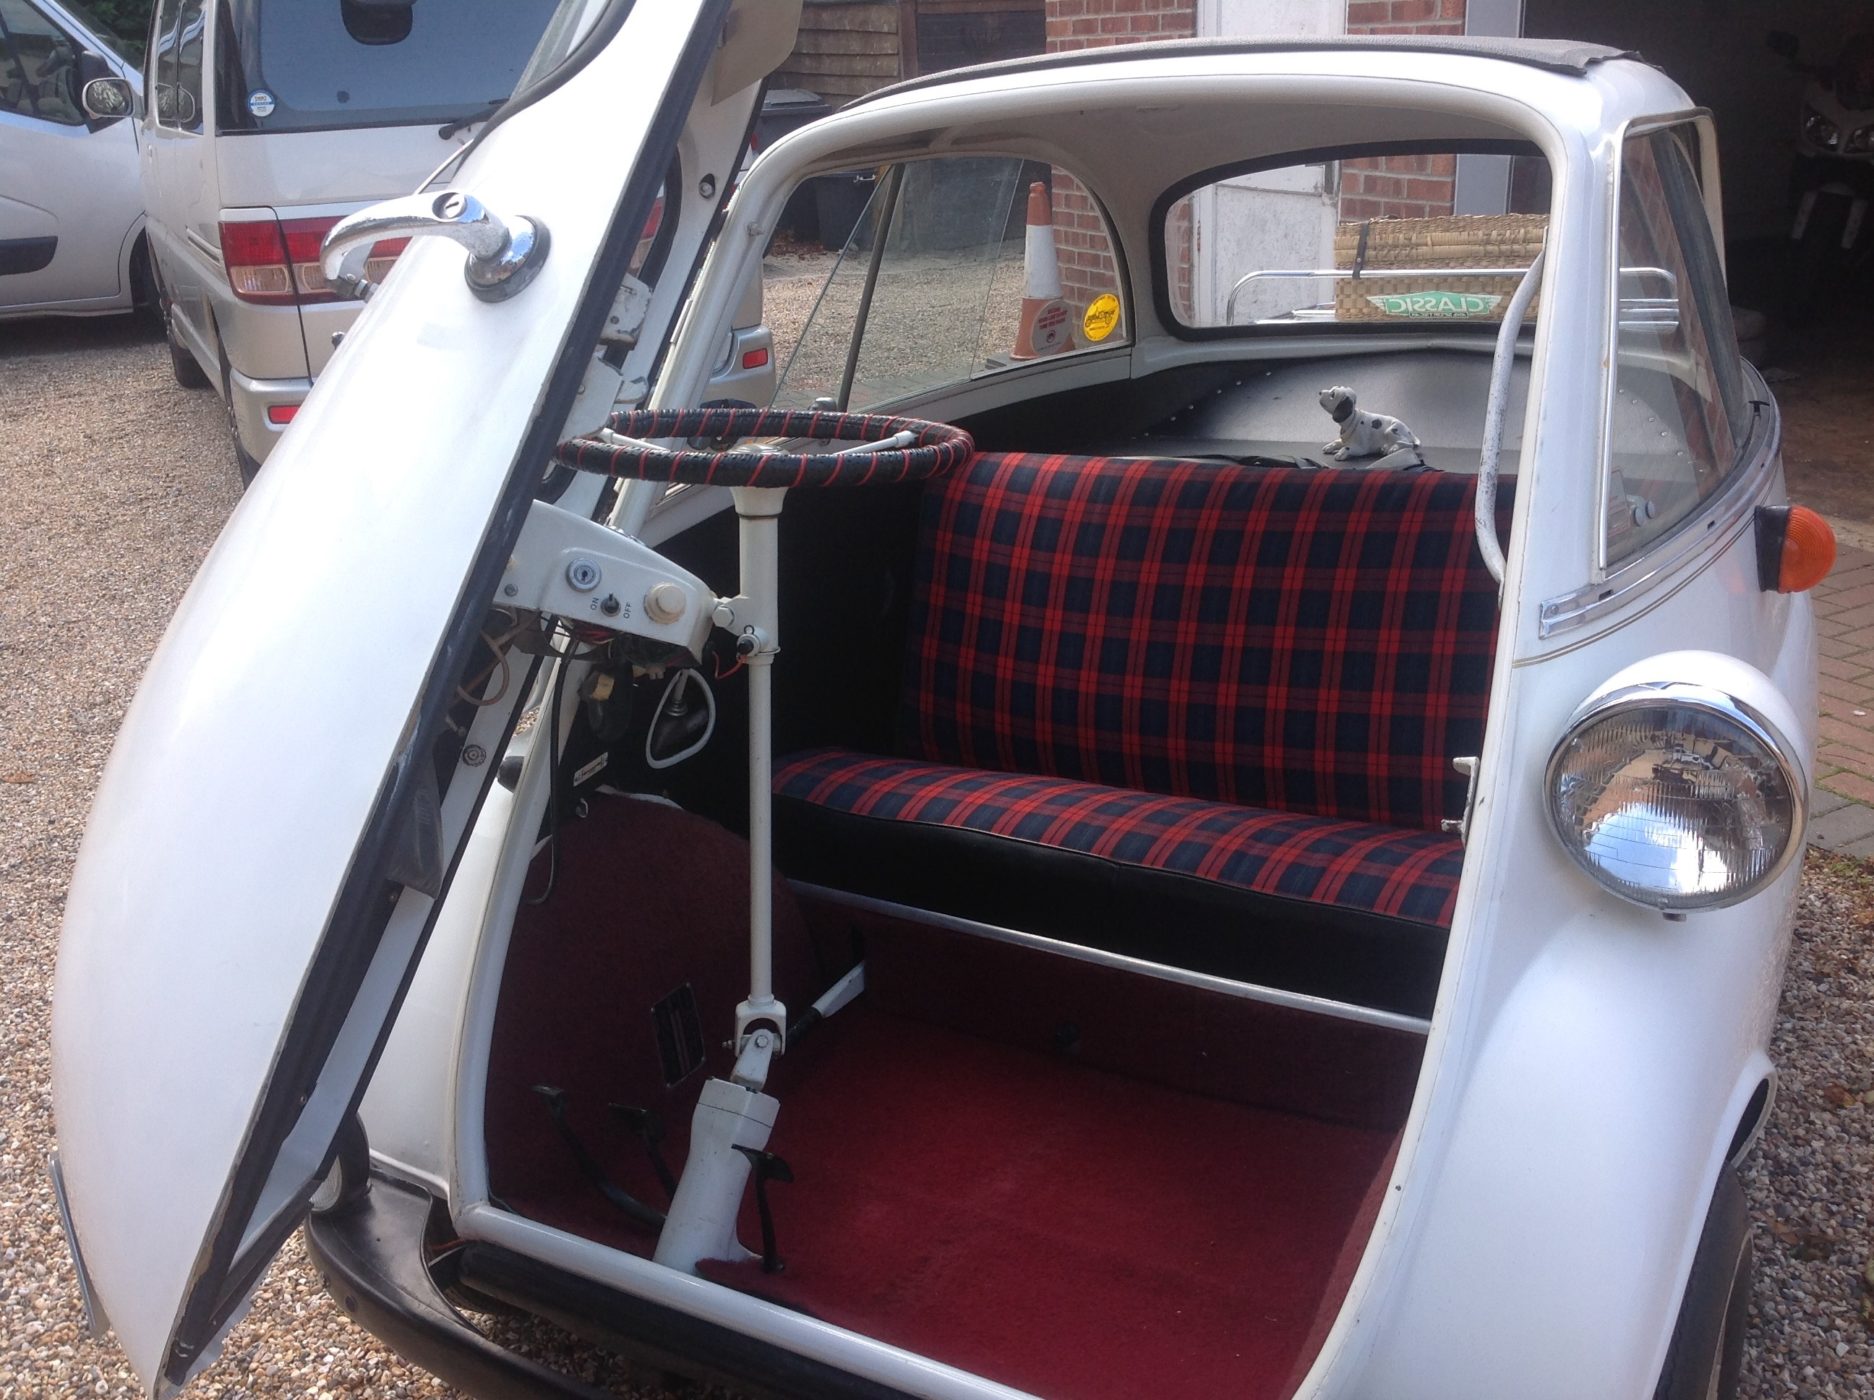
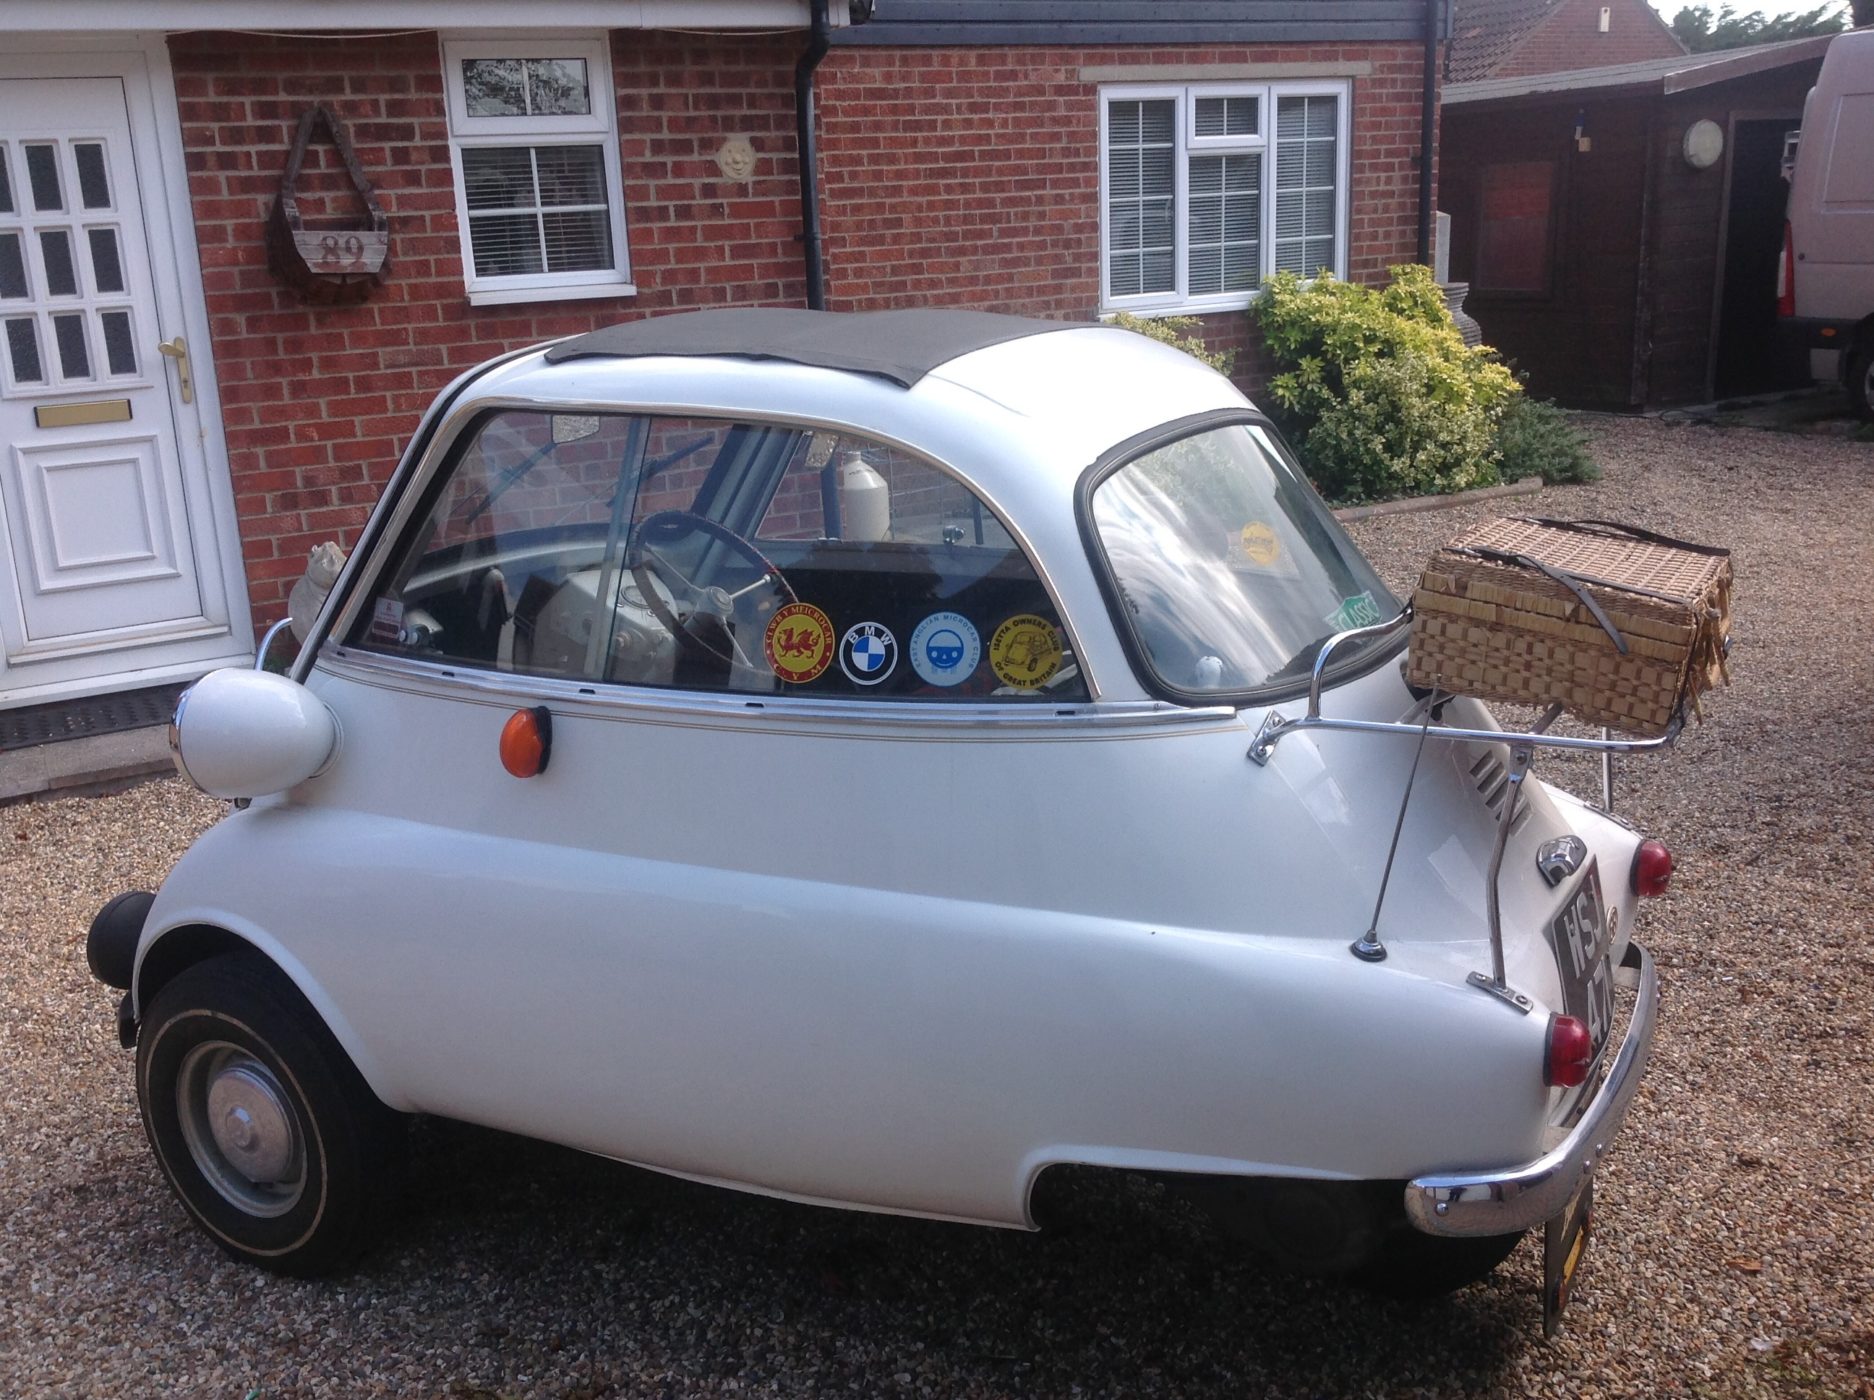
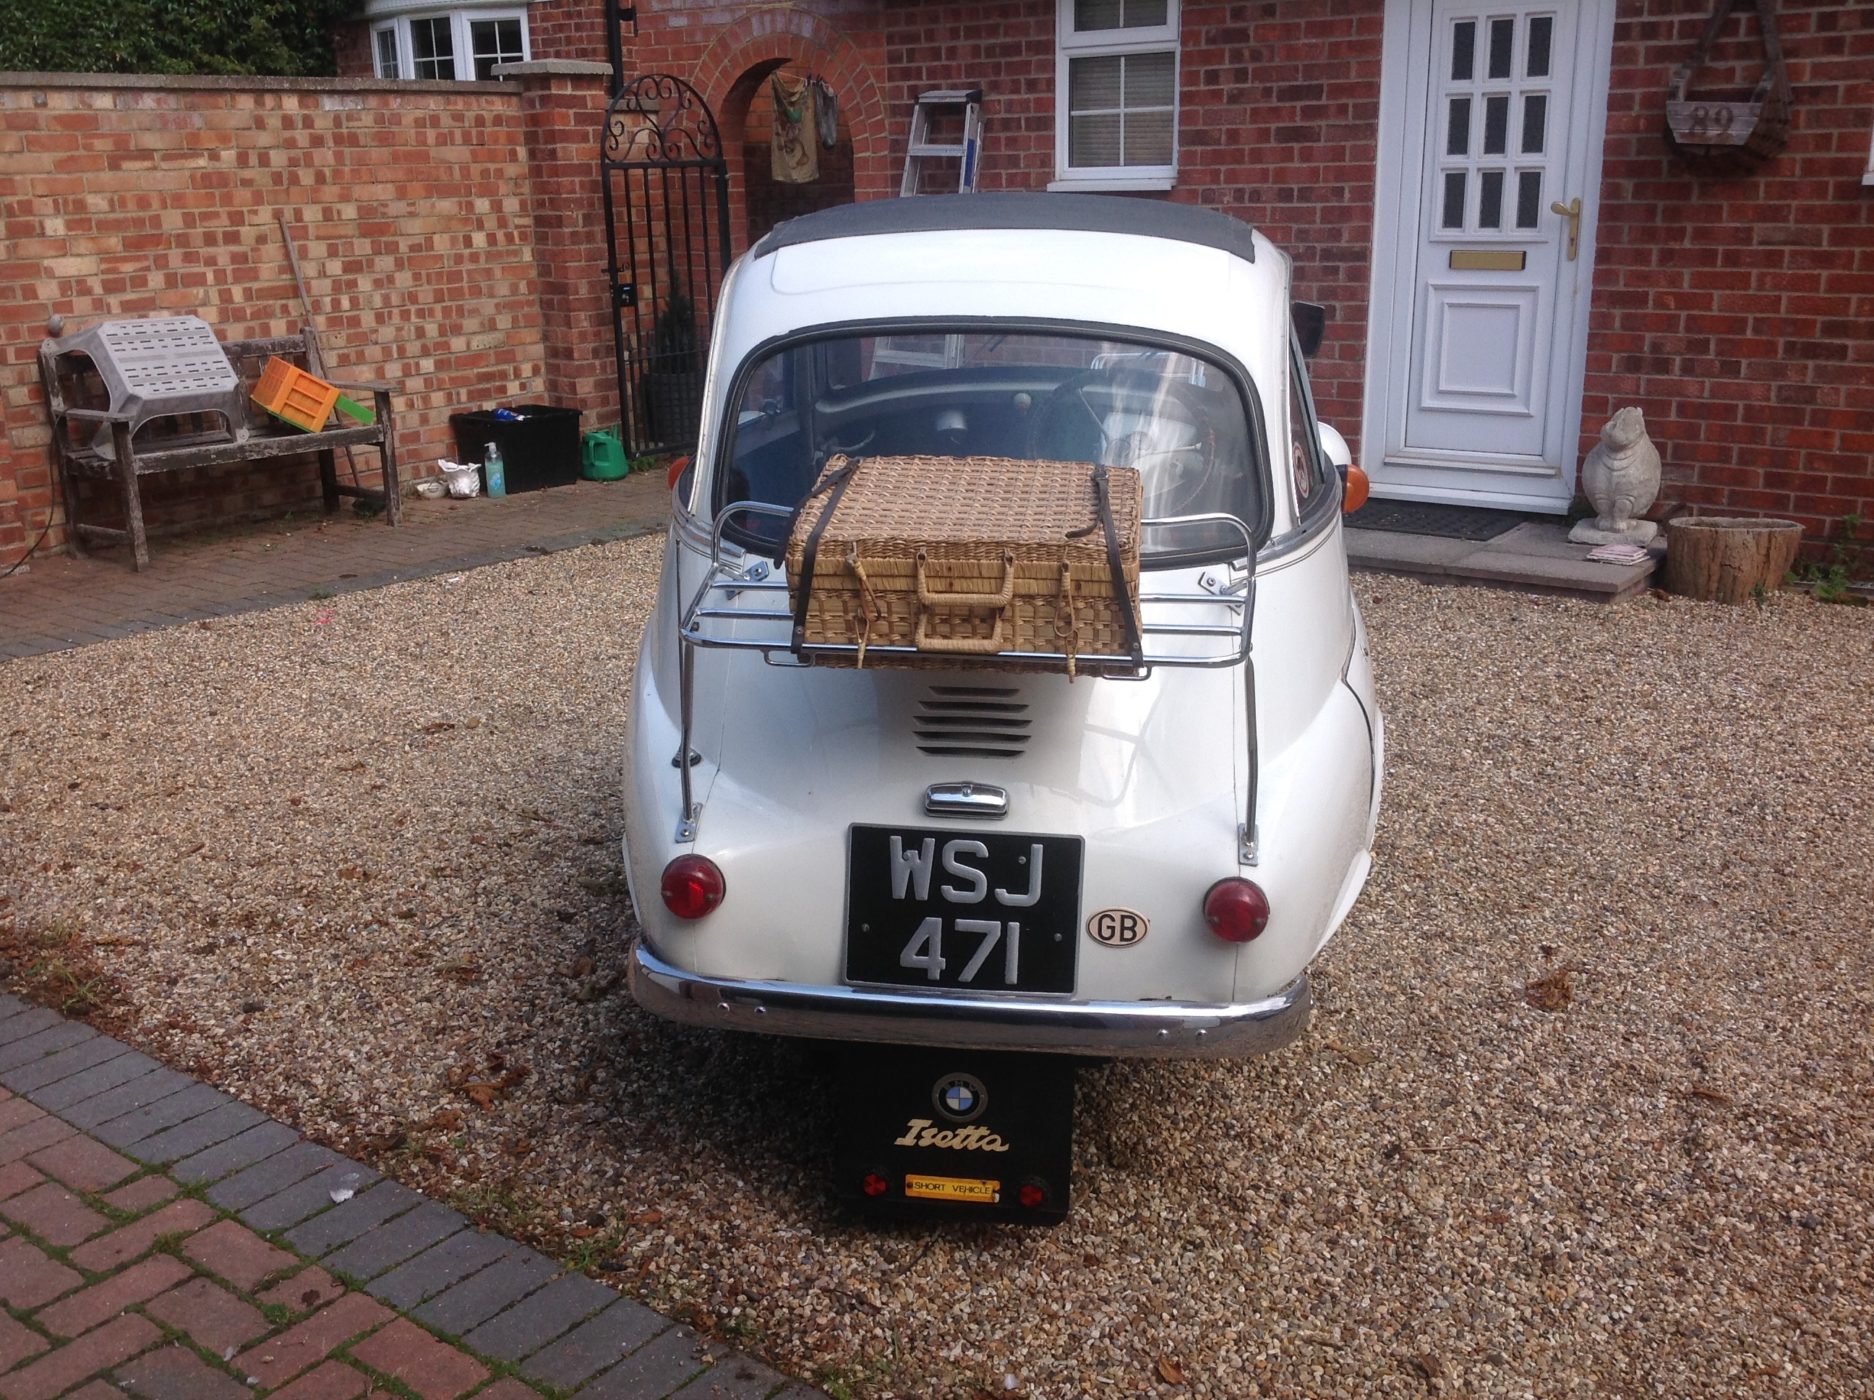
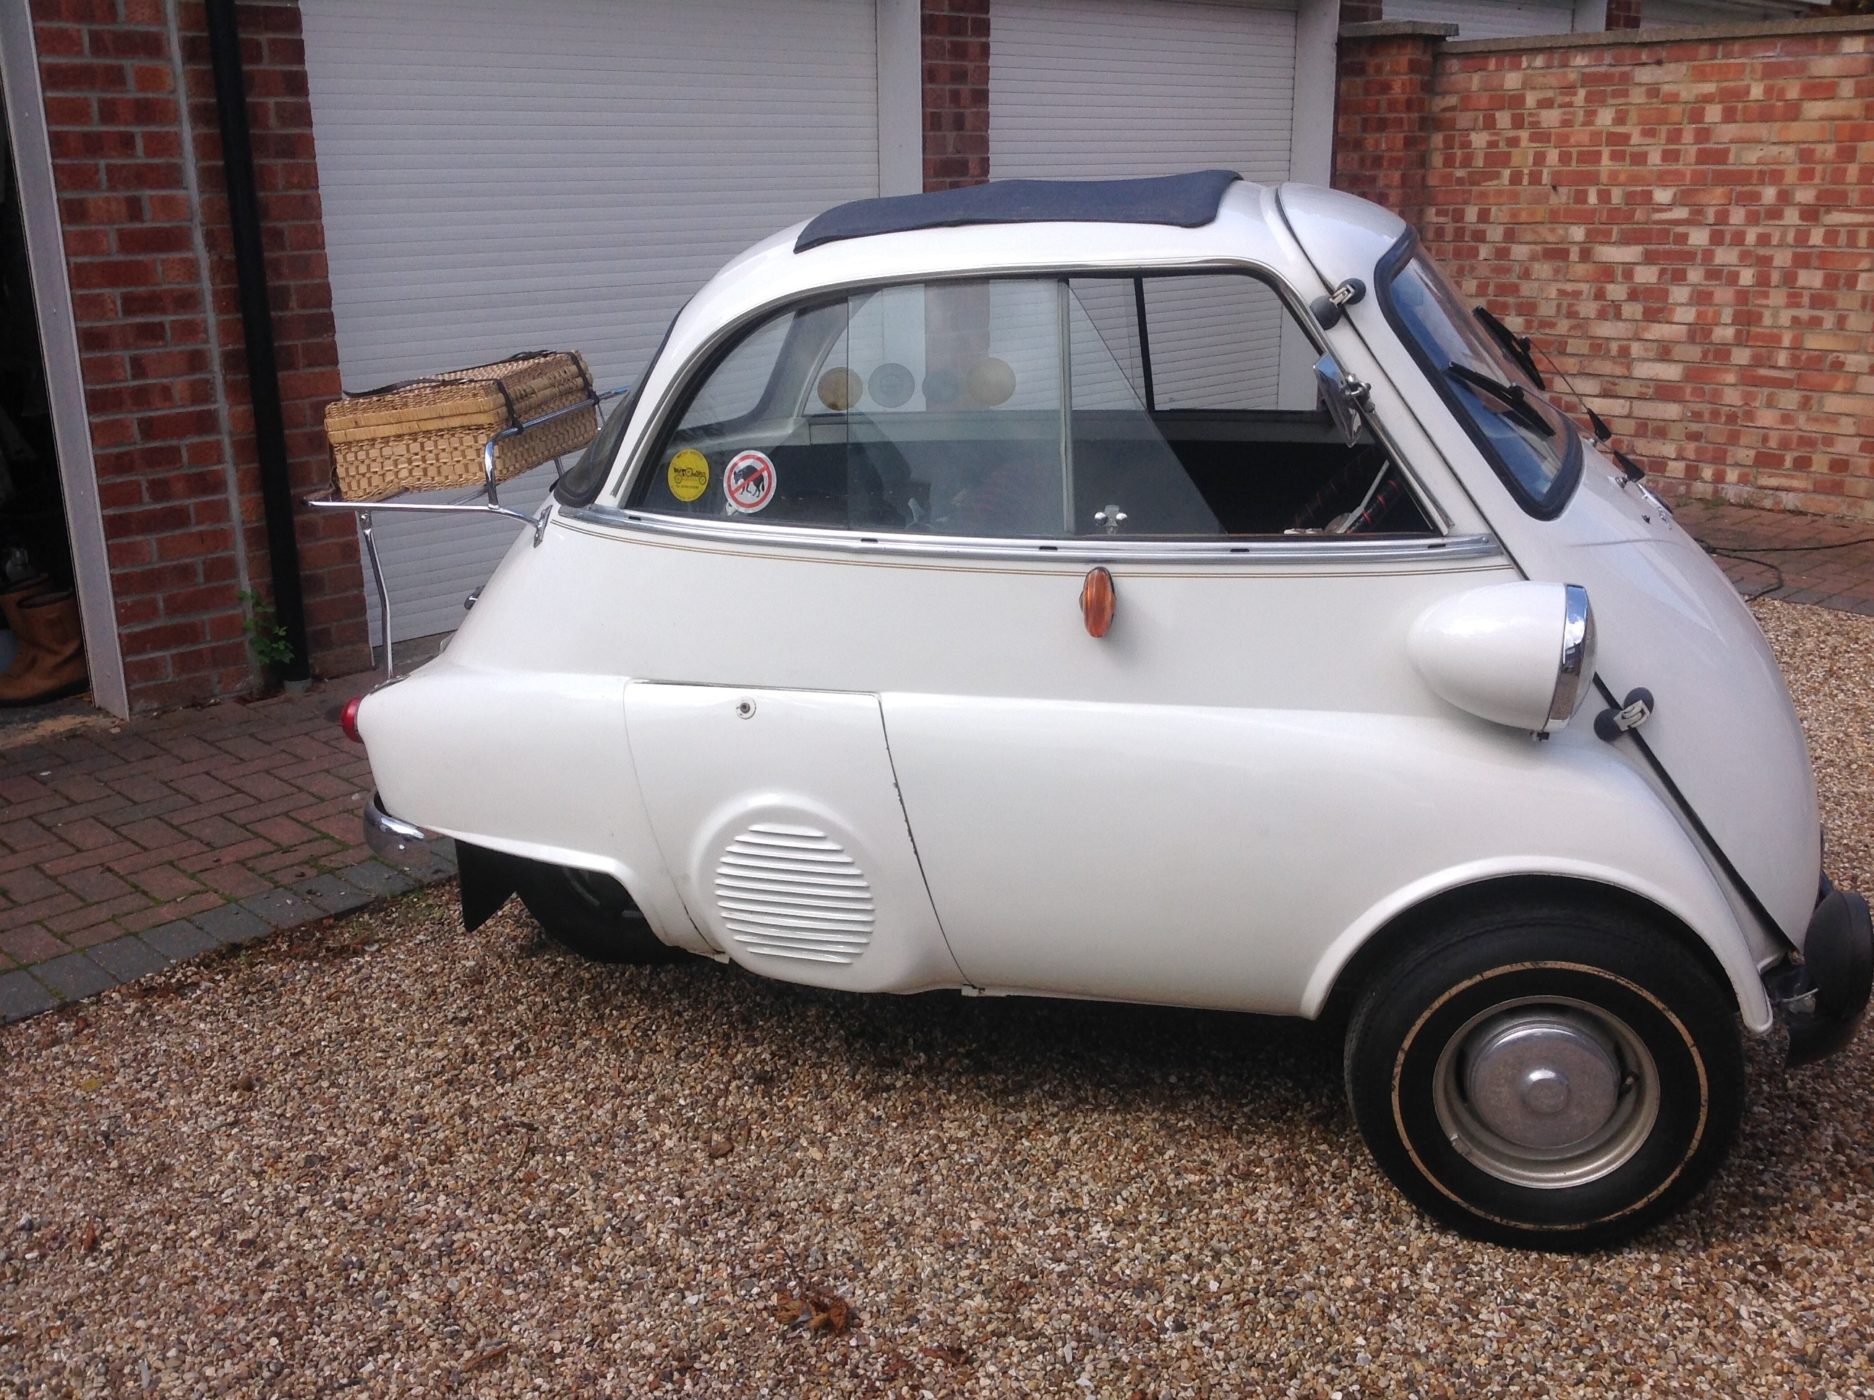
A very rare find is our 1962 BMW Isetta ‘Bubble Car’. Purchased some time ago for a family member the car was very rarely used by the current owner and therefore has been offered to Bridge Classic Cars to find a new home.

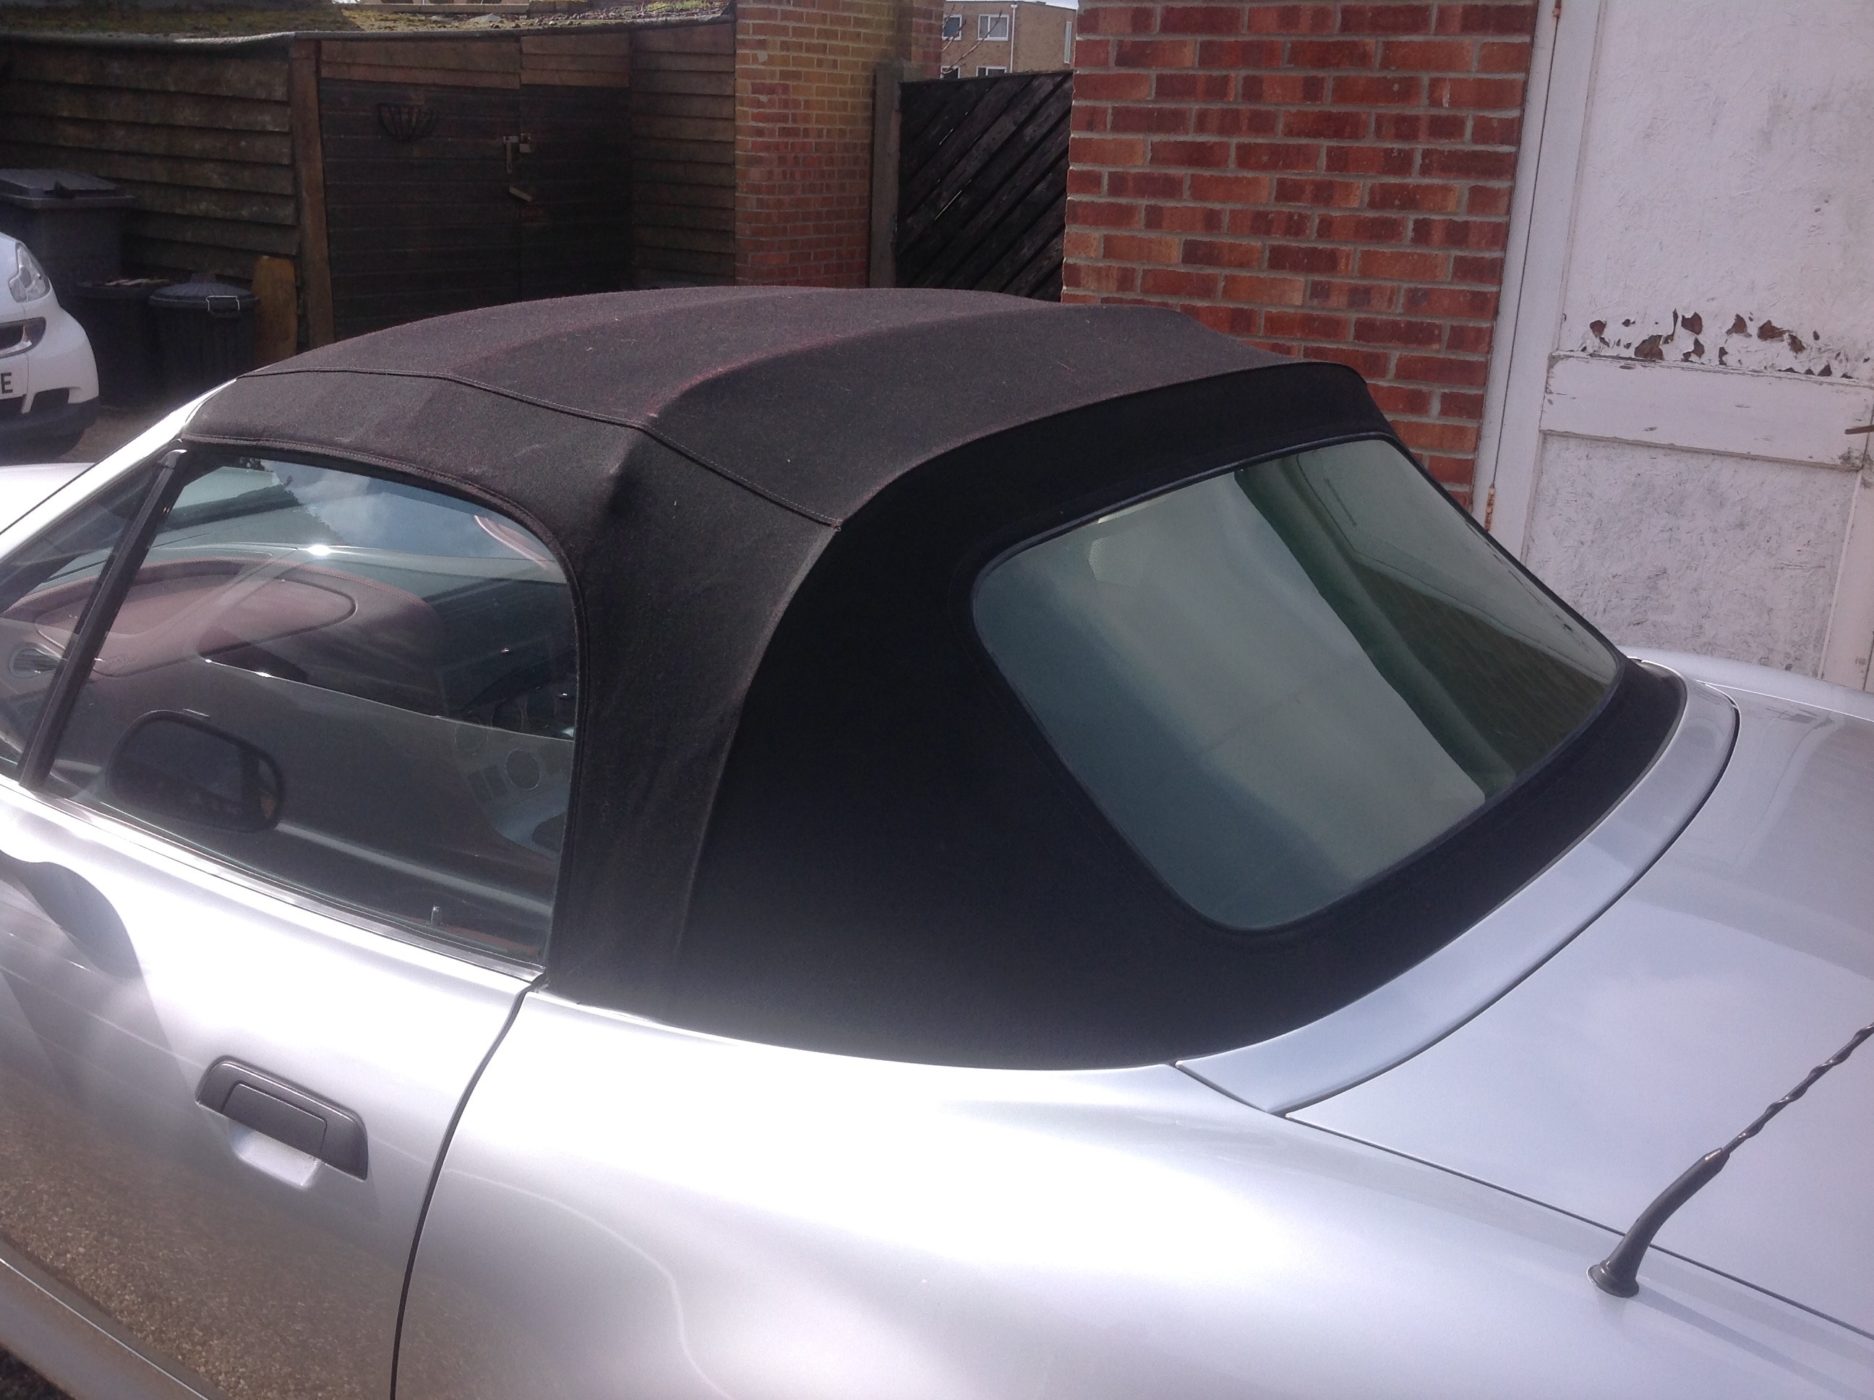
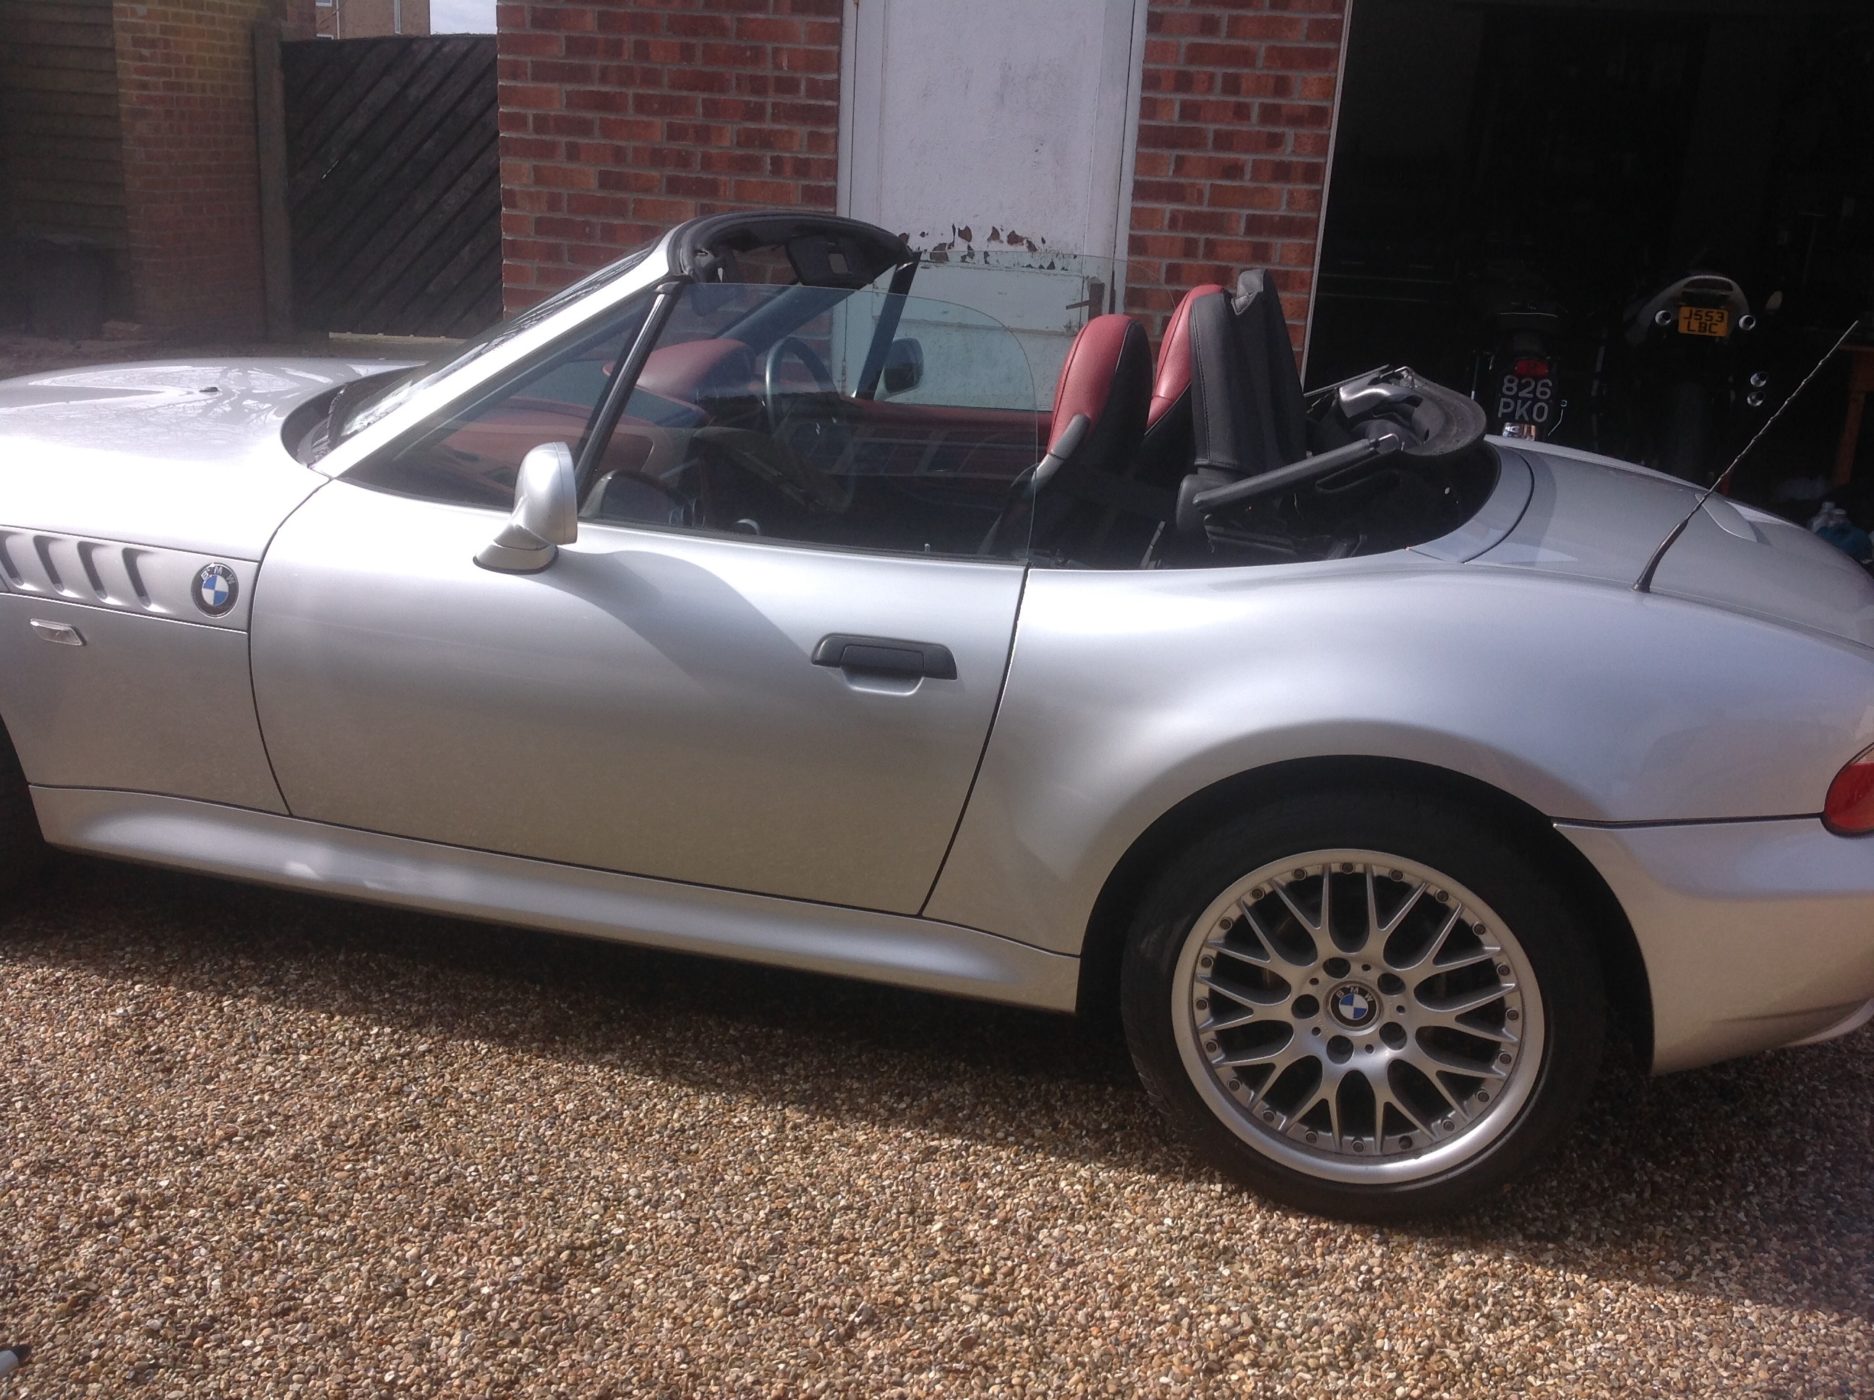
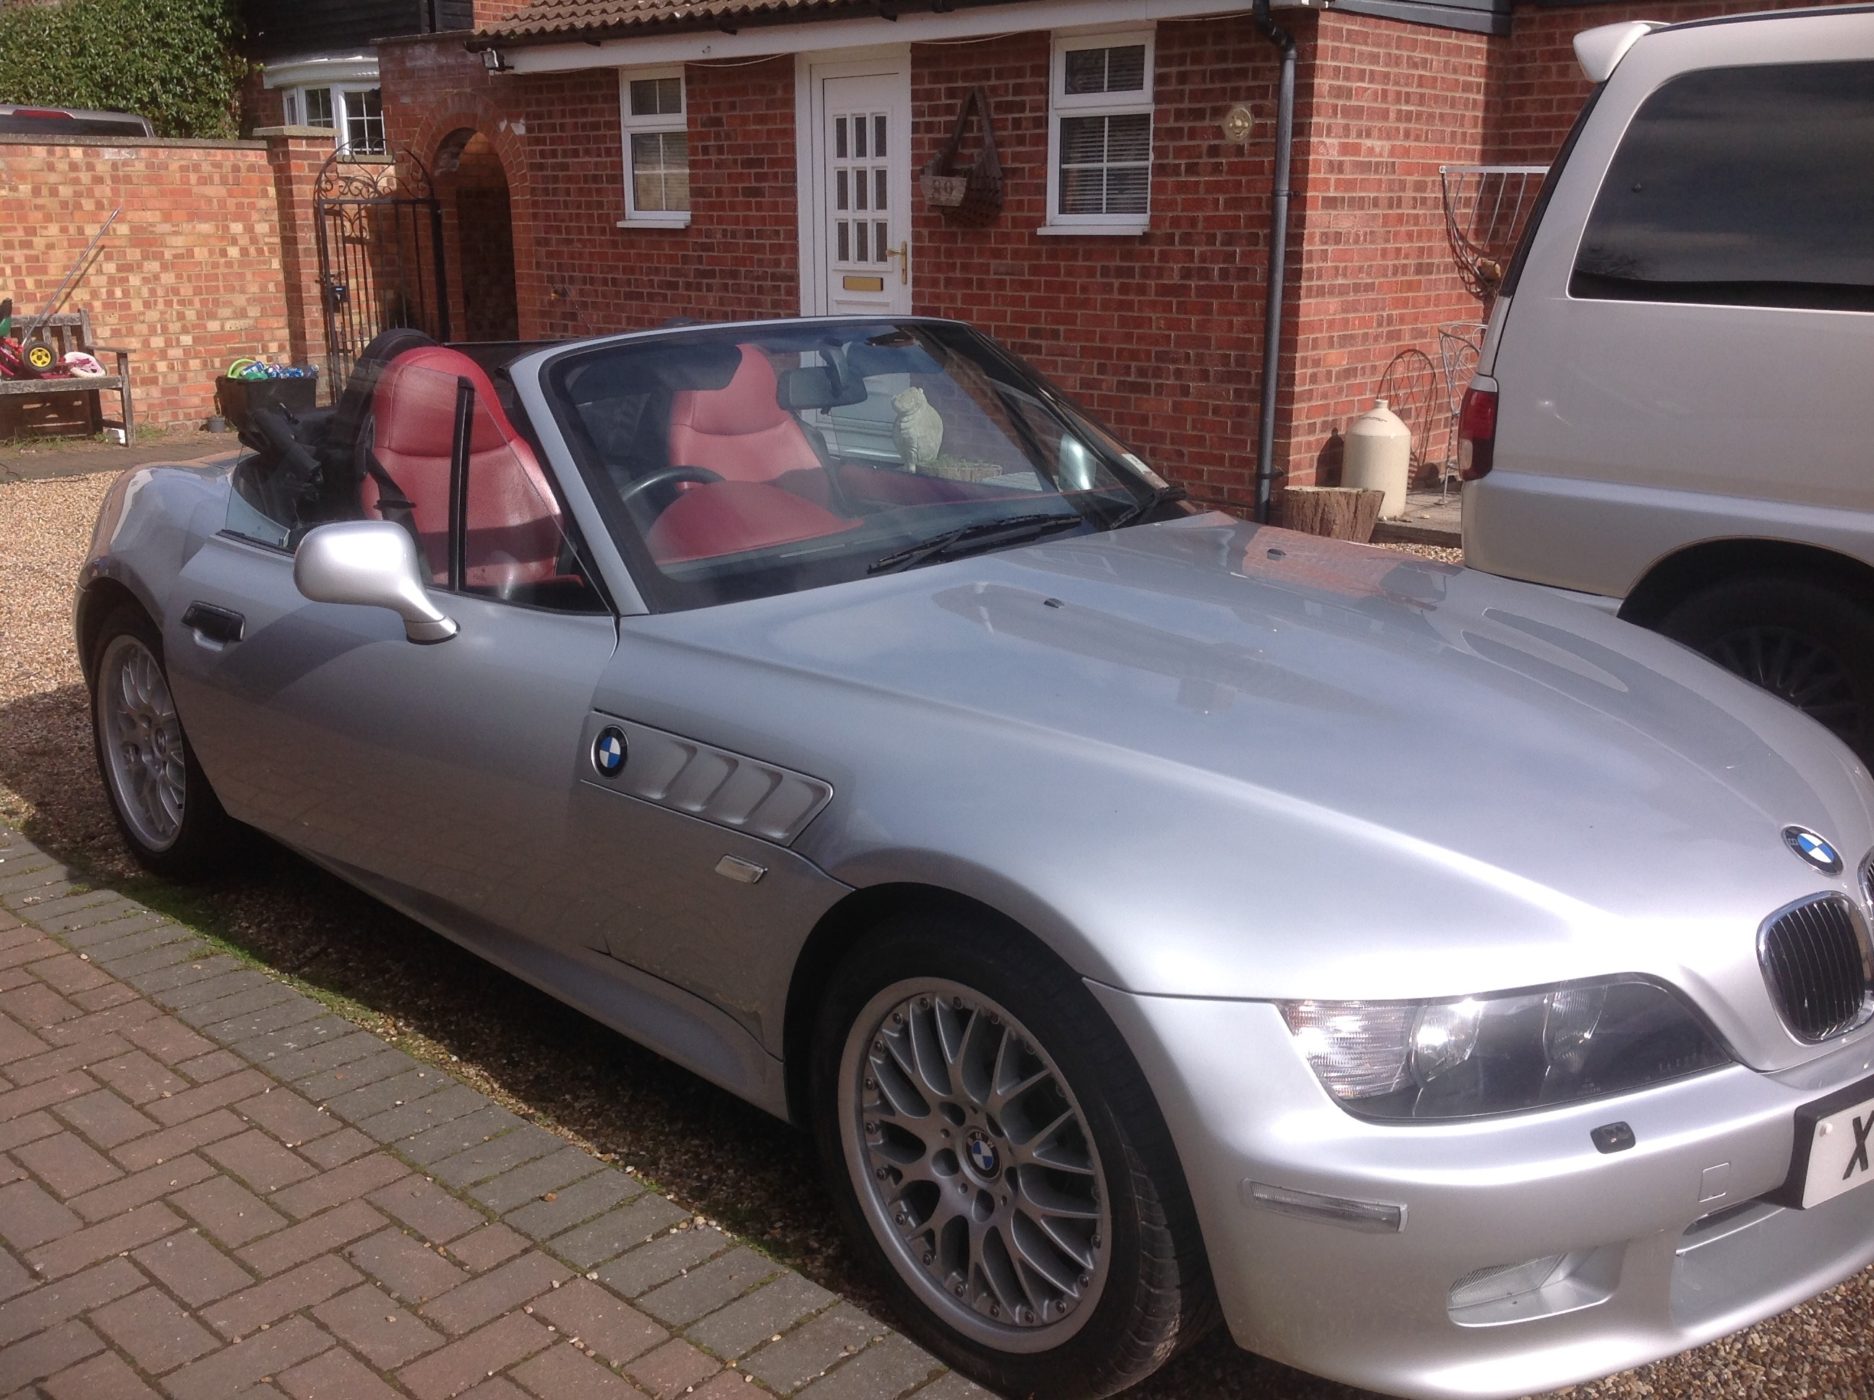
And our 2000 BMW Z3 3.0 Widebody. A fantastic colour combination of Silver with two-tone red and black leather interior. The car has covered just 27,000 miles from new and it’s one to enjoy now knowing that it will be future collectible. Prices of the Z3 are already starting to rise and the desirable 3.0 litre engine is no doubt one to keep hold of for as long as you can.


We’ve been featured in the EADT who have written about our charming 1949 Morris Minor Lowlight. We love seeing our work in local publications!
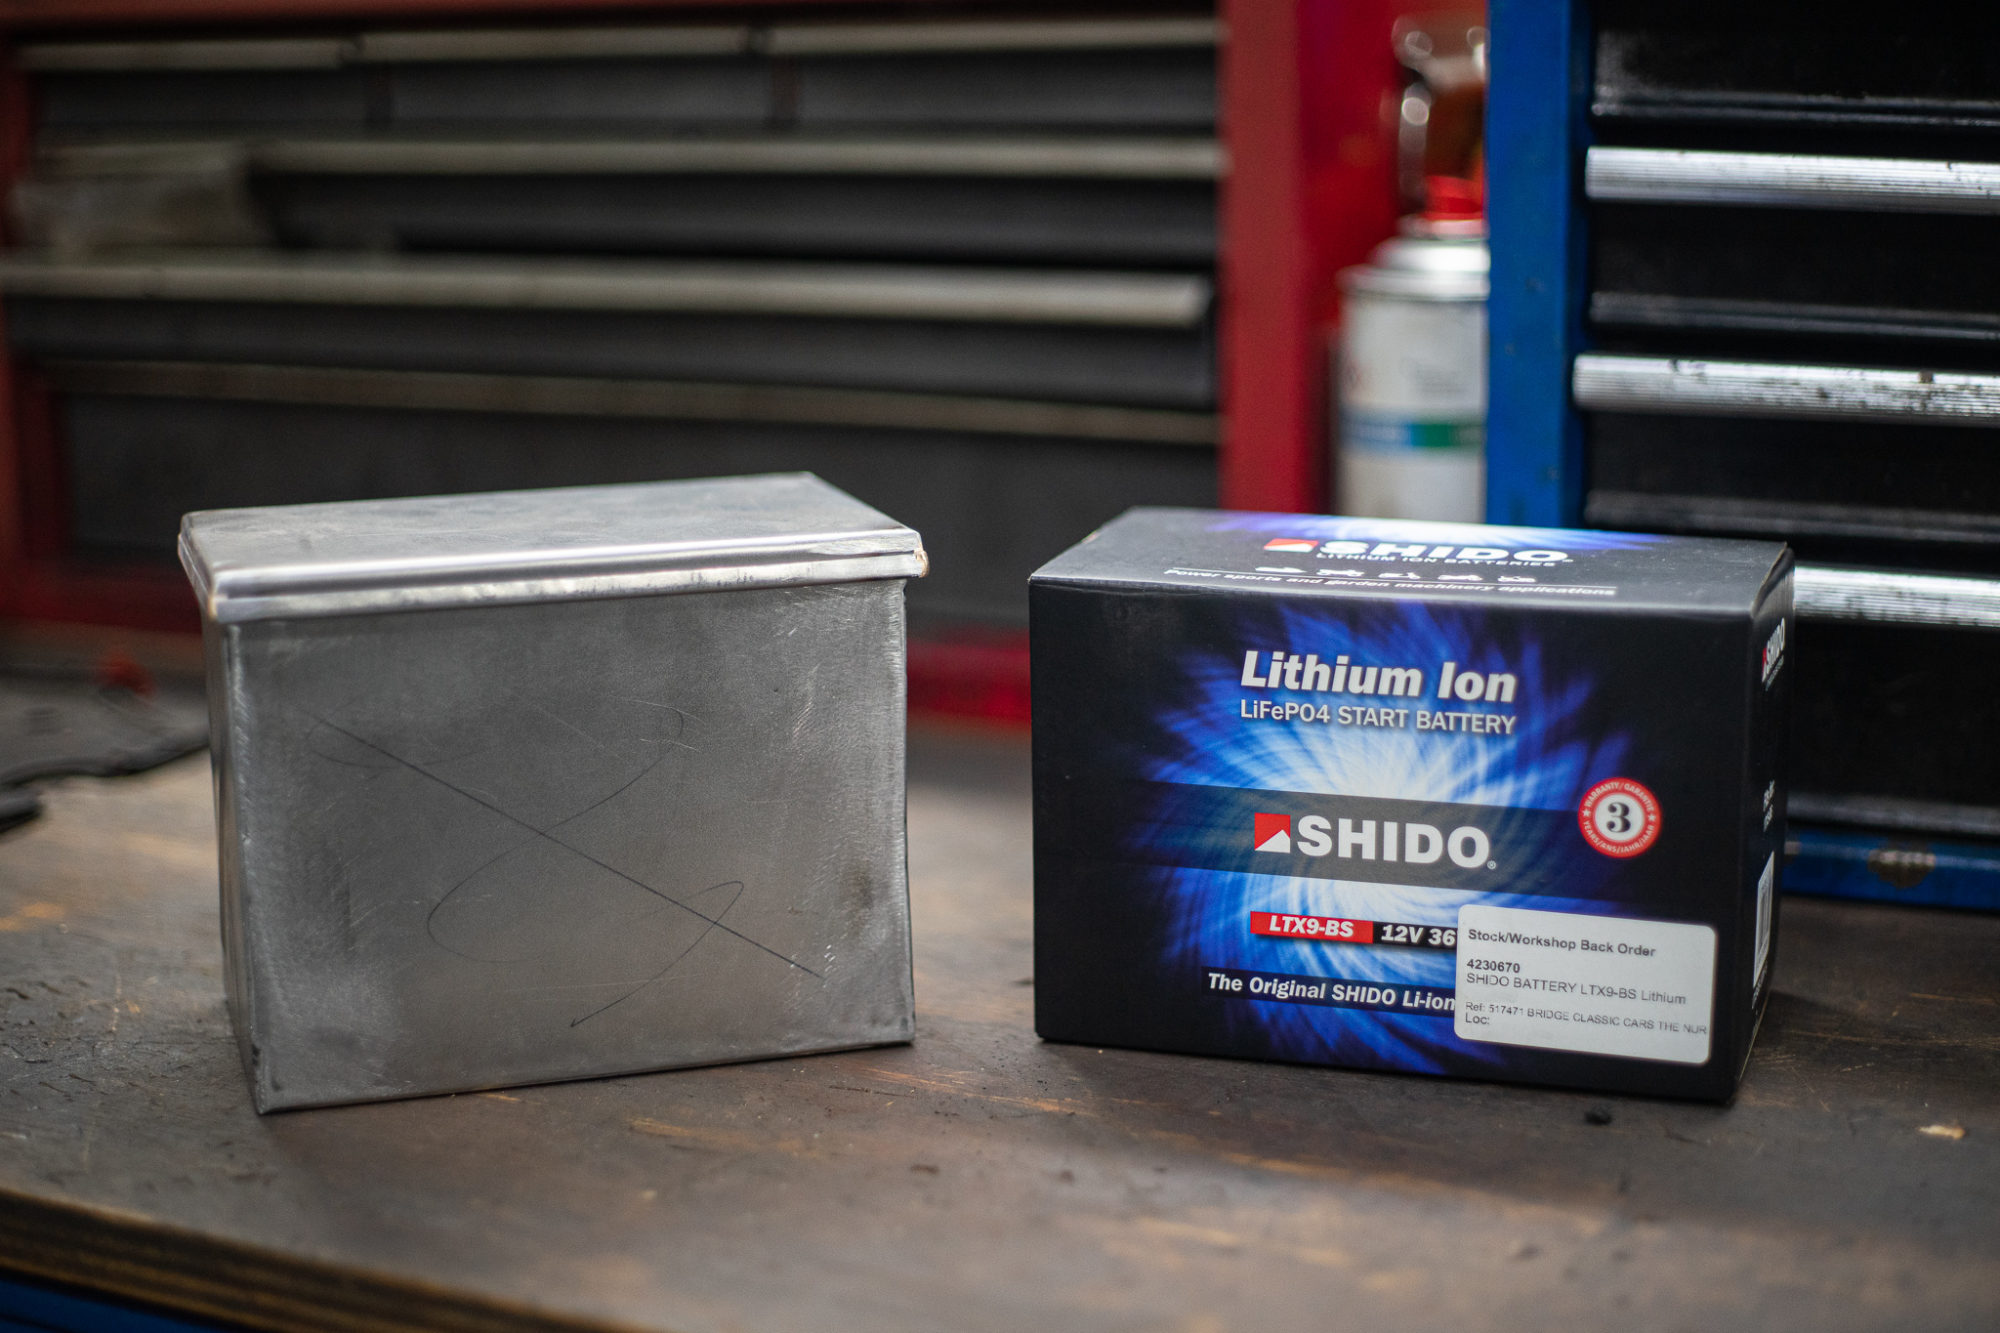
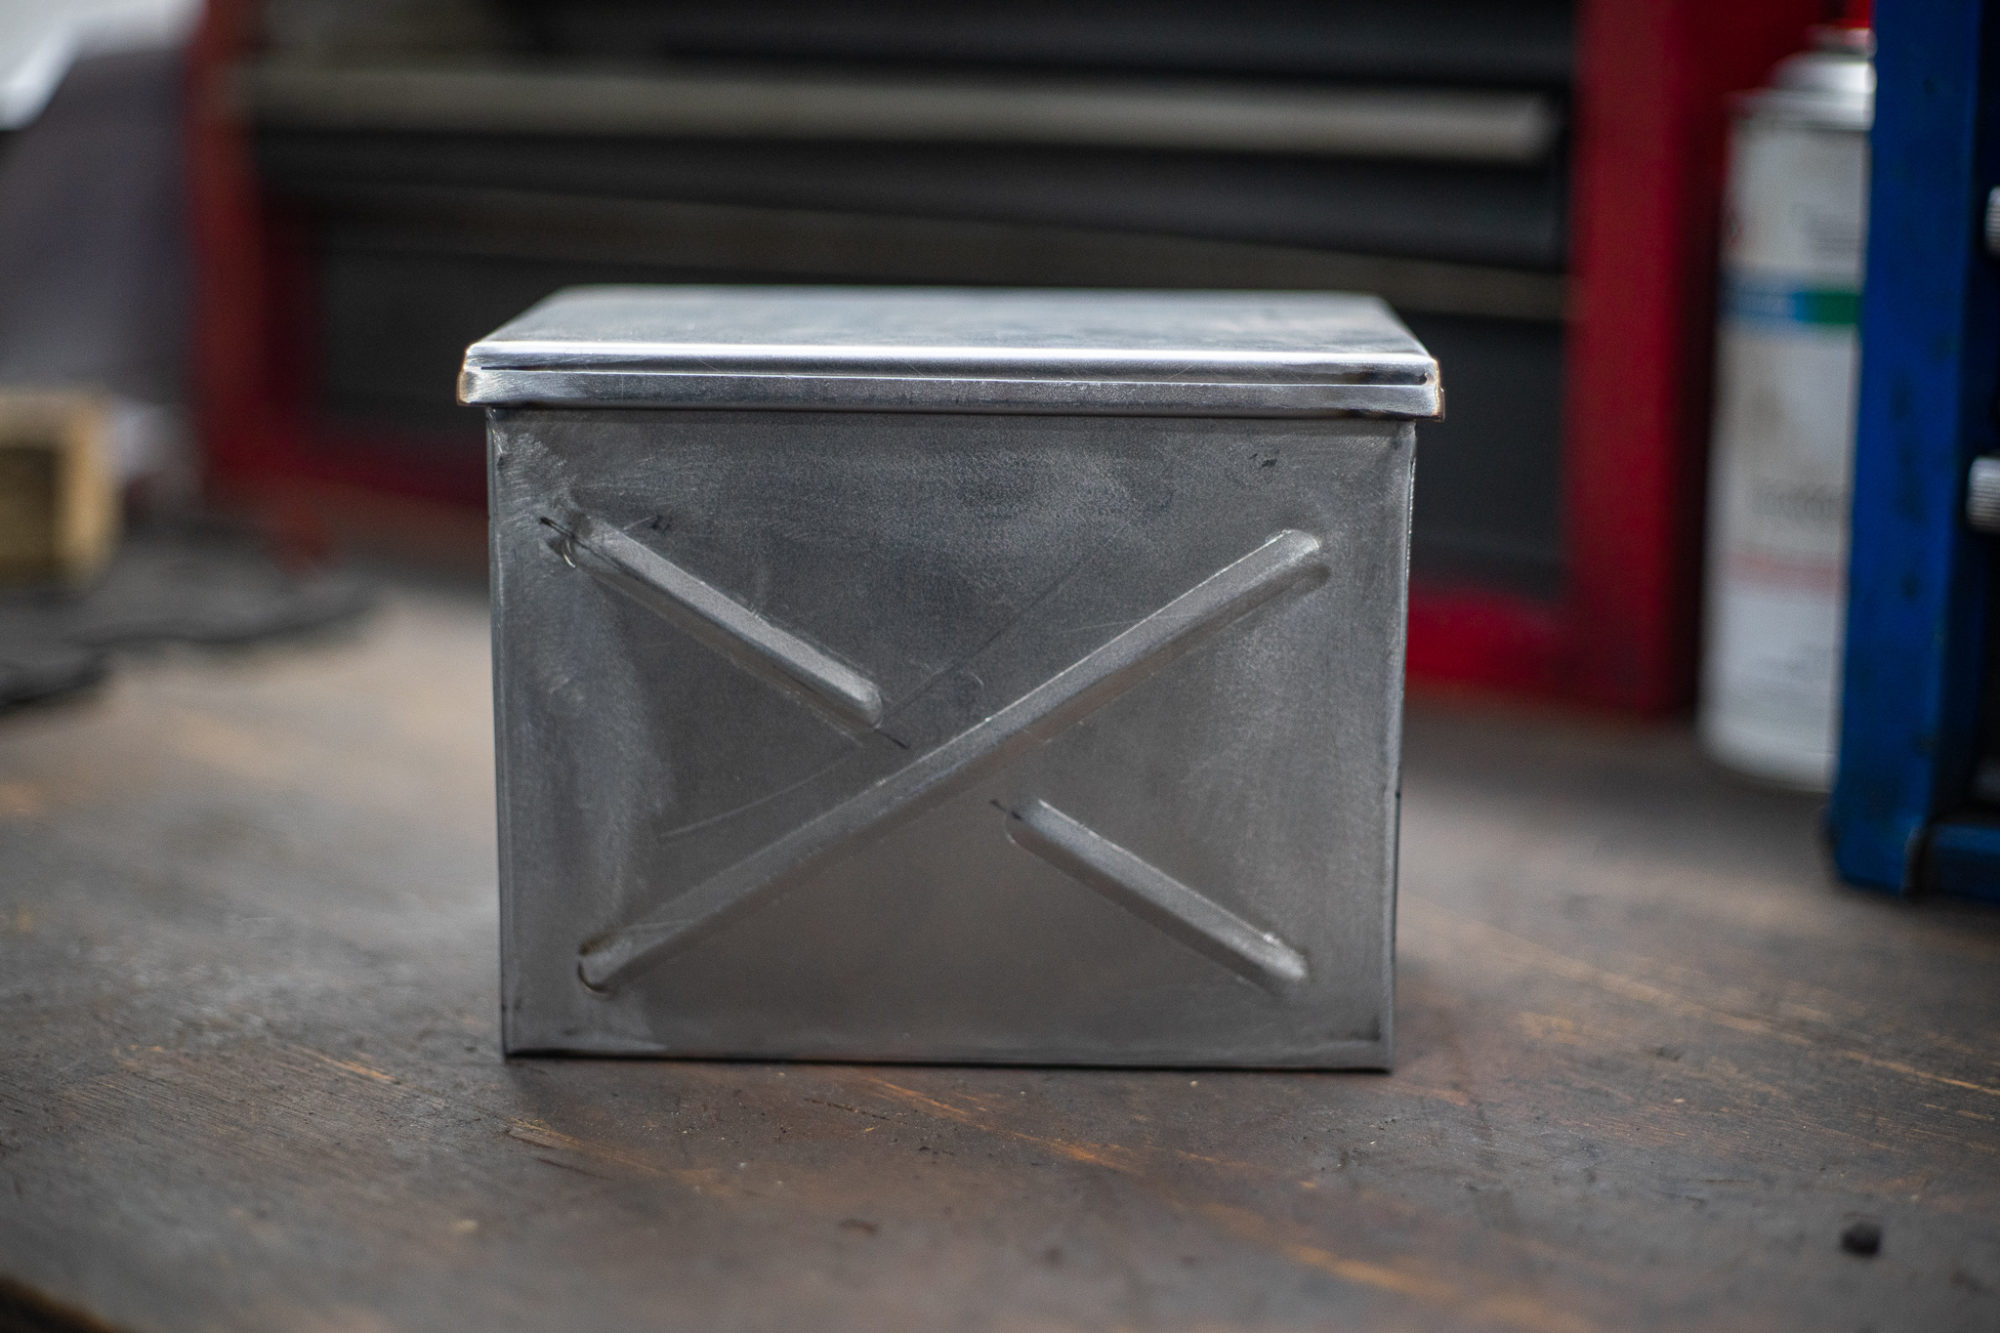
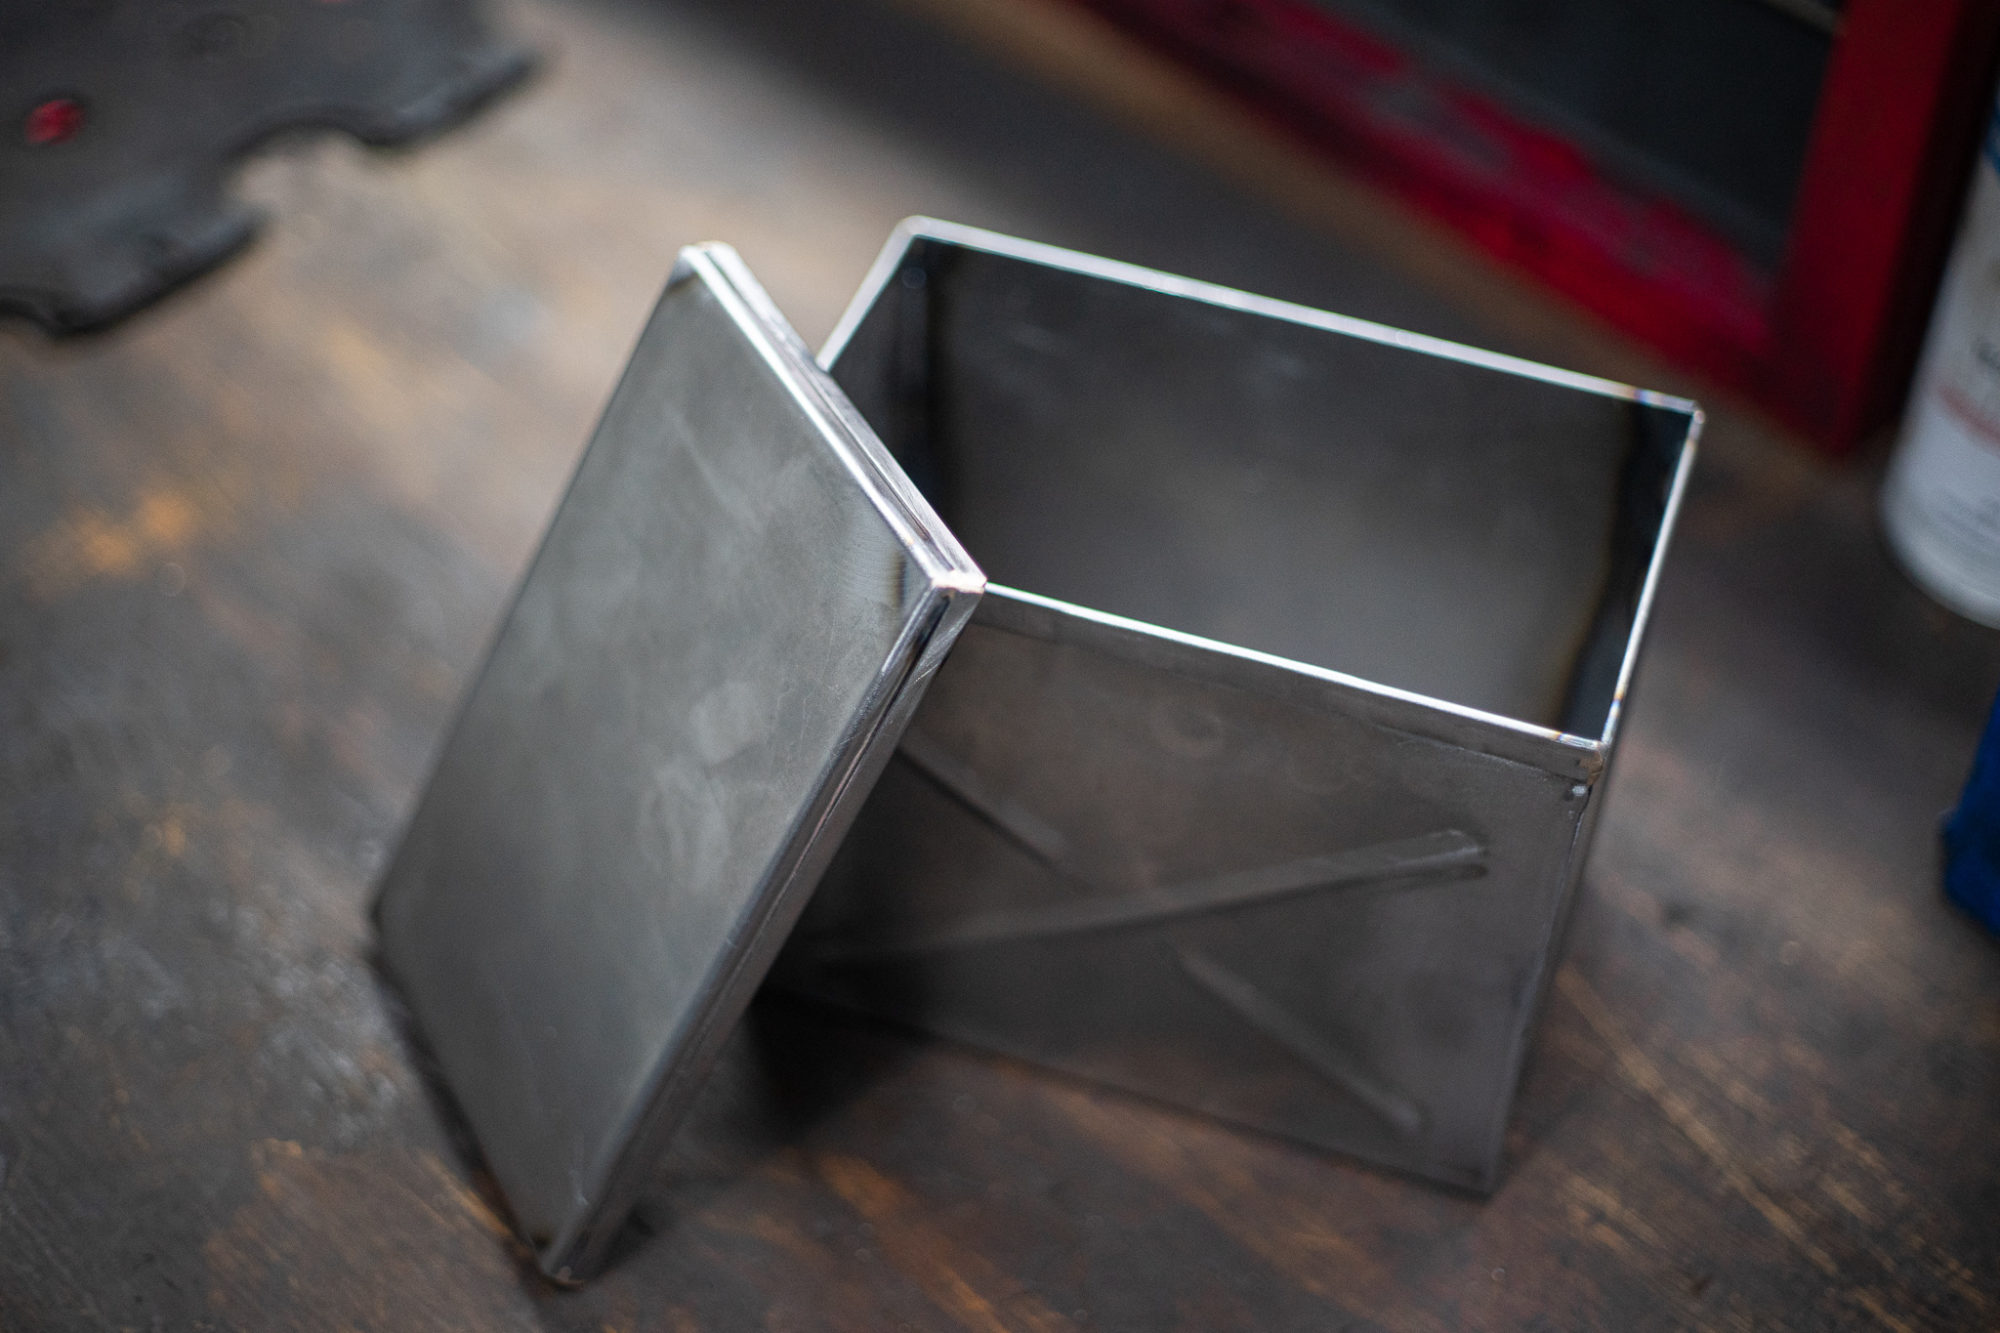
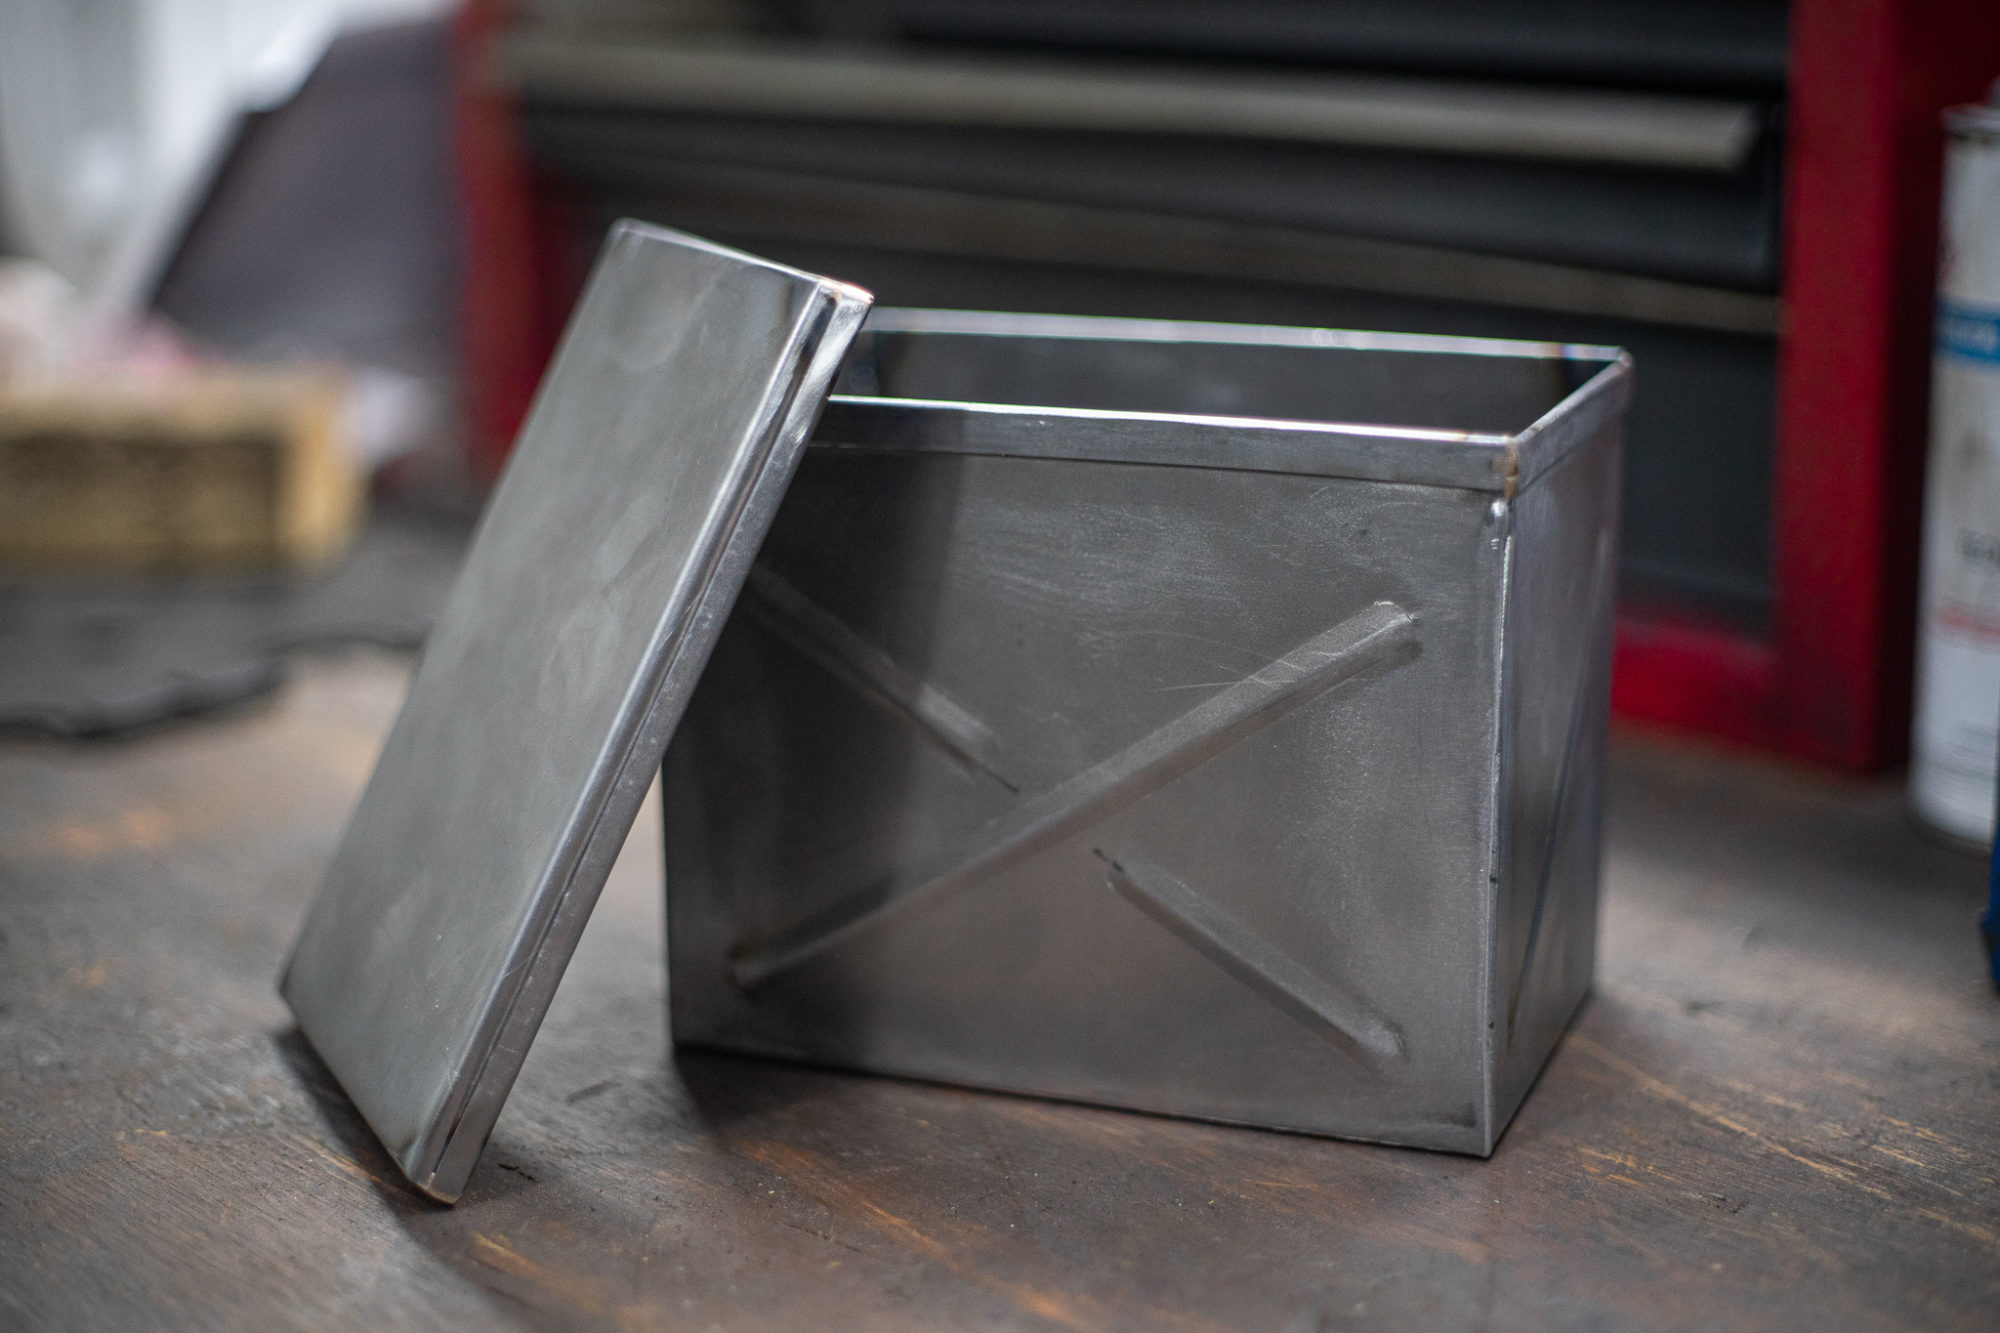
Our friend Clinton from Holdsworth Artisan Metalwork has made this custom battery box for Craig’s 1984 Suzuki GSX 400T cafe racer motorbike. Clinton has carefully made this box by hand, bending the metal into shape and welding the corner together.
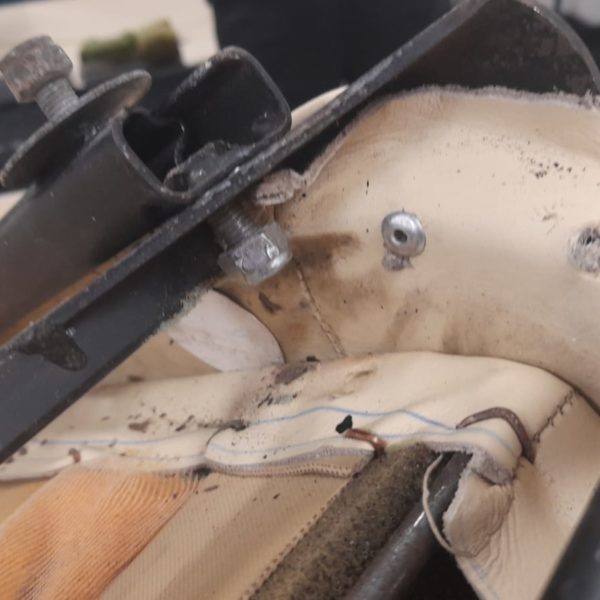
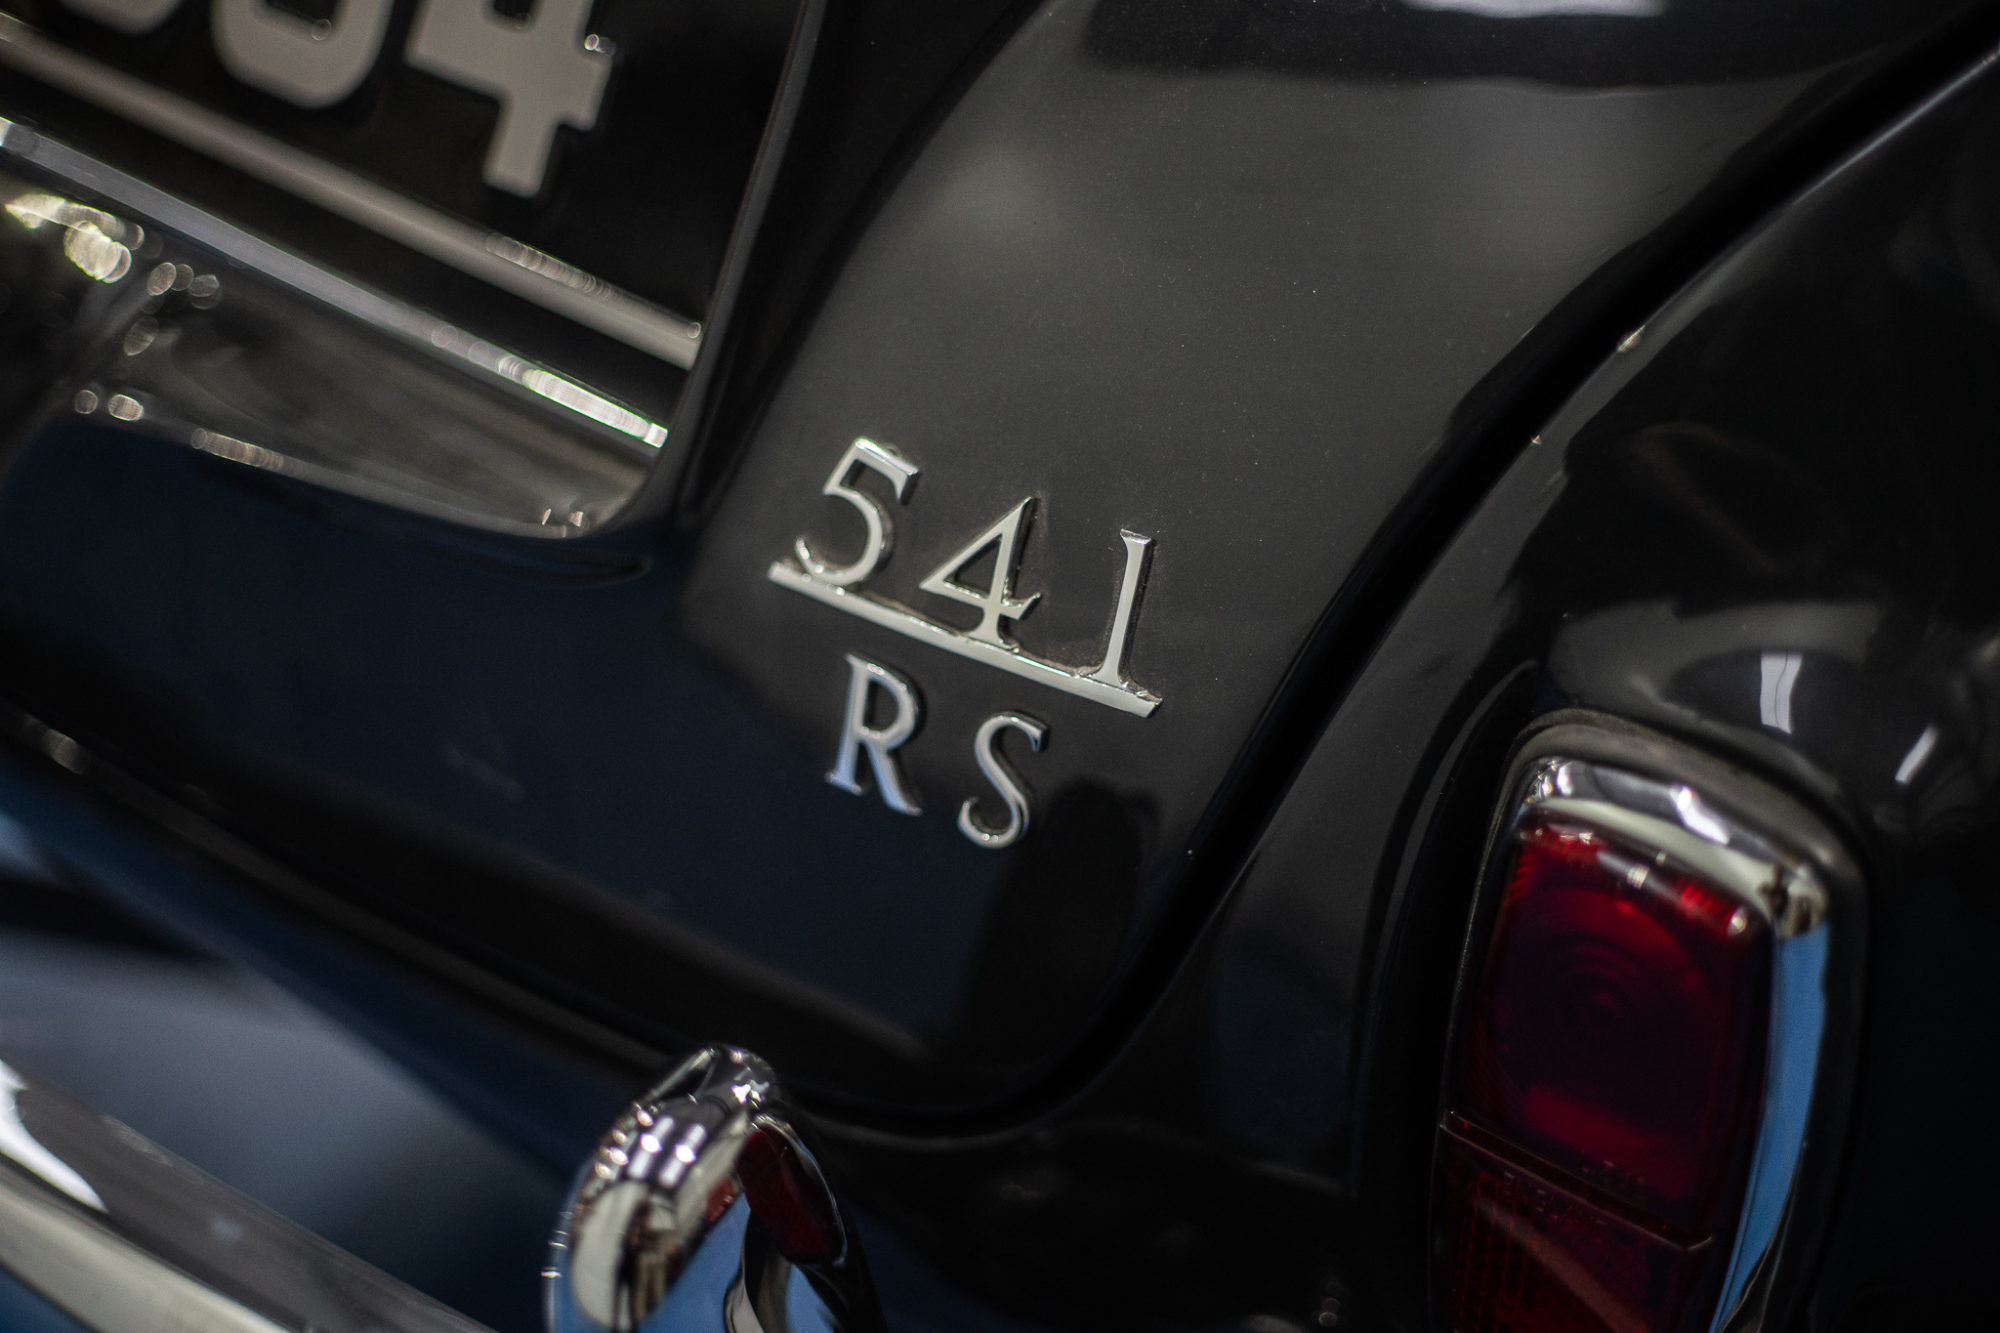
Our 1957 Jensen 541 R(S) is currently being worked through its snag list, which is essentially a list compiled of areas that need to be checked and tweaked before its finished.
John is going through all the electrics to check that everything is live and works, and modifying wiring as he goes. He is also readjusting the bonnet lift lever as traditionally it would sit a little too close to the throttle peddle.
Kath is modifying the boot lid trim as the rubber and material is causing some irritation against the metal sills. Kath is currently taking the material off the metal to modify.
Scott is altering the bonnet pin so that the screw fits in tighter as the hole is currently slightly too small as the screw is getting caught mid way.
Due to the V8 Corvette engine that was fitted in Boston in the 1960’s, the owner of this Jensen has decided to have his own personalised model tag fitted to this Jensen that describes it as a 541 R S as it has features of both models.
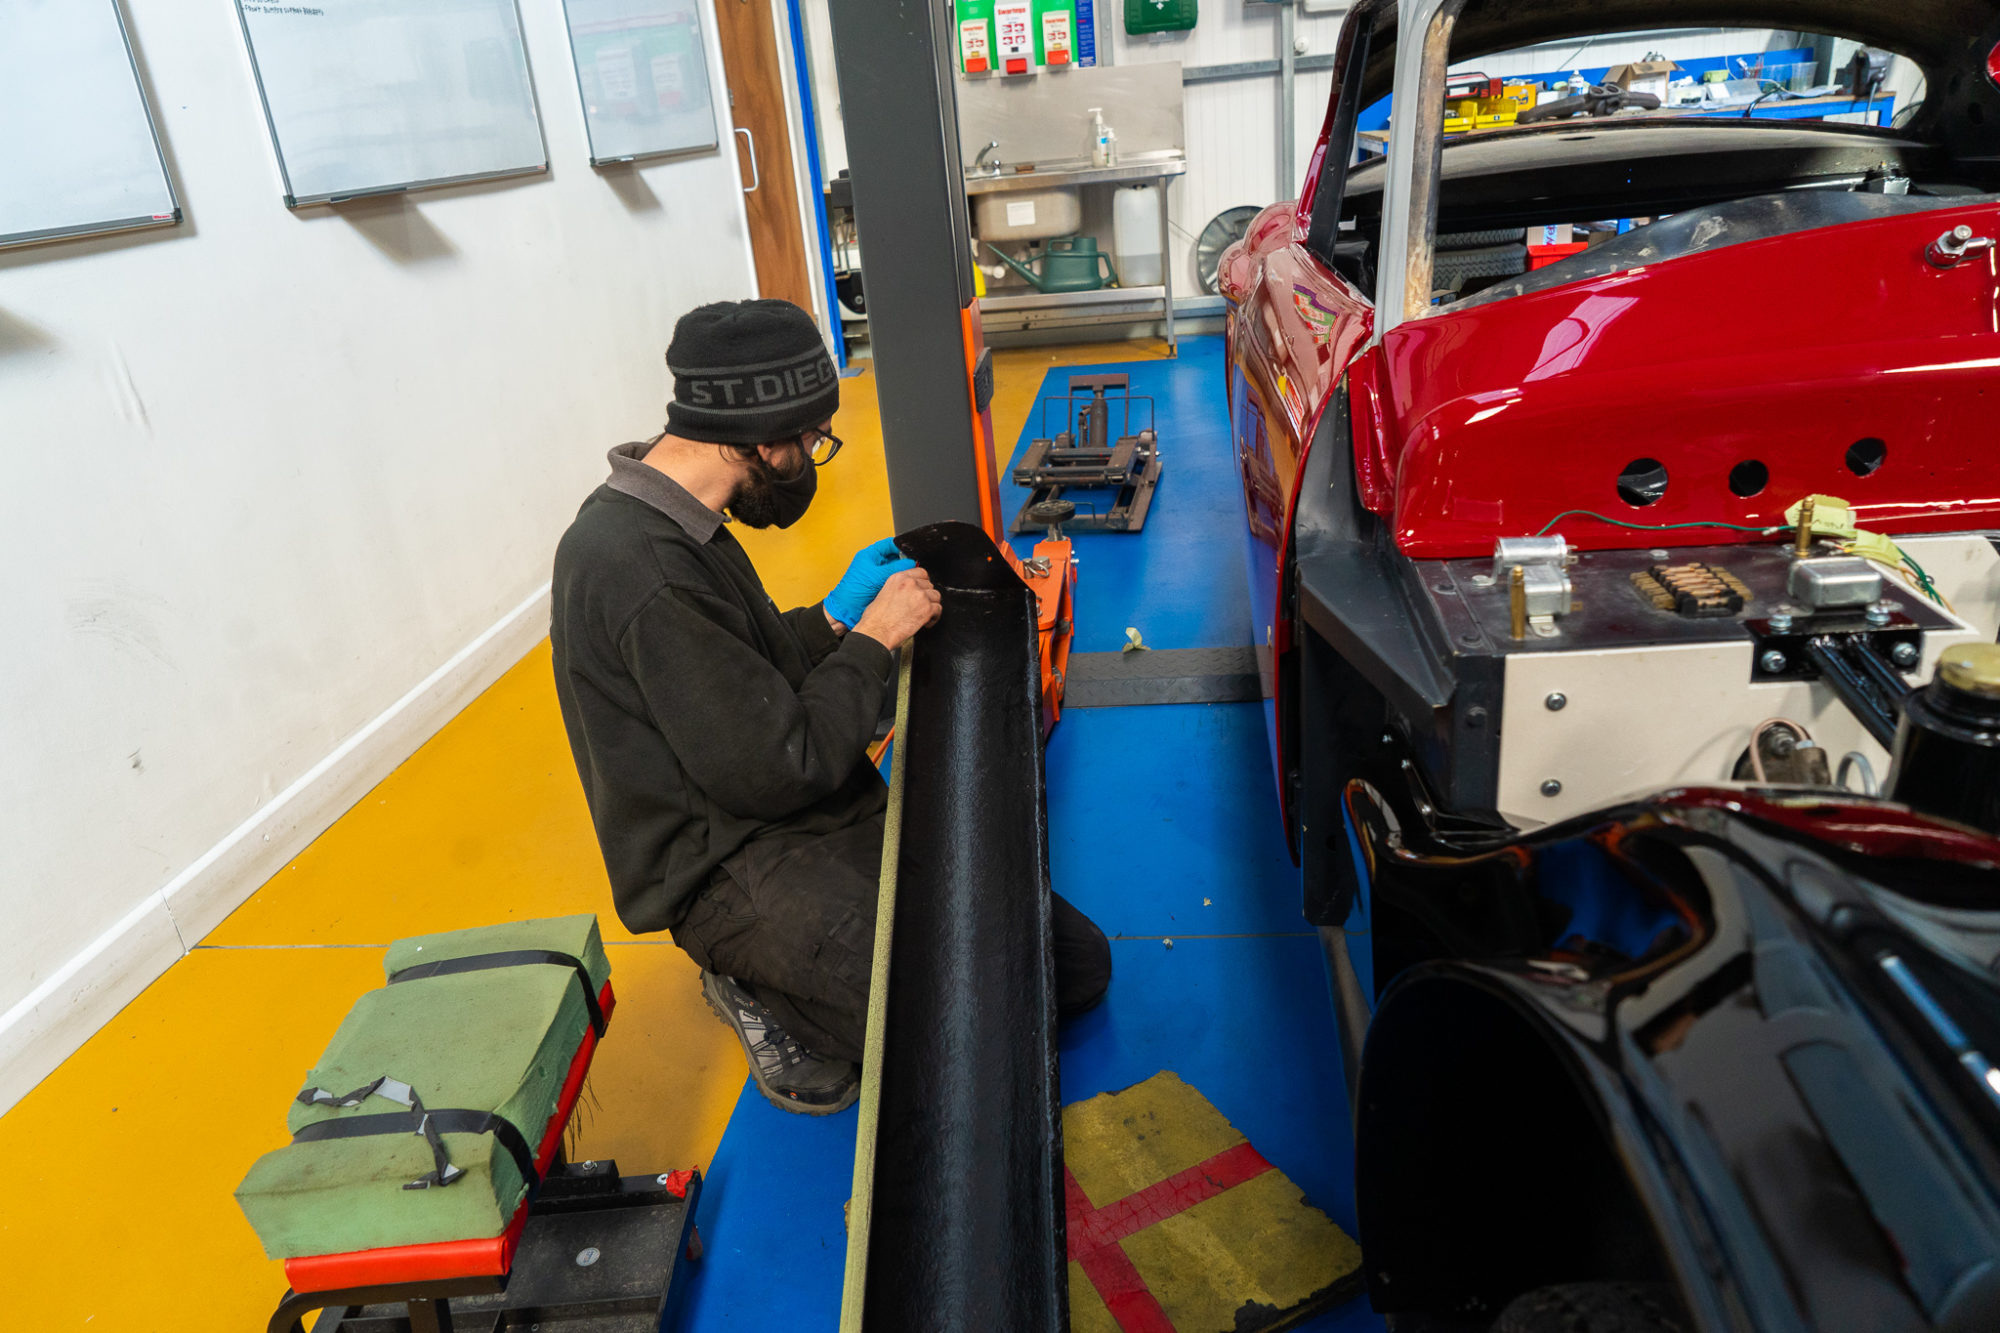
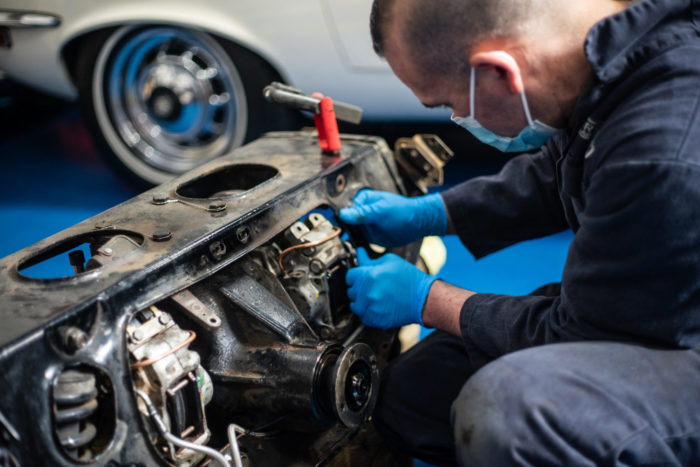
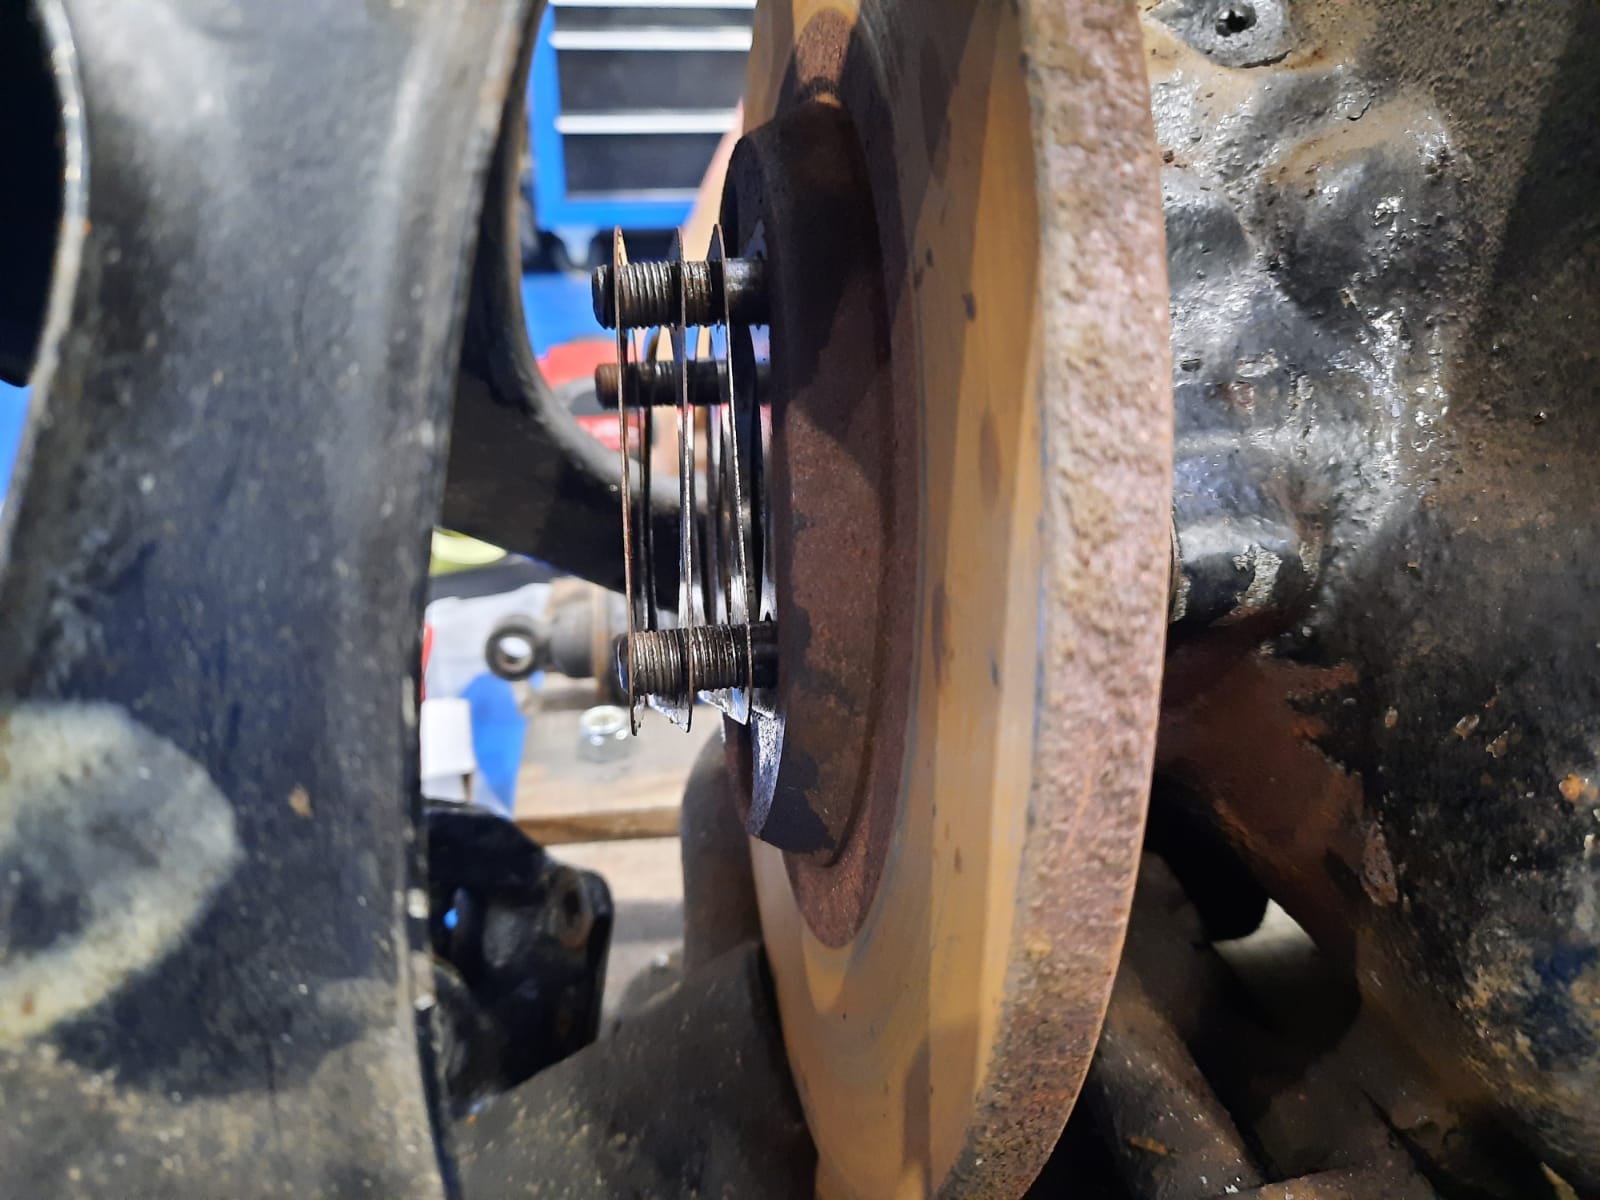
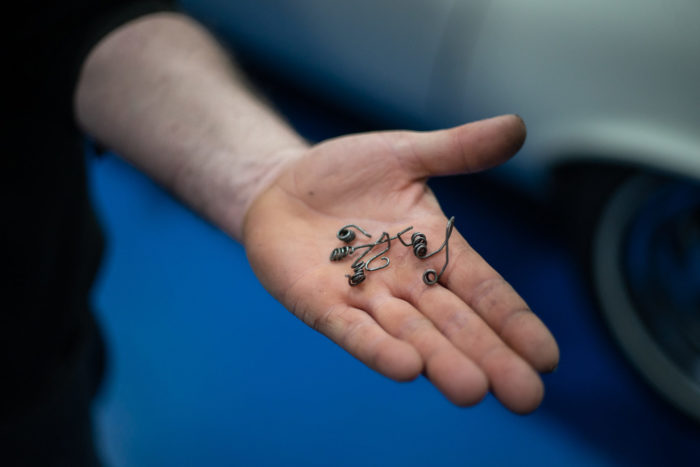
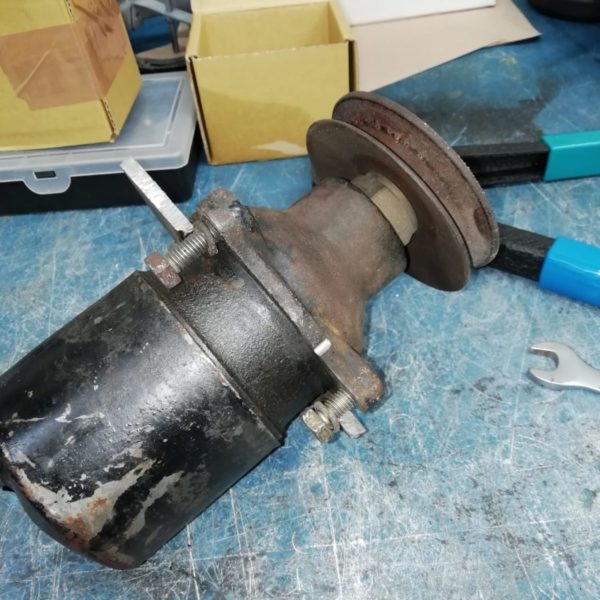
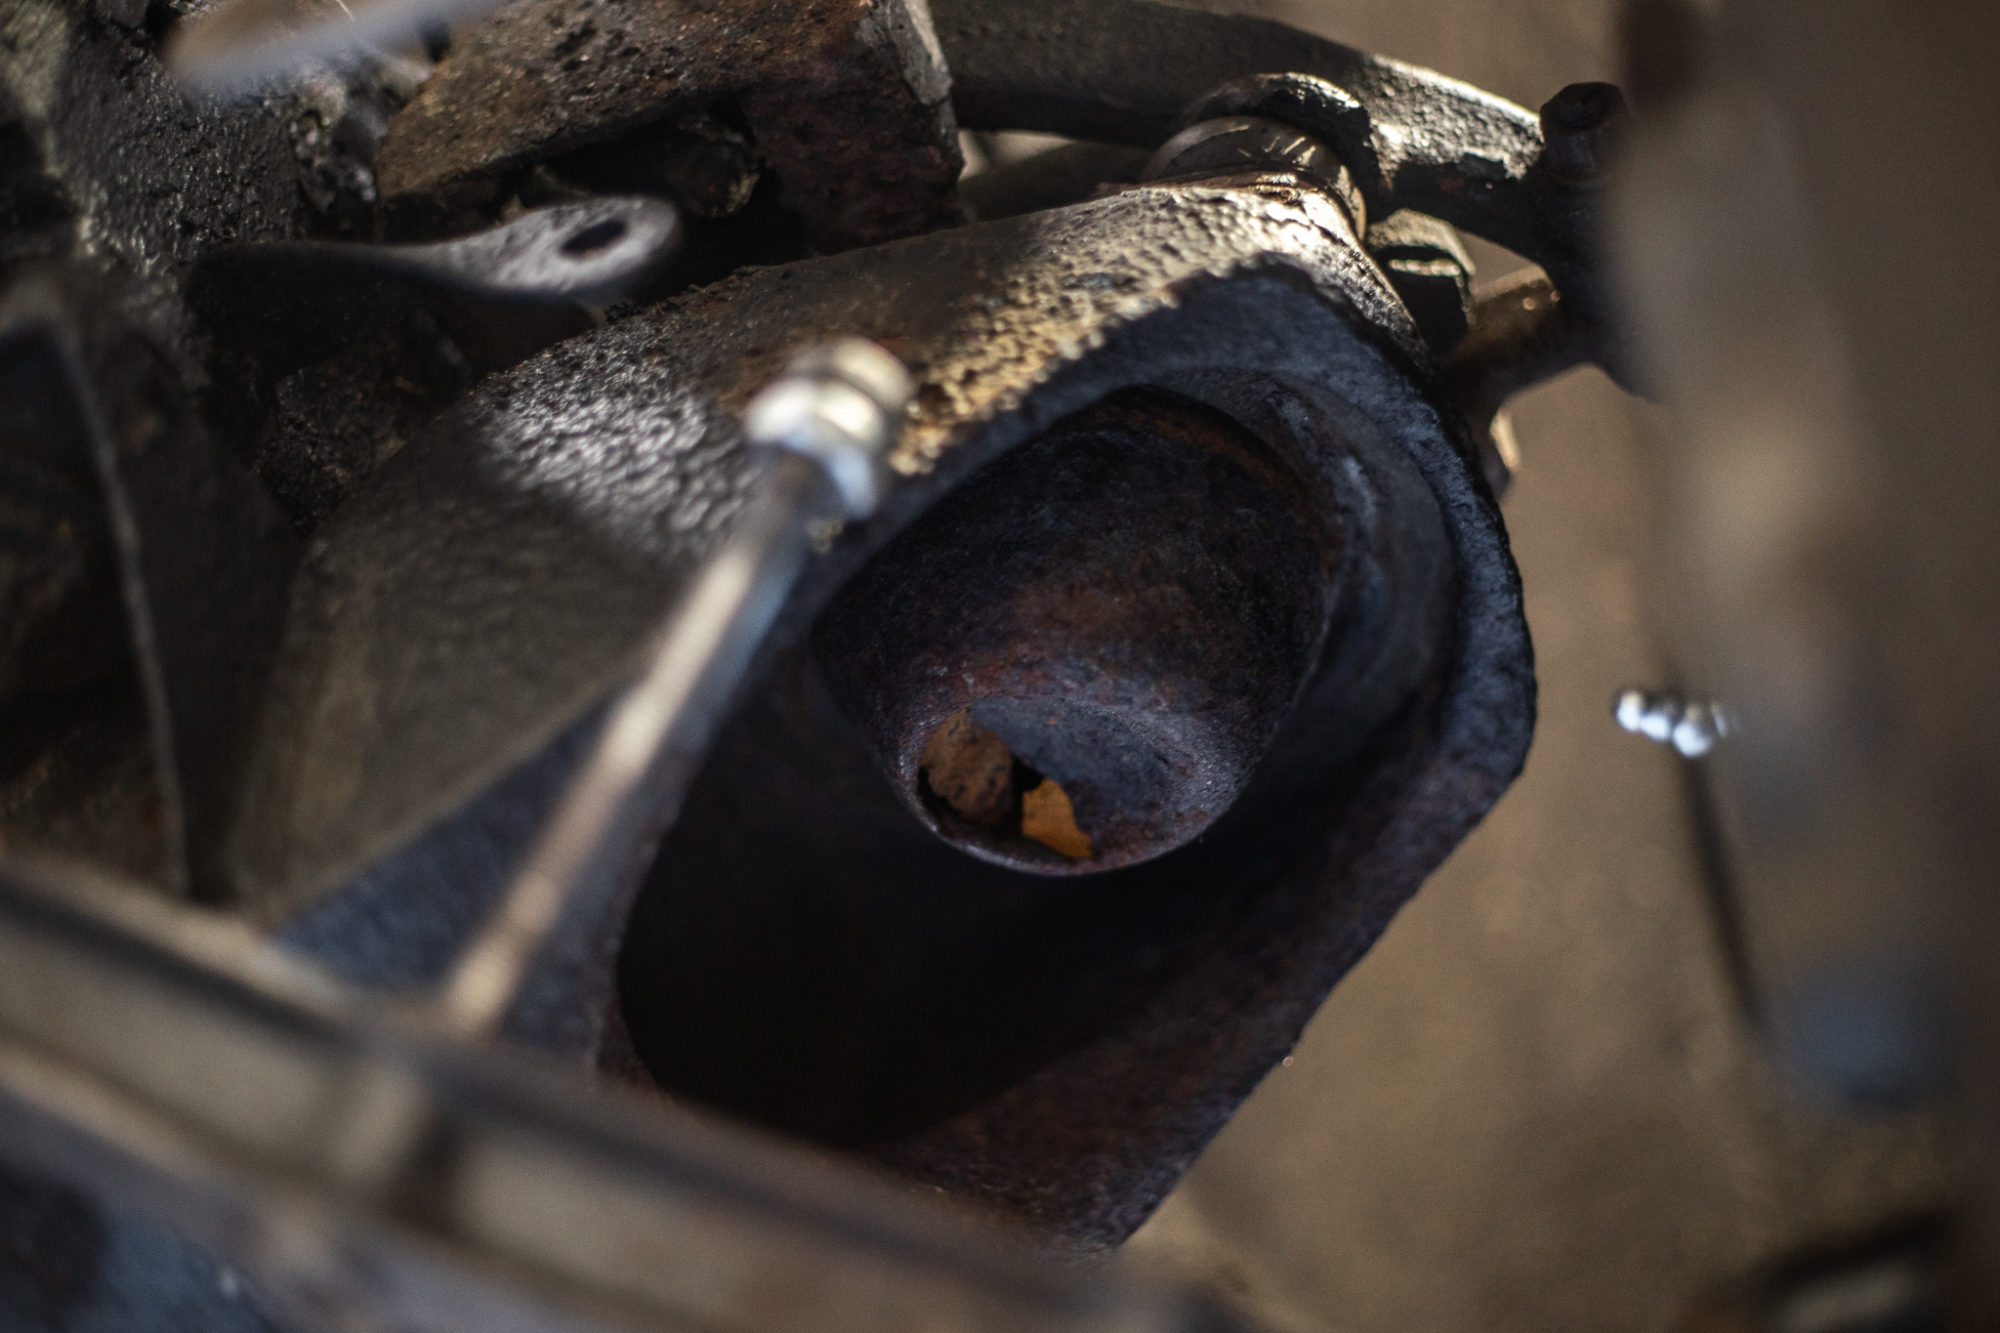
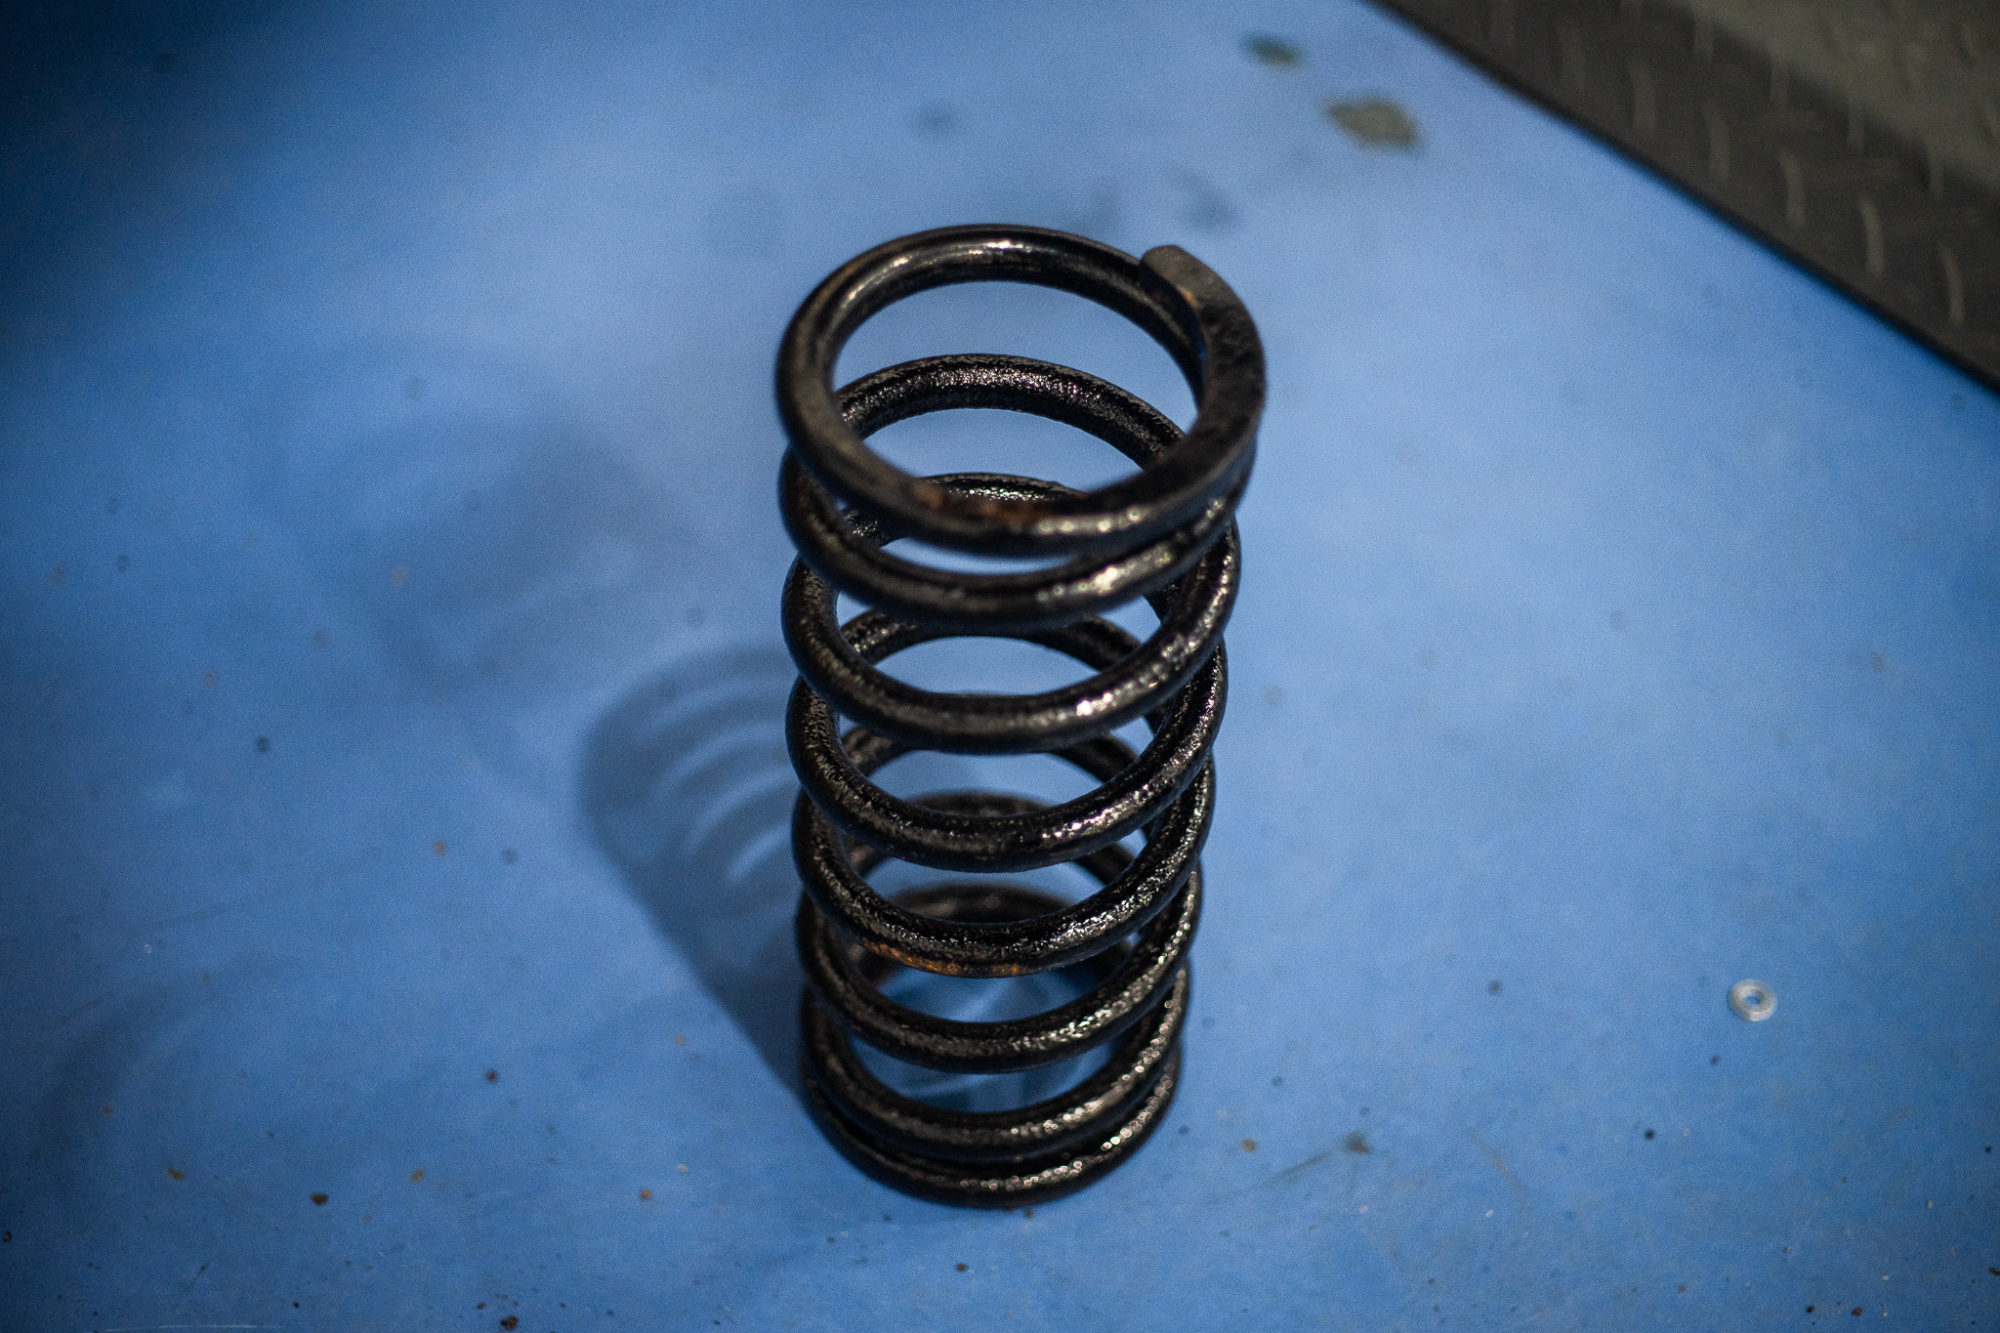
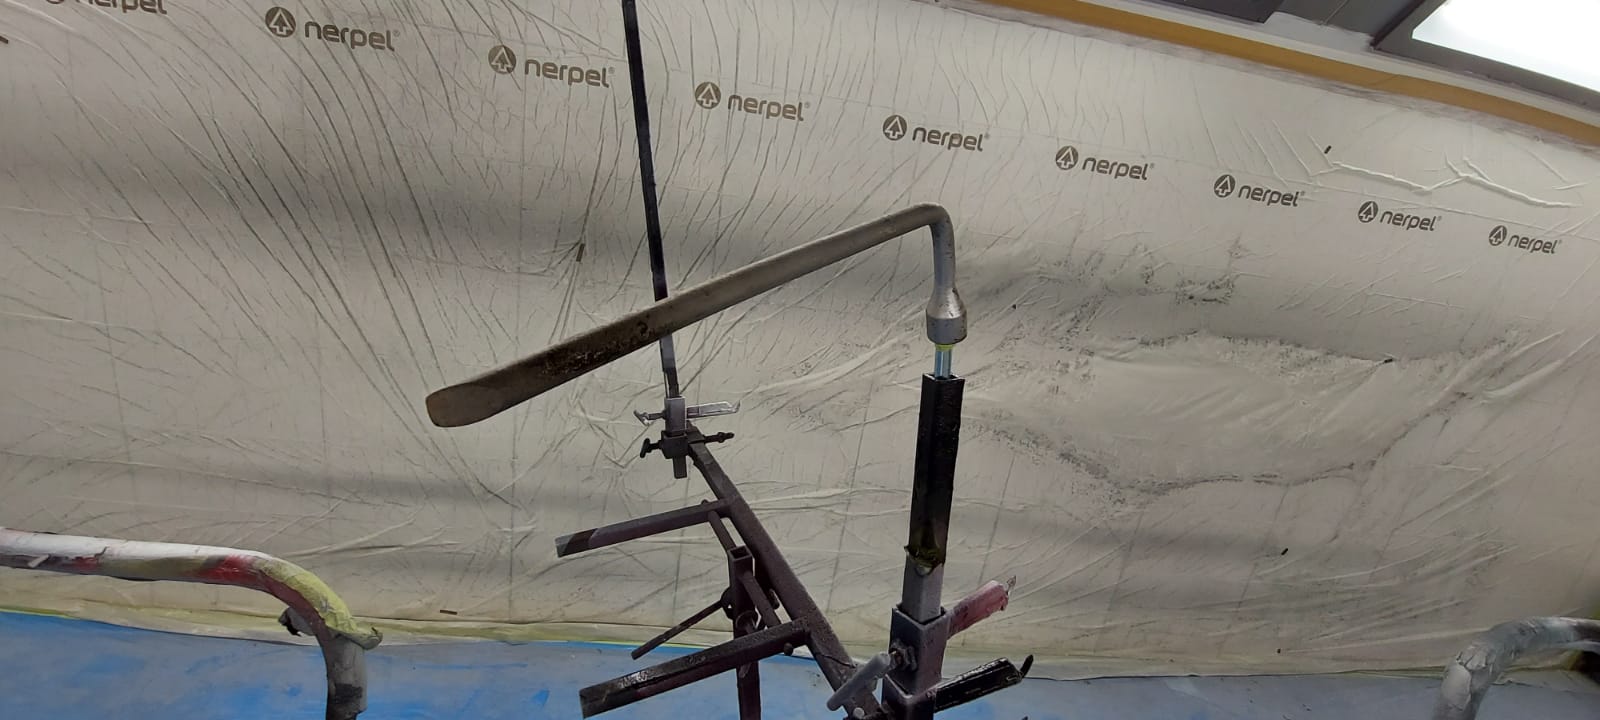
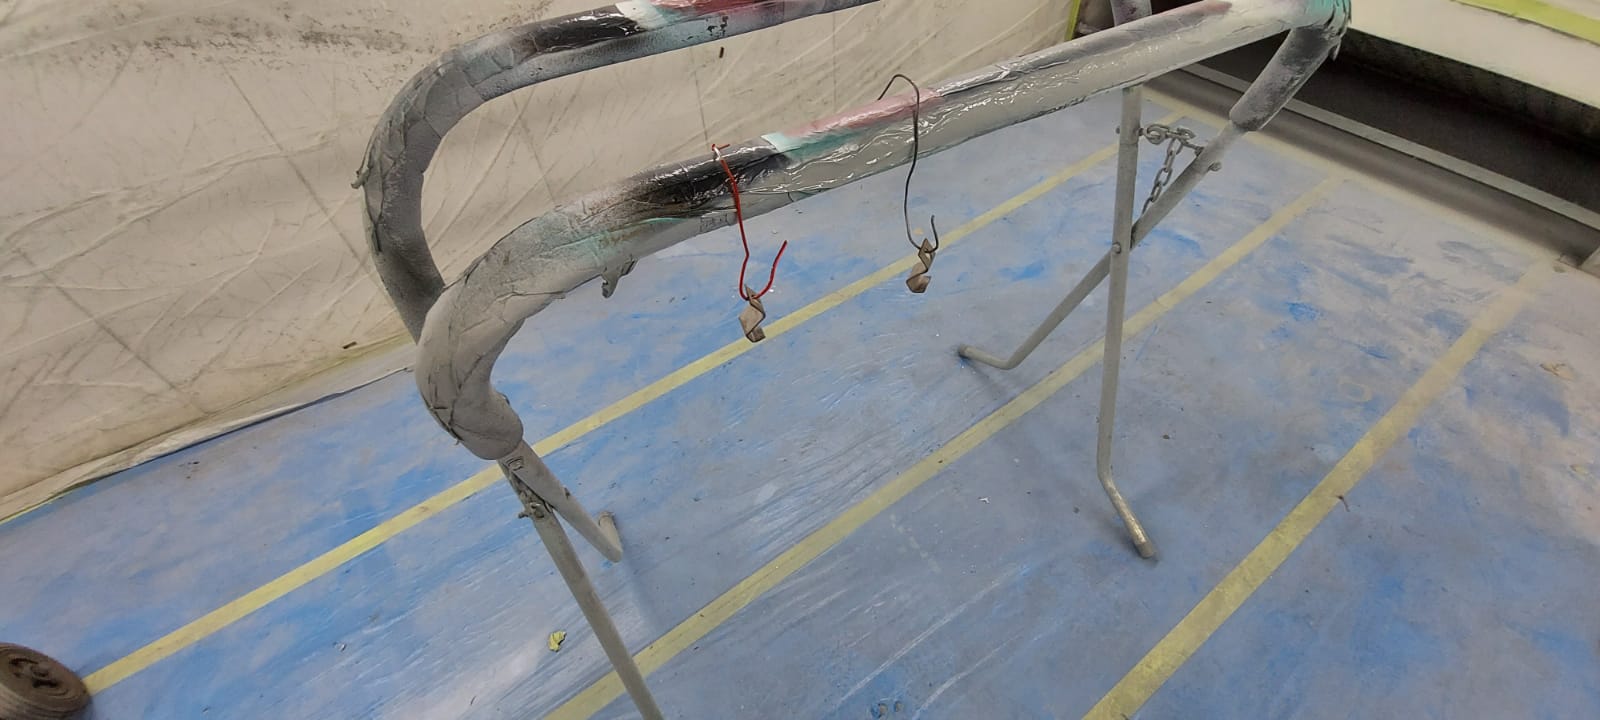
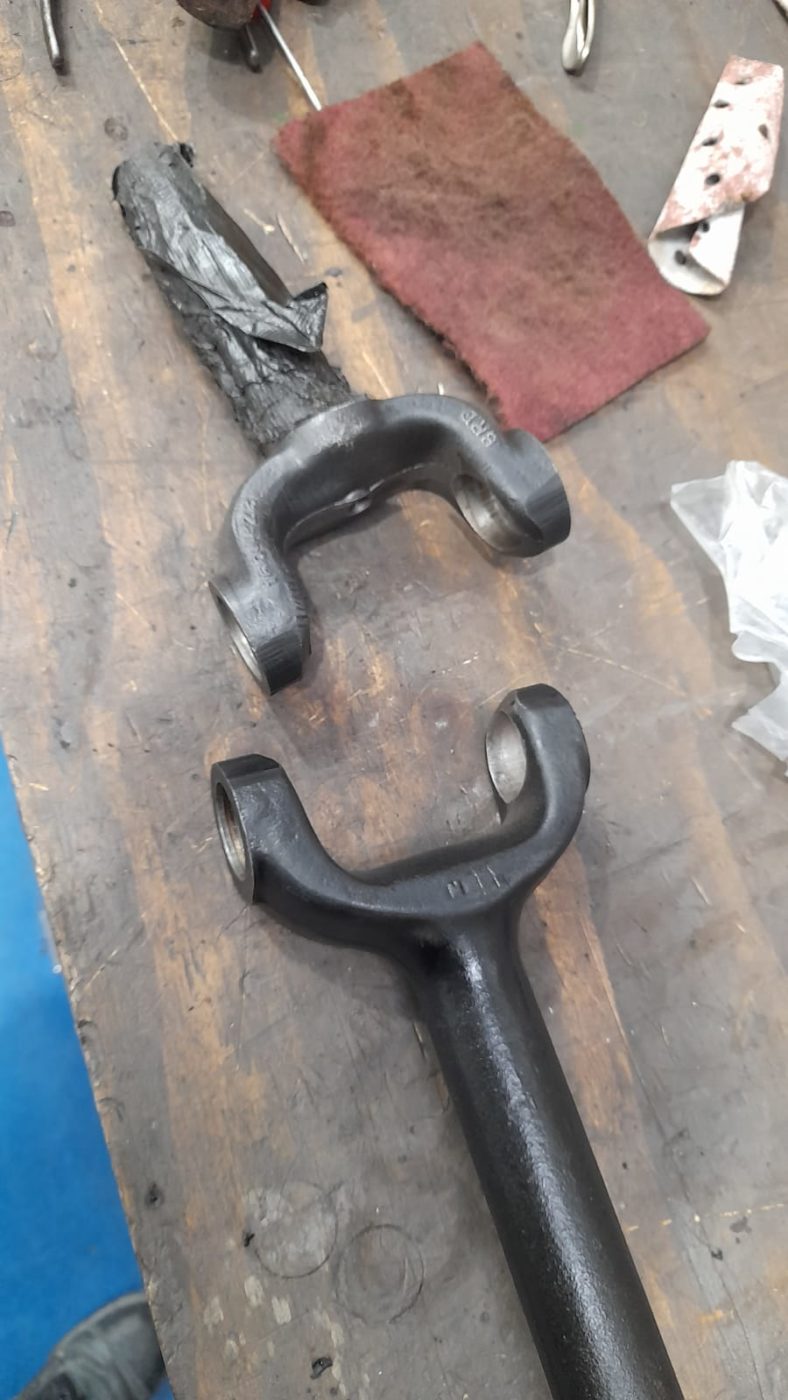
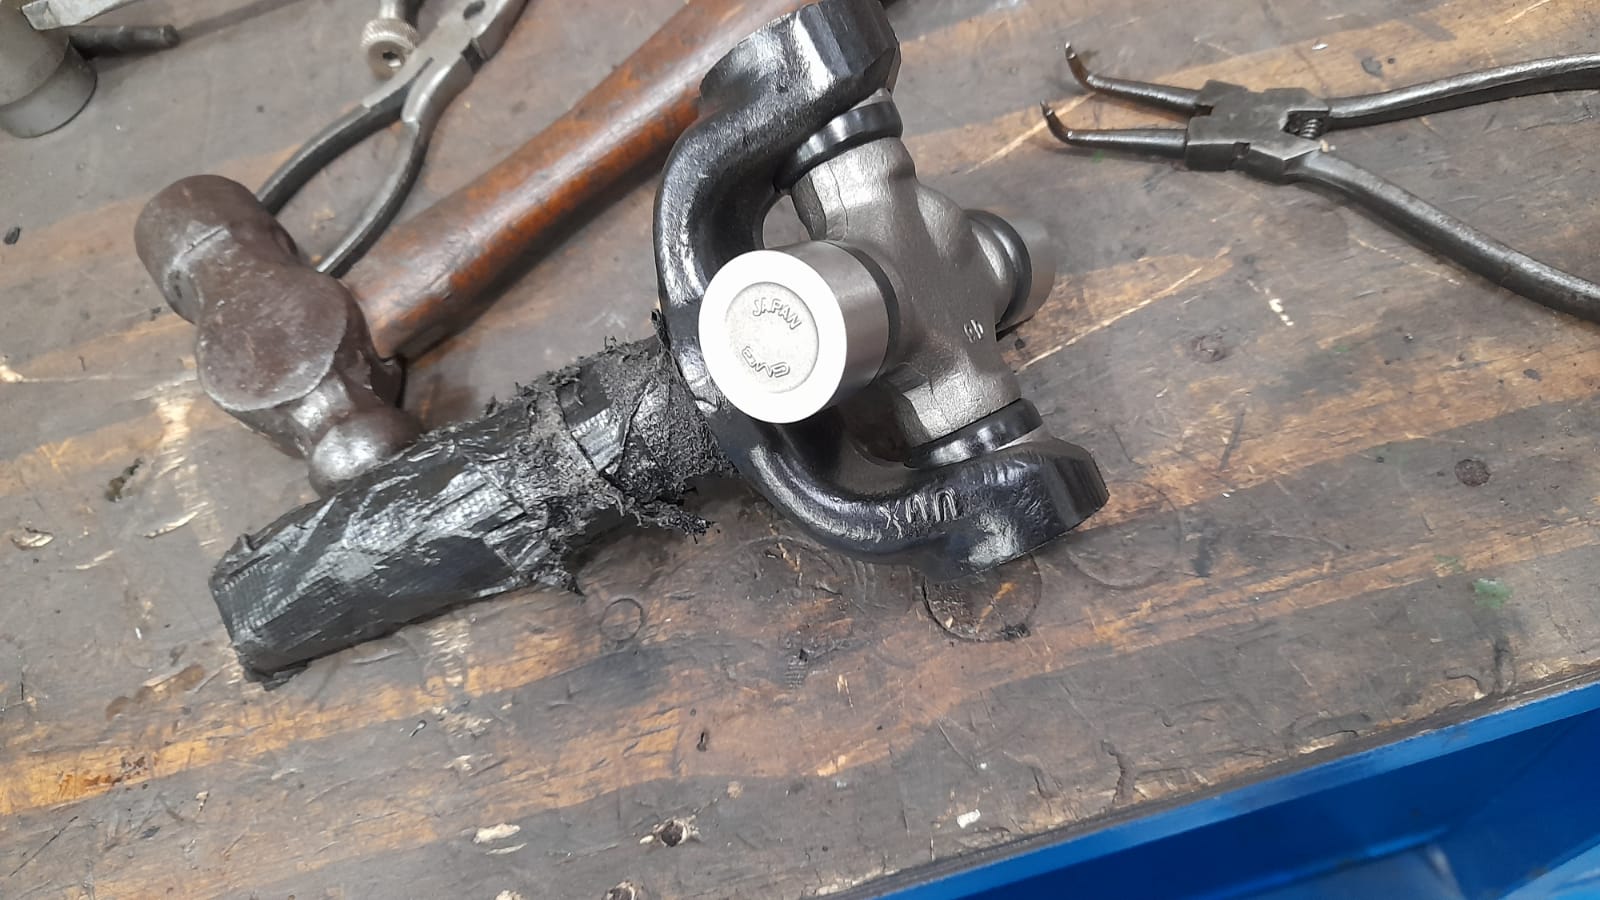
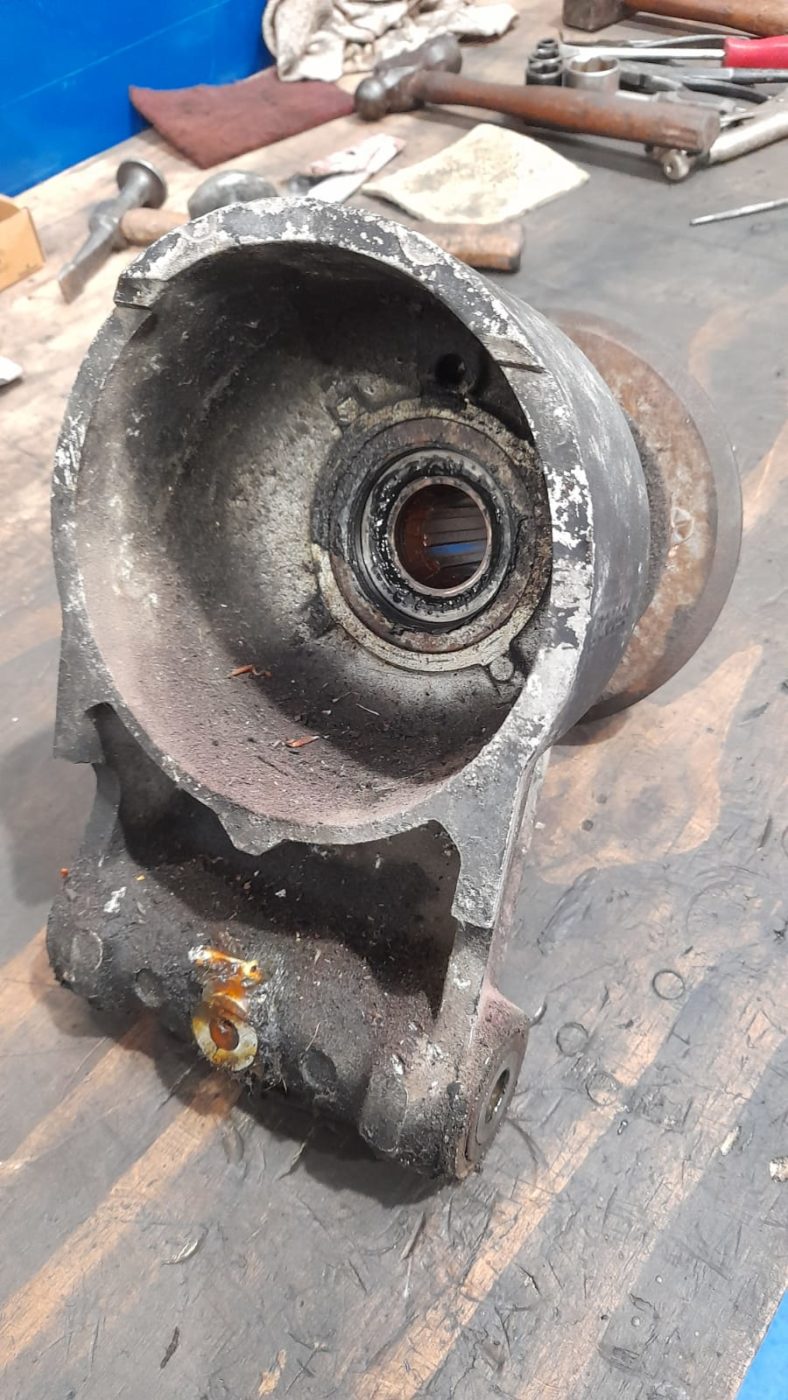
These tangled looking metal pieces are fondly named ‘mousetrap springs’ which are fitted on the clutch fork fingers. However, these have unfortunately given in and in the process of their demise, got caught in the clutch. Although we managed to rescue these springs, it has meant we’ve had to take the engine back out of our Austin Nippy Seven and order new mousetrap springs and clutch fingers.
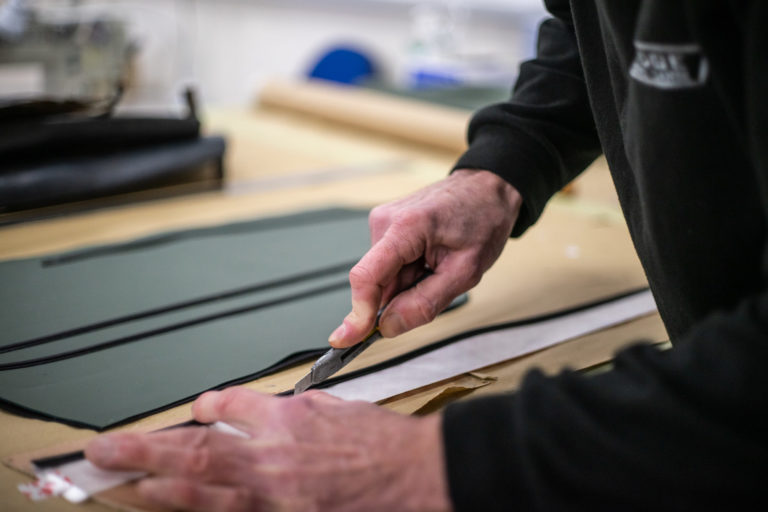
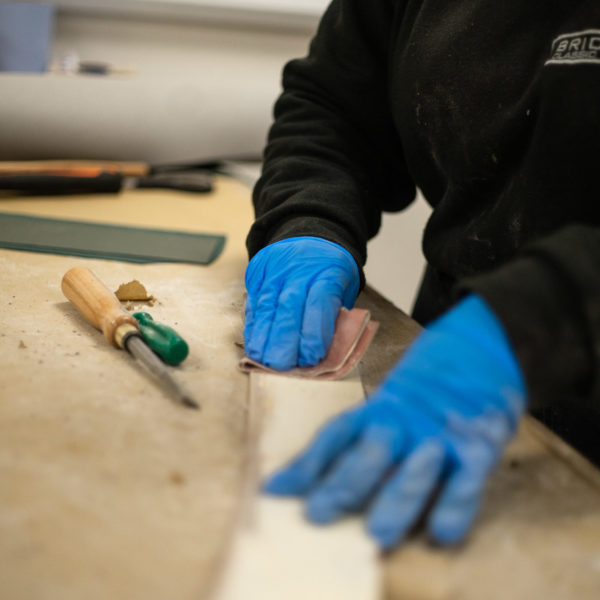
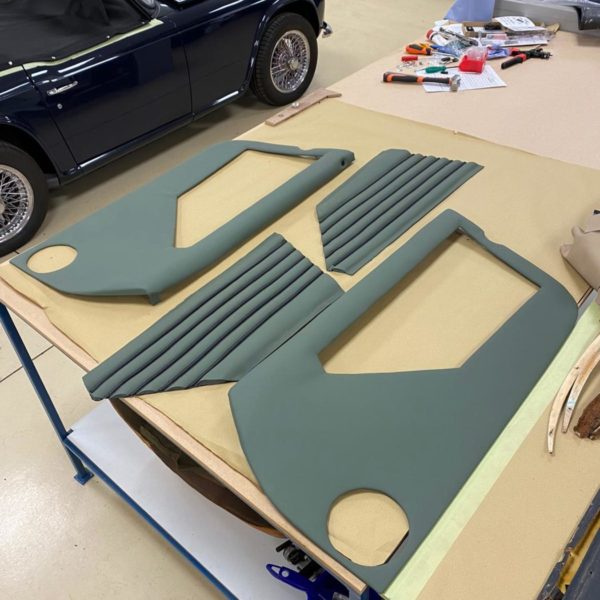
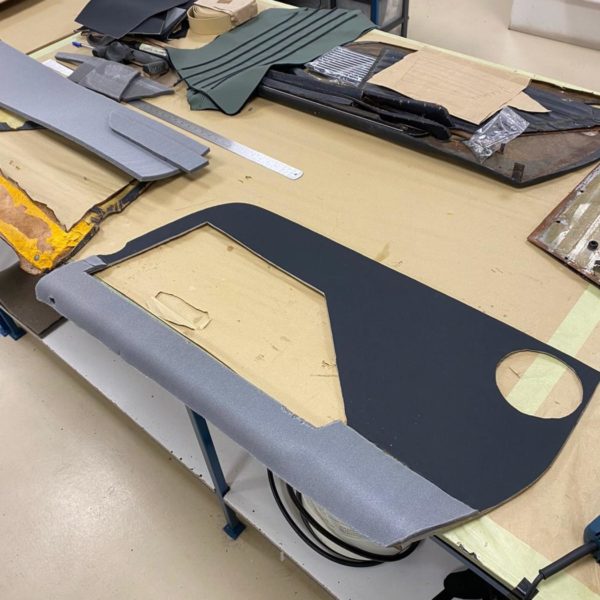
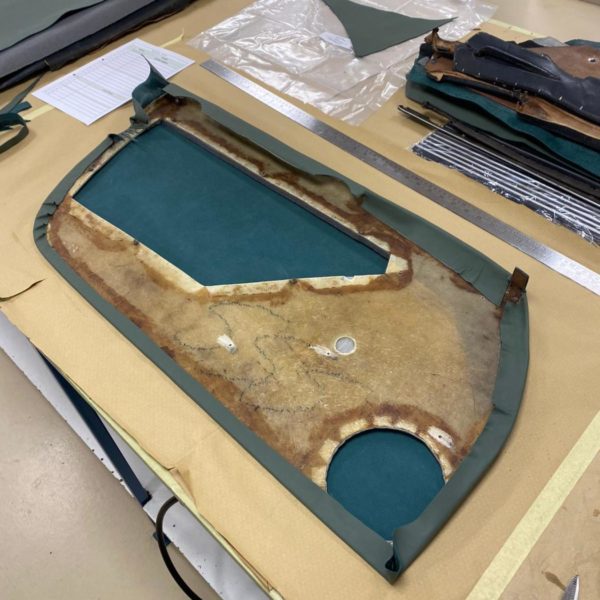
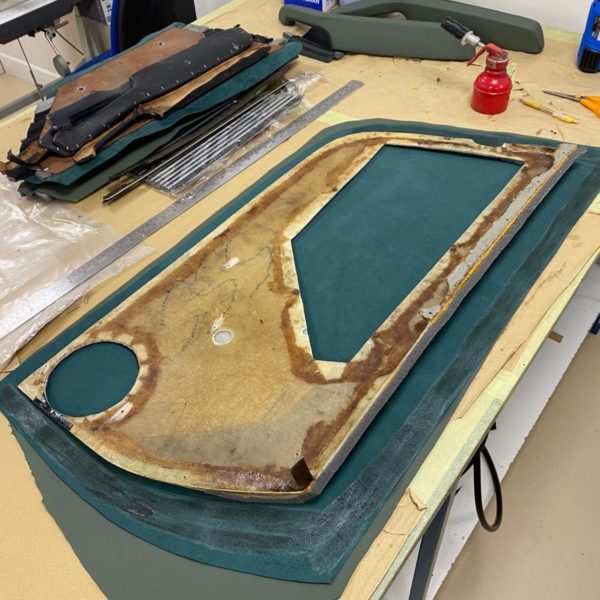
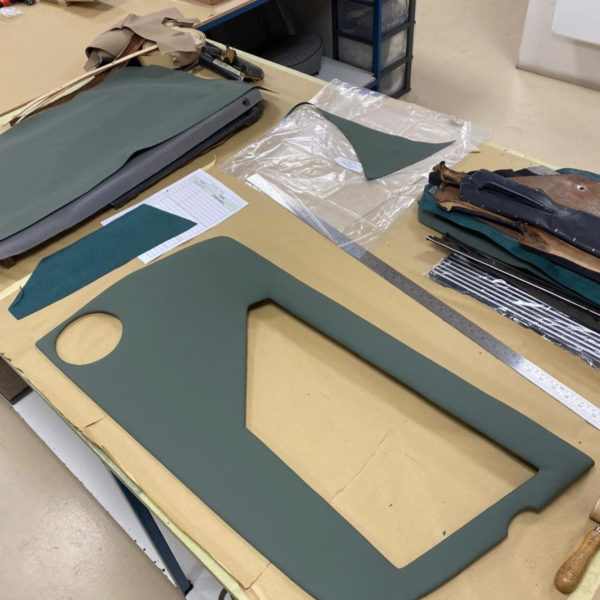
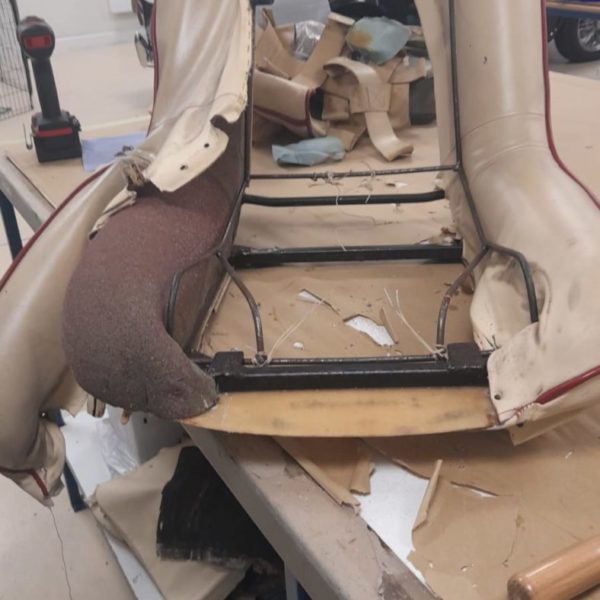
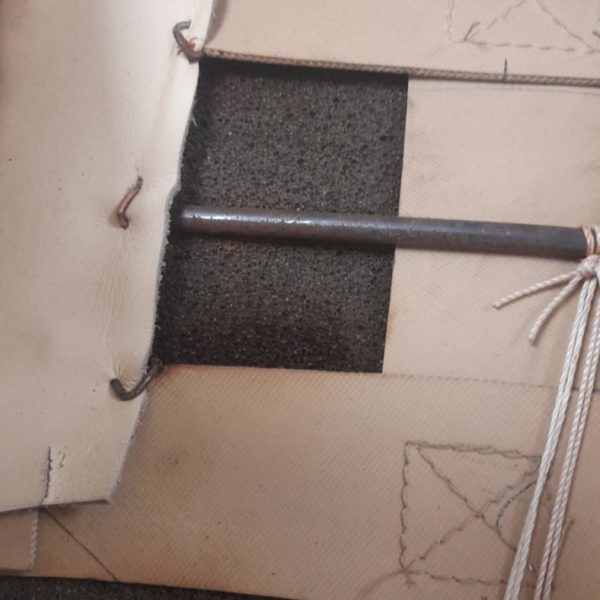
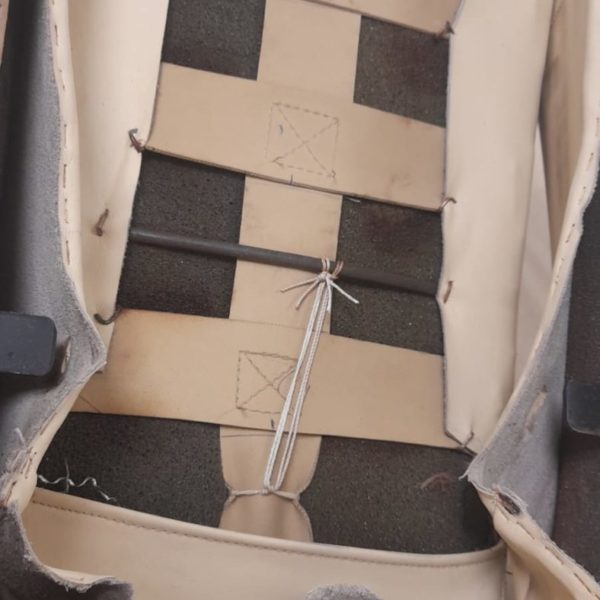
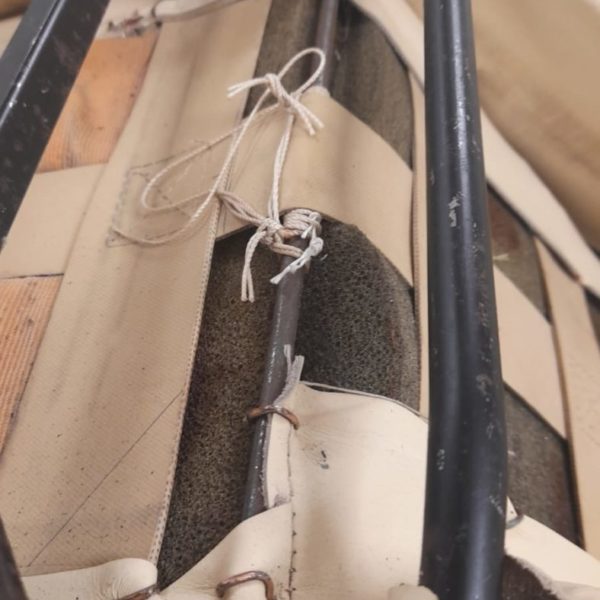
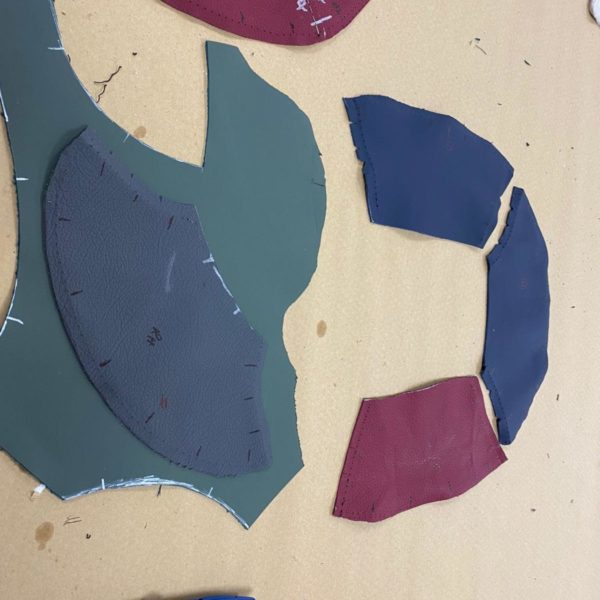
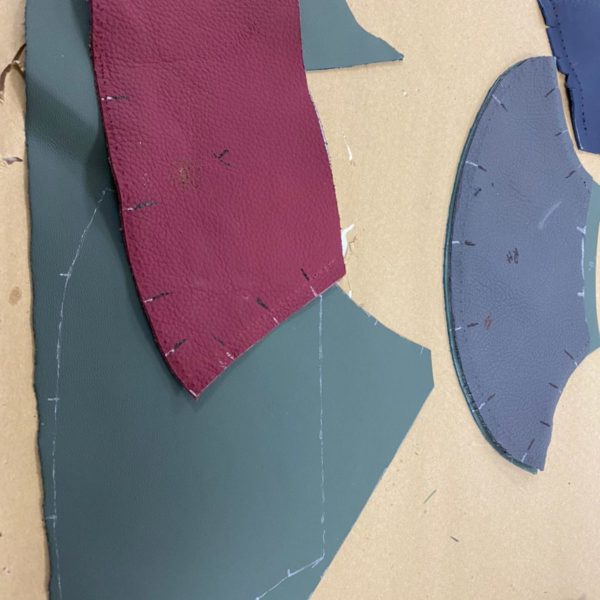
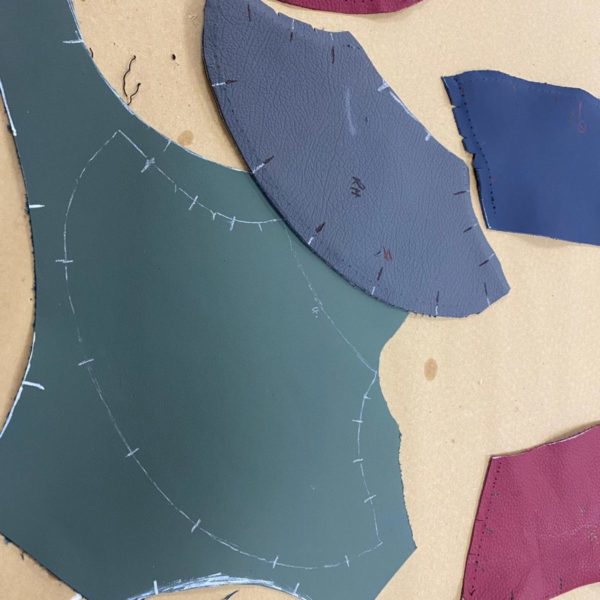
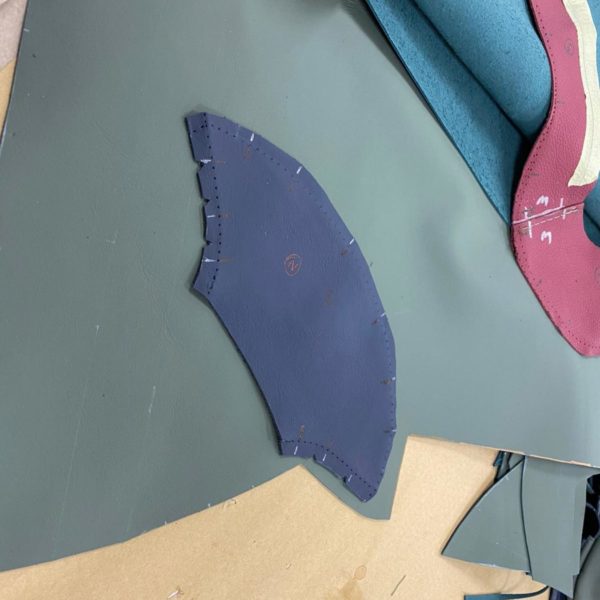
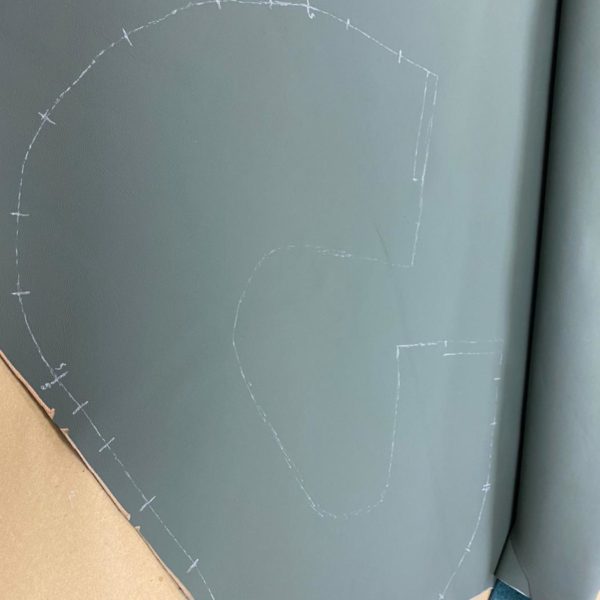
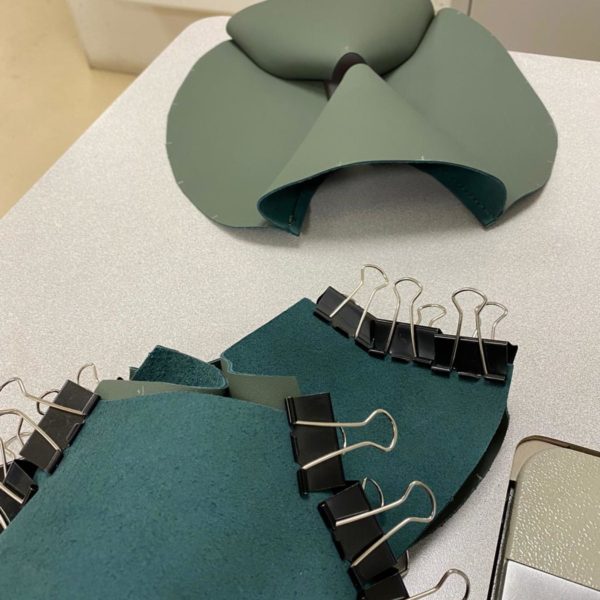
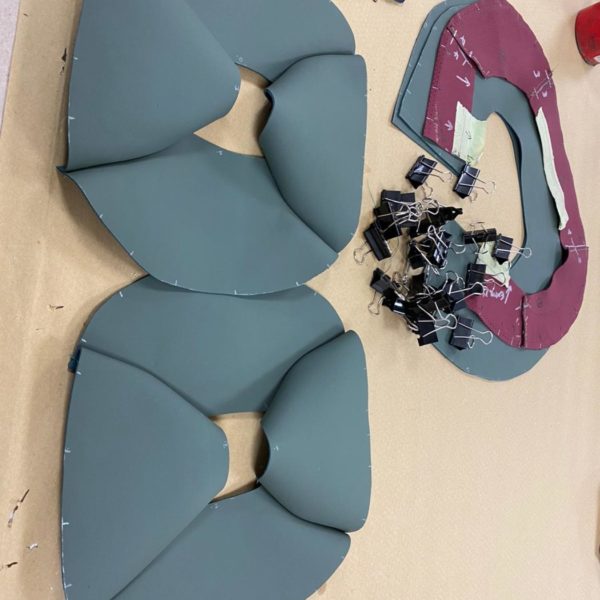
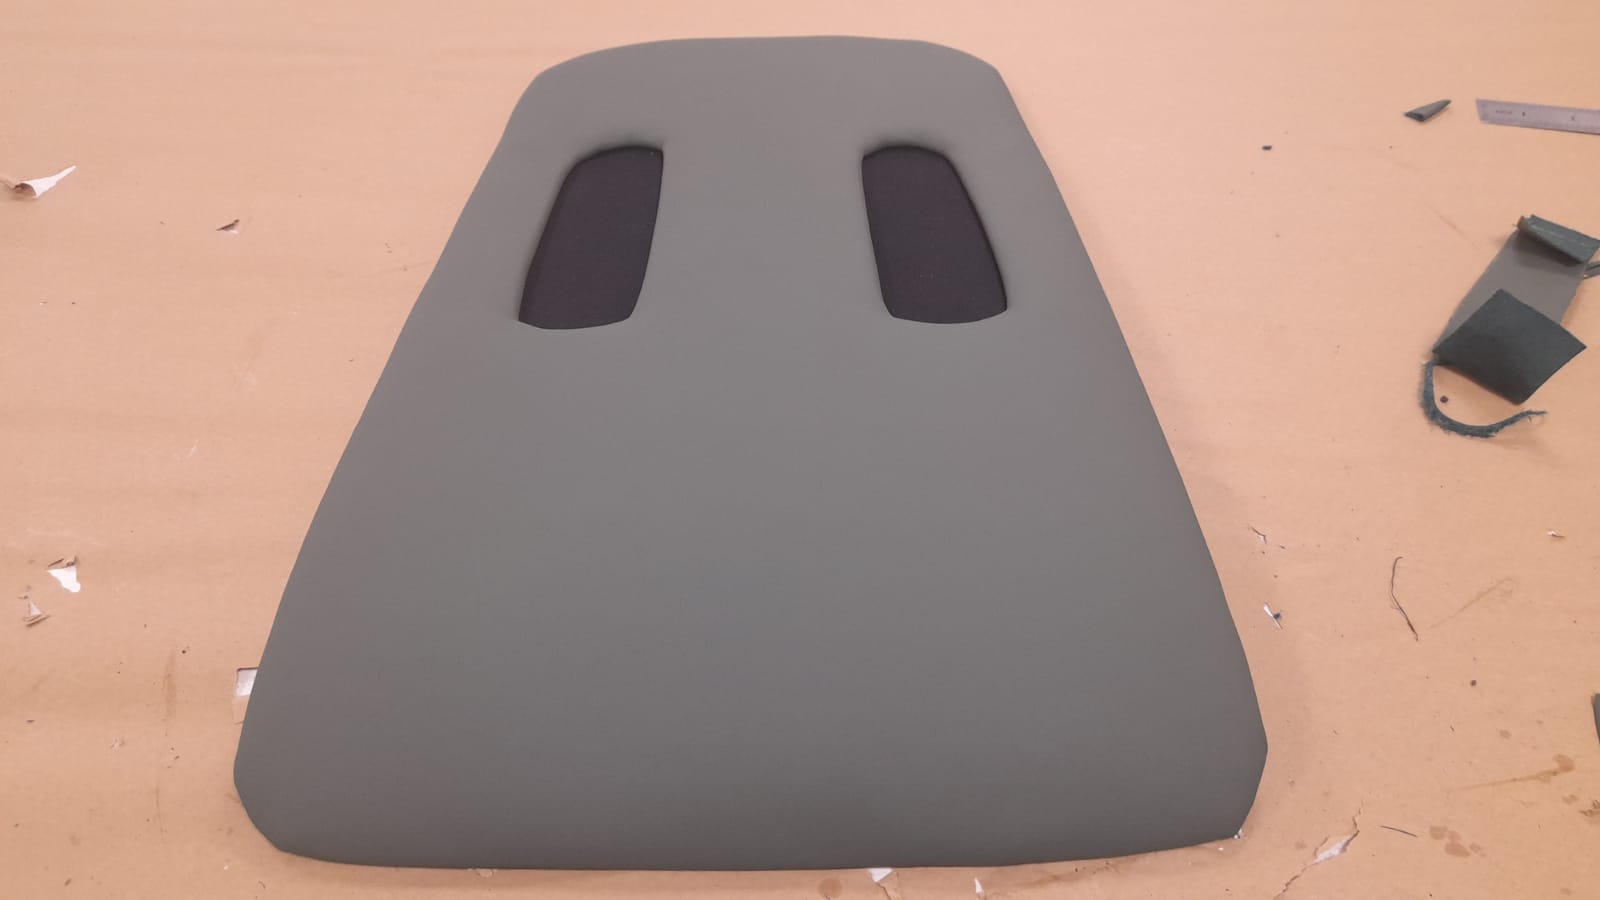
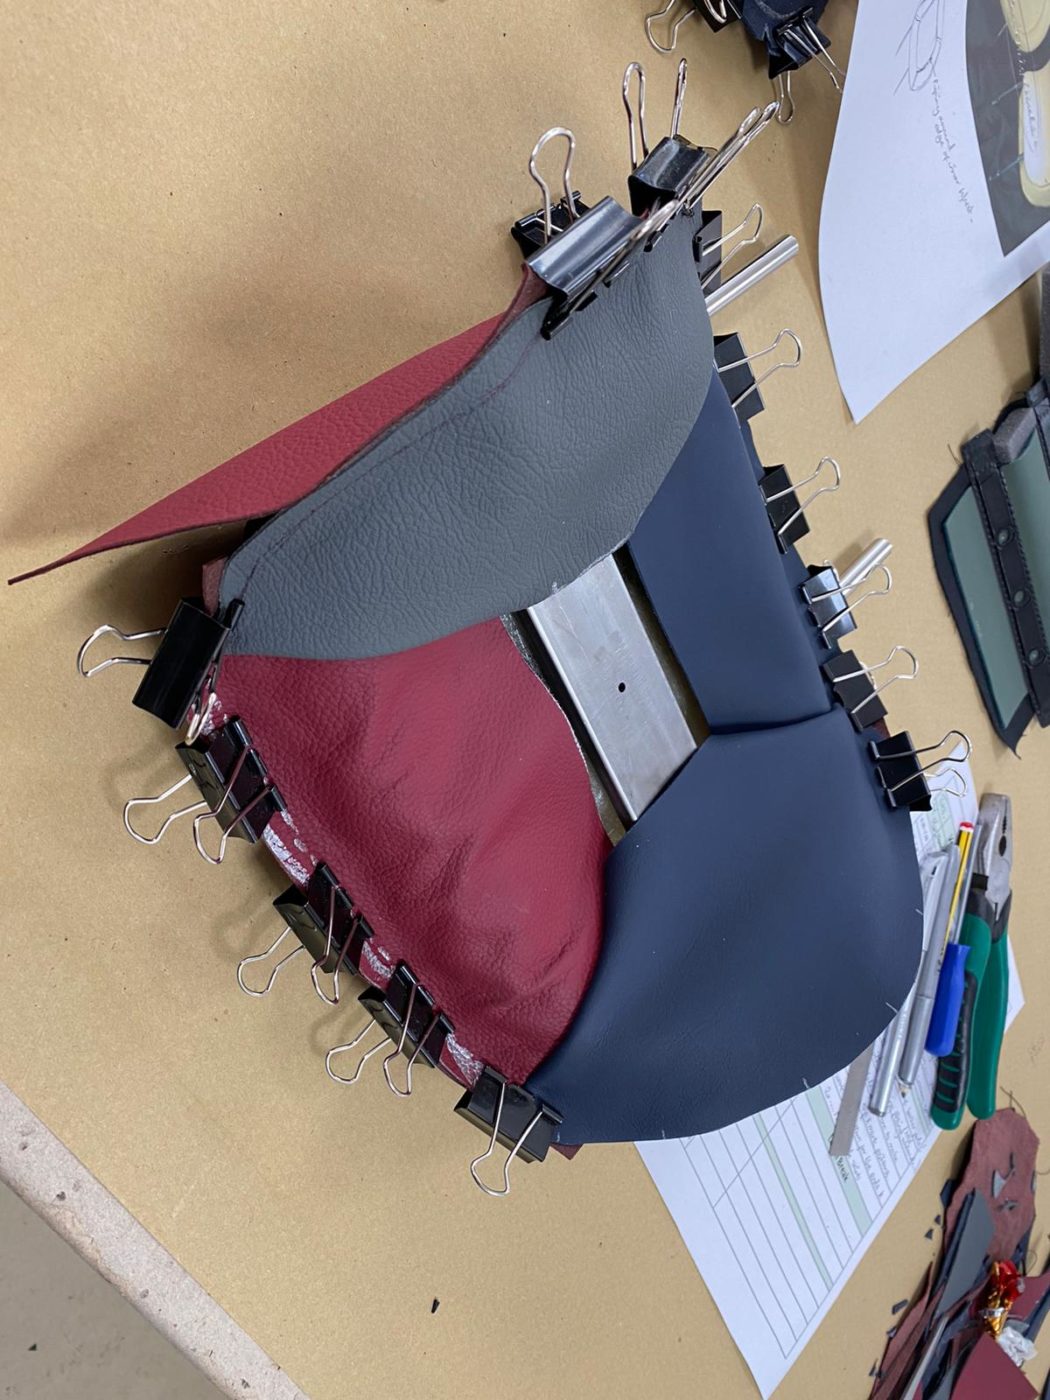
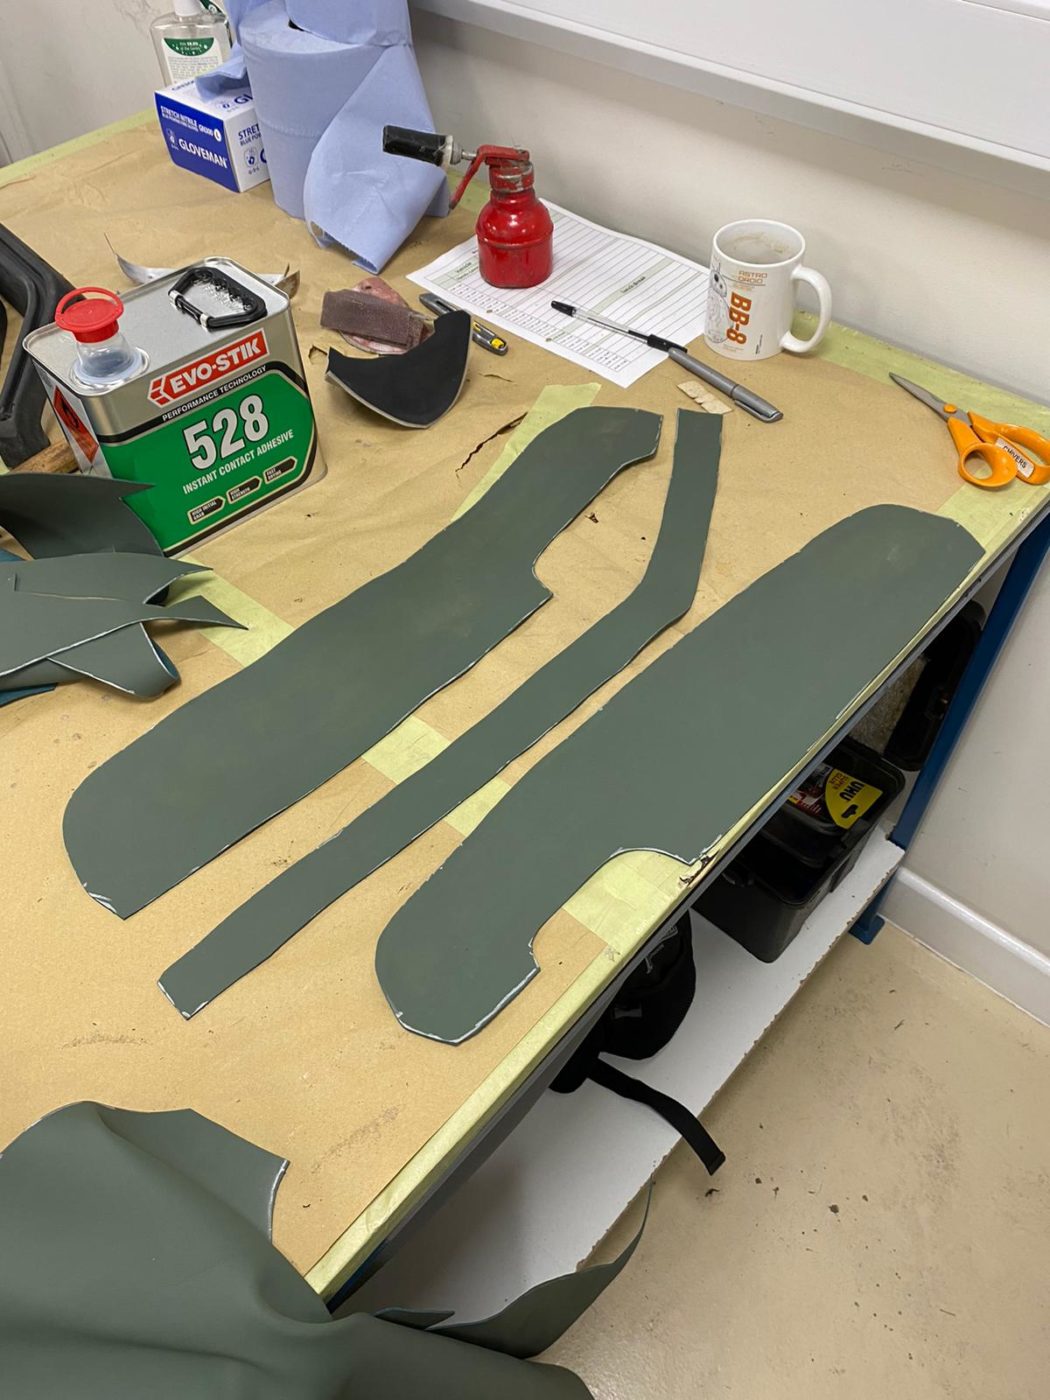
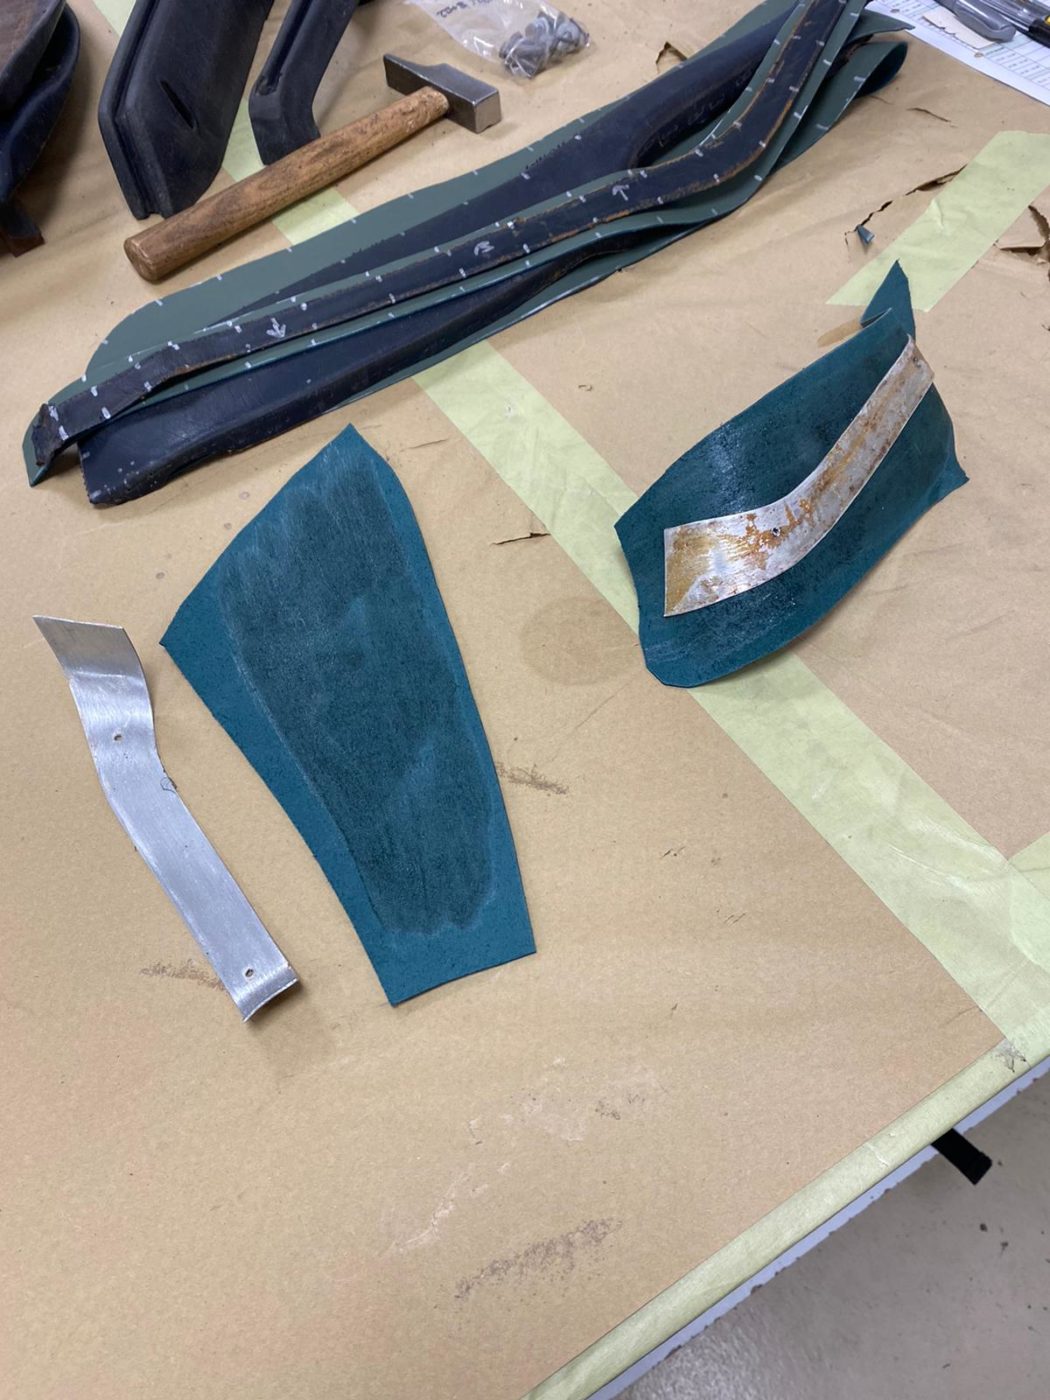
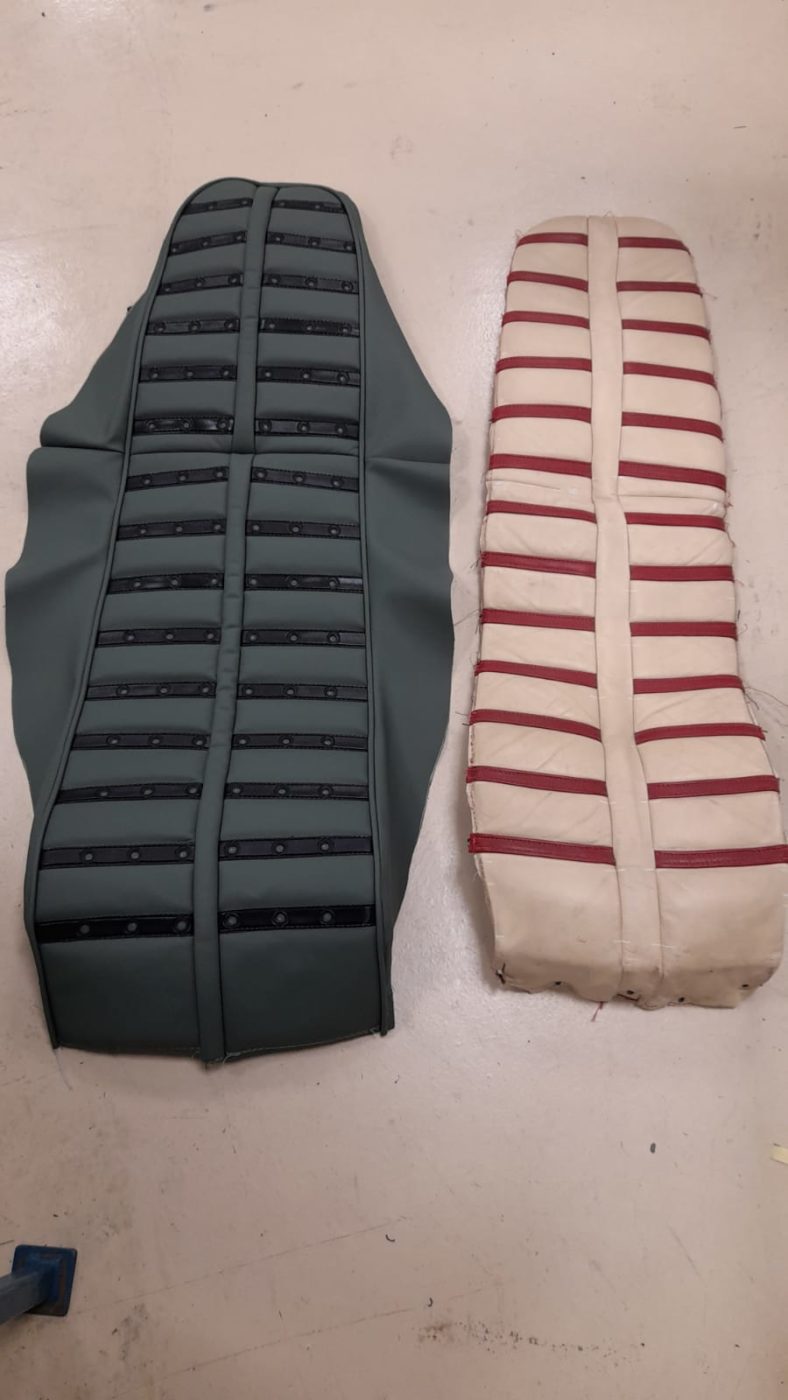
Our trim shop have been dedicating their efforts to our Ferrari Daytona recently, which is one of the largest nut and bolt restorations we have in currently.


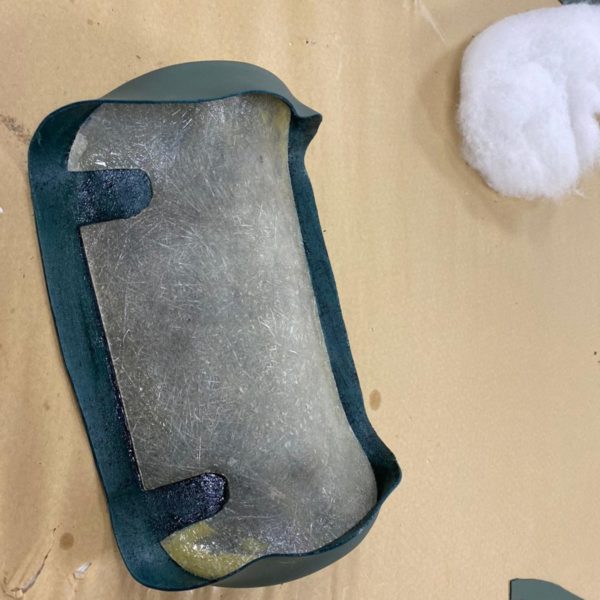
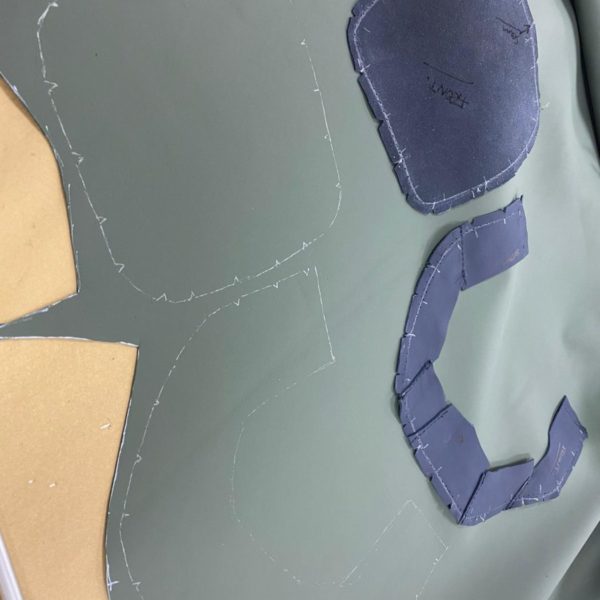
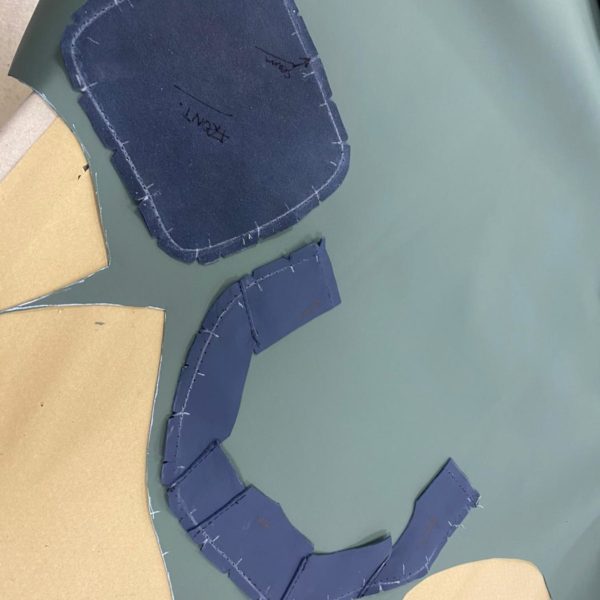
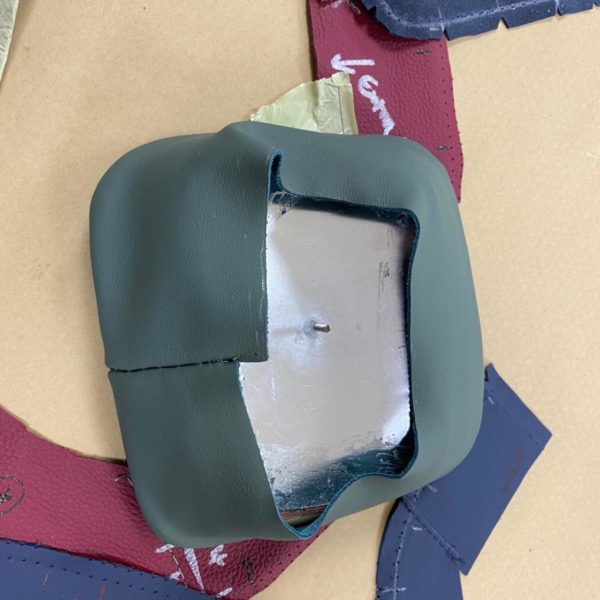
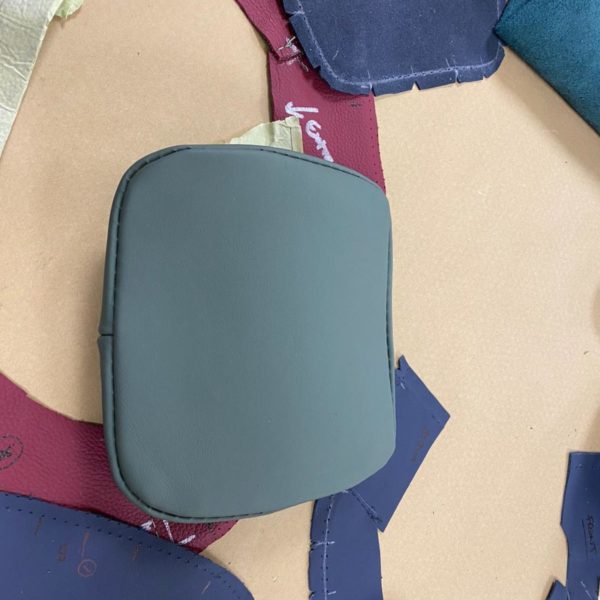
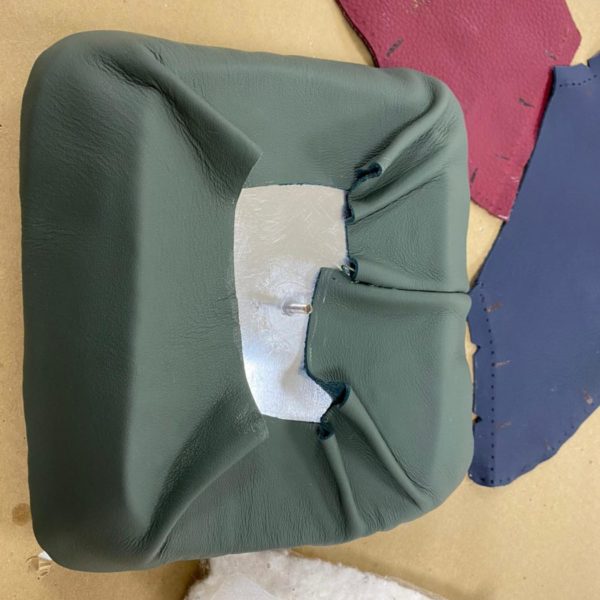
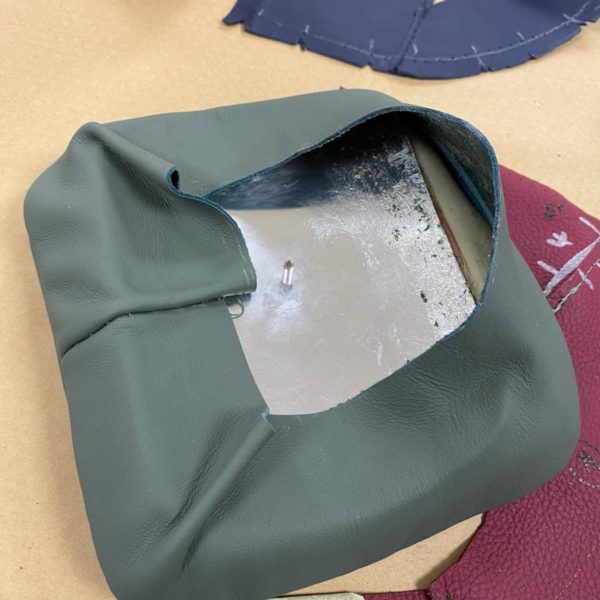
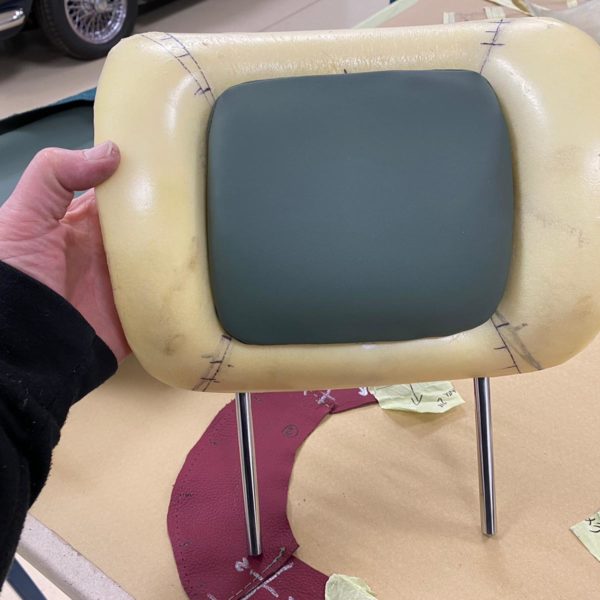
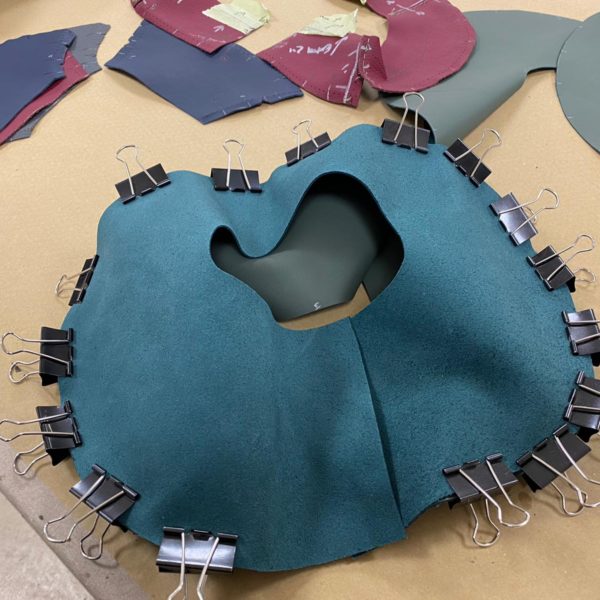
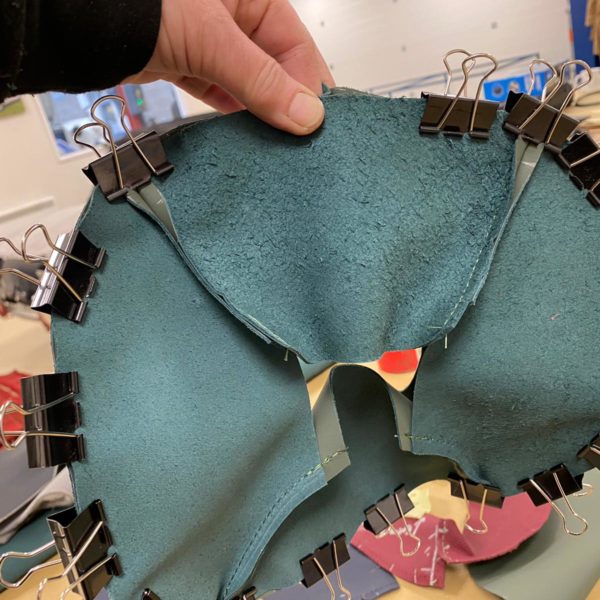
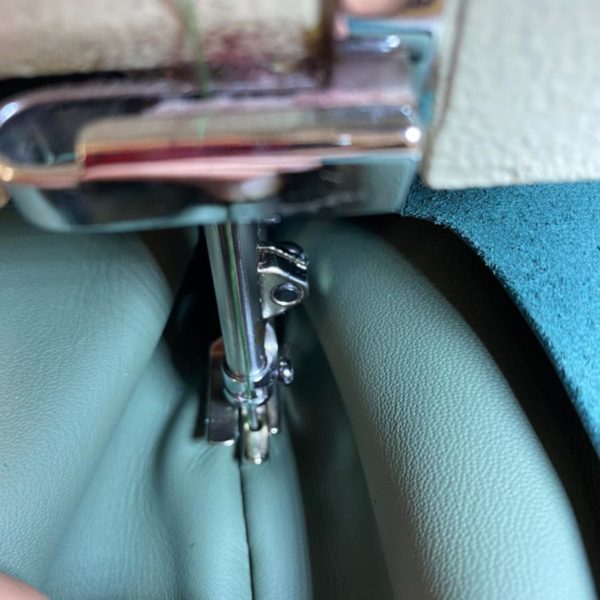
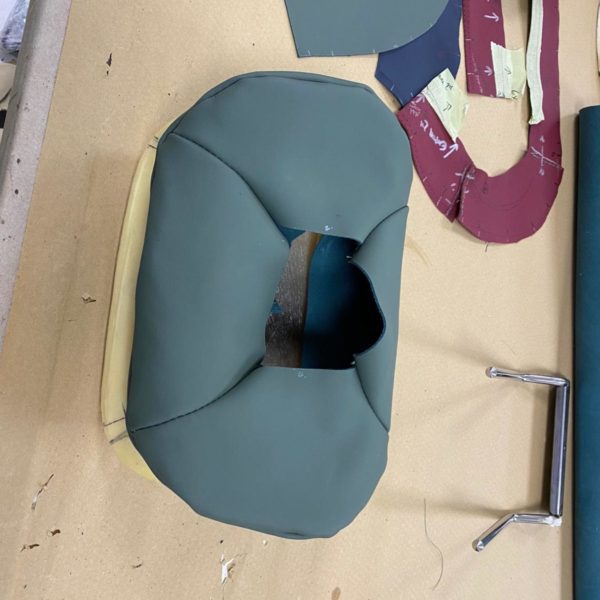
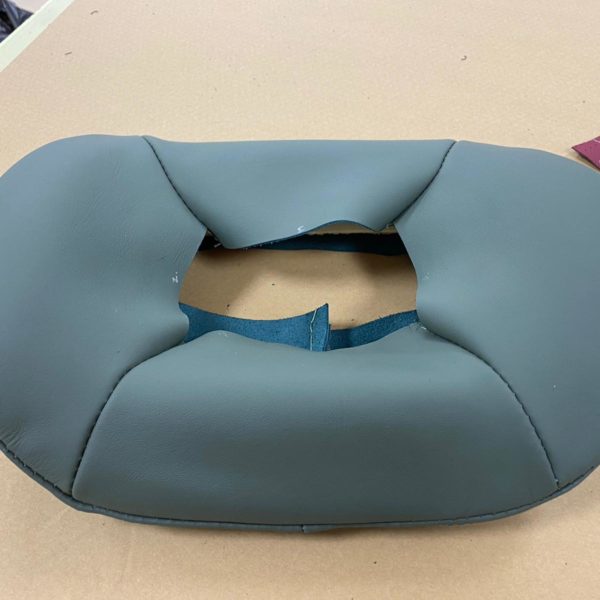
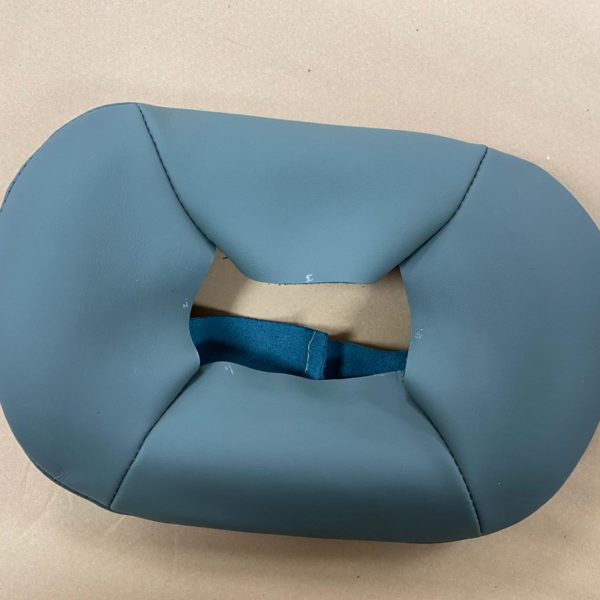
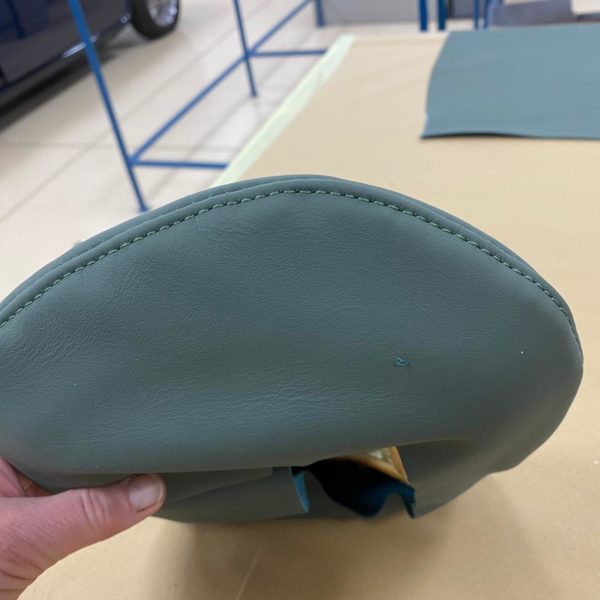
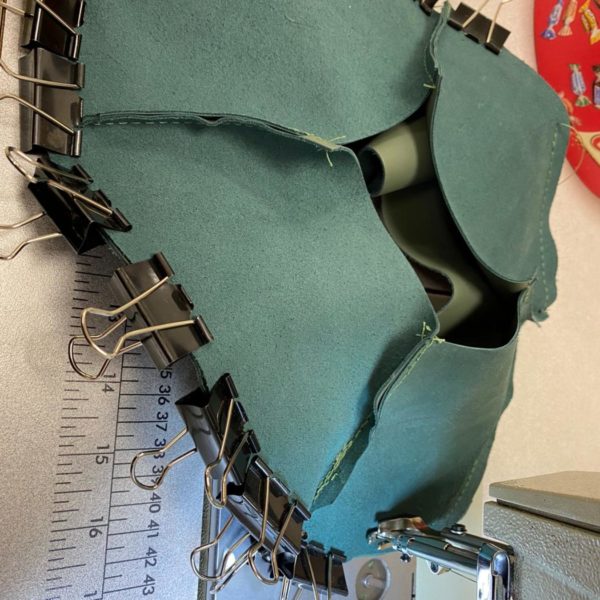
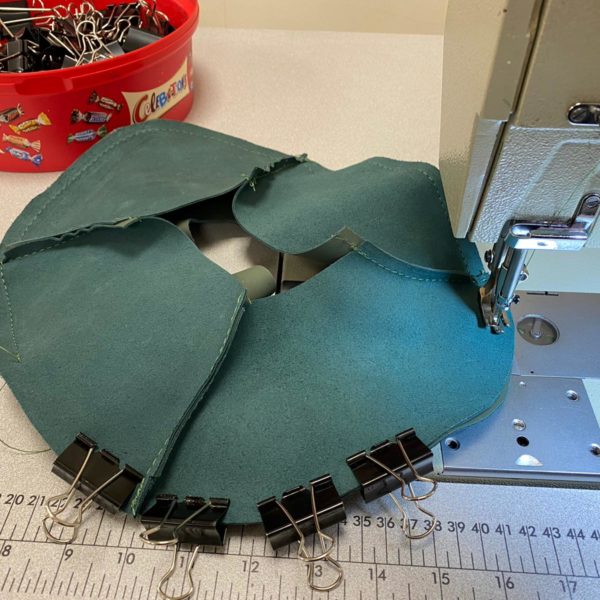
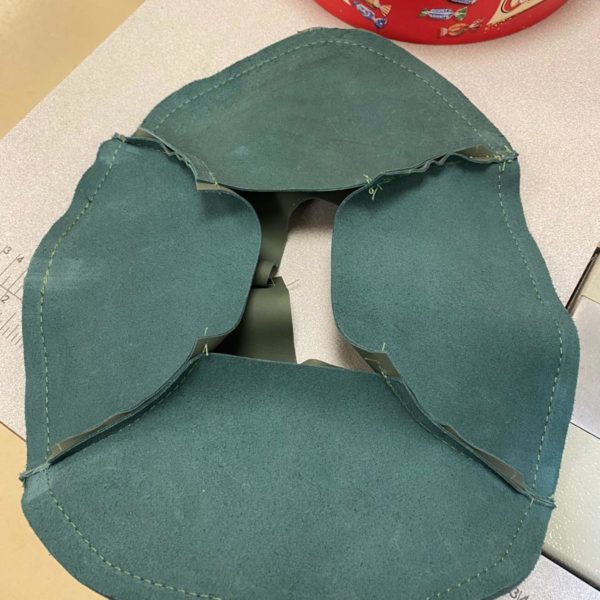
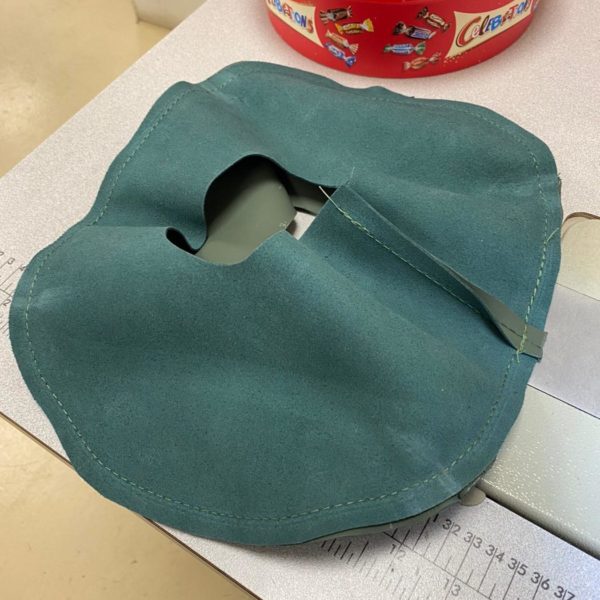
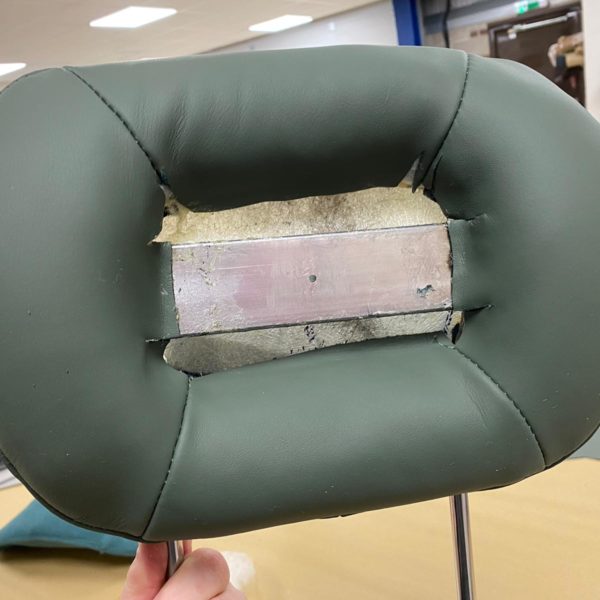
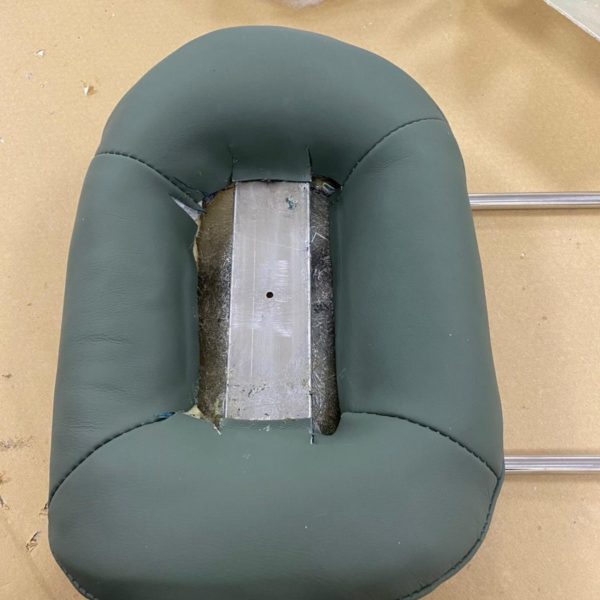
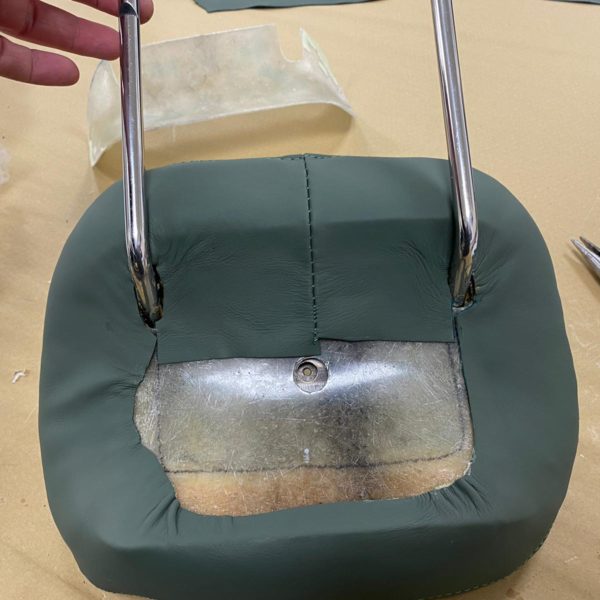
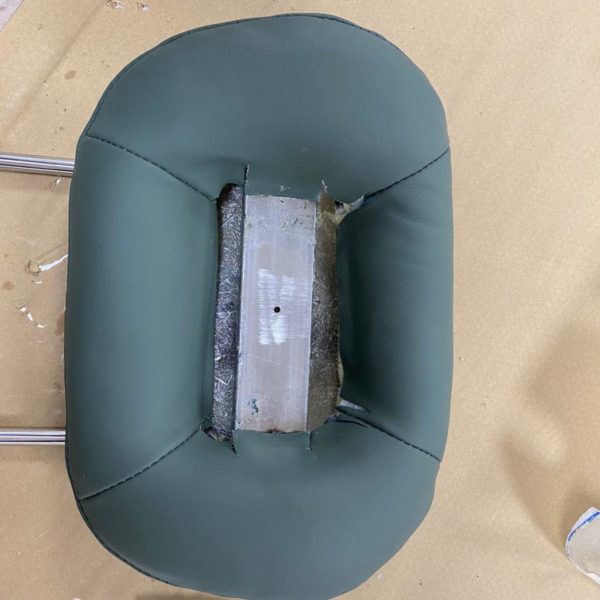
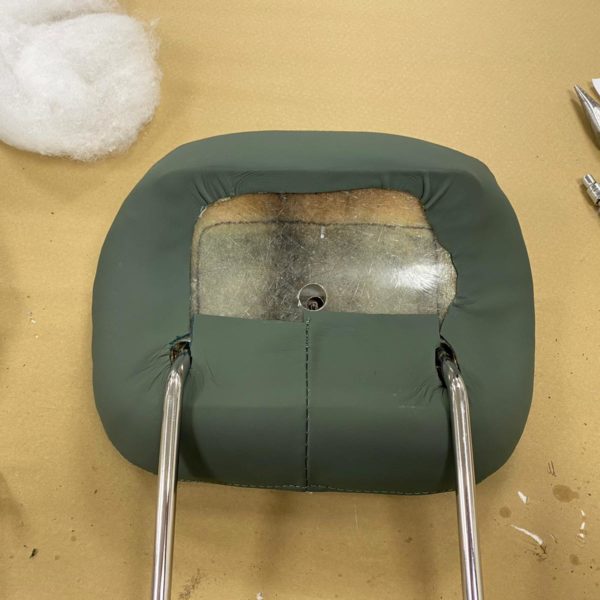
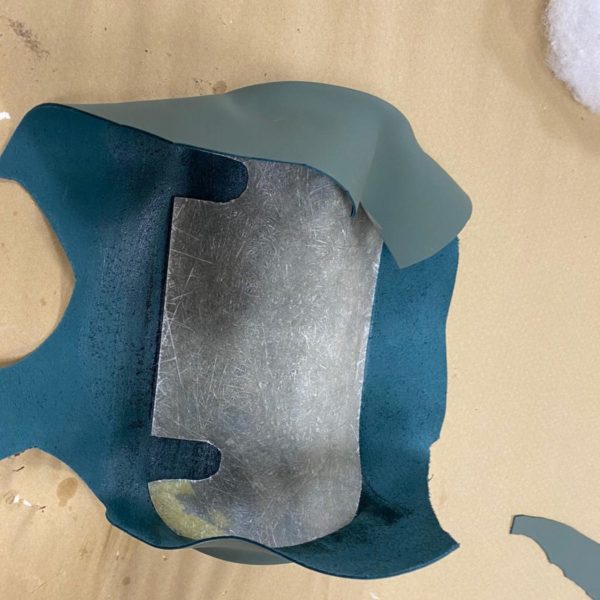
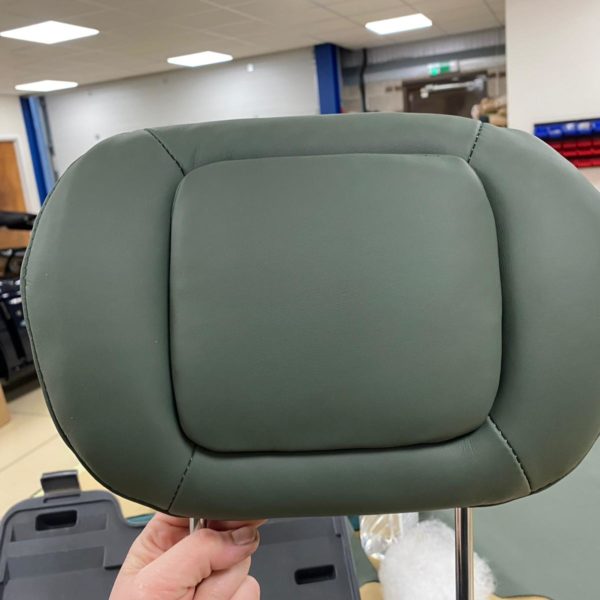
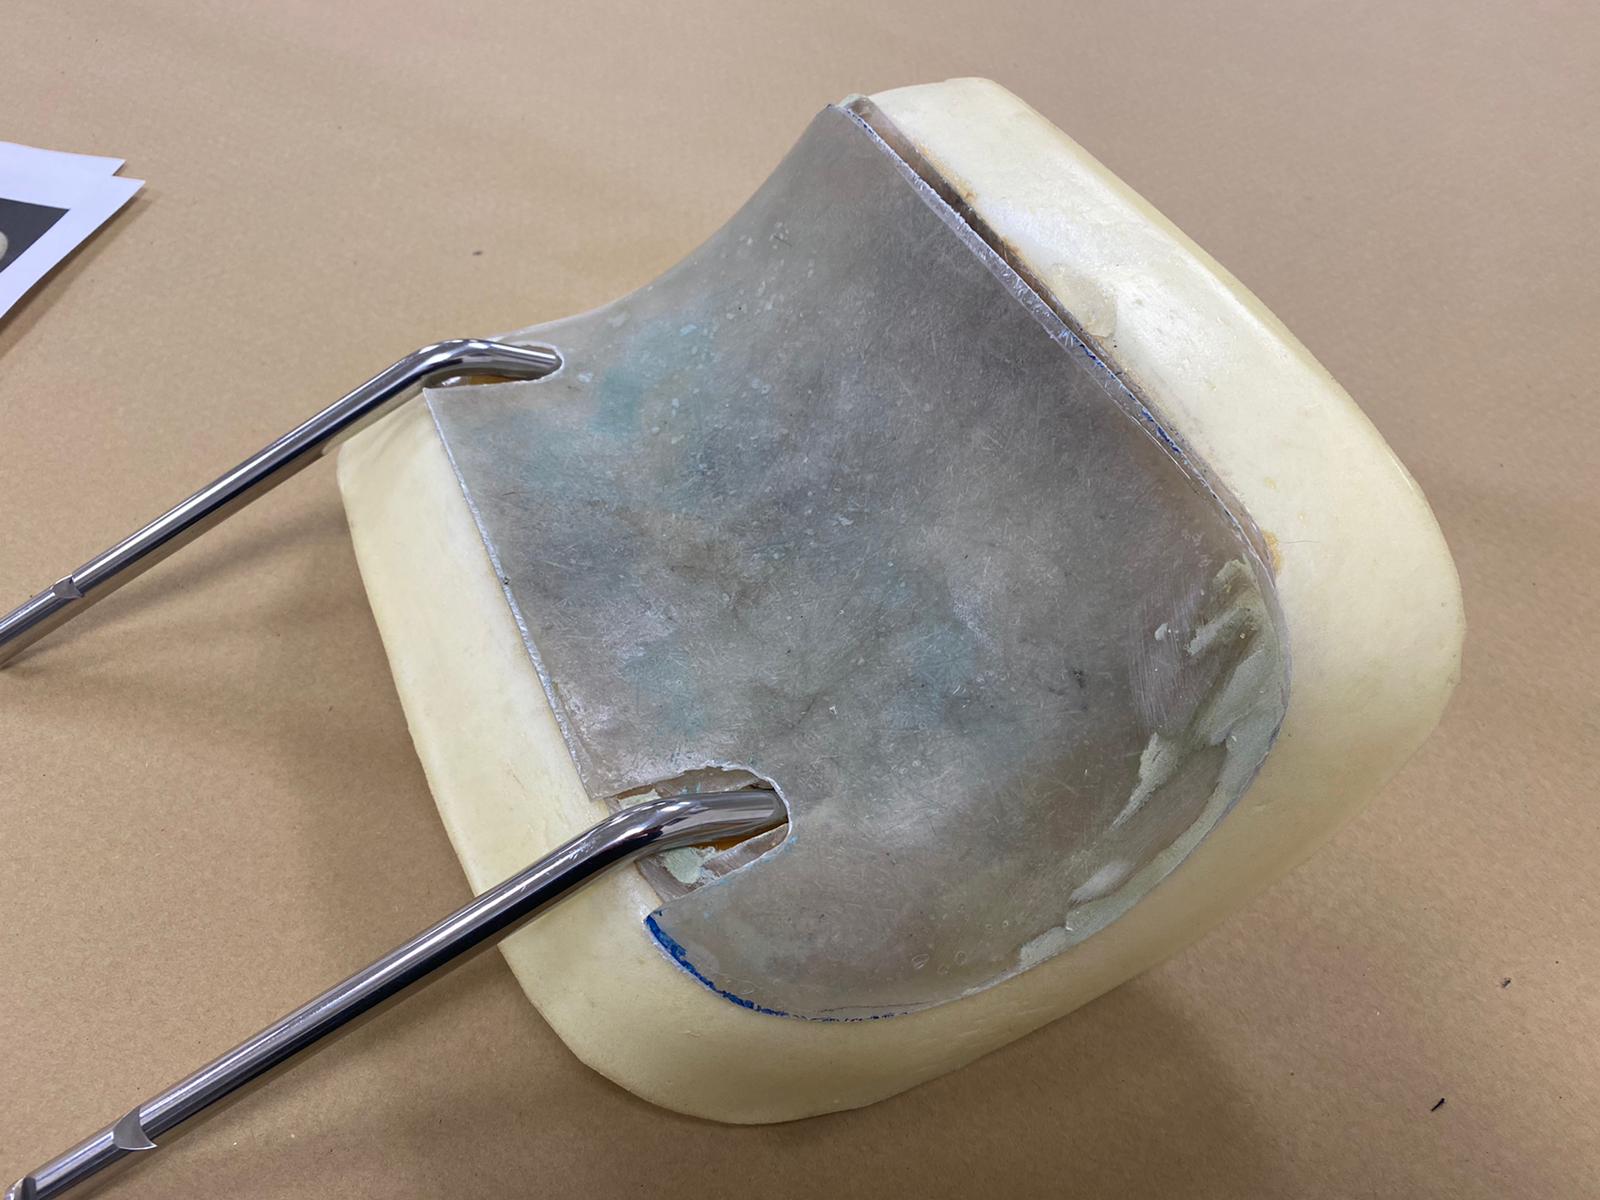
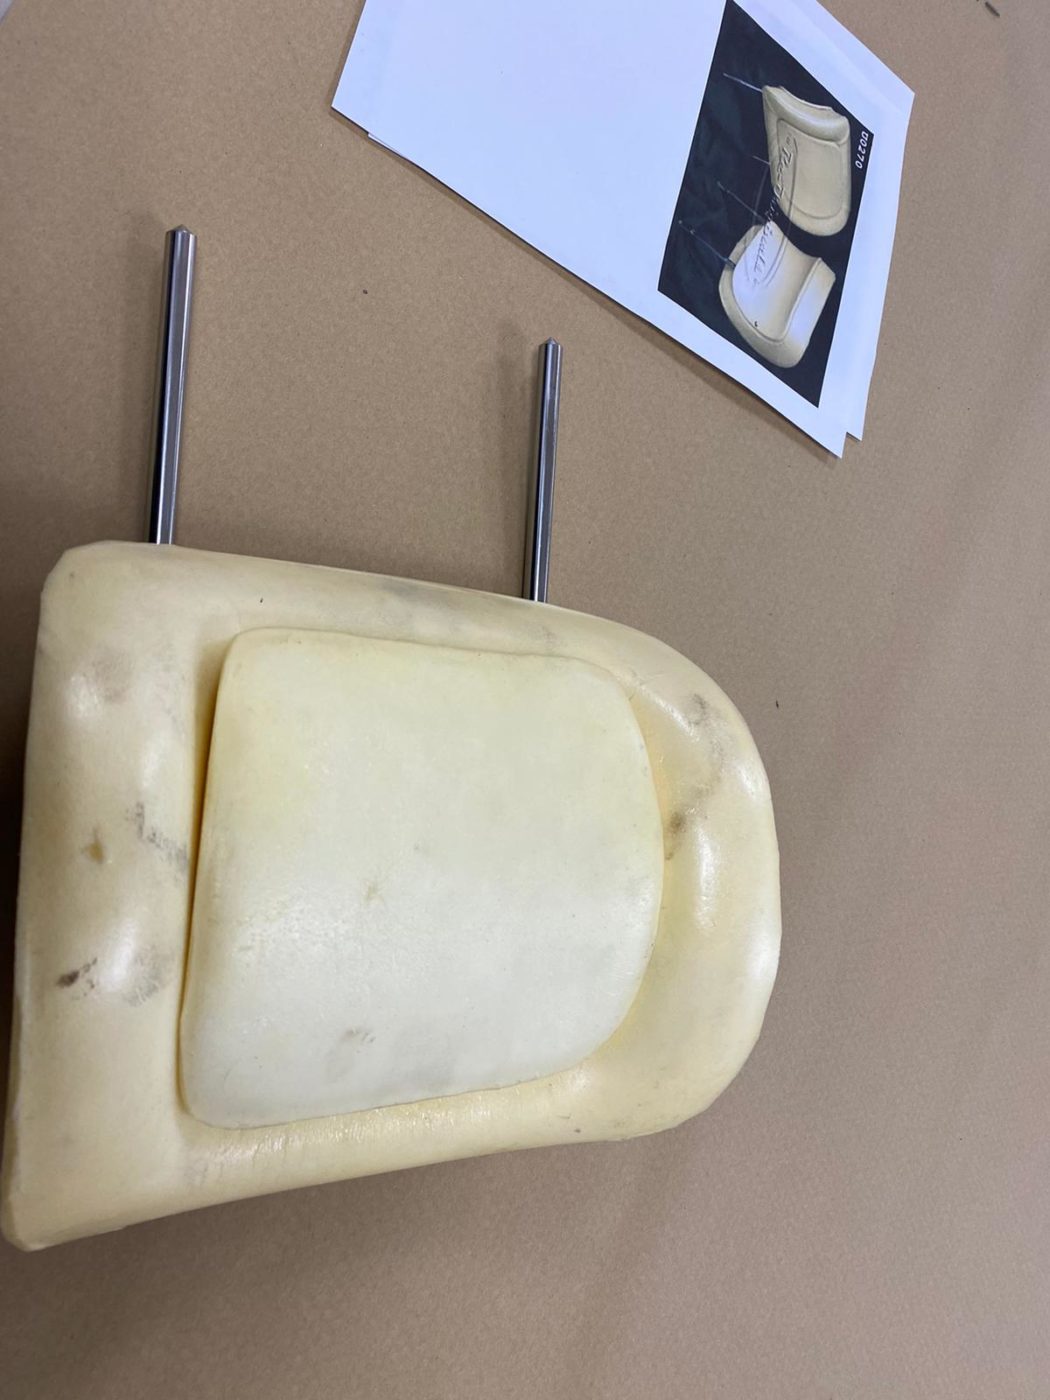
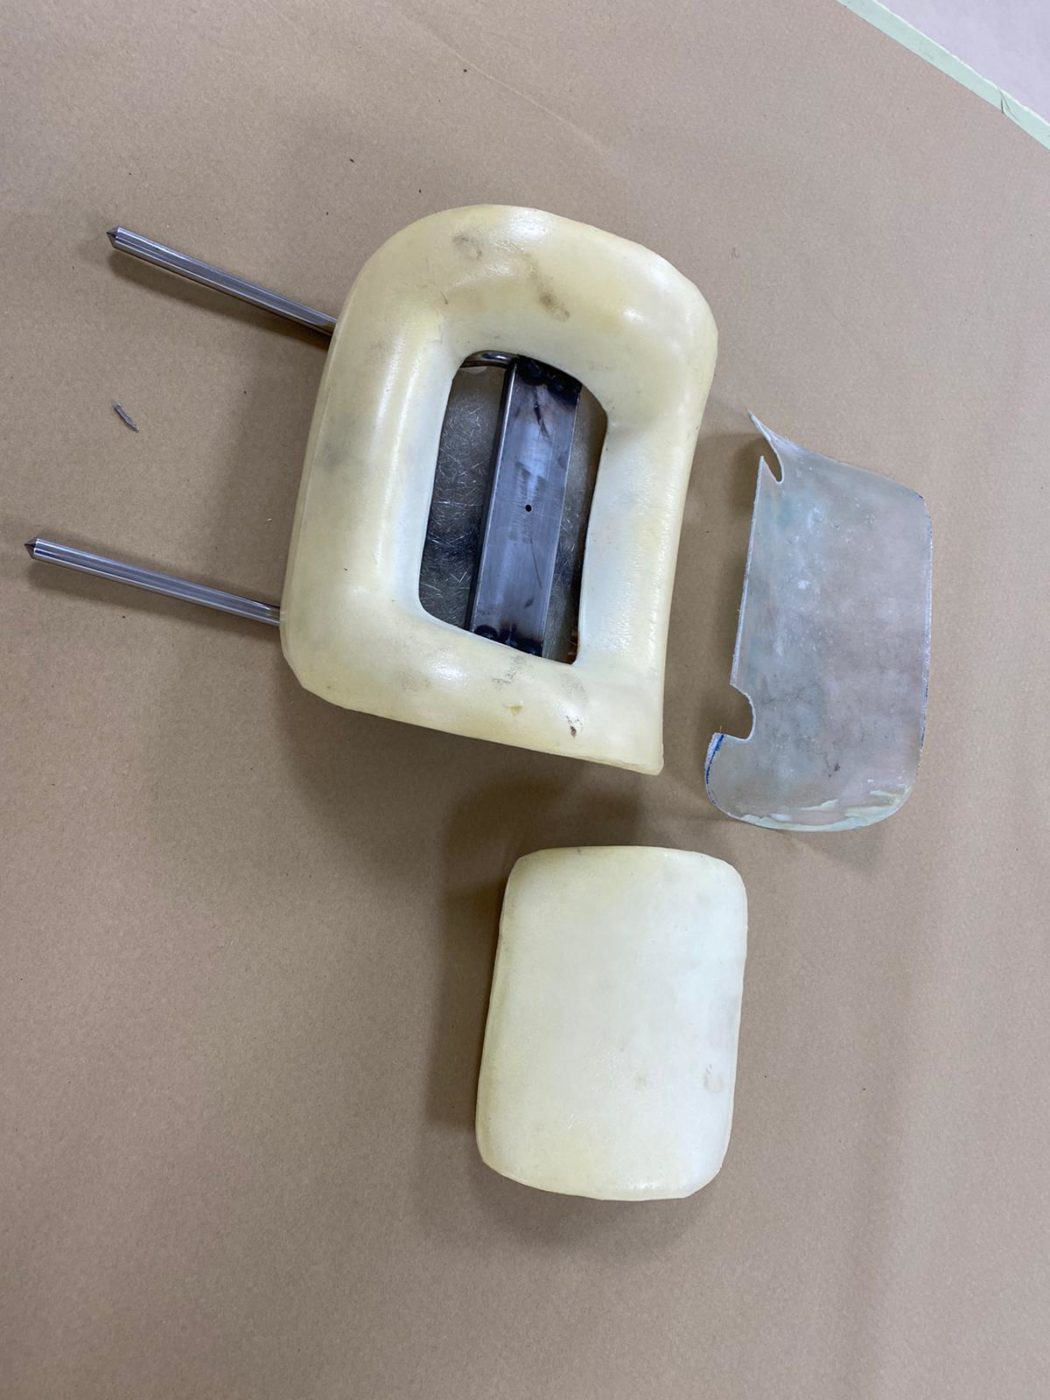
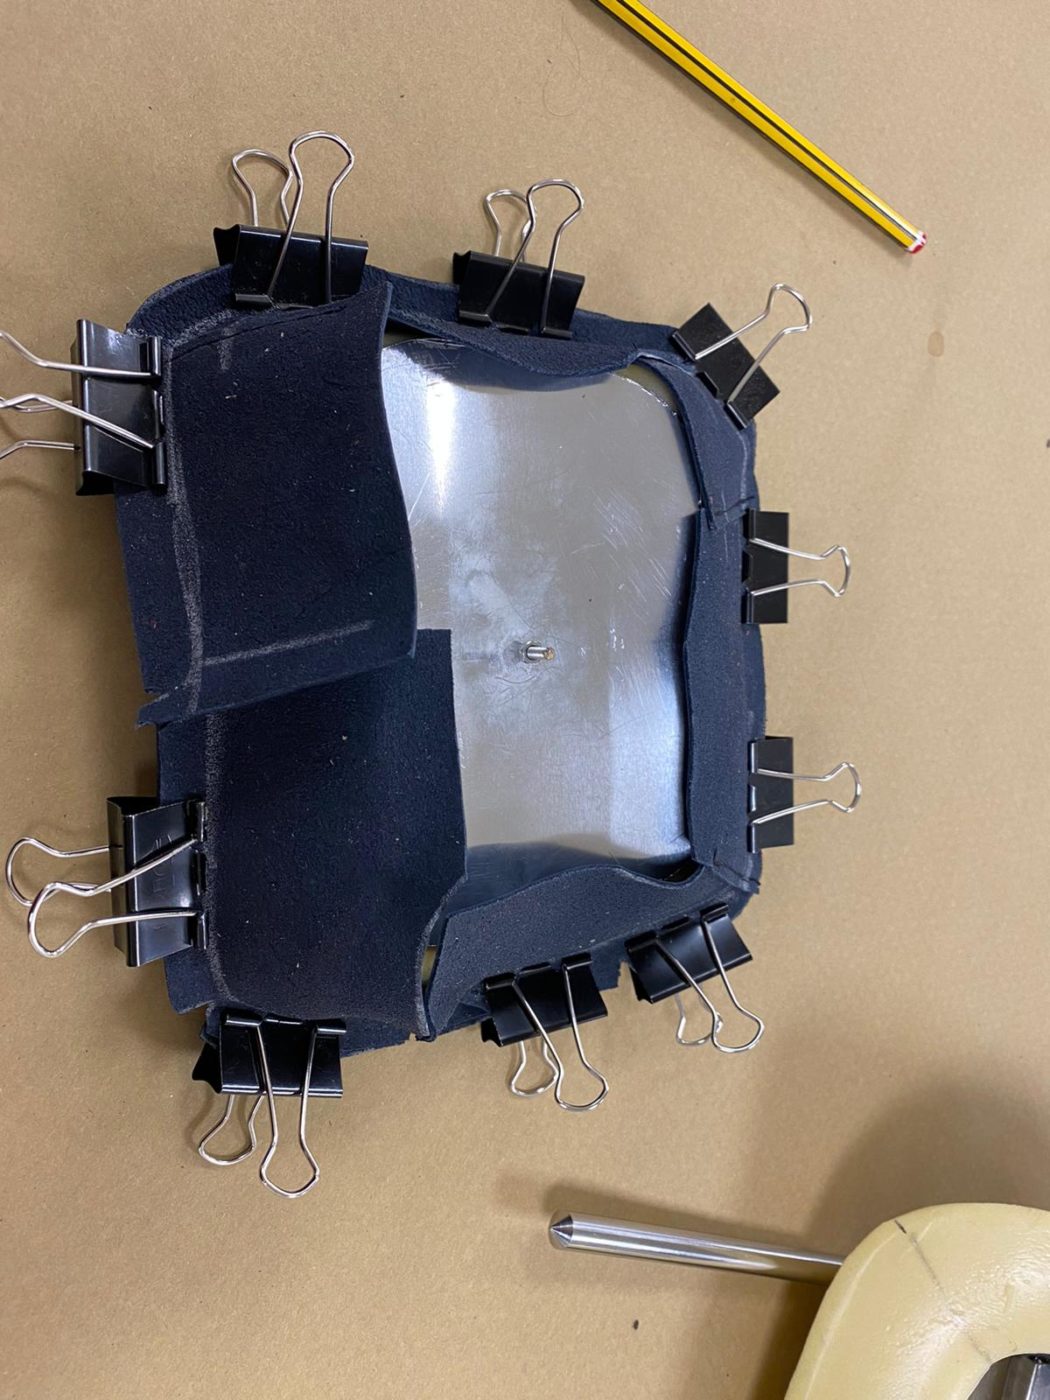
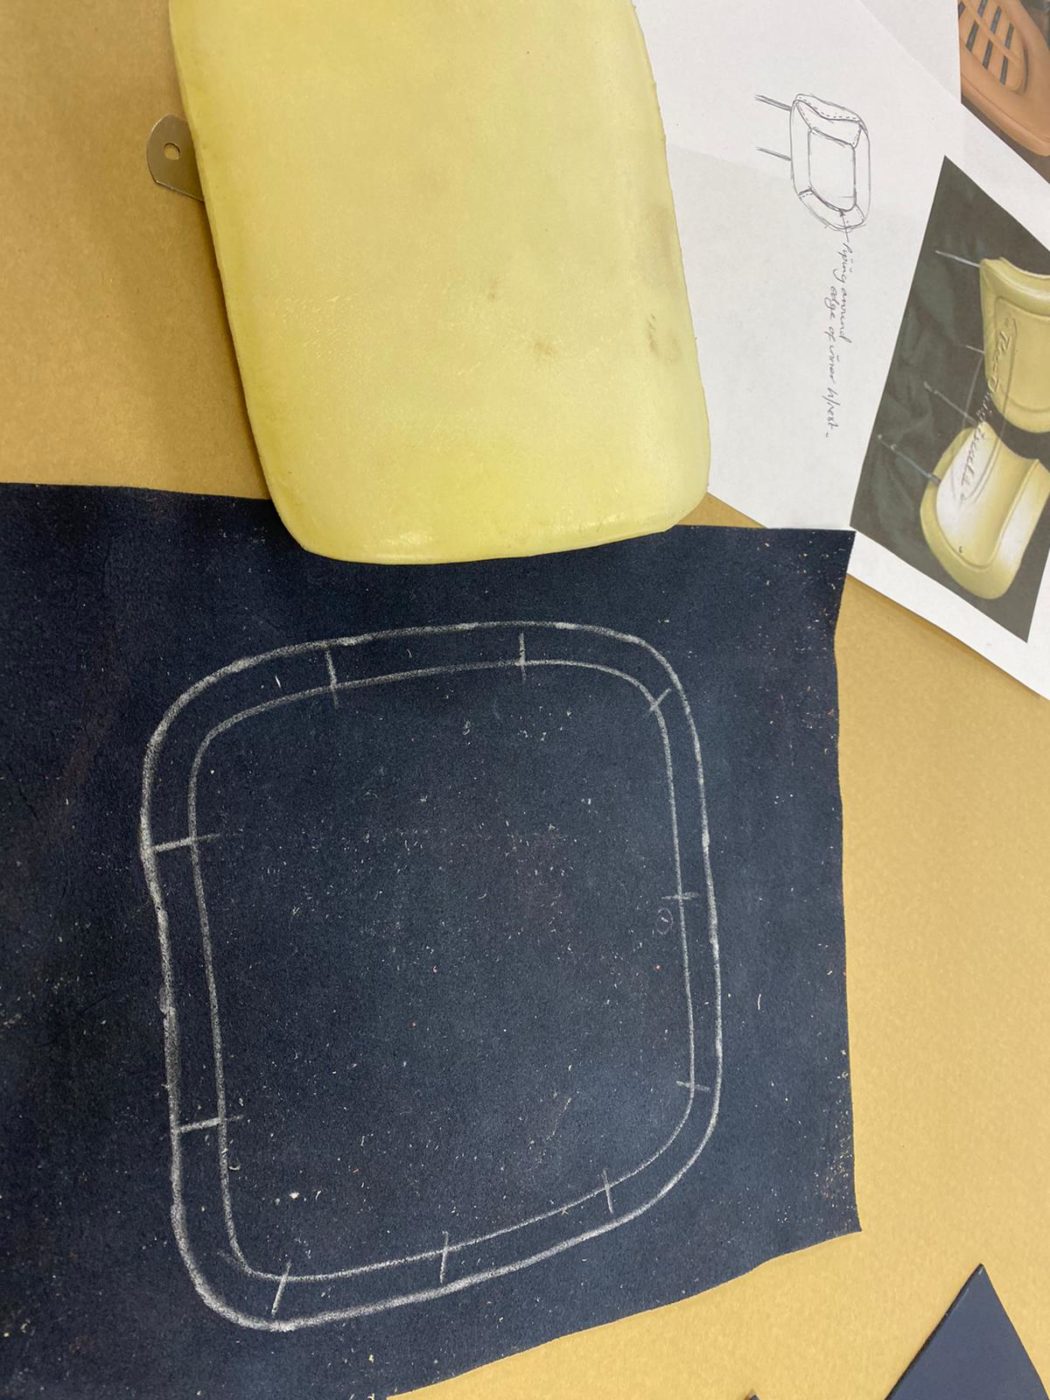
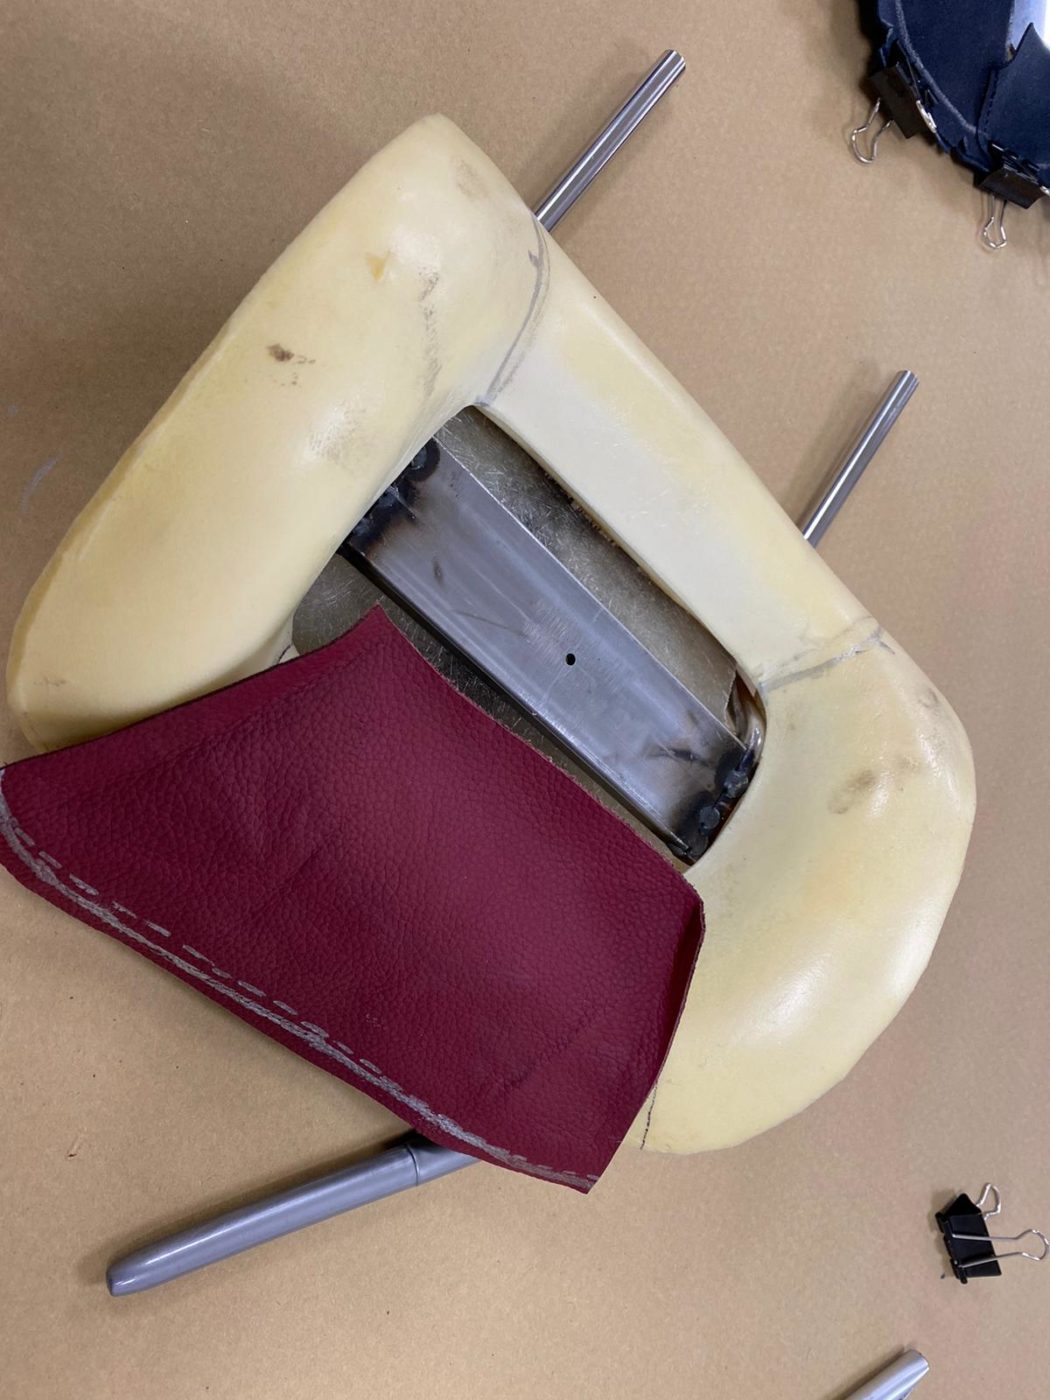
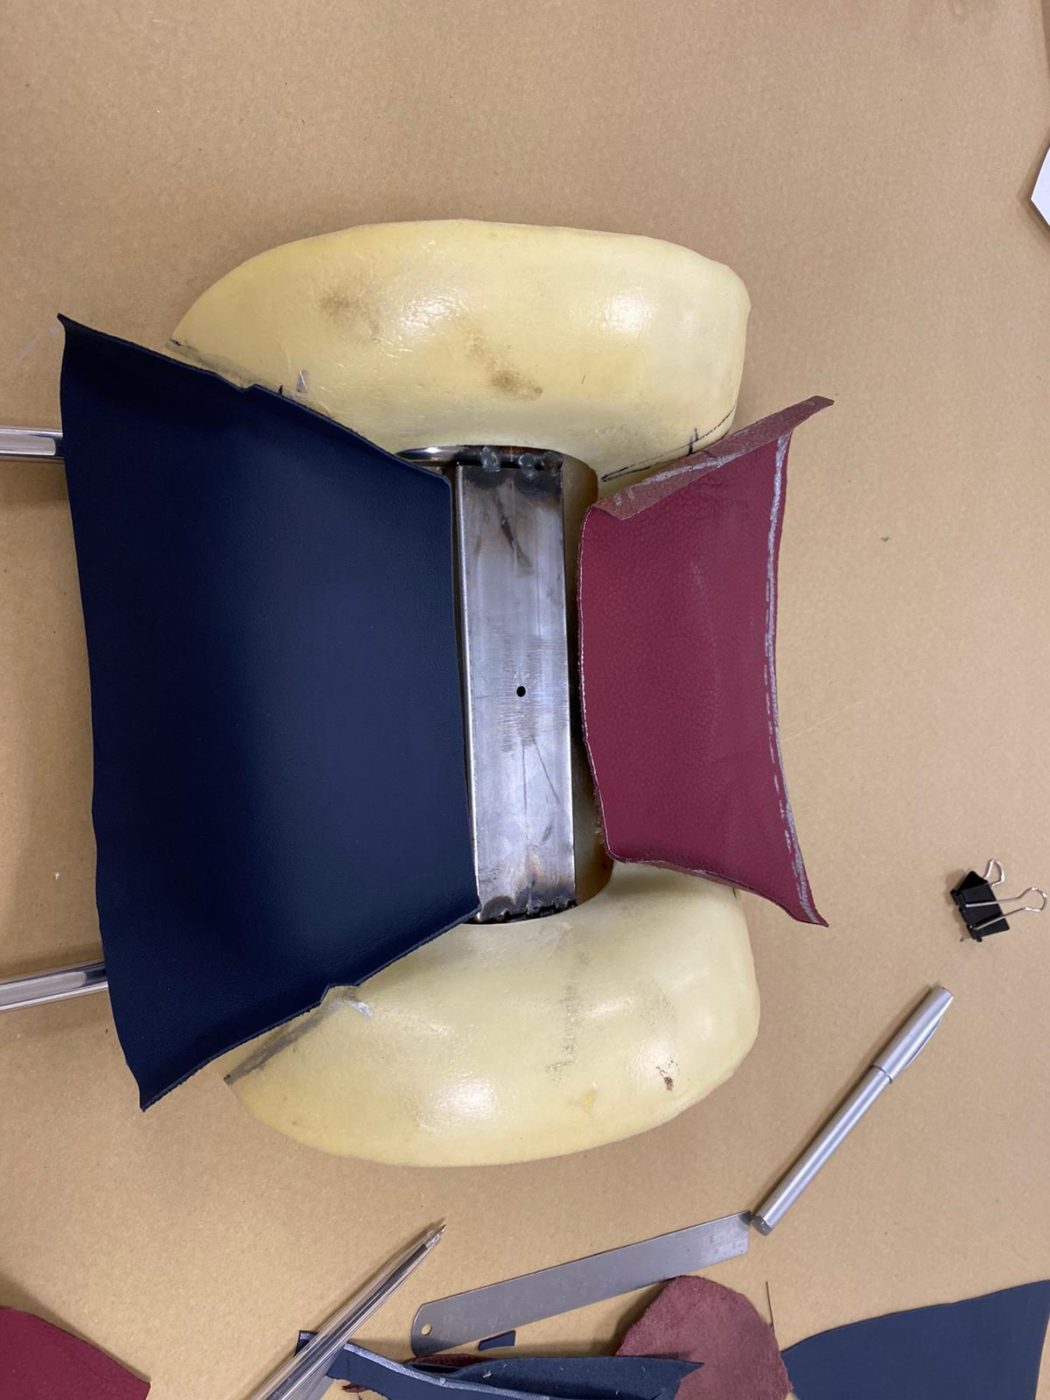
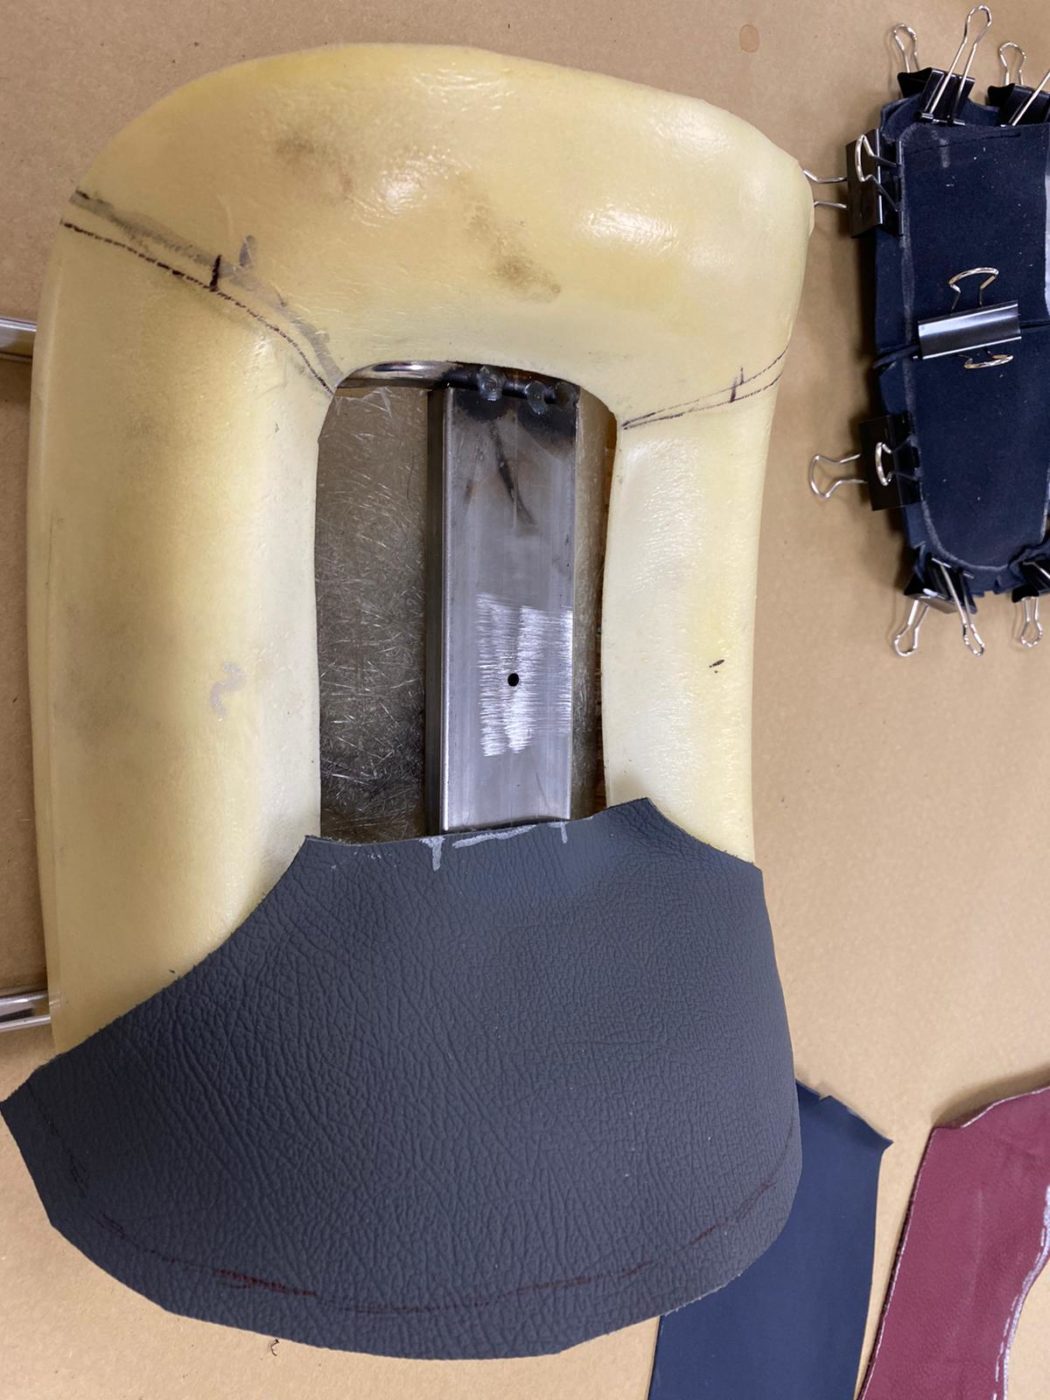
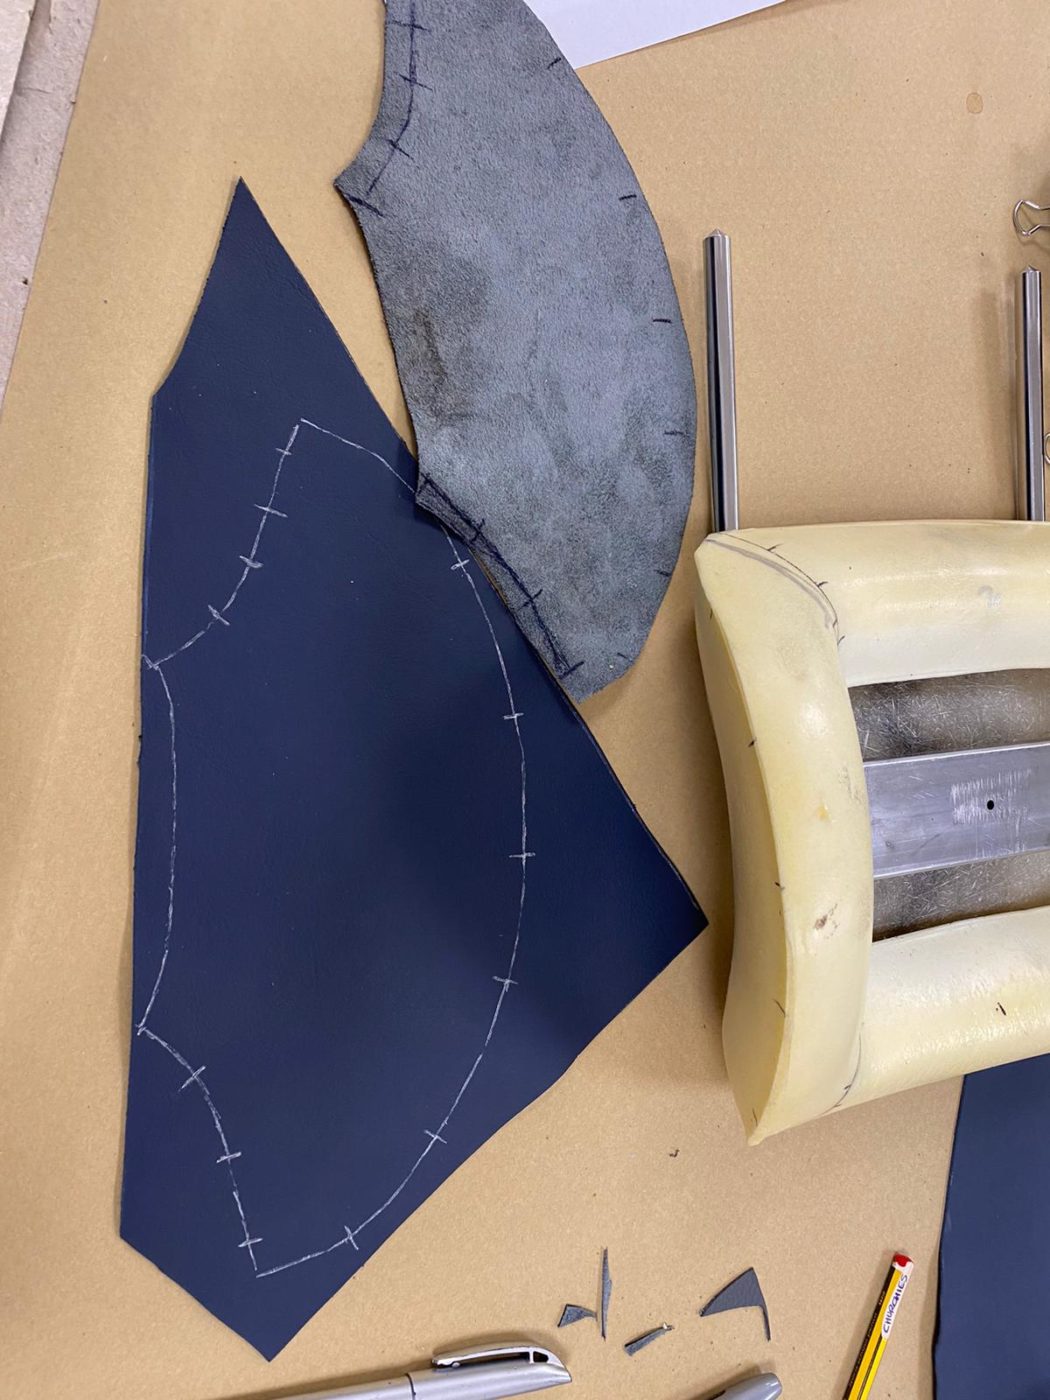
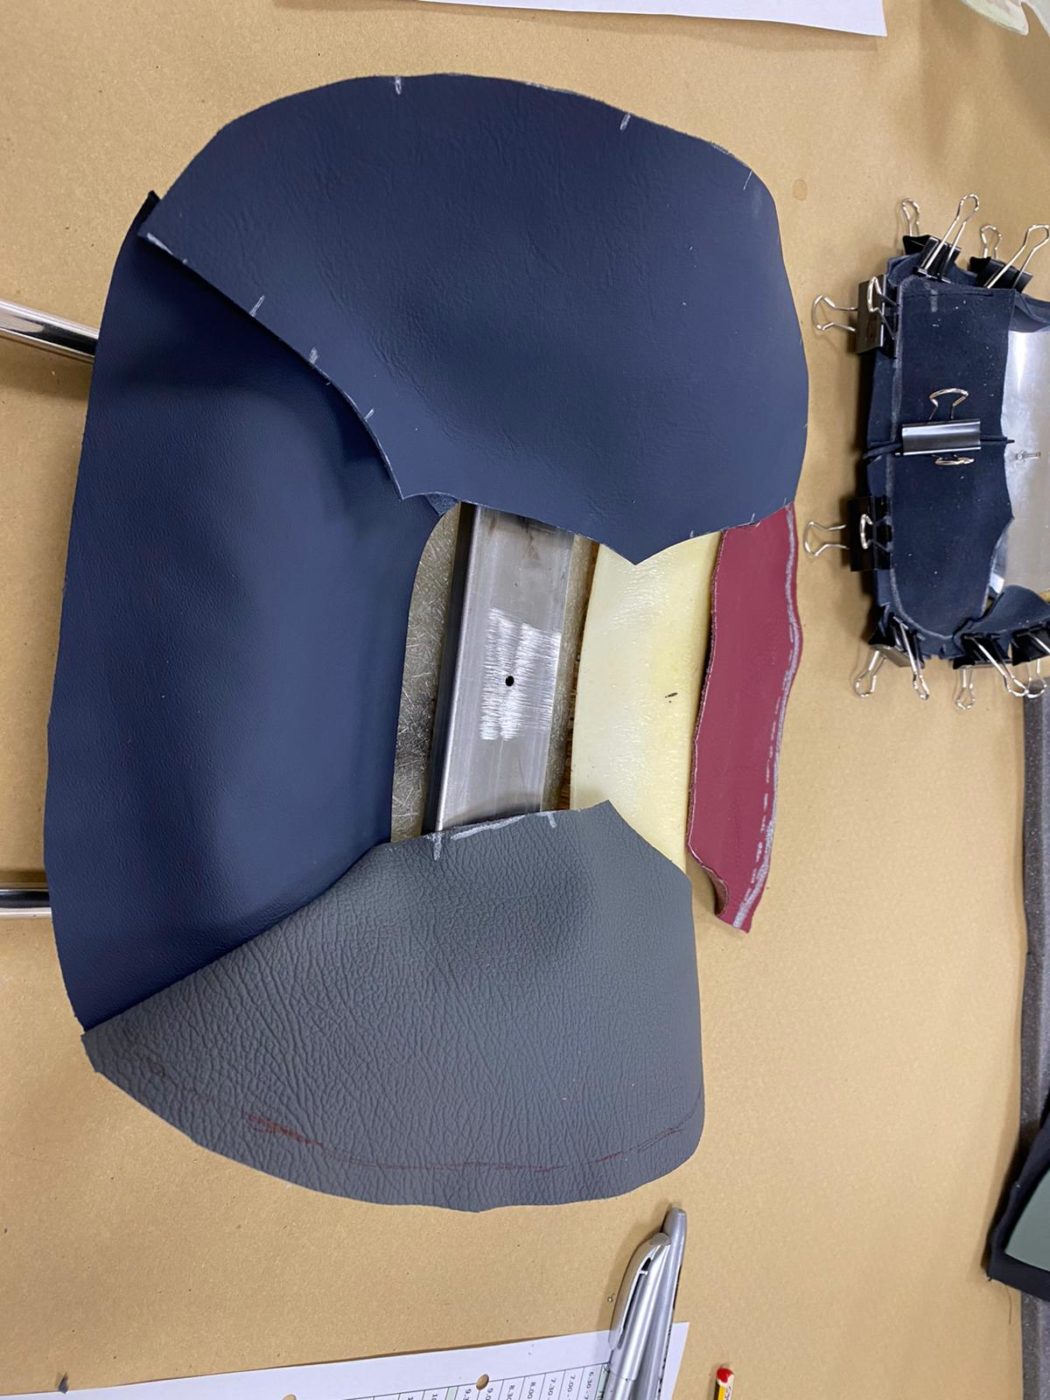
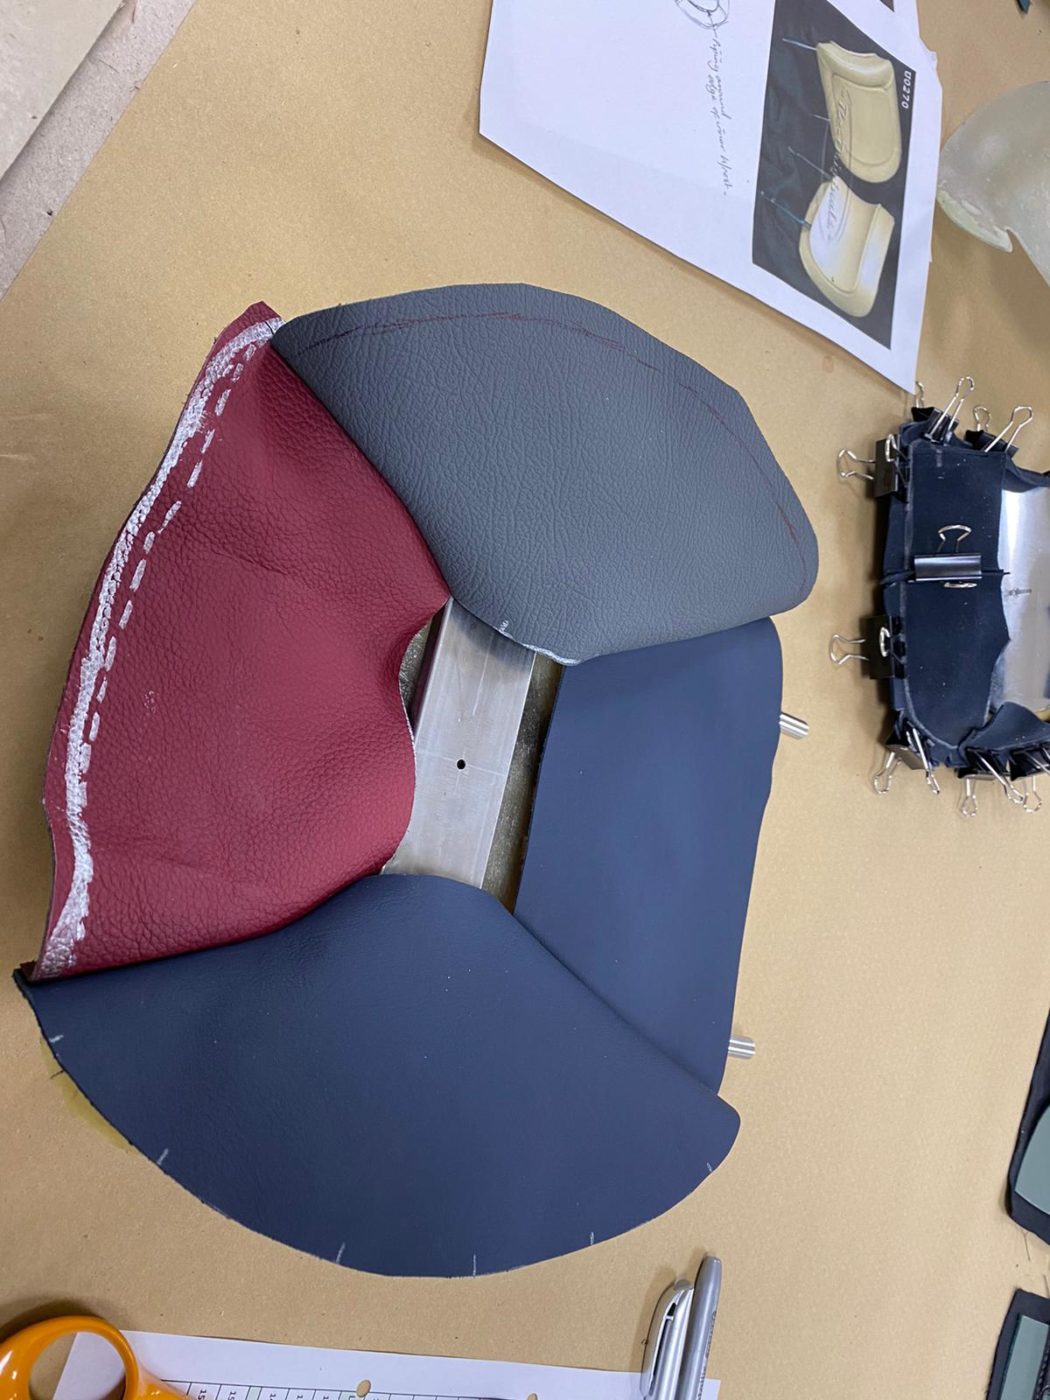
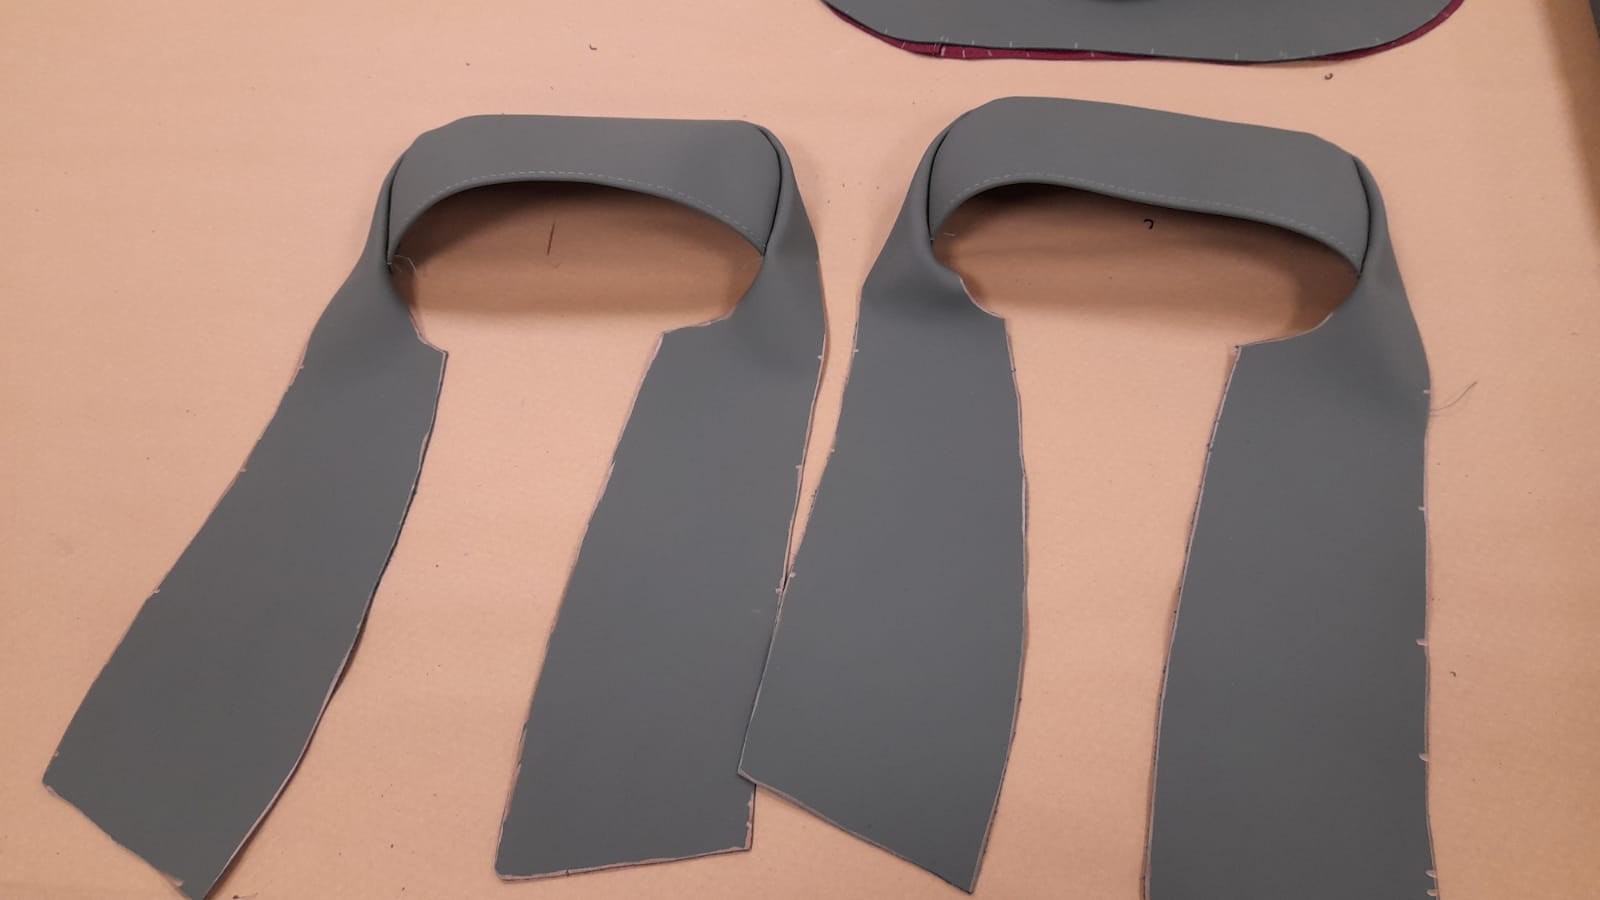
Kath had already made the template cover for the Daytona headrest, and has now made the final copy using her own template. She began by unpicking her template and marking out a new one in the green material, which she then sews together and fits to the inner section of the head rest. Kath glues in place the excess material and pulls is taught. She then marks out the other parts which she clips together to sew. Adding a skirt to the outer section, Kath then adds a top stitch around the outer edge and sews all the pieces together. The next step is to then fit the foam inside and put all parts together. The foam rests are padded out with an extra 3mm of foam to ensure comfort and support. Once this is all complete, the same process is mimicked for the other head rests. Kath also needs to cover the back of the head rests in her next step.
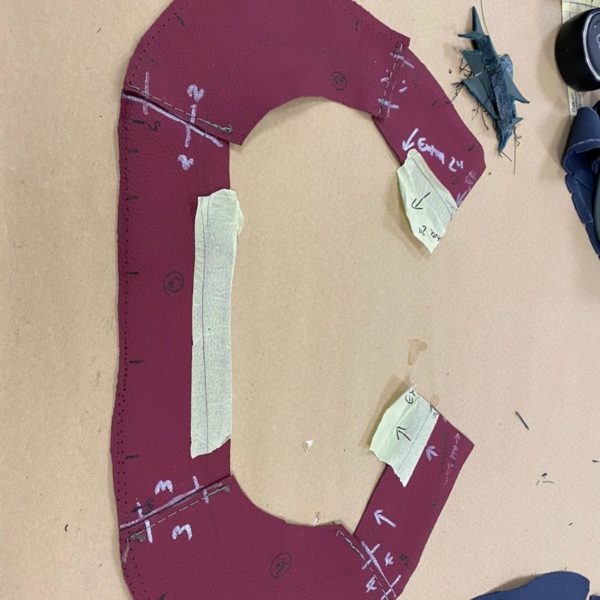
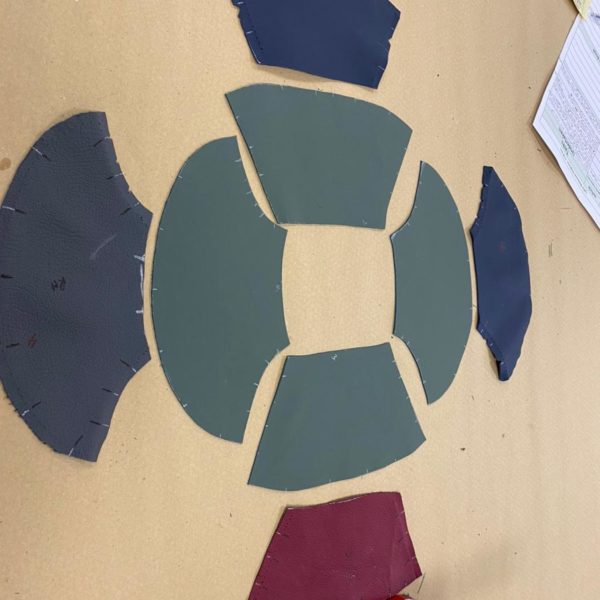
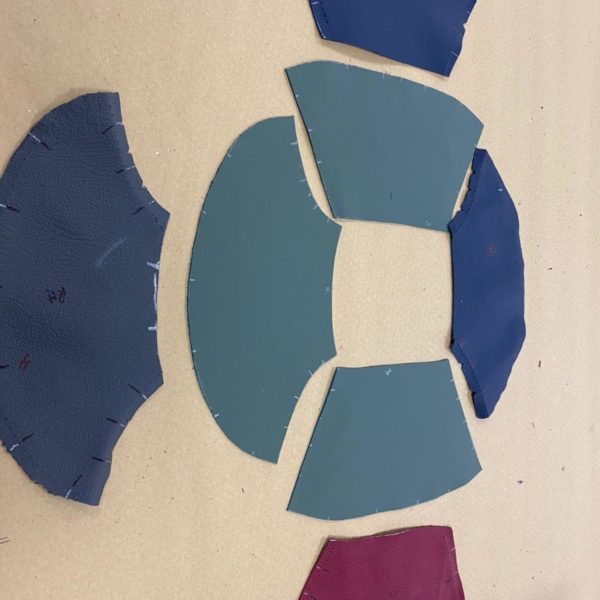
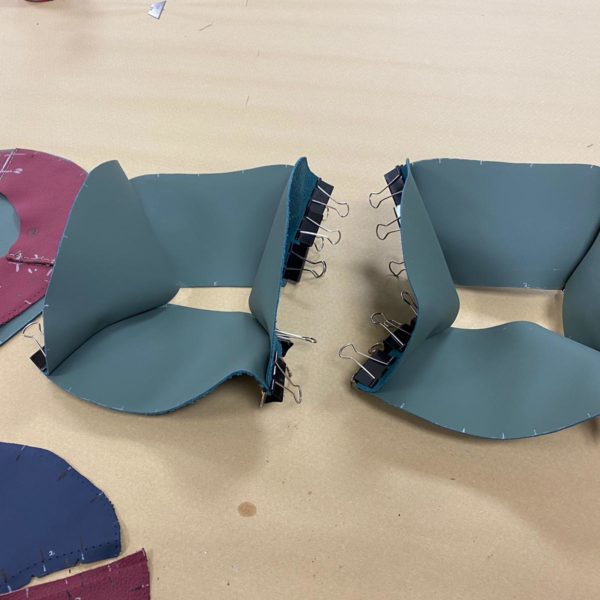
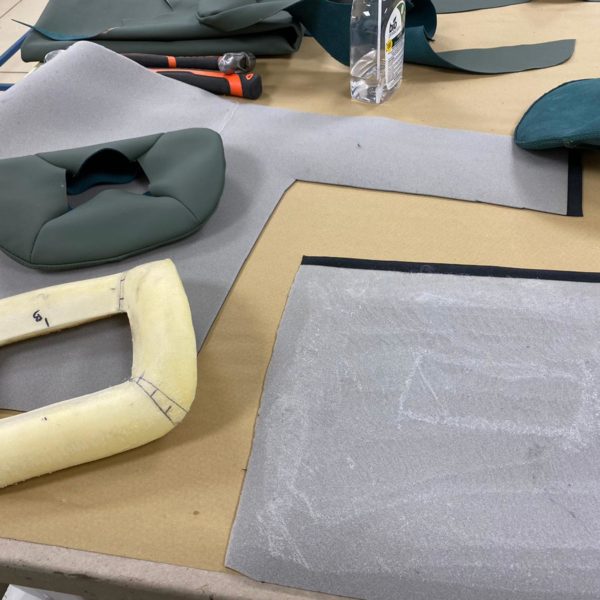
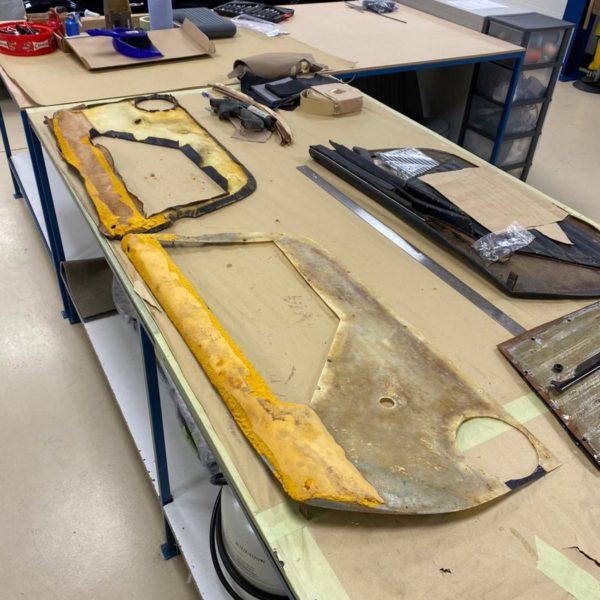
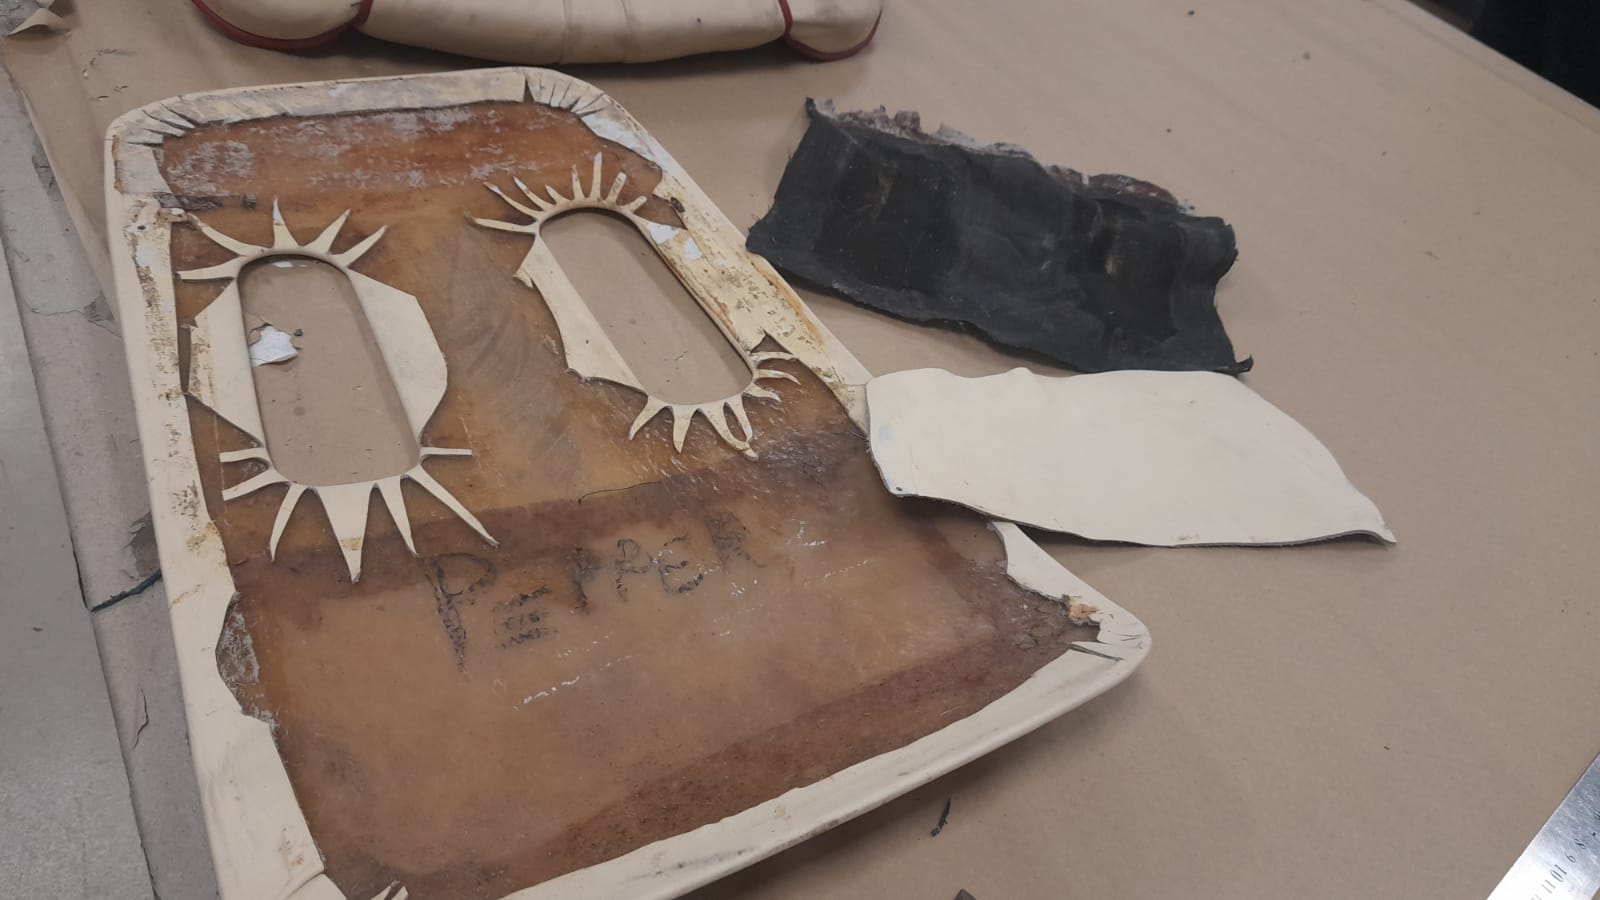
Lydia has been concentrating on the back boards of the seats. She has unscrewed the back panel from the frame and taken off the old leather, calico and fibreglass. She’s glued on the headlining foam to the face of the fibreglass backboard once and taken all the original fabric off. She then drew around the original covers onto the new leather hide to create the new covers. Lydia then glued the leather into place on top of the foam and sealed around the edges underneath. After this, she trimmed it into place around the cut out sections. Then she glued a piece of black calico onto the back for the cut outs and another piece of leather on top of this.
Lydia has also been sewing inset strips for the door panels to add to Brian’s Daytona instalment which can be seen below.

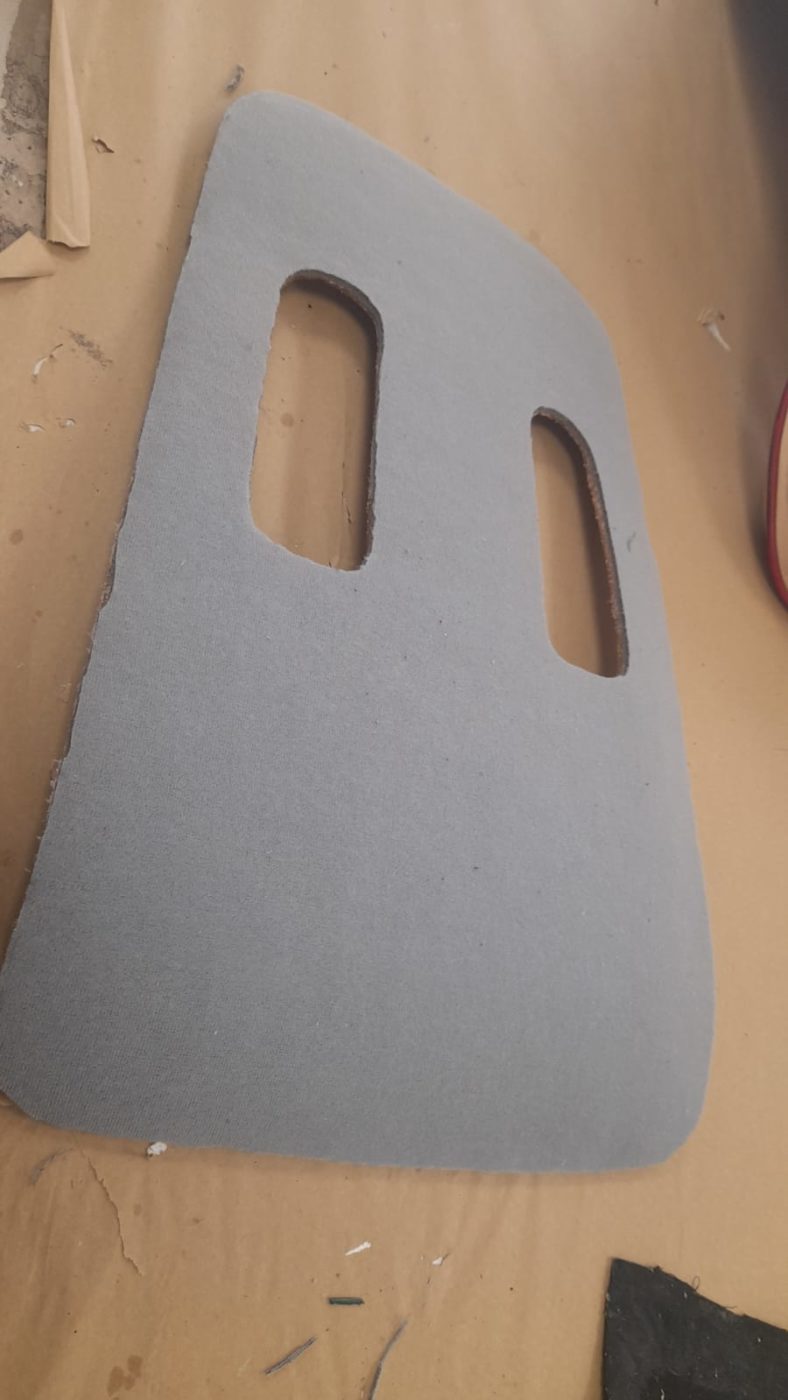
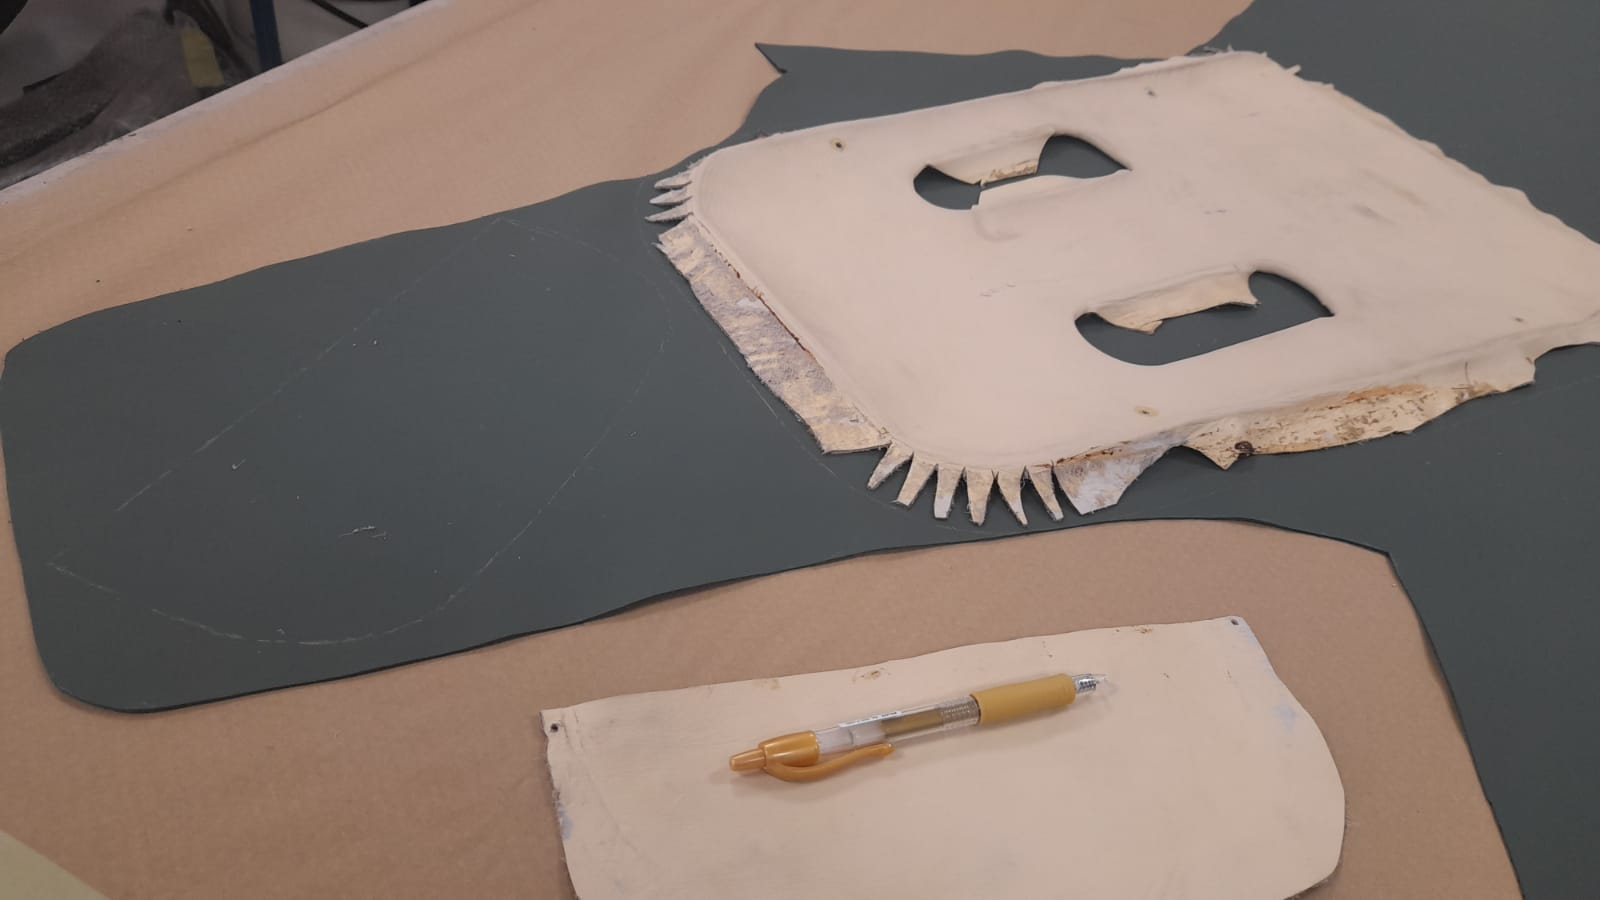
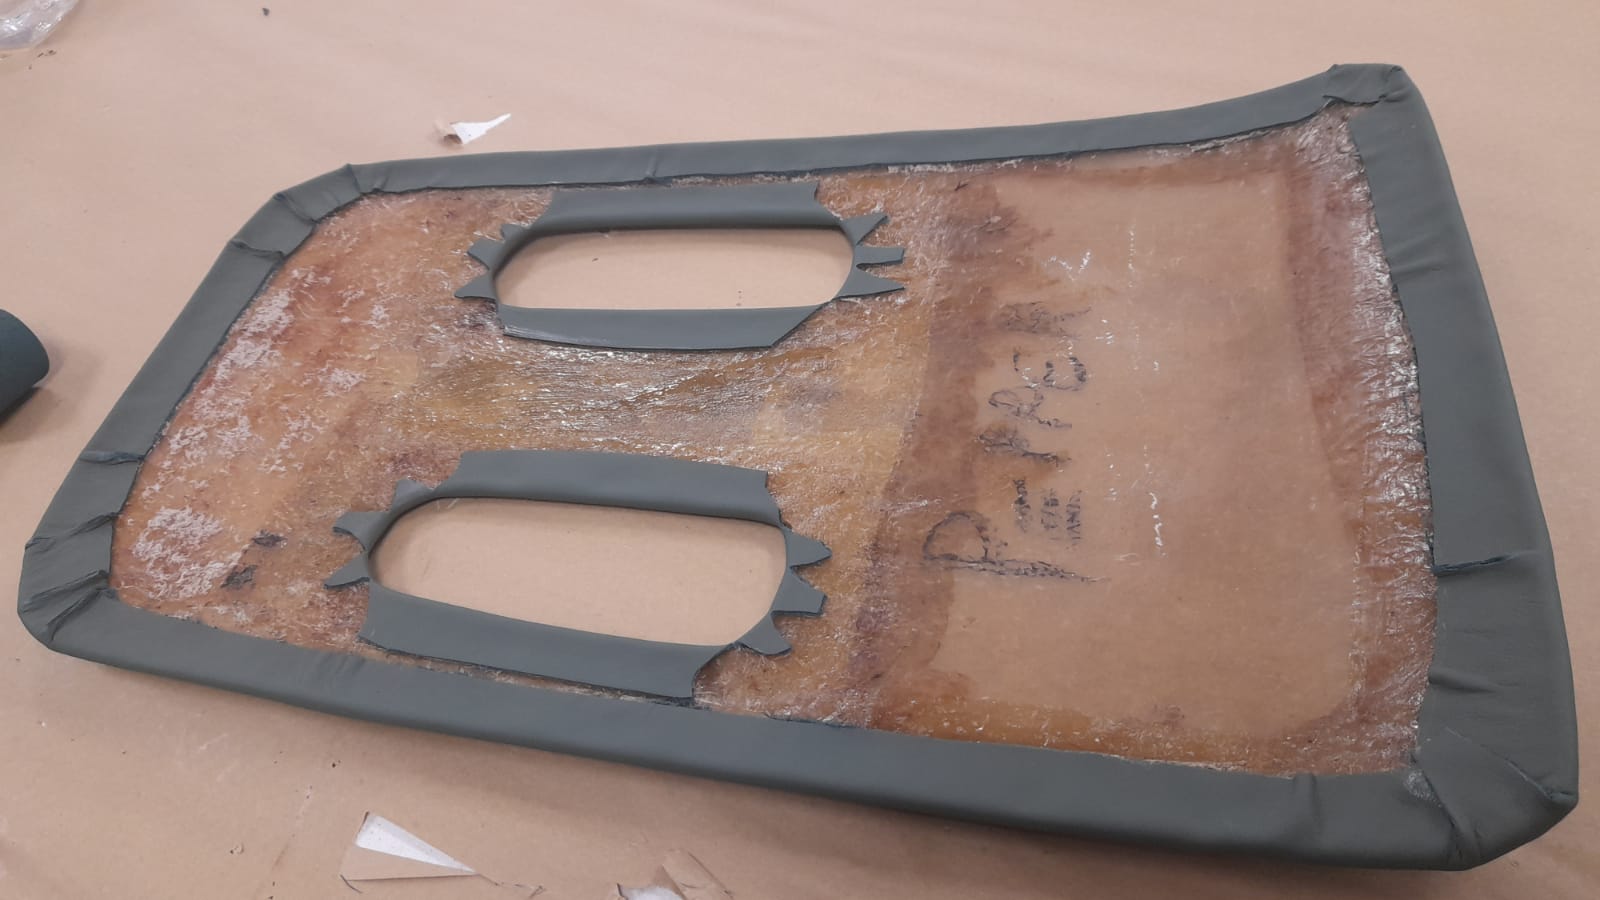
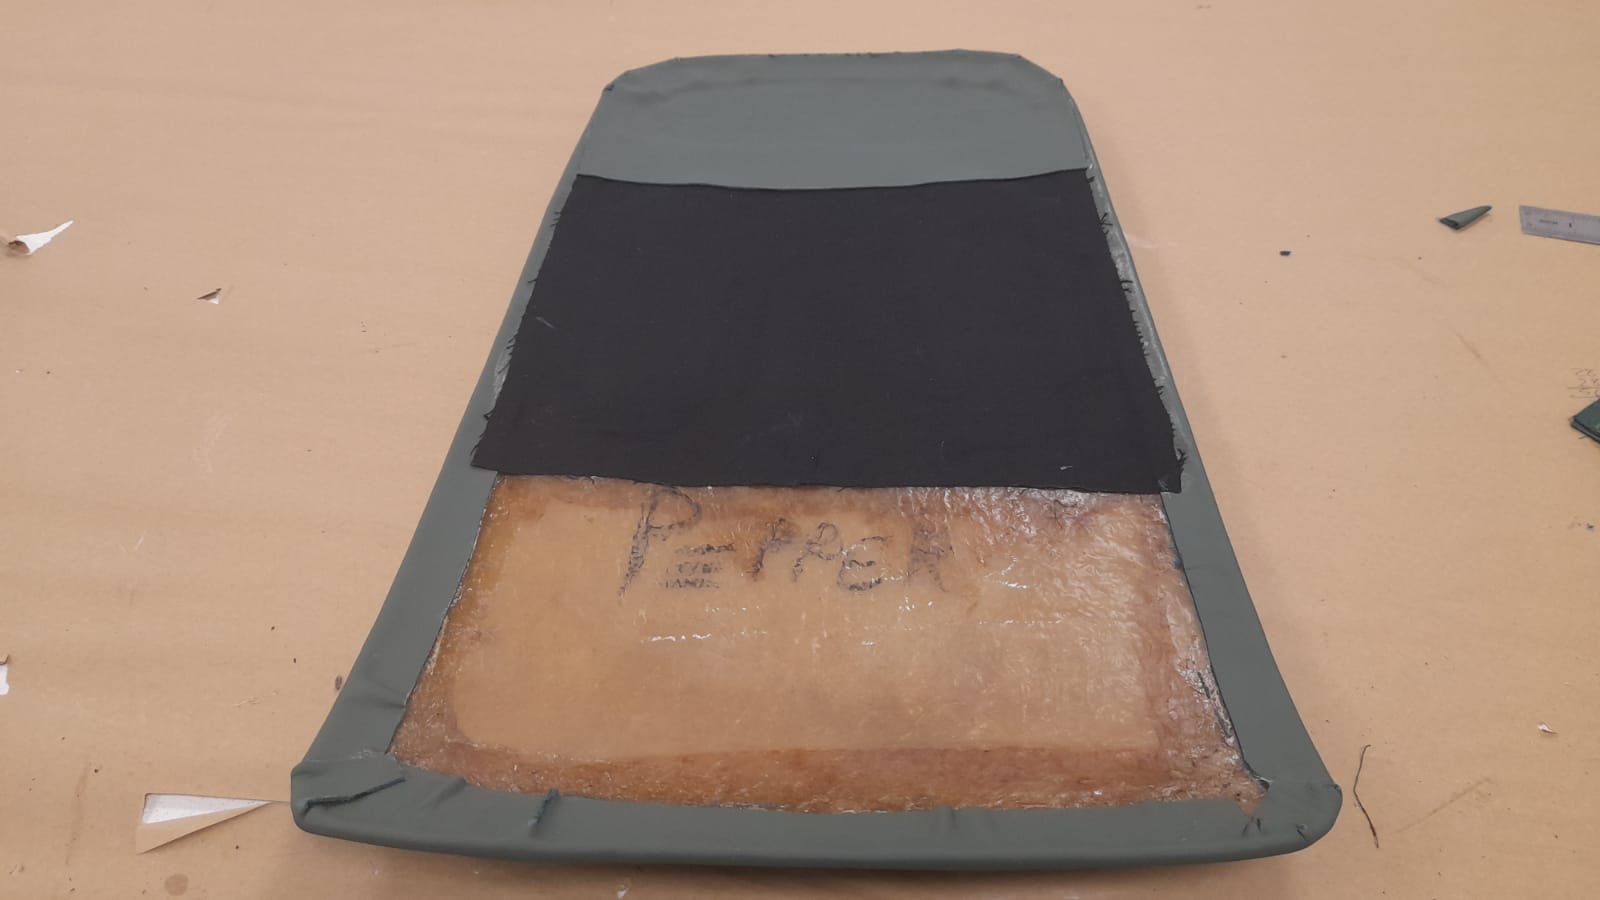
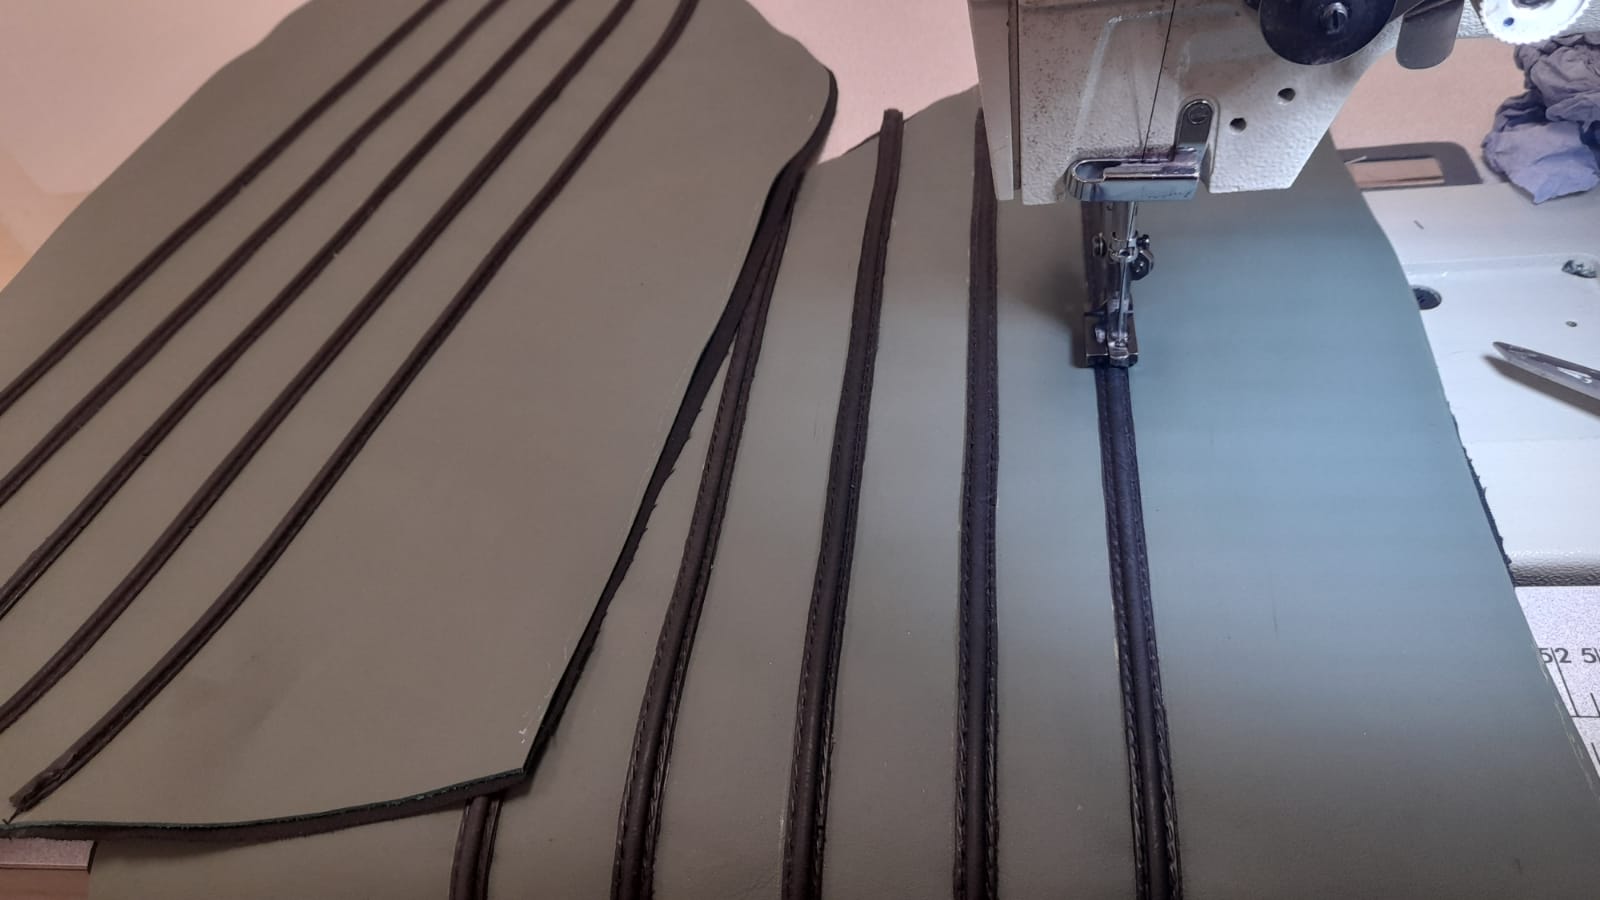
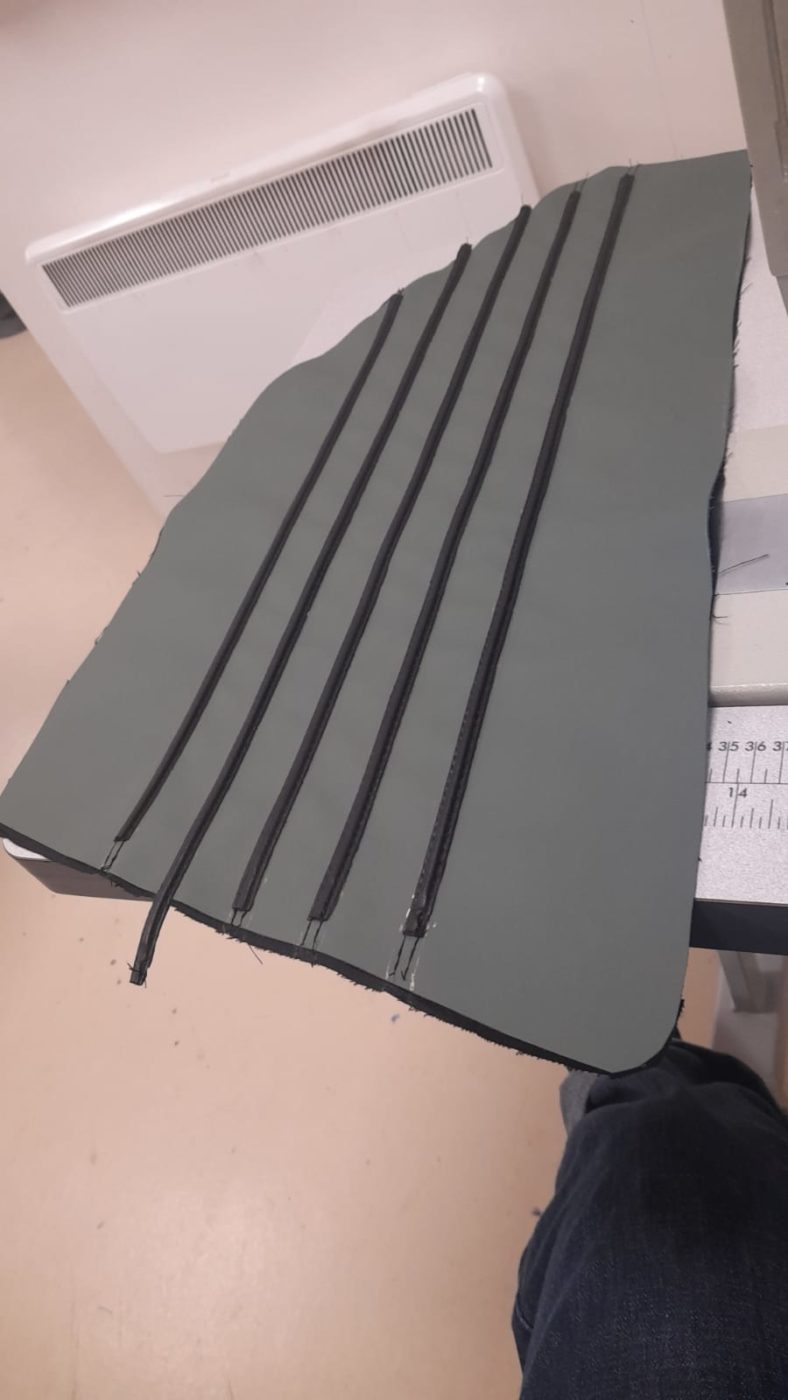
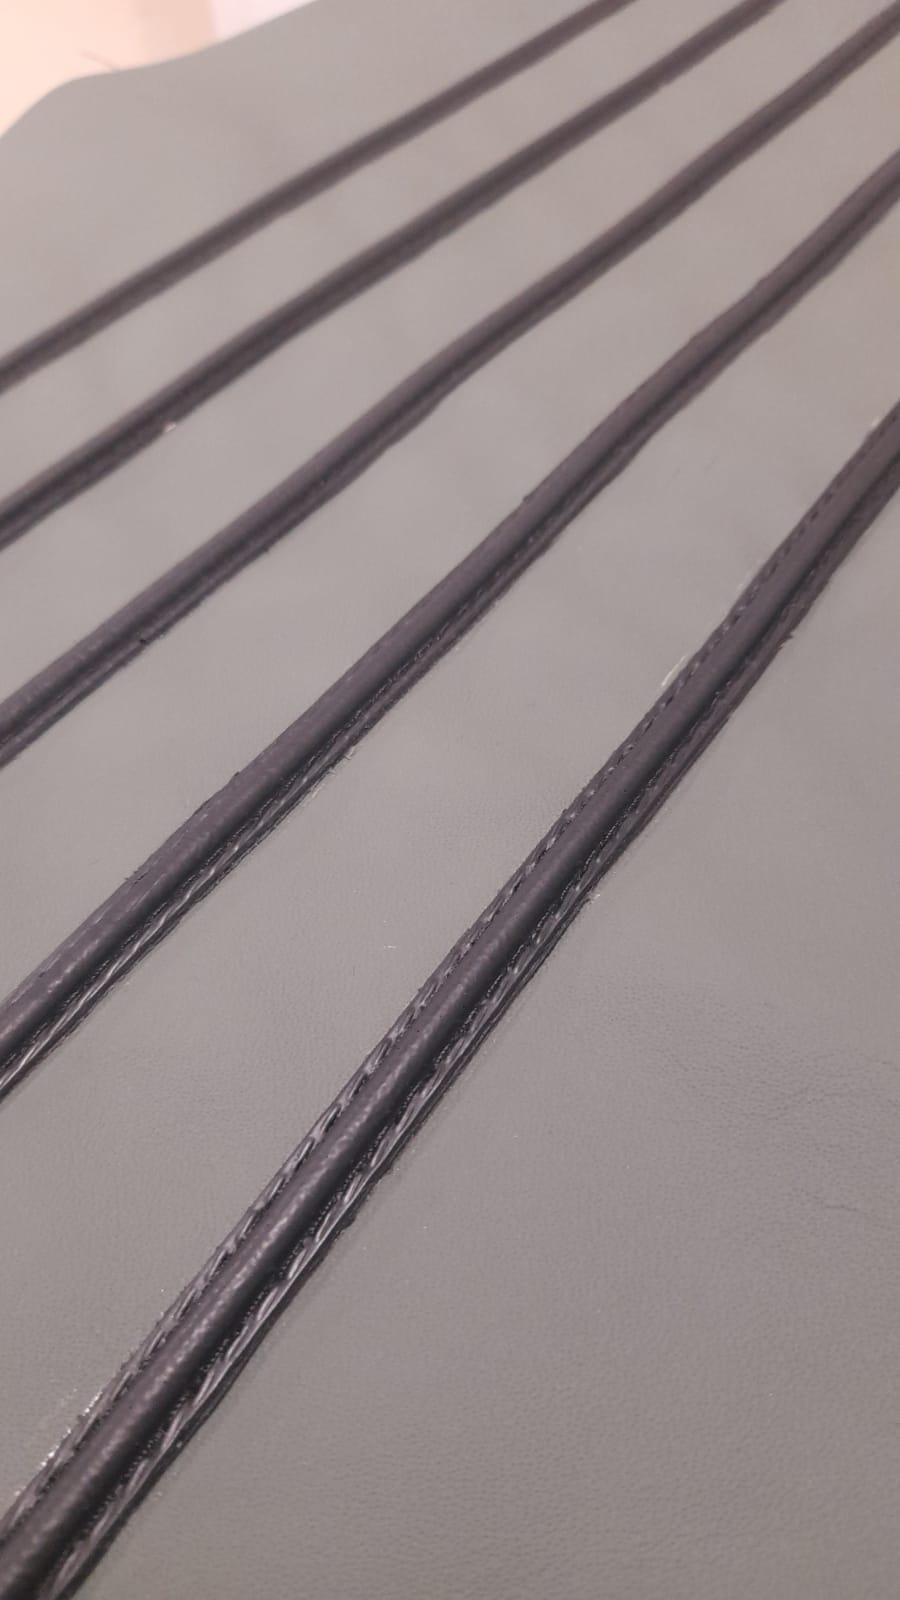
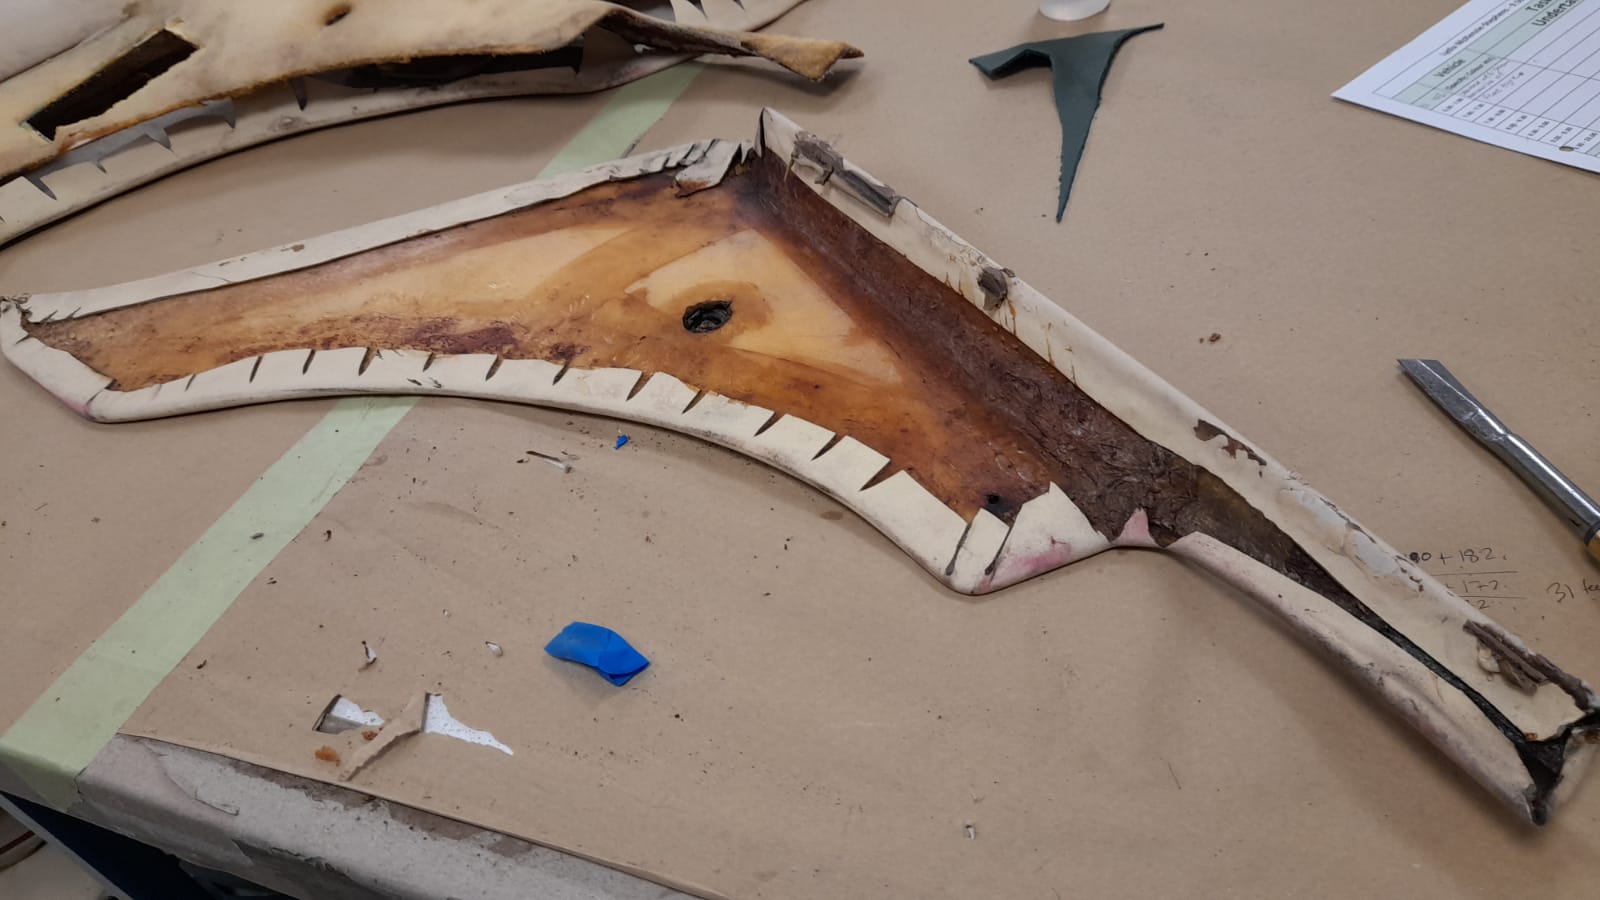
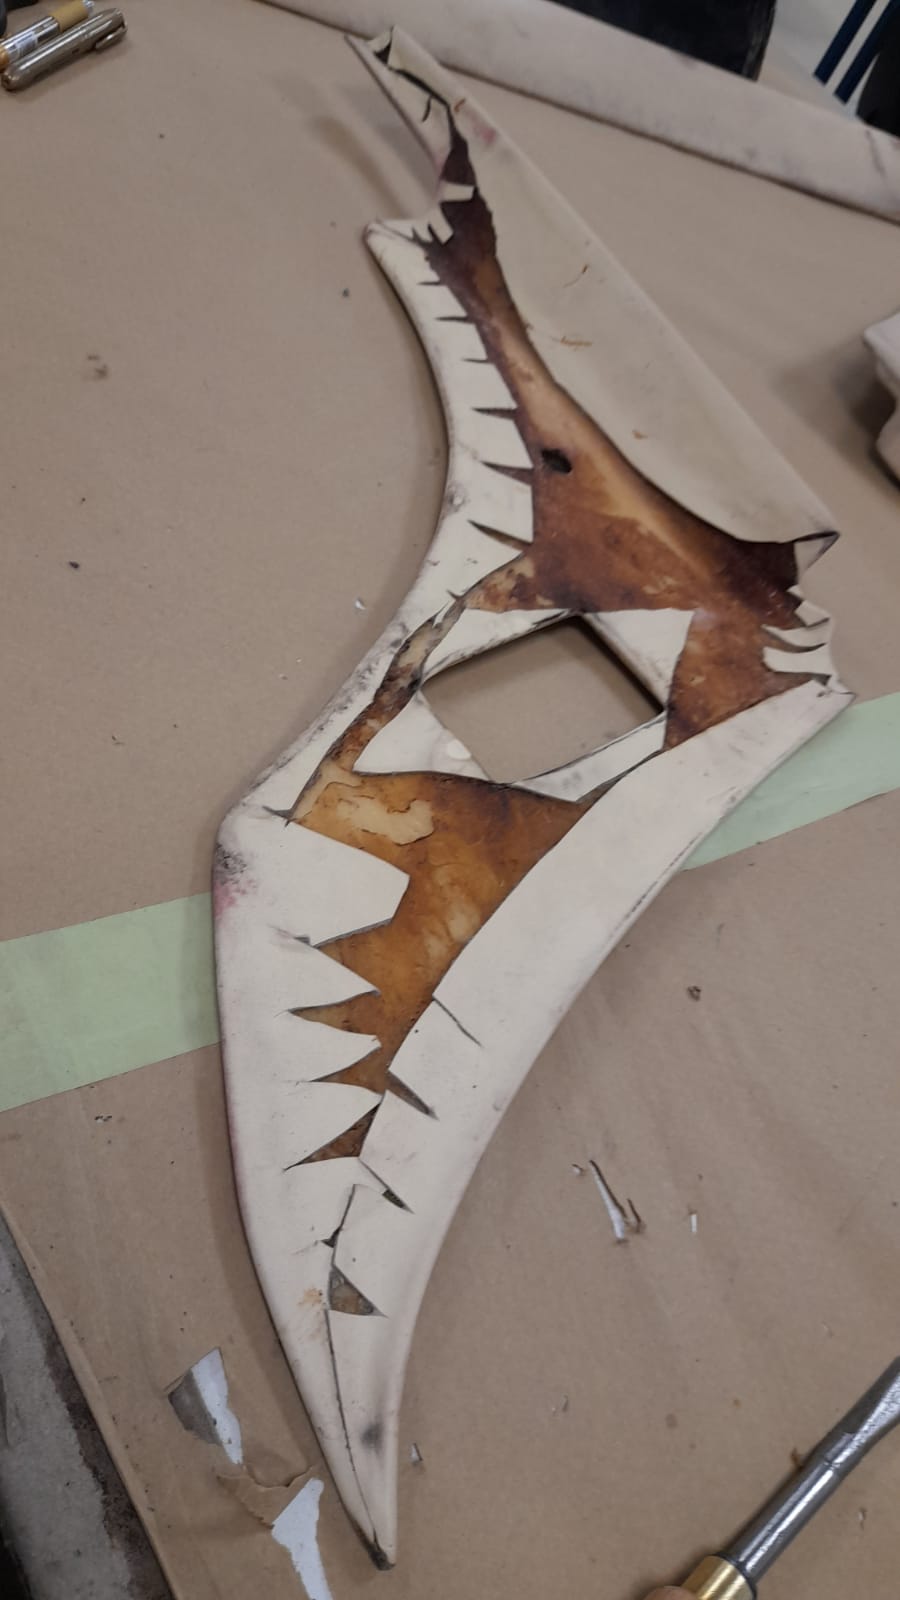
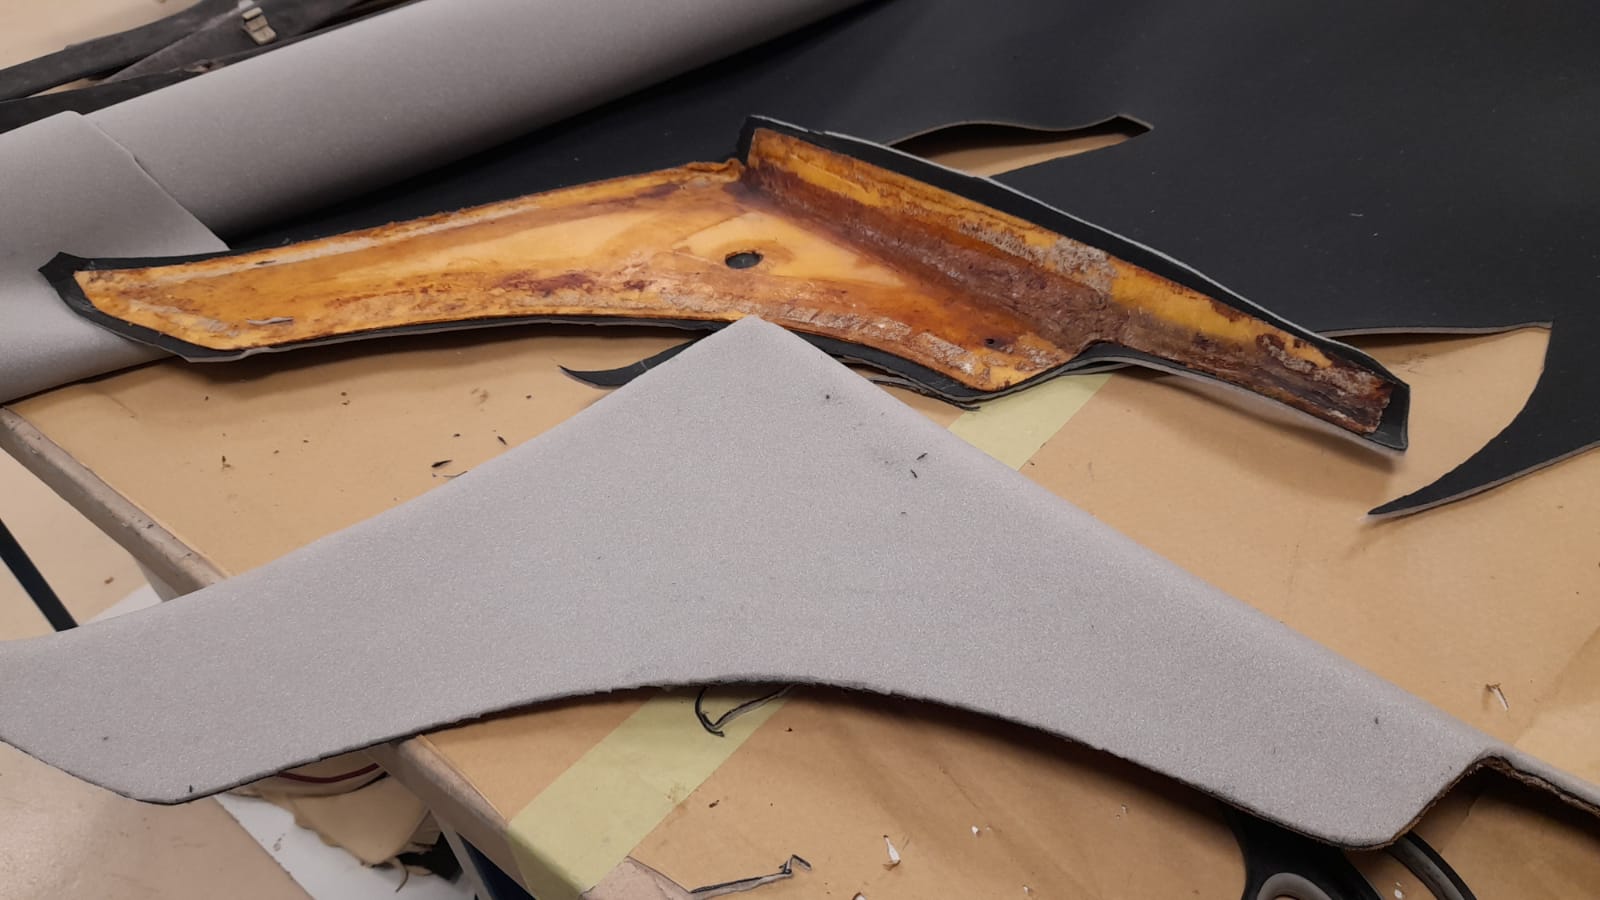
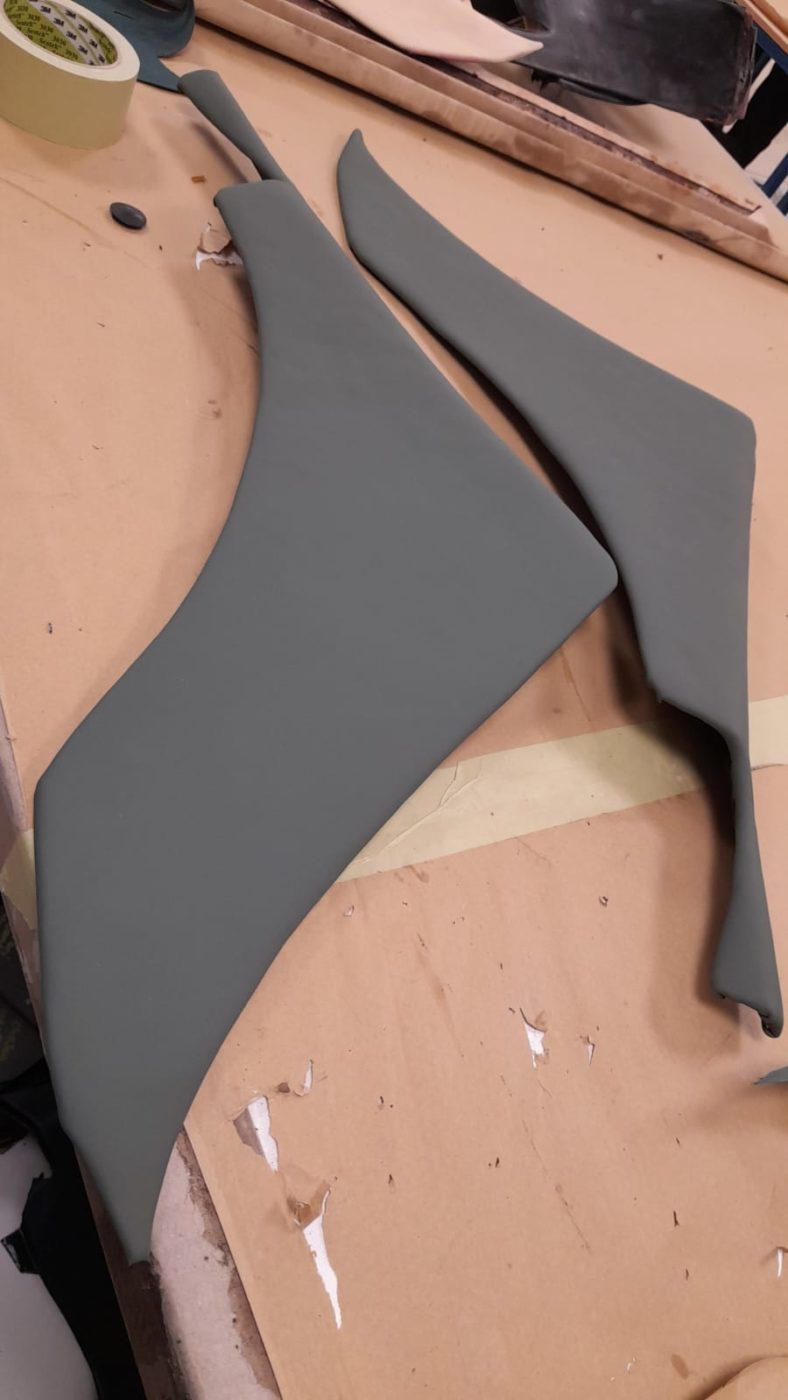
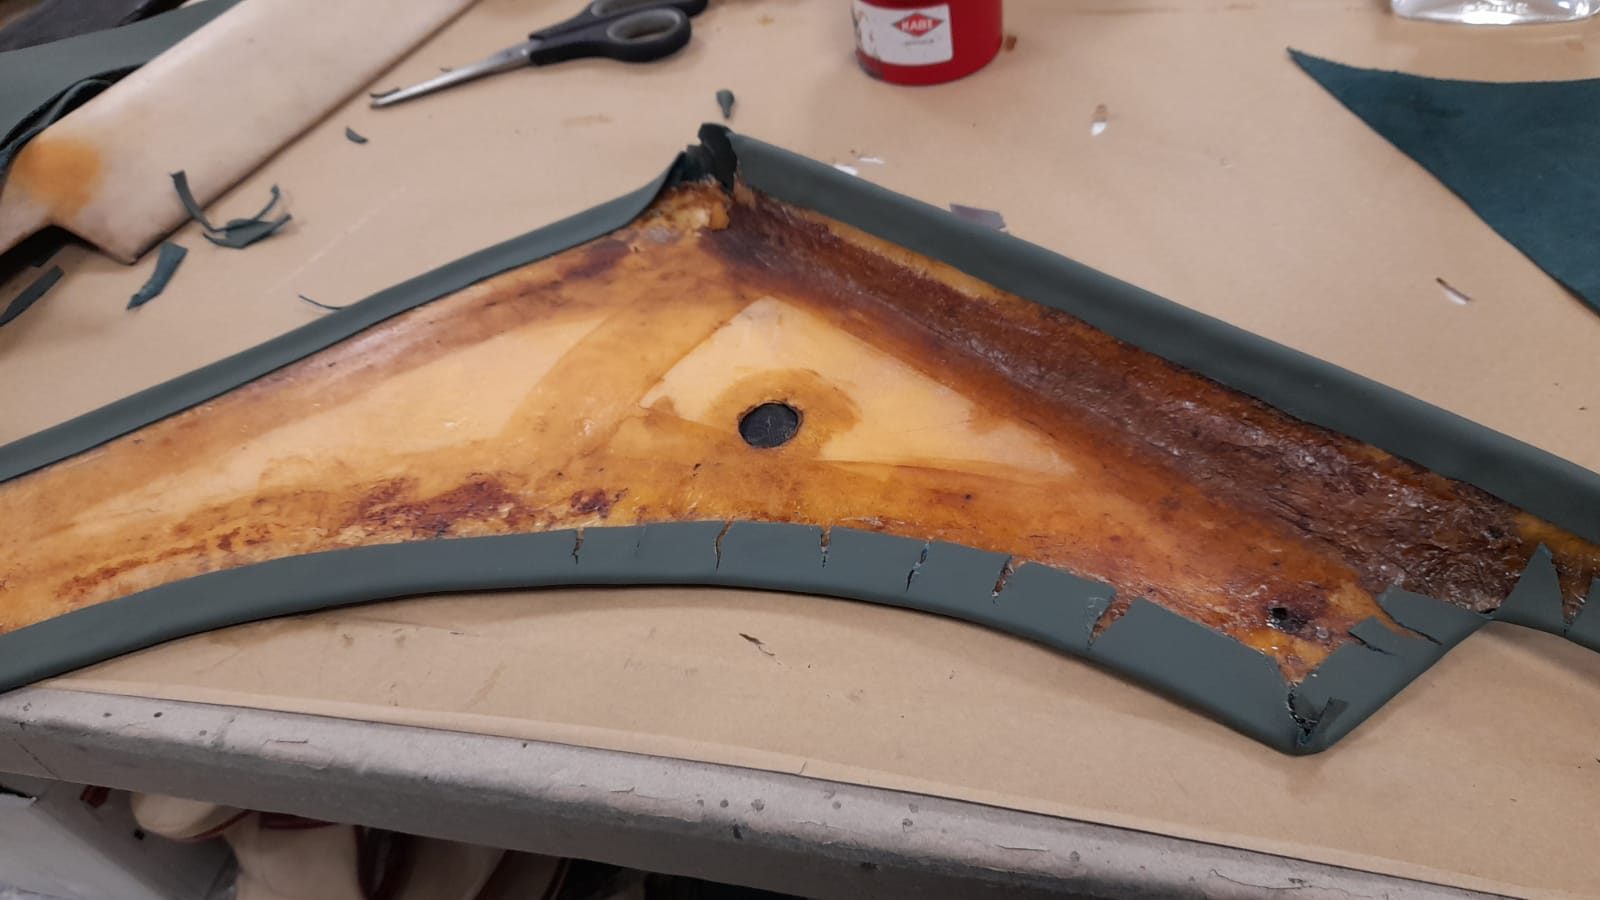
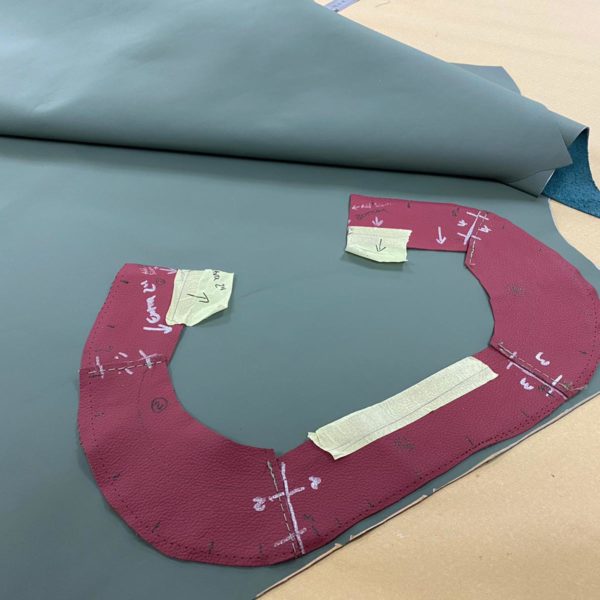
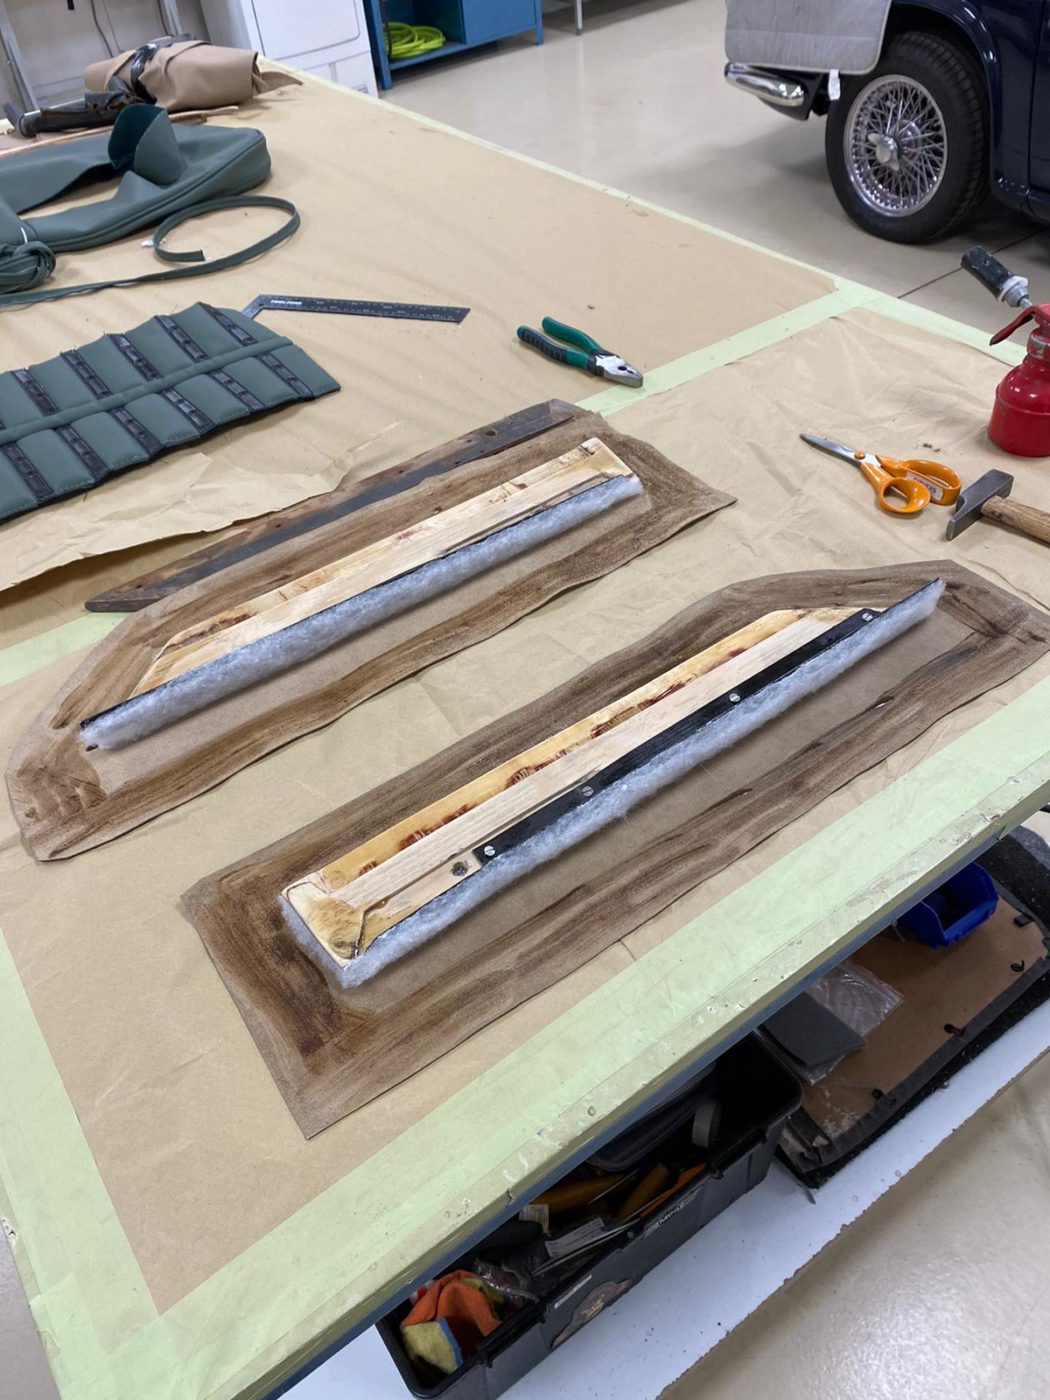
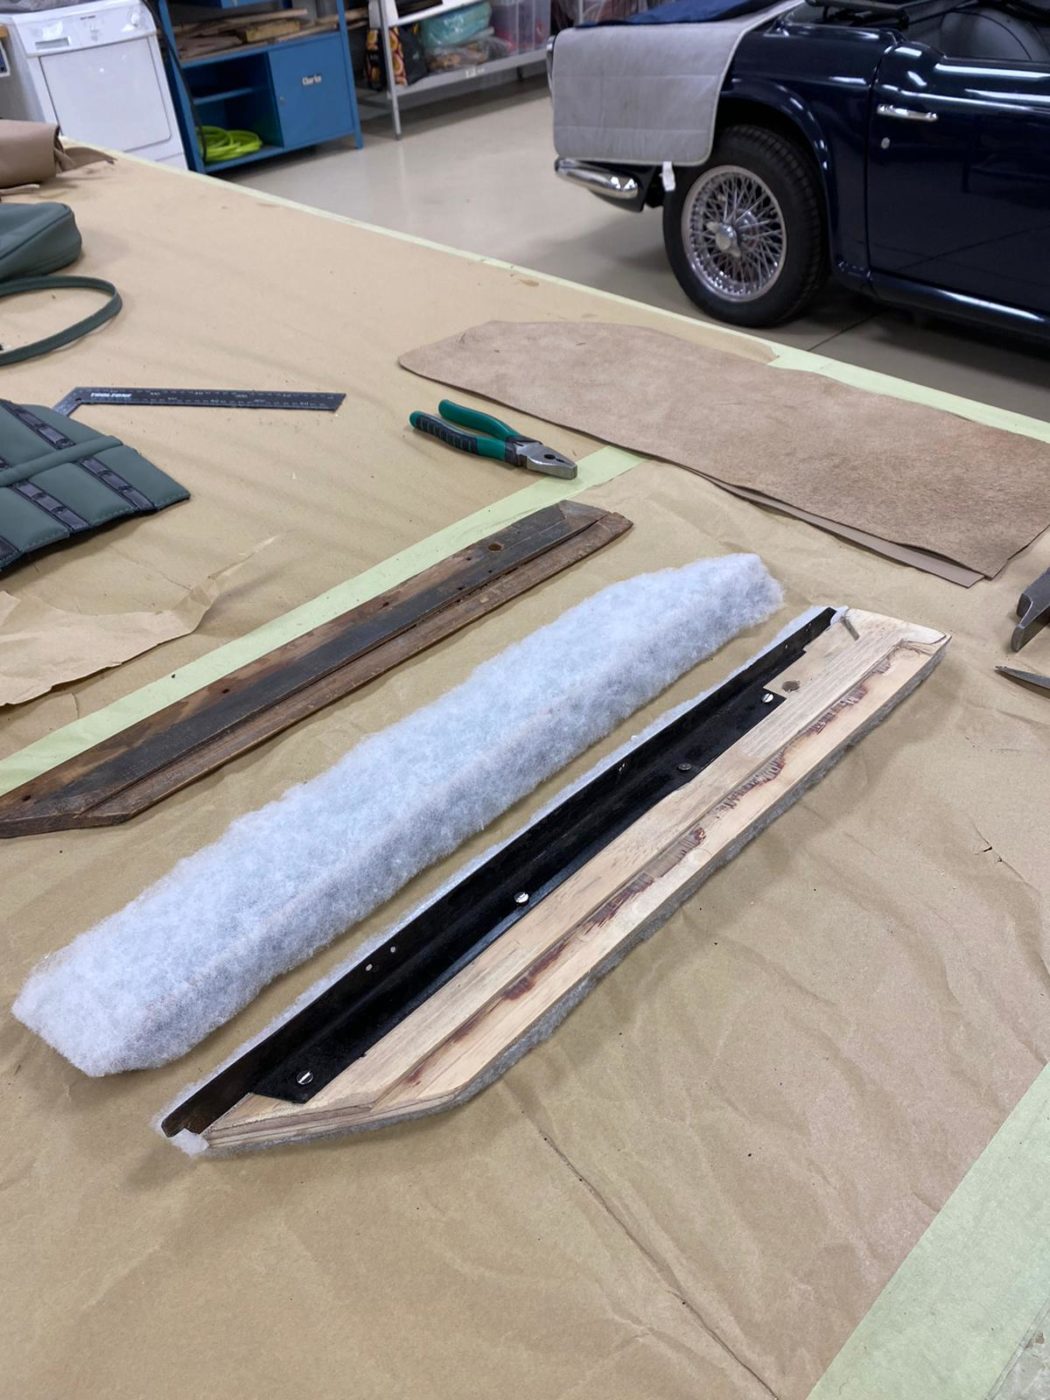
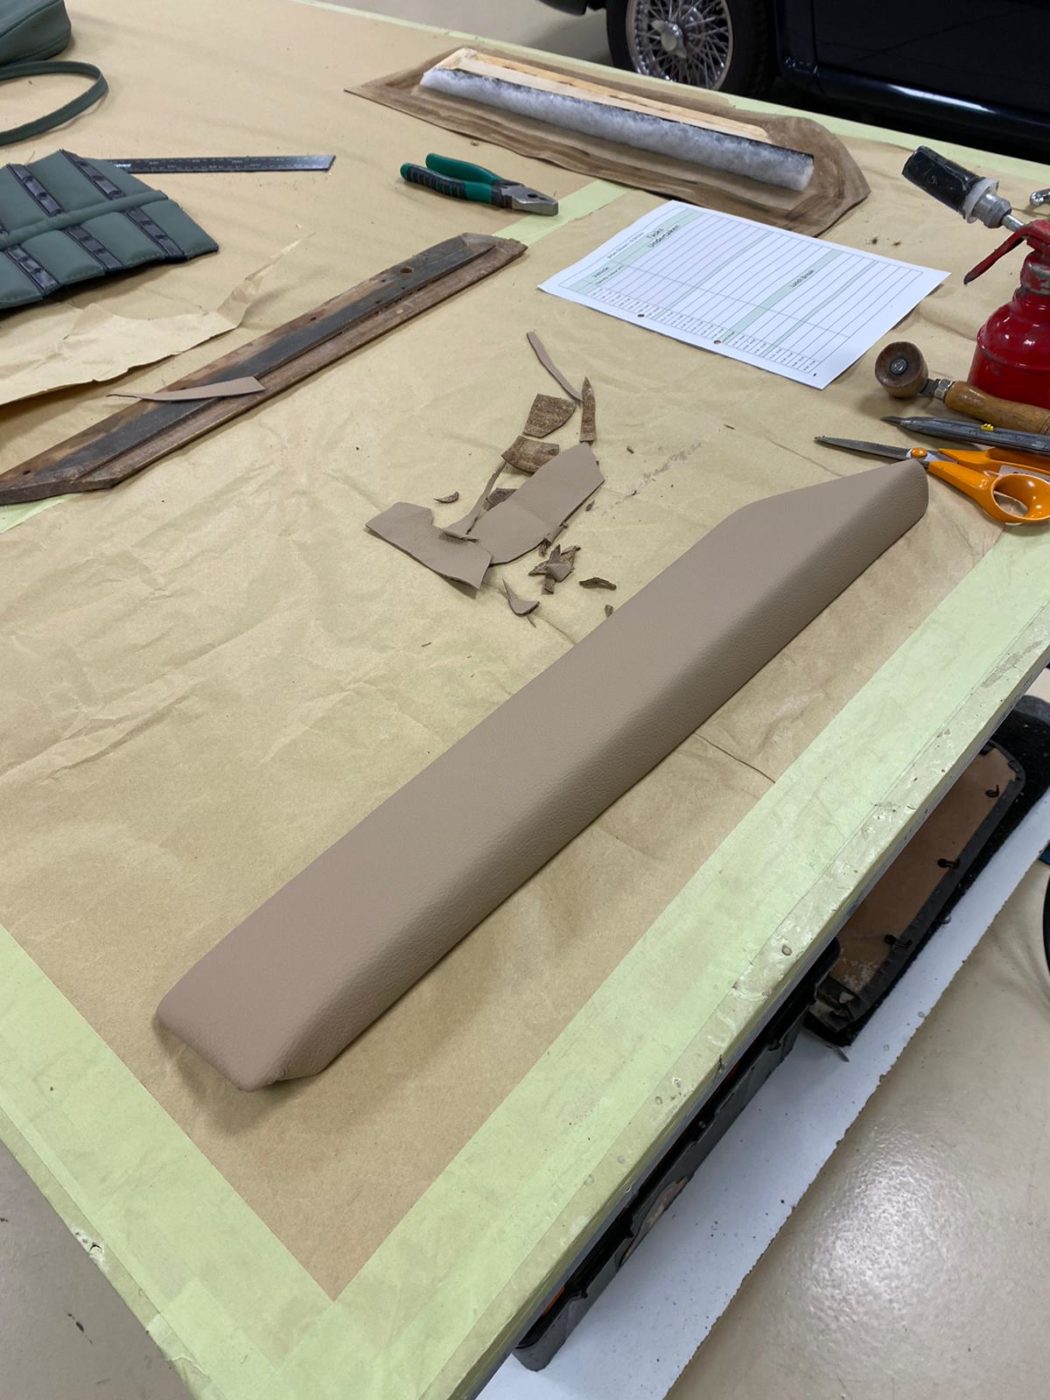
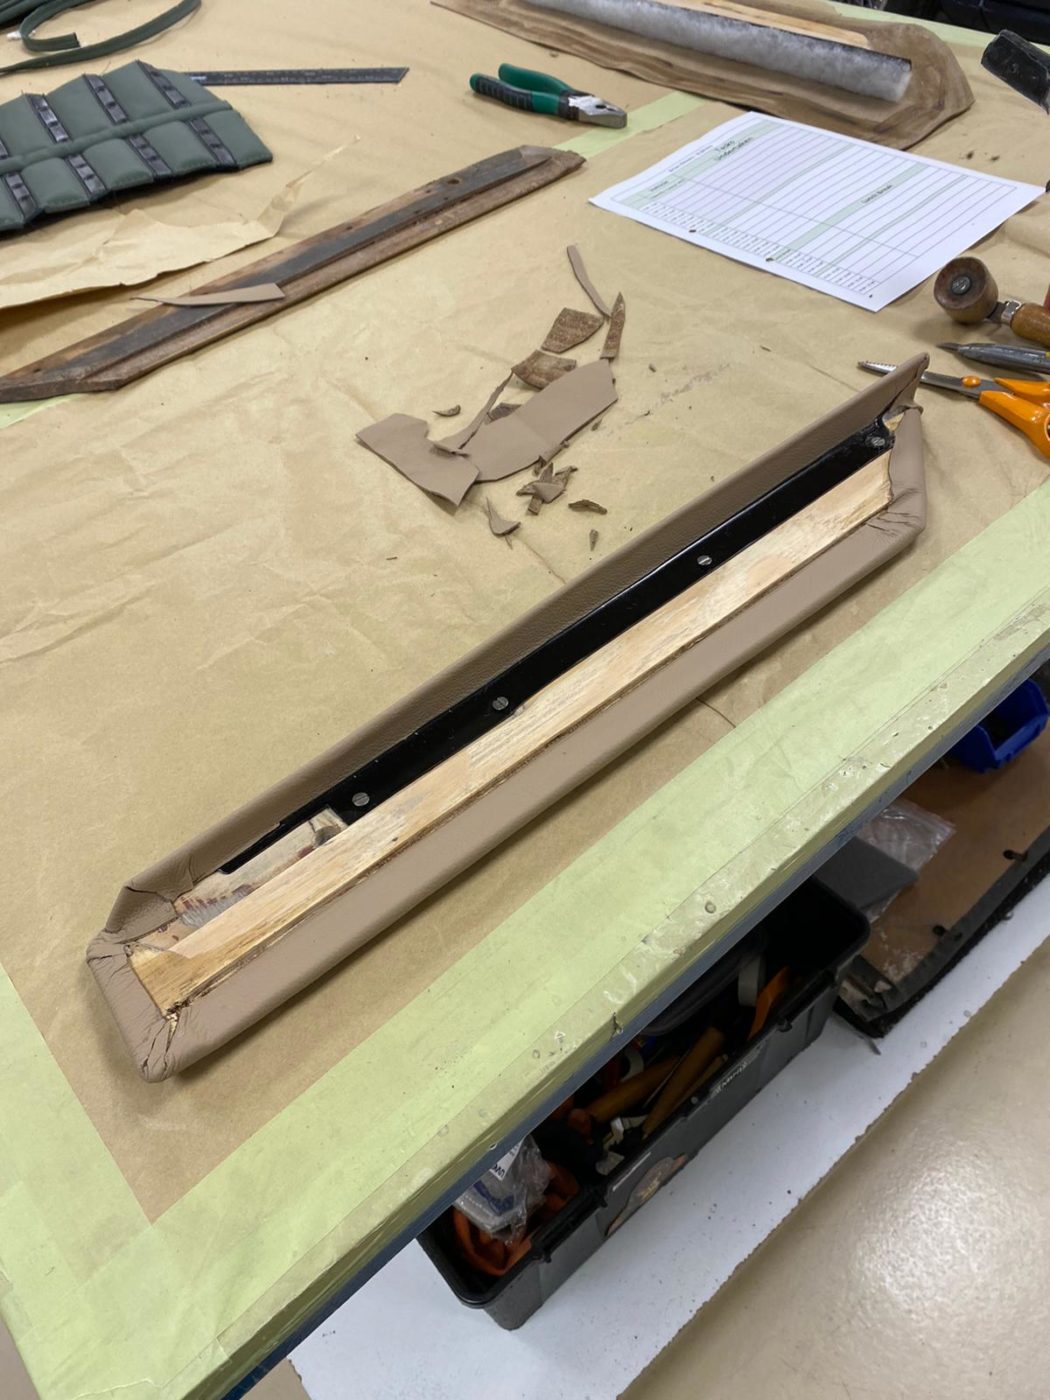
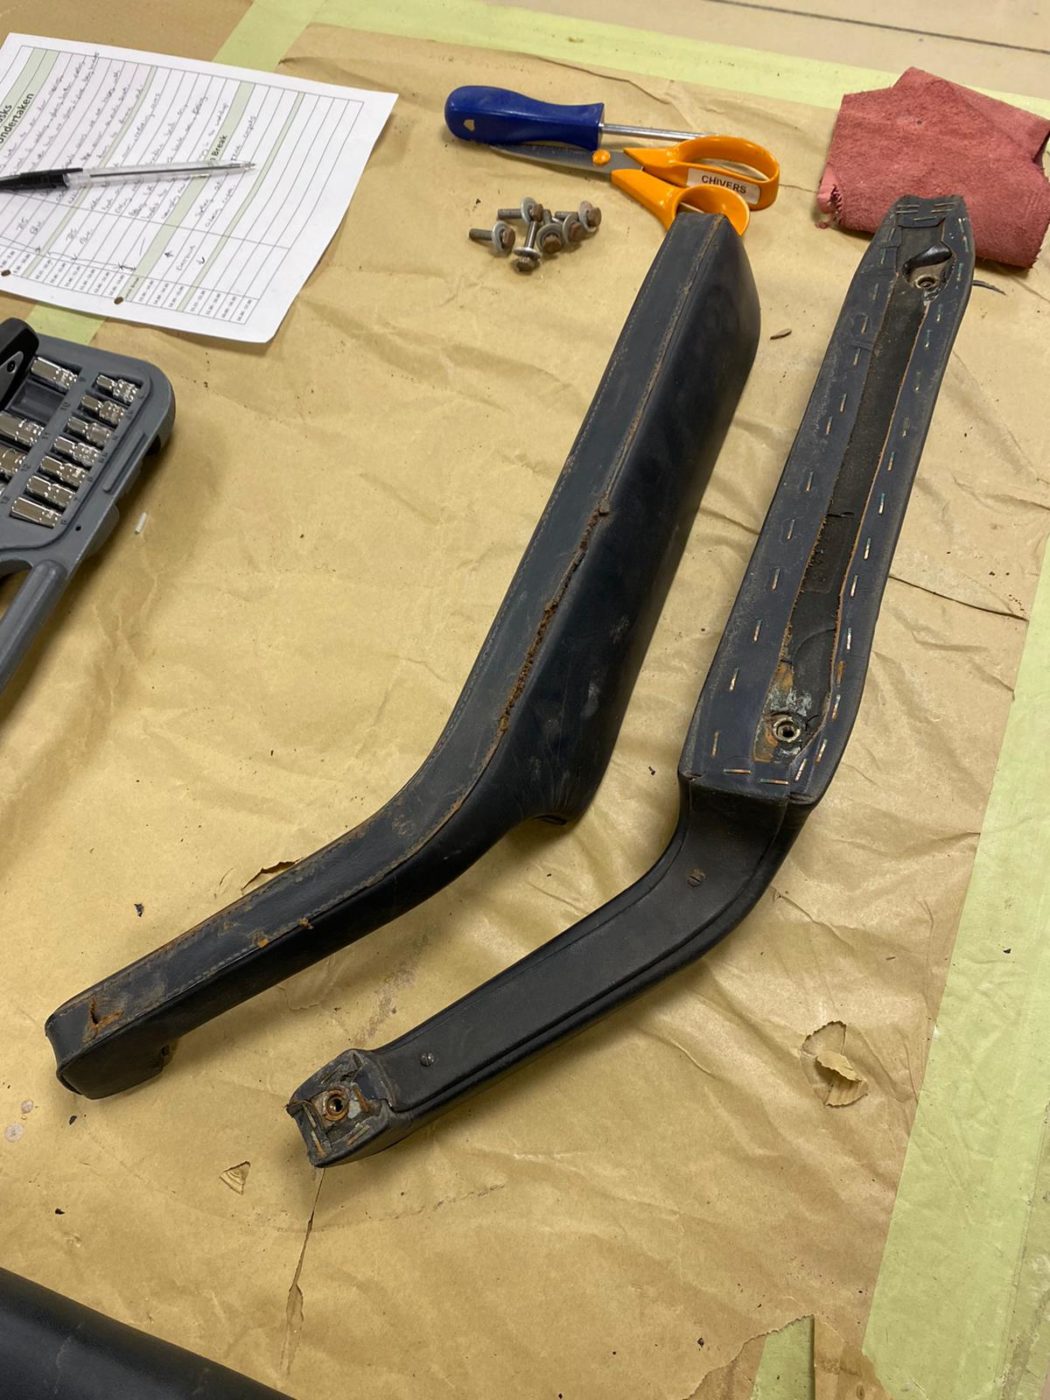
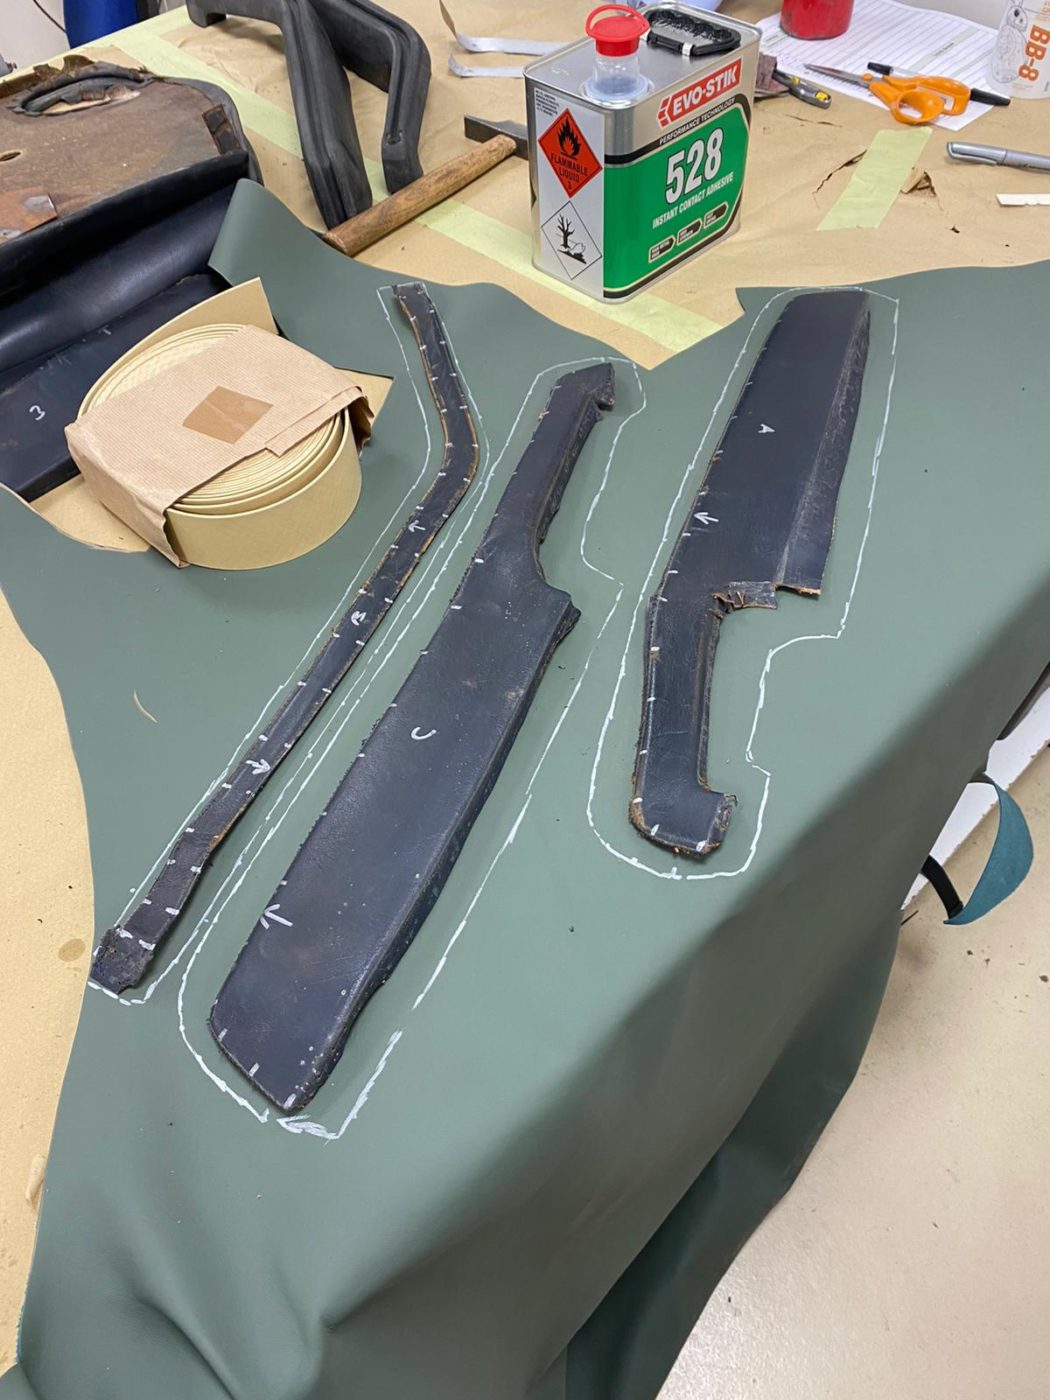
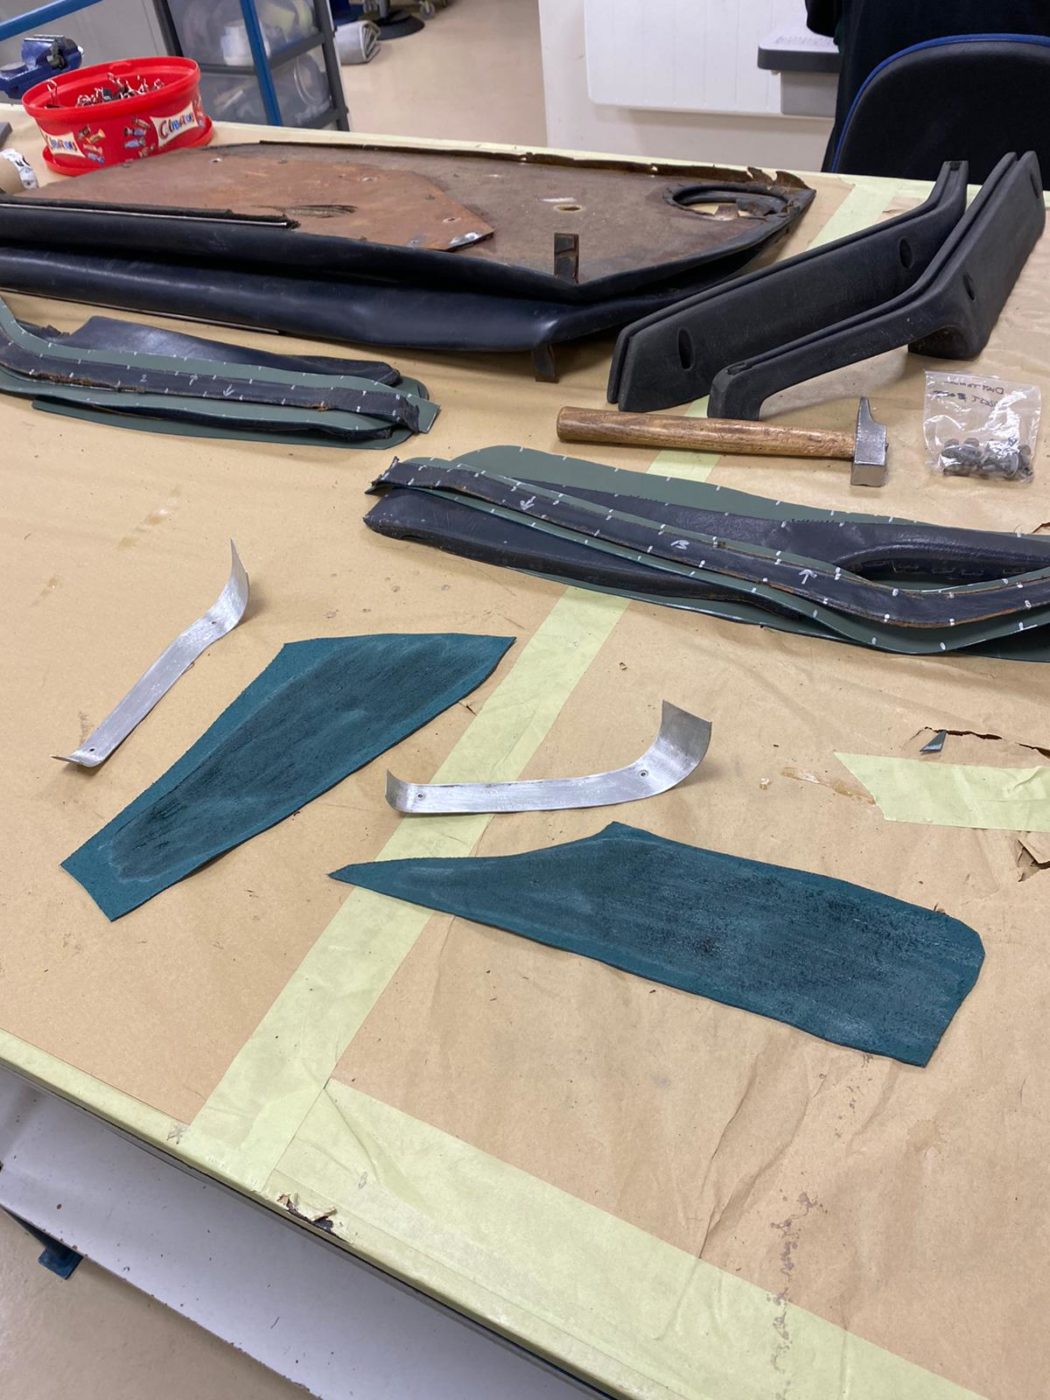
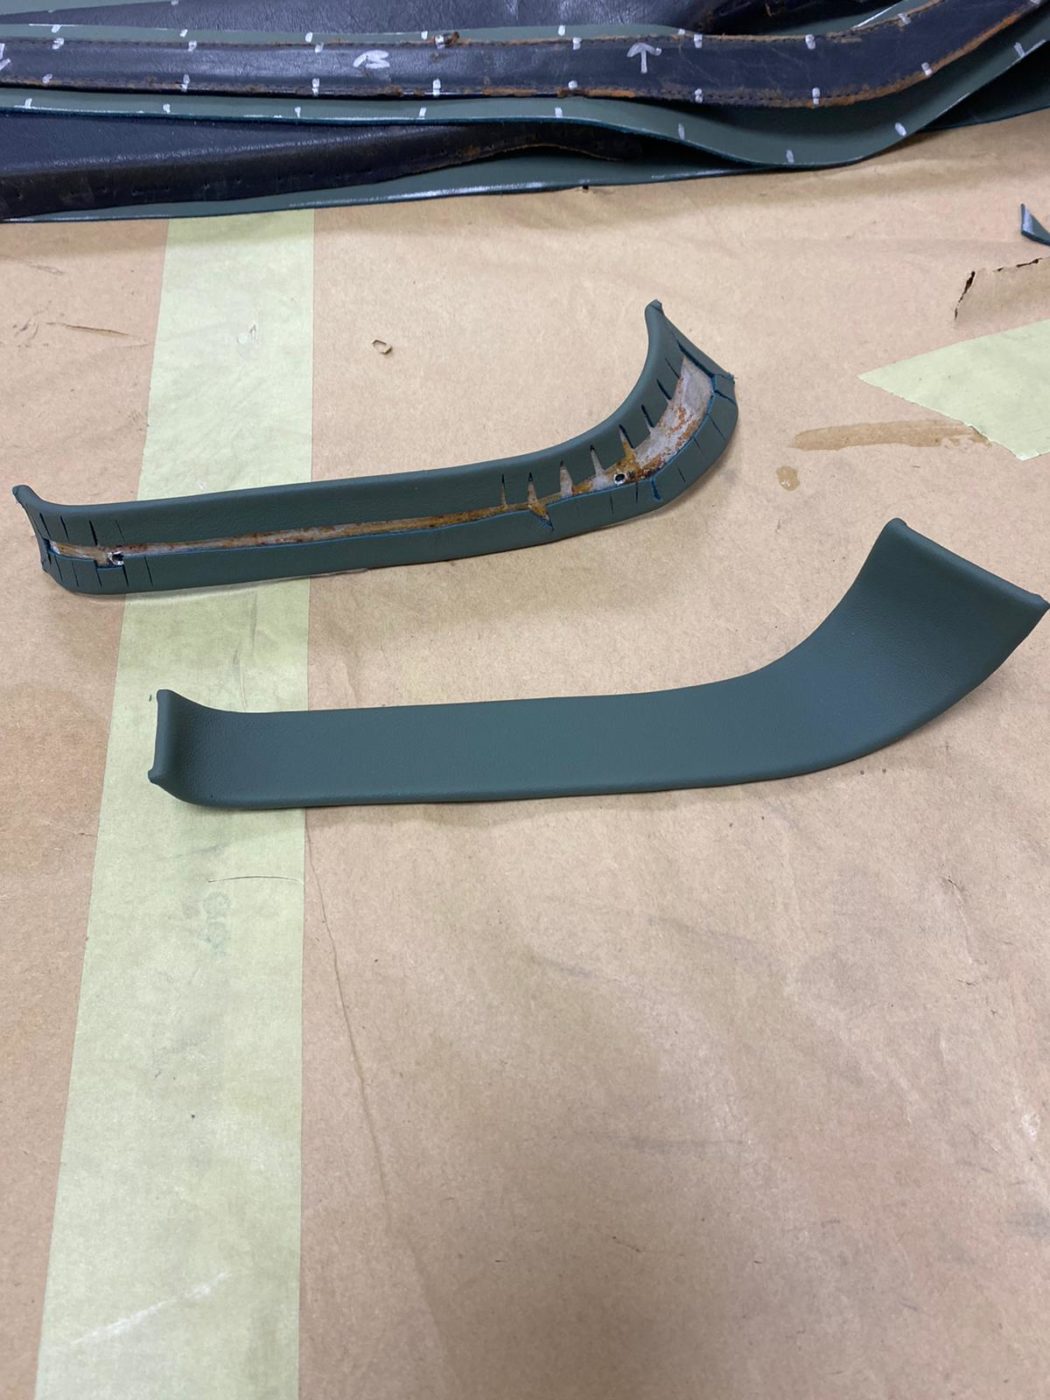
Brian has been working on the door cappings for our 1960 Peony Red Jensen 541S. He began by fitting metal brackets to the rear door capping and then glueing in the wadding. Brian then glued the leather cover to the door capping and turned the leather over onto the back to neaten up the corners and pull taught the material.
Paul and Ady have recently fit the engine into the Jensen which is arguably one of the key milestones in a restoration. With this now in place, engine refurbishments and adjustments can be made to ensure its up and running.
The assisted power steering pump has also been prepared and fitted into our Jensen.
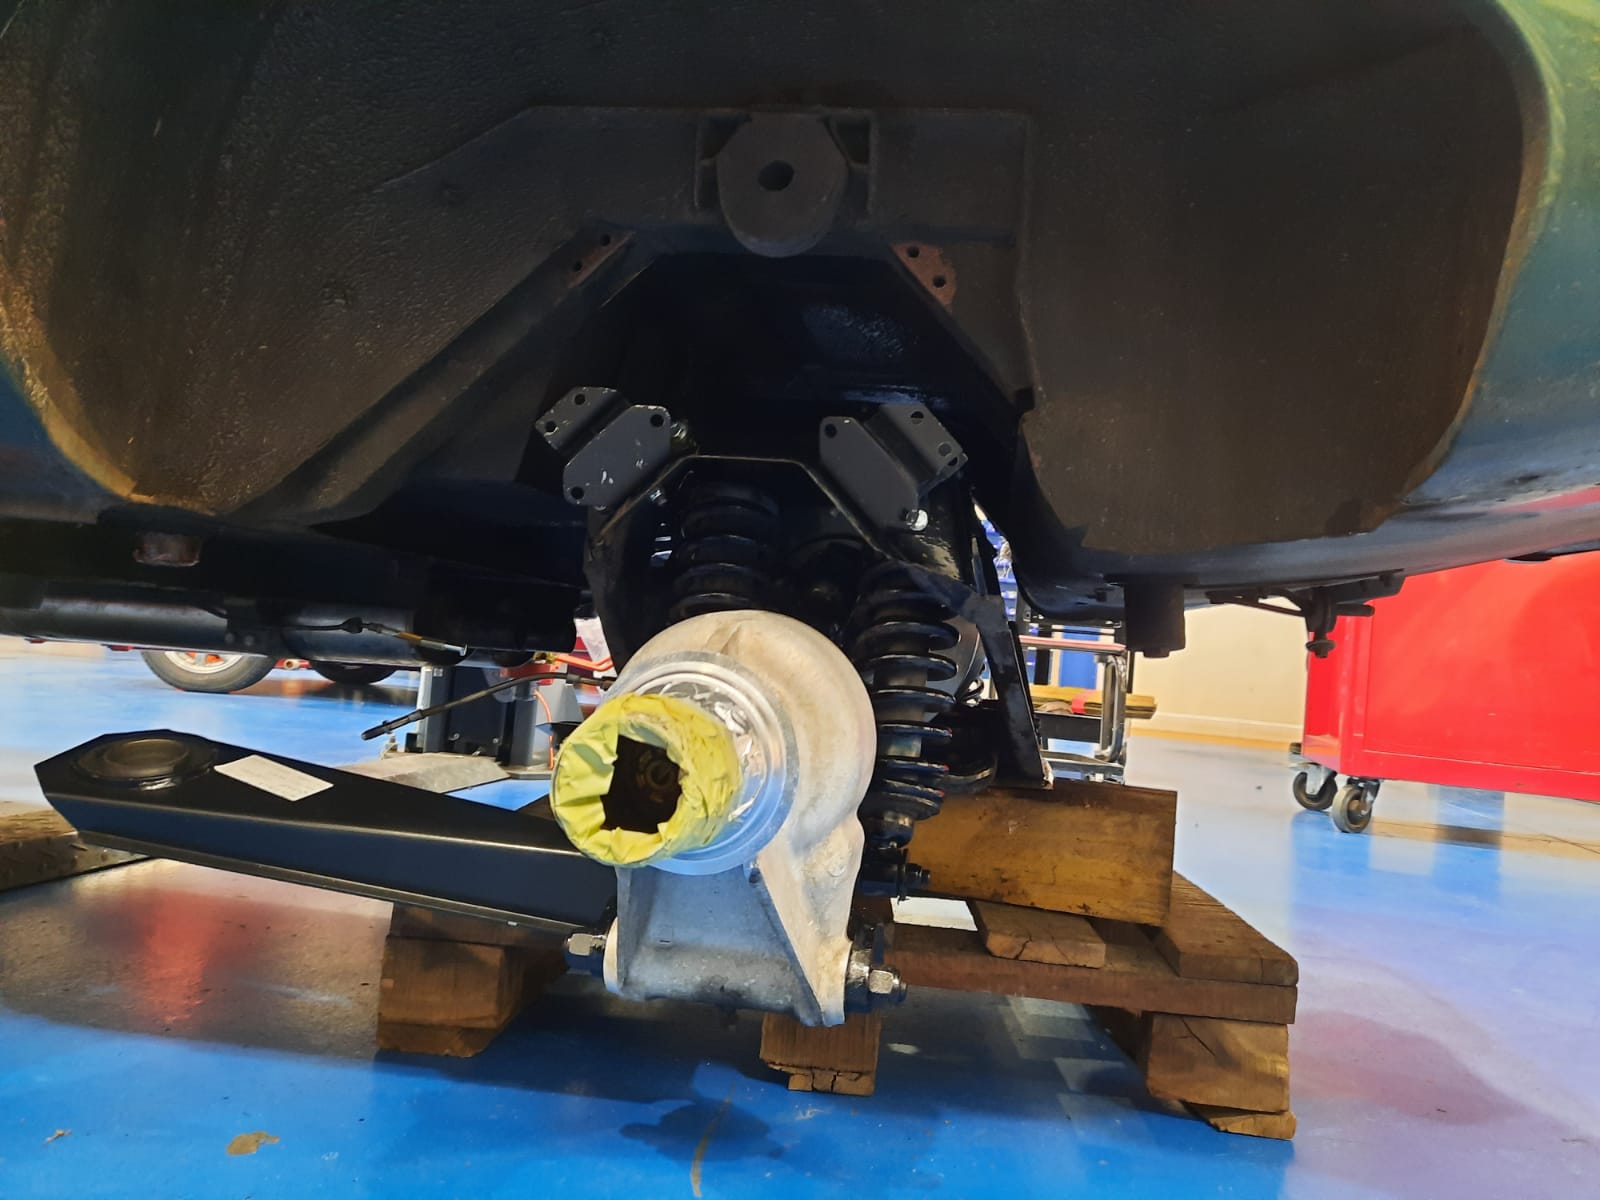
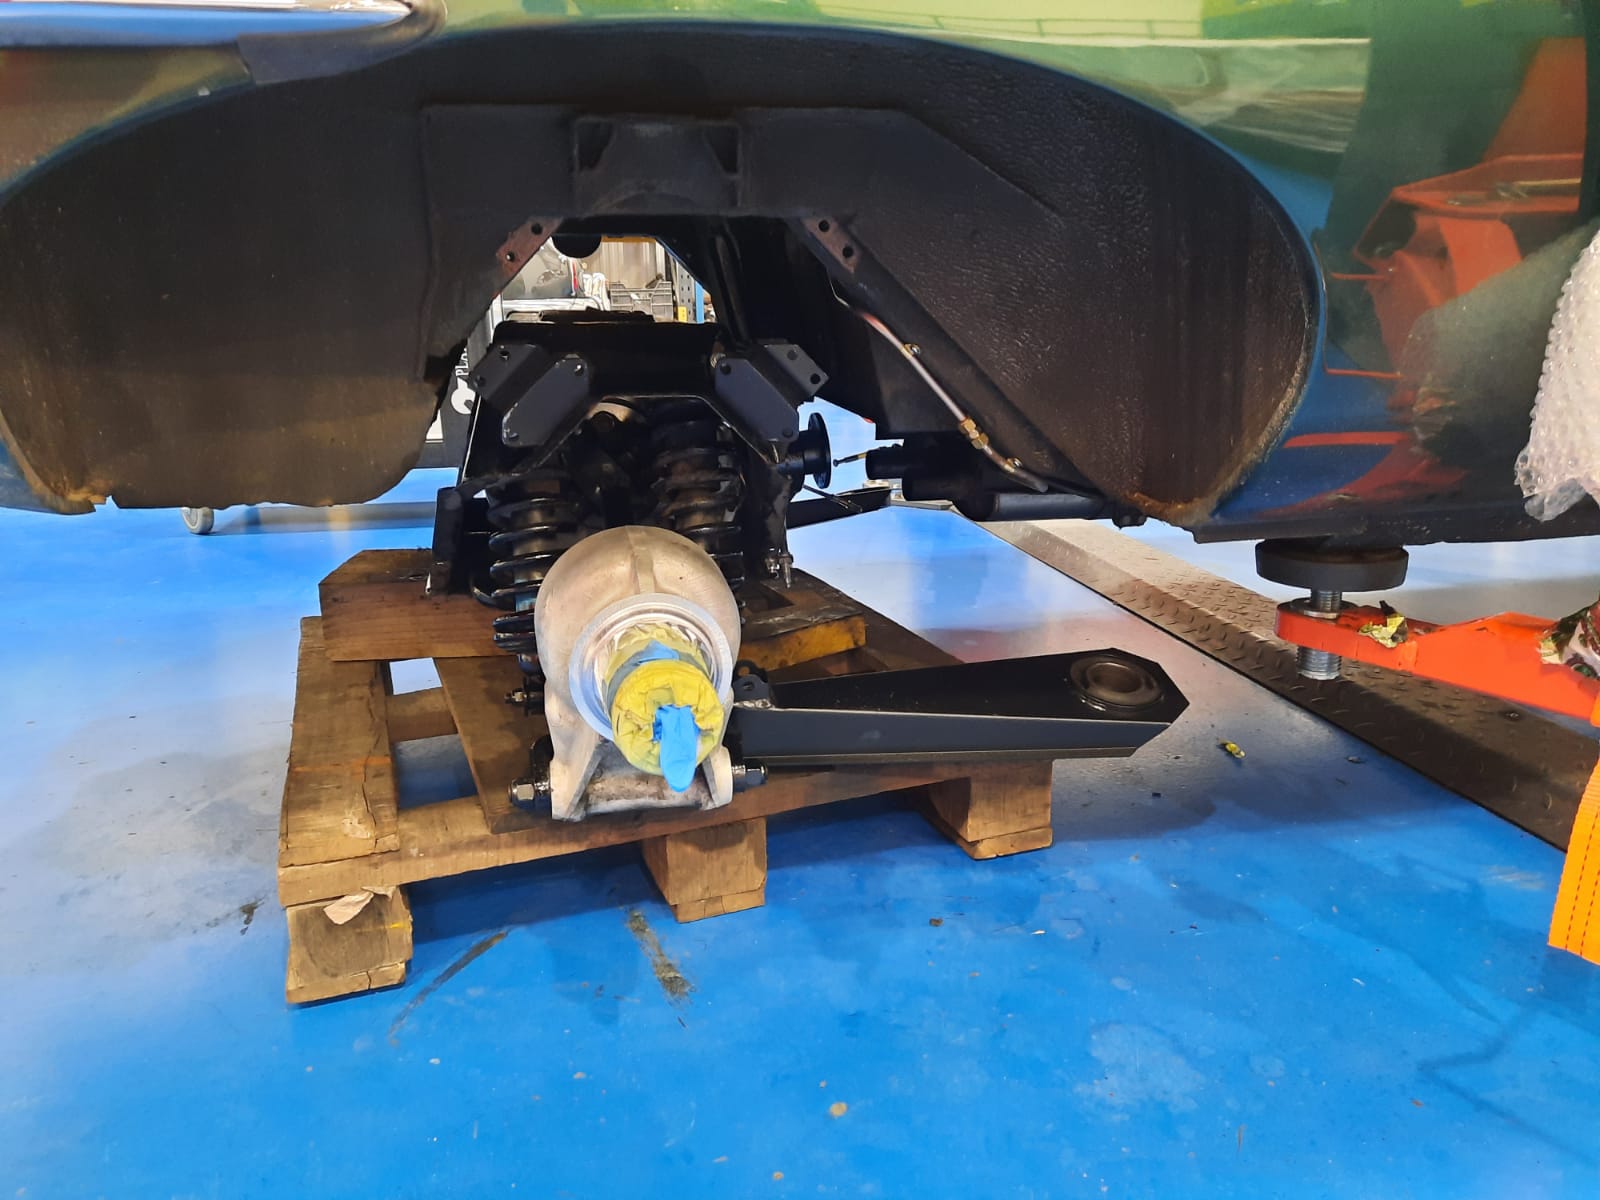
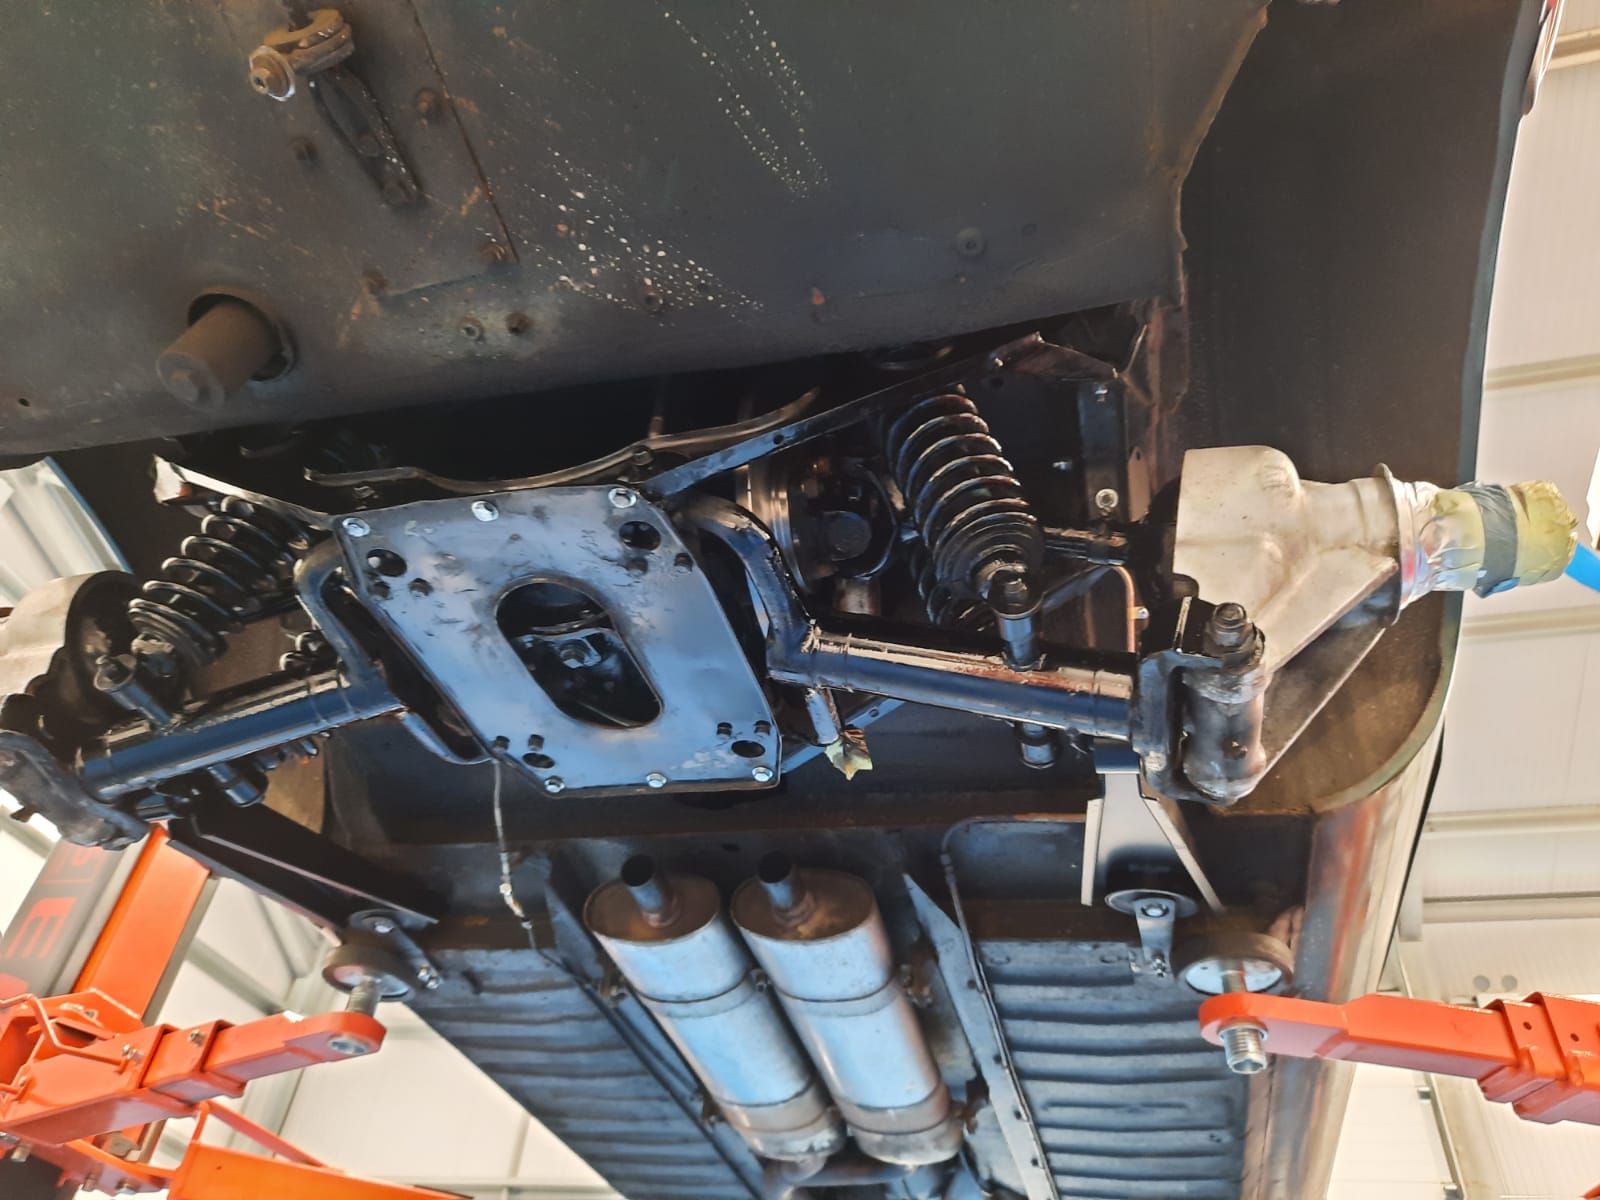
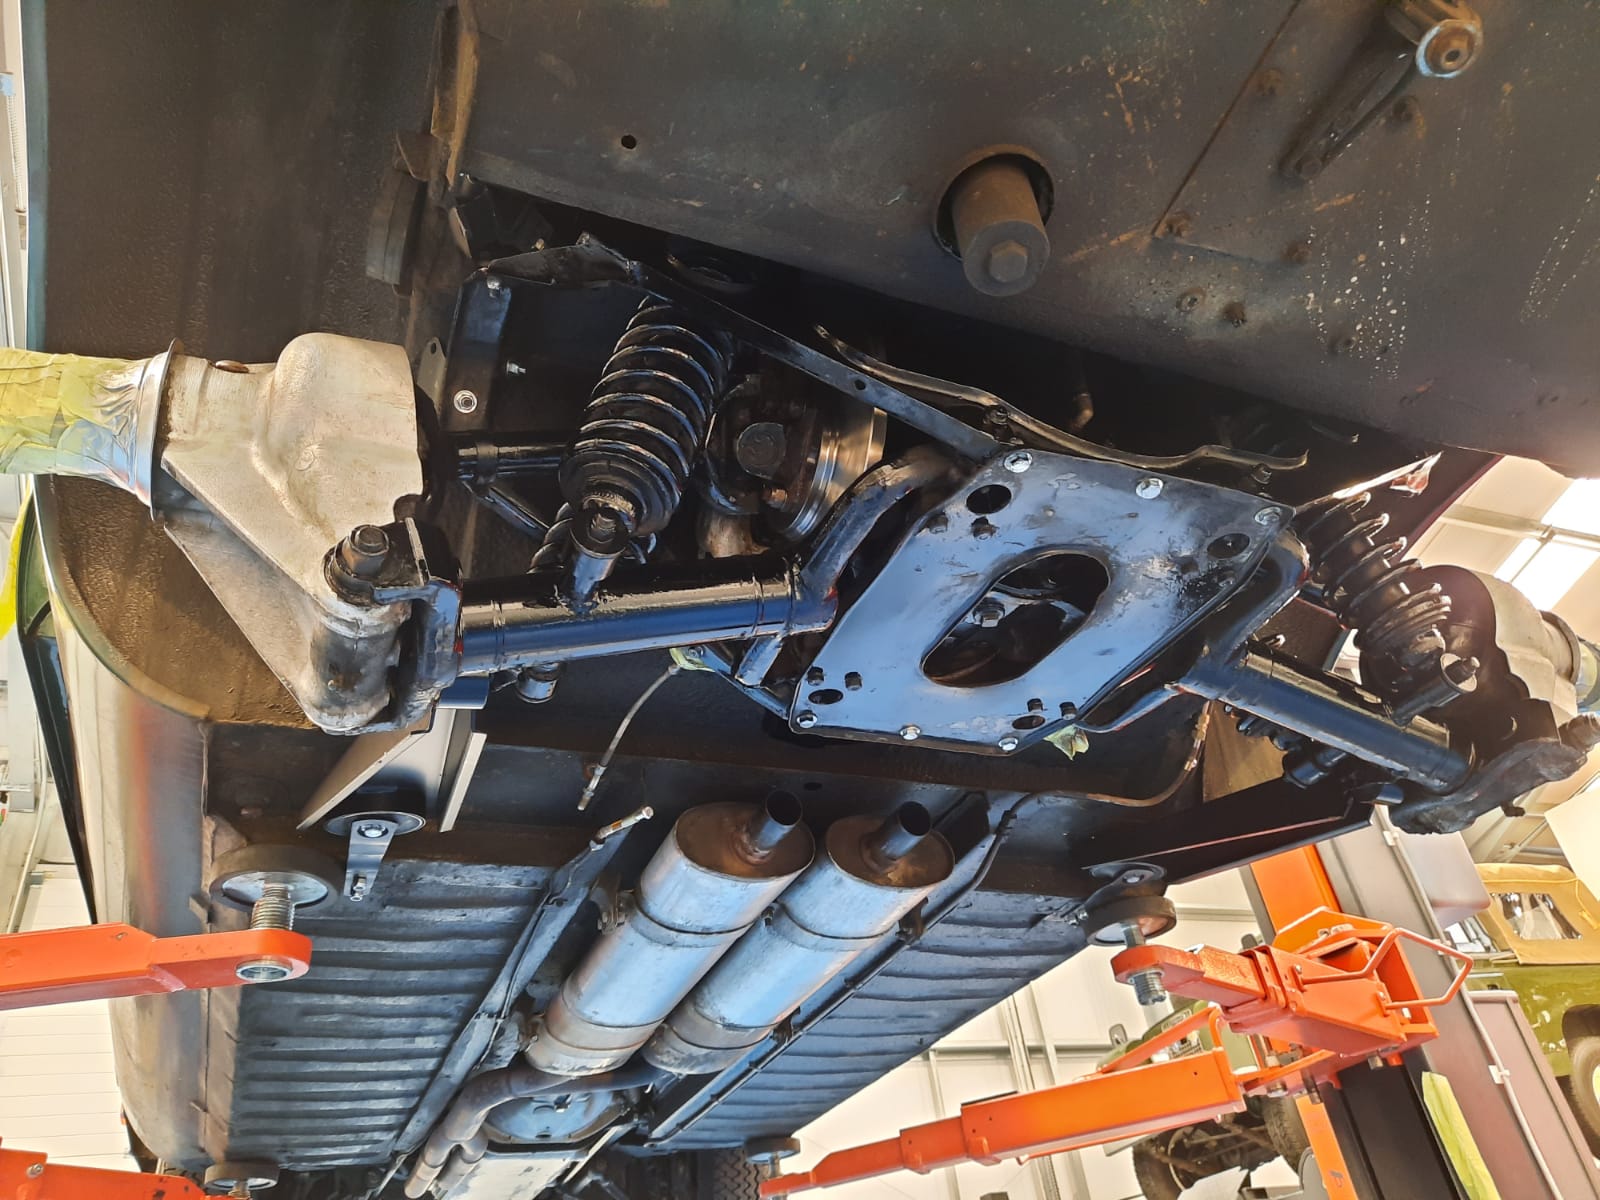
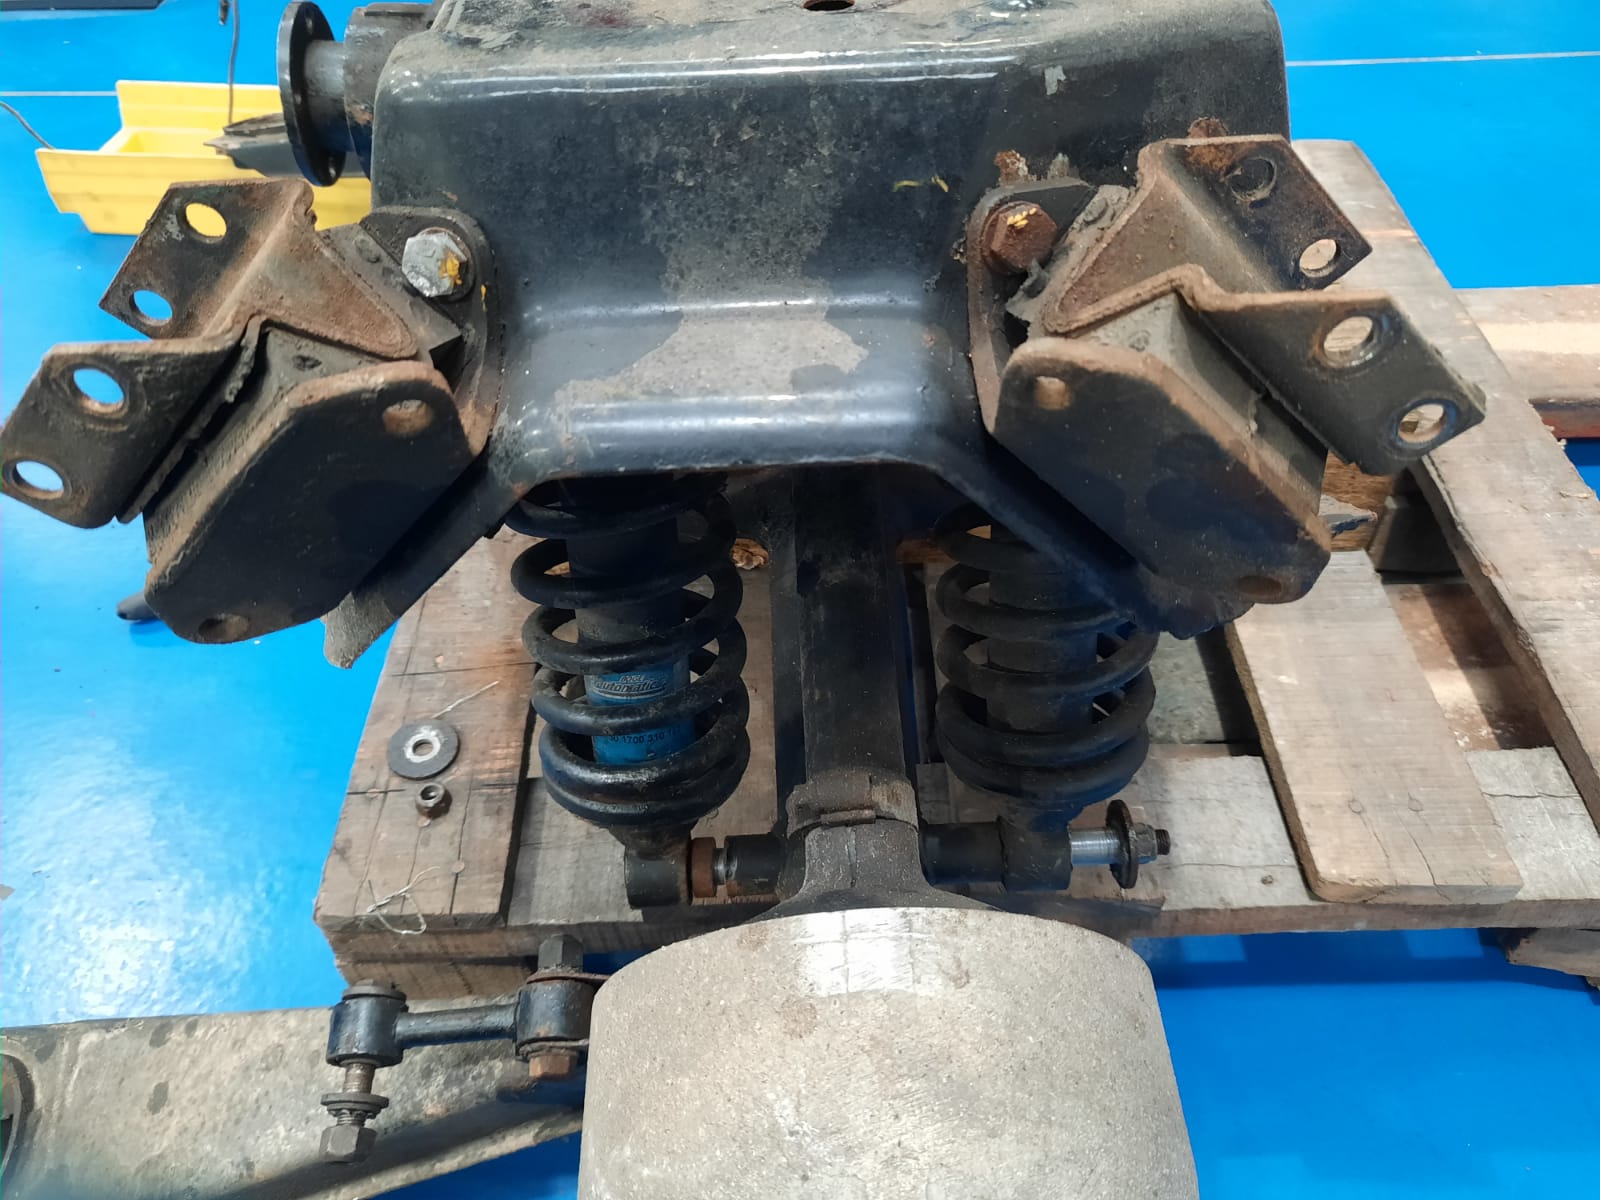
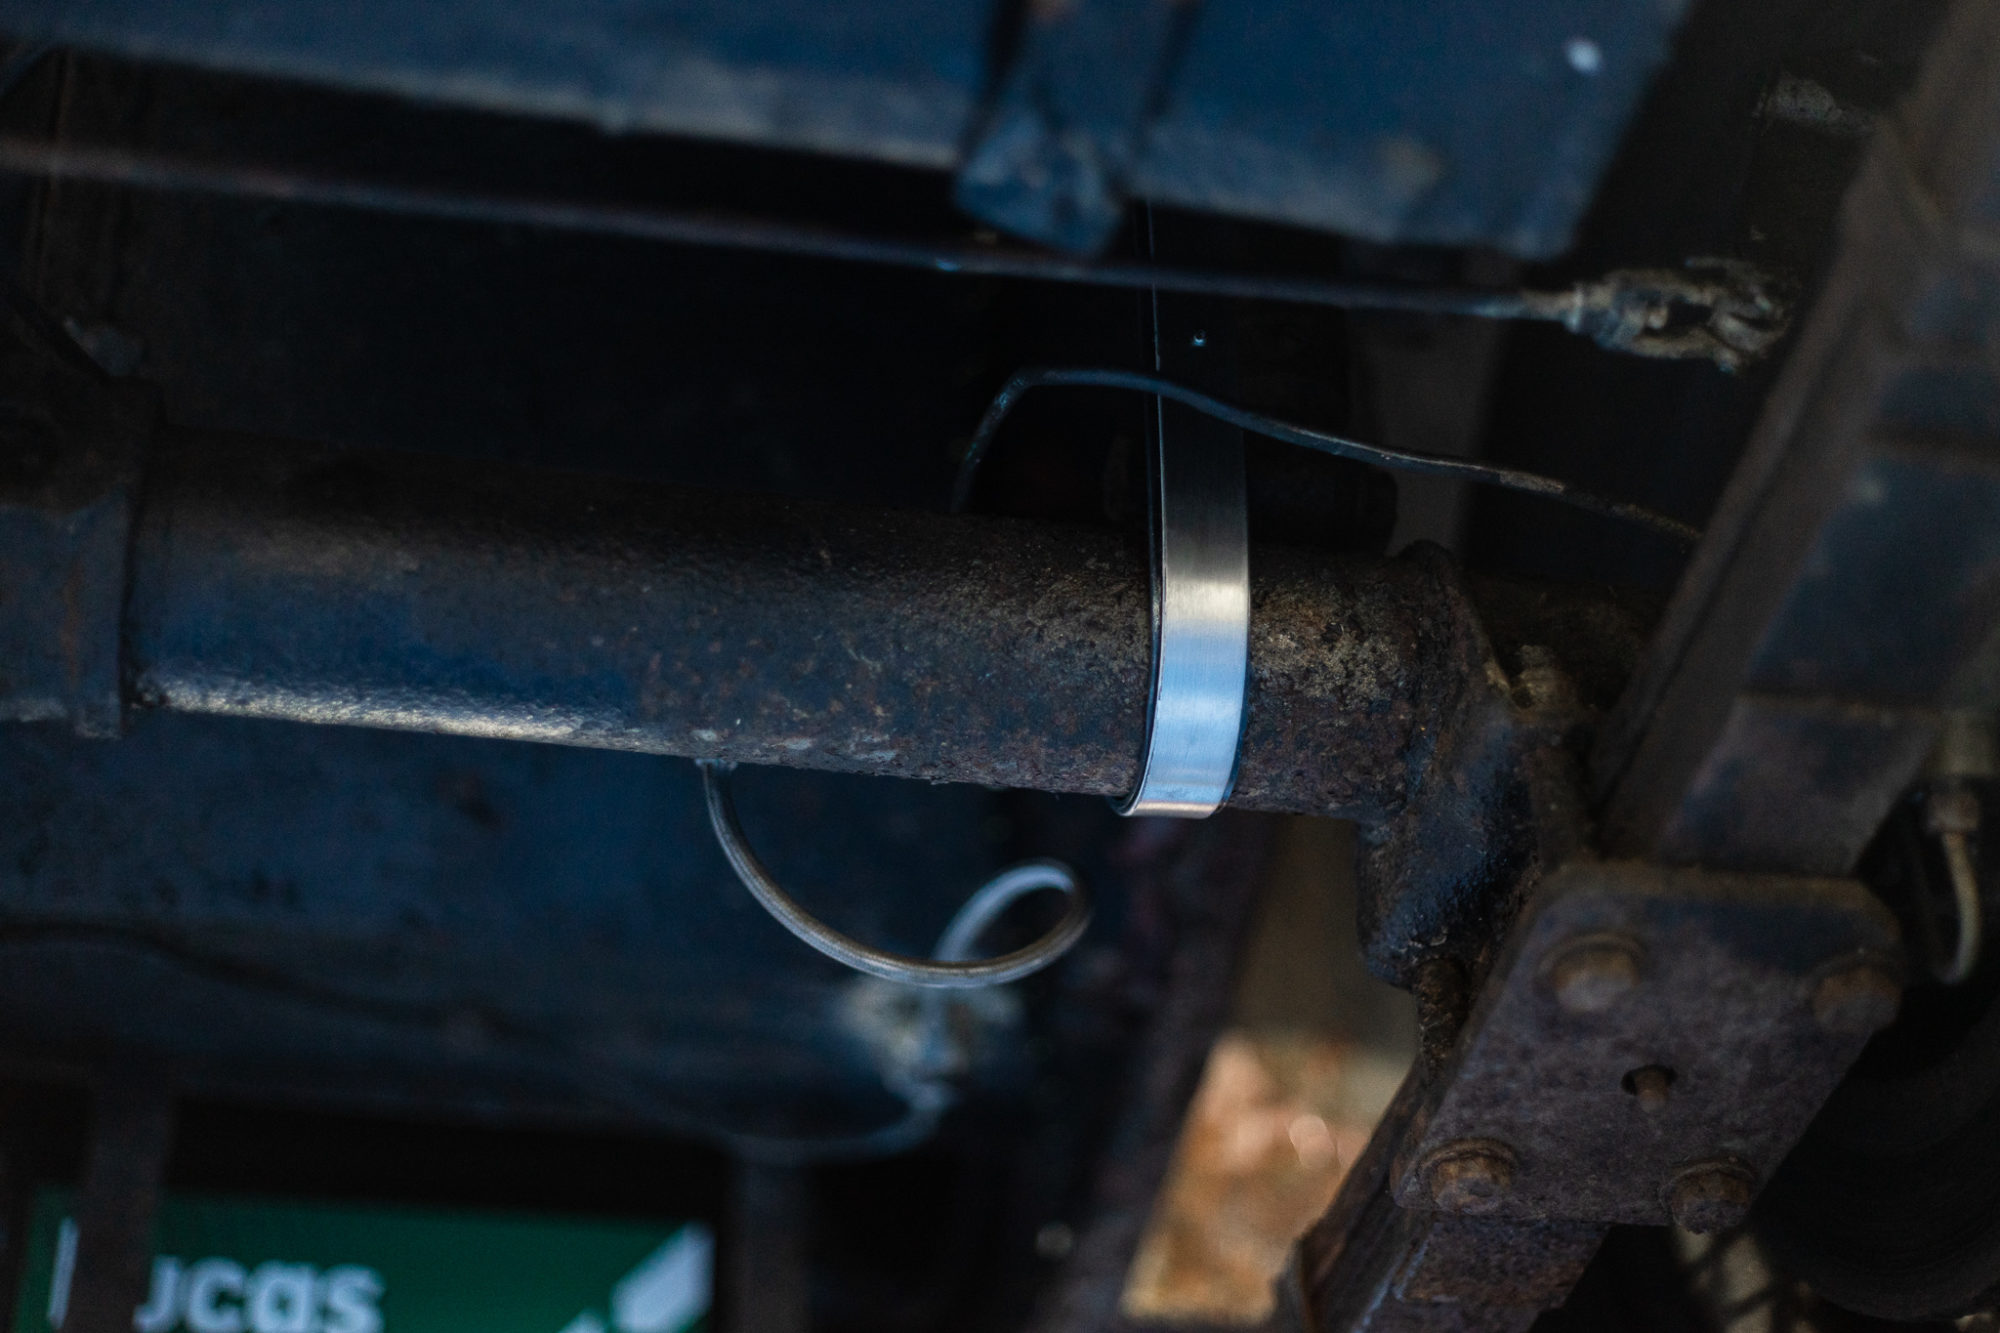
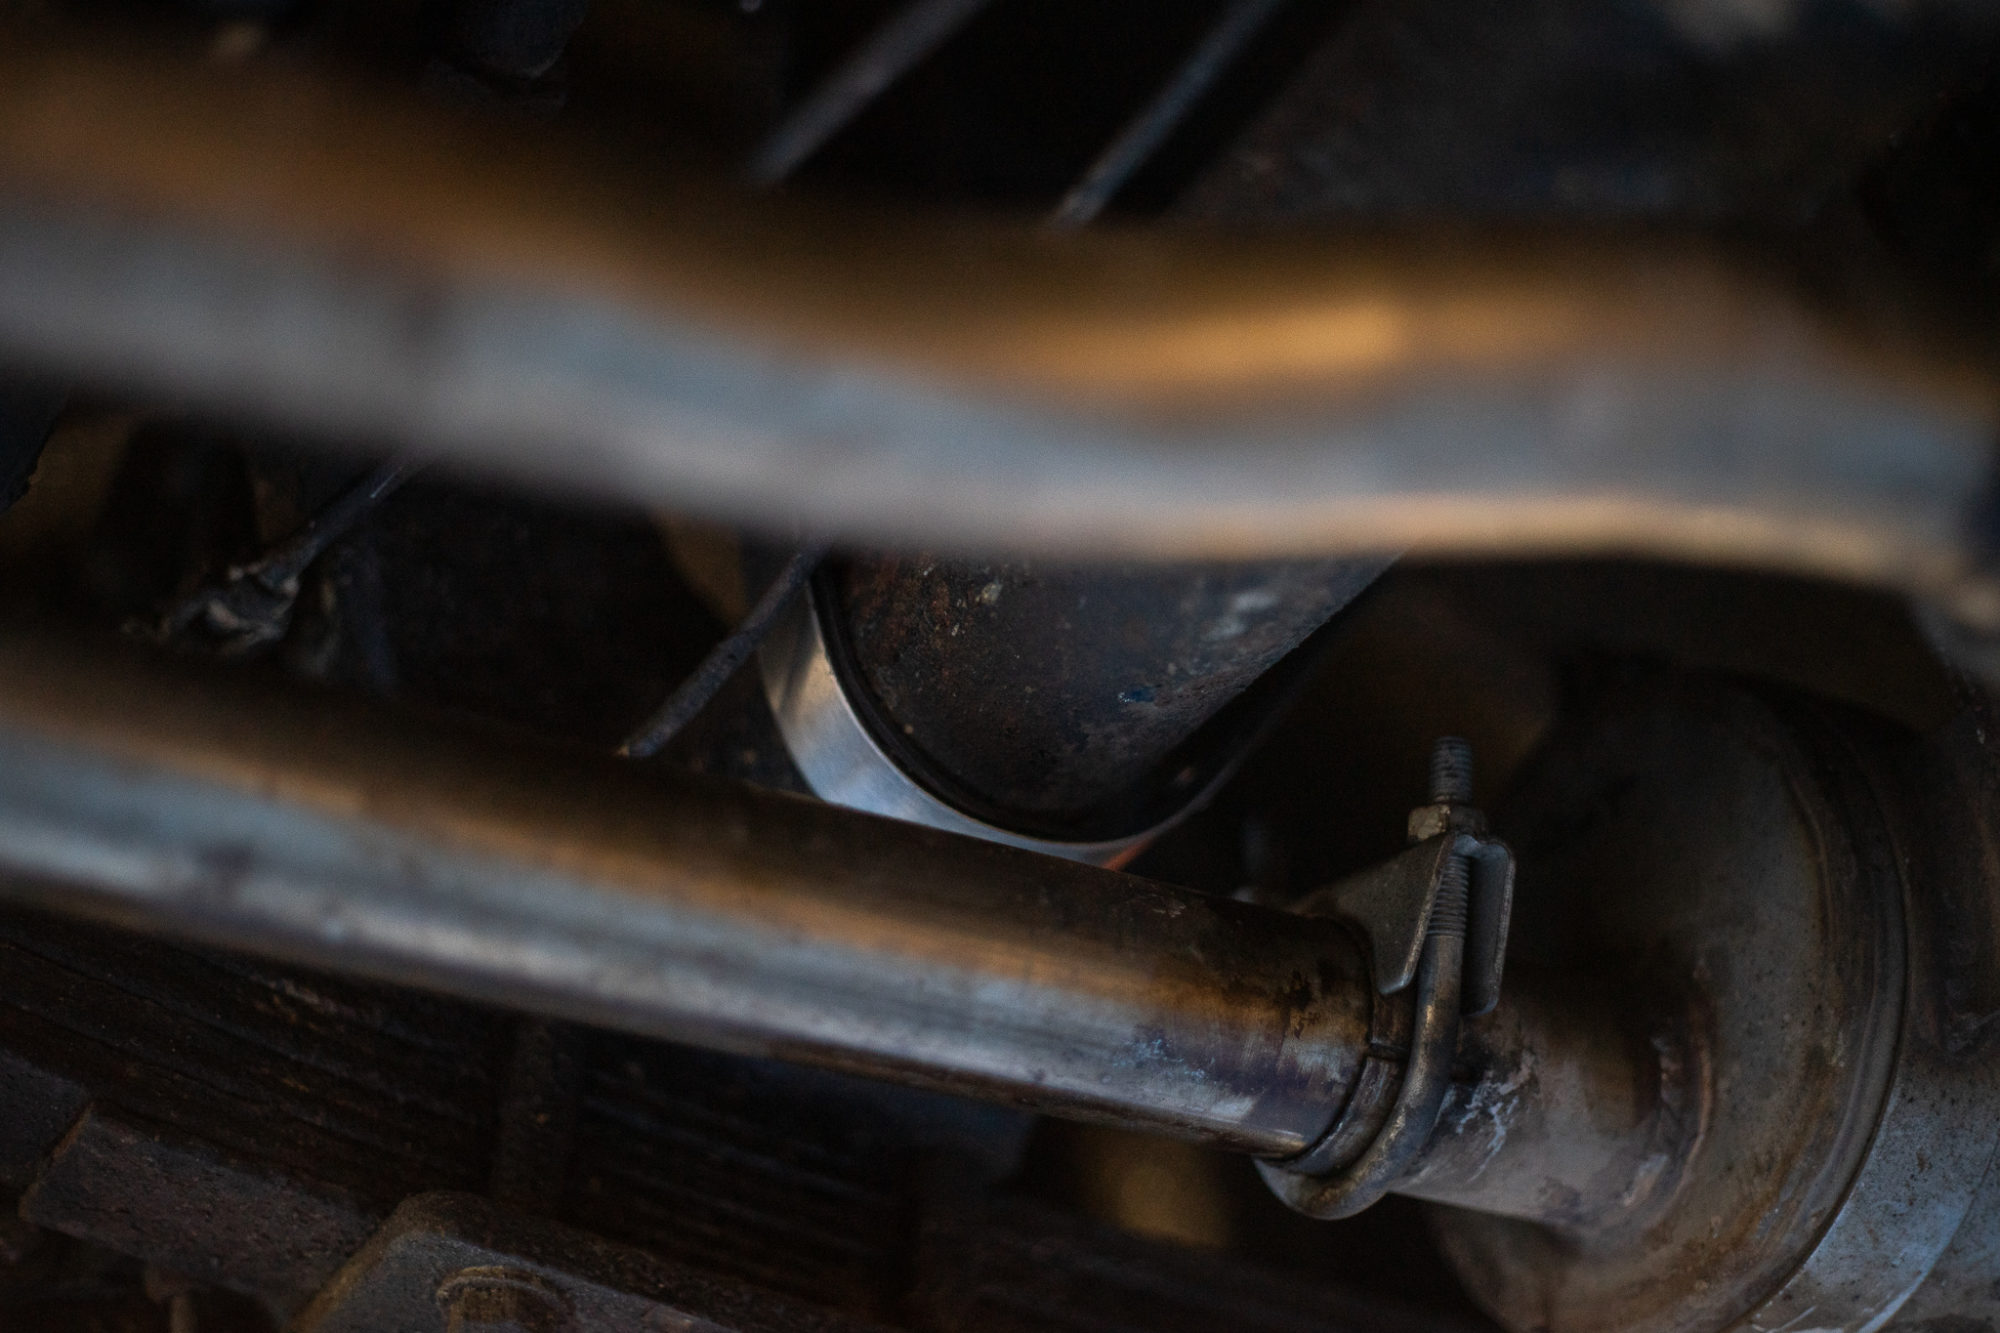
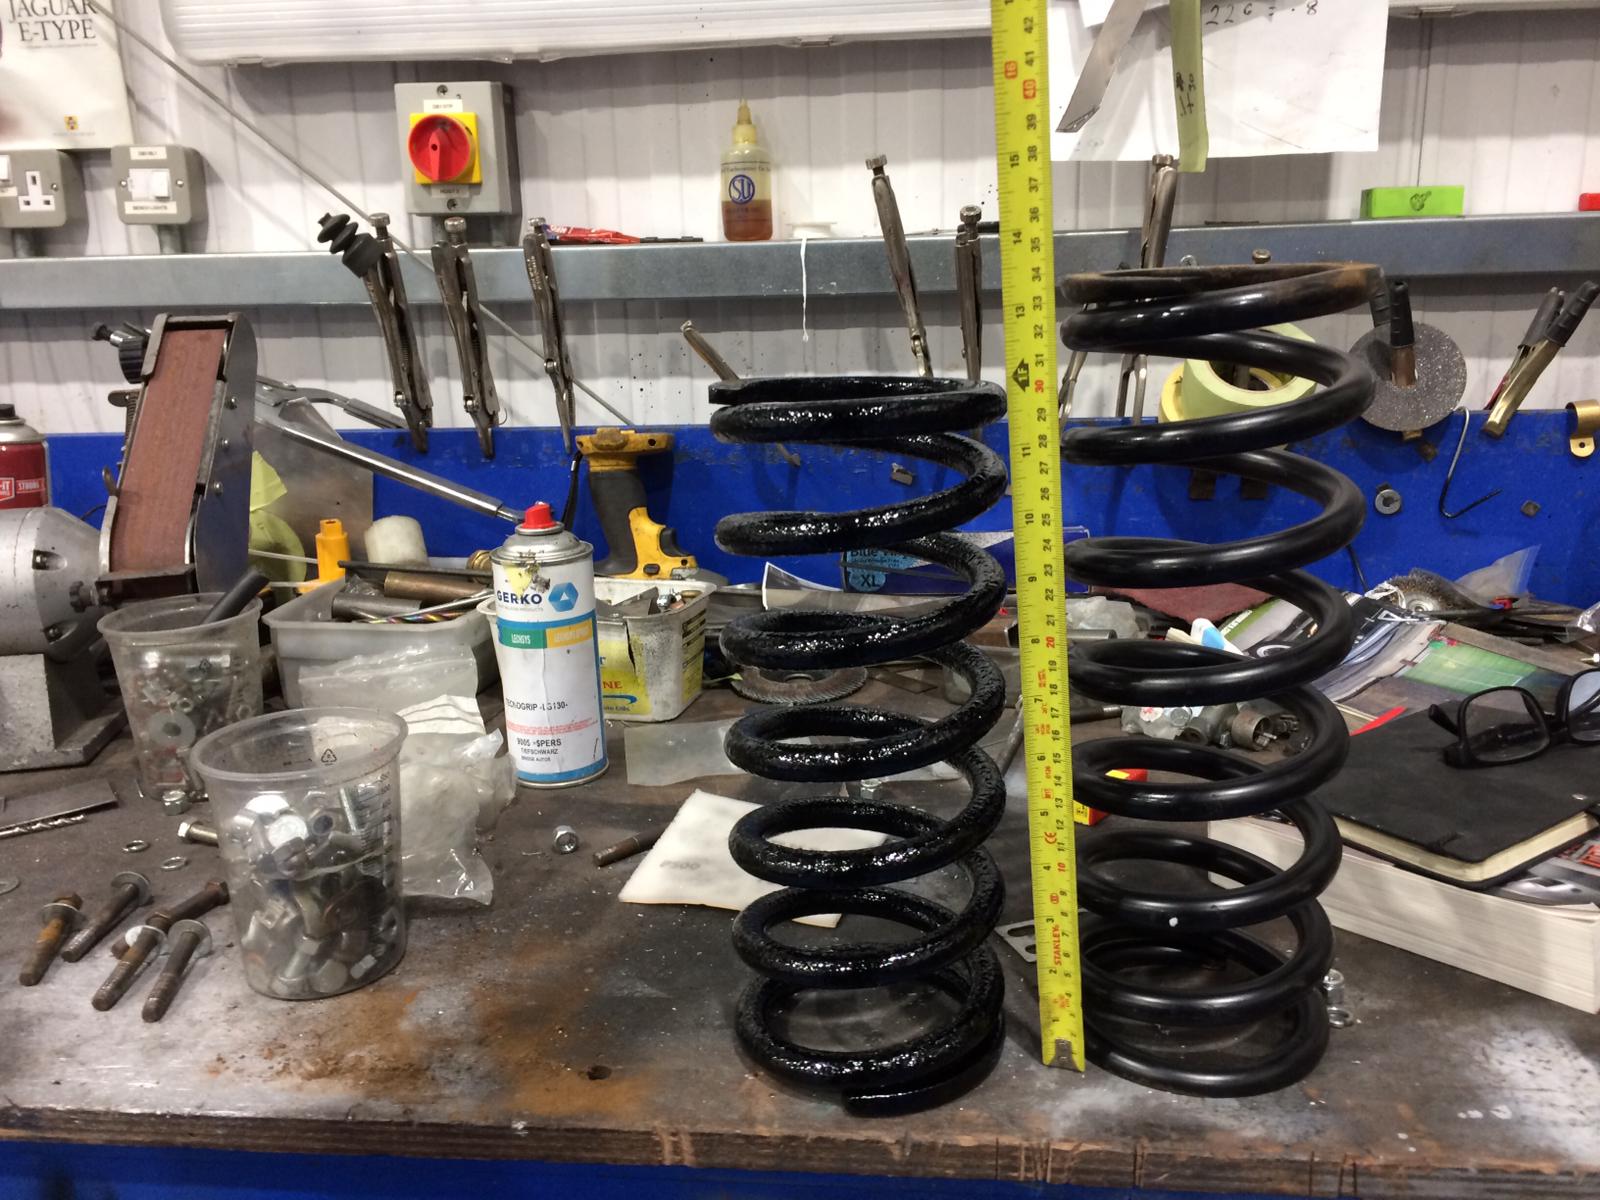
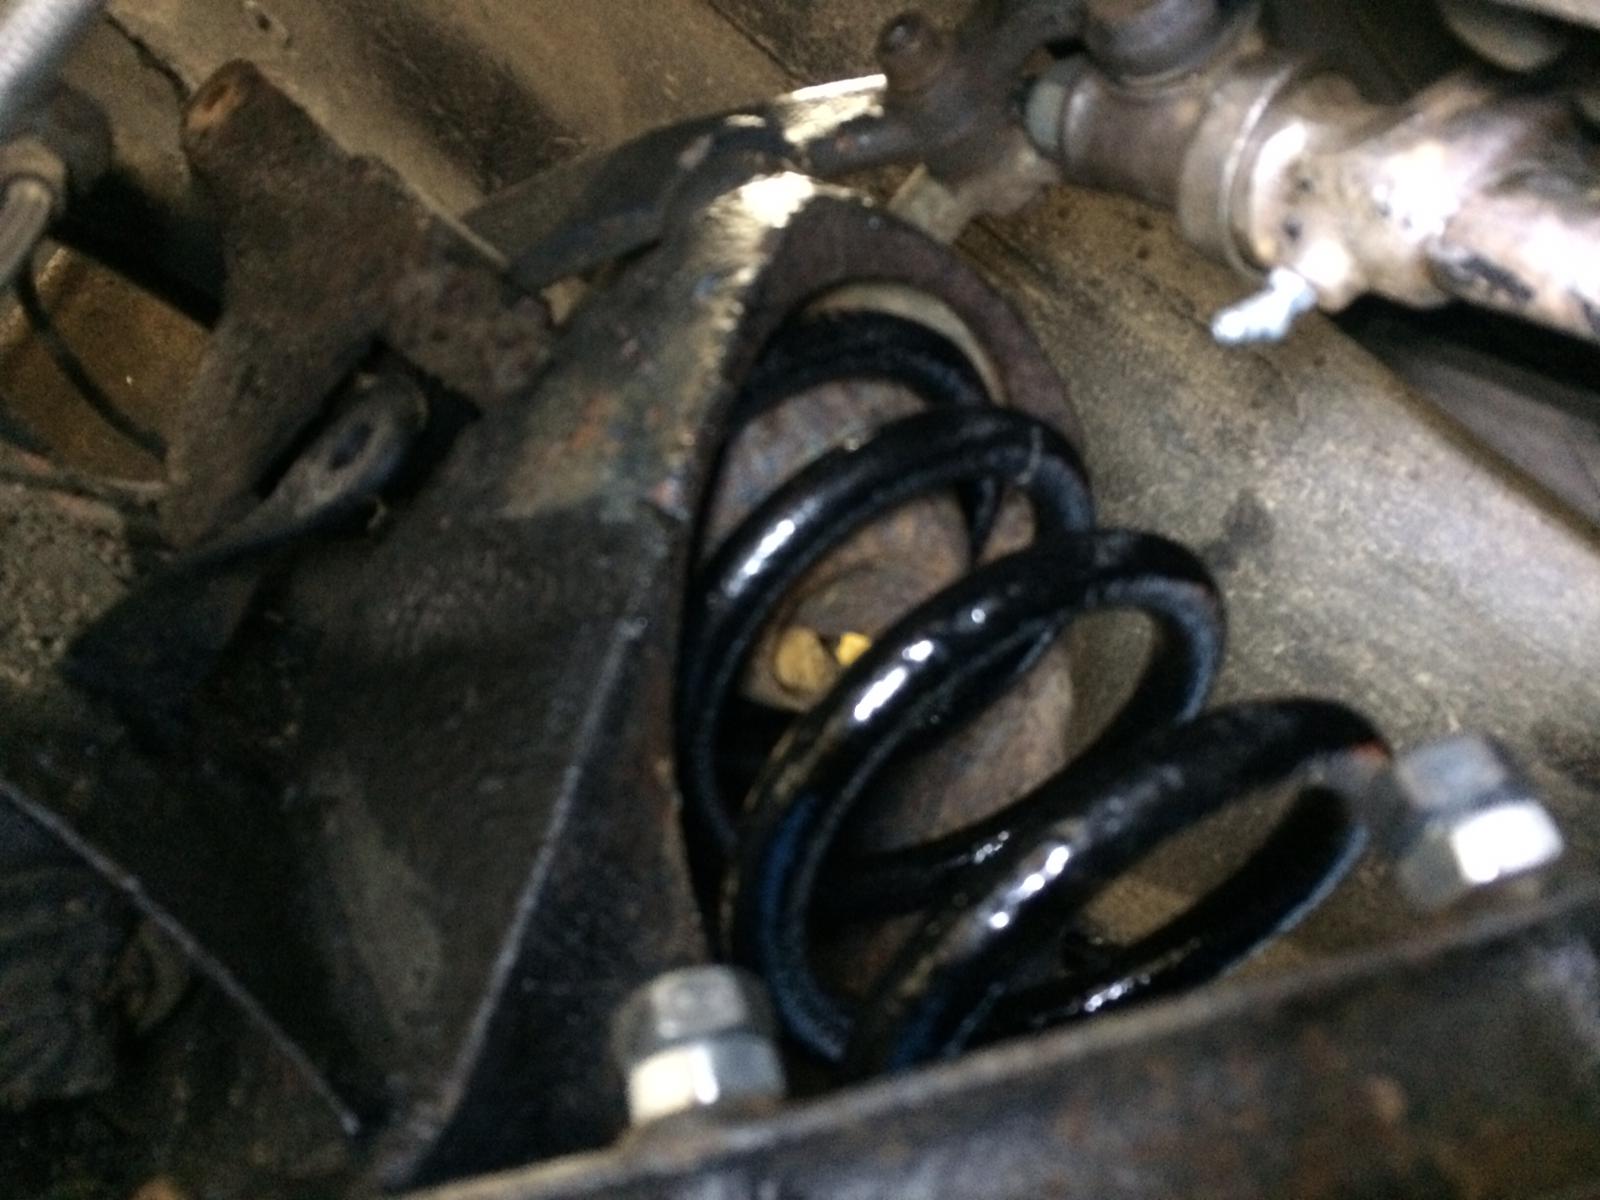
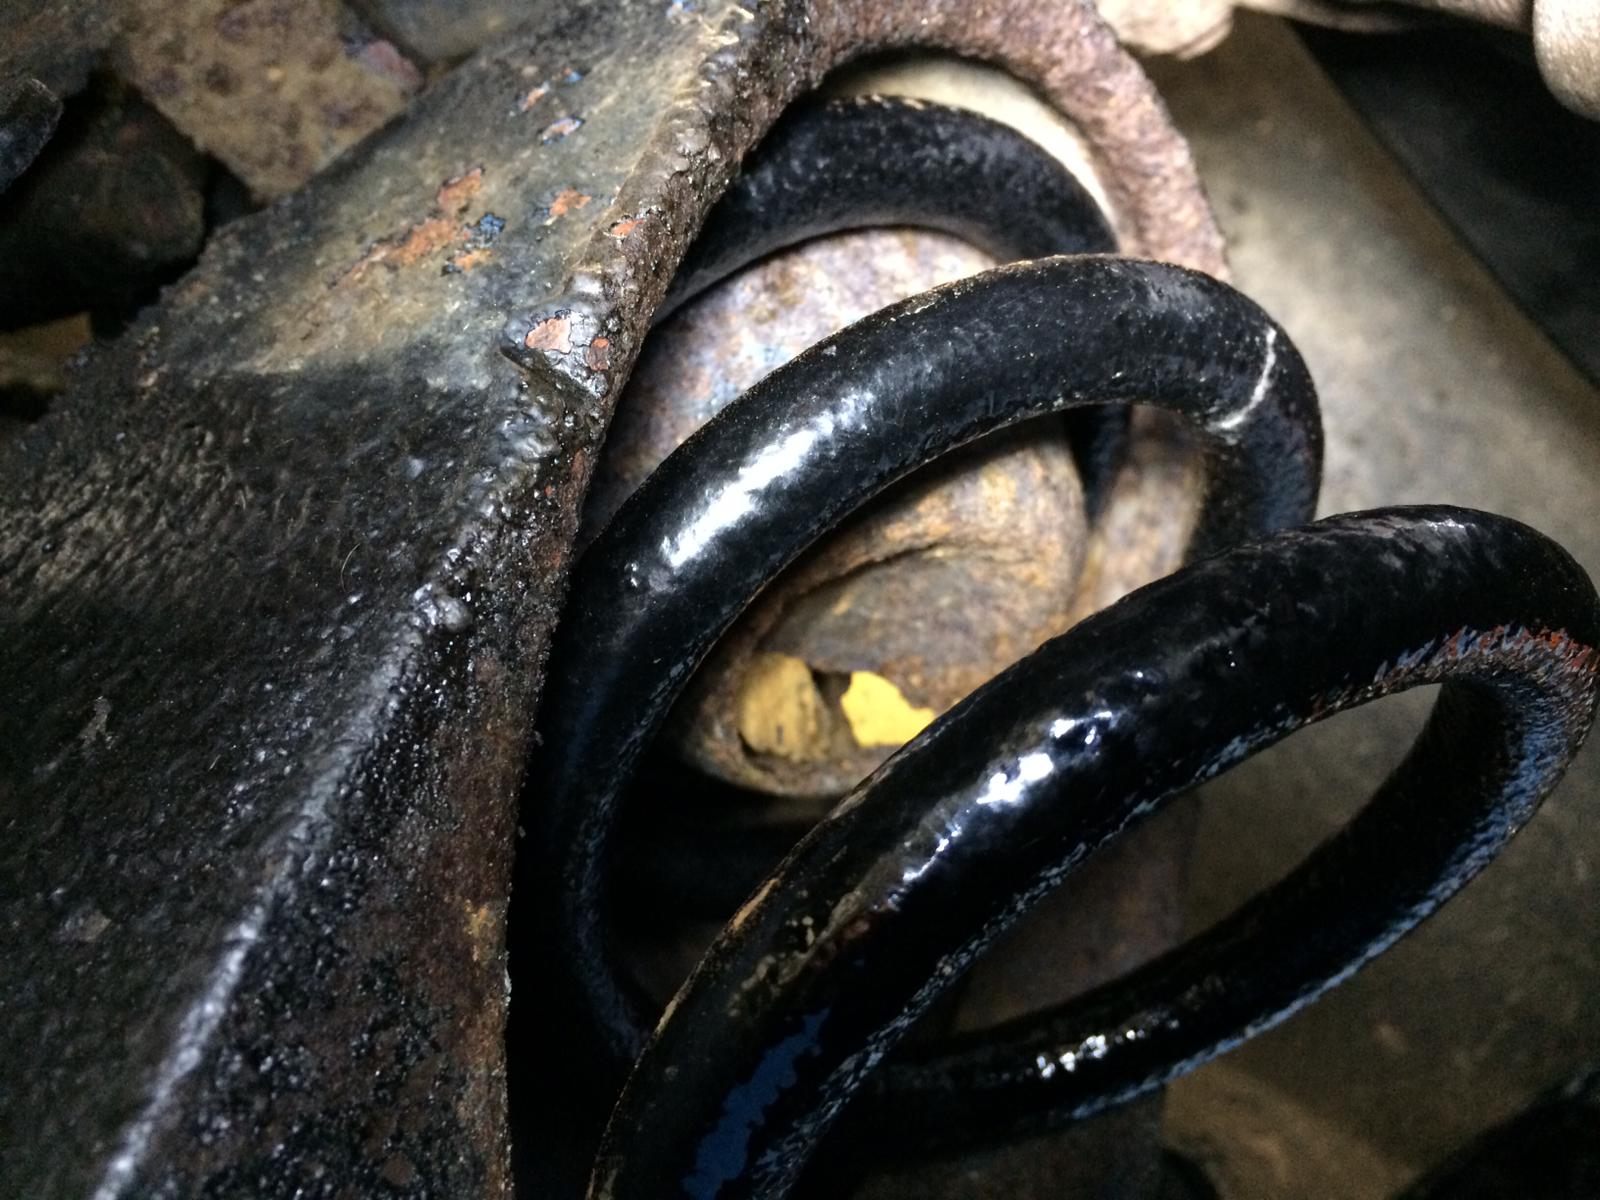
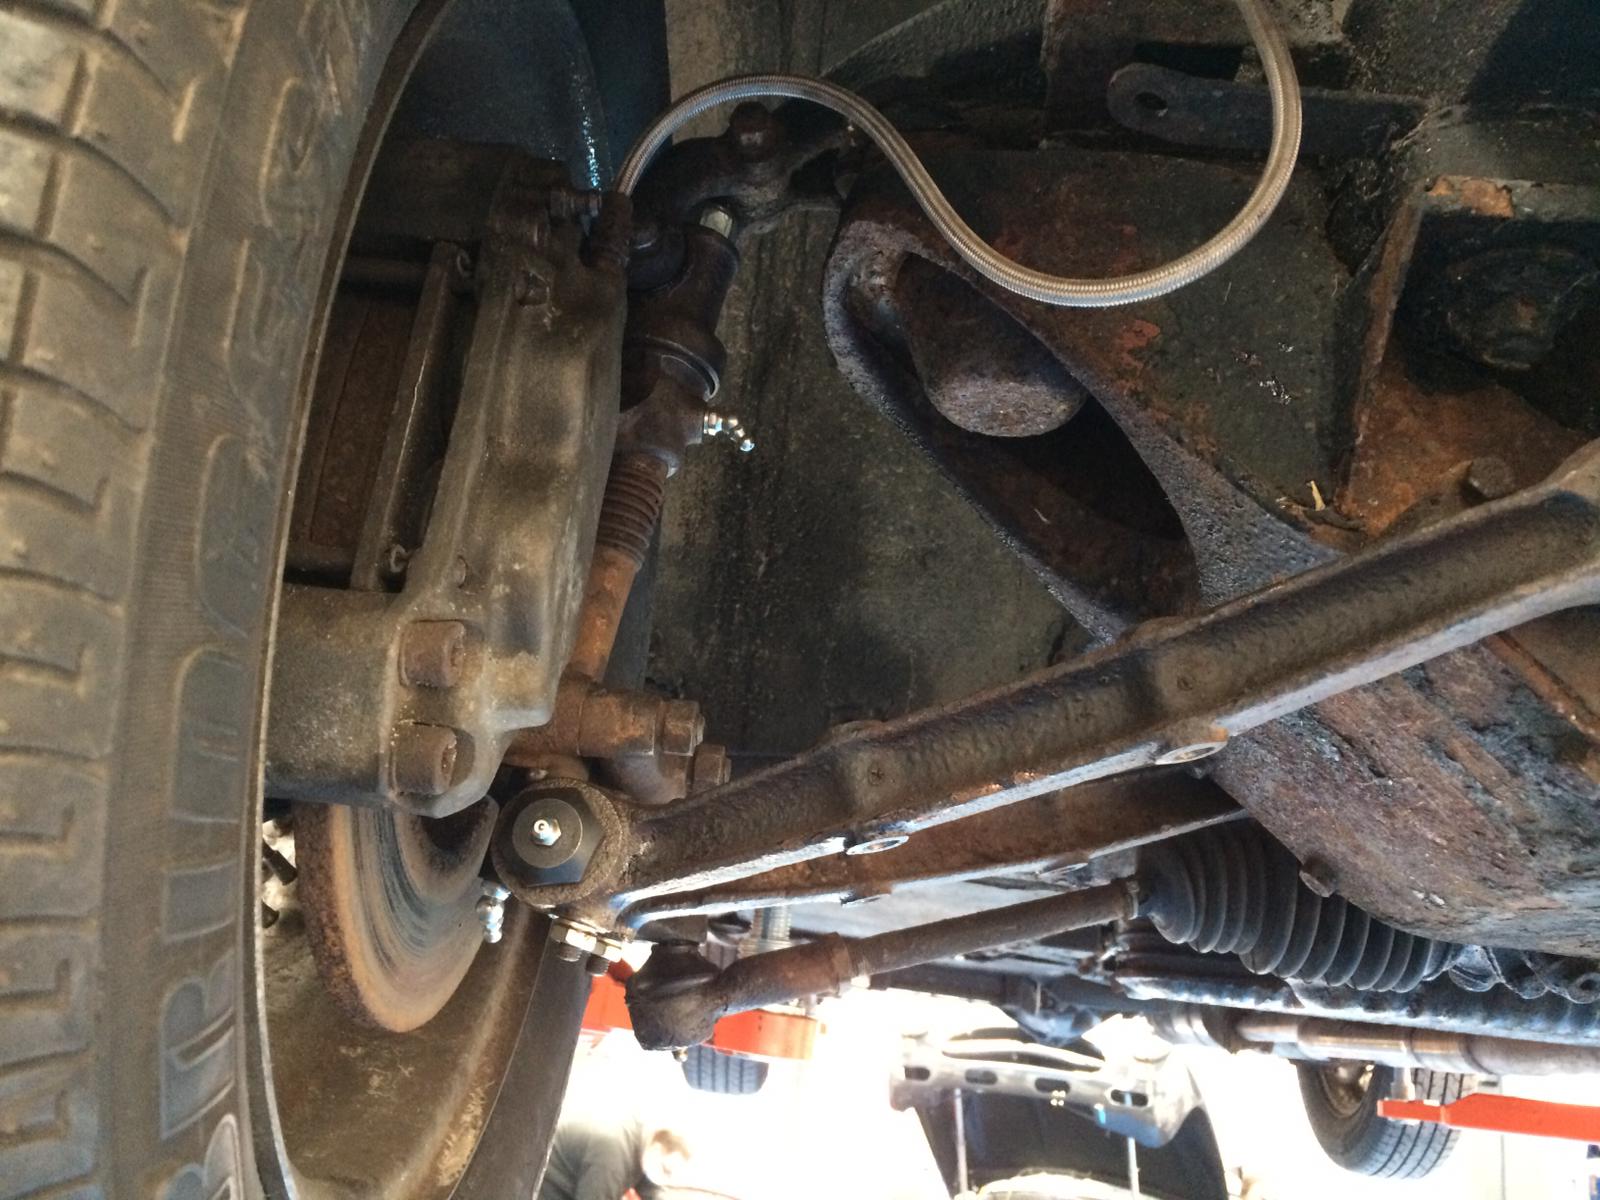
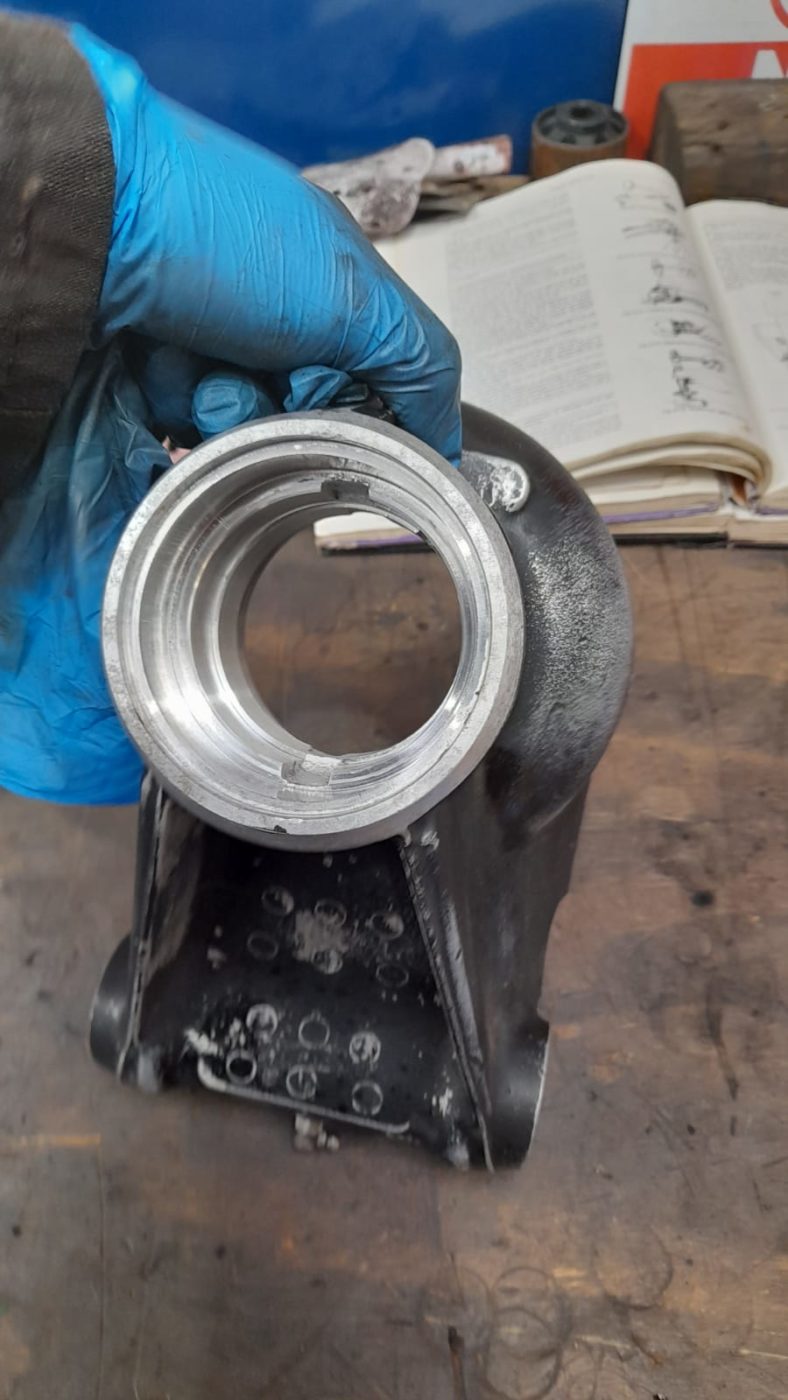
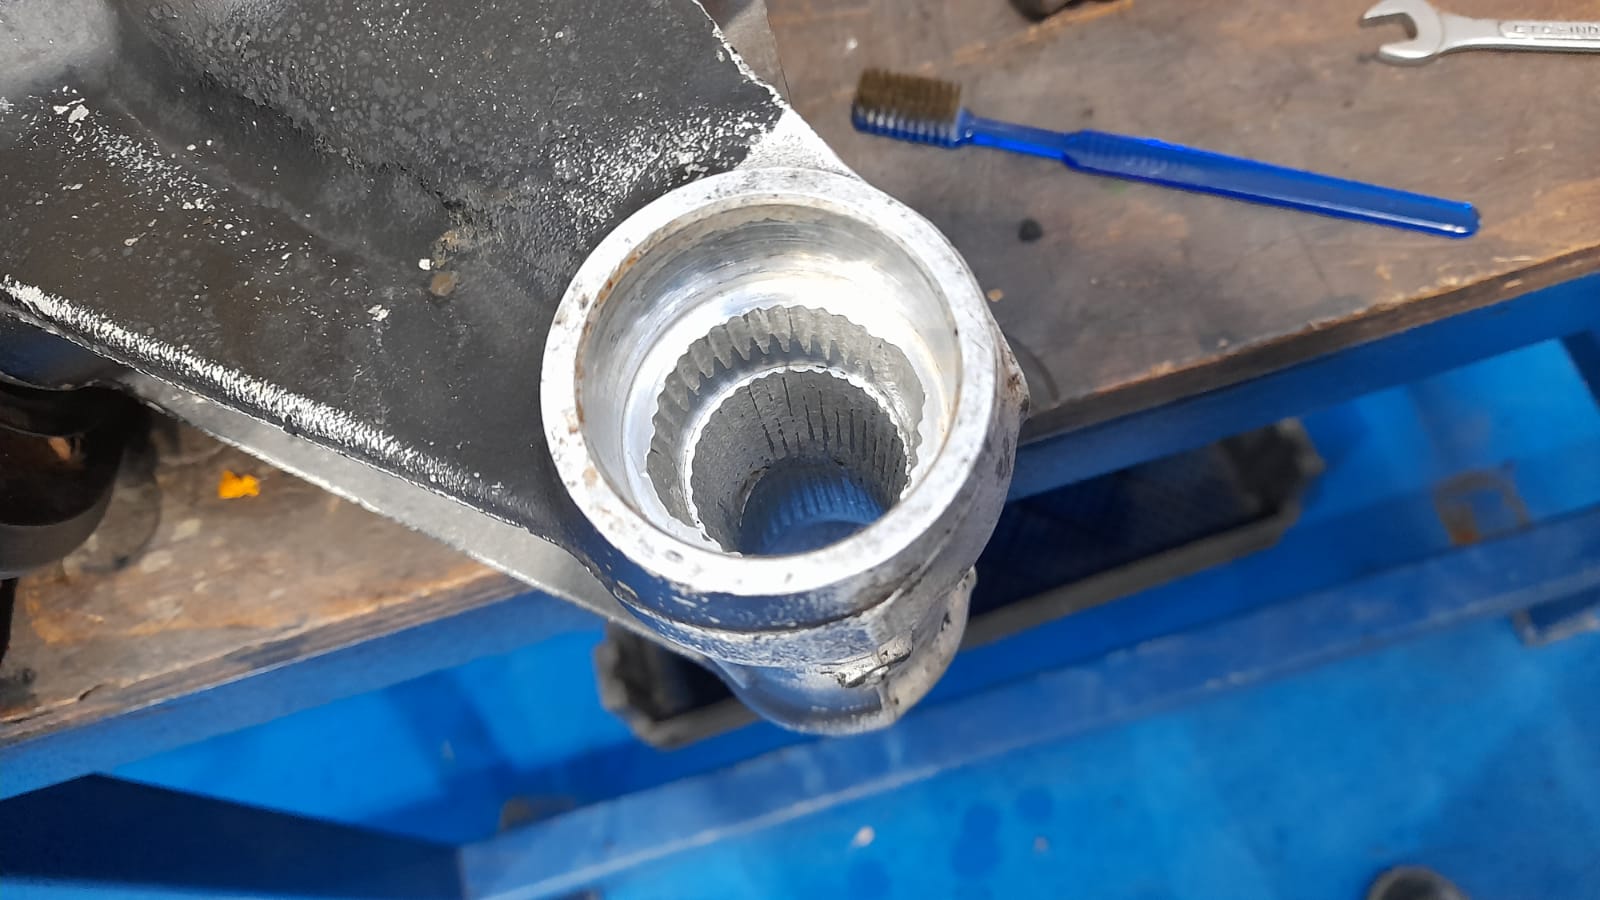
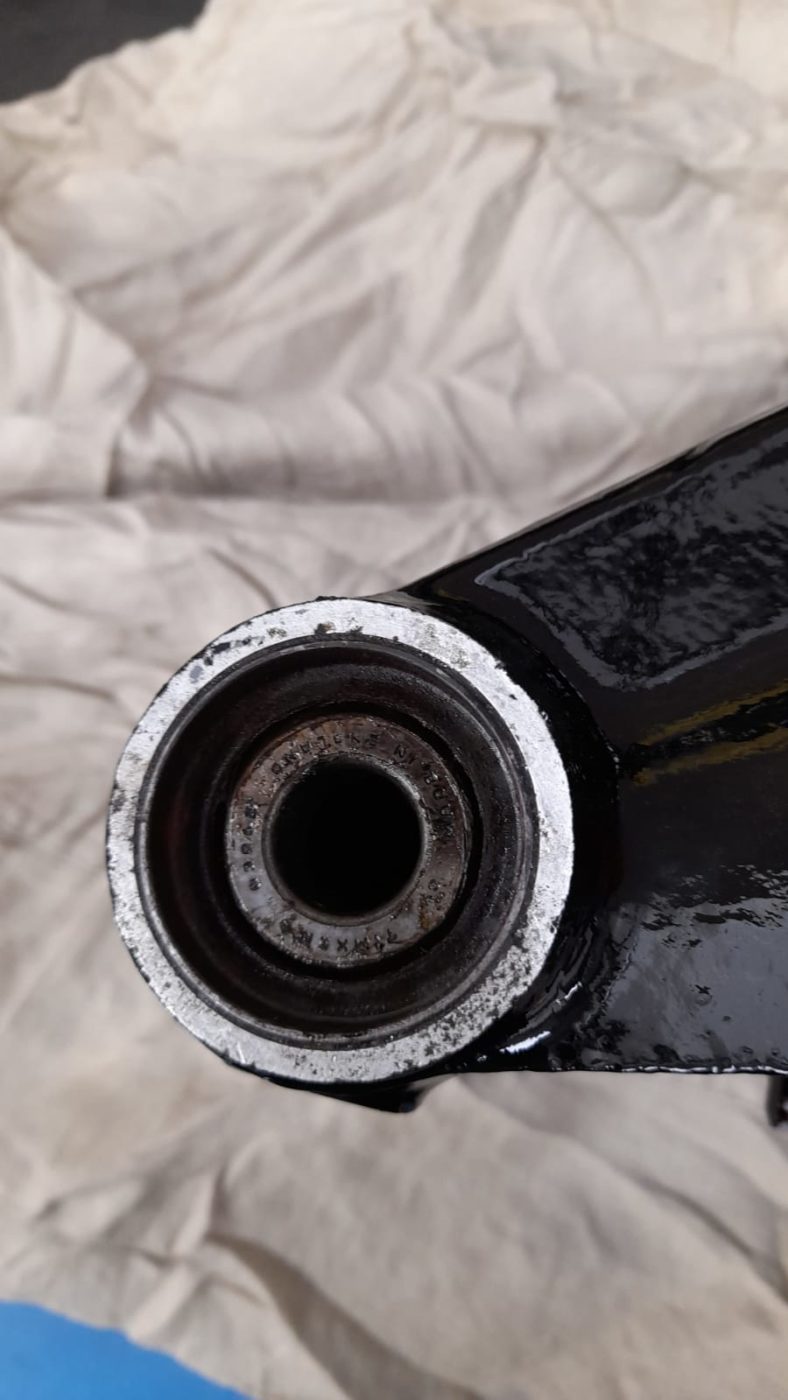
We’ve been working on securing the 1959 Jensen 541R’s rear axle frame. New rear axle straps have been manufactured by hand in the workshop and bolted in place to avoid unwarranted pressure being applied to the shock absorbers. This also ensures that the rear axle doesn’t move. Our Jensen didn’t originally have these so we’ve had to remove the exhaust lines to fit the straps.
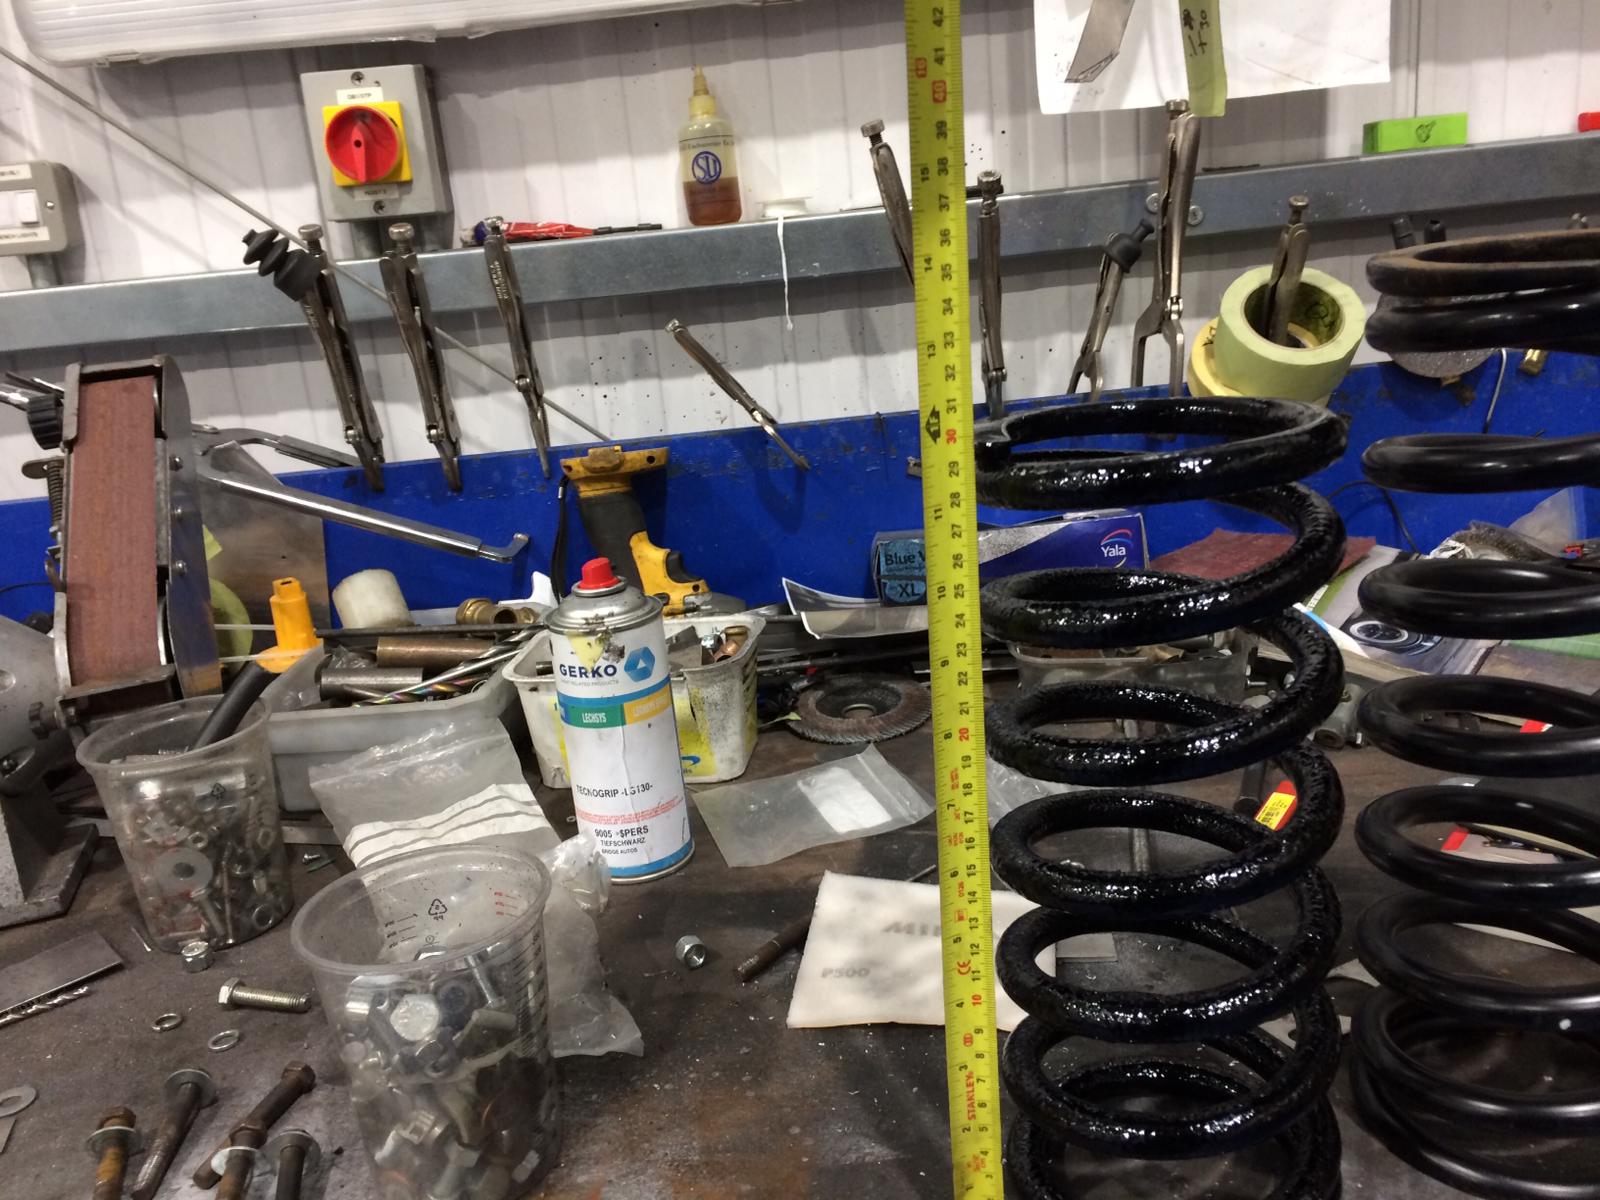
The new front suspension springs have turned out to be too long so we’ve resorted to fitting the old ones back in be recomissioning them by painting and sandblasting them so theyre back to working order.
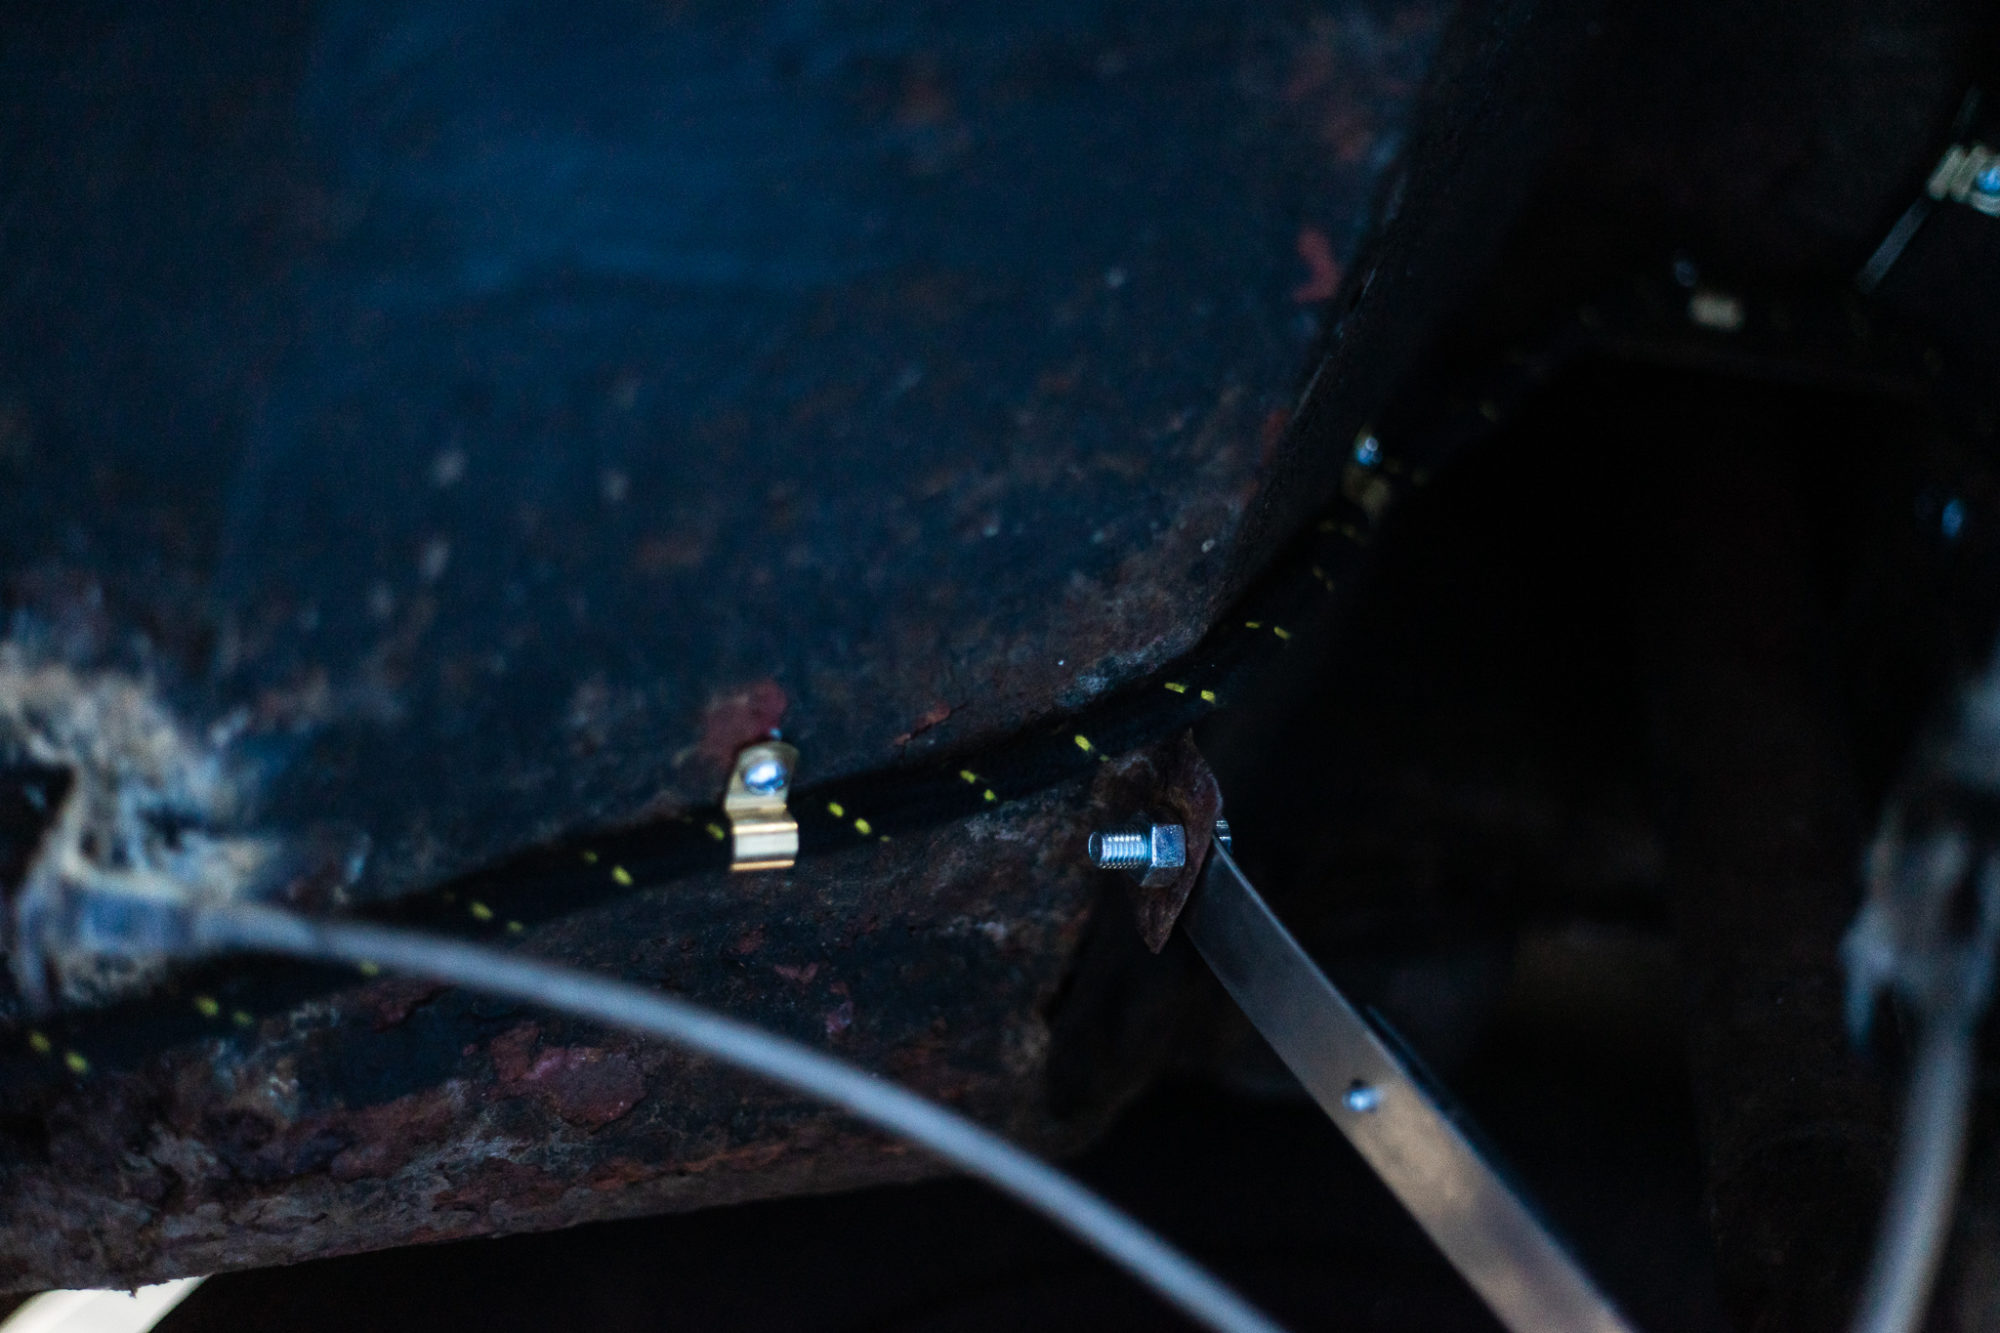
We’ve also discovered a hole in the front axle which has been welded and fixed before this classic Jensen swiftly leaves us this week.


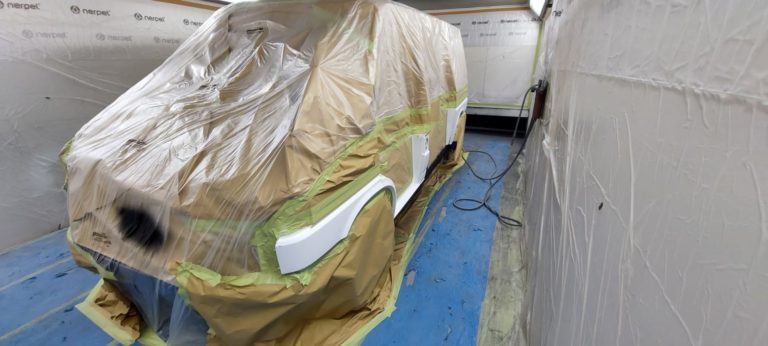
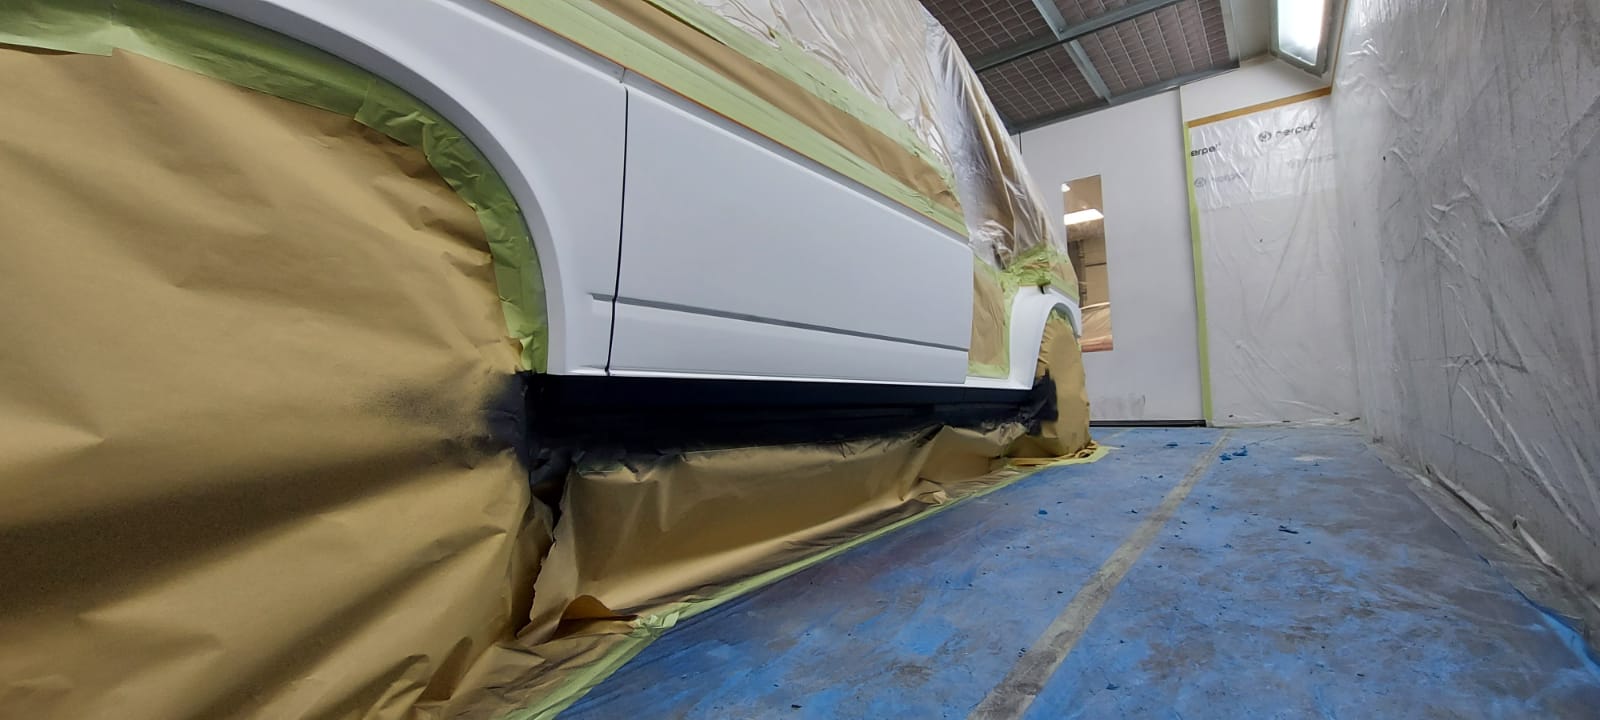
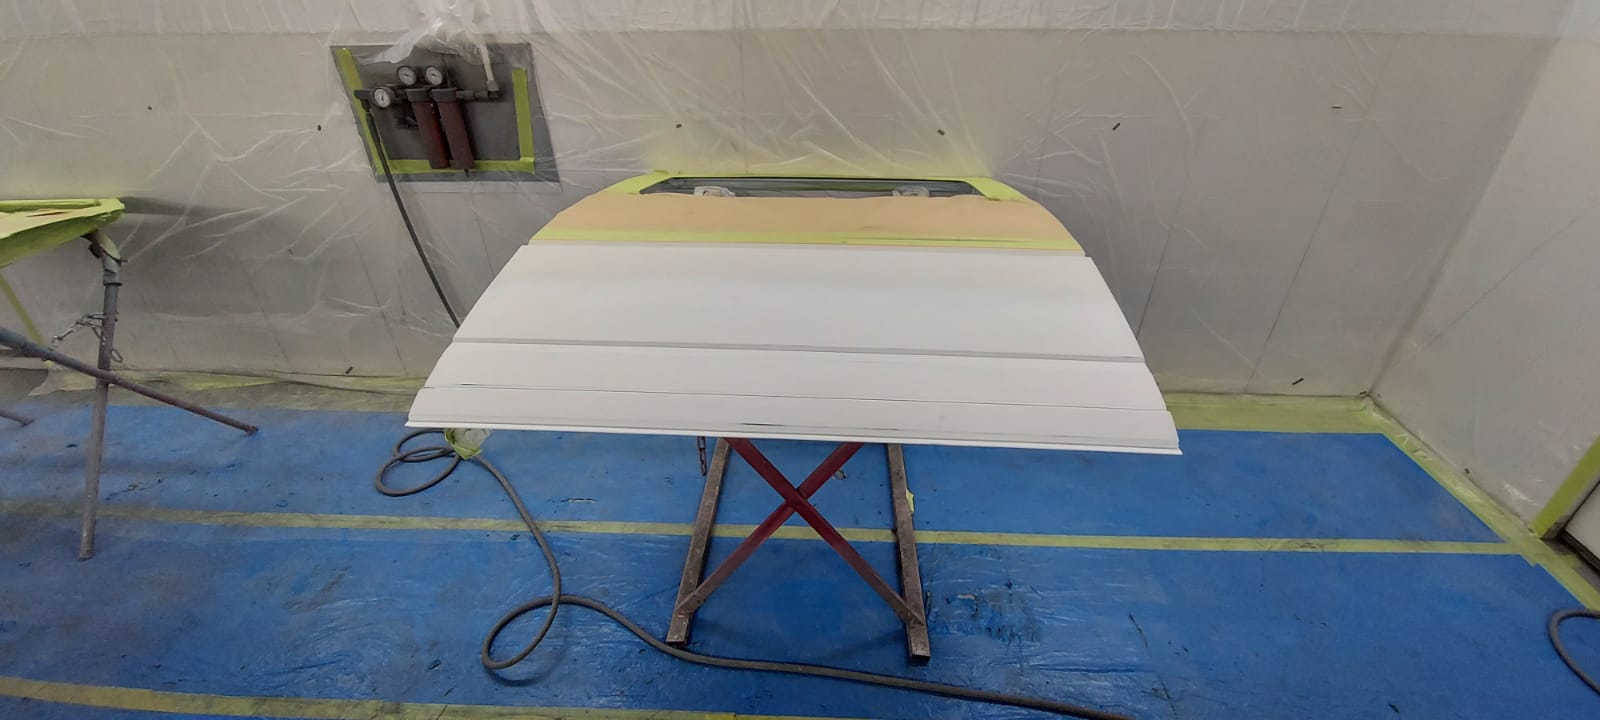
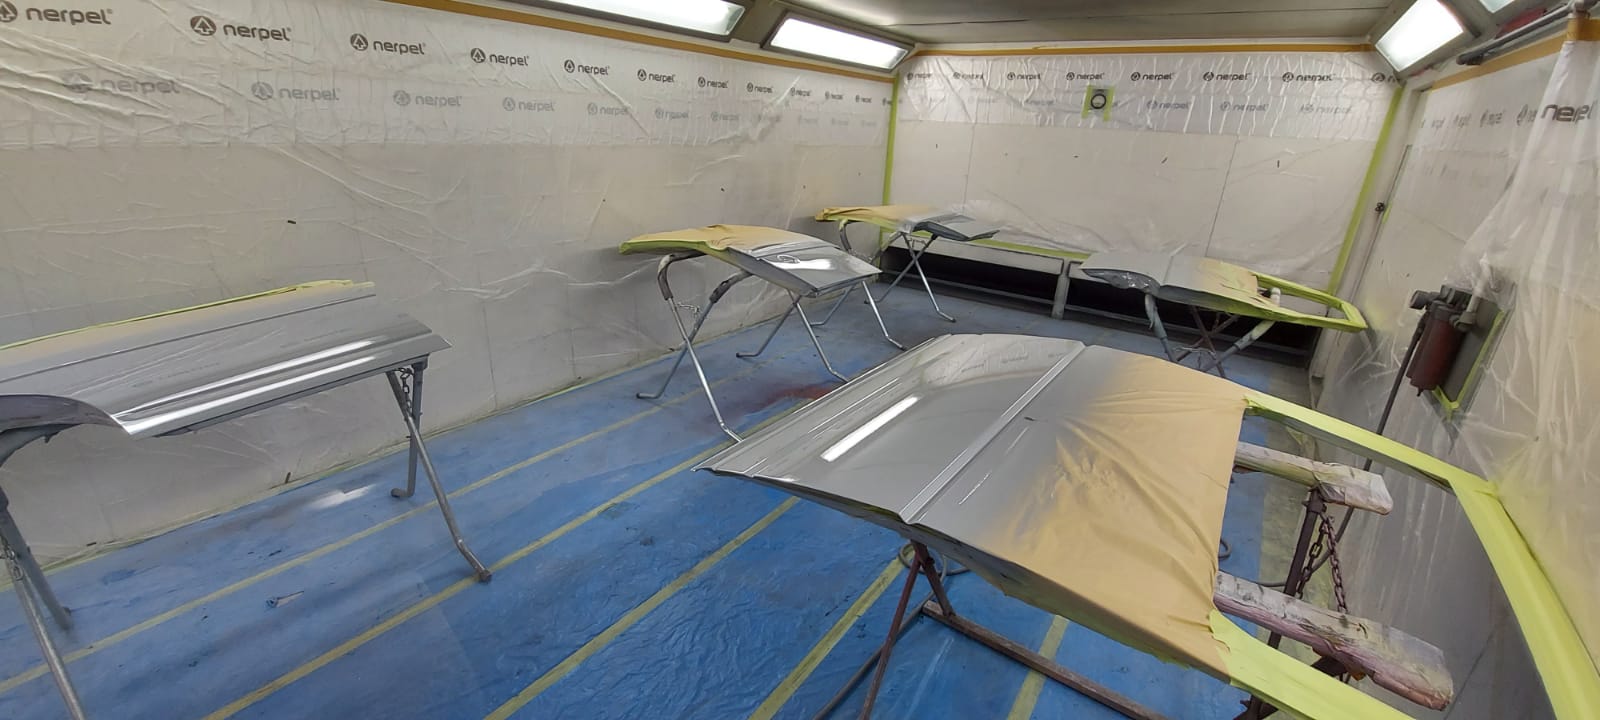
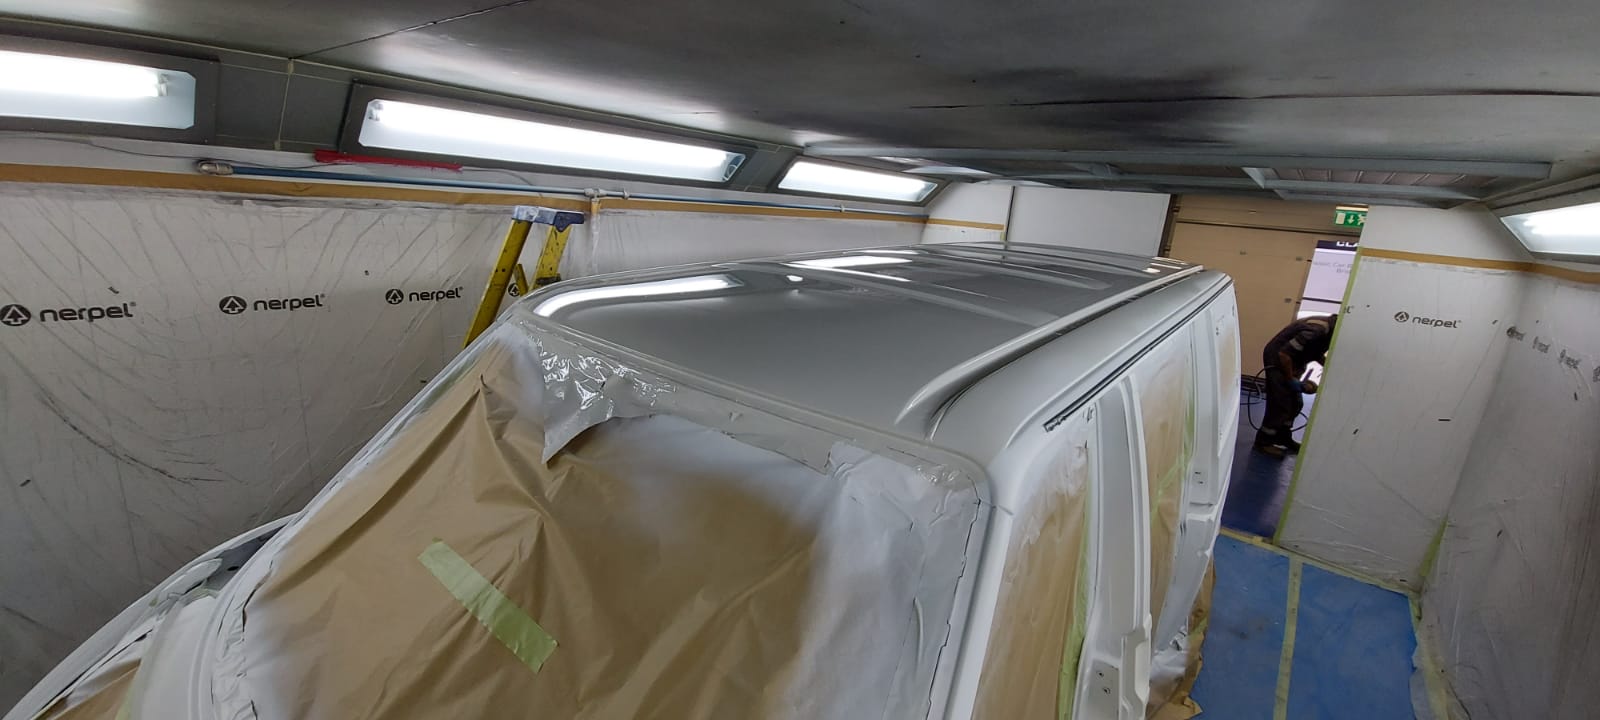
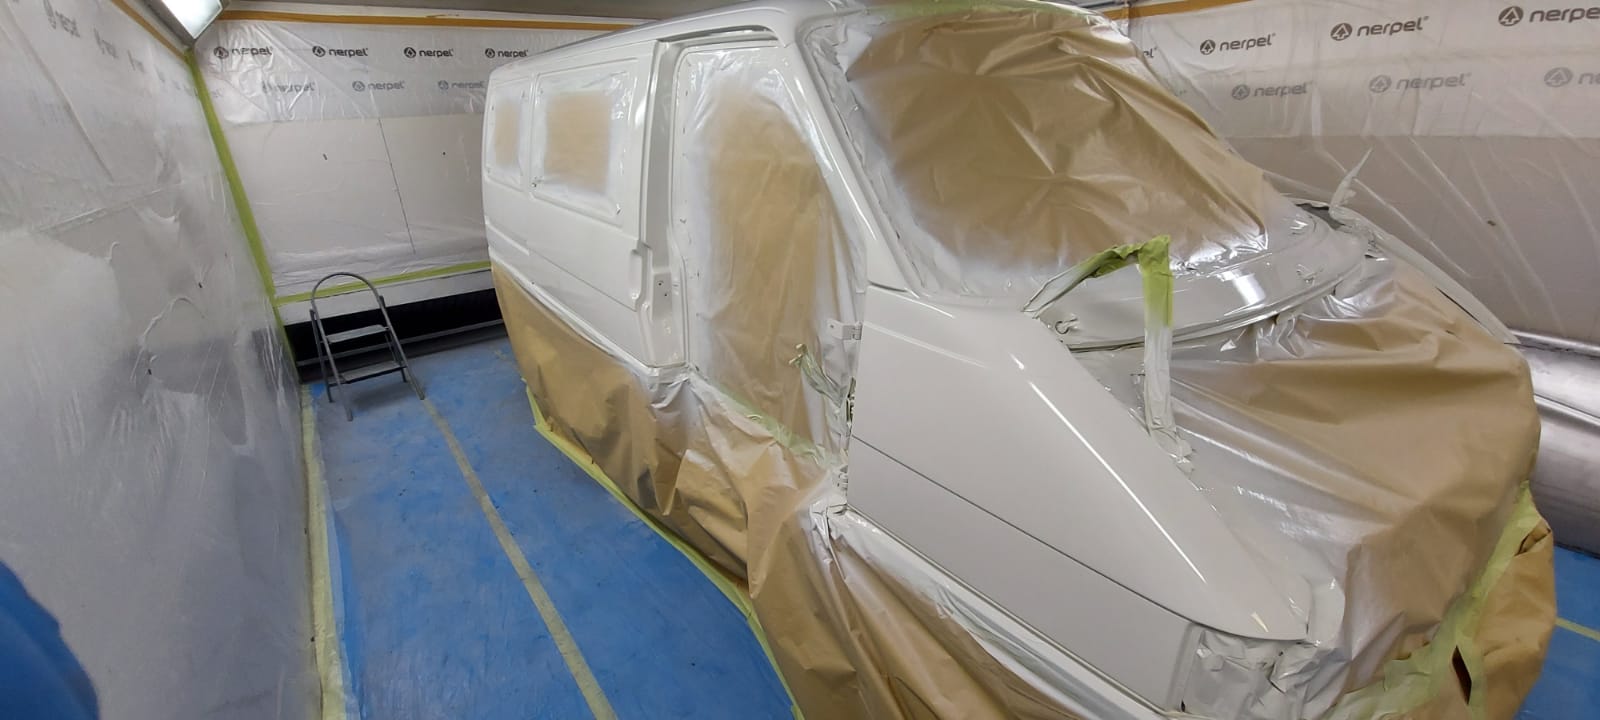
The first stage of our 1991 VW T4 Campervan paint has been completed. With the entire body masked and painted in a solid white, the paint shop can then move on to paint the lower half a steel grey.


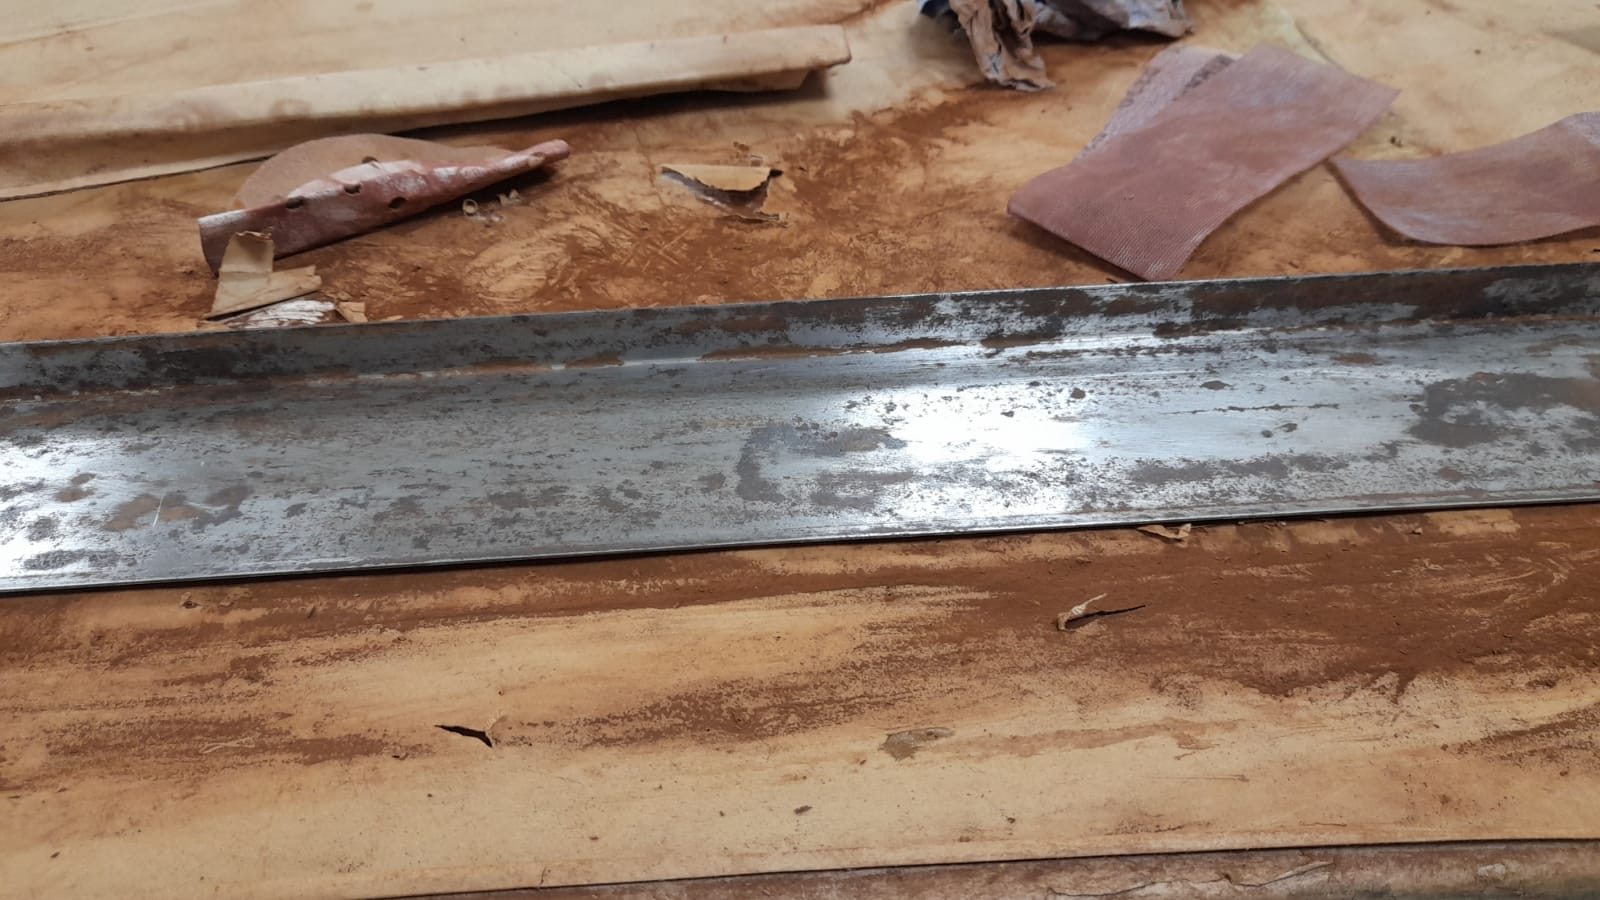
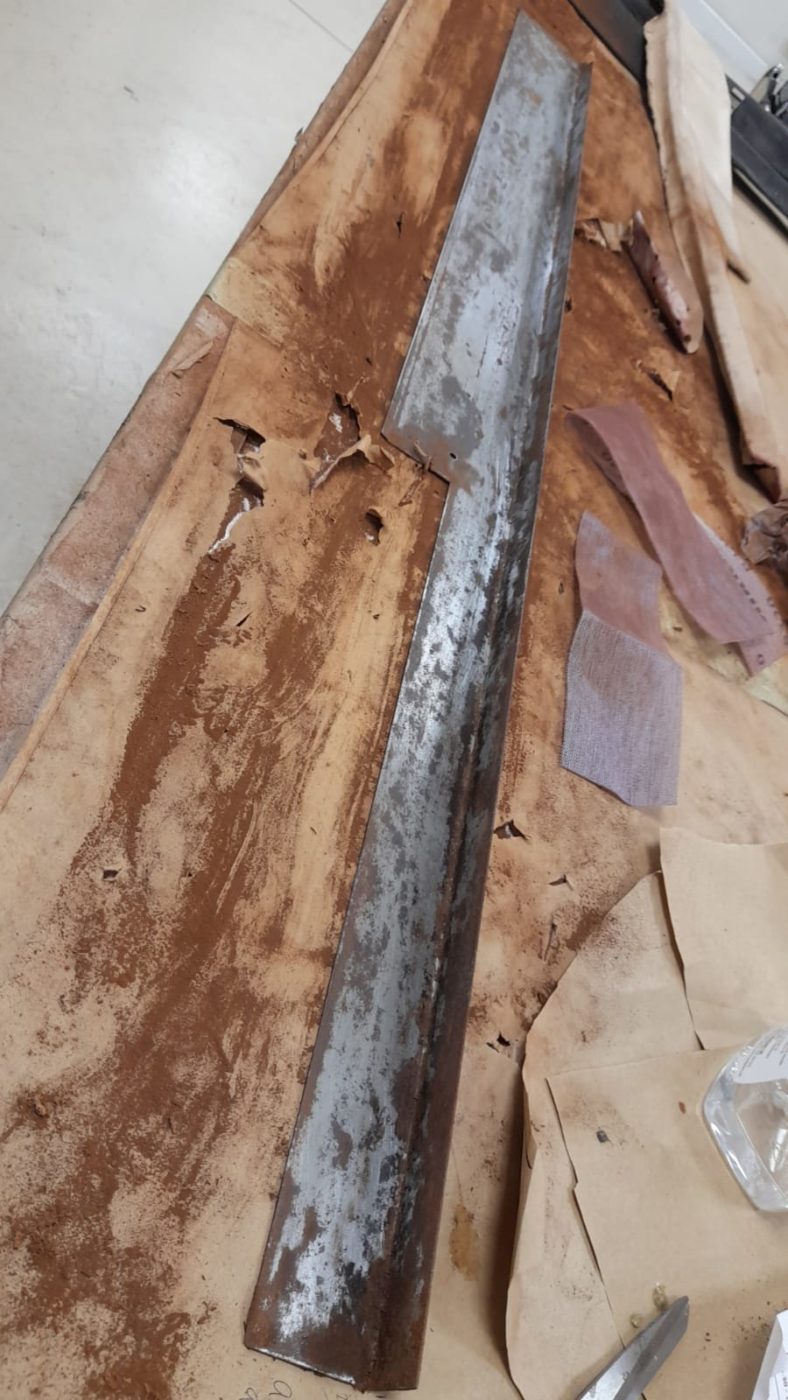
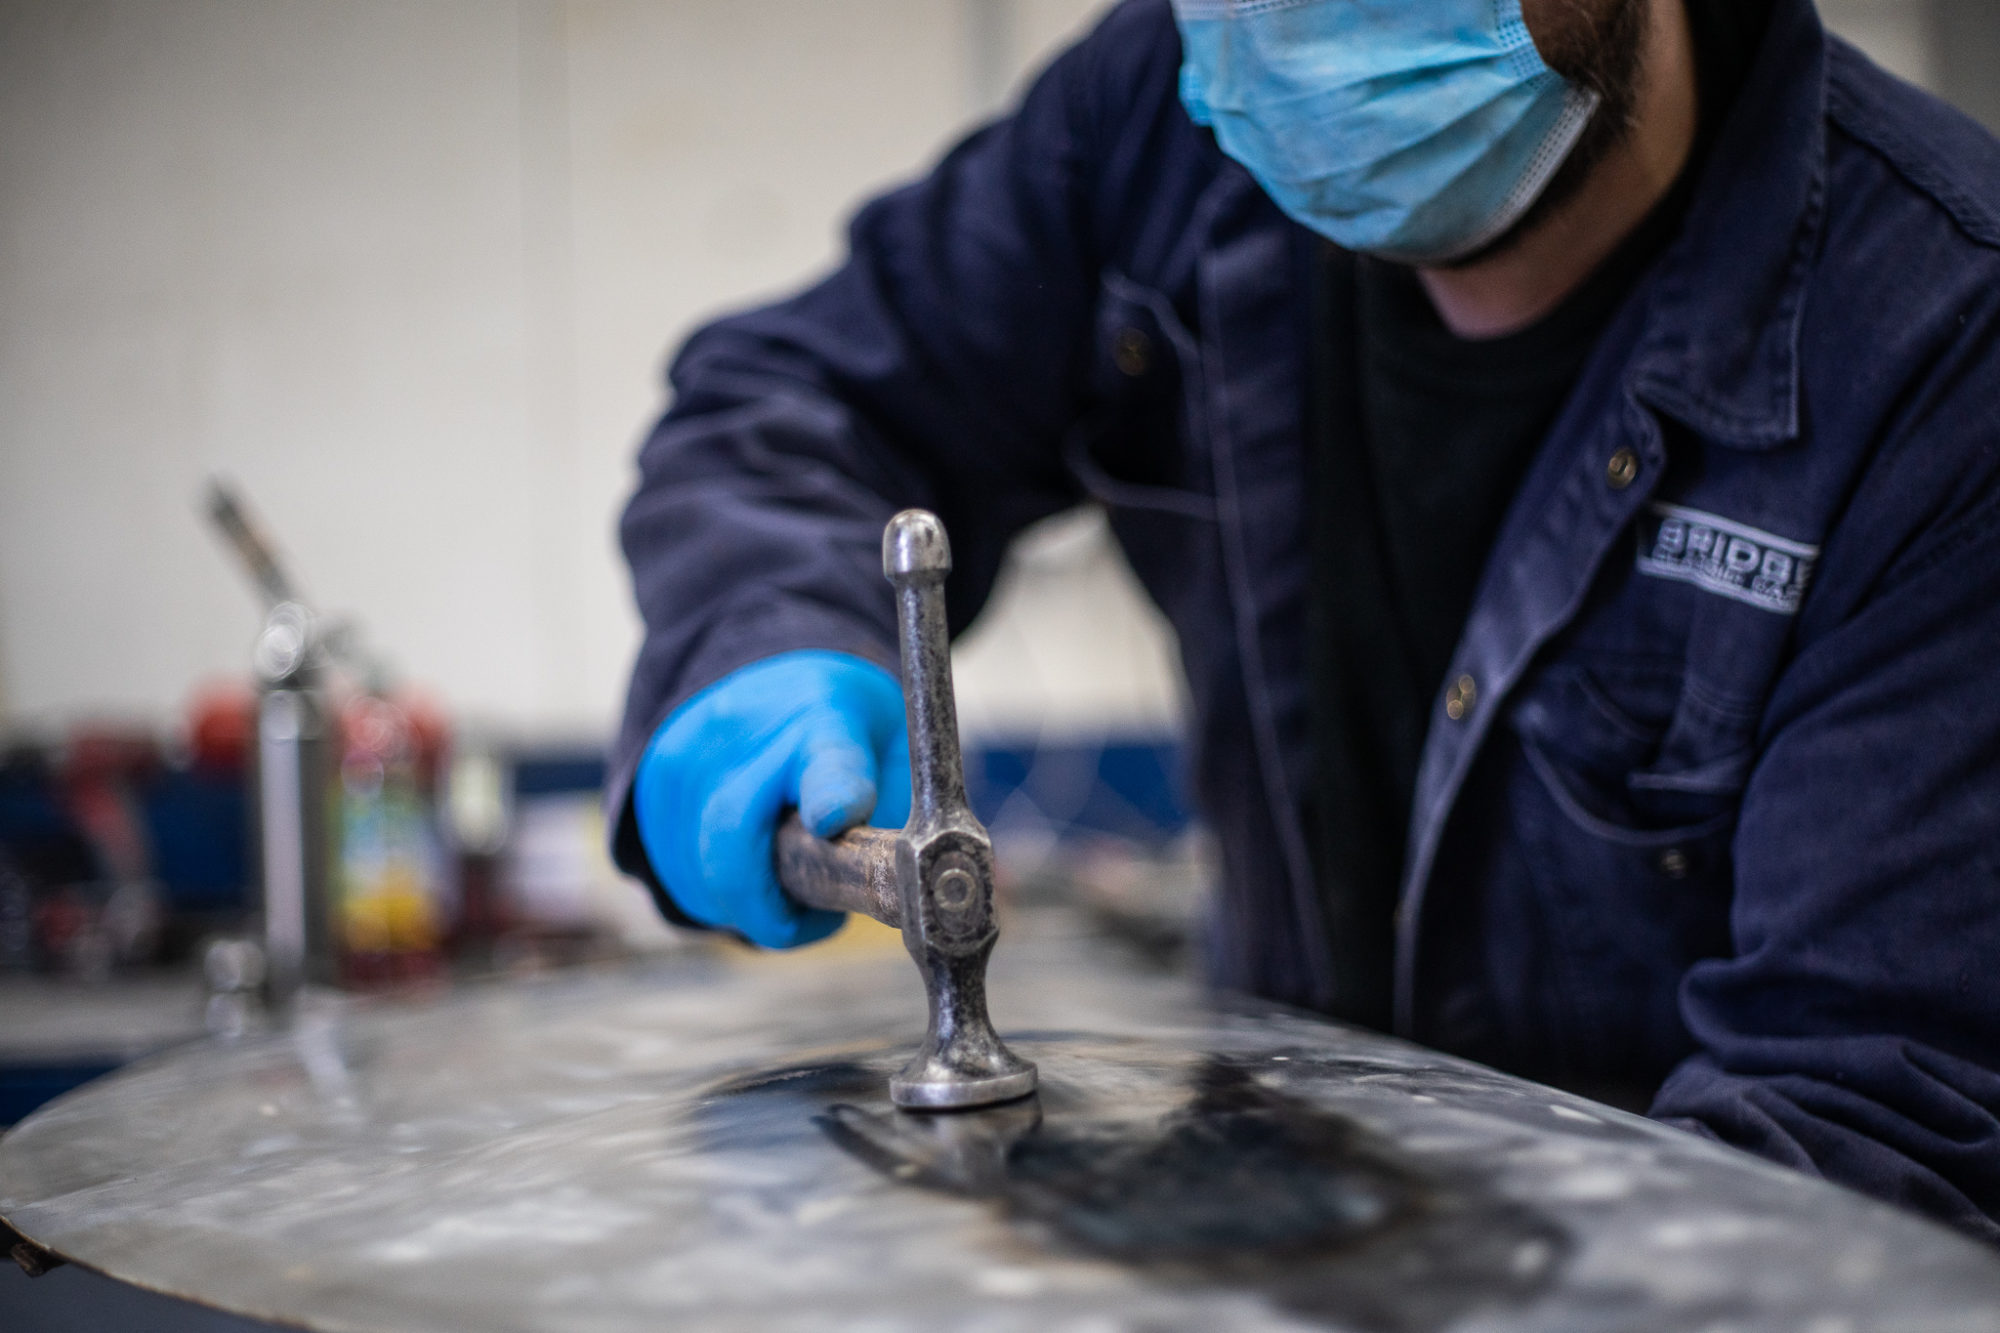
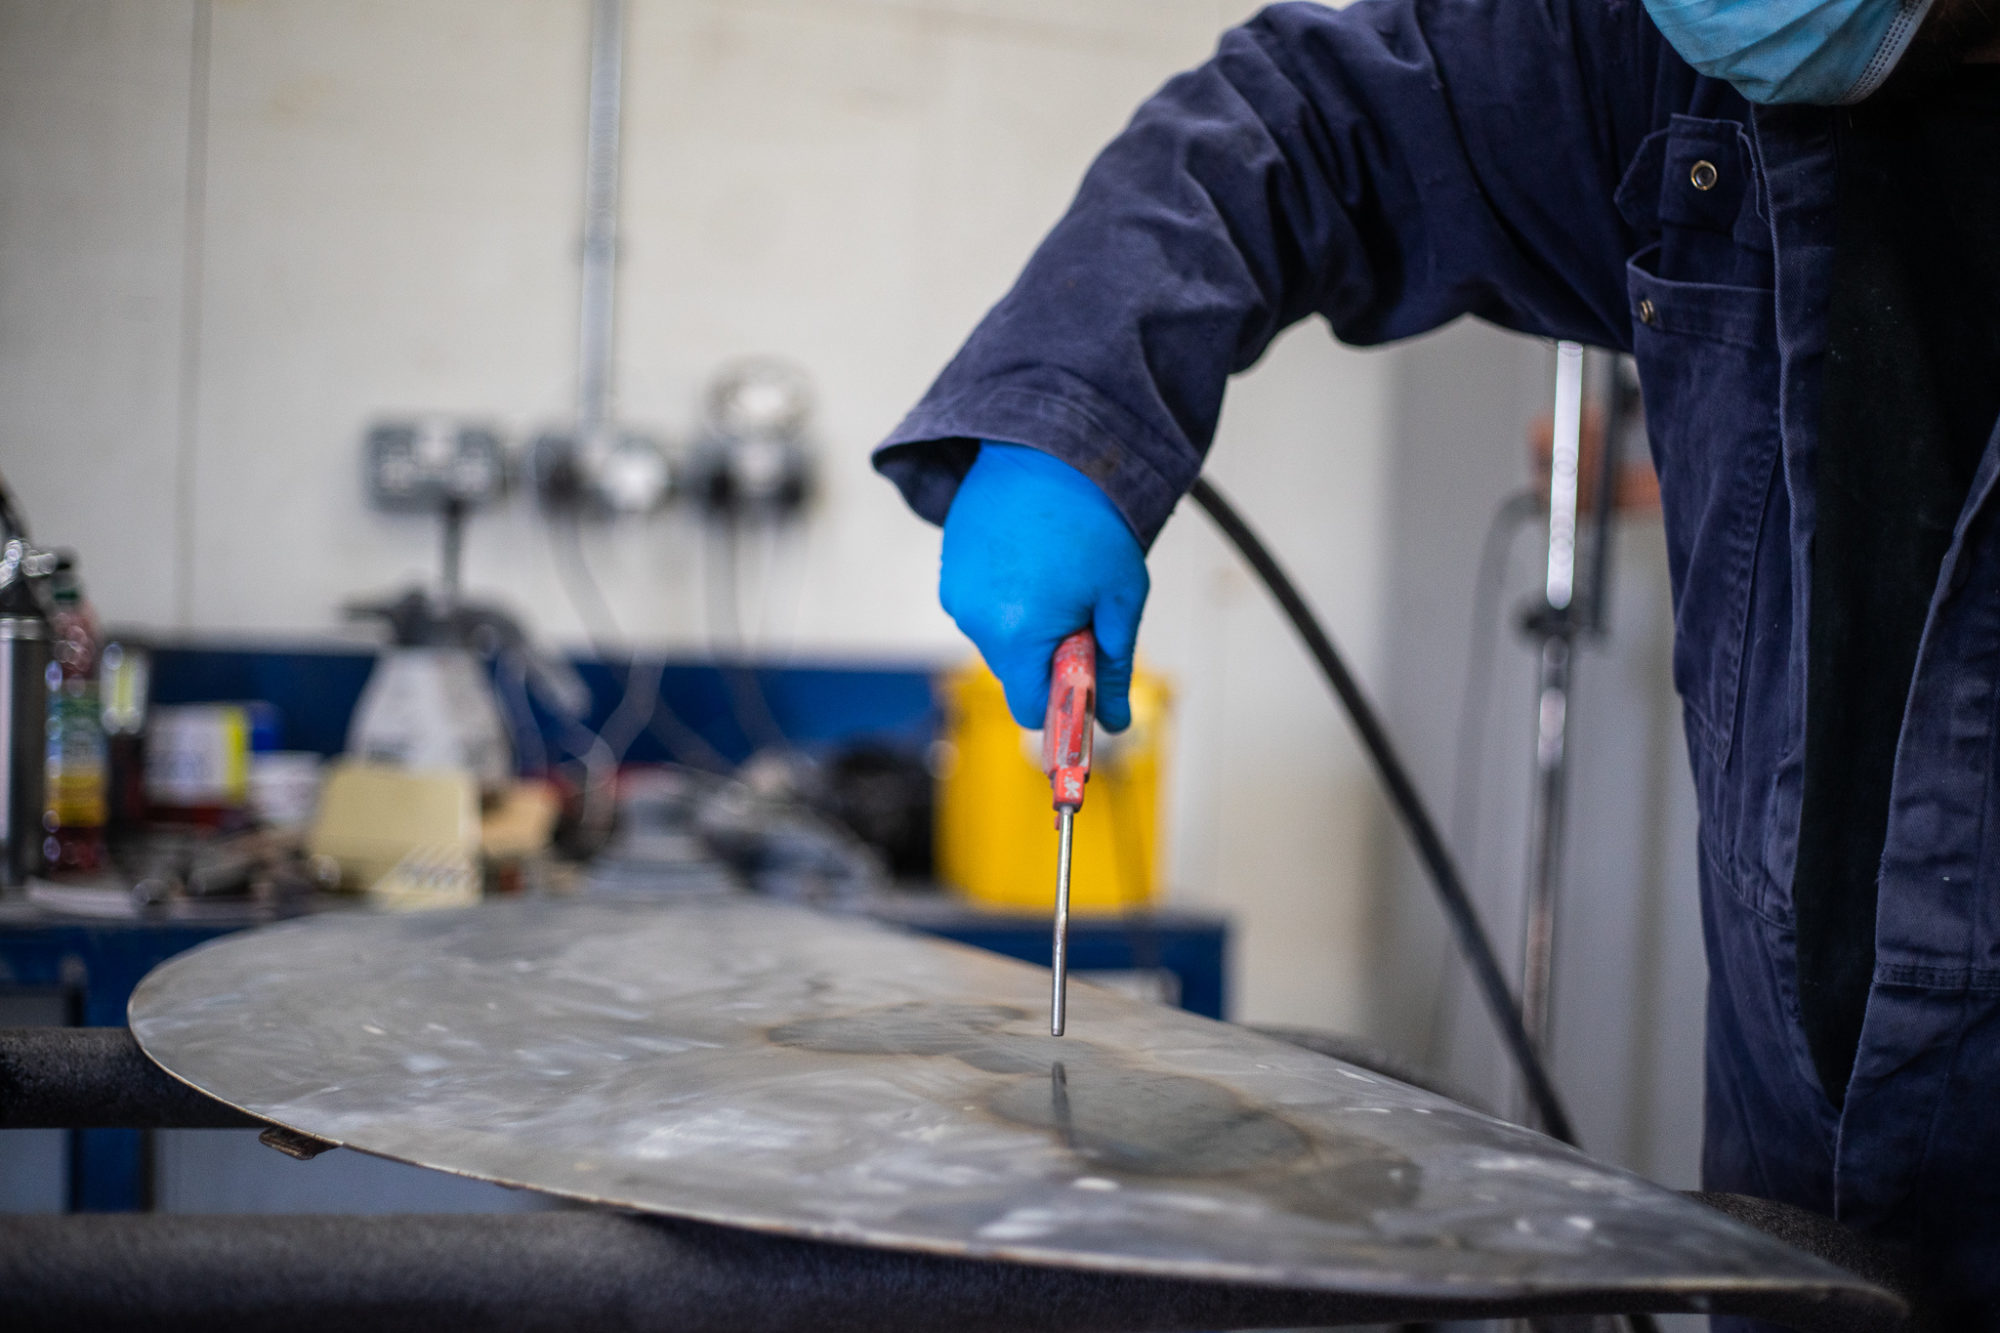
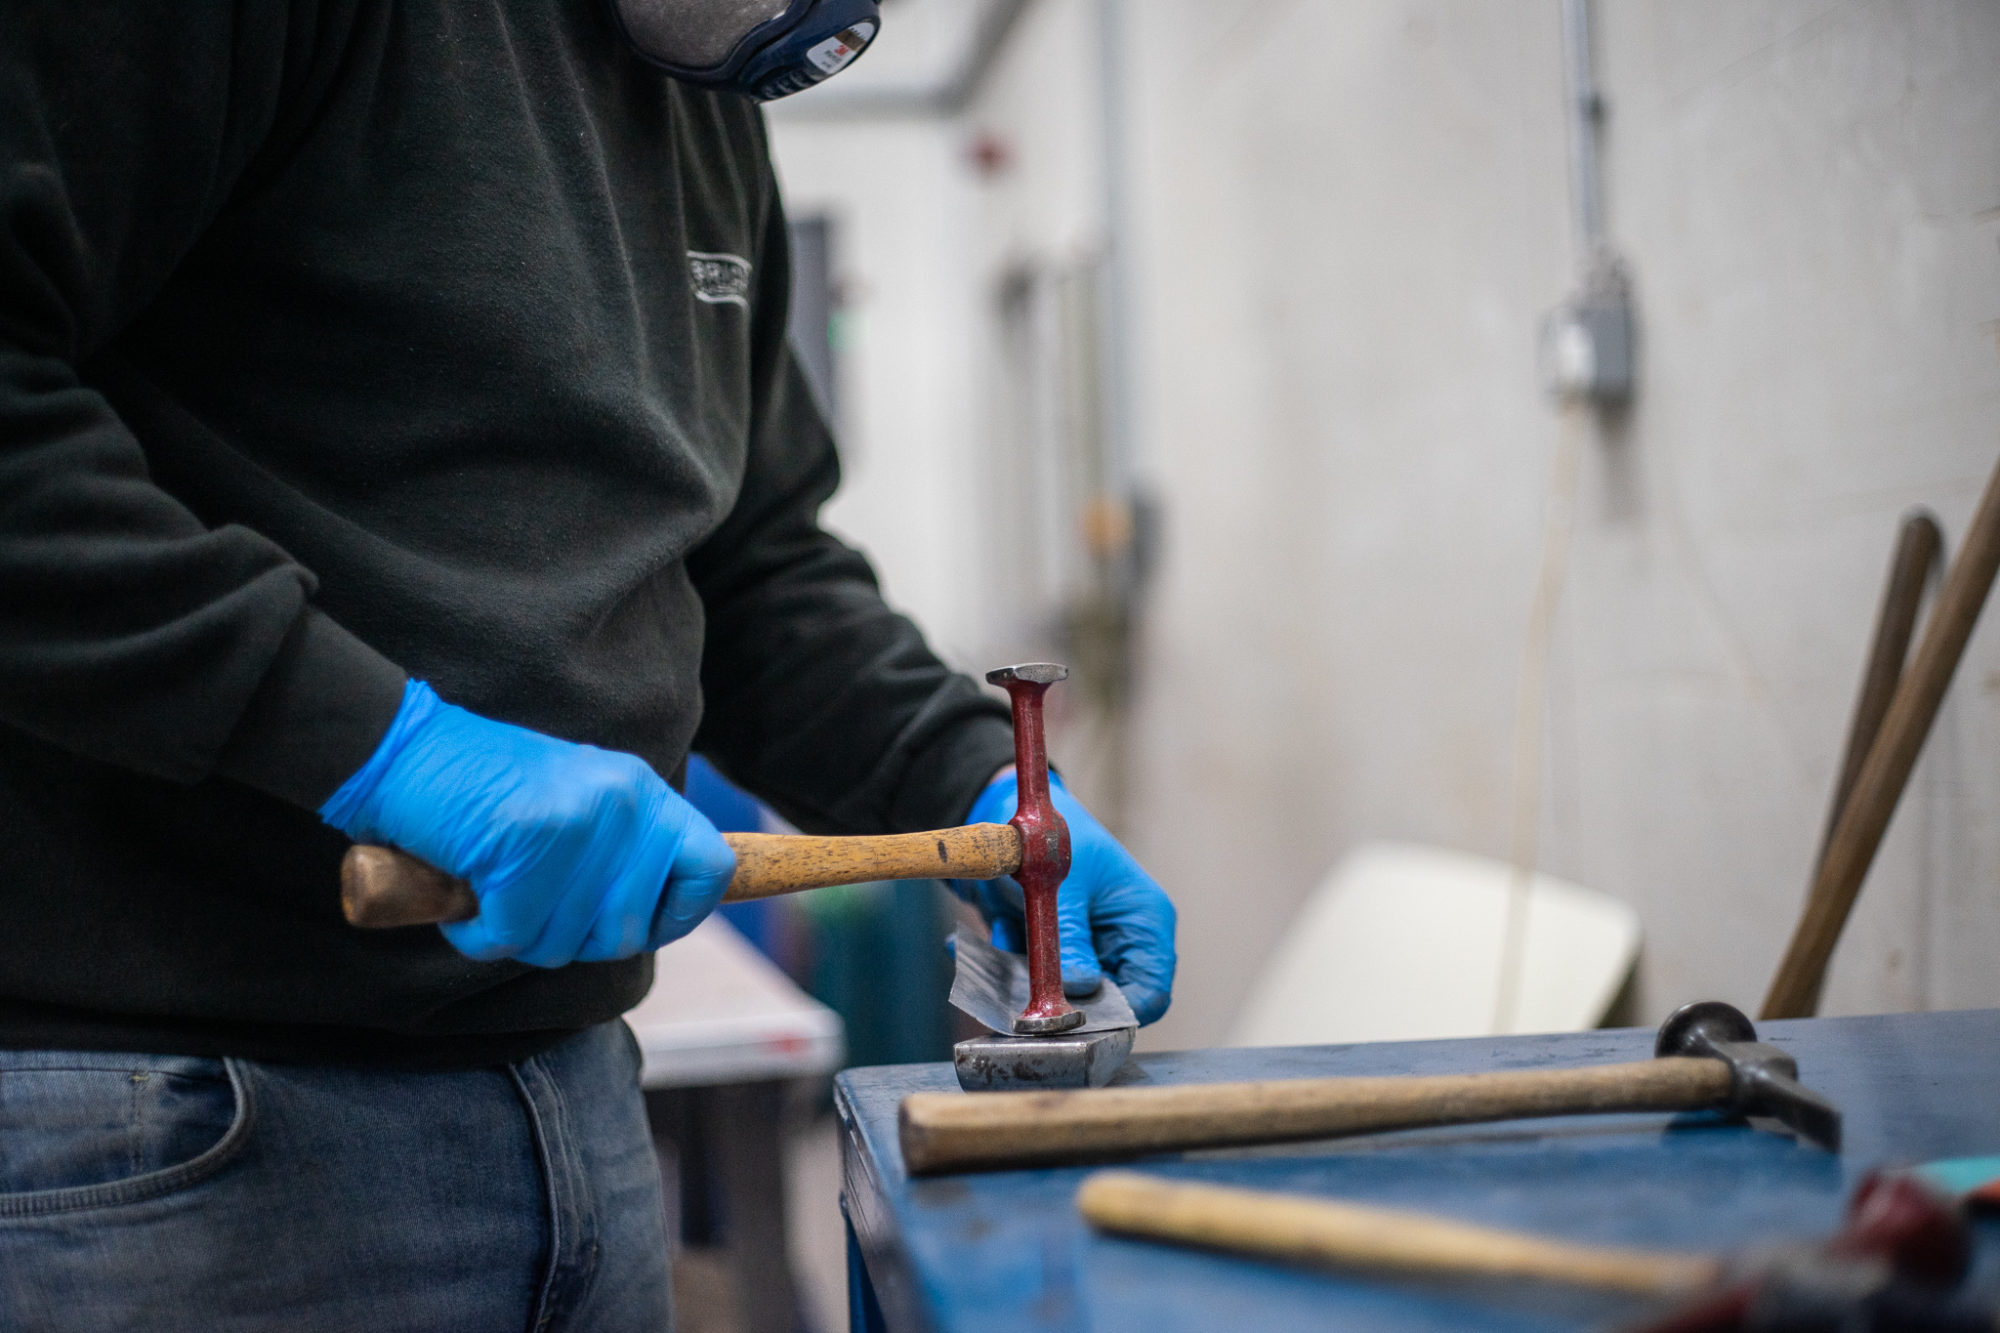
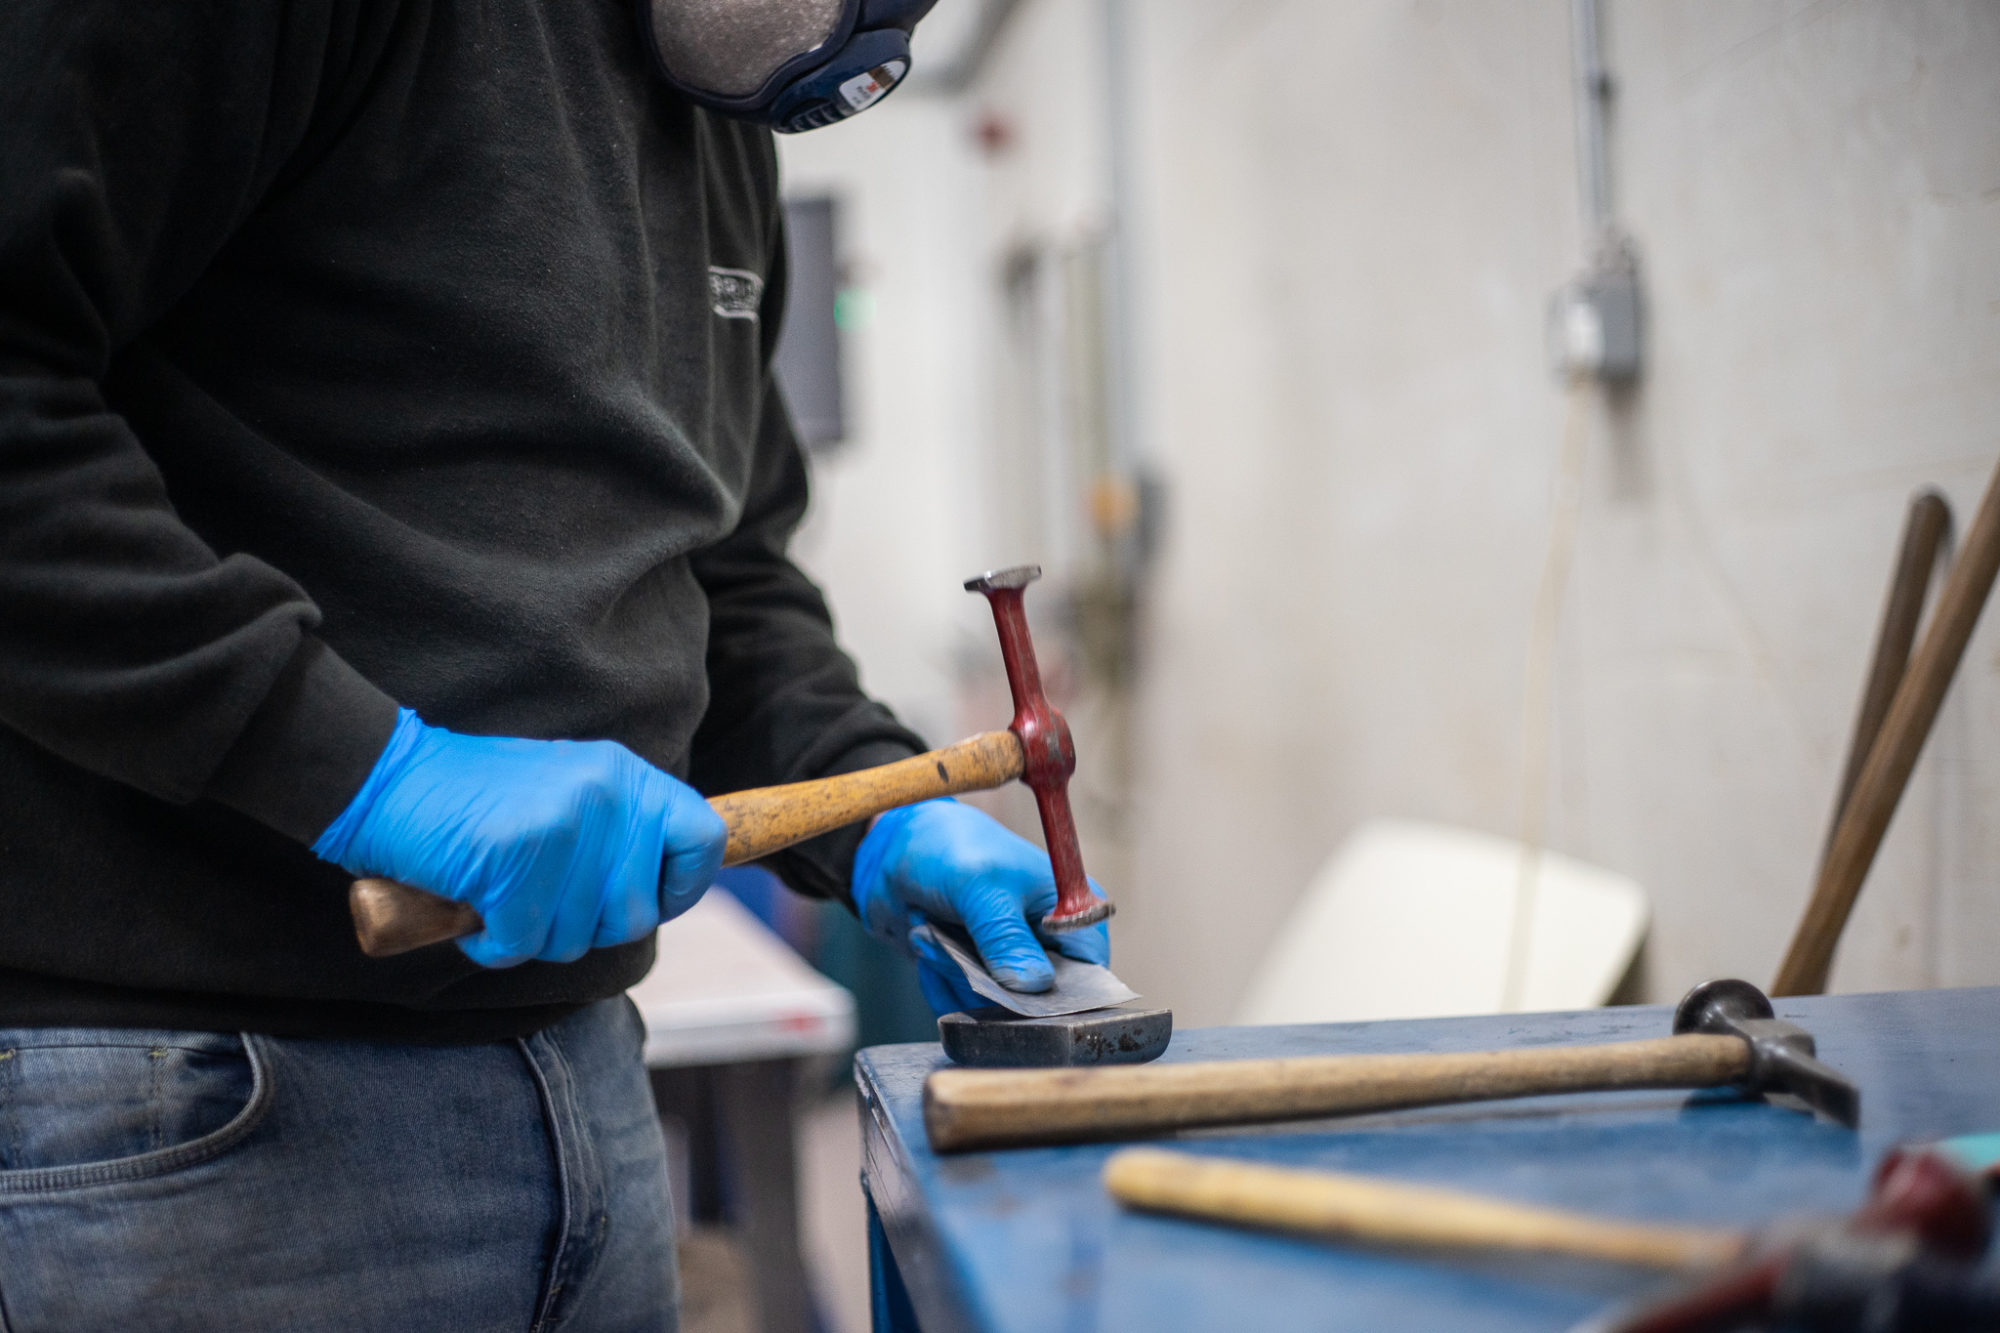
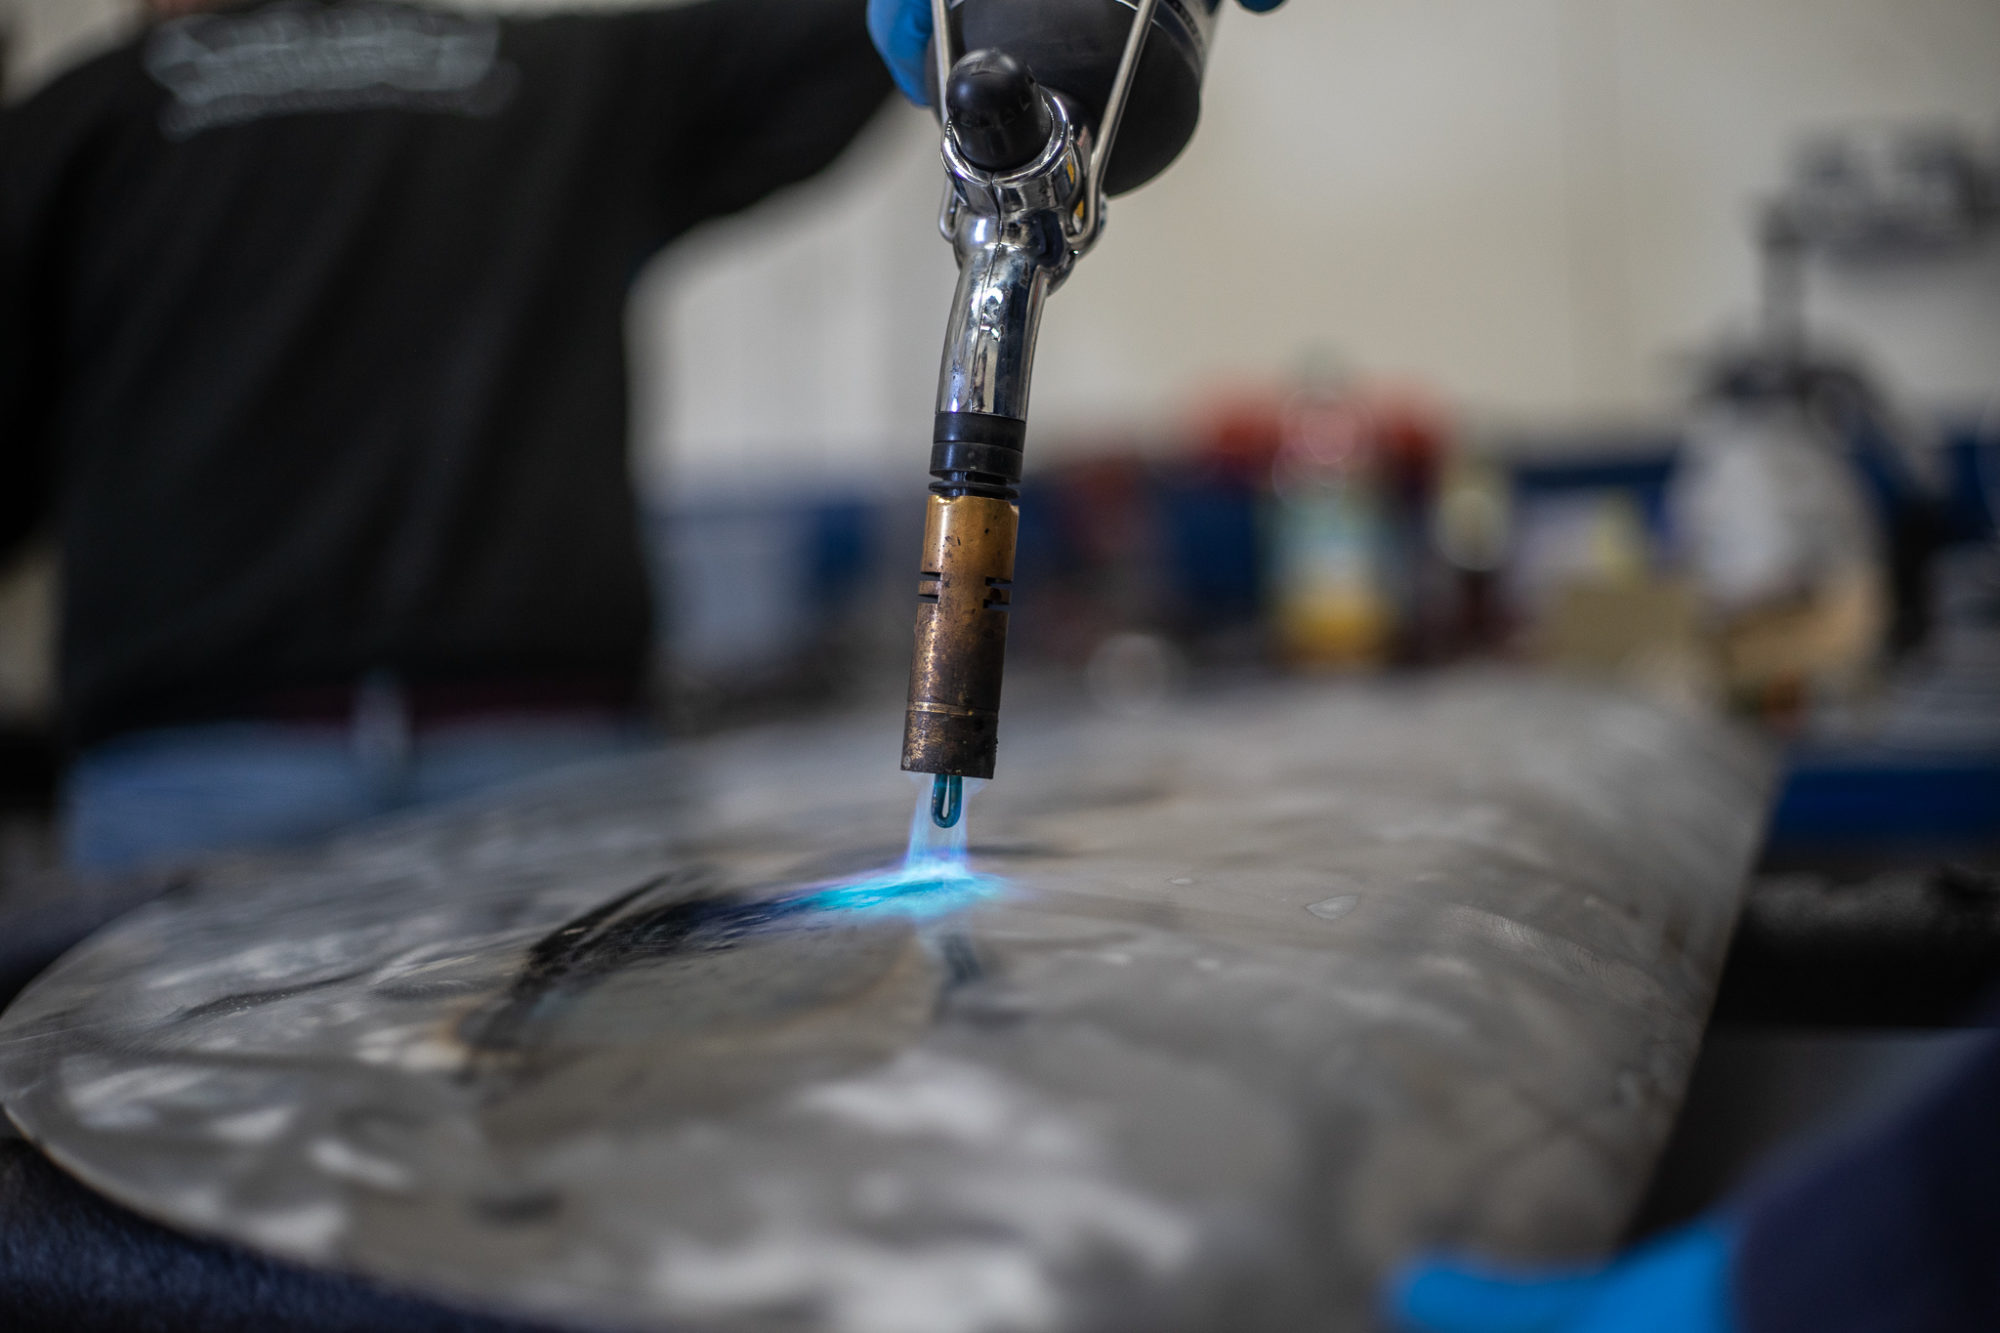
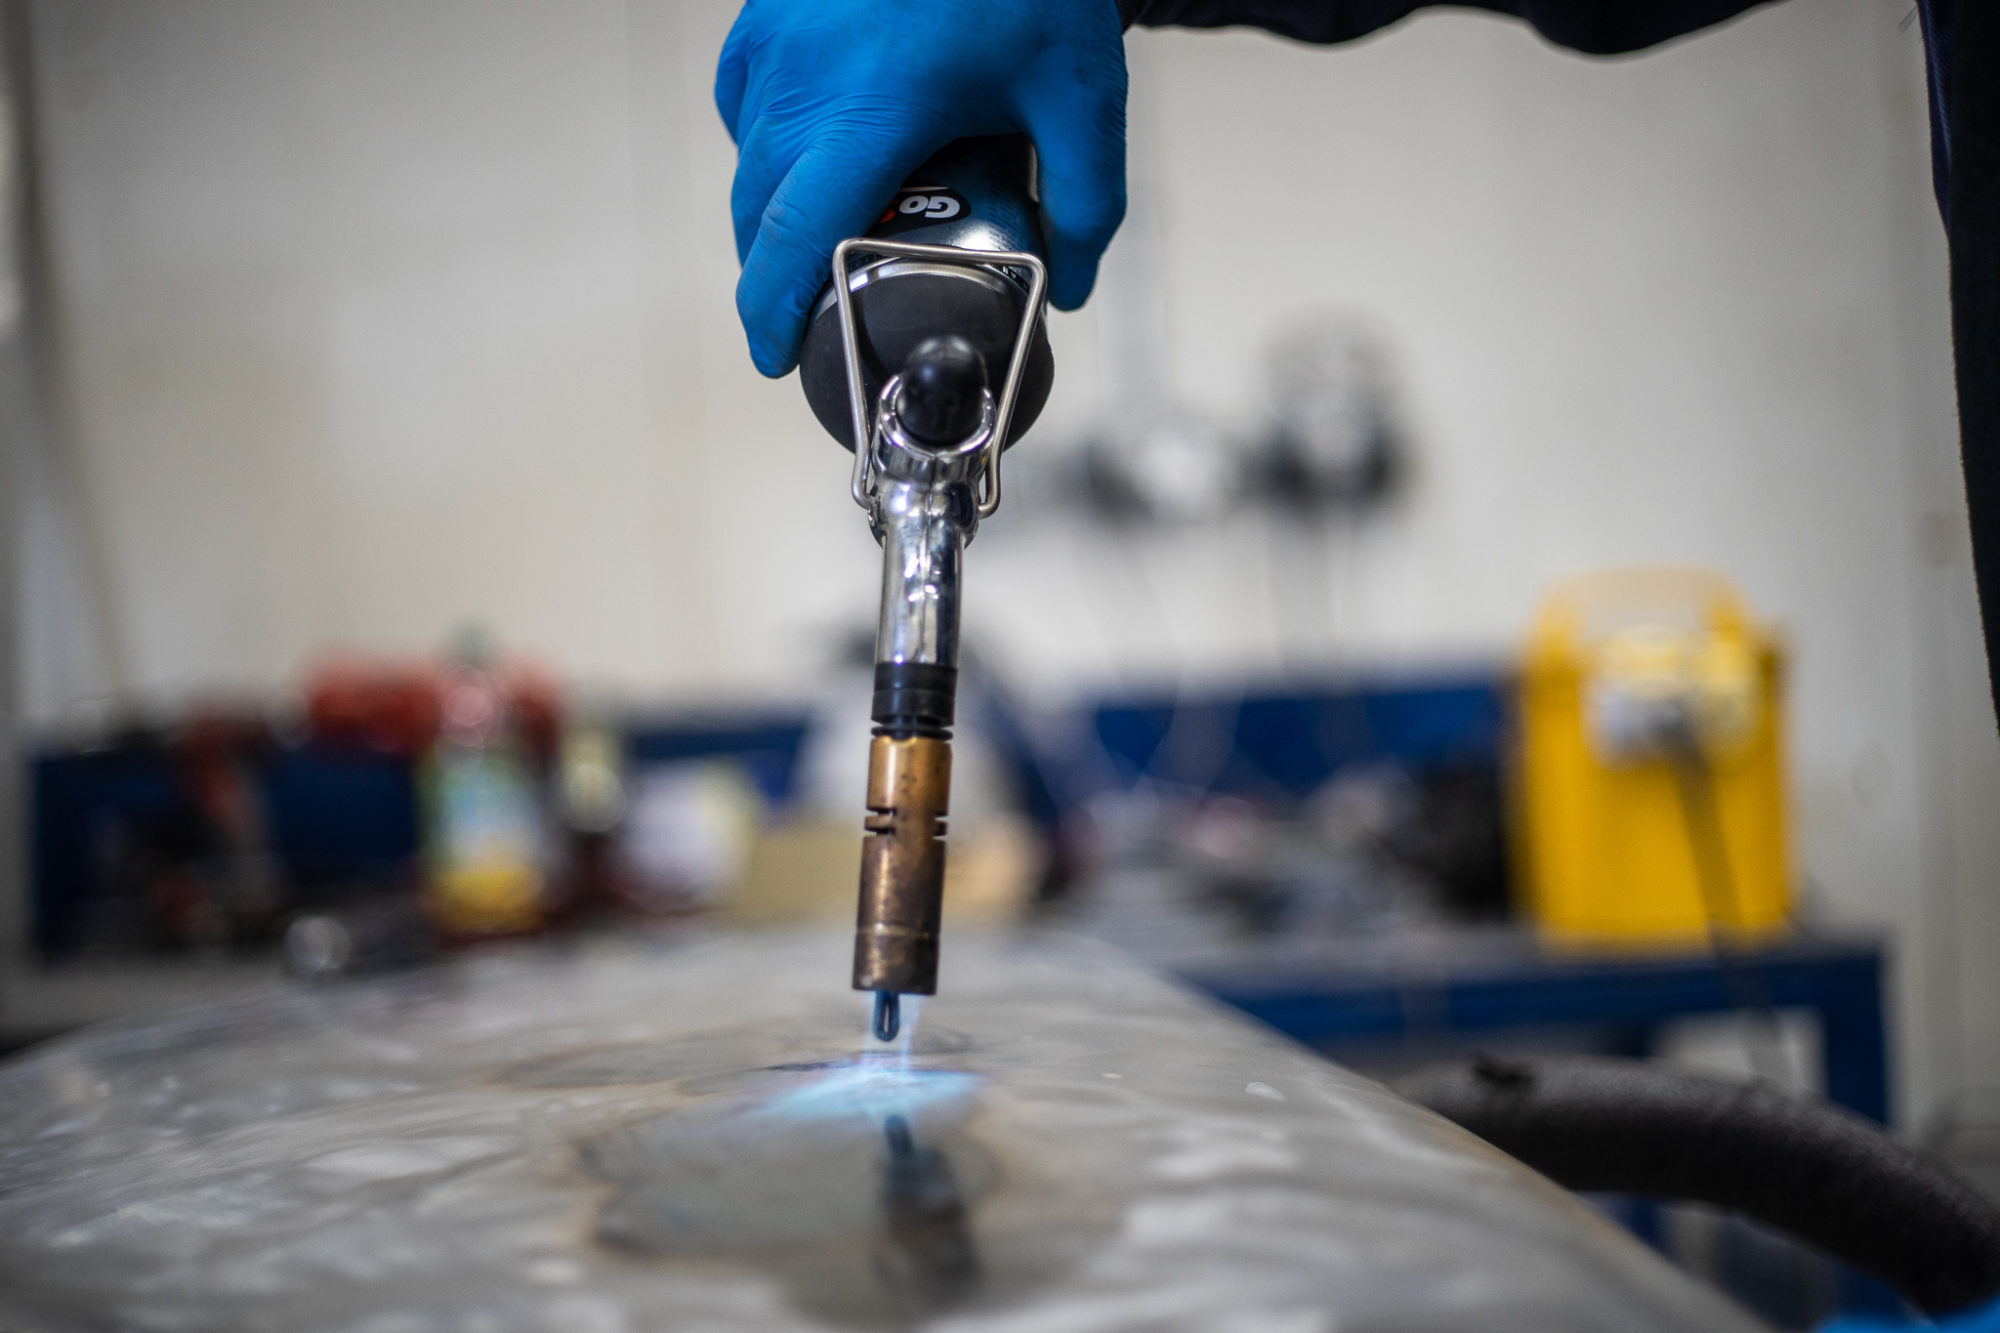
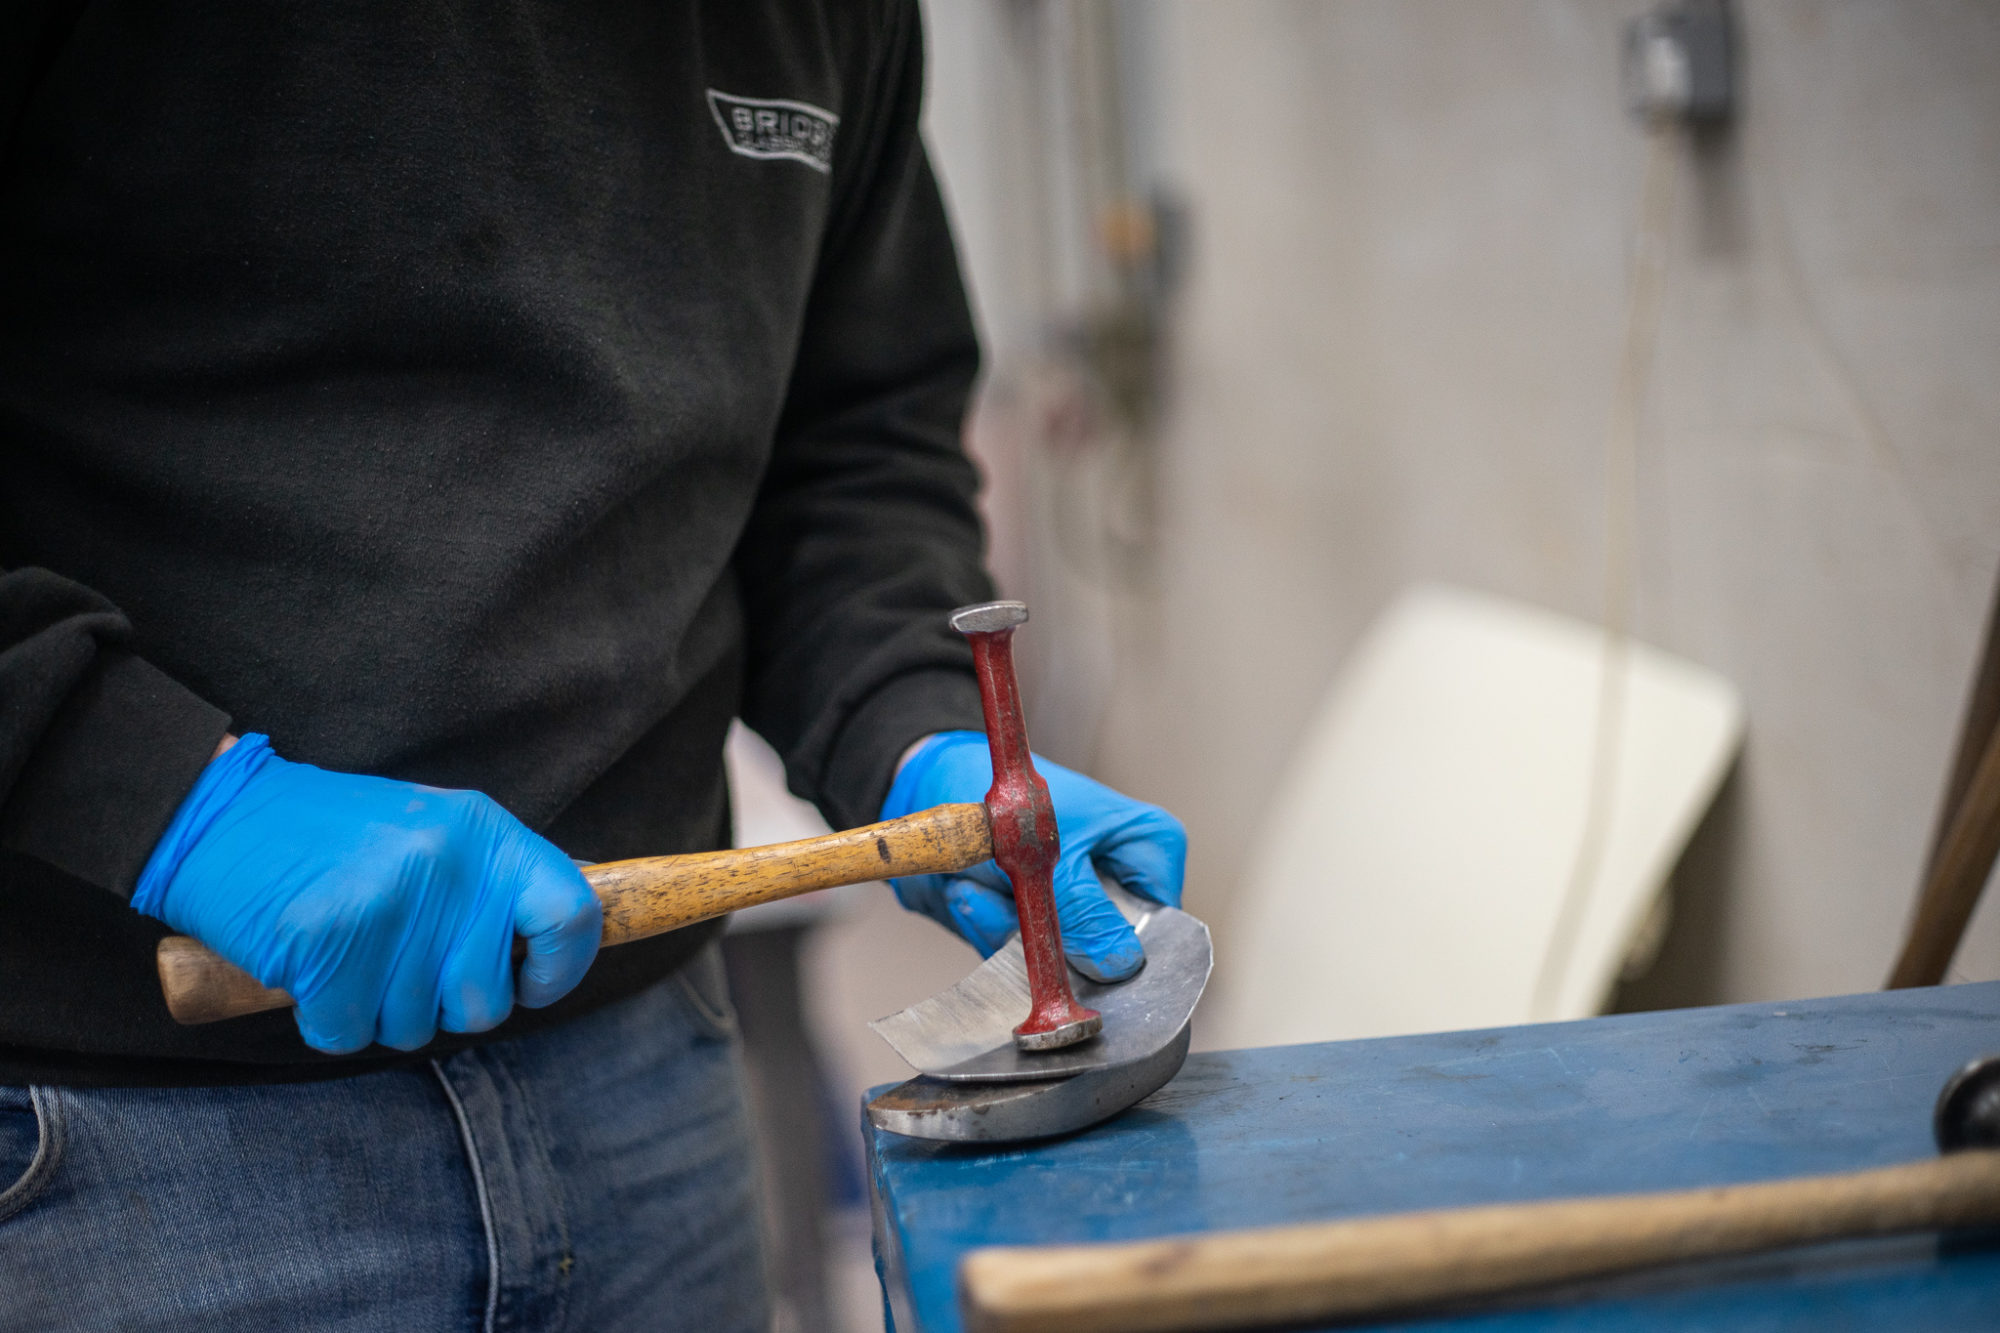
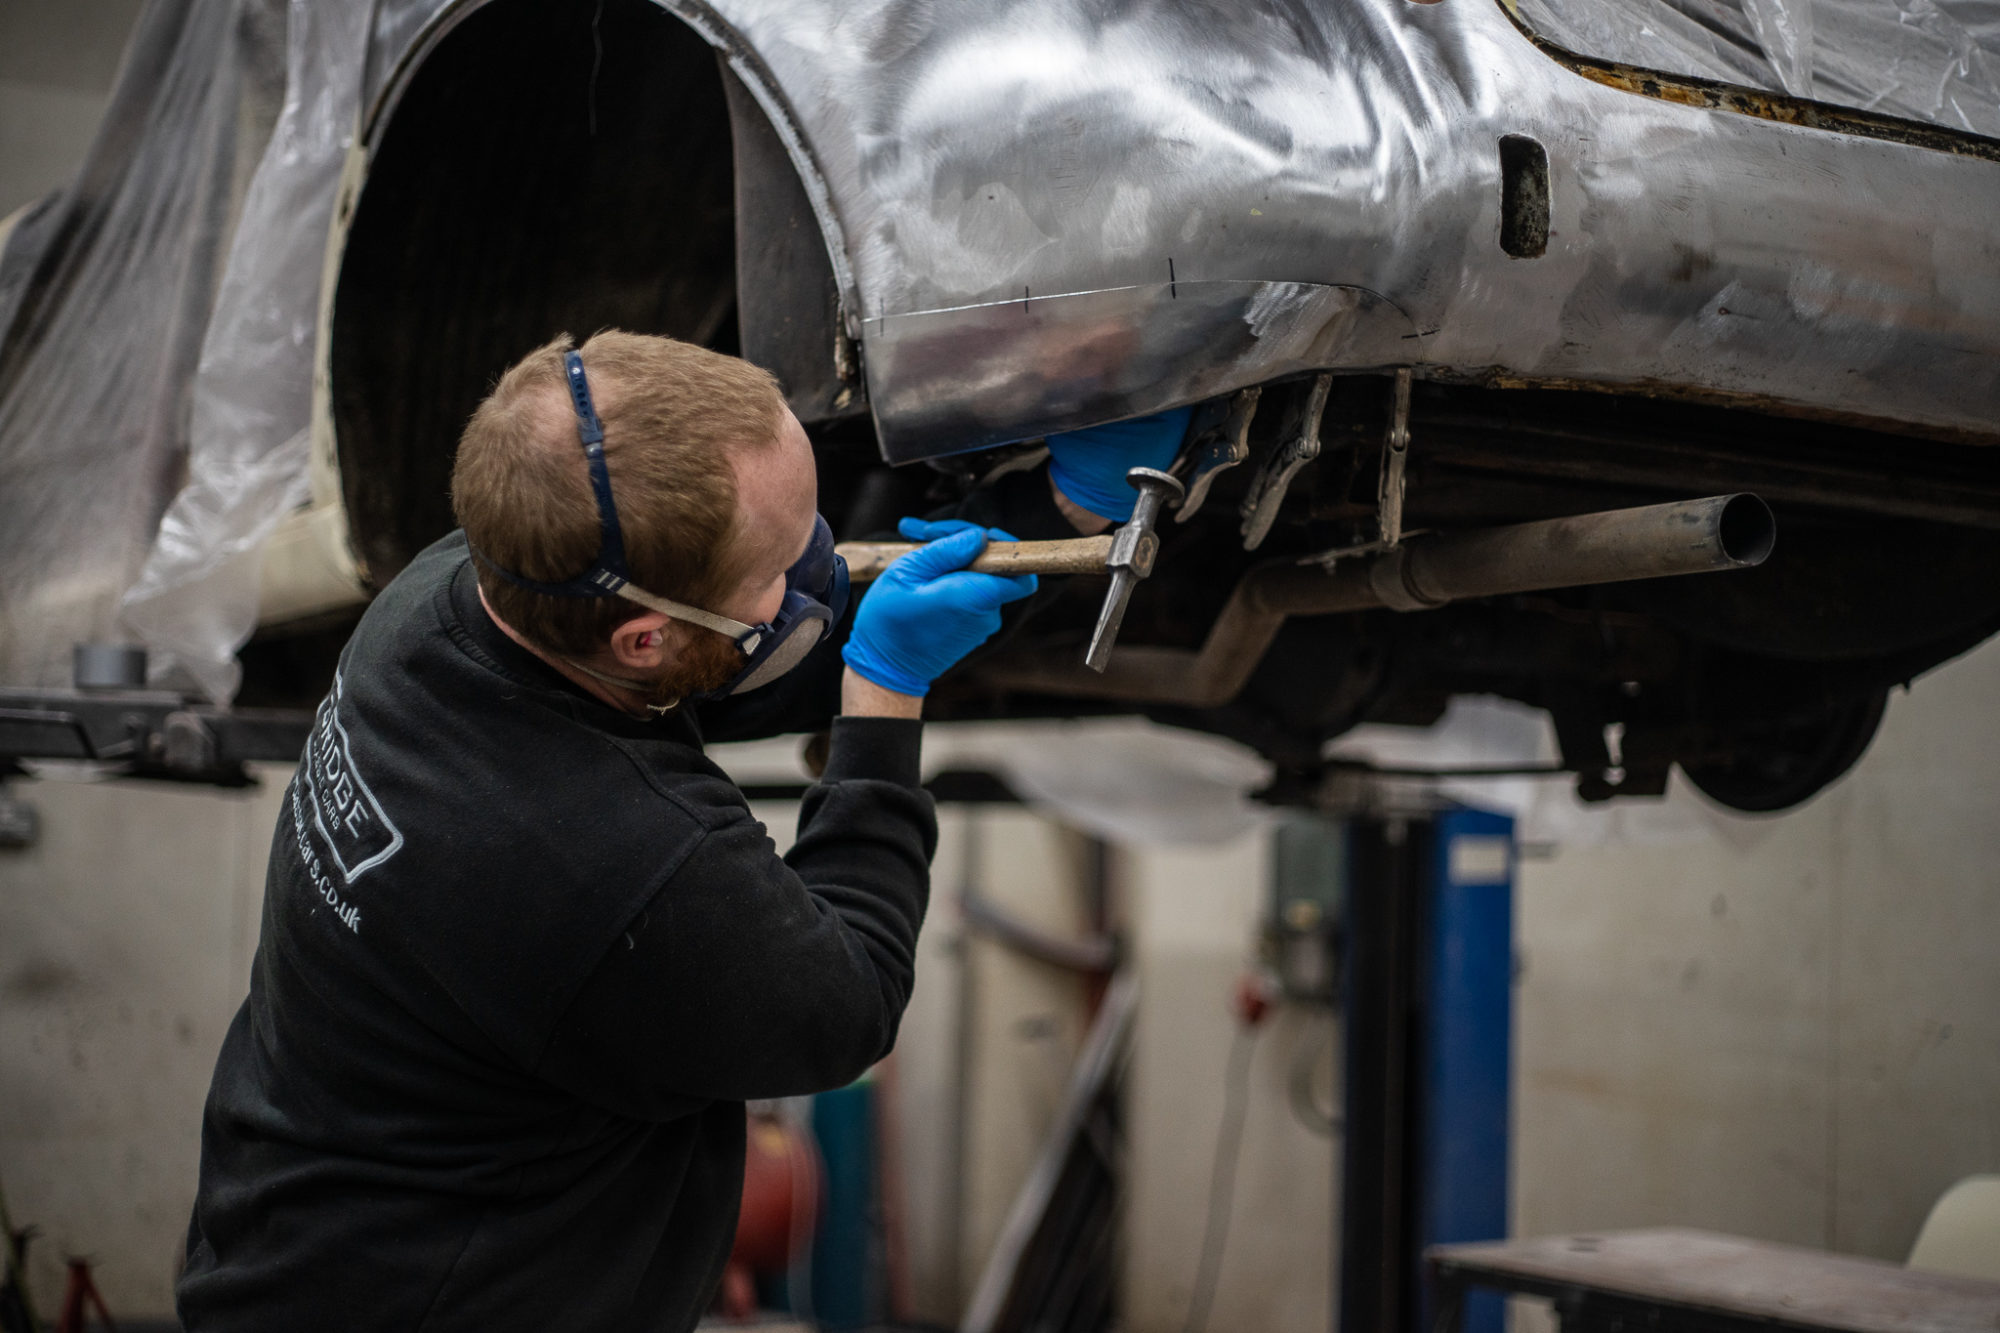
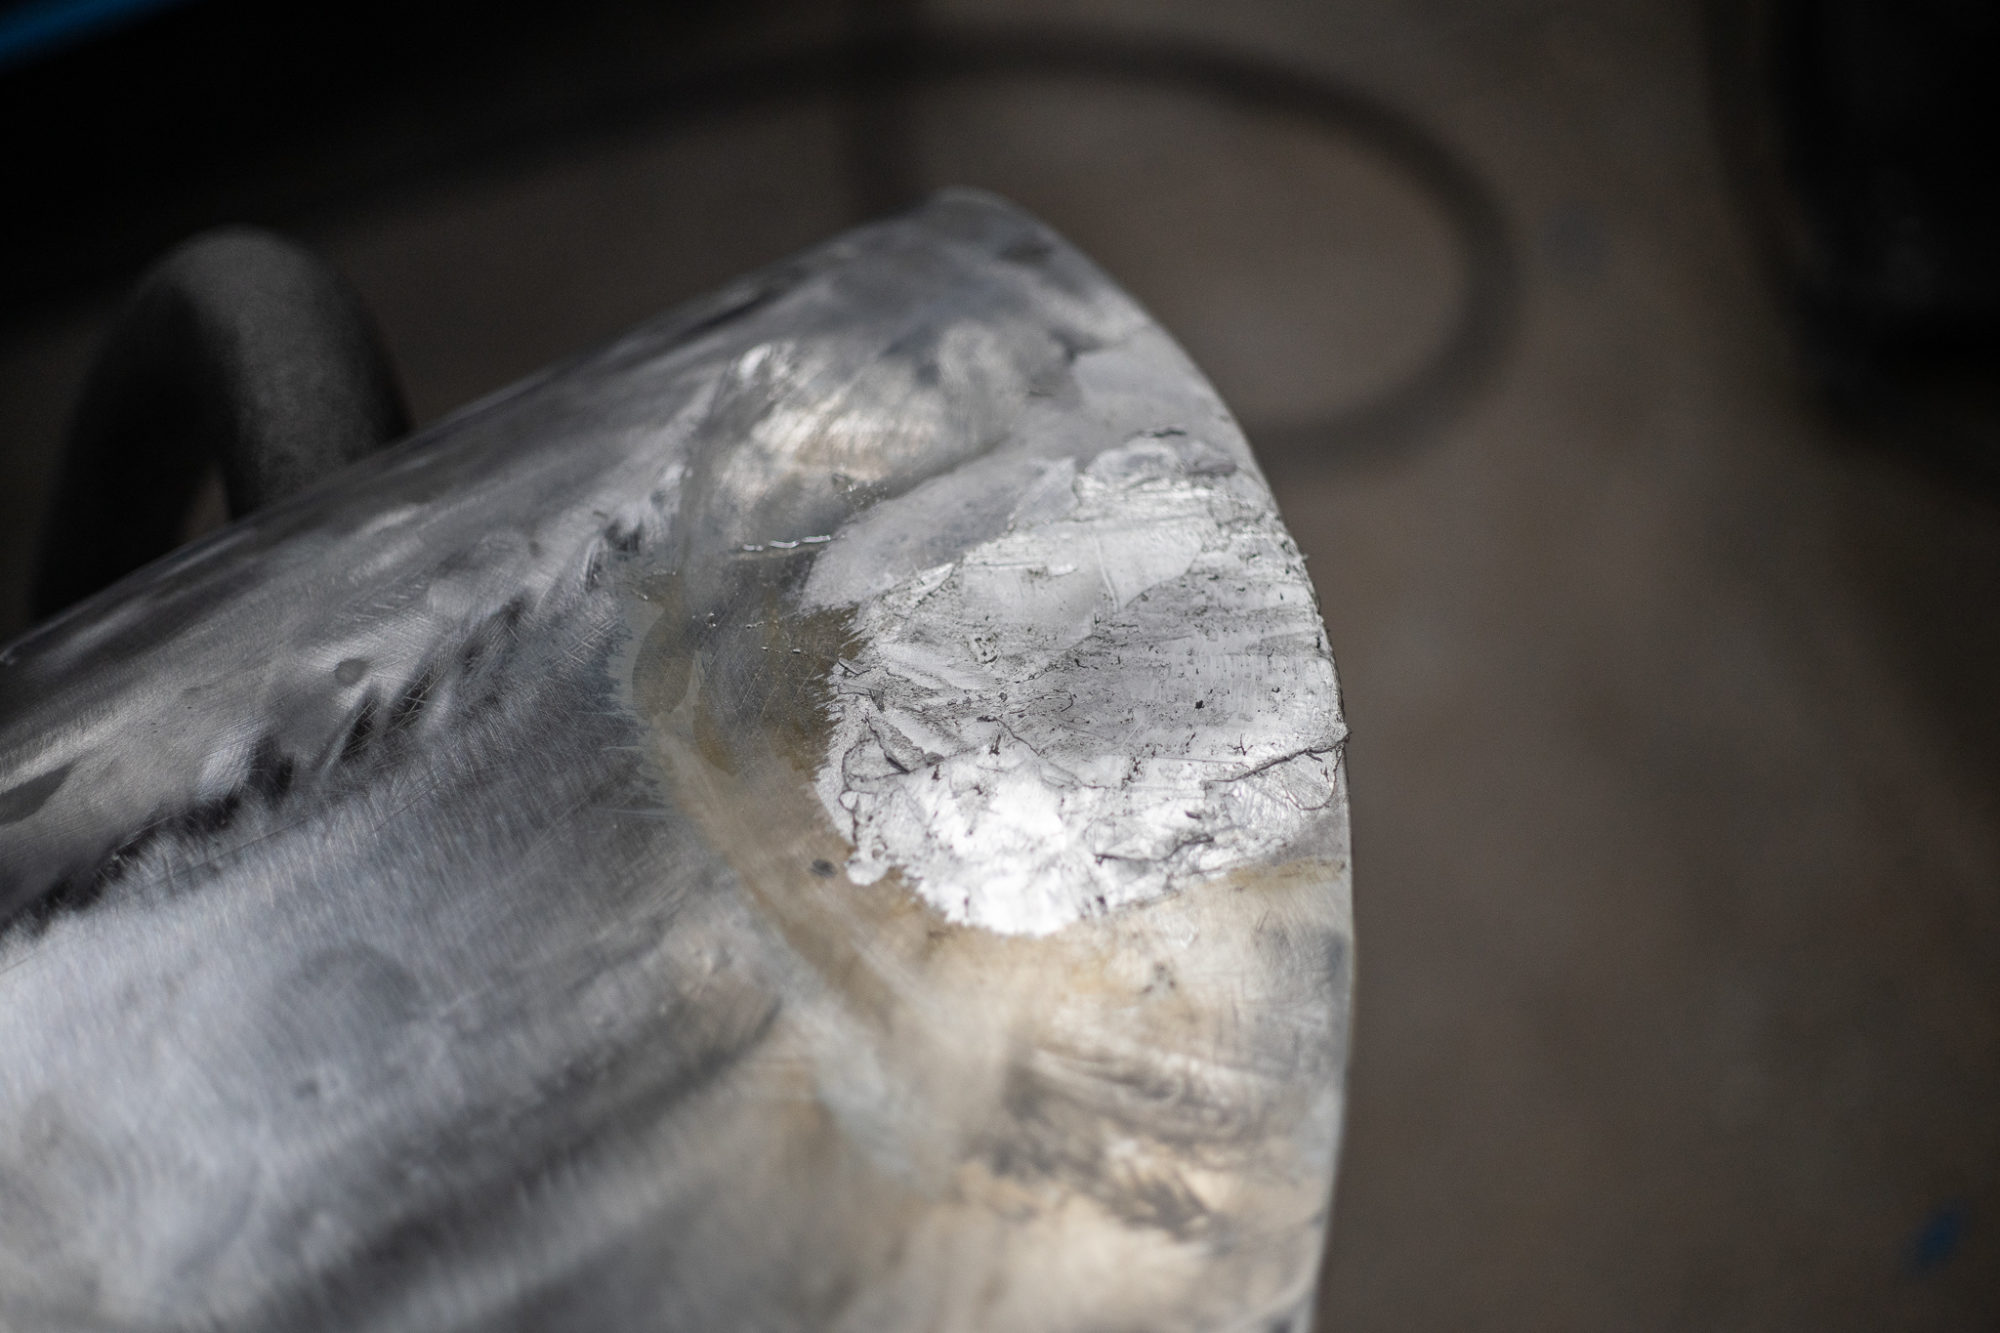
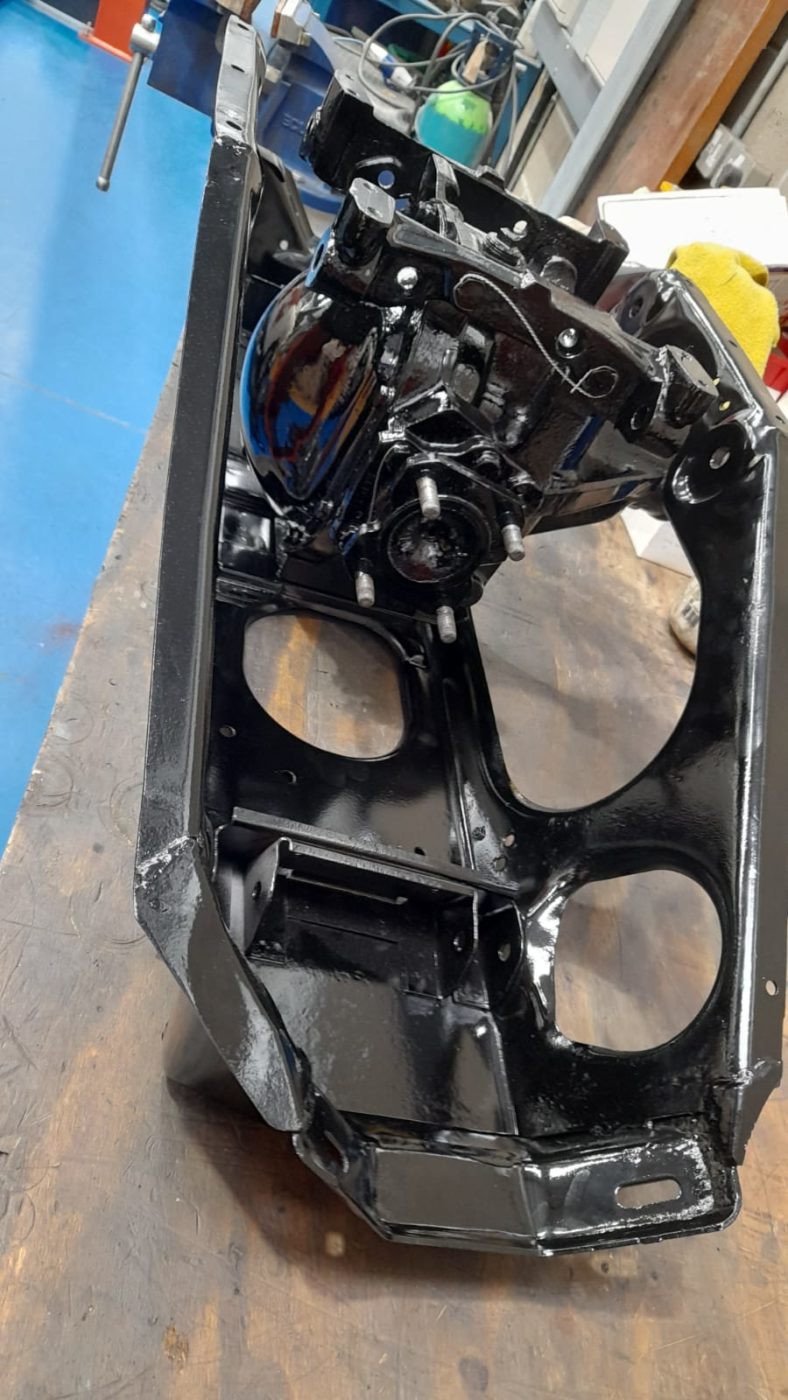
James and James have been working on shrinking and re-shaping the panels for our 1954 Jaguar MKVII however they’ve taken to doing it the traditional way. Using heat, a hammer and cool air, they can effectively reshape anything they need to in a precise and neat manner. By heating up the metal, it balloons and softens the surface, allowing James to hammer it into shape and then use cool air to set it.
James is focusing on making the outside layer of the rear quarter panel, which is made by hand and hammered into place.
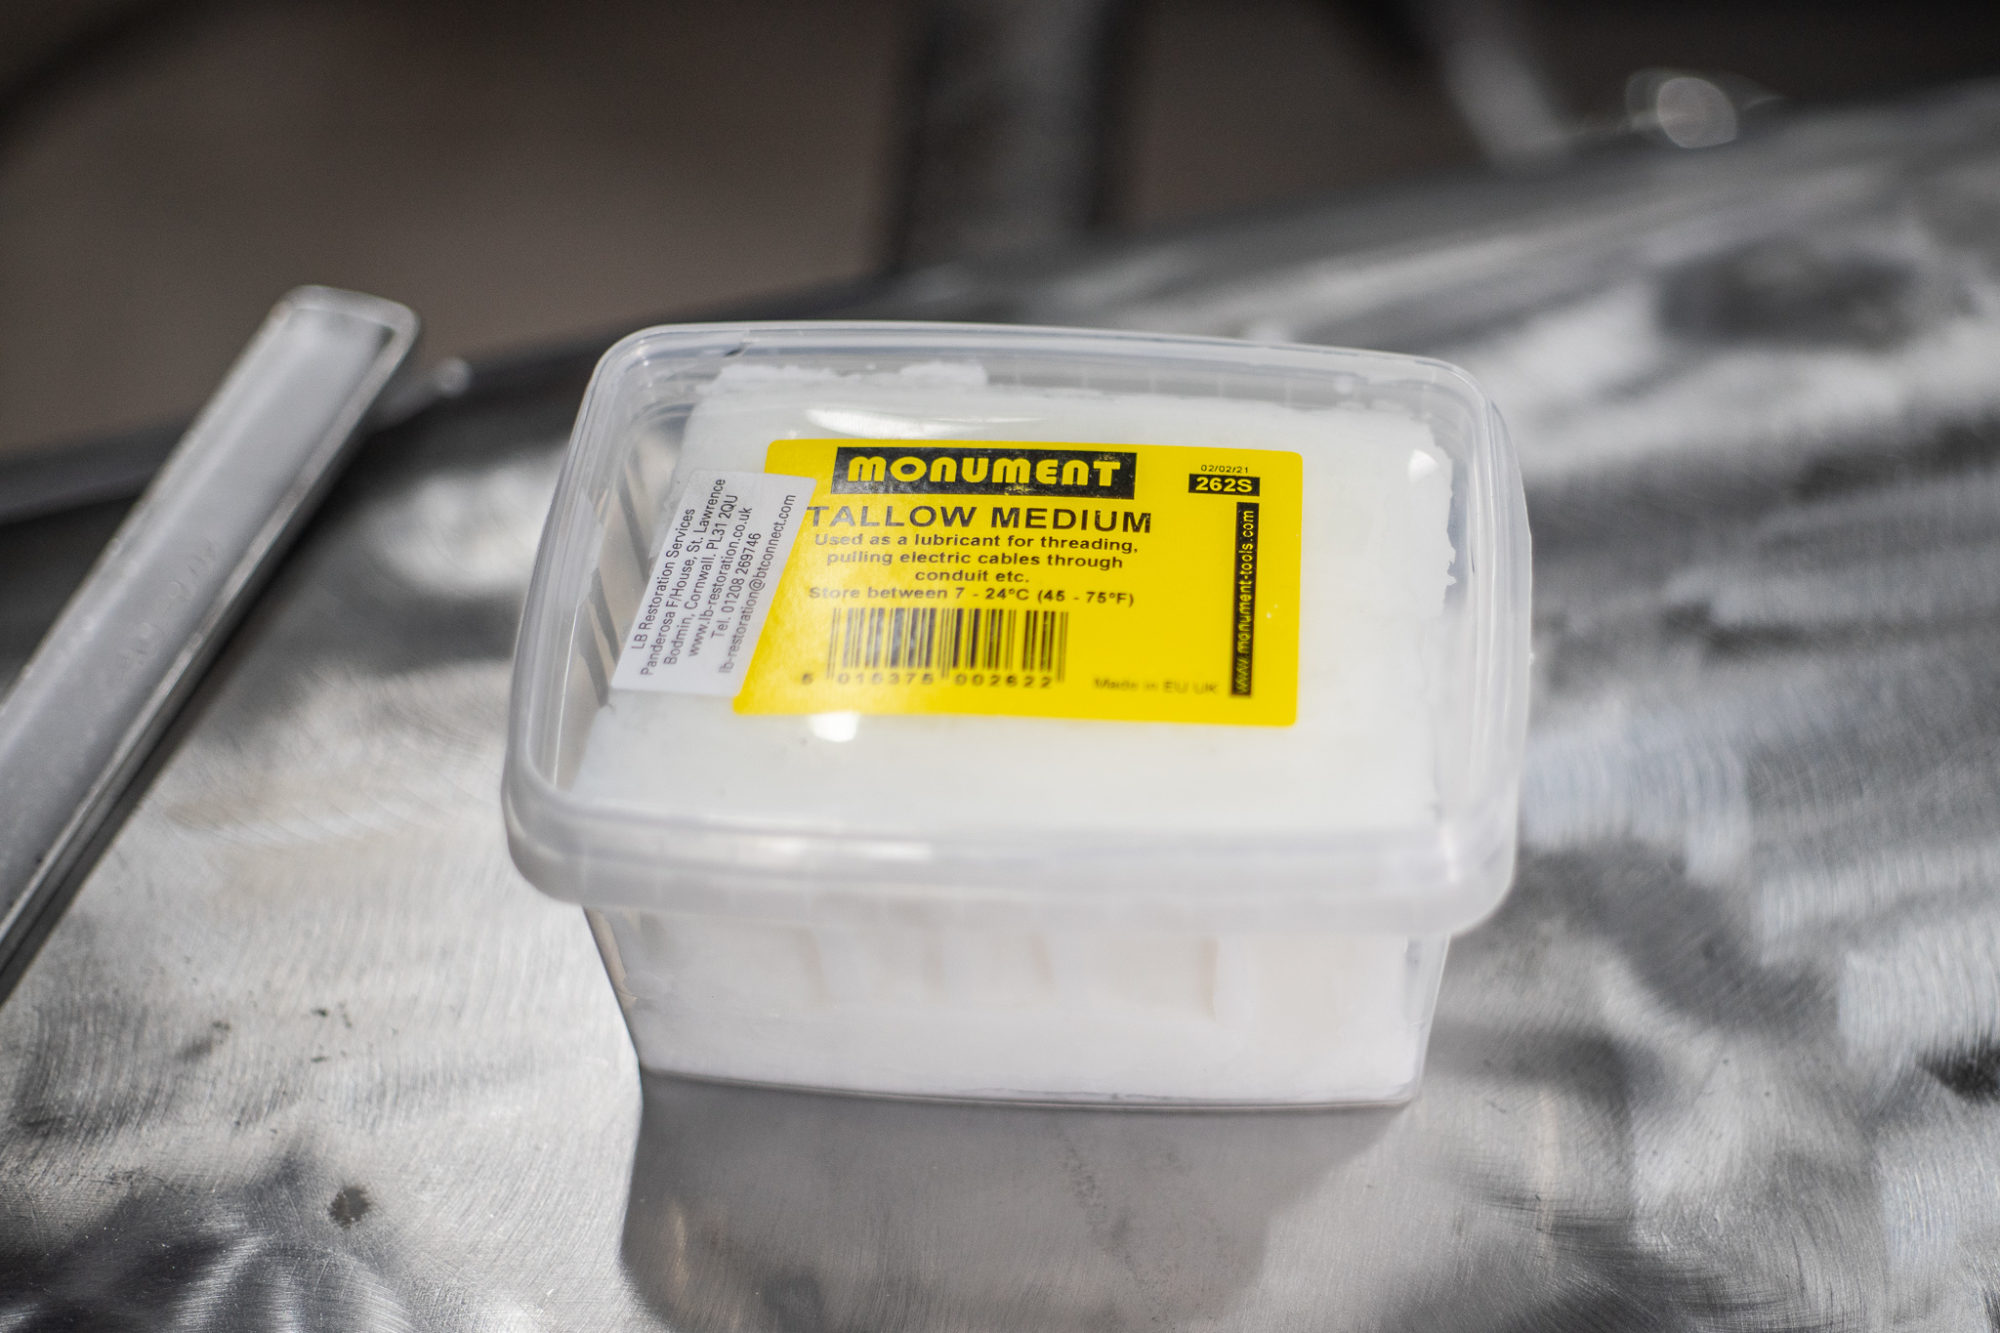
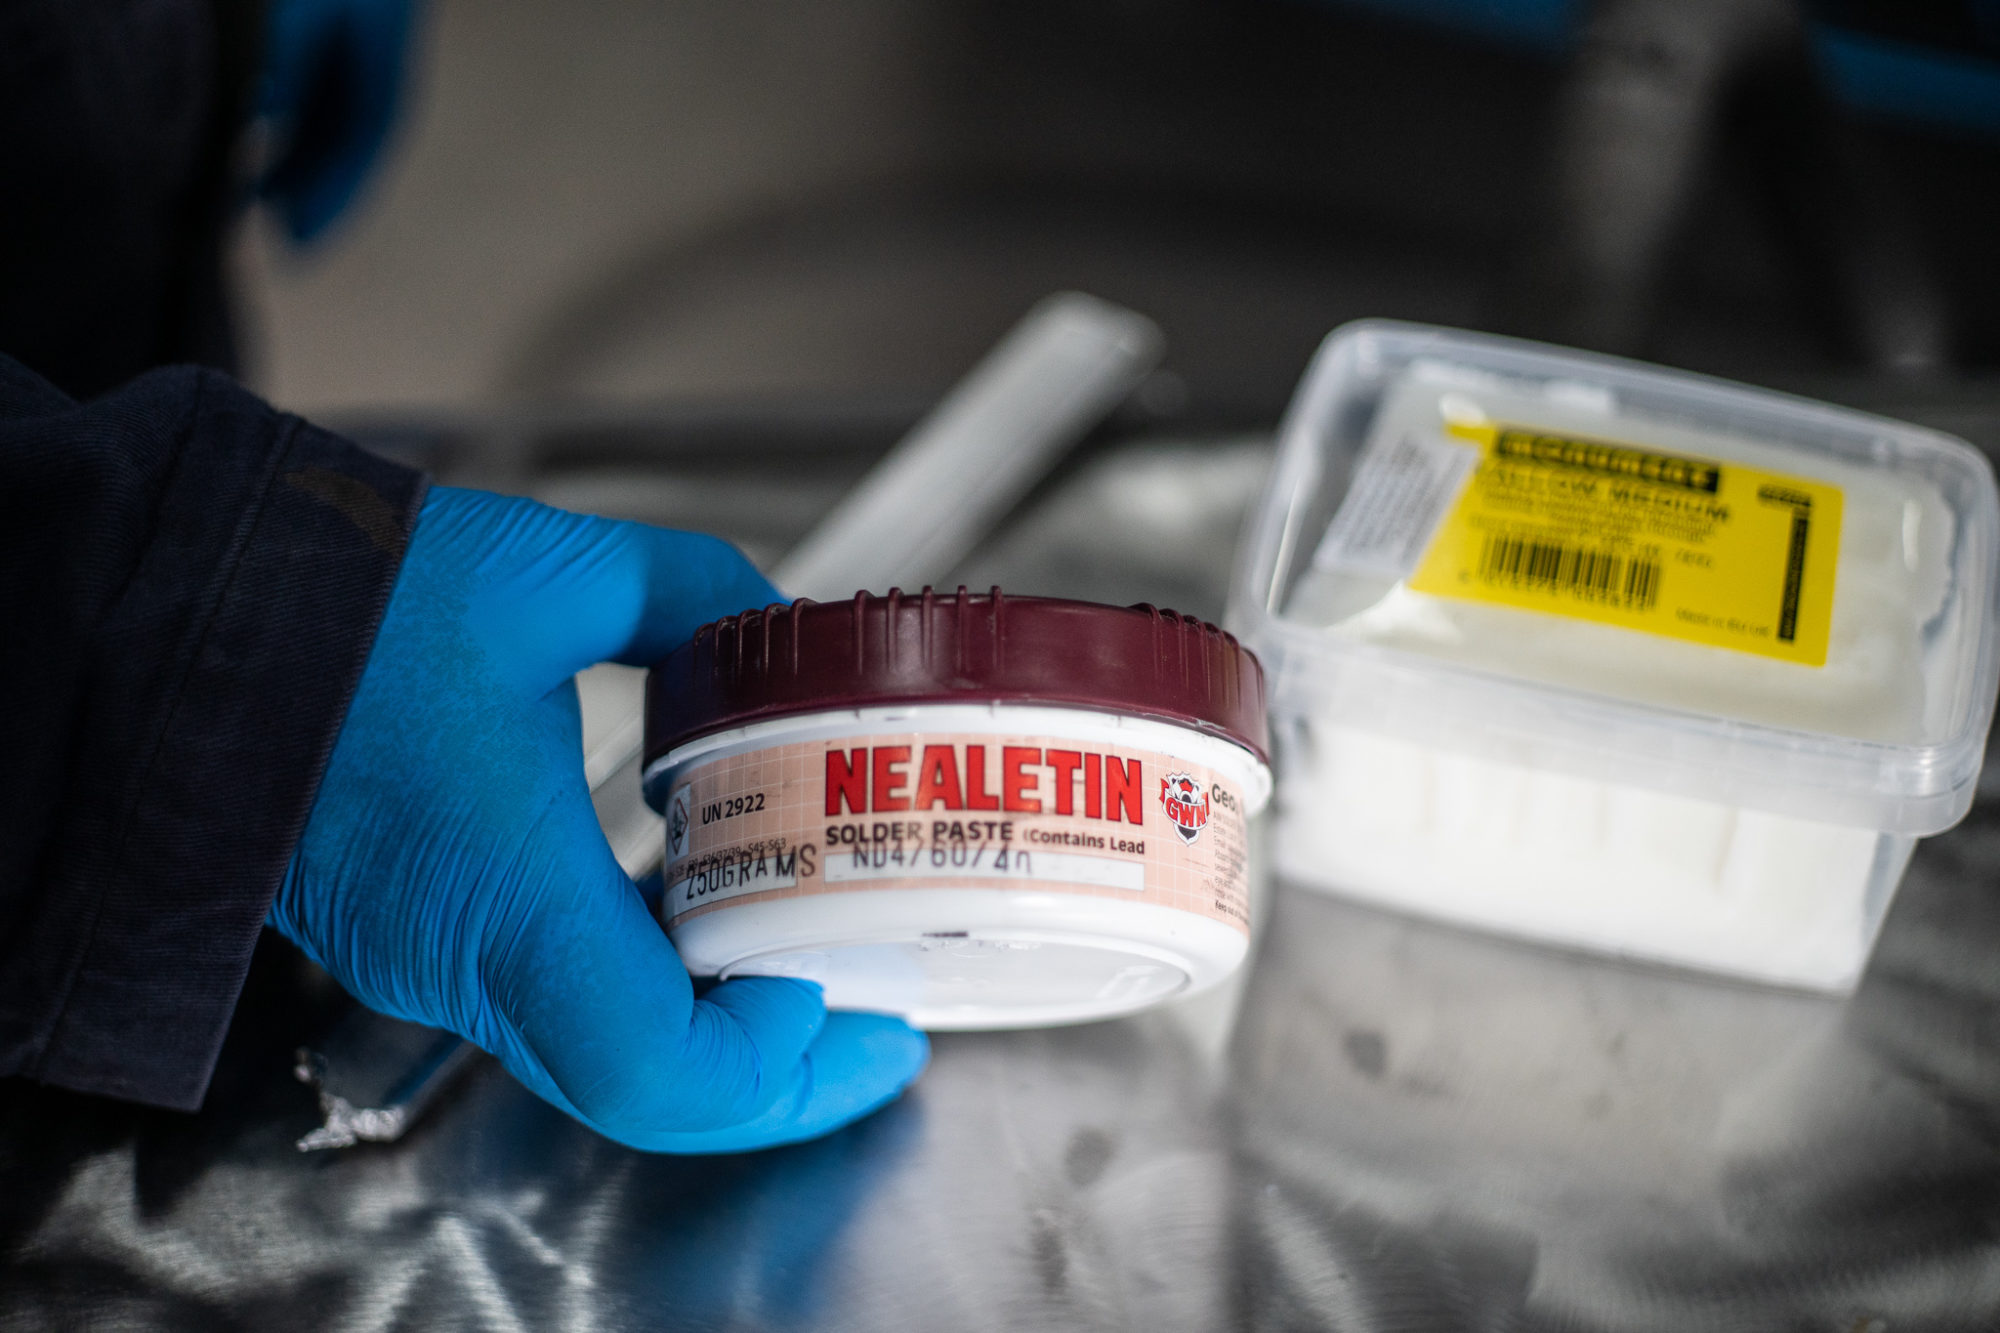
After finishing the re-shaping, James could then start with applying the lead primer and then the Tallow Medium and Nealetin, all of which are applied using heat. The tallow medium, traditionally made from goose fat, is heated up and melted so it resembles a spreadable ‘goo’ that can then be worked into shape to provide a flat finish.

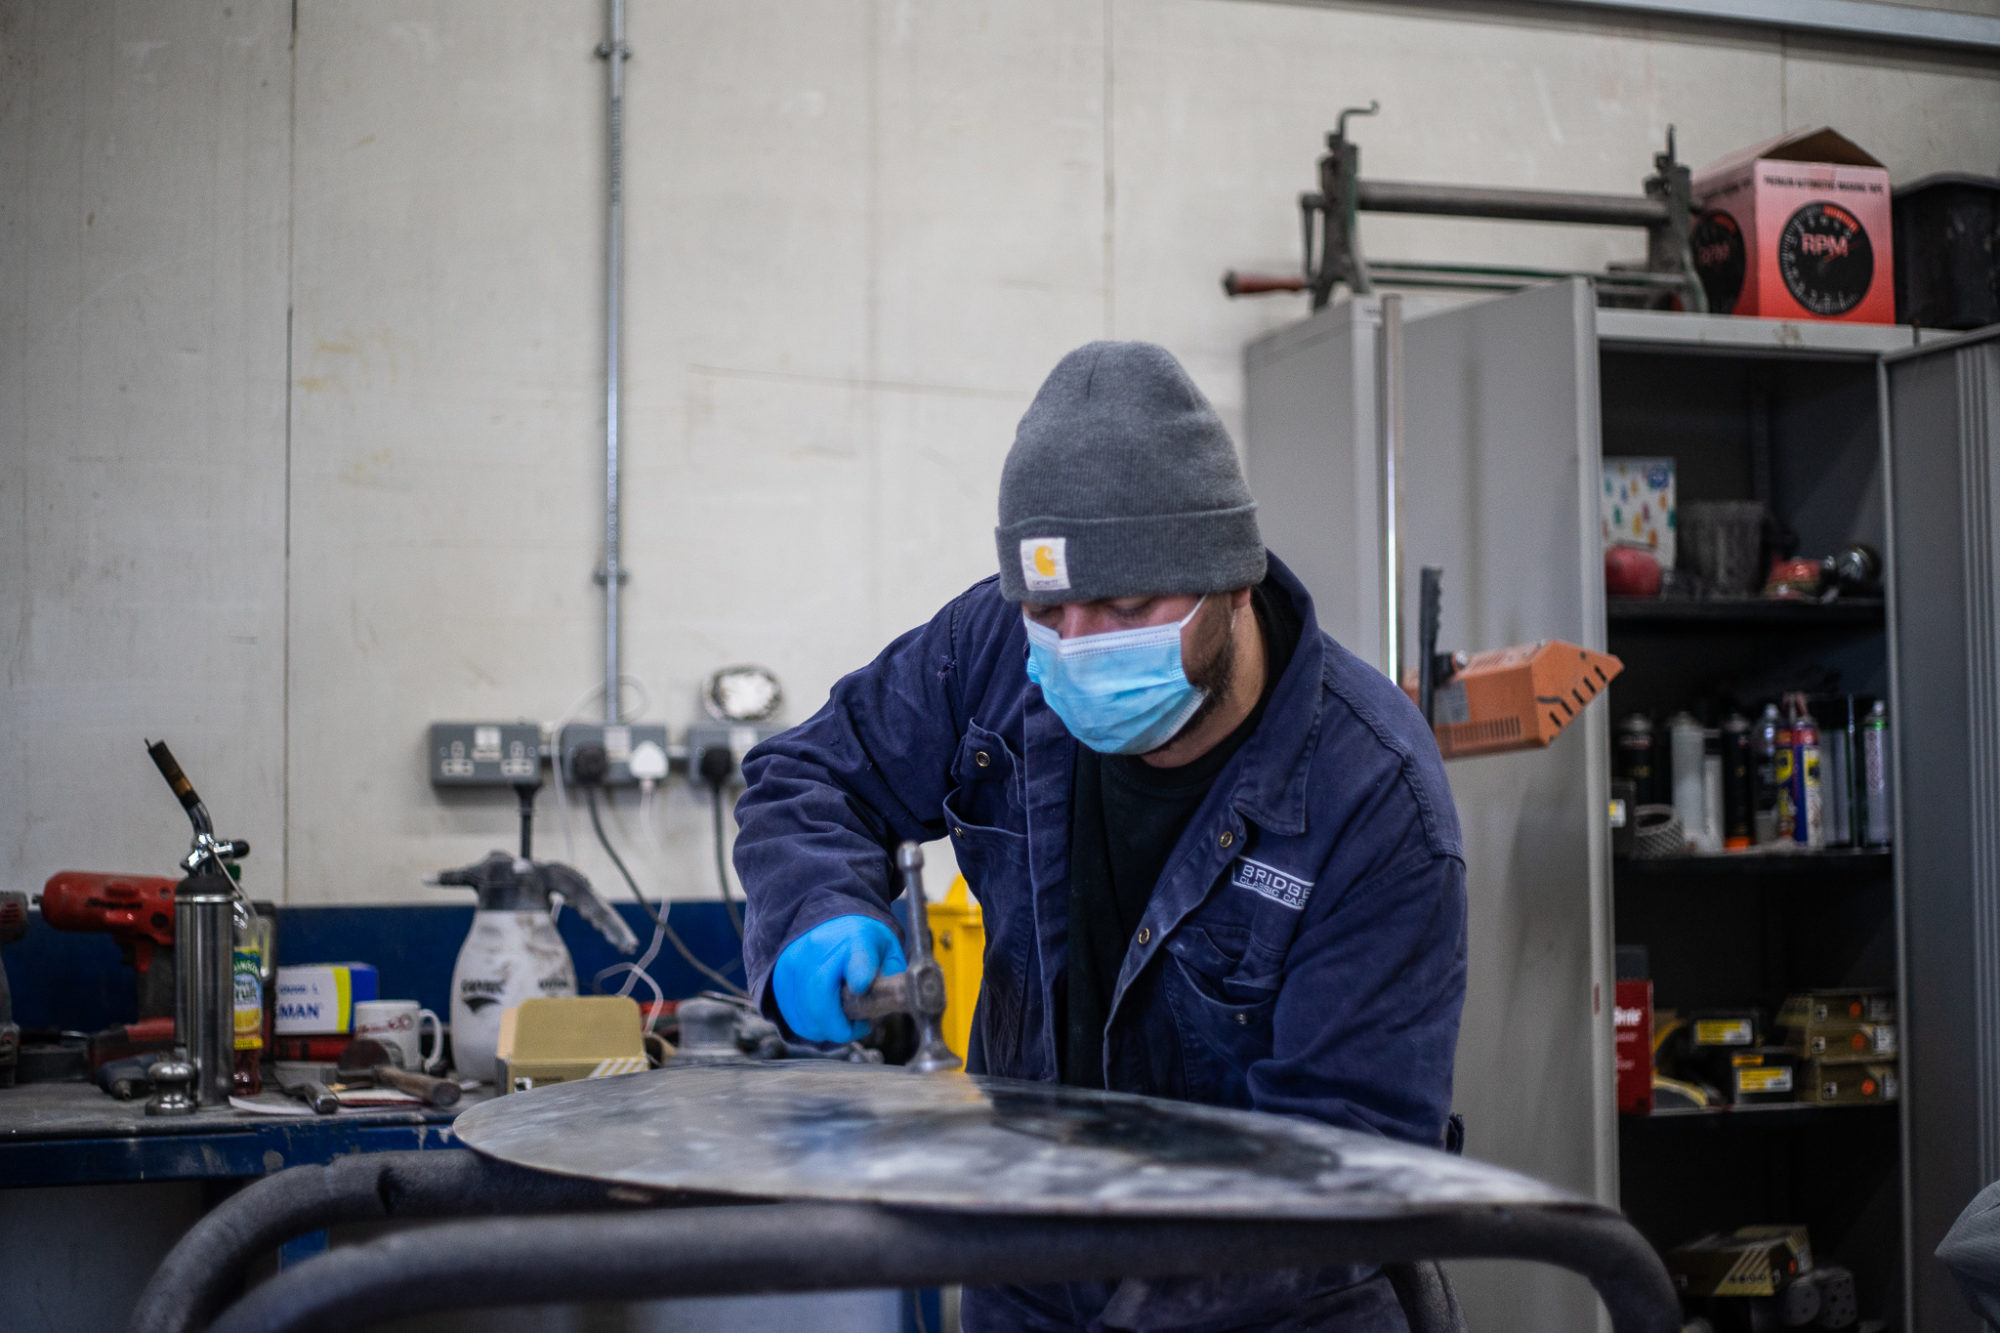


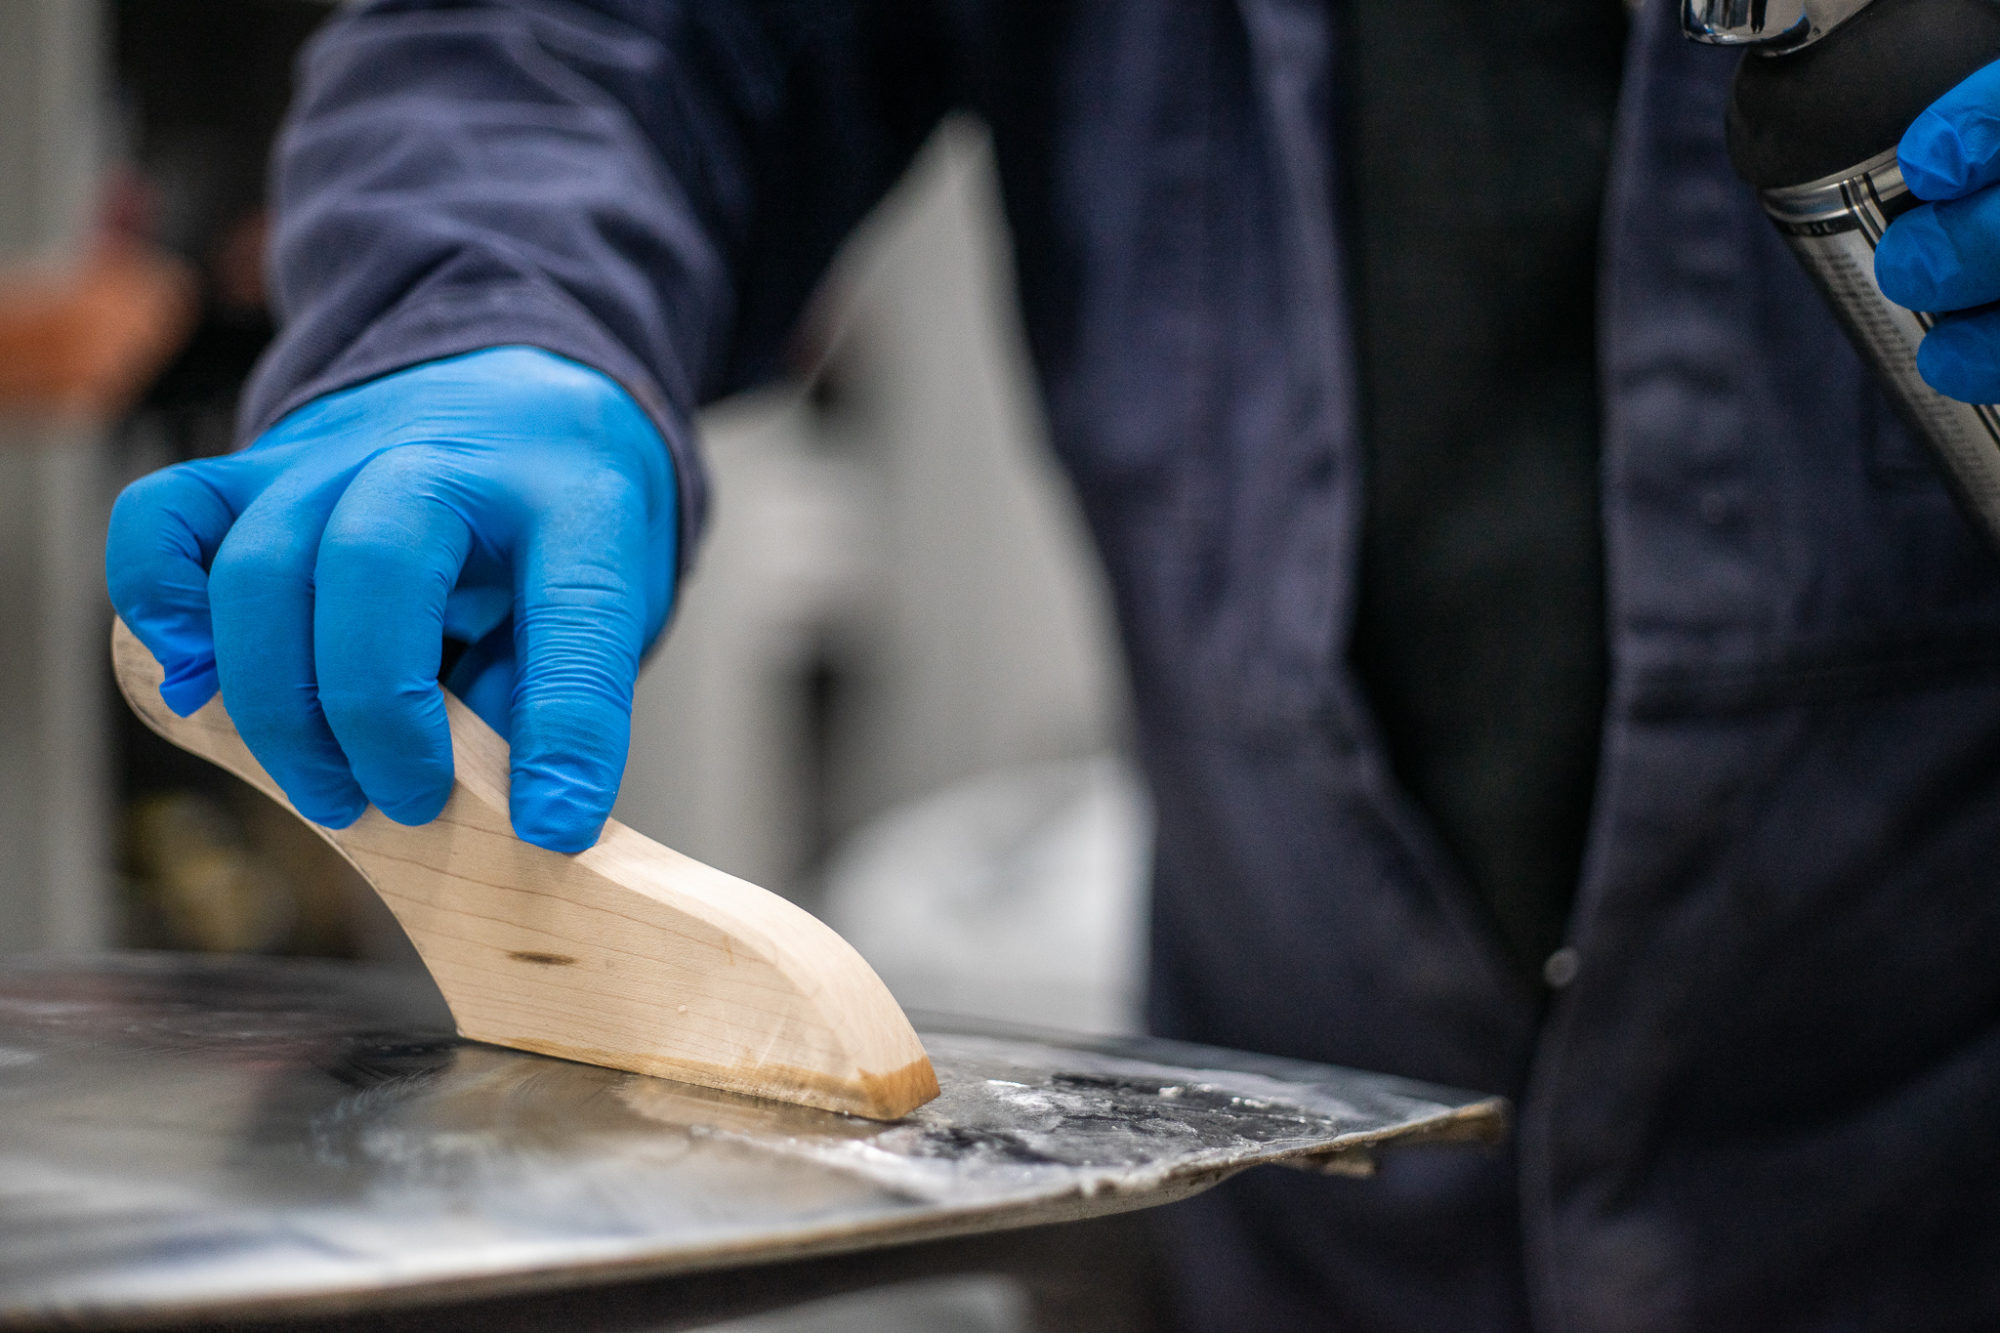
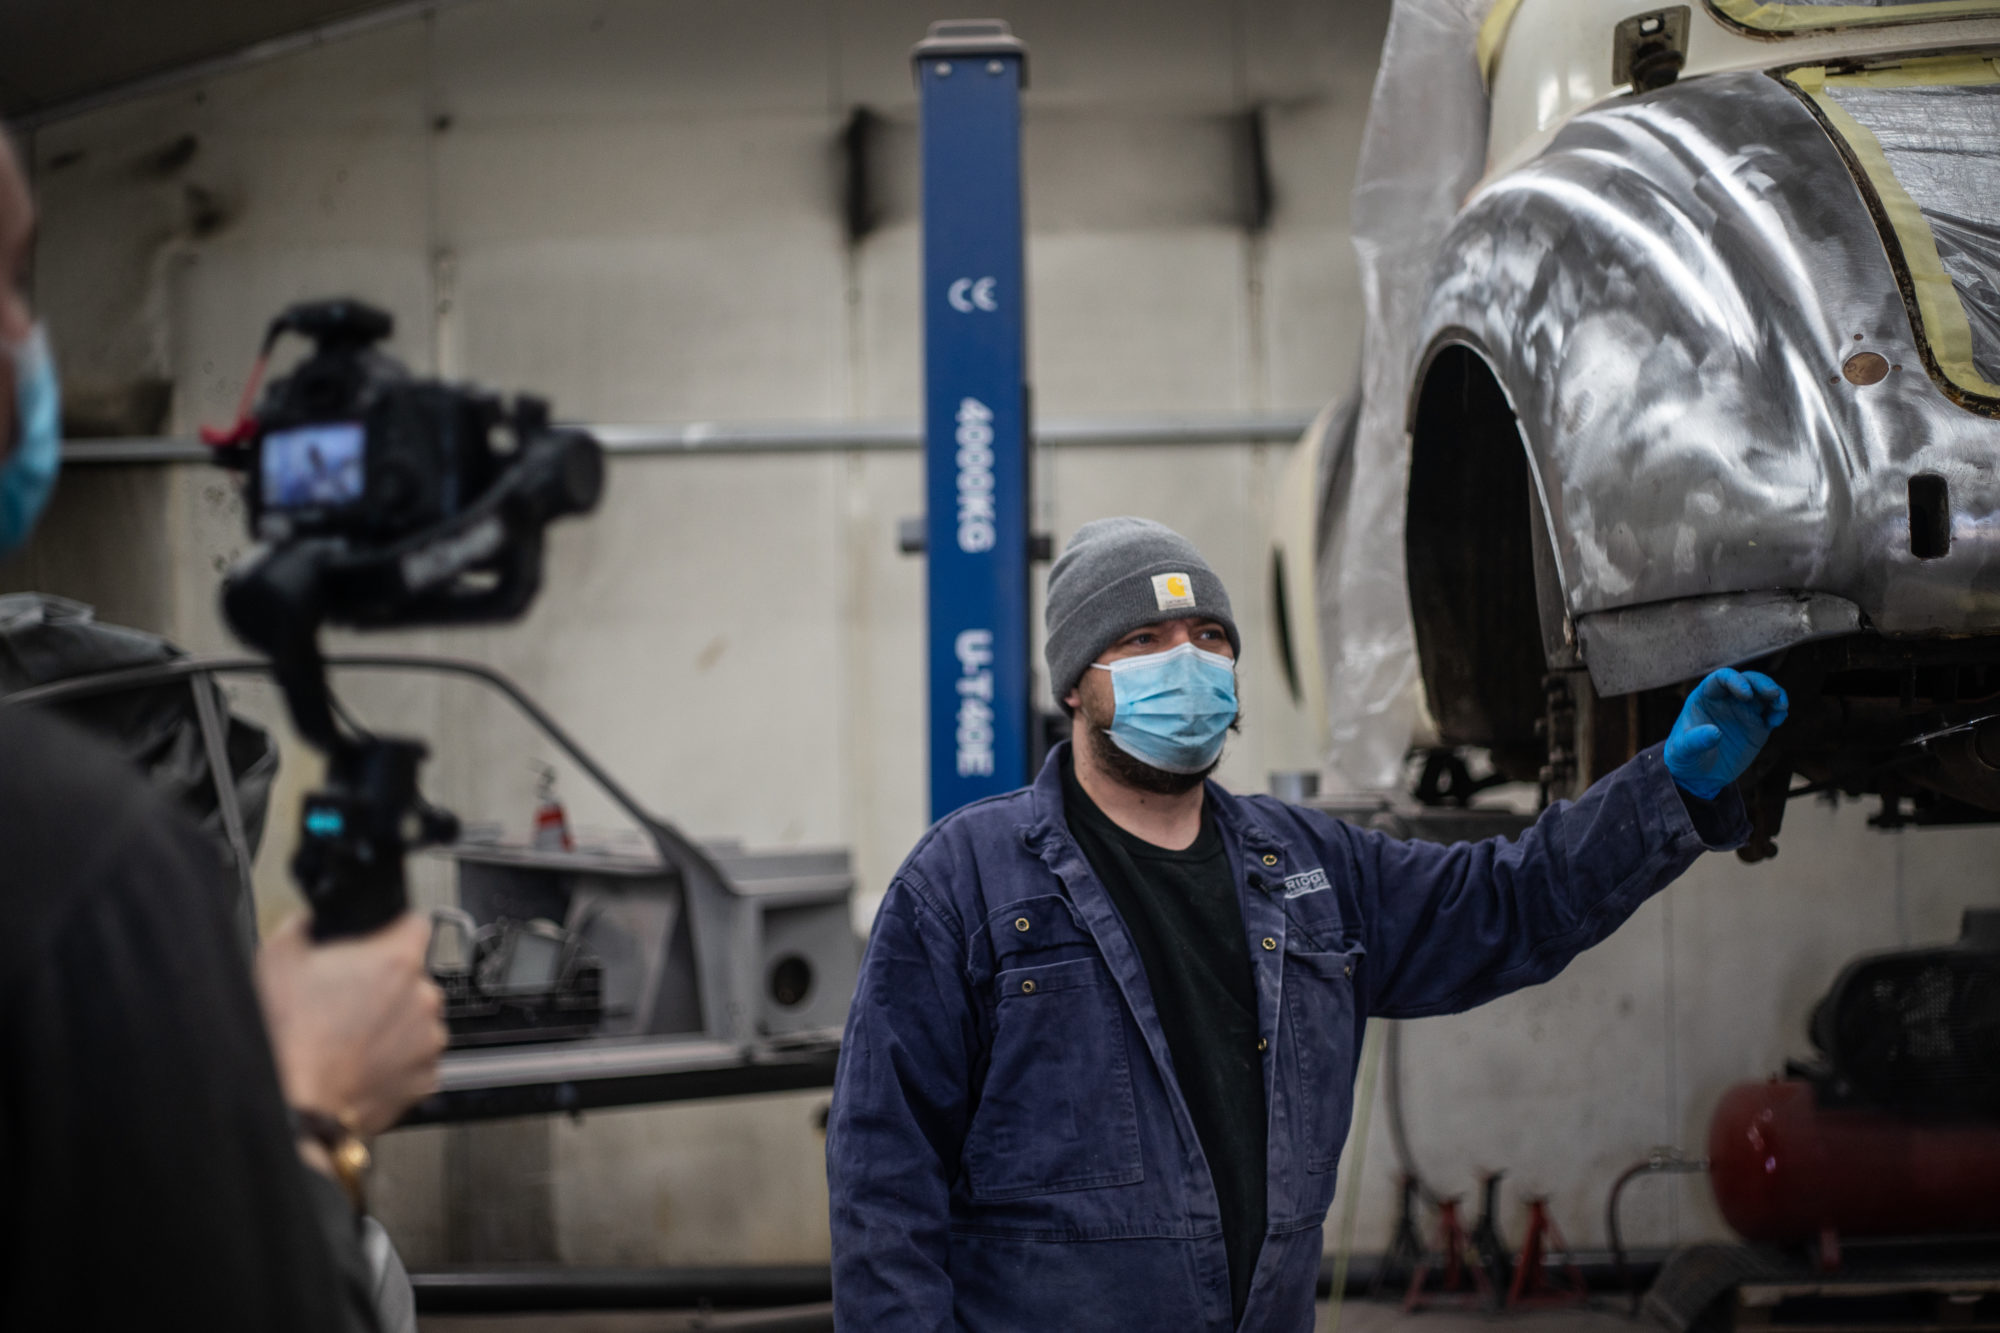
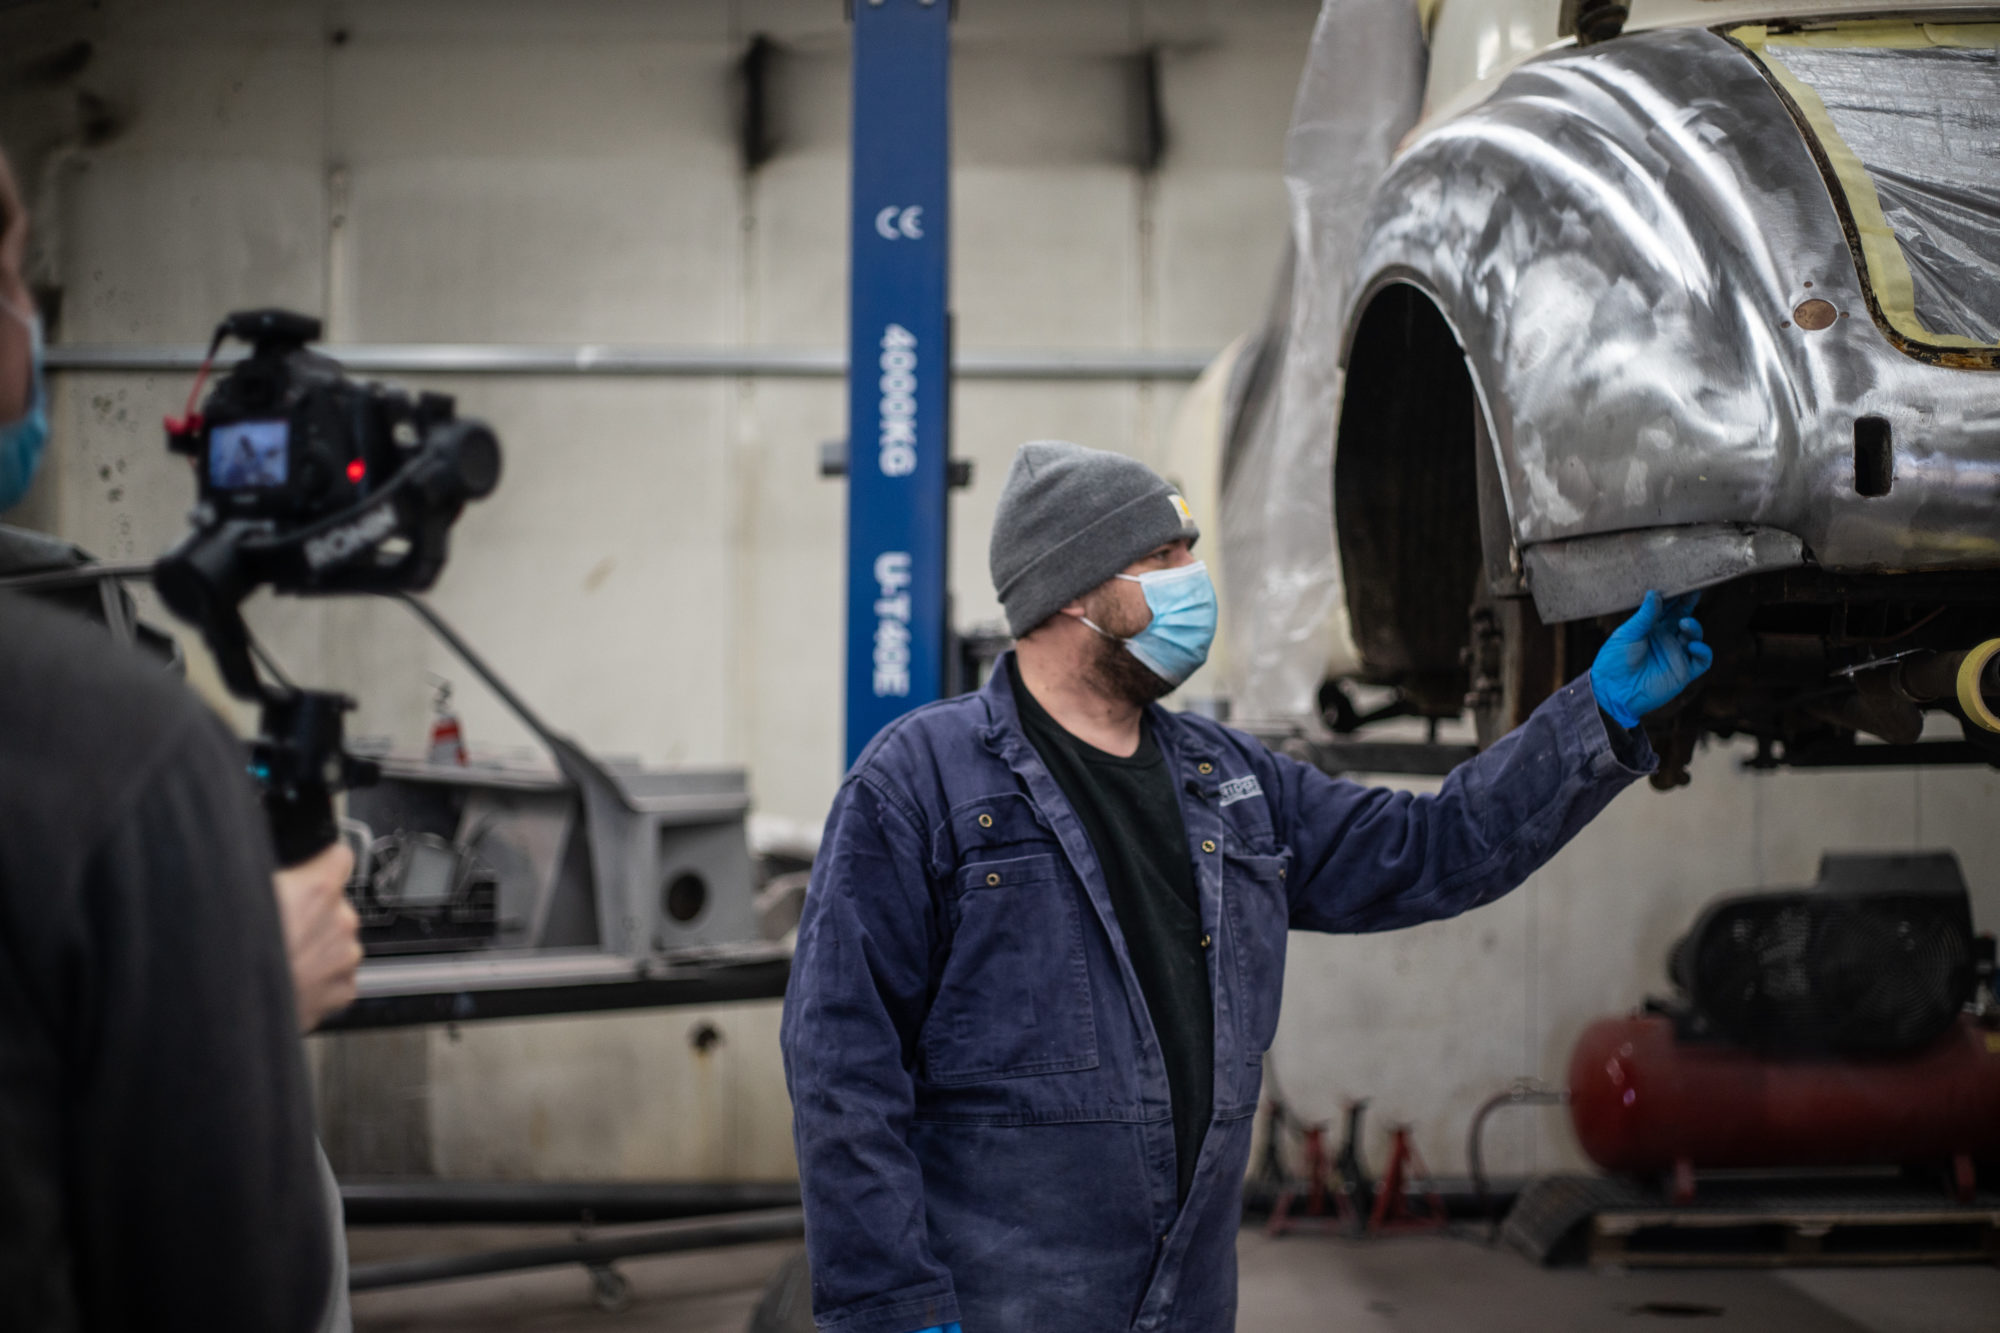
We did some filming with James in the workshop where he explained to us what’s going on with the Jaguar in the fabrication bay. Here’s some behind the scenes.
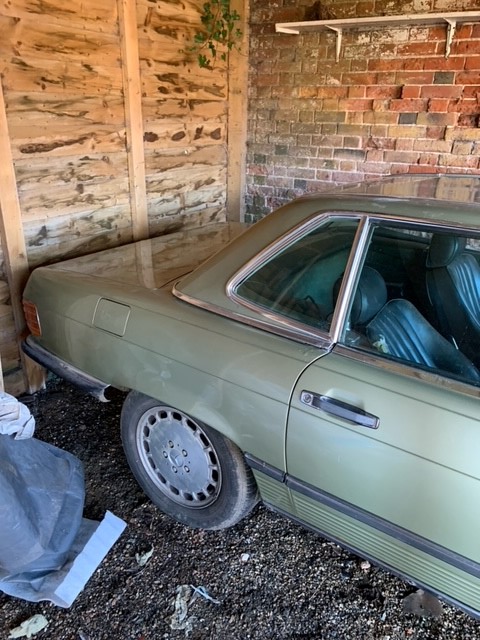
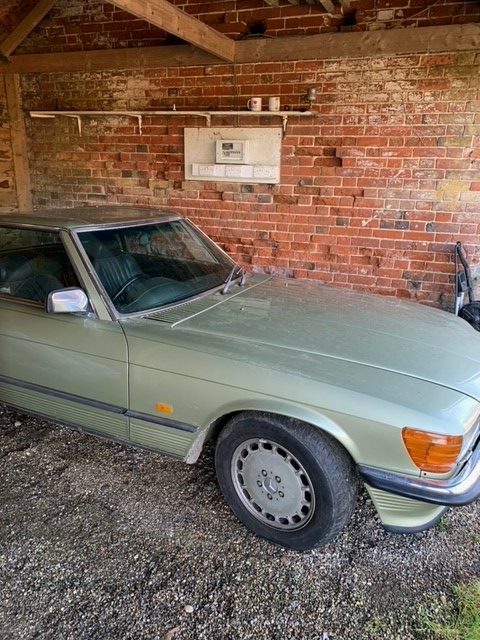
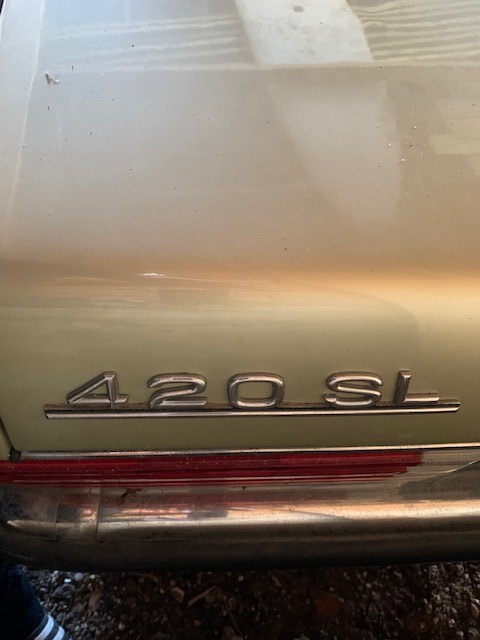
This metallic green classic 1986 Mercedes 420SL is coming in soon to be re-commissioned and assessed to see how much needs doing to it. We can’t wait to get started!
Scott has been working on the suspension for our Ferarri Daytona. He’s replaced all the UJs, bearings and bushes on the front and rear suspension. He’s also started to reassemble the front and rear axles.


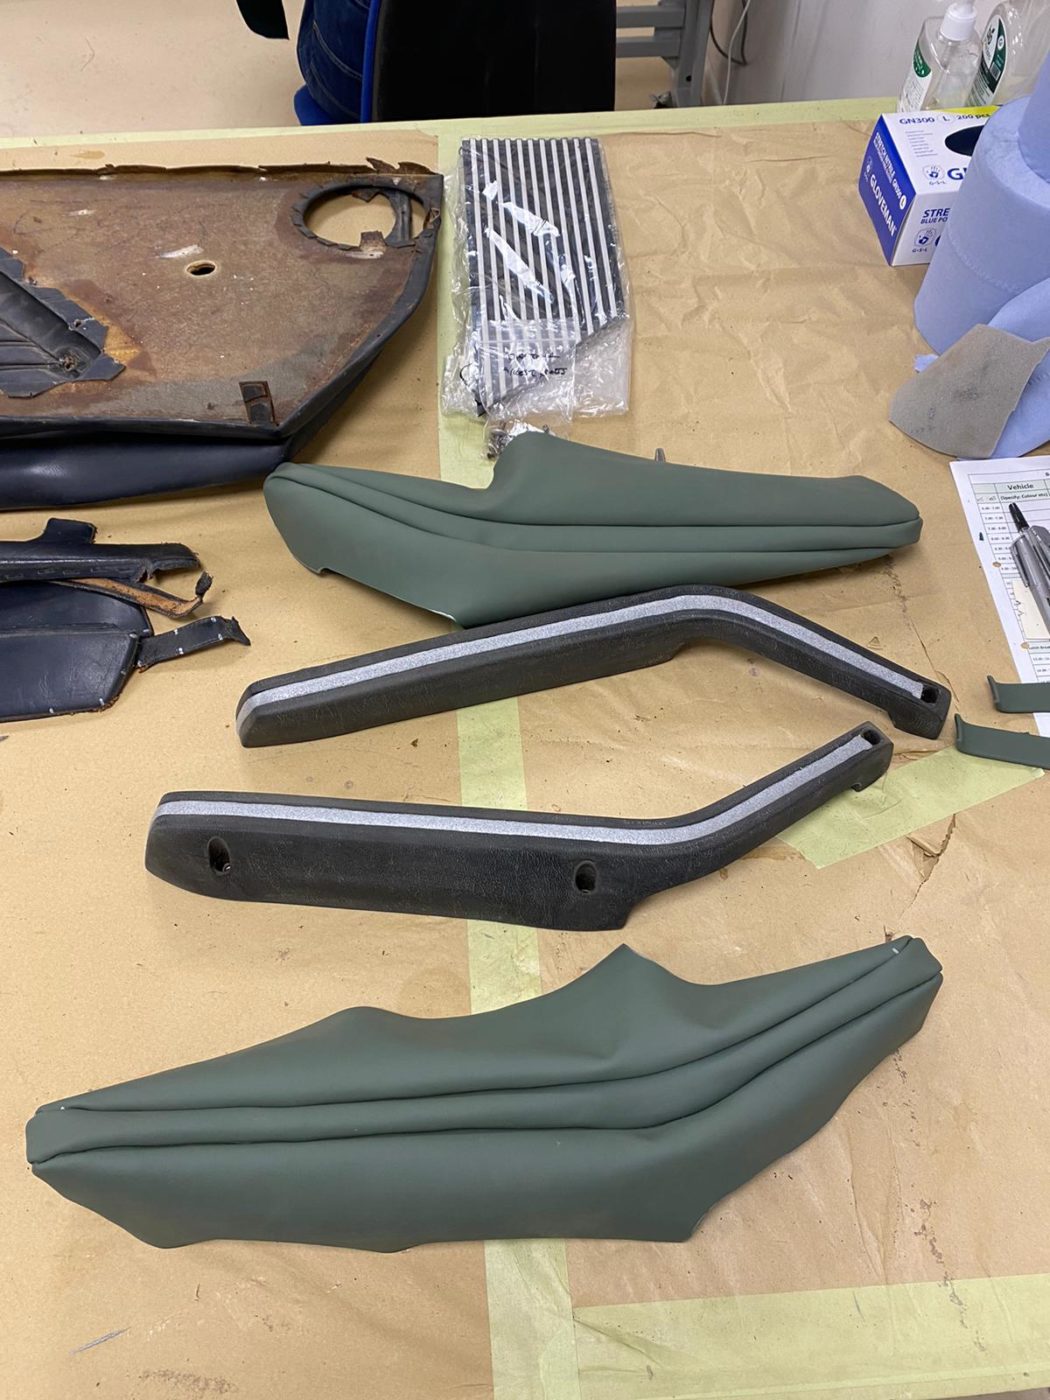
Brian has been marking up the old armrest covers ready to make new covers. He used the old pattern as a template to cut out the new leather, glued in the new metal trim for inside the handles, added the foam and glued up the edge of the arm rest. By pulling the arm rest tight and stapling it down, Brian can get a neat finish.
Lydia has been working on putting together the seat covers by adding pipping around the outside, adding calico underneath which gets pulled over the bars in the frame to keep it tight. Lydia then marks out the new back and skirt on fresh leather. Lydia sews on the hem to the skirt and adds the pieces back together.
Kath has been working on making the test run for the head rests. She starts by drawing around the inner section and adding the seam allowance. She then makes up the skirt, clips it together and sews it in place. Kath then makes the pattern for each part of the head rest, marks out the positions on the leather and foam and sews it all together. Once all the parts and skirts as sewed up, she fits it onto the foam head rest and adjusts it to fit. Once she’d modified it to fit perfectly, Kath can then sew round the inner section and fit that. Once that the pattern is made, Kath finds she needed to unpick the stitching and mark out the parts in he sage green leather.


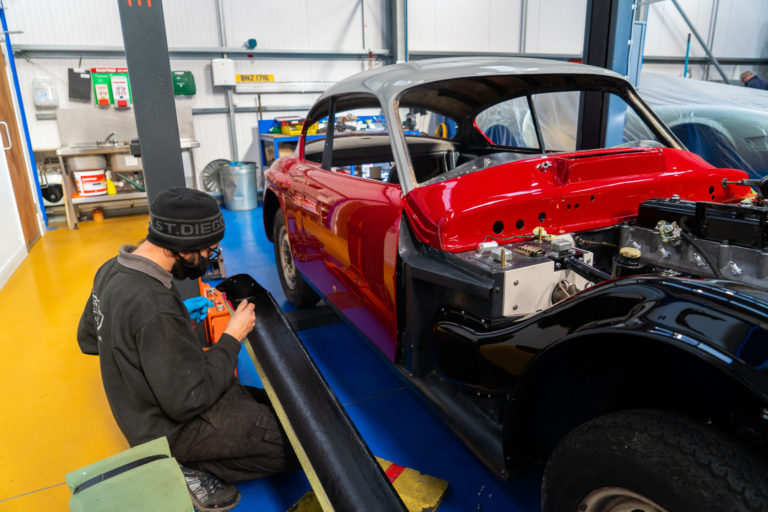
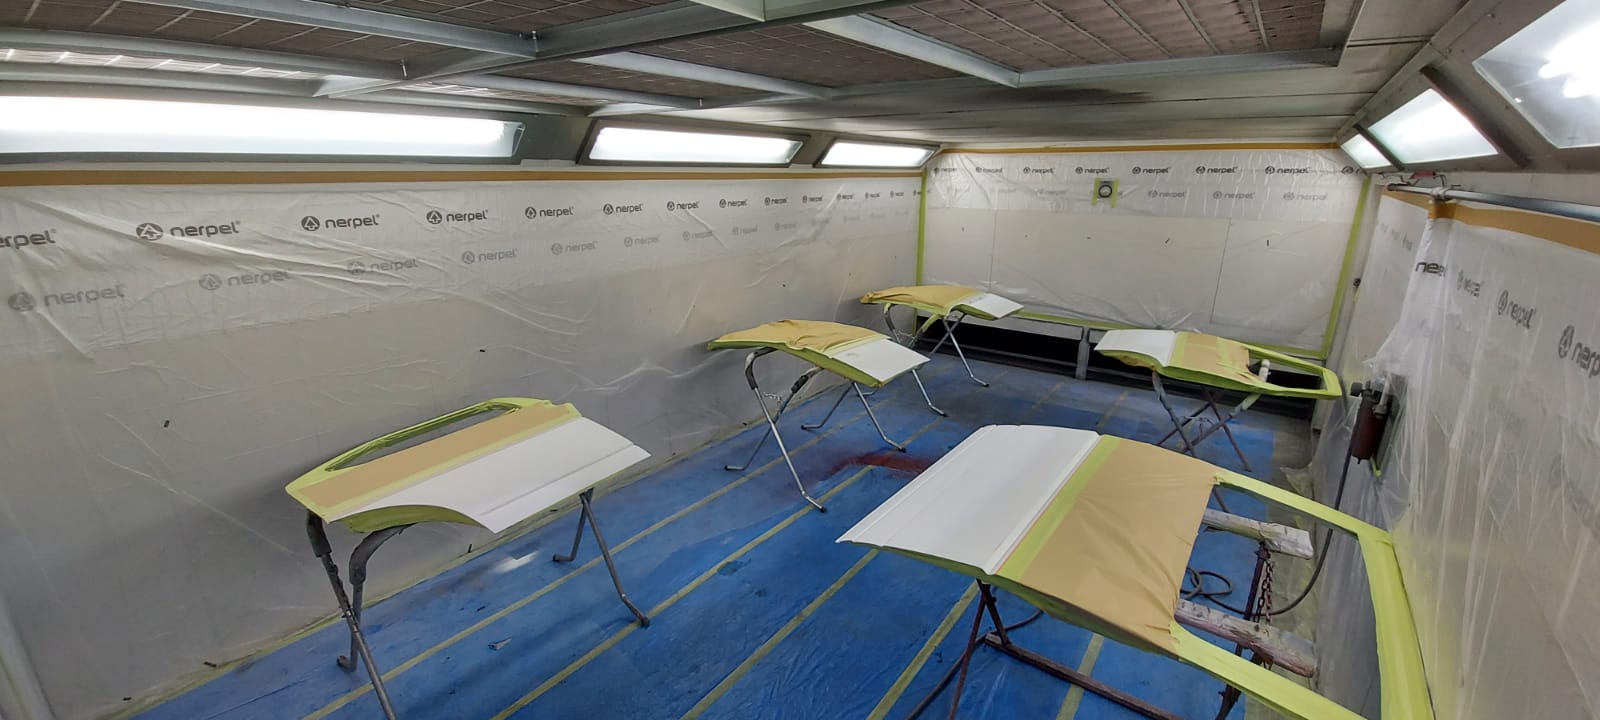
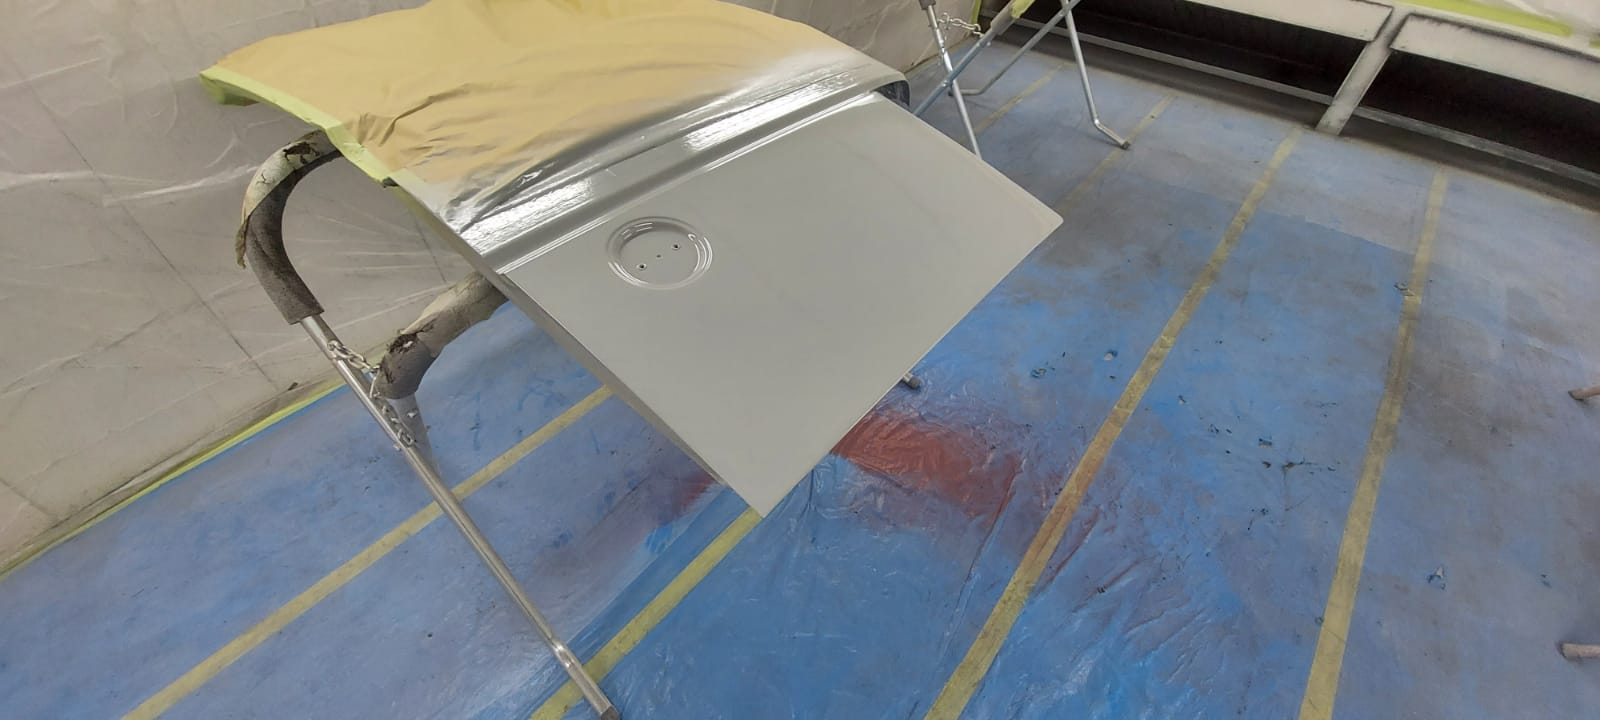
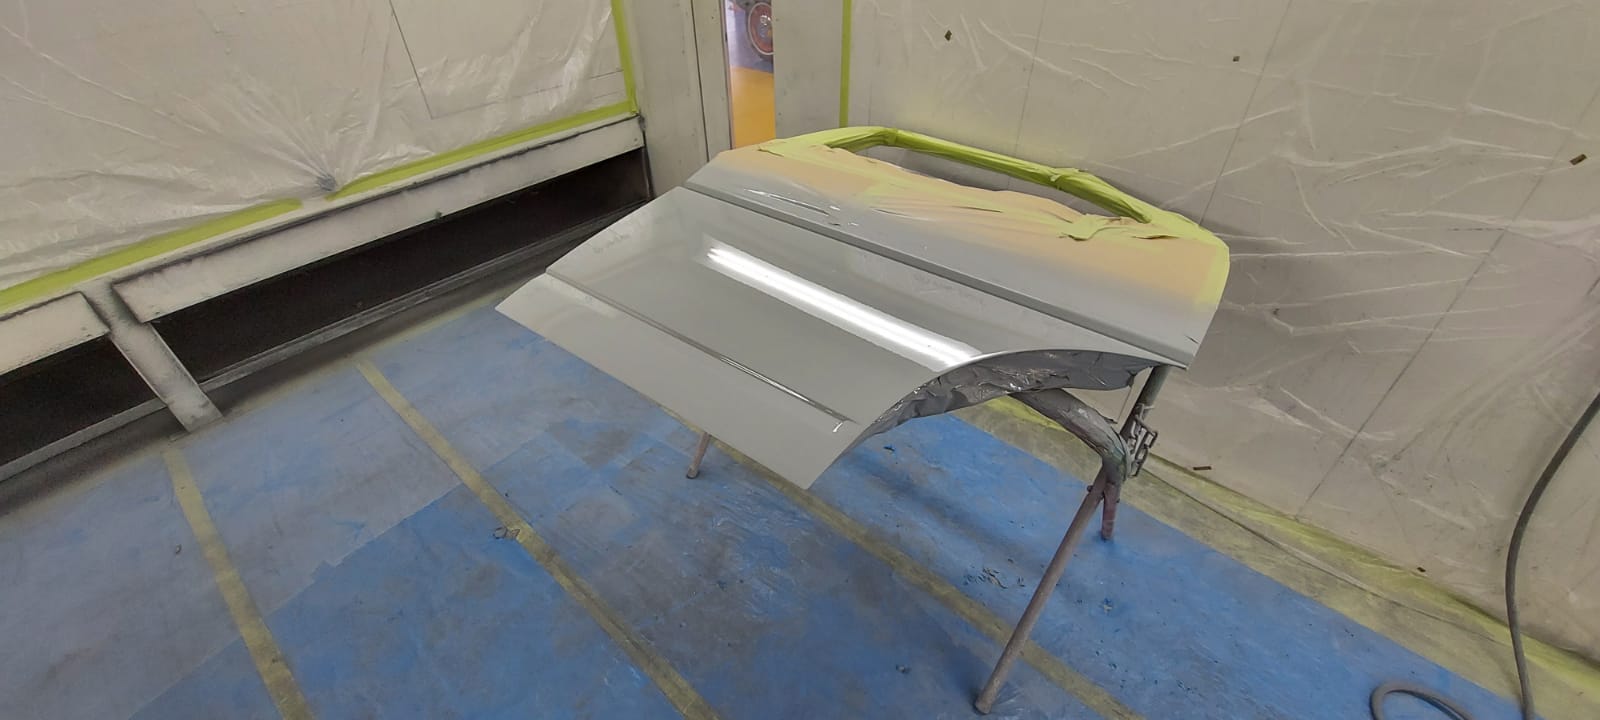
Matt and Chris in the paint shop have smoothed and flattened the paint so its looking really shiny and even. Once the doors and panels have been painted, it can all be fitted together.


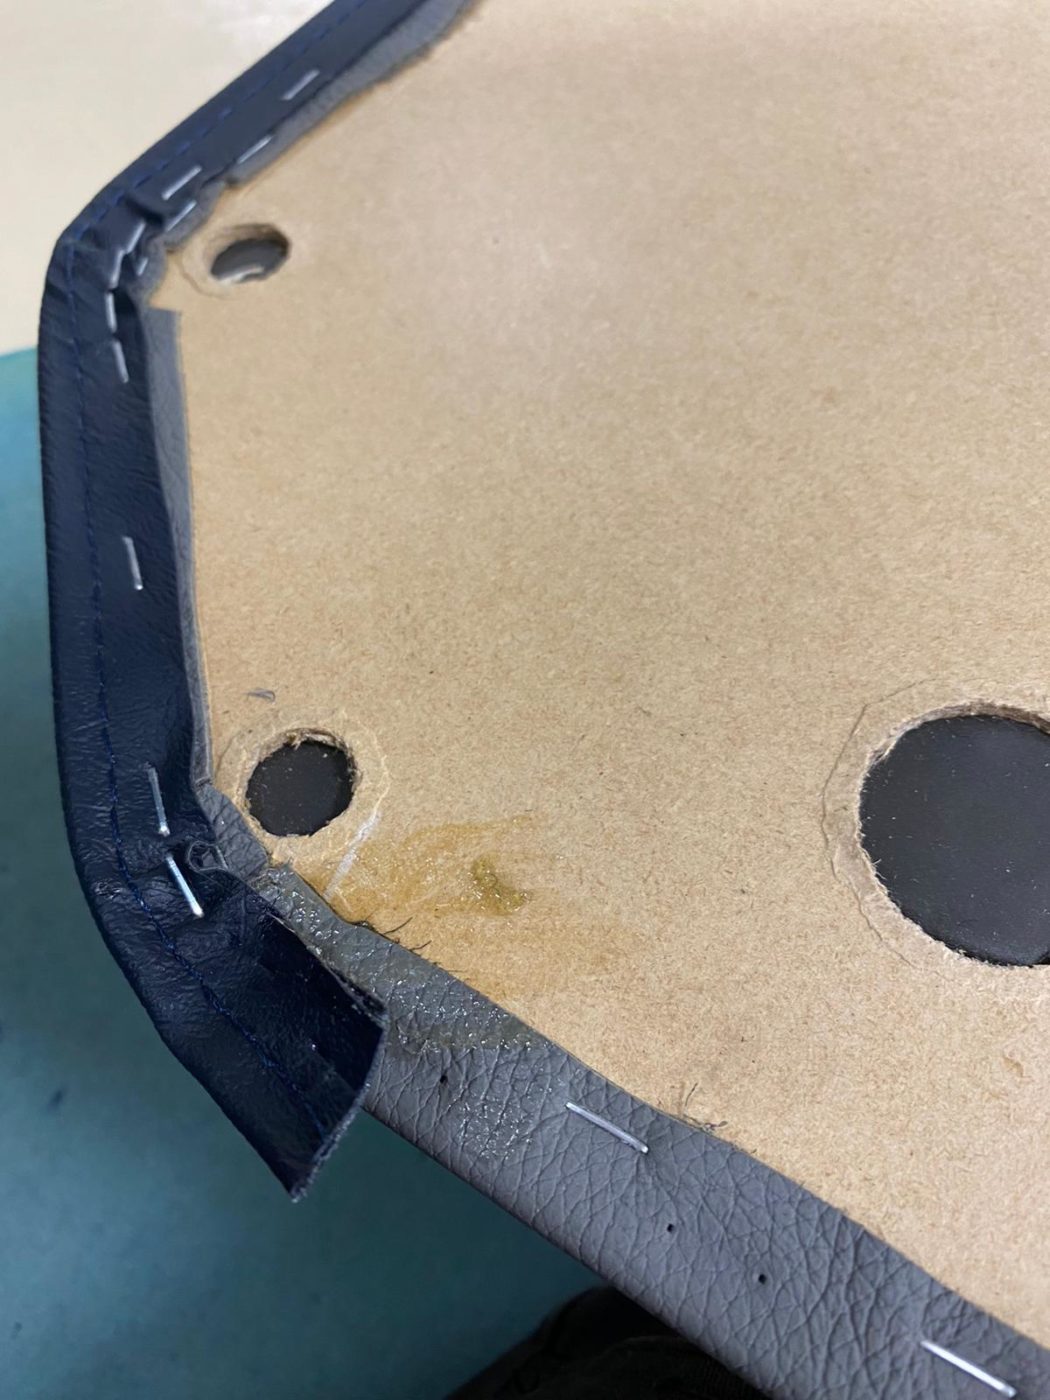
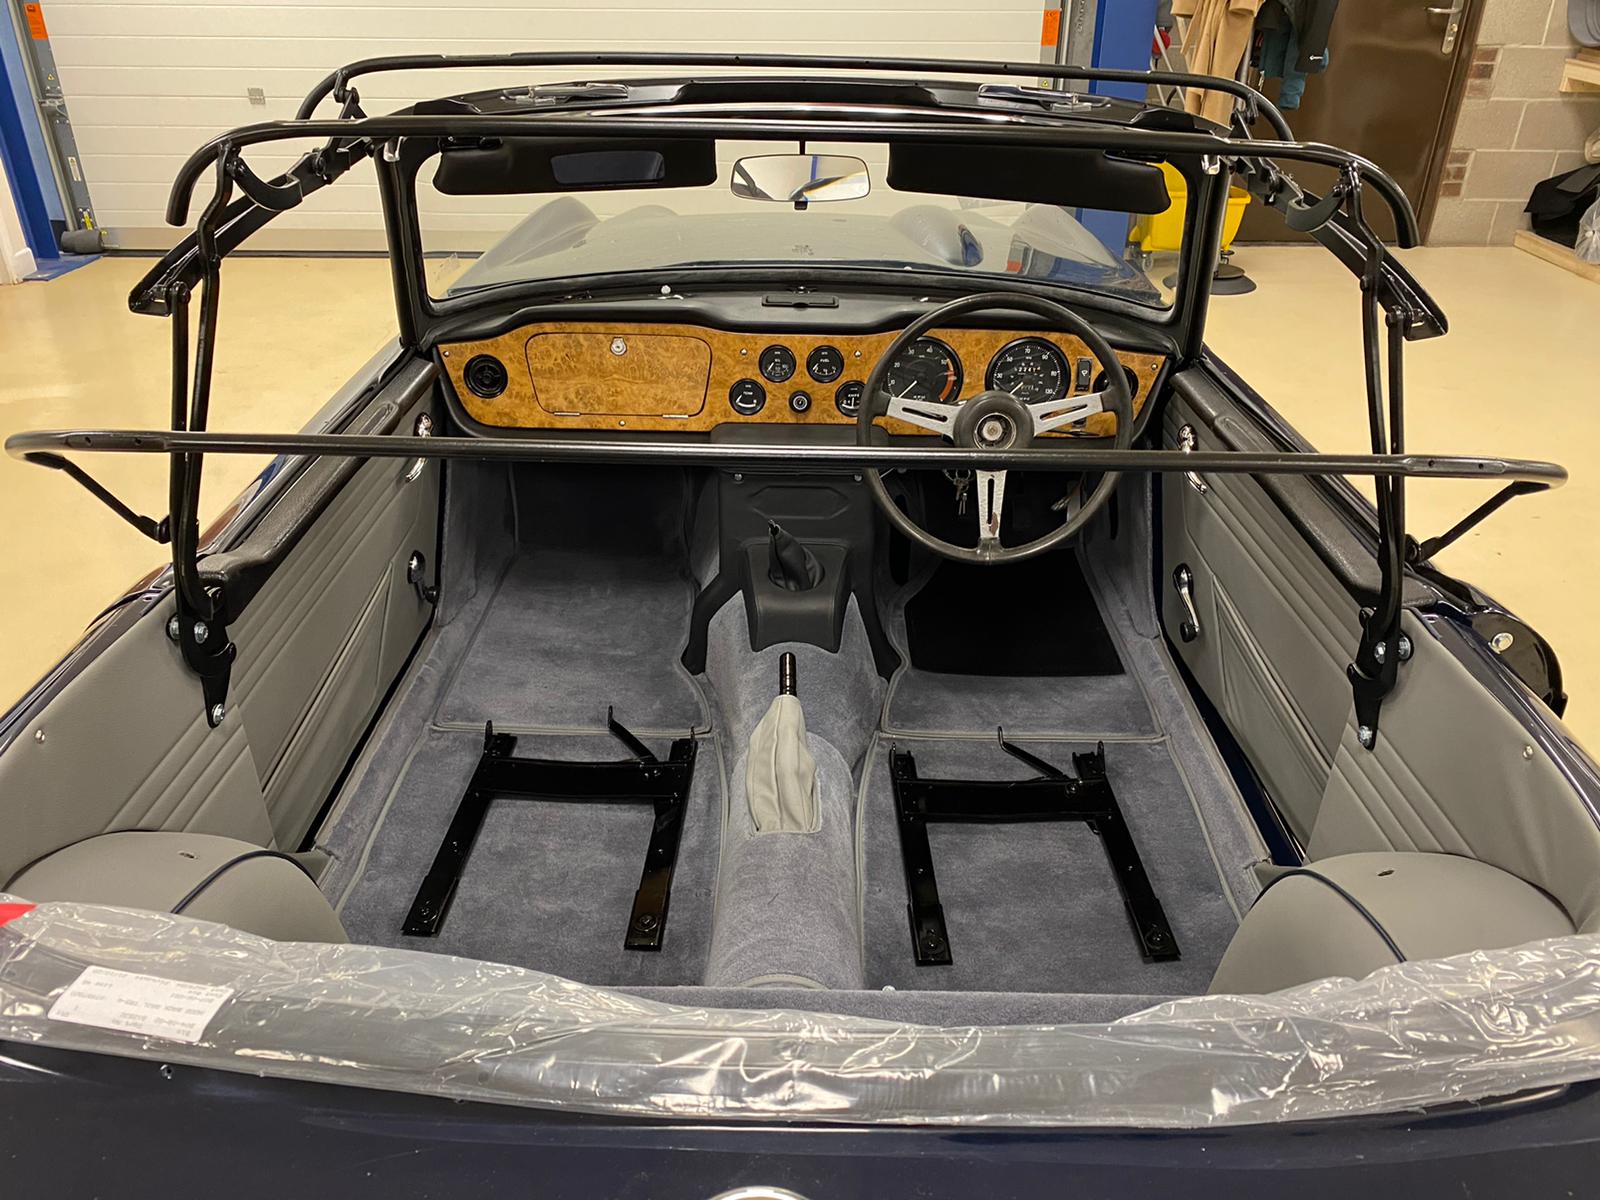
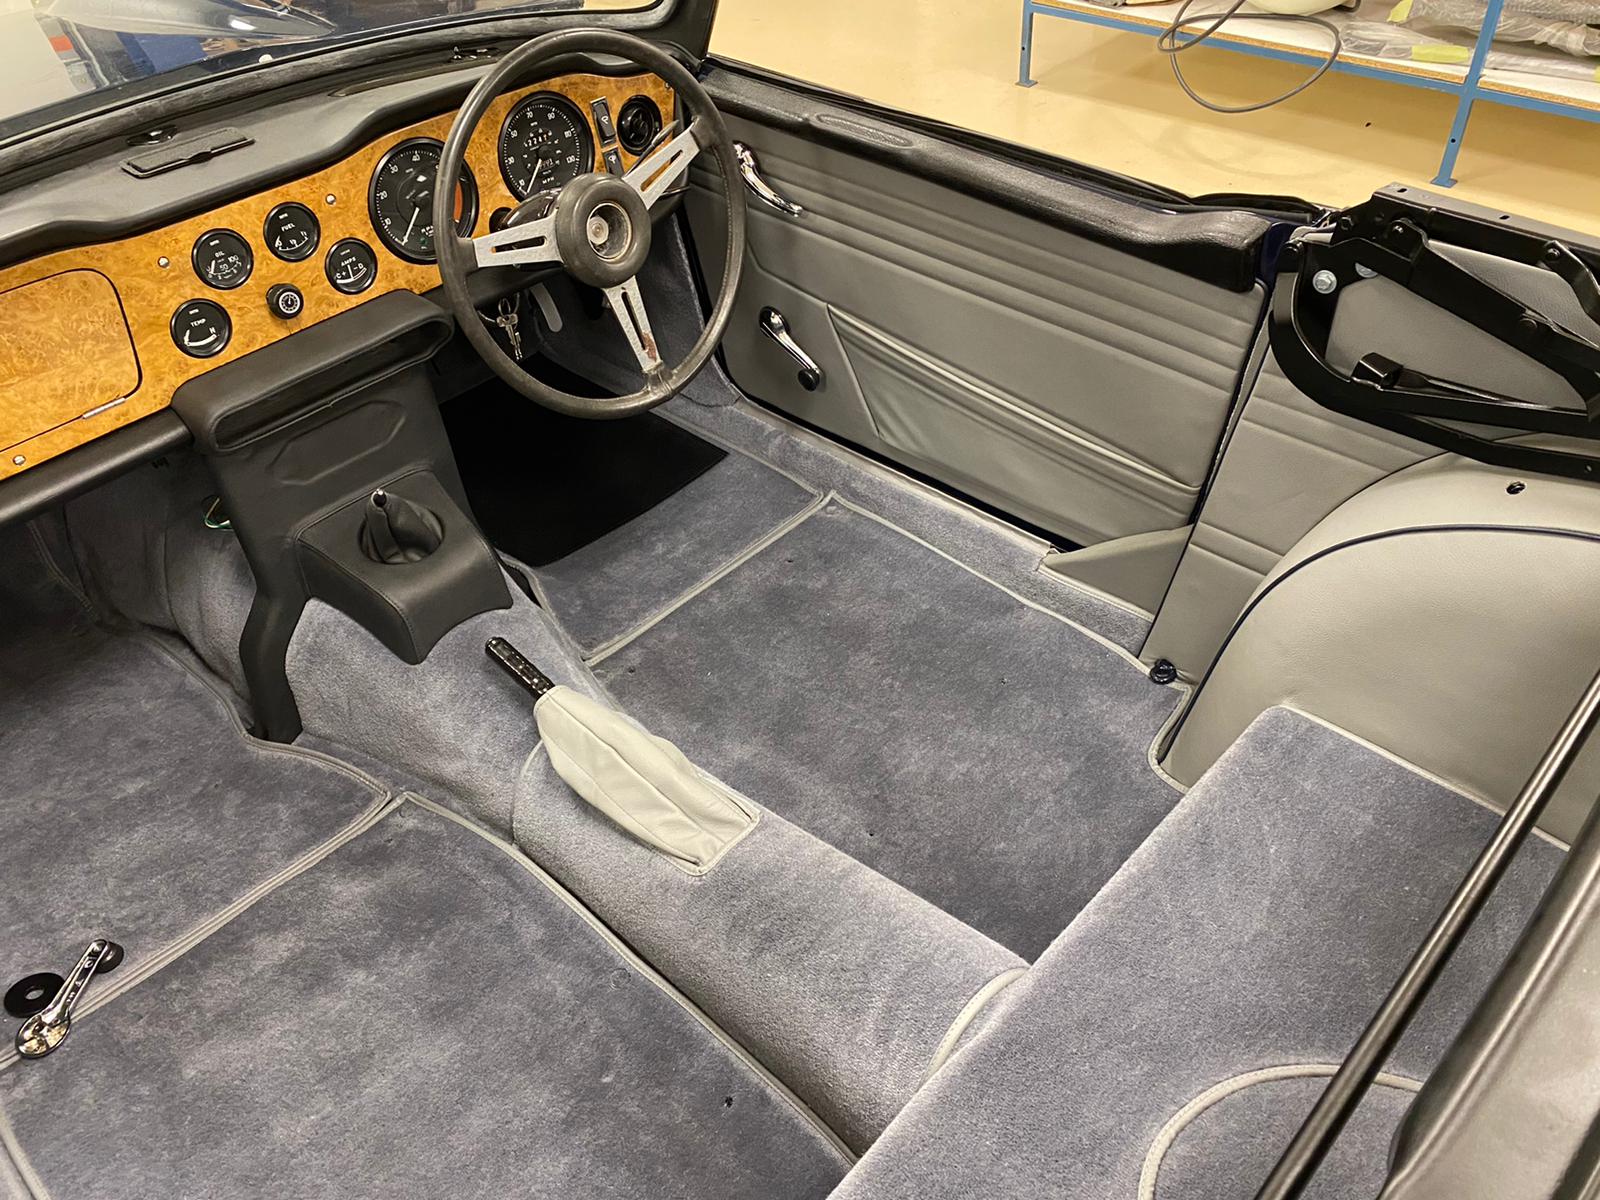
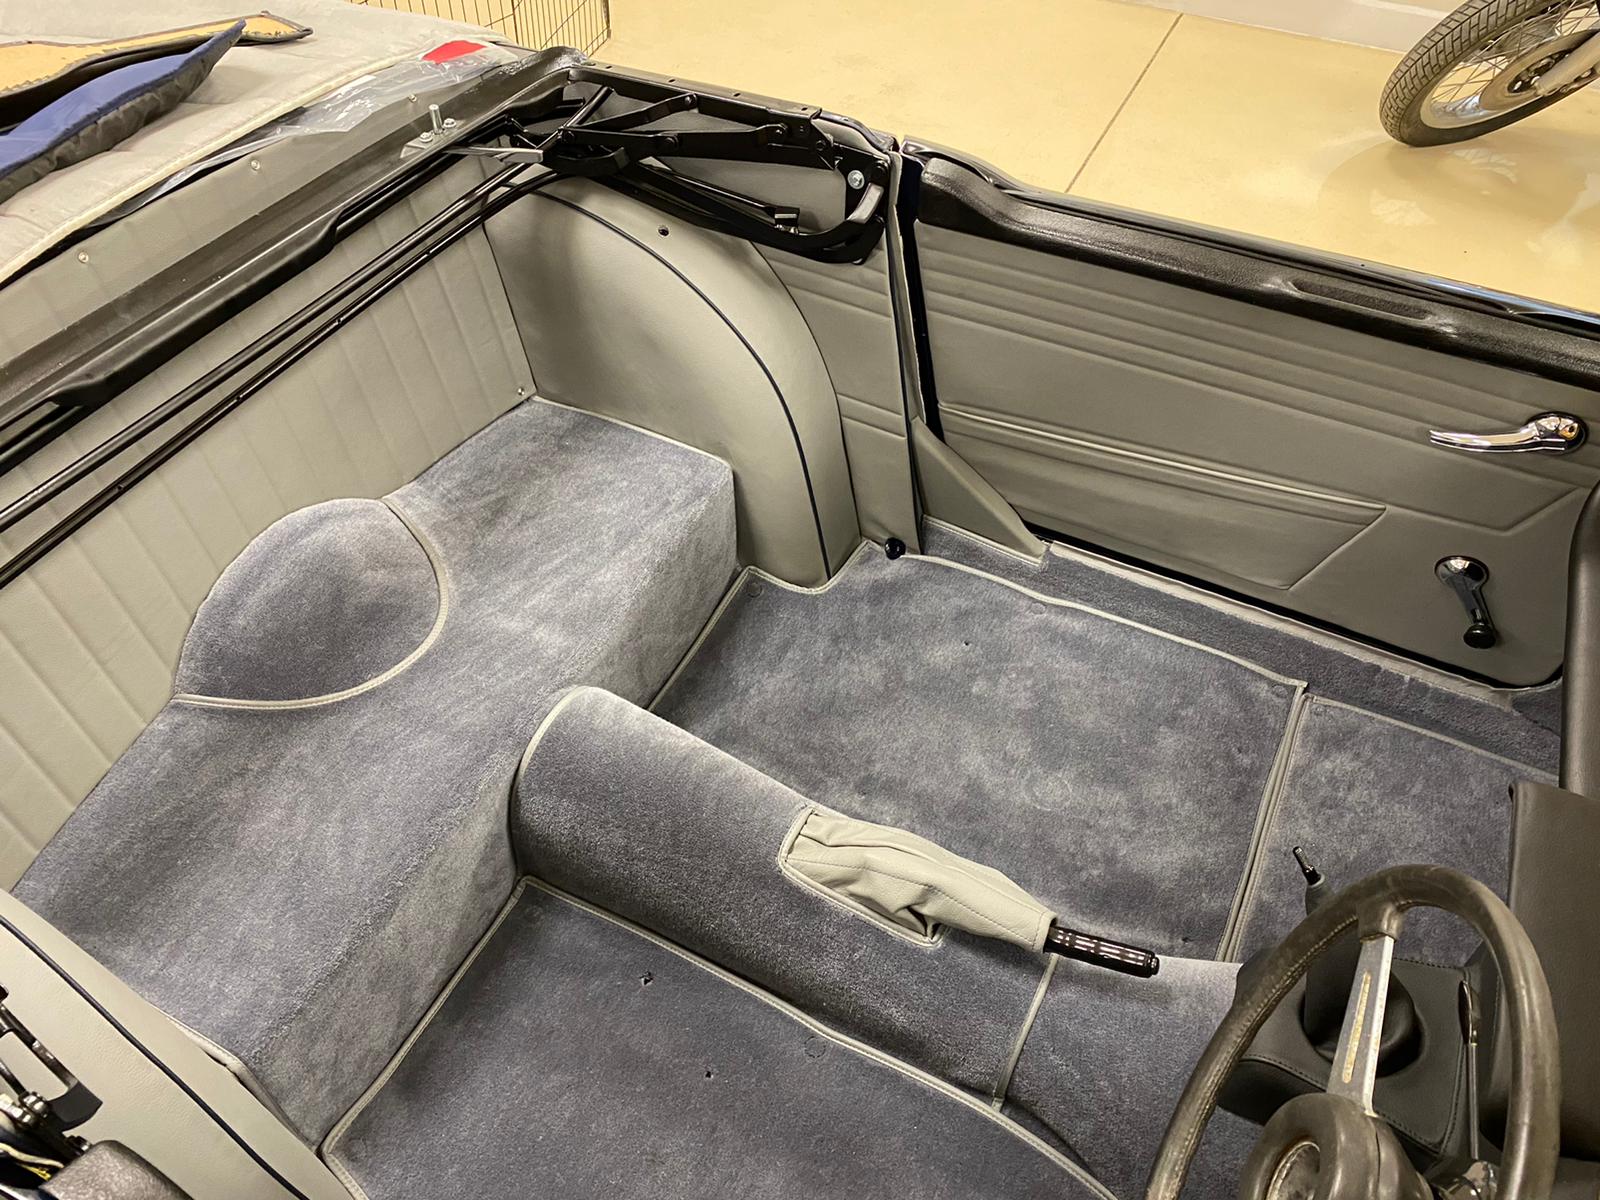
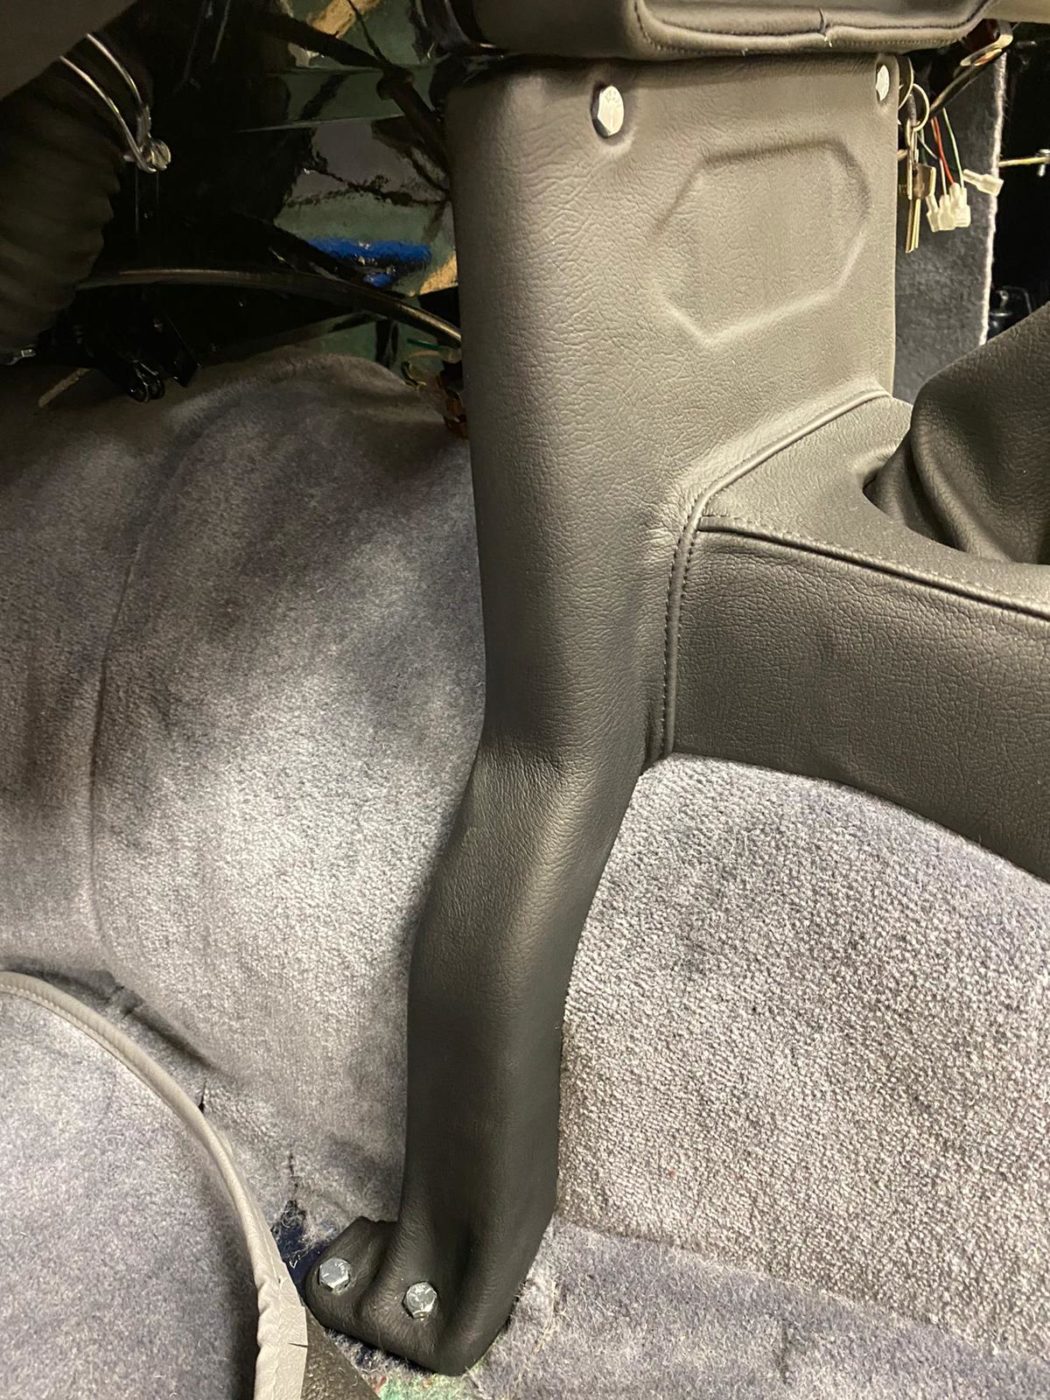
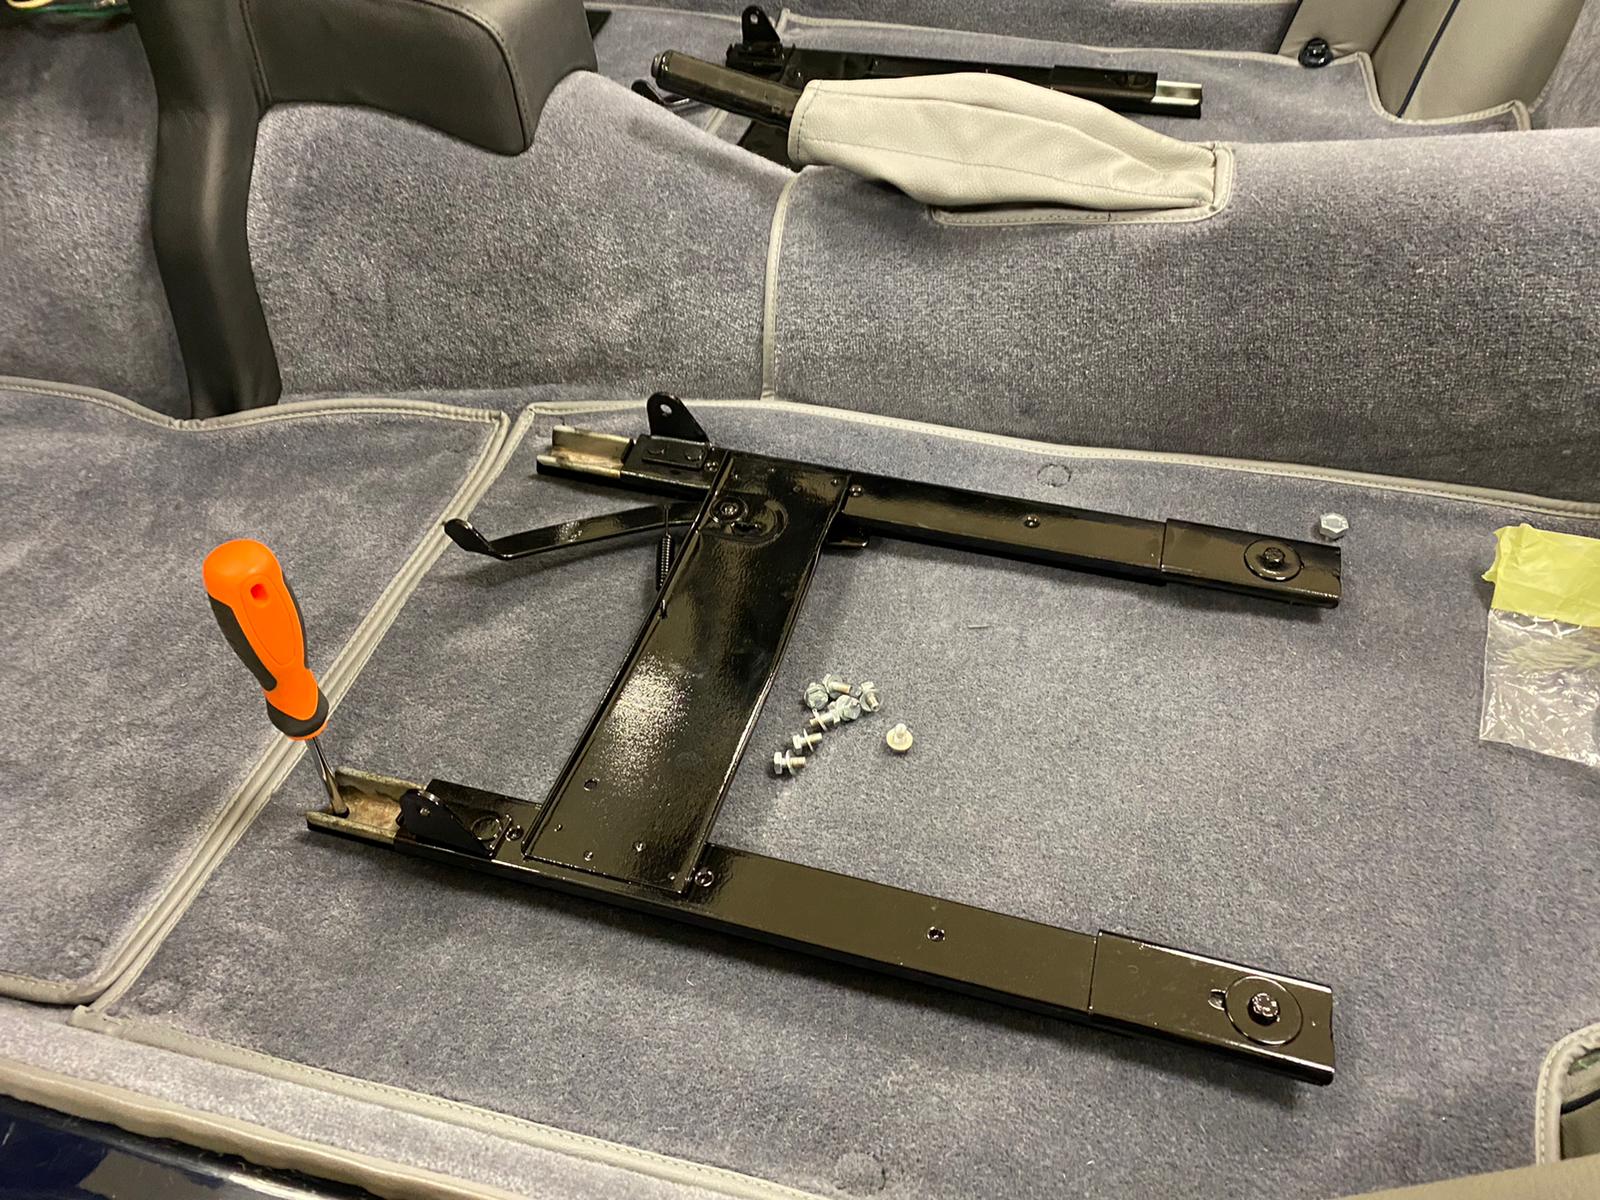
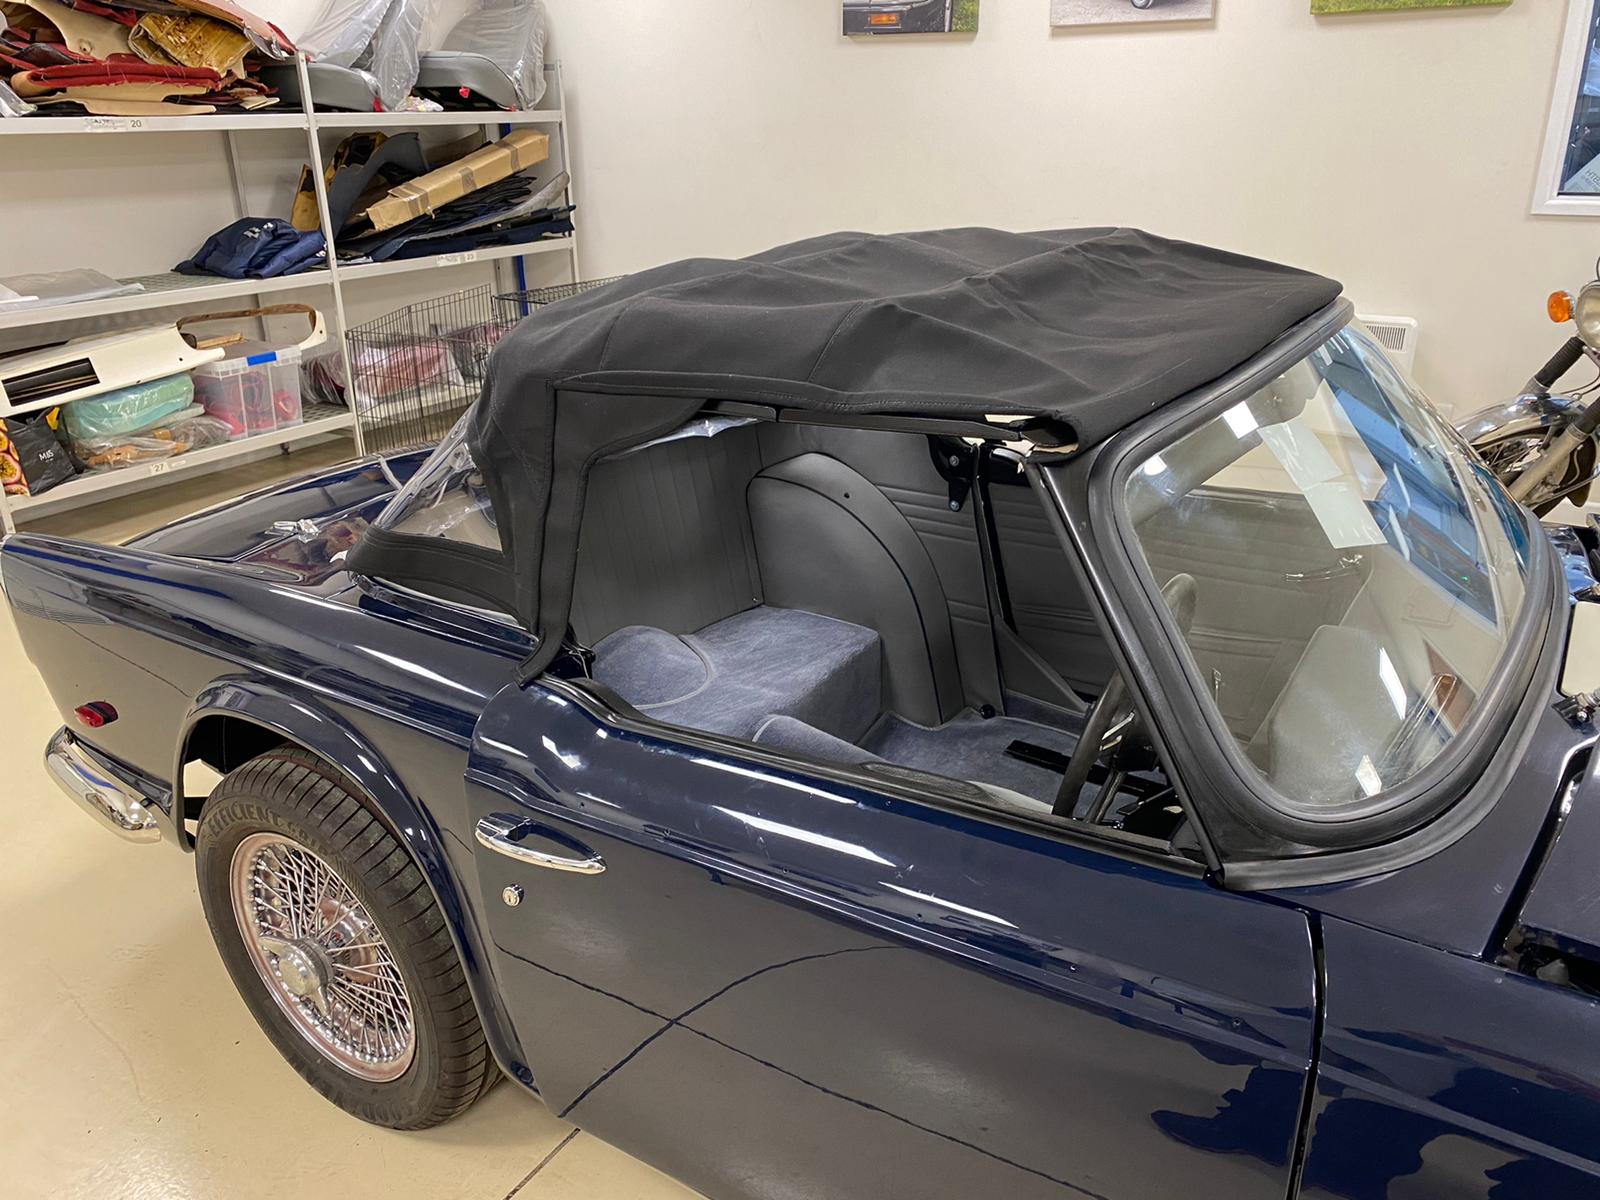
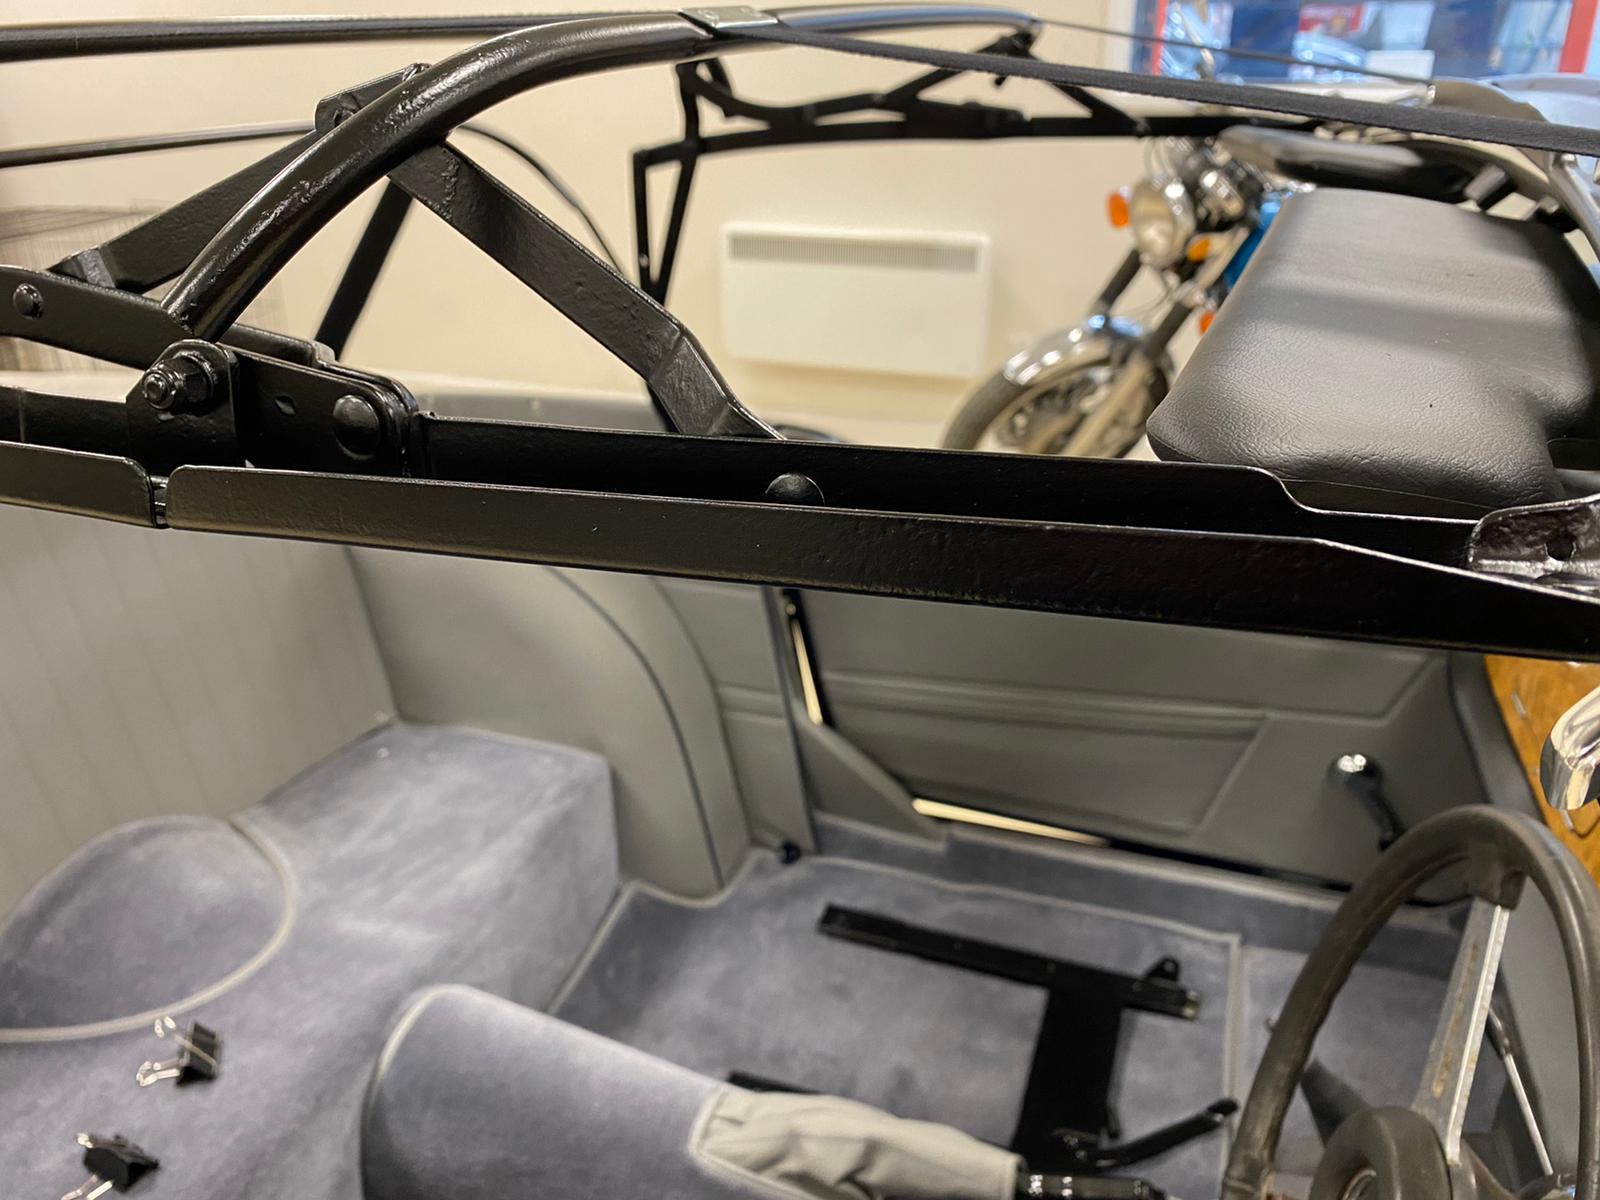
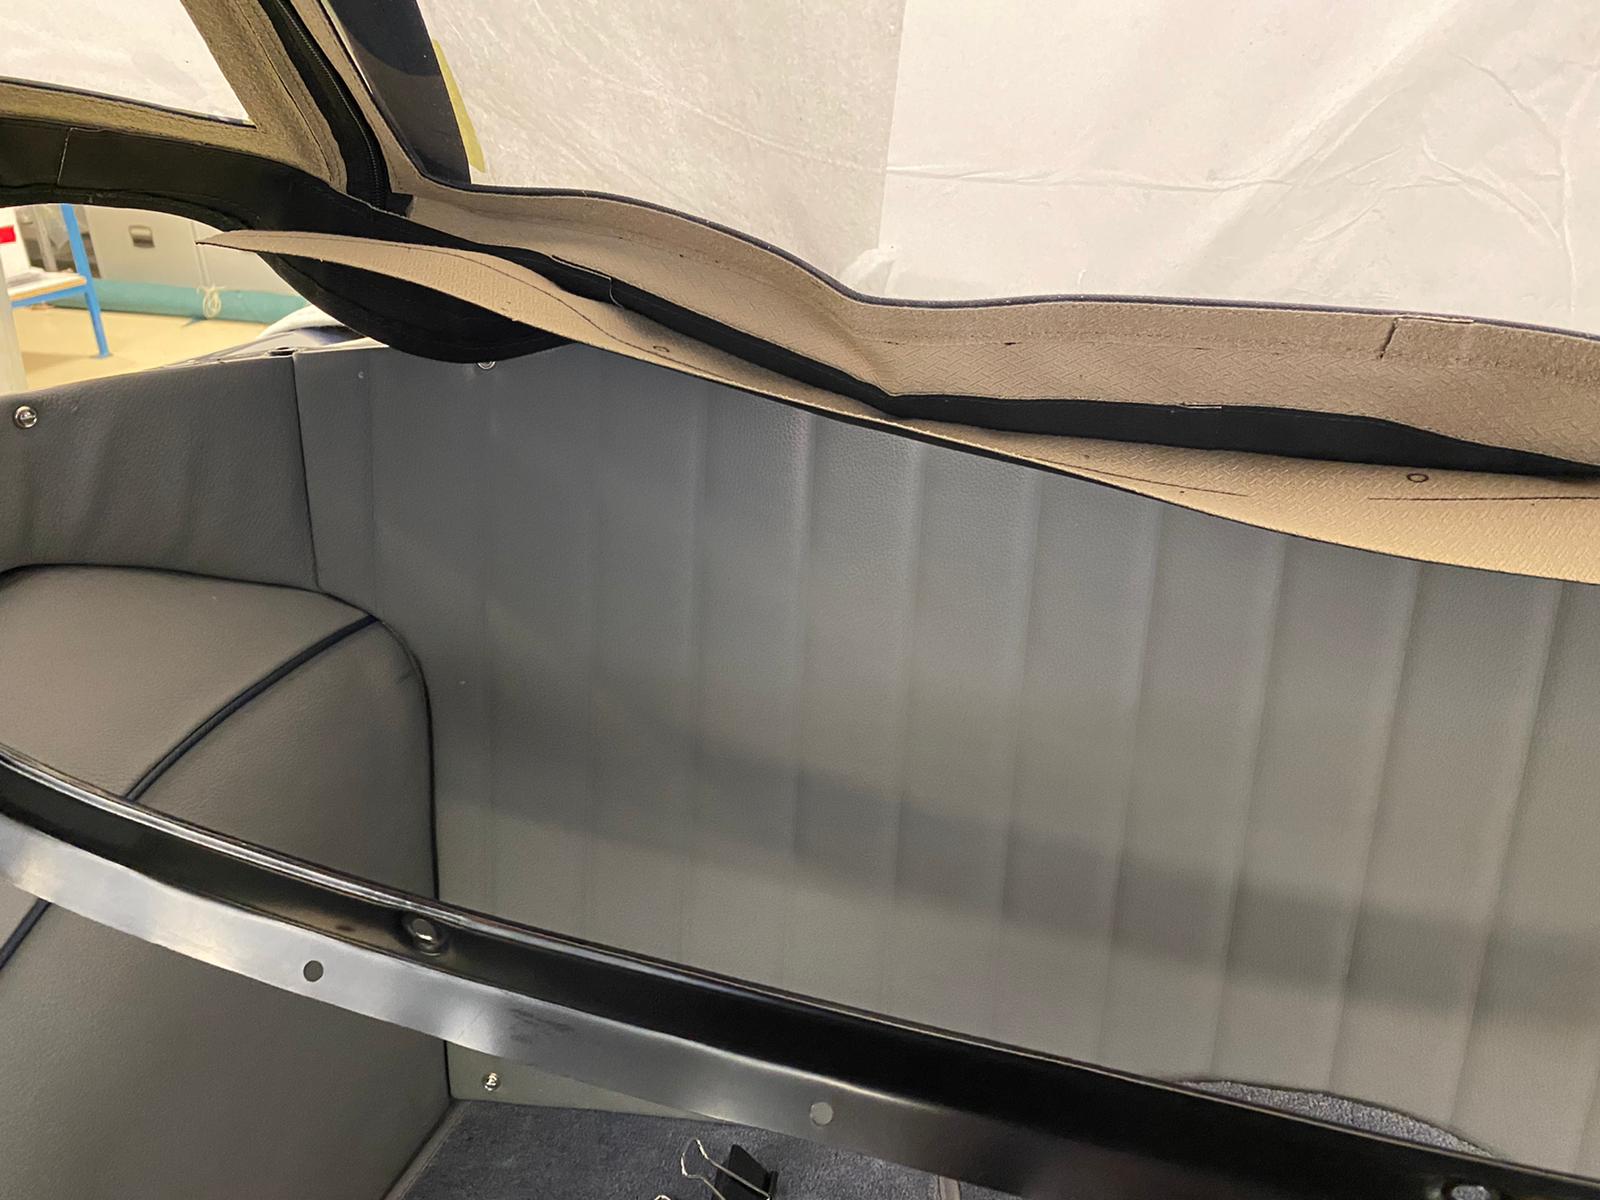
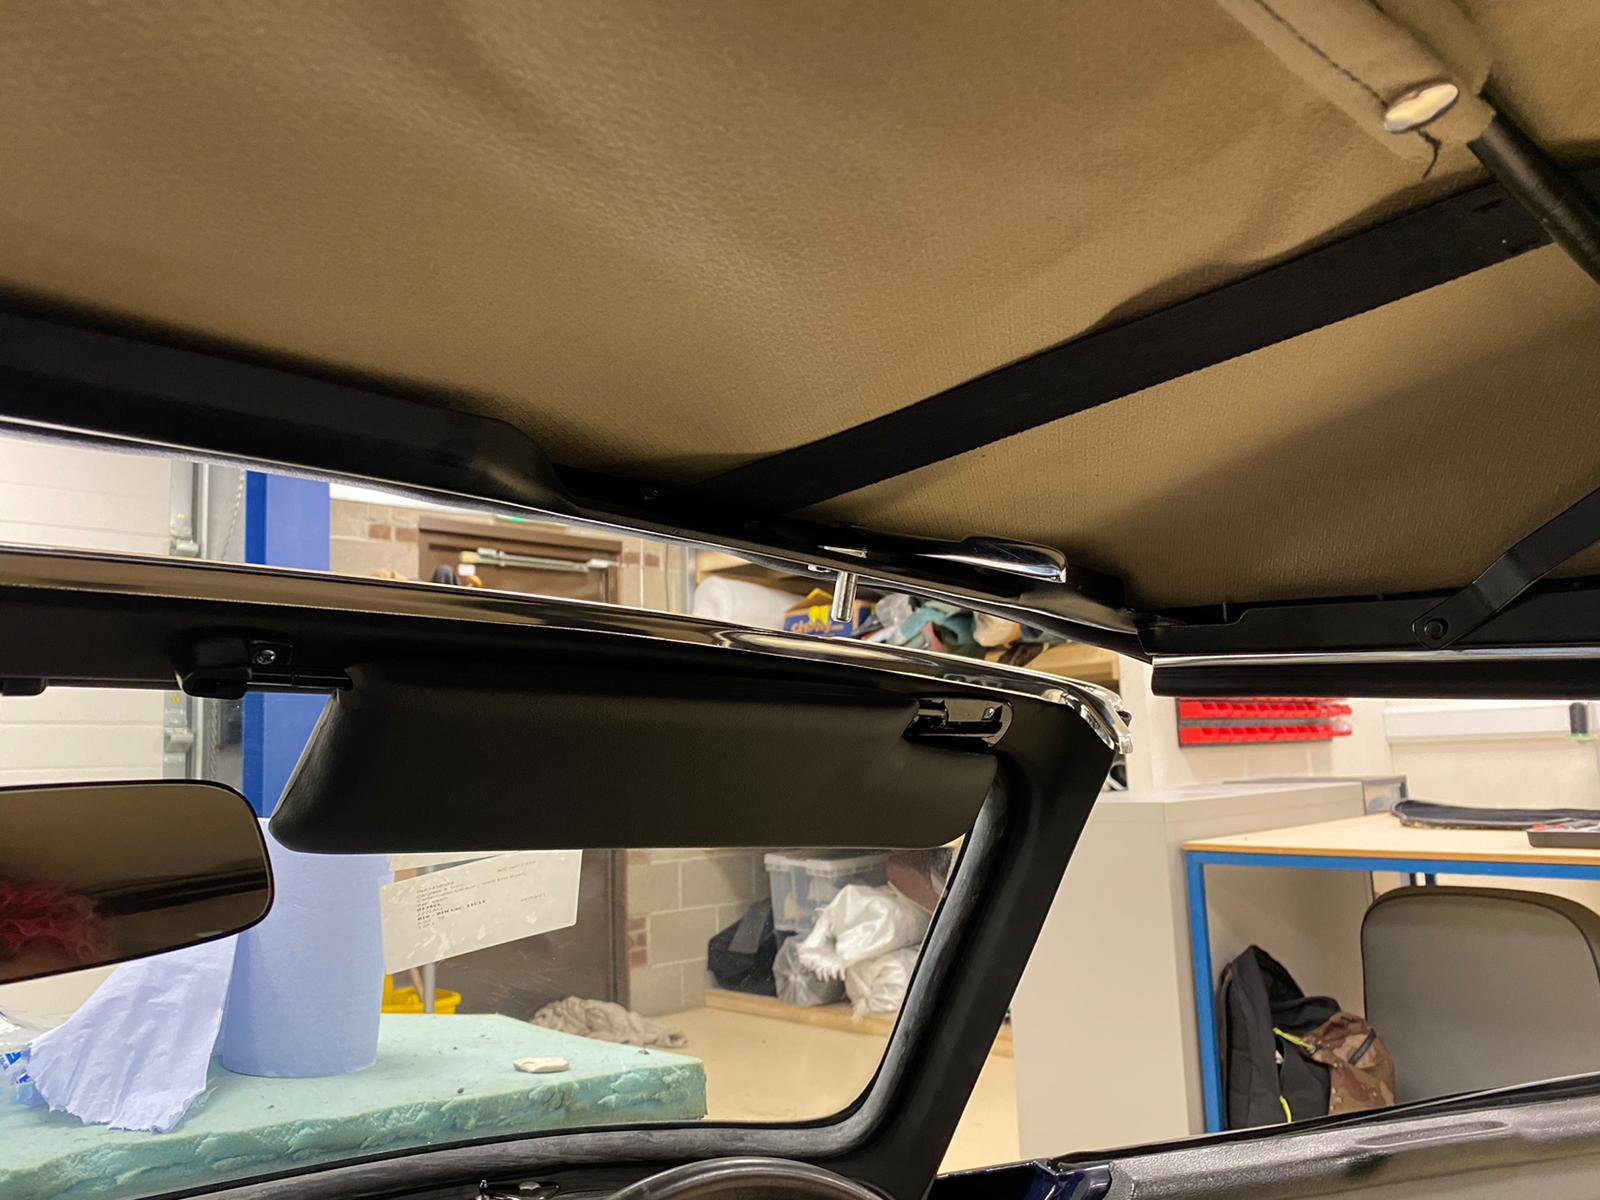
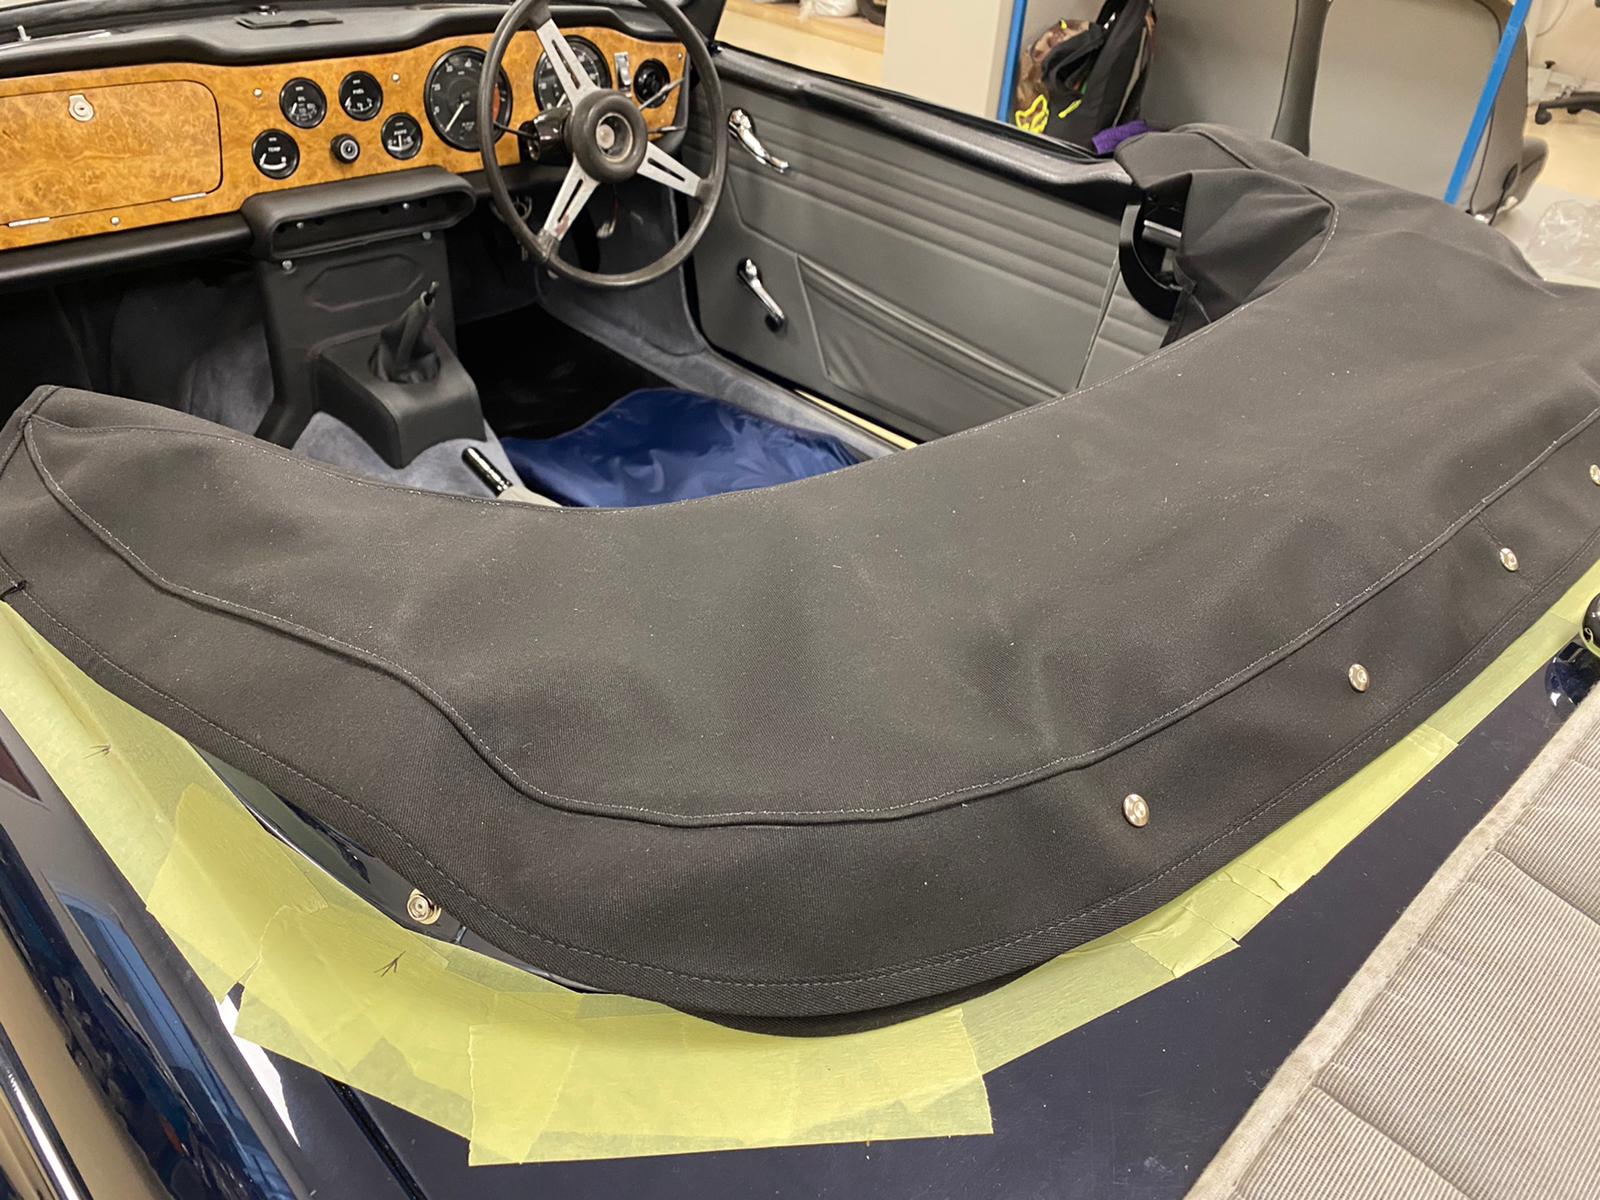
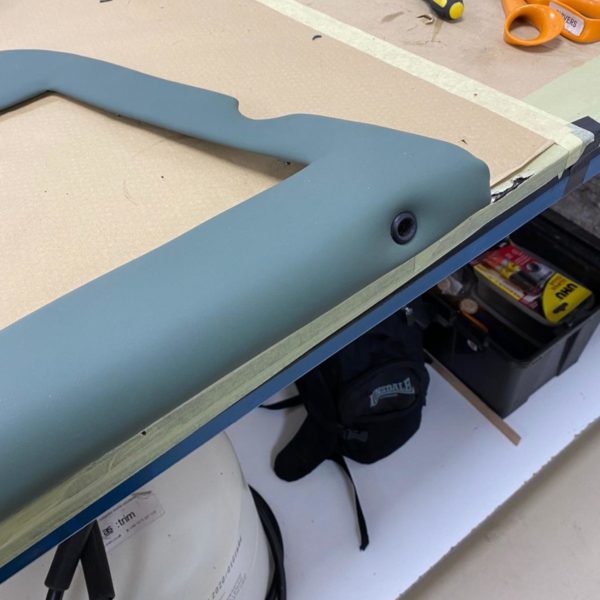
Kath and Brian have both been working on our 1968 Triumph TR5 recently. Kath has fitted the door cards which could be placed in now that the door capping’s have been fit. Kath began by pushing in the panel clips into the back of the panel and aligning the clip with the hole in the door to push it into place. At first Kath noted that it wasn’t sitting straight forward so she had to adjust the panel by cutting off the piping from the top.
Once Kath had the clips in at the top, she could then go round the rest of the panel clips, cut out the holes for the window winder and door handle, fit the handles and move on to the other side to do the same thing again.
Kath also bolted the seat runners onto the floor and bolted in the centre console. This included fixing two bolts into the floor pan each side of tunnel section and one each side at the top.
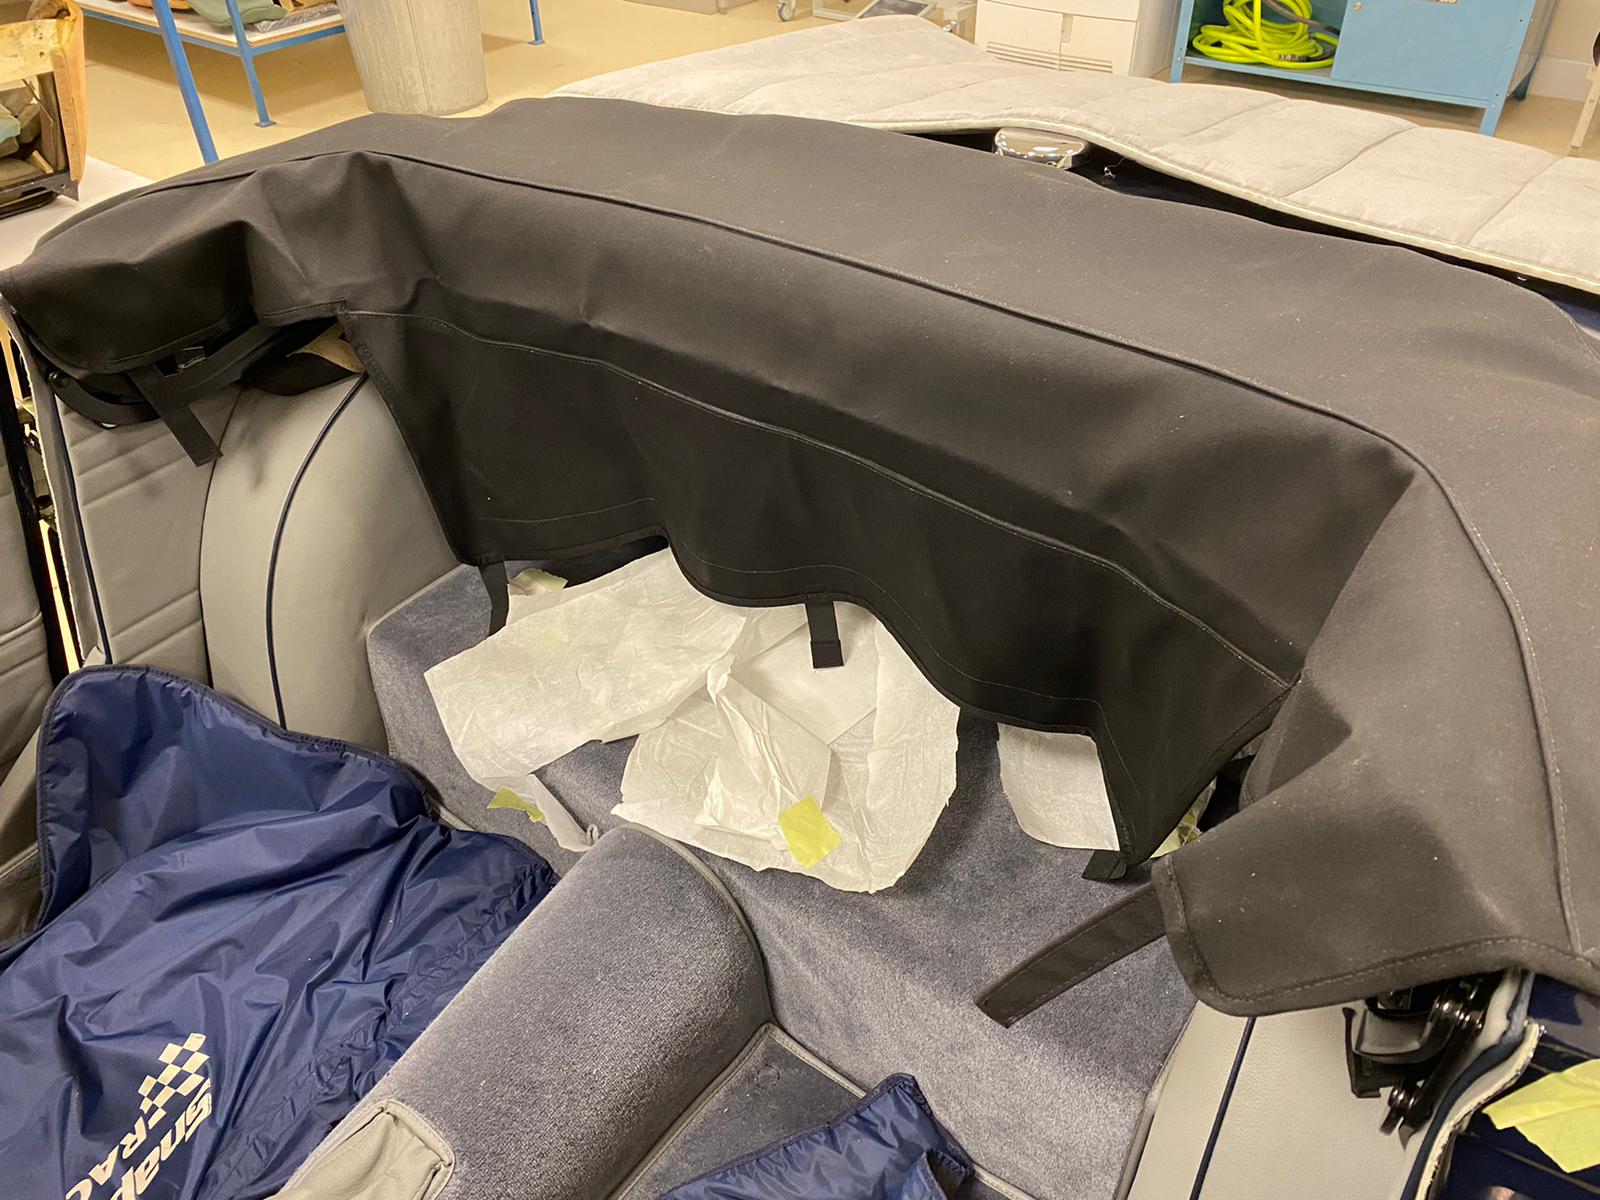
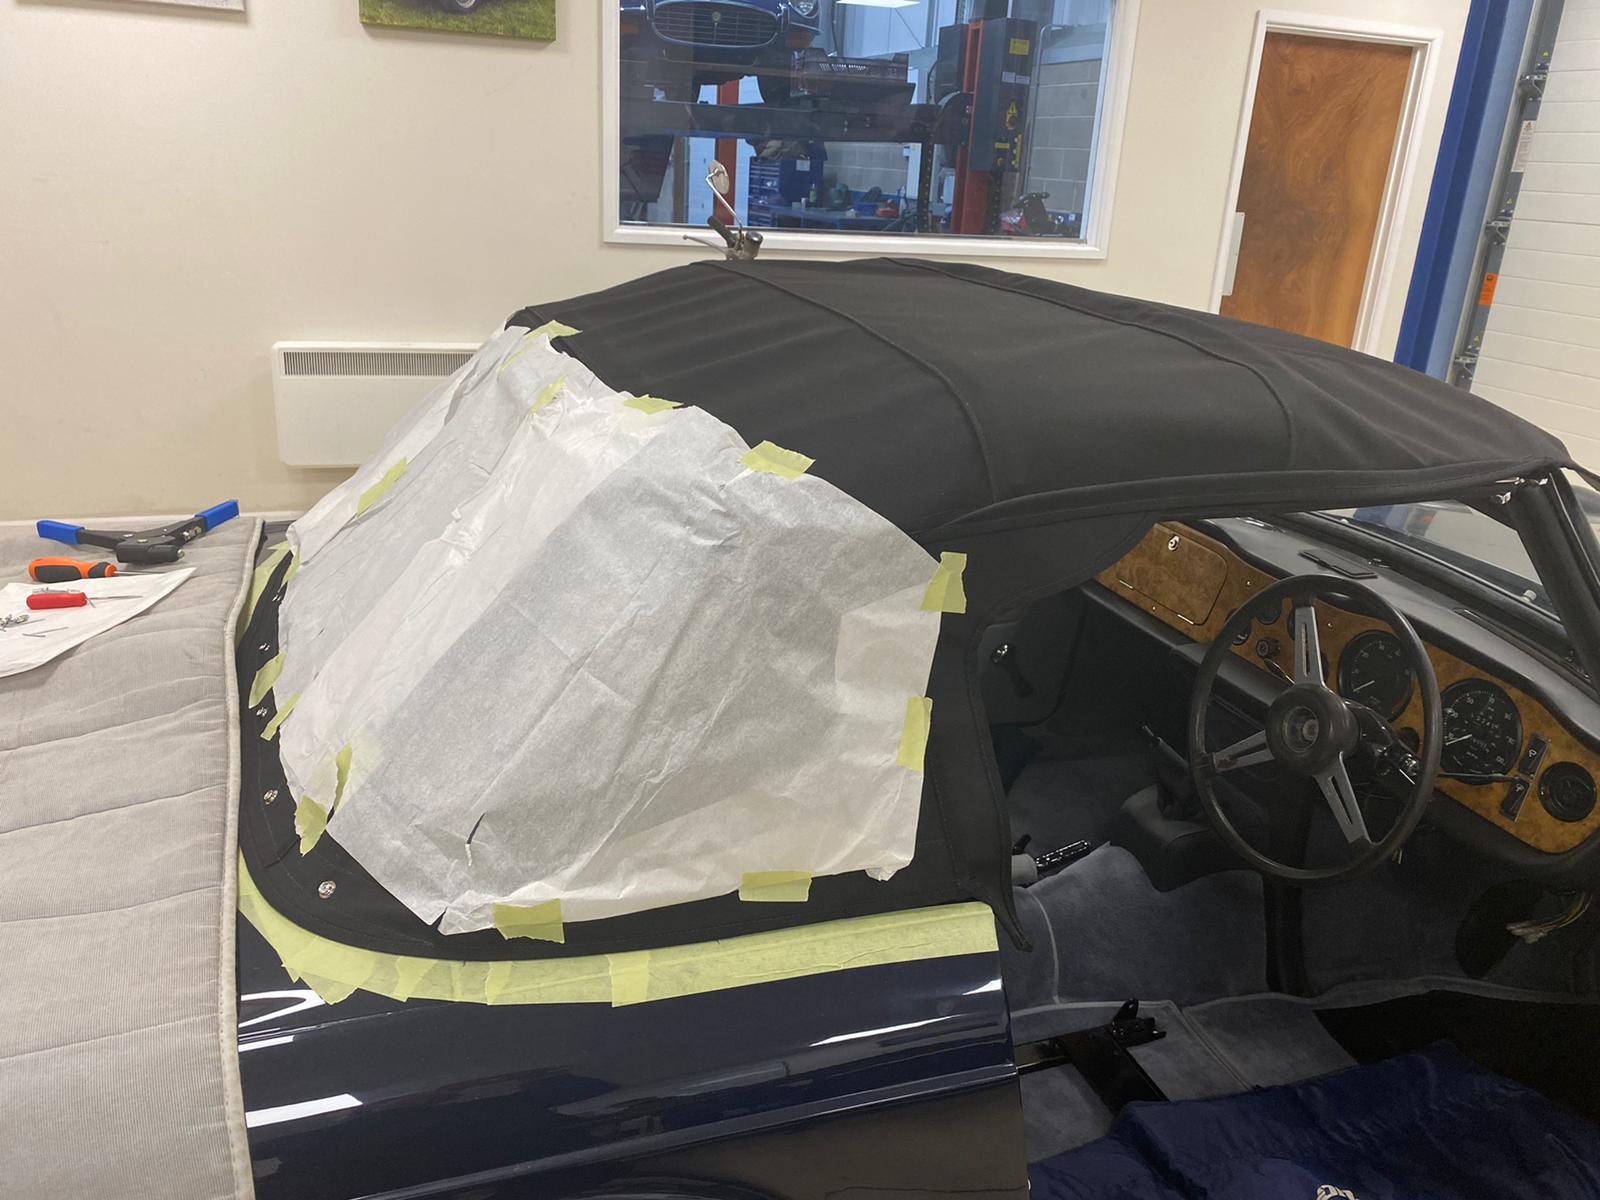
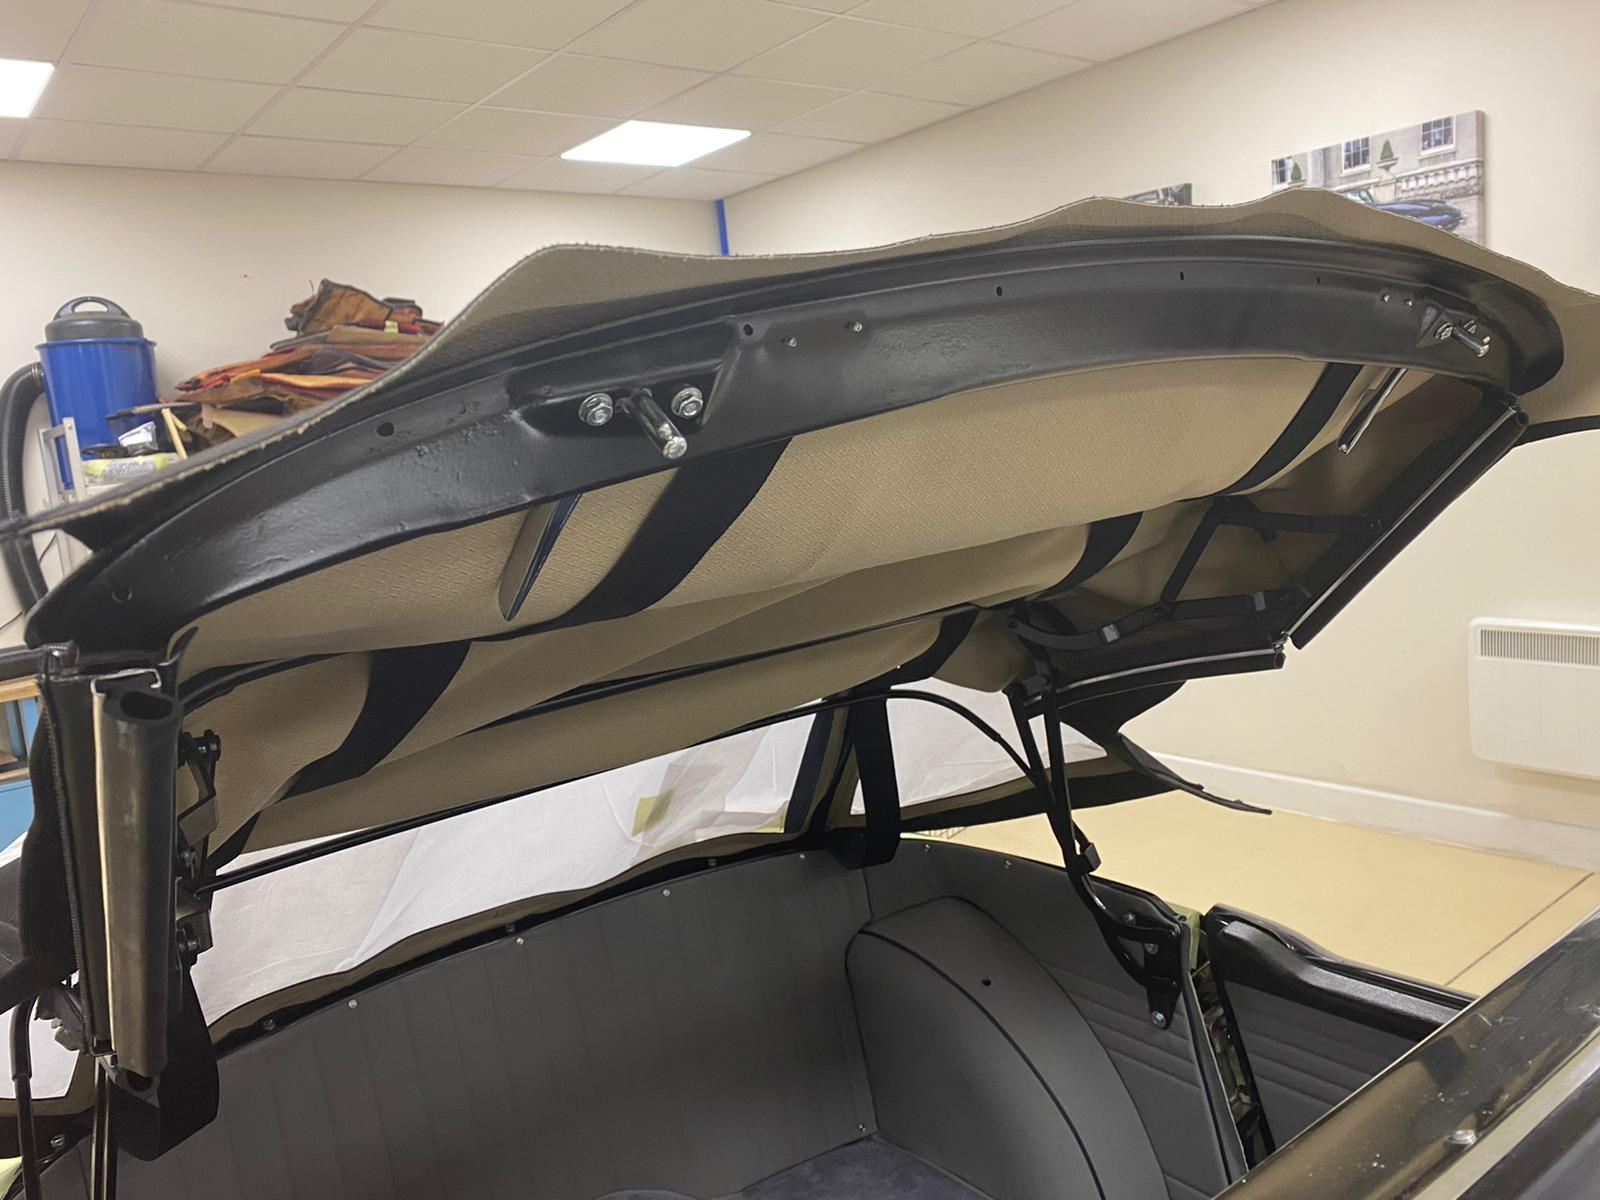
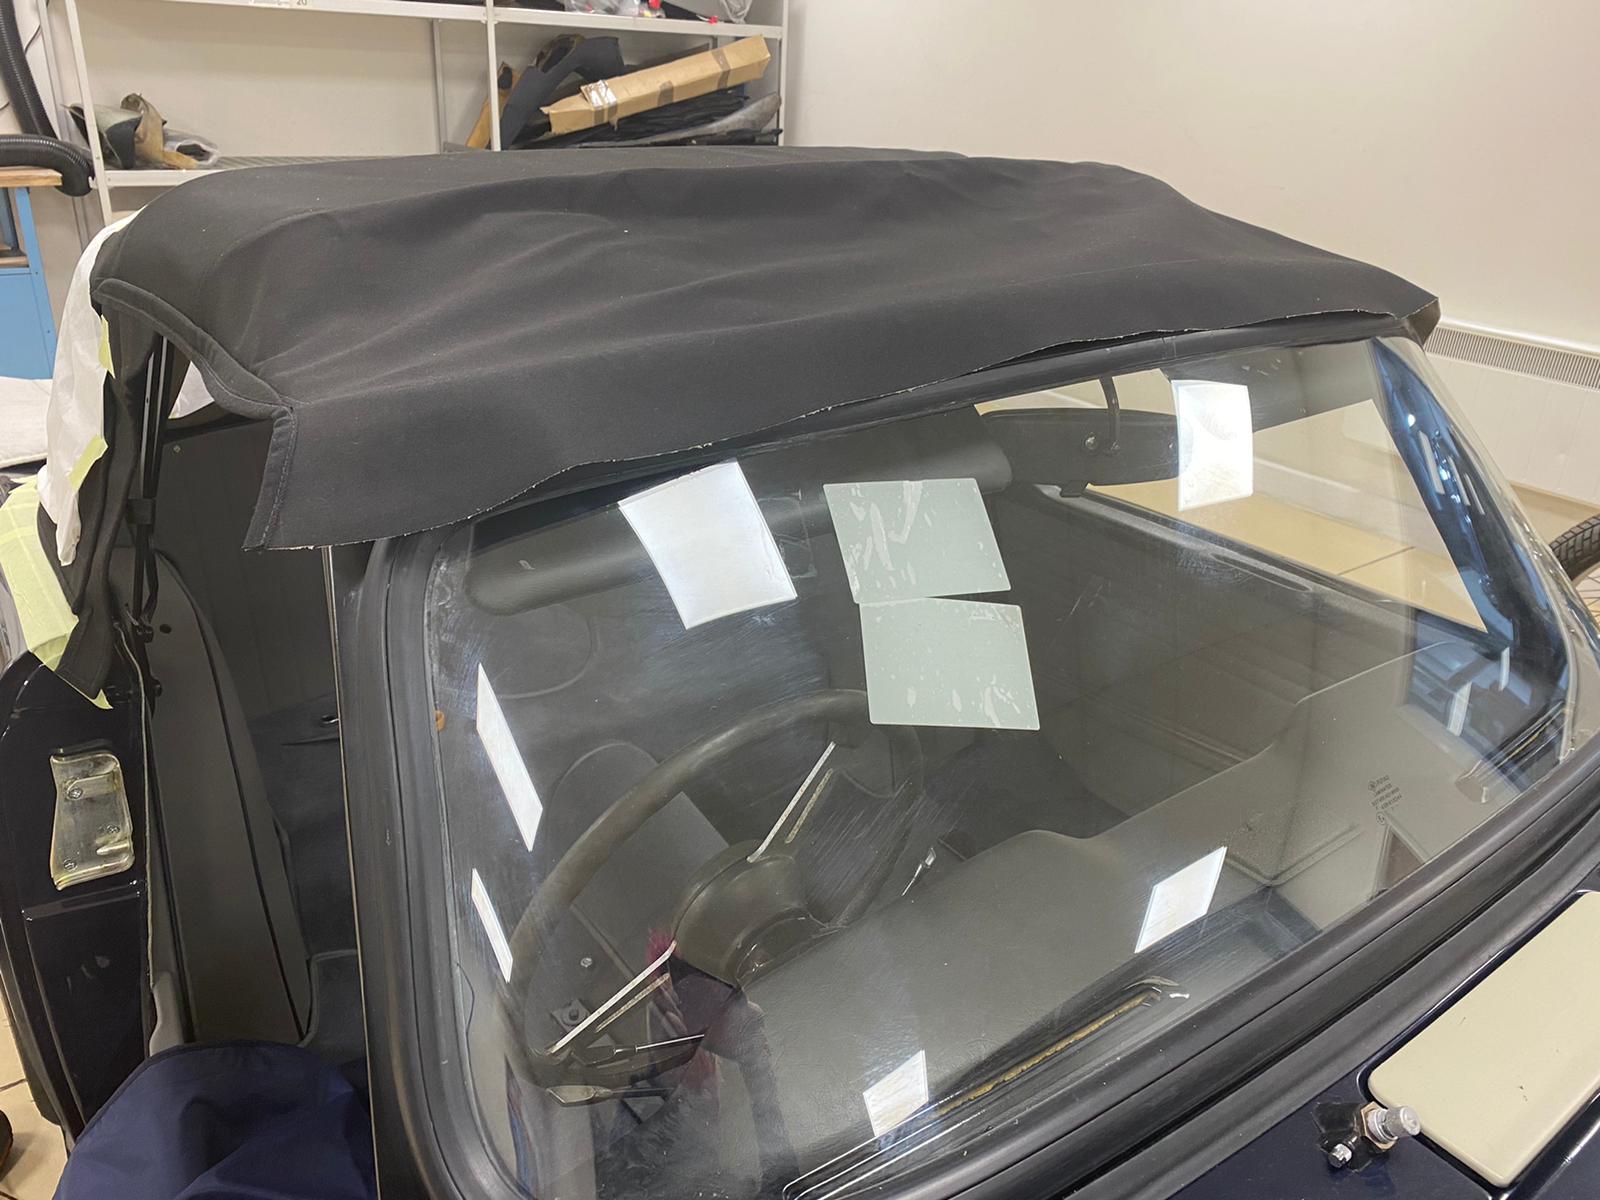
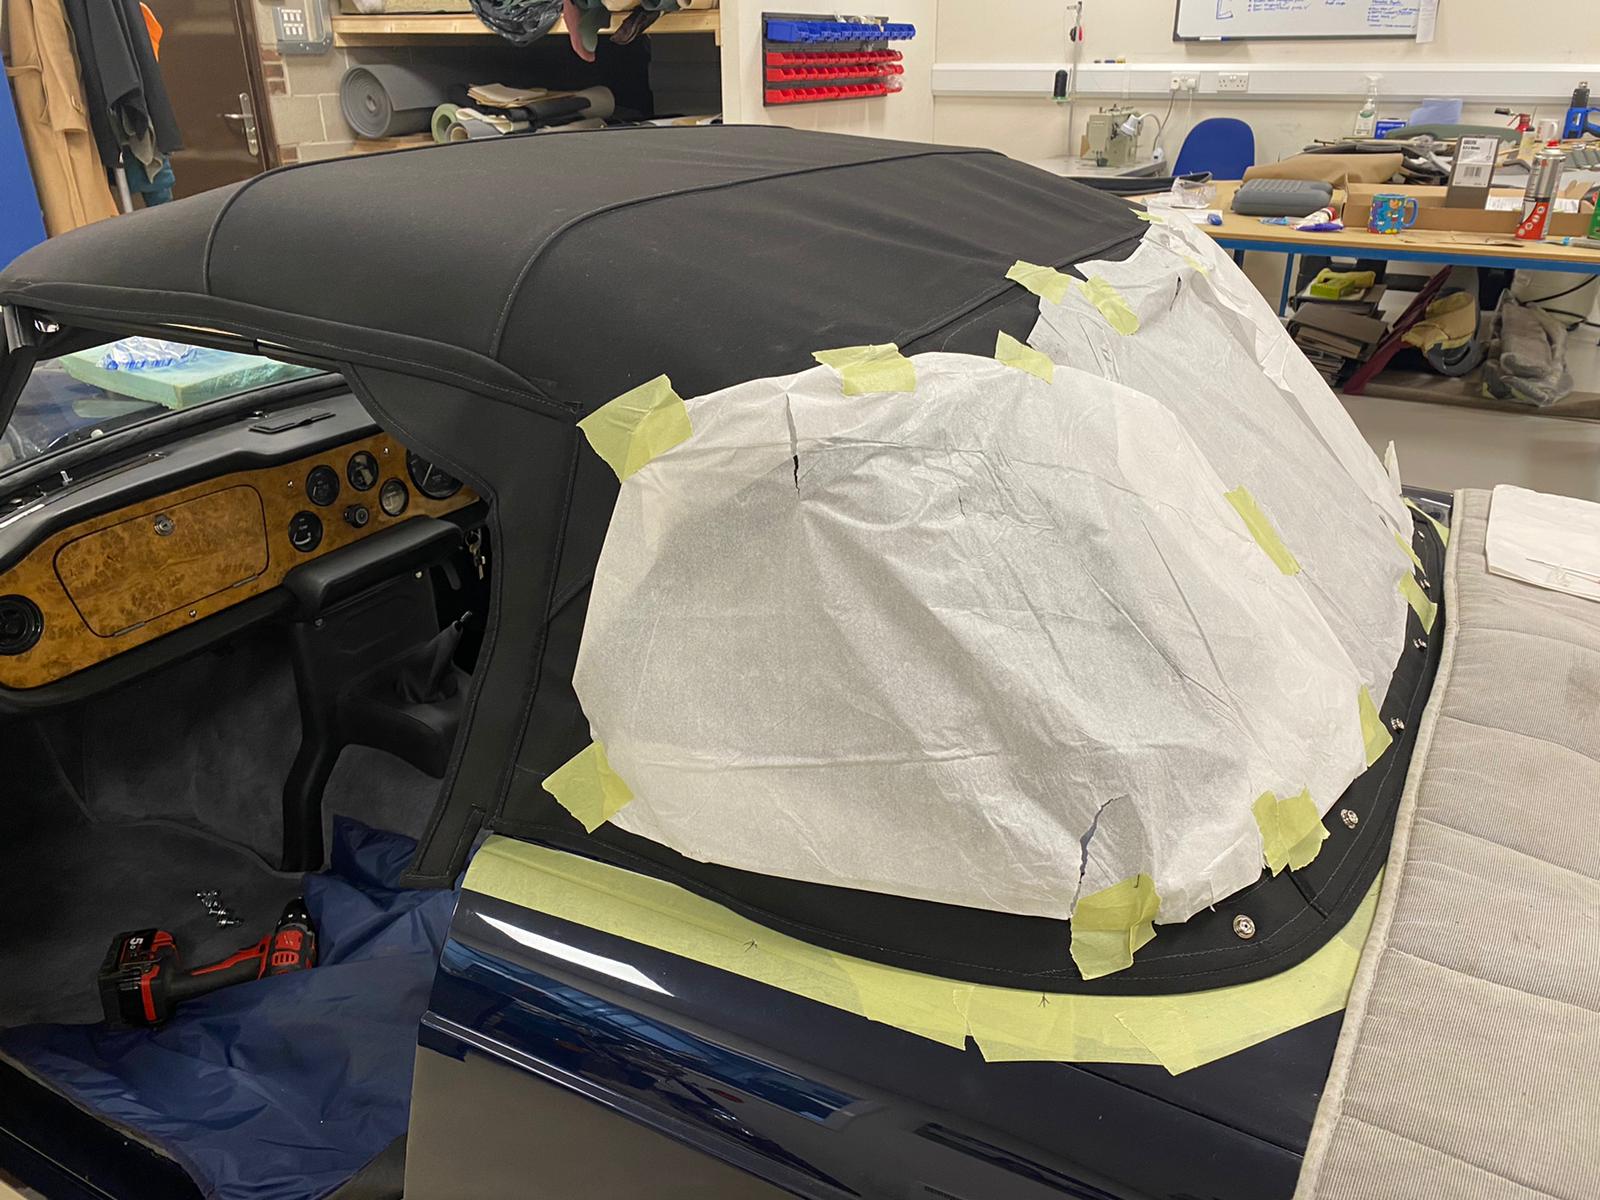
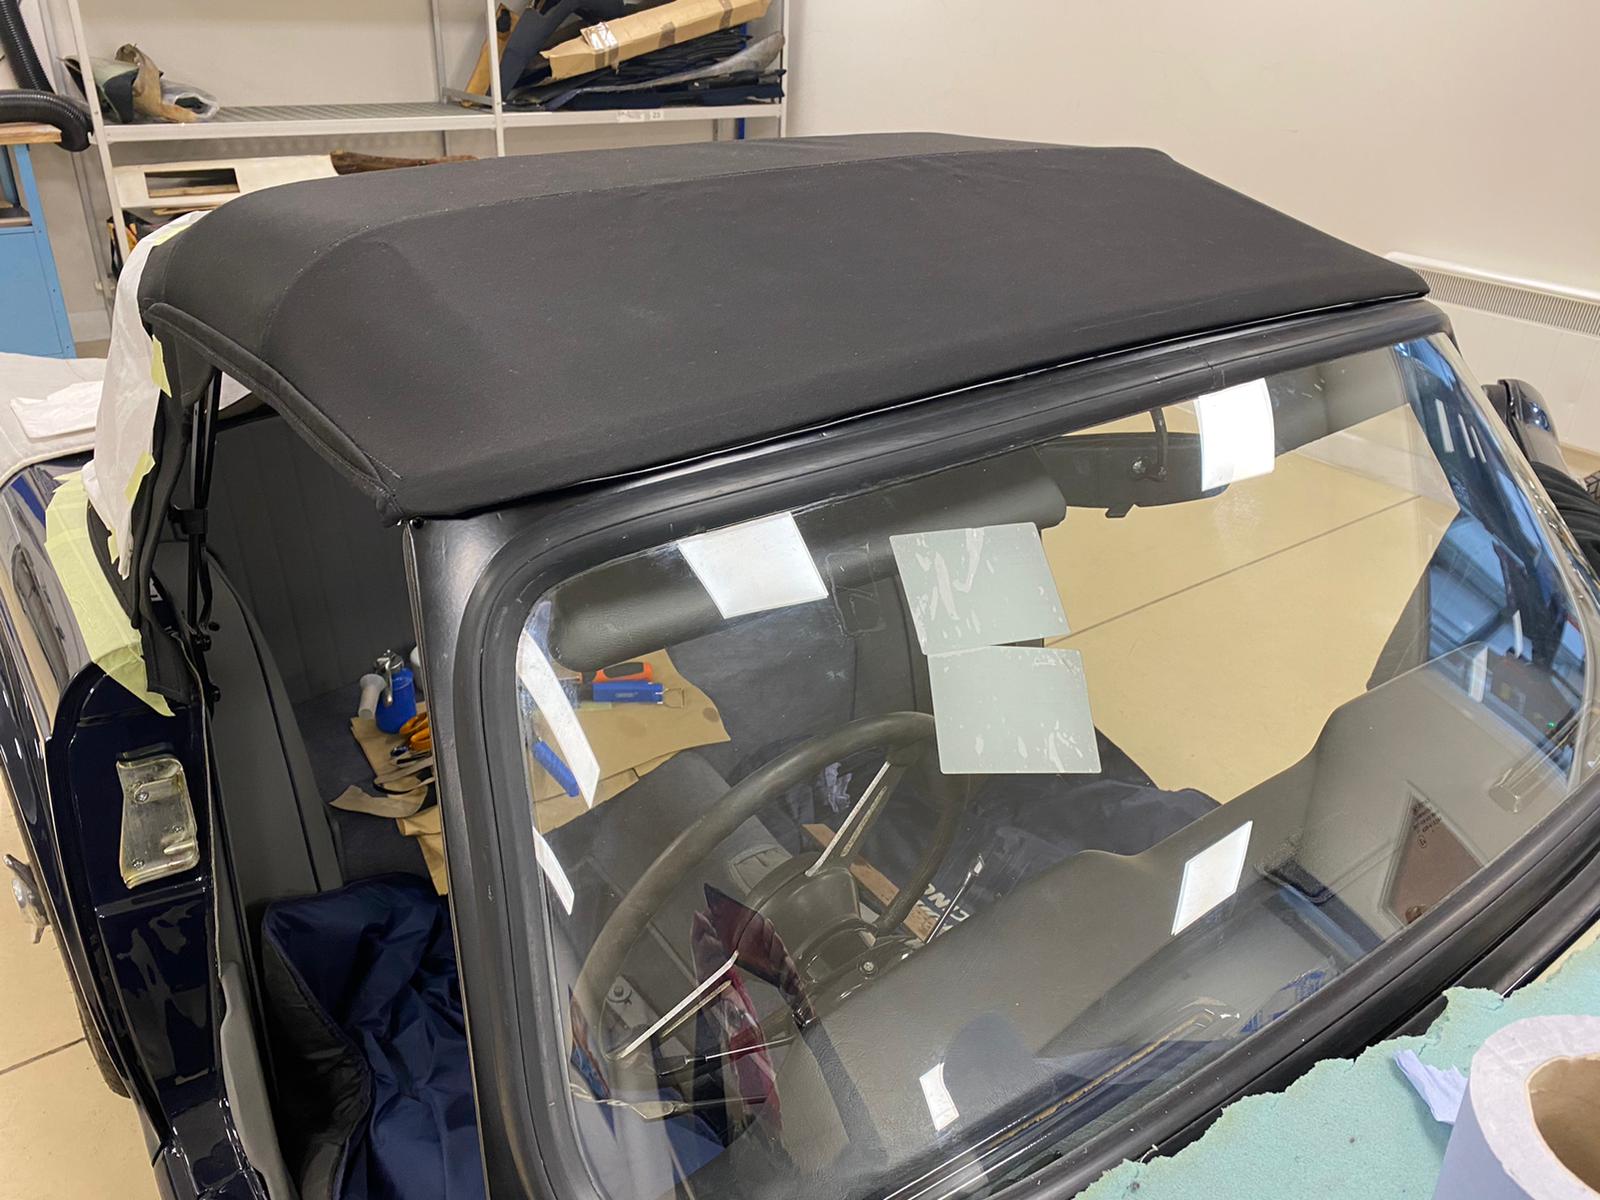
The hood has also been fitted to check that the measurements align well. Kath laid the hood over the car ready to fit it later whilst she was waiting for the rubbers and header rail parts to arrive. By placing it over the frame, Kath could see if anything needed to be modified.
Brian has been fitting the chrome handle and lift up bar mechanism to the seats that allow the seat to move forward or back on the runners or from its hinges.