Coming soon – 1989 Daimler Double Six
This may be the first time you have seen our 1989 Daimler Double Six. The car has in fact been with us, in storage, for


This may be the first time you have seen our 1989 Daimler Double Six. The car has in fact been with us, in storage, for
…and they say men can’t multitask! Brian’s day has been spent on 1953 Aston Martin’s today. He started off sorting out all interior parts, labelling
Rob is back into the swing of things now as he makes and fits an access plate to cover the fuel tank sender unit. He
The battery box metal frame is almost complete and will eventually have an ash wood box for battery to sit in.
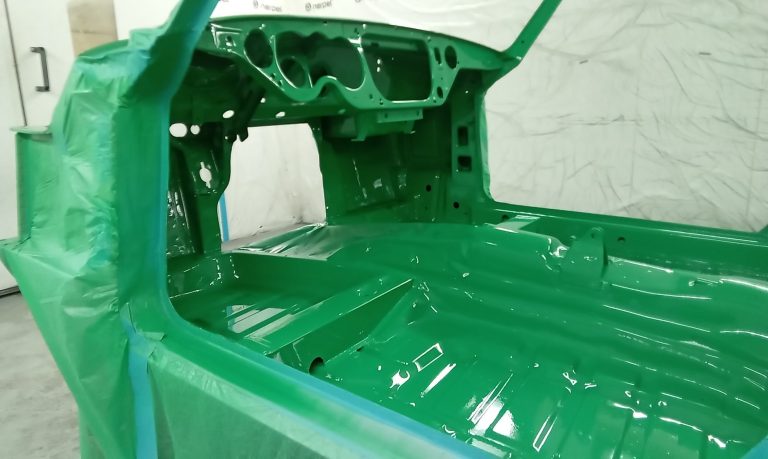
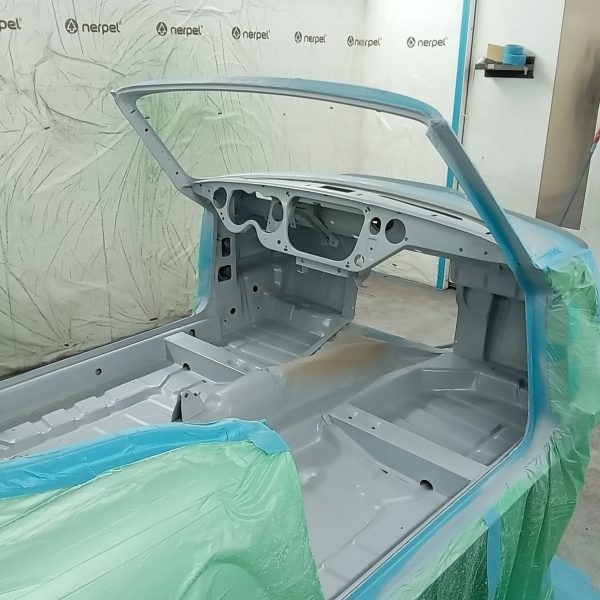
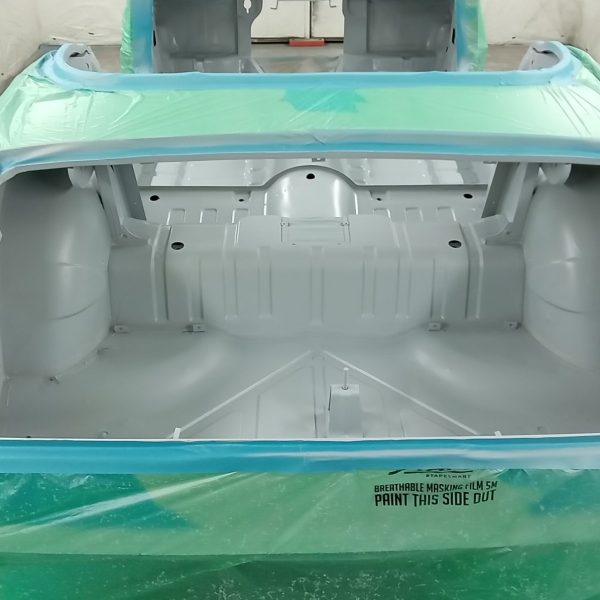
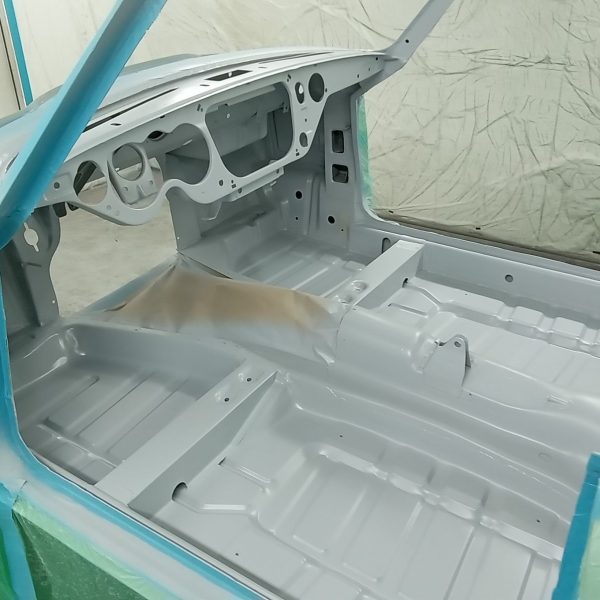
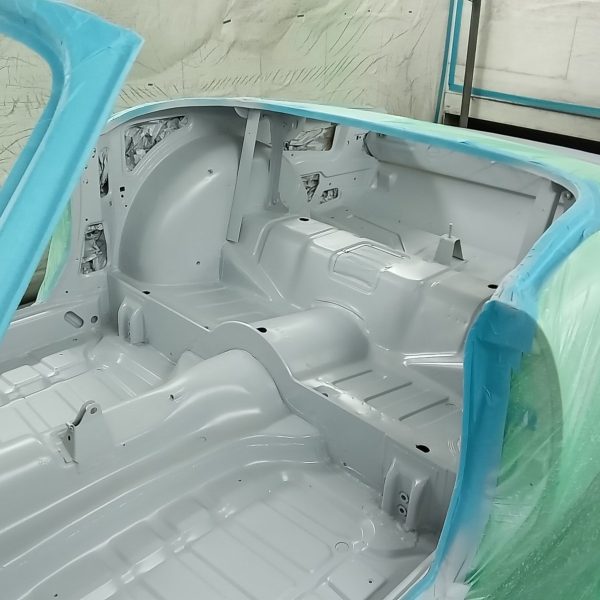
Alan is busy masking up the body of our Triumph Spitfire ready for the new Java green colour. Wet on wet primer to cover over

On 1st December 2023, we set off on a festive adventure across the Suffolk countryside – our first-ever Mince Pie Drive. The day dawned bright
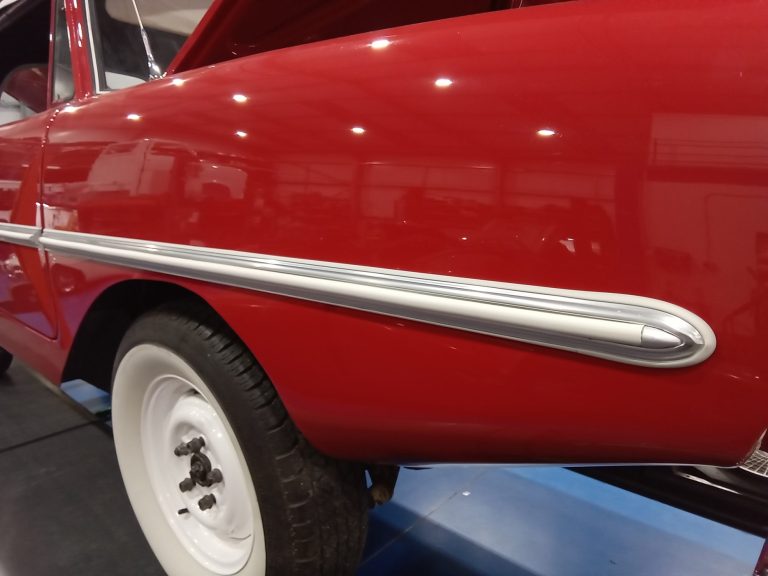
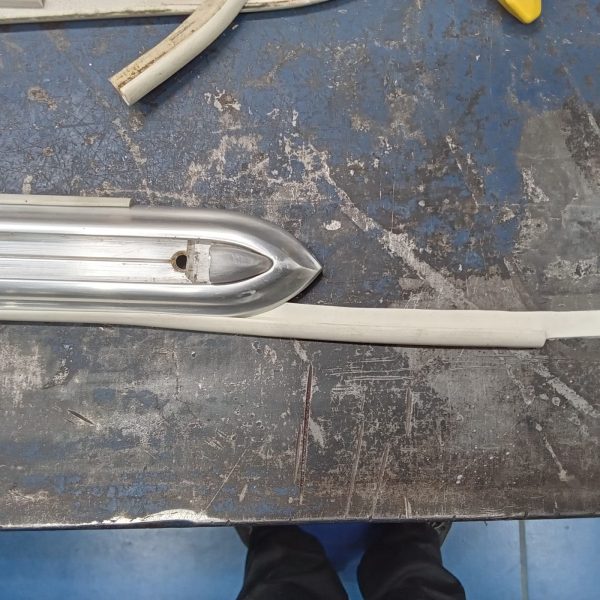
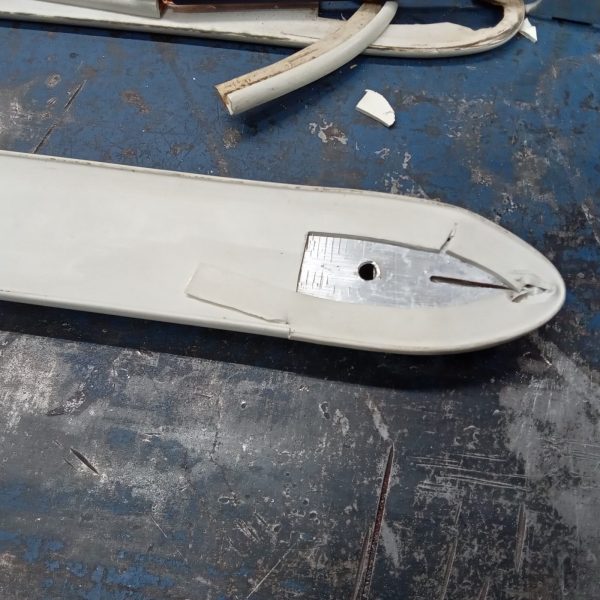
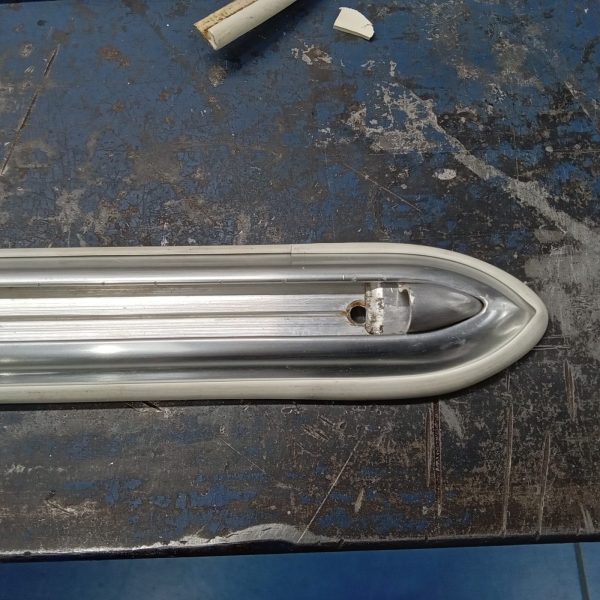
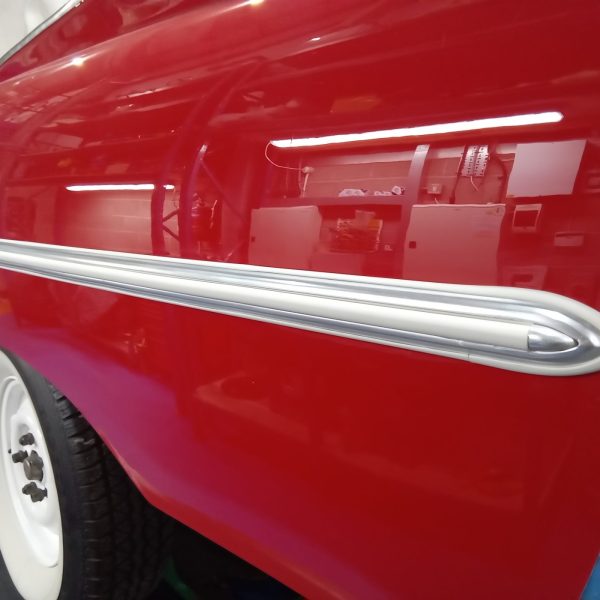
The side mouldings have now been fitted, this involved James making the tapered ends and ensuring they were a snug fit and secured in place
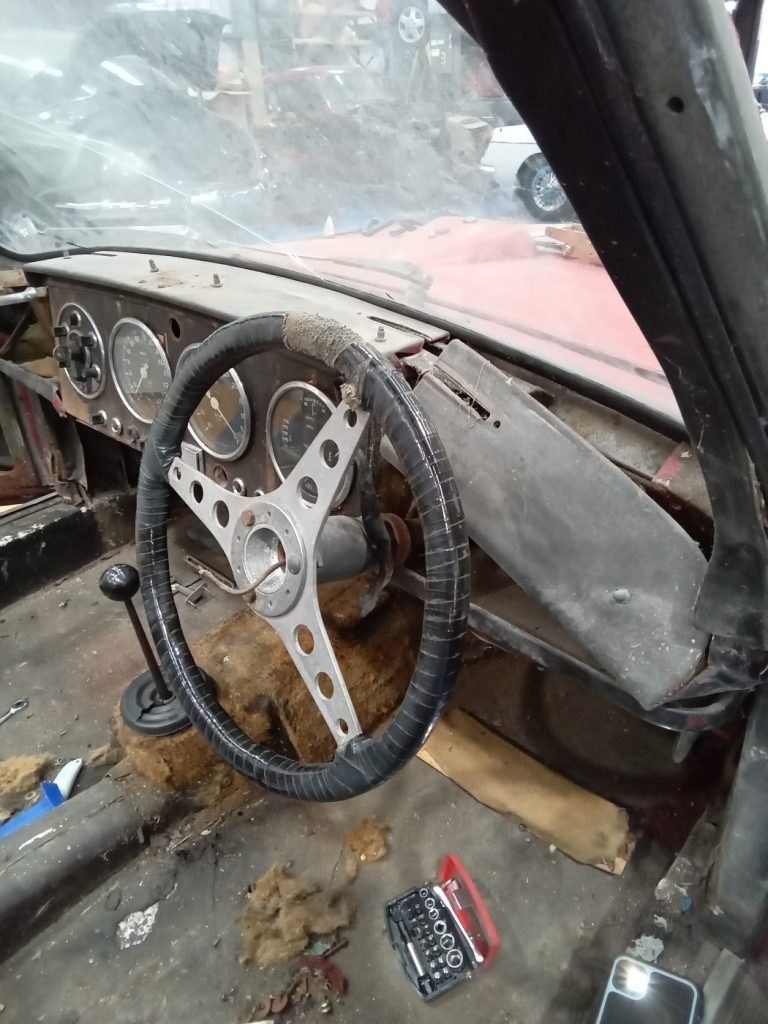
Brian has begun work on stripping down our 1955 Aston Martin Drophead Couple. He has removed the rear boot panels, the rear seat base and
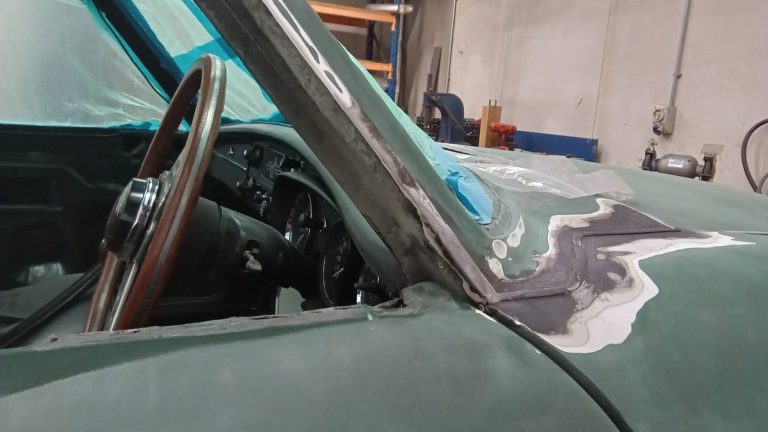
Christian is assessing the corroded areas and getting the car prepared for the repairs.
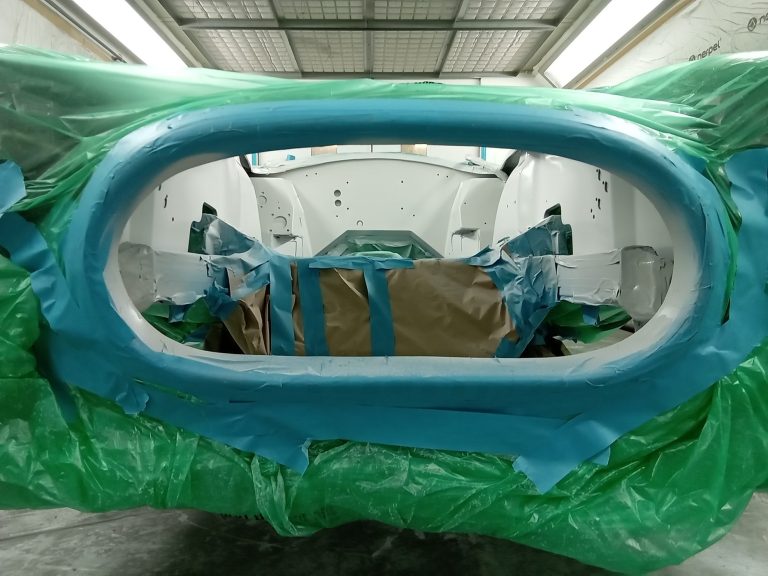
The Cobra body, chassis and engine bay are now all primed.
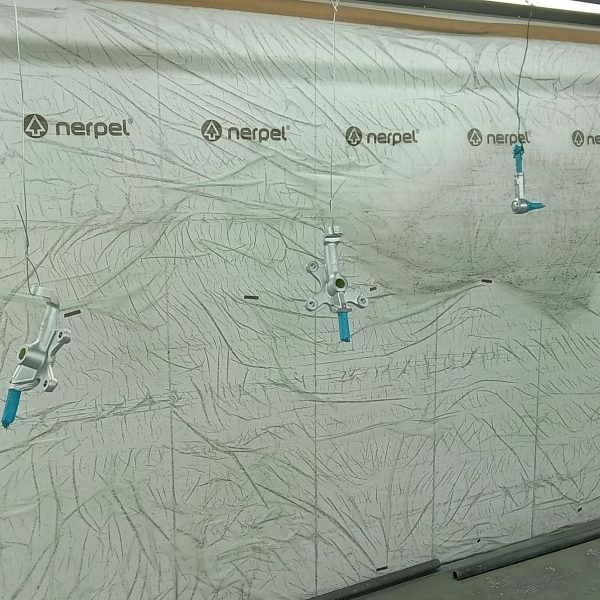
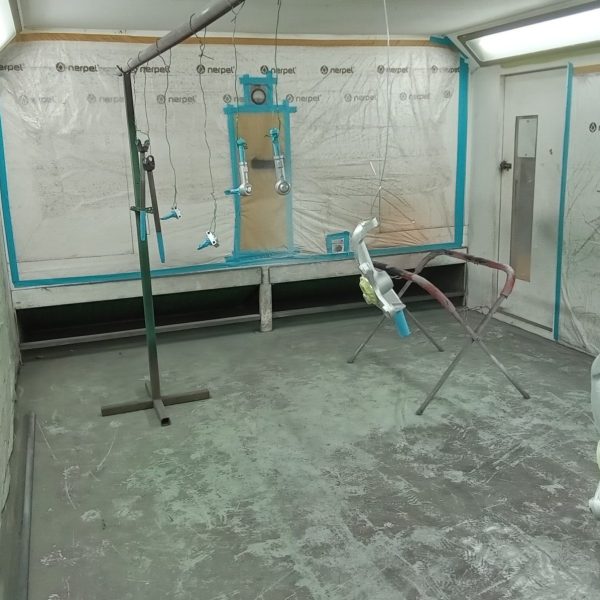
Alan has applied a DTM gloss black to some of the suspension parts. DTM or Direct To Metal paints are created to provide your metal
Rob returns to work this week, having taken a extended break to recover from some recent surgery. He gets straight back on to our Jensen
Monty is fitting a new electric winch to our Wessex open trailer. He is fabricating new bracketry to house our winch which will go over
On, what we thought would be, our final drive of the Lotus Europa prior to it leaving us for its new home, John heard a
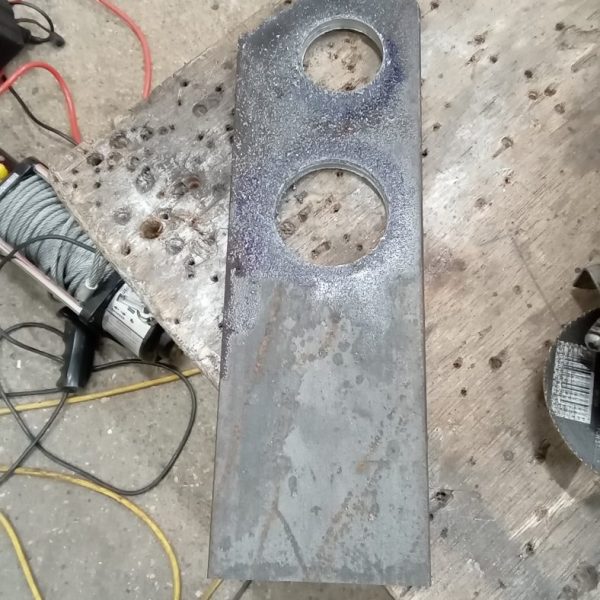
Monty has made up a new steering rack bracket to replace the existing one on our 1956 Jensen 541.
As our 1974 Volkswagen Beetle nears the end of its restoration, with only a few small bits to do, we though we would take it

Chris is currently stripping back our MG C GT to expose all of the rust and corrosion areas that will need addressing. As we find
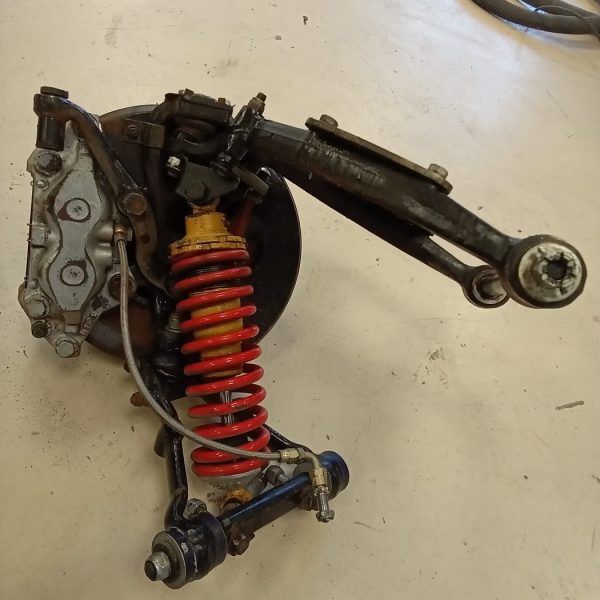
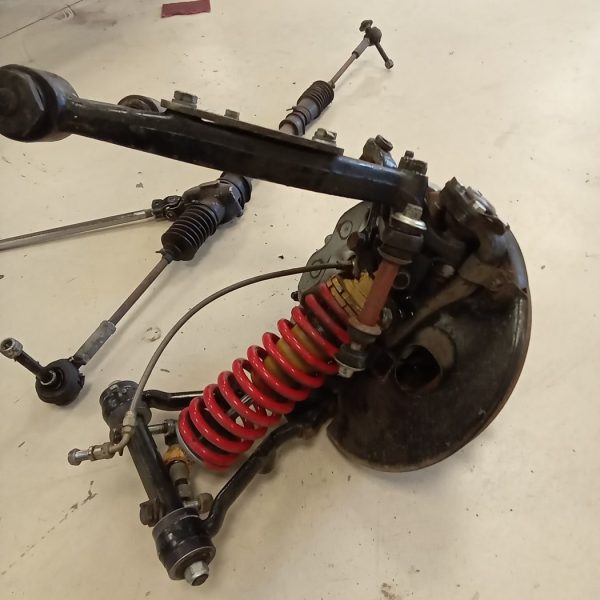
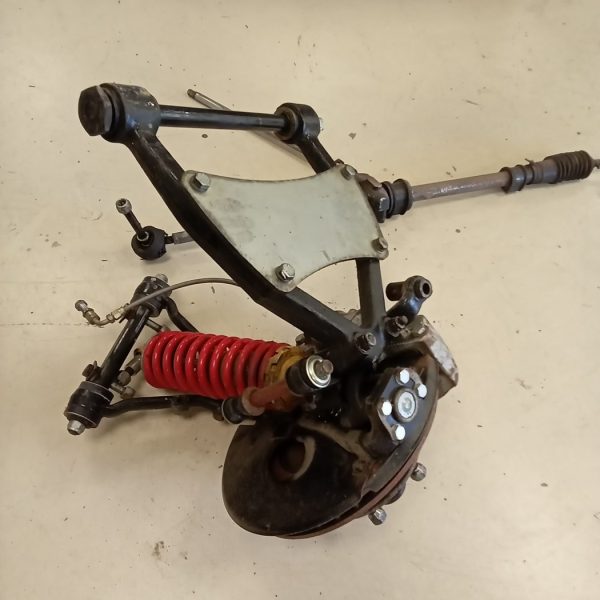
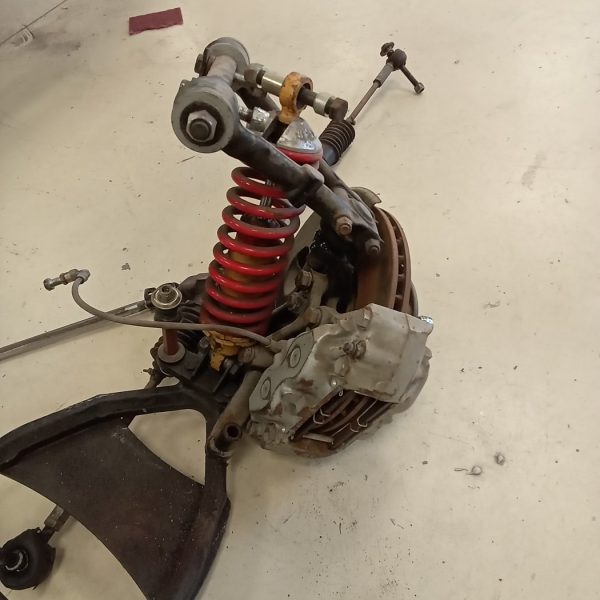
Mauro is continuing to strip down the Cobra project in preparation for the primer stage. Whilst Terry is stripping down the front suspension and front
This morning, along with a few other new deliveries, we welcomed this gorgeous 1974 Mini 850 Van! As we mentioned with our 1982 Bedford HA,

Here at Bridge Classic Cars, we love a panel van. A solid, dependable and utilitarian workhorse for generations, the humble van at some point has
Steve is still working through the few final pieces on the 1905 Riley 9HP restoration. A new final drive chain has been fitted, new fabric
This morning we took delivery of a collection of new cars destined to be won by lucky winners for our competitions as well as our
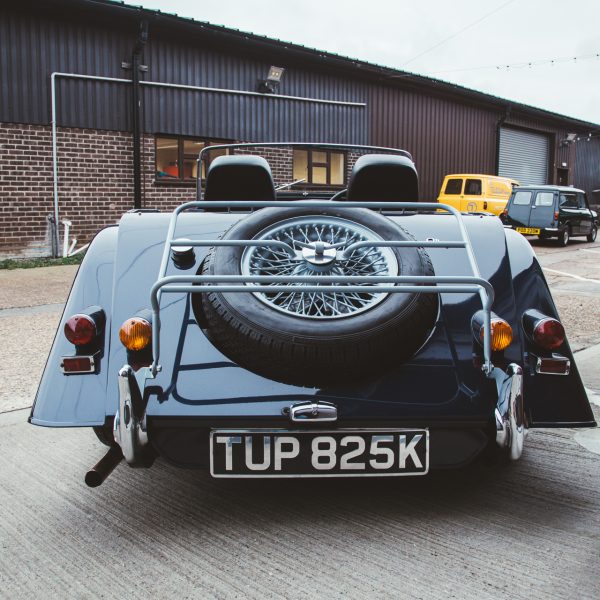
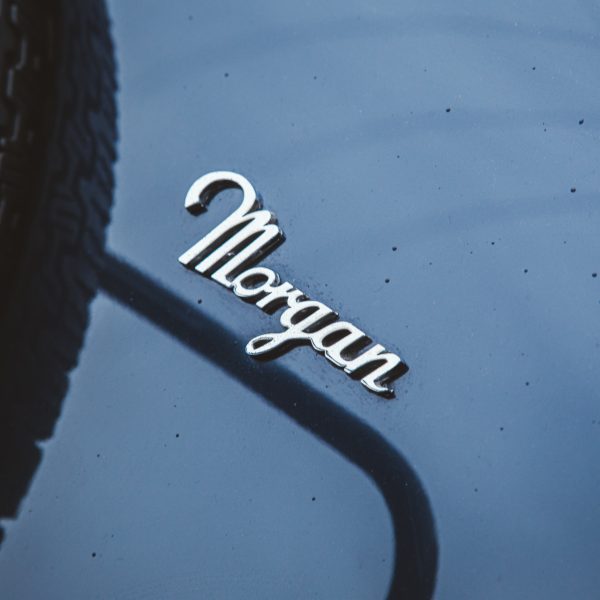
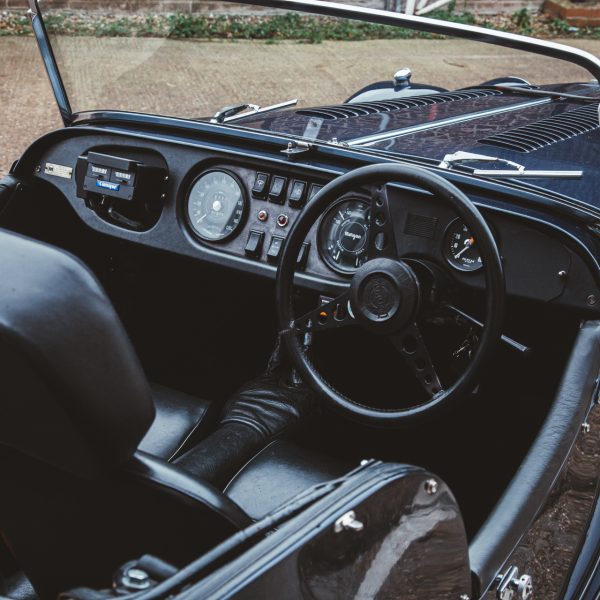
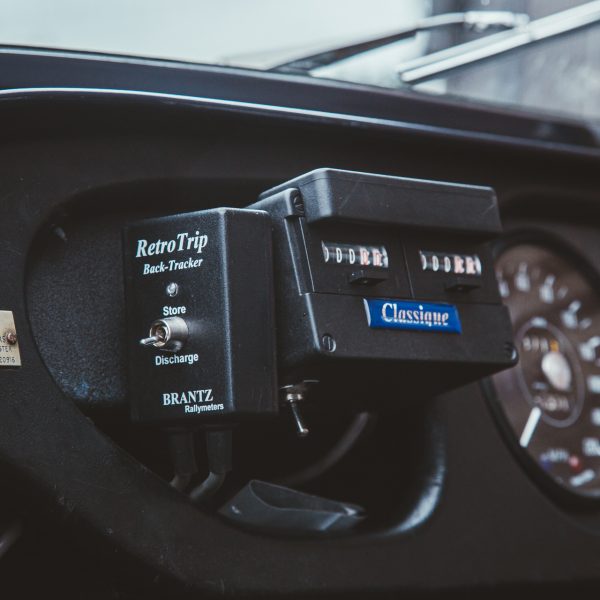
Today, we welcomed a few newcomers to our Suffolk HQ including this beautiful 1972 Morgan Plus 4. Shortly, it will be assessed and worked on
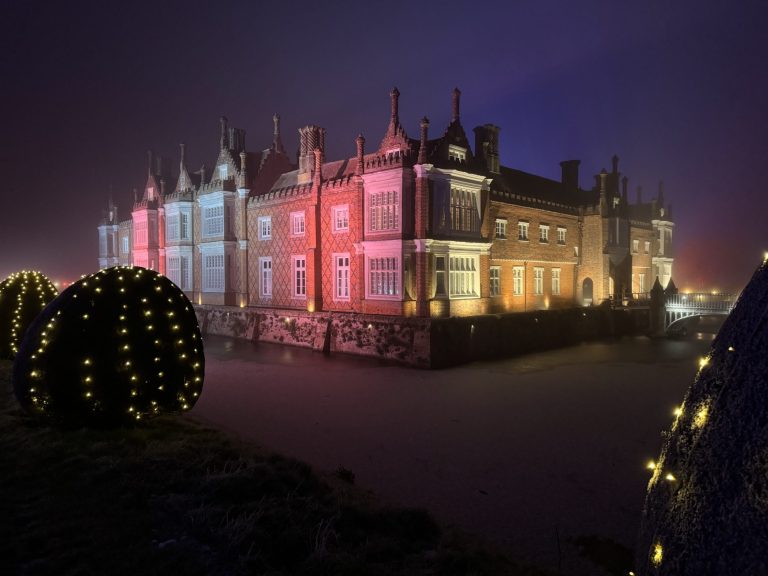
Last Saturday I battled the cold and took the family over to the magical world of light, colour and sound and Helmingham Hall Gardens. We
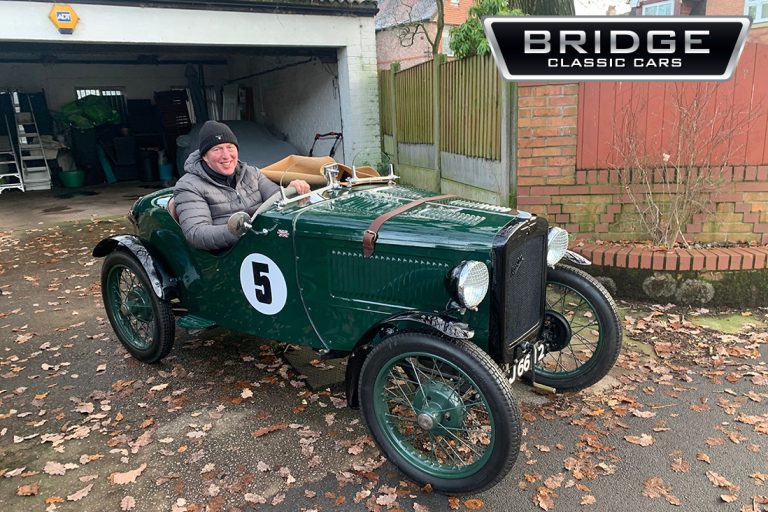
Just in time for Christmas, here we have Tom Higgins, proud winner of our 1932 Austin 7 ‘Ulster’ accepting his car.
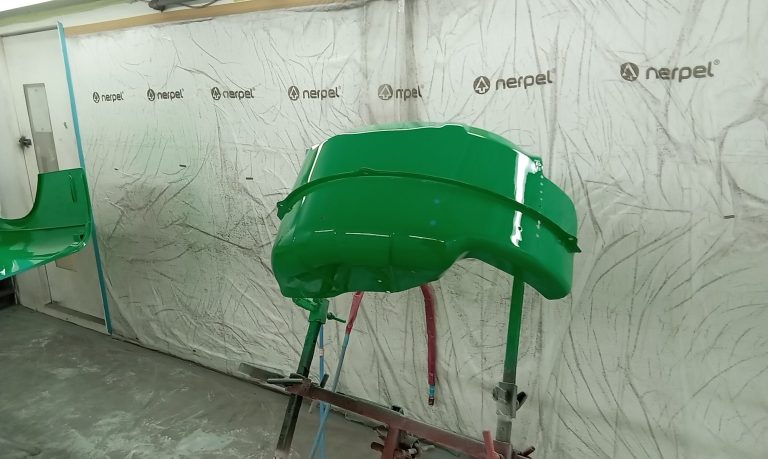
Alan has been busy in the Bridge Classic Cars paint shop getting some of the pieces ready for the next stage of the restoration of

Brian has been hard at work in the Bridge Classic Cars in-house trim shop working on getting the various interior trim pieces and panelwork done

The symbol of the prancing horse is an icon of power, elegance, and poise throughout the sporting world. The perfect representation of perfection from the
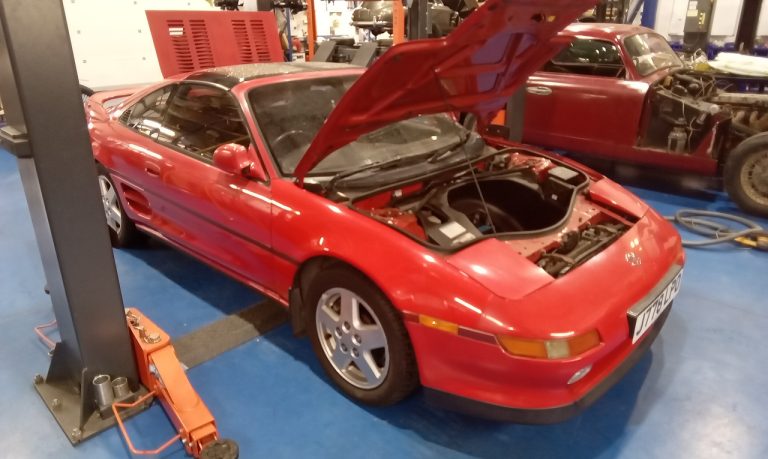
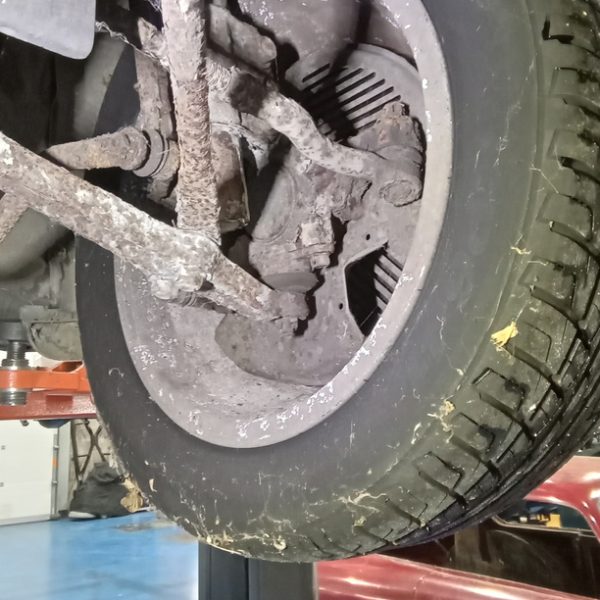
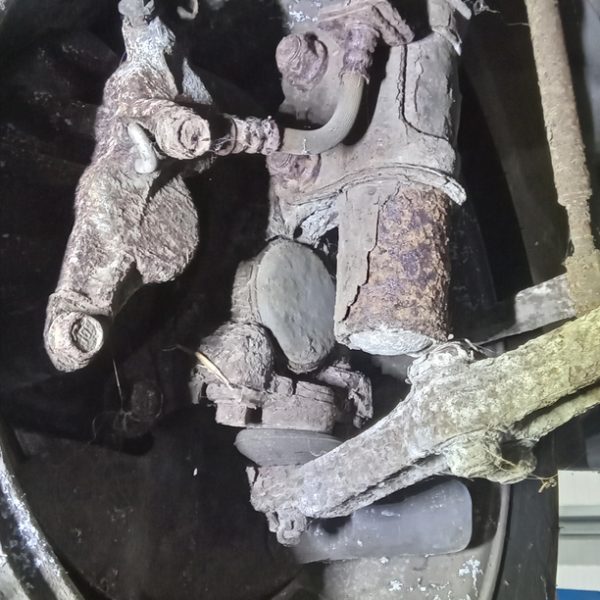
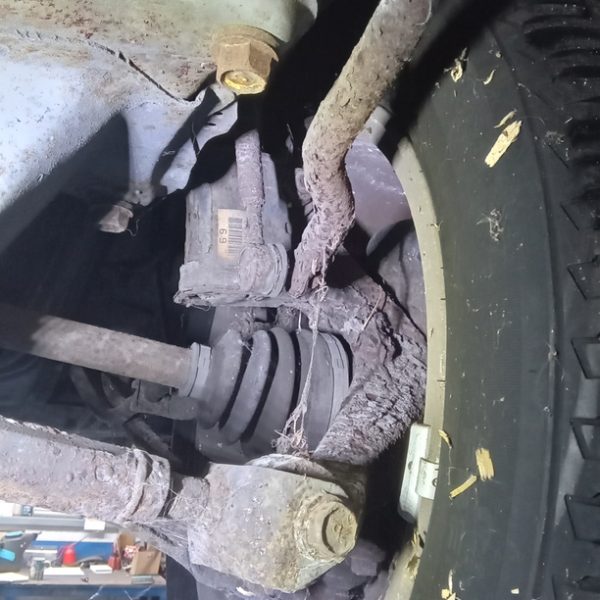
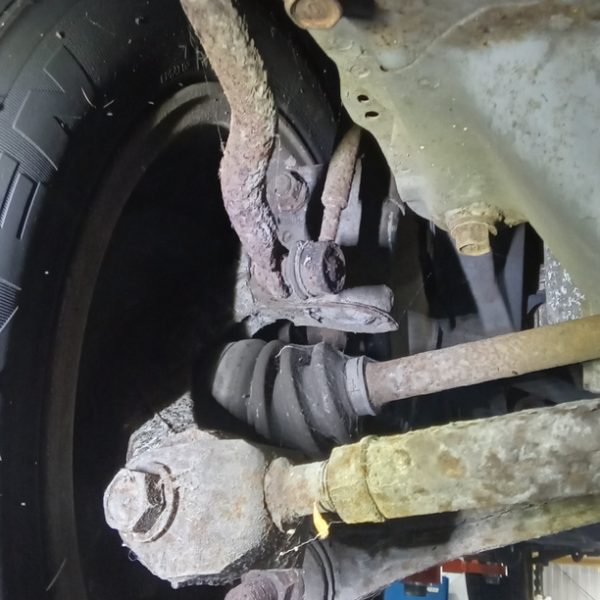
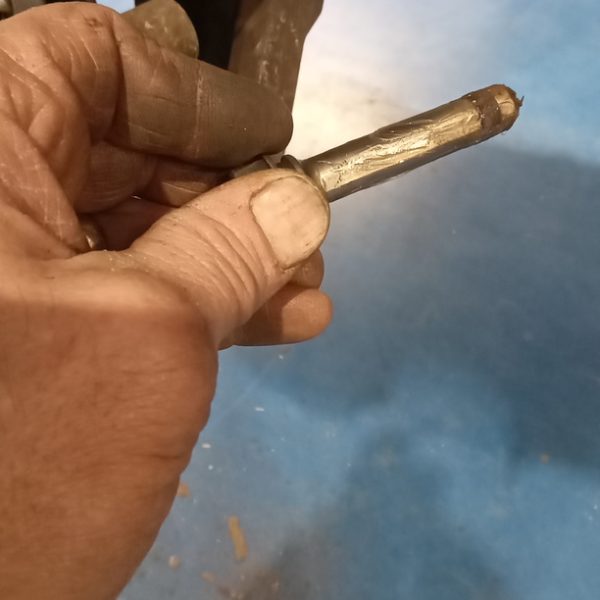
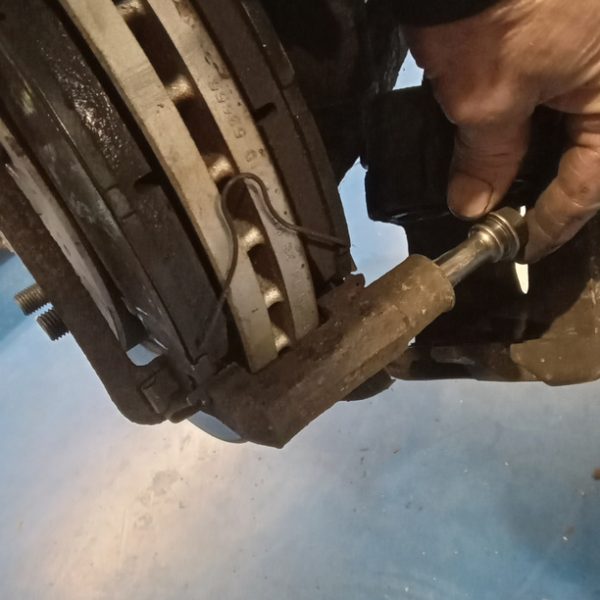
John has finished up the report. He has stripped and cleaned nearside front brake and found the sliders have seized. Remove and free off before
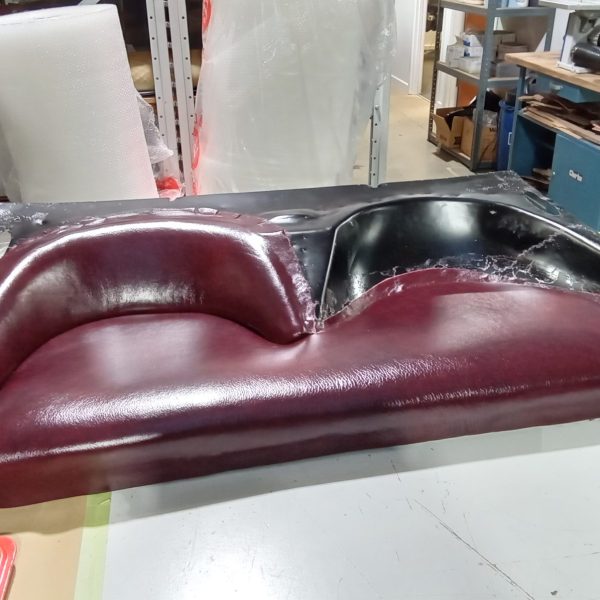
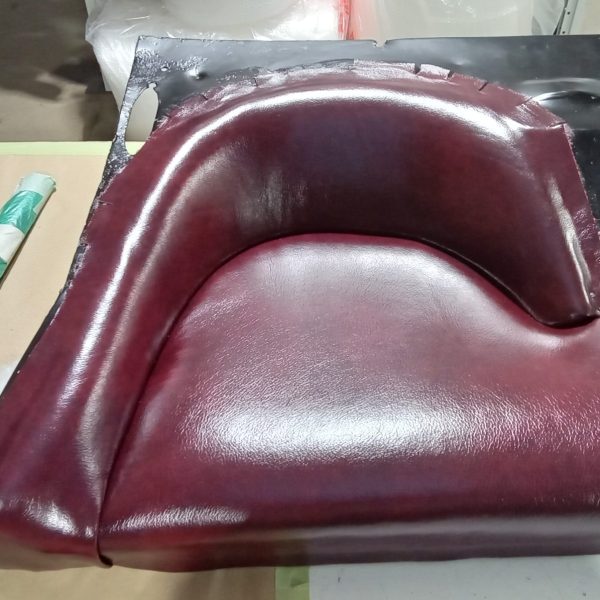
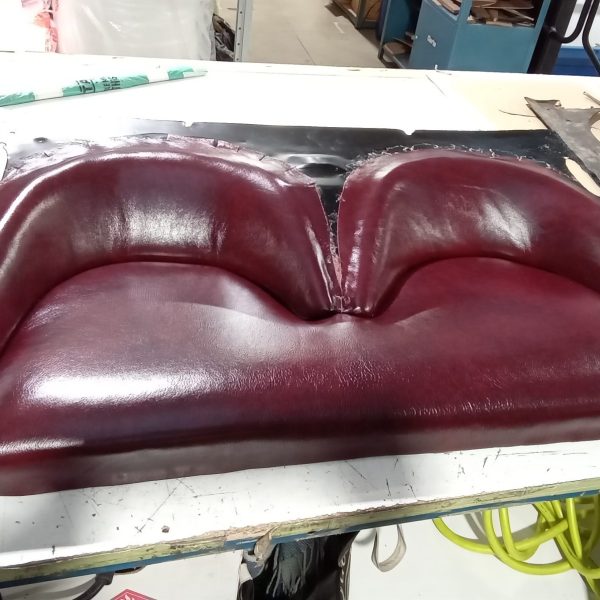
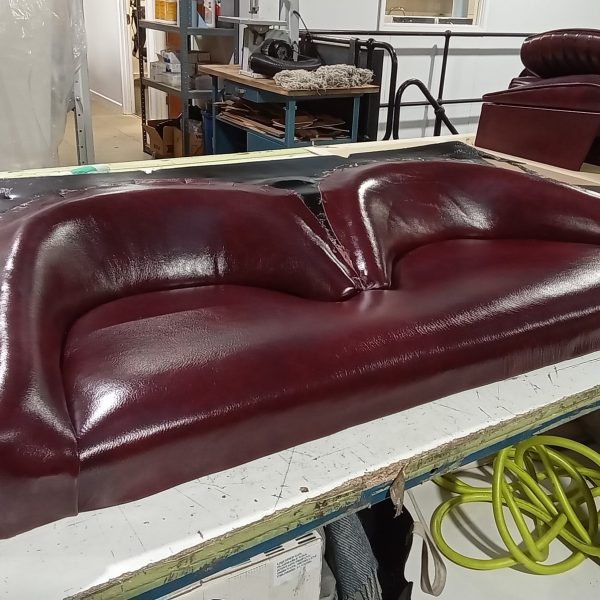
Yesterday and today, Lydia has been working on the rear seat of the Aston Martin DB2/4. ‘Chris has kindly painted the seat tray black for
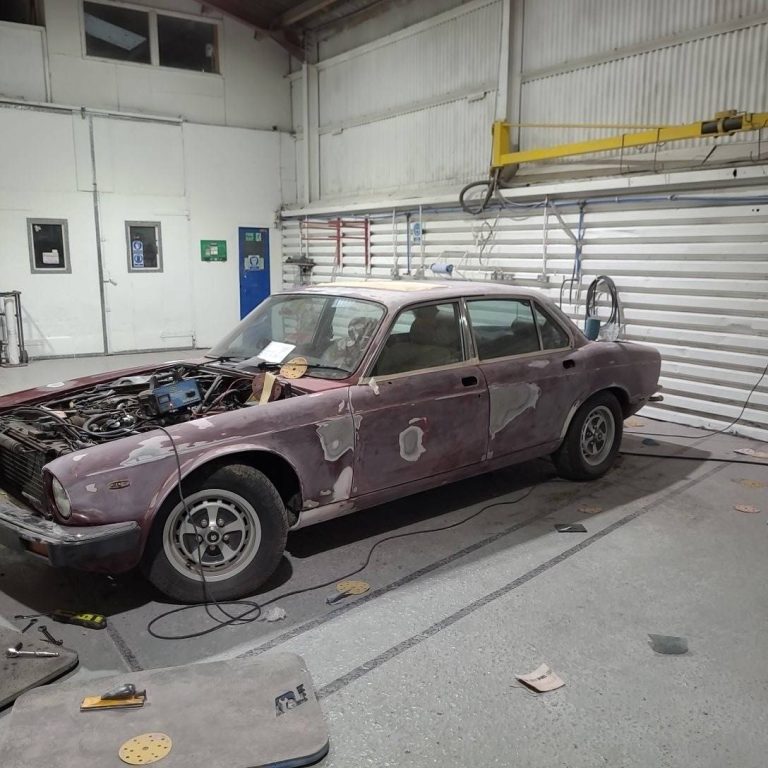
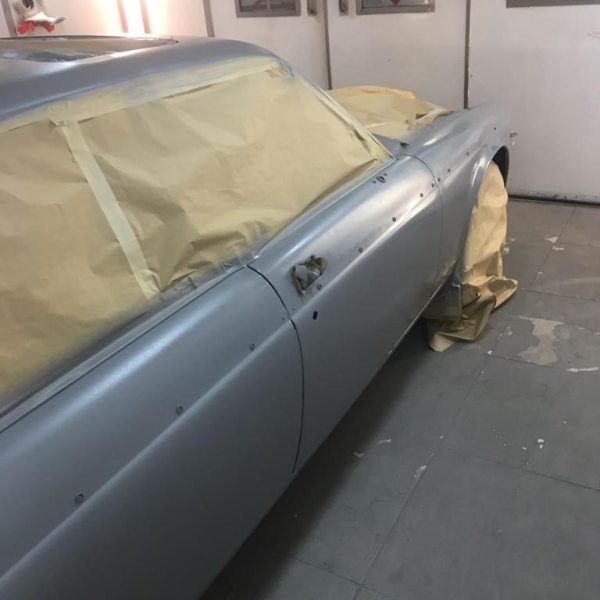
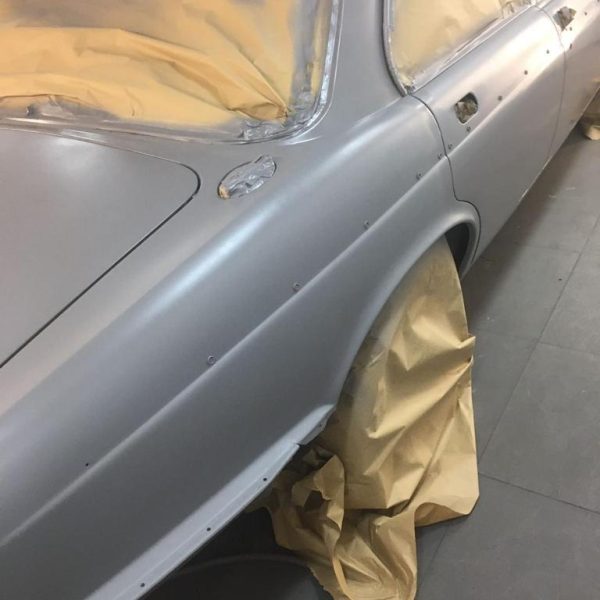
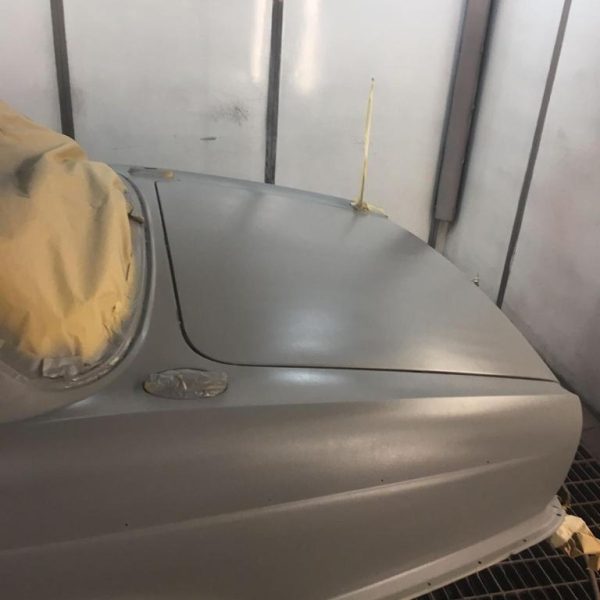
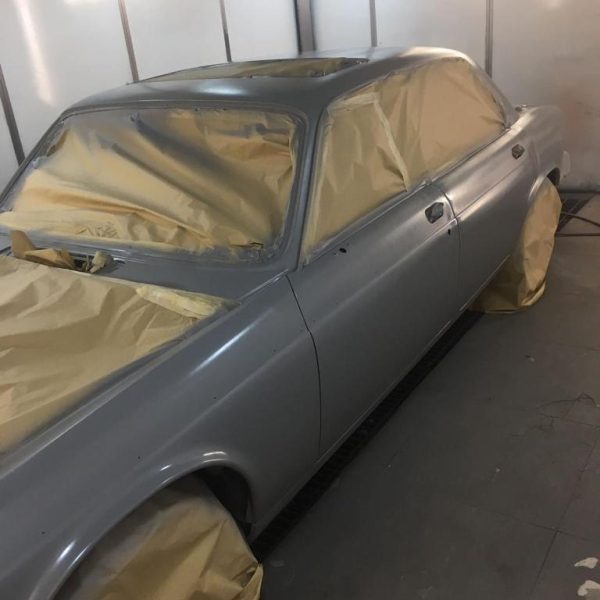
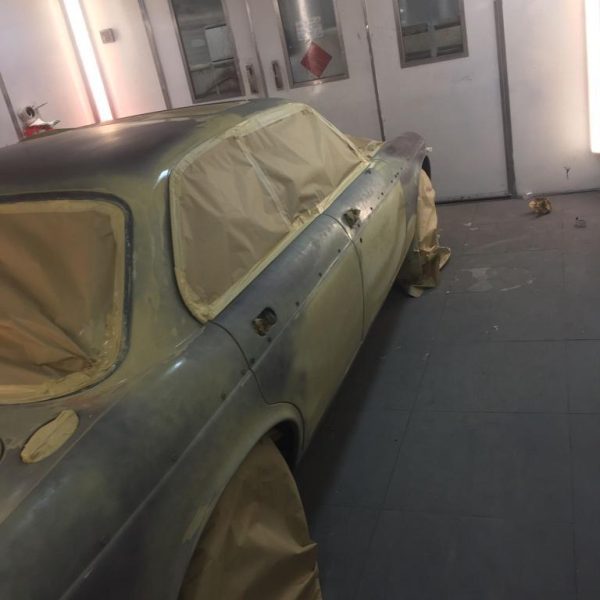
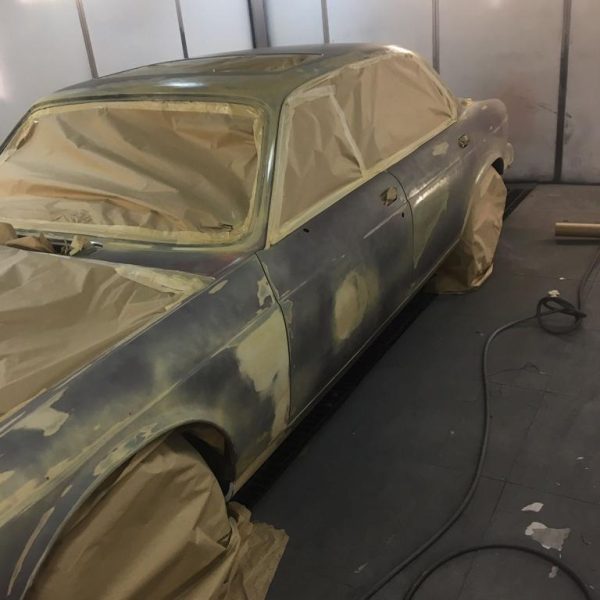
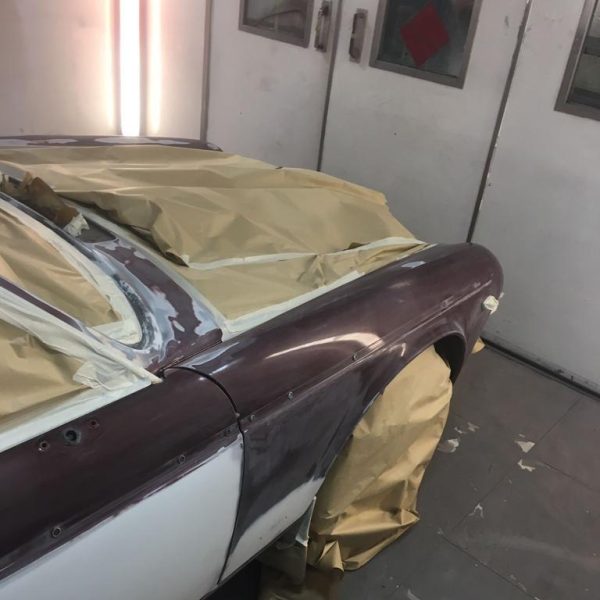
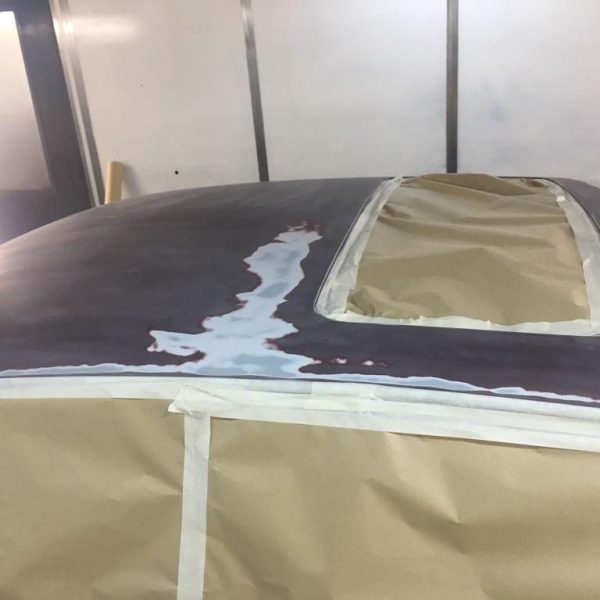
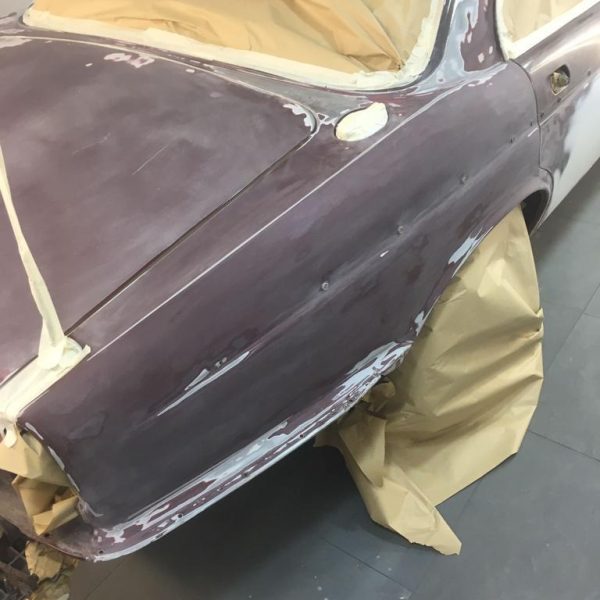
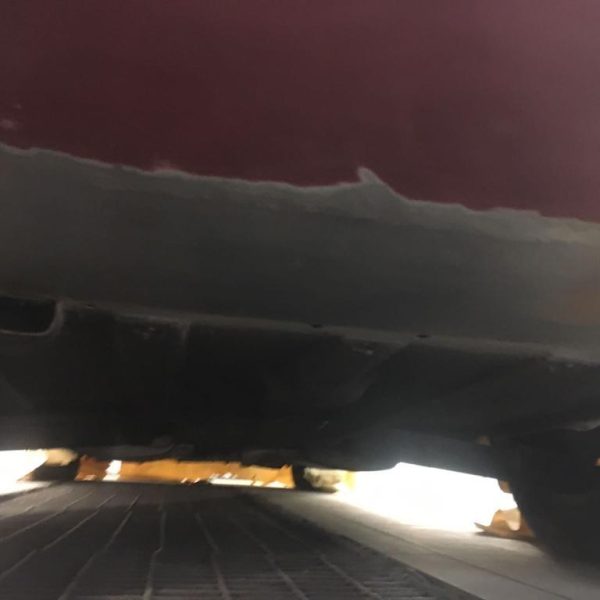
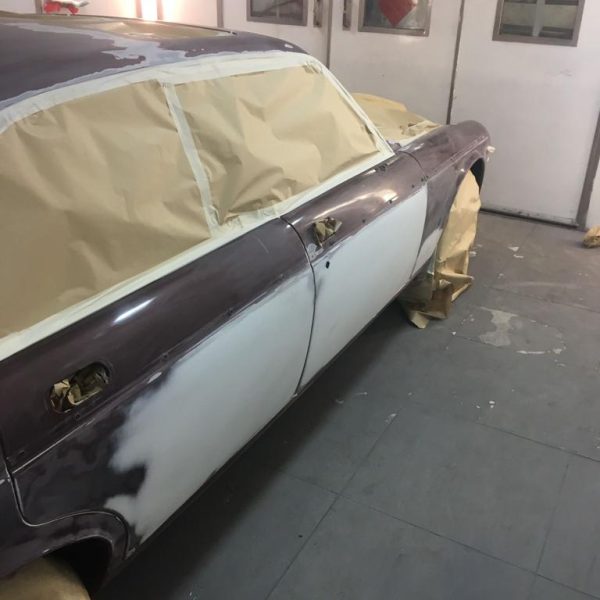
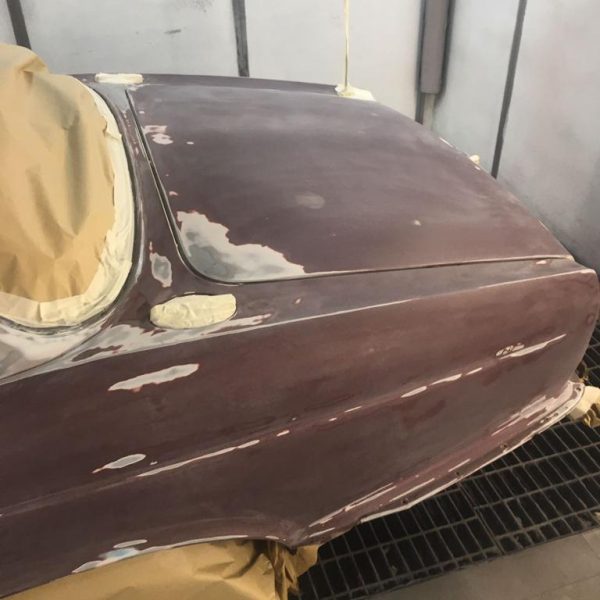
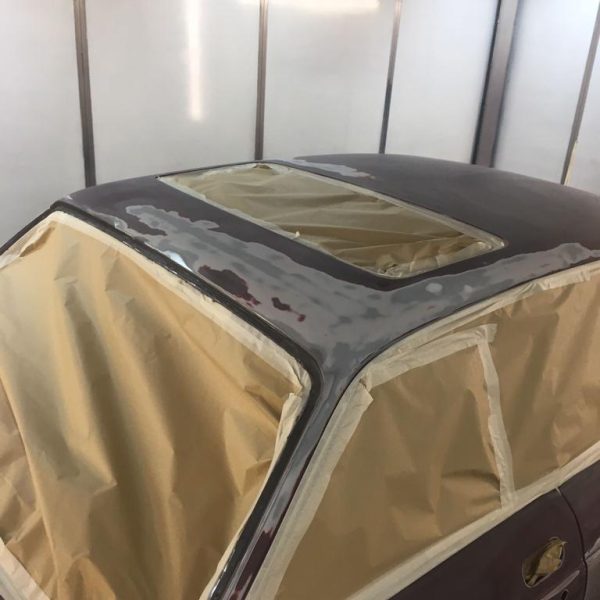
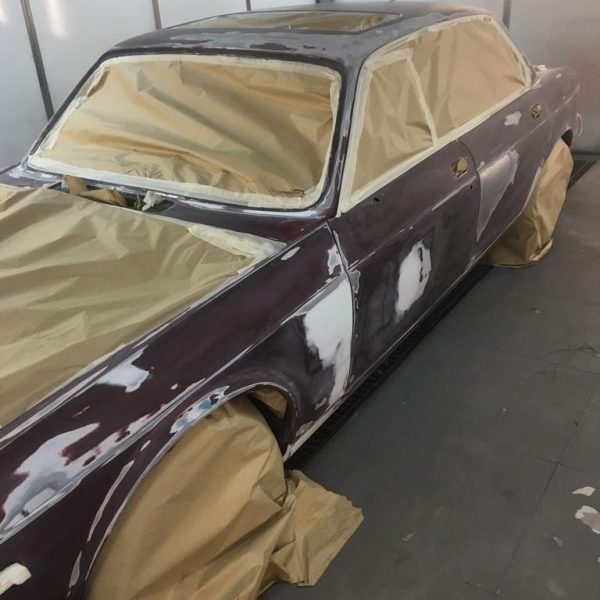
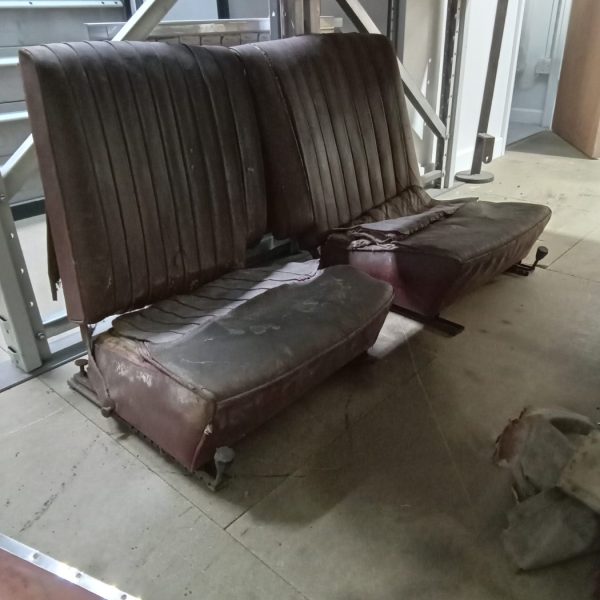
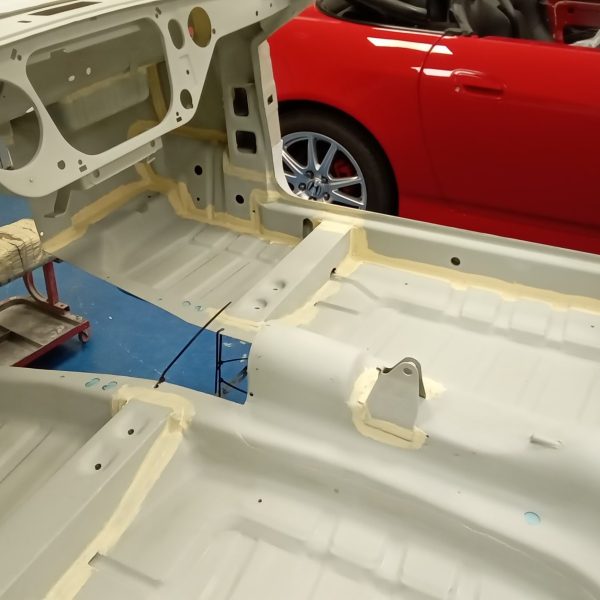
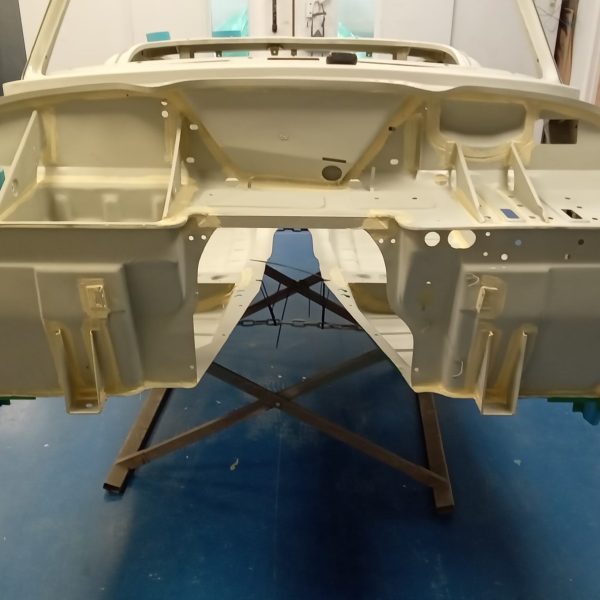
This may be the first time you have seen our 1989 Daimler Double Six. The car has in fact been with us, in storage, for a number of years now but recently we handed the car over to our good friends at Motts Body Repair in Colchester to push forward with the body restoration of this beautiful machine.
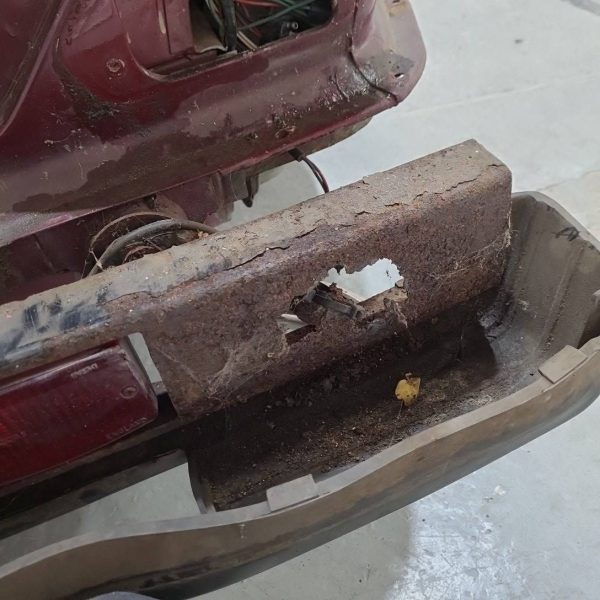
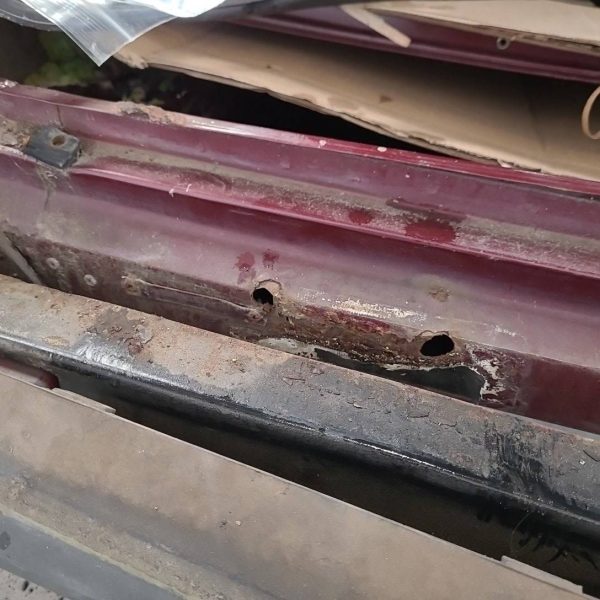
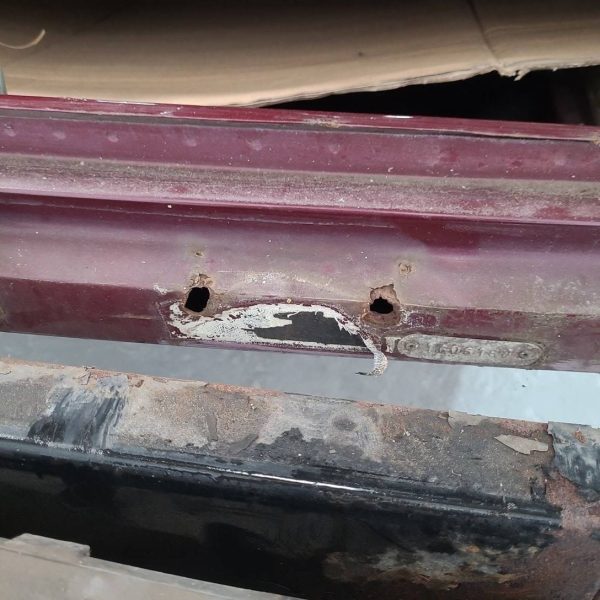
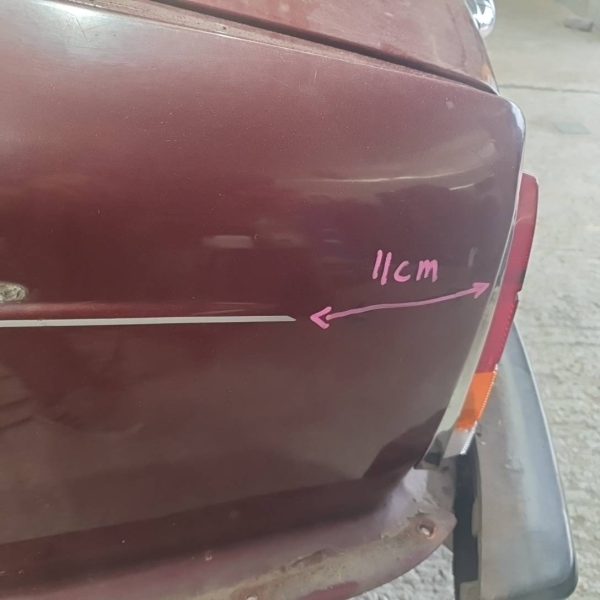

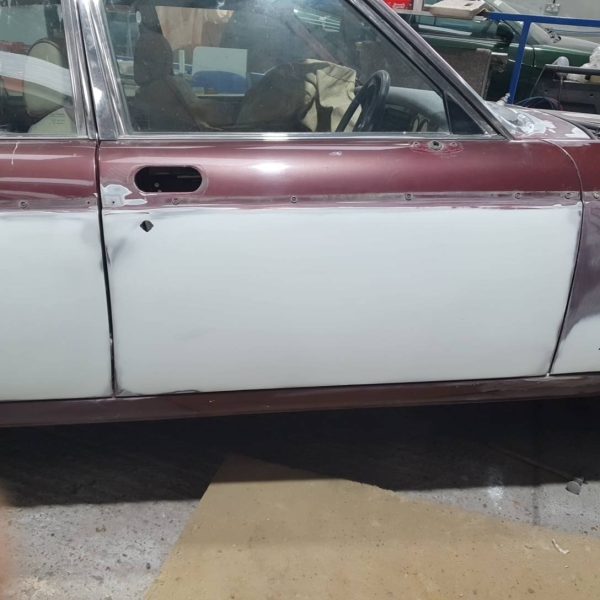
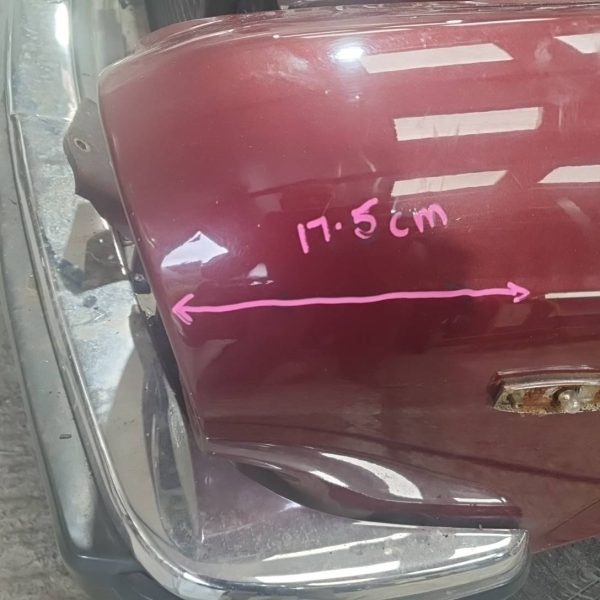
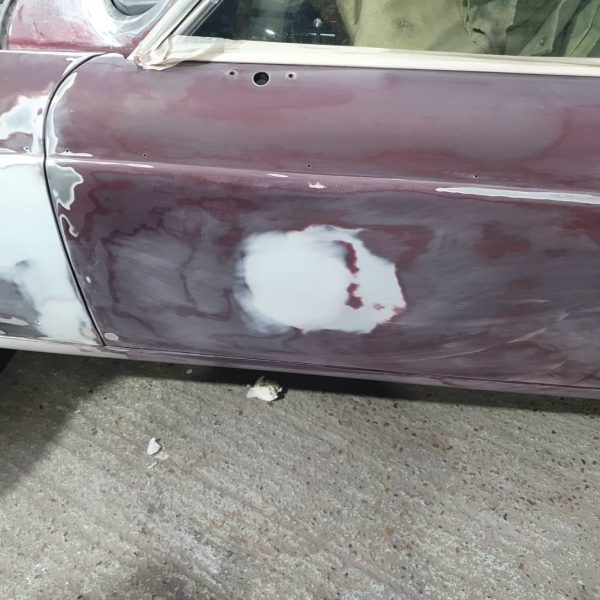
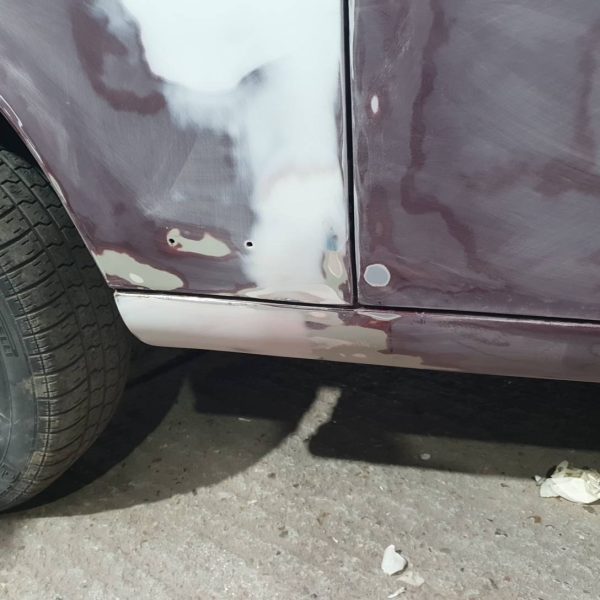
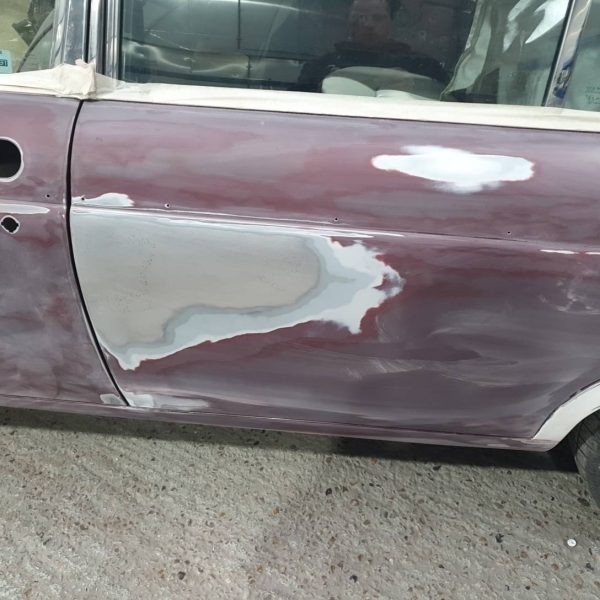
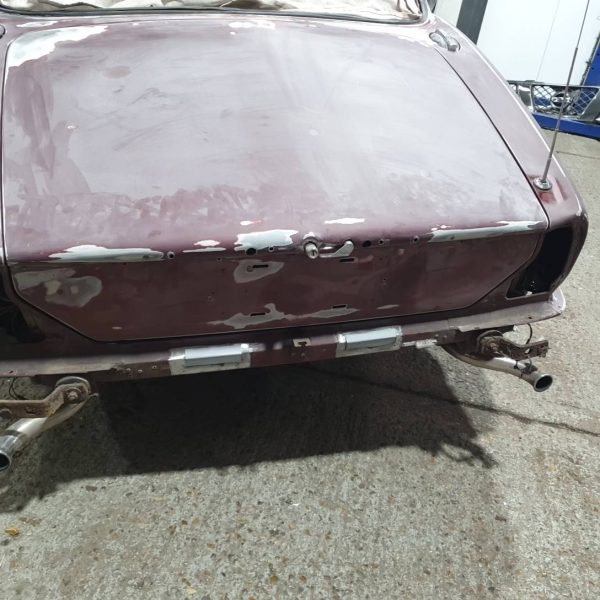
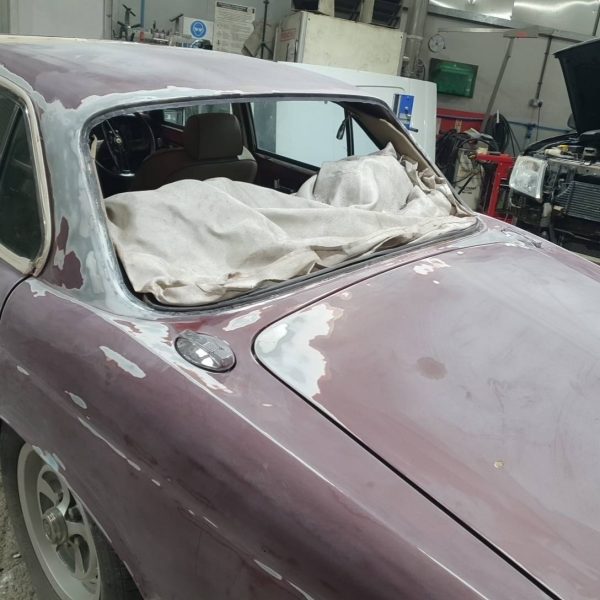
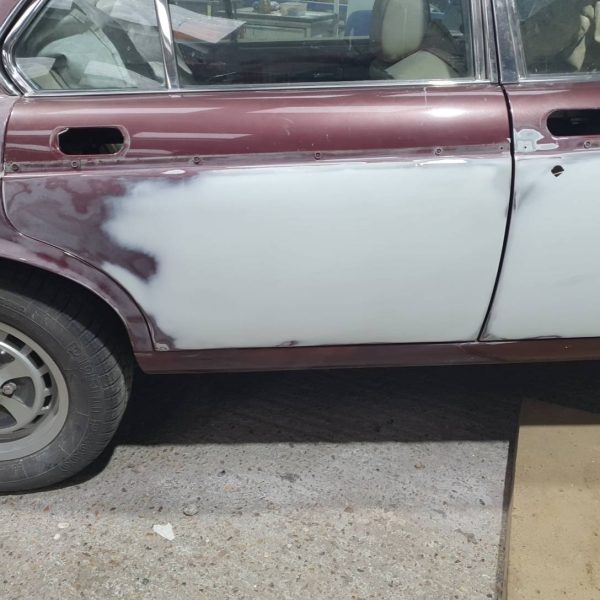

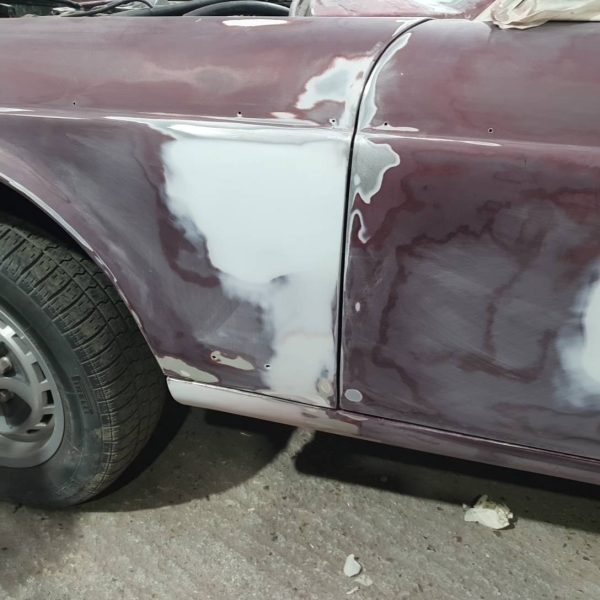


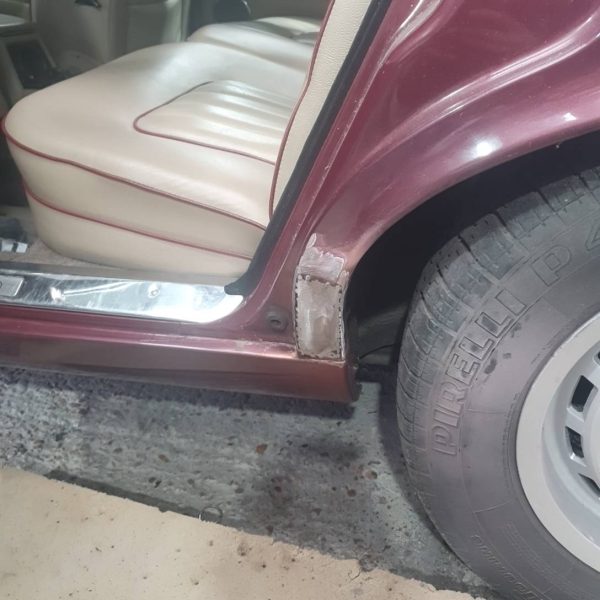
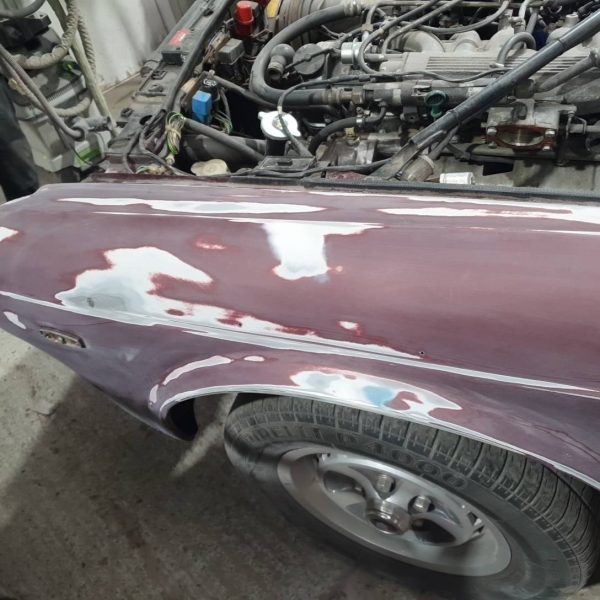
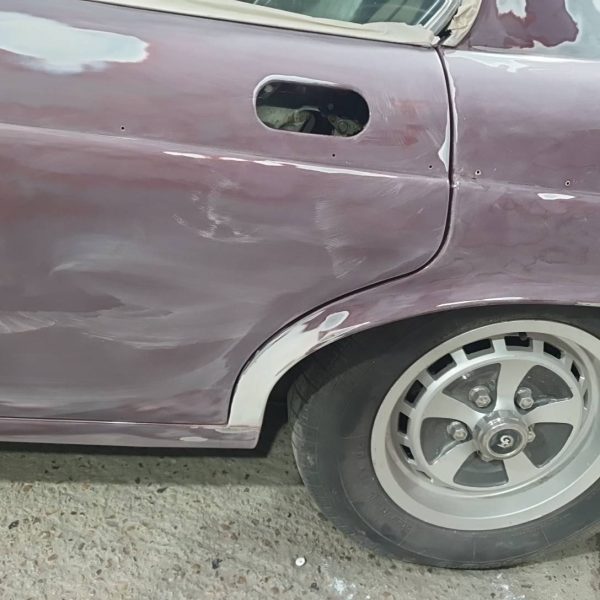
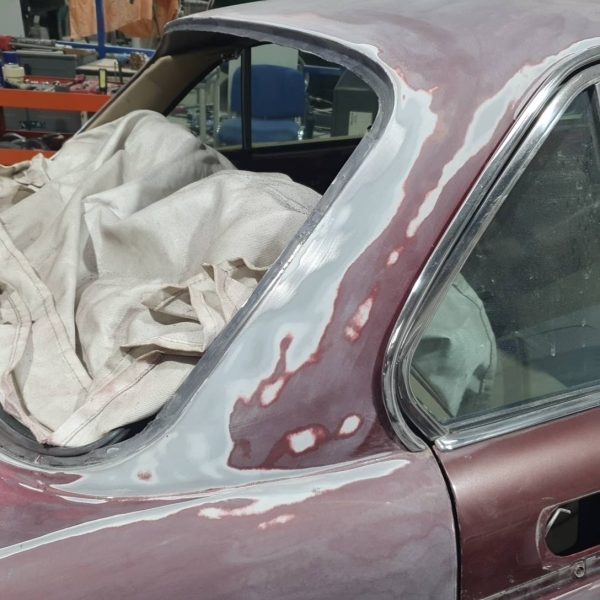
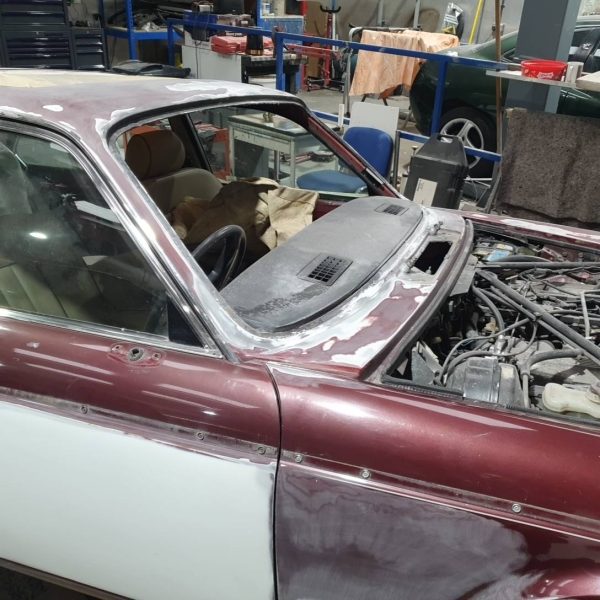
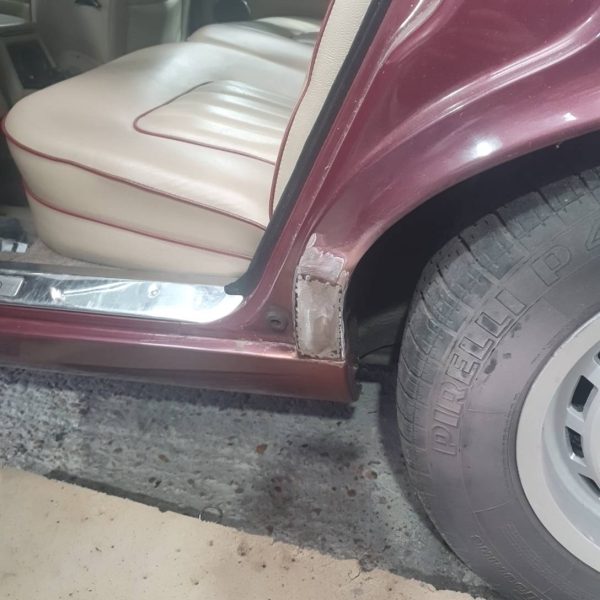
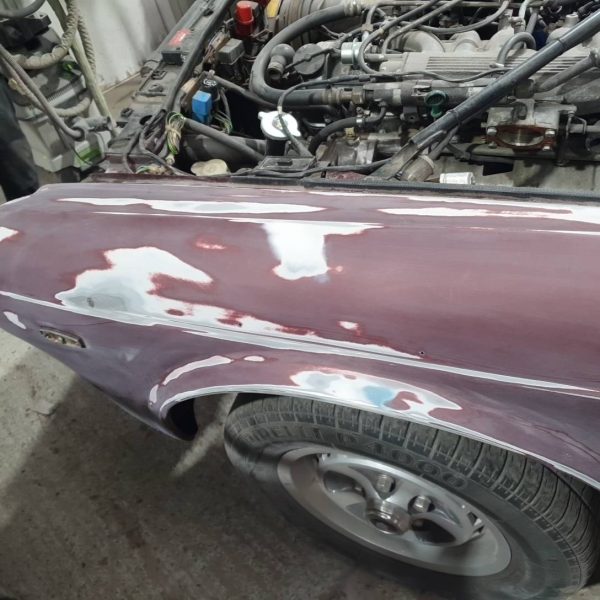
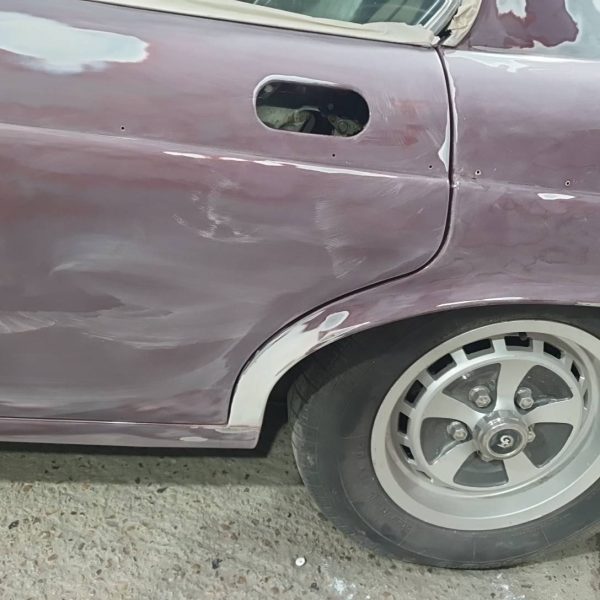

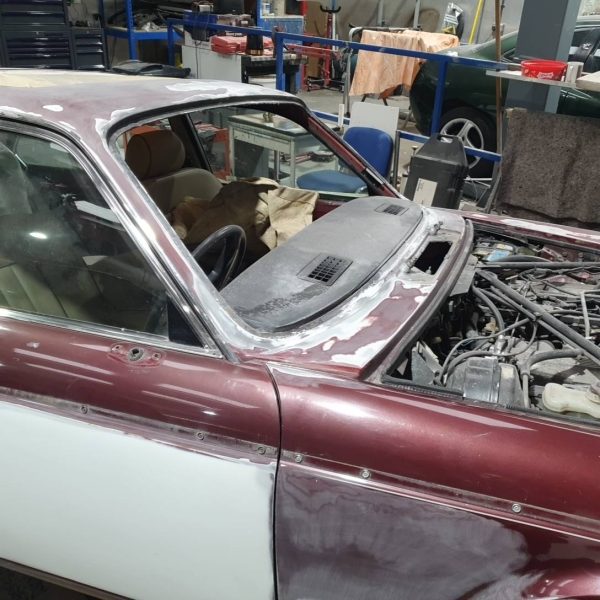
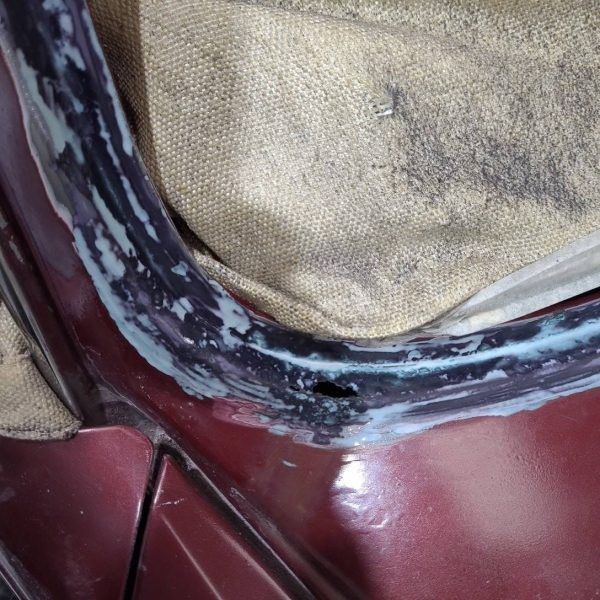
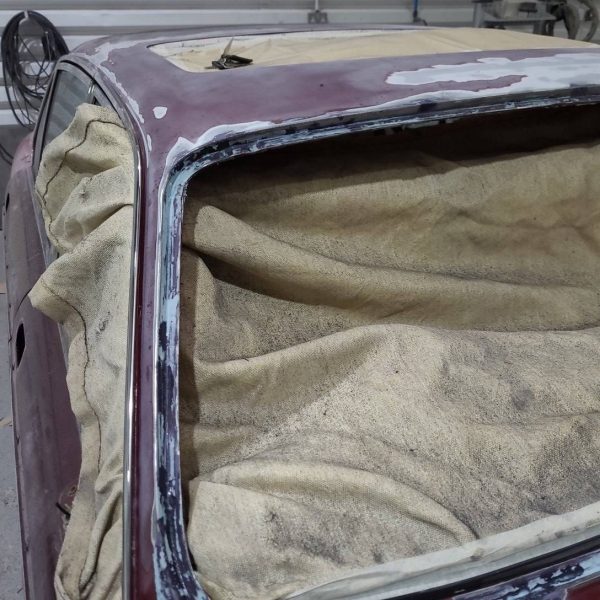
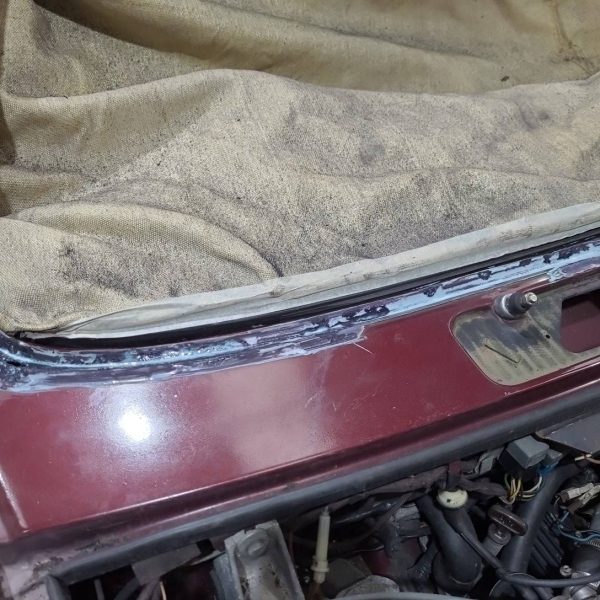
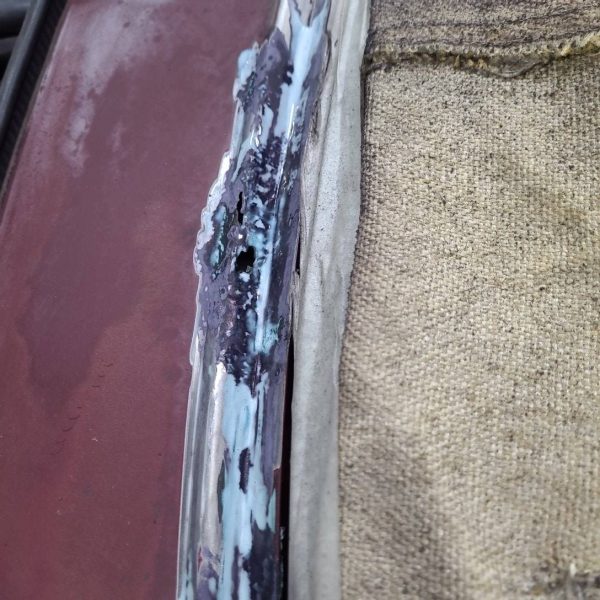
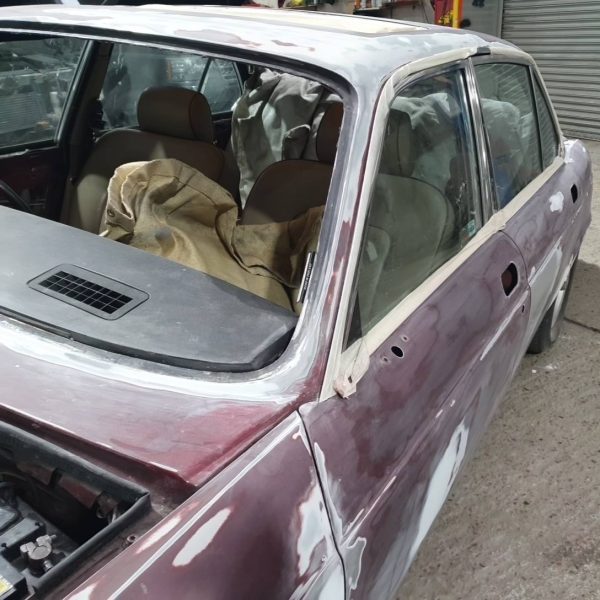
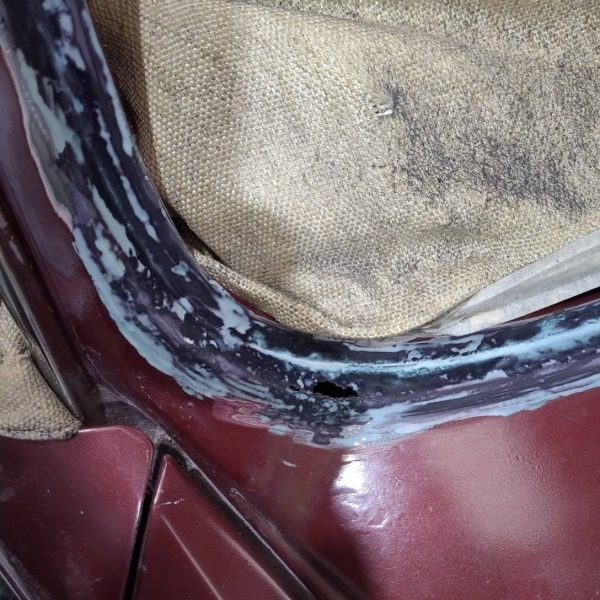
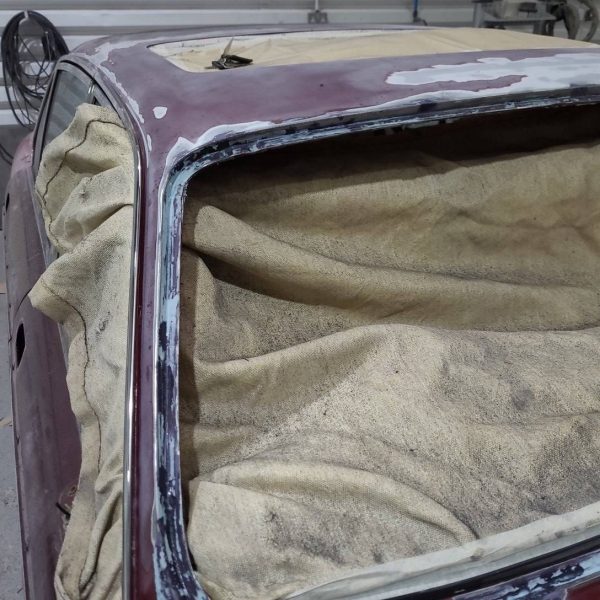
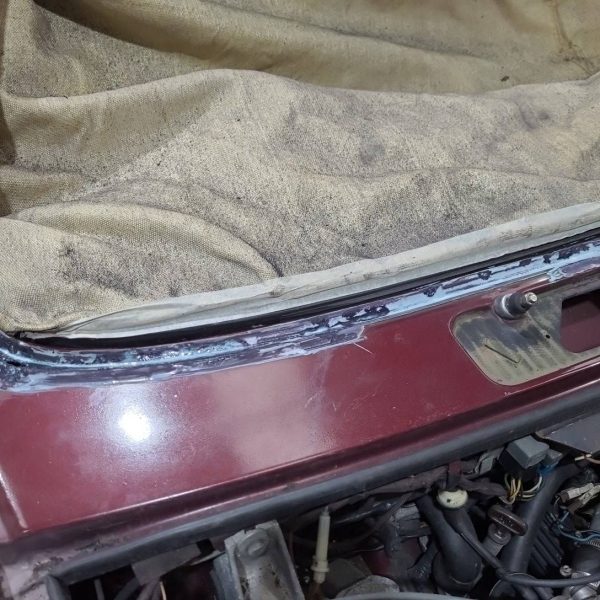
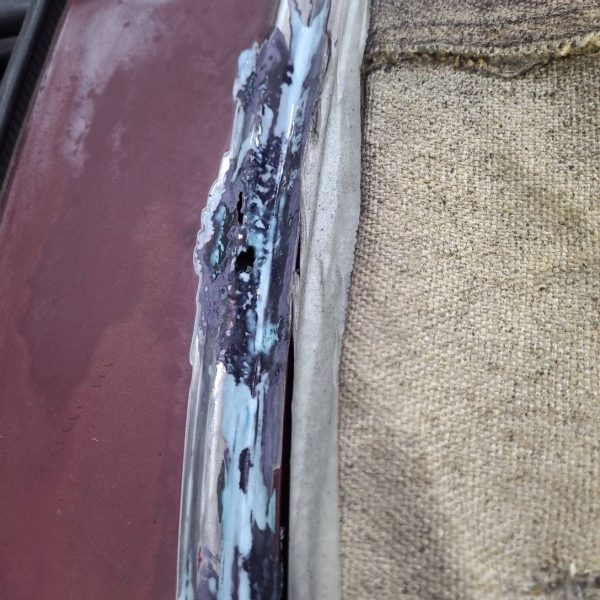
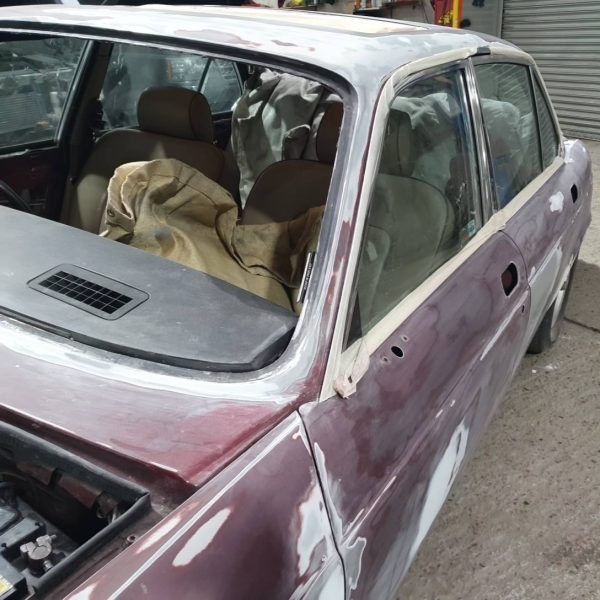
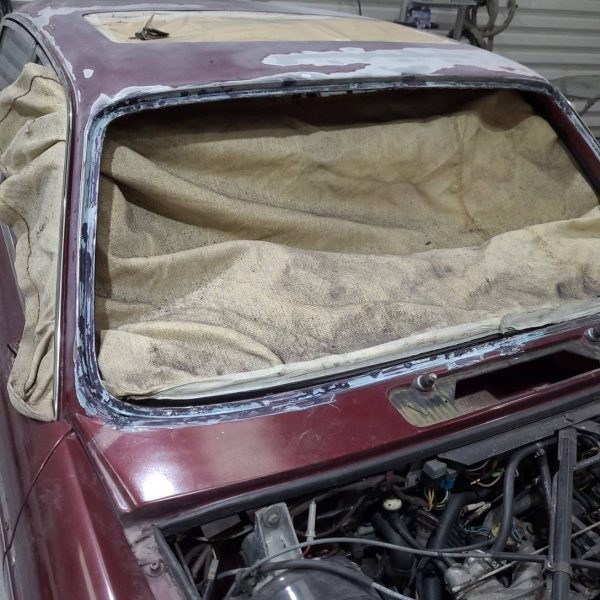

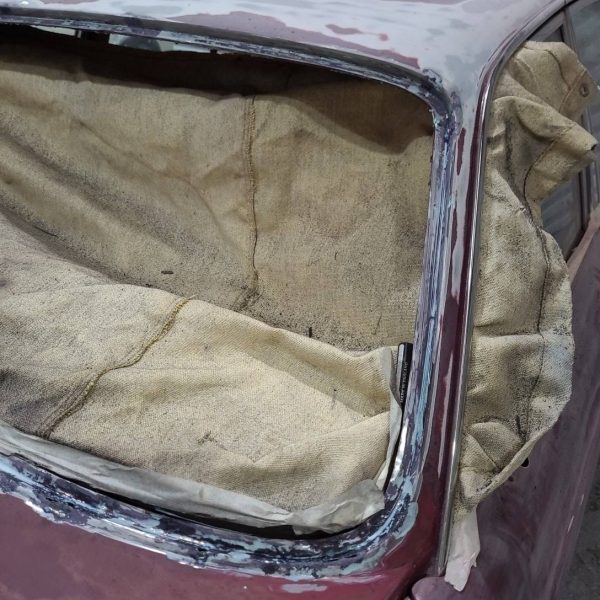
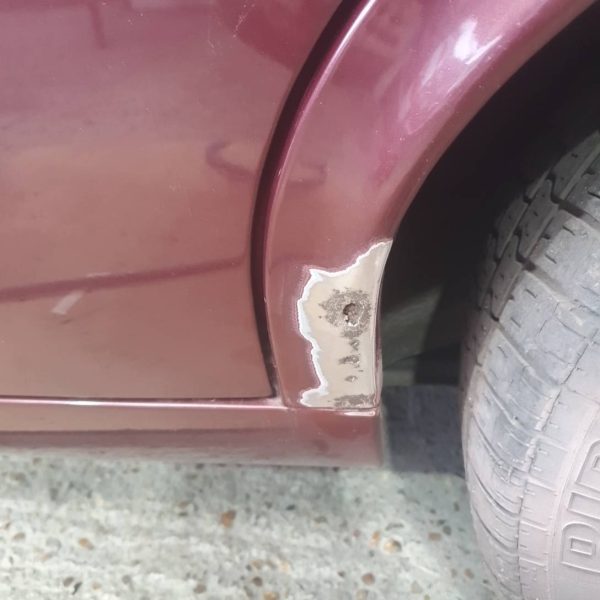
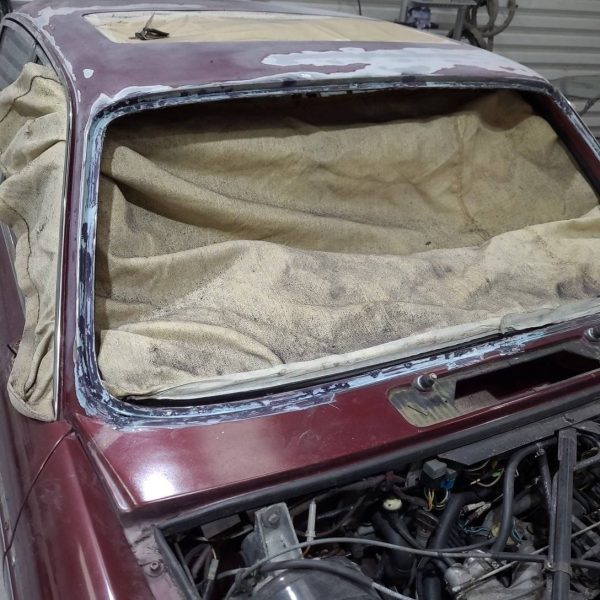
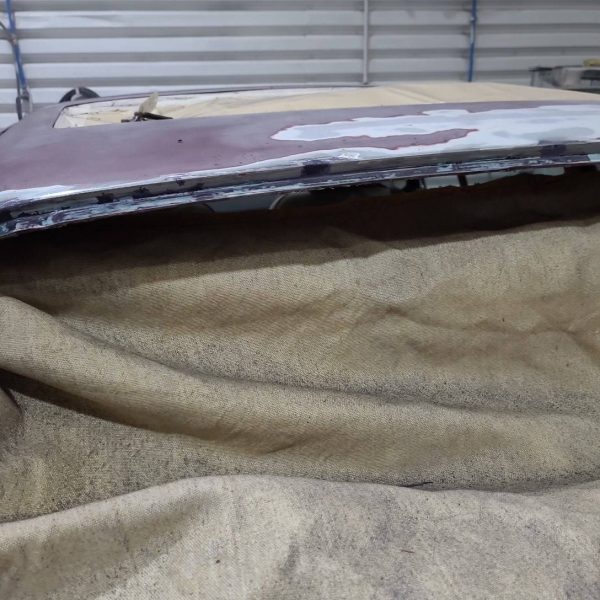
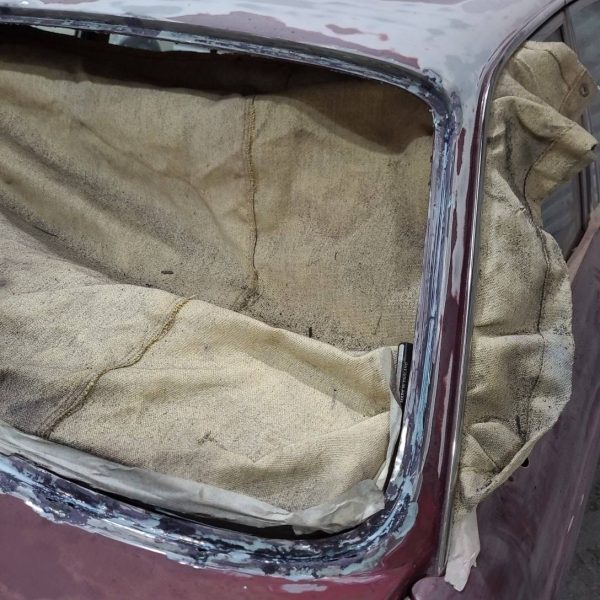
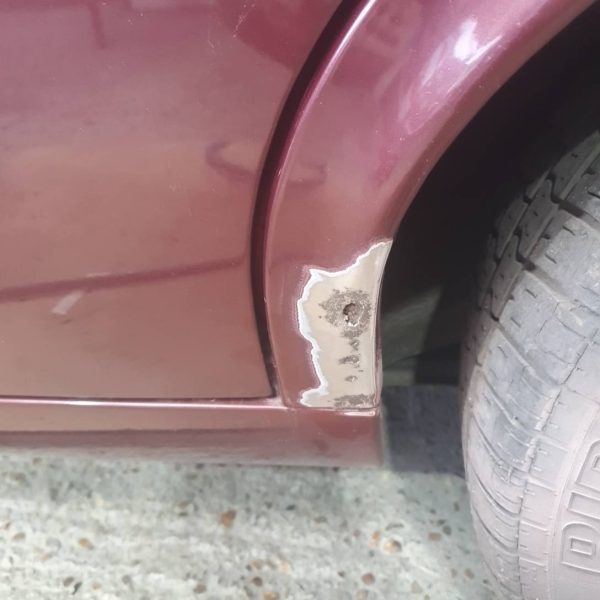
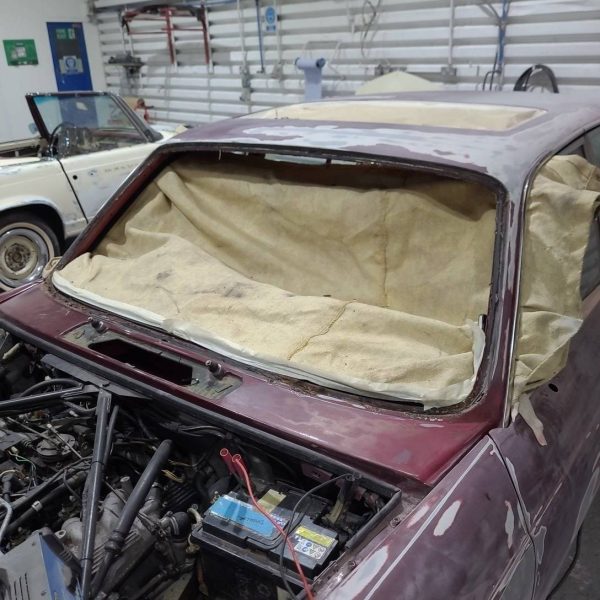
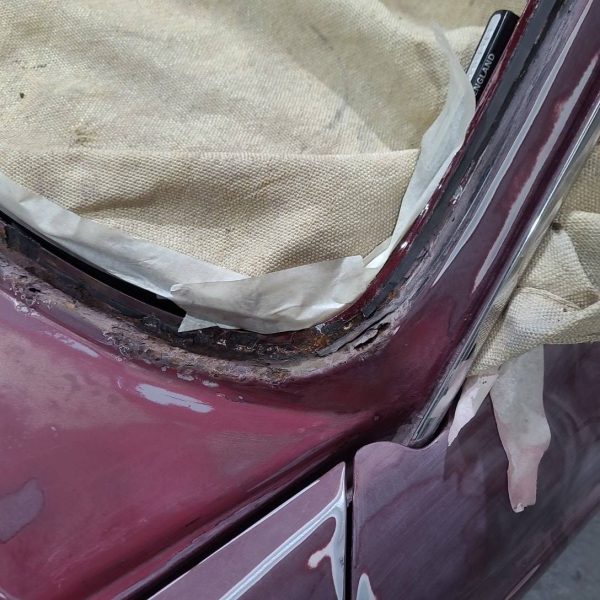
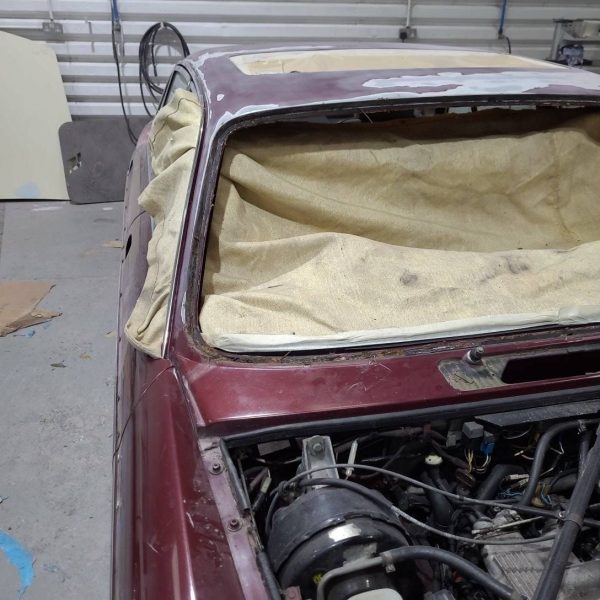
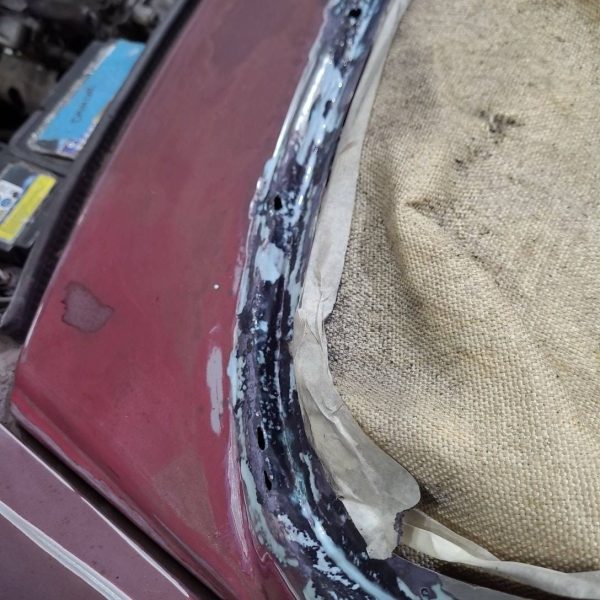
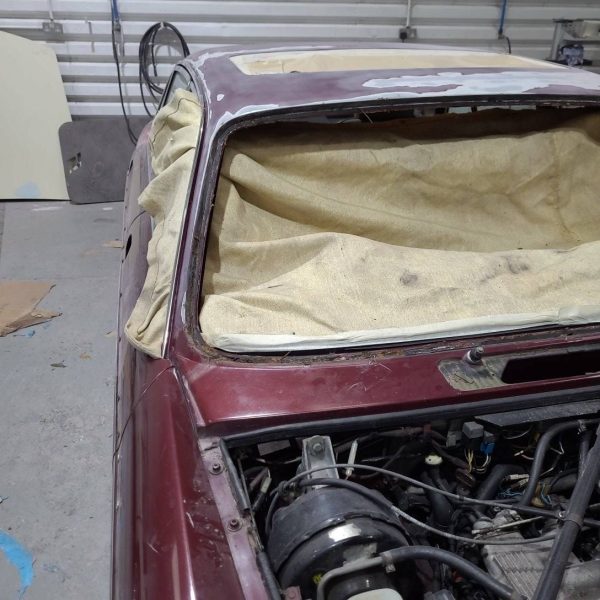
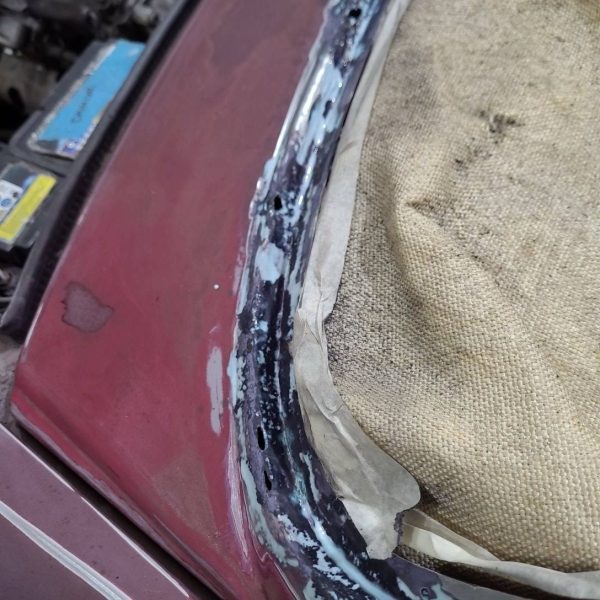
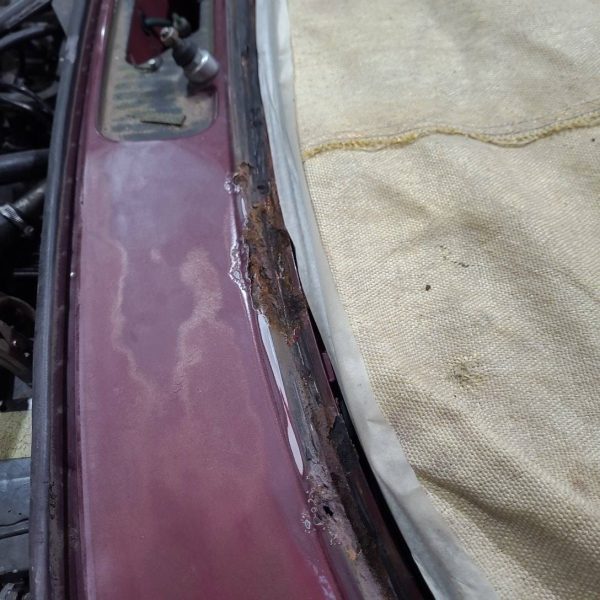
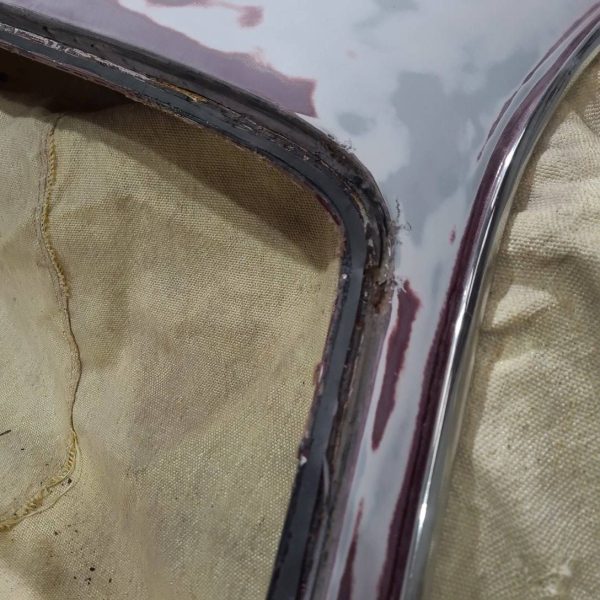
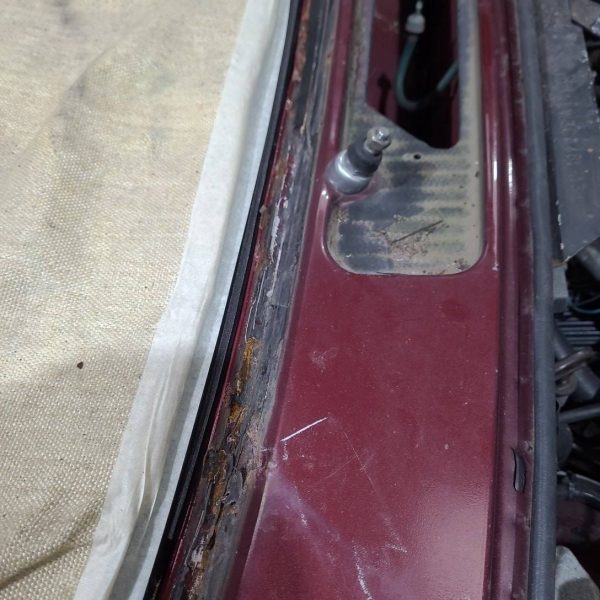
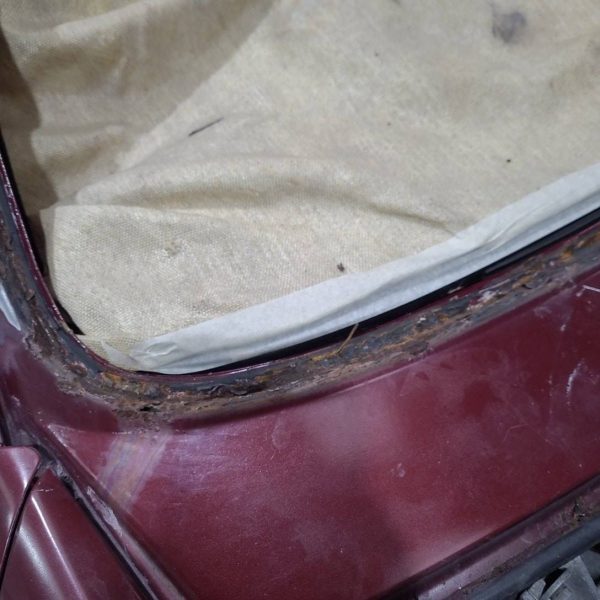
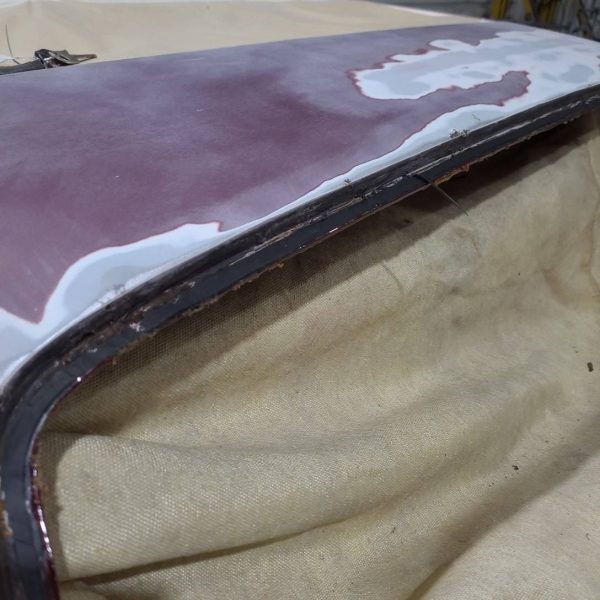
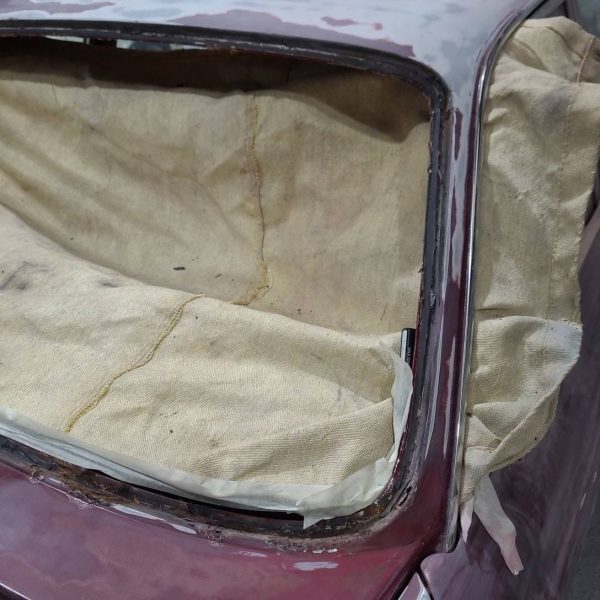
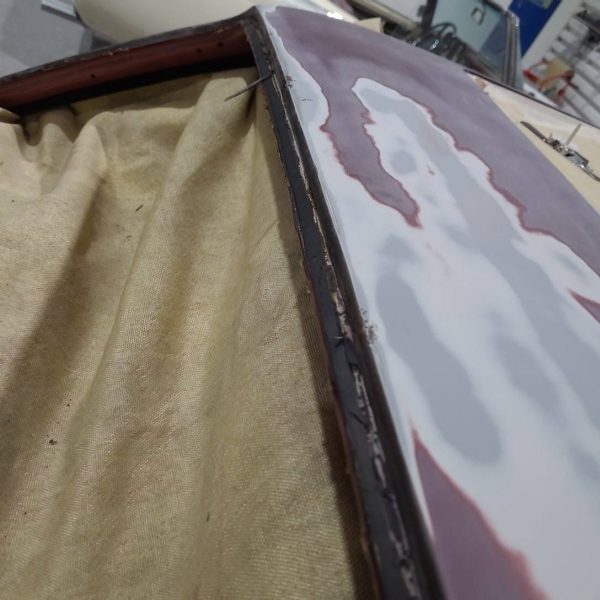
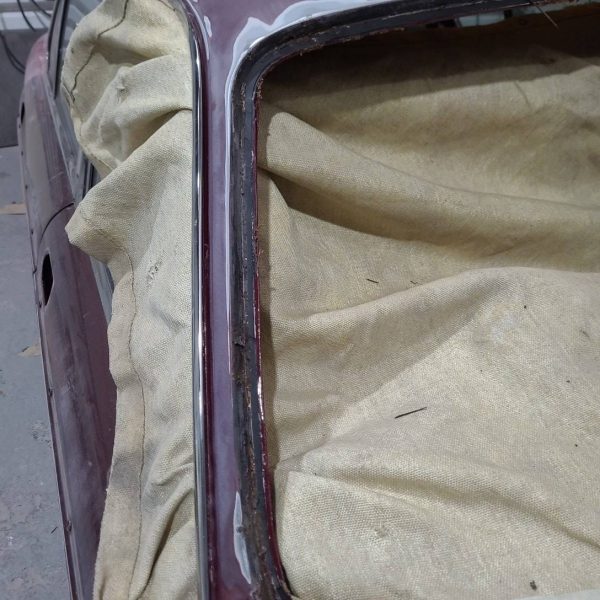
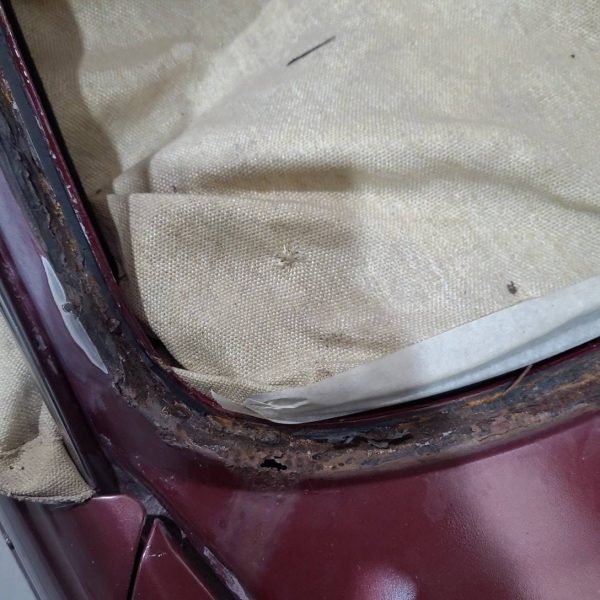
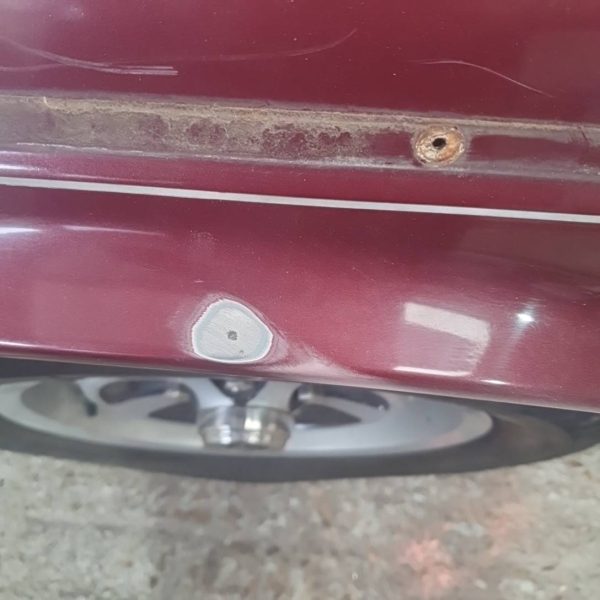
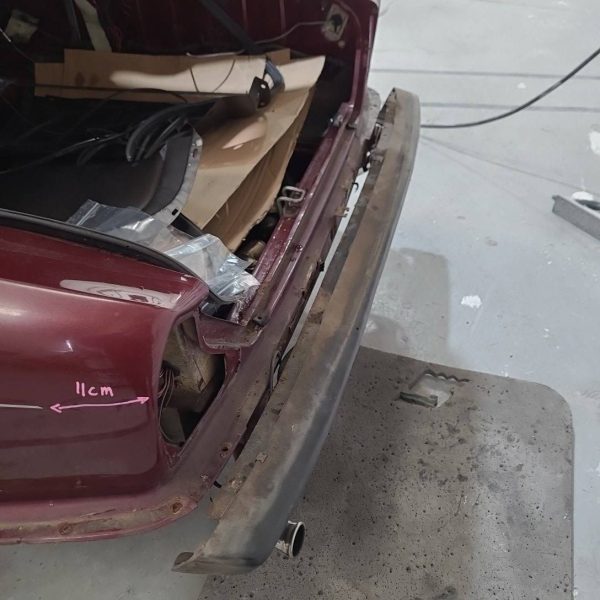
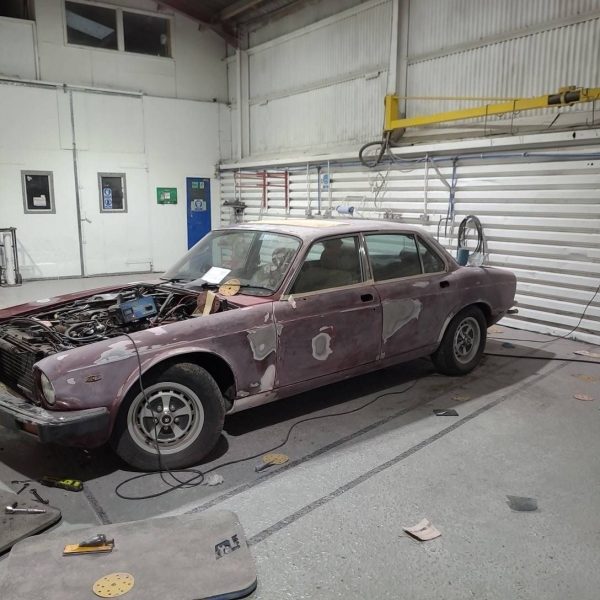
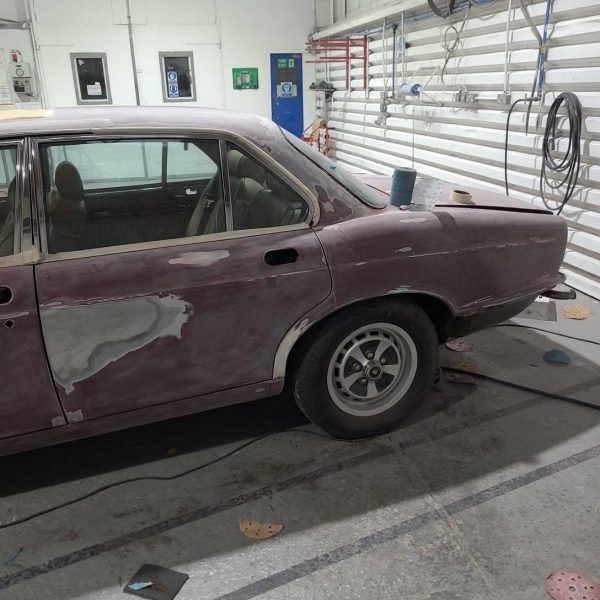

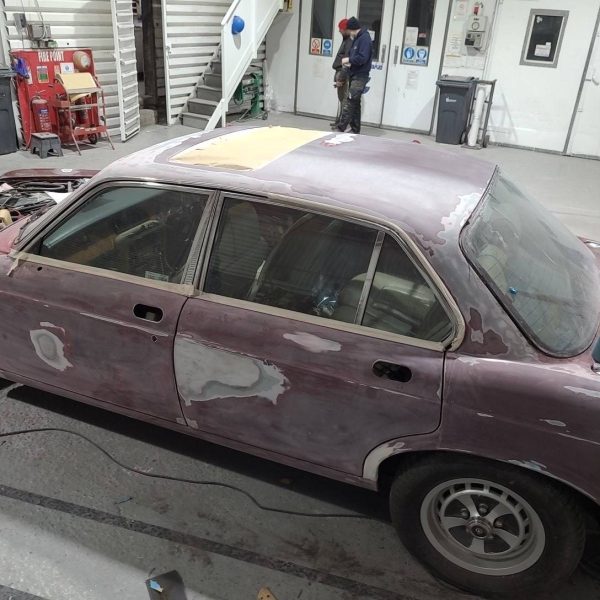
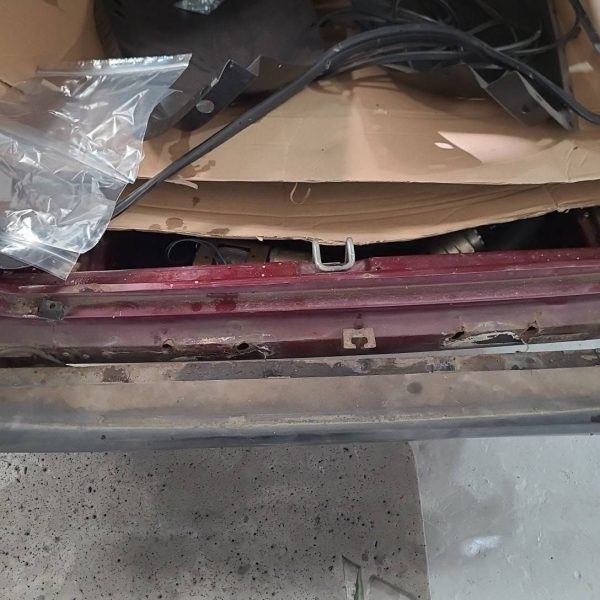
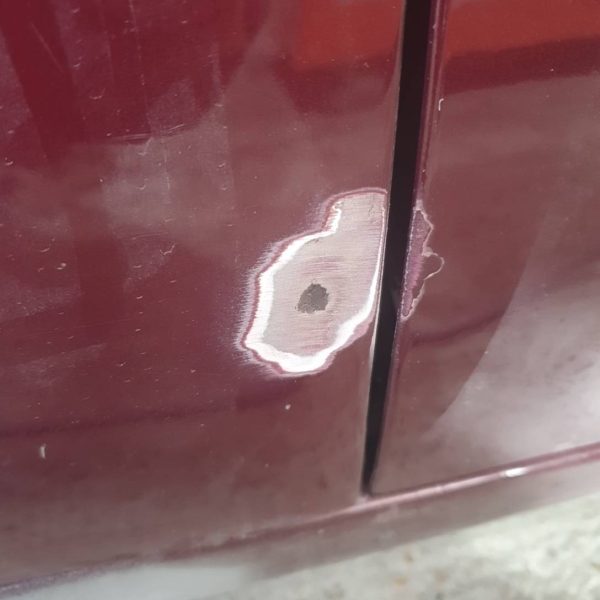
This will eventually return to us for a full recommission before we decide what we will do with the car.
If you would like to see our Double Six as a future competition car then do let us know.
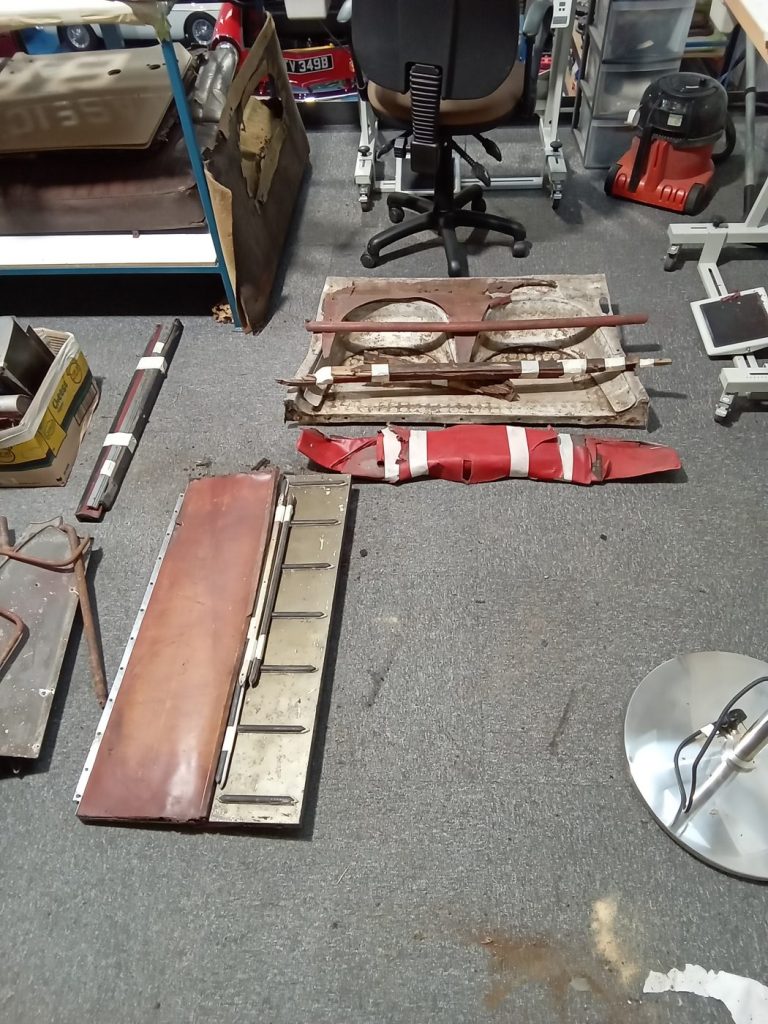
…and they say men can’t multitask! Brian’s day has been spent on 1953 Aston Martin’s today. He started off sorting out all interior parts, labelling up, bagging up all of the small parts of the Aston martin DB2/4 Drophead Coupe.
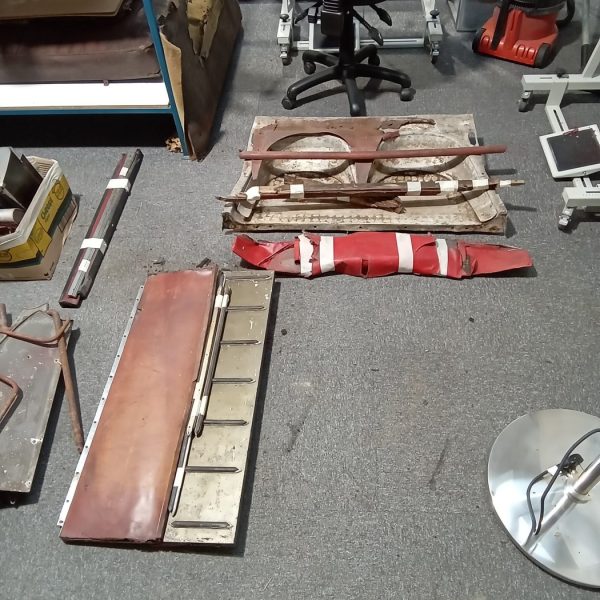
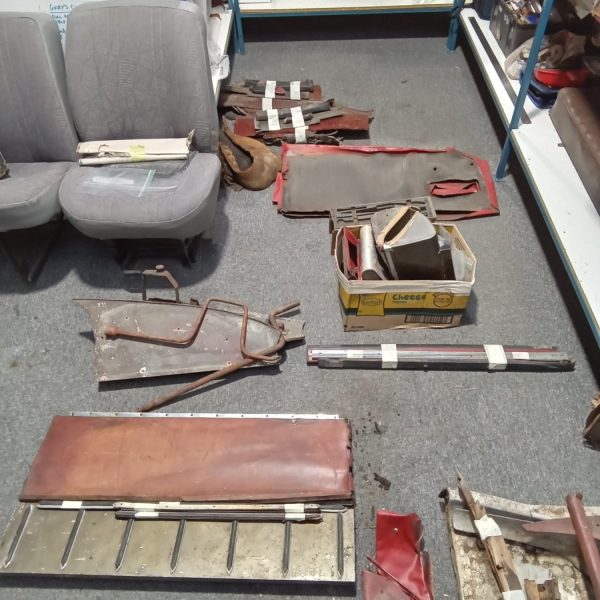
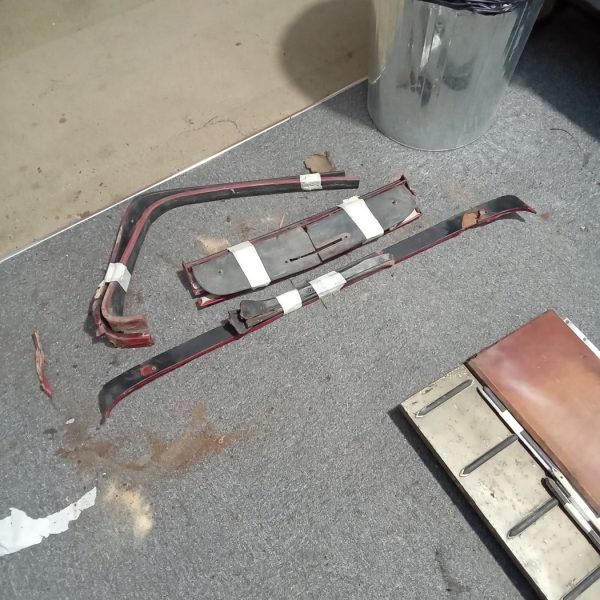
Swiftly followed by work on our other 1953 Aston Martin DB2/4. He’s a little further forward with the interior of this one as he fits new clips to the door panels, cutting out foam, gluing the foam to boards, trimming the foam to size, cutting and gluing the leather to the door panels, gluing and trimming onto the back of the boards as well as turning the leather around the pocket holes.
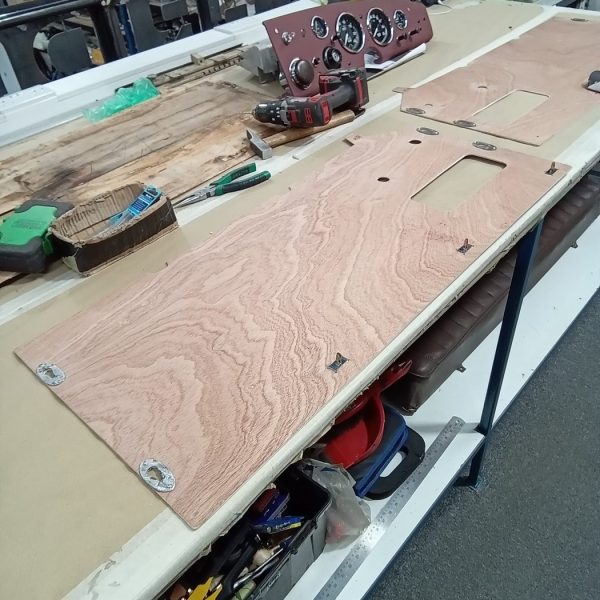
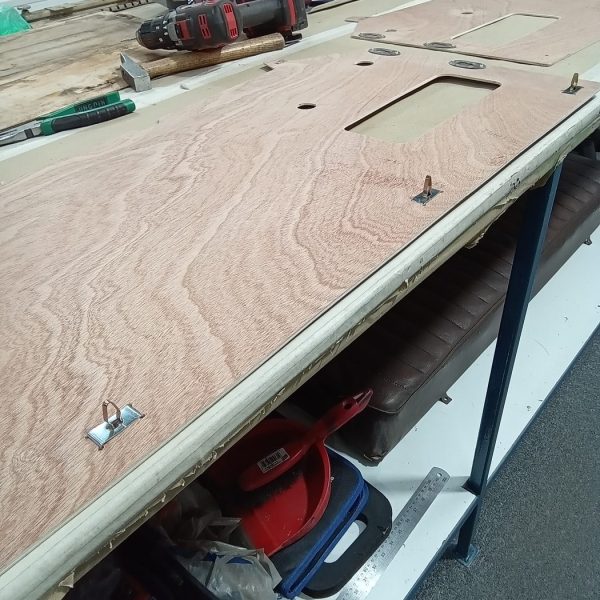
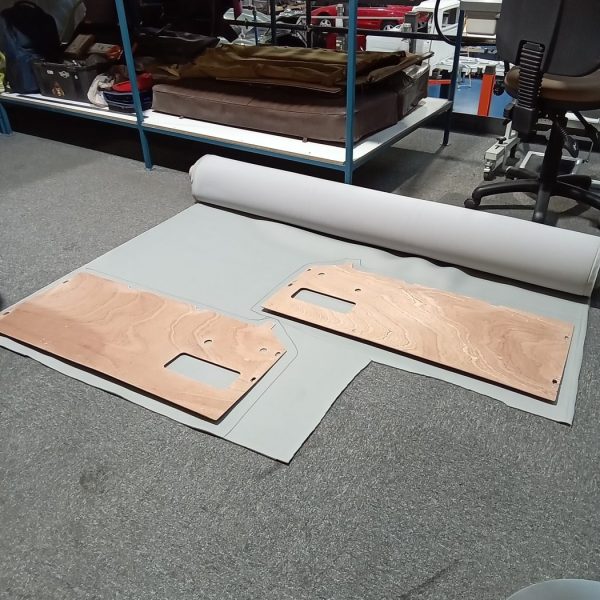
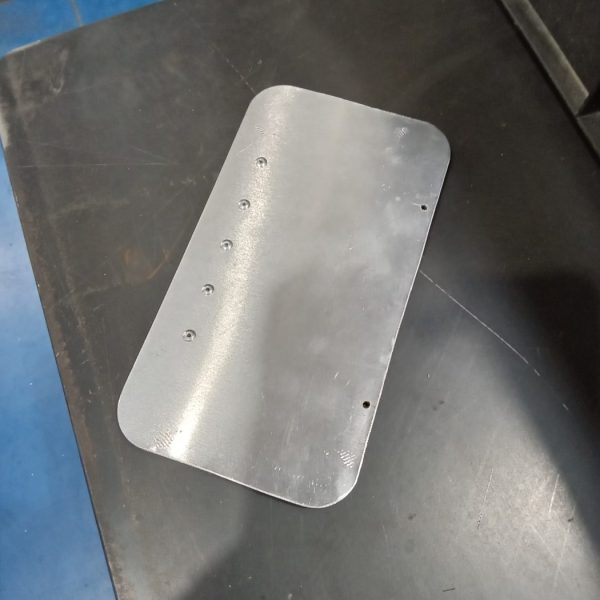
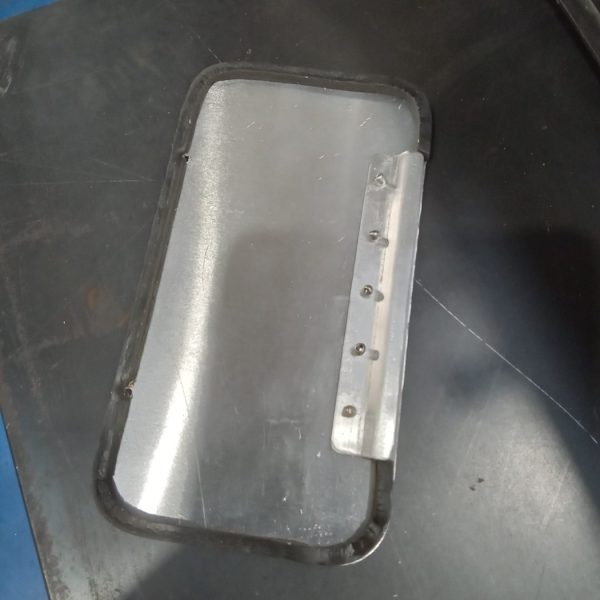
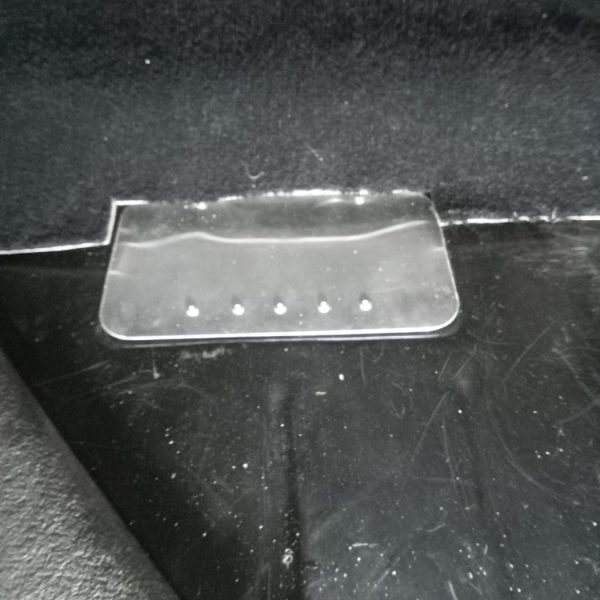
Rob is back into the swing of things now as he makes and fits an access plate to cover the fuel tank sender unit.
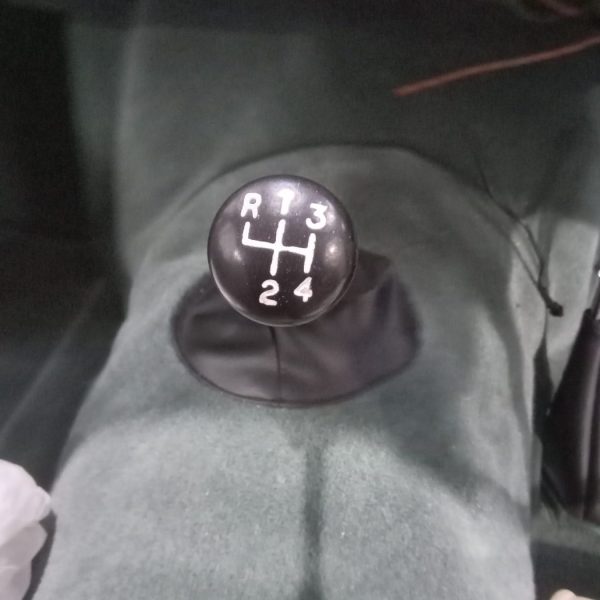
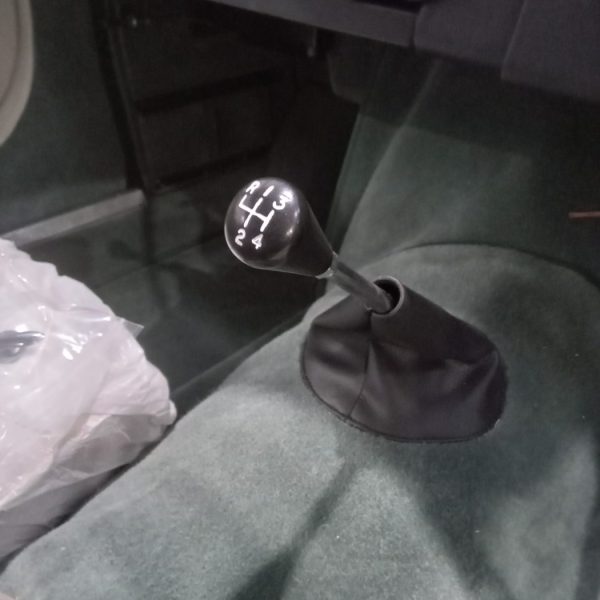
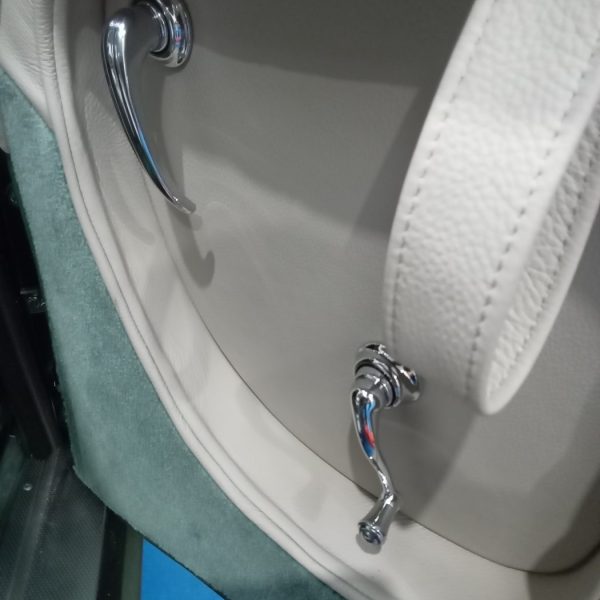
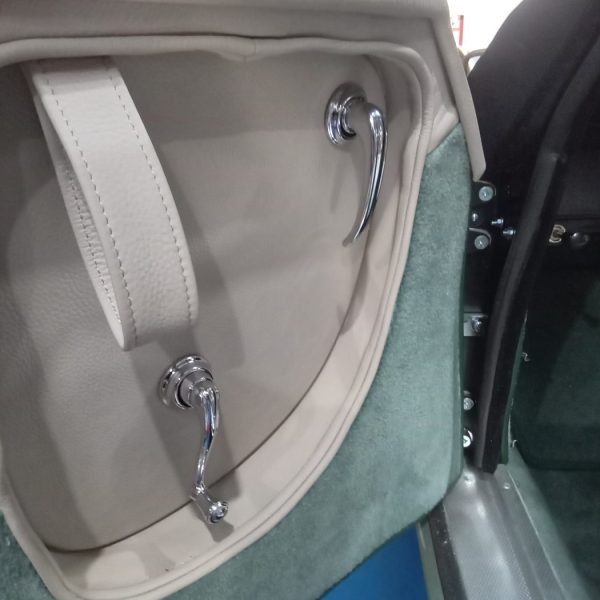
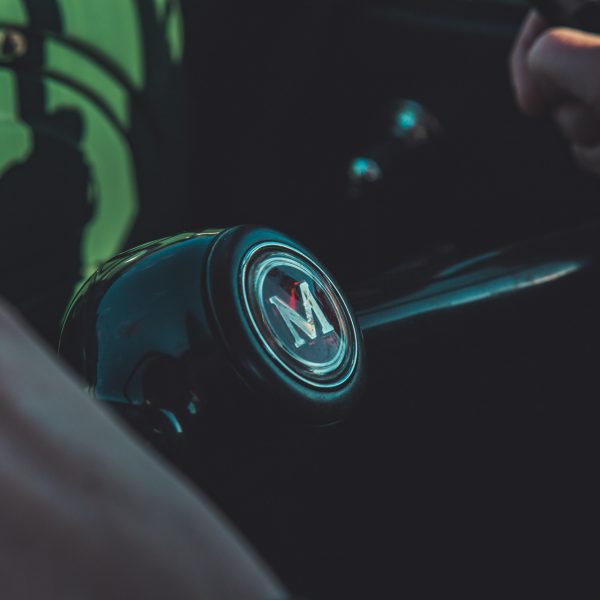
He has fitted up the interior door handles to both doors, repainted motif on gear knob and fitted to car.
The fuel tank breather pipe has been fitted to the tank and run out of boot floor.
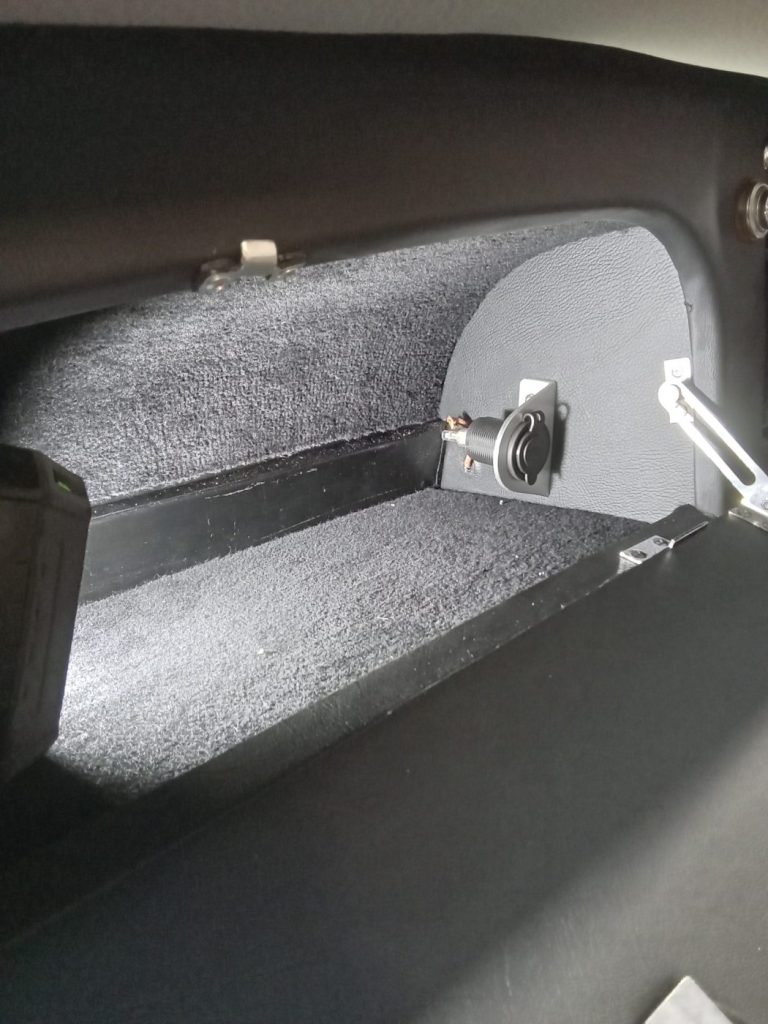
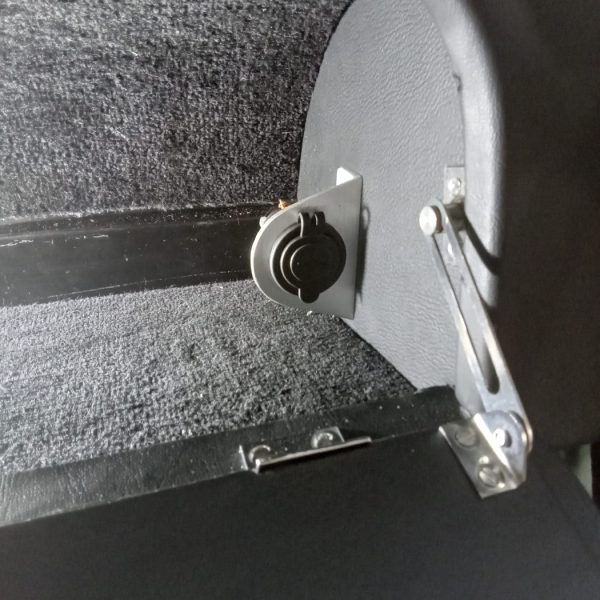
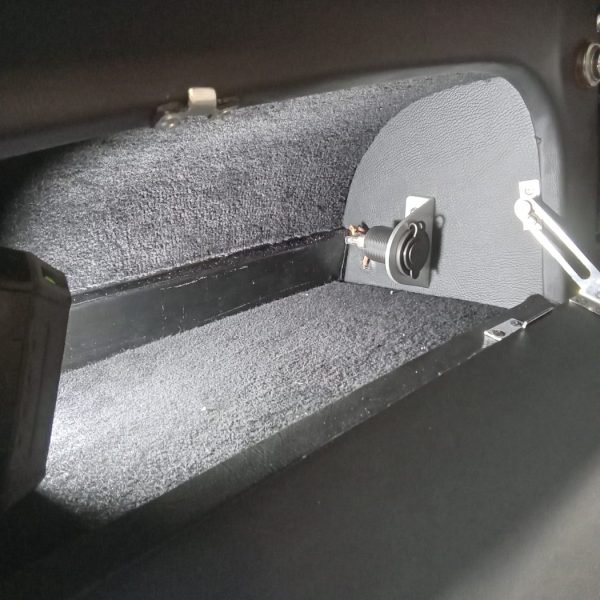
He’s made up and fitted an alloy bracket to hold a new charging socket. Wire up and fit inside glove box.


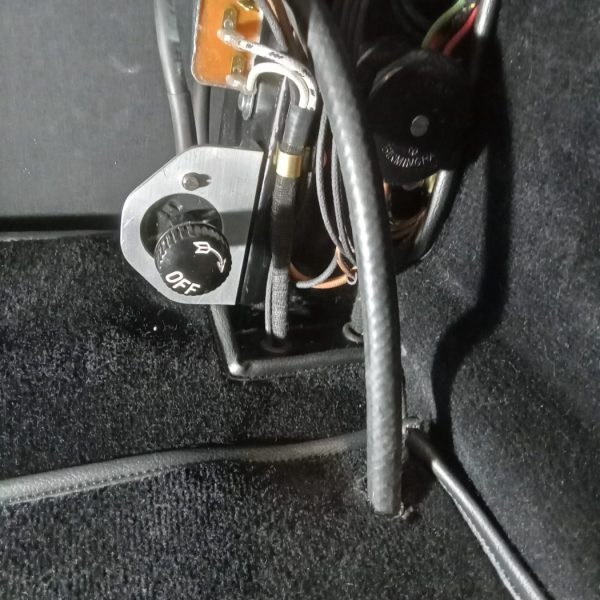
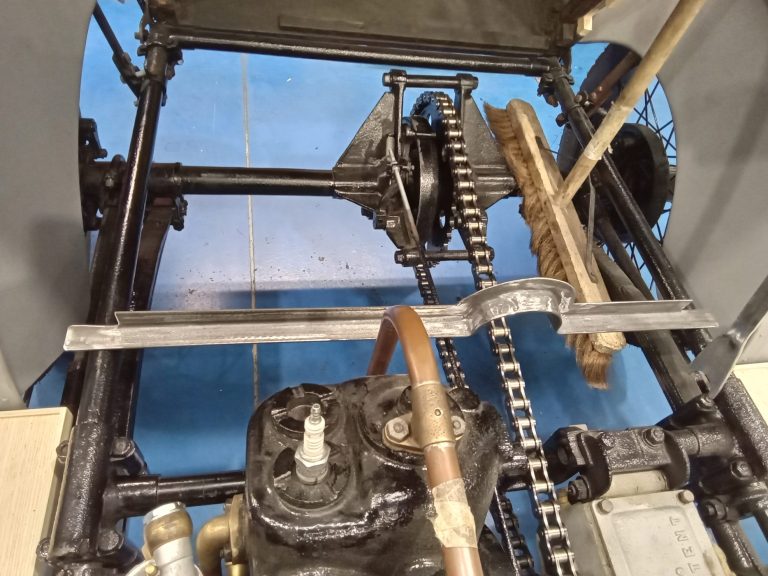
The battery box metal frame is almost complete and will eventually have an ash wood box for battery to sit in.
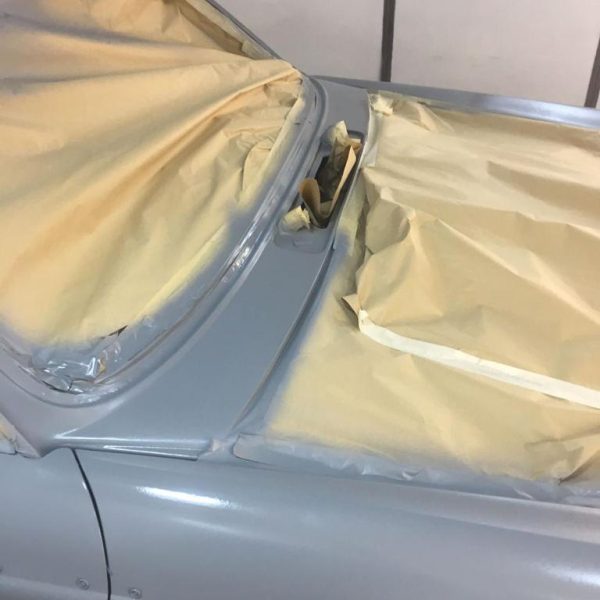
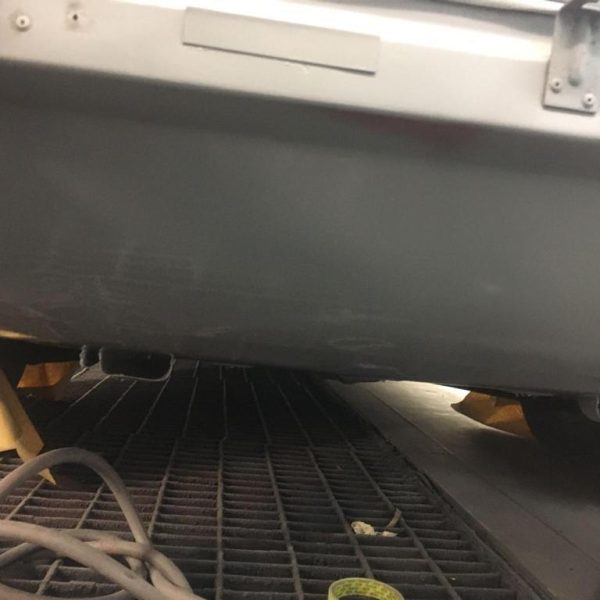
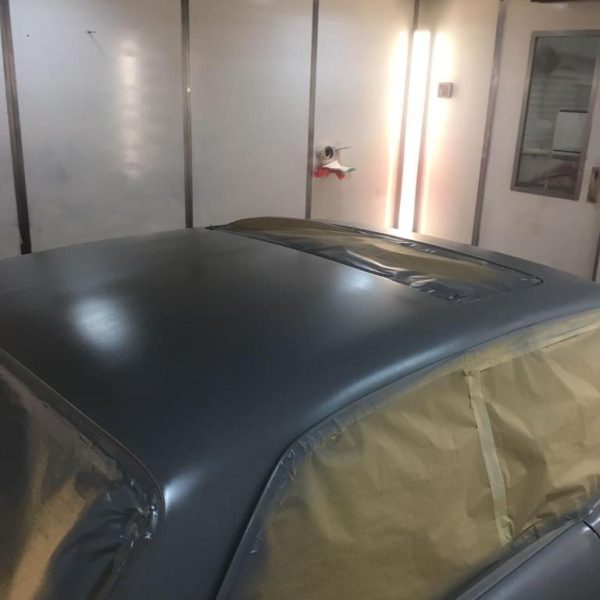
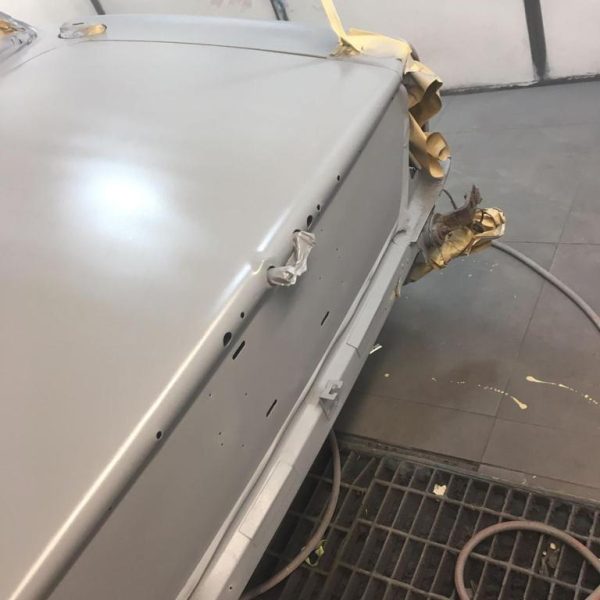
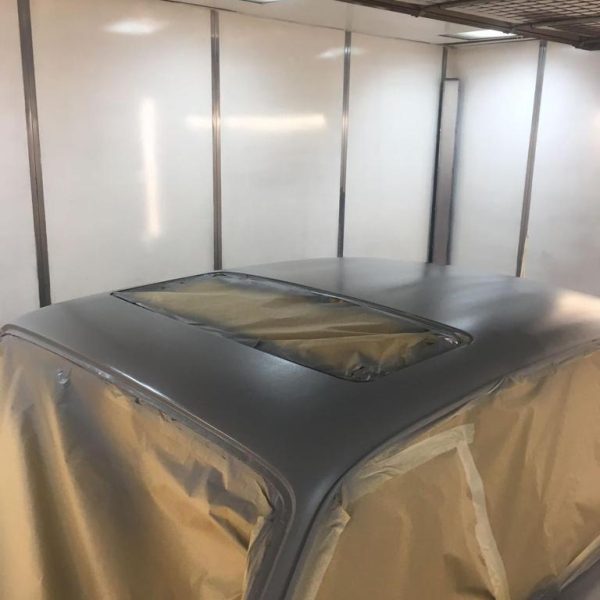
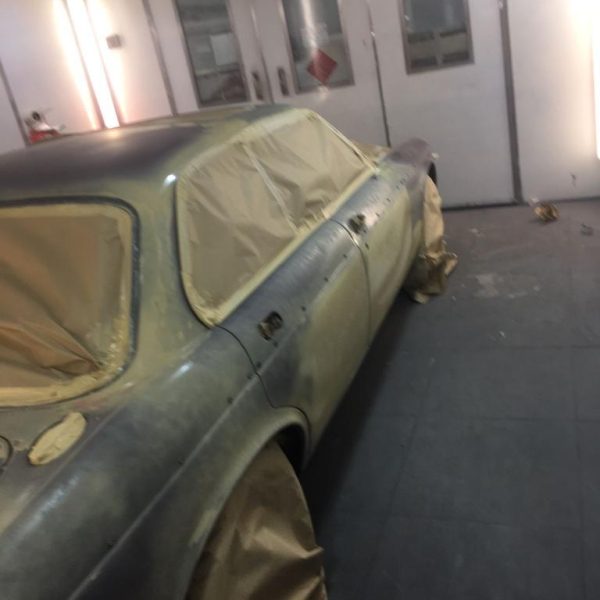
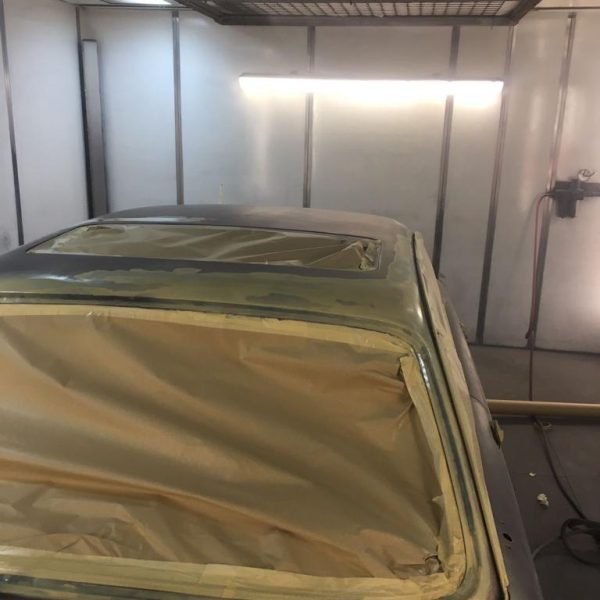
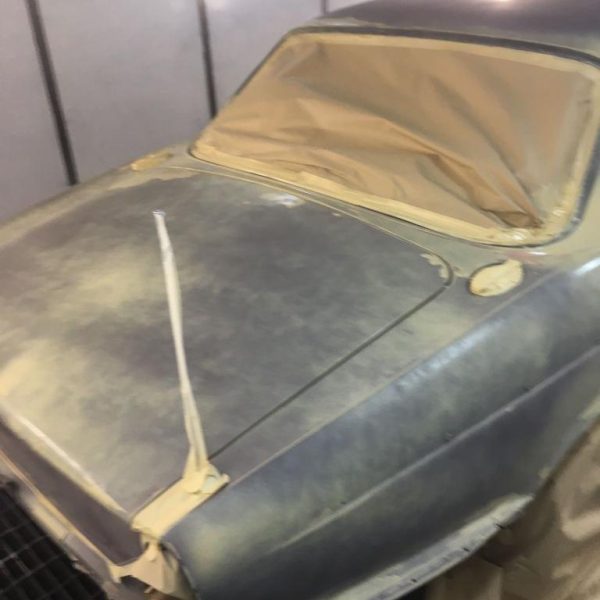
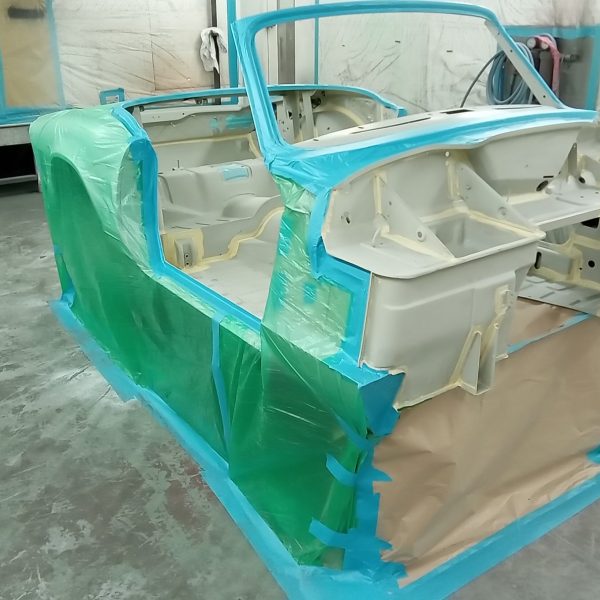
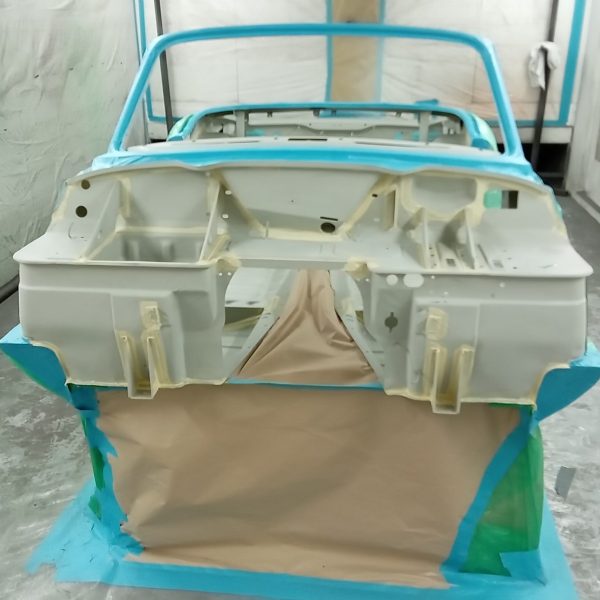
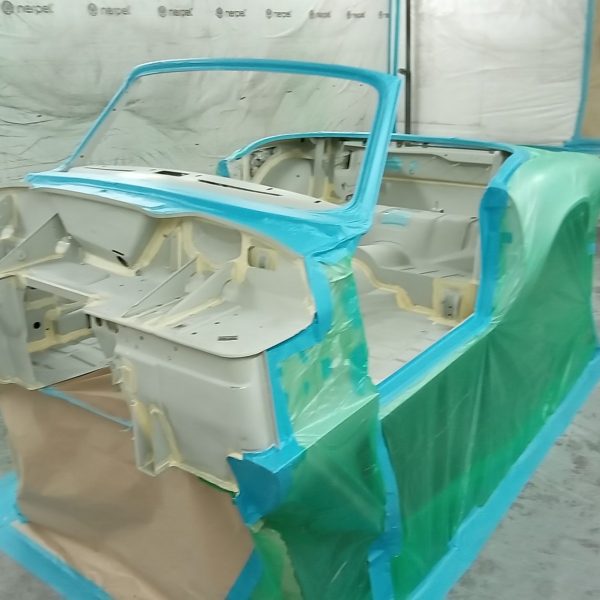
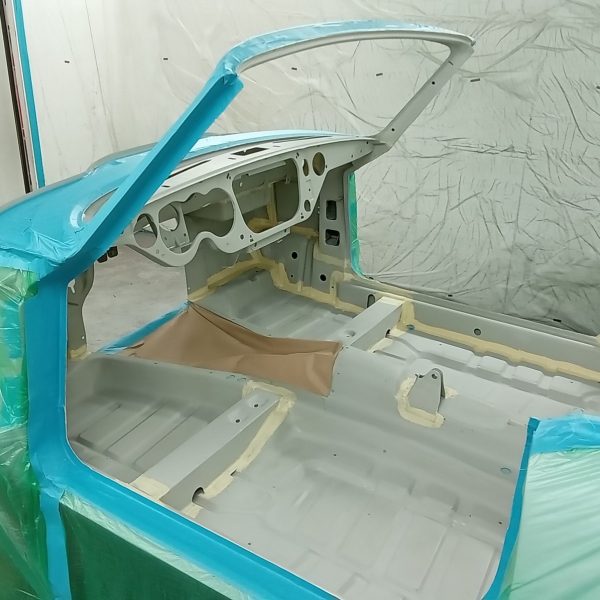
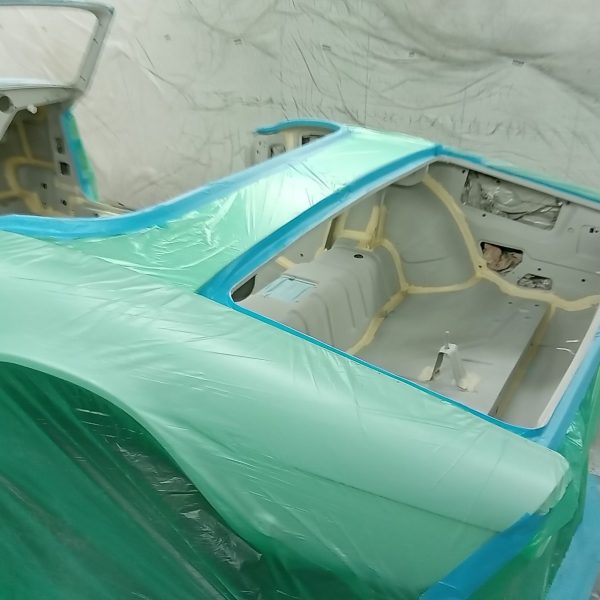
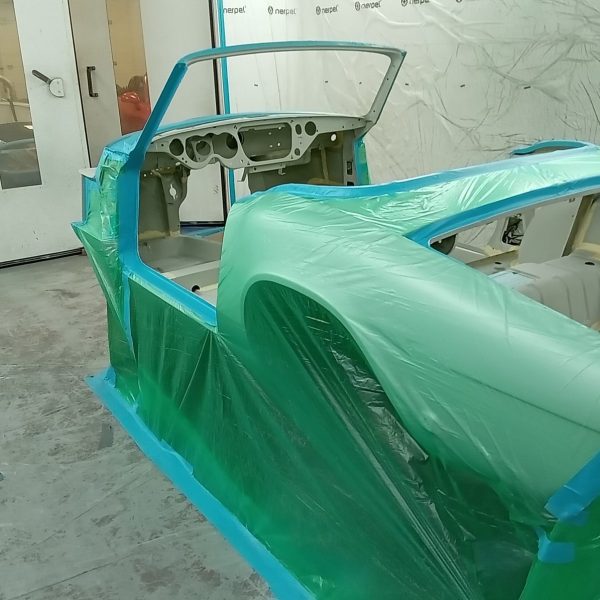
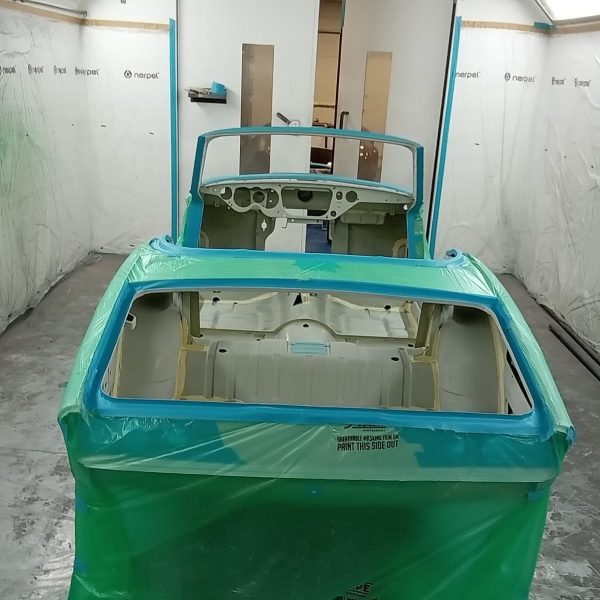
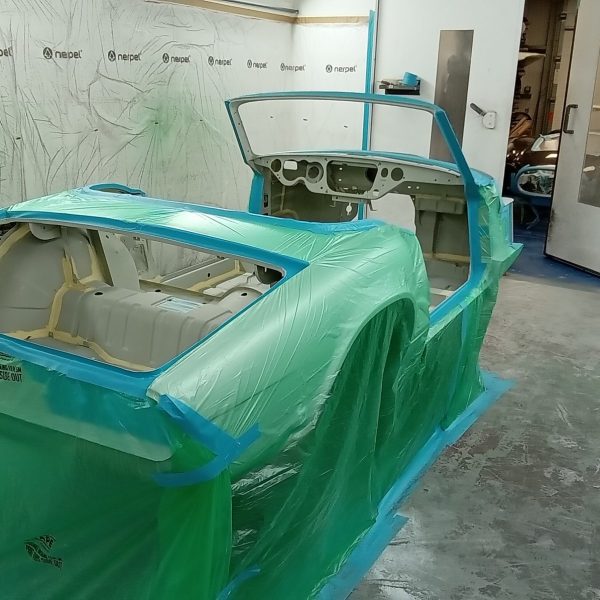
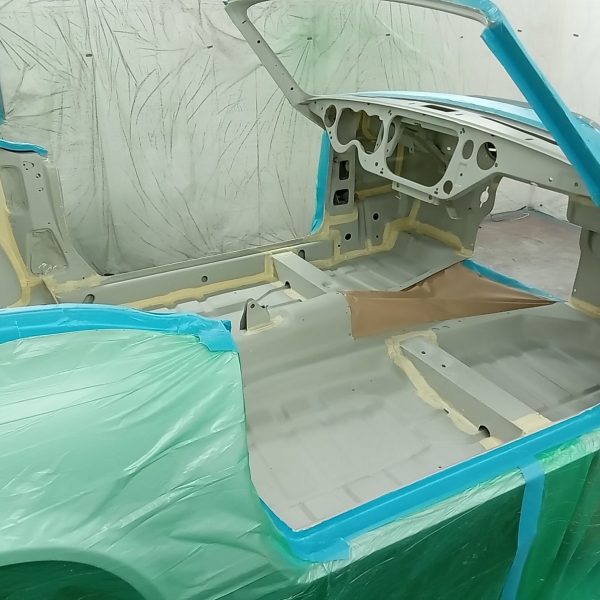
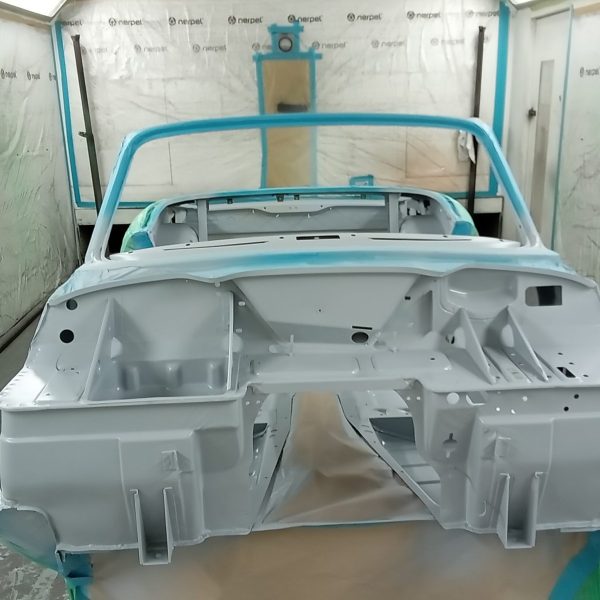
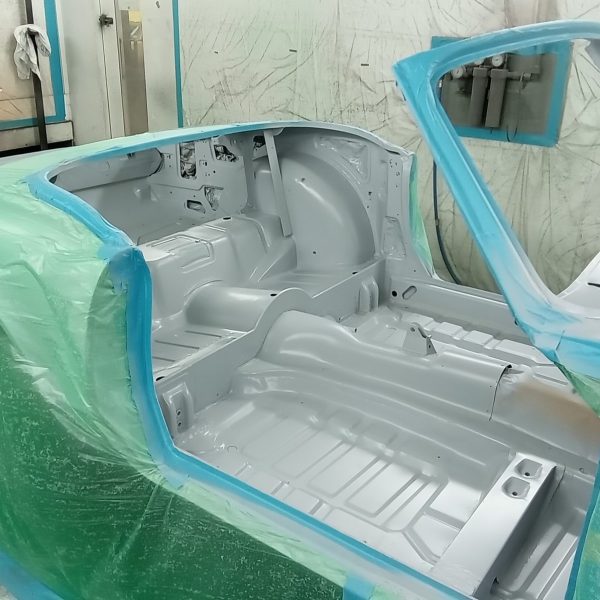
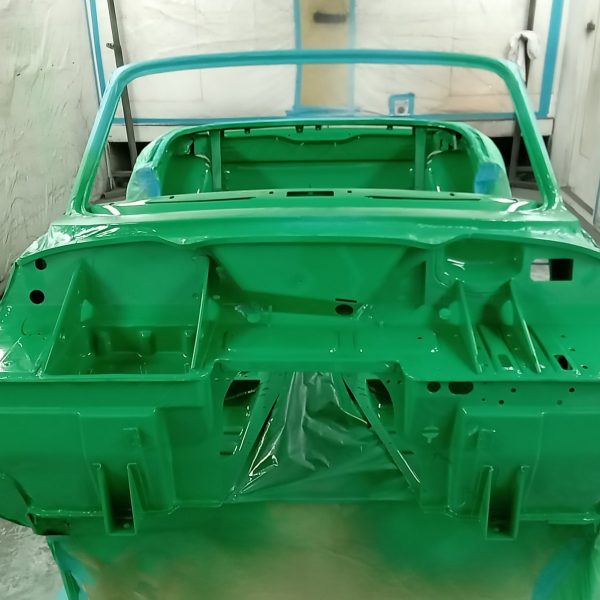
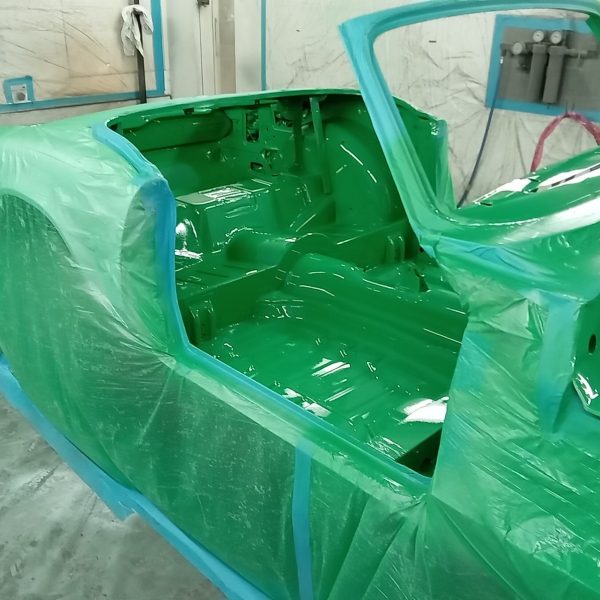
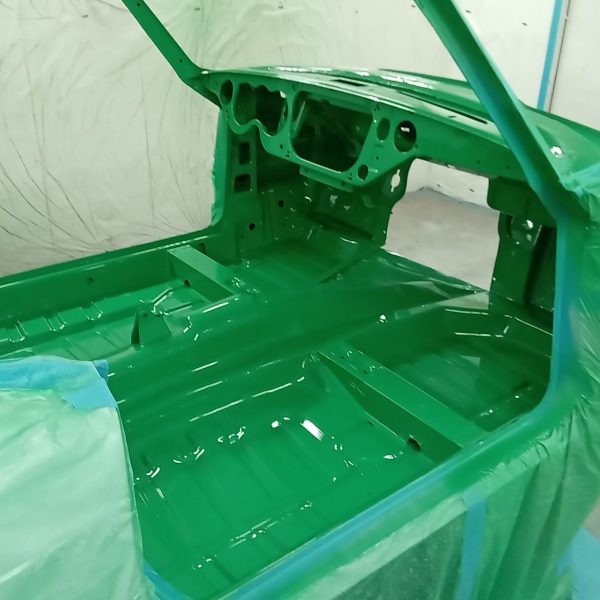
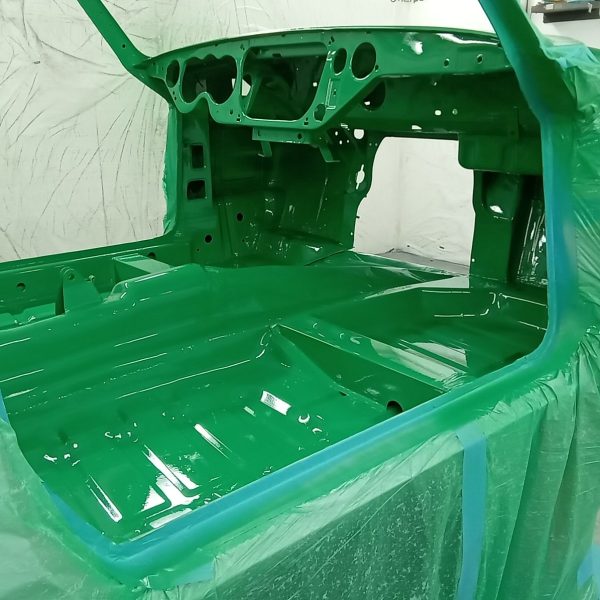
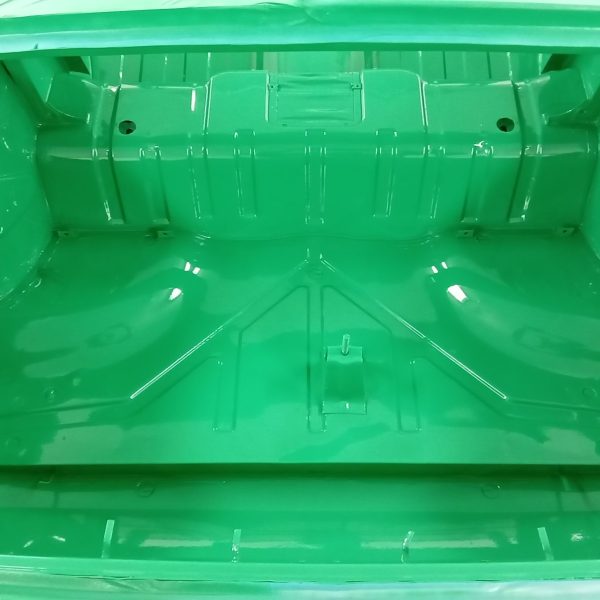
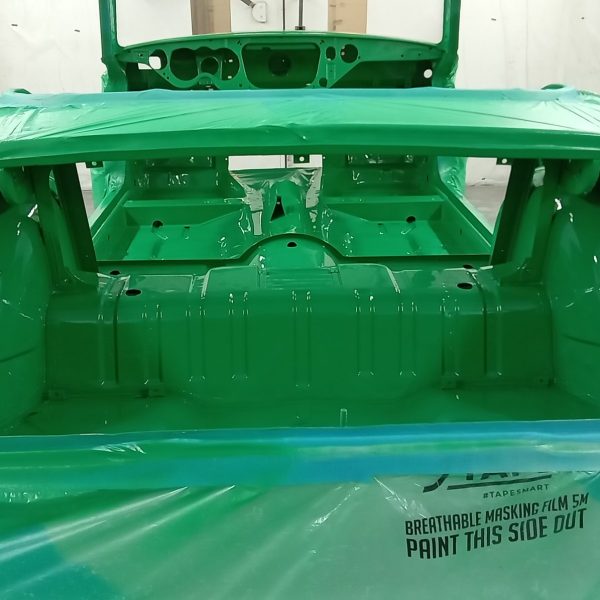
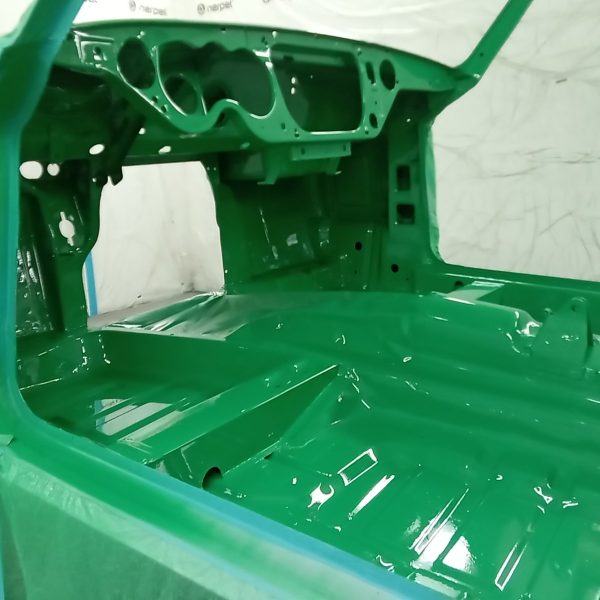
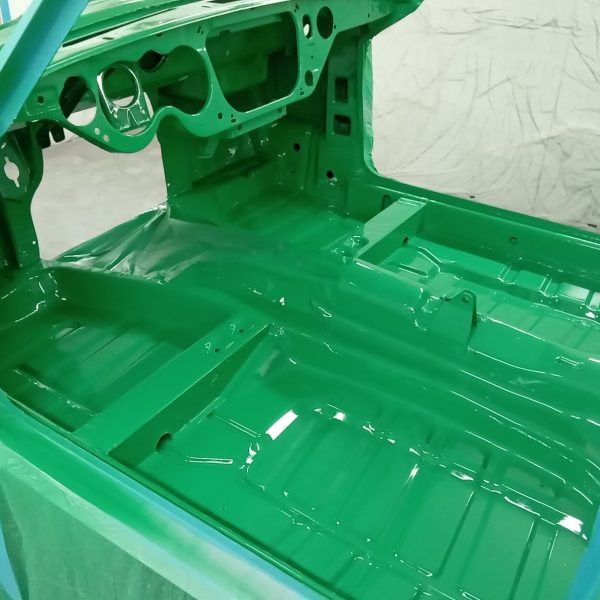
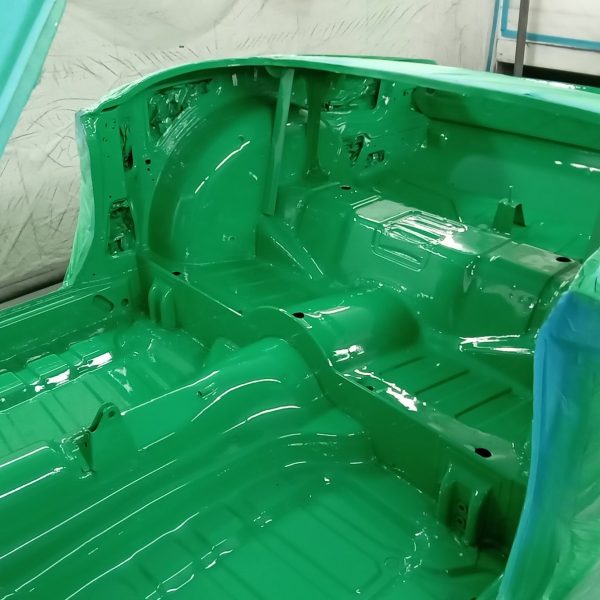
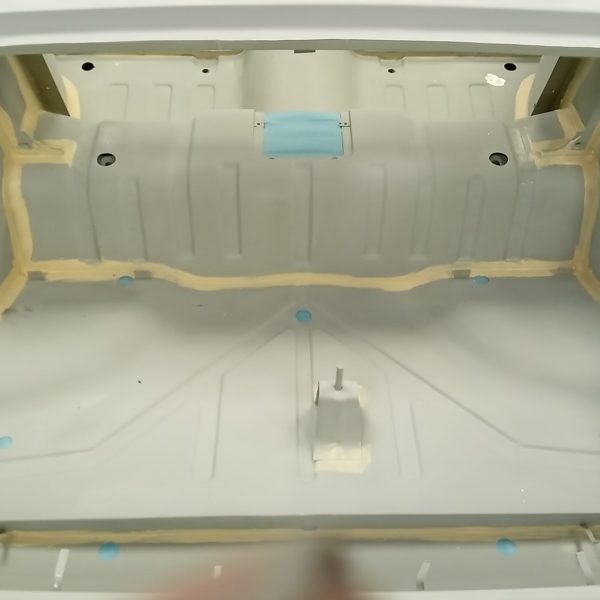
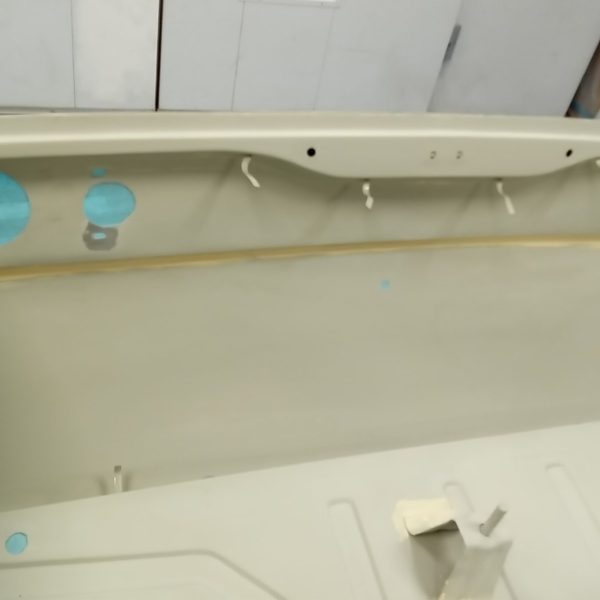
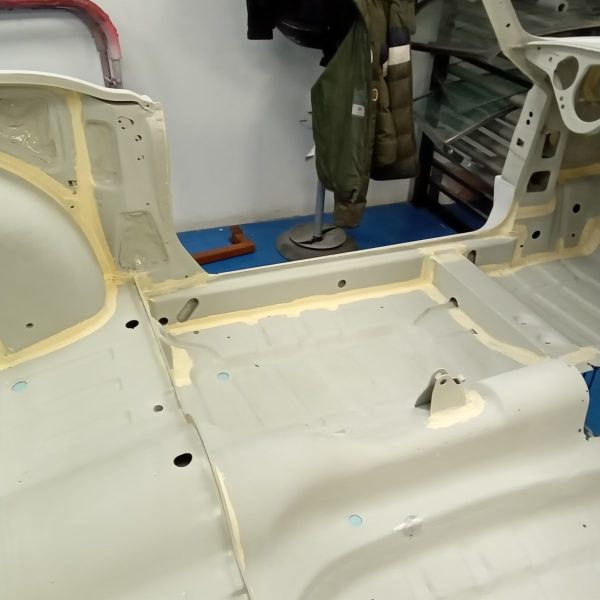
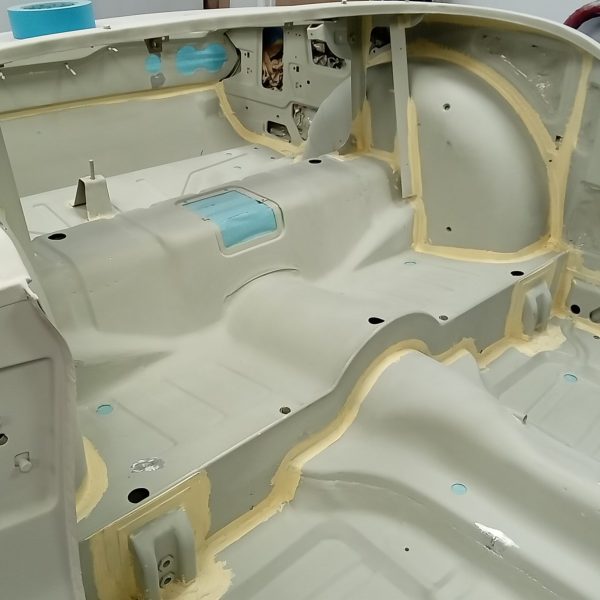
Alan is busy masking up the body of our Triumph Spitfire ready for the new Java green colour.
Wet on wet primer to cover over the seam sealer. He has painted inside the boot, cabin area and bulkhead.
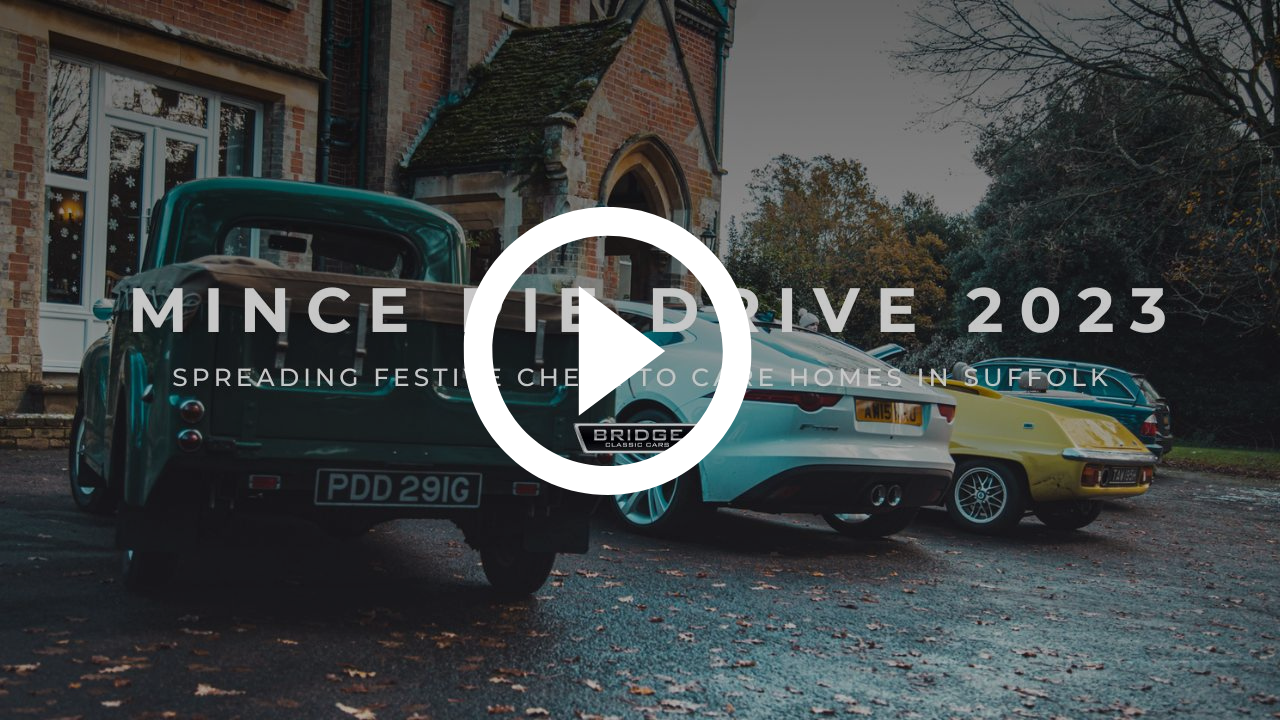
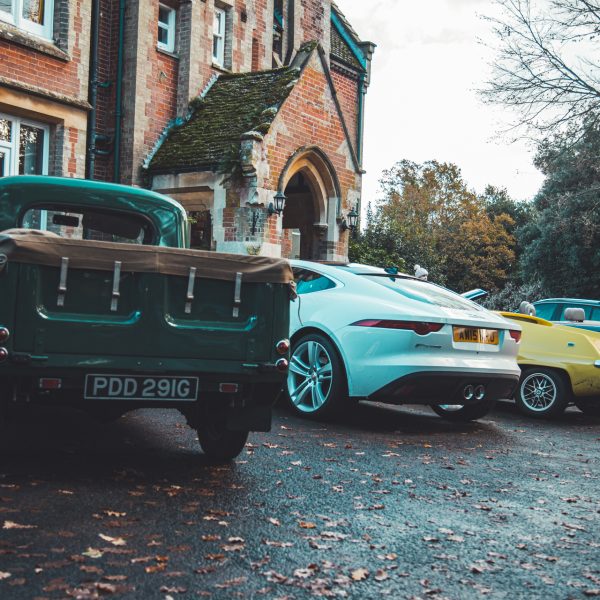
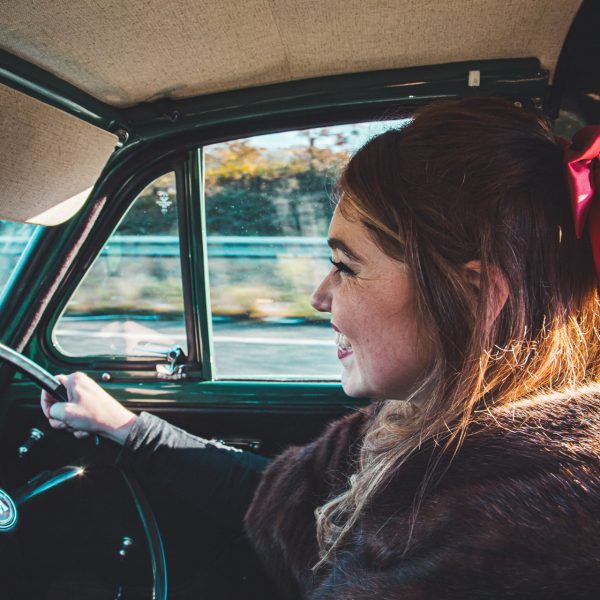
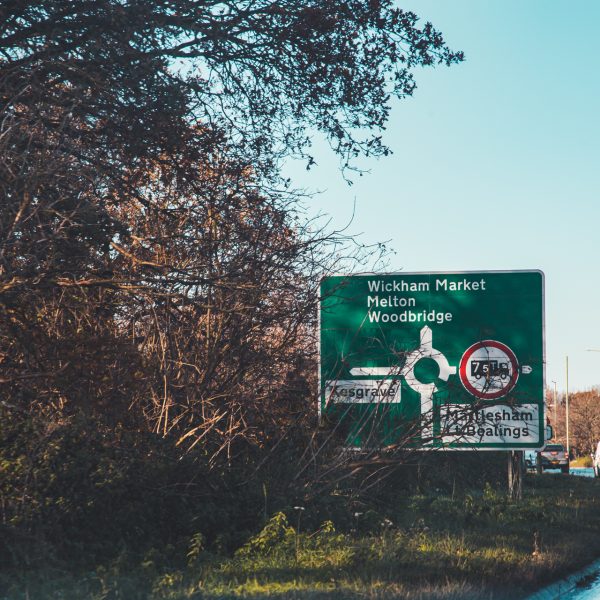
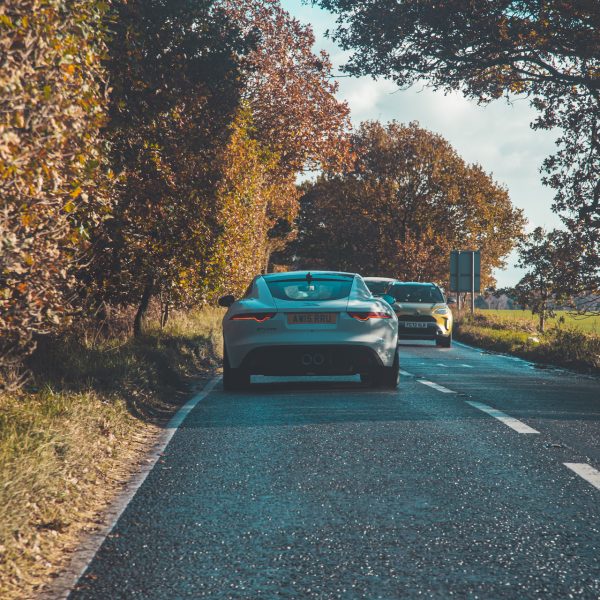
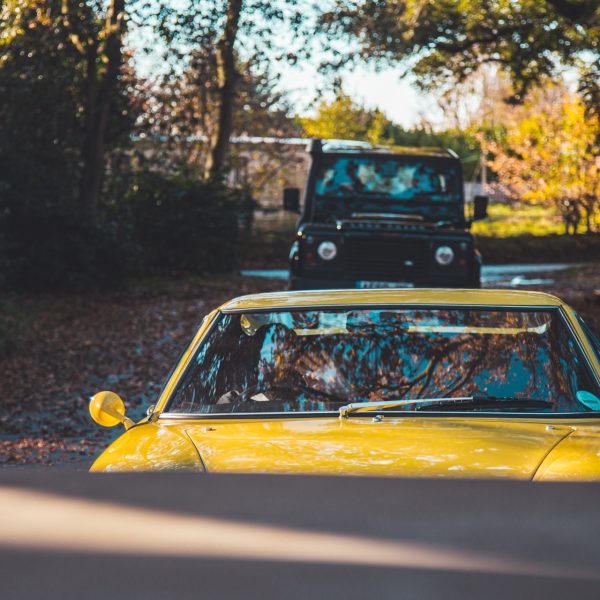
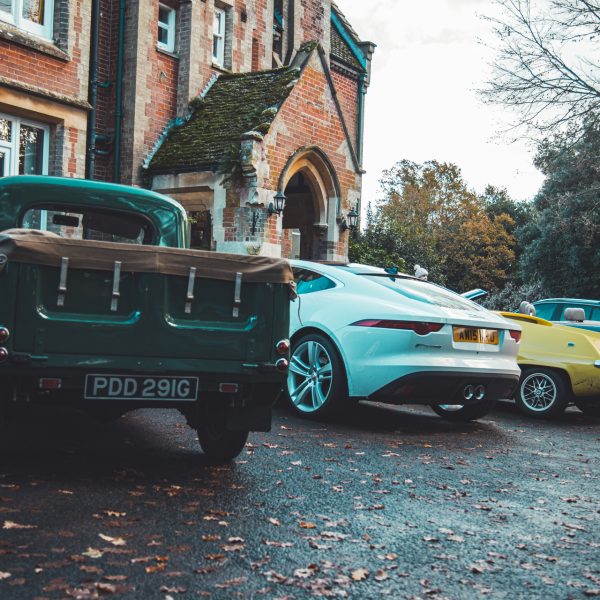
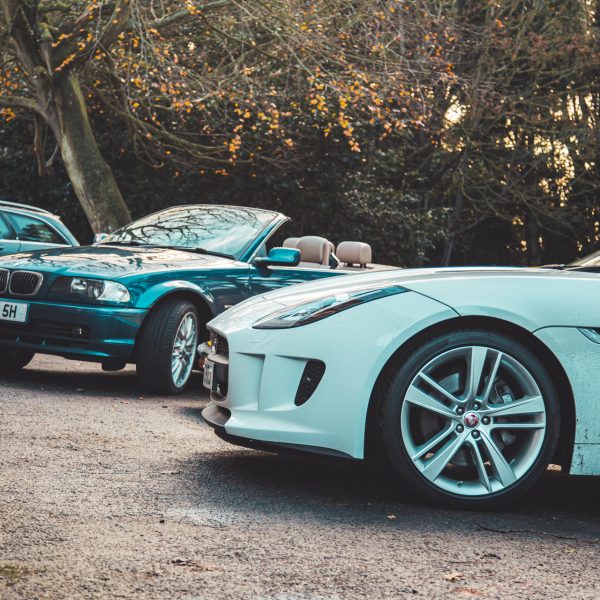
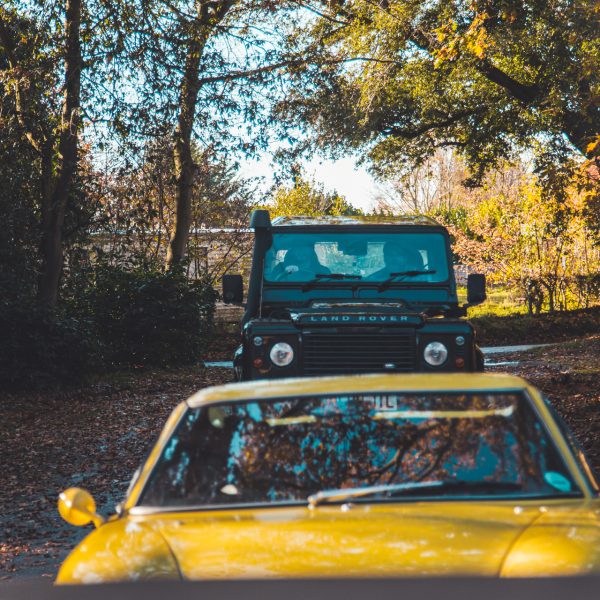
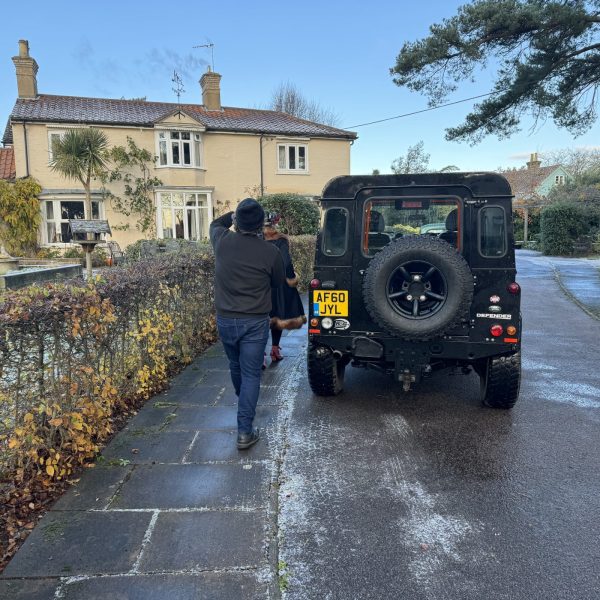
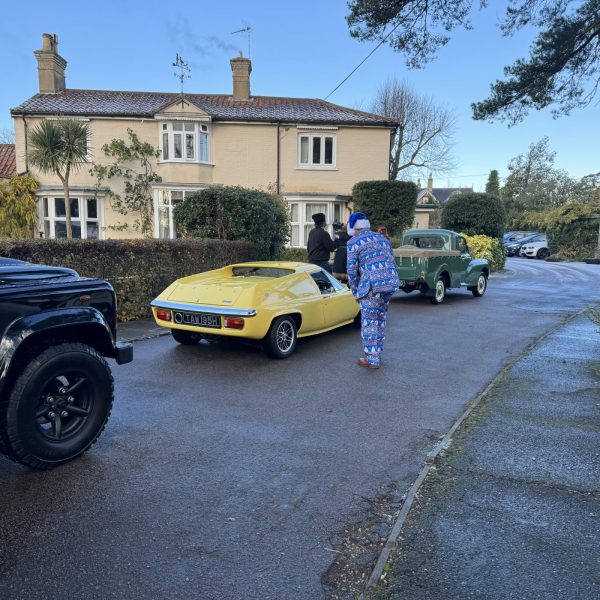
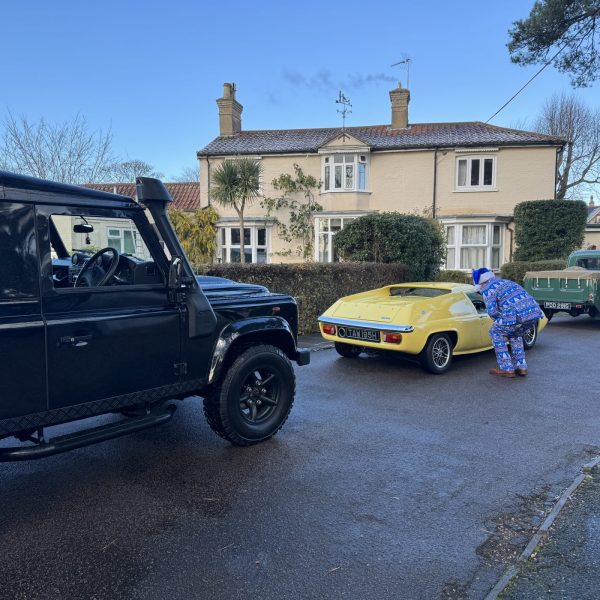
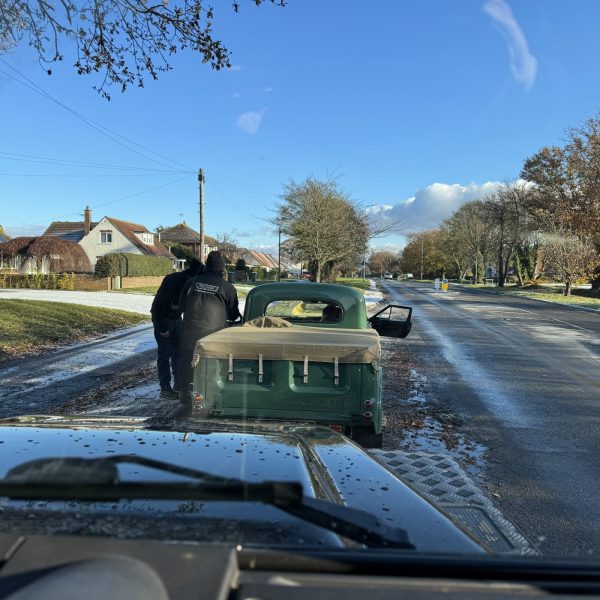
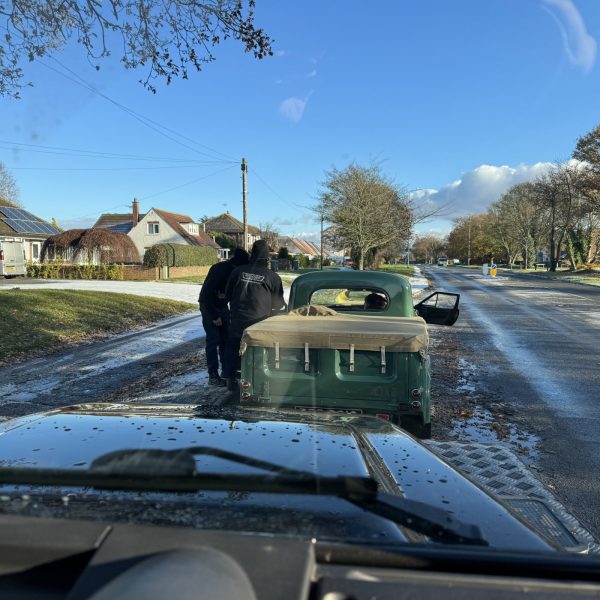
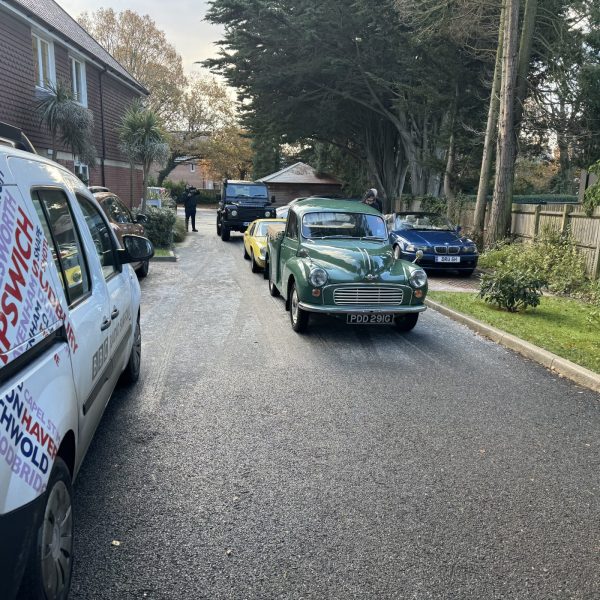
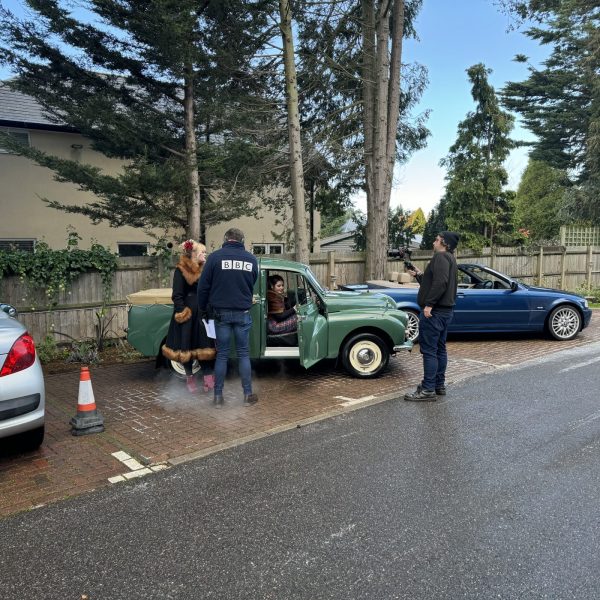
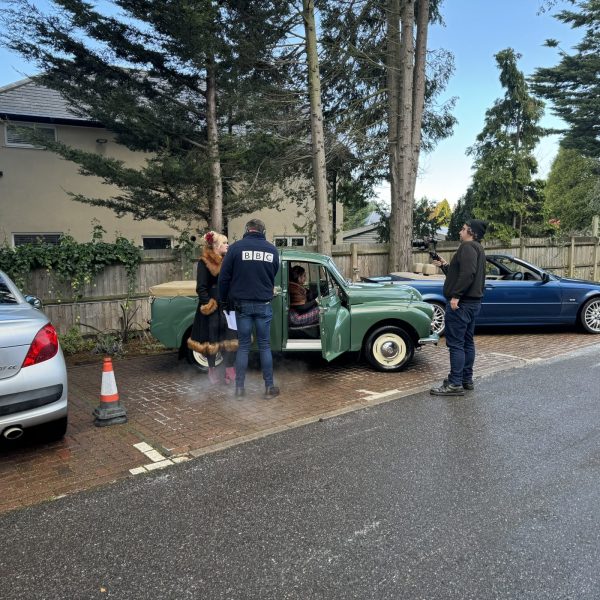
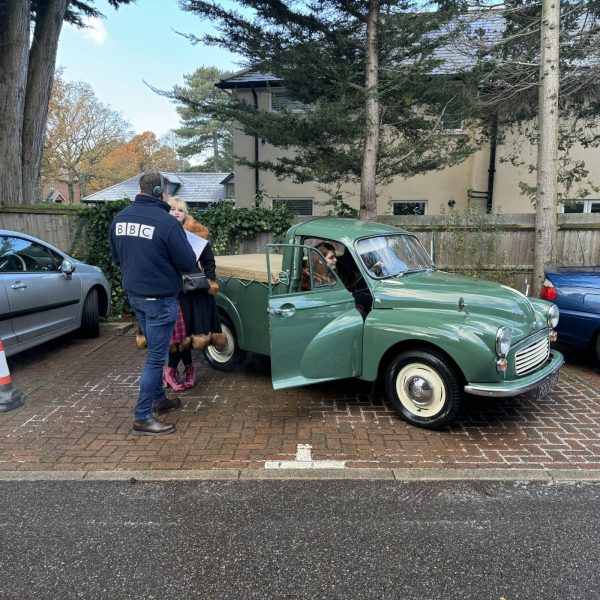
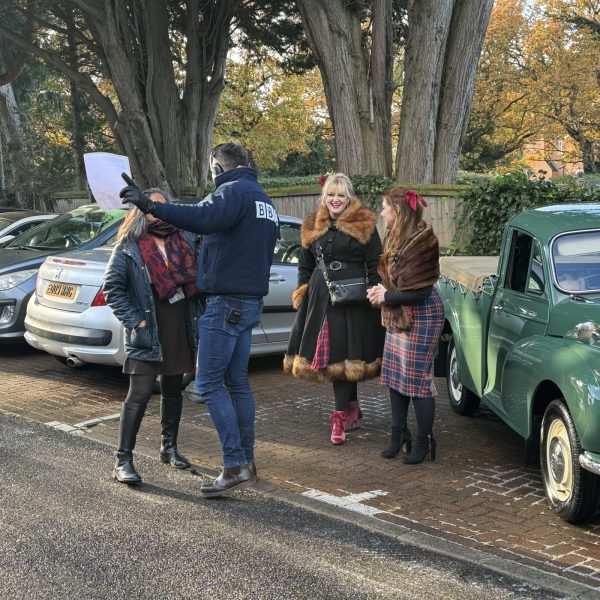
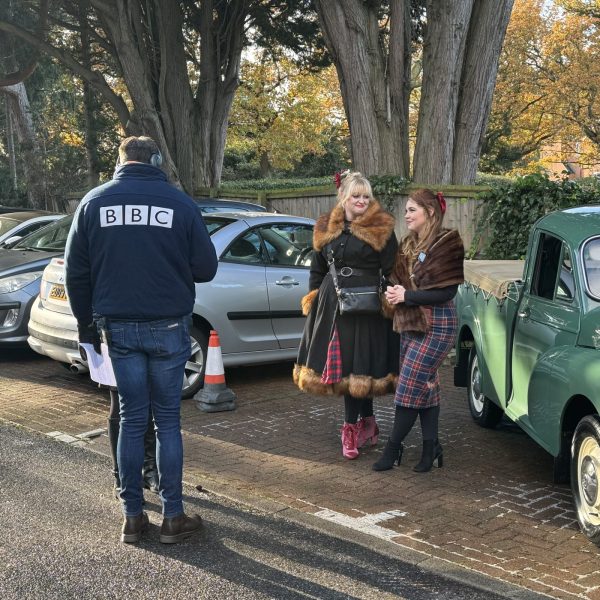
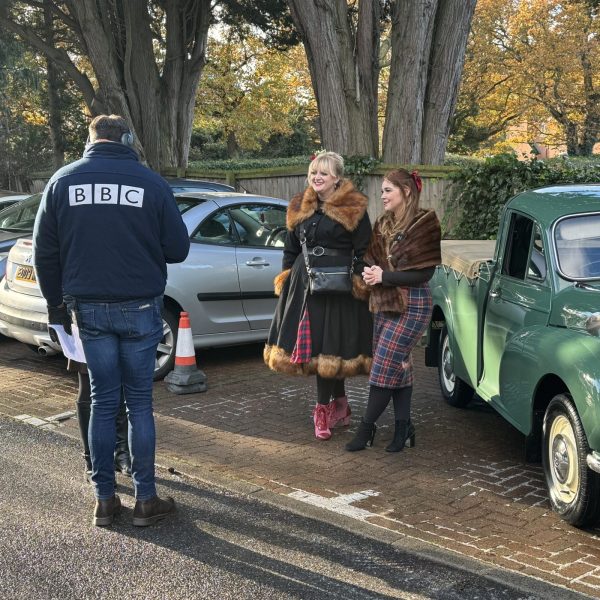
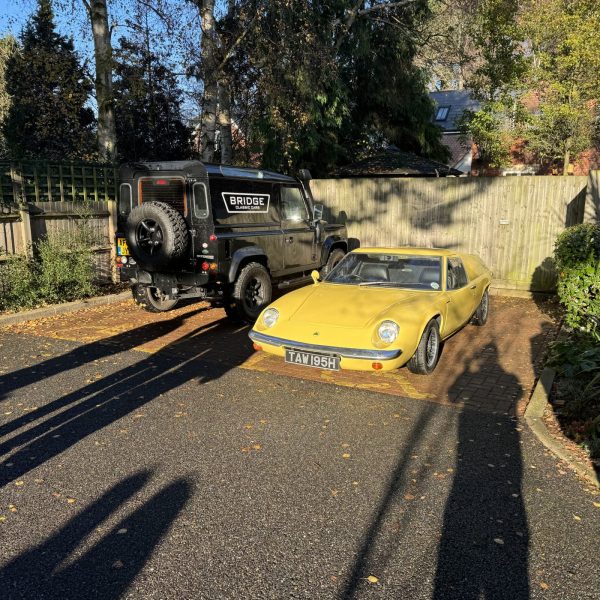
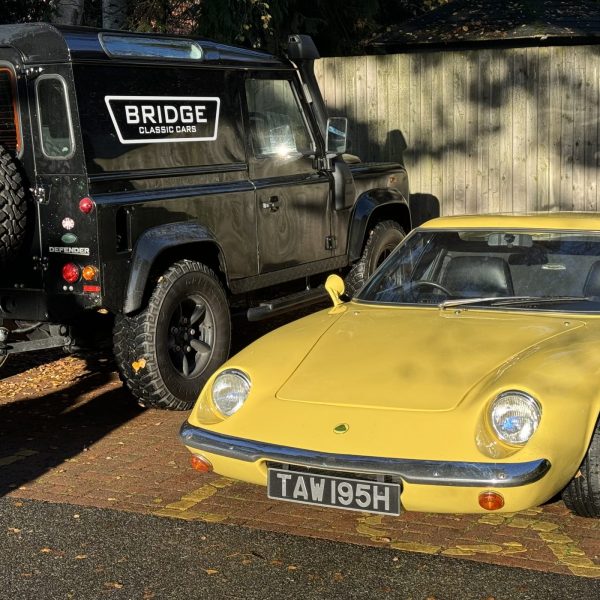
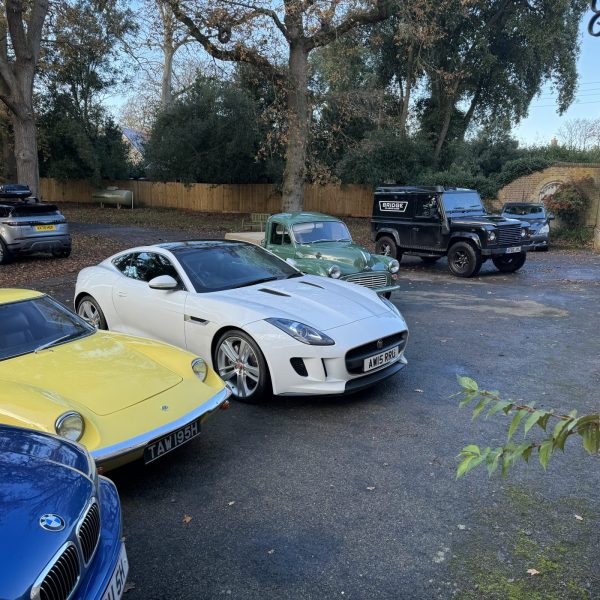
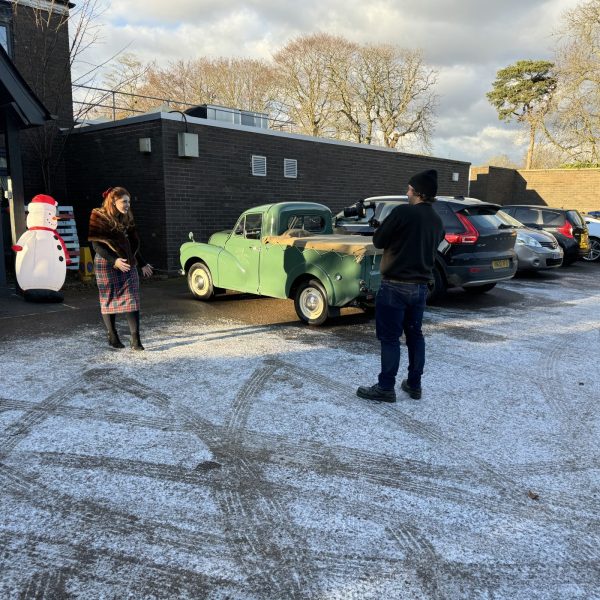
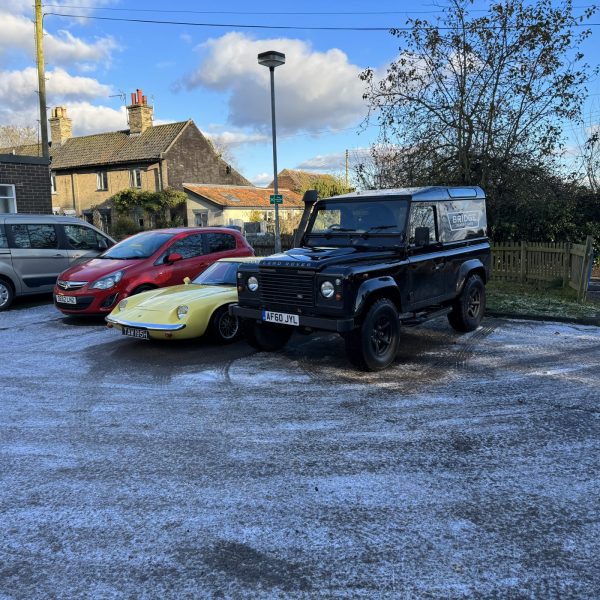
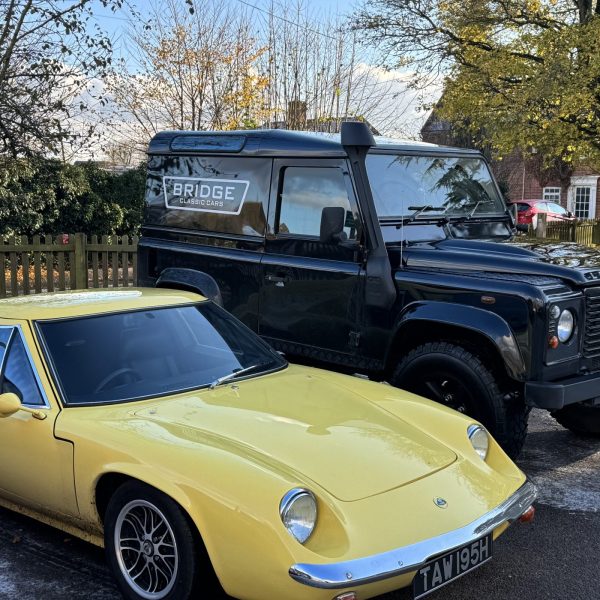
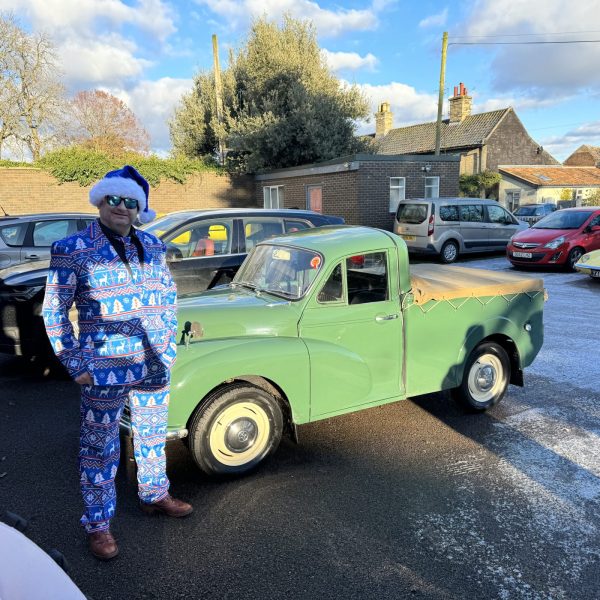
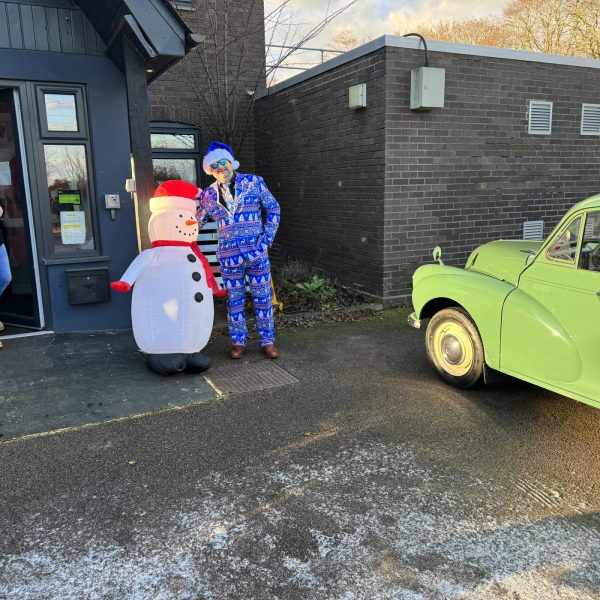
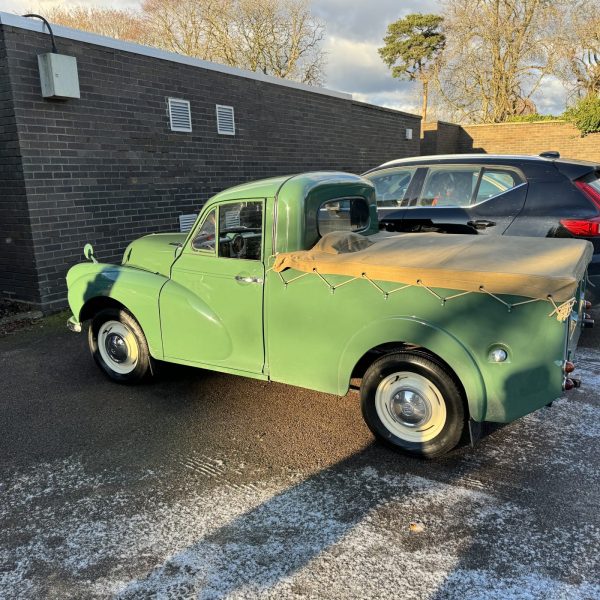
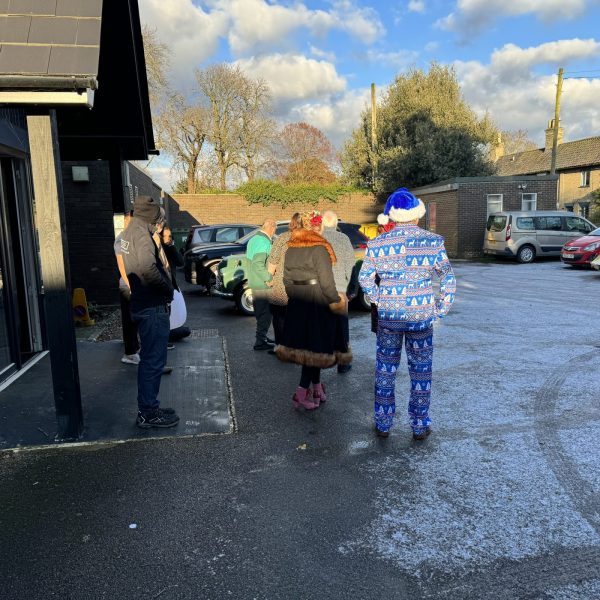
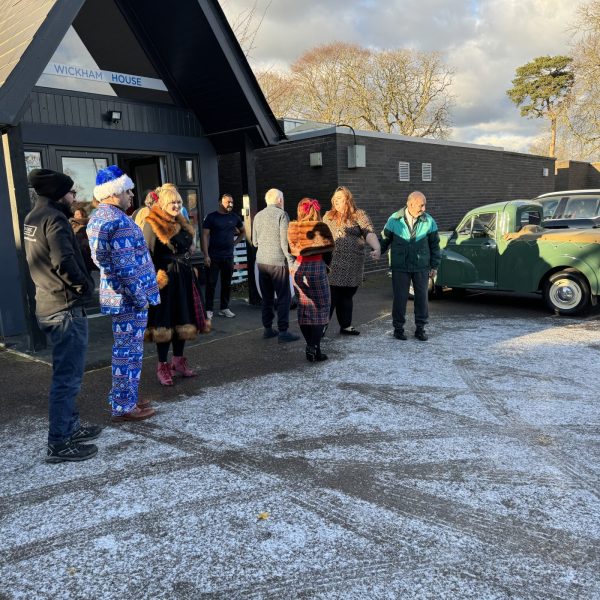
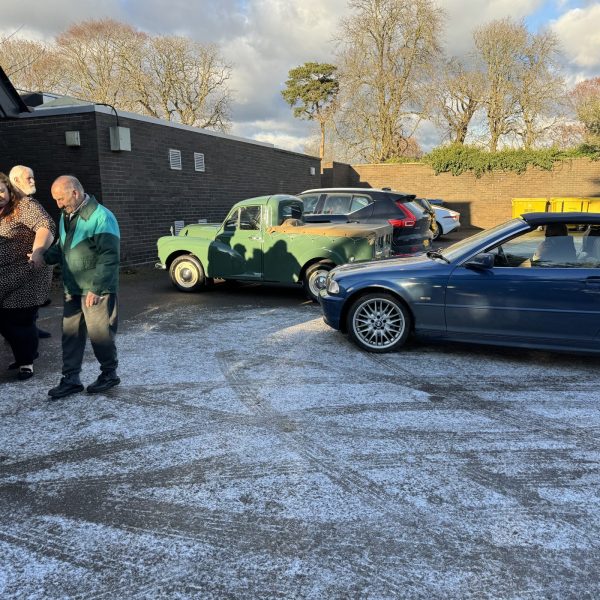
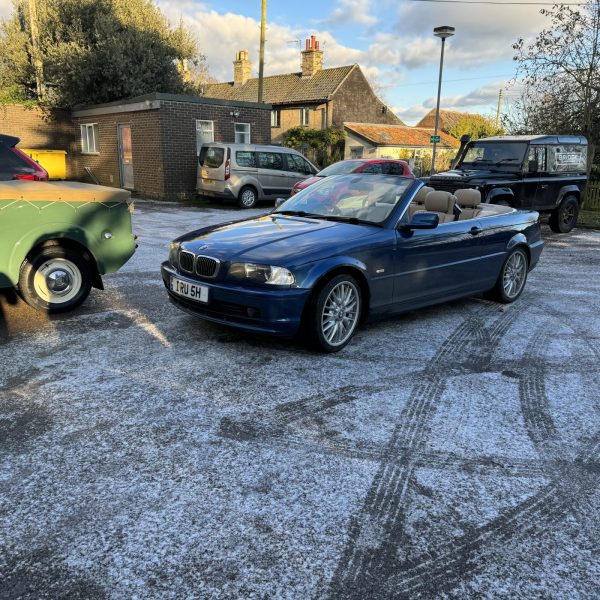
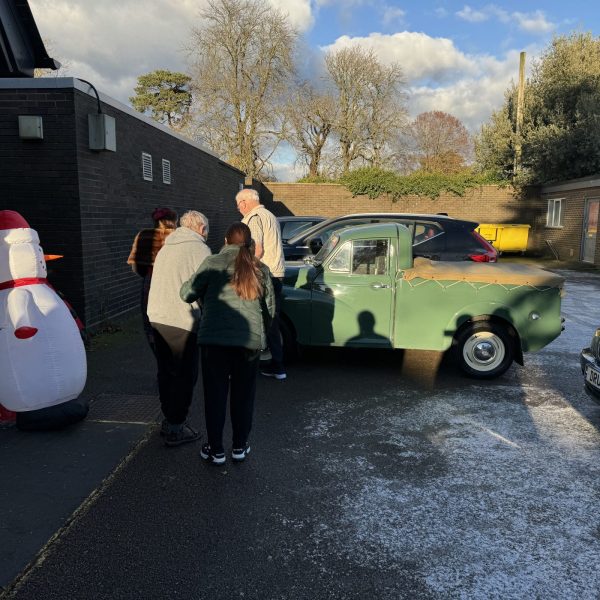
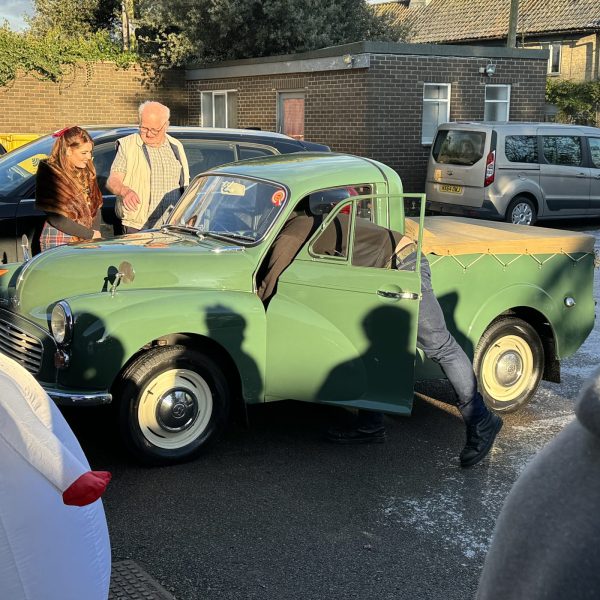
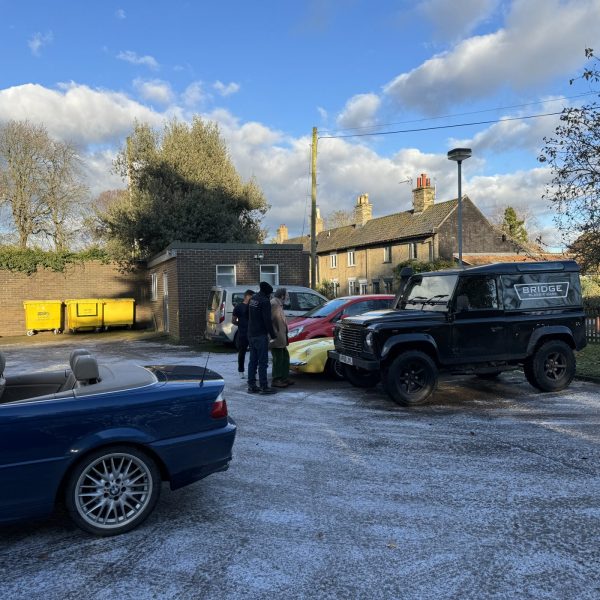
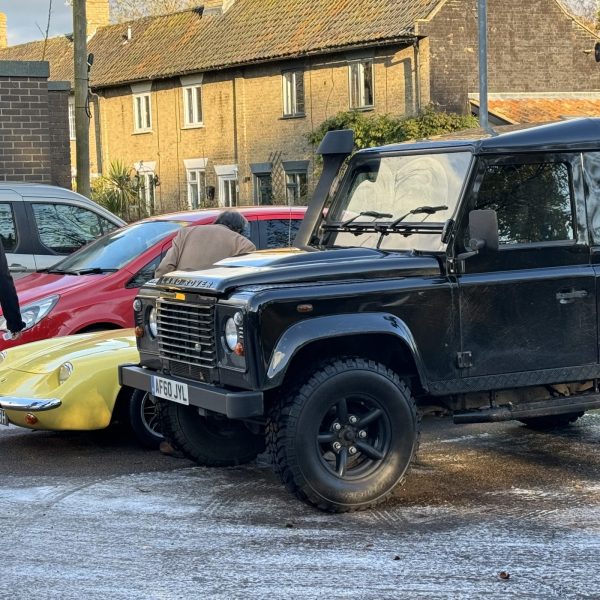
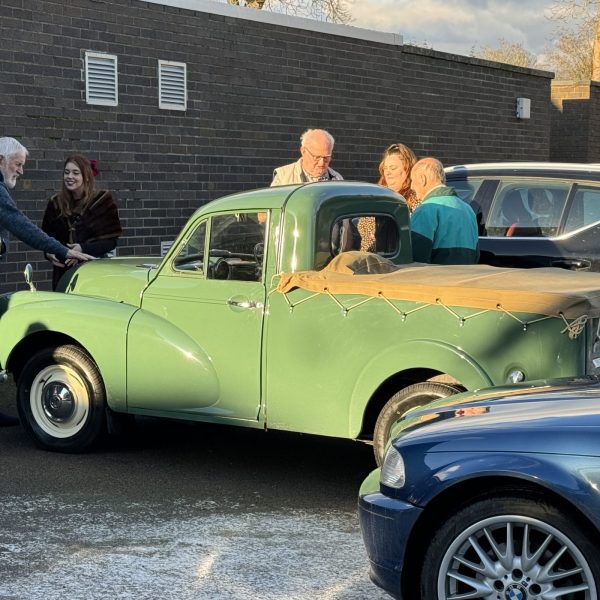
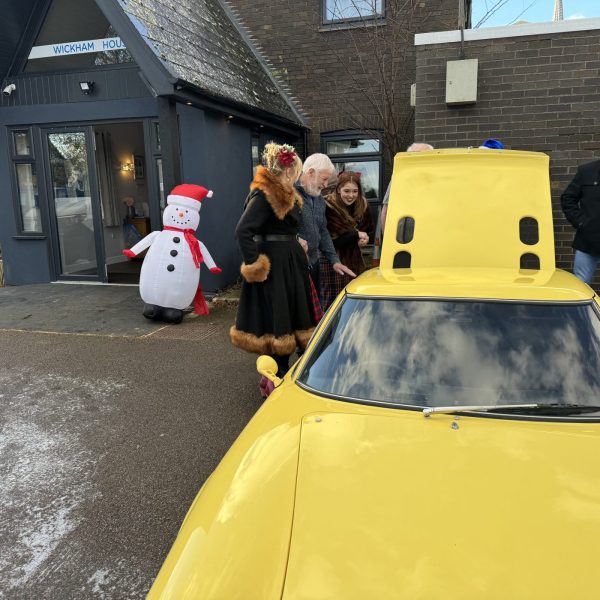
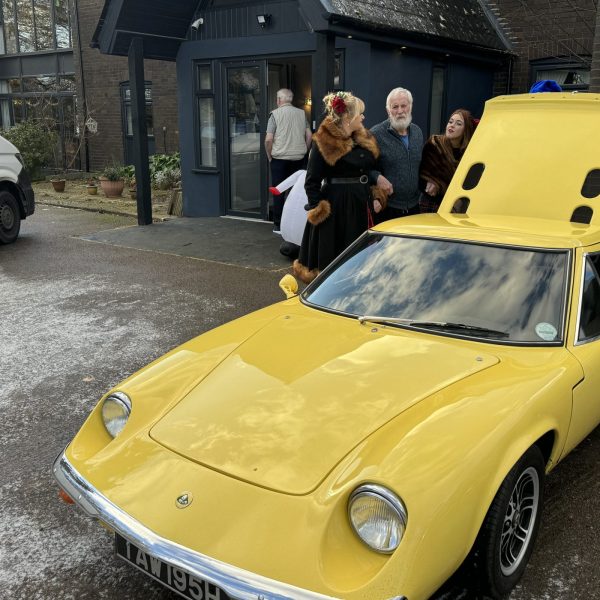
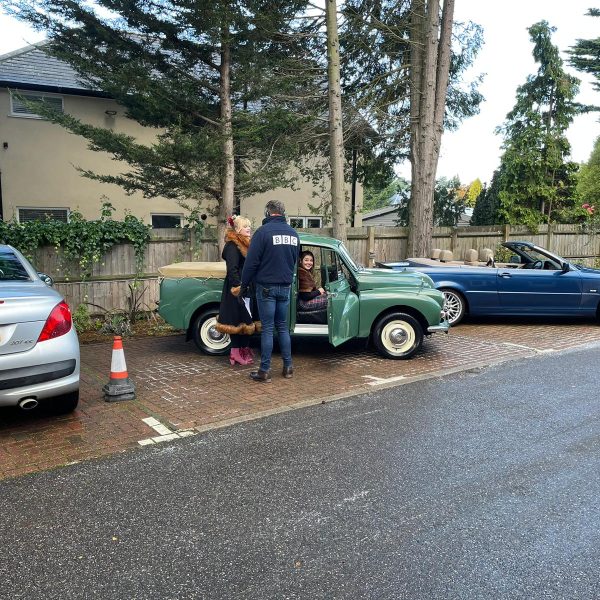
On 1st December 2023, we set off on a festive adventure across the Suffolk countryside – our first-ever Mince Pie Drive. The day dawned bright but extremely cold and icy. We decided to still venture out, albeit with a smaller convoy than first planned. The Bridge Classic Cars team wrapped up warm and headed out (special mention goes to our friends Garry Catchpole and Derek Rush for joining us).
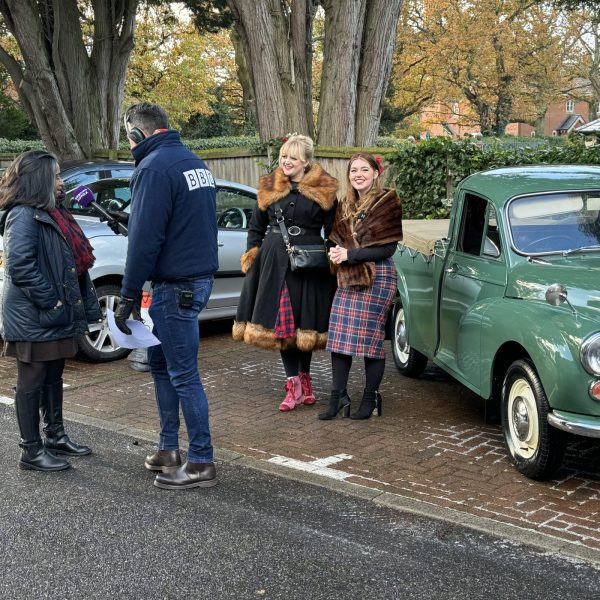
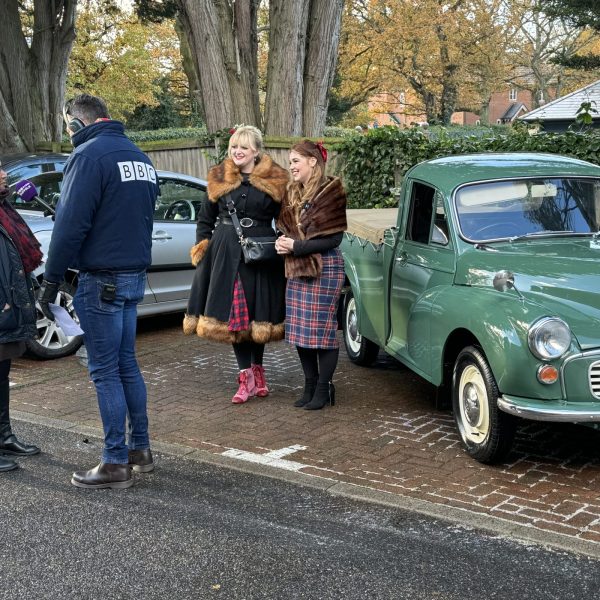
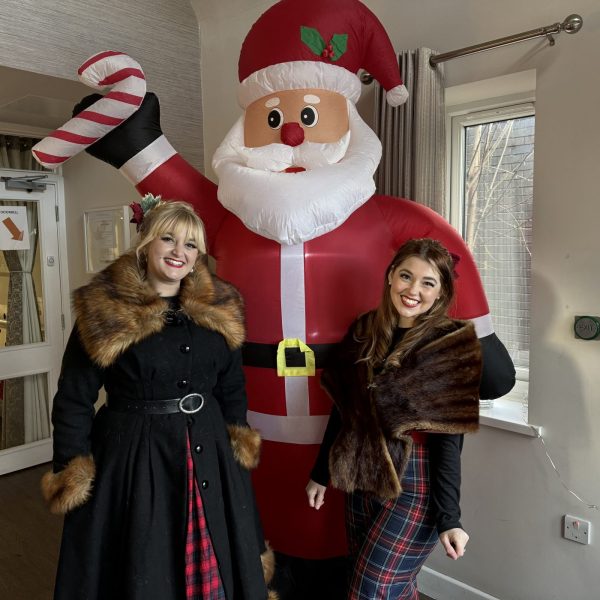
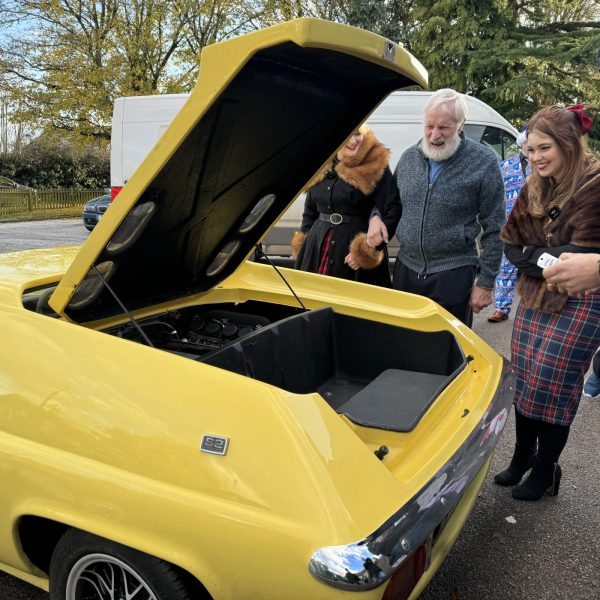
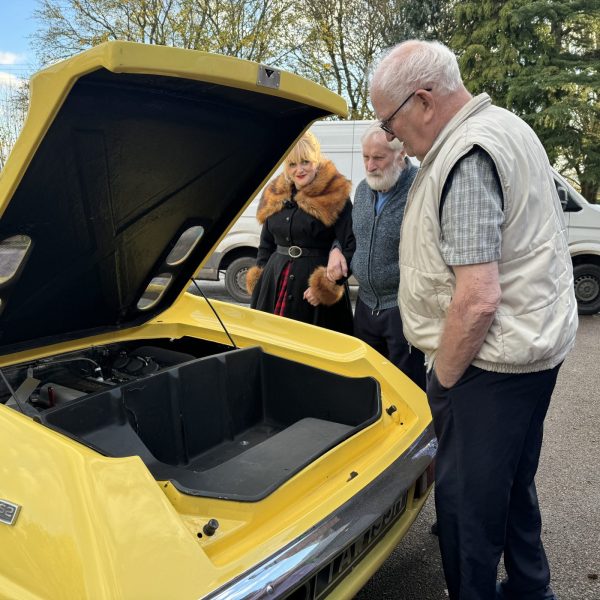
The idea behind our Mince Pie Drive was to take classic cars to several local residential care homes to bring nostalgia and festive cheer to the residents and staff. There were mince pies, kindly provided by The Bakehouse Bakery Woodbridge, and carol singing from Molly and me (sorry about that folks!)
We went first to Highlands in Woodbridge before making our way to Bucklesham Grange Care Home, where we were greeted by the lovely Amanda-Jane Frank, who introduced us to the residents. Several came out to have a look at our cars, with Derek’s BMW proving to be a favourite here. Luke Deal from BBC Suffolk came along to chat with us and see what we were up to. You can listen to that interview here.
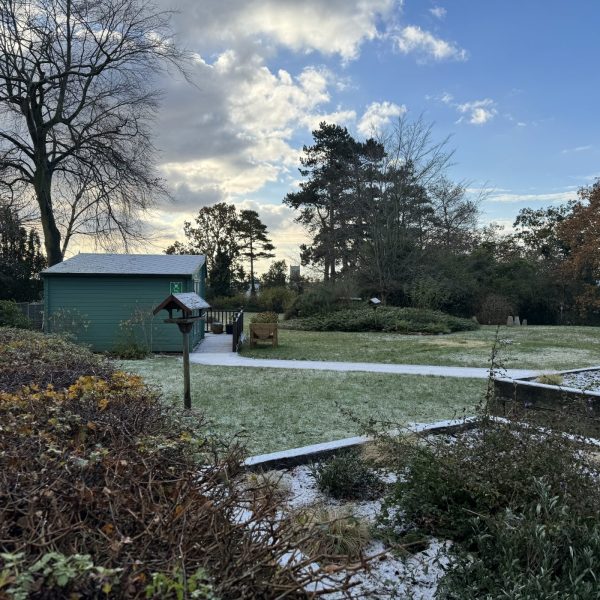
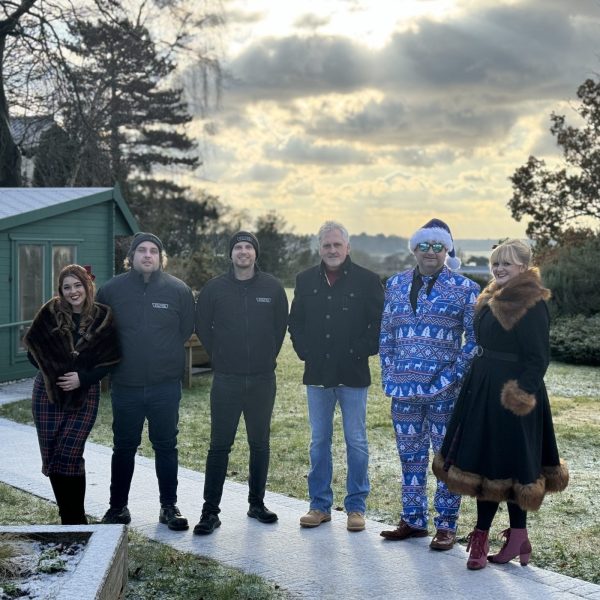
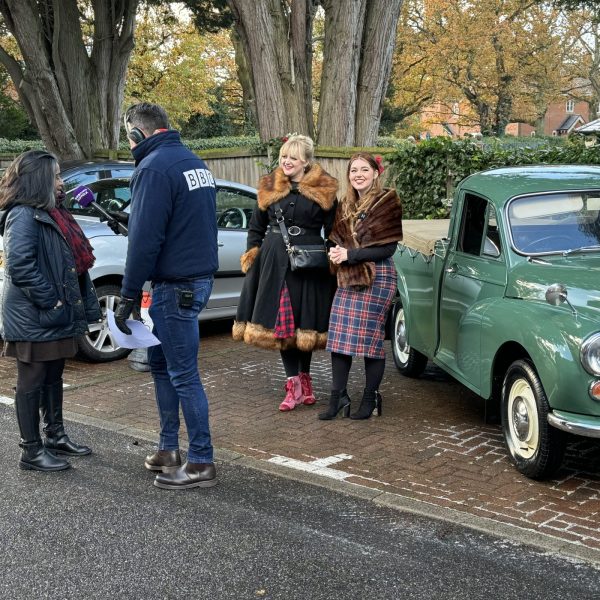
Next, we headed to Glebe House in Hollesley. The residents were just having their lunch, and talk about a meal with a view! The mince pies were a very welcome dessert! Lastly, whilst chasing the last hour of daylight, we popped to our neighbours at Lehmann House in Wickham Market.
We are so humbled by all the lovely residents and incredible care workers we met on our Mince Pie Drive. It was so wholesome to be able to remind them of yesteryear by bringing along a spectrum of cars. There really was something for everyone.
We can’t wait to do more events like this in future.



The side mouldings have now been fitted, this involved James making the tapered ends and ensuring they were a snug fit and secured in place to the back of the trims before being fitted to the car. Then the centre seats were cut to length and fitted after all the fixings were checked and sealed.
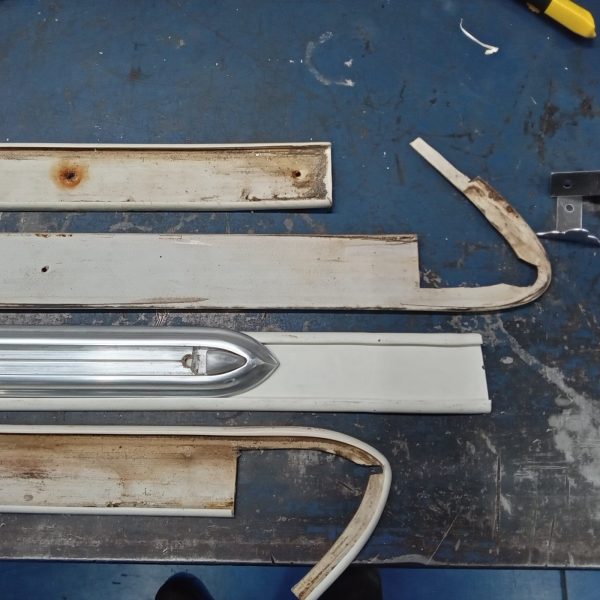

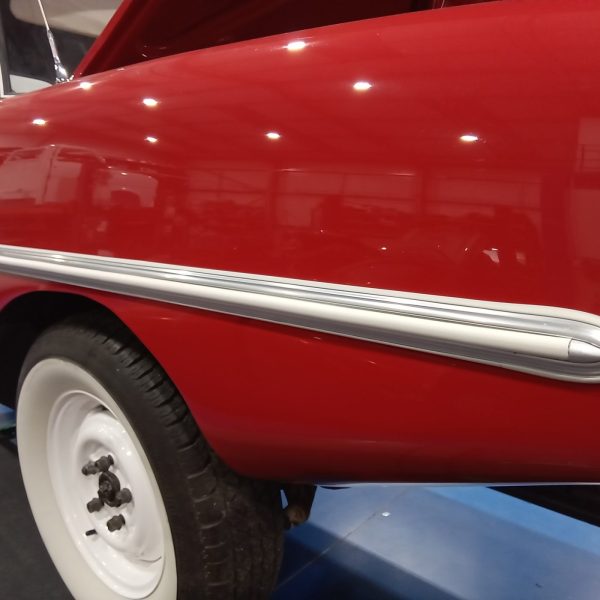
Brian has begun work on stripping down our 1955 Aston Martin Drophead Couple. He has removed the rear boot panels, the rear seat base and door panels. The cappings and door pockets have been taken out and the sill carpets. The carpets under the dash, the dash top panels and window surround panels are all now out.
The project will be a big part of our diary for 2024 but heading up to Christmas we have a few weeks to really get started on the strip down.
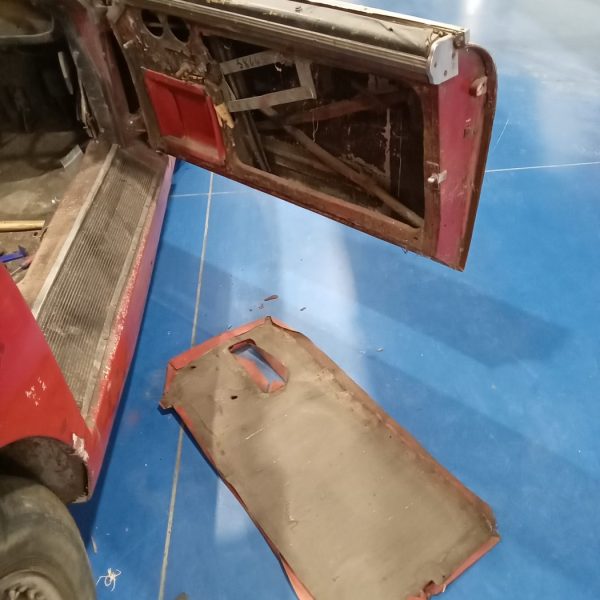
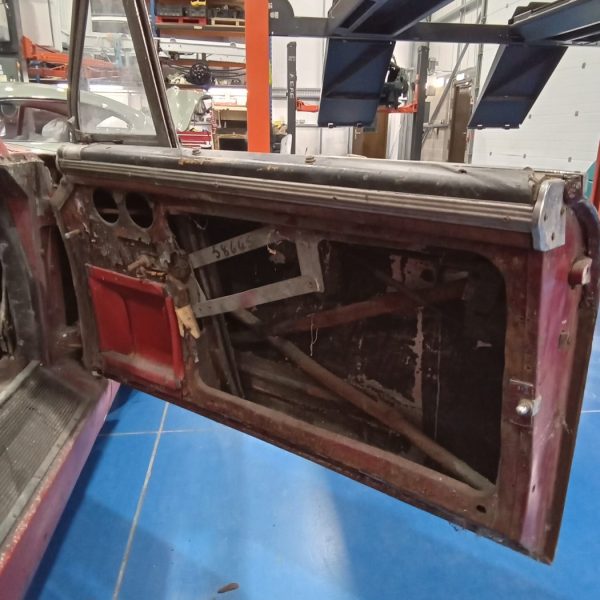
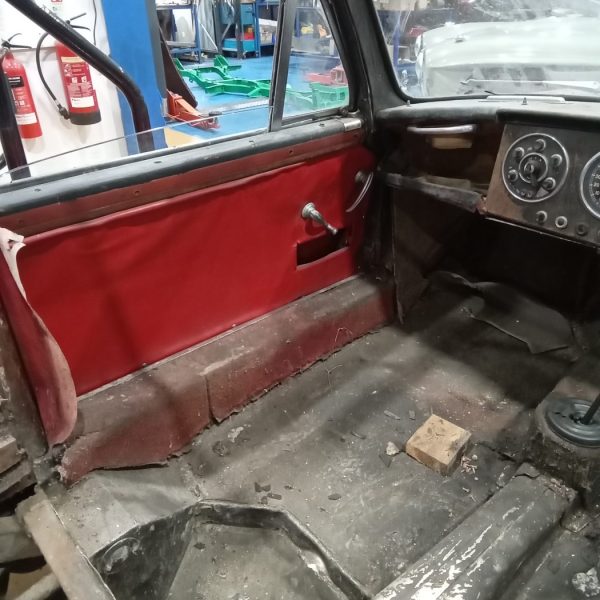
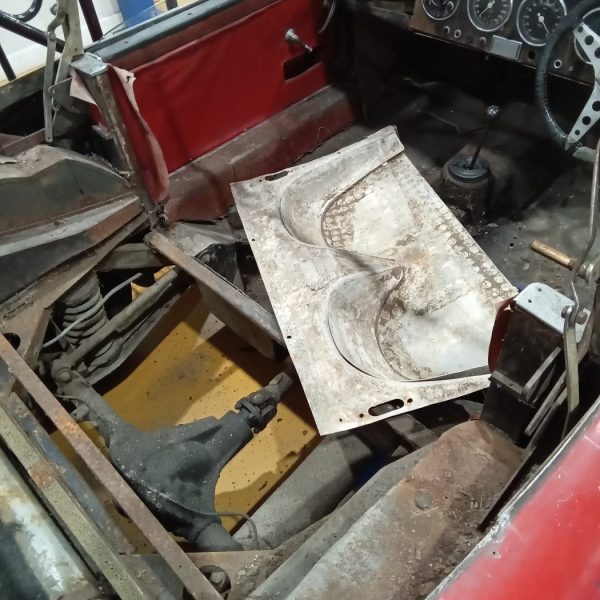
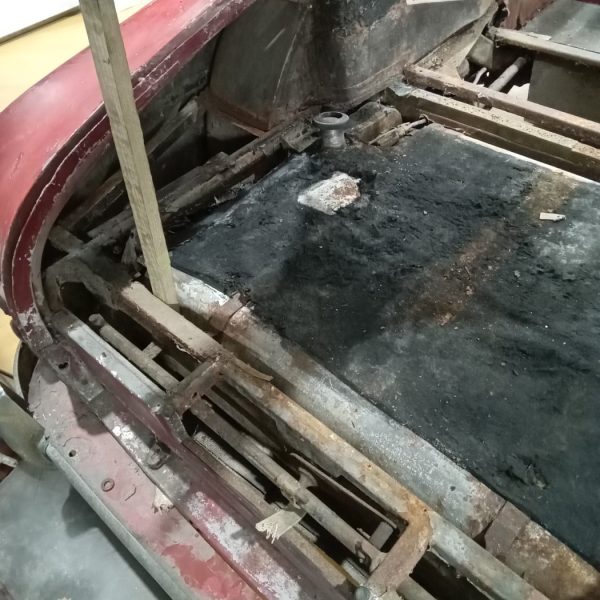
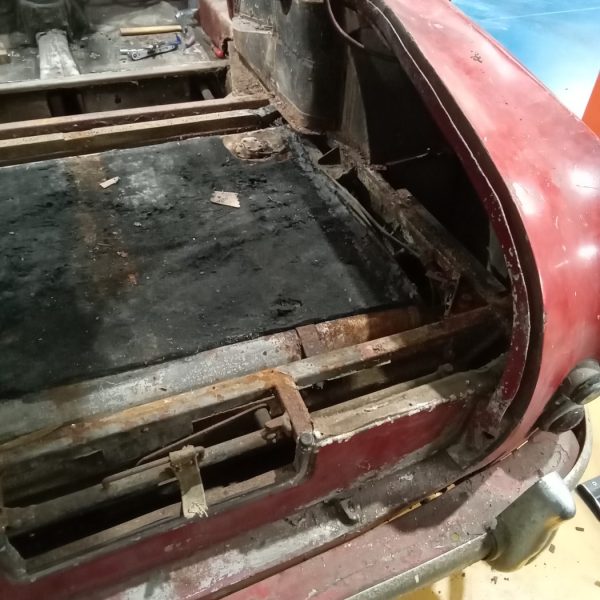
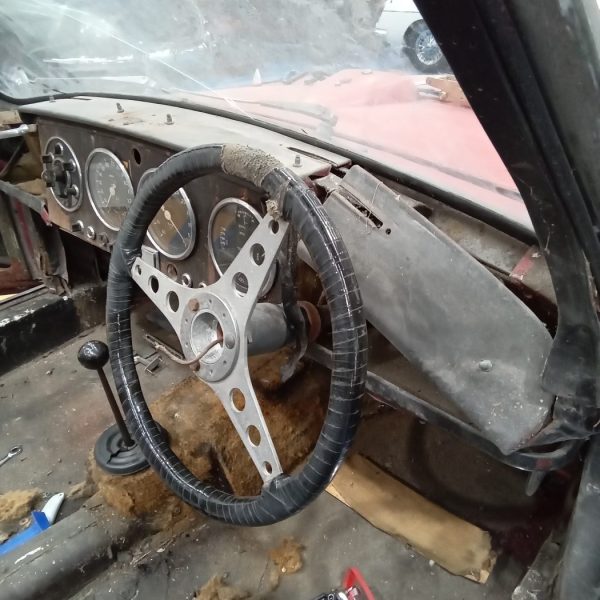
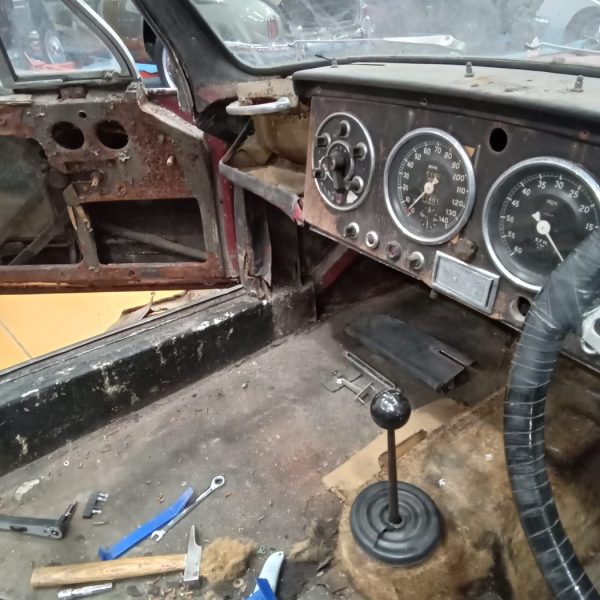
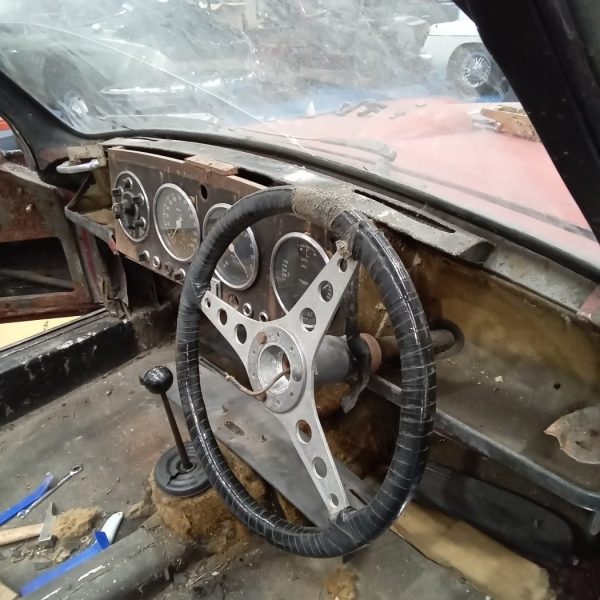
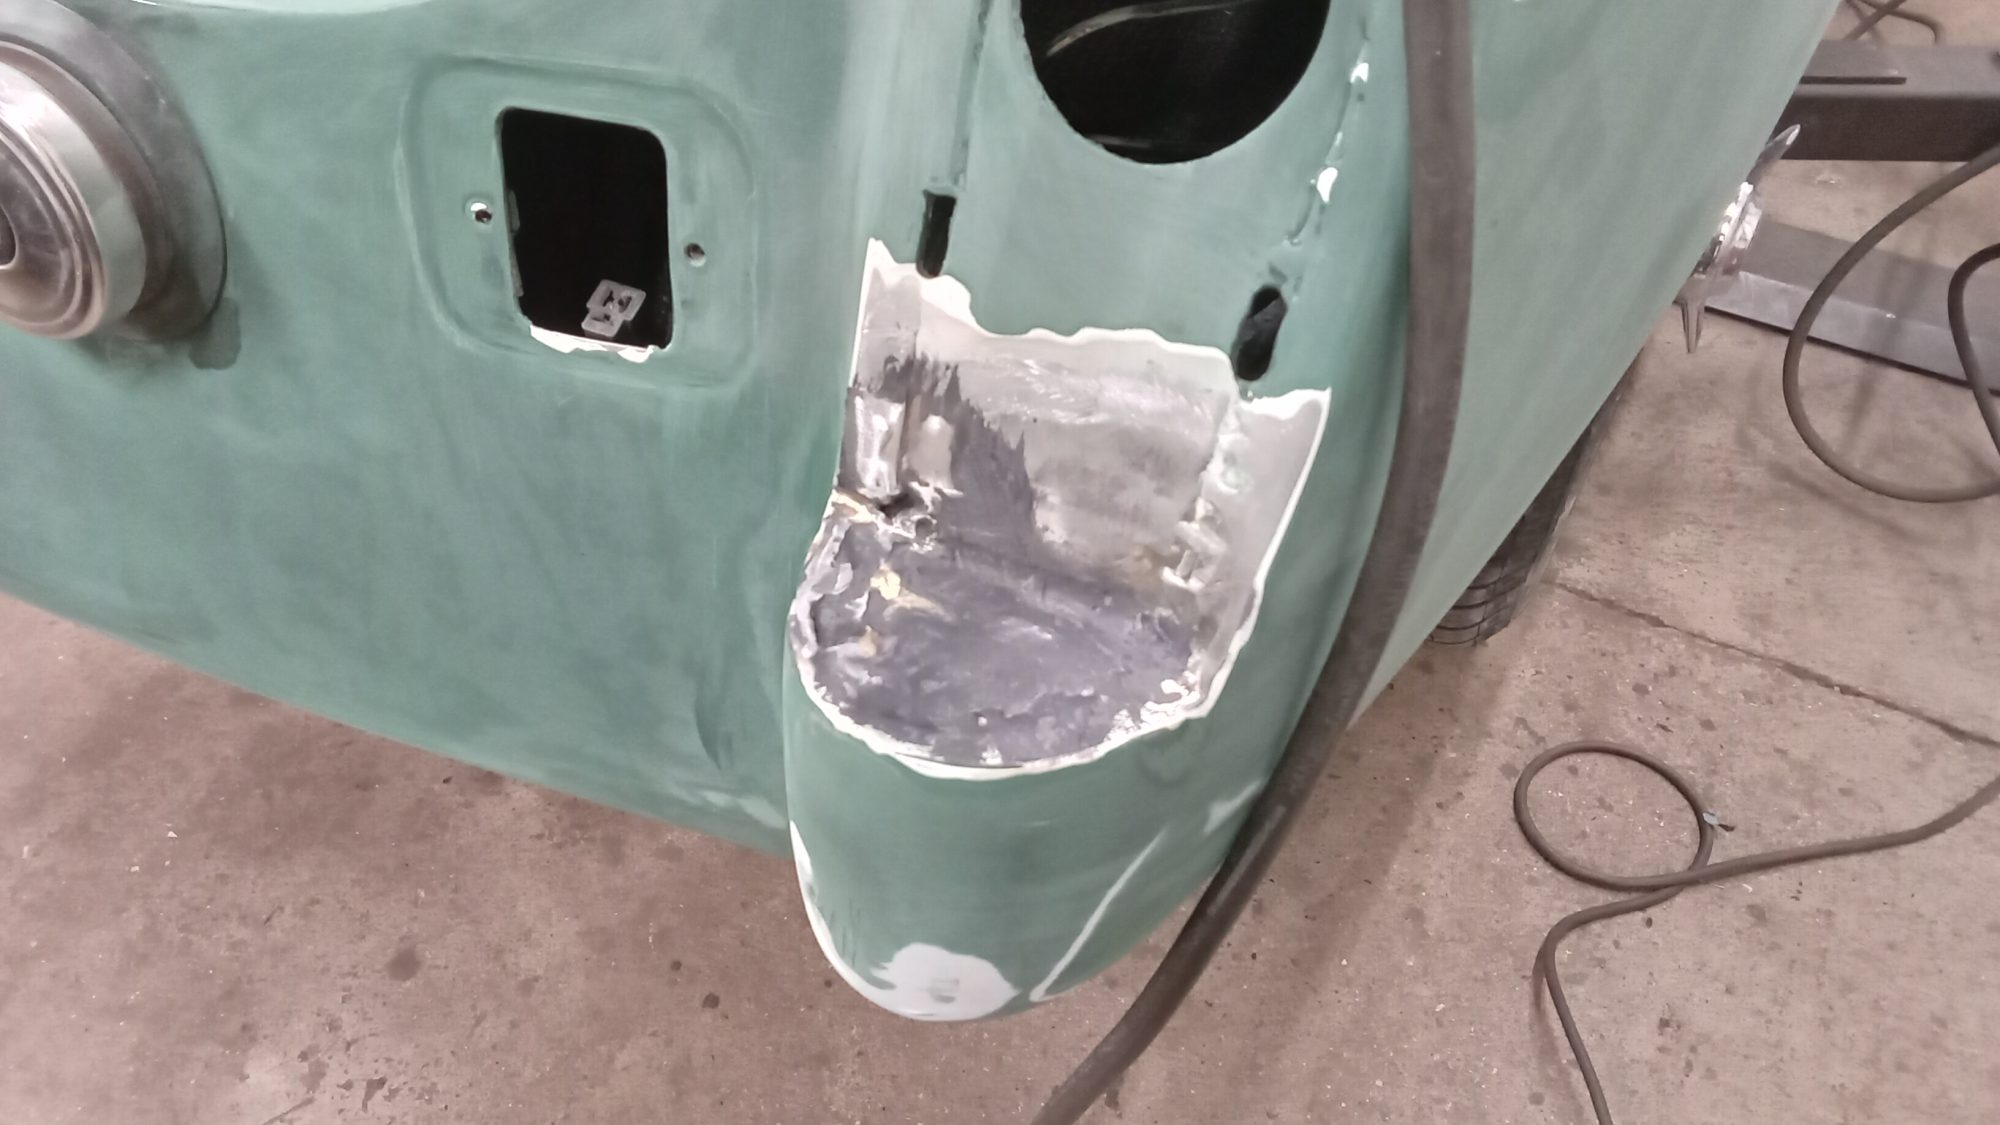
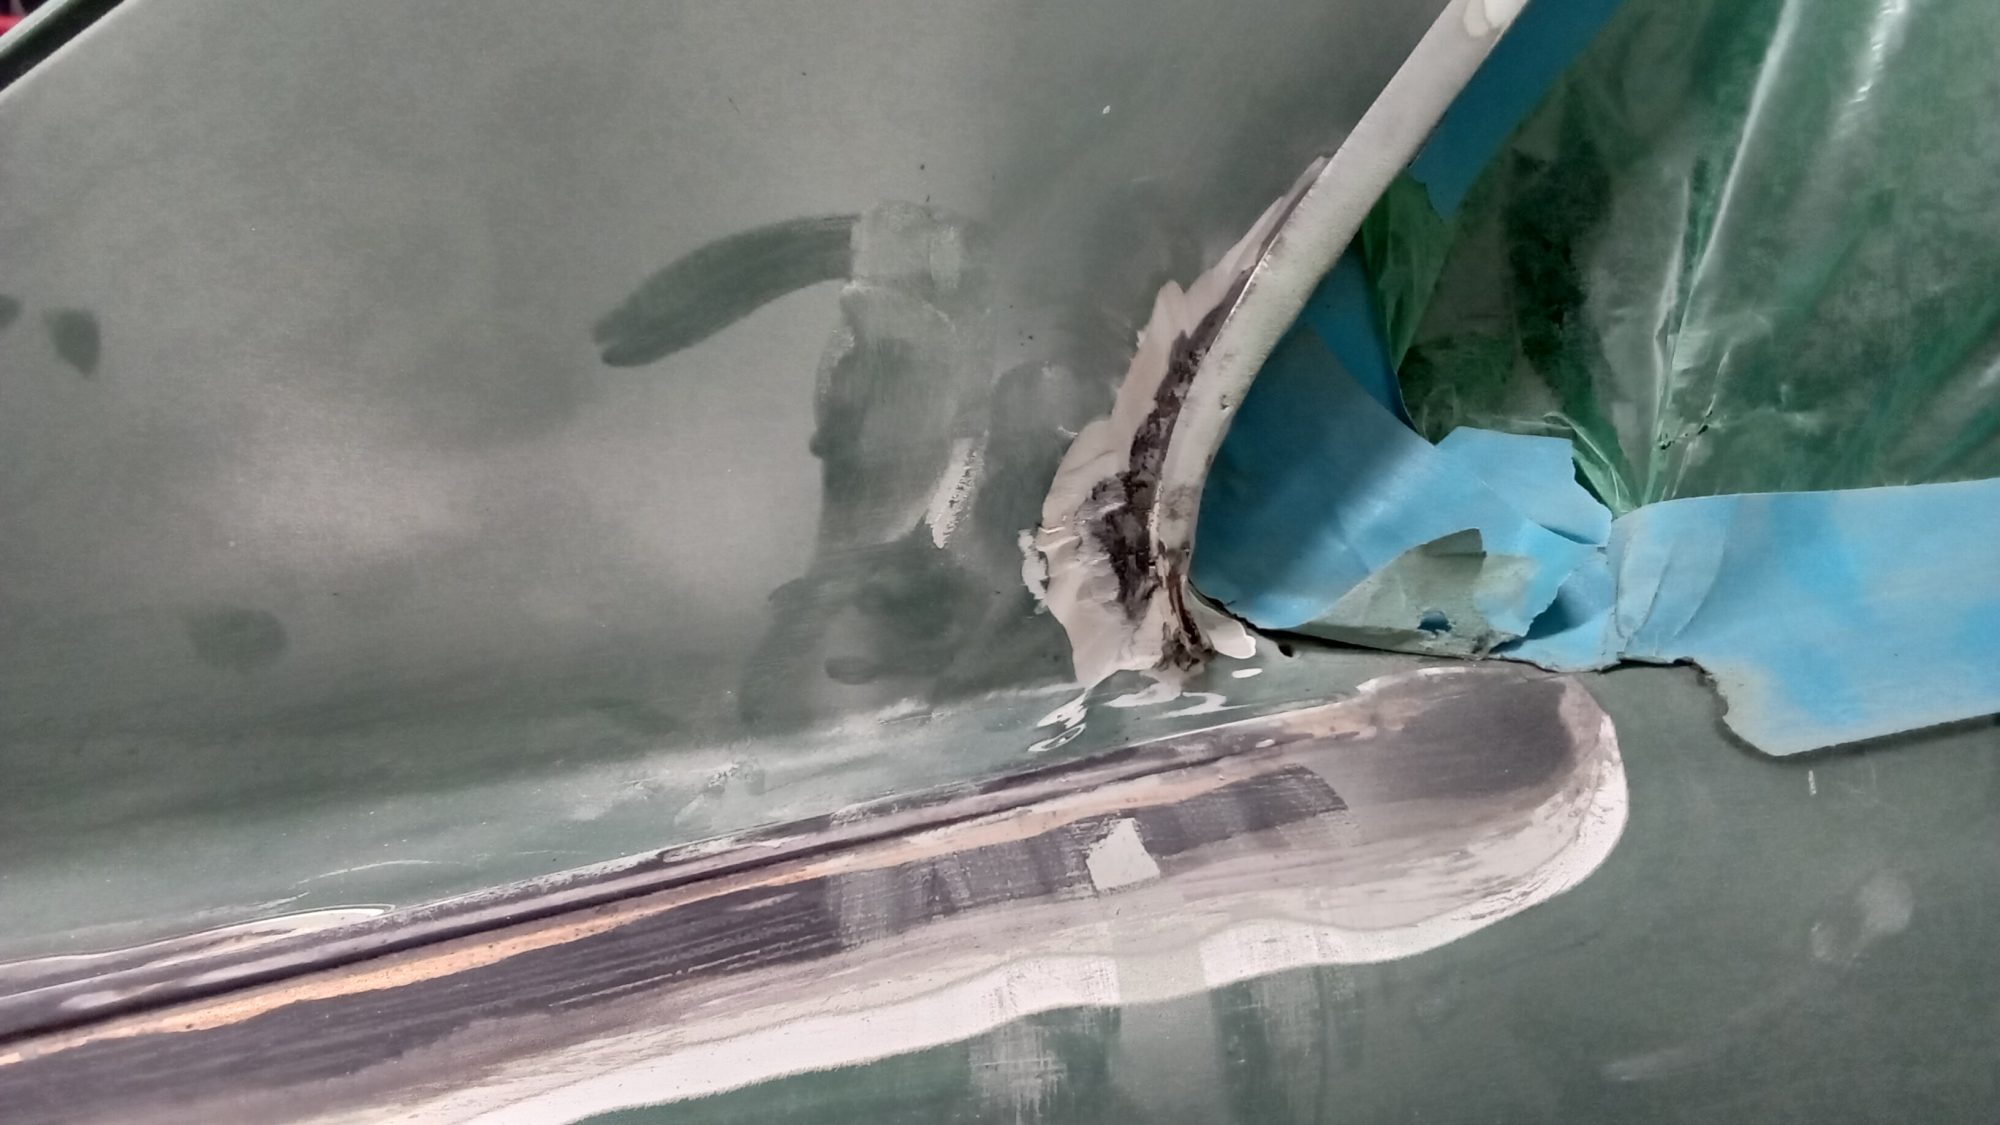
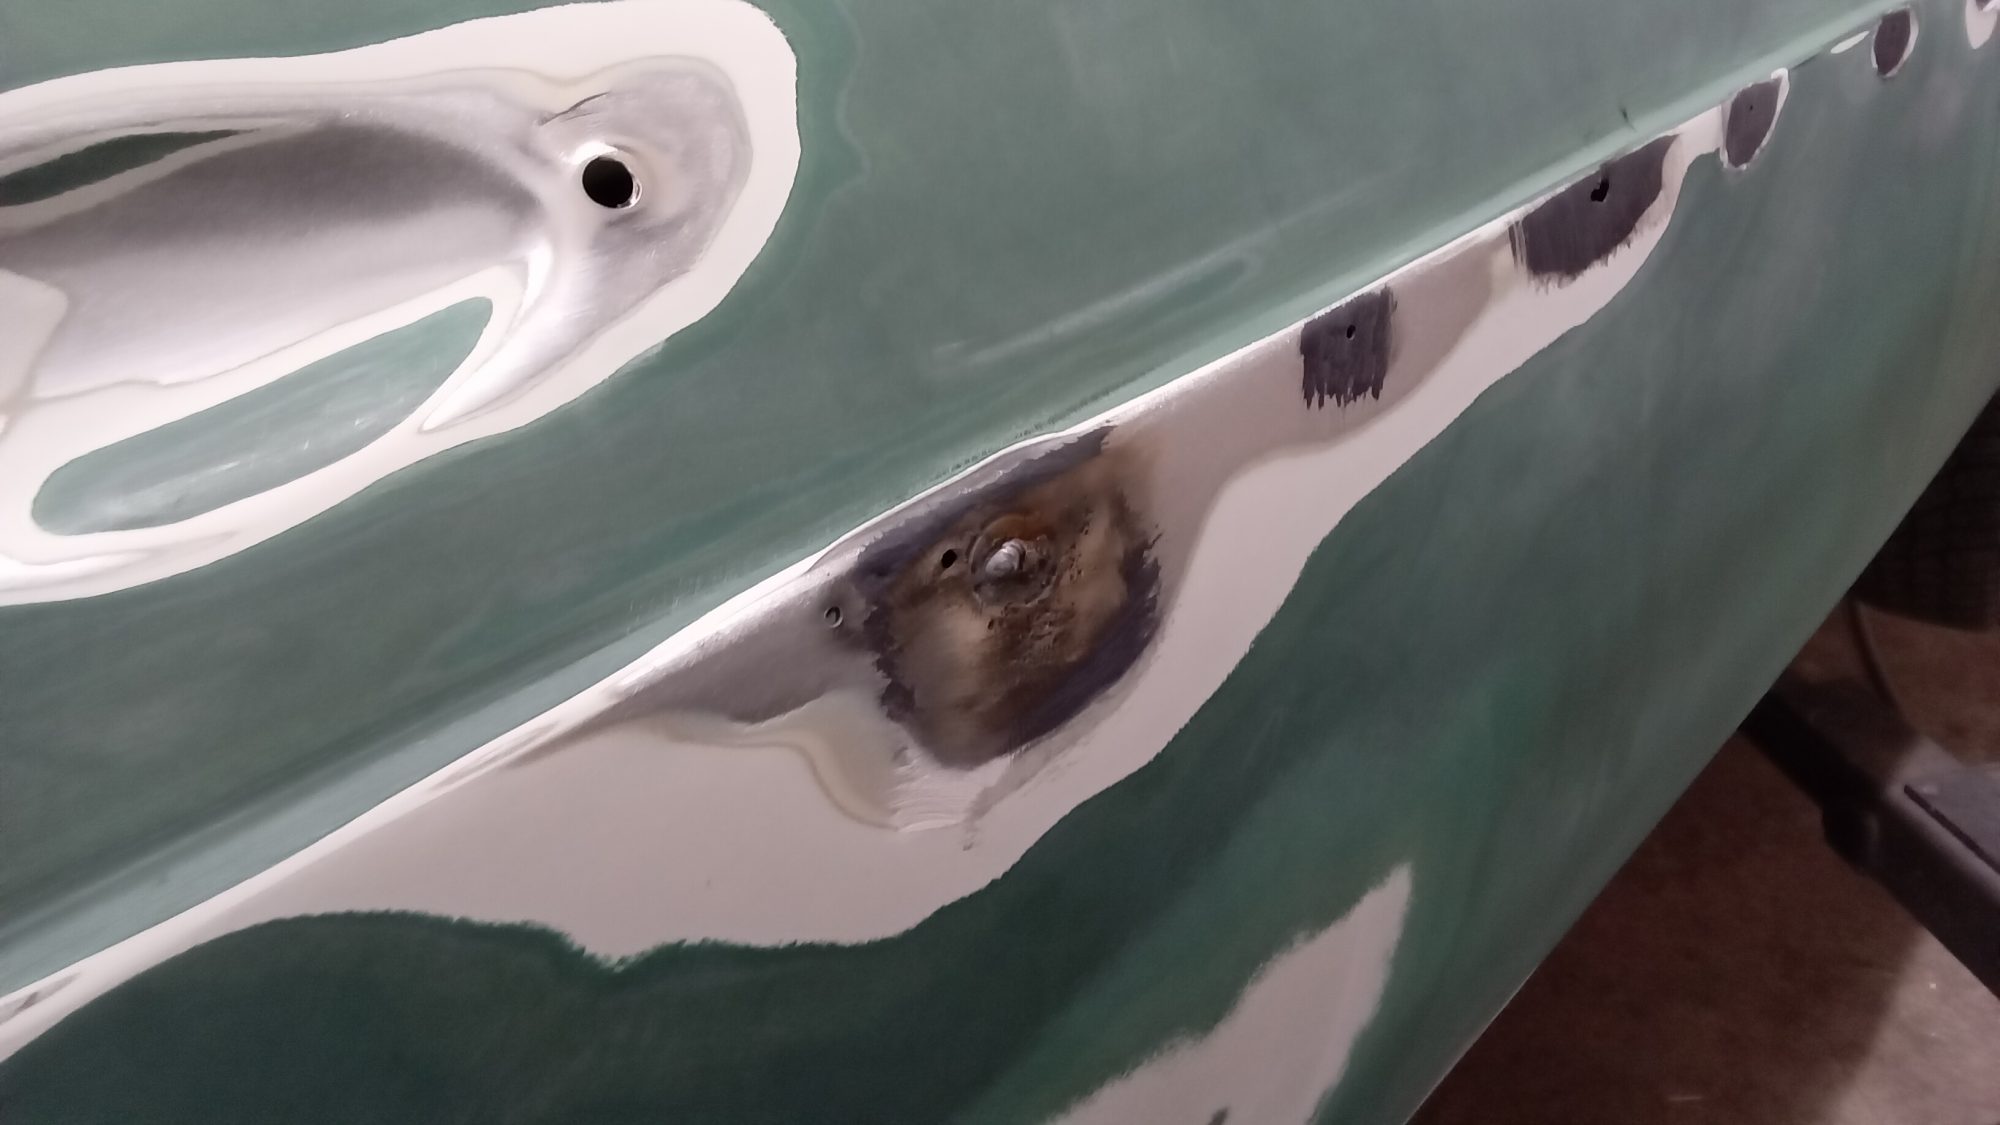

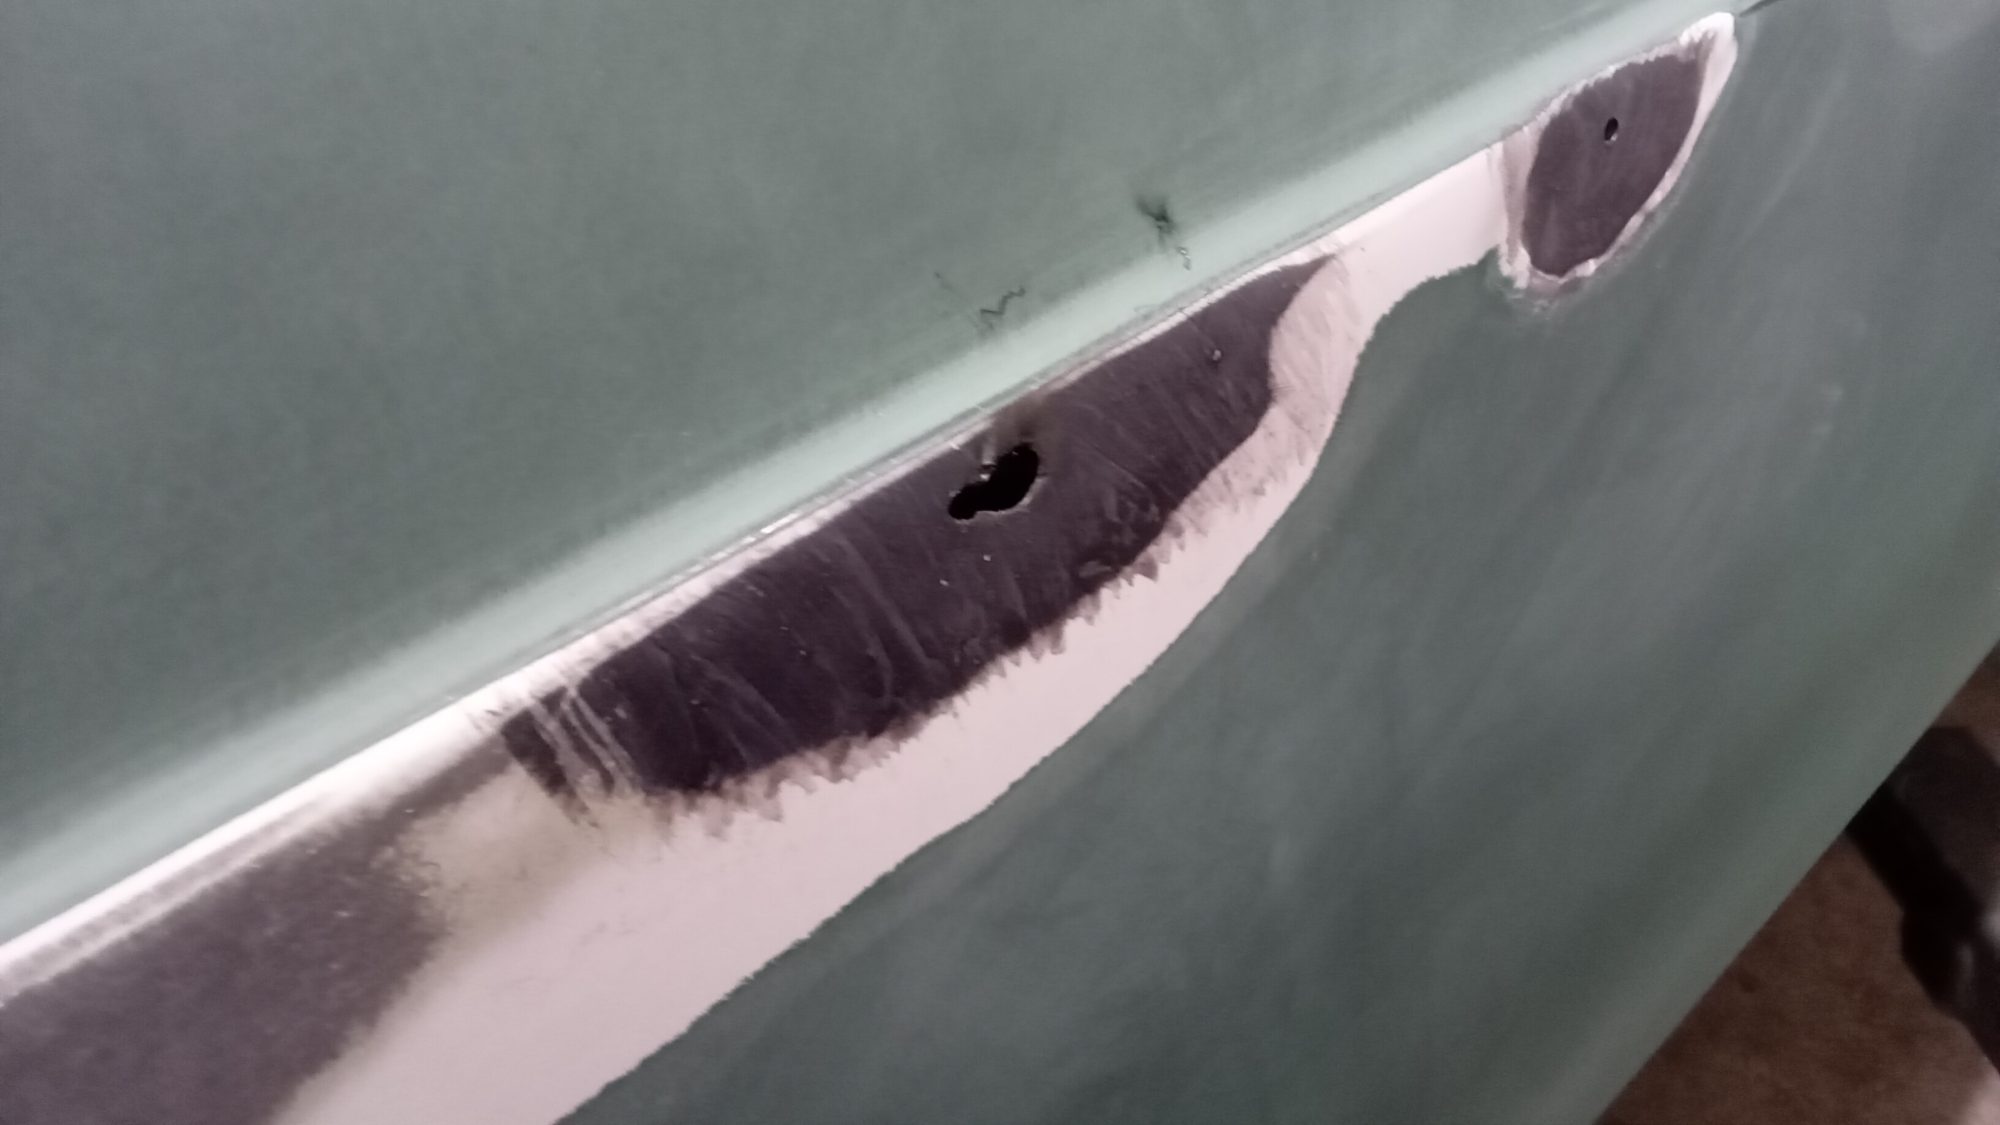
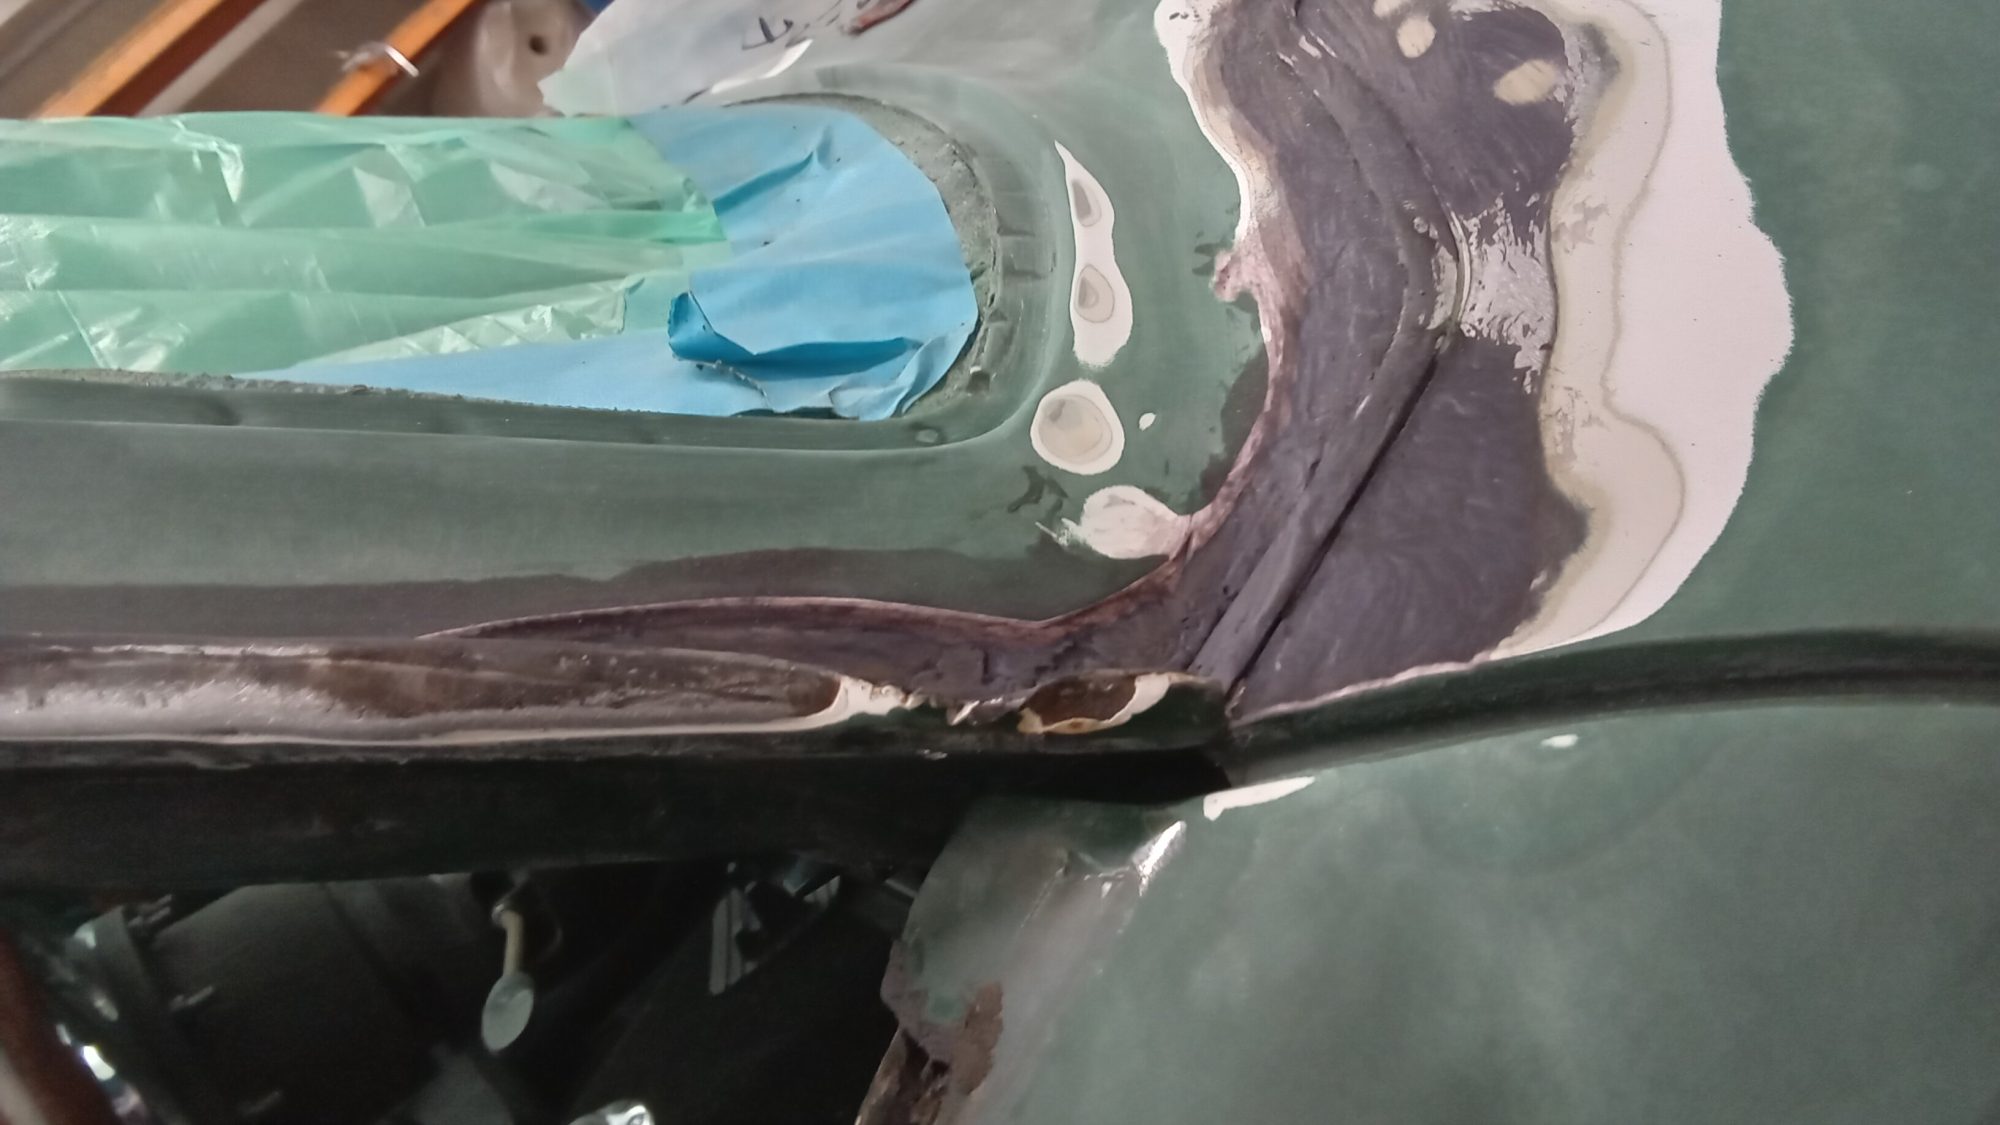
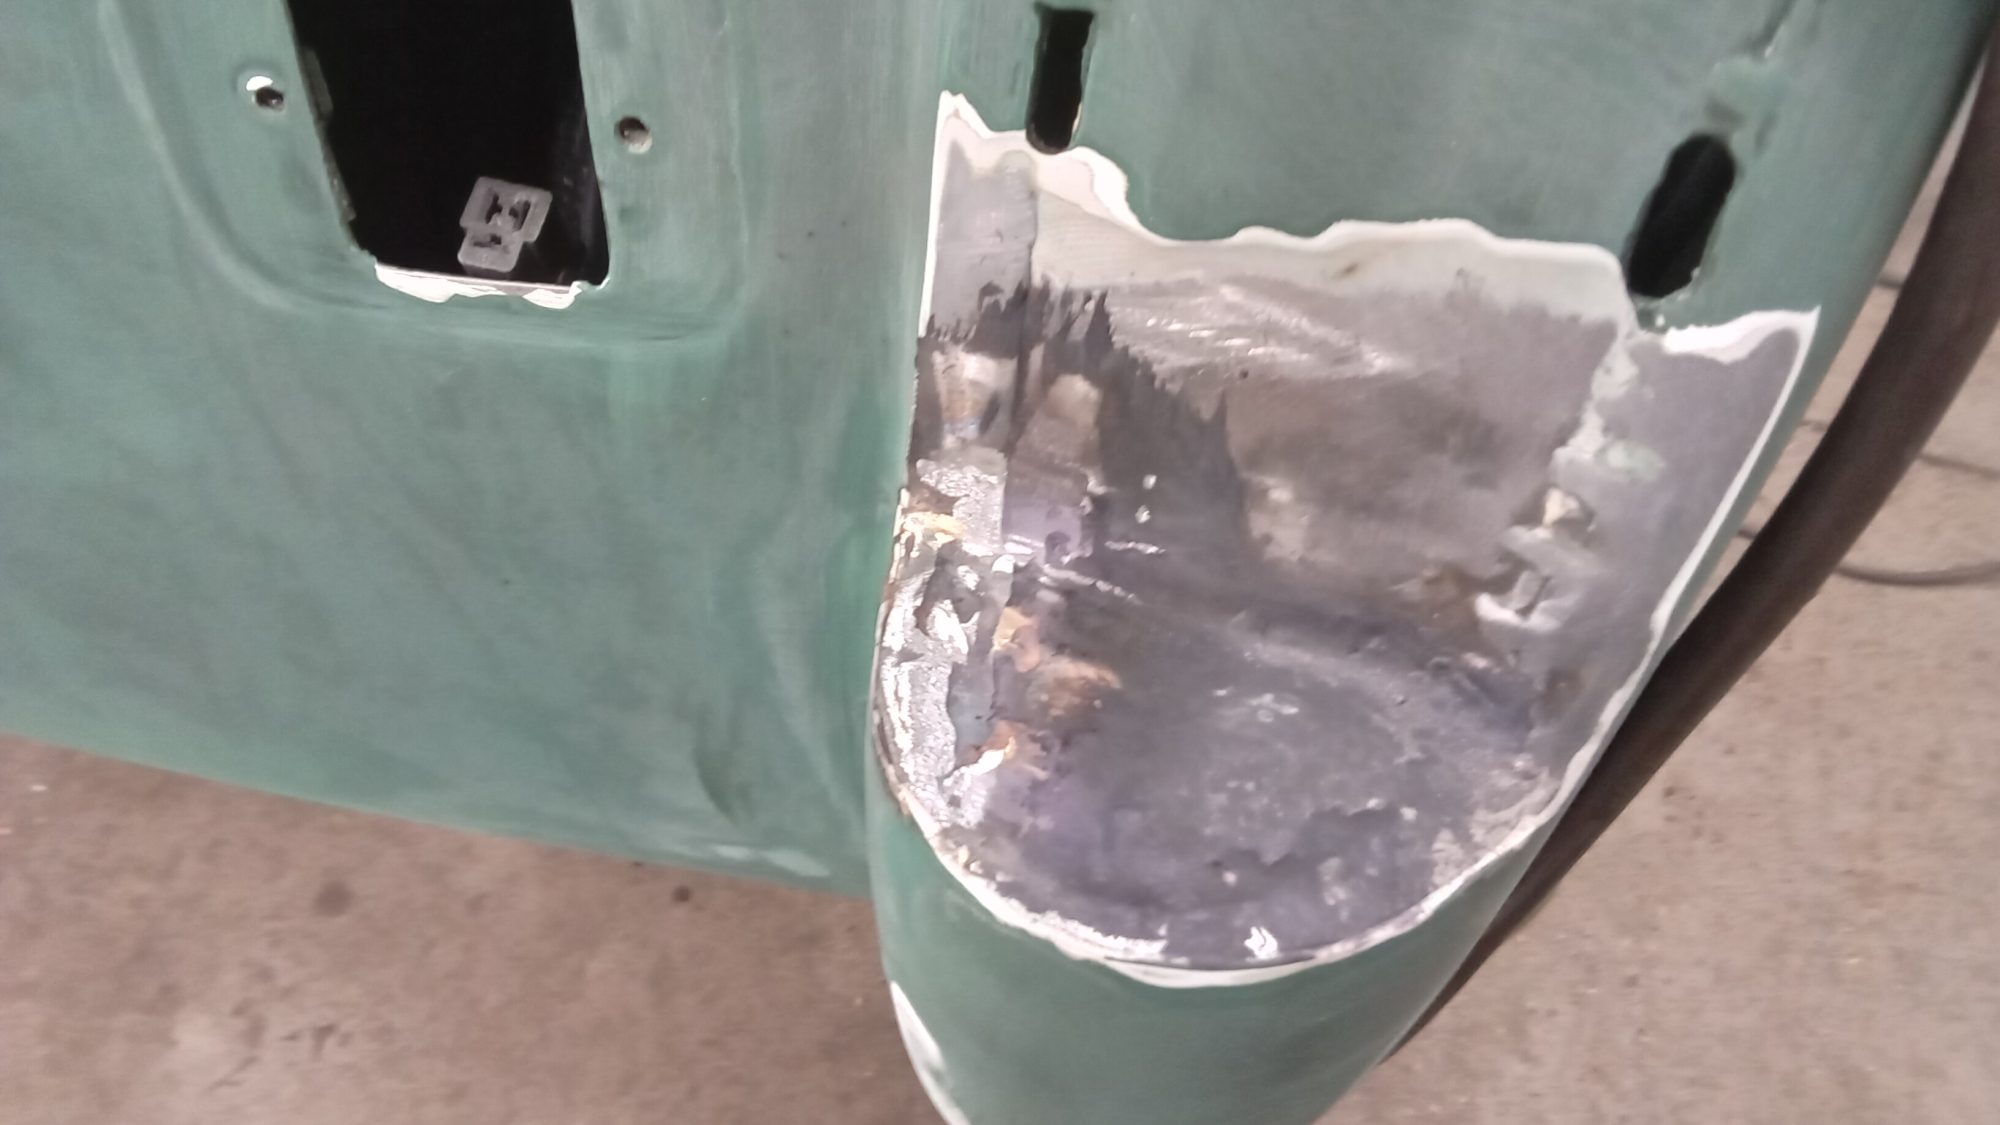

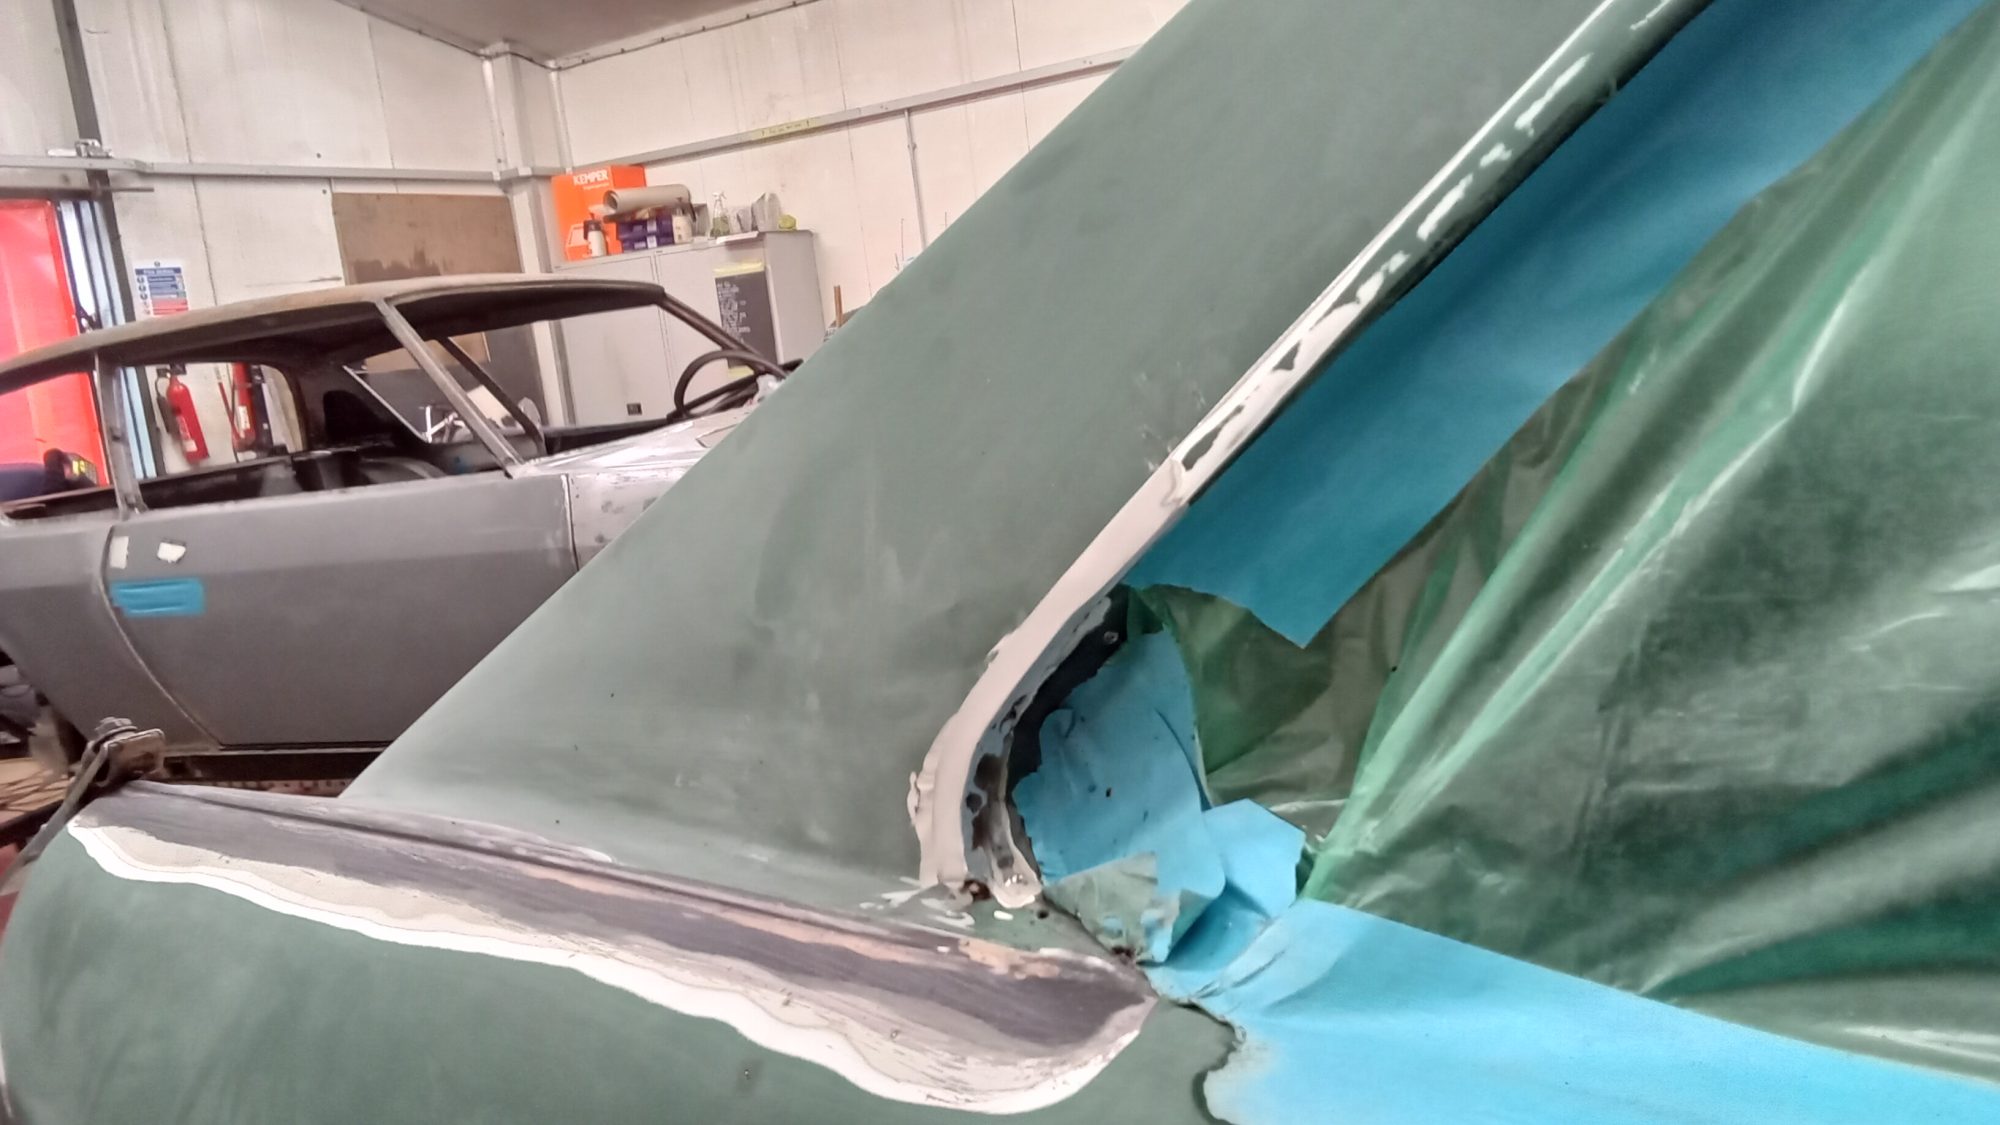
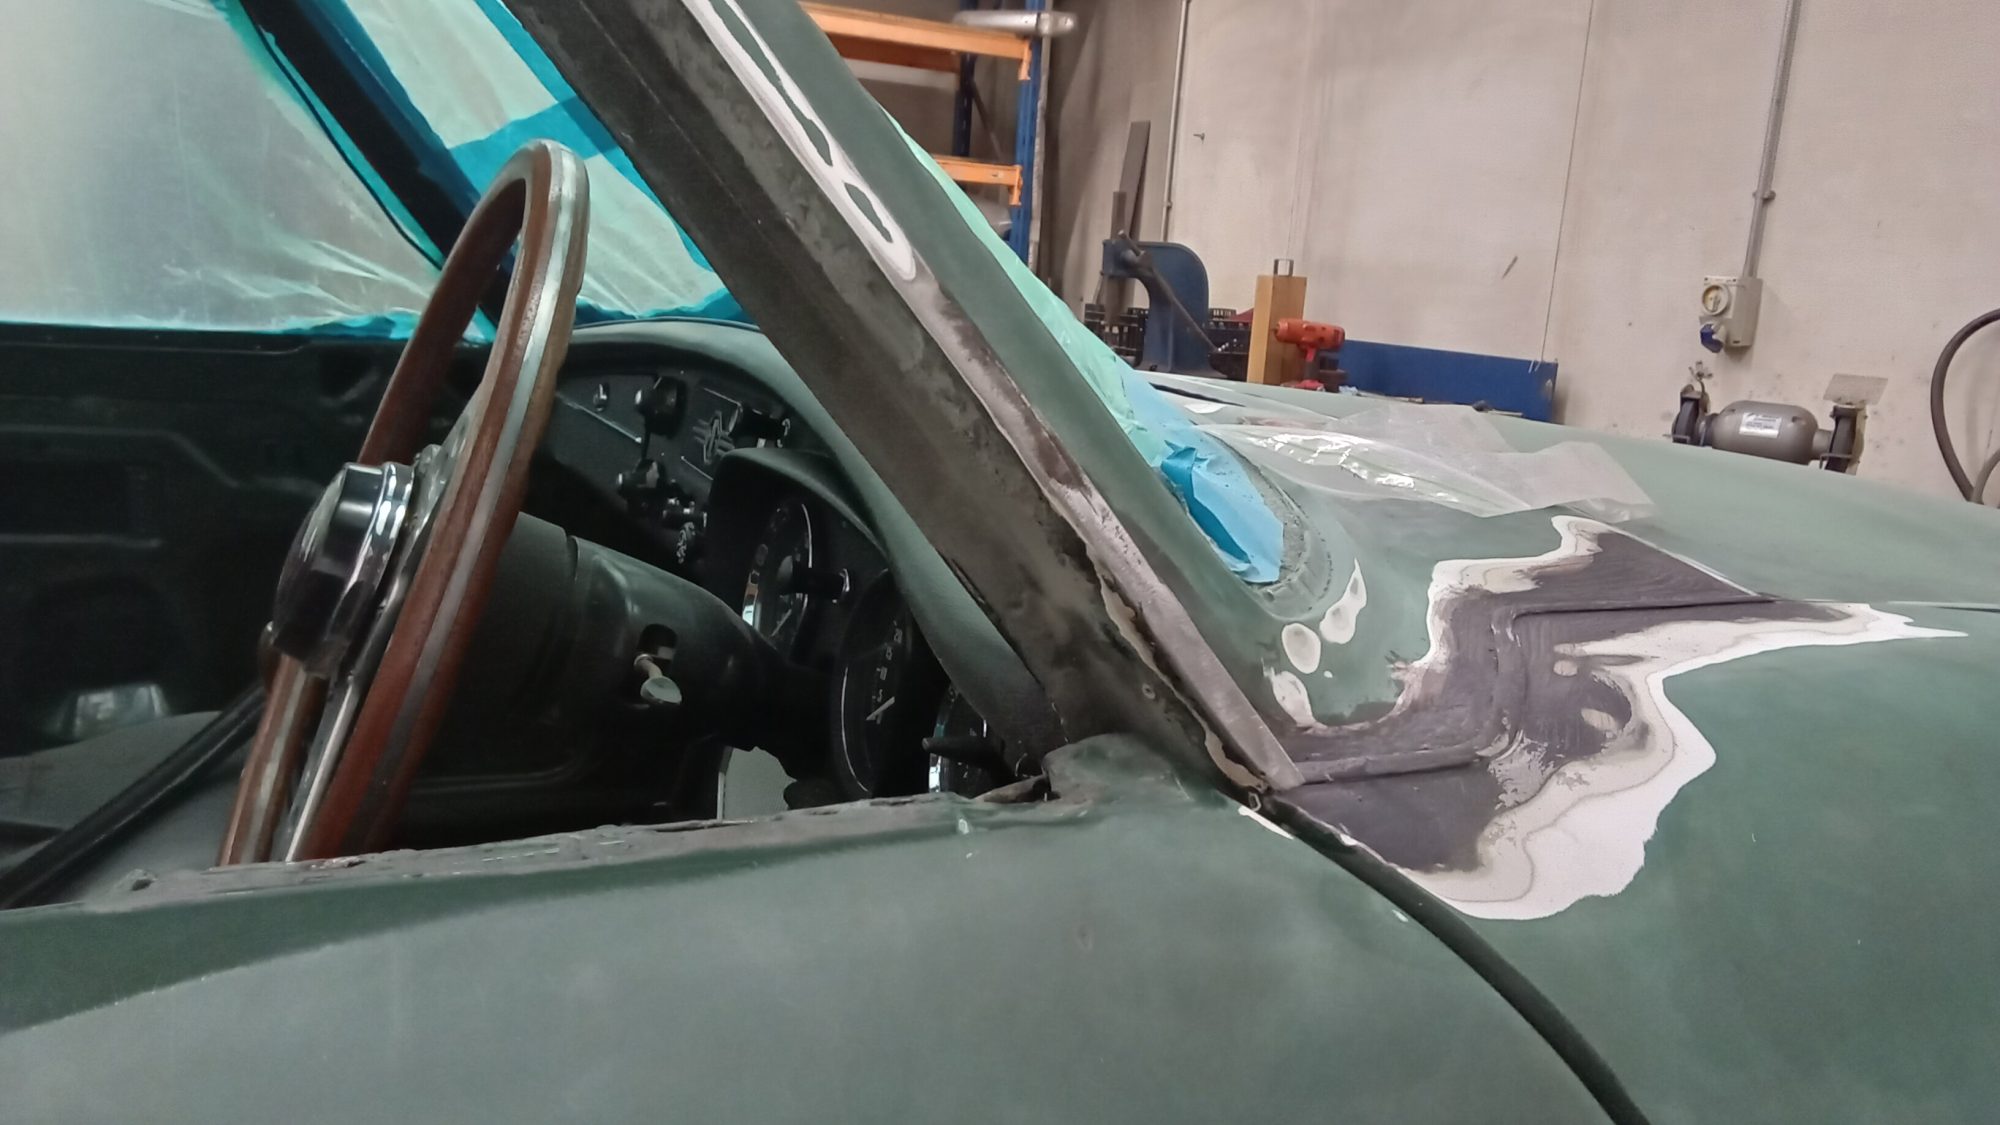
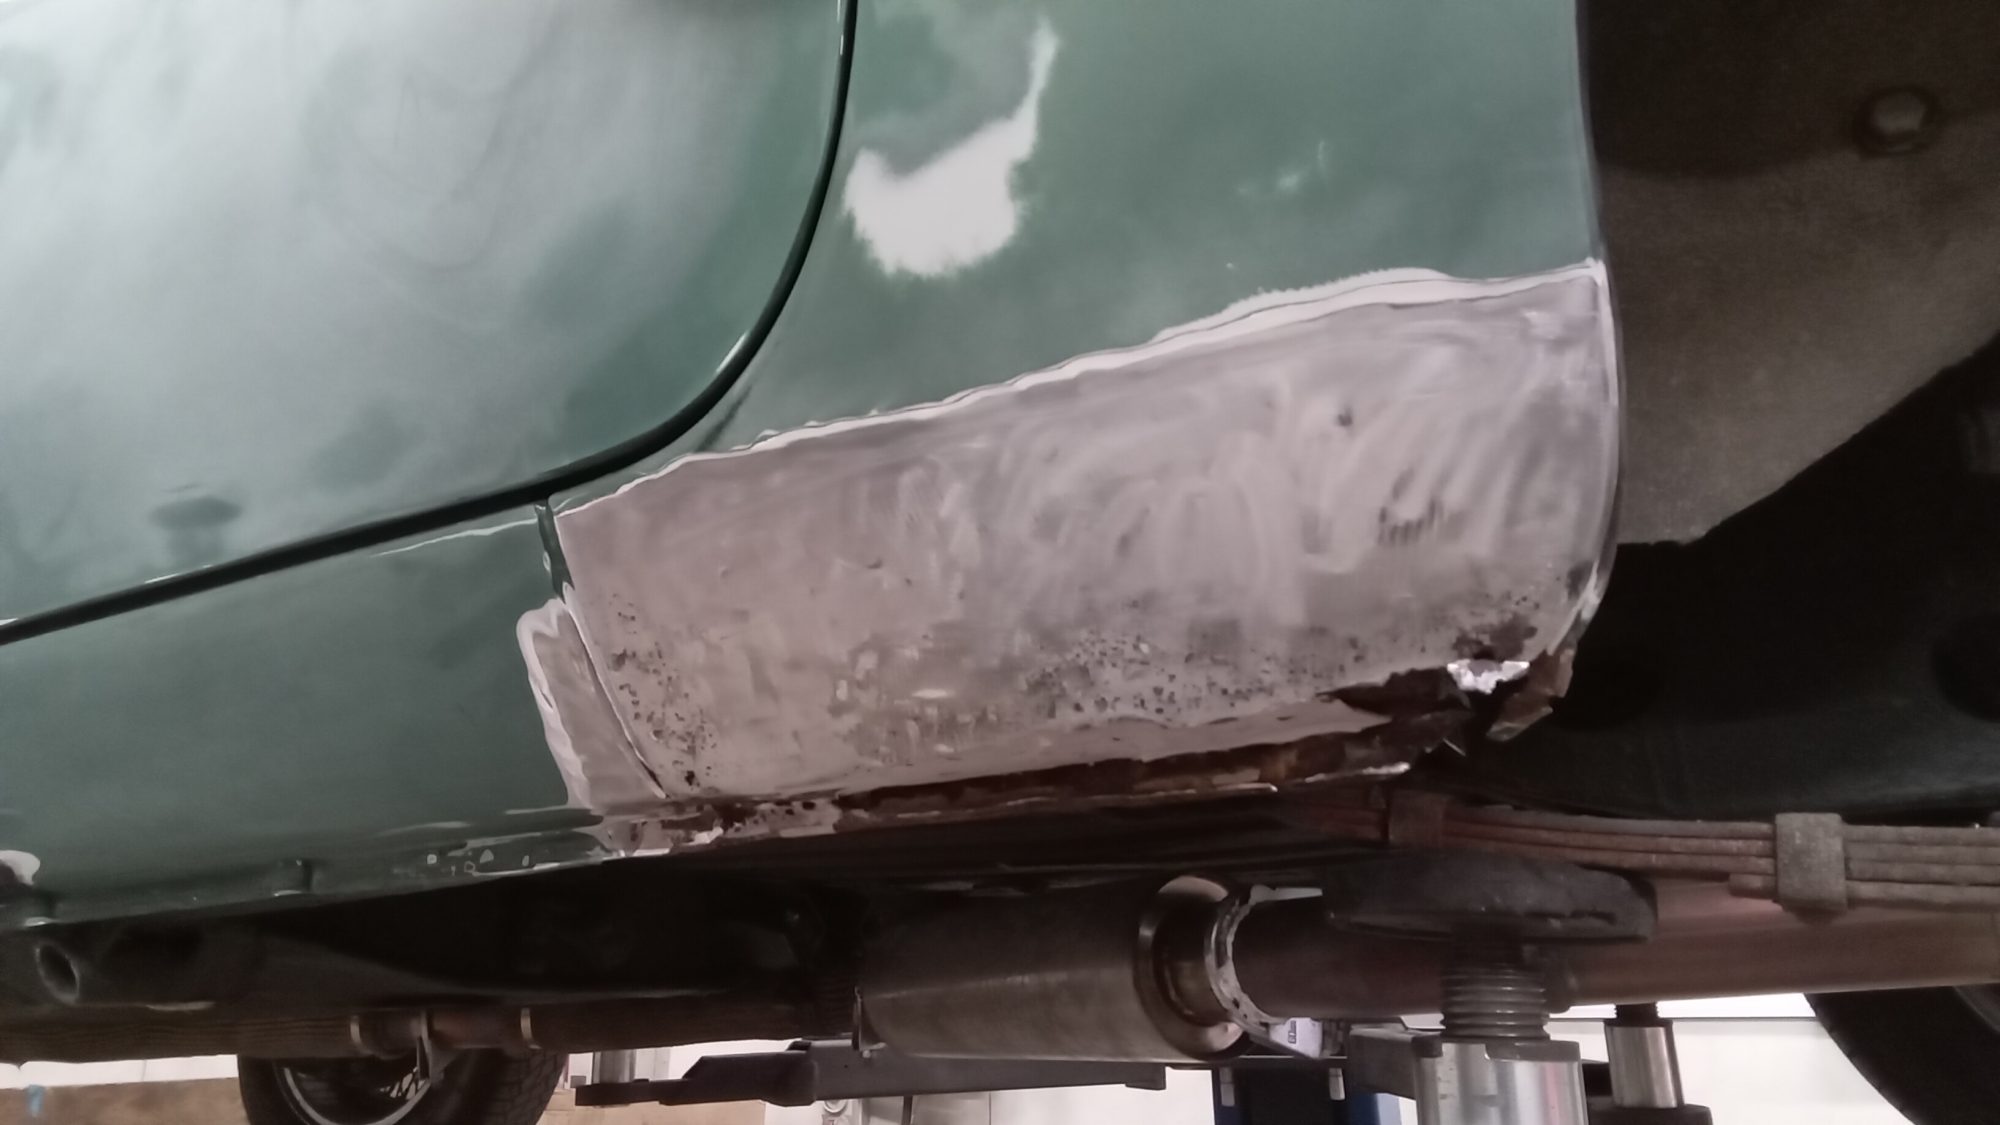
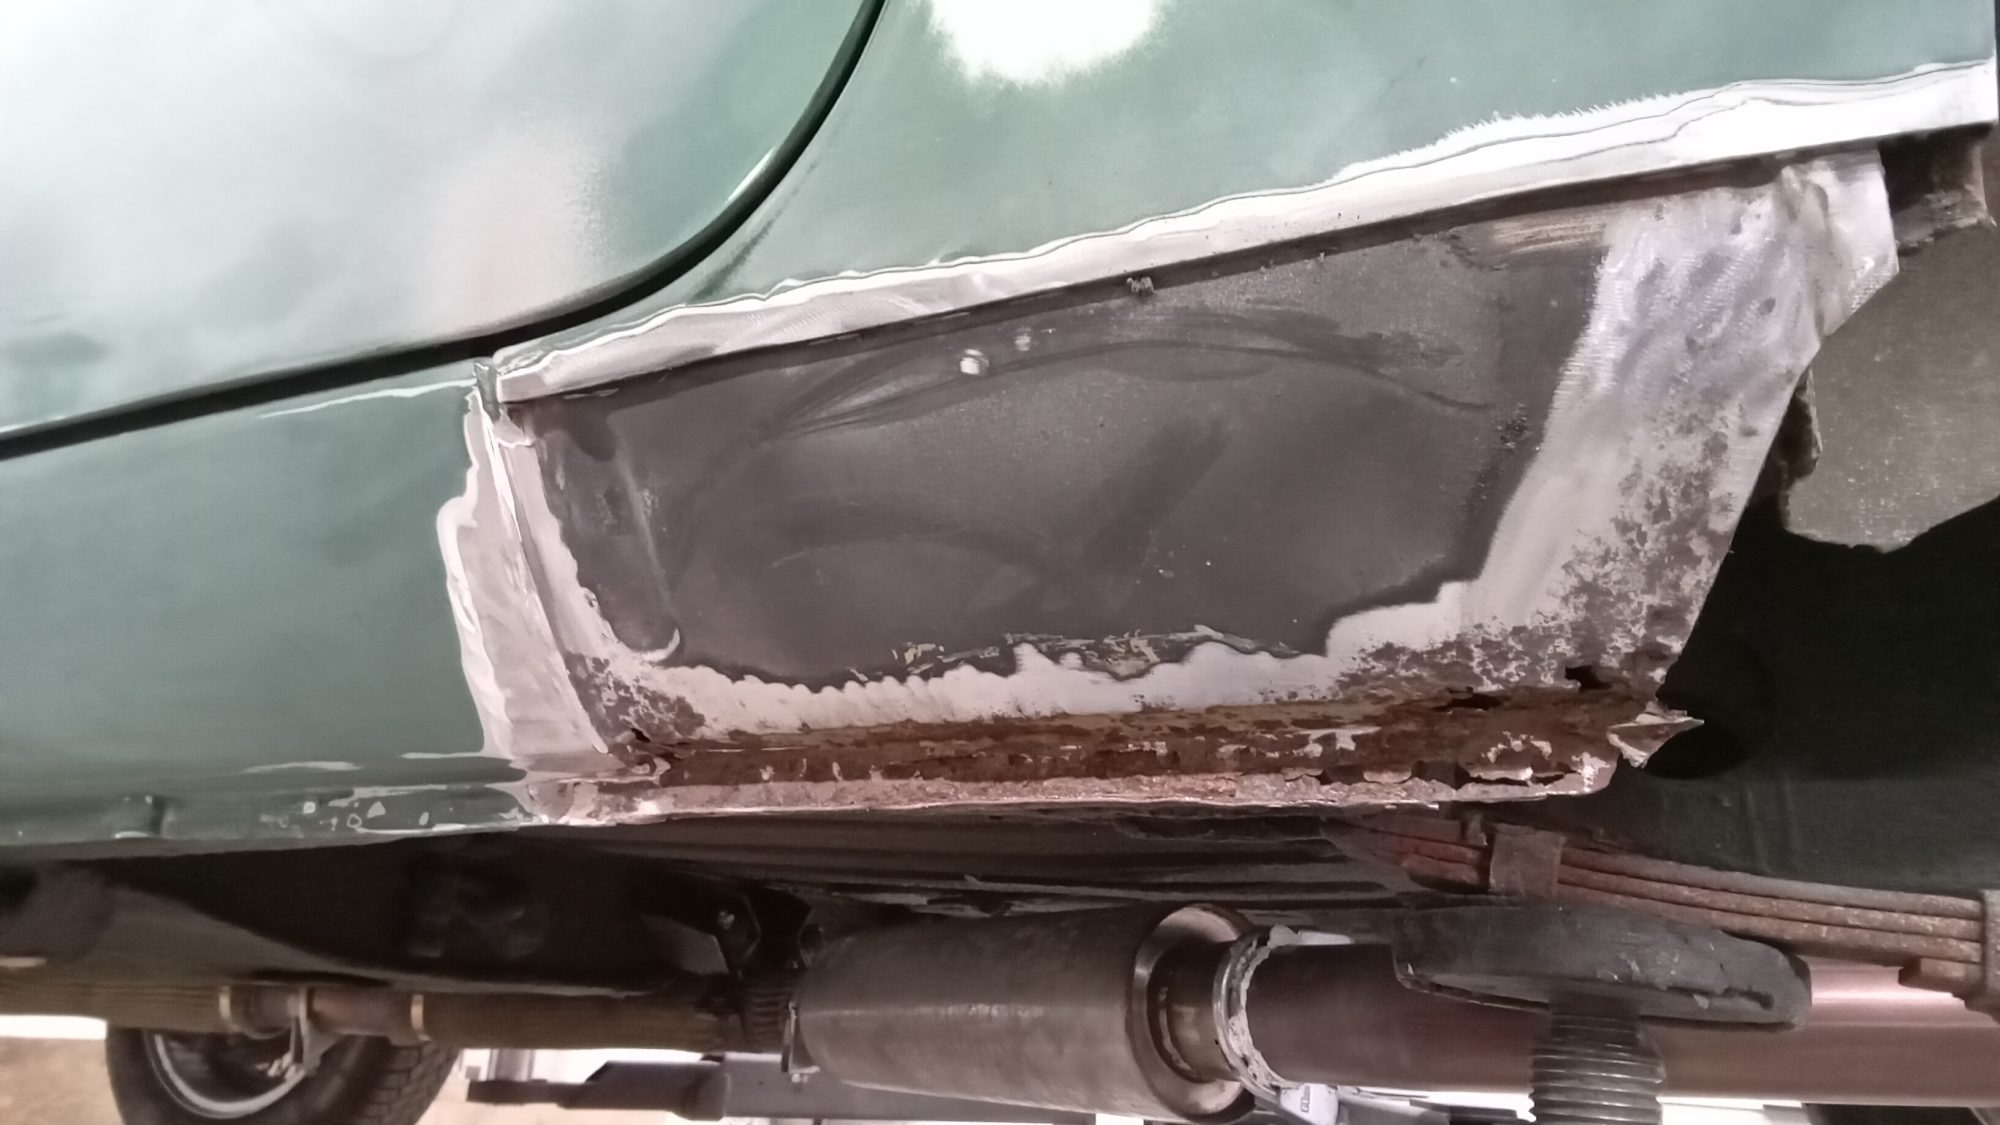

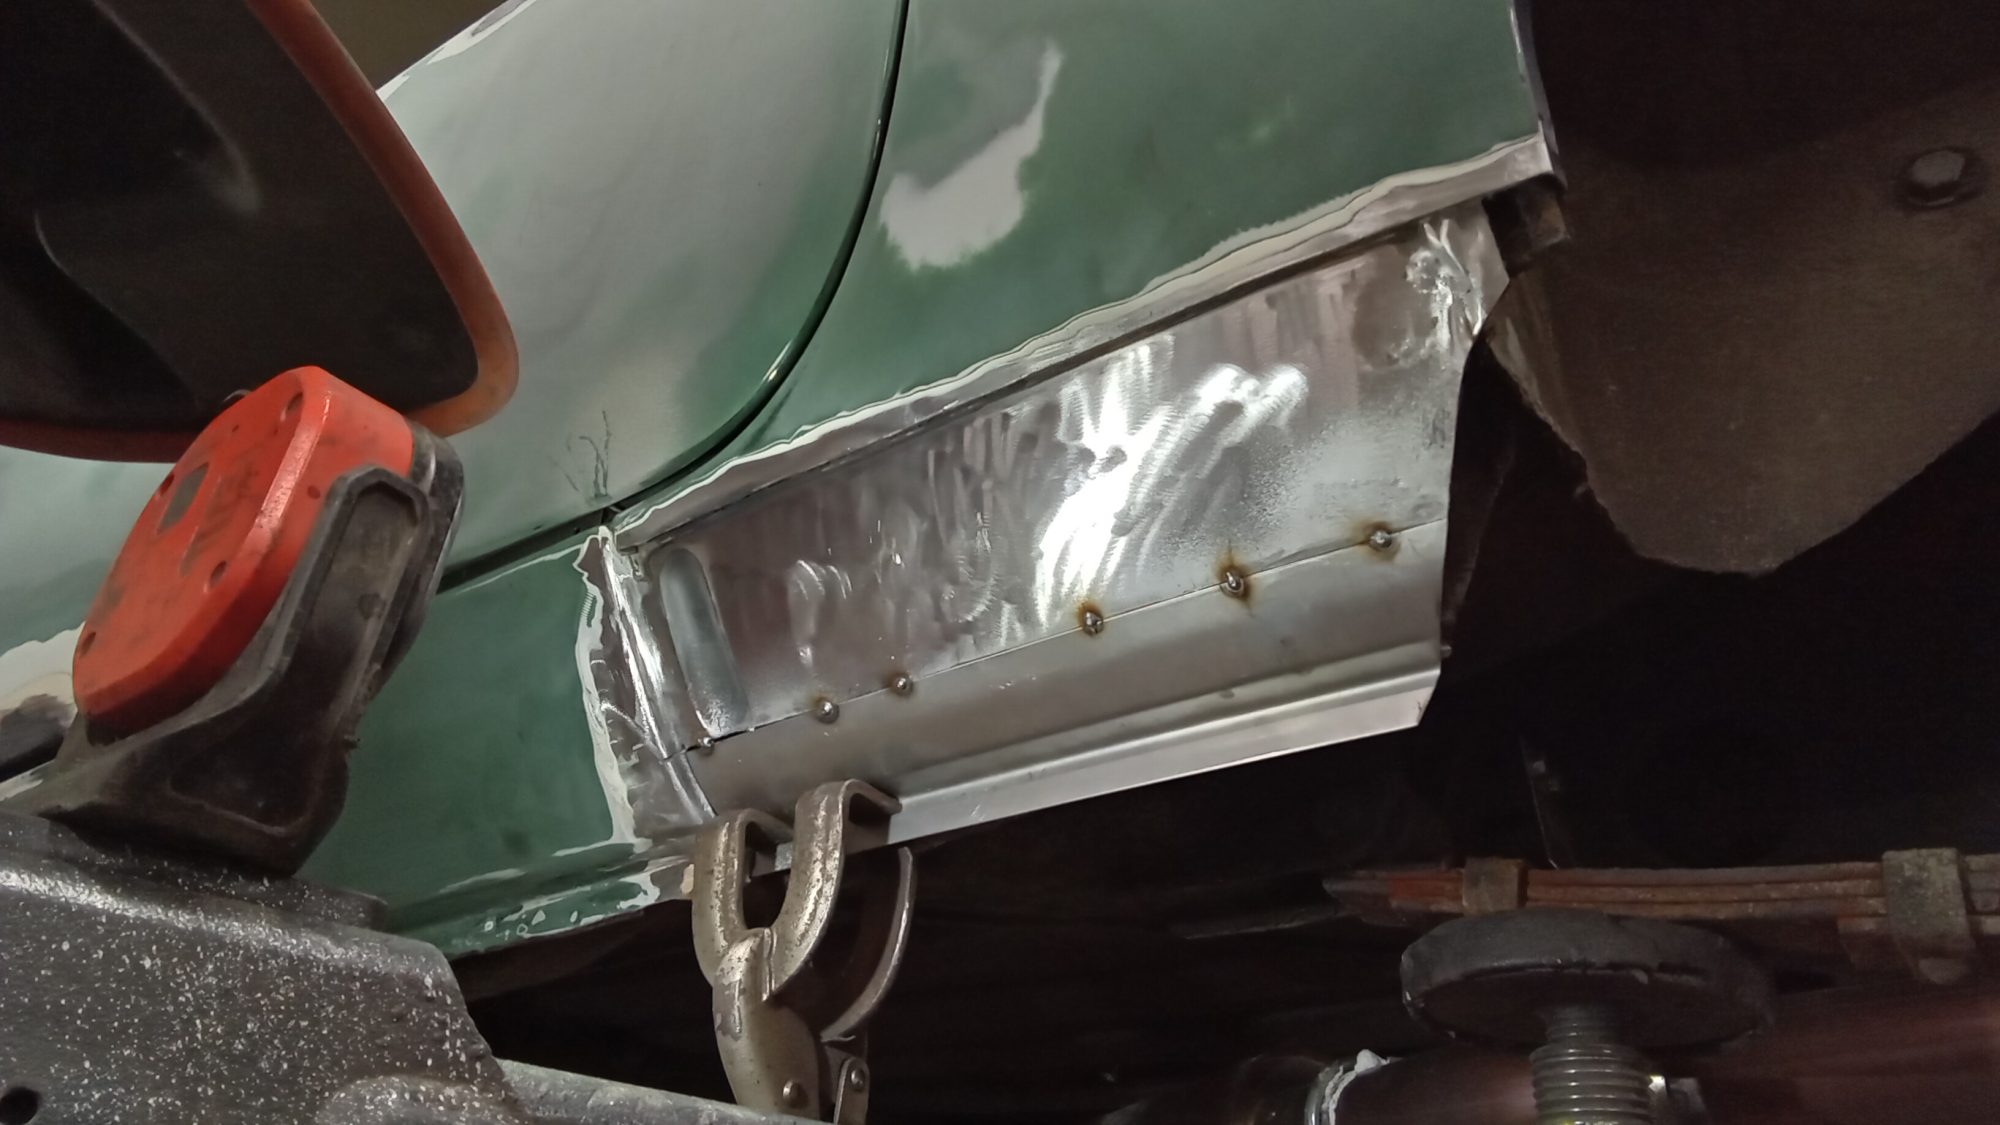
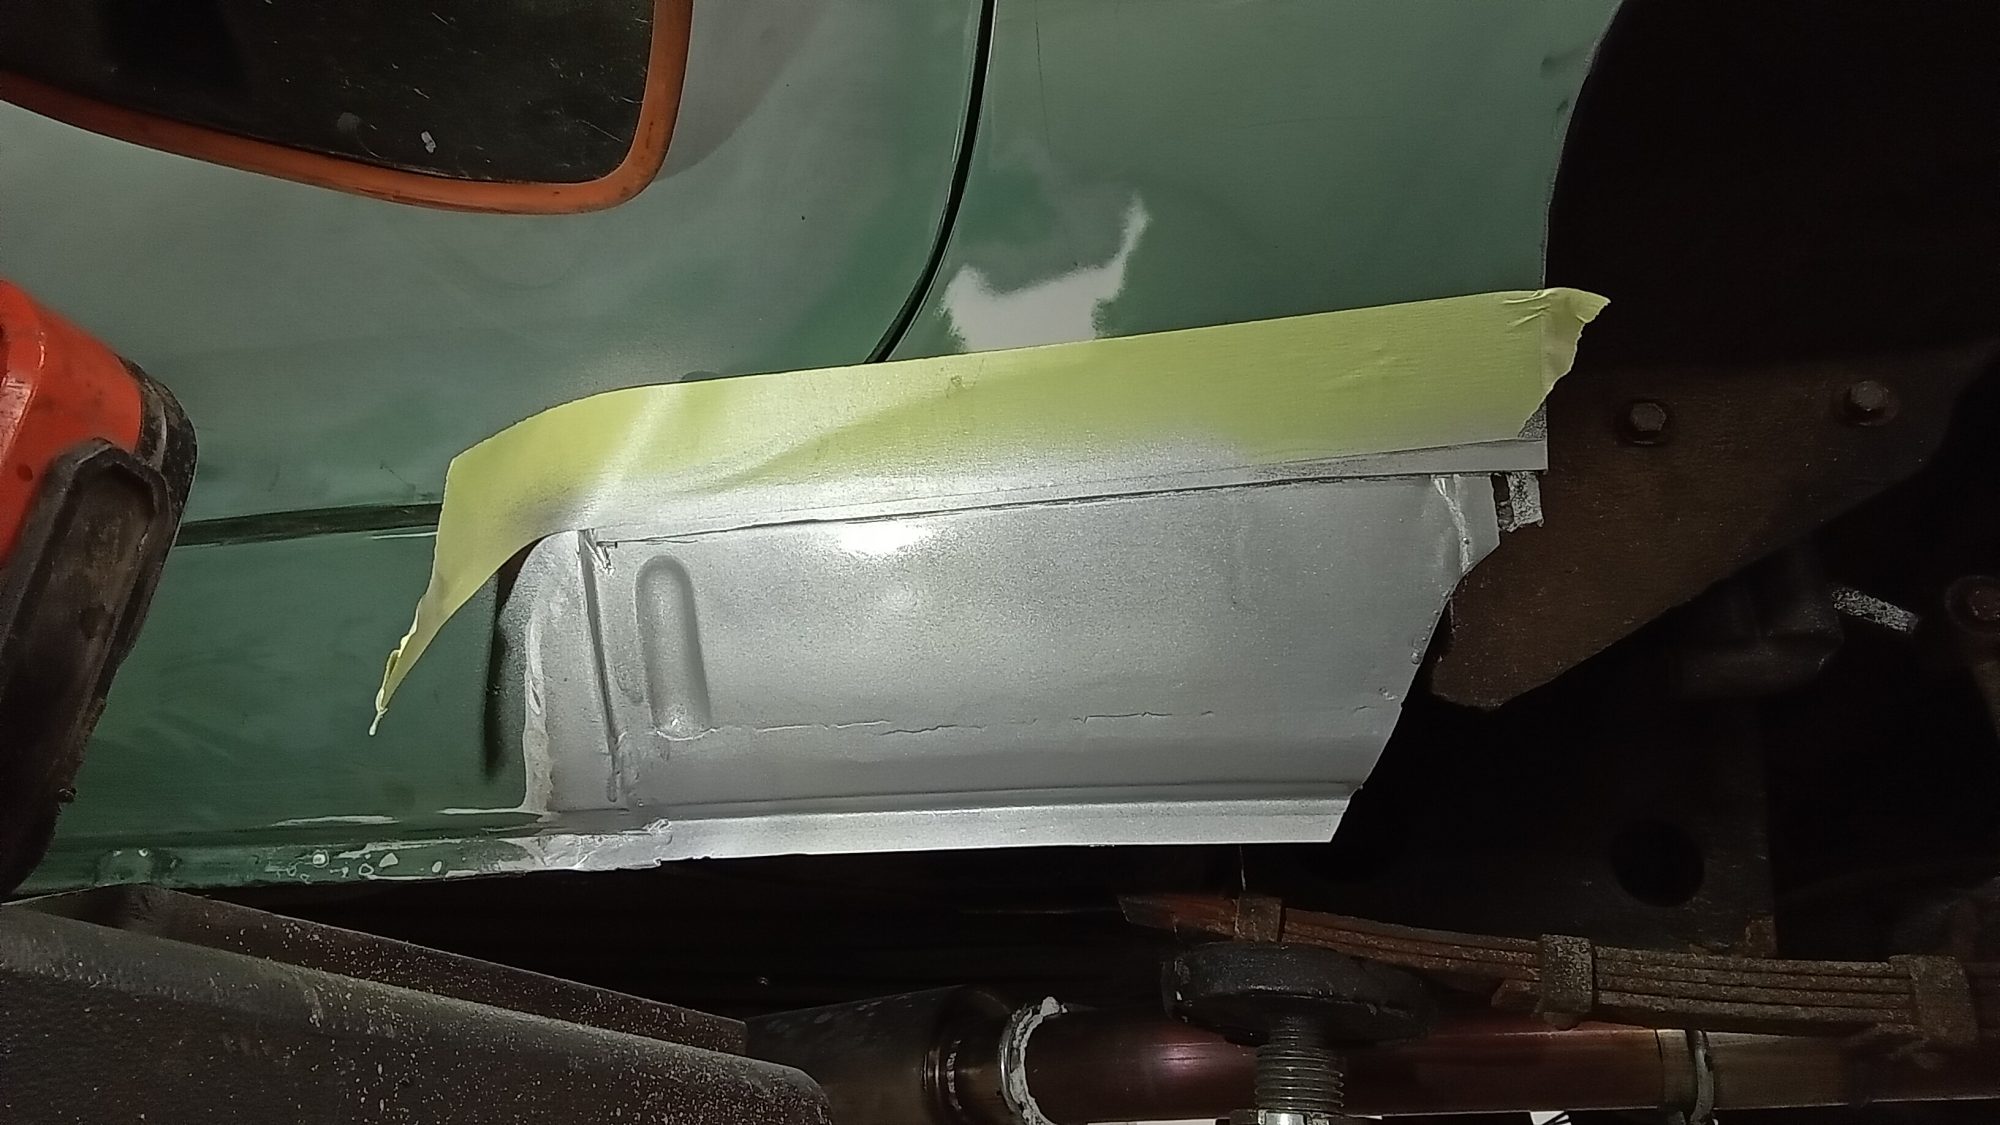
Christian is assessing the corroded areas and getting the car prepared for the repairs.
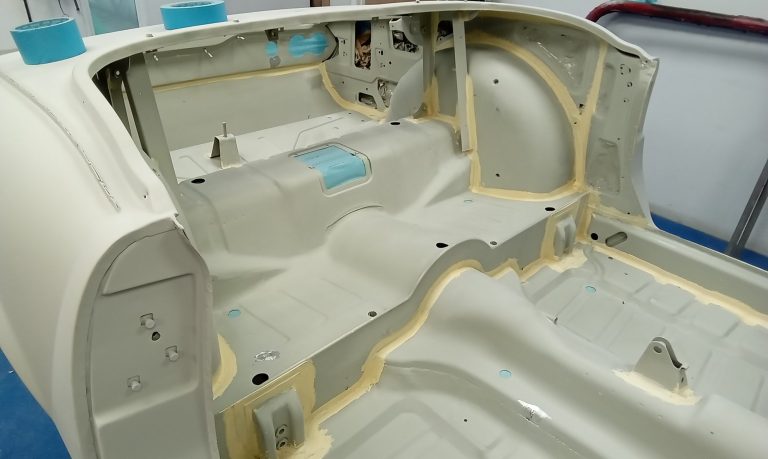
Alan has applied a DTM gloss black to some of the suspension parts. DTM or Direct To Metal paints are created to provide your metal substrate with protection from corrosion, yet provide a good cosmetic finish at the same time.
The internal joints have also been seam sealed and are now ready for colour.


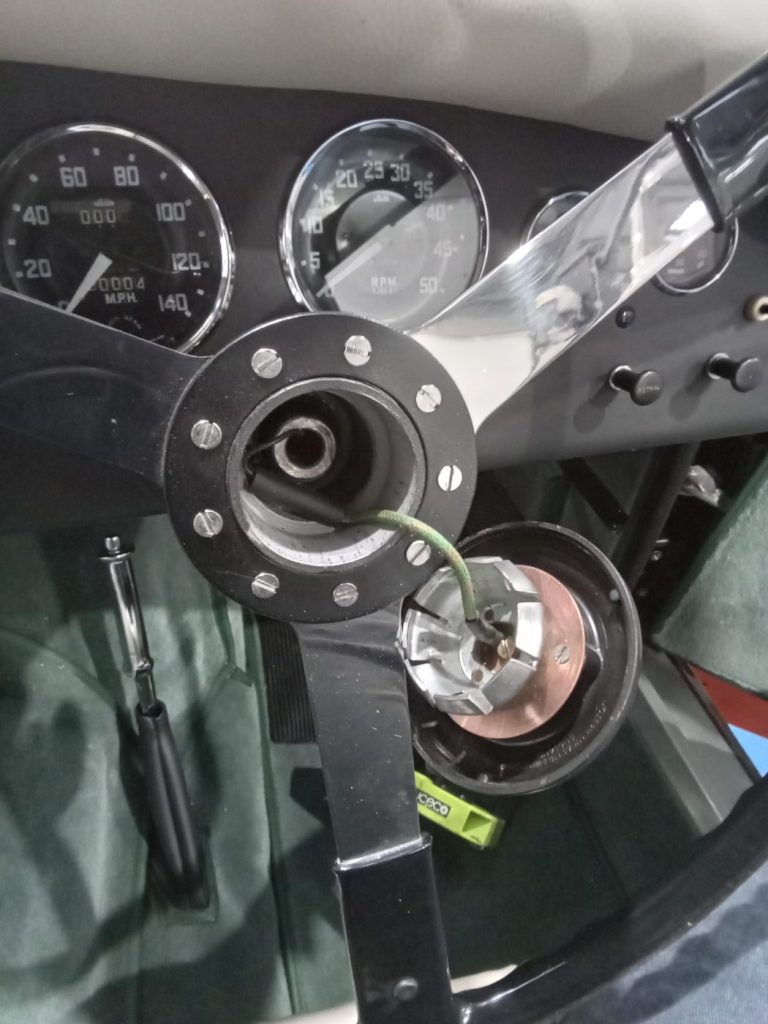
Rob returns to work this week, having taken a extended break to recover from some recent surgery.
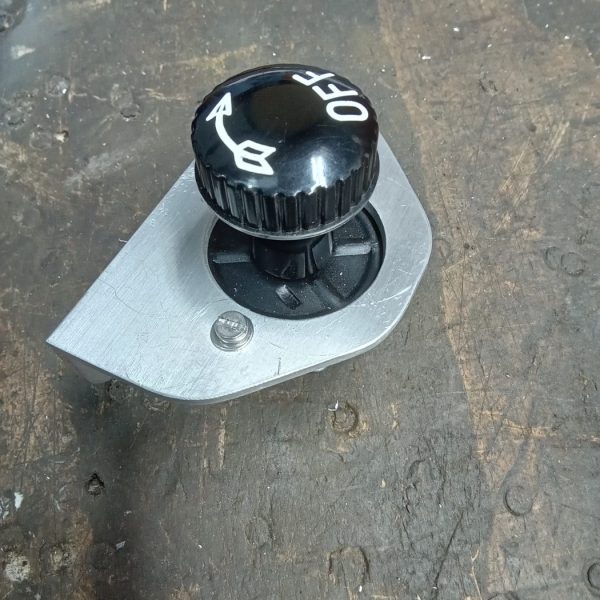
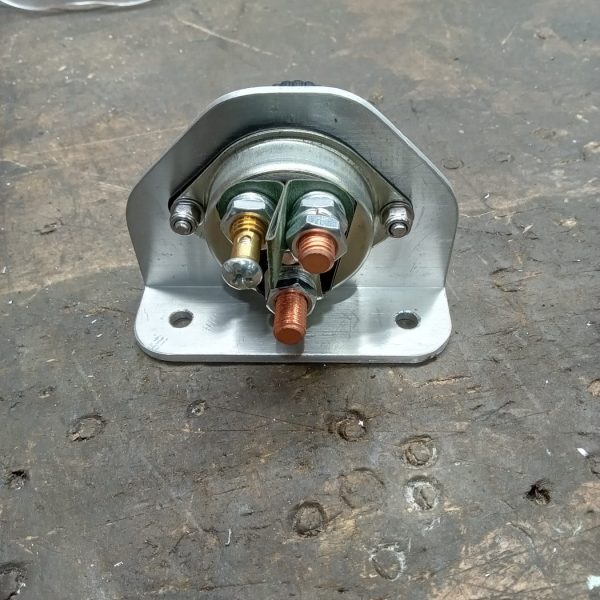
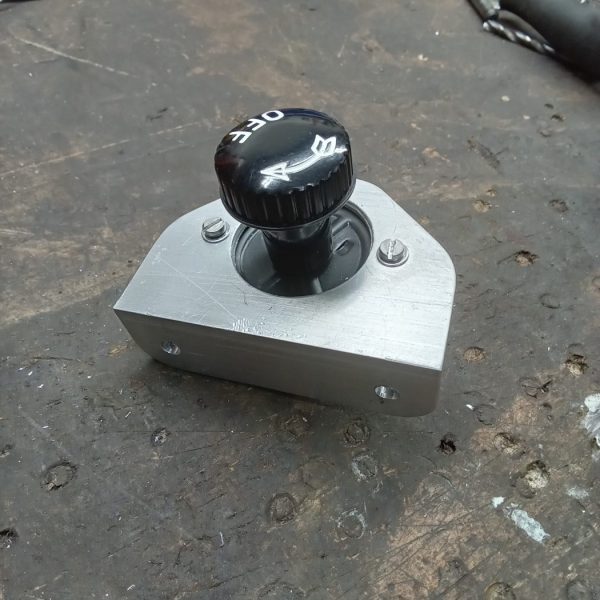
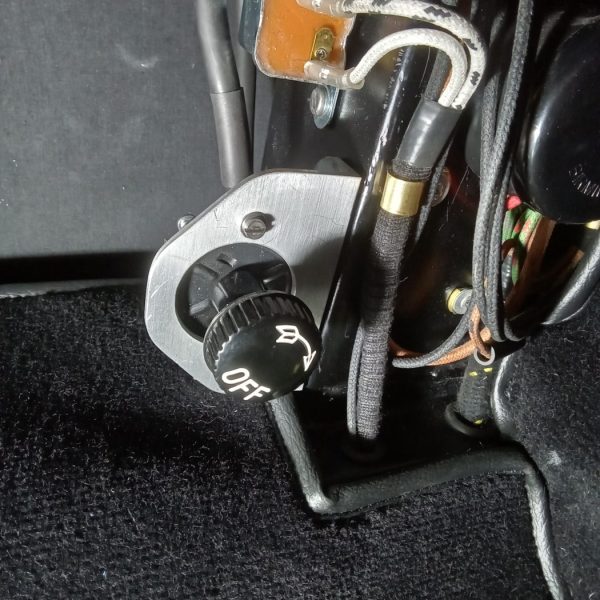
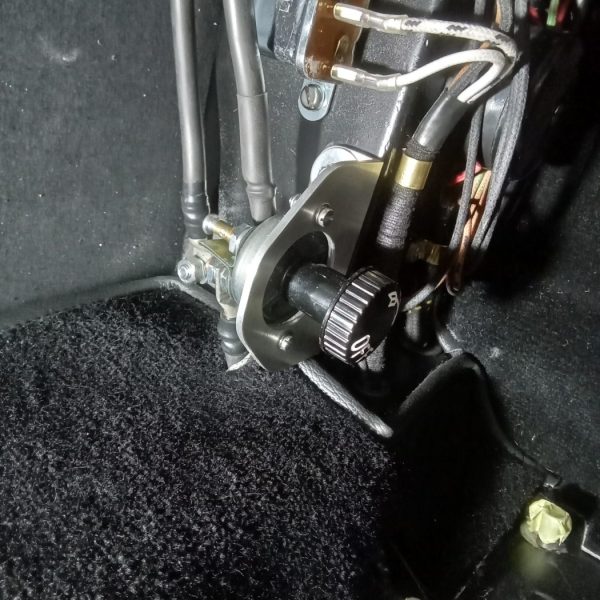
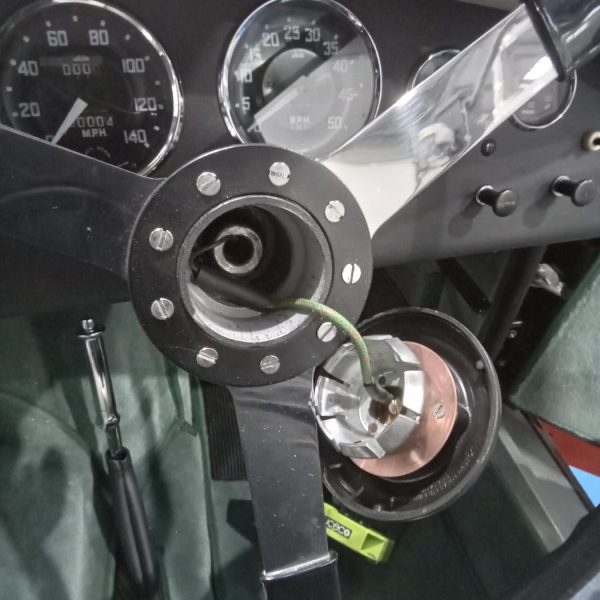
He gets straight back on to our Jensen 541R as we finish off this fantastic restoration. He has fabricated a bracket for mounting a battery cut off switch in the boot. Fitted a bracket and switch to car. Made new earth leads to run from the battery to the switch and the switch to the chassis. Make up a wire to connect the horn button to the steering column. Fit steering wheel and horn push and test. Fit an extra throttle return spring and make and fit a bracket to attach the spring to the engine.
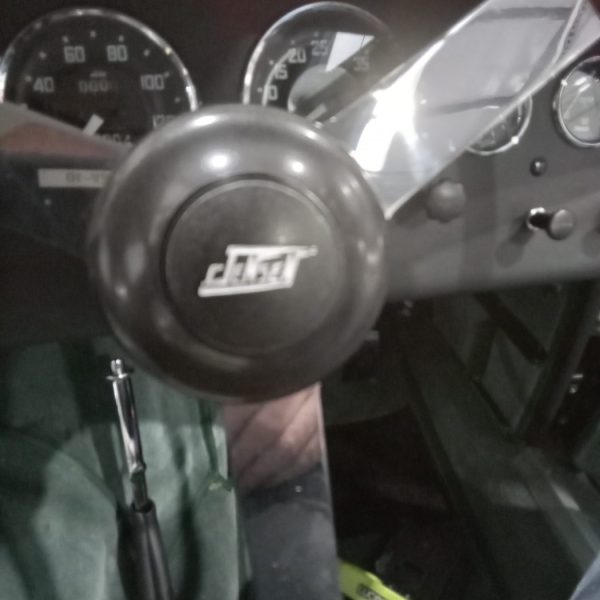
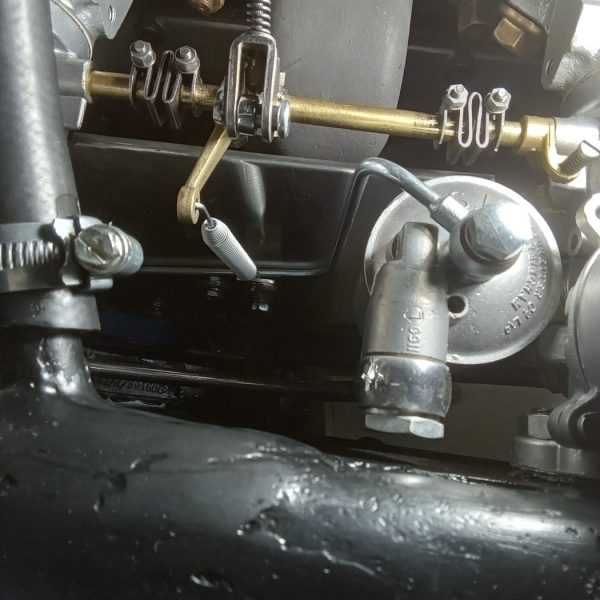
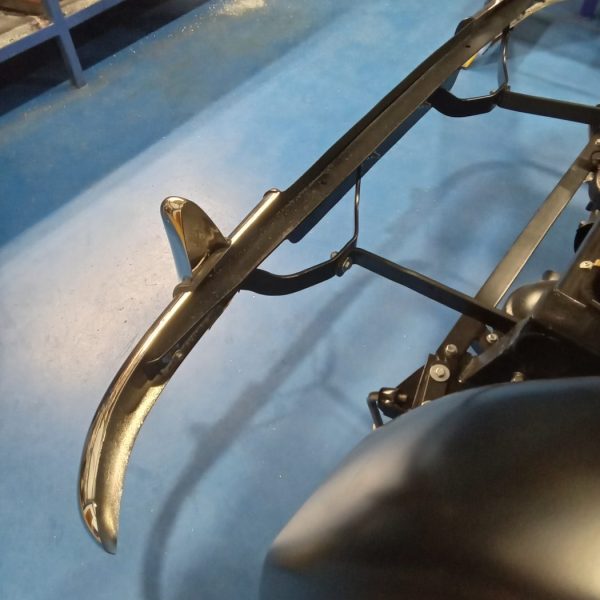
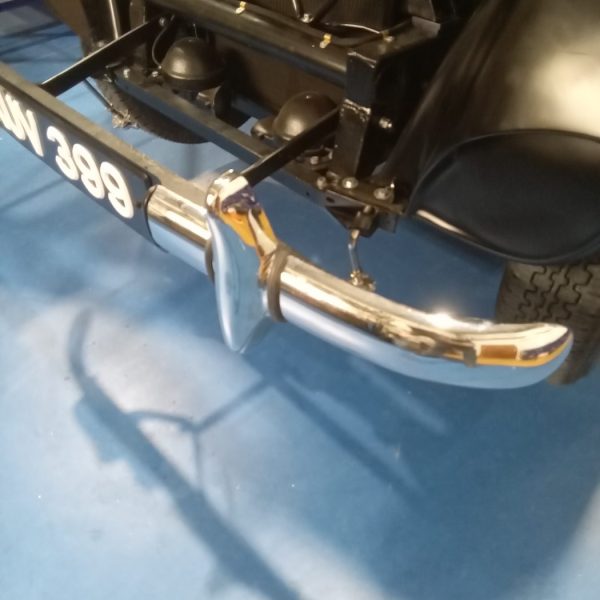

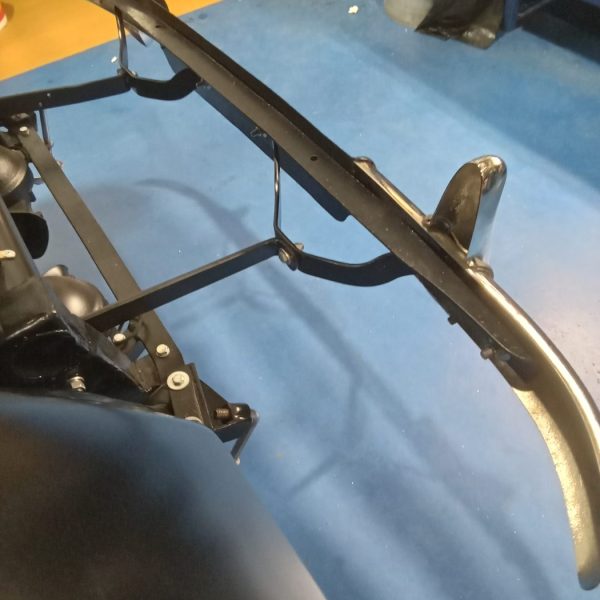
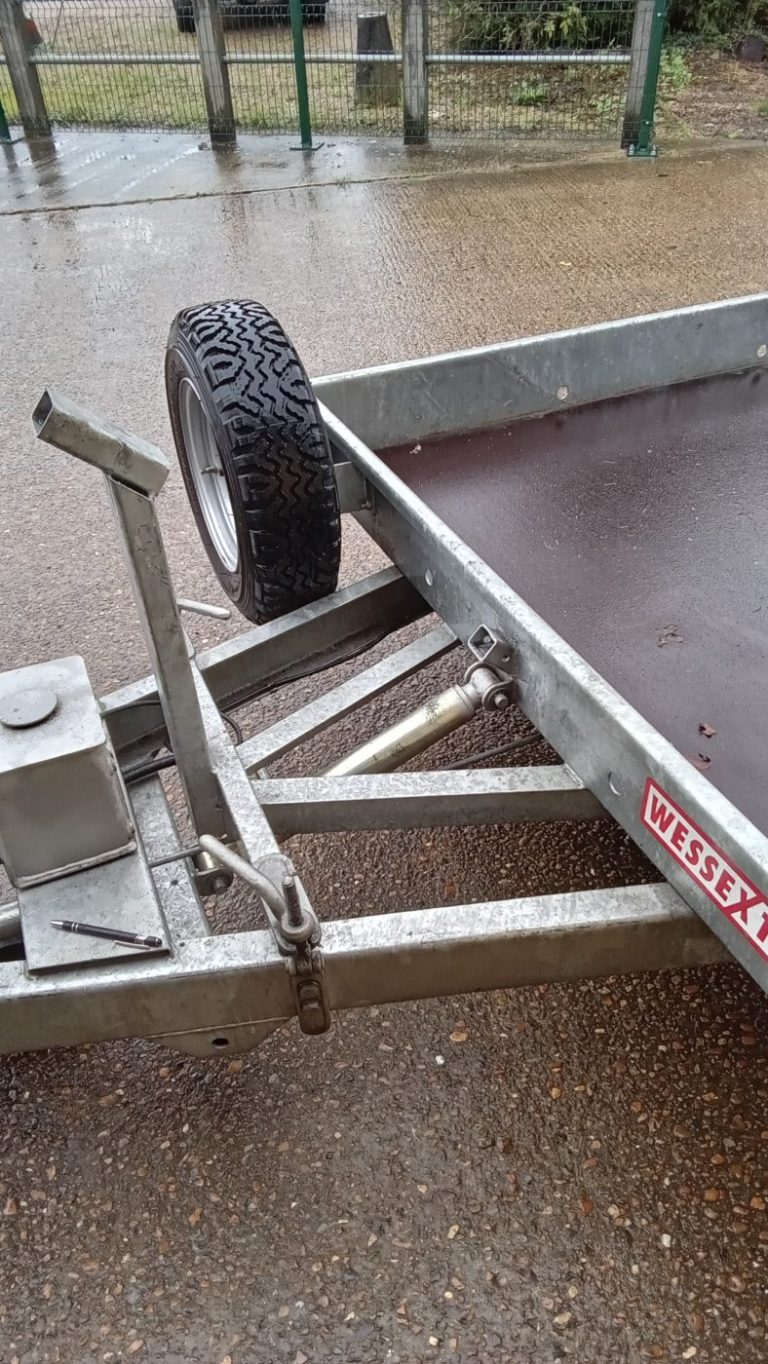
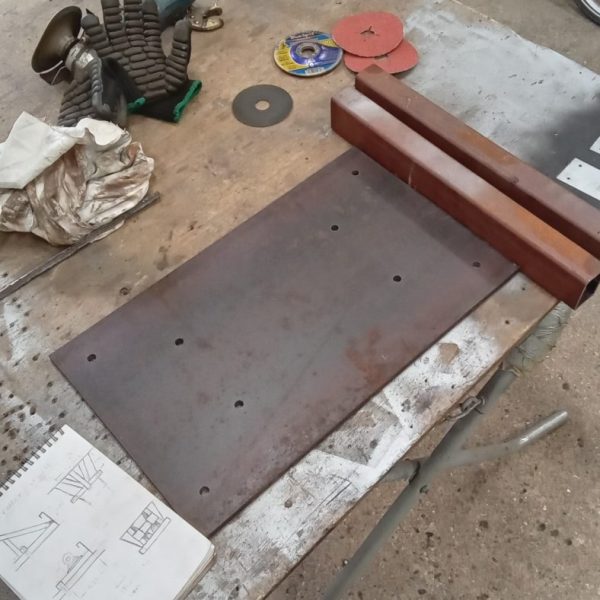
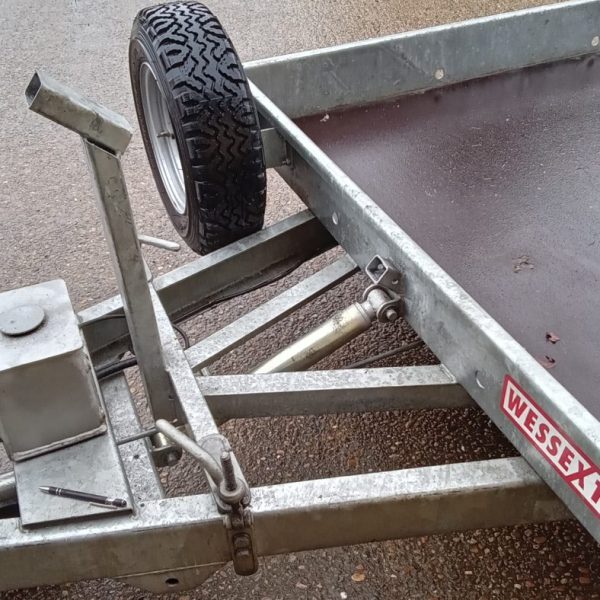
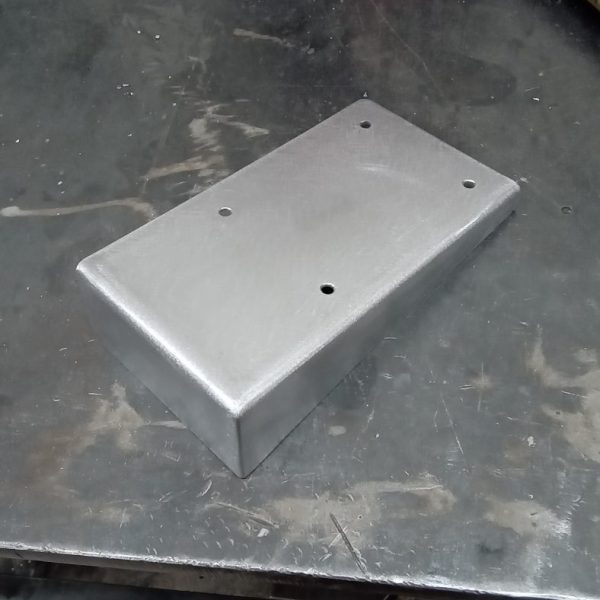
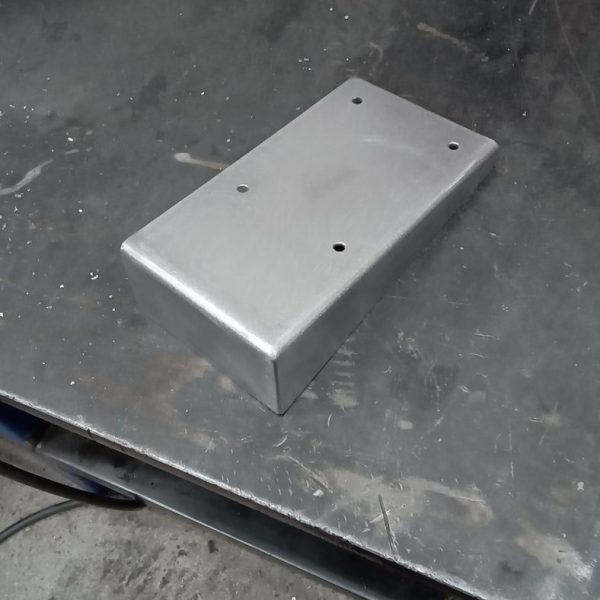
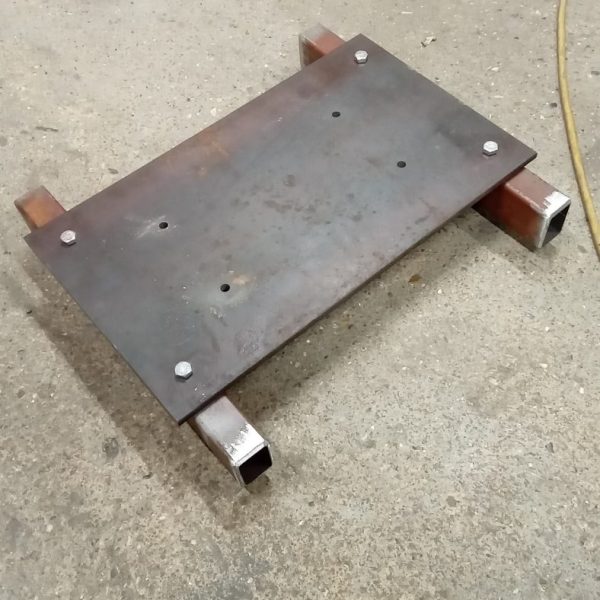
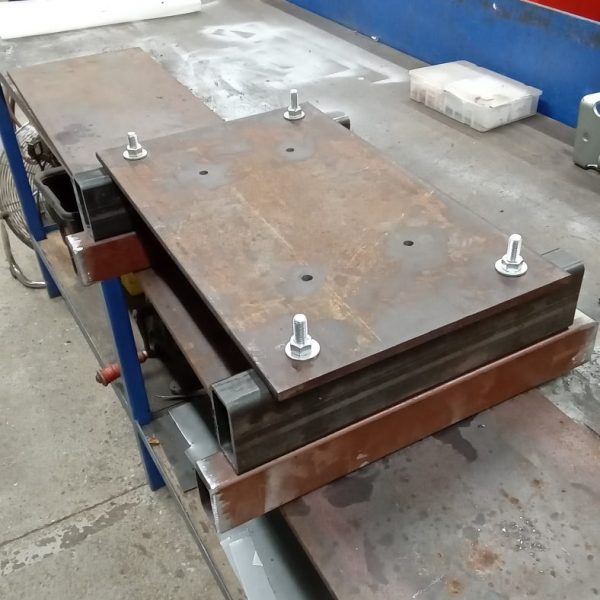
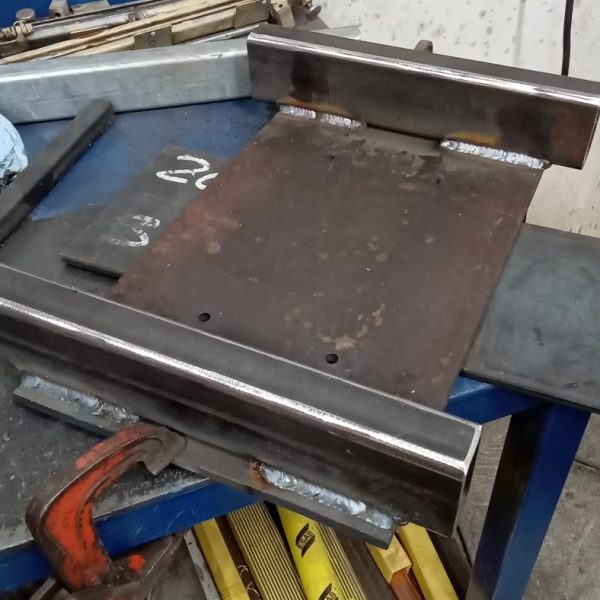
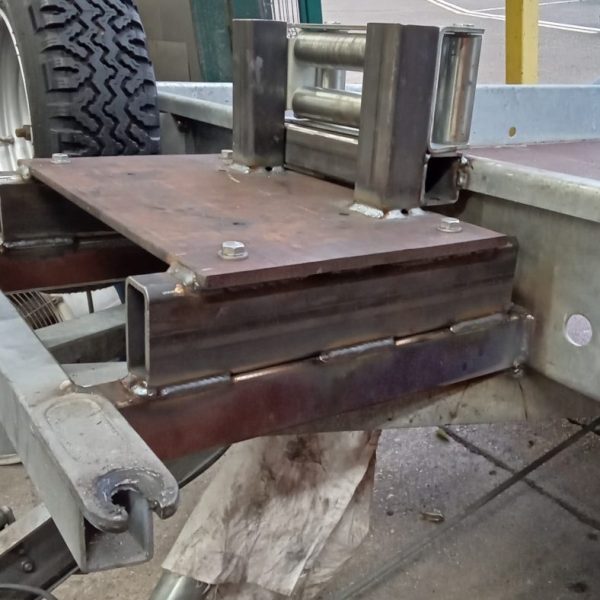
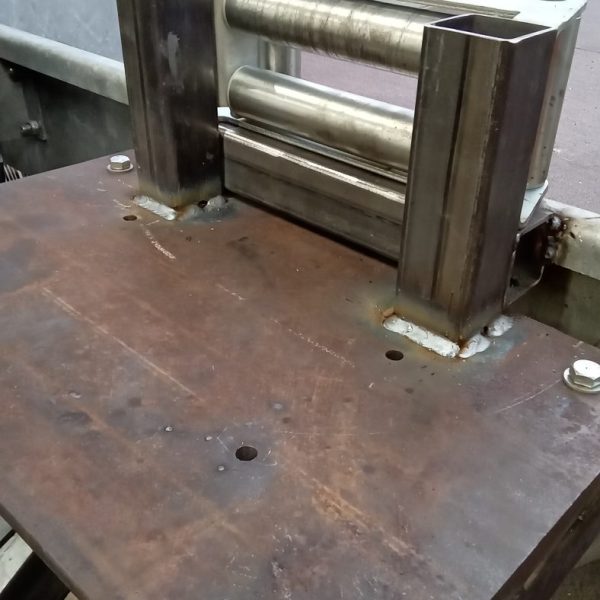
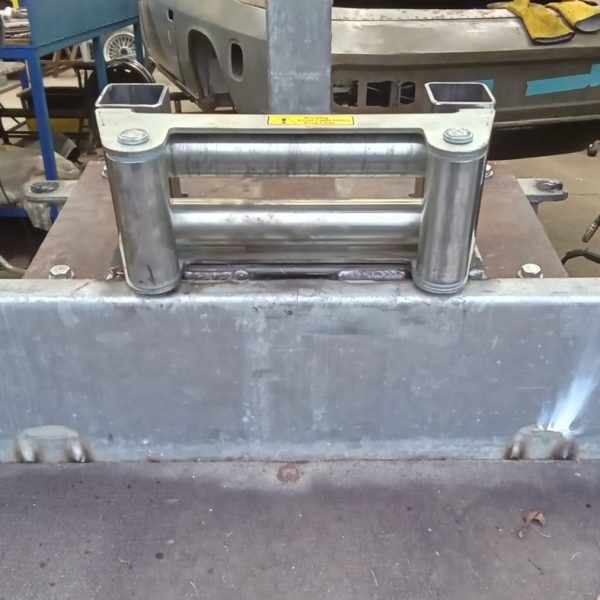
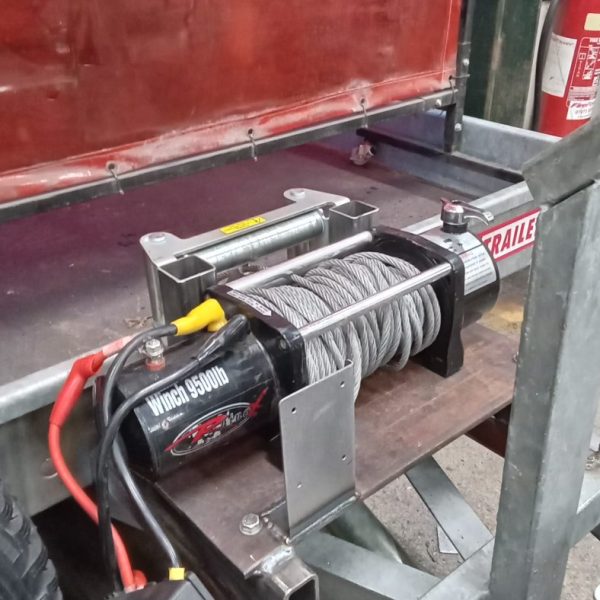
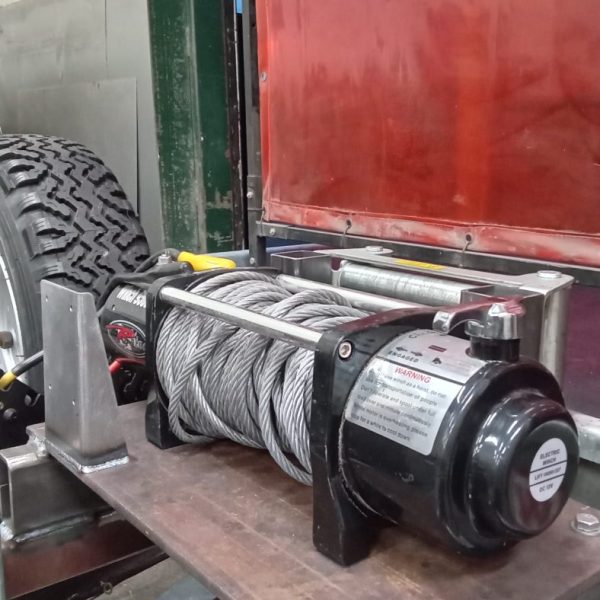
Monty is fitting a new electric winch to our Wessex open trailer. He is fabricating new bracketry to house our winch which will go over to the paint shop for painting up prior to installation.

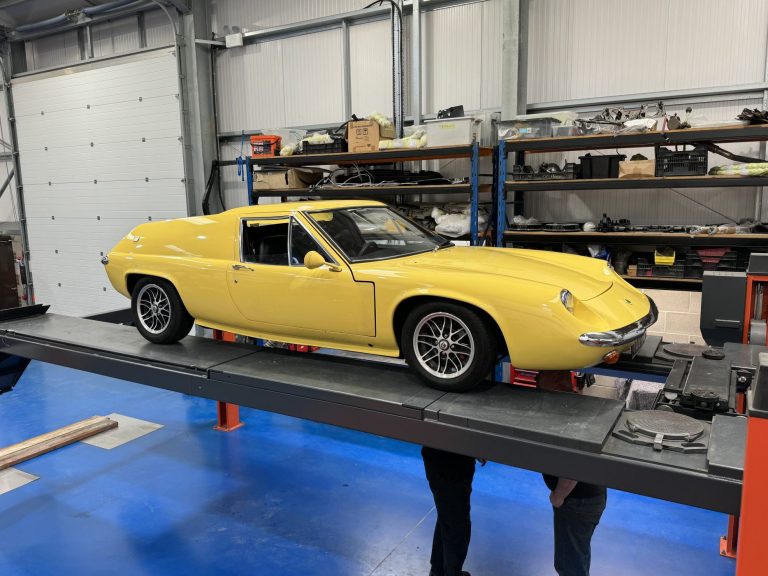
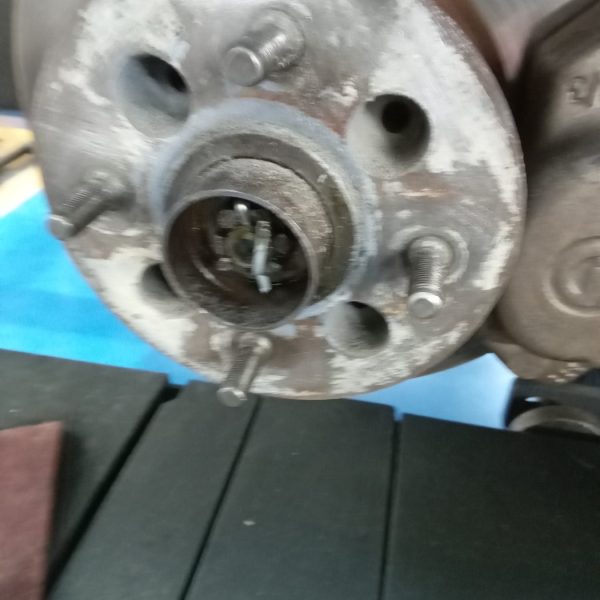
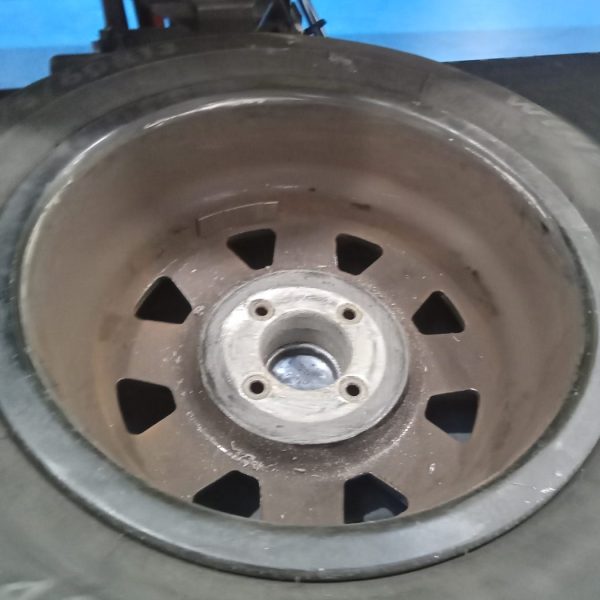
On, what we thought would be, our final drive of the Lotus Europa prior to it leaving us for its new home, John heard a slight knocking noise coming from the front so he now needs to do some further investigations to diagnose and repair what is creating this noise.
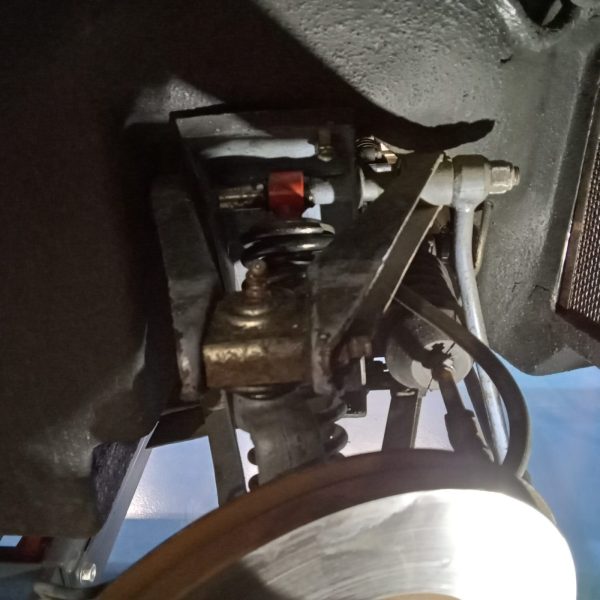
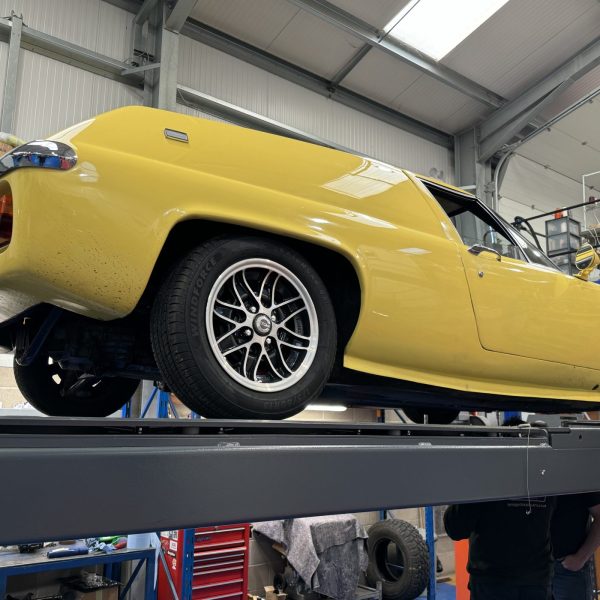

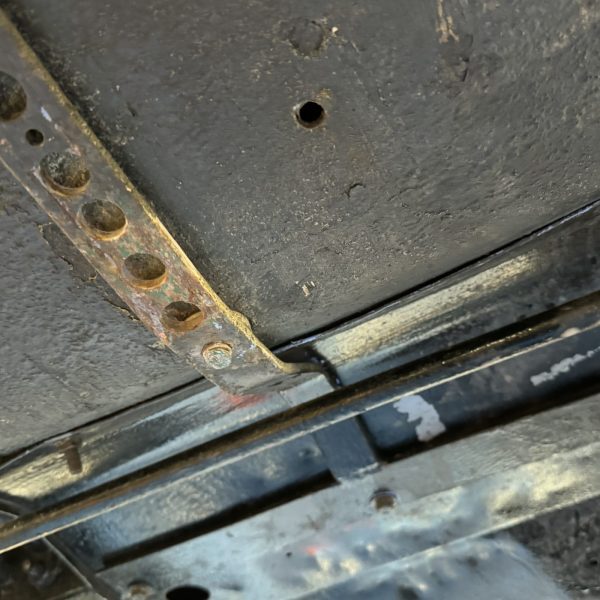
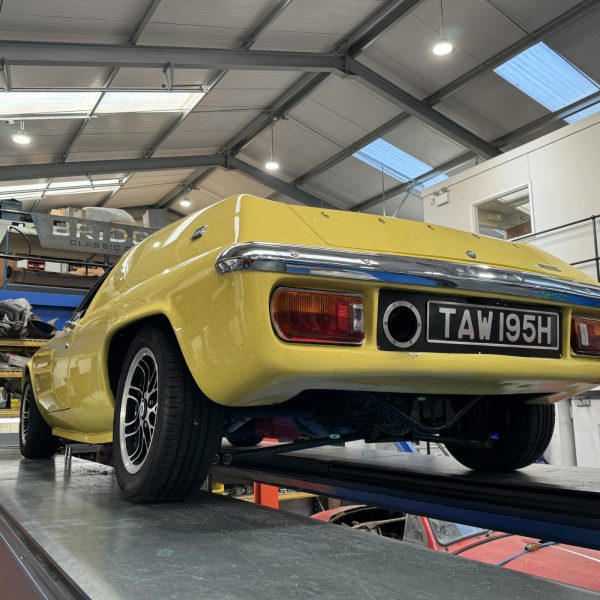
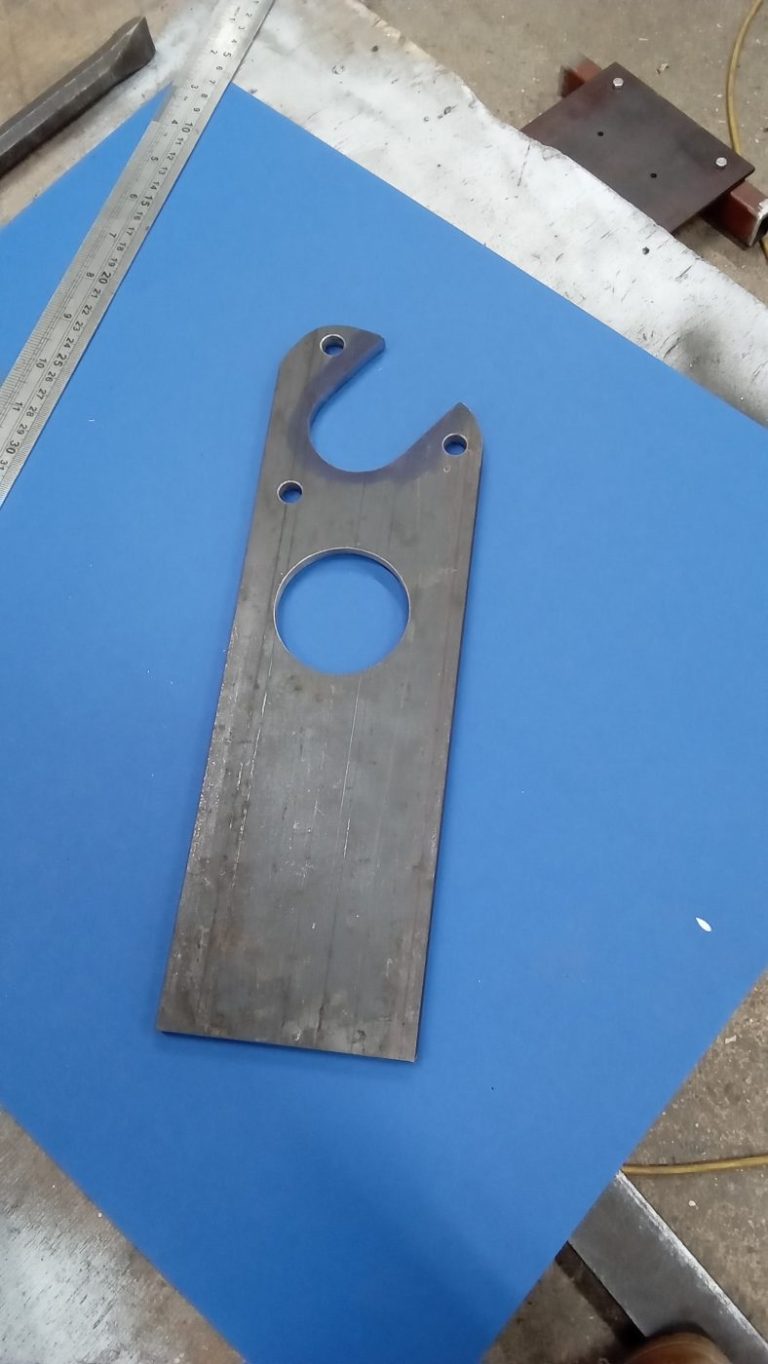
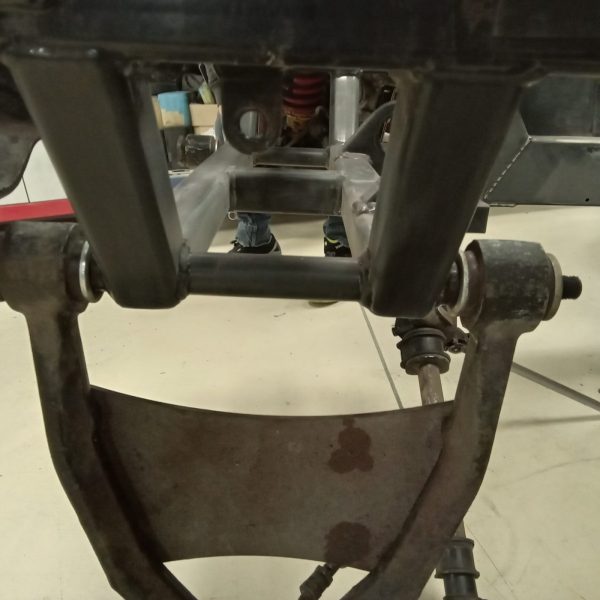
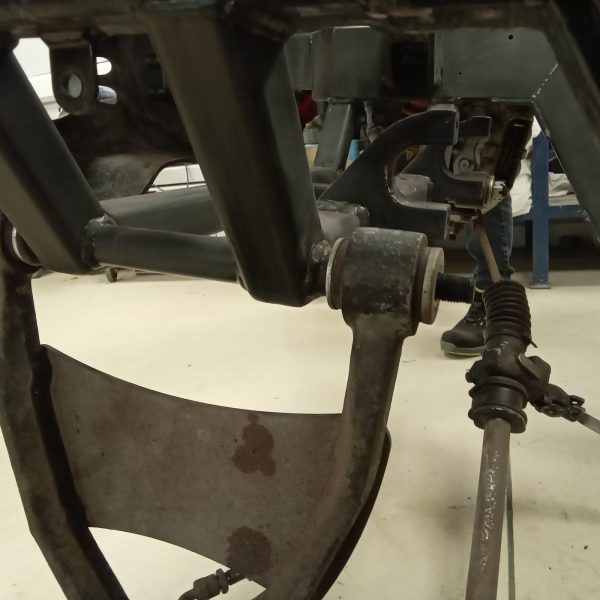
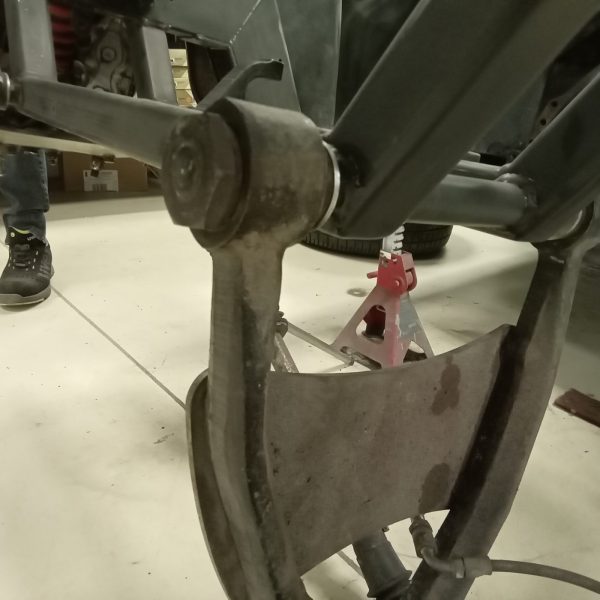
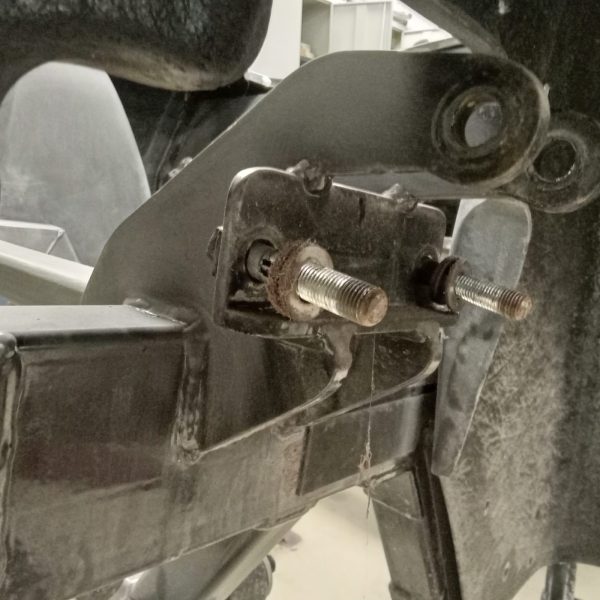
Monty has made up a new steering rack bracket to replace the existing one on our 1956 Jensen 541.
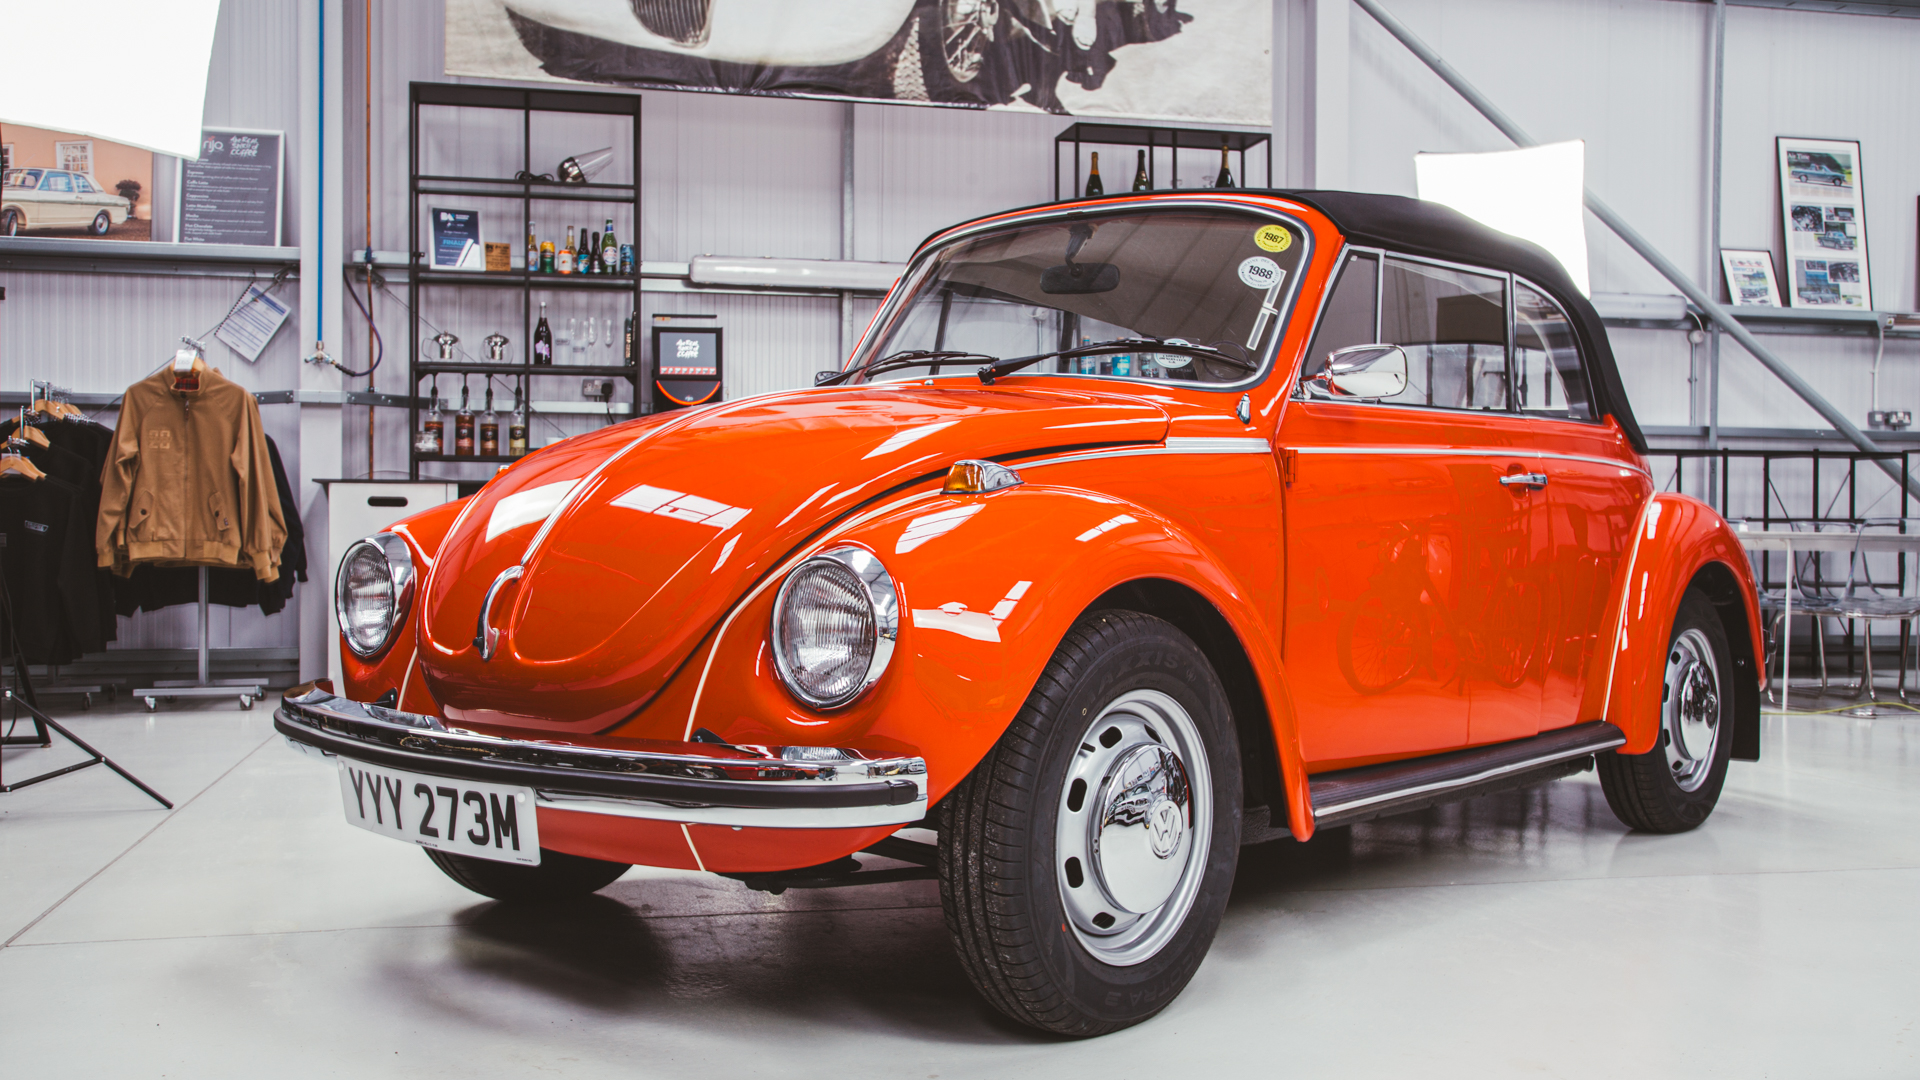
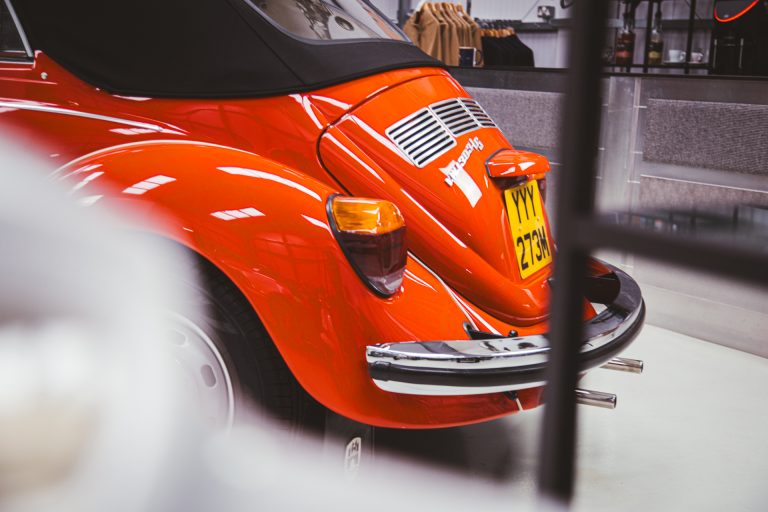
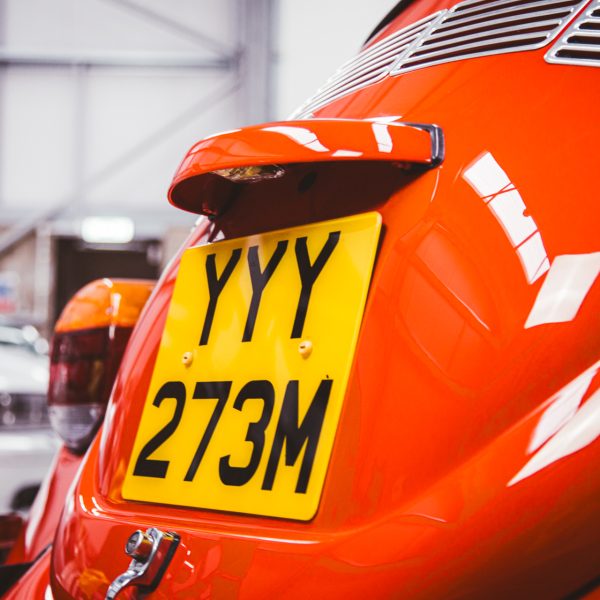
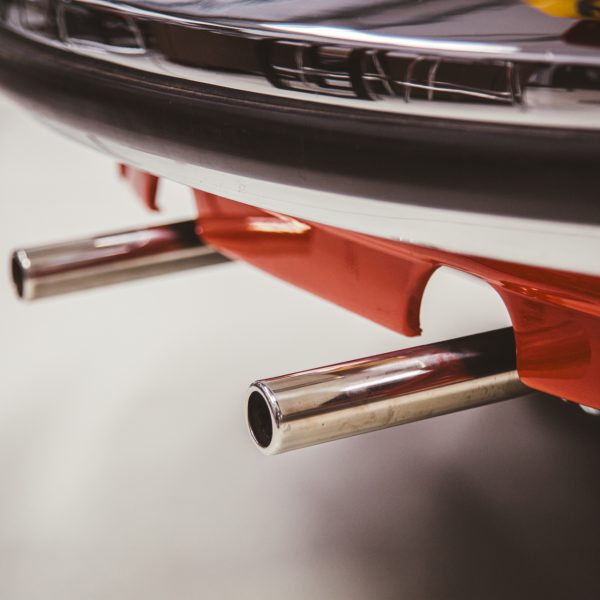
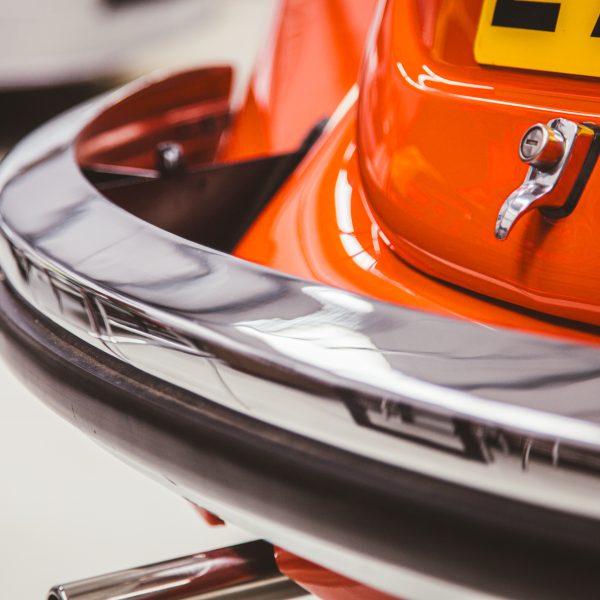
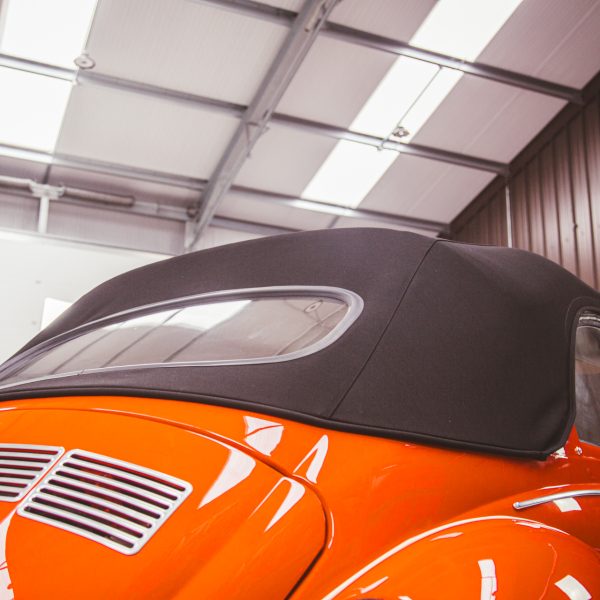
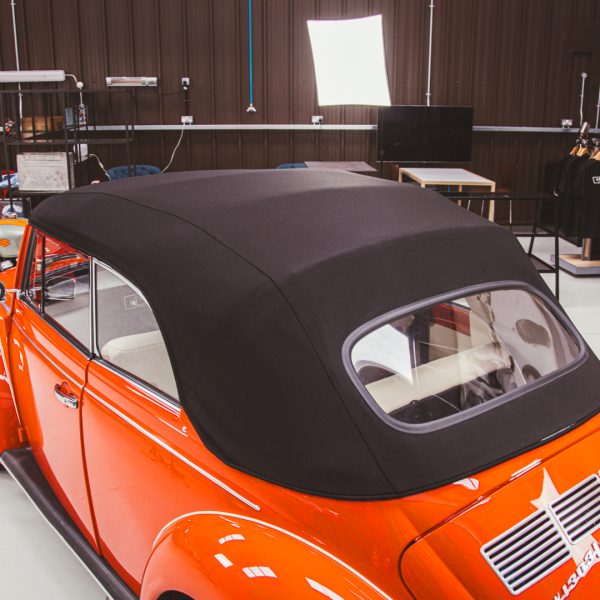
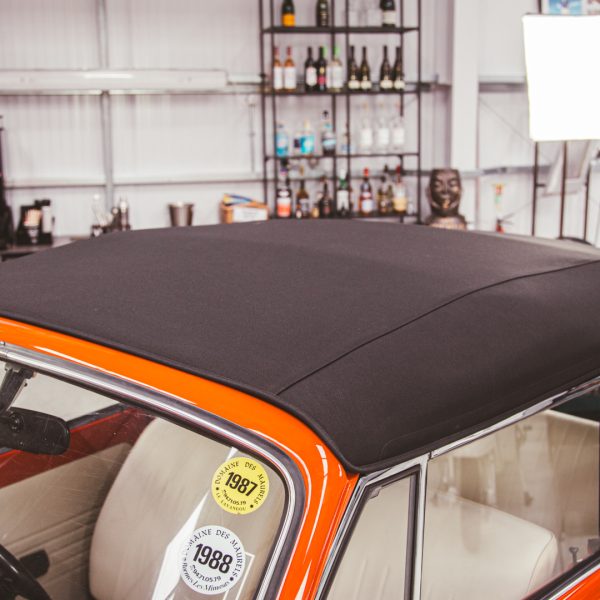
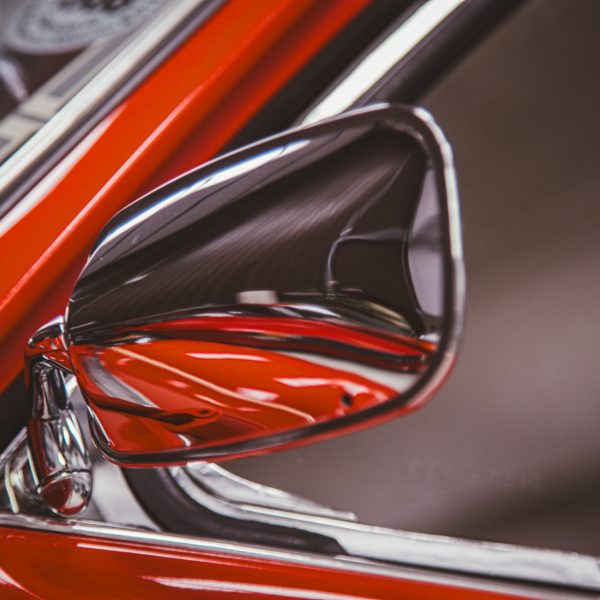
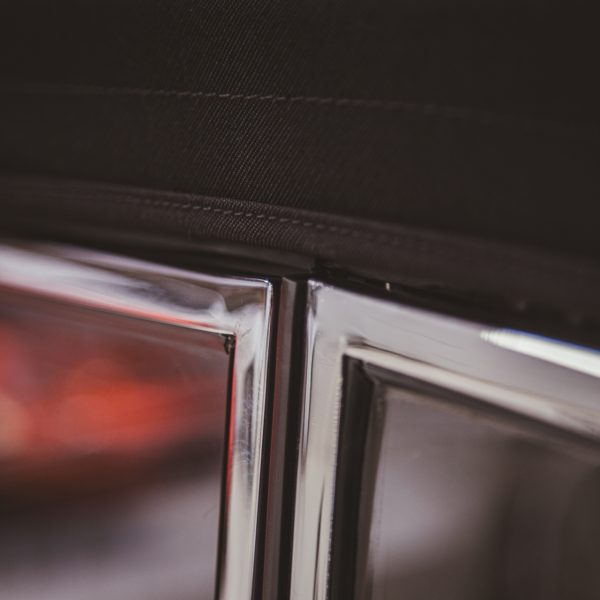
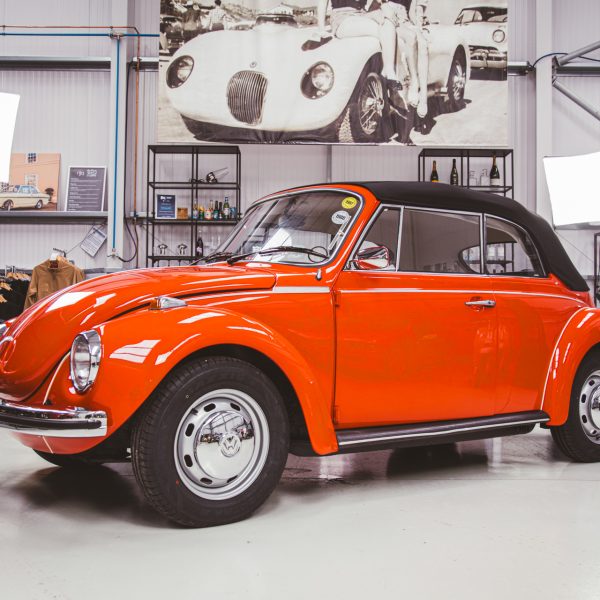
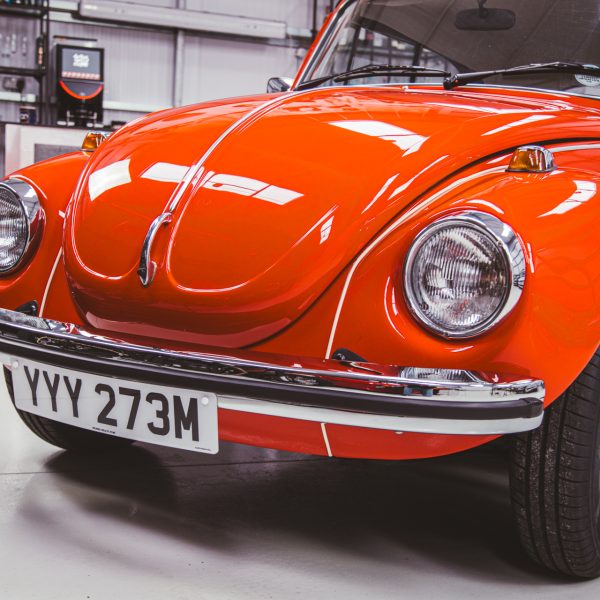
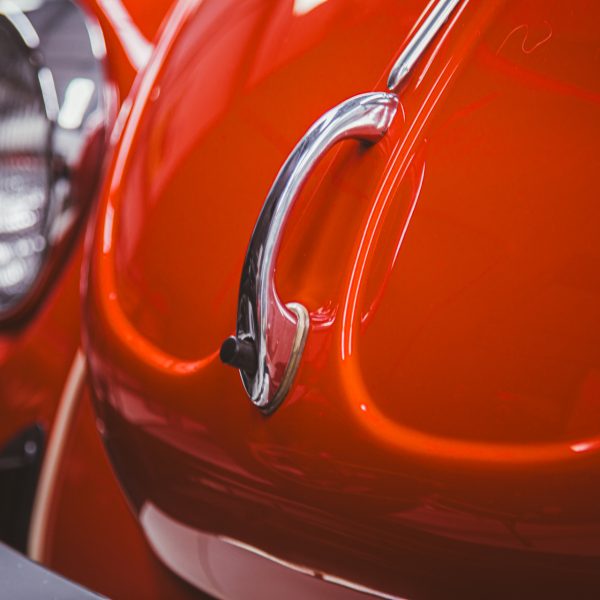
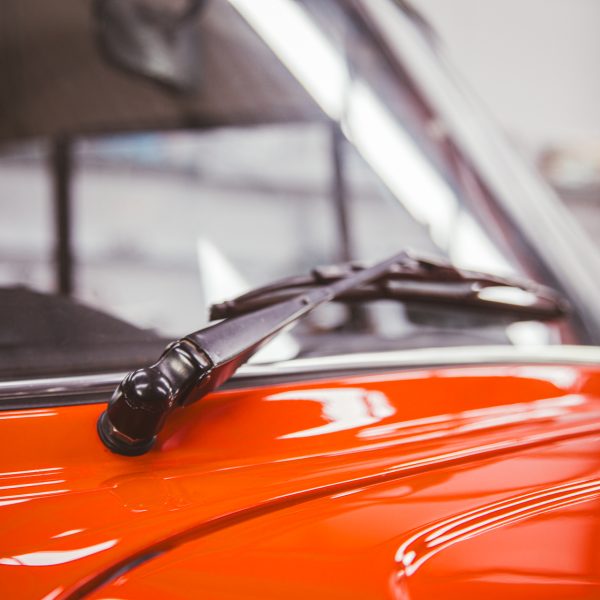
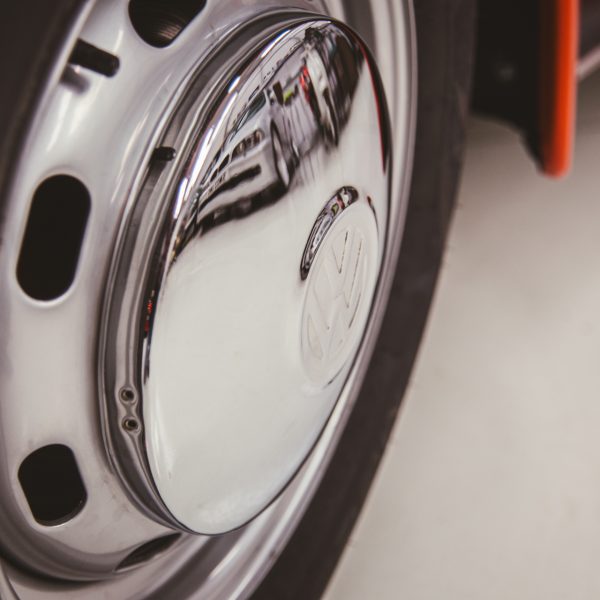
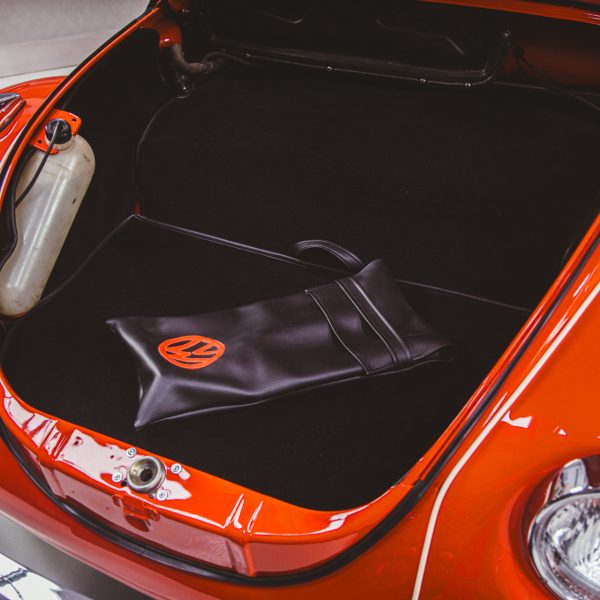
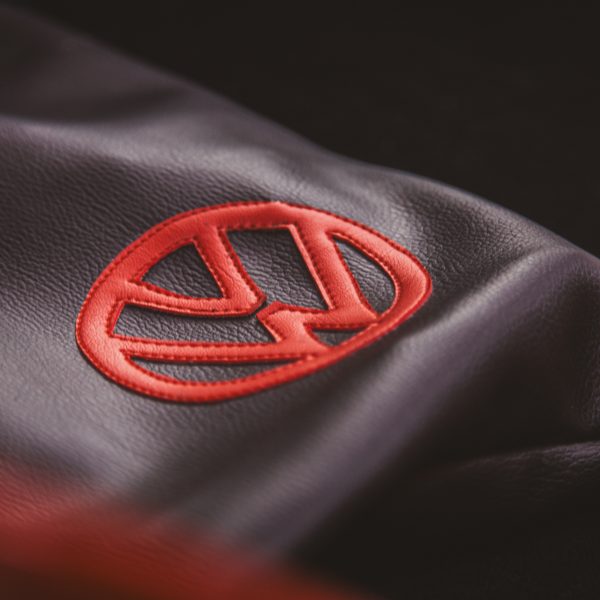
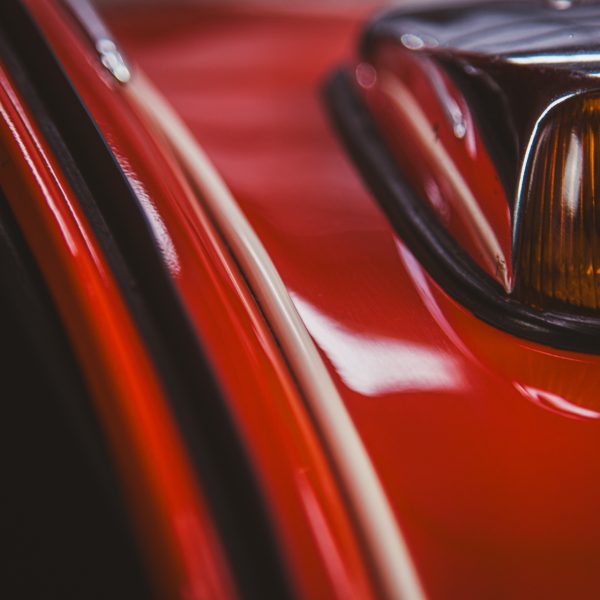
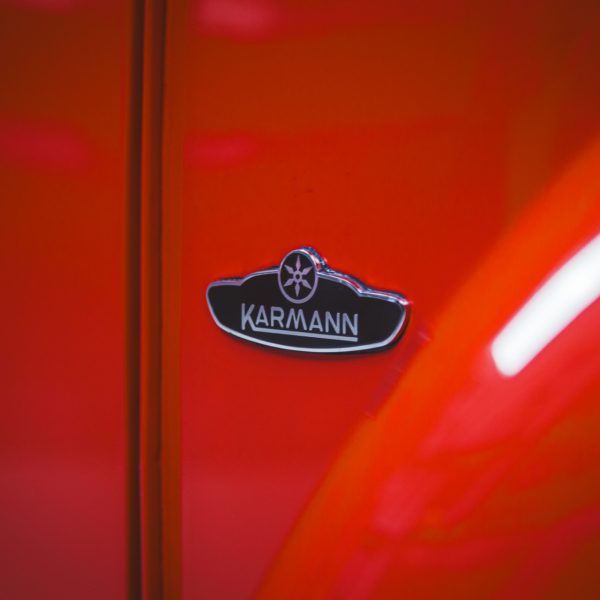
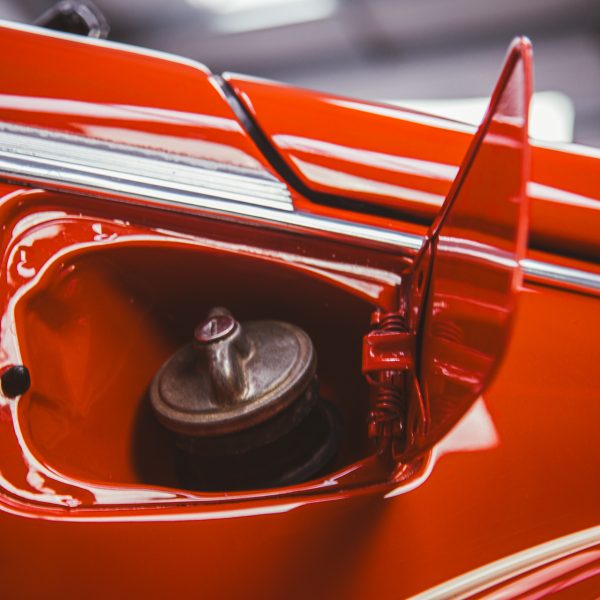
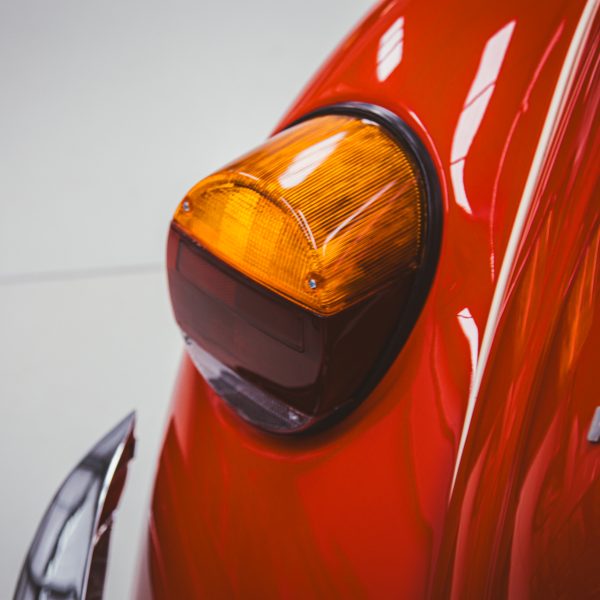
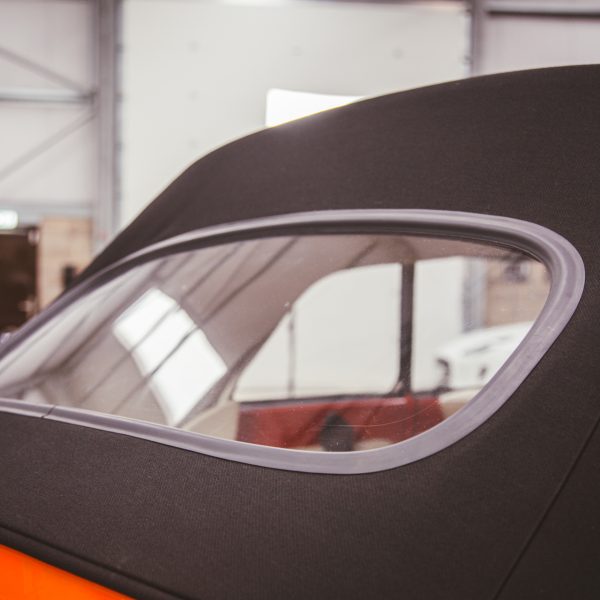
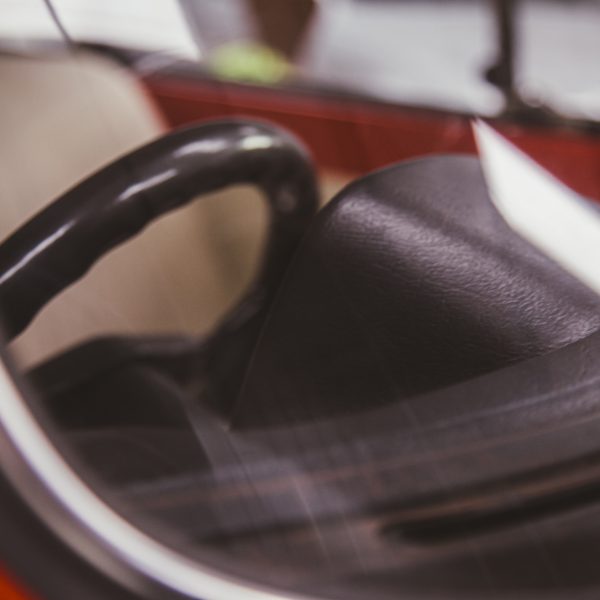
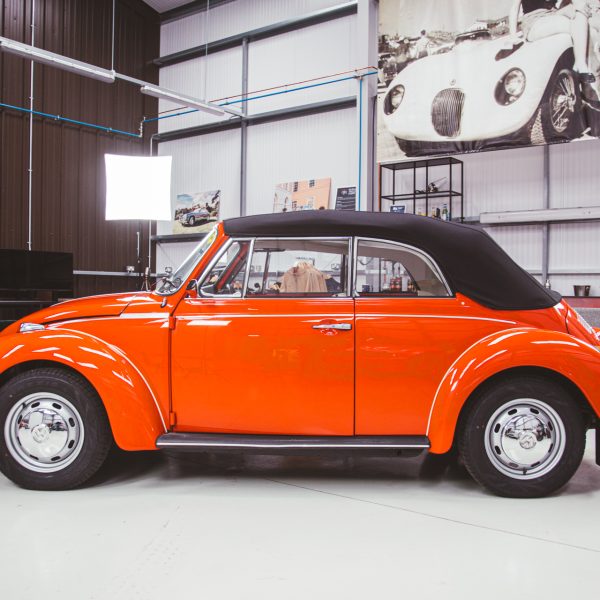
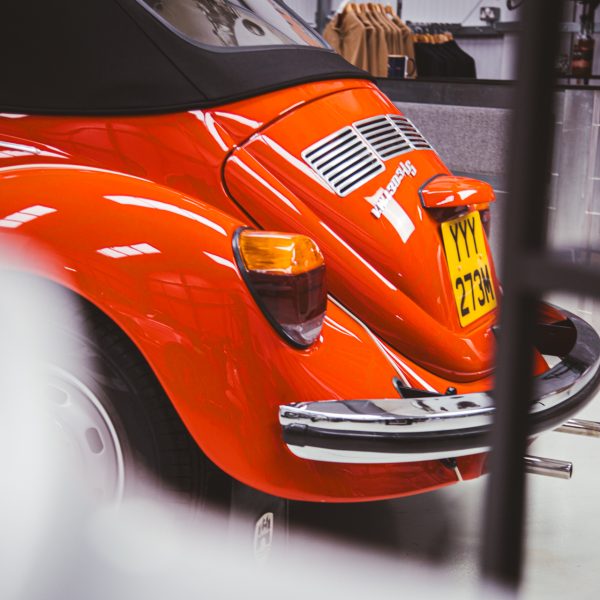
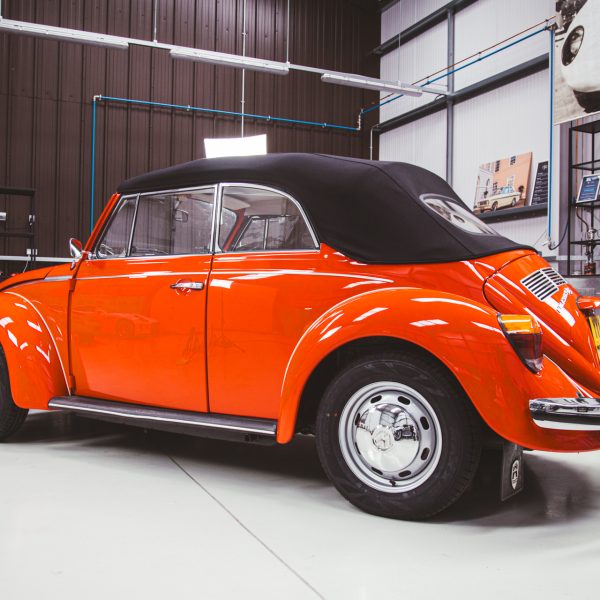
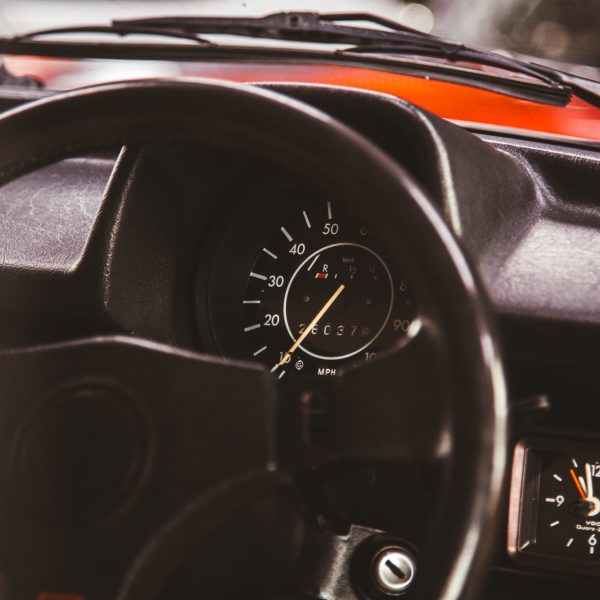
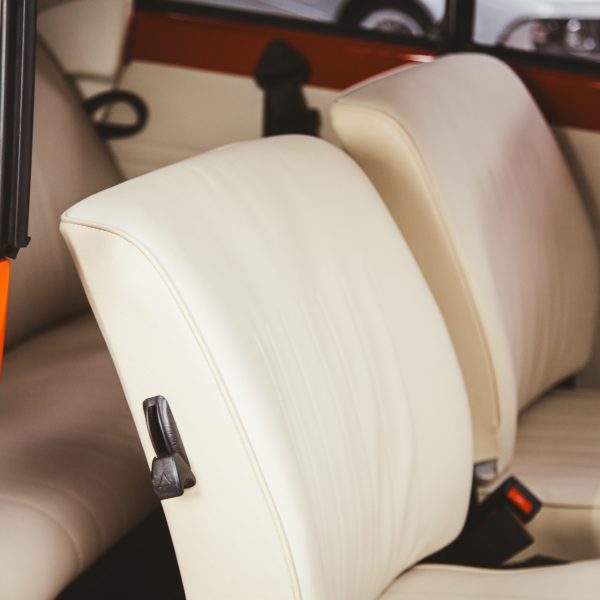
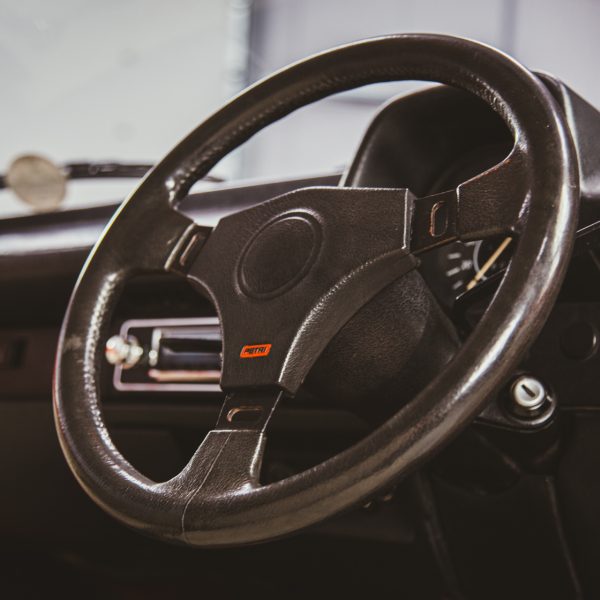
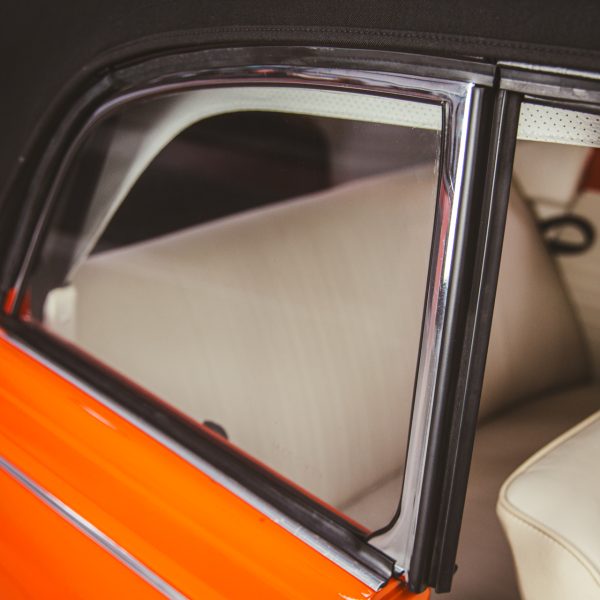
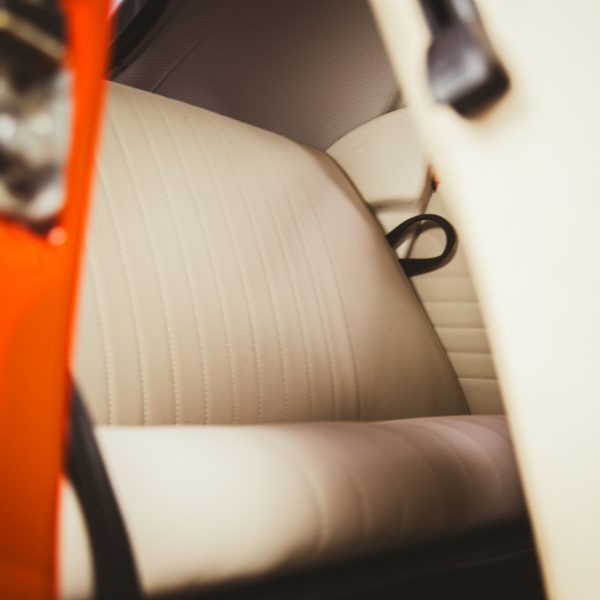
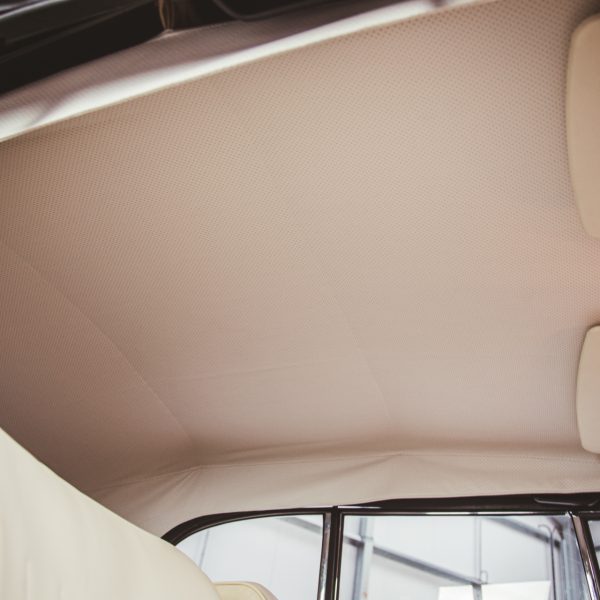
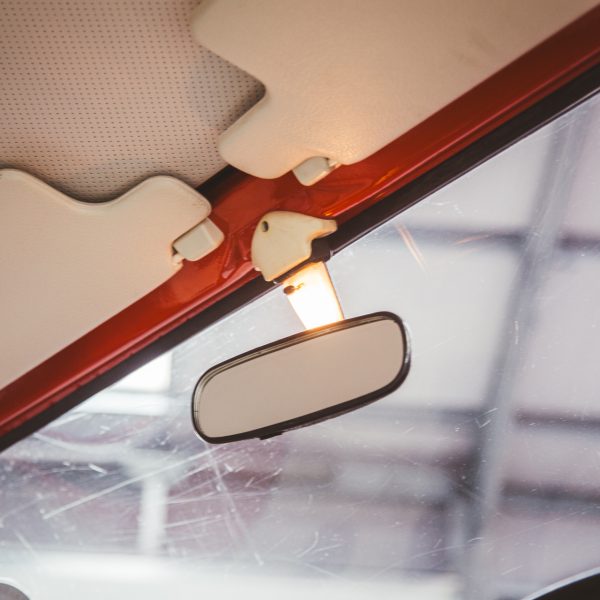
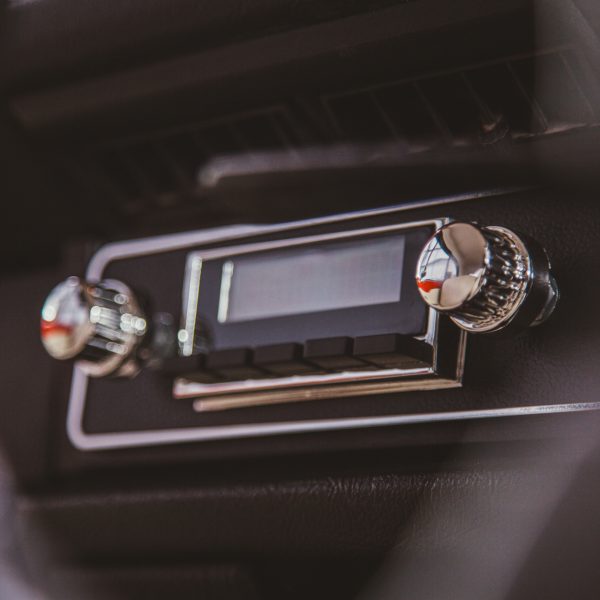
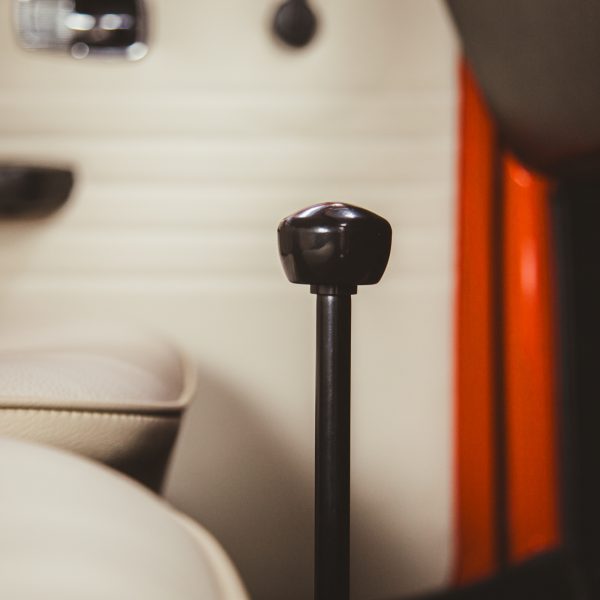
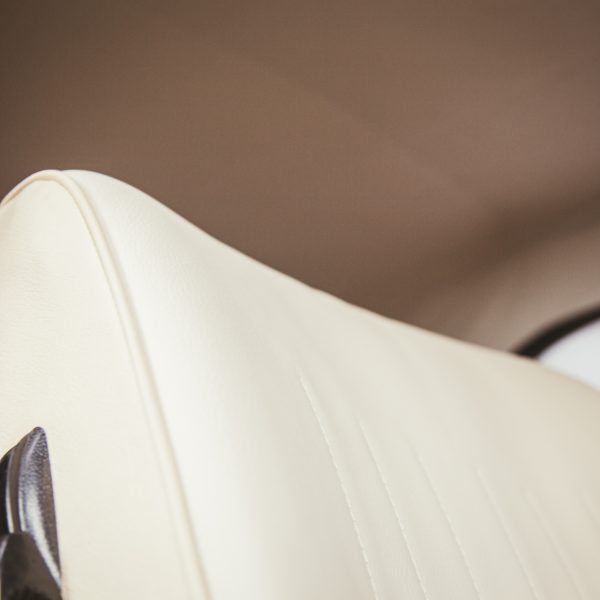
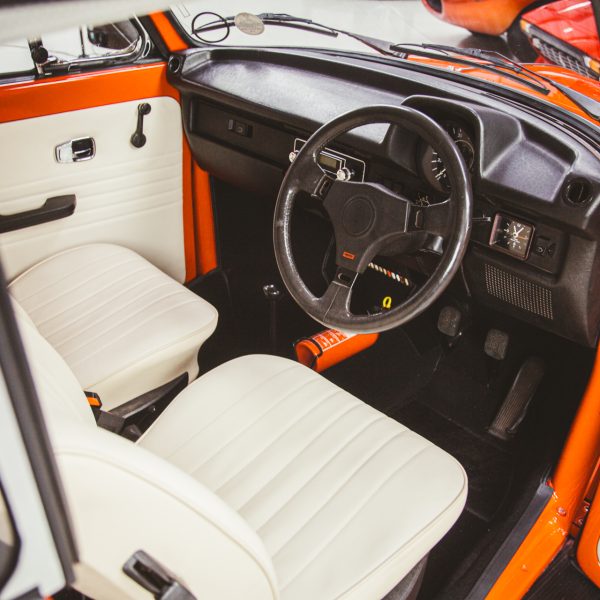
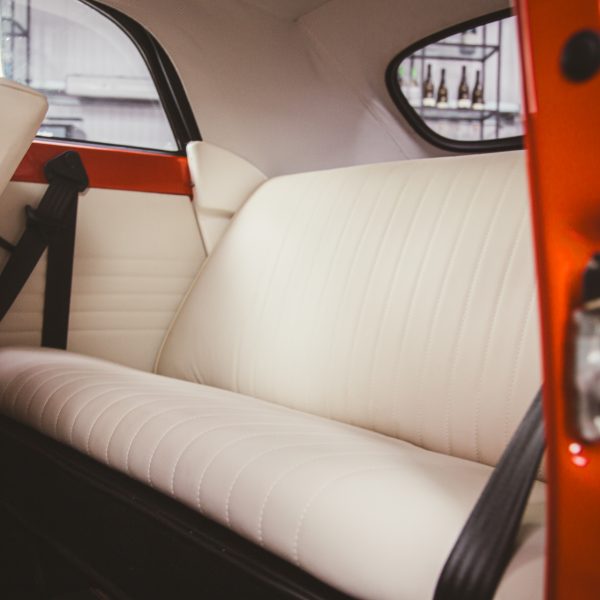
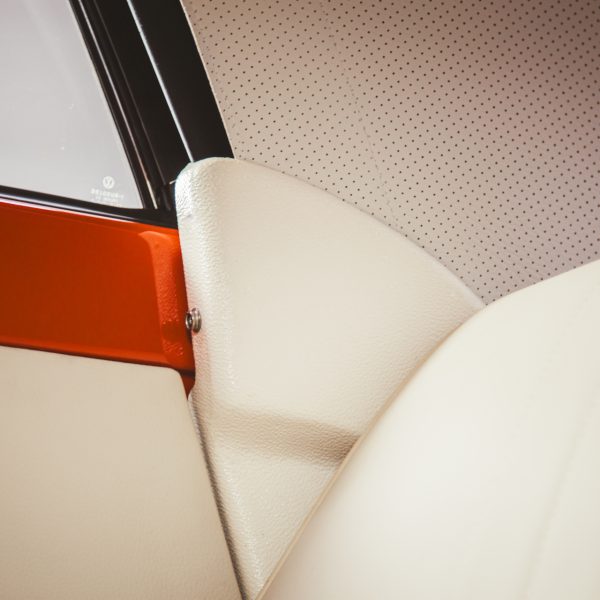
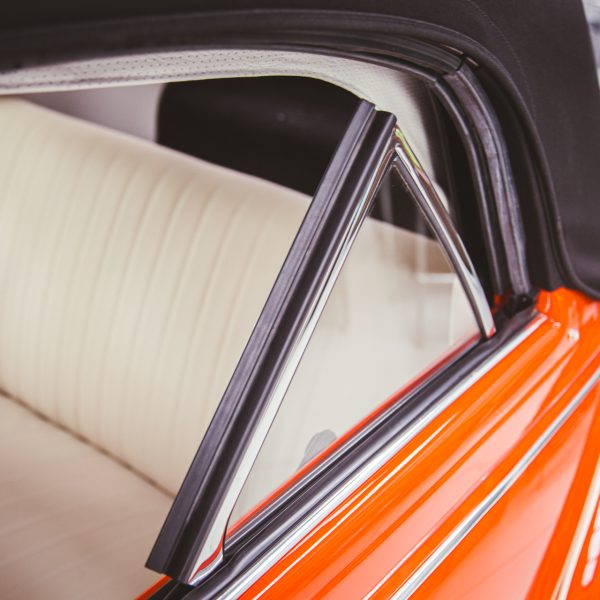
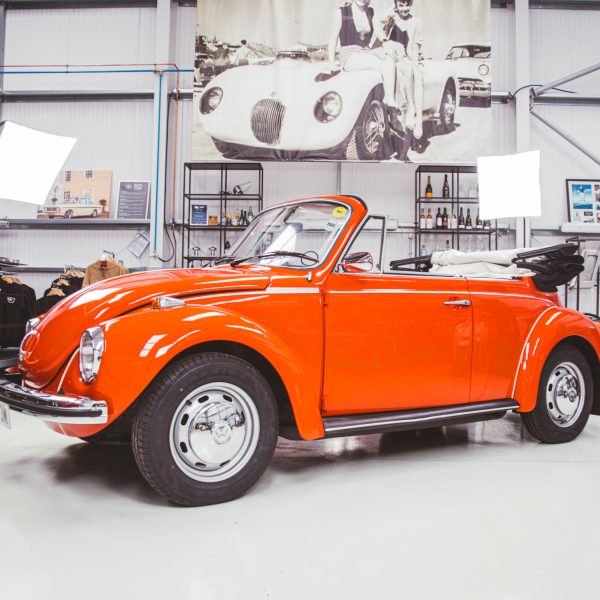
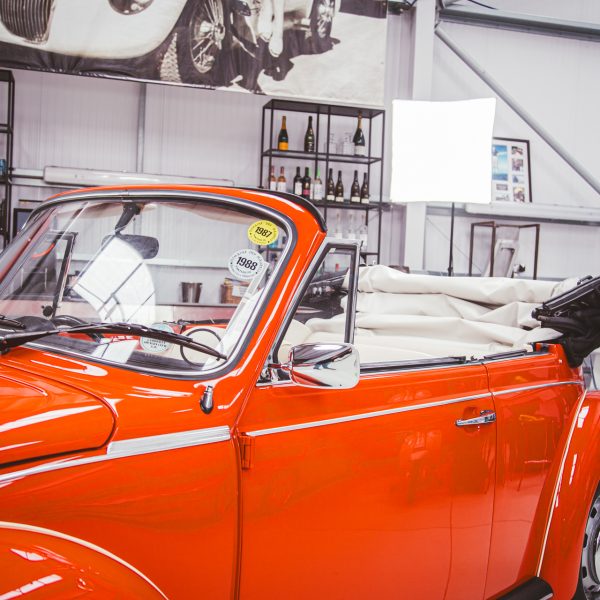
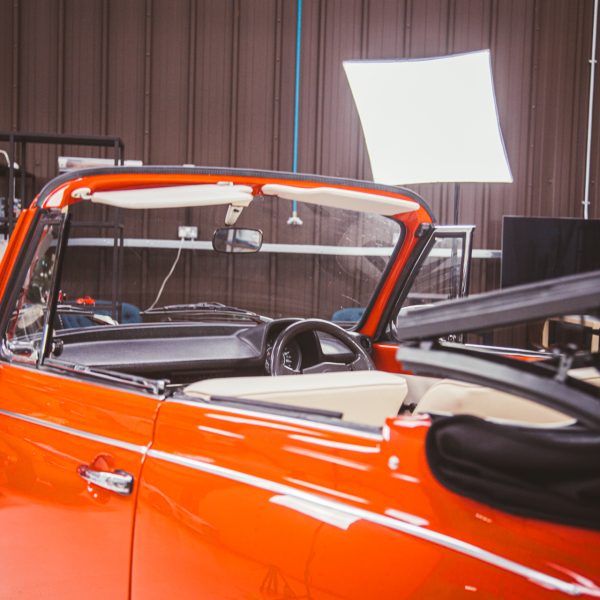
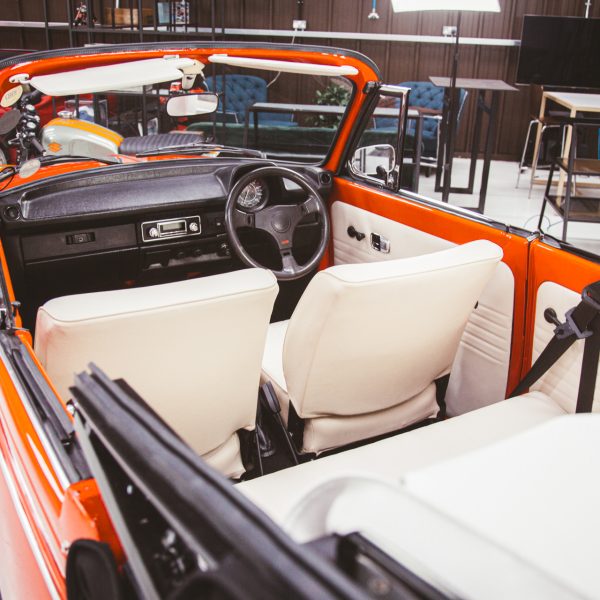
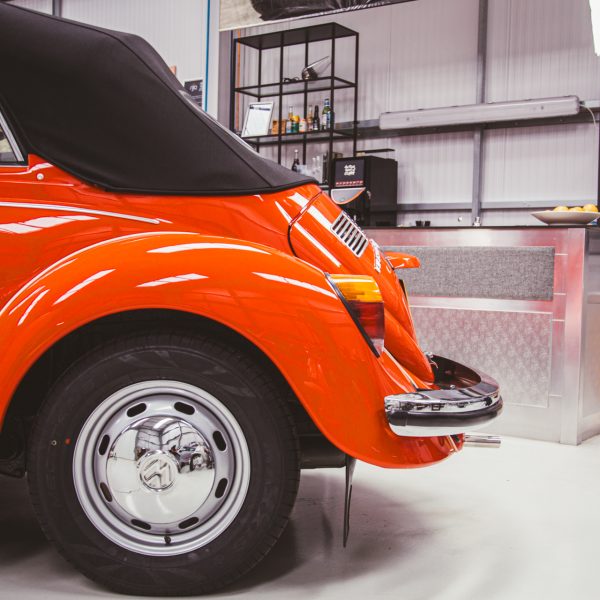
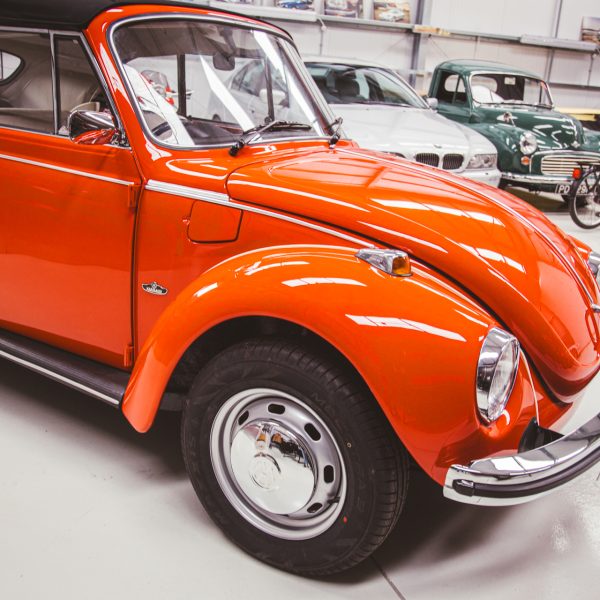
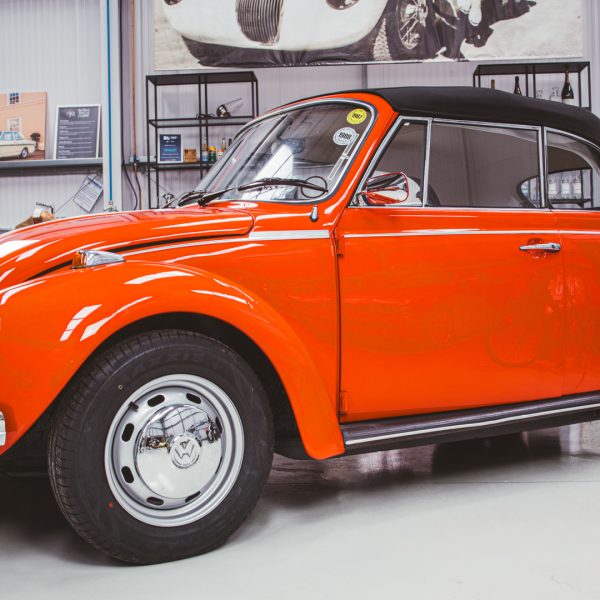
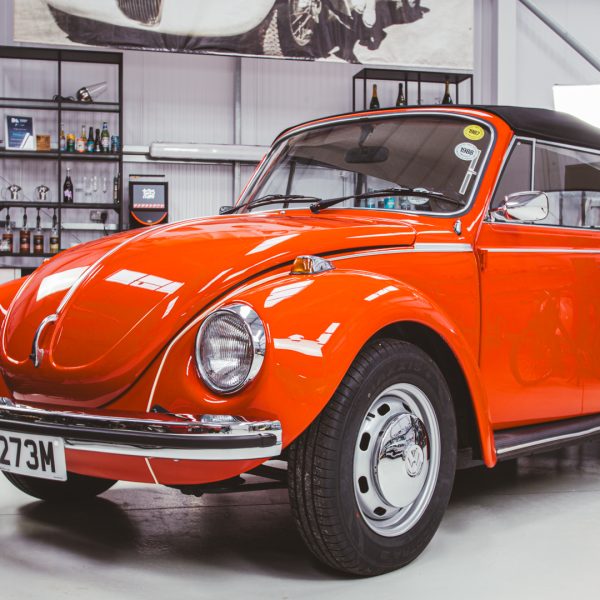
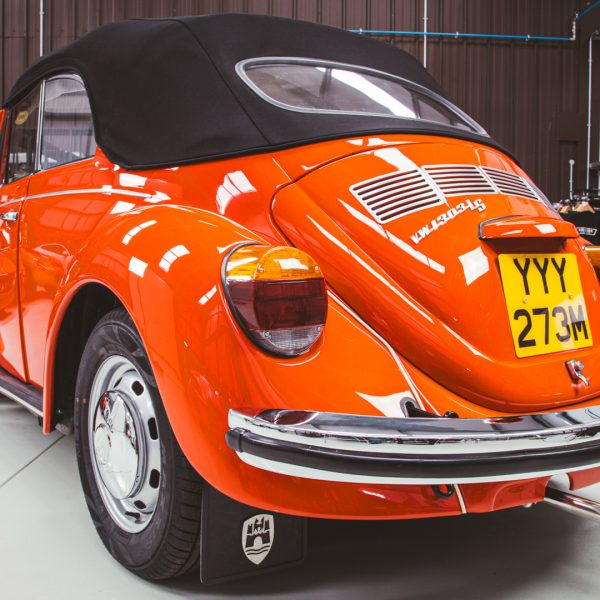
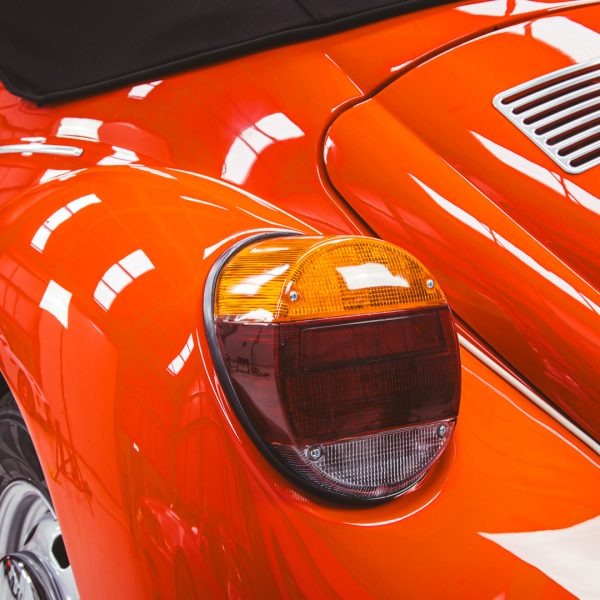
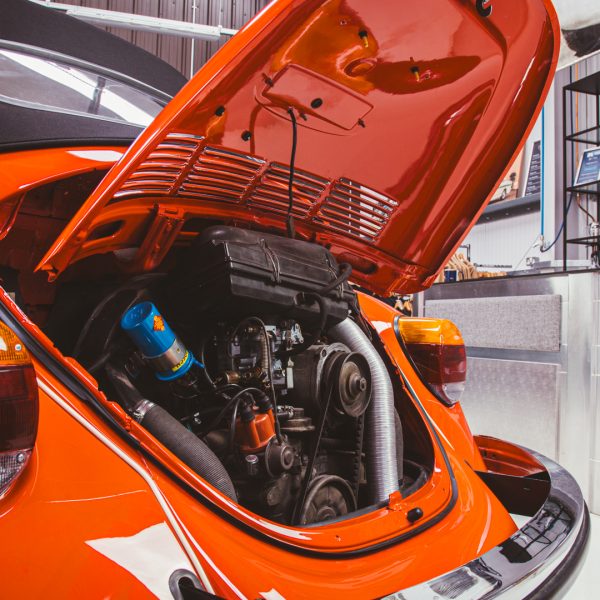
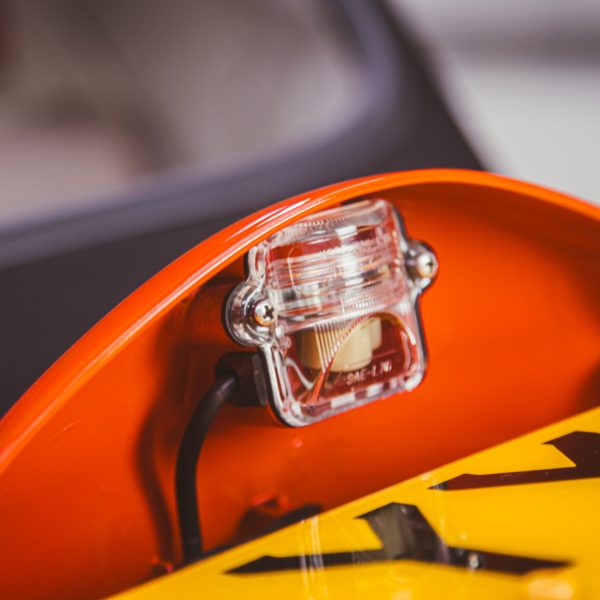
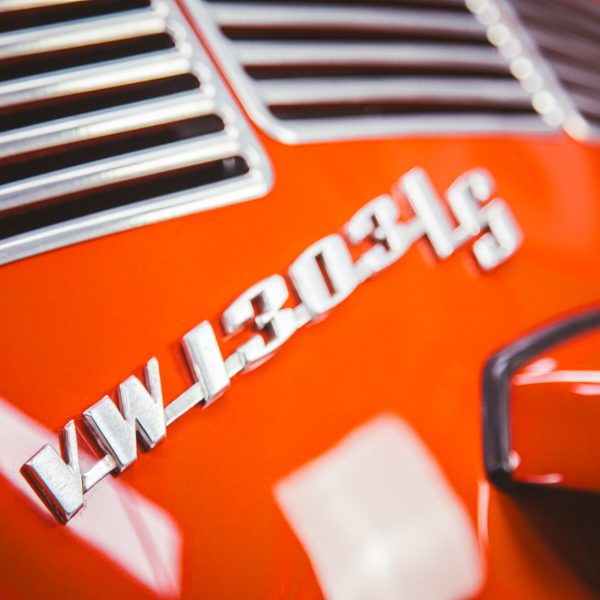
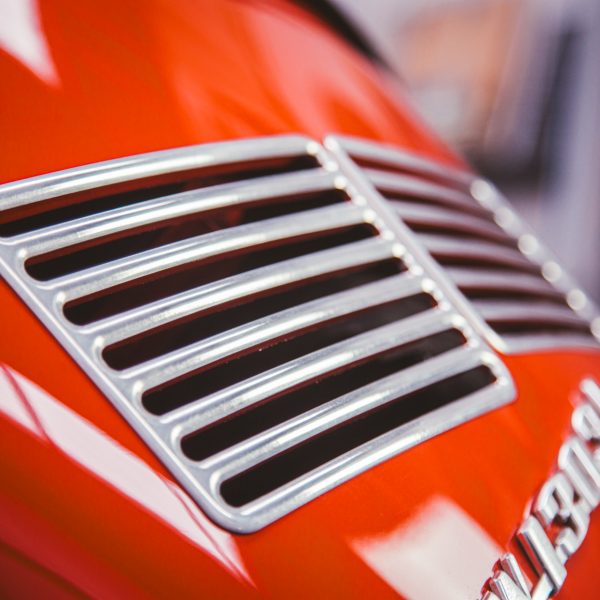
As our 1974 Volkswagen Beetle nears the end of its restoration, with only a few small bits to do, we though we would take it into the Atelier and set up a photo shoot for the car before it leaves our Suffolk HQ to head back home to its excited owner.
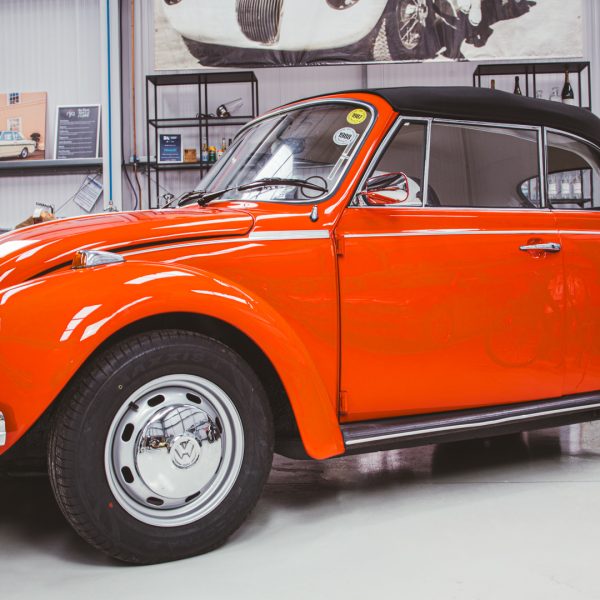
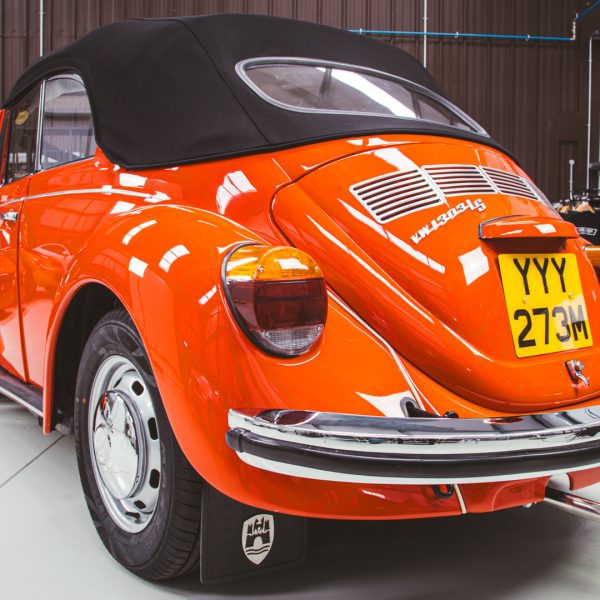
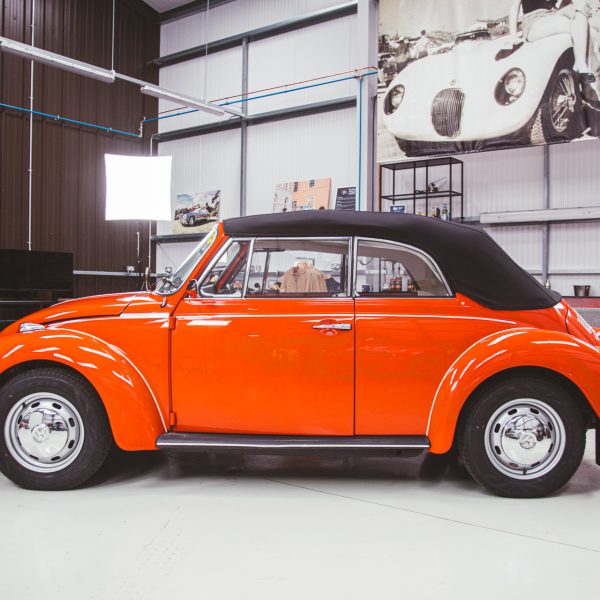
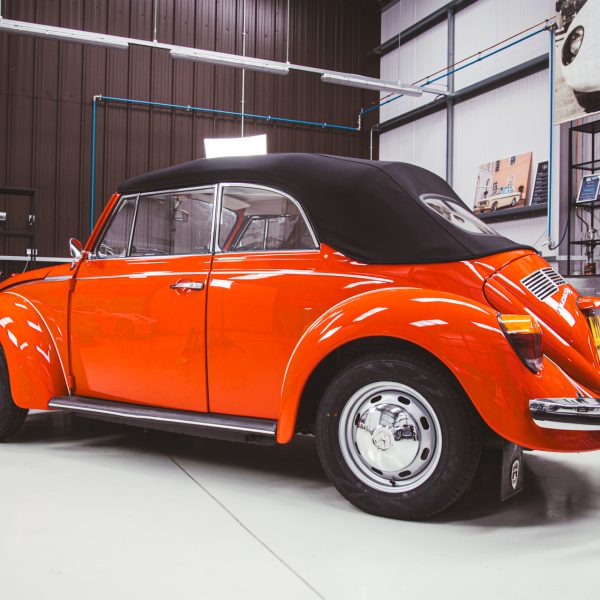
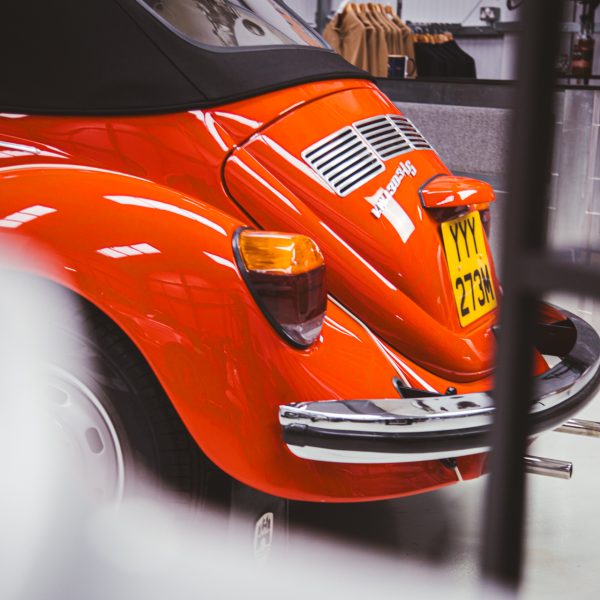
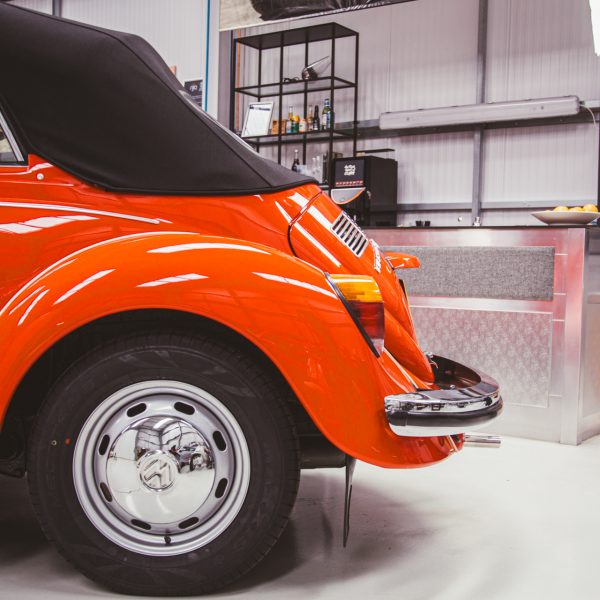
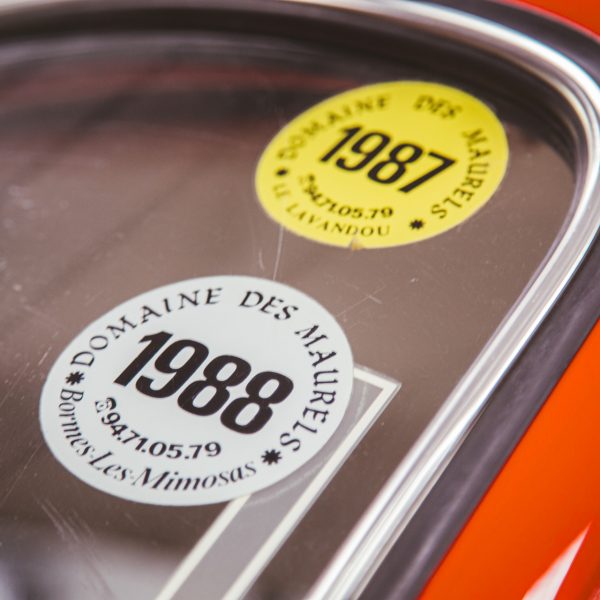
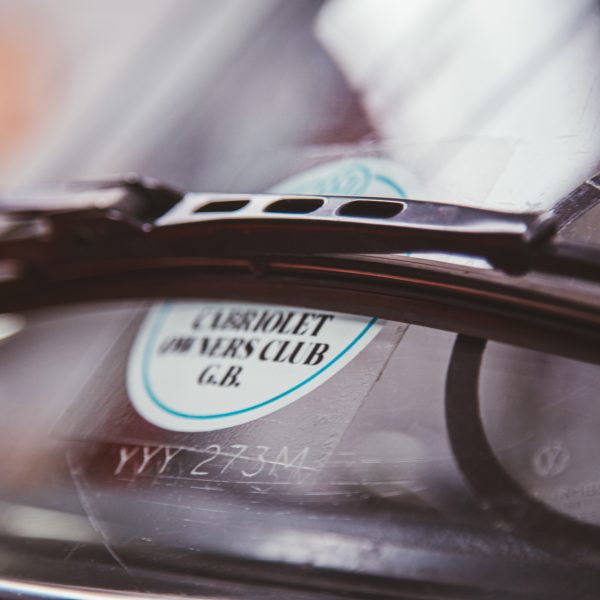
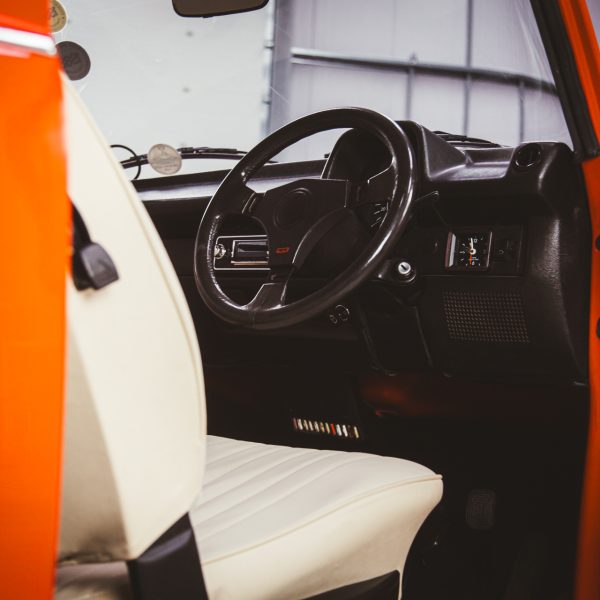
‘Delilah’, as the car is affectionately known, came to us at the beginning of 2023 to begin its restoration journey. This wonderful piece of automotive sentiment has received the love and car from each and every department here at our Suffolk HQ like any of our restorations to make sure that we deliver a car which will last well into prosperity for its owner to enjoy and Delilah is one of those. The team have also tried to preserve her unique and personal history with the retention of the window stickers and other original pieces which make ‘Delilah’ a one-off to her owner.
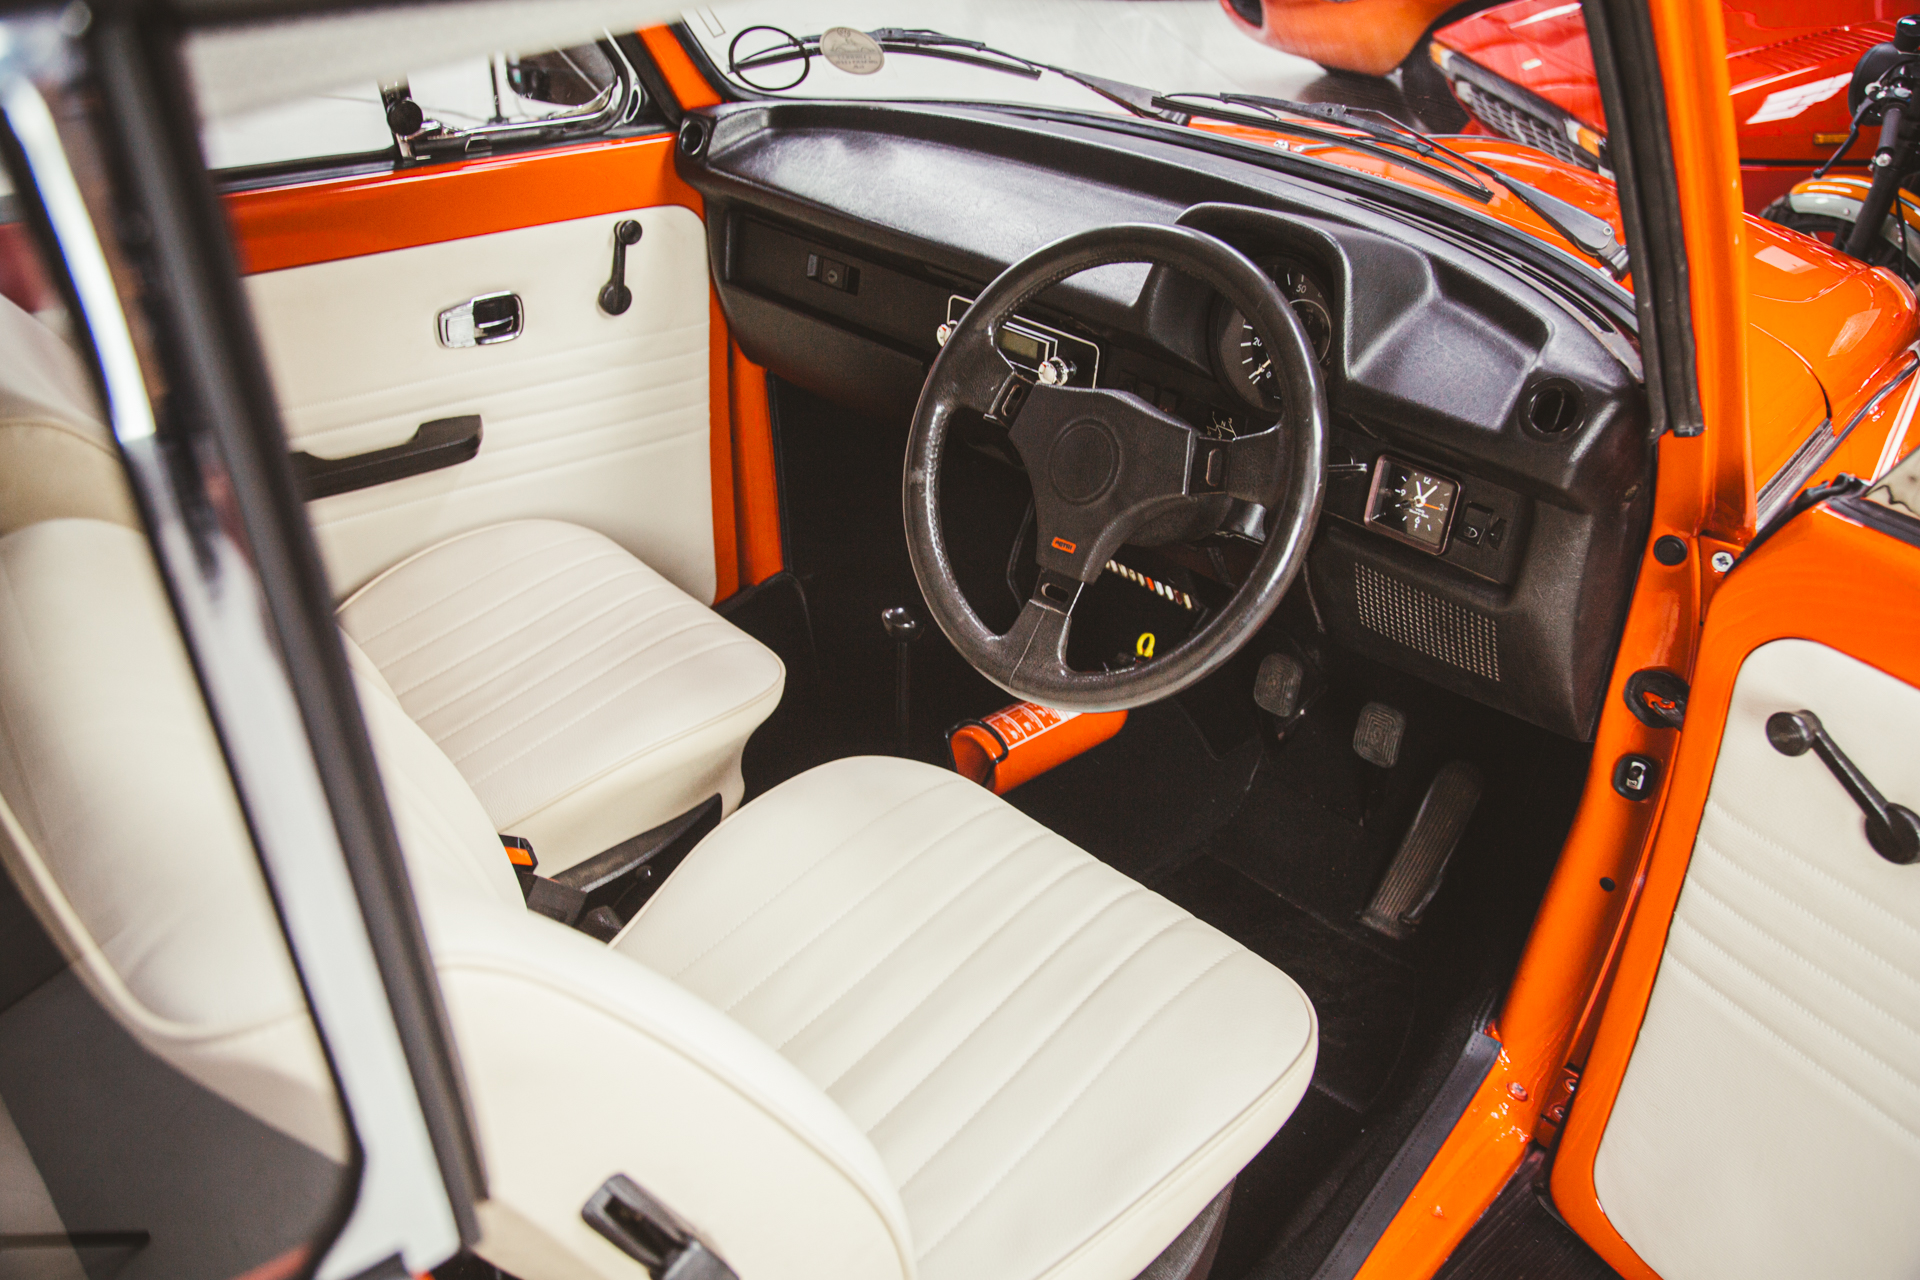
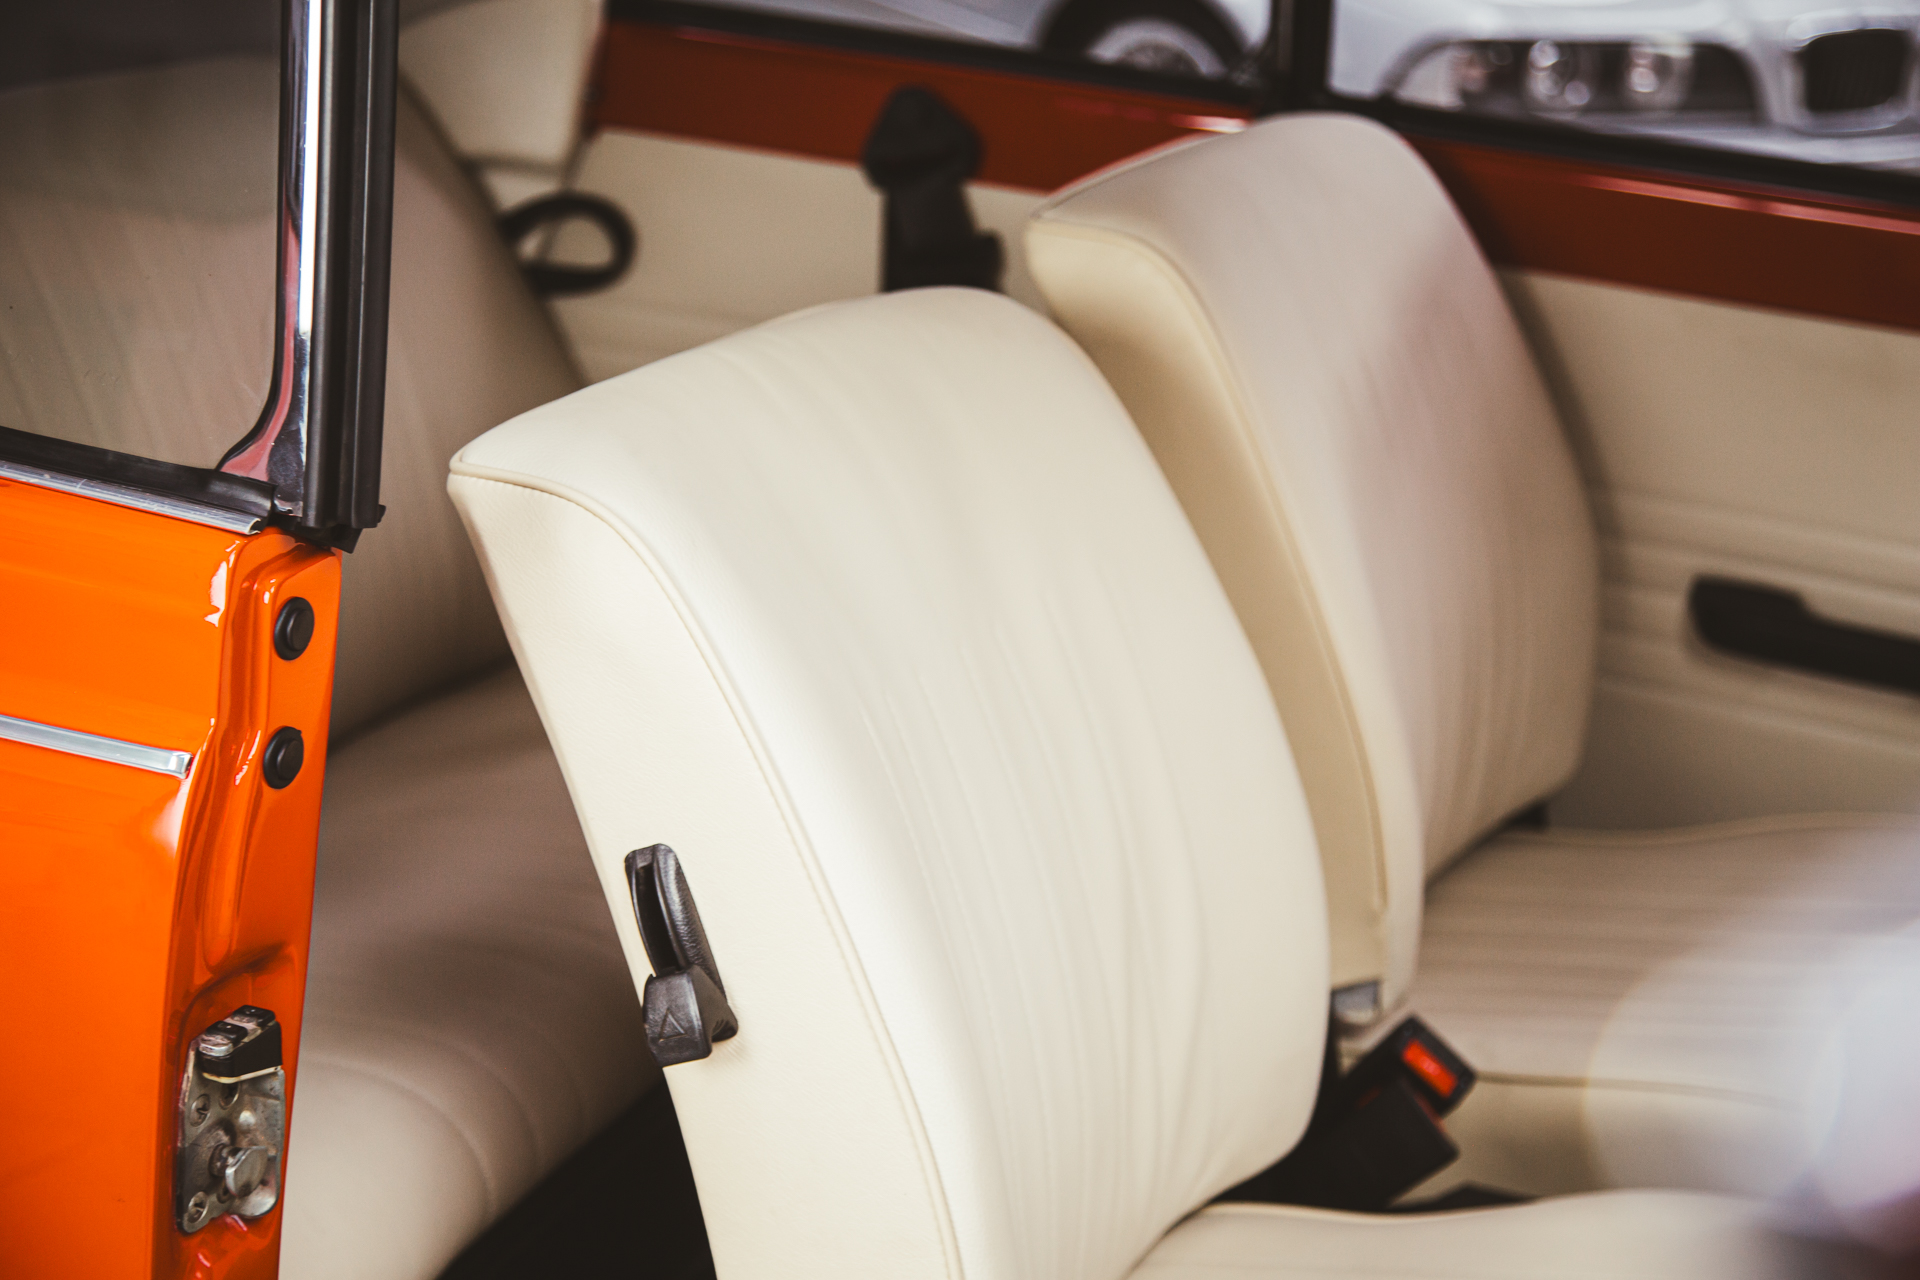

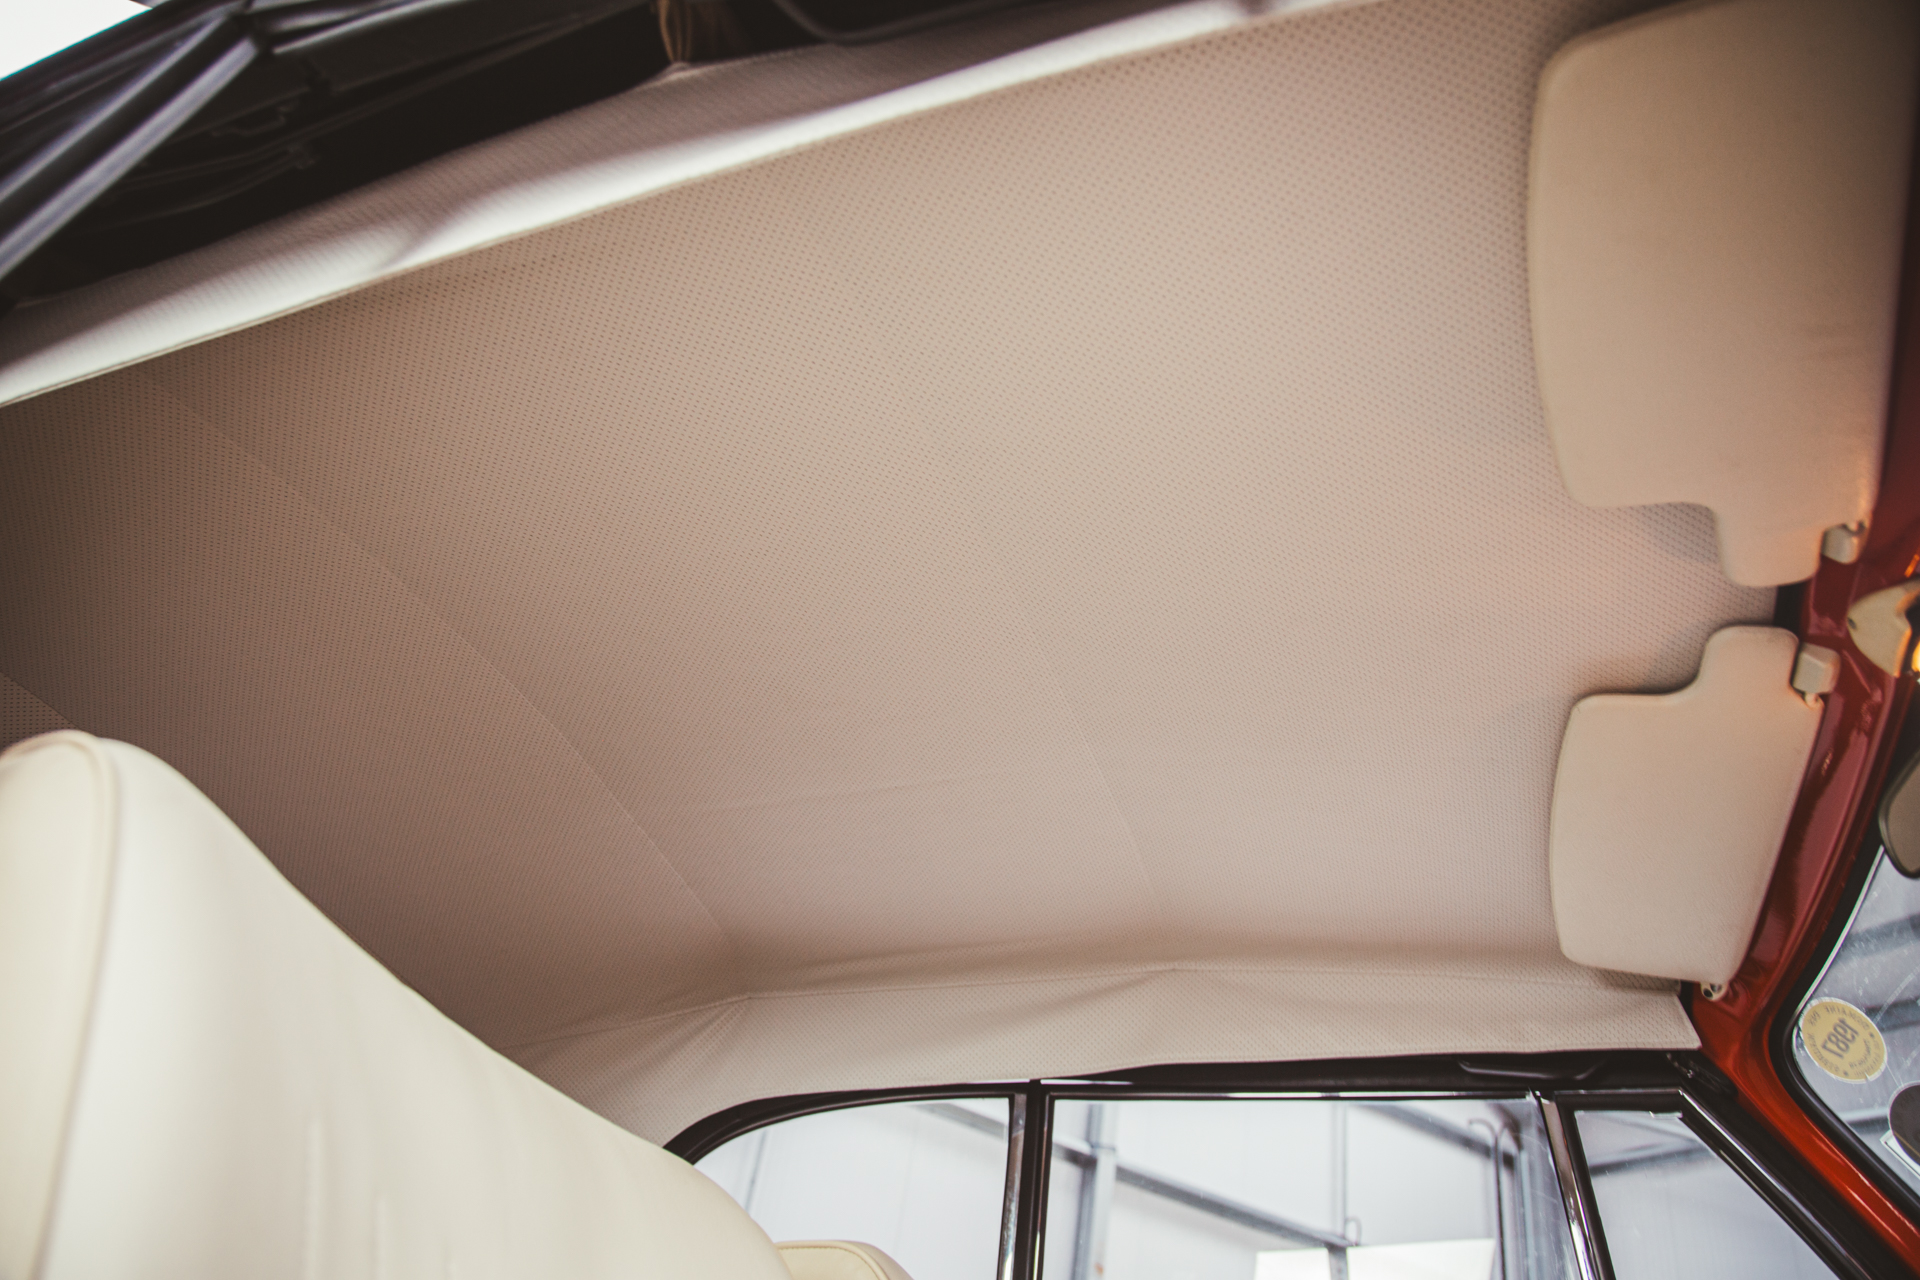
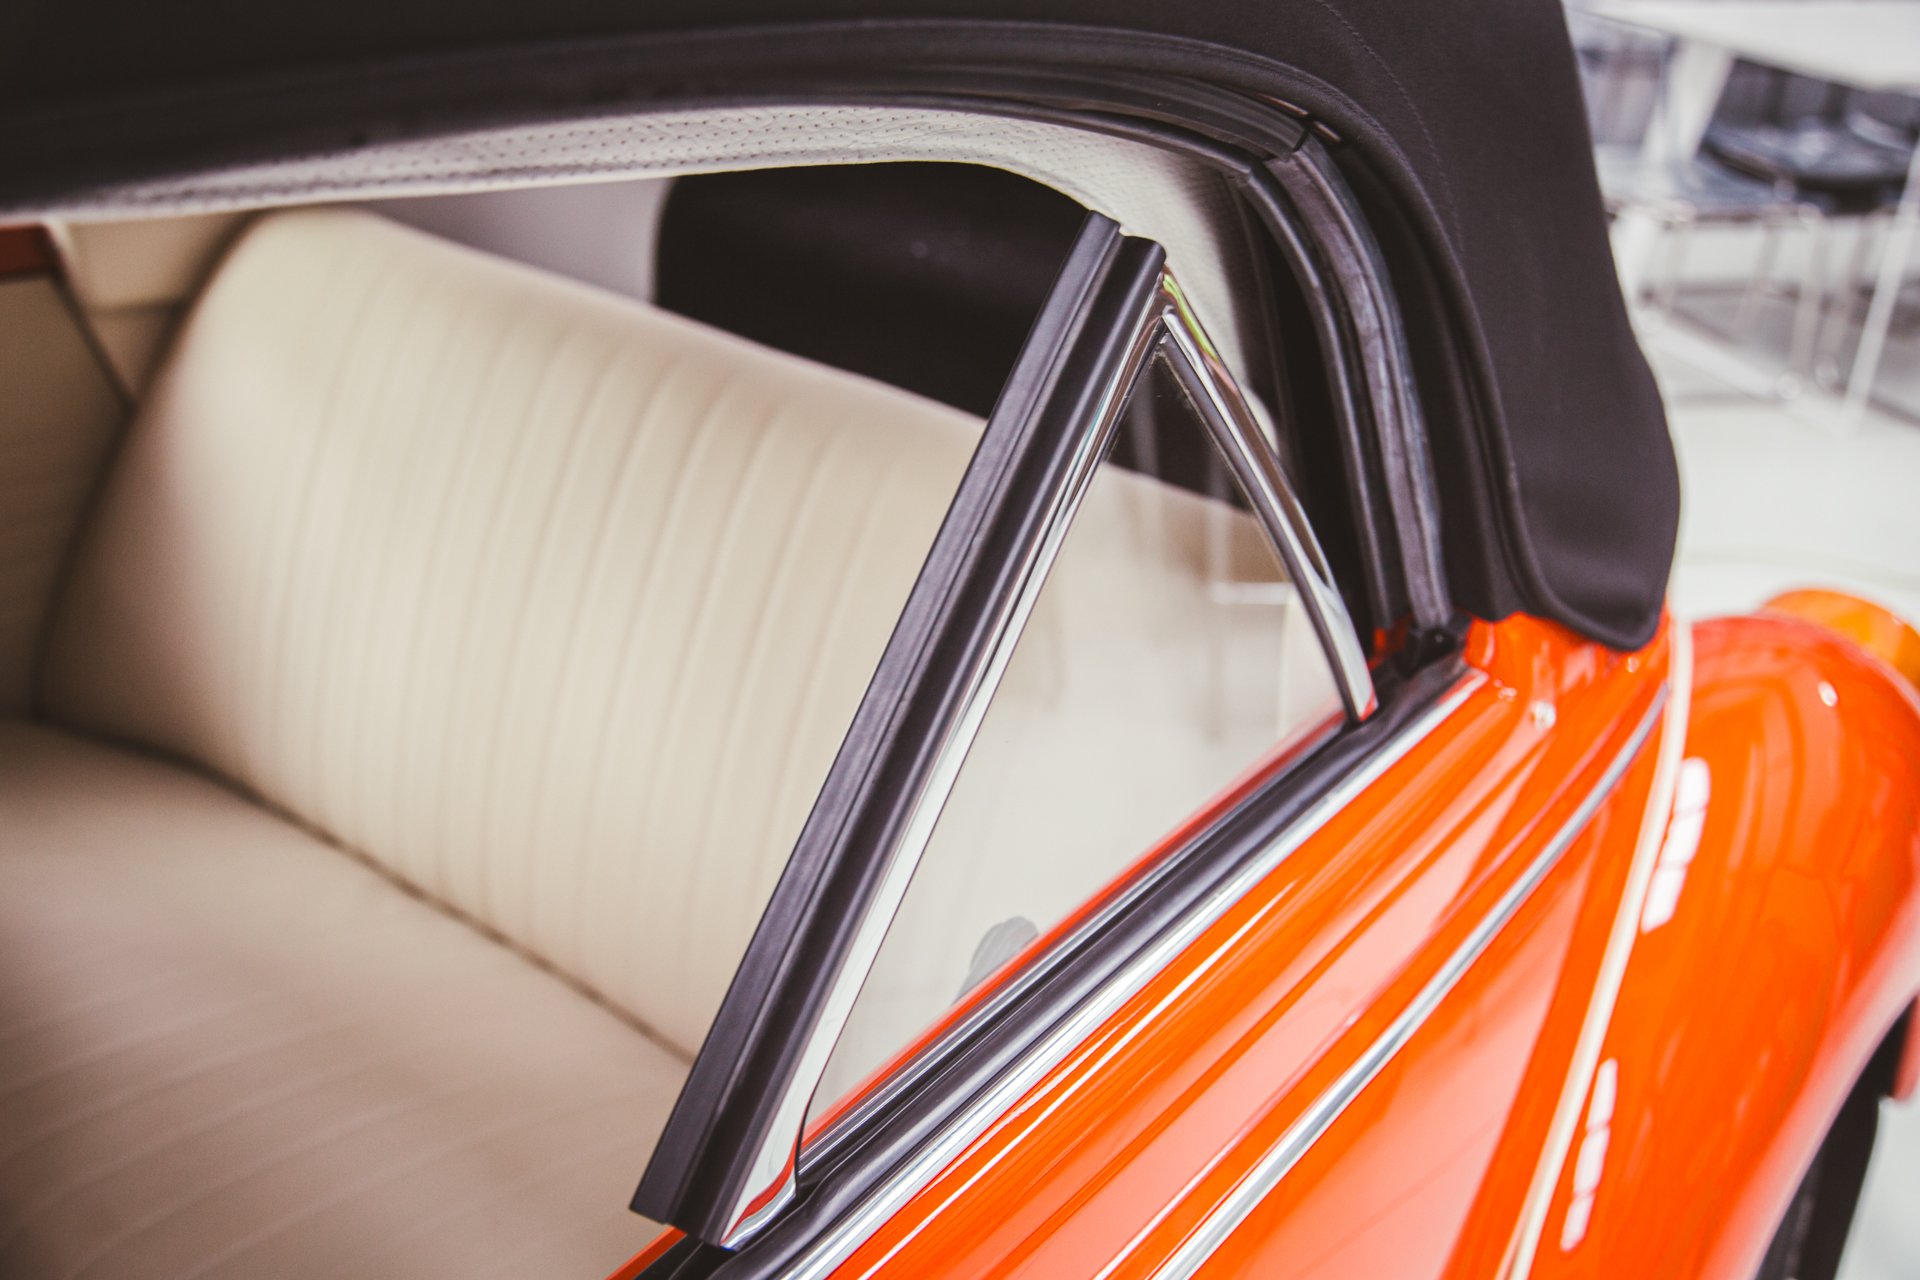
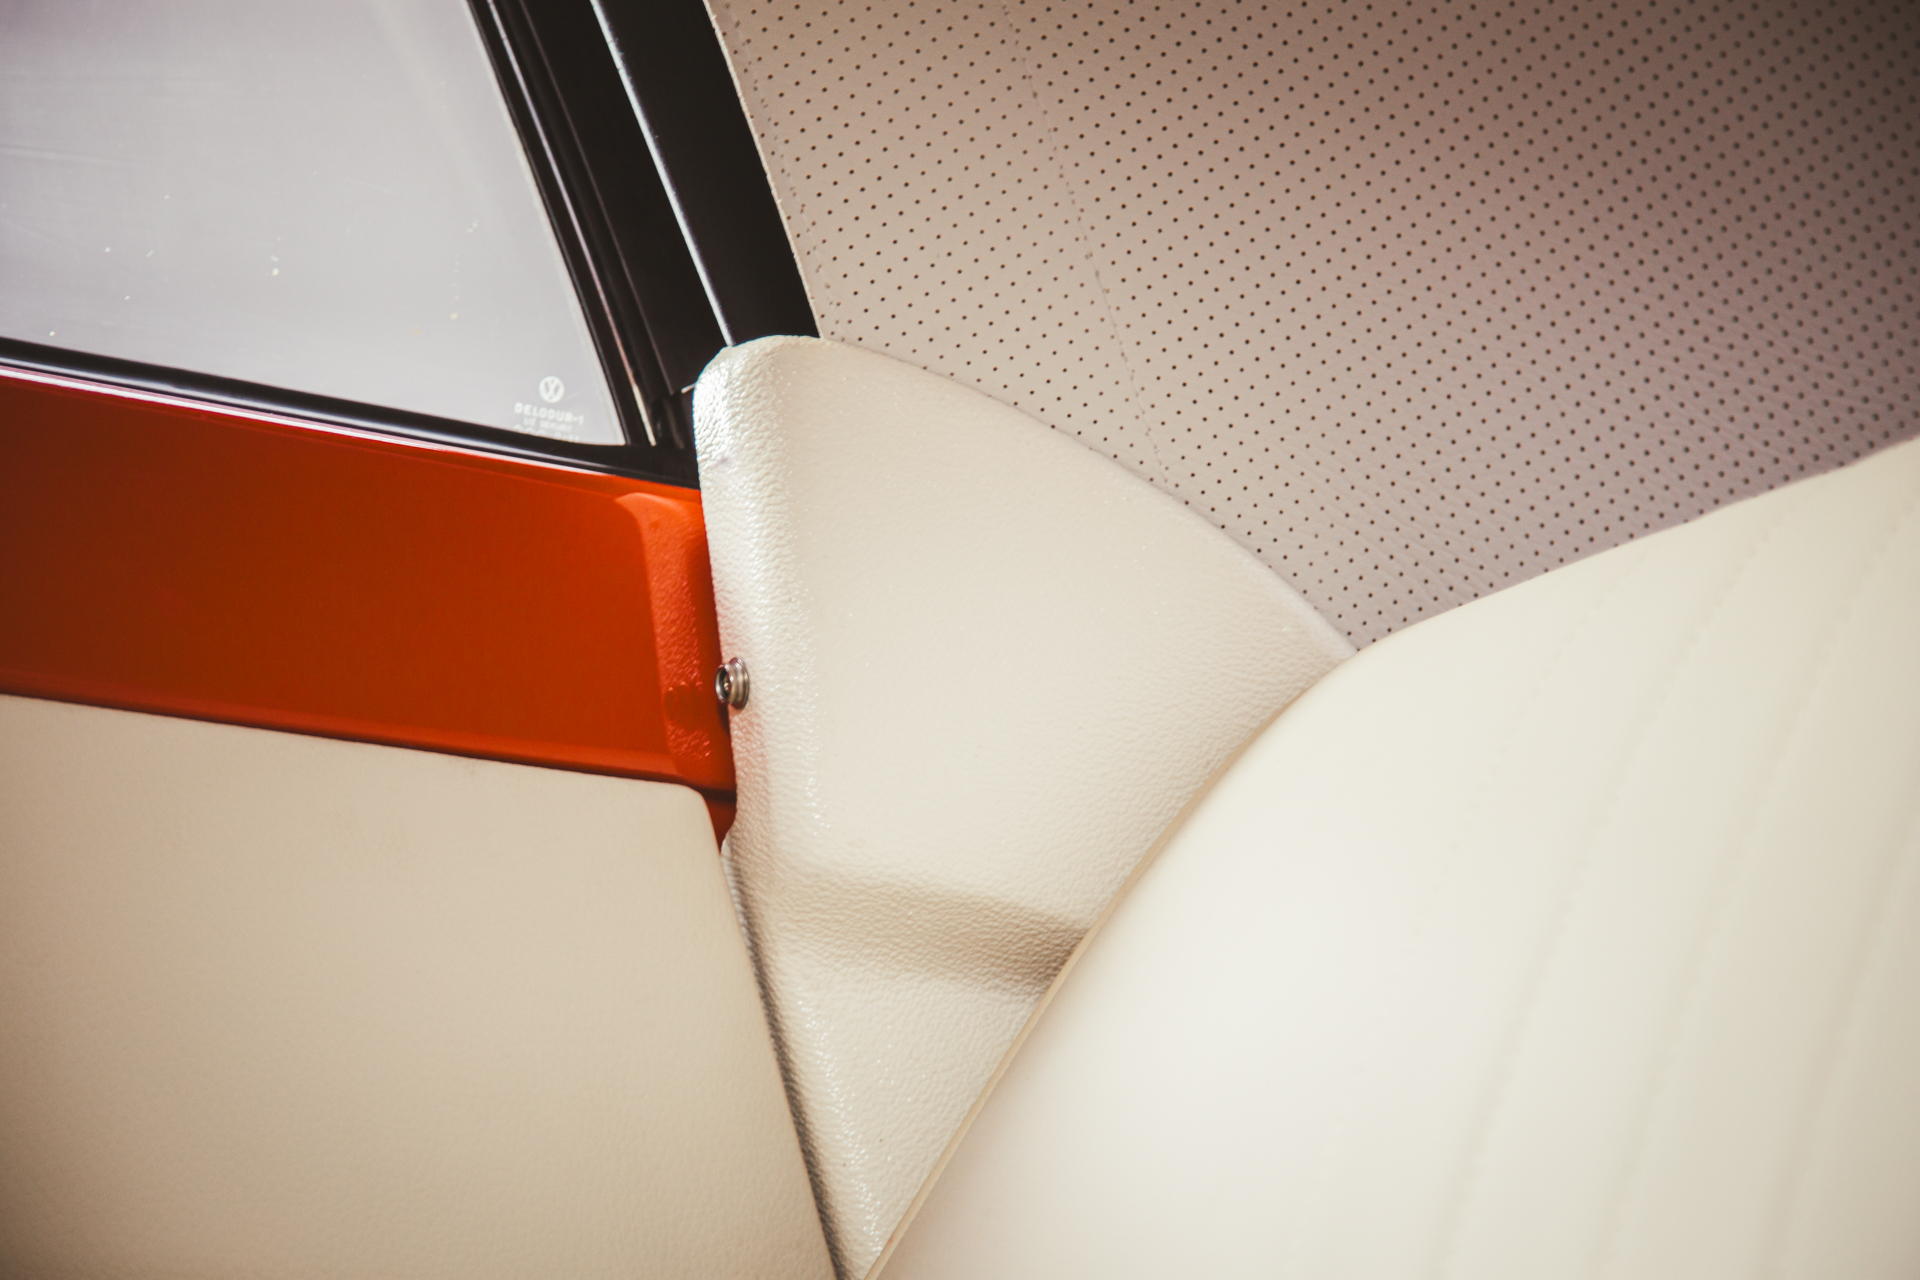
From the sympathetic and careful metalwork done by Chris and Monty in the fabrication shop, to the fastidious and meticulous preparation and execution of Chris, Alan and Mauro in the paint department. Brian and Lydia turning their expert skills and attention to detail on the bespoke cream leather interior and handmade roof in the trim workshop all the way down to James getting the engine set up to run just how it should, Little Jon working on getting each system working correctly in the cabin and Big John installing the wonderfully subtle RetroSounds stereo unit into the original dash. Each department has proudly worked on Delilah to bring her back to life and back to being able to be enjoyed by her owner for many many years to come.
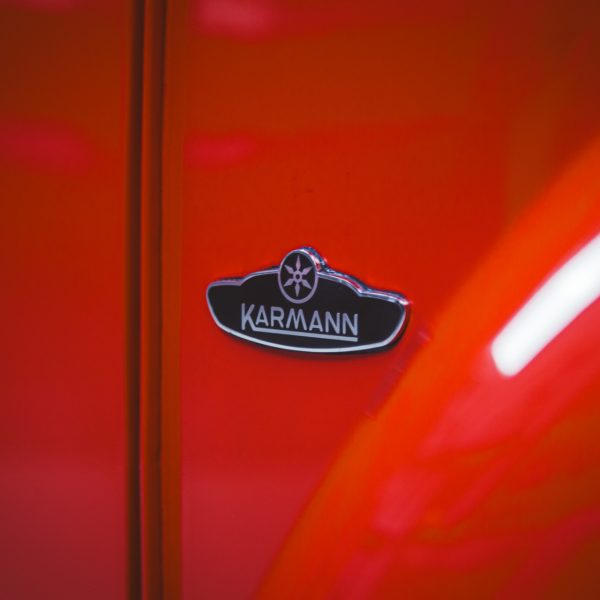
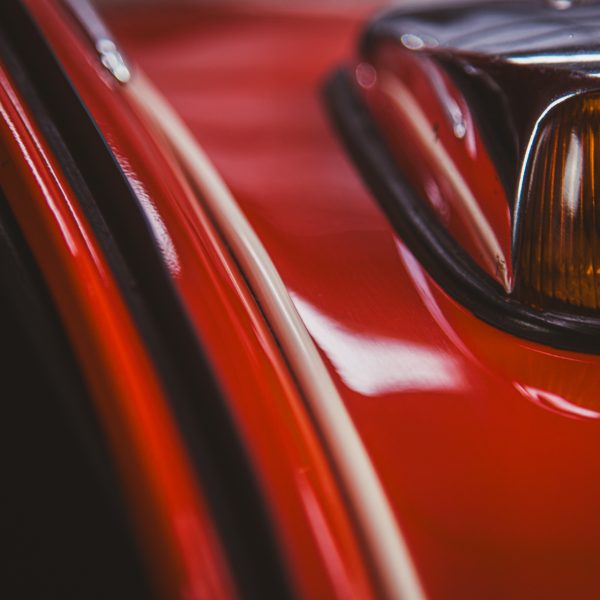
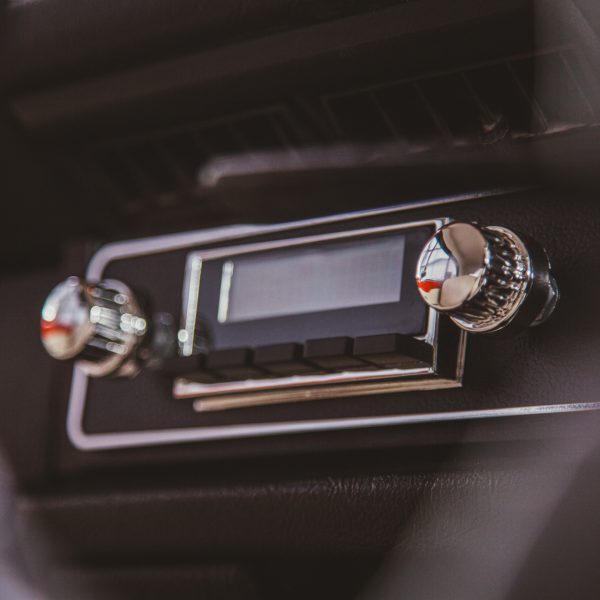
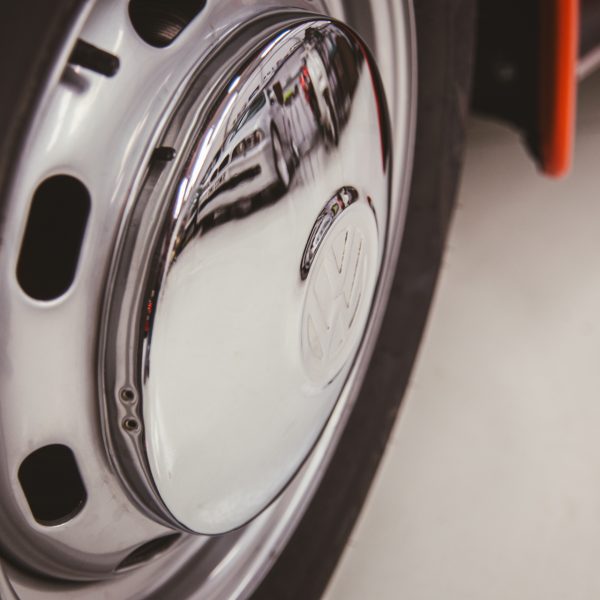
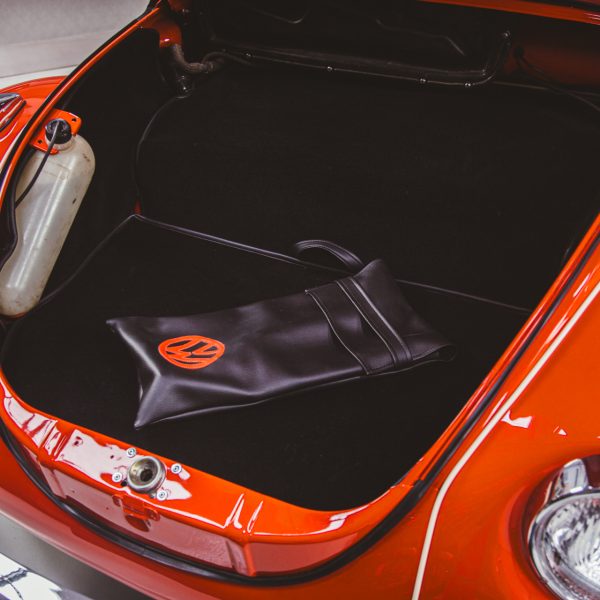
Now, it was up to me to try and capture in photos what the team here at Bridge Classic Cars have worked so hard on over the past 11 months – I hope I managed to show just how beautiful this Beetle turned out from the talented and skilled work our amazing team have put into this classic Volkswagen.
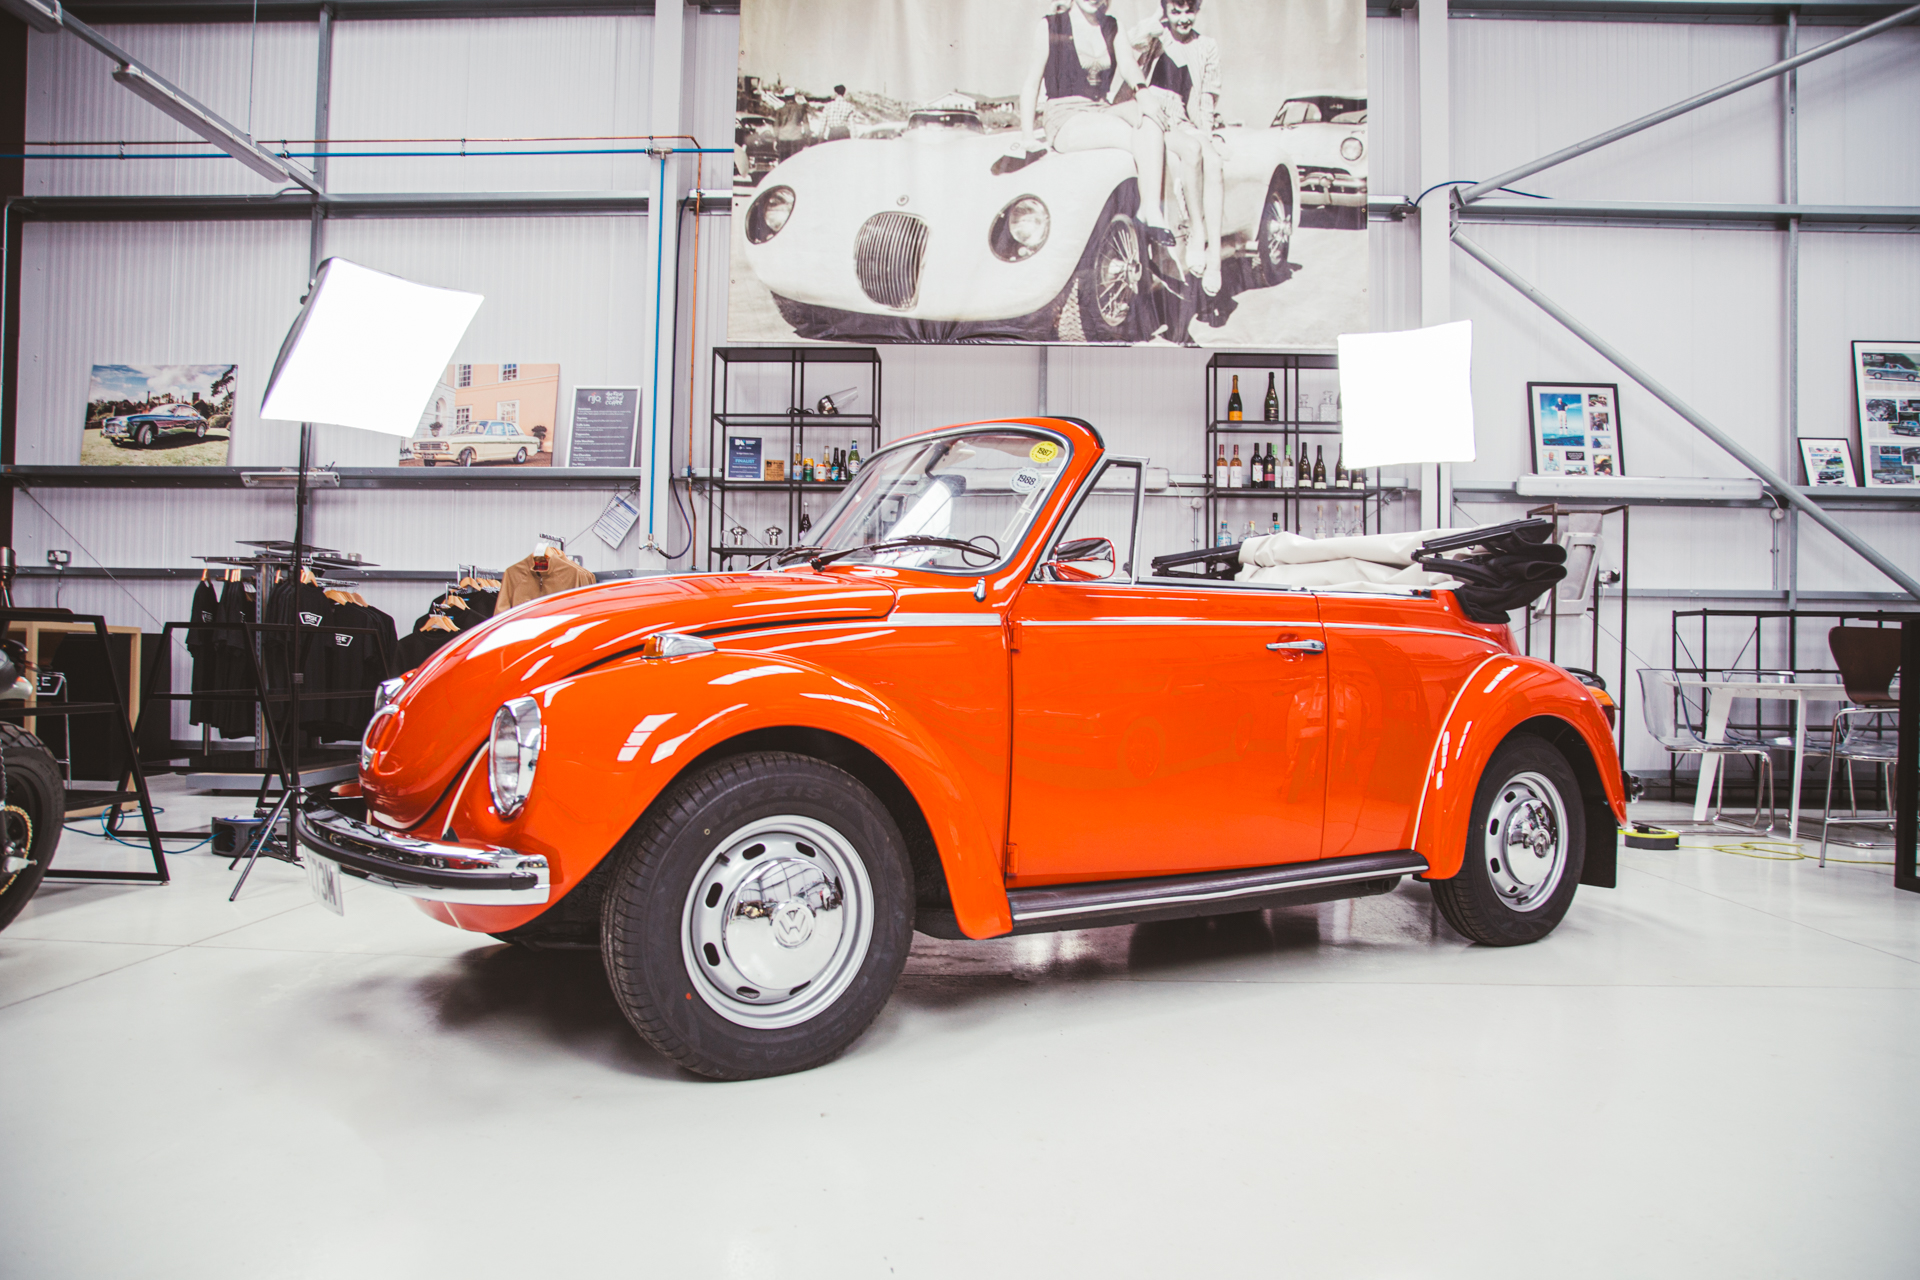
Take a look at the full gallery here:
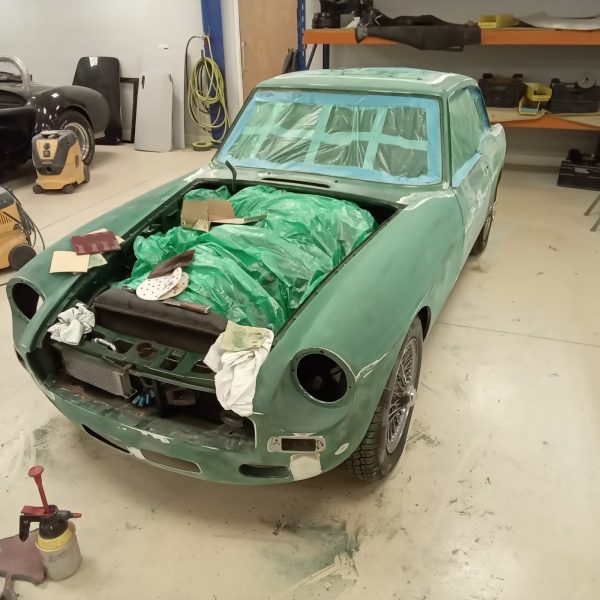
Chris is currently stripping back our MG C GT to expose all of the rust and corrosion areas that will need addressing. As we find more often than not, the areas we initially see upon first inspection is not able to reveal the true extent of work required. It is only when you start to strip a car do you see a true picture of corrosion that has developed and what work will be required to put it right before we even look to repaint.
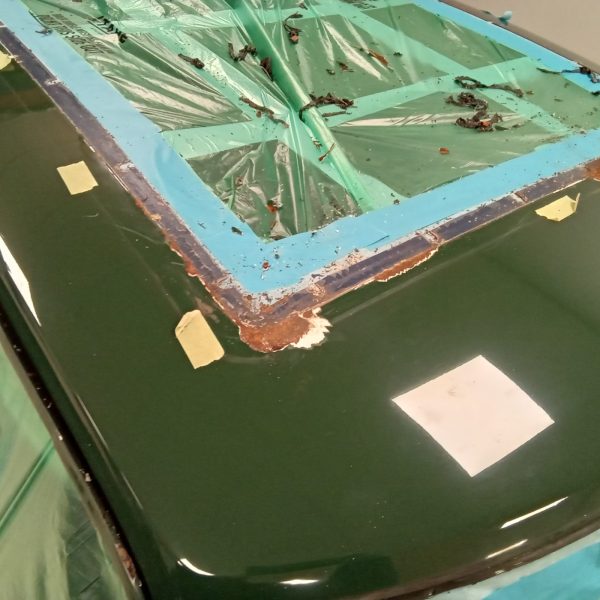
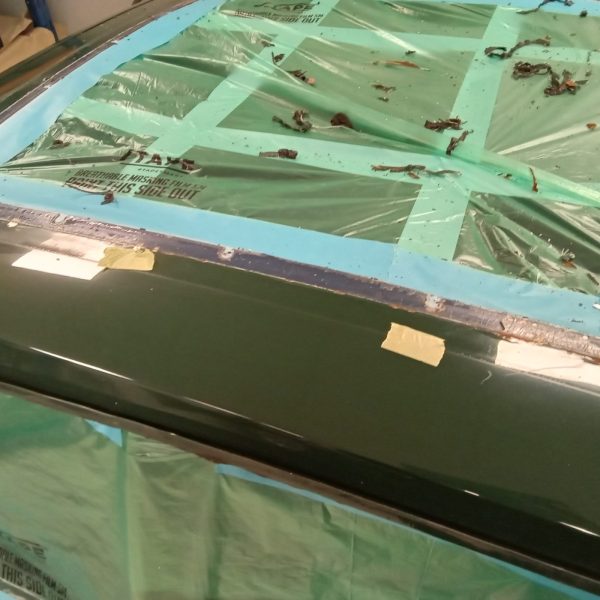
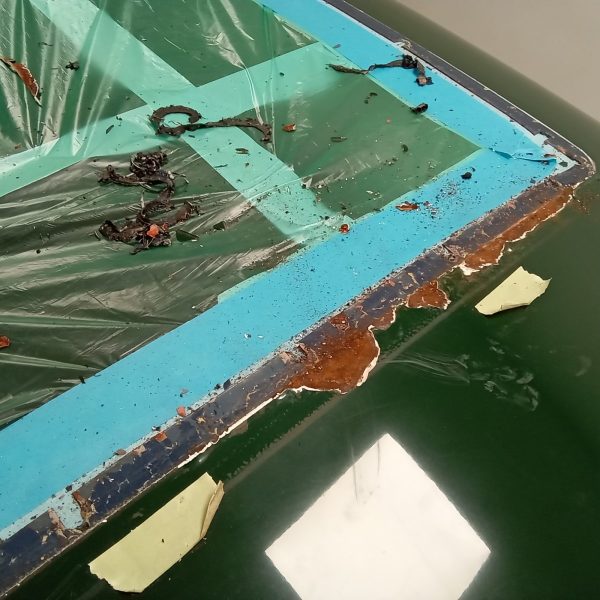
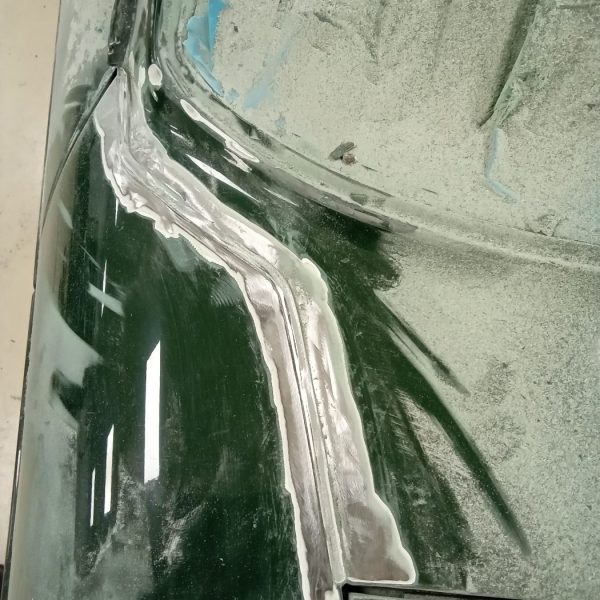
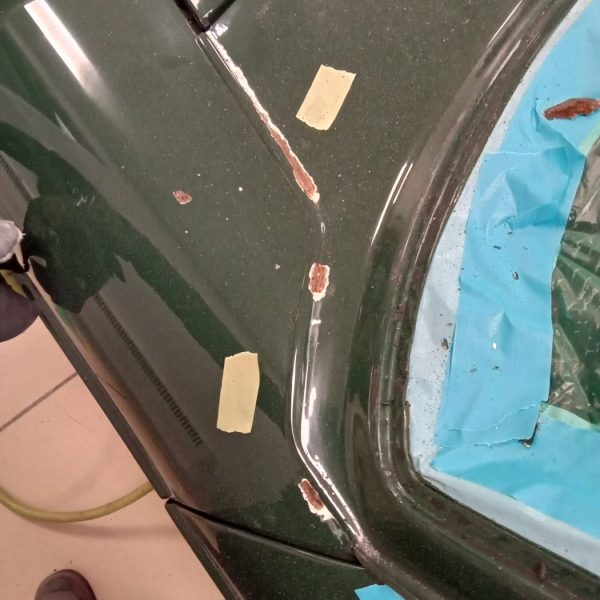
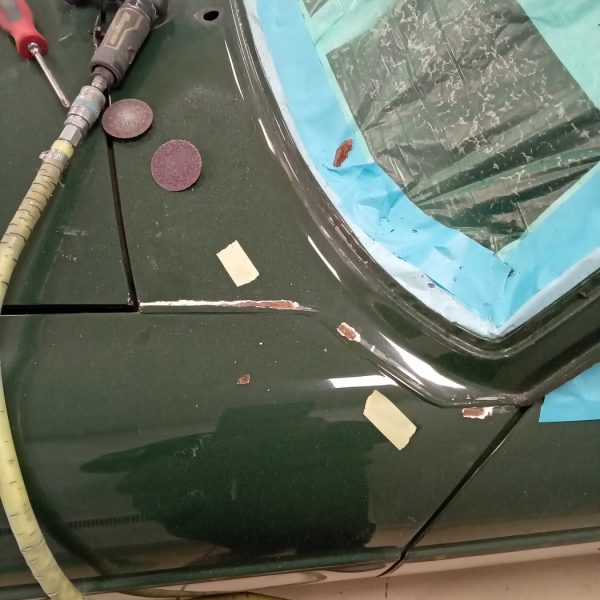
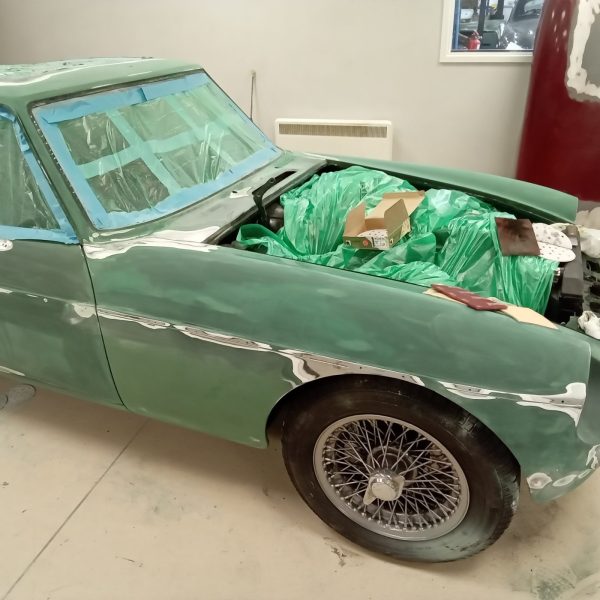

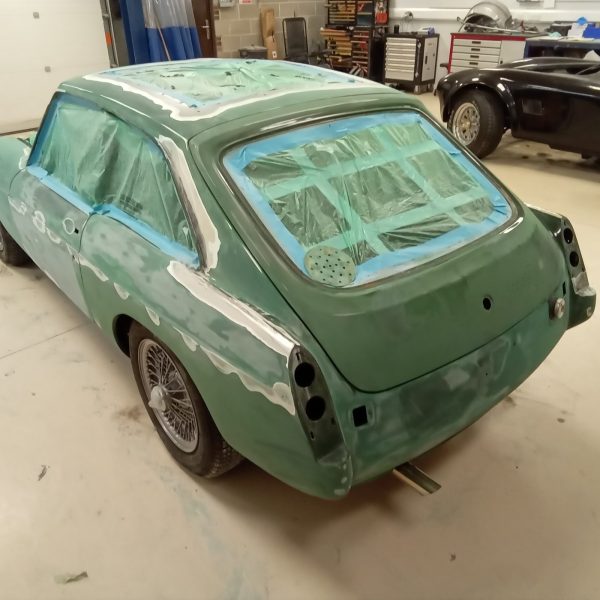

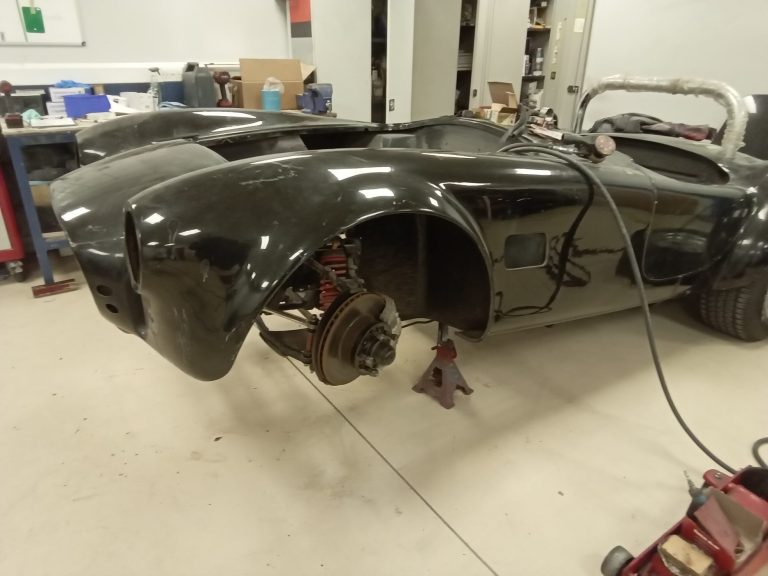
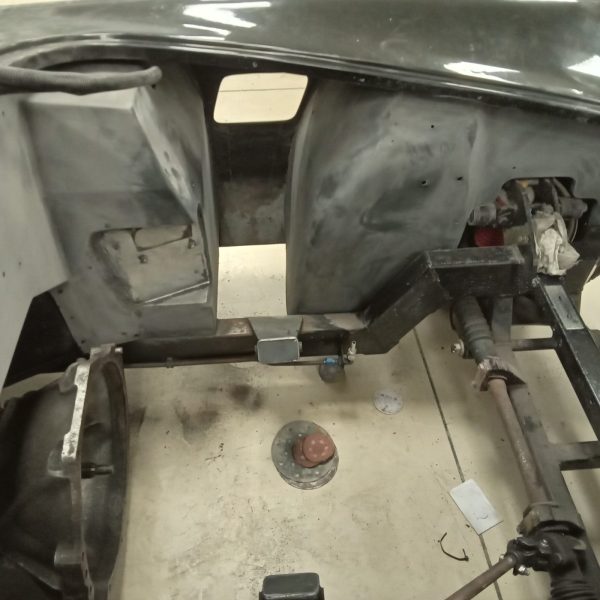
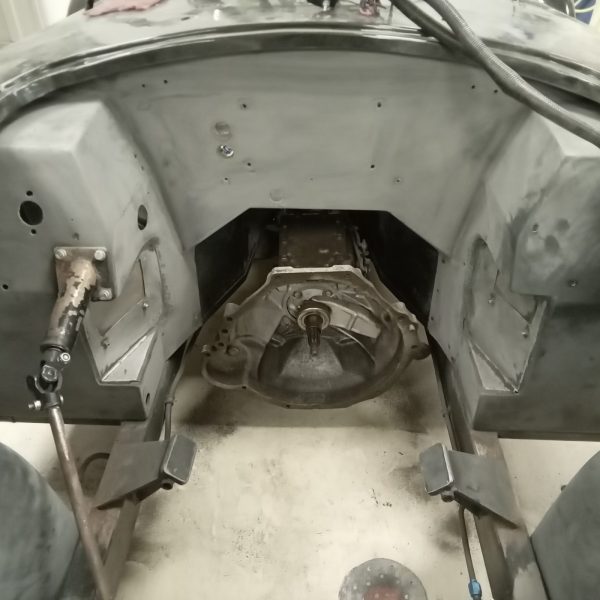
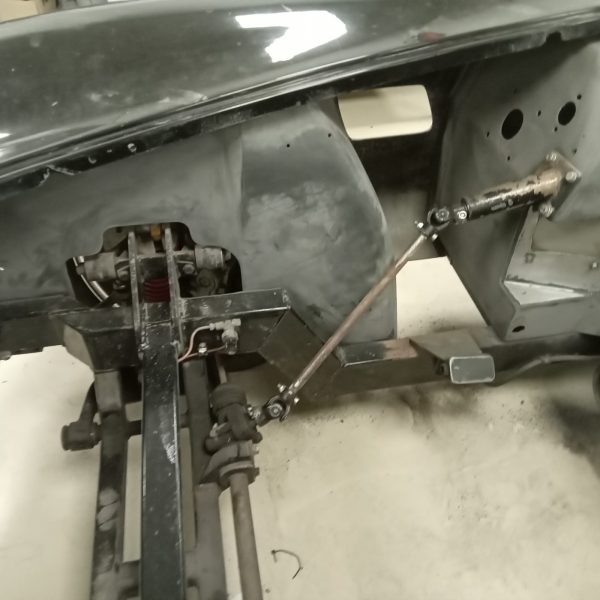
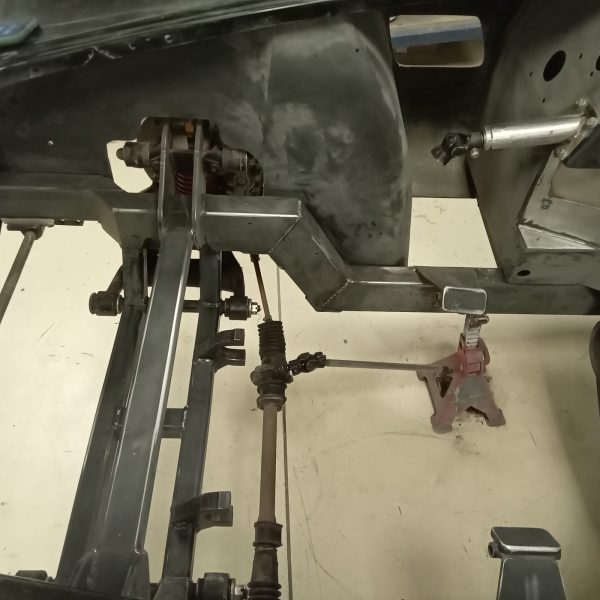
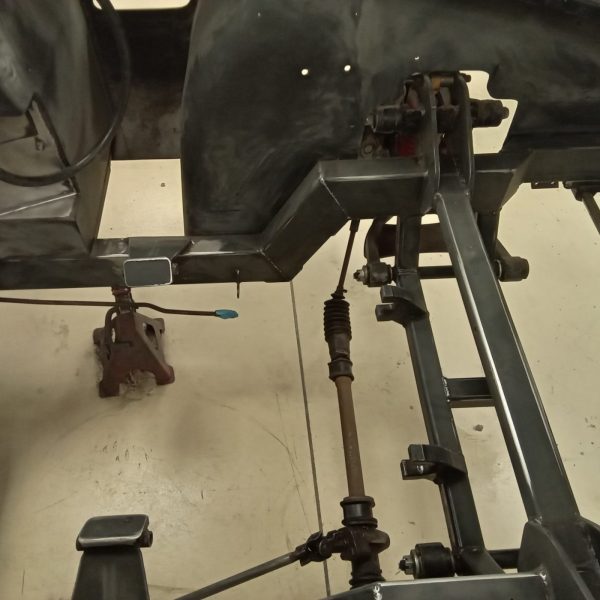
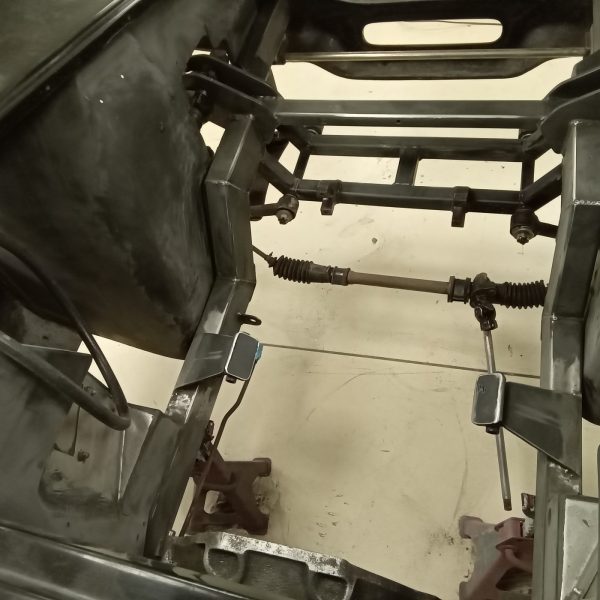
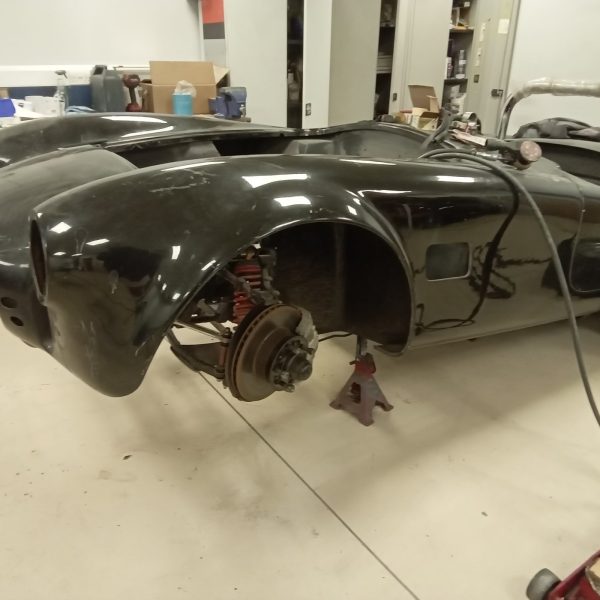
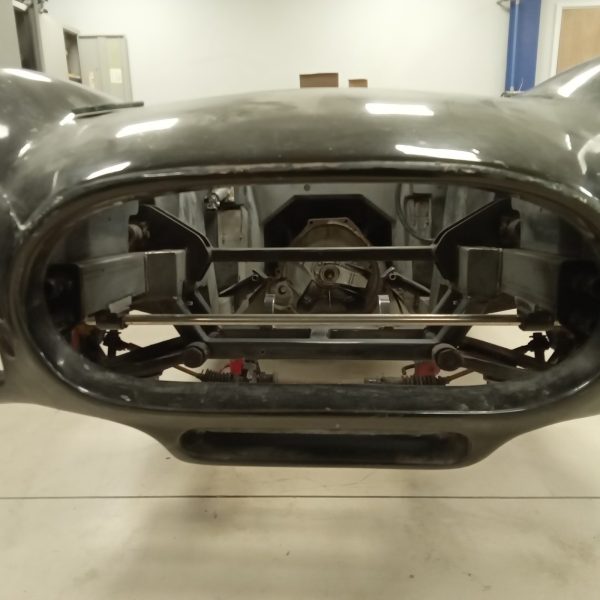
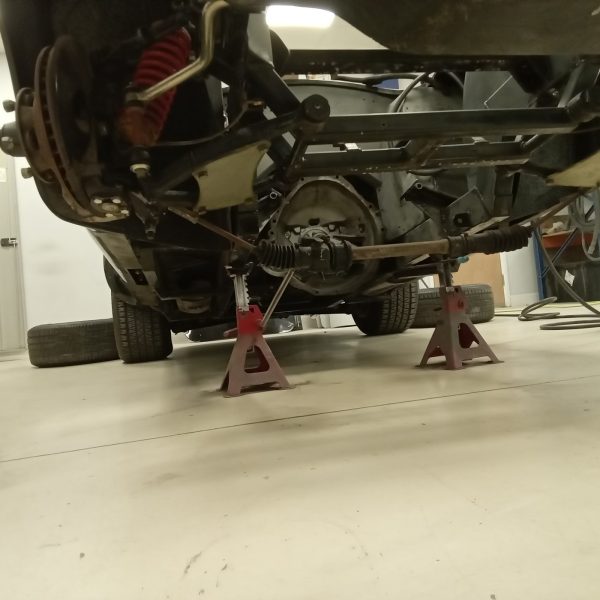
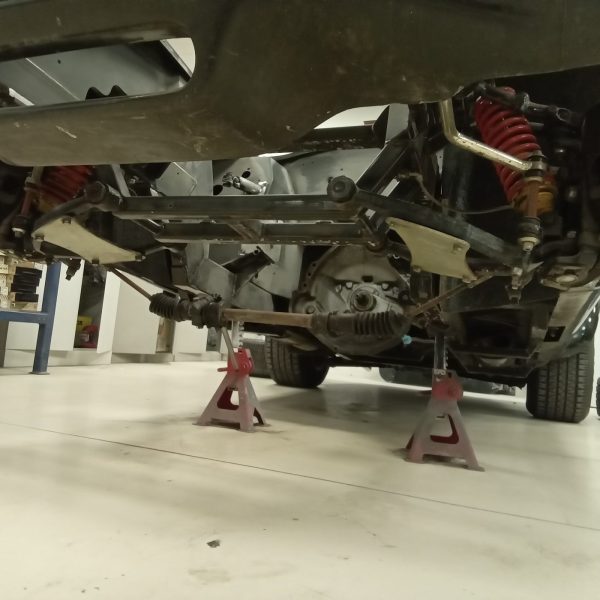
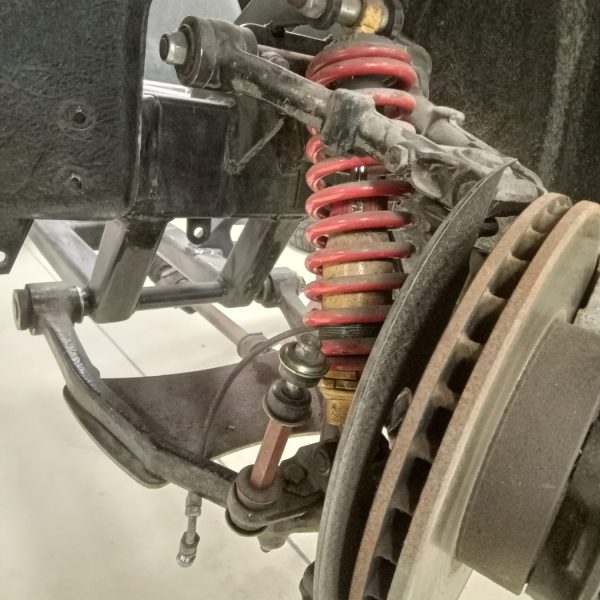
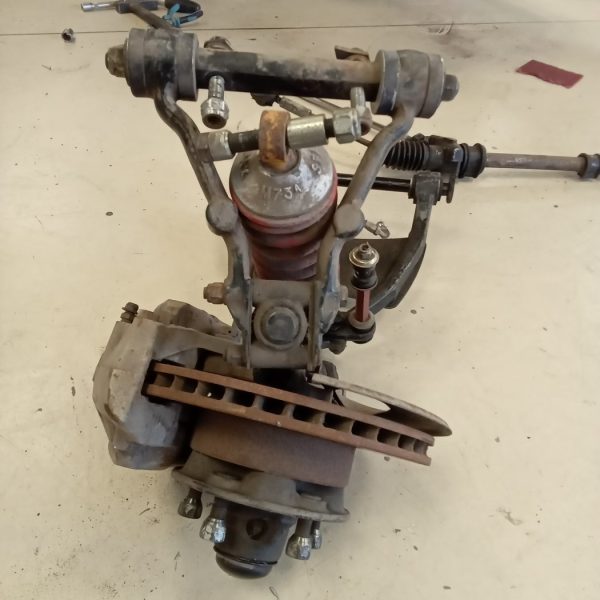
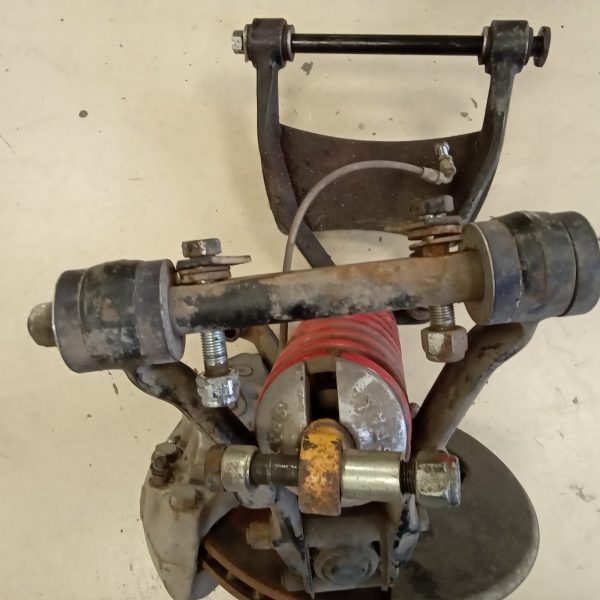
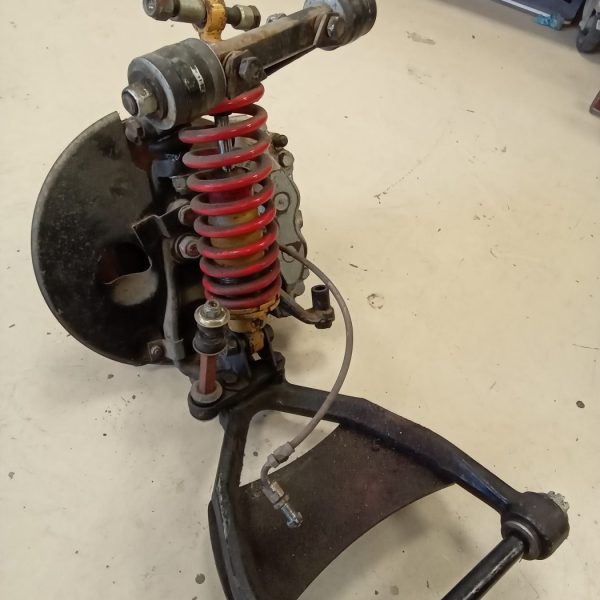
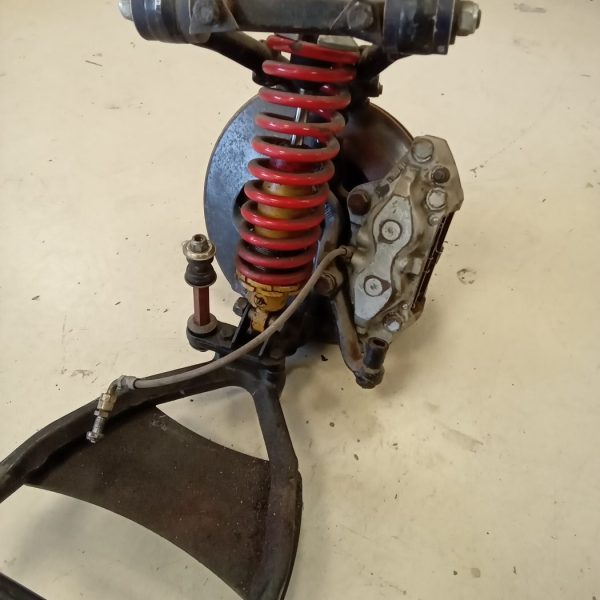
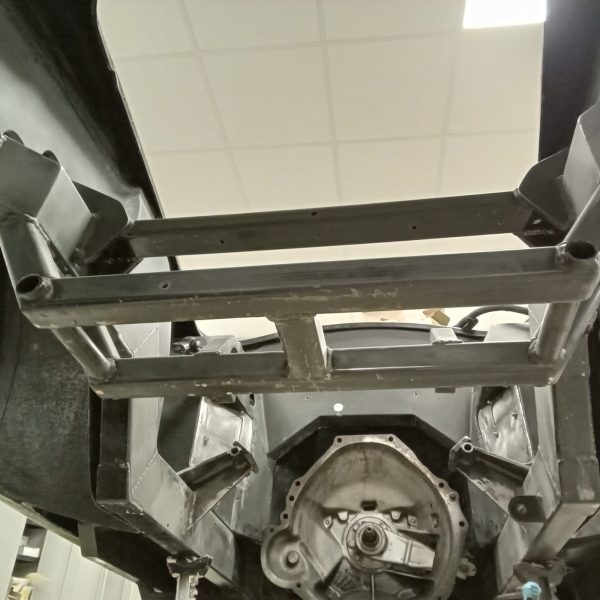
Mauro is continuing to strip down the Cobra project in preparation for the primer stage.
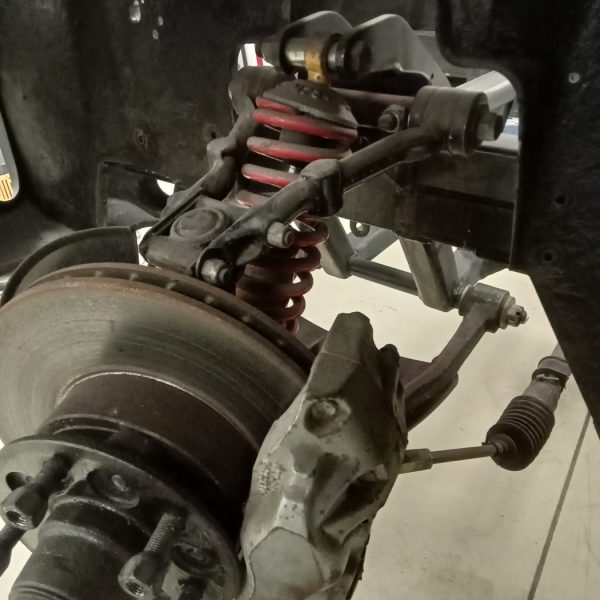
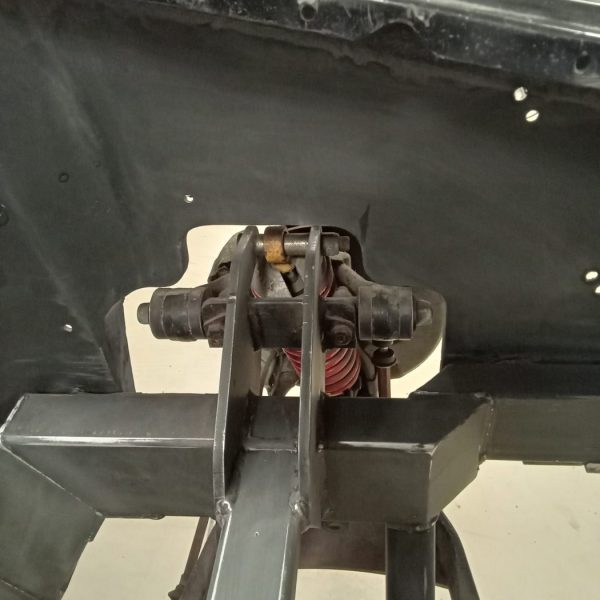
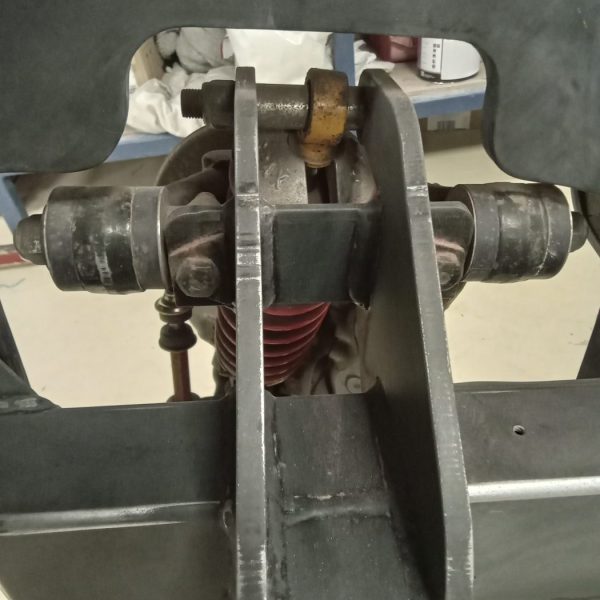
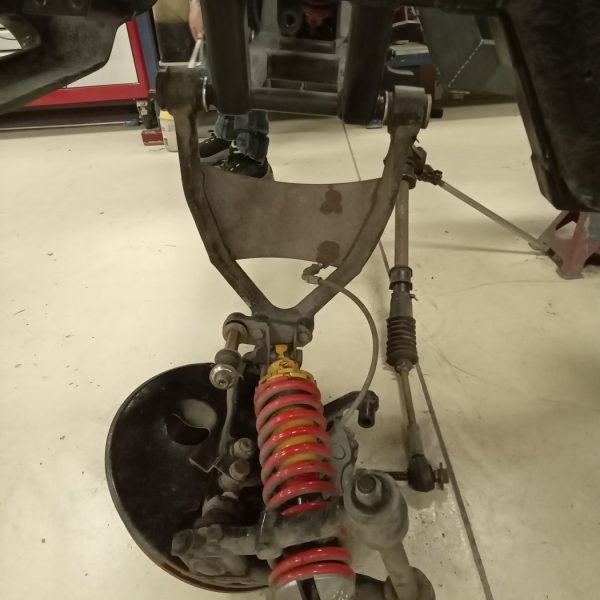
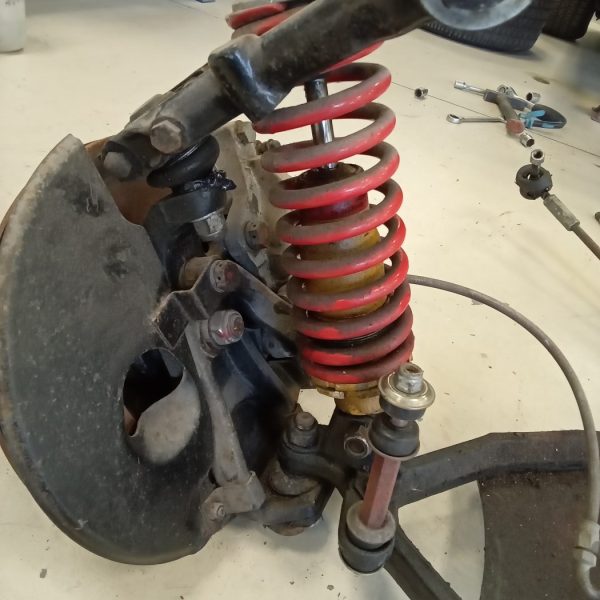
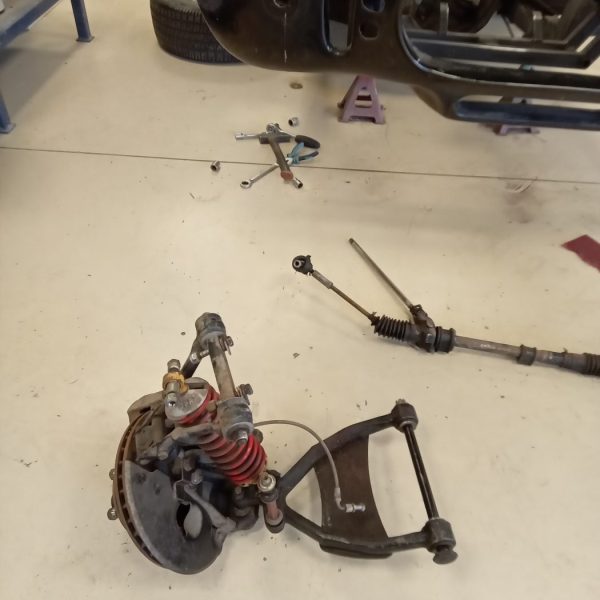
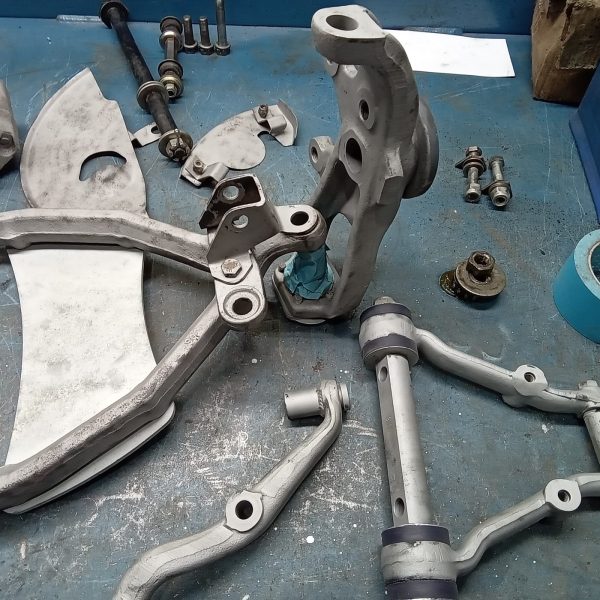
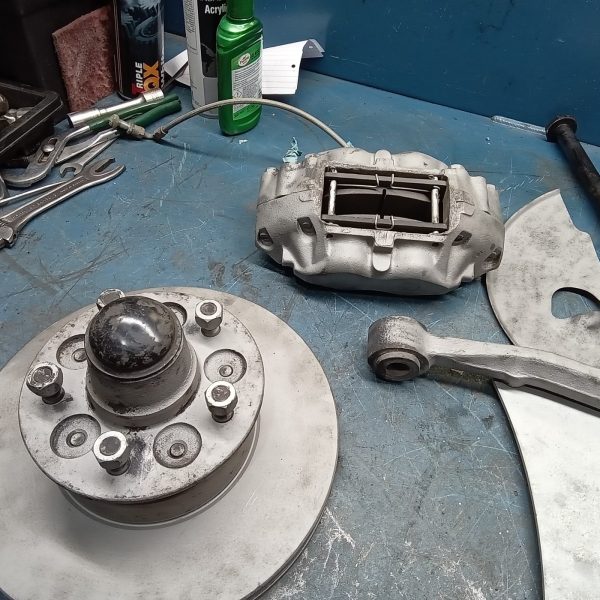
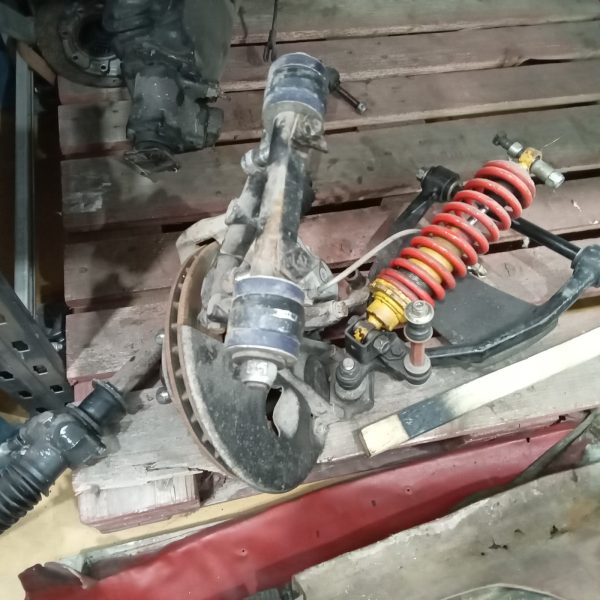
Whilst Terry is stripping down the front suspension and front brakes. He’s blasting off the dirt ready for paint.



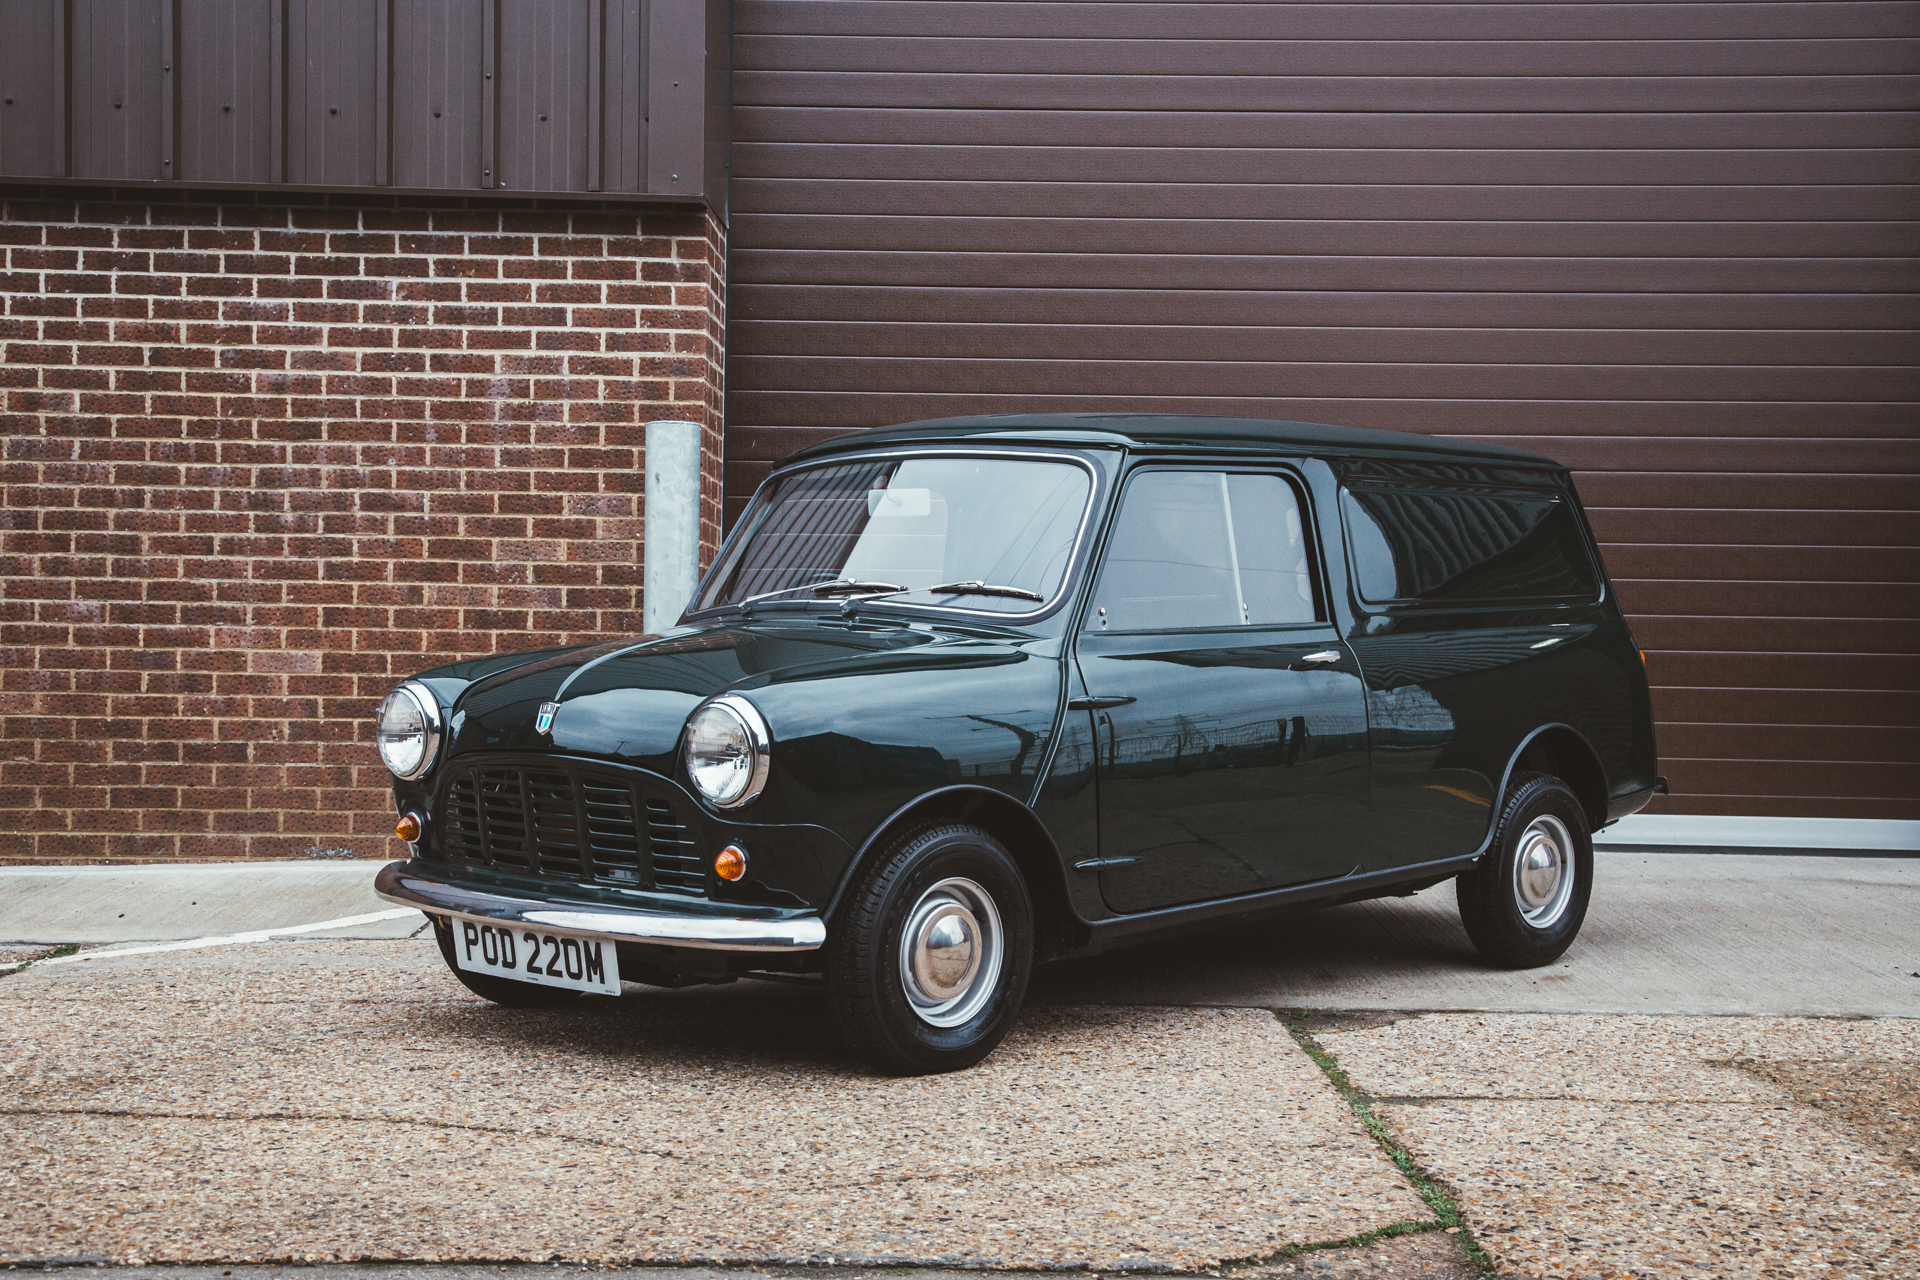
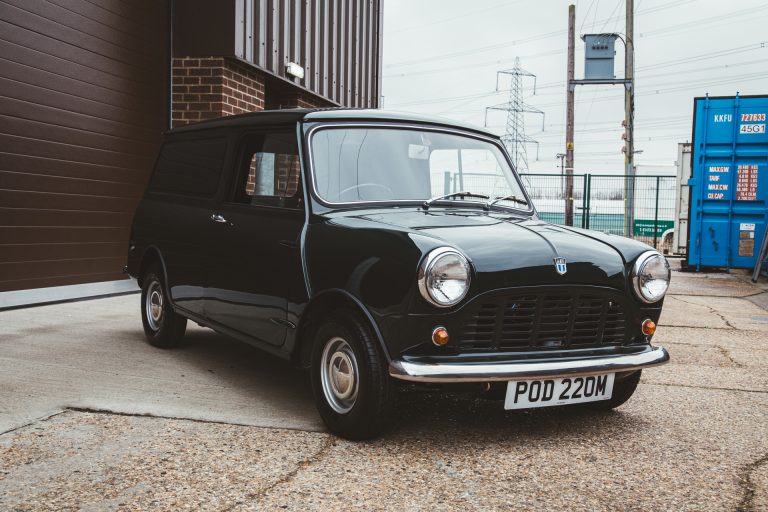
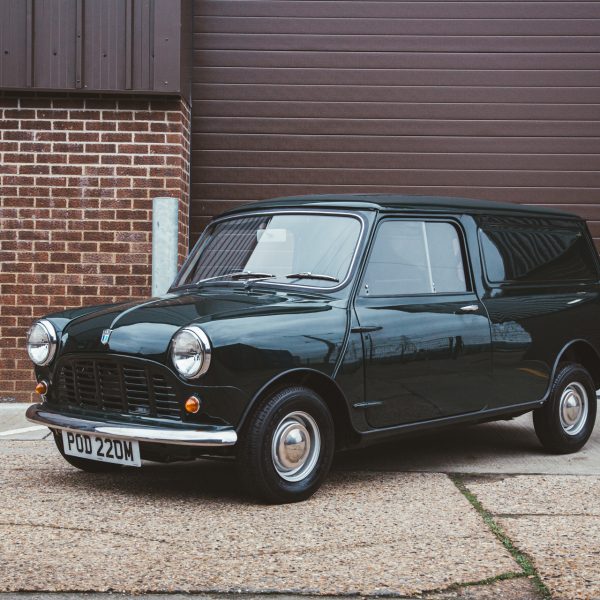
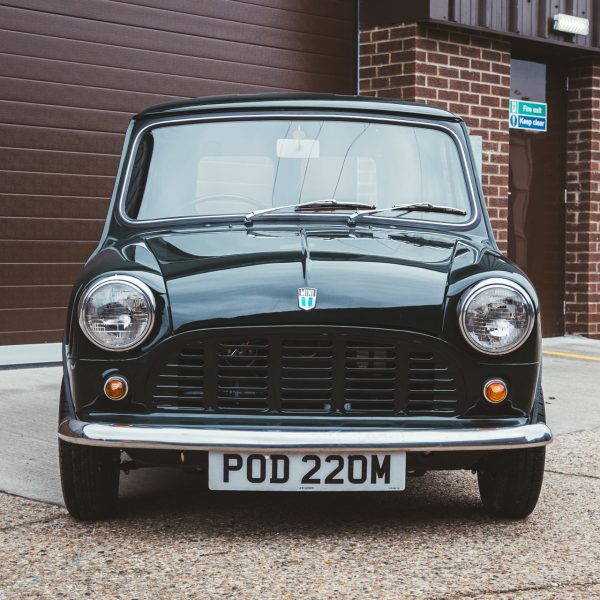
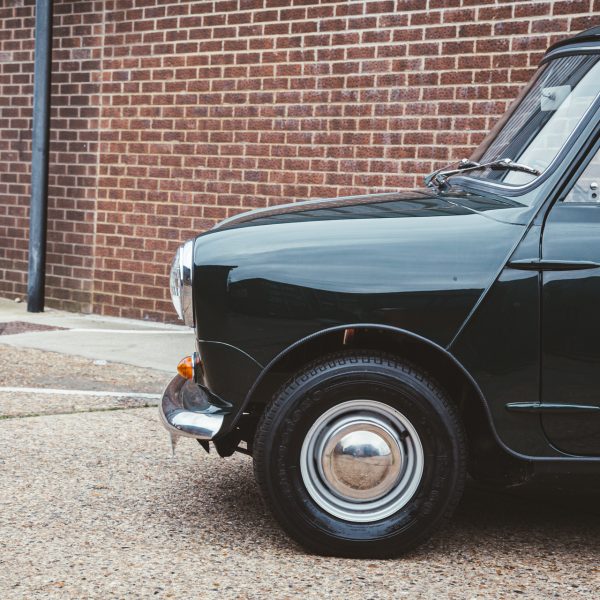
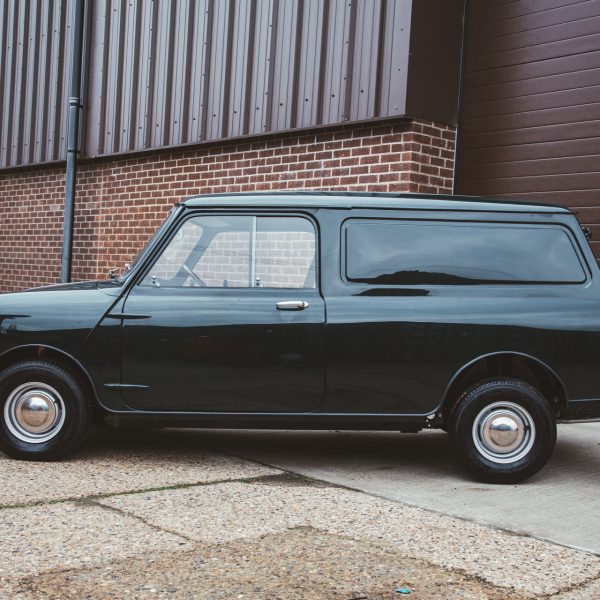
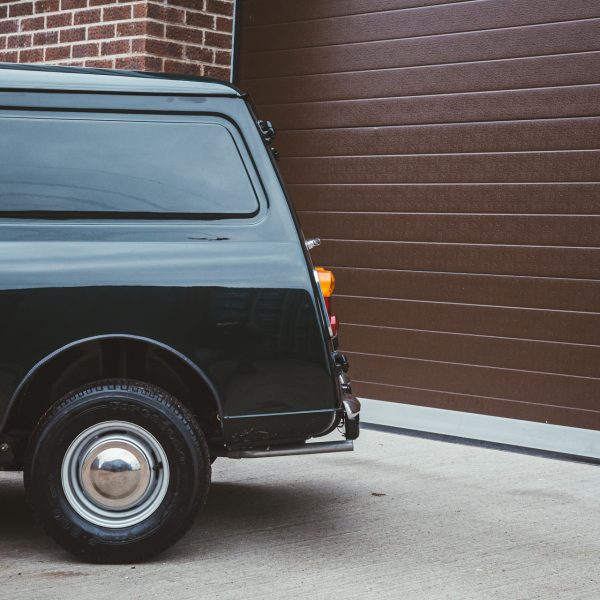
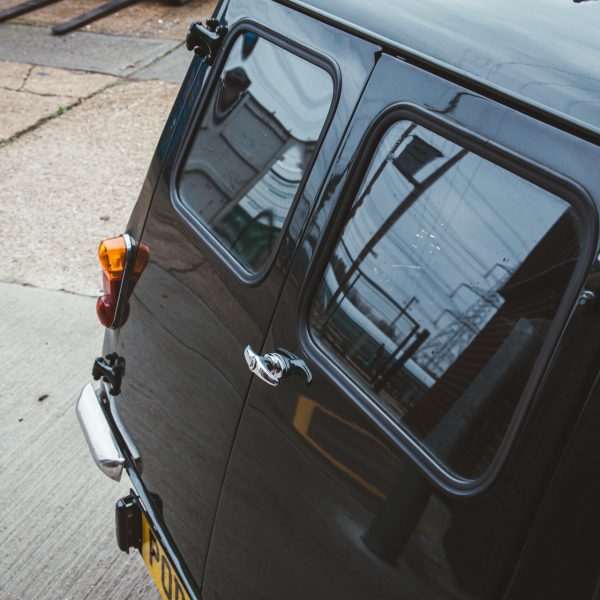
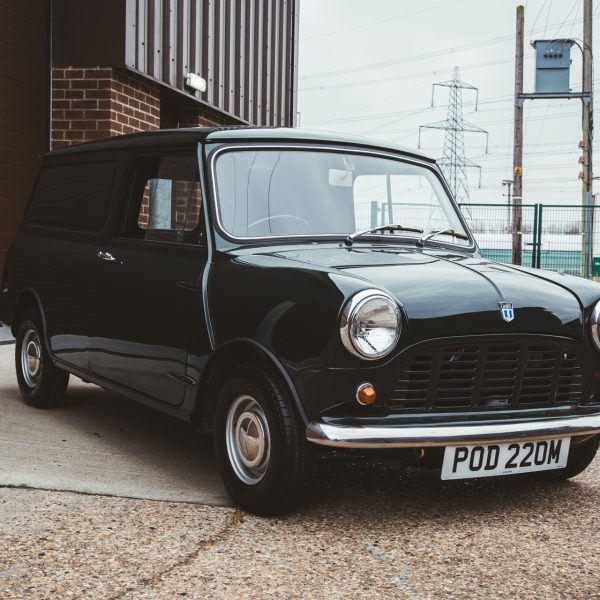
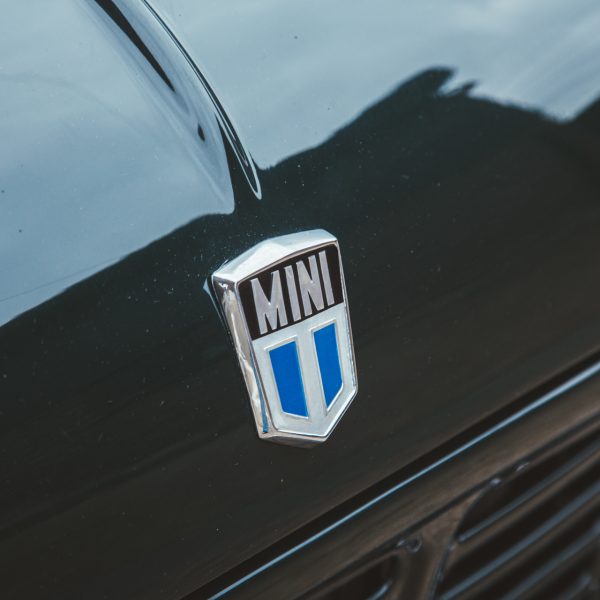
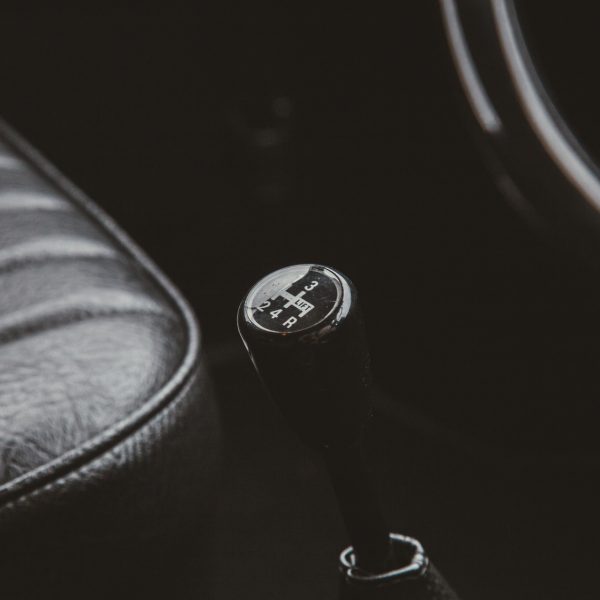
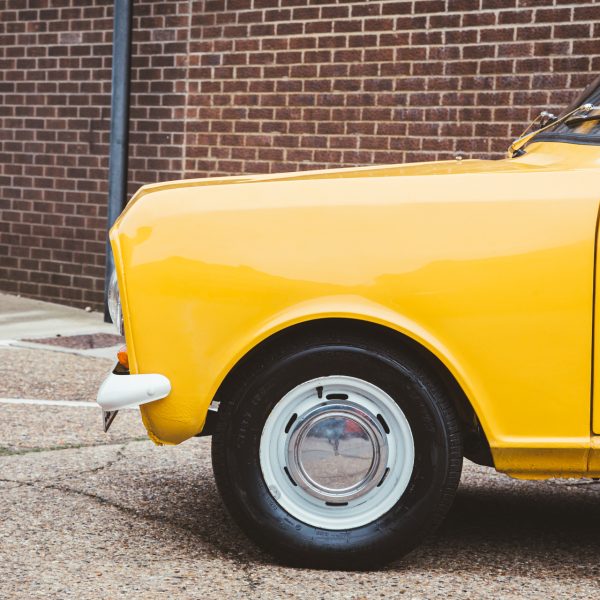
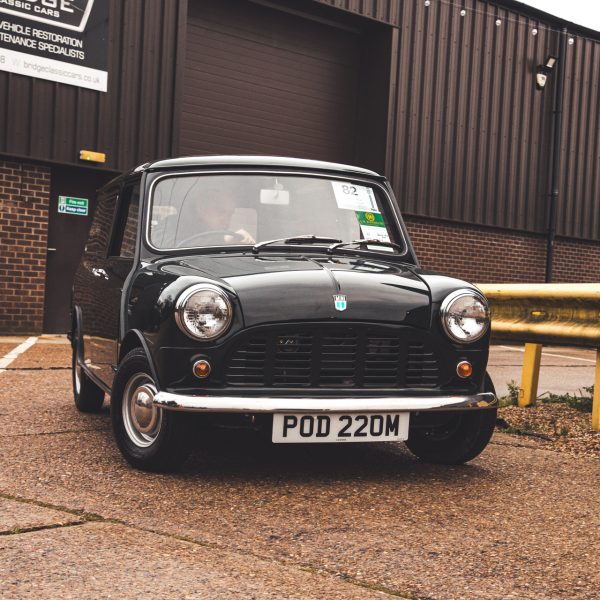
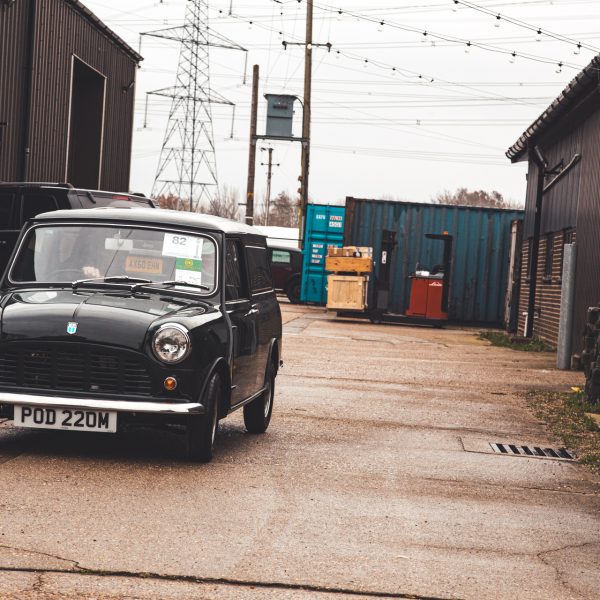
This morning, along with a few other new deliveries, we welcomed this gorgeous 1974 Mini 850 Van!
As we mentioned with our 1982 Bedford HA, we love a panel van here at Bridge Classic Cars and this is one of the nicest ones we’ve seen. Like the others, soon this pint sized workhorse will be headed into our workshop were our skilled technicians can inspect and assess the car to make sure it is ready for its lucky new owner.



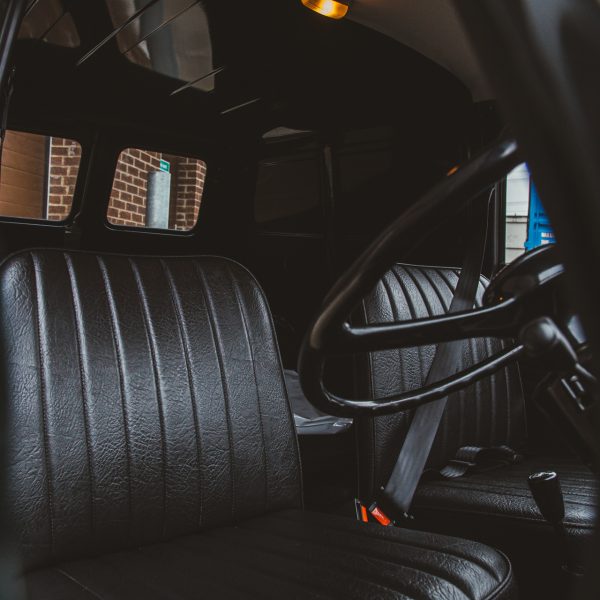
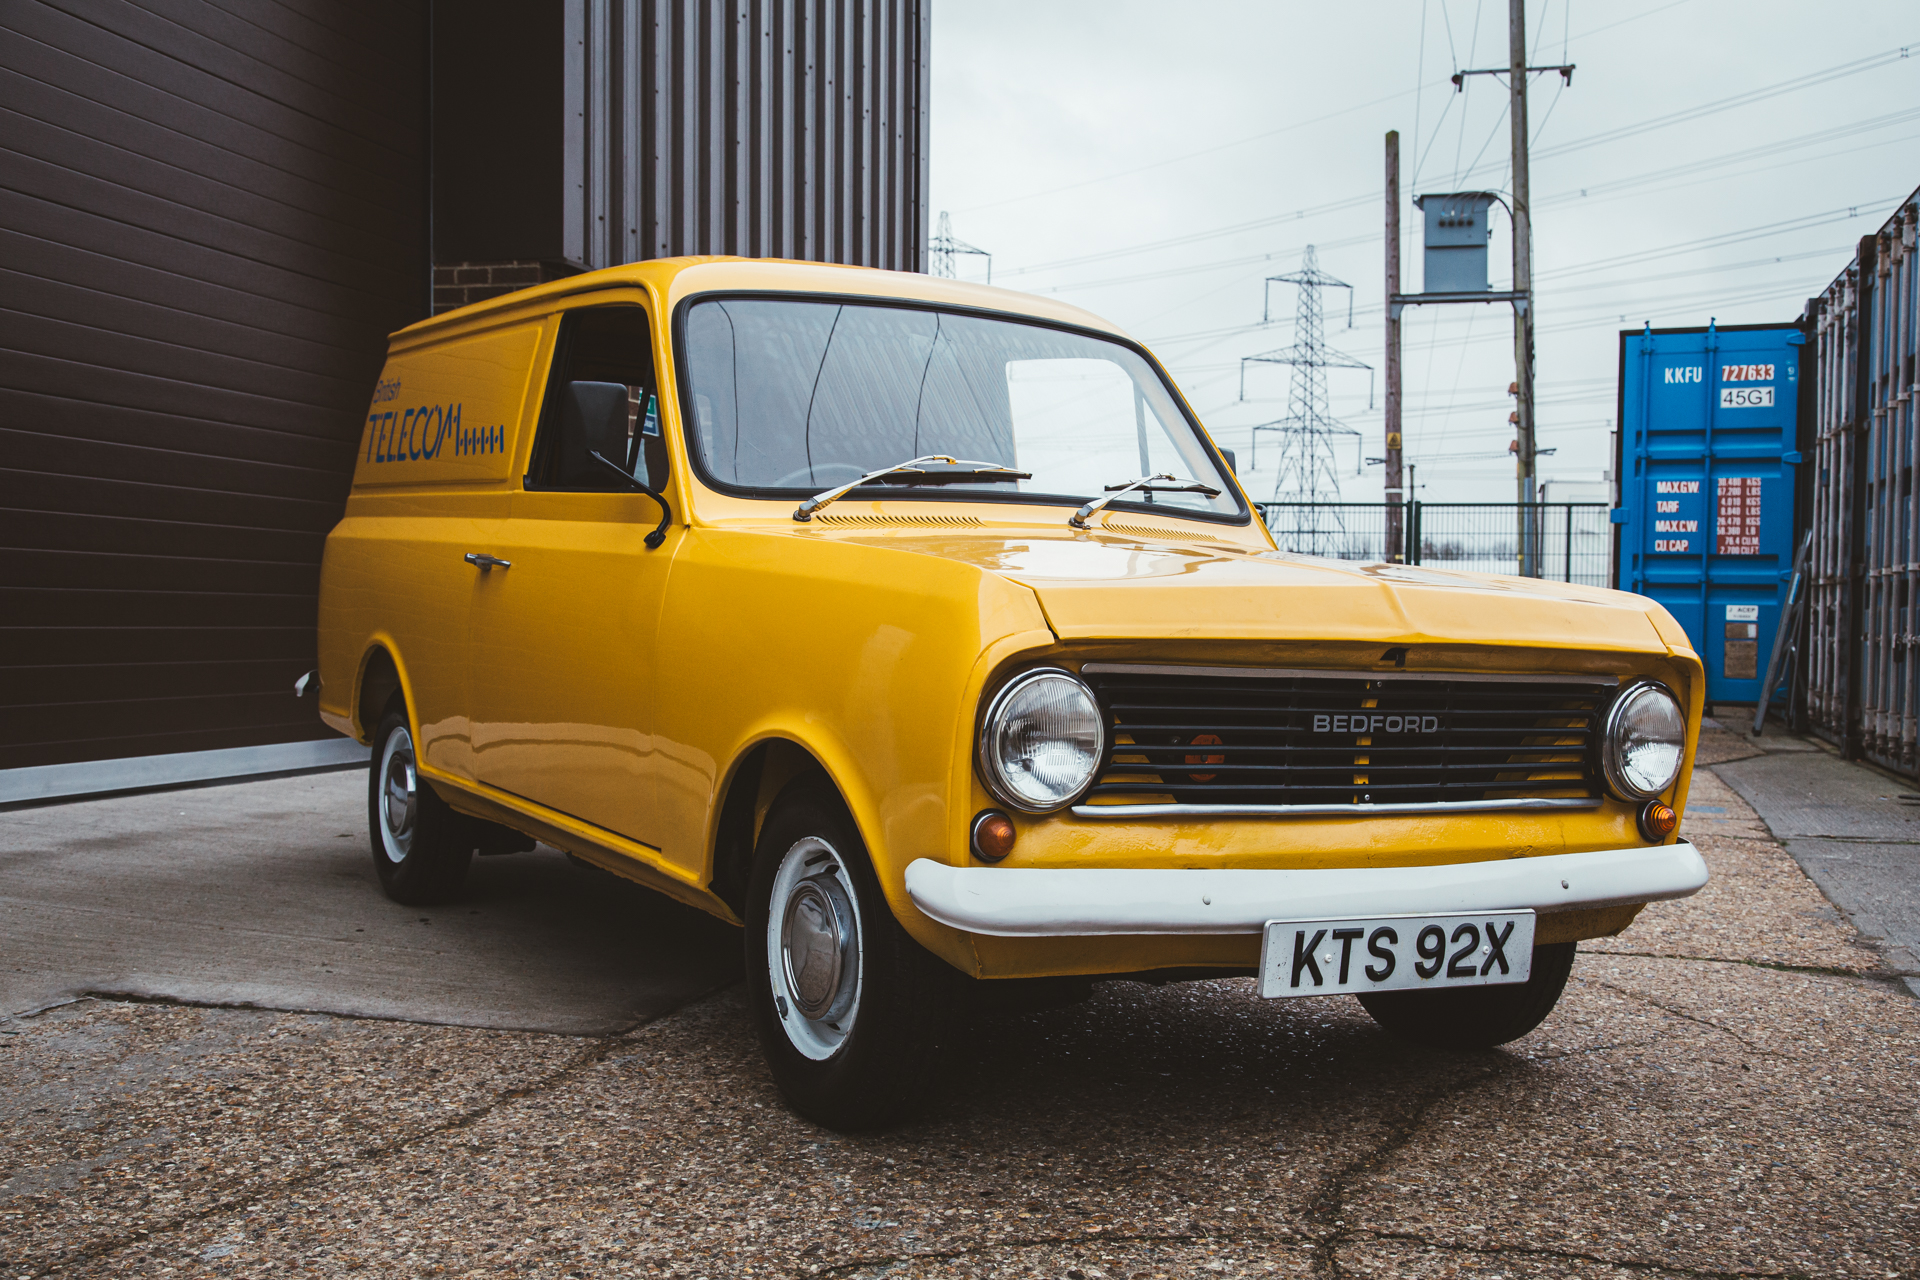
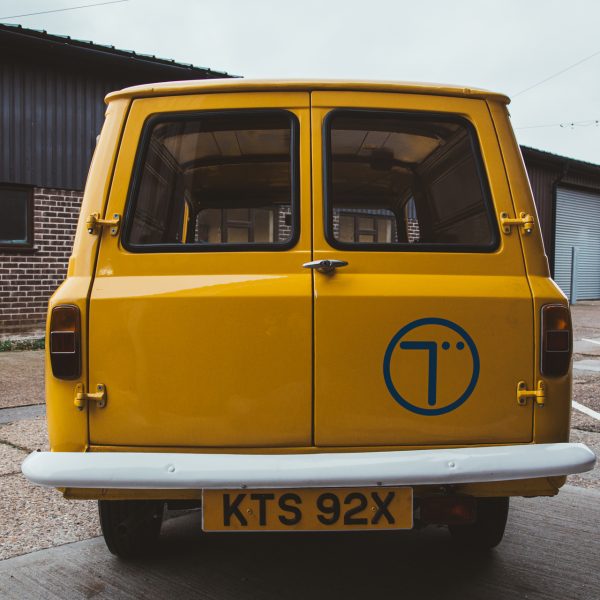
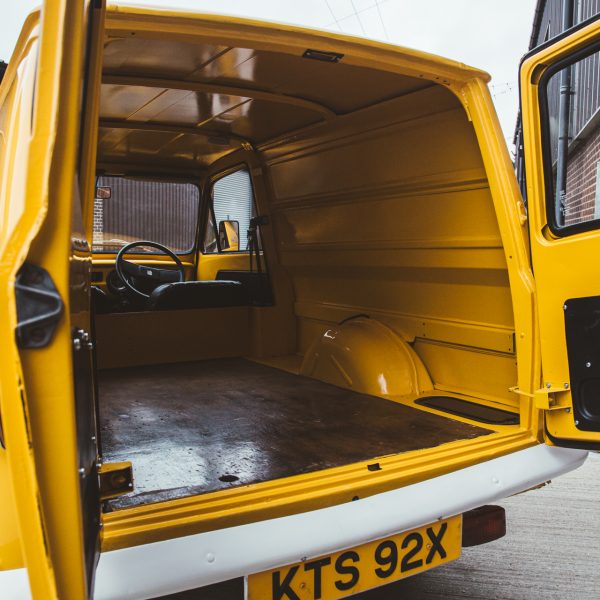
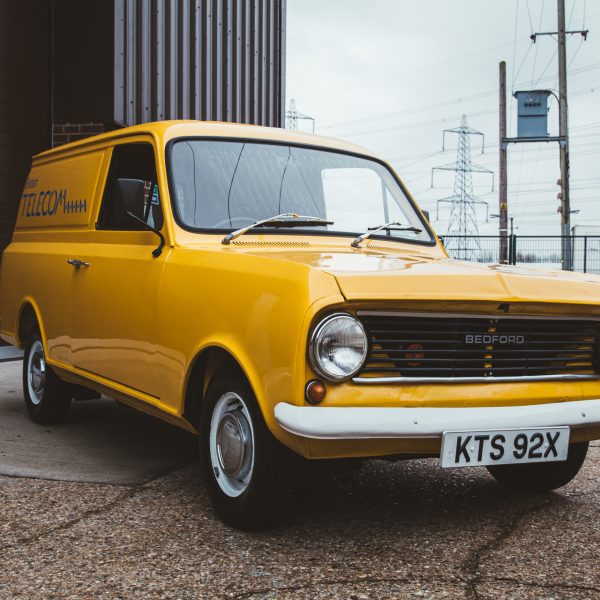
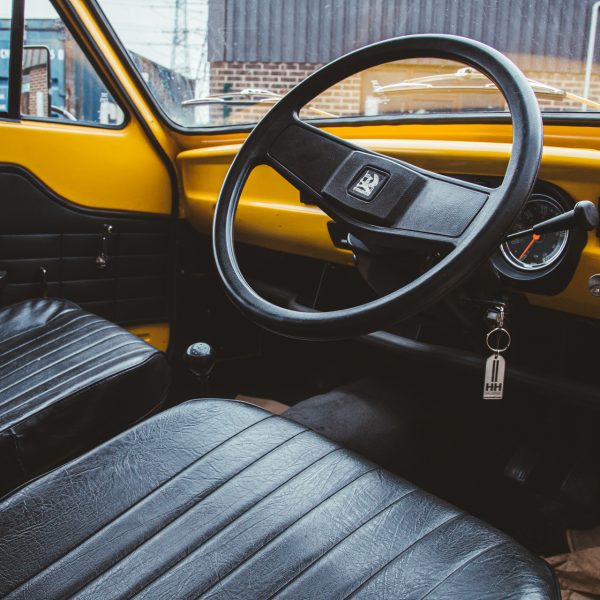
Here at Bridge Classic Cars, we love a panel van. A solid, dependable and utilitarian workhorse for generations, the humble van at some point has played a role in everyone’s life.
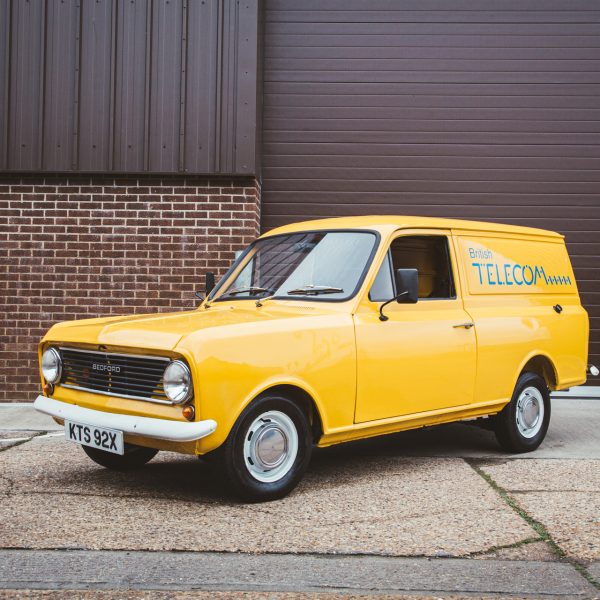
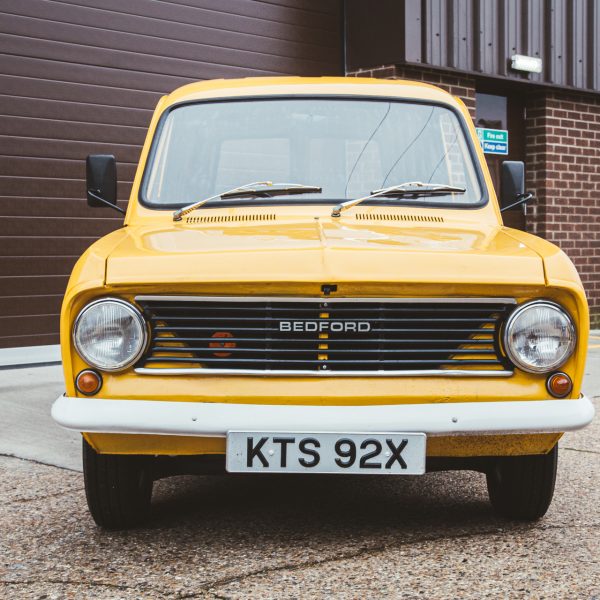
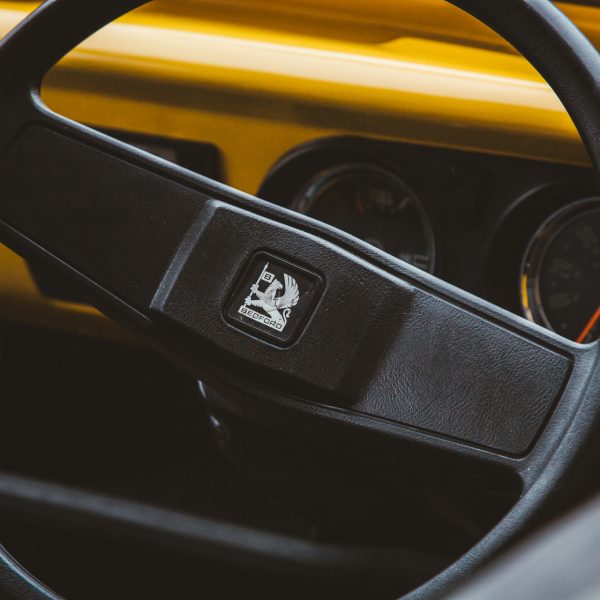
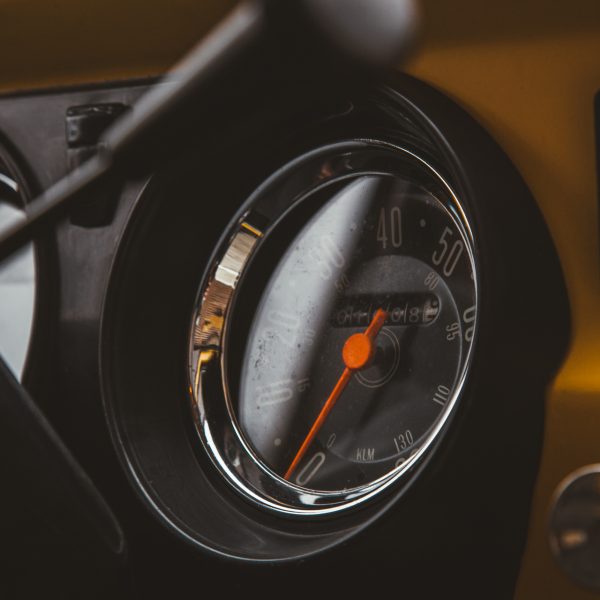
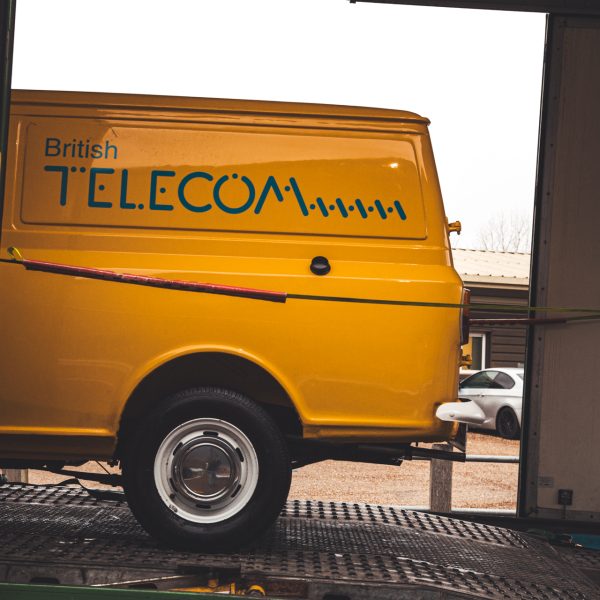
This one though, is a 1982 Bedford HA Panel Van. And its previous owner has had commissioned to look like one of the original early 1980s British Telecom work vans.
The team will be bringing this into our workshop very soon to assess and inspect the entire car so keep an eye out on the Bridge Classic Cars news page for more updates very soon.


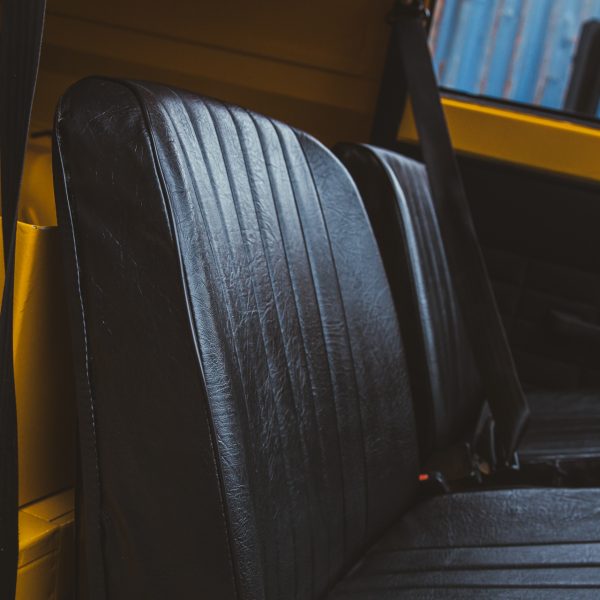
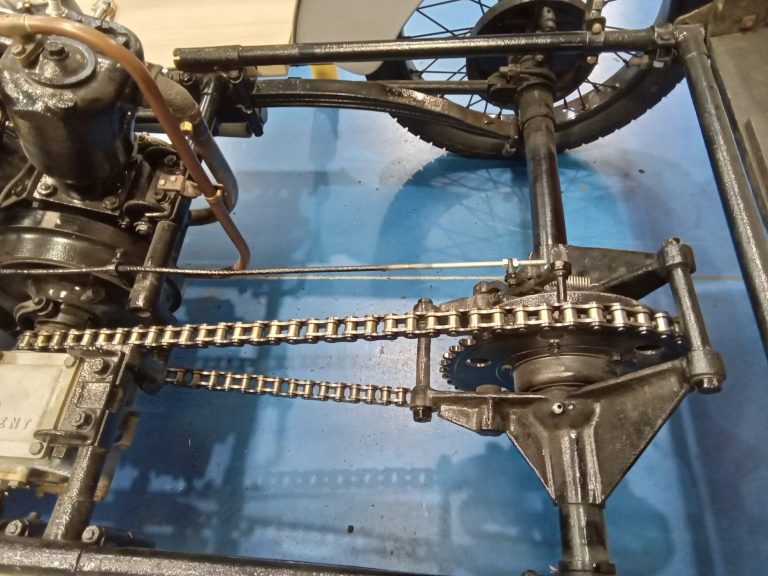
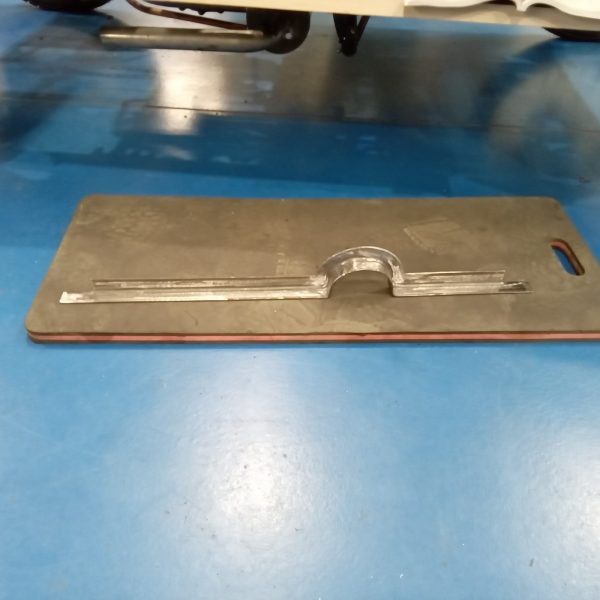
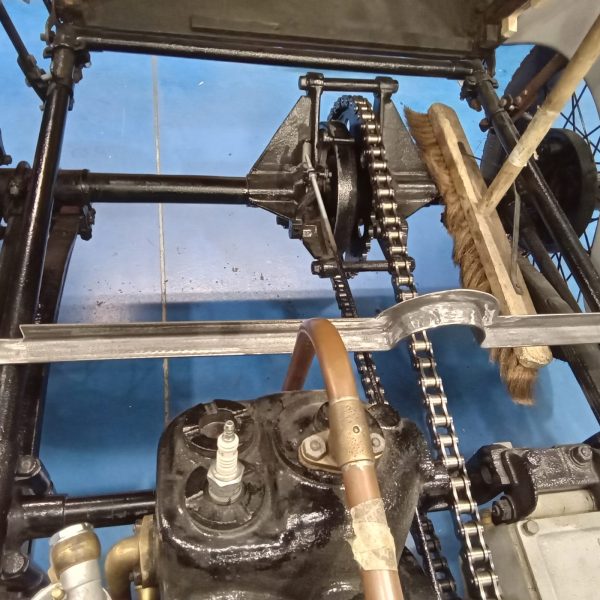
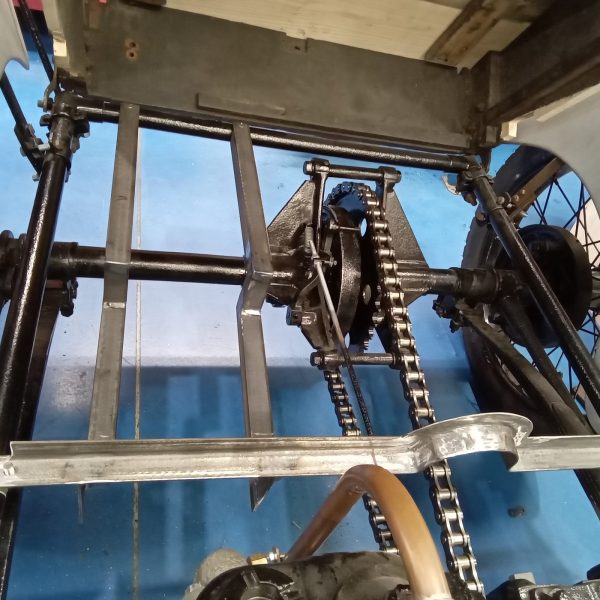
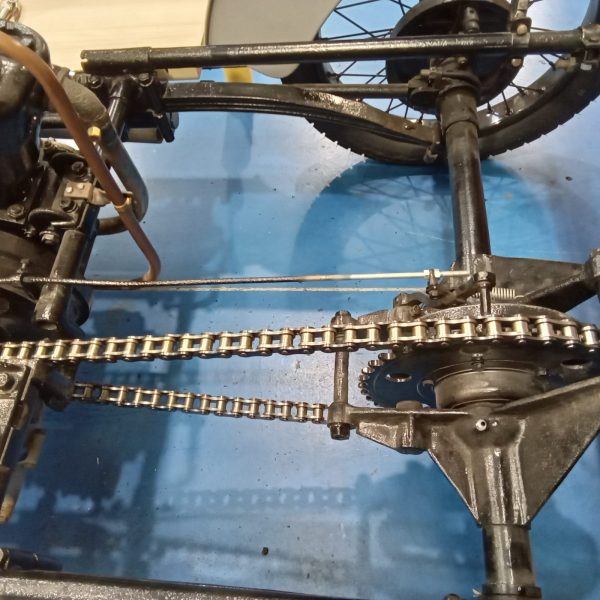
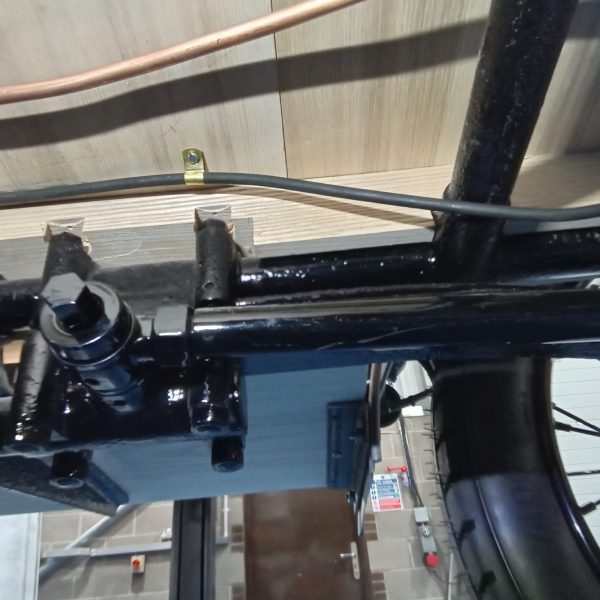
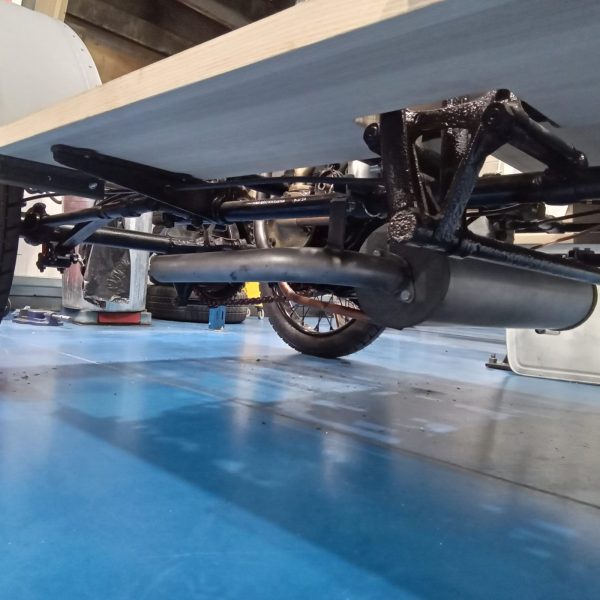
Steve is still working through the few final pieces on the 1905 Riley 9HP restoration. A new final drive chain has been fitted, new fabric body prop, new fabric exhaust has been temporarily fitted to help with routing of coolant pipes.
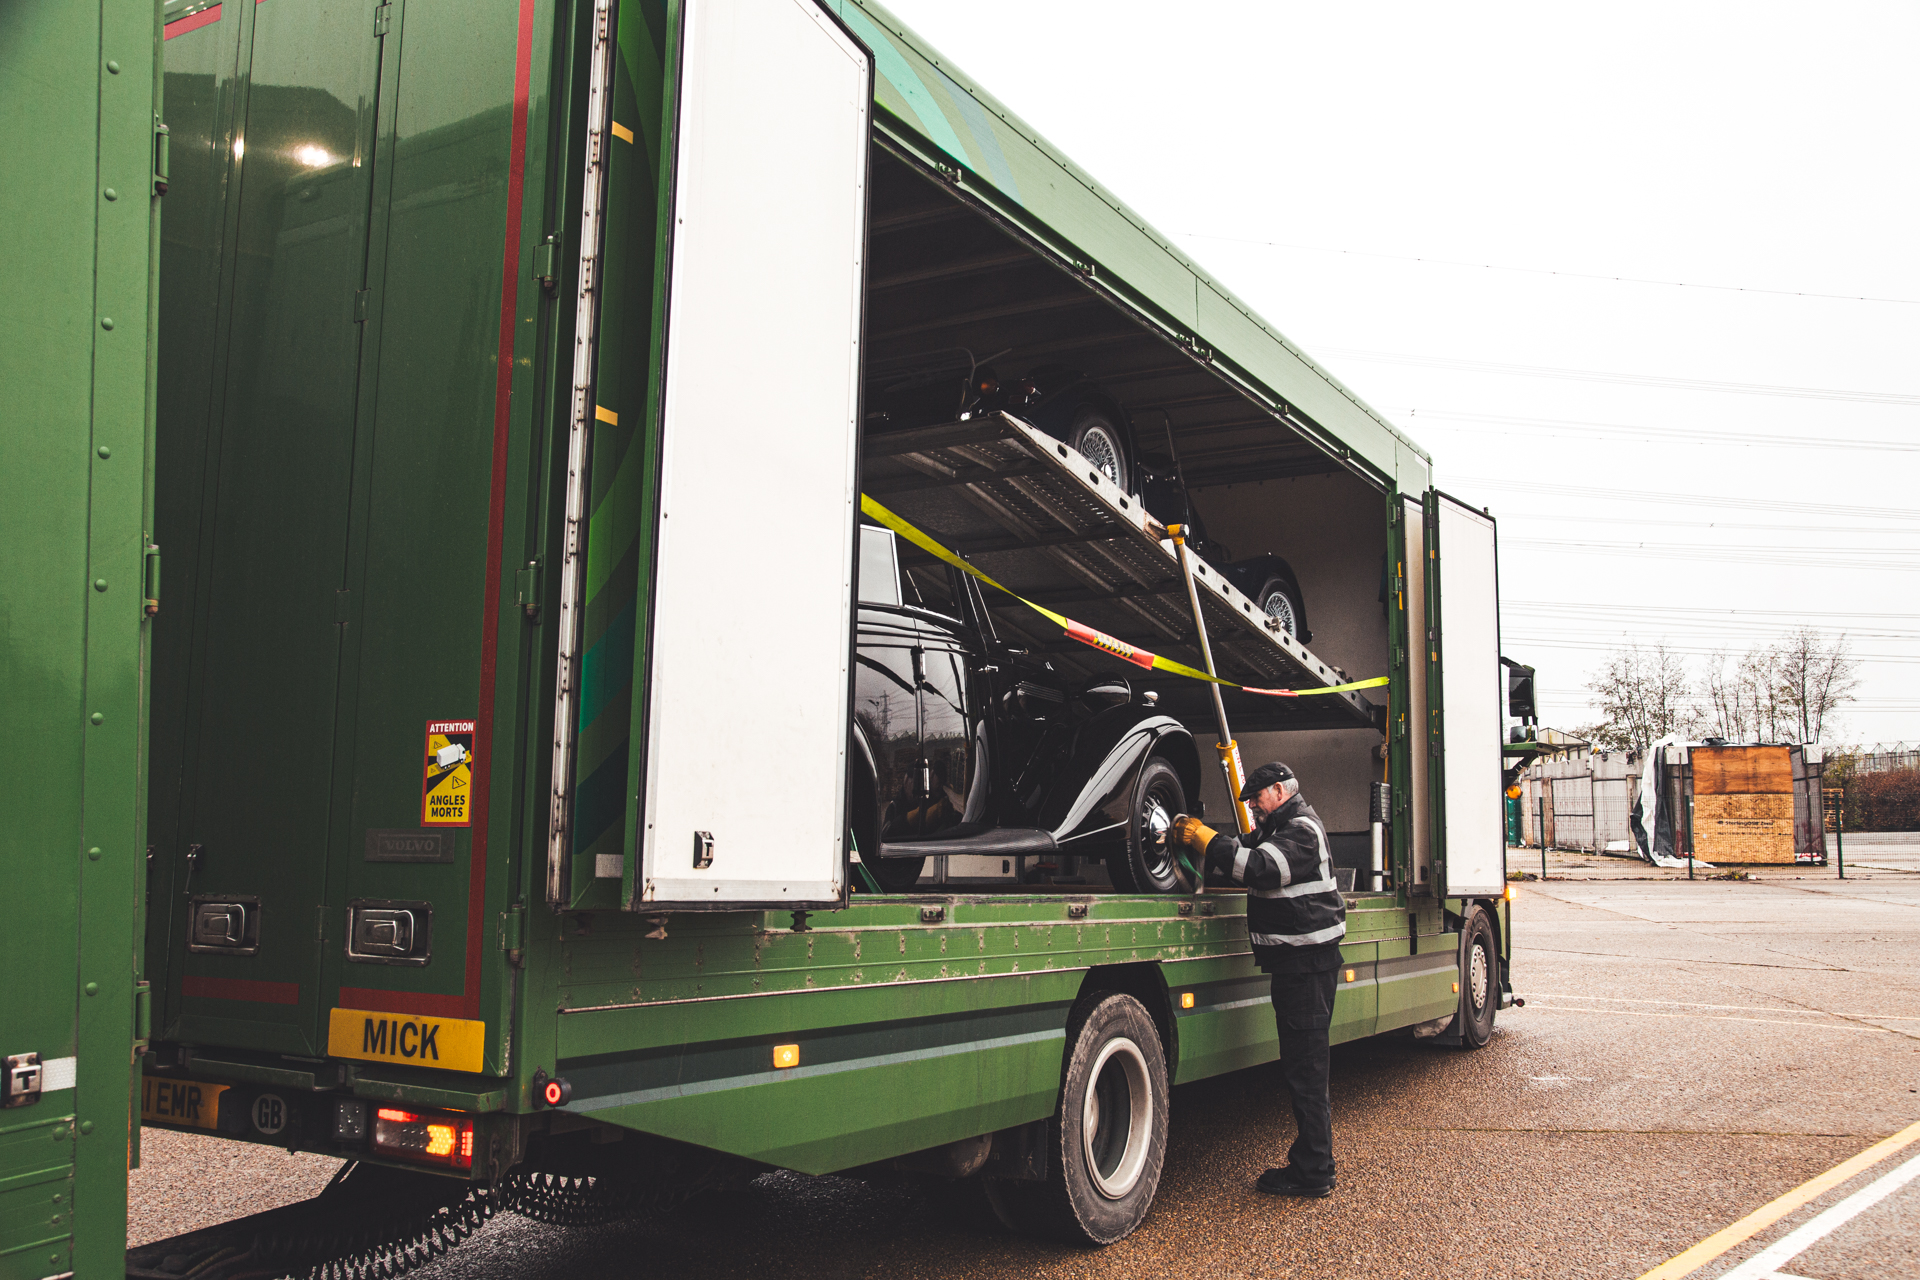
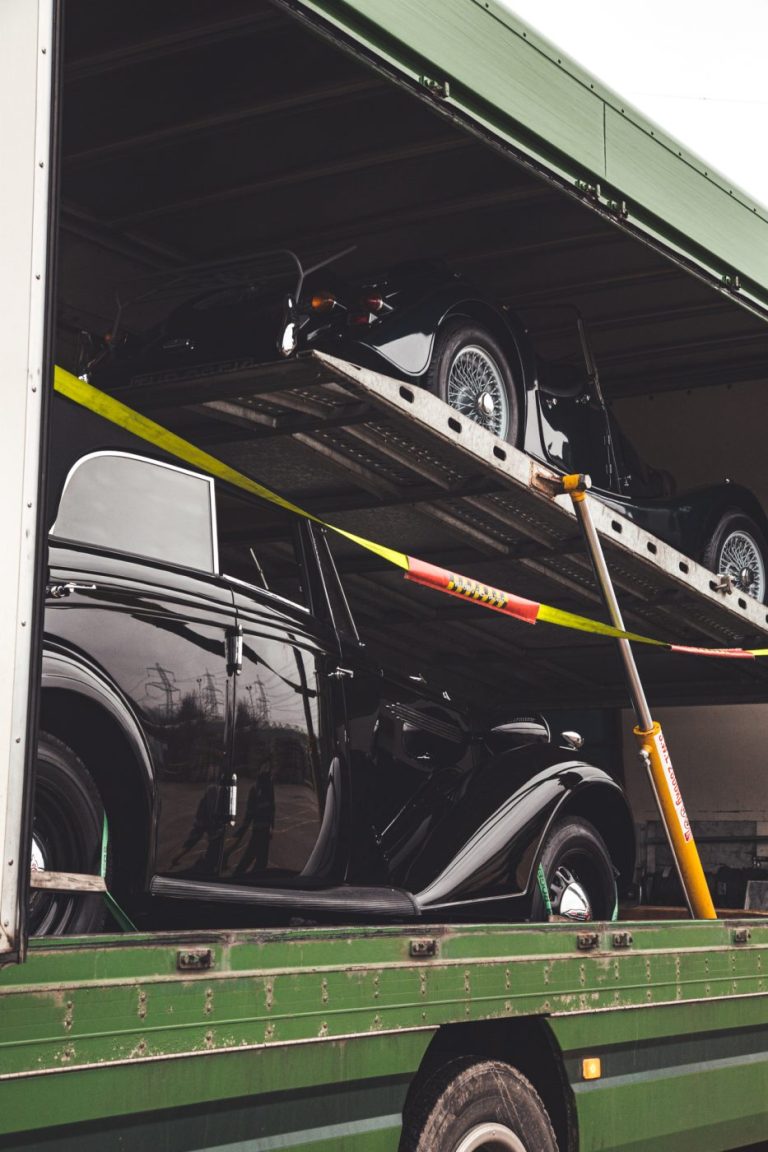
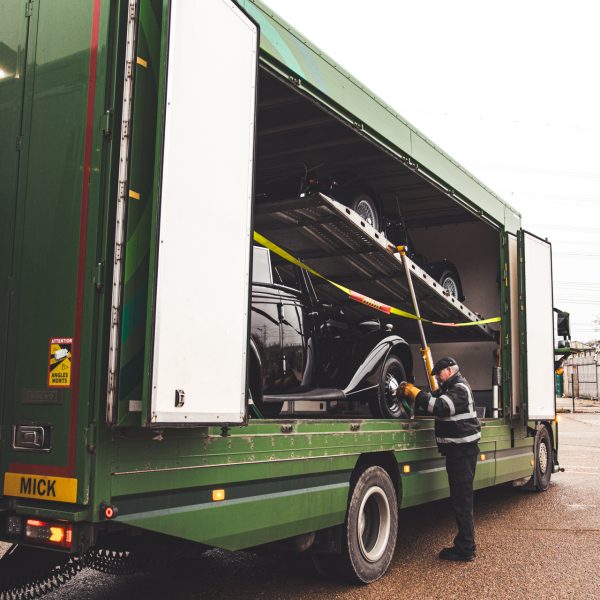
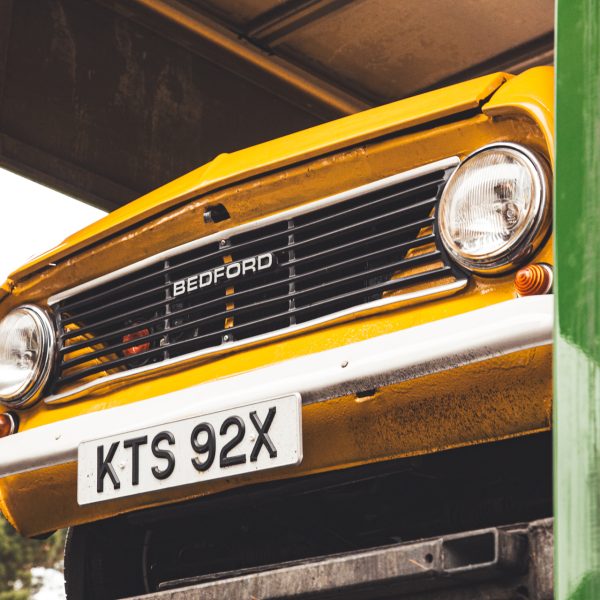
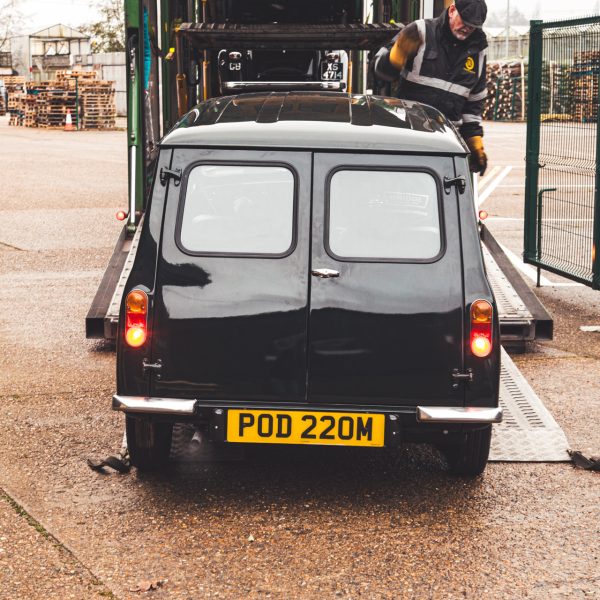
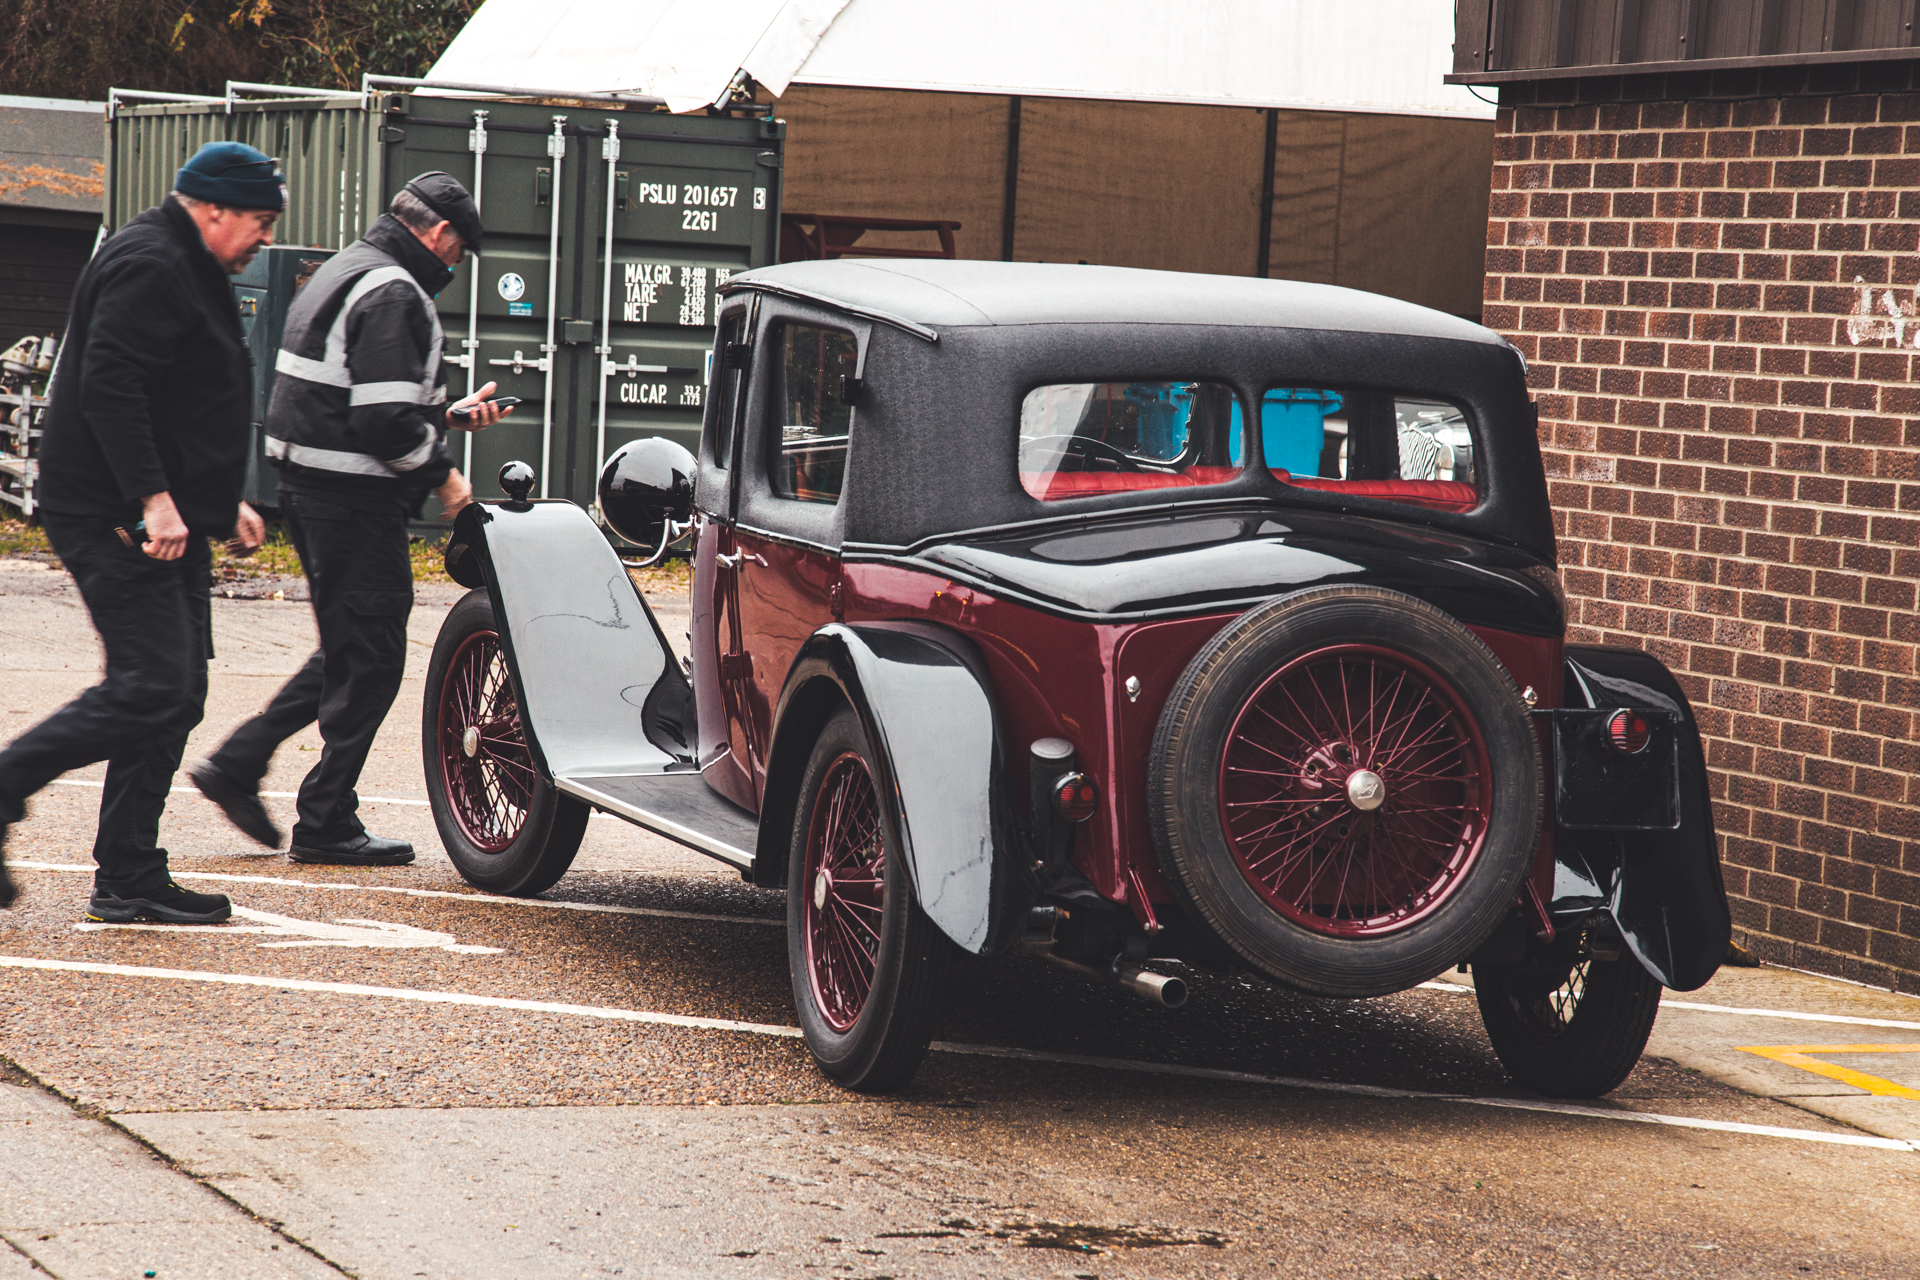
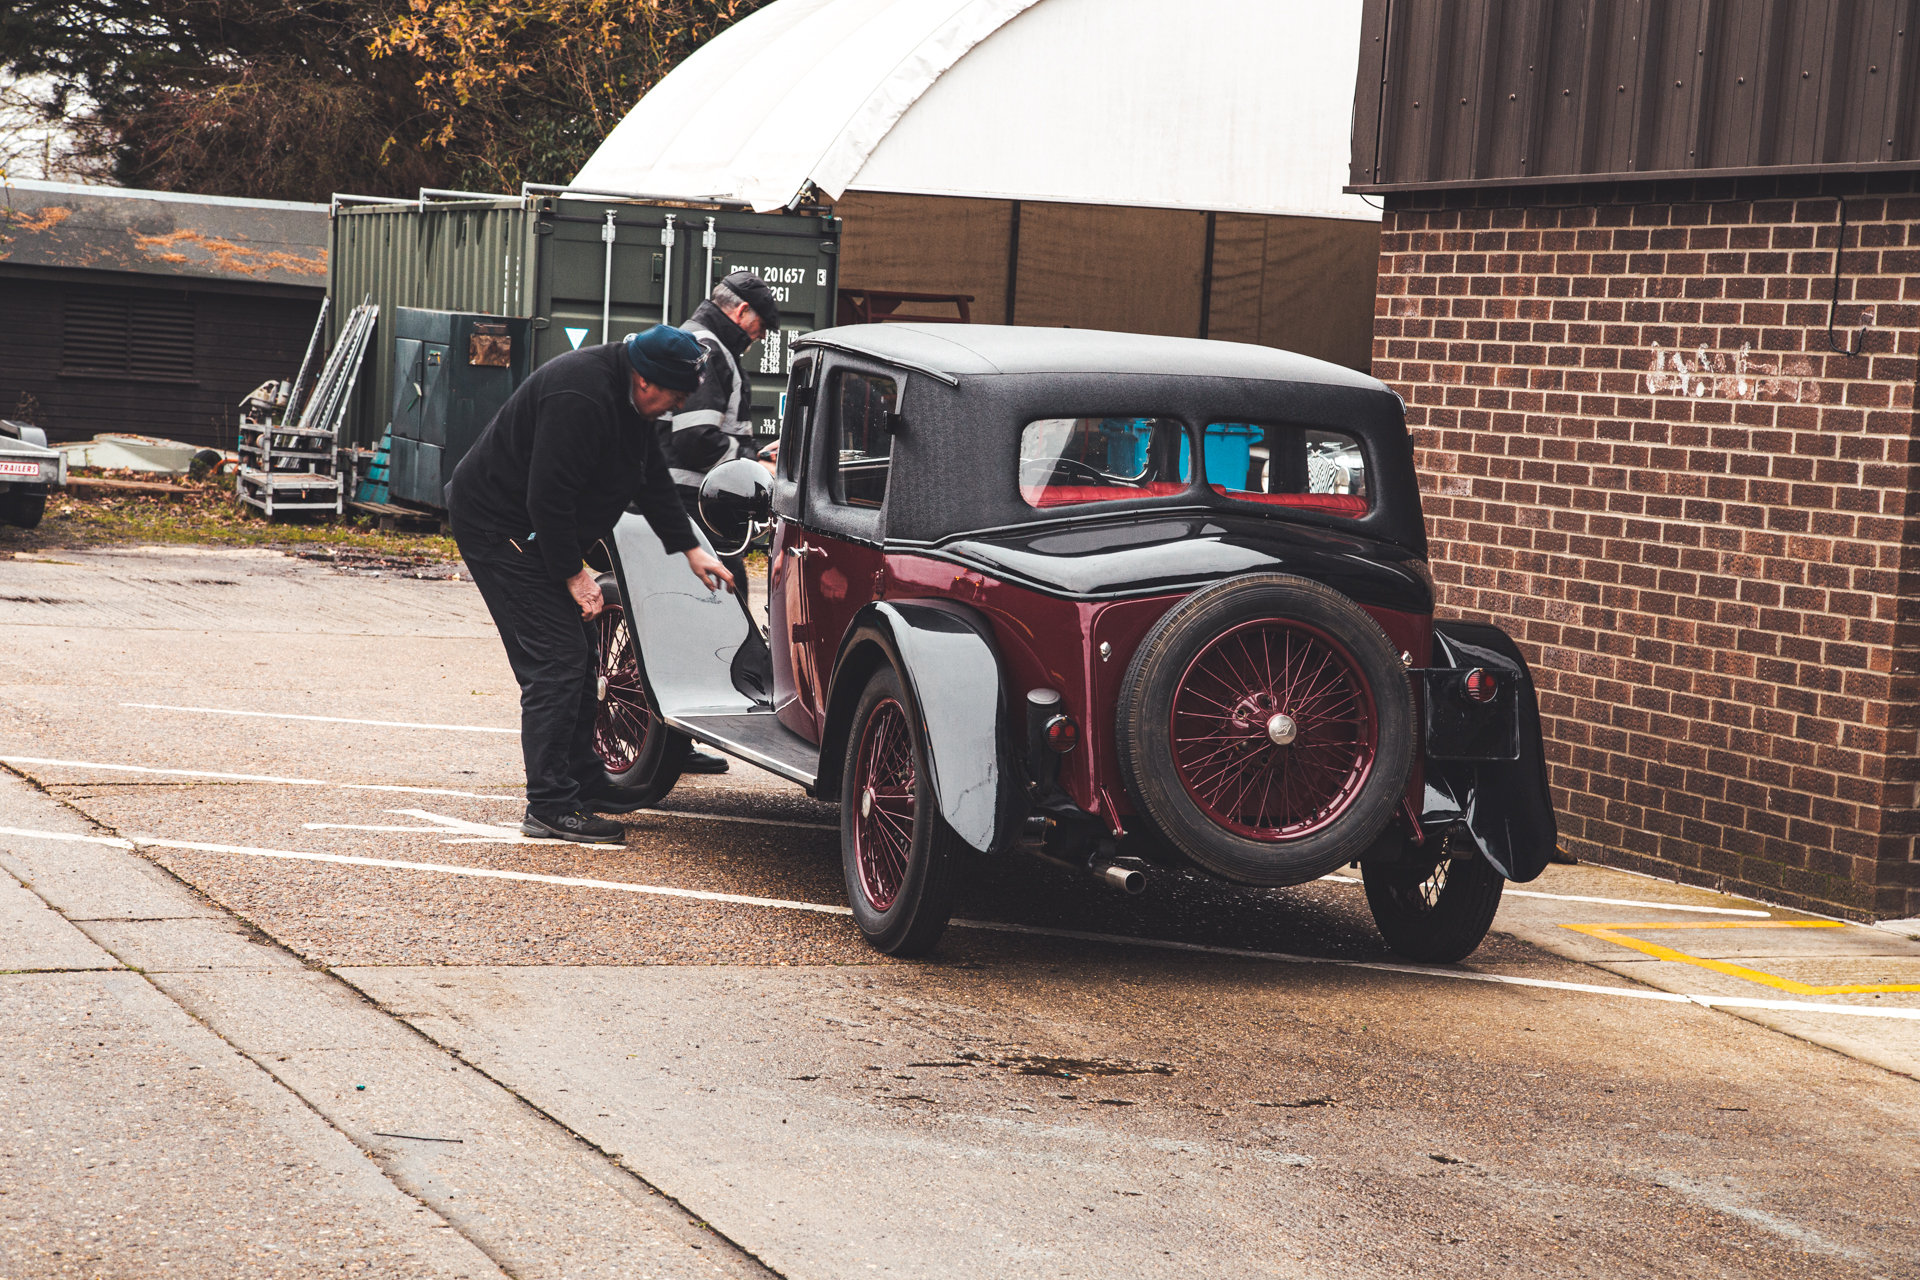
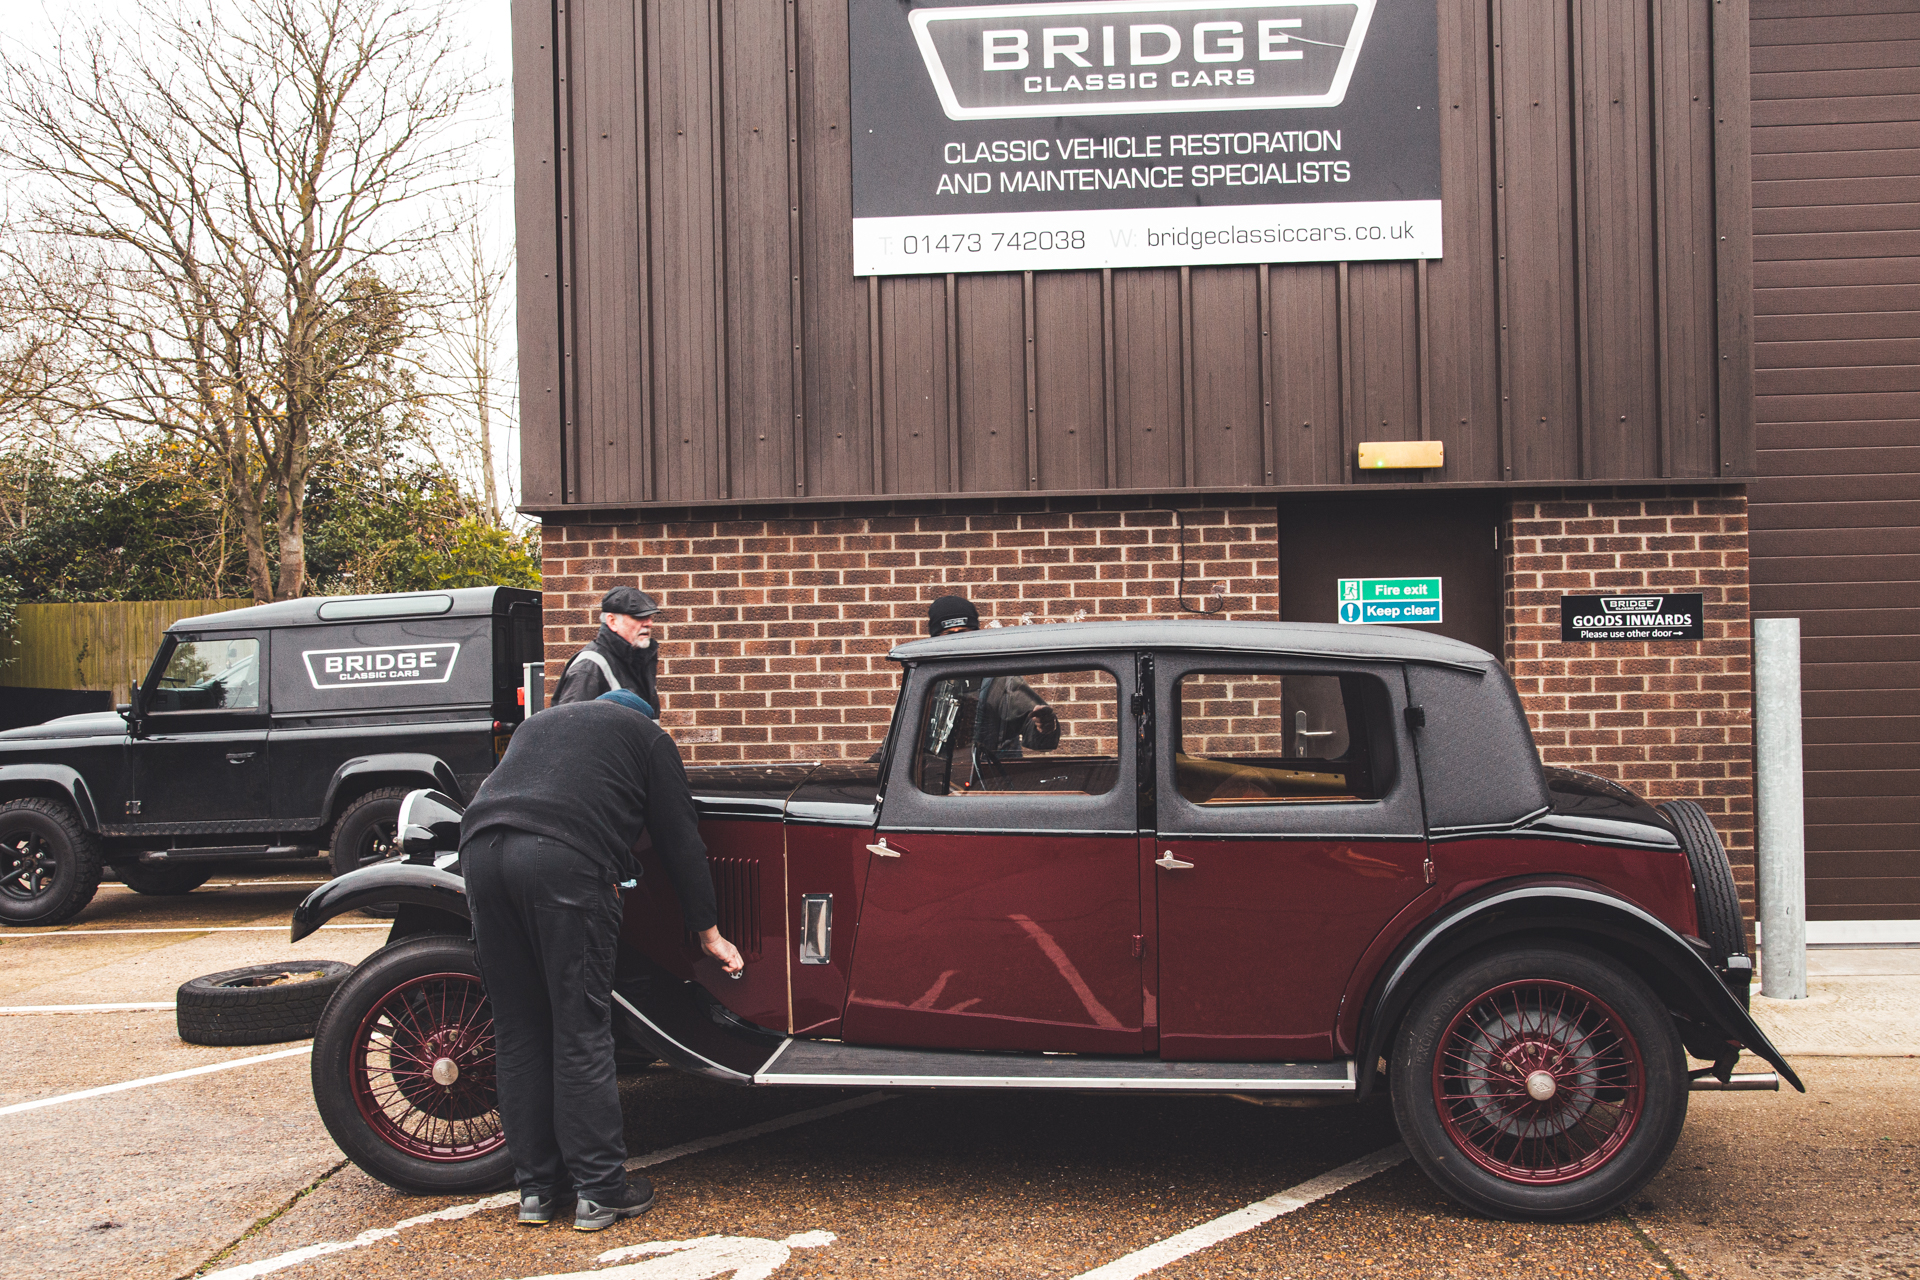
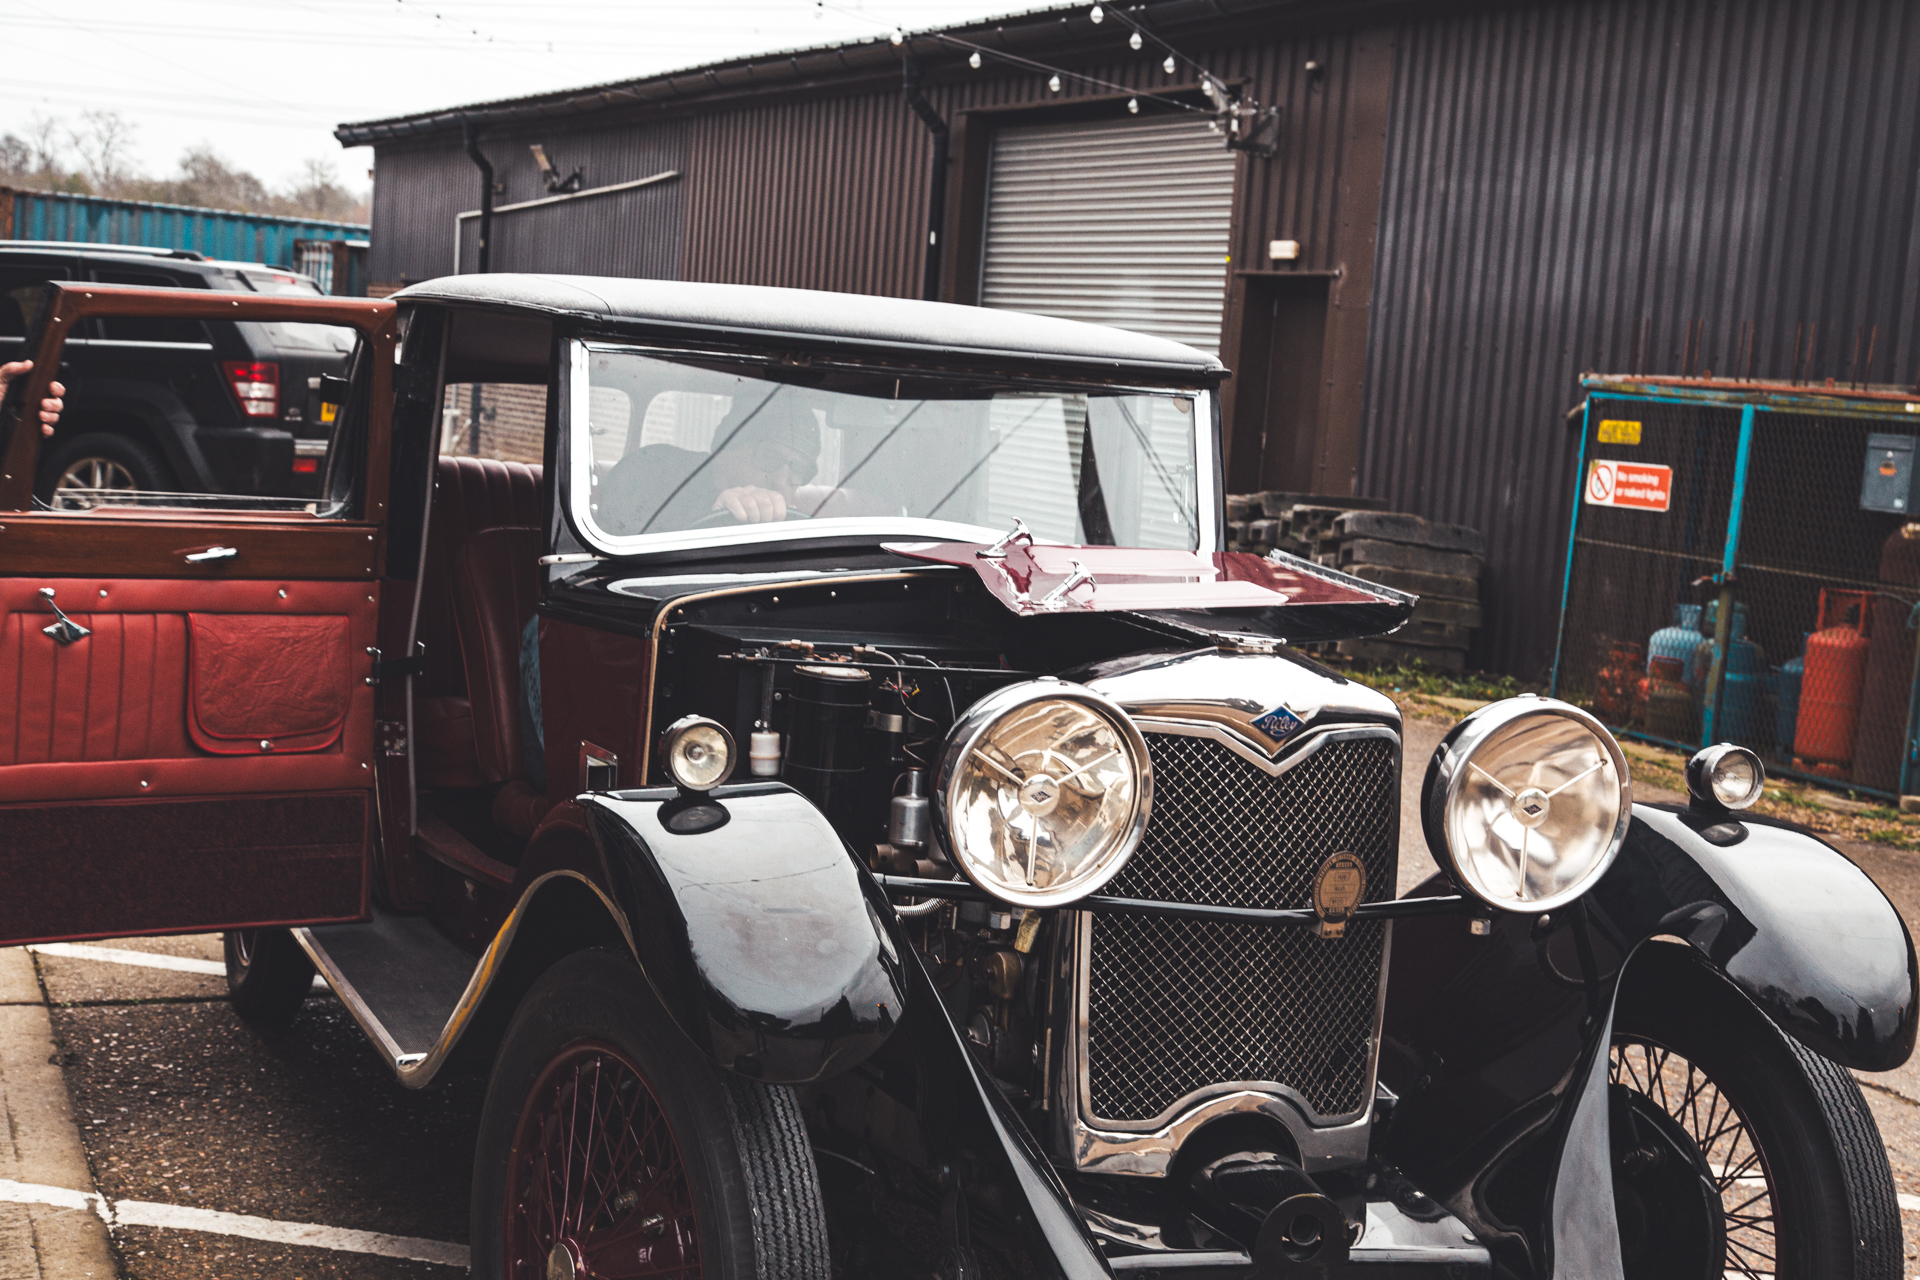
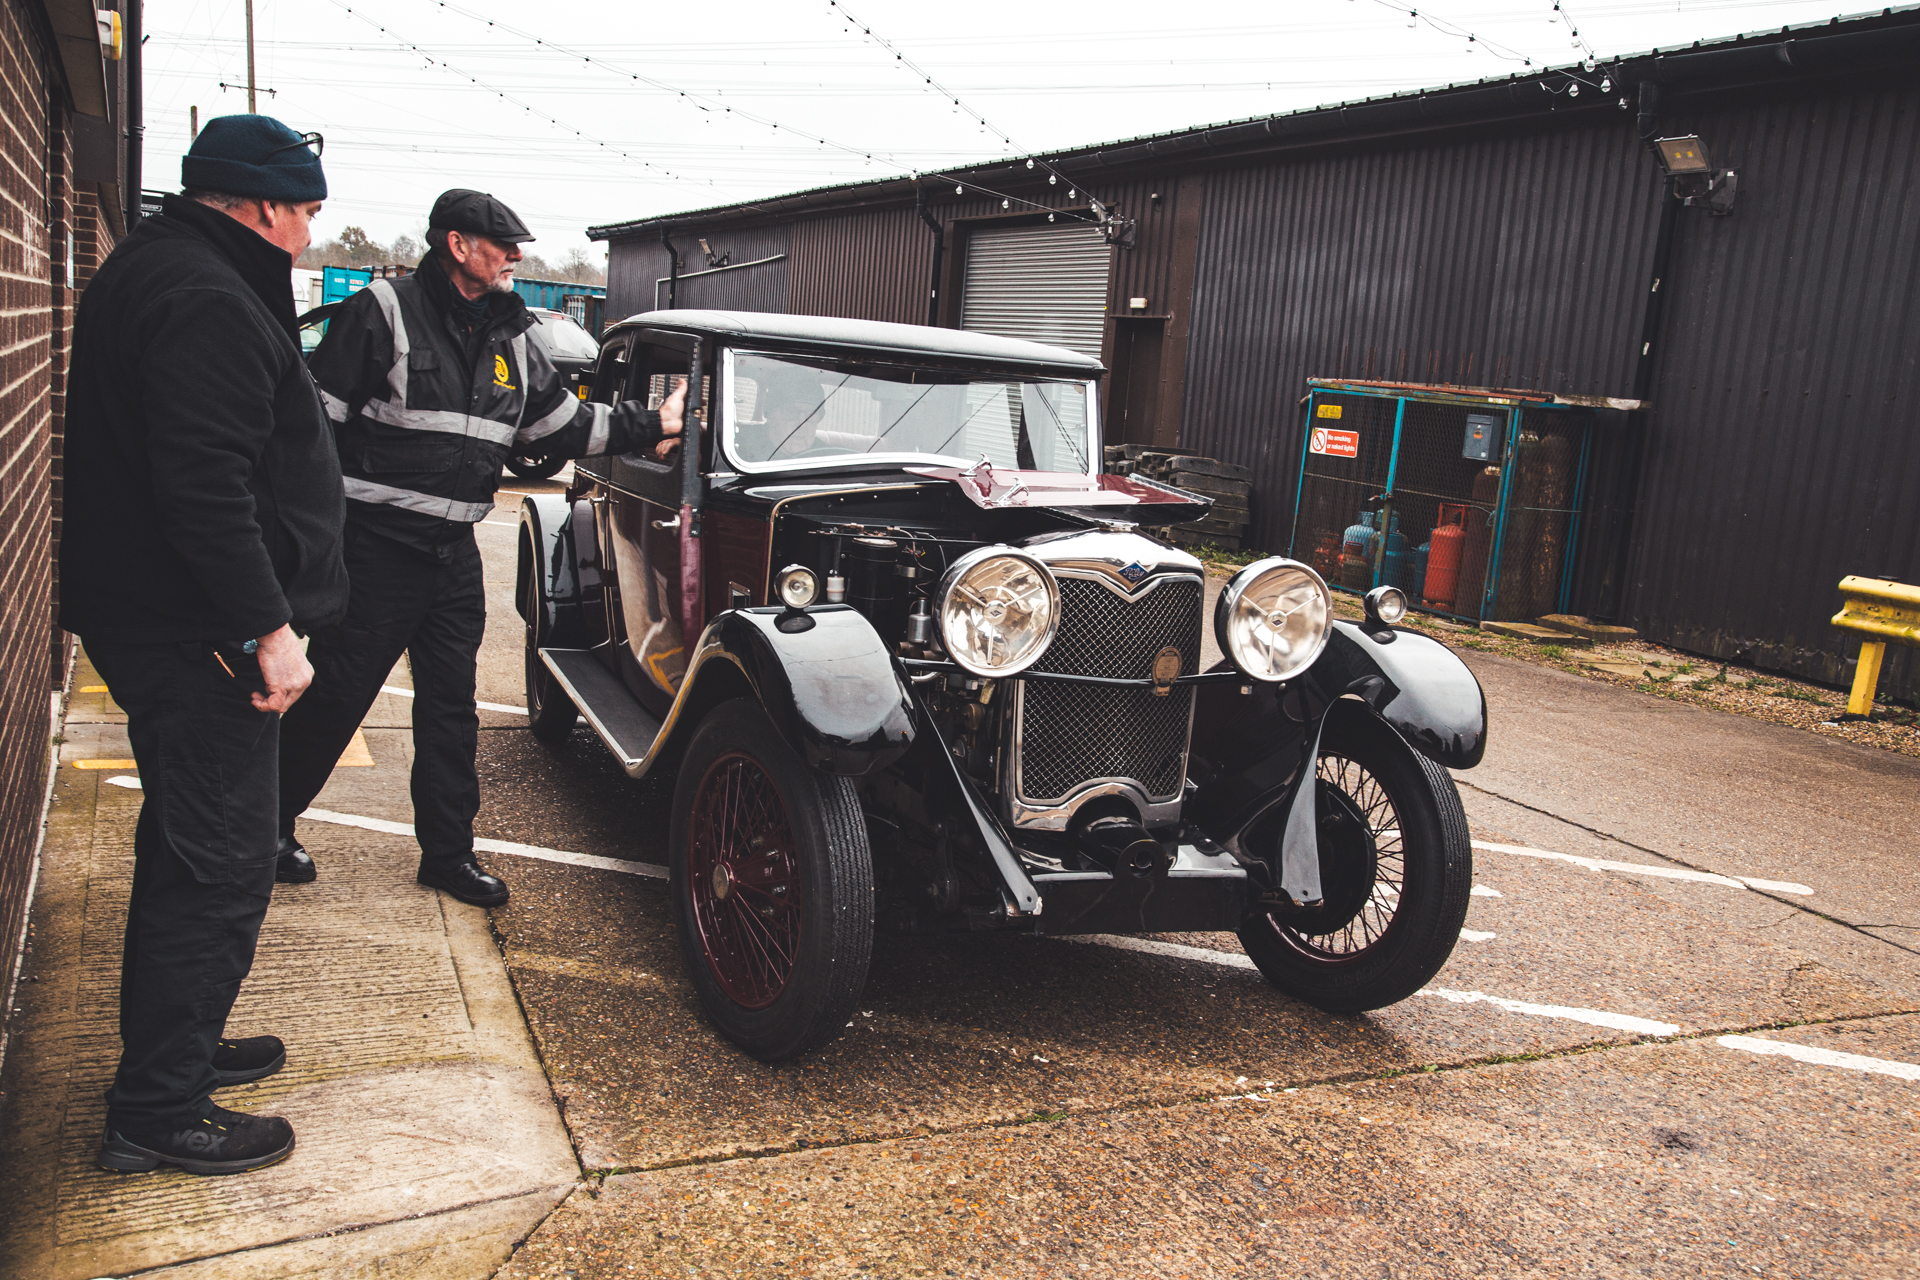
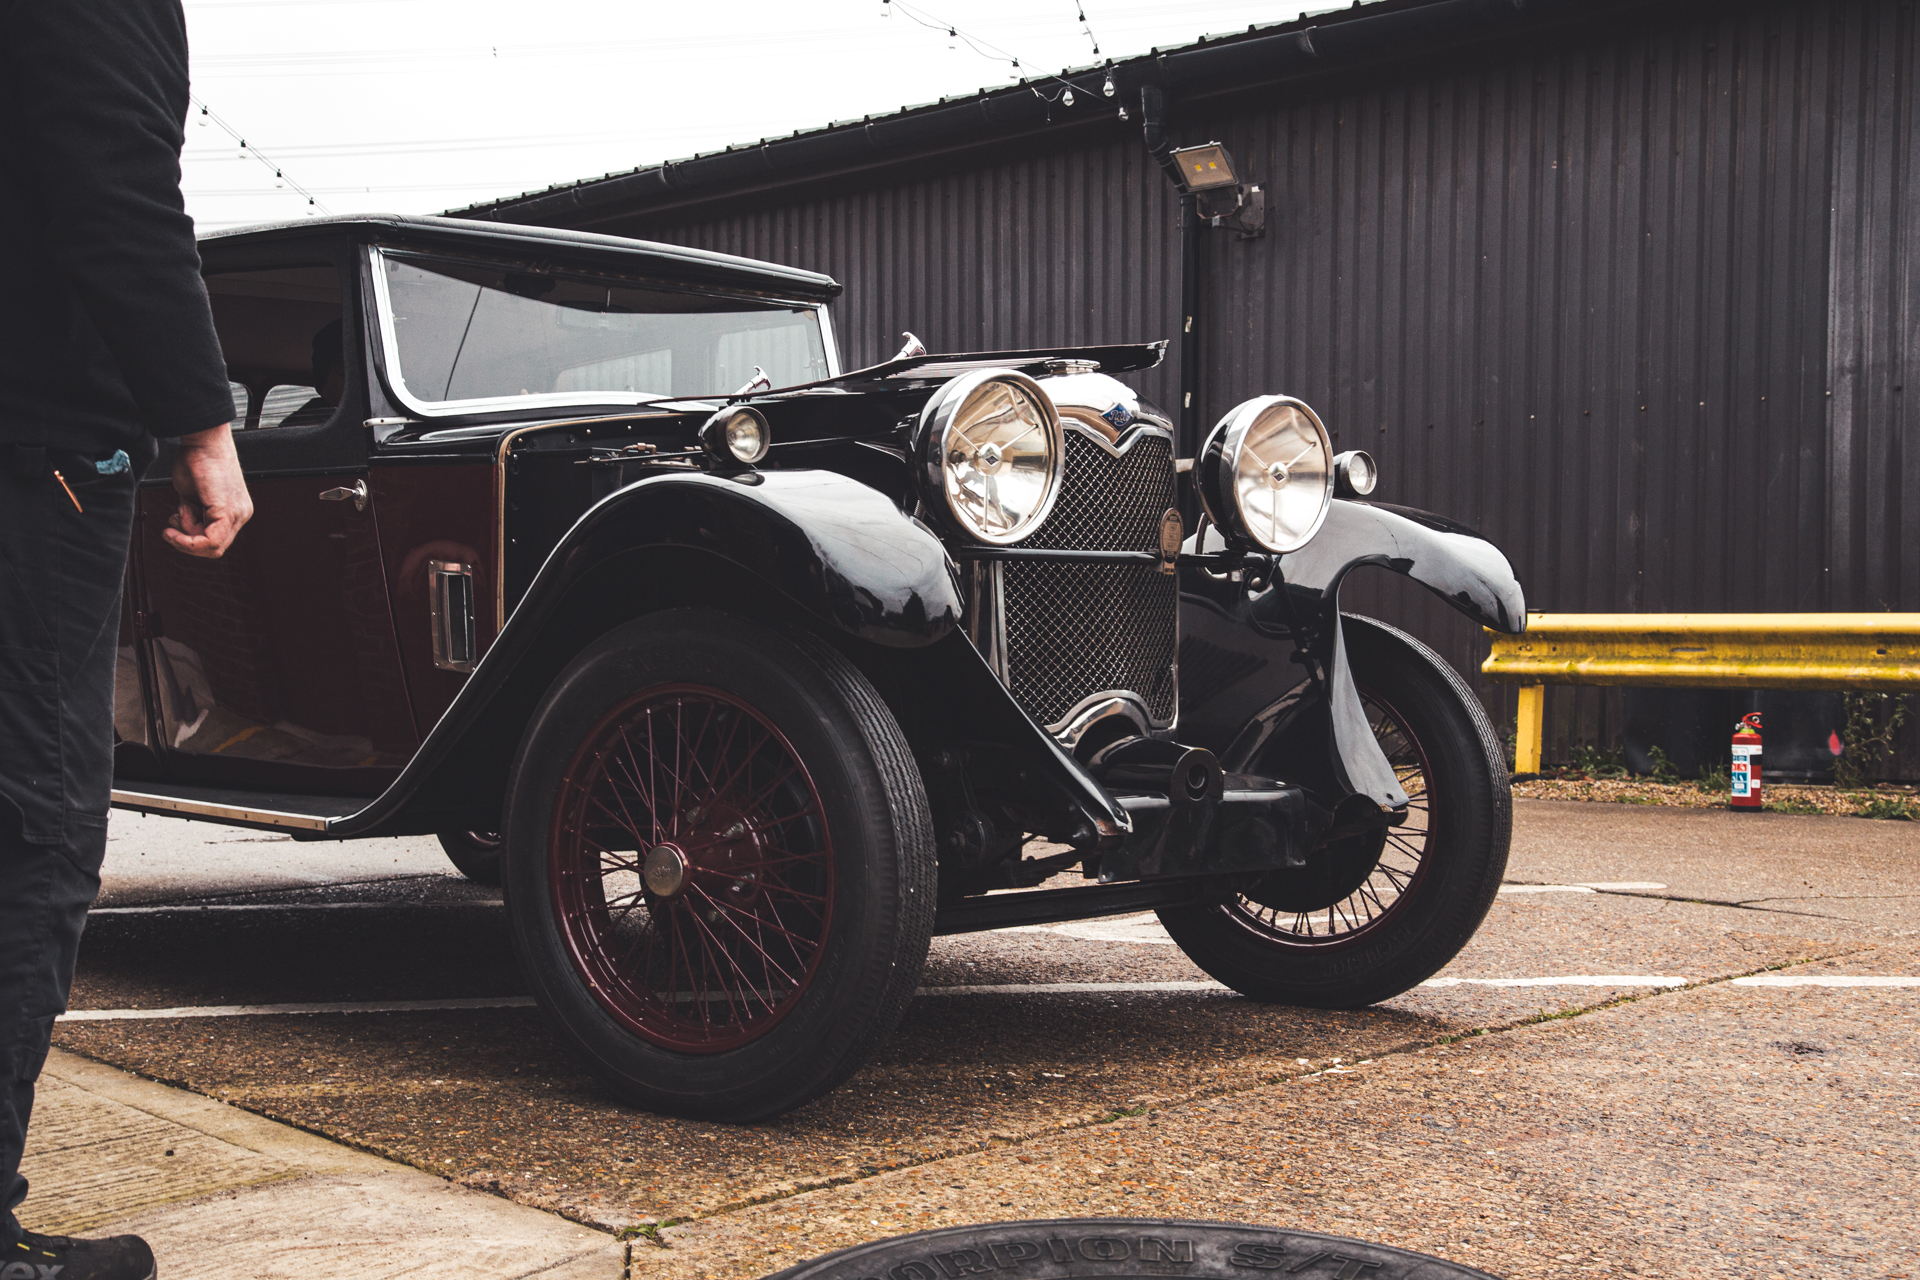
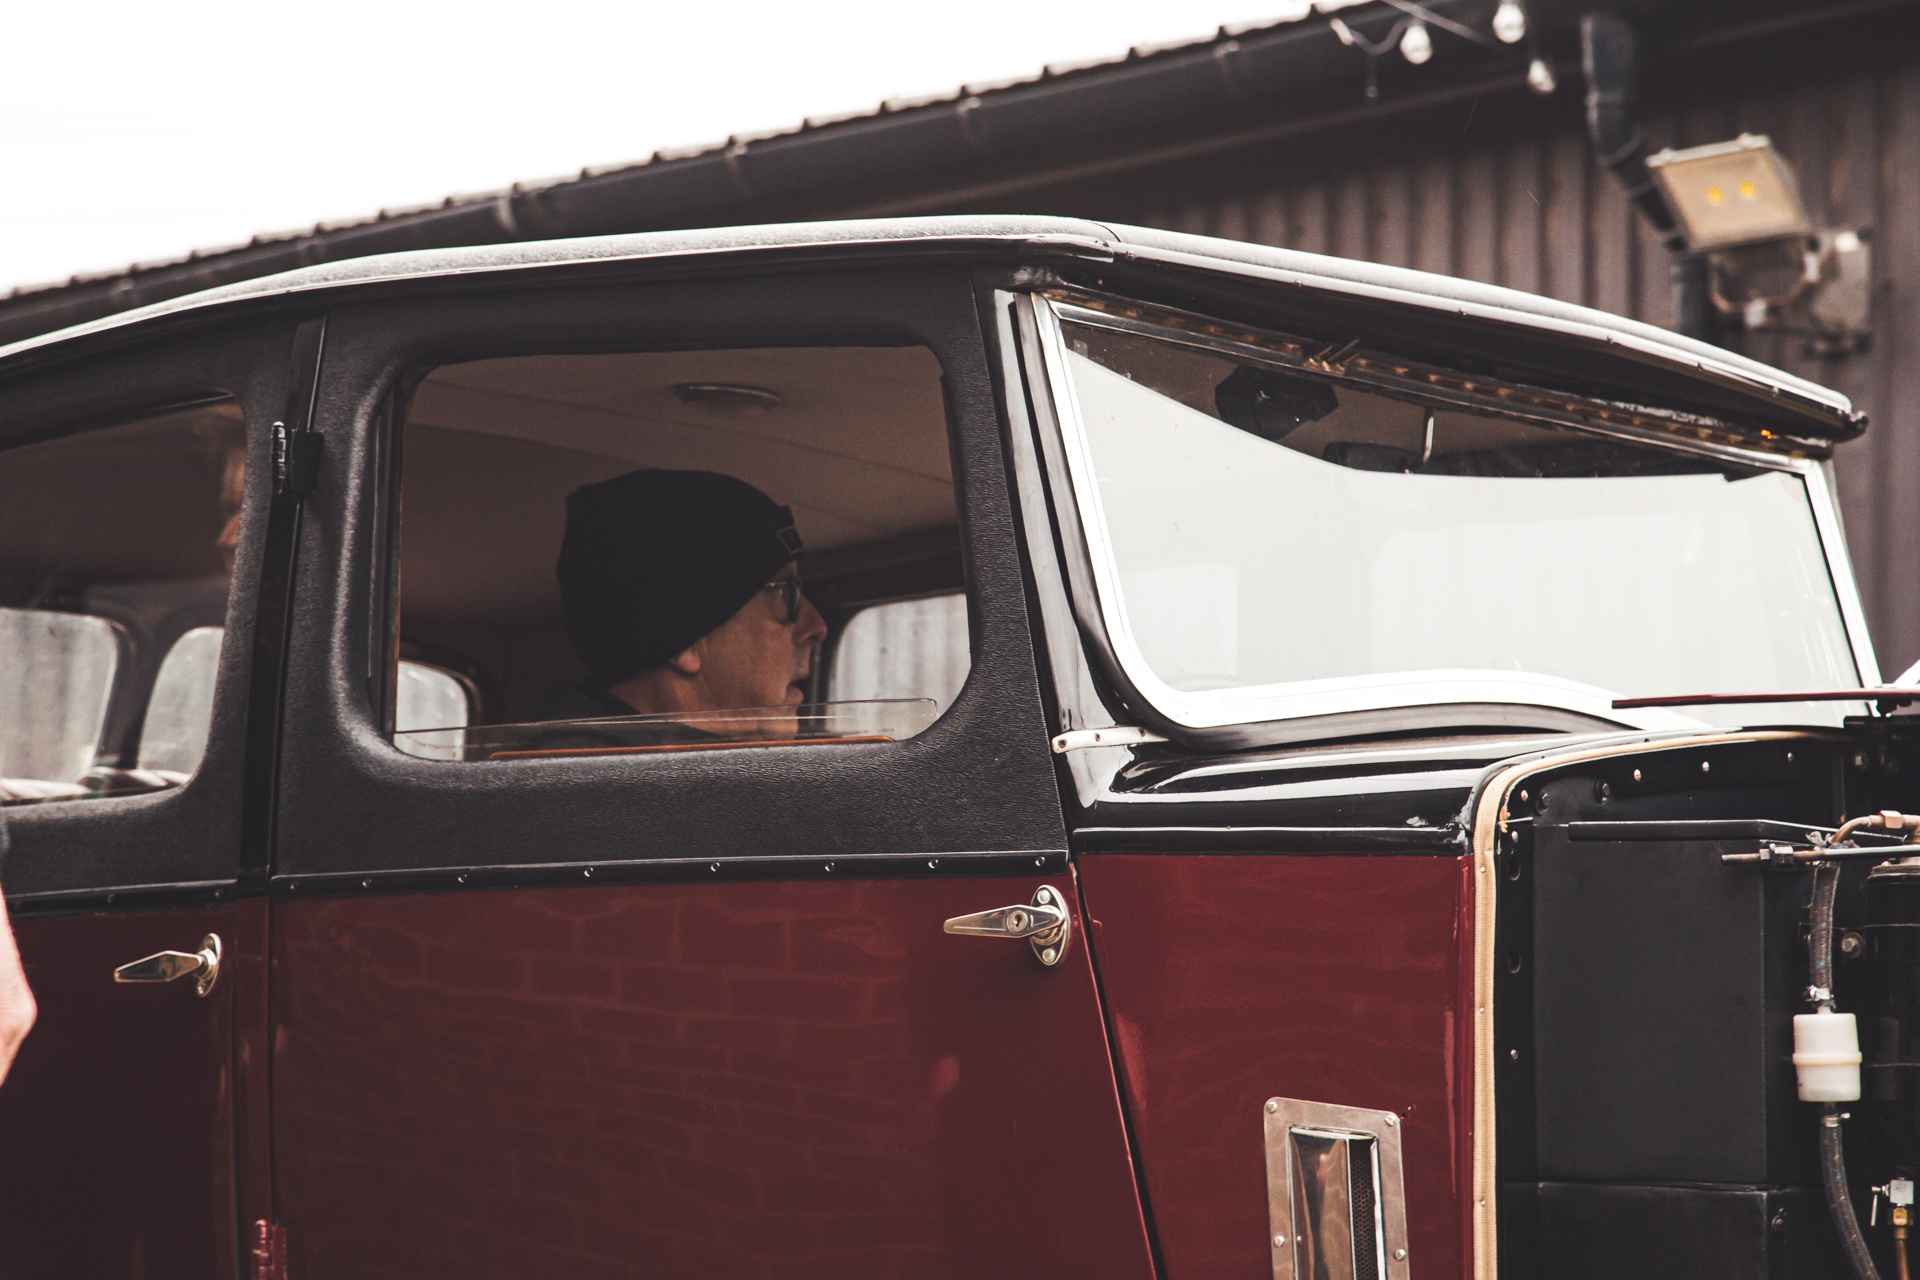
This morning we took delivery of a collection of new cars destined to be won by lucky winners for our competitions as well as our 1938 Vauxhall Wingham Cabriolet being brought back to us safe and sound.
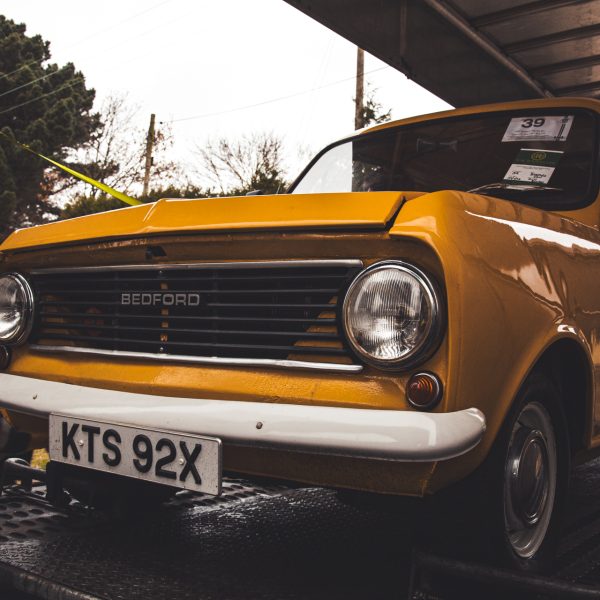
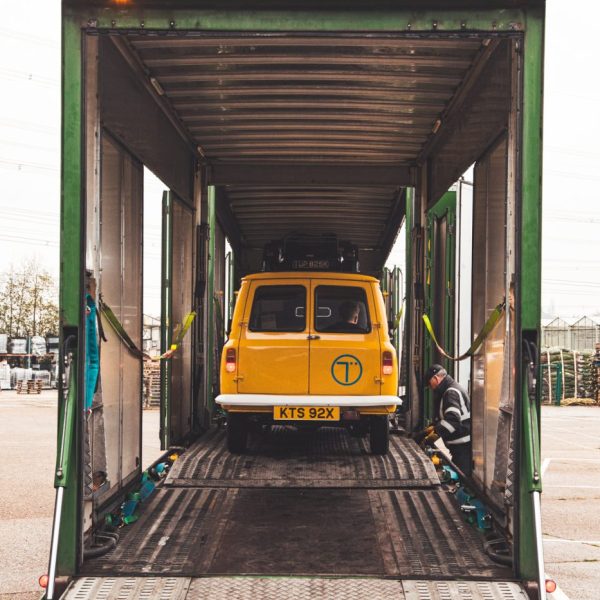
The new cars included a Morgan Plus 4, a Mini 850 Van and a very yellow 1982 Bedford HA Panel Van safely tucked away in the trailer of our friends at EM Rogers.
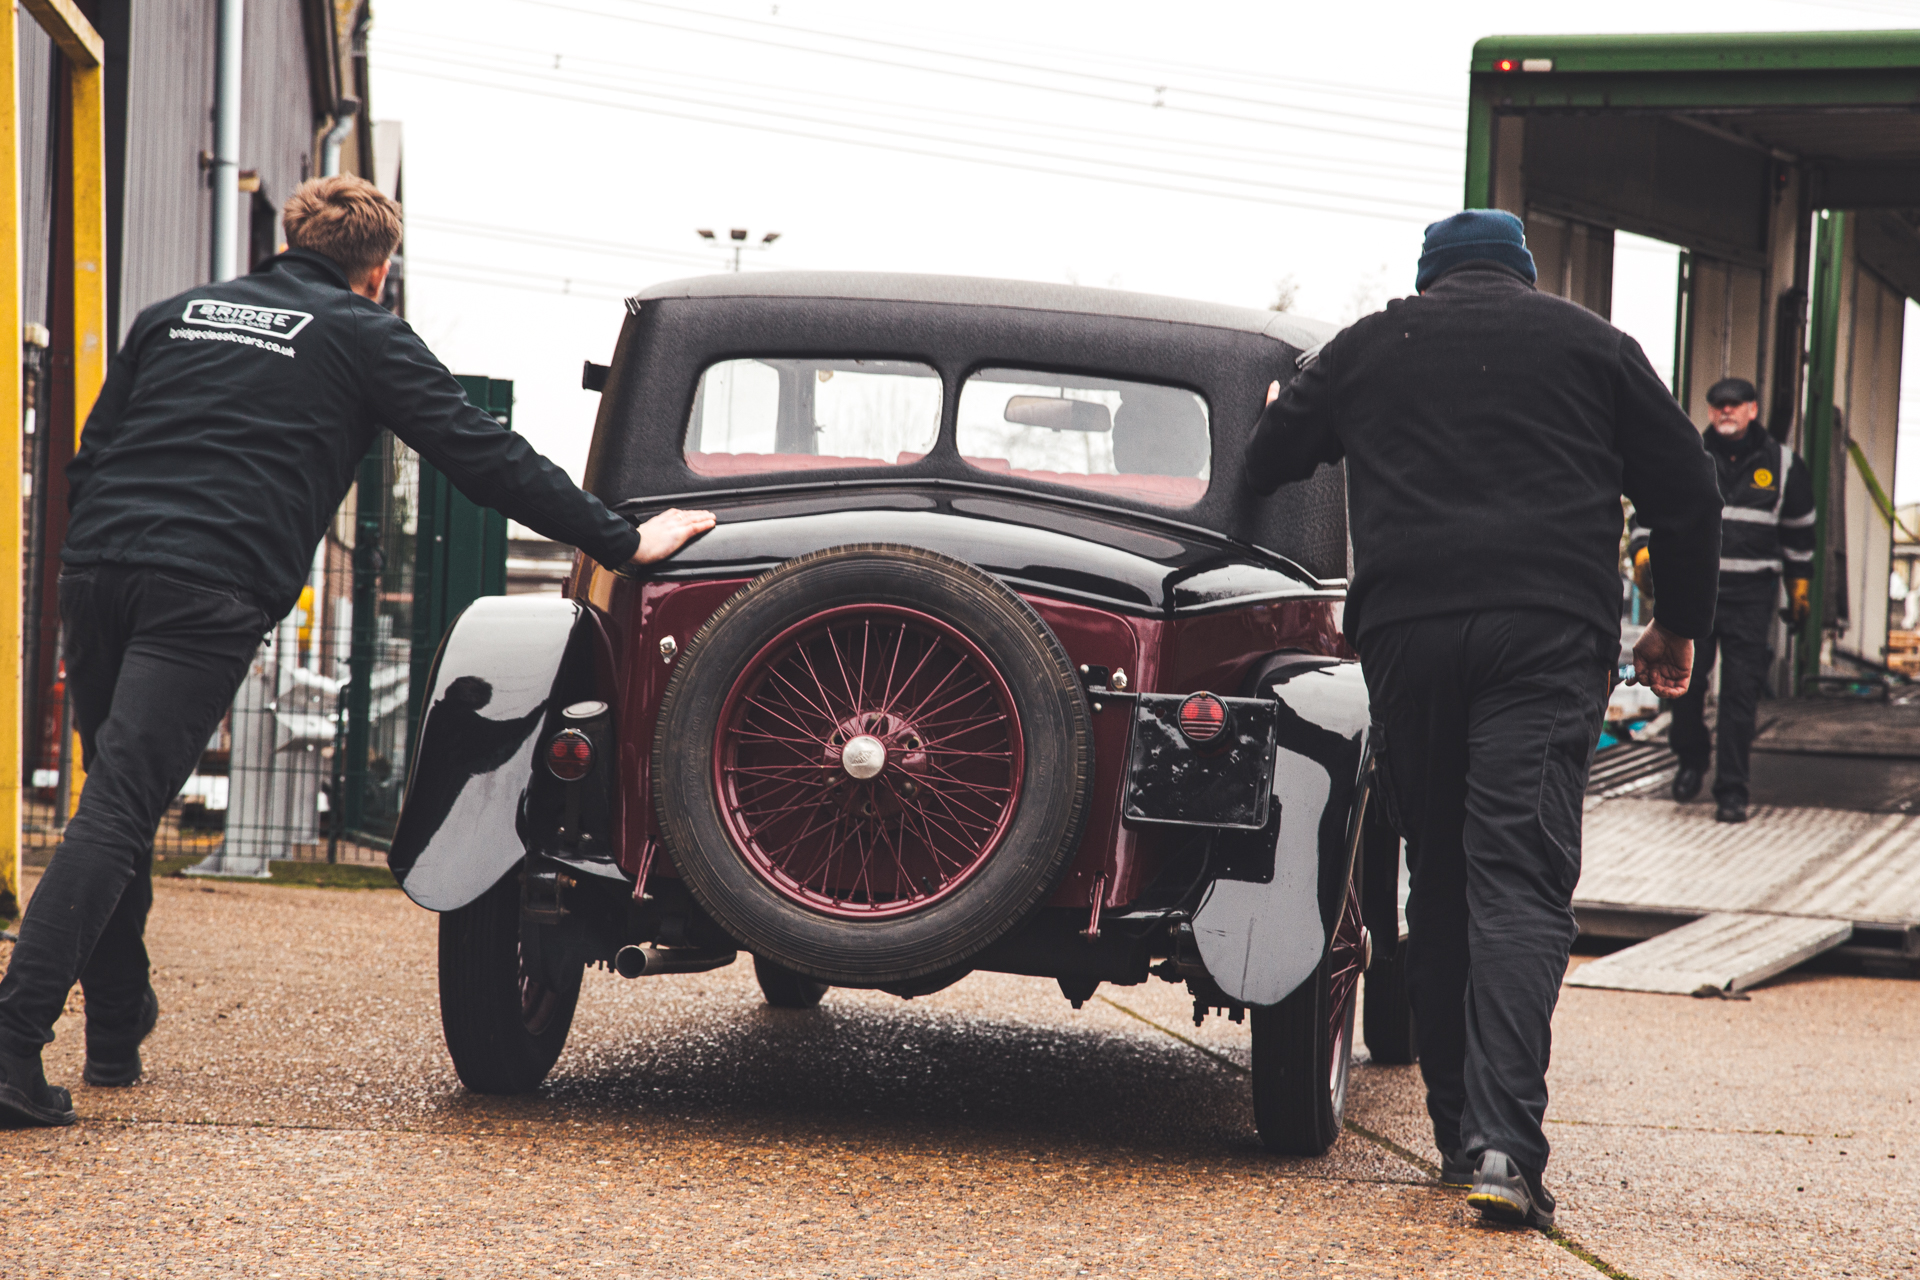
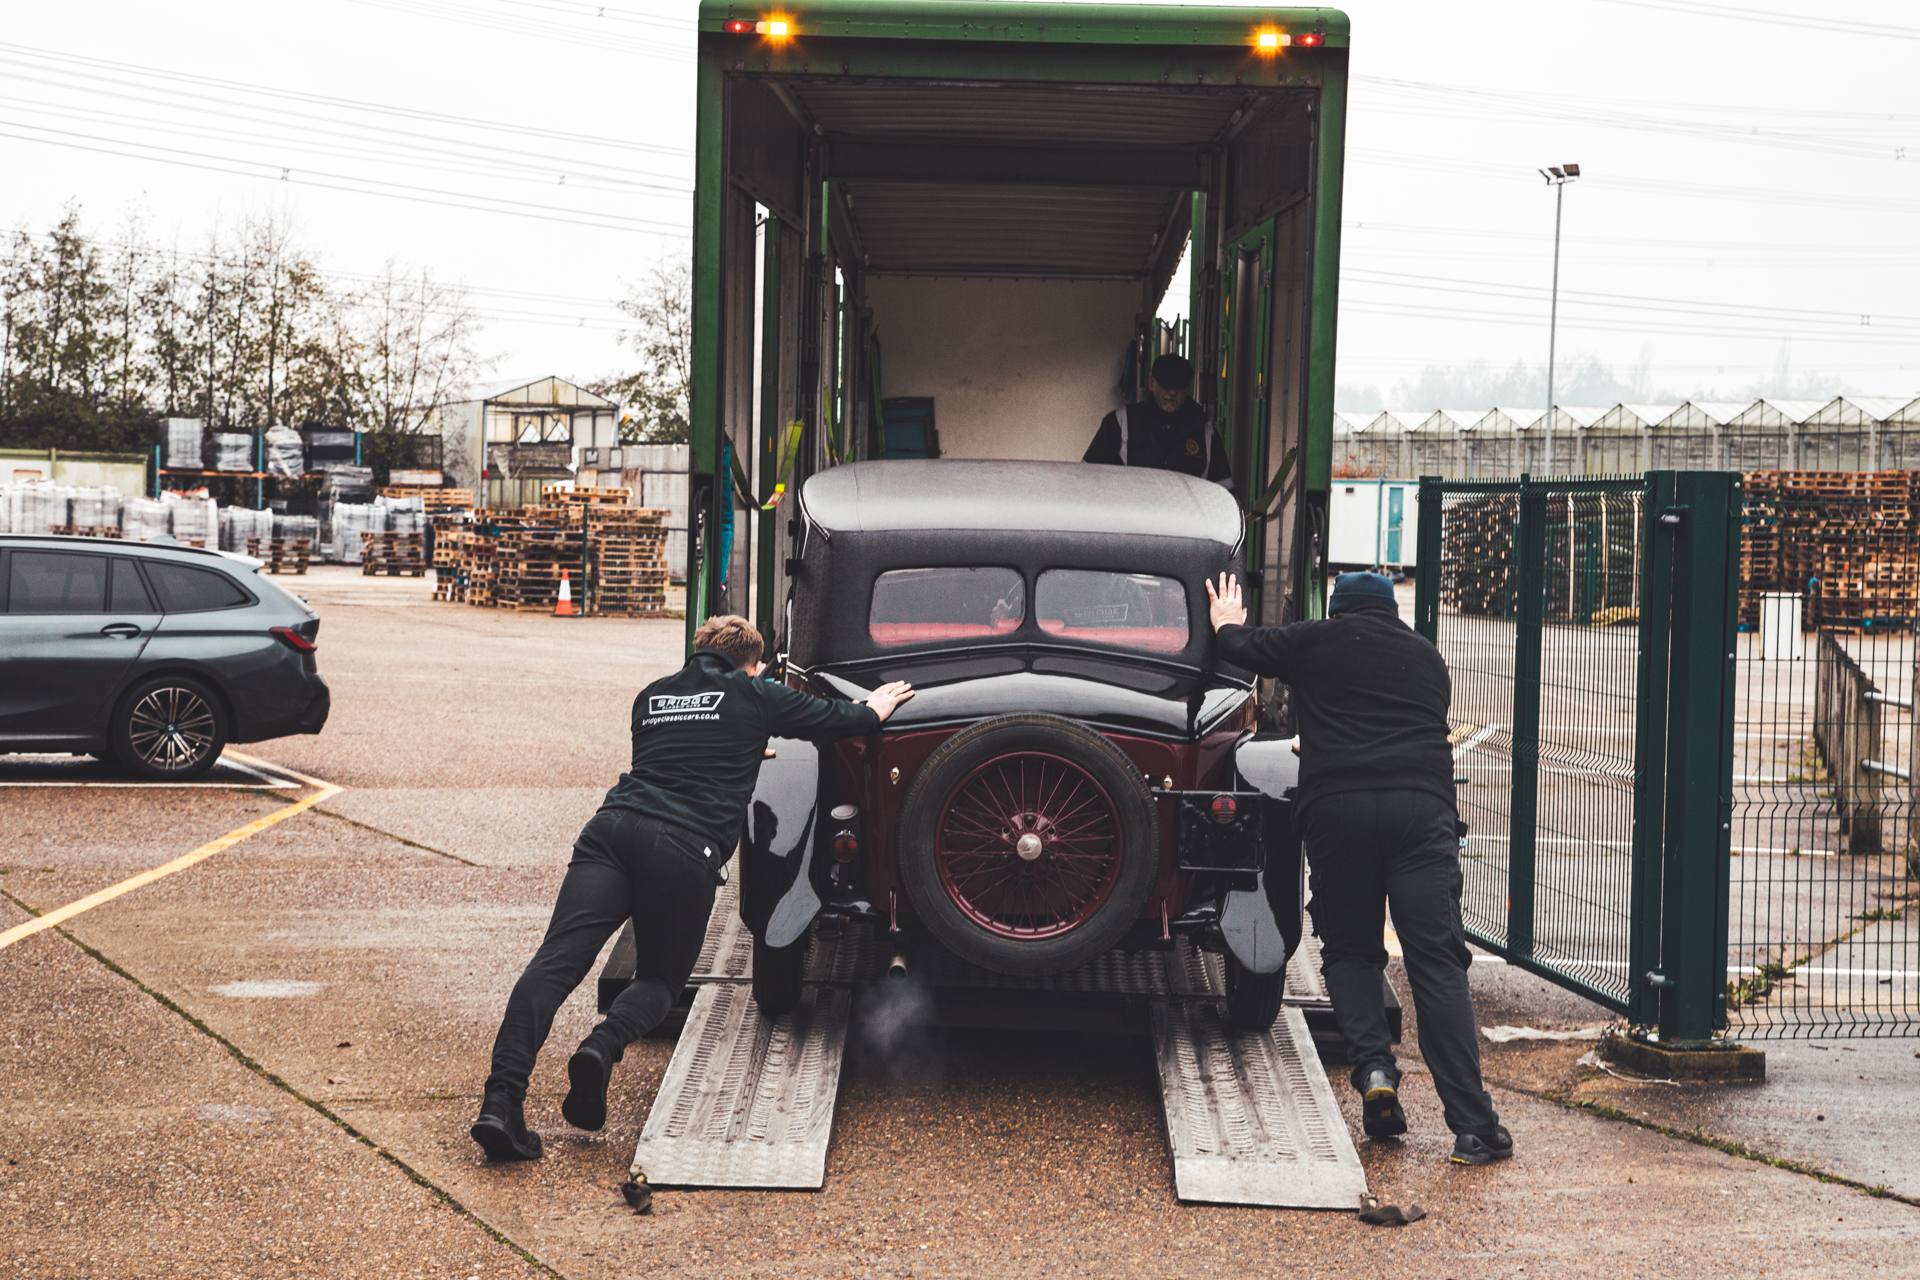
One by one, these classics were unloaded and taken round to our usual photography spot for us to capture them before they begin their journeys. But, we do like to grab photos of the action!

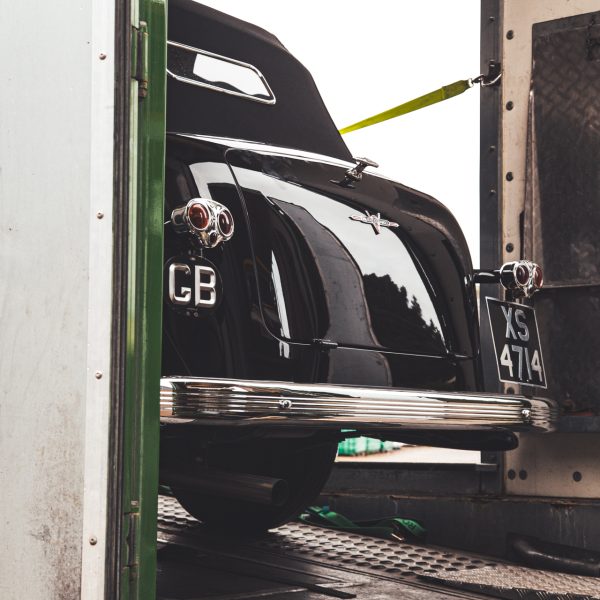

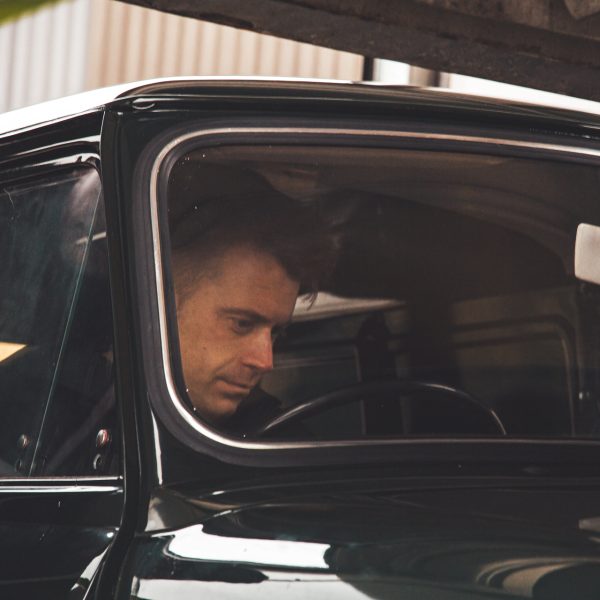

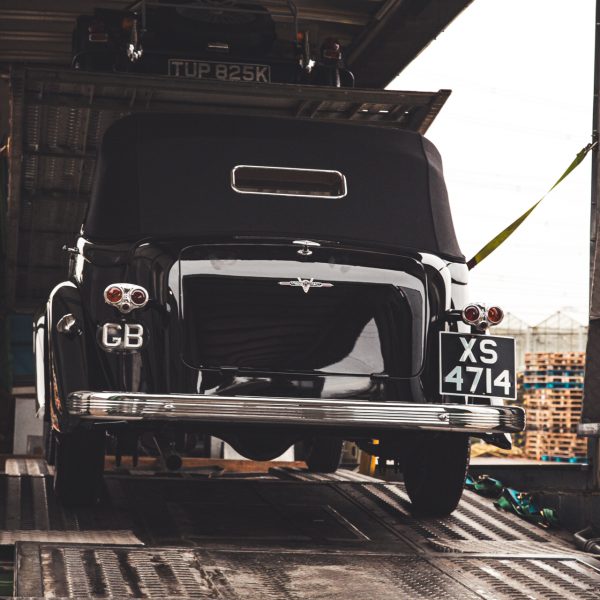
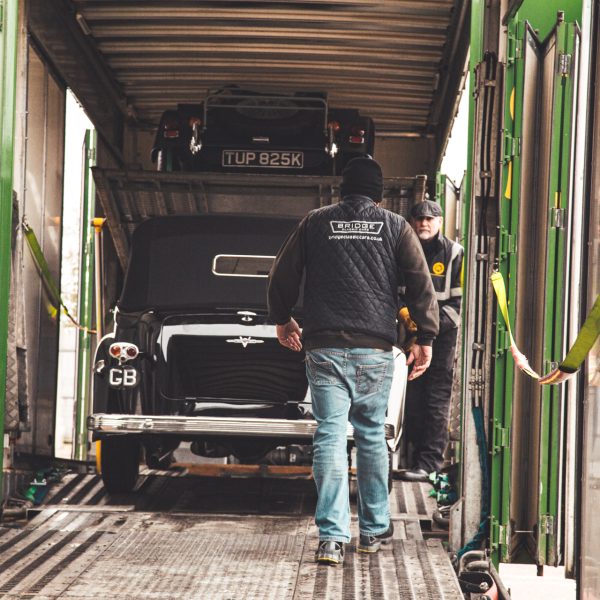
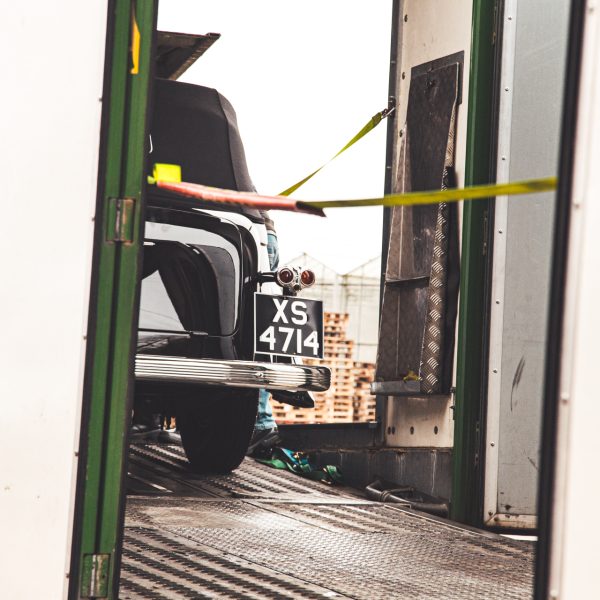
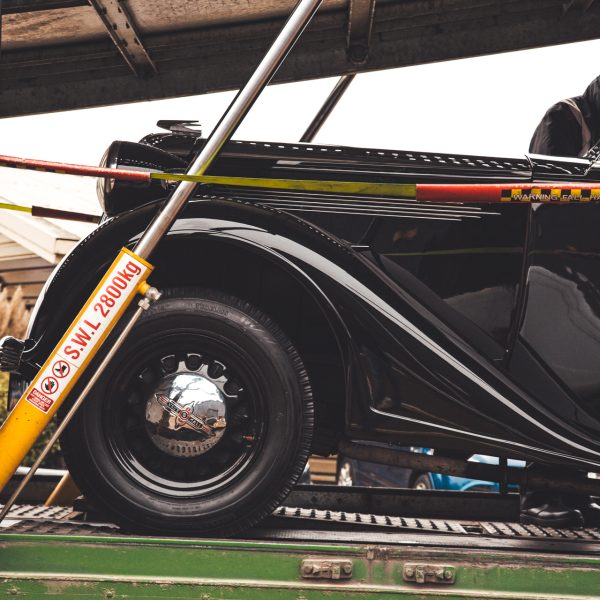
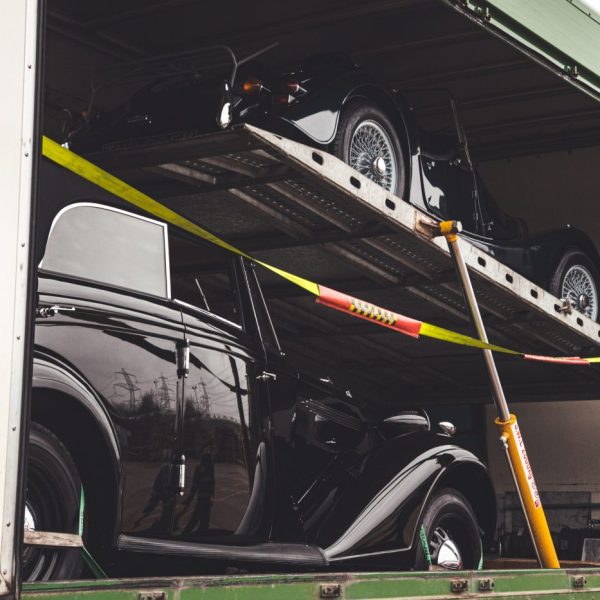
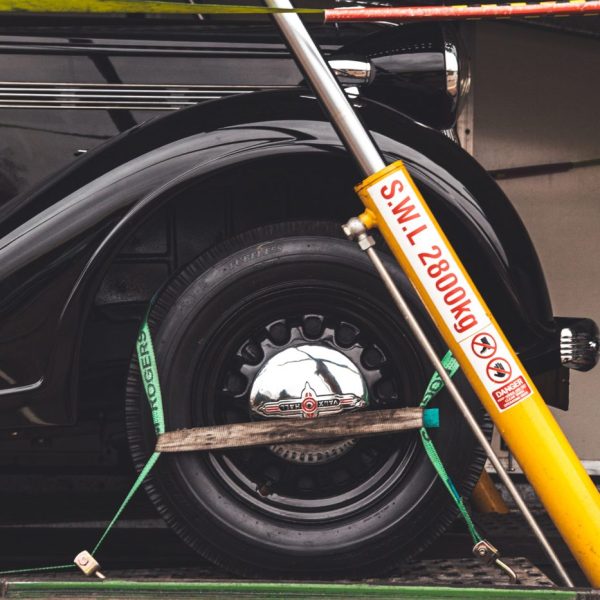
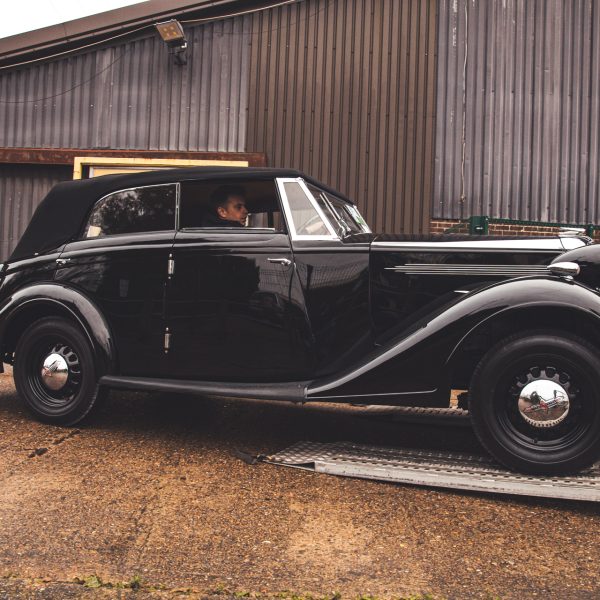
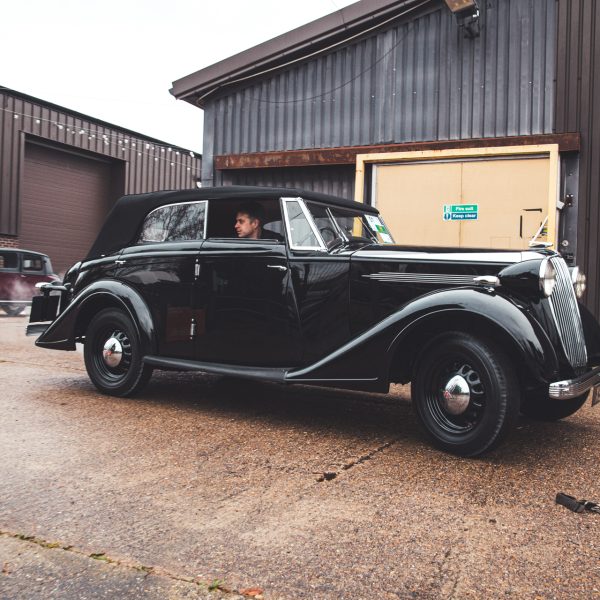
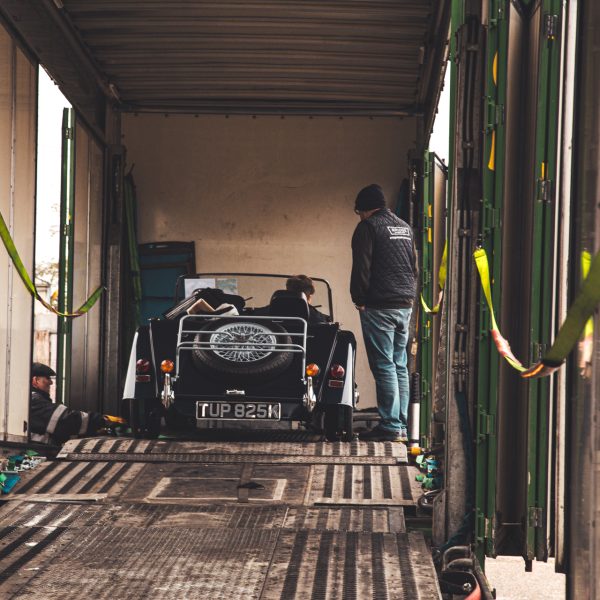
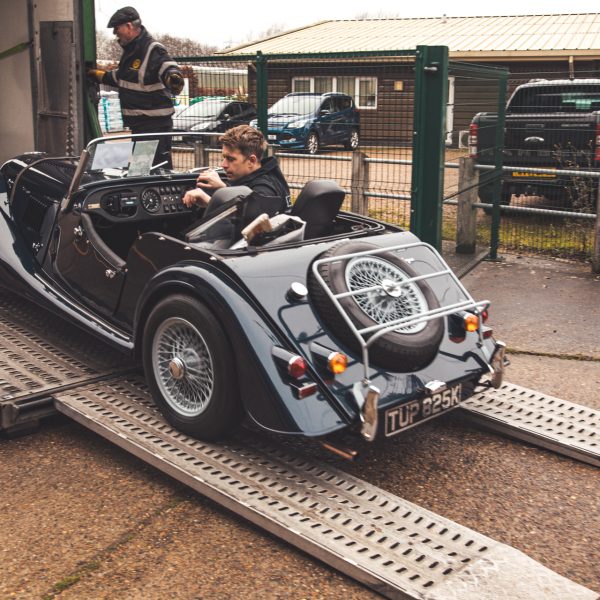
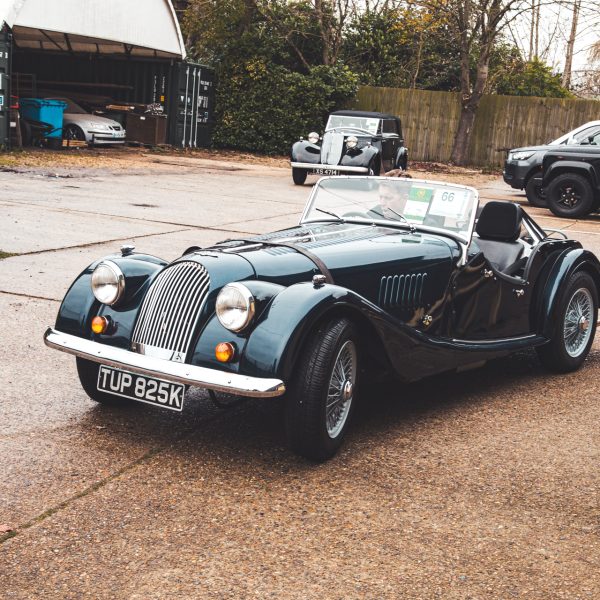
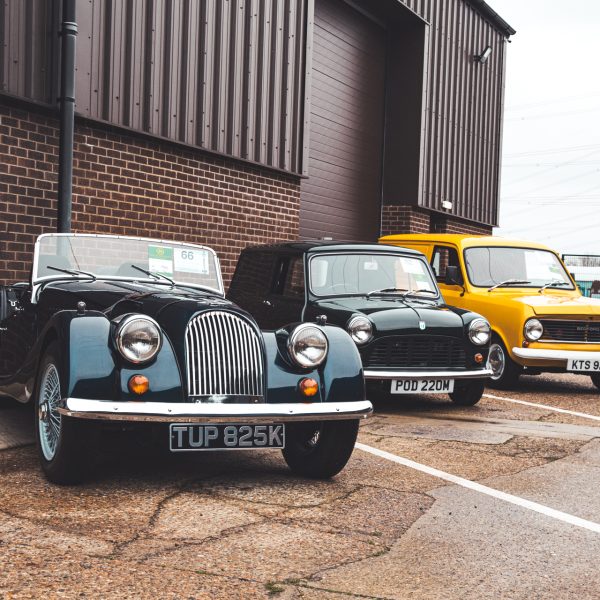
Along with delivering our classics back to us, EM Rogers were also here to collect a very special car destined for its new owner.
The team have been readying the Riley Stelvio ahead of its journey and today was the day where it would leave our Suffolk HQ bound for a new life since arriving from South Africa earlier in the year.
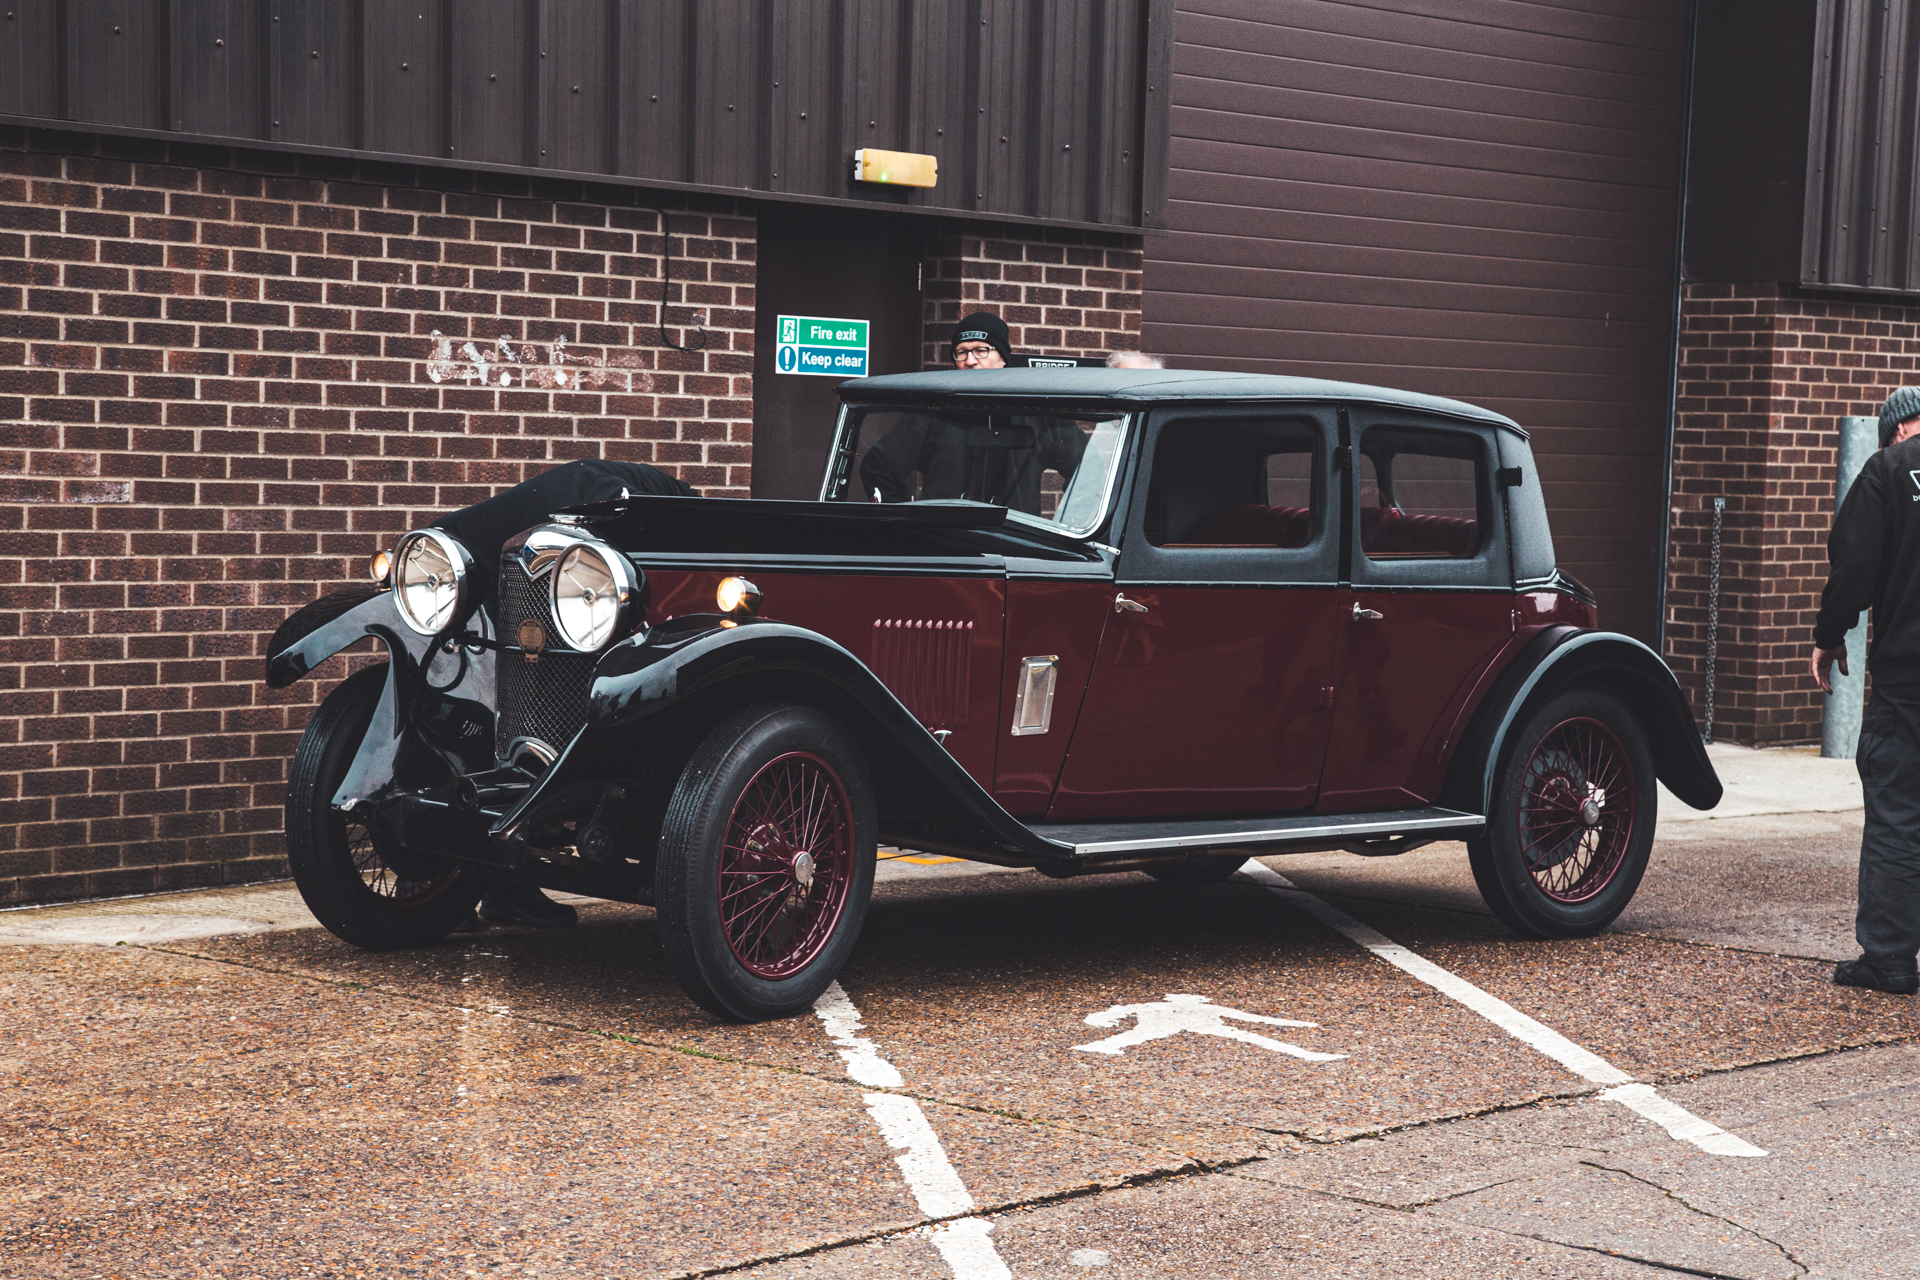
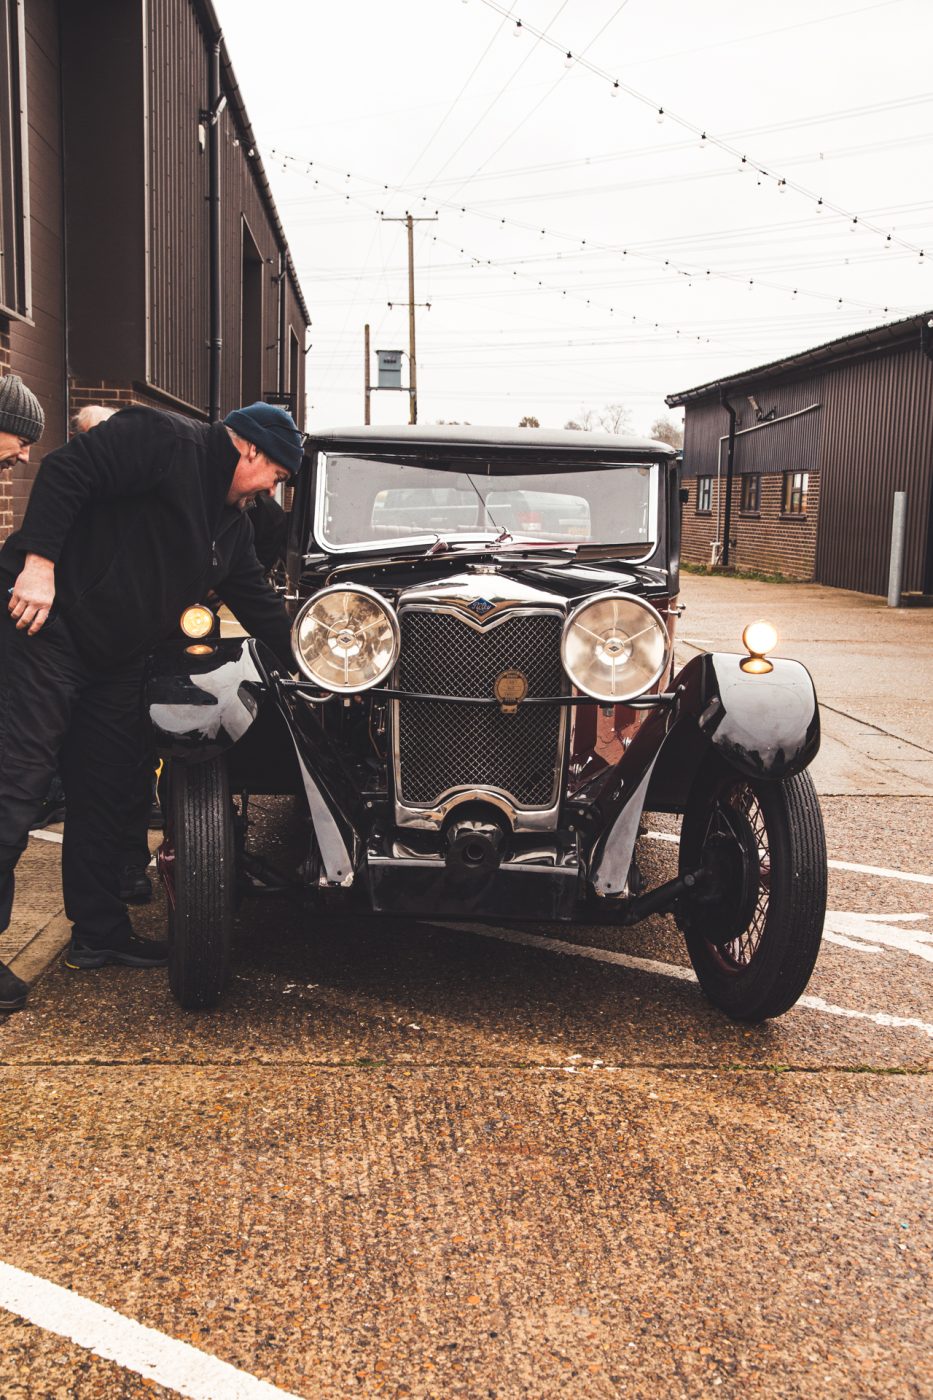
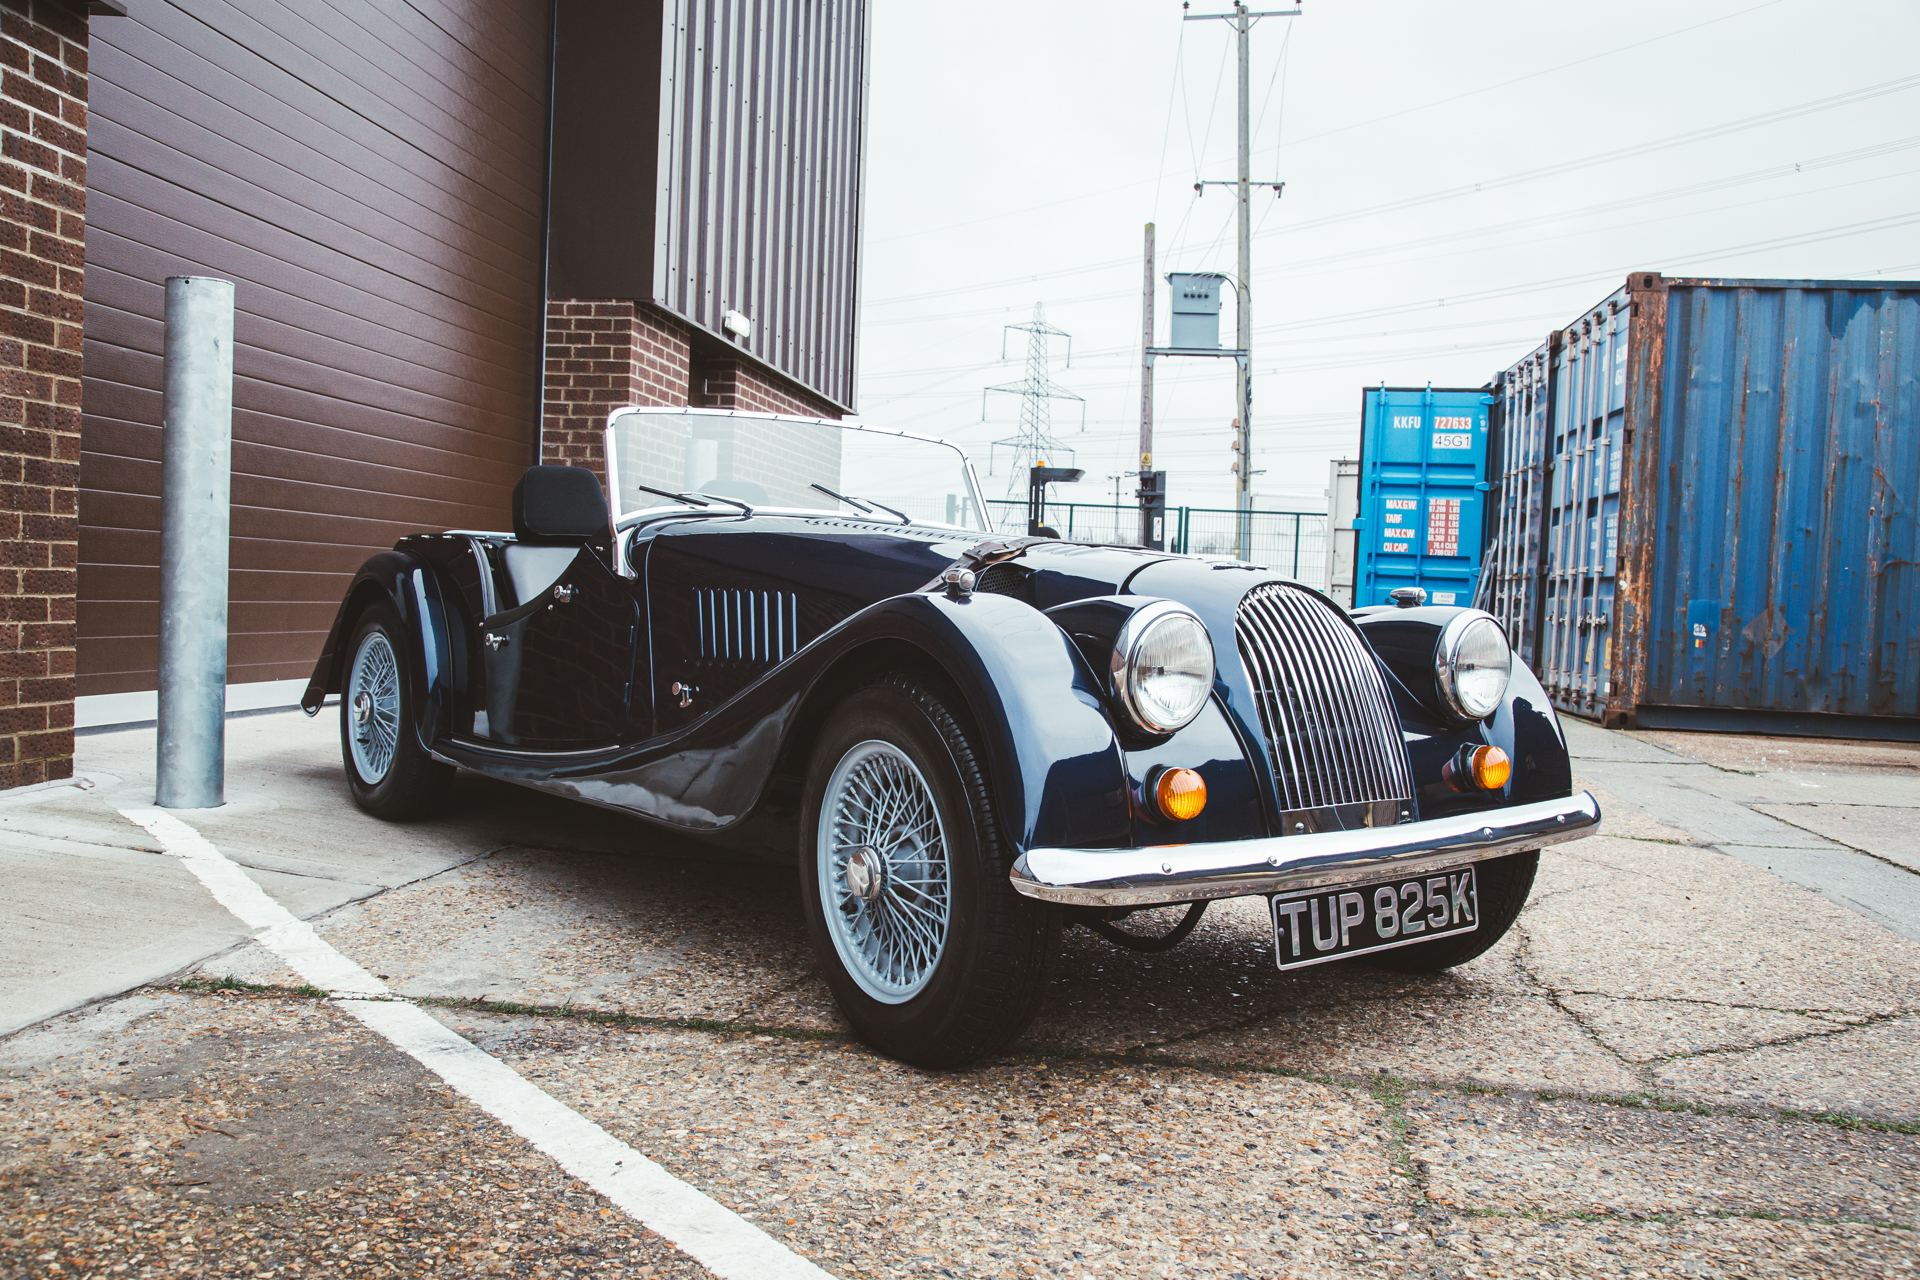
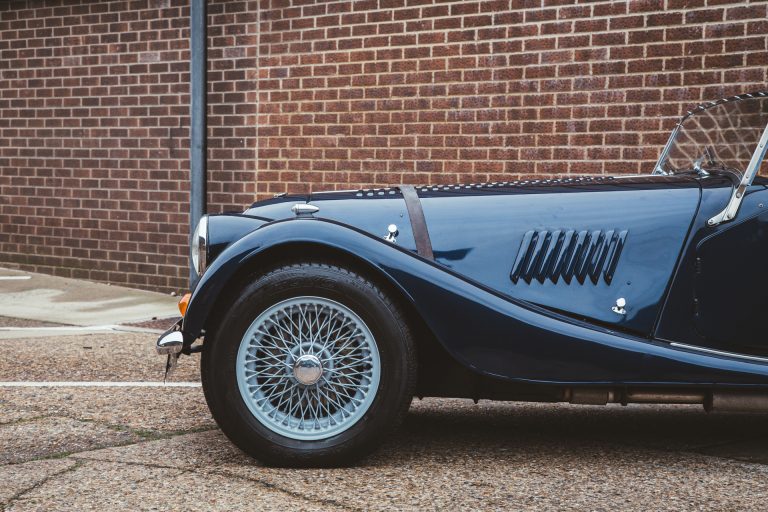
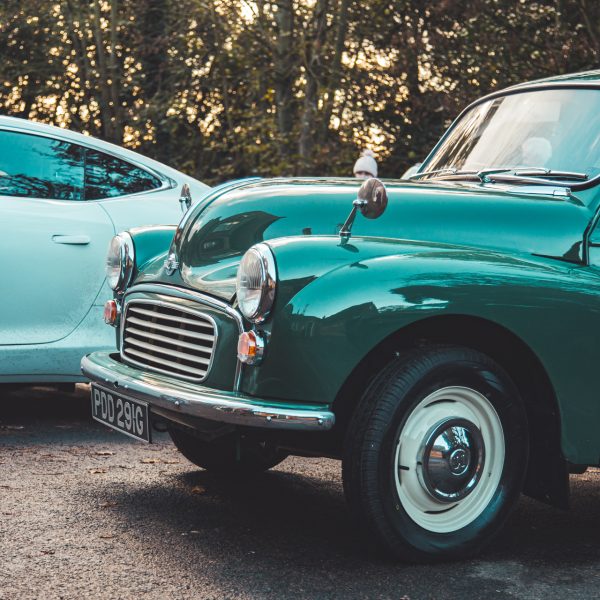
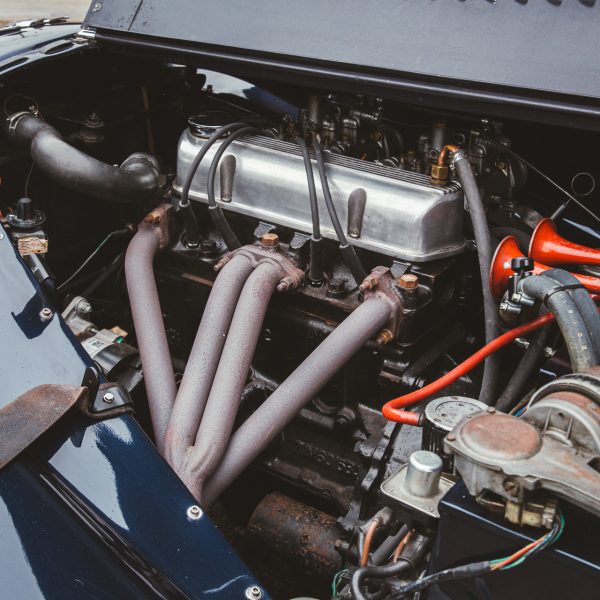
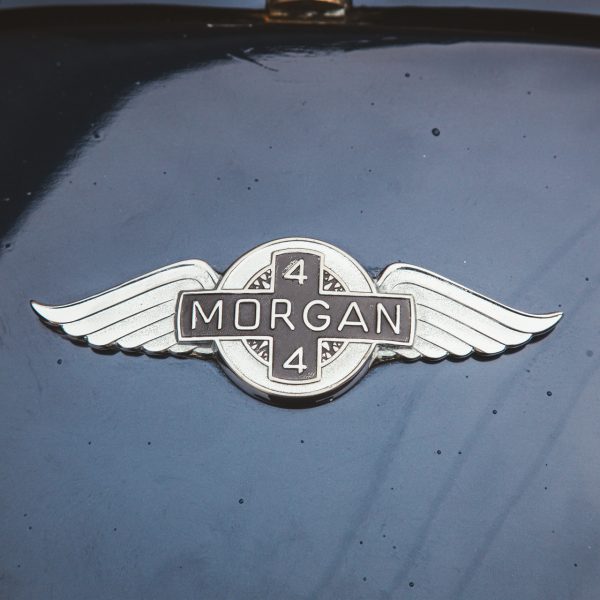
Today, we welcomed a few newcomers to our Suffolk HQ including this beautiful 1972 Morgan Plus 4.
Shortly, it will be assessed and worked on by the team to make sure everything is up to scratch and looking the best it possibly can.

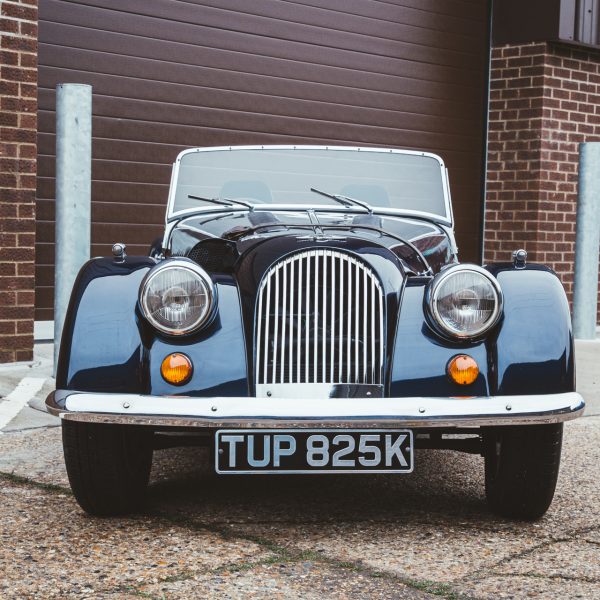
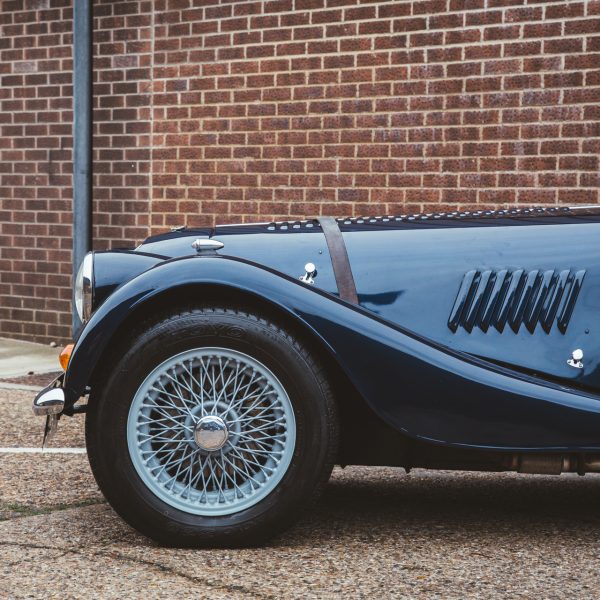
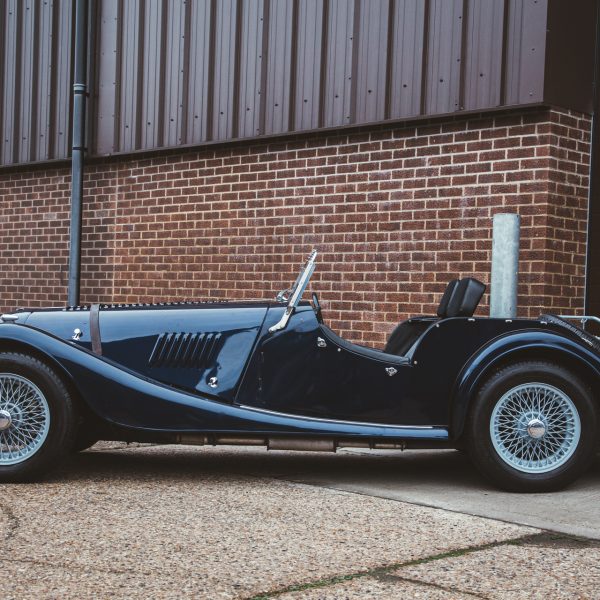
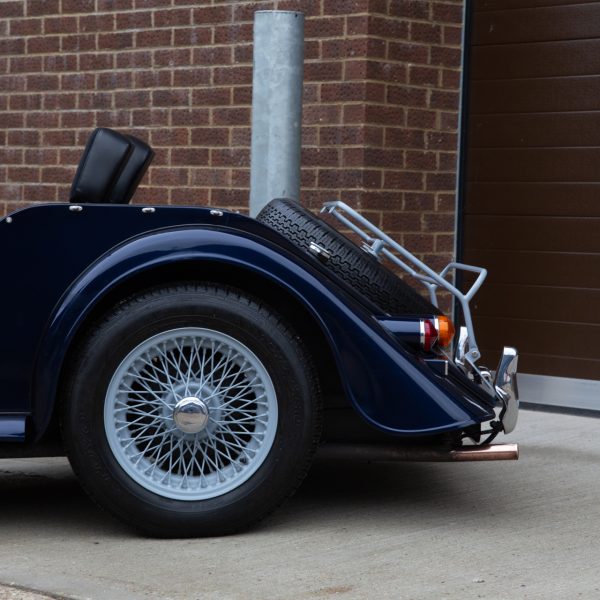
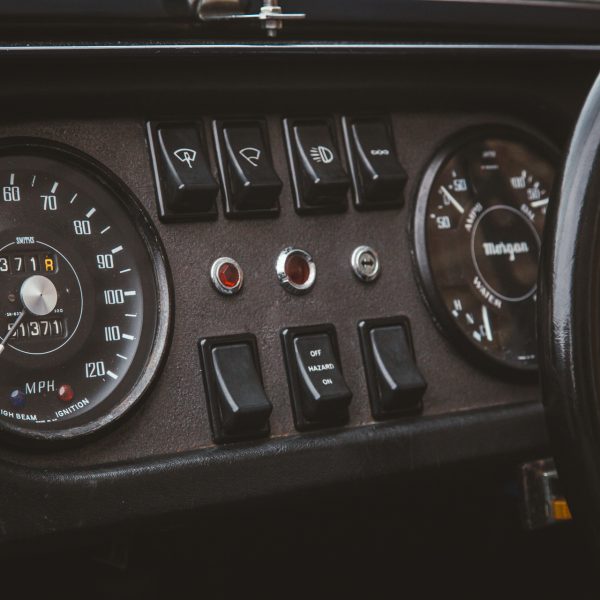
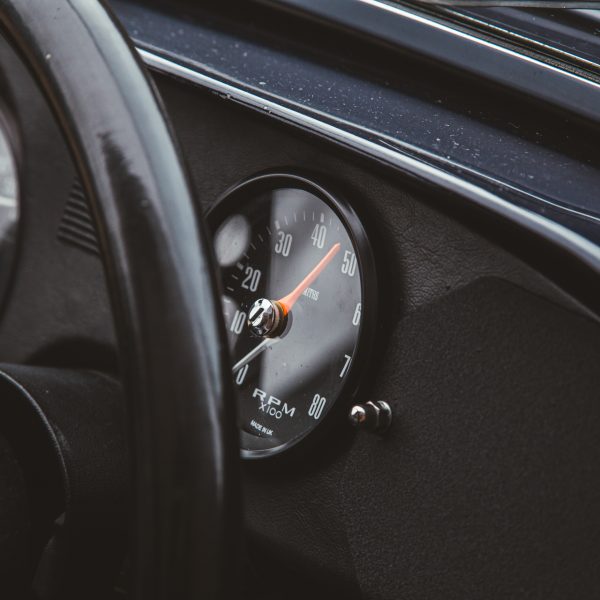
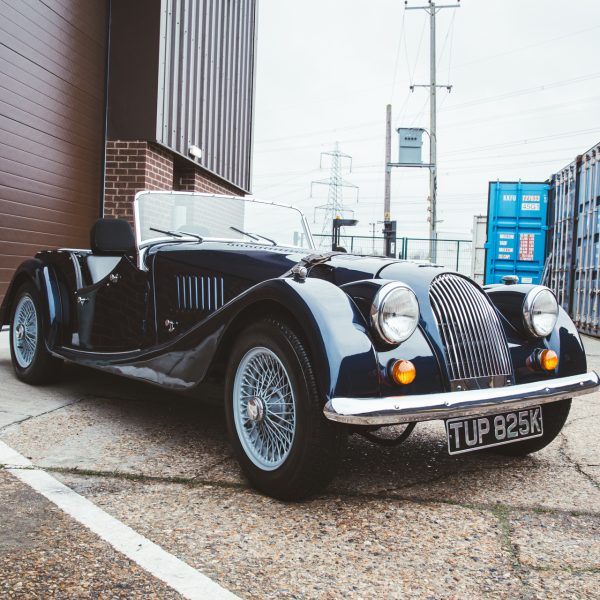
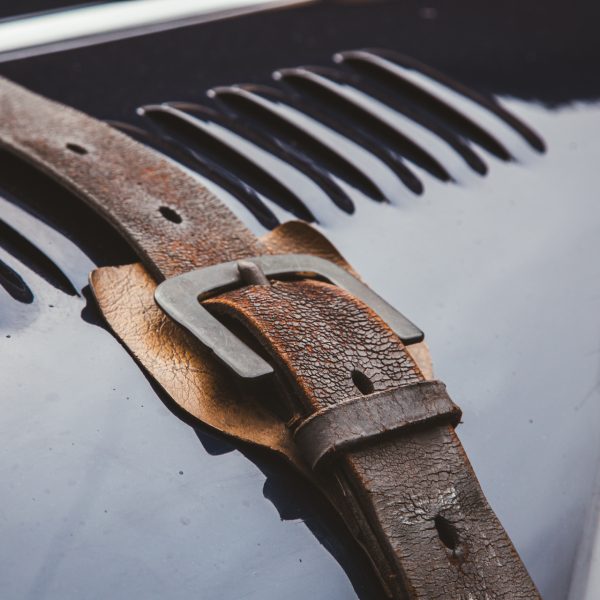
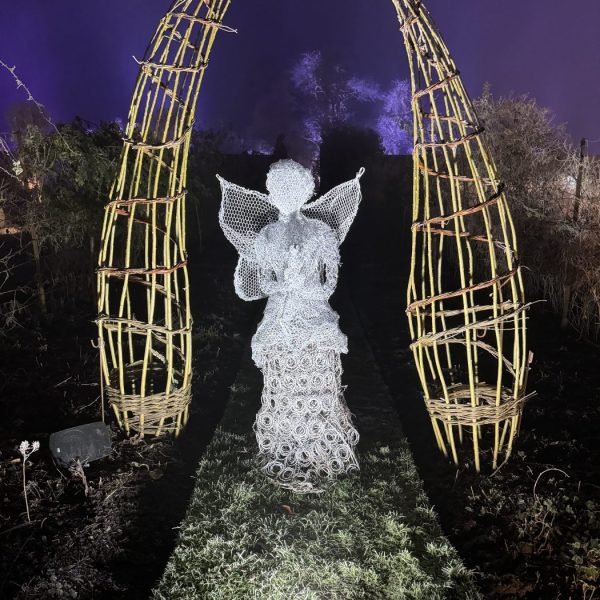
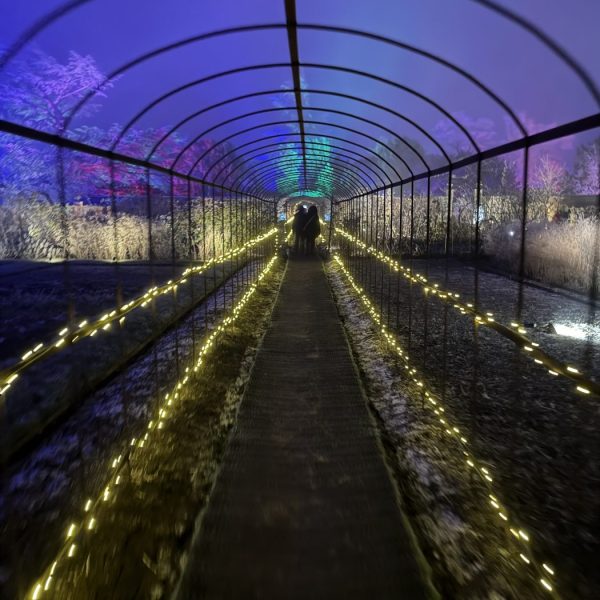
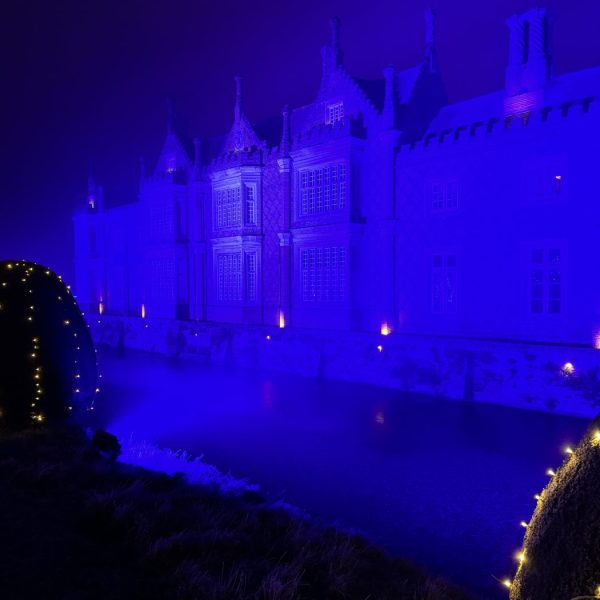
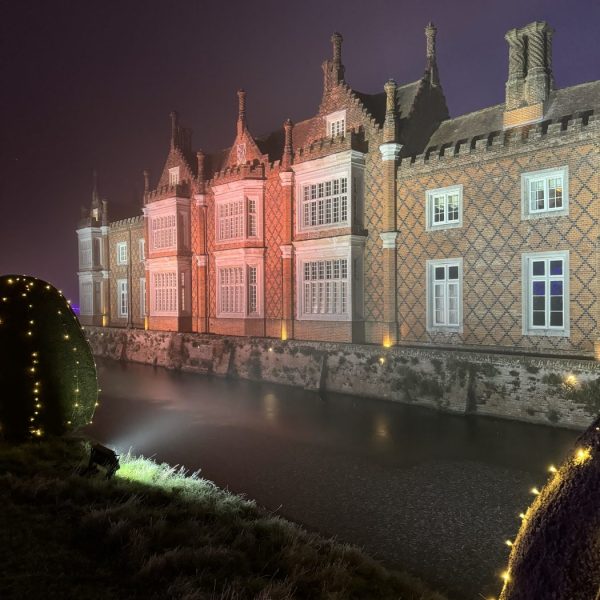
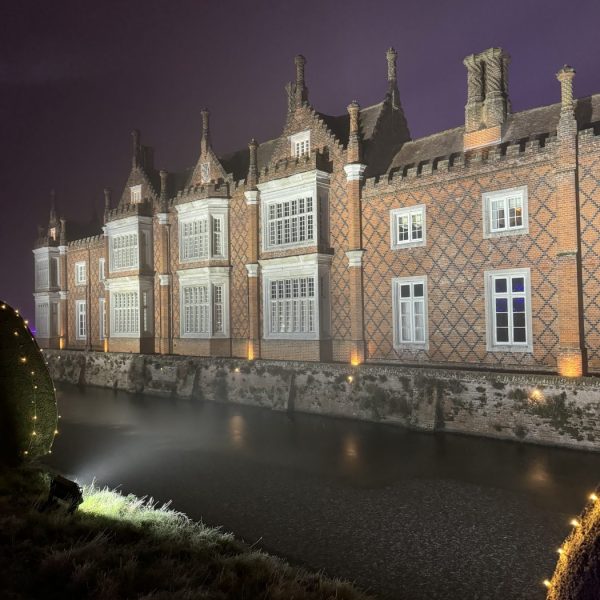
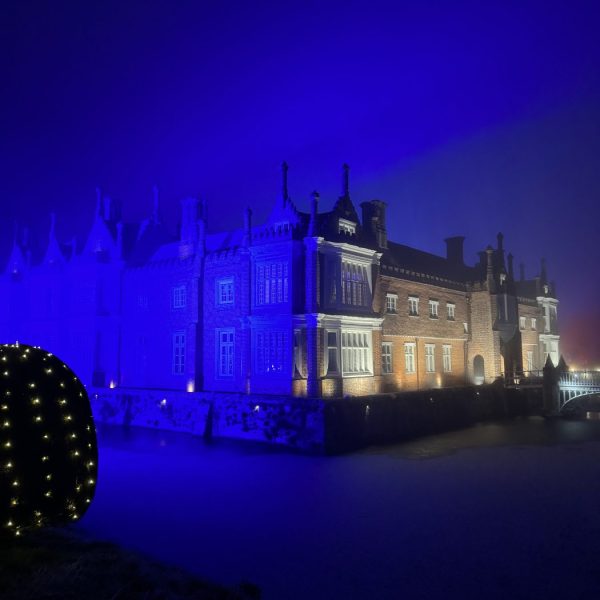
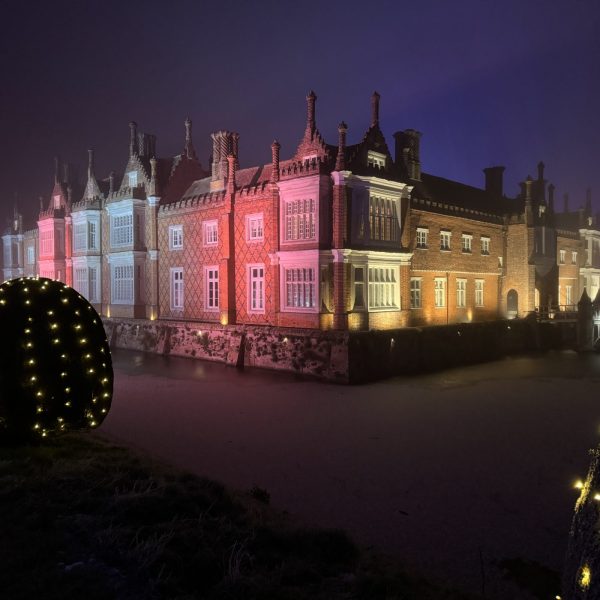
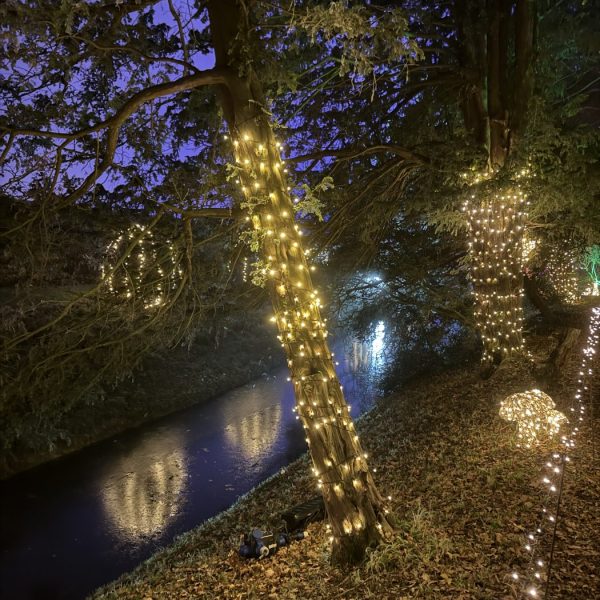
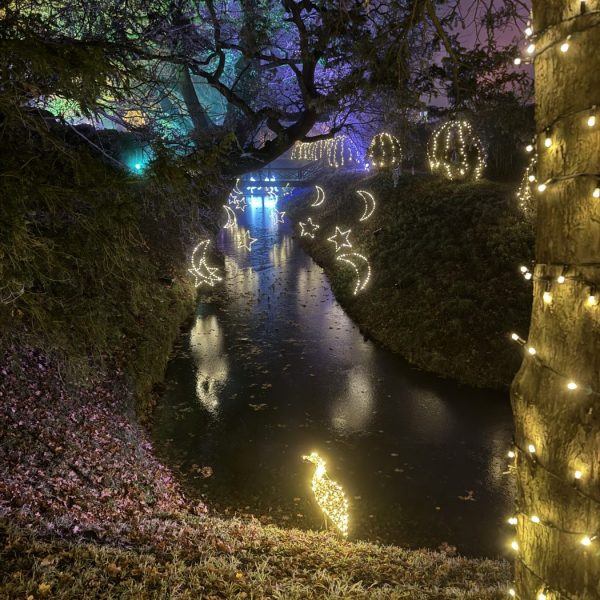
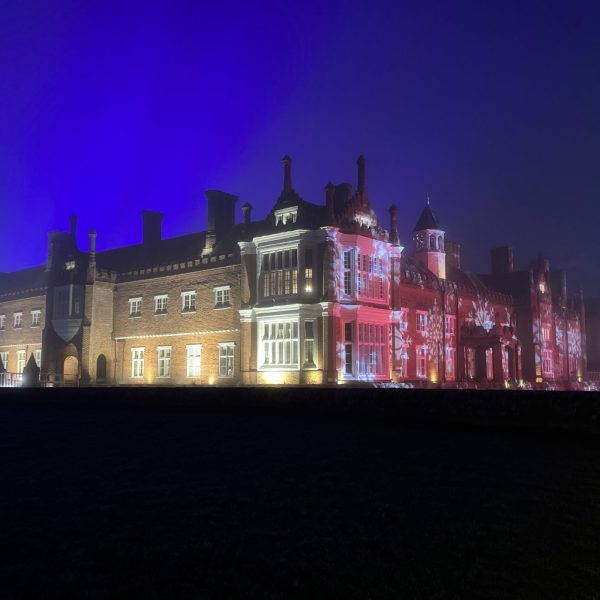
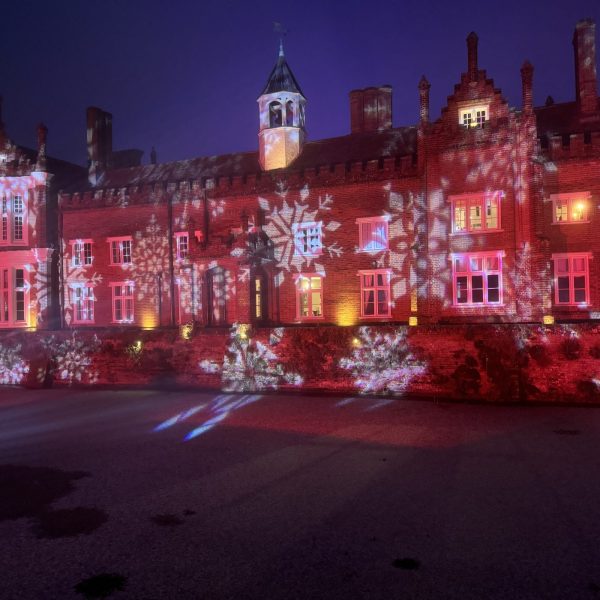
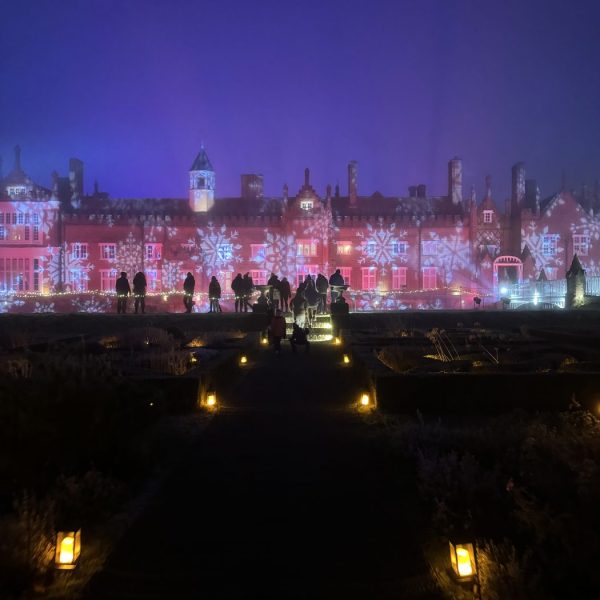
Last Saturday I battled the cold and took the family over to the magical world of light, colour and sound and Helmingham Hall Gardens.
We enjoyed a lovely mulled wine, hot chocolate and marshmallows toasted over an open fire before exploring the grounds of Helmingham Hall adorned with thousands of lights which transformed the gardens into an enchanted winter wonderland.





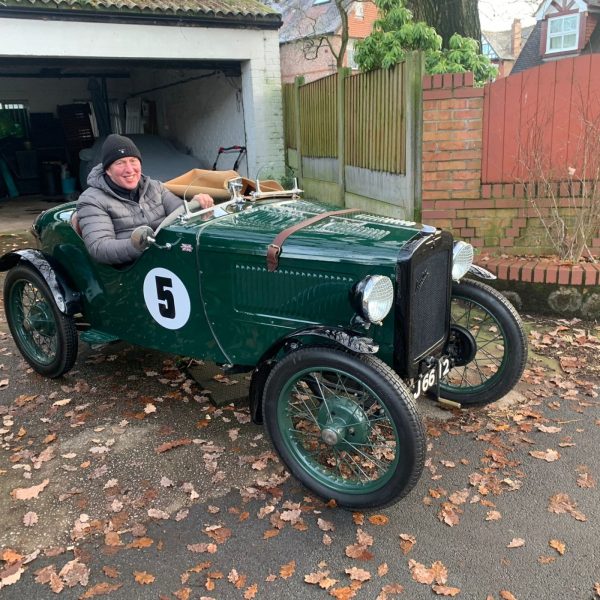
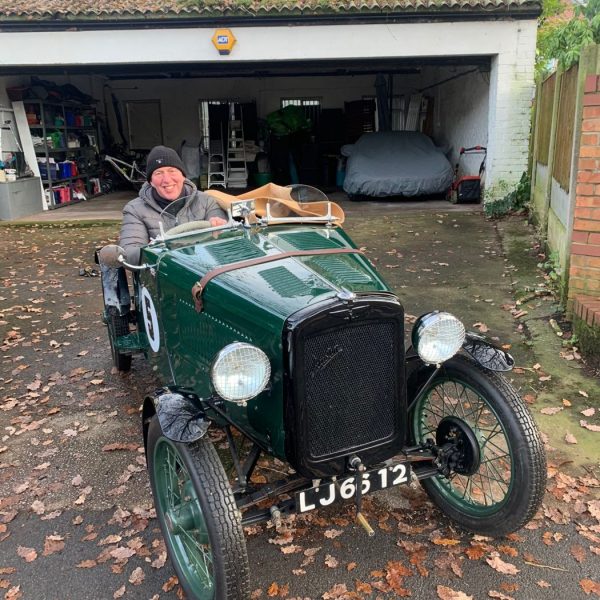
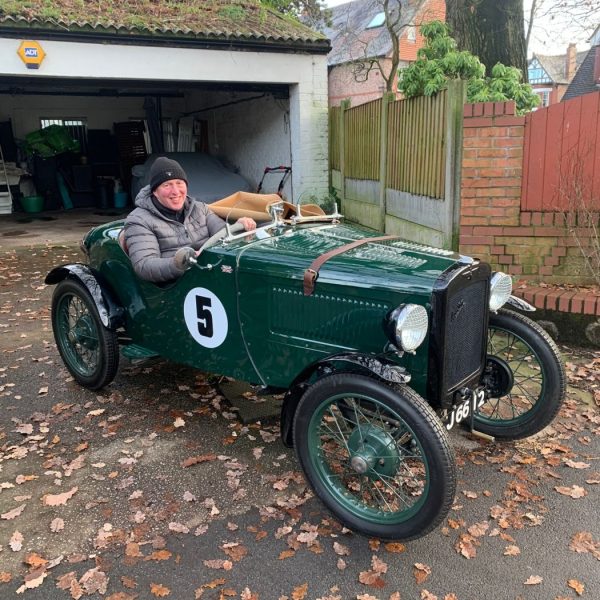
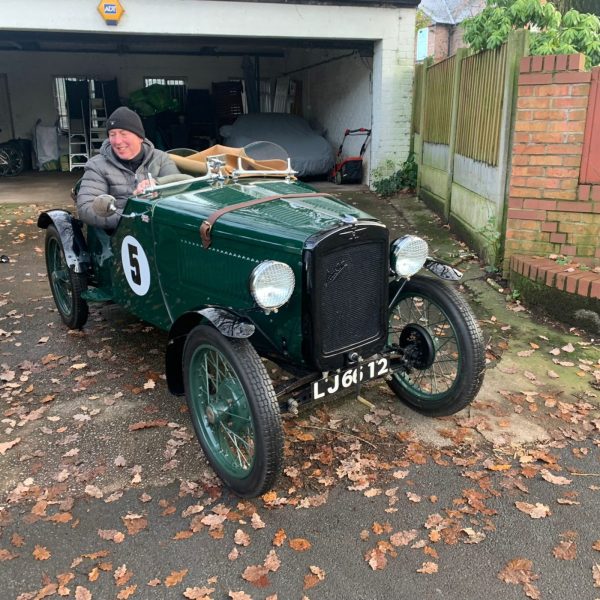
Just in time for Christmas, here we have Tom Higgins, proud winner of our 1932 Austin 7 ‘Ulster’ accepting his car.
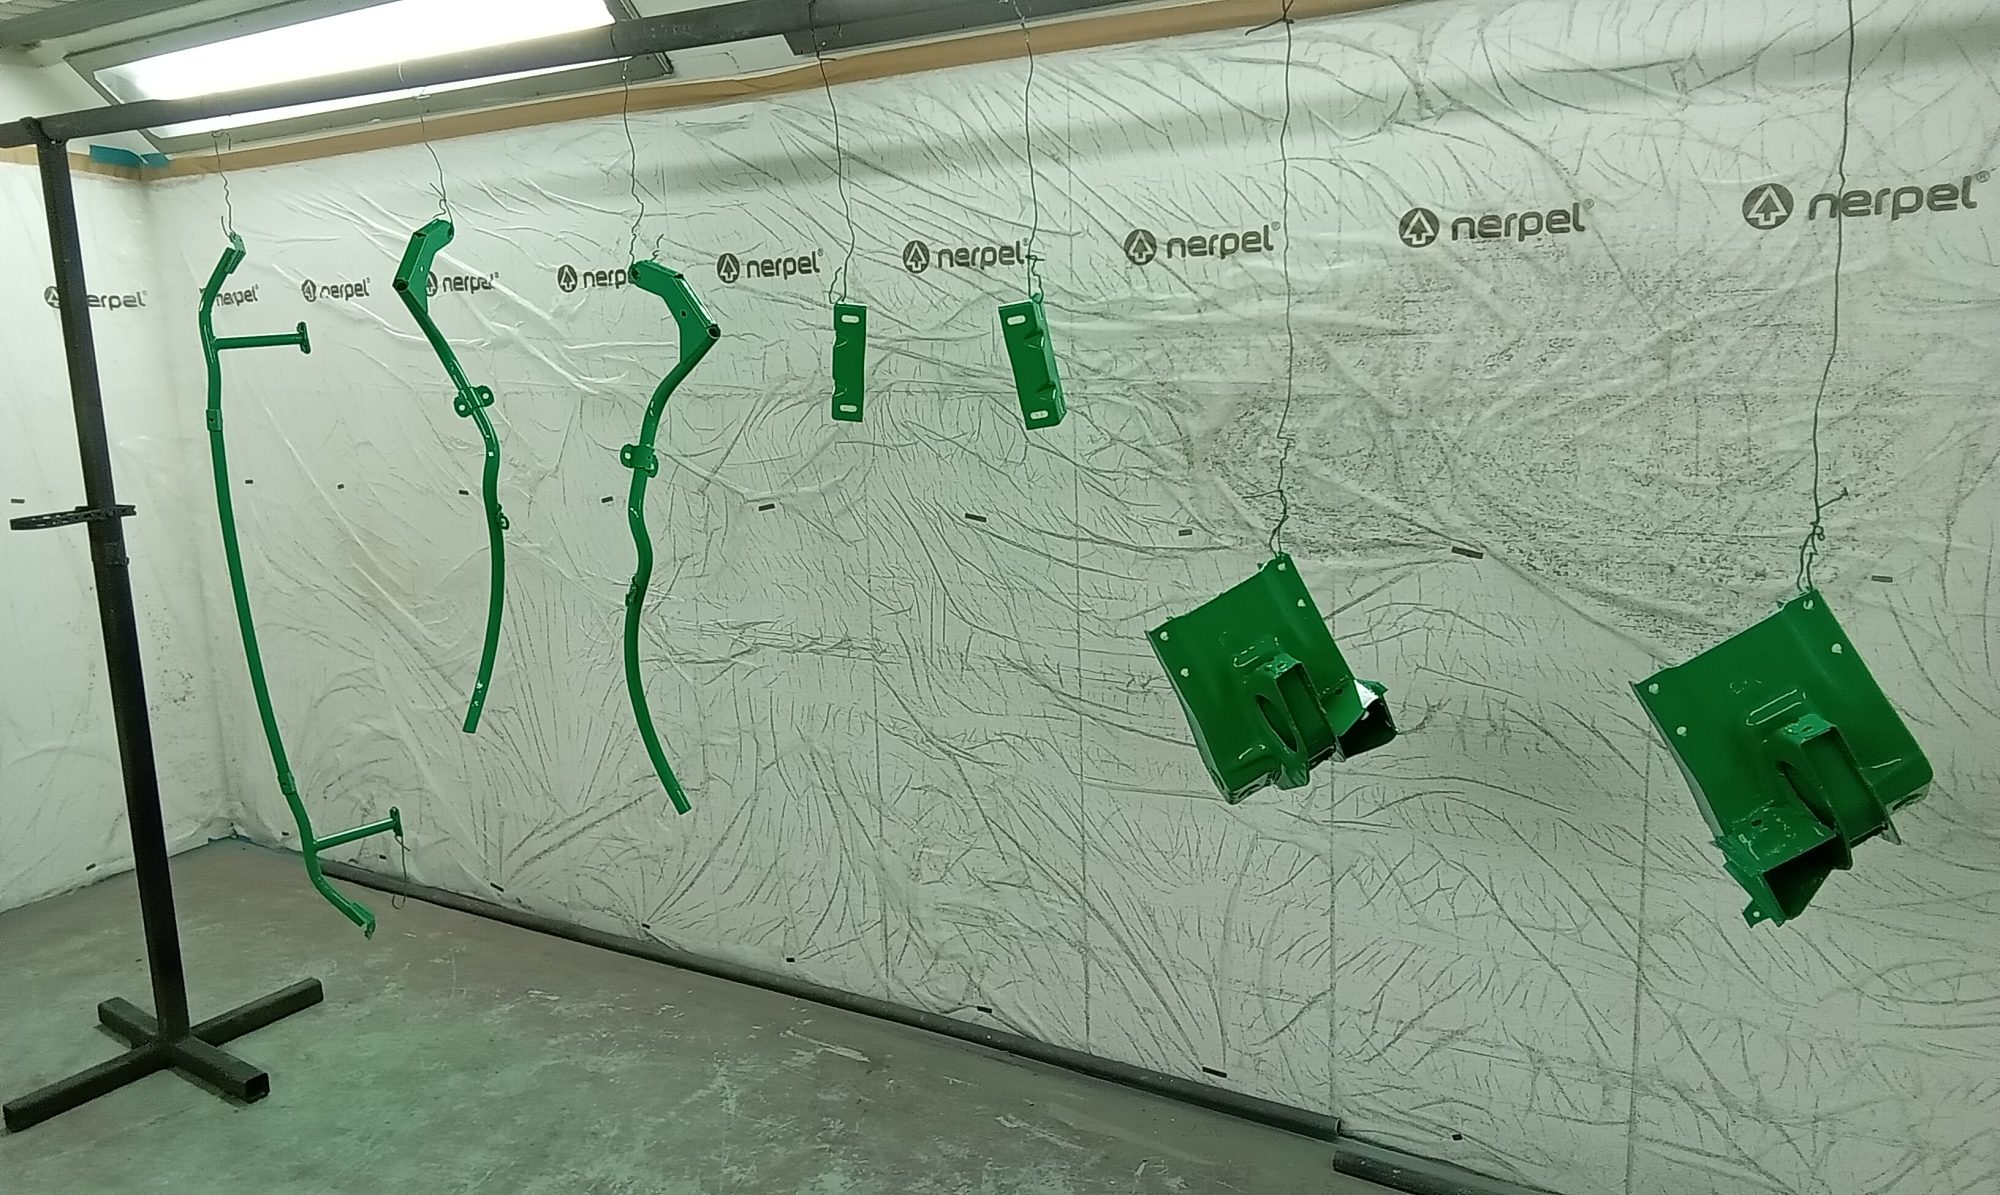
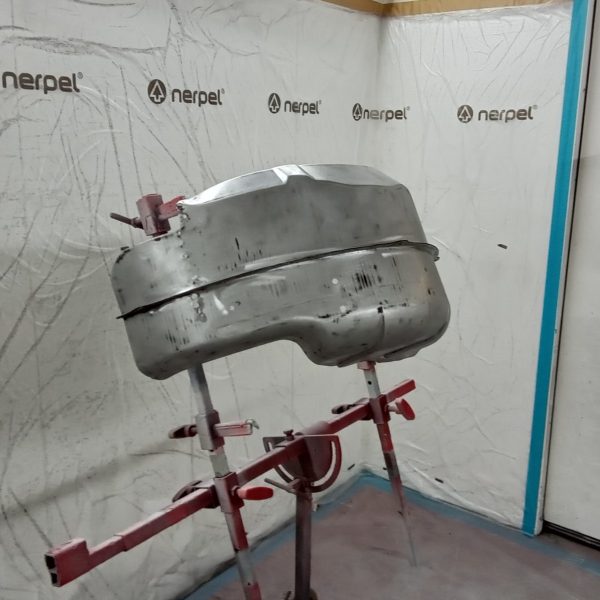
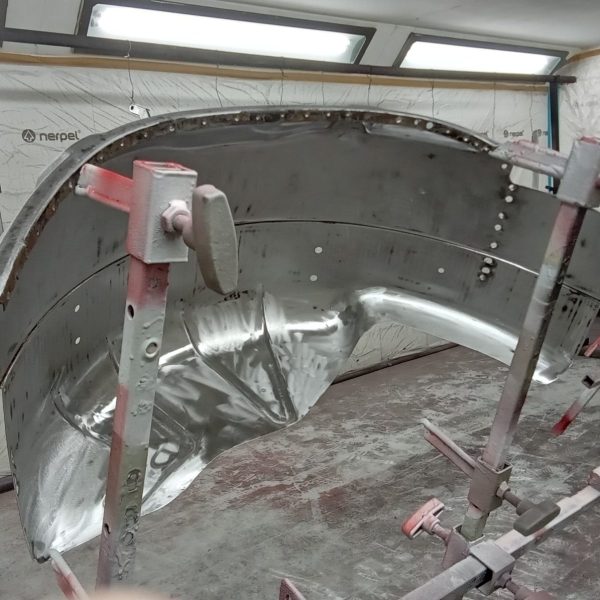
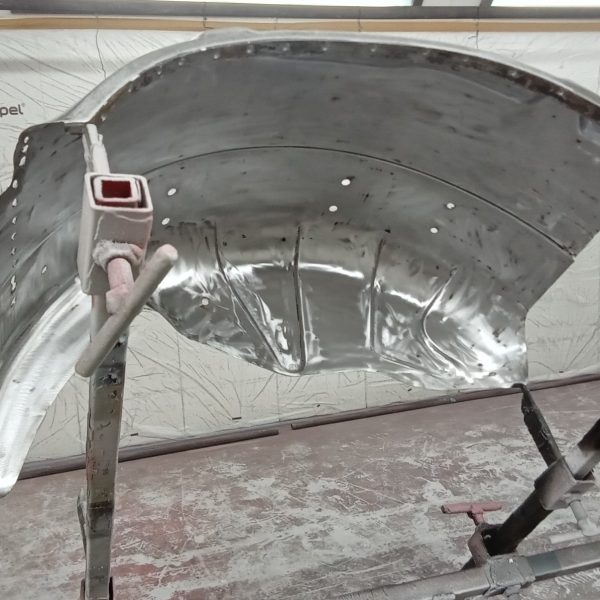
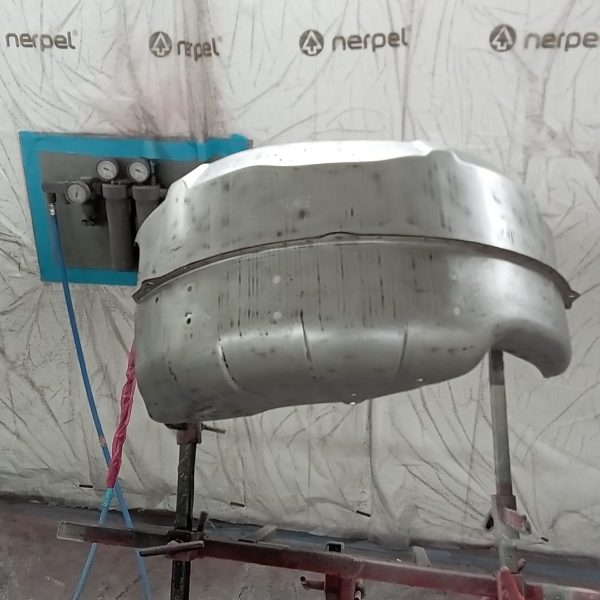
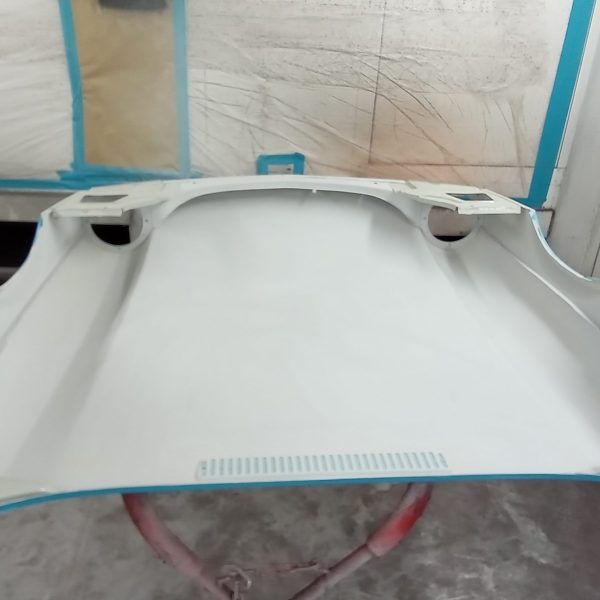
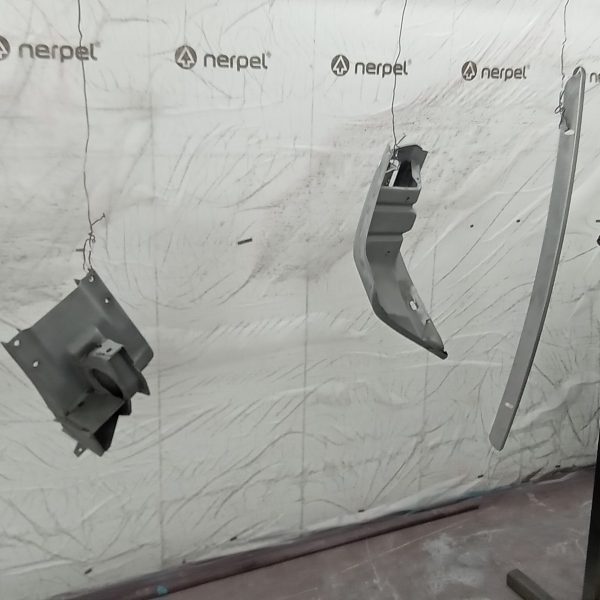
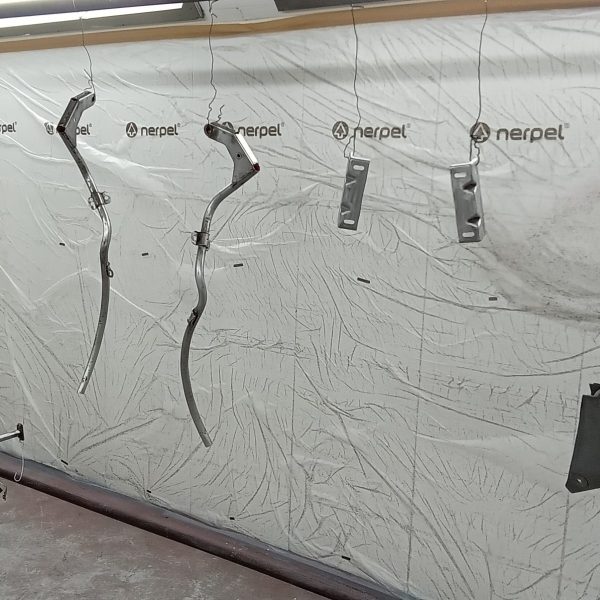
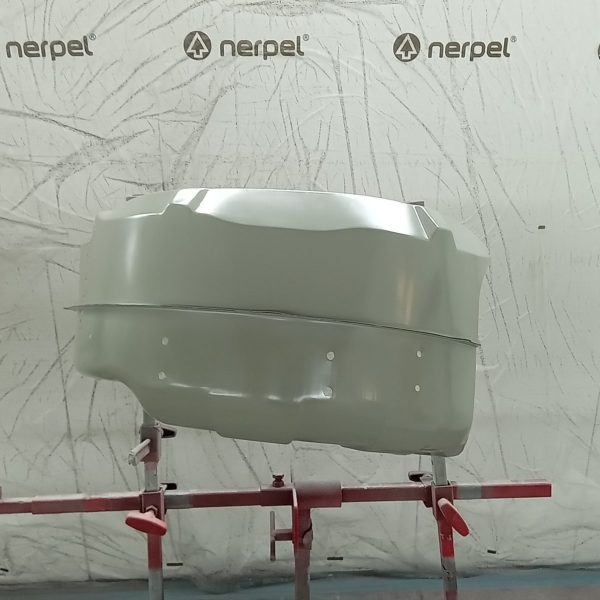
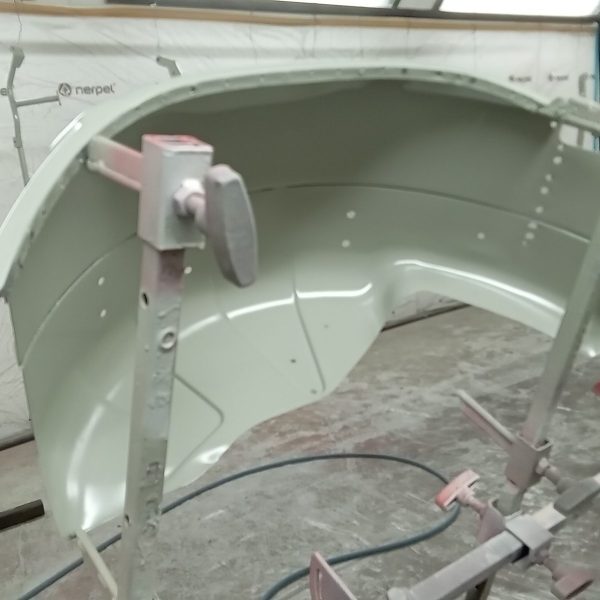
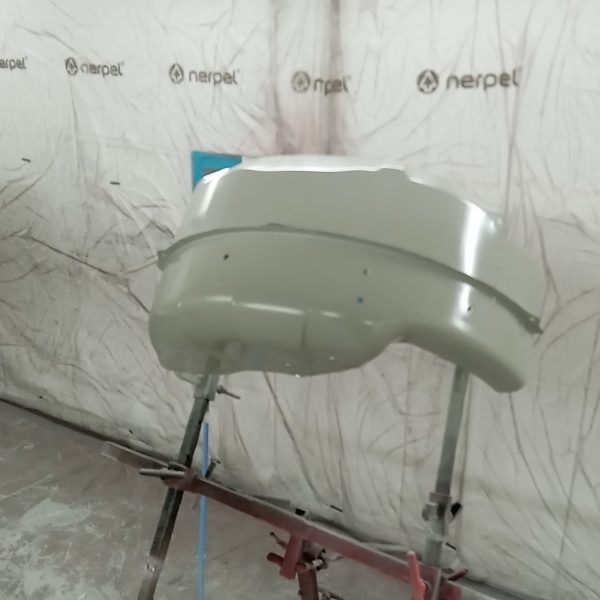
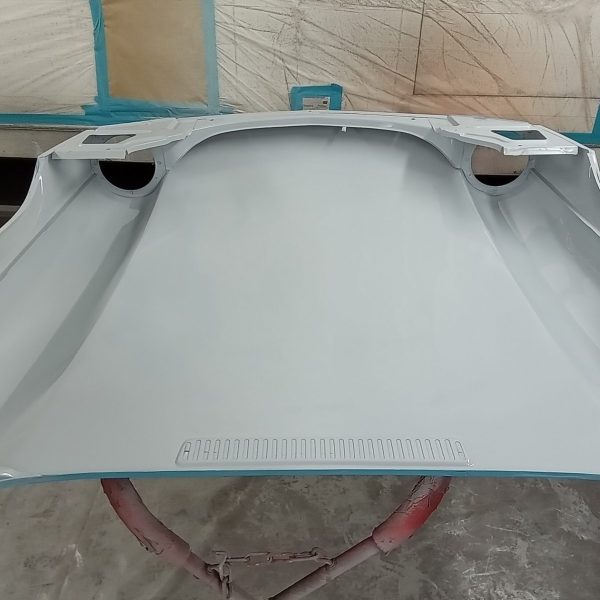
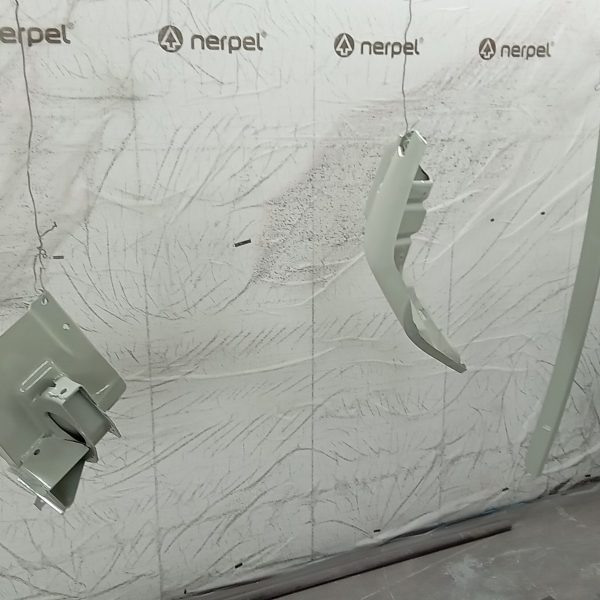
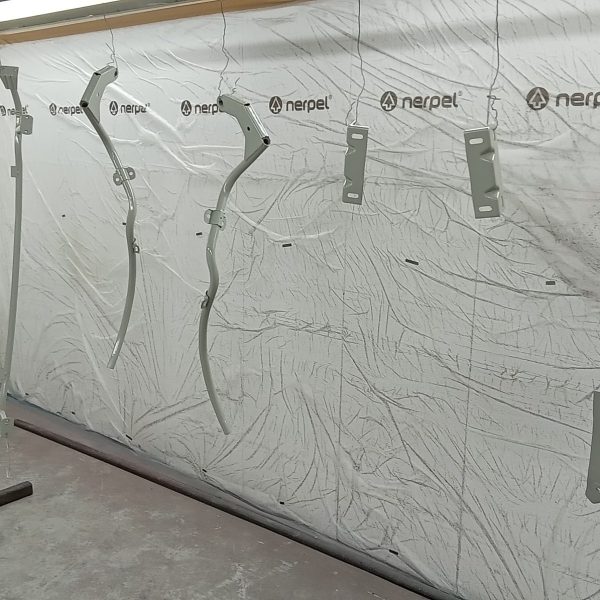
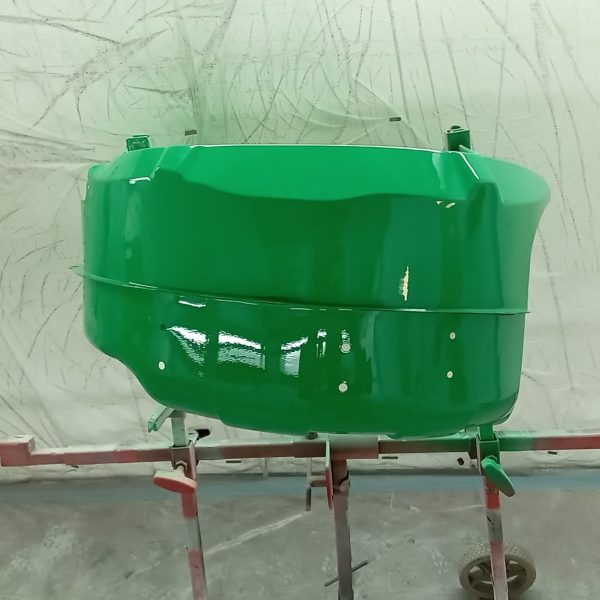
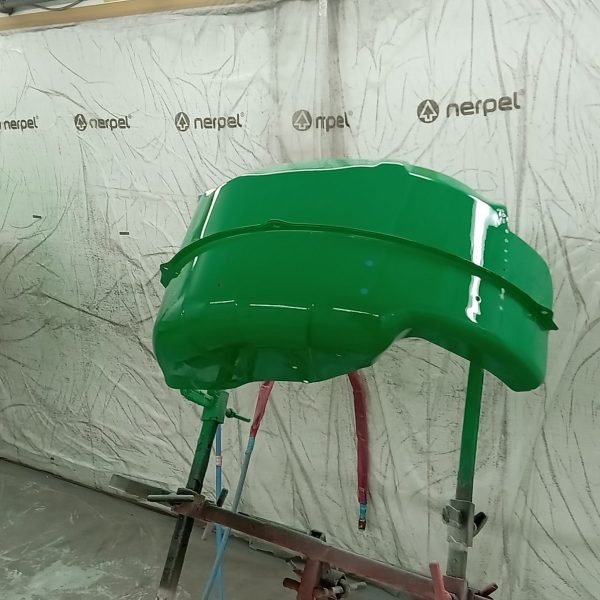
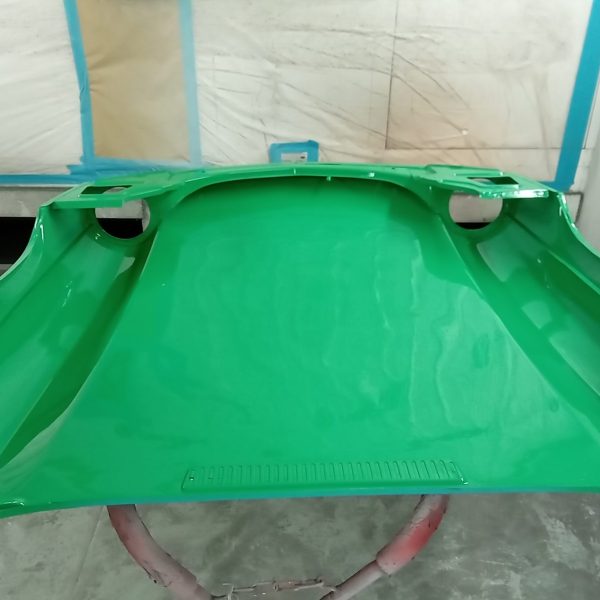
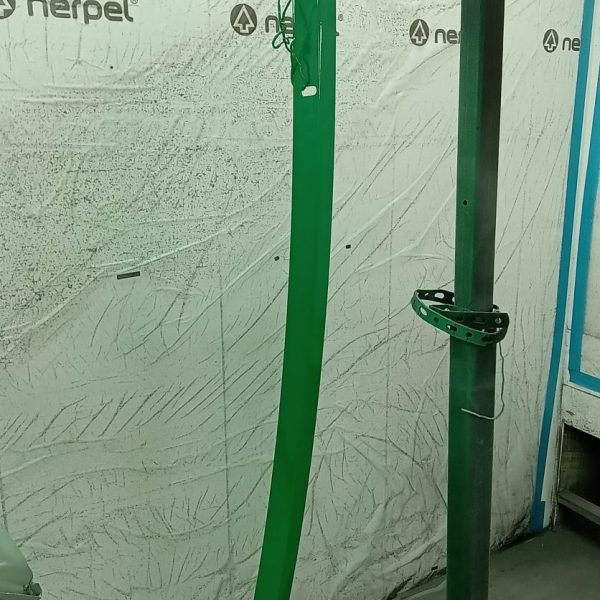
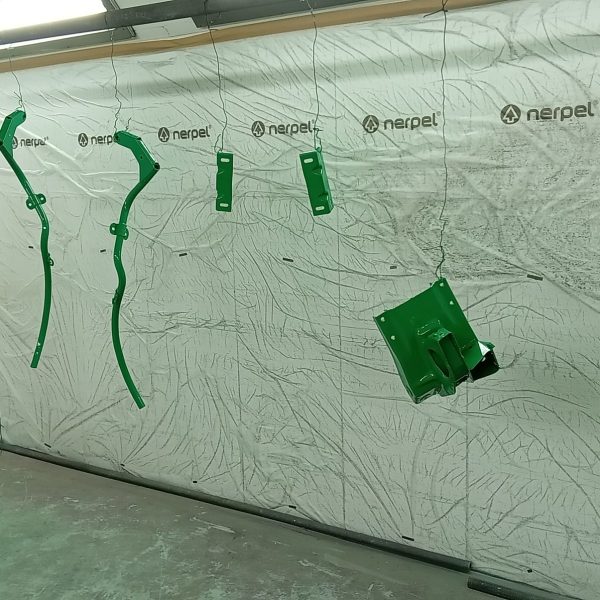
Alan has been busy in the Bridge Classic Cars paint shop getting some of the pieces ready for the next stage of the restoration of our Java Green 1976 Triumph Spitfire.
After each part had been careful worked, cleaned and readied to go into the booth, Alan could then begin with the coats of epoxy primer on areas like the wheel arches and the underside of the front bonnet.
Giving each part the correct amount of time to flash off, he could then go back into our in-house spraybooth/oven to lay on several coats of the Java Green paintwork to the parts.
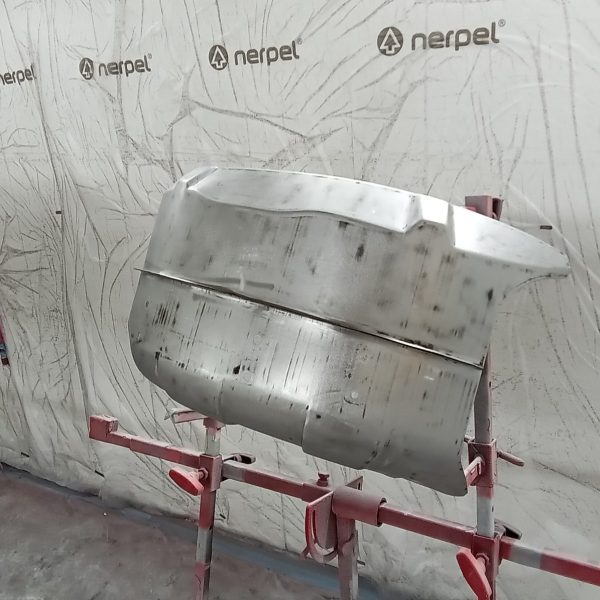

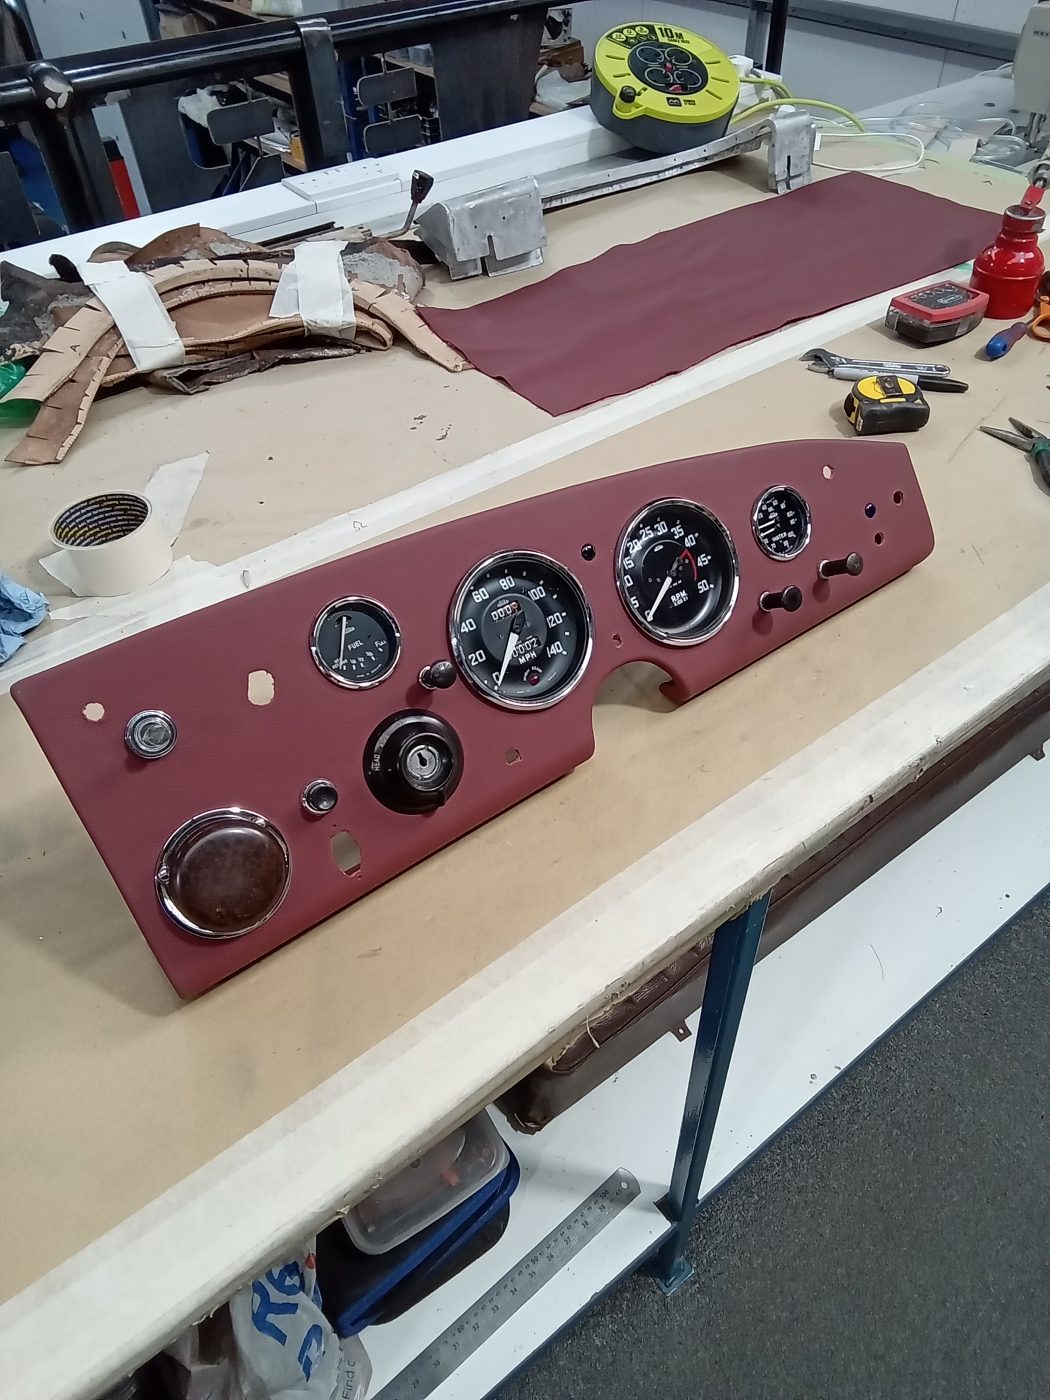
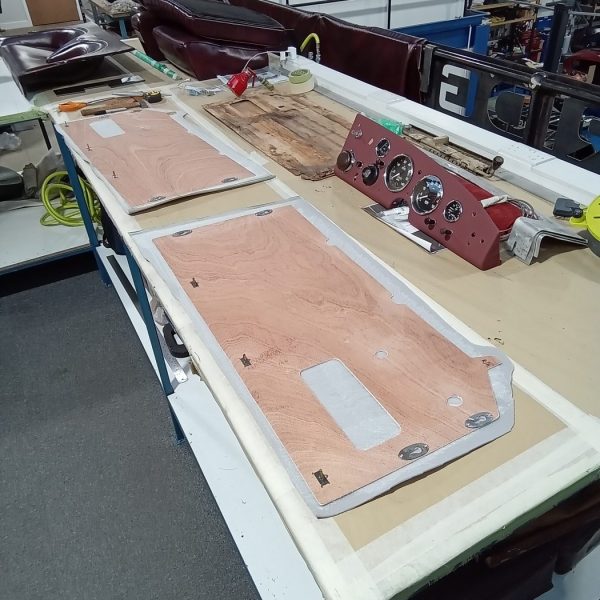
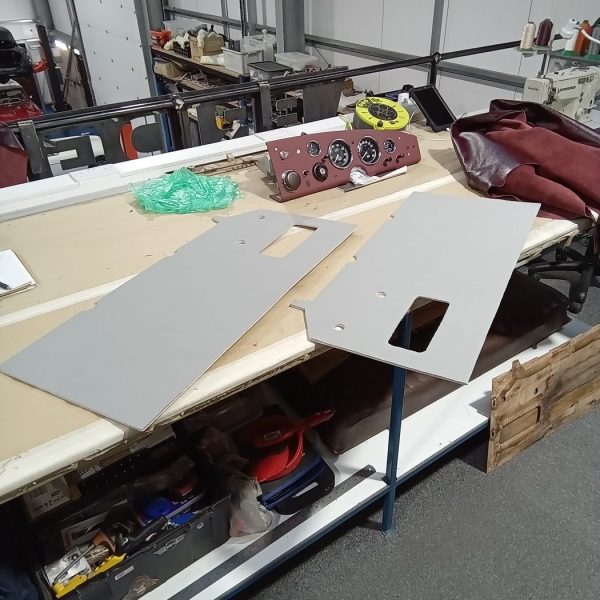
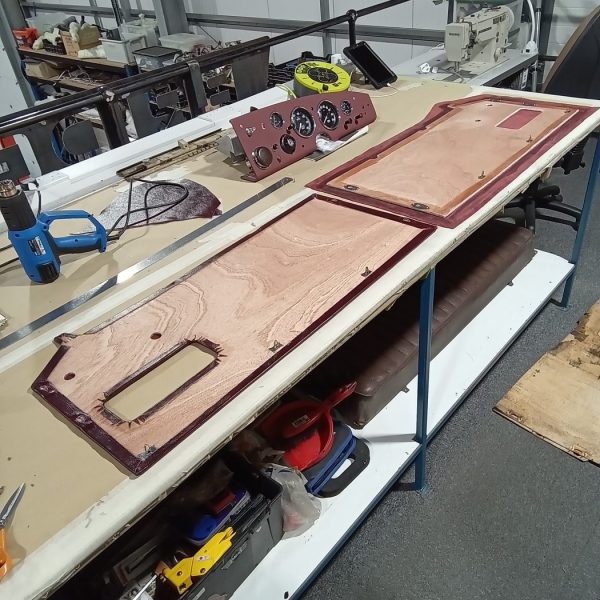
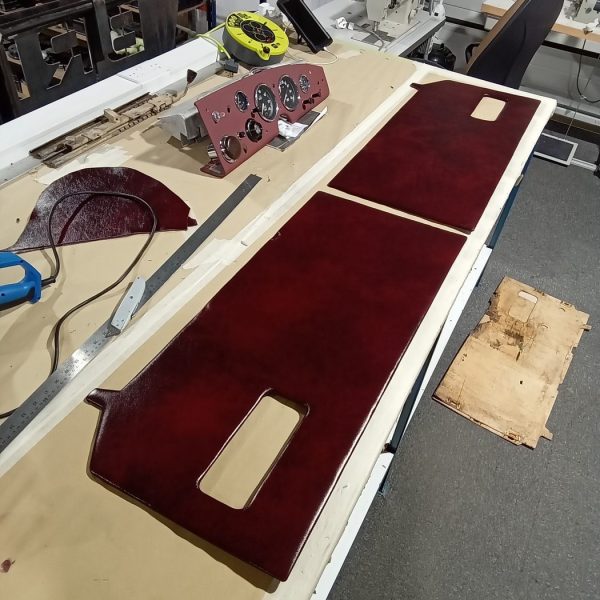
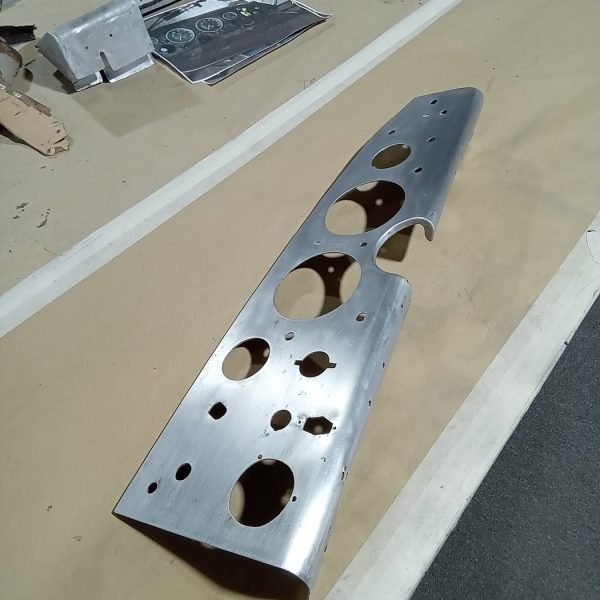
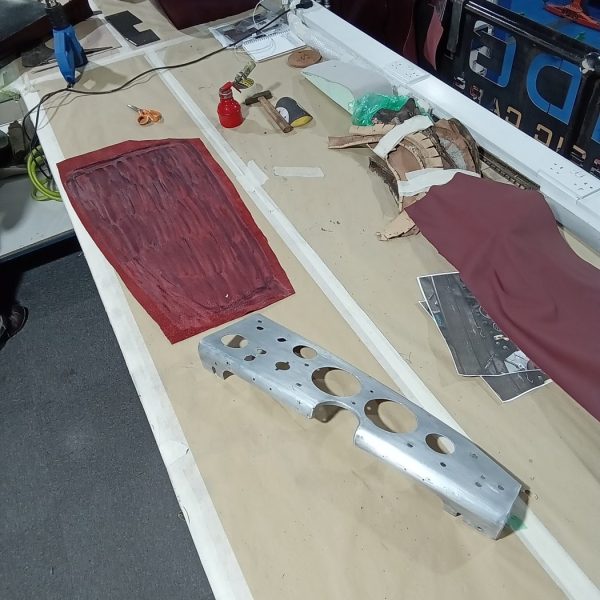
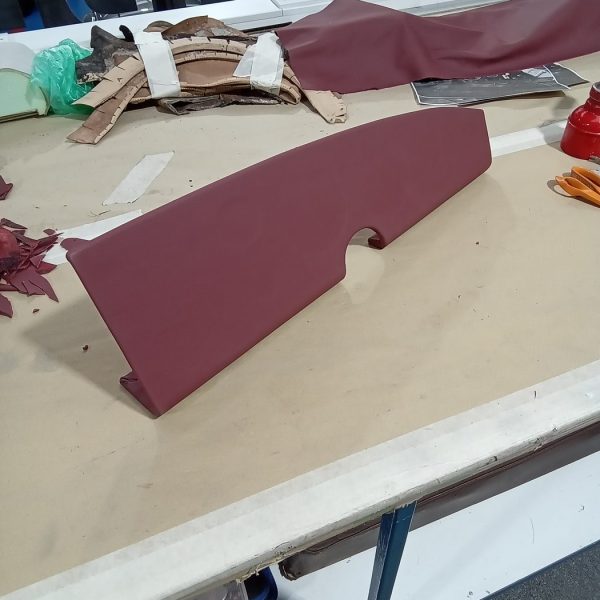
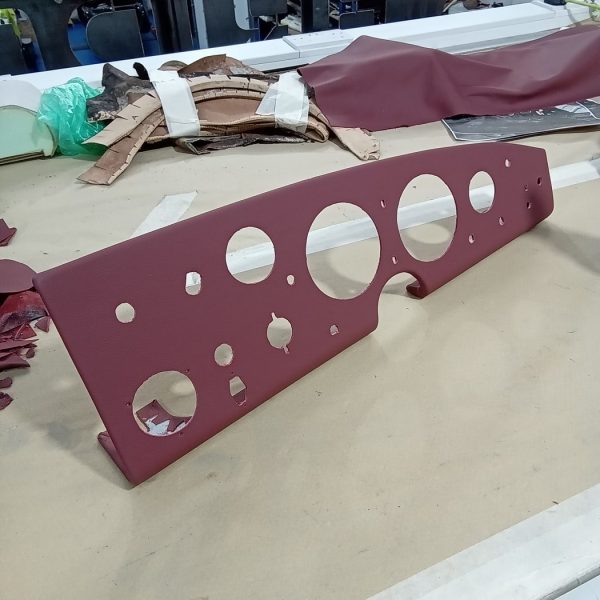
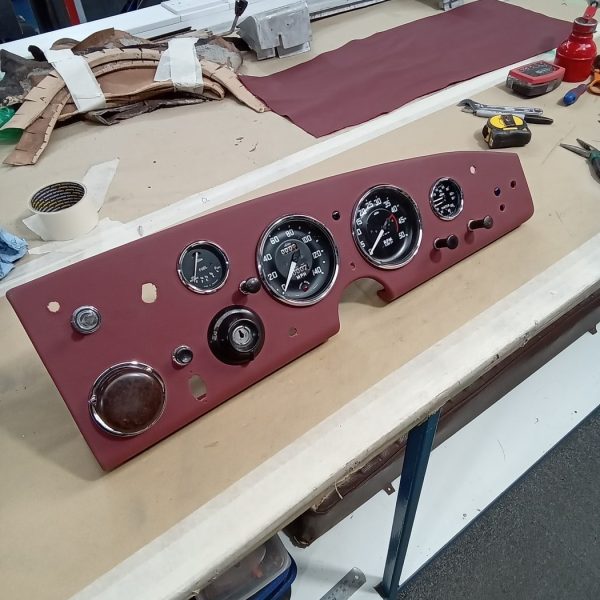
Brian has been hard at work in the Bridge Classic Cars in-house trim shop working on getting the various interior trim pieces and panelwork done on our 1956 Jensen 541.
He took the original dash panel section and after removing the old covering, sanded the piece down to remove any residue or adhesive which may have been on the surface. After a deep clean of the piece, Brian could work on getting the piece perfectly wrapped in the stunning dark red leather before test fitting the various dials and switchgear into the piece.
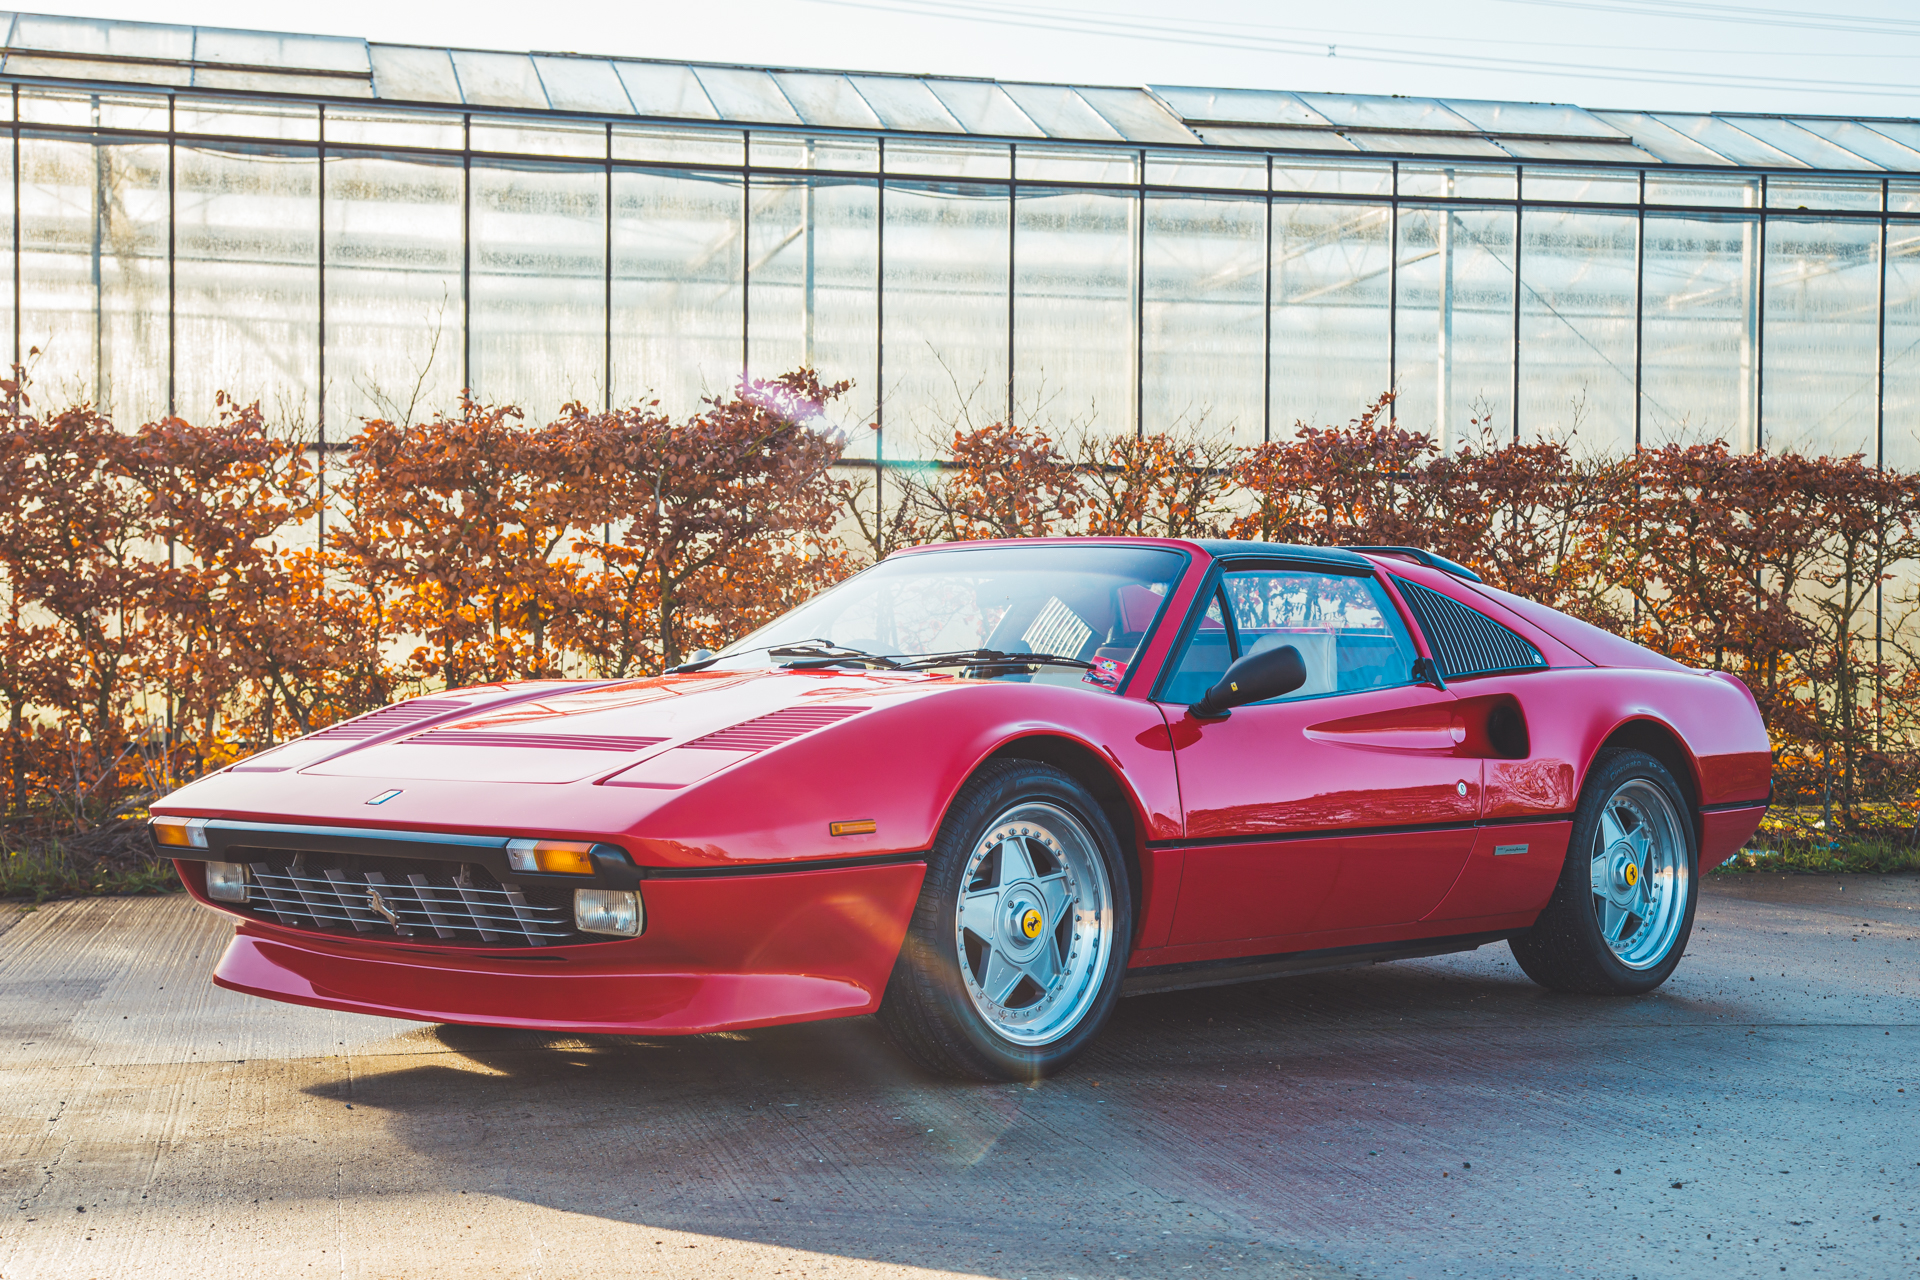
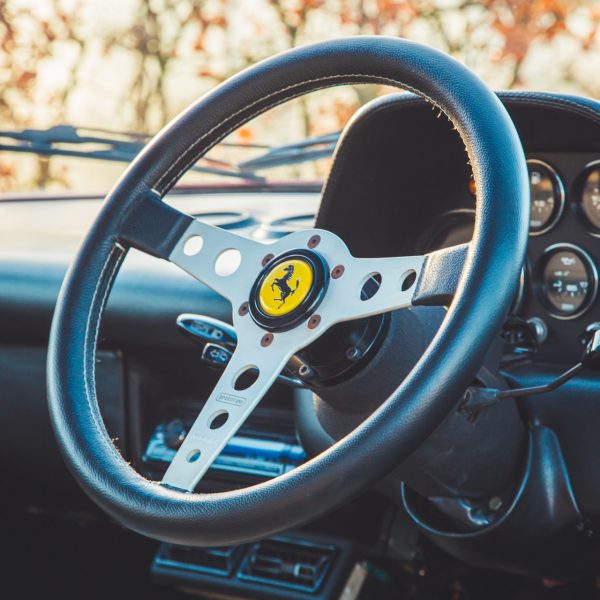
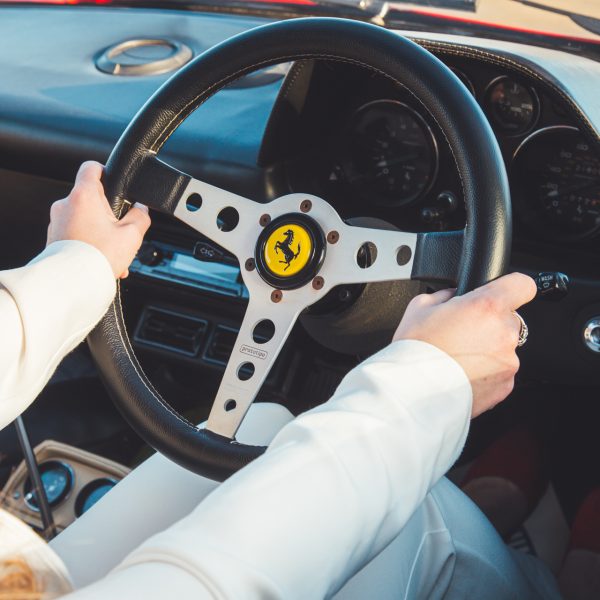
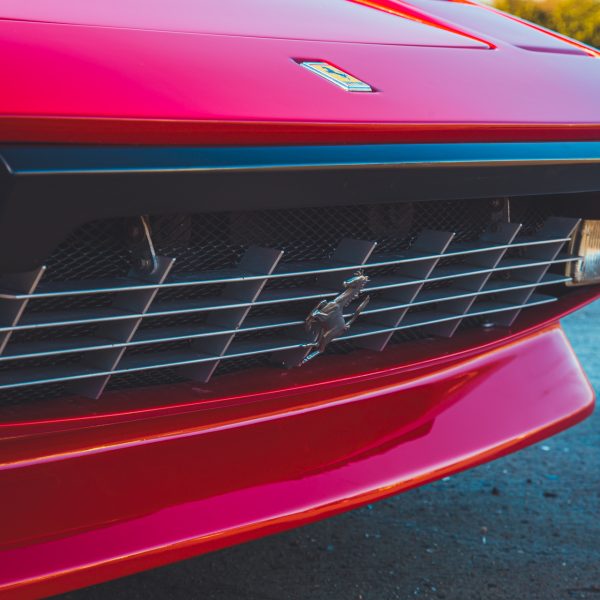
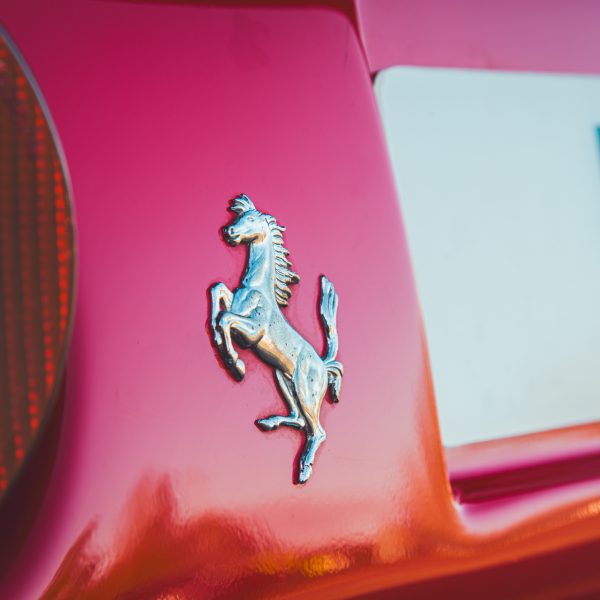
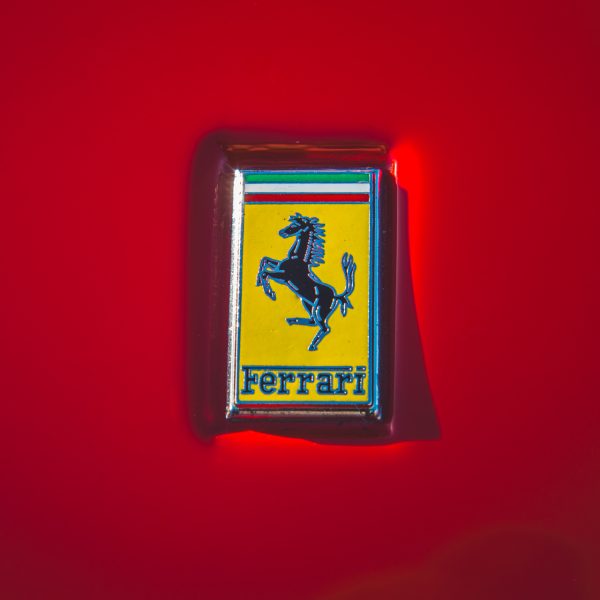
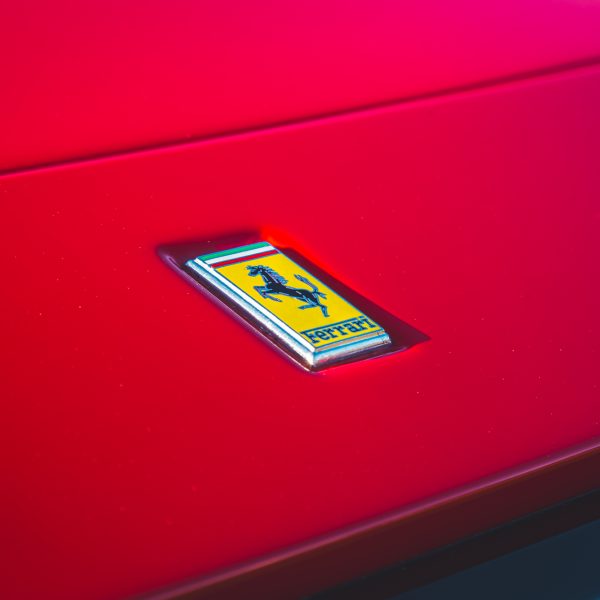
The symbol of the prancing horse is an icon of power, elegance, and poise throughout the sporting world. The perfect representation of perfection from the vision of one man, Enzo Ferrari. Commendatore Ferrari would use this symbol to announce to the world that his cars meant performance and prestige.
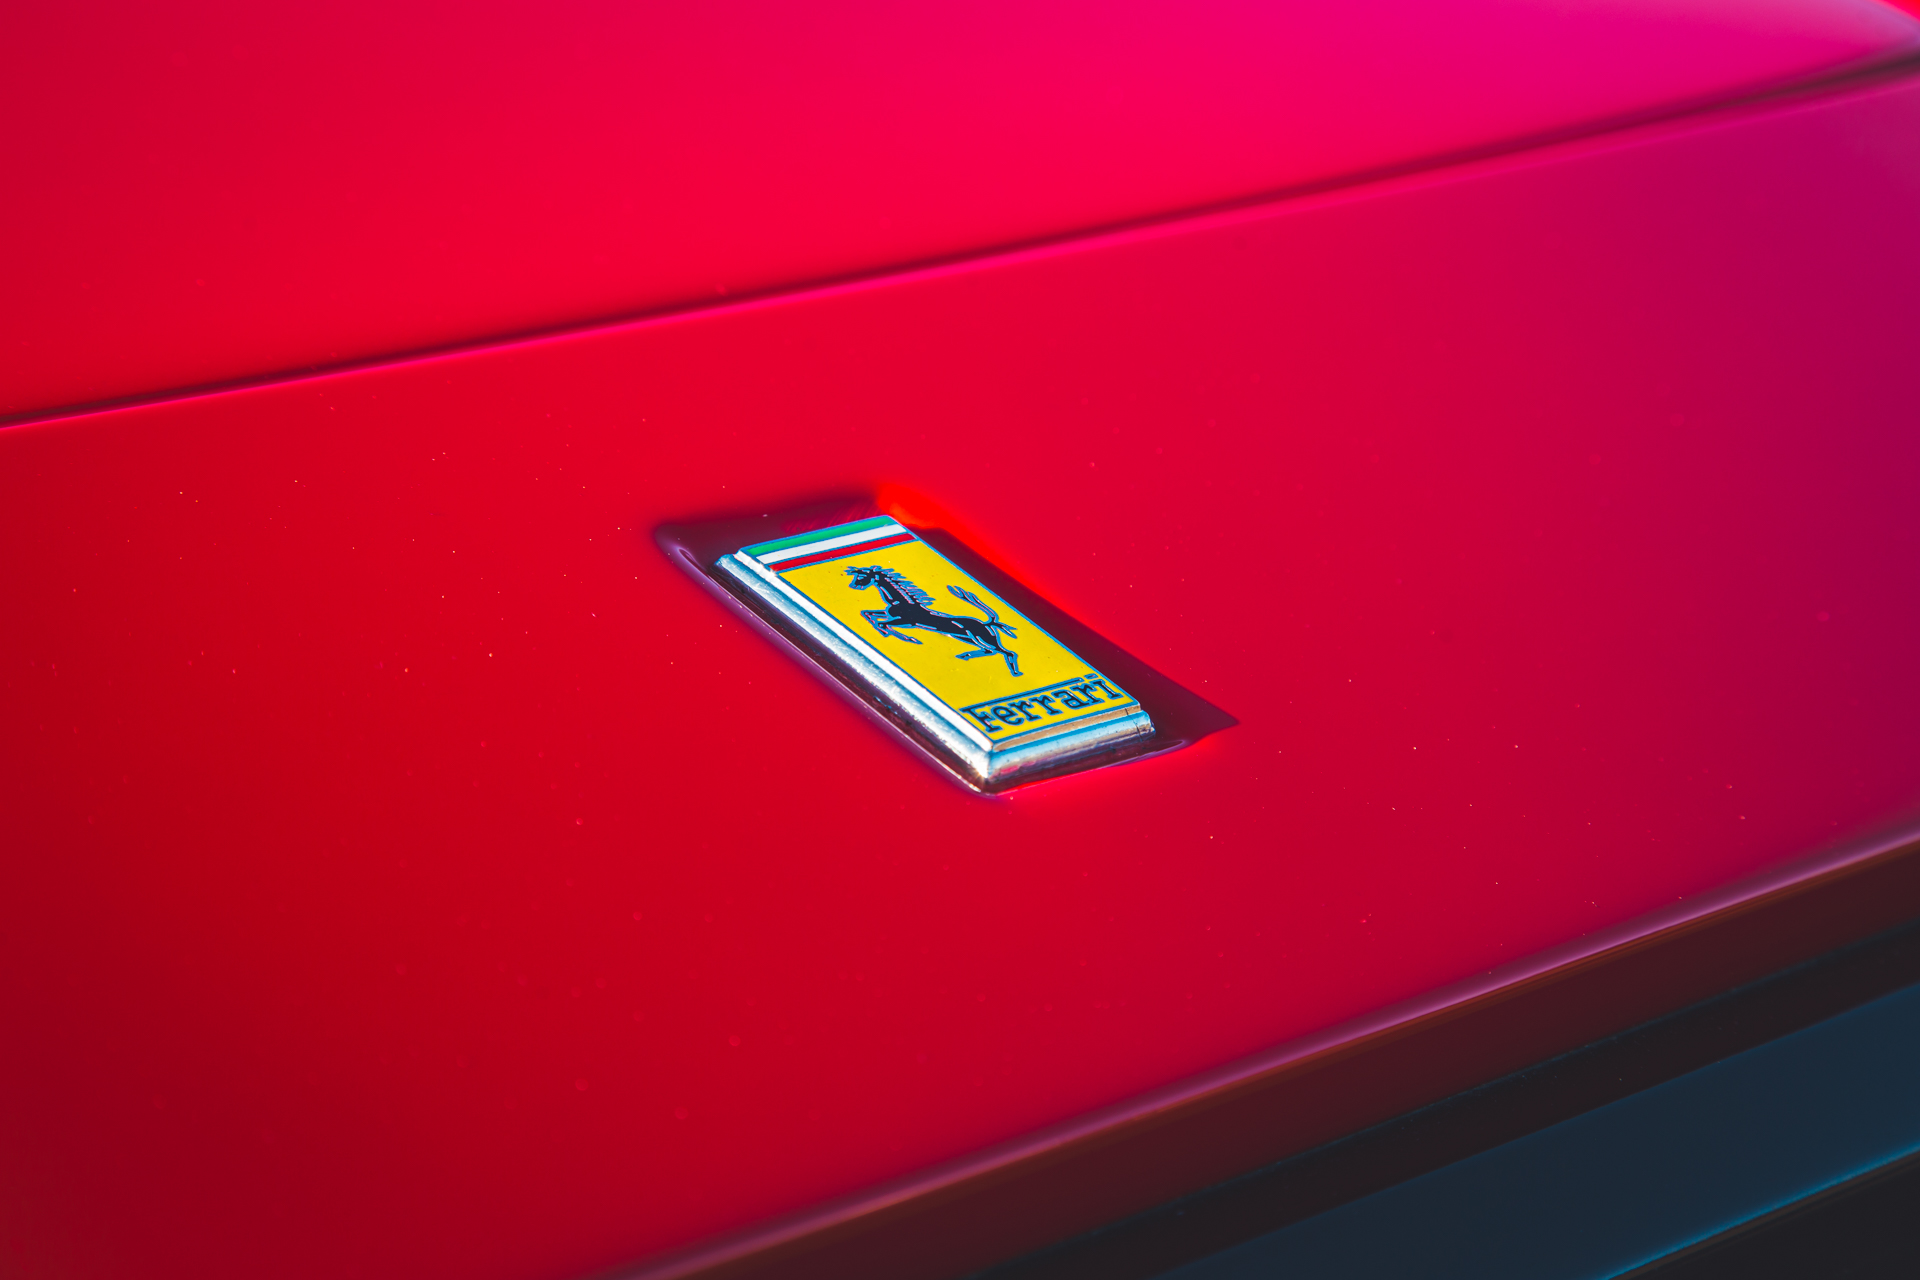
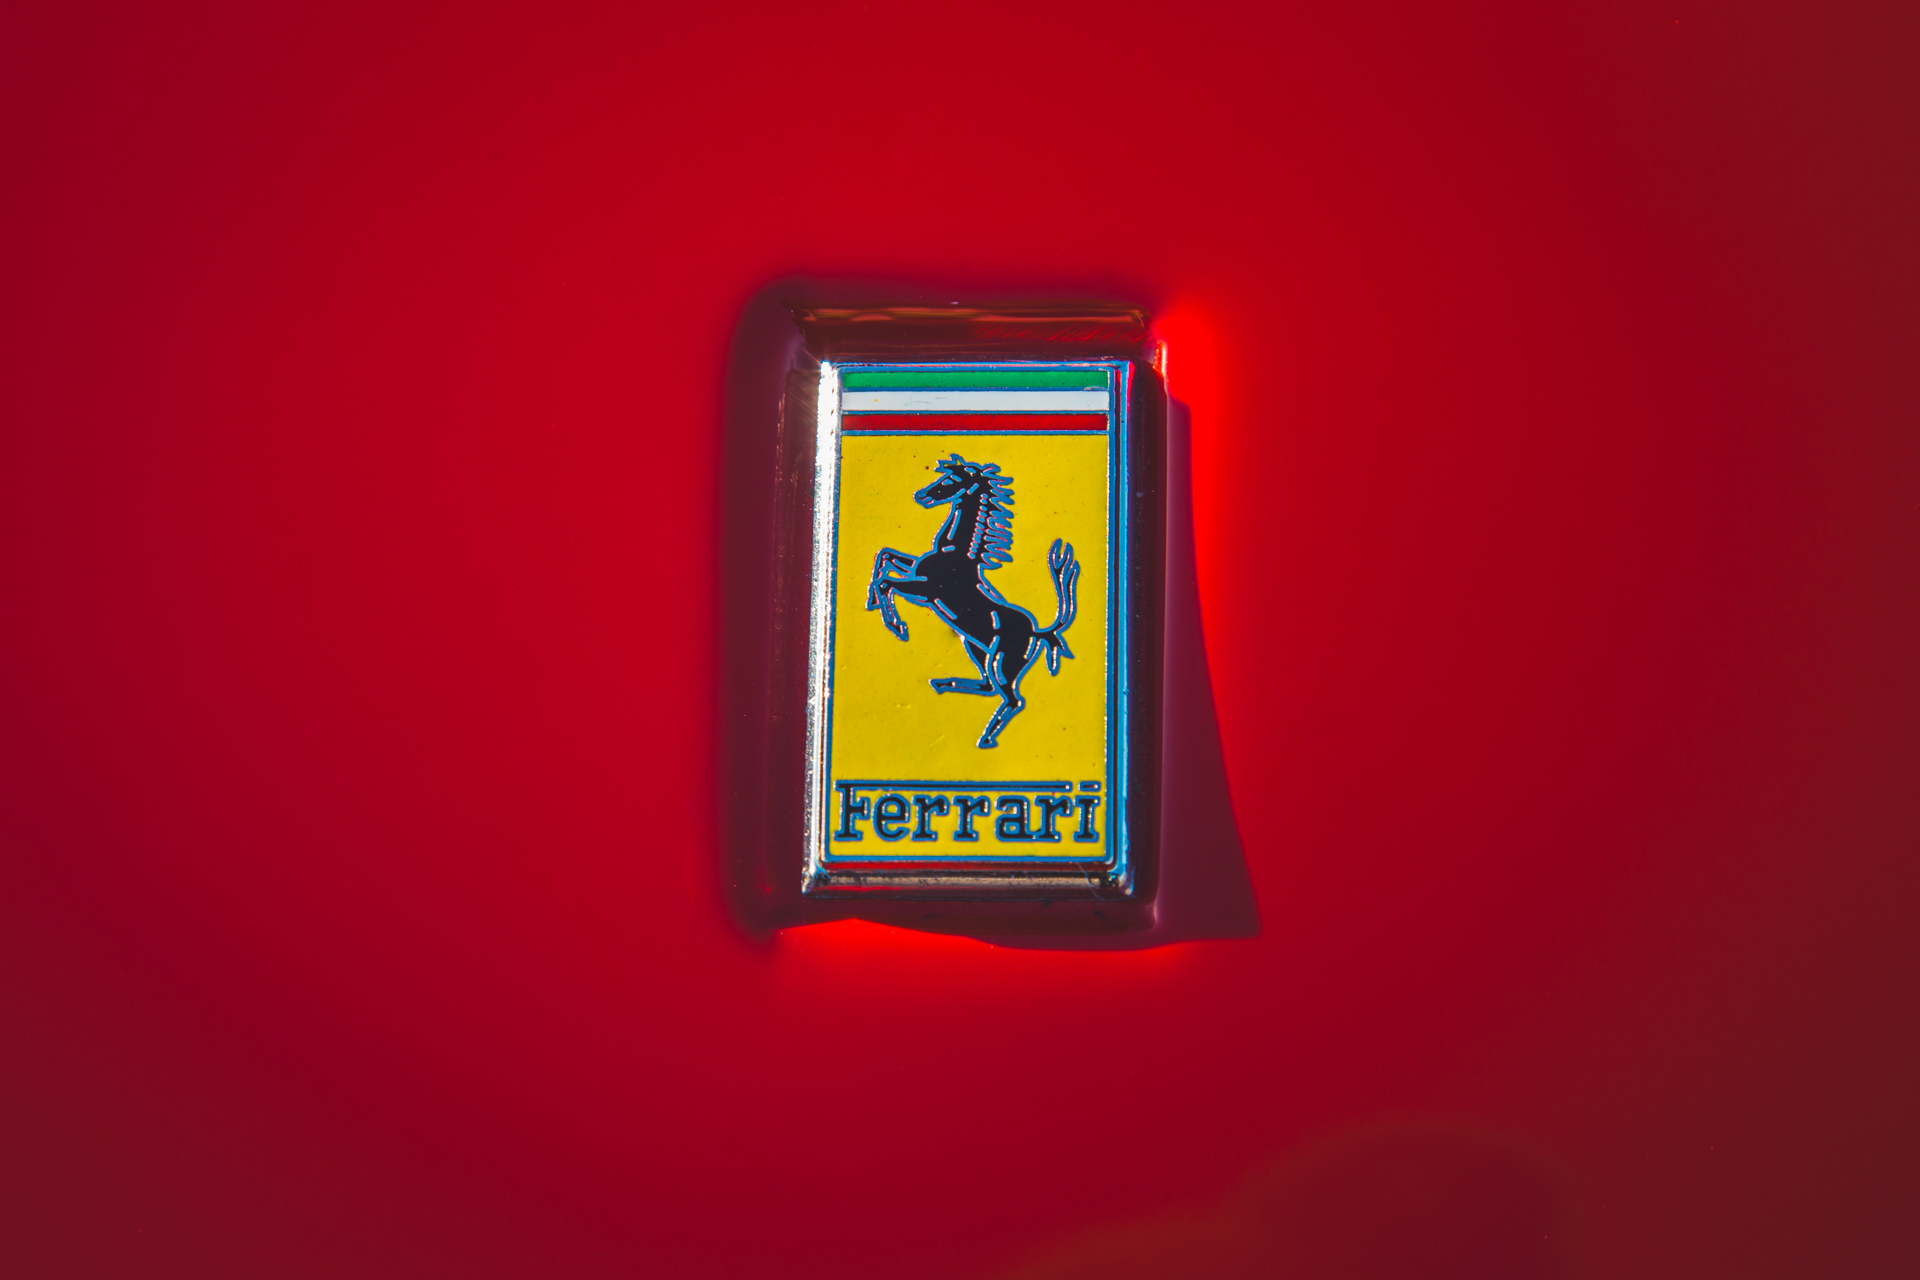

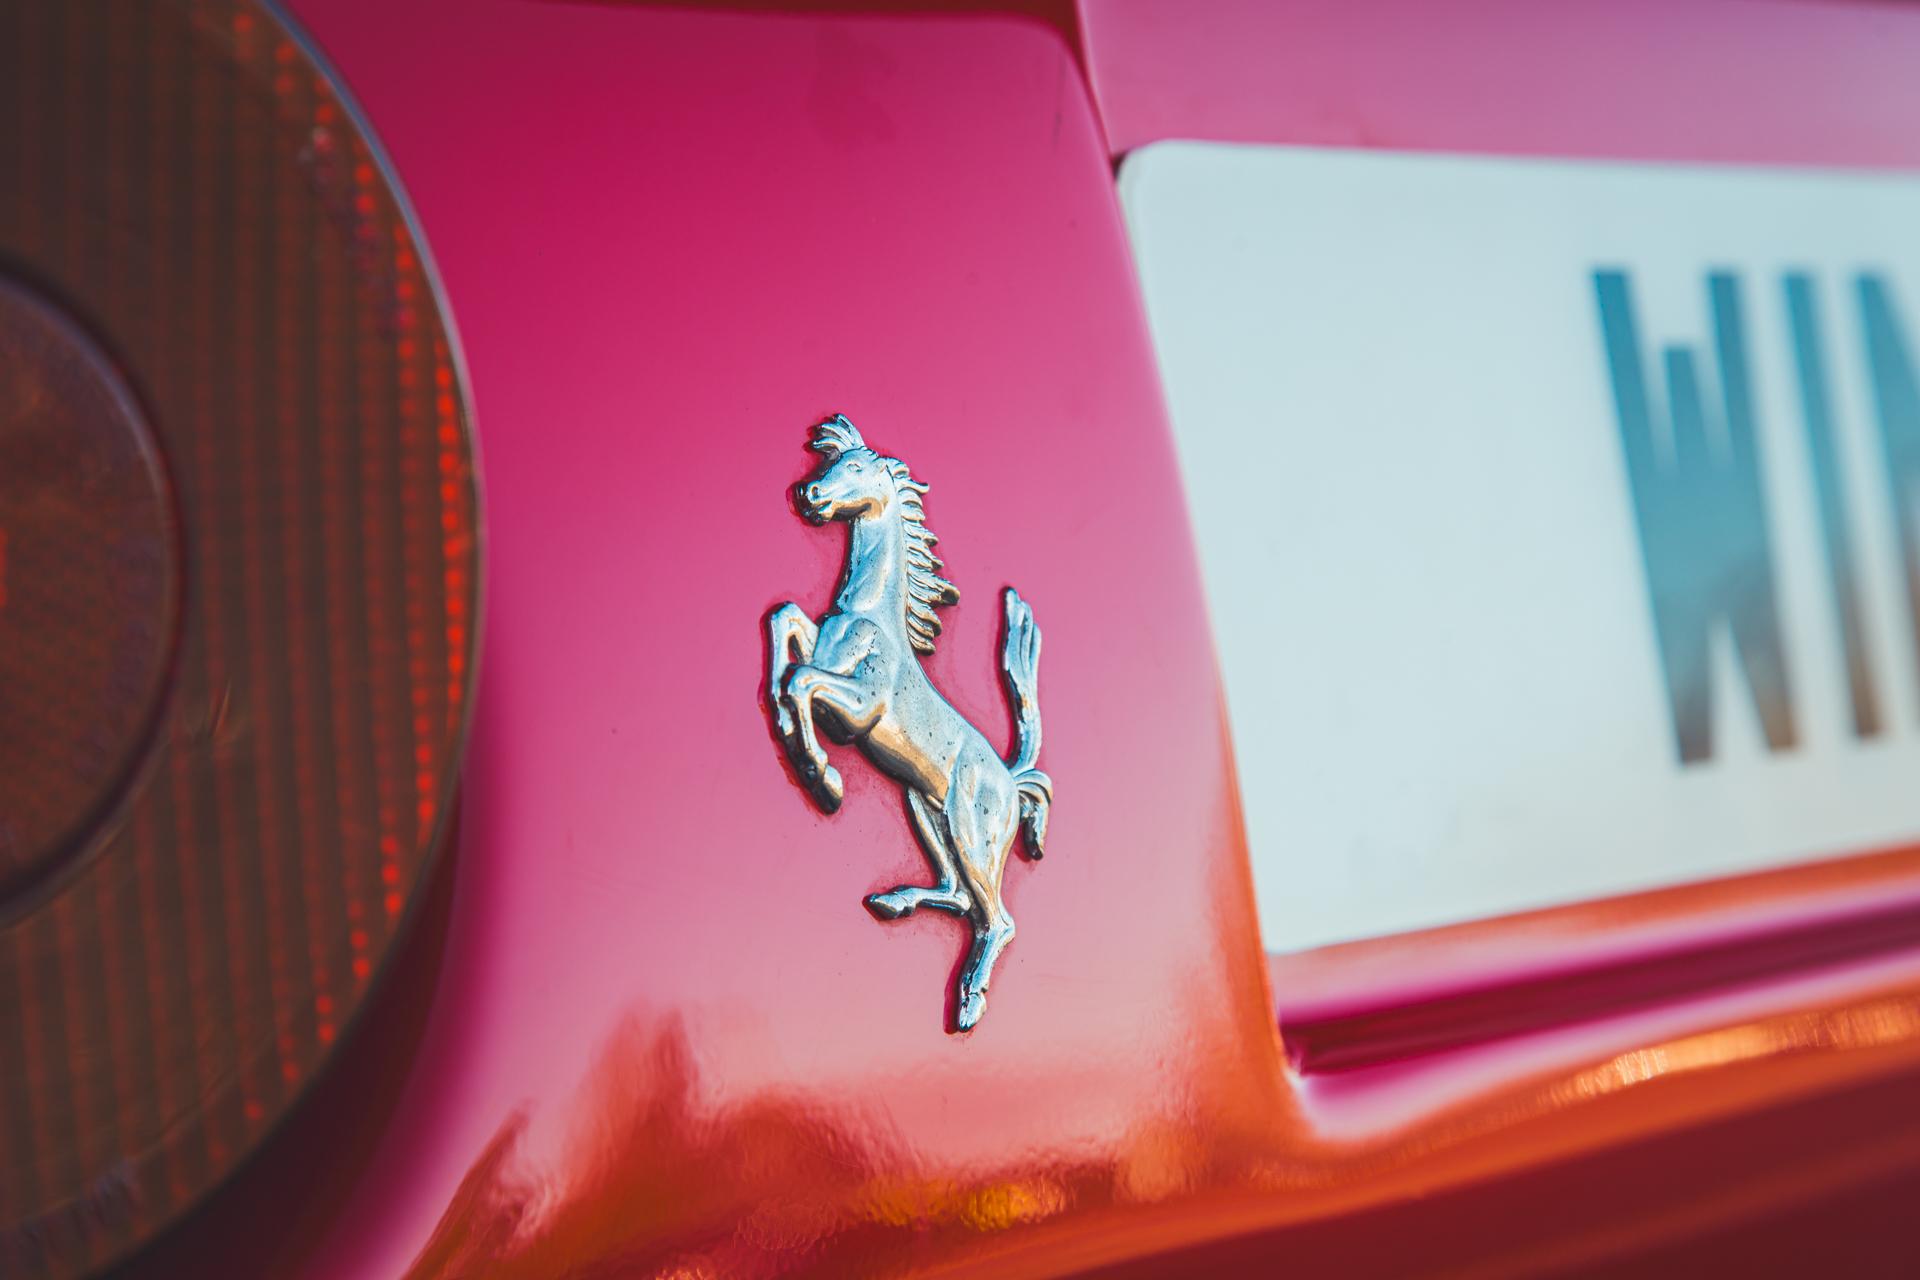
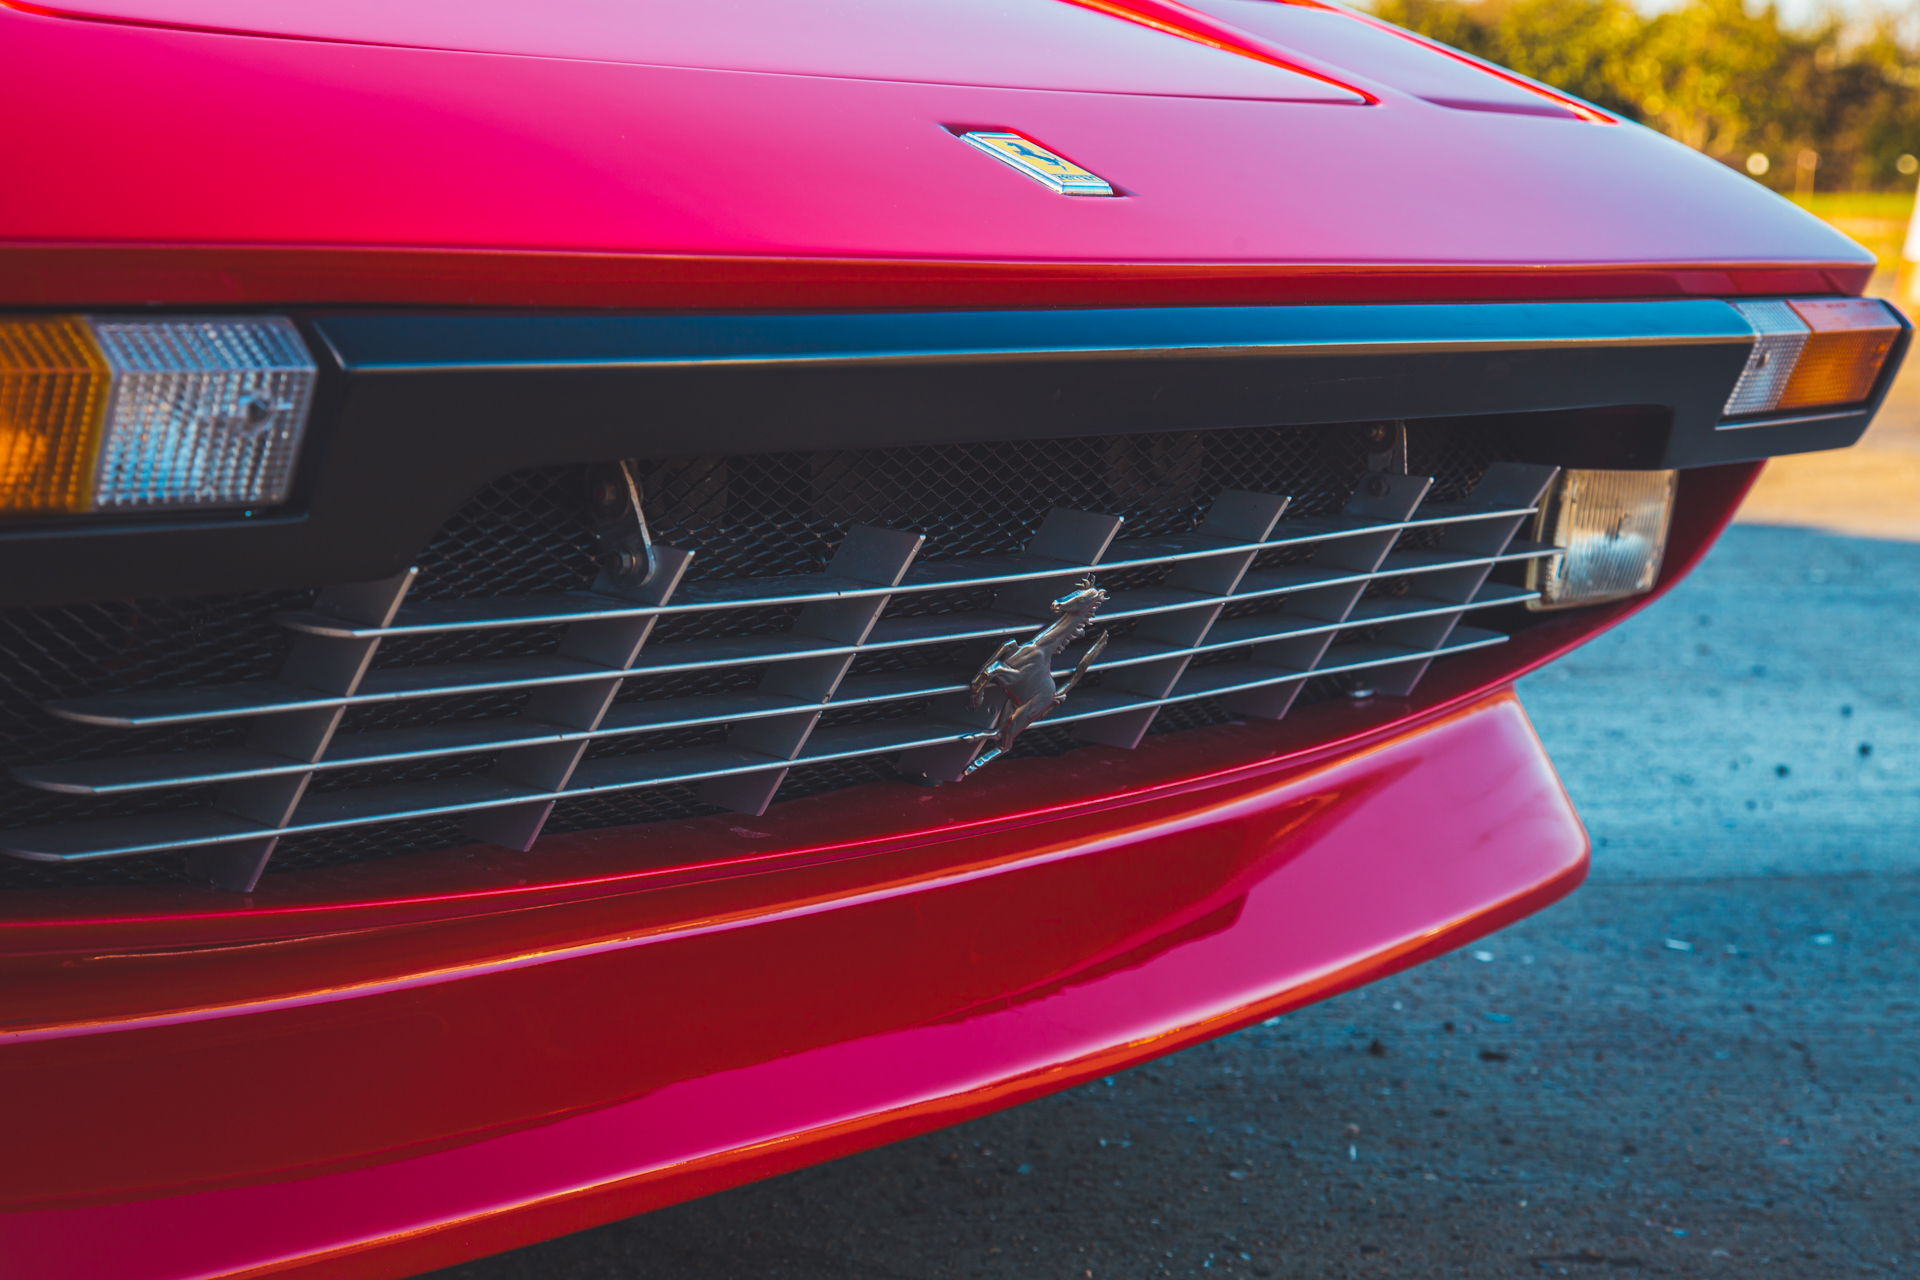
Through the decades, the artisans at Maranello would craft some of the most elegant and striking road and race cars the world would ever see.
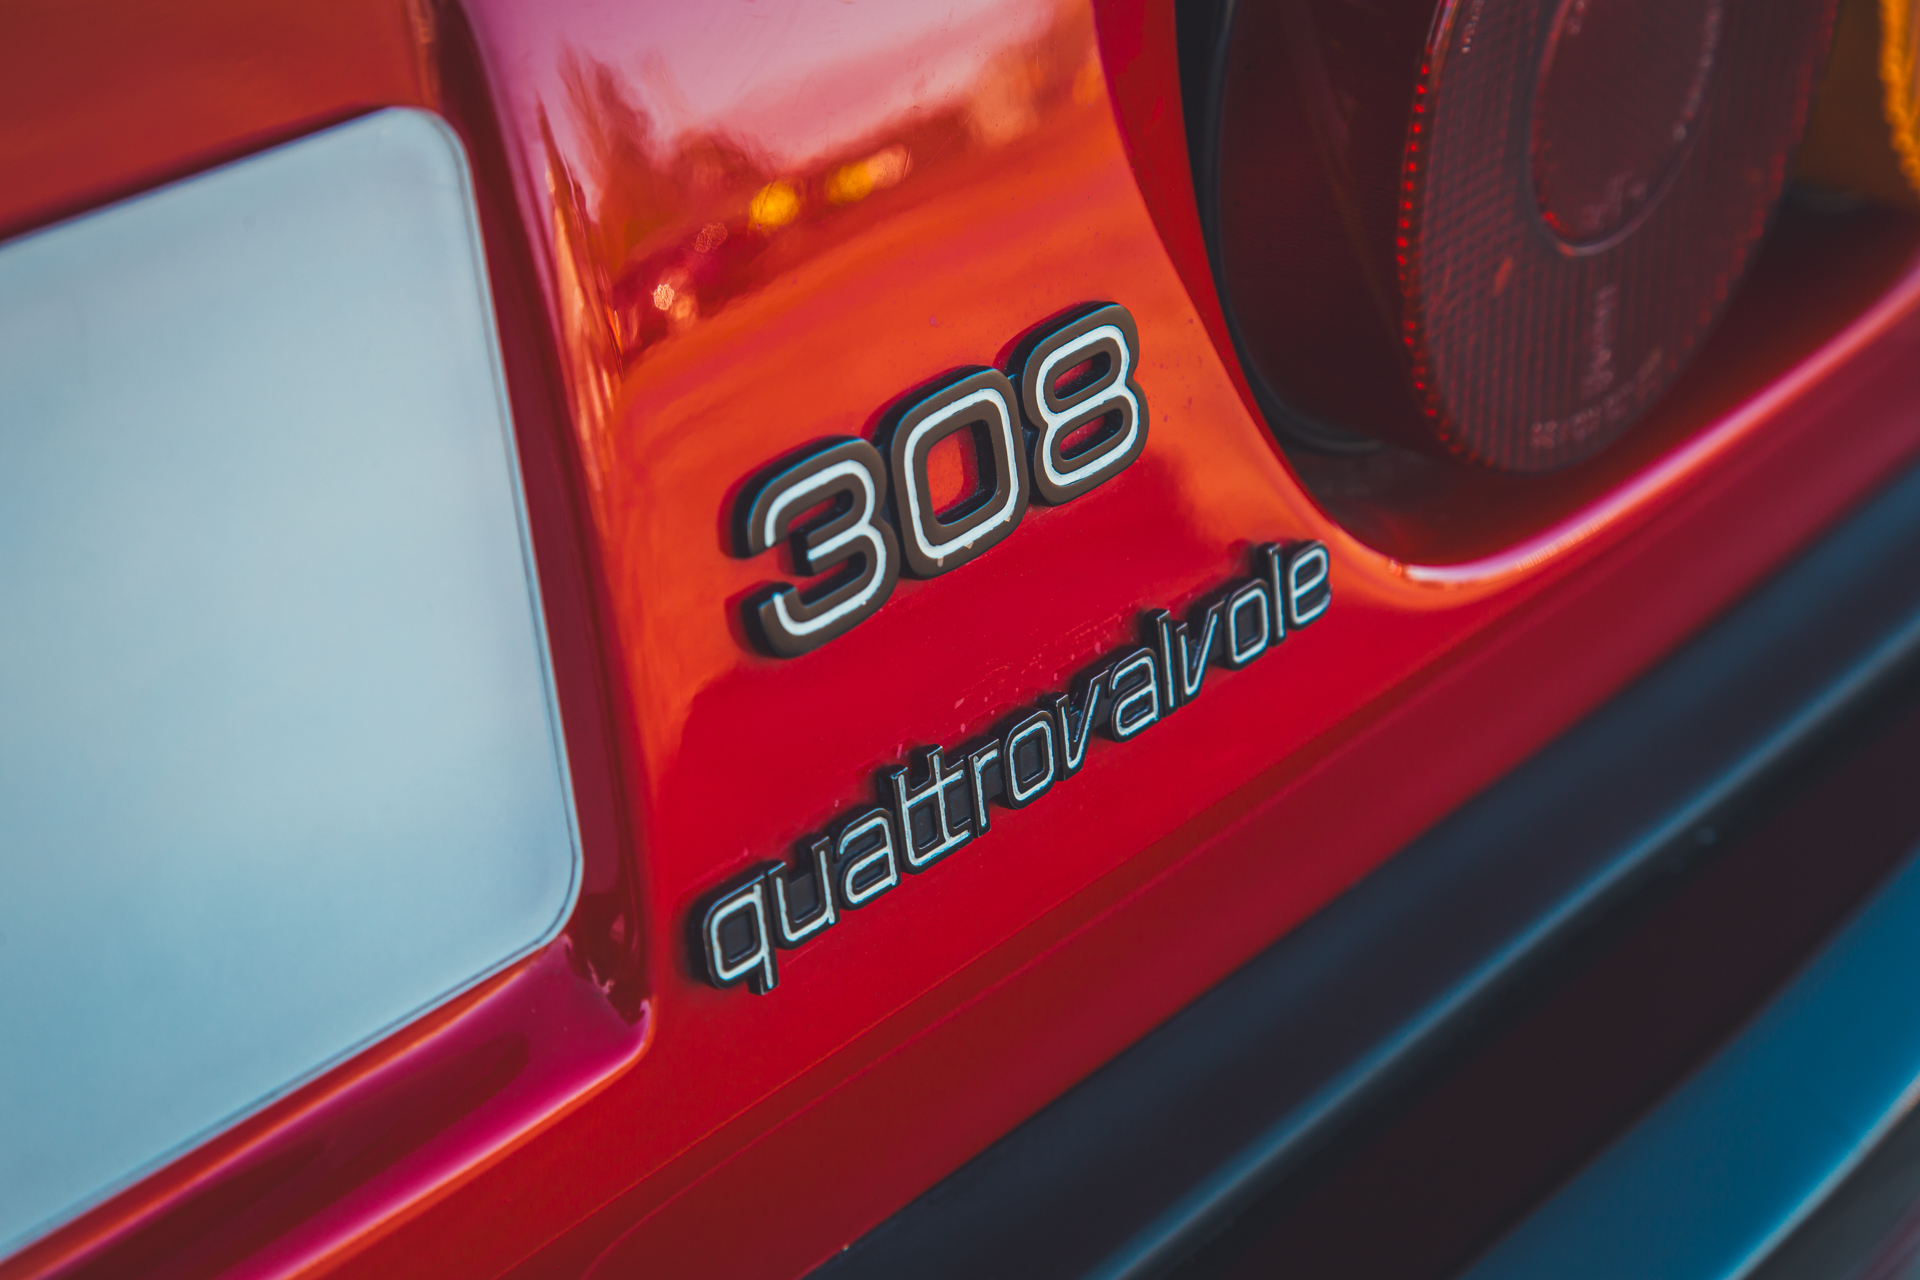
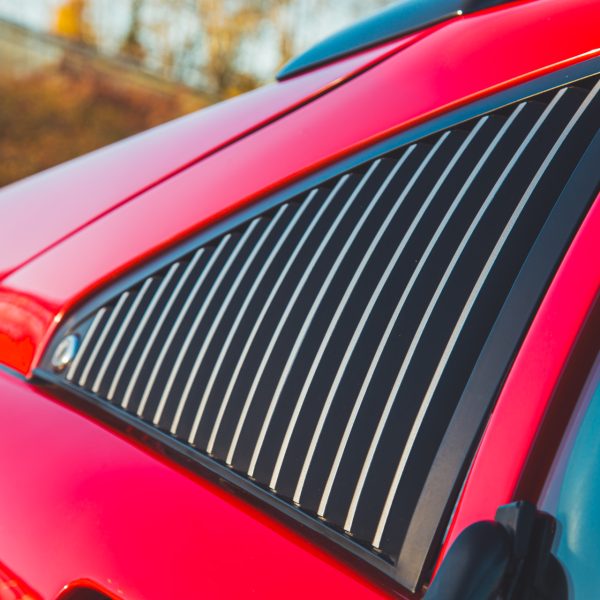
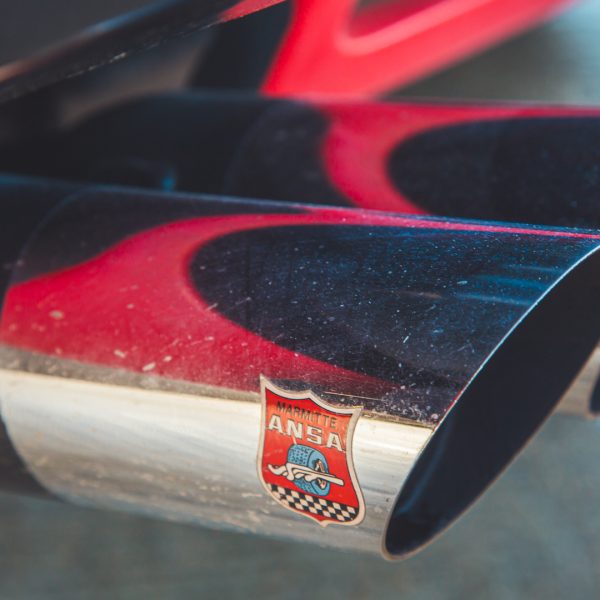
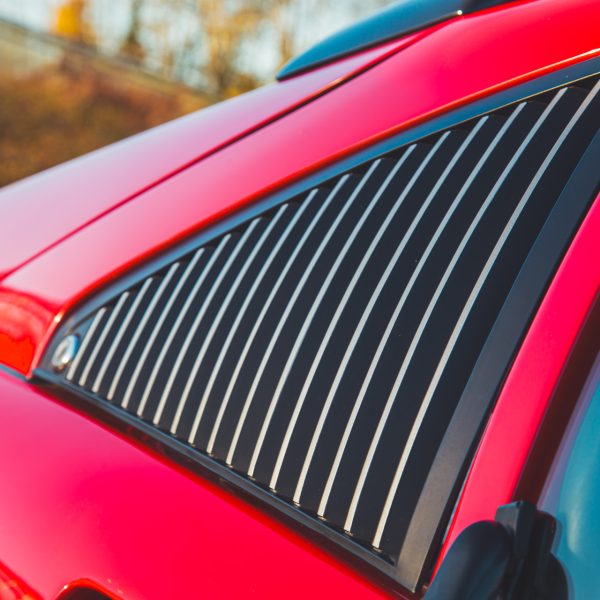
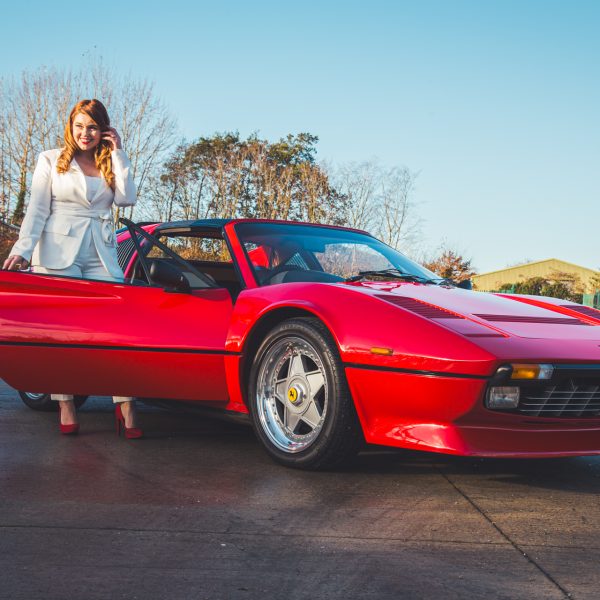
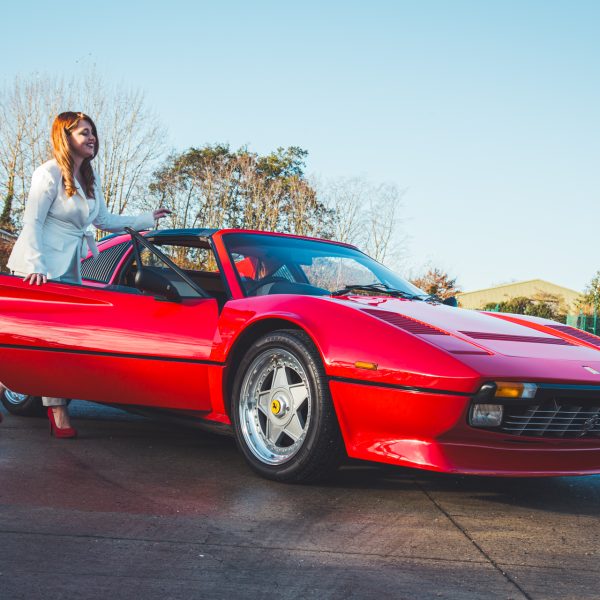
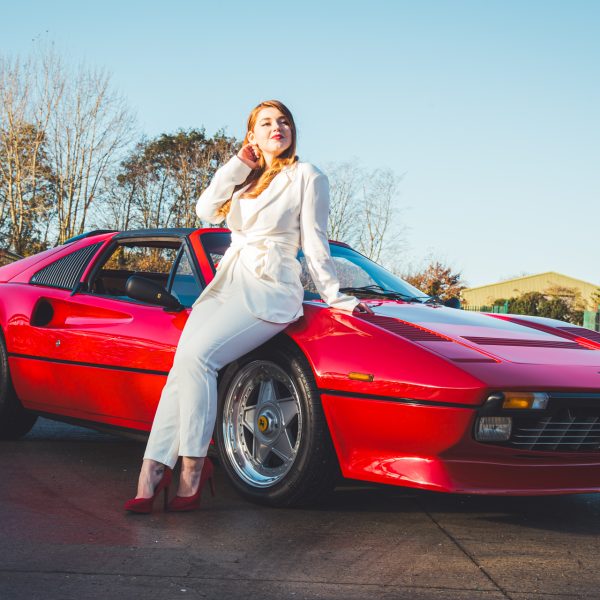
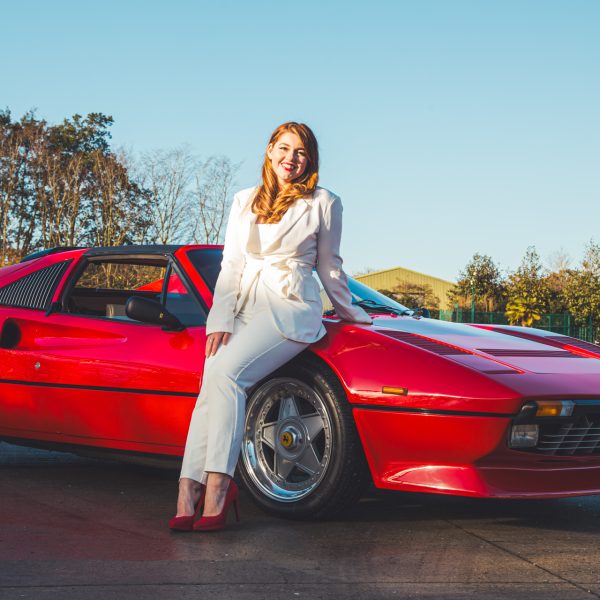
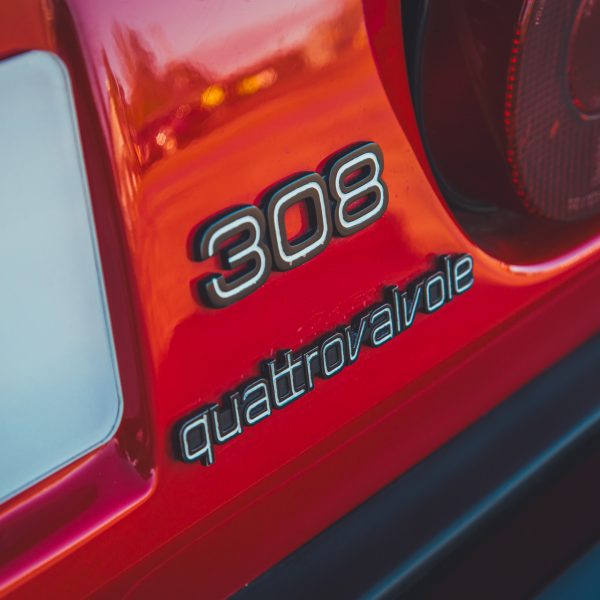
In the mid-1970’s, the design language would change to adopt the more angular and aggressive styles seen in motorsport throughout the world and give birth to a series of icons from the Ferrari family such as this, the Ferrari 308.
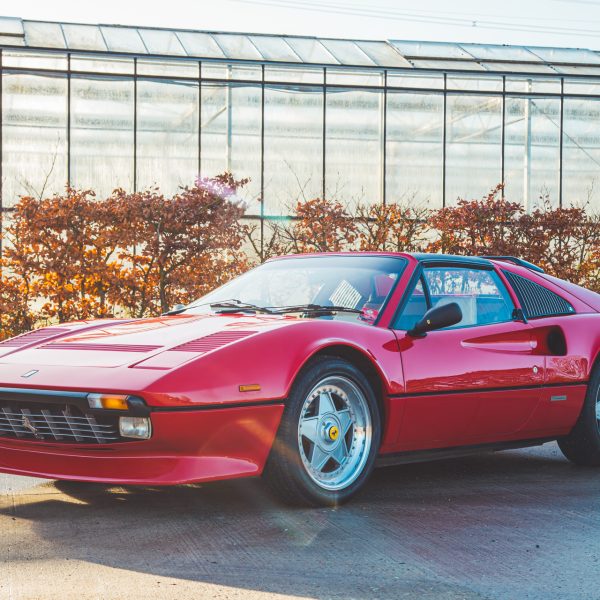
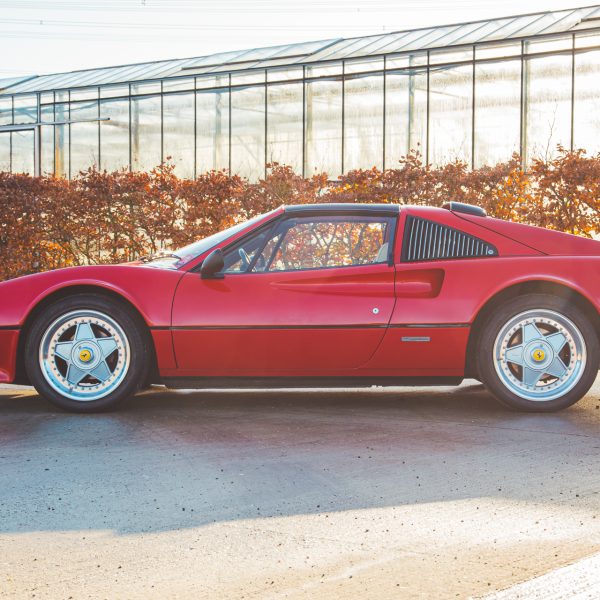
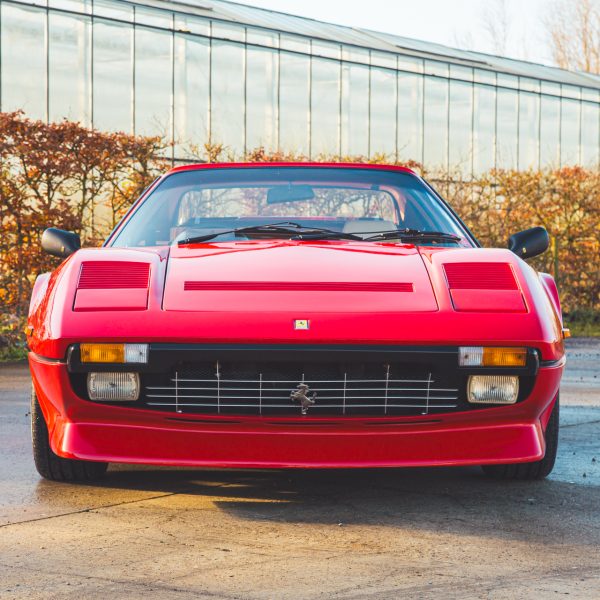
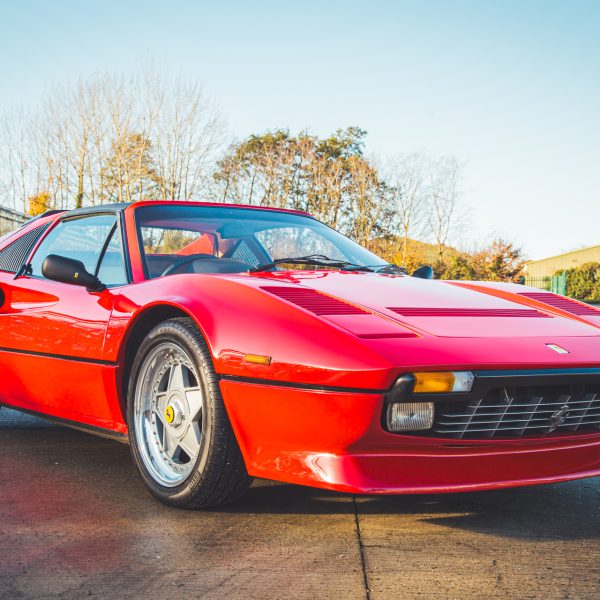
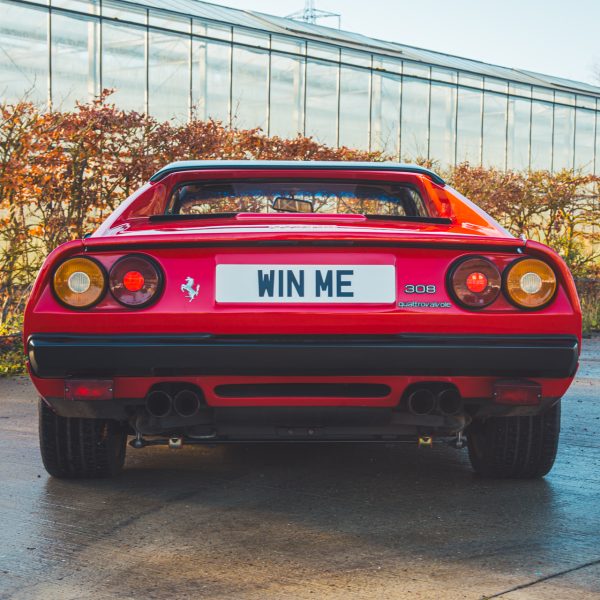
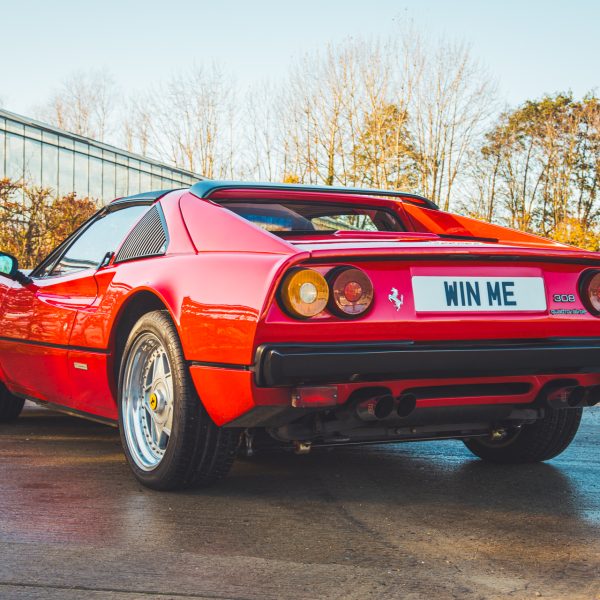
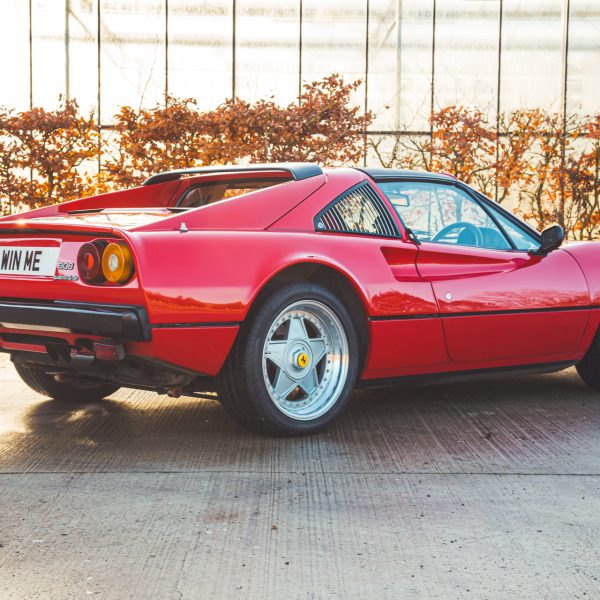
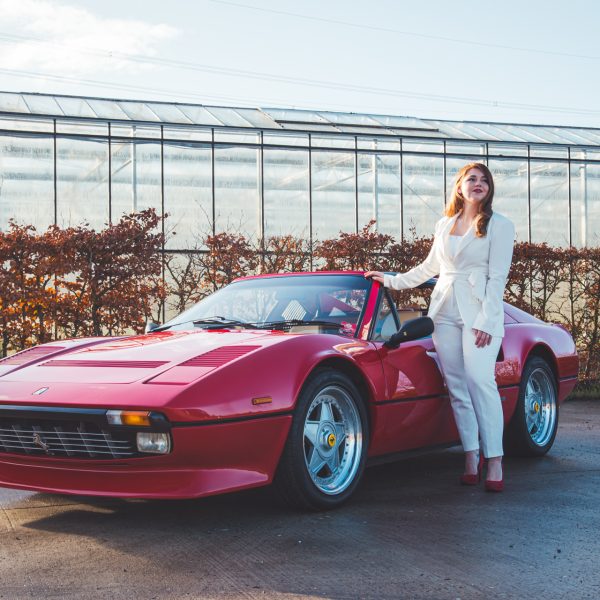
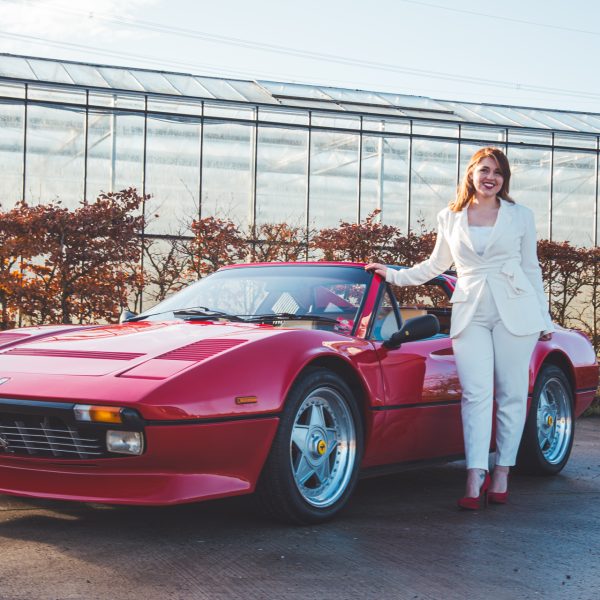
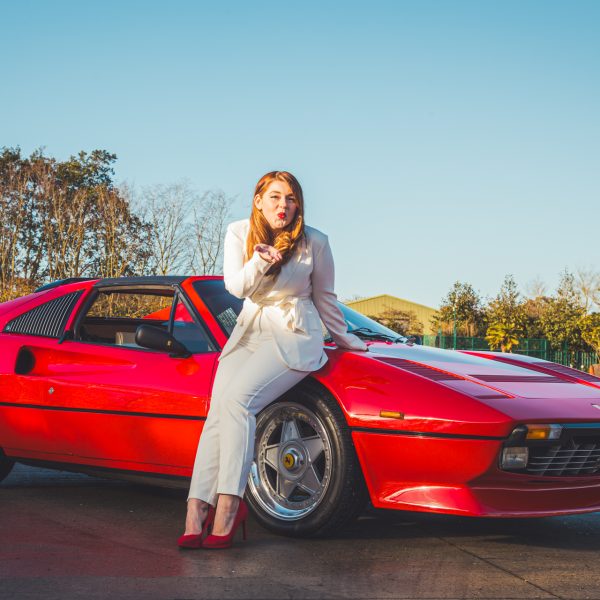
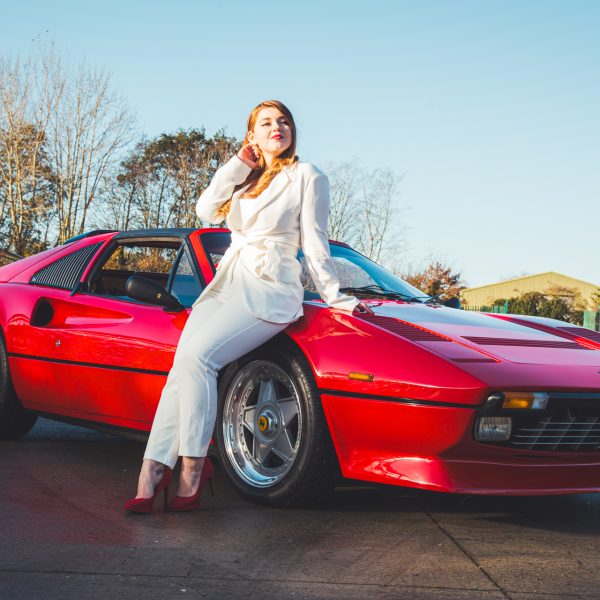
Bridge Classic Cars is giving you the chance to join the Scuderia with our 1984 Ferrari 308 GTSi.
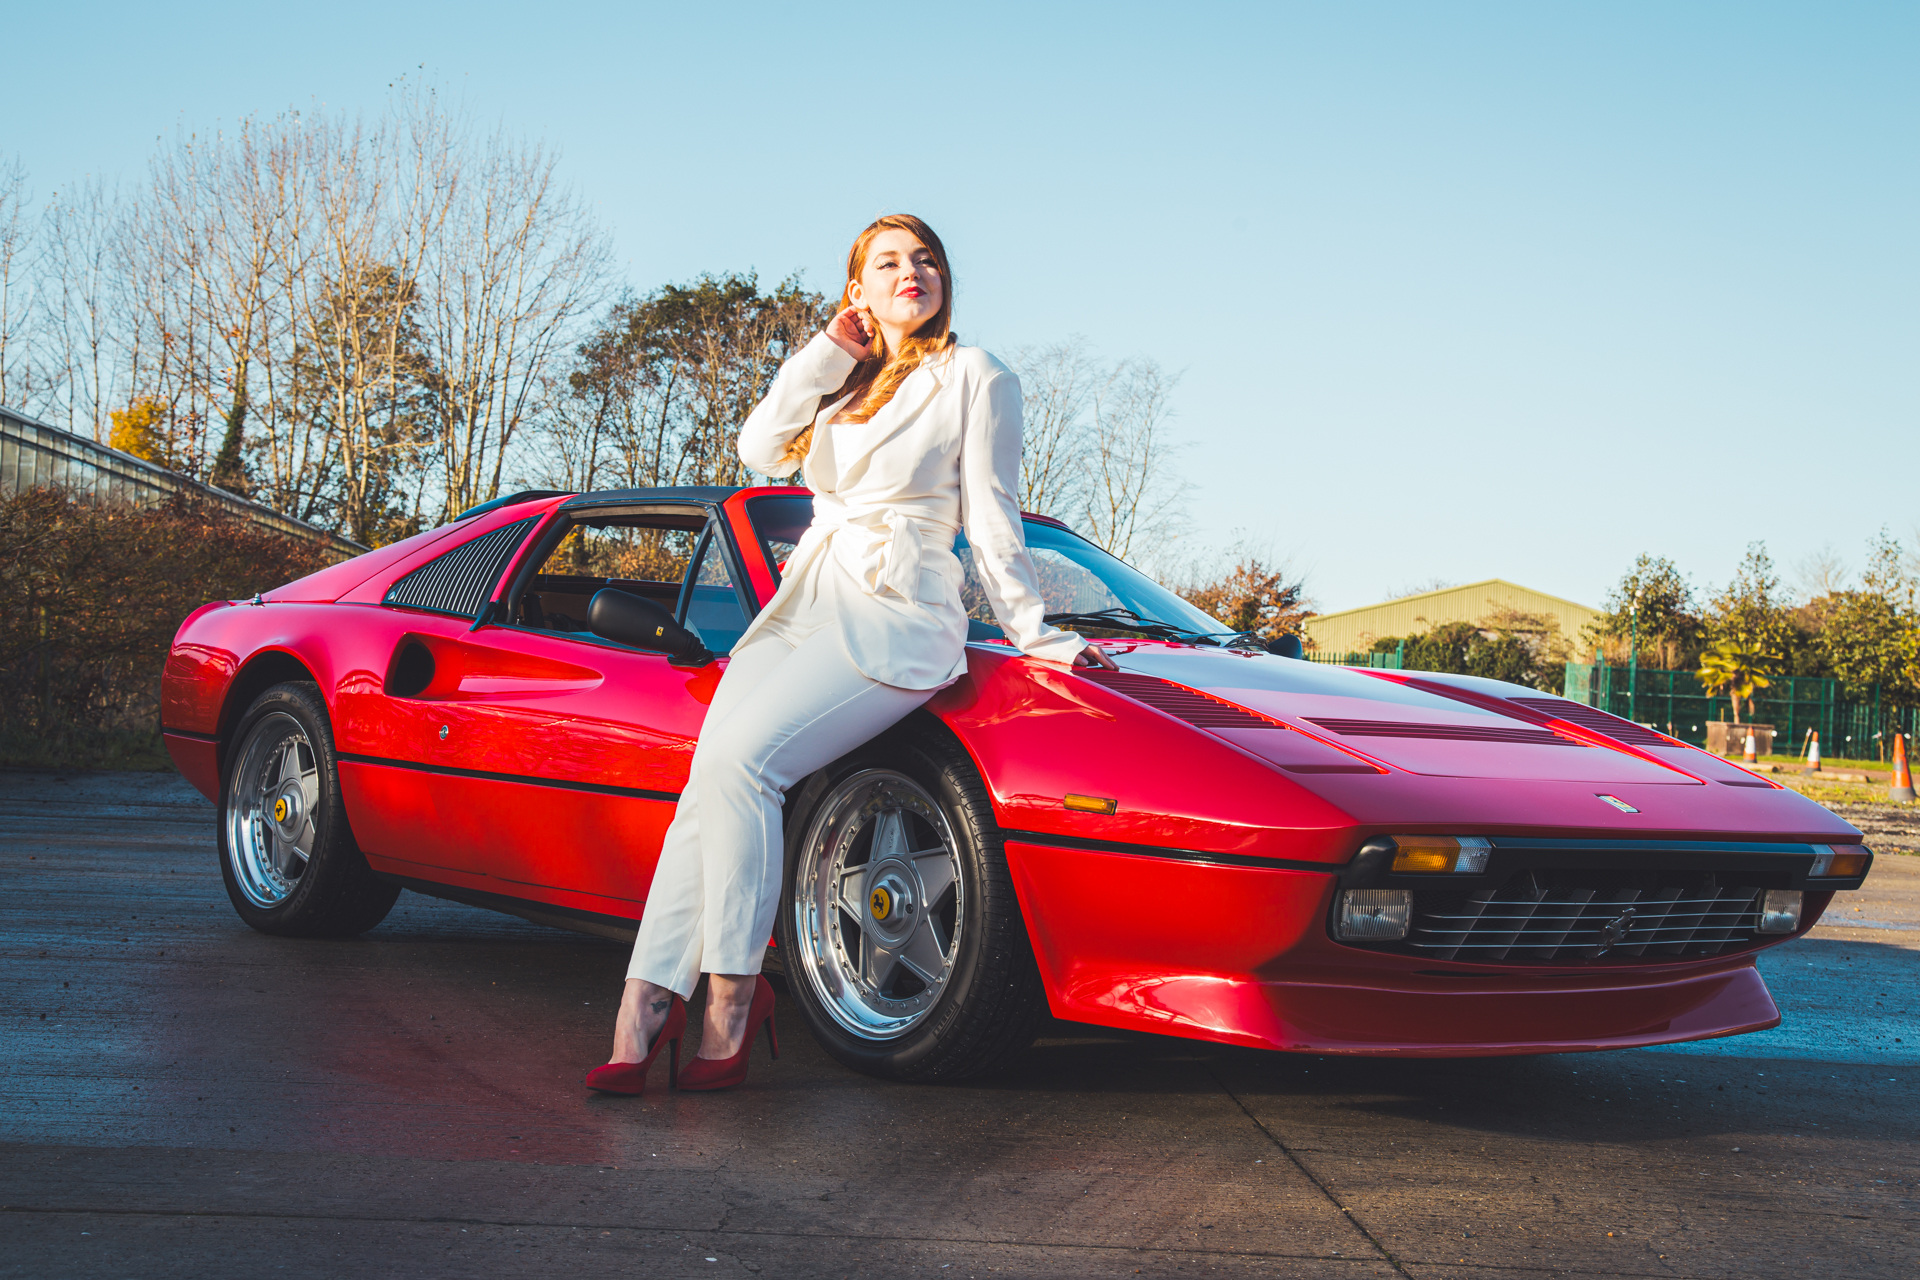
Finished in the Ferrari signature colour of Rosso Corsa and recently retrimmed back to its original Crema leather, this 308 GTSi combines elegance and timelessness into a true 1980s icon.
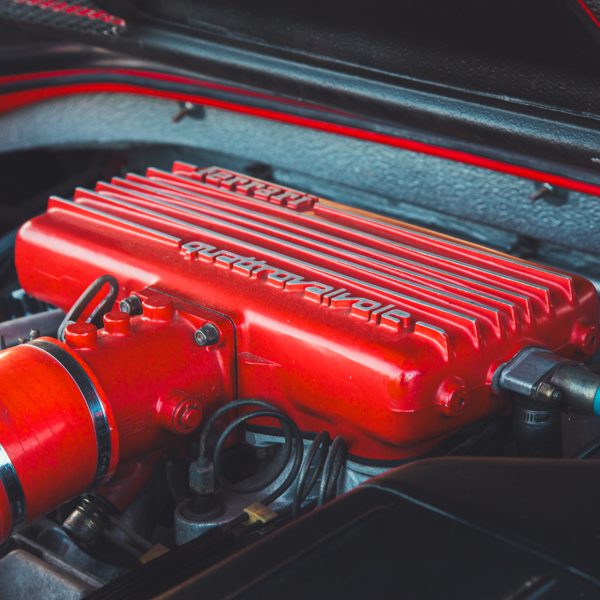
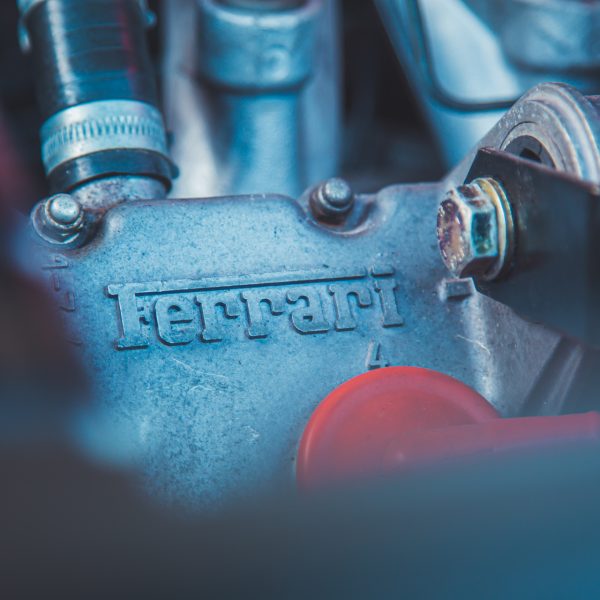
With a 2.9-litre fuel-injected V8 and the signature ‘dogleg’ manual gearbox, our 1984 Ferrari 308 GTSi has the beating heart of a thoroughbred to match its sporting Pininfarina designed good looks.
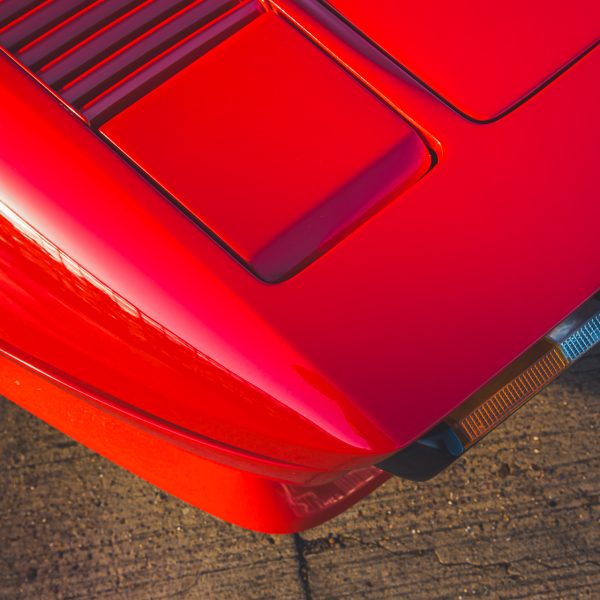
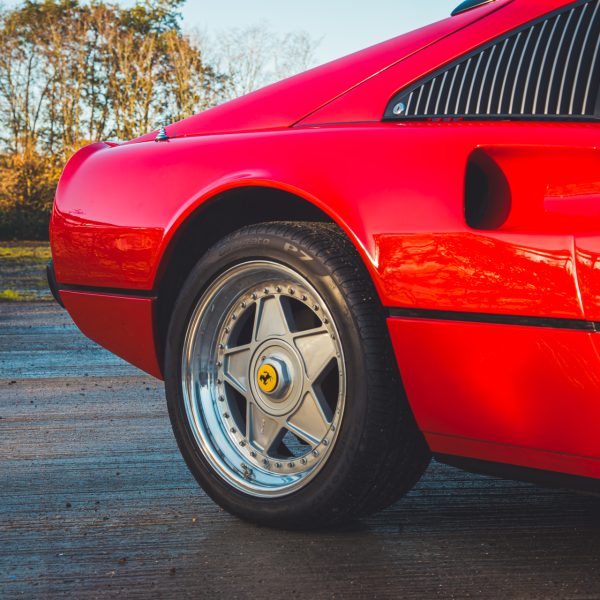
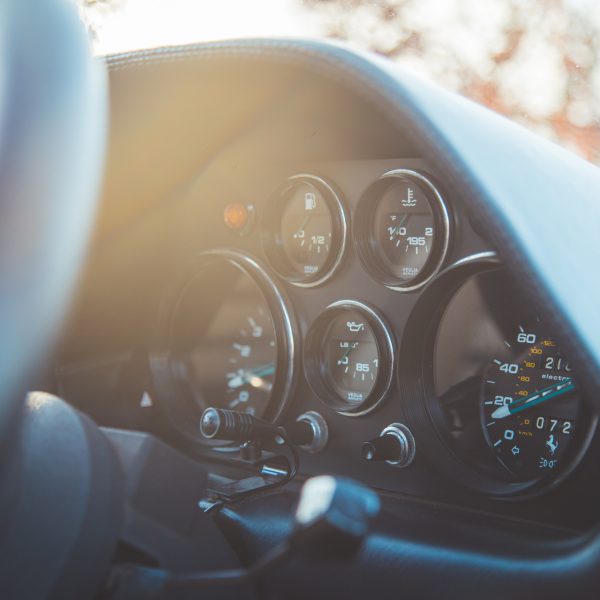
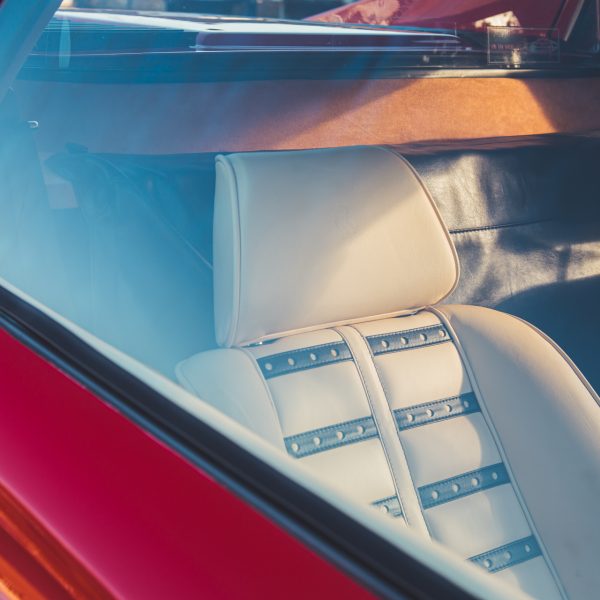

Originally delivered to UK Ferrari dealer Modena Engineering Ltd through the legendary Maranello Concessionaires in Surrey in January of 1984, this 308 GTSi was built at the legendary Ferrari workshops in Maranello, Italy in November of 1983 after being ordered in July of that year– confirmed by Tony Willis of the Maranello Concessionaires Archive.


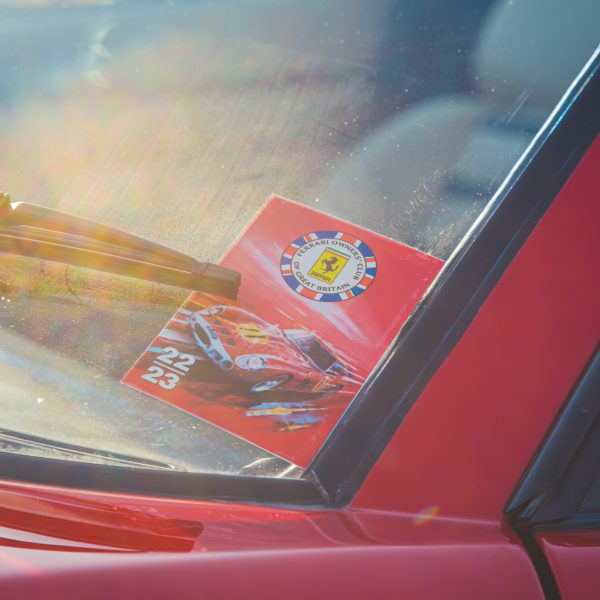
Included in the beautiful Burgundy leather bound history file (which has a highly polished plaque proudly displaying the cars chassis number) includes a copy of the cars original order form which includes the car being specified with optional air conditioning. Along with this wonderful piece of the cars story, is a detailed service history print out from the Ferrari Owners Club. The folder includes correspondence and invoices dating back to the earliest days of the cars life.
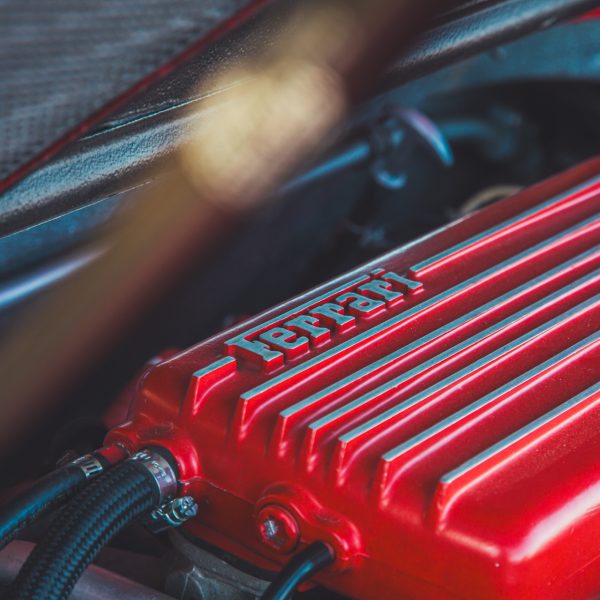
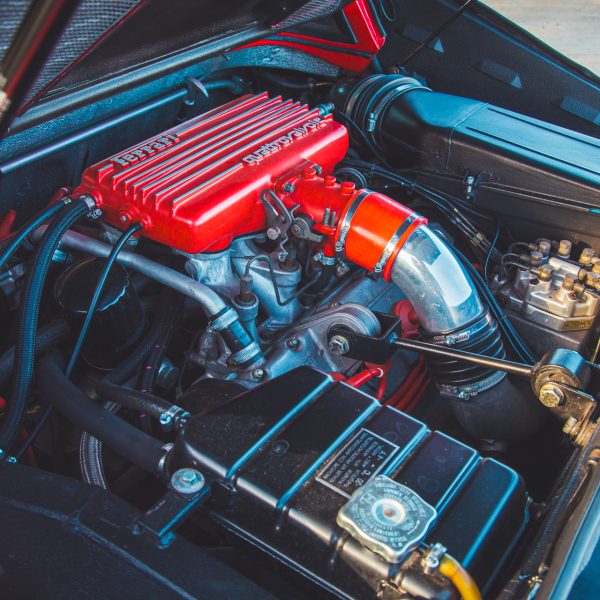
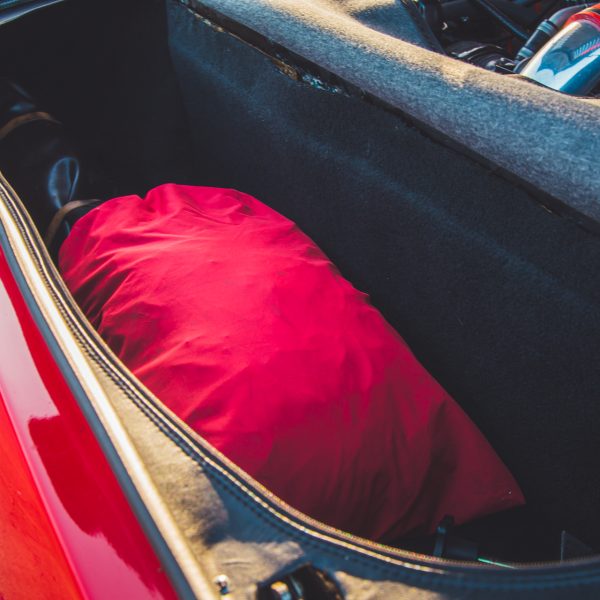
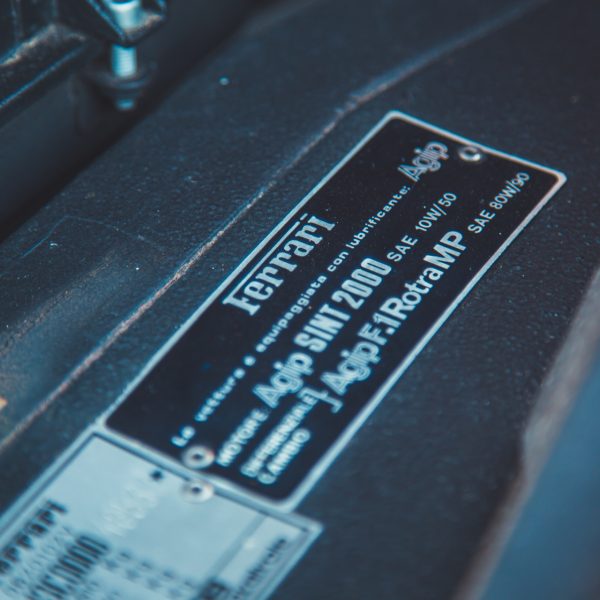
In 2023, various works were carried out Haynes Heritage Engineering which included repairs to the sills and several areas of paintwork being rejuvenated.
Enter now for your chance to win this sensational 1980’s supercar with our 1984 Ferrari 308 GTSi.
Full Gallery & Video:








John has finished up the report.
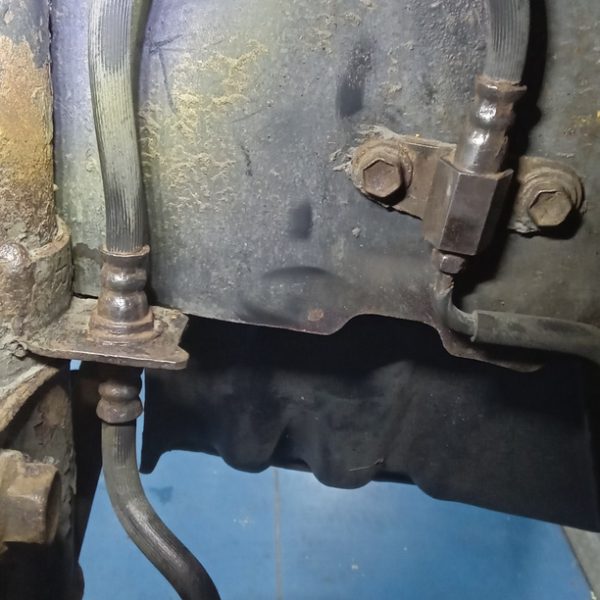
He has stripped and cleaned nearside front brake and found the sliders have seized.
Remove and free off before reassembling.
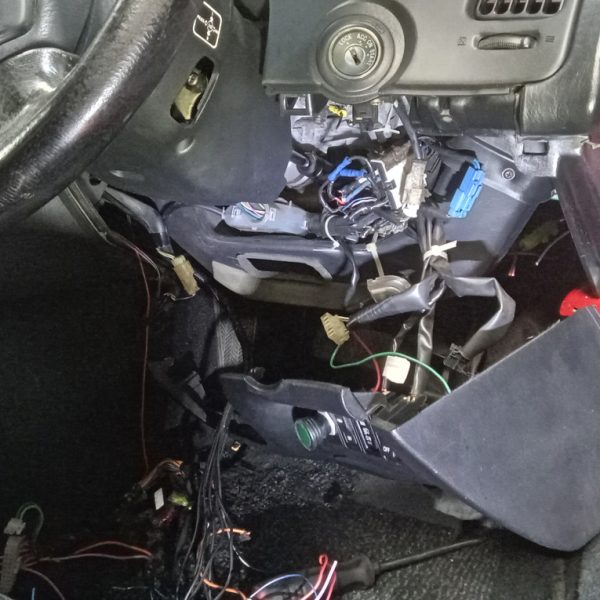
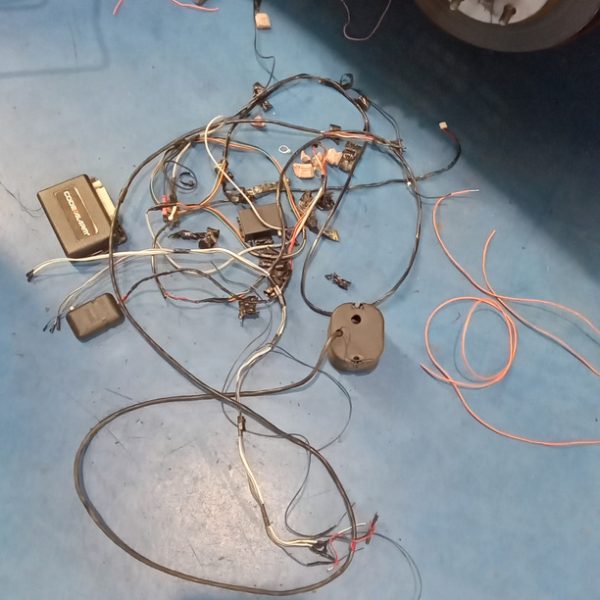
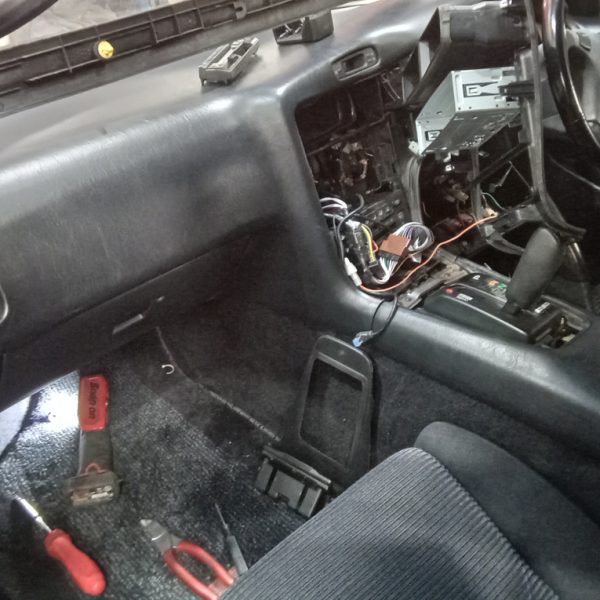
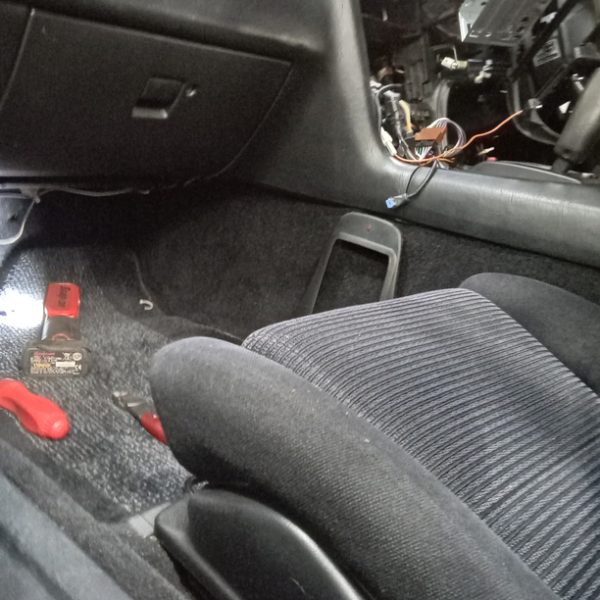
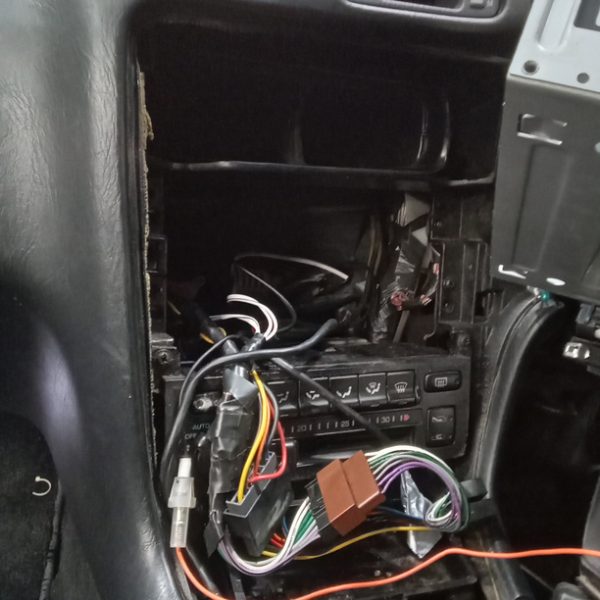
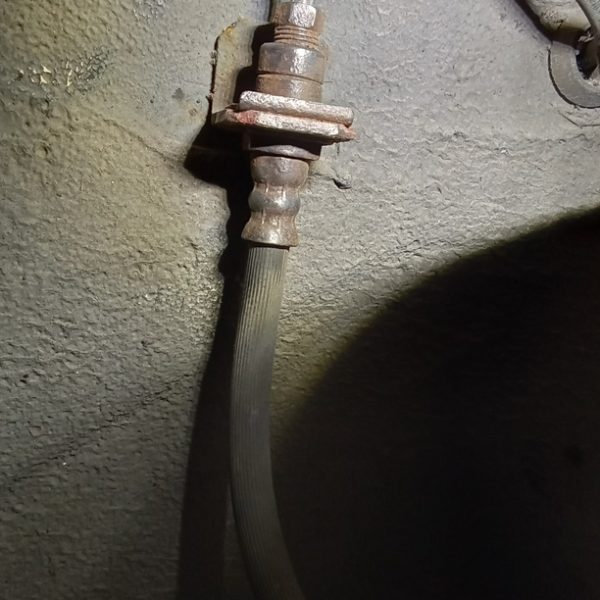
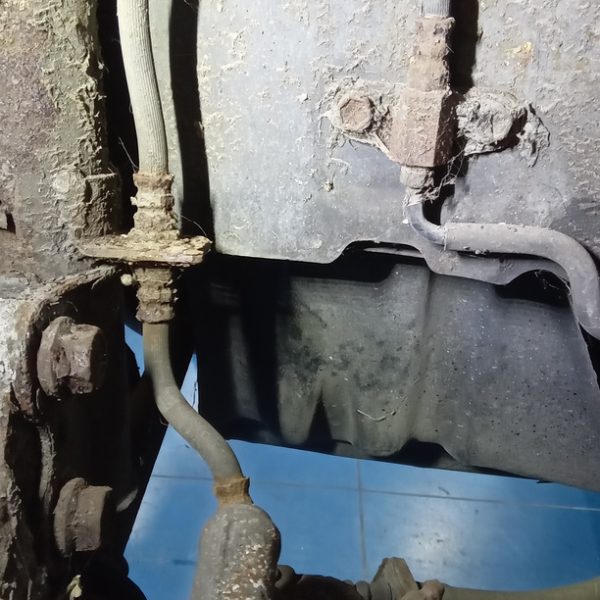
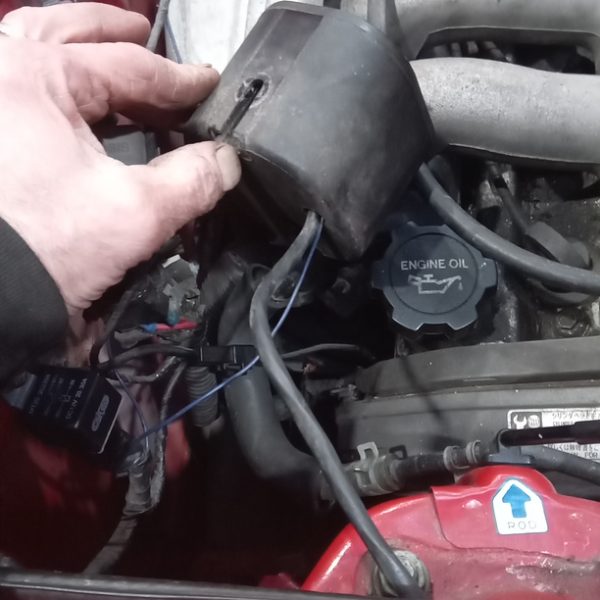
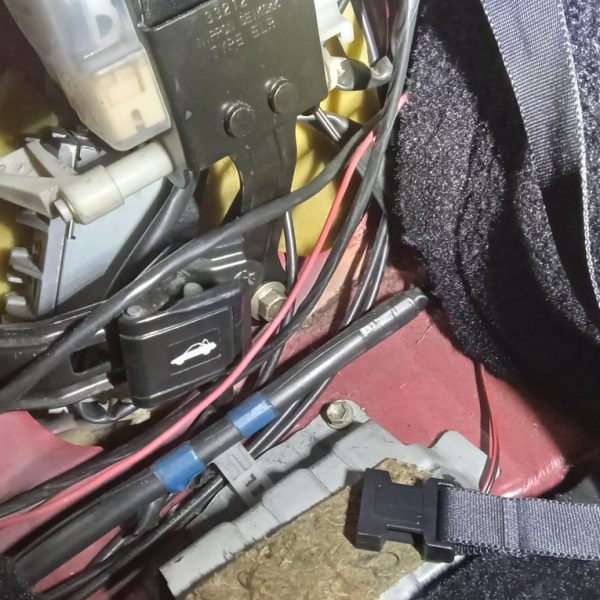
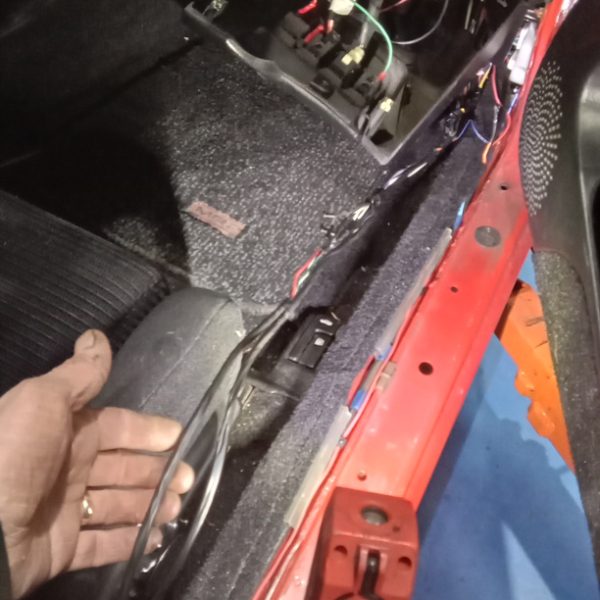
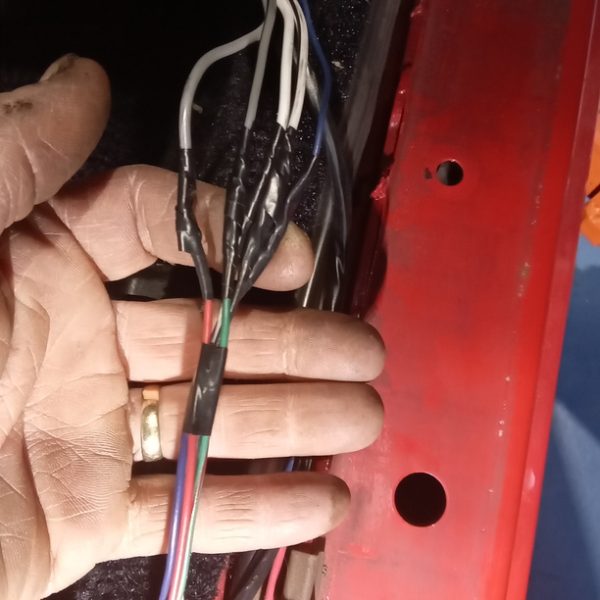
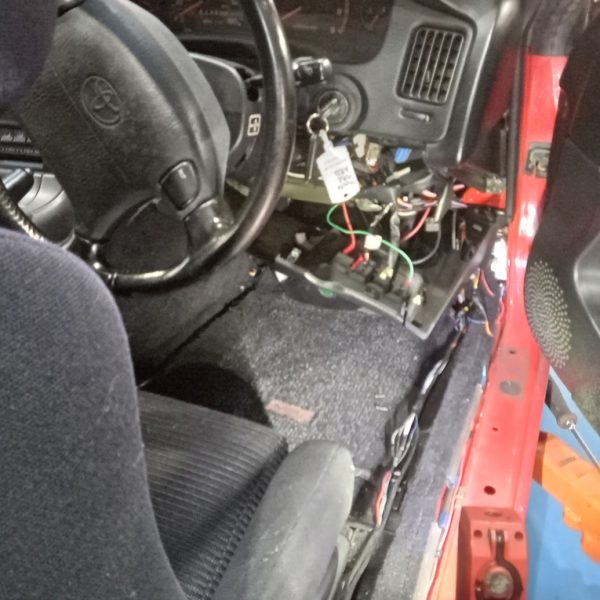
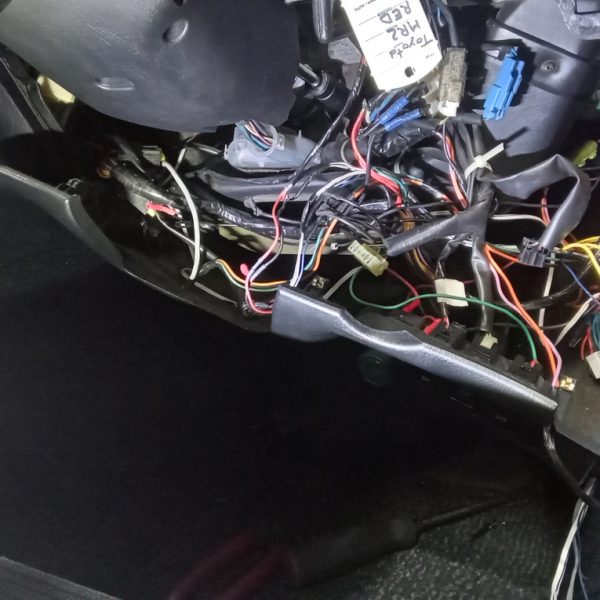
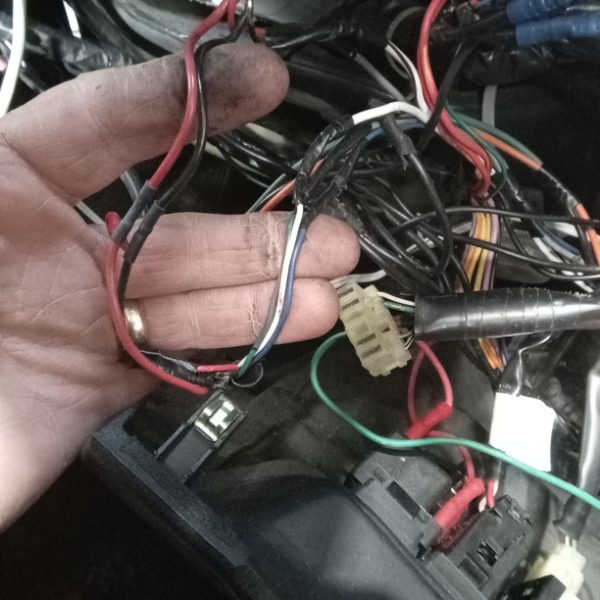
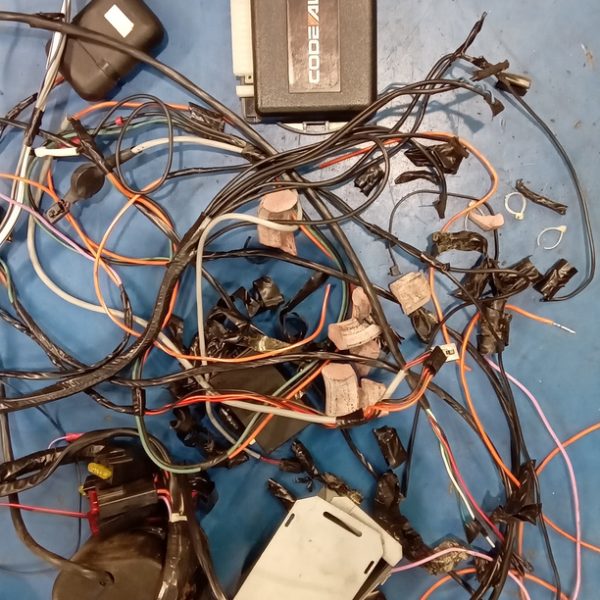
Wire brush all flexi hose ferrules. Strip alarm wiring. Trace through car and disconnect from loom. Cut wires and remove complete system.
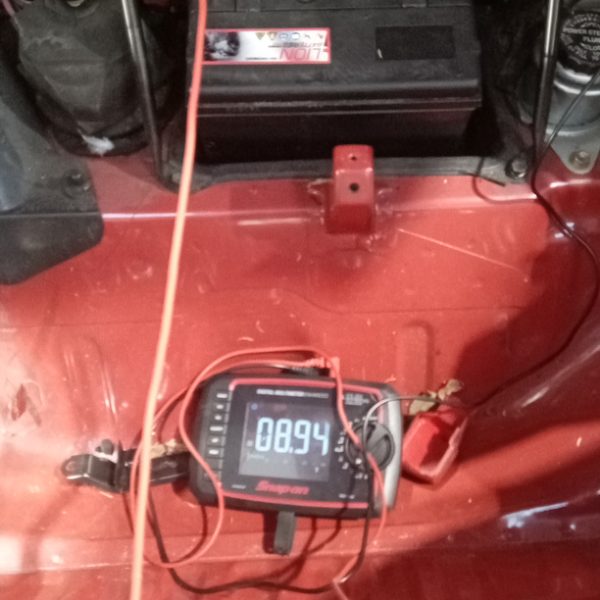
Check that car still starts and runs, ok. Check alternator charge; 8.9v which is very poor. Warning lights on dash probably due to battery voltage or lack of it.
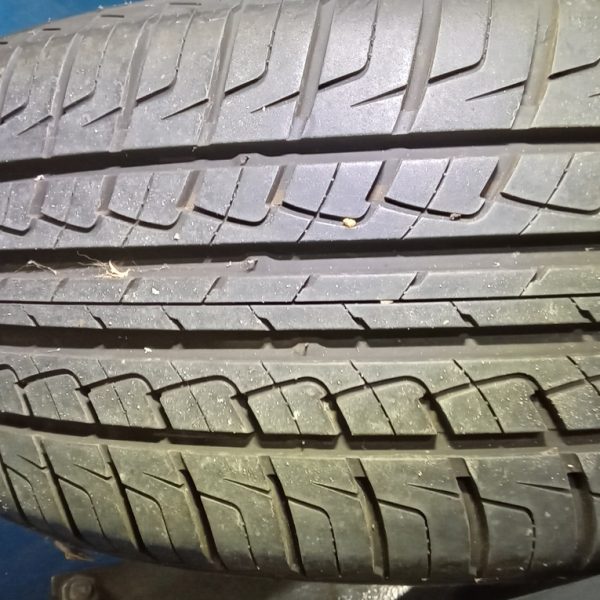
Refit wheels.

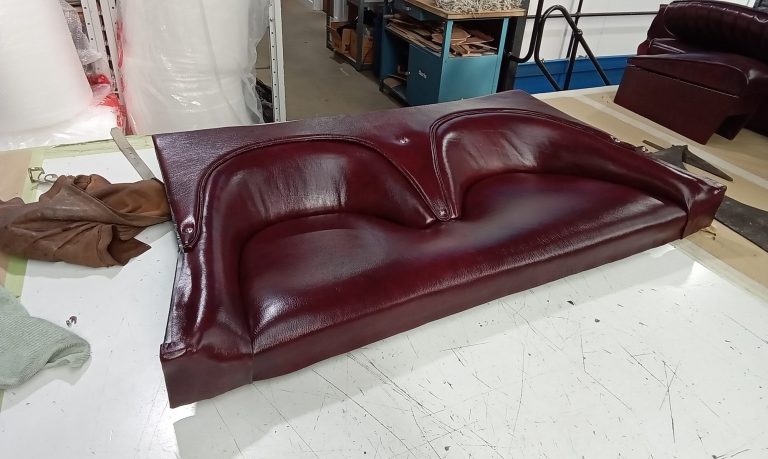
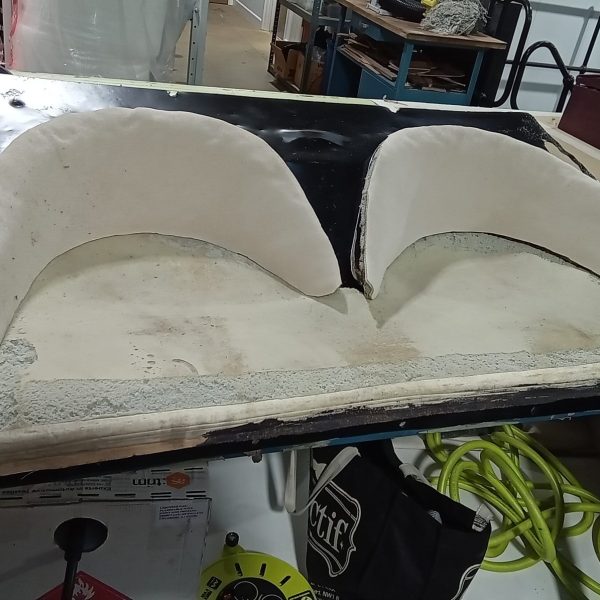
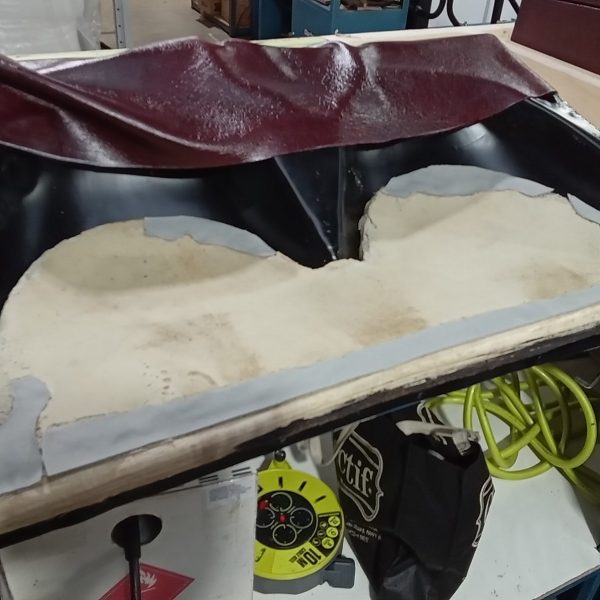
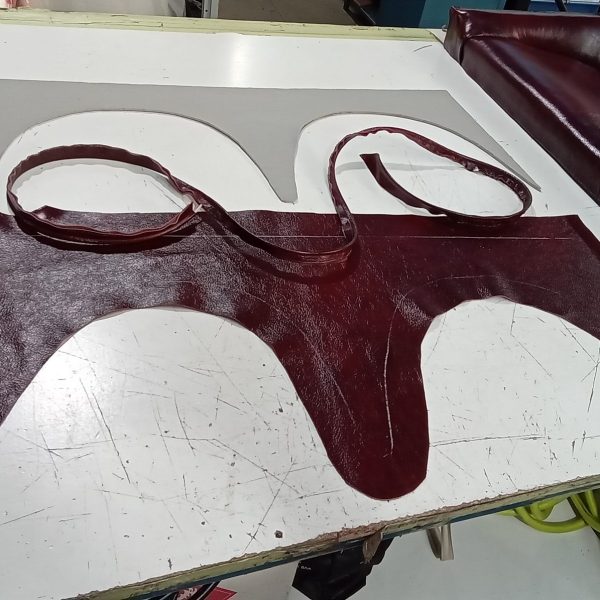
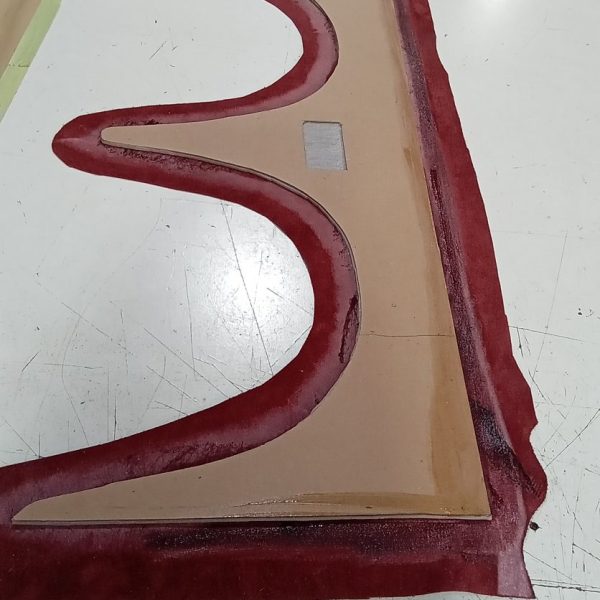
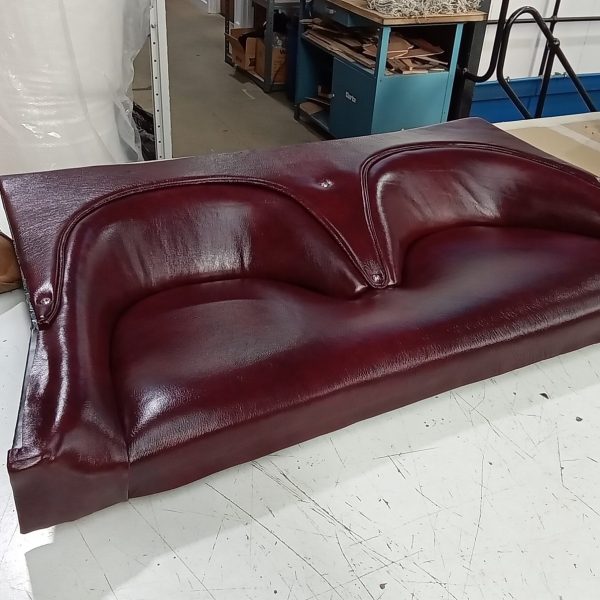
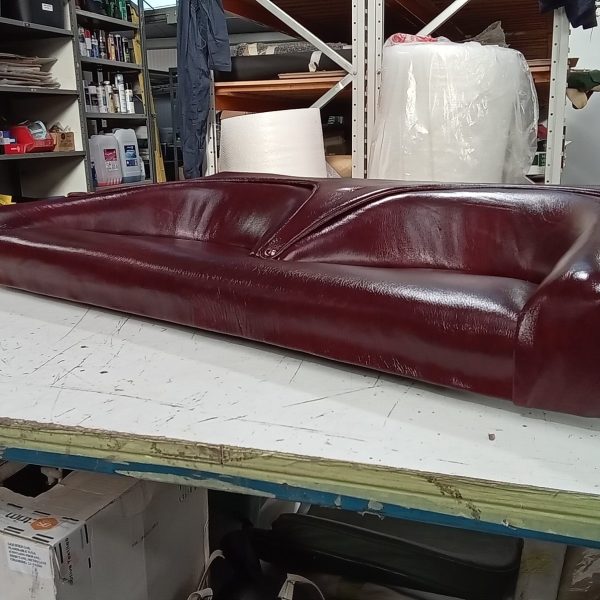
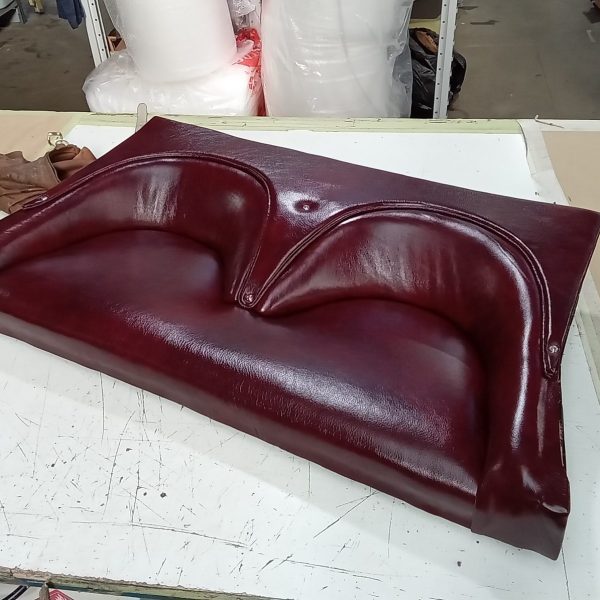
Yesterday and today, Lydia has been working on the rear seat of the Aston Martin DB2/4.
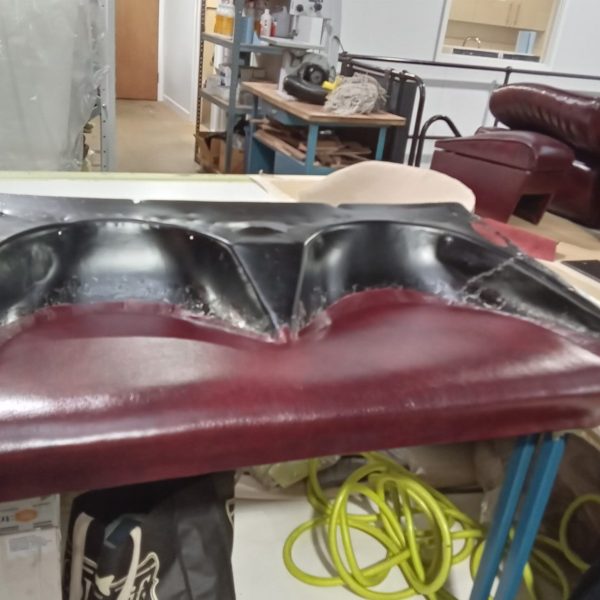
‘Chris has kindly painted the seat tray black for me, and stone chipped the underside, as this part actually forms the bottom of the car and is exposed to all the elements the road can throw at it. Firstly , I re-attached the foam that we removed, and this needed some remedial repairs as the top surface was uneven. Should I have left this, it would have shown through the new leather cover, and it would also have been possible to feel the imperfections beneath. I filled in the deepest dents with some thing scrim foam and then laid a complete piece on top before adding a layer of polyester wadding to ensure that the seats remained soft and comfortable. This also works well at hiding any last imperfections that may remain! Then, I applied the new leather piece which forms the part that the passengers sit on.’
The next part to complete was the backrests, which were a little more tricky. These have to have the fabric half fitted, then they get riveted to the seat tray, then the rest of the fabric is stretched up and over and glued to the seat tray.
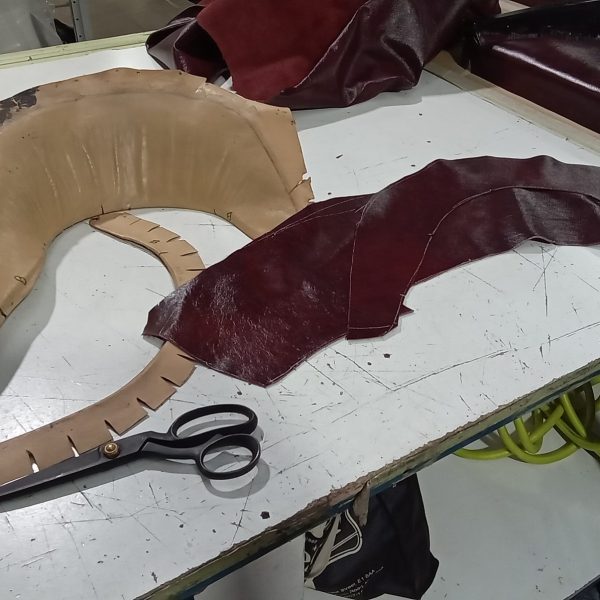
Brian has already repaired the foam on these so Lydia added a layer of wadding to make them softer. The leather was cut in 2 parts and sewn together, then fitted to the seat with contact adhesive.
Using heat really helped to soften the leather and made it a lot easier to fit the covers on these.
The final piece is the board that rests on top. This is a simple piece of cardboard, with a thin layer of foam on , then covered in leather. Finally, a piece of piping is applied to the edge to close the gap between the board and the seat underneath.
Bridge Classic Cars are award winning Classic Car Restoration and Maintenance specialists. Your pride and joy is in safe hands with our expert Classic Car Technicians. Take a look at our awards here.