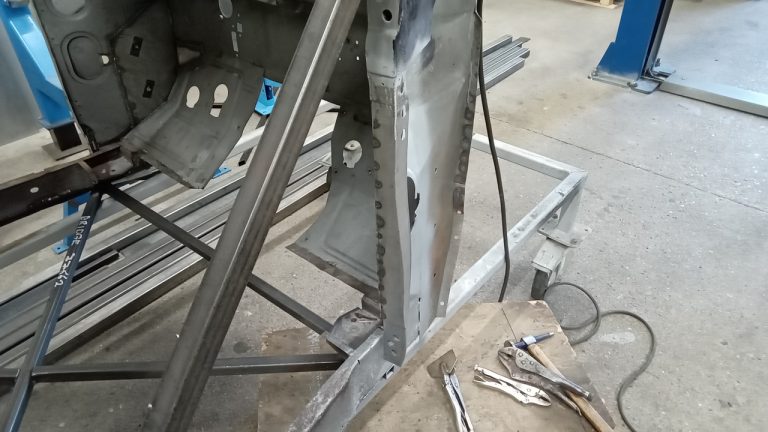
Fabricating Devon Parts
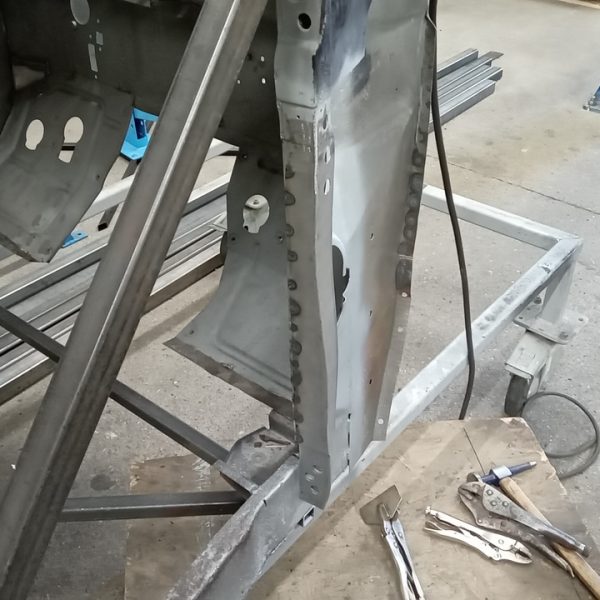
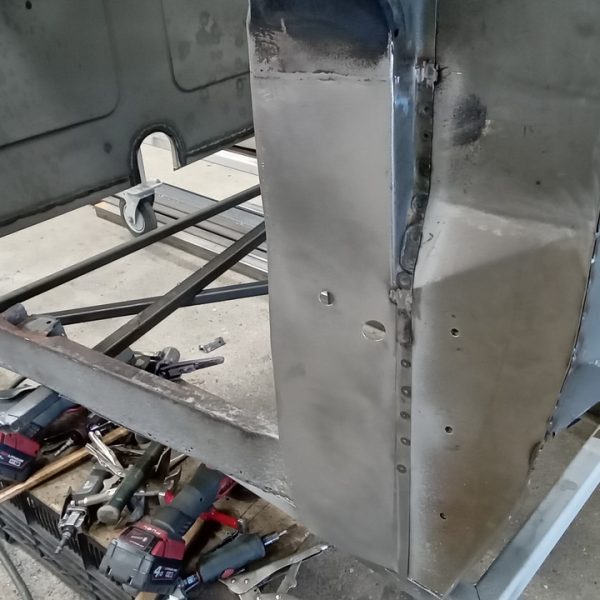
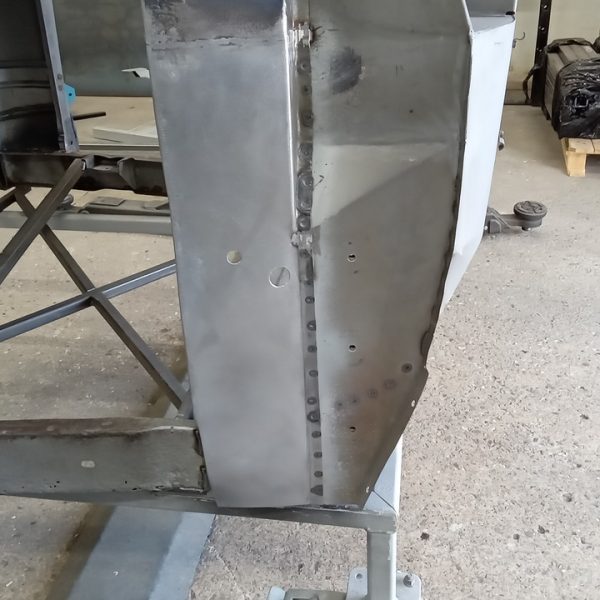
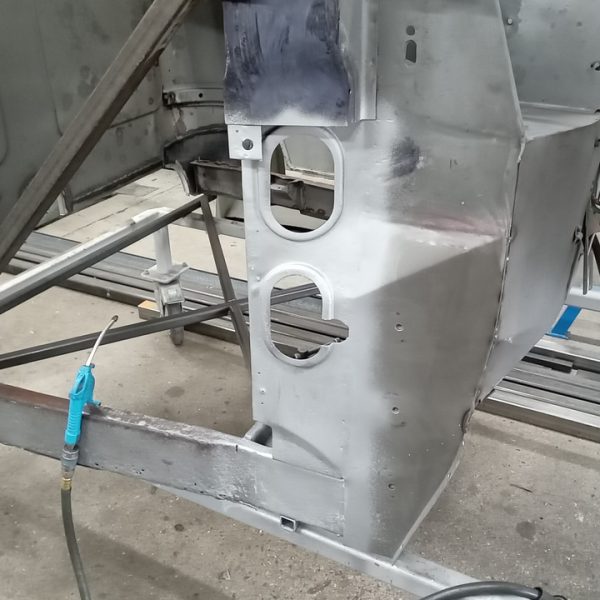
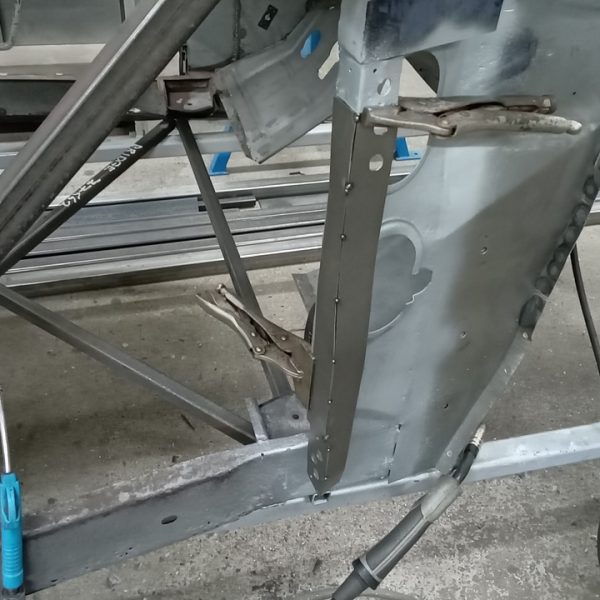
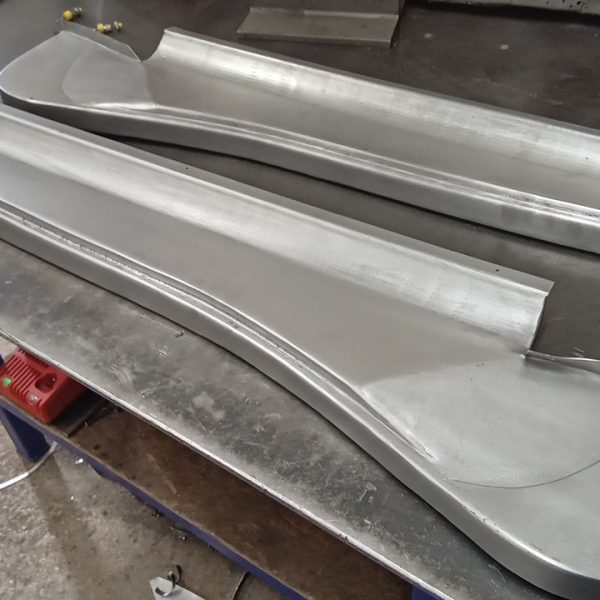
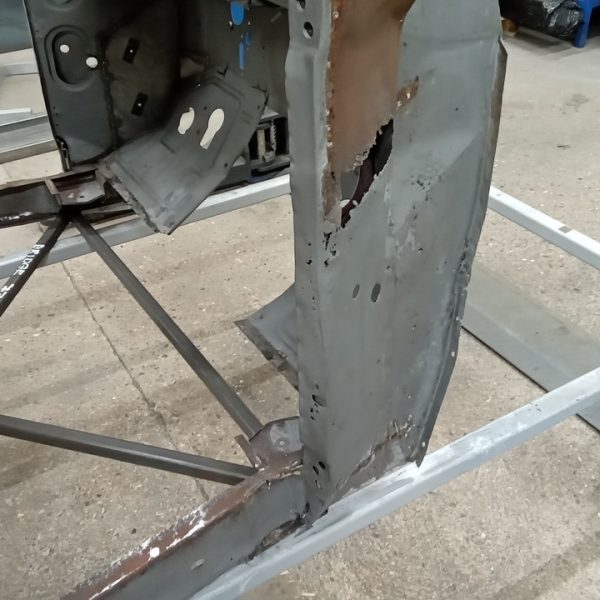
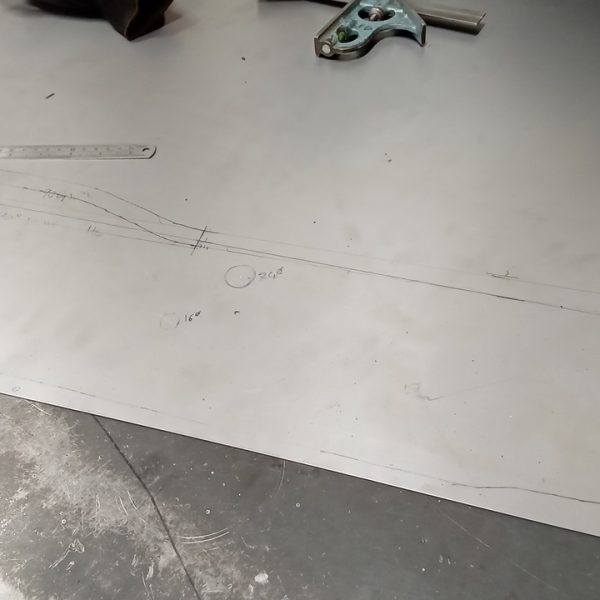
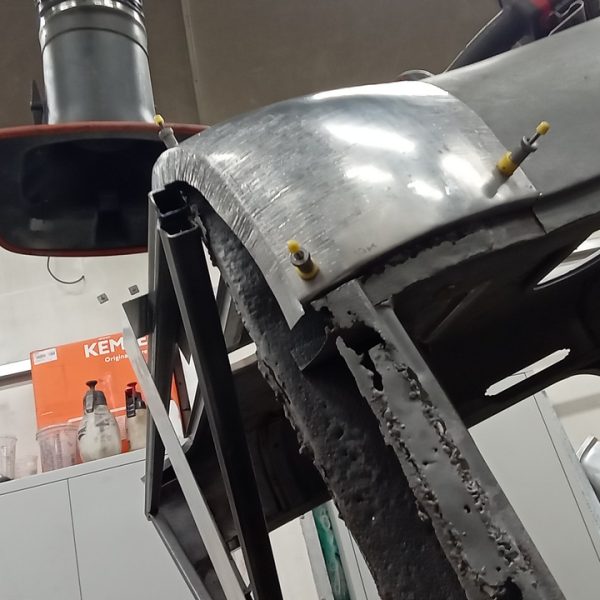
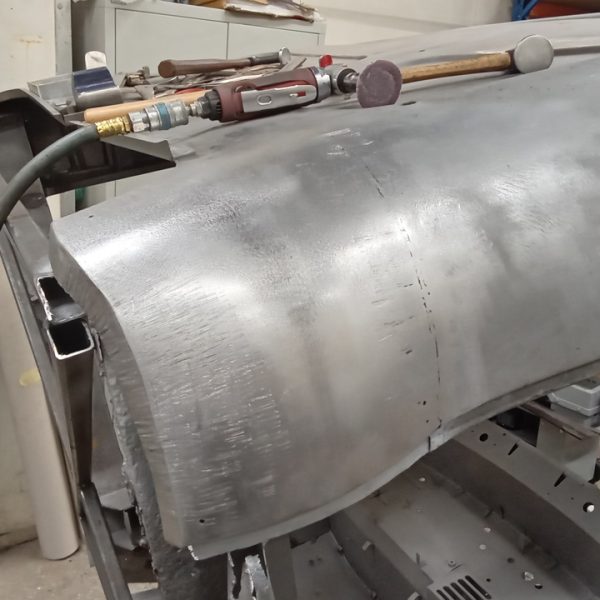
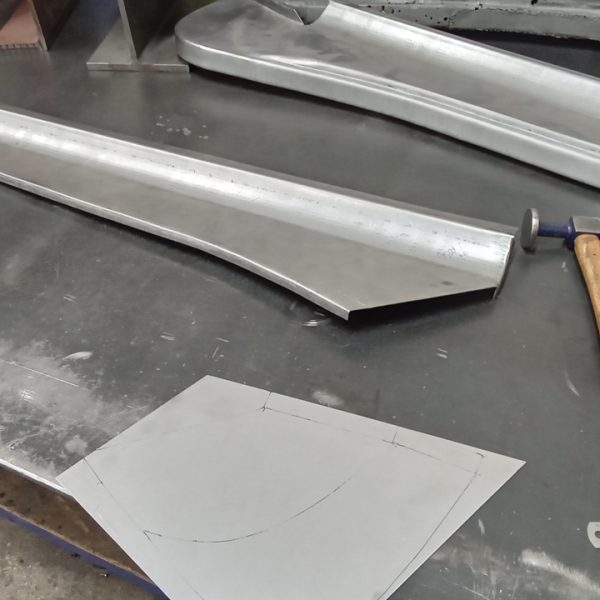
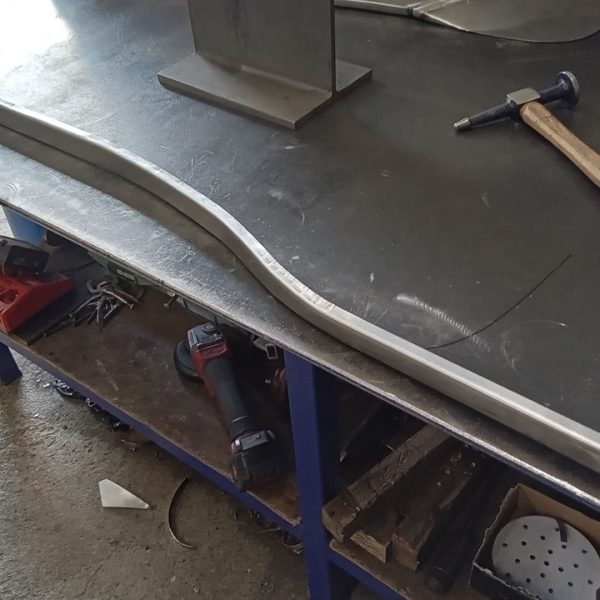
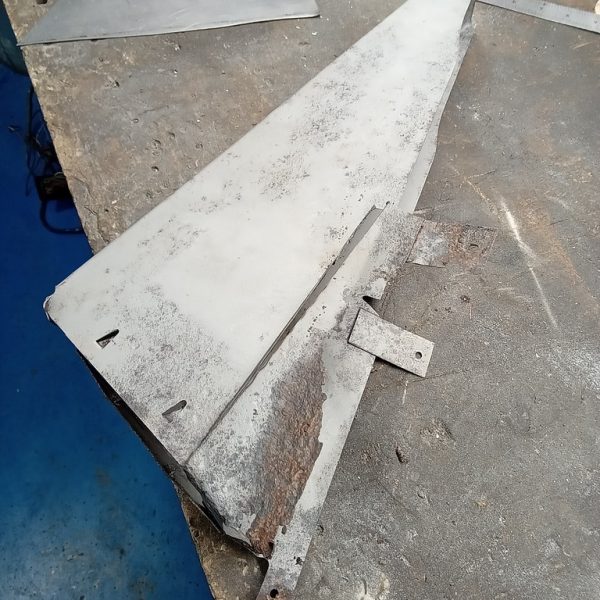
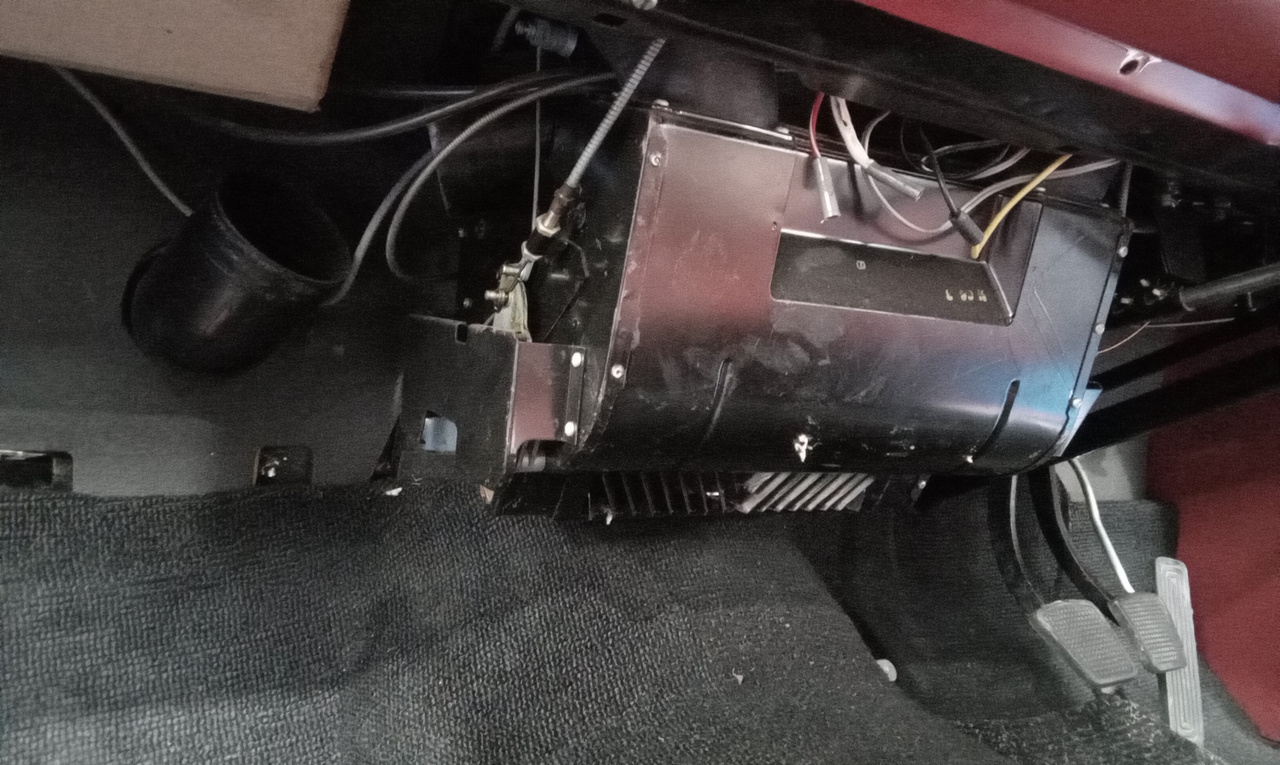
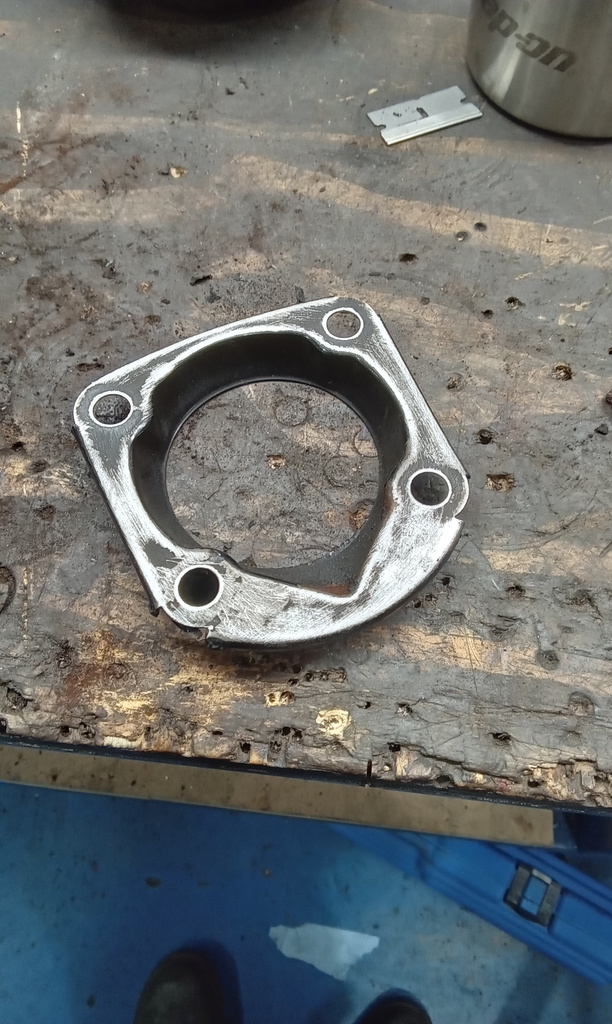
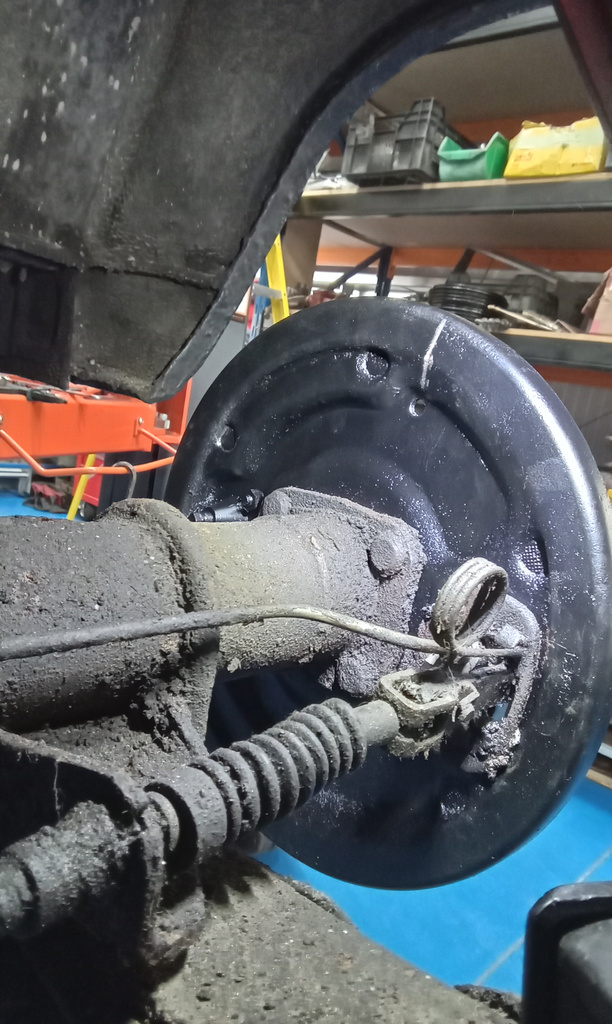
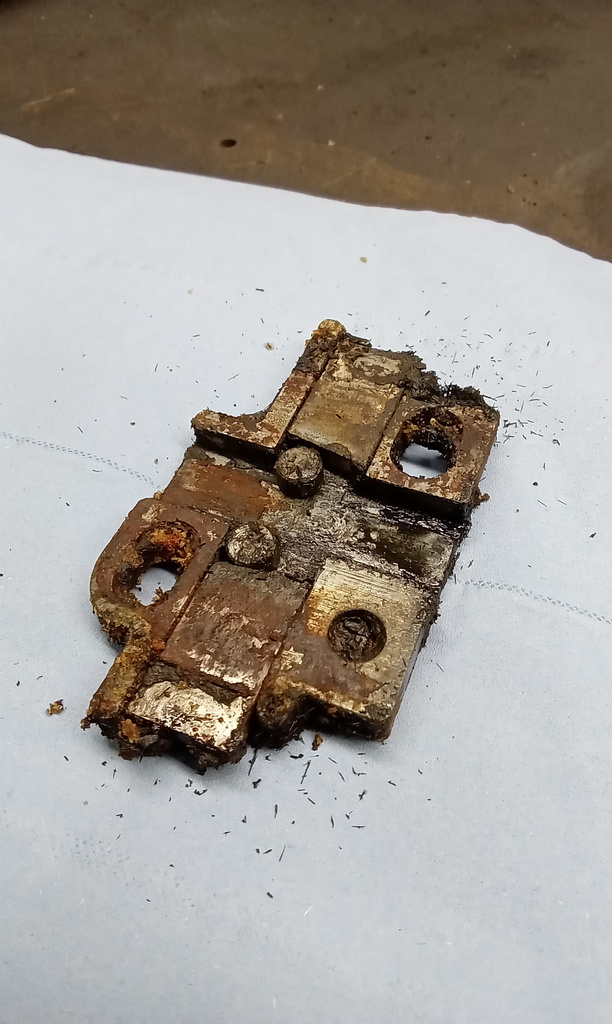
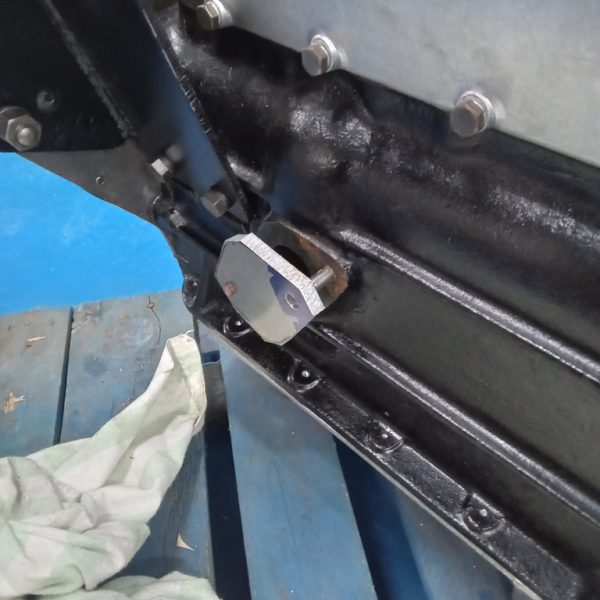
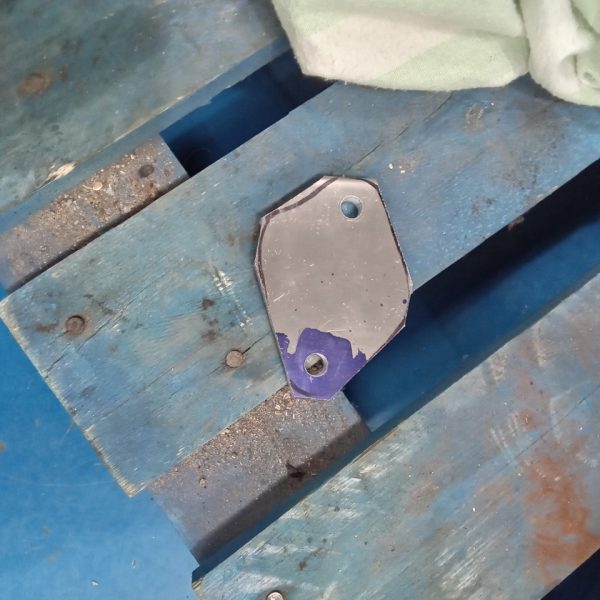
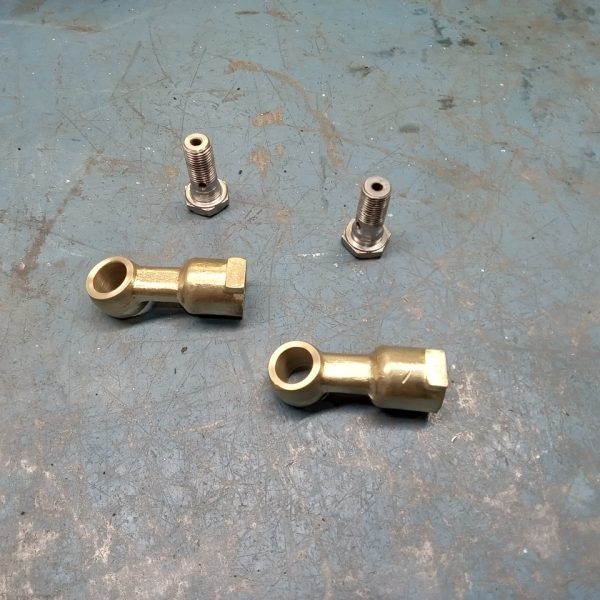
Christian has been fabricating multiple parts for our 1951 Austin Devon Pickup. This is what he has been doing:


Christian has been fabricating multiple parts for our 1951 Austin Devon Pickup. This is what he has been doing:
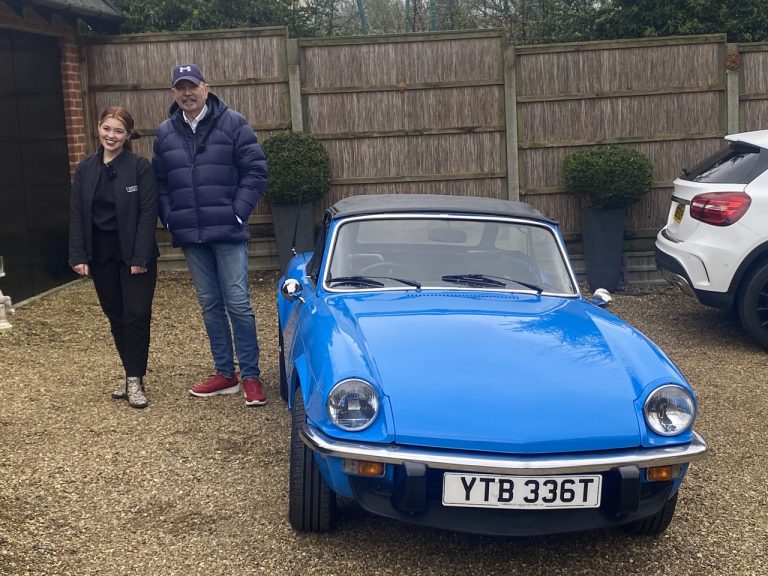
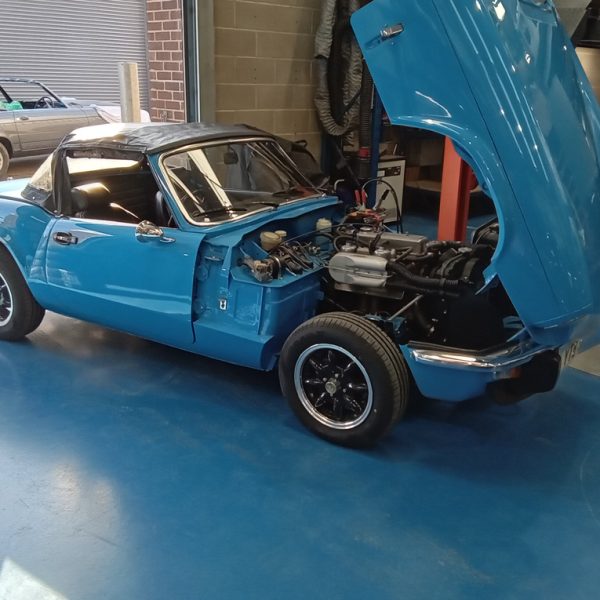
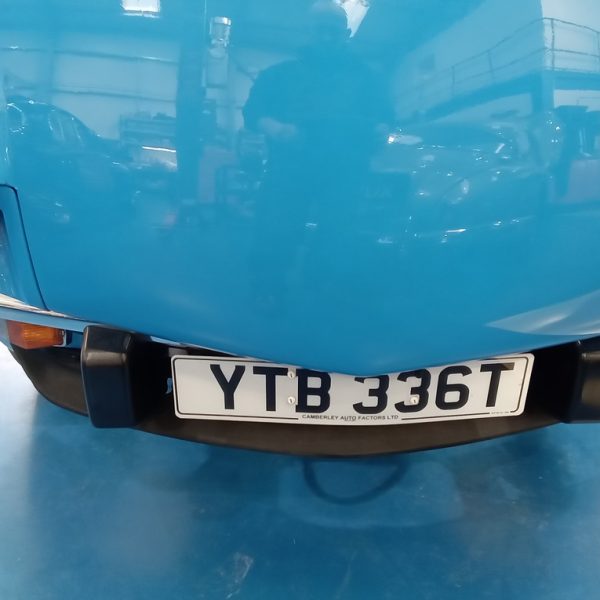
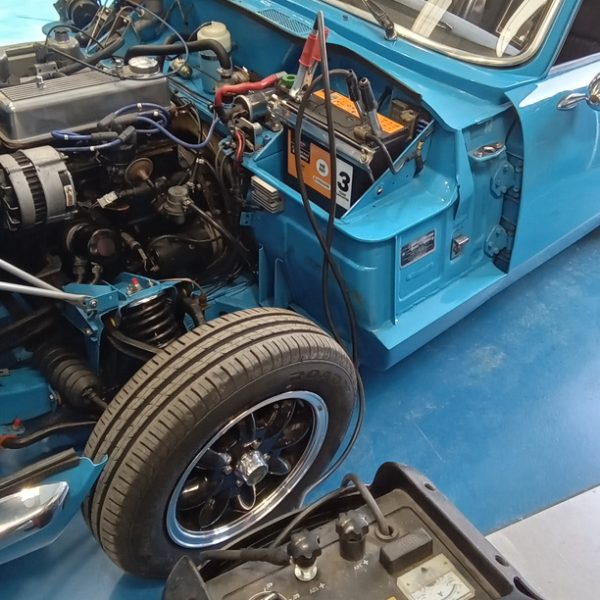
After a successful final road test, our 1978 Triumph Spitfire was loaded onto our trailer and delivered to lucky winner Barry Pendleton. Molly even made
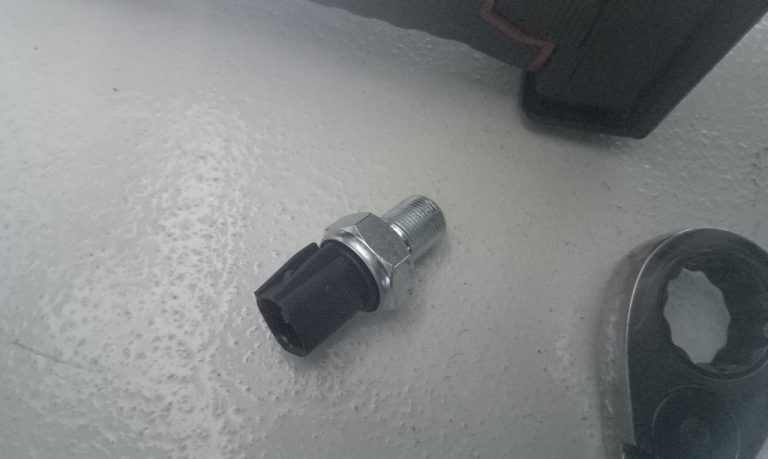
Jonn has fitted a new reverse light switch to our 2007 Land Rover Defender 110. He traced the position to the gearbox and removed the

Our 1976 Triumph Spitfire has made lots of progress recently. The wiper motor has been stripped, rebuilt and fitted. The dash bridge panel was stripped,
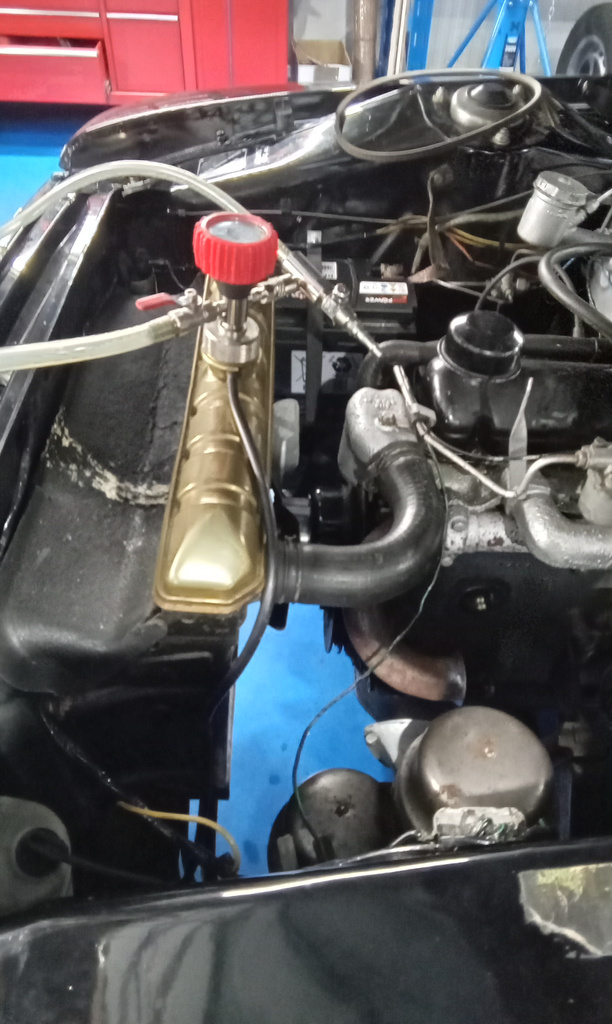
In preparation for our 1964 Ford Zephyr 4 to be won through Bridge Classic Cars Competitions, Jonn has been making a few repairs. Here are
Classic car technician Paul has continued his work on our 1956 Jensen 541. Here is a list of the work completed recently:
The rear axle of our 1954 Jaguar XK120 has begun being put back together ready for the next stage of its restoration to start.
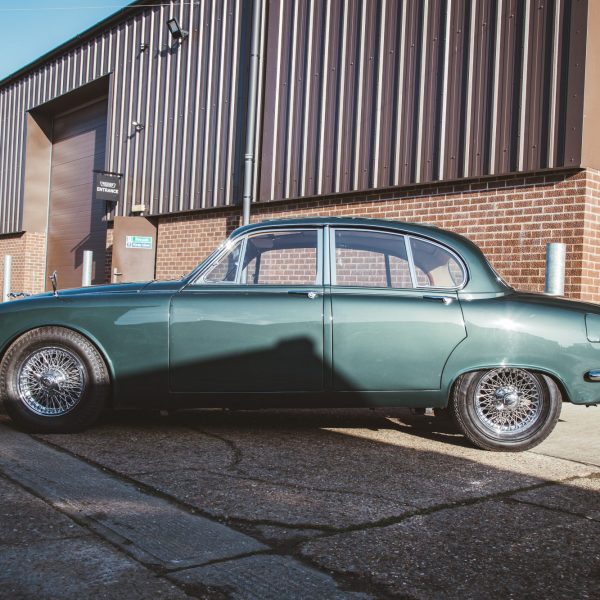
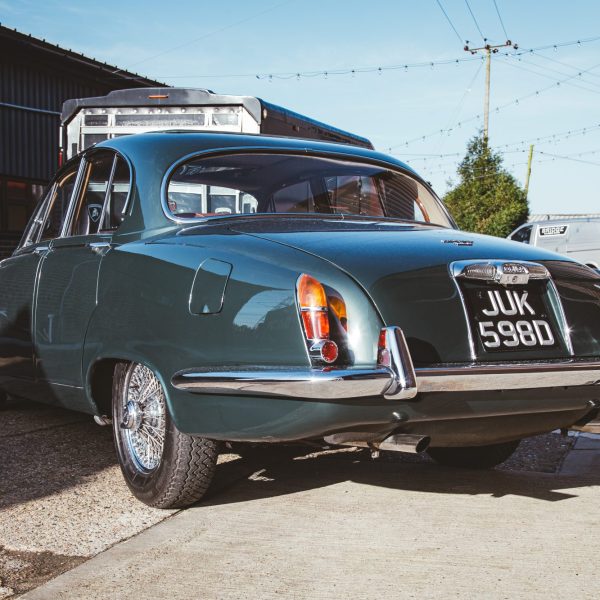
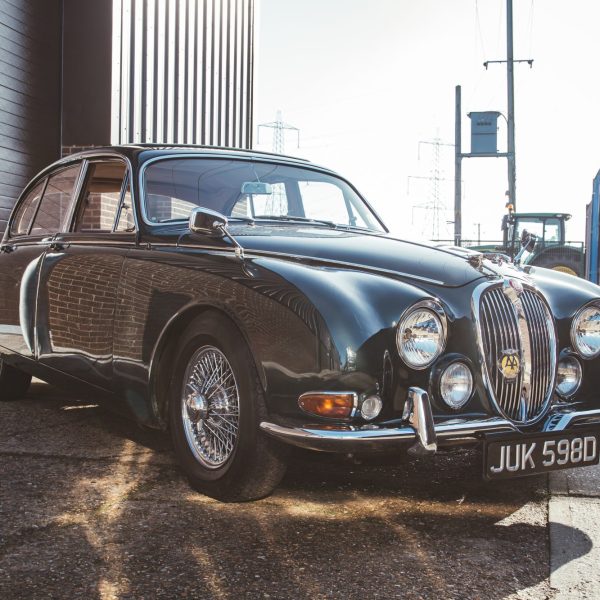
After recently coming into the Bridge Classic Cars workshop for an appraisal, our 1966 Jaguar S-Type returned to us for work to begin on it.
Jonn has been refitting our 2022 Bridge C-Type Replica. He tried to fit the front suspension brace but the brackets were too small. He polished
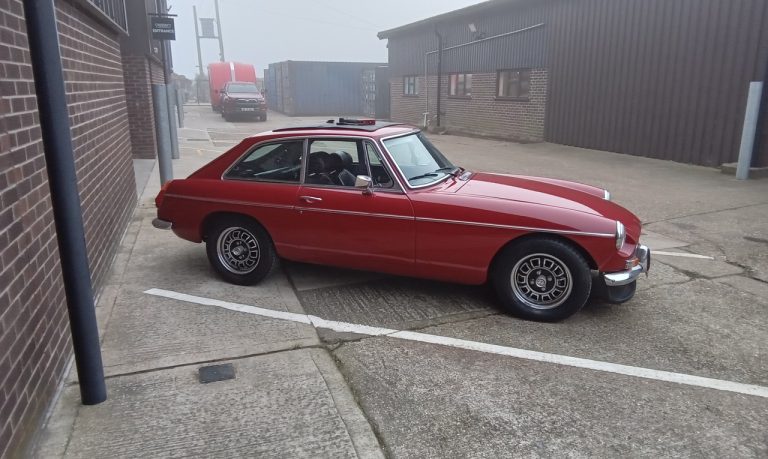
Now heading off to it’s new home, our 1975 MG B GT V8 has come out of storage, had a general check over and is
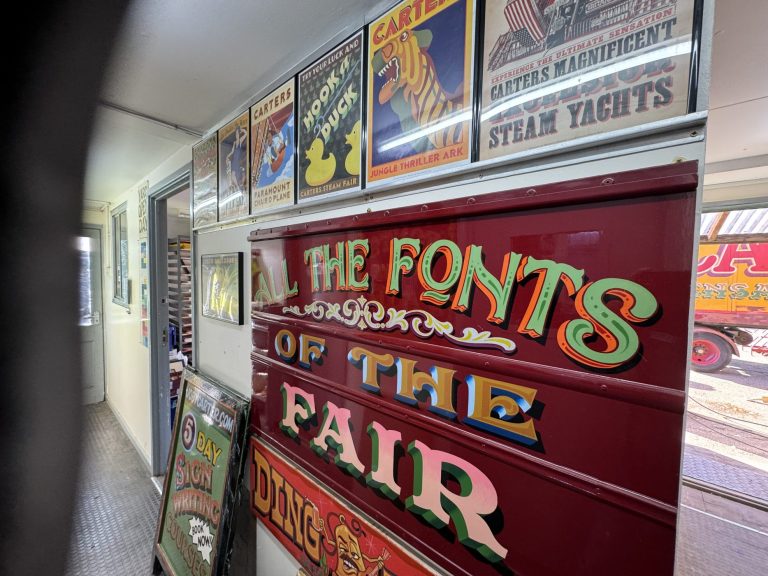
In February our Riley 9hp underwent the next stage of its restoration by paying a visit to Joby Carter’s workshop in Berkshire. Joby Carter is
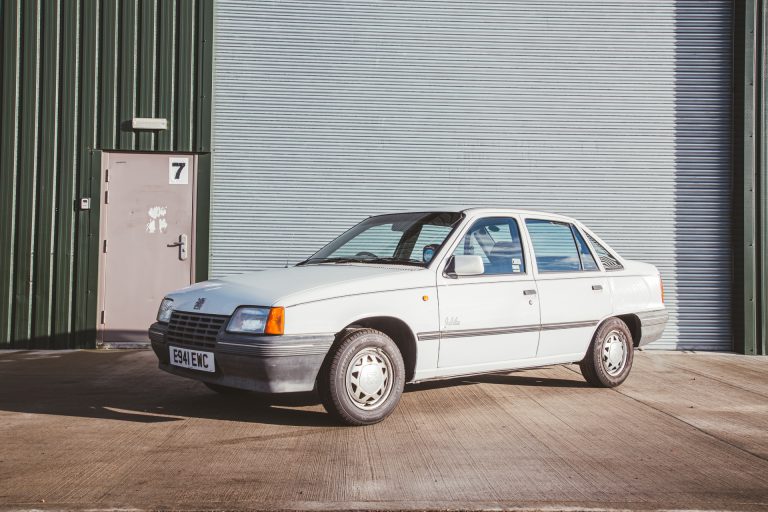
Our 1988 Vauxhall Jubilee has had some great interest in eBay this week and with only 23hrs to go the car has bids which therefore
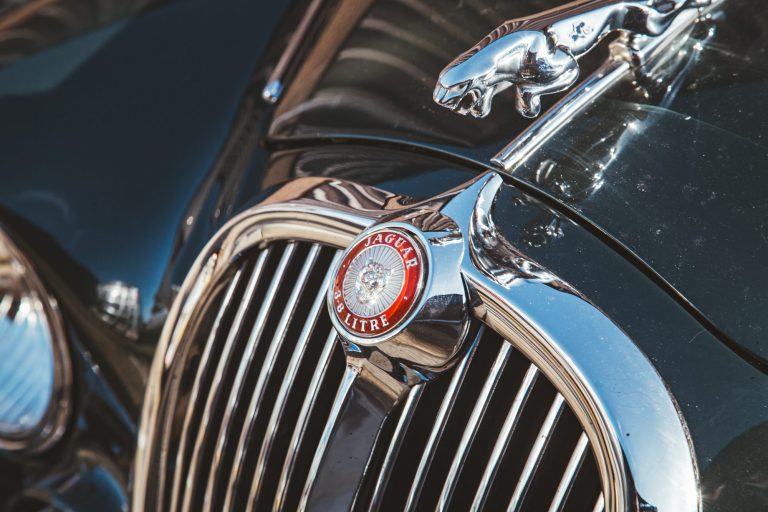
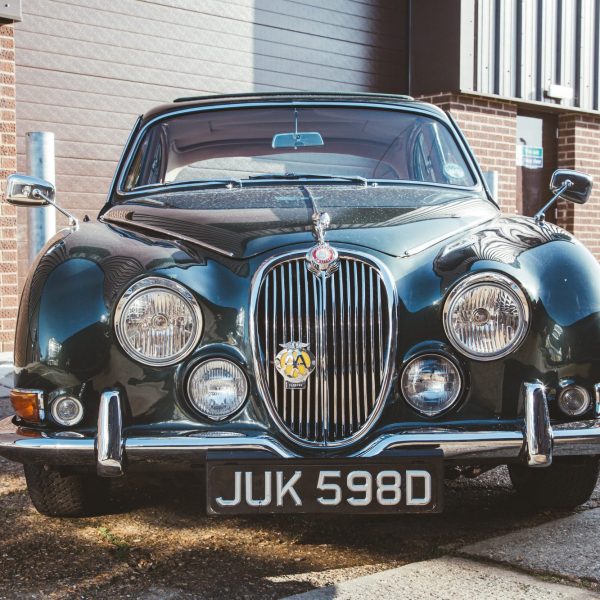
This stunning 1966 Jaguar S-Type has arrived at the Bridge Classic Cars HQ for the team to take a look at a few issues with

Our 2007 Land Rover Defender 110 is now live on the Bridge Classic Cars Competitions website. What makes this even more exciting is that, until

Mauro has been working on our 1976 Triumph Spitfire in the Bridge Classic Cars paintshop. He has painted the seat frames in DTM satin black

Chris has had our 1963 Bentley S3 in the Bridge Classic Cars paint shop. He has been rubbing down the polyfan in preparation for more
My Land Rover Defender is one of the best vehicles I have ever owned…at least that’s what I think right now. Yes it’s industrial, yes
Jonn has been completing some repairs on our 1964 Ford Zephyr 4. Here is what he said: Clean block around drive core plug. Looks OK.
Before our 2007 Land Rover Defender 110 goes live on Bridge Classic Cars Competitions tomorrow, technician Neil has been giving it a checkover.

The indicators weren’t working correctly on our 1939 Jaguar SS100. They were stripped and checked and diagnosed as needing a new flasher control unit. This
Our 1979 Triumph Spitfire 1500 has recently been painted in the Bridge Classic Cars Paint shop.

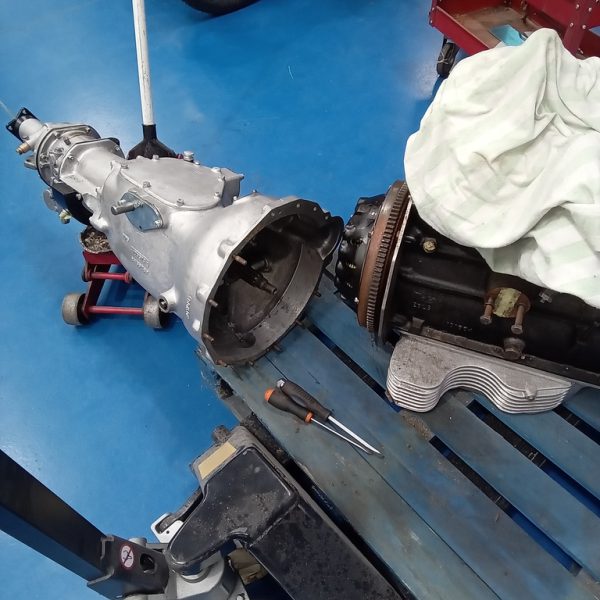
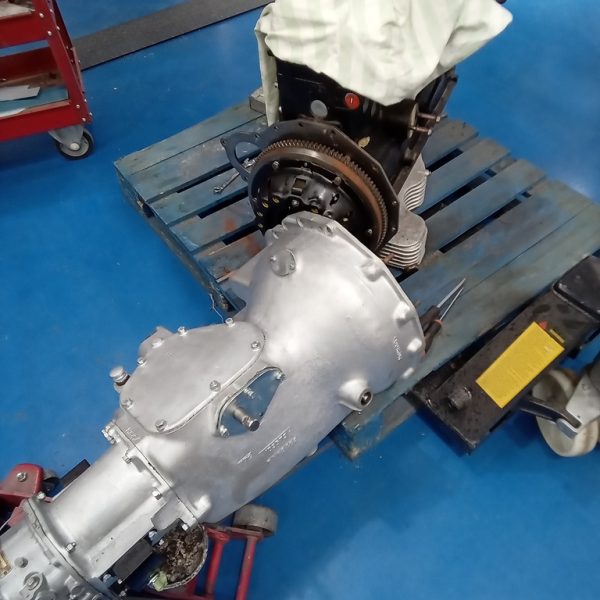
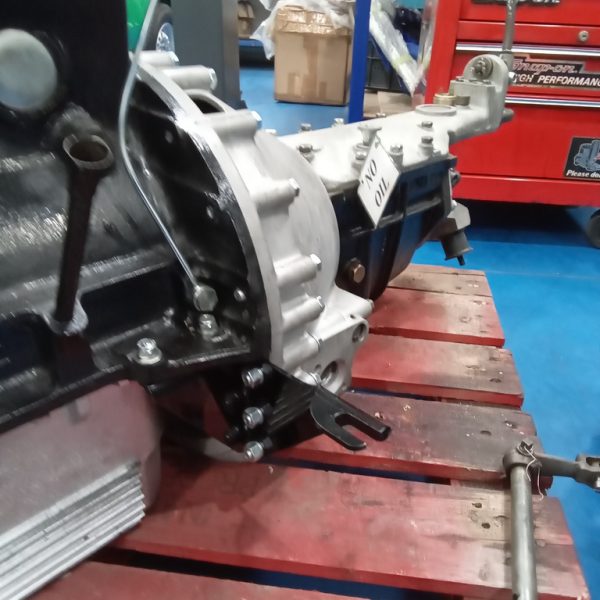
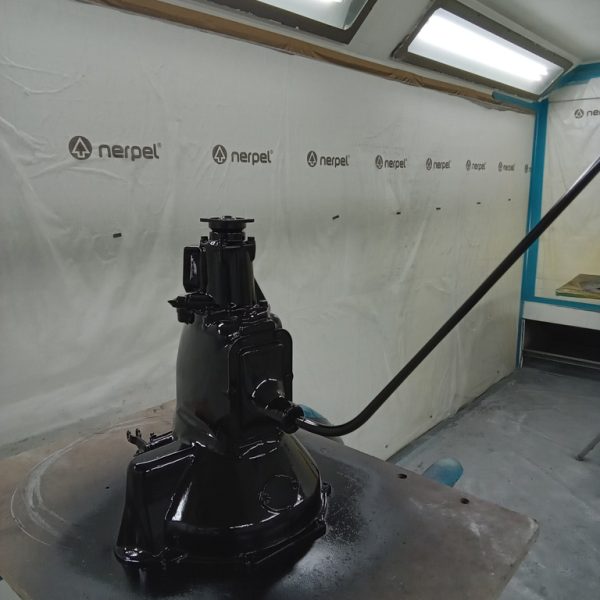
Mauro has been prepping the gearbox of our 1951 Austin Devon Pickup for dtm black paint.
John has made the mesh to go on our 1959 Jensen 541R front wings, as requested by the owner of the car. While John was
A cornerstone of the British sports car world. A car recognised and loved by so many for its usability, practicality, and it’s gorgeous looks. We
Lydia made an internal door card for the opening door on our 1905 Riley 9HP. She first made a template from paper to ensure the

Lydia has recently been making a pretend ‘door card ‘ to balance out the interior of our 2022 Bridge C-Type Replica. There is only one
Recently, we have started to refit the suspension and steering, and some brake components that have either been new parts or refurbished original parts that
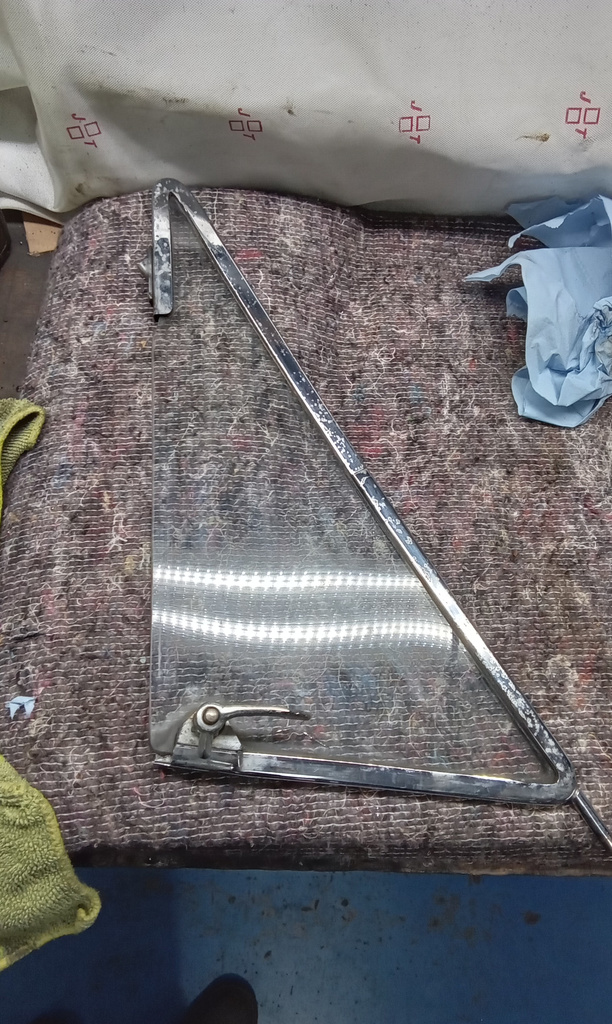
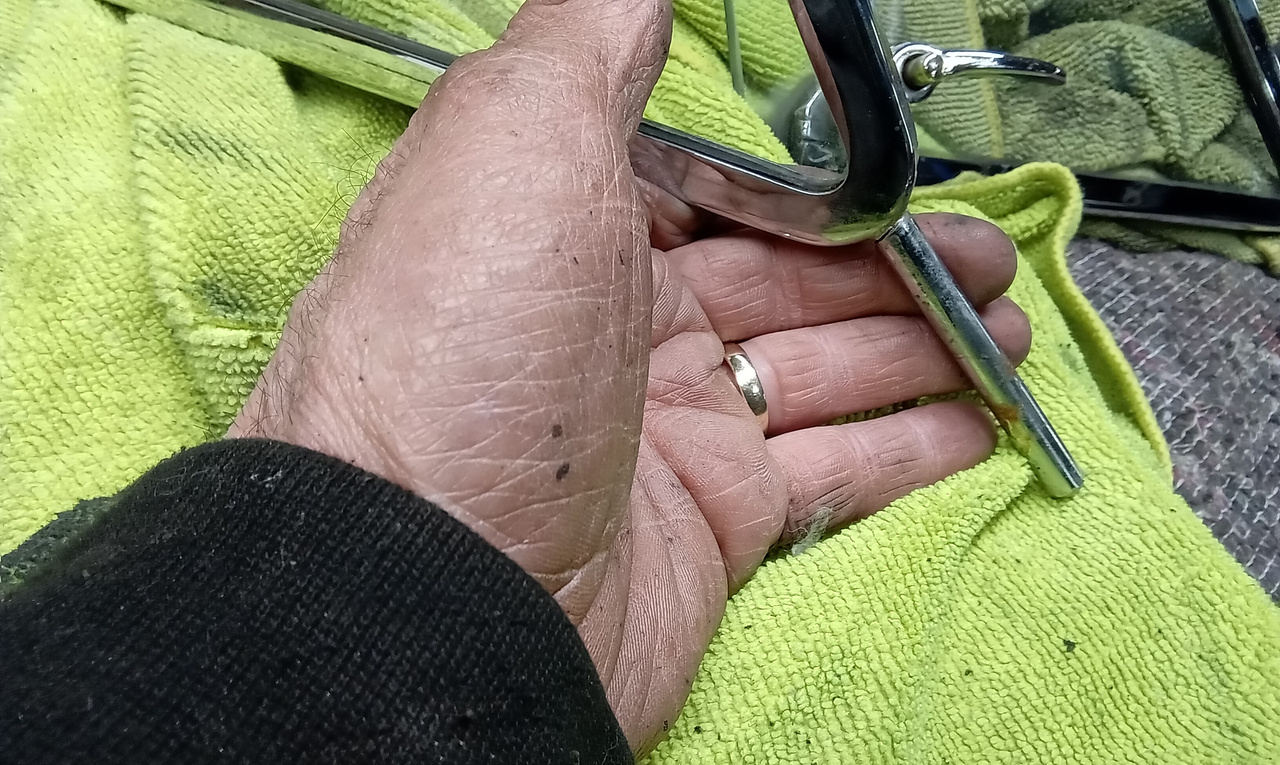
The near side lower corner of our 1960 Jensen 541R has been repaired by Alan. He also replaced both quarter-panel window rubber holders. Once all
Jon has now completed the inspection on our 1993 Bentley Turbo R. He’s carried out the necessary repairs which included; sorting the connections on the
We have recently welcomed another car into the Bridge Classic Cars workshop. This time it is our 1964 Ford Zephyr 4, which will soon go
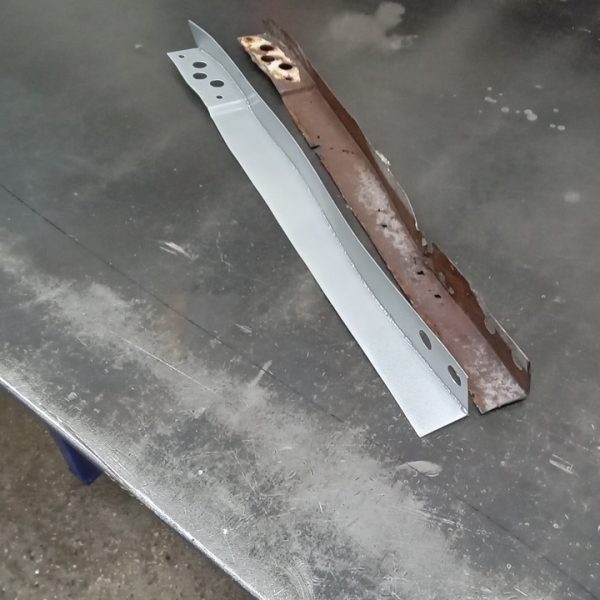
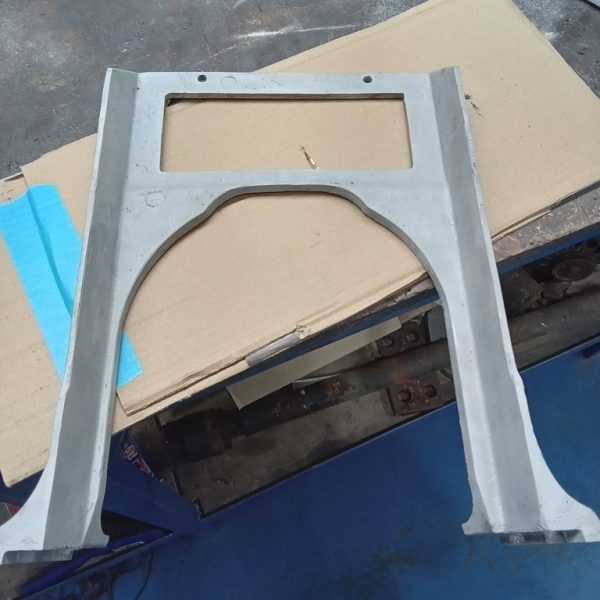
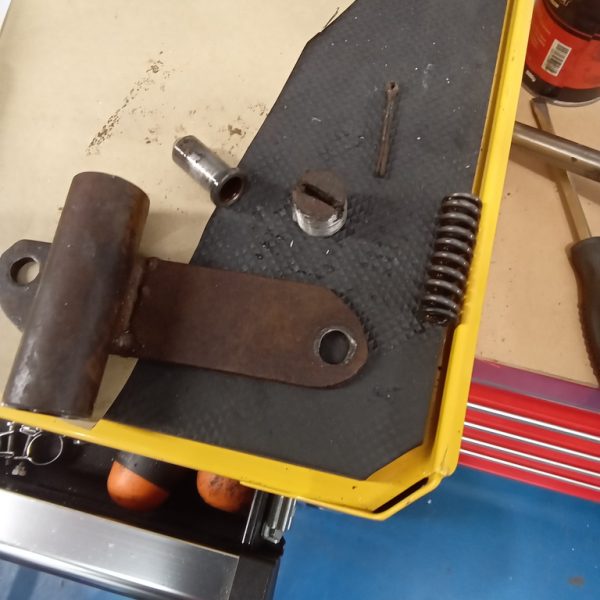
Christian has been fabricating multiple parts for our 1951 Austin Devon Pickup.
This is what he has been doing:






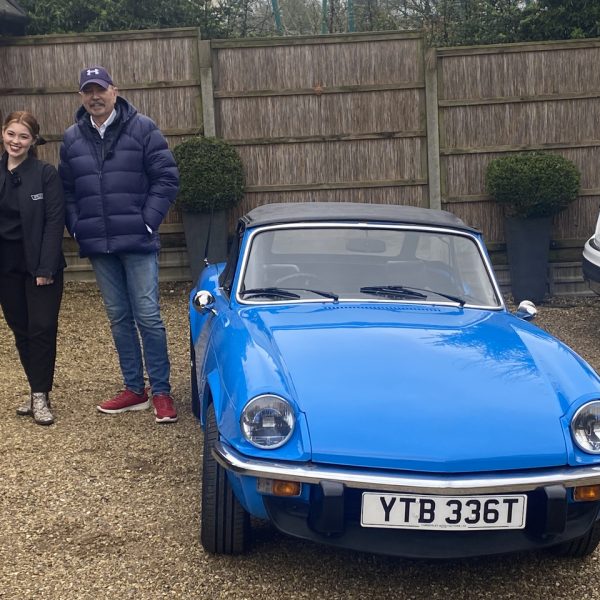
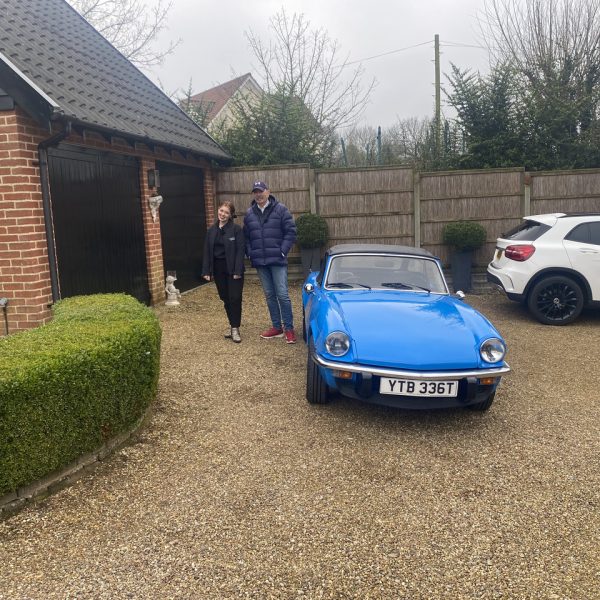
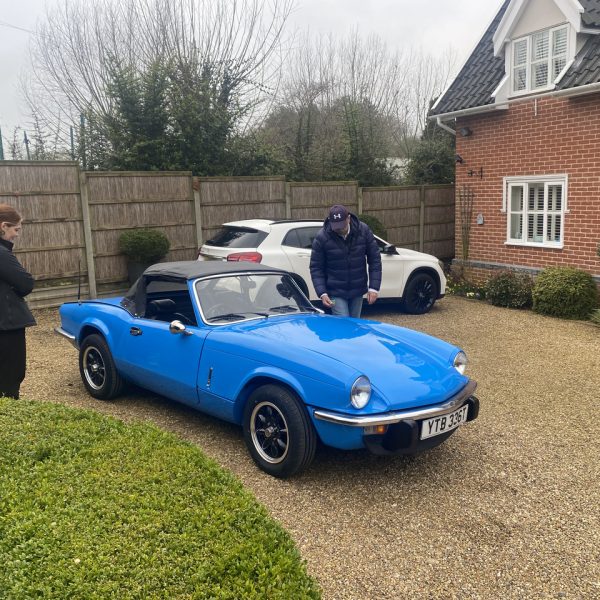
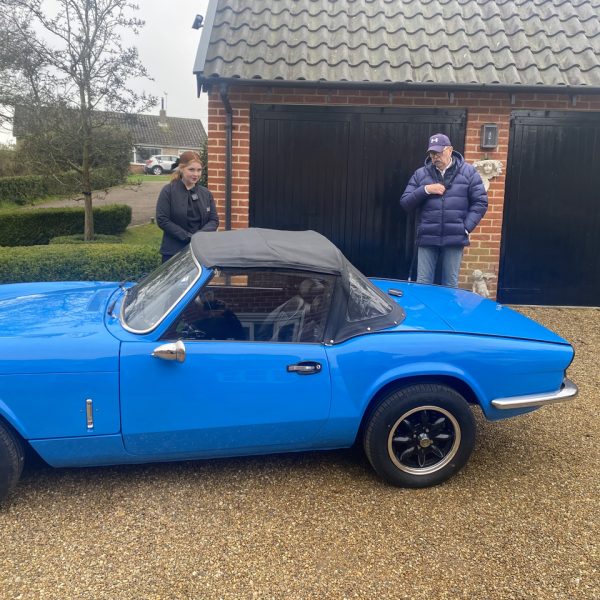
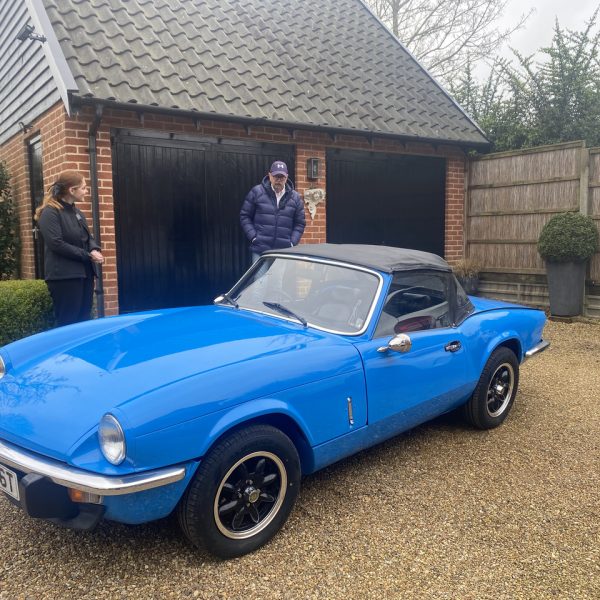
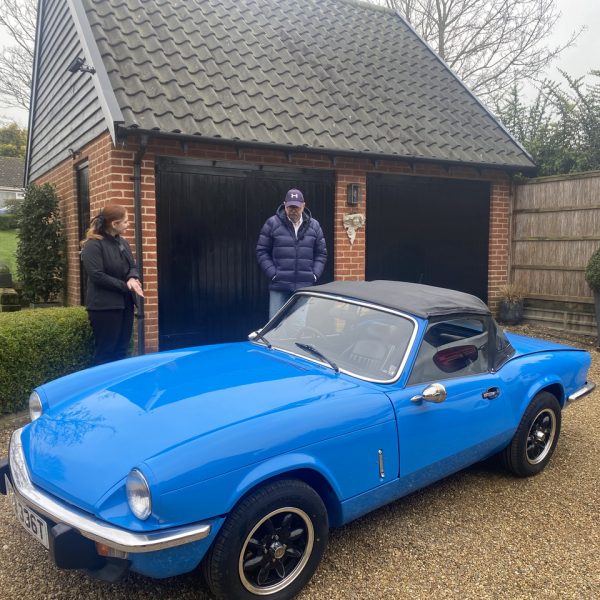
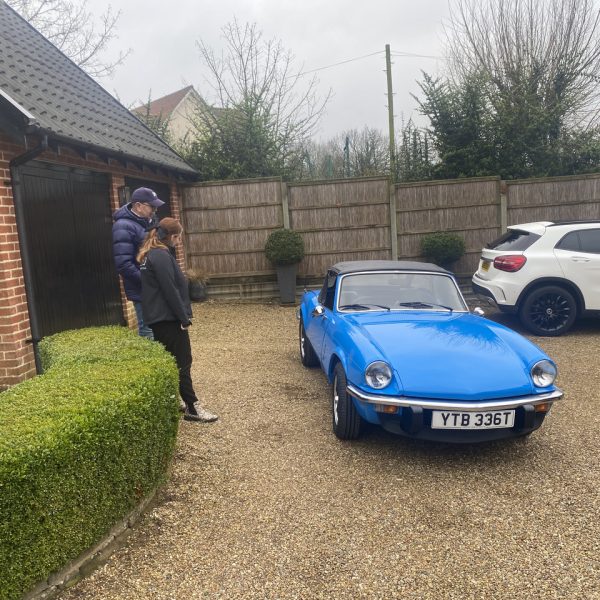
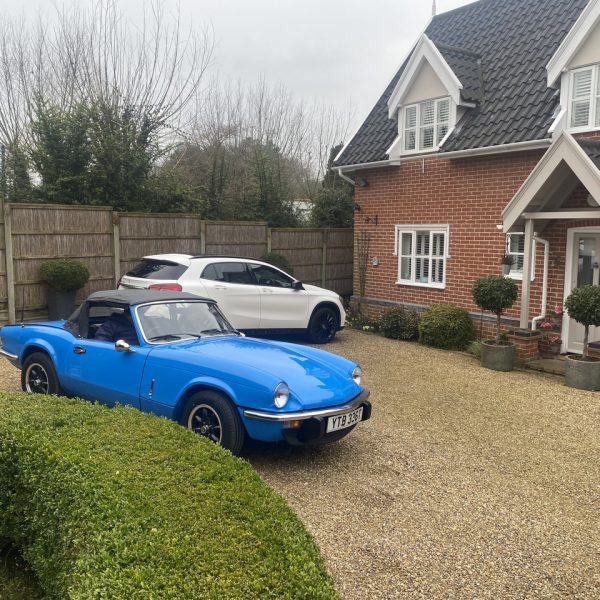
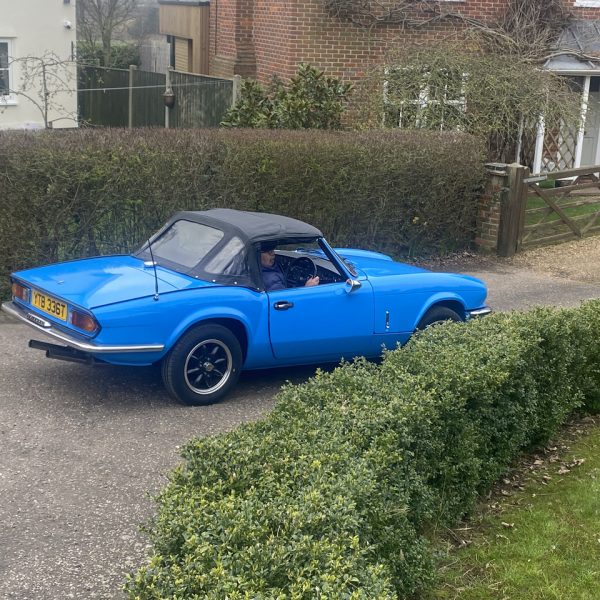
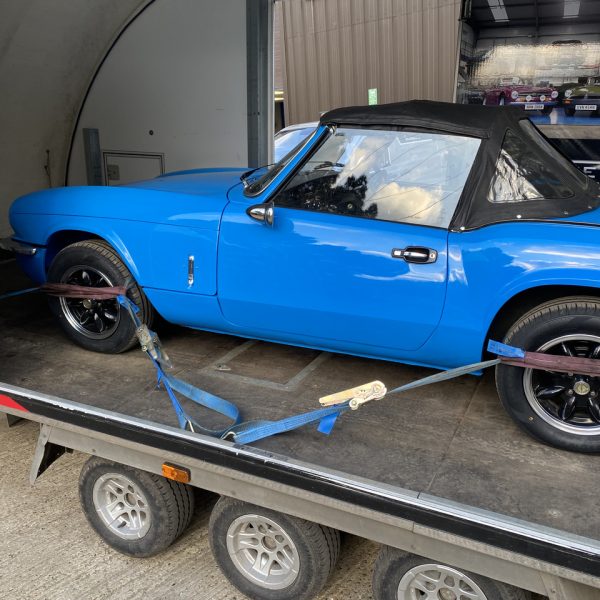
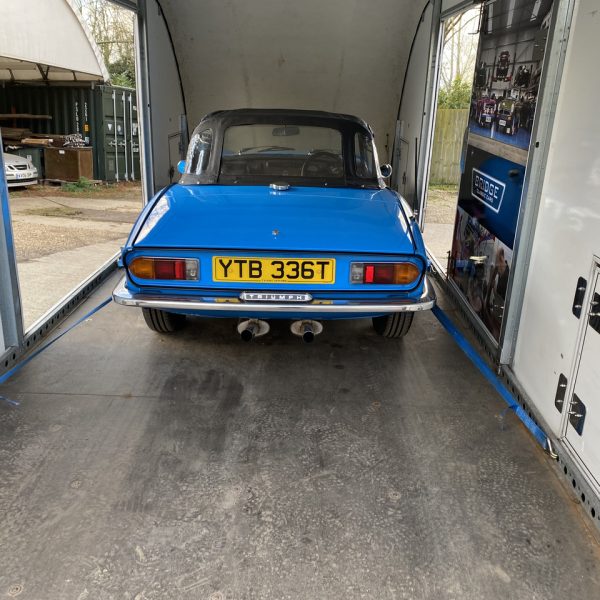
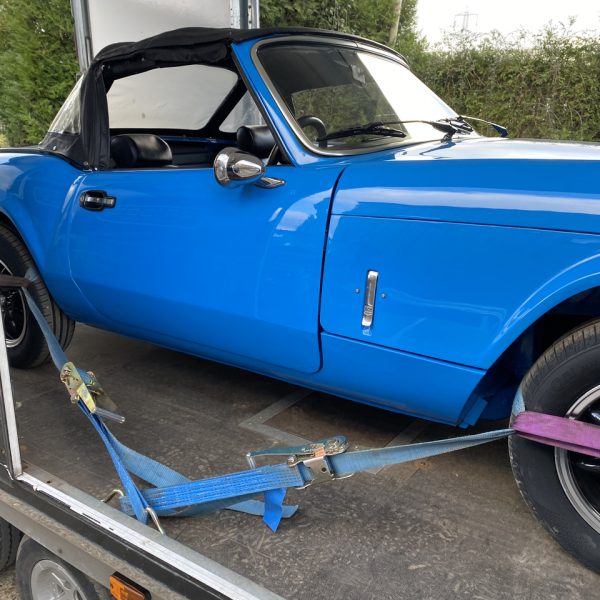
After a successful final road test, our 1978 Triumph Spitfire was loaded onto our trailer and delivered to lucky winner Barry Pendleton.
Molly even made the trip to see the delivery in person!
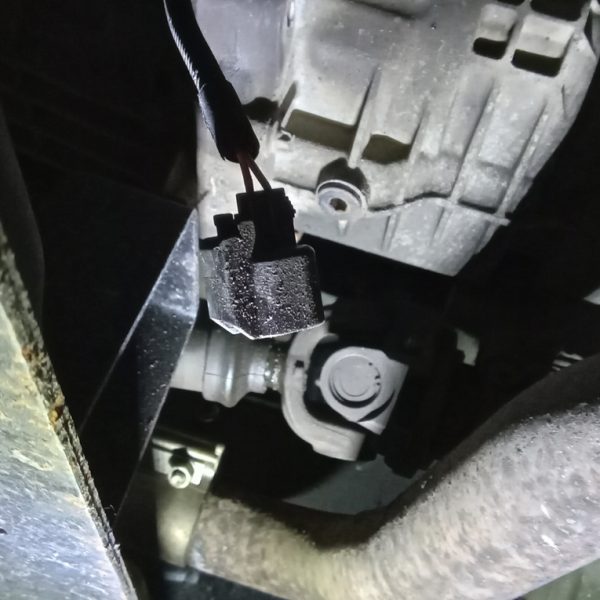
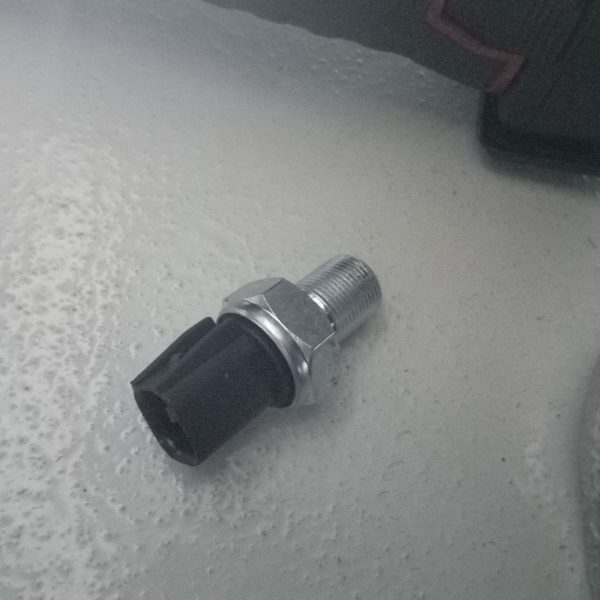
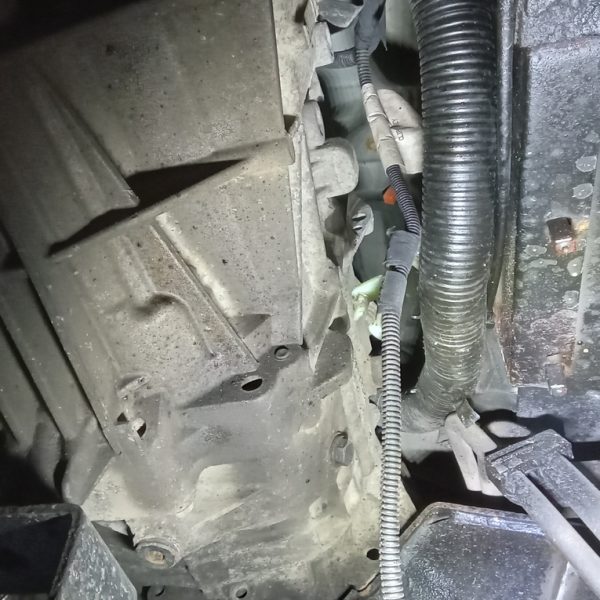
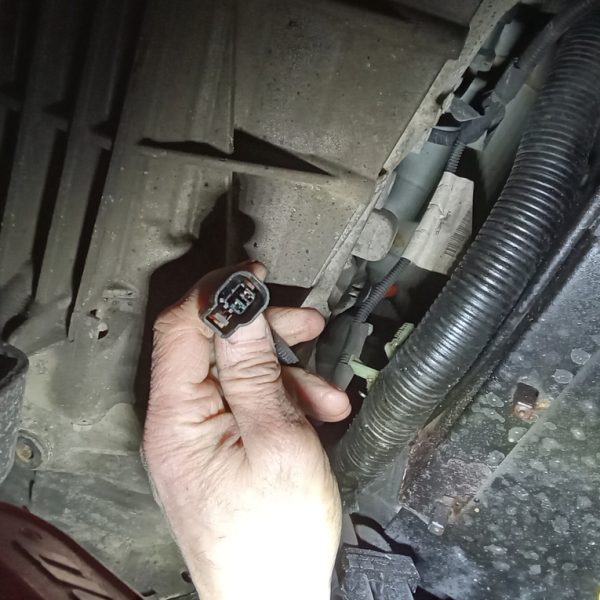
Jonn has fitted a new reverse light switch to our 2007 Land Rover Defender 110. He traced the position to the gearbox and removed the multi-plug which had shorted out. A new switch was fitted and everything worked as it should.
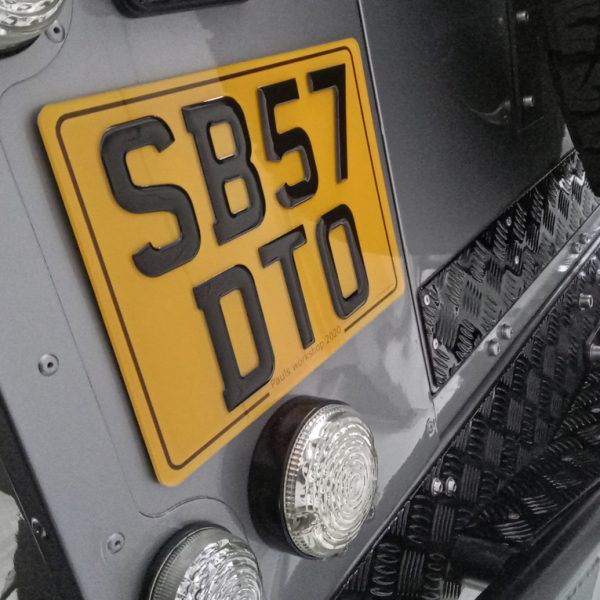
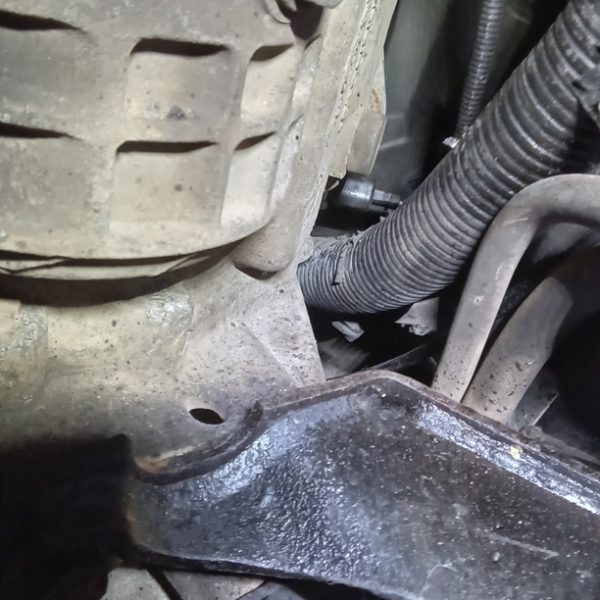
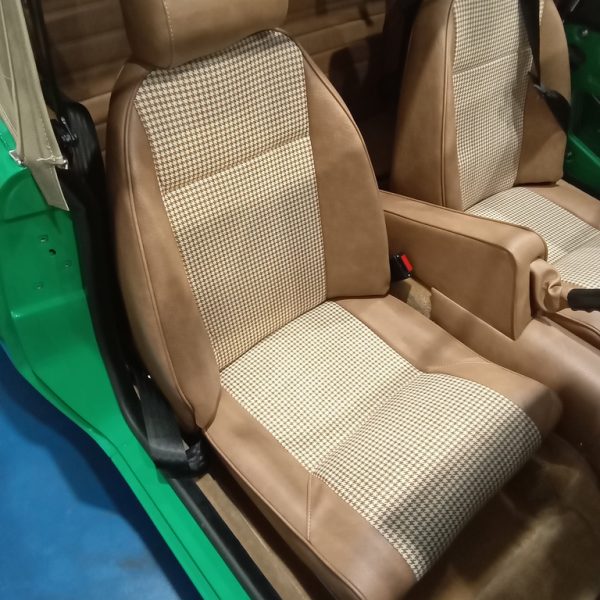
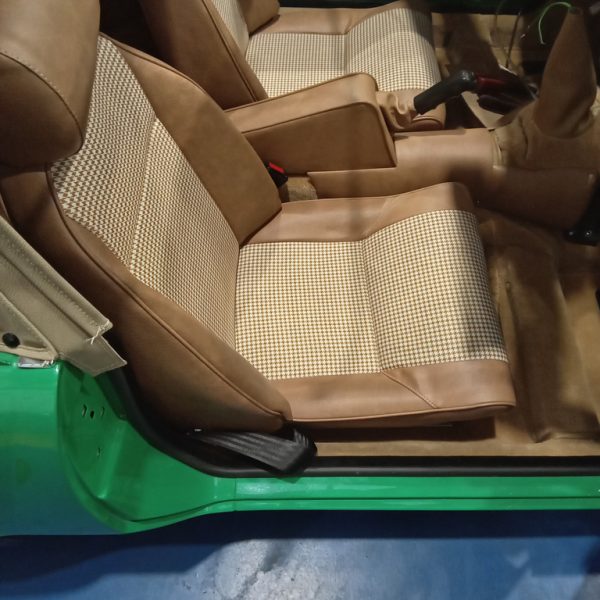
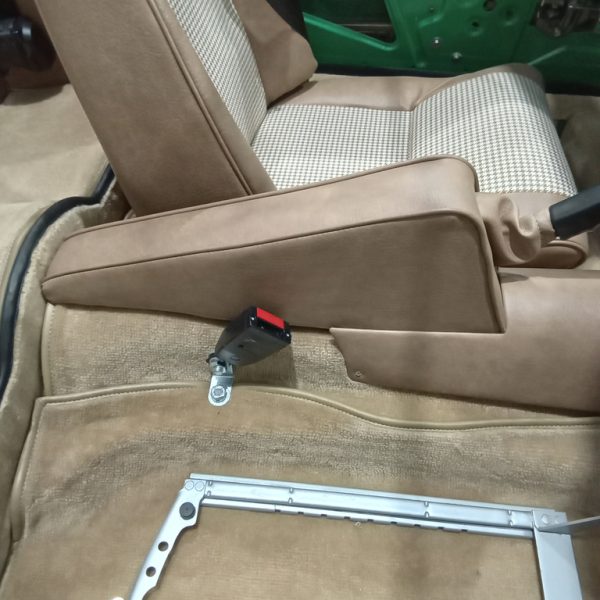
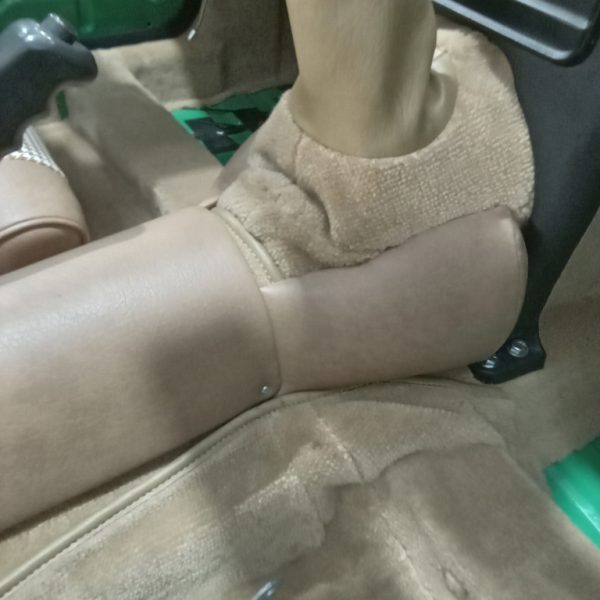
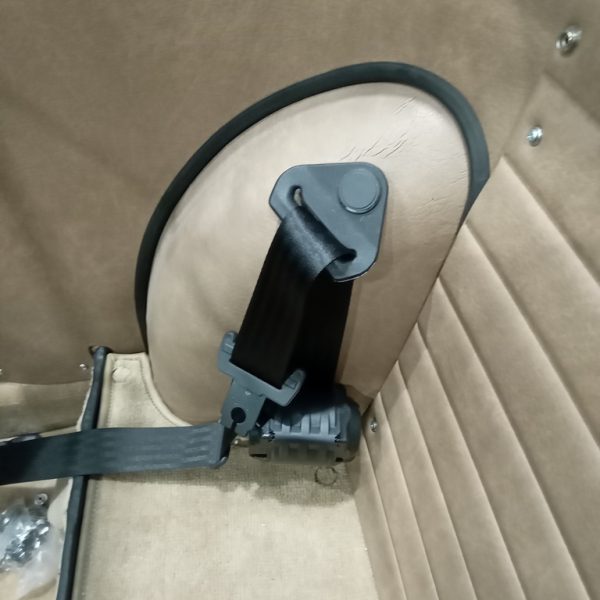
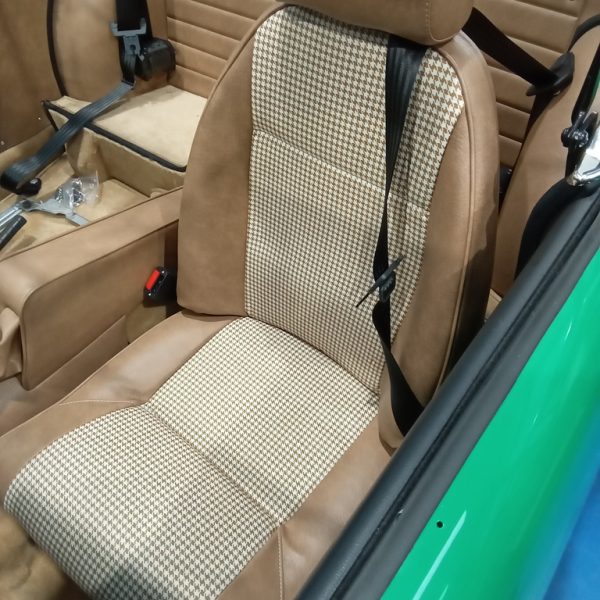
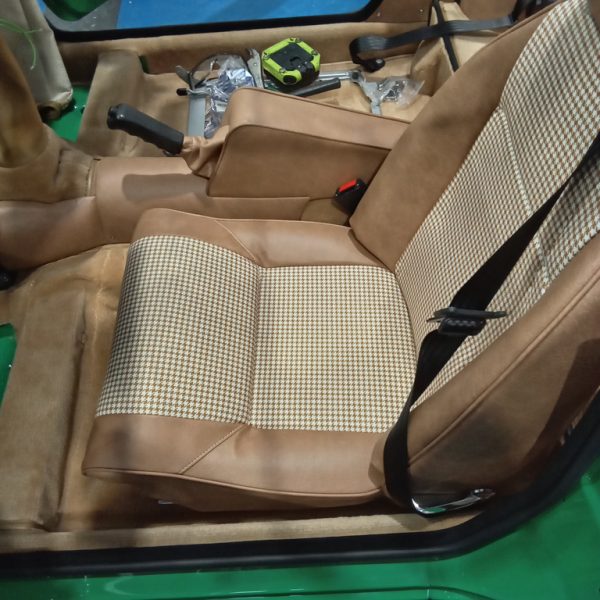
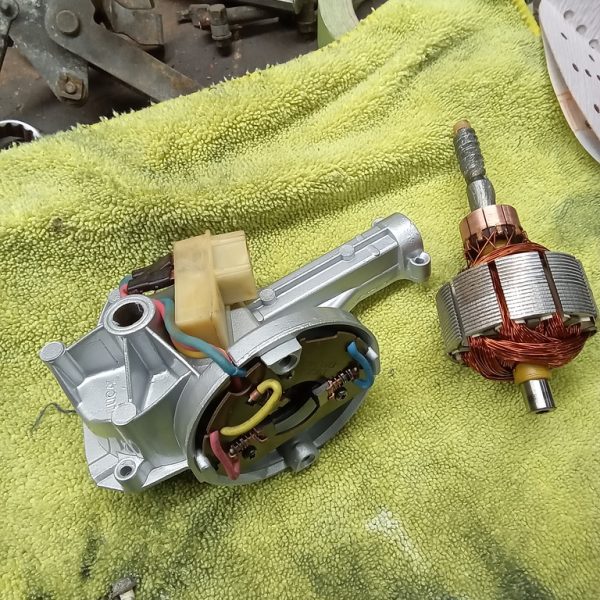
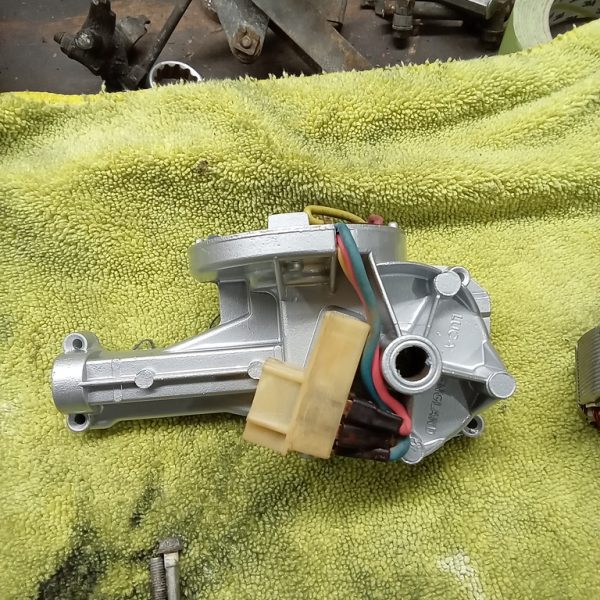
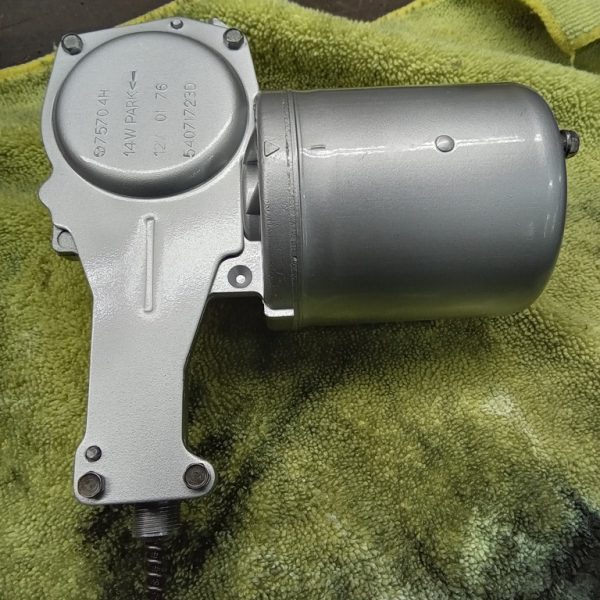
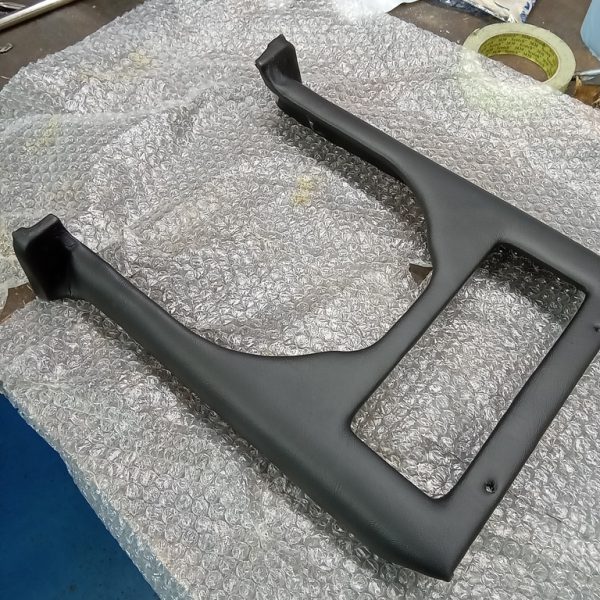
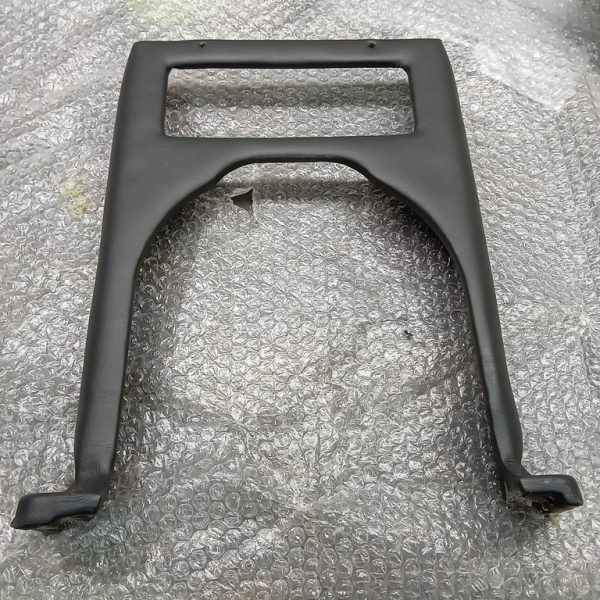
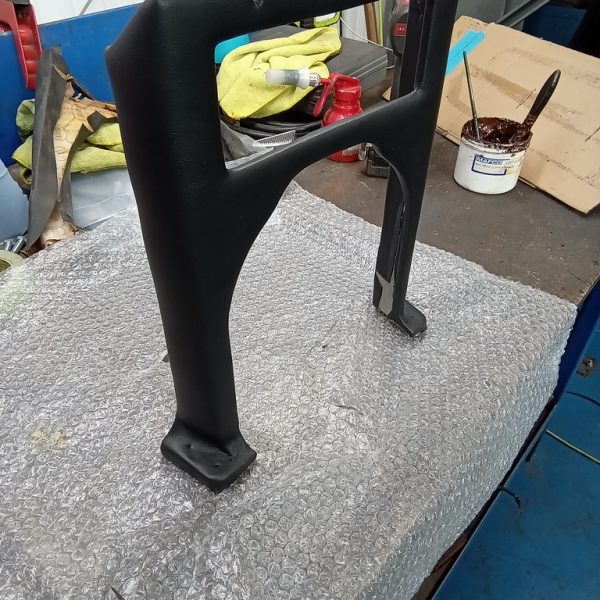
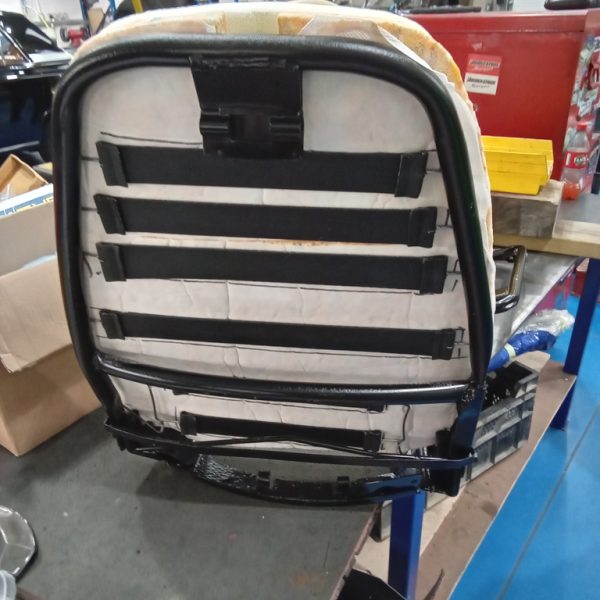
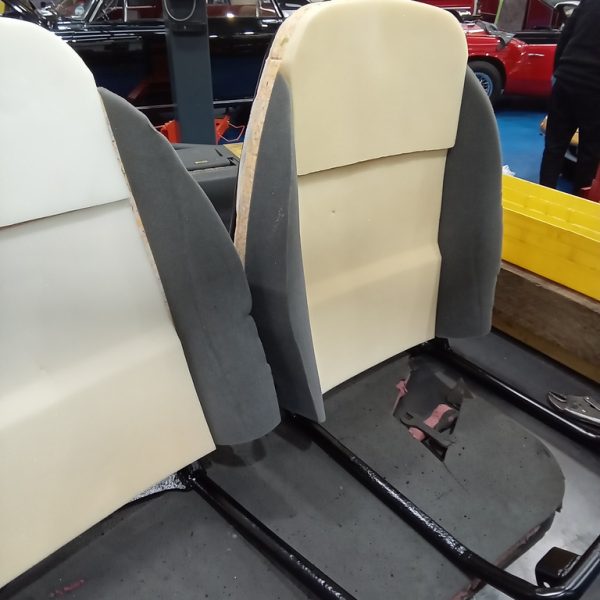
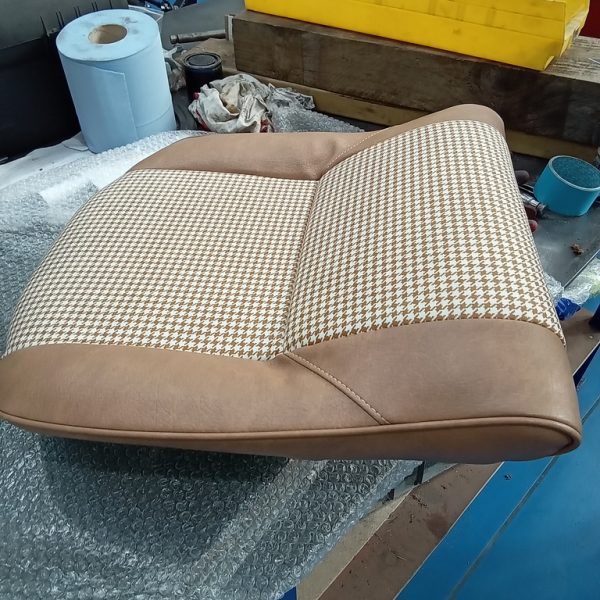
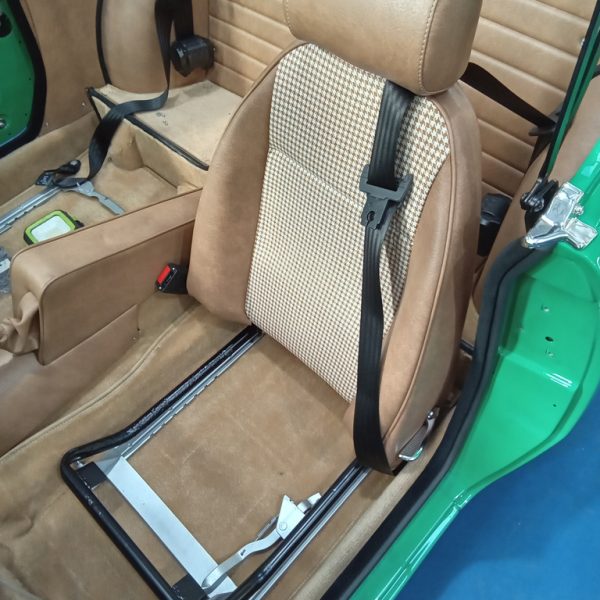
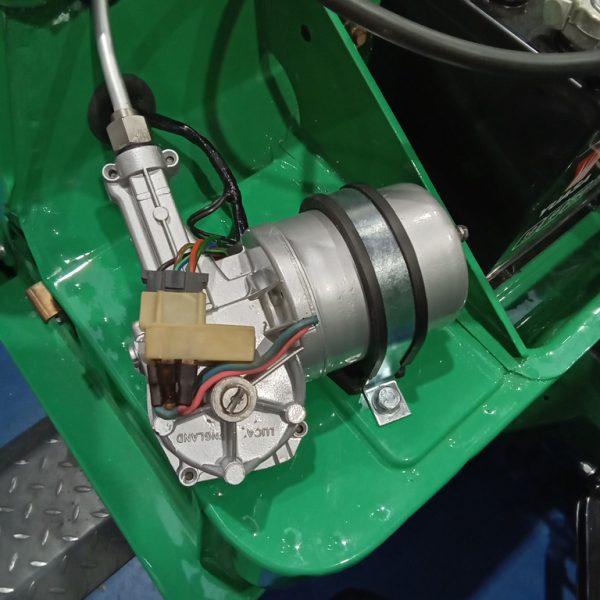
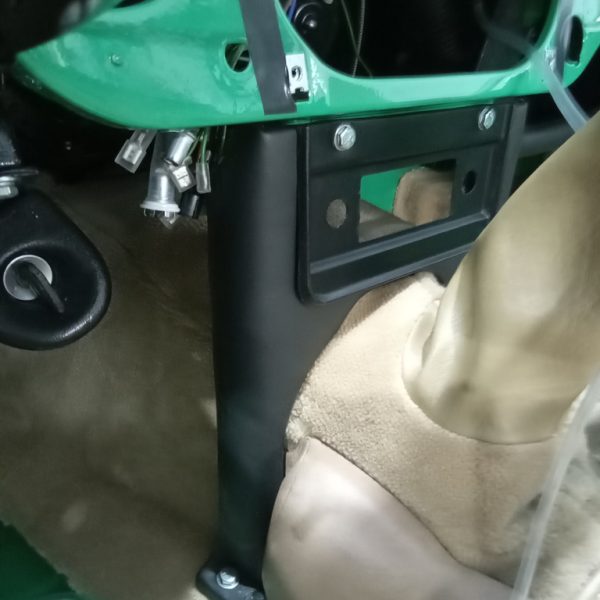
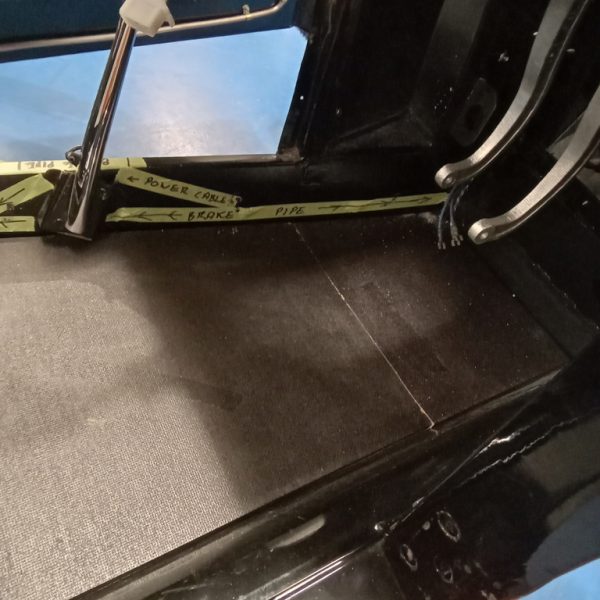
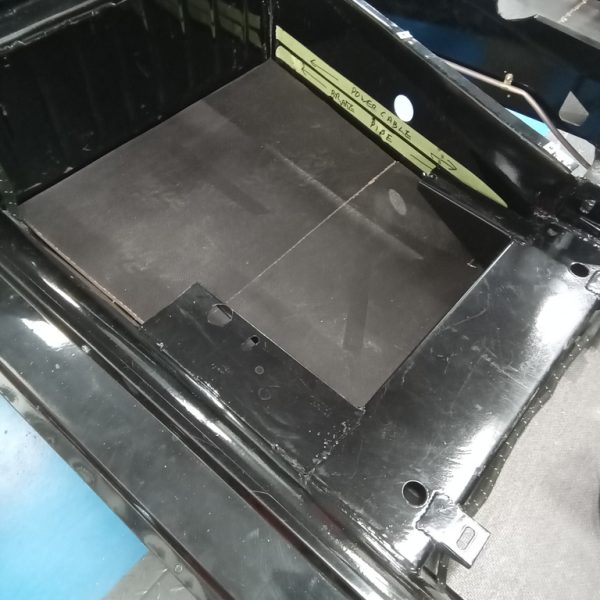
Our 1976 Triumph Spitfire has made lots of progress recently. The wiper motor has been stripped, rebuilt and fitted. The dash bridge panel was stripped, recovered and refitted. The centre armrest was also stripped, repainted, recovered and fitted. The seats were recovered too.
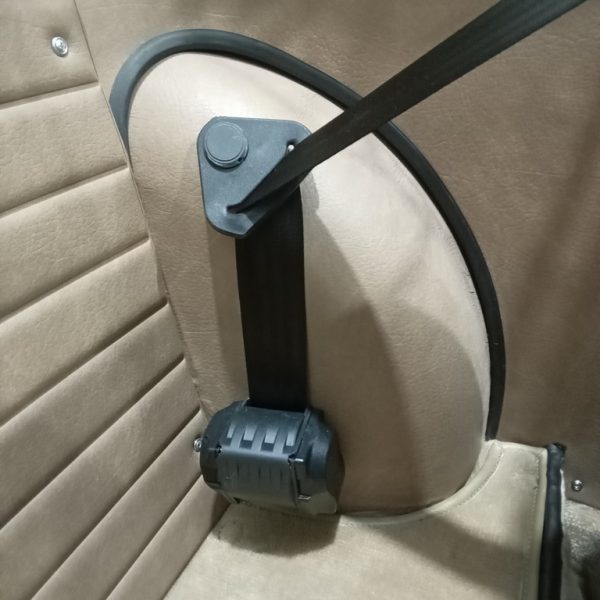
Seat belts have been installed along with the centre armrest and trims and the left-hand seat. New covers were put on the right-hand side seat before this was put into the car.
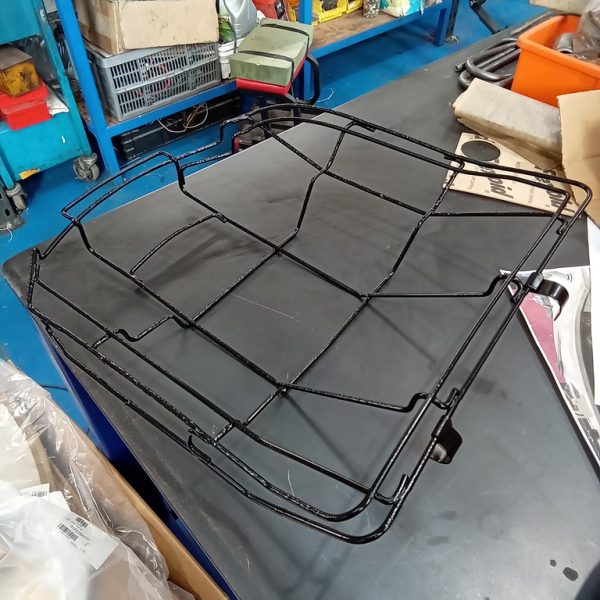
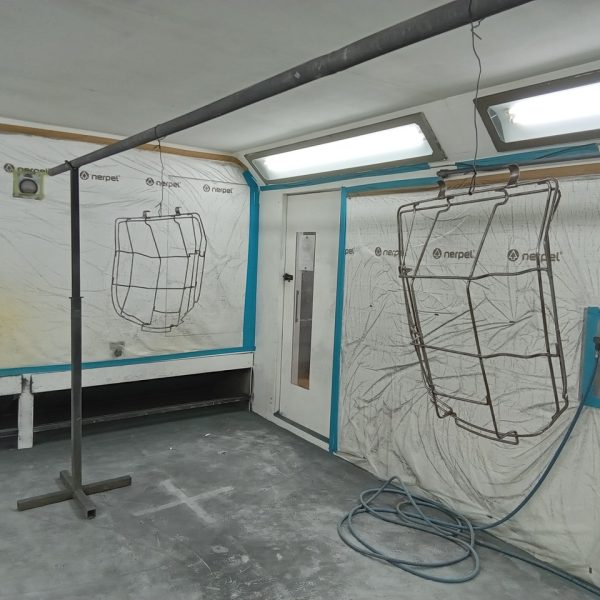
Various parts of the seats and trim also spent some time in the paintshop.
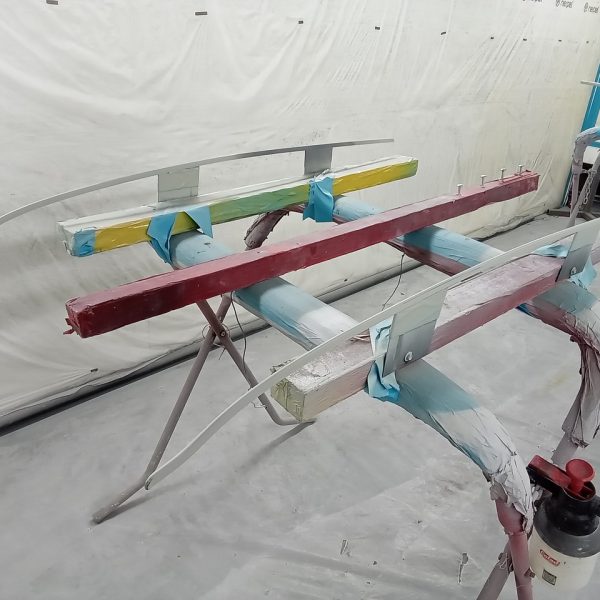
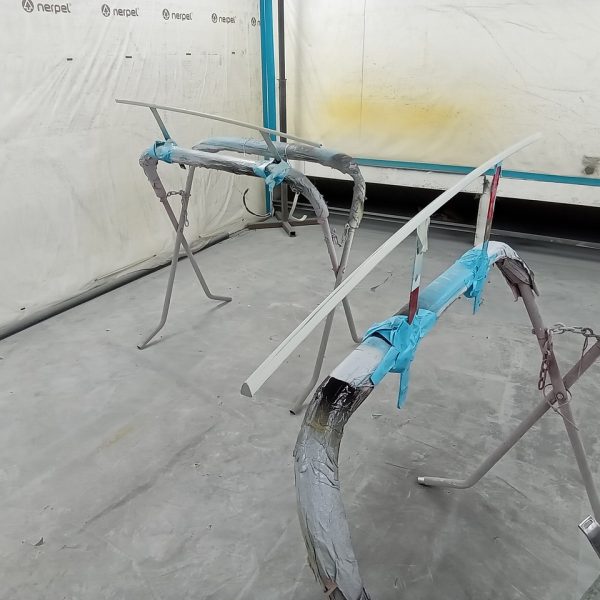
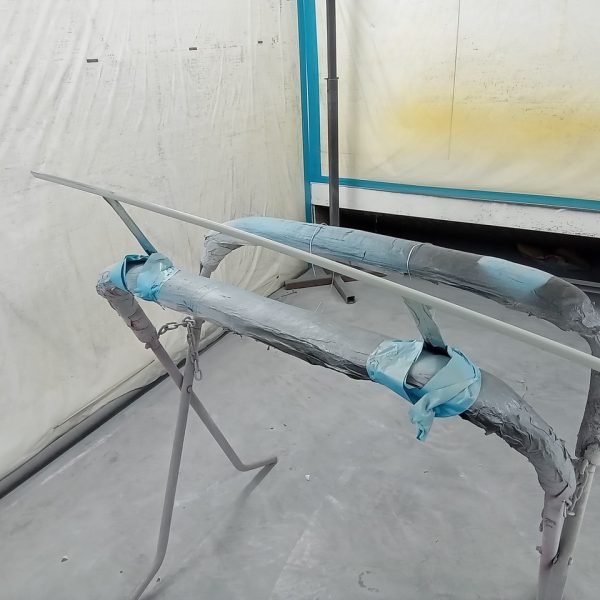




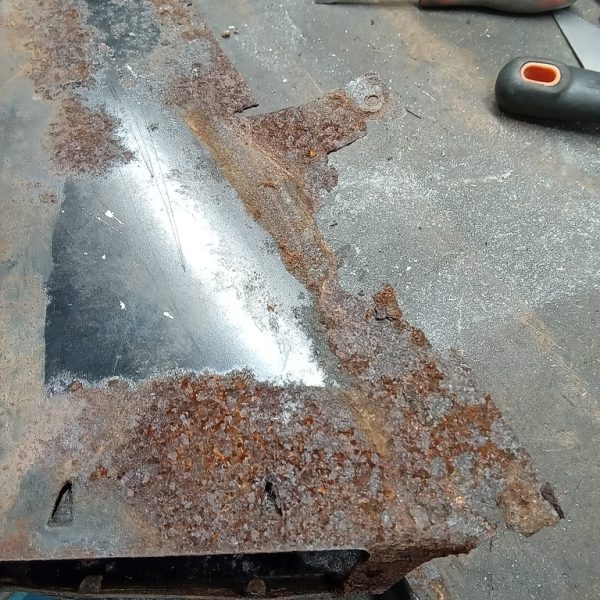




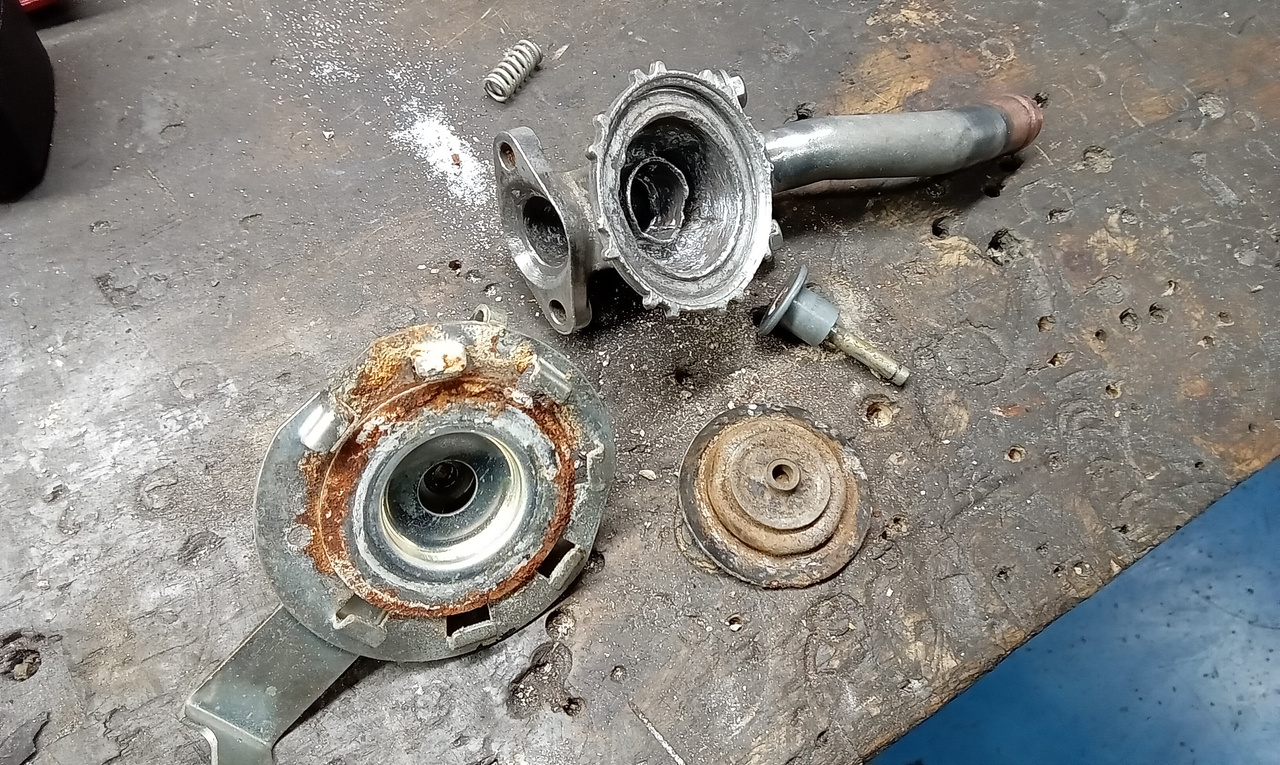
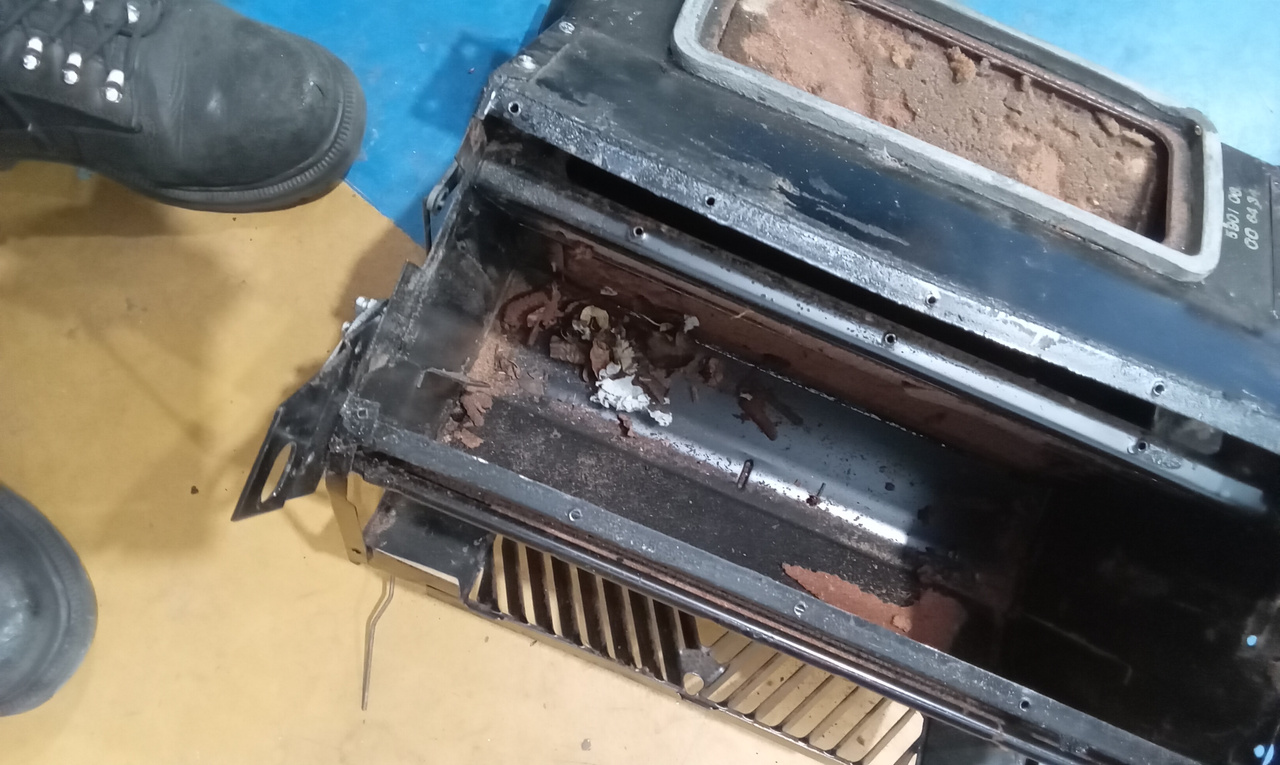
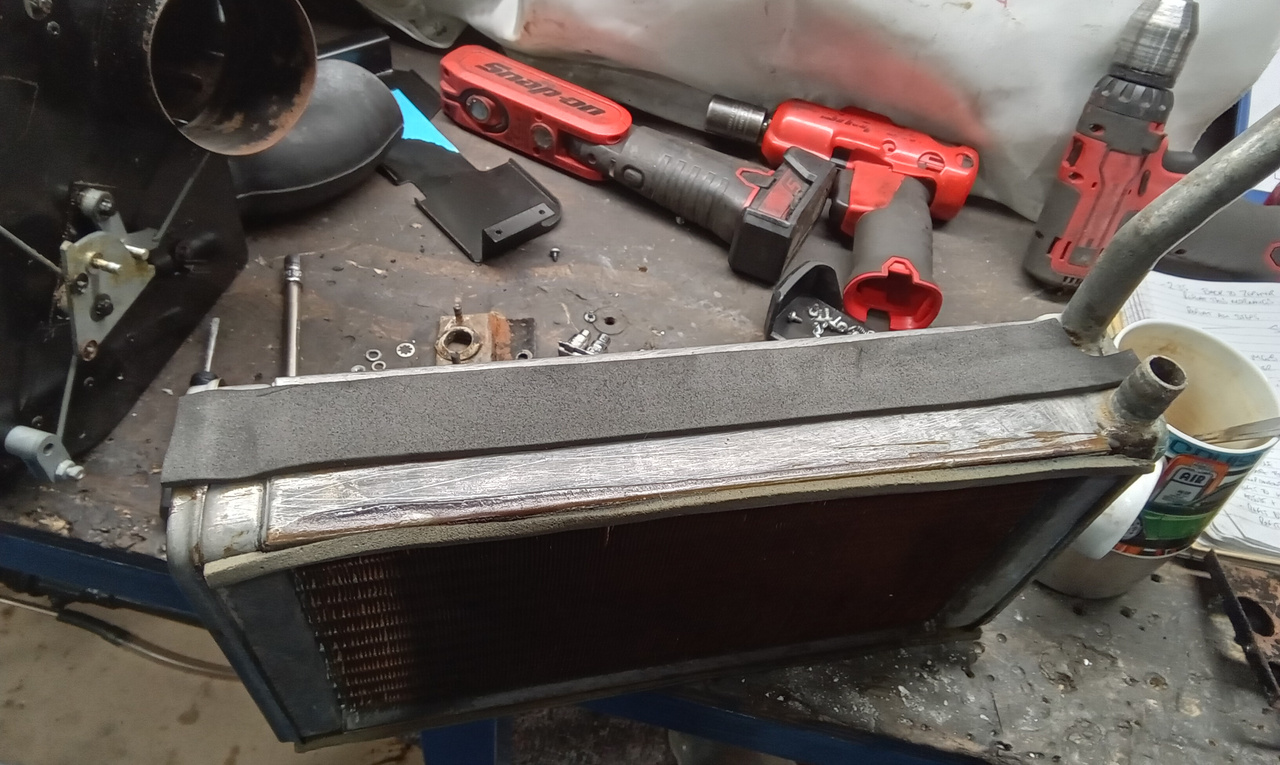
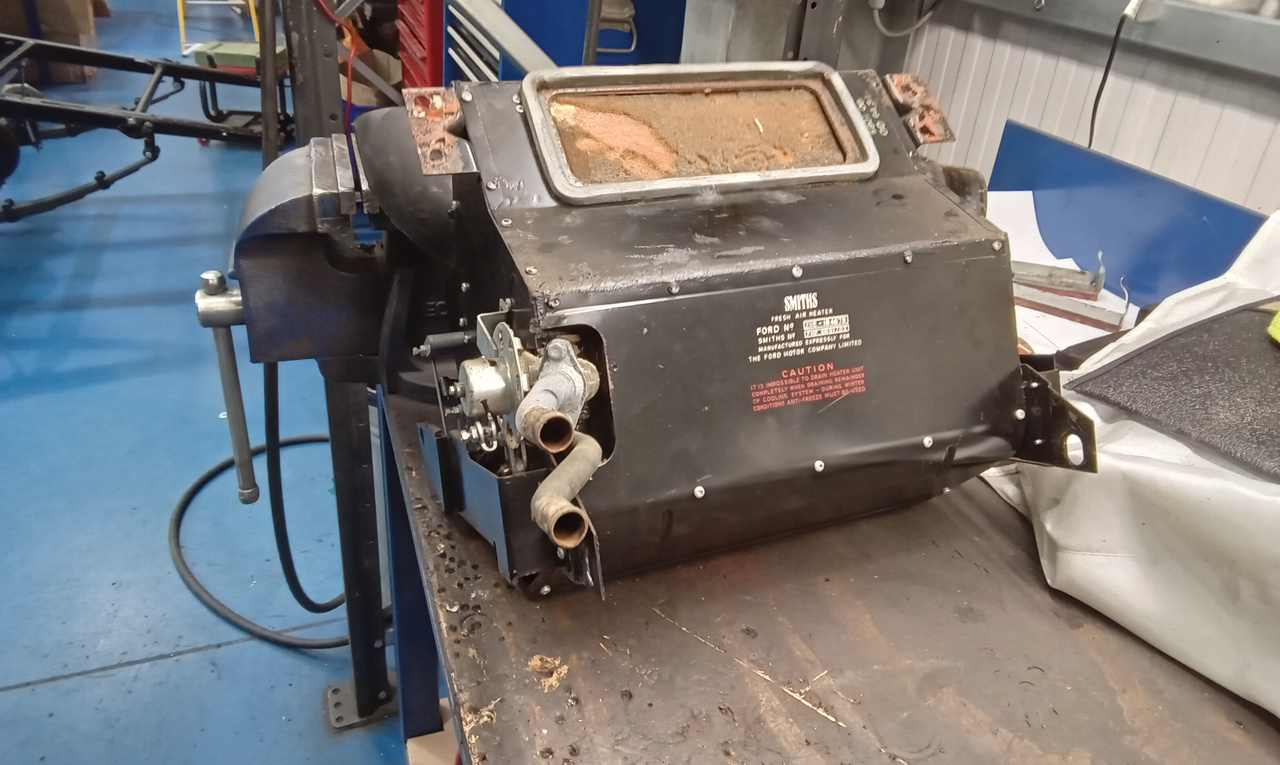
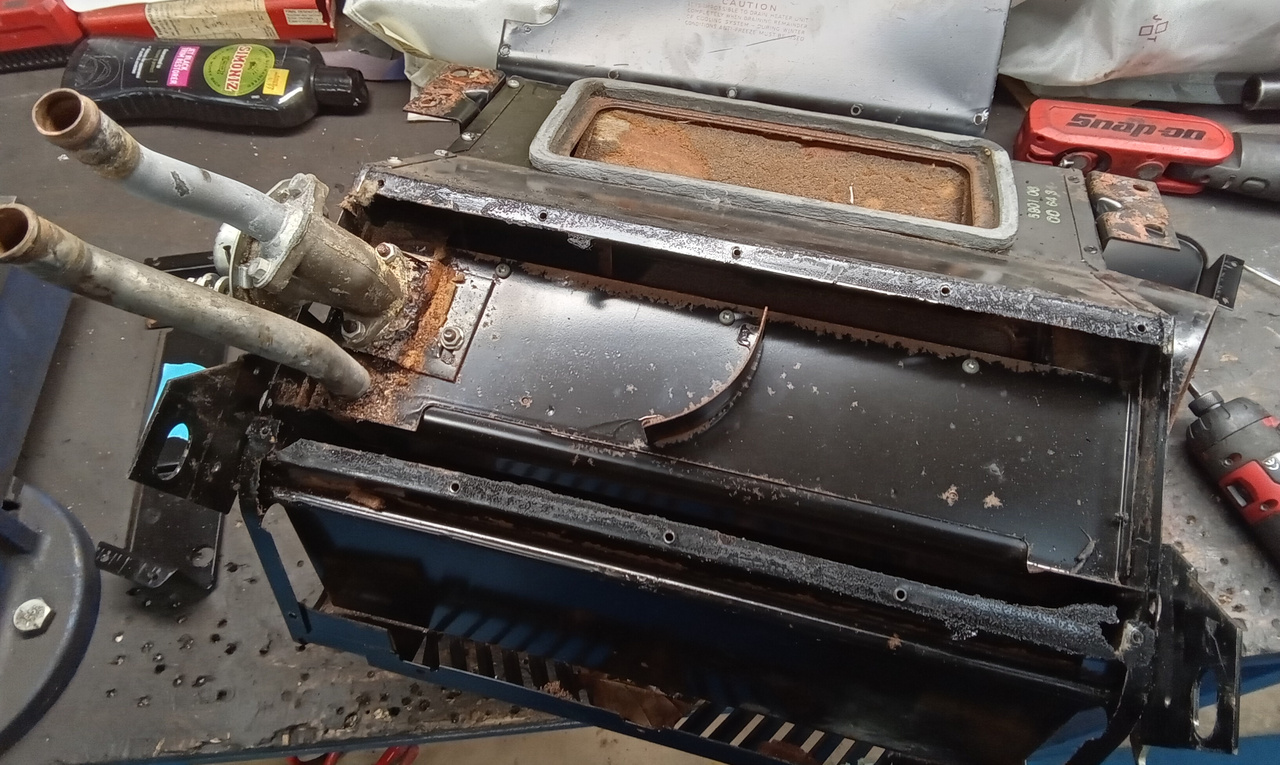
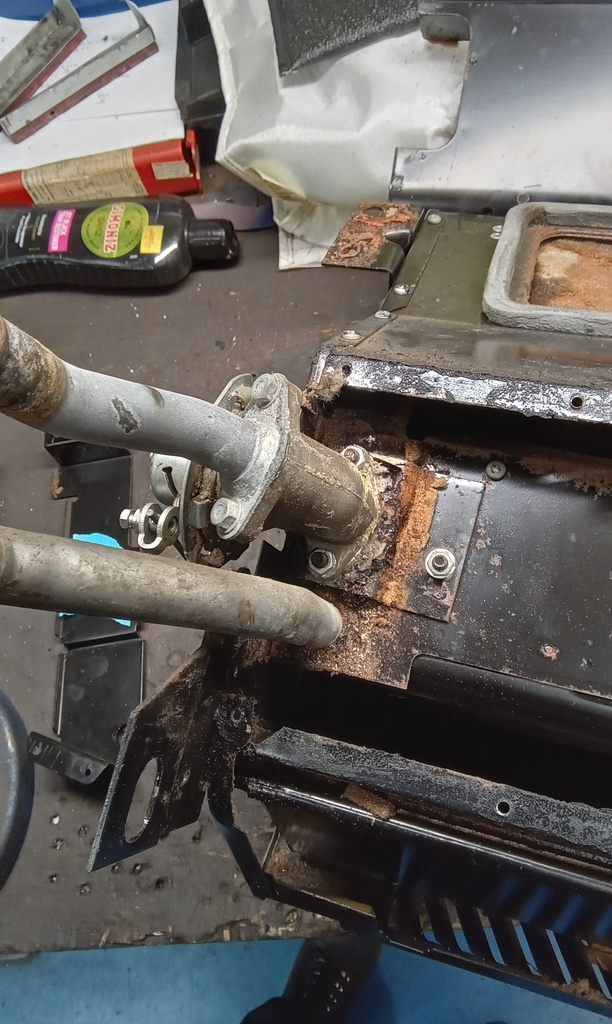
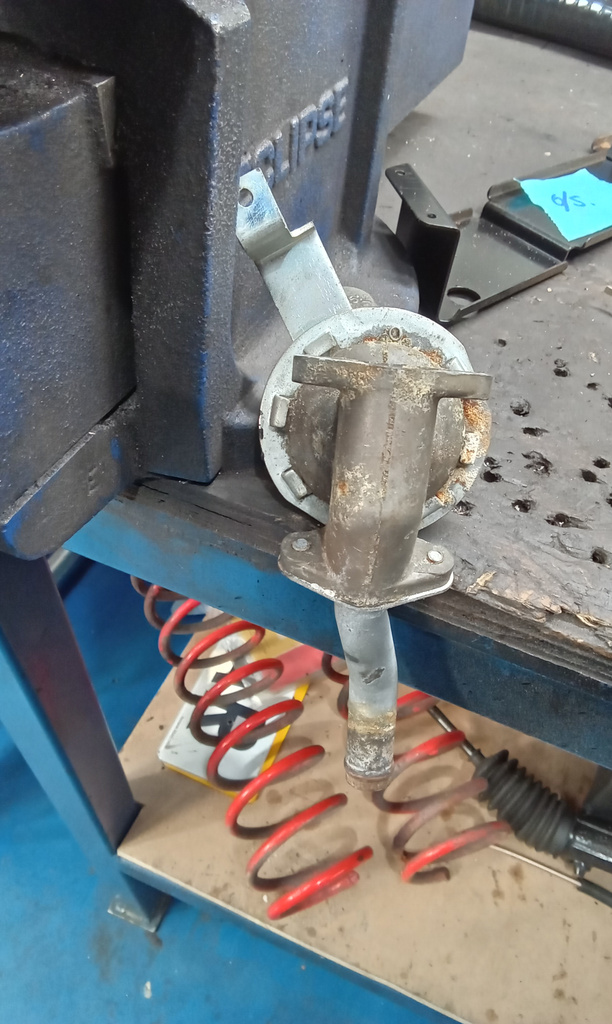
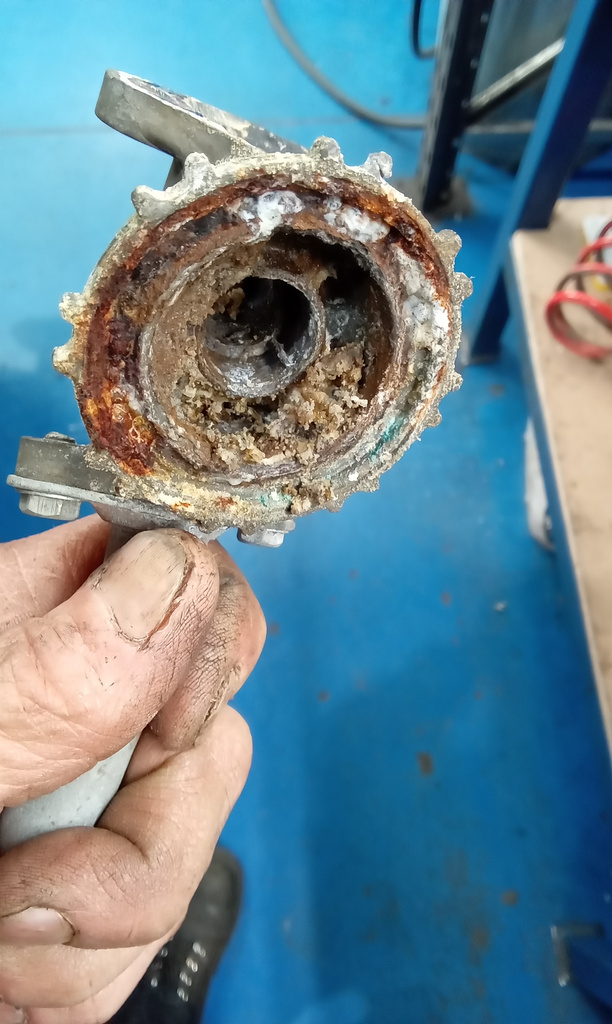
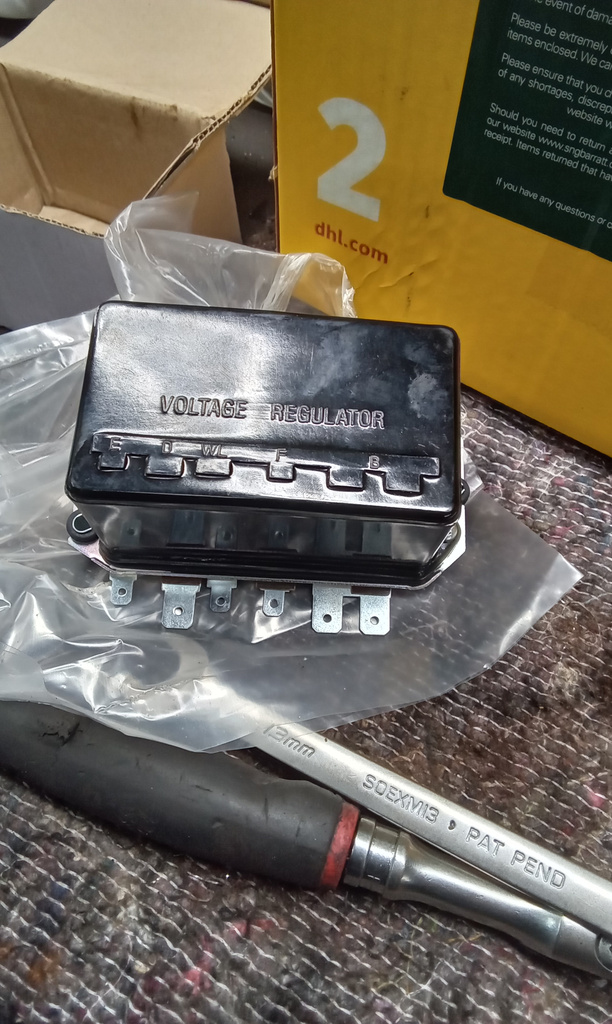
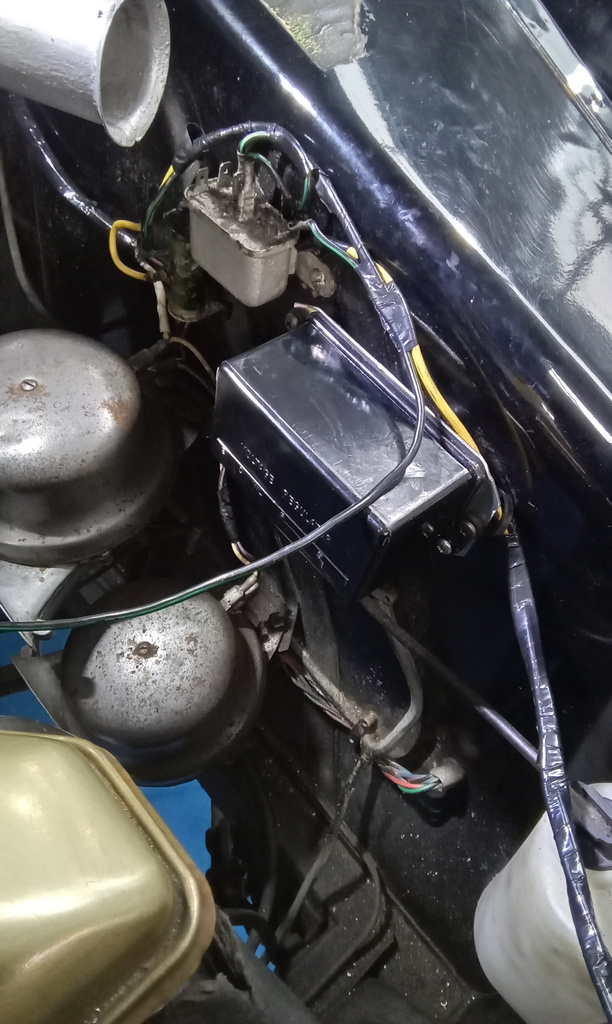
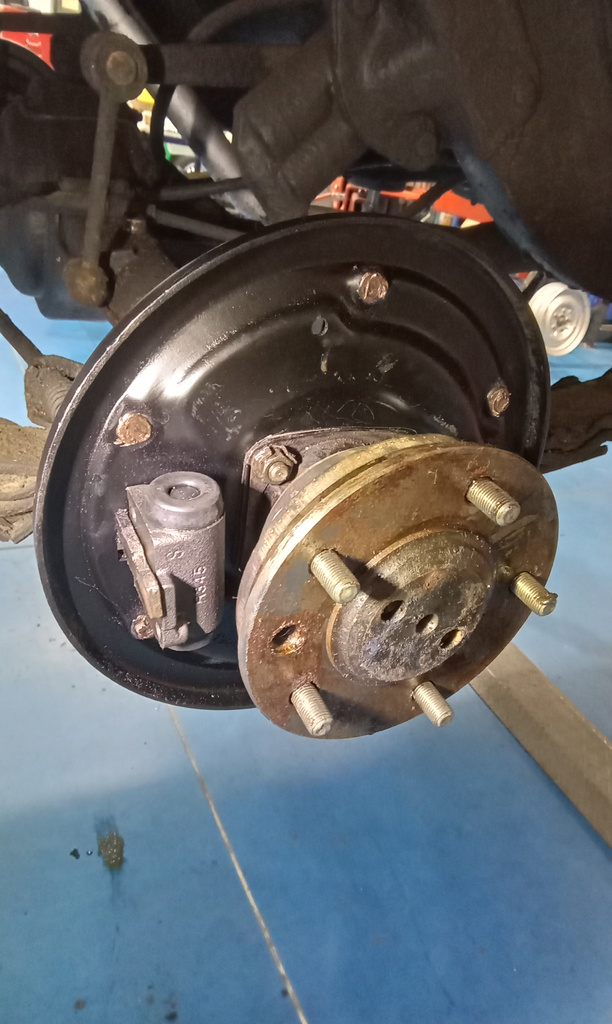
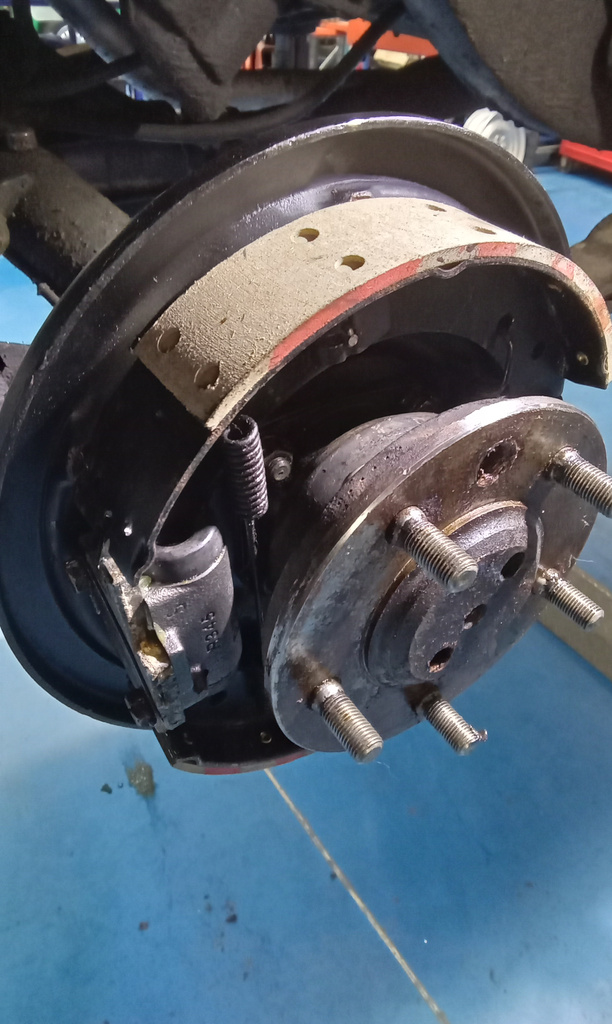
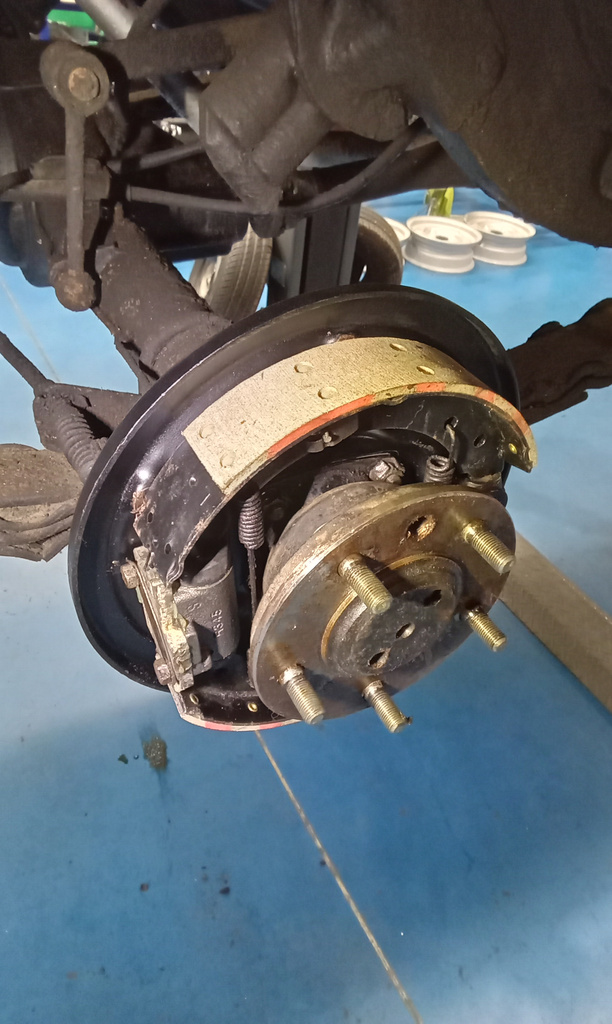
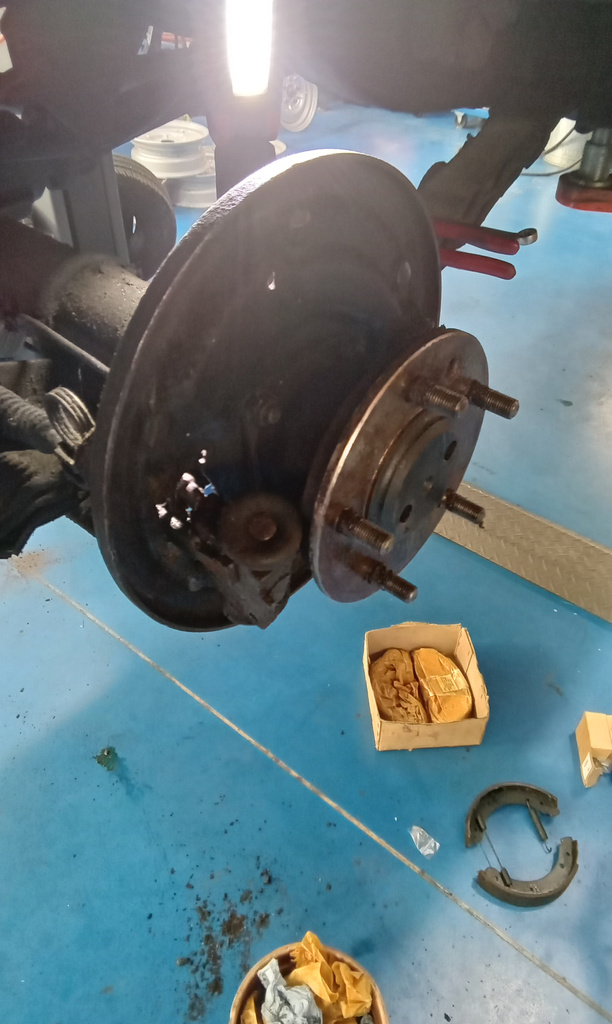
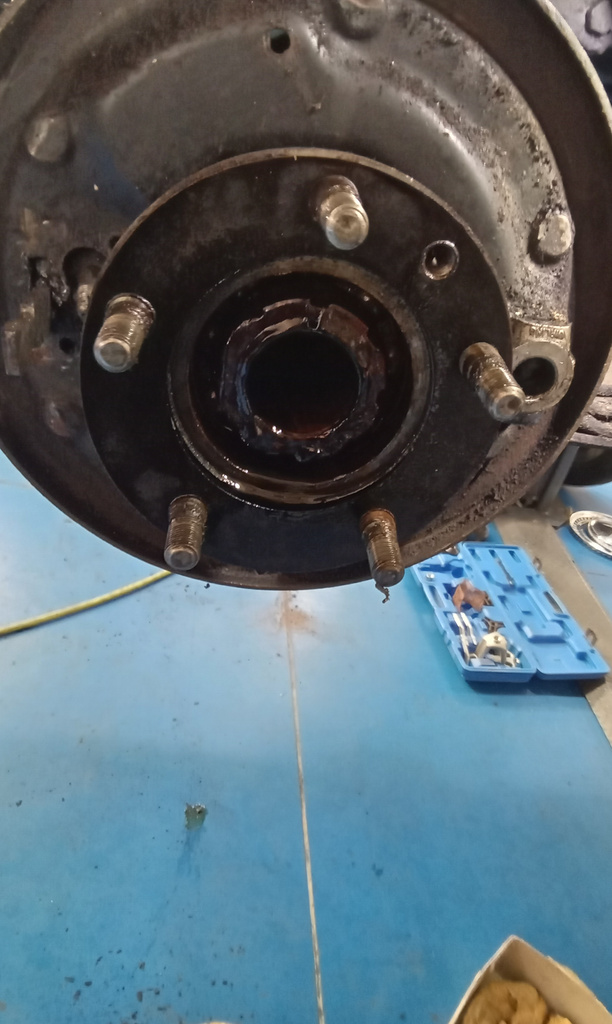
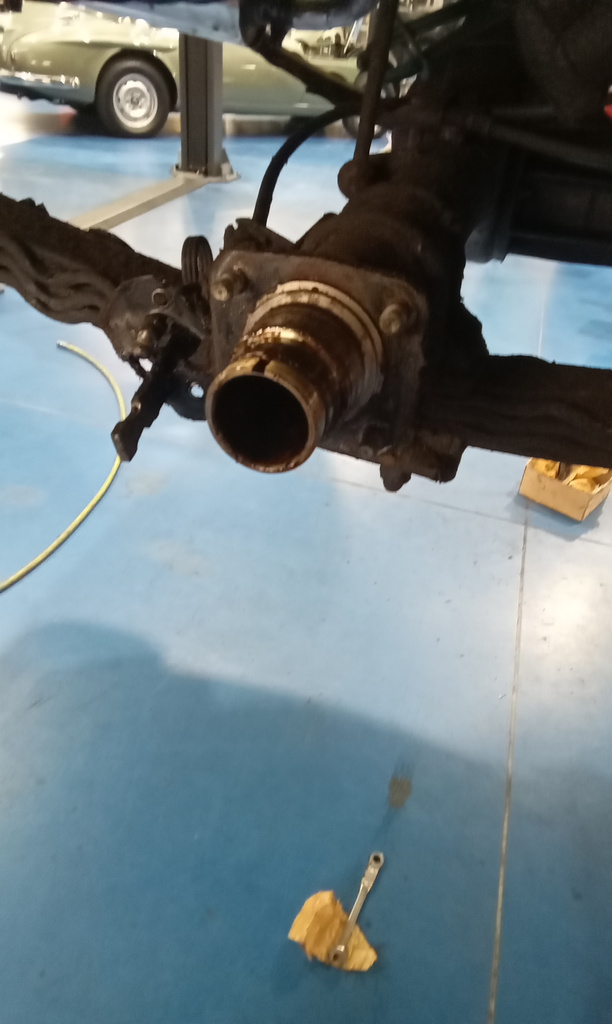
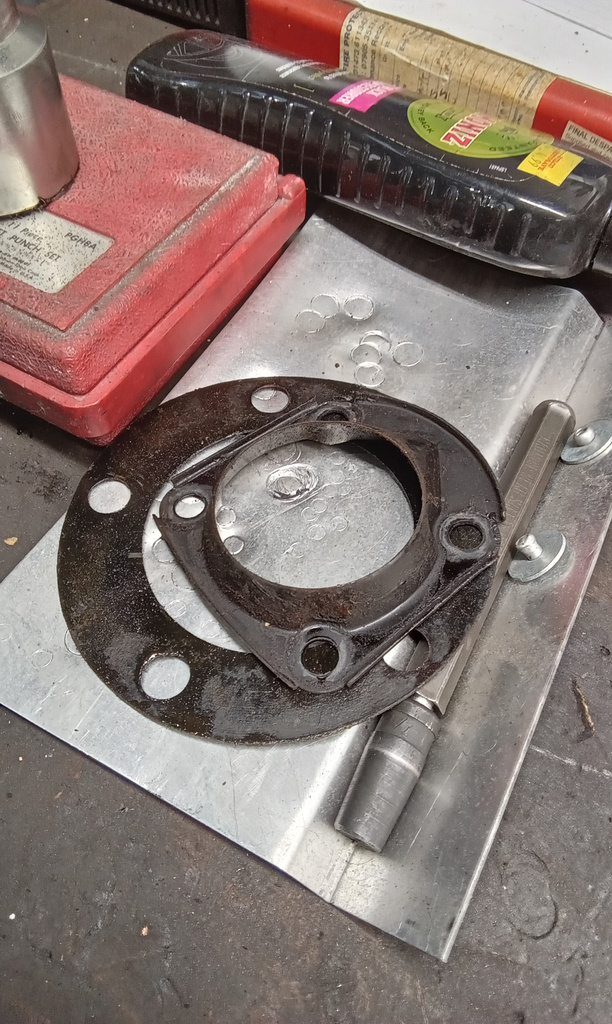
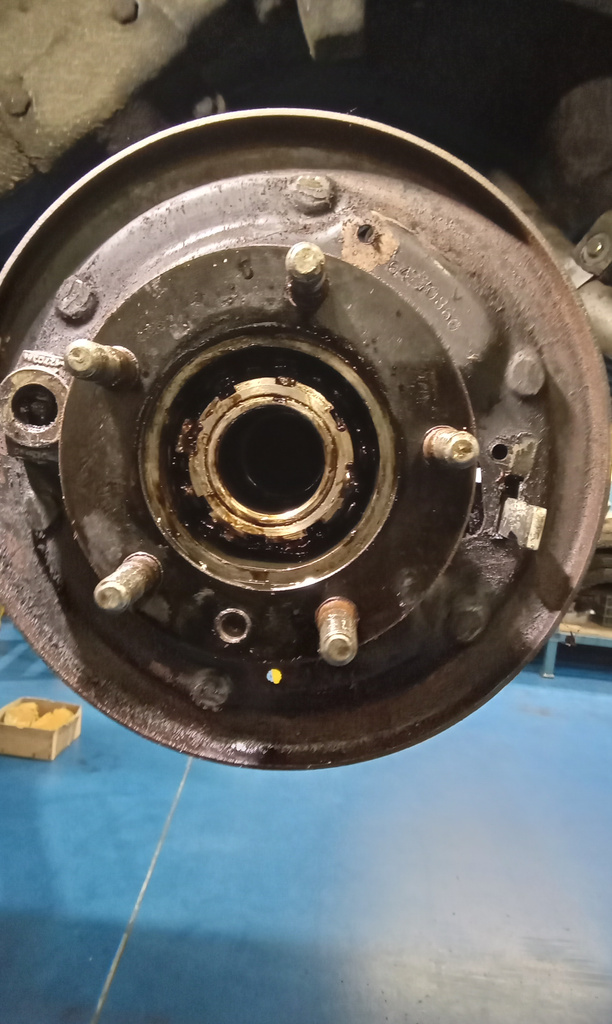
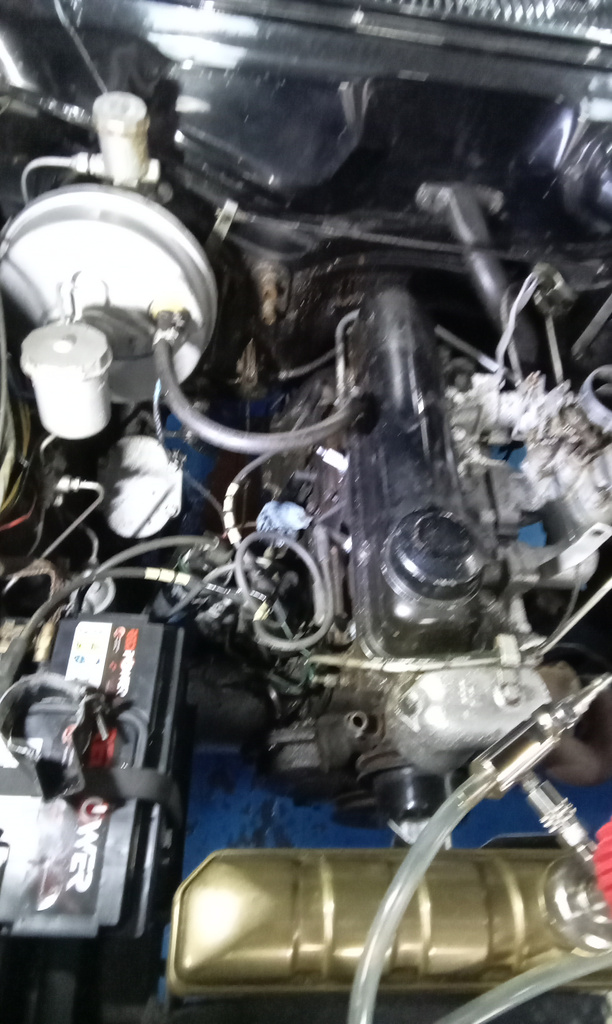
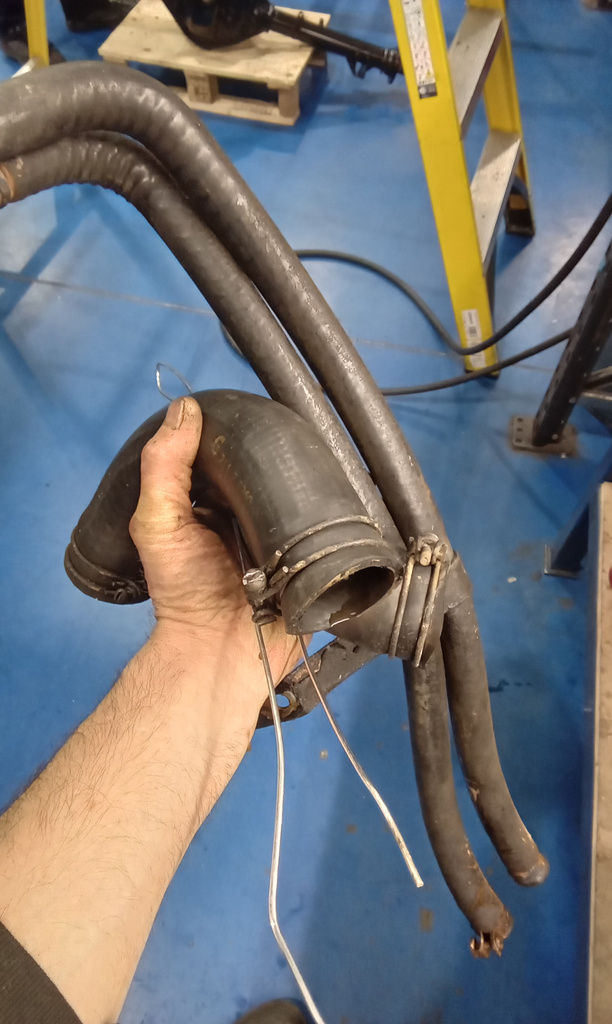
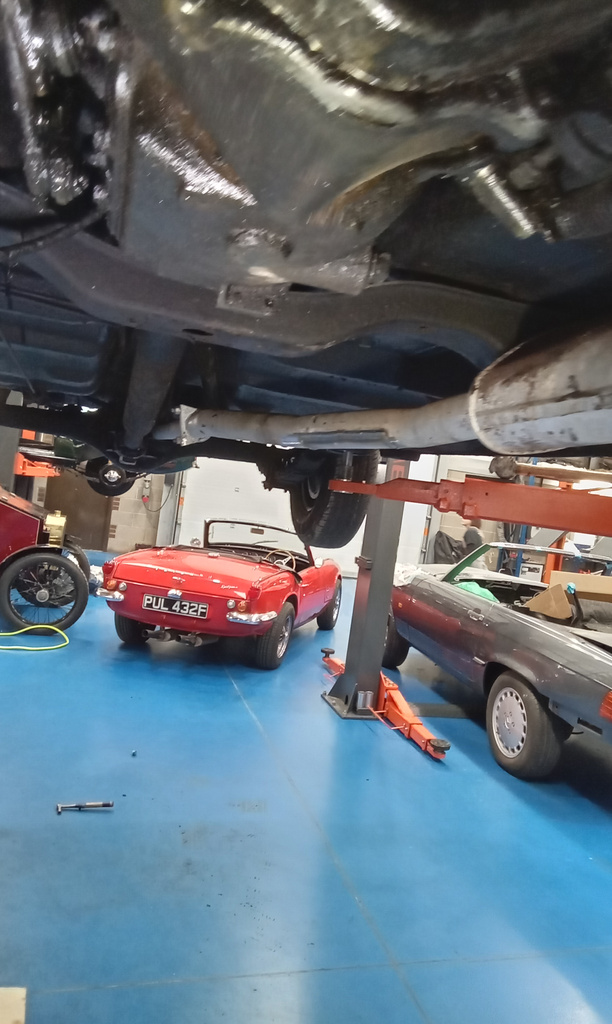
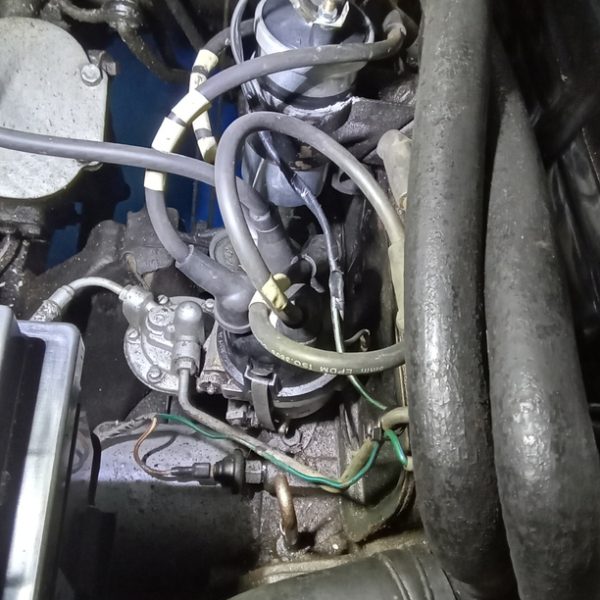
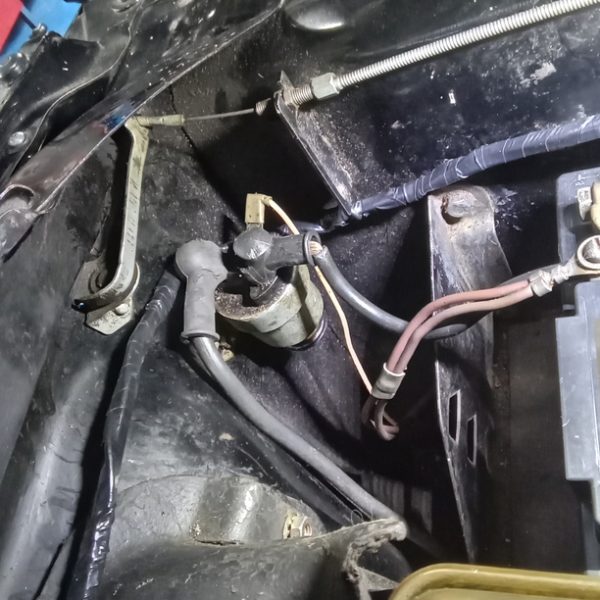
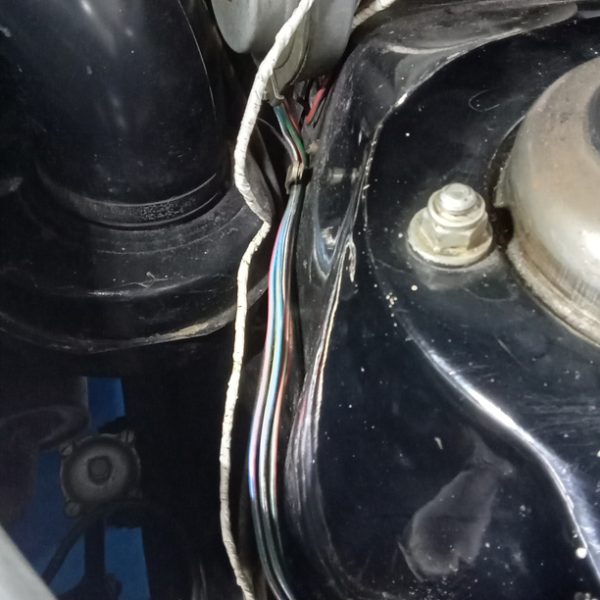
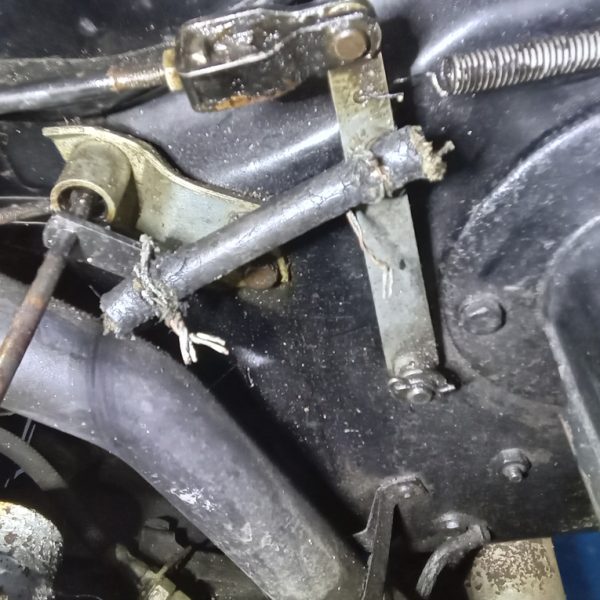
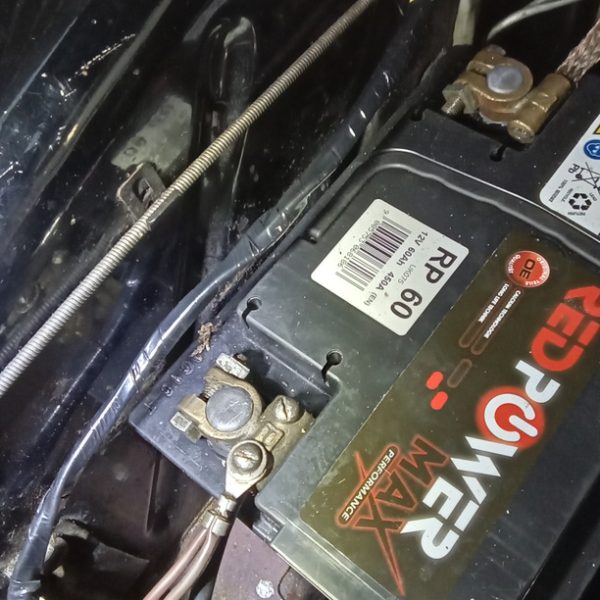
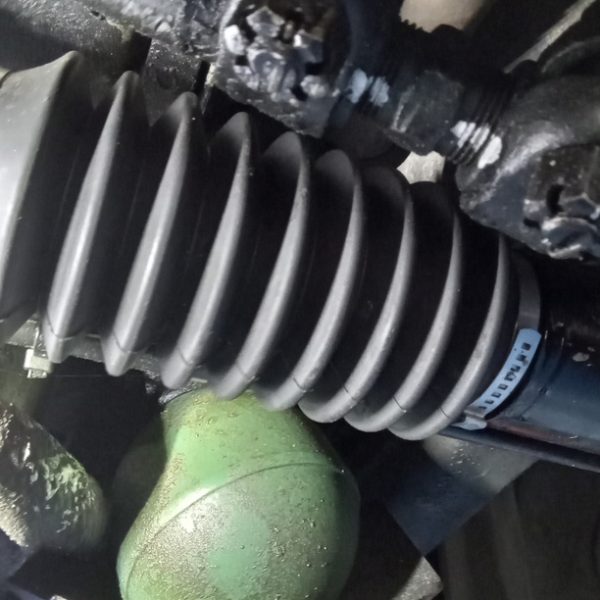
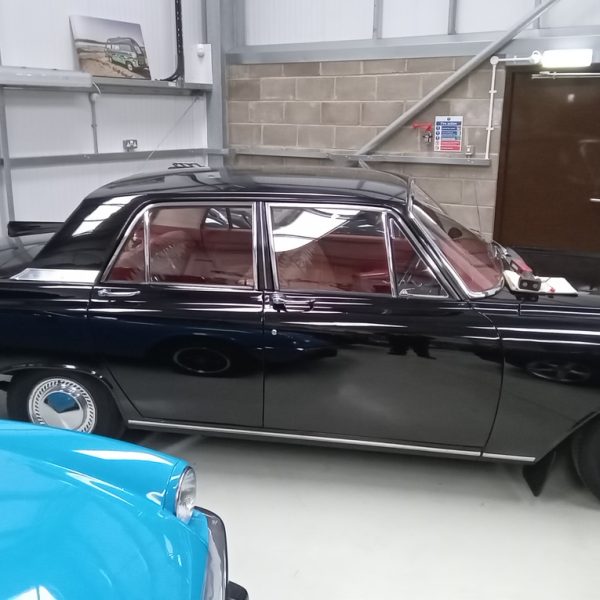
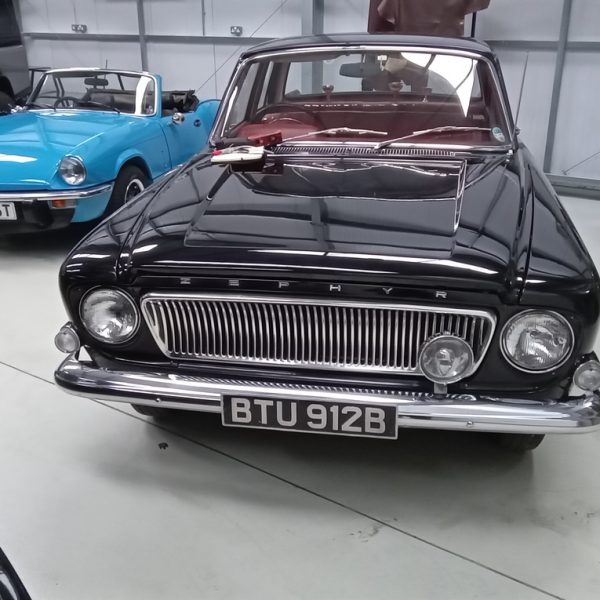
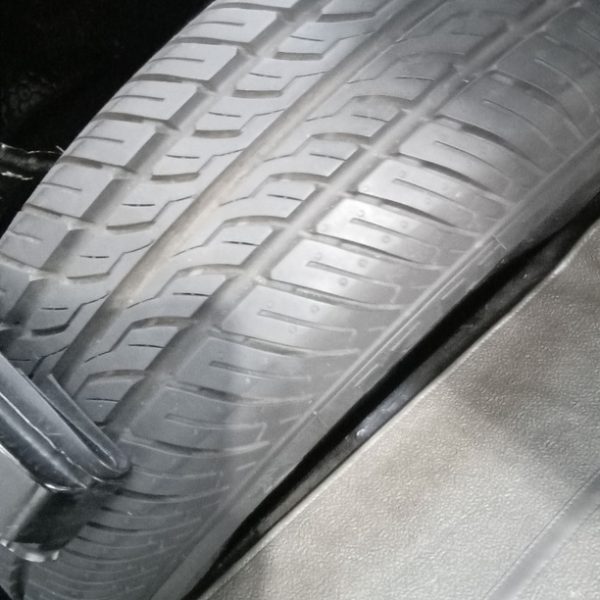
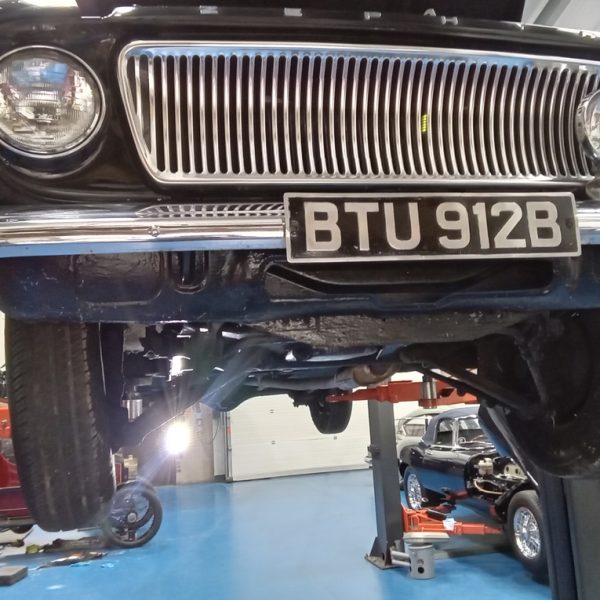
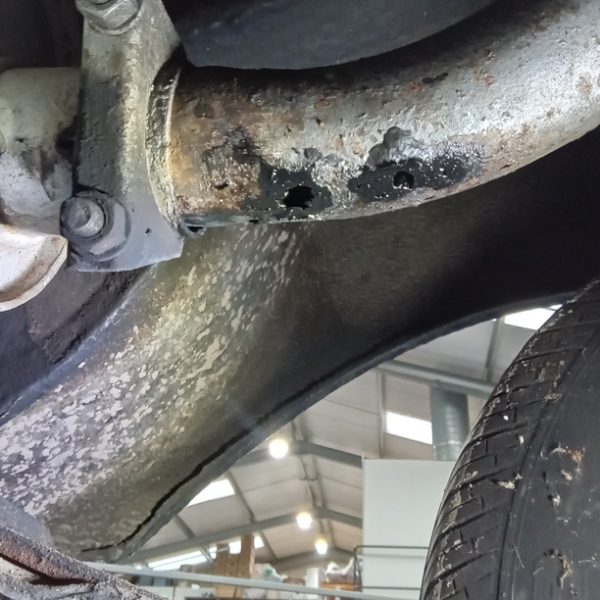
In preparation for our 1964 Ford Zephyr 4 to be won through Bridge Classic Cars Competitions, Jonn has been making a few repairs. Here are his notes:
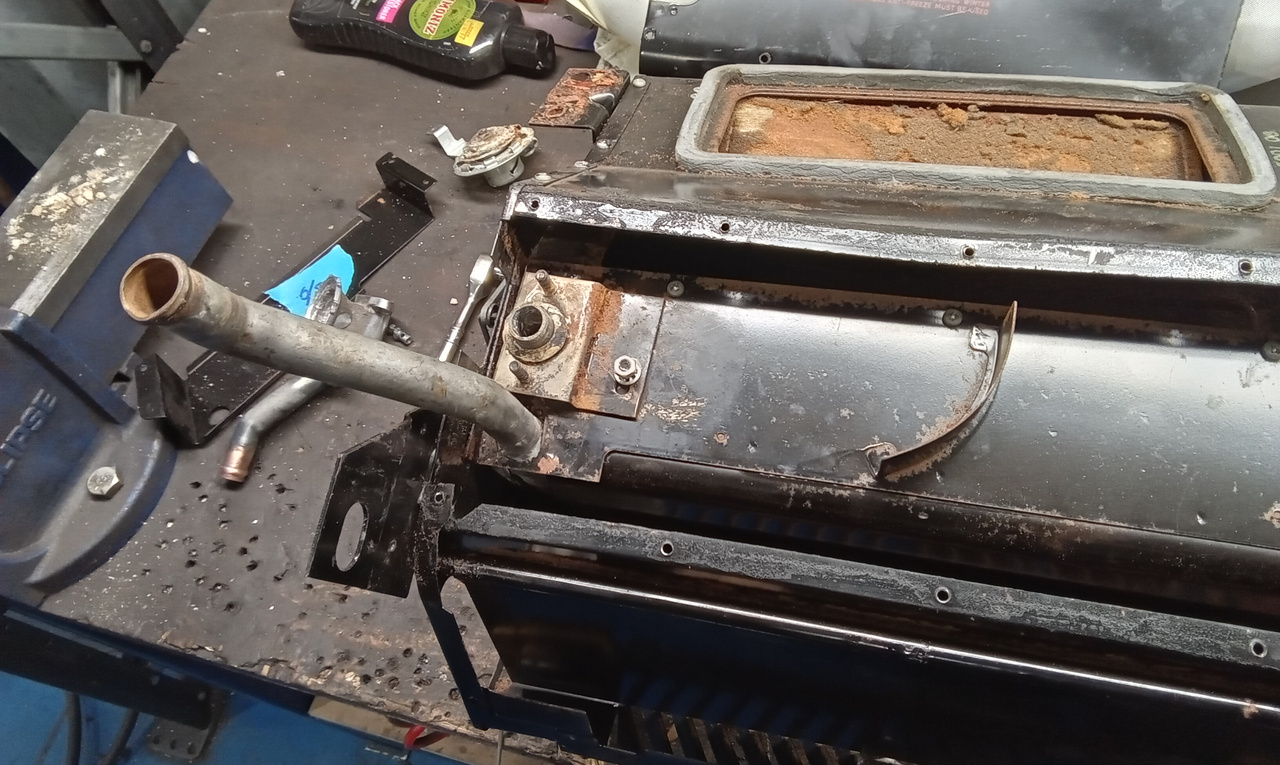
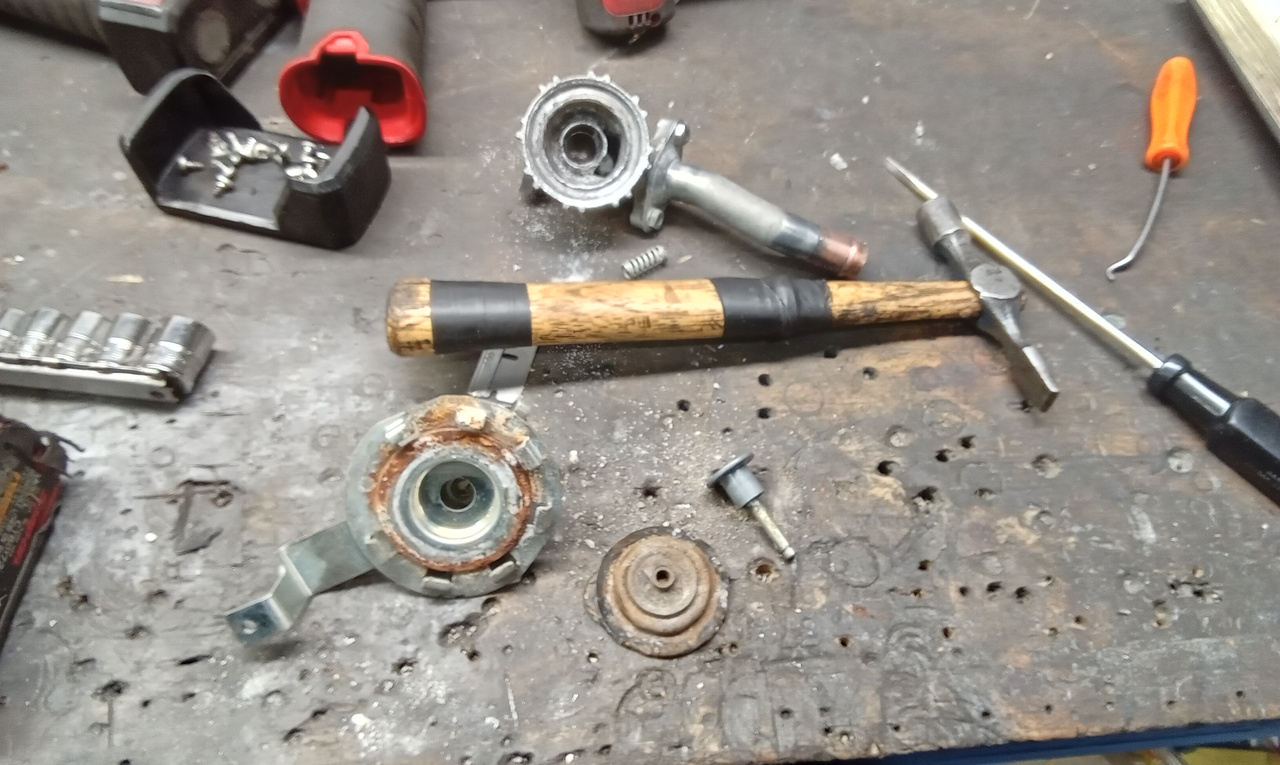




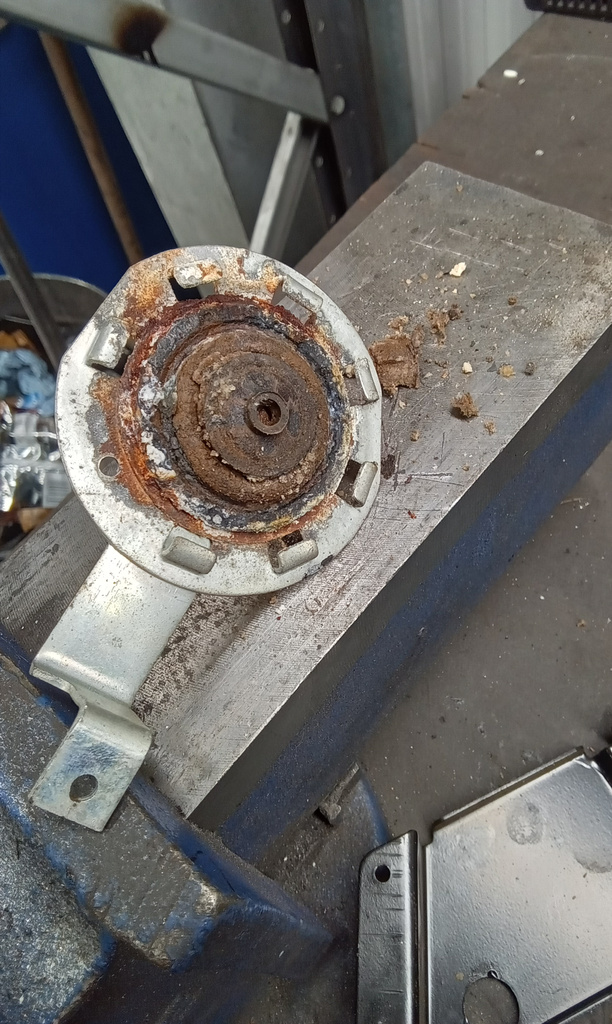

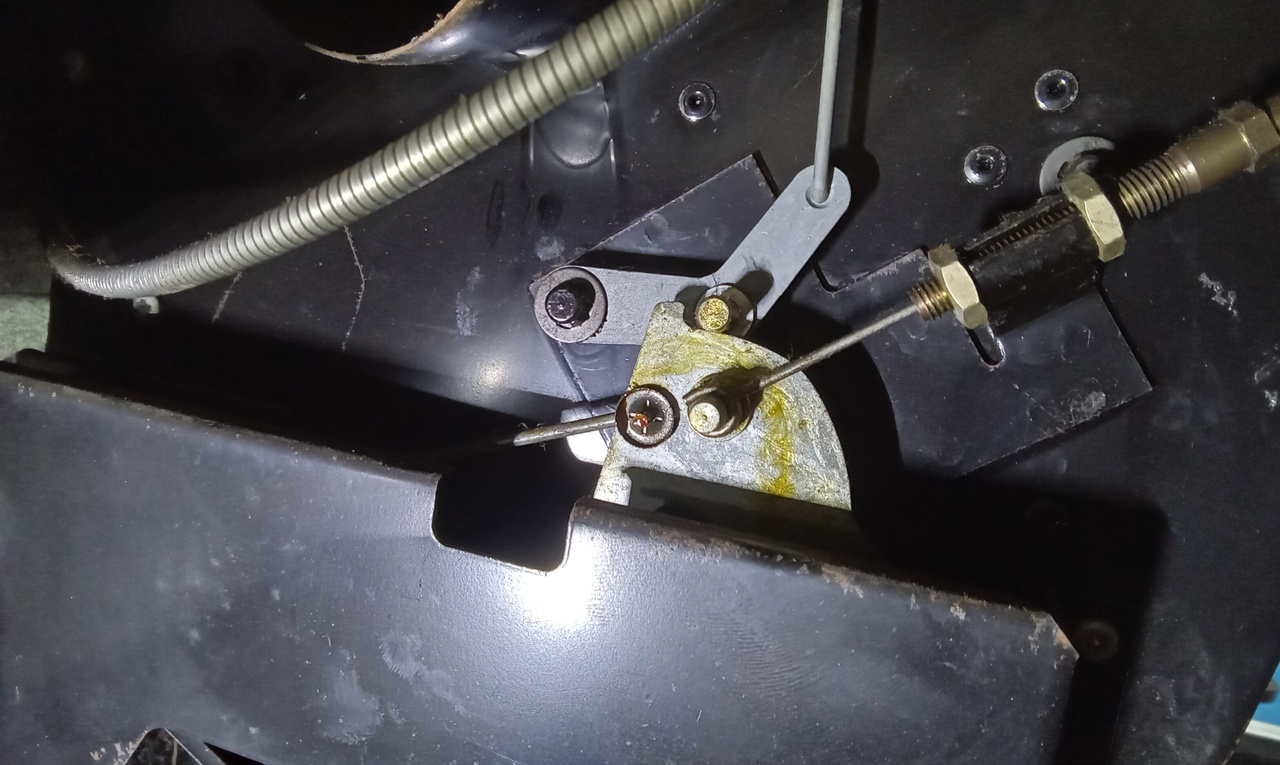
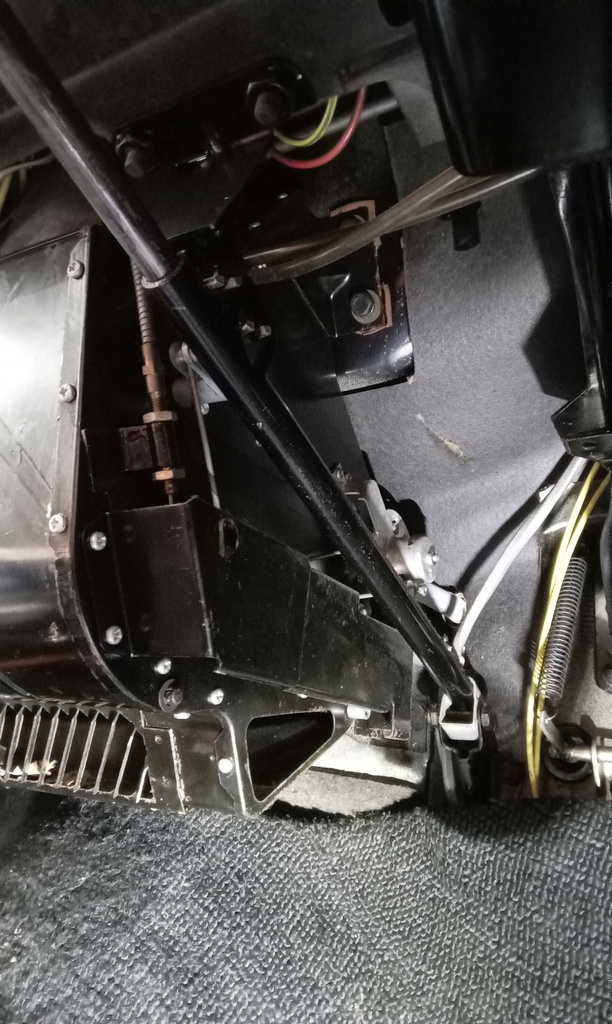
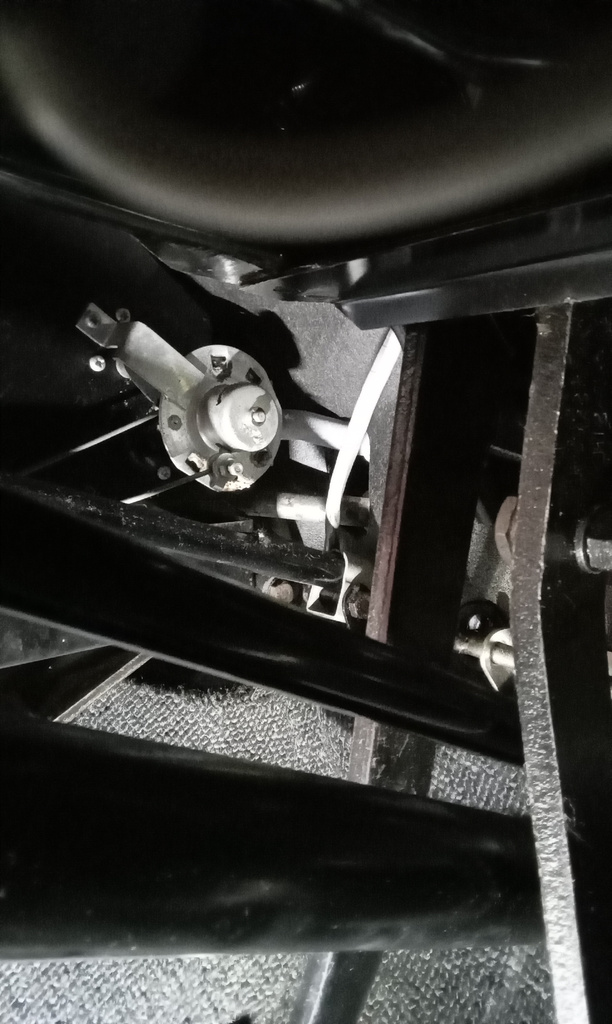

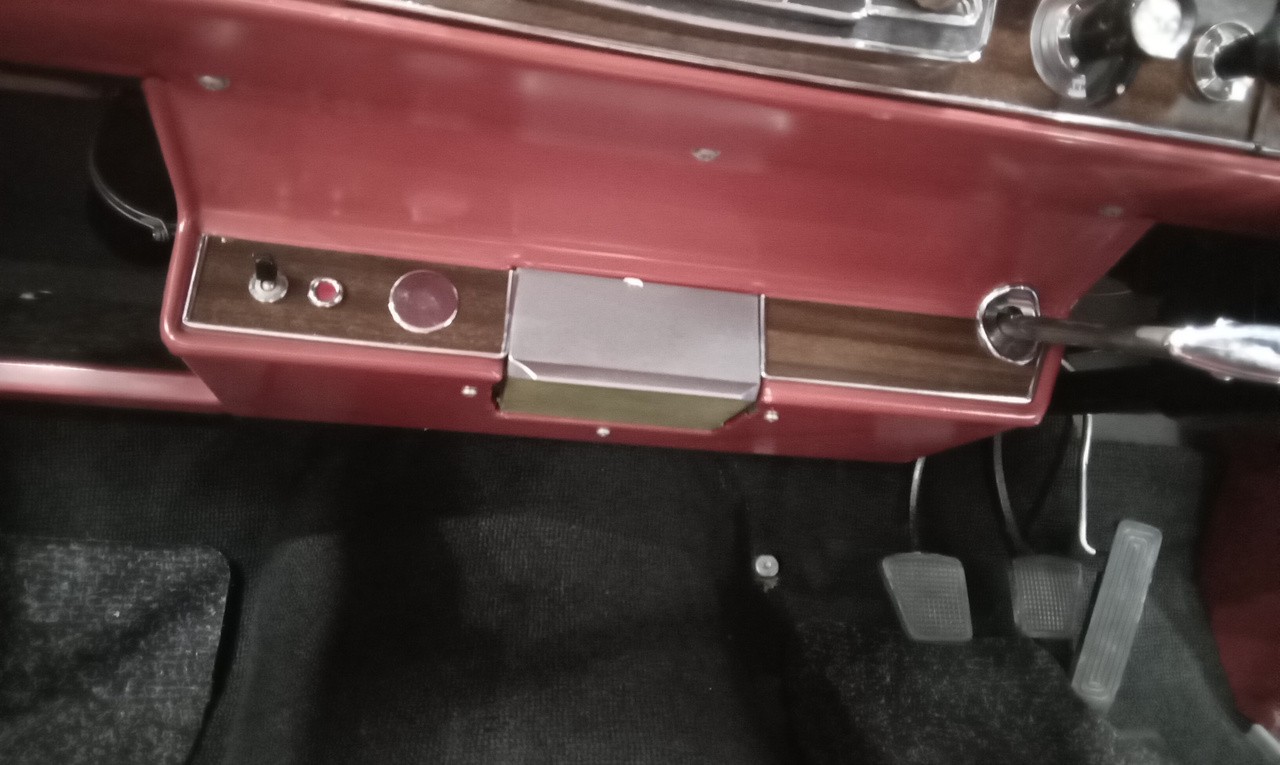
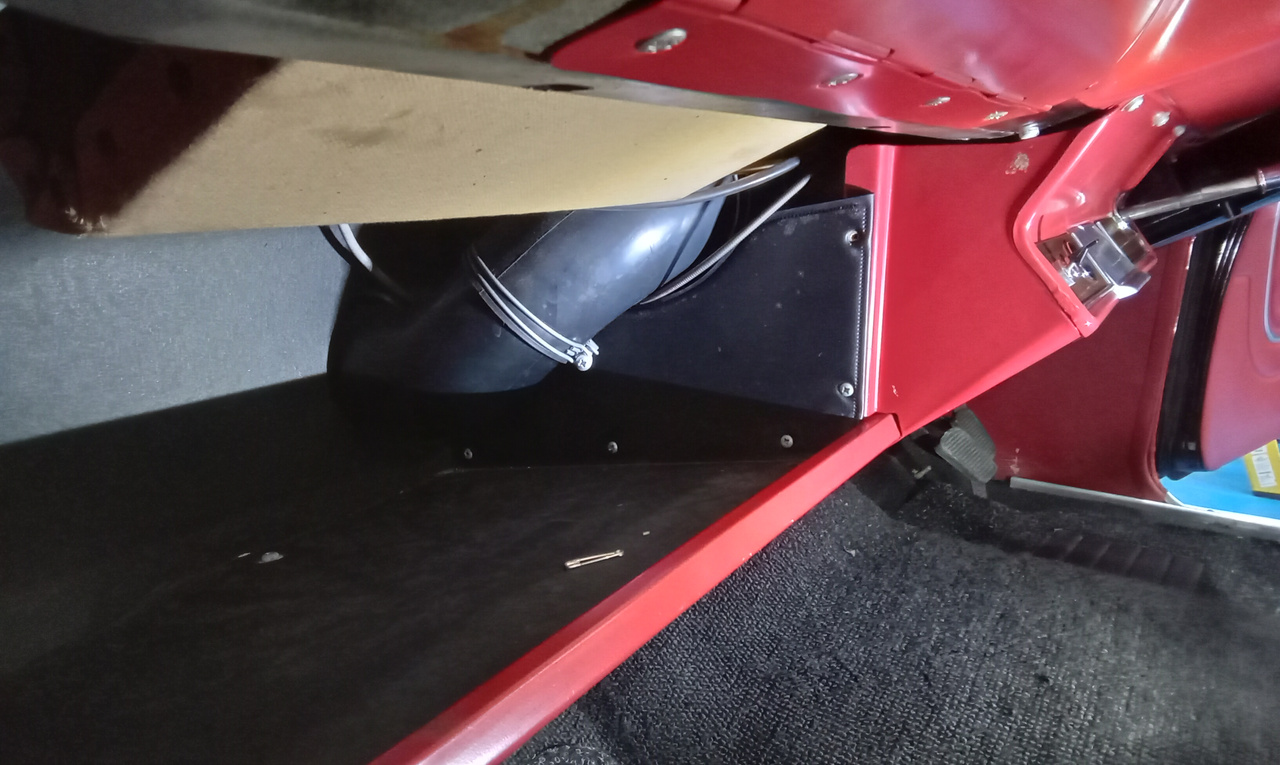










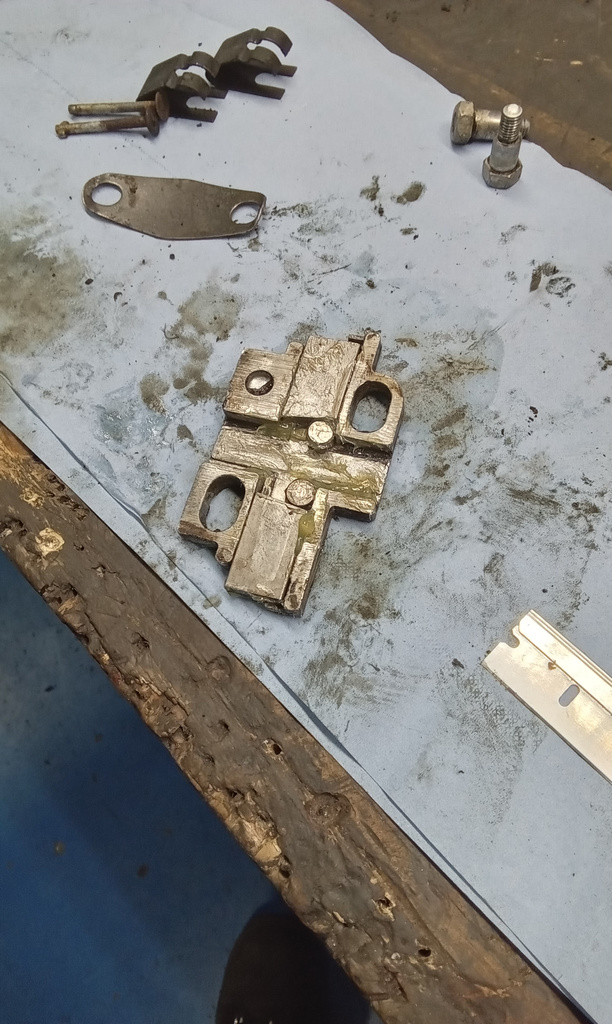
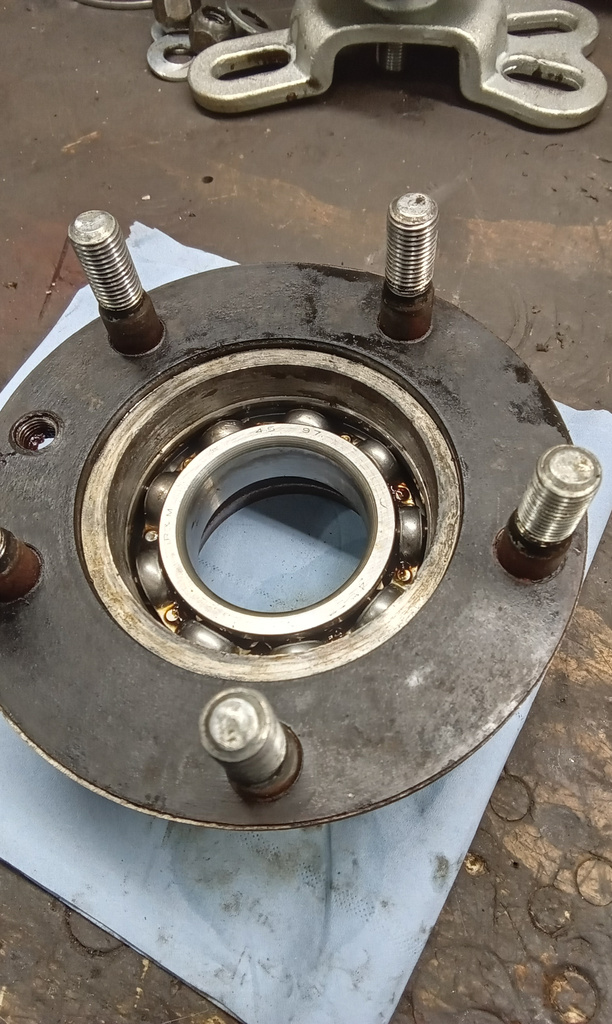


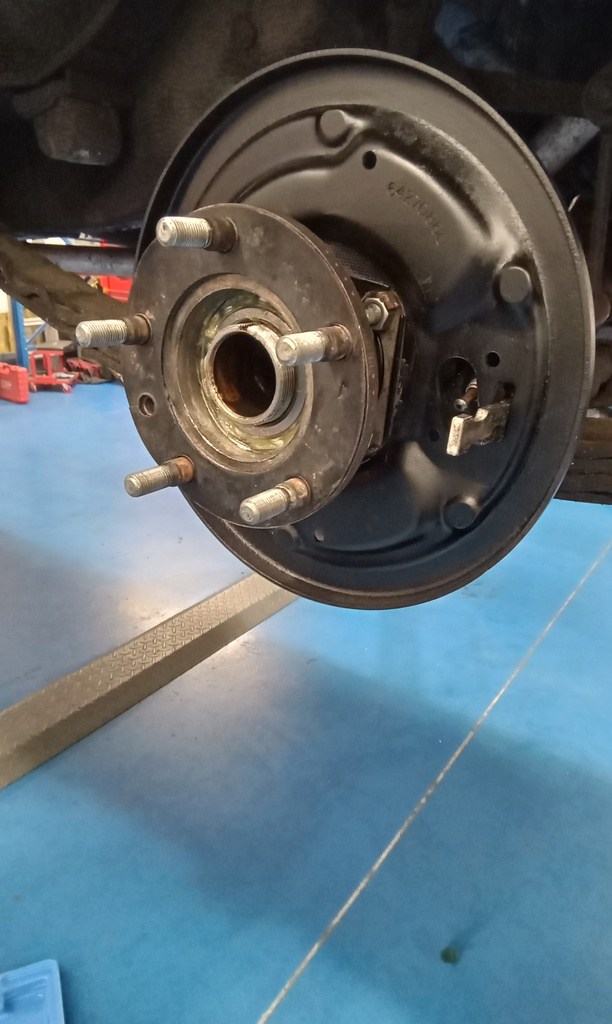

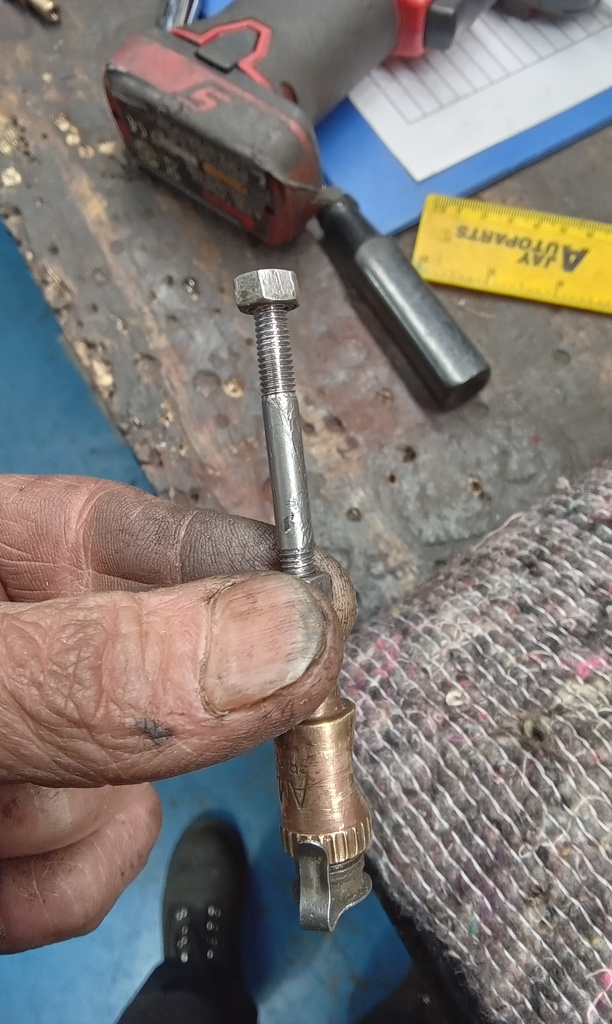













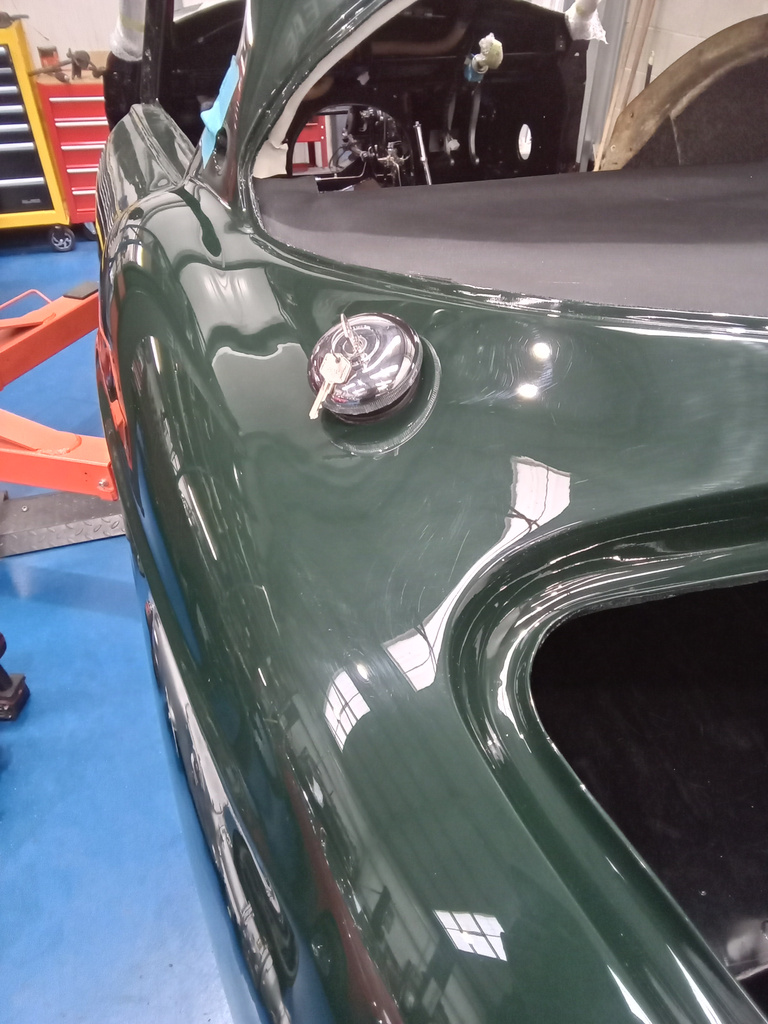
Classic car technician Paul has continued his work on our 1956 Jensen 541. Here is a list of the work completed recently:
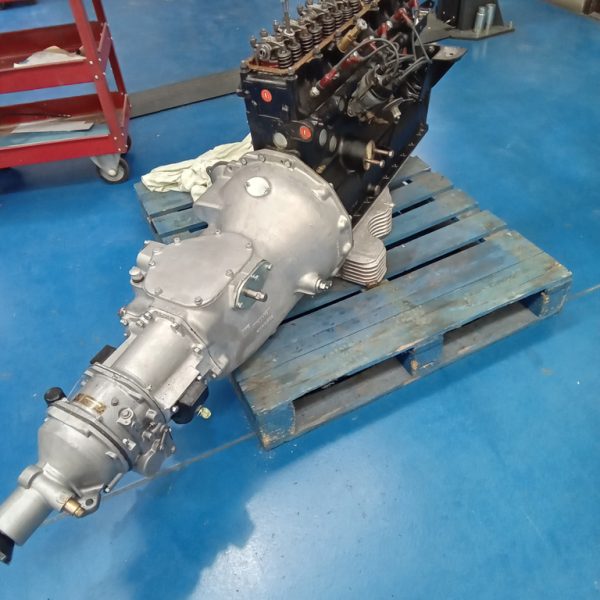
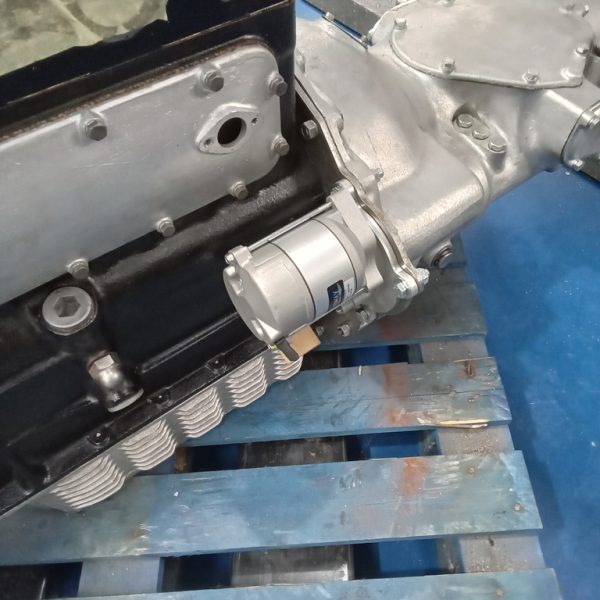
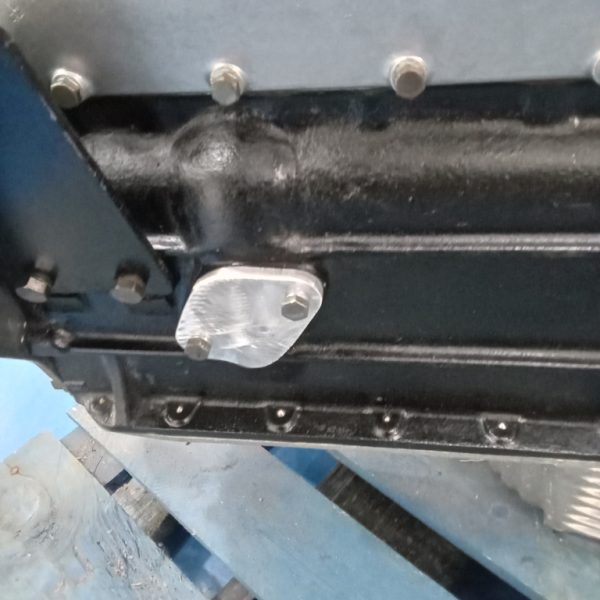
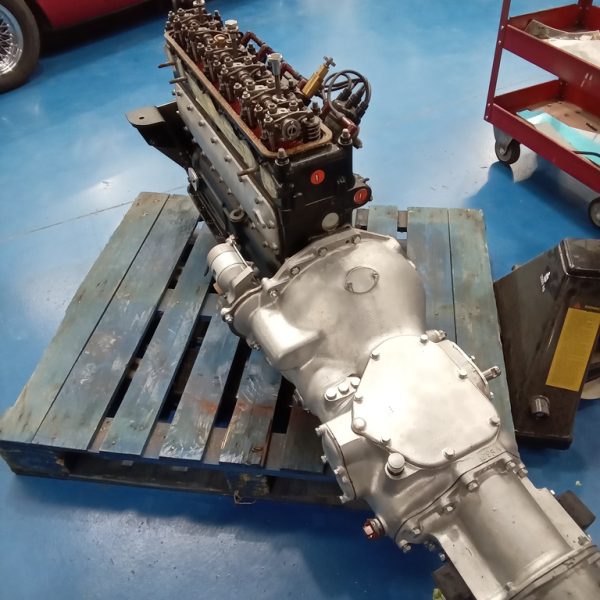
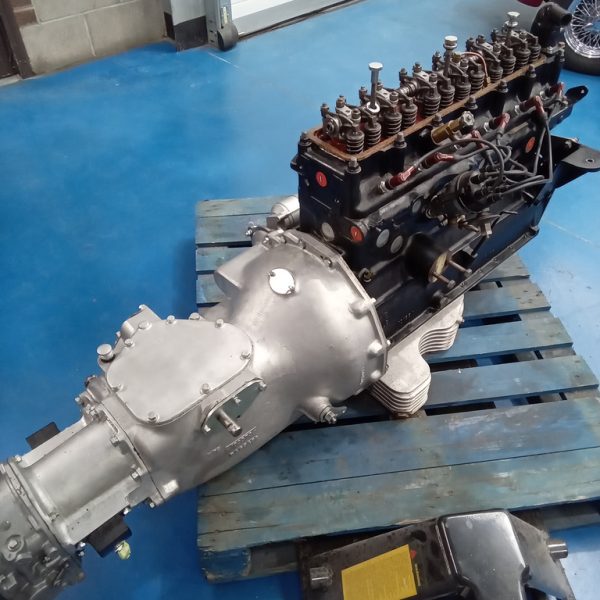
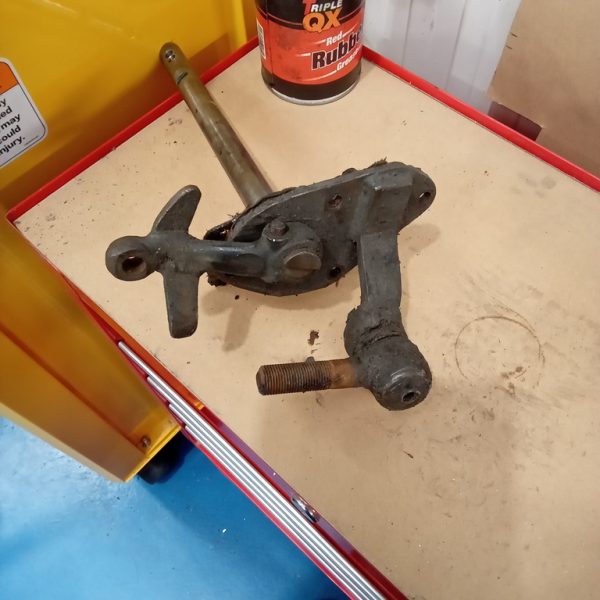
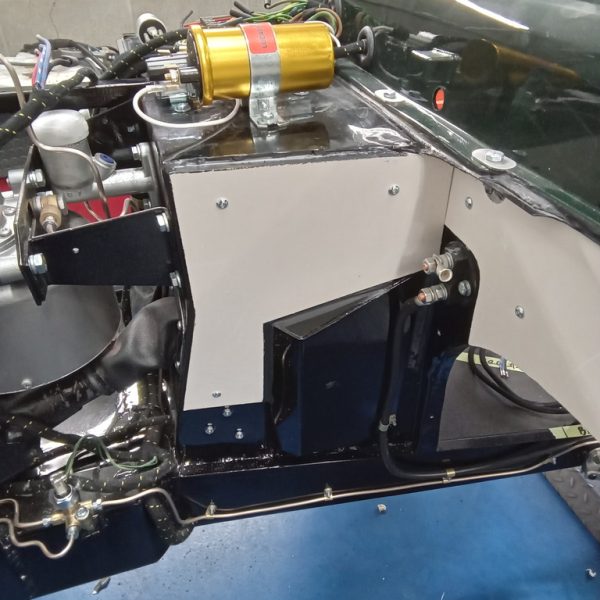
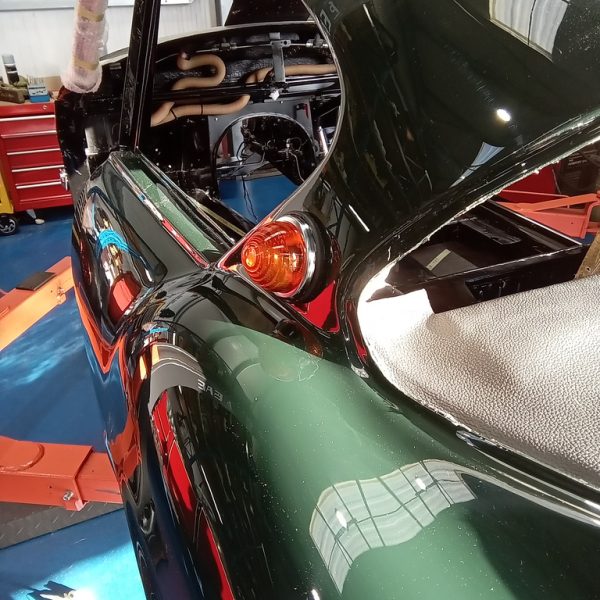
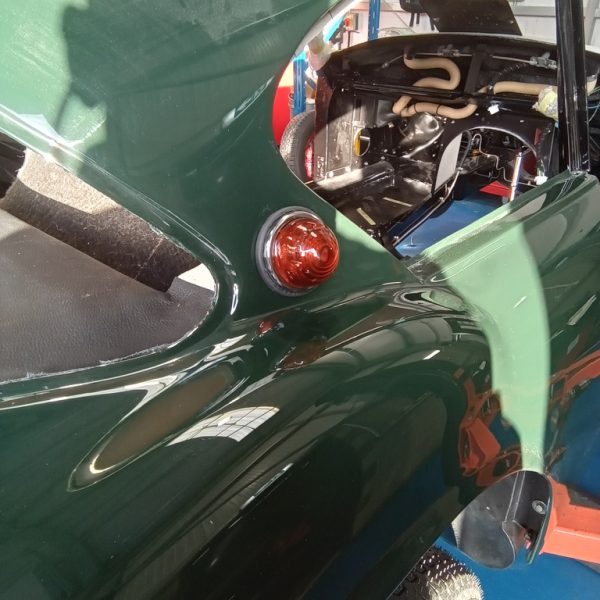
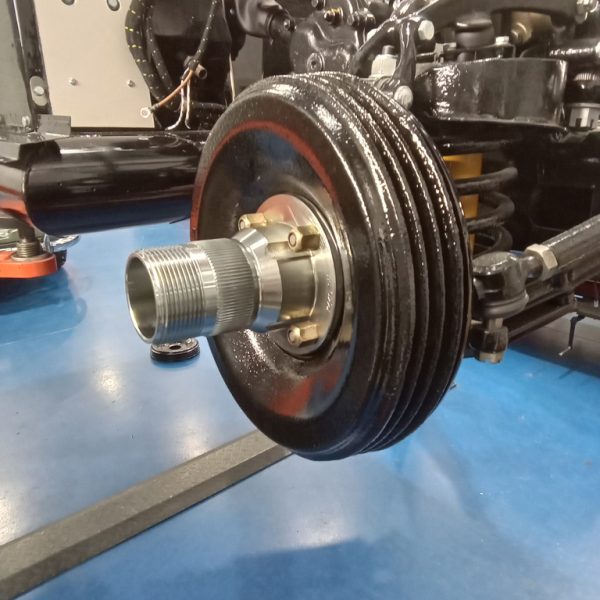
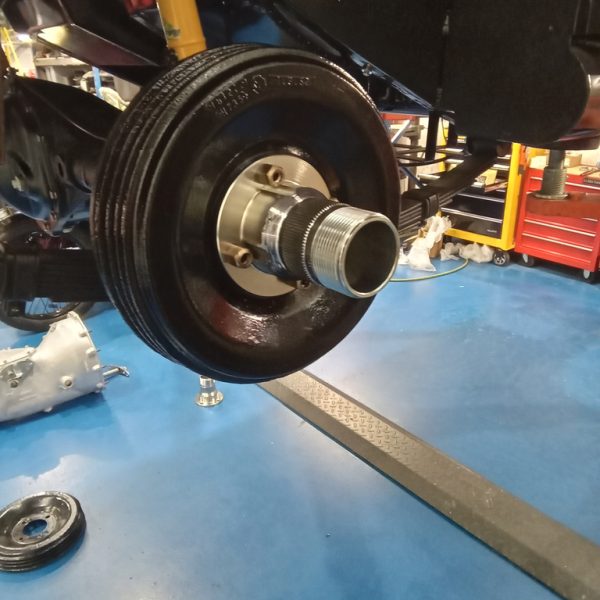
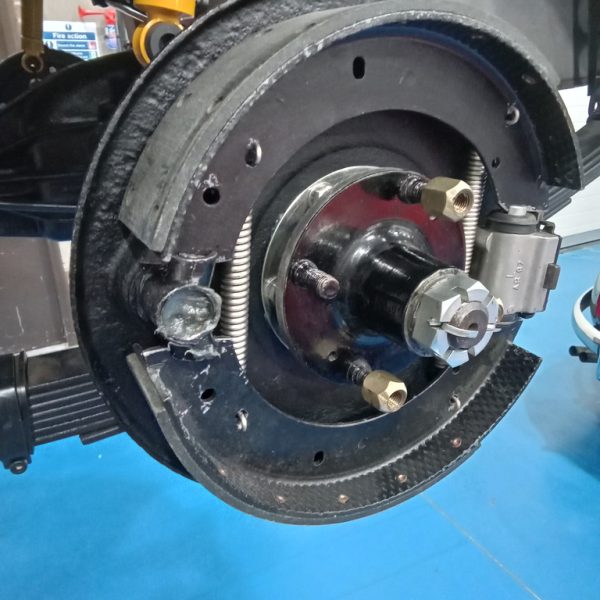
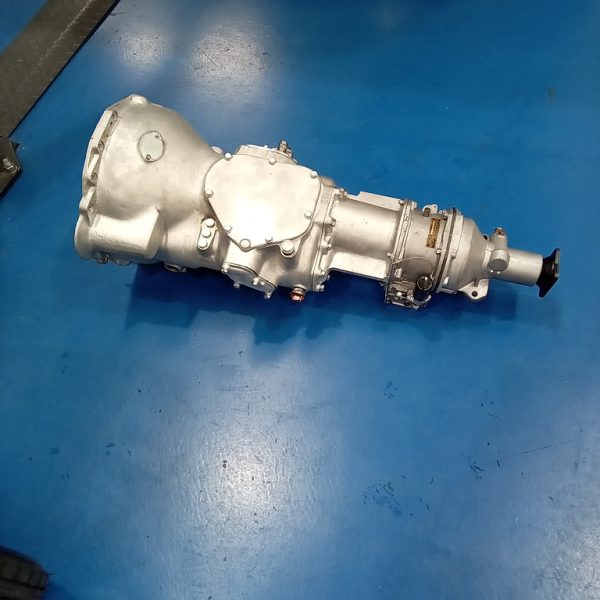
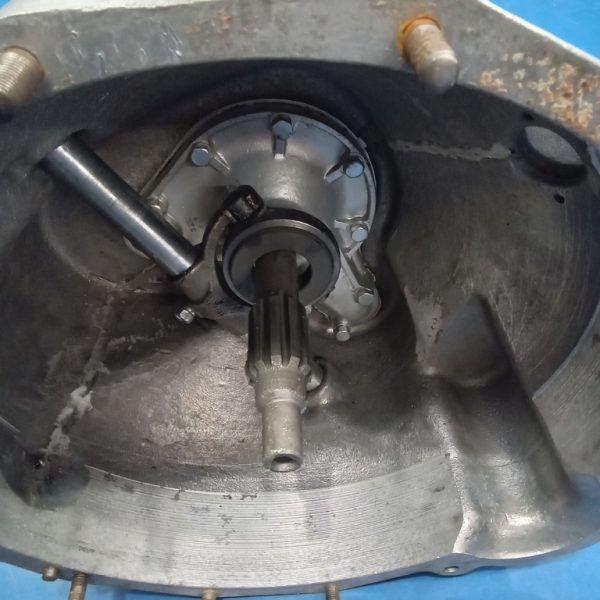
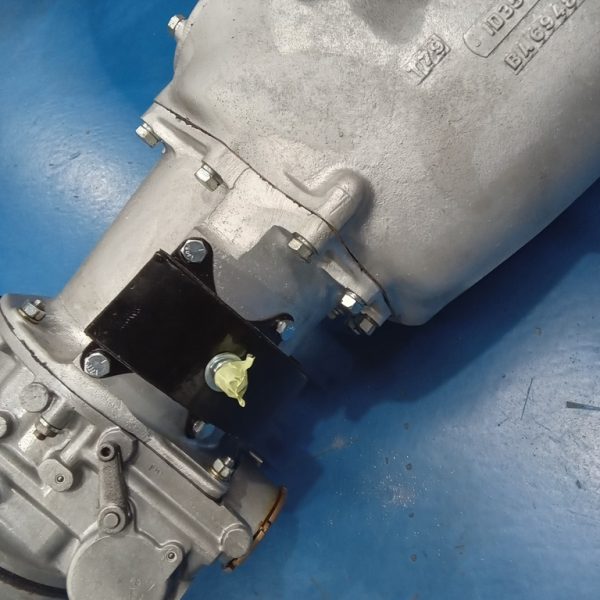
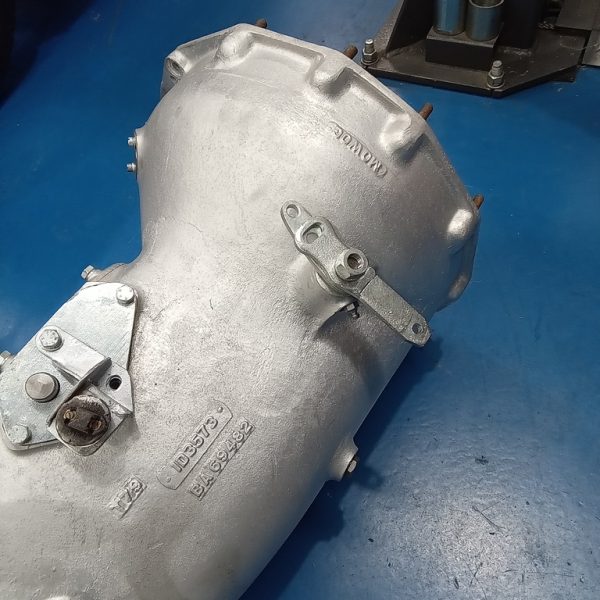
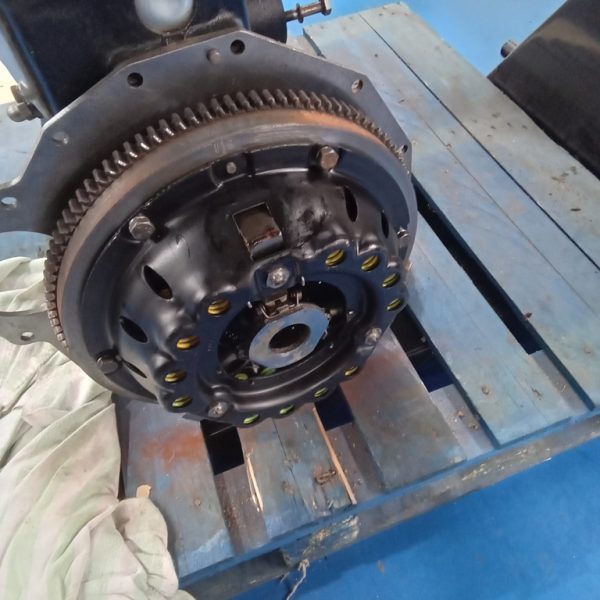
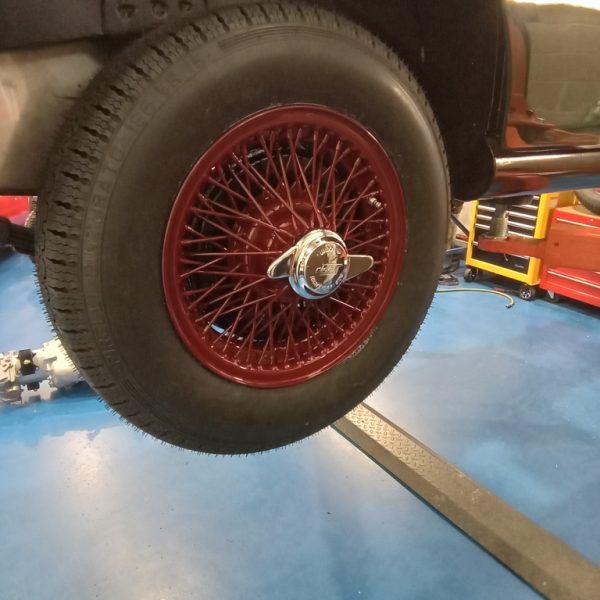
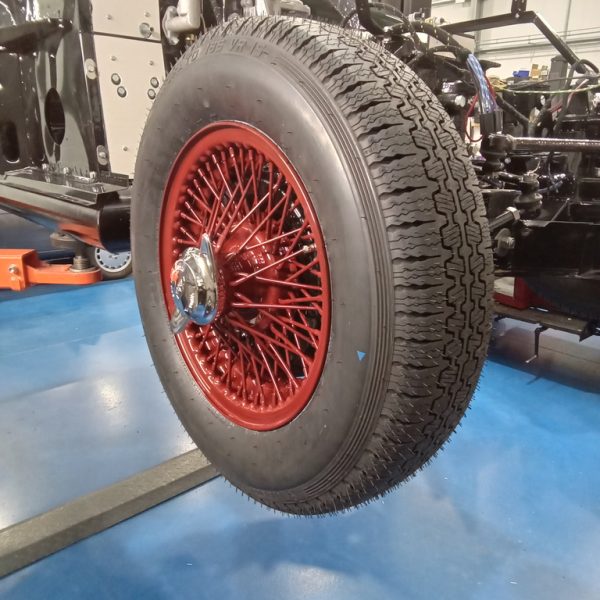
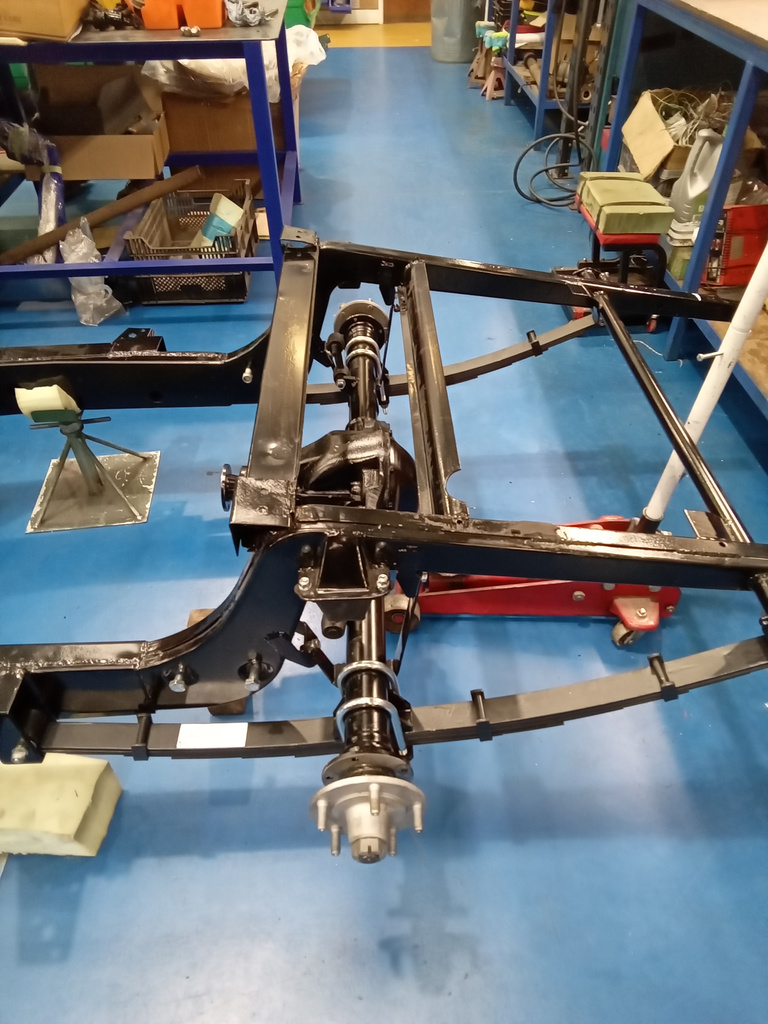
The rear axle of our 1954 Jaguar XK120 has begun being put back together ready for the next stage of its restoration to start.
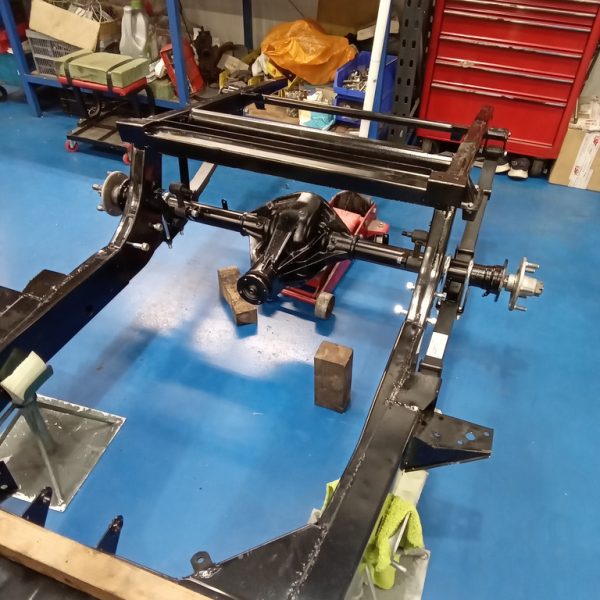
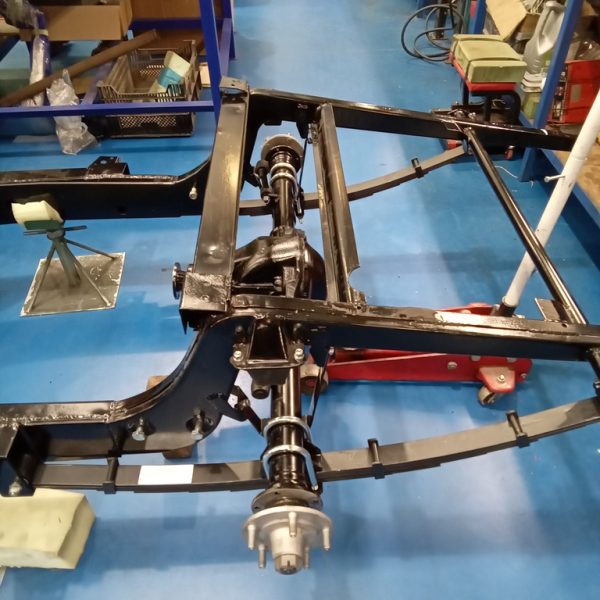
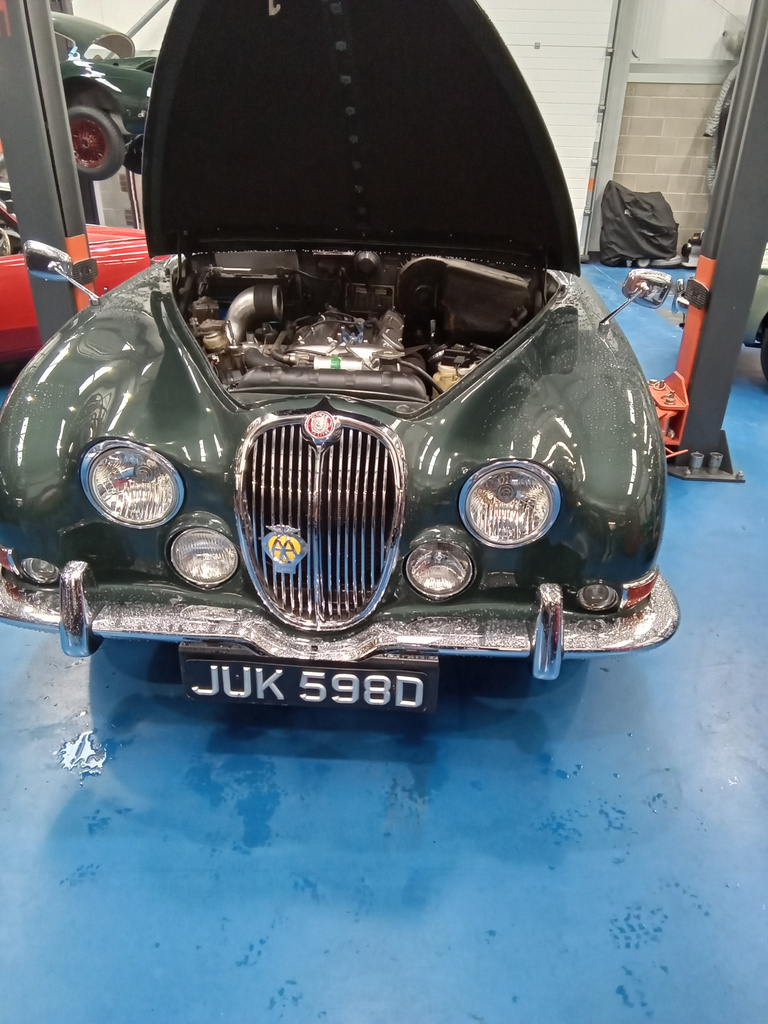
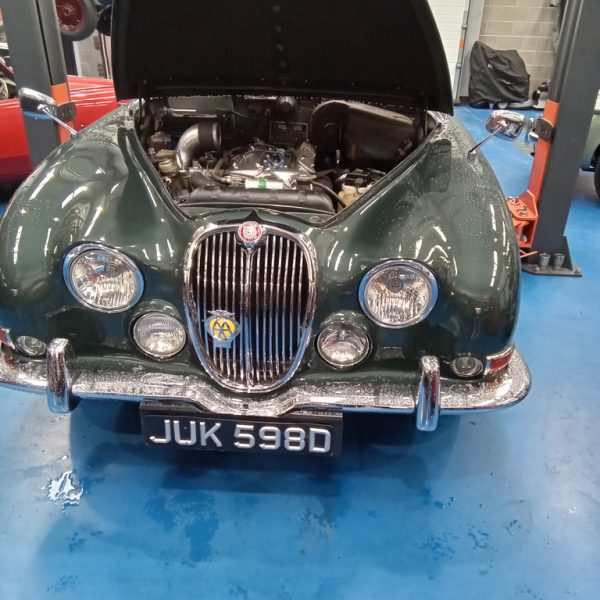
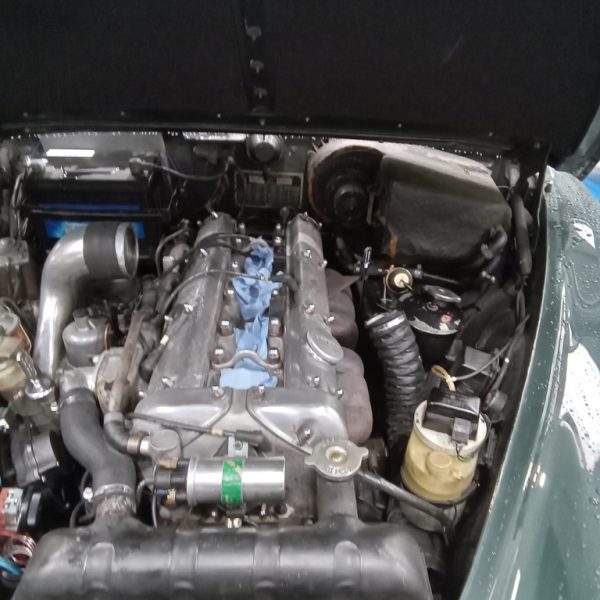
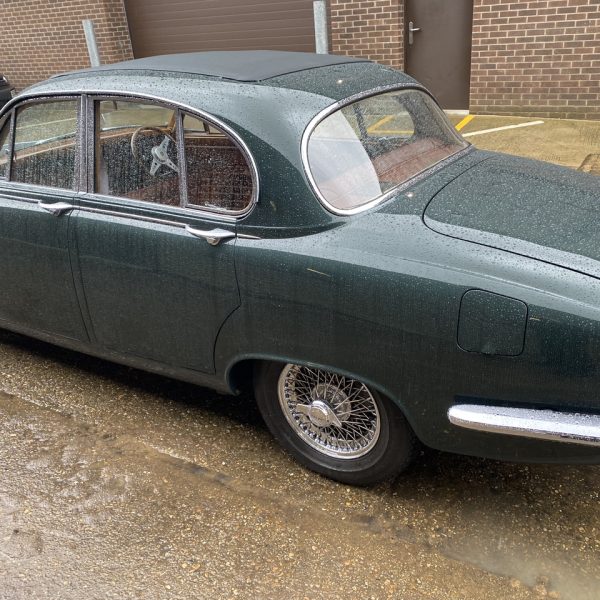
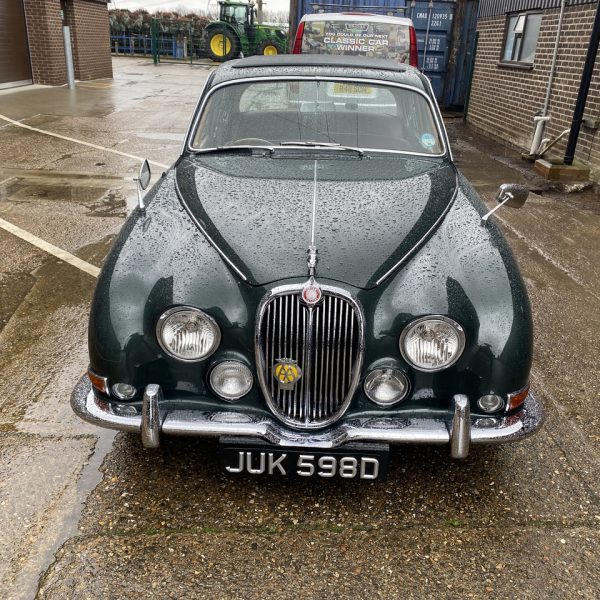
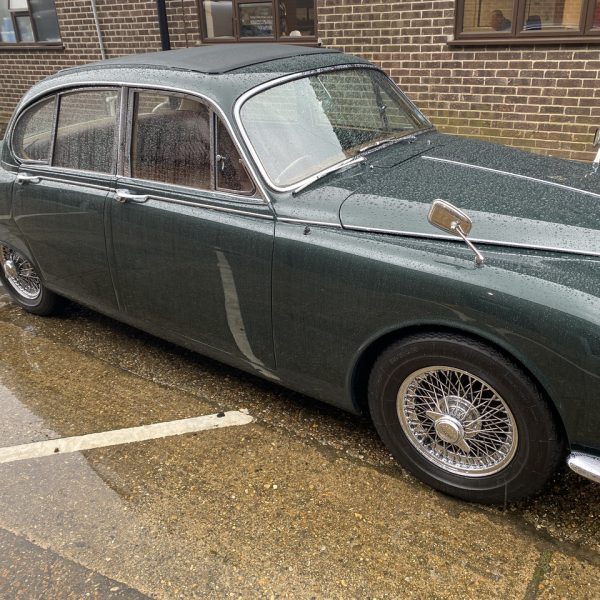
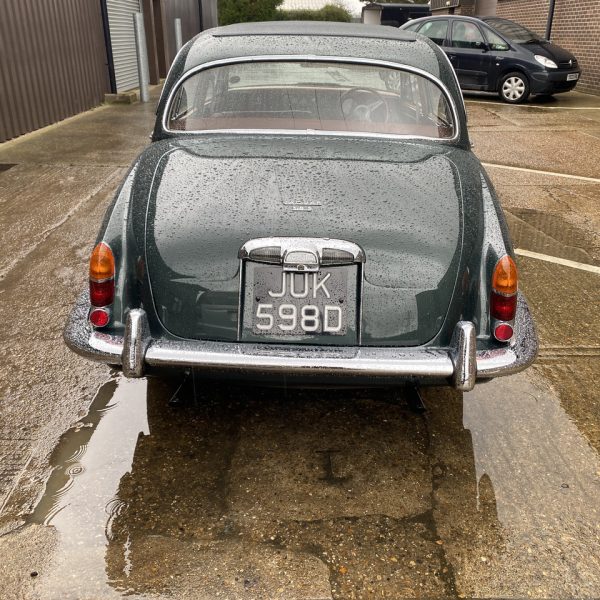
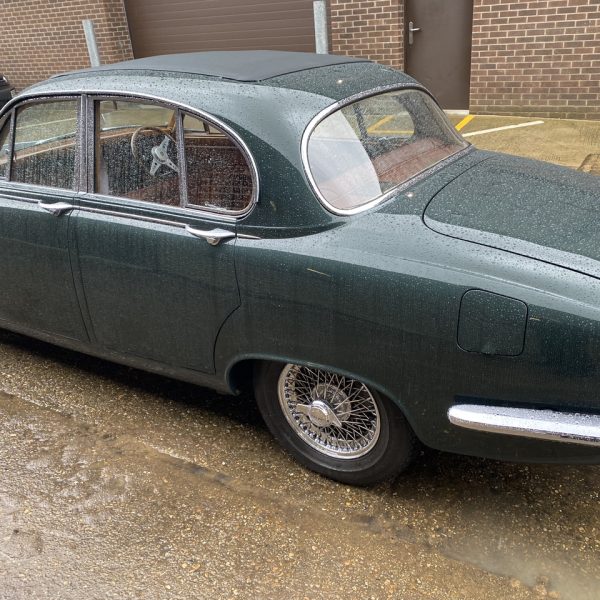
After recently coming into the Bridge Classic Cars workshop for an appraisal, our 1966 Jaguar S-Type returned to us for work to begin on it.
Tony collected this beautiful classic and delivered it safely to the workshop. Once it was here, Neil gave it a full service, changed the antifreeze, and adjusted the wheel bearings.
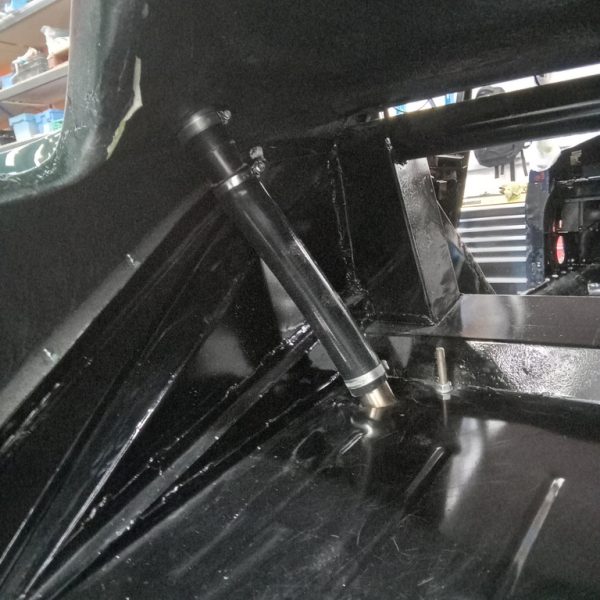
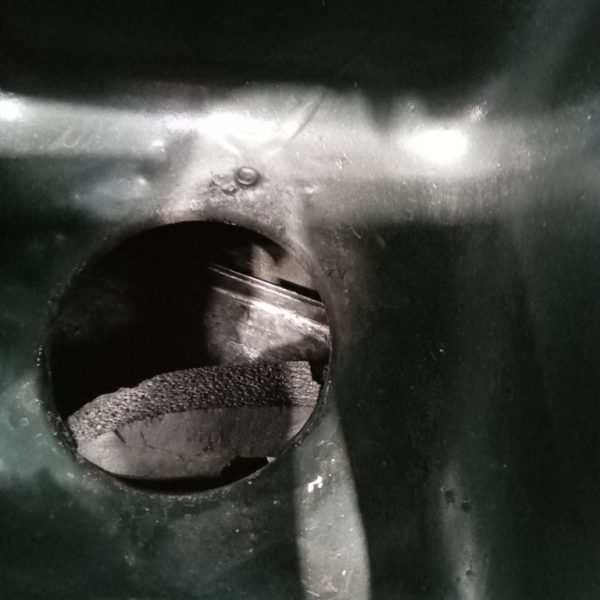
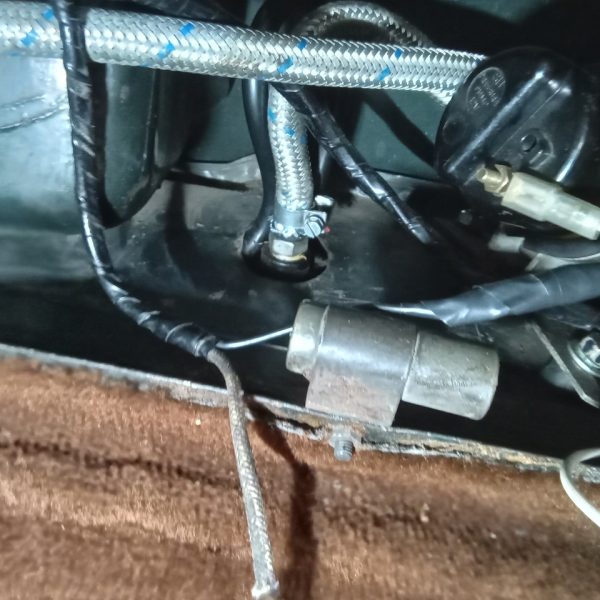
From there, John took over and began looking into the smell of petrol in the boot. The O/S tank vent looked incorrect. John dropped the fuel tank to gain access to the filler neck. He then checked that the vent was clear and fitted a new vent pipe.
A new oil filter and air filter were fitted and all points were greased.
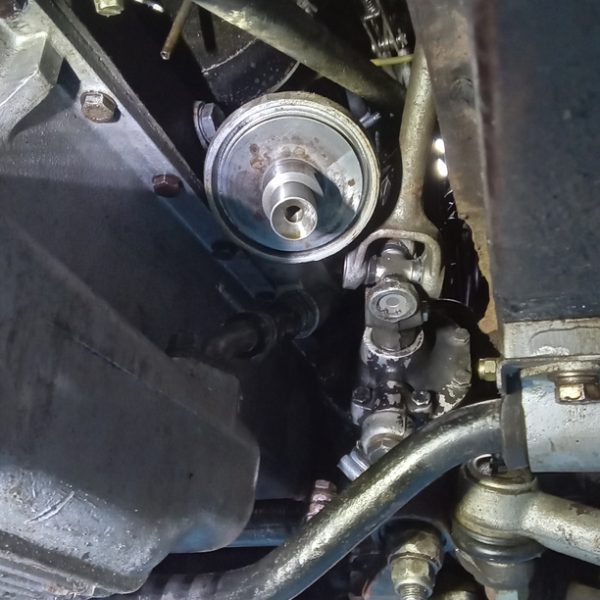
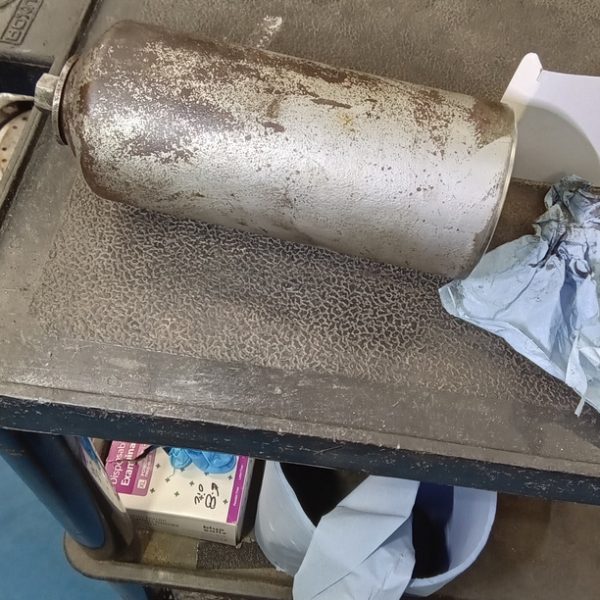
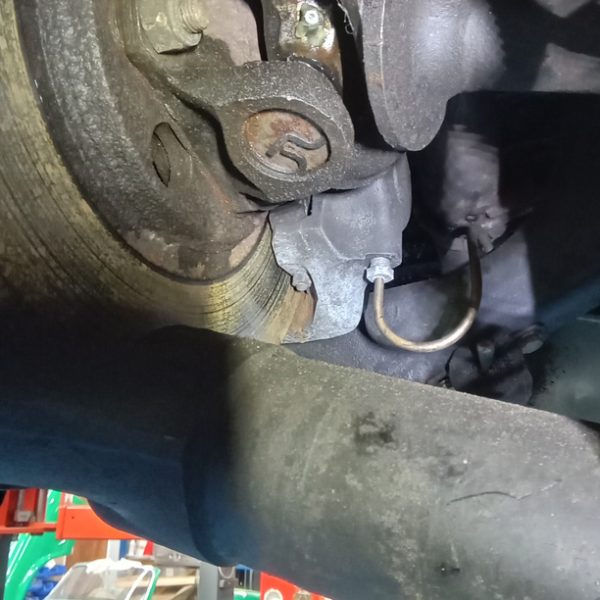
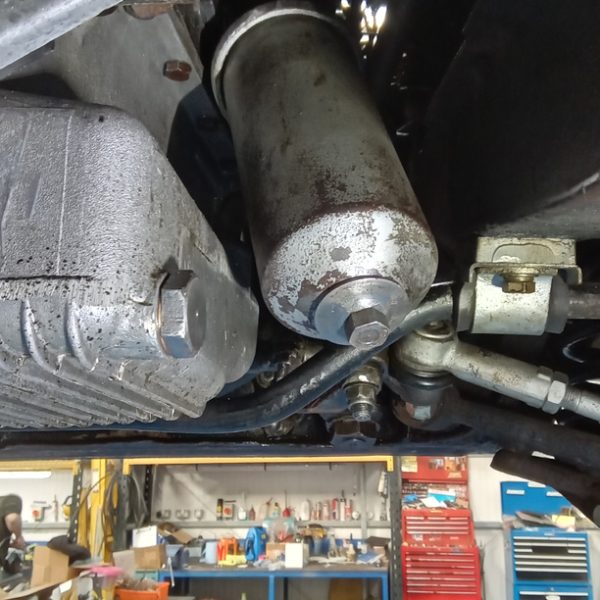
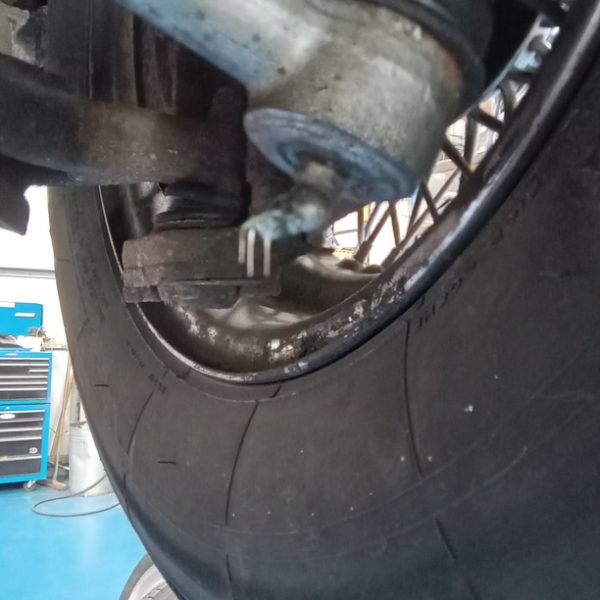
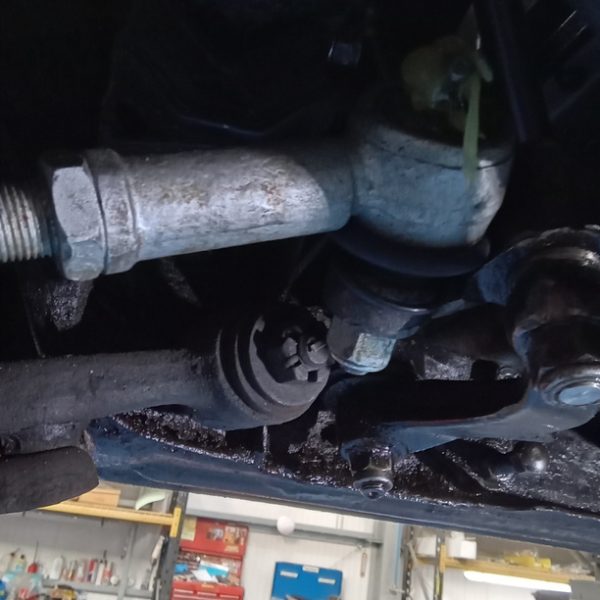
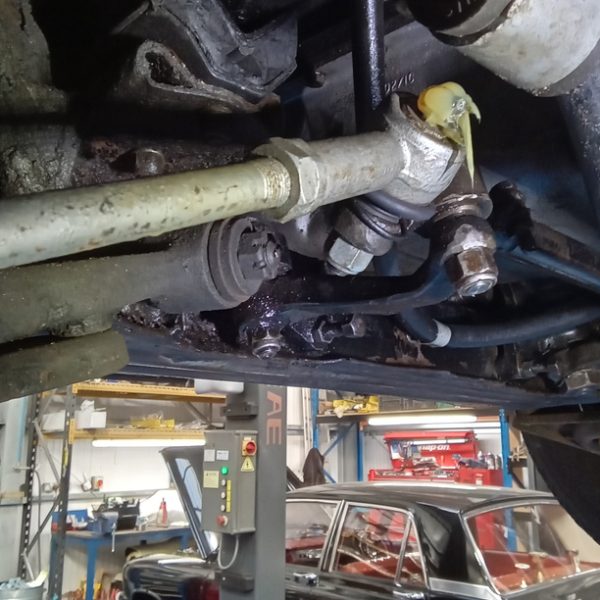
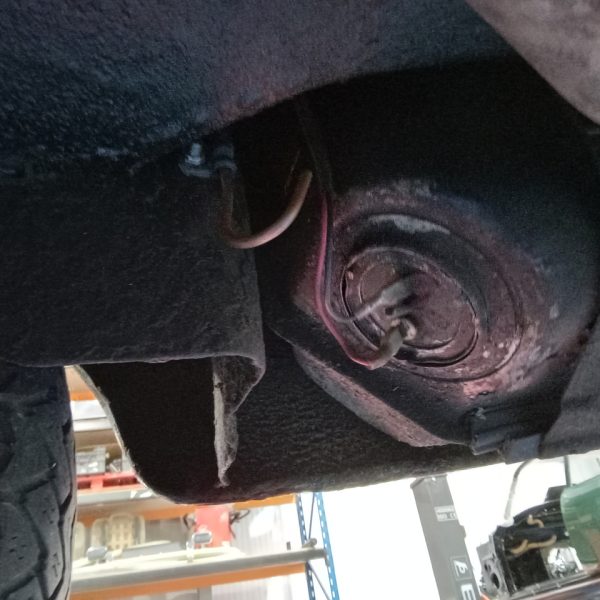
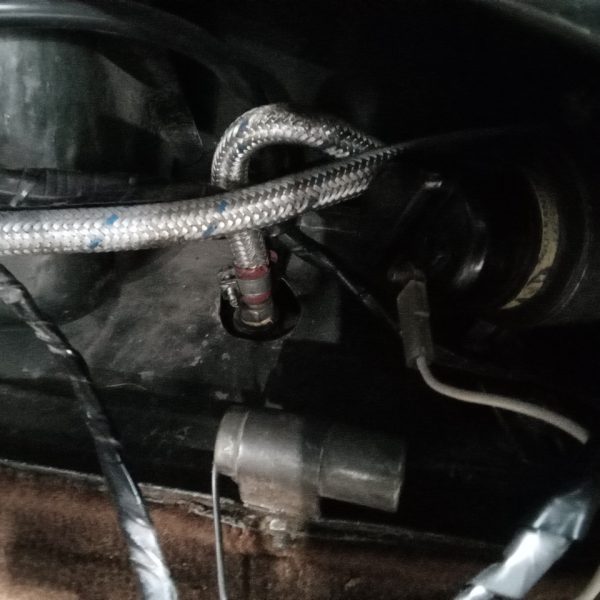
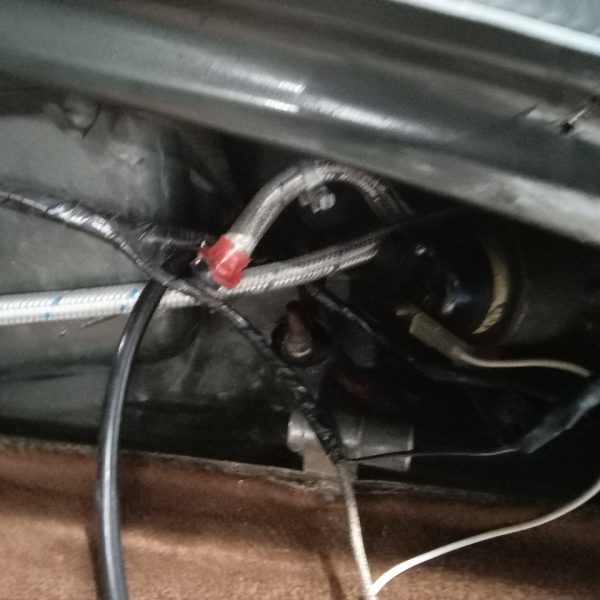
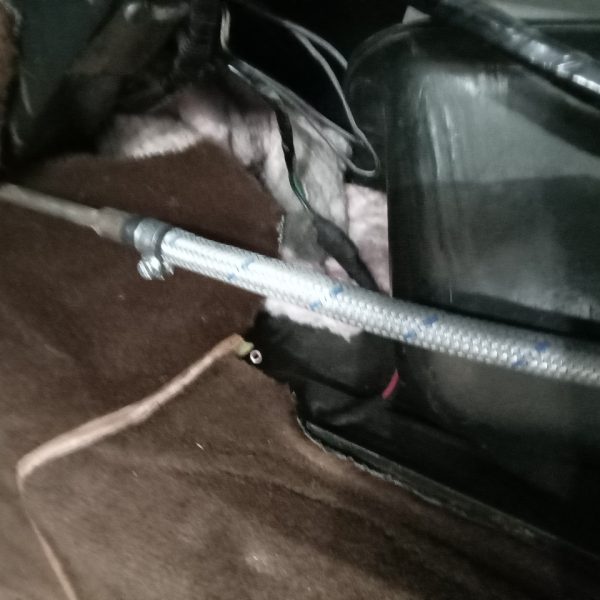
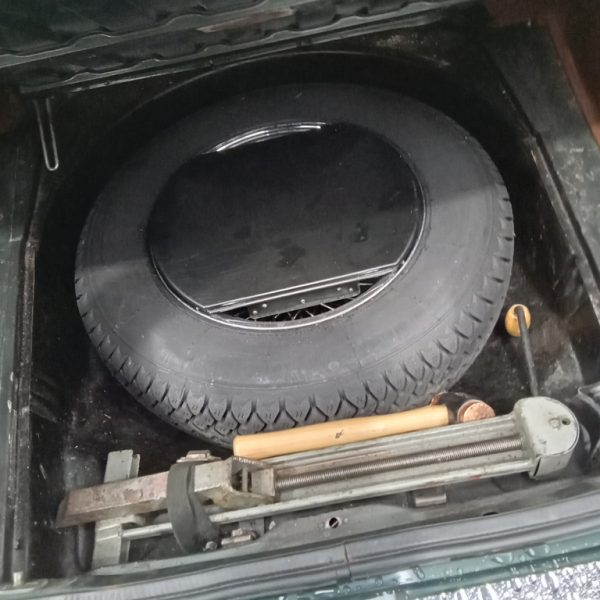
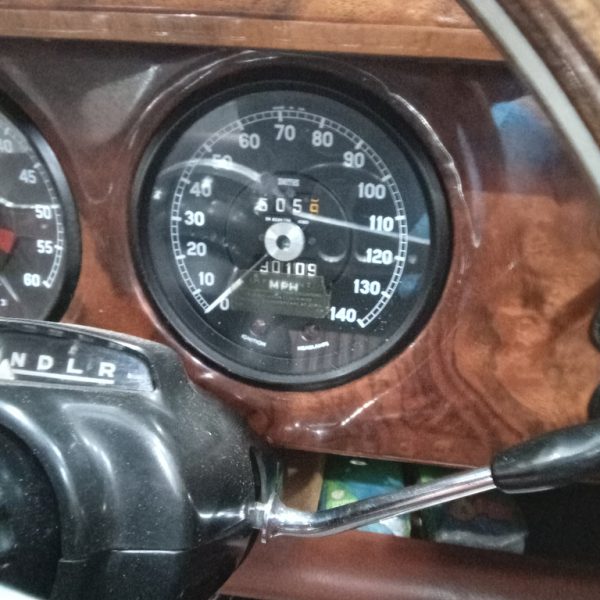
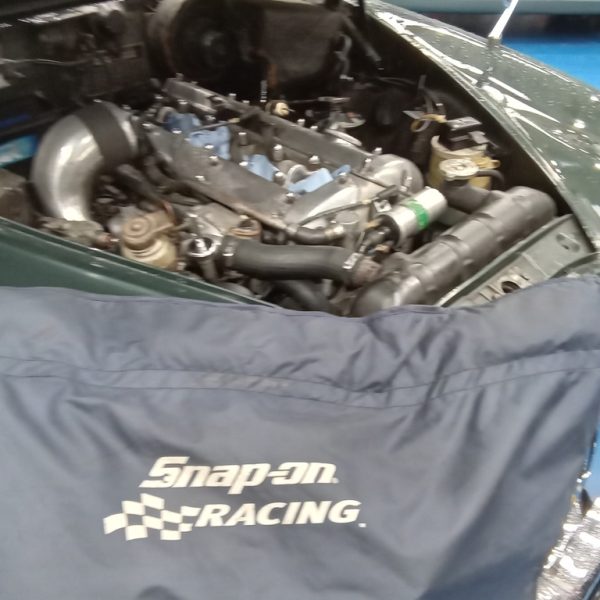
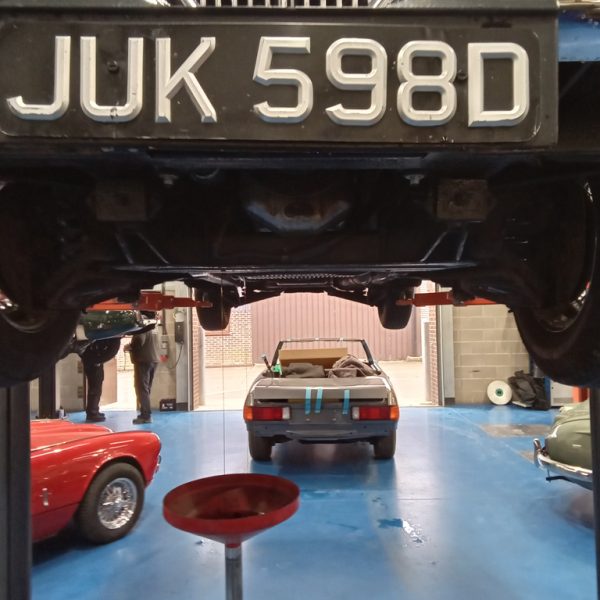
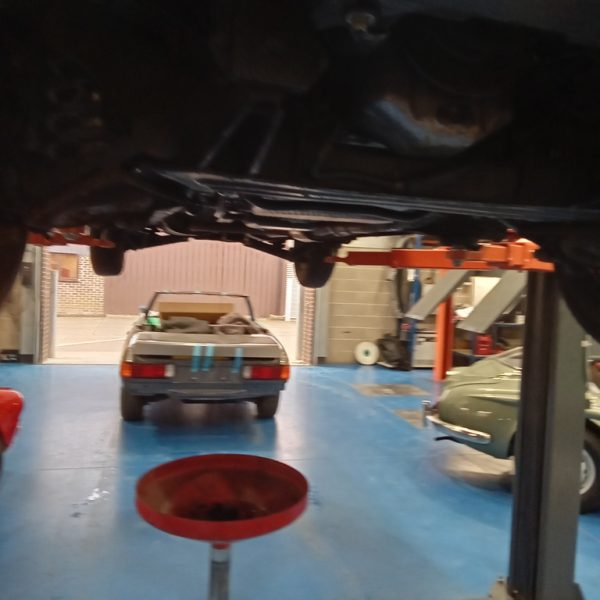
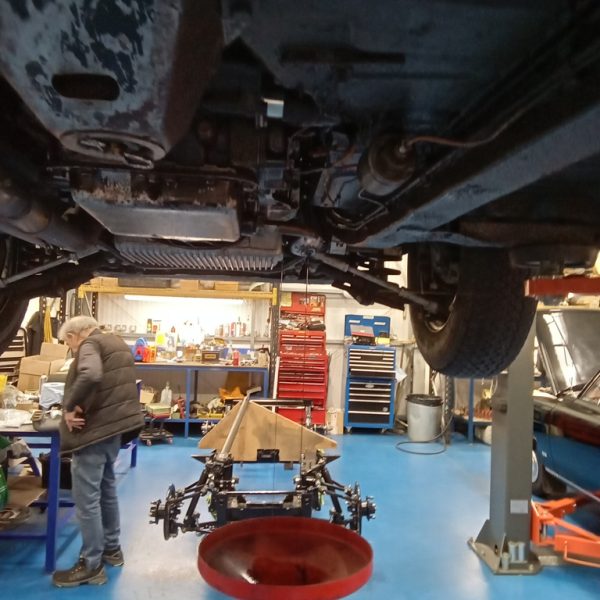
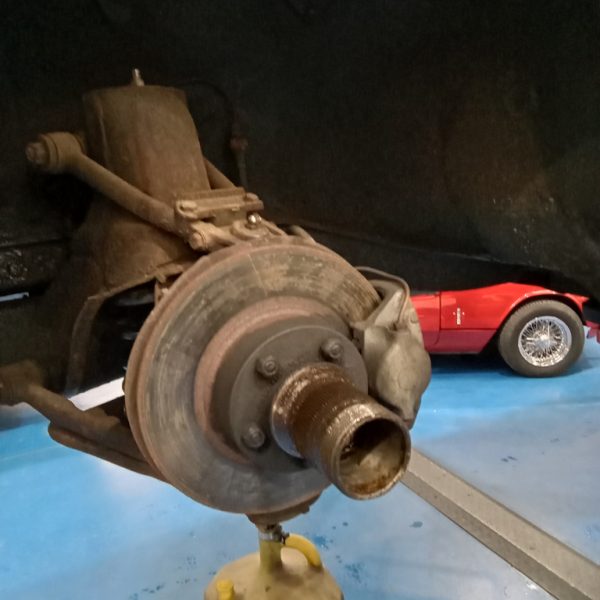
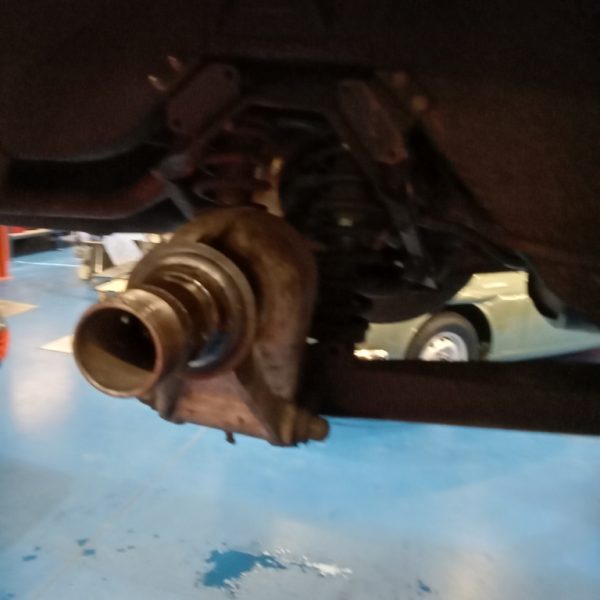
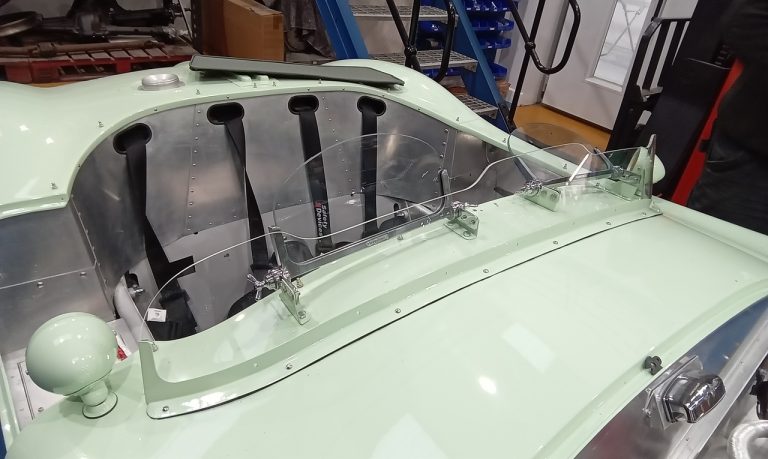
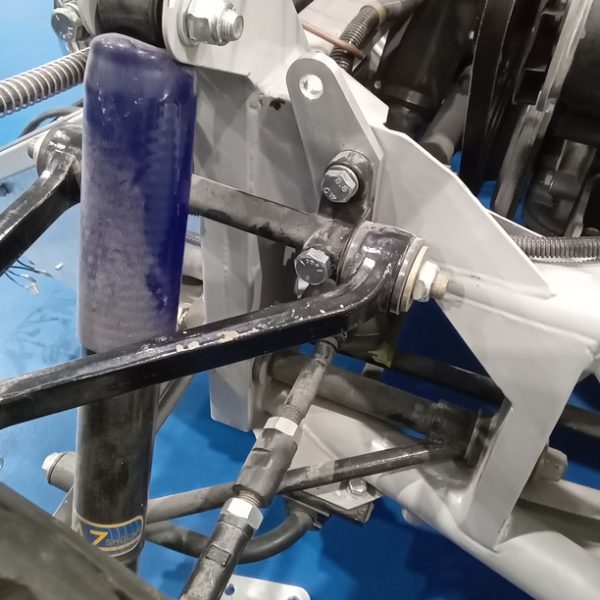
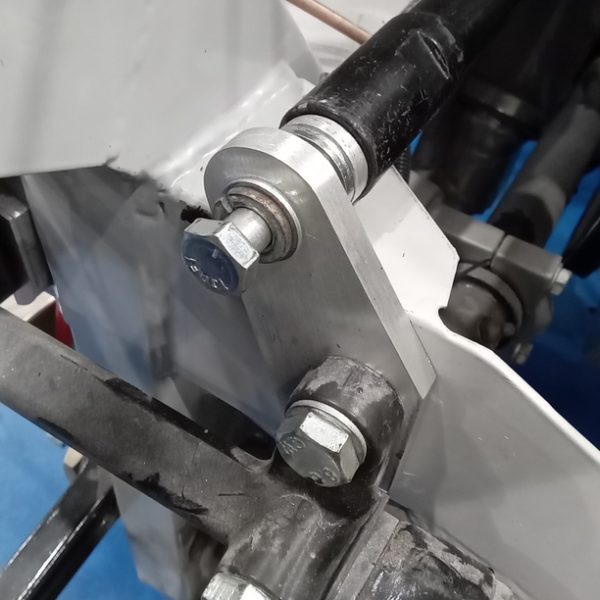
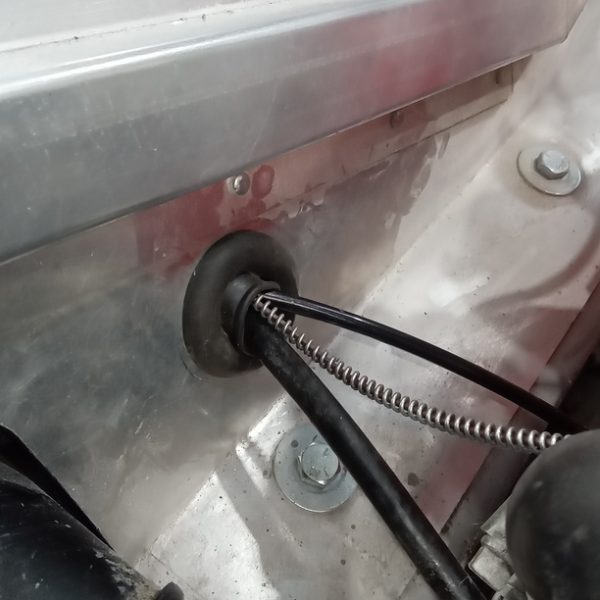
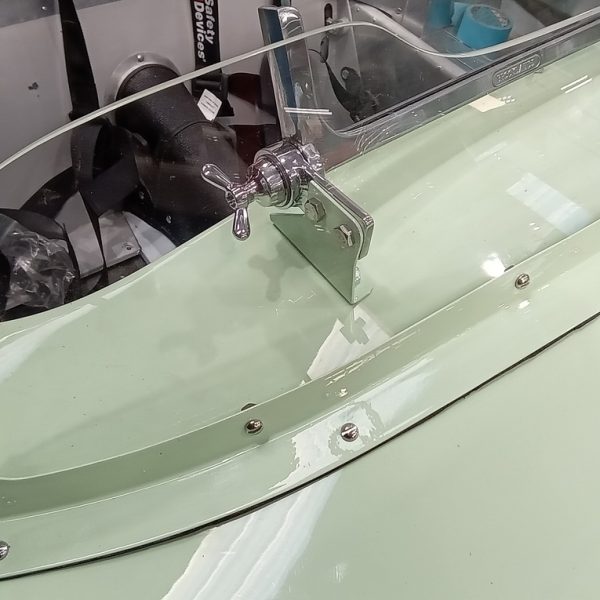
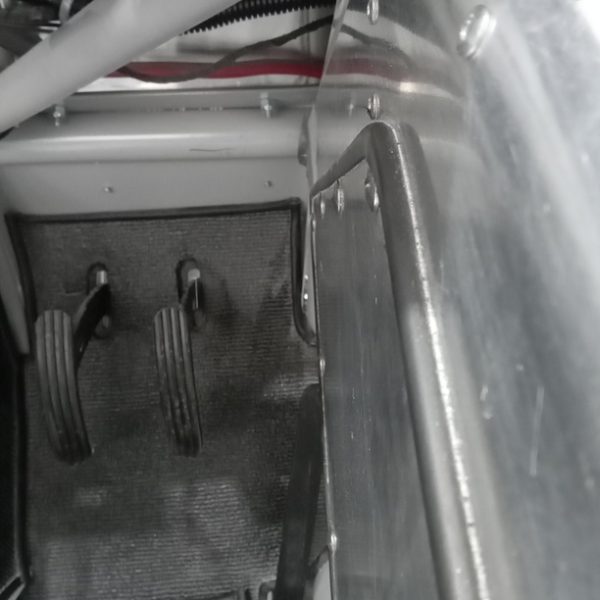
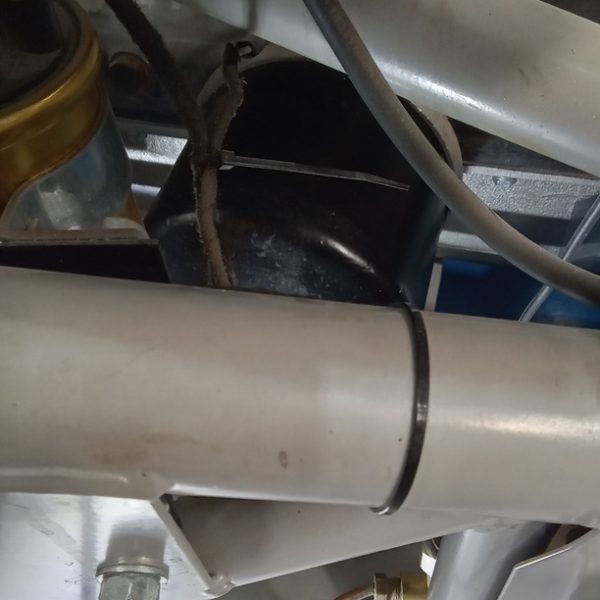
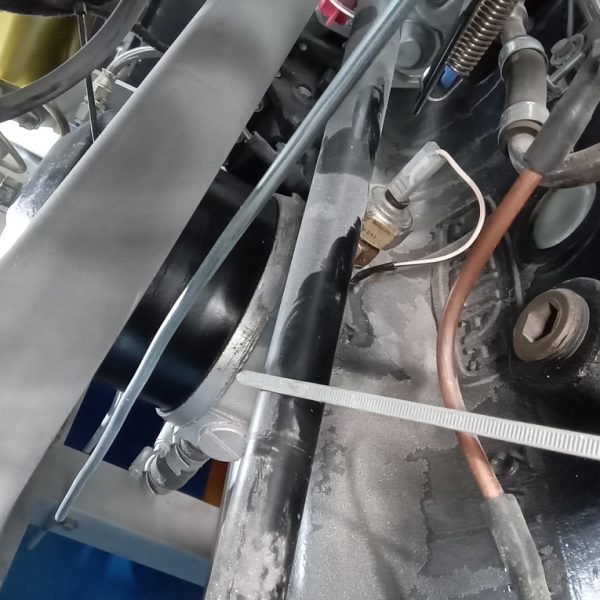
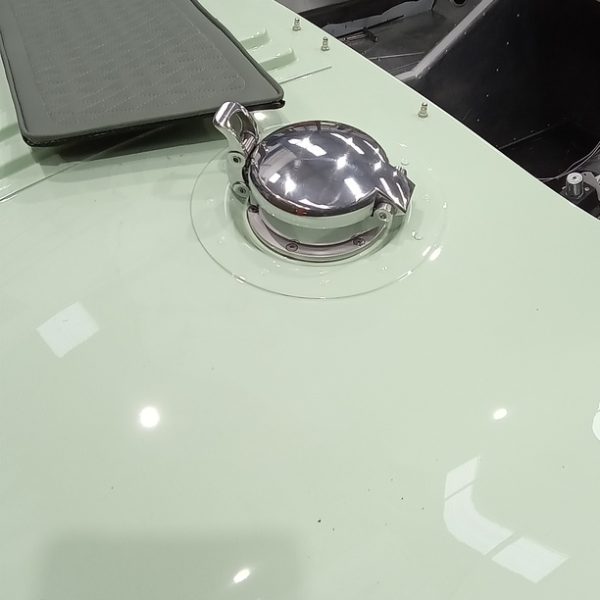
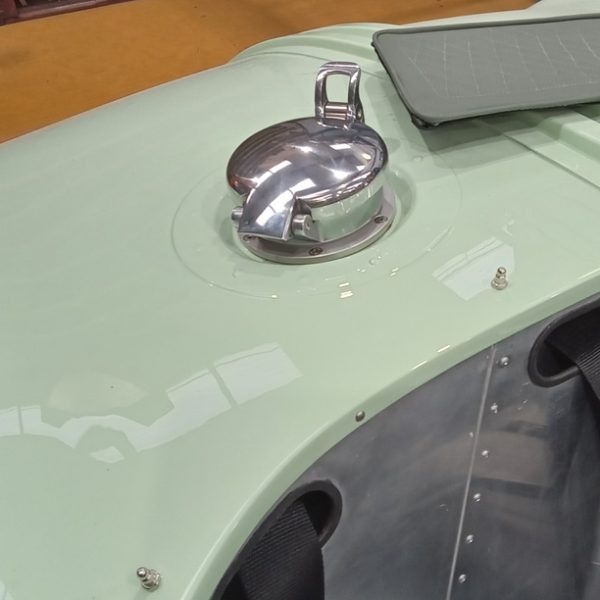
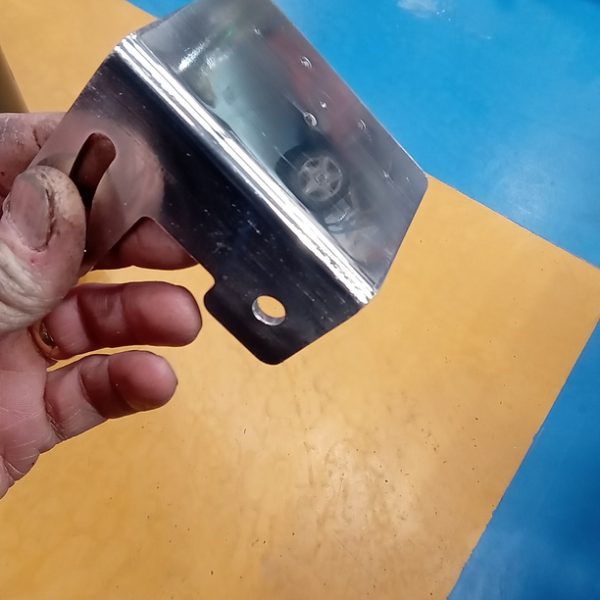
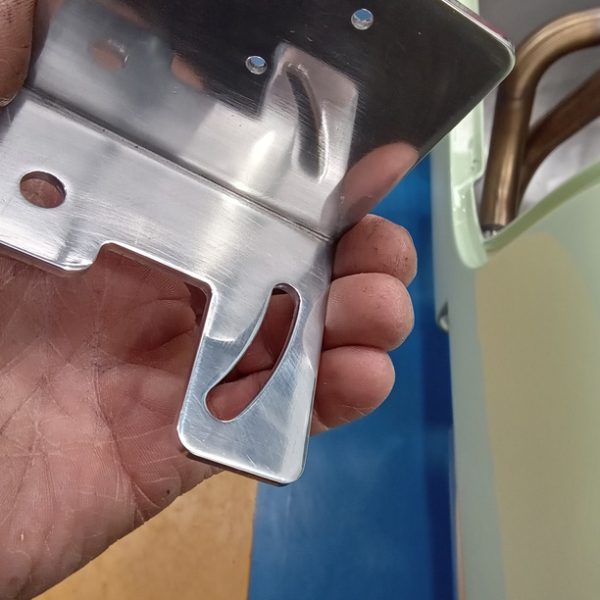
Jonn has been refitting our 2022 Bridge C-Type Replica. He tried to fit the front suspension brace but the brackets were too small.
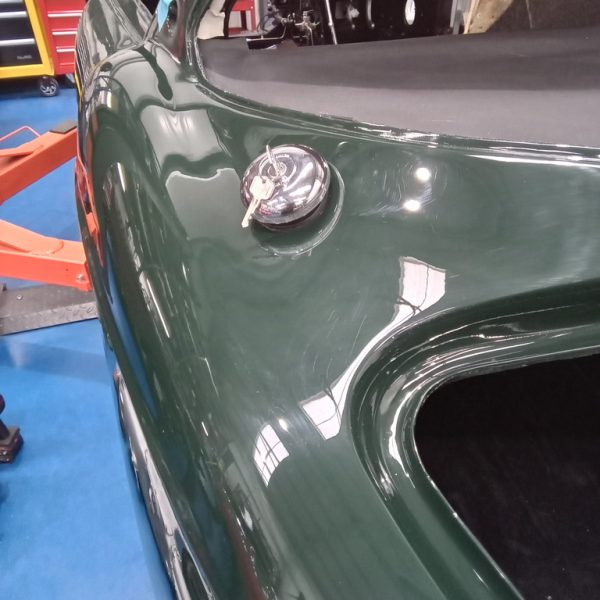
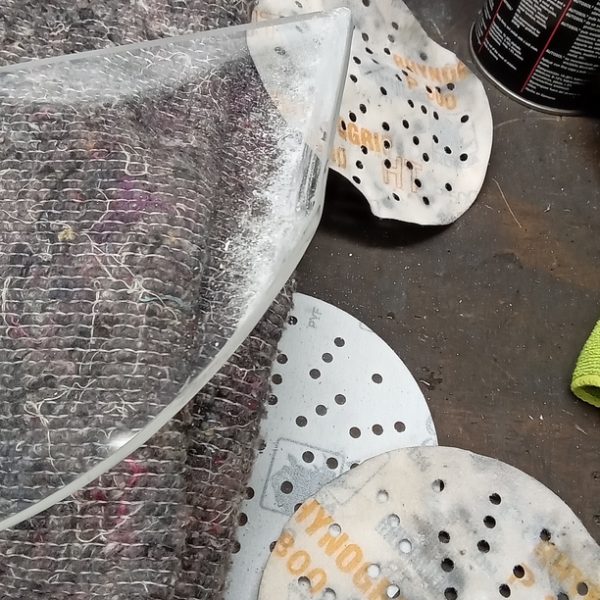
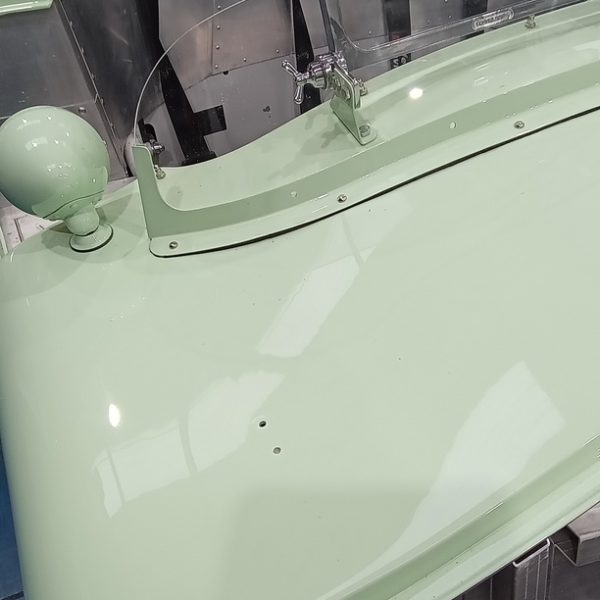
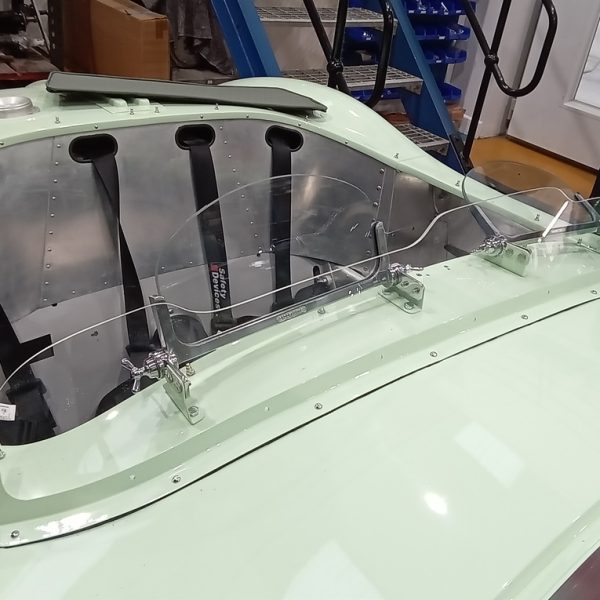
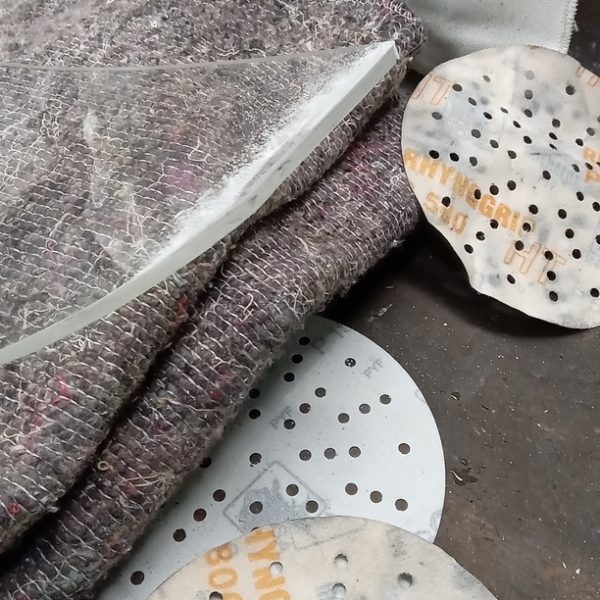
He polished and fitted the fuel cap before polishing the mirror bracket too. The windscreen was fitted and the ends were sanded down the ends to fit and polished both ends back to smooth.
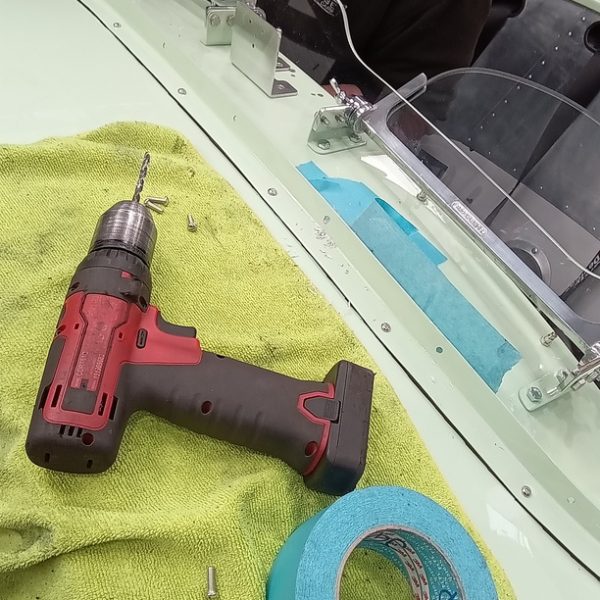
Jonn then fitted the screen and drilled out the fixings.
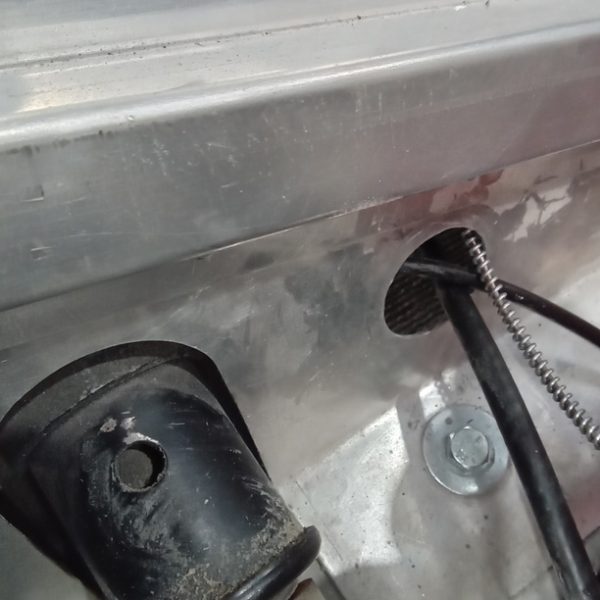
Jonn used bigger brackets and fitted these to the front suspension and secured them. He then fitted the brace bar but this still requires spacers. The remaining windscreen screws were fitted and tightened.








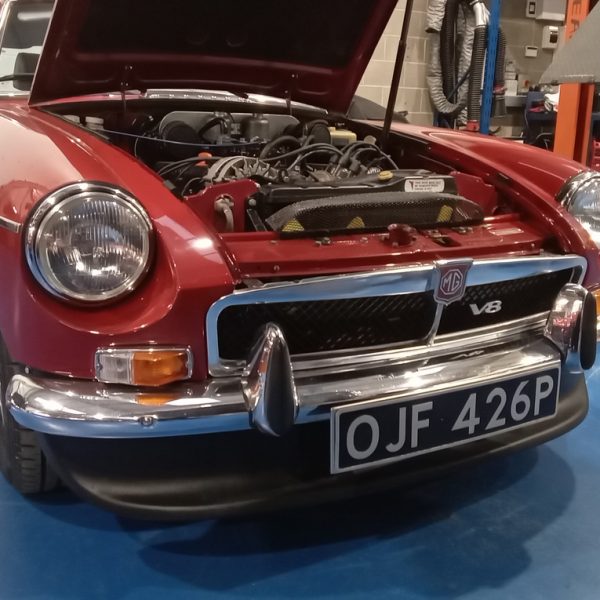
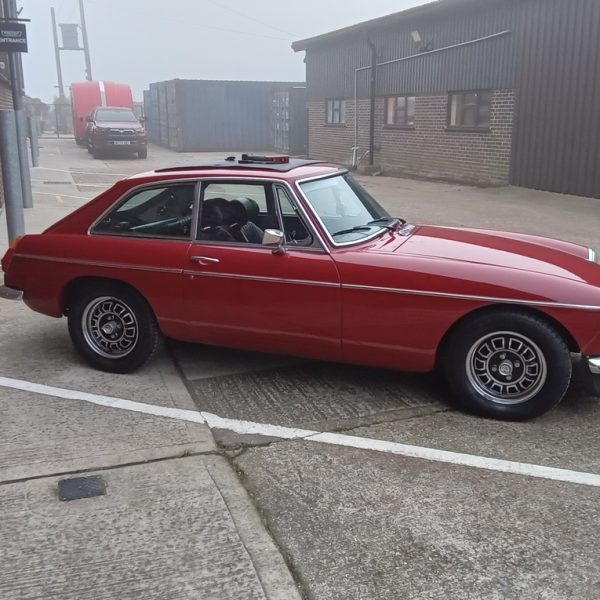
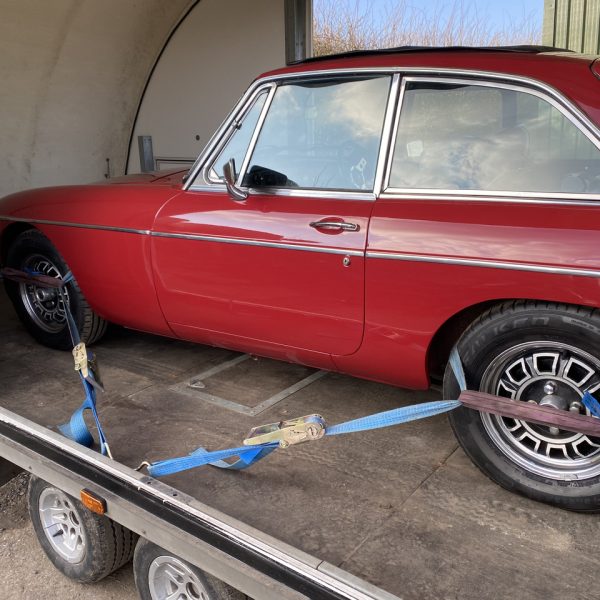
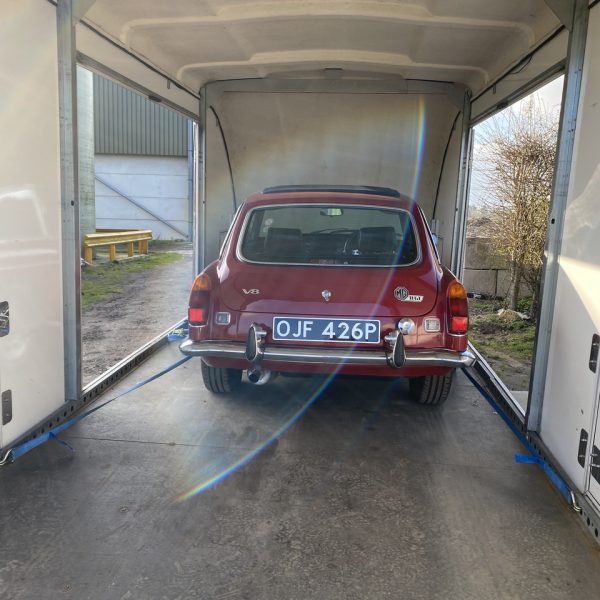
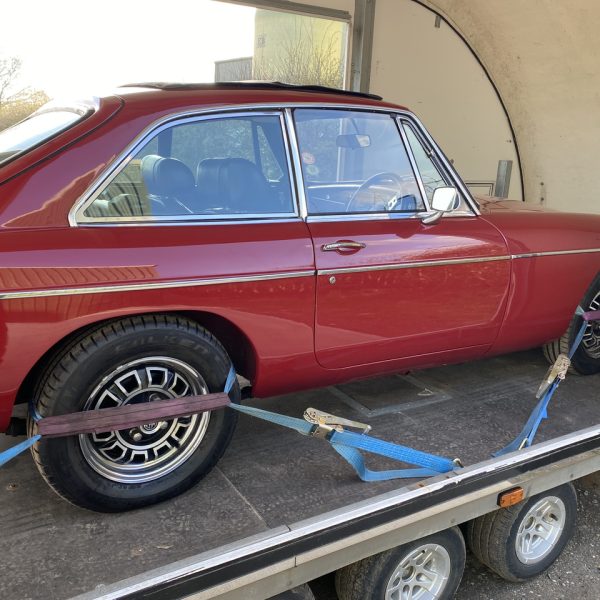
Now heading off to it’s new home, our 1975 MG B GT V8 has come out of storage, had a general check over and is now in the hands of it’s new owner.
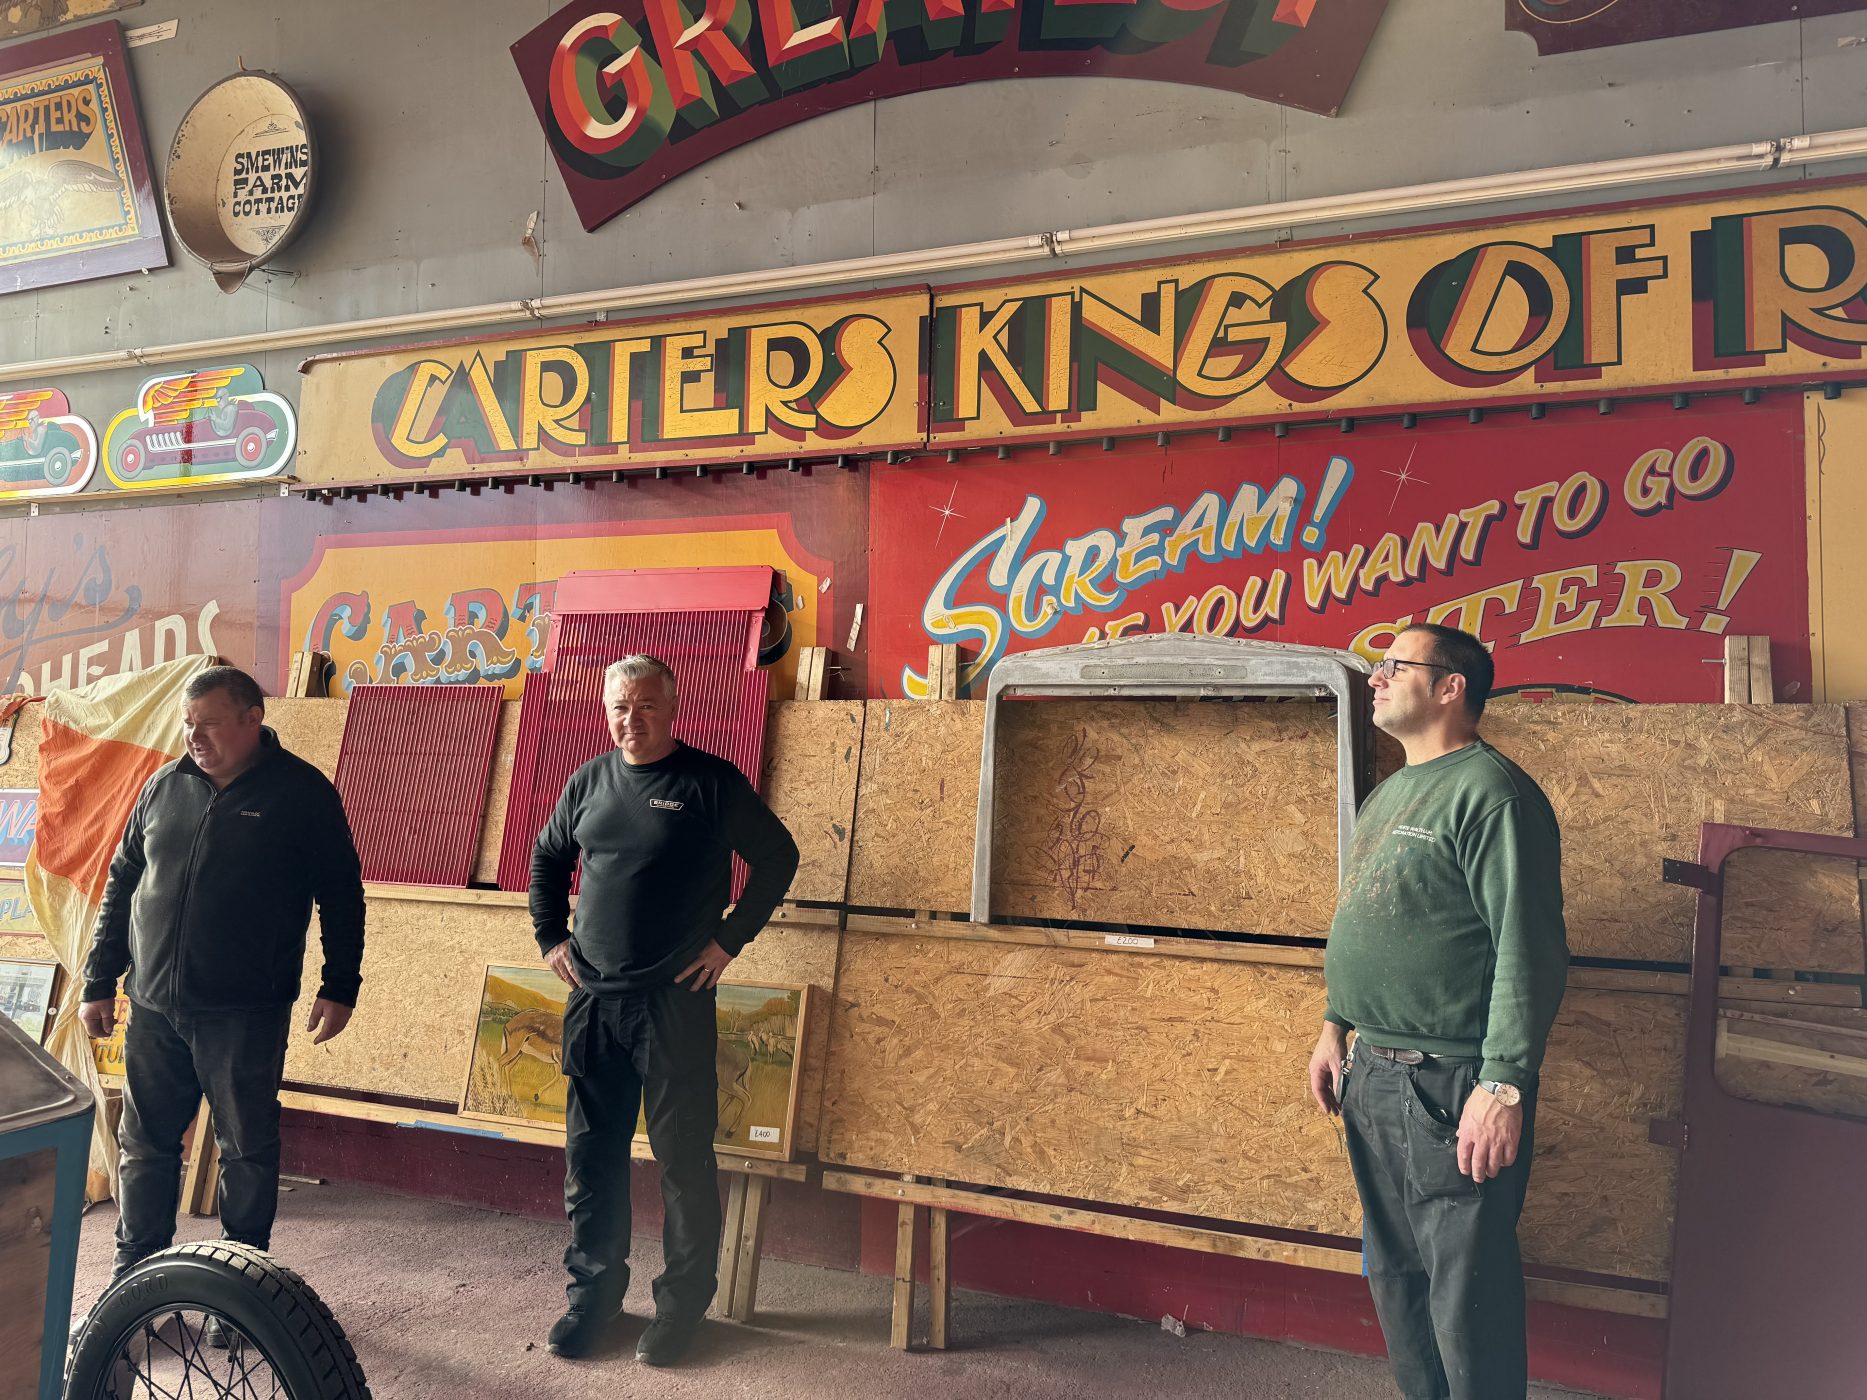
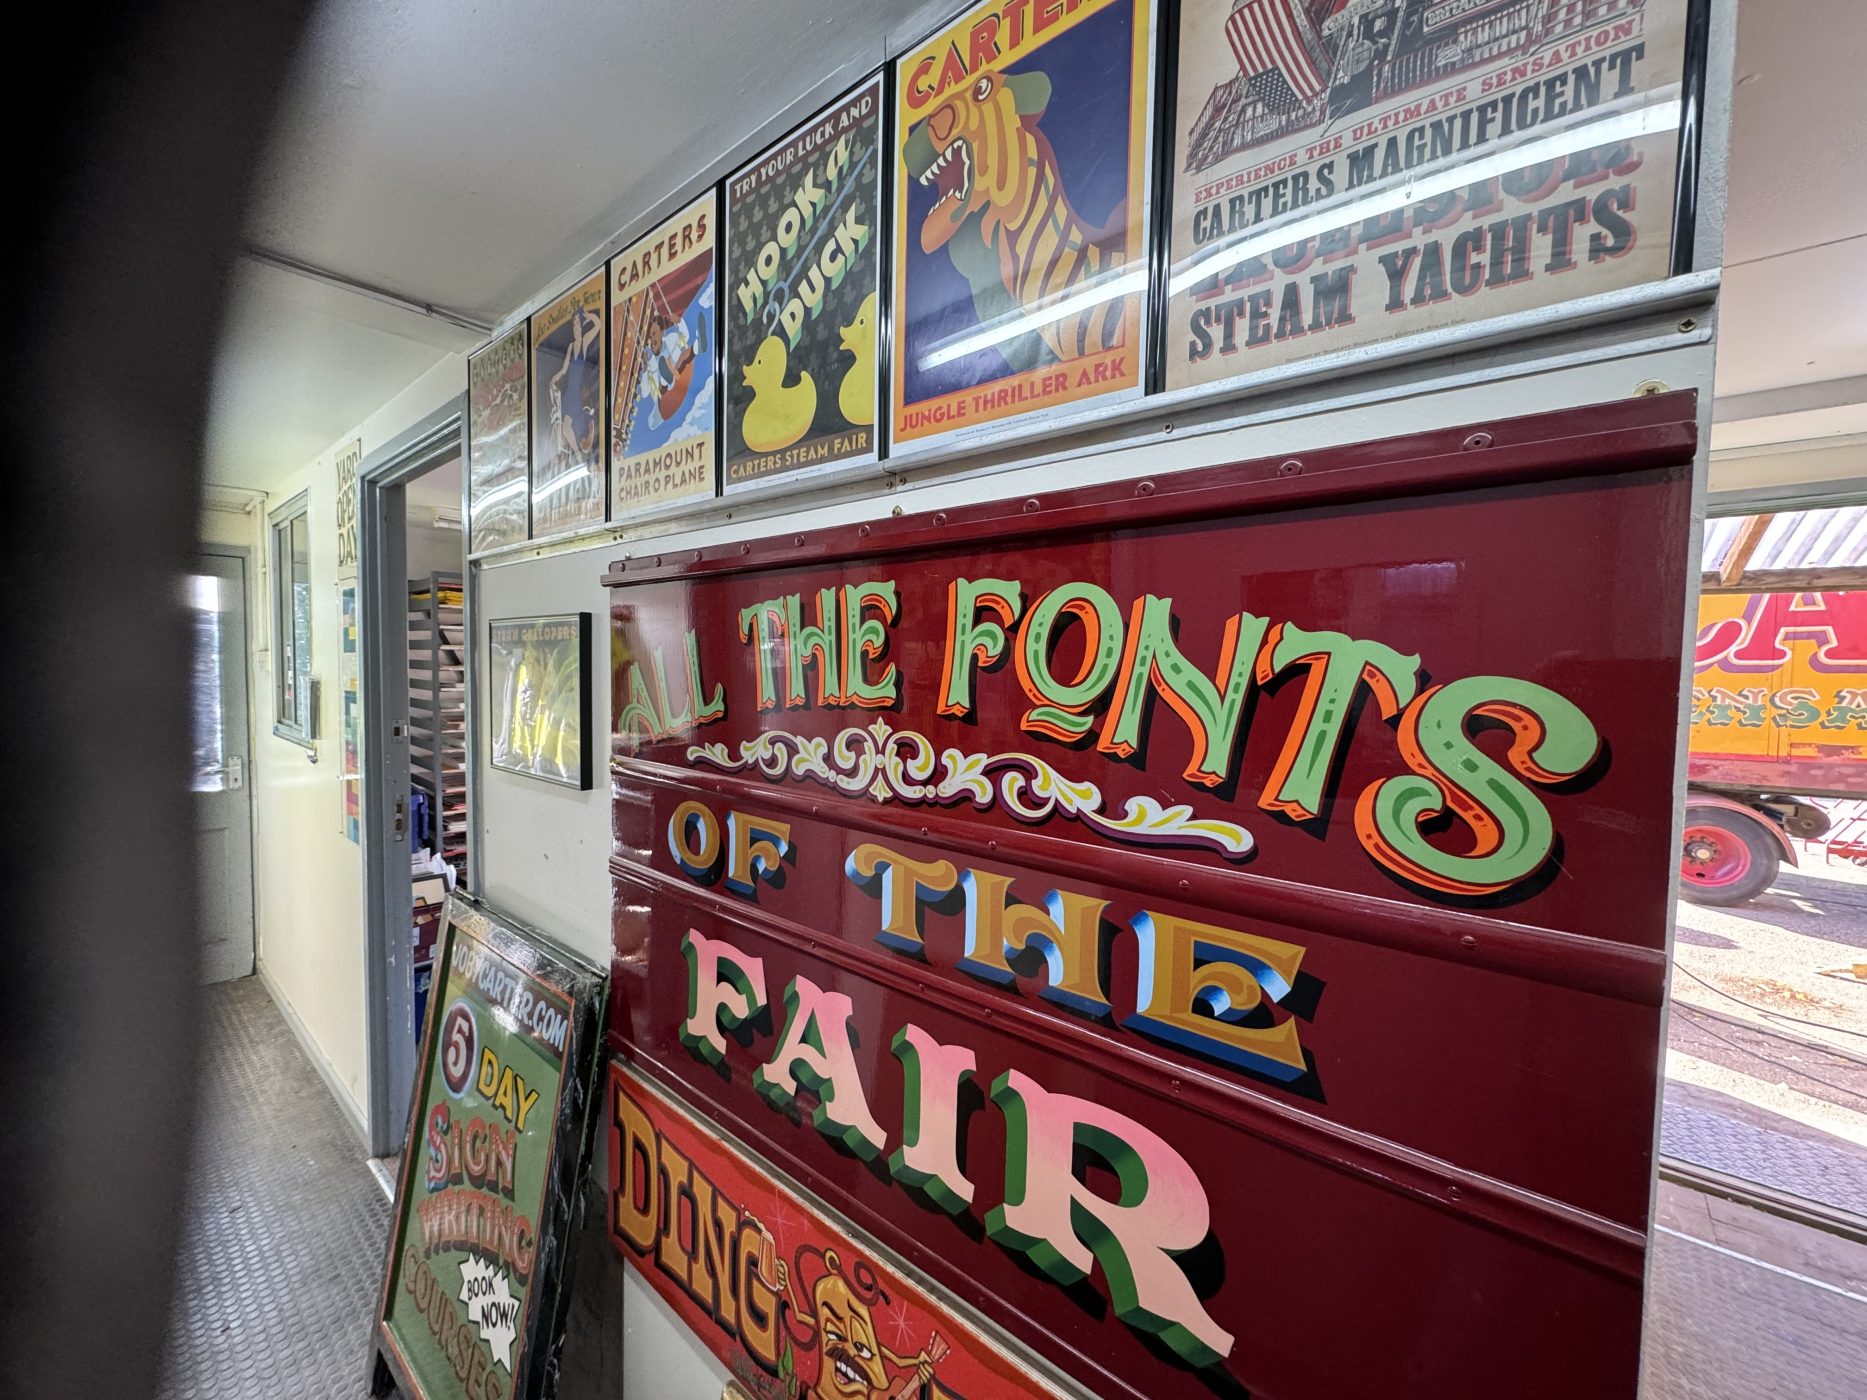
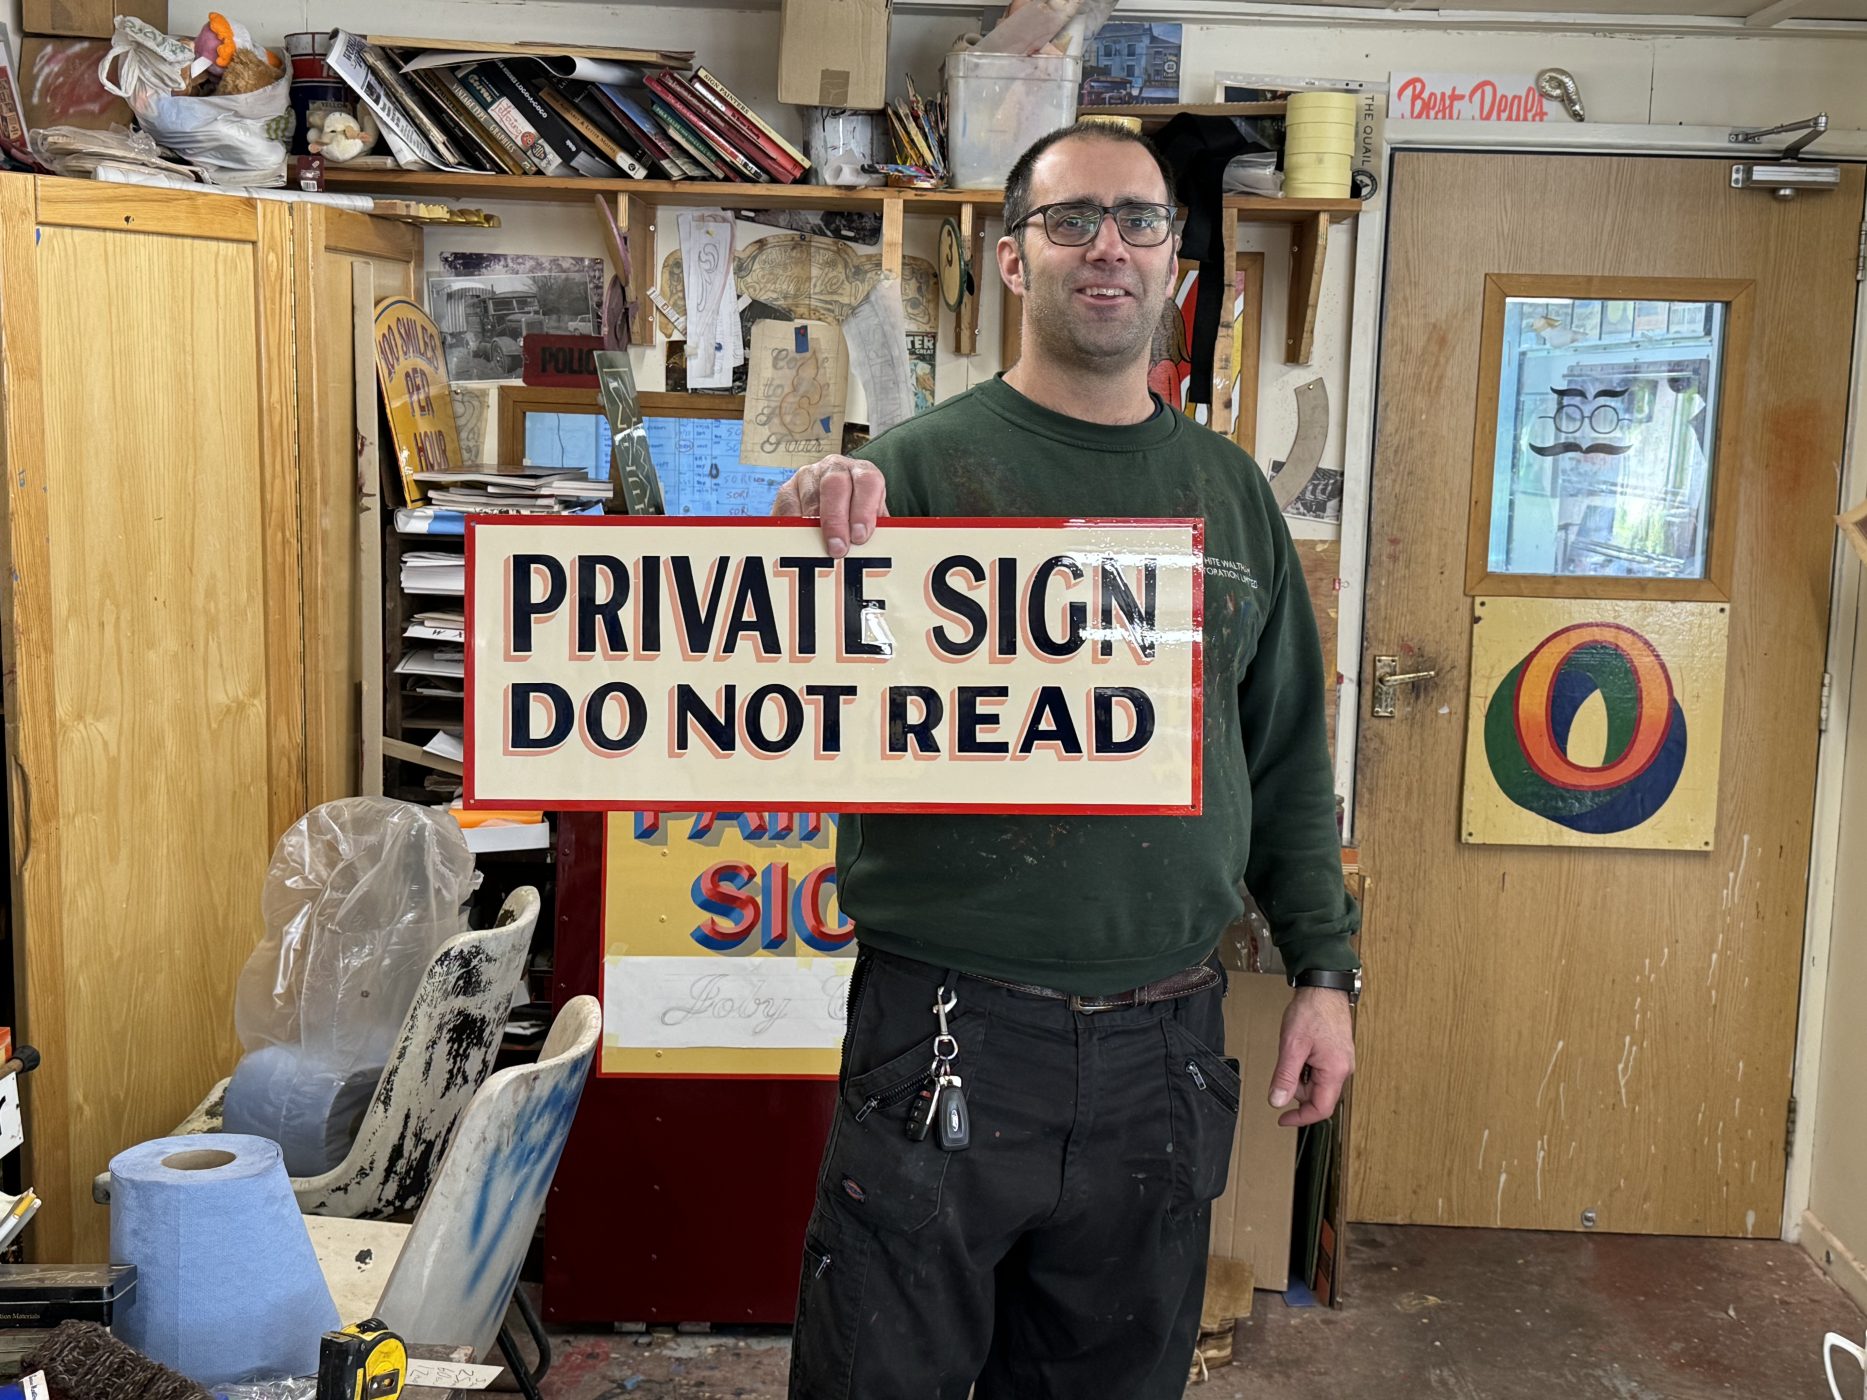
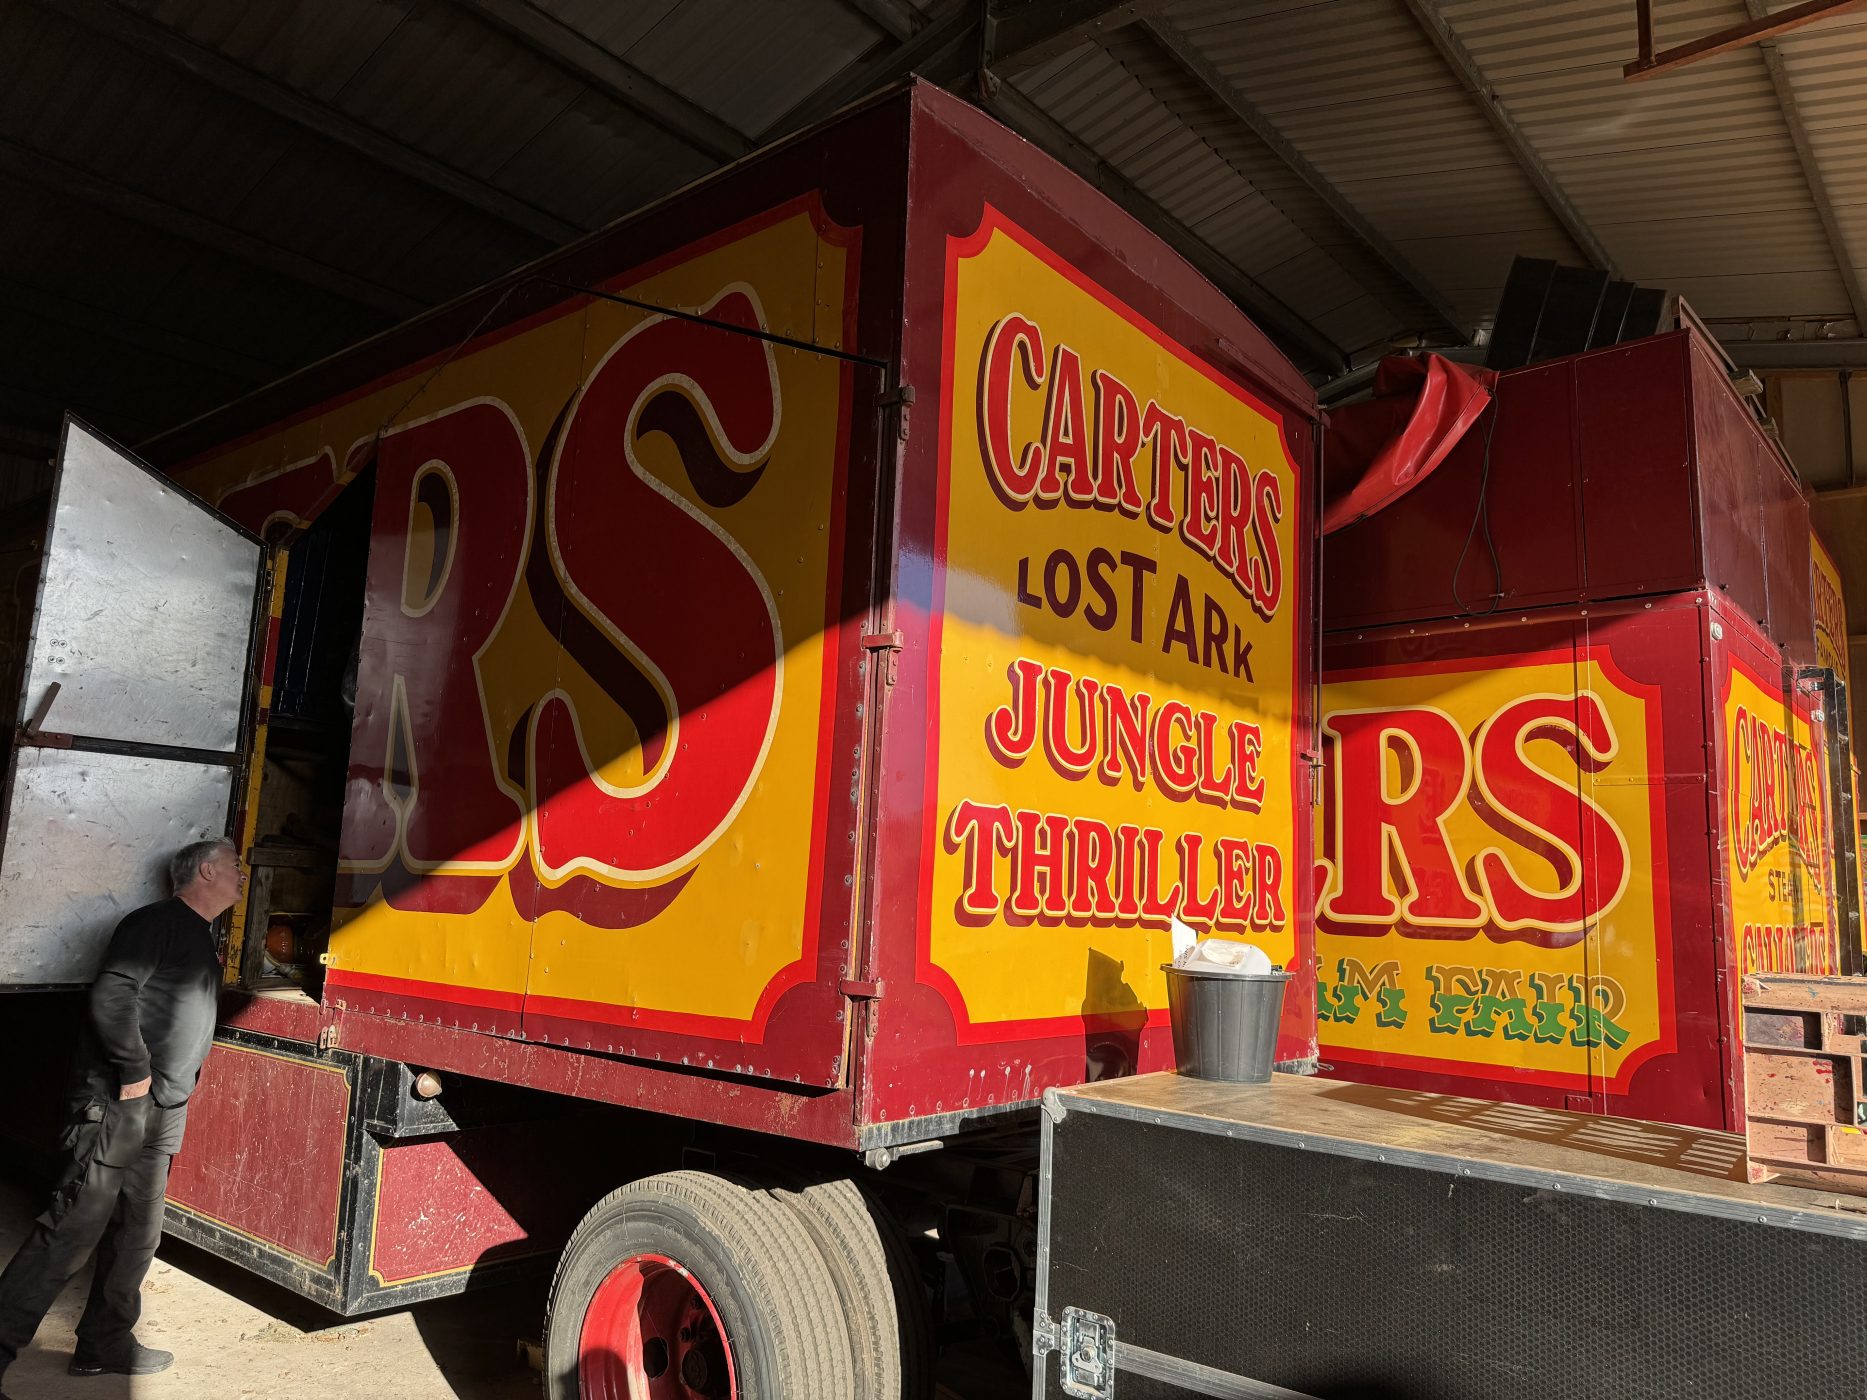
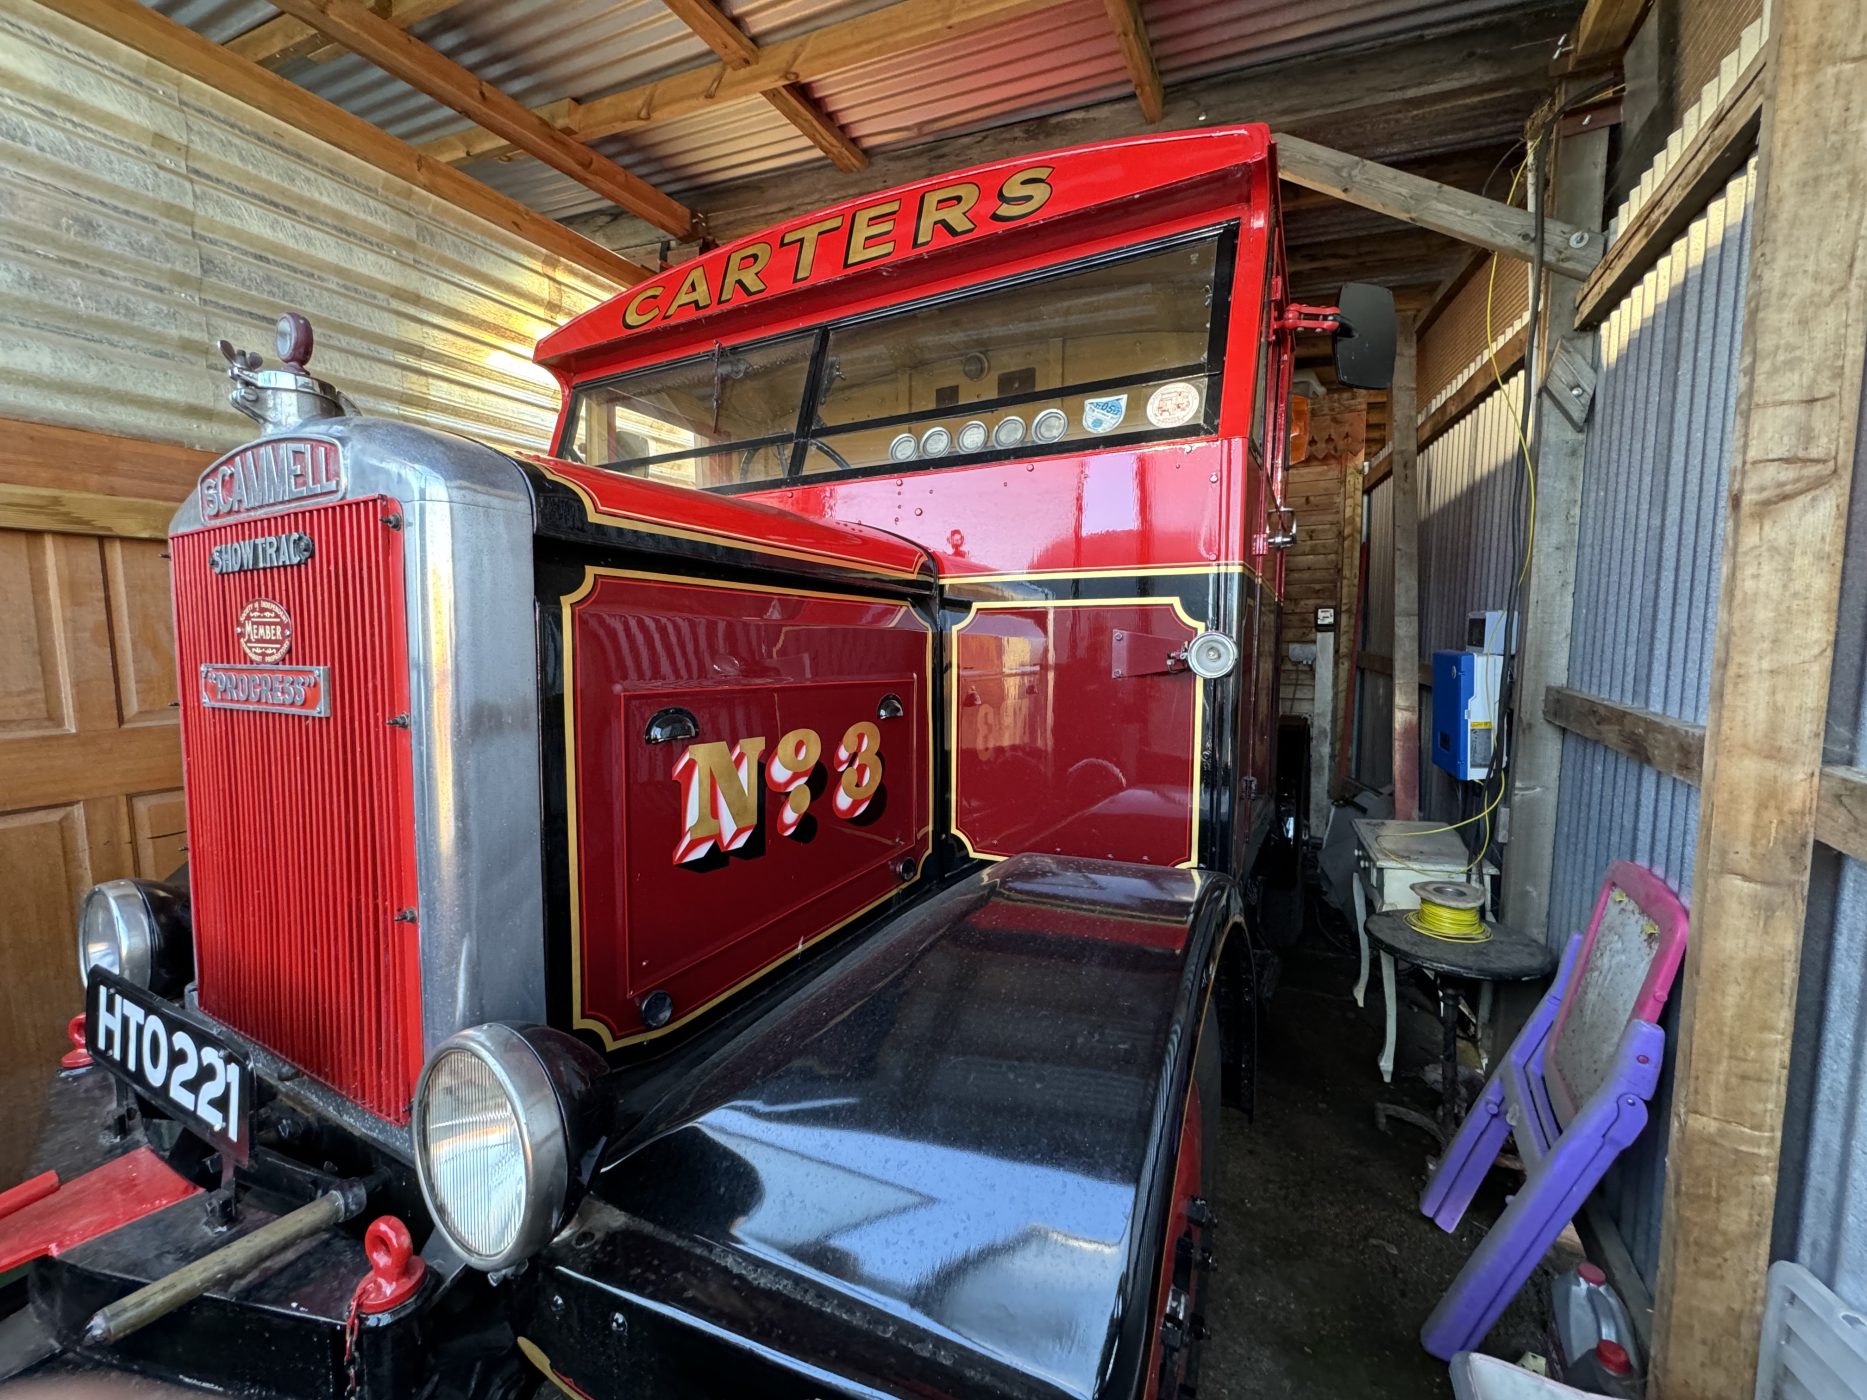
In February our Riley 9hp underwent the next stage of its restoration by paying a visit to Joby Carter’s workshop in Berkshire.
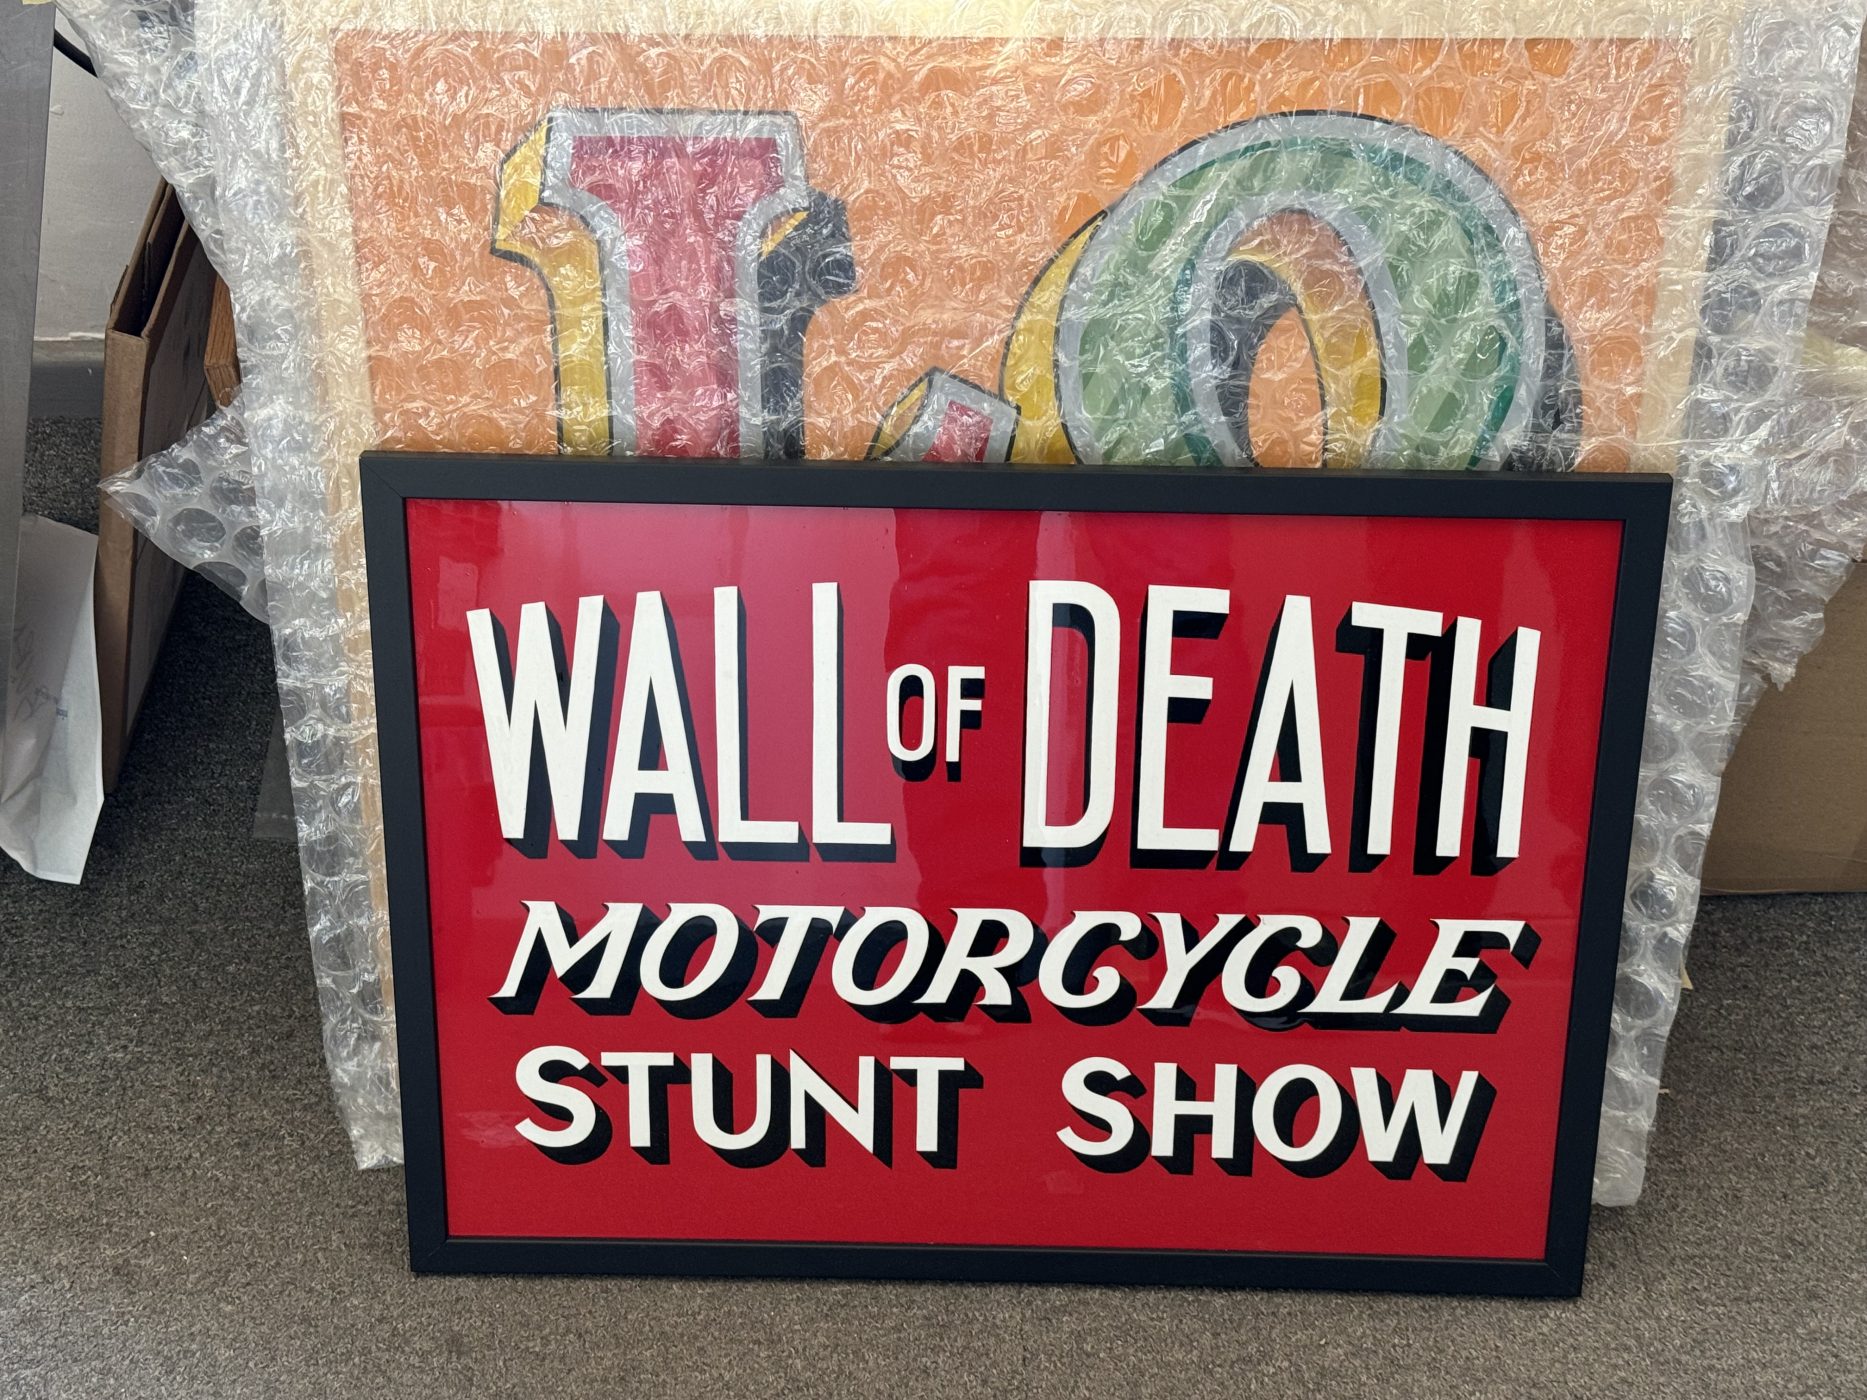
Joby Carter is a traditional sign writer who is an expert in fairground style art. Up until 2022 his work could be seen decorating every ride as part of his touring steam fair. He has documented many of his creations alongside tips and ideas in a series of books.
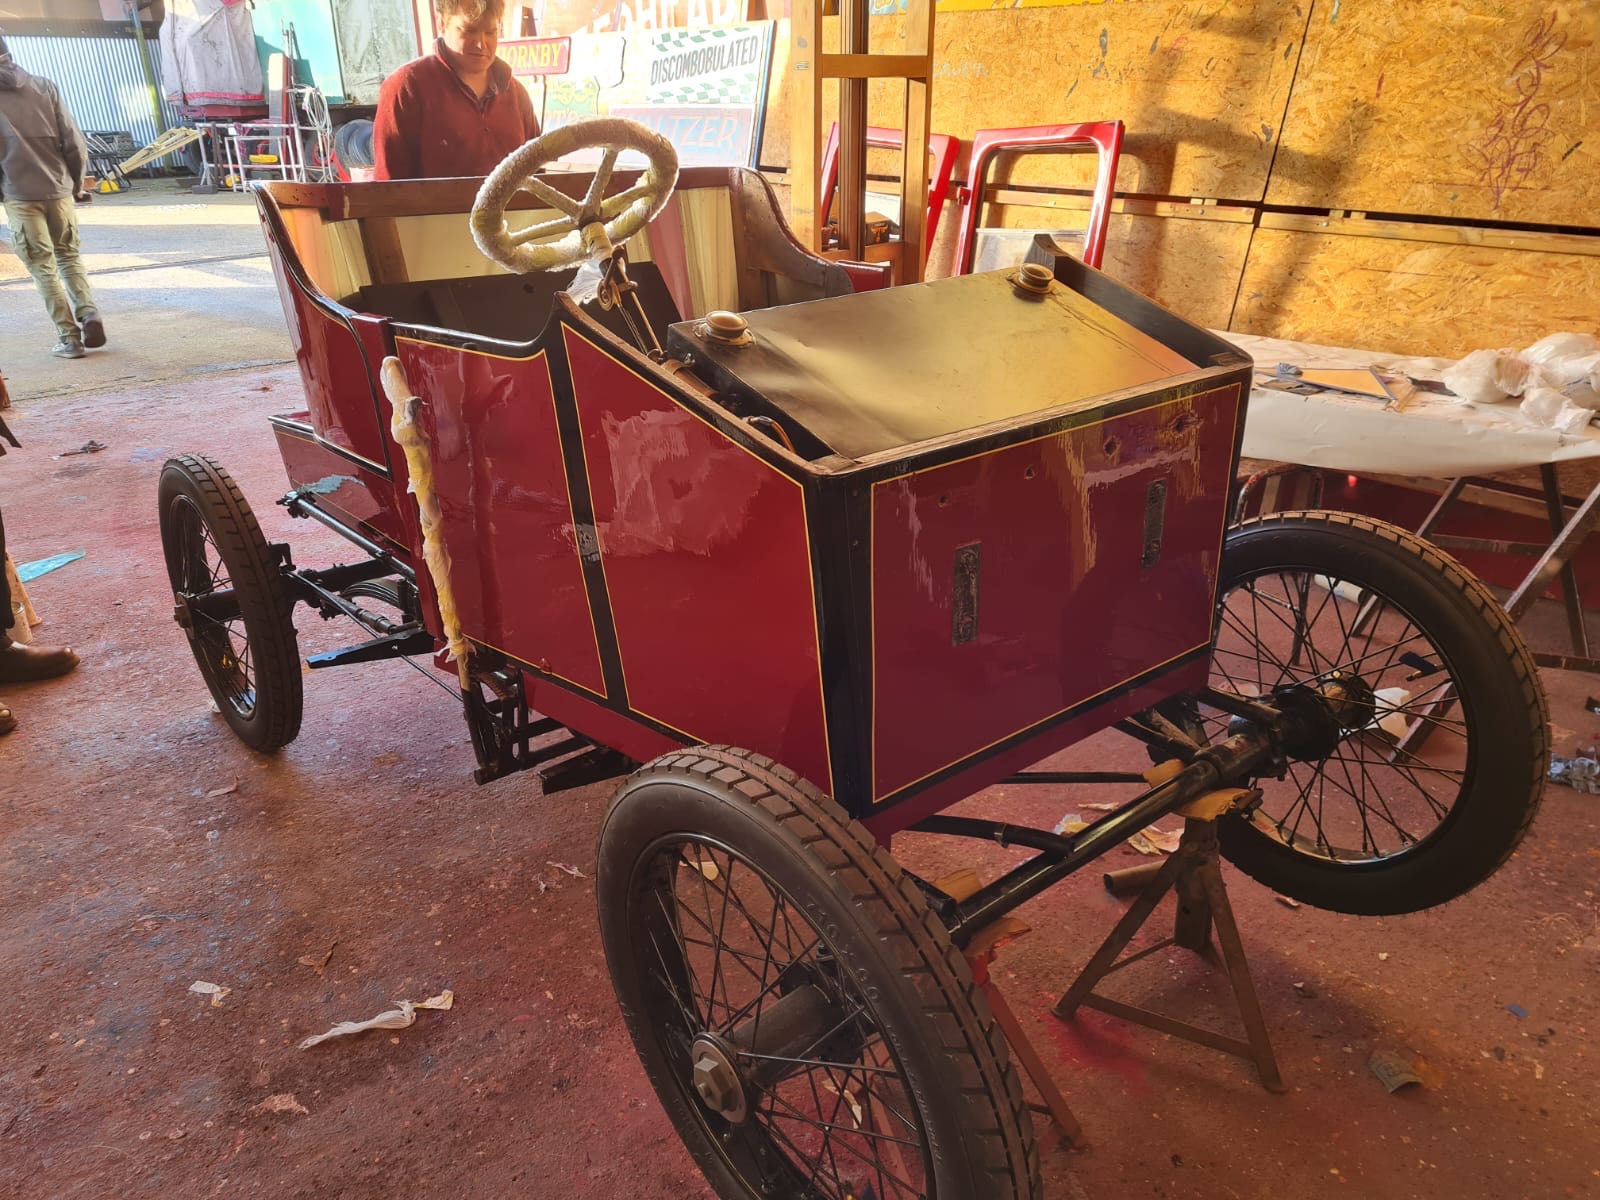
In accordance with vehicles of a similar age, Carter was commissioned by Bridge Classic Cars to paint our Riley 9hp with a neat design. The pristine line work edges the shapes and contours of the car, outlining the doors. The sleek likes create an elegant and opulent aesthetic.
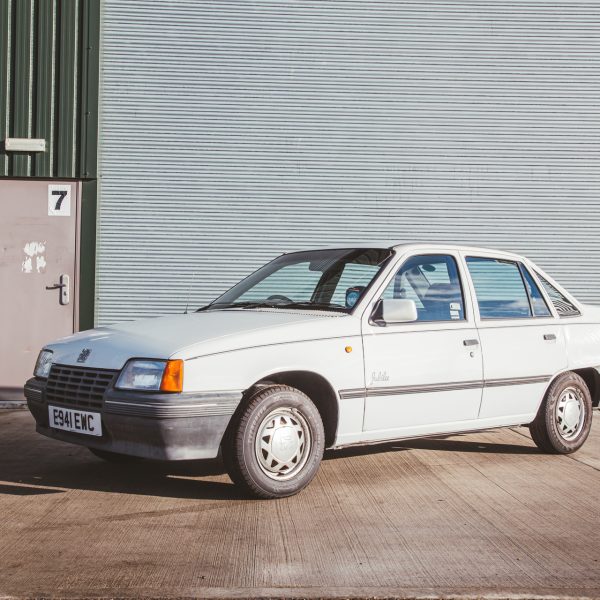
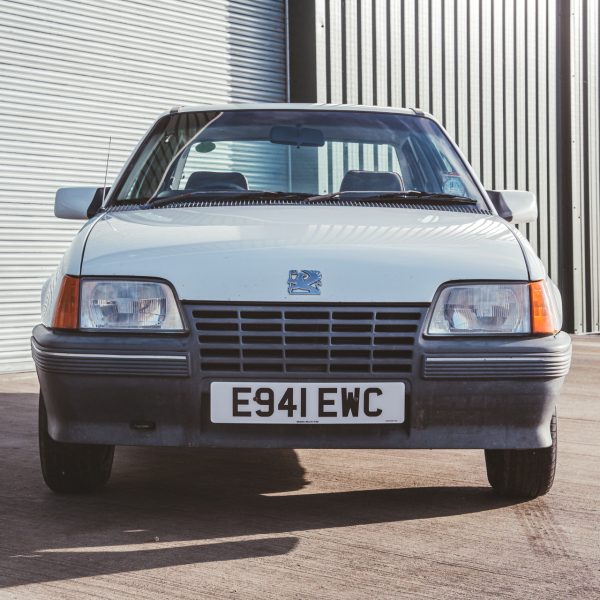
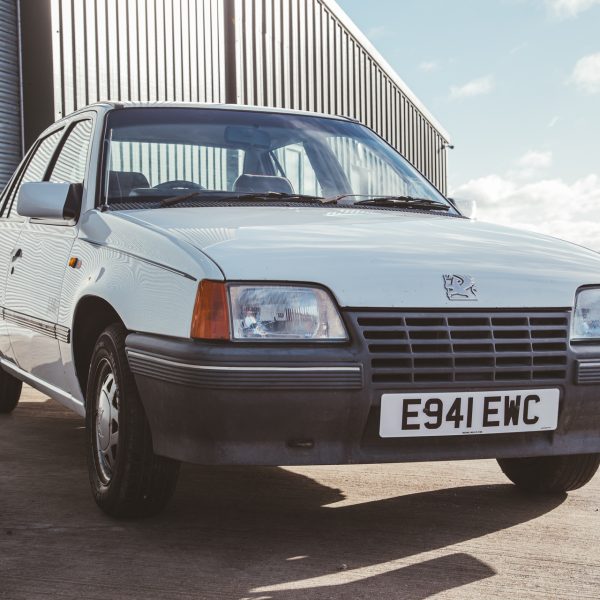
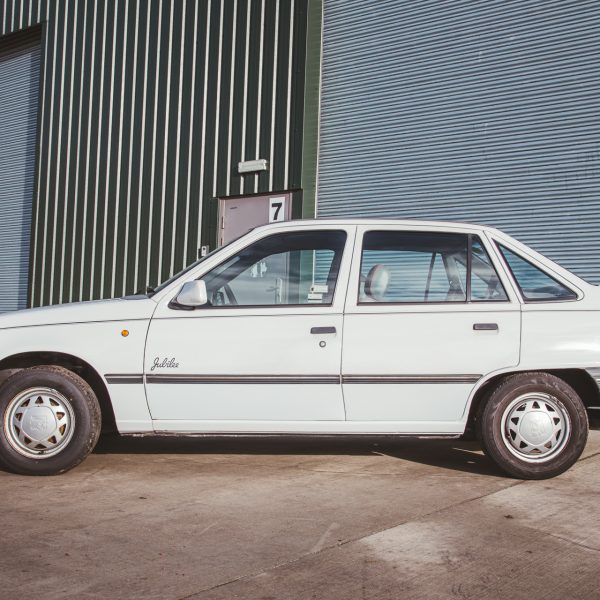
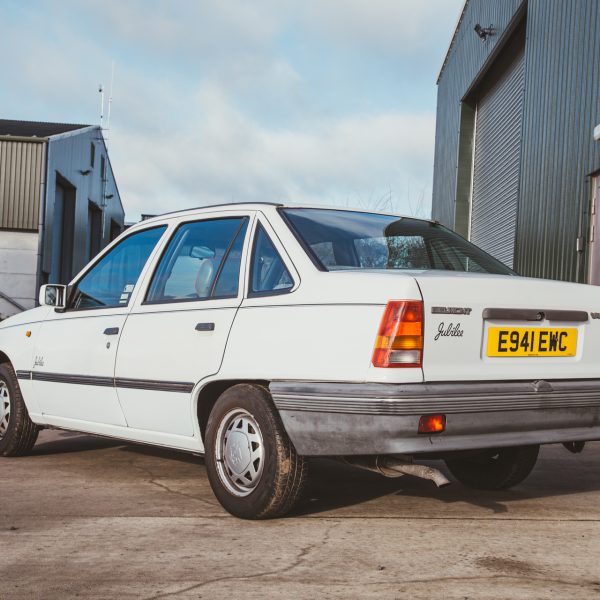
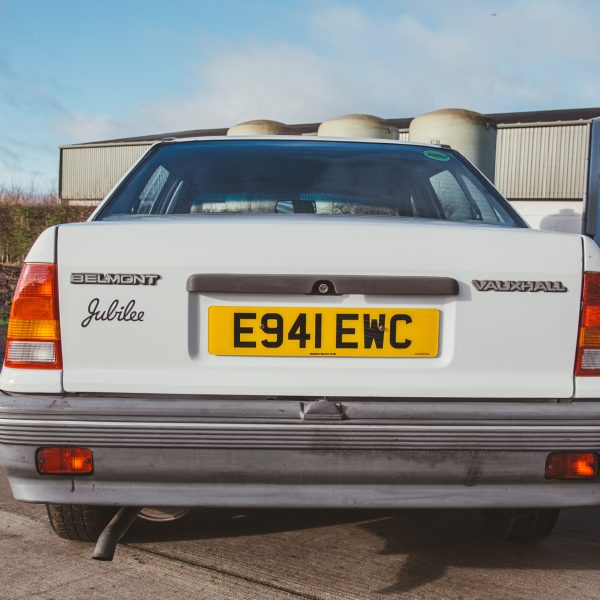
Our 1988 Vauxhall Jubilee has had some great interest in eBay this week and with only 23hrs to go the car has bids which therefore means it should be finding a new home soon.
We’ve had a great message from Fazza196 on eBay which I felt I needed to share. We often talk about the fact that every car has a story to tell and as our description says; we believe this to be the last Jubilee edition in existence but can’t be sure.
Fazza196 says: “Just so you’re aware, this is 100% the last remaining Jubilee, I banger raced the 2nd last one in November last year”
So there we go, another report suggesting that this could be the last Jubilee and if you’re quick, it could be yours.
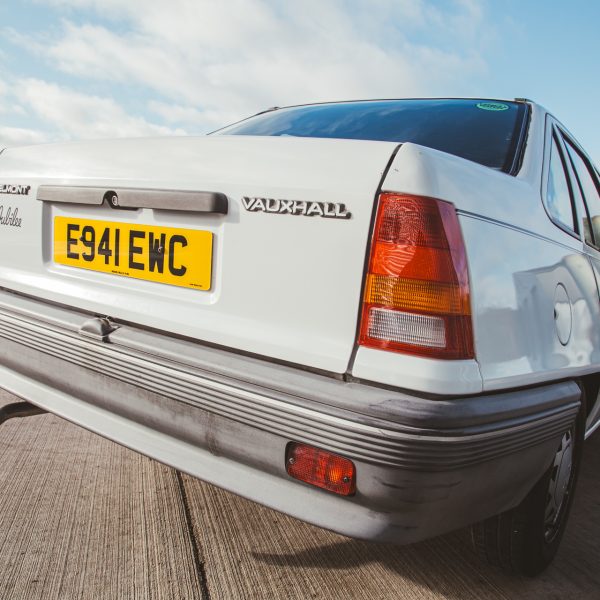
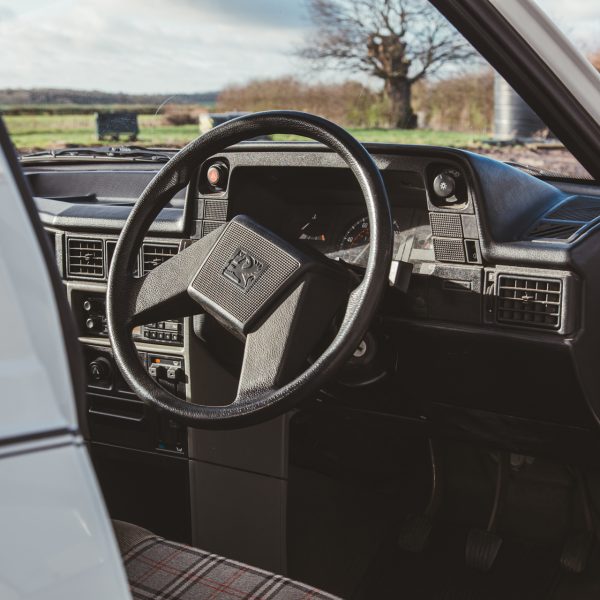
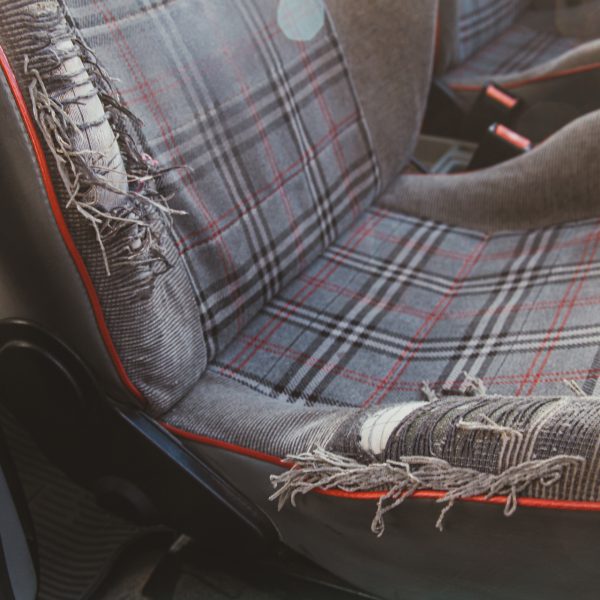
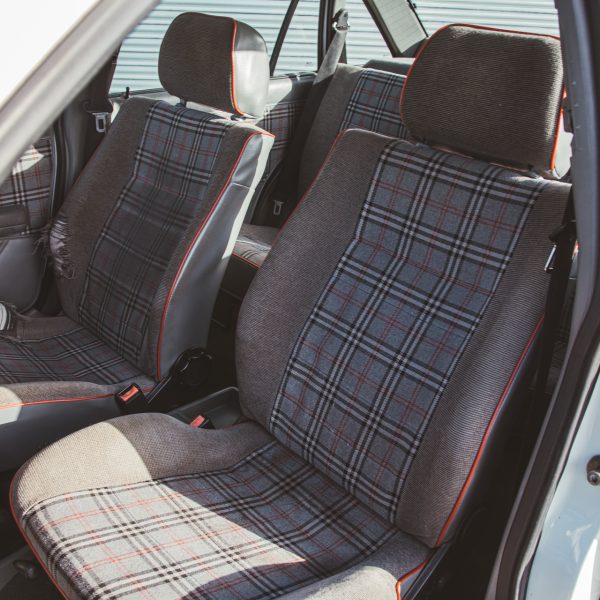
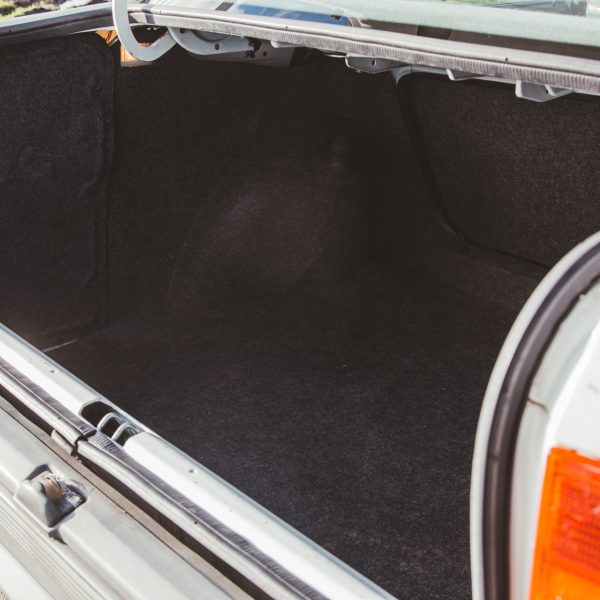
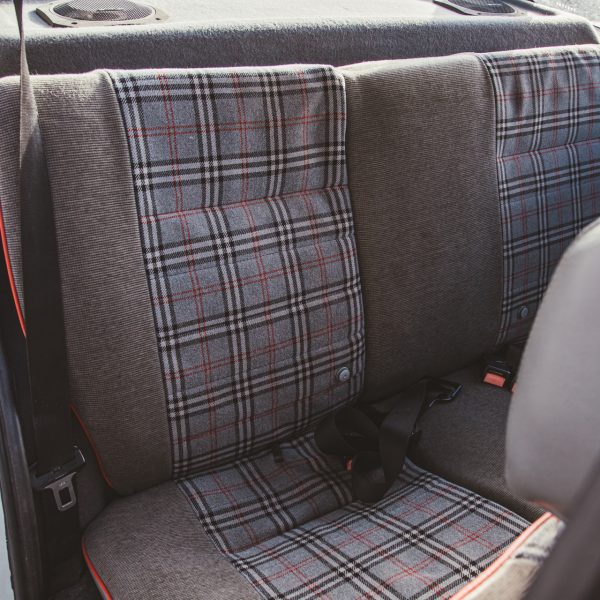
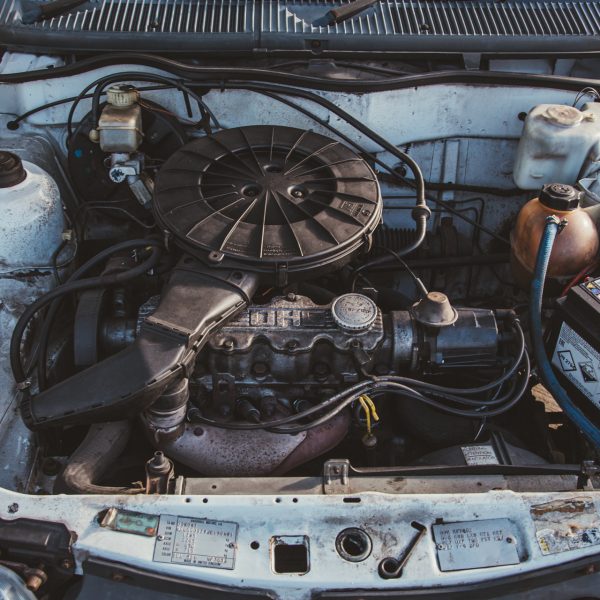
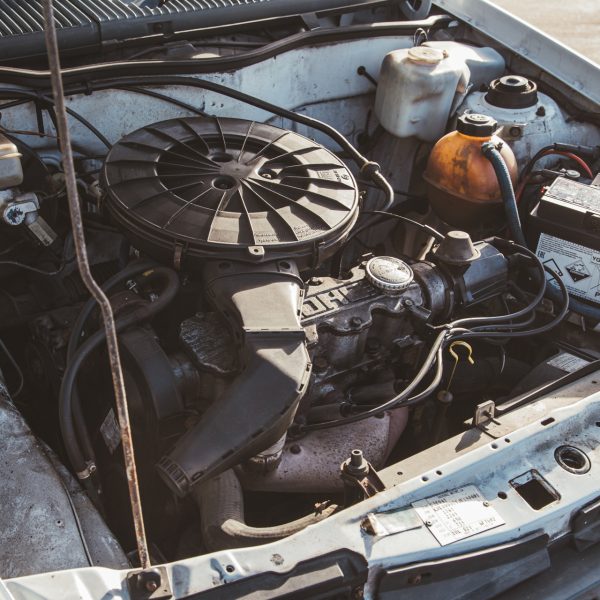
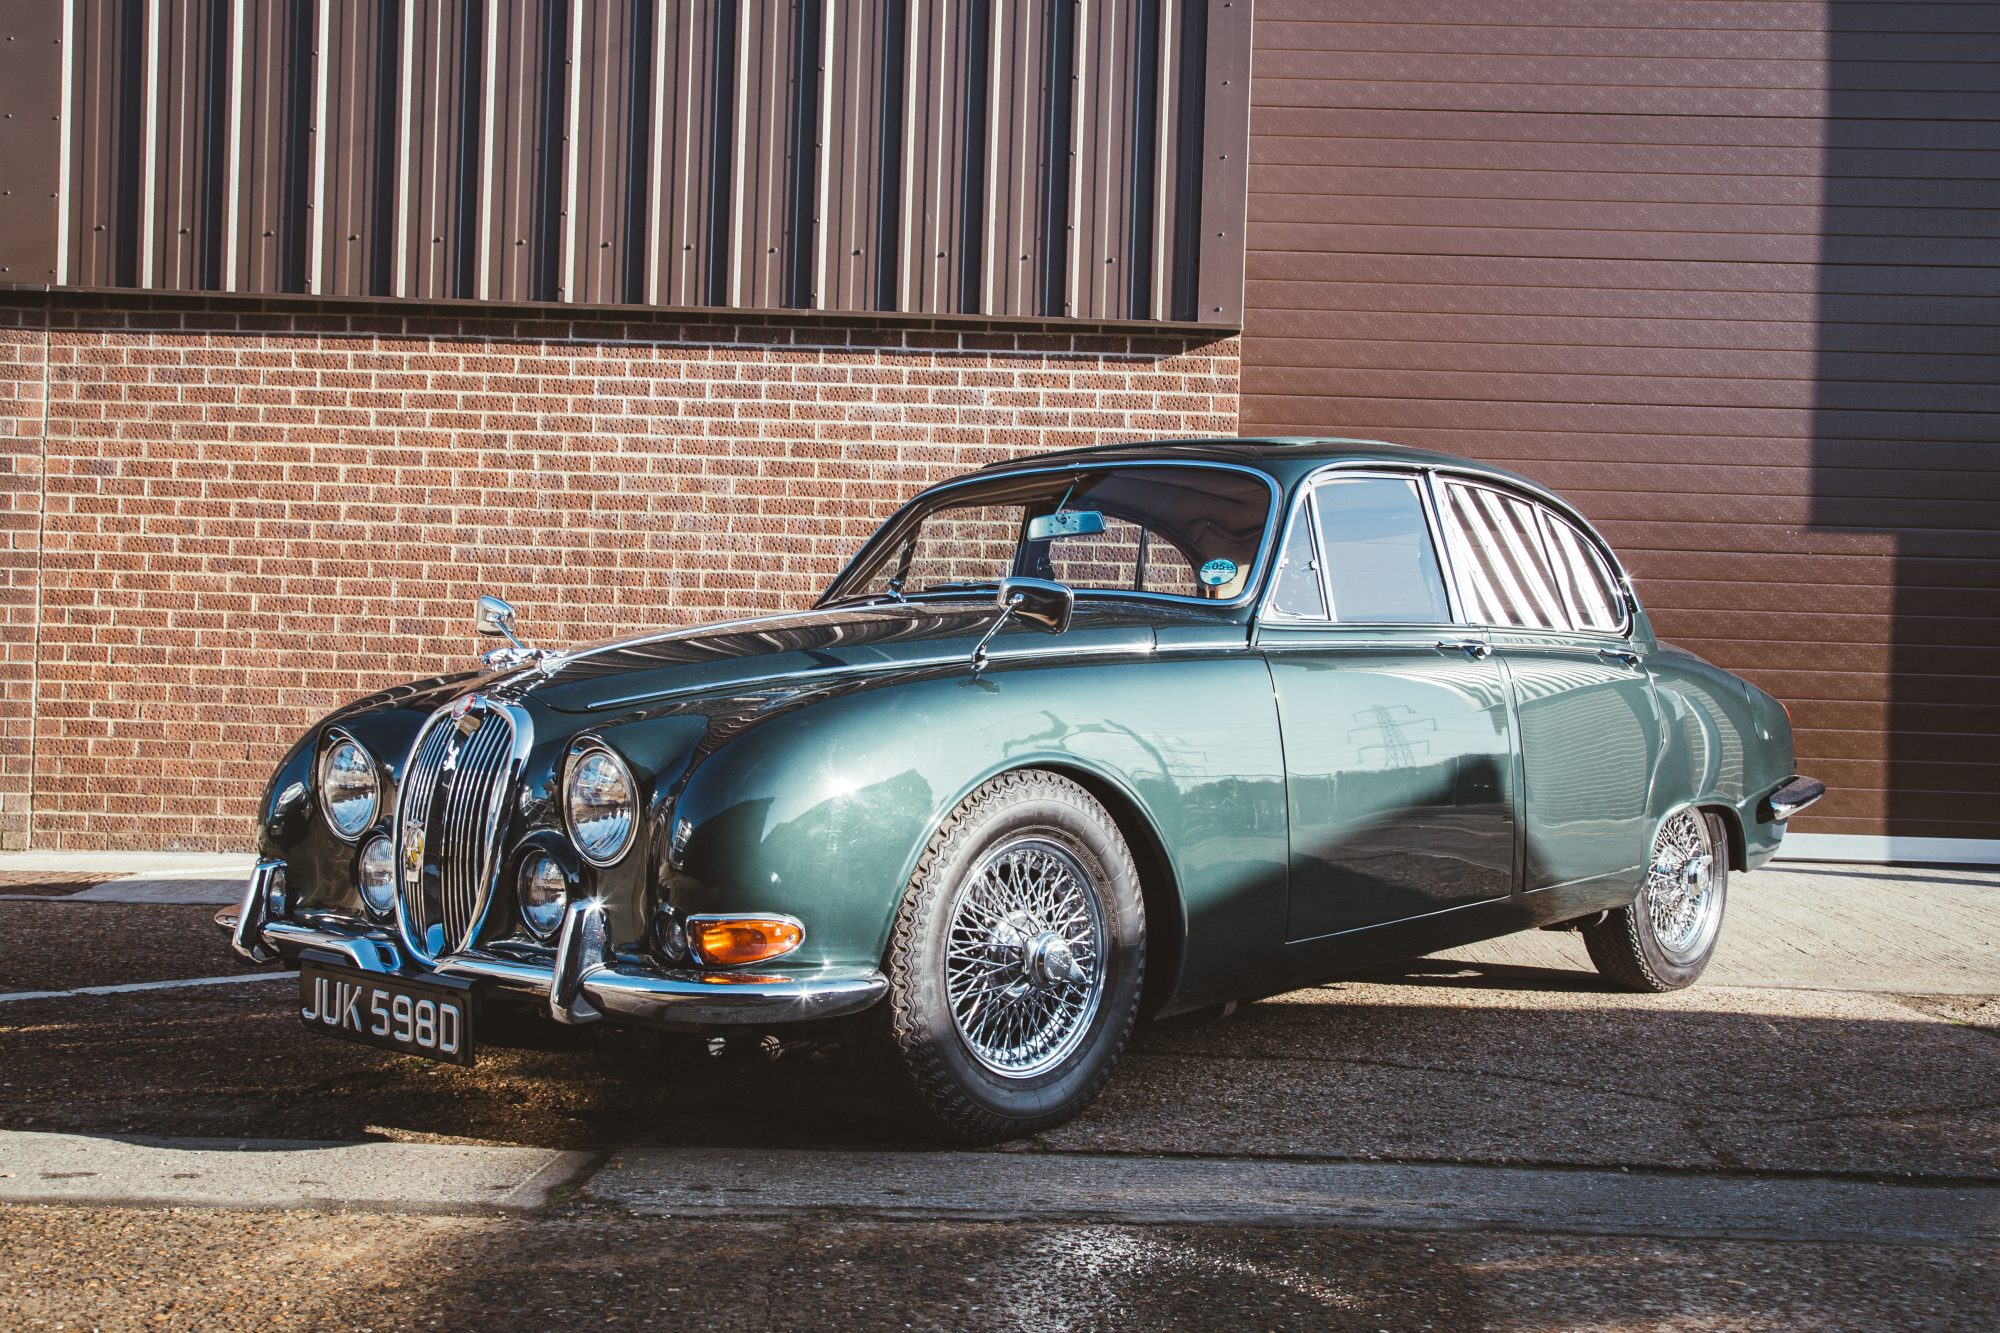
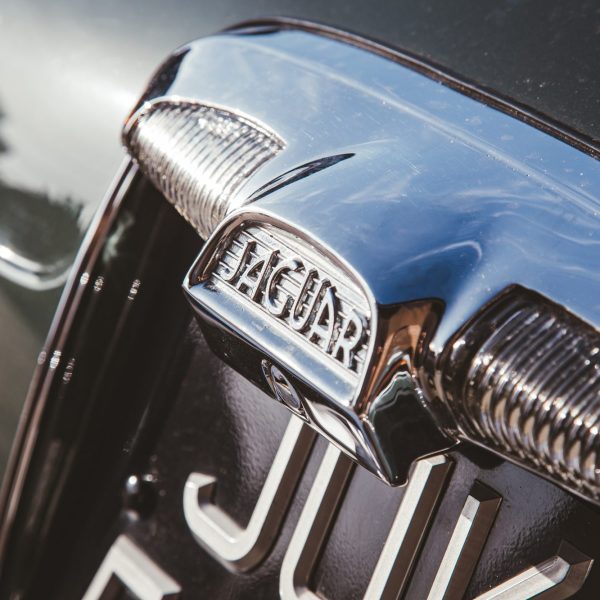
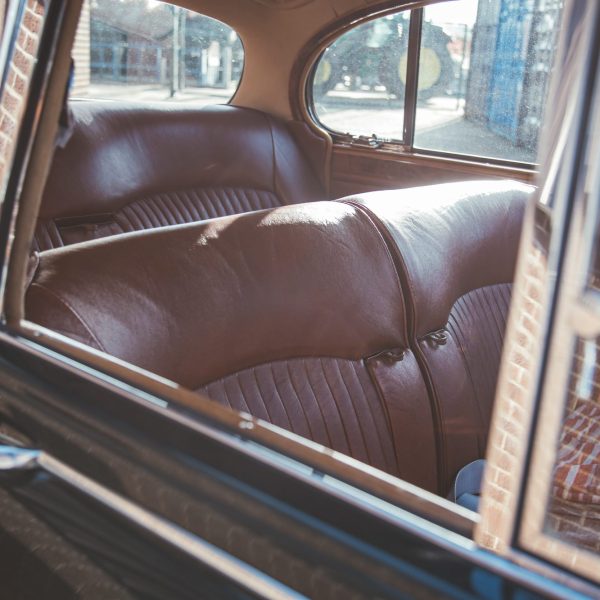
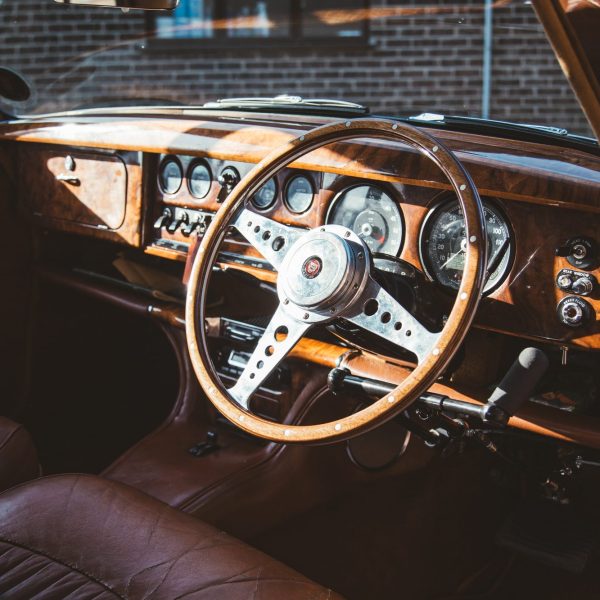
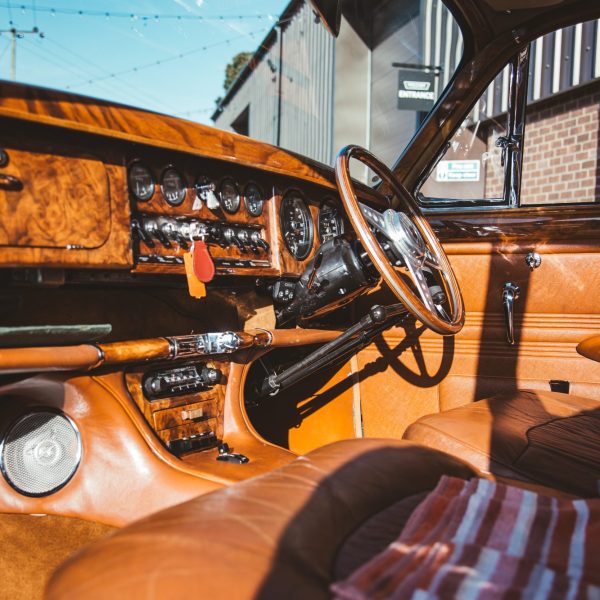
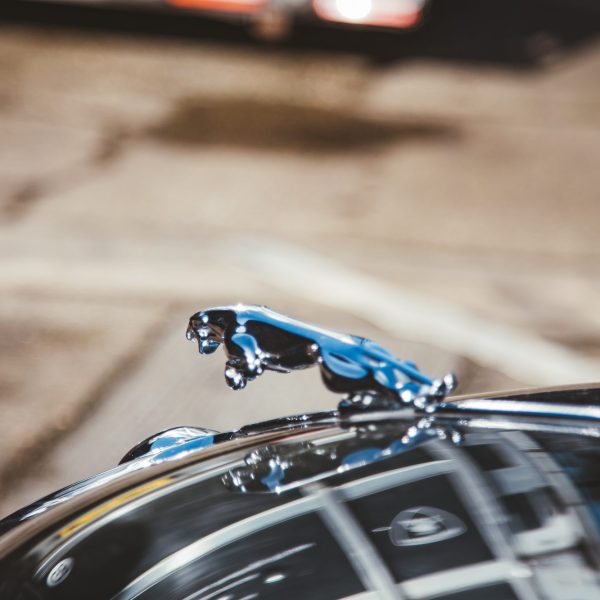
This stunning 1966 Jaguar S-Type has arrived at the Bridge Classic Cars HQ for the team to take a look at a few issues with the car for its owner.
After having its assessment by the team late last year, the team will begin ticking the tasks off of the job sheet for this absolute beautiful example of a Jaguar saloon.
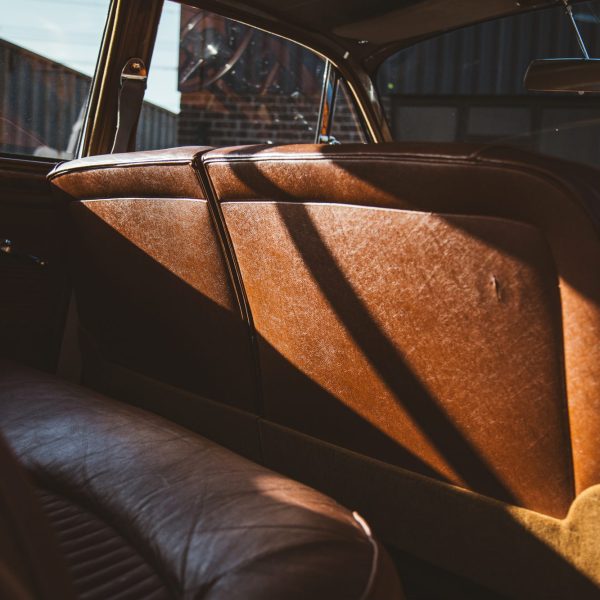
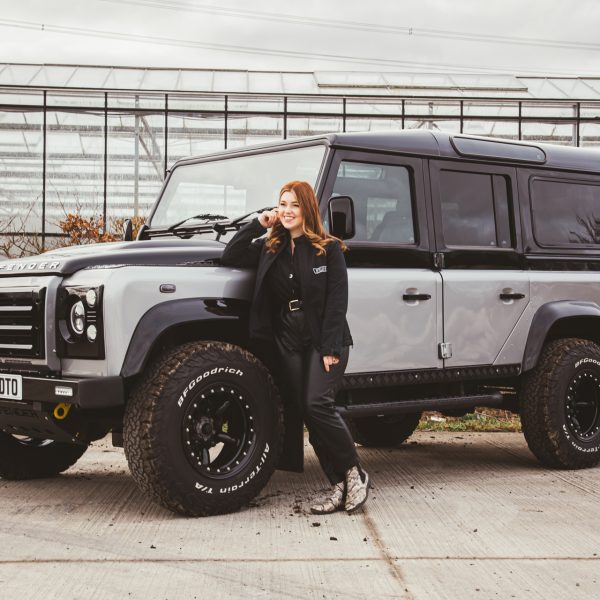
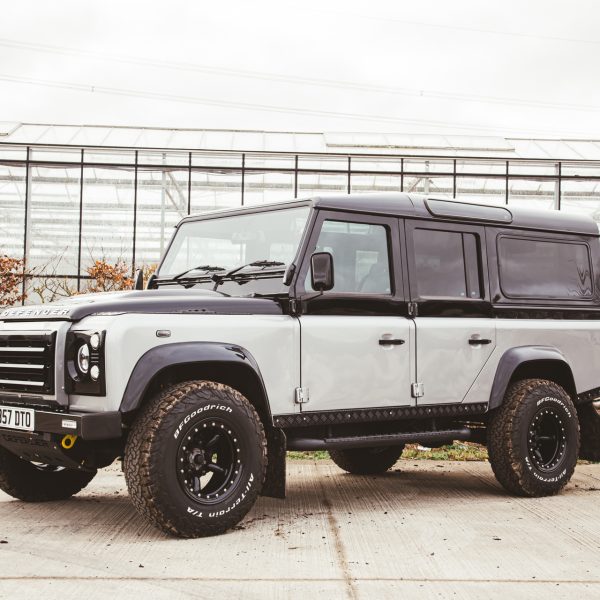
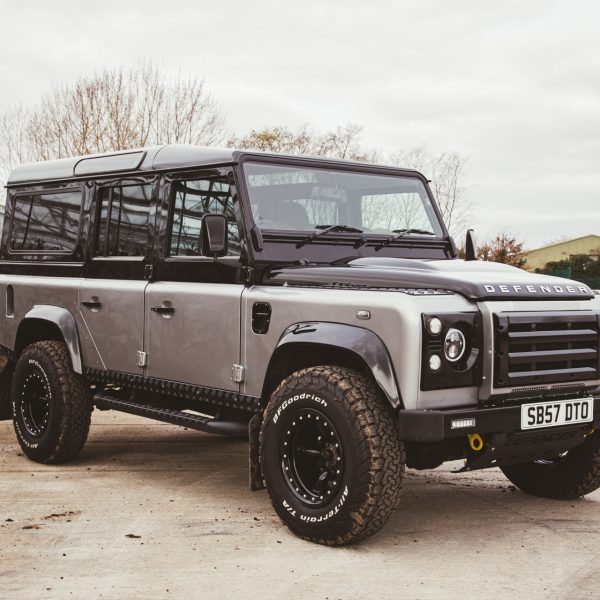
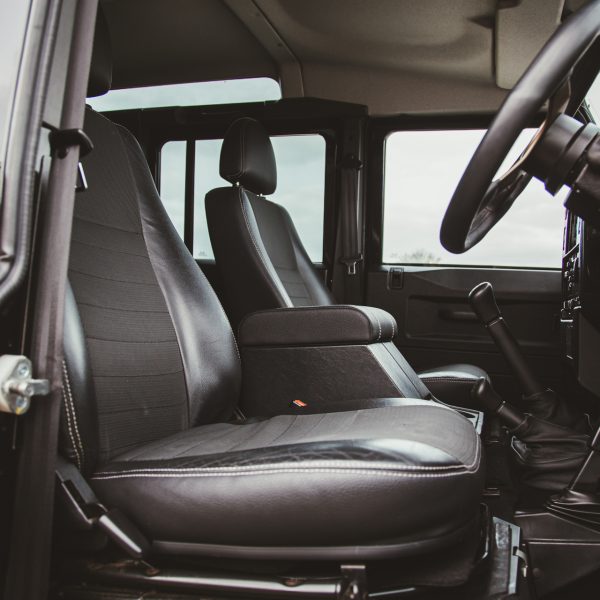
Our 2007 Land Rover Defender 110 is now live on the Bridge Classic Cars Competitions website.
What makes this even more exciting is that, until 5pm tomorrow (Wednesday 6th March), you can enter the draw for just £5.00
The 24 hour flash sale has begun…
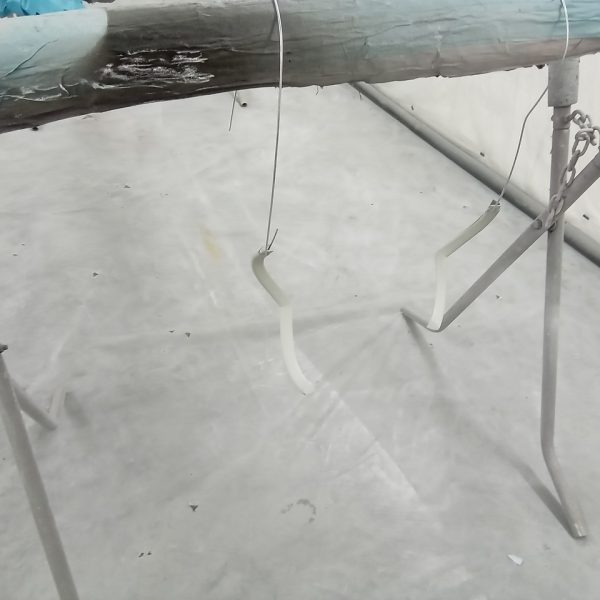
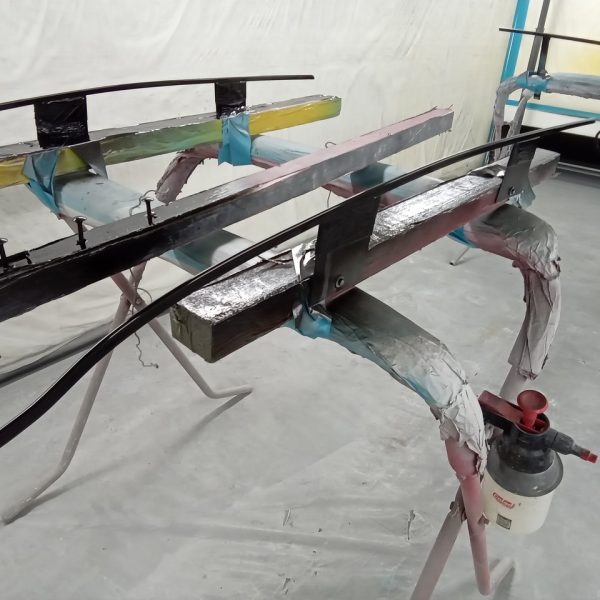
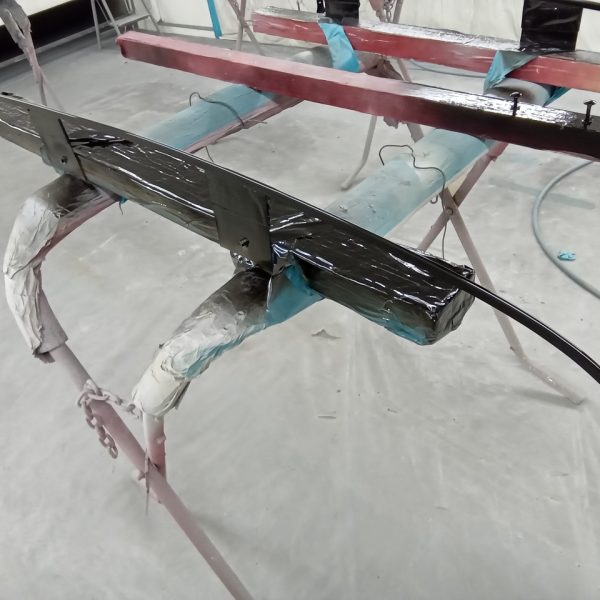
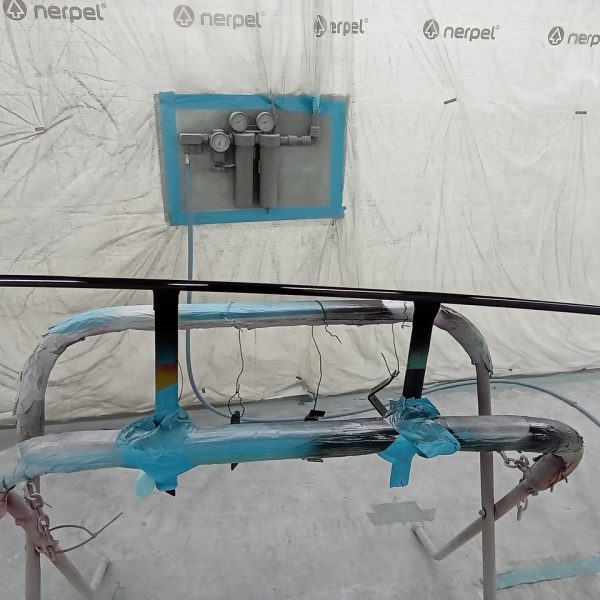
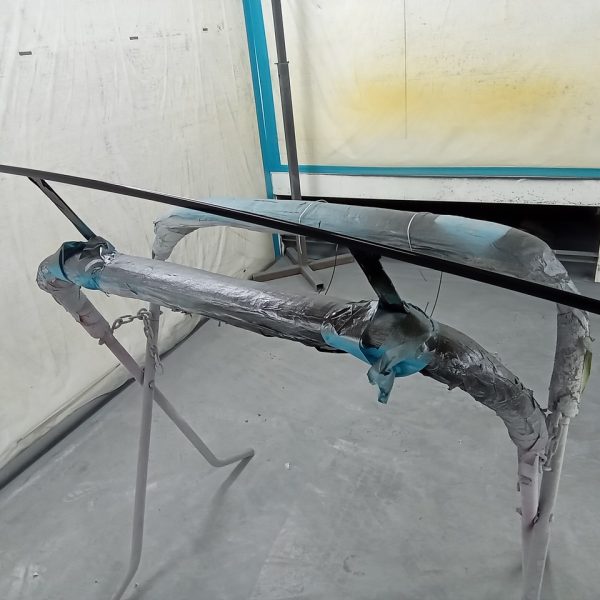
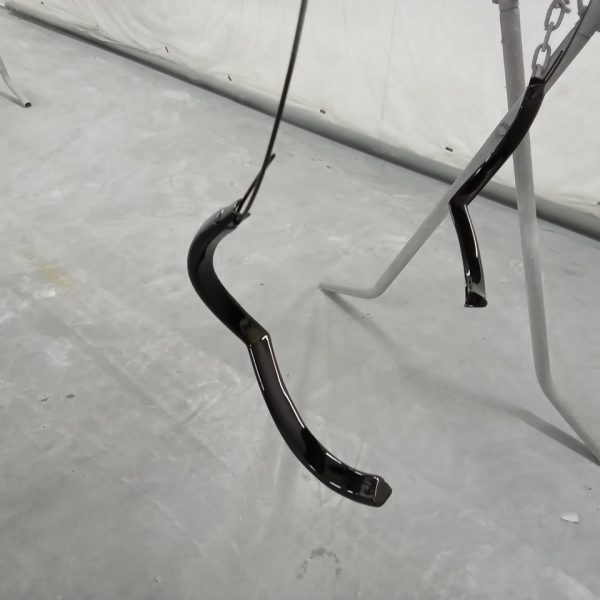
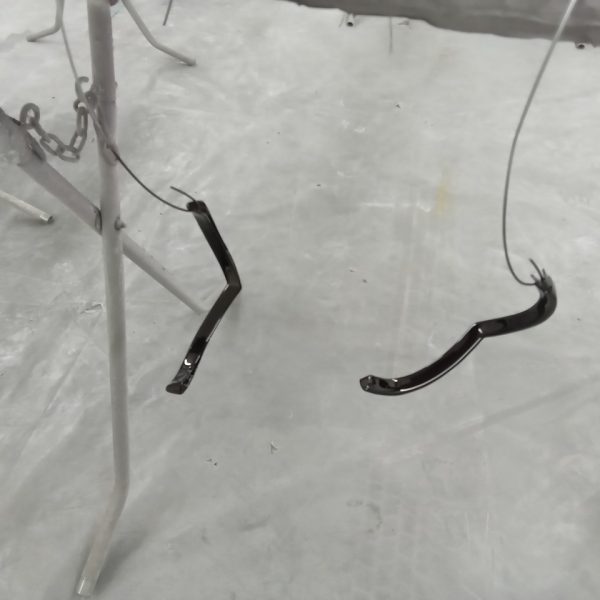
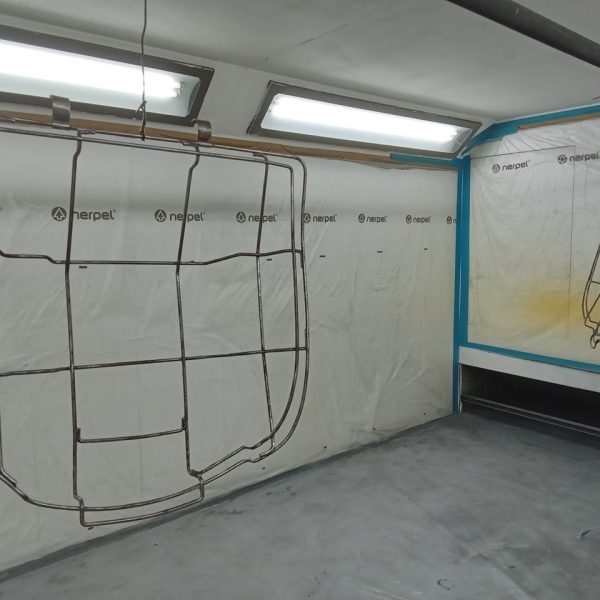
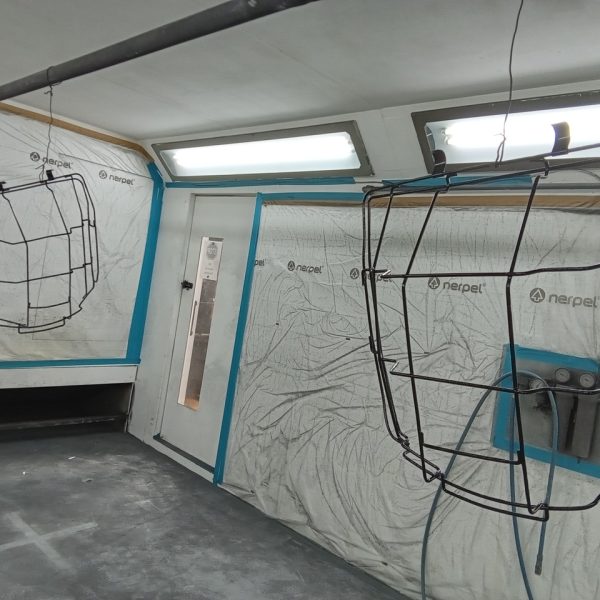
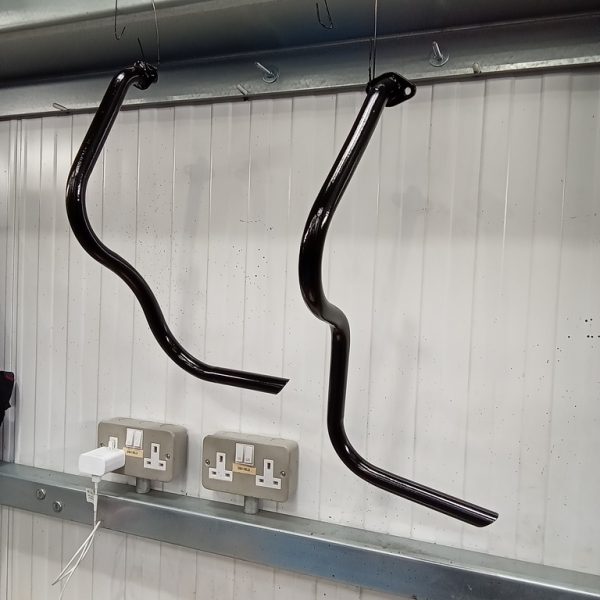
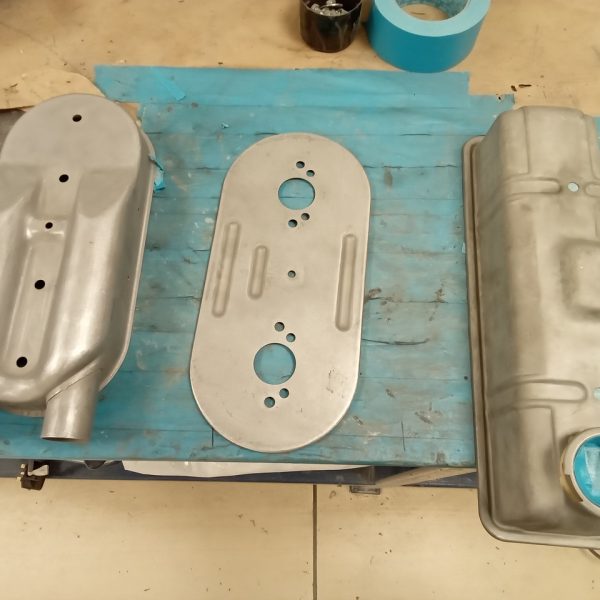
Mauro has been working on our 1976 Triumph Spitfire in the Bridge Classic Cars paintshop.
He has painted the seat frames in DTM satin black as well as painting the rocker cover and air filter box in DTM silver.
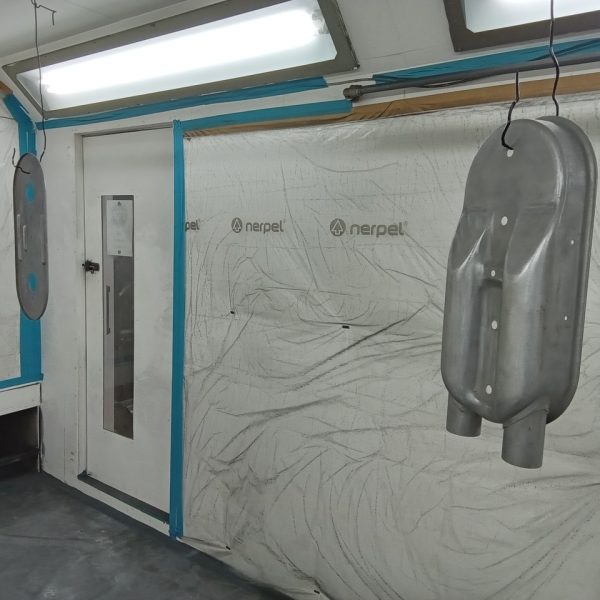


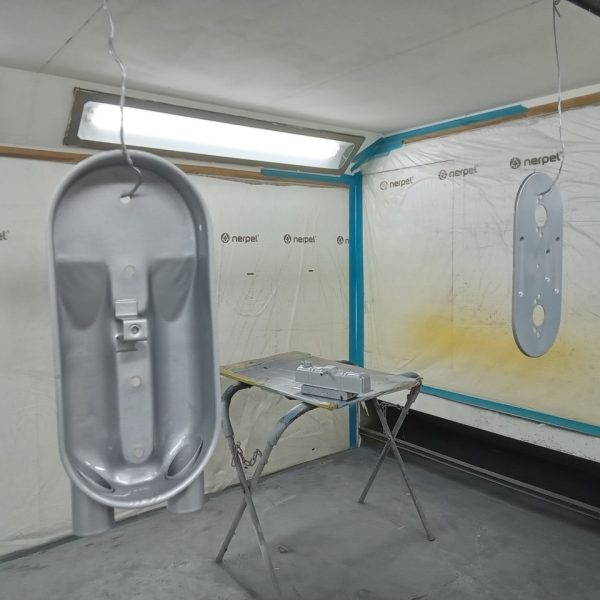
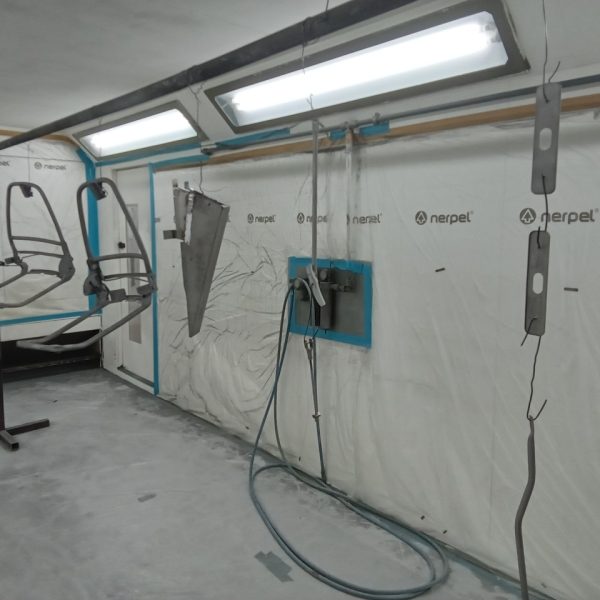

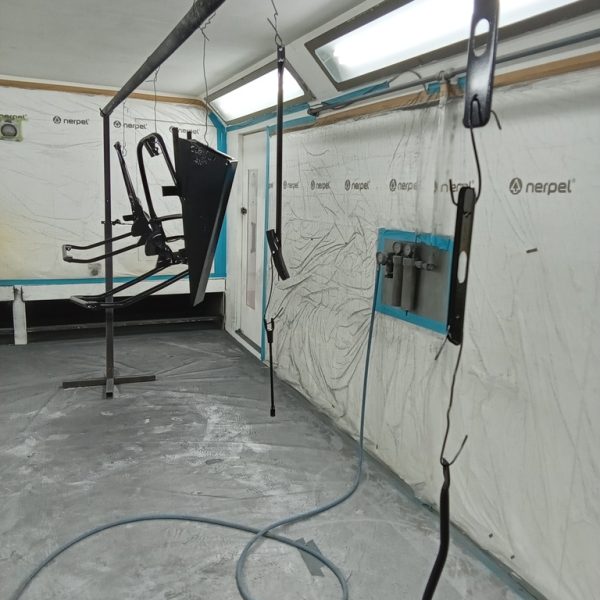

Chris has had our 1963 Bentley S3 in the Bridge Classic Cars paint shop. He has been rubbing down the polyfan in preparation for more to go on.
Once this was done, Chris then applied more polyfan to make sure everything was nice and straight.
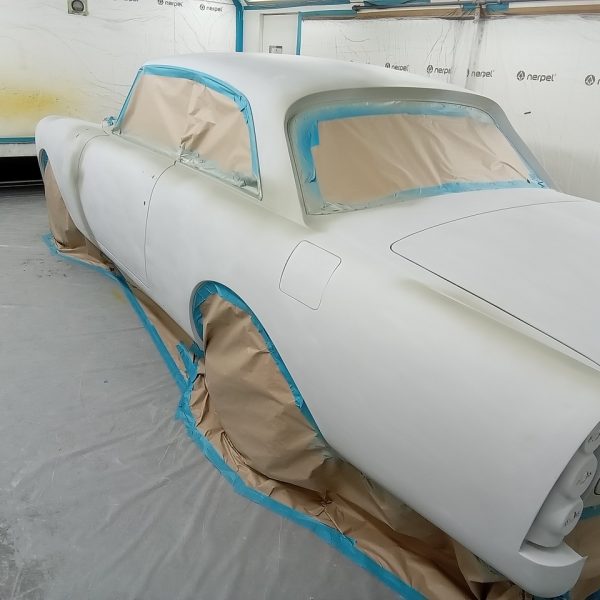


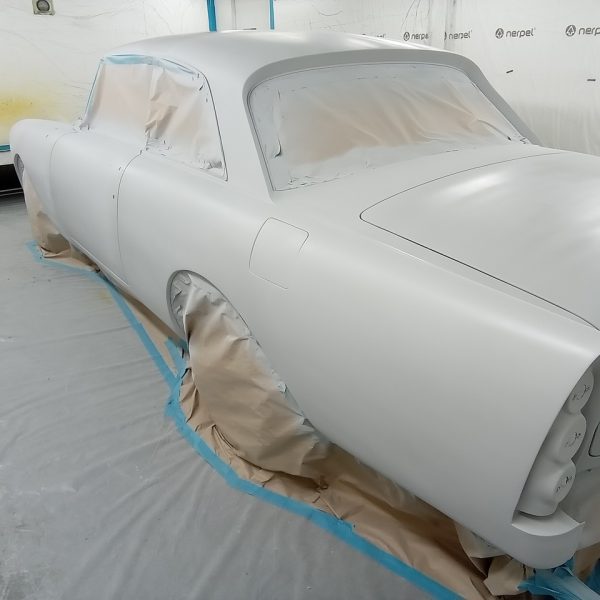
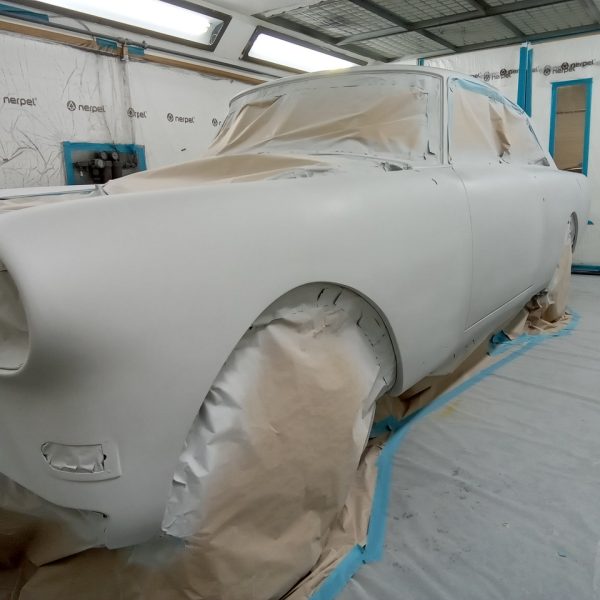

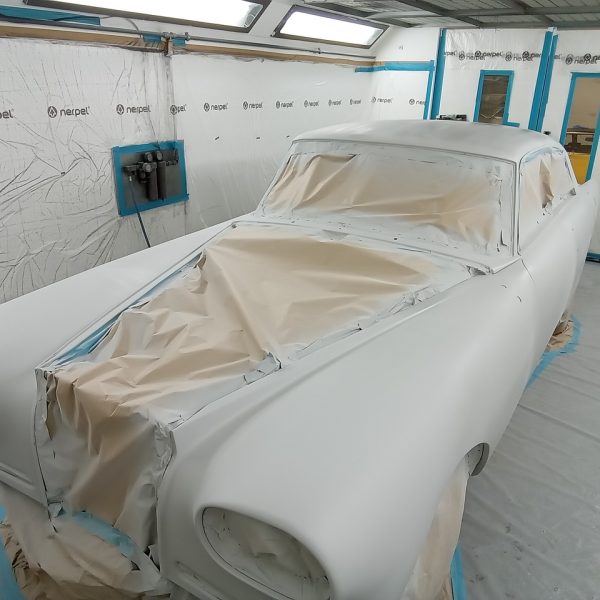



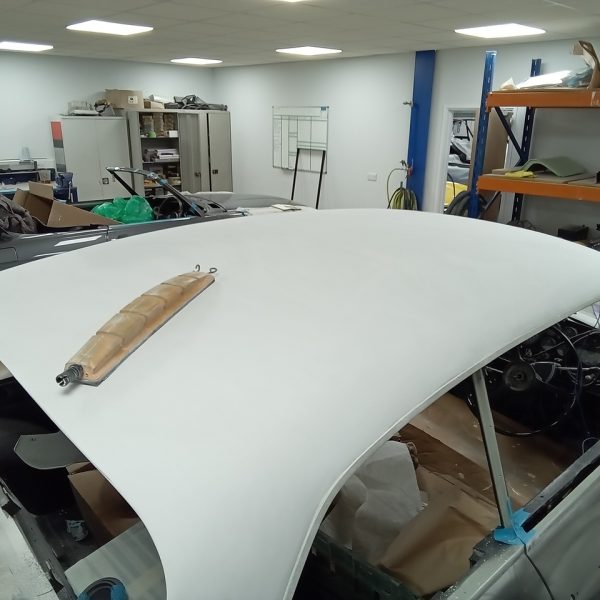

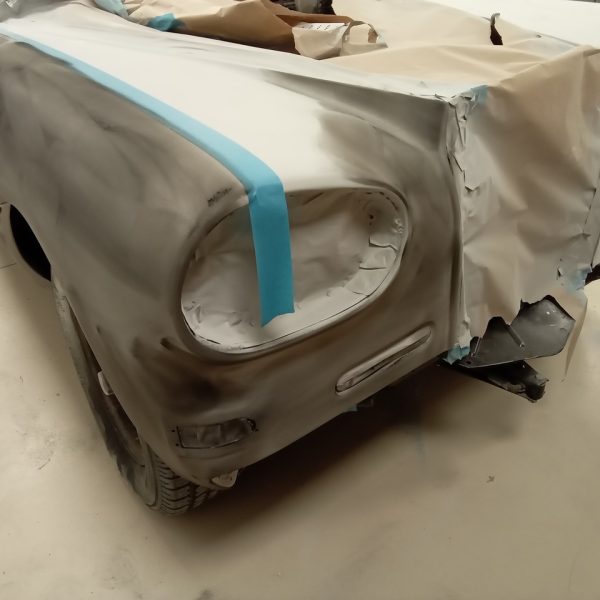
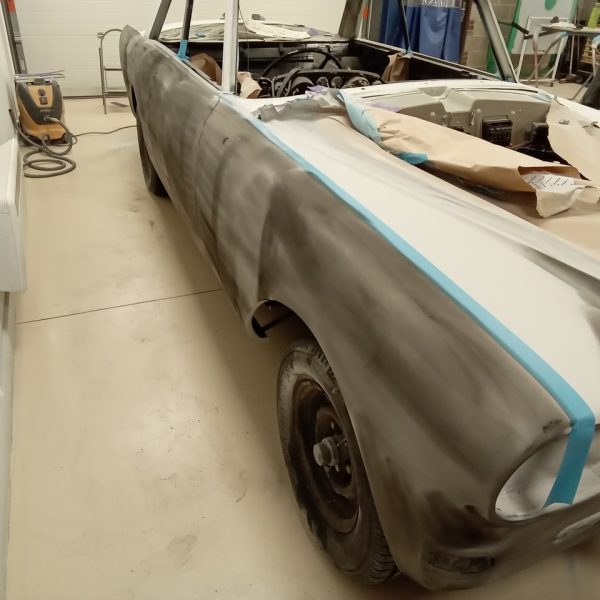
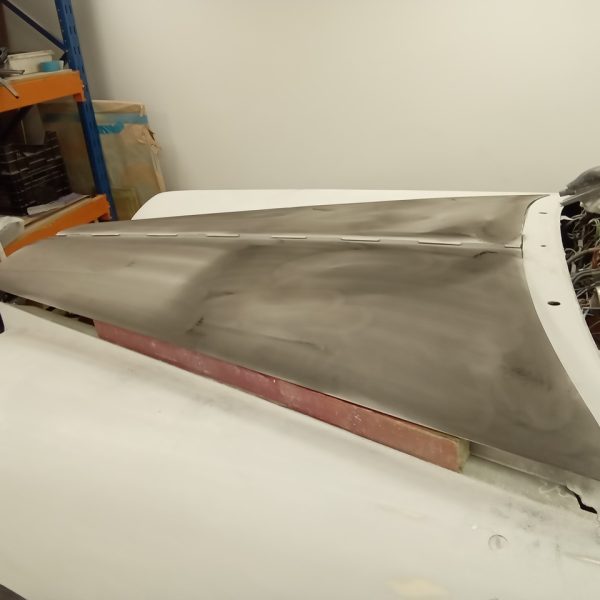

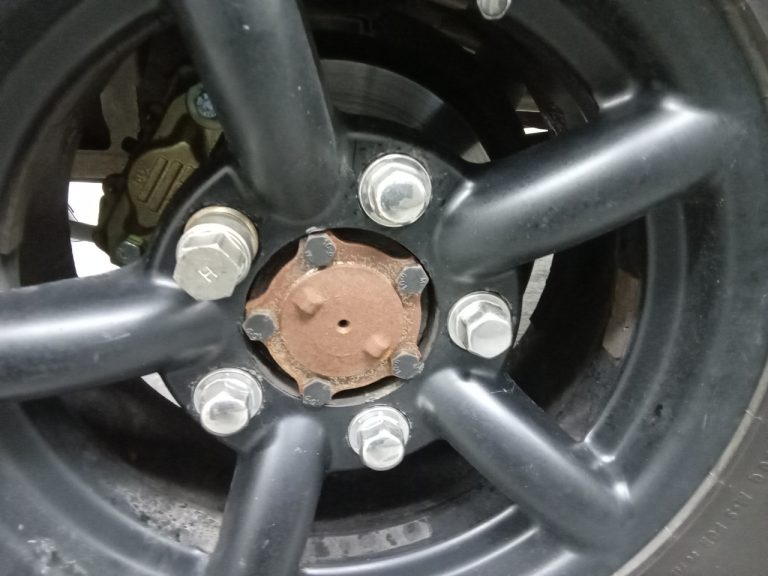
My Land Rover Defender is one of the best vehicles I have ever owned…at least that’s what I think right now.
Yes it’s industrial, yes it’s loud and bumpy but it’s great fun!
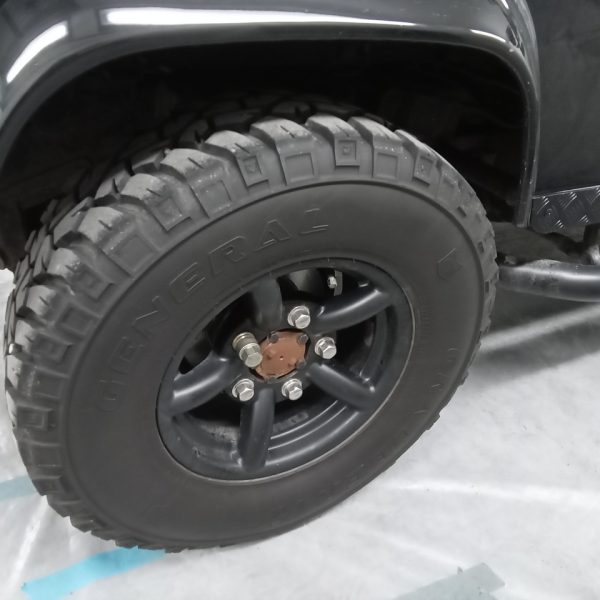
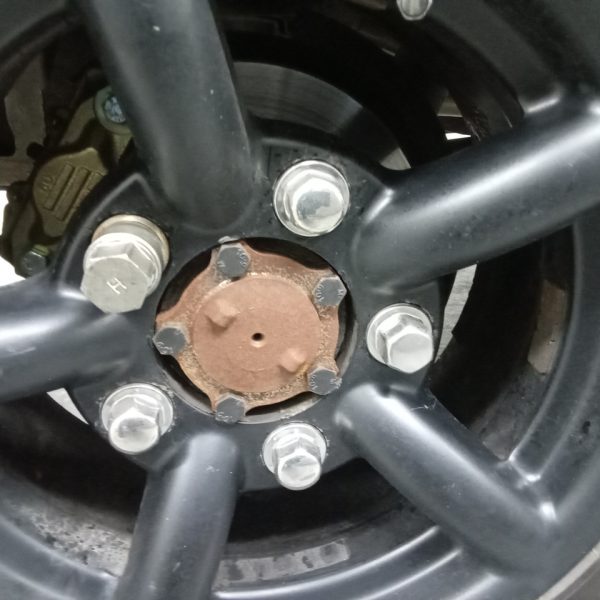
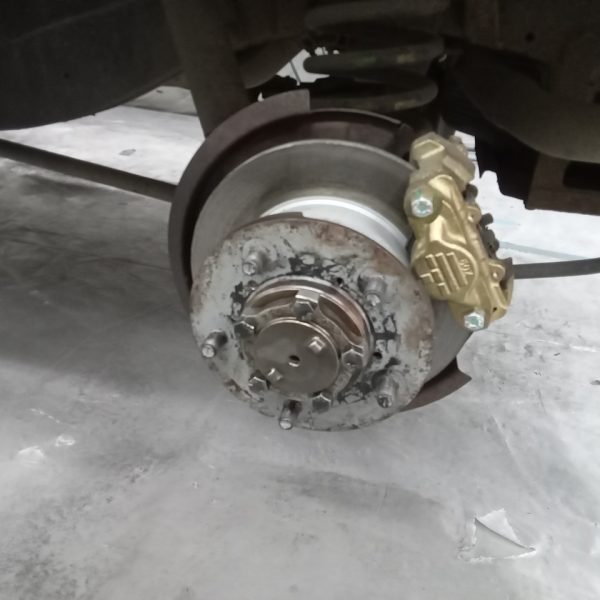
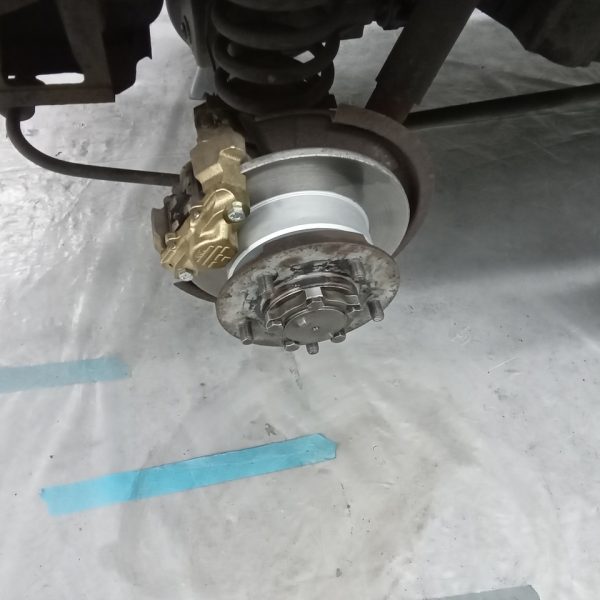
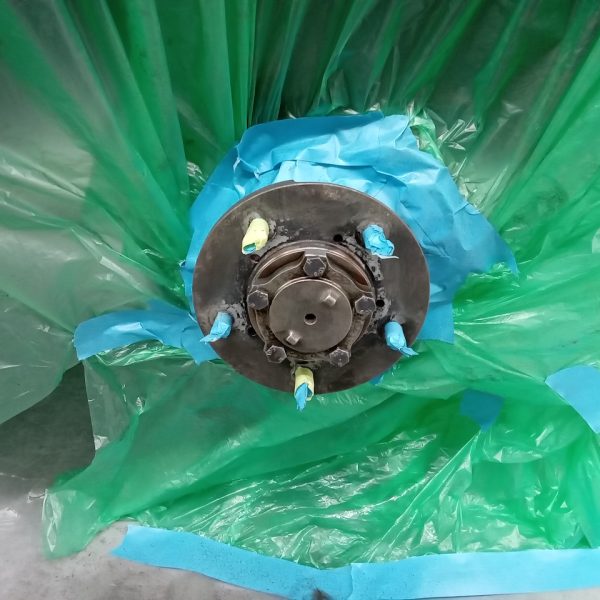
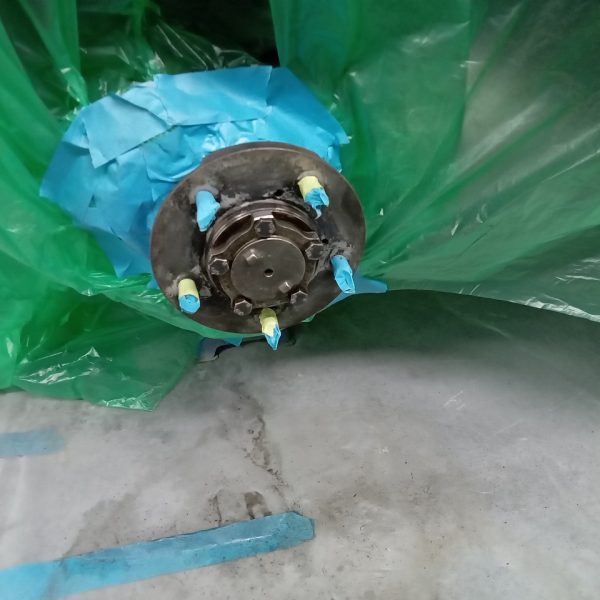
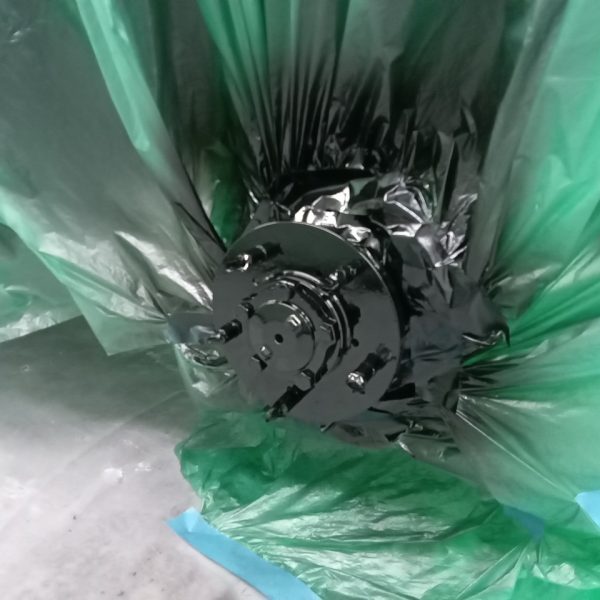
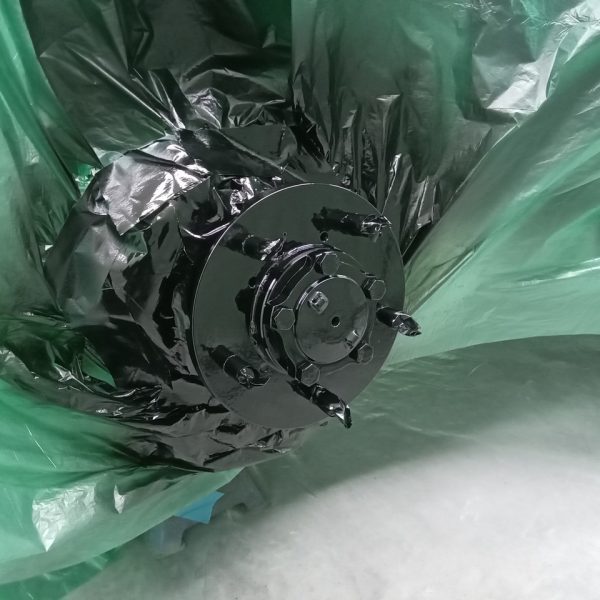
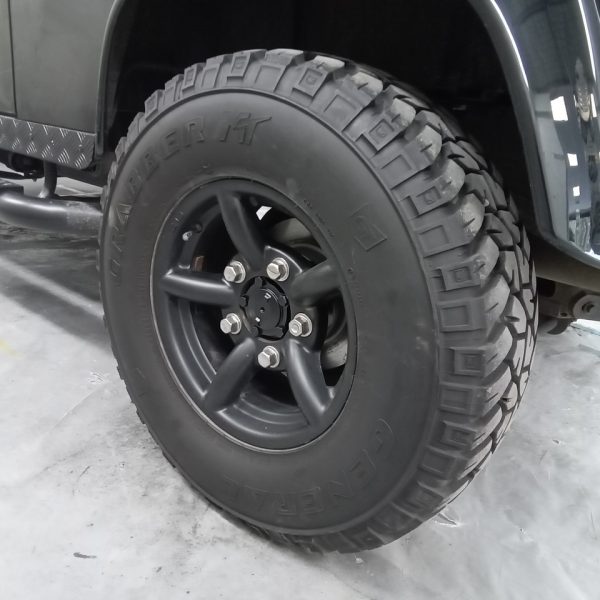
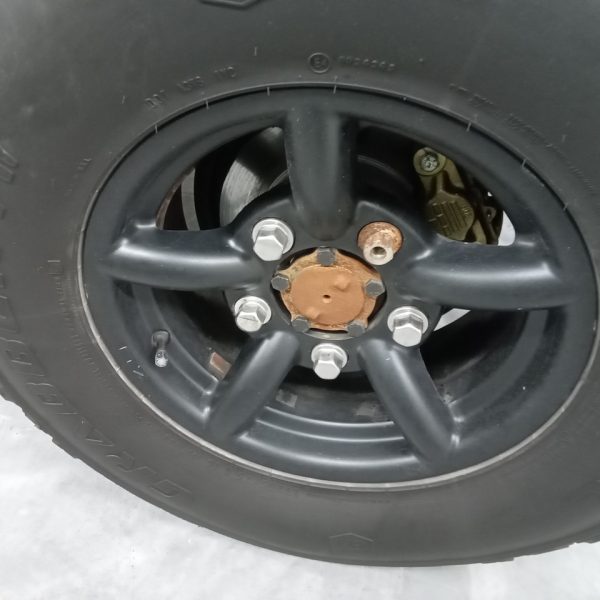
Having owned the car for a little while now I do my very best to keep on top of the general wear and tear that the Defender gets. I’ve sealed and treated the underside, I’ve corrected some paint imperfections, tidied a couple of areas in the rear compartment to make it more family friendly and less ‘workhorse’ and then recently I noticed that the centre hubs were starting to show signs of surface rust.
Not too big a job to fix and a huge difference to the overall kerb appeal. Great work from Mauro today, cleaning up the hubs and coating in a fresh layer of black DTM.
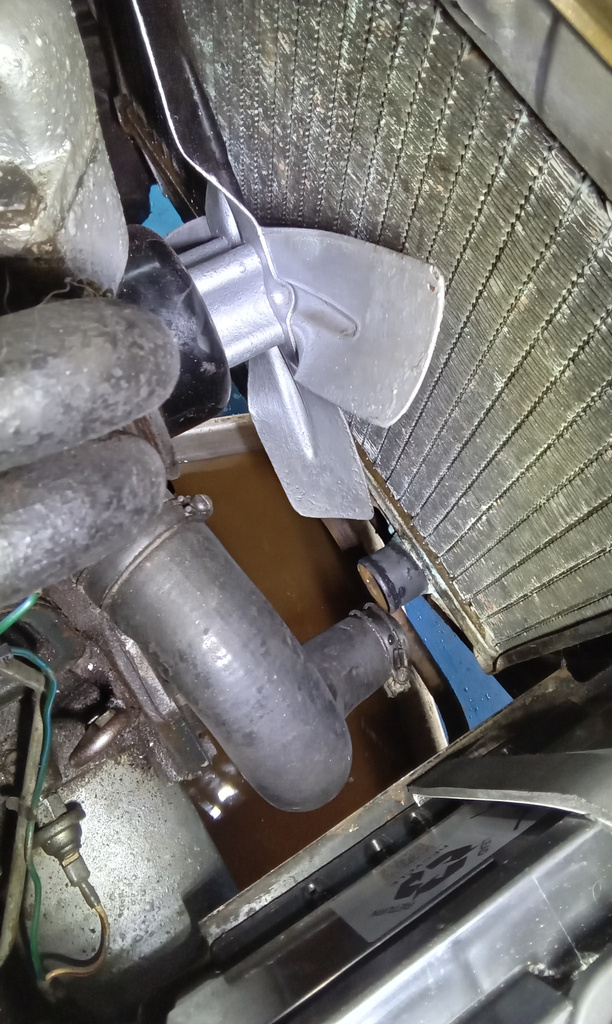
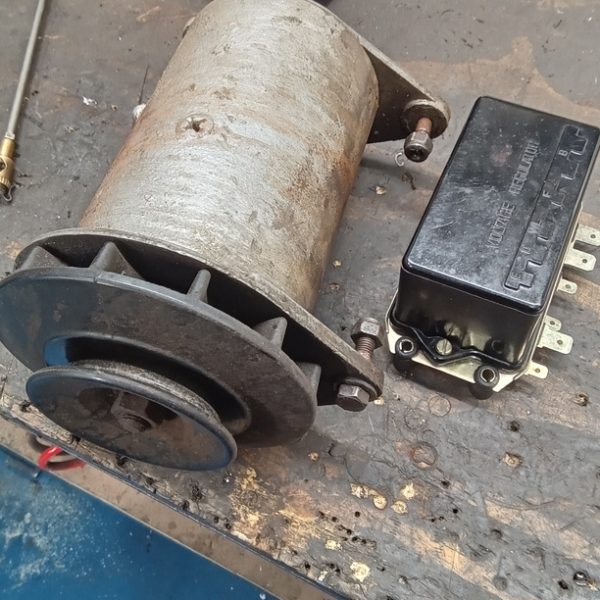
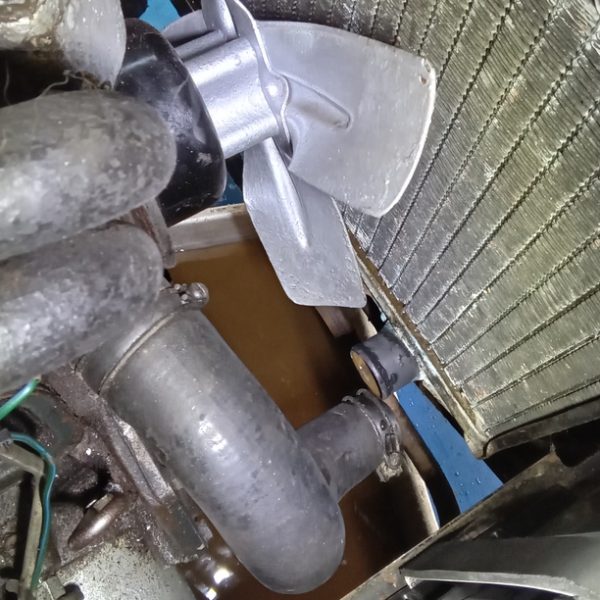
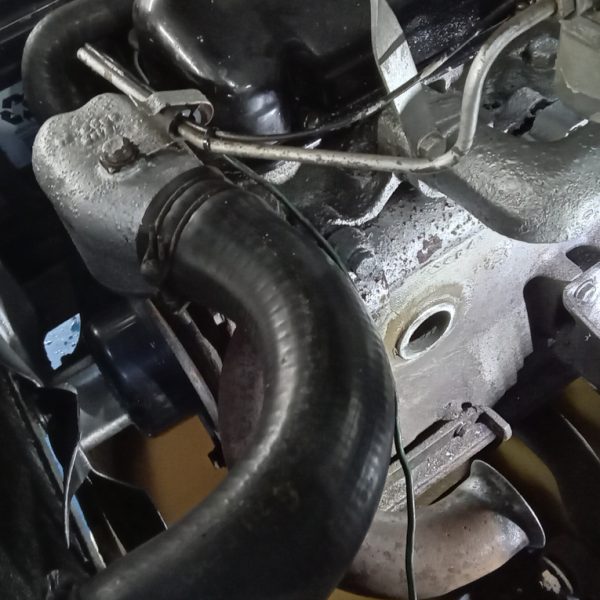
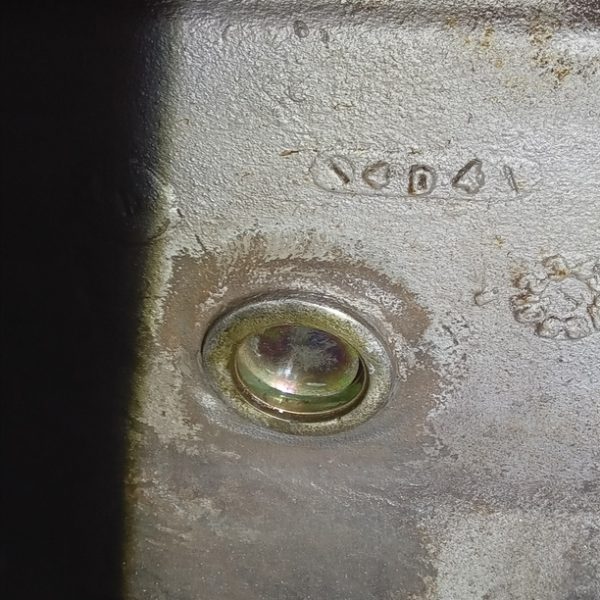
Jonn has been completing some repairs on our 1964 Ford Zephyr 4. Here is what he said:
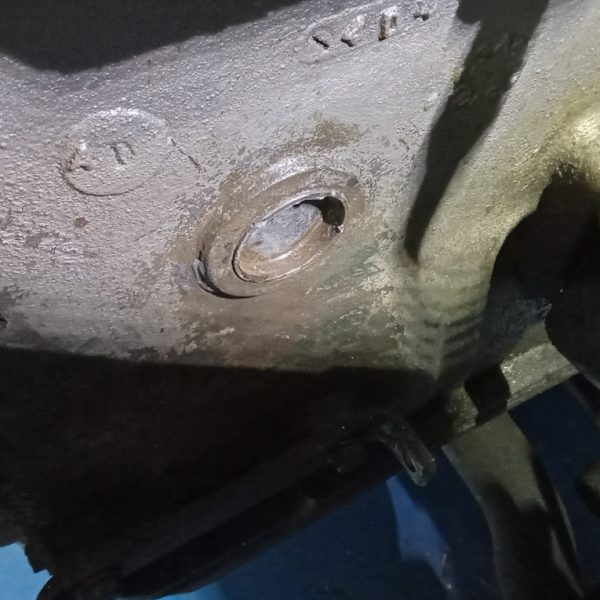
Clean block around drive core plug. Looks OK. Leave and recheck in a bit. Upon rechecking there were signs of a small weep. Drain engine block and radiator. Flush rad with water. Clean block and fit new core plug with wellhead applied. Clean block drain tap and refit with PTFE tape.




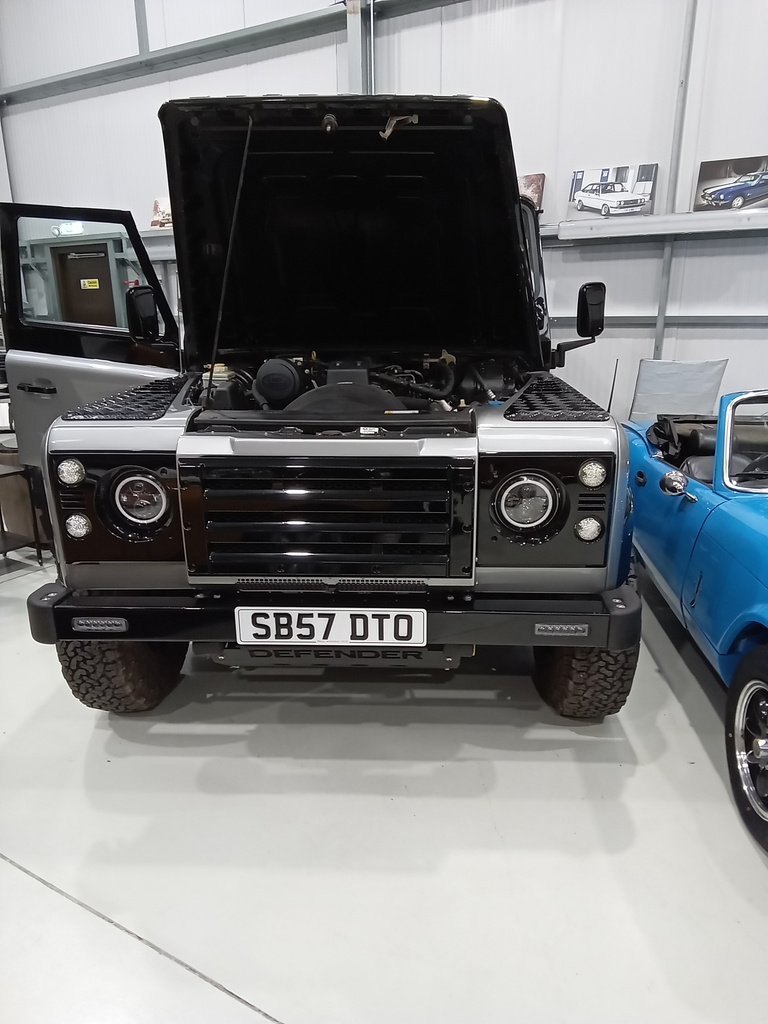
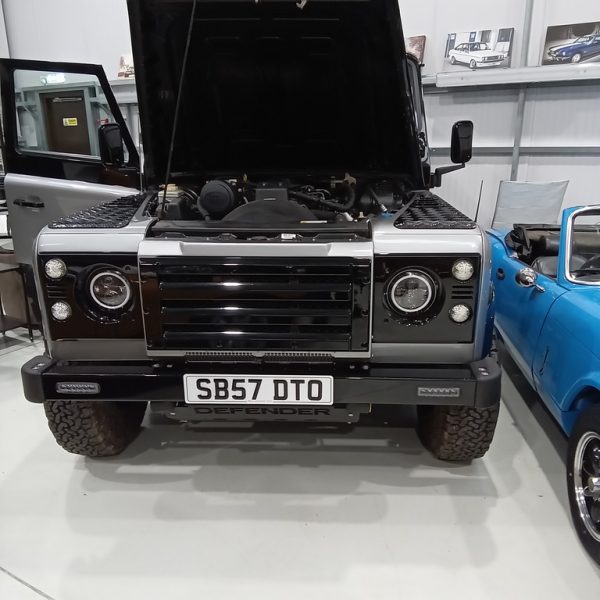
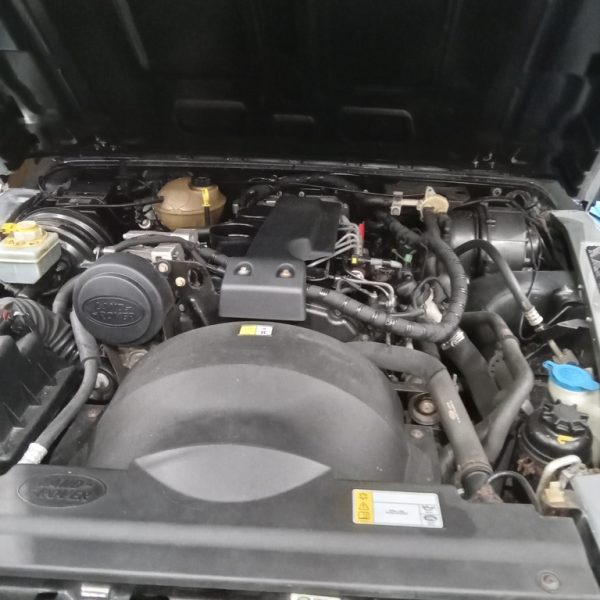
Before our 2007 Land Rover Defender 110 goes live on Bridge Classic Cars Competitions tomorrow, technician Neil has been giving it a checkover.
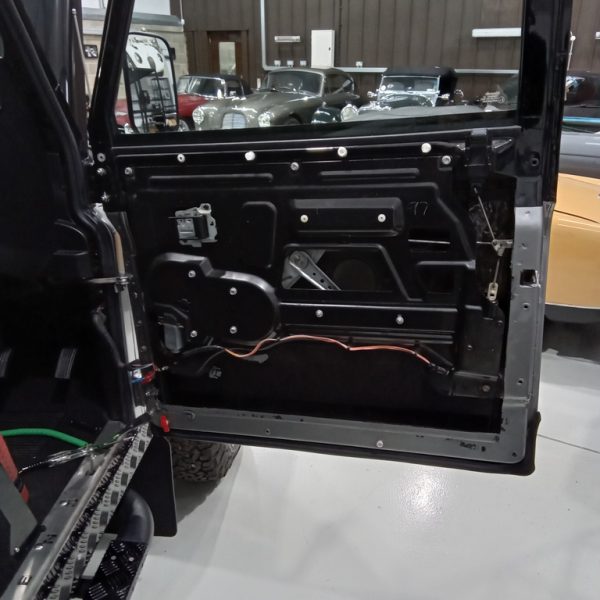
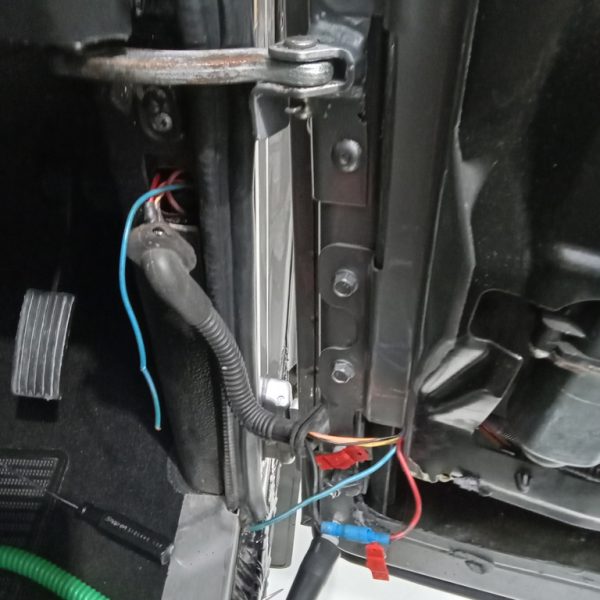
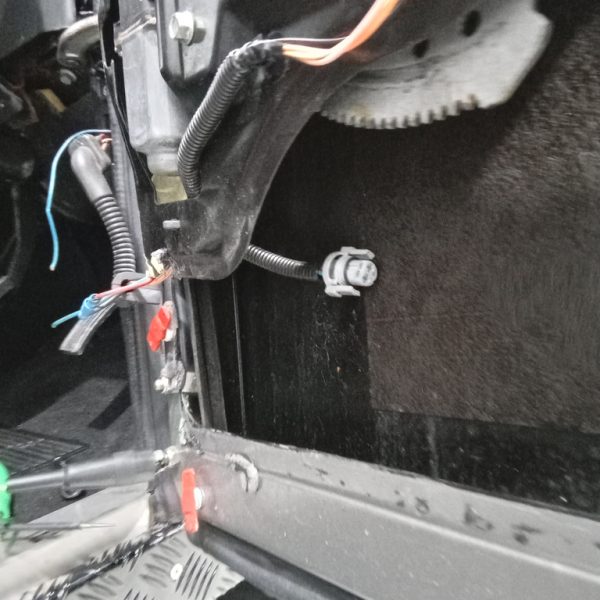
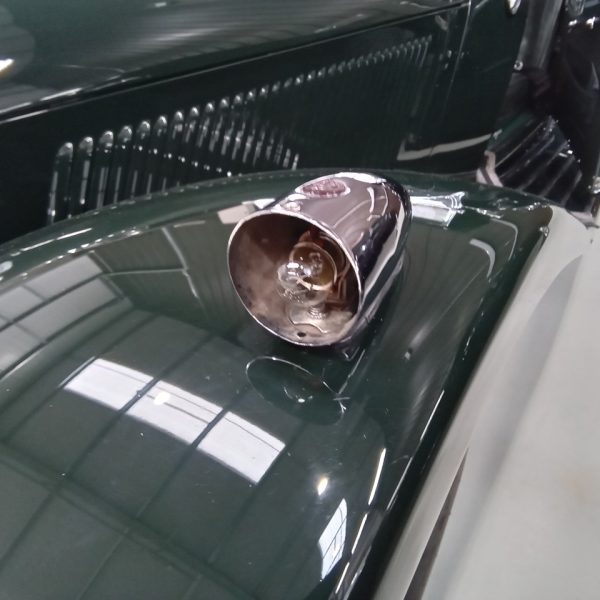
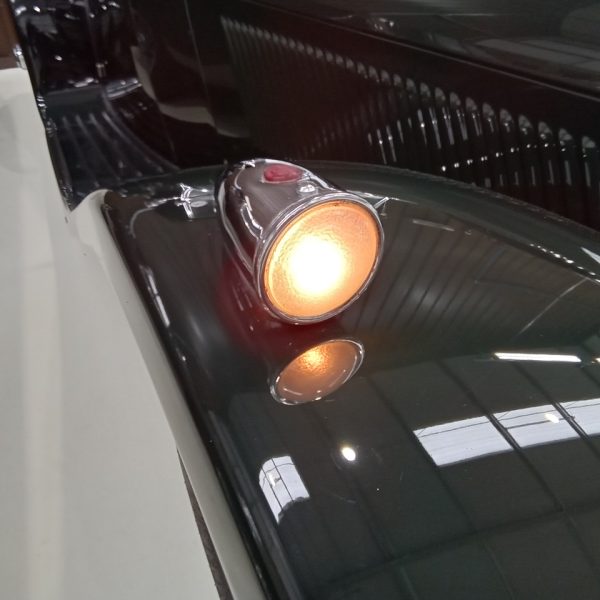
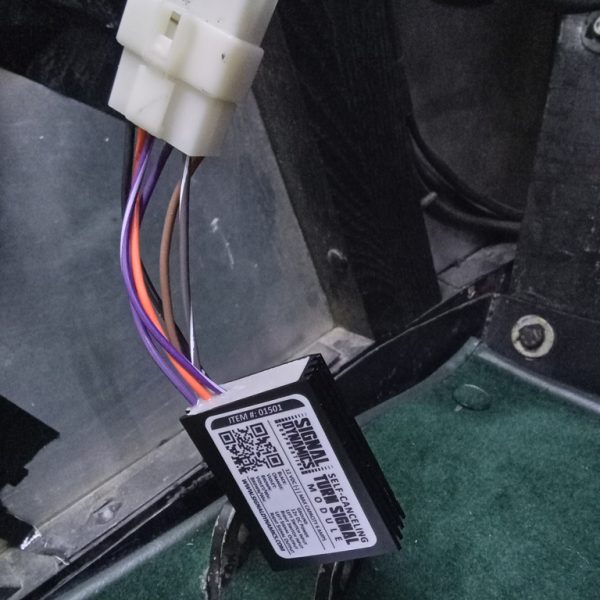
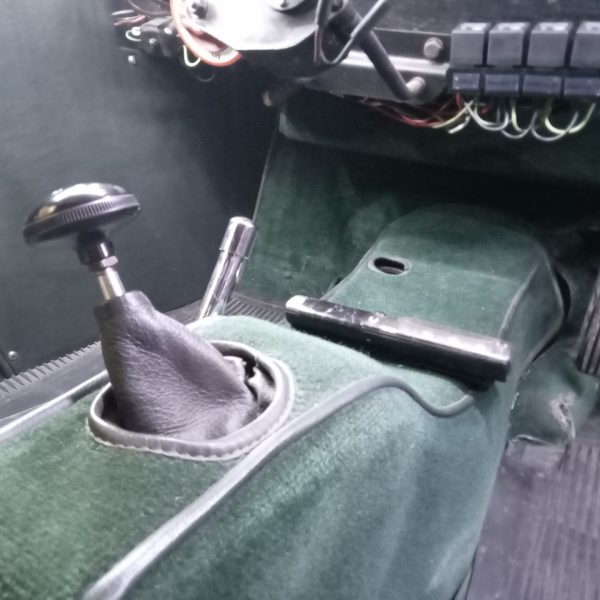
The indicators weren’t working correctly on our 1939 Jaguar SS100. They were stripped and checked and diagnosed as needing a new flasher control unit. This was fitted and all the lights were tested fully, then the interior trims and carpets were refitted and checked.

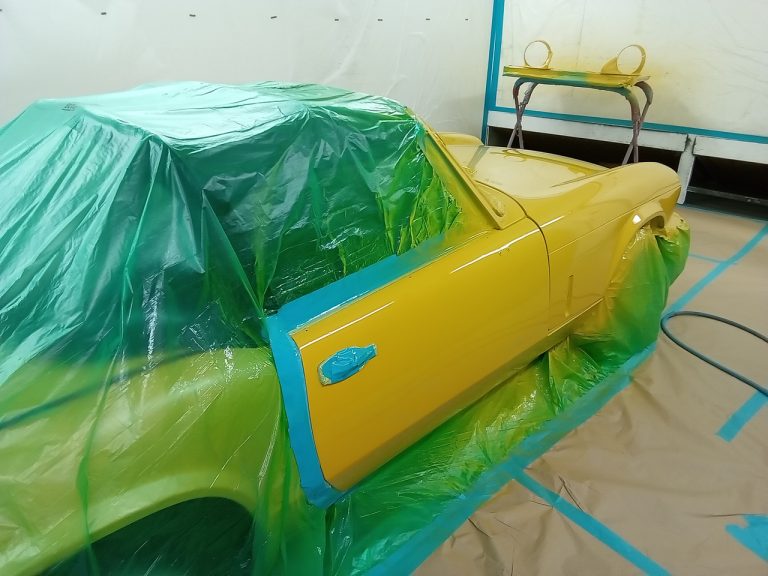
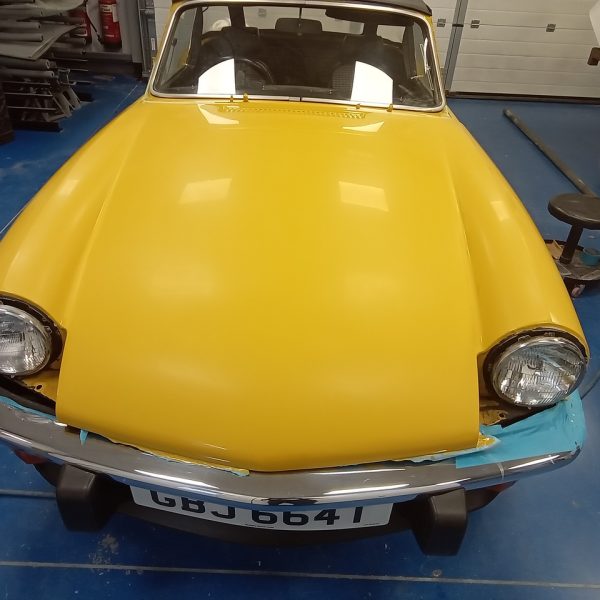
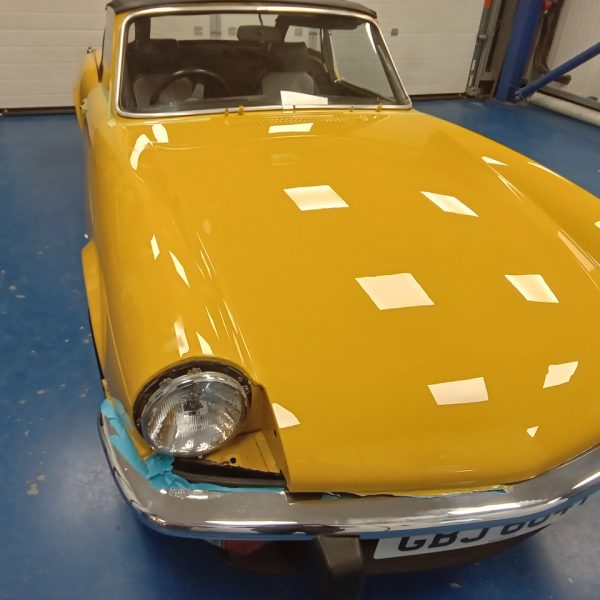
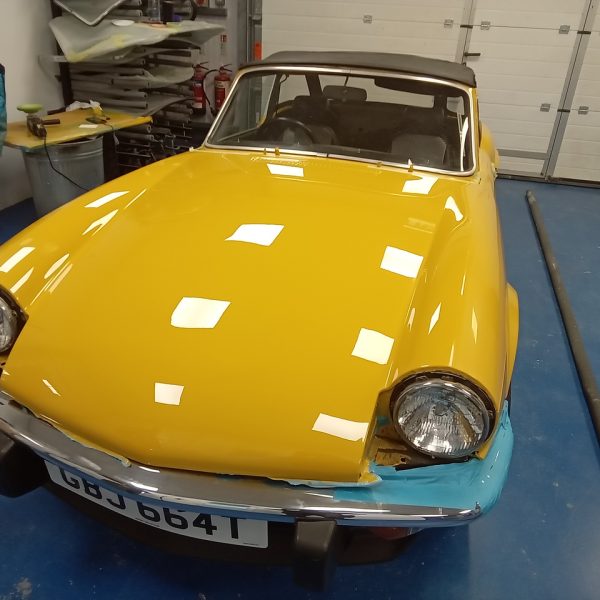
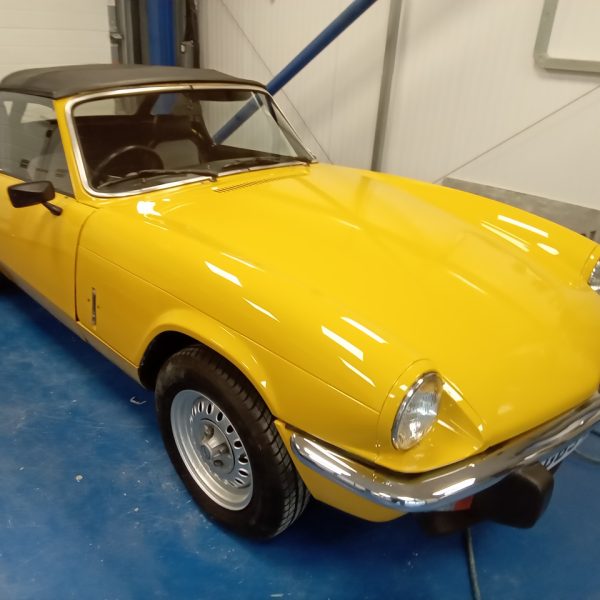
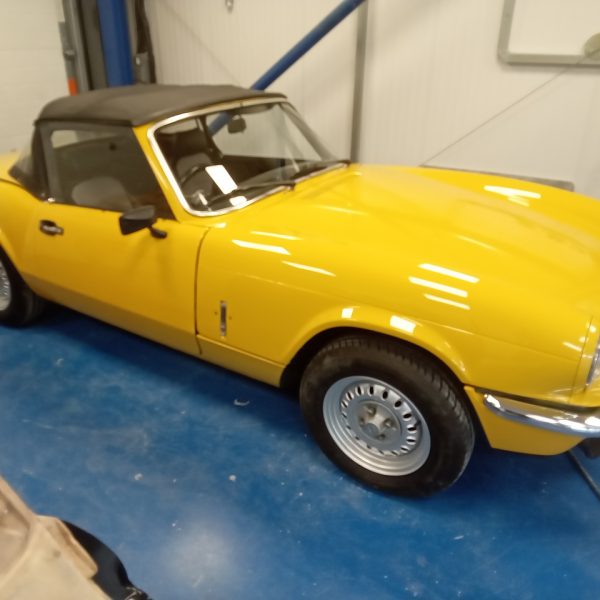
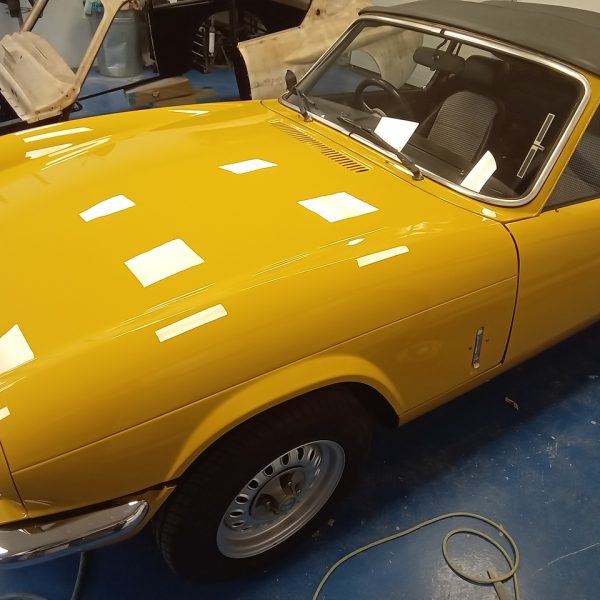
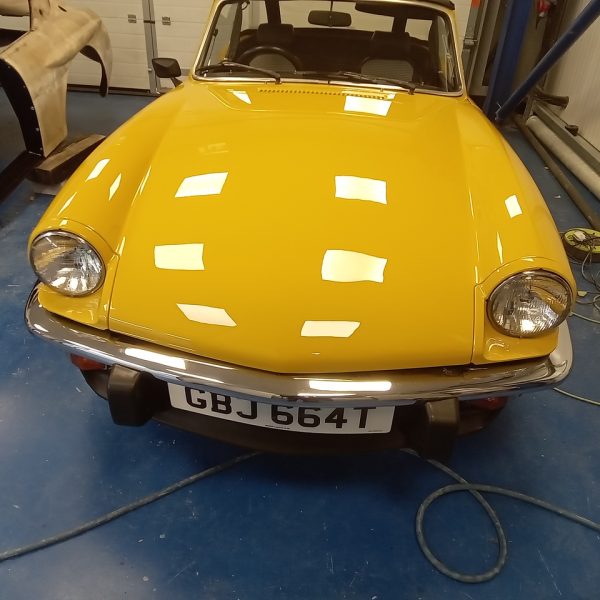
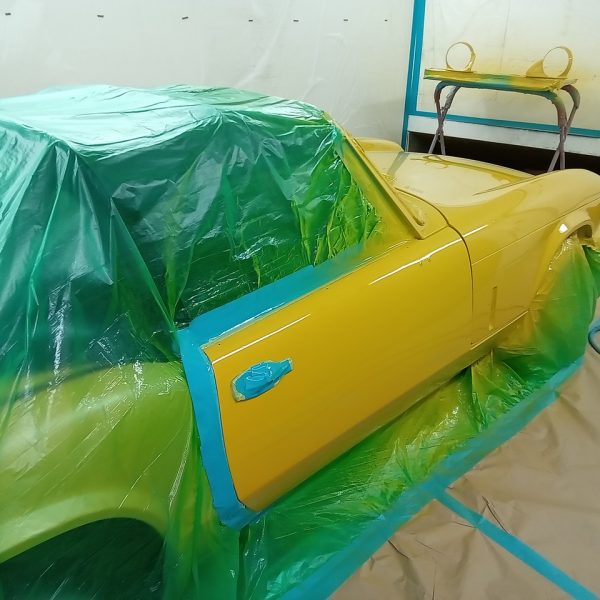
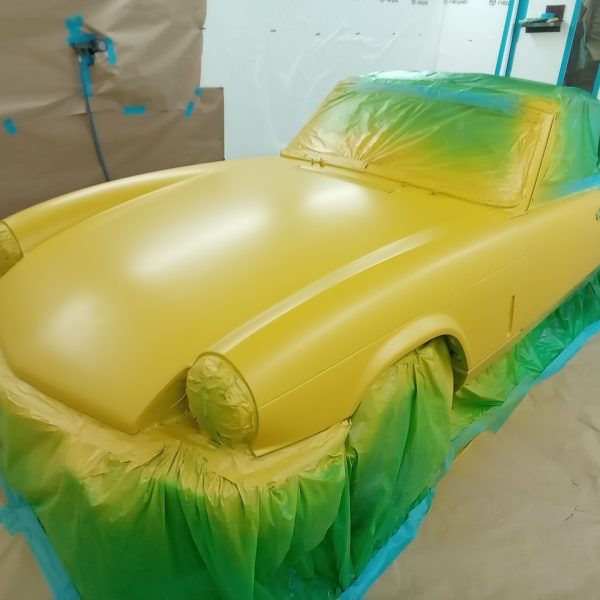
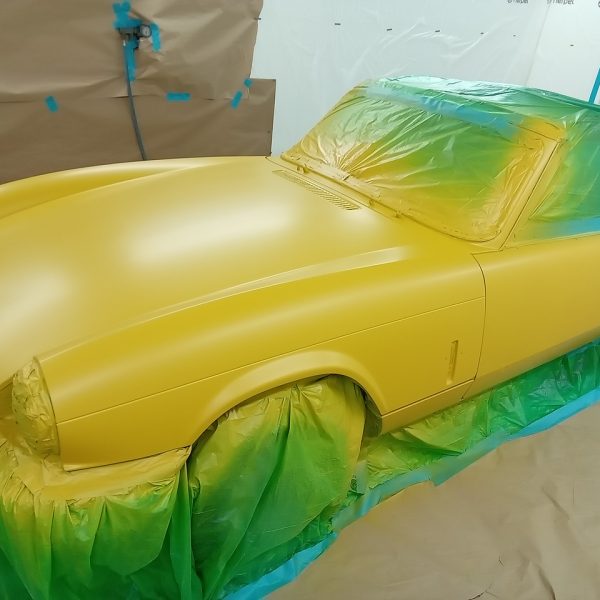
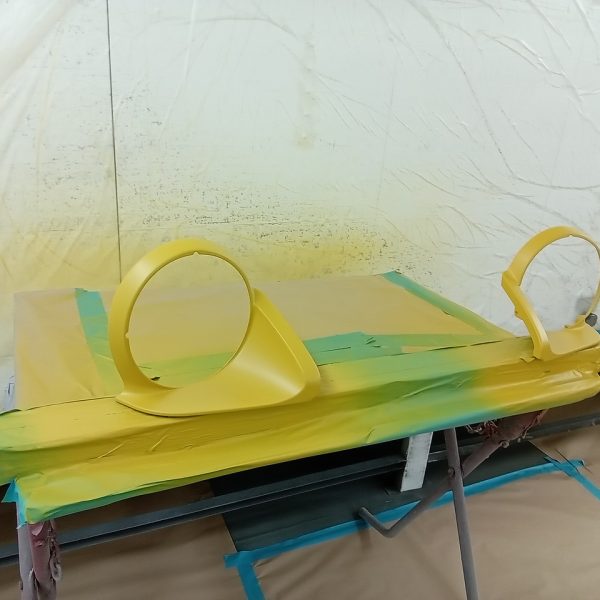
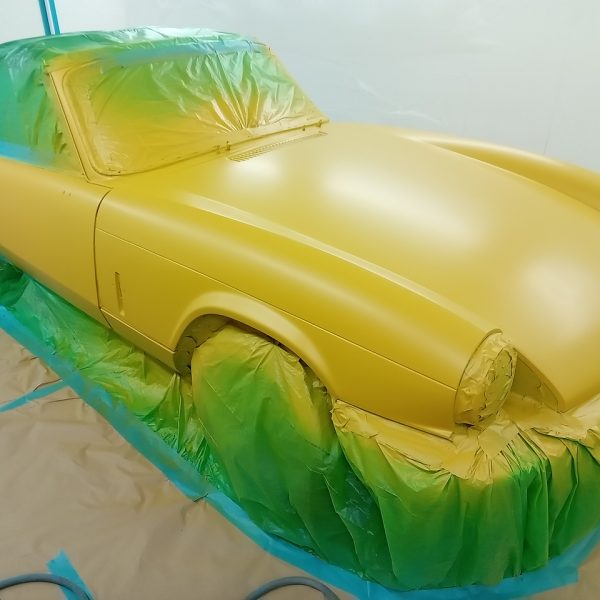
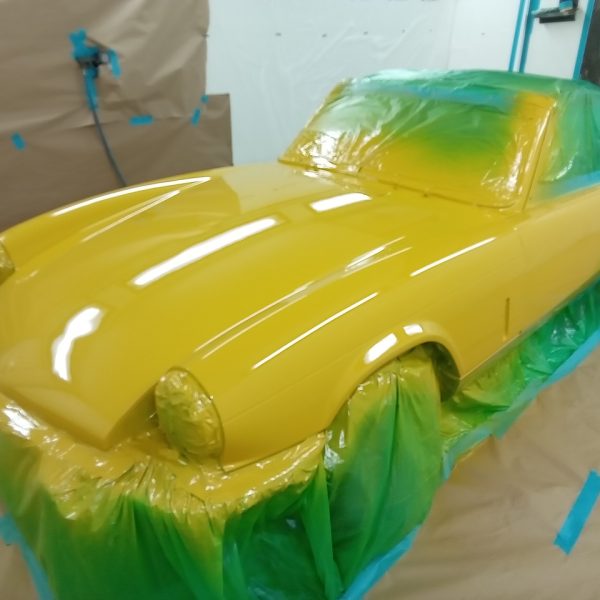
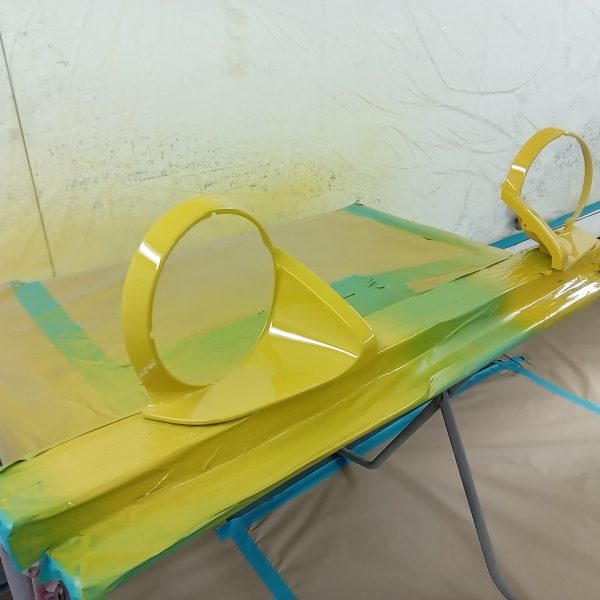
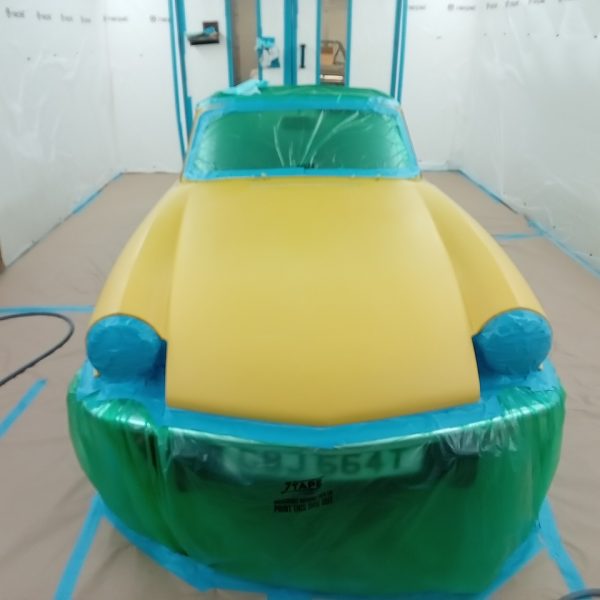
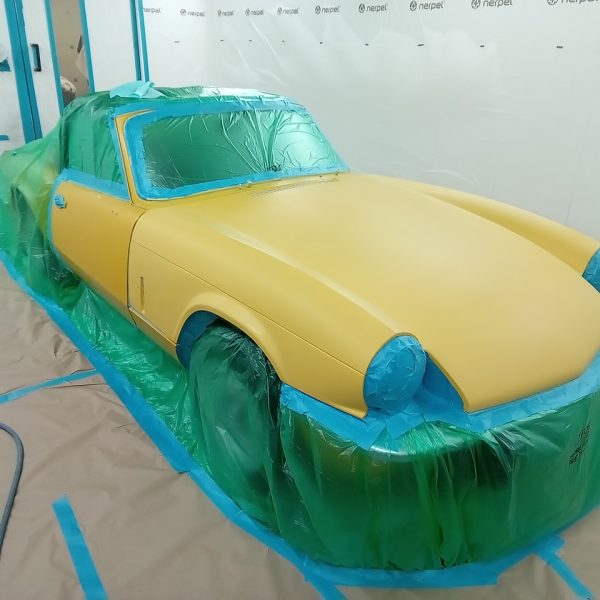
Our 1979 Triumph Spitfire 1500 has recently been painted in the Bridge Classic Cars Paint shop.
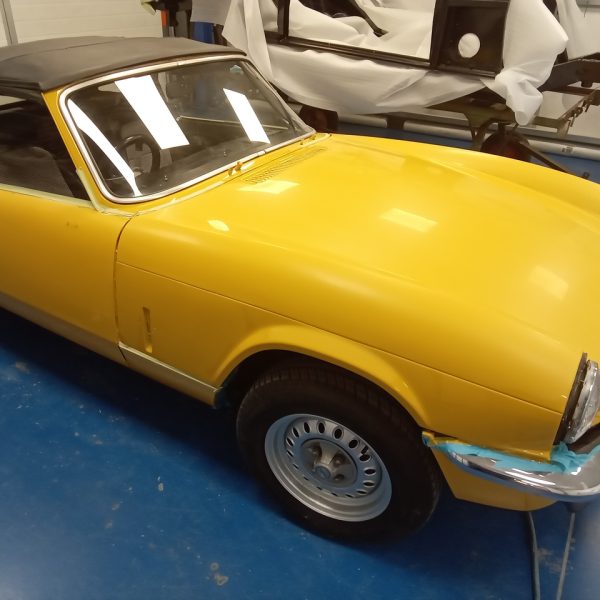



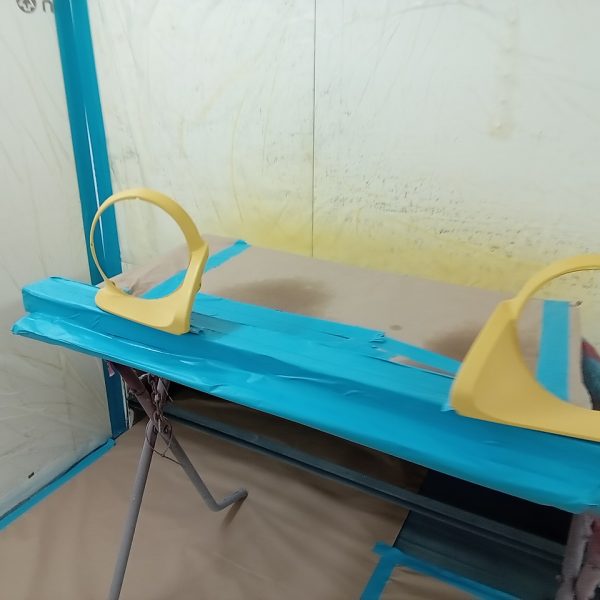
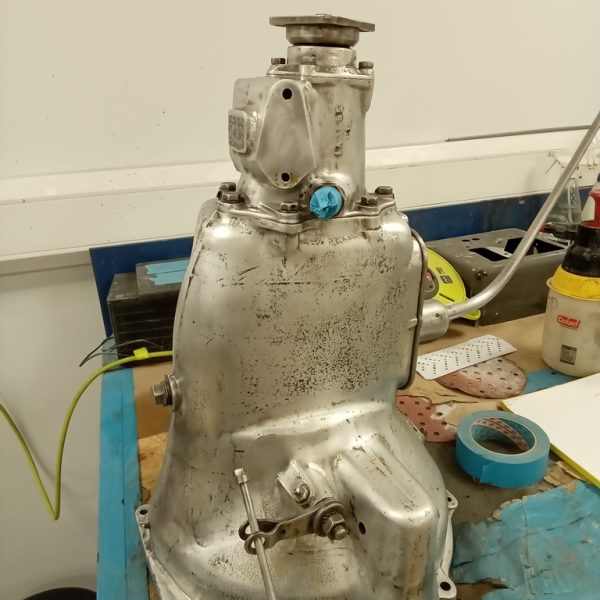
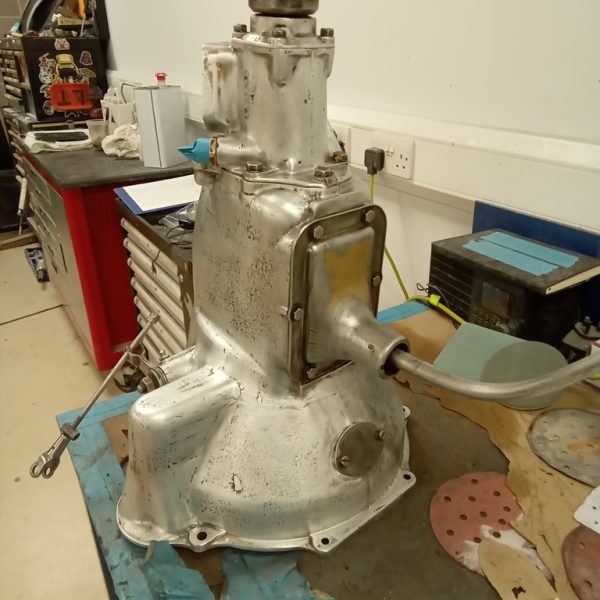
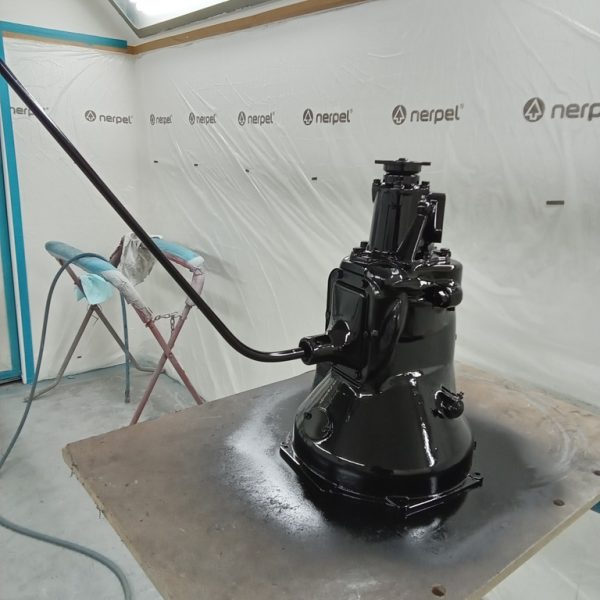
Mauro has been prepping the gearbox of our 1951 Austin Devon Pickup for dtm black paint.

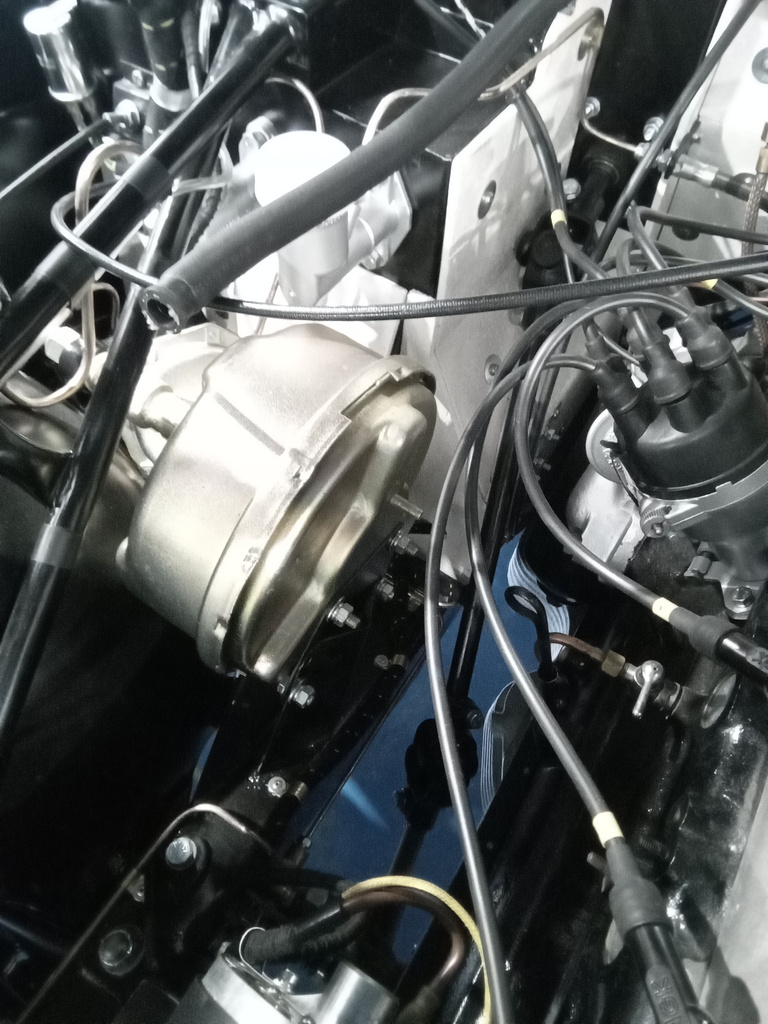
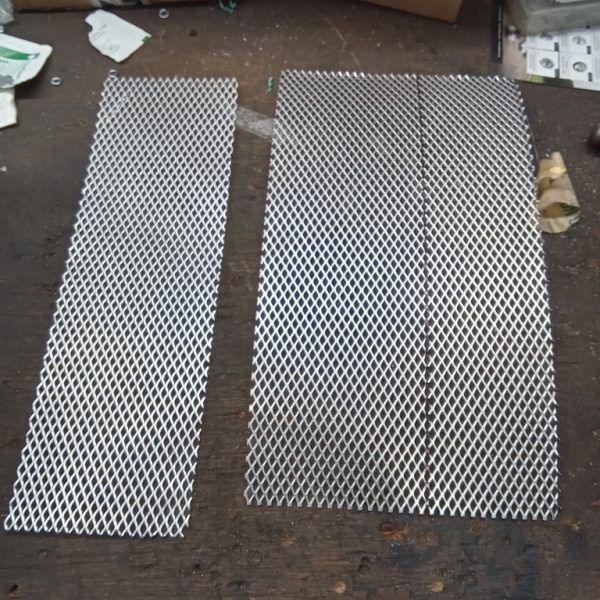
John has made the mesh to go on our 1959 Jensen 541R front wings, as requested by the owner of the car.
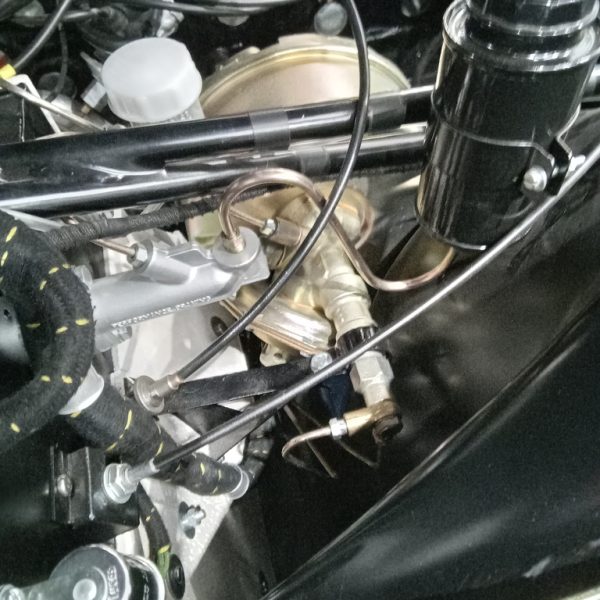
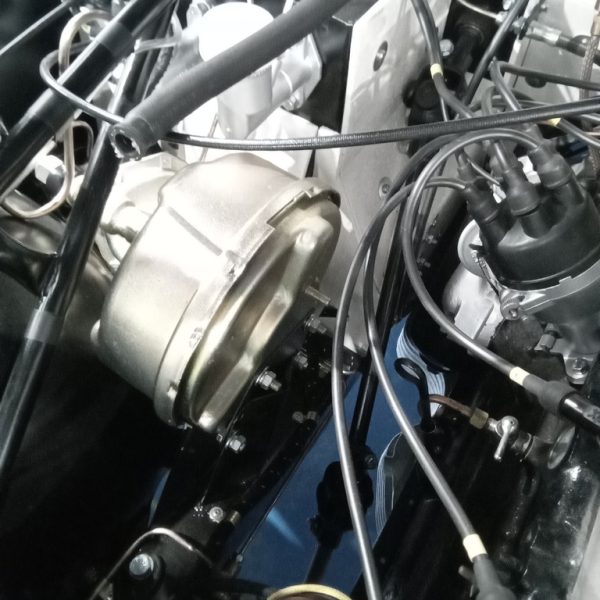
While John was doing that, James replaced the brake servo as, on a recent test drive, it was noted that the brakes were not quite as good as they could be. A replacement unit was fitted and the brakes were bled.
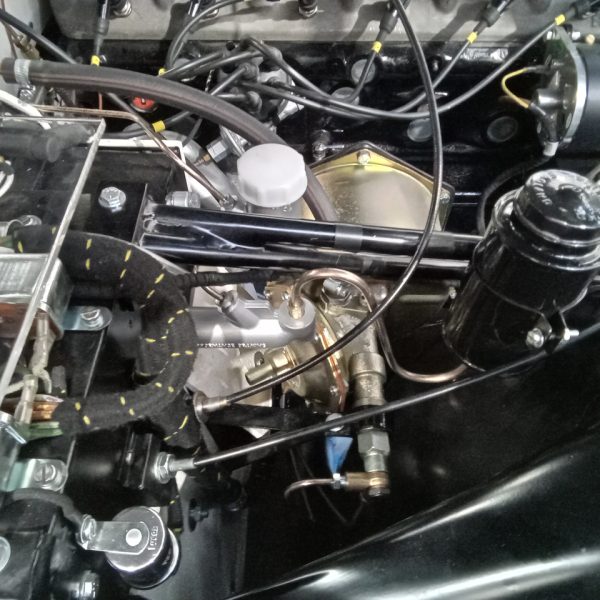
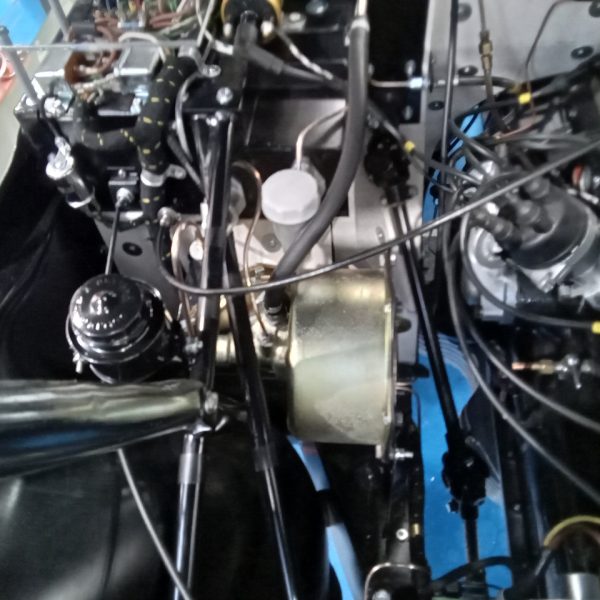
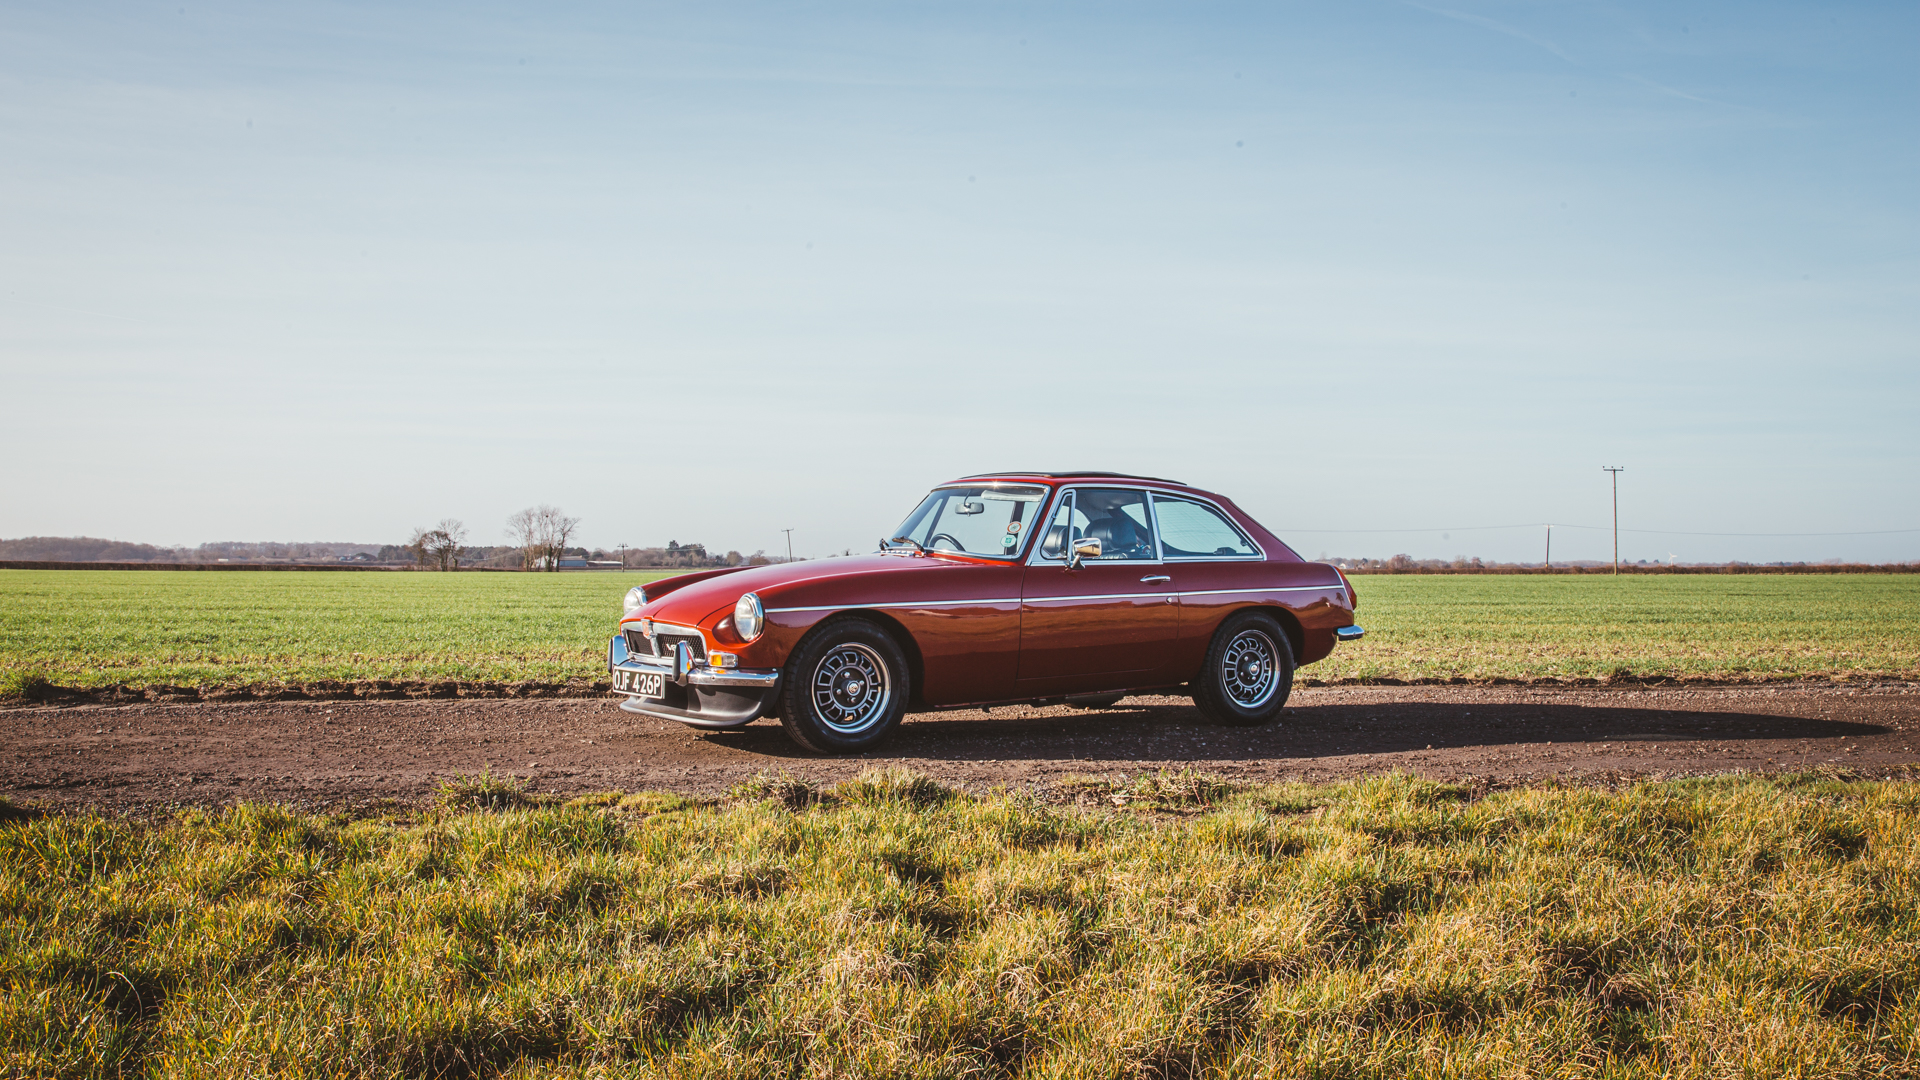
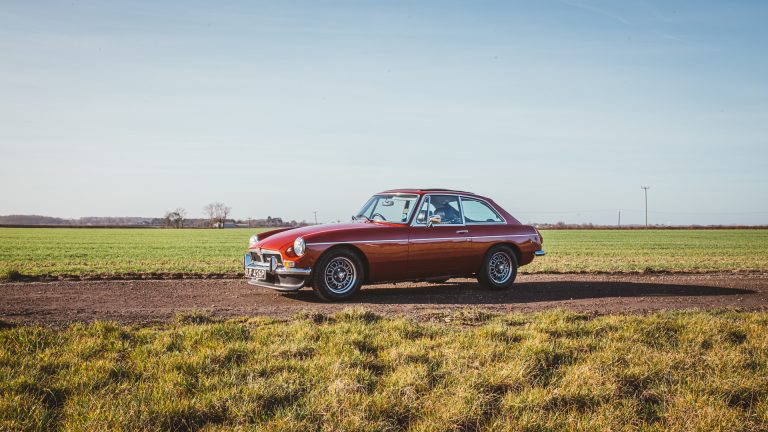
A cornerstone of the British sports car world. A car recognised and loved by so many for its usability, practicality, and it’s gorgeous looks. We are proud to offer for sale our 1975 MGB GT V8.
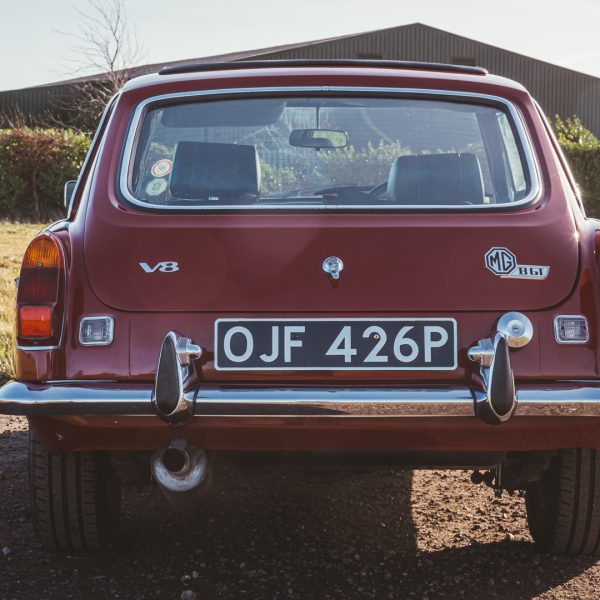
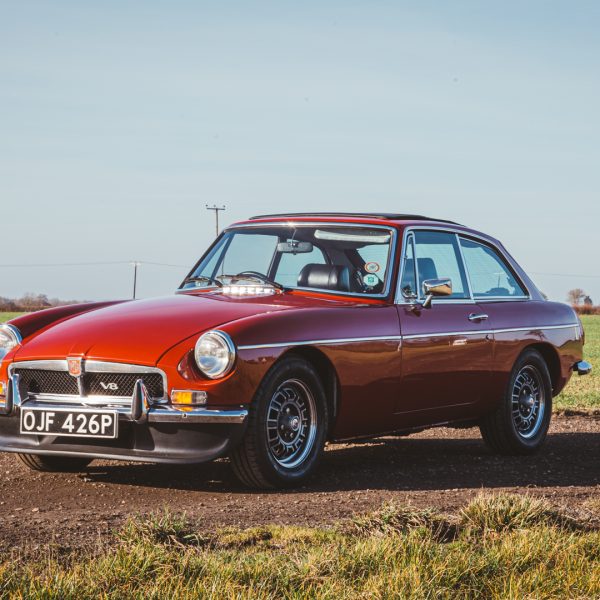
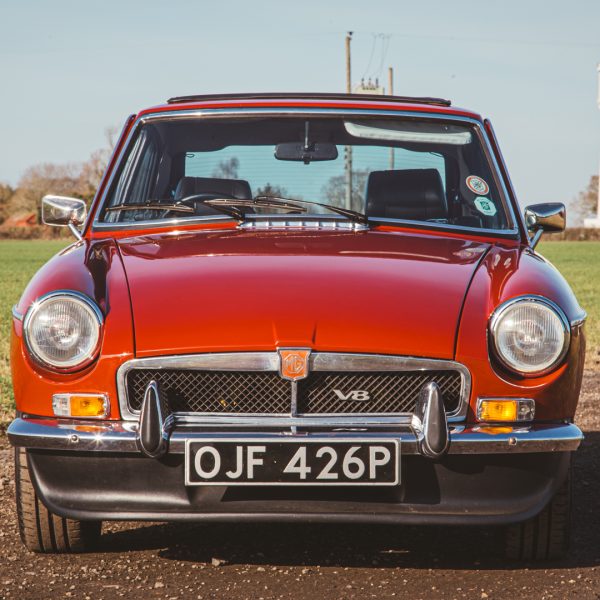
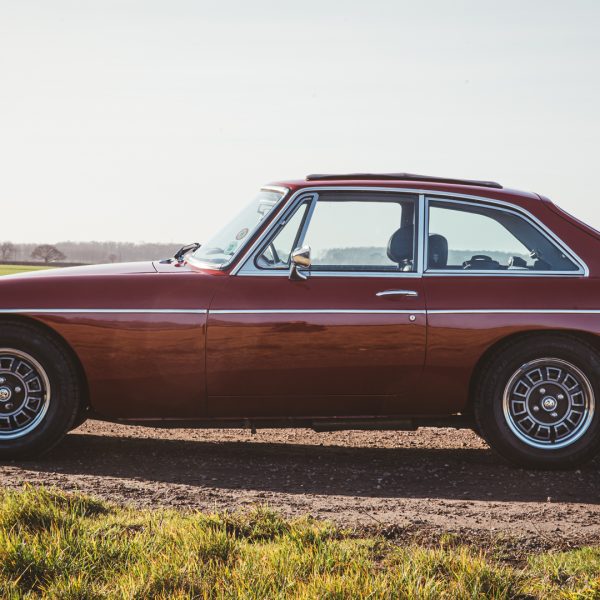
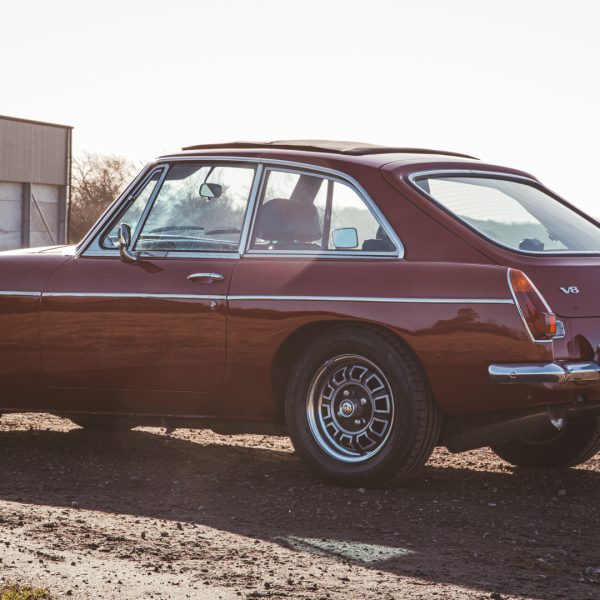
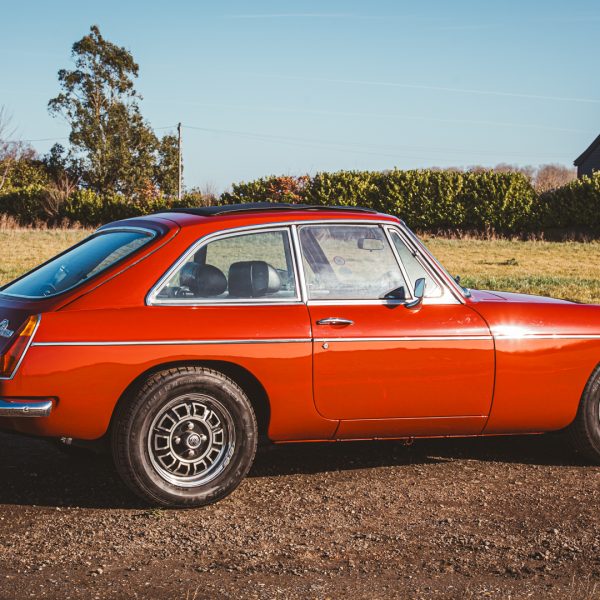
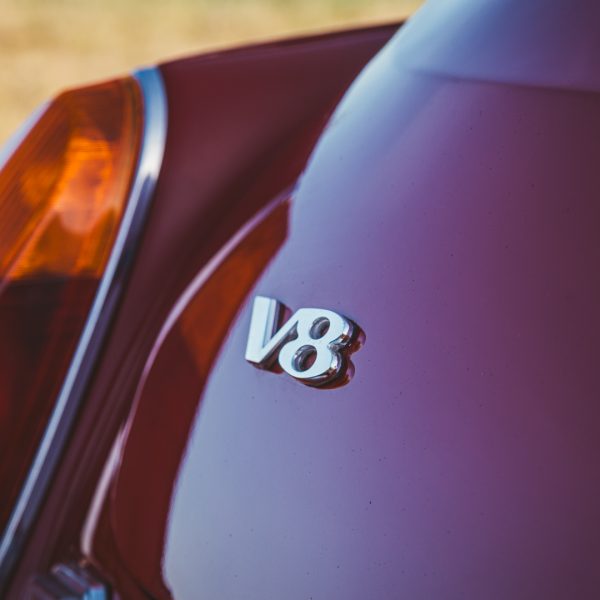
The most sought after of the MGB GT’s. Its elegant, sophisticated looks paired with the glorious rumble of the small block V8 are a recipe for a thrilling driving experience.
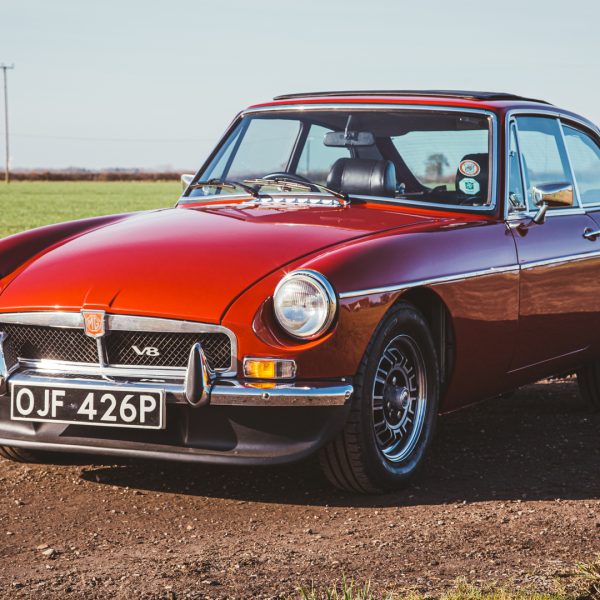
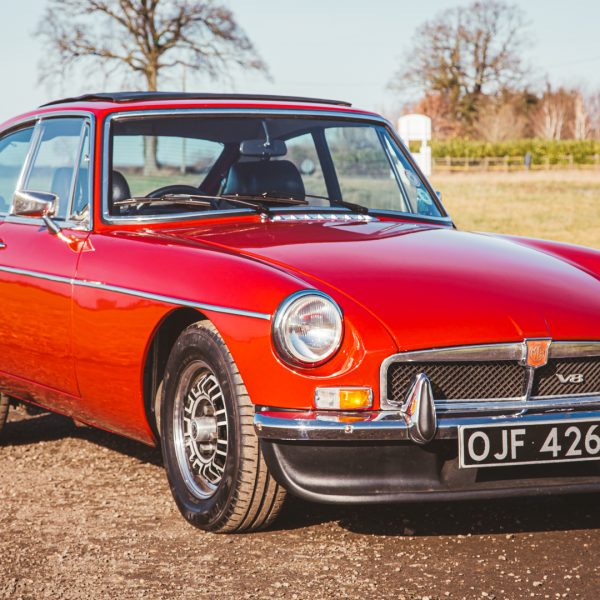
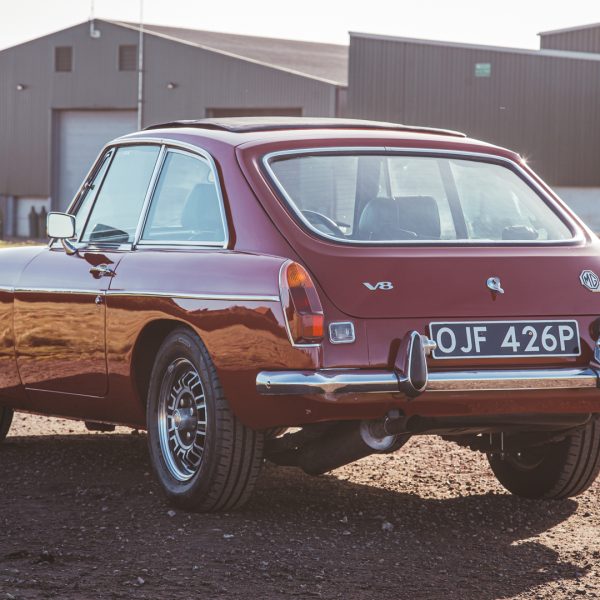
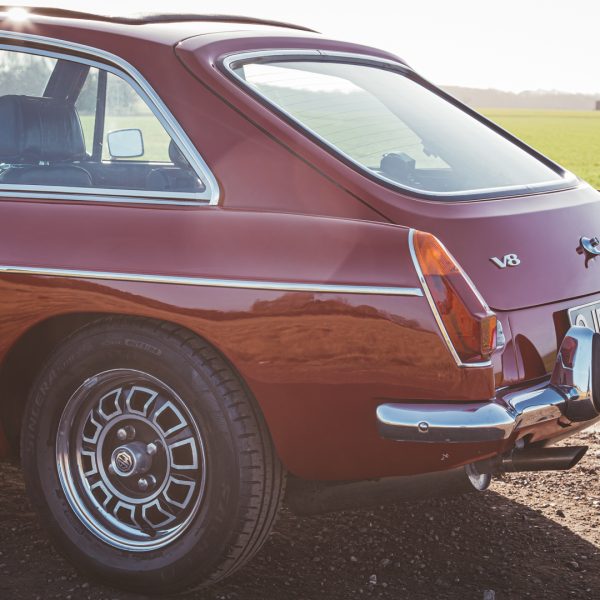
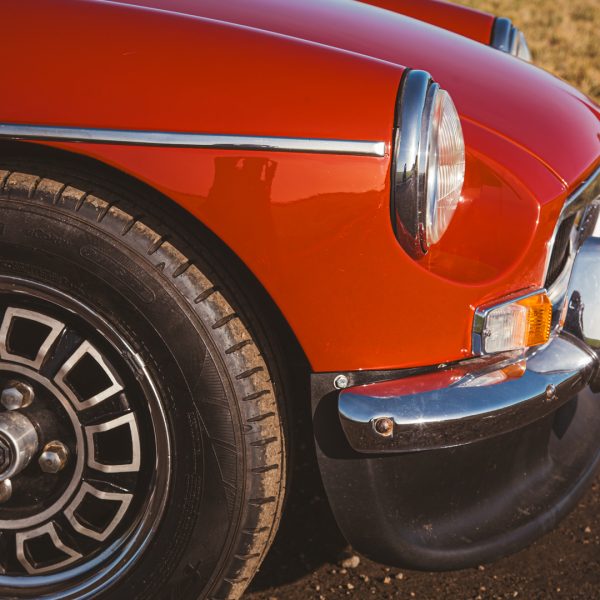
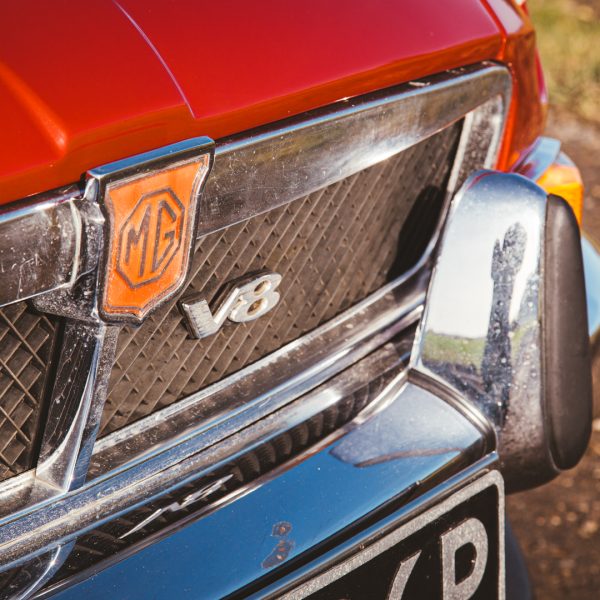
Our 1975 example is one of the 2591 V8 cars produced by MG between 1973 and 1976 and is one of the very best MGB’s we’ve had through our workshop. Finished in vibrant Maroon Red with Black accents, it is a classic and classy colour combination. The Rover sourced small-block V8 delivers 137BHP which was more than enough to get this small, nimble, and iconic sports car on the move quickly.
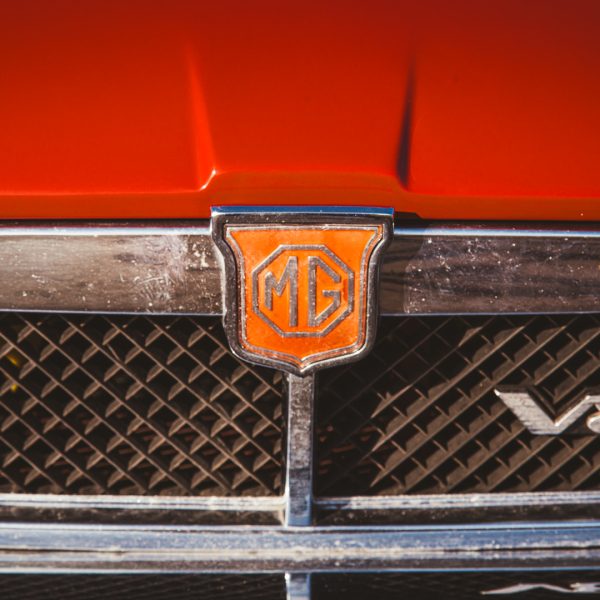
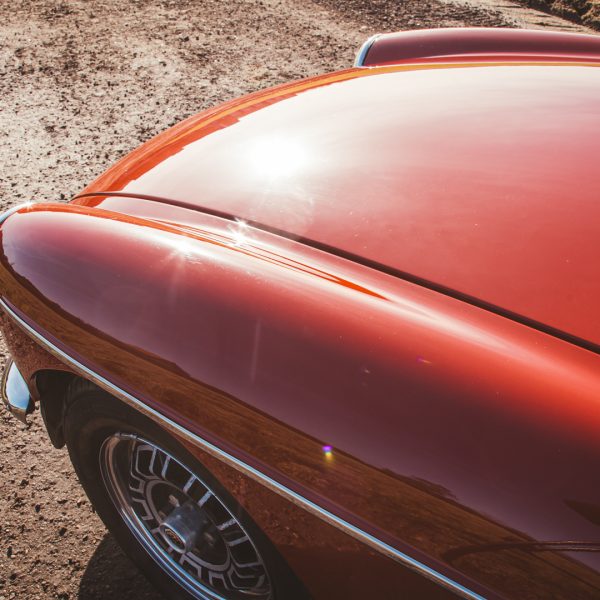
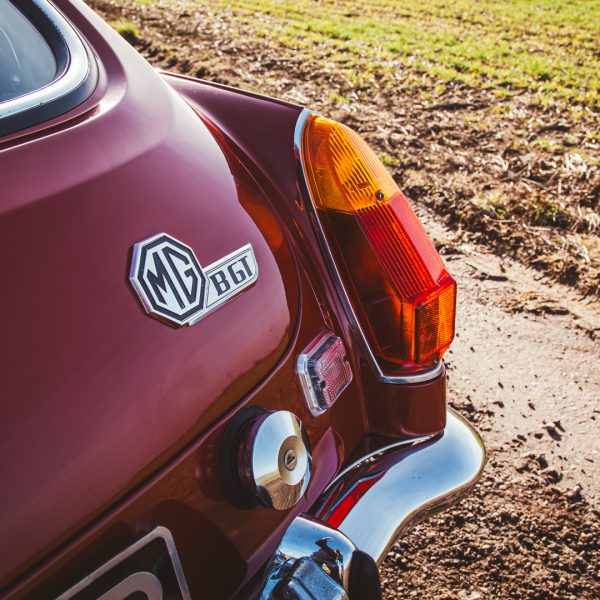
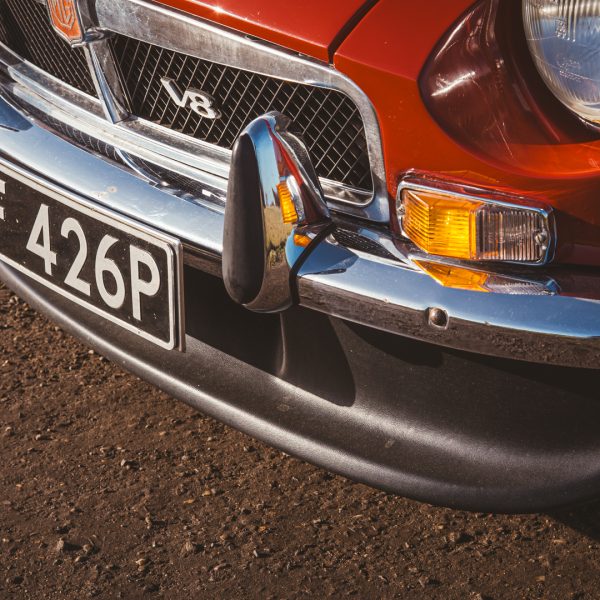
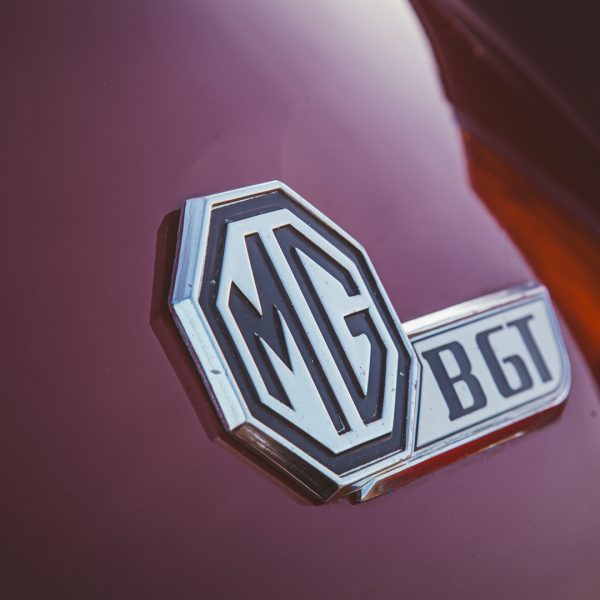
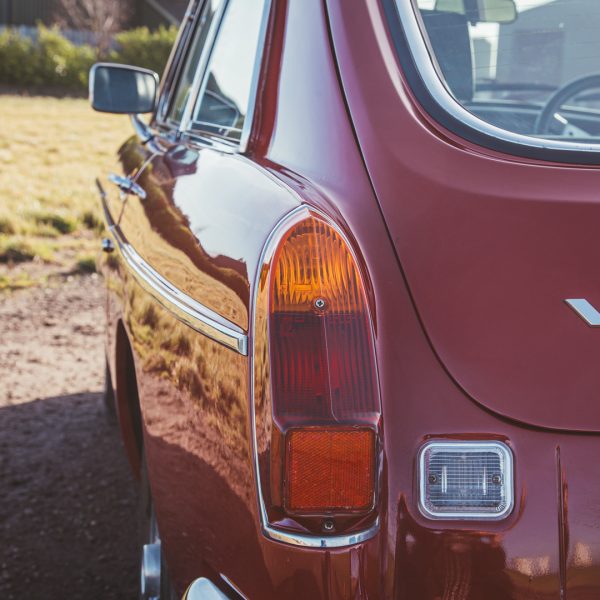
Interestingly, the V8 used in the MGB GT was the lightest V8 engine available at the time, so the V8 took 20 kilograms off the nose of these wonderful British cars compared to the 4-cylinder engine.
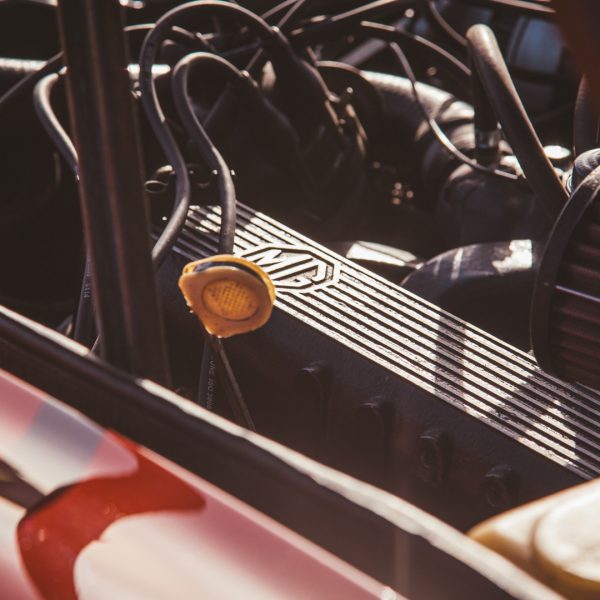
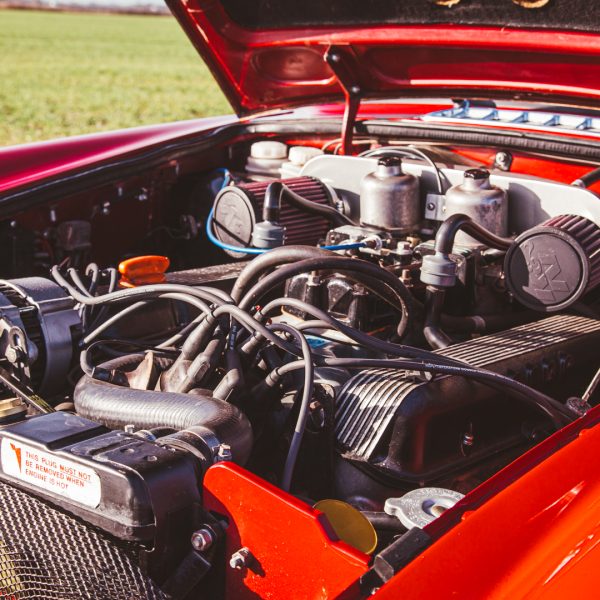
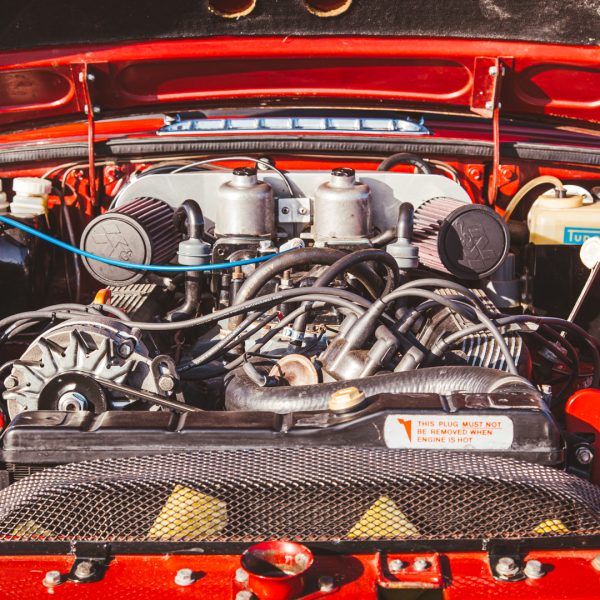
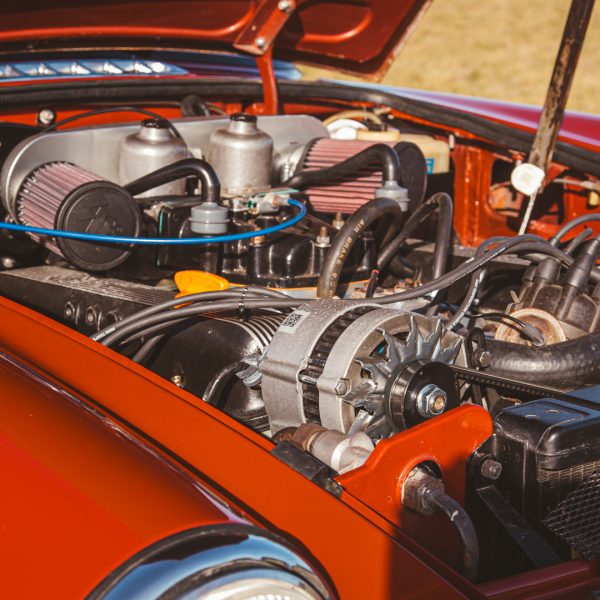
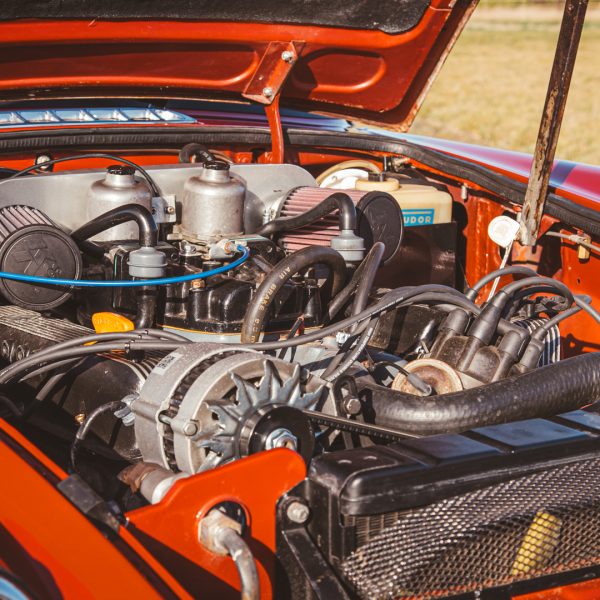
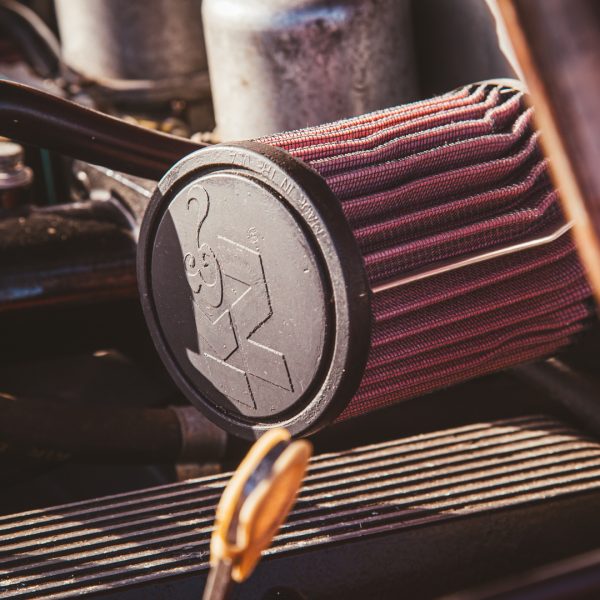
This car has a well-documented history with invoices from parts specialists as well as extensive MOT histories dating back to the early 1990s. The file also includes photos from its bare metal rebuild in the early 2010s with photographs of its journey for its next owner to pour over.
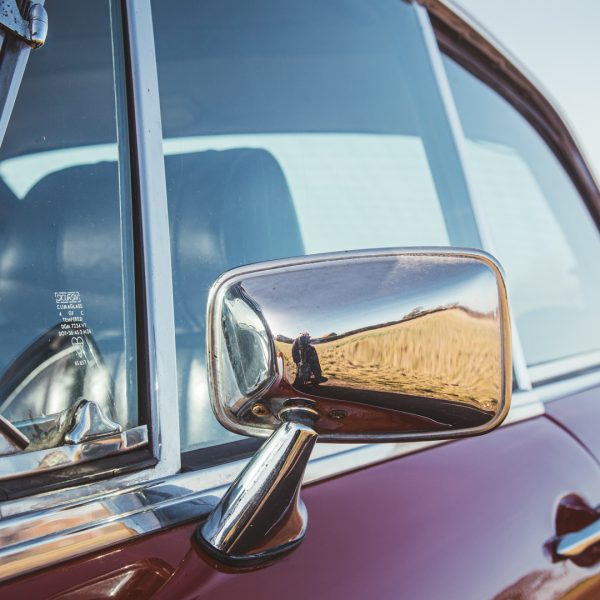
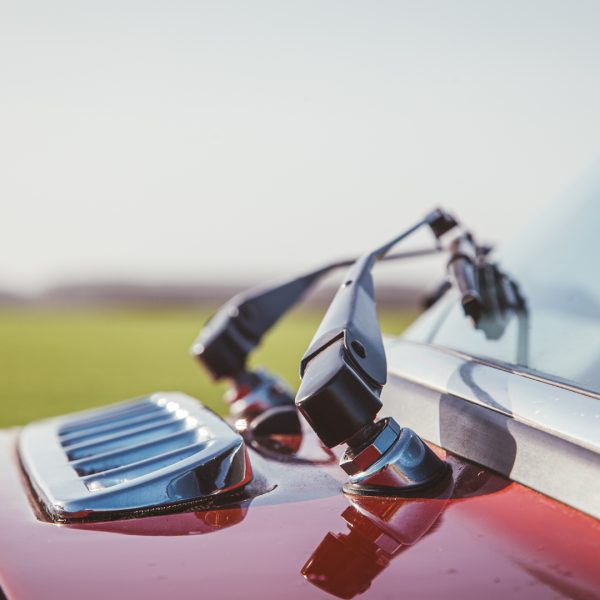
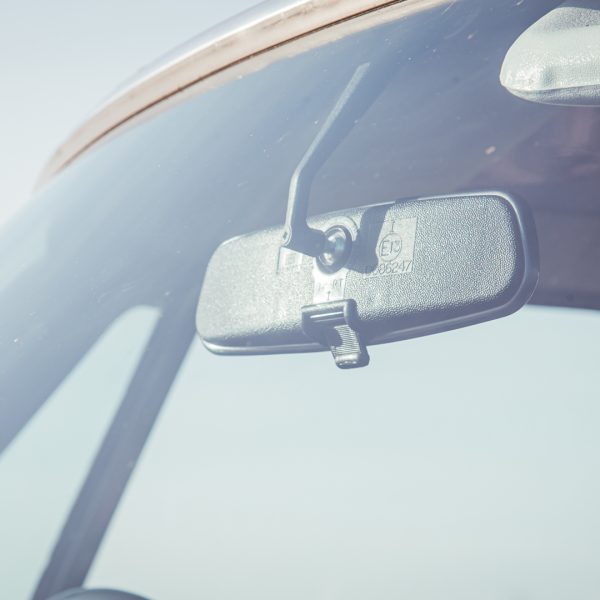
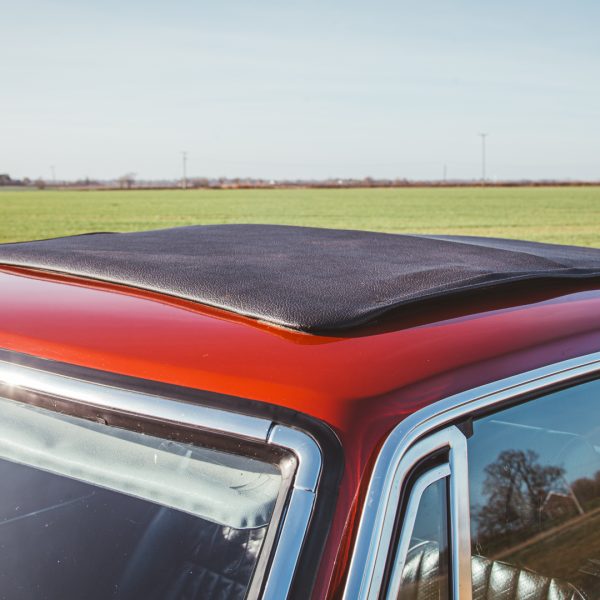
This car also features a fold back sunroof for those warm summers days where you can roll back the top and go out for a blast to enjoy that intoxicating V8 rumble and the playful dynamics of the MG’s handling.
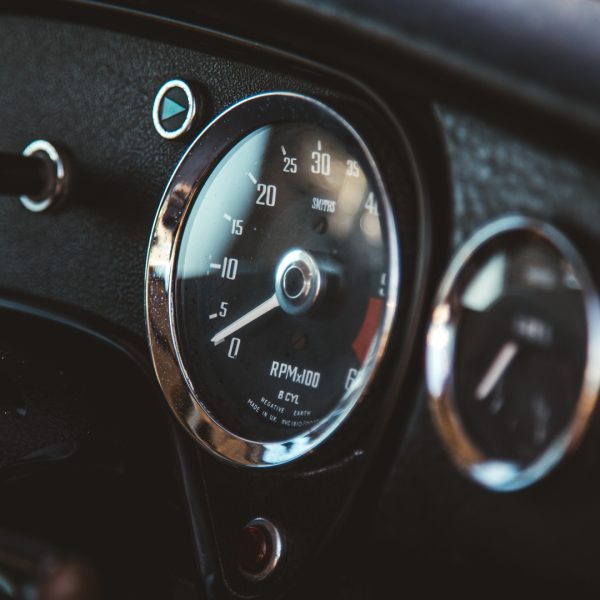
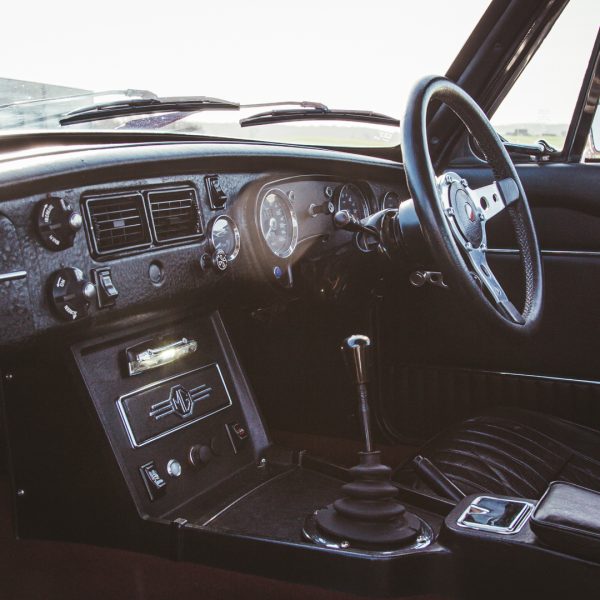
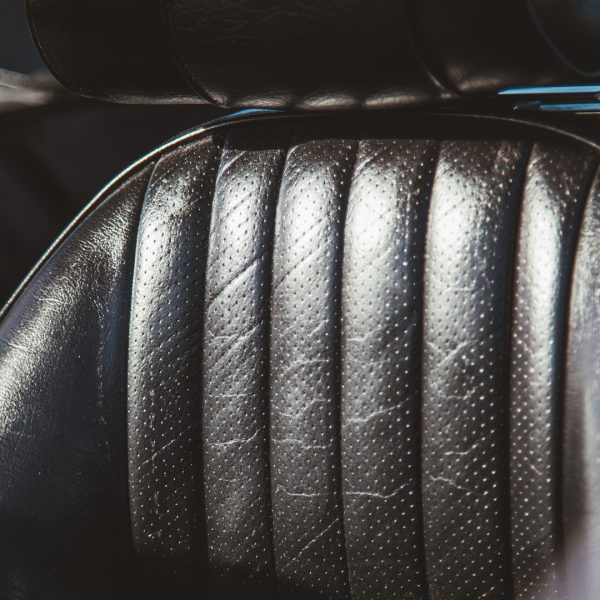
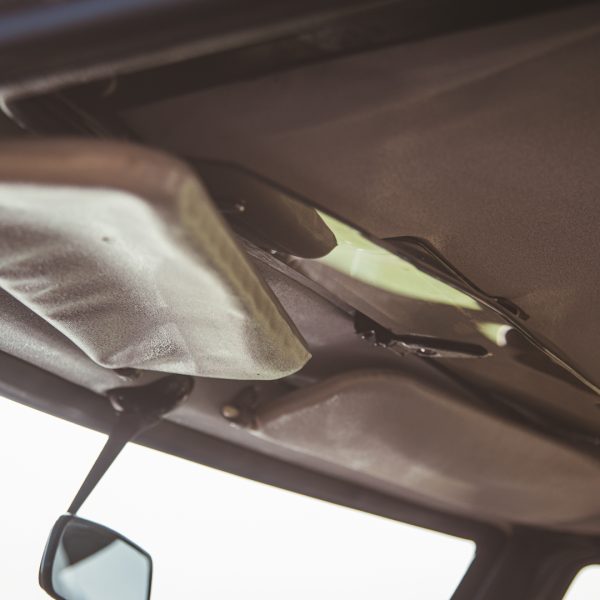
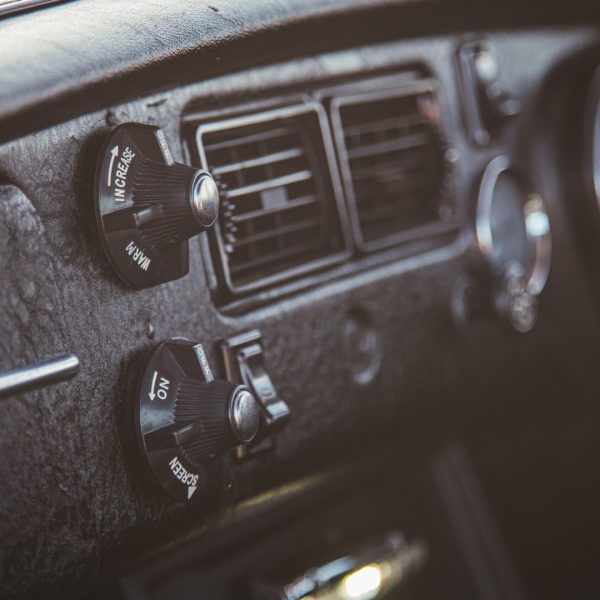
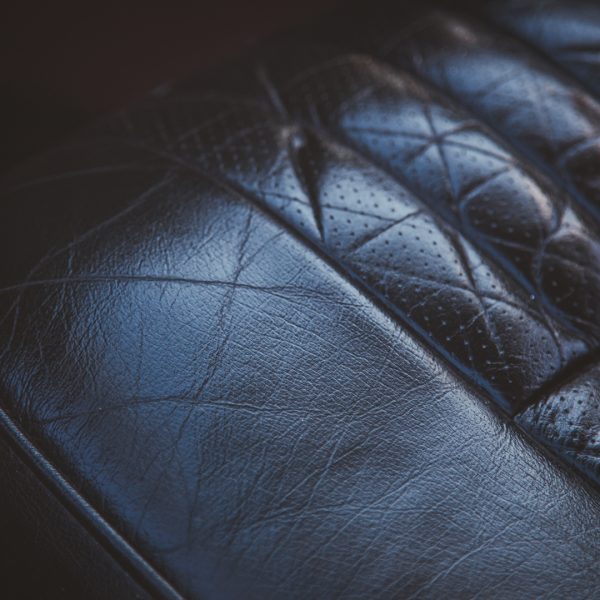
One look at its famous slender grille and you can’t miss that glorious badge staring straight back at you with the simple “V8”. The car also features the multi-piece wheels which were a signature of the V8’s and special editions that came out during the cars production run.
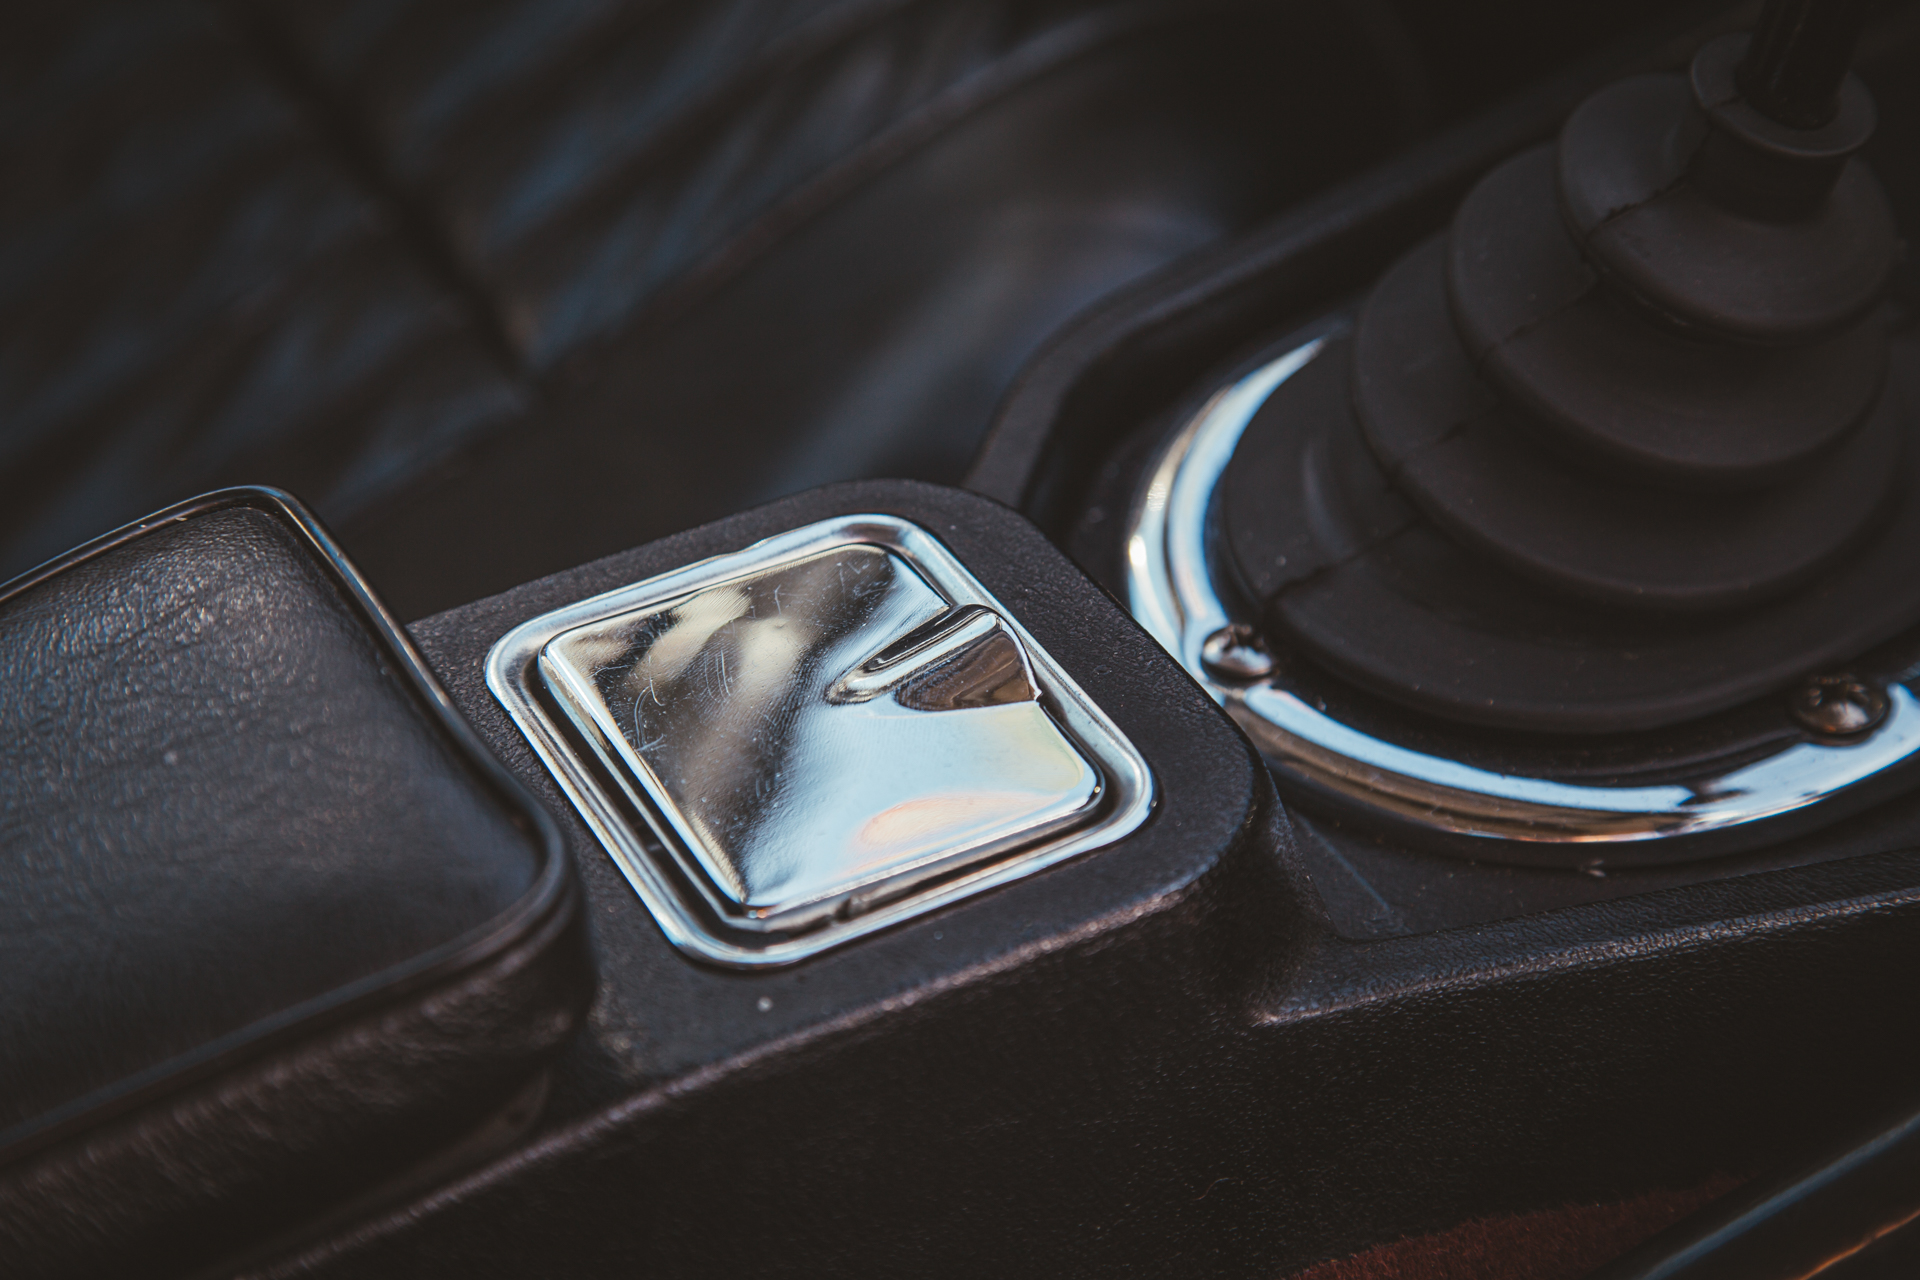
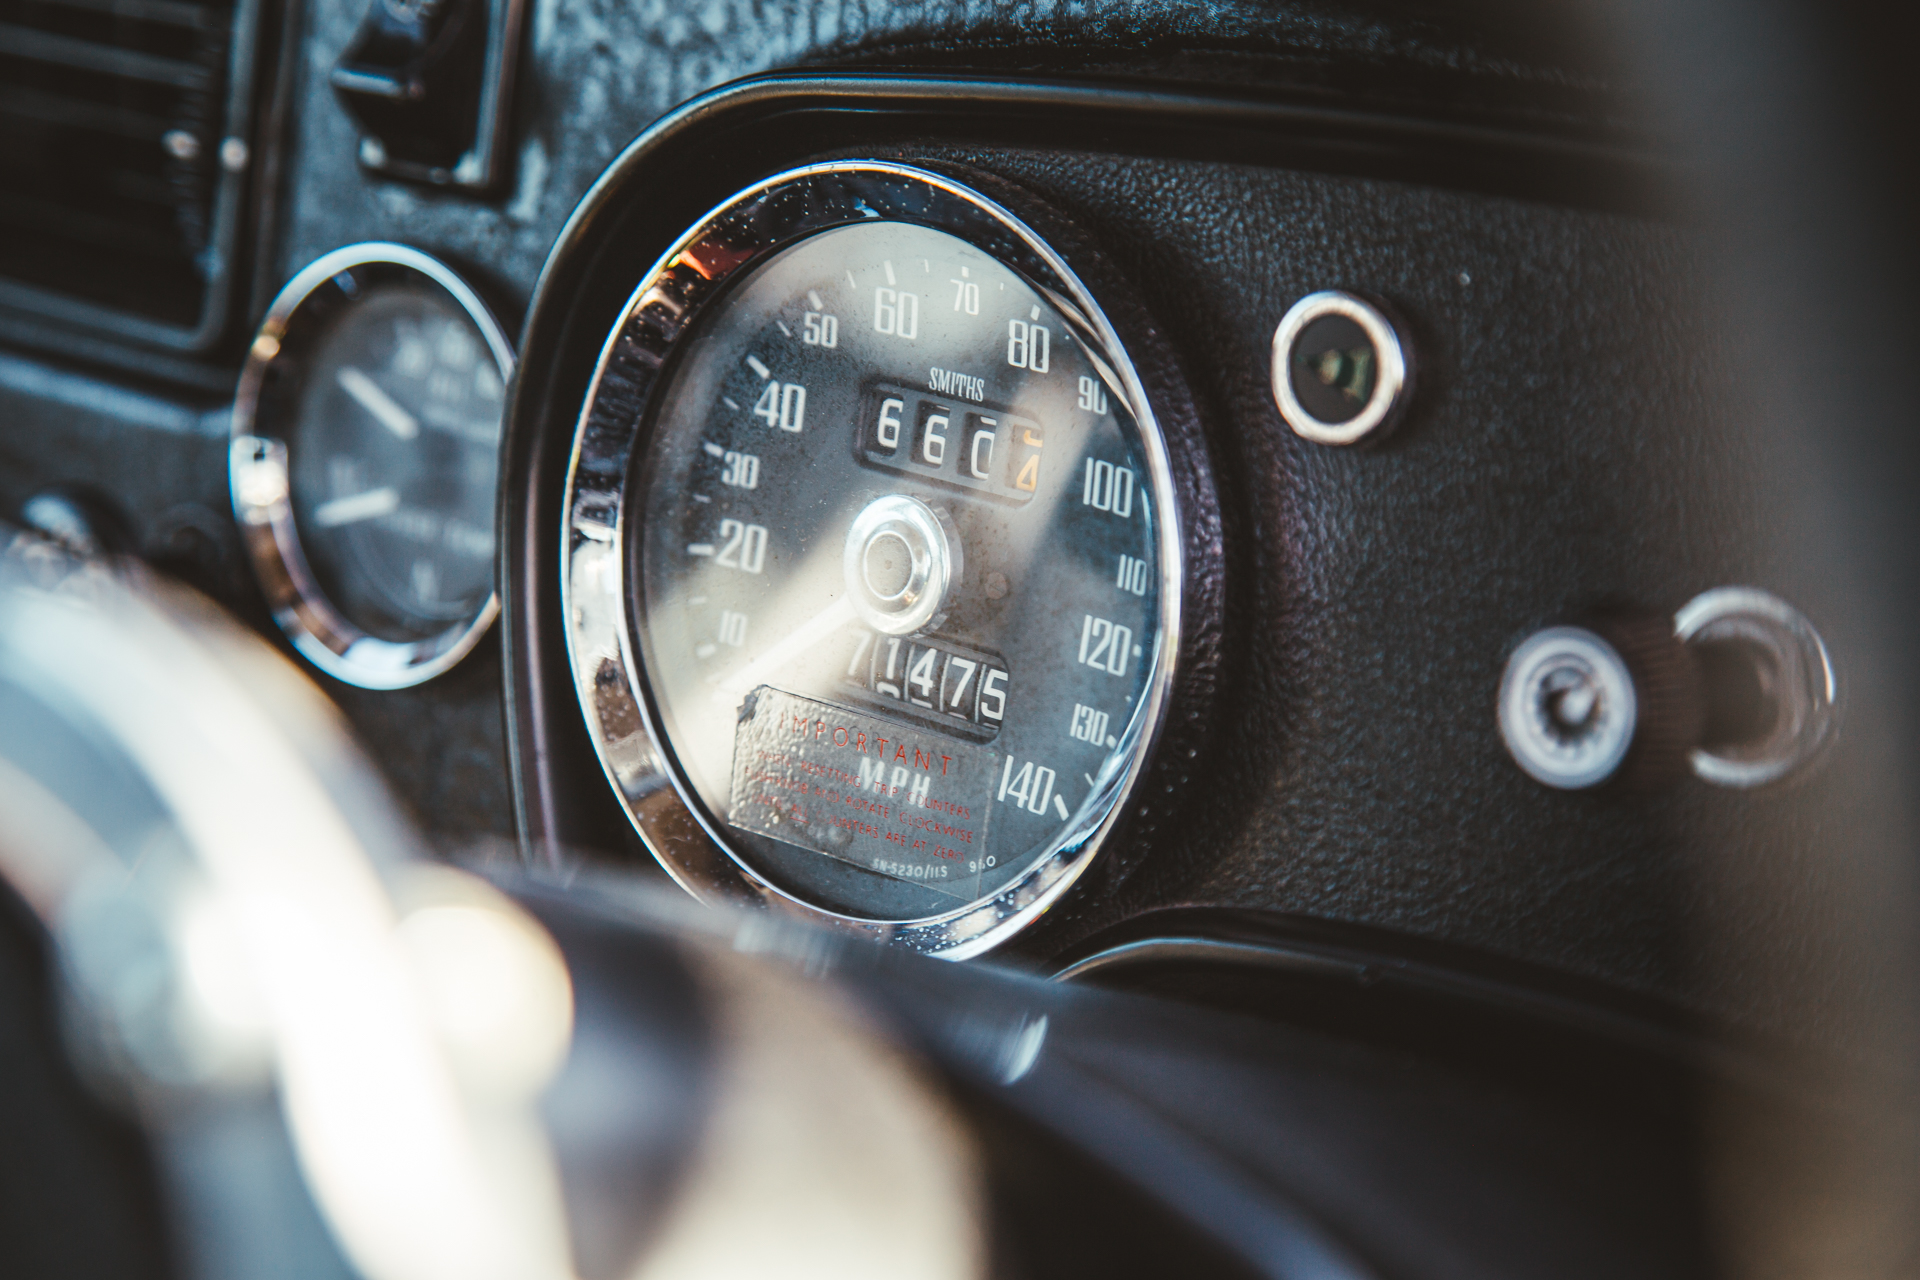
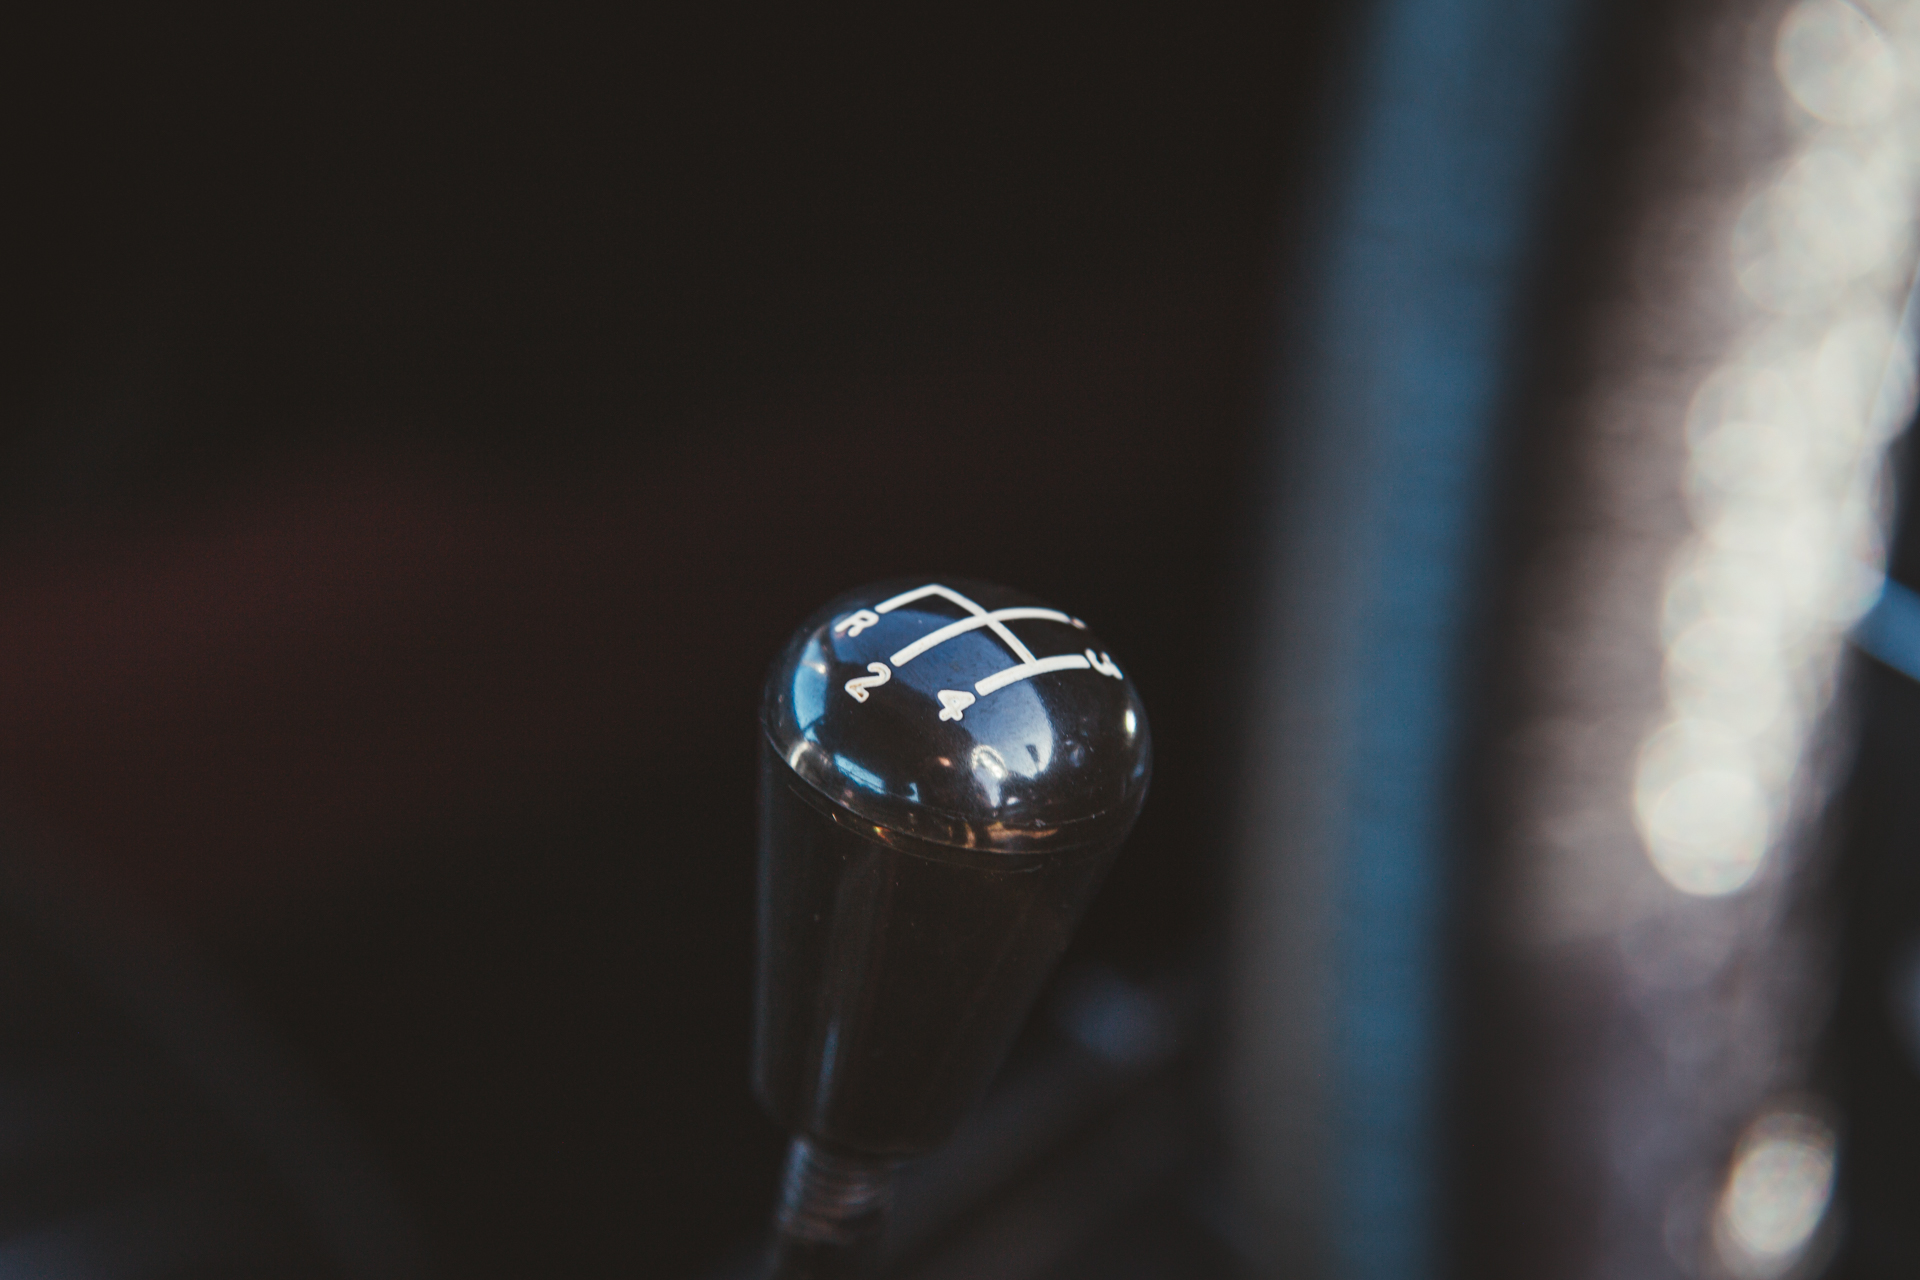
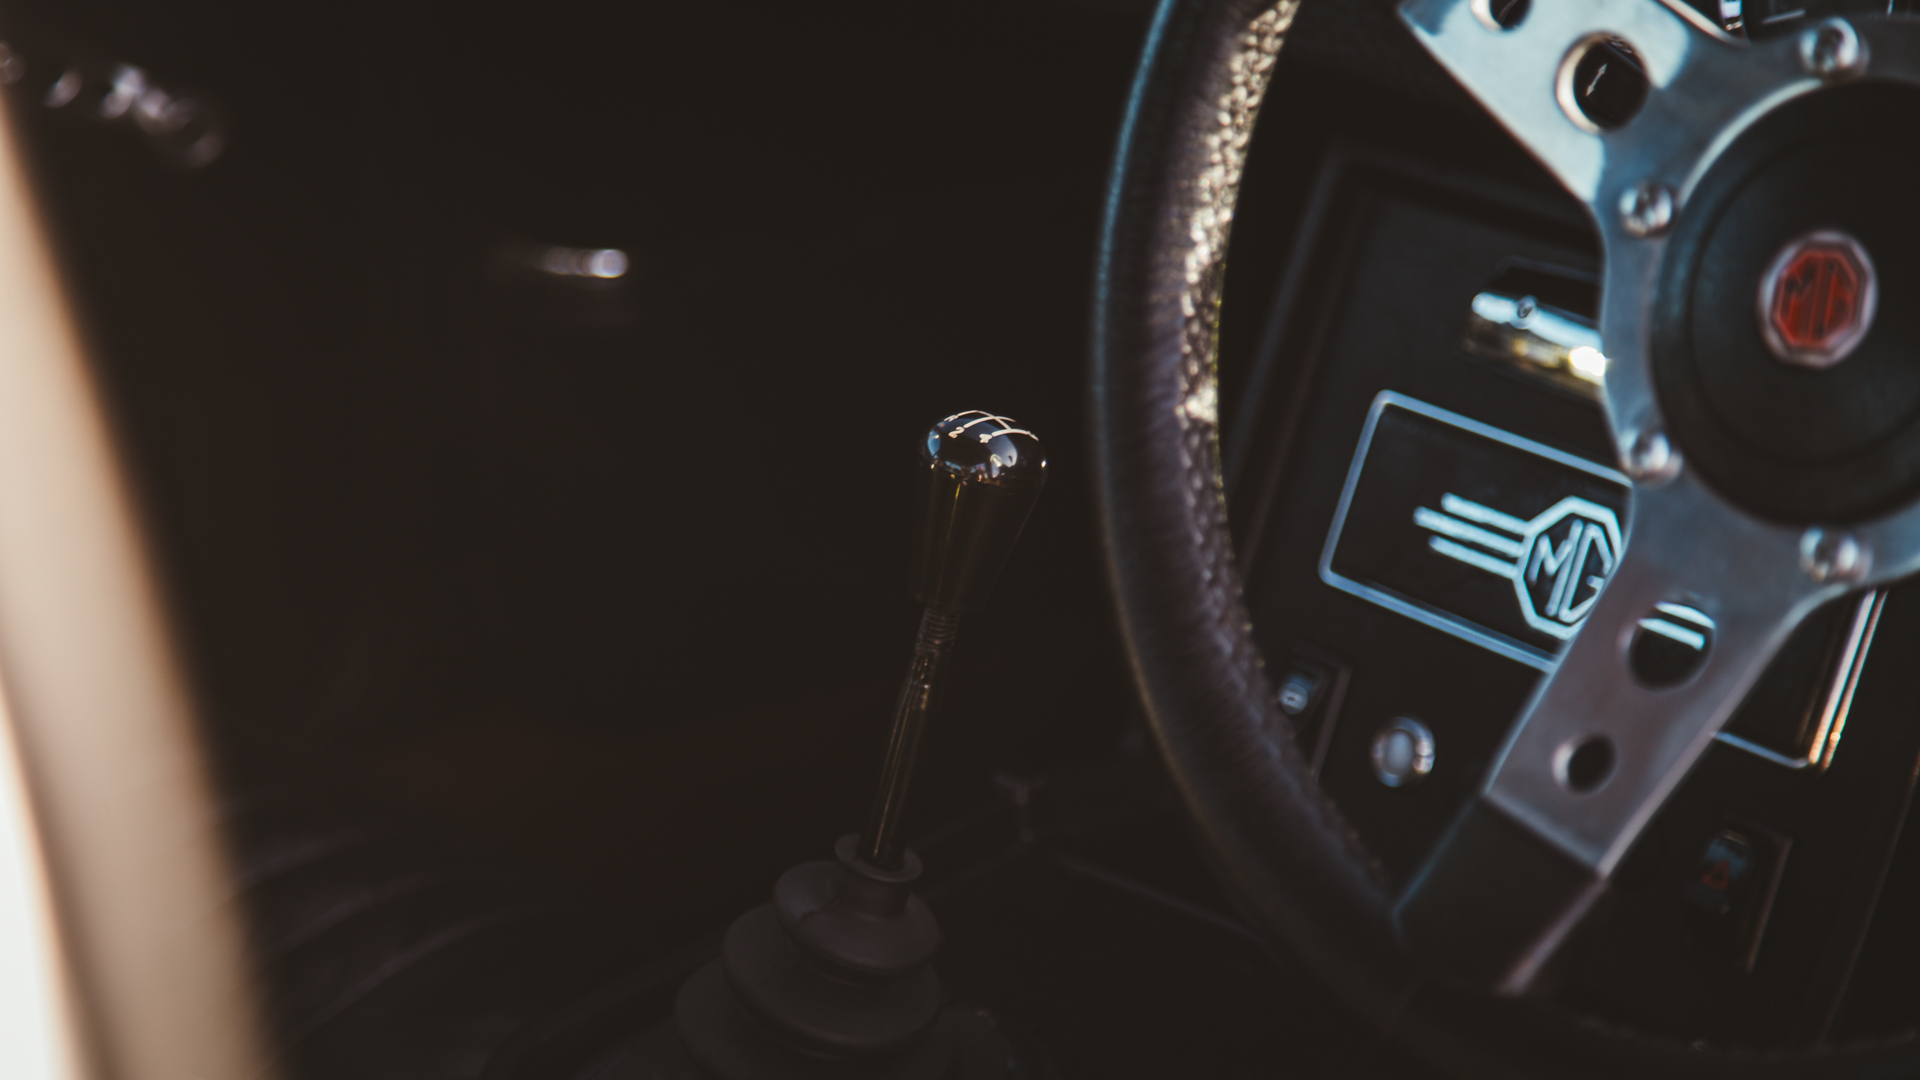
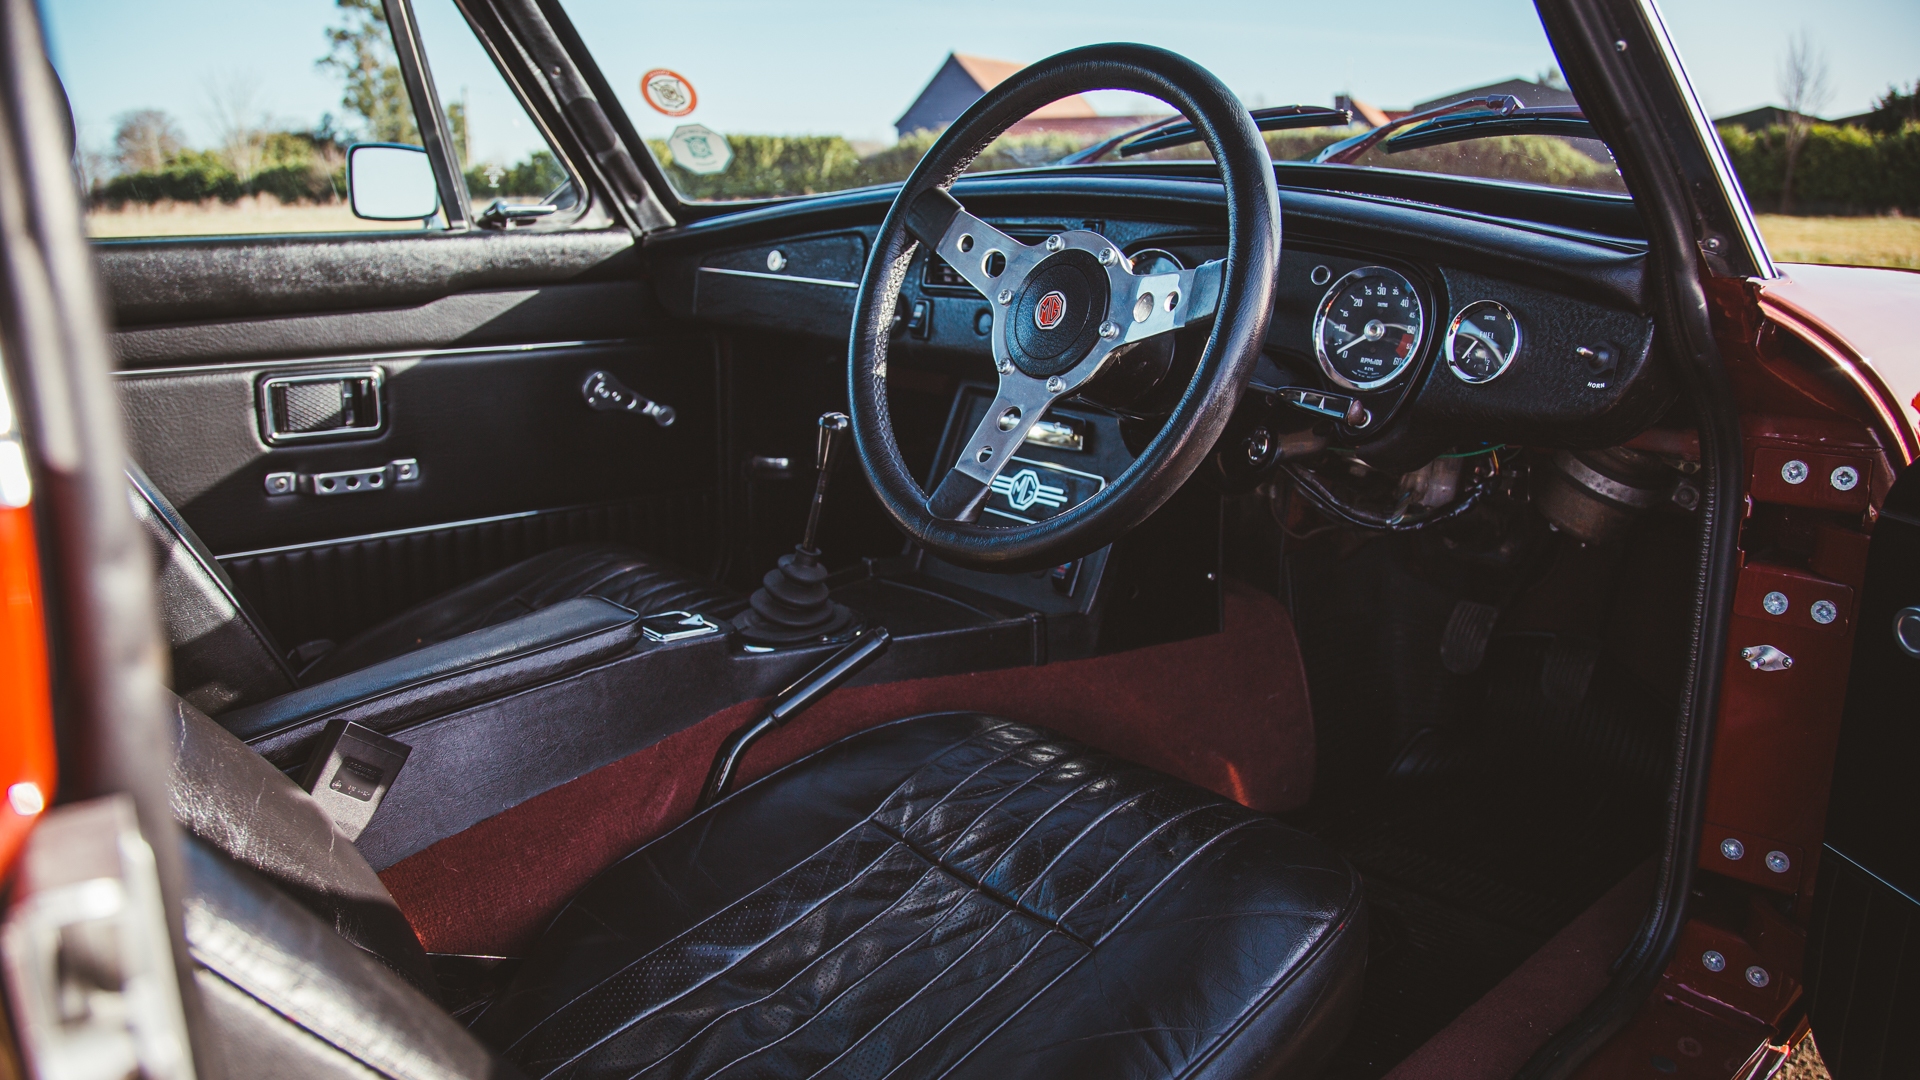
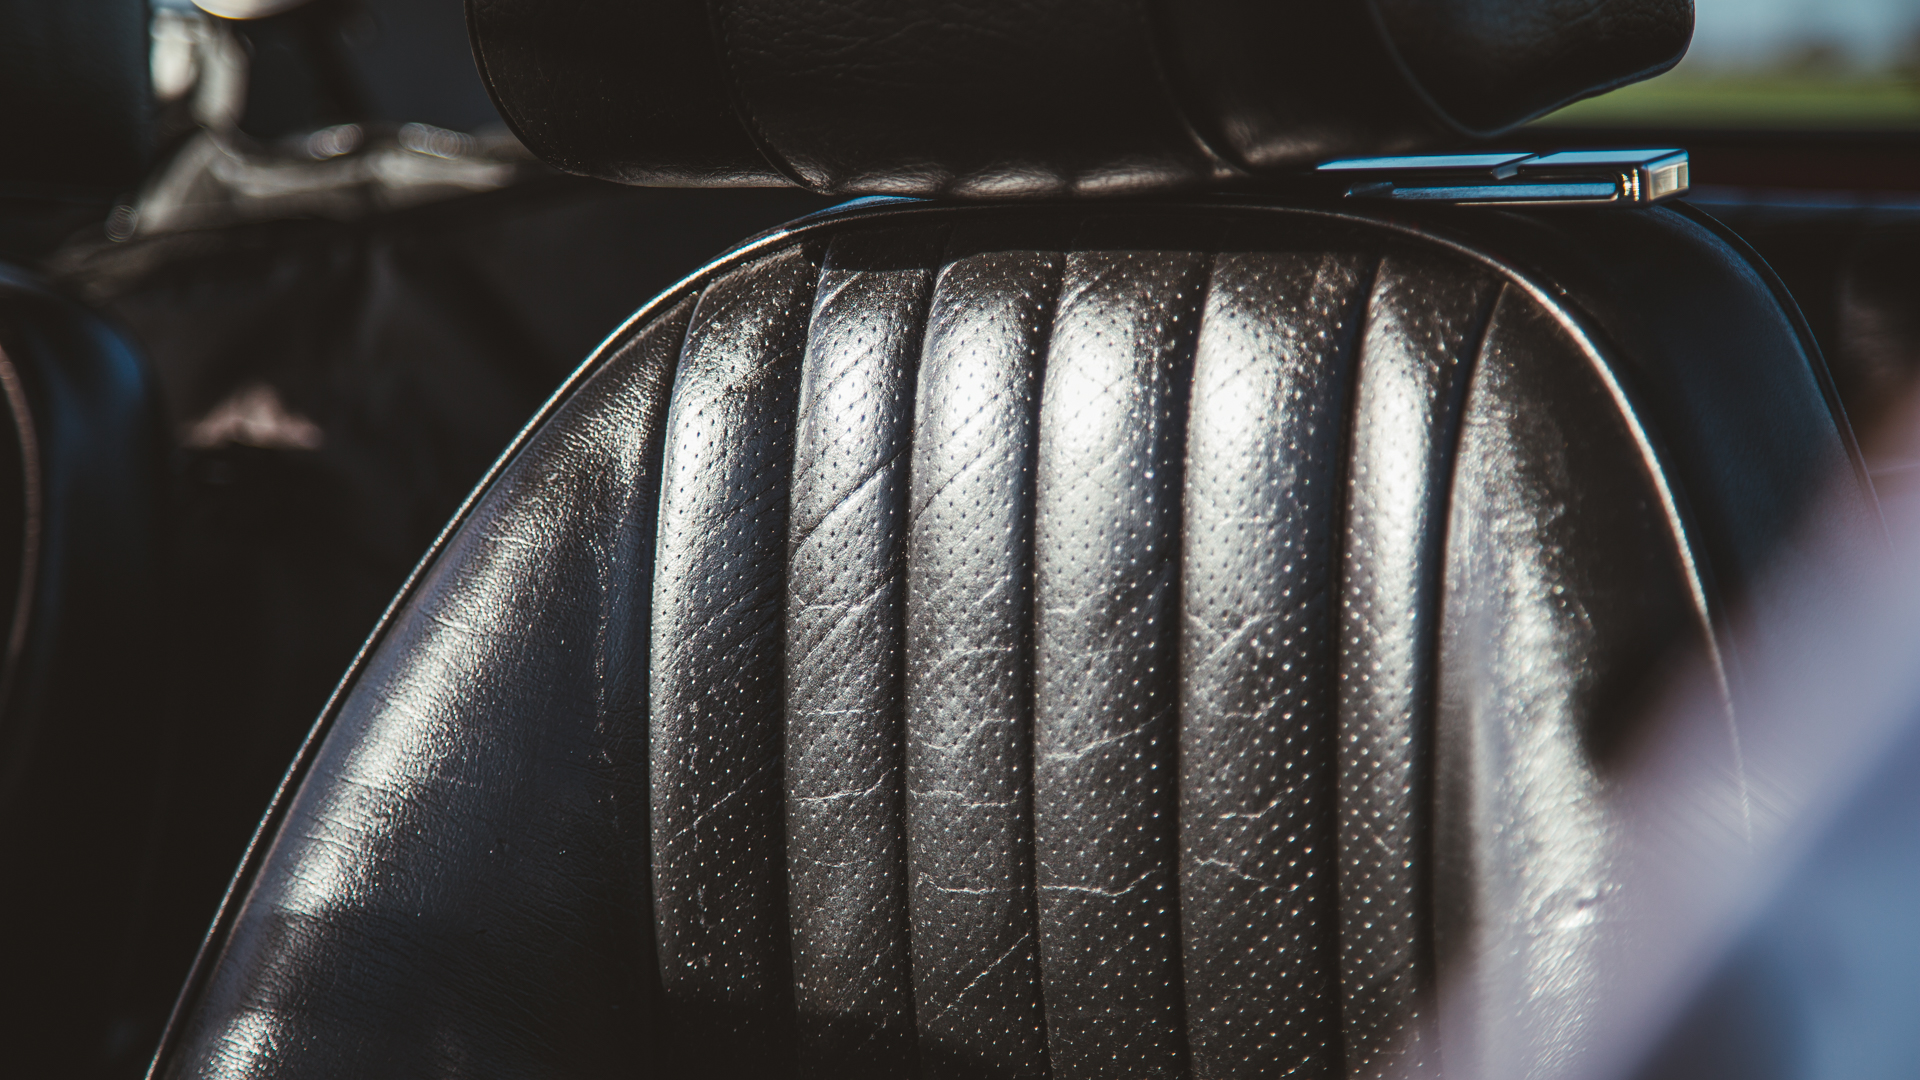
This car was recently sold through our good friends over at Car & Classic.
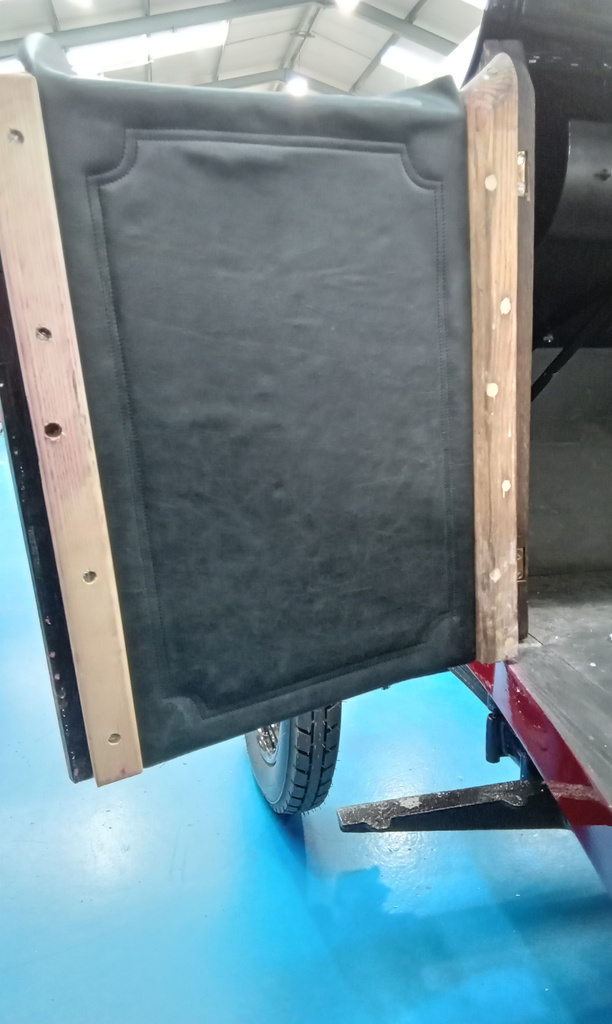
Lydia made an internal door card for the opening door on our 1905 Riley 9HP.
She first made a template from paper to ensure the correct shape, and then she cut this out from card. She then made her own design based on the pinstriping on the paintwork of the vehicle. She will affix this door card to the door when she has finished staining the wood, and the door handle has been altered and fixed on.

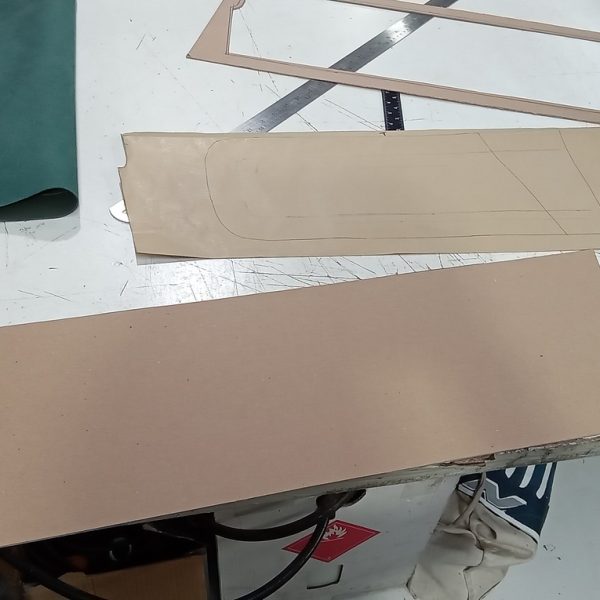
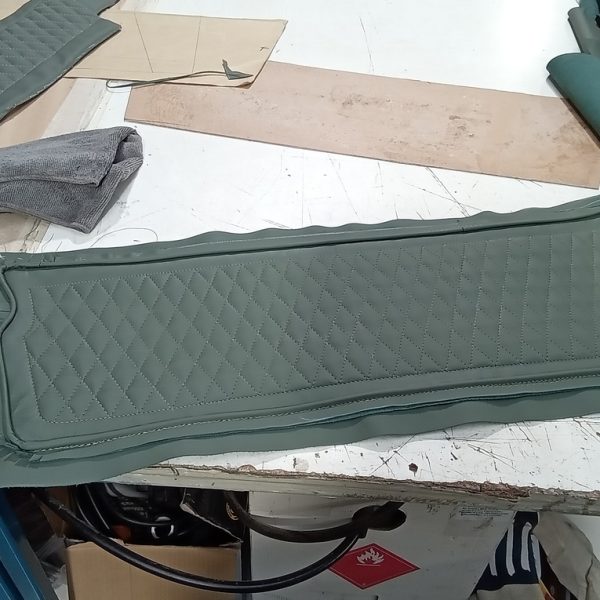
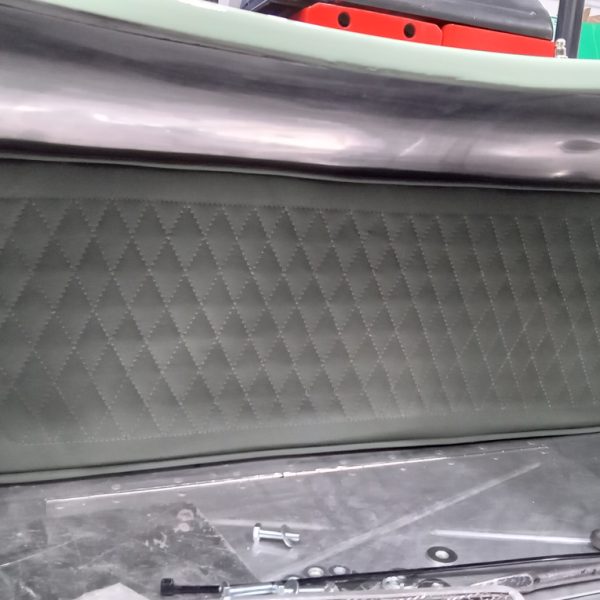
Lydia has recently been making a pretend ‘door card ‘ to balance out the interior of our 2022 Bridge C-Type Replica. There is only one door, with a very small area that Lydia has made a covering for, so she had to work out something that would look good on the other side too. She first made a template from paper and checked this for size. She then used this to make the card shape and cut it out from leather. Then she marked the diamond pattern to mirror the other side and sewed this. The door card was finished with a piping edge to give it a nice finish.


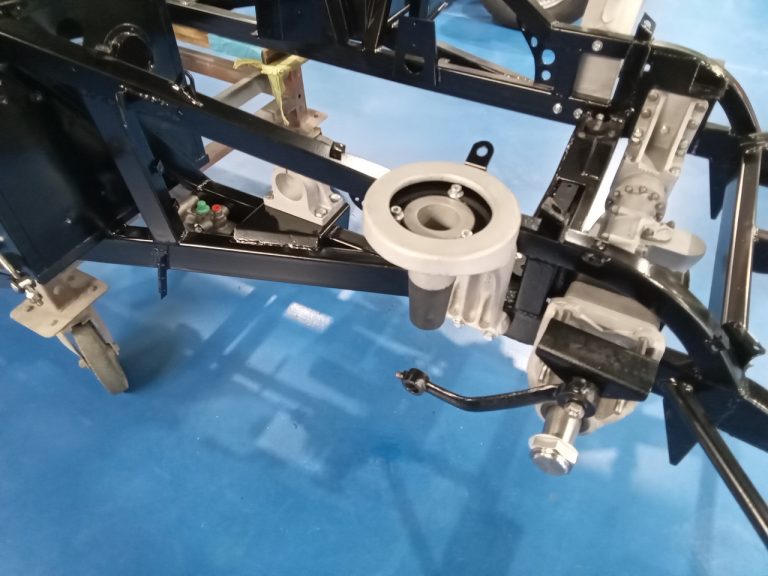
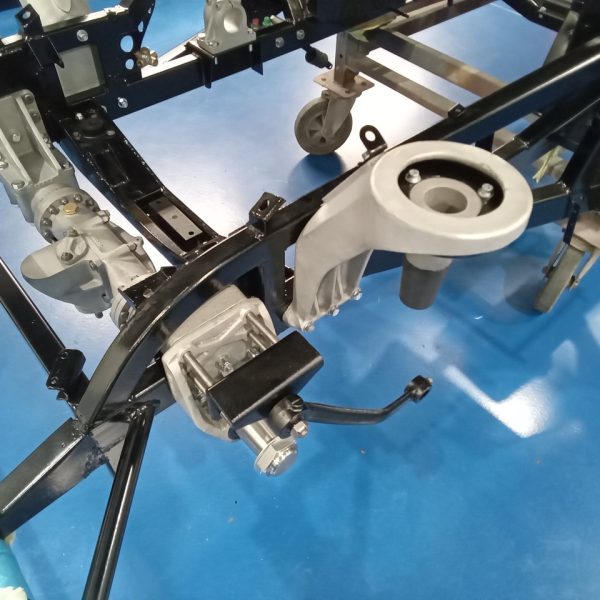
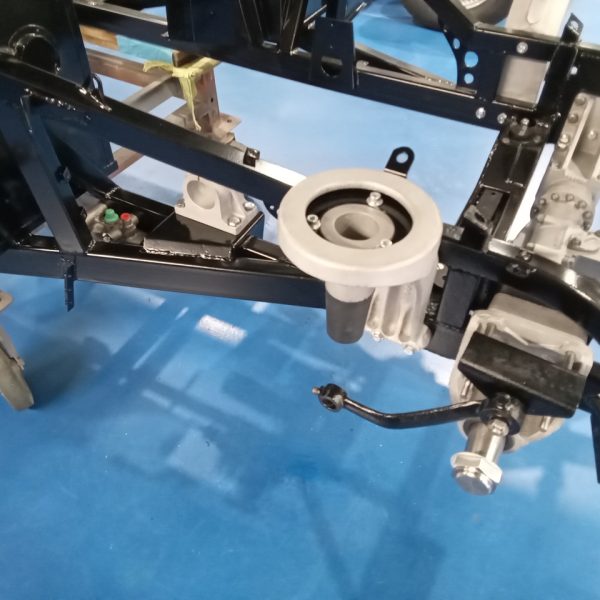
Recently, we have started to refit the suspension and steering, and some brake components that have either been new parts or refurbished original parts that we have overhauled to our 1953 Aston Martin DB2/4.


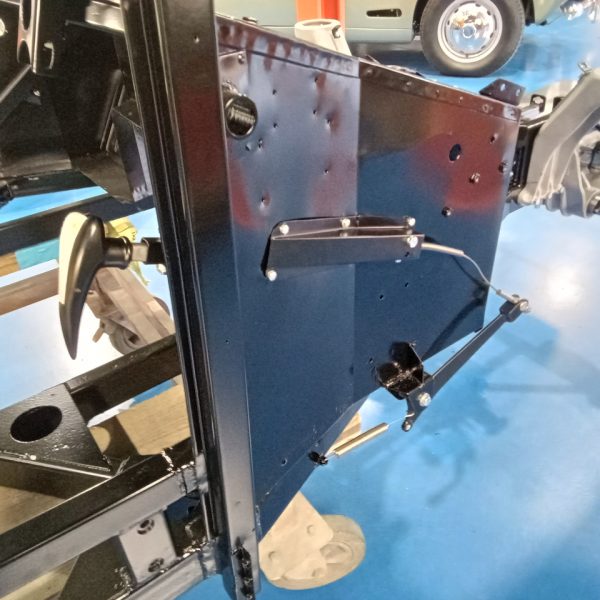

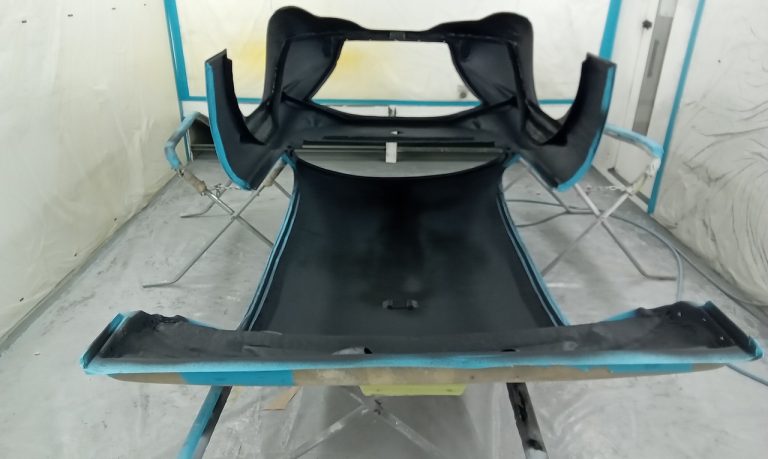
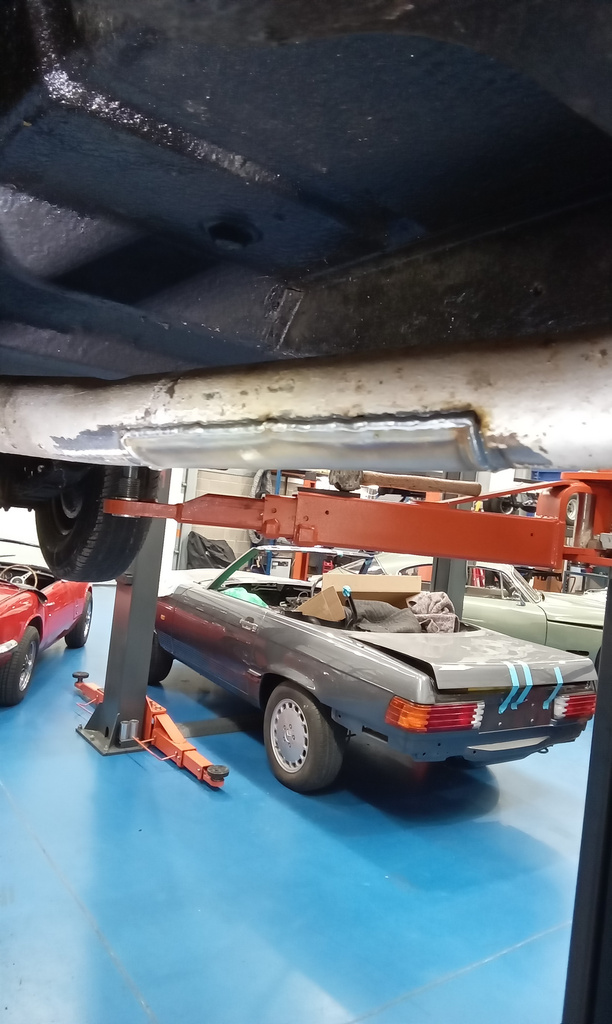
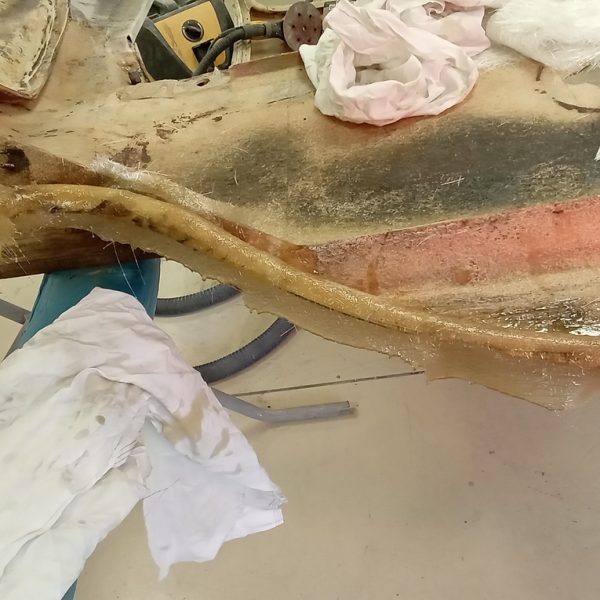
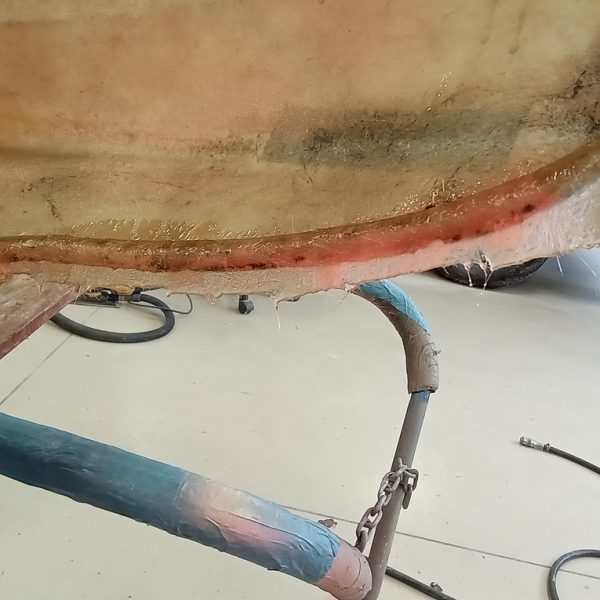
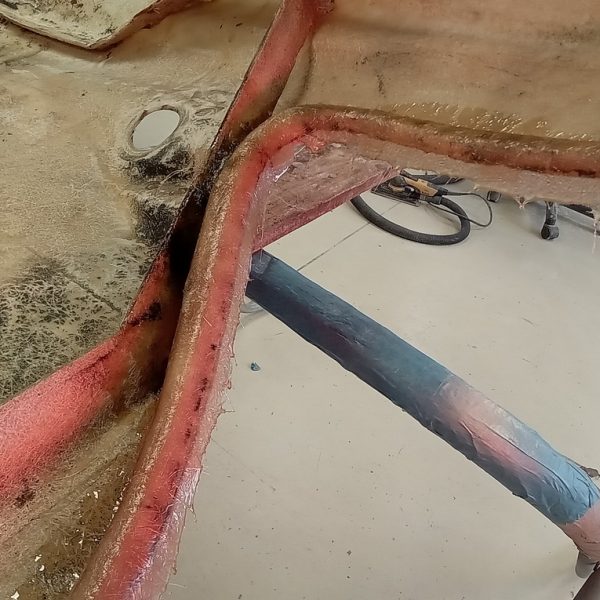
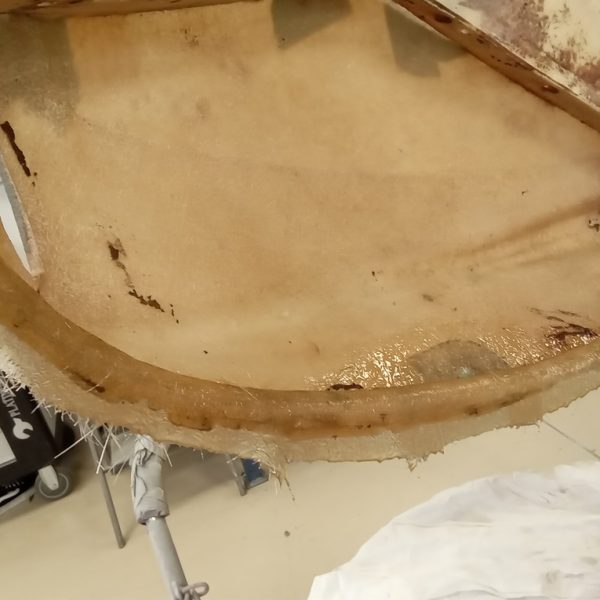
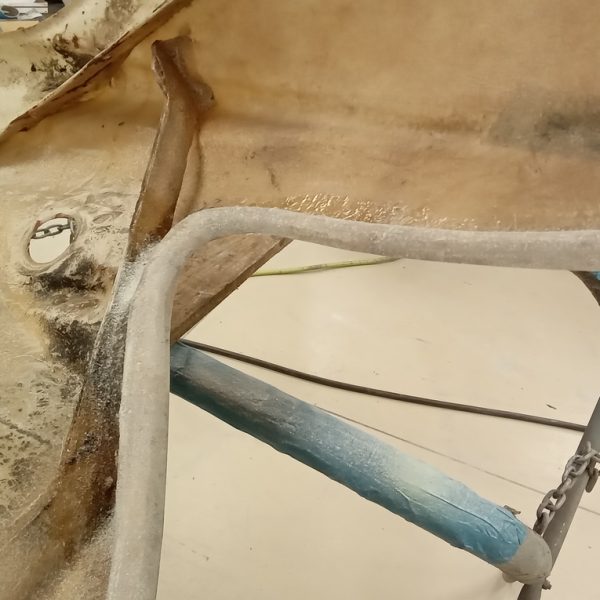
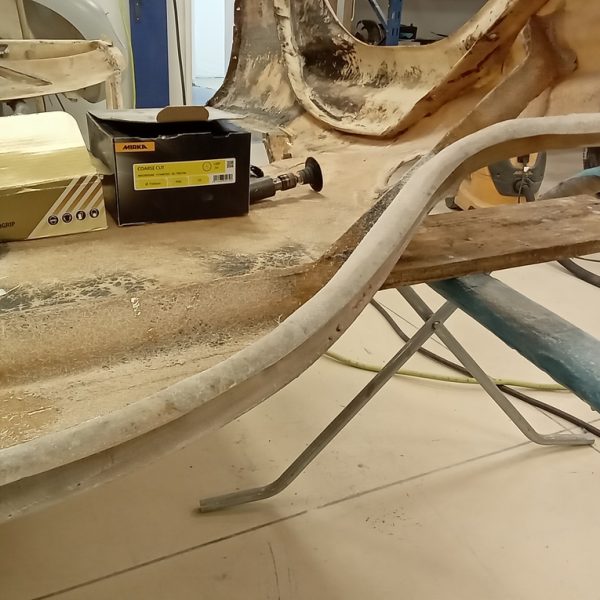
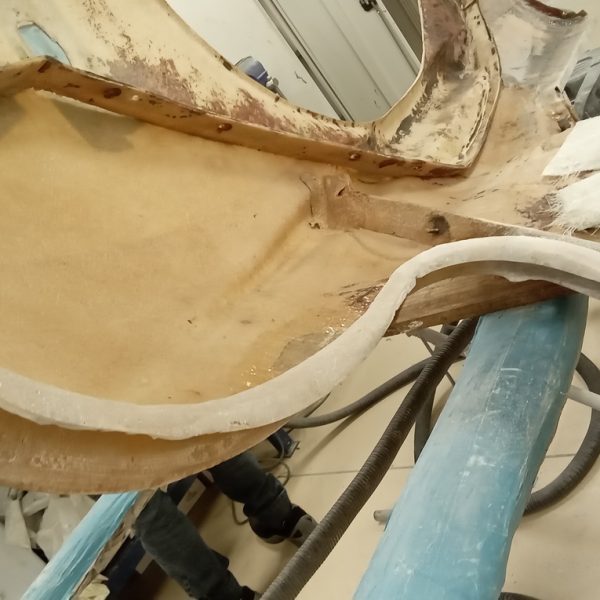
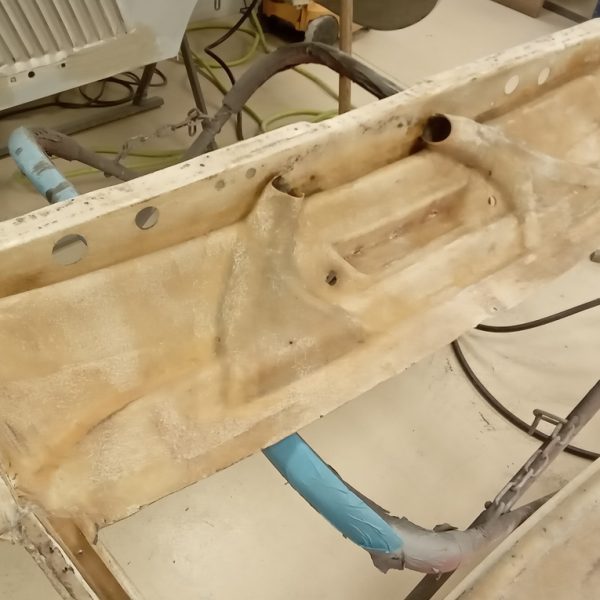
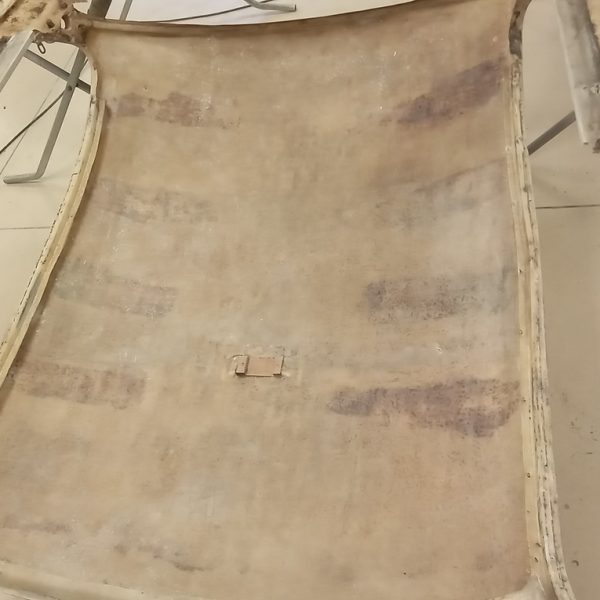
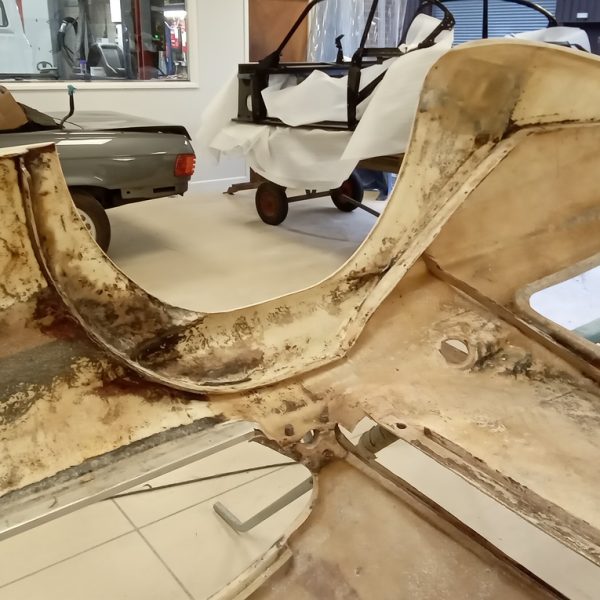
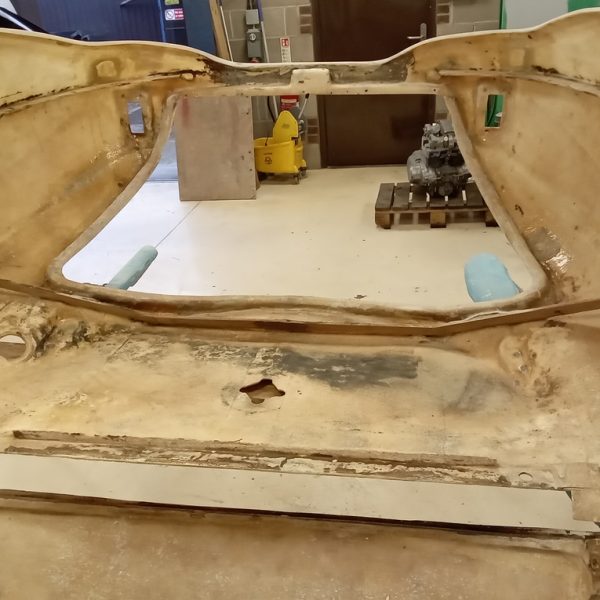
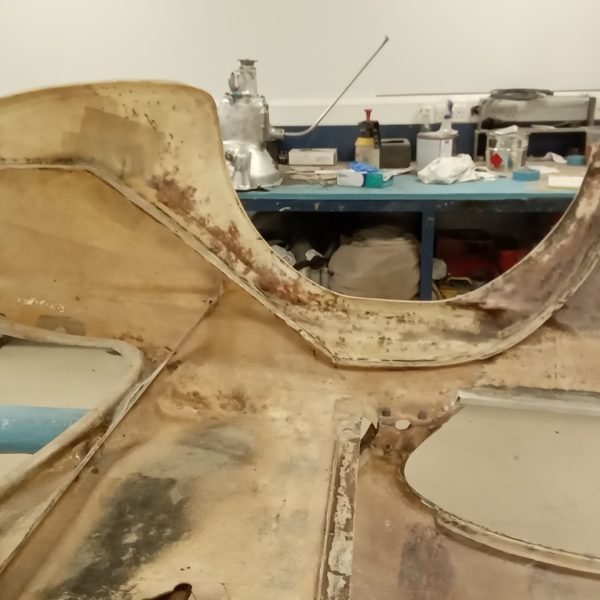
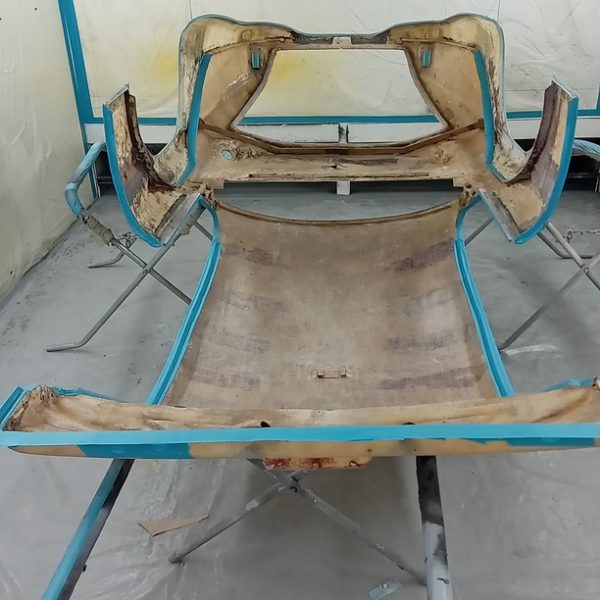
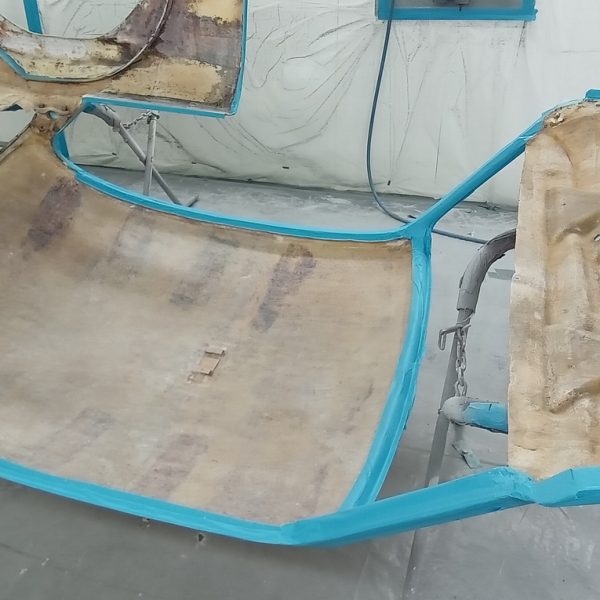
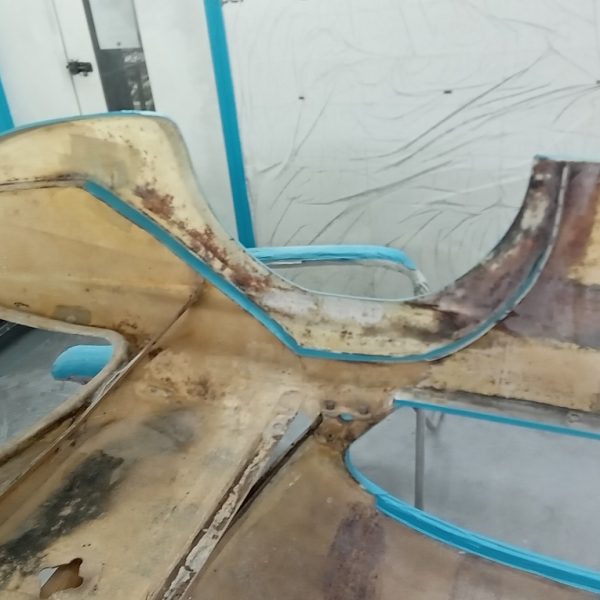
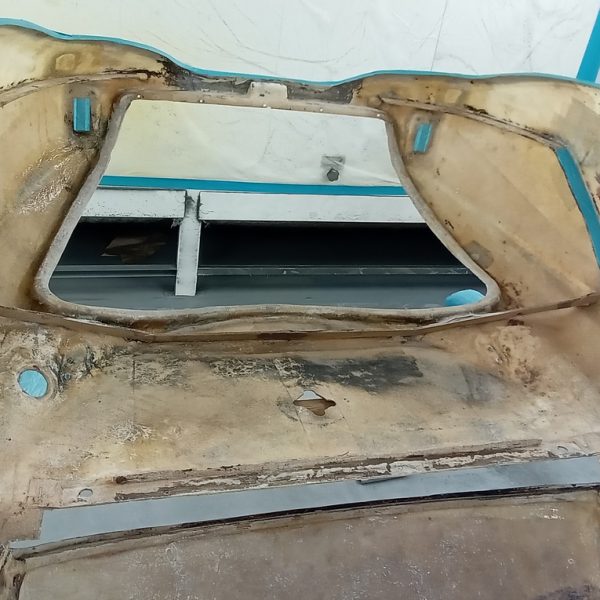
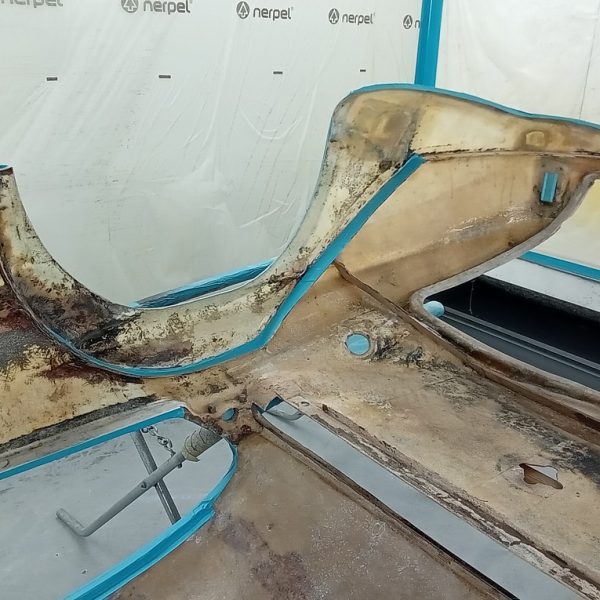
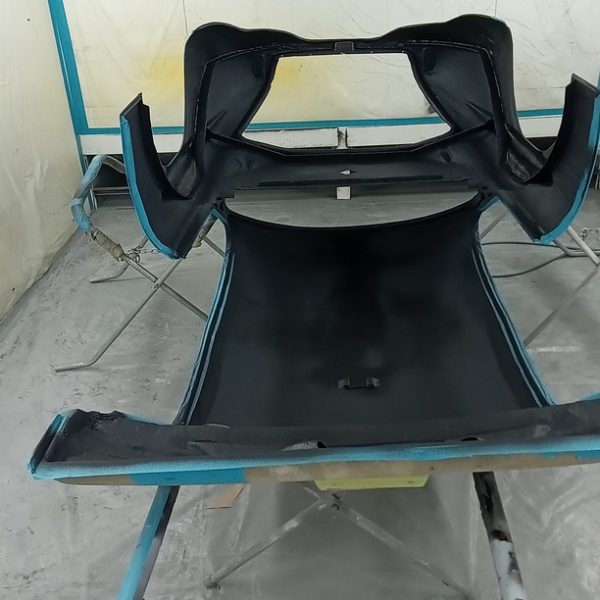
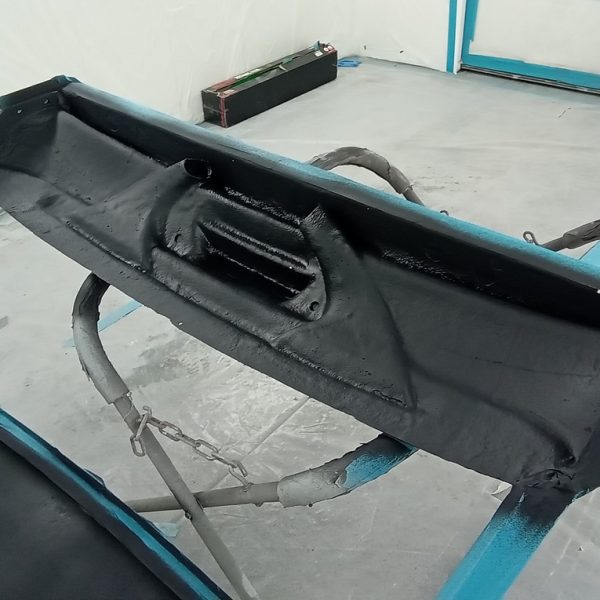
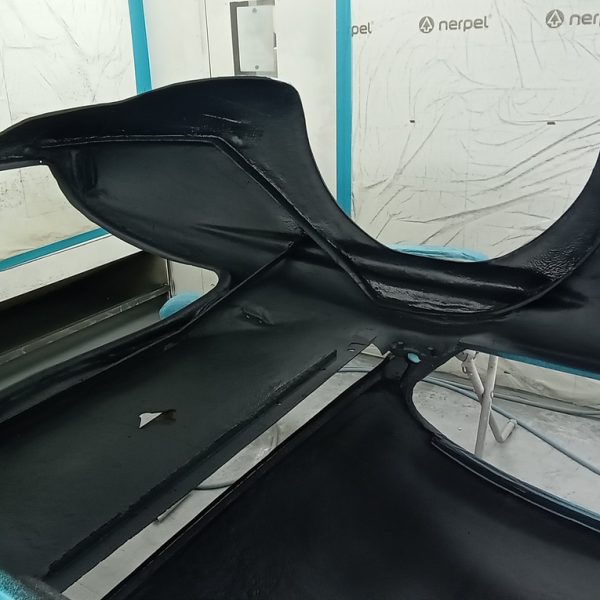
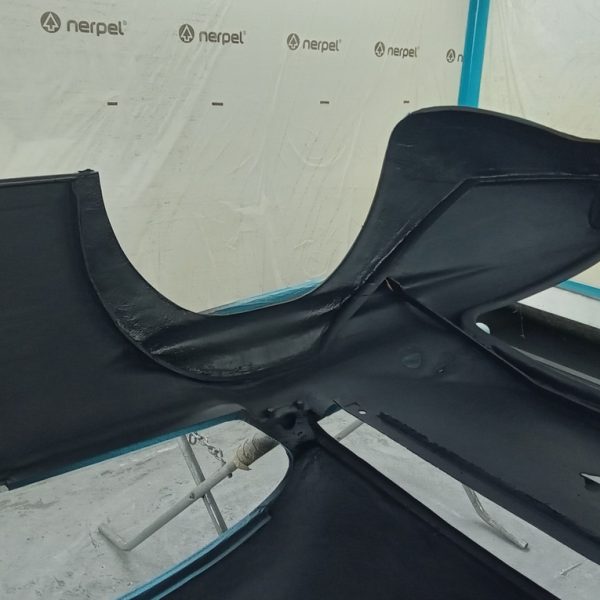
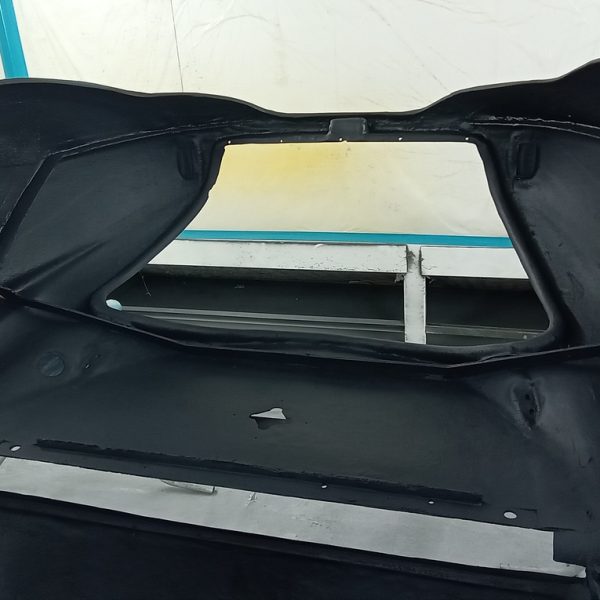
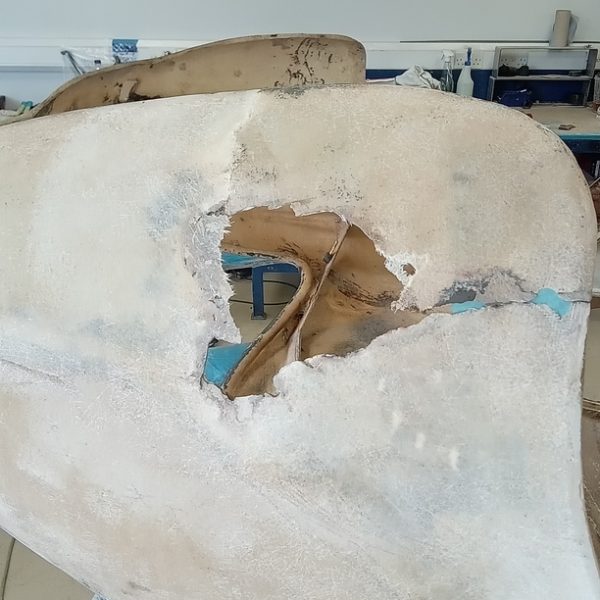
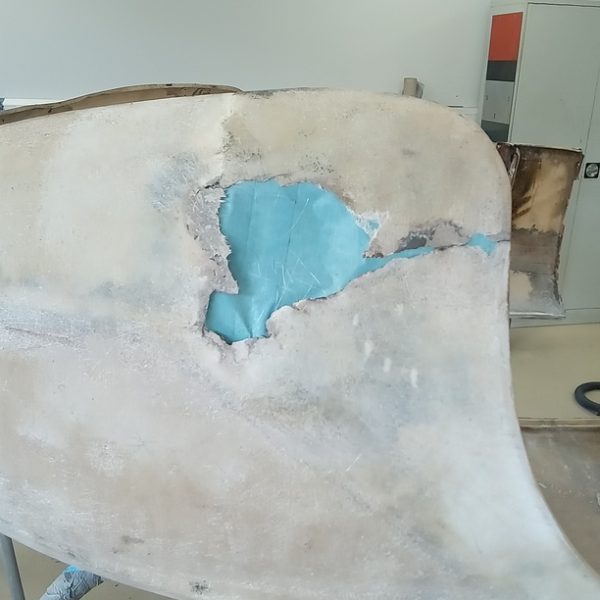
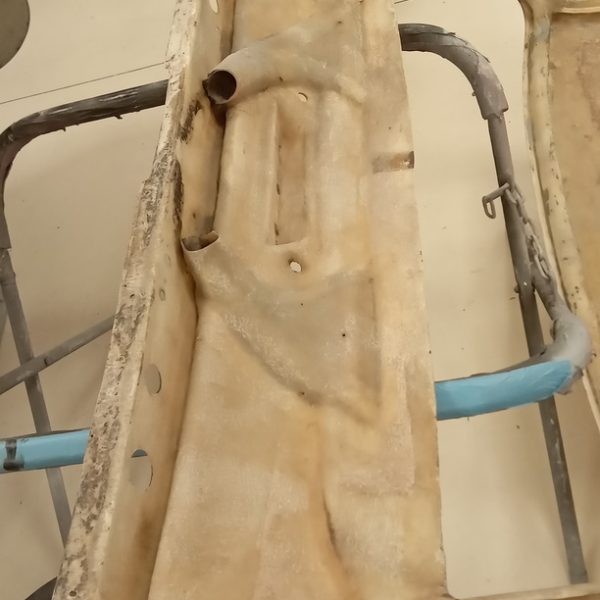
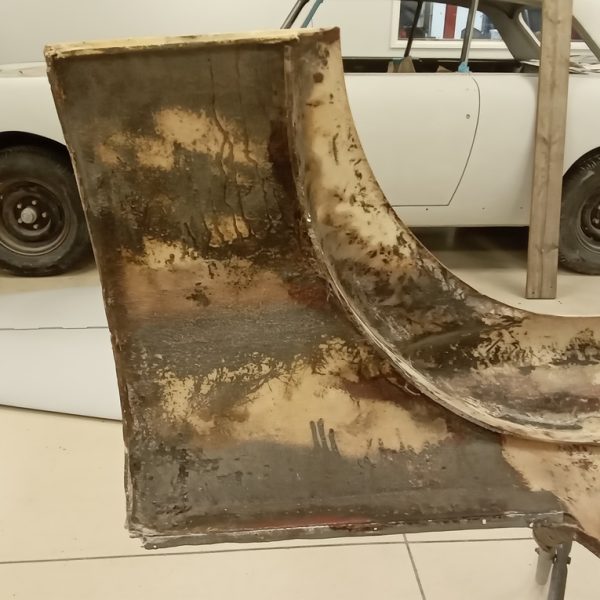
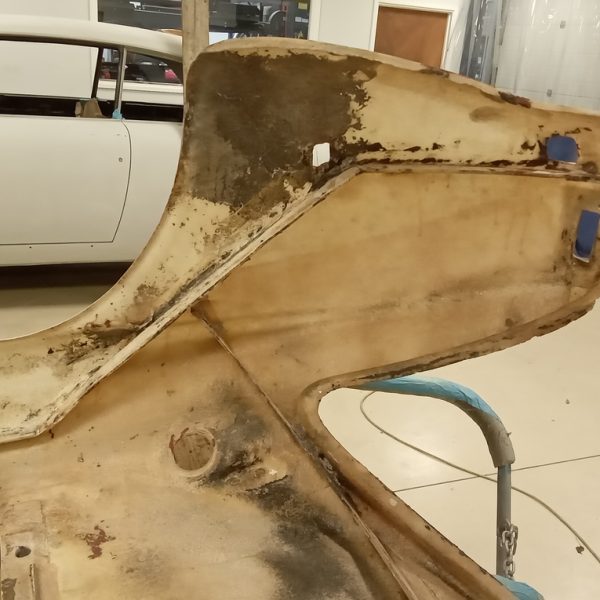
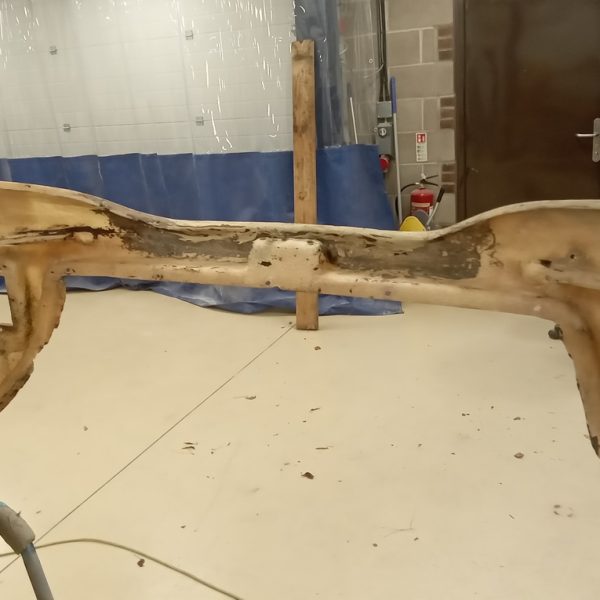
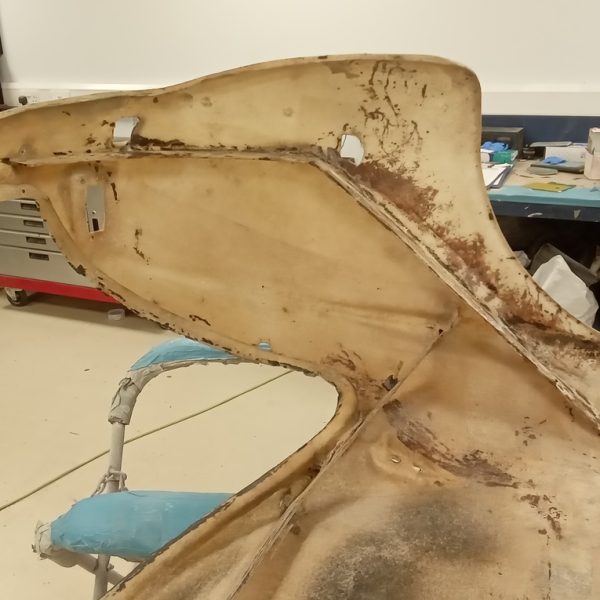
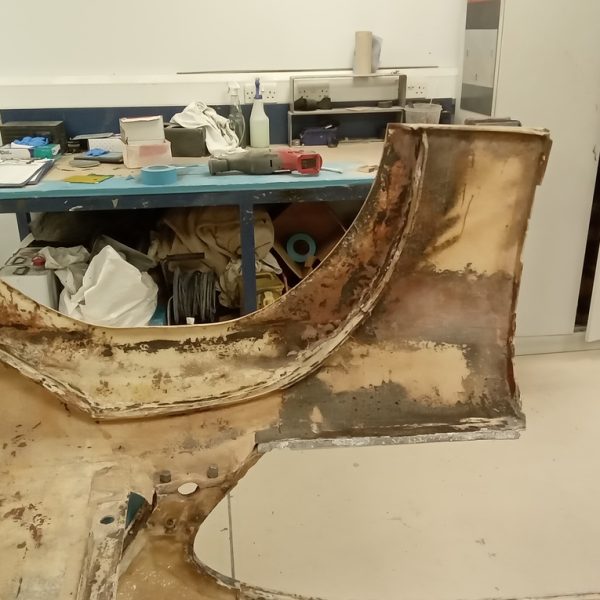
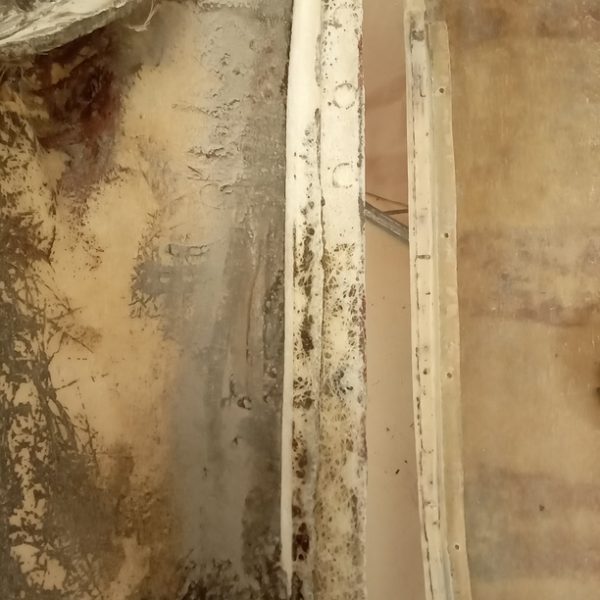
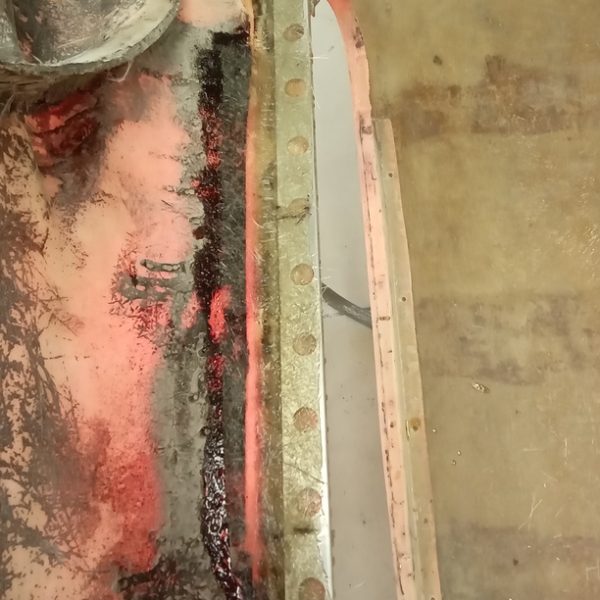
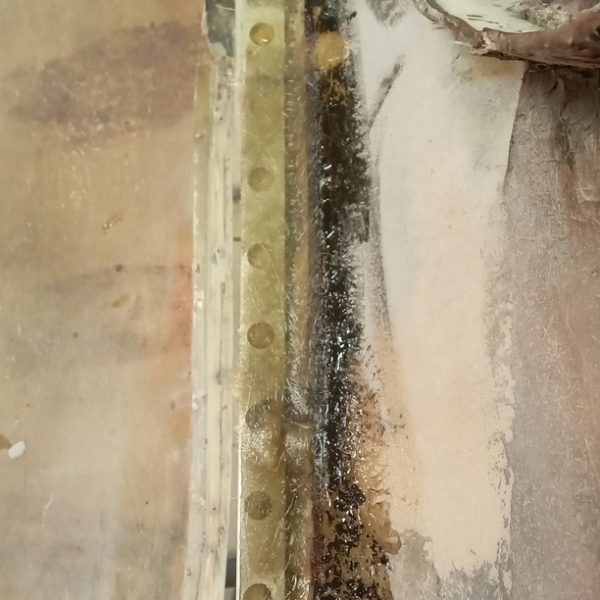
The near side lower corner of our 1960 Jensen 541R has been repaired by Alan. He also replaced both quarter-panel window rubber holders.
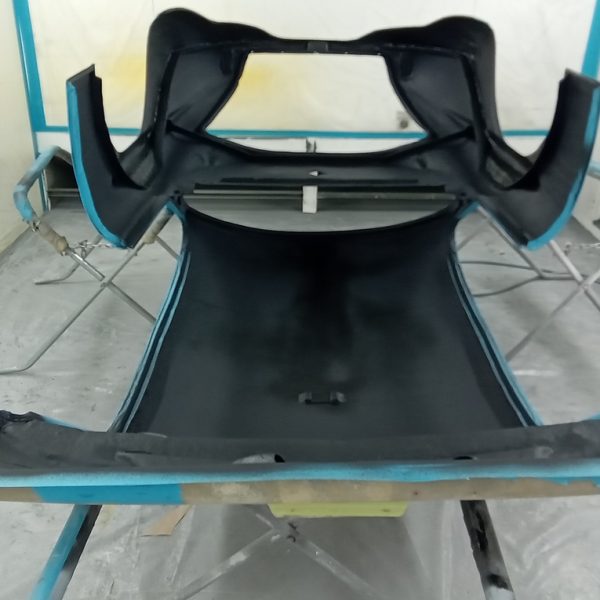
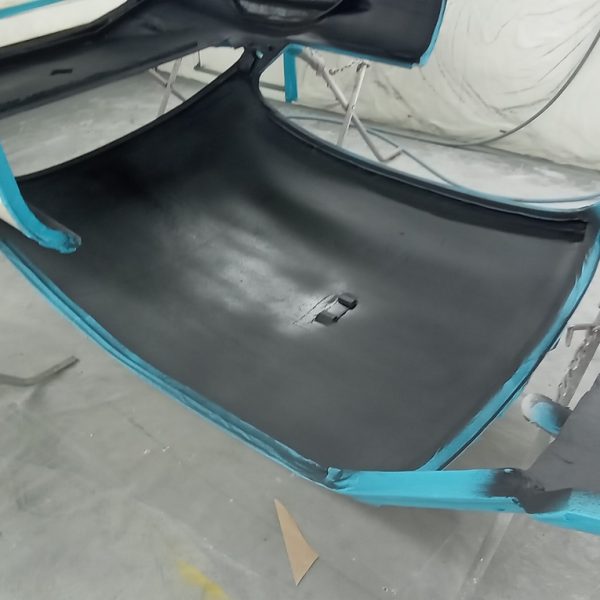
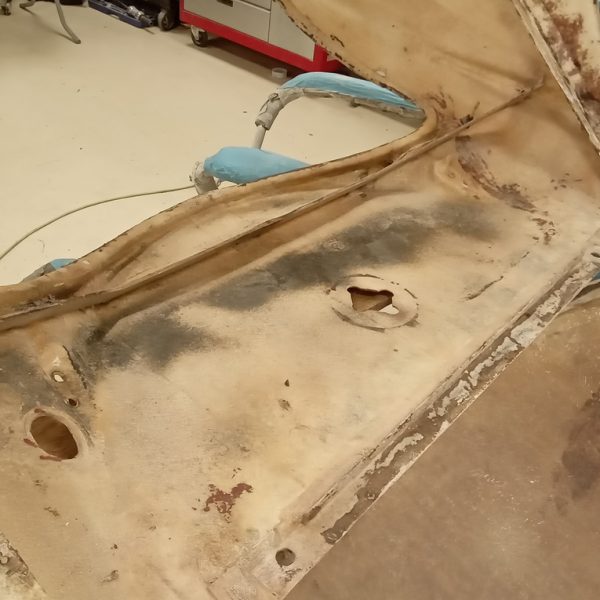
Once all the repairs on the underside of the body were complete, Alan masked out the parts that need sealing when they are attached to the body frame. He then blacked the whole underside of the body.
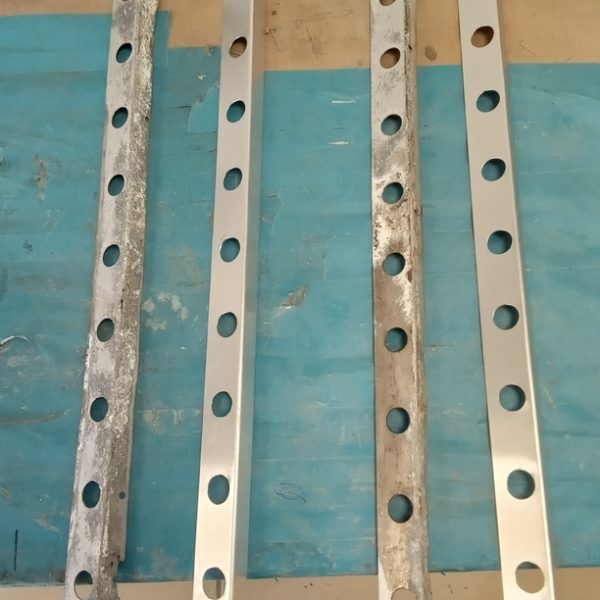
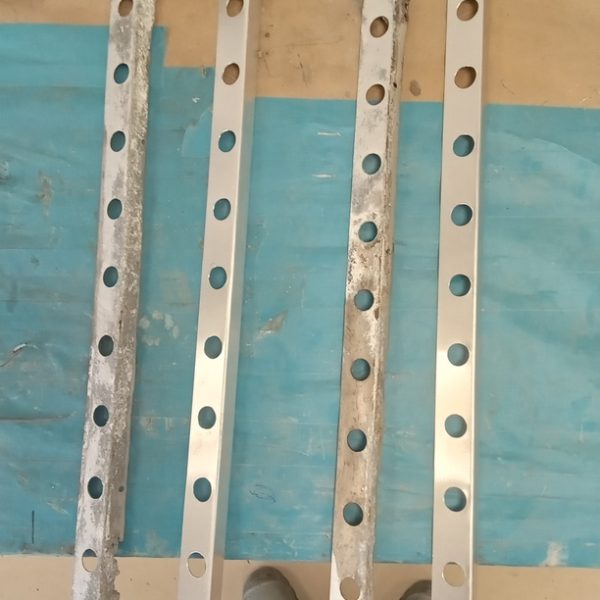
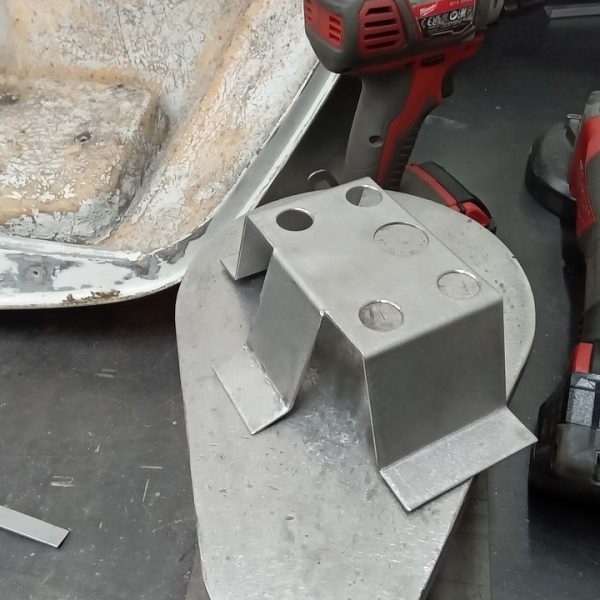
While this was happening, Christian fabricated a boot latch bracket.
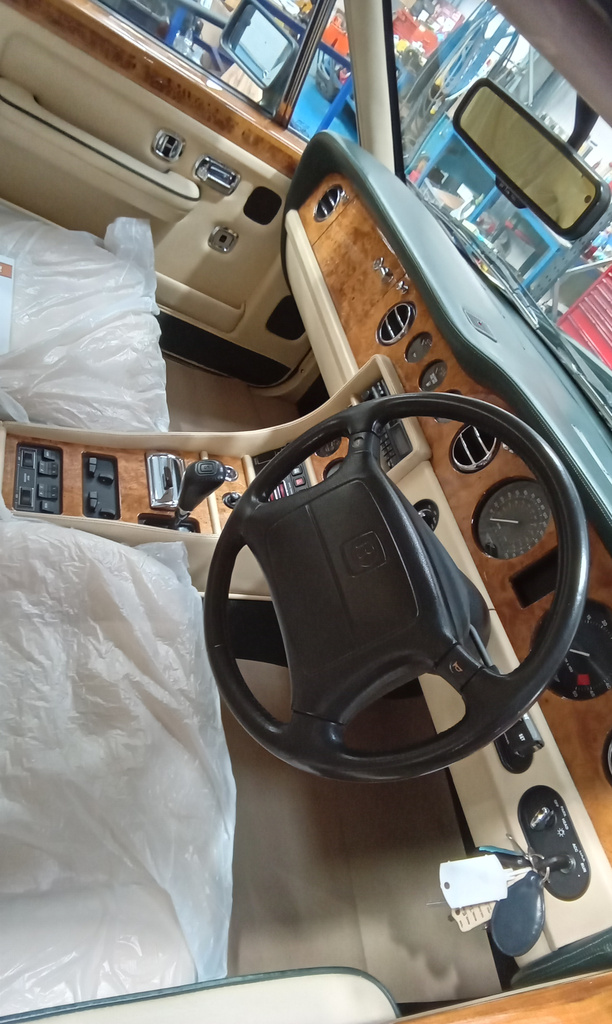
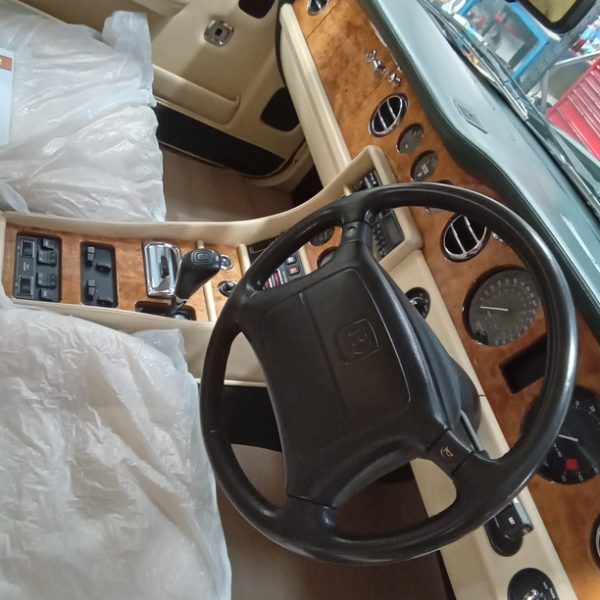
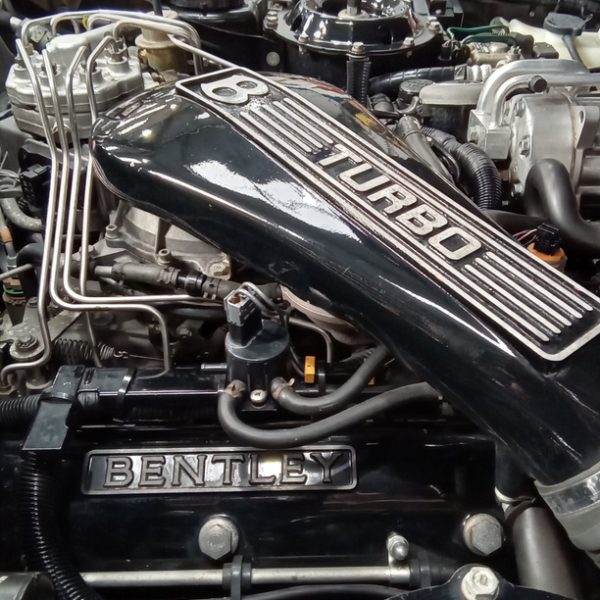
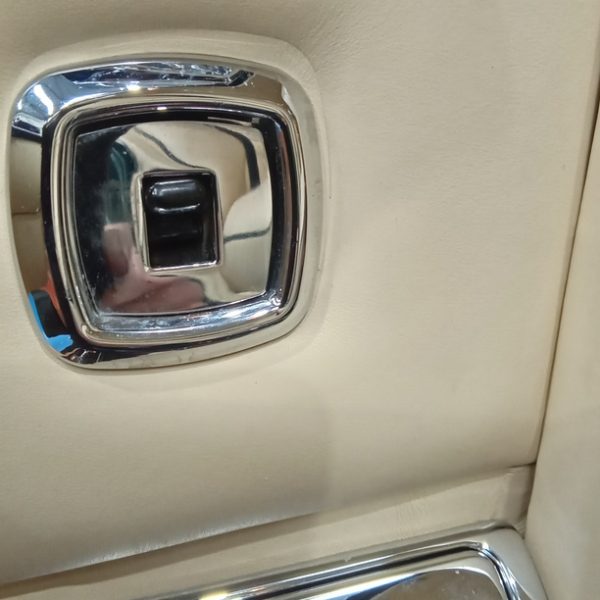
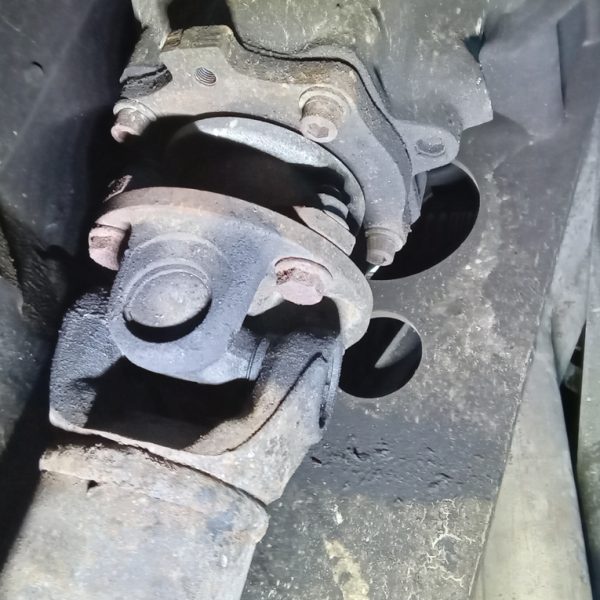
Jon has now completed the inspection on our 1993 Bentley Turbo R. He’s carried out the necessary repairs which included; sorting the connections on the nearside headlight and main beam. He’s stripped the nearside door panel and repositioned the electric window switch.
The car has been taken off the ramp and a road test has been carried out.
It returned to the workshop with a belt squeal and steering is out to the right.
We have tightened the alternator belt.
The steering has been adjust and we’ve inflate all tyres to the correct pressure.
Fuel has been added and now the car is ready for the draw!
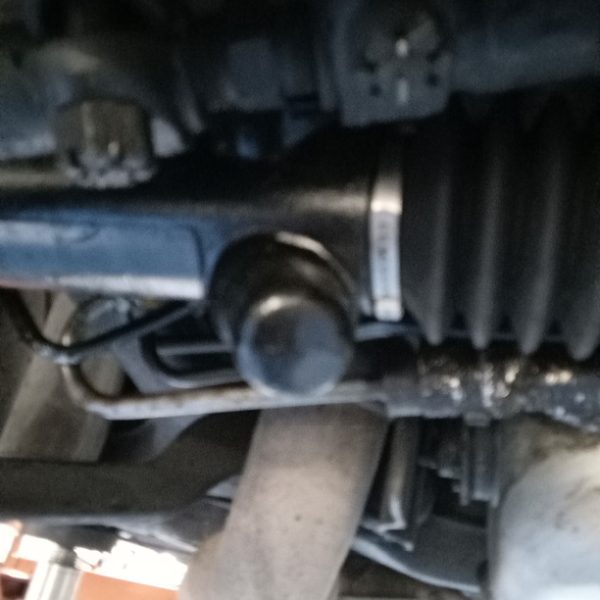
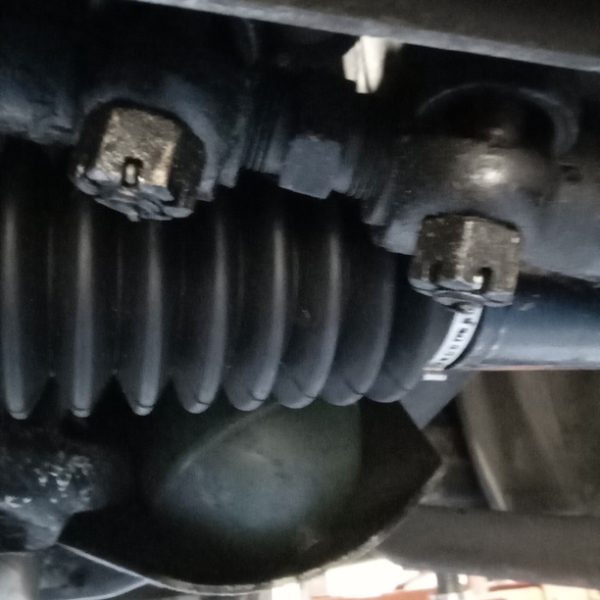
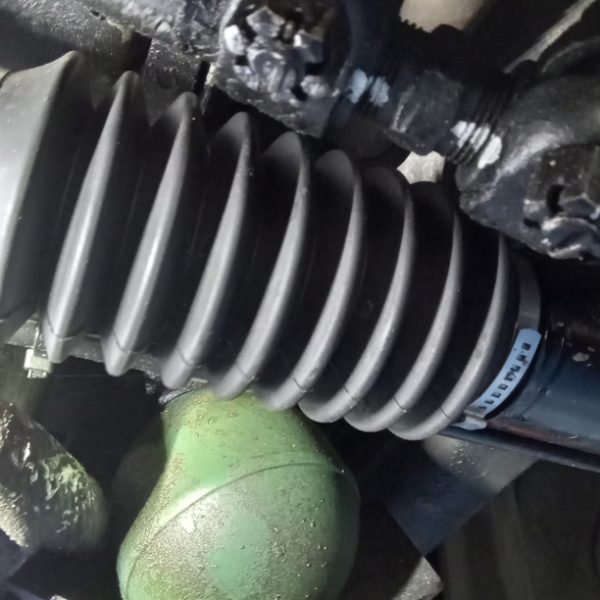
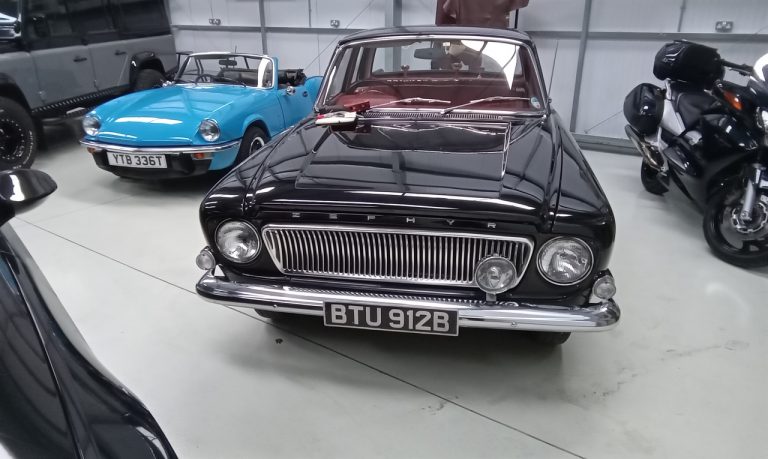
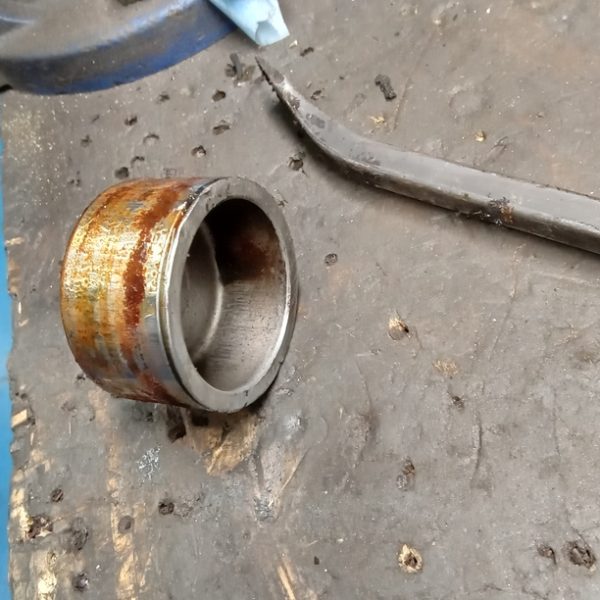
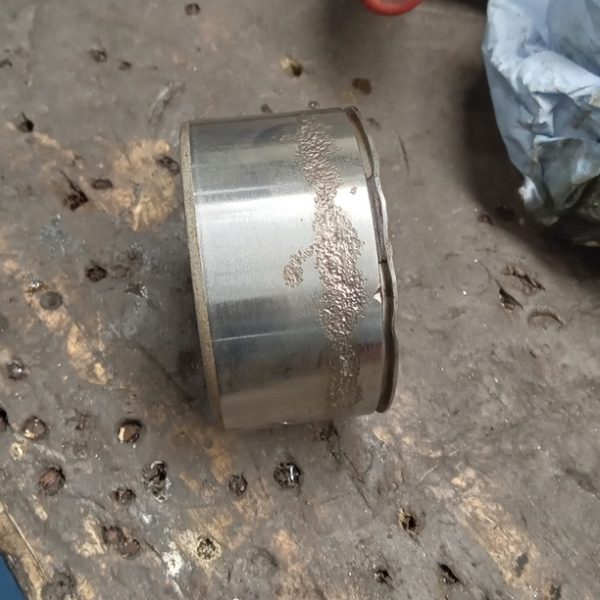
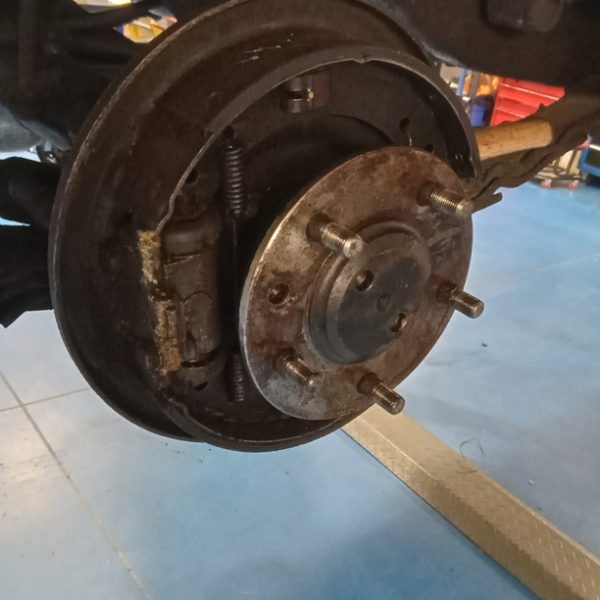
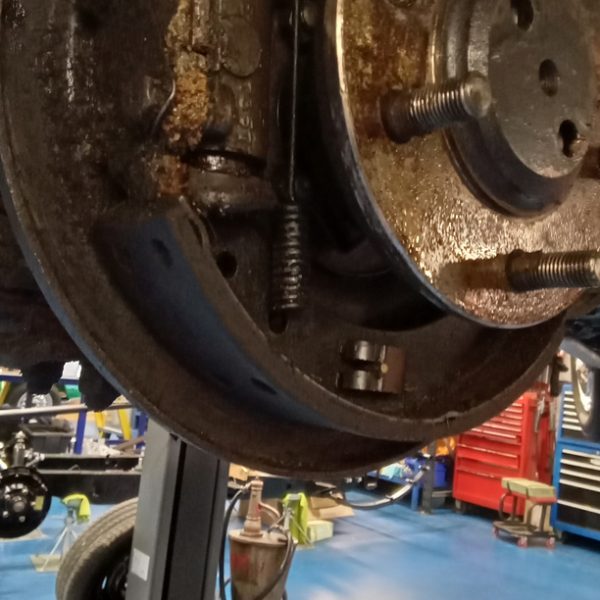
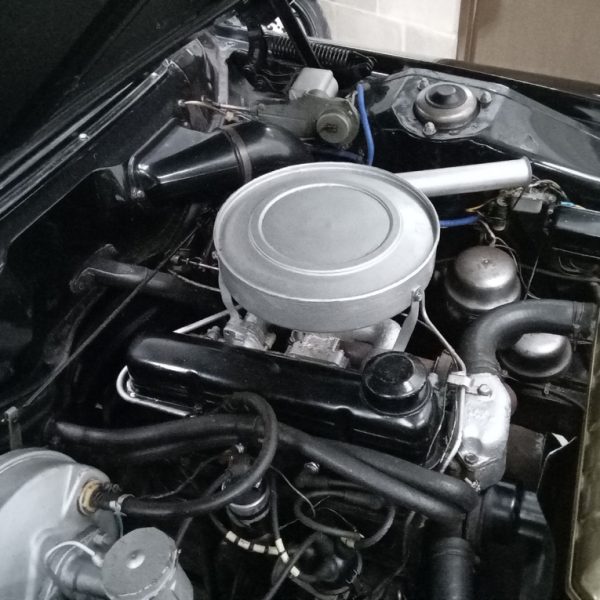
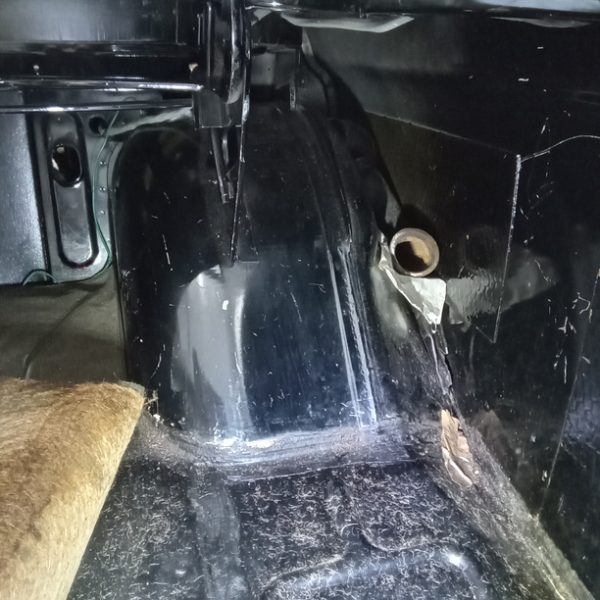
We have recently welcomed another car into the Bridge Classic Cars workshop. This time it is our 1964 Ford Zephyr 4, which will soon go live on the Bridge Classic Cars Competitions website.
Jonn has been looking at our new arrival and here are his notes:
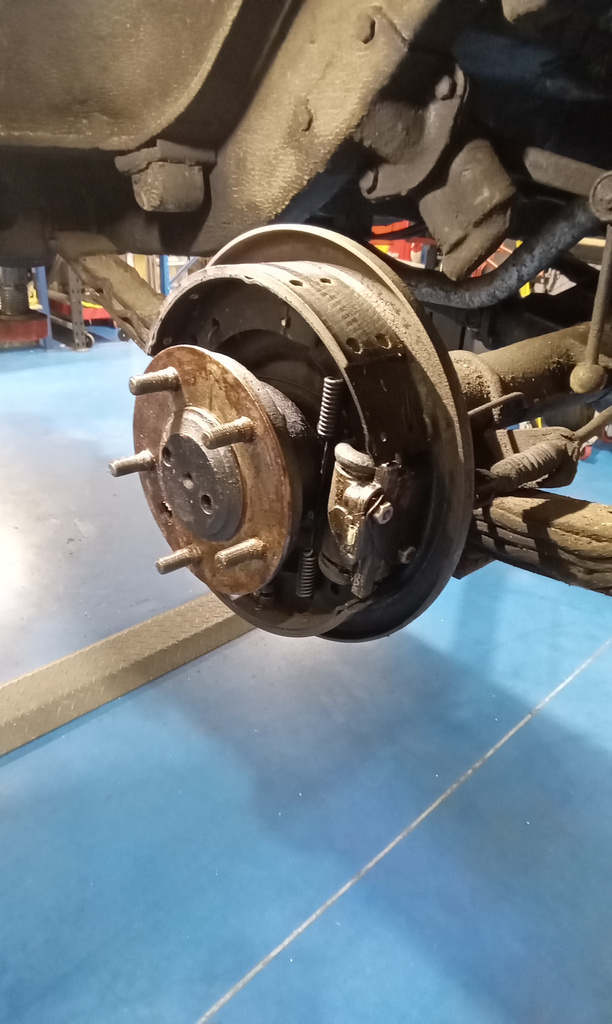
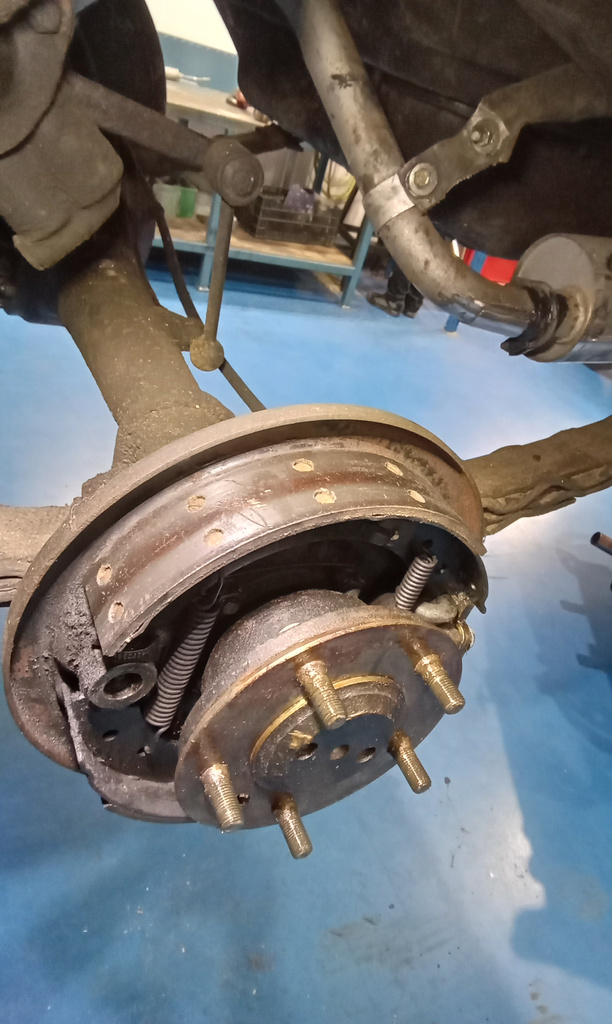
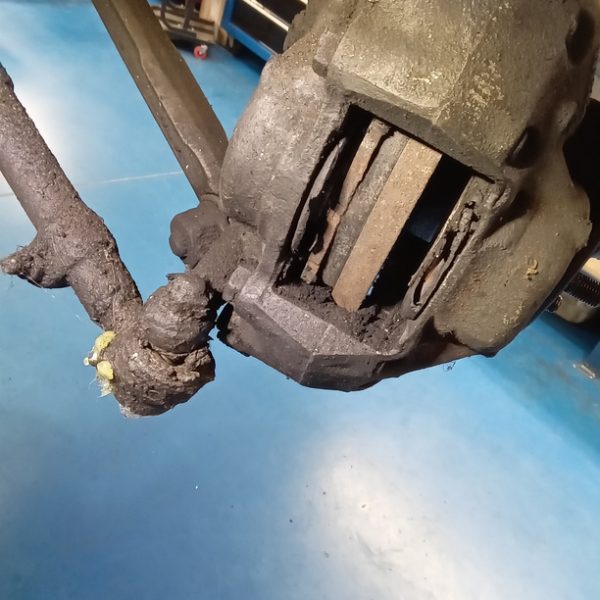
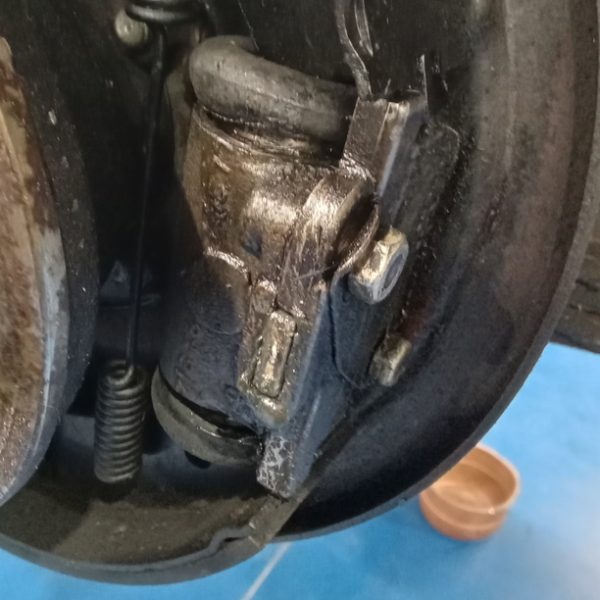
Top up gearbox and axle oils. Strip brakes and inspect. Remove offside front calliper.
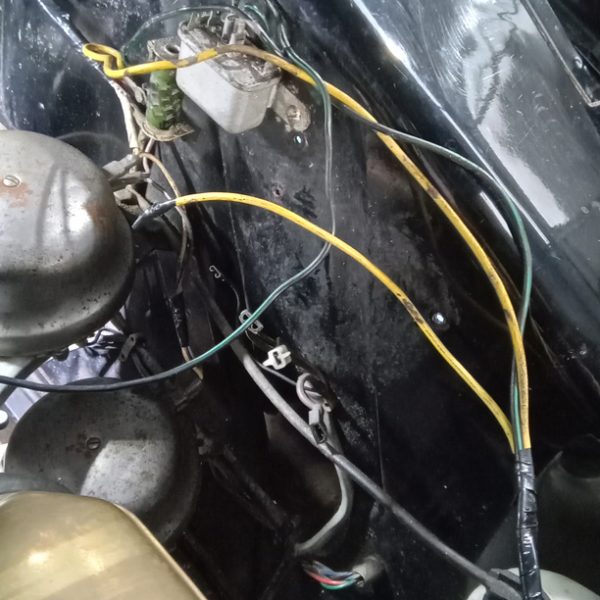
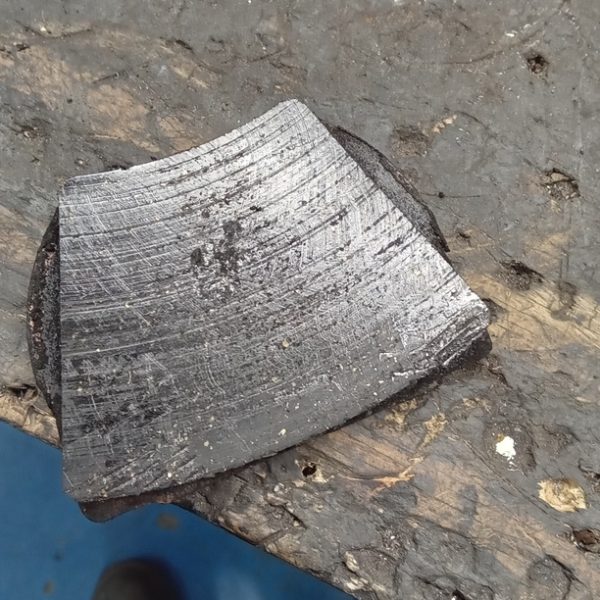
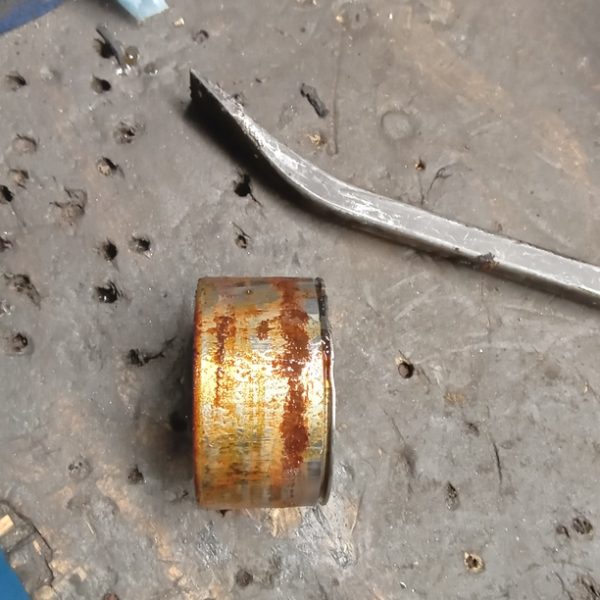
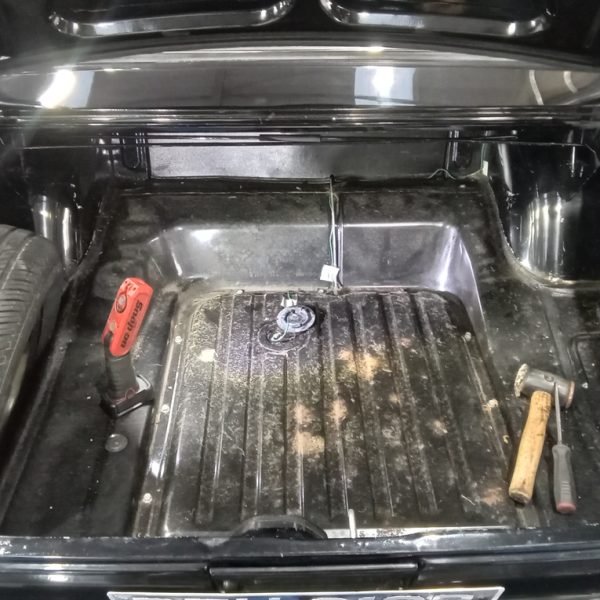
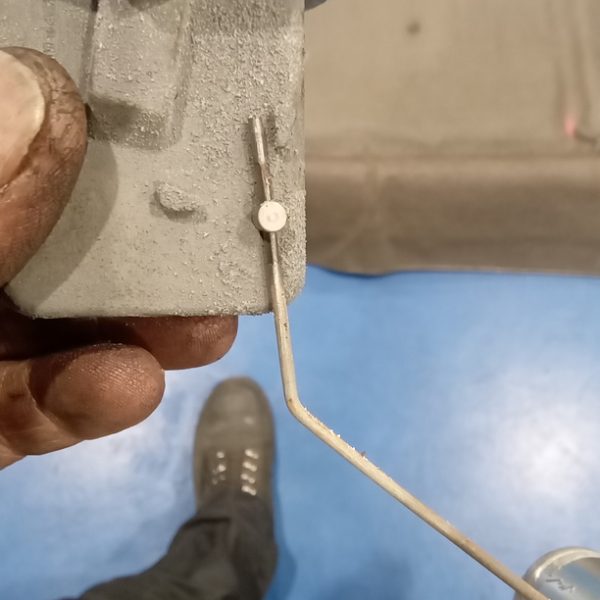
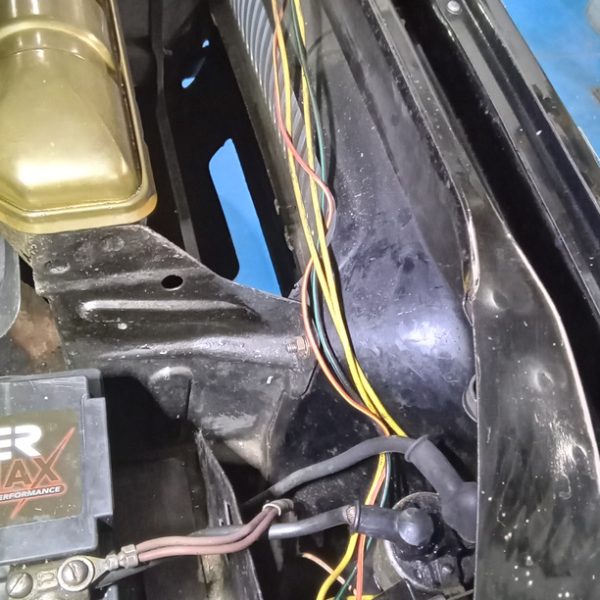
Thoroughly degrease calliper and clean all components. Remove piston from calliper and found it badly pitted and unserviceable. Check rear brakes to find cylinders weeping, shoes contaminated and hub seals weeping. Order parts….. refit wheels and drums until parts arrive. Remove fuel tank sender. Strip and lubricate and free off. Refit and test, ok. Tidy wiring under bonnet.
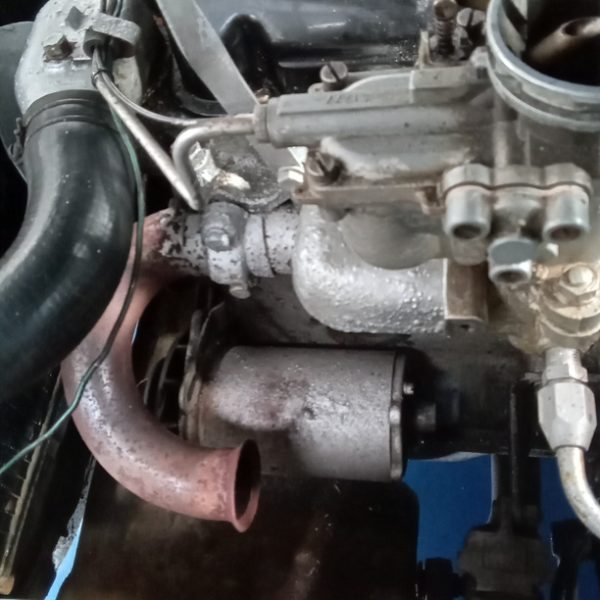
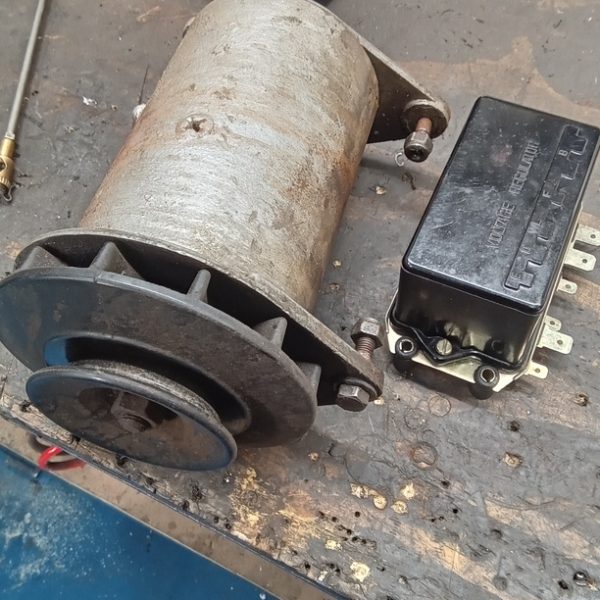
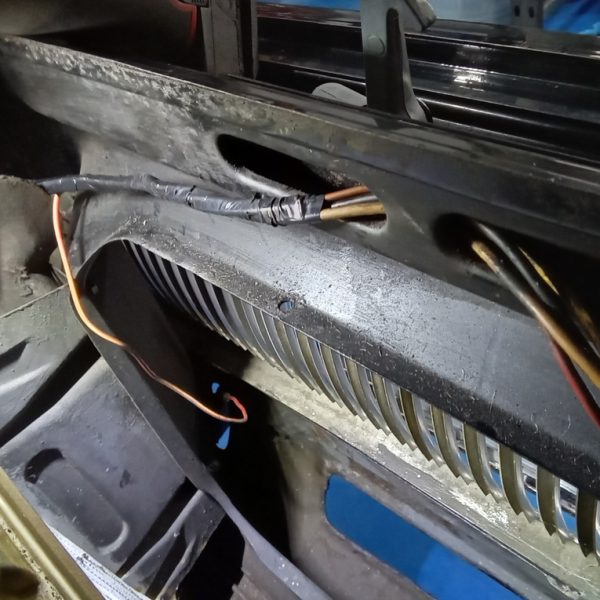
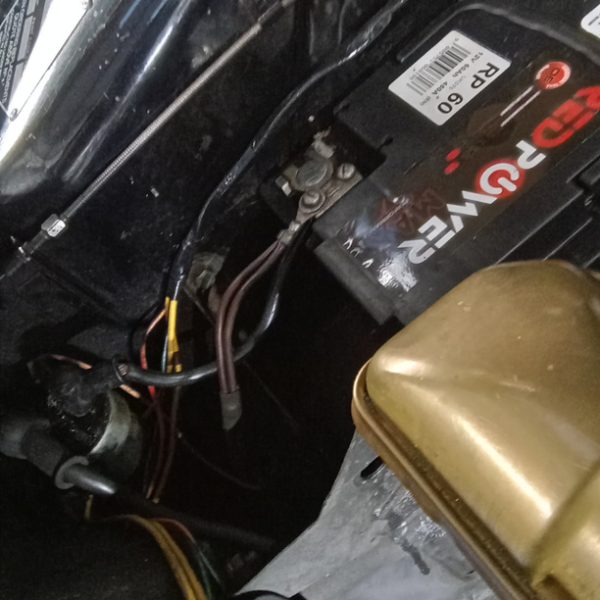
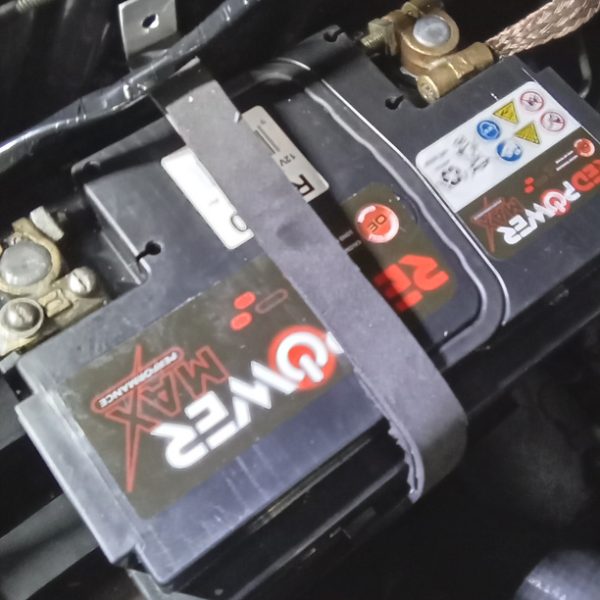
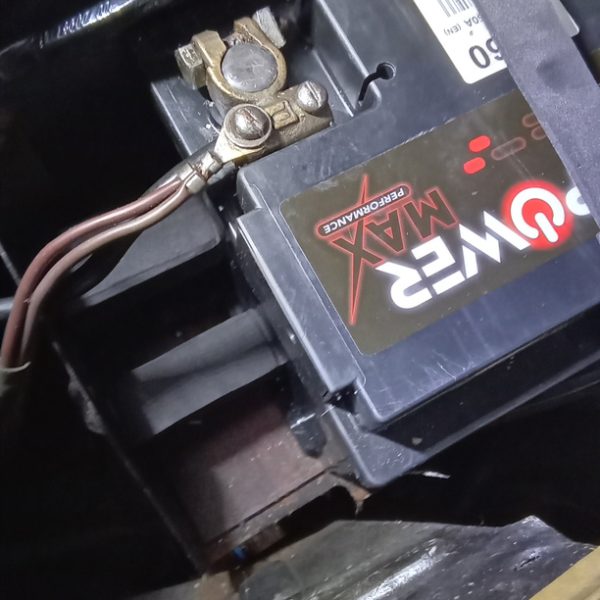
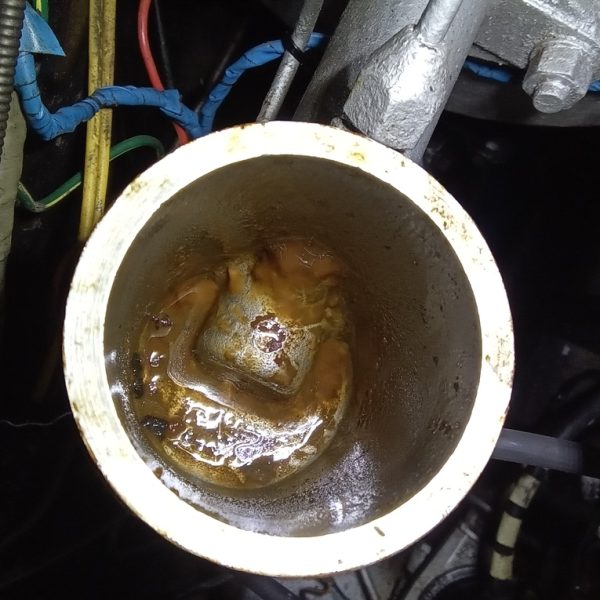
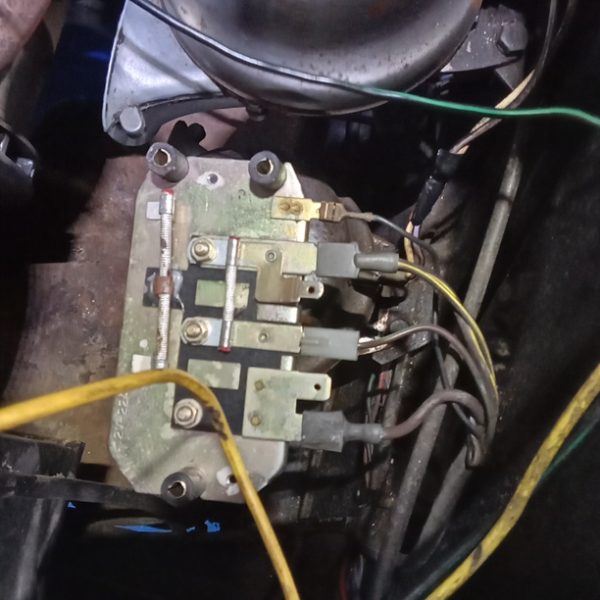
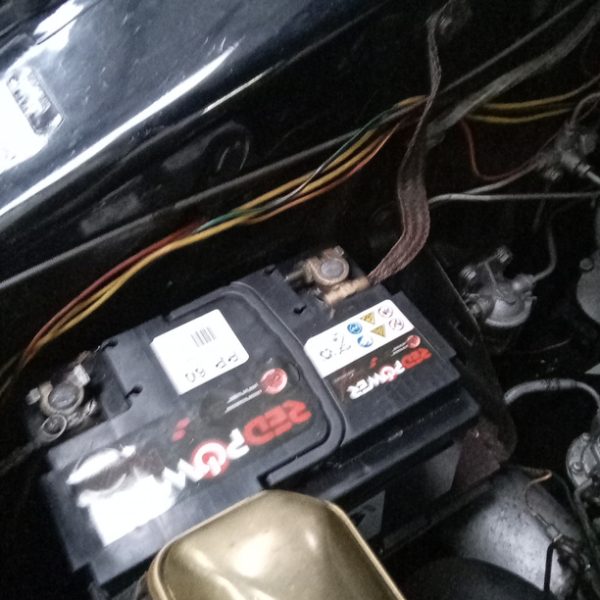
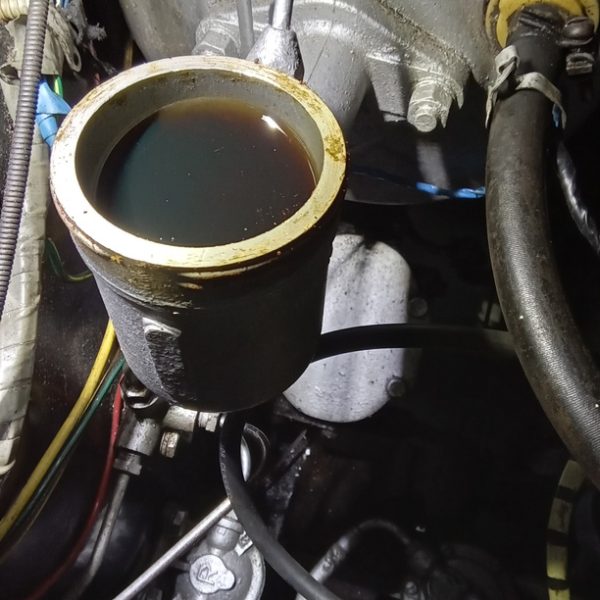
Remove air filter and fixed throttle linkage. Cut small pieces of wood to use as battery security. Make small strap from alloy to hold down battery and cover in sticky back foam. Drill out inner wing and bolt up strap. Clean out washer bottle and top up and test. Adjust washer aim. Test dynamo charging. Remove dynamo and regulator to send for repair. Remove exhaust completely and take to Fab shop for repair. Suck out old fluid from both master cylinder reservoirs and top up with new.













Bridge Classic Cars are award winning Classic Car Restoration and Maintenance specialists. Your pride and joy is in safe hands with our expert Classic Car Technicians. Take a look at our awards here.