Almost Out The Door…
Our stunning green 1970 Series 2 4.2 had been completed and was in-fact on its way home with its owners when, just past the gate,


Our stunning green 1970 Series 2 4.2 had been completed and was in-fact on its way home with its owners when, just past the gate,
Paul and Tom have been working on the Peony Red Jensen 541R today, both fitting more chrome to the body and fixing in place the
The rear axel has now been fitted back in our 1968 Jaguar E-Type Series 1.5. Mauro has been working to replace the seals and rebuild
Our blue E-Type has had a new lightweight clutch and flywheel fitted after its old one was showing serious signs of wear and had become
Last night we hosted our live draw where we announced the winners of our Morris Minor and Triumph Stag, congratulations to Matthew and Gamal. It
With all three minis individually shot, it only left the finale: Bridge Classic Cars does the Italian Job. Directed, shot and produced by our marketing

We took our 1996 Mini Cooper 1.3 over to Bentwaters for its photoshoot. We were lucky with the good weather and bright sun for our
We headed out to Bentwaters to shoot our classic 1969 Mini Deluxe, which is one of three of our most recent mini madness competition release.
Last week we ventured out with our friend and model, Hannah, to shoot our 1980 Mini 1275 GT, which you now know is one of
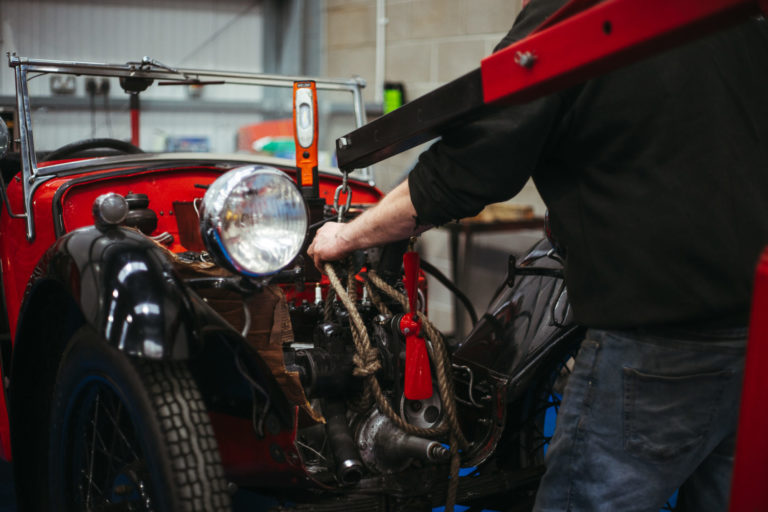
Our charming Austin Nippy has its engine back in which we’re delighted to see. Ady re-linked and re-fitted the engine back in to make sure

Our company van has been serviced and refurbished so it’s now running smoothly. We’re currently awaiting new graphics to be designed and applied, which we’re
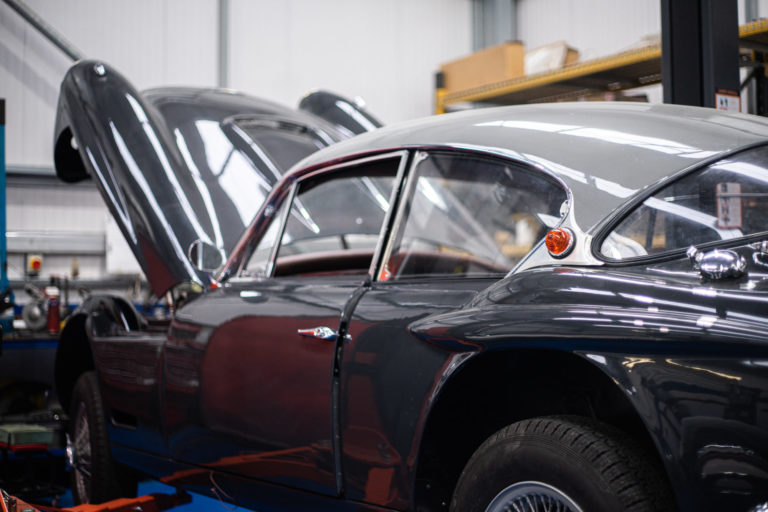
During testing we established a fault in the steering however we have since rectified the fault. Due to the Corvette engine, the manifold previously went
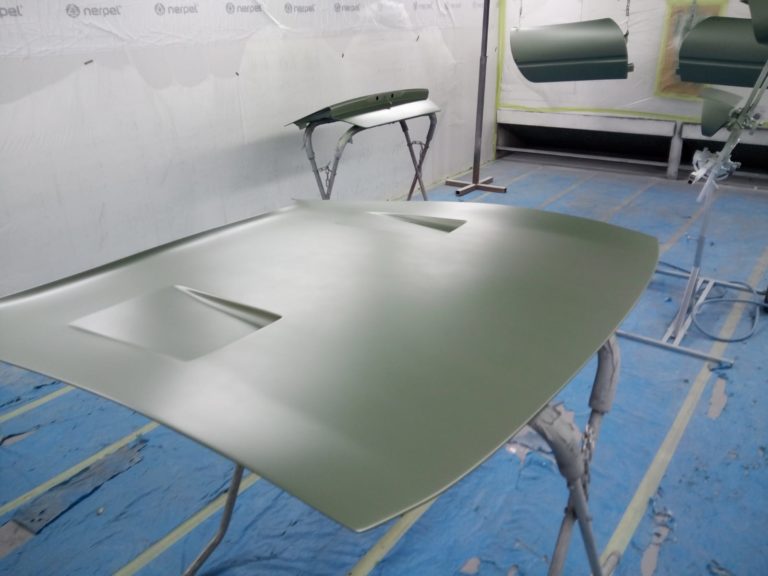
Heater removal Scott has been taking out the heater in our Ferrari Daytona so that it can be re-wired and refurbished. Trim The trim restoration
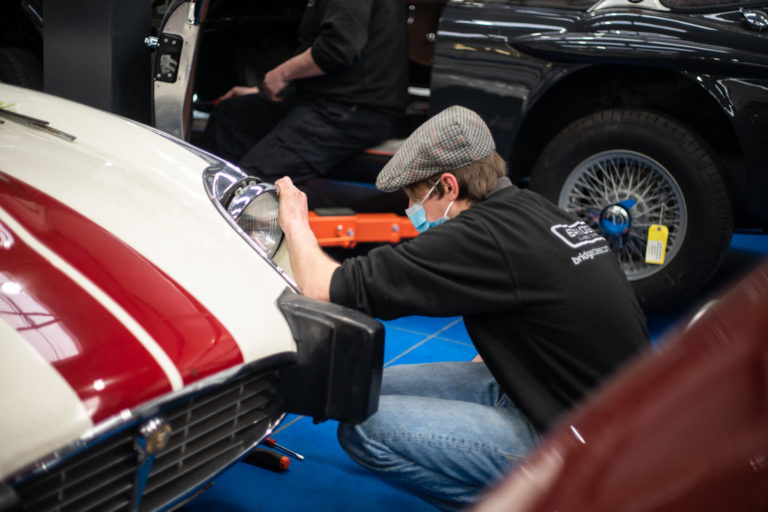
Dismantling the car: After having sourced this vehicle last year, it’s been sat in storage whilst we’ve worked on two other classics belonging to the
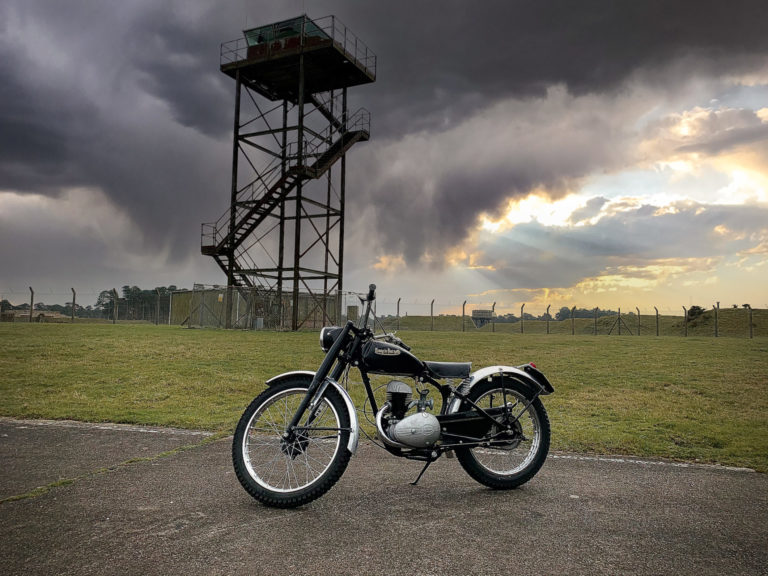
This 1953 Francis Barnet Rigid Body motorbike was delivered to us yesterday. For those with keen ears, you may have heard Craig mention an upcoming
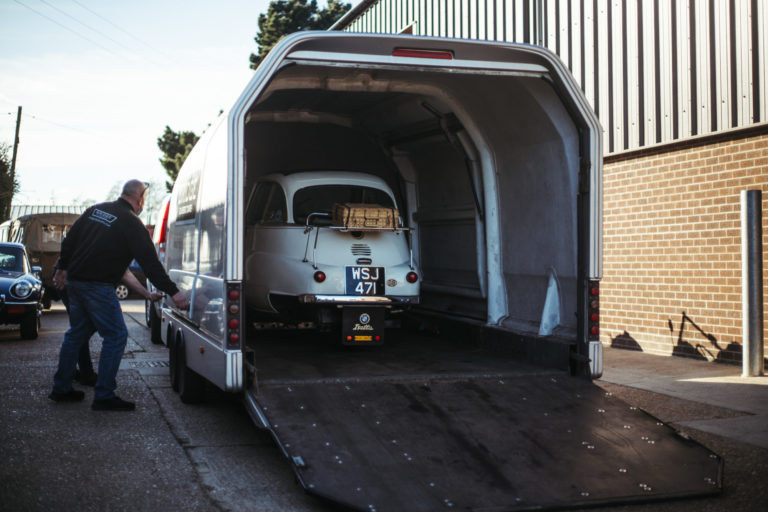
We’ve got some seriously tiny cars in the workshop at the moment. They may be small but they are…or will be, mighty. On the whole,
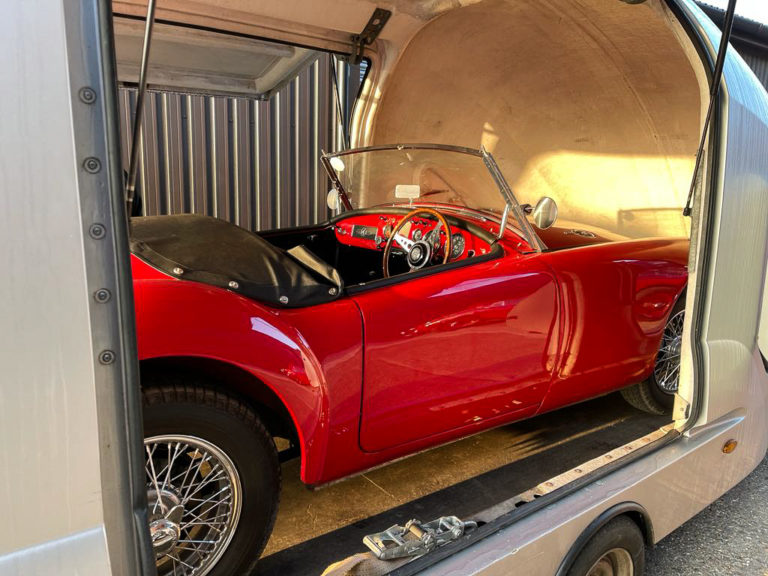
We received our lovely 1960 MGA back today for some major rectification works. This will now be in our care whilst we make some changes
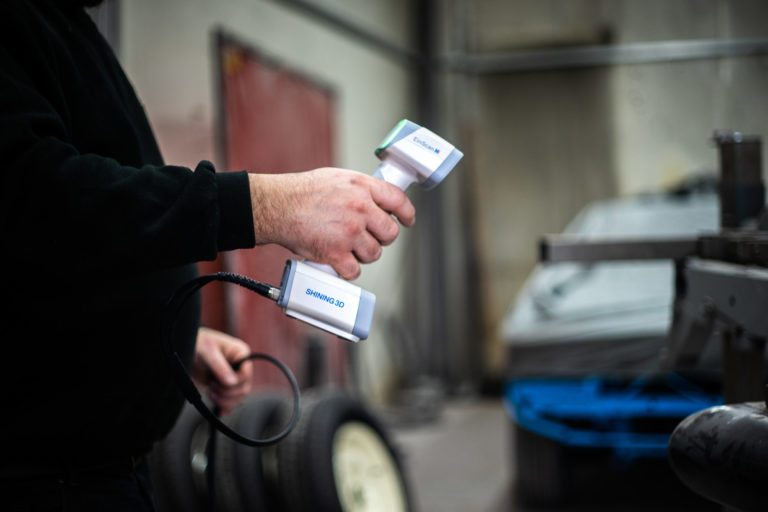
Here at Bridge Classic Cars, we have a variety of services and a can-do attitude. If you ask it, we can do it! We have
Progress is being made on our 1984 Suzuki GSX400. Clinton from Holdsworth Artisan Metalcraft has been commissioned to build this one for us. The bespoke
Mick Schumacher, 22, is set to tread in his father’s footstep this season in Formula 1, starting next weekend in Bahrain as he races for
Our lovely maroon 1968 Jaguar E-Type Series 1.5 is back in for a small dent repair and a check up. We’ve worked on this classic
The chrome came back for our 1960 Peony Red Jensen 541S last week and it is now starting to be fit by our classic car
Our expert valet technician, Colin, from Viper Auto Valet has done a thorough clean of our VW T4 campervan, making the interior look brand new
We’ve just welcomed this stunning 2000 BMW Z3 3.0 Widebody into our workshop. It needs very little attention which means we can photograph this very
We’ve had a quirky 1969 Fiat 500 Abarth come in recently for some care and attention. One of our technicians soon found a dangerous issue
Whilst looking over the task in hand we noticed some corrosion on the boot lid and a small piece missing from the rear bumper. With
This stunning 1982 Porsche 911 is back with us for a freshen up of its paintwork. We worked on this classic last year and now
This stunning 1959 Jaguar MKI arrived today for some restorative work with us. Before we know what needs to be done, we will carry out
Congratulations to Duncan Walker, winner of our 1981 MGB GT LE MGB fanatic, Duncan, took delivery of his Limited Edition MGB late last week and
Michael Caine would be proud… Today we welcomed in this quirky 1993 Mini from Ted at Team C racing that needs its door frames and
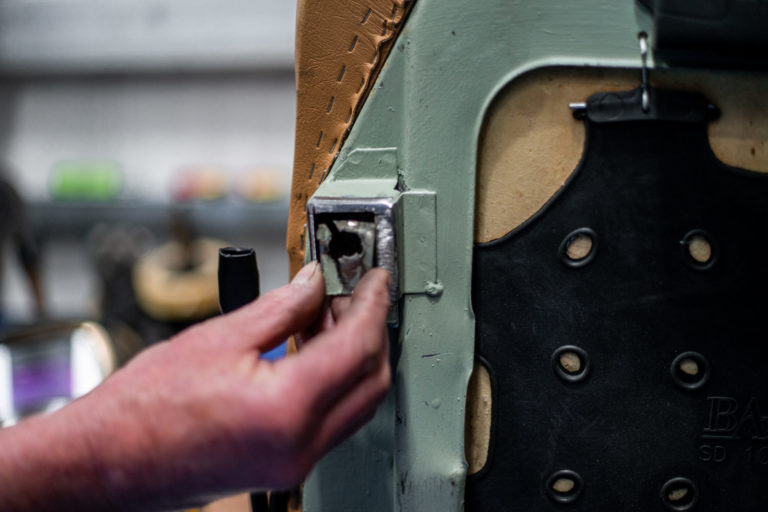
Our stunning green 1970 Series 2 4.2 had been completed and was in-fact on its way home with its owners when, just past the gate, the drivers seat broke. This is an area we hadn’t been working on as it wasnt requested but evidently was in need of some TLC. This is often the way with classic cars, bits break through usage and love but we always remind ourselves when things like this happen, that these cars have survived many decades until now!
We fabricated some new bolts and metal elements to fix the broken nut in the chair runner so that the seat now functions good as new!
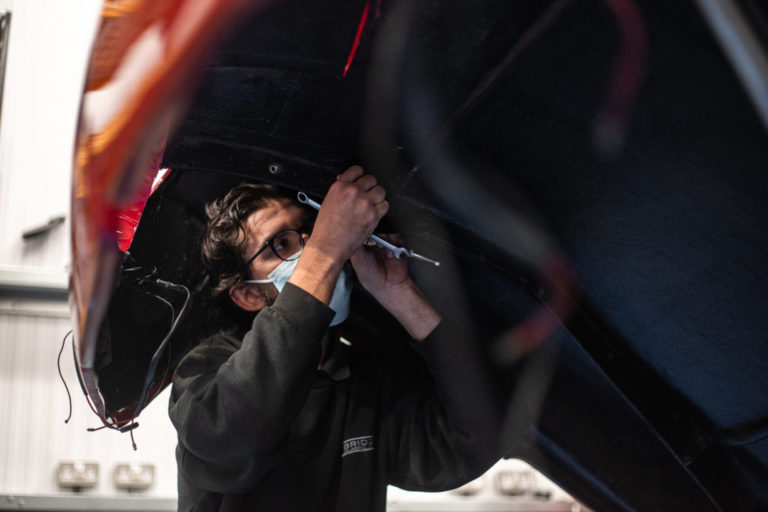
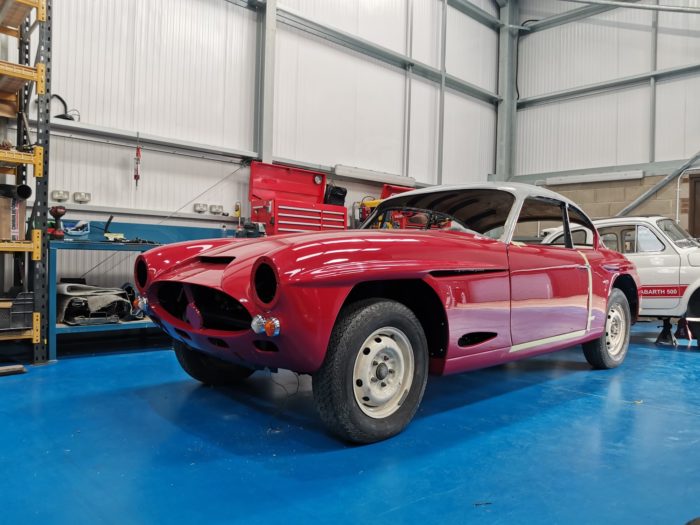
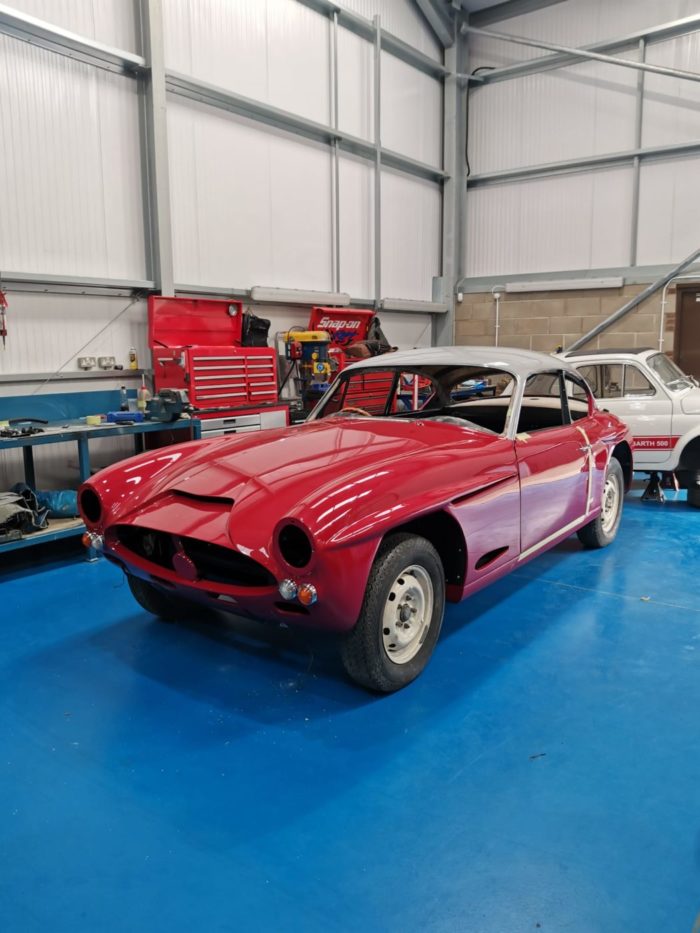
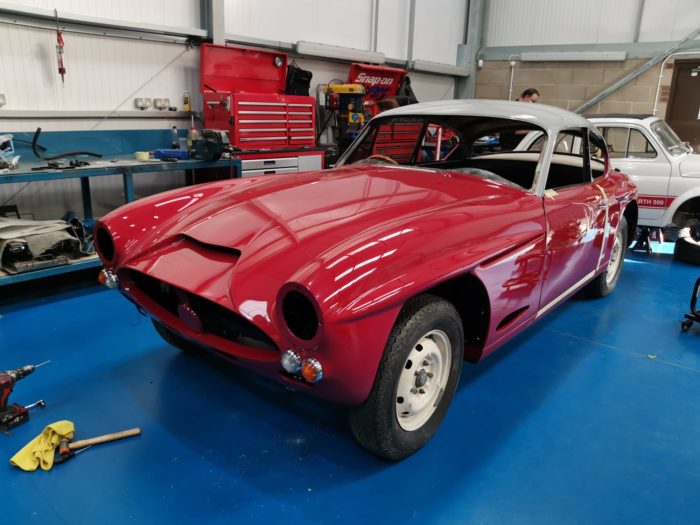
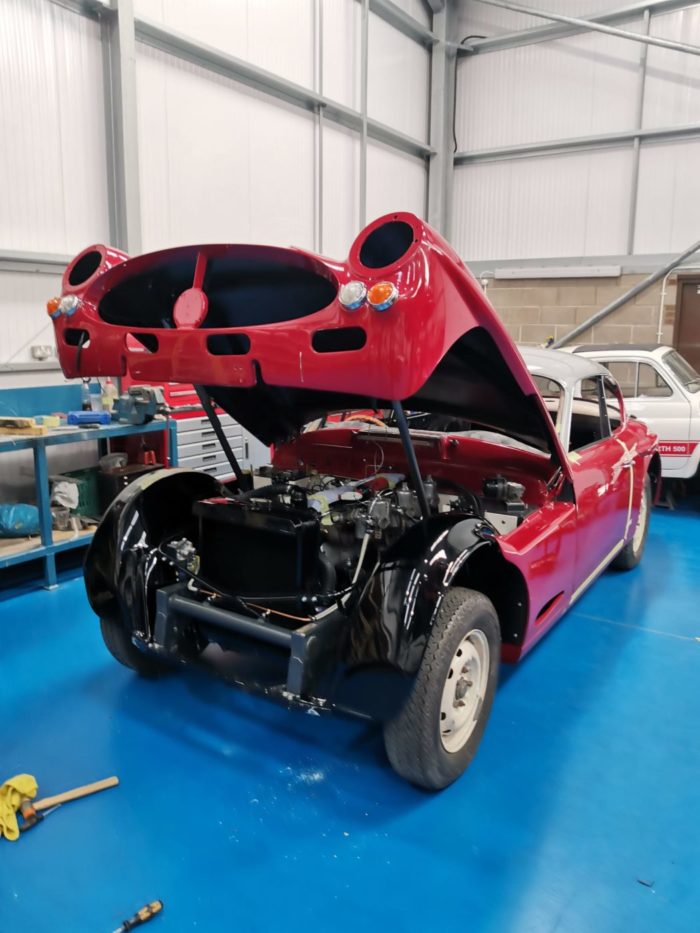
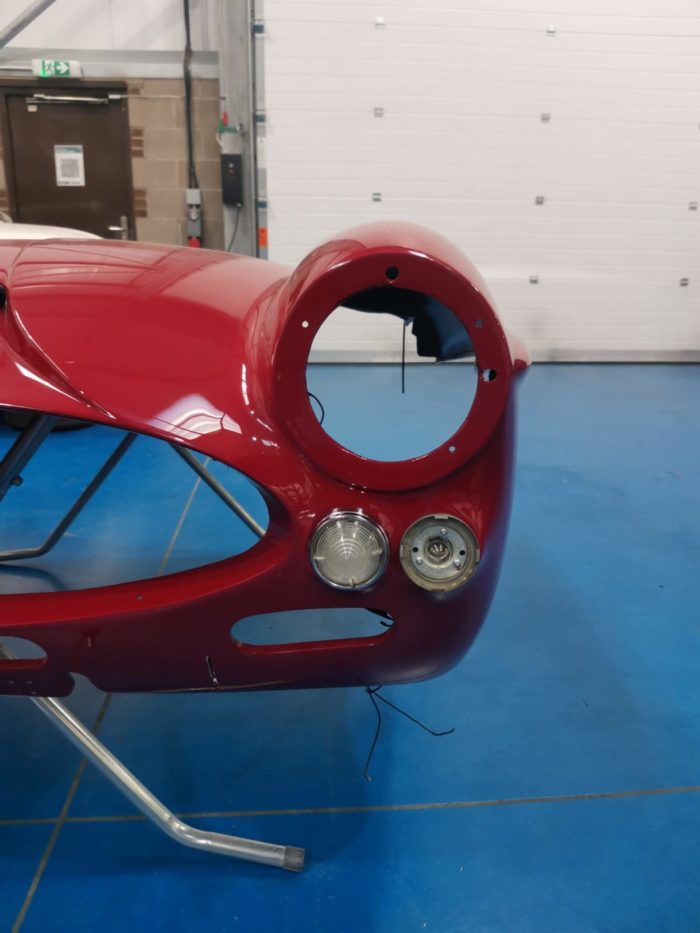
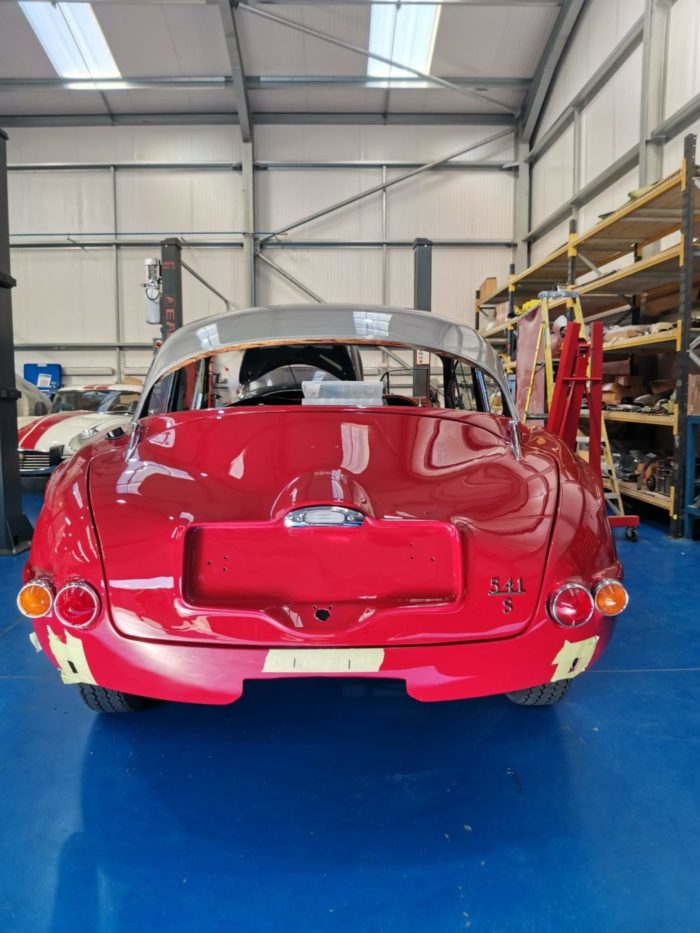
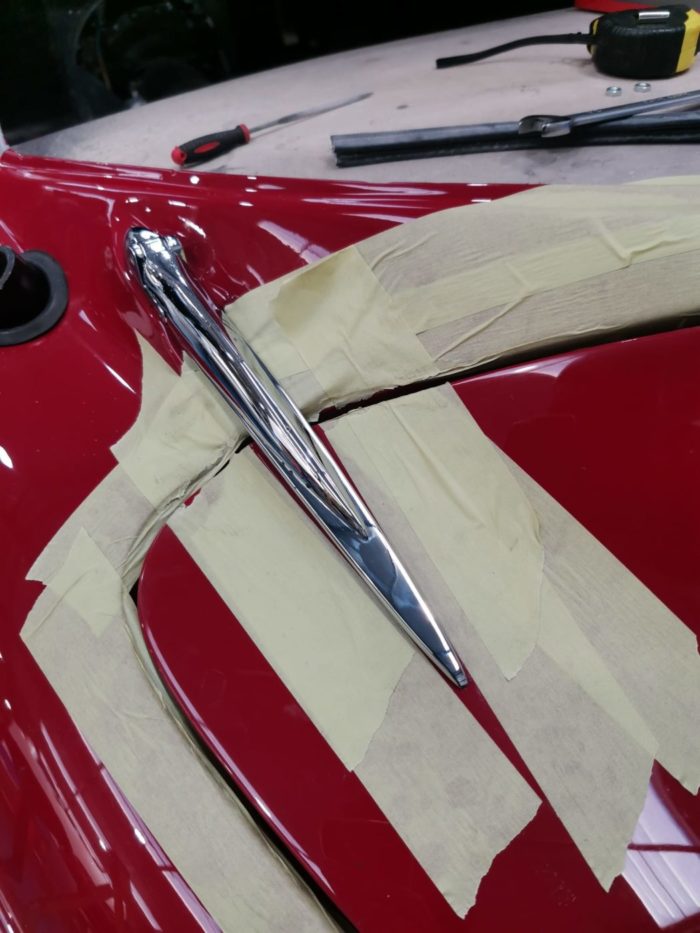
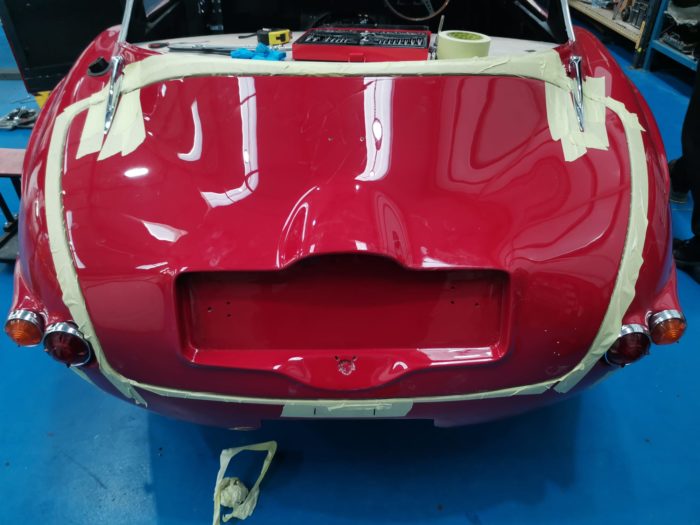
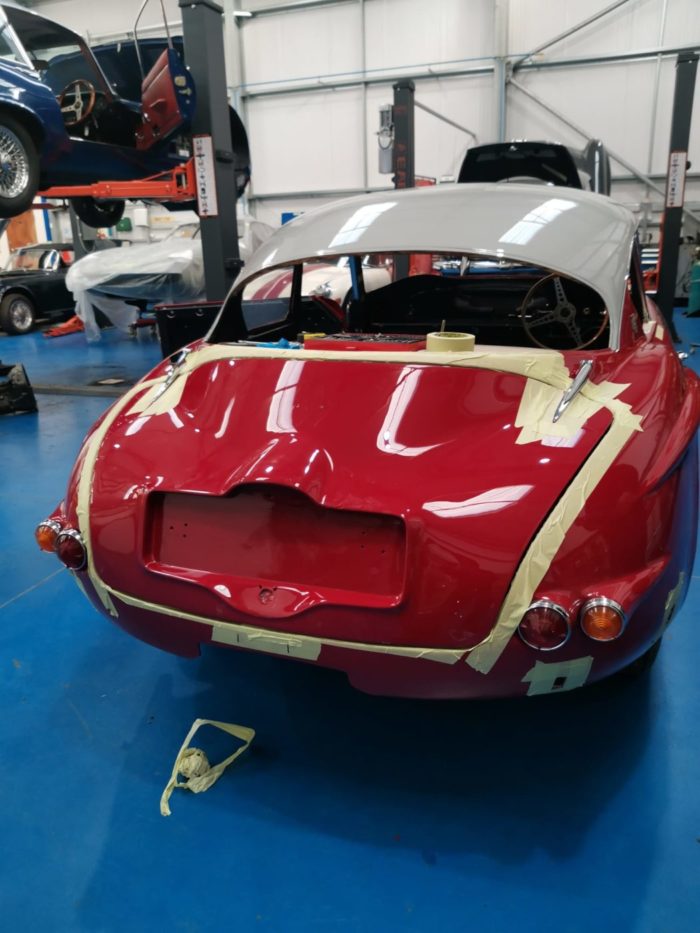
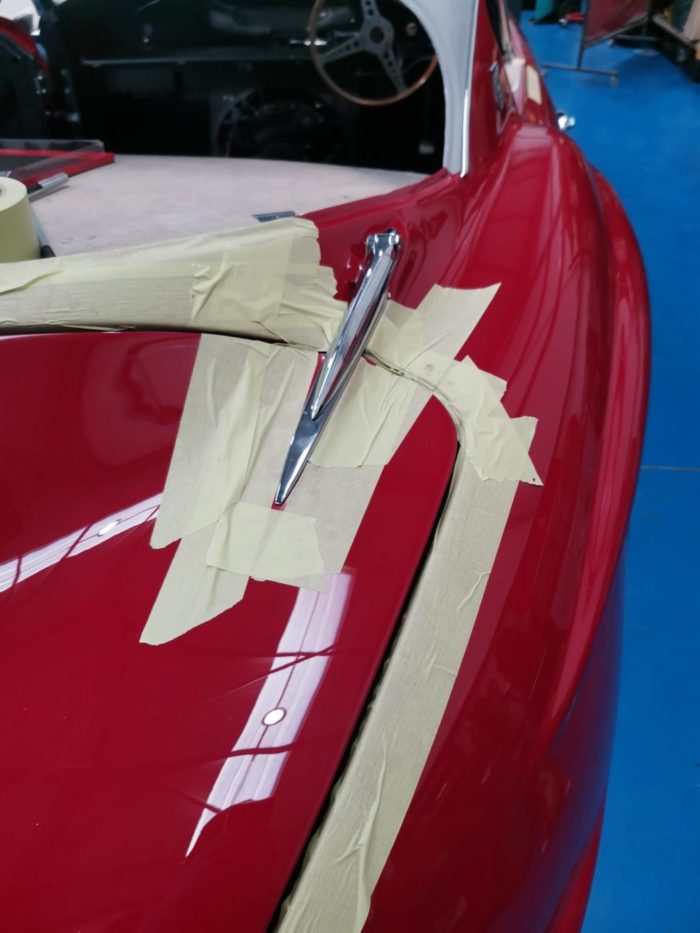
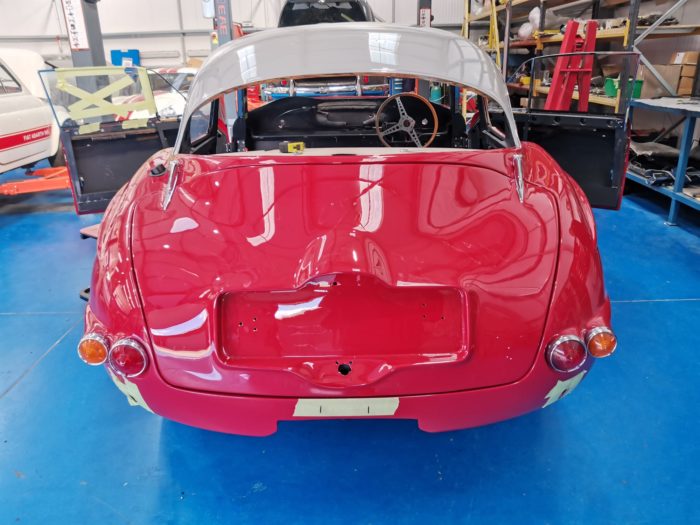
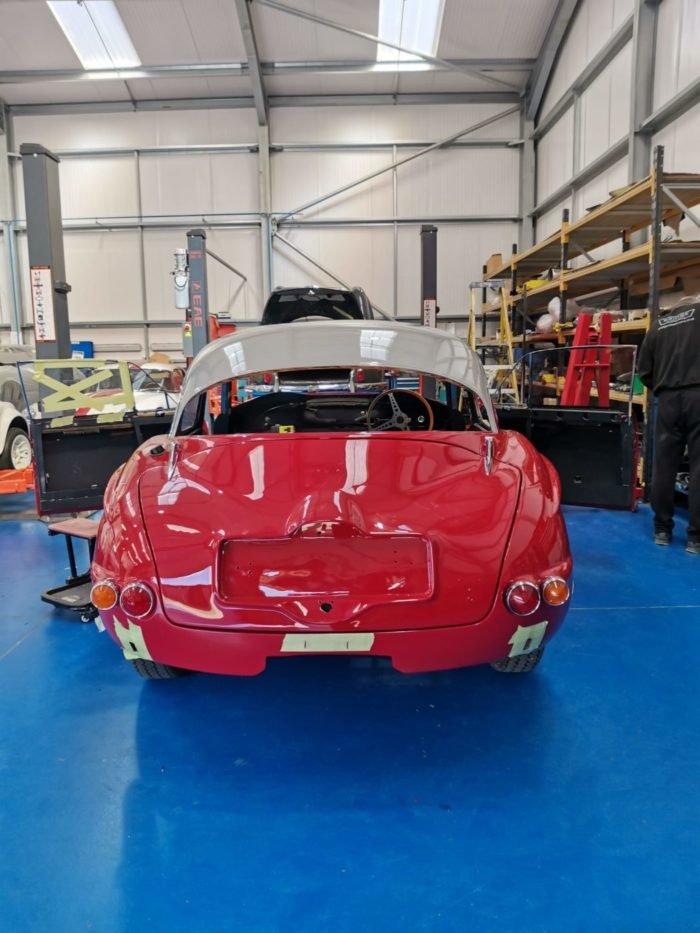
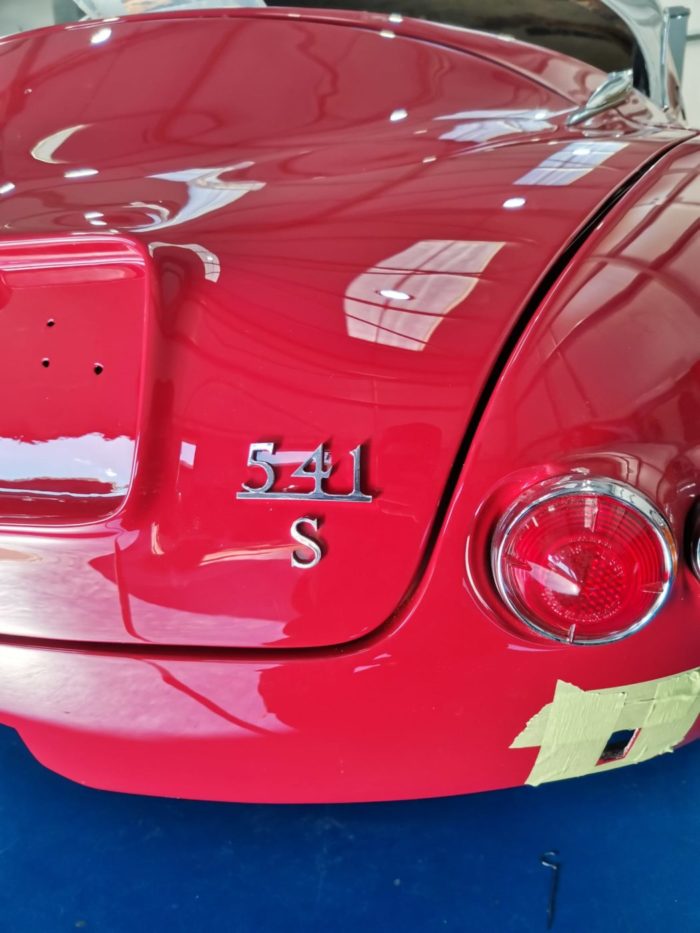
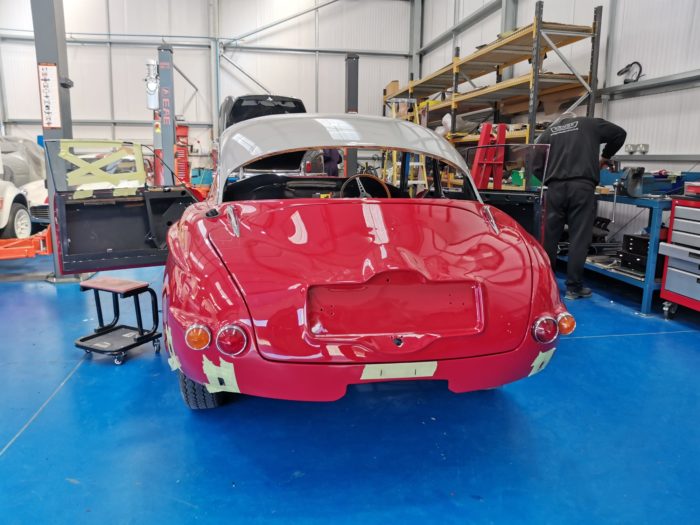
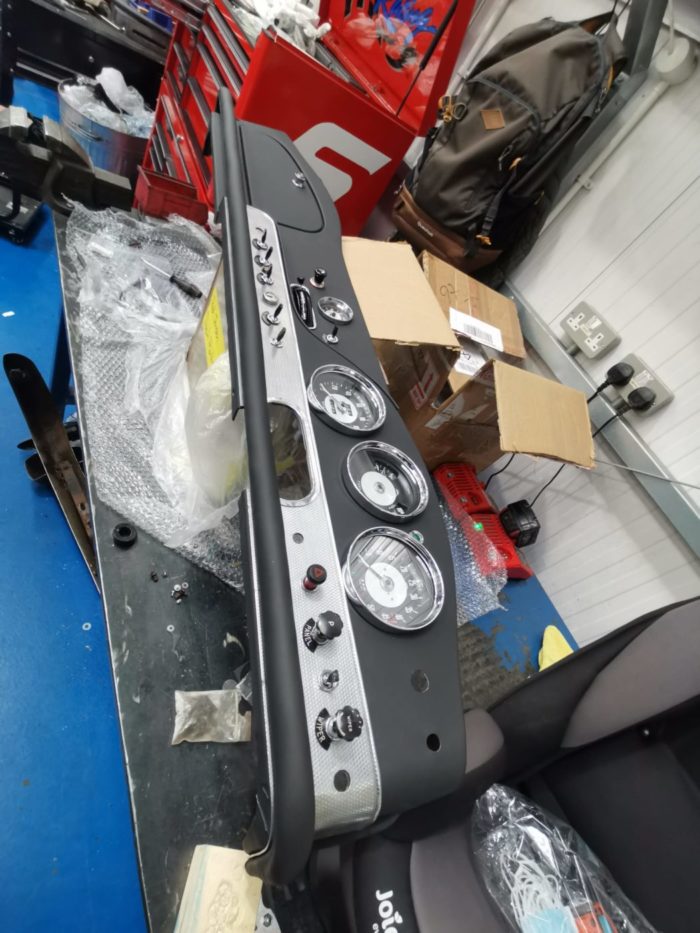
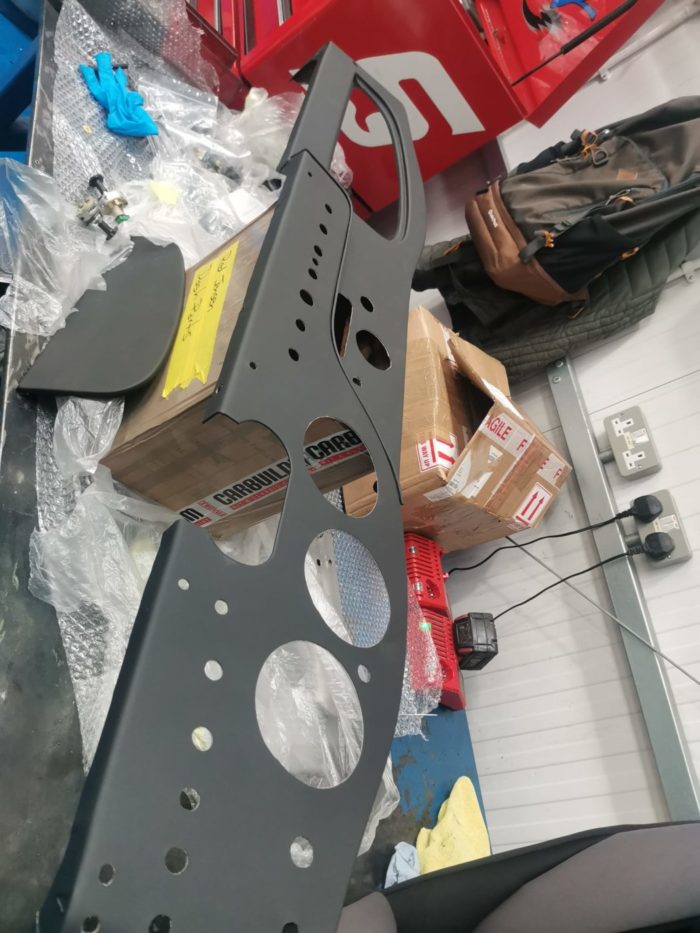
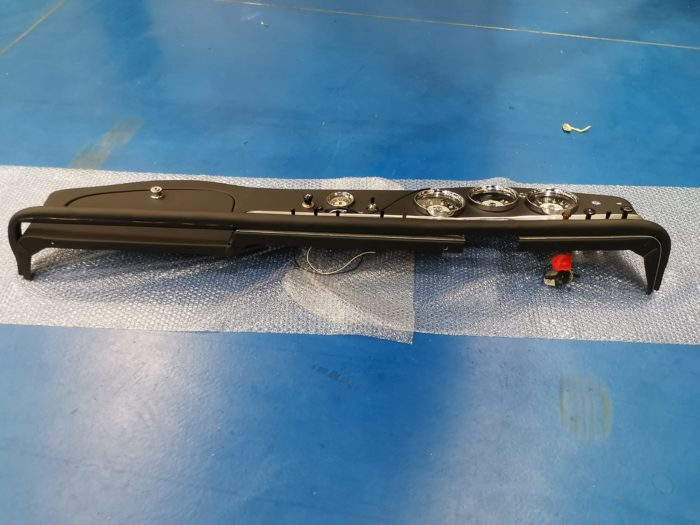
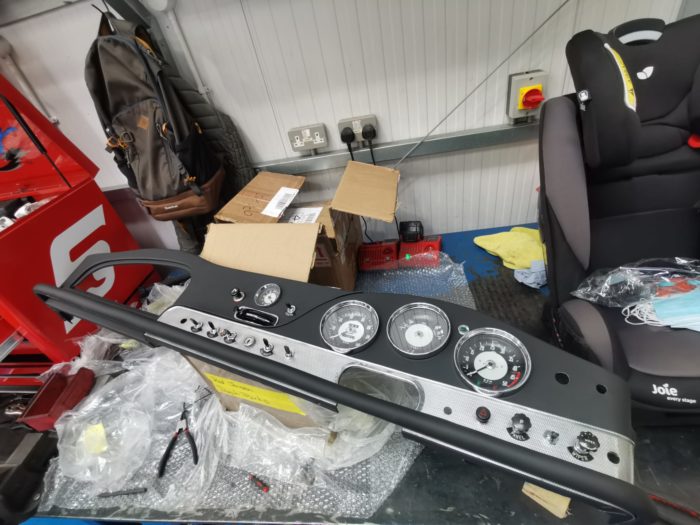
Paul and Tom have been working on the Peony Red Jensen 541R today, both fitting more chrome to the body and fixing in place the underside bonnet clips.
Paul has been steadily getting through all the chrome pieces, fitting them to the body and ensuring they all sit perfectly. Tom has been fixing in place the clips which hold in place the bonnet rods and hinges that allow the bonnet to open.
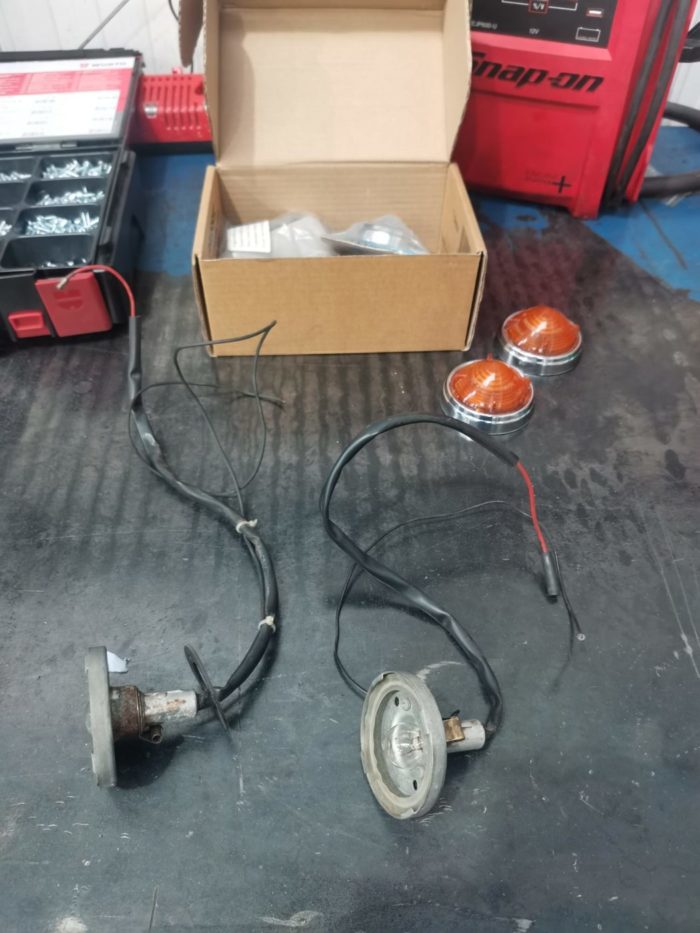
Tom has also assembled the dash, fitted the boot and bonnet as well as fitting the indicators and chrome.
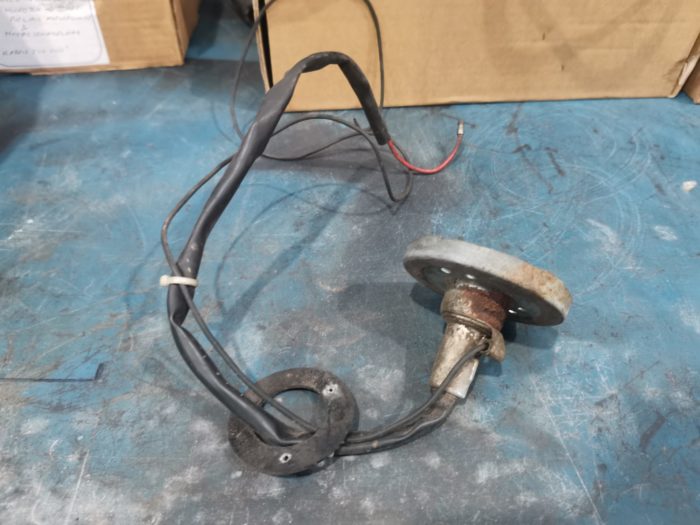
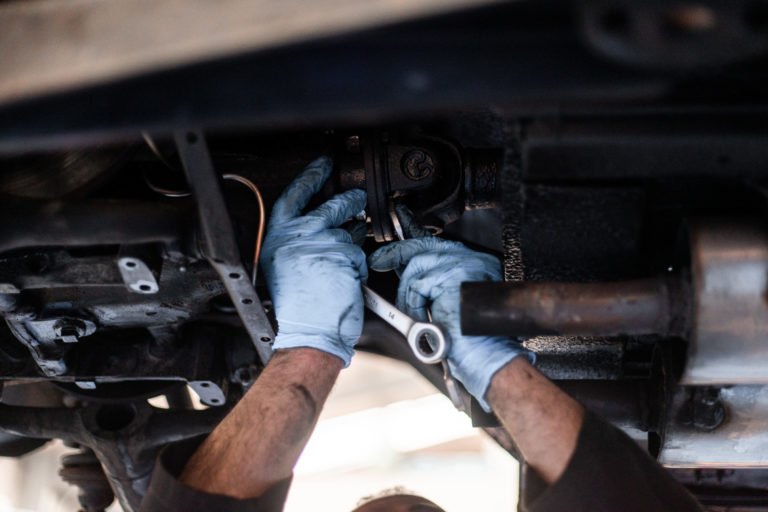
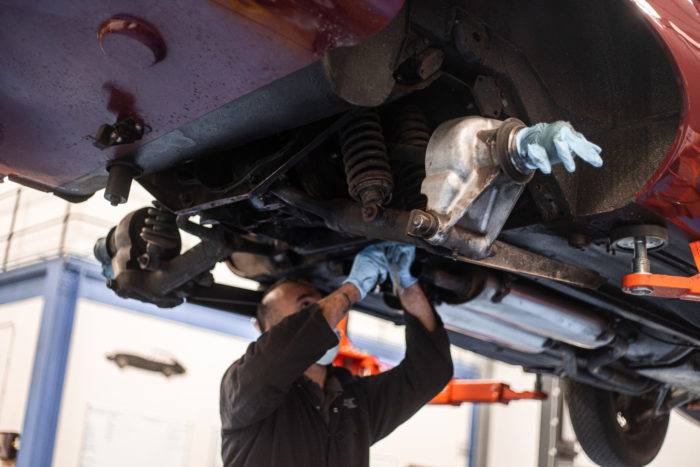
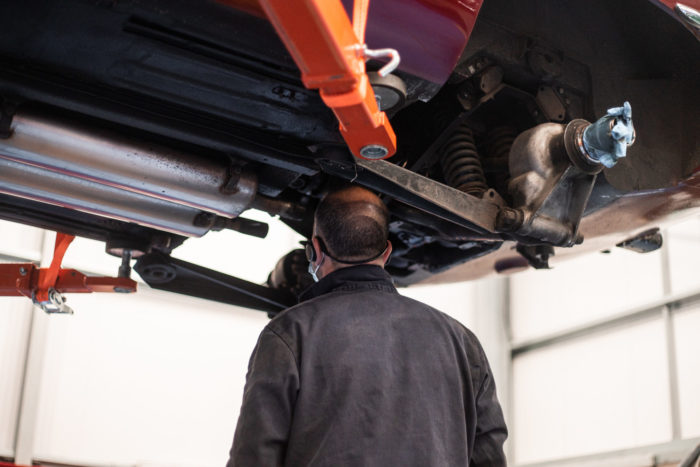
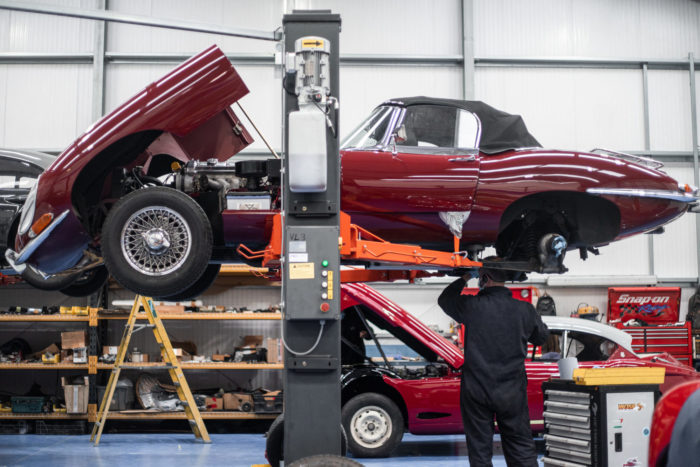
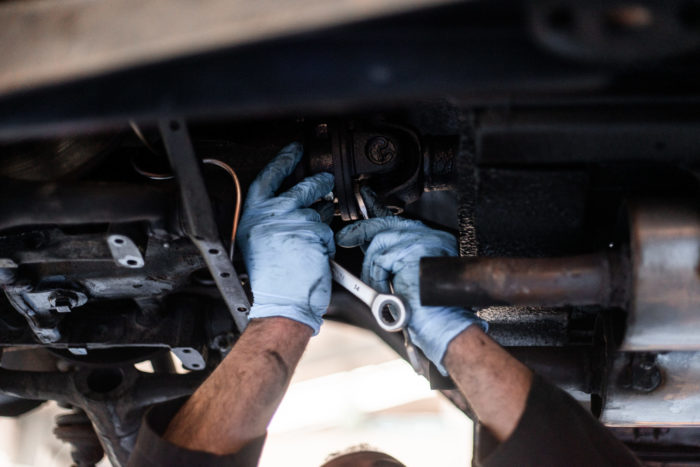
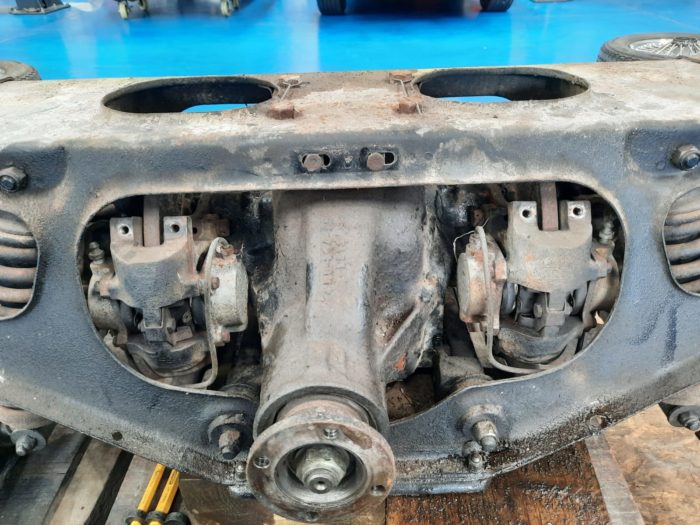
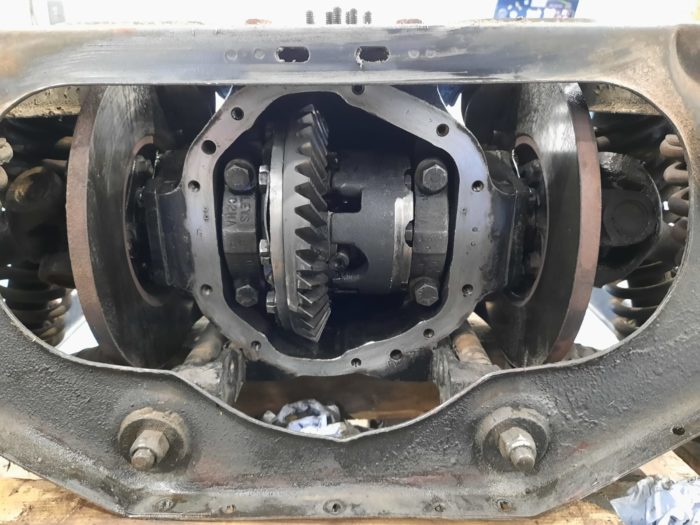
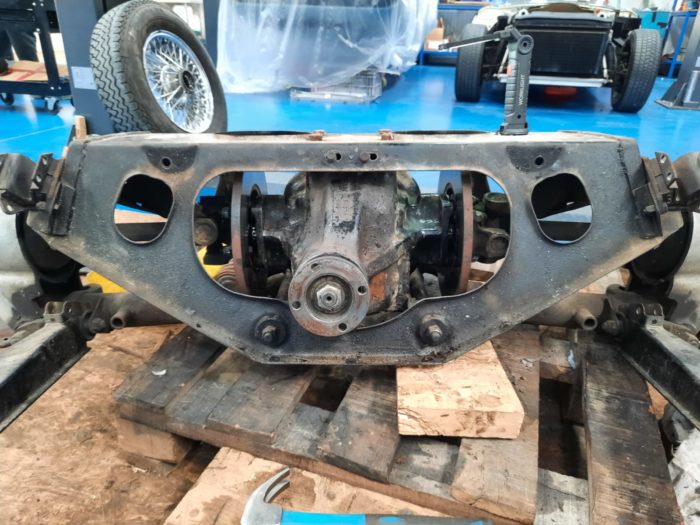
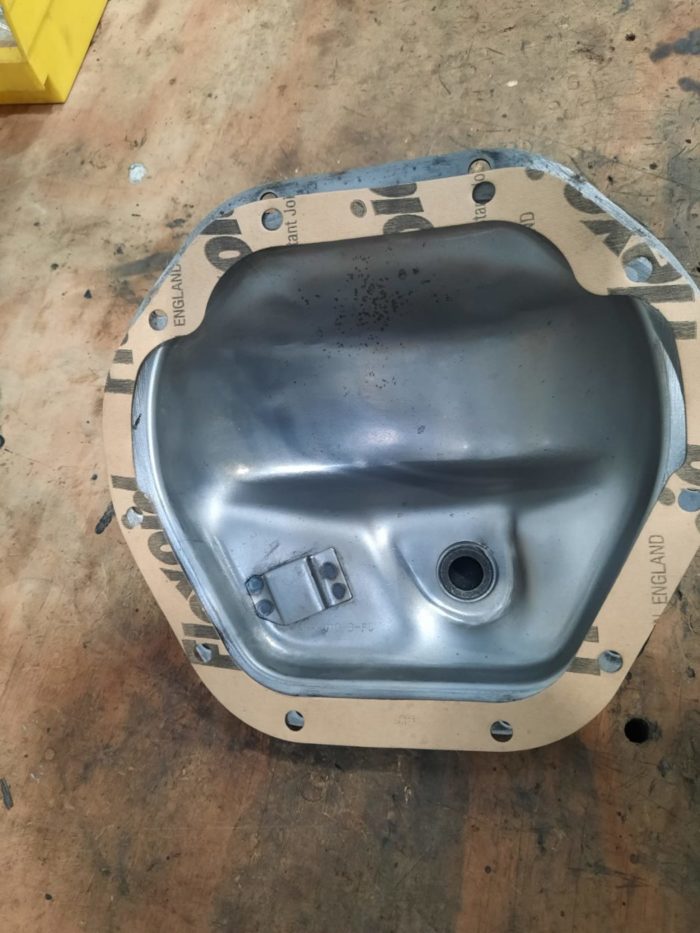
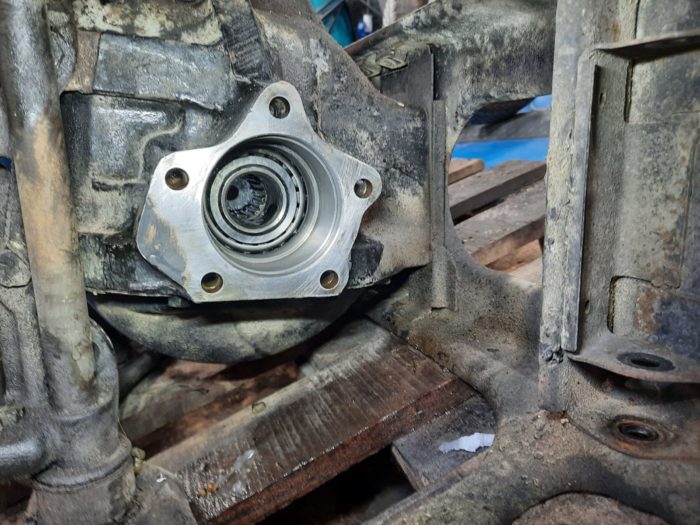
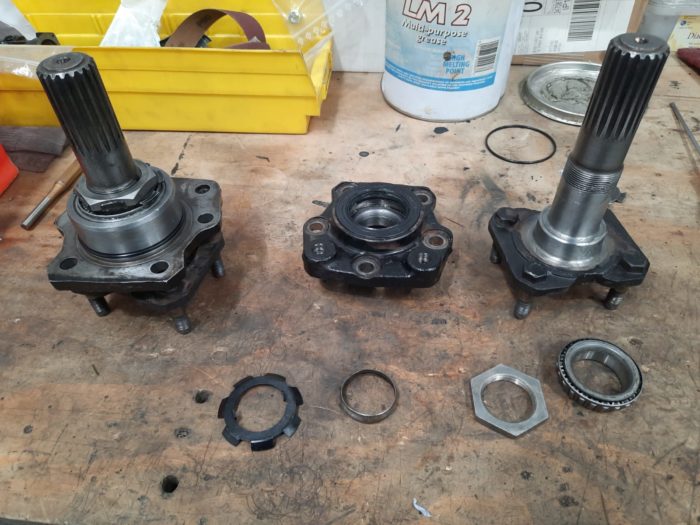
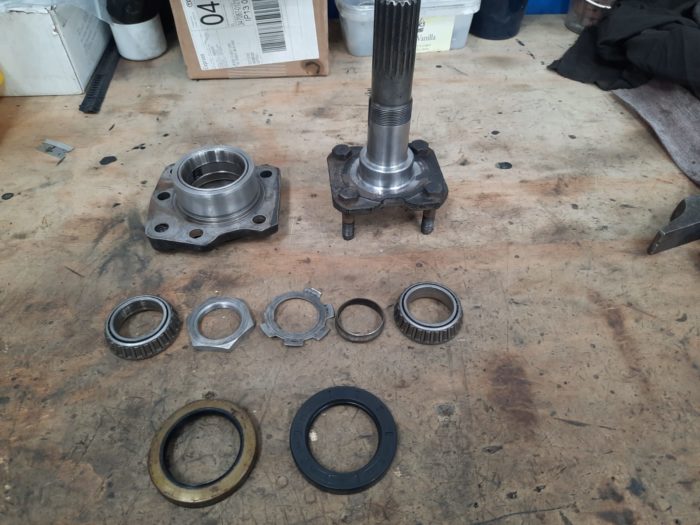
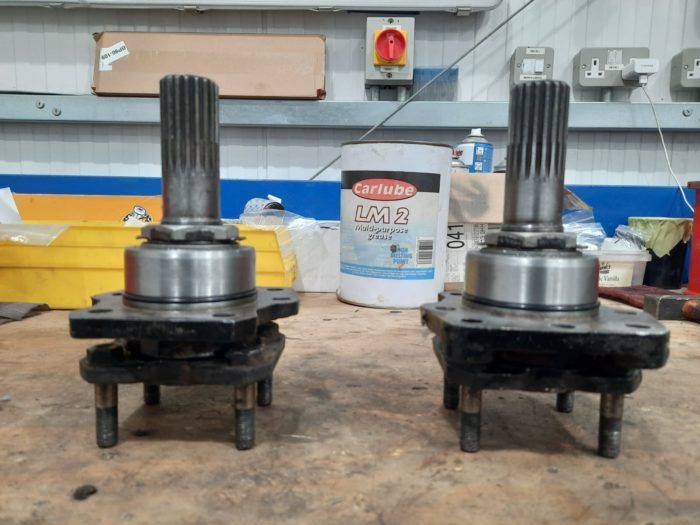
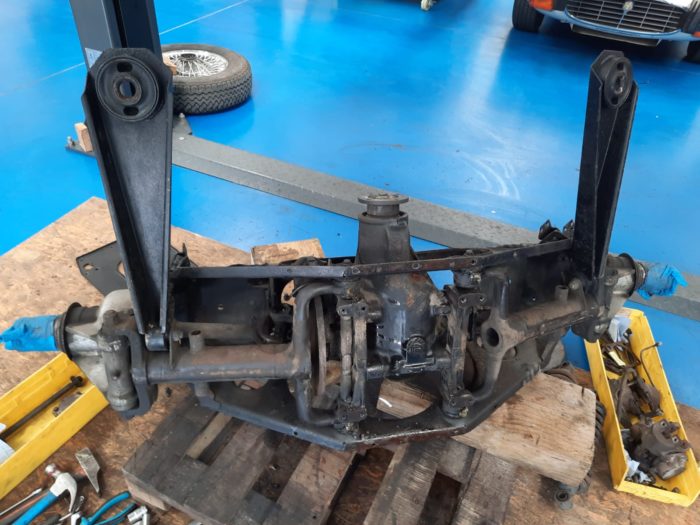
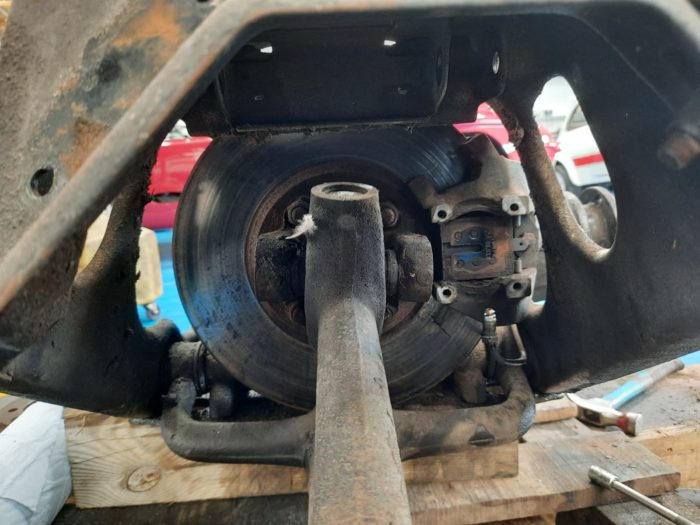
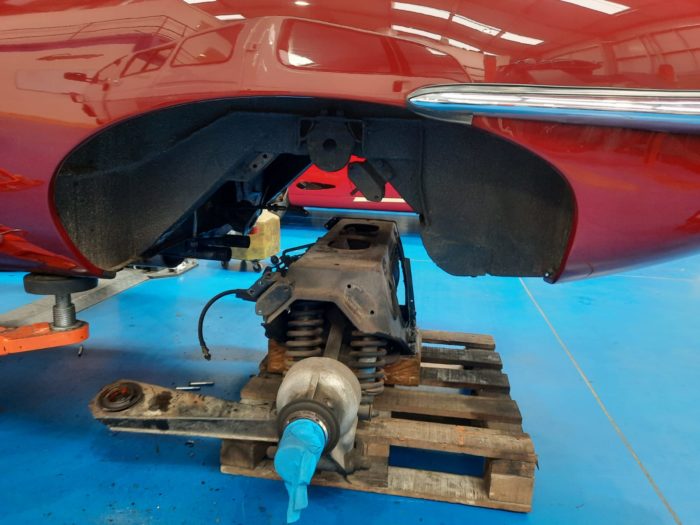
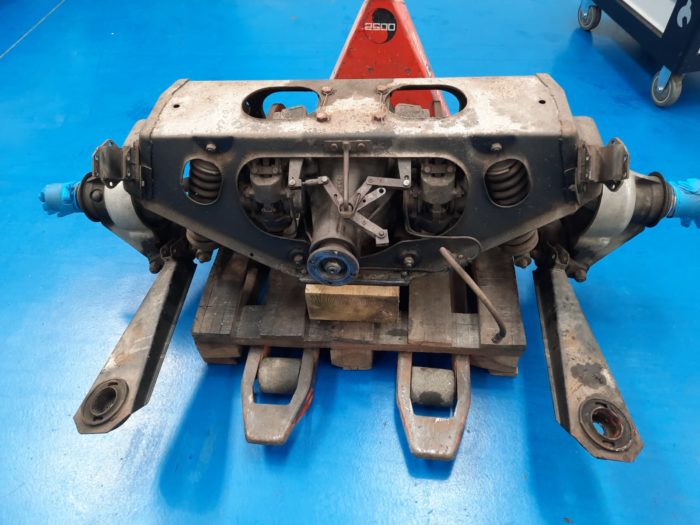
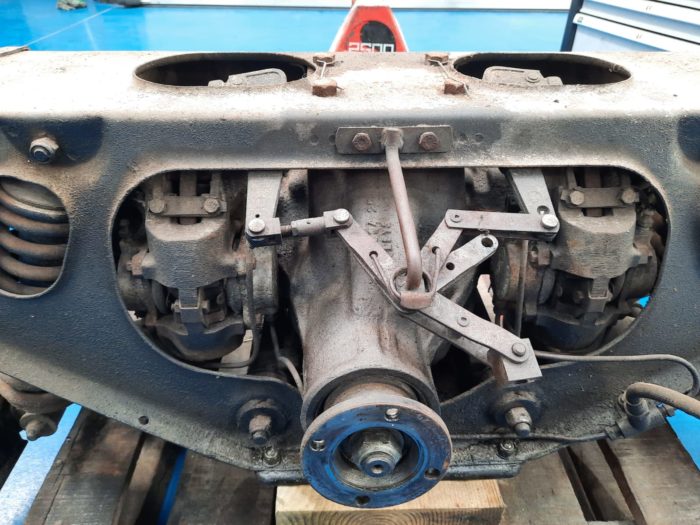
The rear axel has now been fitted back in our 1968 Jaguar E-Type Series 1.5. Mauro has been working to replace the seals and rebuild the rear axel so that it doesn’t cause any more issues.
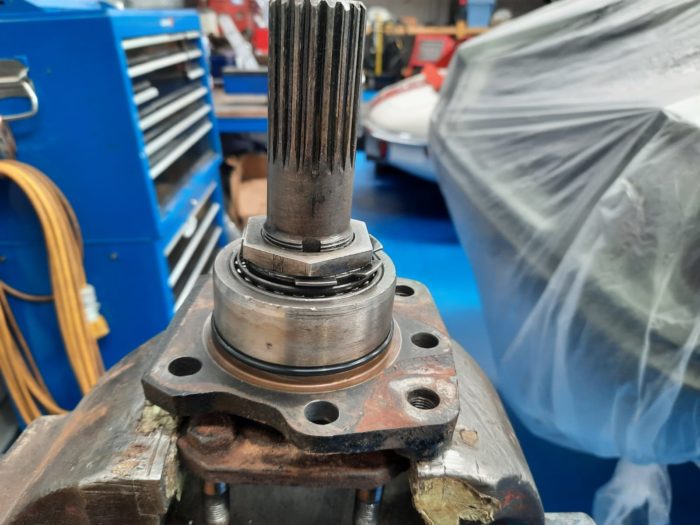
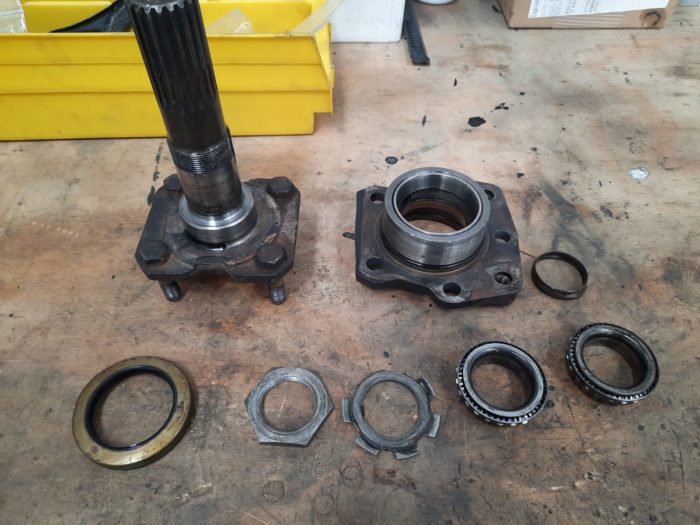
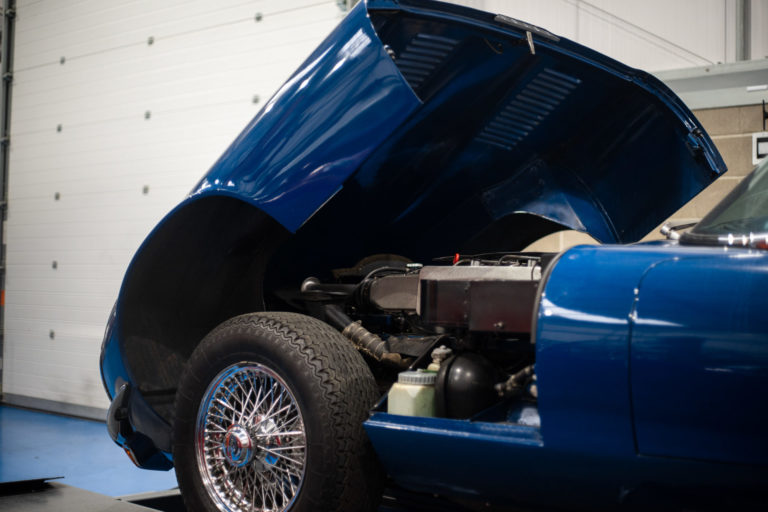
Our blue E-Type has had a new lightweight clutch and flywheel fitted after its old one was showing serious signs of wear and had become dangerous. The old thrust bearing, rear oil seal and fly wheel pictured below shows how desperately they all needed renewing. The new flywheel is more responsive, being made from lighter aluminium with a steel insert for the clutch plate.
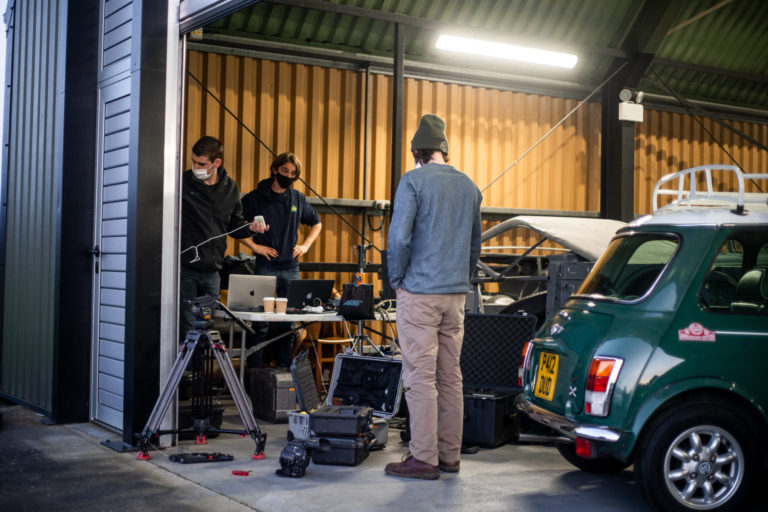
Last night we hosted our live draw where we announced the winners of our Morris Minor and Triumph Stag, congratulations to Matthew and Gamal.
It was our first live show working alongside local production company, Bruzier.
As we look to continually improve on our live streams, we endeavour to create exciting and interactive content.
Soon we hope to open our doors so that many of you can join us in our productions.
Extra cameras, microphones, and the new large display all help make the experience from watching at home more exciting. But of course week 1 comes with its teething problems.
With the launch of three exciting minis, we hope you can join us for the next one.
Congratulations to Matthew Sudgen who won our 1949 Morris Minor MM Lowlight with ticket number 25 and to Gamal Zindani who won our 1971 Triumph Stag with ticket number 1047!
With all three minis individually shot, it only left the finale: Bridge Classic Cars does the Italian Job. Directed, shot and produced by our marketing and visual gurus, Ellie and Freddie. The team got together Craig, Hannah and Charlotte with their minis to film a quirky and enthusiastic video for our big reveal. Co-ordinating all three mini’s on the runway for each shot took a few attempts but after an hour or so, we managed to get together enough frames for our reveal video which aired last night on our live draw.
With each mini and driver taking turns in the spotlight, driving stunts were choreographed to allow for each mini and driver to be clearly seen whilst still keeping the quirky personality of the classics.
After the video was shot, we lined up the cars and their drivers for some photos before heading back to the hanger and settling down for an editing marathon.
We took our 1996 Mini Cooper 1.3 over to Bentwaters for its photoshoot. We were lucky with the good weather and bright sun for our photos and videos. As usual, the team split in two with Freddie handling the videos and Ellie shooting the photos. Craig and Charlotte later joined to be our faces and drivers for this mini.
Charlotte came to help out for this shoot and sat for some portraits to create some more lifestyle photos for this characterful classic.
We headed out to Bentwaters to shoot our classic 1969 Mini Deluxe, which is one of three of our most recent mini madness competition release. This mini in particular comes bursting with stories and personality including its own Mini World magazine feature, untouched fuel ration tokens are beautifully aged interior.
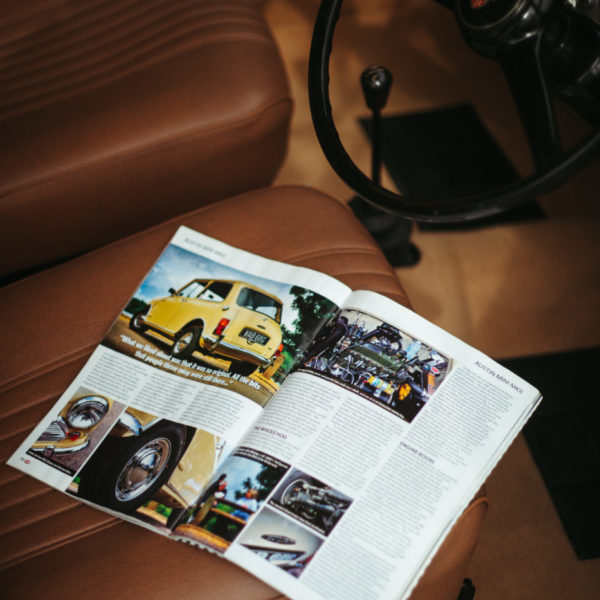
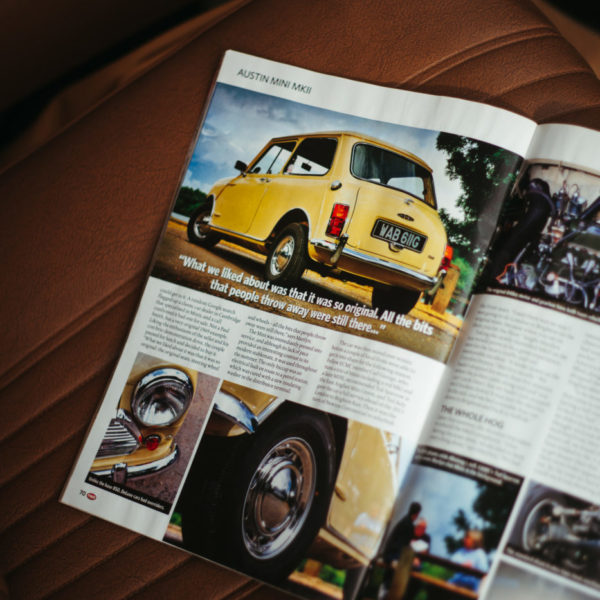
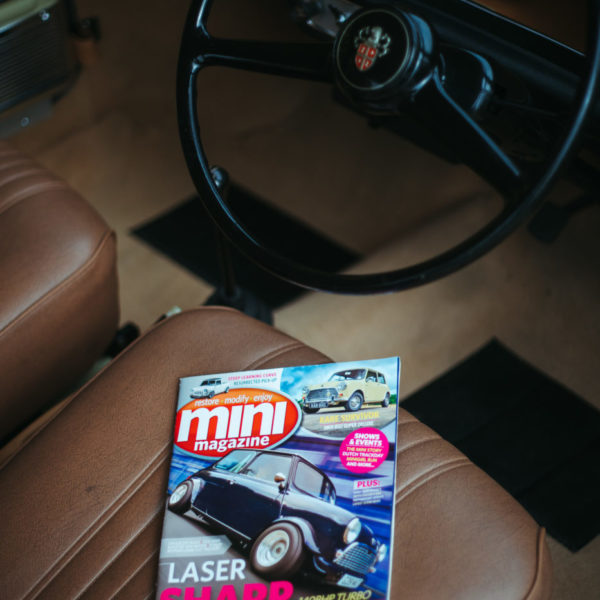
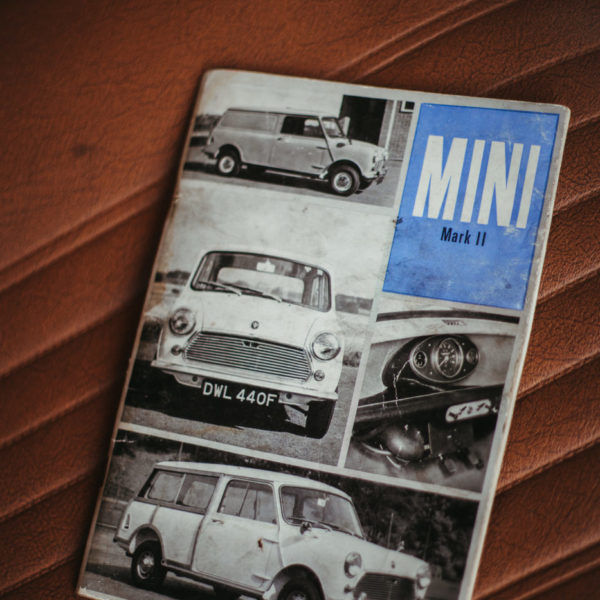
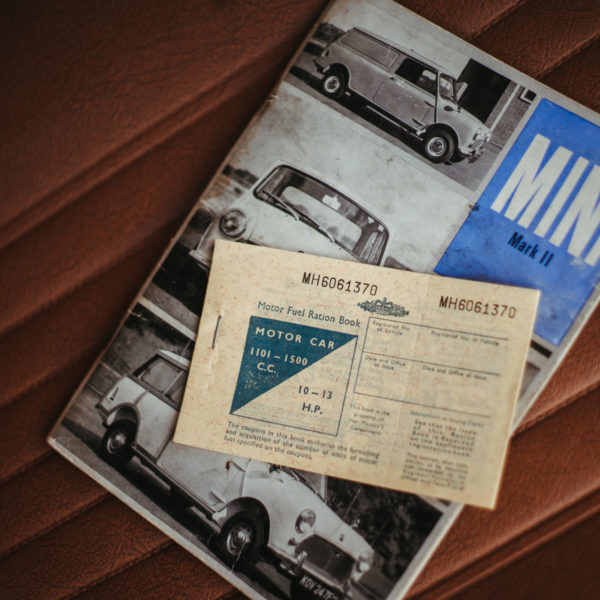
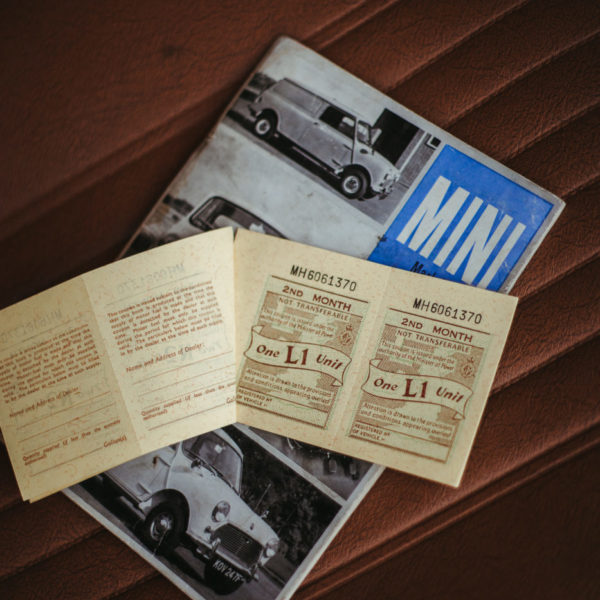
Charlotte came to help out with the driving and sat for some portraits and more editorial photos. We love having people involved with the cars as we find it brings the car to life, and with Charlotte being our talented presenter, she’s perfect to also sit in for photos and videos. Prior to each shoot Freddie and Ellie organise with Charlotte what she’s going to wear for each car to match the style, and how we’re going to pitch the visuals.
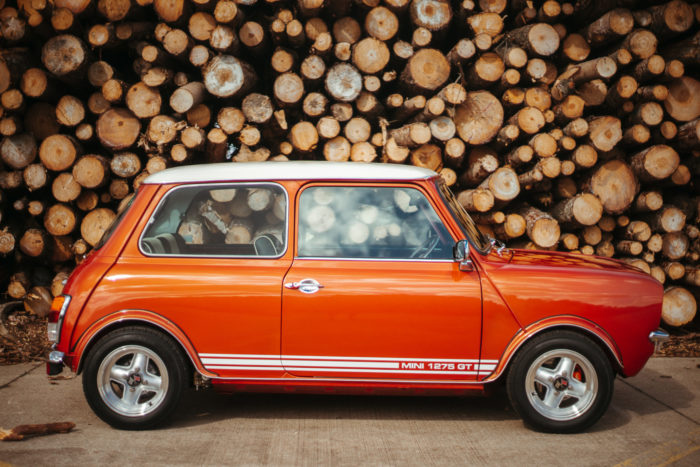
The log pile made for a great location to shoot this darling classic, as the tones of the mini match the timber perfectly.
Freddie shooting his videos for the mini:
We also get Charlotte to drive our cars around Bentwaters for Freddie to shoot his video. We’re lucky to have access to Bentwaters for our shoots and videos. We have a hanger here on base and find that Bentwaters provides a perfect selection of back drops.
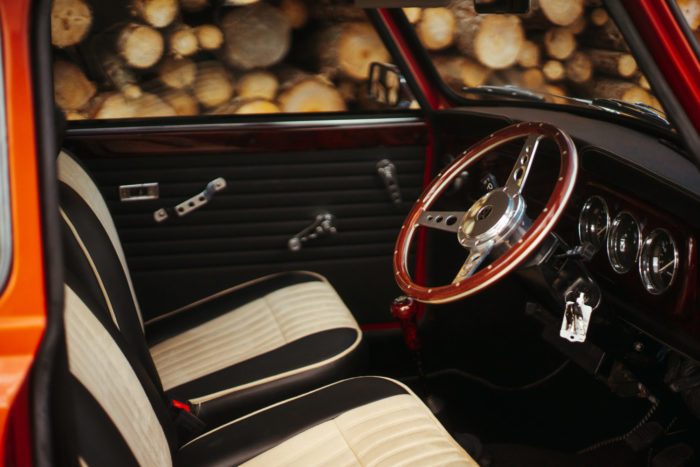
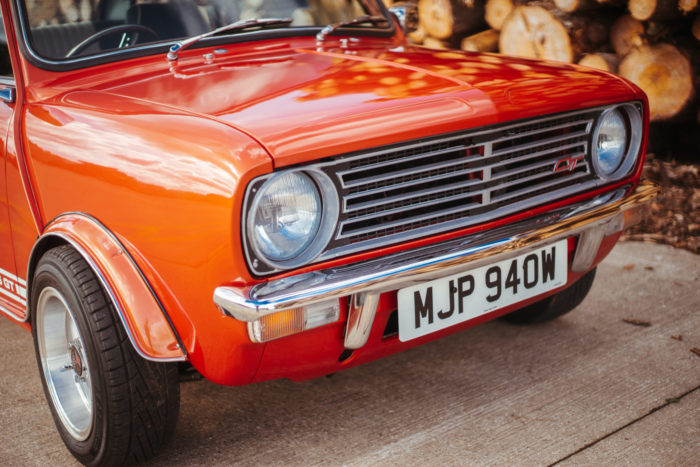
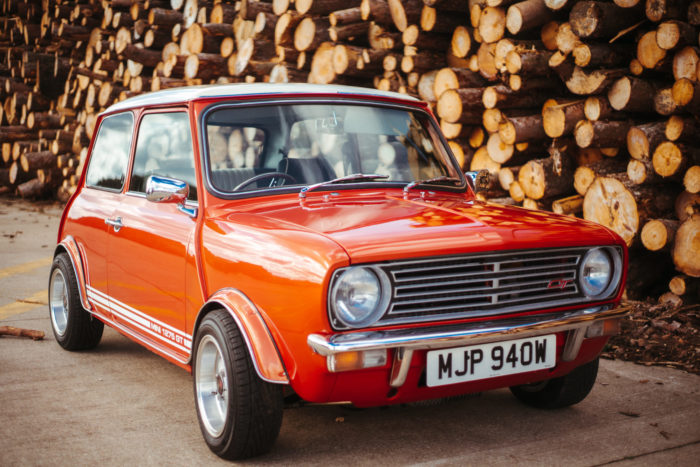
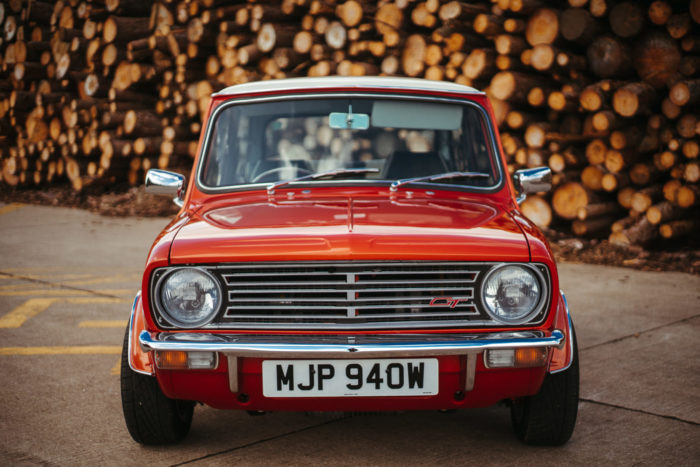
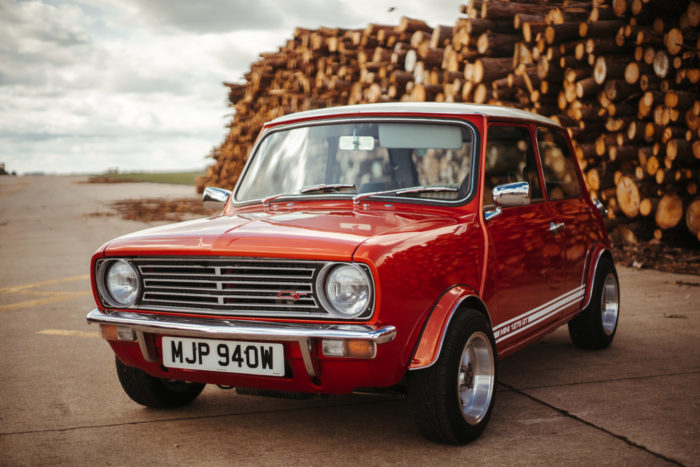
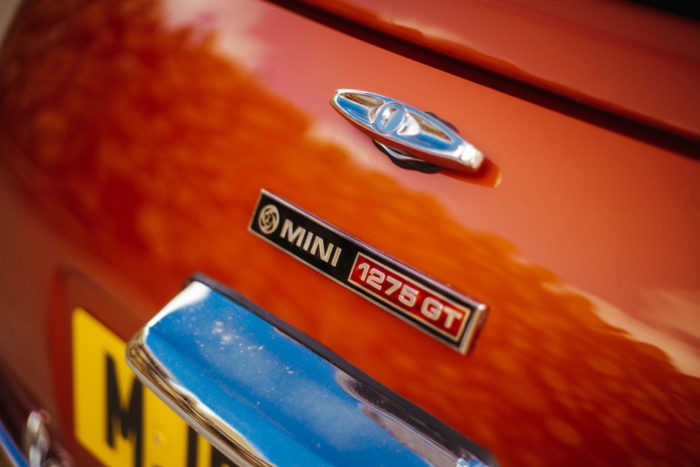
Last week we ventured out with our friend and model, Hannah, to shoot our 1980 Mini 1275 GT, which you now know is one of three of our grand mini reveal. This characterful orange classic is not only fun to look at, but also fun to drive. For Hannah, it is her dream car, making her the ideal candidate to model and drive this competition car.
As usual, the team splits into two divisions with Freddie tackling the video aspects and Ellie taking on the photography. By splitting responsibilities and time like this, the team can swiftly get through multiple car shoots in a day, creating content for all our social media outlets.
As we usually do, we shot in RAF Bentwaters where we have a hanger. Driving up and down the 1.3 mile run way, we captured our videos and photos of this spritely orange classic.

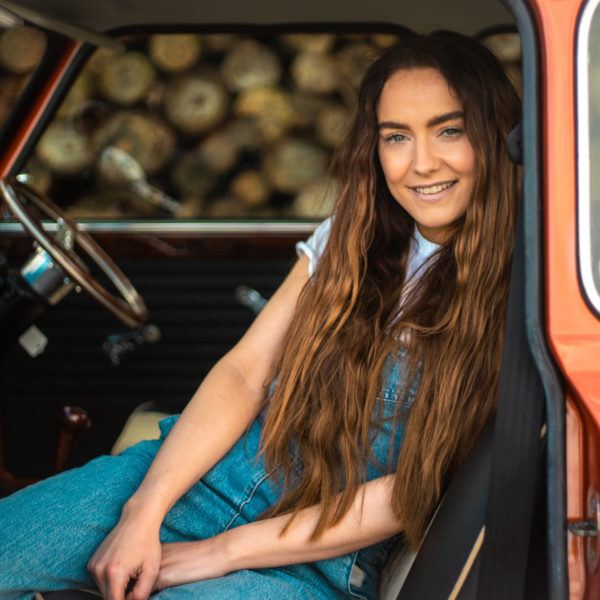

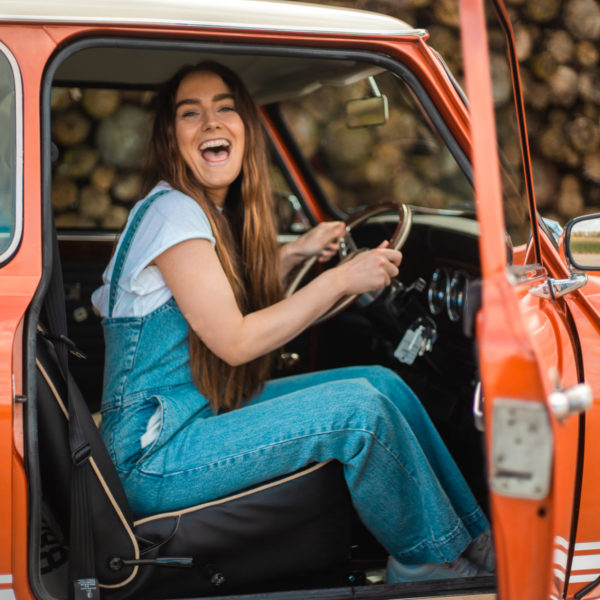

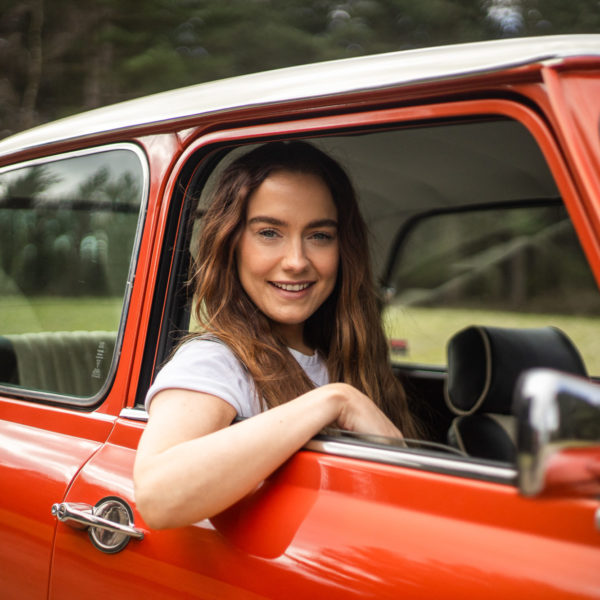
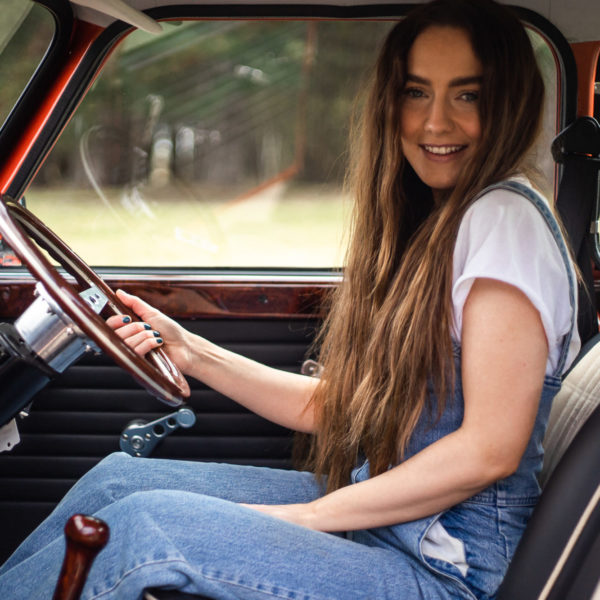

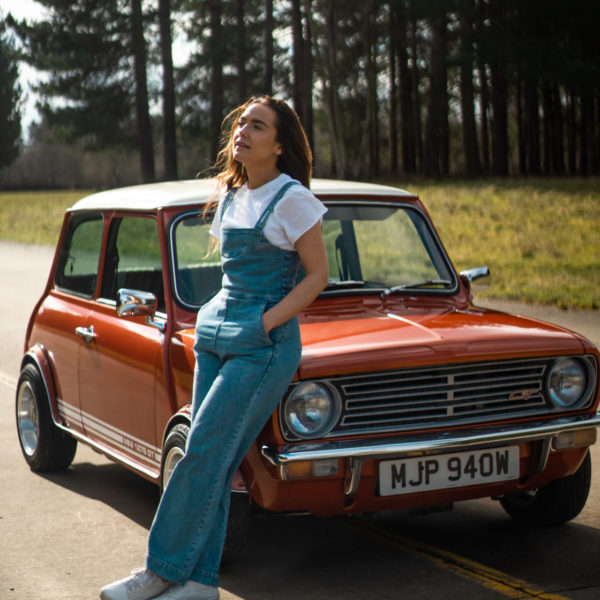
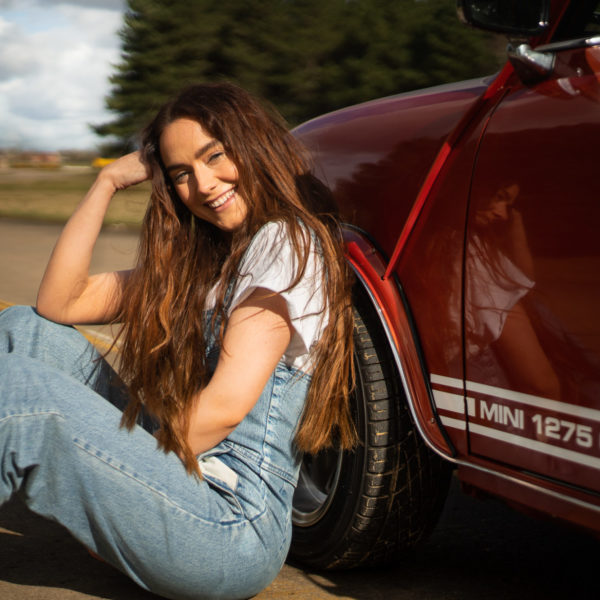
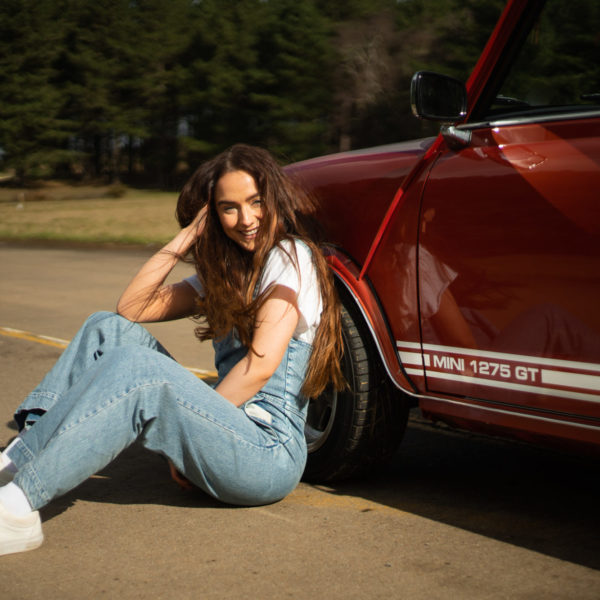

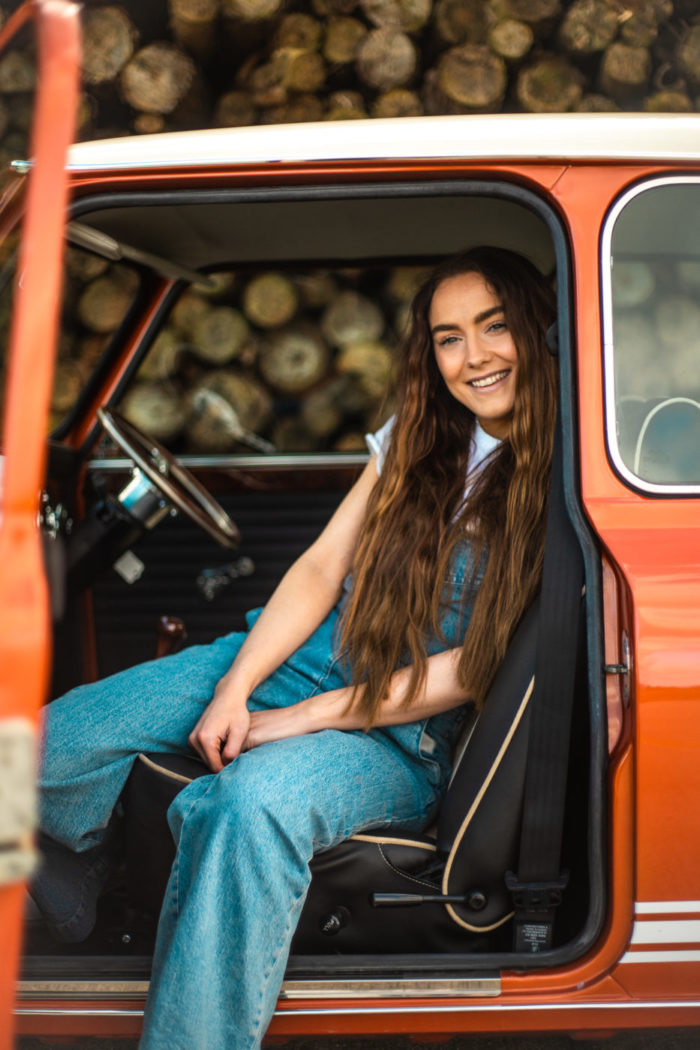
We were lucky to have fair weather on this shoot after the unlucky spell of bad weather recently which makes shooting cars in difficult.
We always aim to shoot multiple galleries of each car, including the main product photos you see, the portraits and motion ones, but where we can, we also like to pick a second destination to shoot in to create a wider diversity of photos.
Our charming Austin Nippy has its engine back in which we’re delighted to see. Ady re-linked and re-fitted the engine back in to make sure it now starts fine.
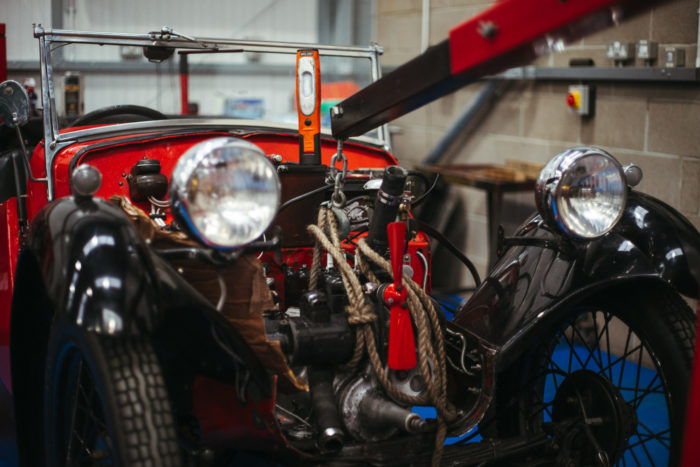
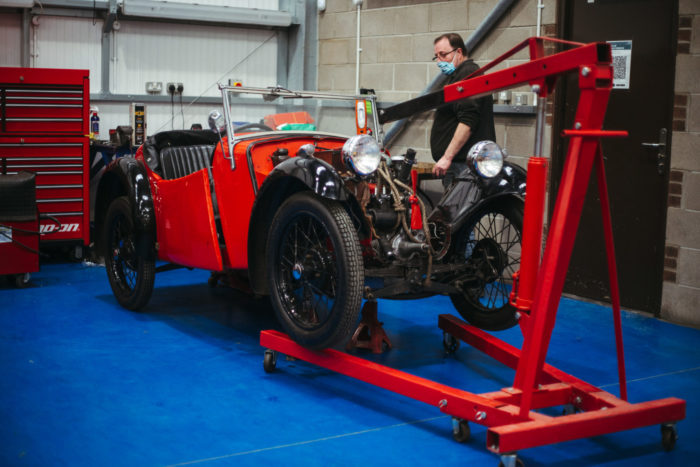
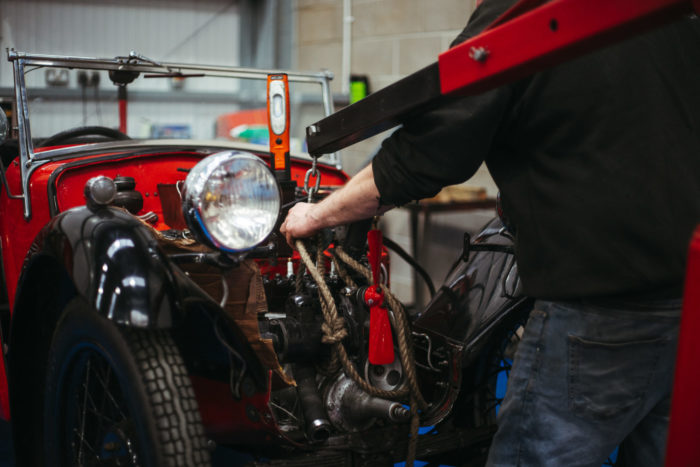
Ady has found that there was water leaking out of the side of the cylinder head so he has fitted a new cylinder head to go back on with a new copper head gasket. His next step will be to take it for a test drive.
Our company van has been serviced and refurbished so it’s now running smoothly. We’re currently awaiting new graphics to be designed and applied, which we’re excited to see when finished. The graphics are likely to be similar to our lorry.
During testing we established a fault in the steering however we have since rectified the fault.
Due to the Corvette engine, the manifold previously went over the bell housing however when we removed the exhaust to gain access to fit a new modified oil pipe, we changed the manifold to go under the bell housing.
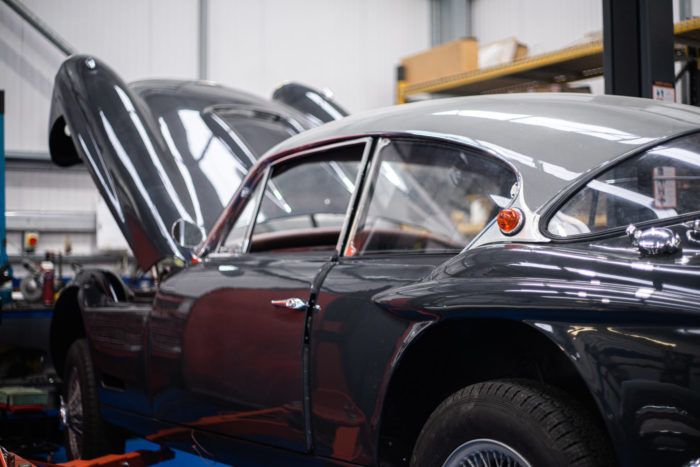
Scott has been taking out the heater in our Ferrari Daytona so that it can be re-wired and refurbished.
The trim restoration for our Daytona continues with Brian taking off any extra leather around the skirt of the seat, adding in eyelets for the headrest and pulling the leather over the side of the base onto the back. Lydia has been marking out and cutting new pieces of foam to glue onto the “inner” frame and glueing the foam in place and adding more foam padding to fill out the frame. Lydia has also pulled the cover over the frame and foam and glued the sides into place. She started with the calico strips that run around the edge, she then pulled it tight to get the shape of the seat. Once the seat frames were completed, she fitted the backboard and inner section into place.
Lydia also sanded down and re-covered the sills recently and then glued on new foam and leather.
The engine bay, bonnet, boot and wings have also been masked and painted, meaning that the exterior is now finished.
After having sourced this vehicle last year, it’s been sat in storage whilst we’ve worked on two other classics belonging to the same client. Now it’s time for this Californian dream to be restored. With a big re-design coming it’s way, the first step is to dismantle the E-Type. By removing the chrome, trim and lights, our technicians can start working on parts of the car.
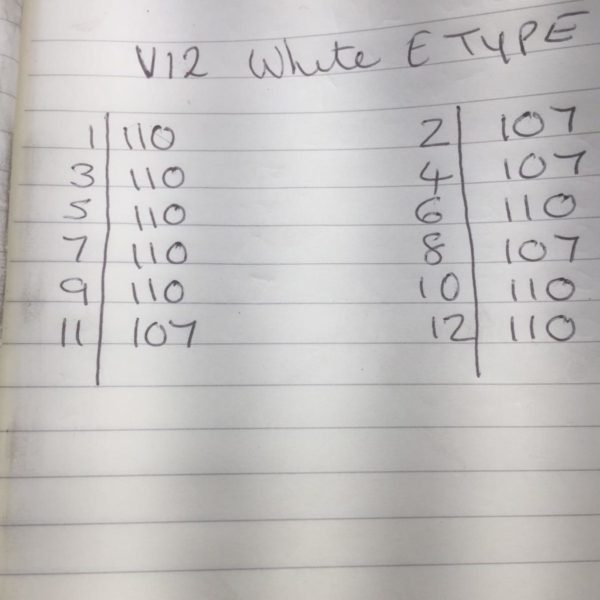
The compression test also came back positive, with all the readings as they should. A compression test gives you an indication of the health of your engine, its valves, valve seats, piston rings and whether these parts are wearing evenly.
The tests should show the compressions at 110-115 psi. The test shows how much volume of air and fuel goes into the combustion chamber. If there’s not enough, for example, if only 80 psi were passing through, it would give you an indication of a serious fault in the valves. If the valves aren’t seating correctly, the air and fuel can seep out of the cylinders and lead to more serious faults.
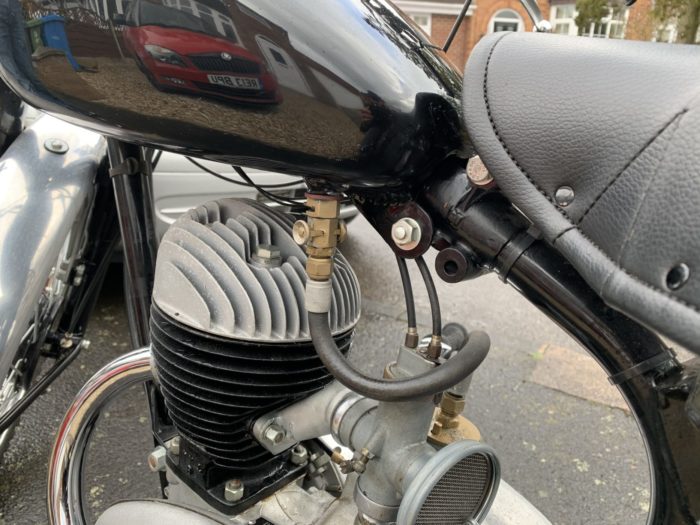
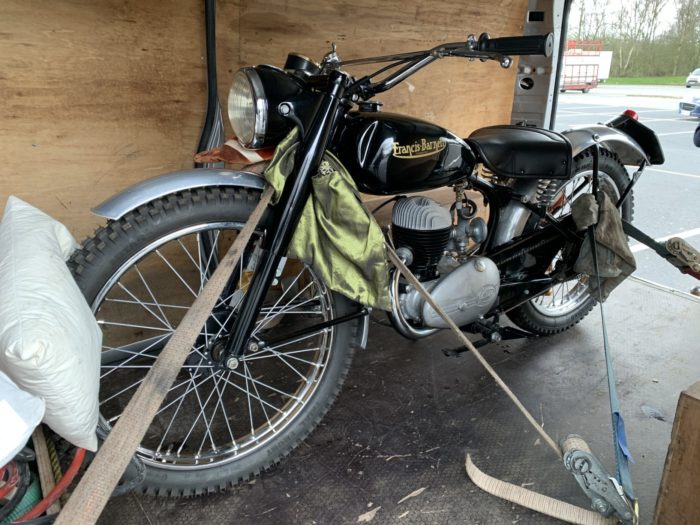
This 1953 Francis Barnet Rigid Body motorbike was delivered to us yesterday. For those with keen ears, you may have heard Craig mention an upcoming bike to the competitions. Stay tuned to find out where this bike is heading.
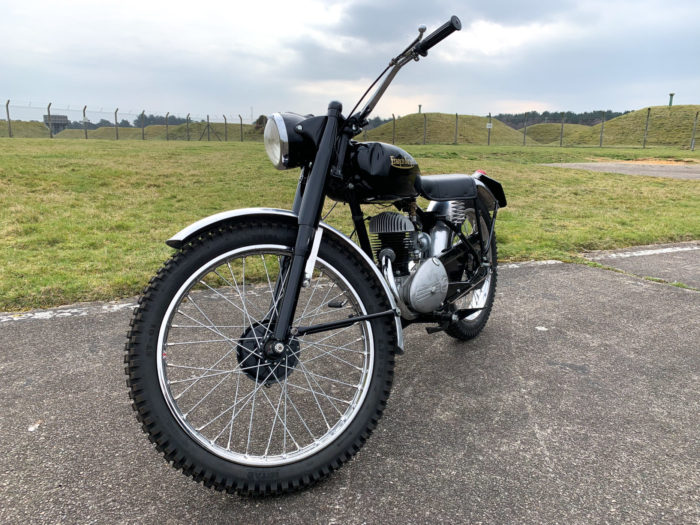
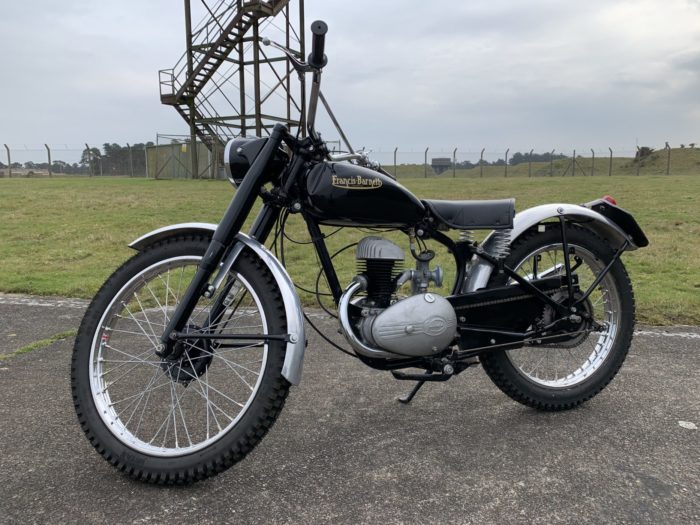
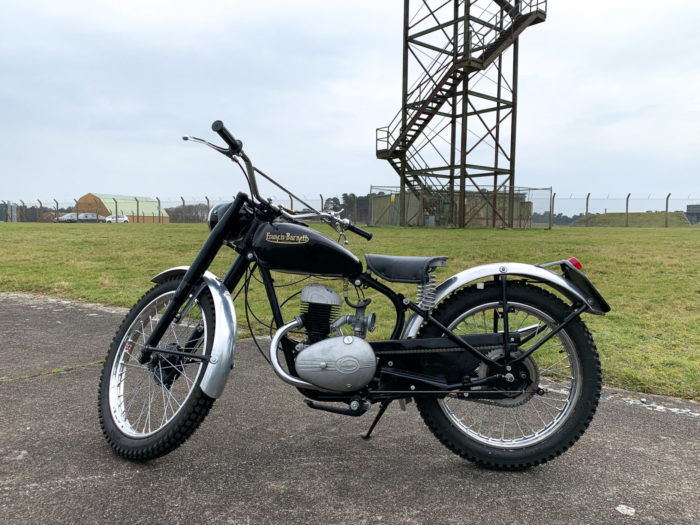
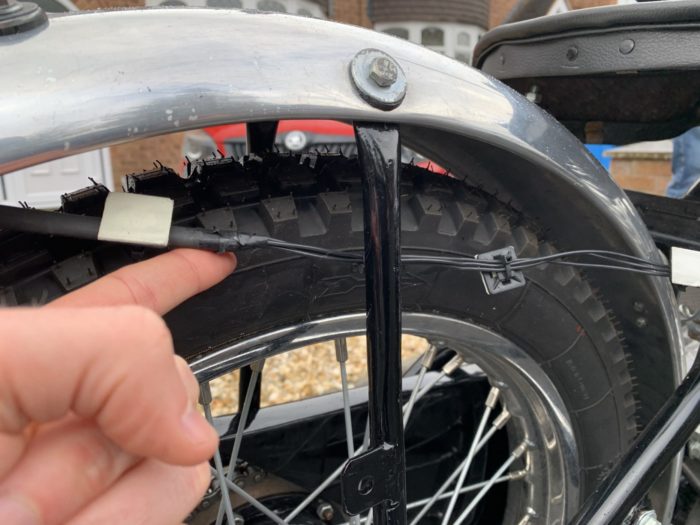
Although Craig managed to briefly start it up, it needs some attention to get it running smoothly. It currently has ten-year-old fuel sat in the tank that needs replacing and the electrics need a small amount of re-wiring. Other than these small amends, it’s good to go!
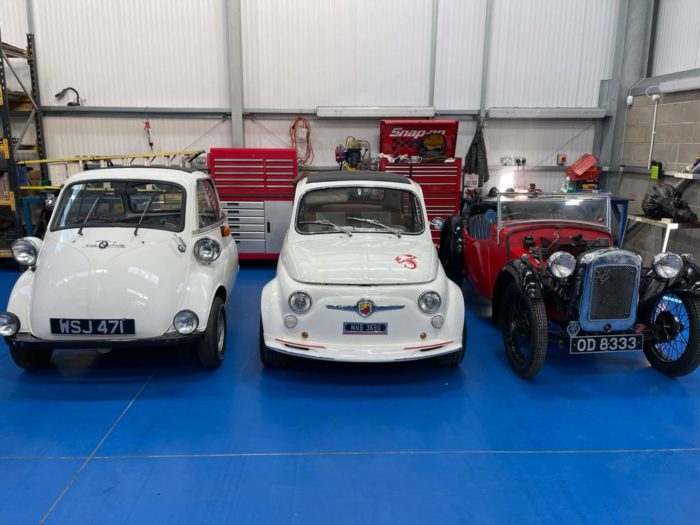
We’ve got some seriously tiny cars in the workshop at the moment. They may be small but they are…or will be, mighty. On the whole, many classic cars are smaller than what’re we’re now used to. Thanks to a series of design decisions or simply just smaller engines, some of the early classics were manufactured almost half the size of modern-day cars. The Fiat 500 was designed for tight Italian roads, the Austin nippy was only a few steps after the horse and carriage and powered by a small engine, and the BMW Isetta bubble car coming in at only 2.3m long and 1.4m wide, was an engineering vision into the future of solo city travel. A design that never really took off and stayed firmly placed in the 60s and 70s, but none the less has made them desirable collectables today.
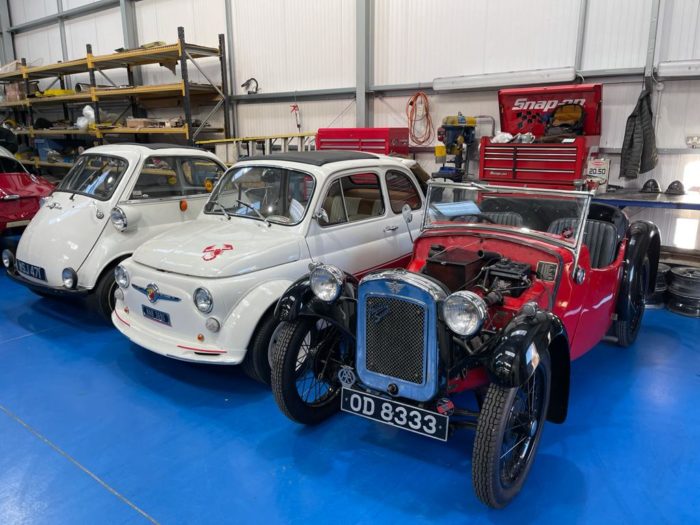
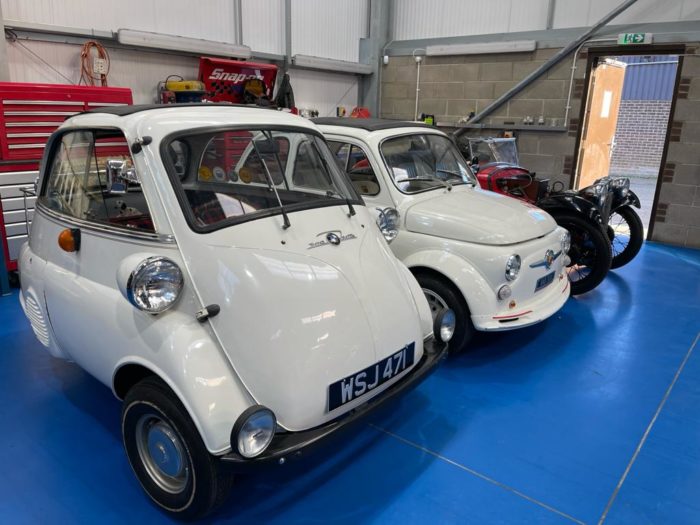
We’ve recently received a slightly worse for wear Isetta Bubble Car. With only the shell and chassis intact, we are in talks with the owner over how he wants this restoration to be managed.
There’s also been a small orange truck parked up by the ramp, which after thorough inspection and service is ready to go back to its owner, Loick Ranson. This little motor belongs to Craig’s 4-year-old son called Loick.
We had a rather unusual delivery on Friday evening. The trailer pulled up as the afternoon light cast a golden haze over the workshop, and with it, came this unique classic…
This bubble car, unlike the other, is in pristine condition. Gordon has even taken it for a drive! Stay tuned to find out what we have in store for this classic Isetta.
We received our lovely 1960 MGA back today for some major rectification works. This will now be in our care whilst we make some changes to the work we’d previously carried out on this lovely classic. This car was originally restored by us however it has suffered a series of engine troubles since it left our workshops. We have already had to remove the engine as it suffered a broken piston skirt that we deemed to be a manufacturing fault. At this time we changed the seals again to try and alleviate the annoying drops of oil being left on Mikes garage floor. We thought we had succeeded.
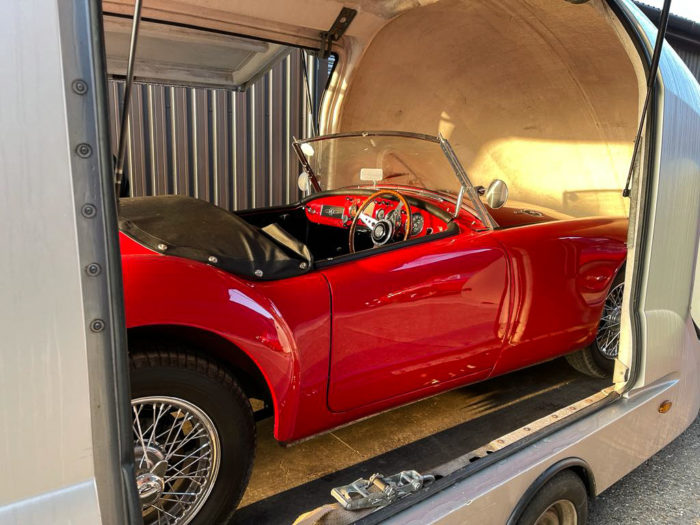
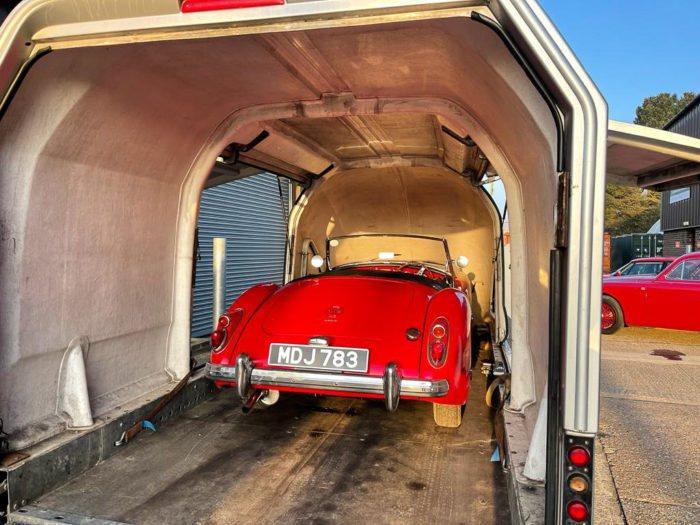
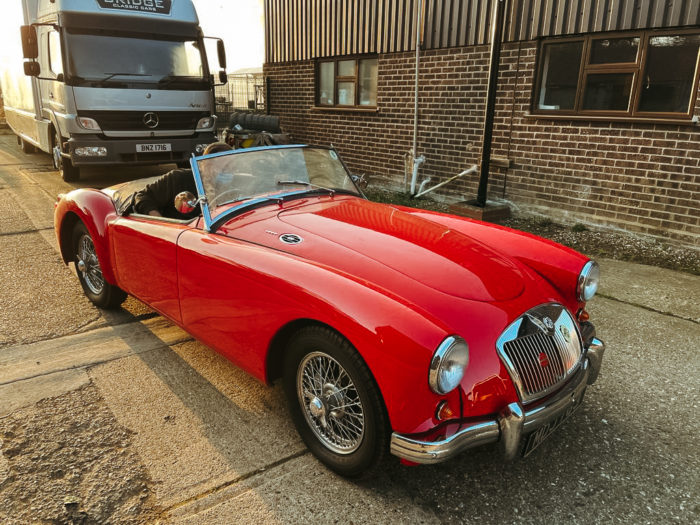
Because of Mike experiencing another side issue of dropping oil pressure he made the decision to have us fit an oil cooler. This is rare to see on British MGA’s. Although his car originally had one and we decided it was not required.
Mike then had talks with a third party who advised he fitted a thermostatically controlled oil cooler. This type of oil cooler is usually fitted to racing engines that are likely to be performing in hotter temperatures and going through lots of quick gear changes.
When we arranged the date for the fitting of the oil cooler Mike took her on a 20 mile plus journey but unfortunately experienced what seems to of been a catastrophic failure as can be heard from the audio clip.
Oil coolers can be placed in many positions within a car’s body to maximise their cooling efficiency. With oil running through predominantly the engine block, the steering system and a turbocharger in turbocharged vehicles, oil can very quickly gain heat, especially during vigorous driving.
Ady has spent today removing the engine from the MGA so as to understand what needs to be added or changed. We need to correct the mistakes we’ve made on this project. Customer satisfaction and perfection are our top priority as our main aim is to make our clients happy. If a car isn’t functioning correctly after it leaves our workshop, we always aim to correct these issues as part of its warranty with us.
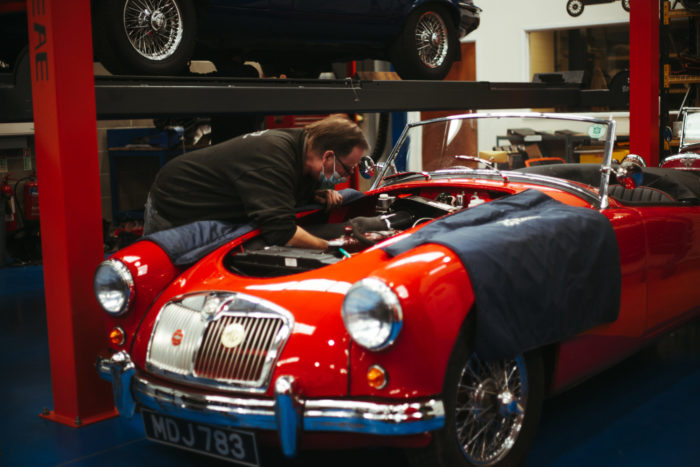
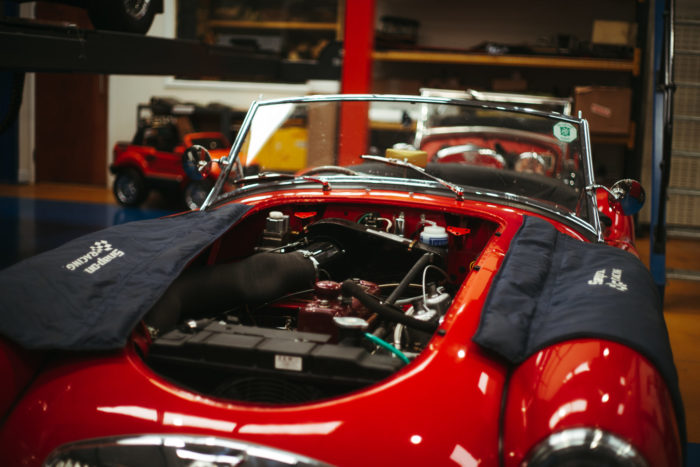
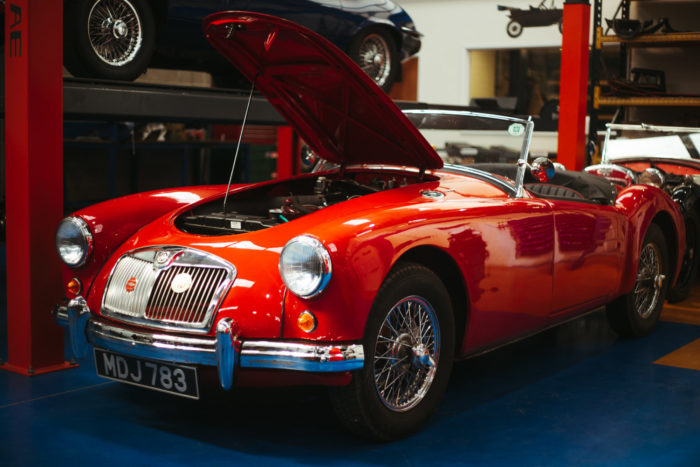
Ady removing the engine as he continues to diagnose the origin of the issues.
If you’d like to follow this project, you can find it on the Current Projects page under ‘Remedial On Our Troubled 1960 MGA’.
Here at Bridge Classic Cars, we have a variety of services and a can-do attitude. If you ask it, we can do it! We have access to this clever 3D scanning software called SHINING3D which allows us to scan objects such as our lilac Jensen 541R chassis and the device turns it into a 3D digital sketch, making further design modifications easier.
This scanning technology provides a degree of precision unobtainable through hand-drawn textures. Taking into account angles, textures and difficult designs, this device can determine the shape and size of the object you wish to scan. Alongside giving us an accurate template from which to work when it comes to modifying a vehicle, it also takes note of any corrosion and deterioration of the object. This state of the art technology is changing the game when it comes to design and manufacturing machinery.
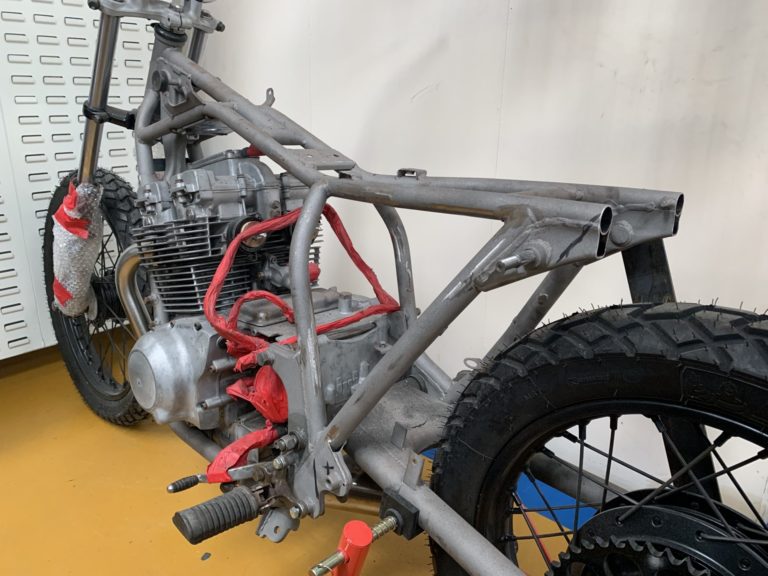
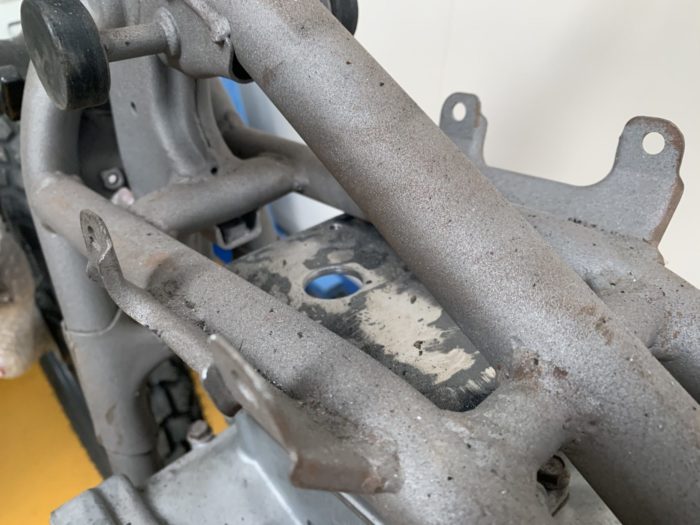
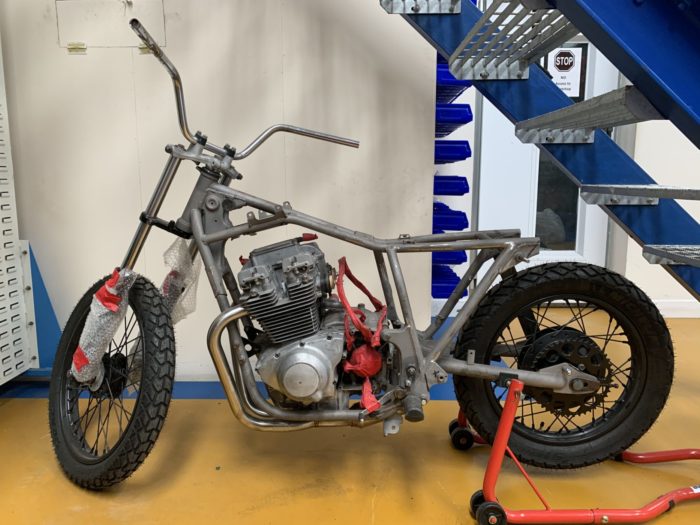
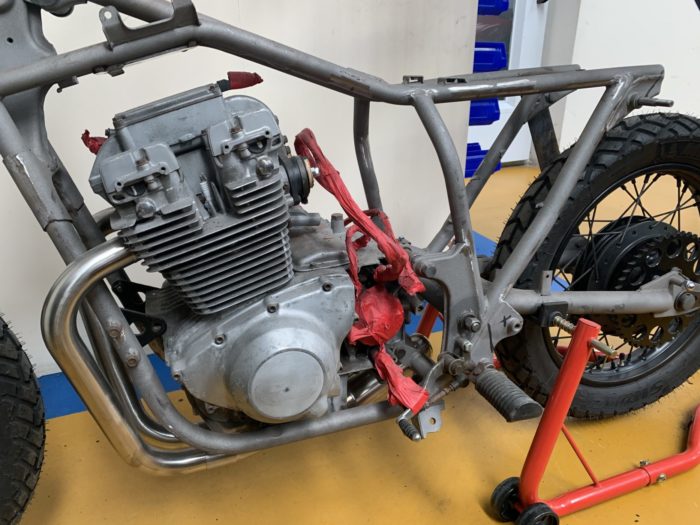
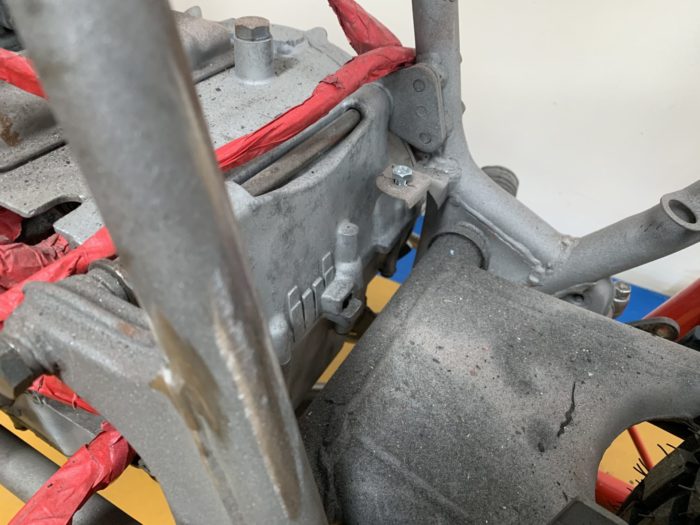
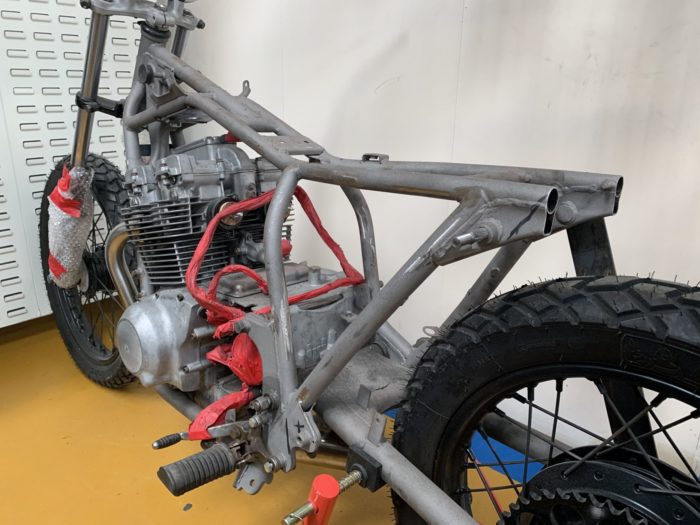
Progress is being made on our 1984 Suzuki GSX400. Clinton from Holdsworth Artisan Metalcraft has been commissioned to build this one for us. The bespoke battery tray is now being married up to the simplistic frame work. The rear of the frame has now been cut away and removed to begin the cafe racer style looks to the body.
Clinton is now working on the bracketry for the custom battery box and shaping the rear hoop.
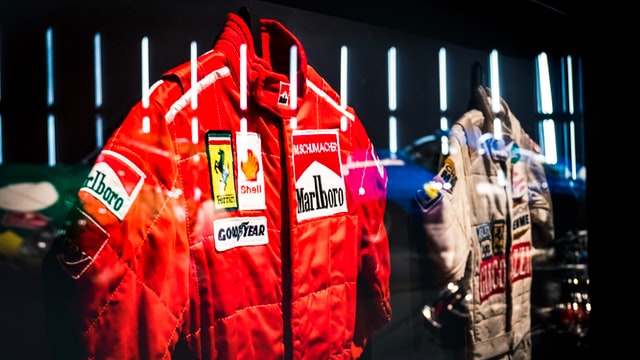
Mick Schumacher, 22, is set to tread in his father’s footstep this season in Formula 1, starting next weekend in Bahrain as he races for Haas. Junior Schumacher seemingly takes it all in his stride as he tells BBC Sport about his fathers legacy, “It is motivation and pride. I am happy to be here; I am happy to have brought back the Schumacher name into F1. I have done it with championships on my back so we have proven I am able to drive a race car. So I don’t feel a blink of pressure from it.”
“I’ve dreamed of being one of those 20 drivers for 15 years, ever since I was a kid,”
Mick Schumacher
Mick not only resembles his heroic father’s mannerisms and facial features but is also making his F1 debut at the same age as his father was when he embarked on his F1 debut at the 1991 Belgian Grand Prix in Jordan.
Michael Schumacher (senior) hasn’t been seen since his tragic ski accident back in 2013. His family will not disclose his condition however it is rumoured that he is in a ‘vegetative state’ after the ski accident left him with a brain injury, leading to a 6-month coma.
You can read more here.
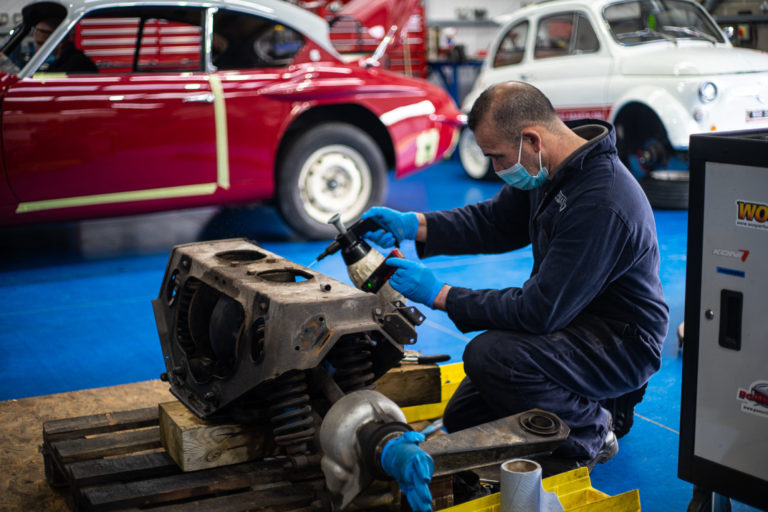
Our lovely maroon 1968 Jaguar E-Type Series 1.5 is back in for a small dent repair and a check up. We’ve worked on this classic in the past so its nice to have it back in for a freshen up. Mauro has discovered a rear differential leak in the rear axel so he’s taken its apart, stripped and cleaned it and will then replace the seal before re-building it all again and fitting it back into the E-Type.
Unfortunately our lovely E-Type had gained a small dent in its rear quarter panel. Chris and Matt have been correcting this by filling the dent, applying epoxy and primer before then repainting and polishing it so it looks brand new.
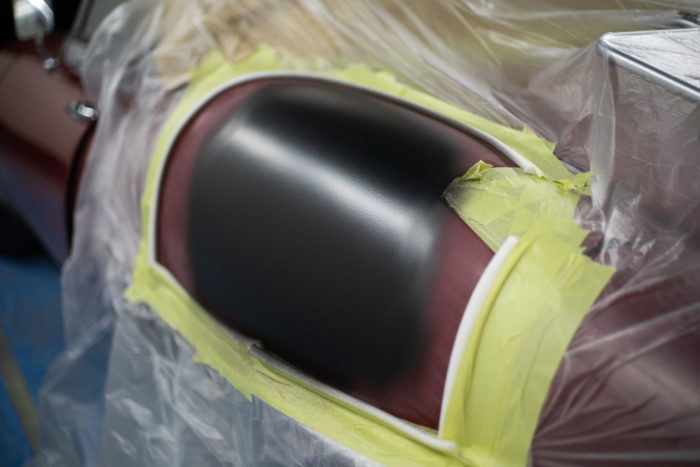
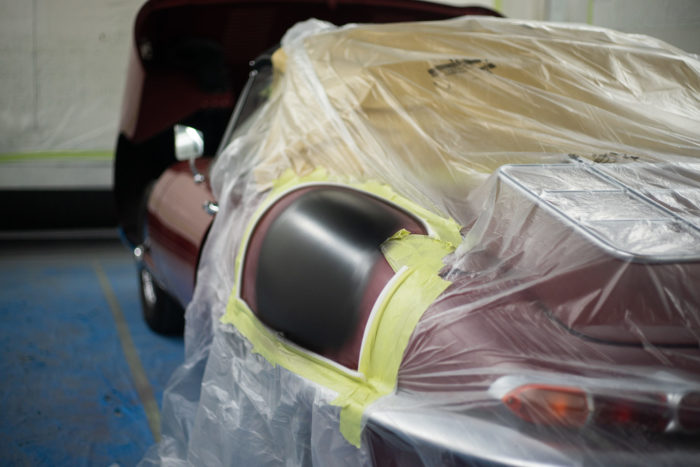
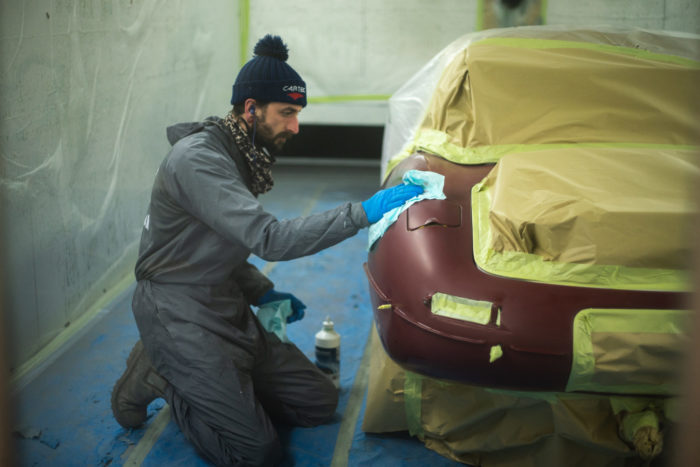
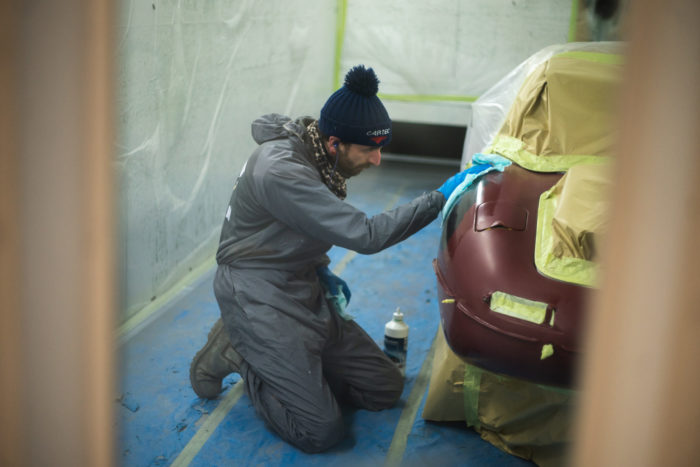
By the time Chris and Matt were done with the rear quarter, you would never know there had been a dent there. Good as new!
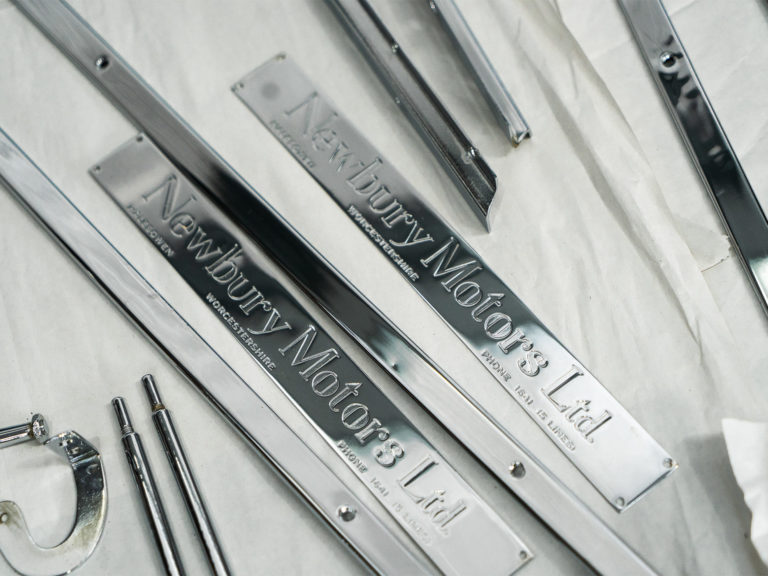
The chrome came back for our 1960 Peony Red Jensen 541S last week and it is now starting to be fit by our classic car technician, Paul. A range of badges, sills, handles and other pieces of chrome is set to be re-fit, giving our classic Jensen that sparkle of life. These have been reconditioned by Tony from Wyatt Polishing.
Paul has begun to fit the window chrome back on, which as already made this magnificent classic look mighty again.
The trim shop have also been helping with our peony classic. Lydia has sewn together these circle inserts for Brian. She began by top stitching the edge of each insert after Brian has assembled them. She then sewed a flap round the edge of each one, which will eventually look like a bonded edge once Brian has finished gluing them onto the wood. Brian made these pieces by marking out the circular air vent measurements on hard wood, cutting them out and then marking and cutting the carpet out to go with the hardwood pieces. Brian then followed this by cutting out the leather for the air vent holes and made a skirt for around the edge of the carpet. He then glued leather around the edge and applied the carpet to the boards.
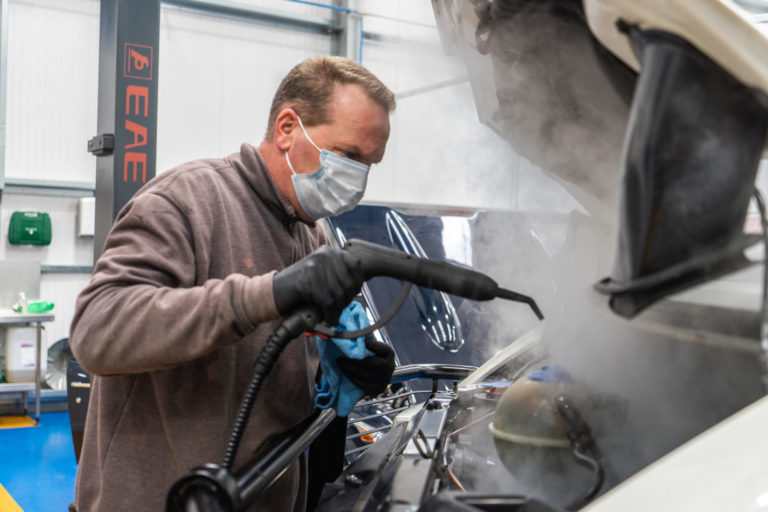
Our expert valet technician, Colin, from Viper Auto Valet has done a thorough clean of our VW T4 campervan, making the interior look brand new again! Before, it was showing significant signs of wear, dust and general usage. Now, it looks ready for the next adventure!
Alongside the van’s thorough clean, we needed to start re-assembling all of the components. Having been freshly painted, doors, windows and other pieces needed to be added back in. John has also been looking at re-wiring the electrics and fixing any small issues with the vans wires.
The VW badge has also been cleaned so it now resembles a crisp ‘VW’.

The windows have been put back in the VW as well by Car Glass And Trim and the windscreen was fitted by Autoglass.
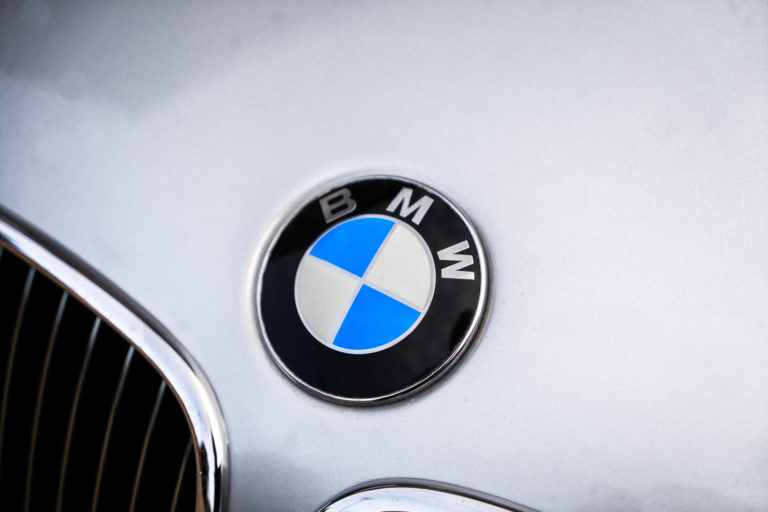
We’ve just welcomed this stunning 2000 BMW Z3 3.0 Widebody into our workshop. It needs very little attention which means we can photograph this very soon, stay tuned to find out more about this BMW’s future…
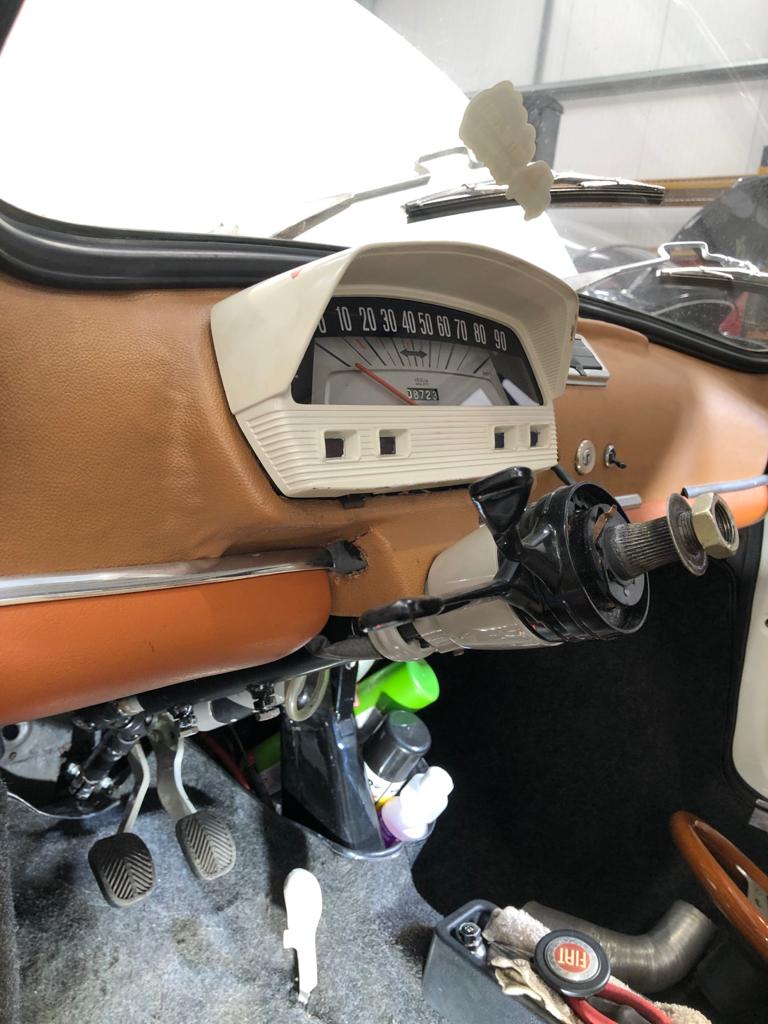
We’ve had a quirky 1969 Fiat 500 Abarth come in recently for some care and attention. One of our technicians soon found a dangerous issue with the steering column that we are now making top priority to correct. It seems there is a Fiat 126 steering rack fitted with fiat 500 elements, meaning the components in the steering rack didn’t match up, making steering and driving unsafe. James has removed the potentially dangerous steering rack conversion from the steering box so that he can re-design and refit the steering to make it safe.
.
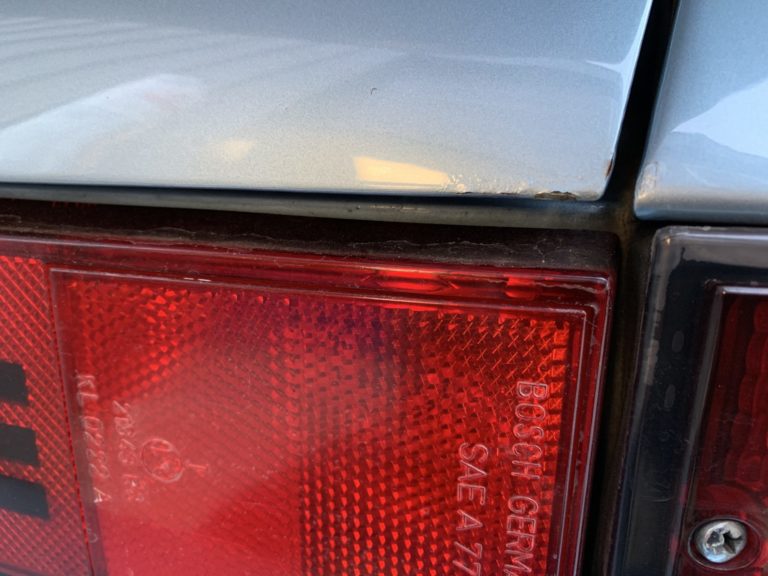
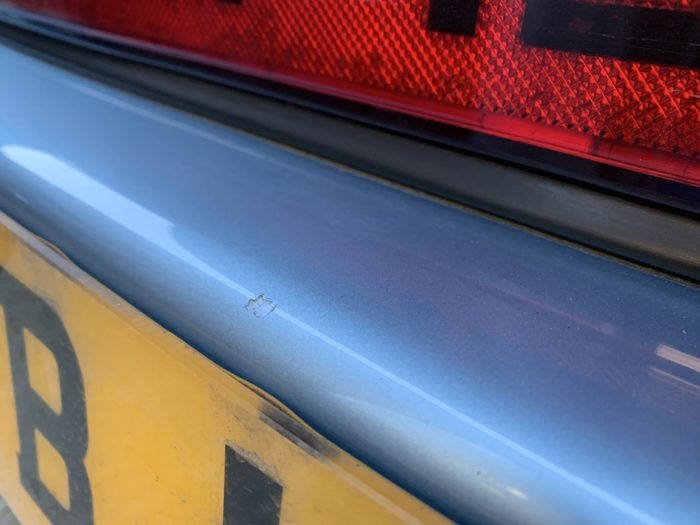
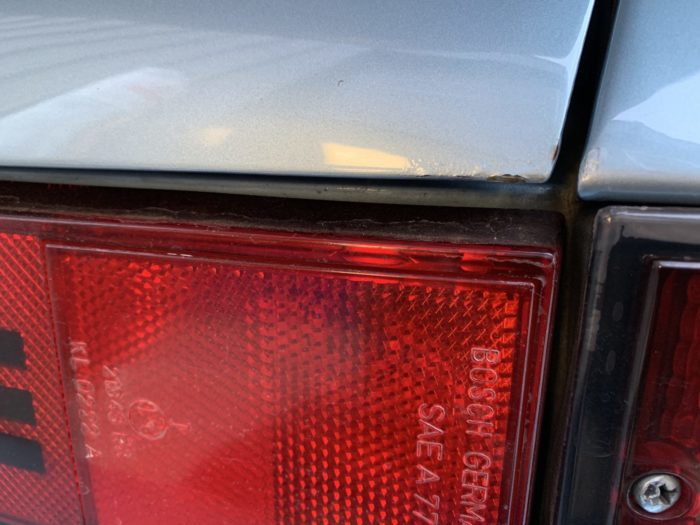
Whilst looking over the task in hand we noticed some corrosion on the boot lid and a small piece missing from the rear bumper.
With the customer’s approval we have decided to correct the corrosion and rear bumper to prevent it from deteriorating any further.
This will now be part of the bigger project.
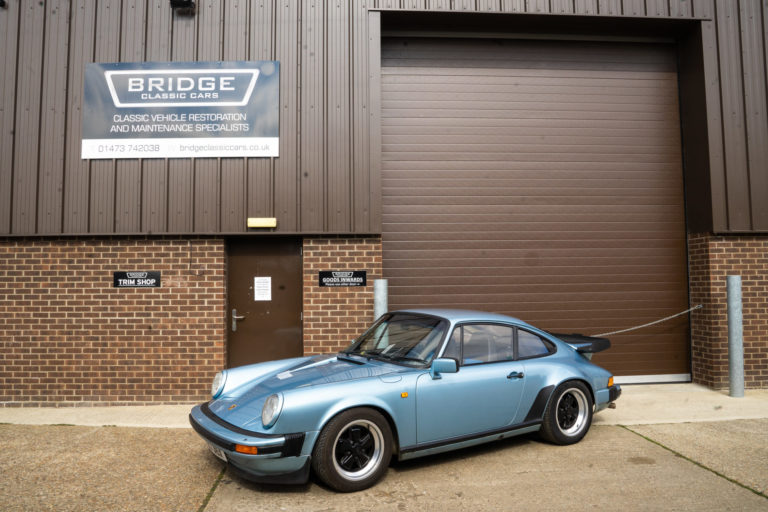
This stunning 1982 Porsche 911 is back with us for a freshen up of its paintwork. We worked on this classic last year and now we’re delighted to welcome it back in for a tidy up.
The SC is an acronym for Super Carrera and marks what was meant to be the last air cooled and rear engined sports car before it was replaced by a front engined water cooled version known as the 928, however the beloved 911 SC caused a sensational rise in sales, outselling its more modern sibling by nearly 50%. The world still yearned for the iconic 911. The 911 SC was later replaced in 1984 by the 911 Carrera 3.2.
With a new camshaft design, the 911 SC delivered more torque than its predecessors, as the design allowed a boxer engine with a more tractable lower end and a flatter torque curve. All of this considered makes it an easier drive and in need of less downshifts to release its performance.
Stay tuned for updates!
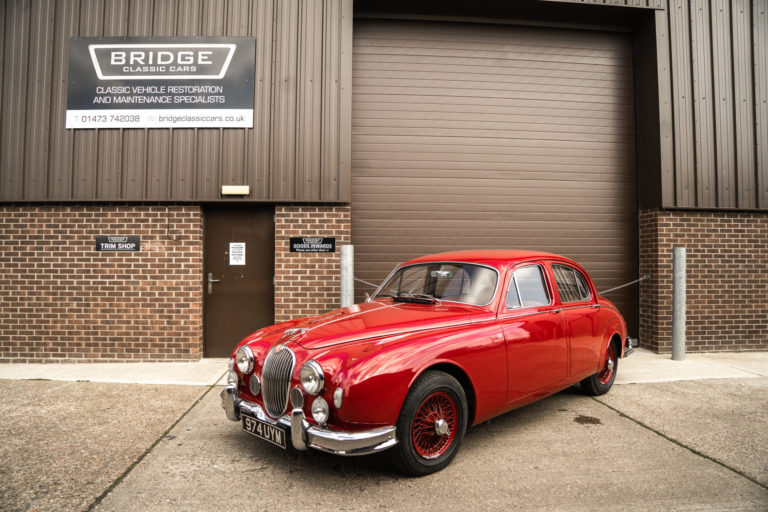
This stunning 1959 Jaguar MKI arrived today for some restorative work with us. Before we know what needs to be done, we will carry out a thorough assessment to understand where we need to focus the TLC.
Stay tuned for updates!
The MKI jaguar was an influential pioneer in the luxurious motors market as it spearheaded the way for other sophisticated yet practical saloons to follow. It was compact, good to drive and relatively quick for the contemporary market of the 1950’s.
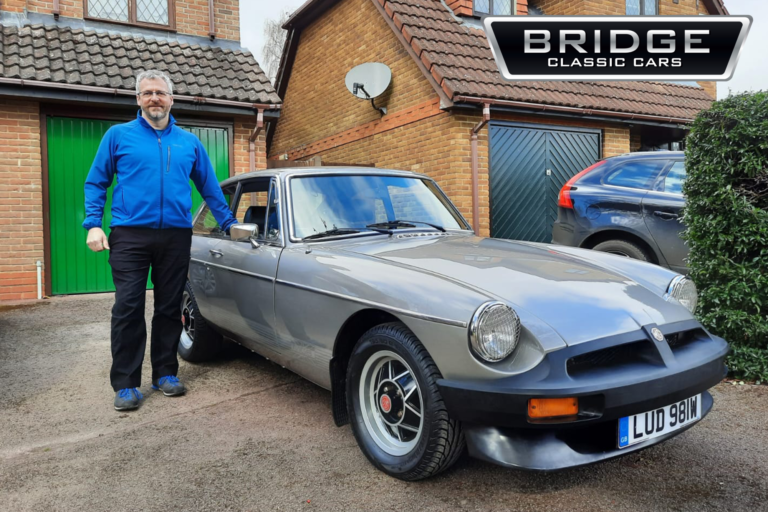
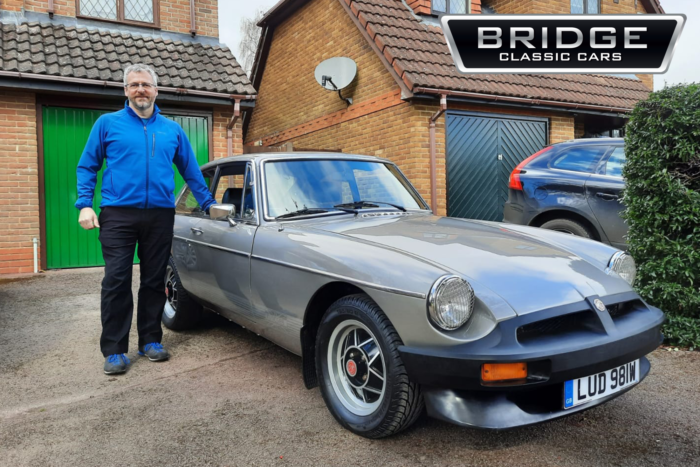
Congratulations to Duncan Walker, winner of our 1981 MGB GT LE
MGB fanatic, Duncan, took delivery of his Limited Edition MGB late last week and was delighted with his new classic motor!
Duncan had entered our first ever competition for a 1964 MGB Roadster, as well as entereing several other draws since then, including our other 1972 MGB Roadster.
We wish you many happy miles of motoring ahead in your superb classic!
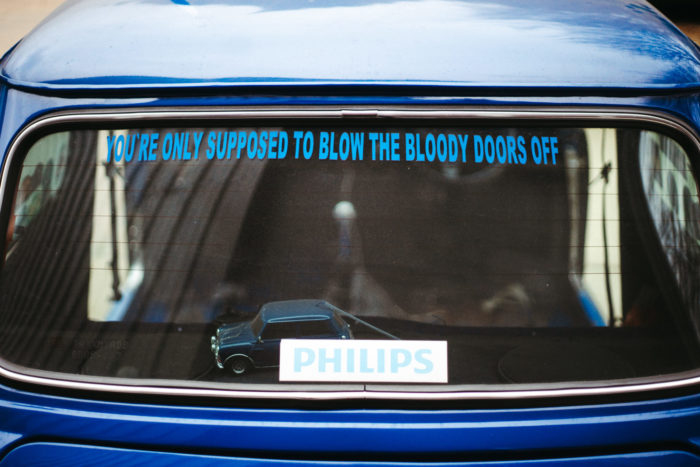
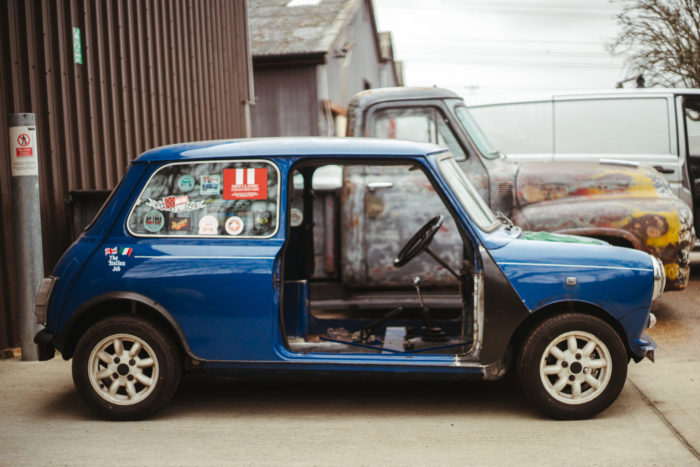
Michael Caine would be proud…
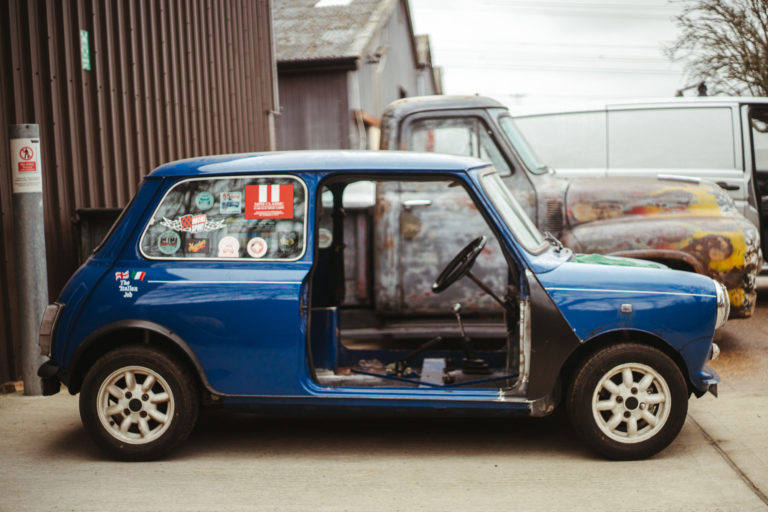
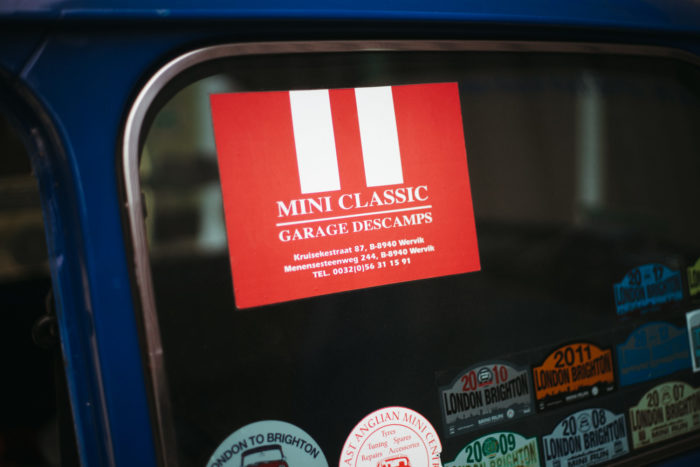
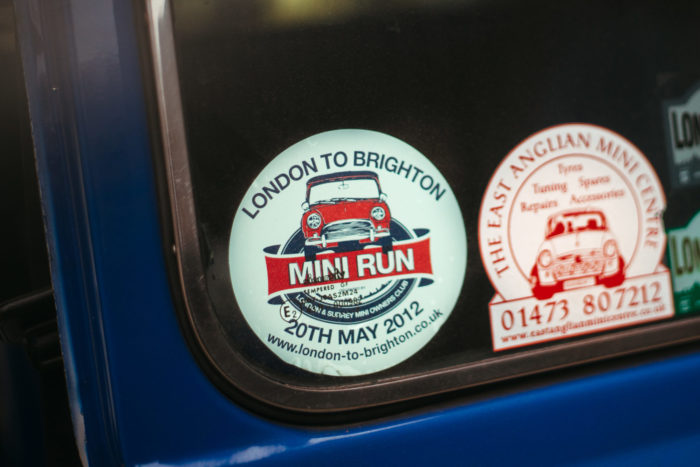
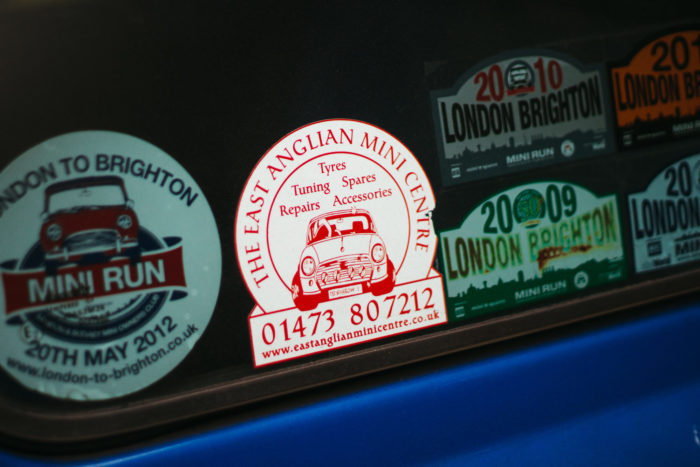
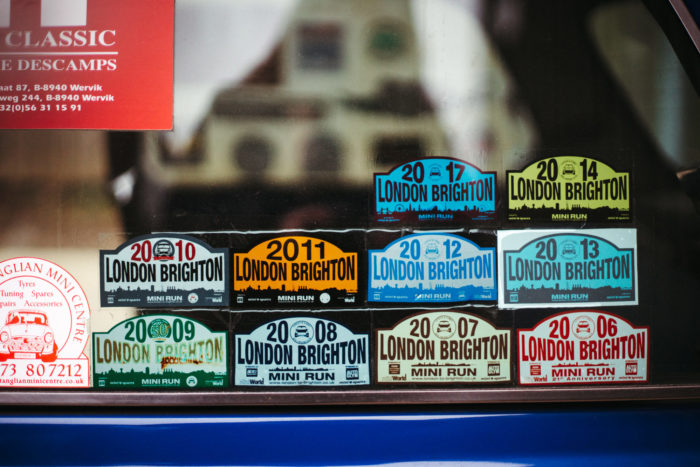
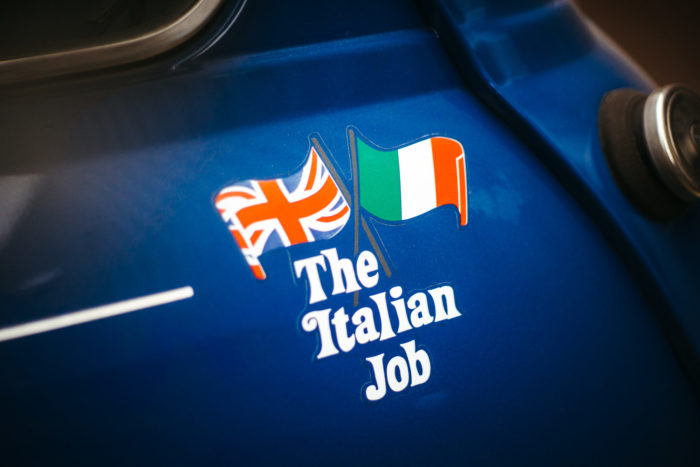
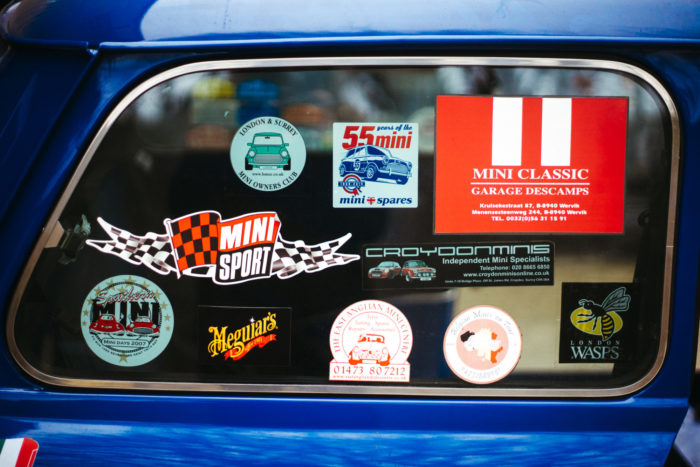
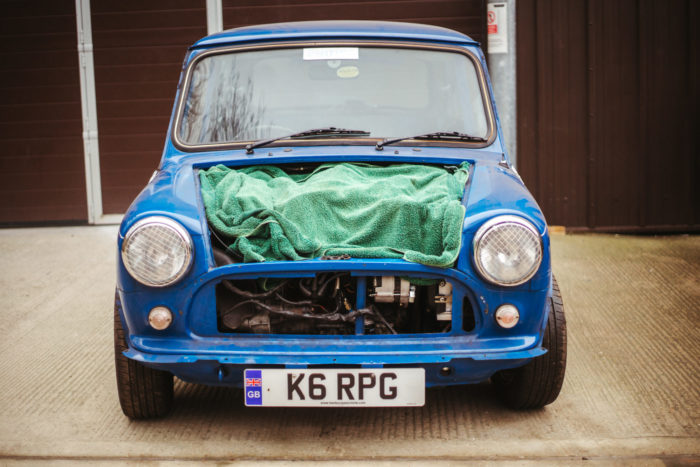
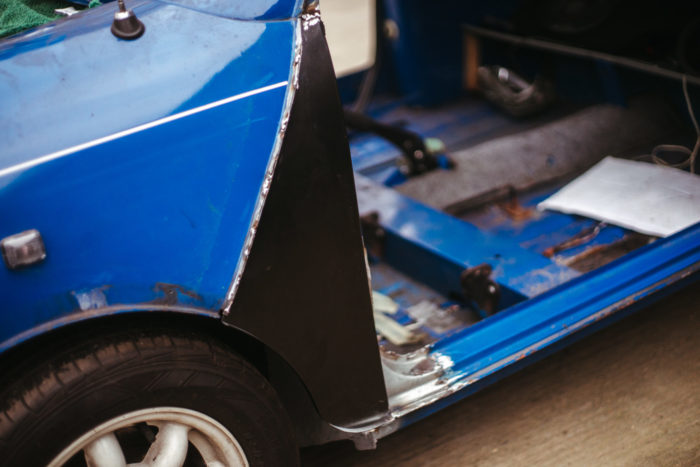
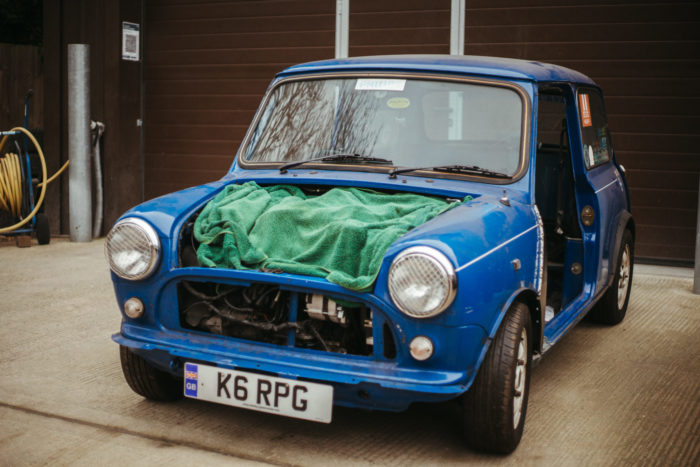
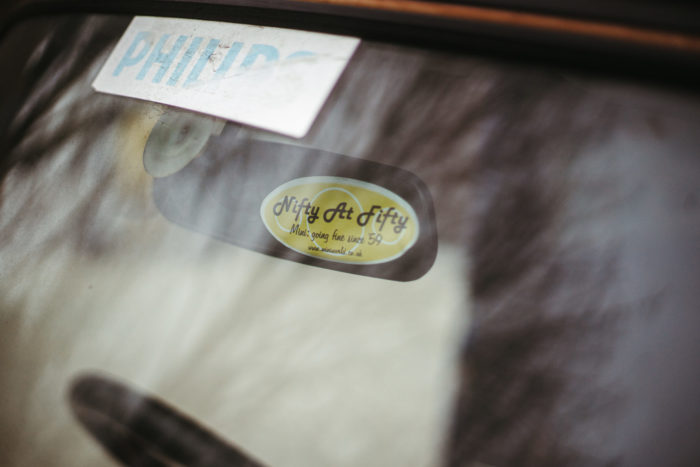
Today we welcomed in this quirky 1993 Mini from Ted at Team C racing that needs its door frames and inner wing panels repainted. This characterful mini is decorated in Mini Run and Mini club stickers that tell a colourful history of this particular motor. In particular, it has an Italian Job logo on the side with the famous quote on the back ‘You Were Only Supposed To Blow The Bloody Doors Off’, which fits well with the doors currently missing…
Bridge Classic Cars are award winning Classic Car Restoration and Maintenance specialists. Your pride and joy is in safe hands with our expert Classic Car Technicians. Take a look at our awards here.