Suspension, Glovebox, And More
Both Paul and Lydia have been working on our 1956 Jensen 541. Once Paul had changed over the rear suspension leaf springs to the correct


Both Paul and Lydia have been working on our 1956 Jensen 541. Once Paul had changed over the rear suspension leaf springs to the correct
Lydia has replaced the old worn-out covers on the back seats of our 1985 Citroen CX25 GTi. She used new fabric so that it matched
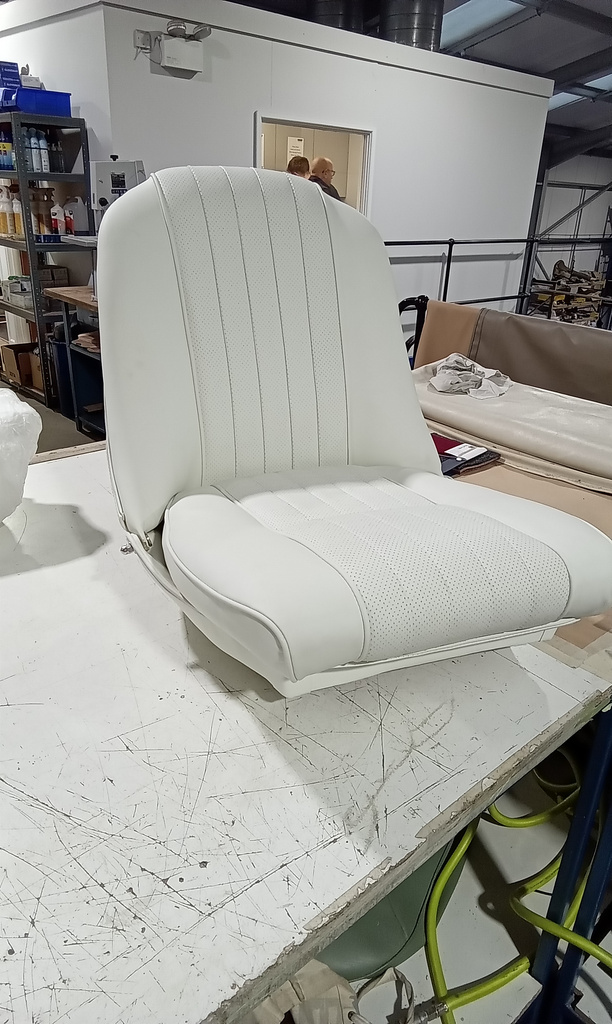
A seat from a Renault Clio has just arrived at the Bridge Classic Cars workshop. Lydia is going to be working on it to make
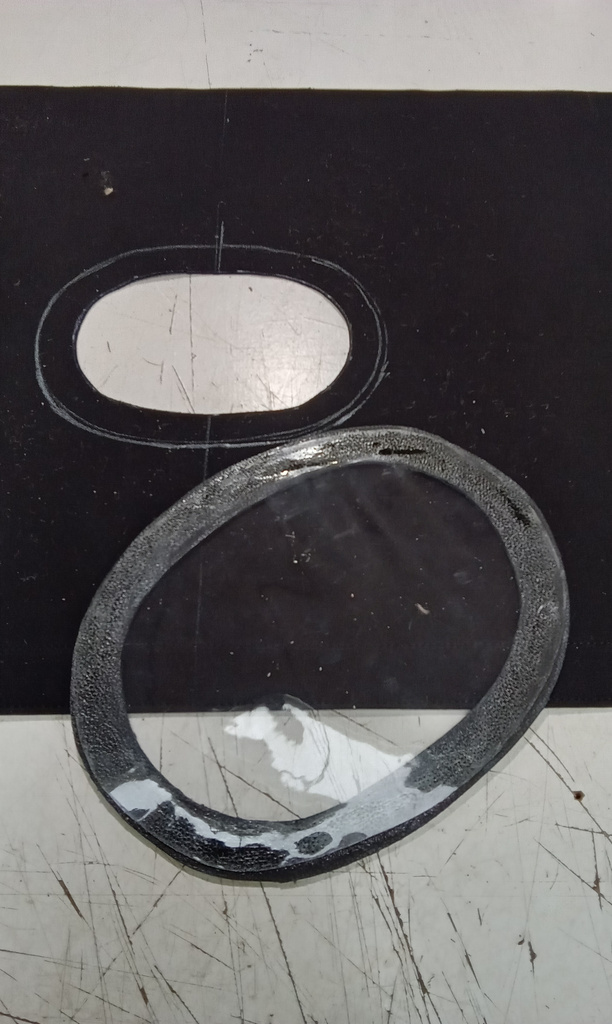
Lydia has been looking at the boot carpet in our 1956 Jensen 541. She has templated and made the boot carpets, which are unique to

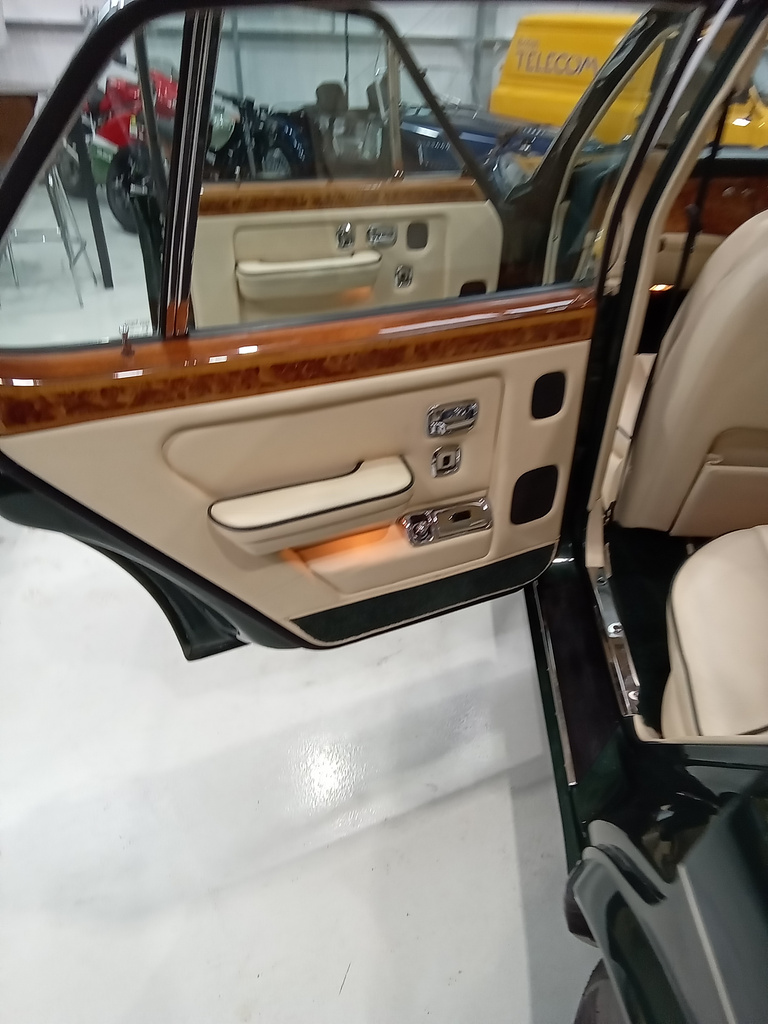
The customer has kindly supplied all the interior panels of our 1963 Bentley S3 to us so that Lydia can recover them. He has remade

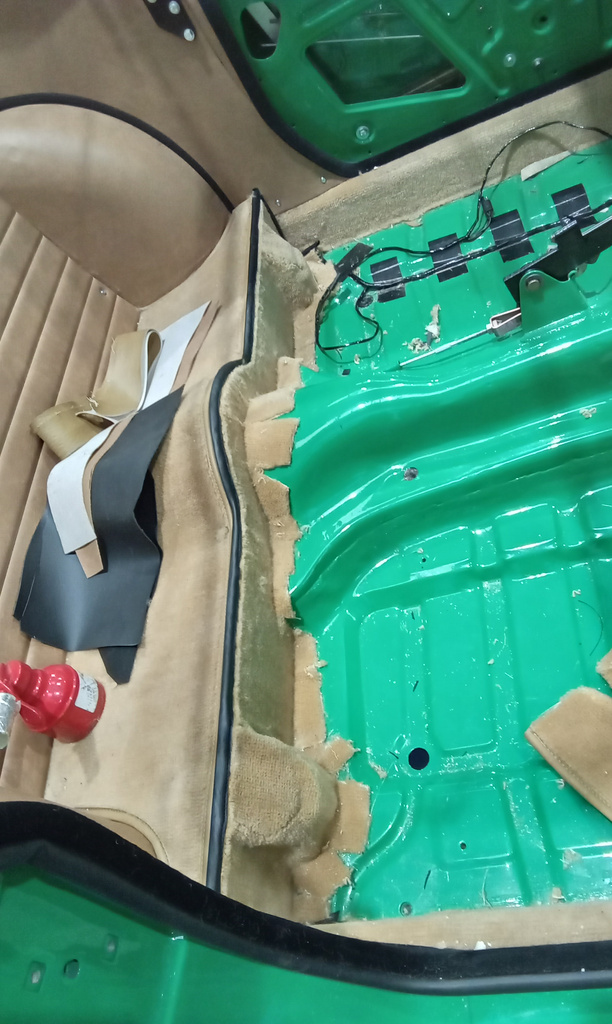
A customer wanted a quick interior refresh on her 2006 Nissan Micra Convertible. Lydia made some custom-fitted floor mats, which fit much better than the
The backrest of the our 1905 Riley 9HP seat is actually fitted on the body of the car and, as a result, could not be
Lydia made an internal door card for the opening door on our 1905 Riley 9HP. She first made a template from paper to ensure the

Lydia has recently been making a pretend ‘door card ‘ to balance out the interior of our 2022 Bridge C-Type Replica. There is only one
The piece of carpet for the rear shelf that was supplied with the kit for our 1976 Triumph Spitfire was incorrectly finished and didn’t fit.

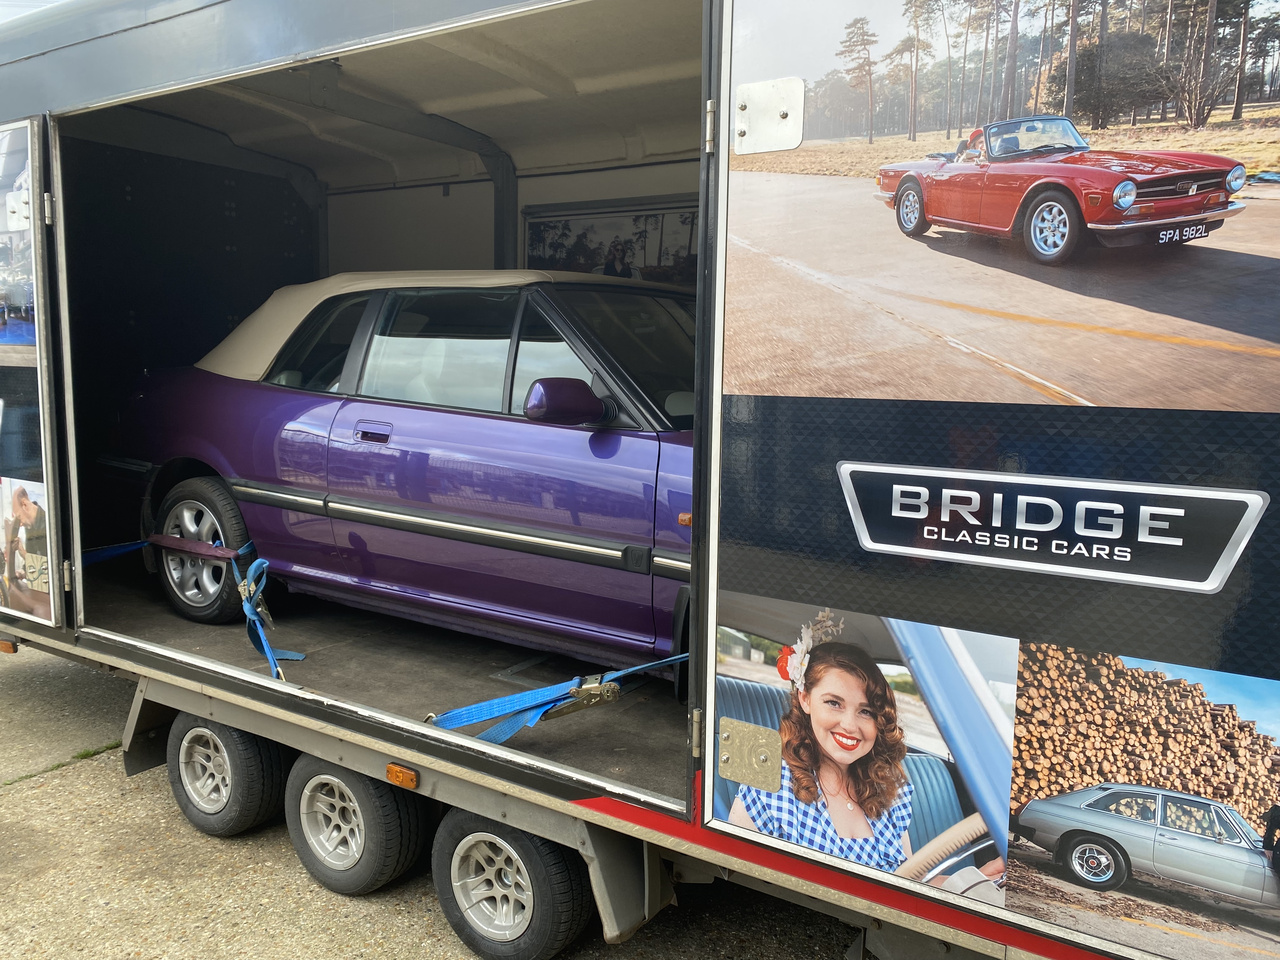
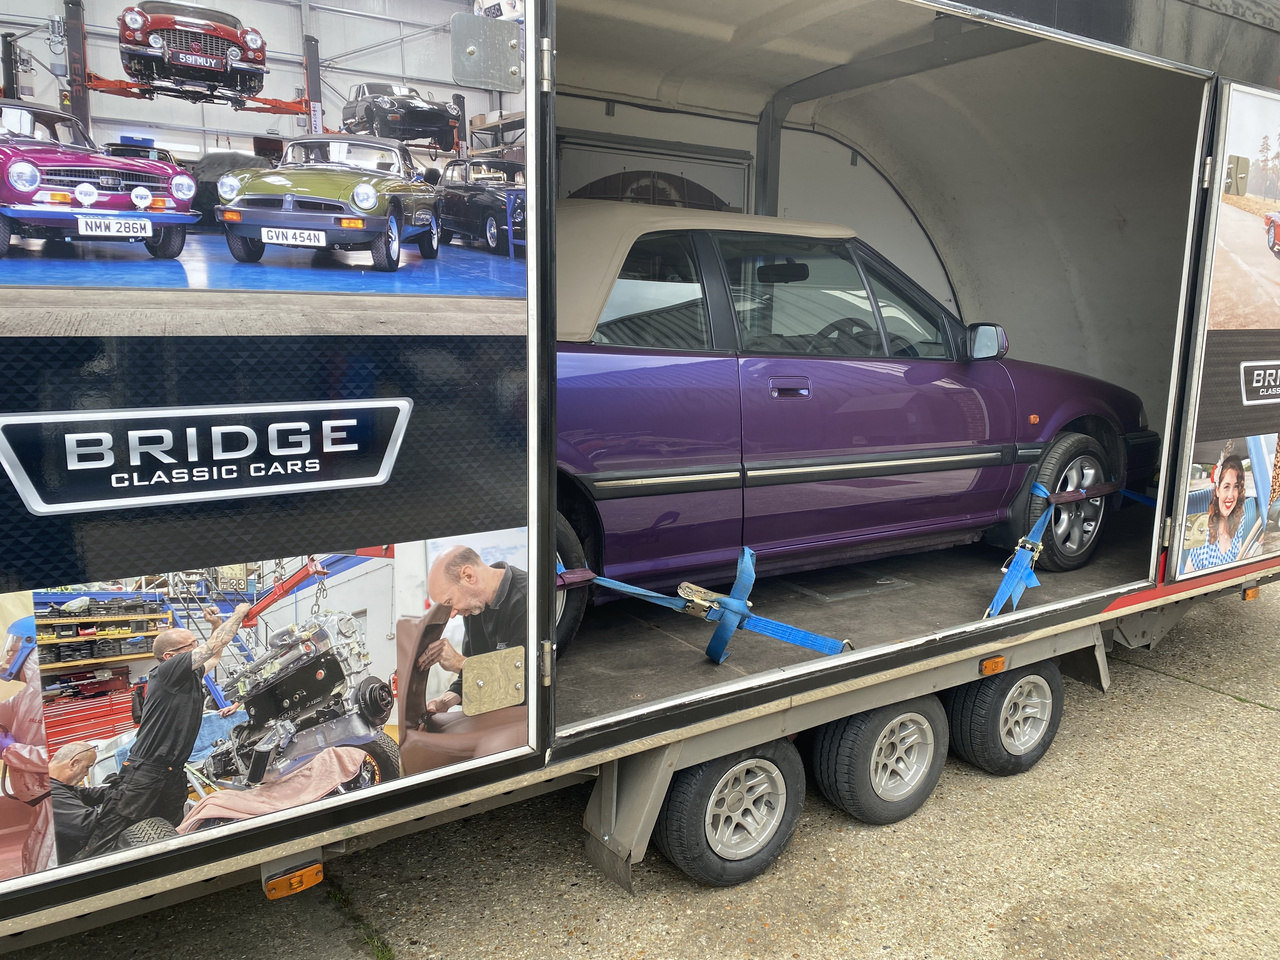
Work is now complete on the hood of our Rover 216 so only one more job for Tony to complete, that’s returning the car back
The hood of our 1999 Rover 216 Cabriolet is finished, cleaned and ready to go. Clinton made the side tension cables for Lydia, as these
Lydia has fitted the hood to our 1999 Rover 216 Cabriolet, as far as she can take it without some vital parts that she is
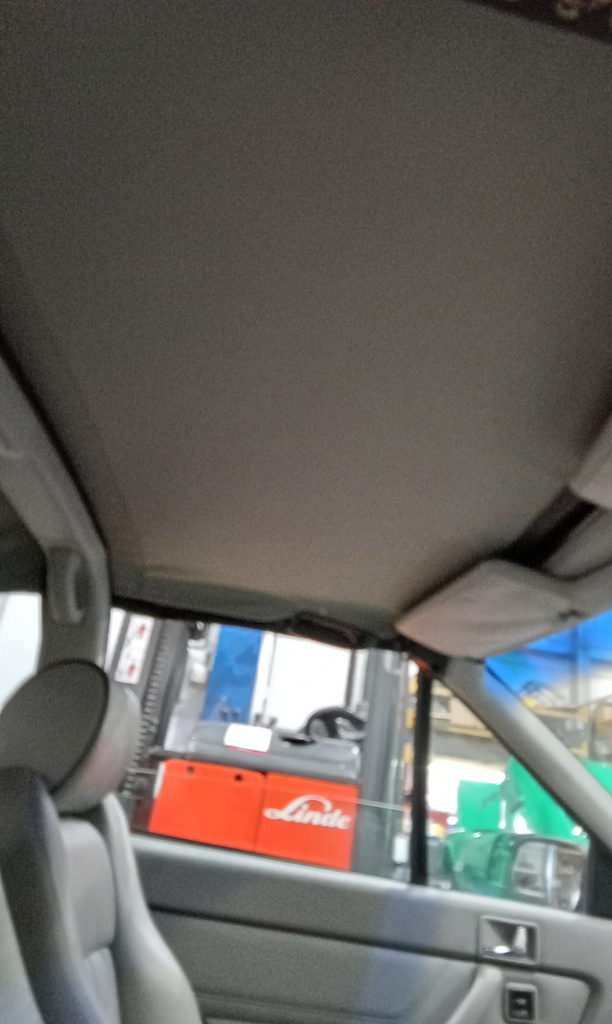
There were some areas of damage to the hood of our 1999 Rover 216 Cabriolet which was letting water into the car. The headlining had
Lydia has been stripping the seats of our 1960 Jensen 541R ready for new covers once the fabric has been chosen.
Our 1956 Jensen 541 has made a lot of progress recently. Paul has finished the dash mounts and has started work on the wiring. After
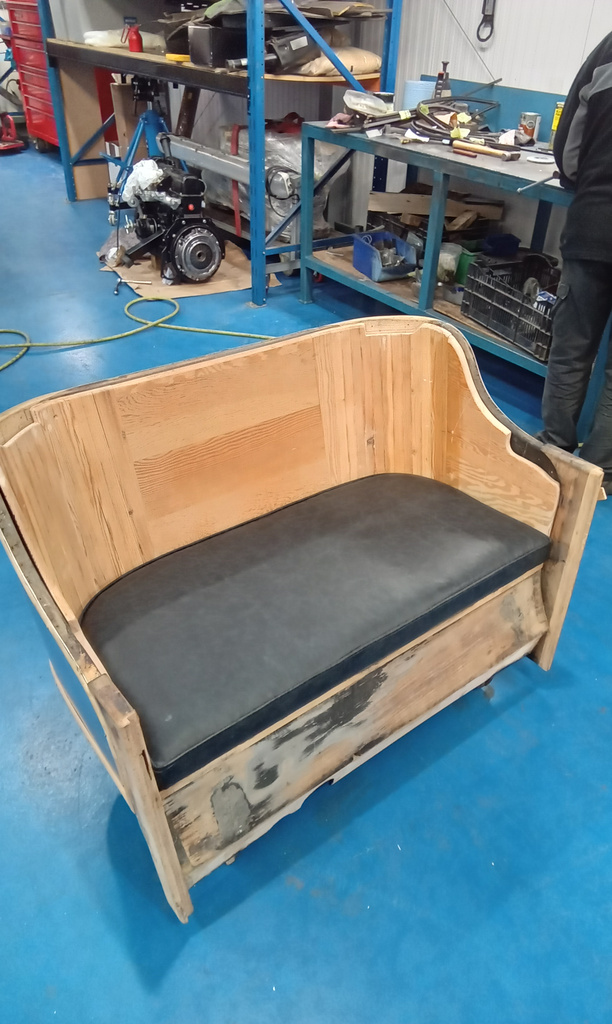
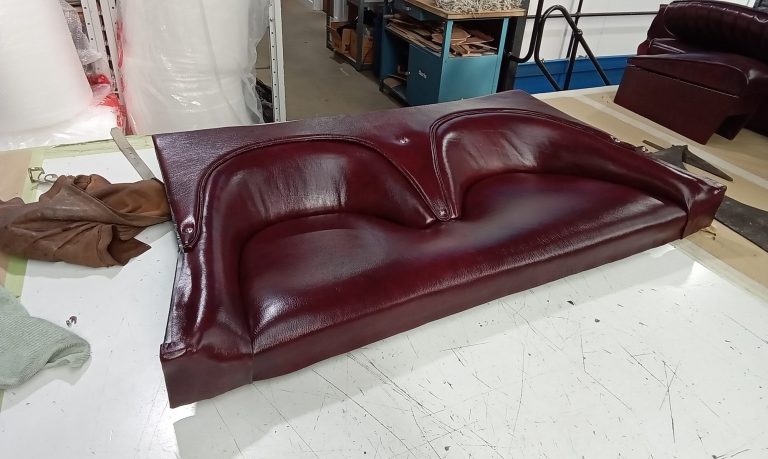
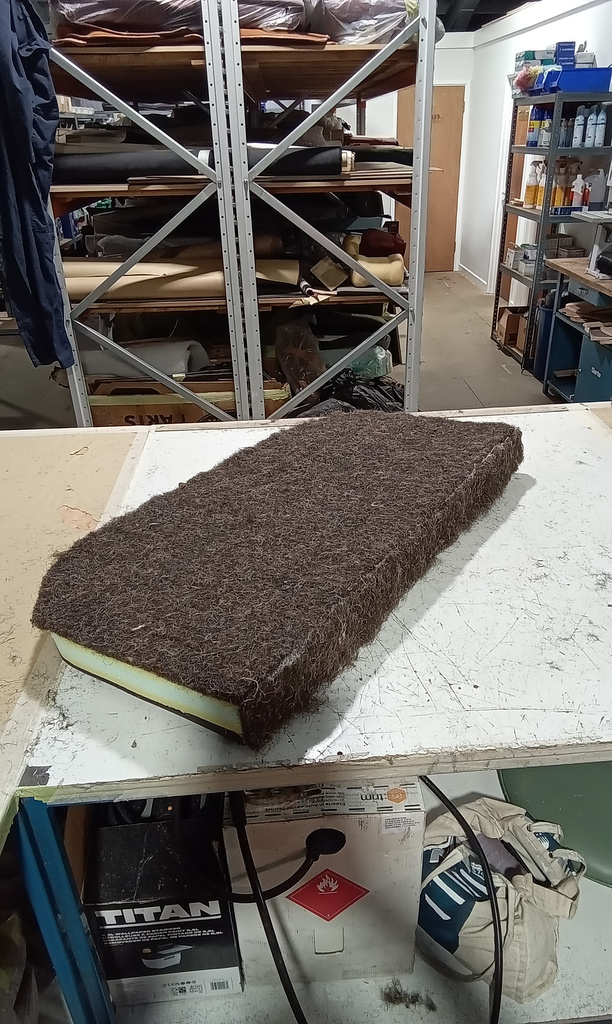
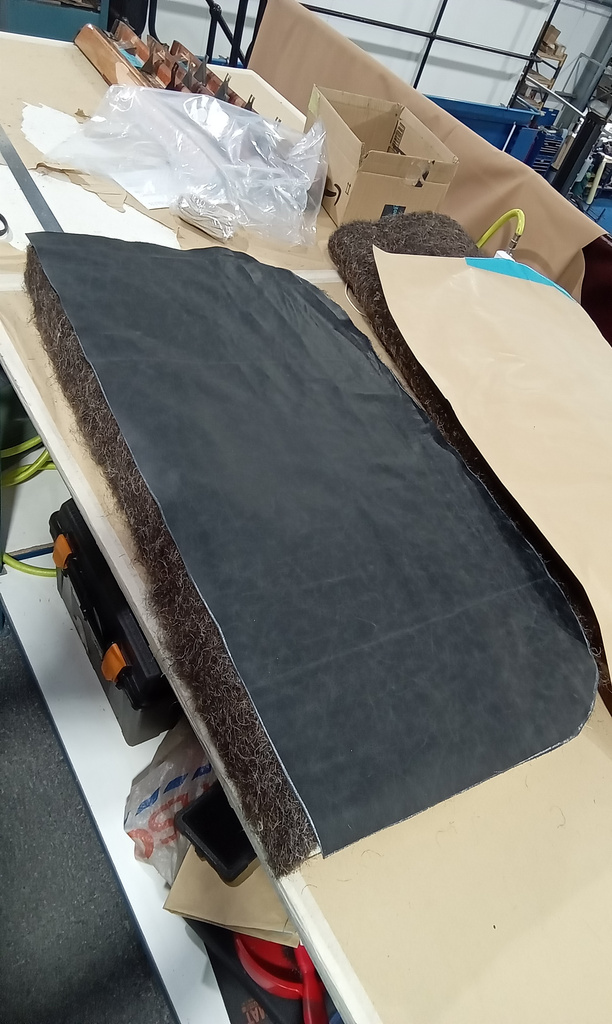
Lydia has upholstered the base seat of our 1905 Riley 9HP. She used a 2-inch foam for the base to provide a firm seat so

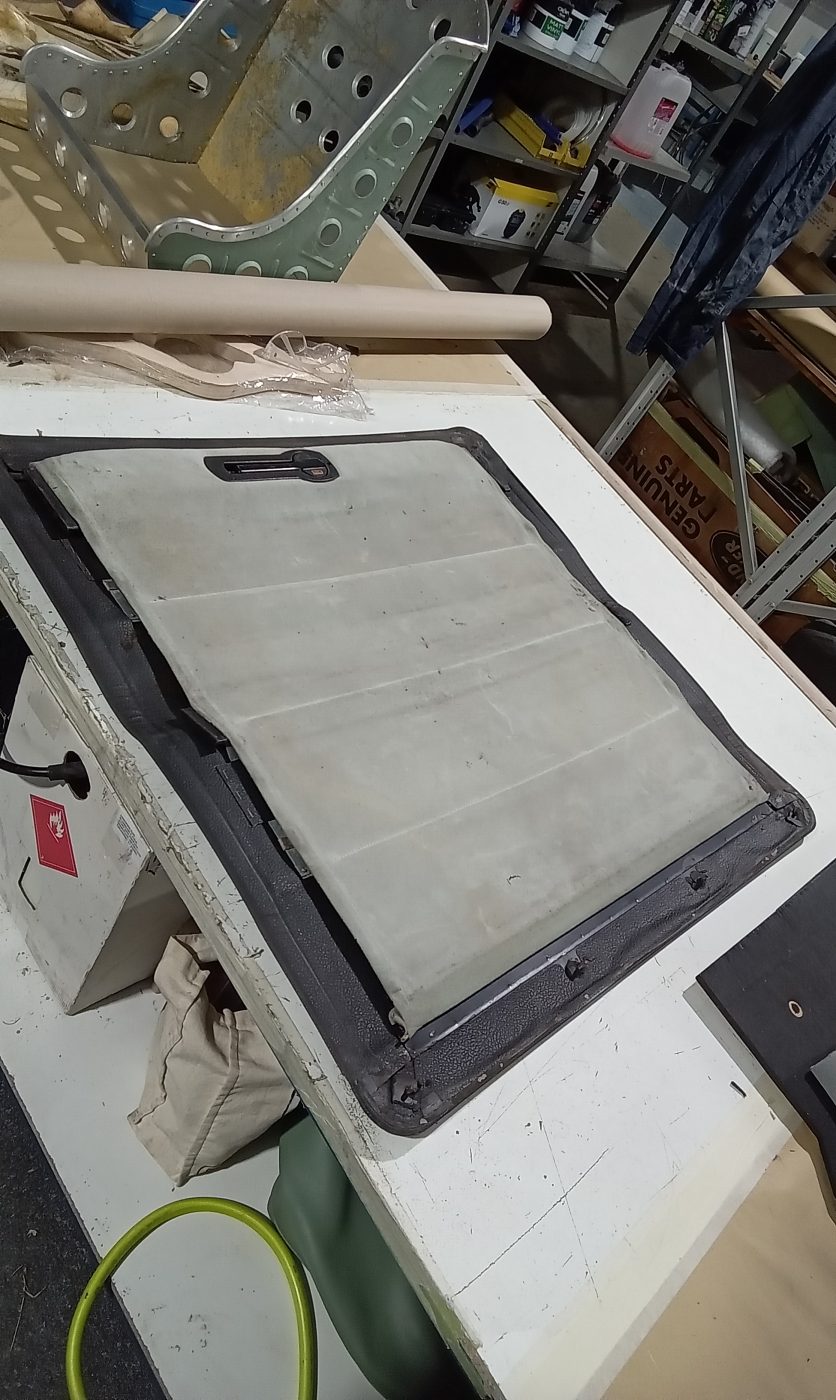
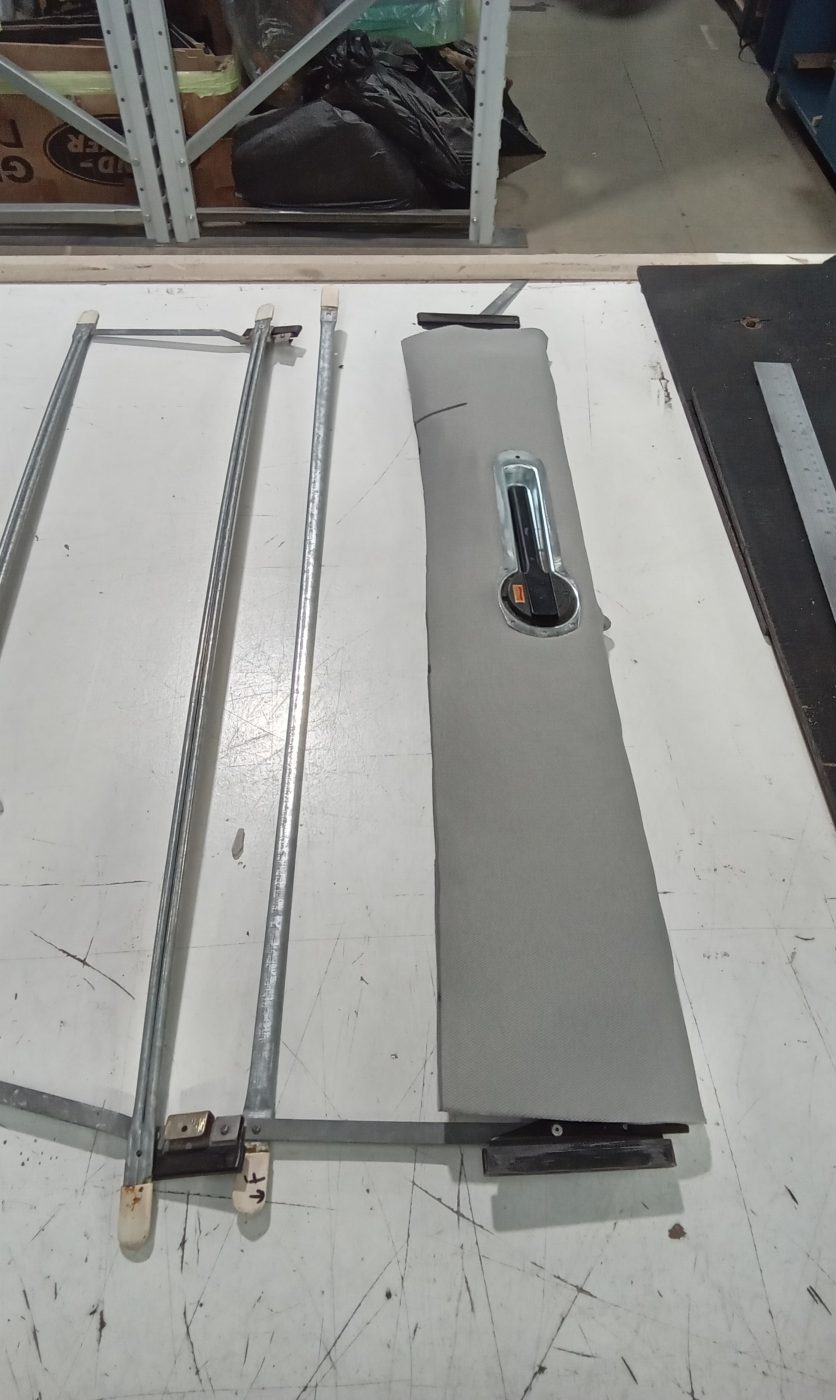
Lydia has been hard at work over the last week or so on the roof of our 1969 MGC GT. First, she stripped the old
Lydia has been working on our 1964 Amphicar 7-70. Firstly, she made a template for the kick panels to ensure the correct shape and fit.
Our 1992 Toyota MR2 has been in the skilled hands of classic car technician Jonn. After he removed the driver’s seat for repair, Jonn disconnected
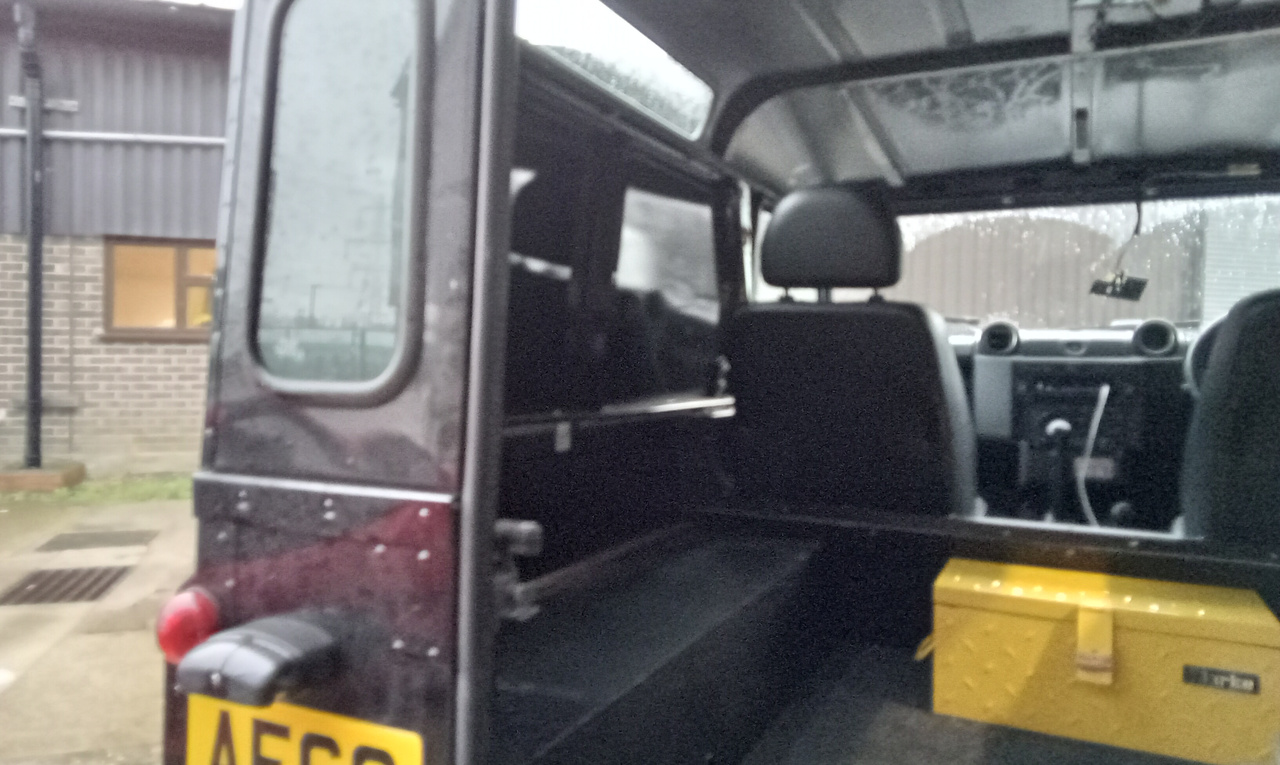
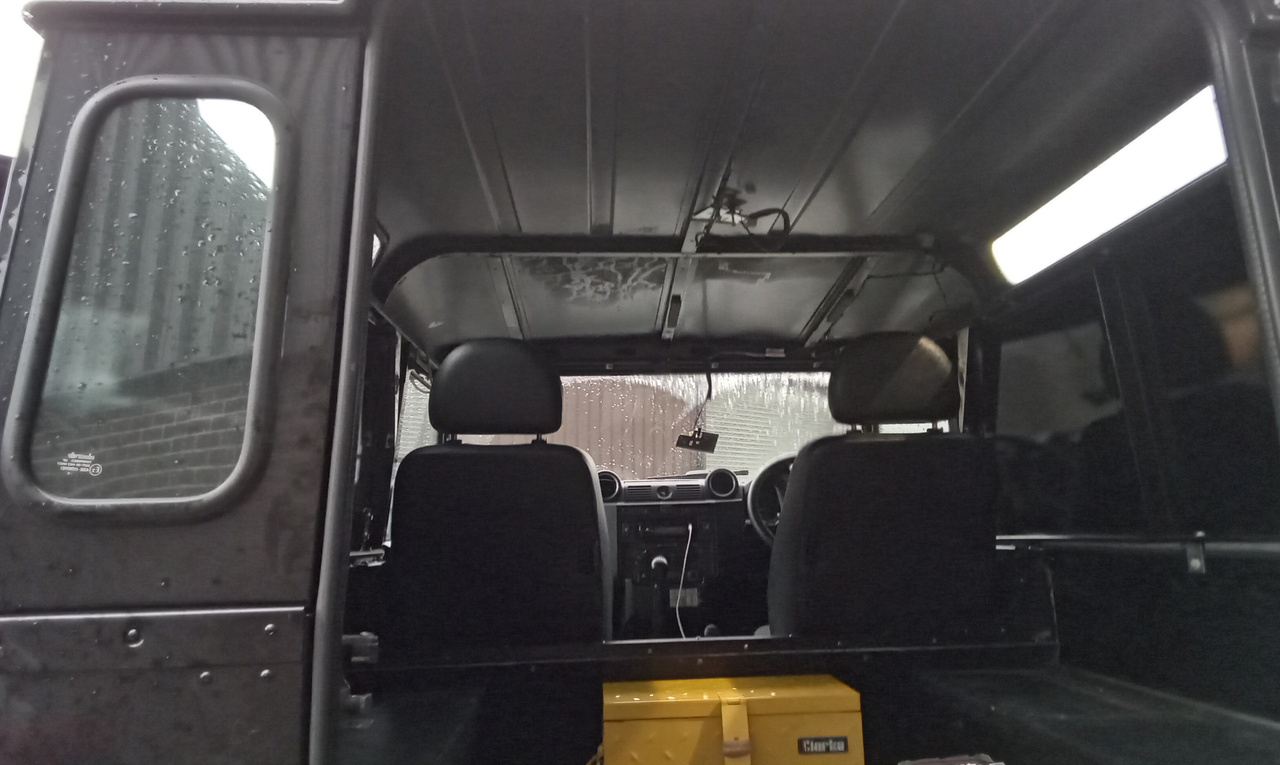
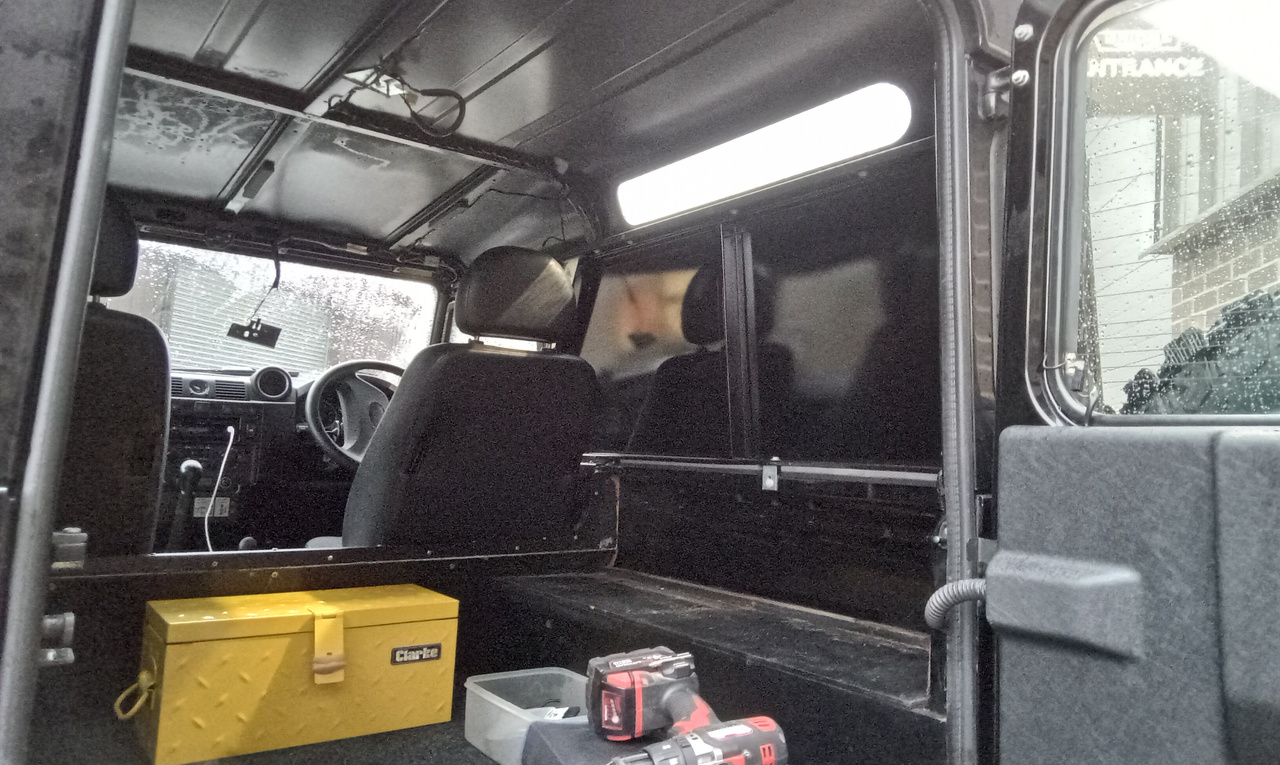
Lydia removed the interior panels of our 2010 Land Rover Defender. The roof had to be removed for some bodywork to take place and the
recently, Lydia spent some time stripping the headlining and internal parts off the hard top for our 1978 Triumph Stag. Firstly, she removed all rubber
Classic car technician Mauro has removed the gearbox and fuel line from our 1975 AC Cobra Project. Brian has also been working on the interior

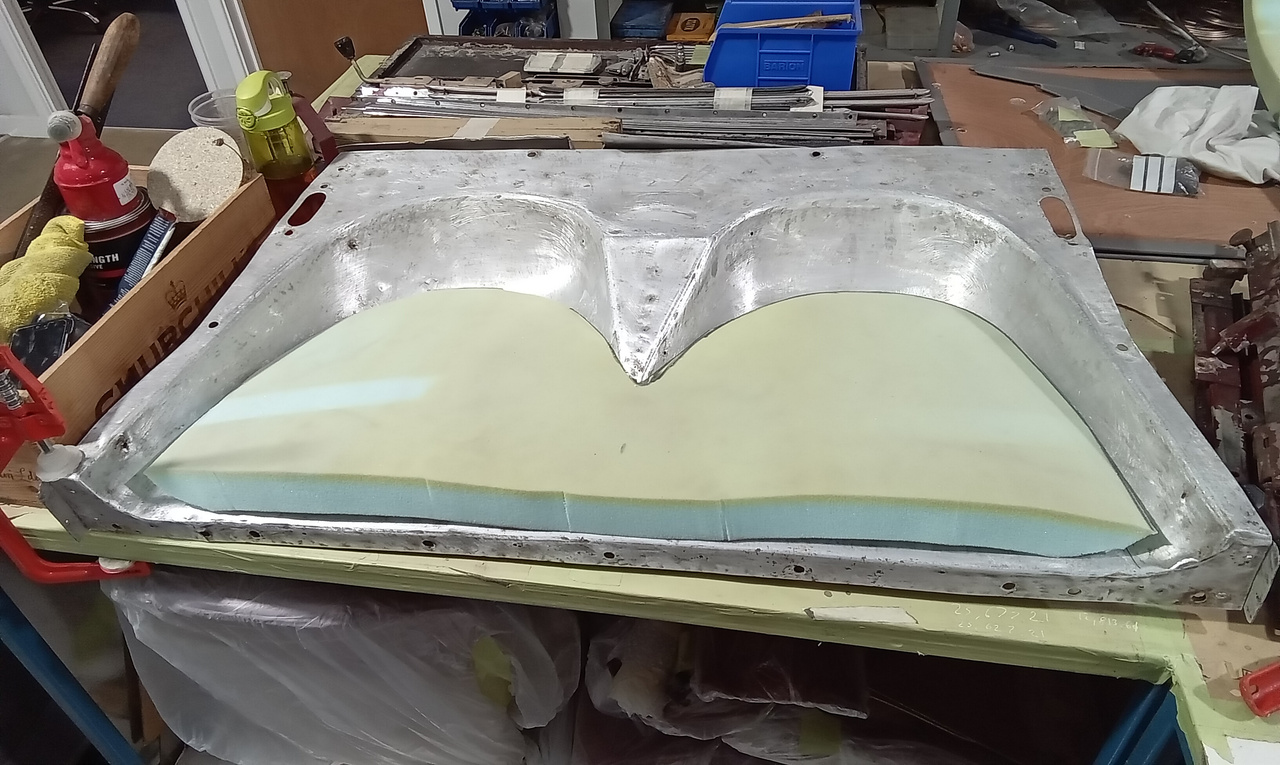
After cleaning up the seat of our 1955 Aston Martin DB2/4 Drophead Coupe, Lydia has spent some time making the foams fit. Unfortunately, the original
…and they say men can’t multitask! Brian’s day has been spent on 1953 Aston Martin’s today. He started off sorting out all interior parts, labelling

Brian has begun work on stripping down our 1955 Aston Martin Drophead Couple. He has removed the rear boot panels, the rear seat base and
Yesterday and today, Lydia has been working on the rear seat of the Aston Martin DB2/4. ‘Chris has kindly painted the seat tray black for
Brian and Lydia have continued their work on our 1953 Aston Martin DB2/4. Using the new plywood panels that Brian had cut out for her,

Brian and Lydia have been working on our 1953 Aston Martin DB2/4, specifically the centre console and rear panels. Using the existing material from the
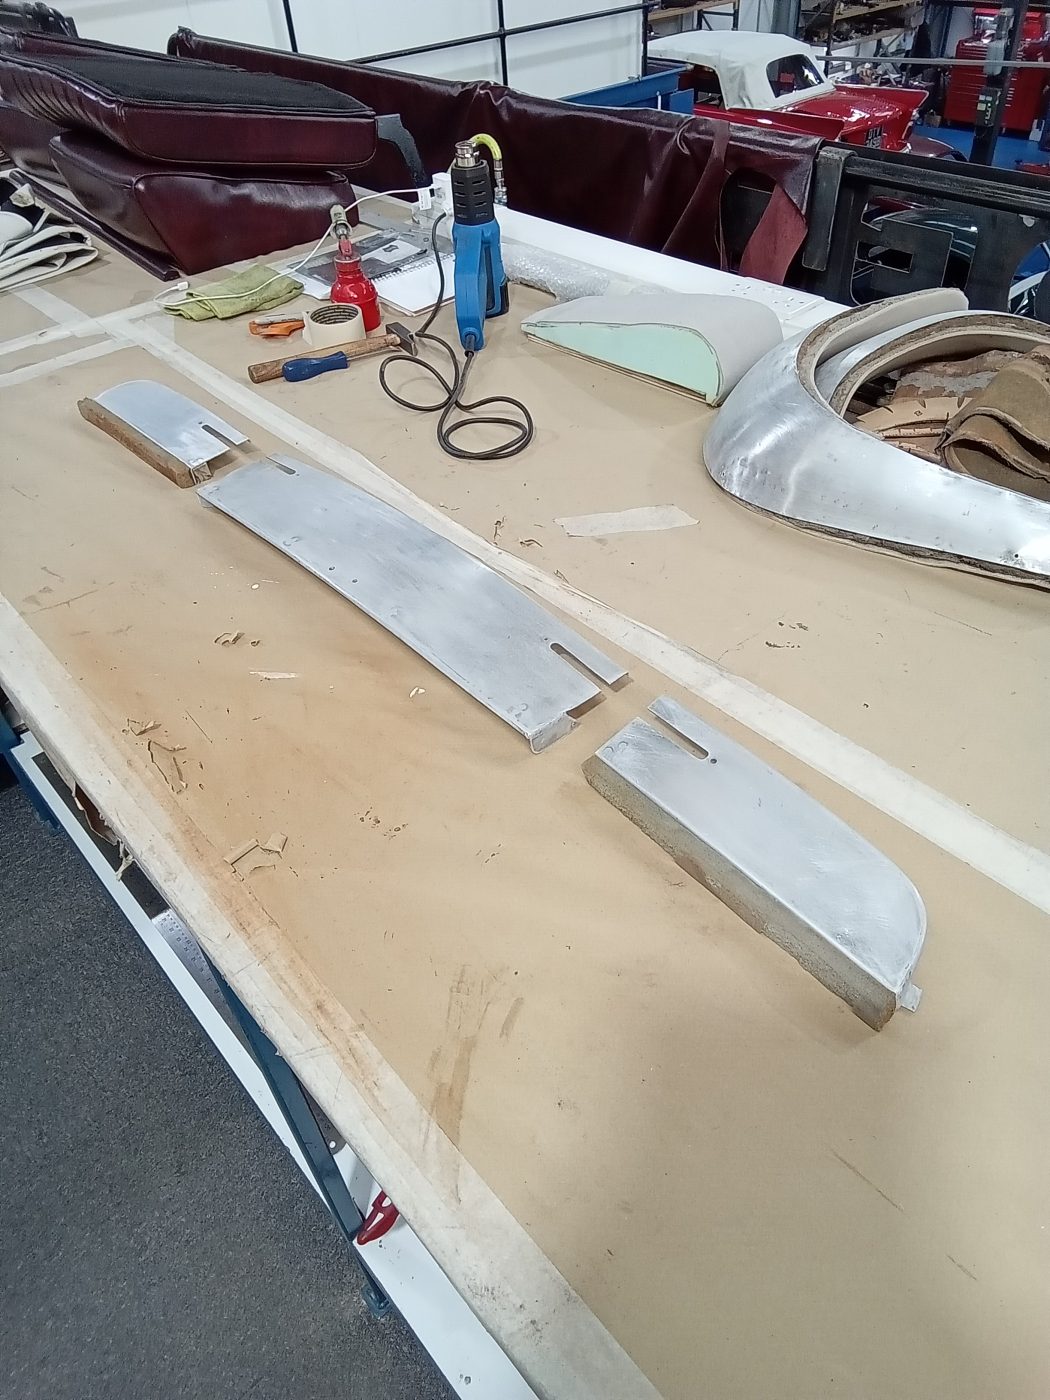
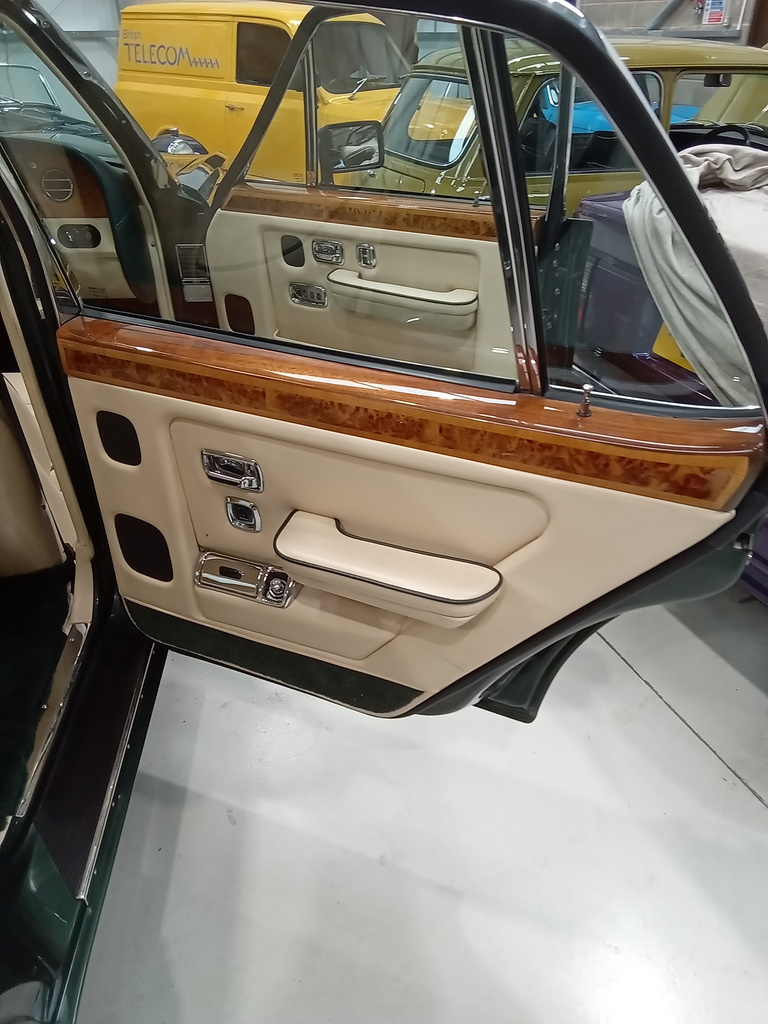
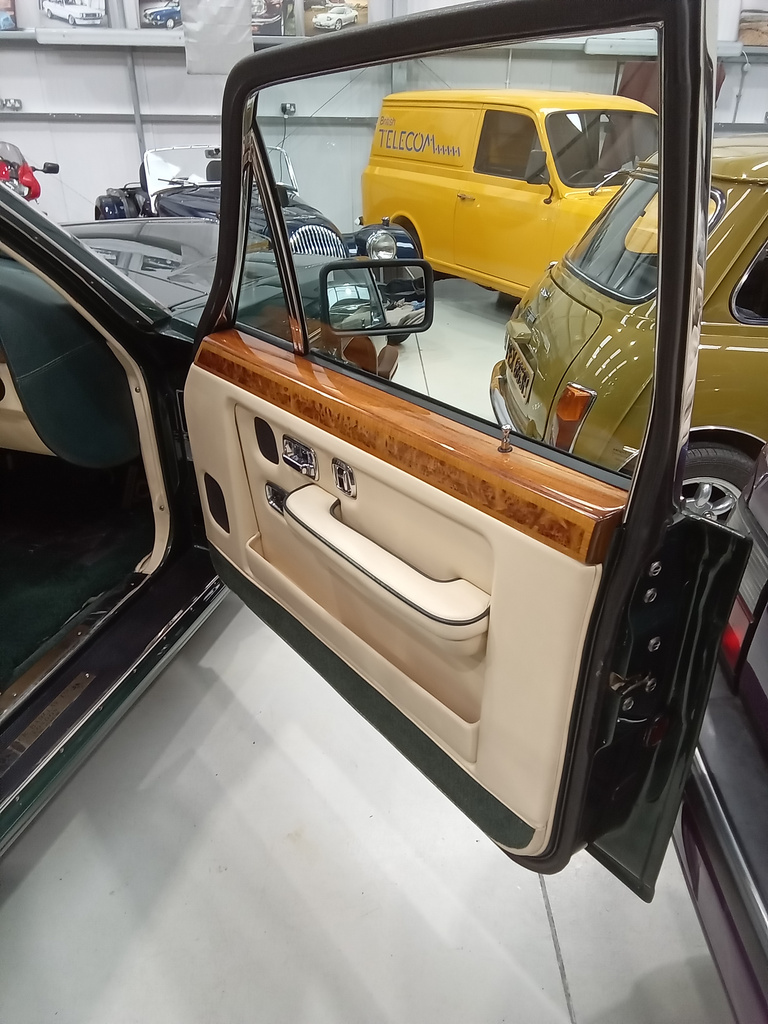
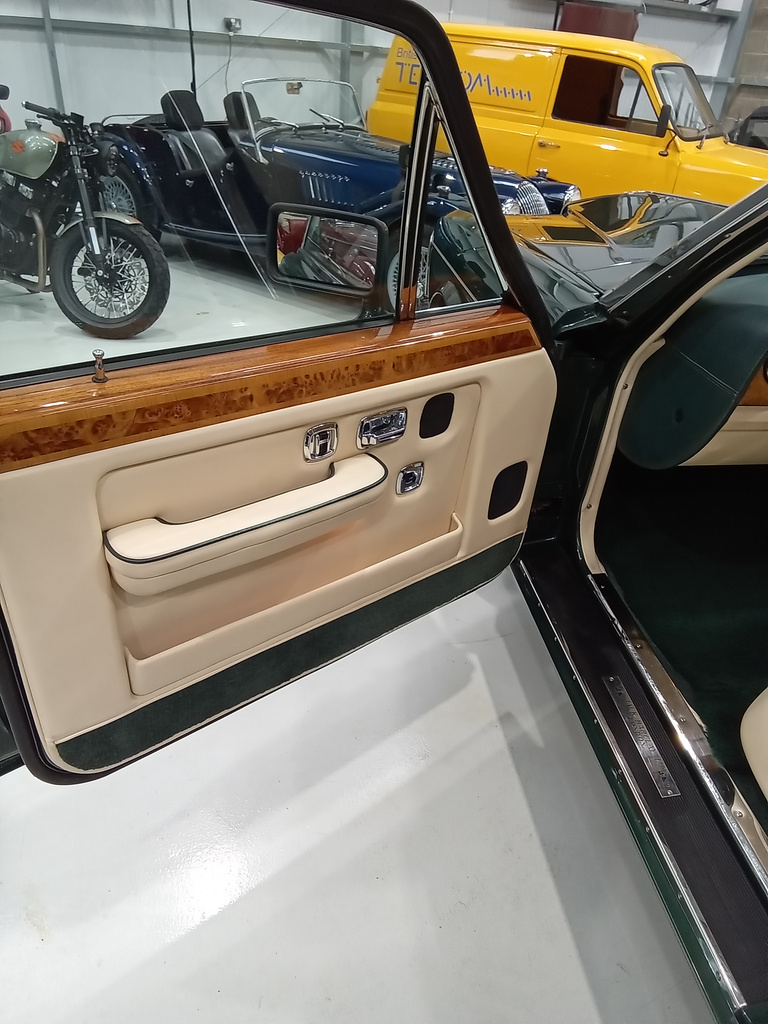
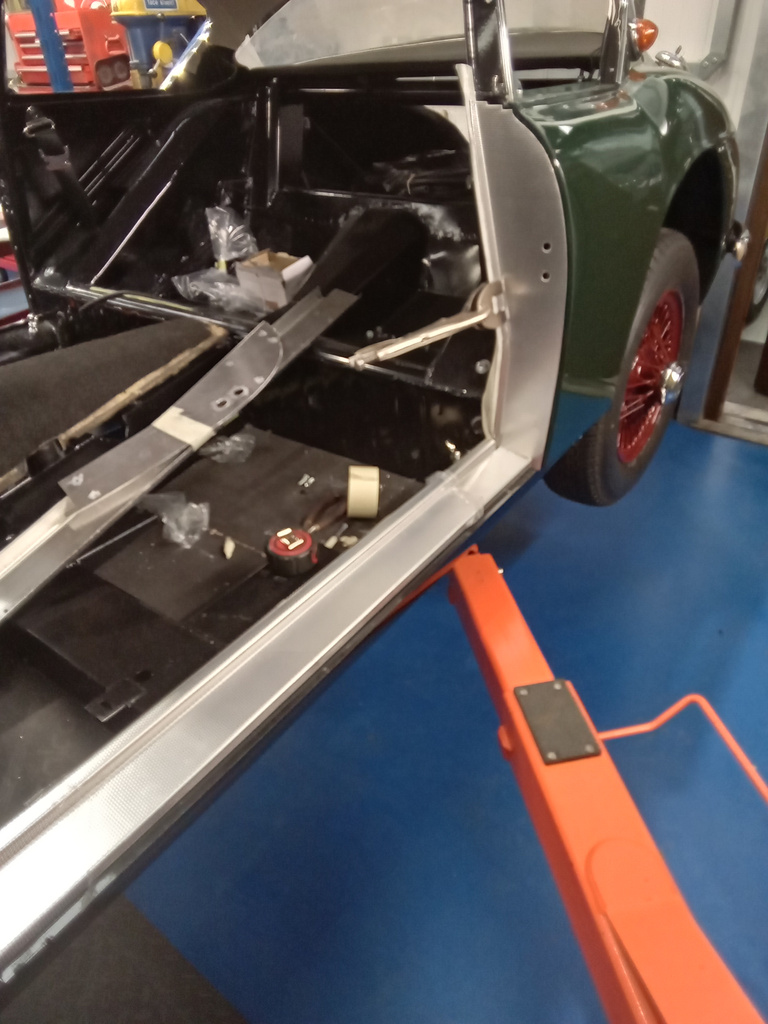
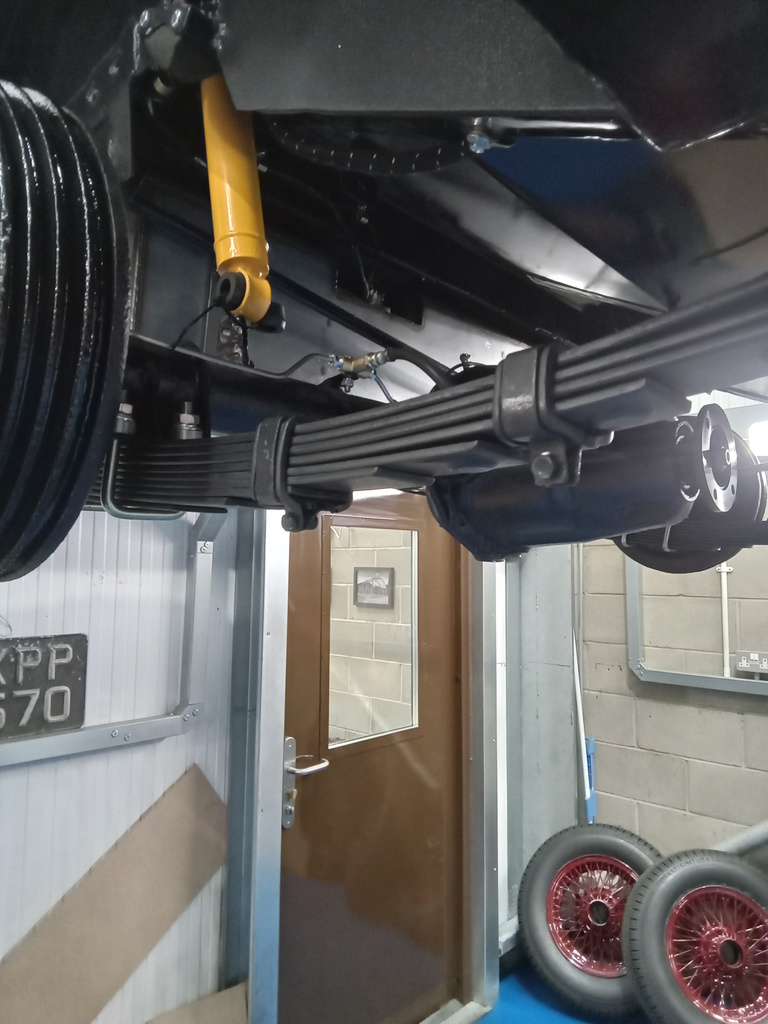
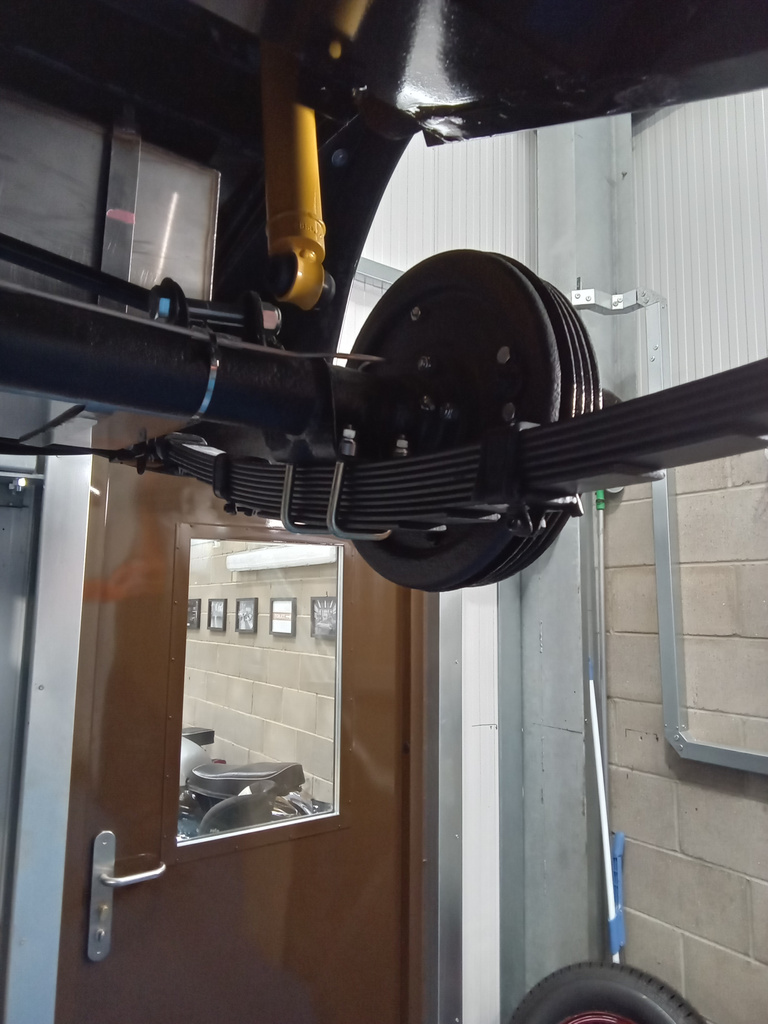
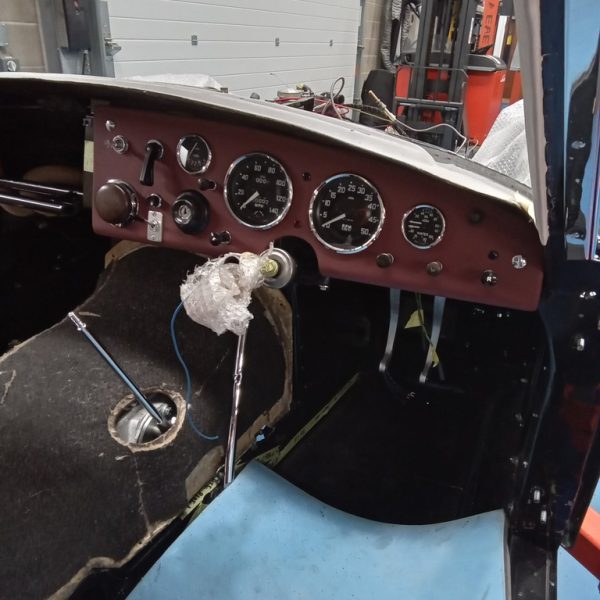
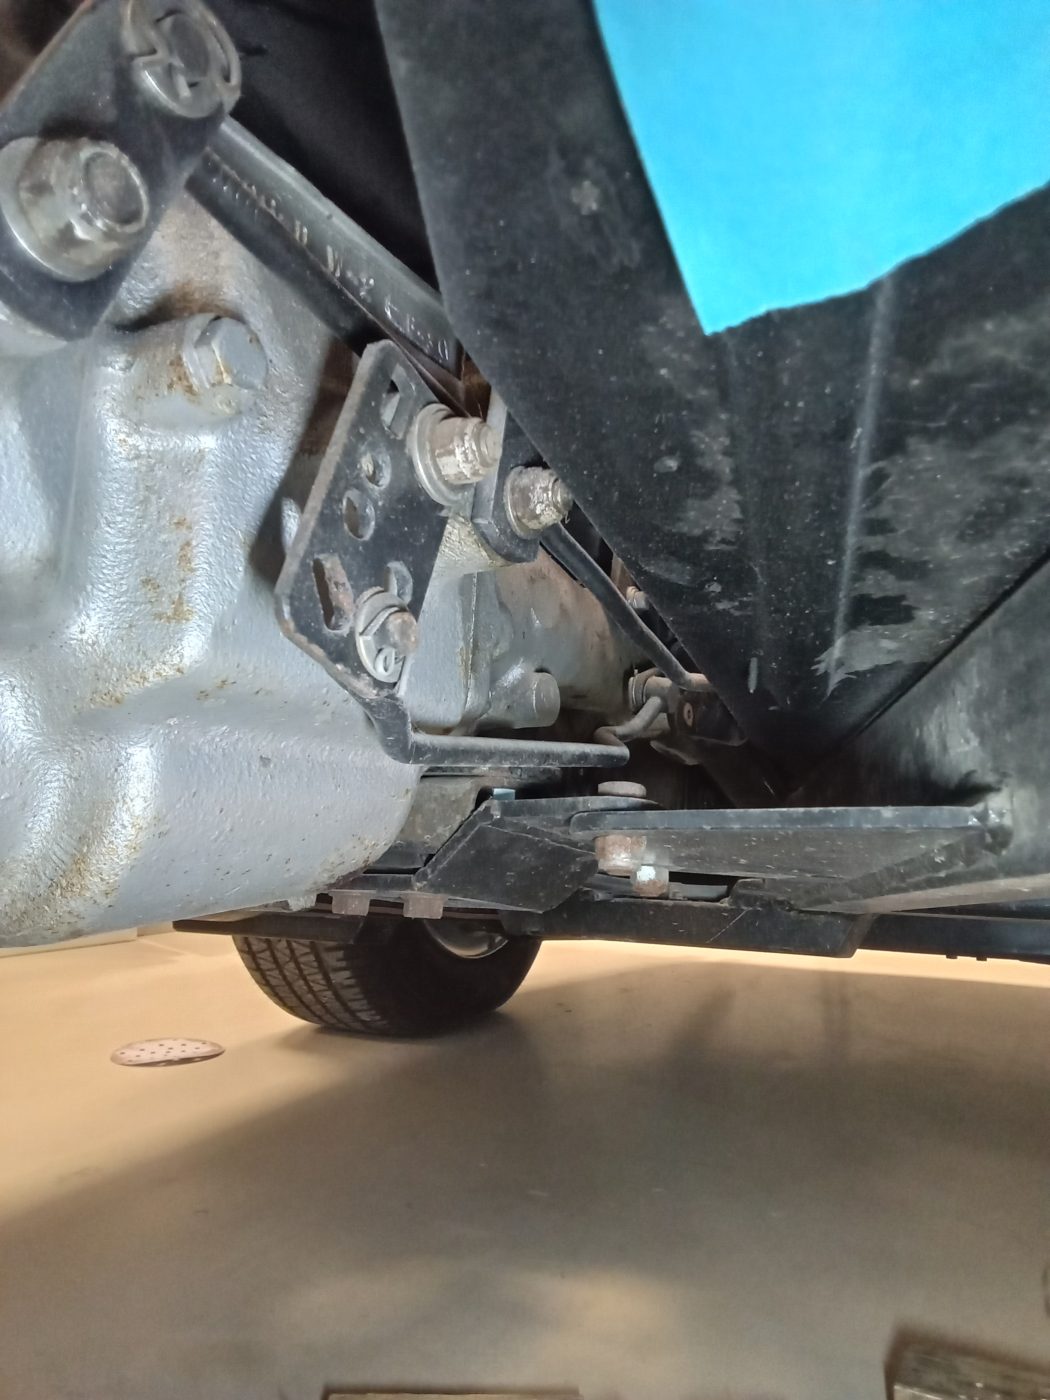
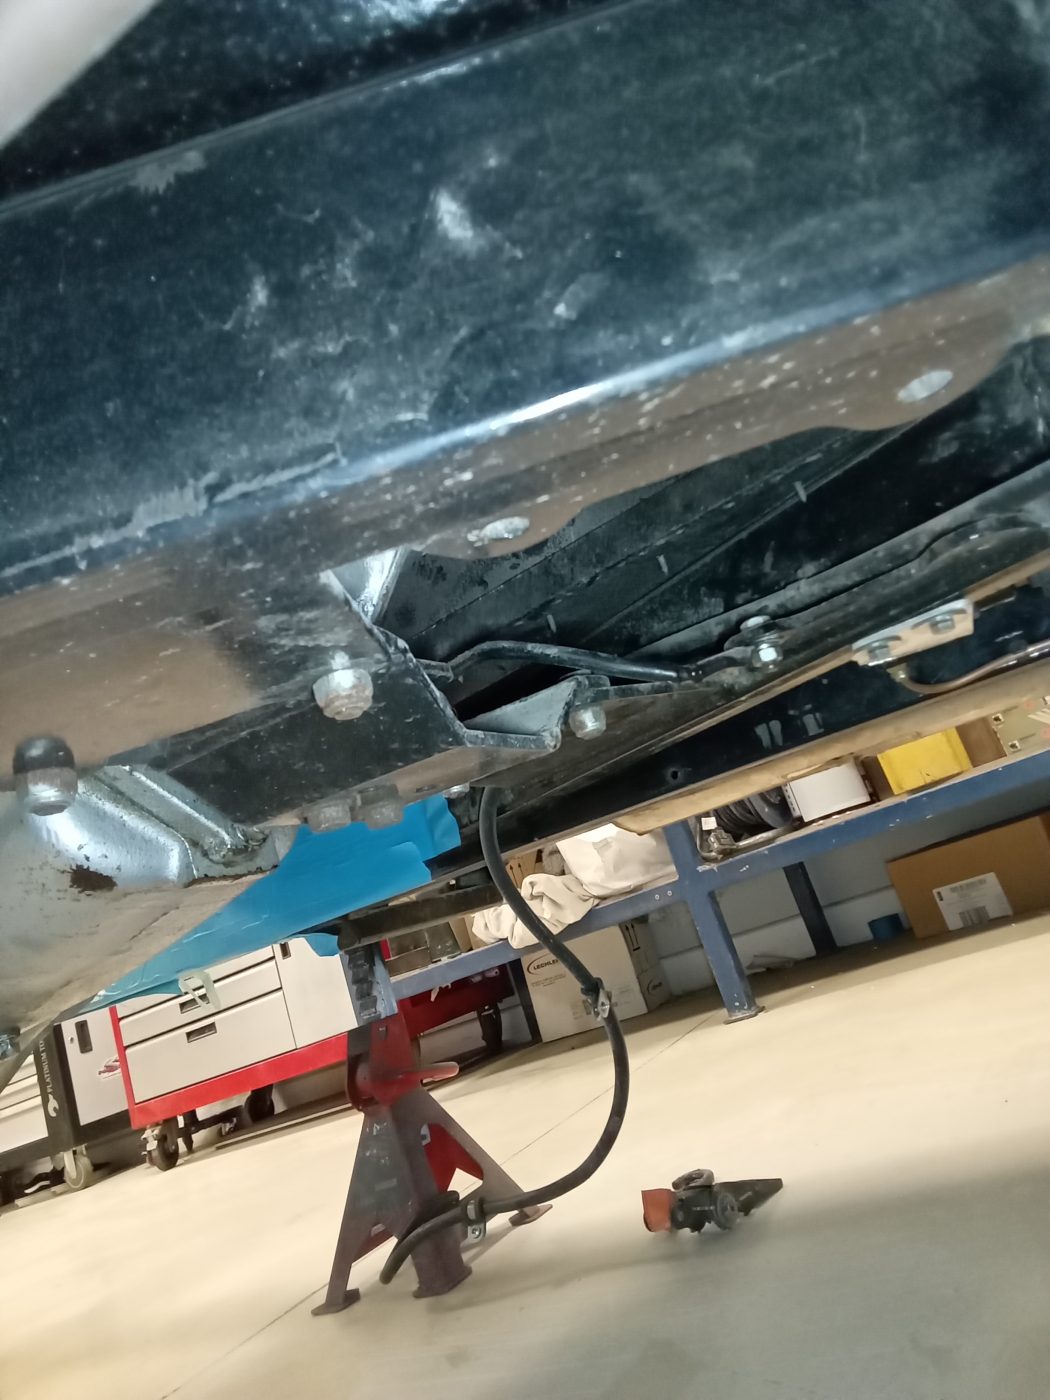
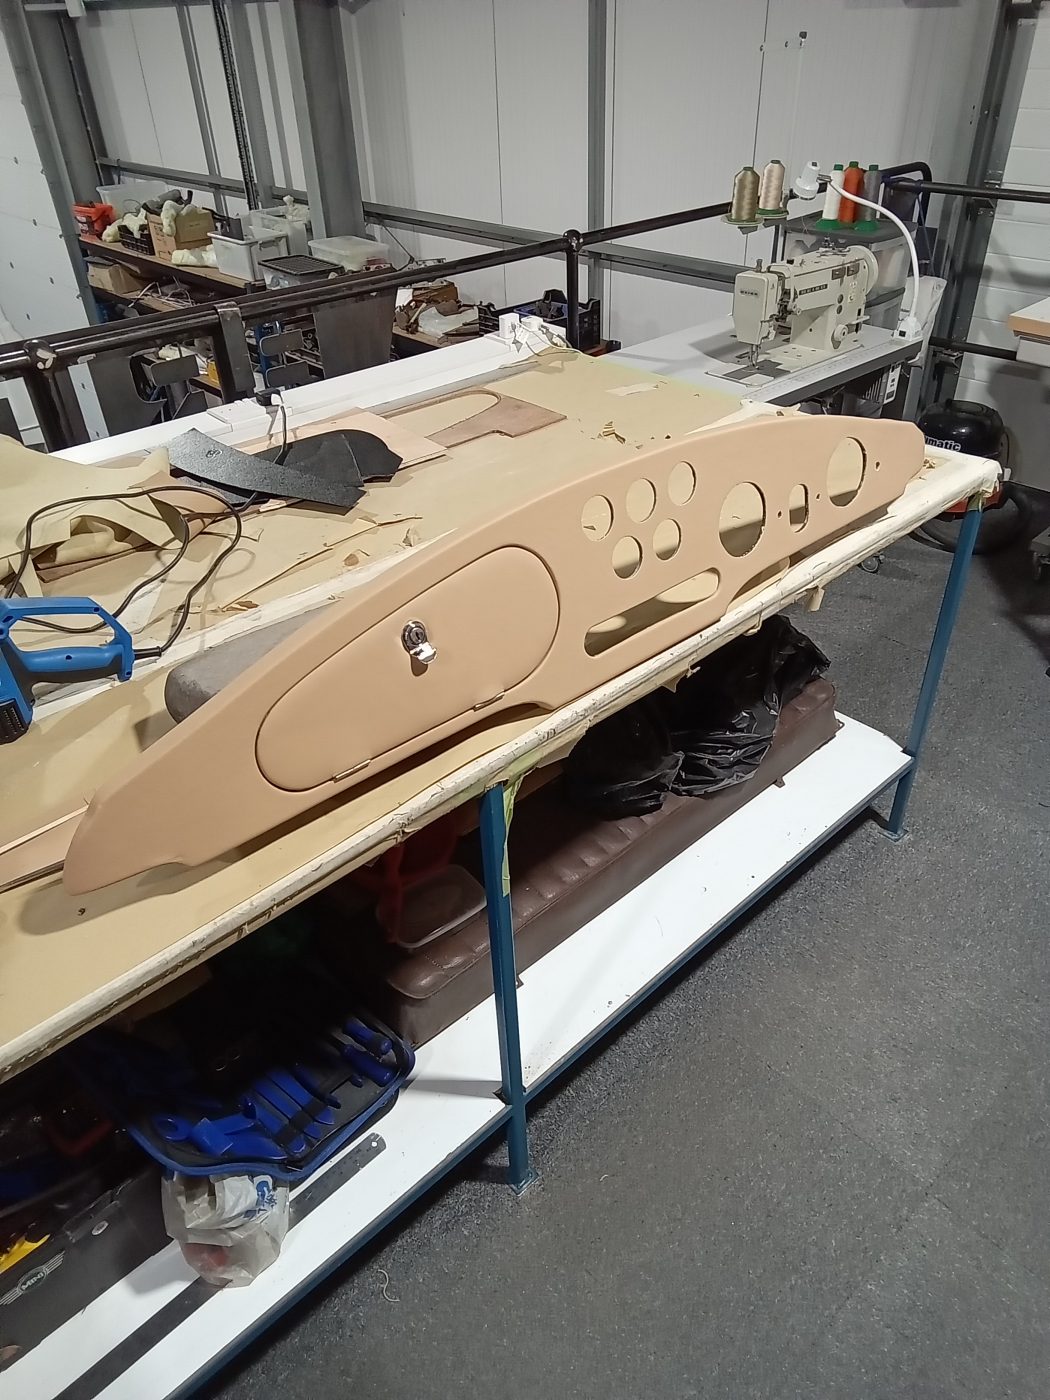
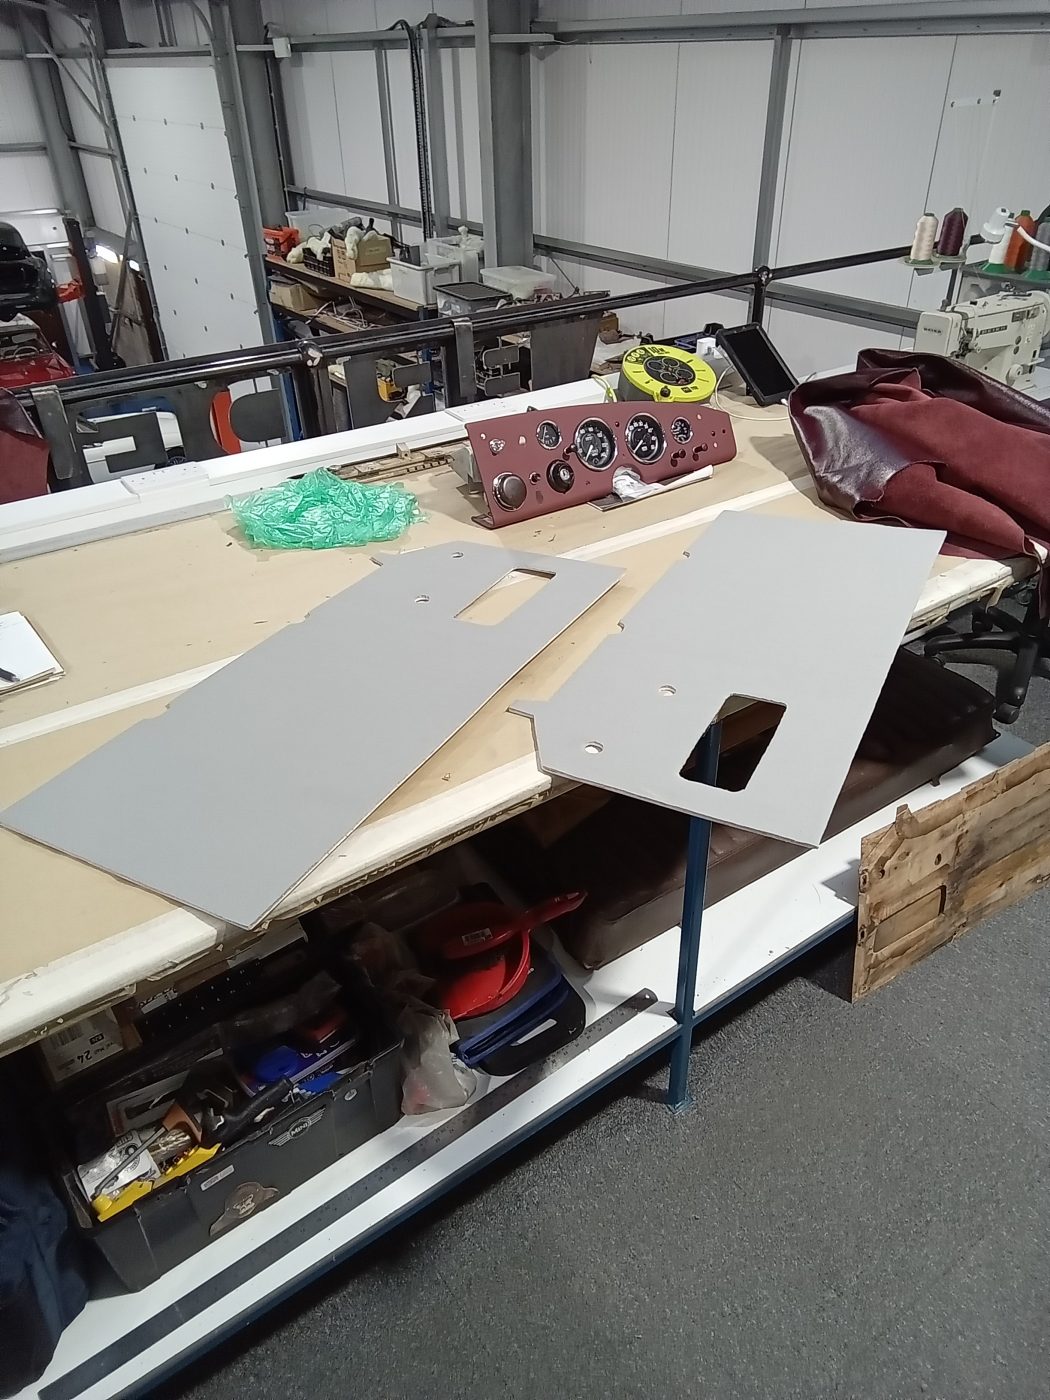
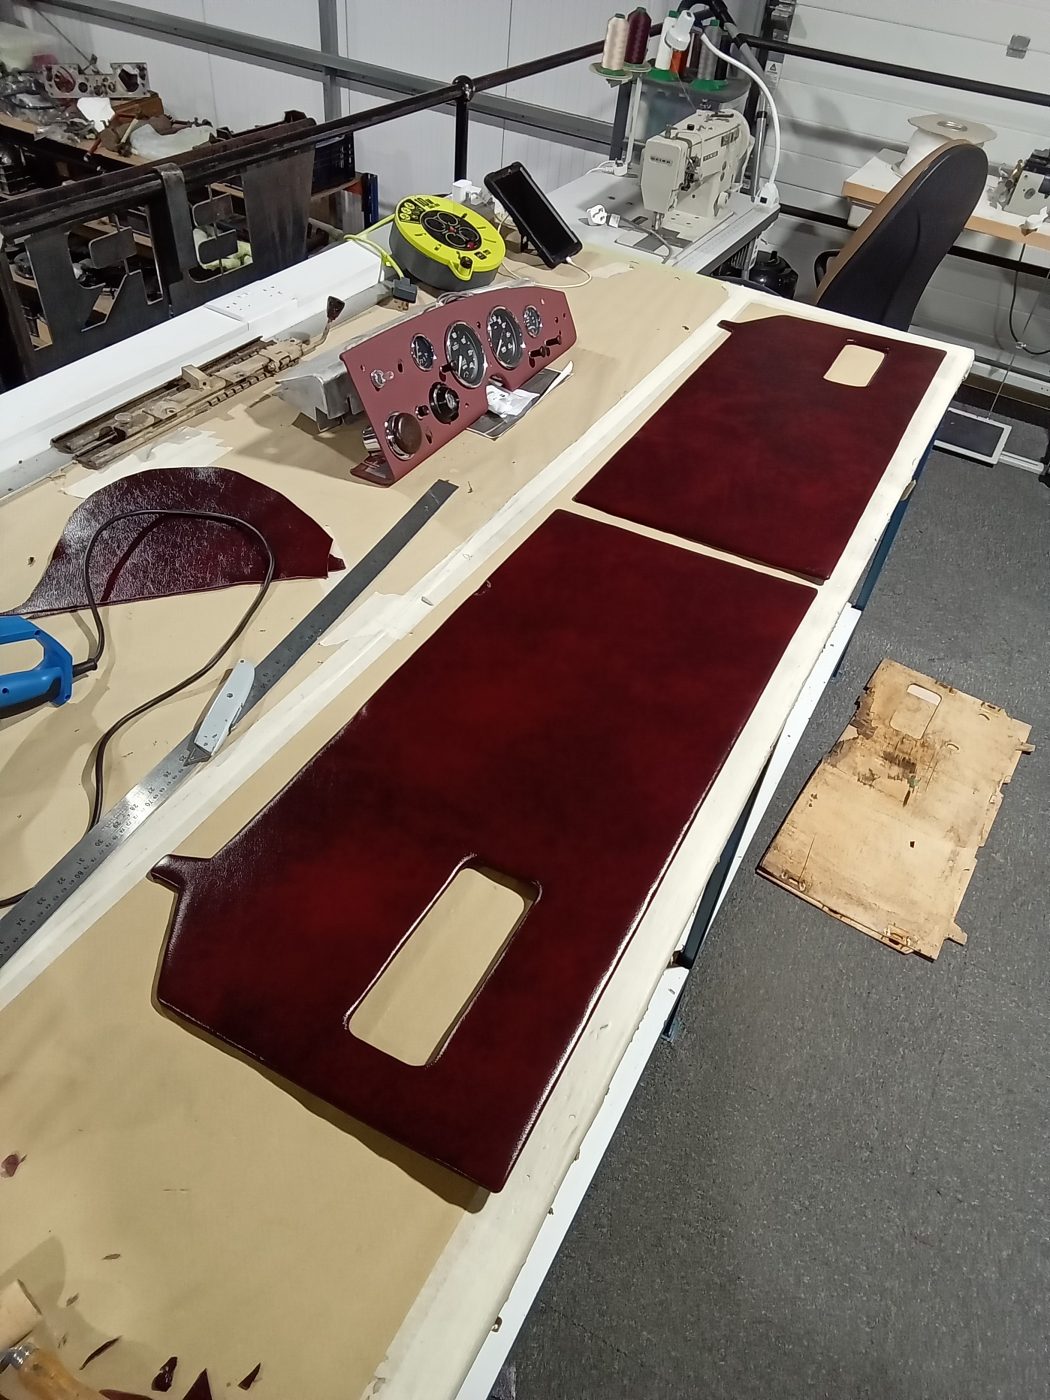
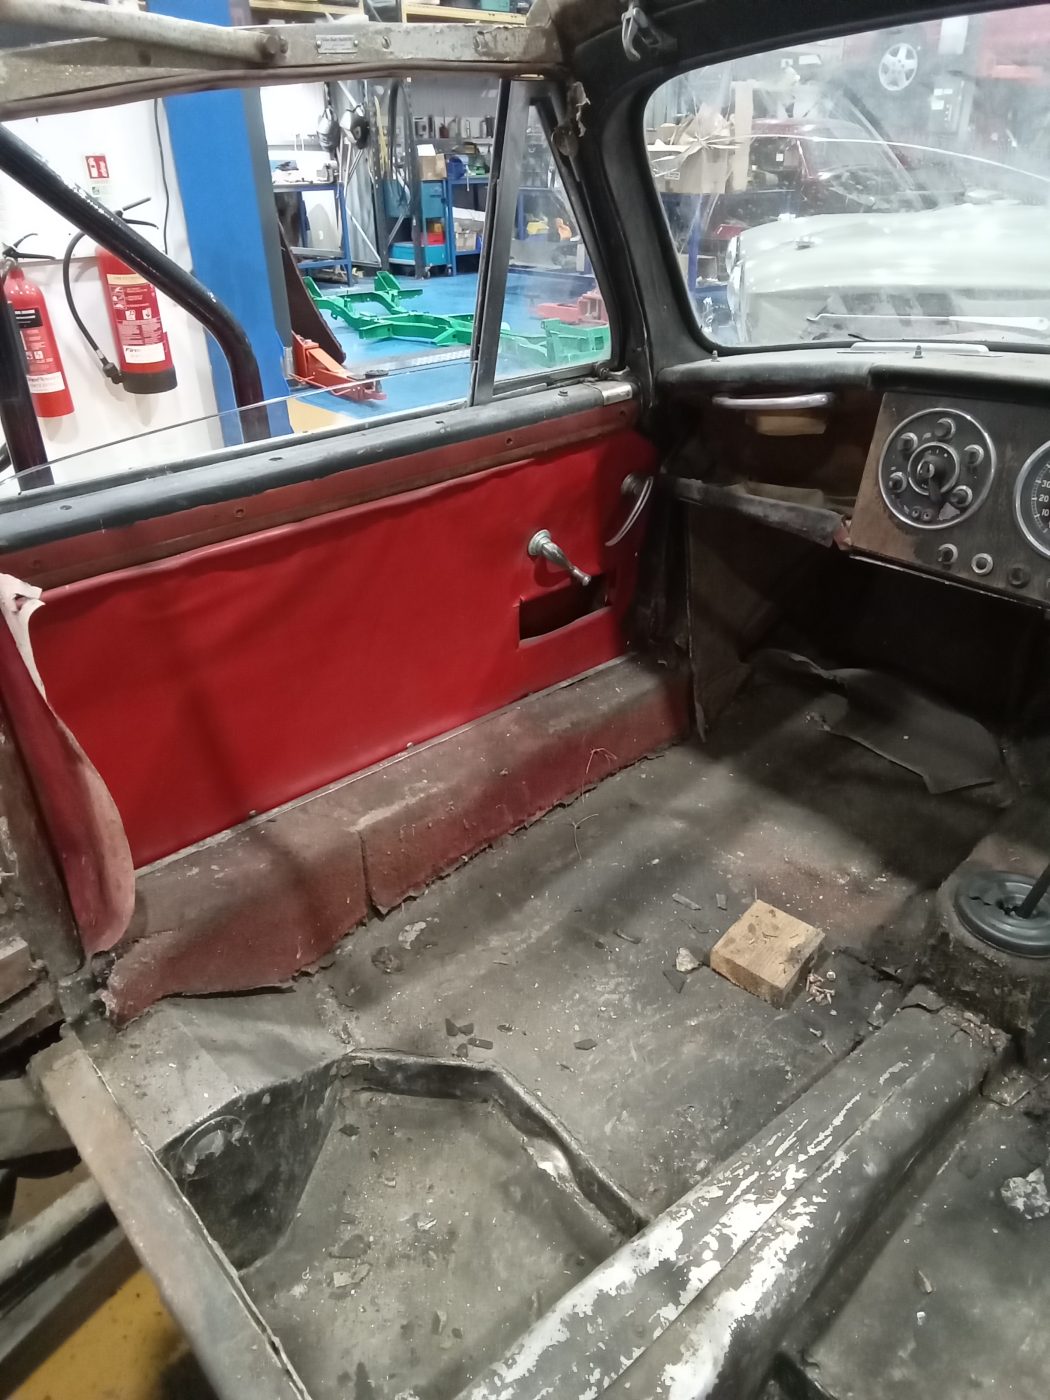
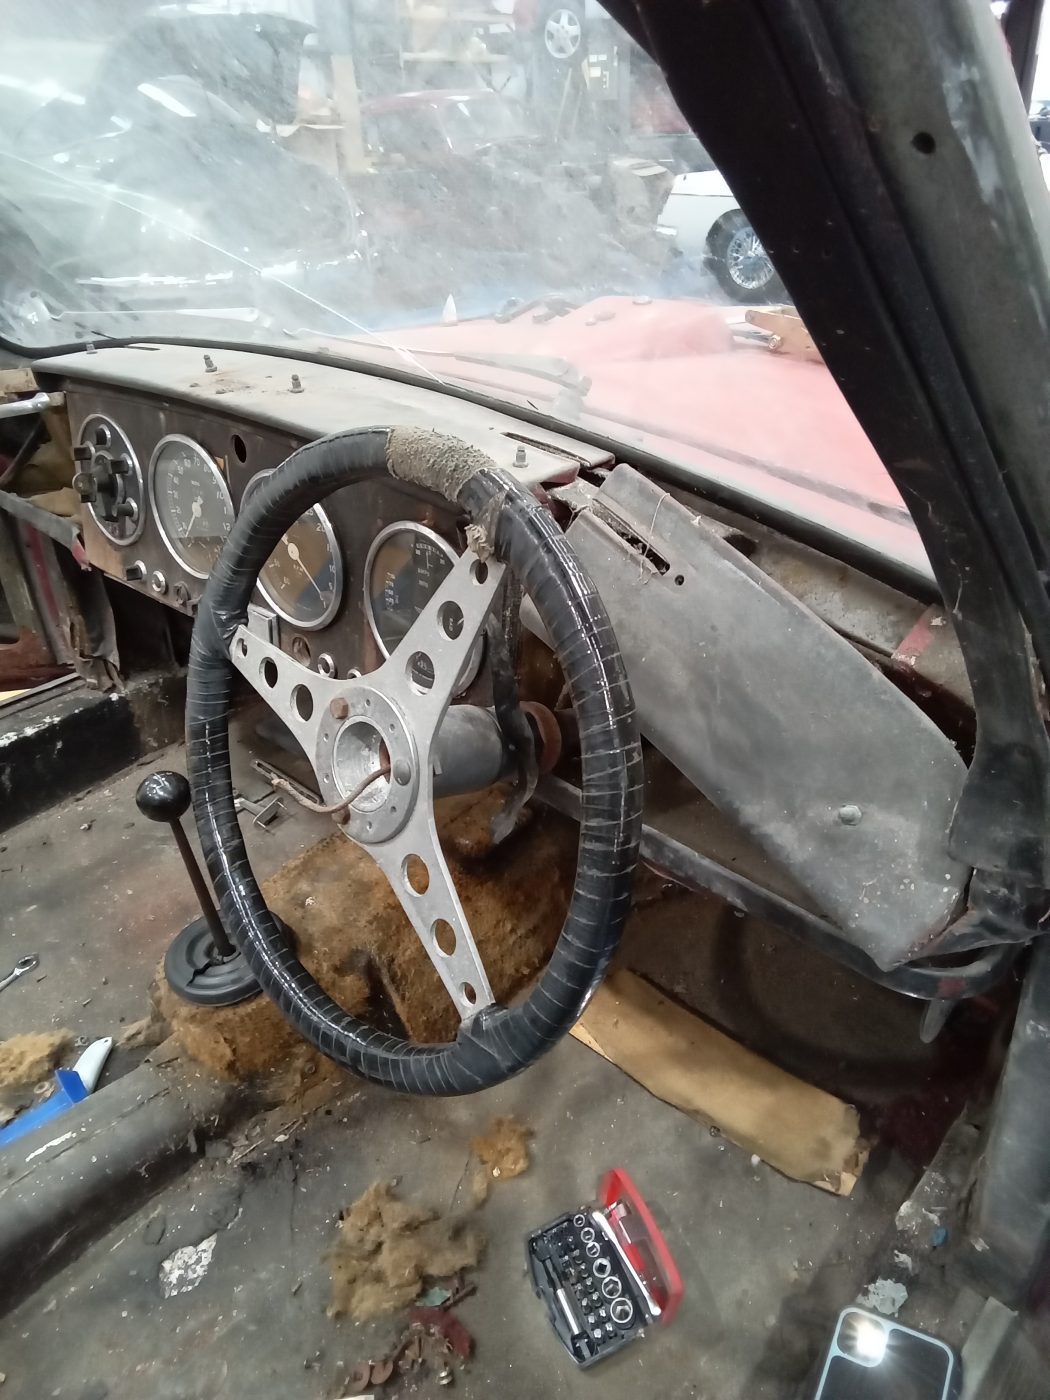
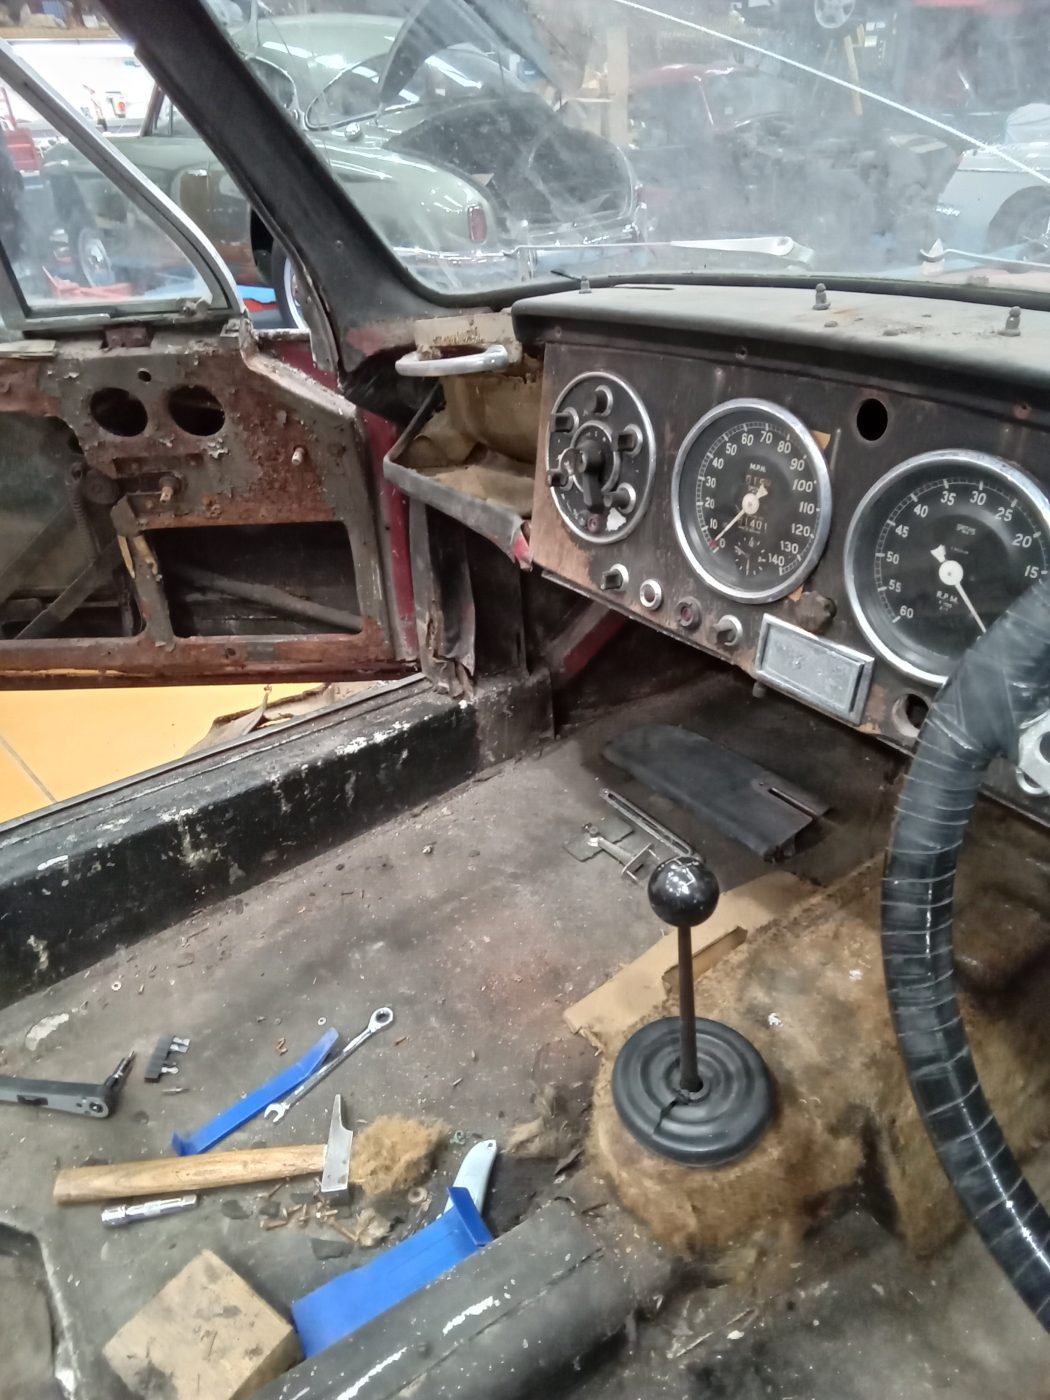
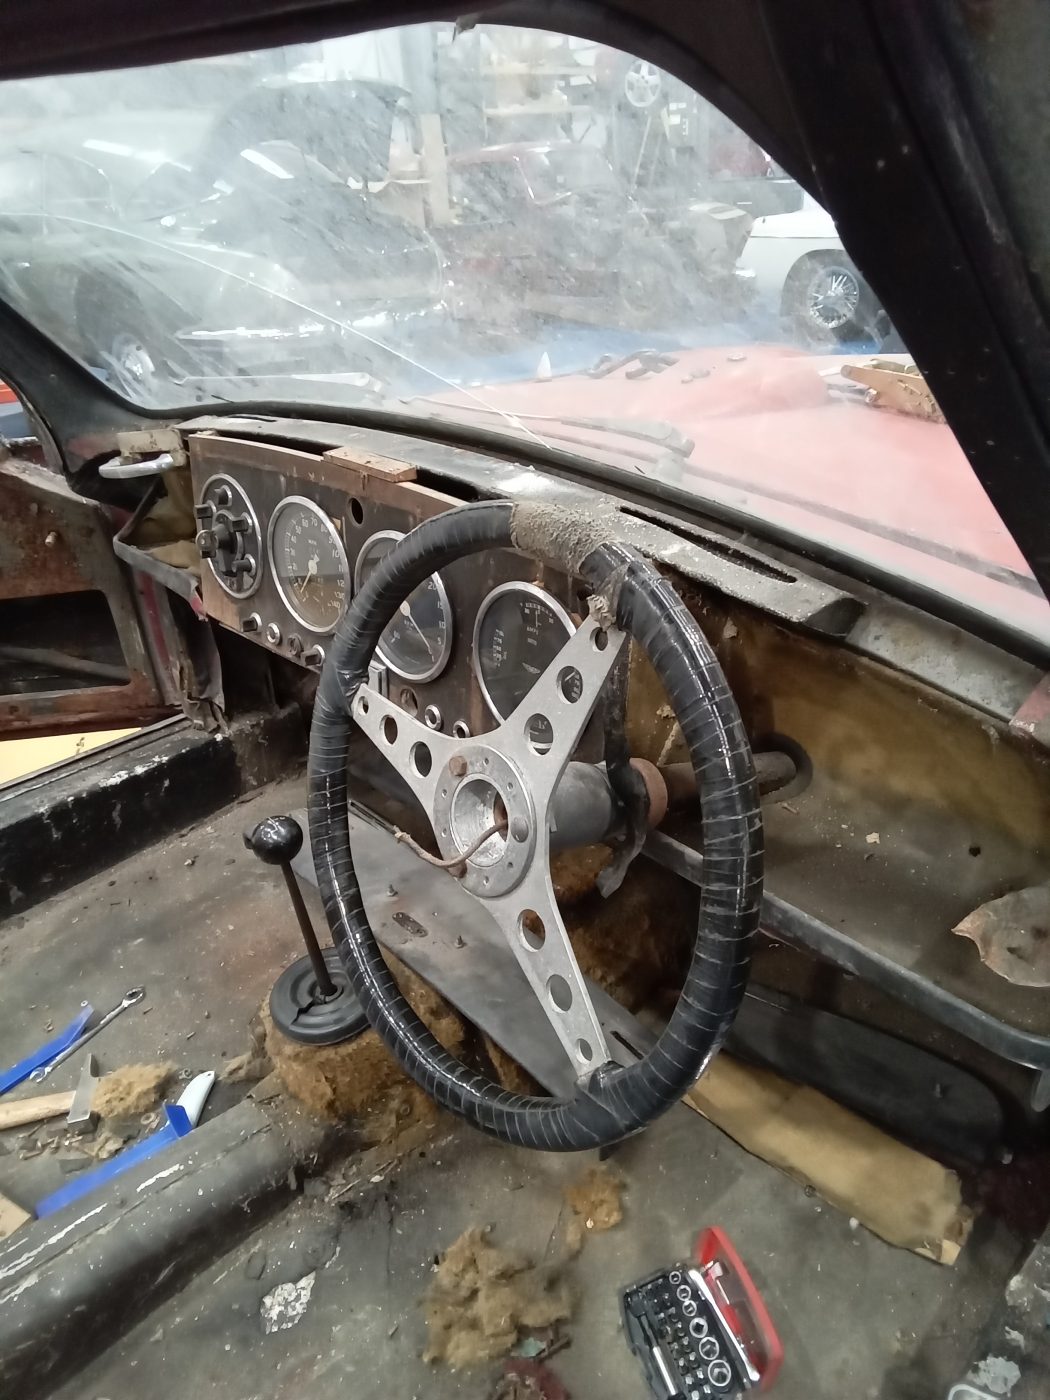
Both Paul and Lydia have been working on our 1956 Jensen 541.
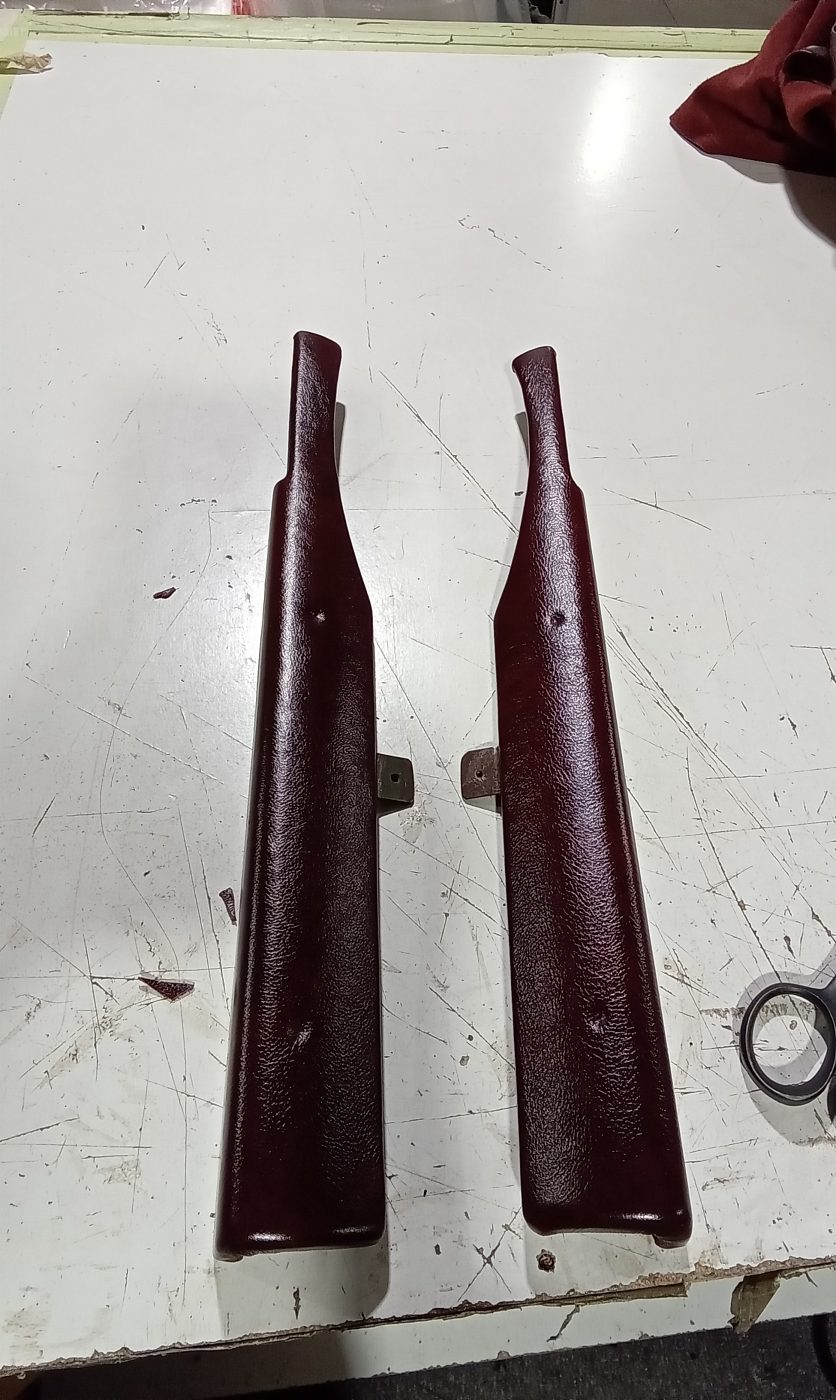
Once Paul had changed over the rear suspension leaf springs to the correct ones, he carried on fitting the door trim.
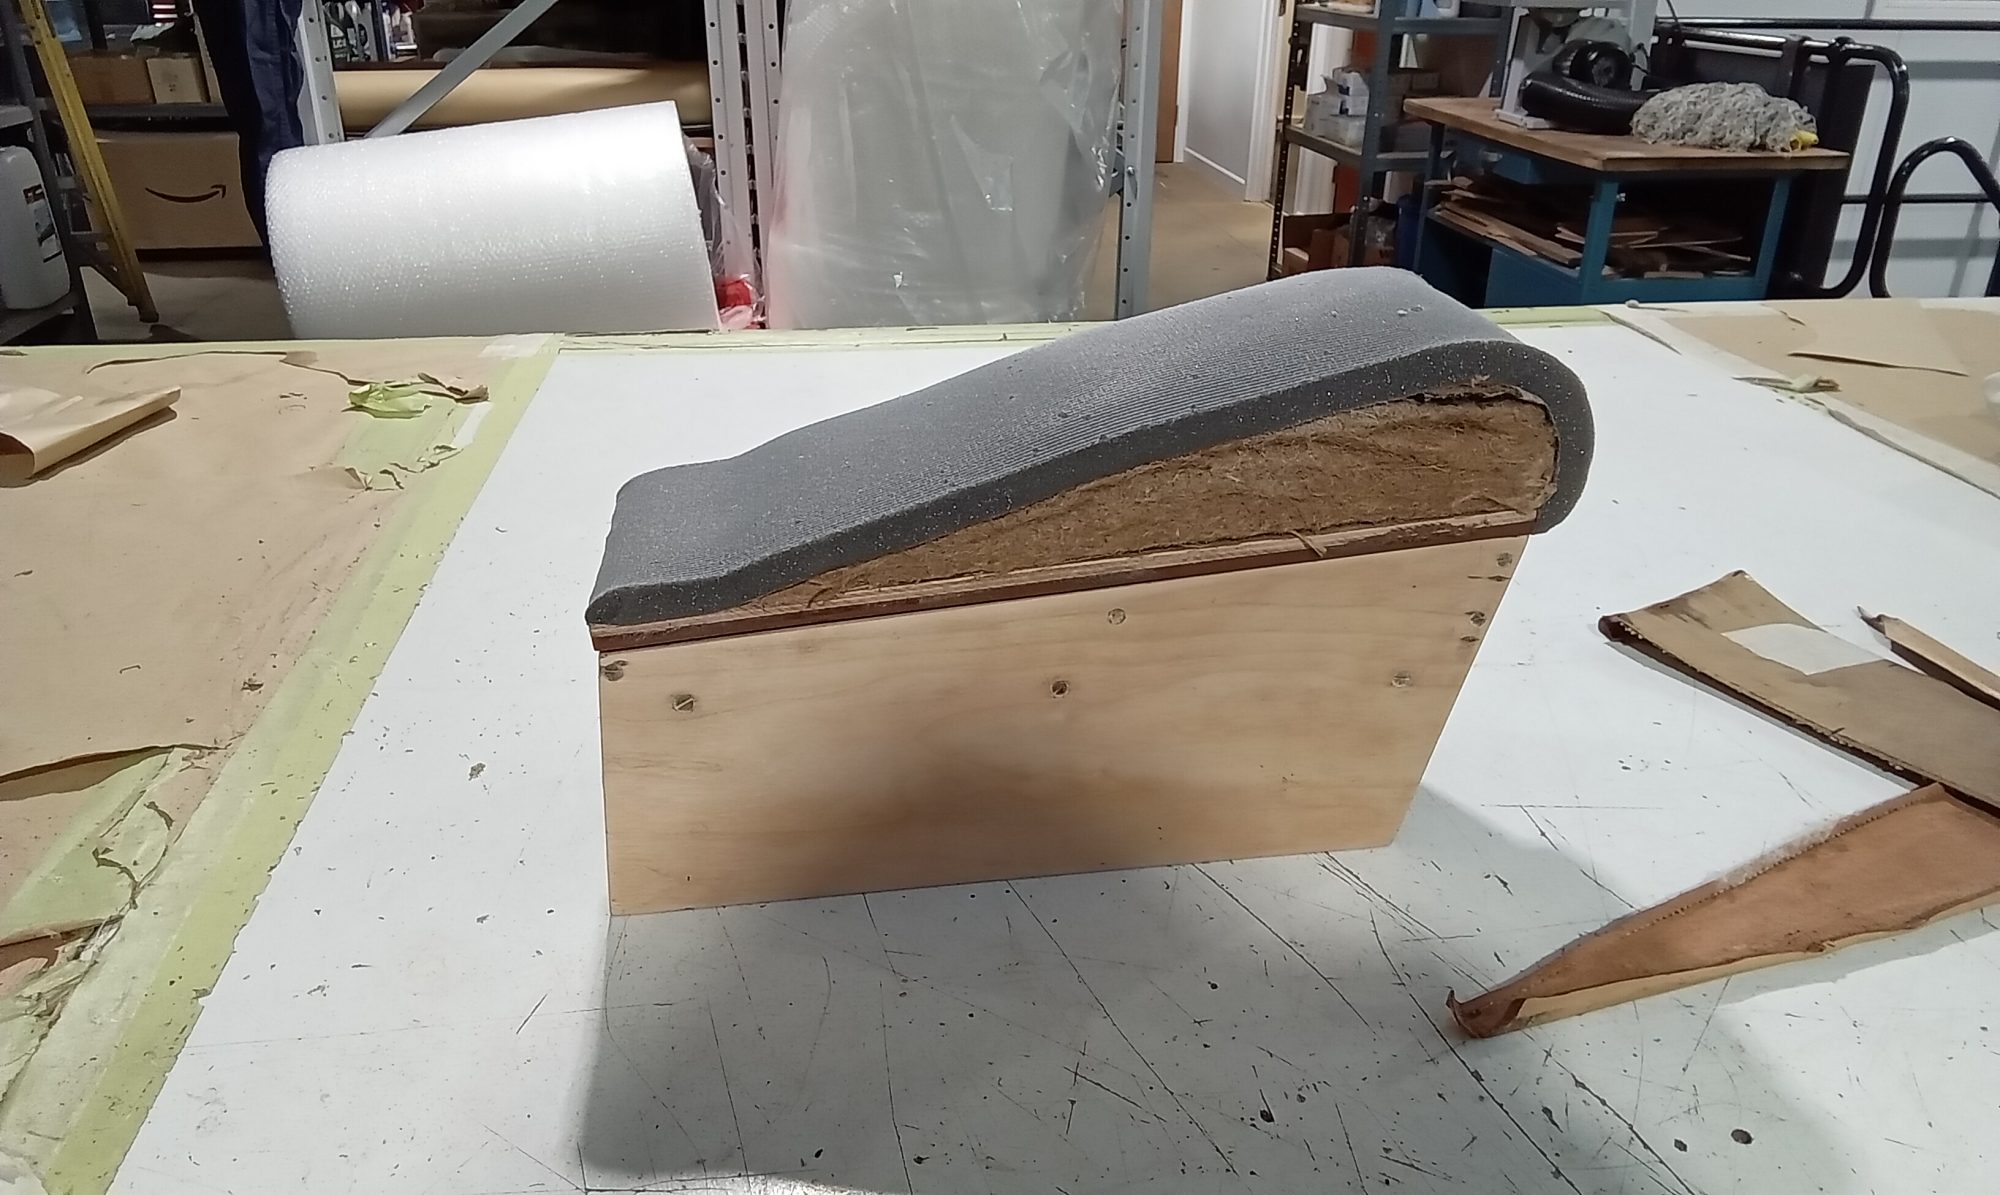
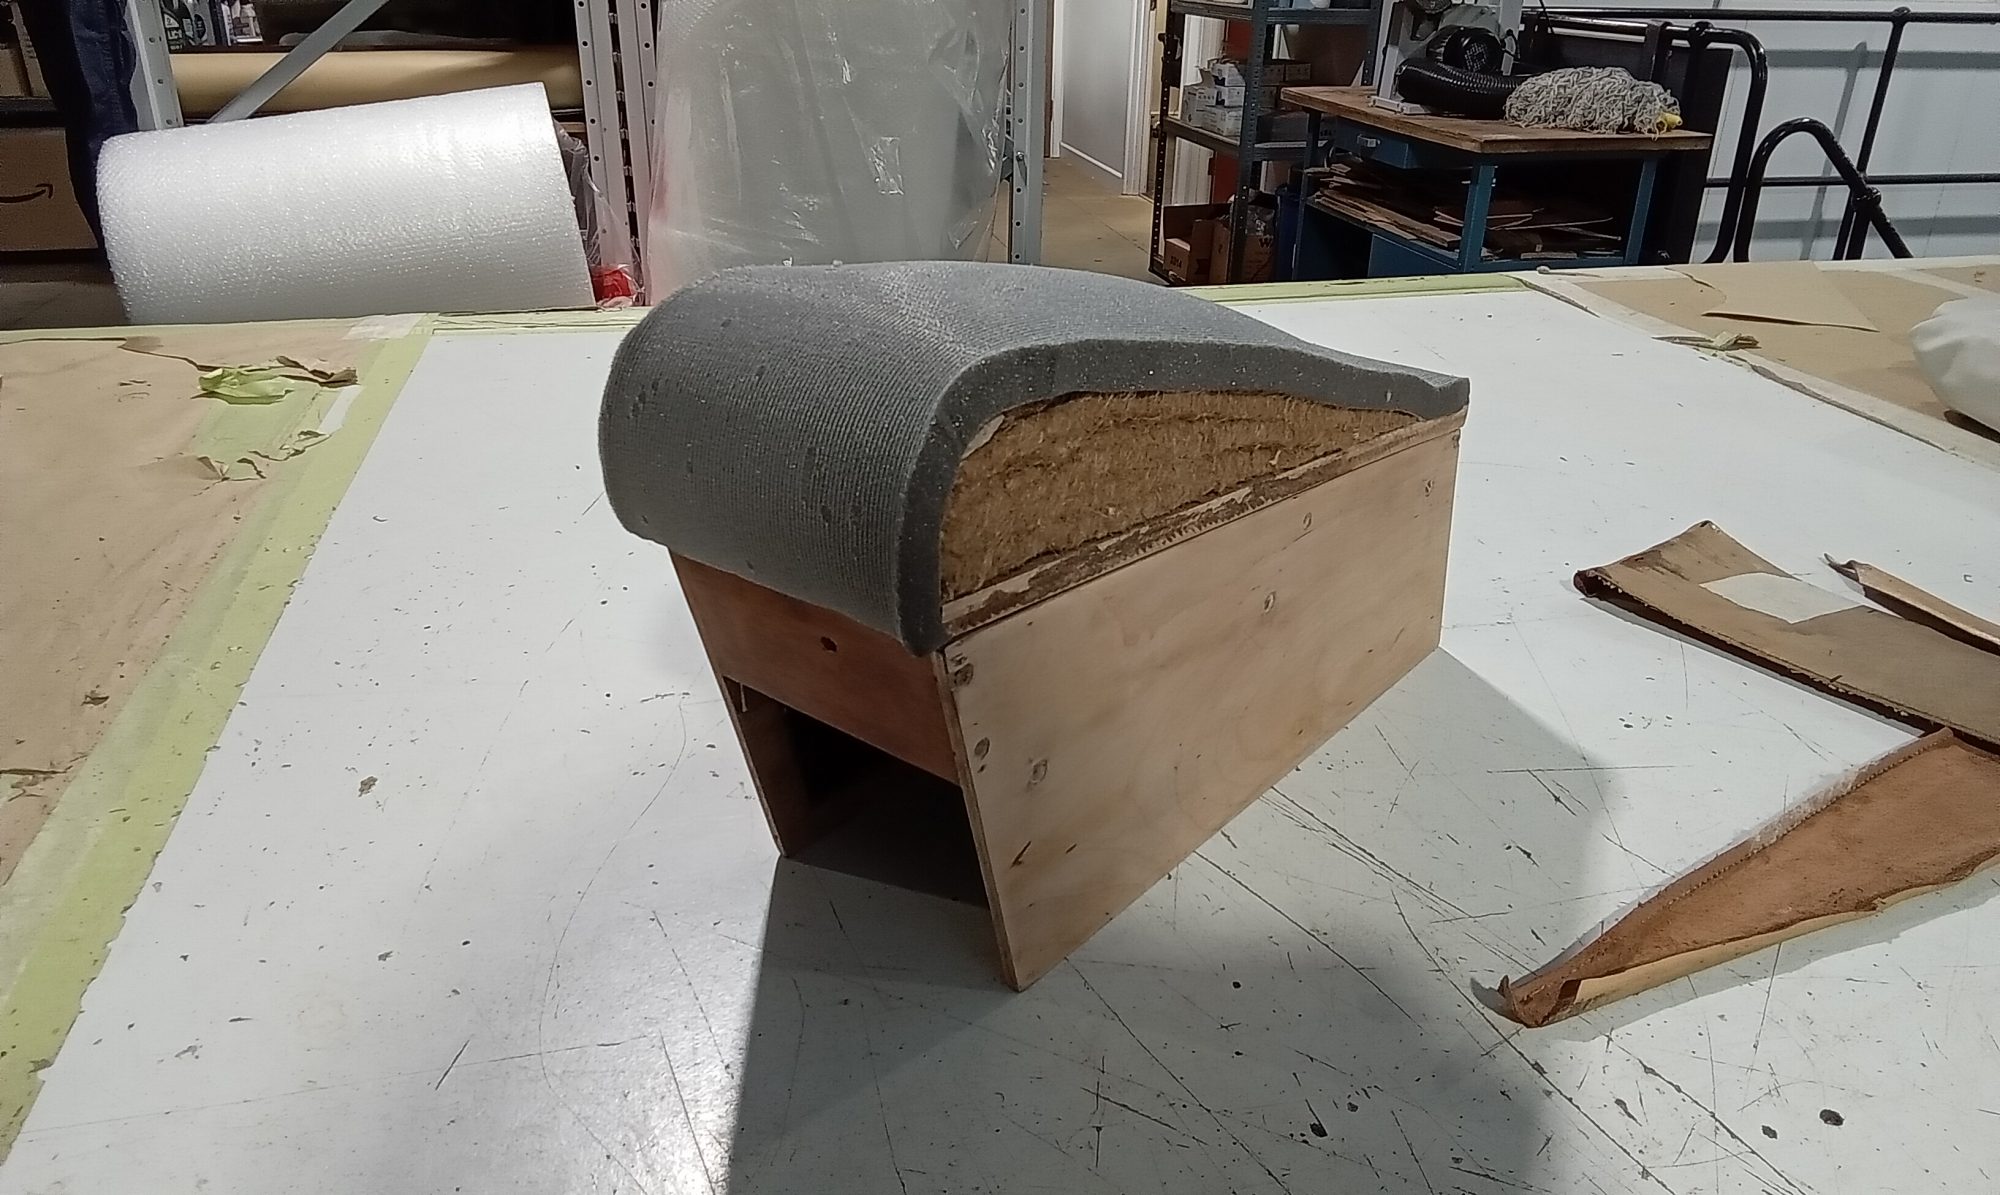
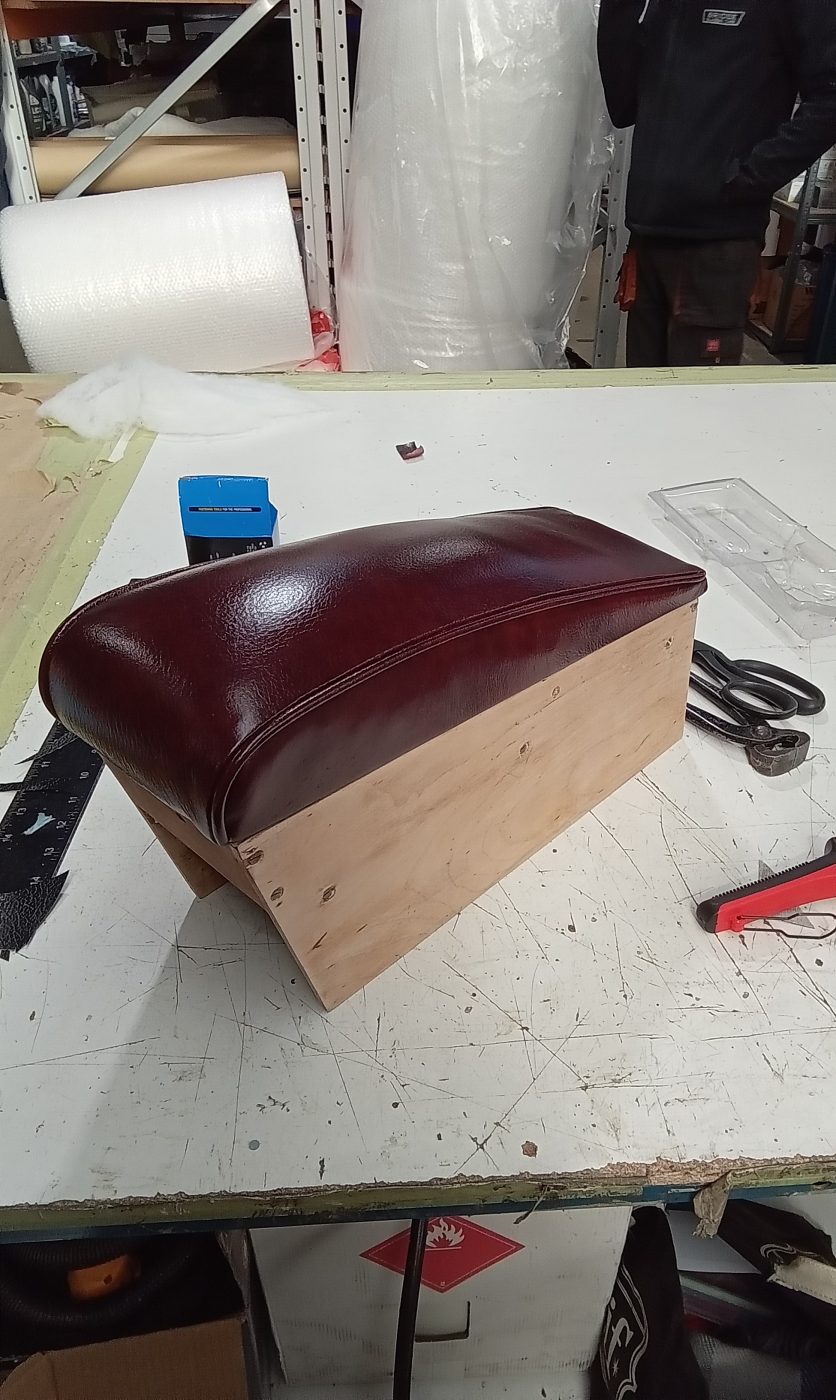
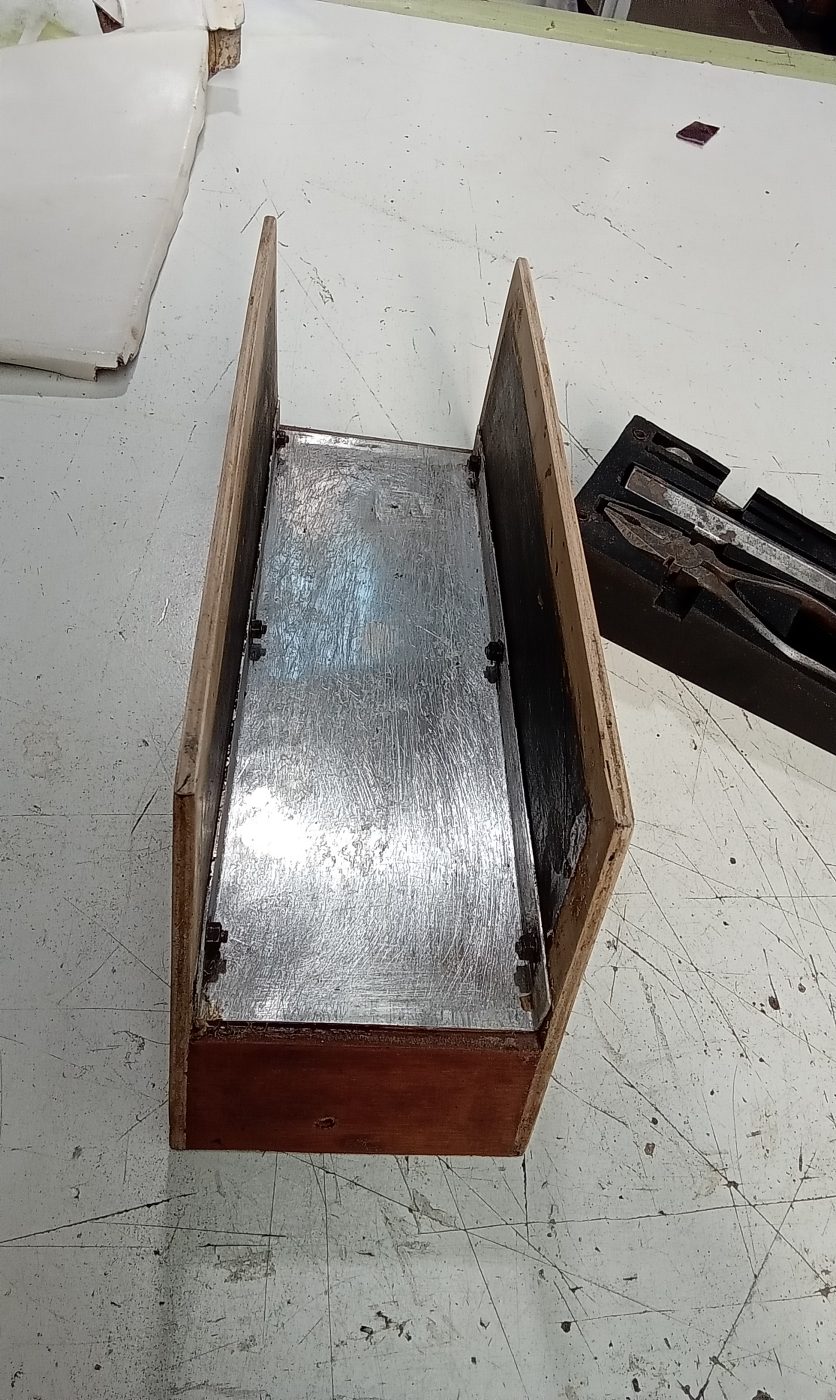
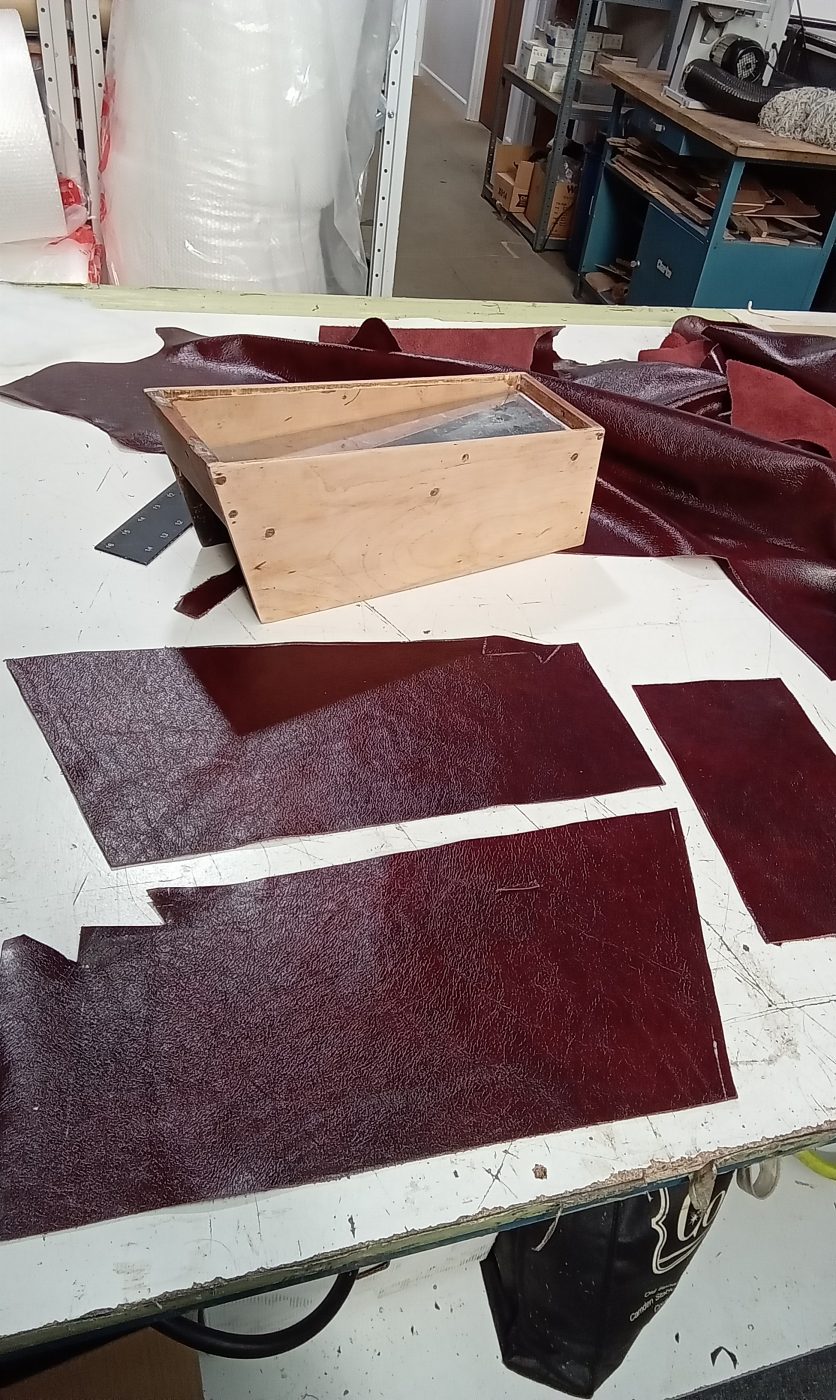
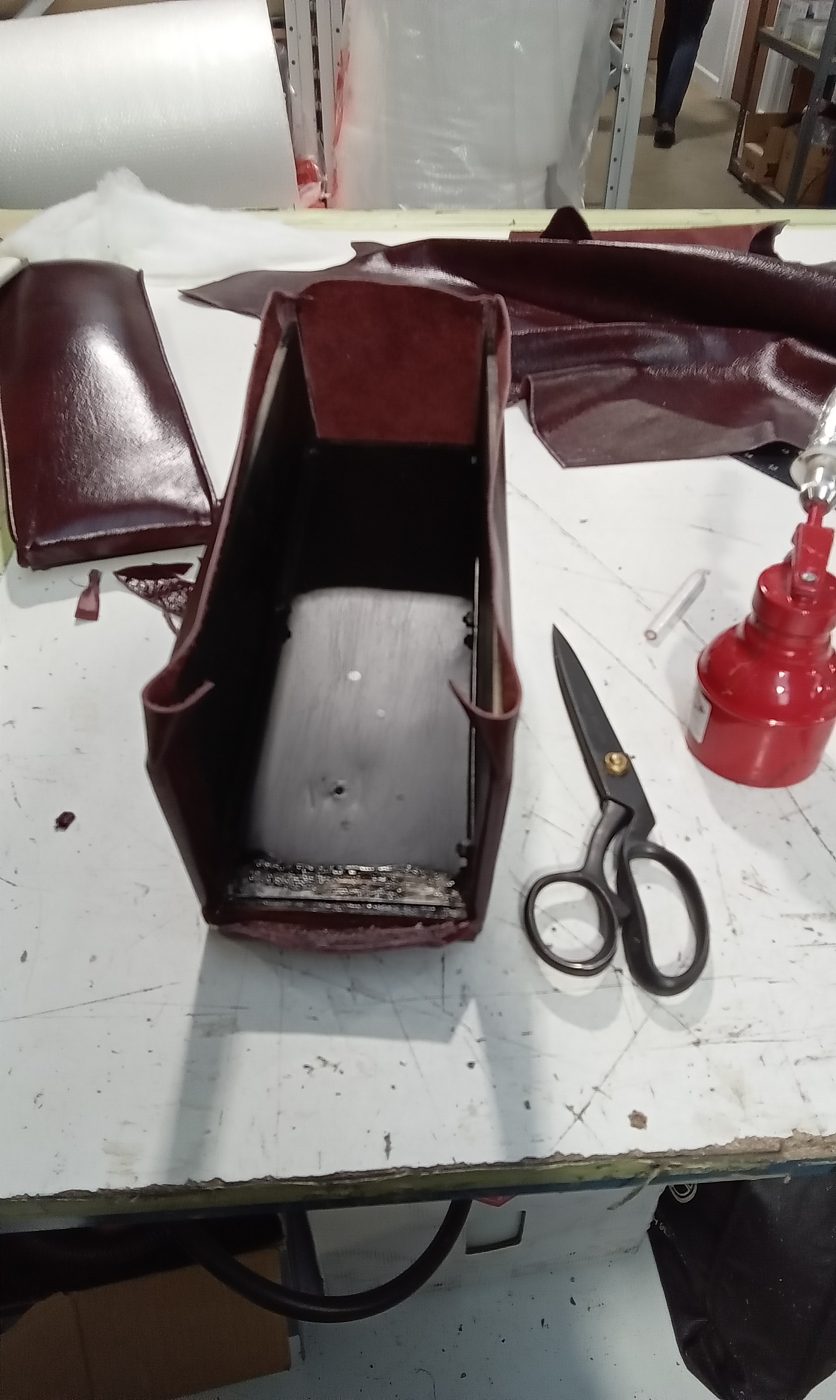
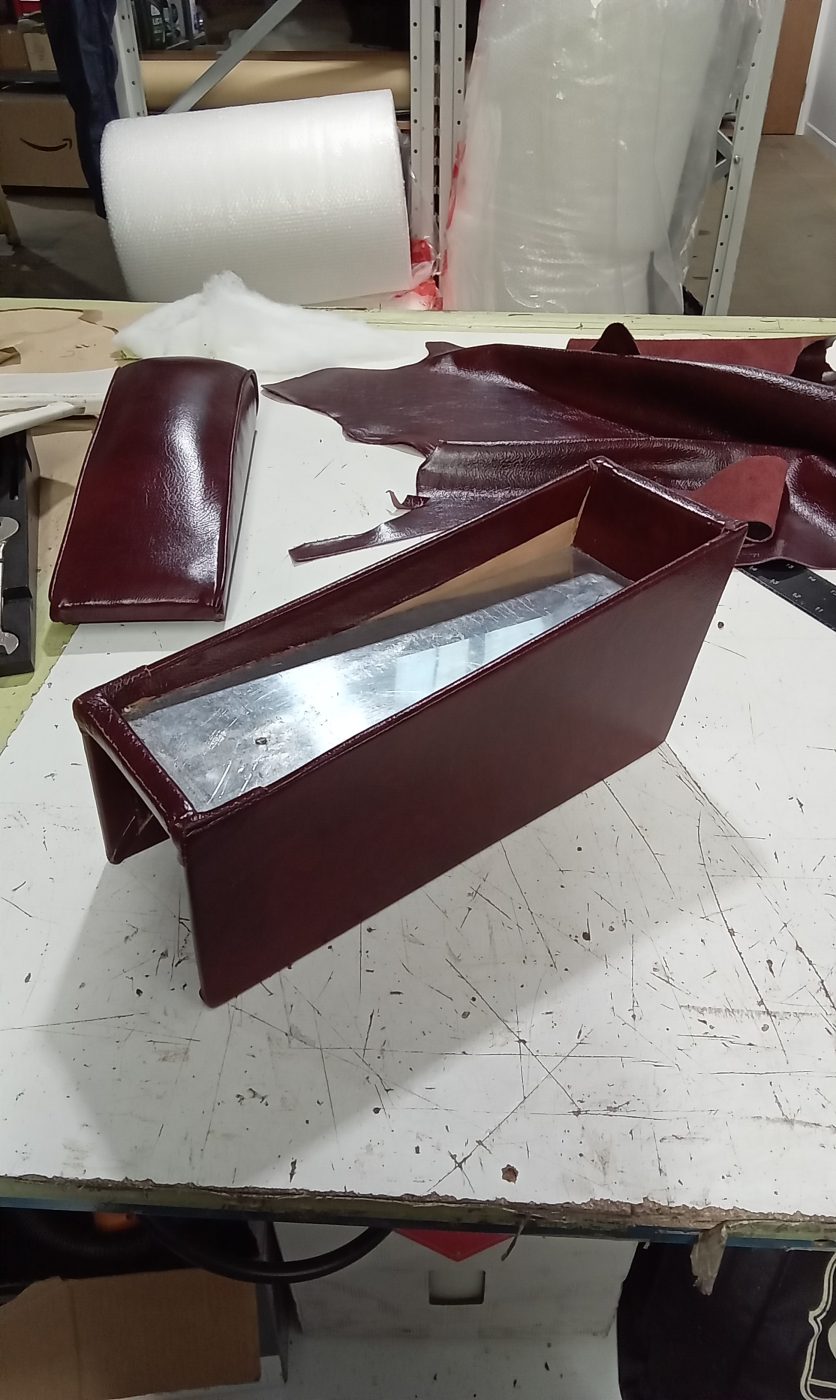
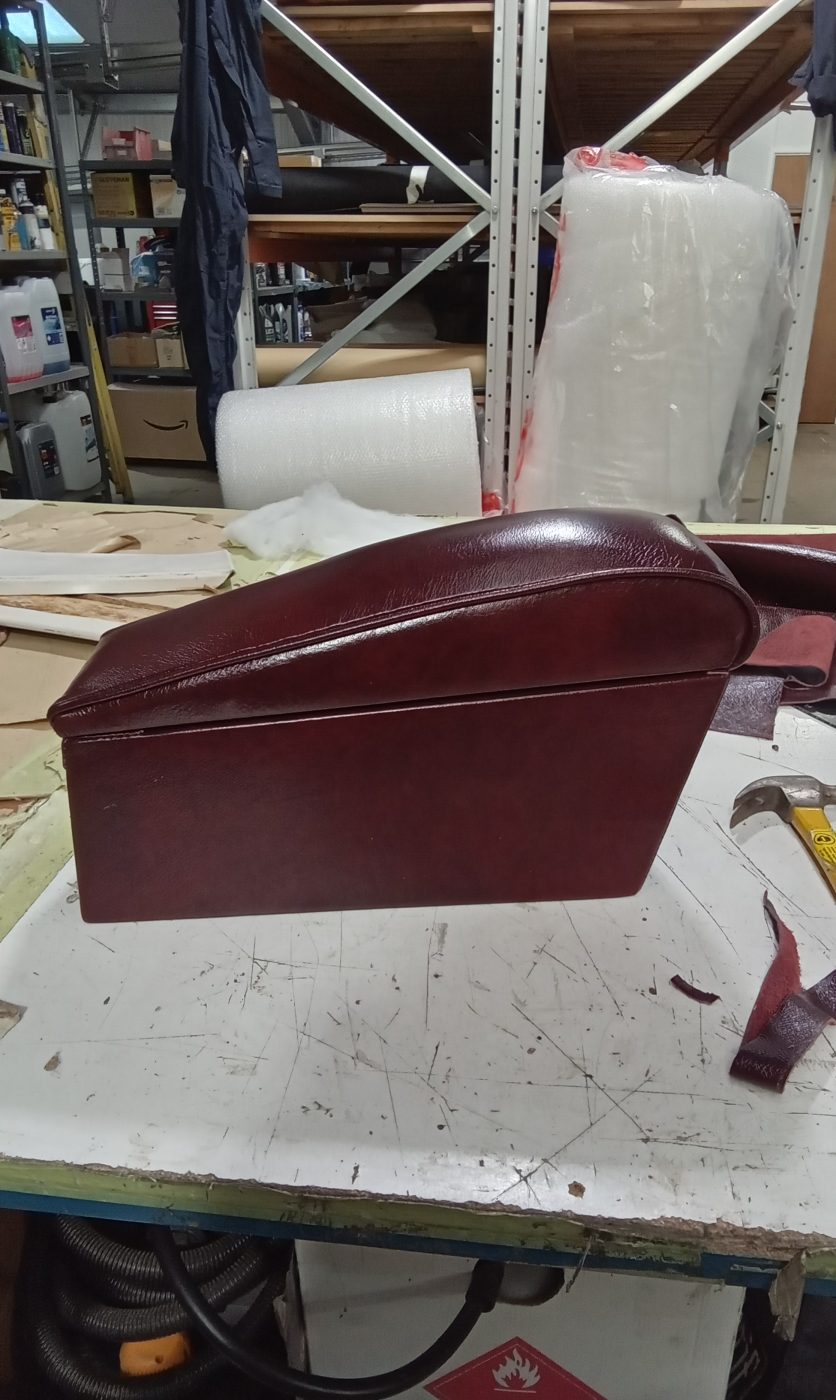
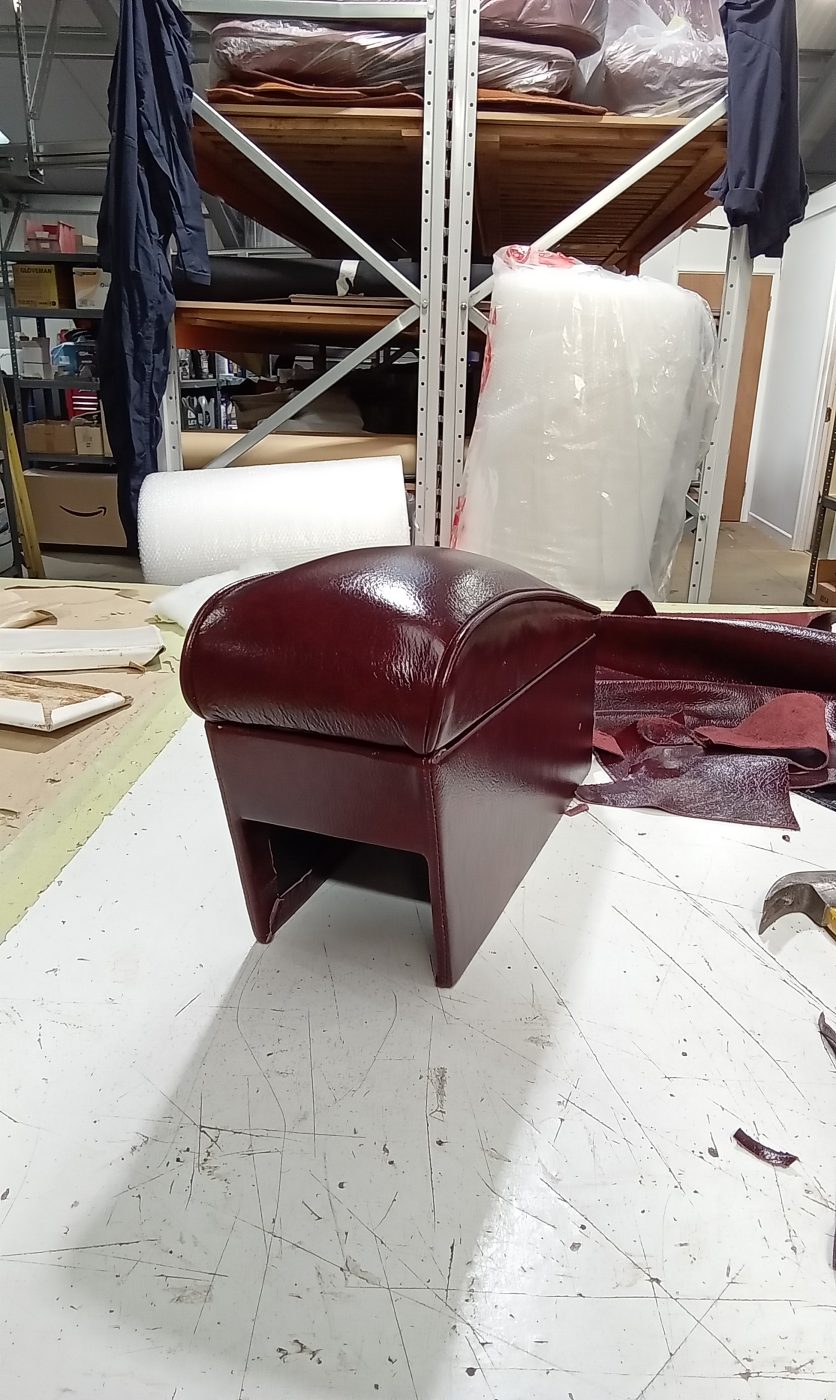
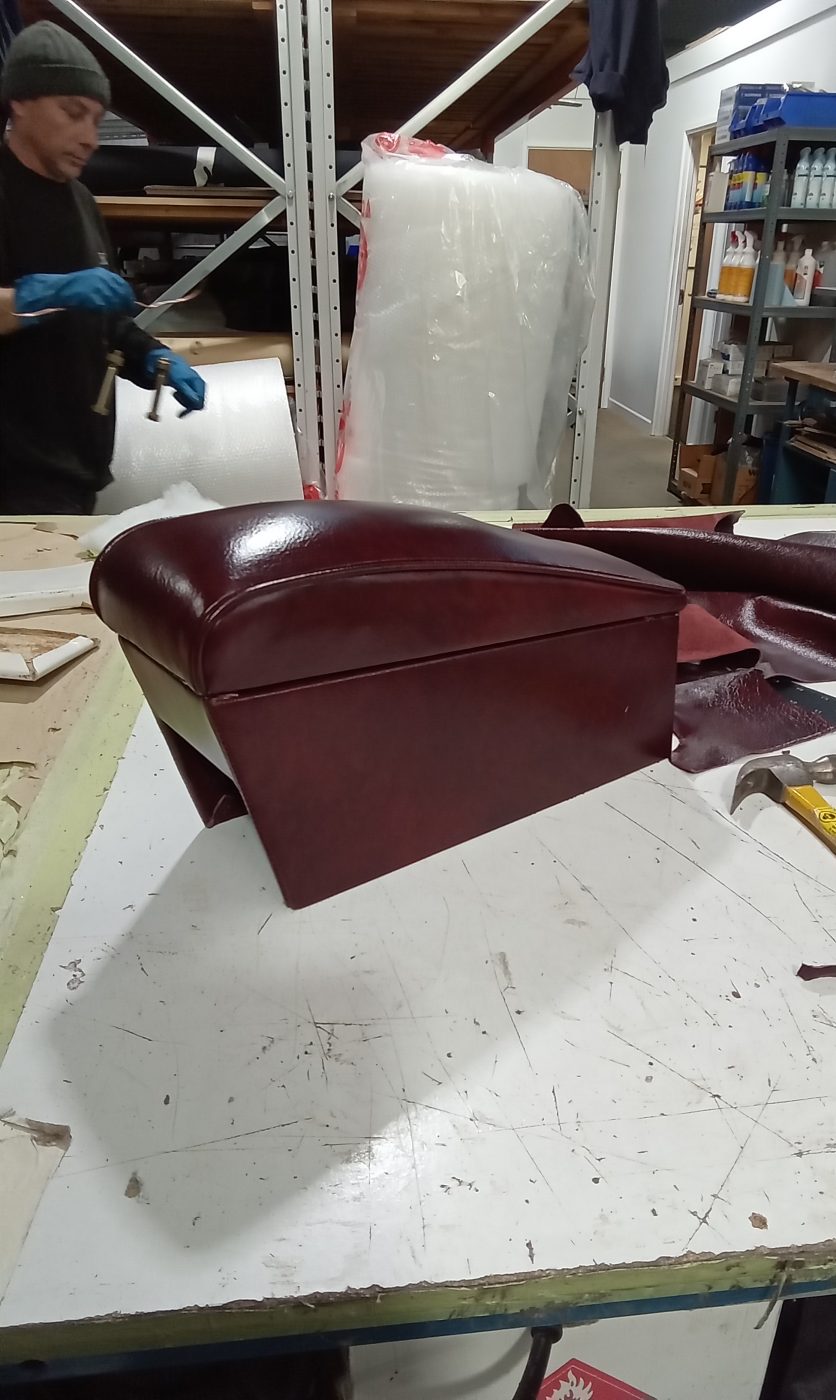
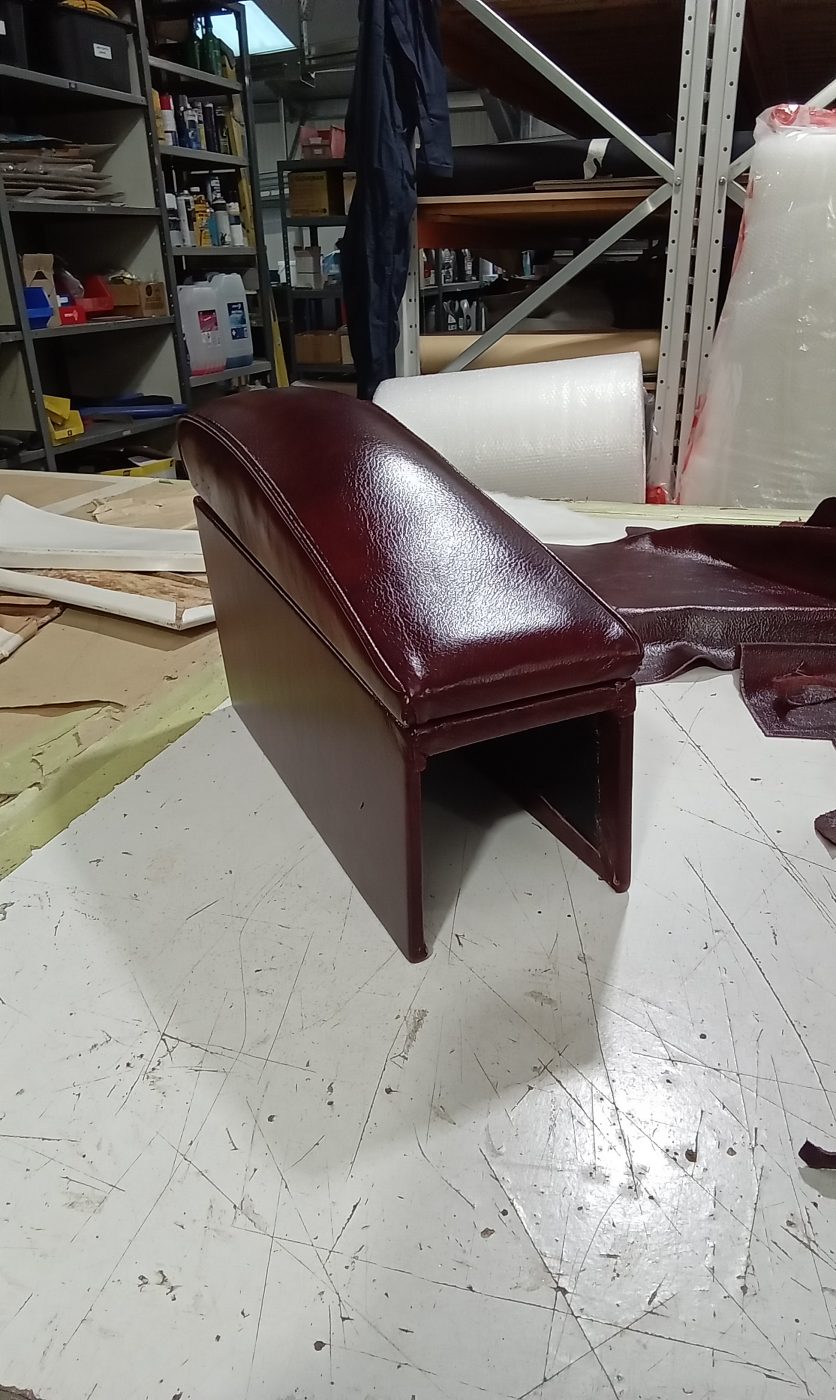
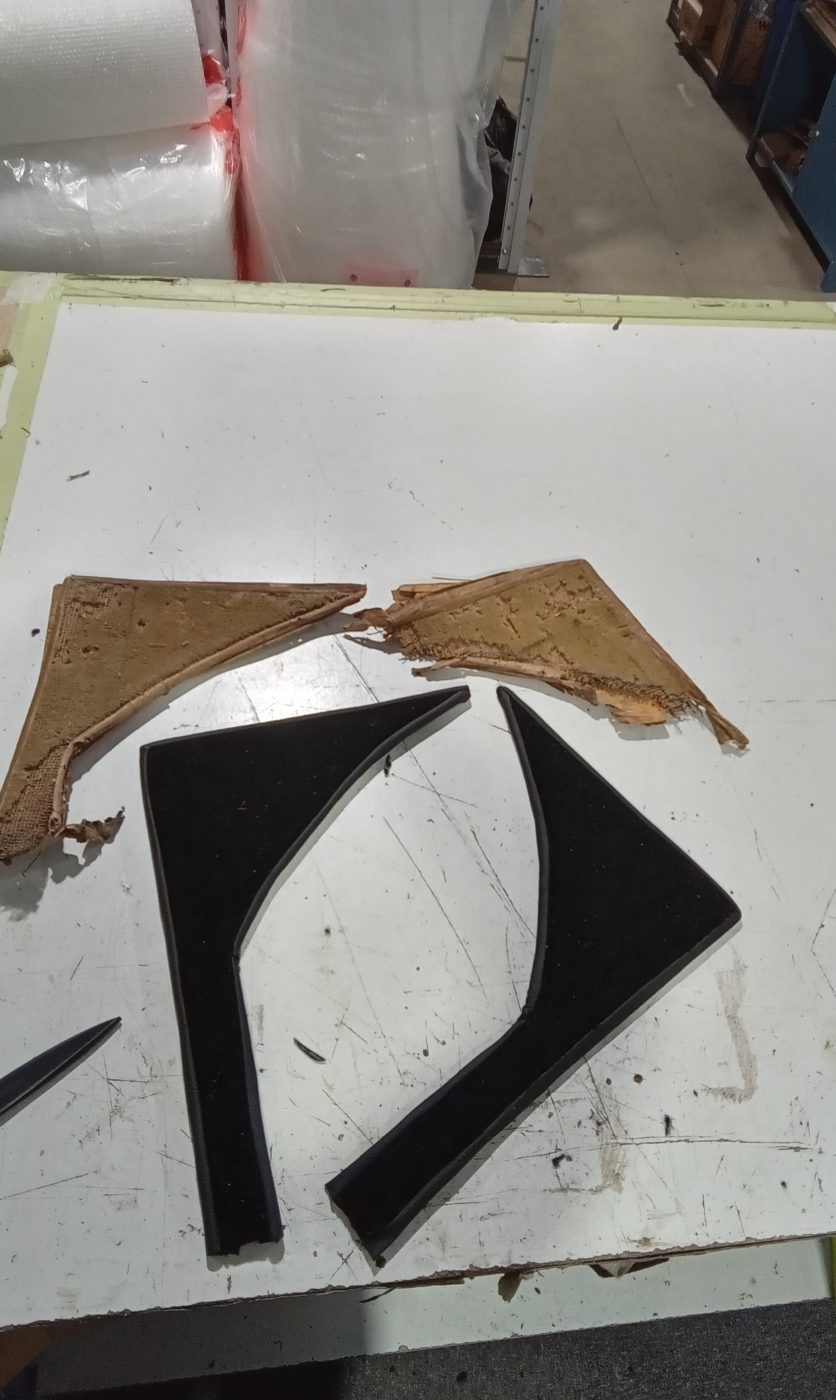
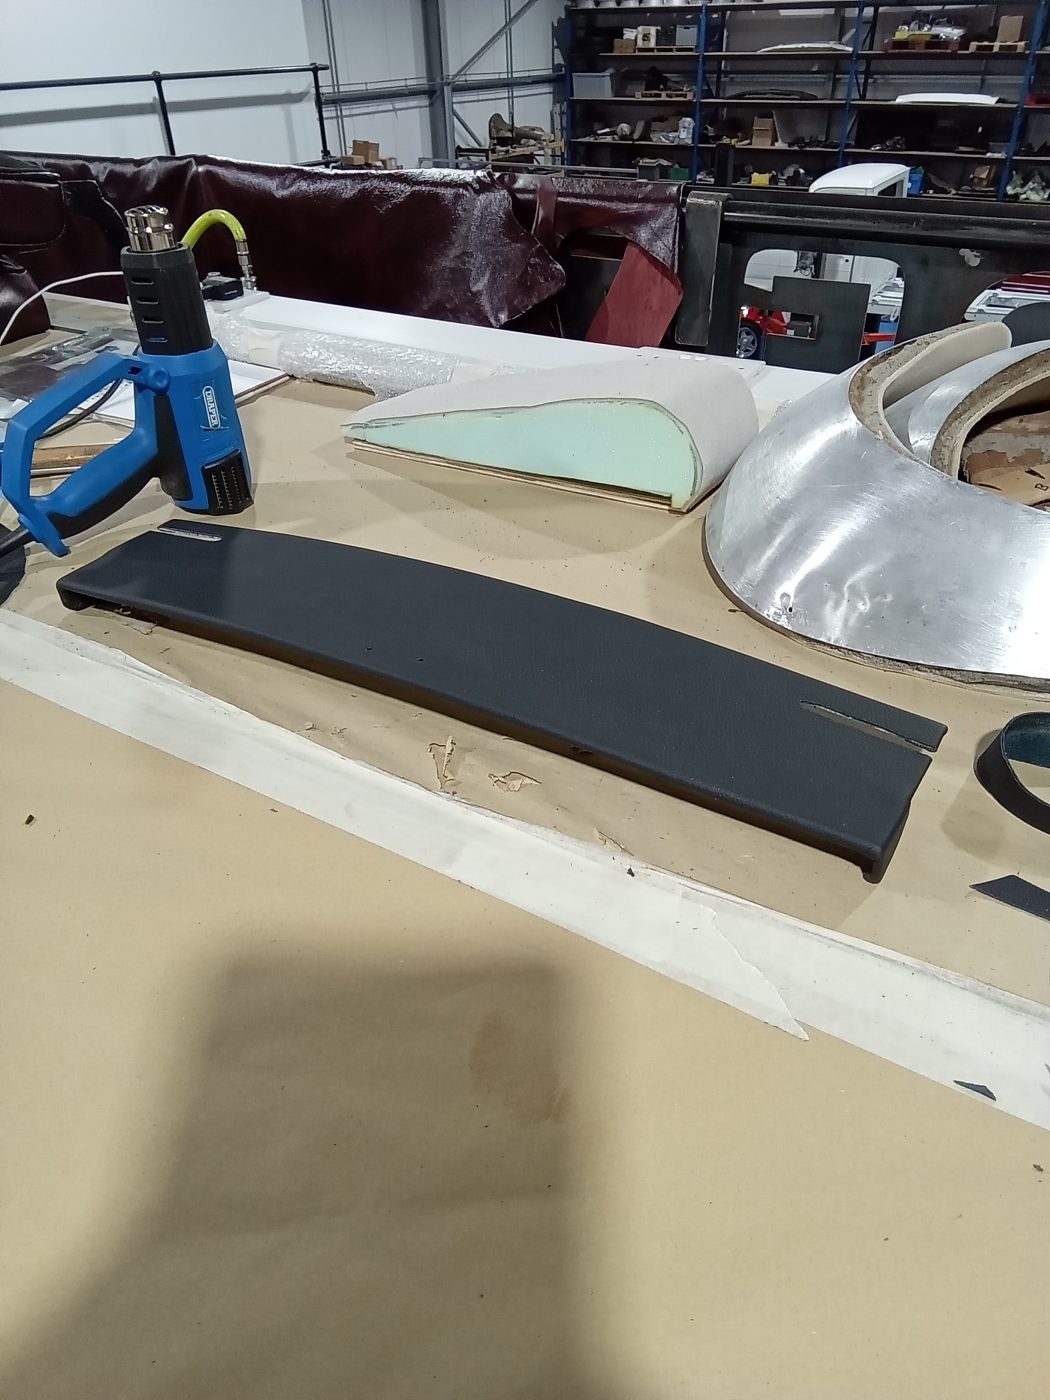
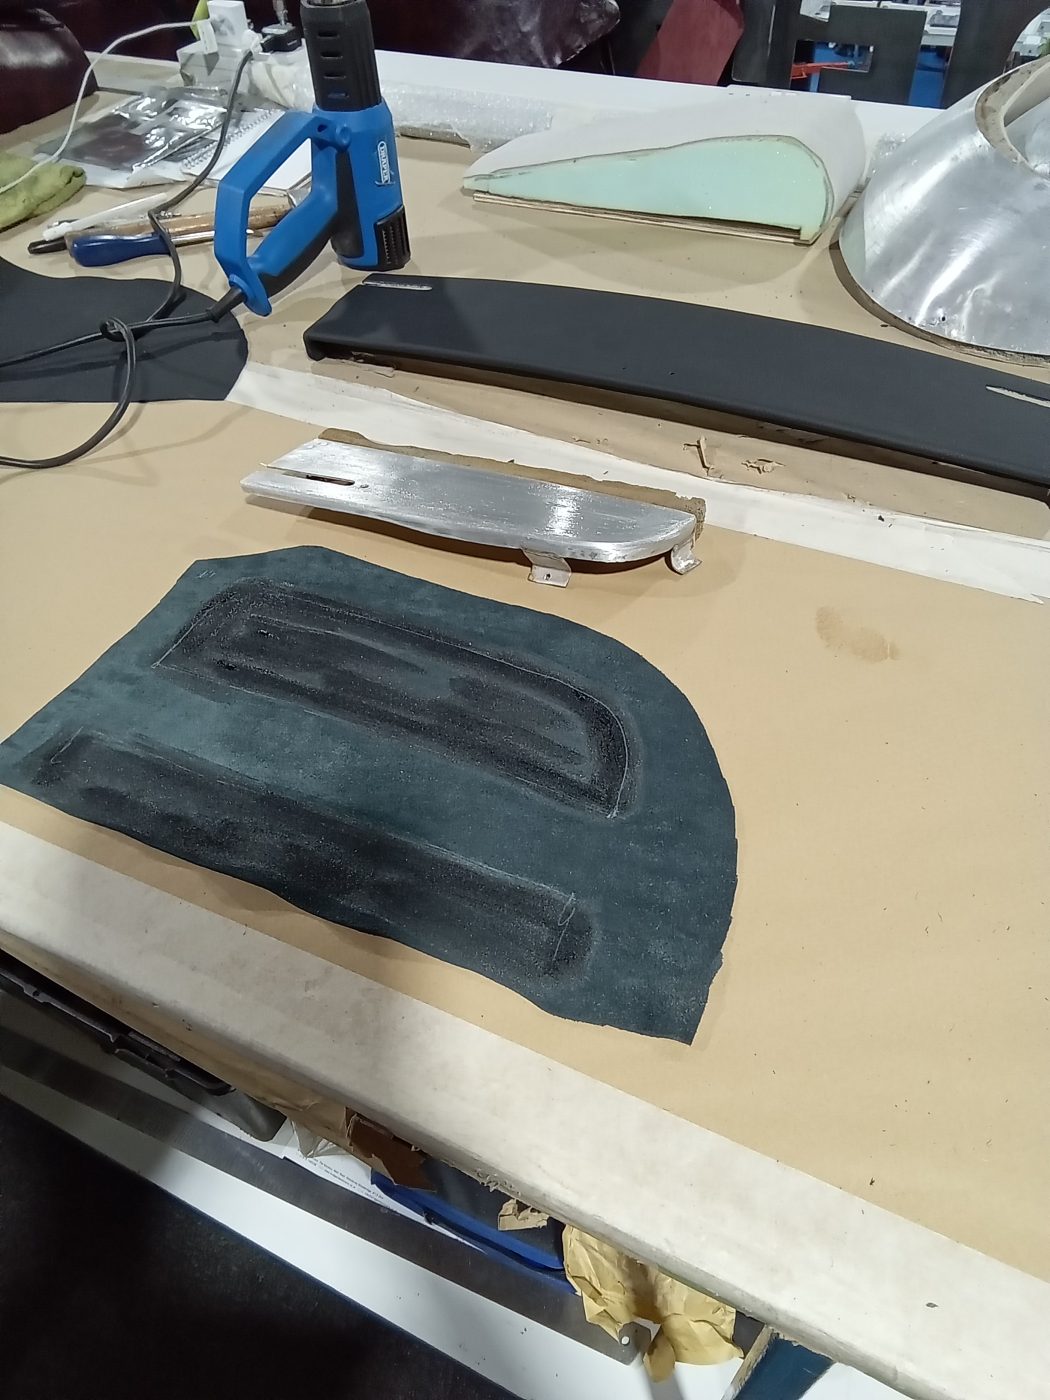
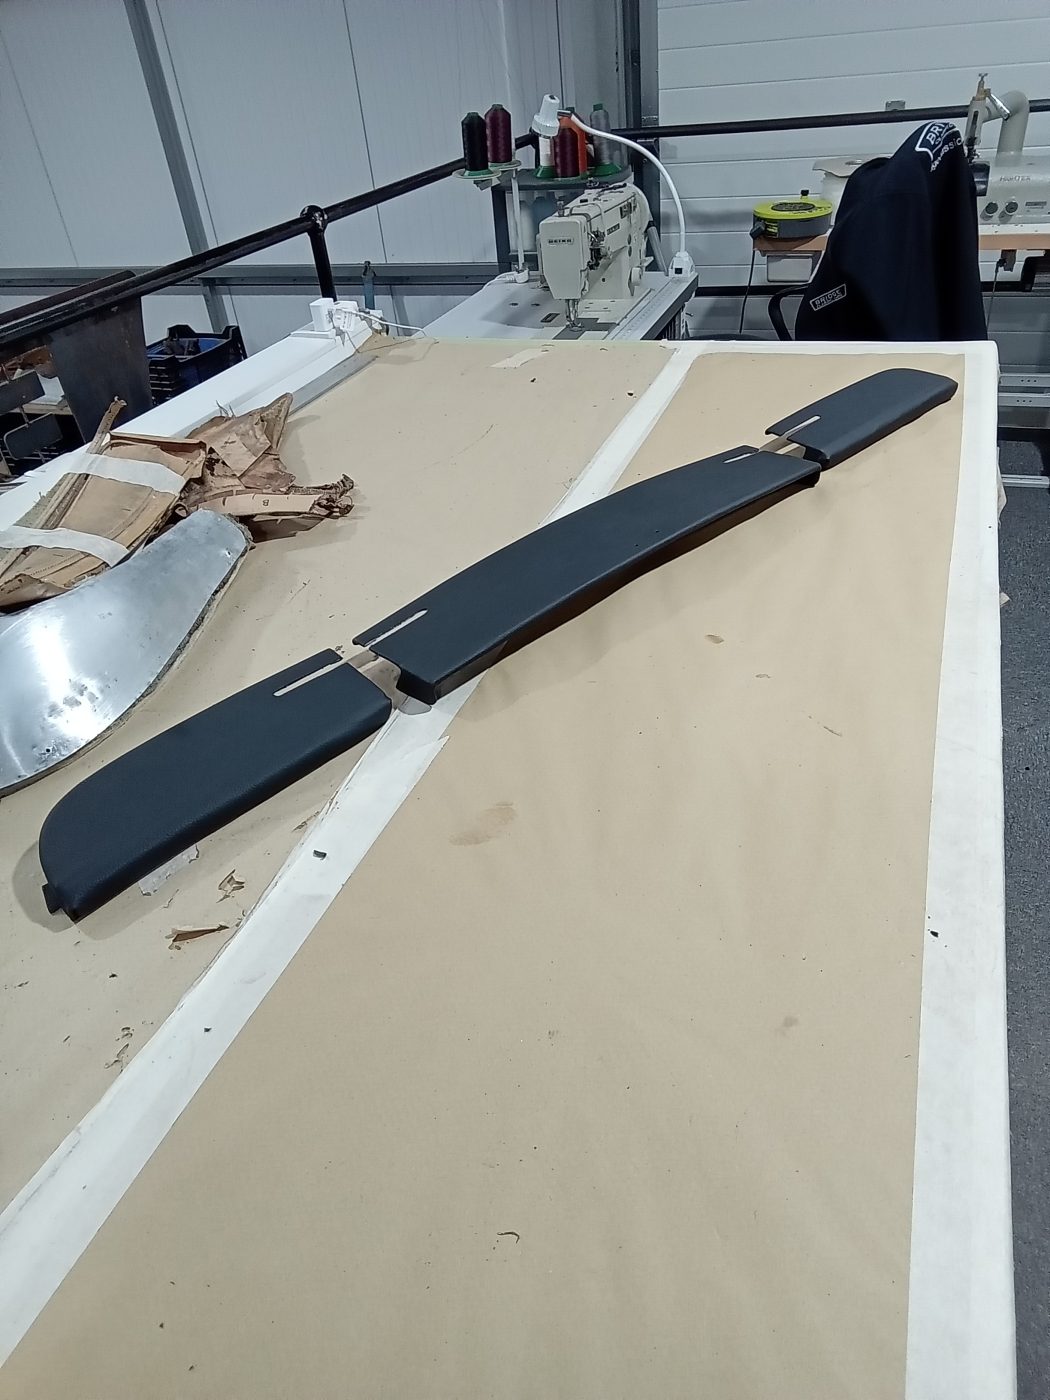
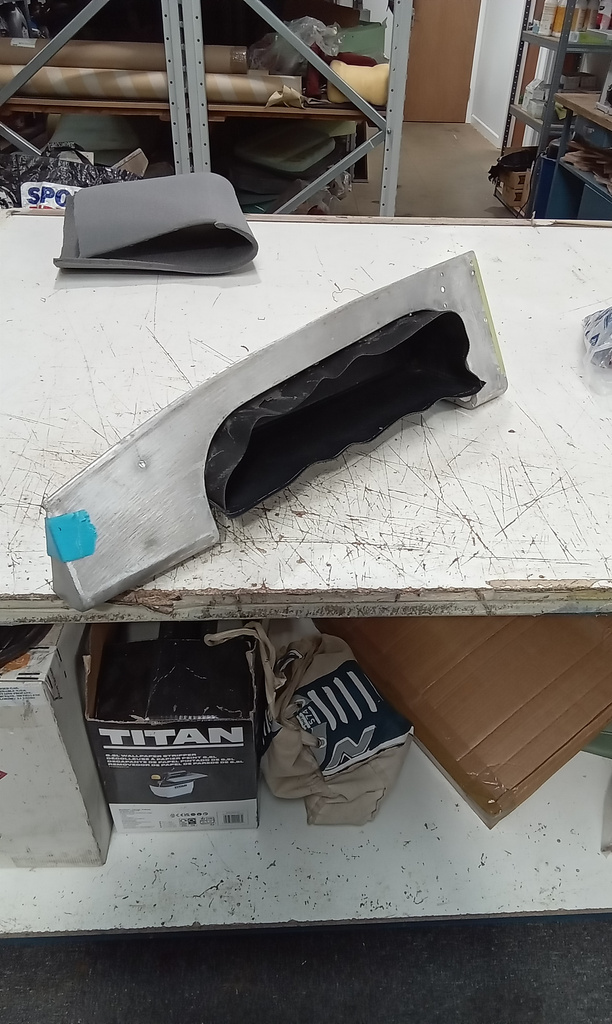
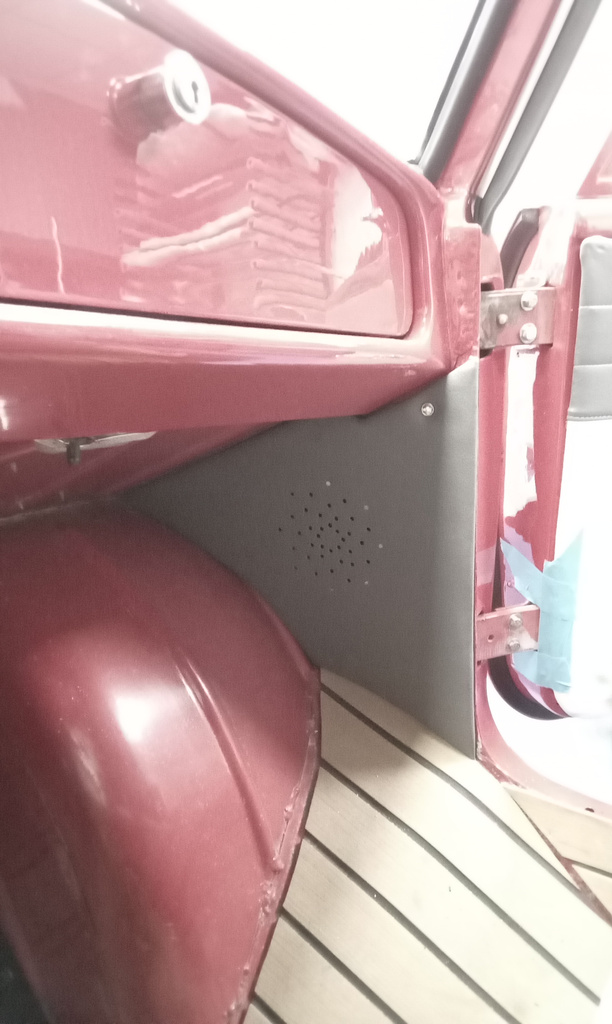
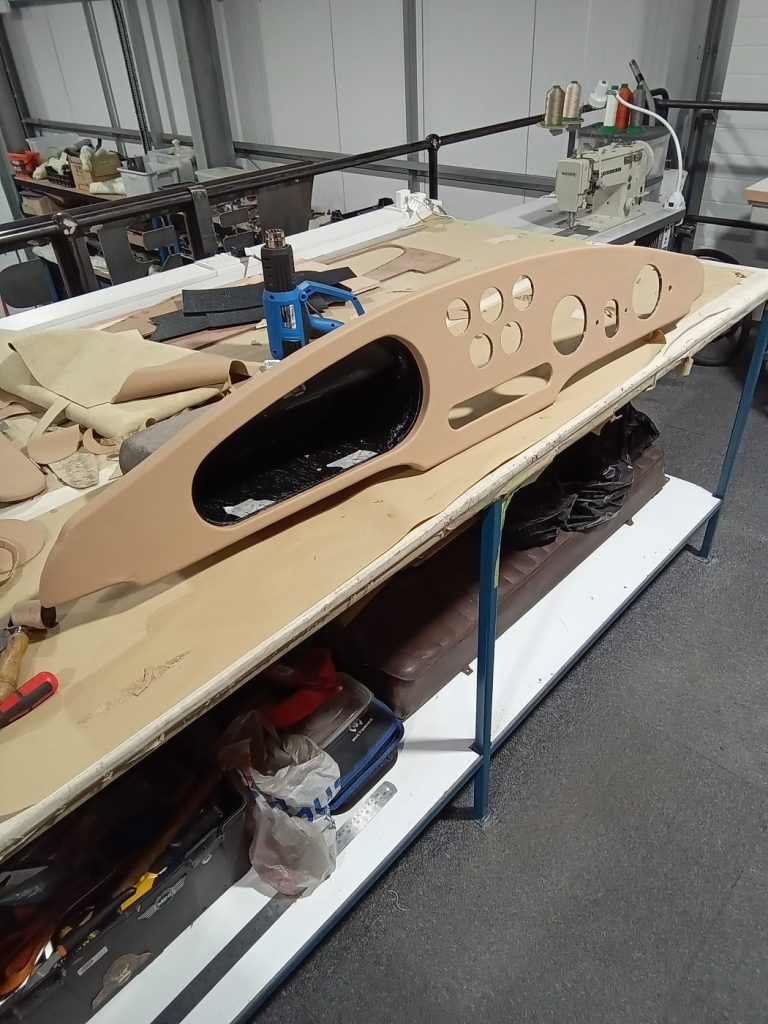
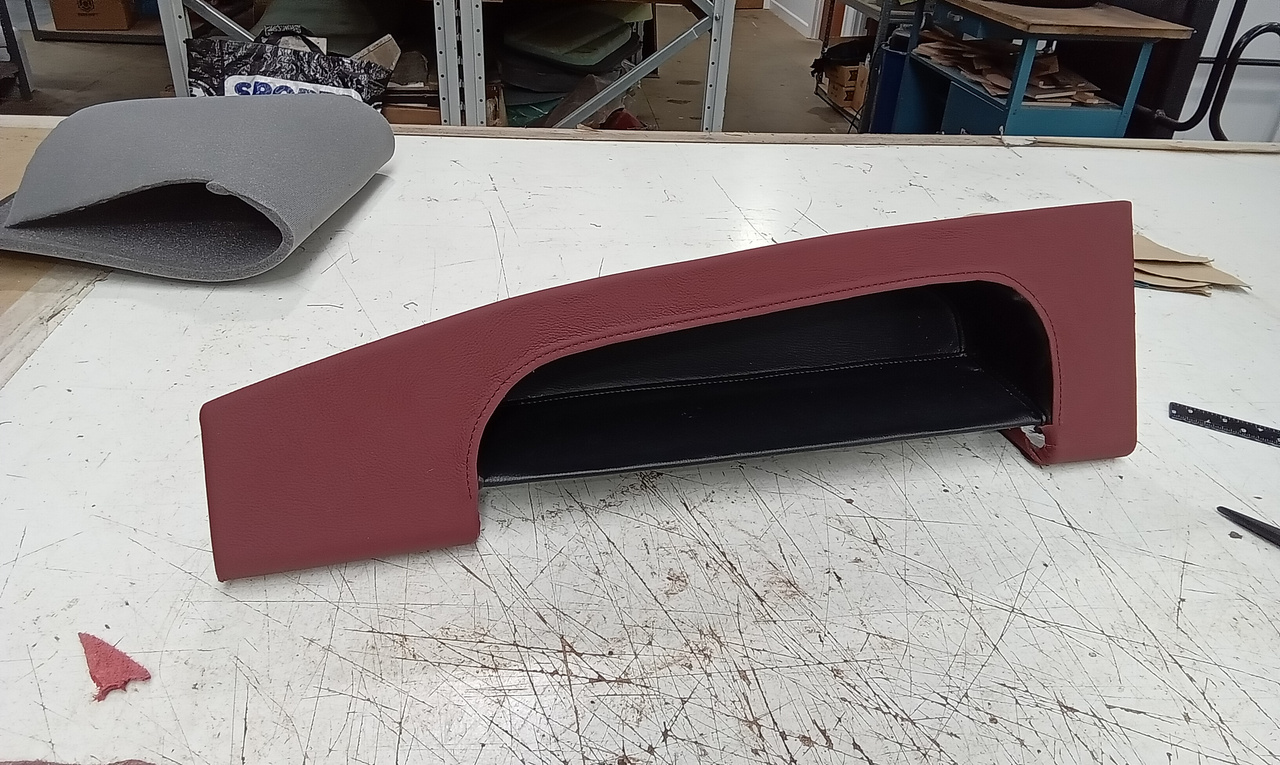
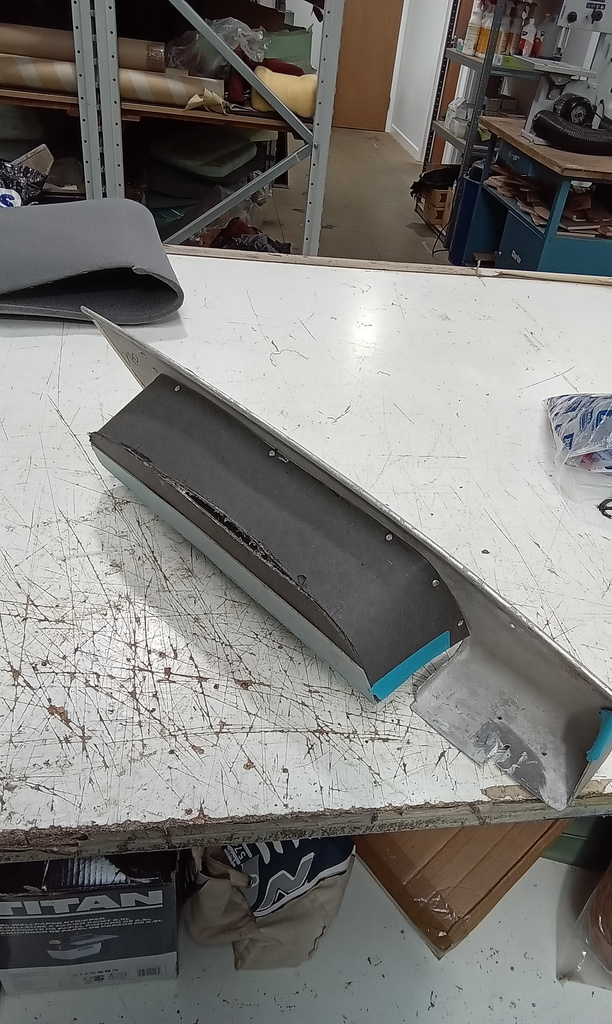
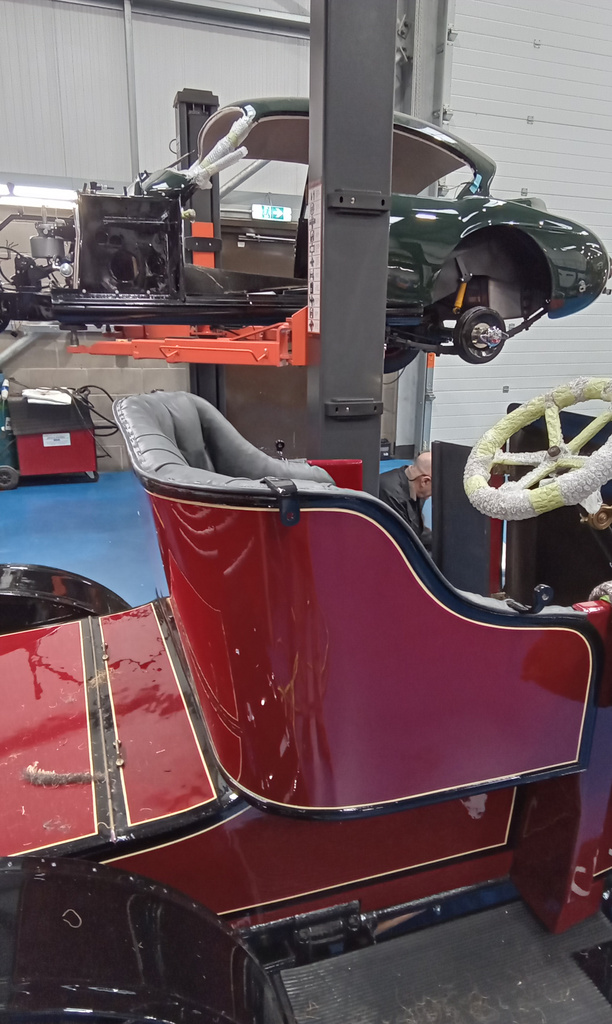
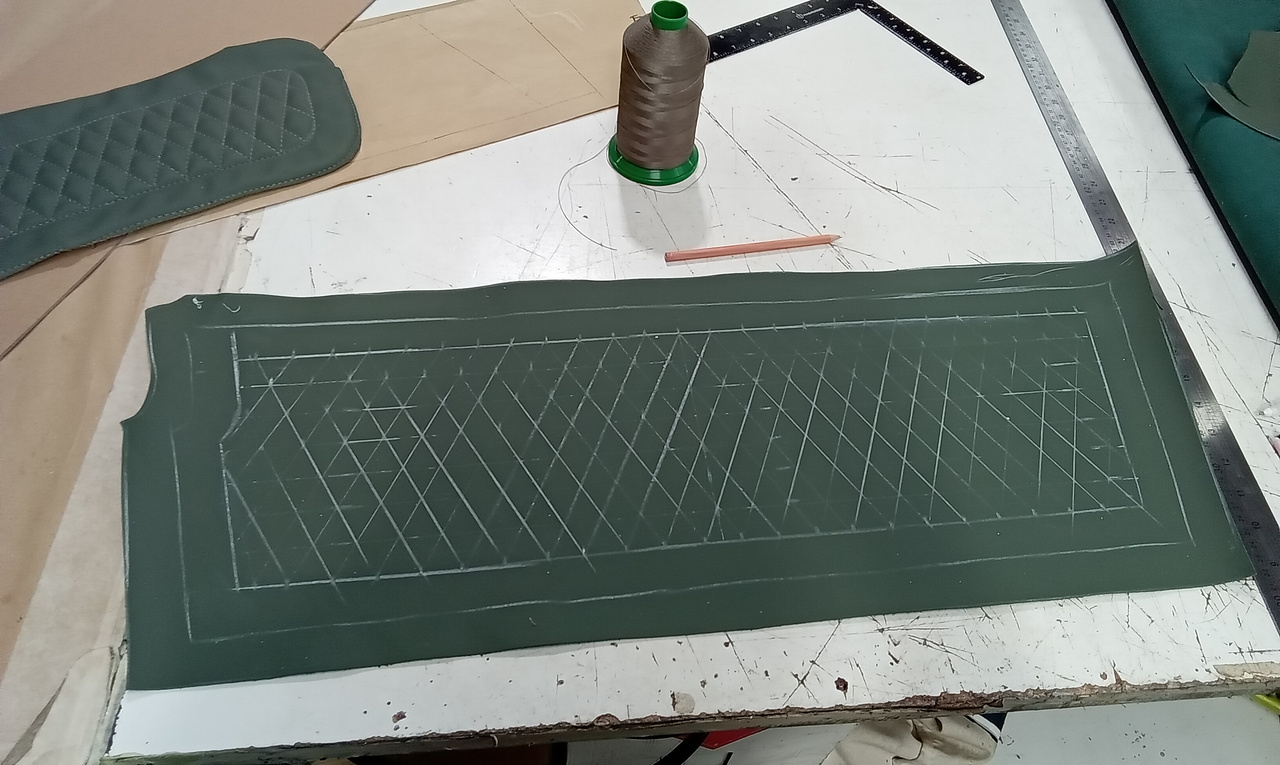
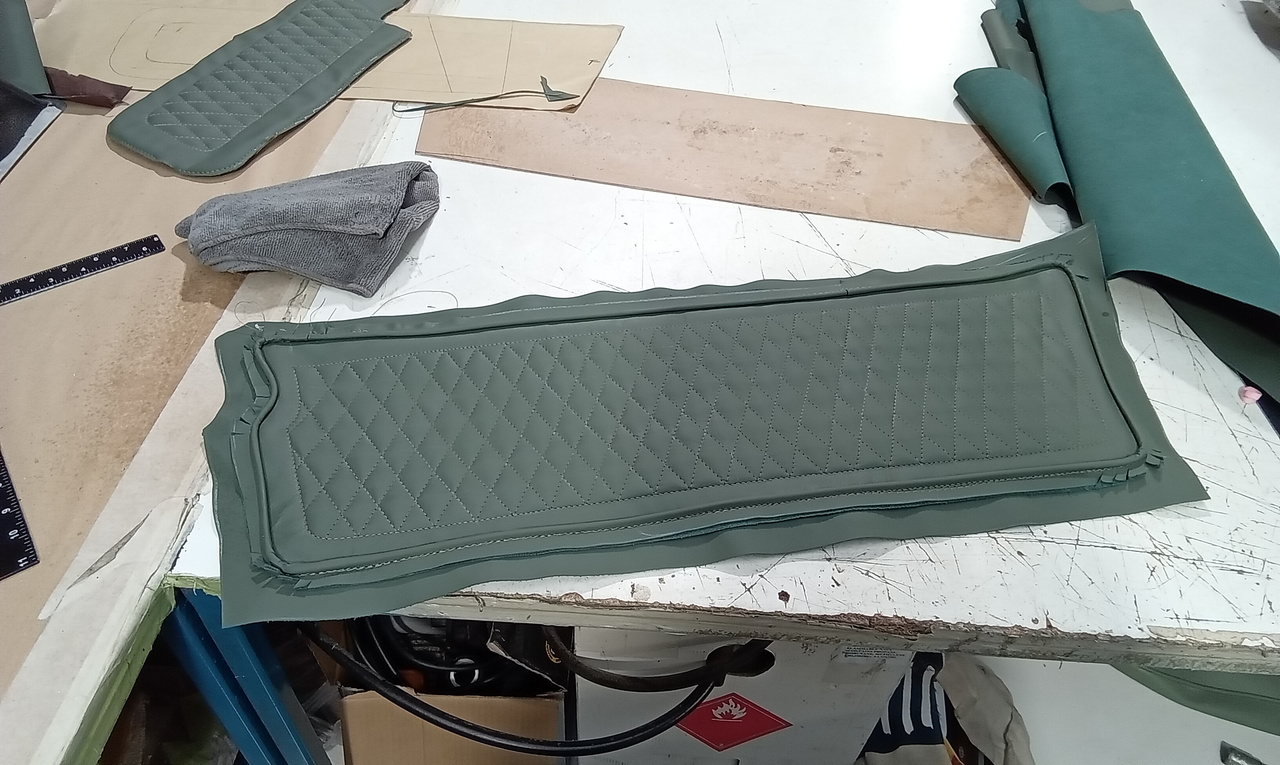
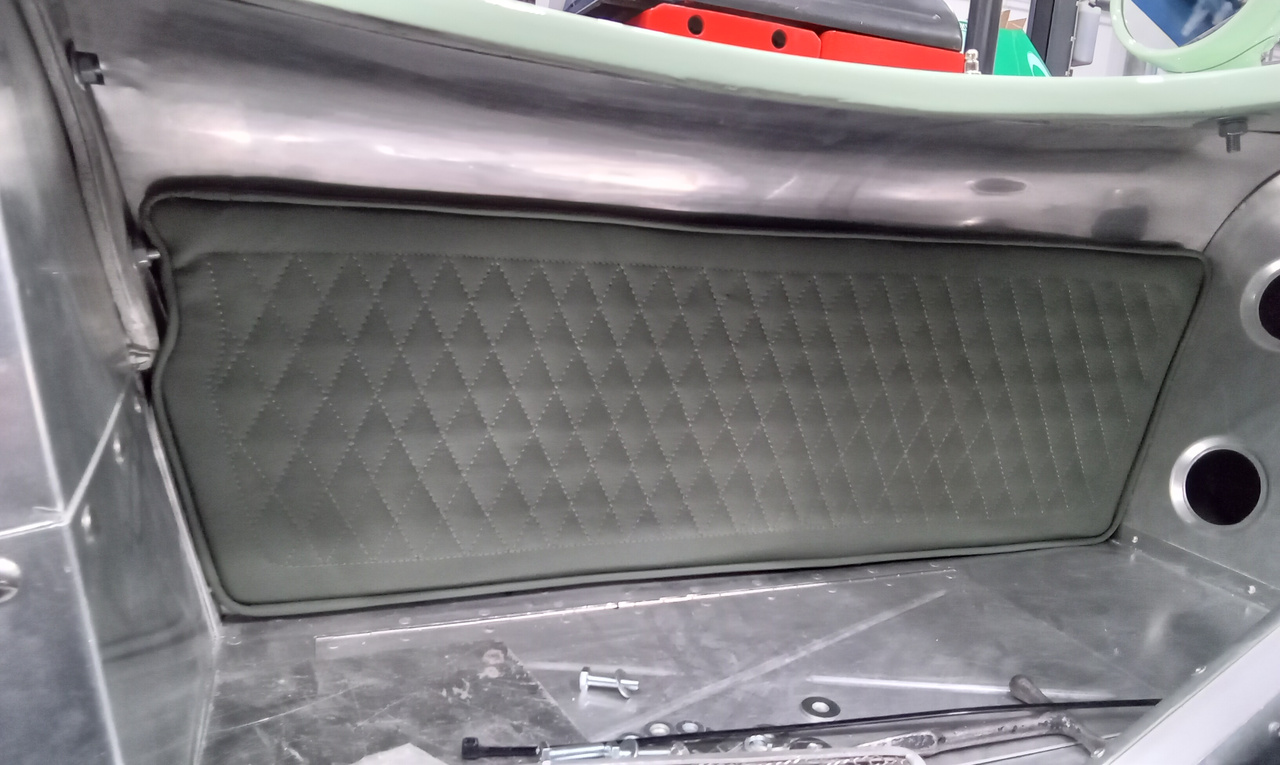
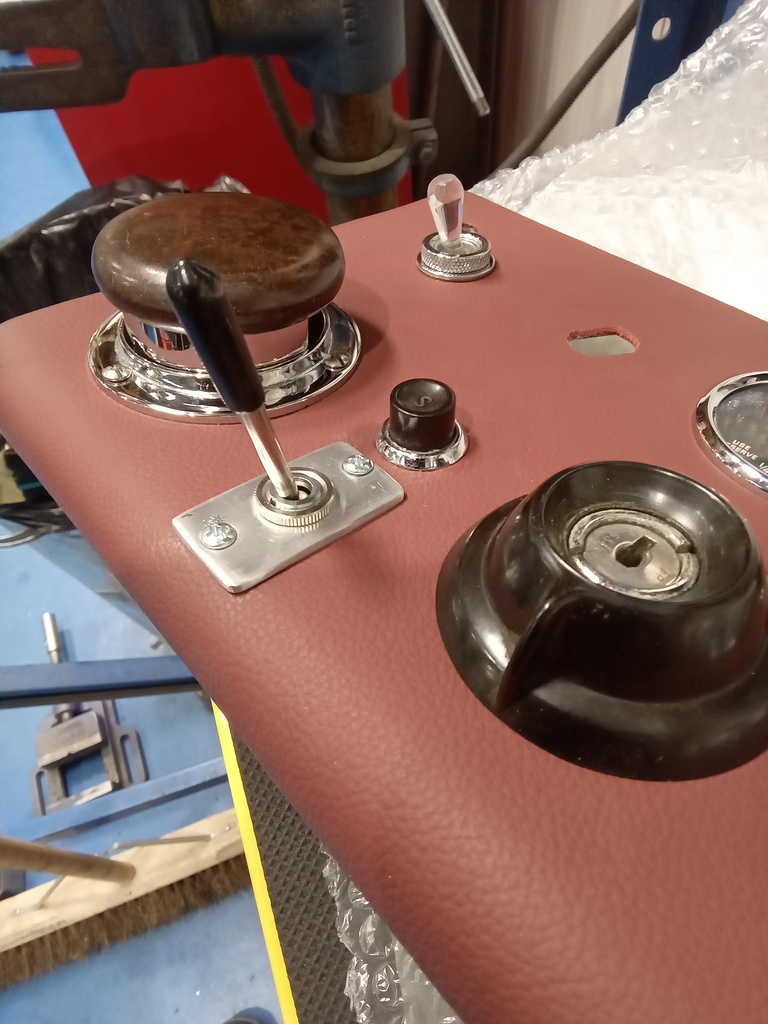
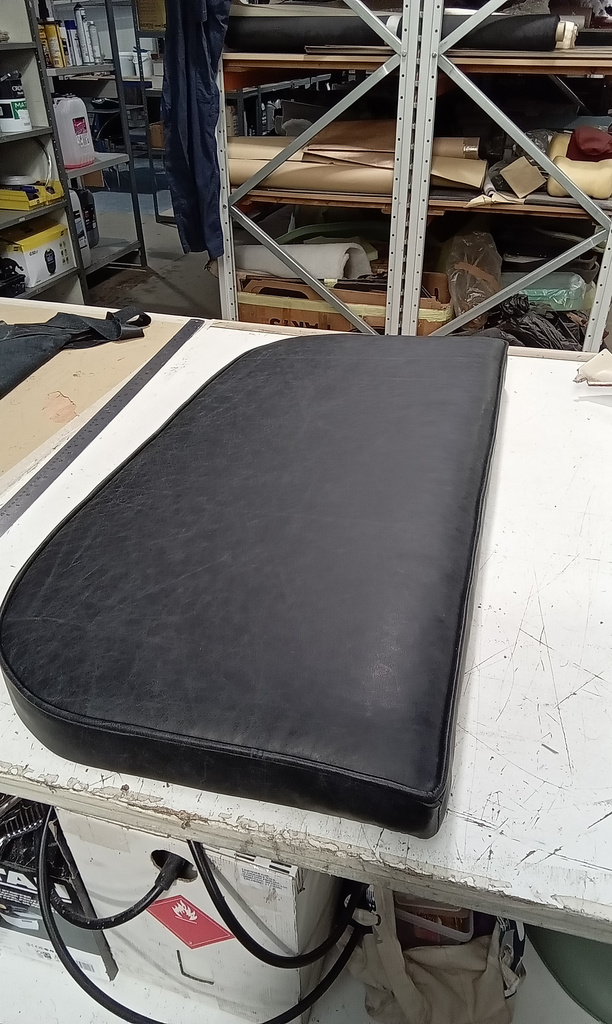
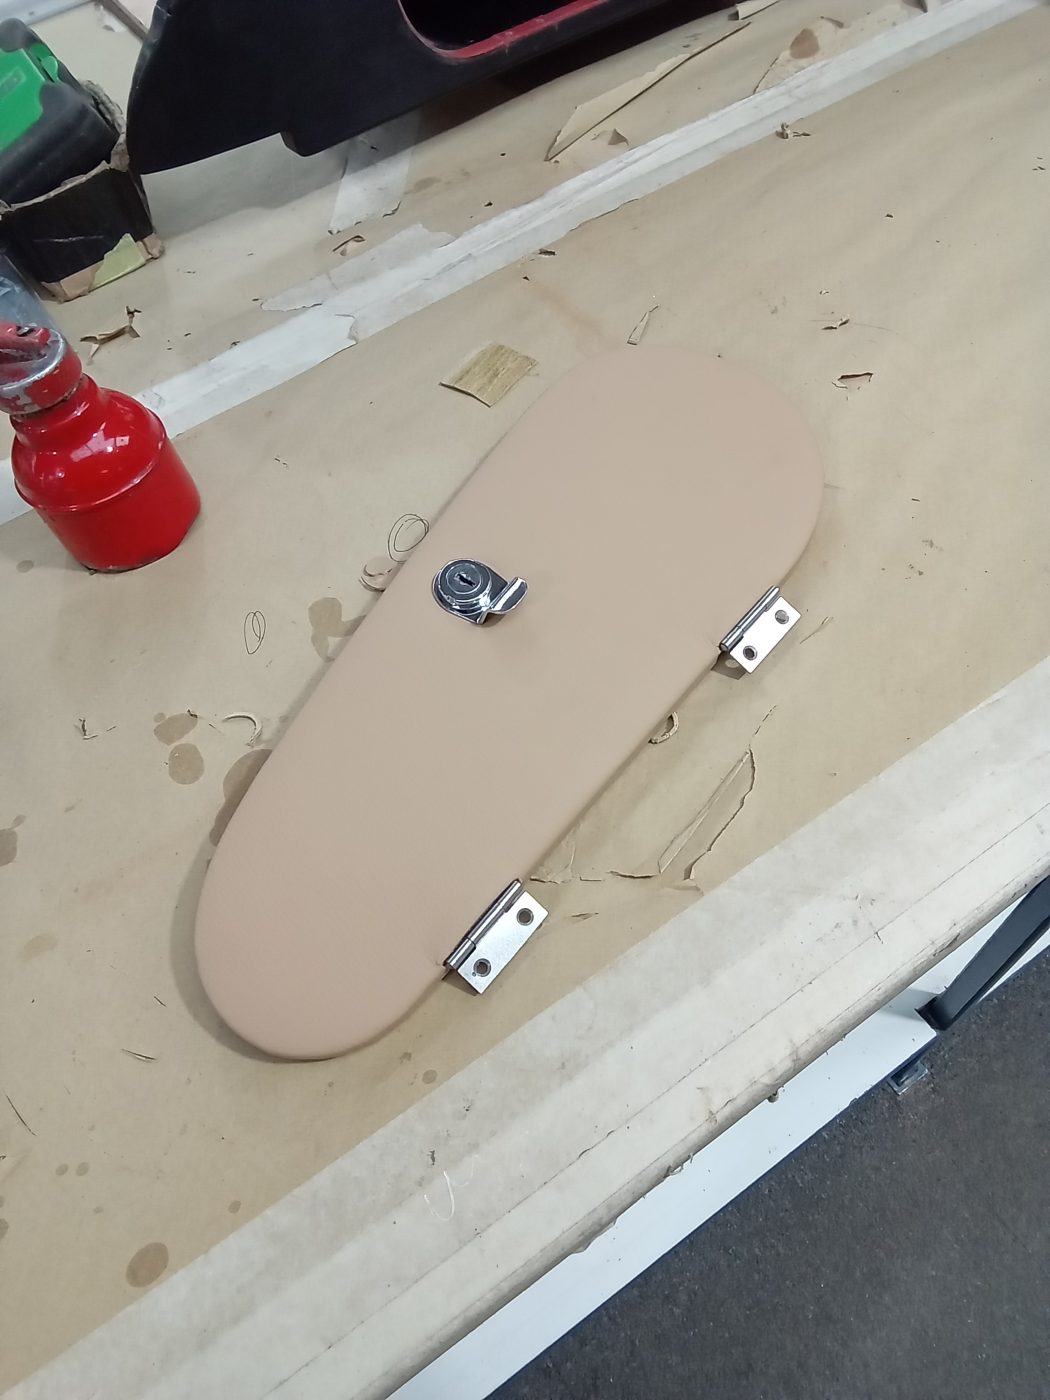
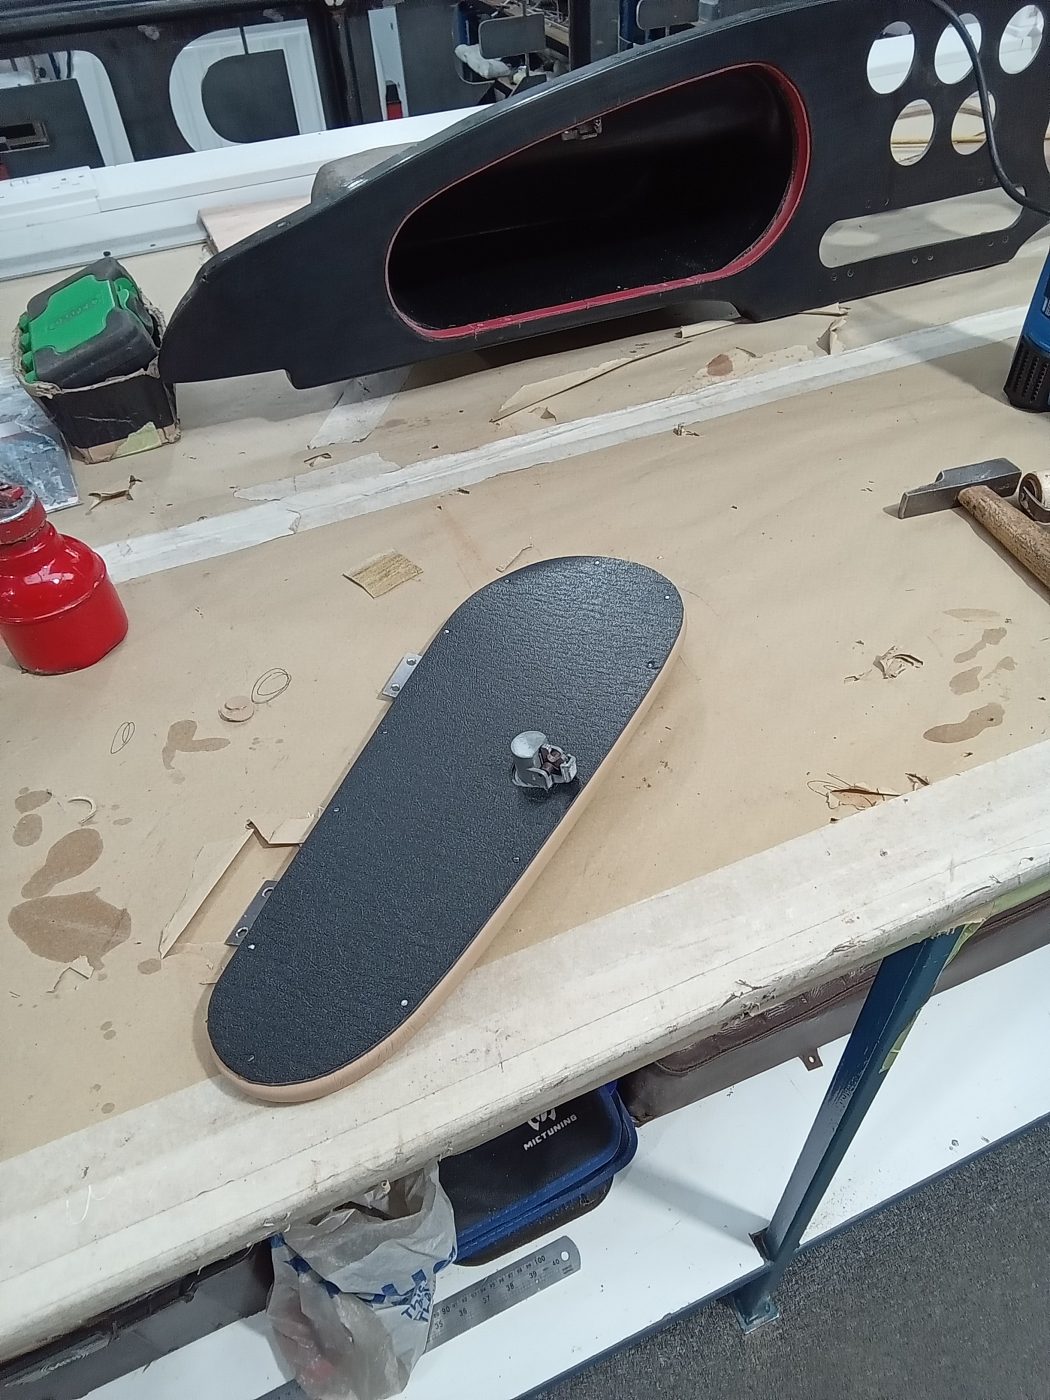
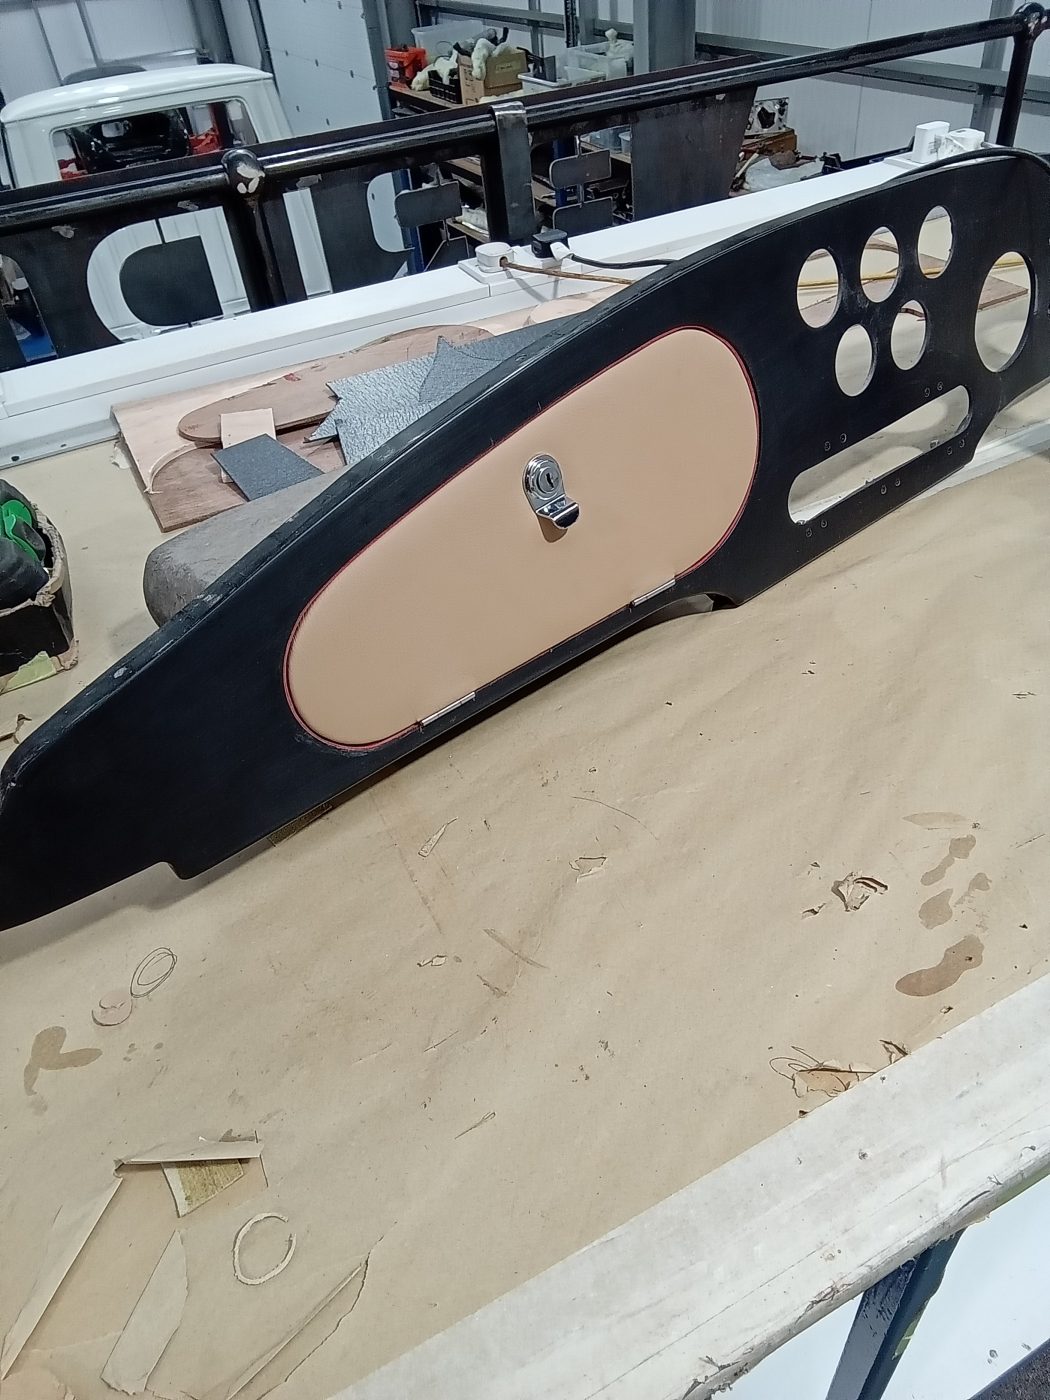
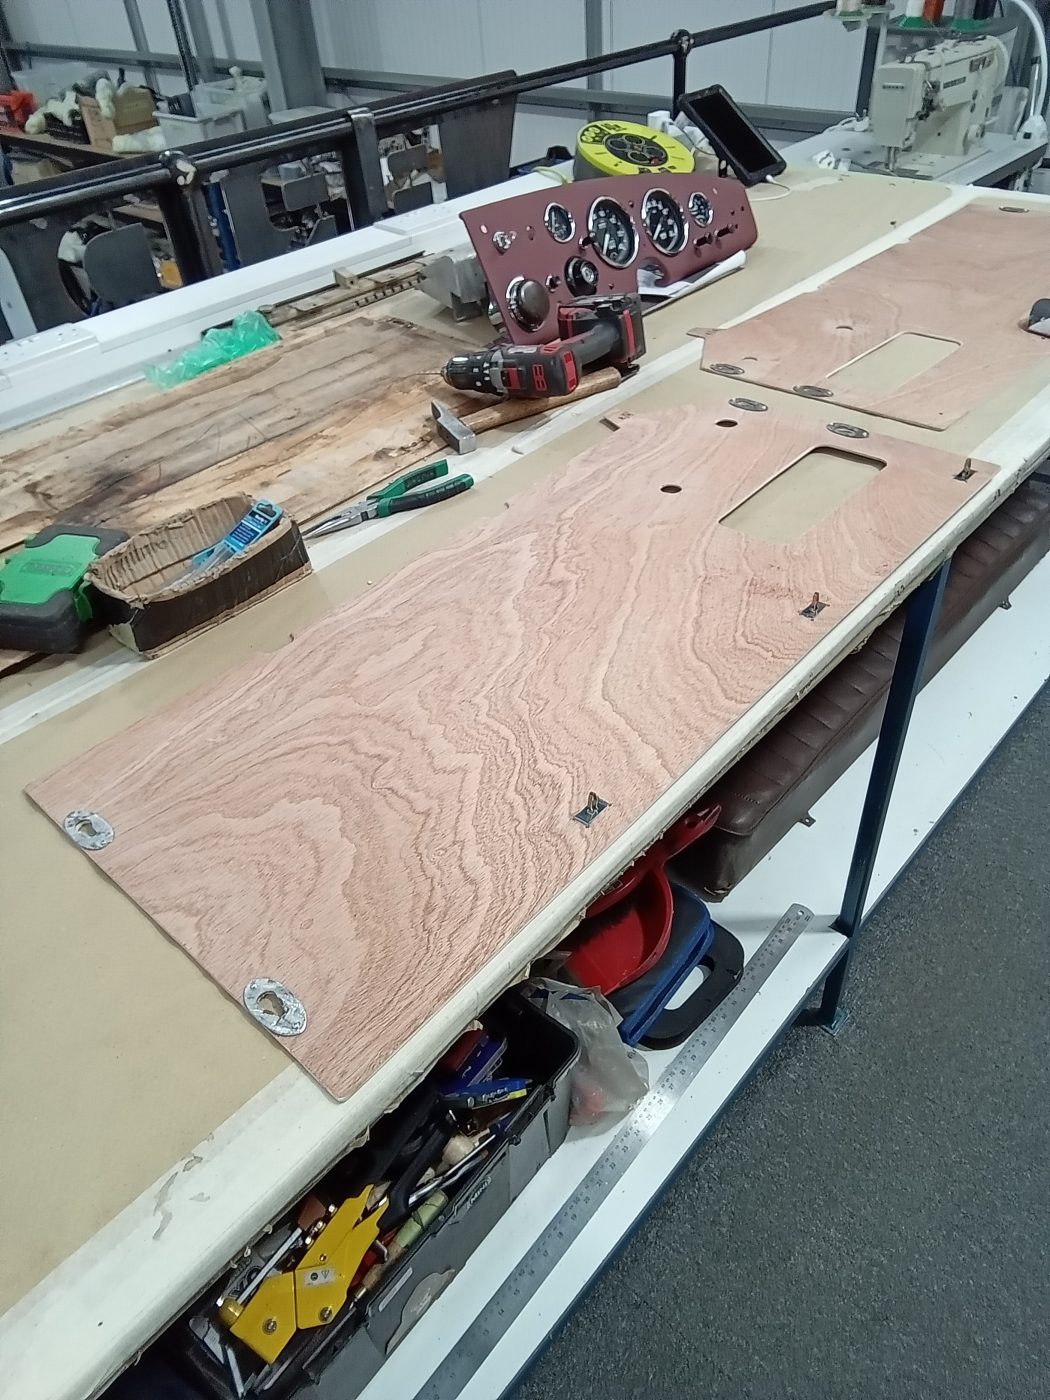
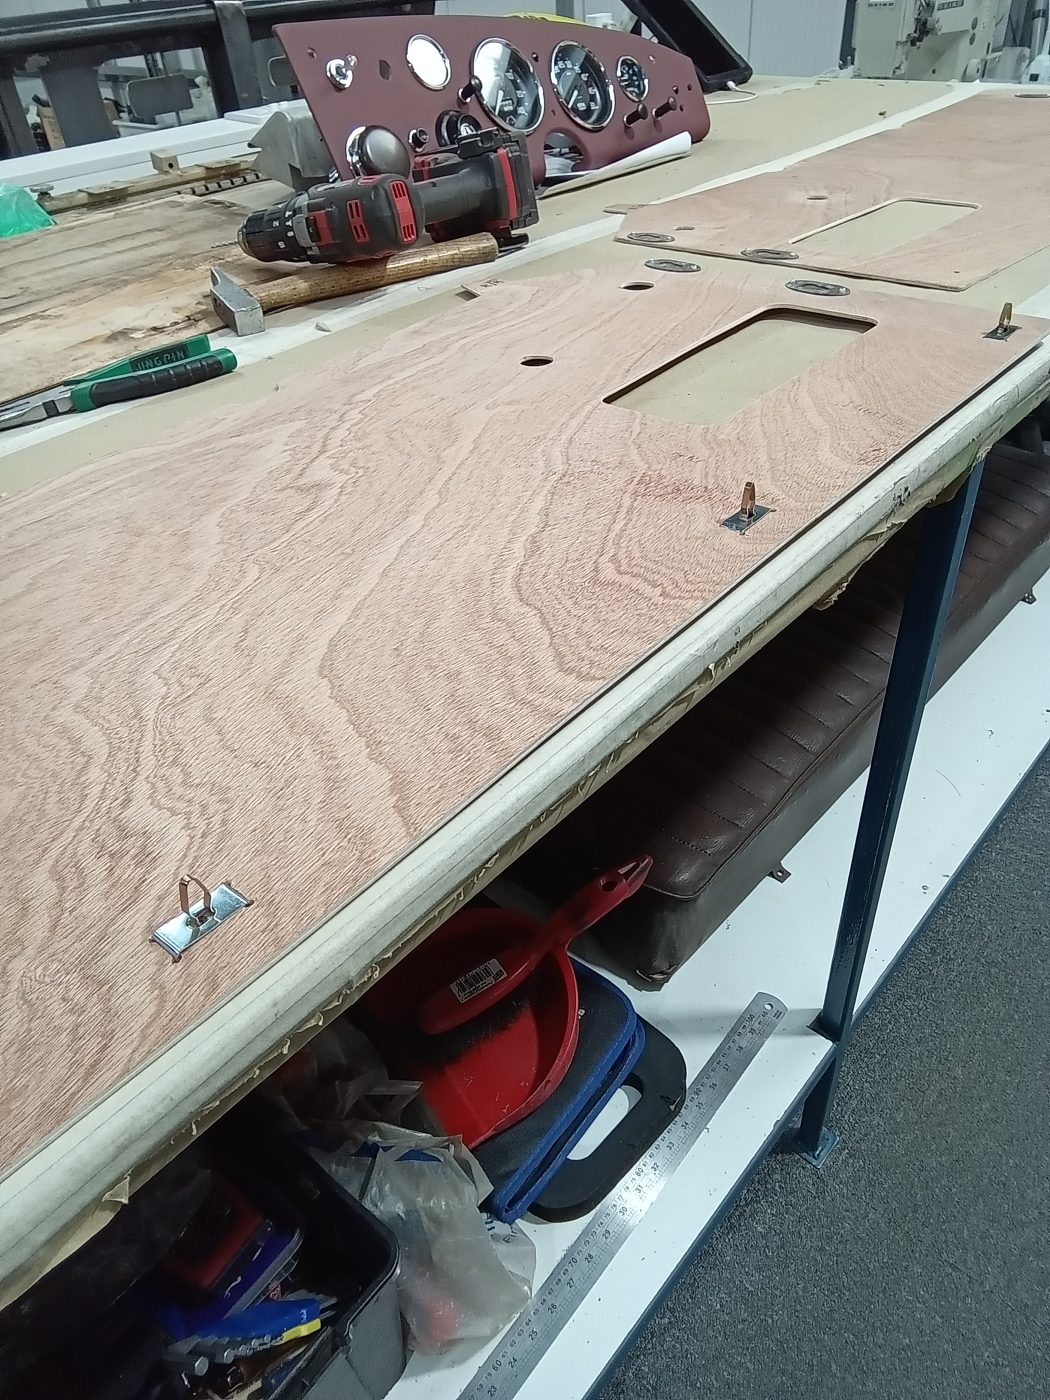
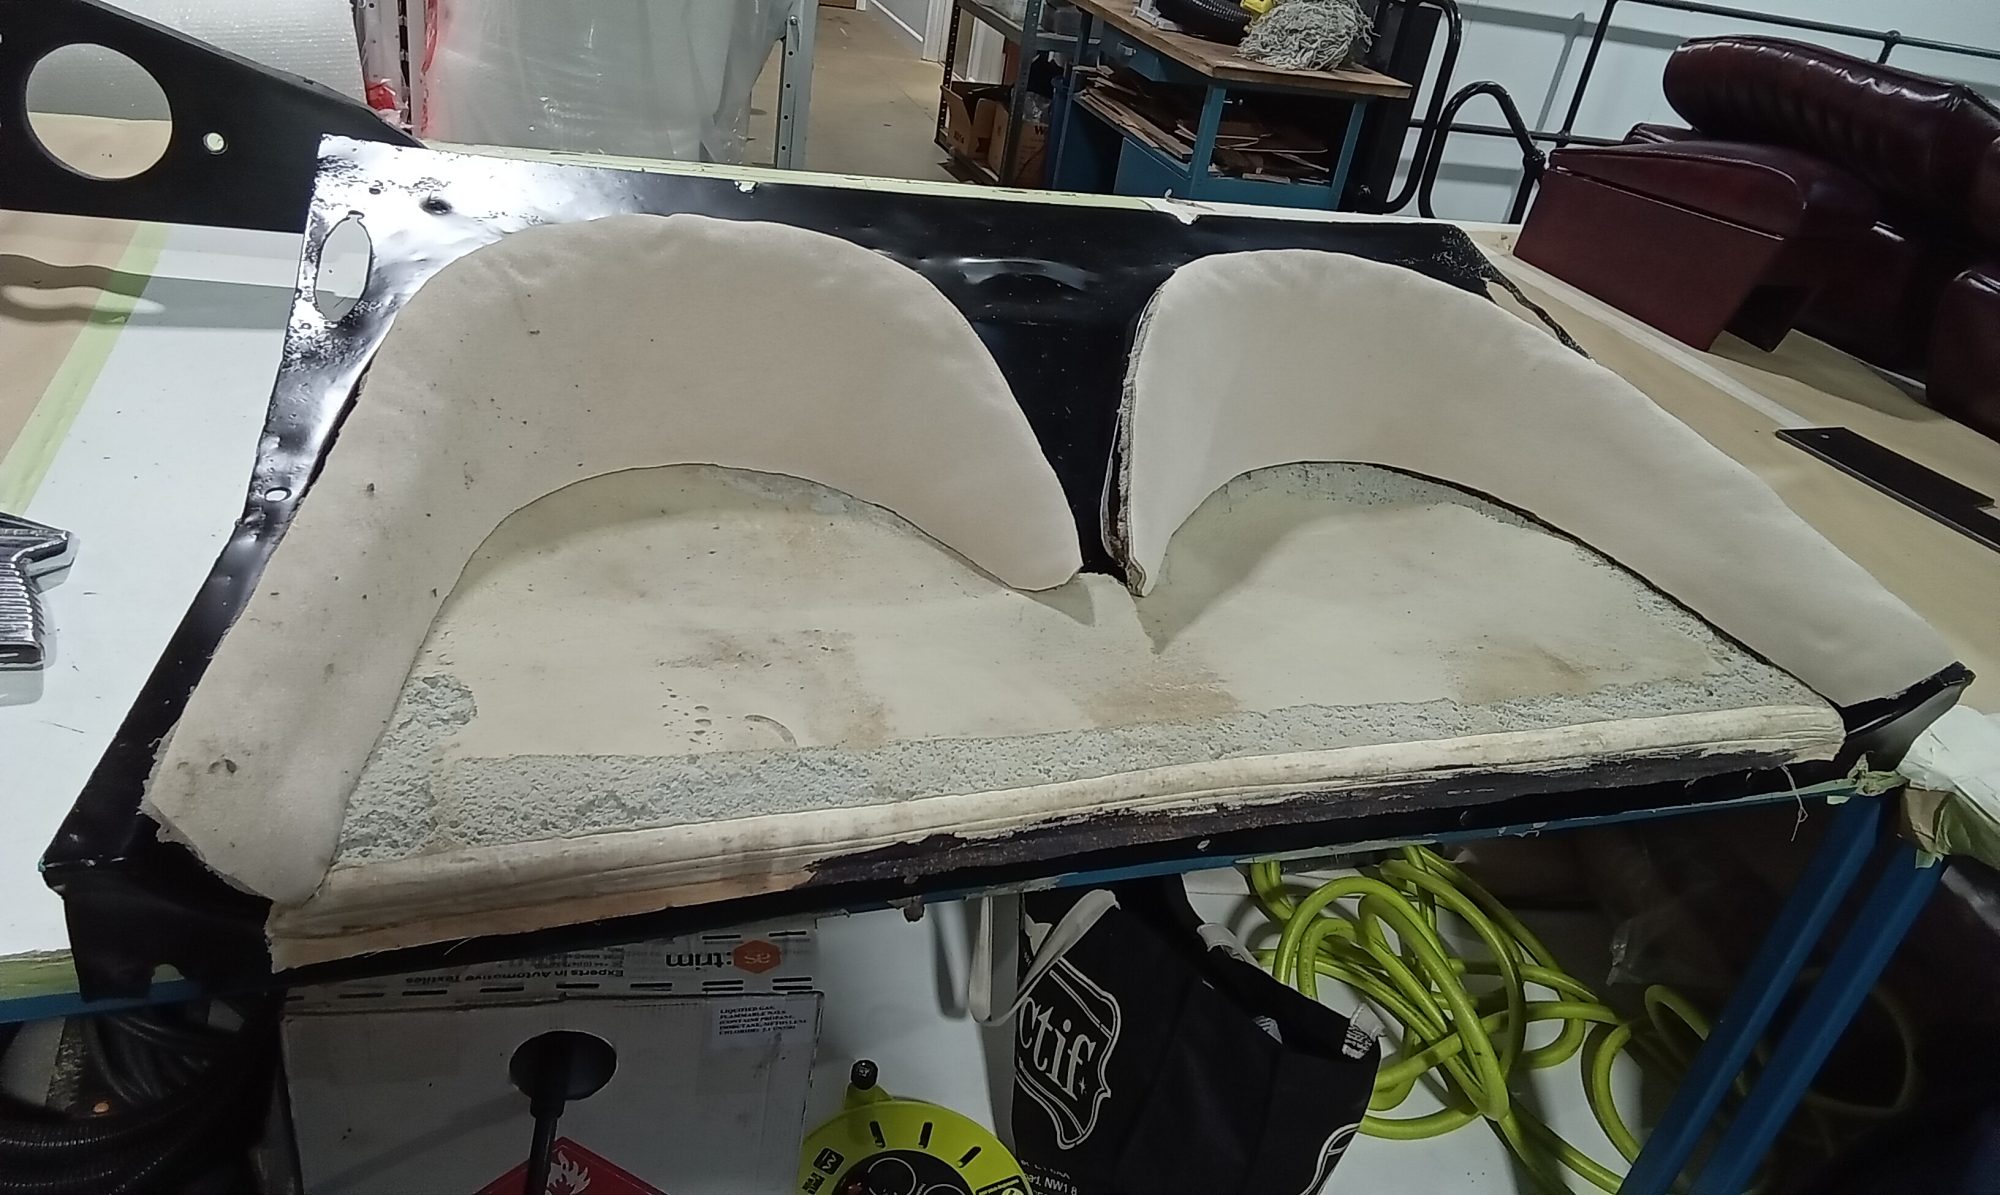
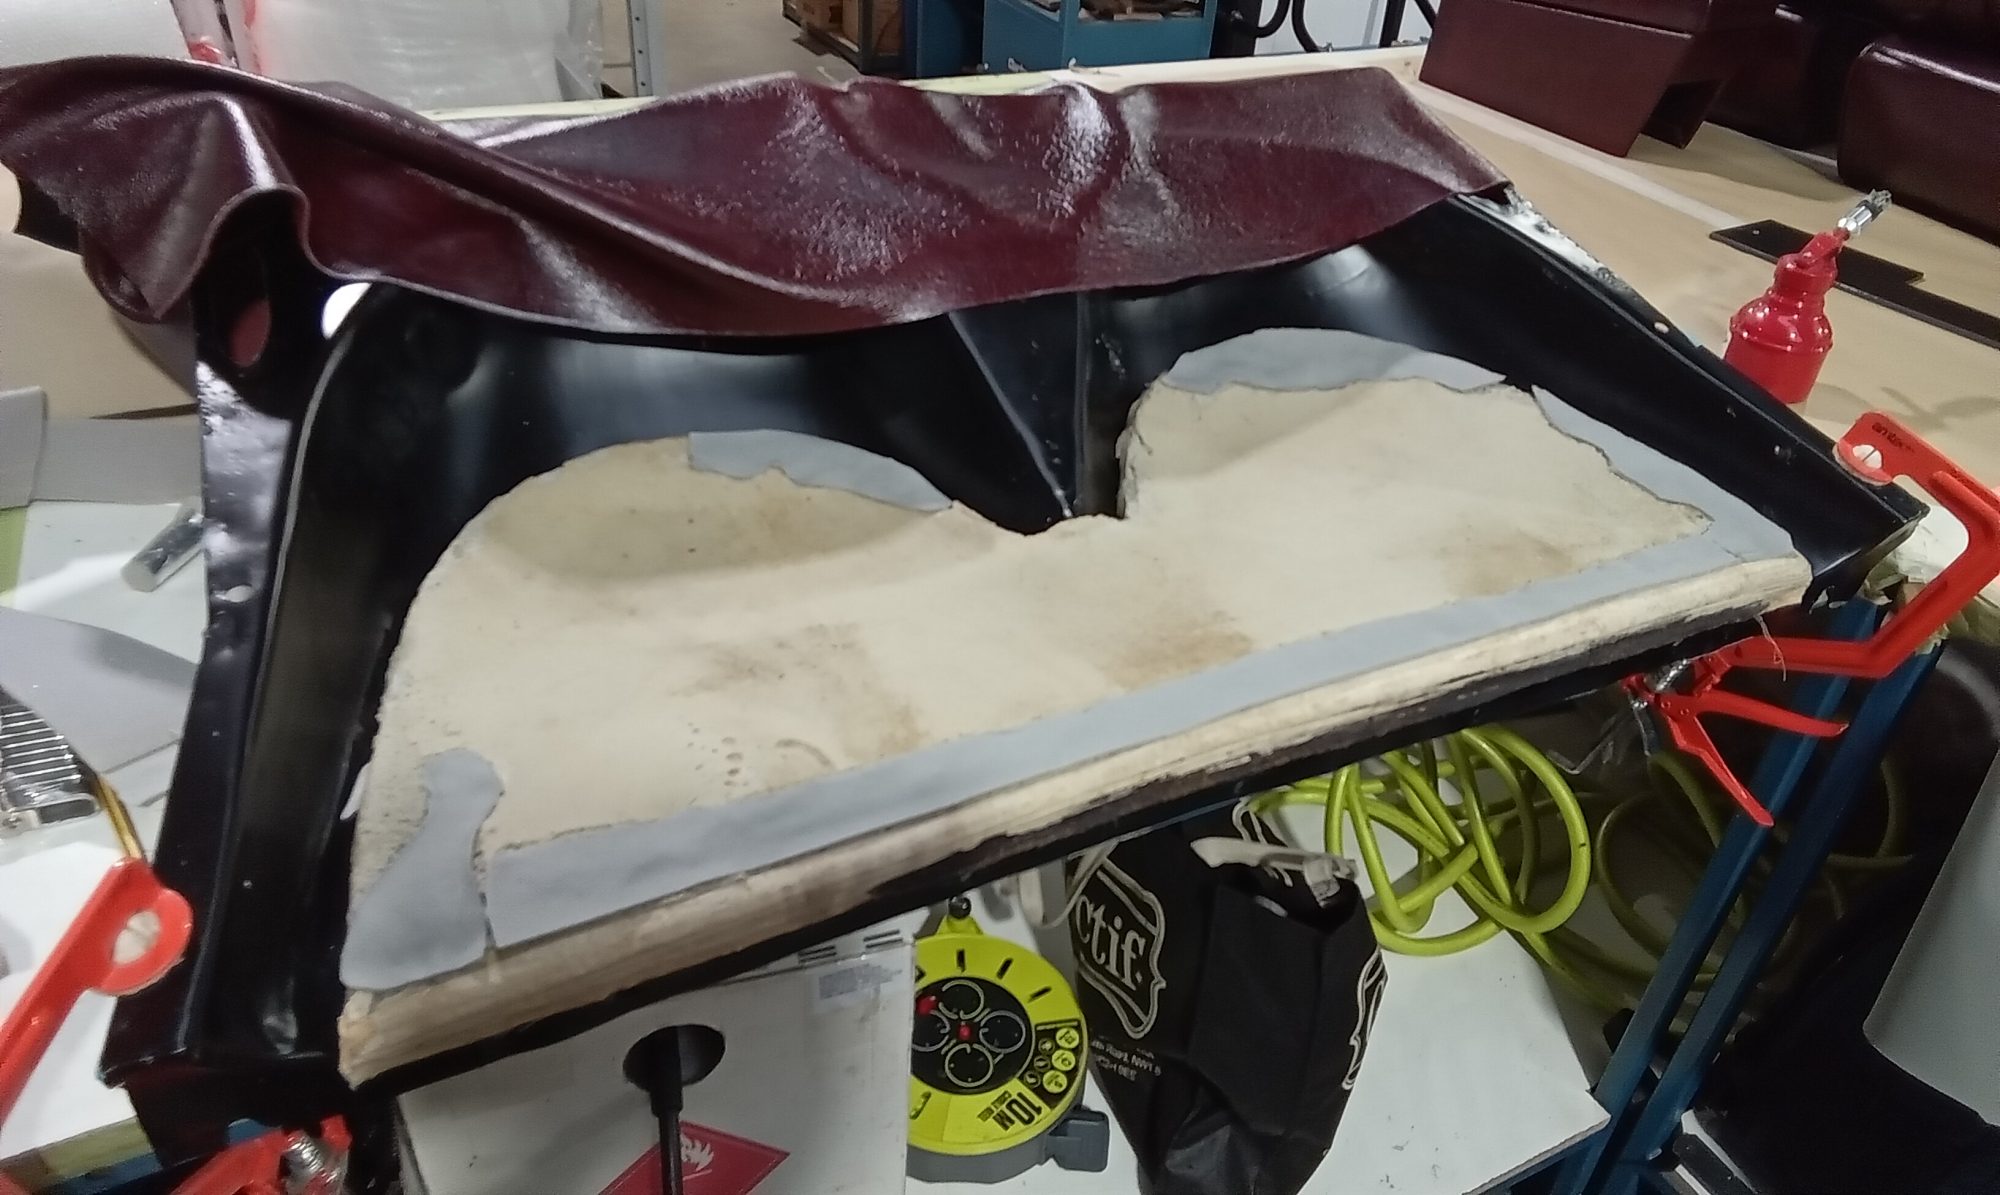
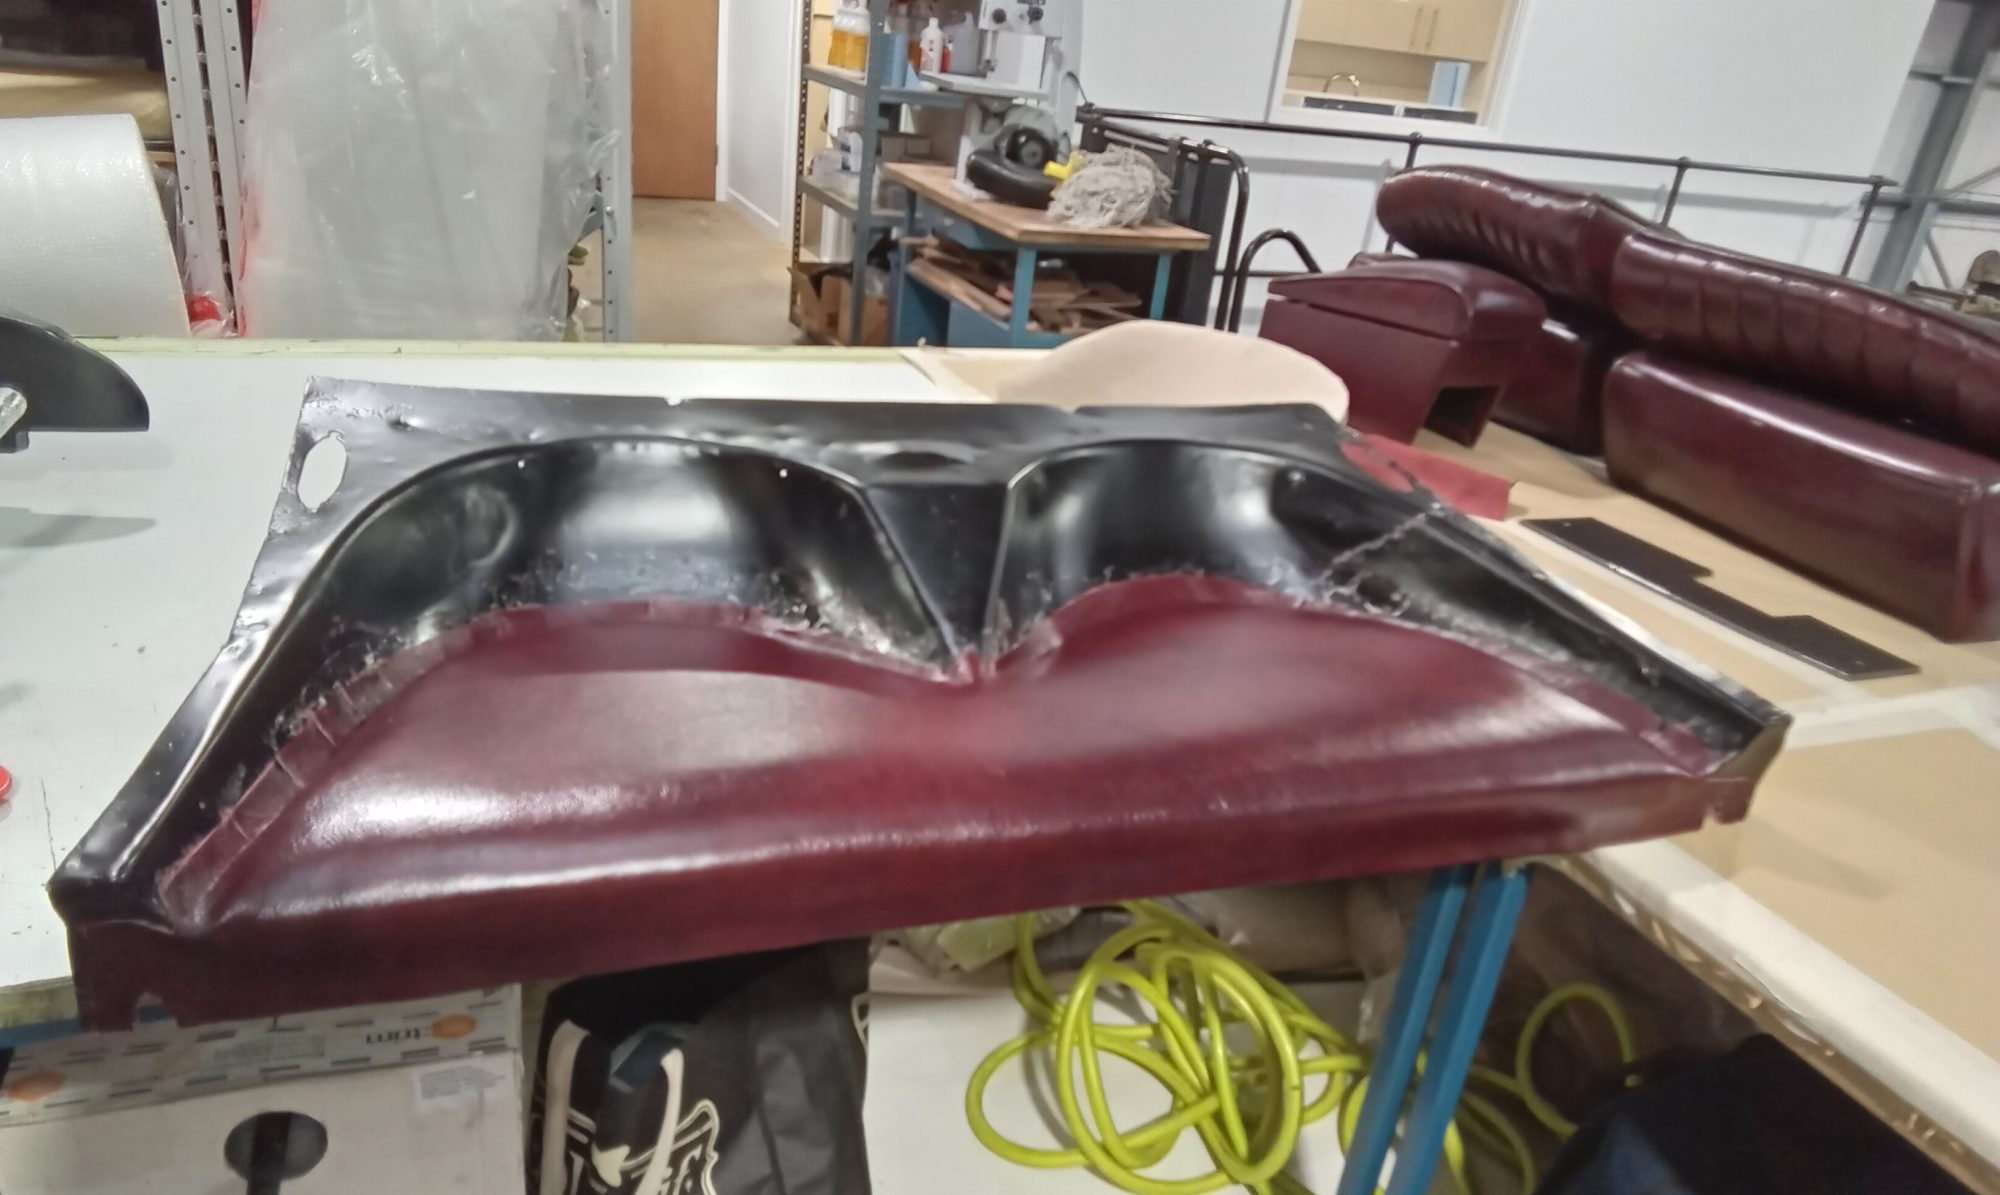
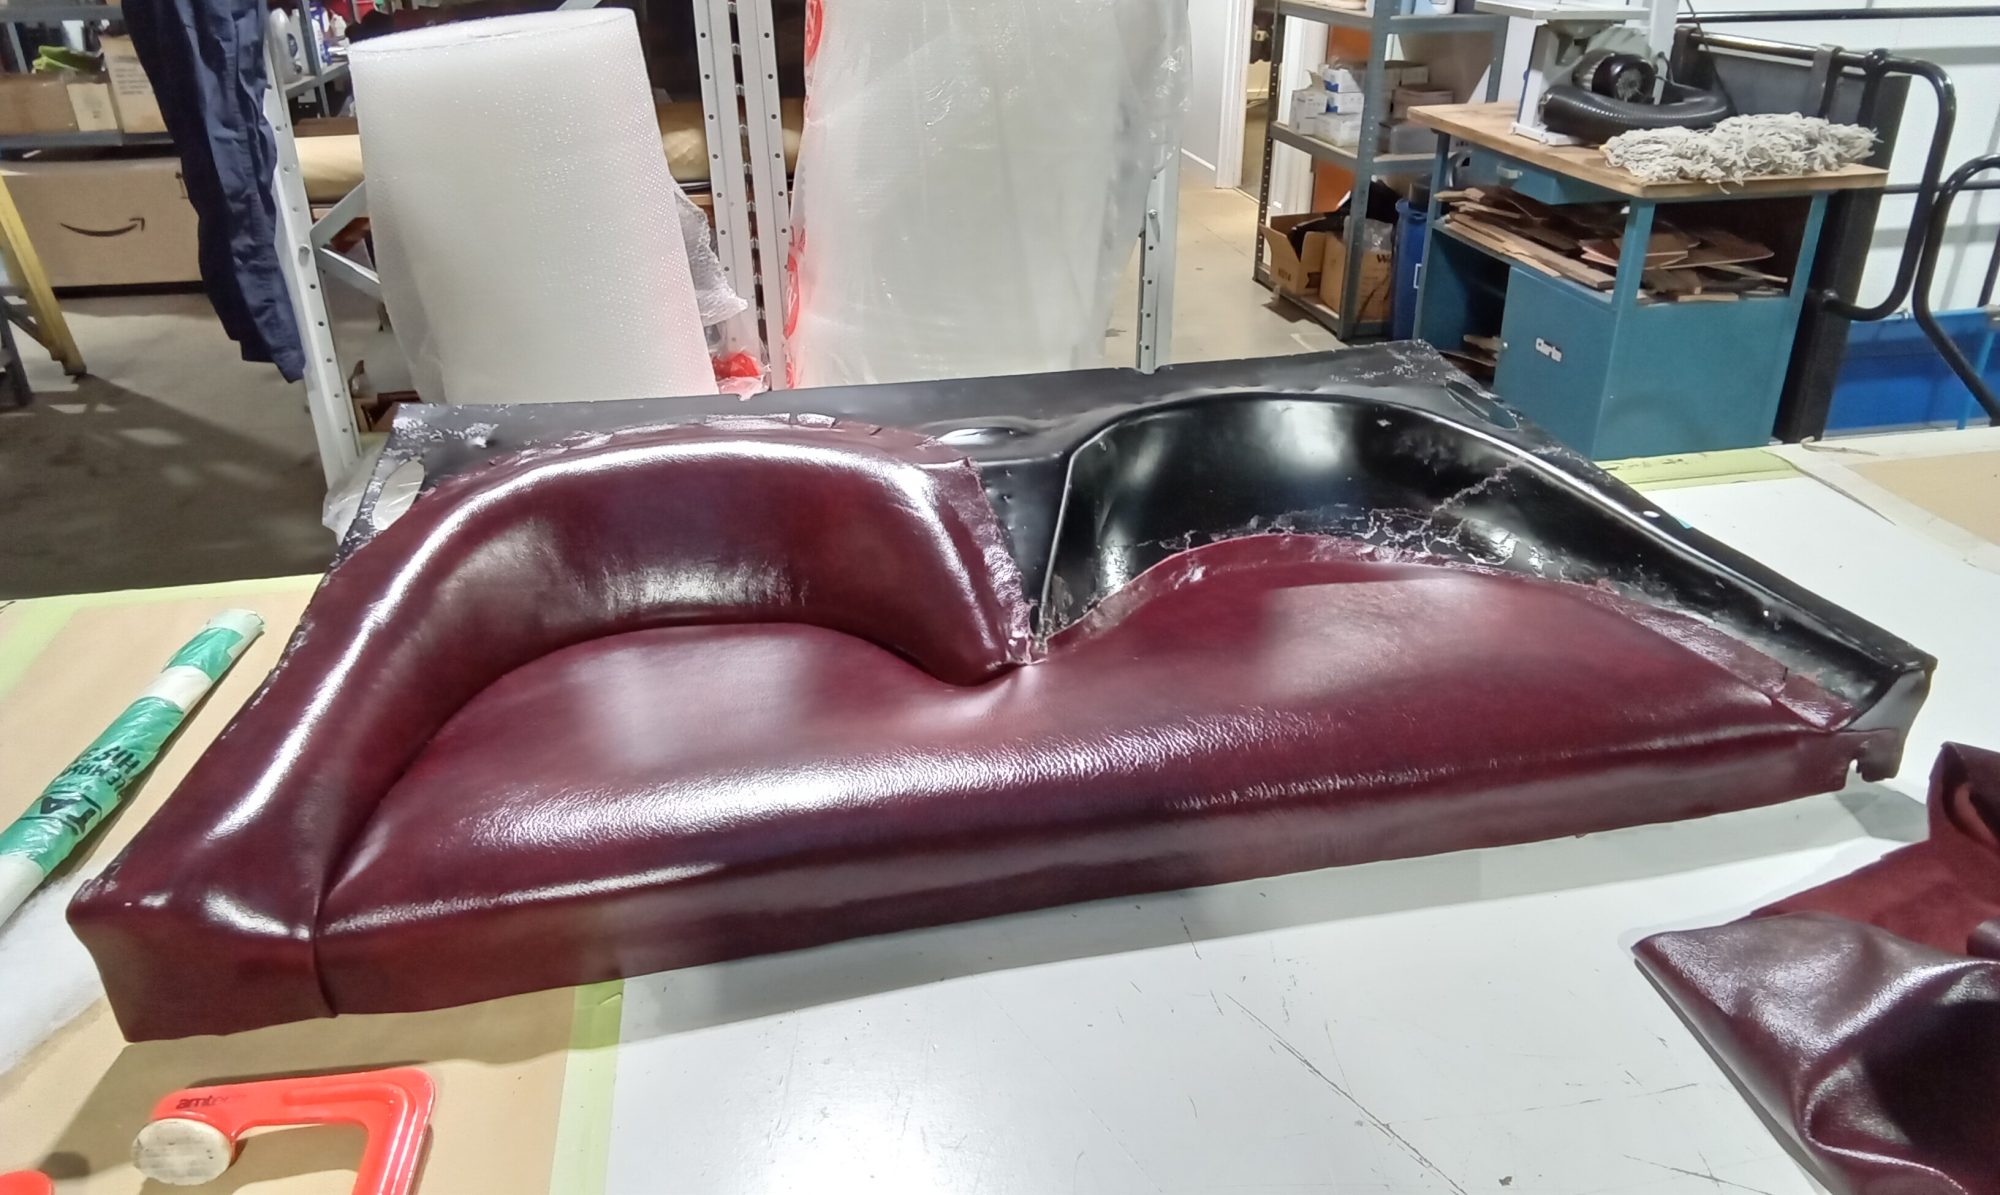
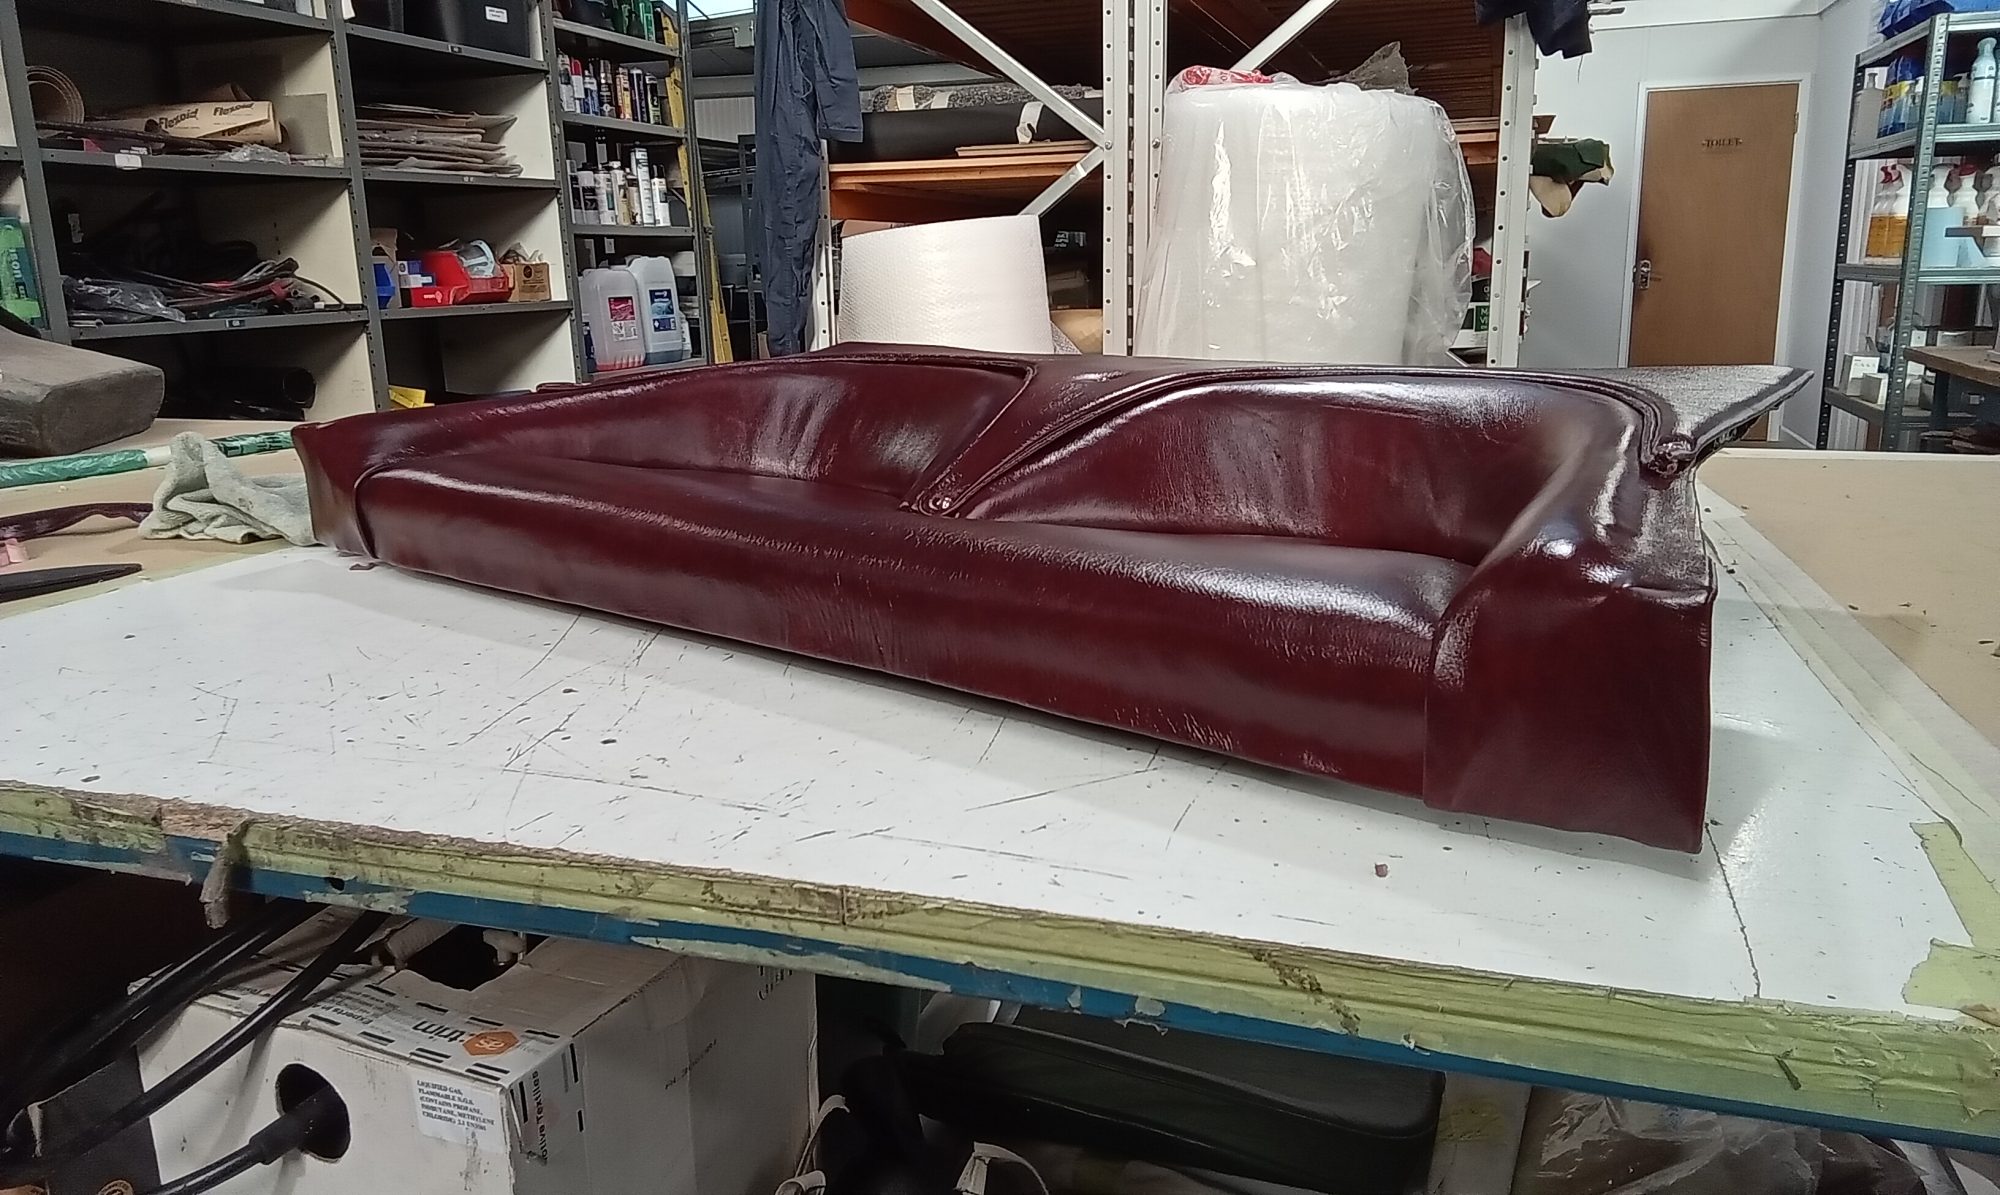
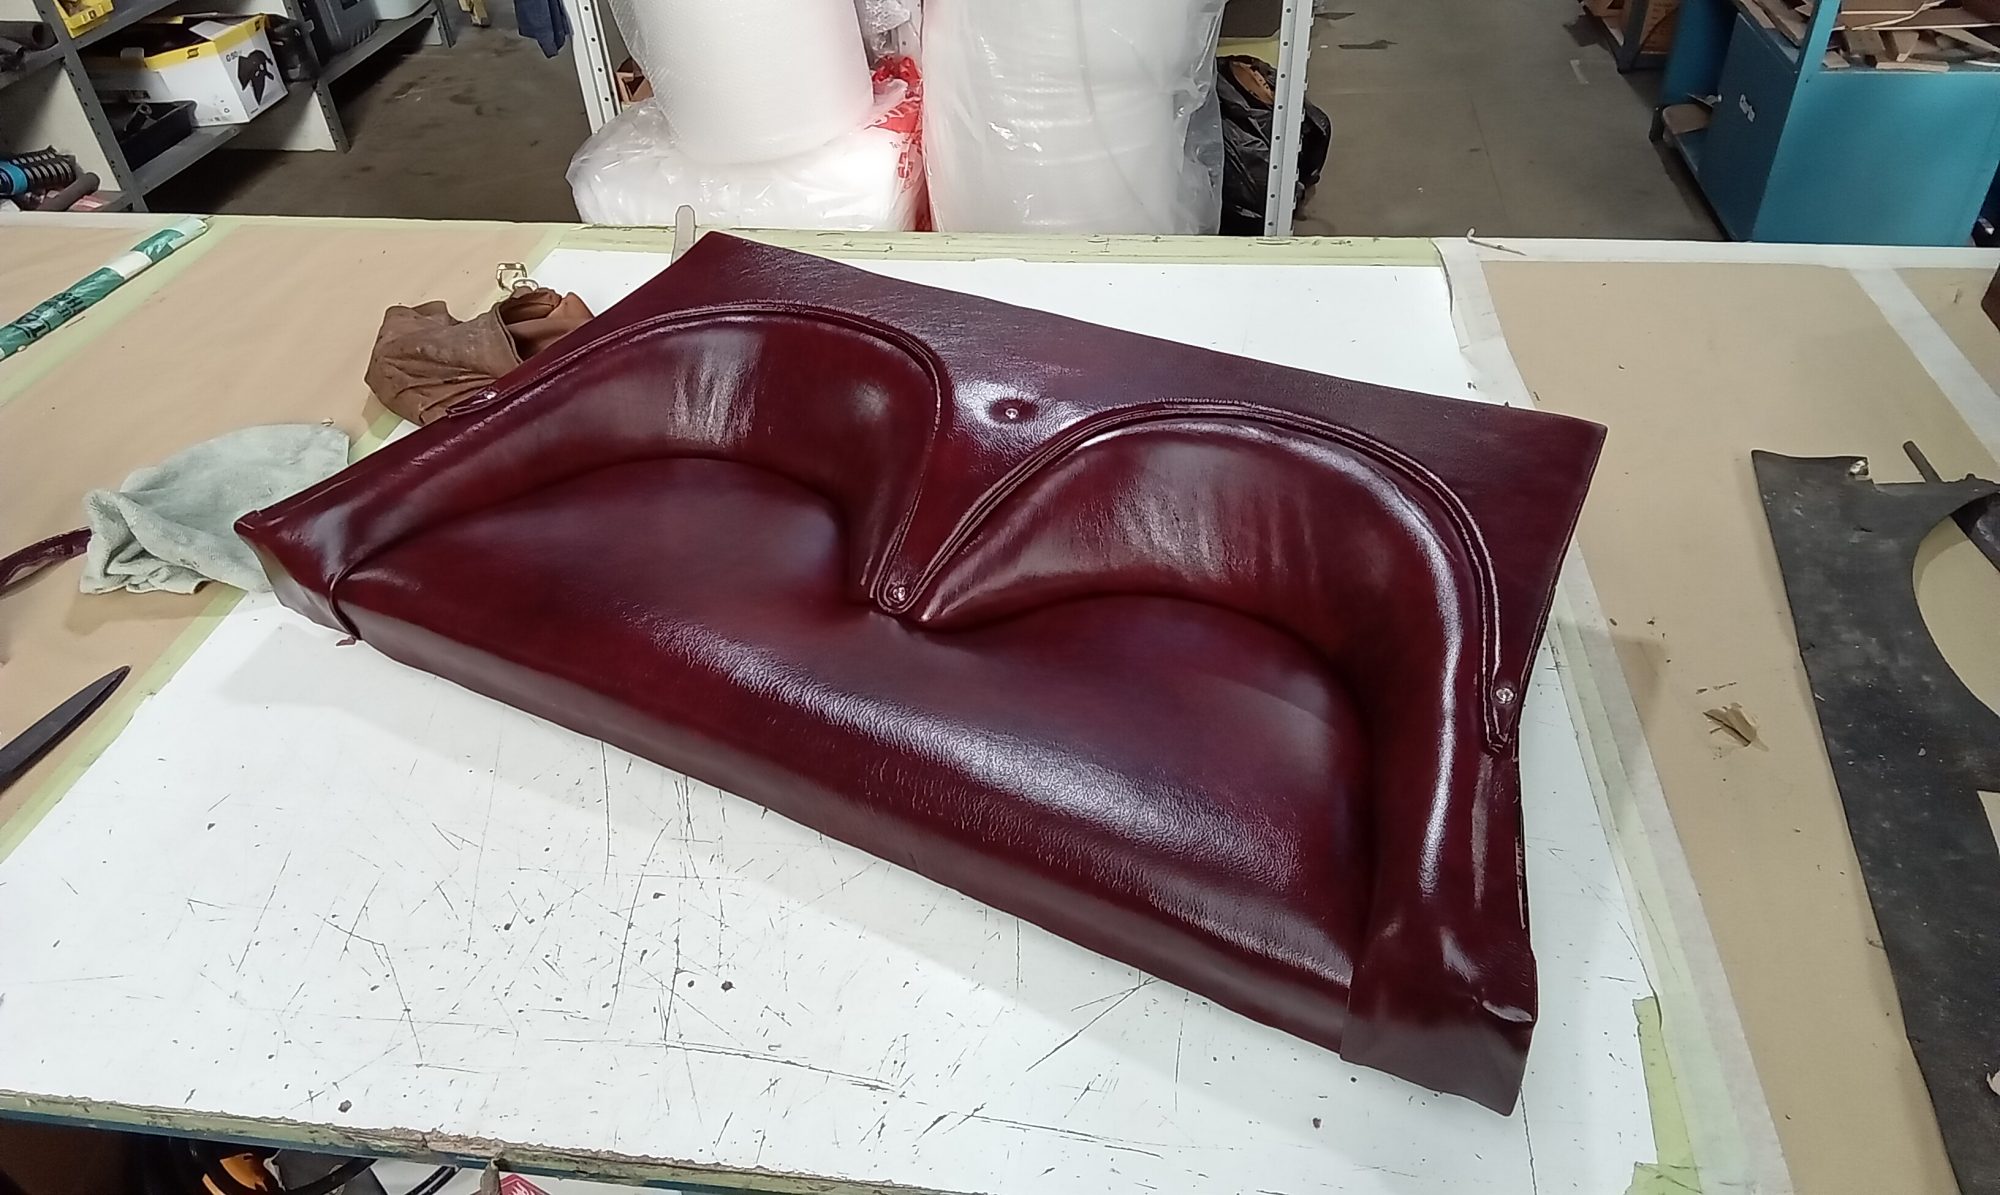
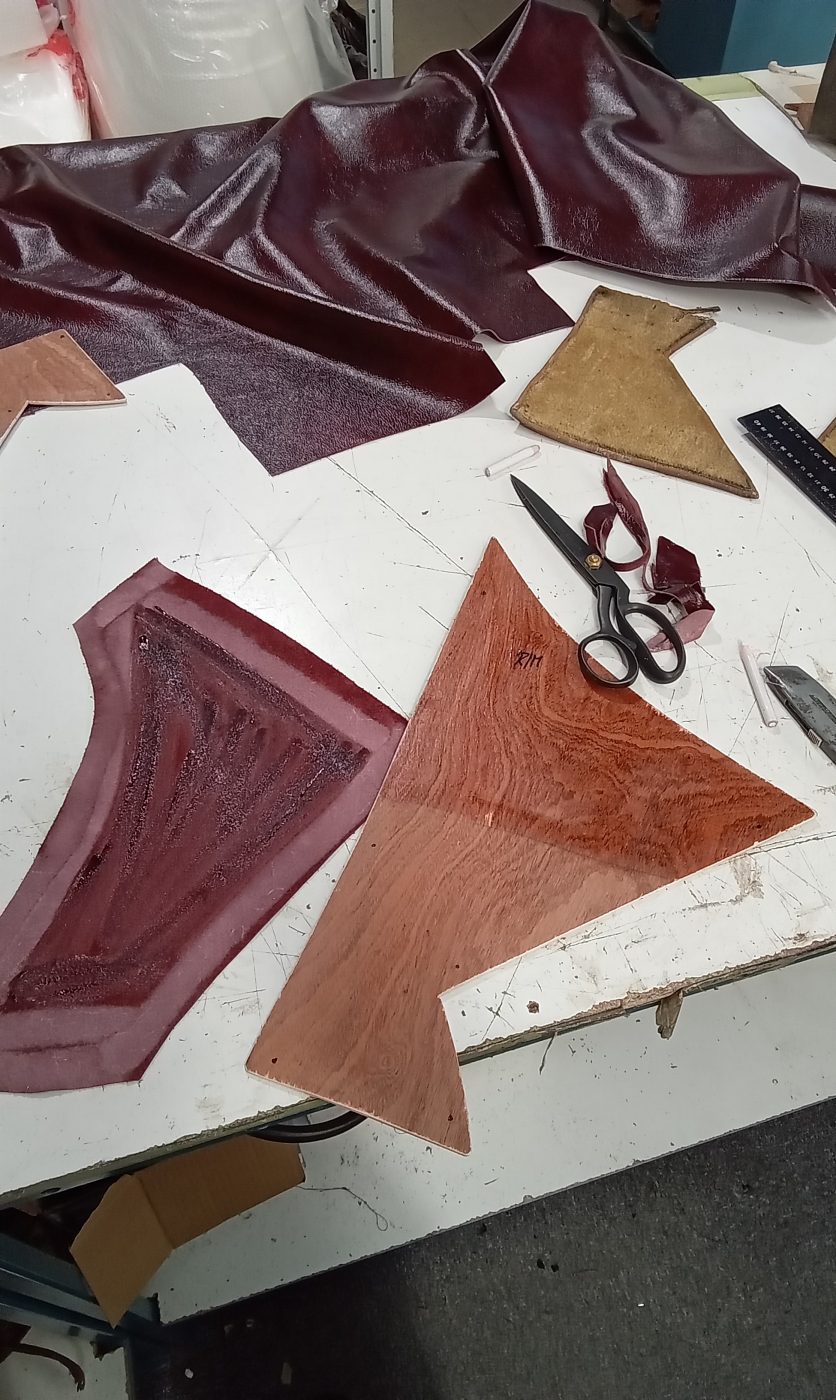
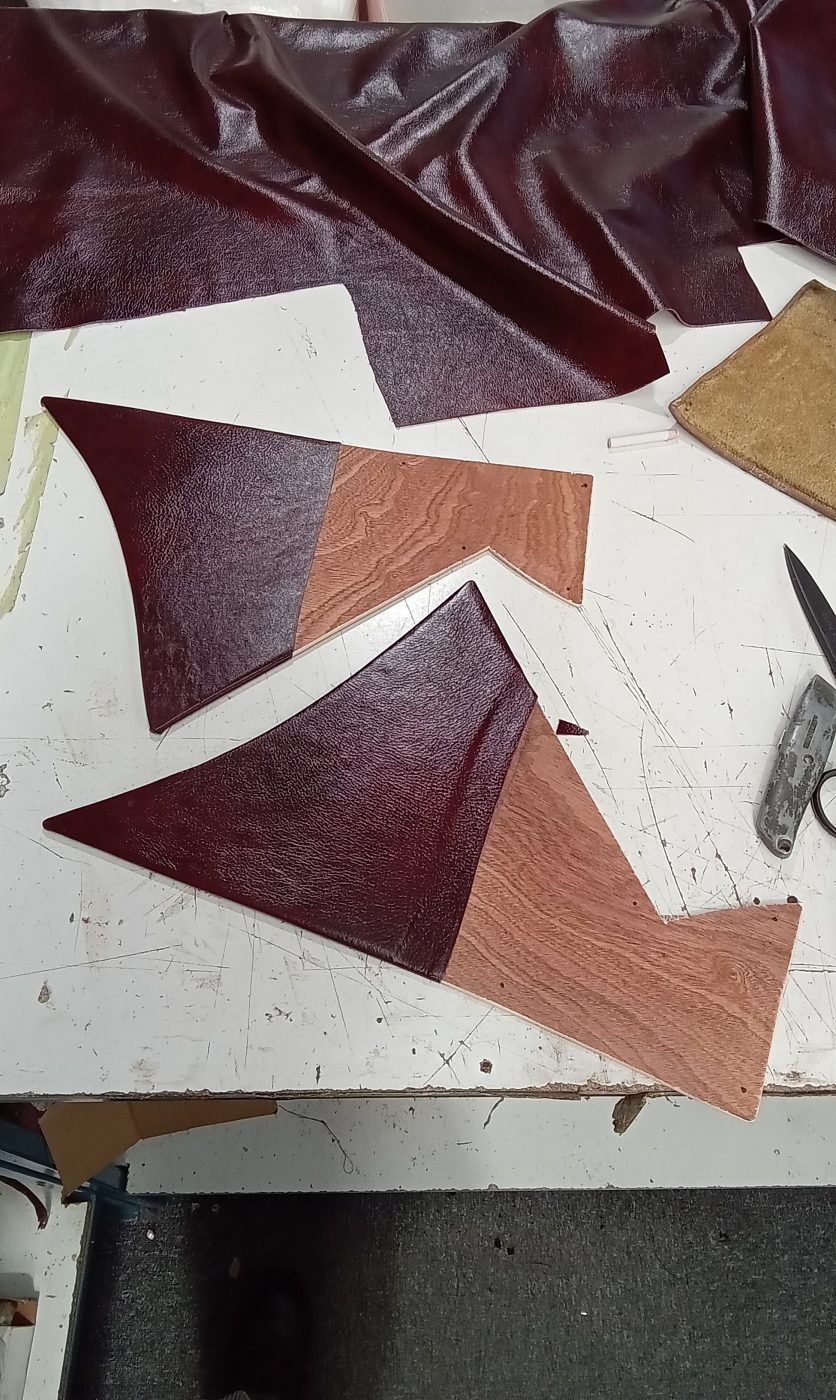
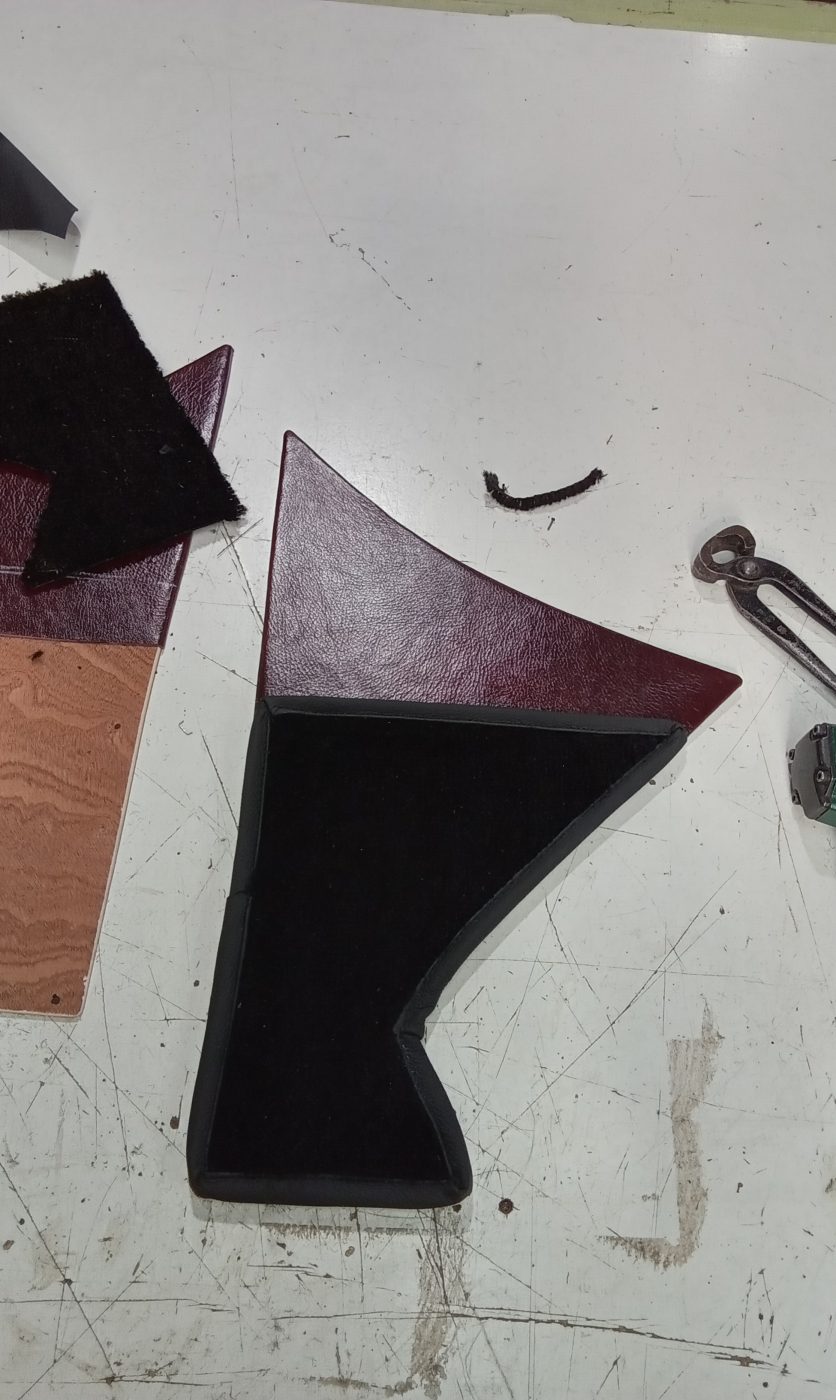
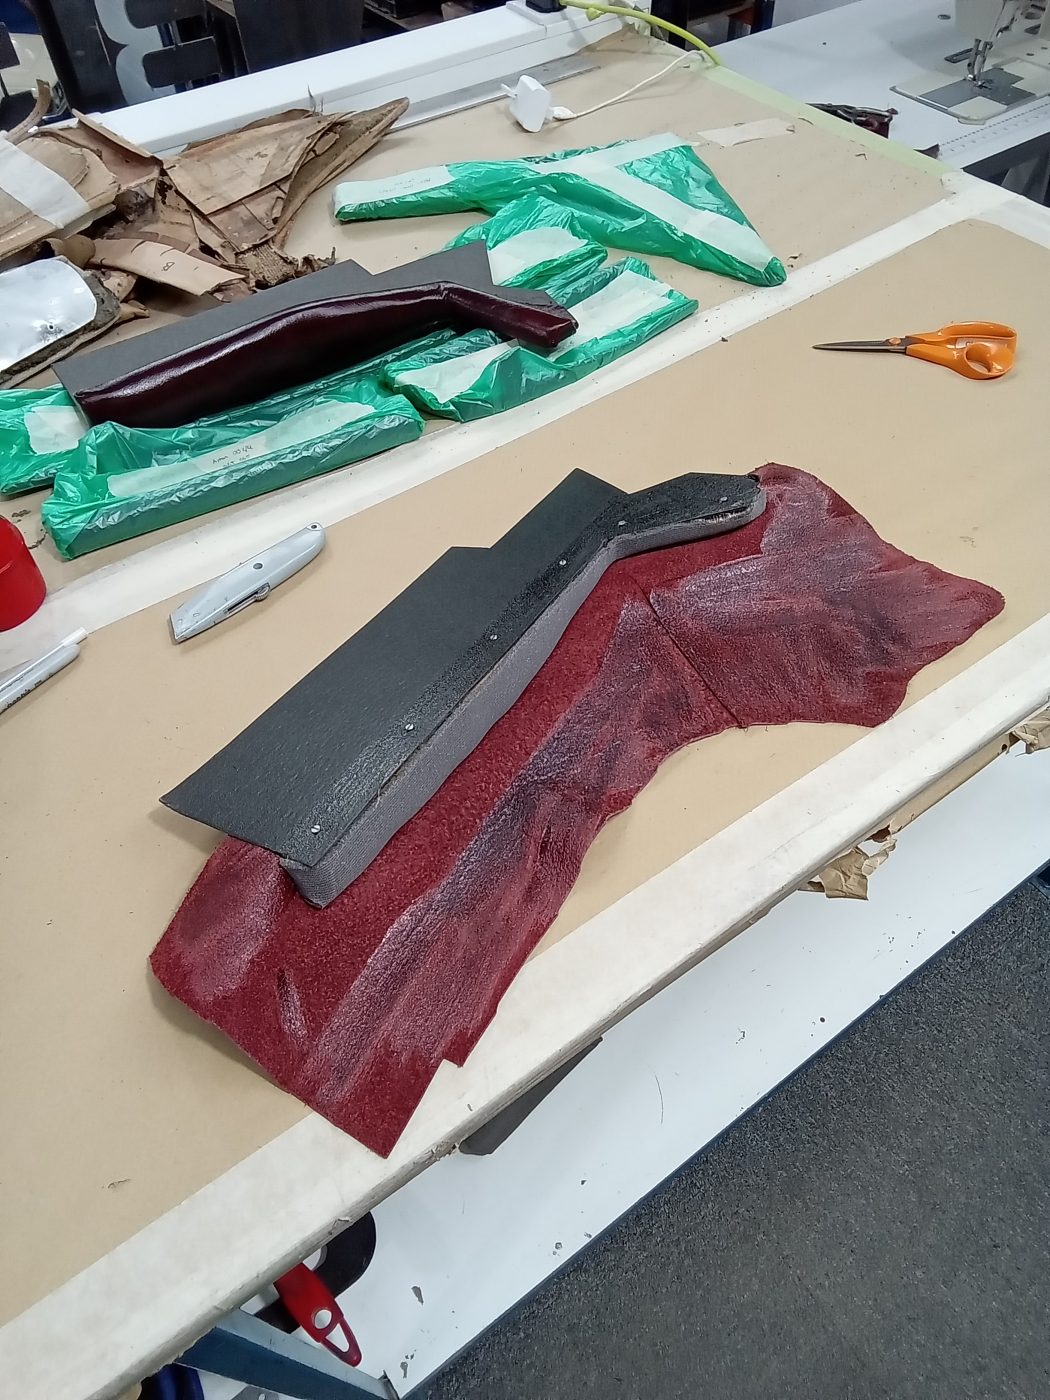
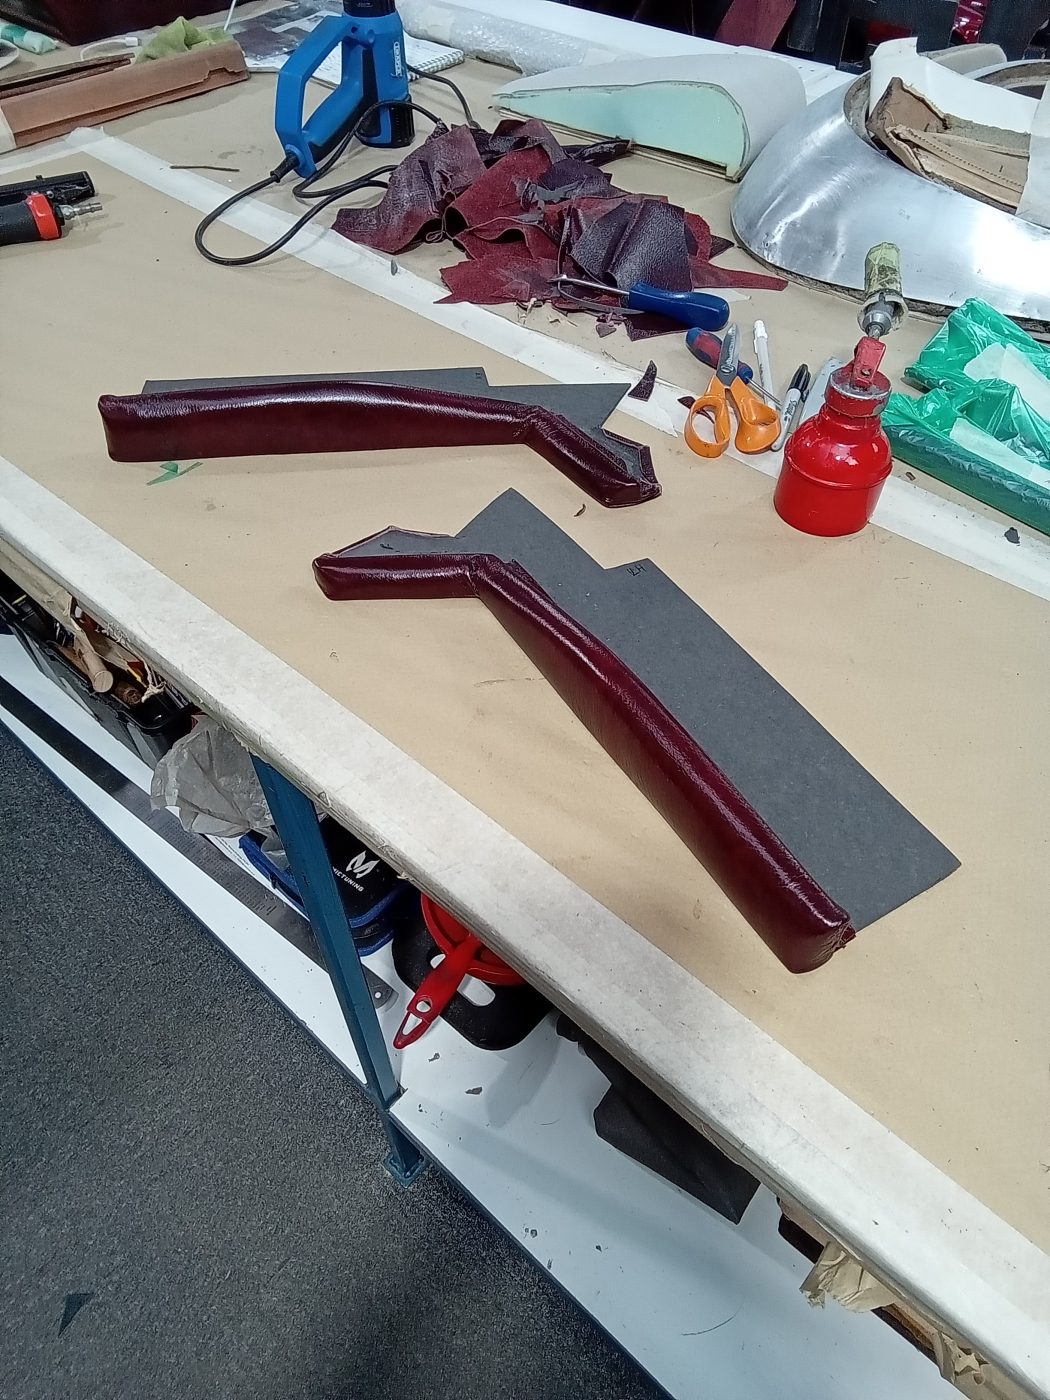
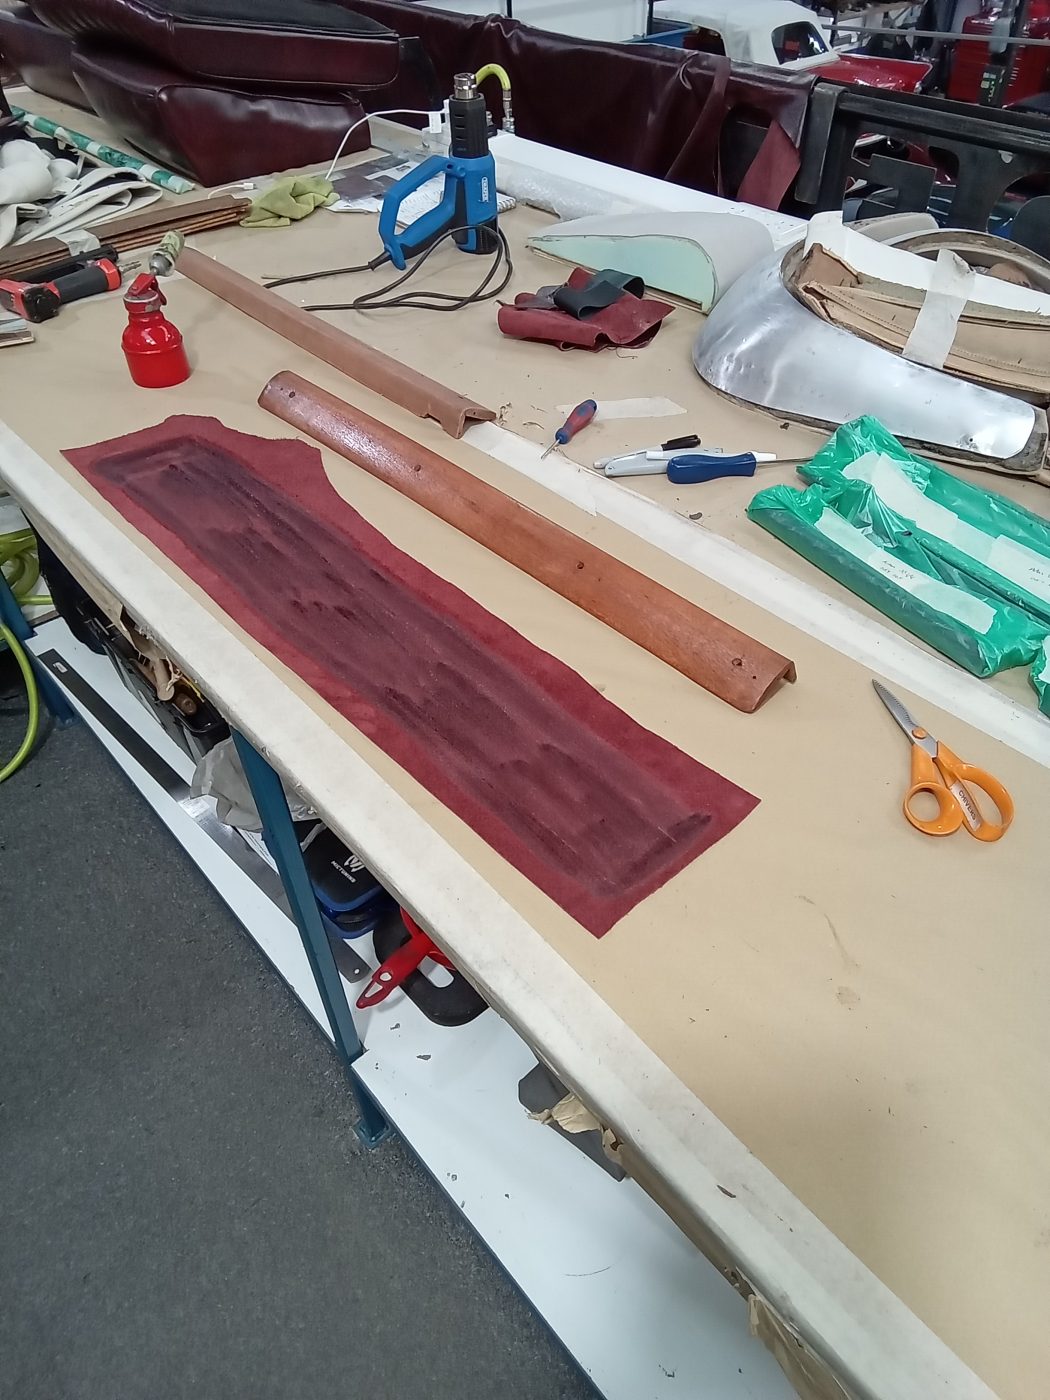
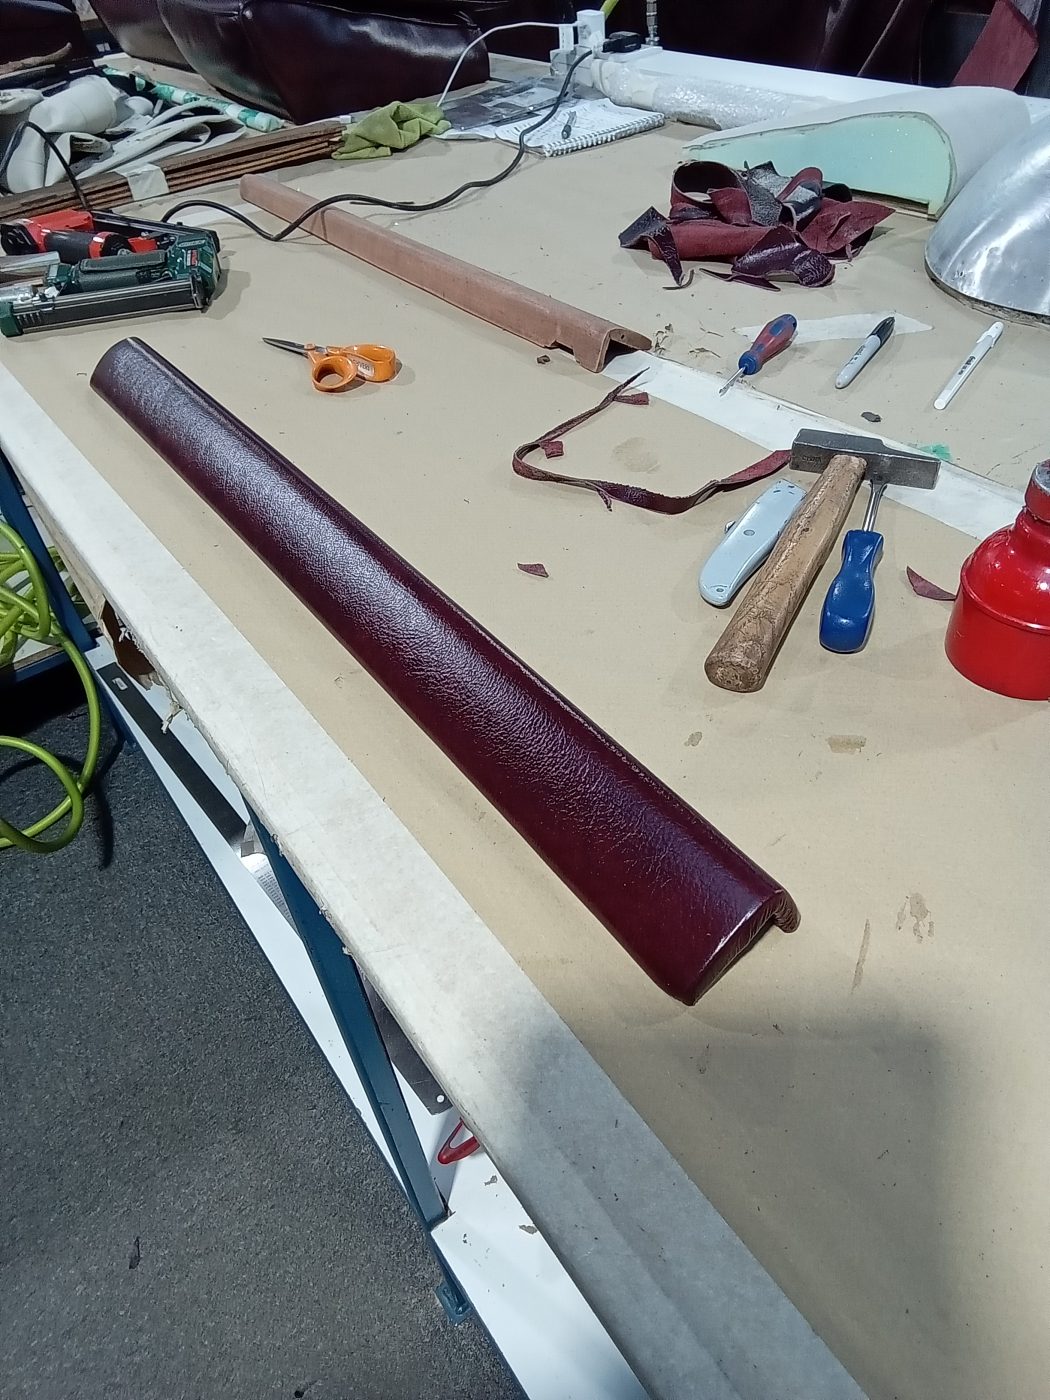
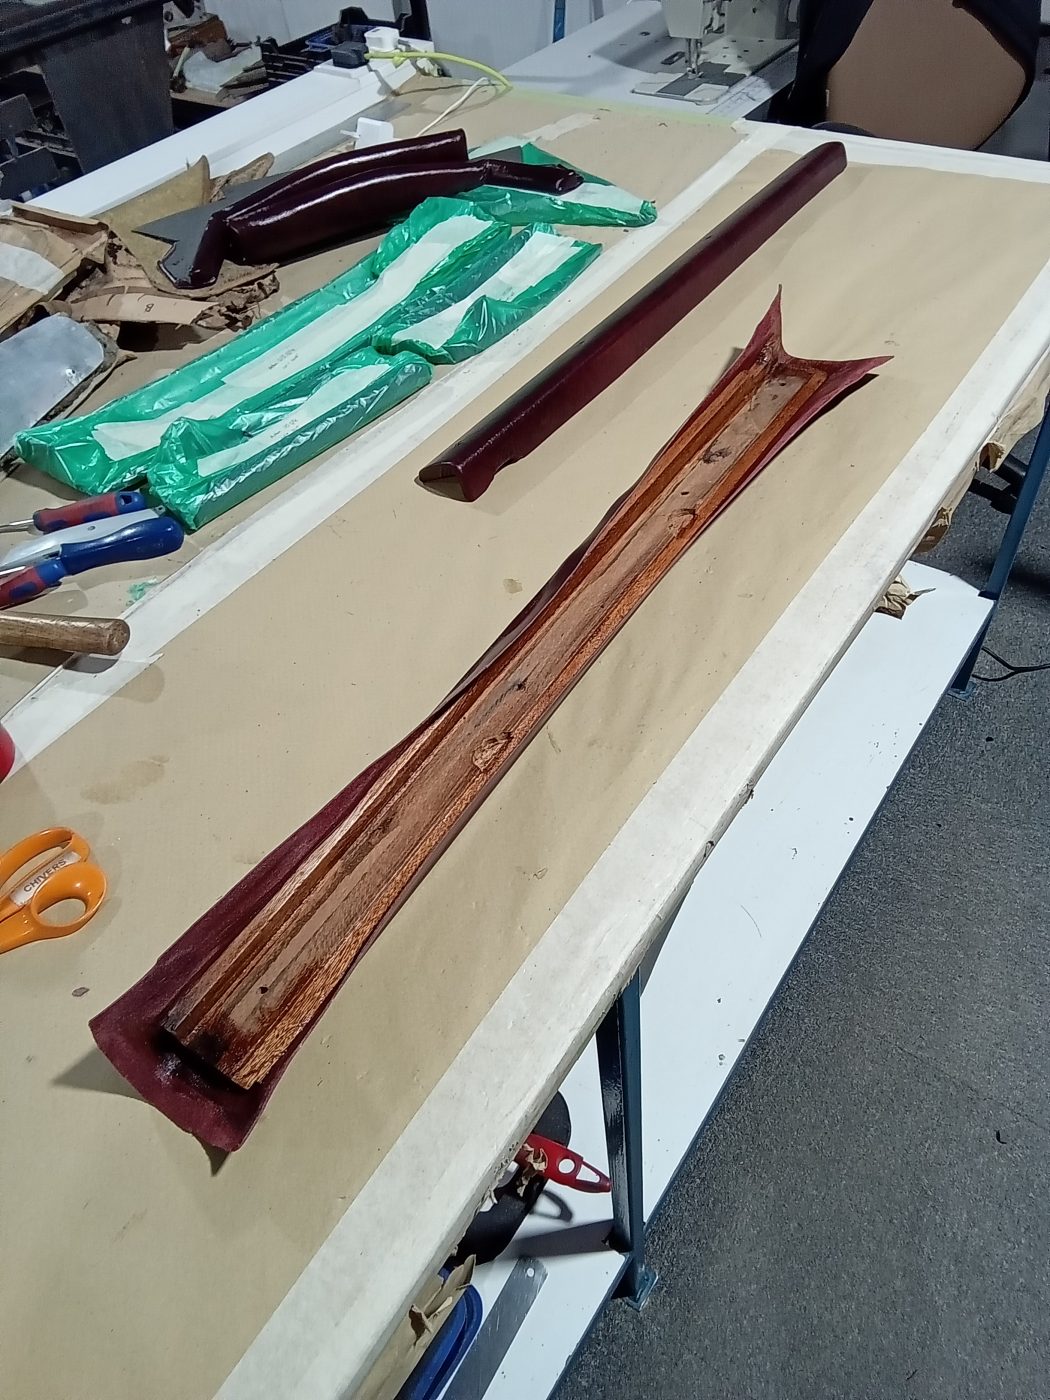
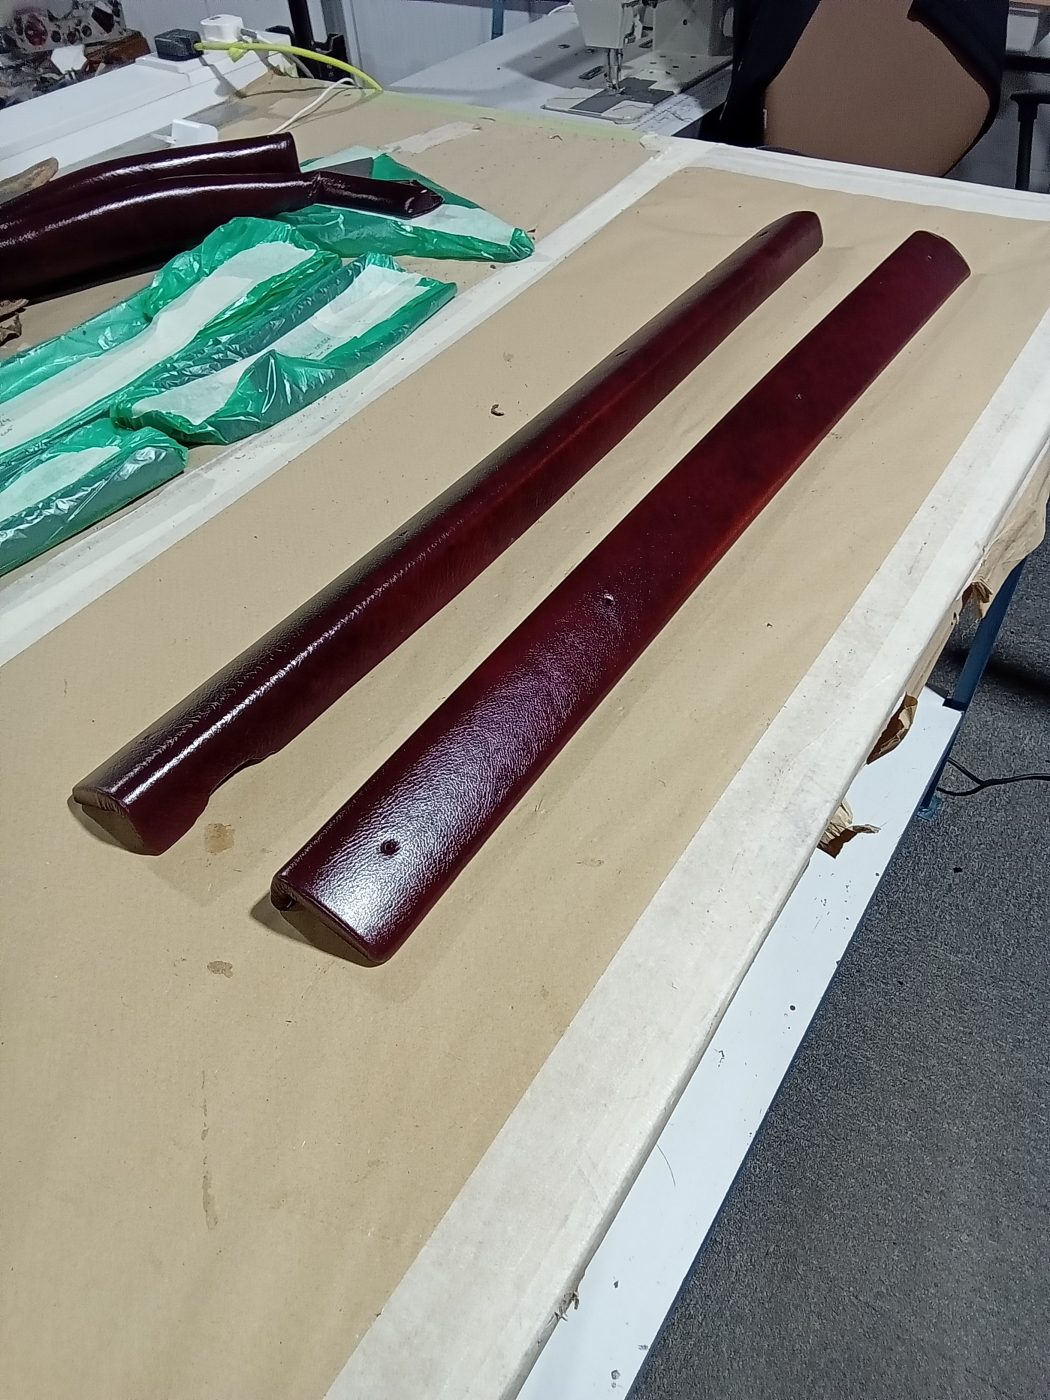
Lydia then made a glove box for our classic Jensen. It’s small in size as it has to fit into the dash around an air duct and wiper motor linkage. Lydia fitted the box she had previously made, then covered the front panel with red leather.
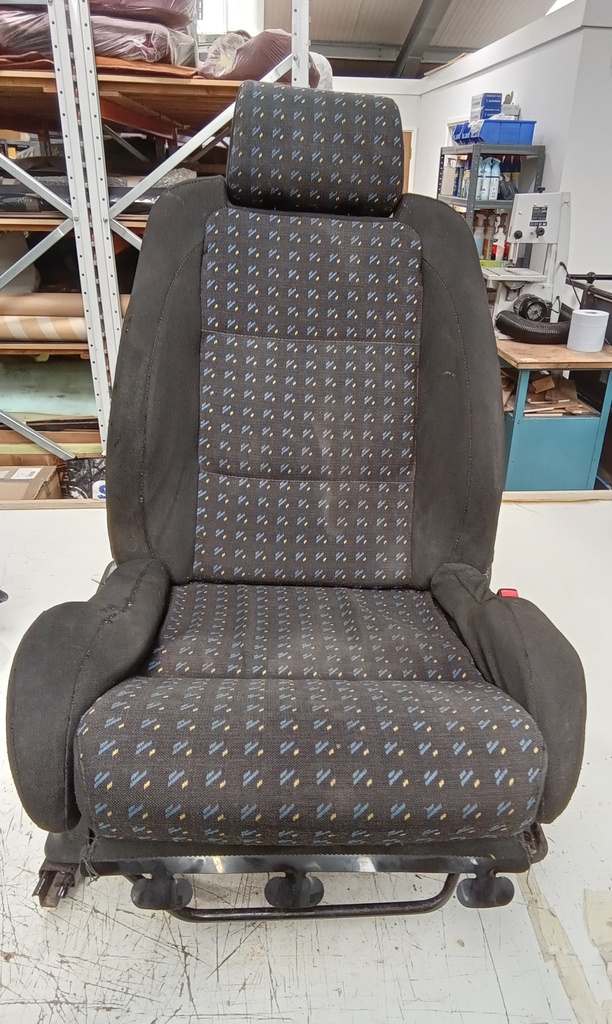
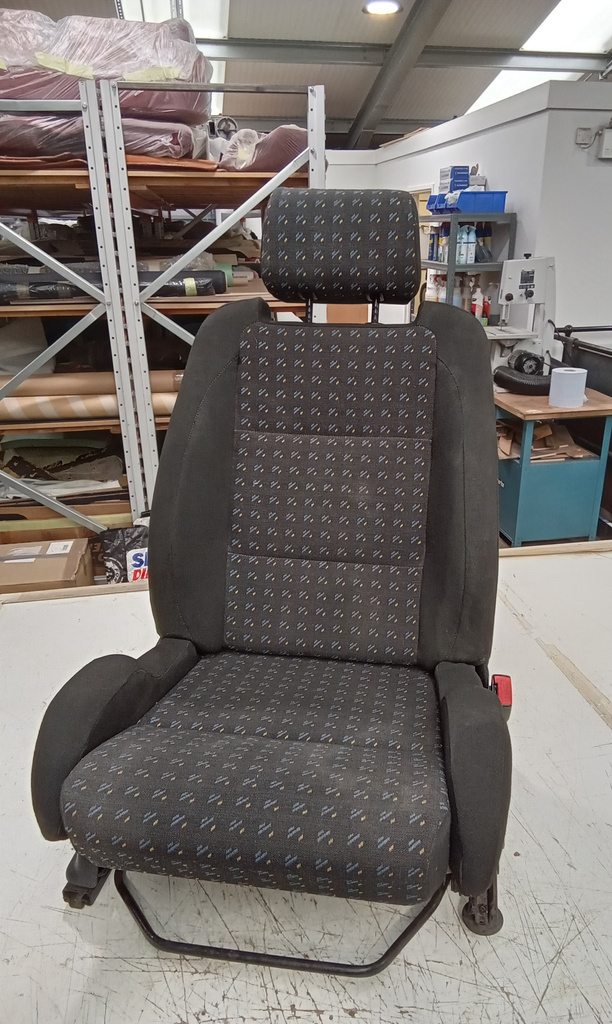
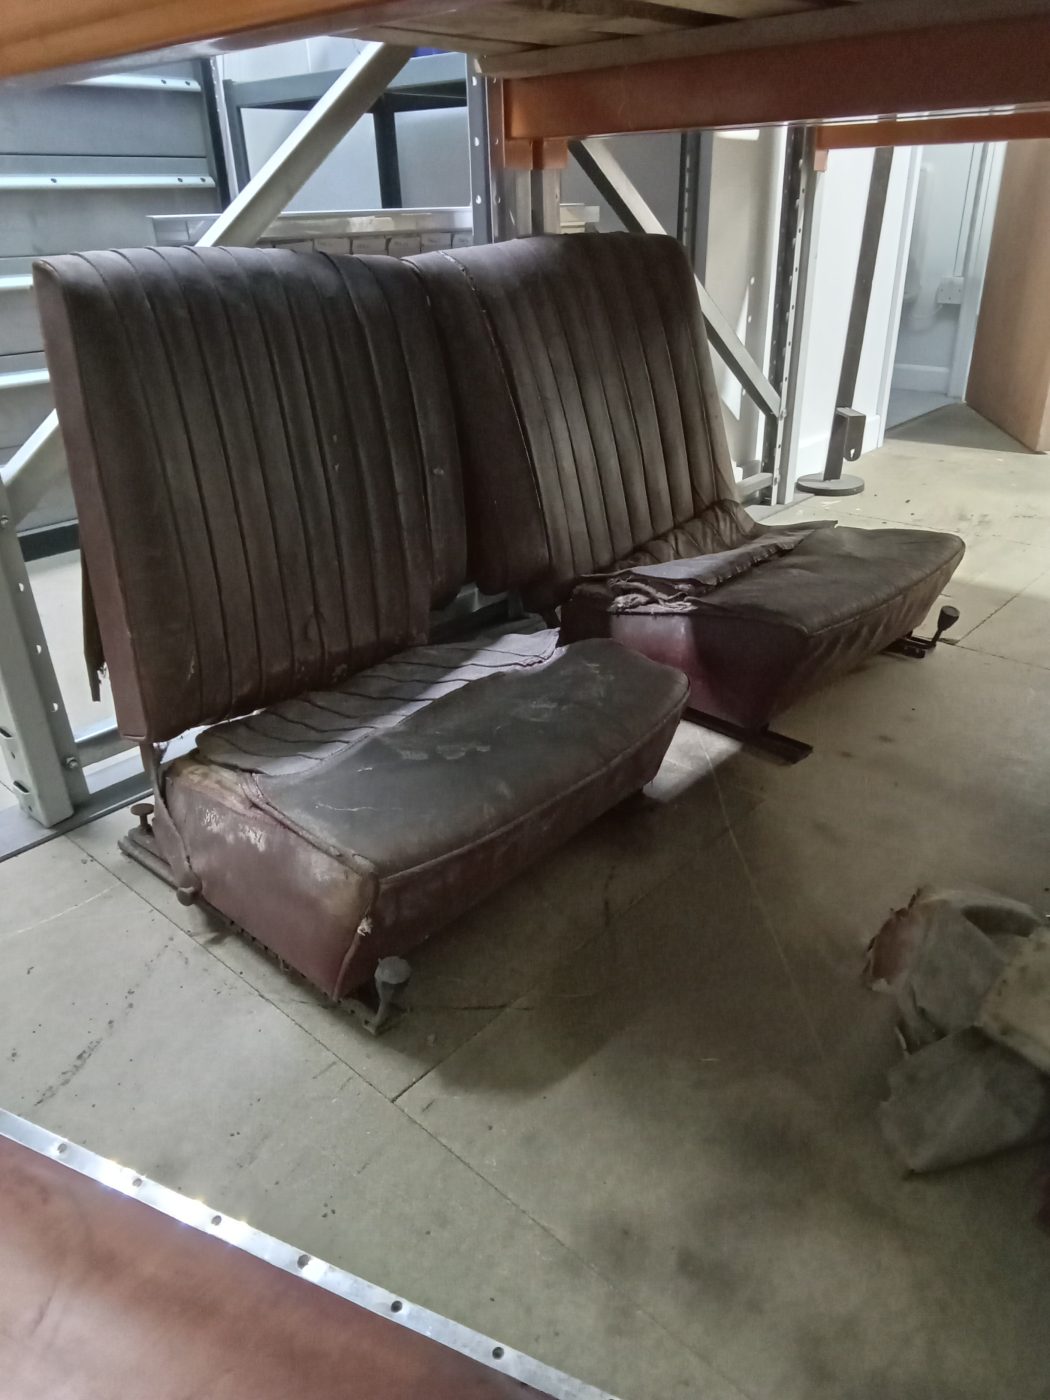
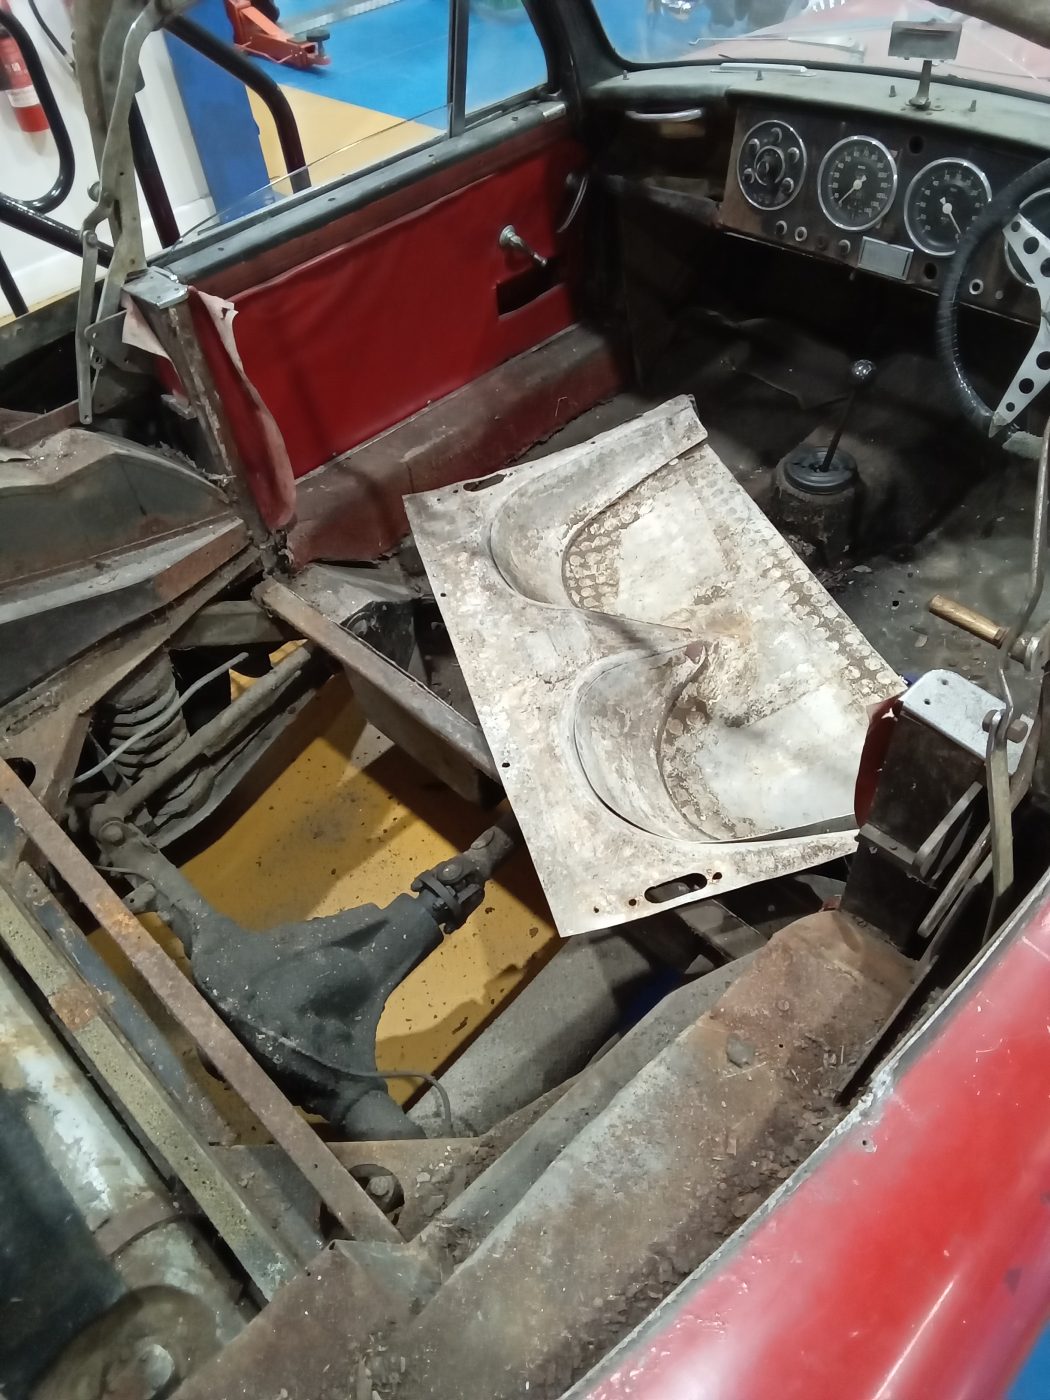
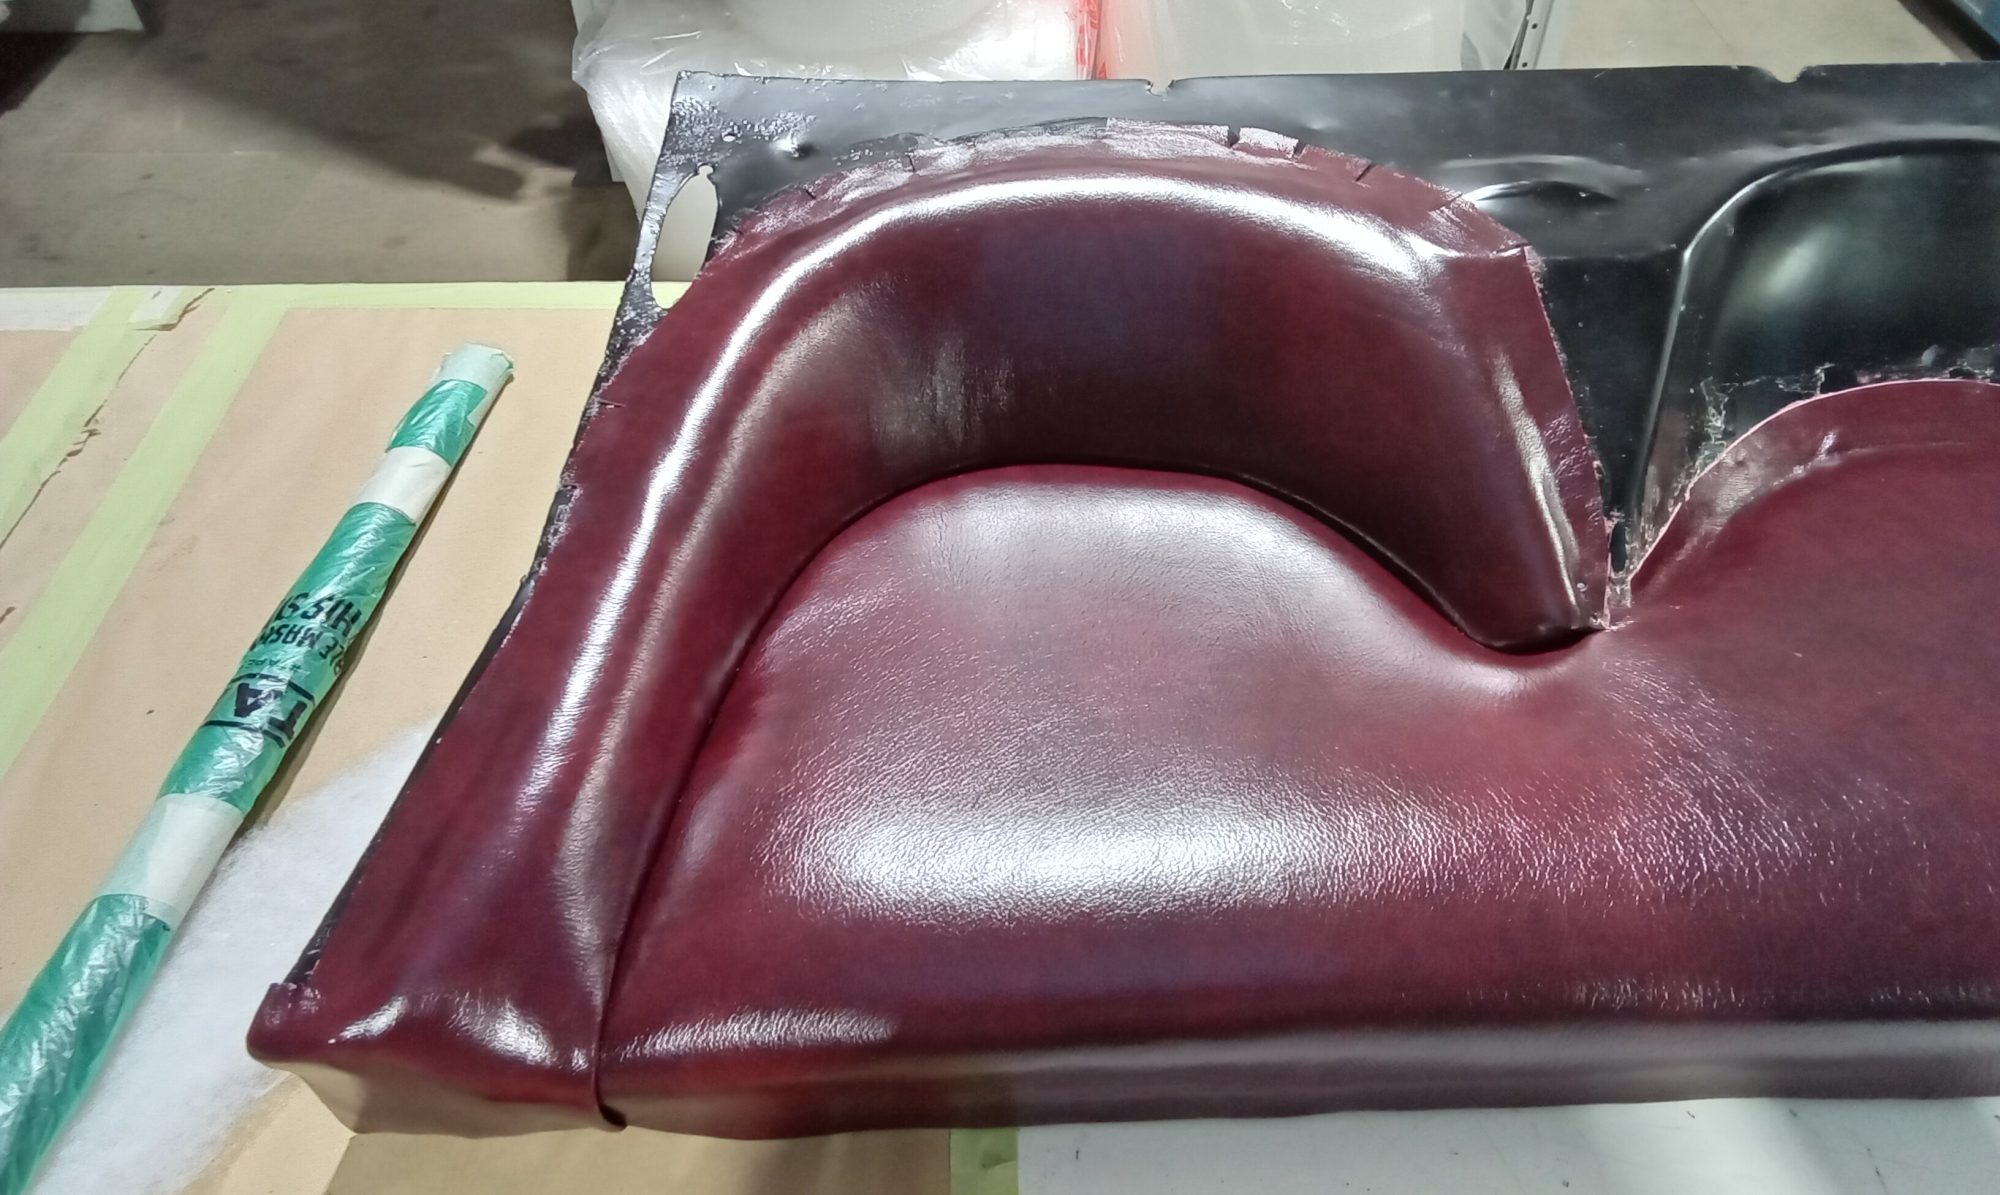
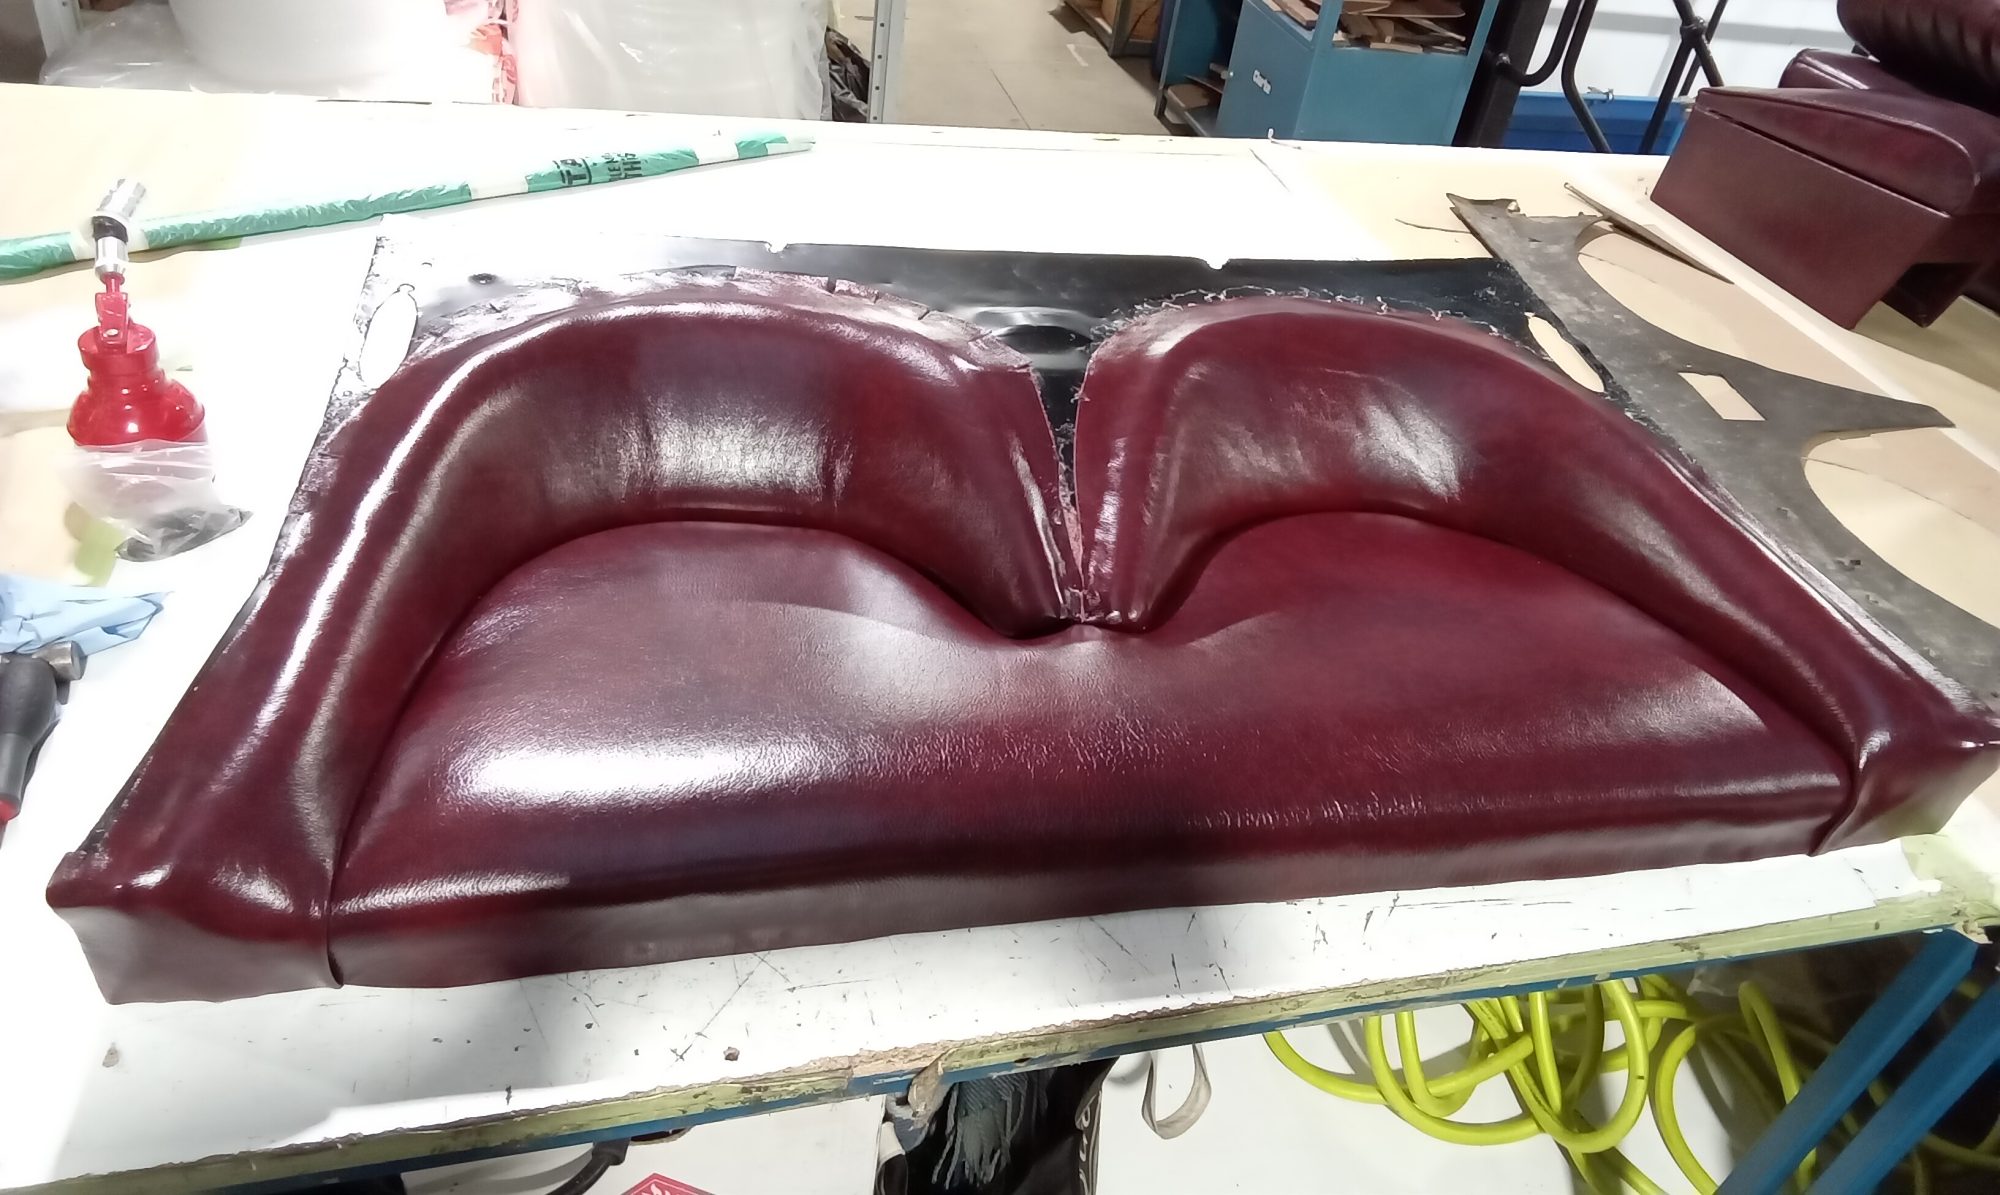
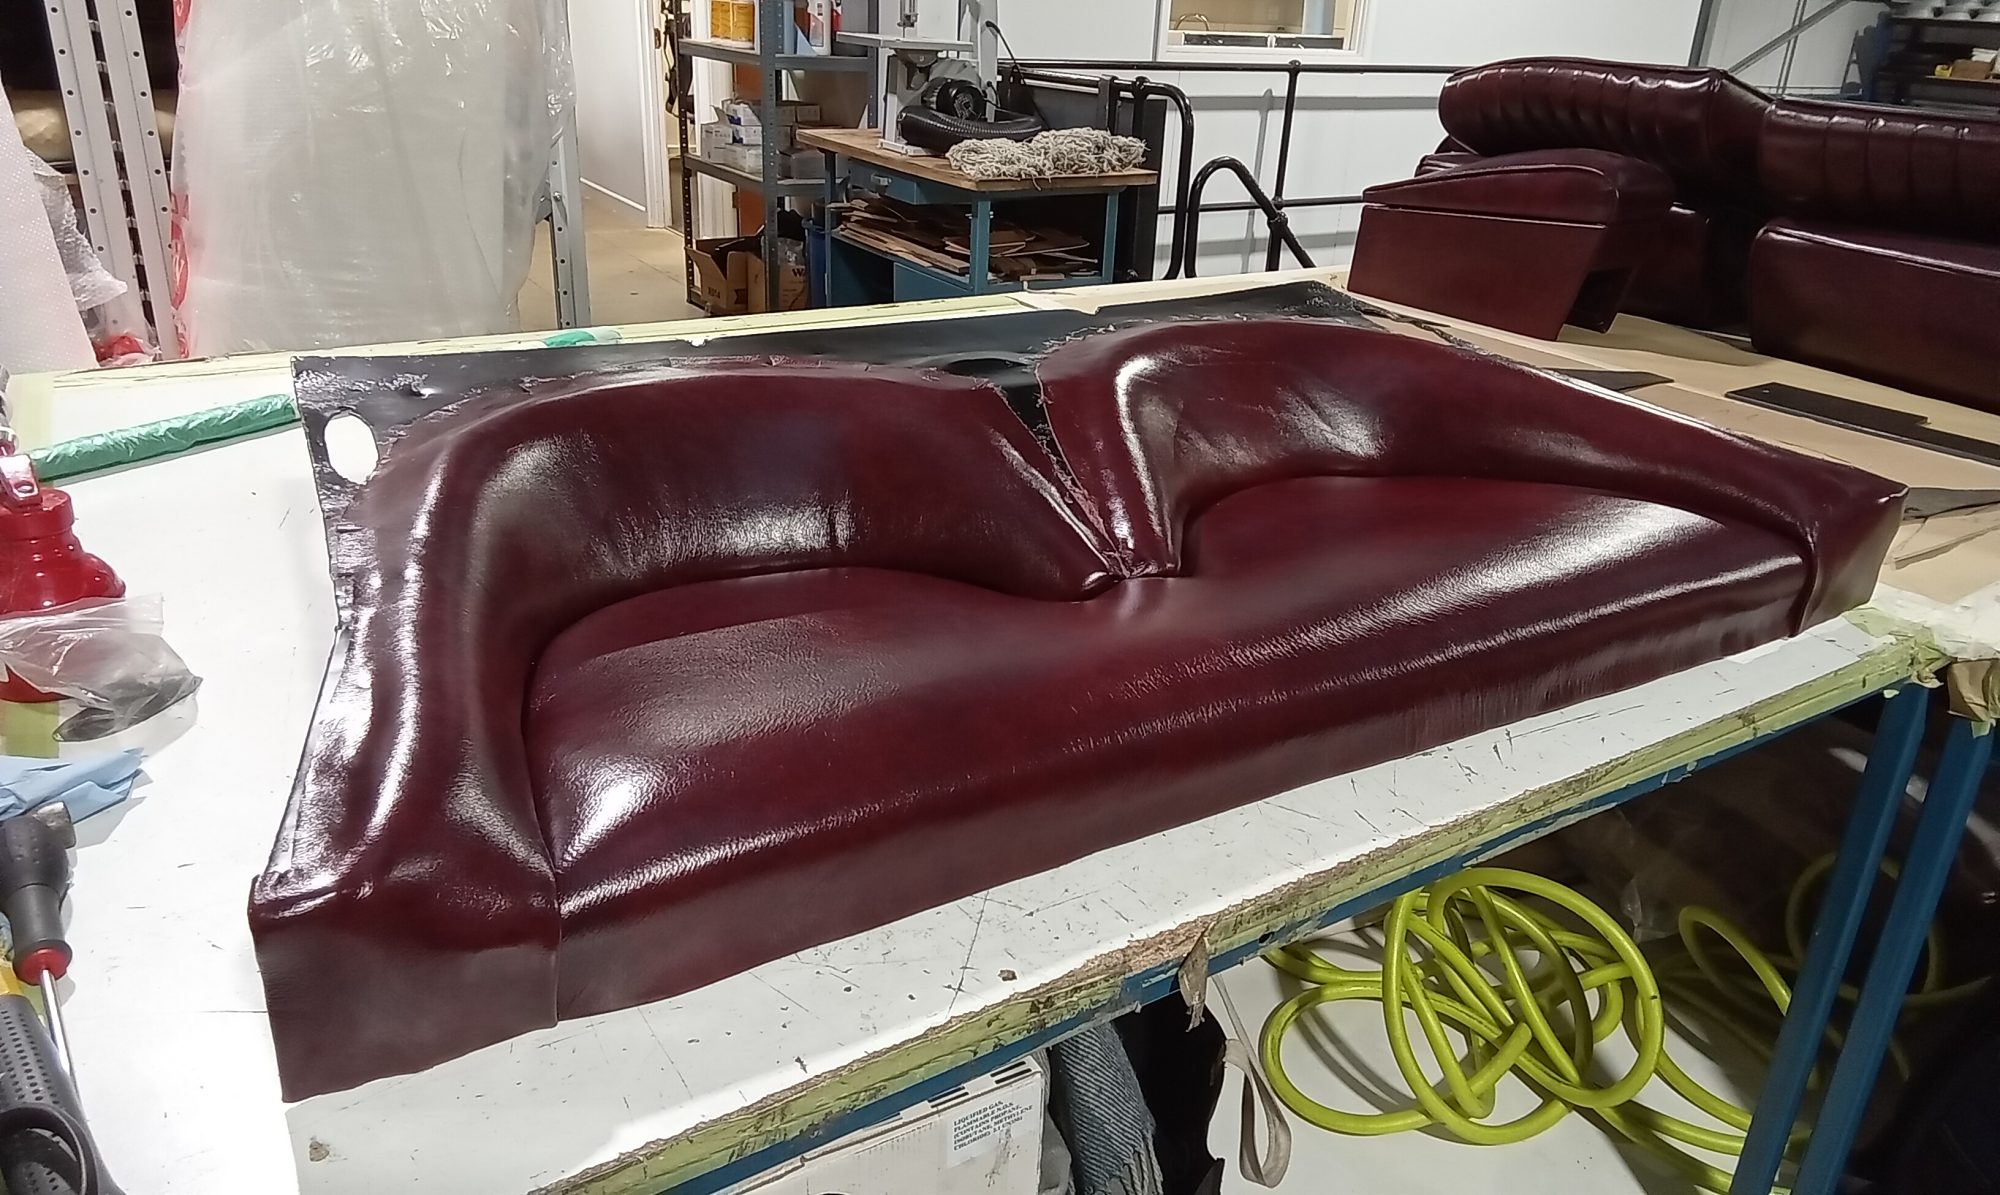
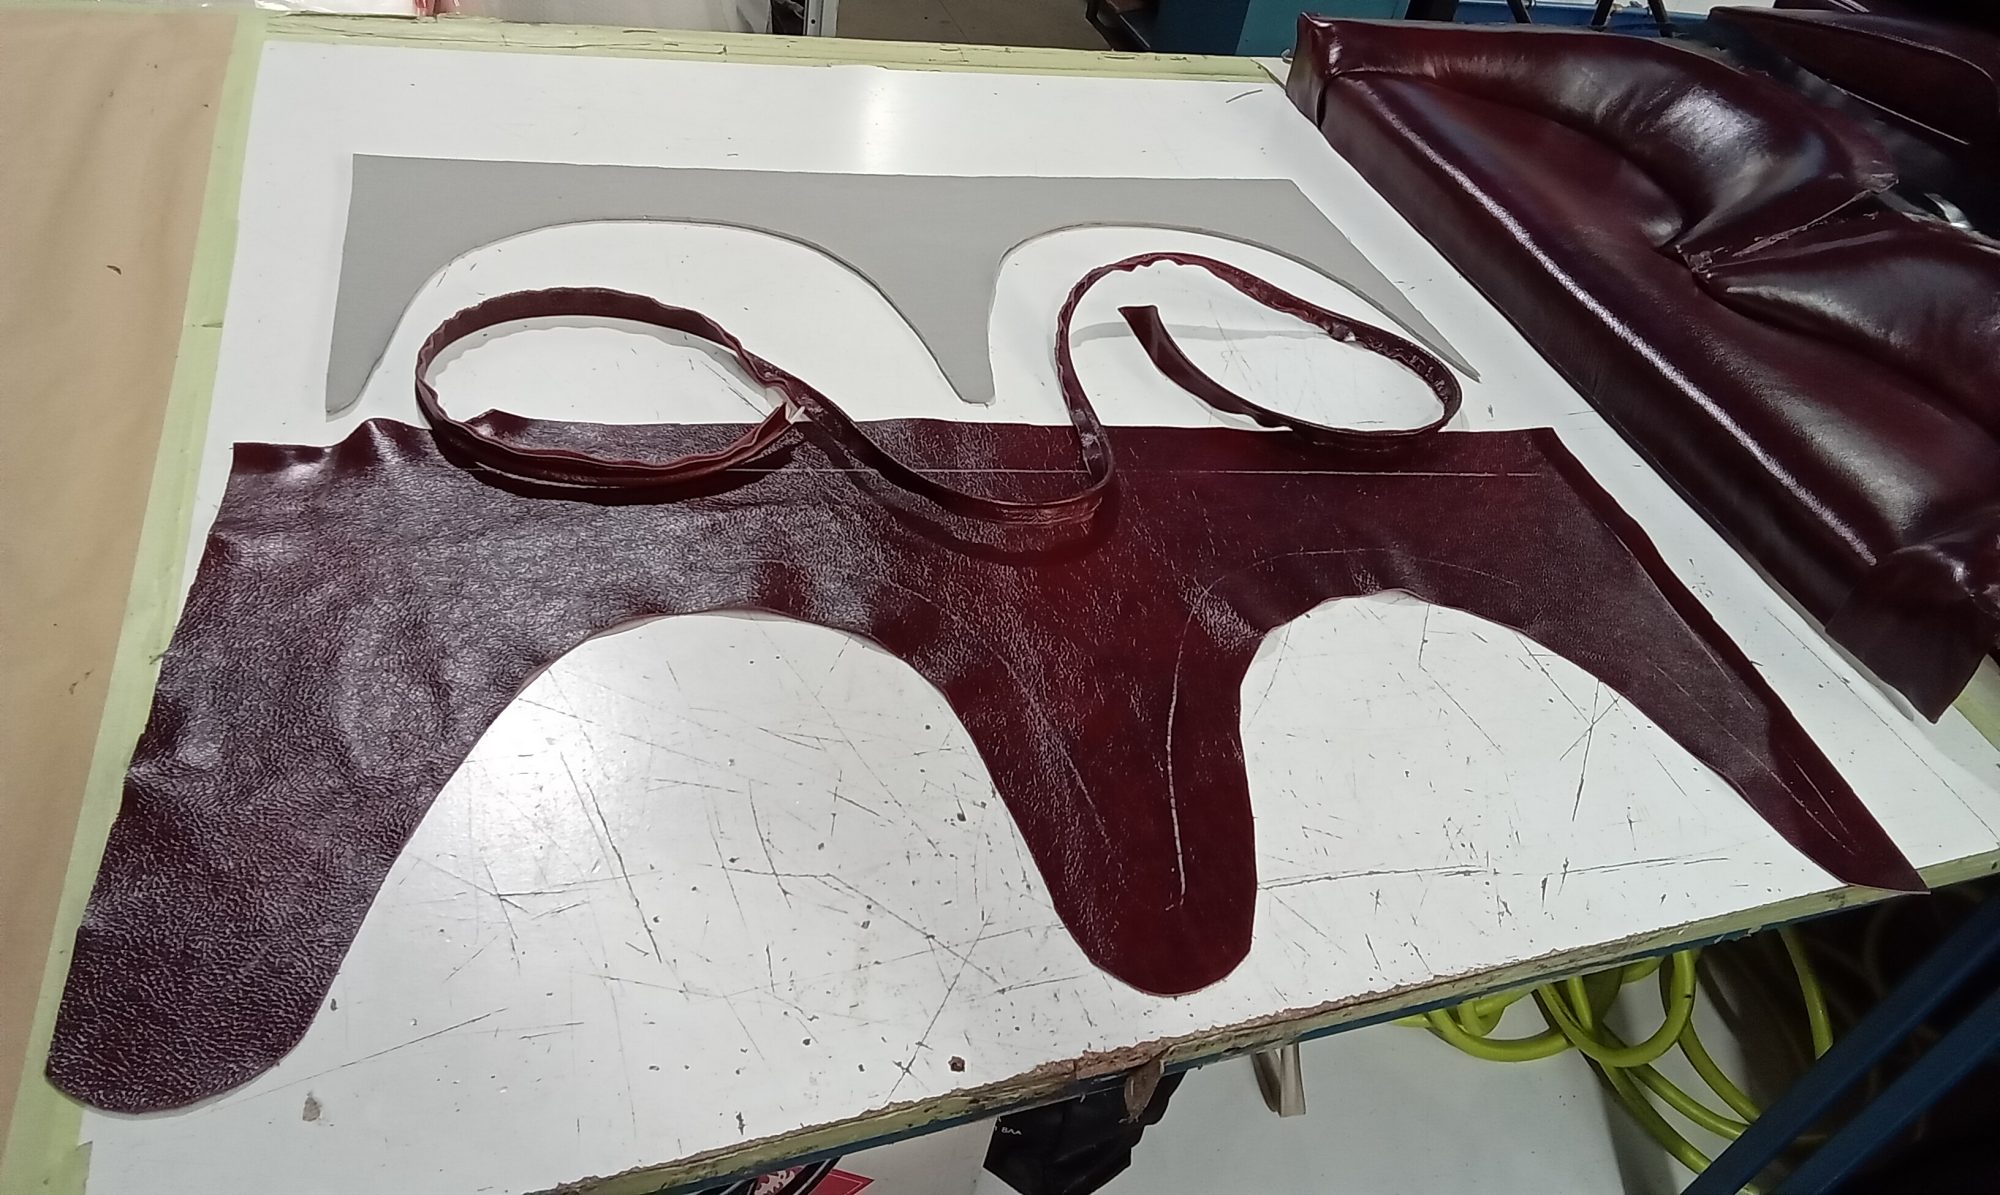
Unfortunately, due to the unique nature of the Jensen, the passenger seat didn’t fit next to the tunnel. Because it was made so long ago before the tunnel was ever fitted, we could not envisage this problem occurring. Lydia has test-fitted the seat into the vehicle and made alterations so that it will no longer fall on the gearbox tunnel, even when it is in its most forward position.
The door surrounds were then finished and the dash and extra wiring were also fitted for the fan motor and screen washer pump.

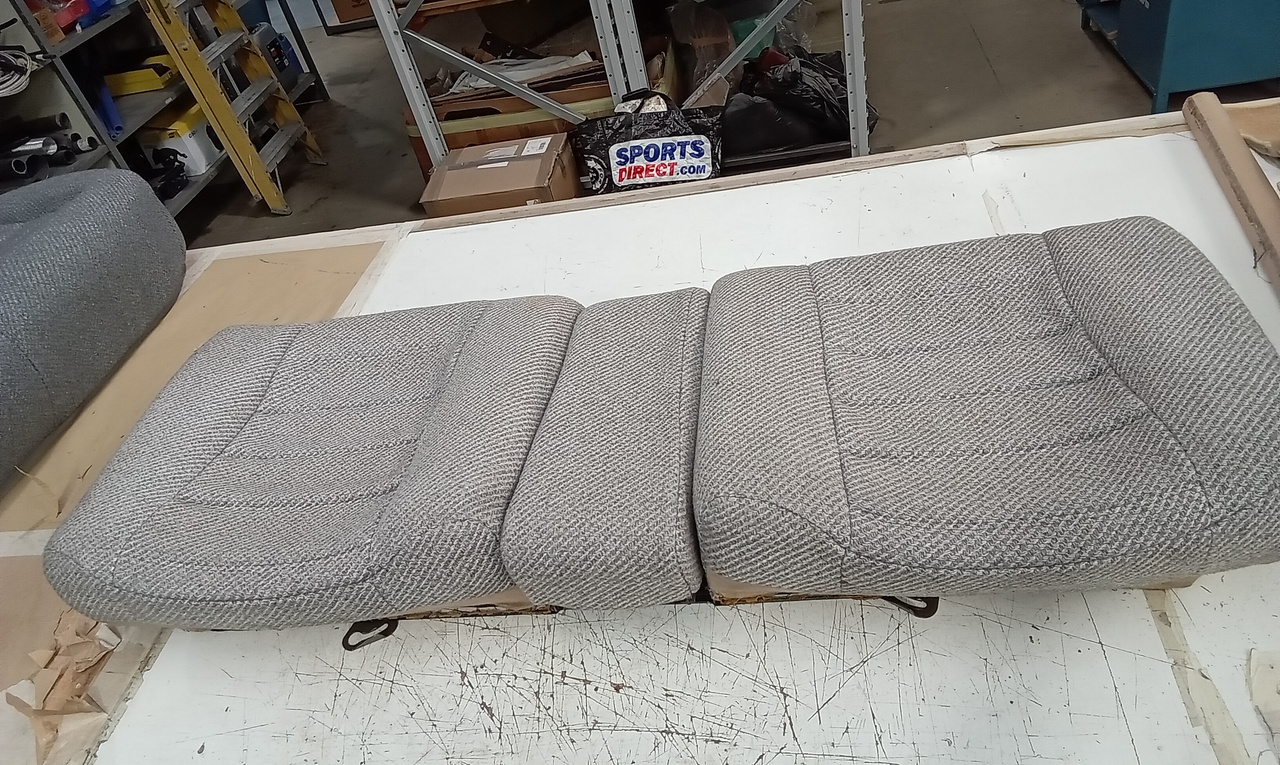
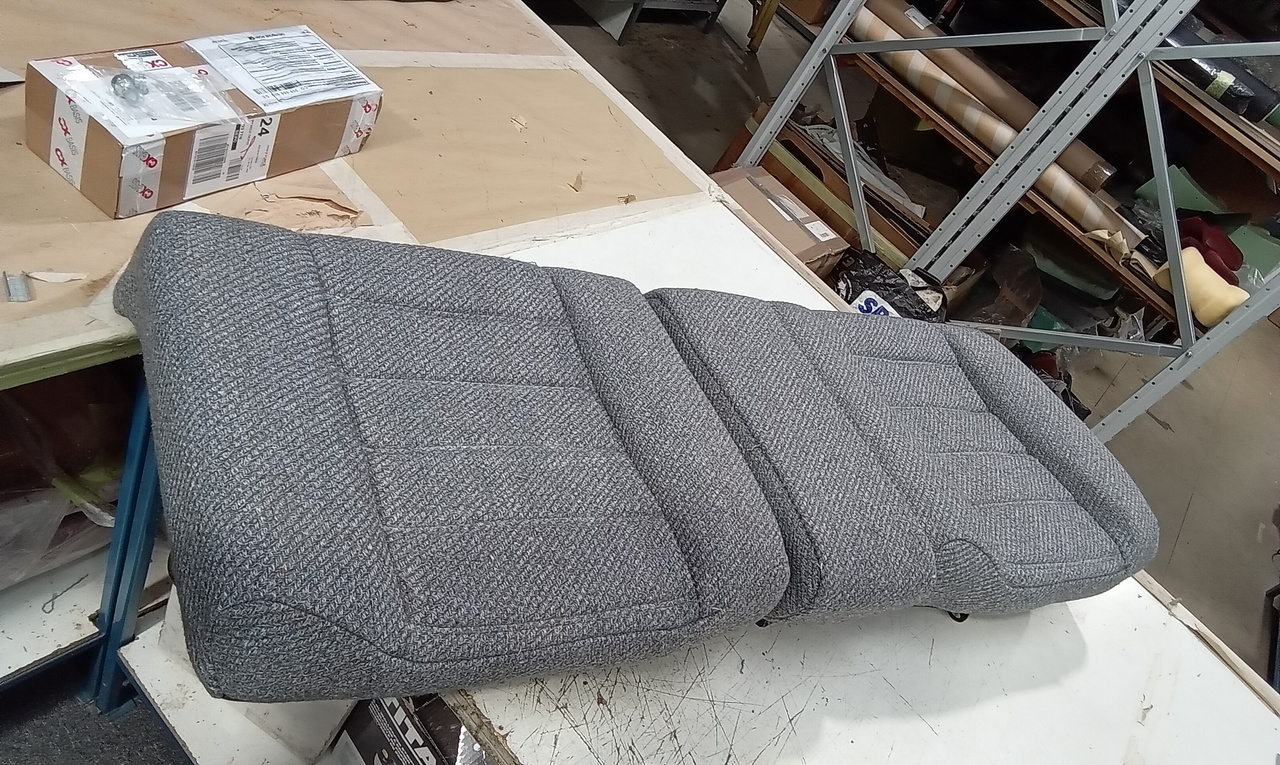
Lydia has replaced the old worn-out covers on the back seats of our 1985 Citroen CX25 GTi. She used new fabric so that it matched the front seats.
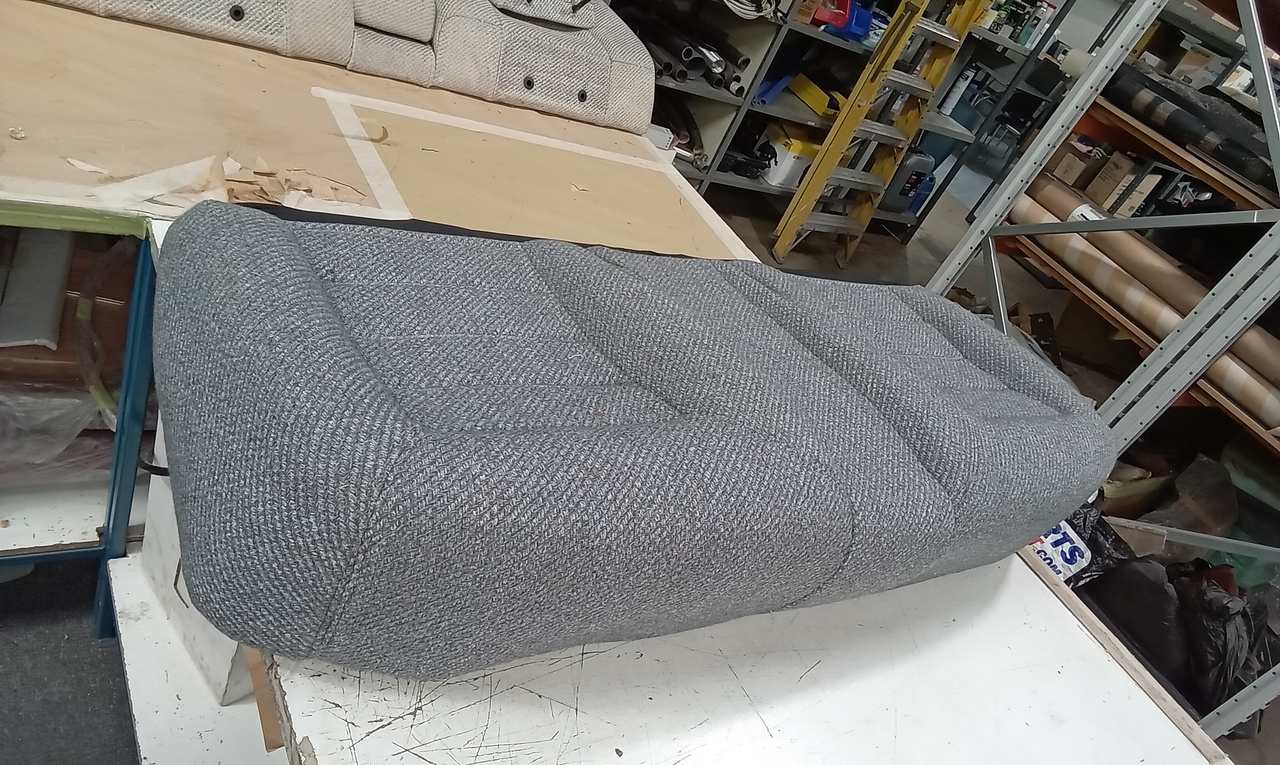
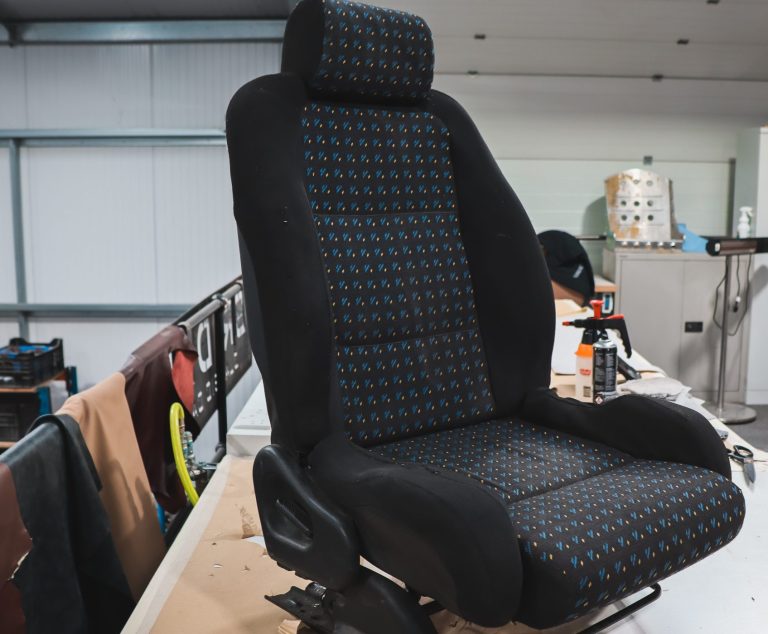
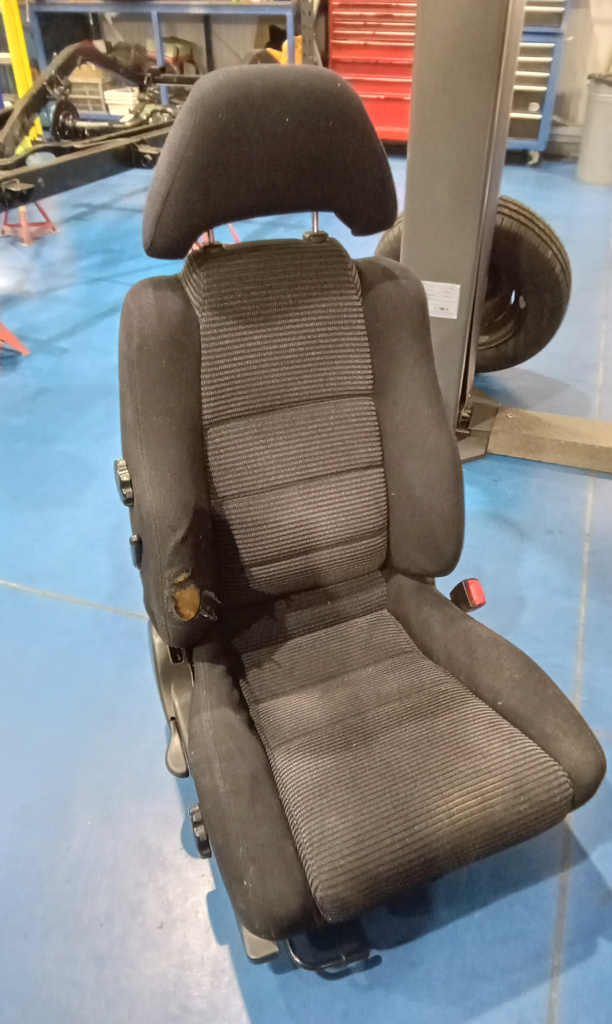
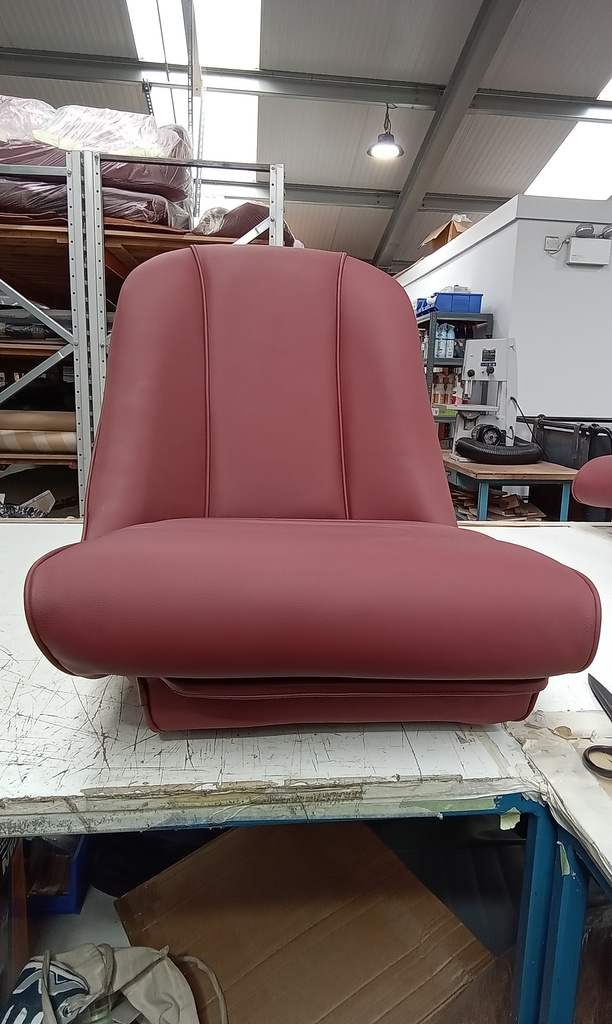
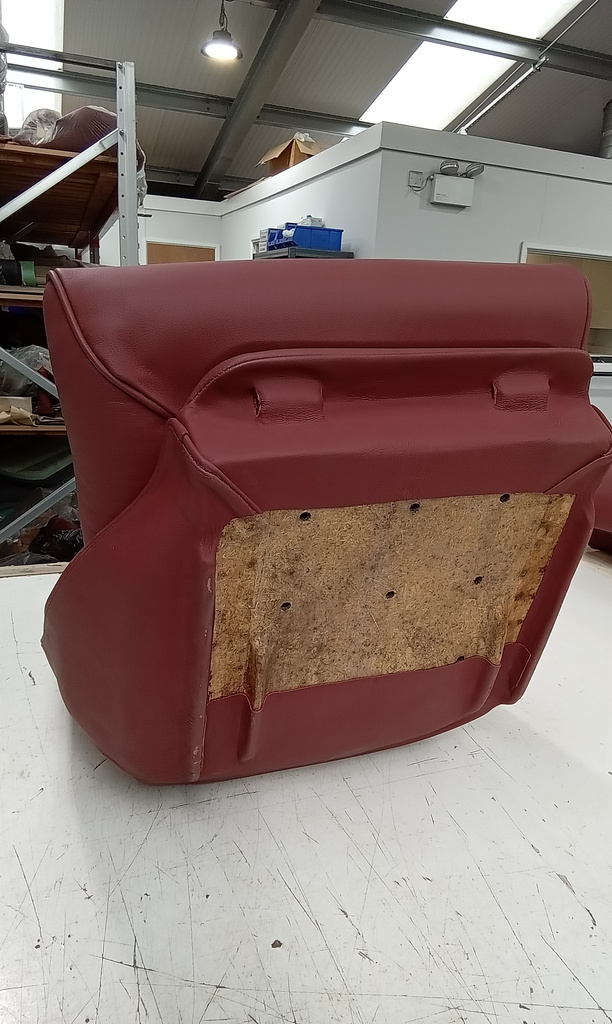
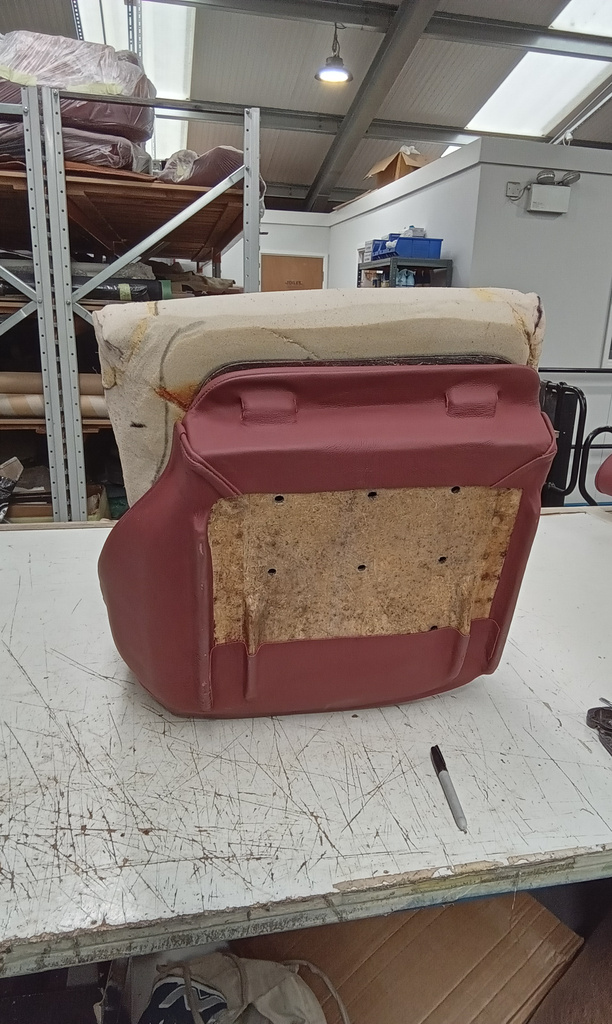
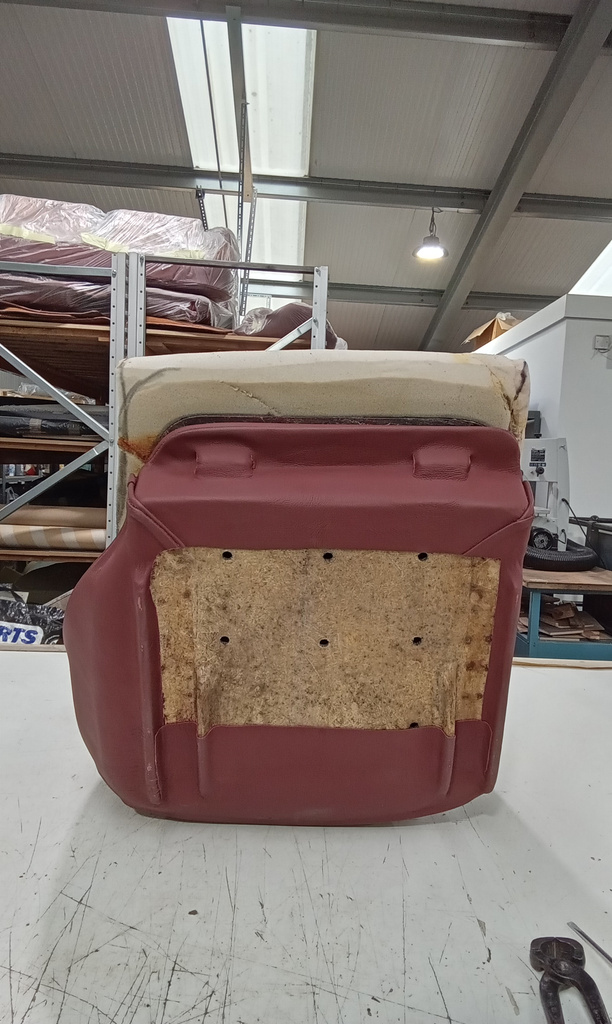
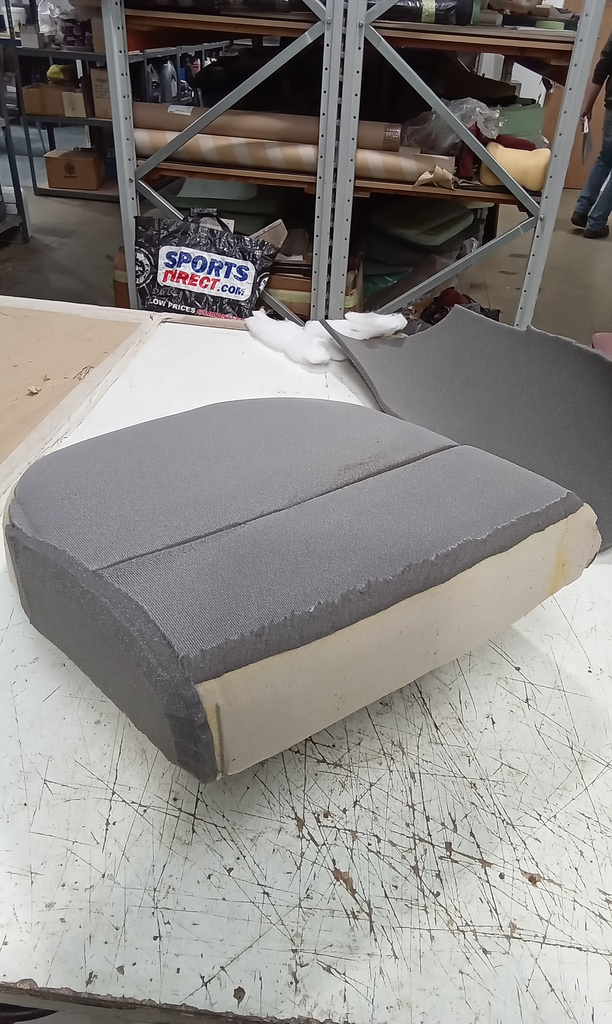
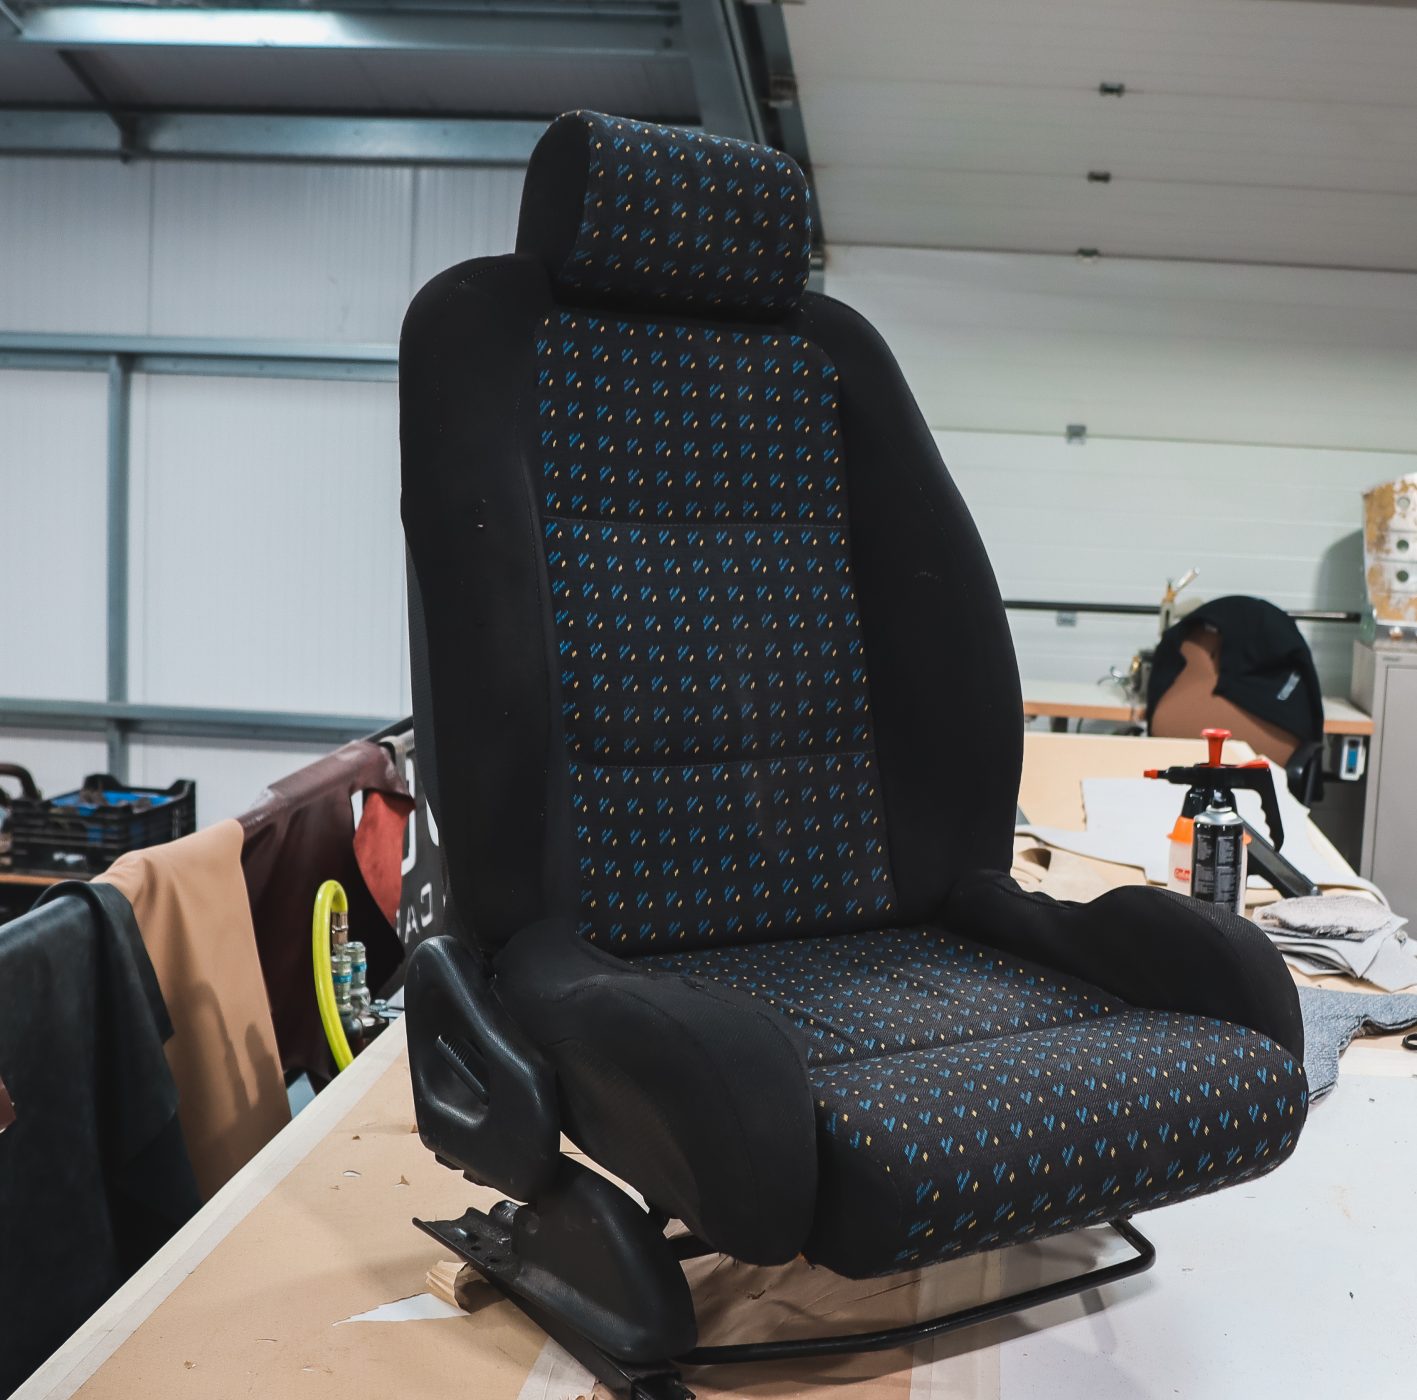
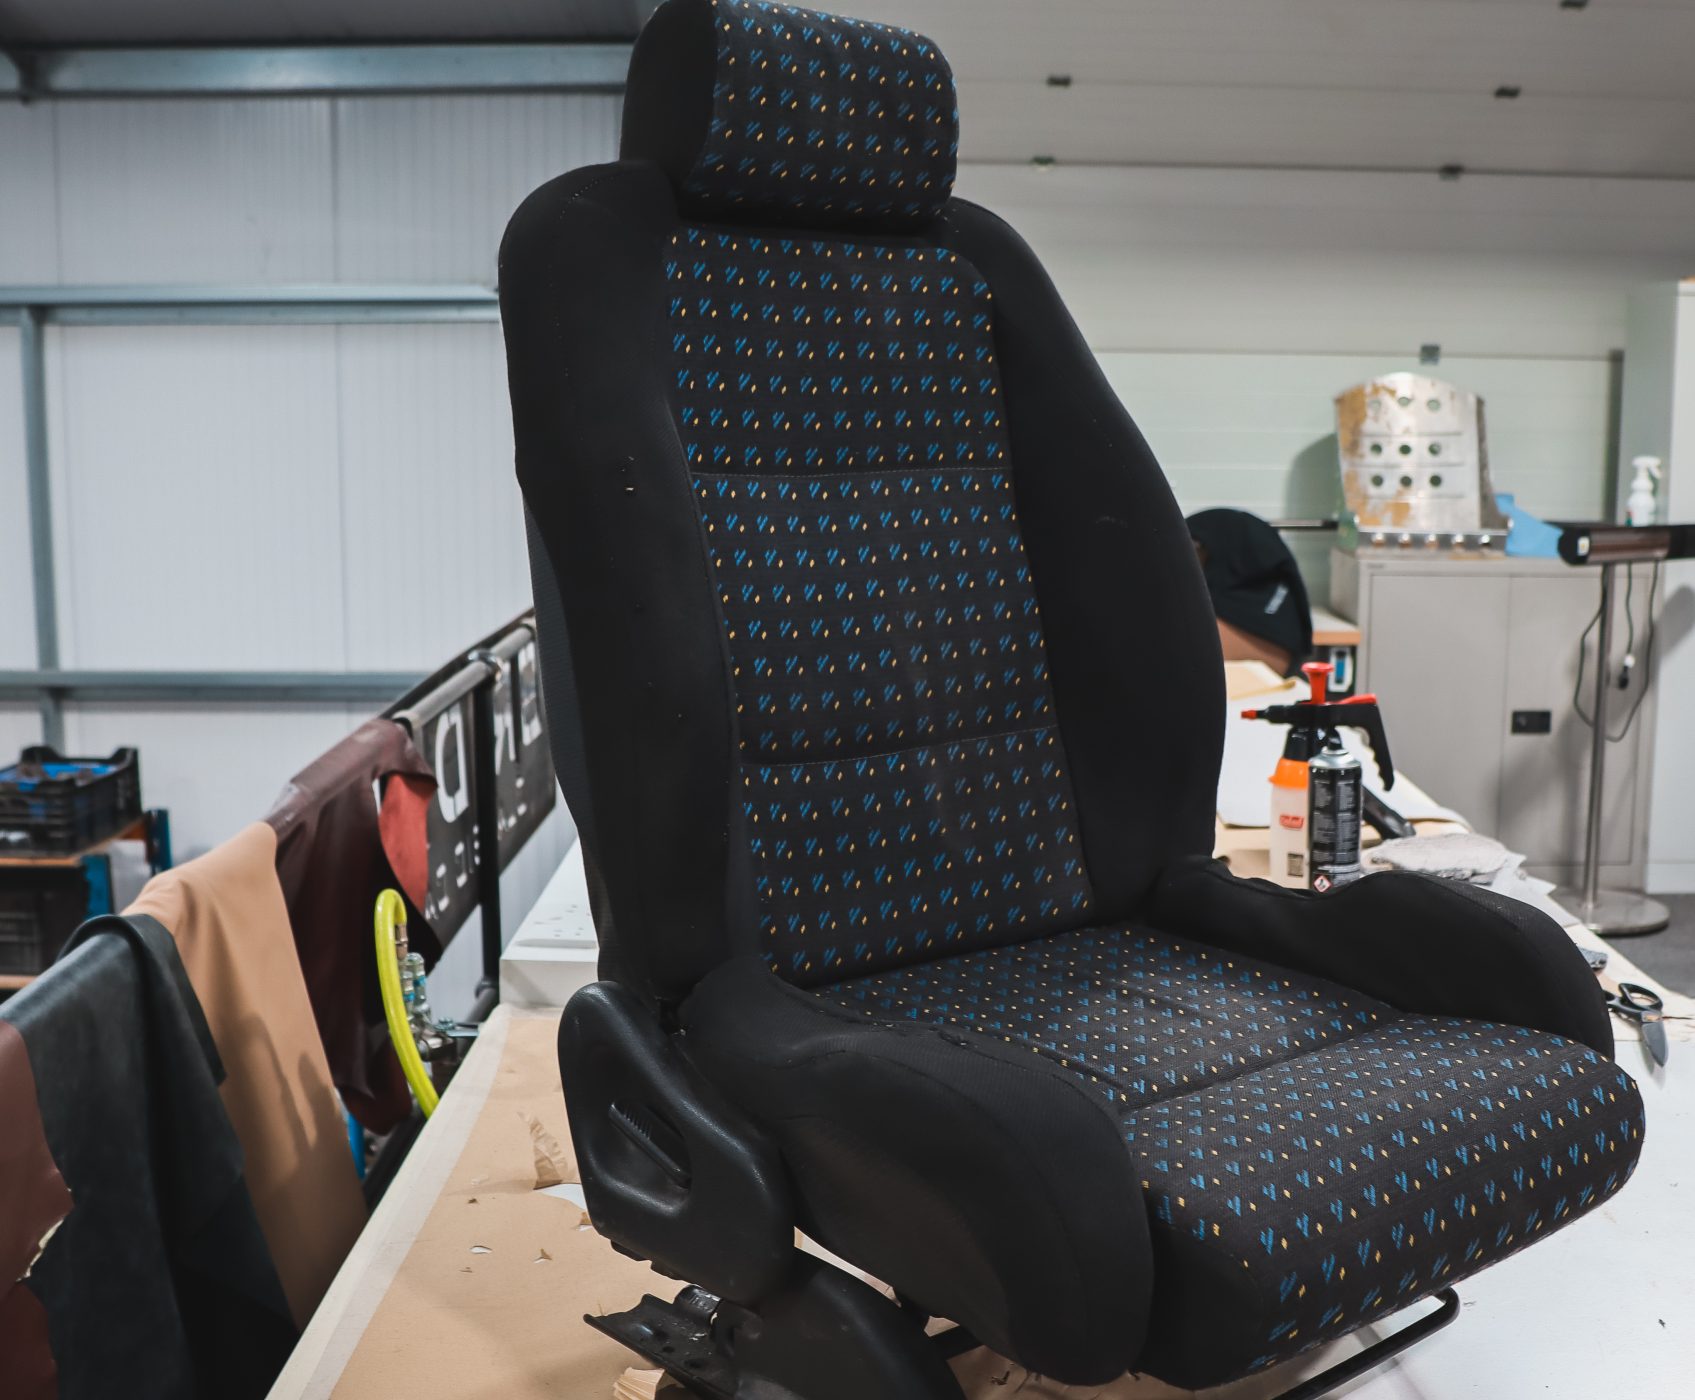
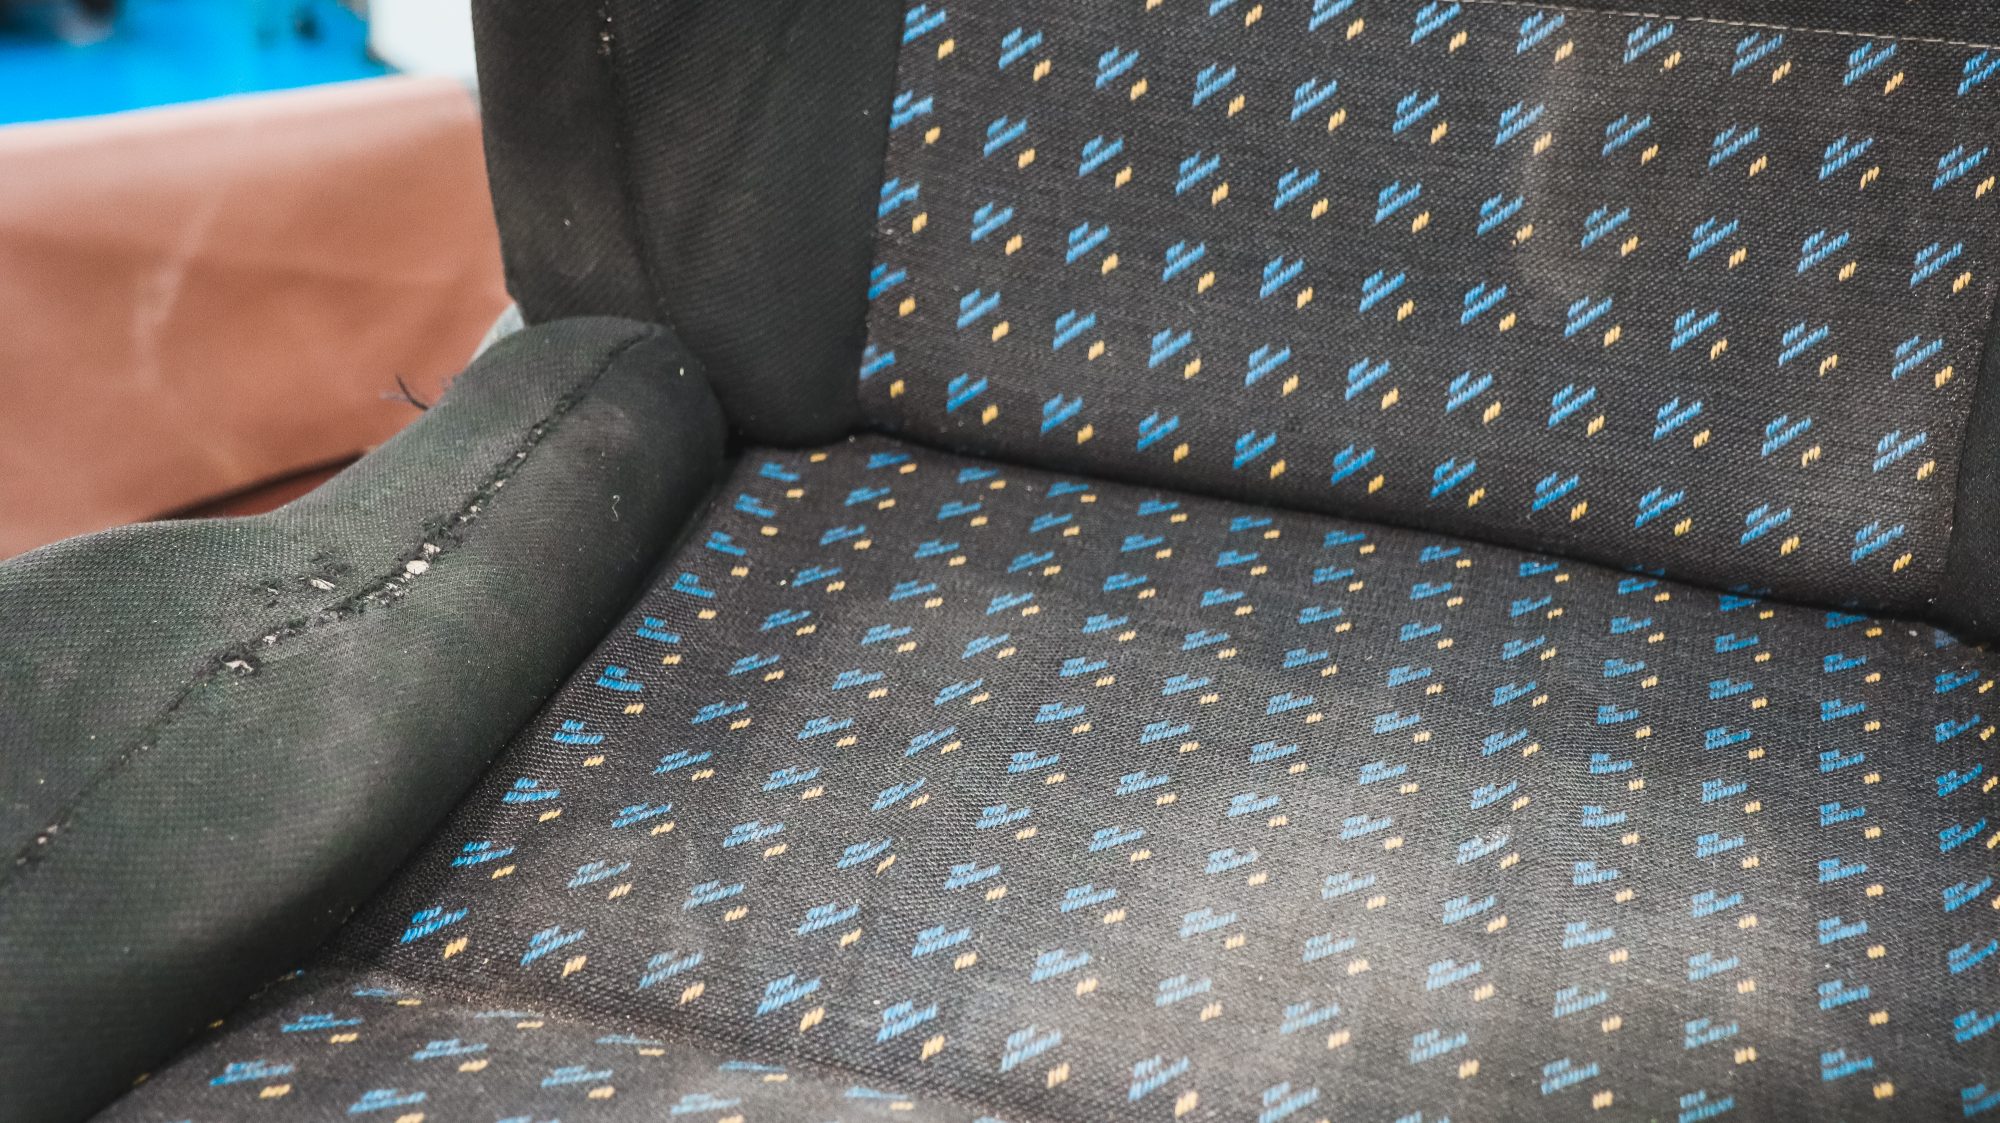
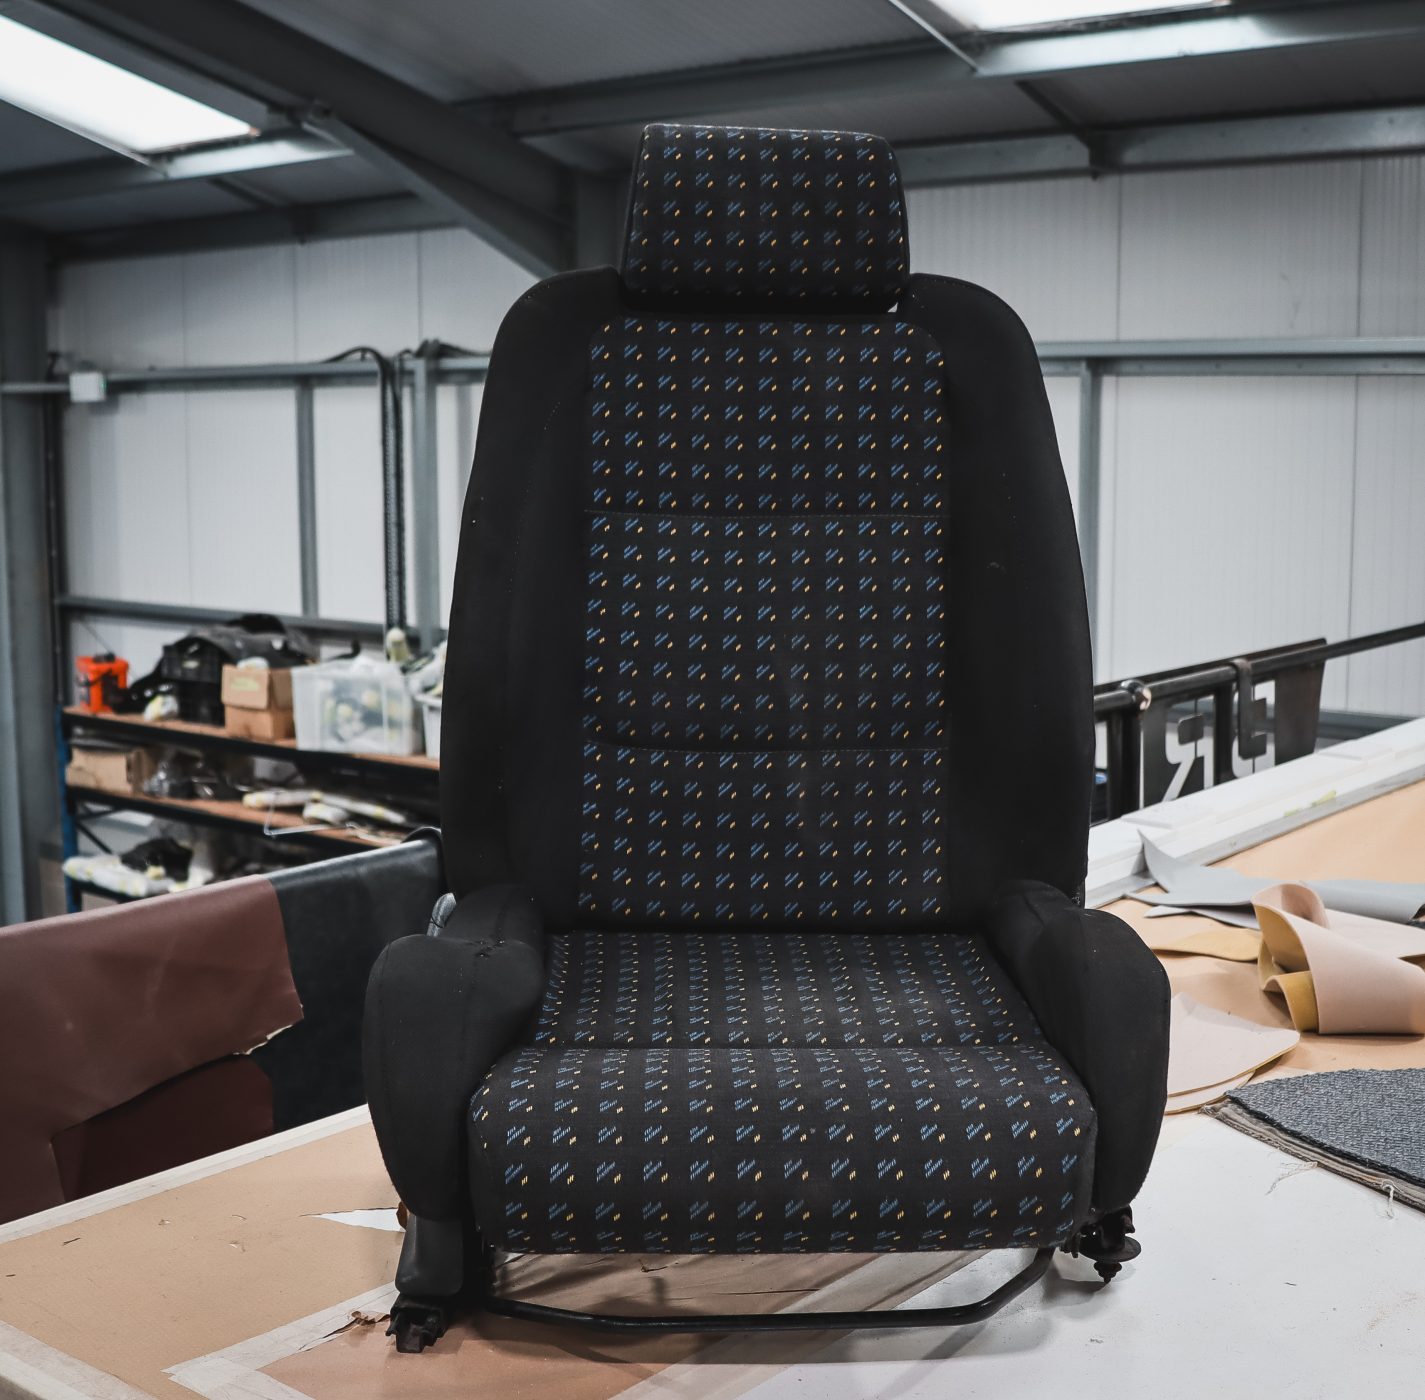
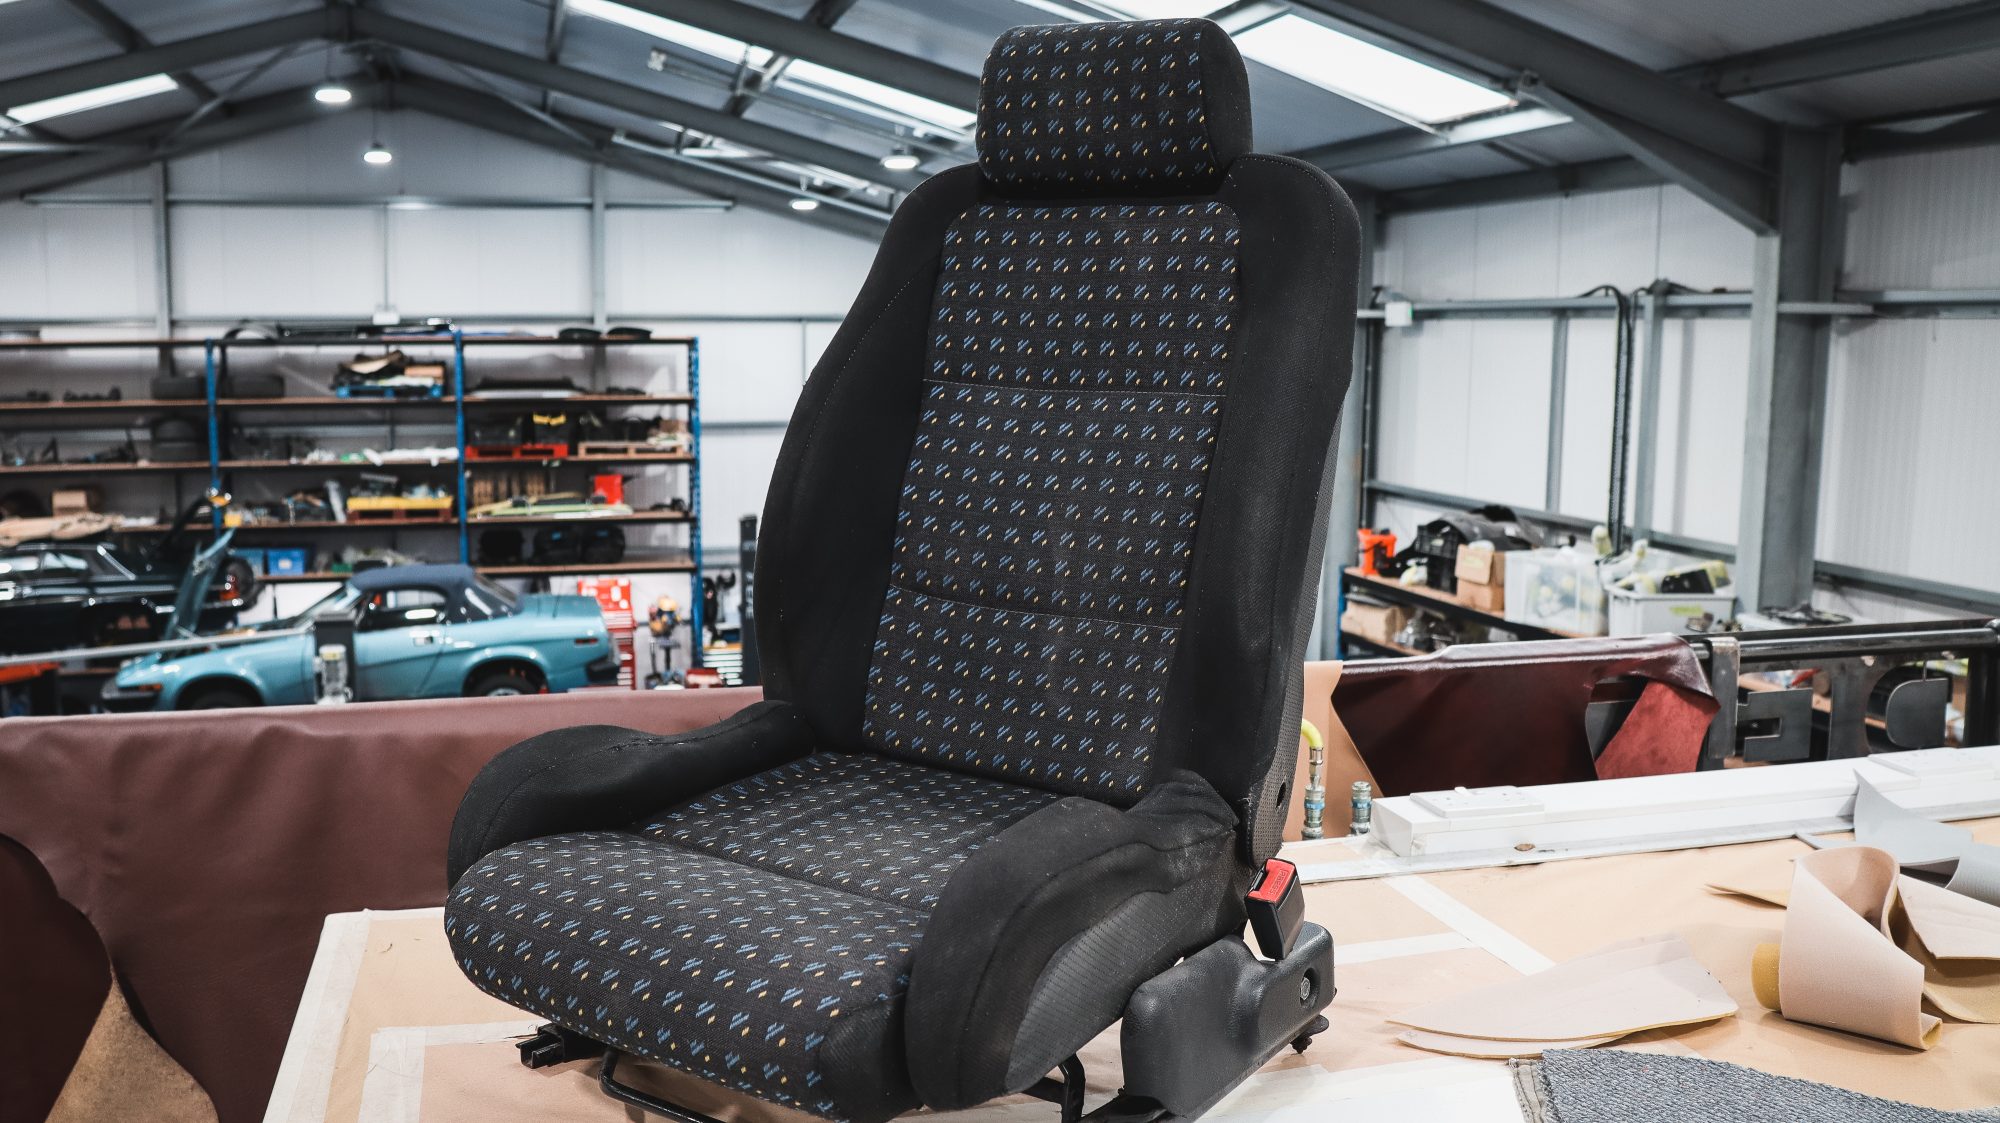
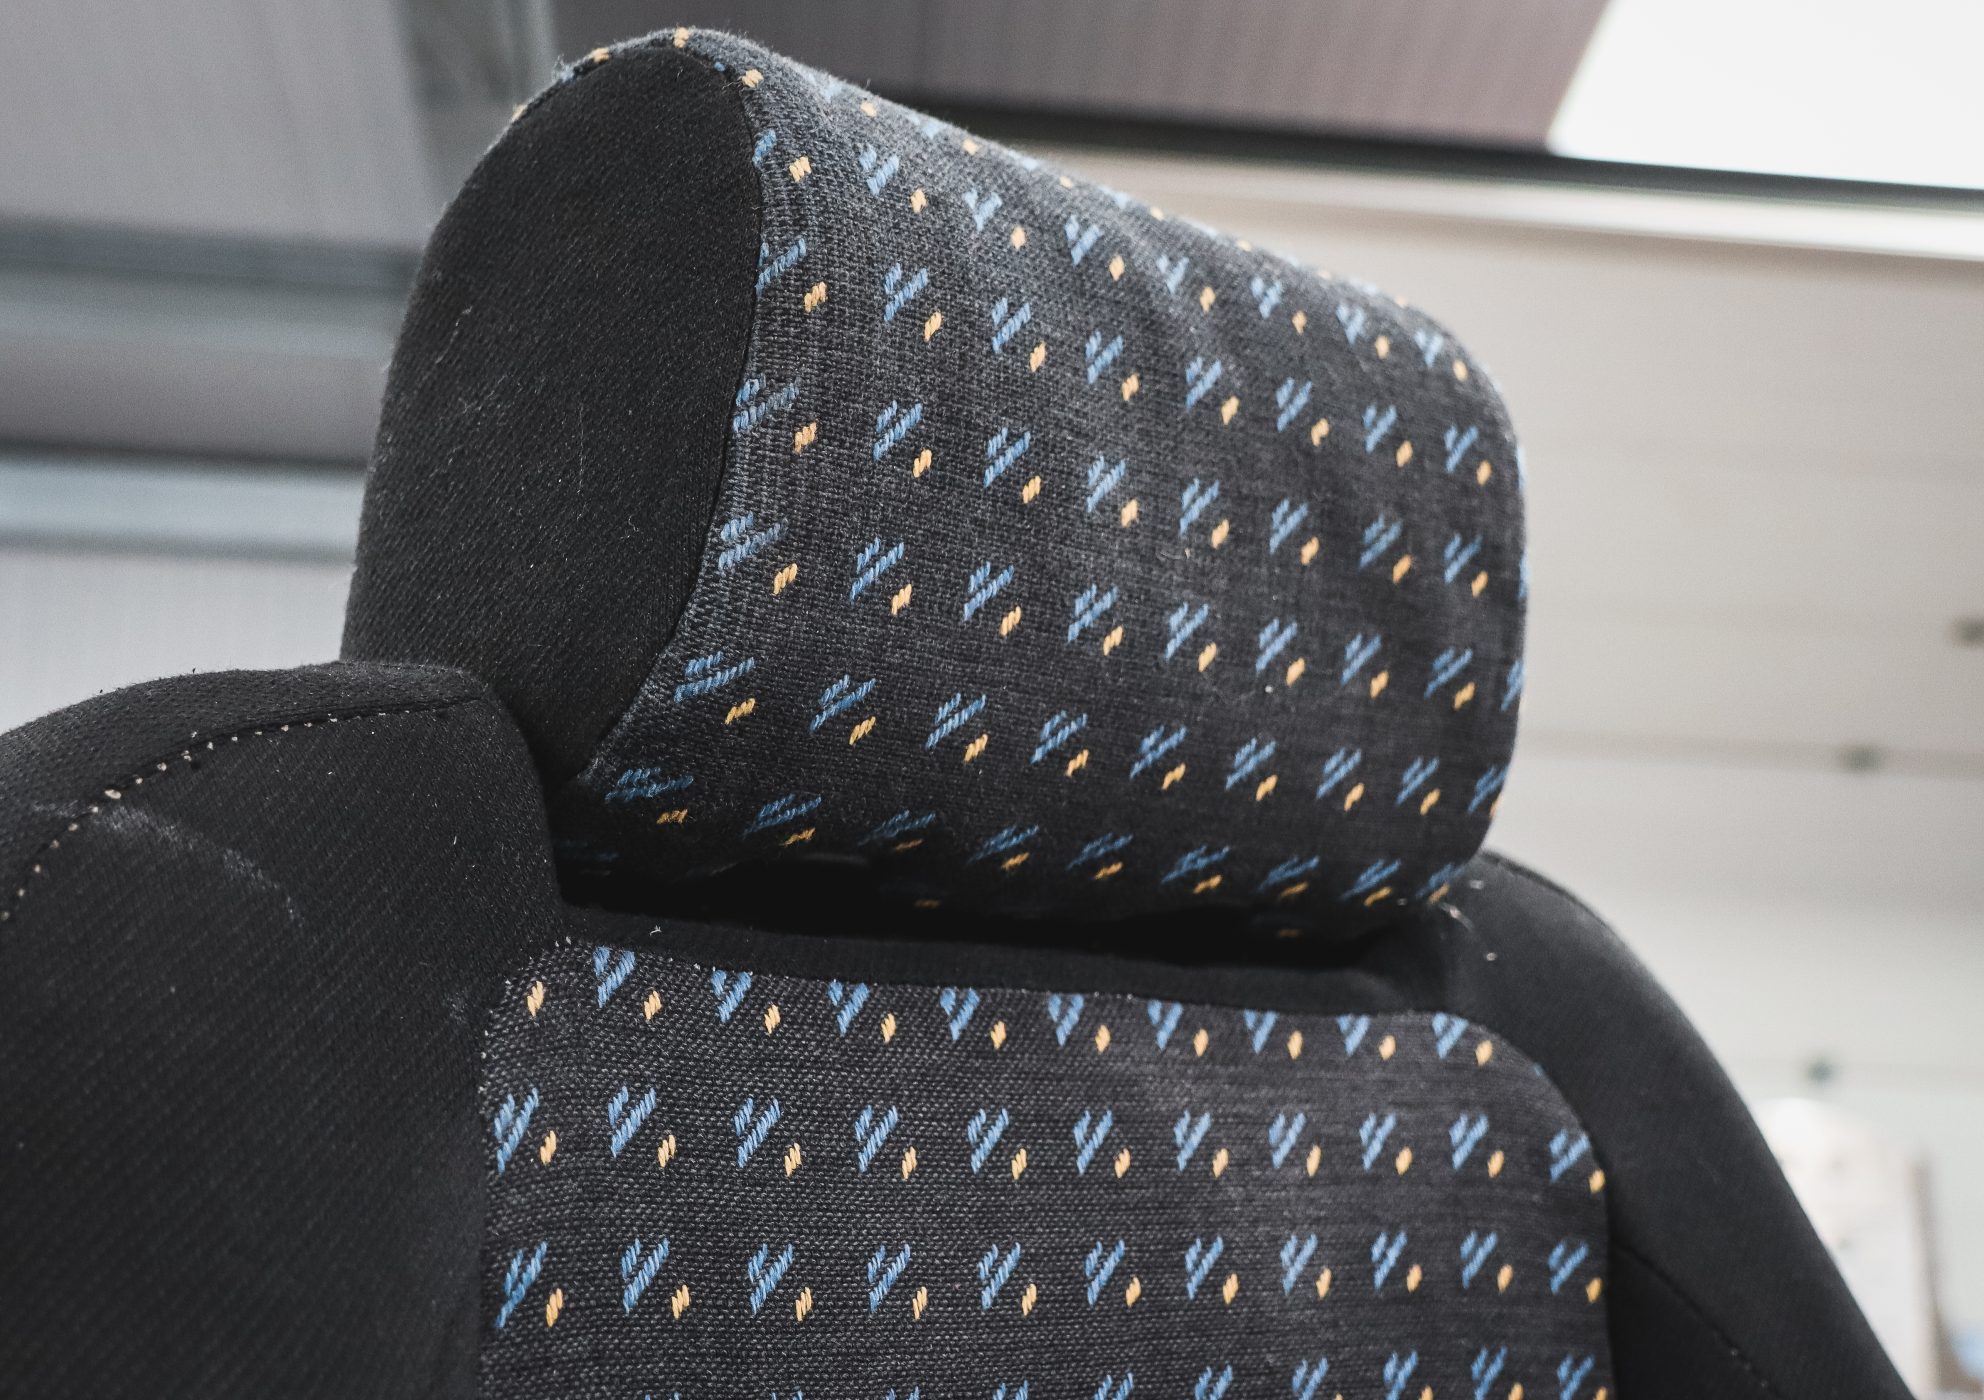
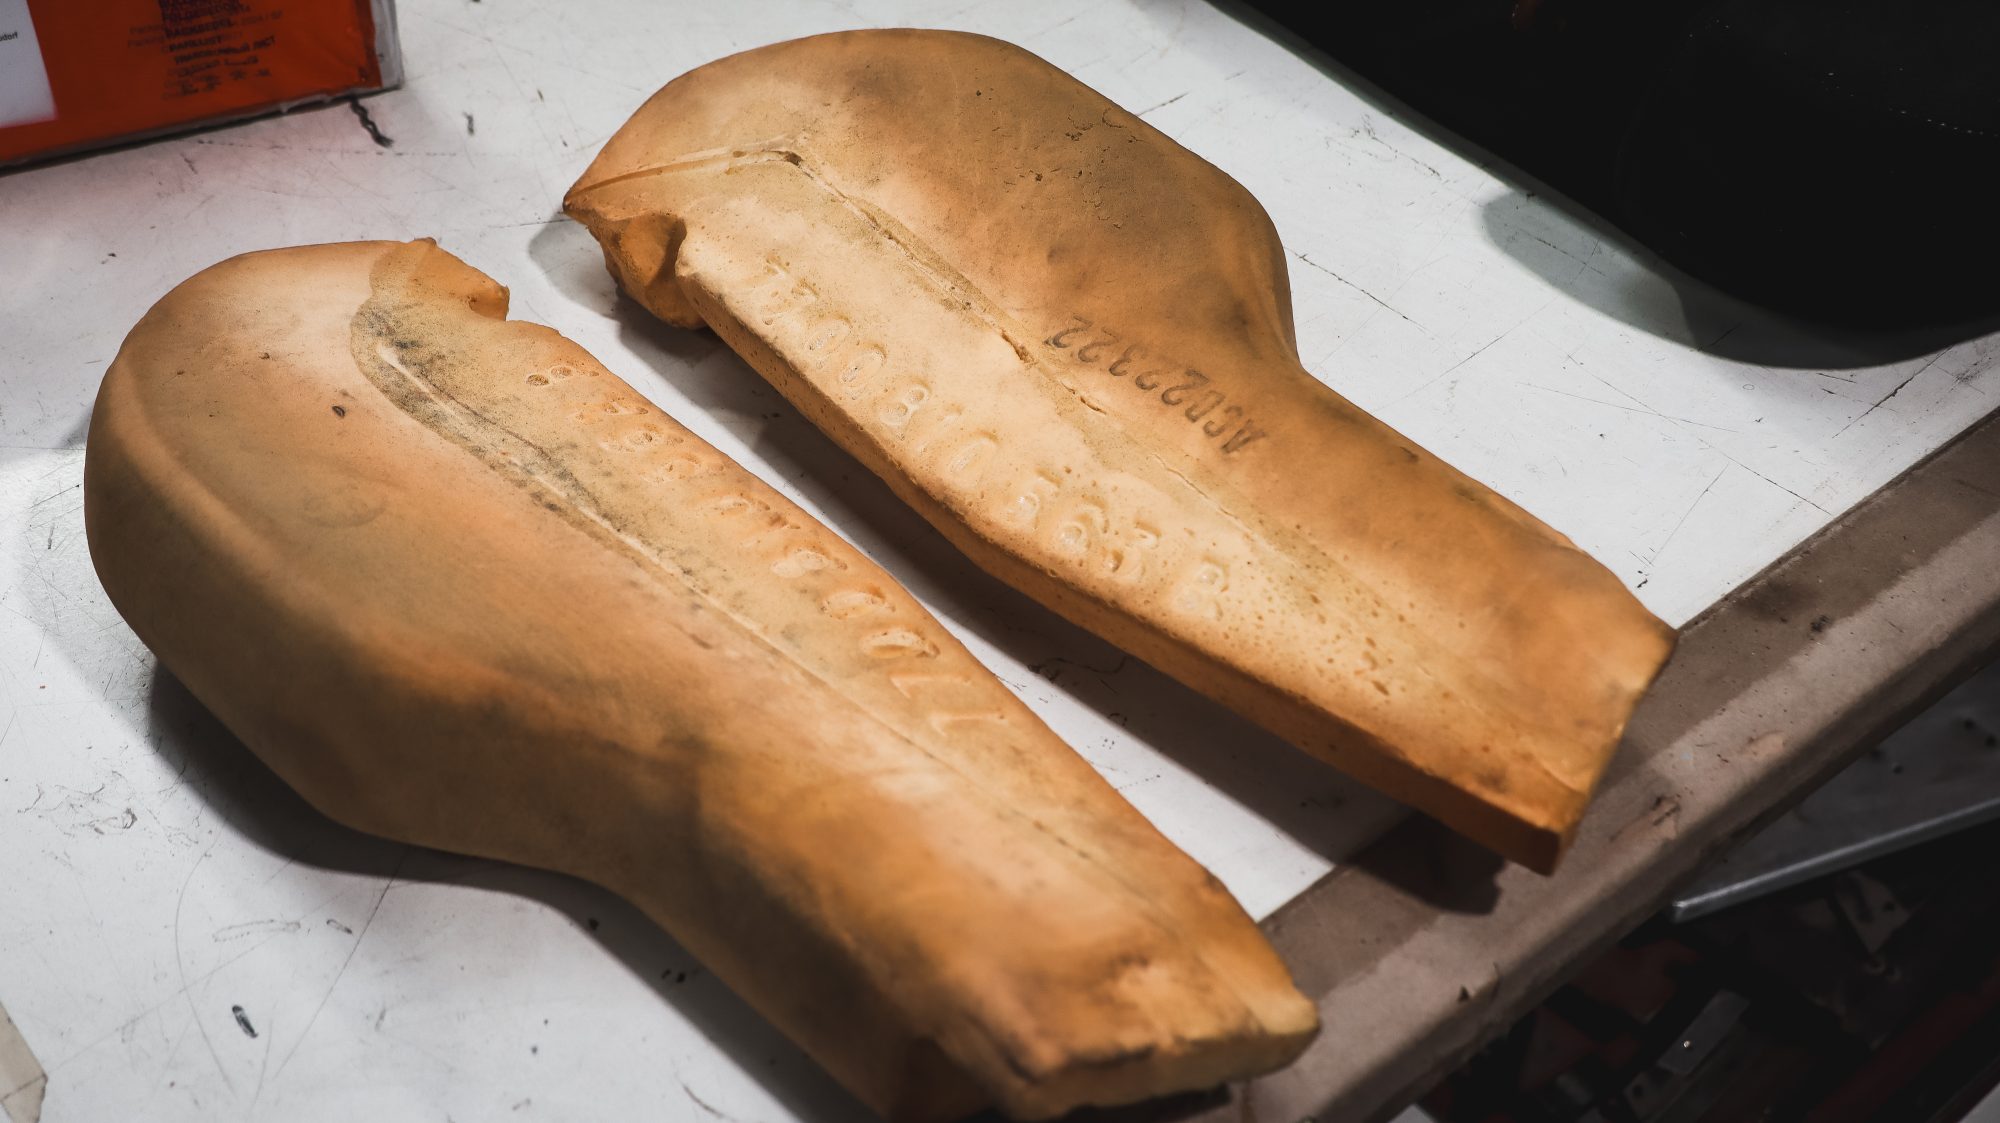
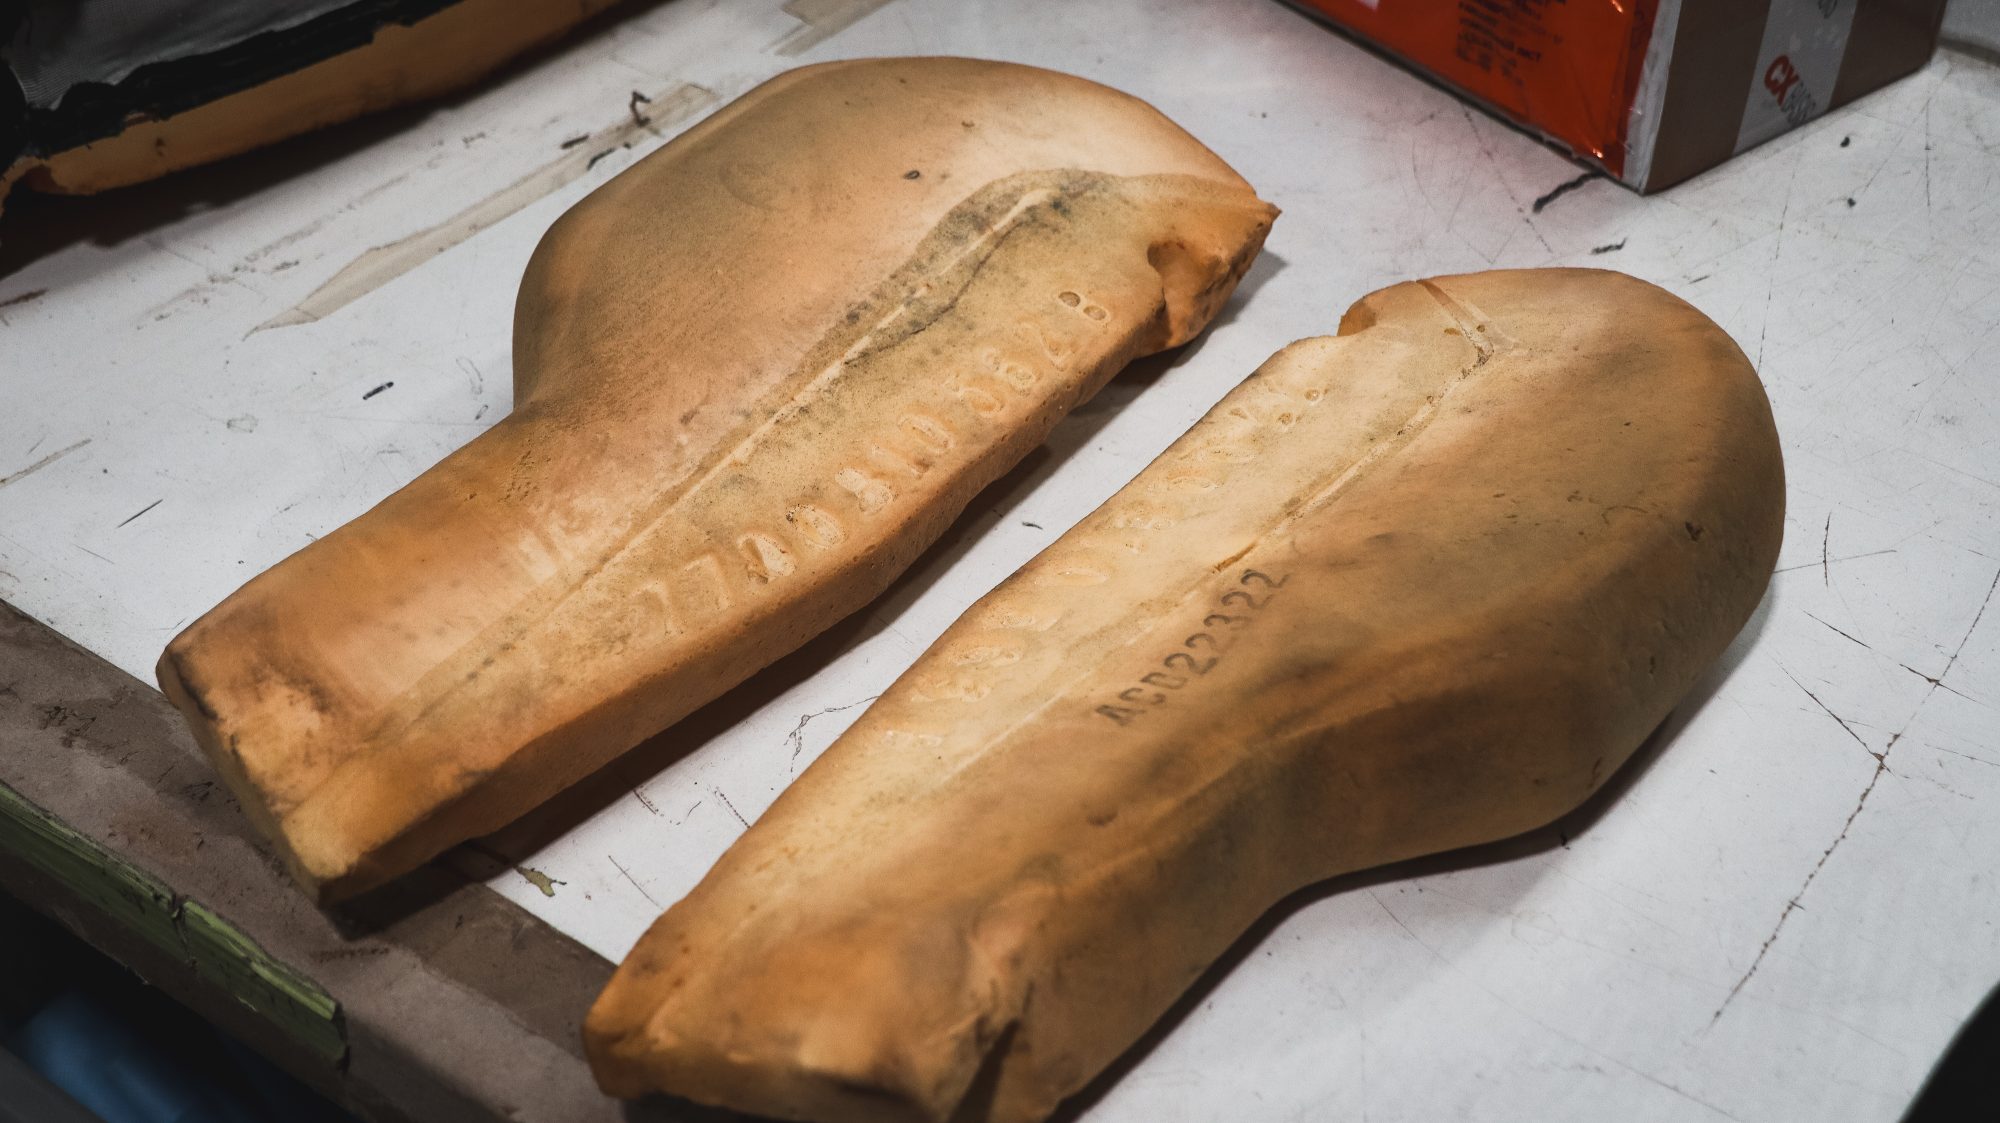
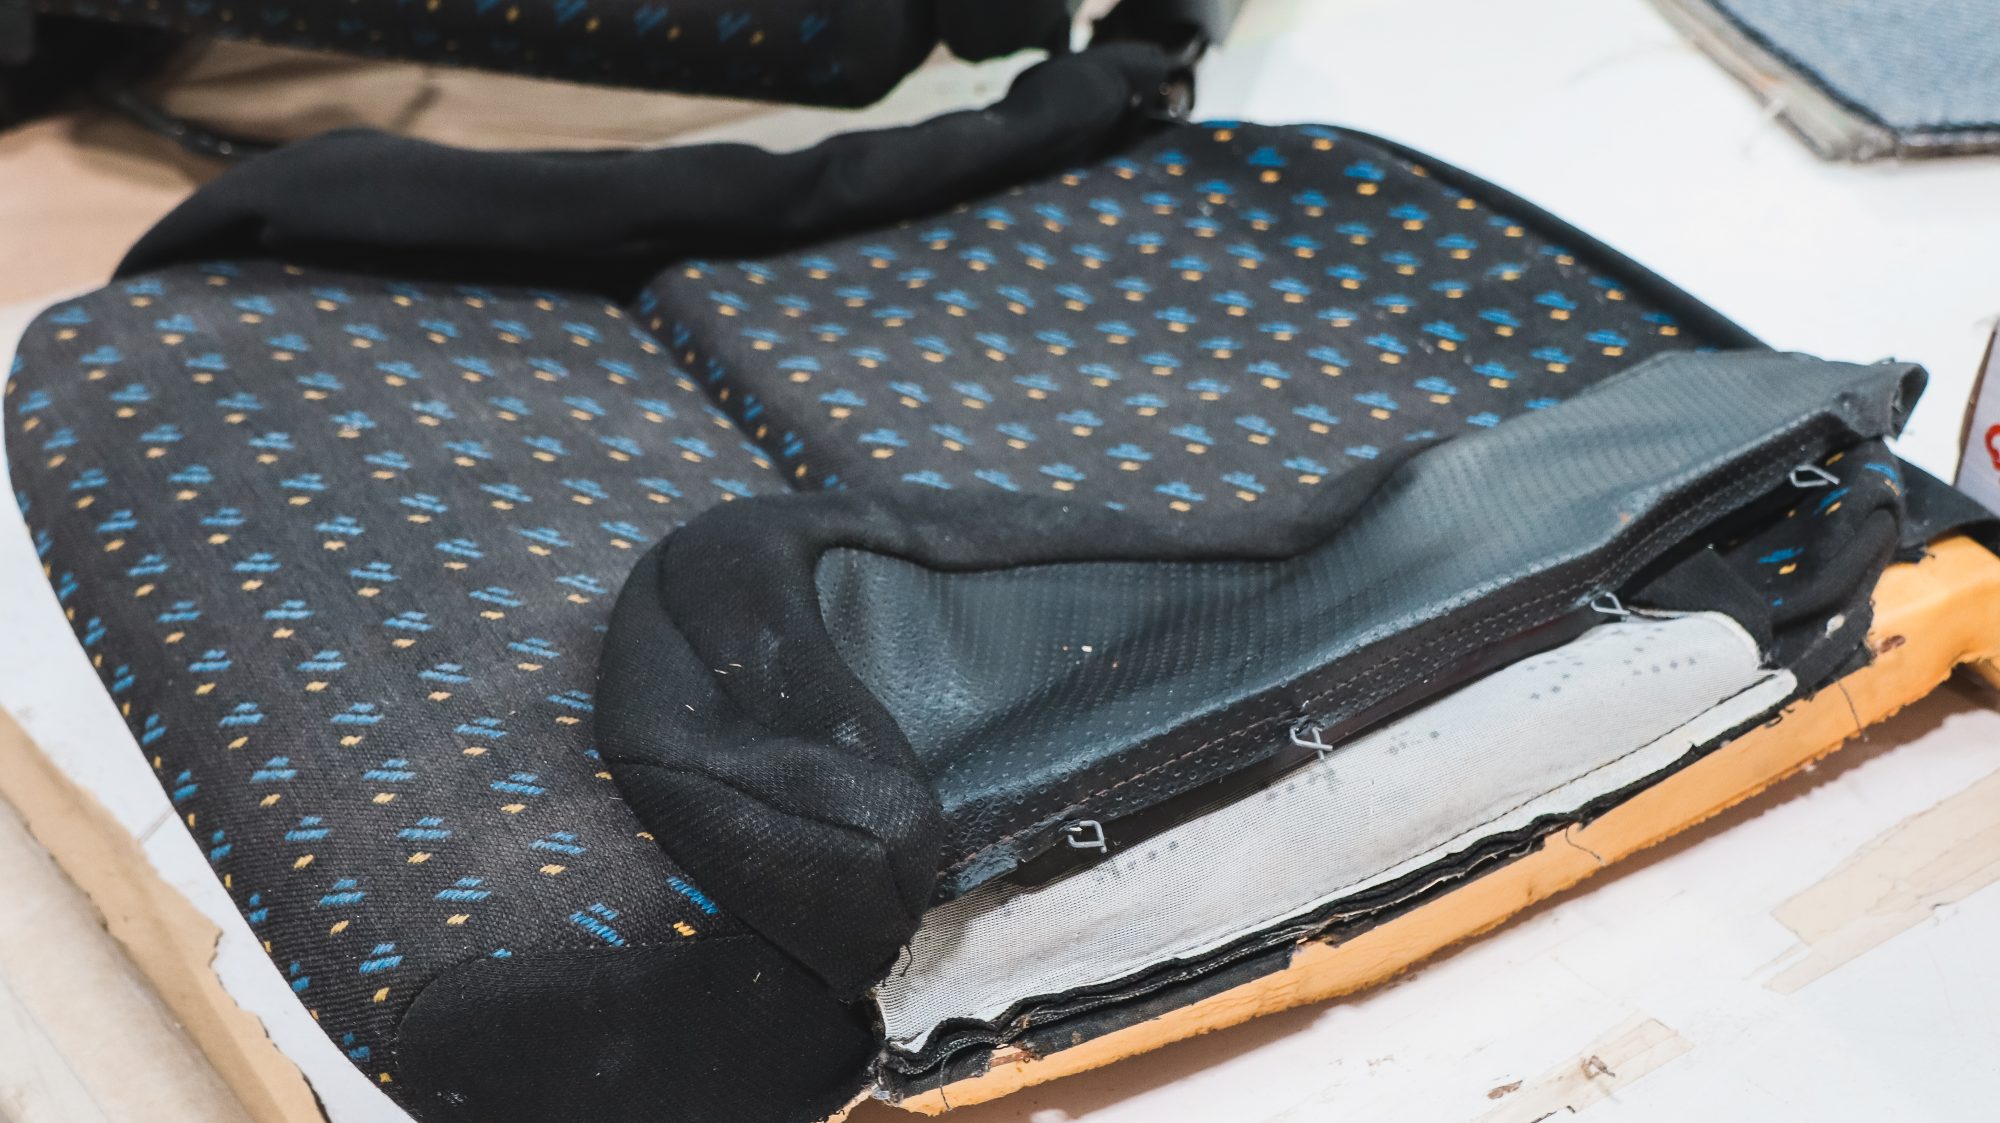
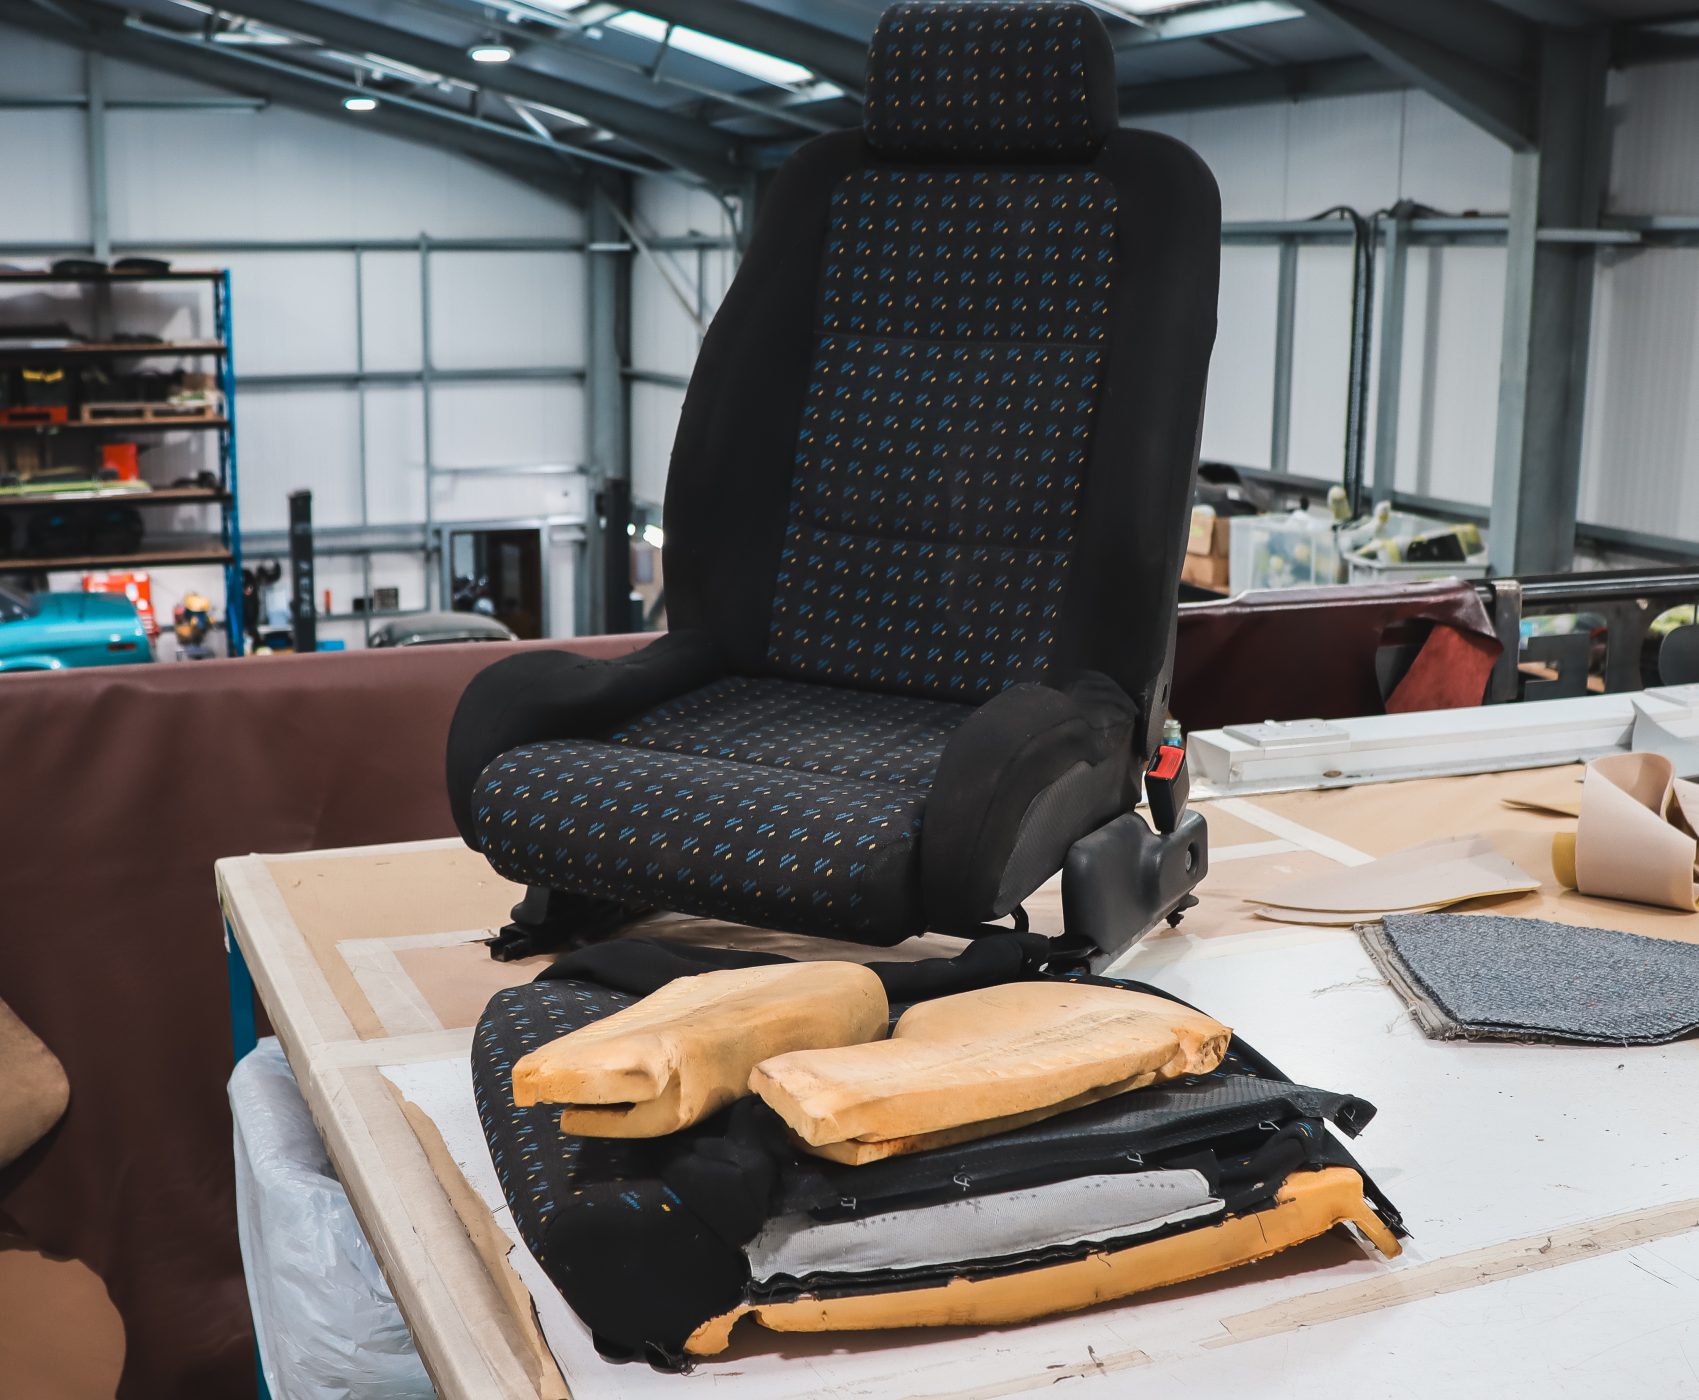
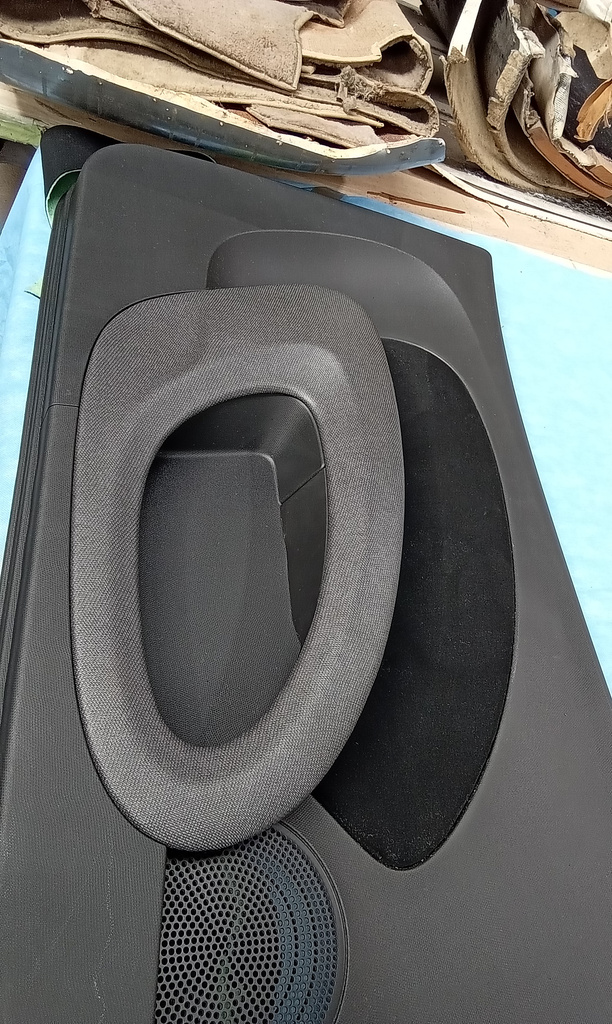
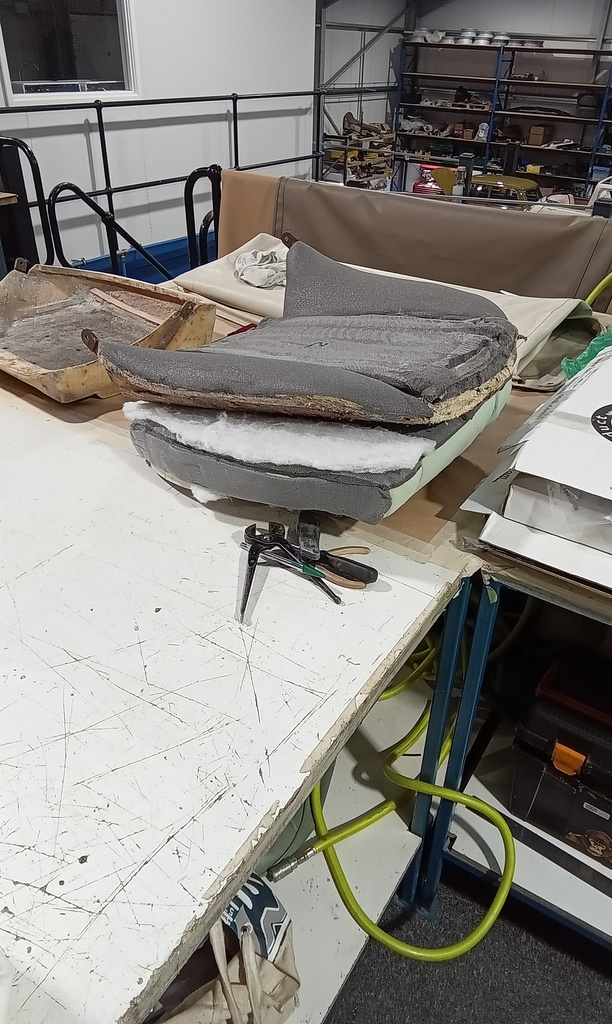
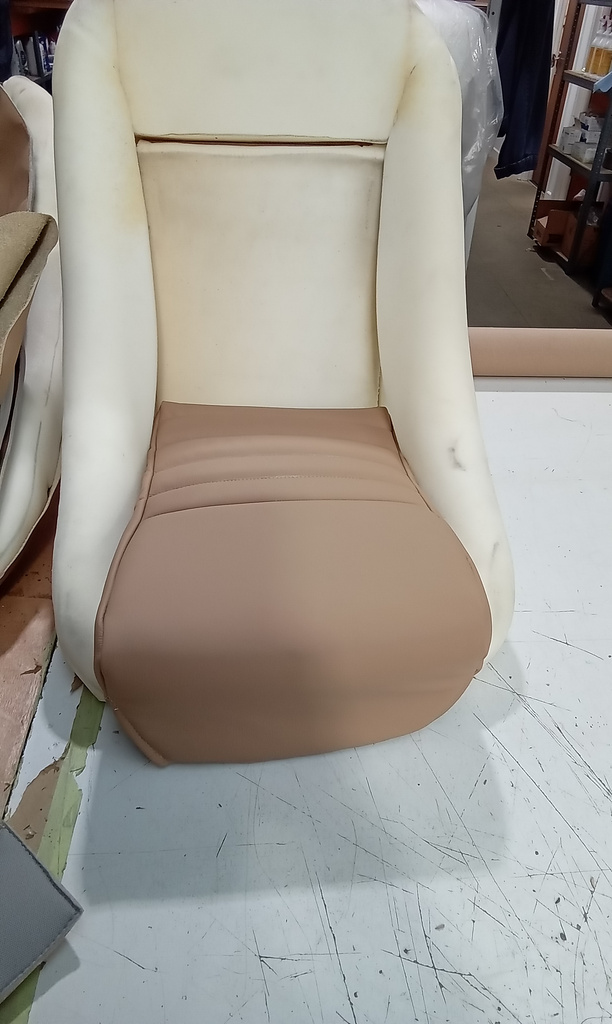
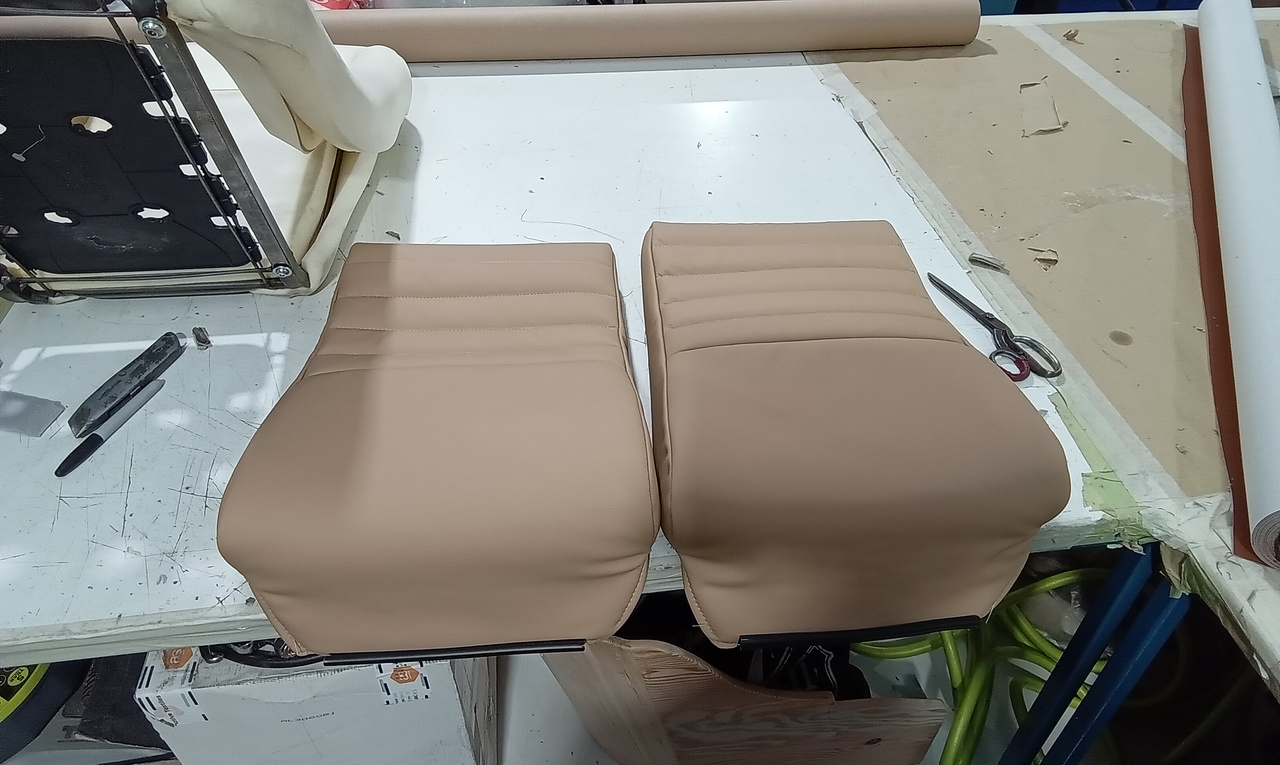
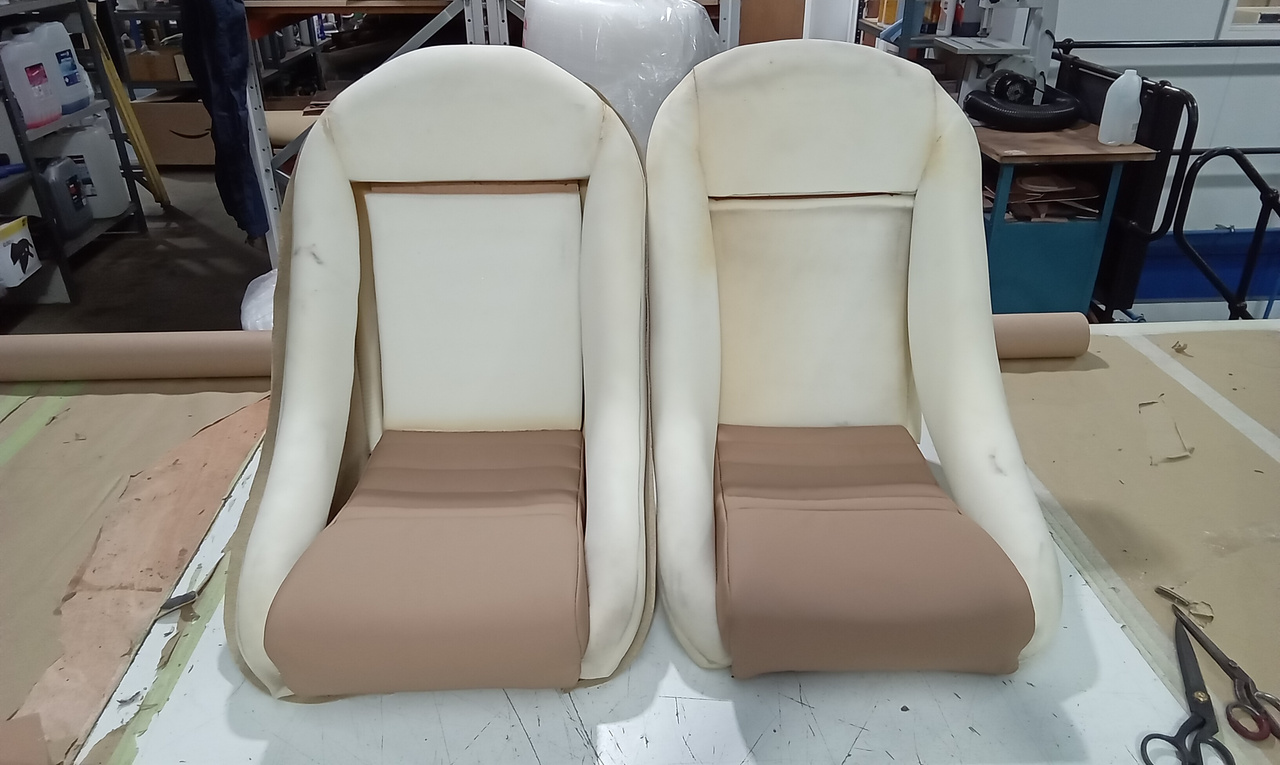
A seat from a Renault Clio has just arrived at the Bridge Classic Cars workshop.
Lydia is going to be working on it to make some repairs. Once she is done, the seat will look new again and will be ready to go back into the car.

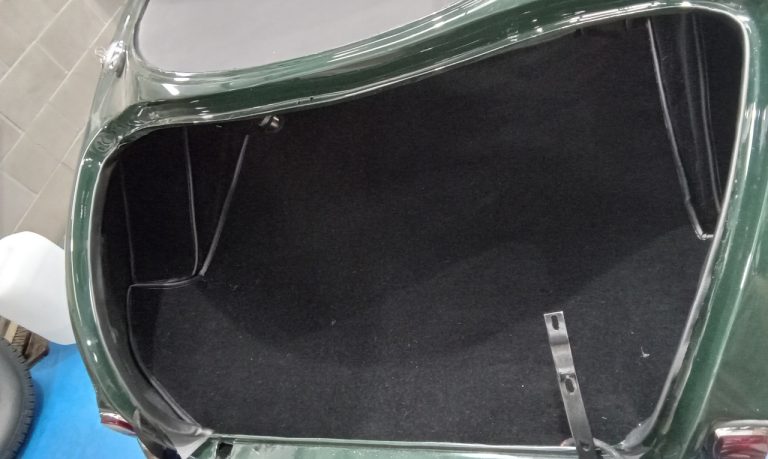
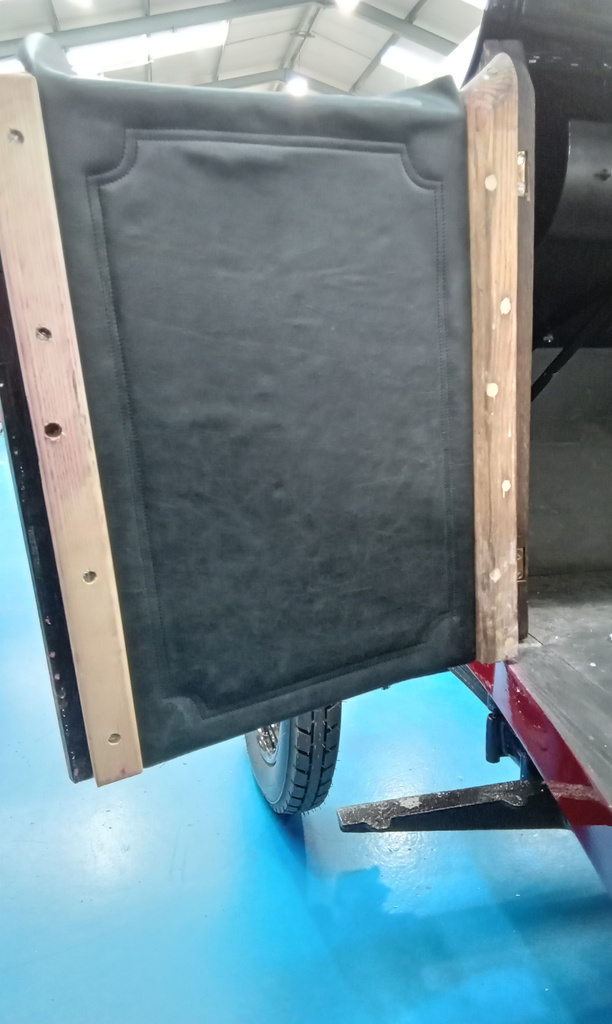
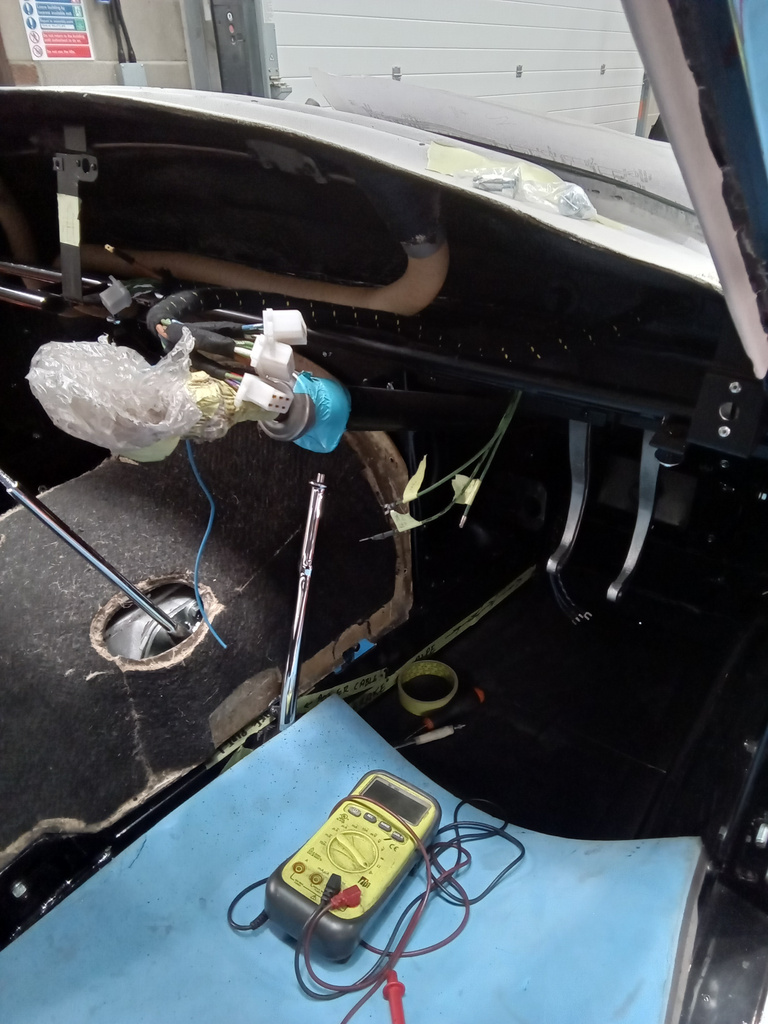
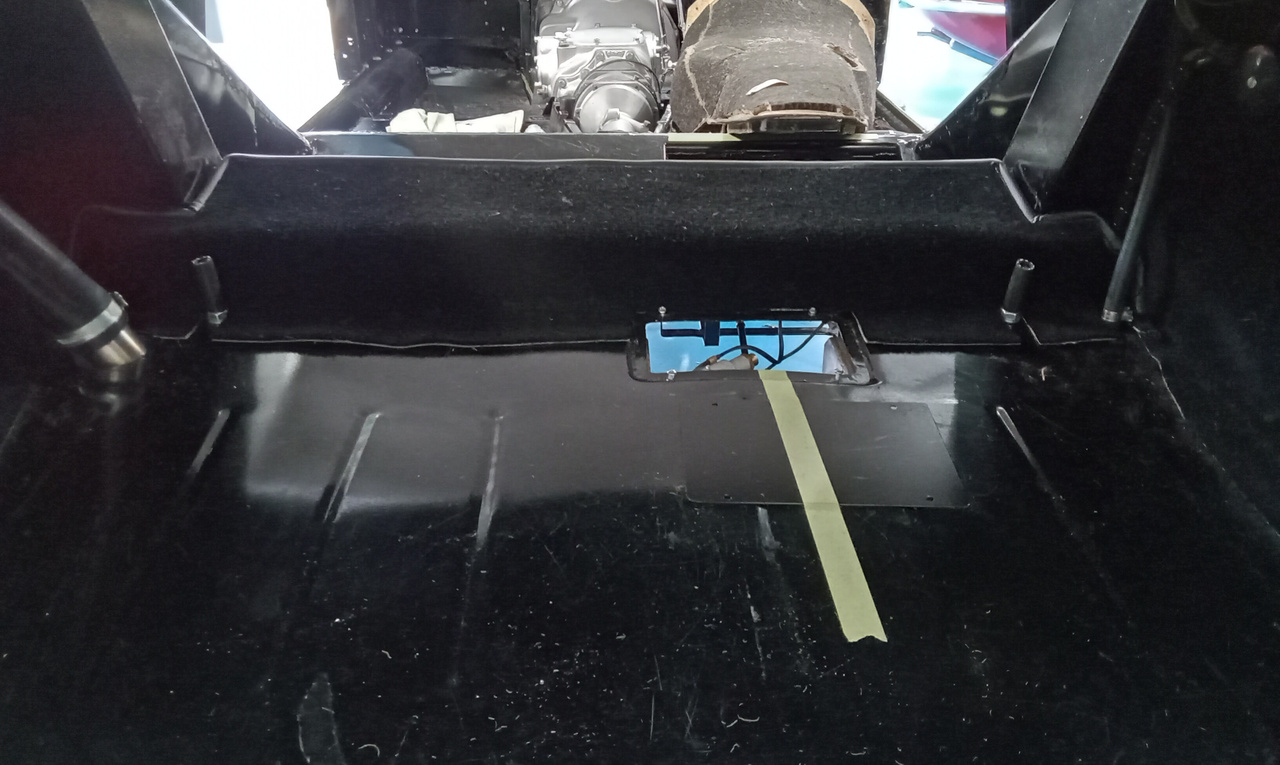
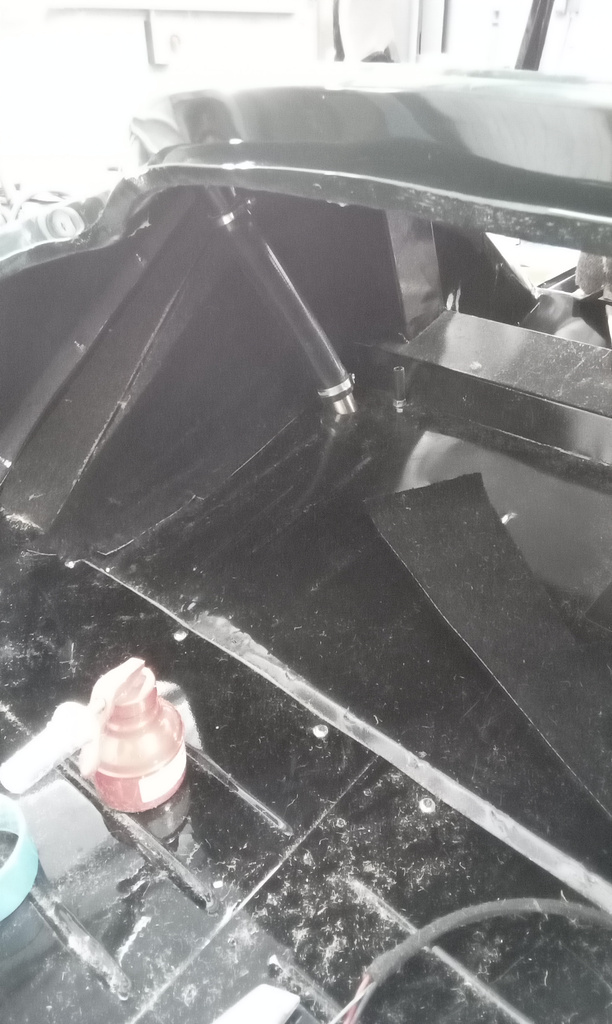
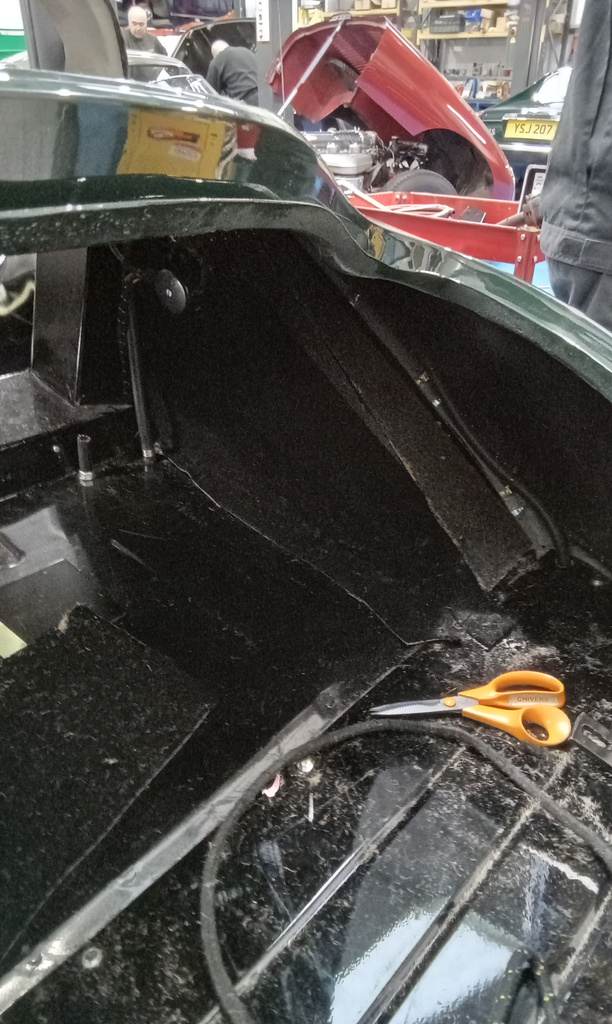
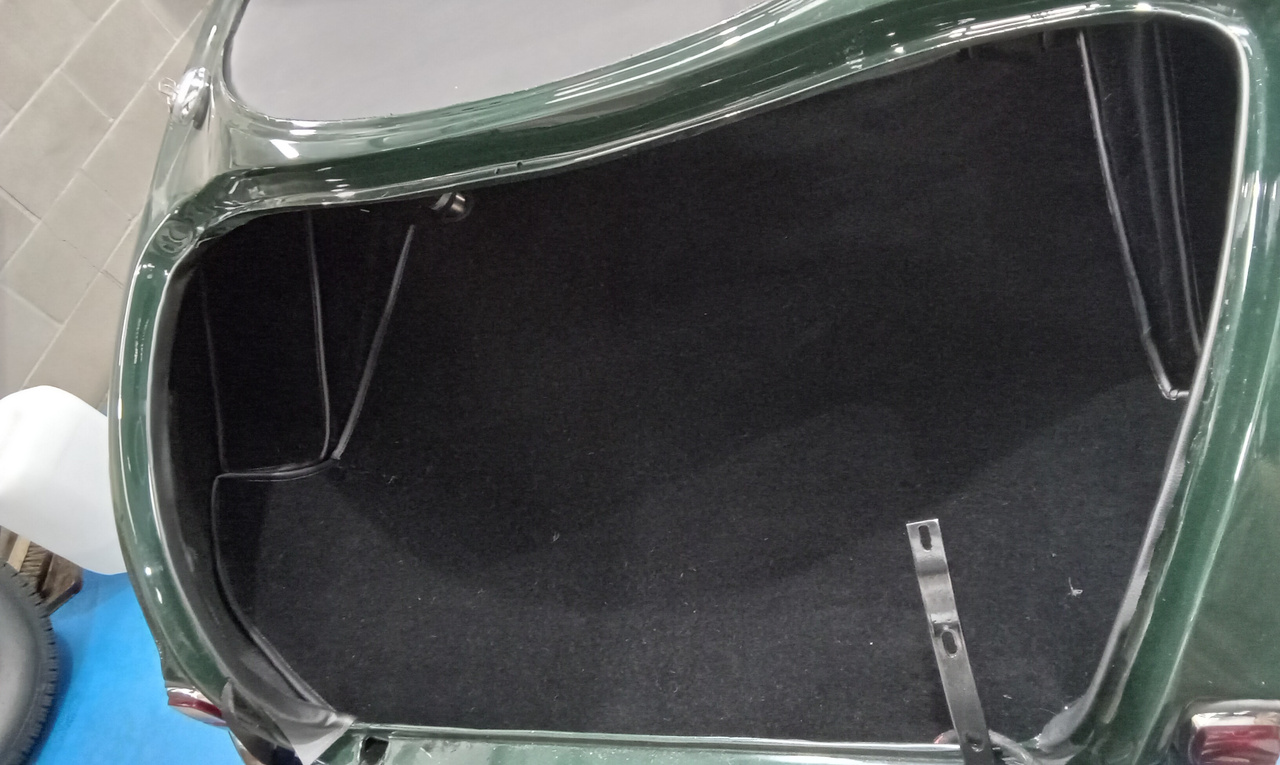
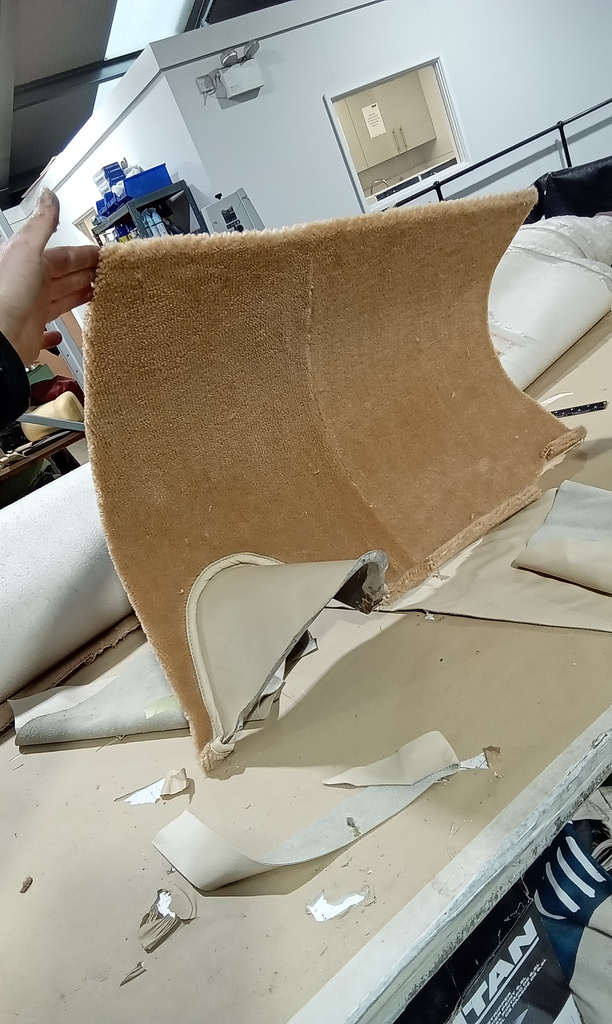
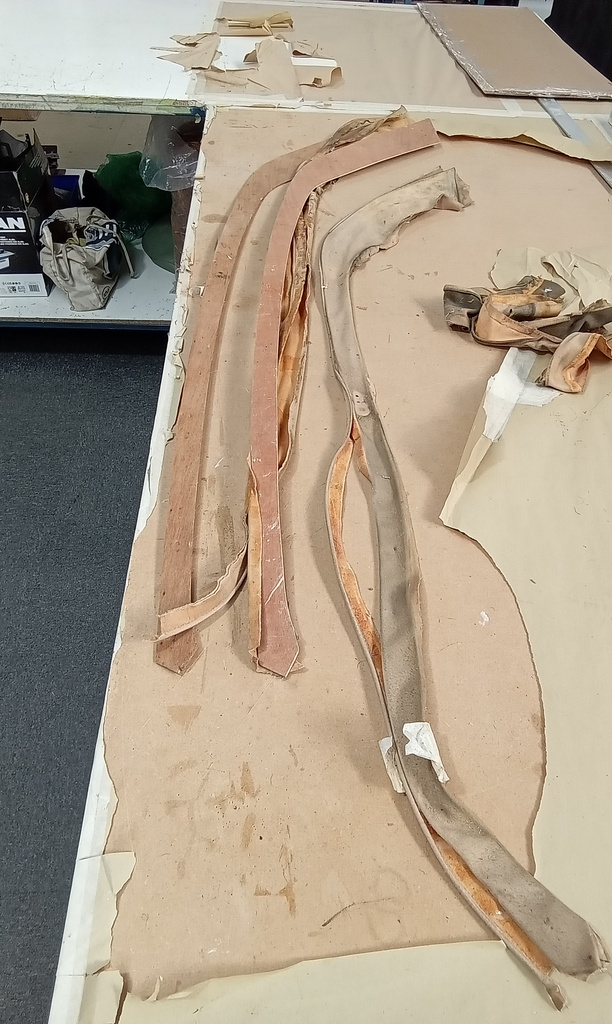
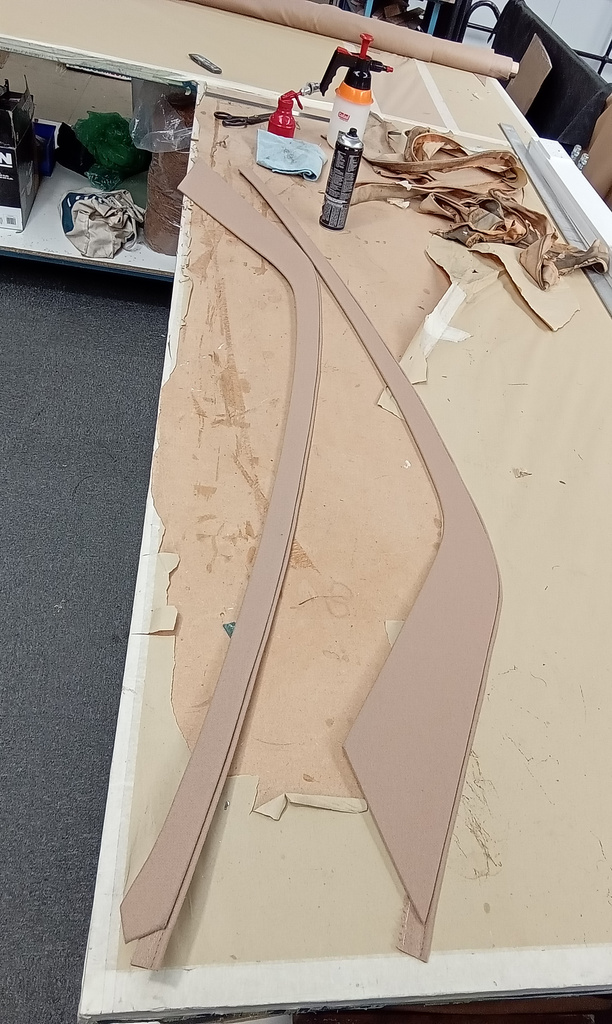
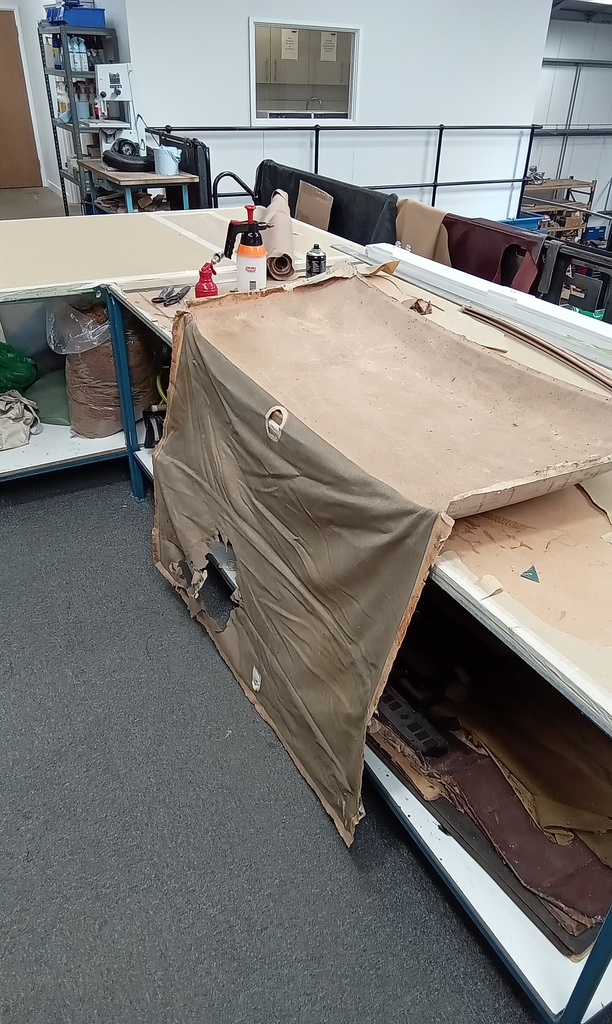
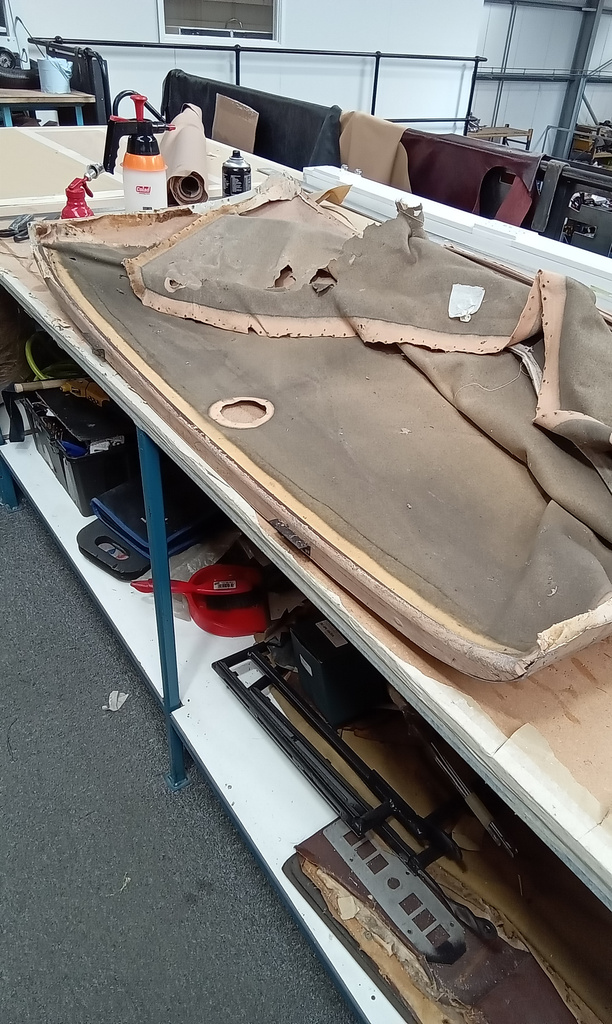
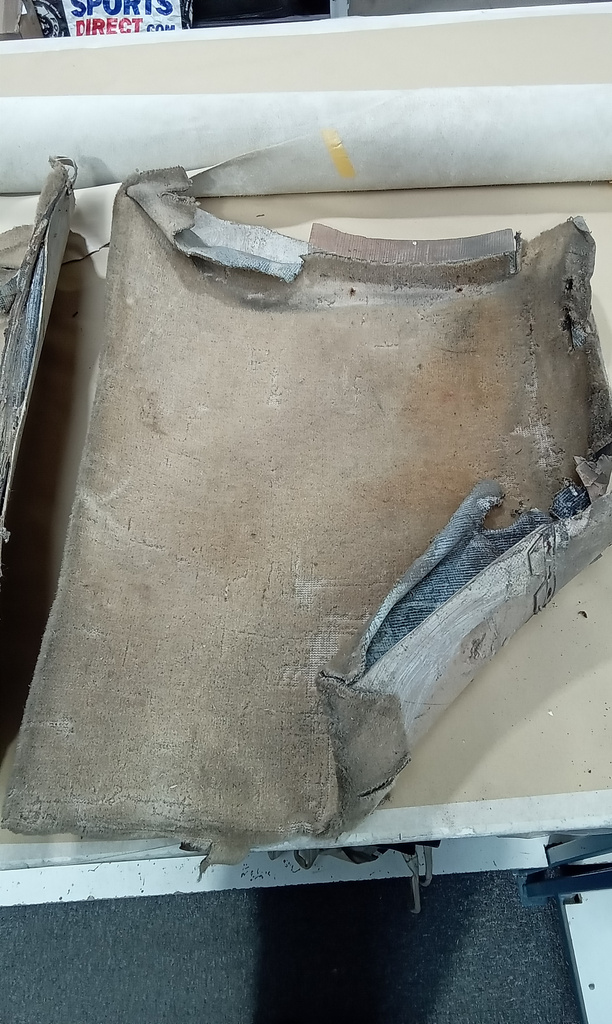
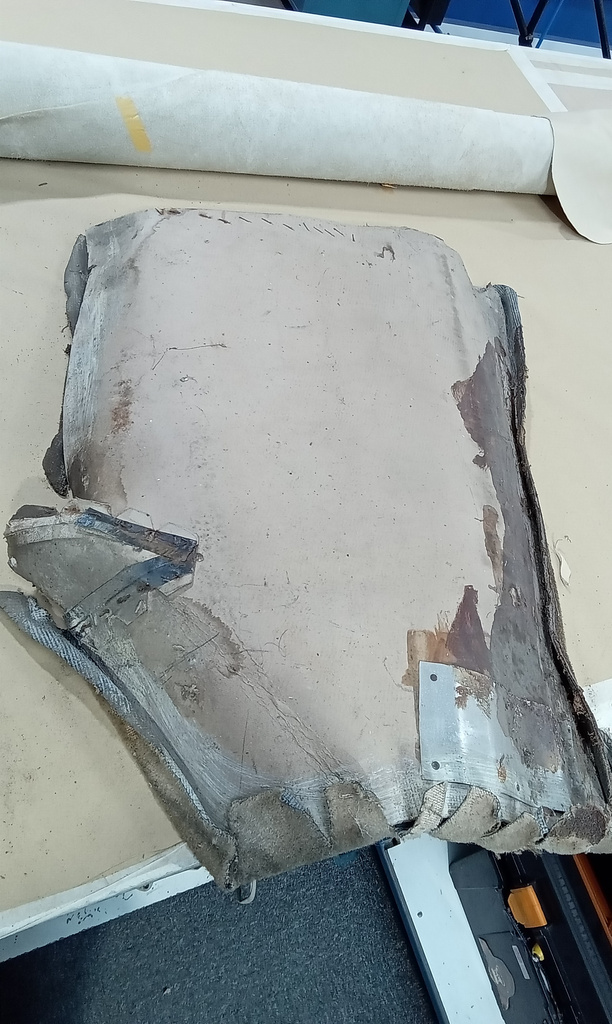
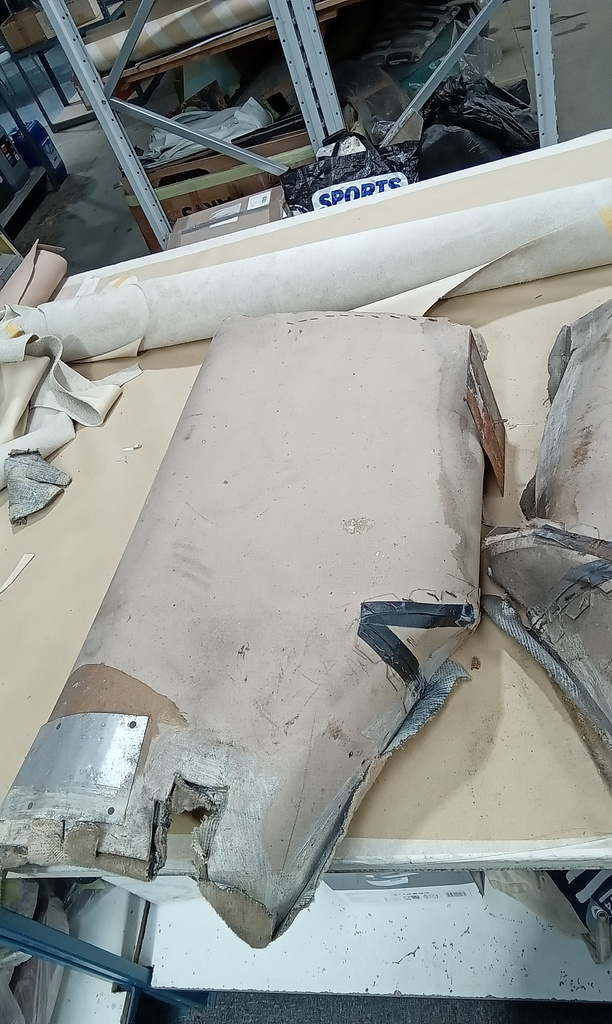
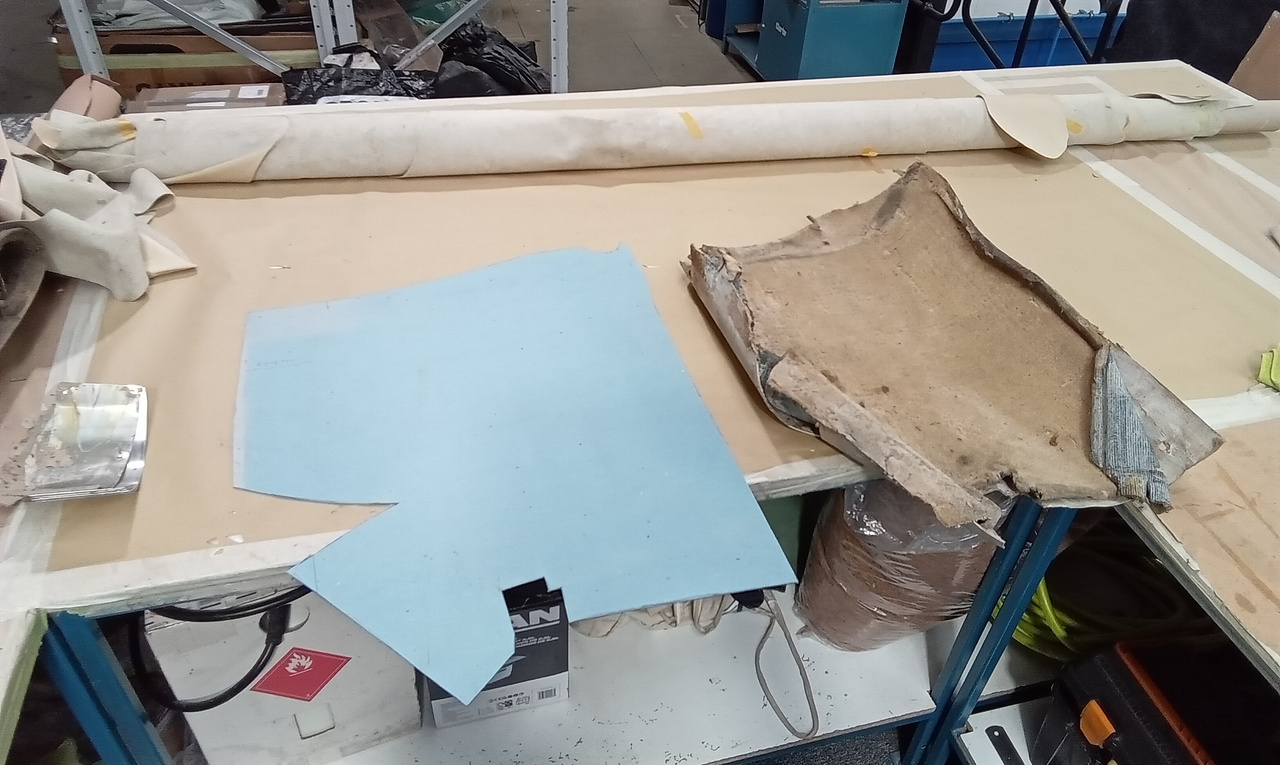
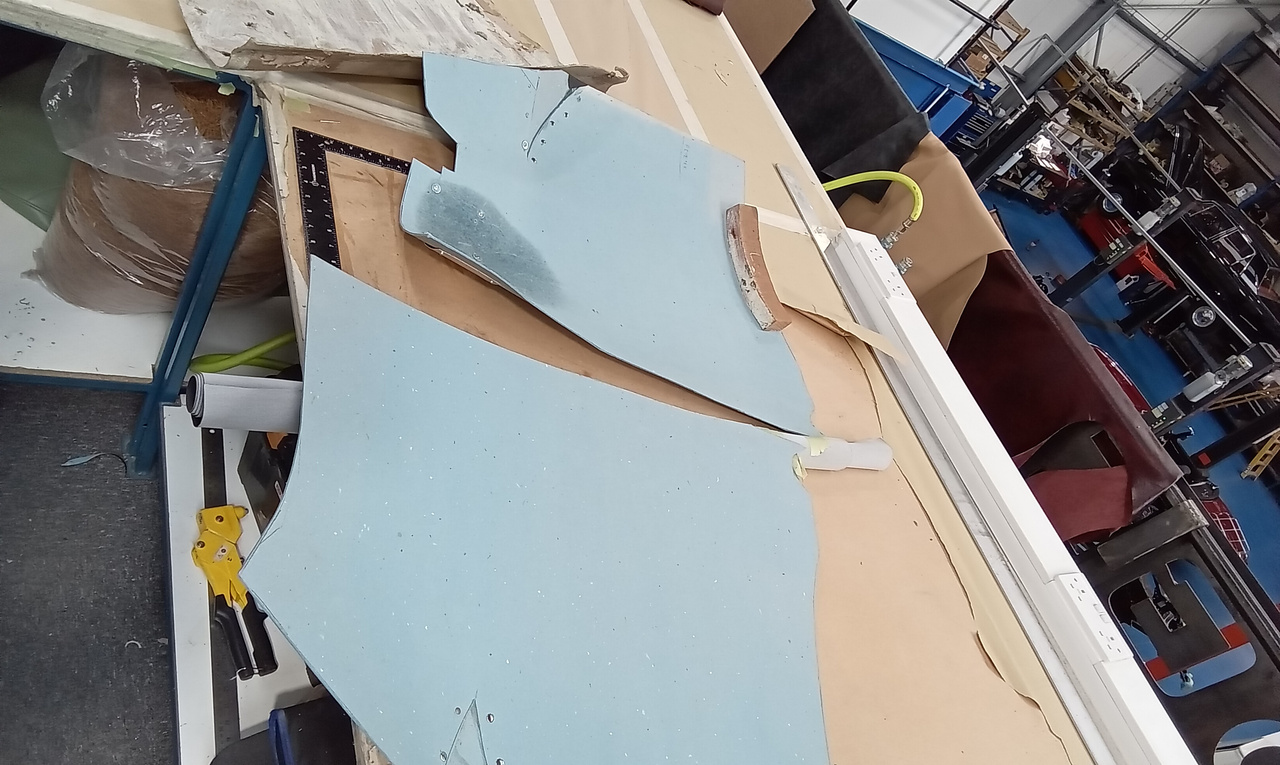
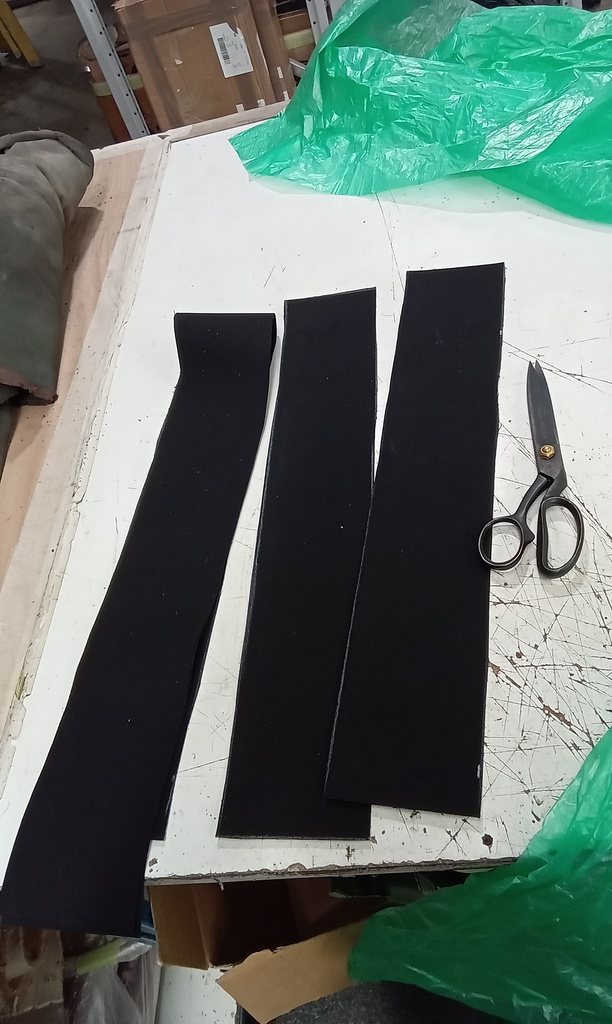
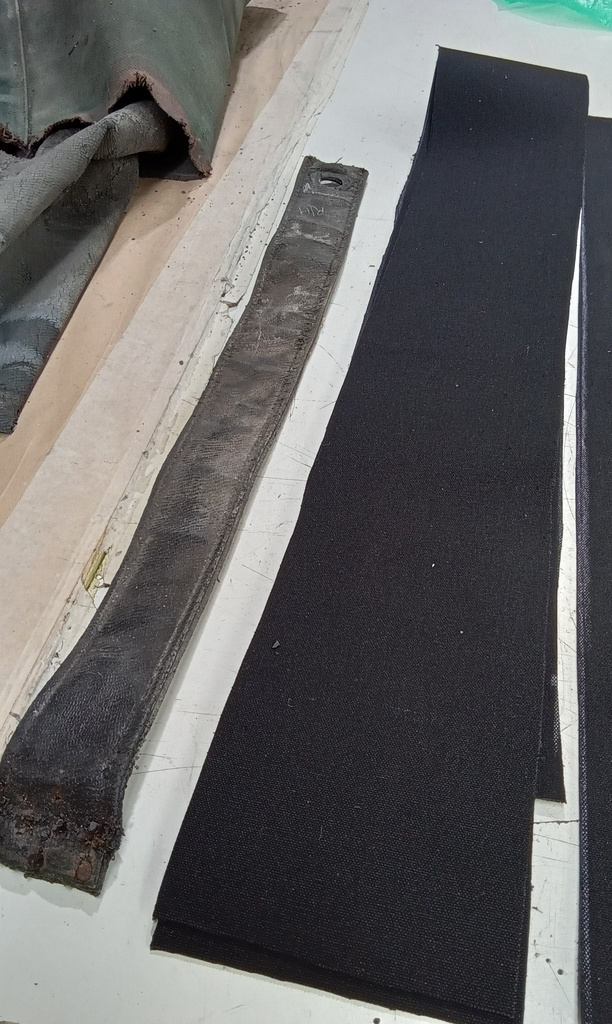
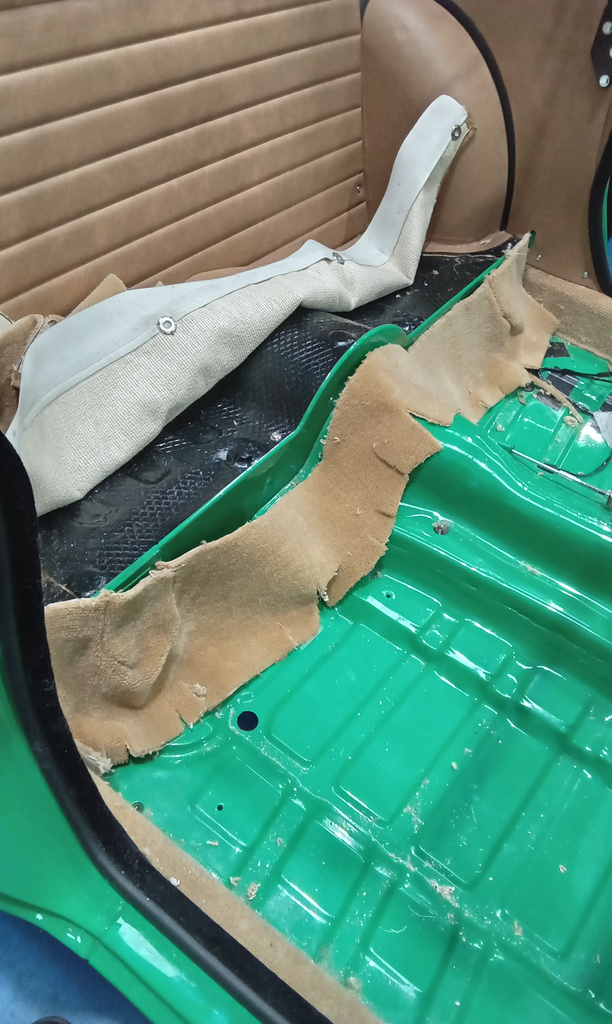
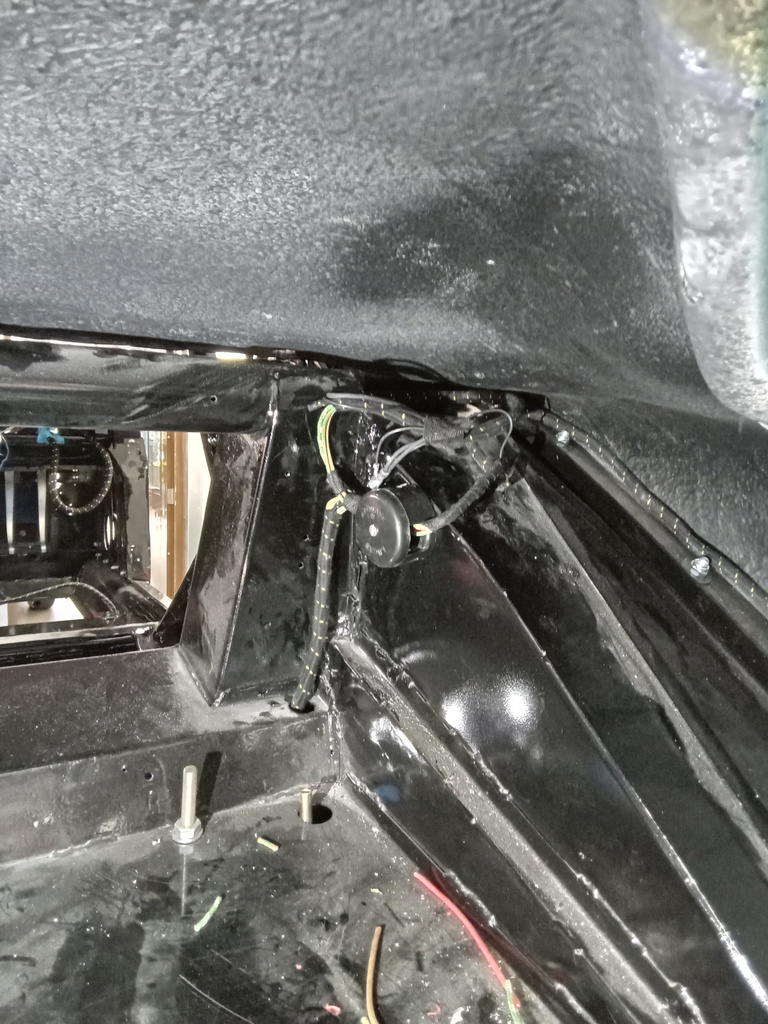
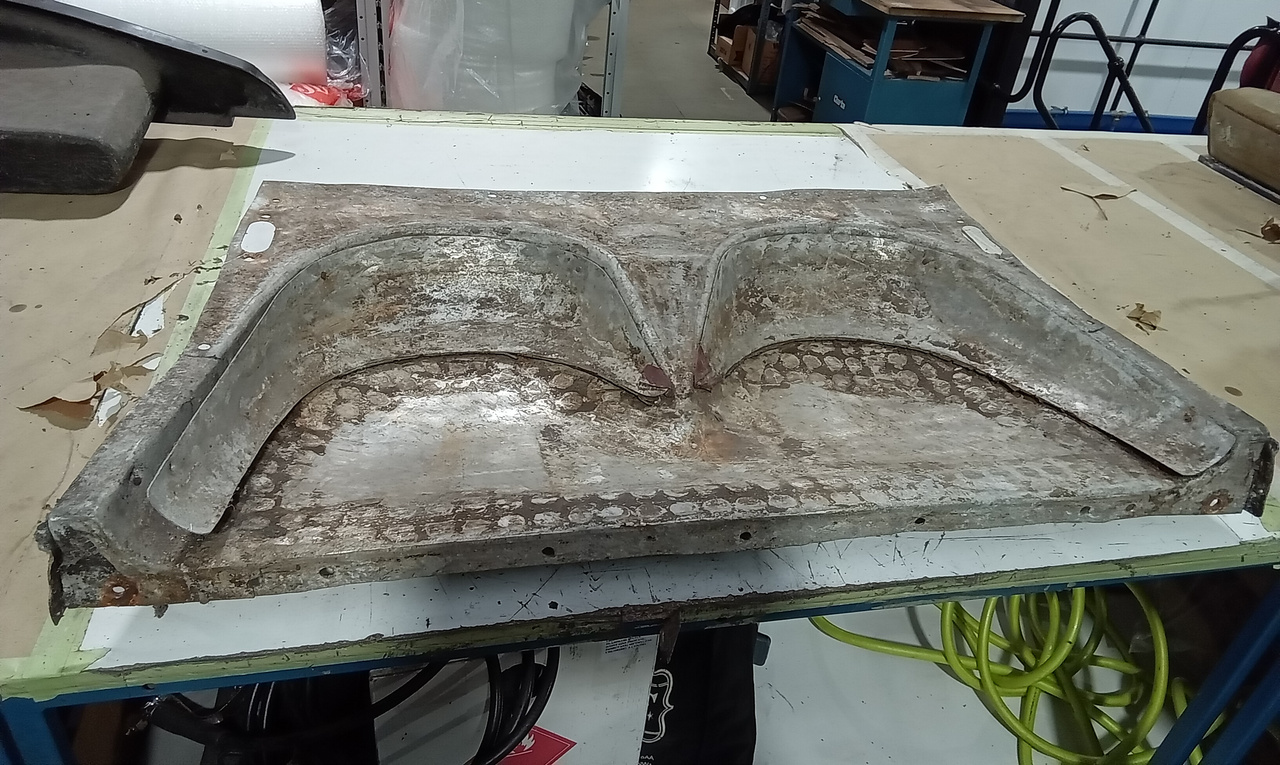
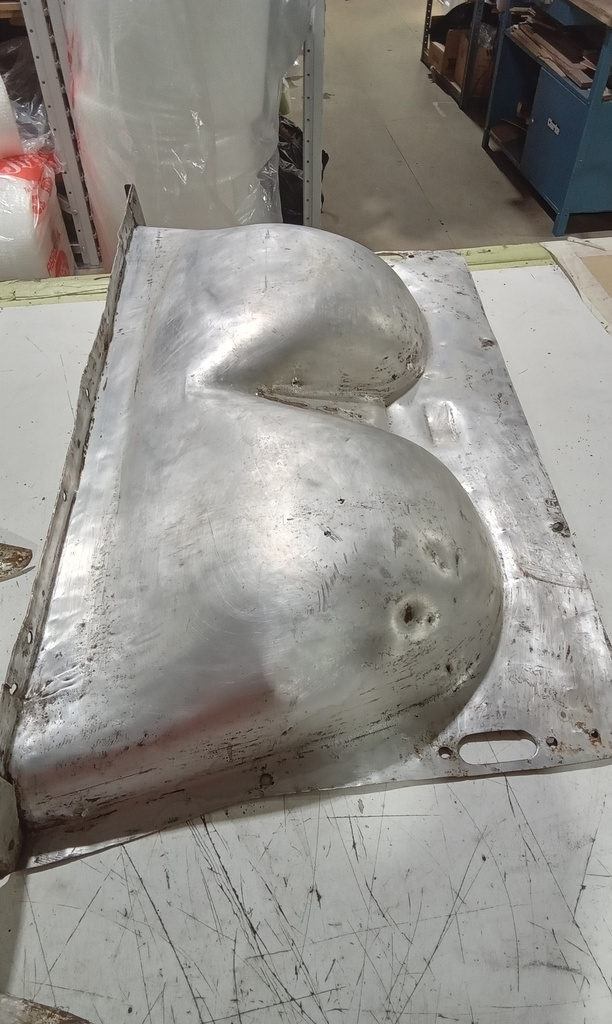
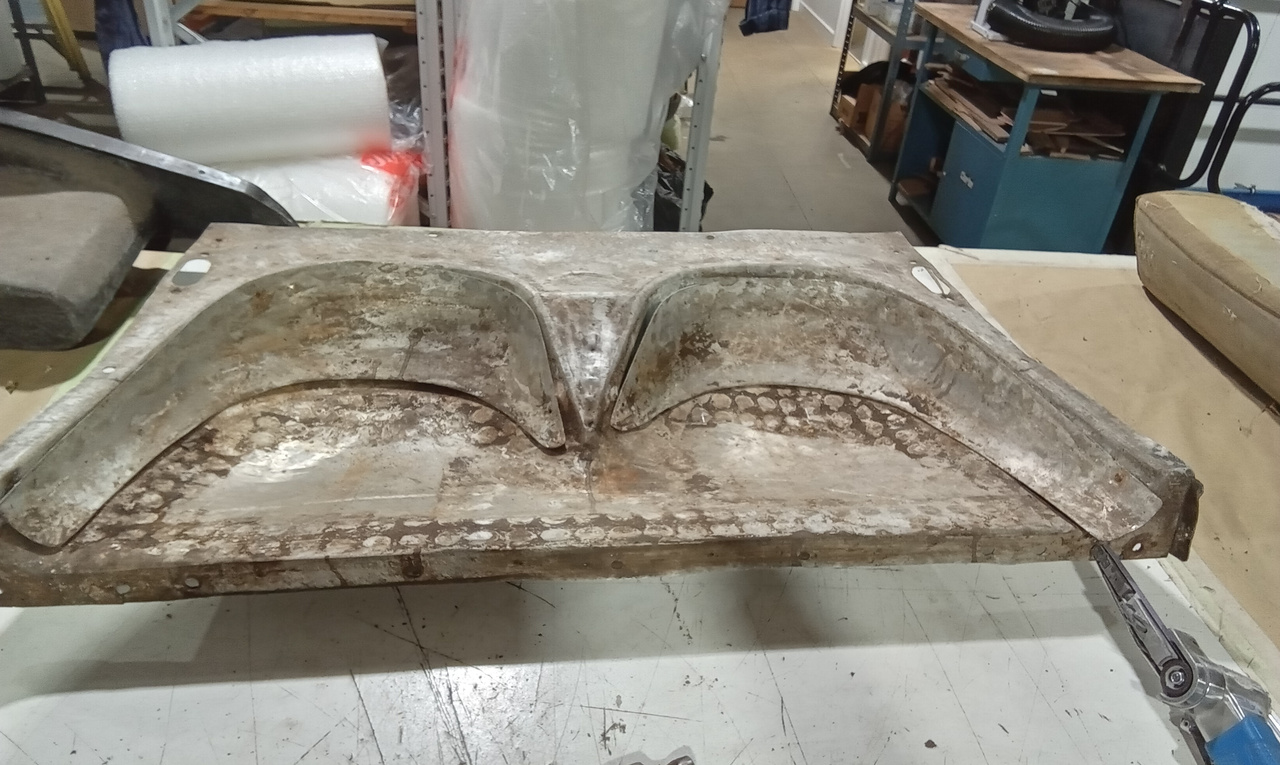
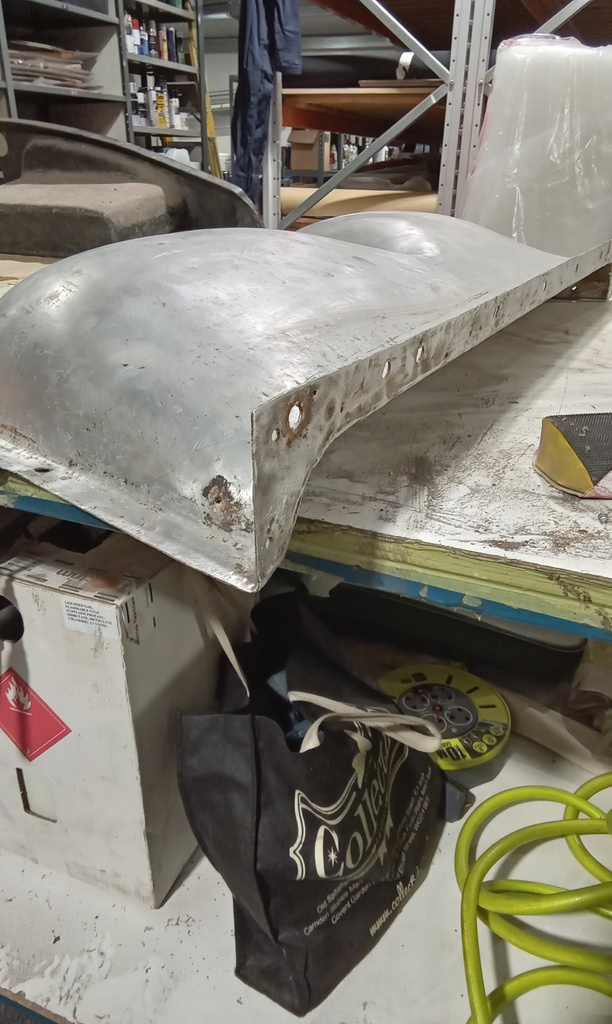
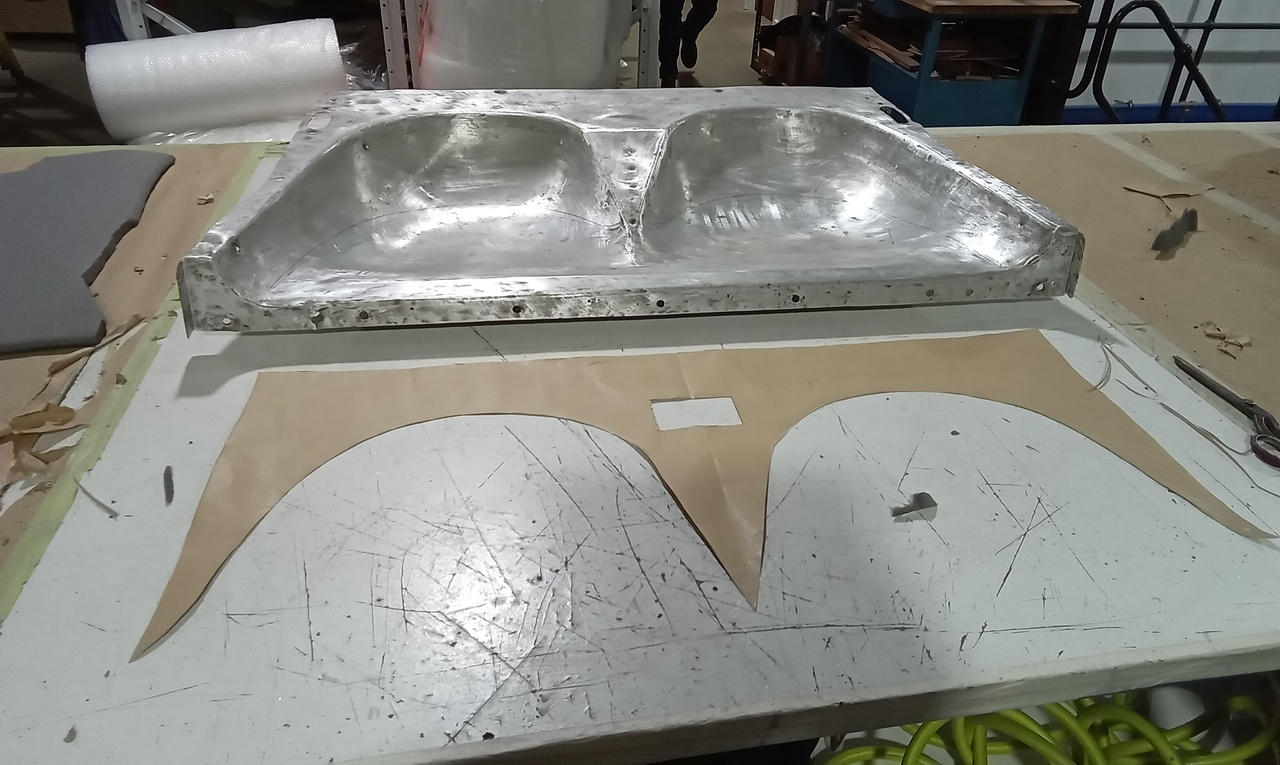
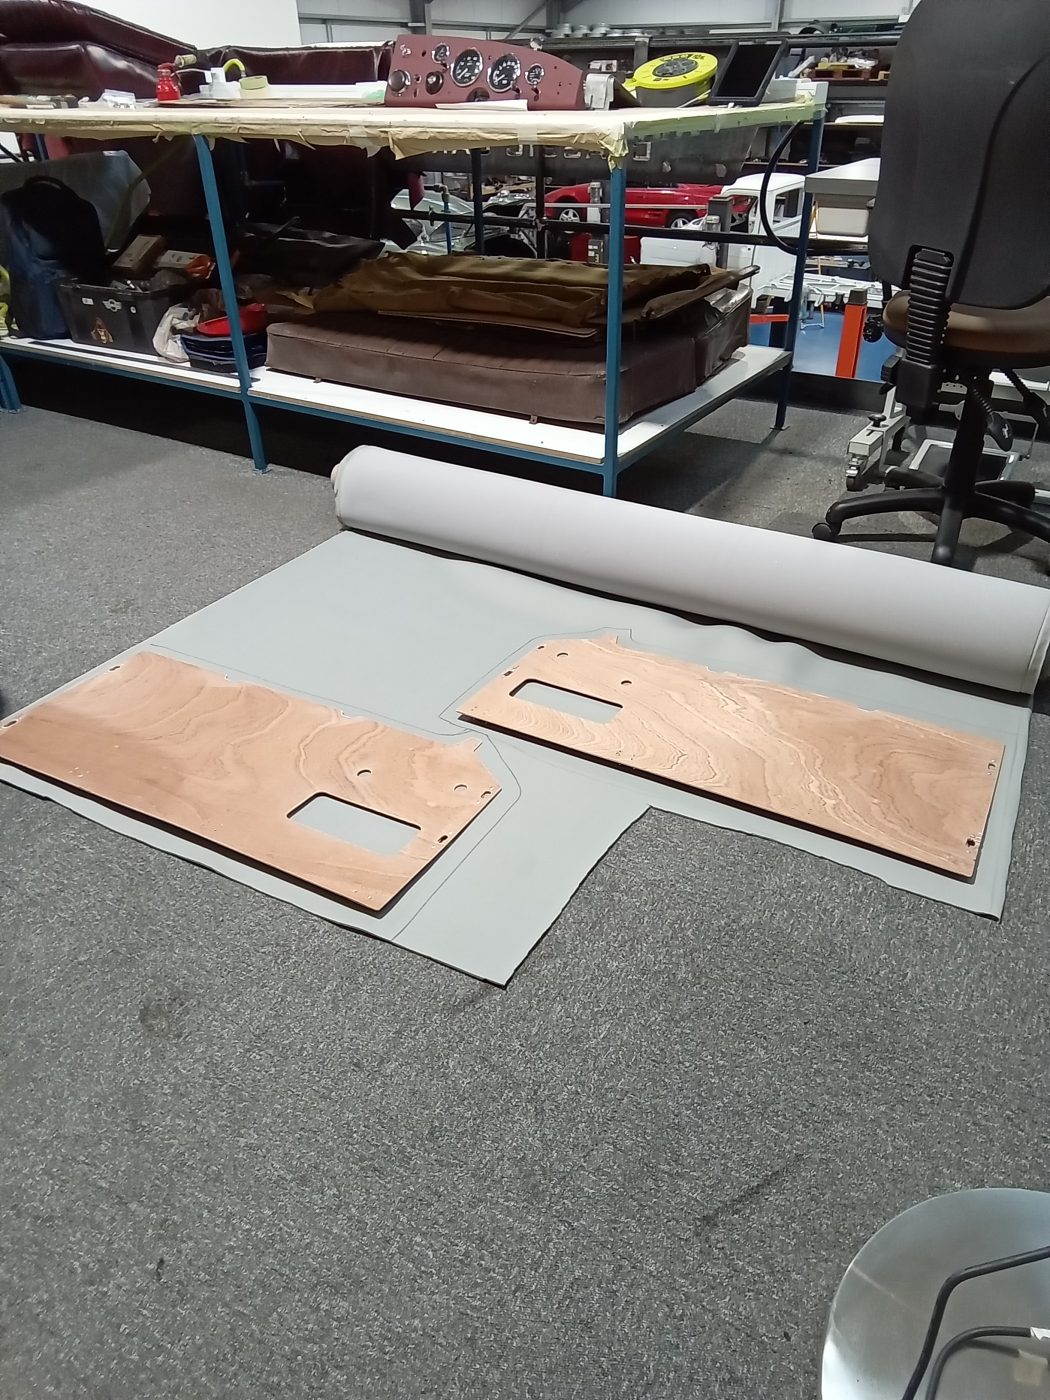
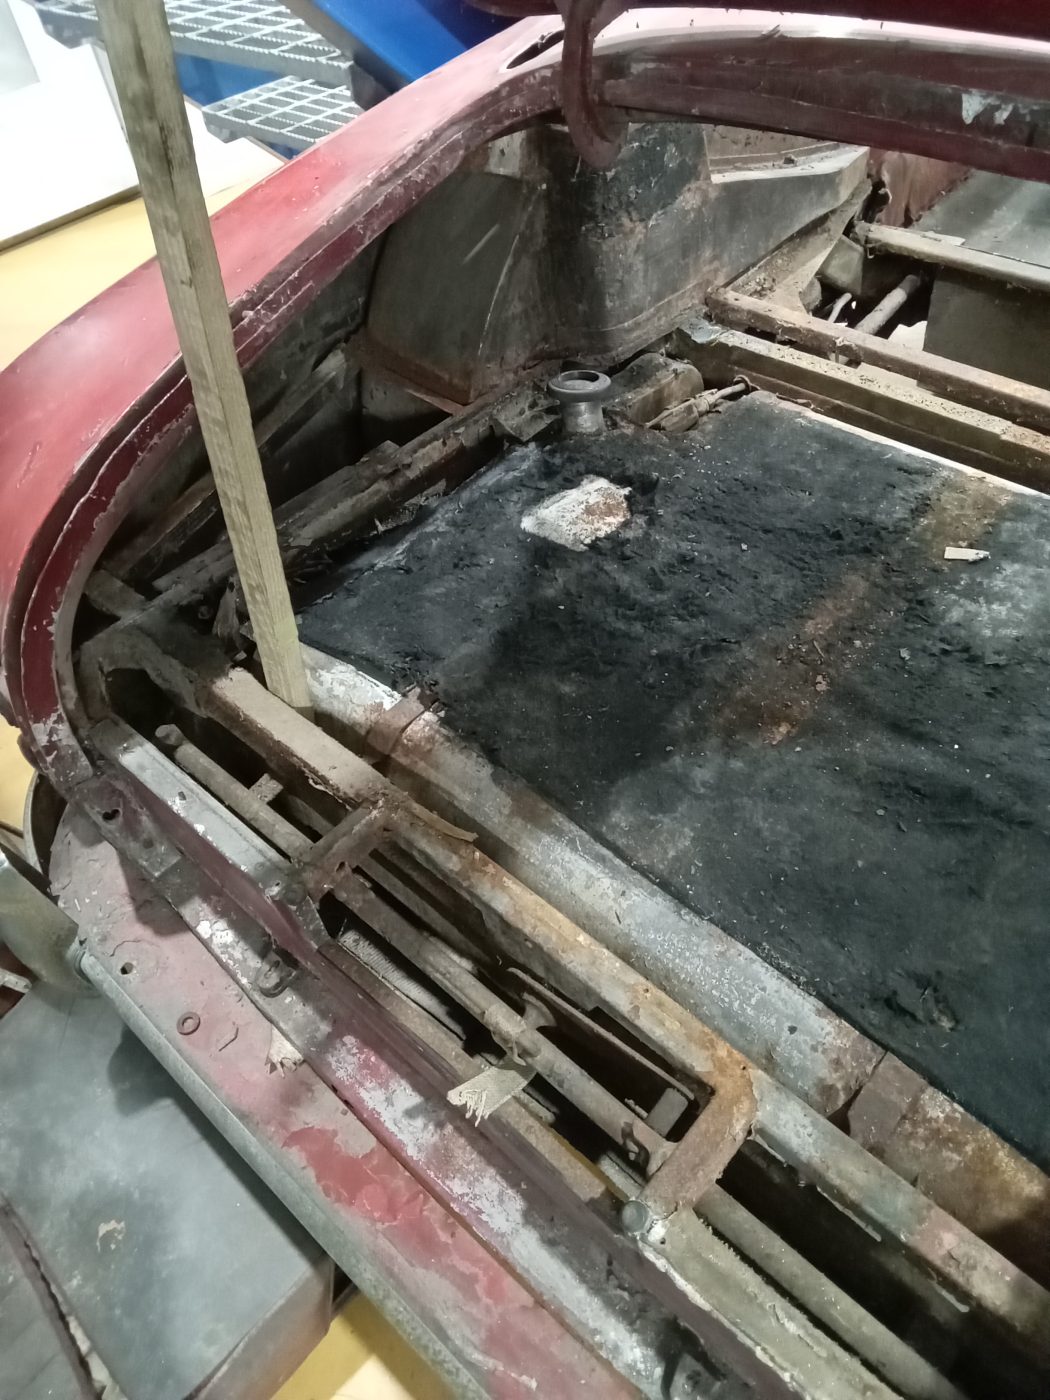
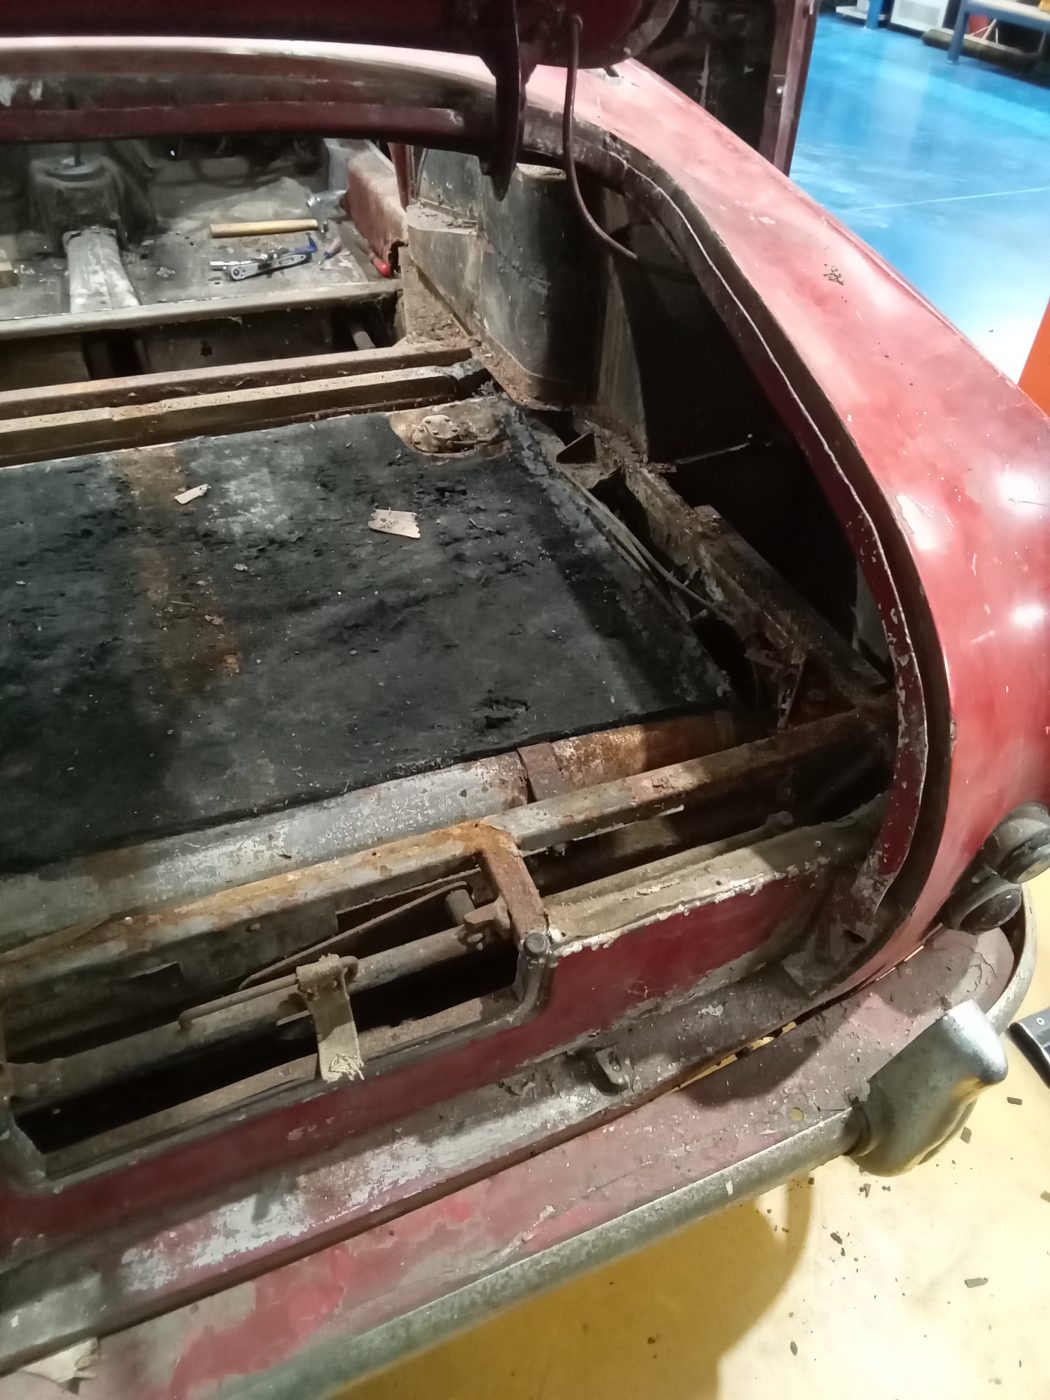
Lydia has been looking at the boot carpet in our 1956 Jensen 541. She has templated and made the boot carpets, which are unique to each car. She has shaped and moulded the sides to fit the rear curves in the boot, and then completed it with a large over mat. She will finish glueing everything down when the wiring has been finalised.
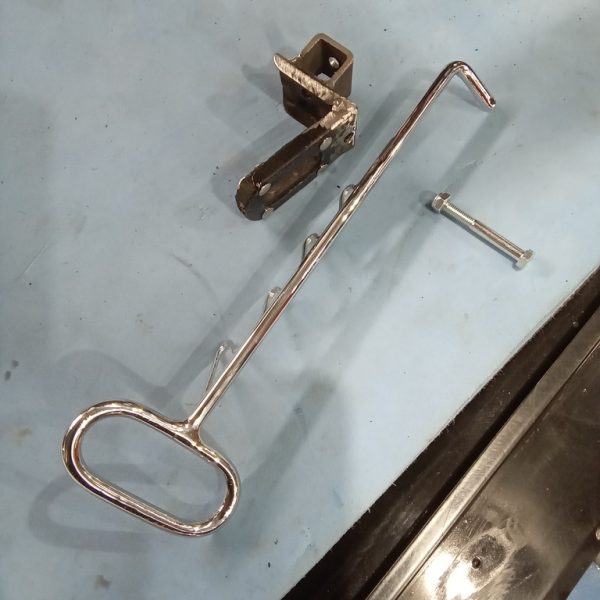
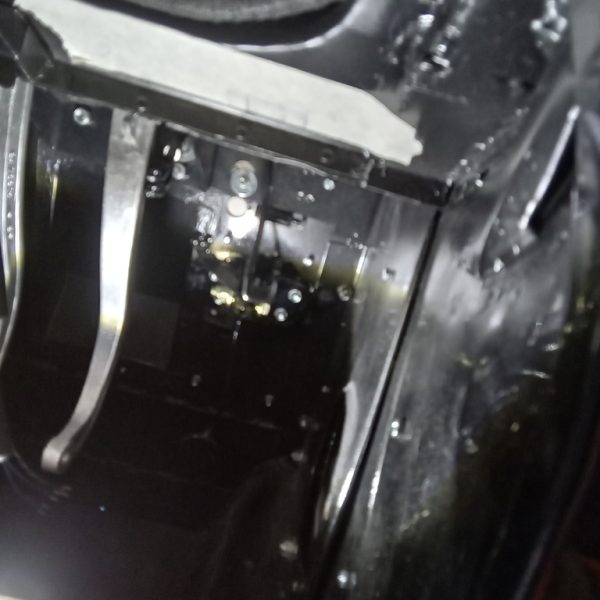
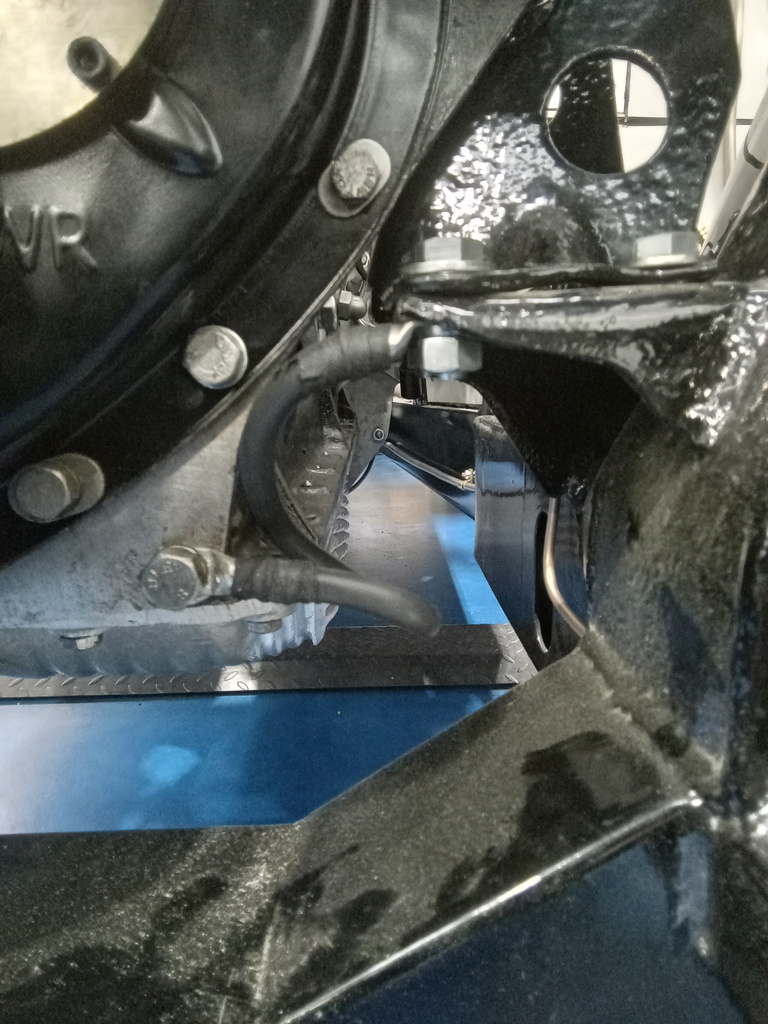
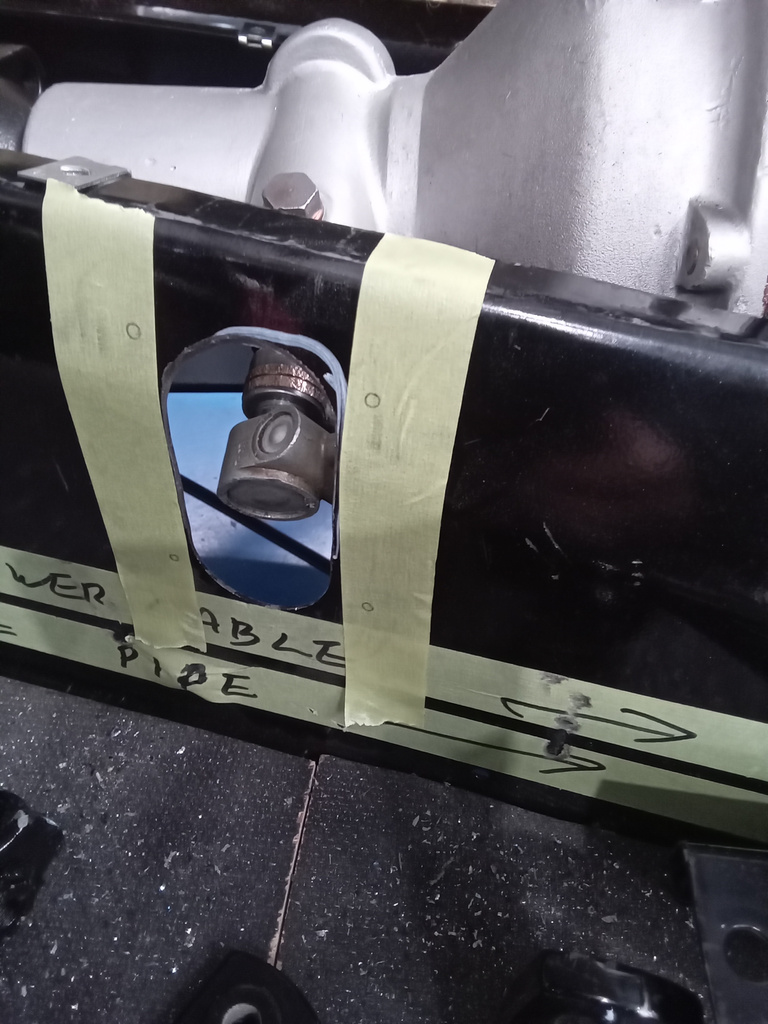
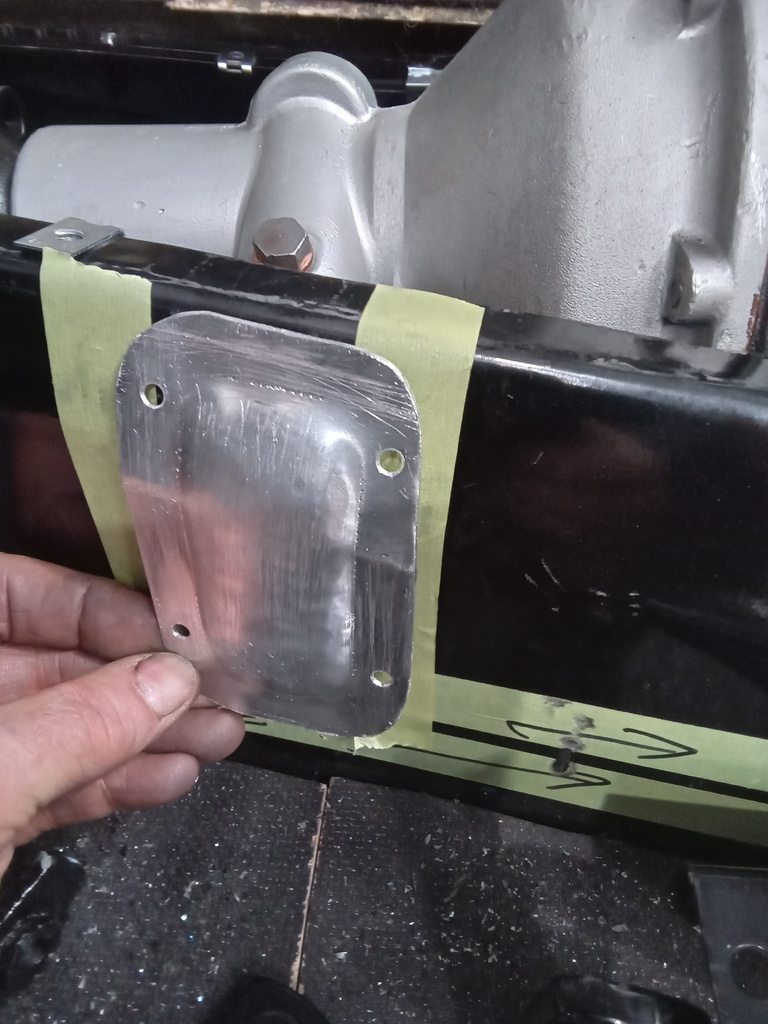
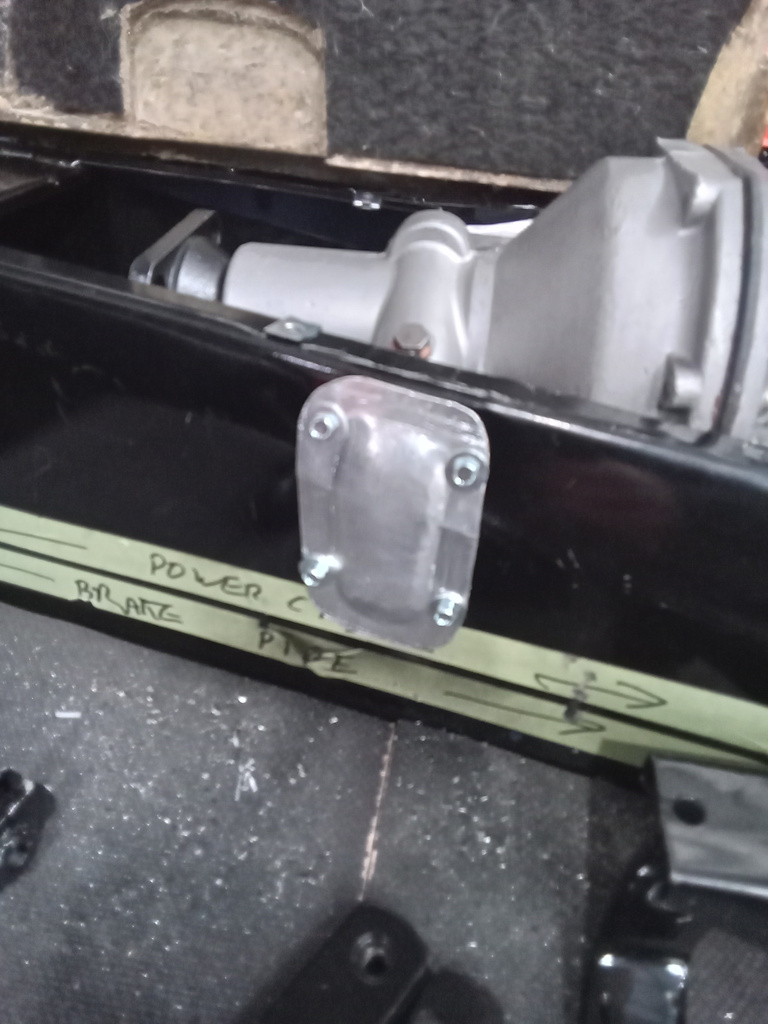
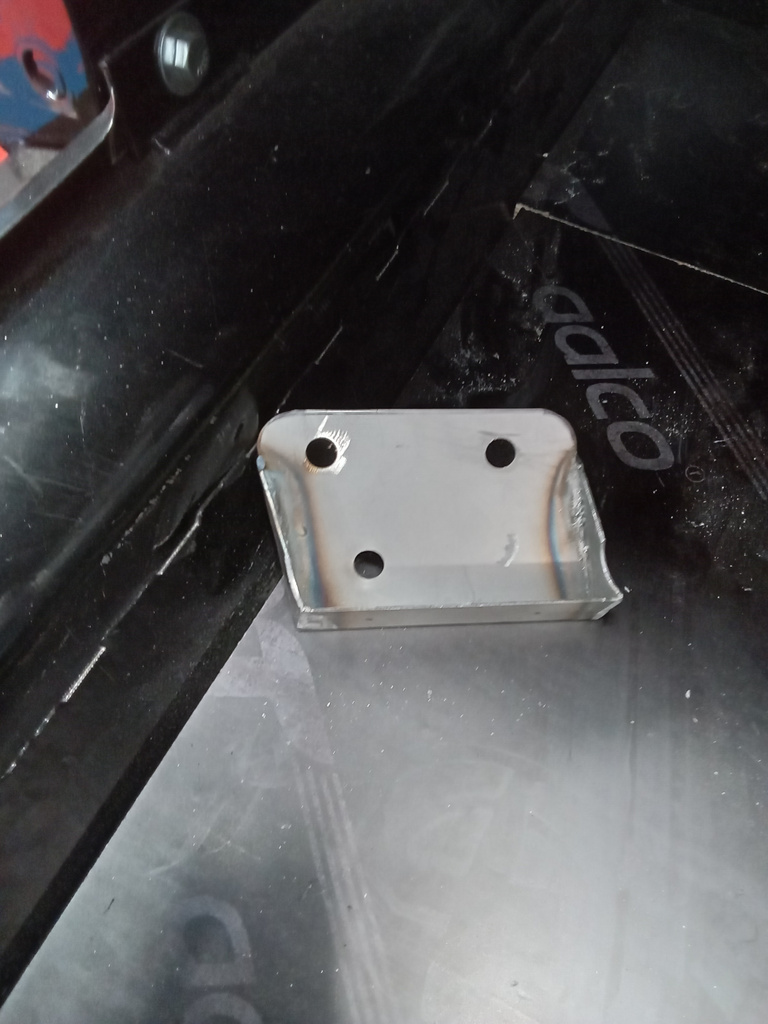
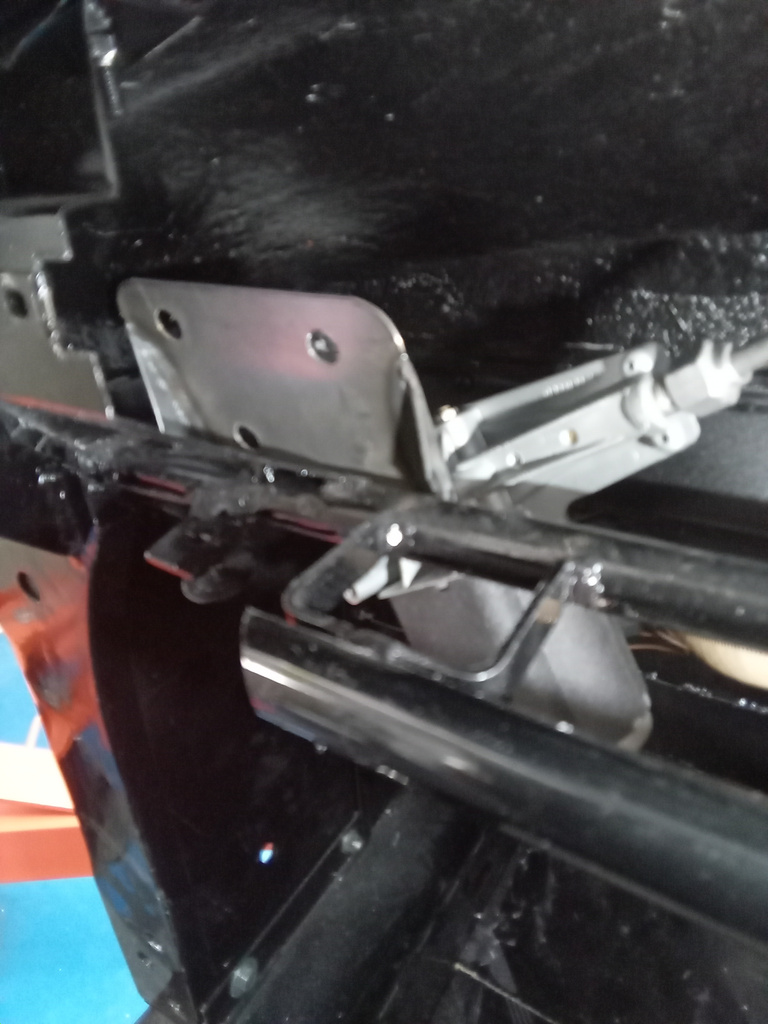
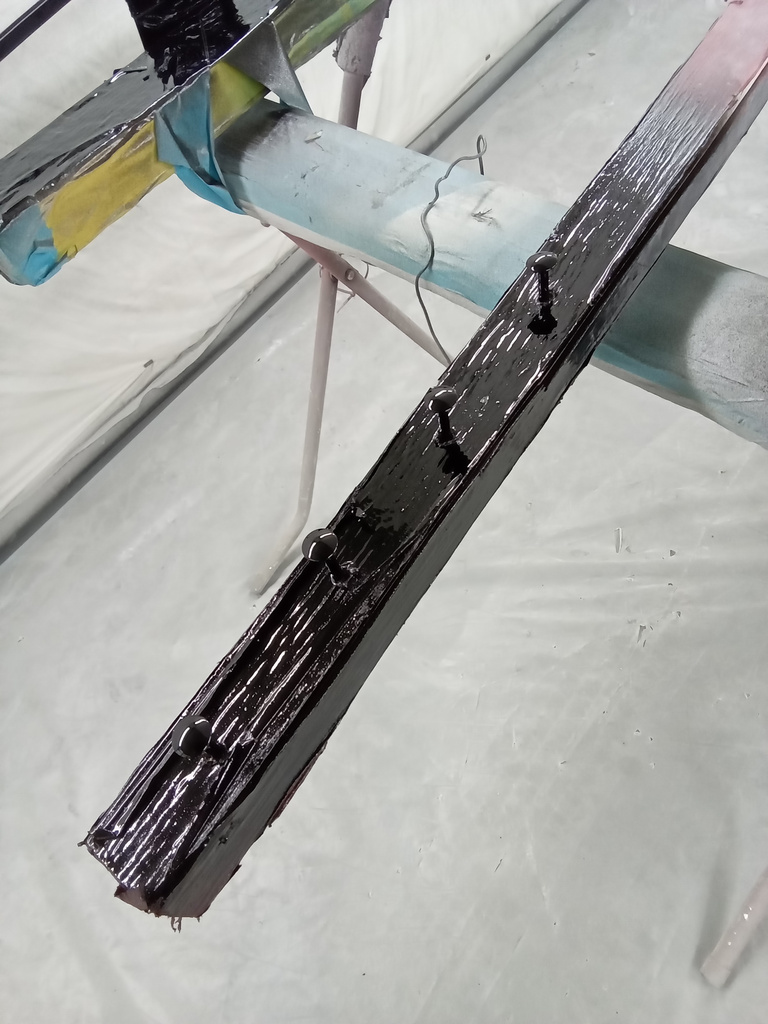
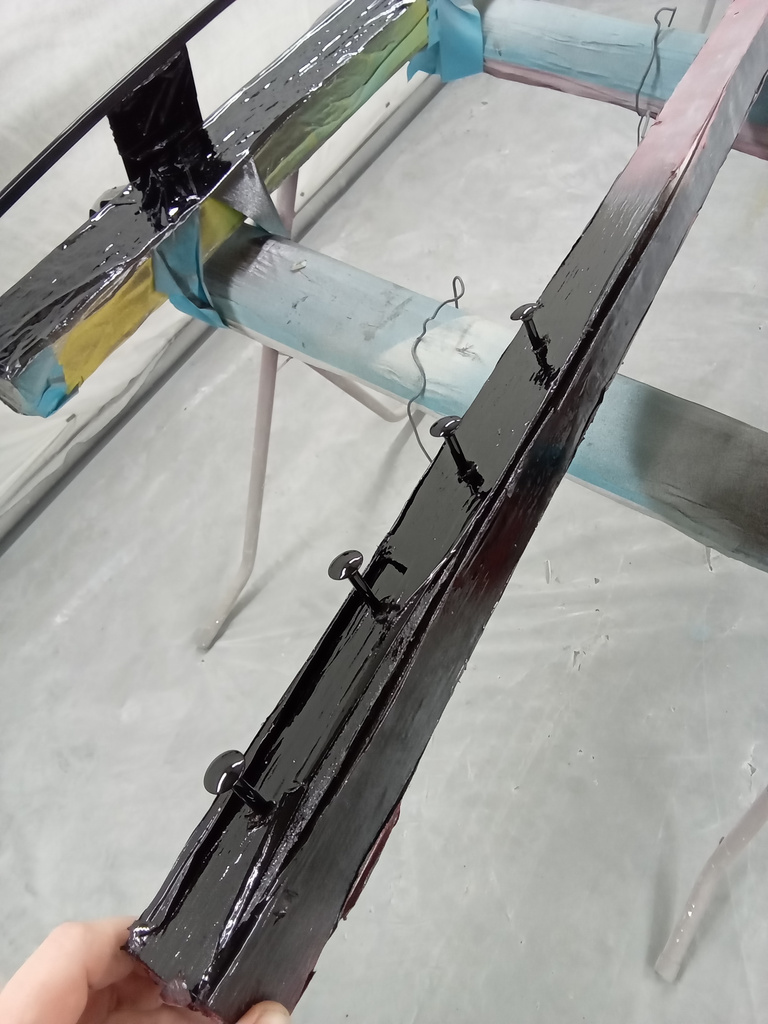
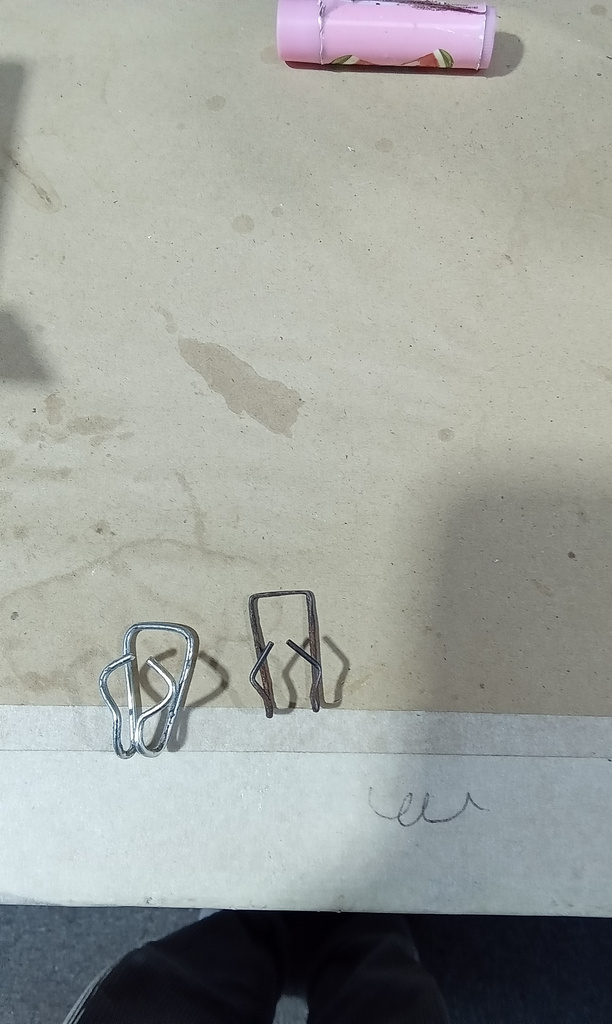
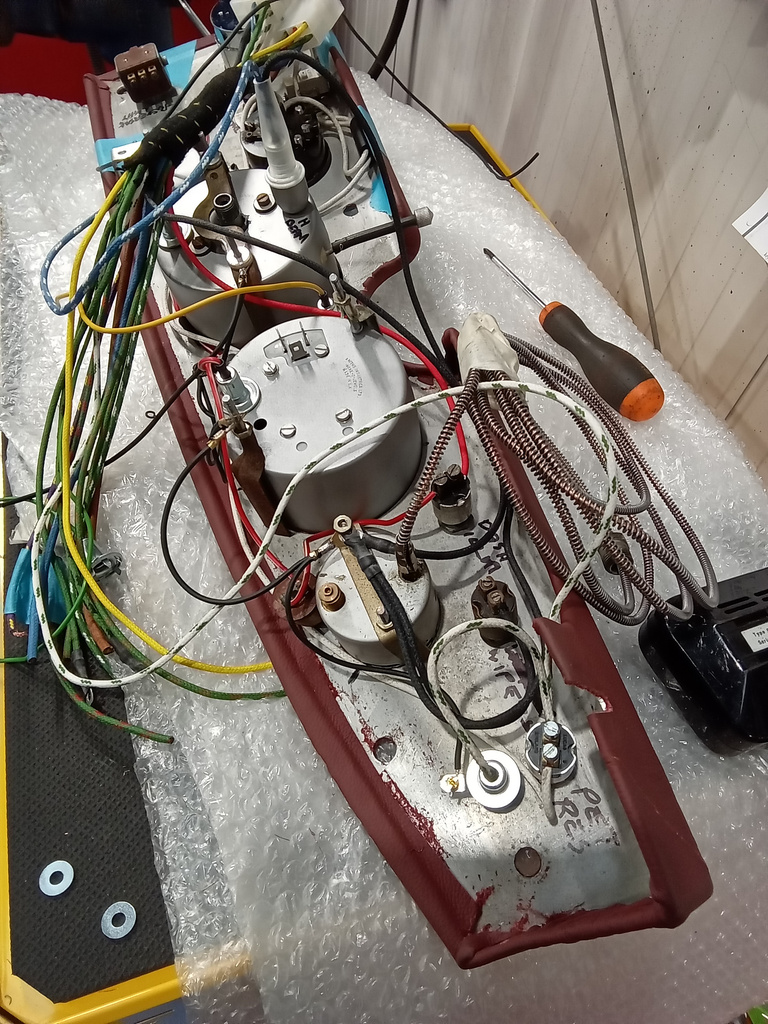
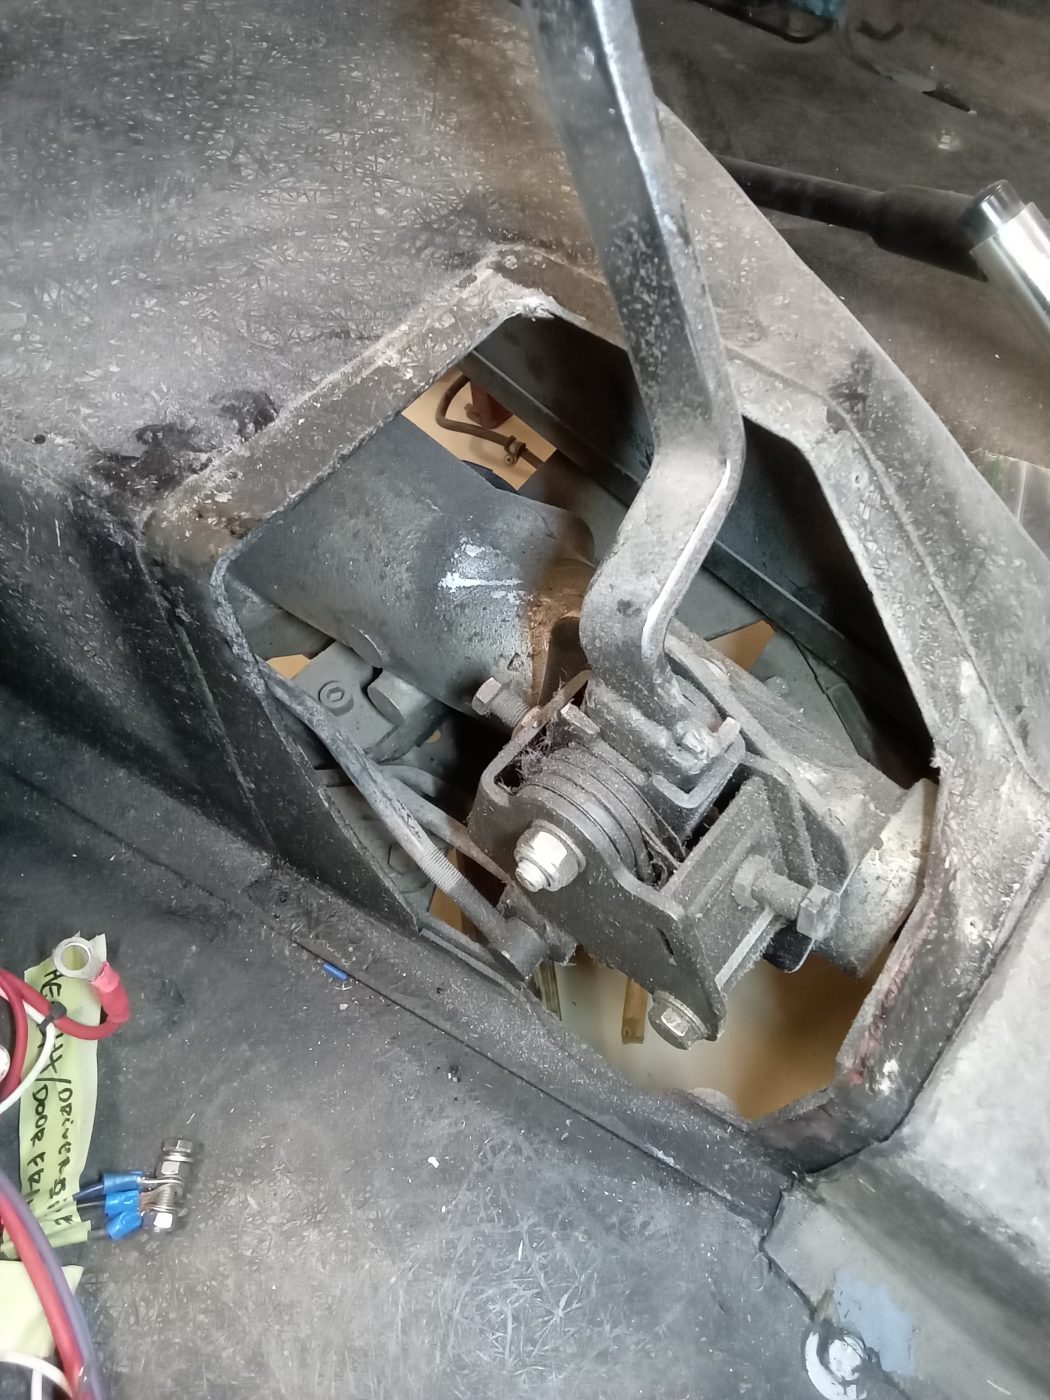
Paul has also been working on our classic 541. He has made and fitted the earth cable, fitted the distributor vacuum pipe, cut a hole in the gearbox tunnel to make access to the speedo drive and fabricated a cover. He has also made and fitted the wiper motor mounting plate, and designed and made the seat belt mounts.

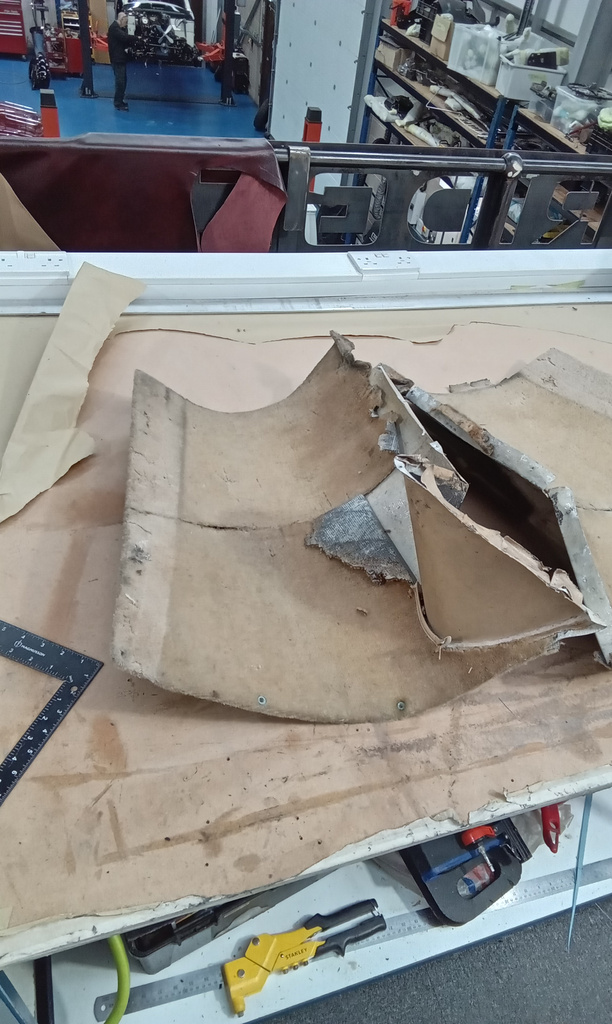
The customer has kindly supplied all the interior panels of our 1963 Bentley S3 to us so that Lydia can recover them. He has remade some of the most damaged ones using the other sides as a template.
Remaking the cardboard boot pieces was the most challenging, as Lydia had to moisten the cardboard before moulding it into shape. After making it the desired shape and replacing the wood and metal pieces, she covered it in carpet.

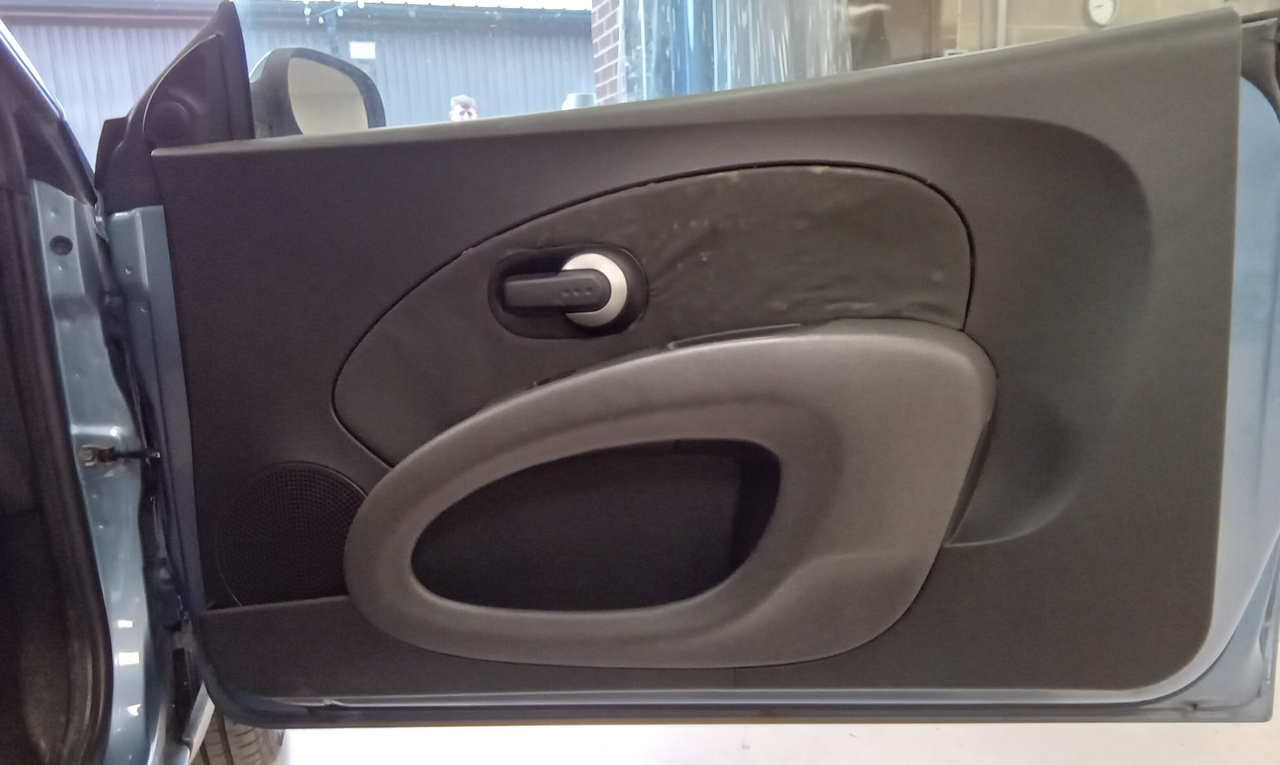
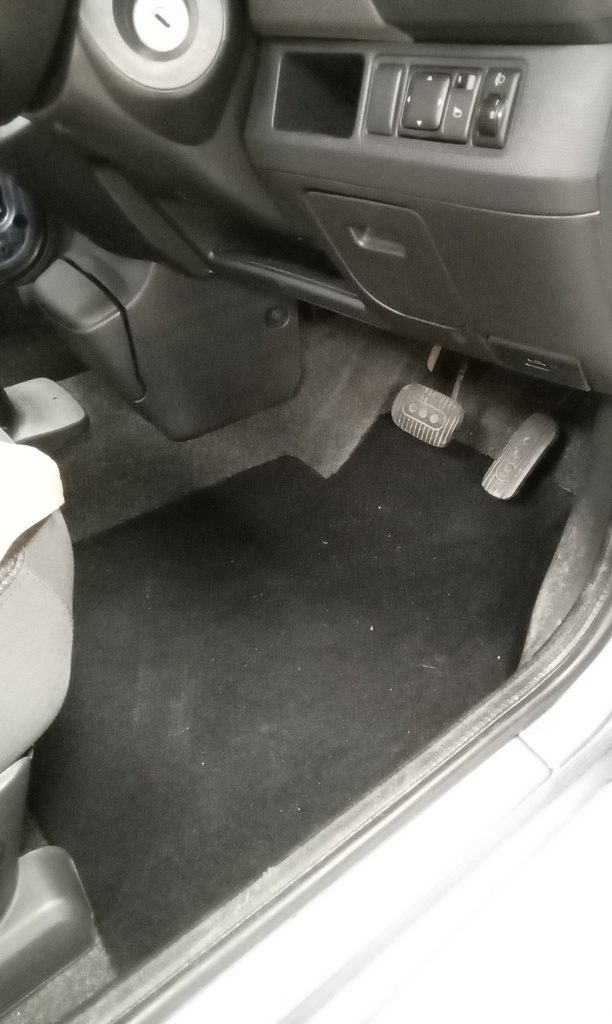
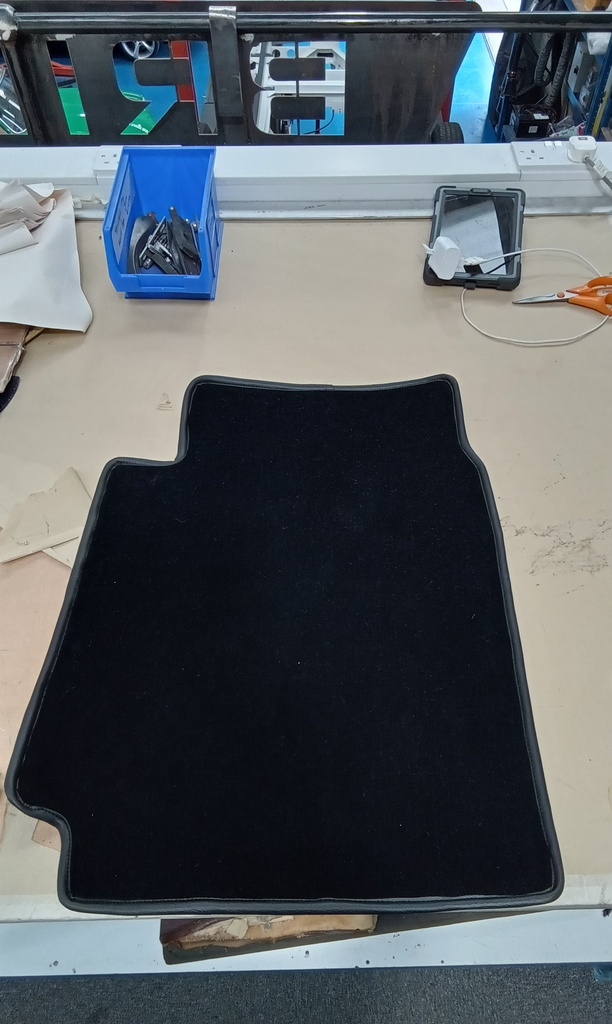
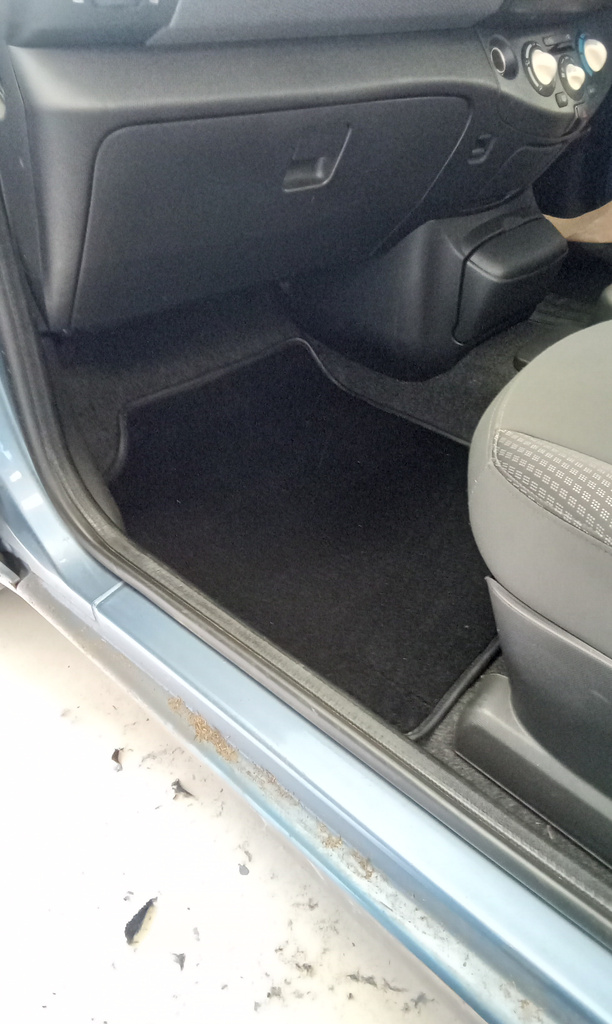
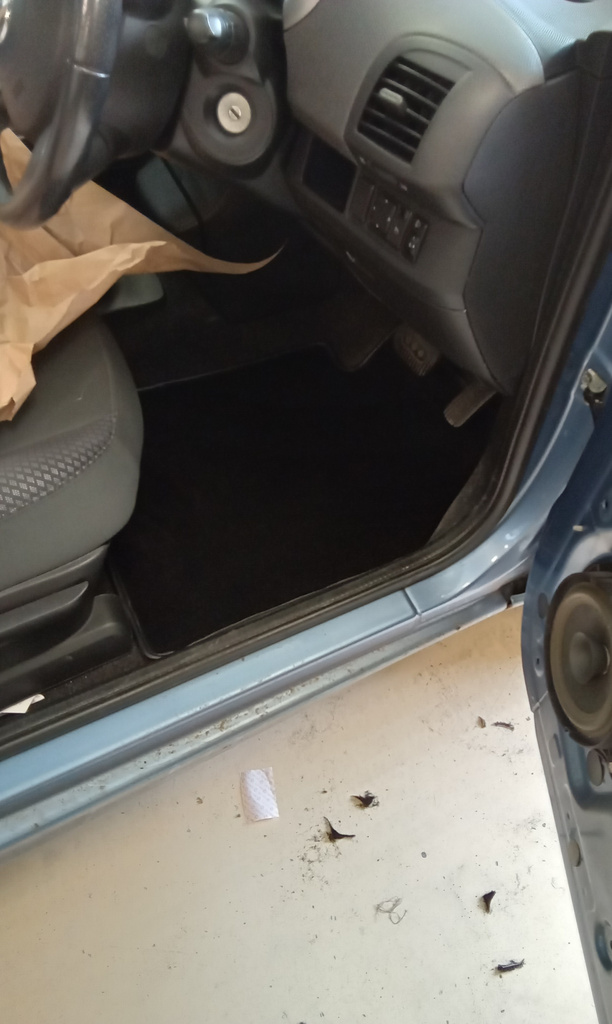
A customer wanted a quick interior refresh on her 2006 Nissan Micra Convertible.
Lydia made some custom-fitted floor mats, which fit much better than the generic shop-bought ones. She also added some extra-strong velcro so they don’t slip from their intended position.
Next, Lydia replaced the material which had become tatty and was starting to pull off the door cards. This was tricky because she couldn’t remove the panel, as it is attached with plastic rivets and a special tool. She managed to overcome this with the help of a soldering iron and some careful melting! The new panel is now covered in a smart black suede material and looks factory-fresh again.
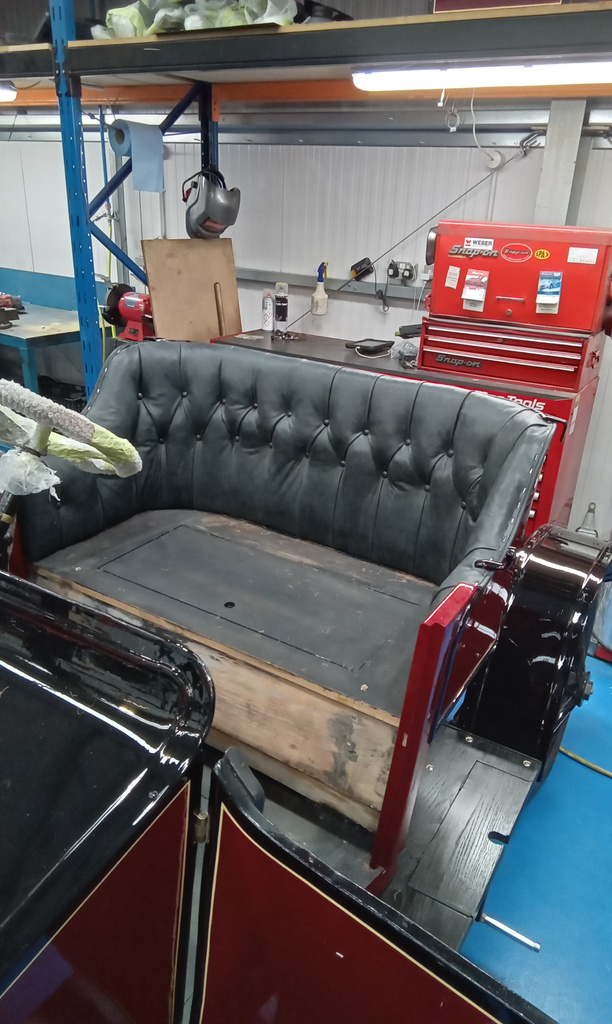
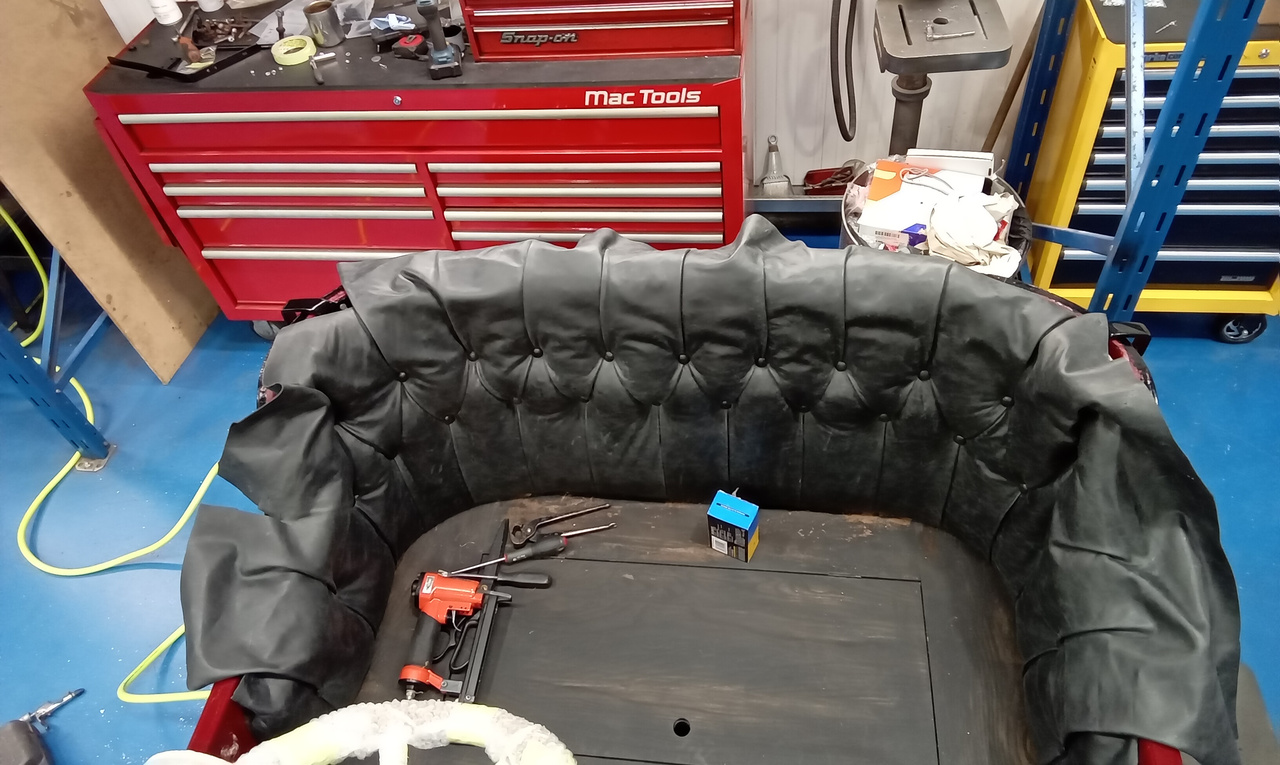
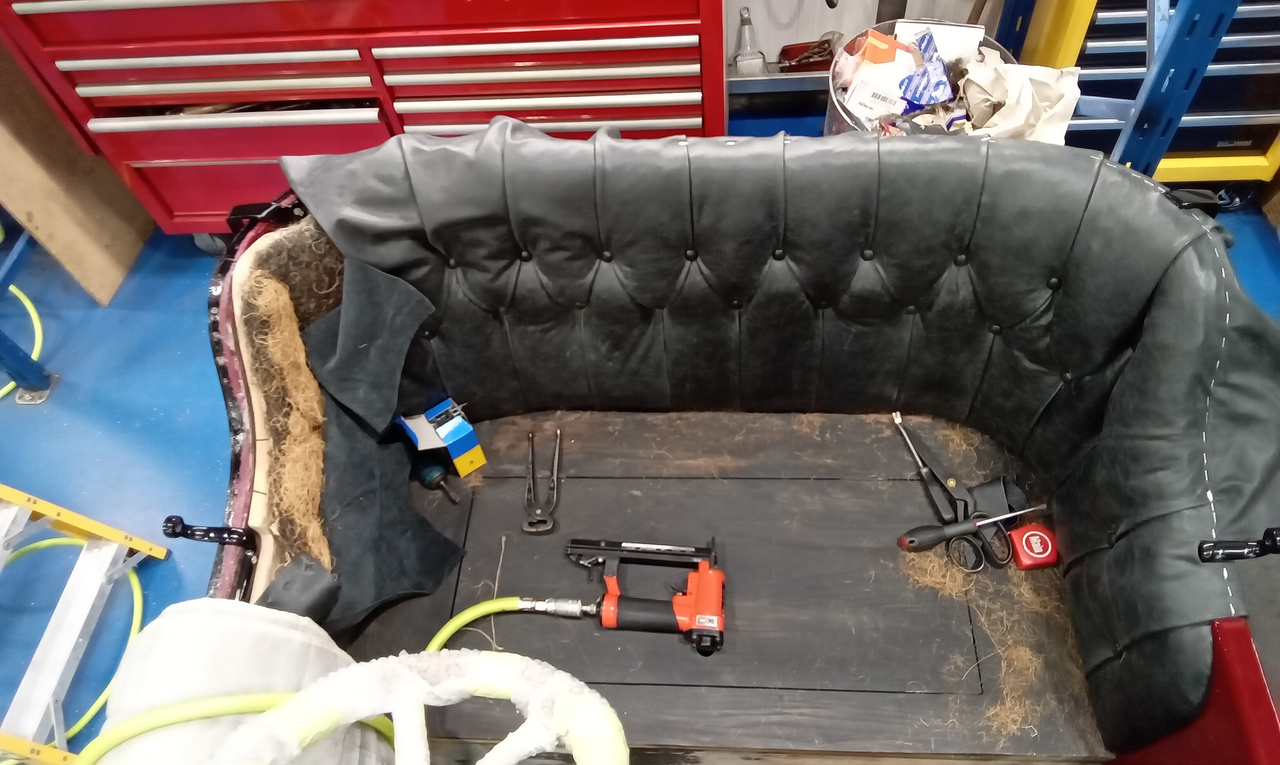
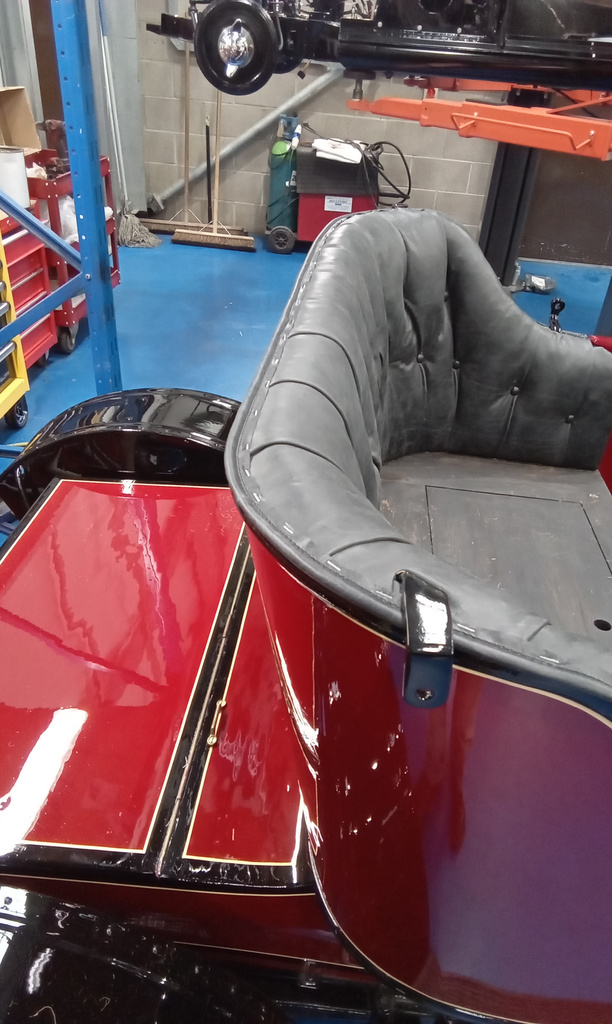
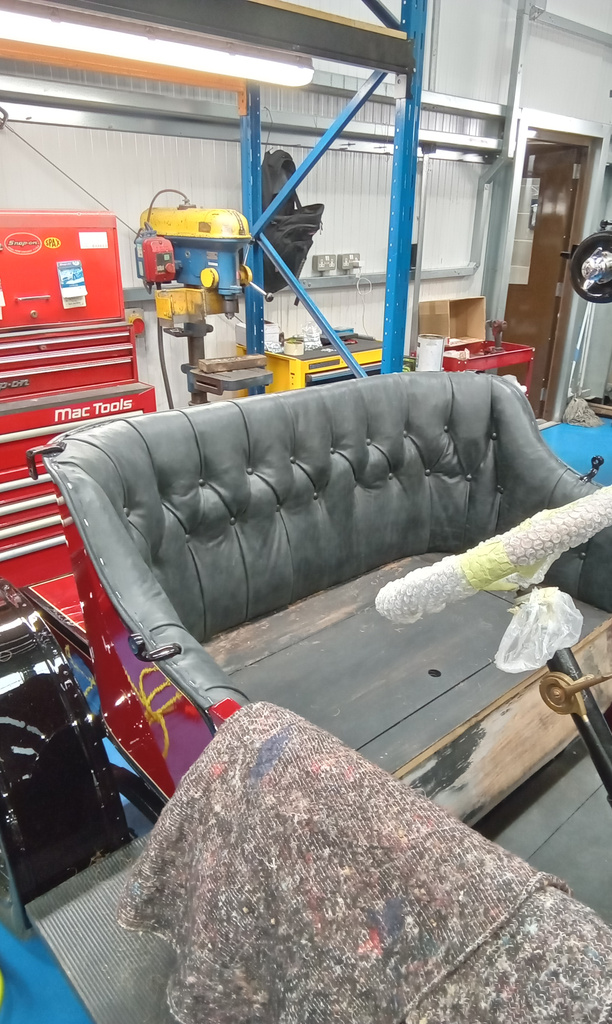
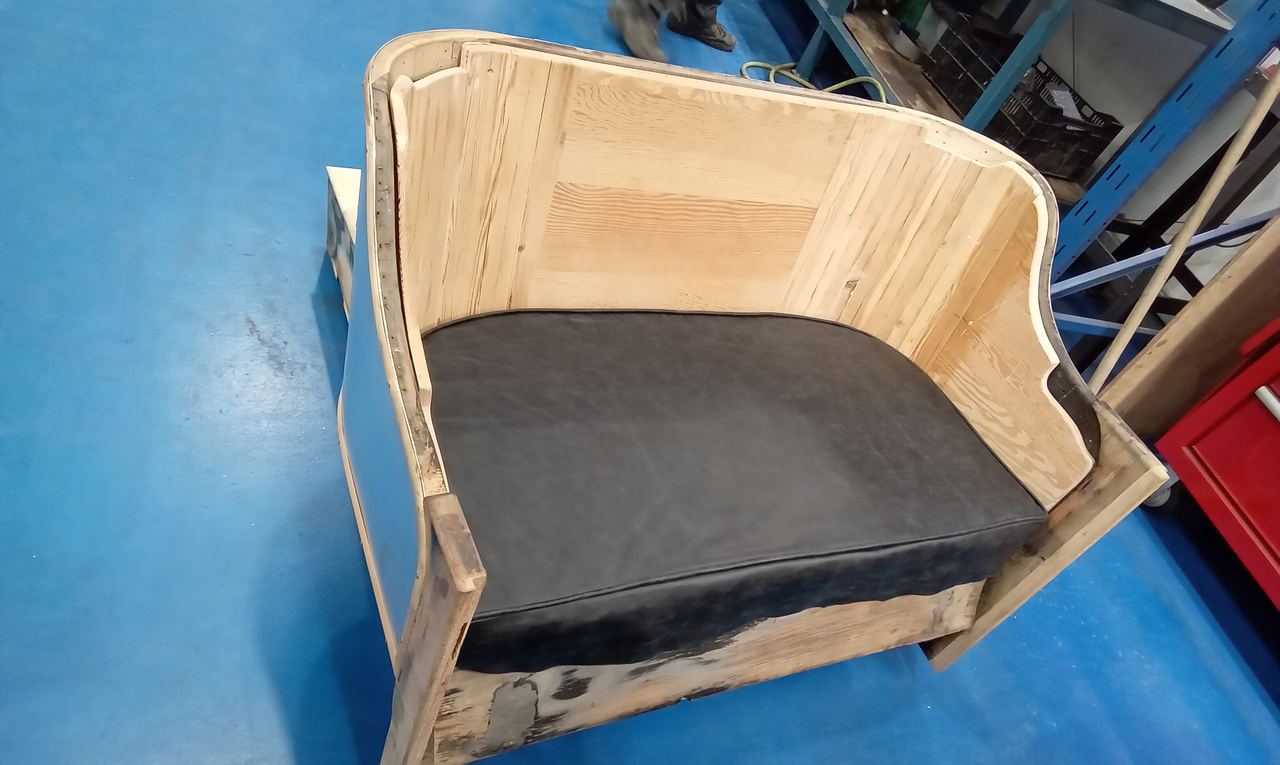
The backrest of the our 1905 Riley 9HP seat is actually fitted on the body of the car and, as a result, could not be fitted until the vehicle returned from paint. Lydia placed the seat in and began to line up the pleats so that they were straight. She had to stuff the seat with additional coconut fiber to give them extra puffiness and to cover any lumps and bumps in the wooden bodywork. The most difficult part of this was deciding how to get a tidy finish on the front curve of the seat, as she couldn’t staple this to the bodywork.
After Lydia finished stapling the seat to the body, she cut away the excess and then applied piping to the back edge. The raw edges of the fabric will then be covered with a beautiful brass beading that we have bought to replicate the original.
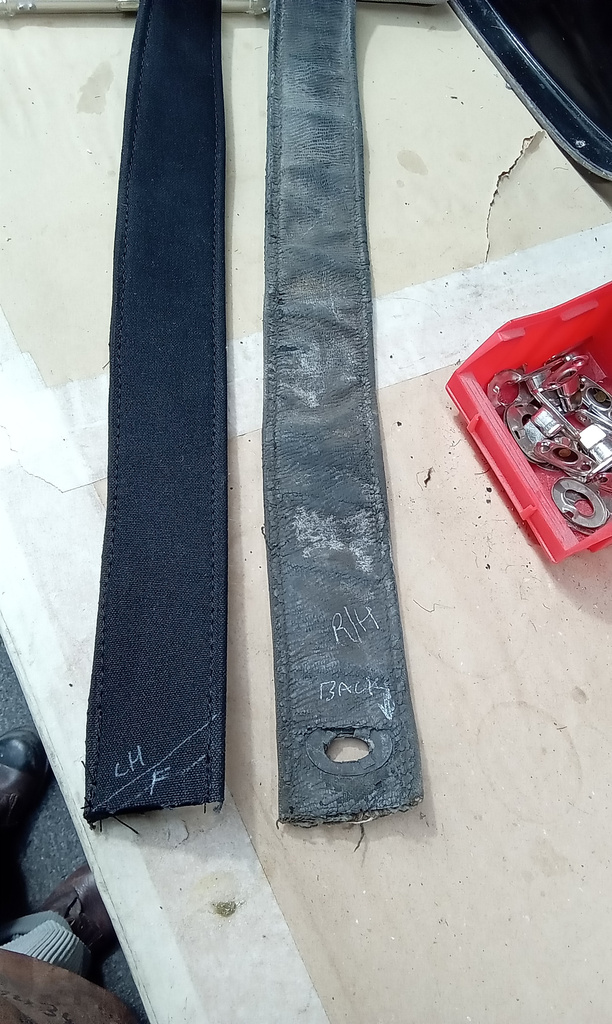
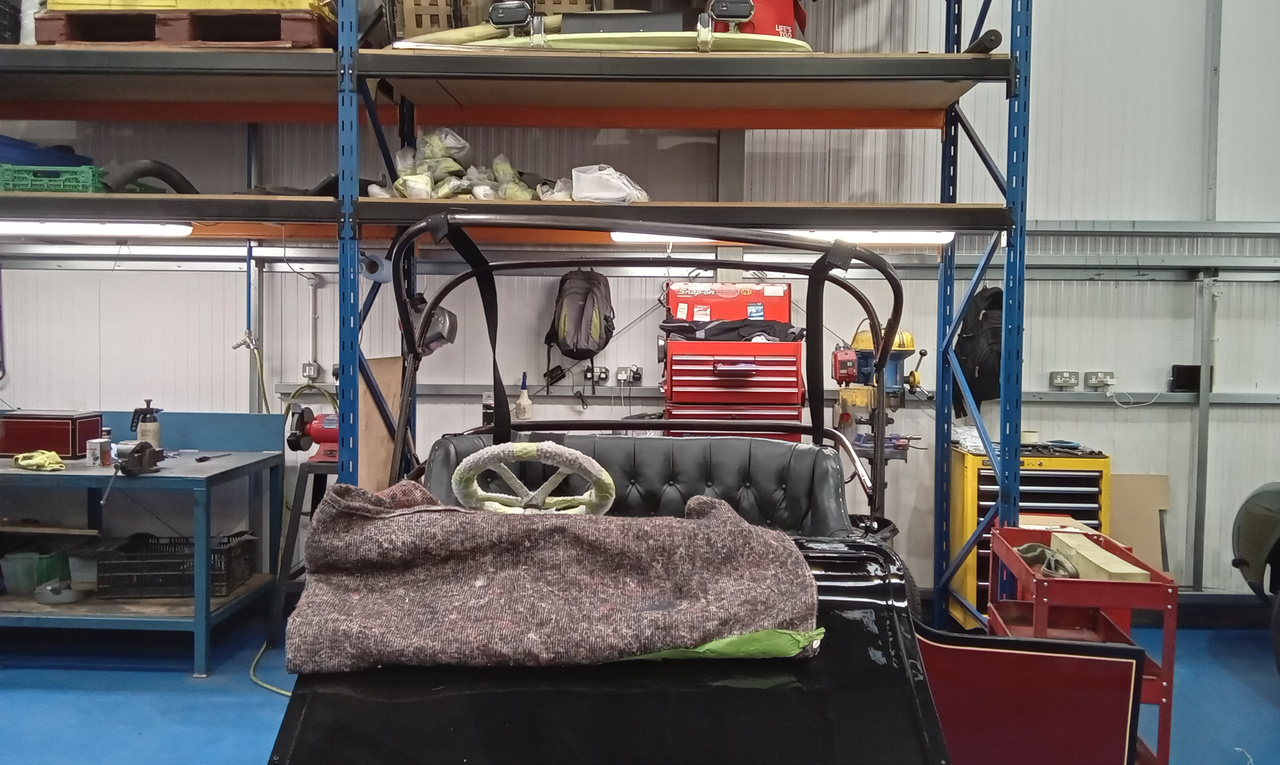
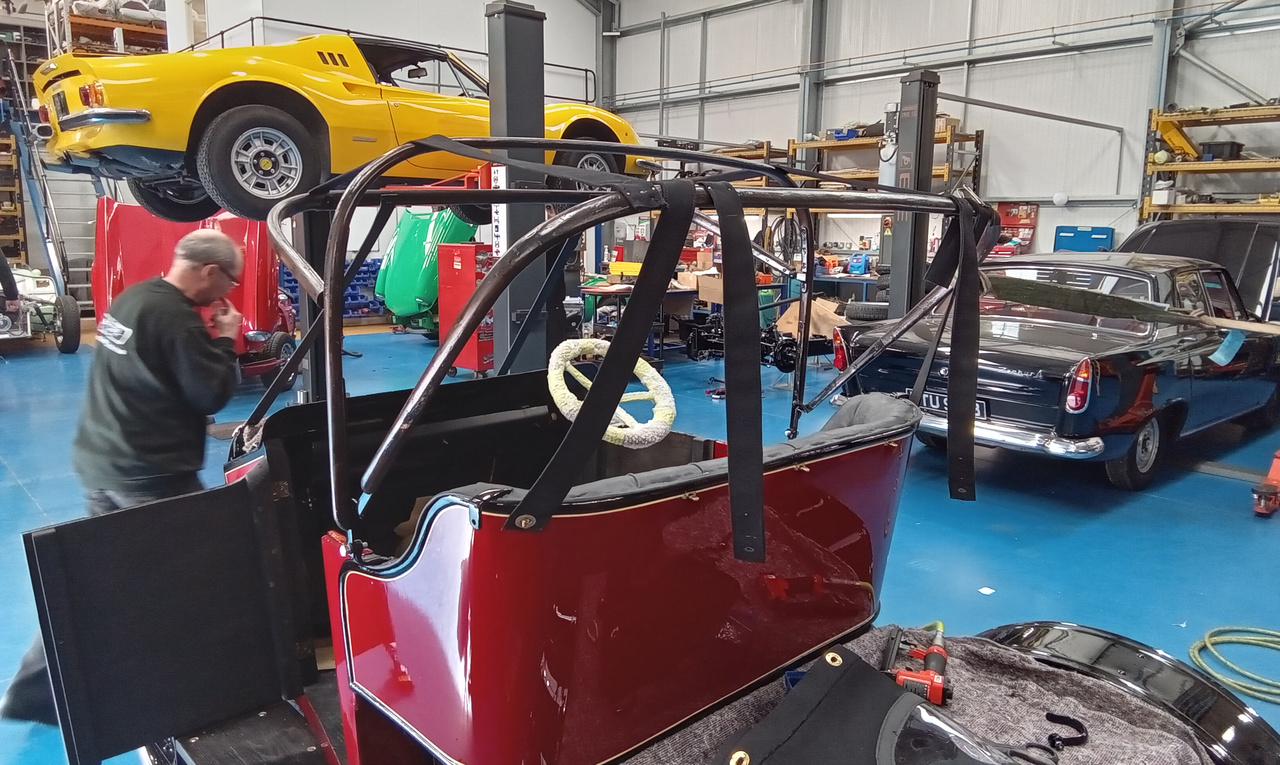
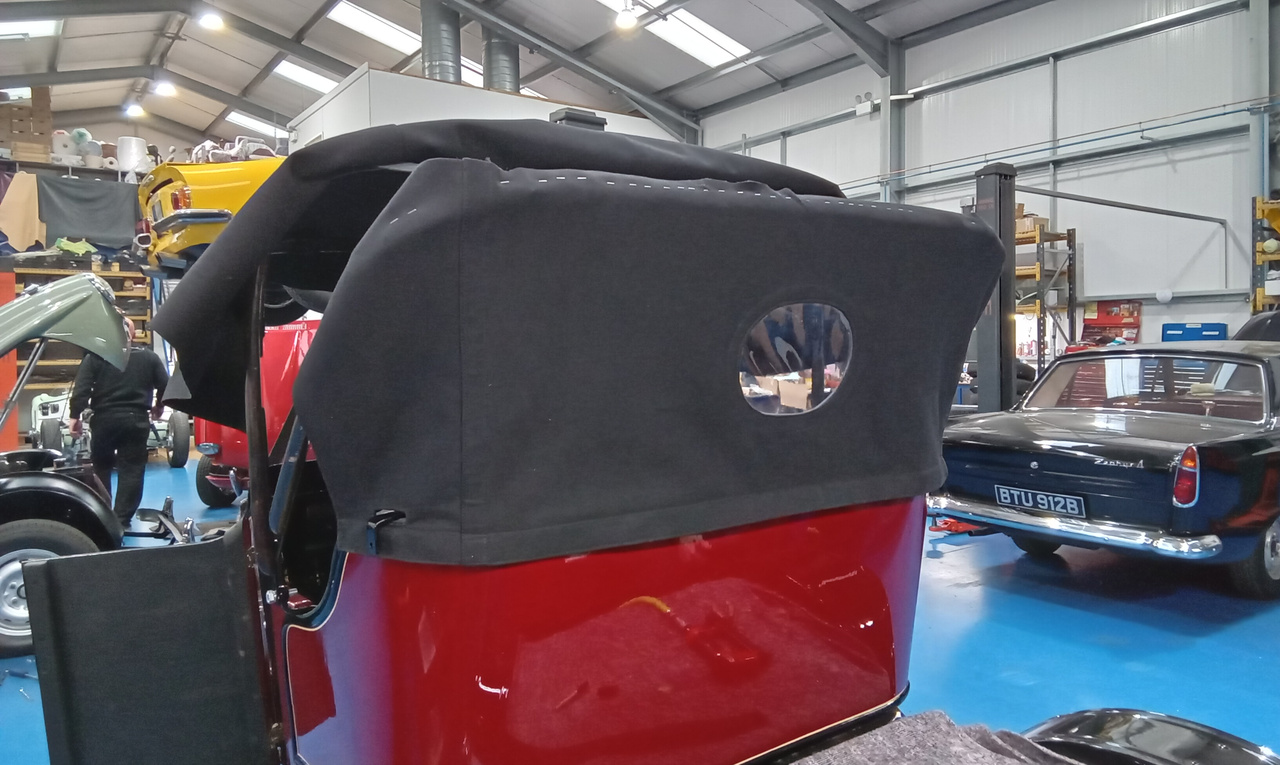
Lydia also made some straps to replicate the original ones, which hold the roof bars at the correct distance apart. The hood has also been made with great care taken to ensure it looks as close to the original as possible.
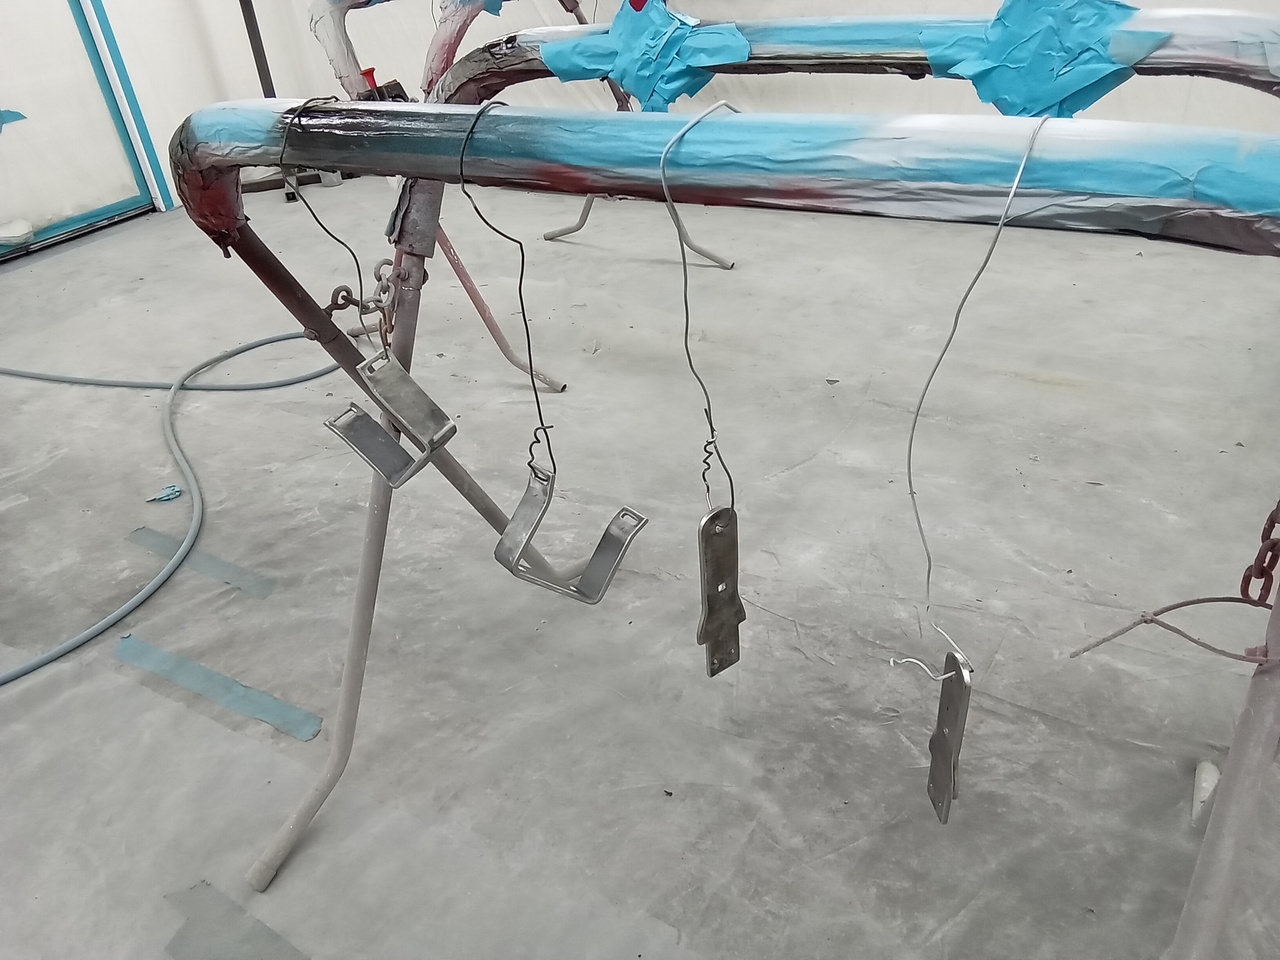
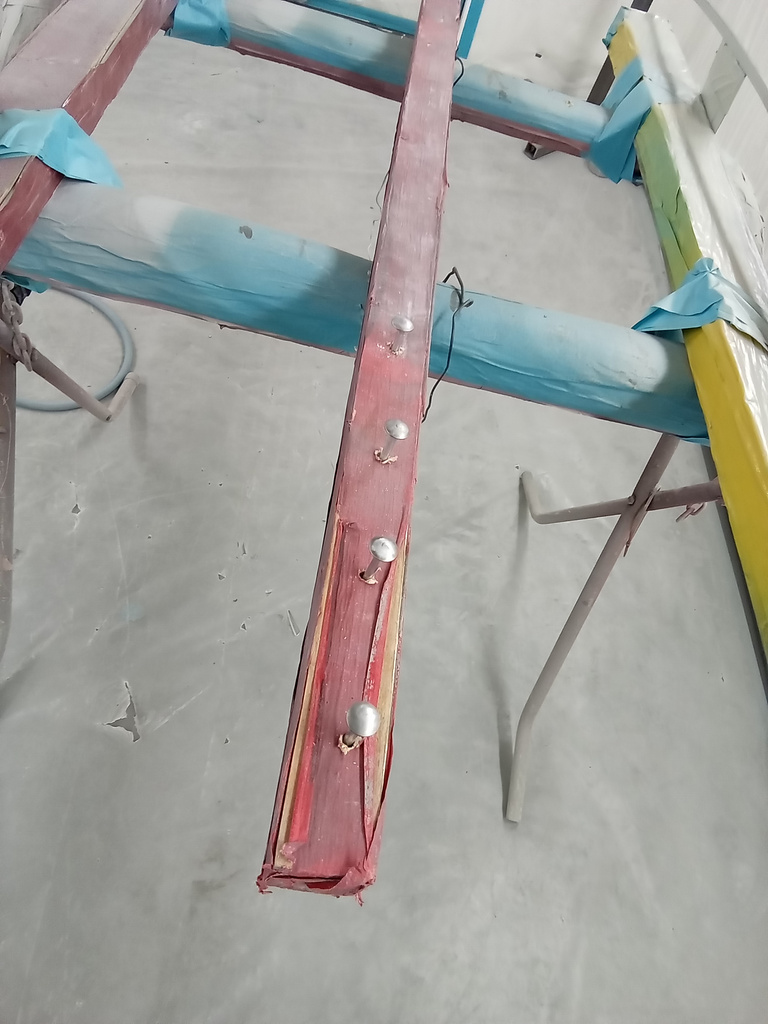
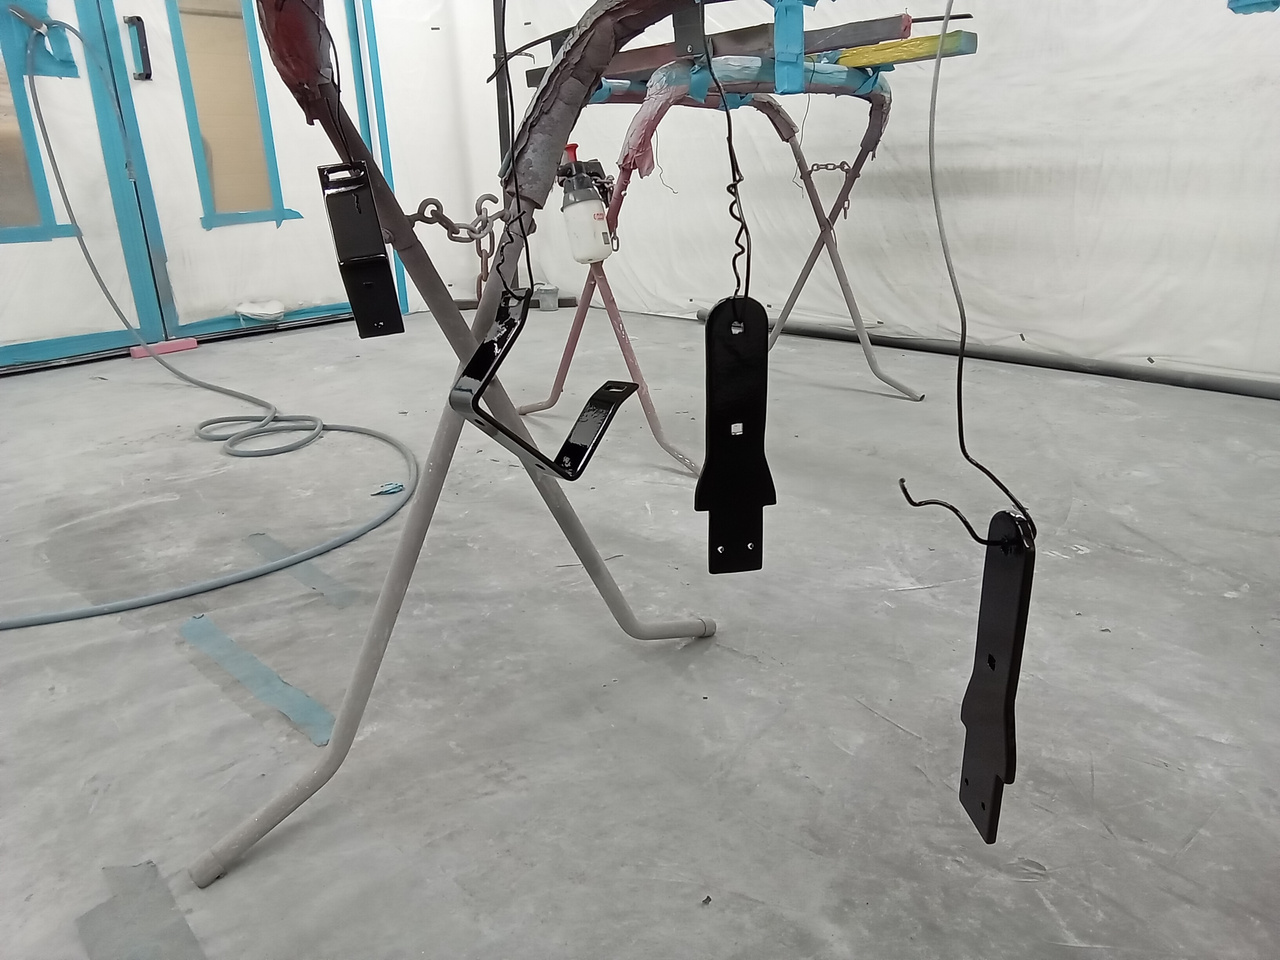
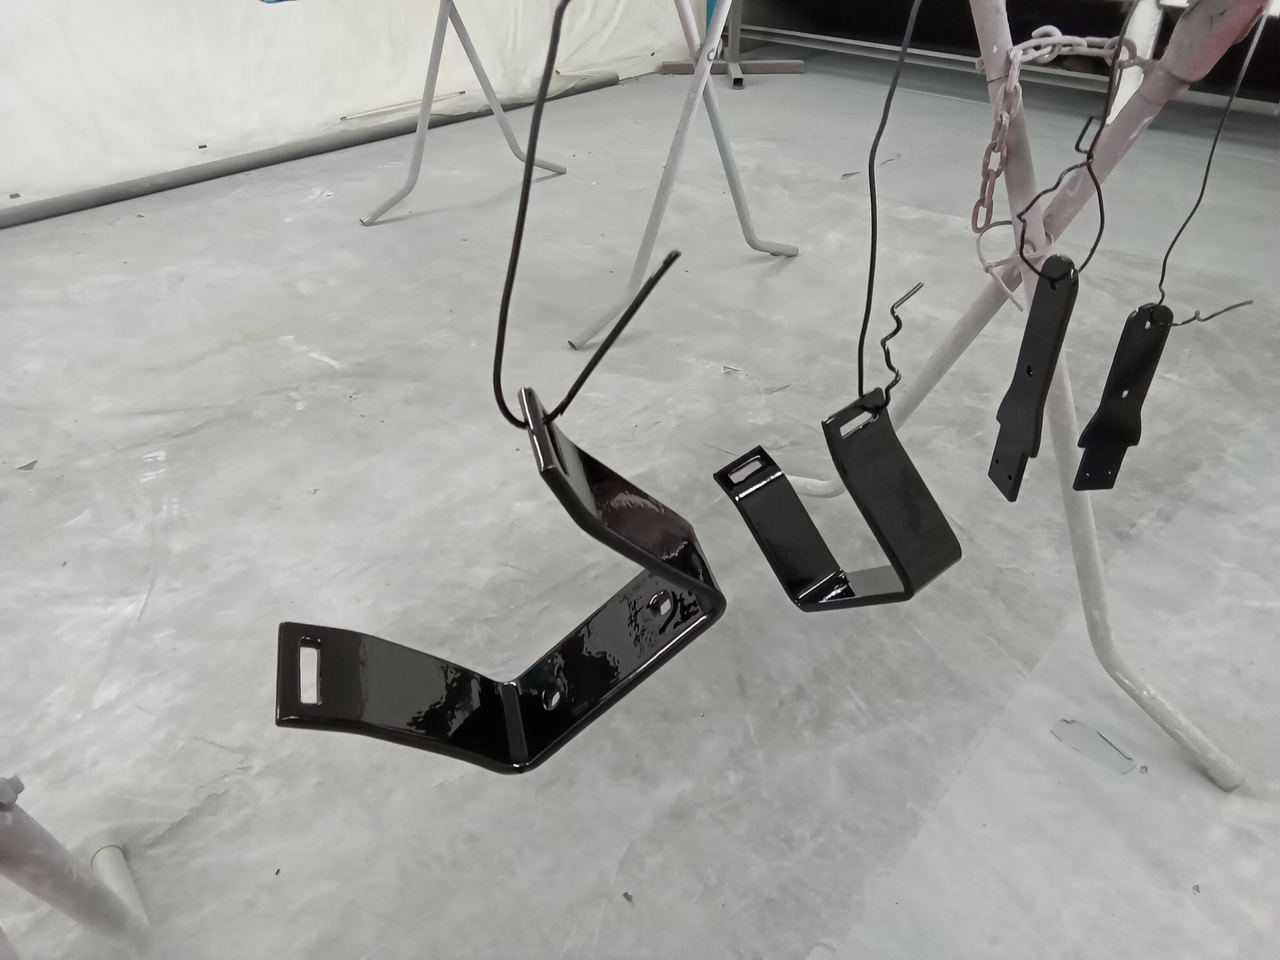
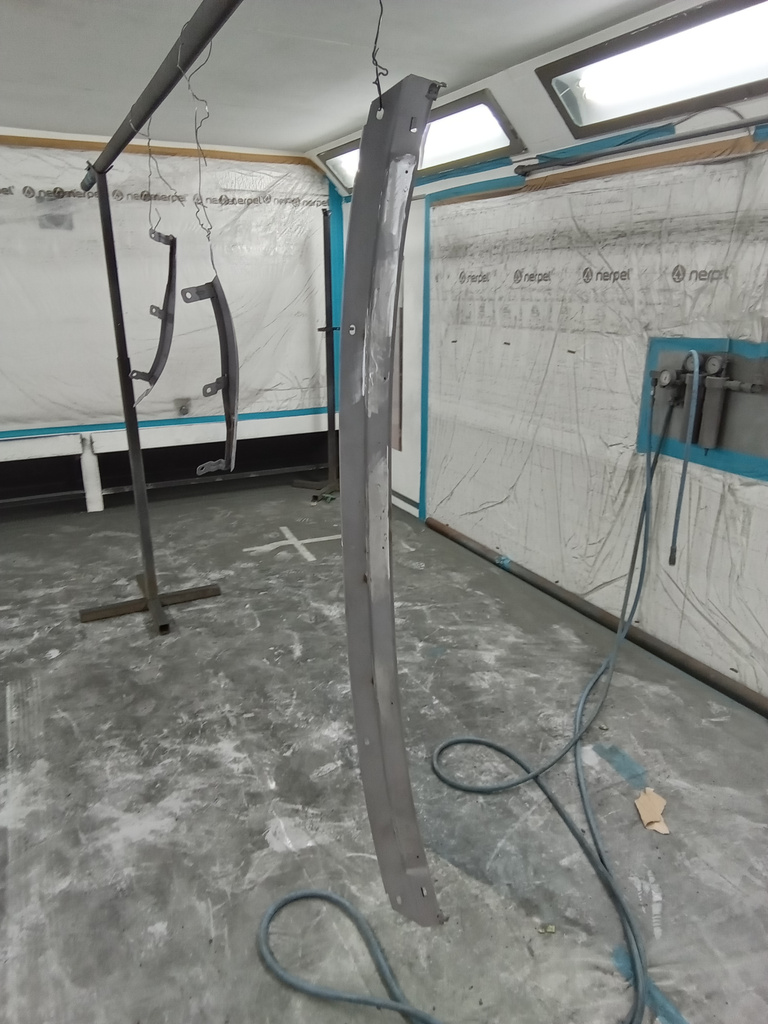
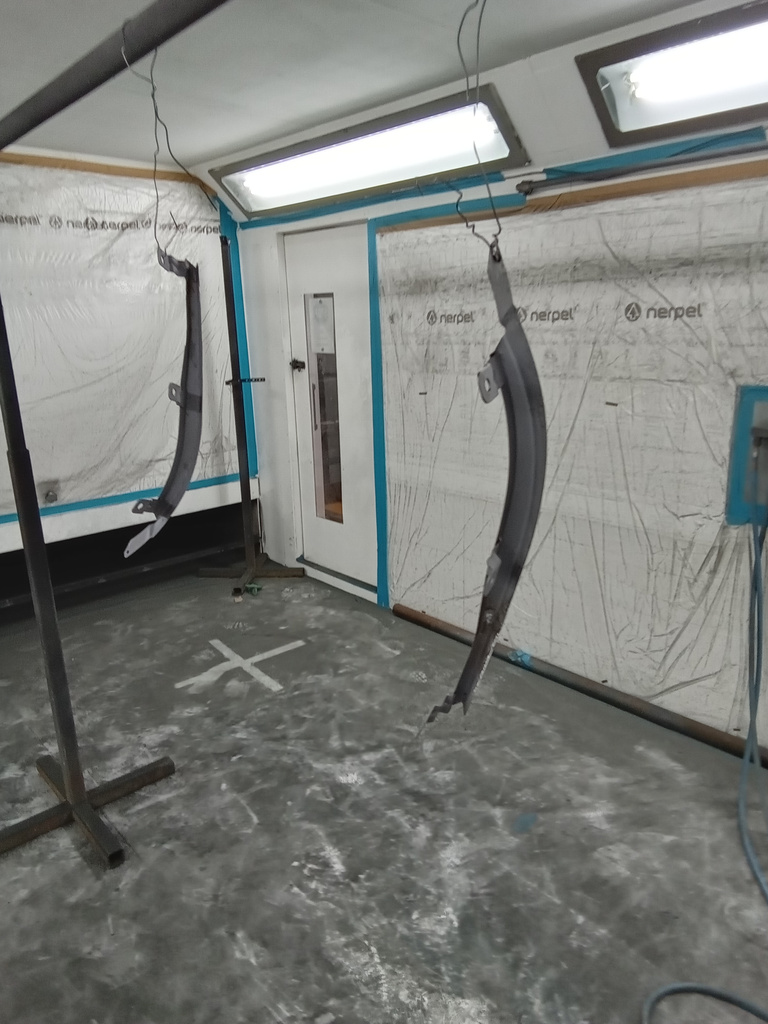
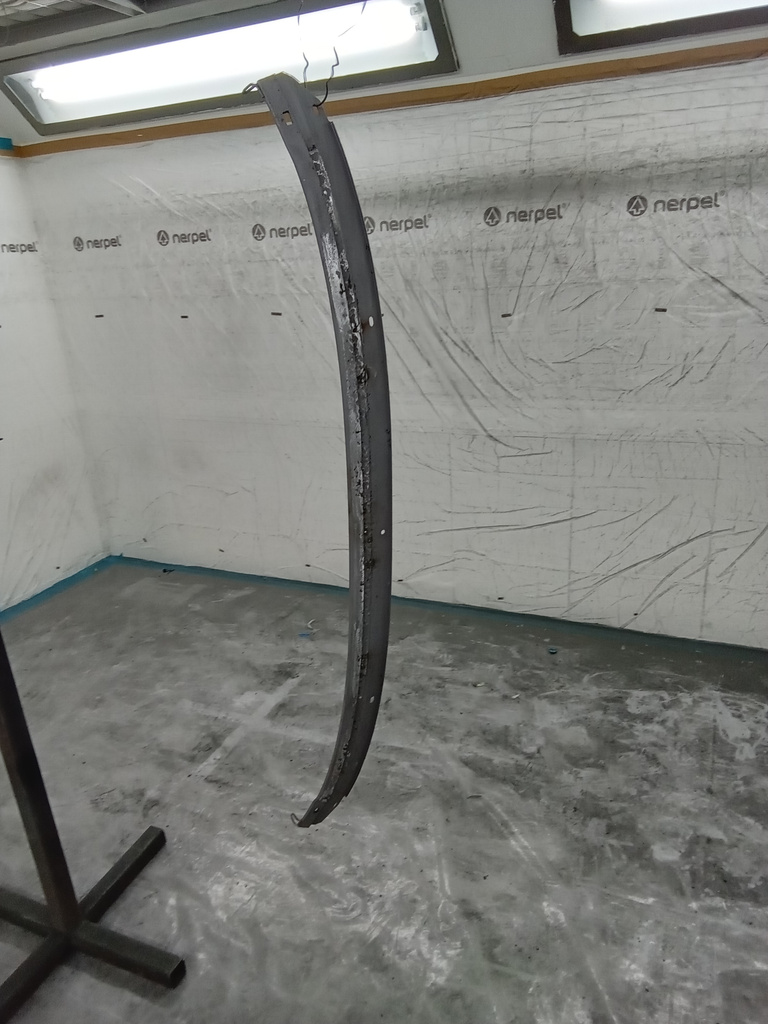
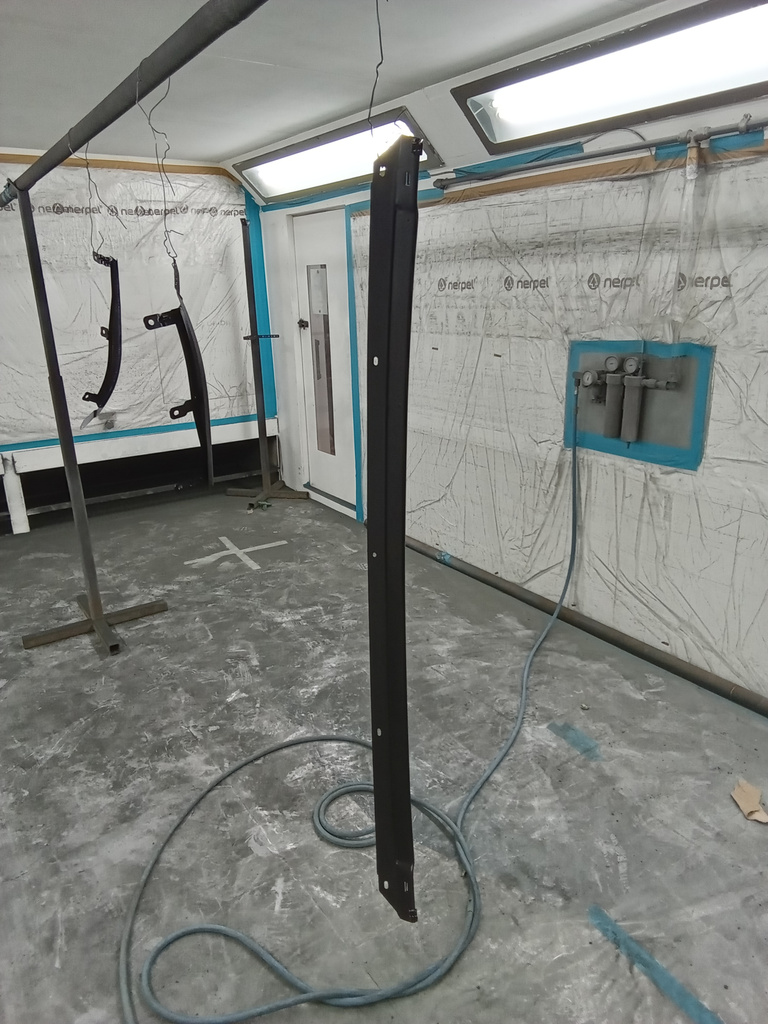
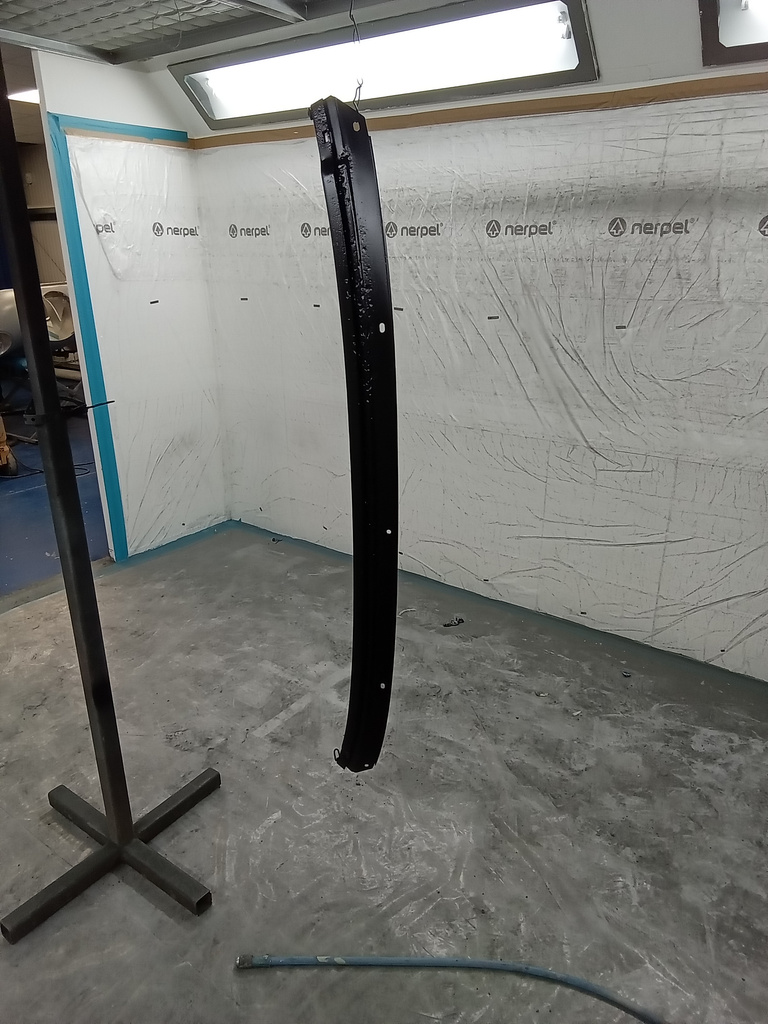
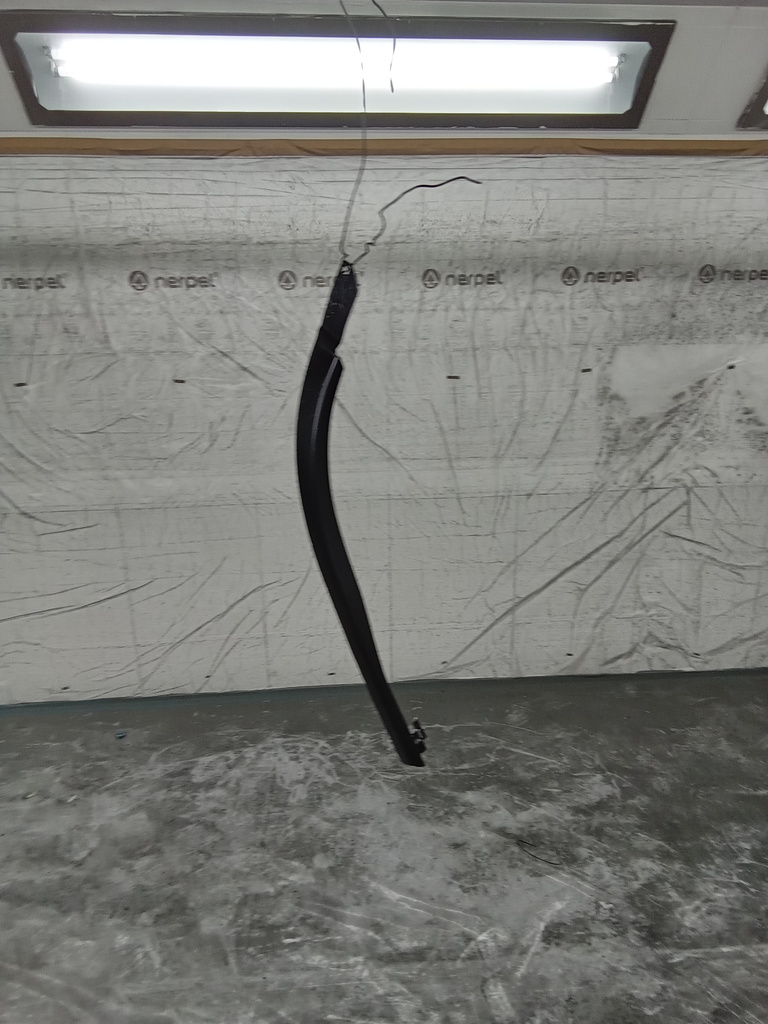
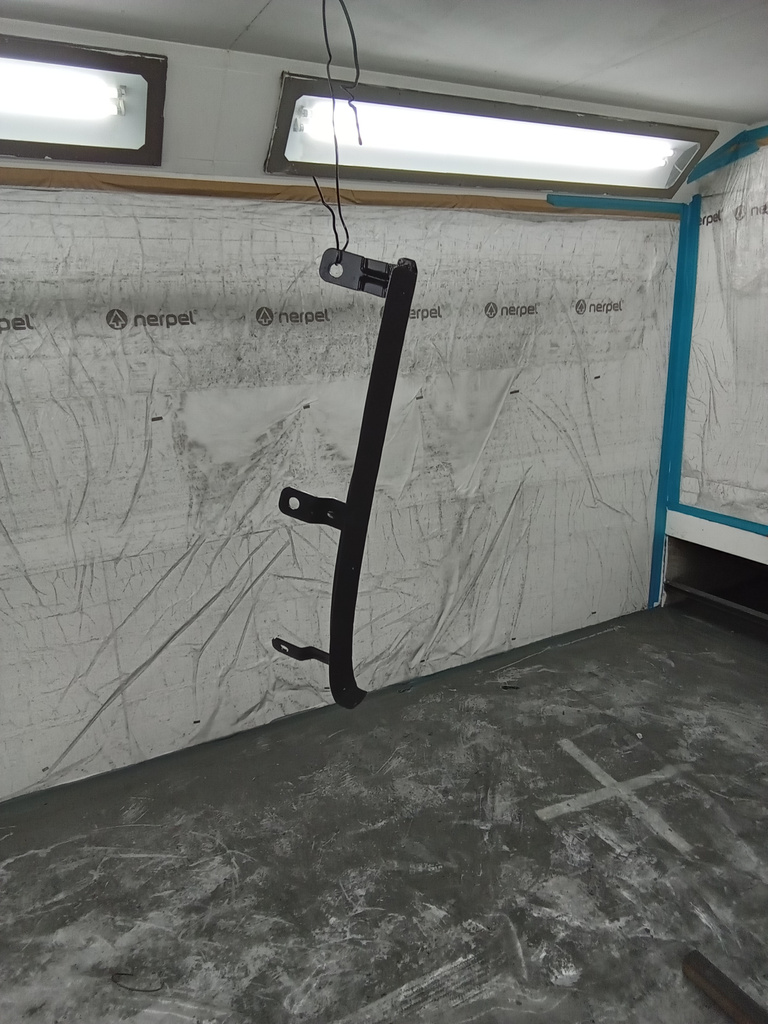
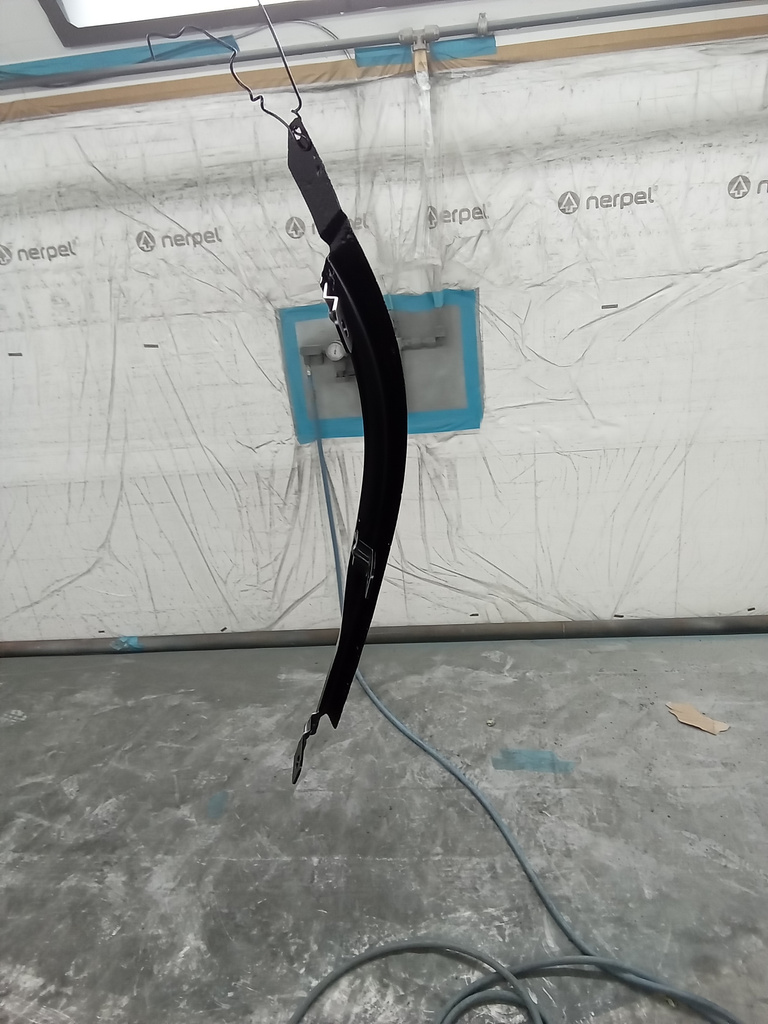
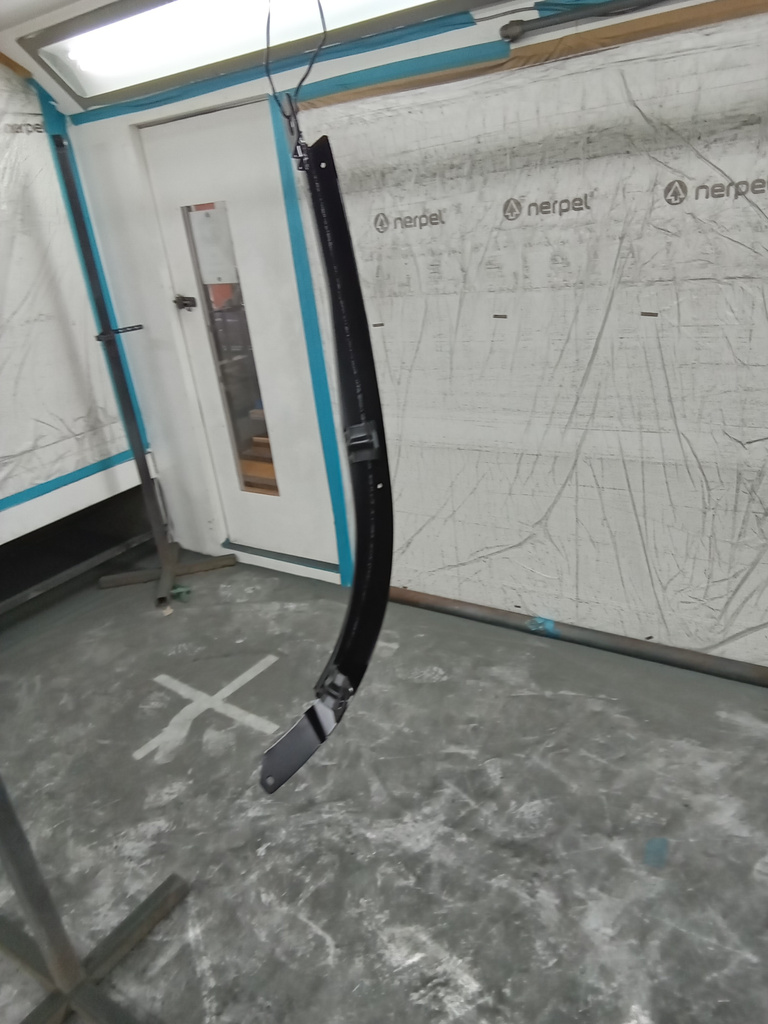
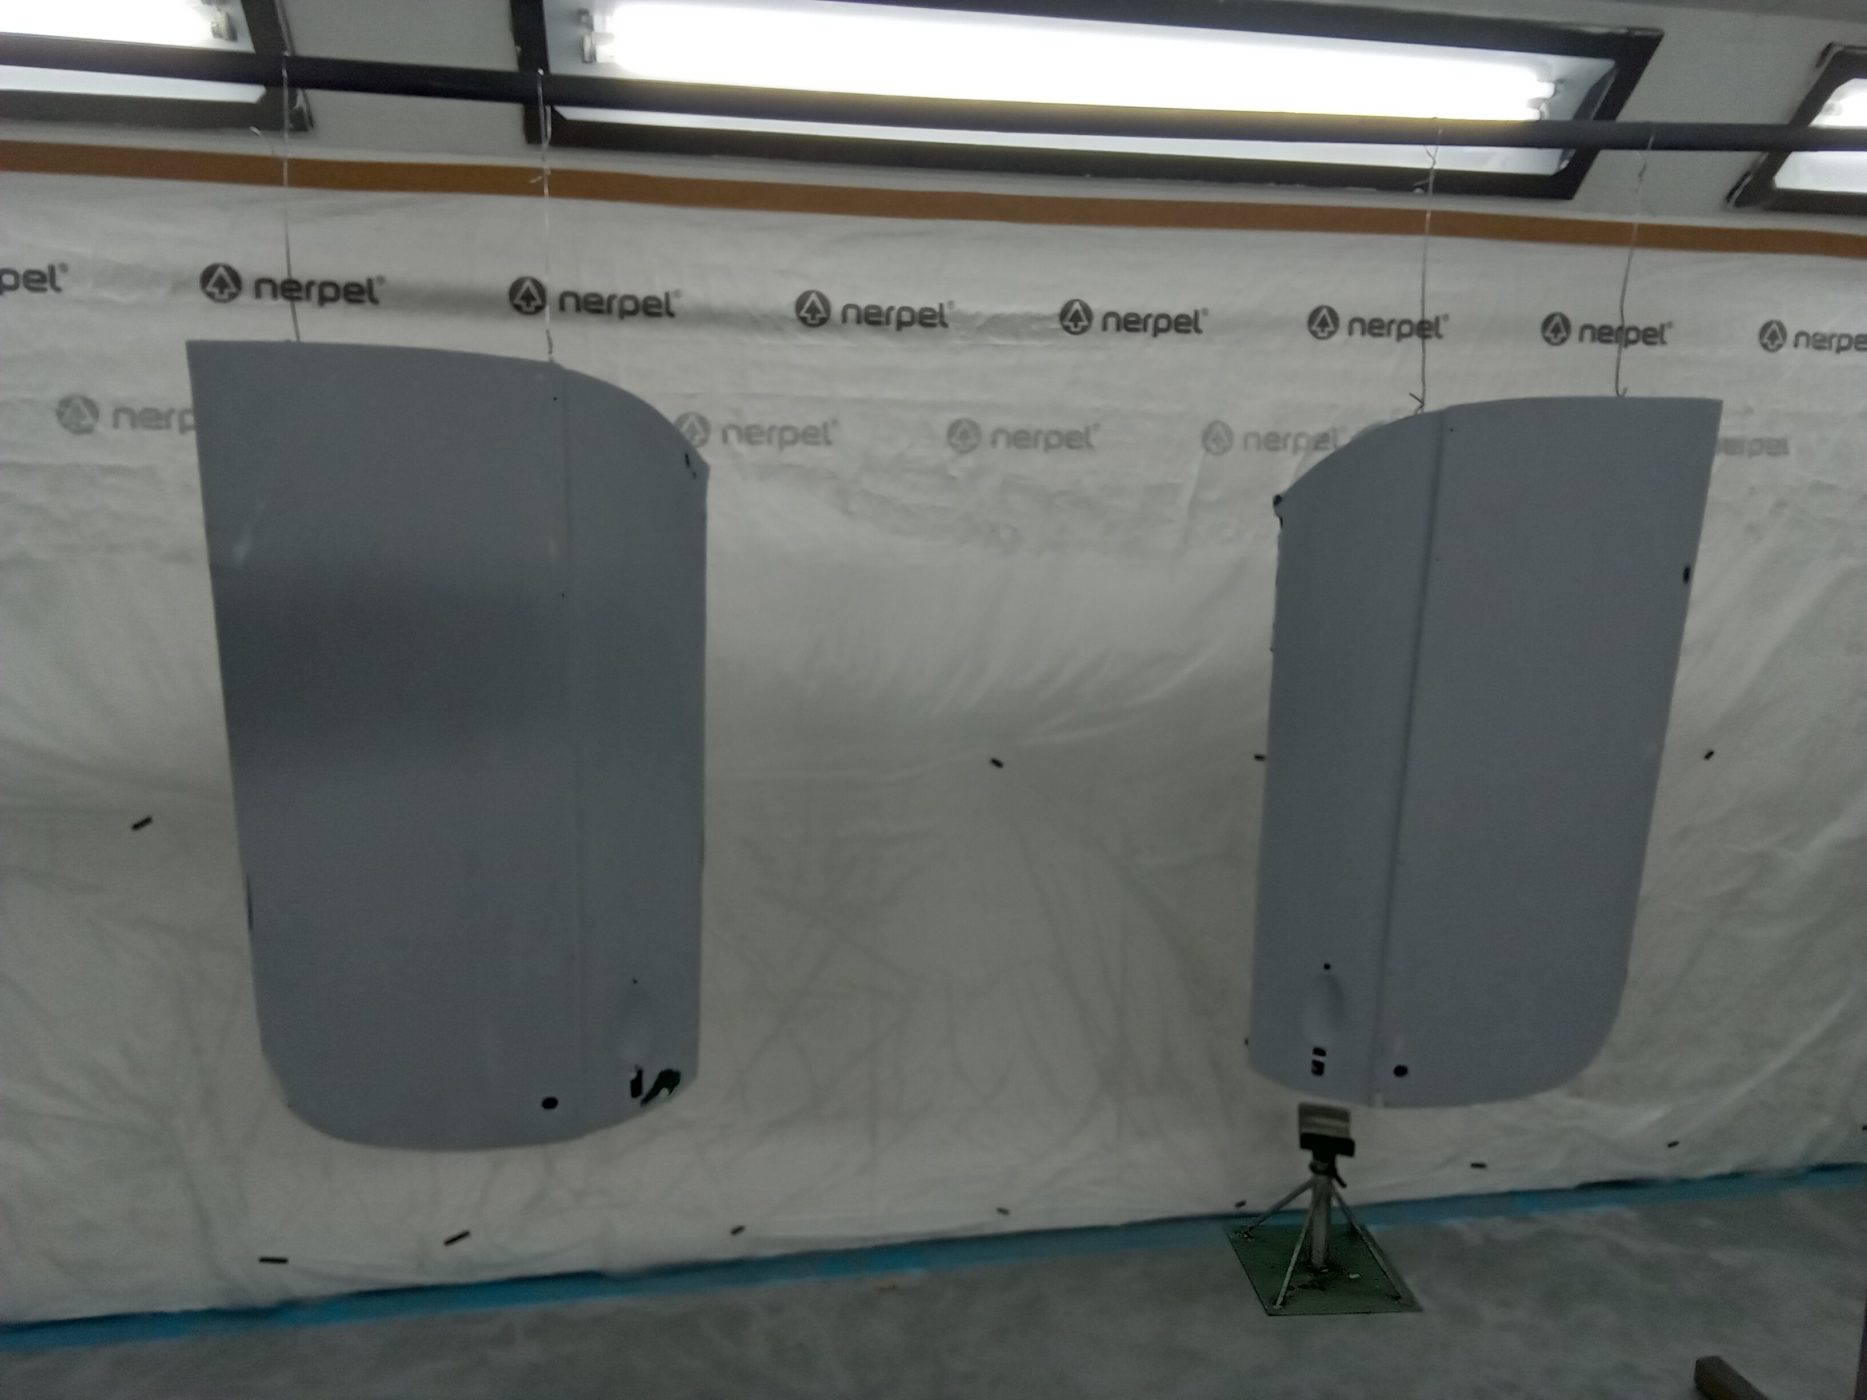
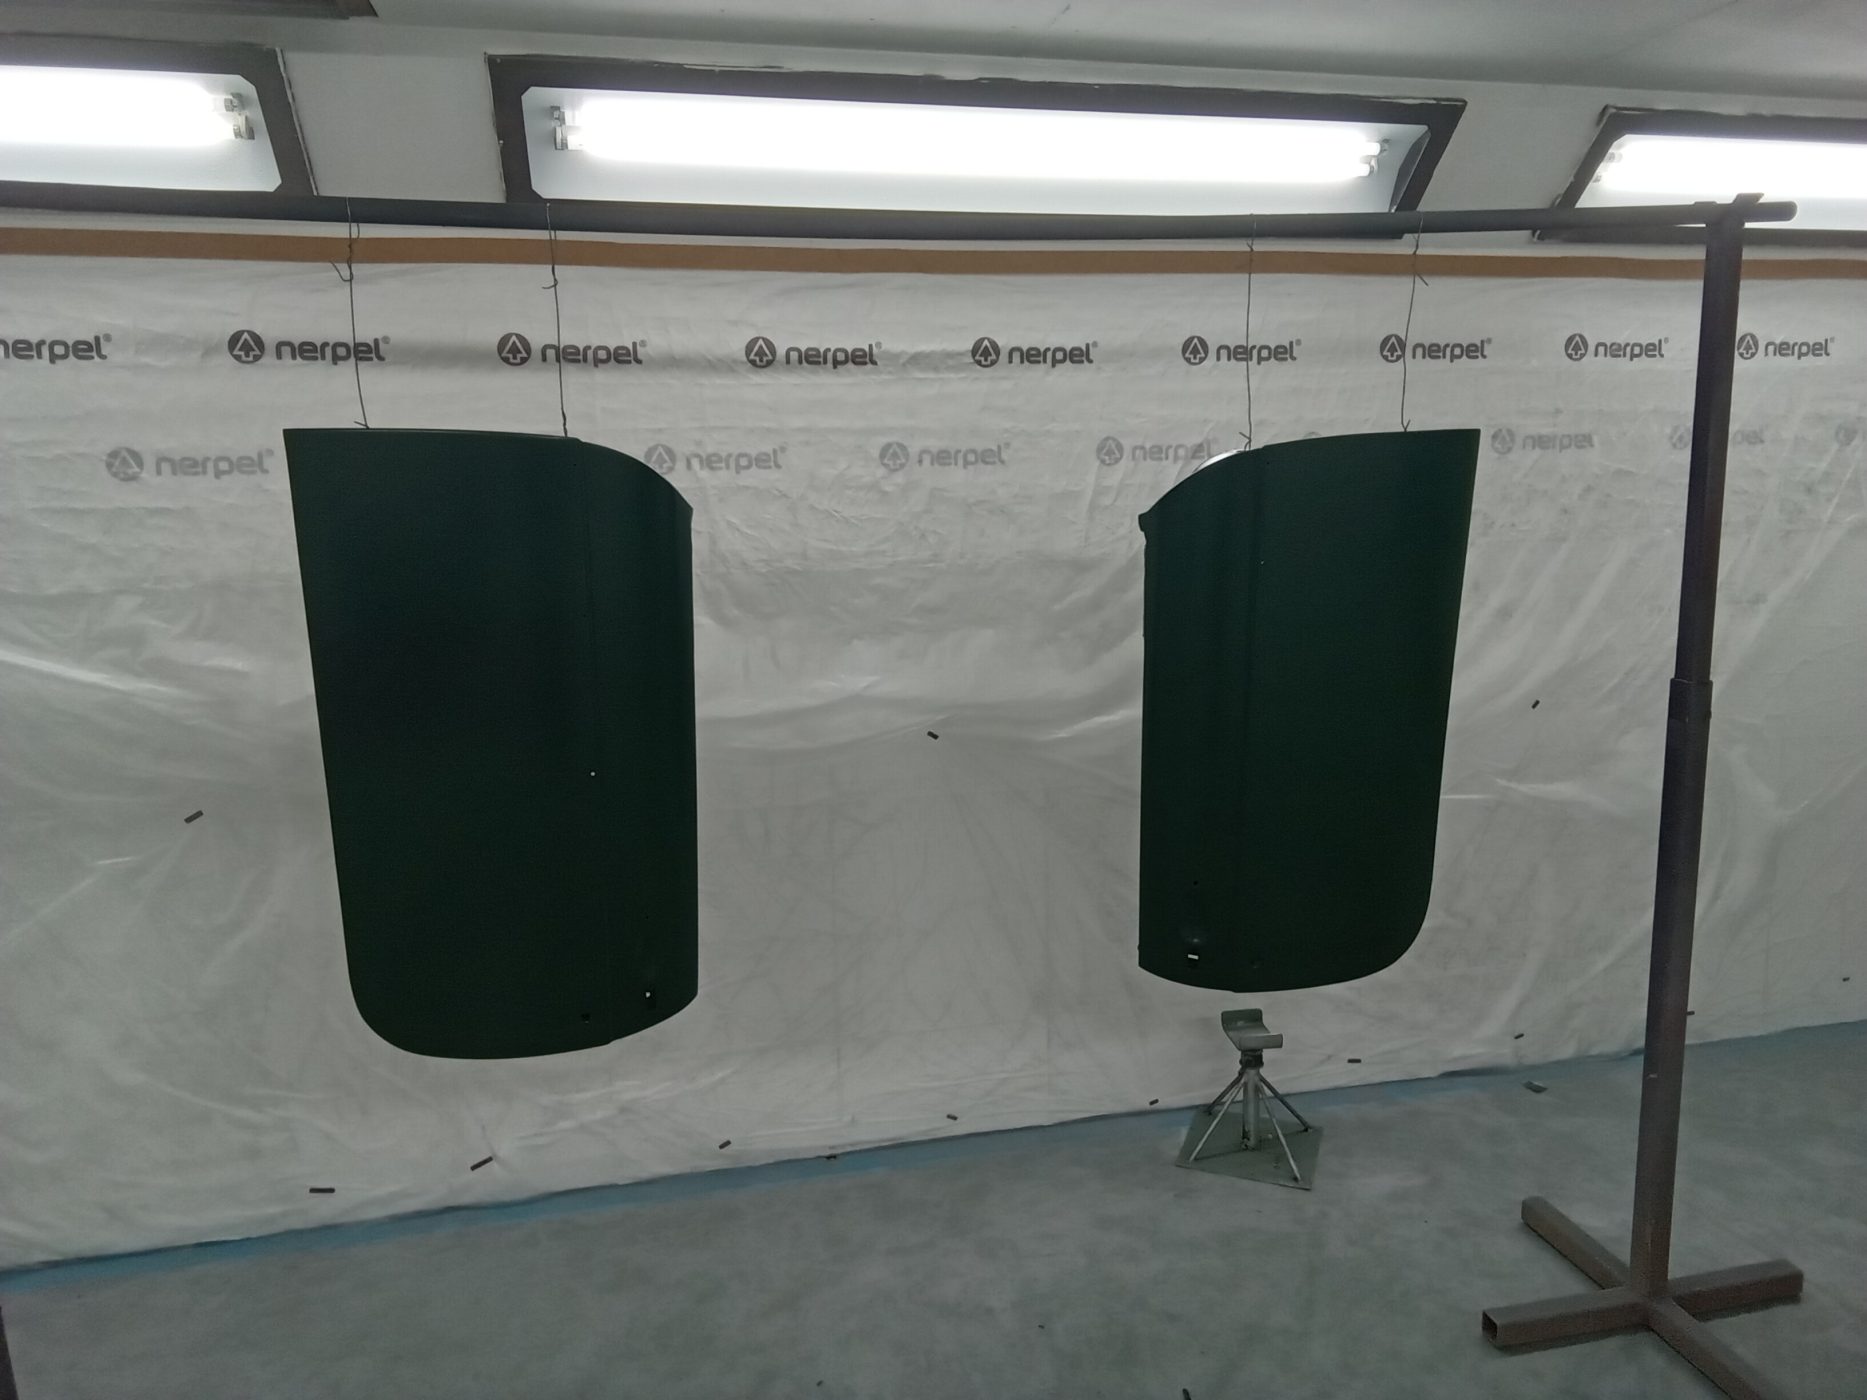
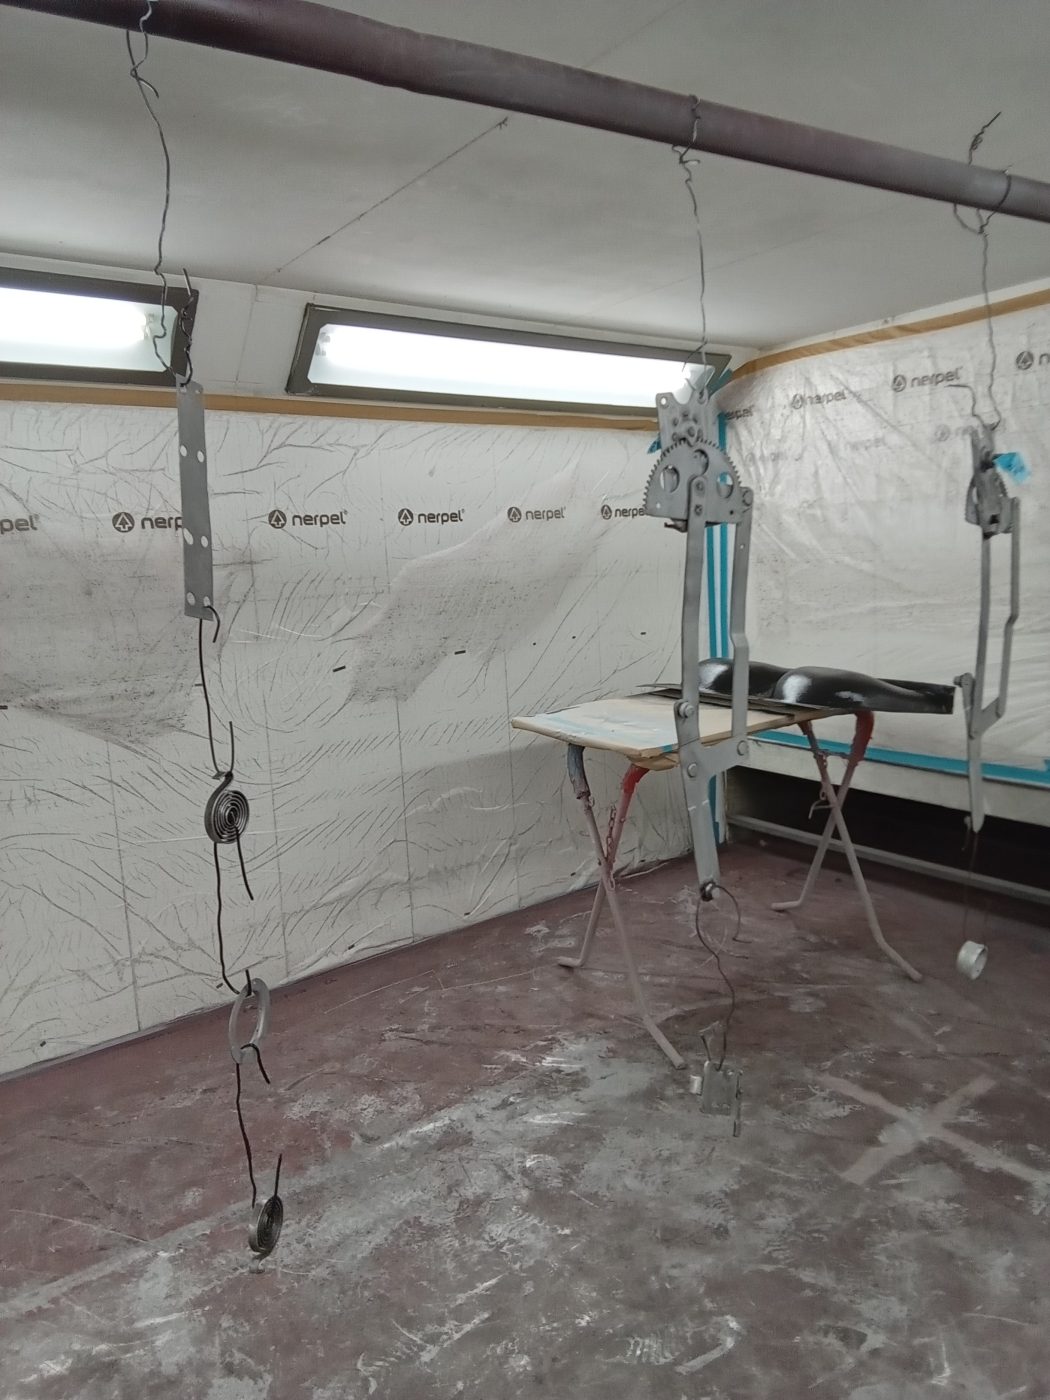
Various components have been in the paintshop being painted in dtm black.

Lydia made an internal door card for the opening door on our 1905 Riley 9HP.
She first made a template from paper to ensure the correct shape, and then she cut this out from card. She then made her own design based on the pinstriping on the paintwork of the vehicle. She will affix this door card to the door when she has finished staining the wood, and the door handle has been altered and fixed on.
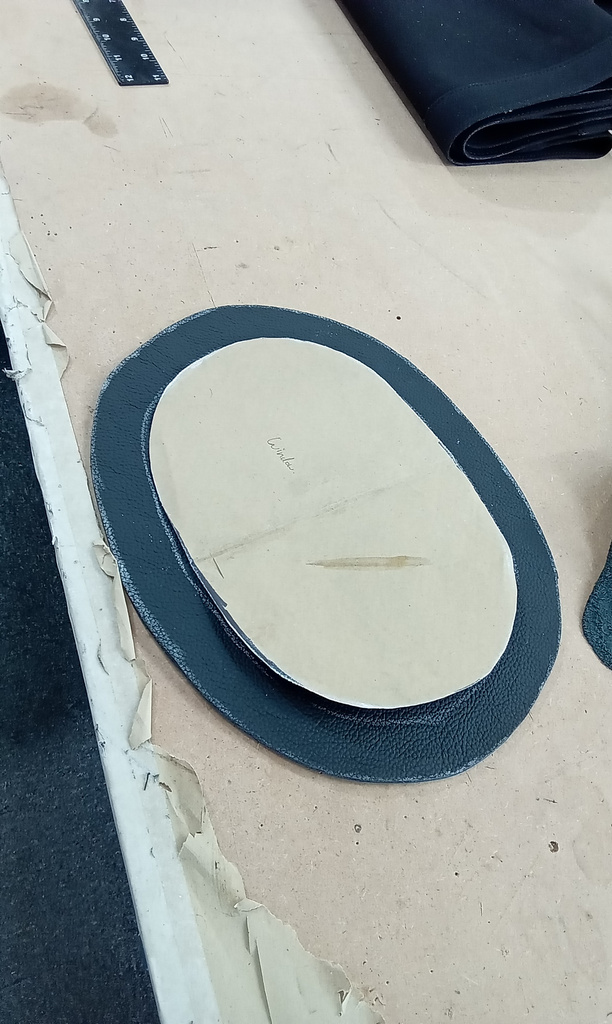
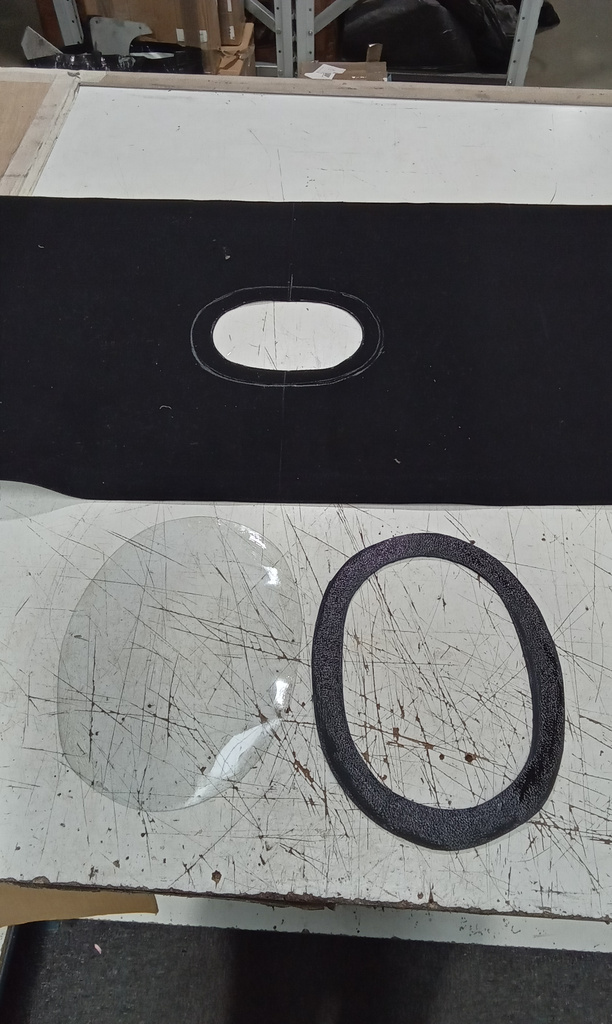
Lydia has recently been making a pretend ‘door card ‘ to balance out the interior of our 2022 Bridge C-Type Replica. There is only one door, with a very small area that Lydia has made a covering for, so she had to work out something that would look good on the other side too. She first made a template from paper and checked this for size. She then used this to make the card shape and cut it out from leather. Then she marked the diamond pattern to mirror the other side and sewed this. The door card was finished with a piping edge to give it a nice finish.


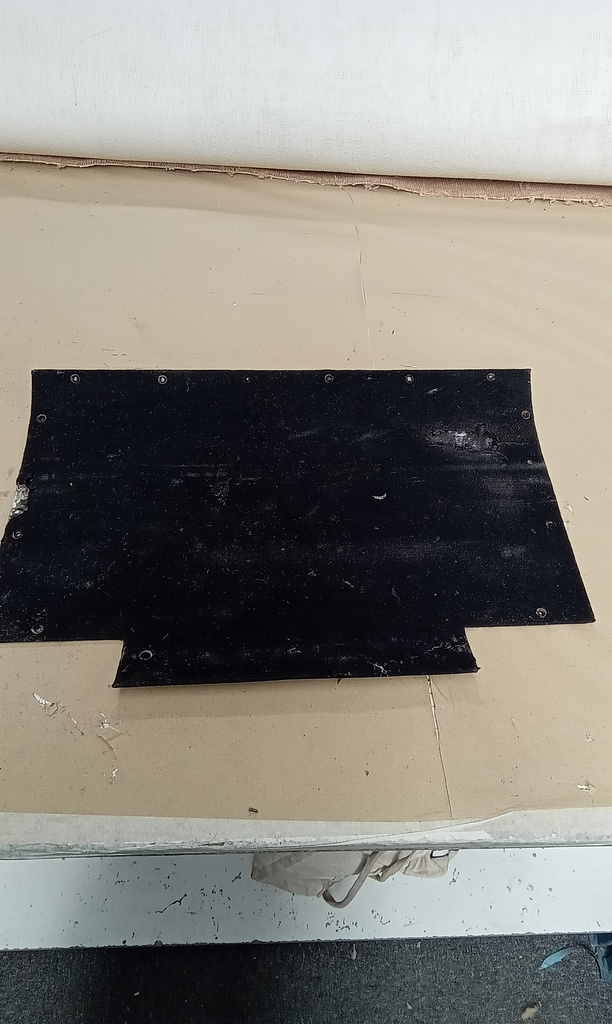
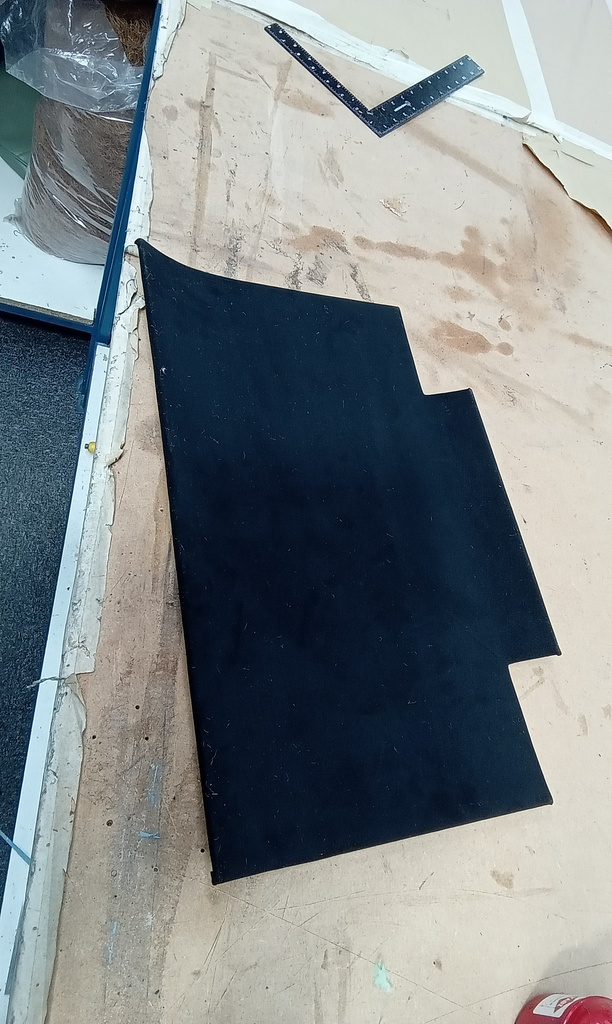
The piece of carpet for the rear shelf that was supplied with the kit for our 1976 Triumph Spitfire was incorrectly finished and didn’t fit. It required a complete remake to make it sit in the vehicle as it should. Lydia cut out the new piece of carpet and shaped it in the vehicle, before adding pleats to improve fit. She then glued this to the car and secured the new edging under the carpet piece which sits on top.
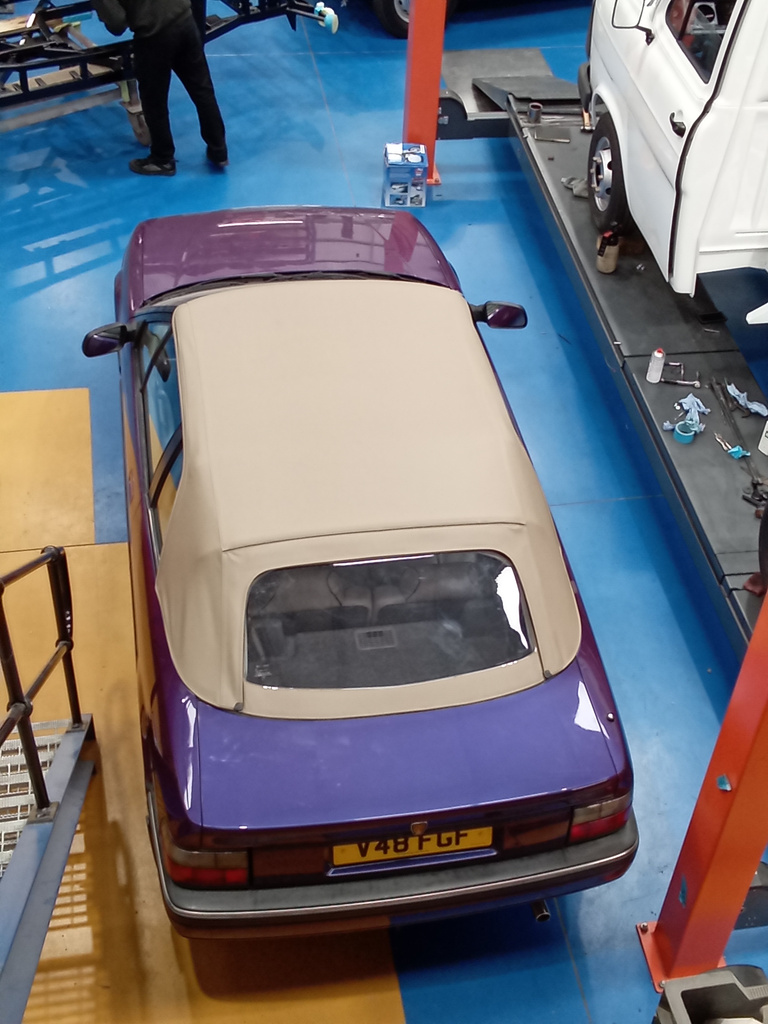
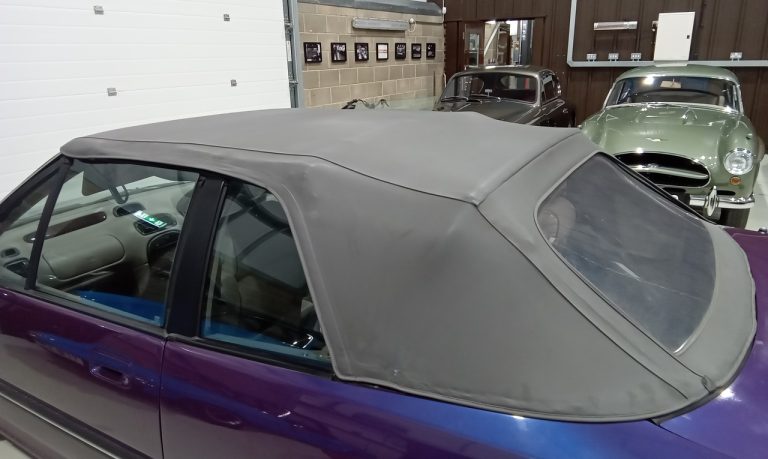
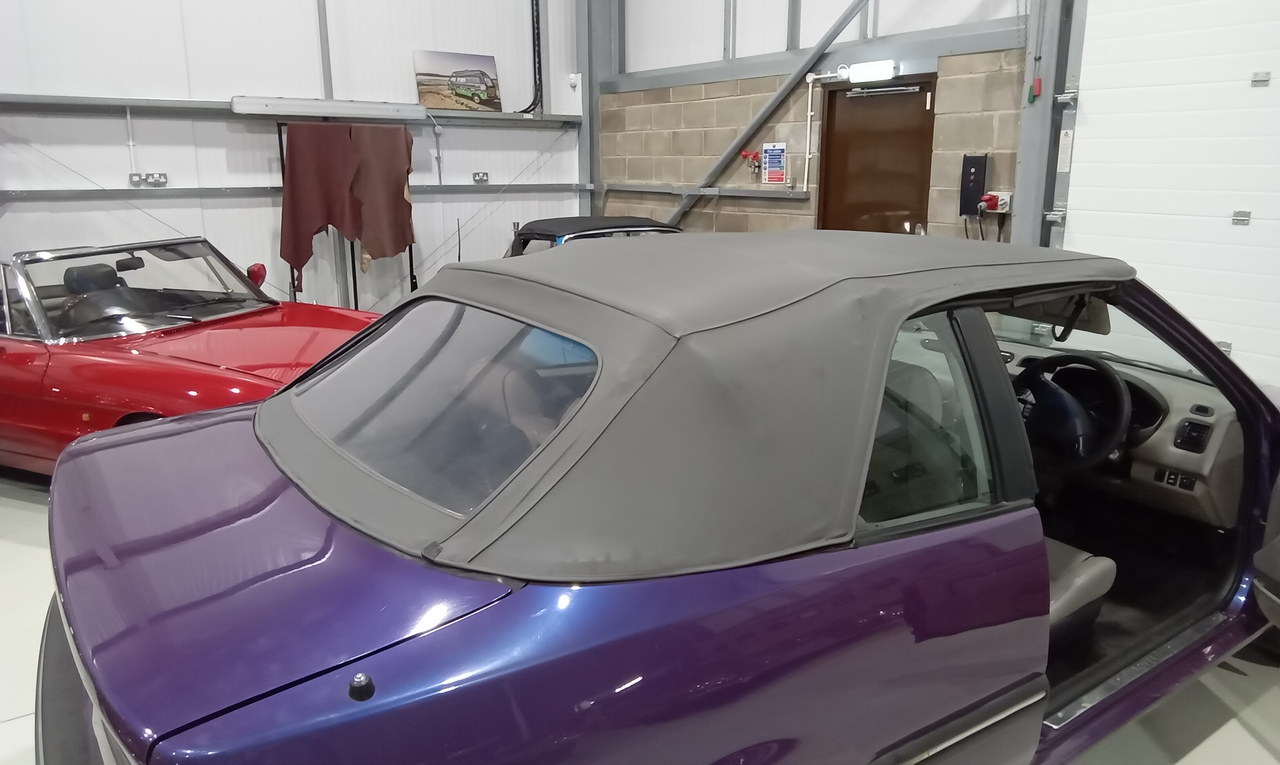
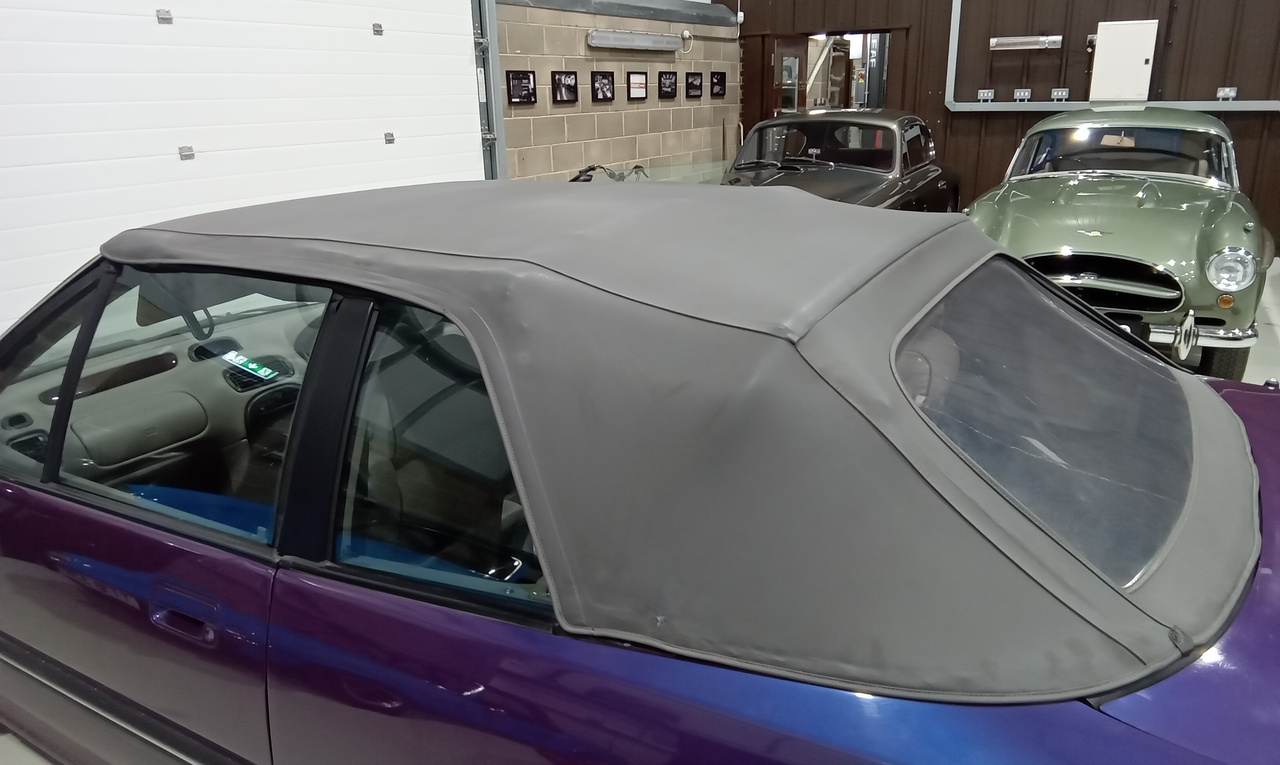
Work is now complete on the hood of our Rover 216 so only one more job for Tony to complete, that’s returning the car back home looking lovely in our covered transporter.
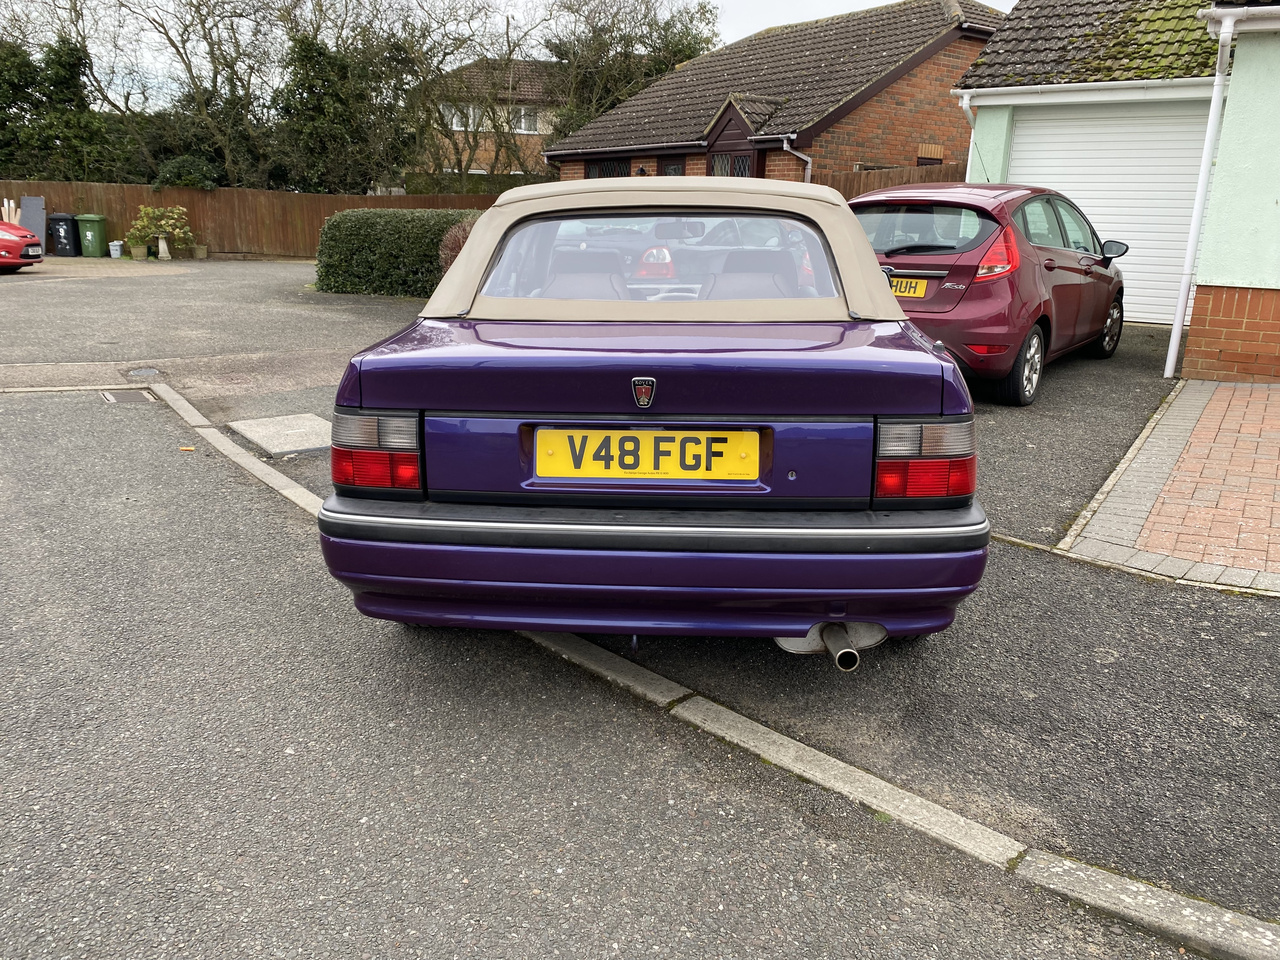
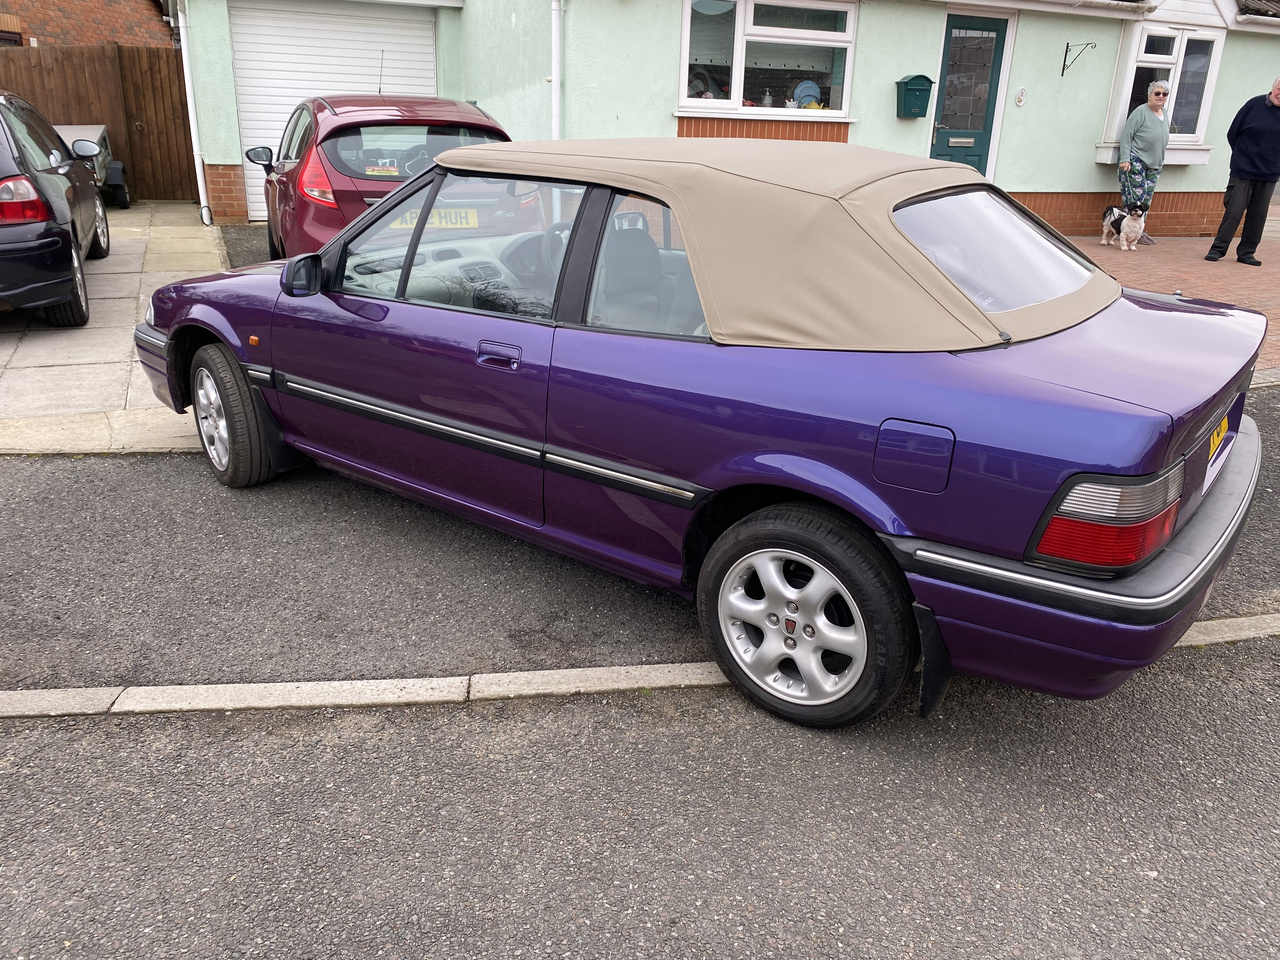

The hood of our 1999 Rover 216 Cabriolet is finished, cleaned and ready to go. Clinton made the side tension cables for Lydia, as these could not be sourced online and appear to not exist! As soon as the tension cables were fitted, Lydia could commence with finishing off the hood installation.
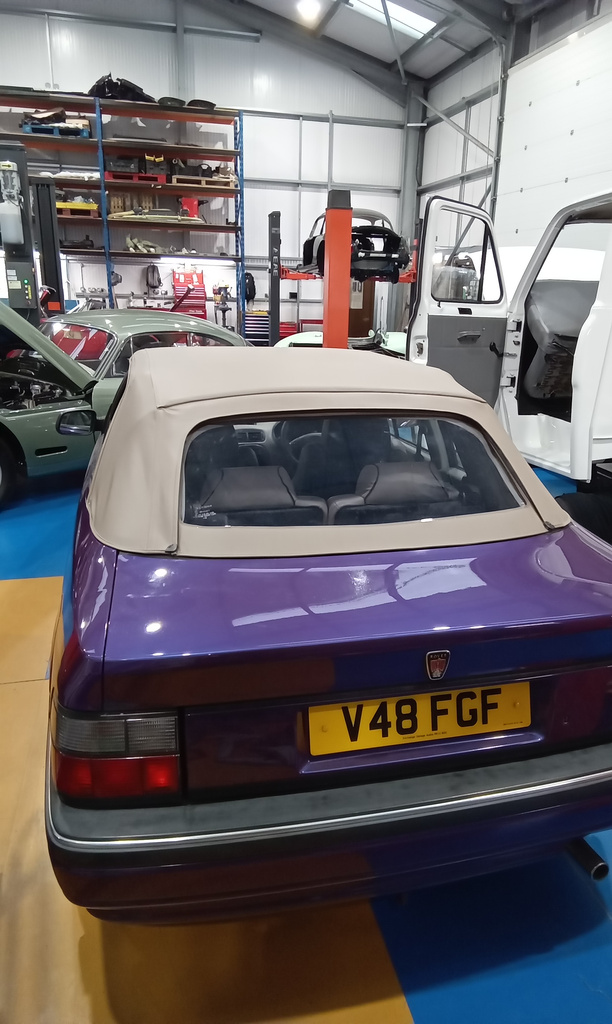
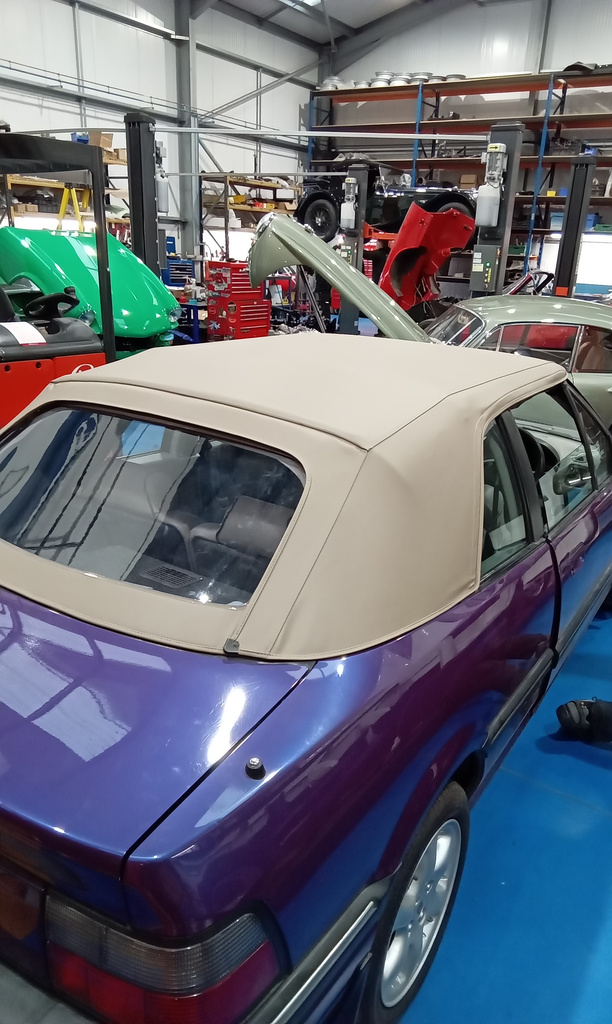
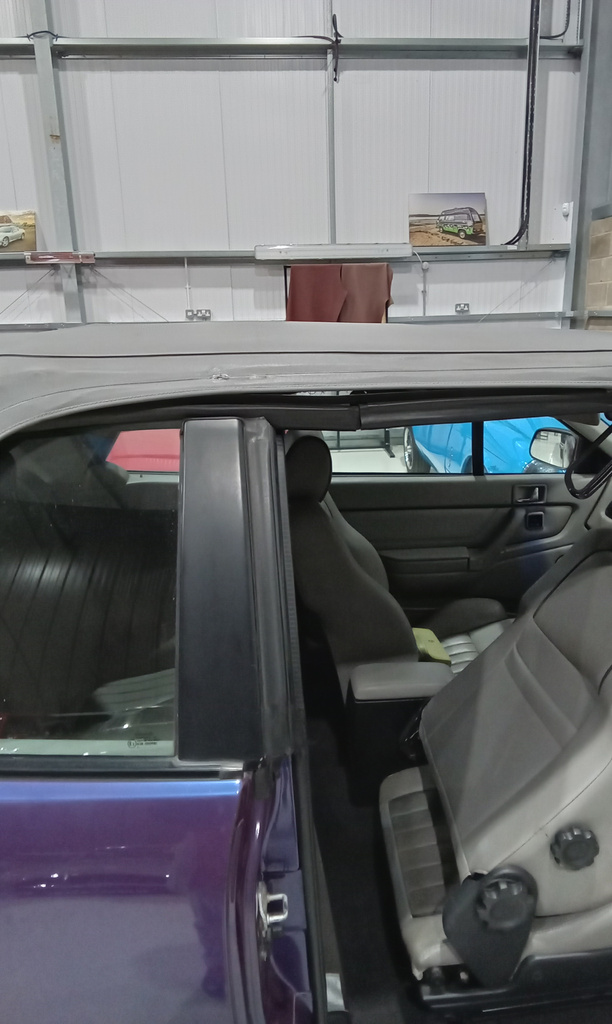
Lydia has fitted the hood to our 1999 Rover 216 Cabriolet, as far as she can take it without some vital parts that she is waiting for.
A set of tension cables was sent, but although the correct ones were ordered, we received a set for a MK5 Ford Escort!
Christian from the body shop is going to help Lydia fabricate something that will fit, and hopefully be better than what we could have ordered.
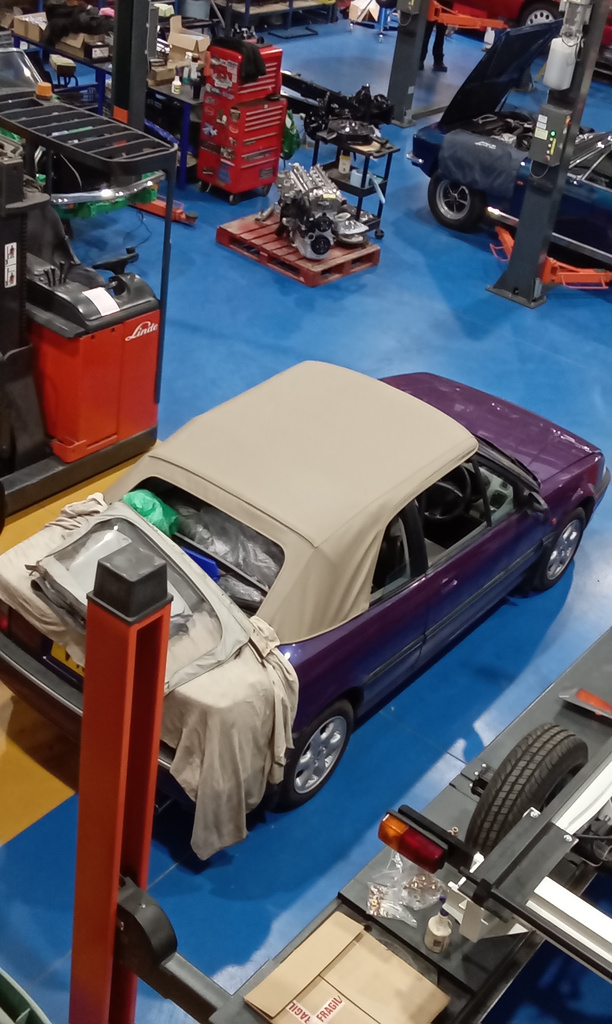
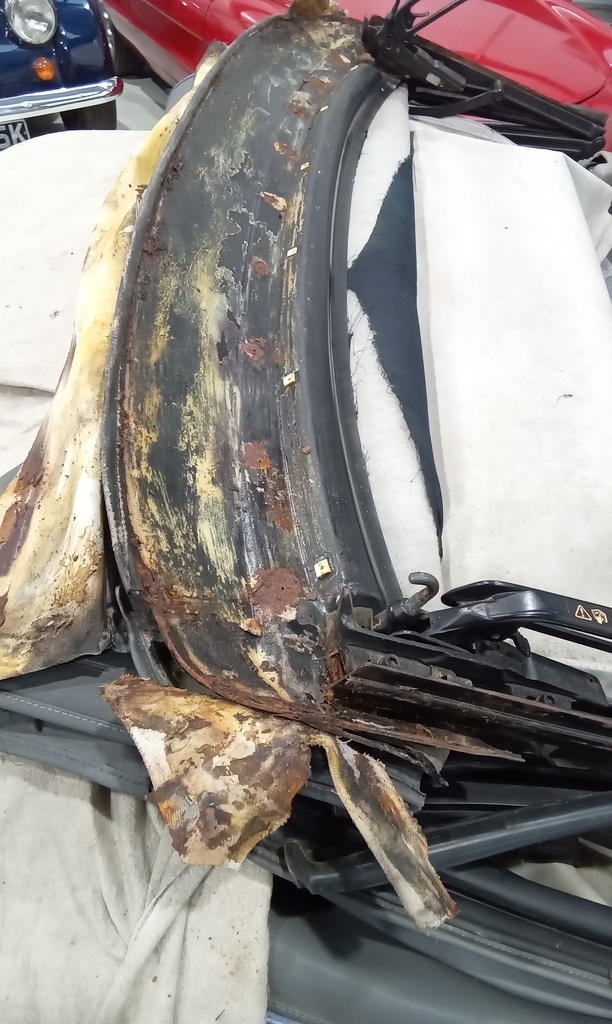
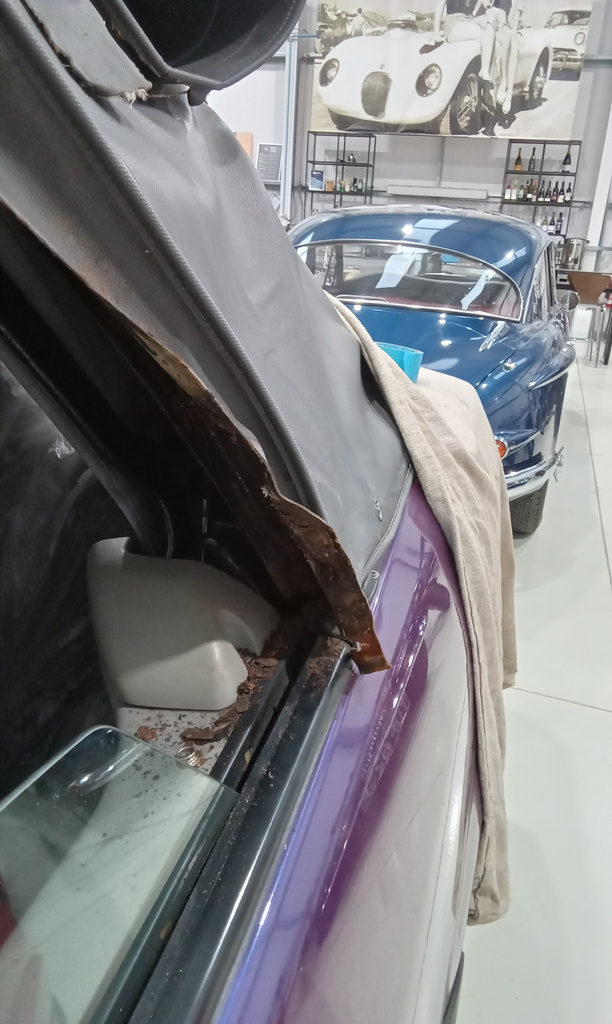
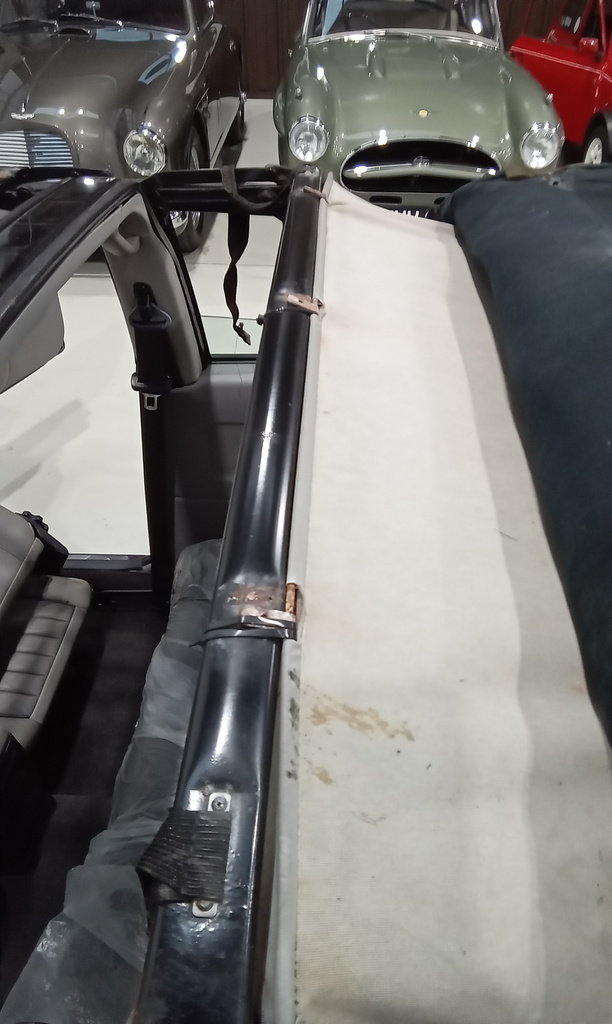
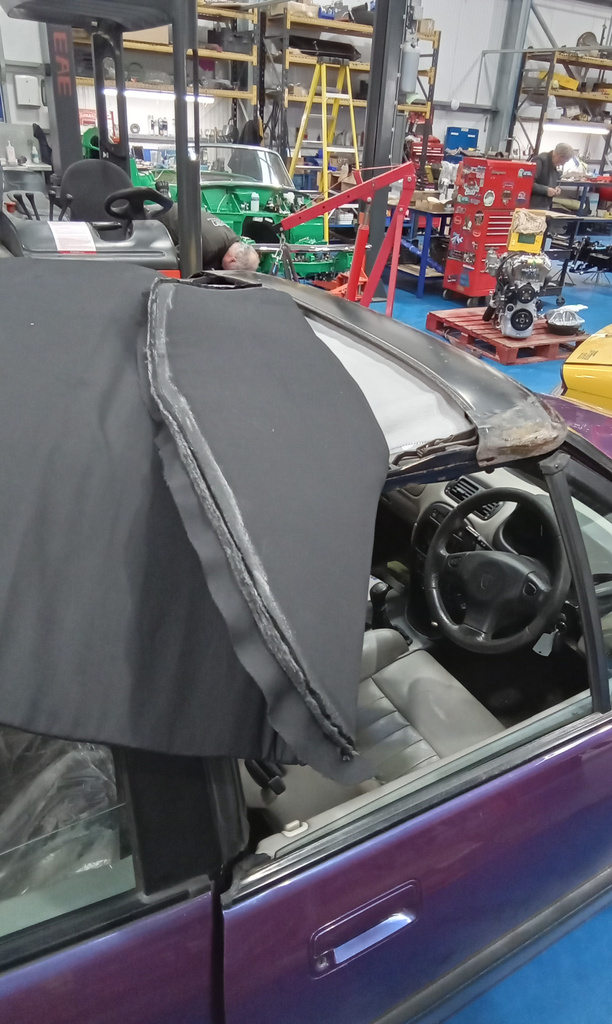
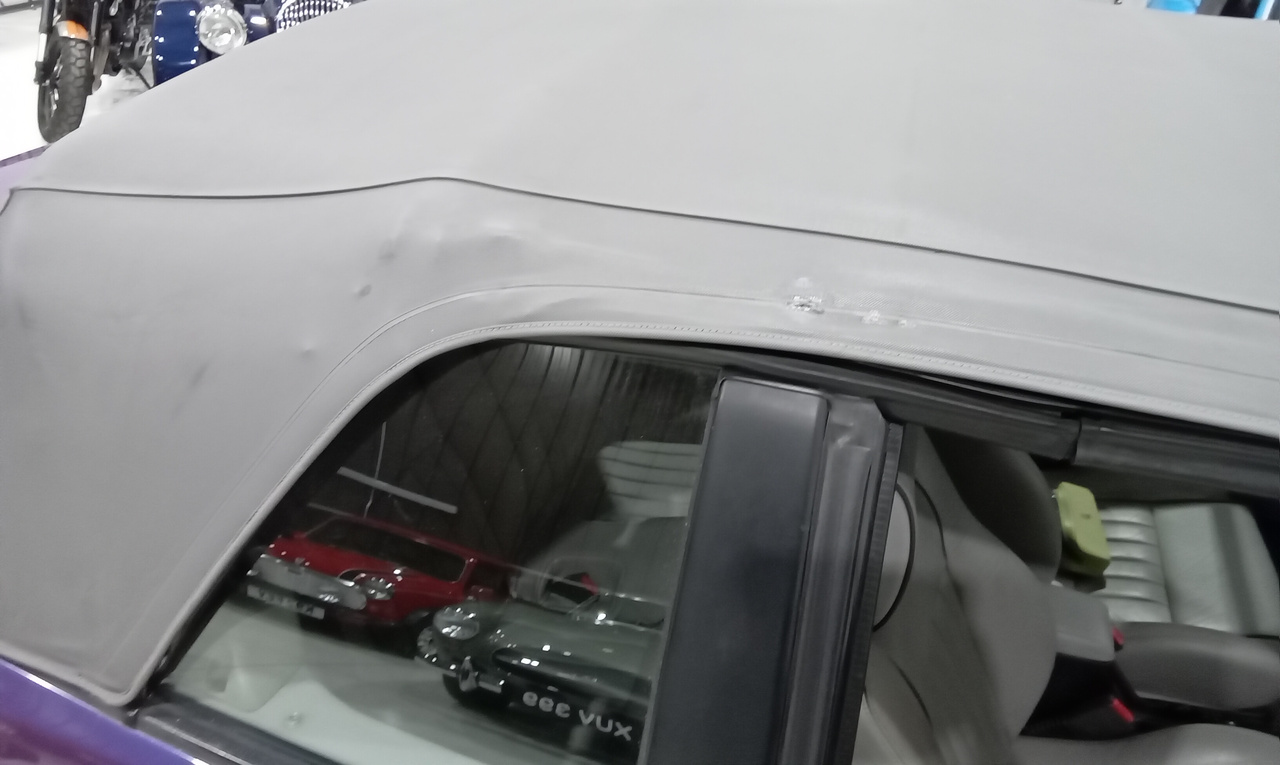
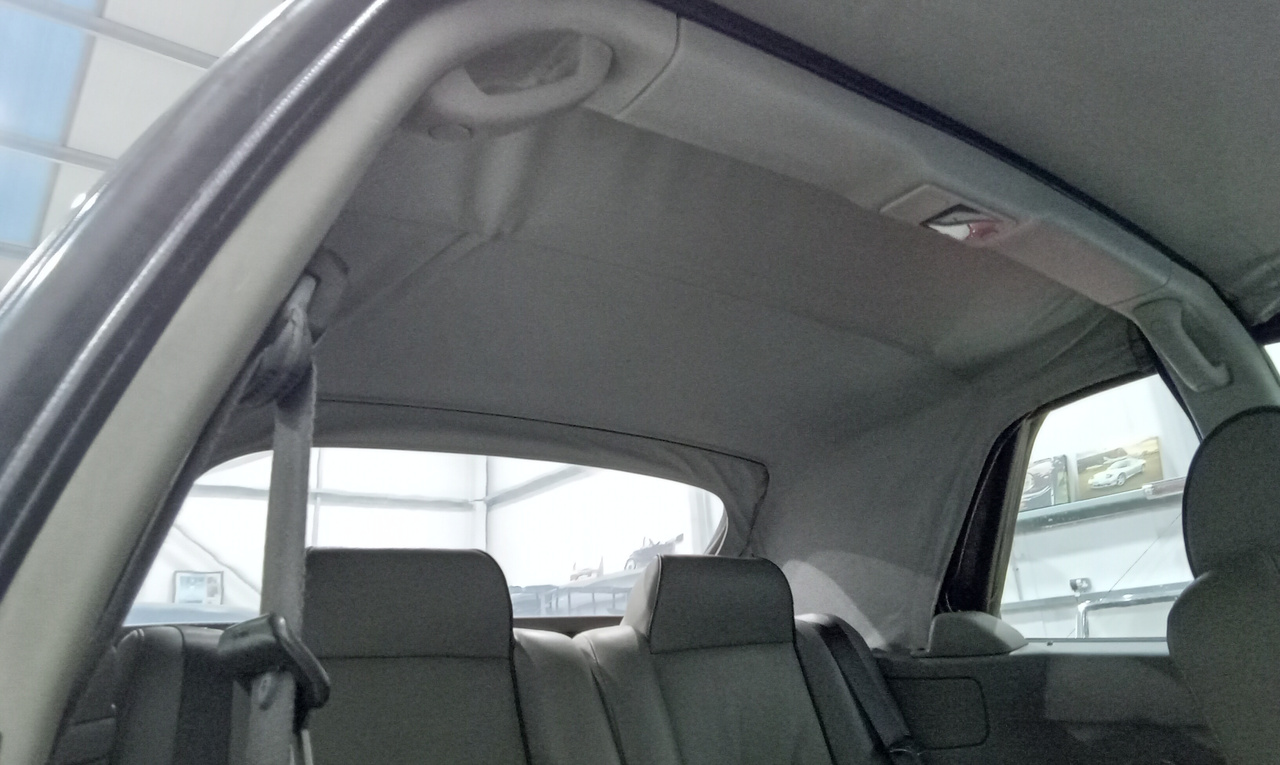
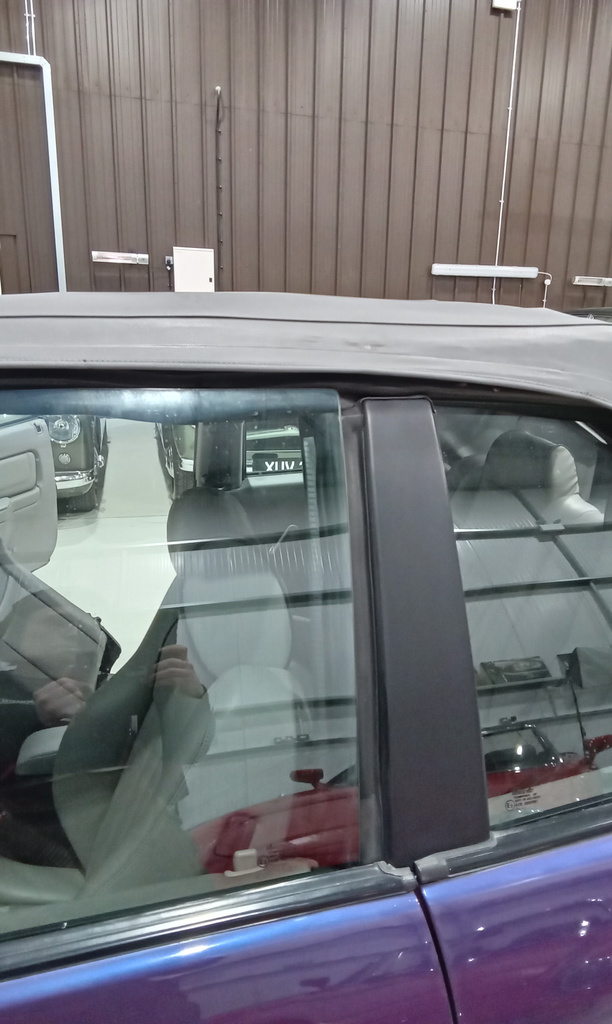
There were some areas of damage to the hood of our 1999 Rover 216 Cabriolet which was letting water into the car. The headlining had also started to sag and wrinkle up in places, which could be due to the damp setting in.
Lydia has been working on the hood. She found that the hood was in a bad state the further she stripped the material off. Unfortunately, this is often the case with convertible vehicles, as the plastic waterproof outer fabric holds water close to the body, making it prone to rust and then rot. This car was no exception.
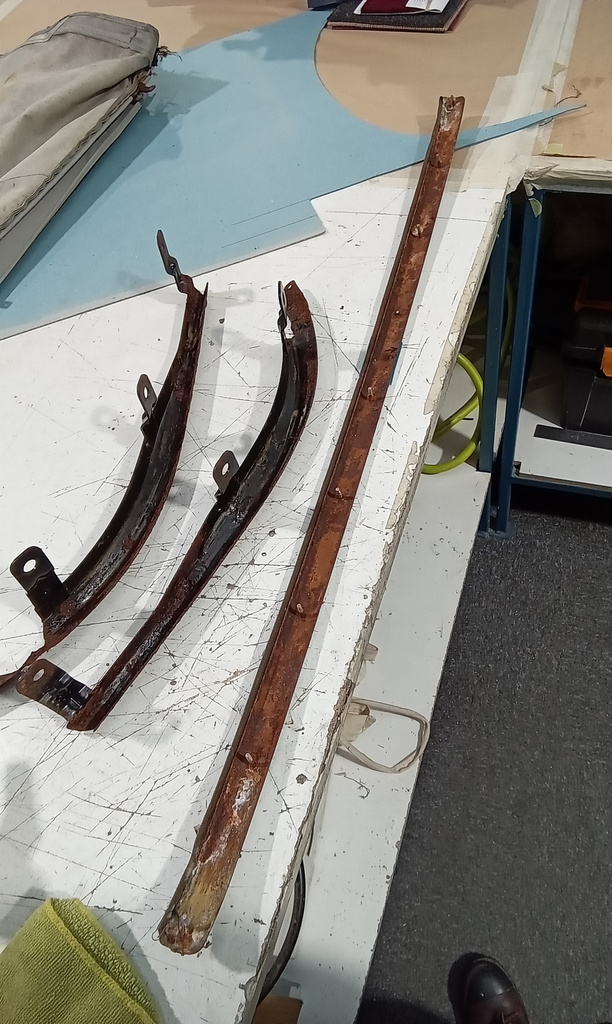
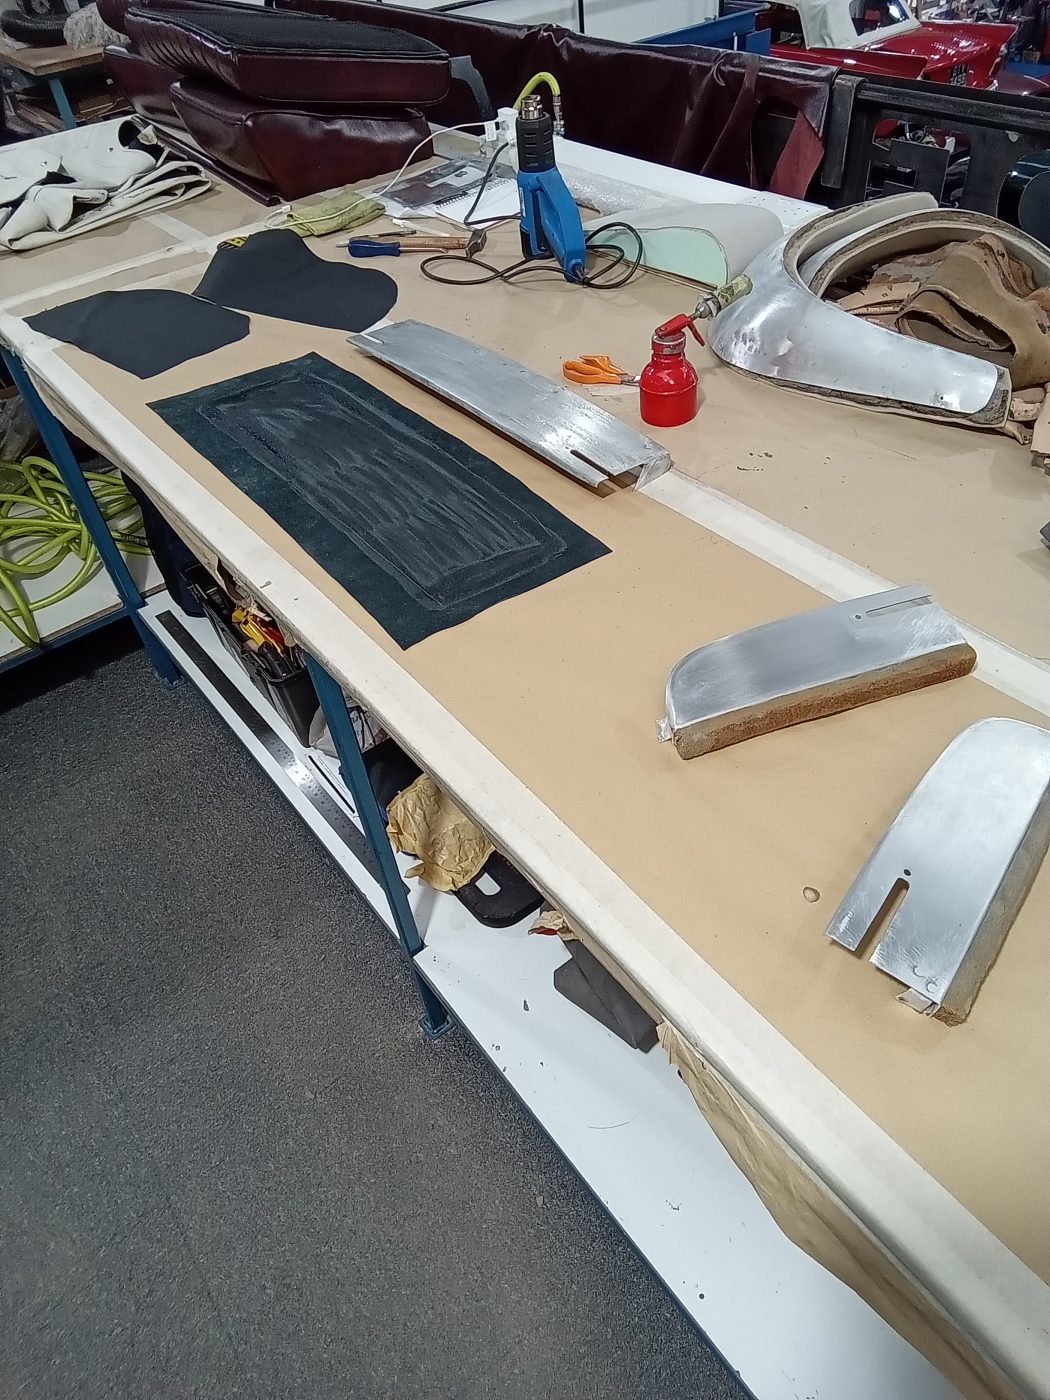
Most of it can be cleaned back and coated with paint, the parts that can be taken off are being sandblasted and then will be repaired. Whilst waiting for various parts to be repaired and returned to her, Lydia fitted as much of the hood as she could without impeding her ability to install the rest of the soft top.
Paint technician Chris has been painting some of the repaired parts of our 216 in dtm satin black.


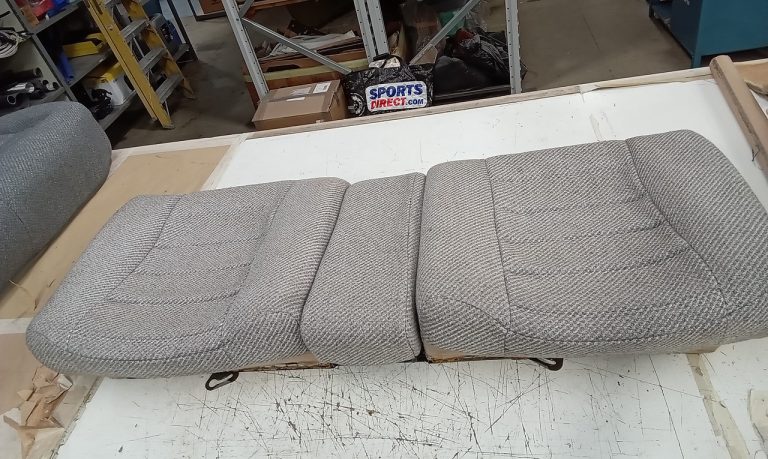
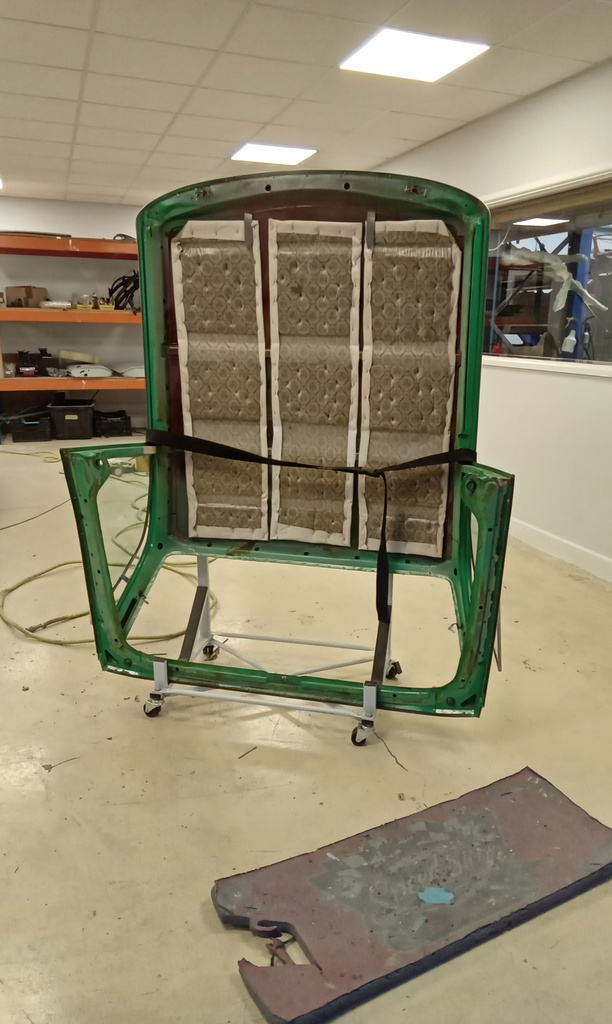
Lydia has been stripping the seats of our 1960 Jensen 541R ready for new covers once the fabric has been chosen.

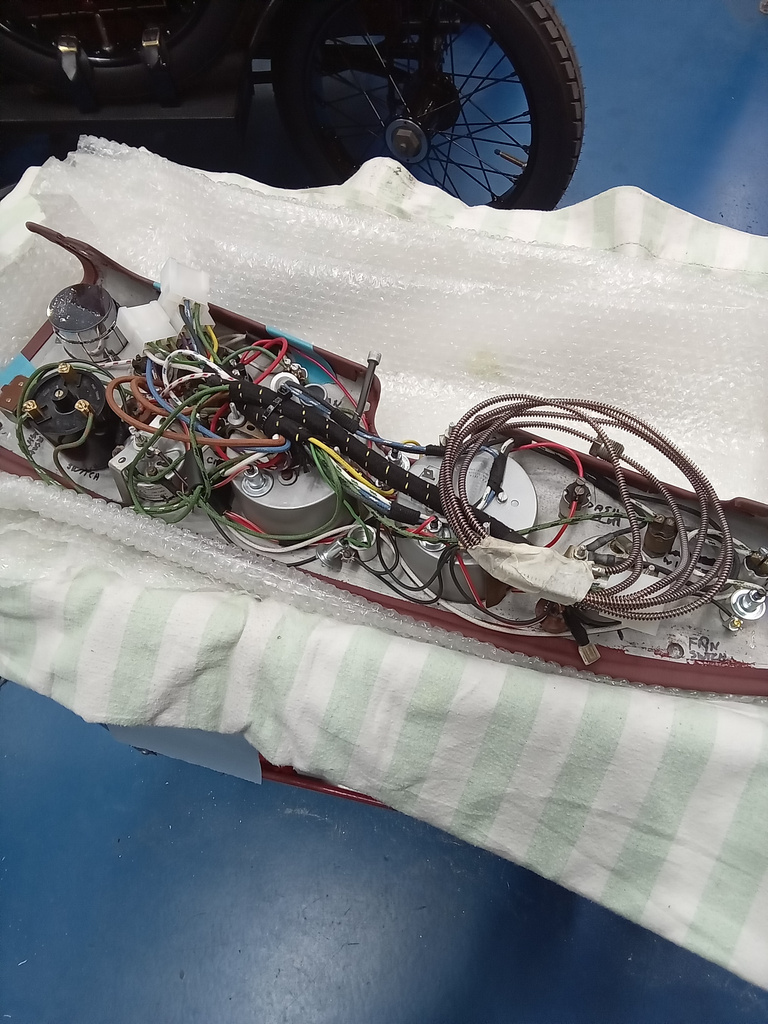
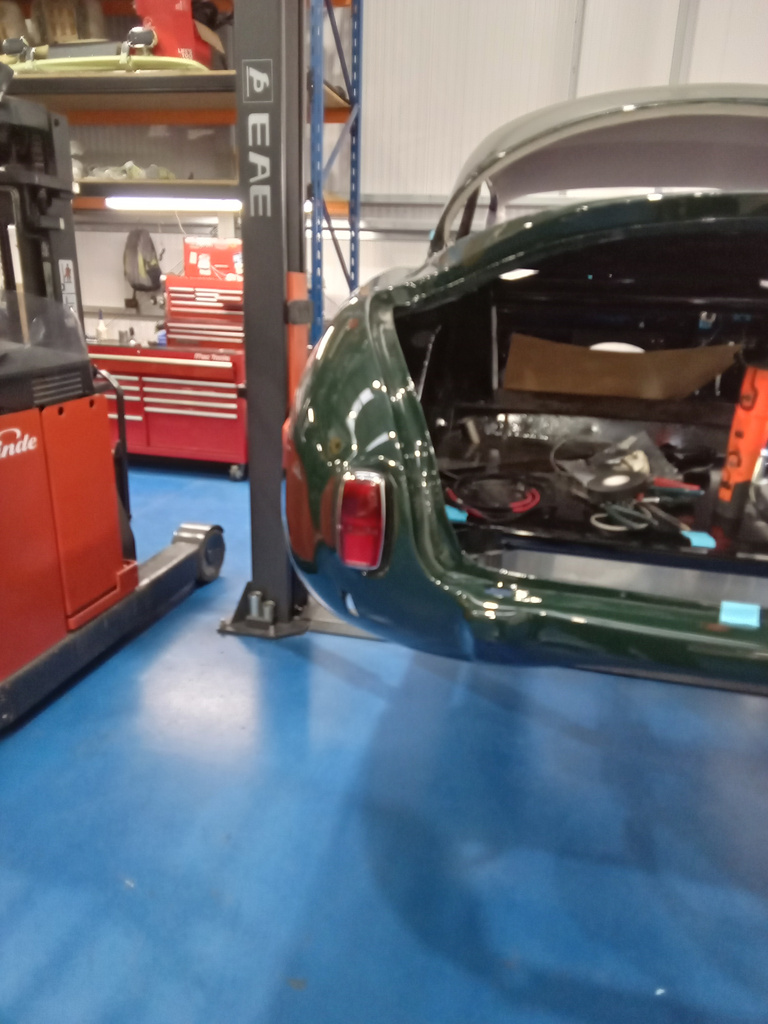
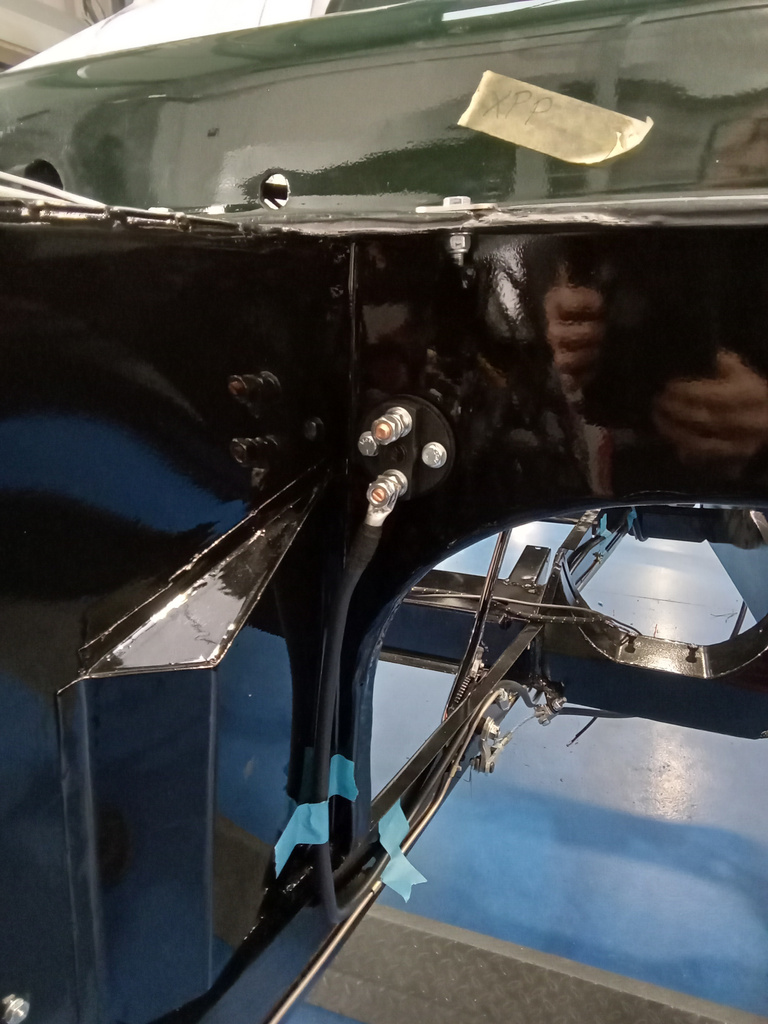
Our 1956 Jensen 541 has made a lot of progress recently.
Paul has finished the dash mounts and has started work on the wiring. After fitting the loom, he began work wiring some of the electrical components into it.
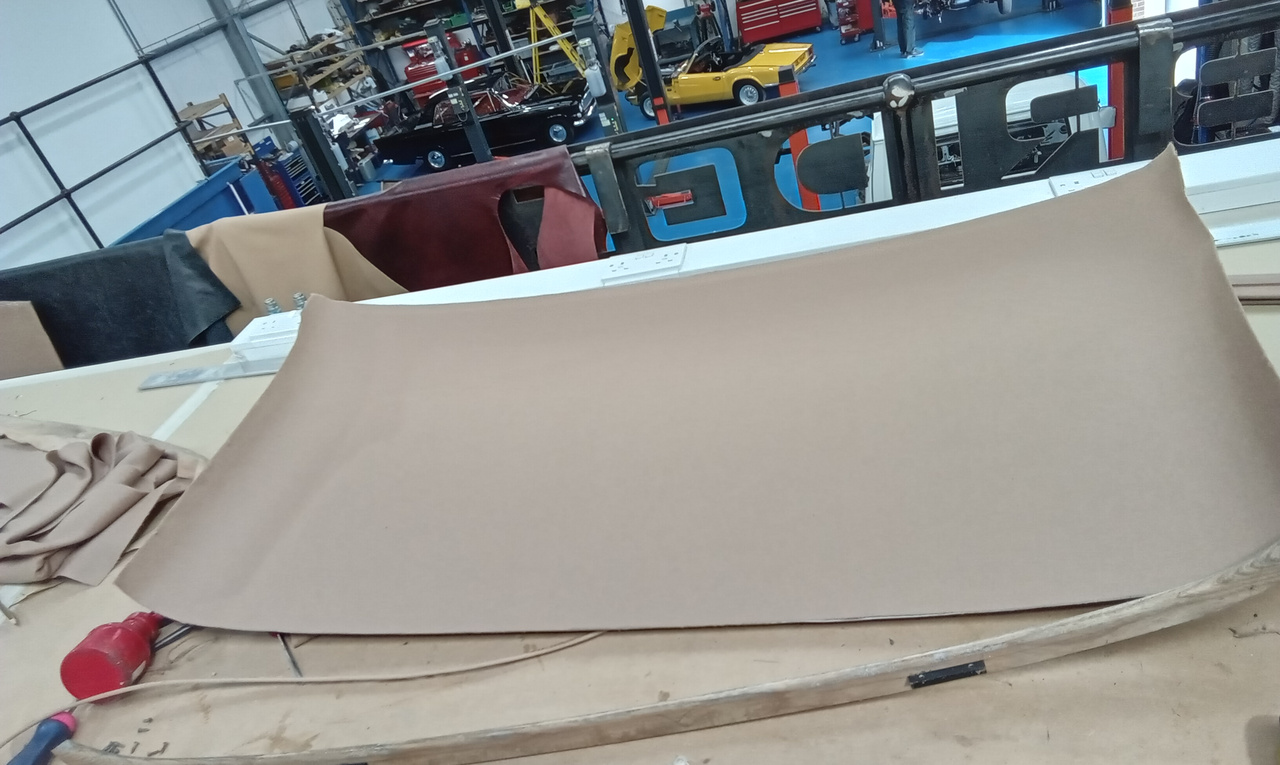
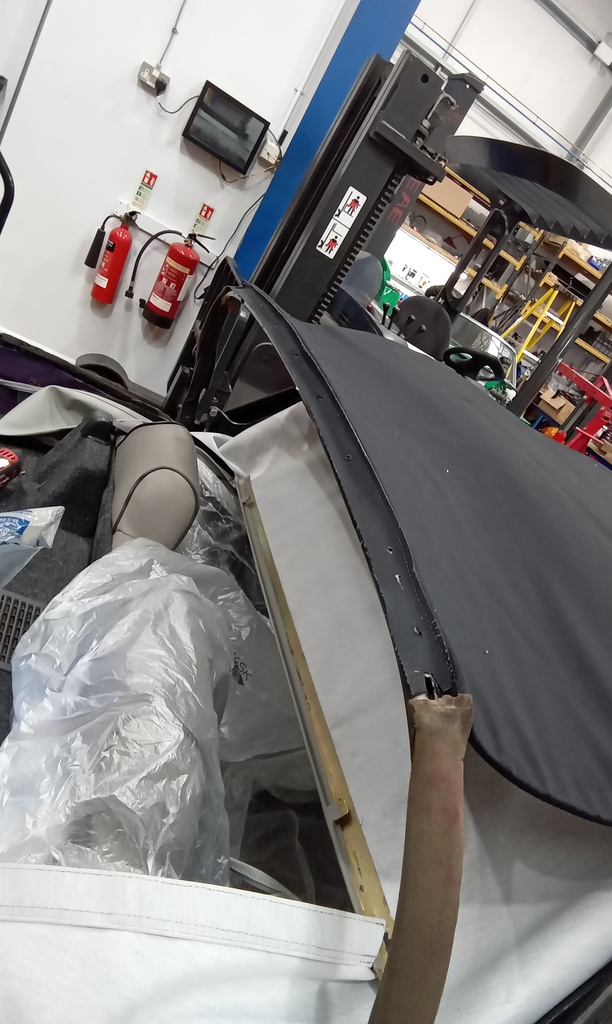
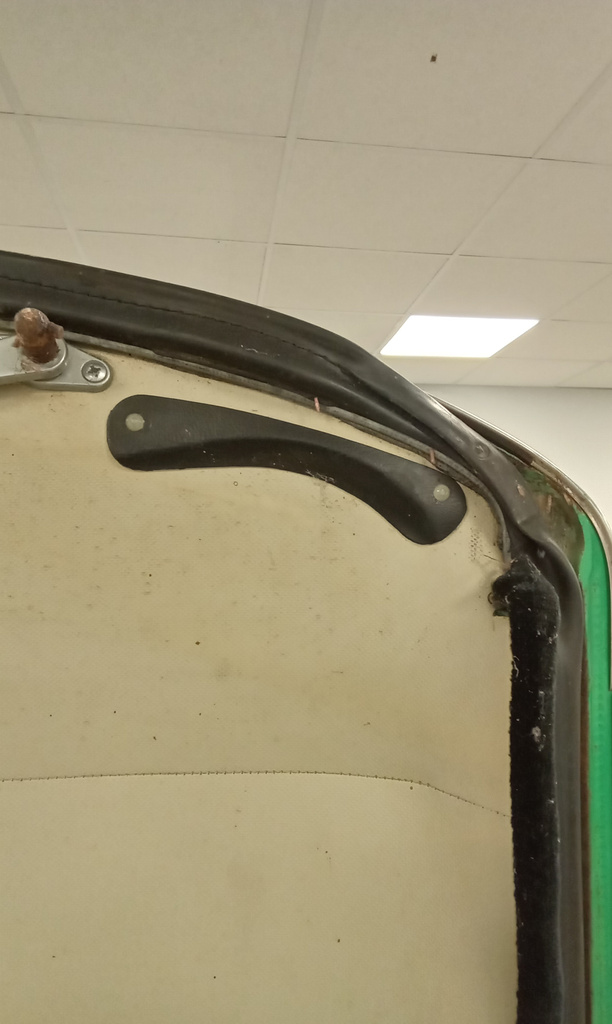
The headlining has been fitted on our 541 too. Lydia made it from a cream vinyl with an embossed pattern. New holes for the roof bars had to be drilled as the previous holes had been repaired and filled in. Lydia then heated the vinyl and pulled it into place, making sure to remove all the creases as she went. She trimmed the excess away and tidied up the edges to make sure that the rubber for the front and back windscreens fit as they should.
Lydia then moved on to the side panels. She first covered the panels in a layer of scrim foam as the fibreglass was very bumpy. This helps to smooth out the thin headlining material. She then covered them in headlining material.
Christian got involved in the recent work too by fabricating a steering column spacer.

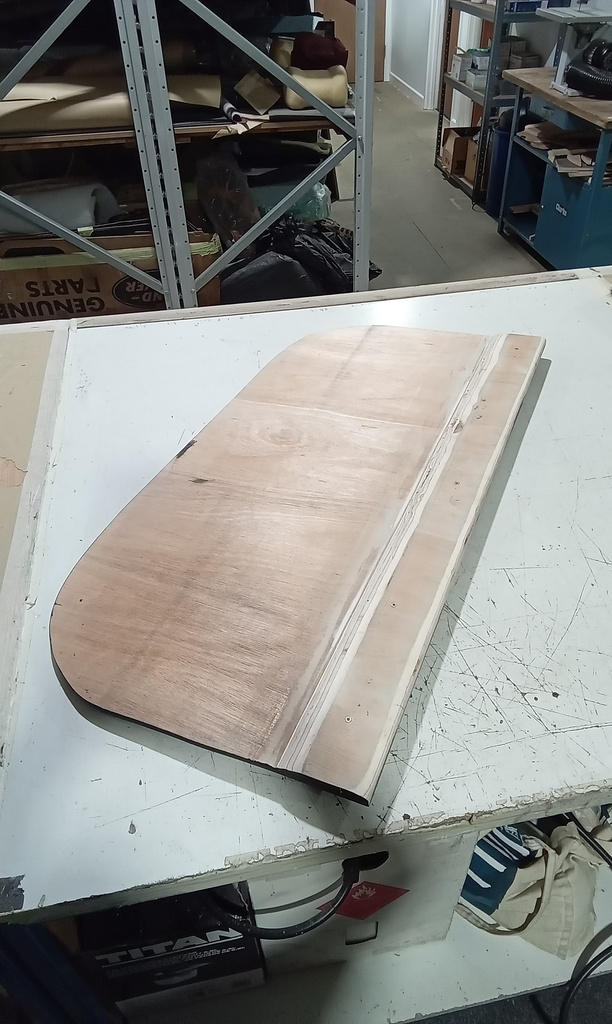
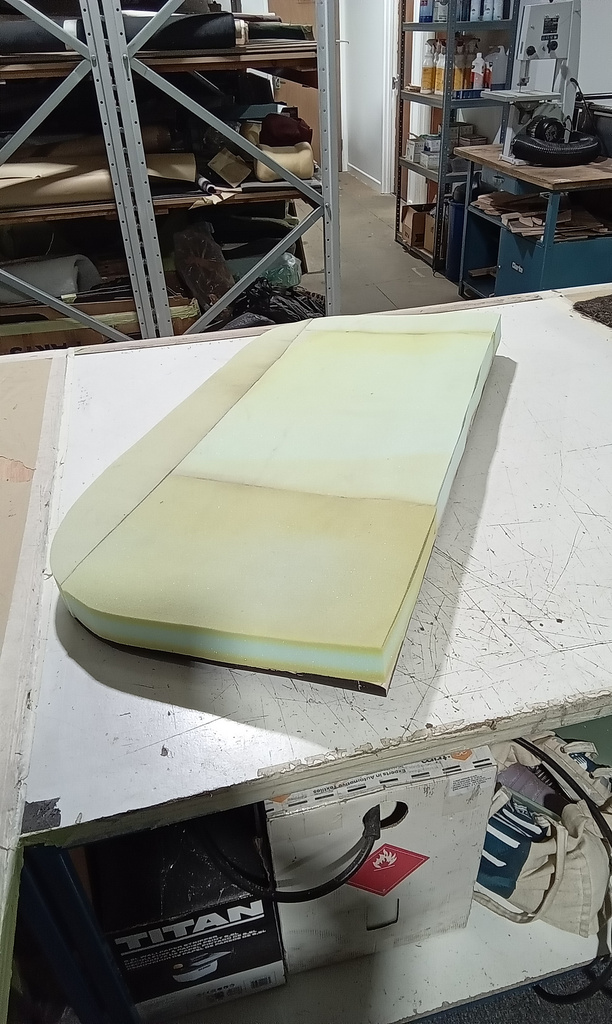
Lydia has upholstered the base seat of our 1905 Riley 9HP.
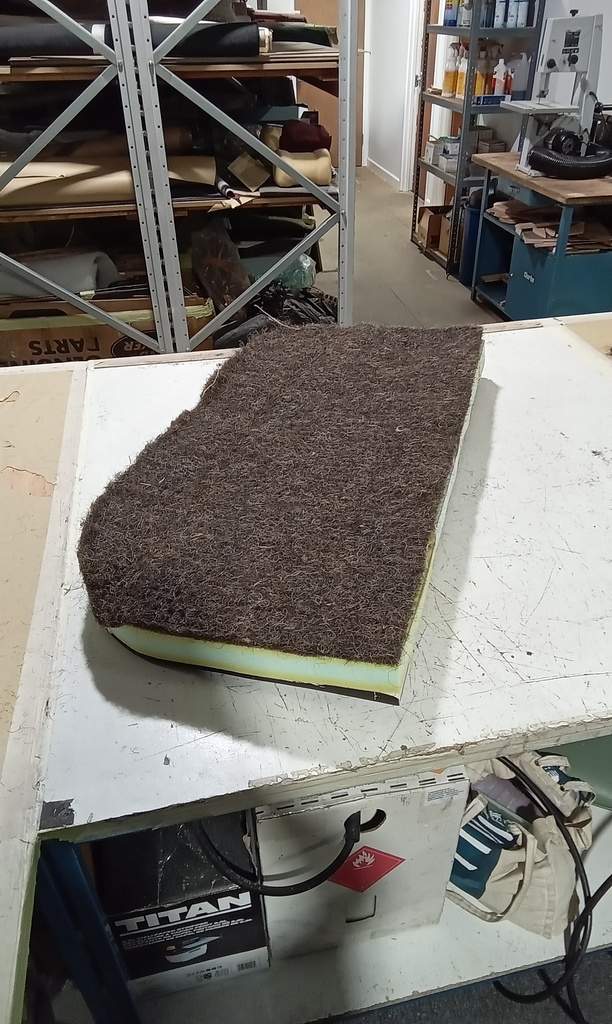
She used a 2-inch foam for the base to provide a firm seat so that the driver doesn’t slip out of the seat. She then placed a layer of horse hair on top to give it the correct finished look and feel. This is a tightly woven material which has been needled into hessian sheets.
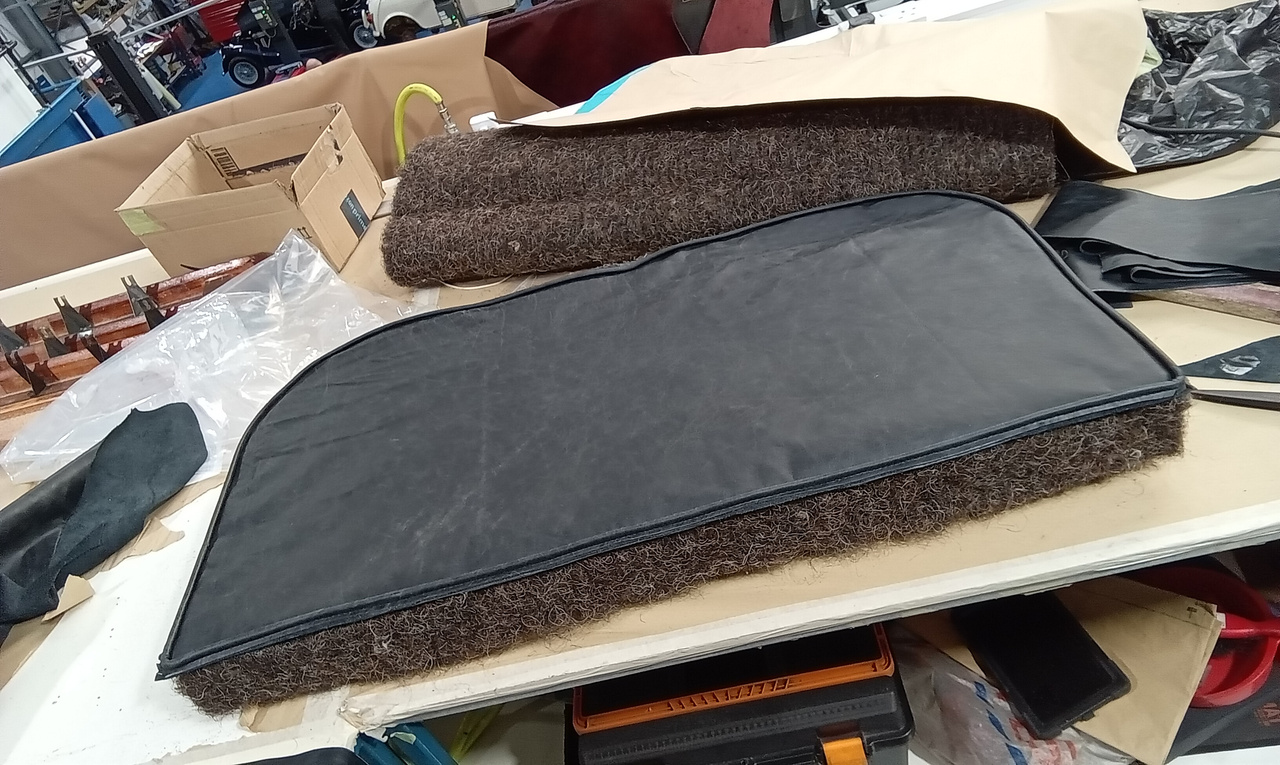
After this, Lydia cut the face fabric and piping and sewed these together. She used a period-correct paper piping. Then was the border which was made in 2 pieces, and sewed onto the seat face.
Lydia chose to do a border all around so that the seat would have a plump look.
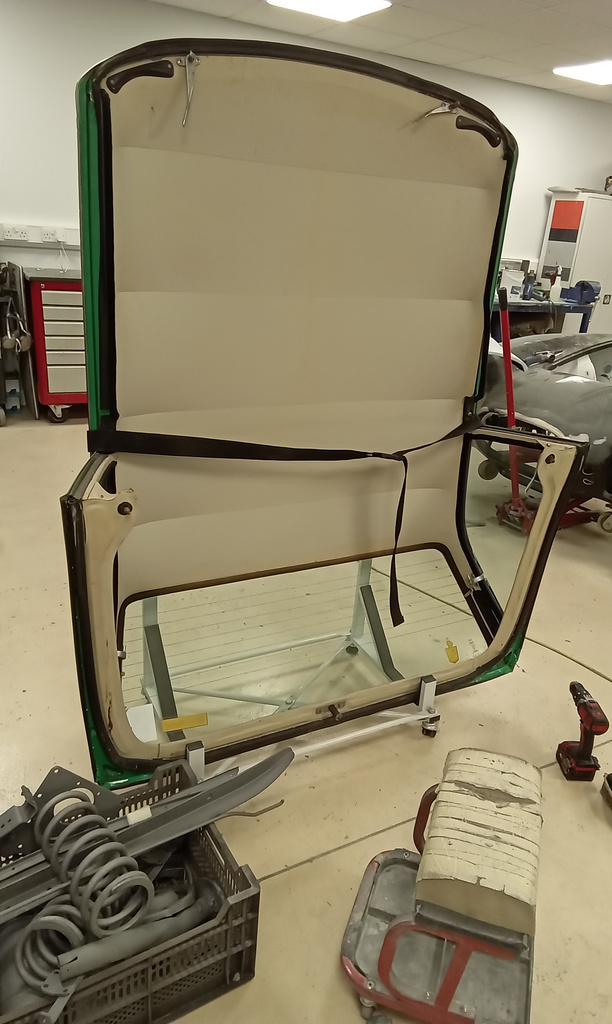
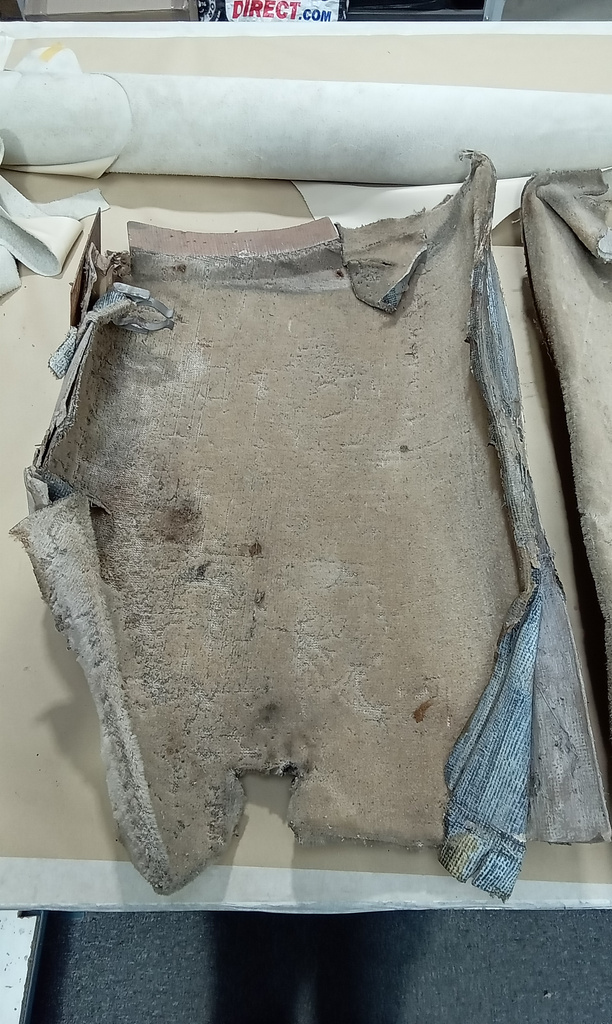
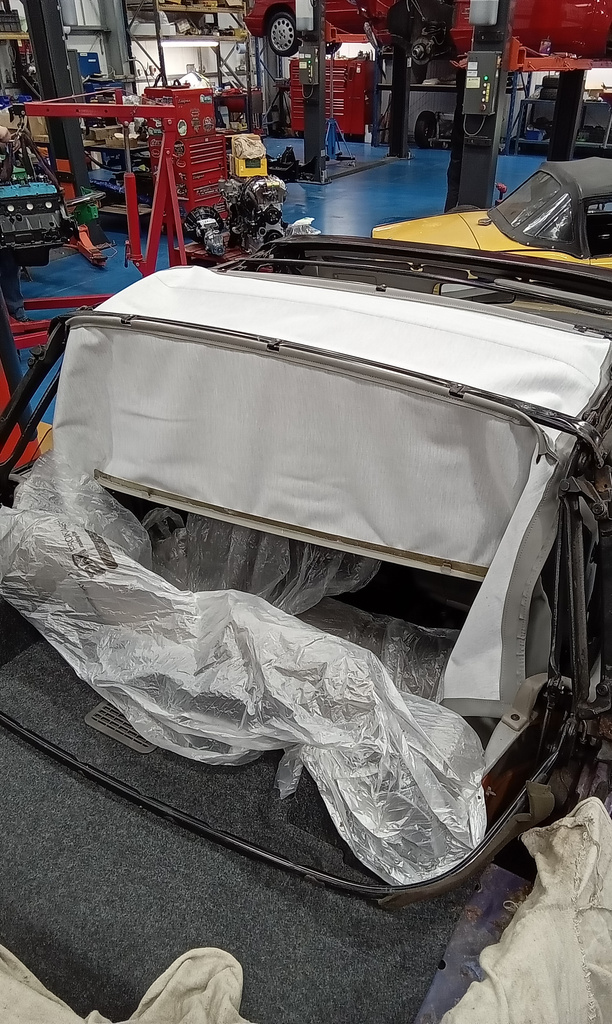
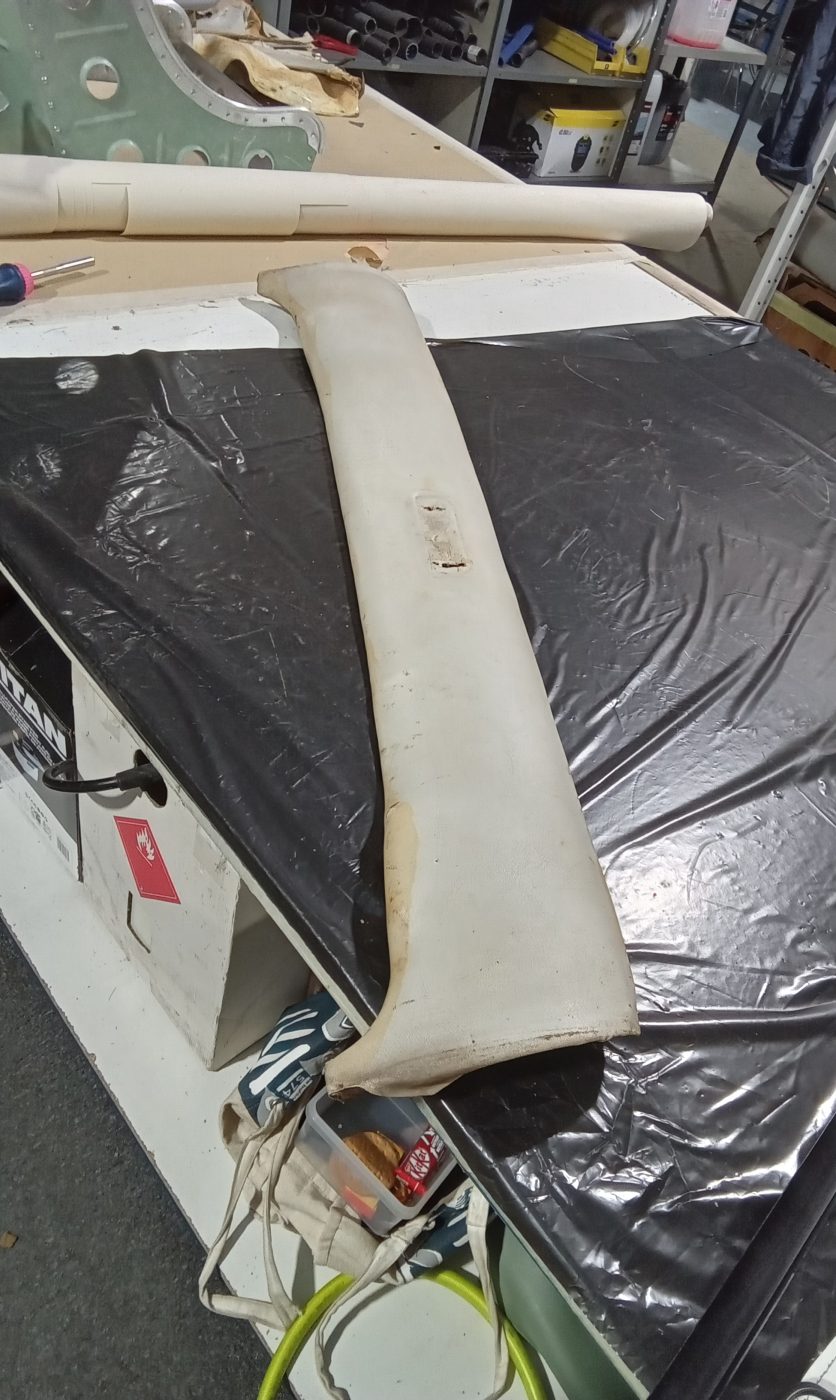
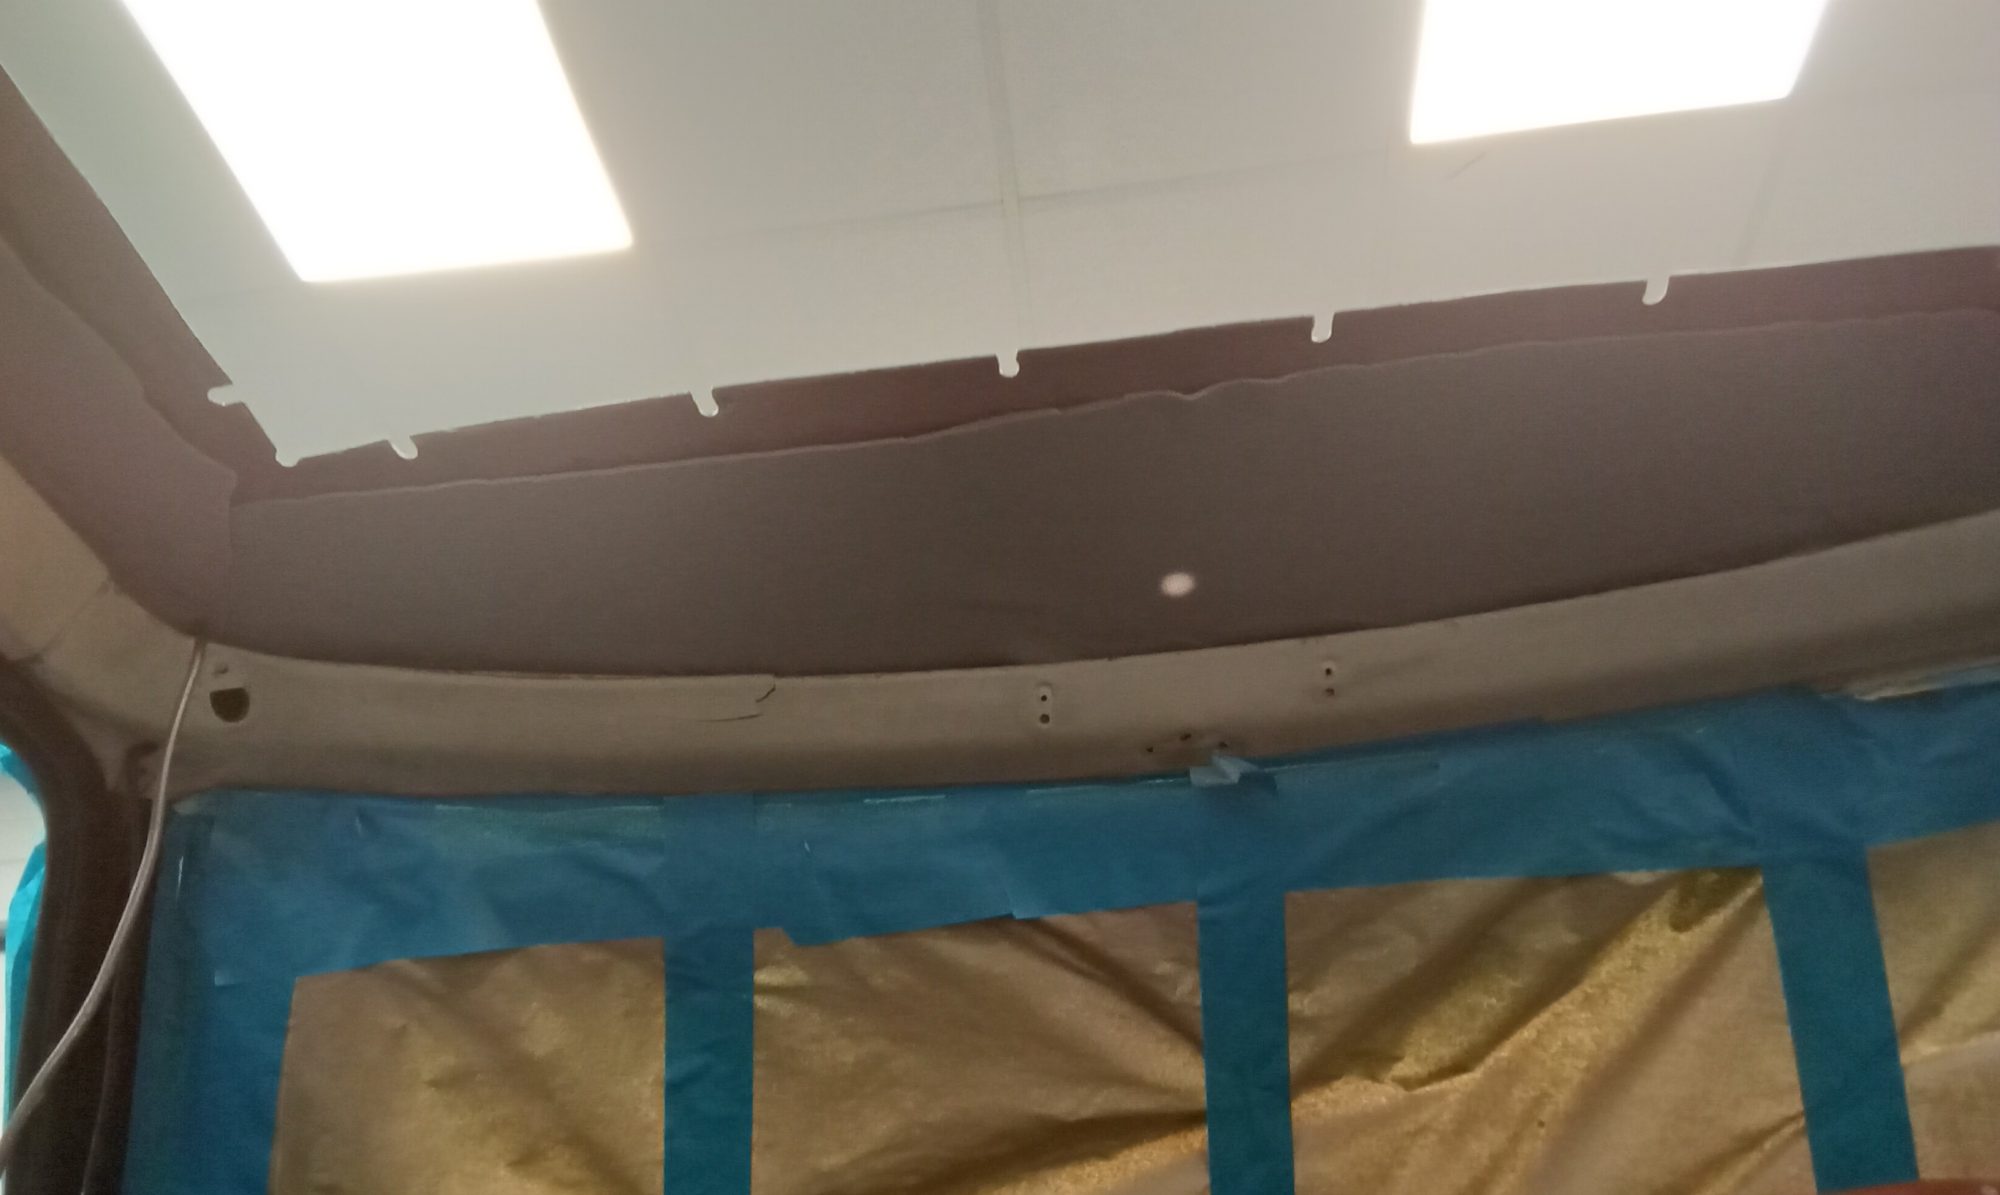
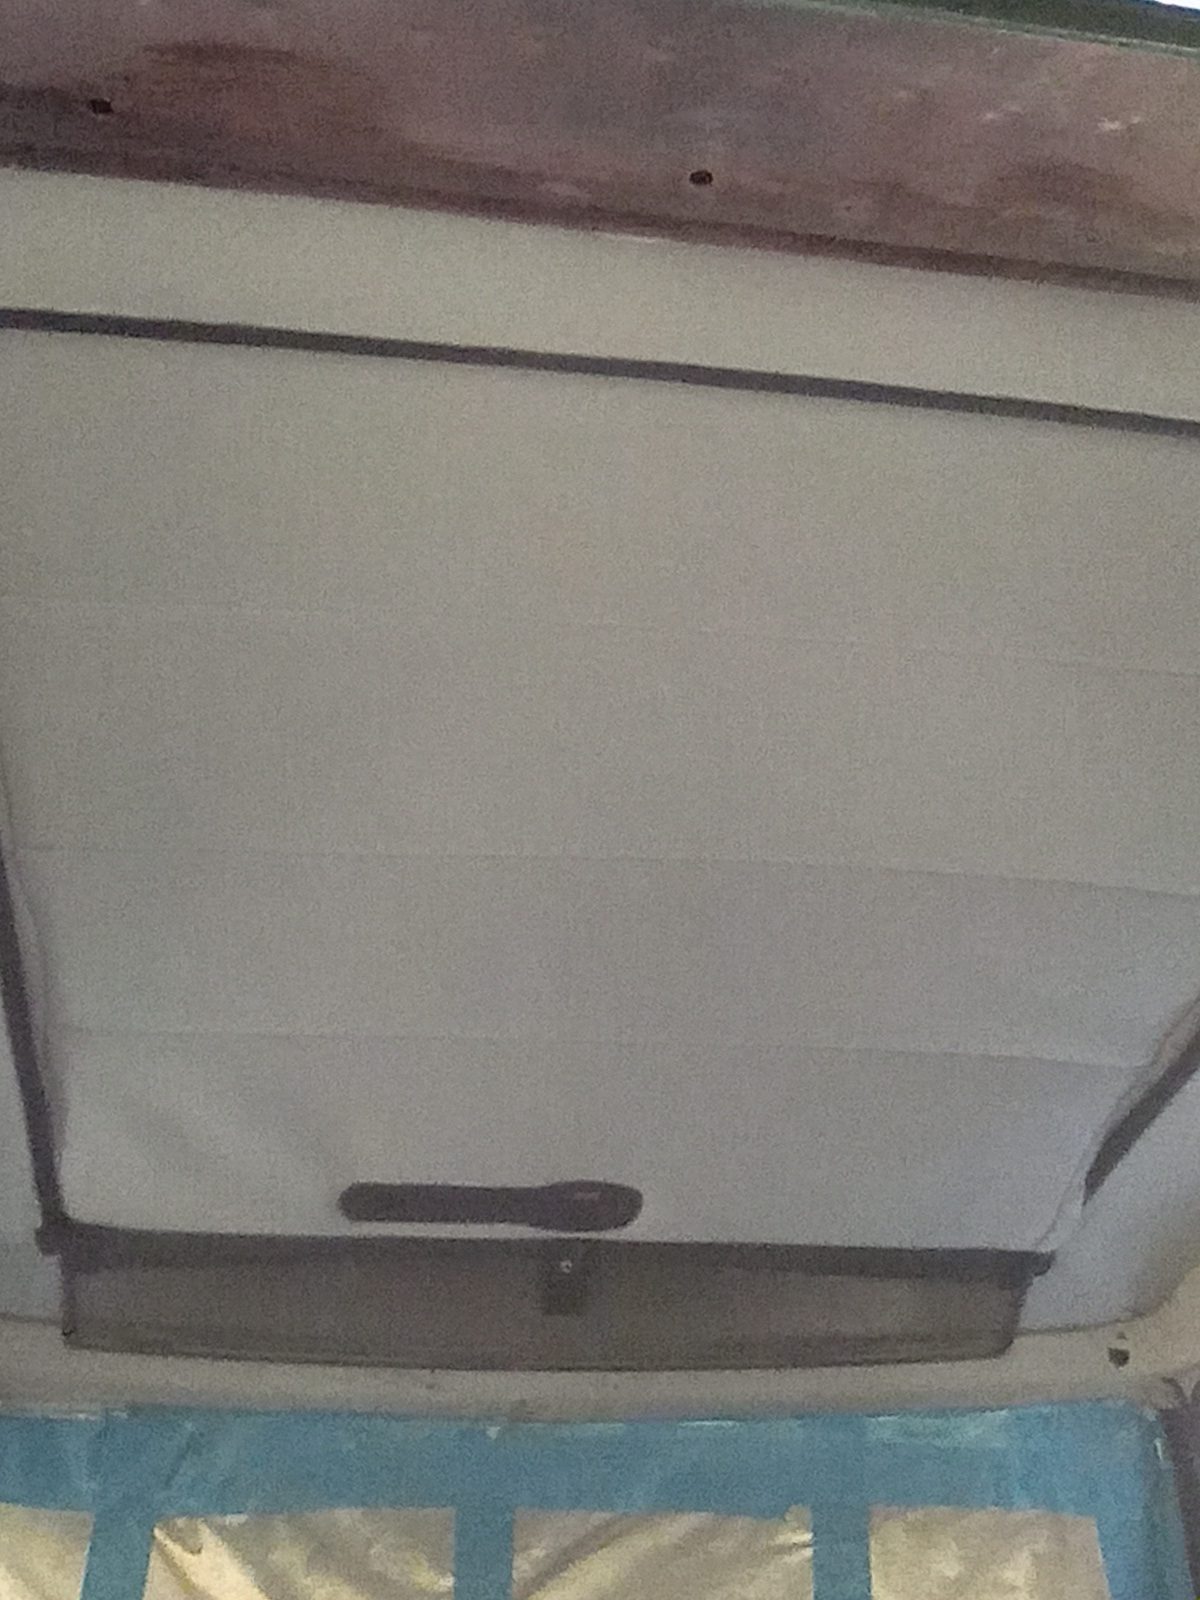
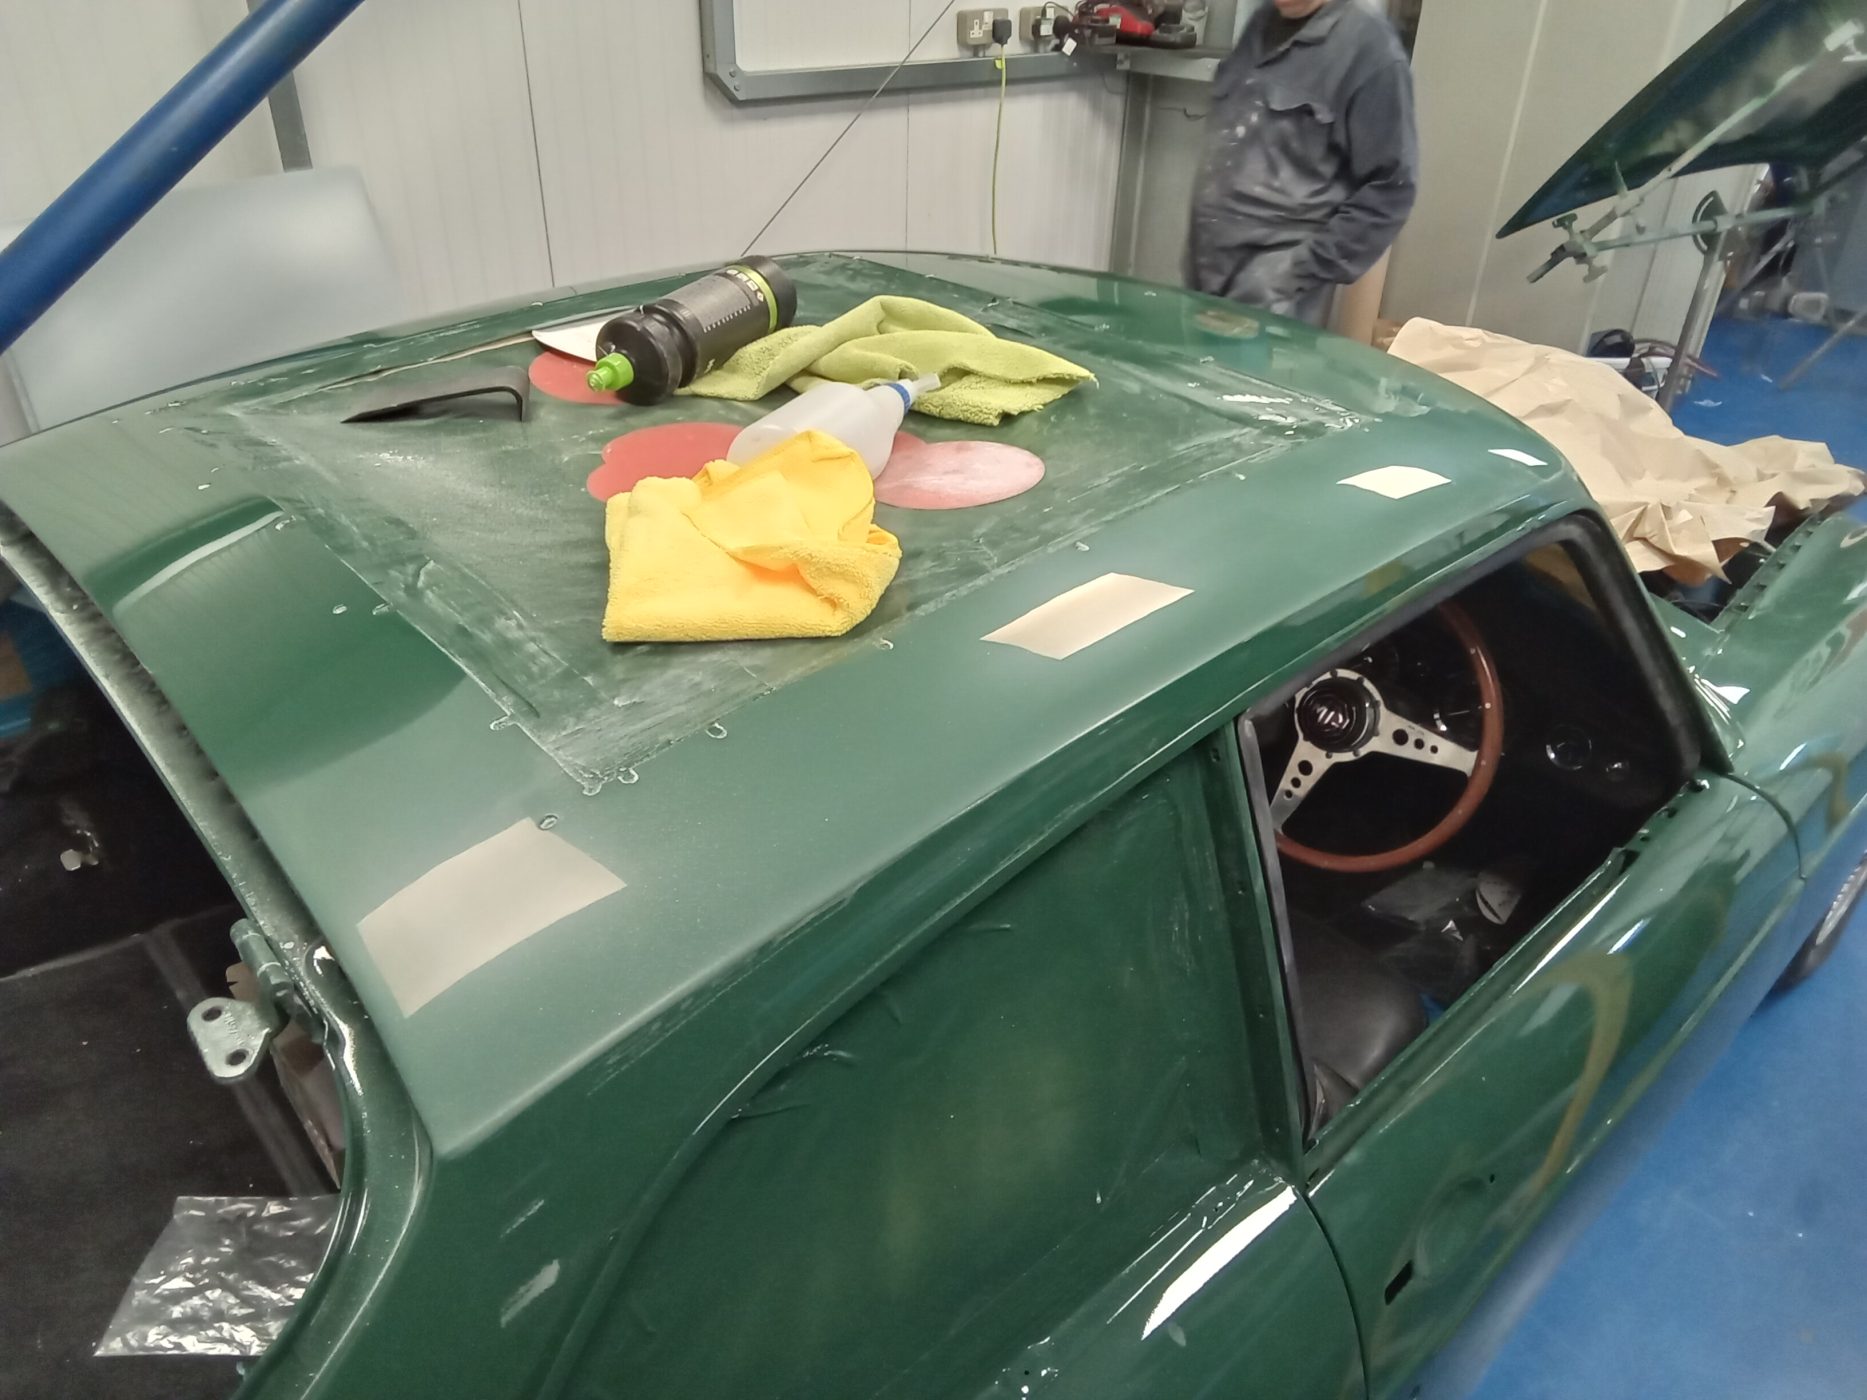
Lydia has been hard at work over the last week or so on the roof of our 1969 MGC GT. First, she stripped the old headlining from the roof. As with a lot of materials from the 60s and 70s, the foam had disintegrated, leaving a sticky mess.
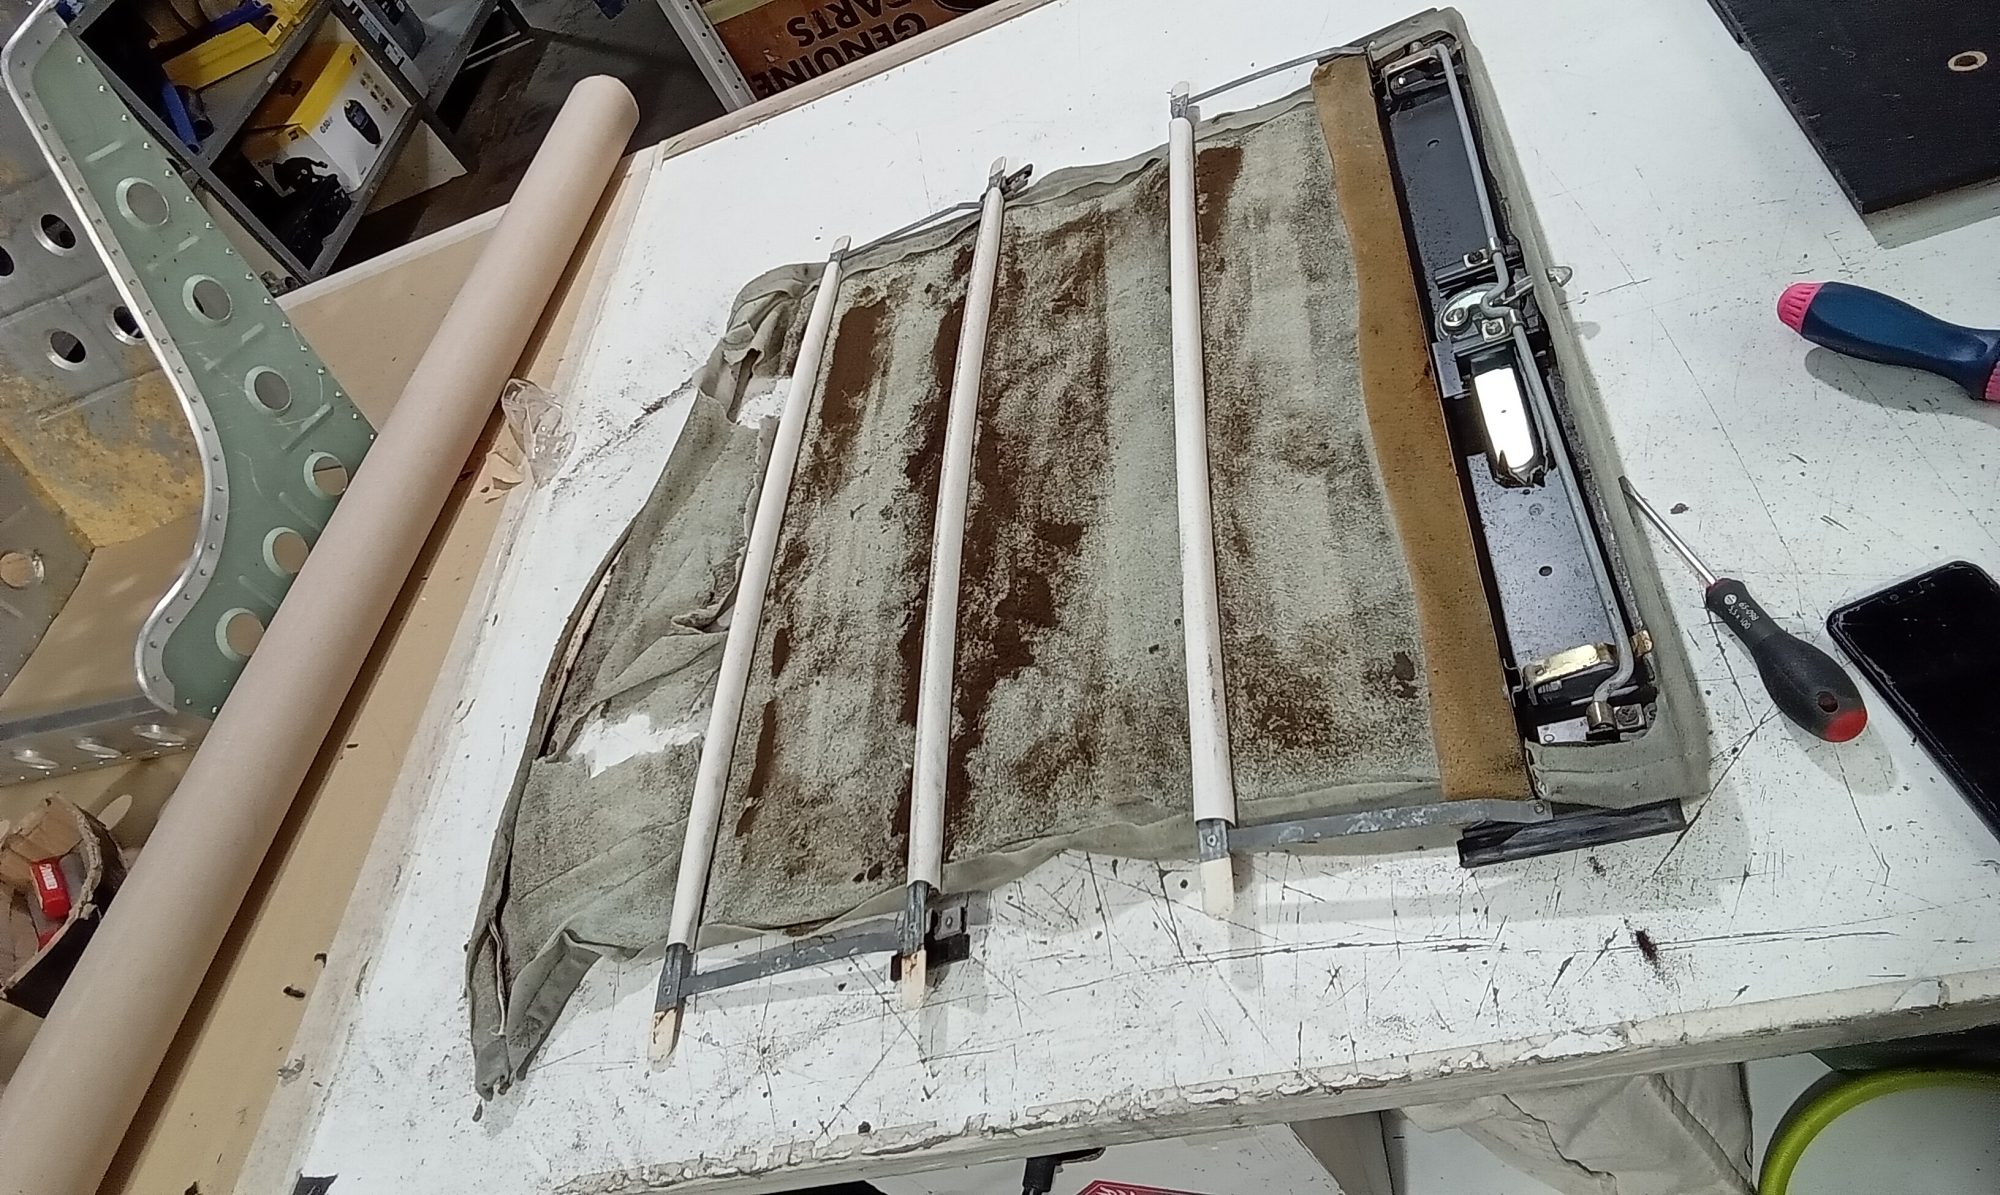
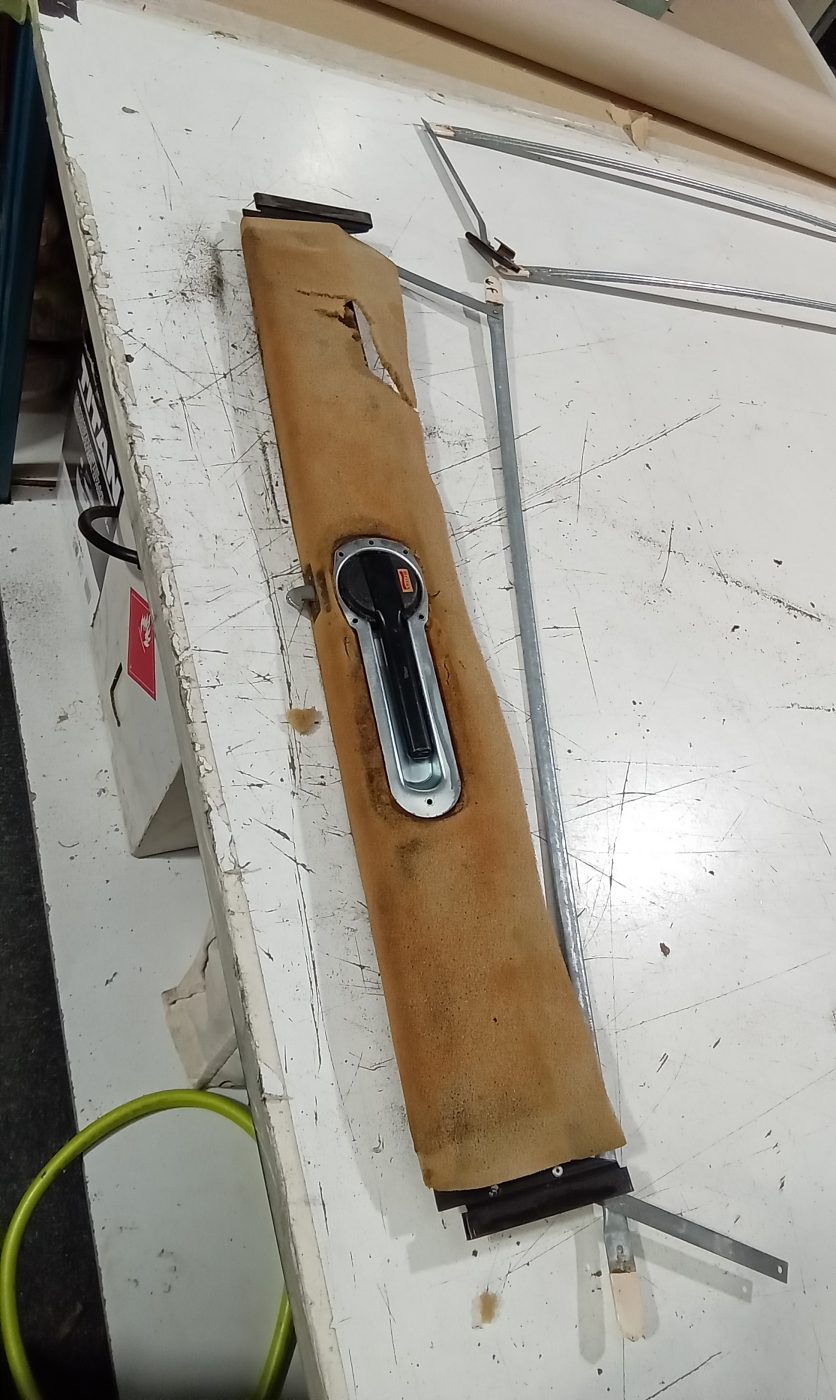
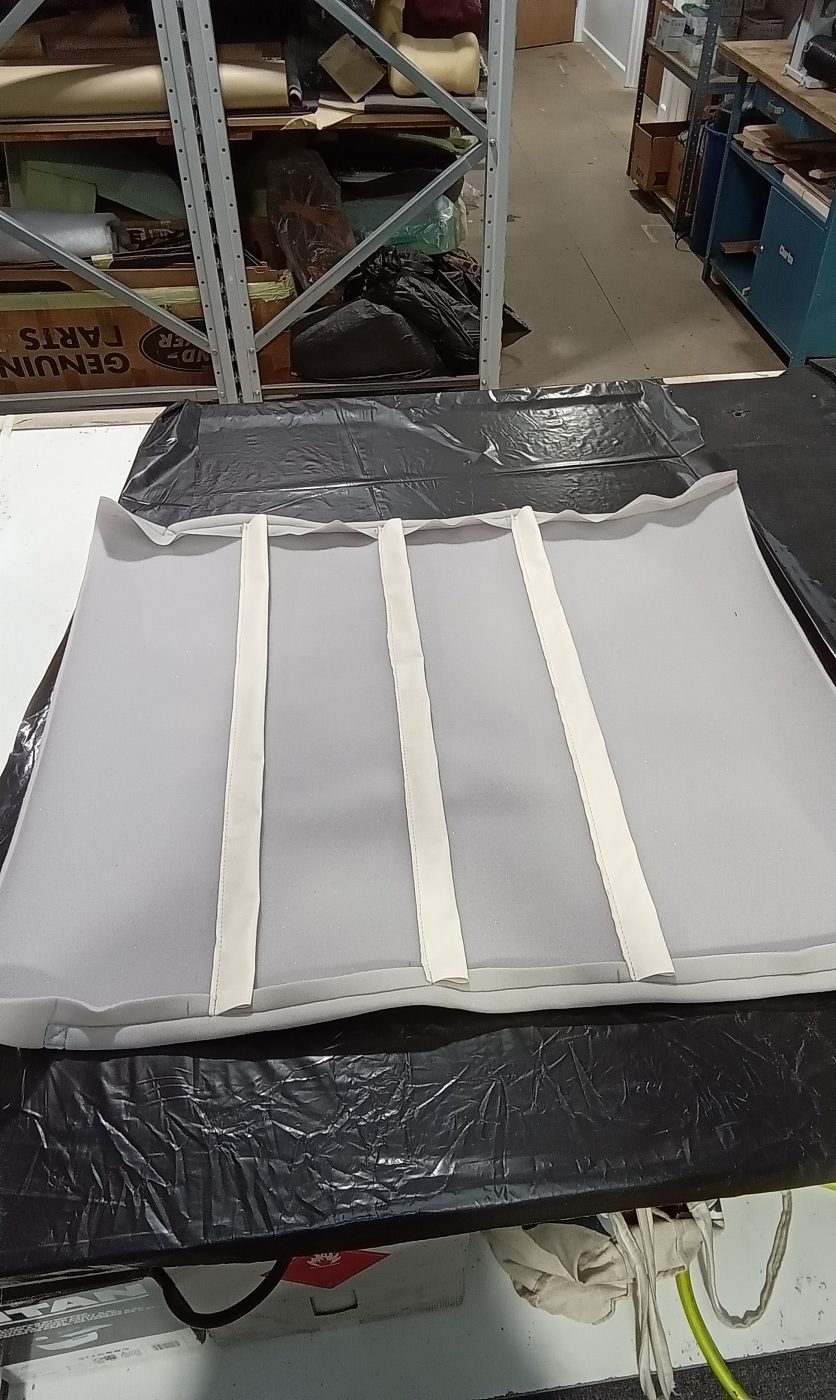
Taking the roof apart was challenging as it was not immediately apparent how the headlining part came off the exterior of the roof. Two hidden screws finally showed themselves after a thorough inspection. Lydia used the old headlining as a pattern and made the new one from a brushed nylon fabric. As you can see, it looks a lot fresher and plumped up as it should be compared to the old one. Whilst doing this, she also took time to renew the cover on the rear crash bar, which goes over the boot hinges. This needed a completely new foam underlayer and then new brushed nylon on top. She refitted the rear interior light back to this as well.
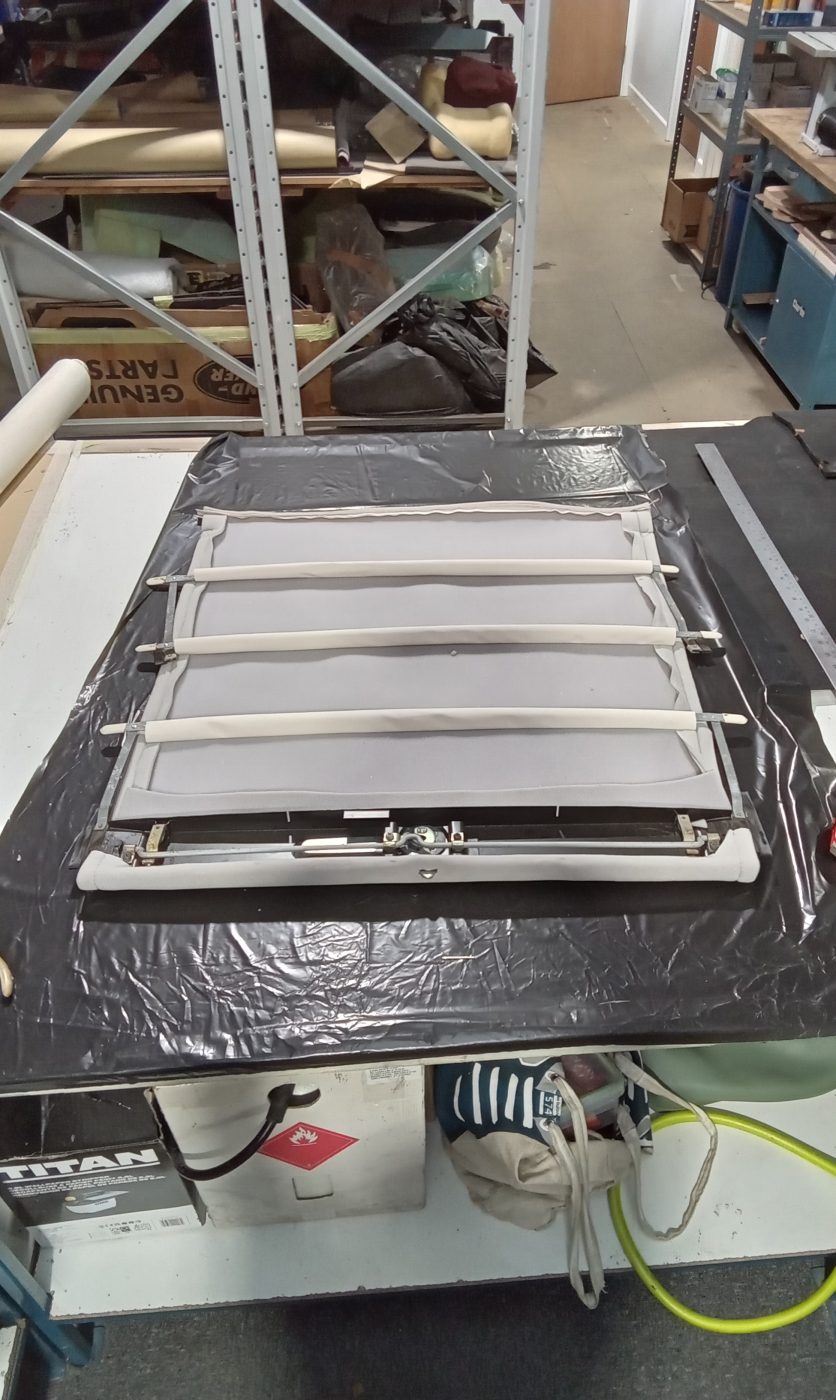
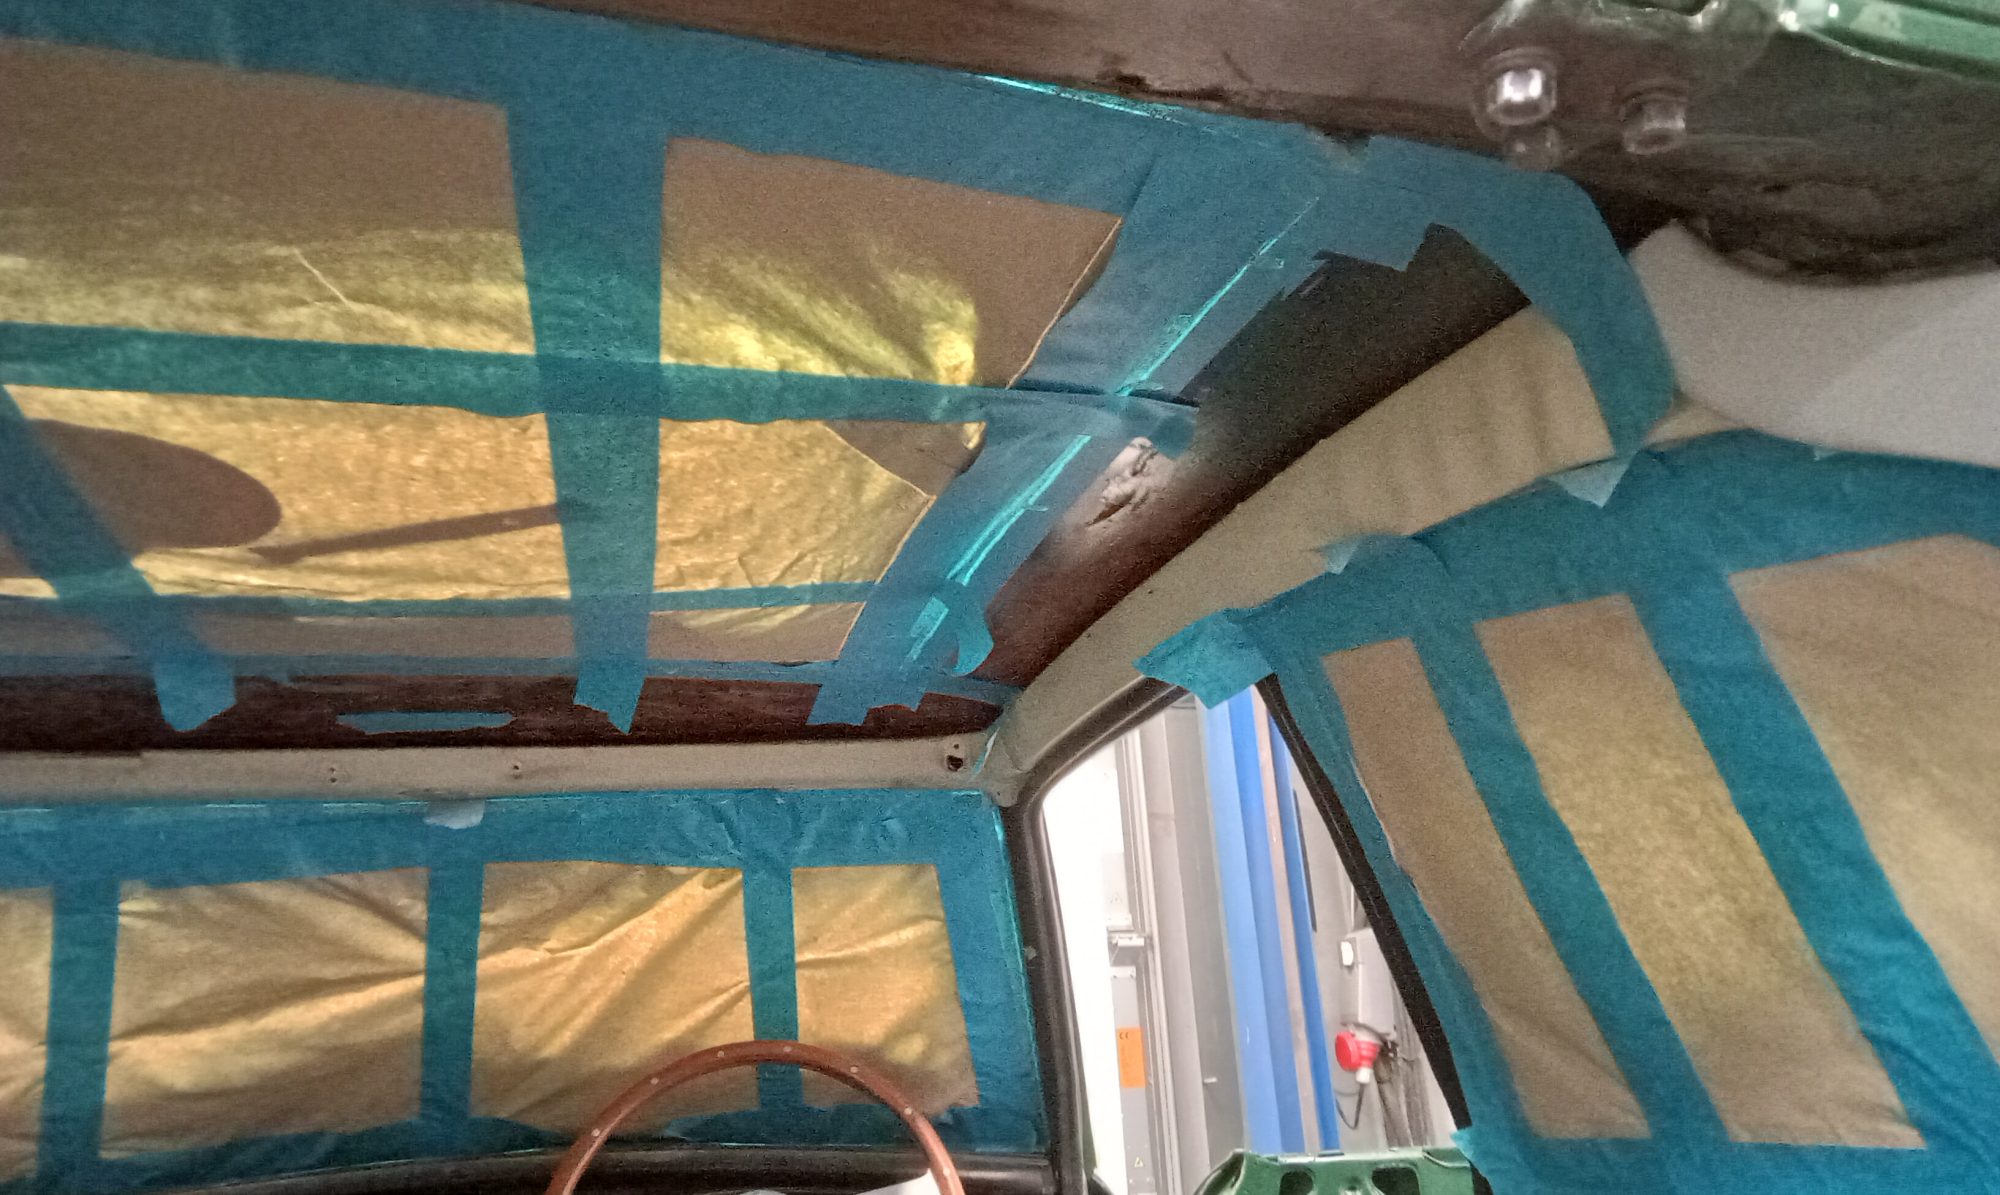
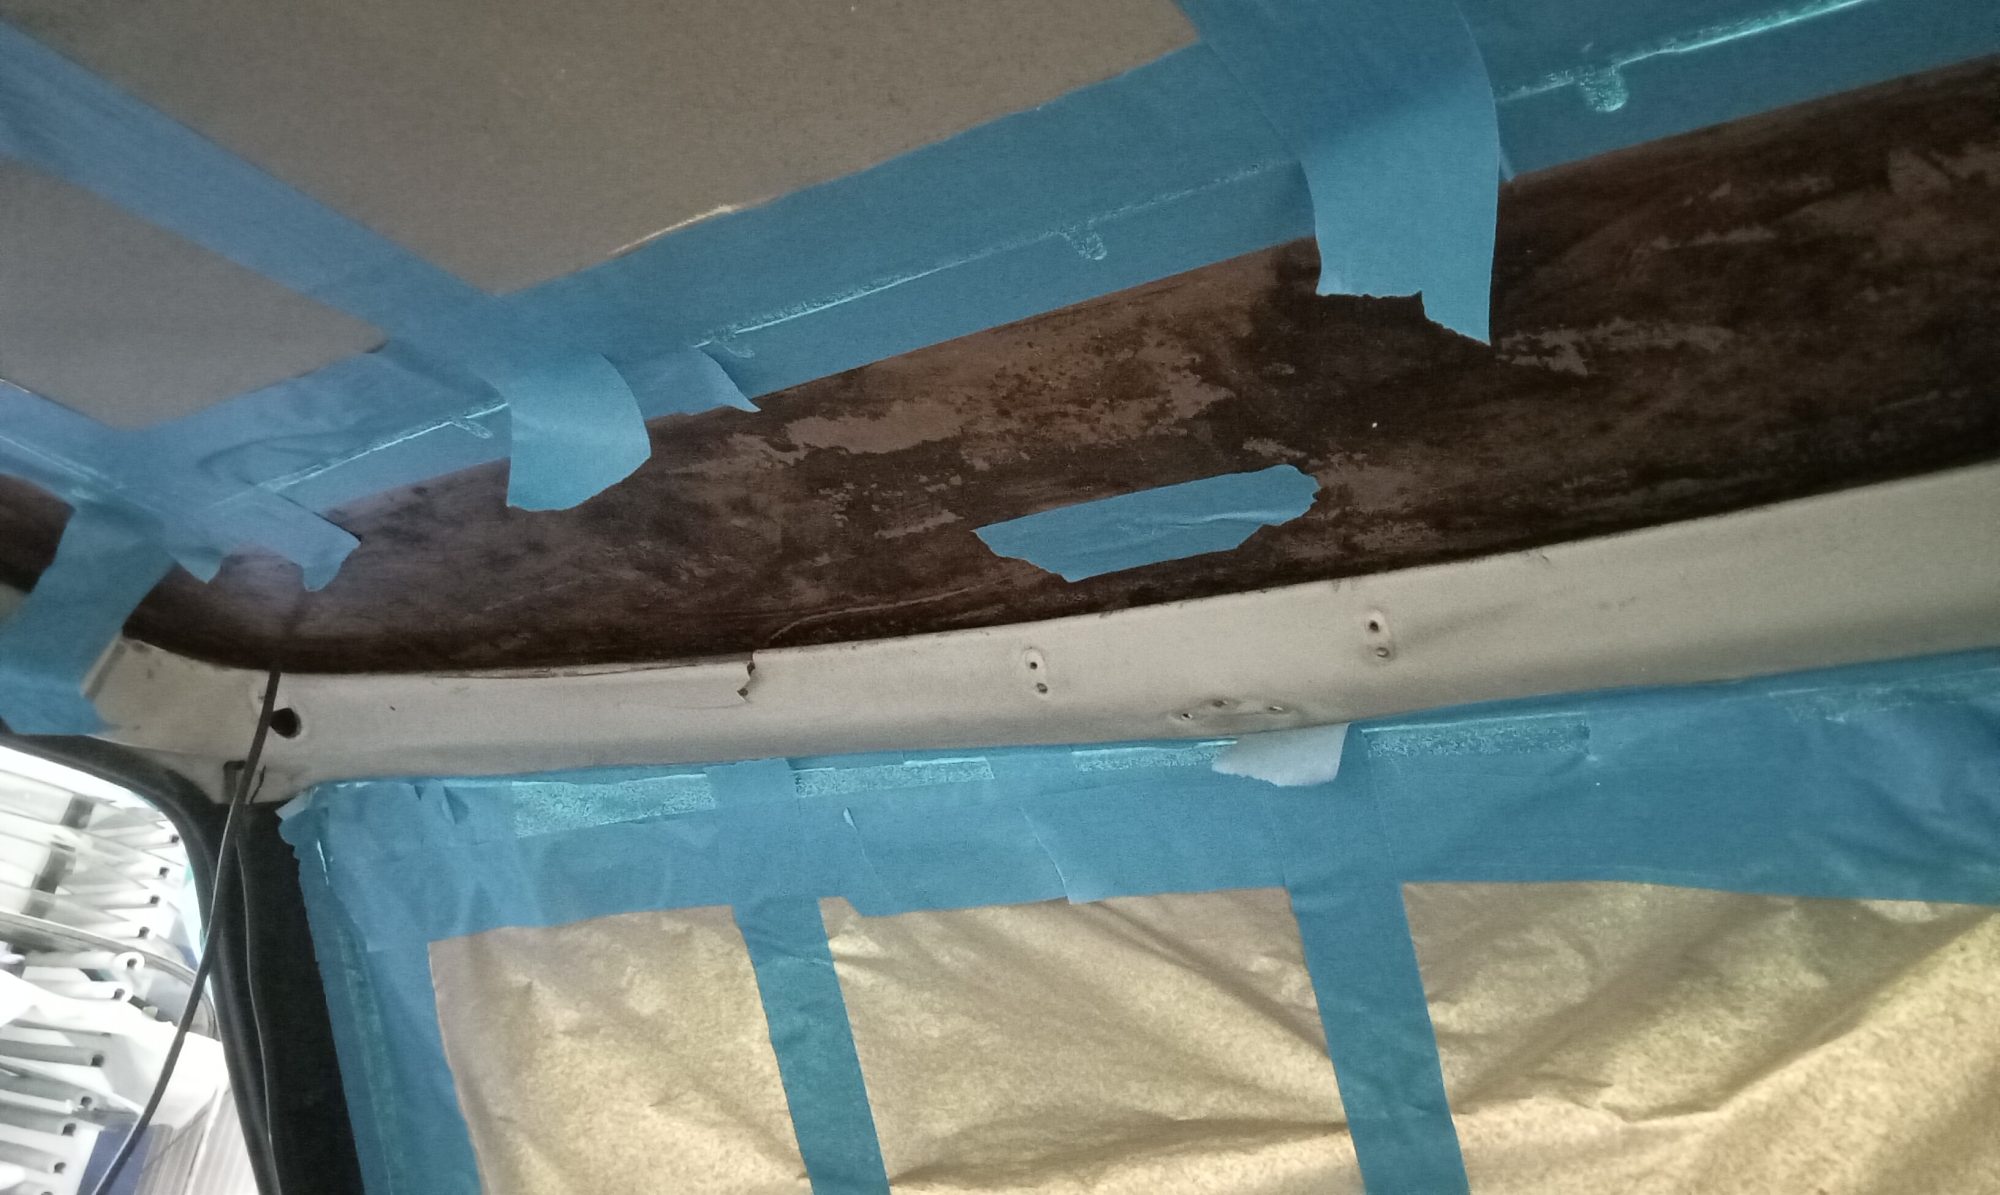
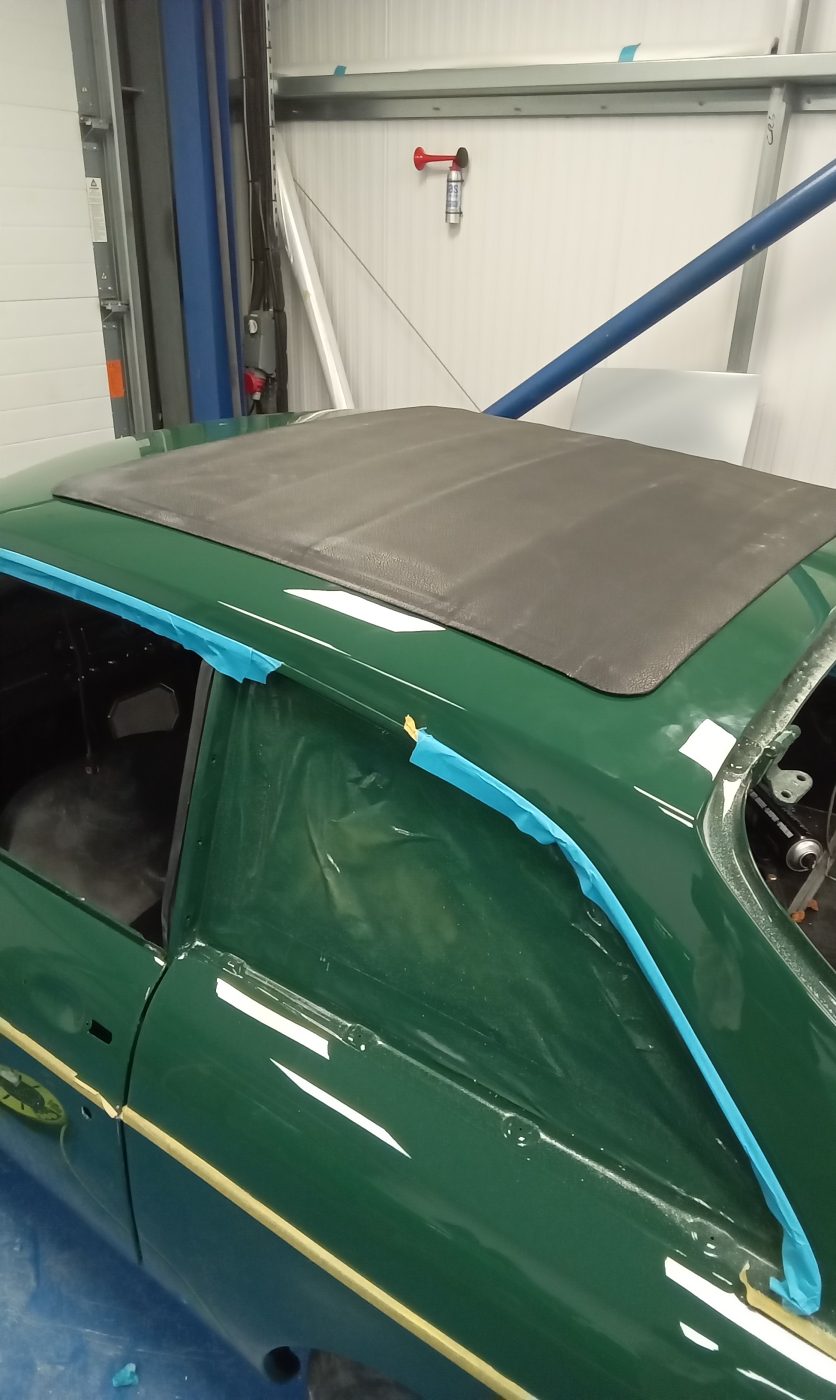
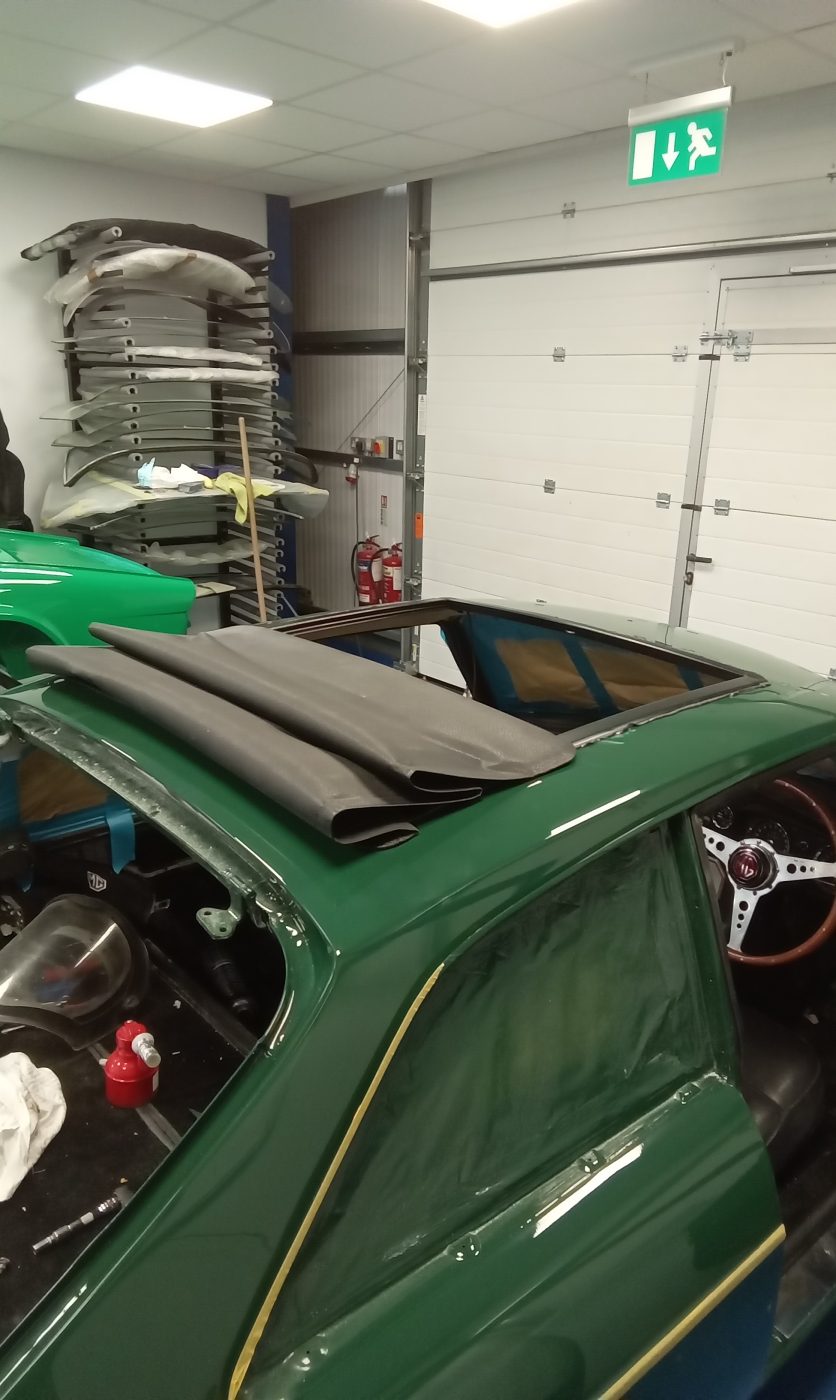
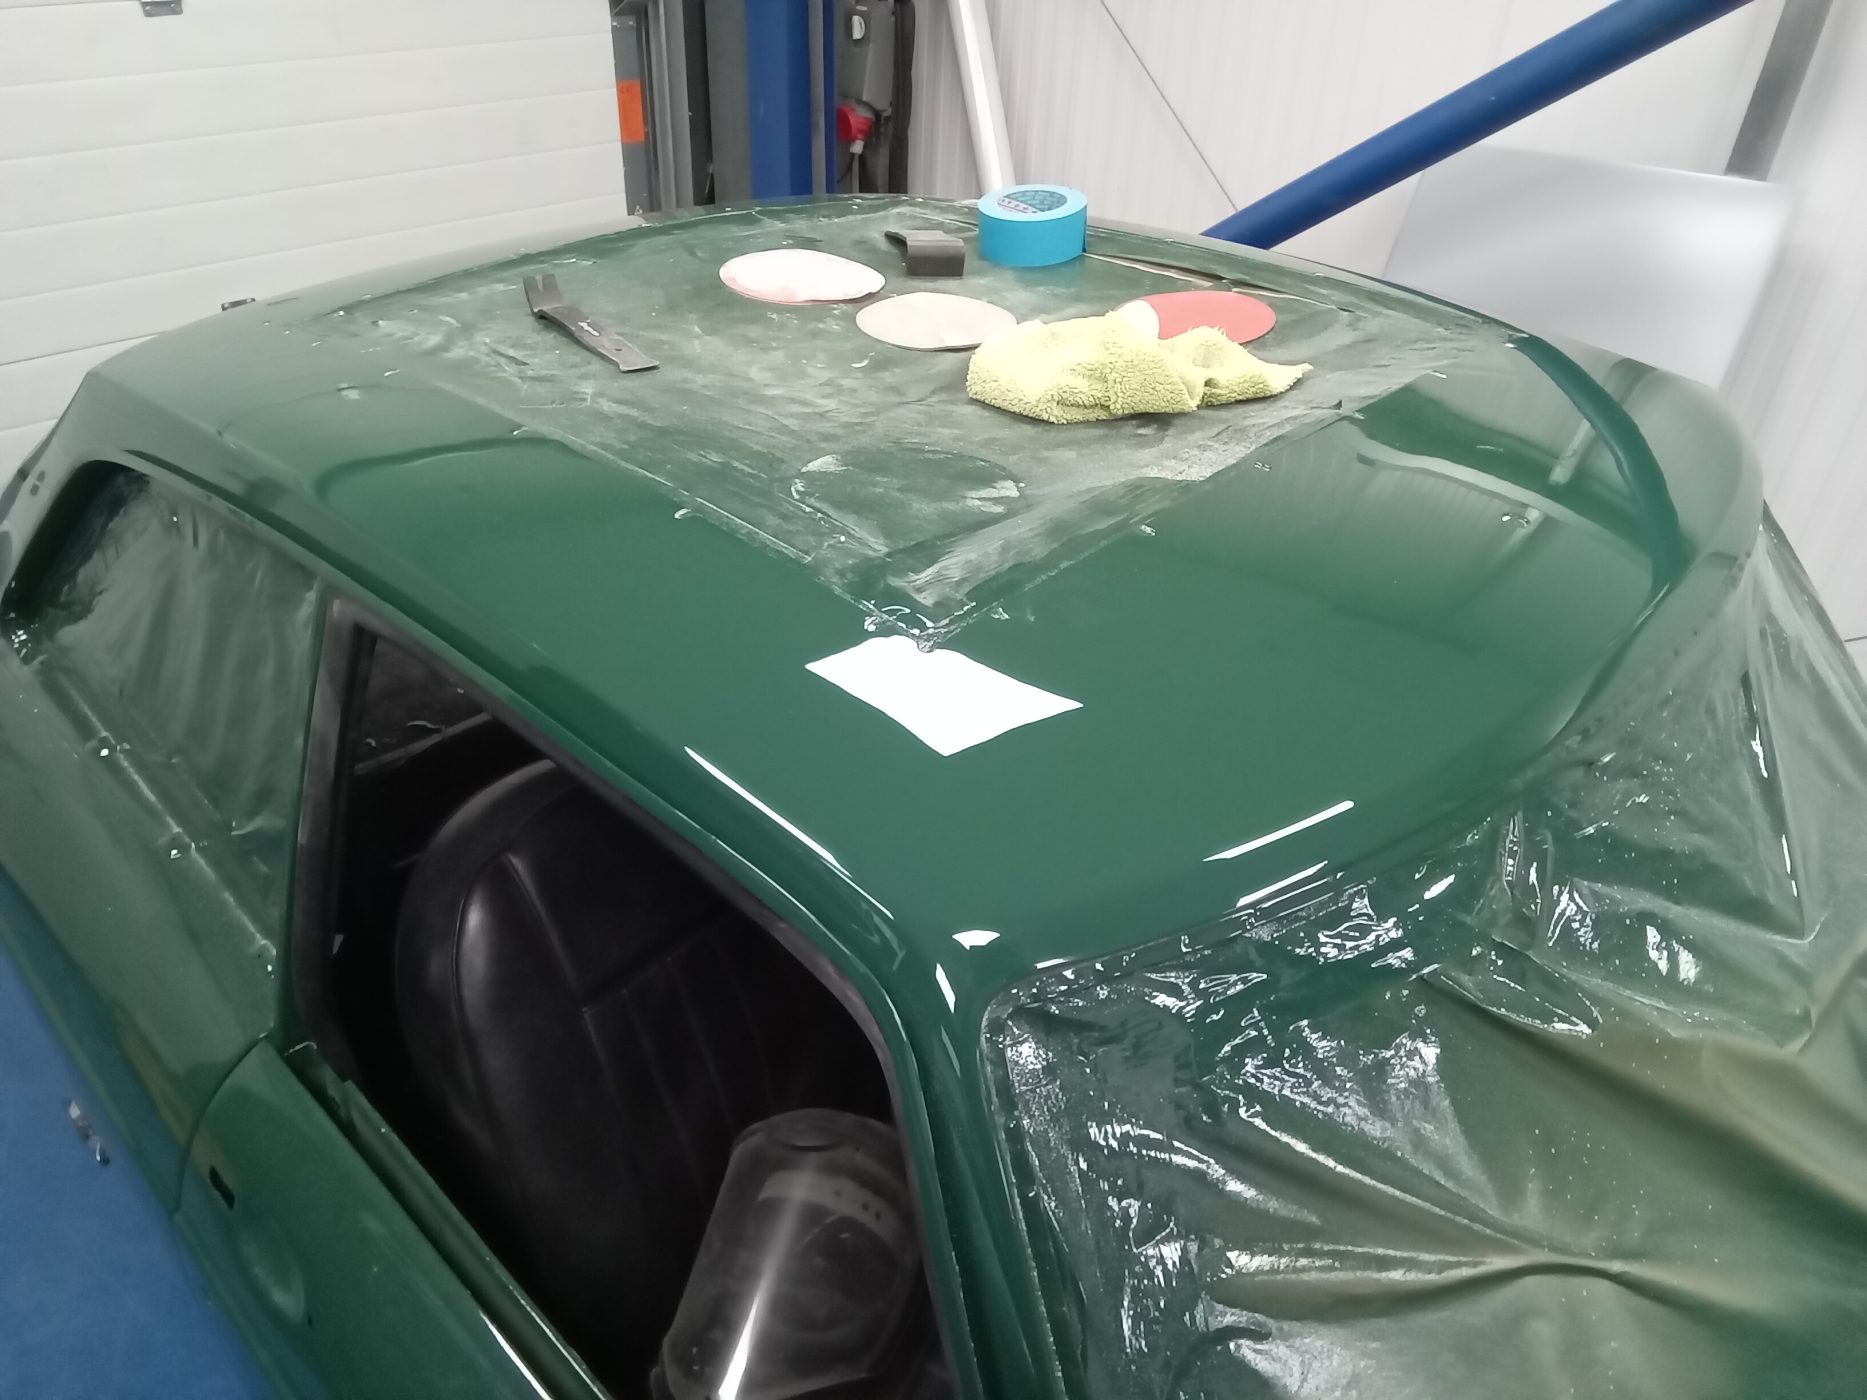
Next were all the parts on the actual car body. Lydia first cleaned off the old foam and used a scotch brite pad to prepare the surface. Then, she applied new foam to the sides to offer some sound deadening and a base for the headlining to go on top. After this, she had to put the frame and the outer skin of the roof on, and tighten the nuts to hold this on.
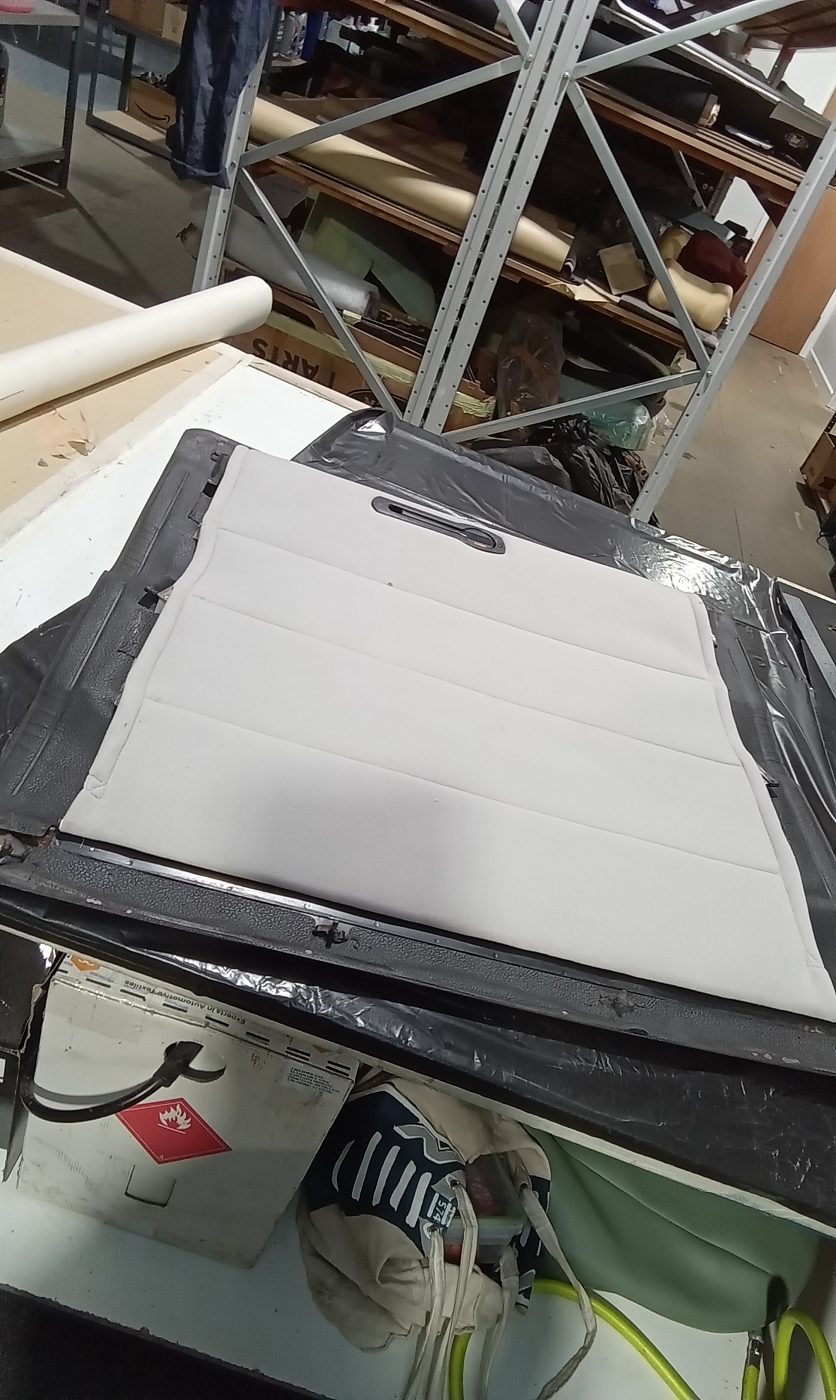
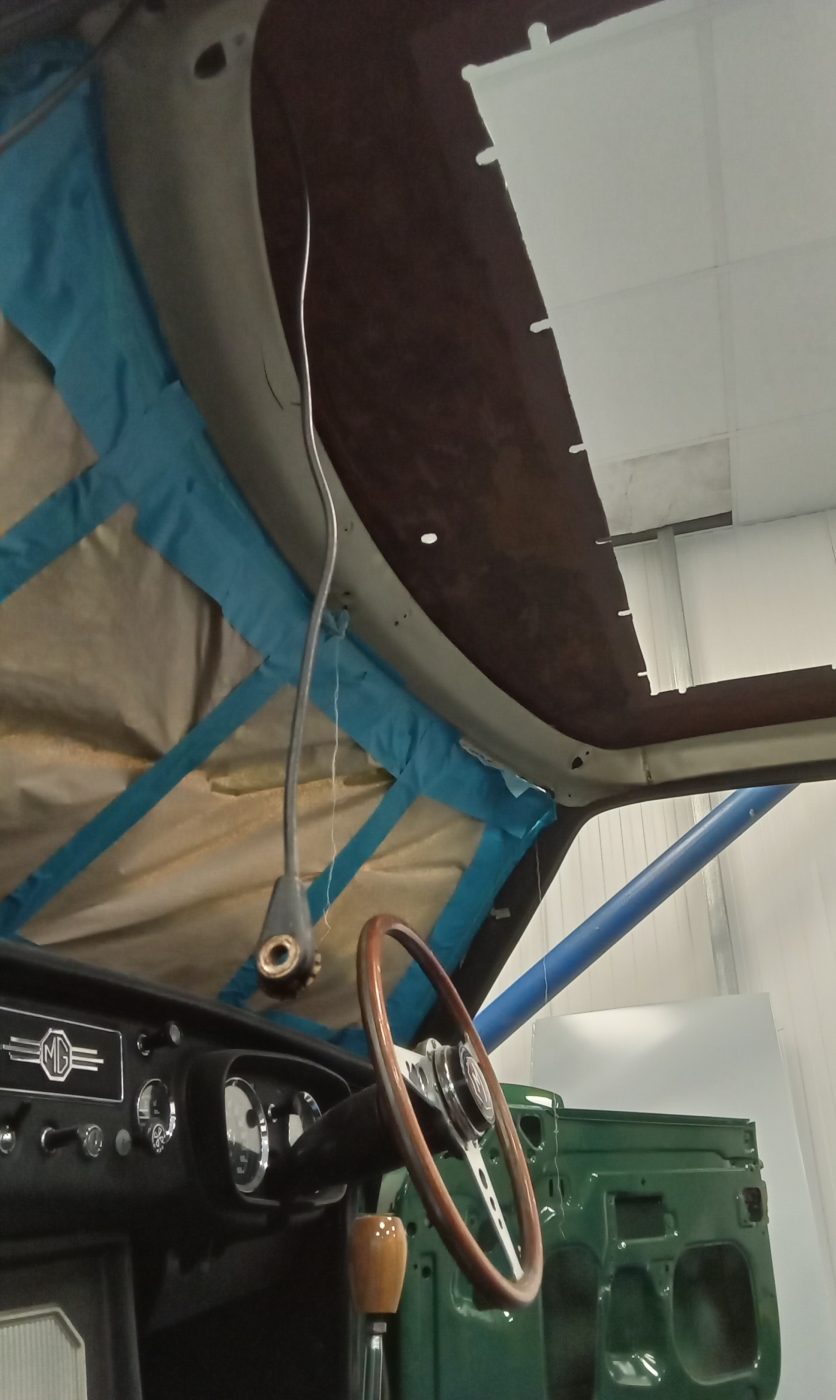
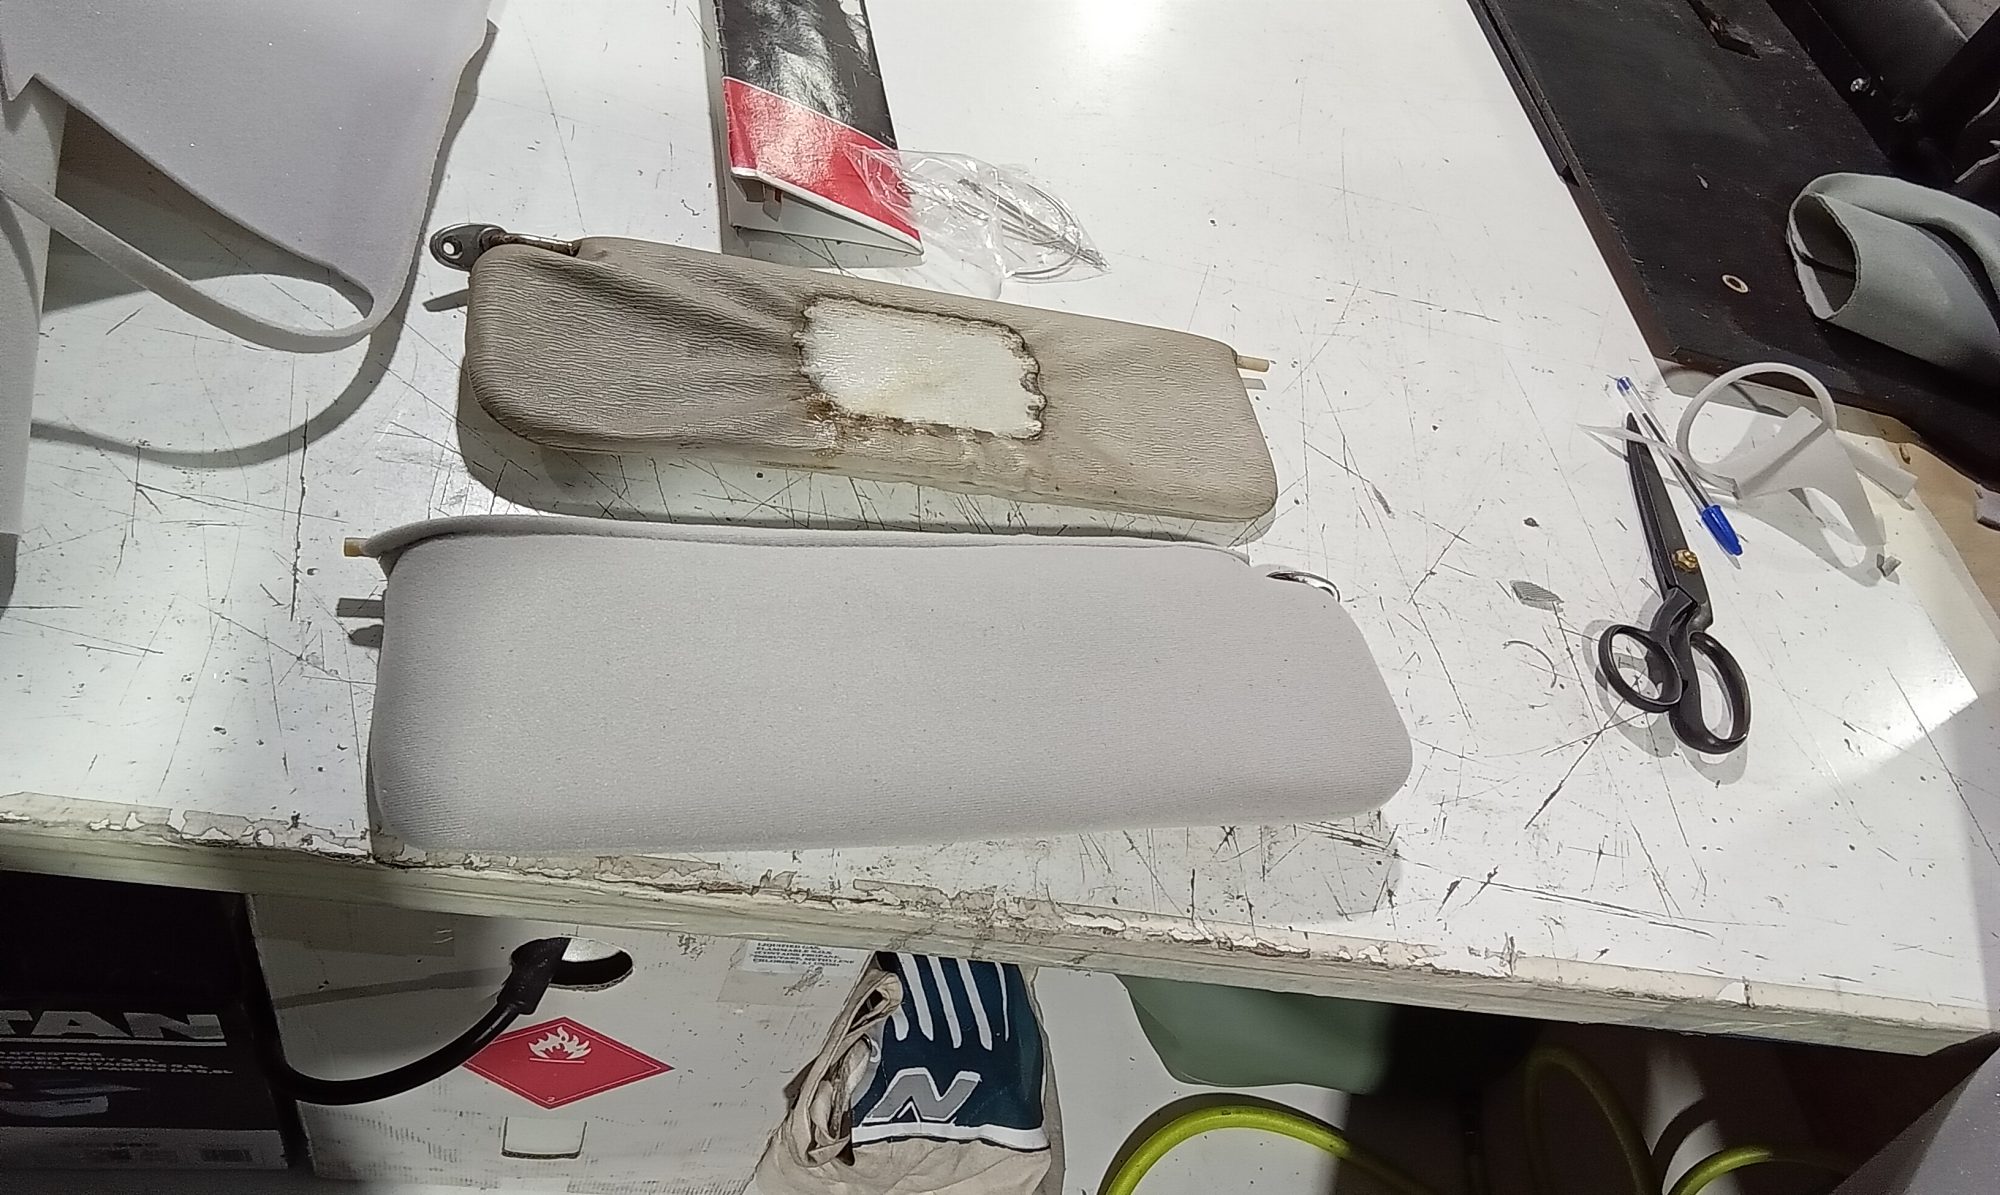
Afterwards, Lydia cut the headlining to size on the job, then sewed it where necessary, and glued it to the car. The edges were glued to the metal frame and finished with some top on edging. The front piece of headlining was looking somewhat bumpy, so she cut a piece of cardboard to size and placed this underneath. It helped to smooth out the bumps and give it a much better finish. Then Lydia replaced all of the items attached to the roof, wind deflector, rear view mirror and sun visor clips.
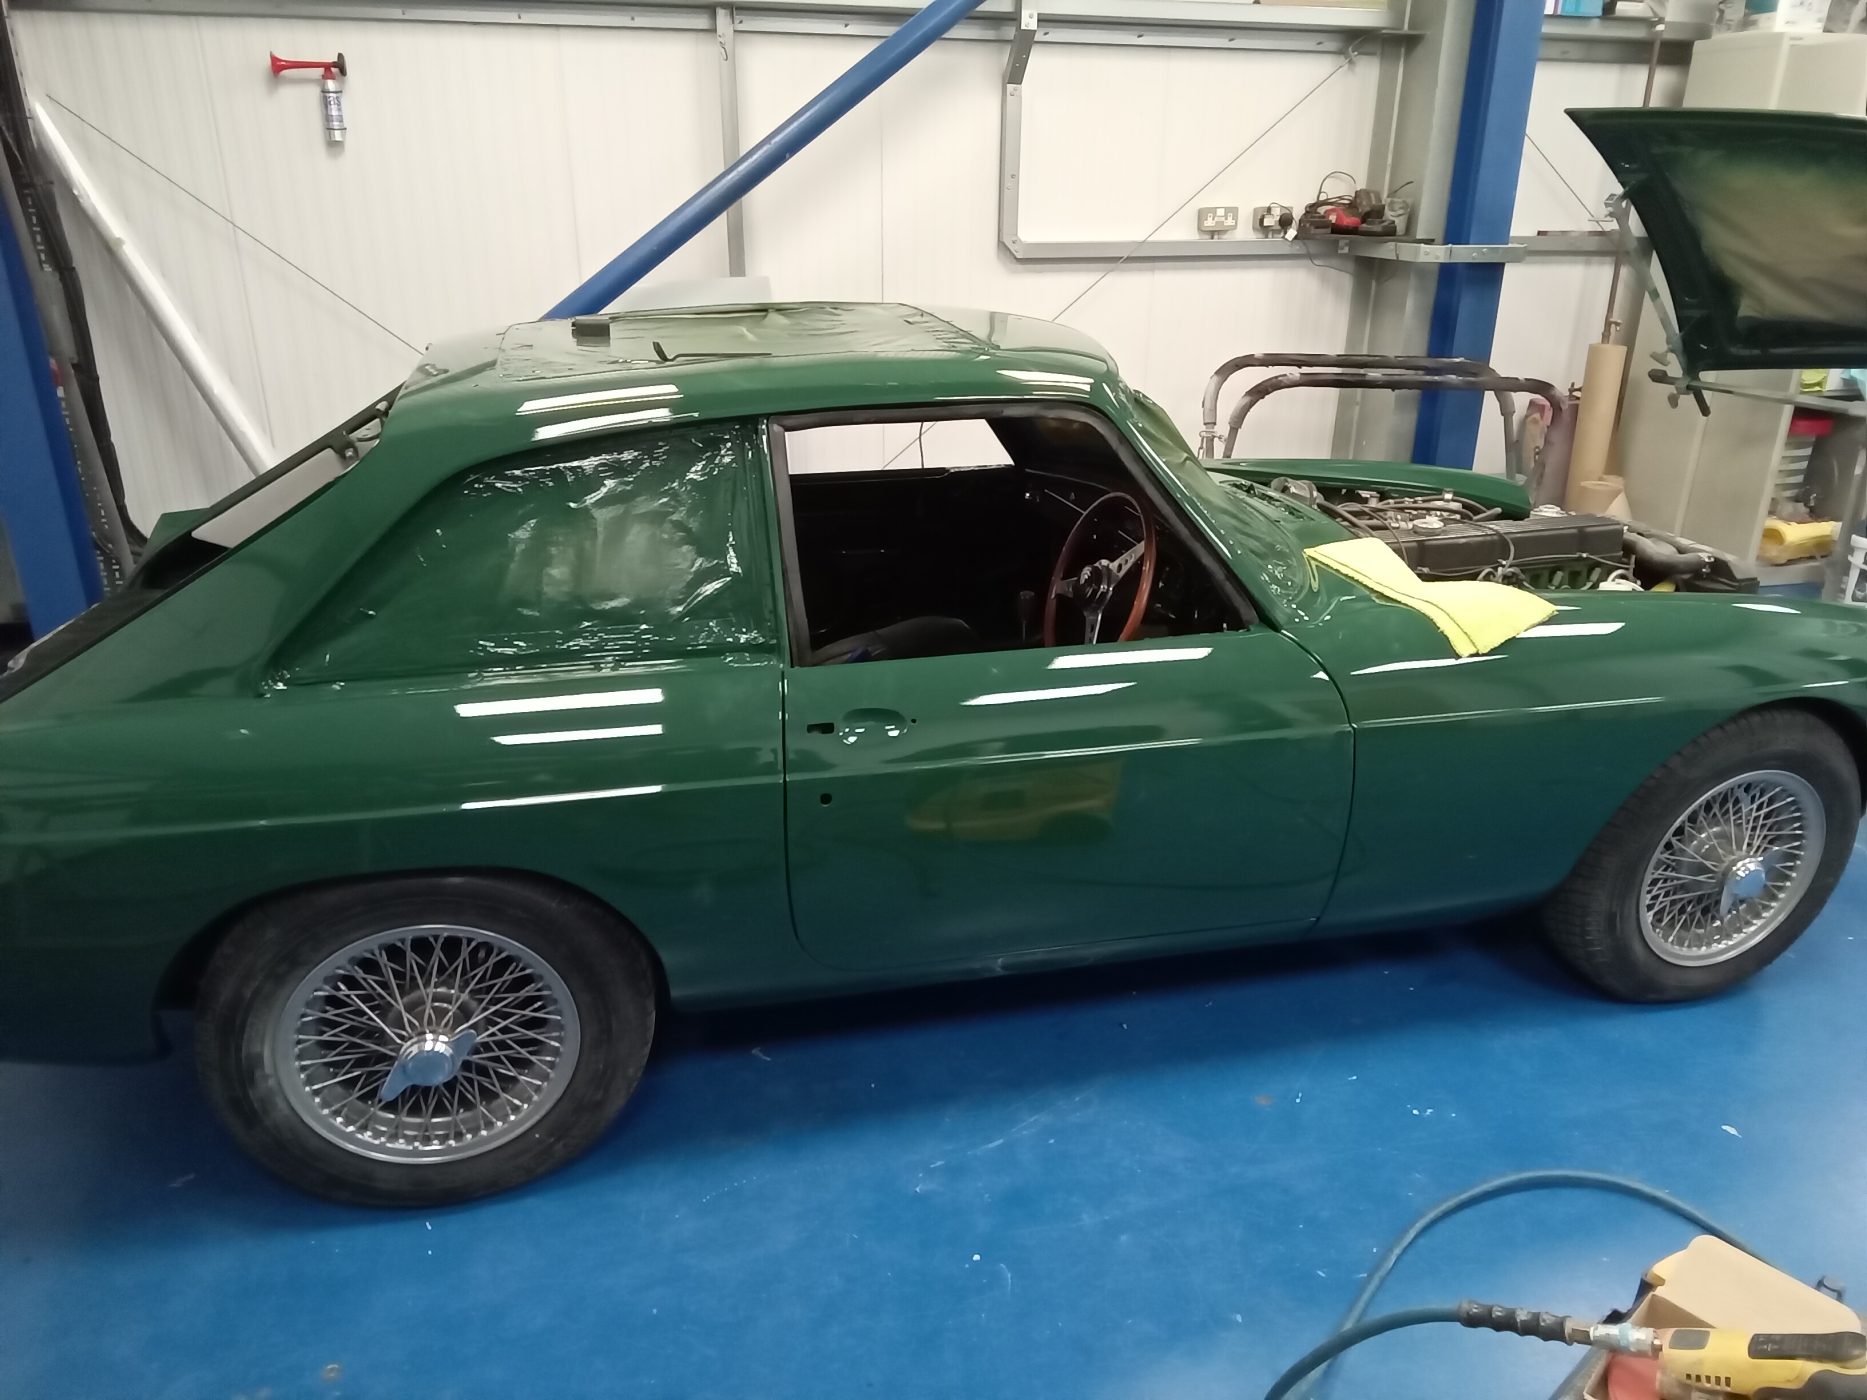
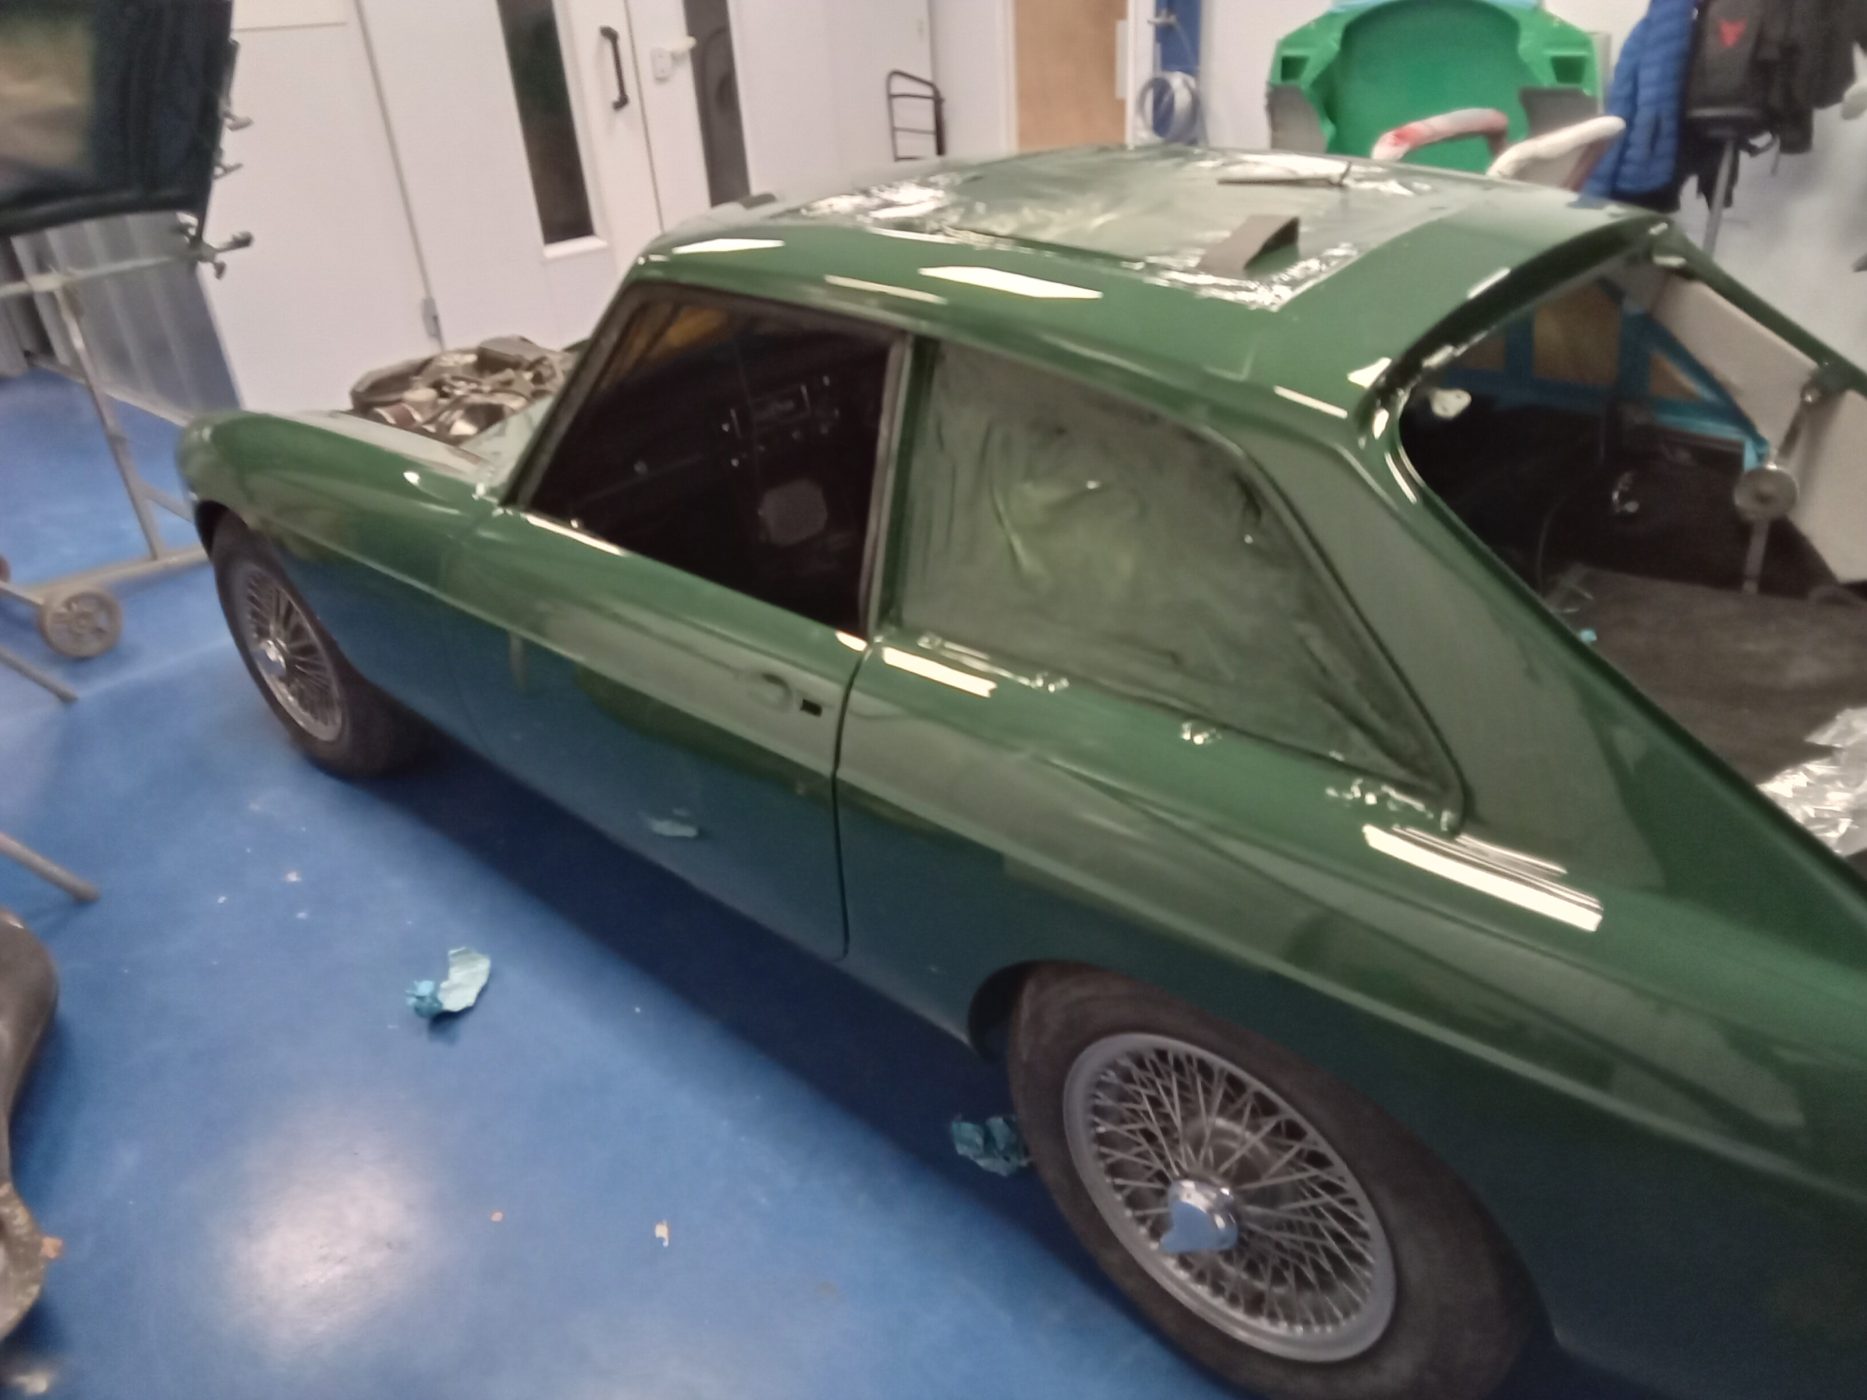
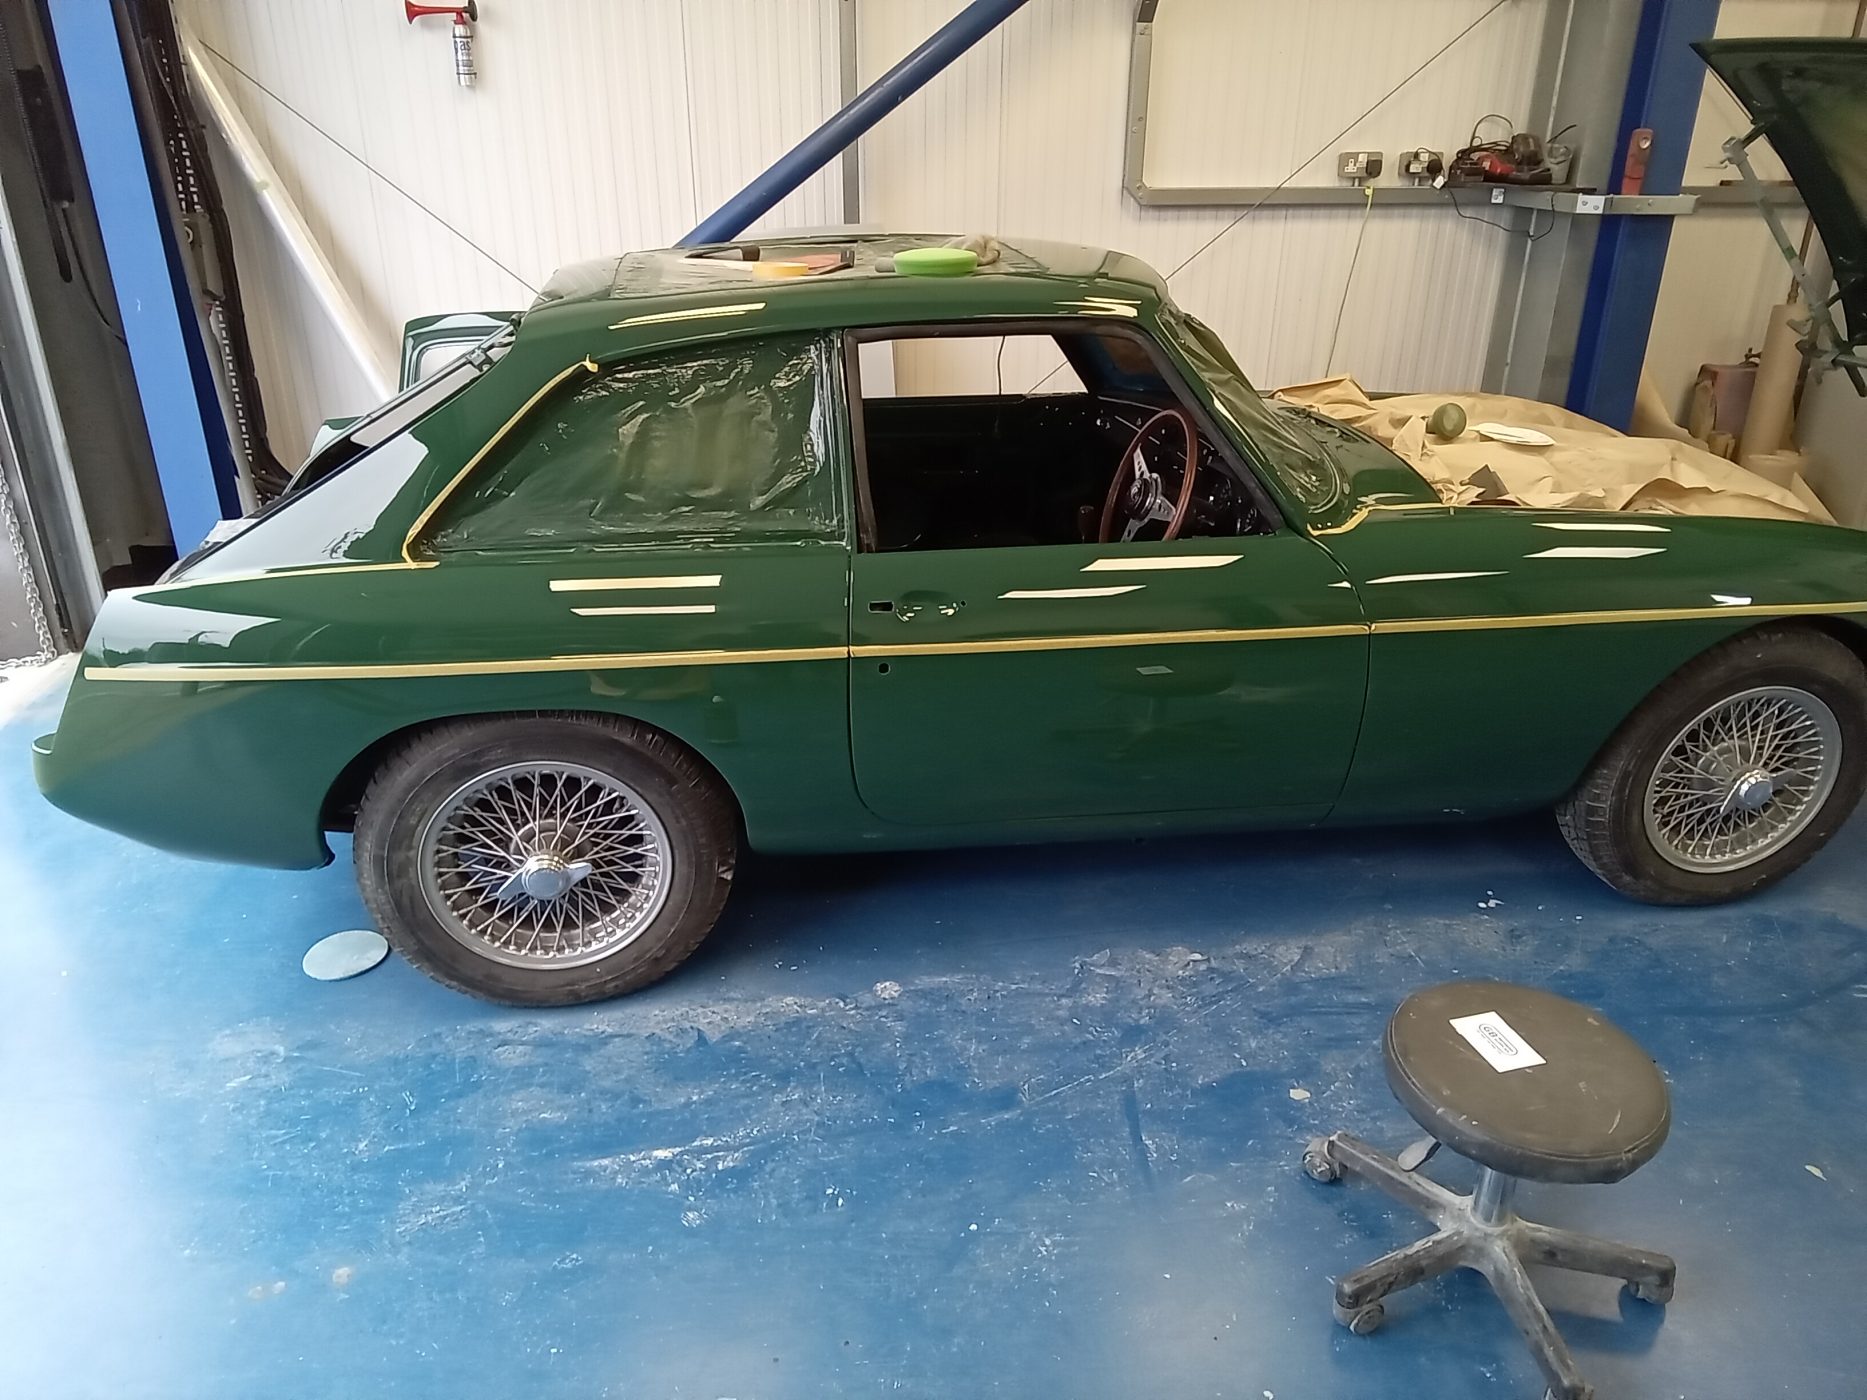
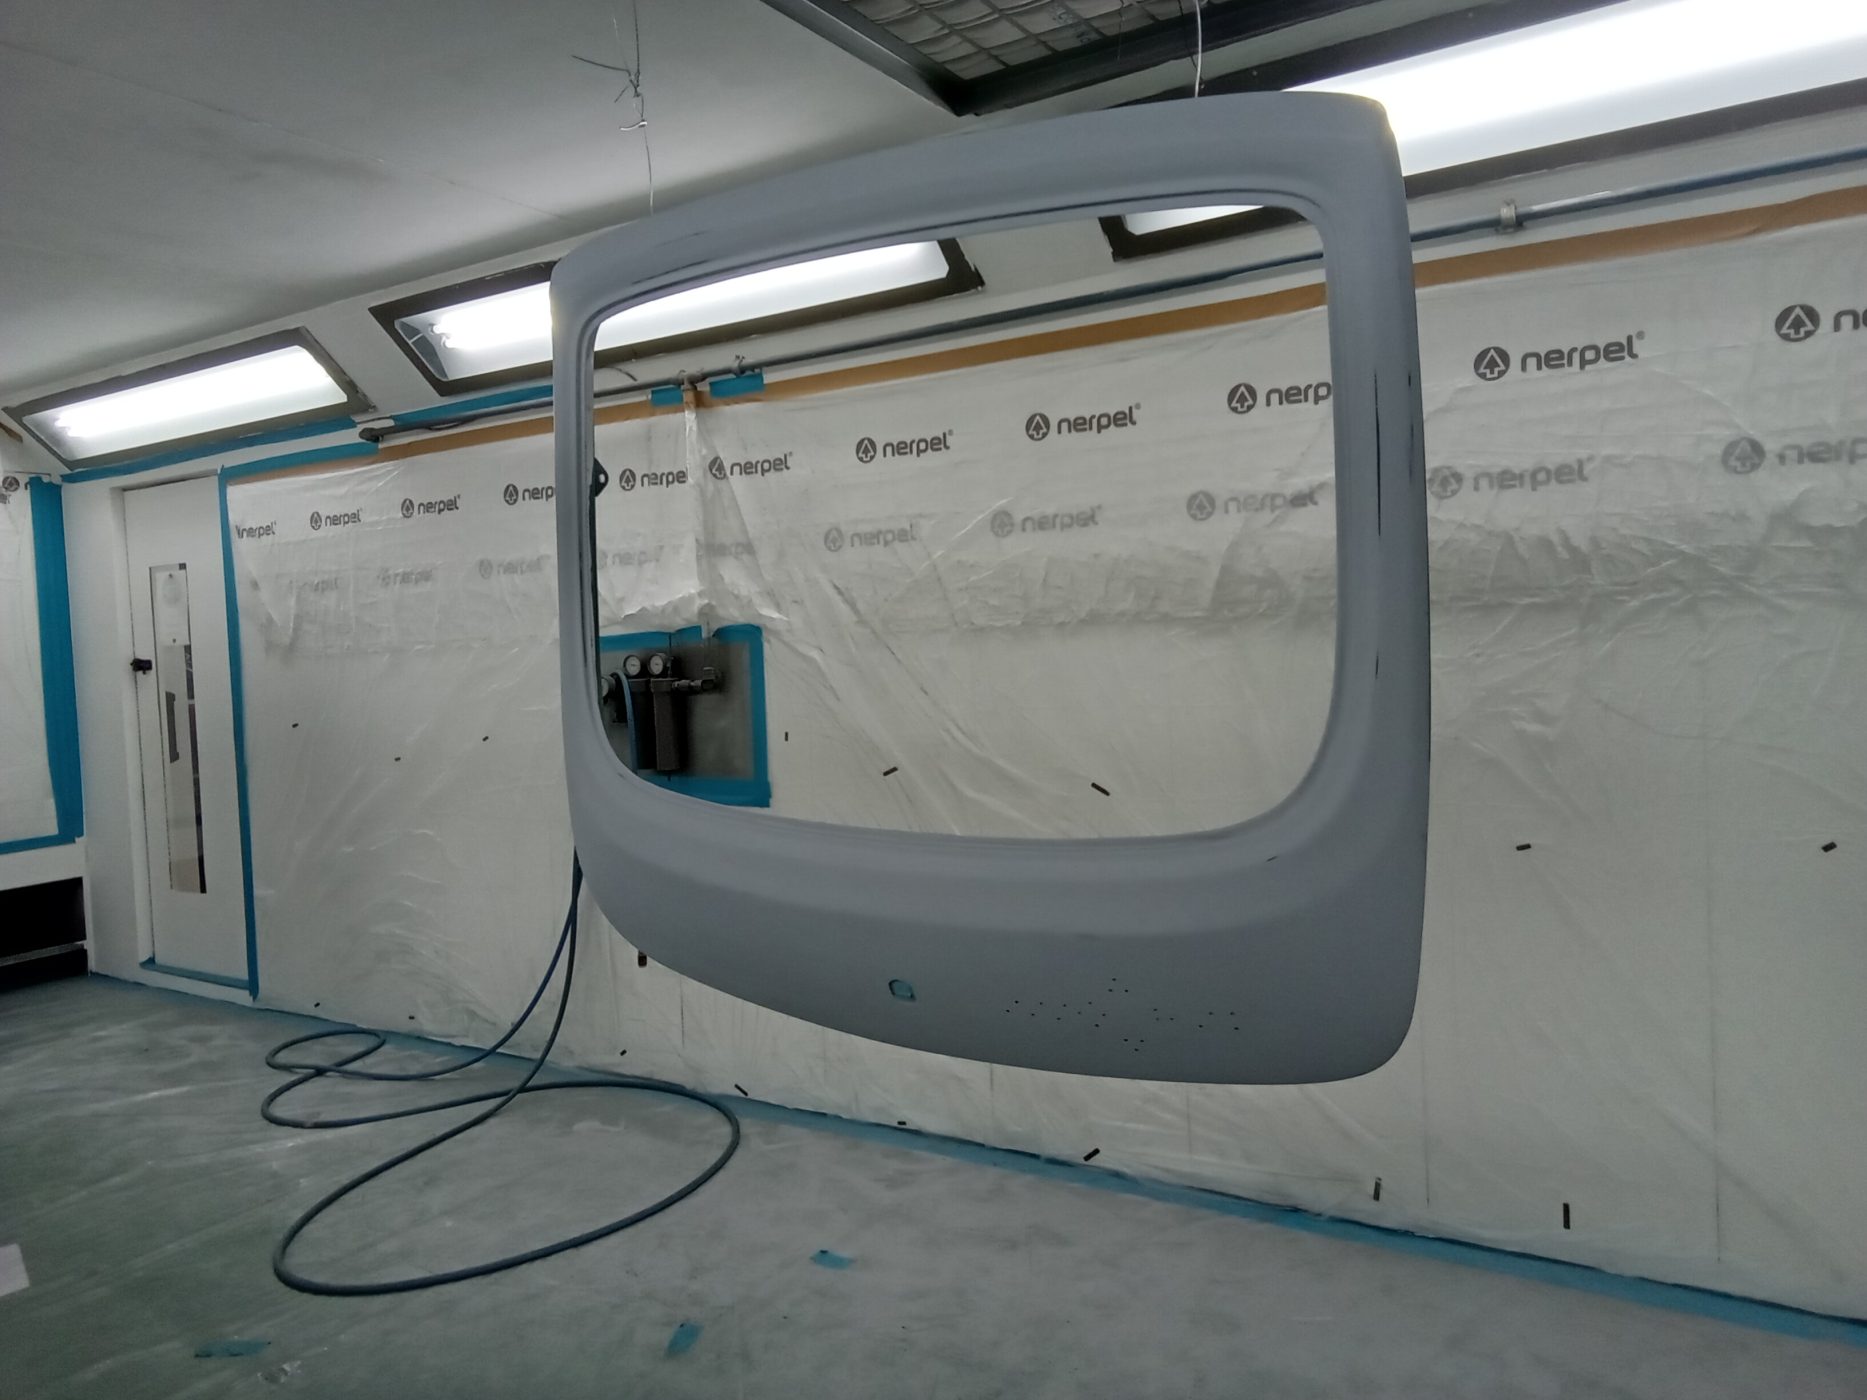
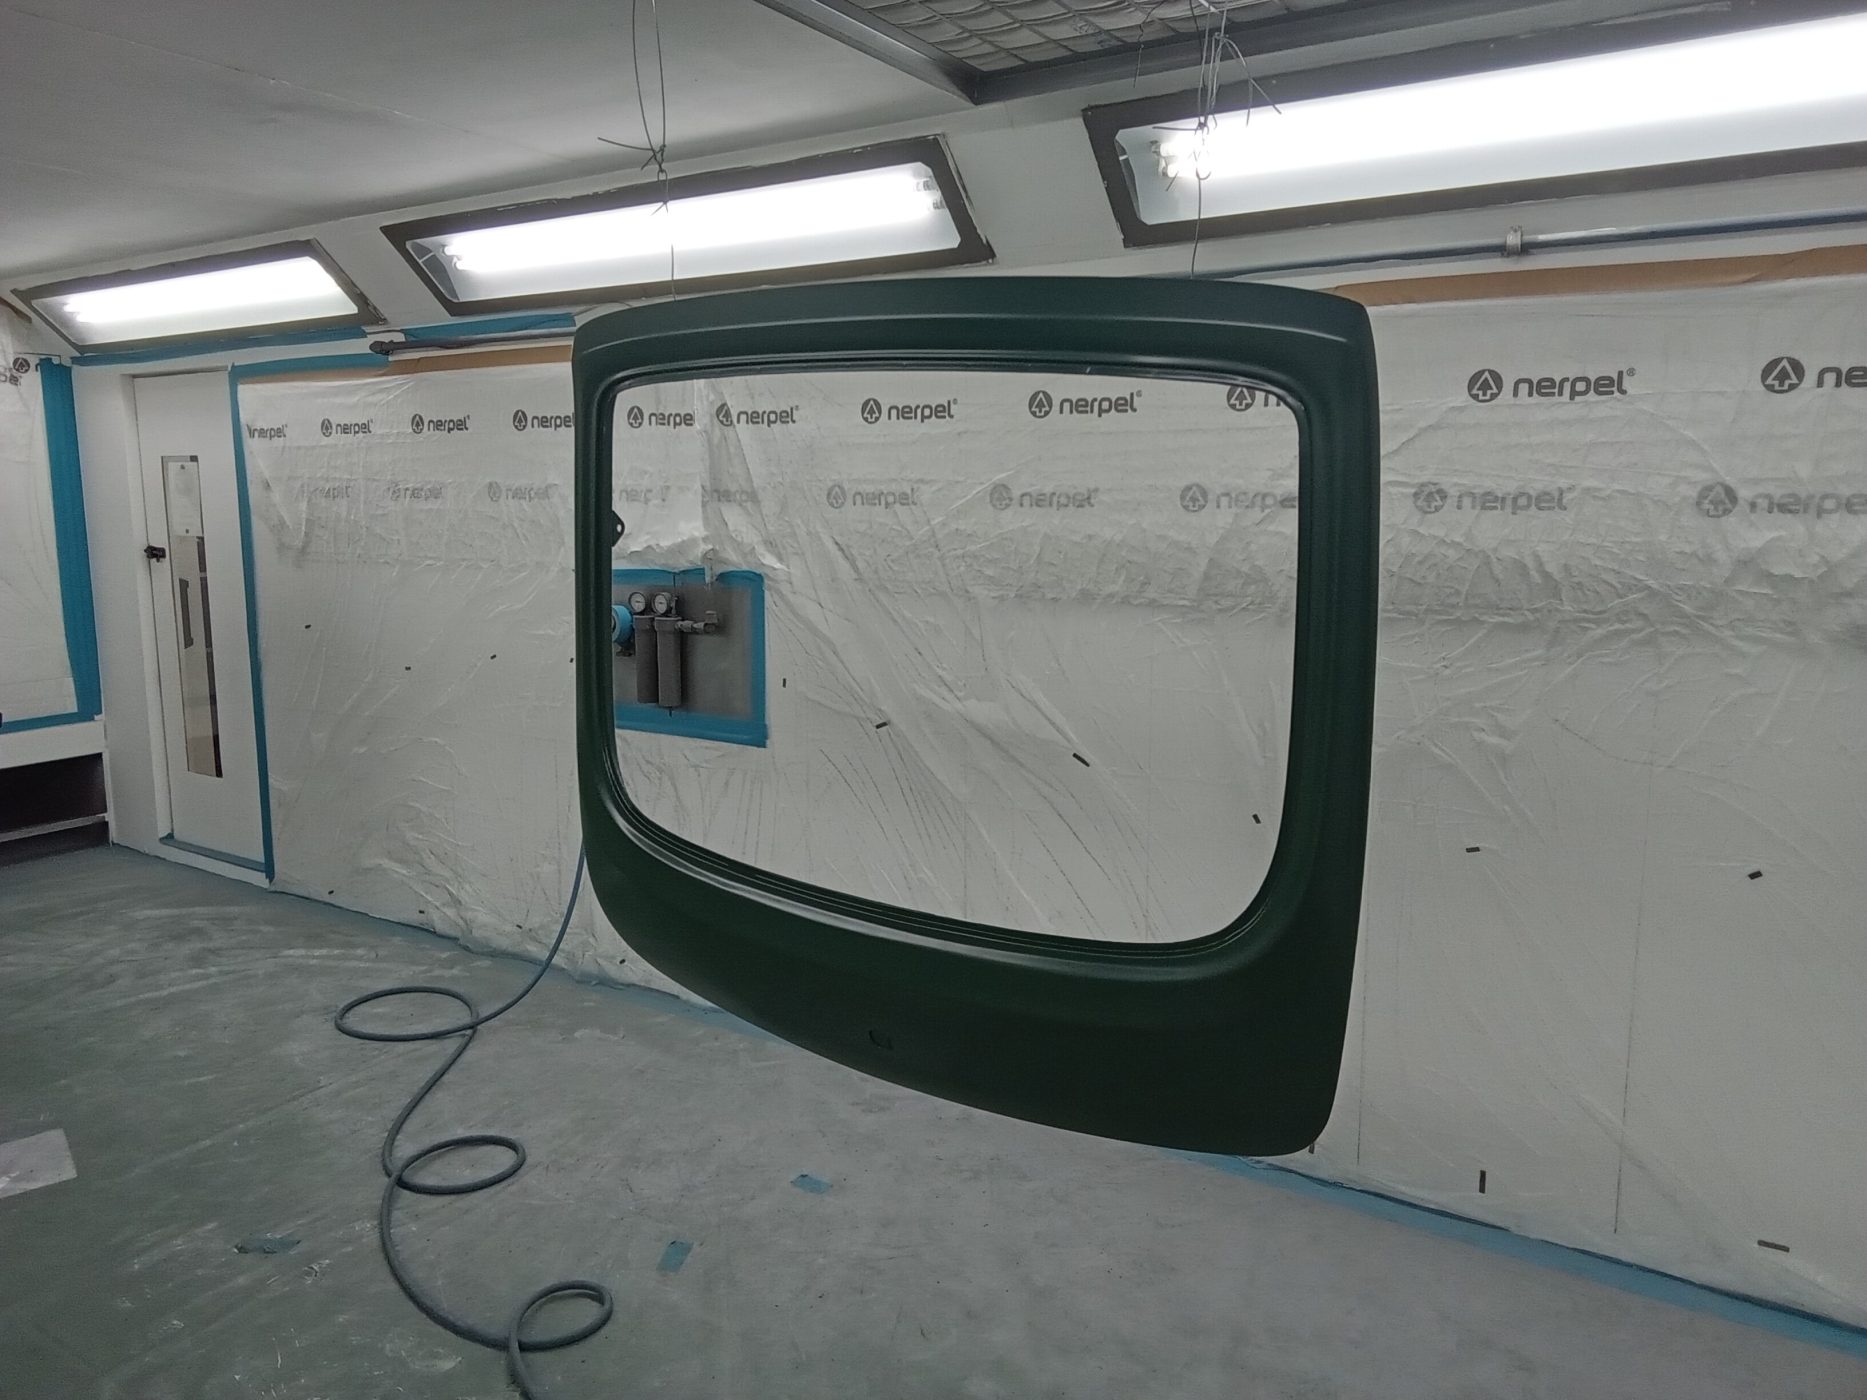
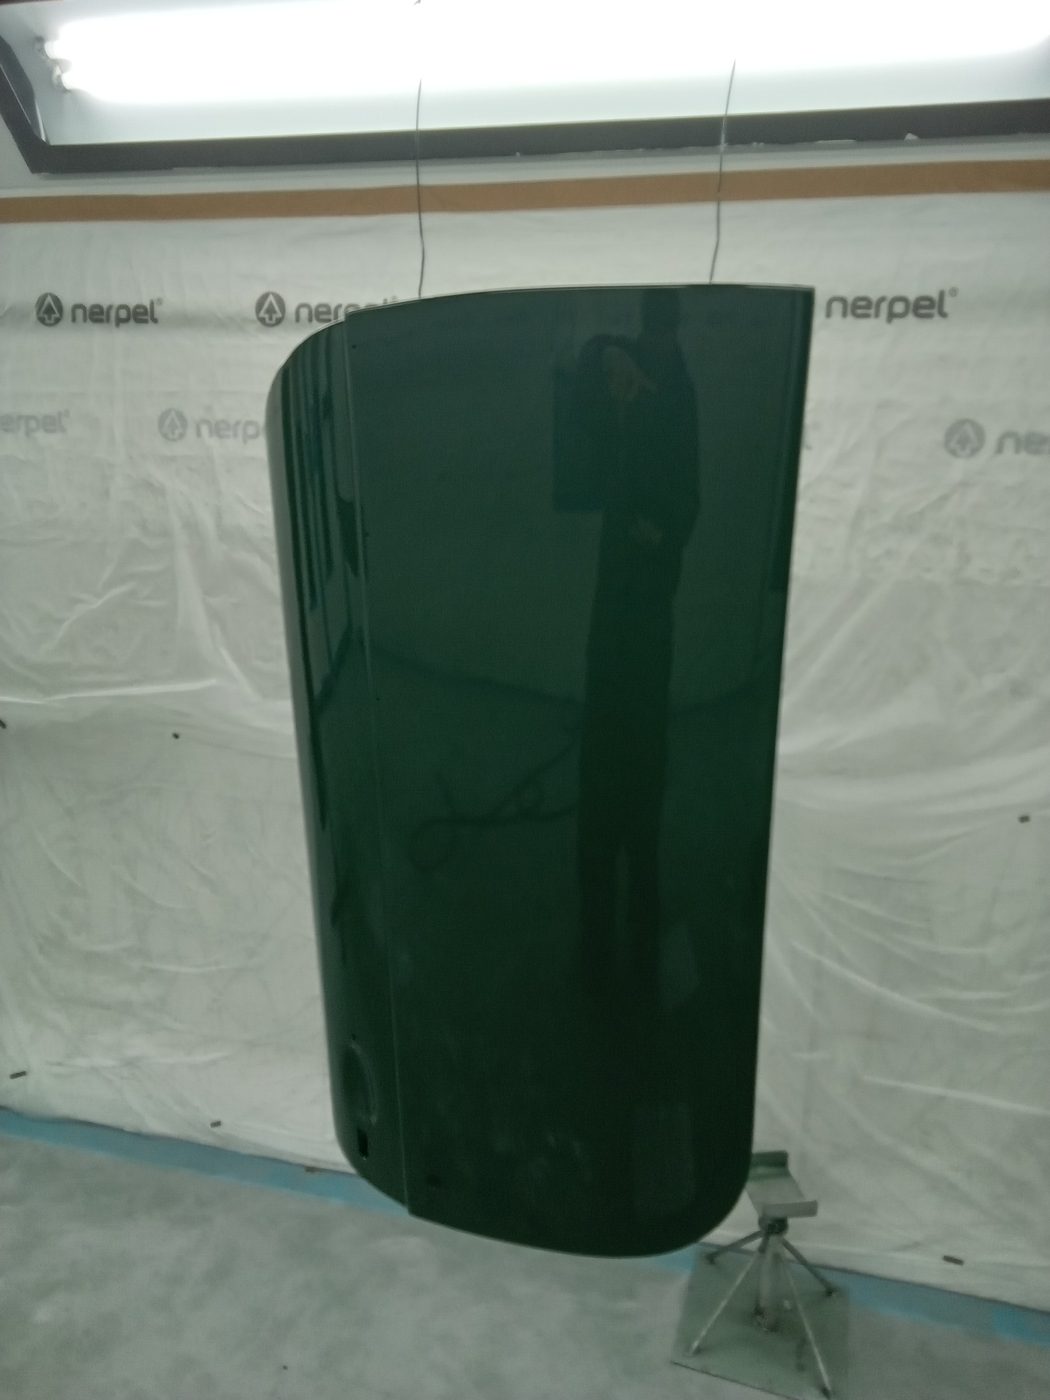
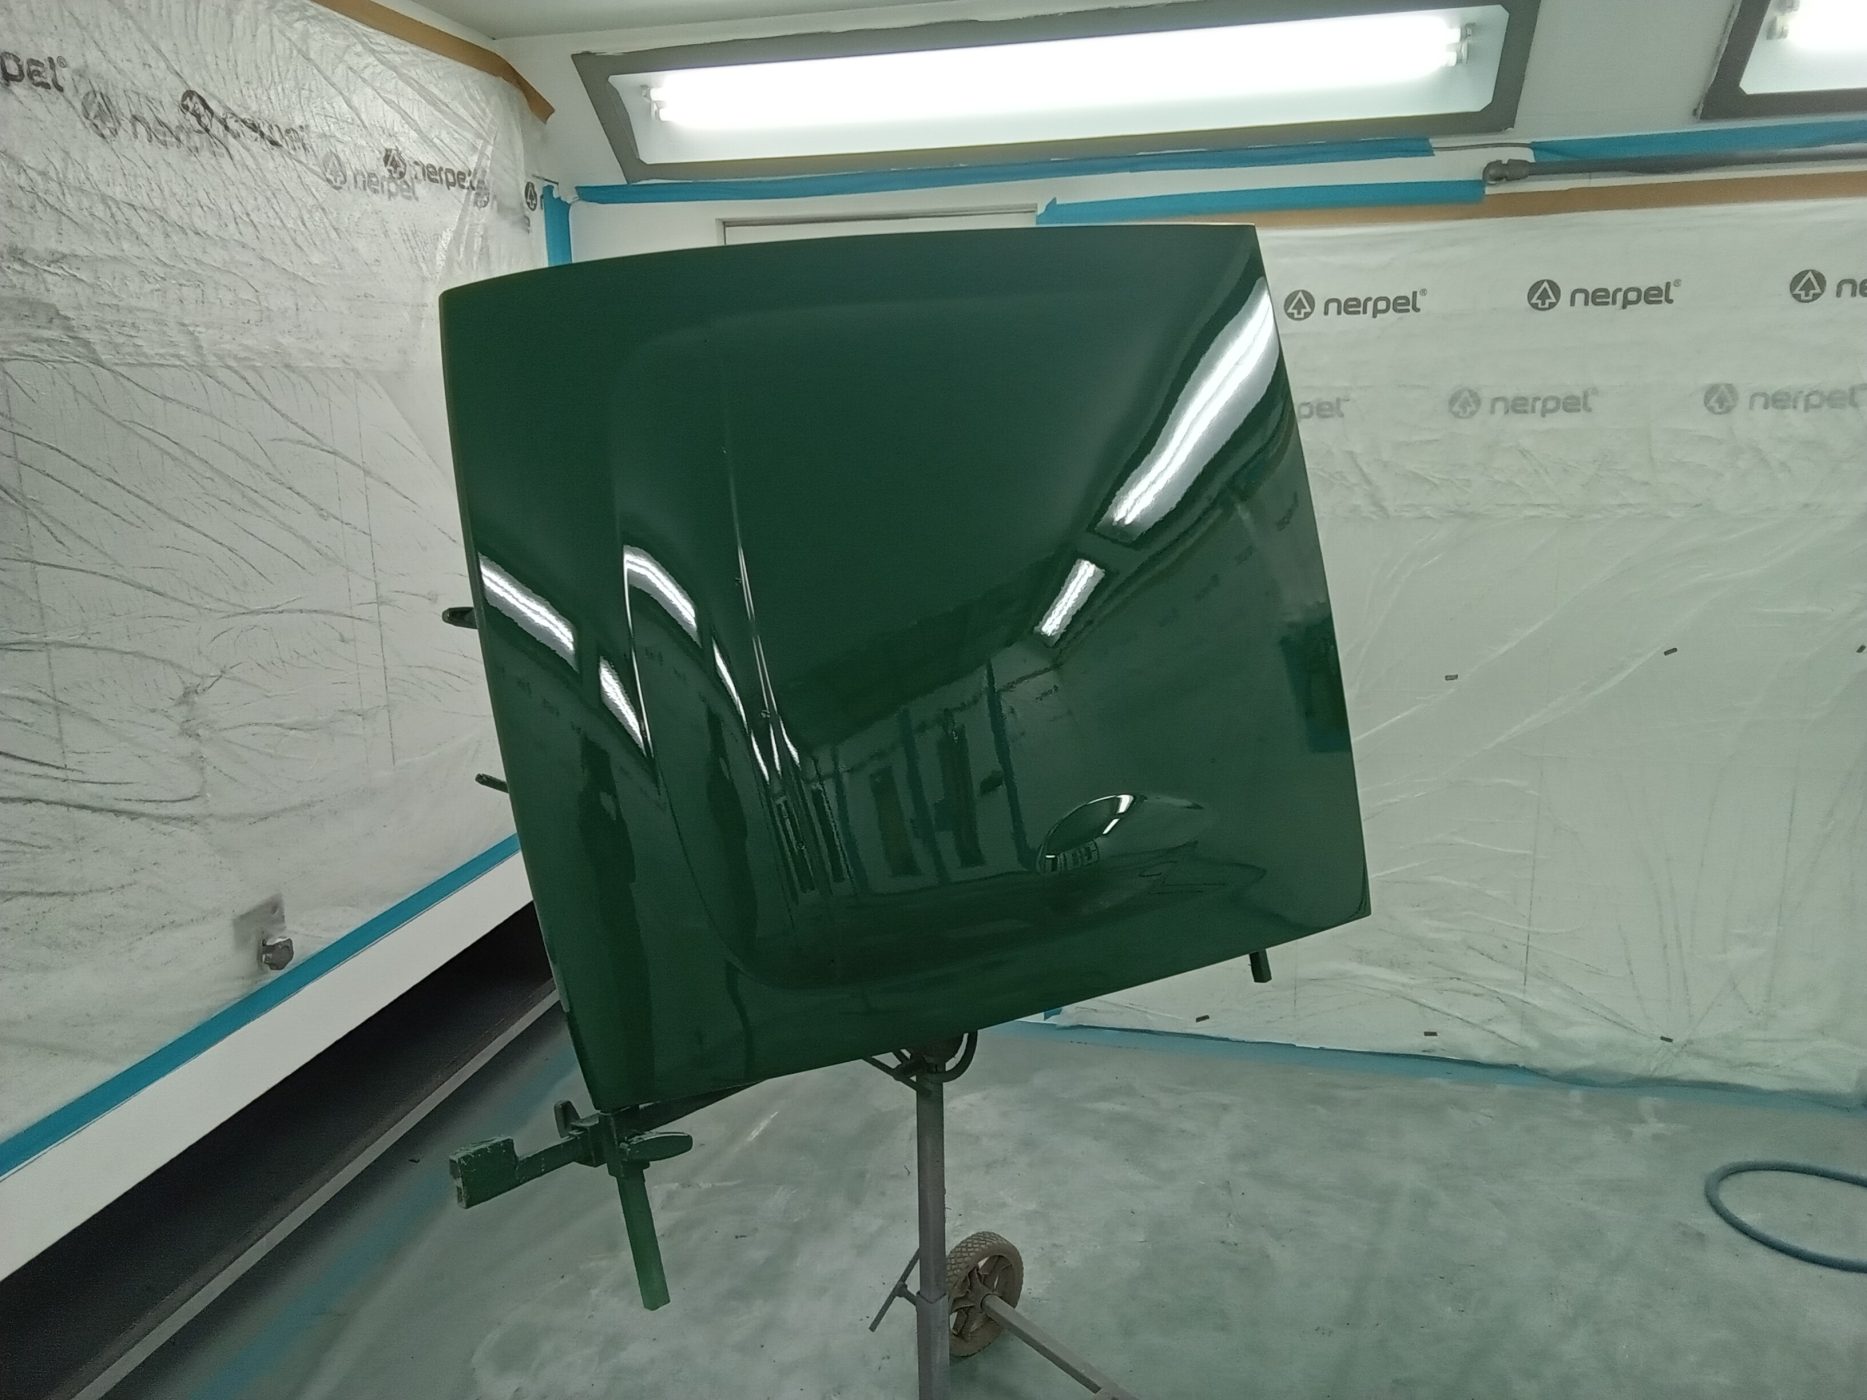
The doors and the bonnet of our MGC were painted before the car was flatted and polished.


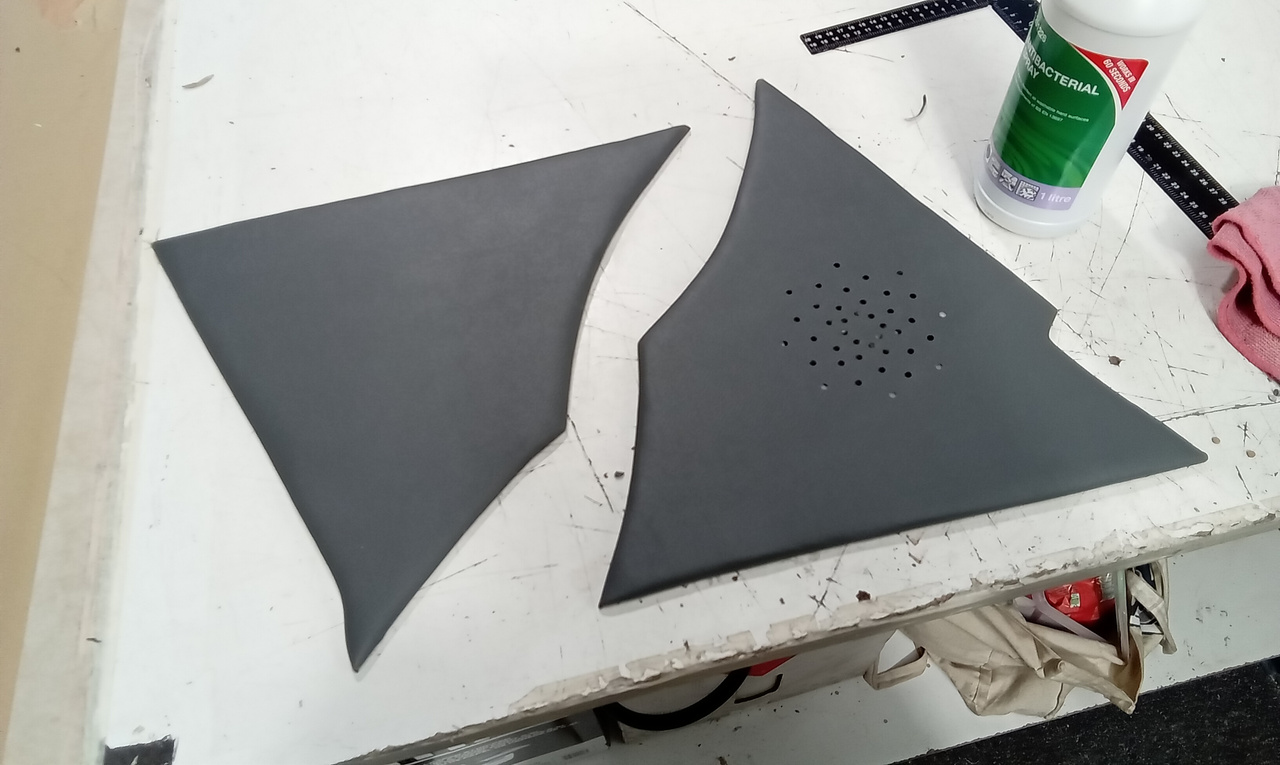
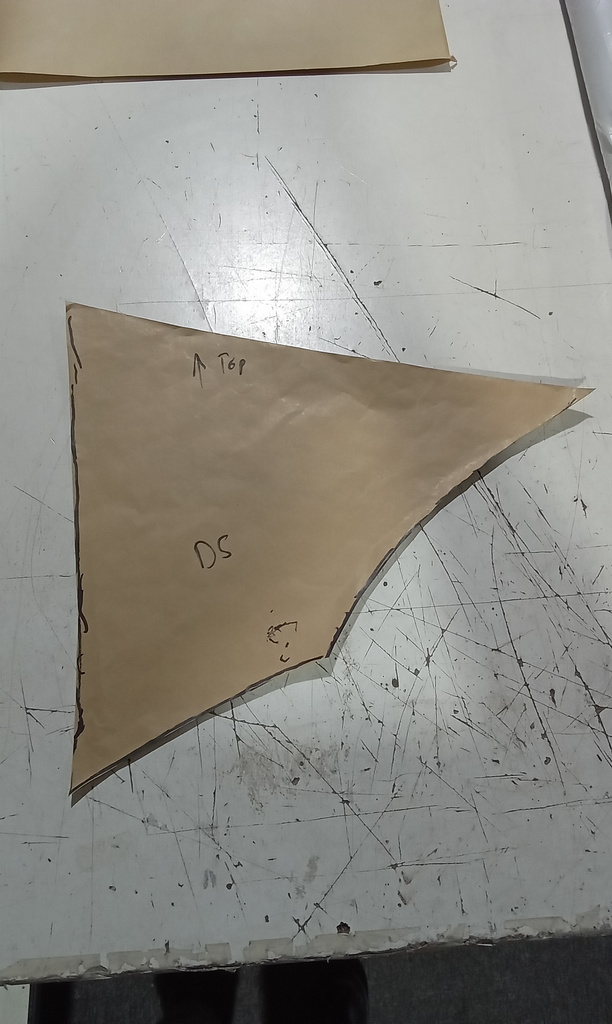
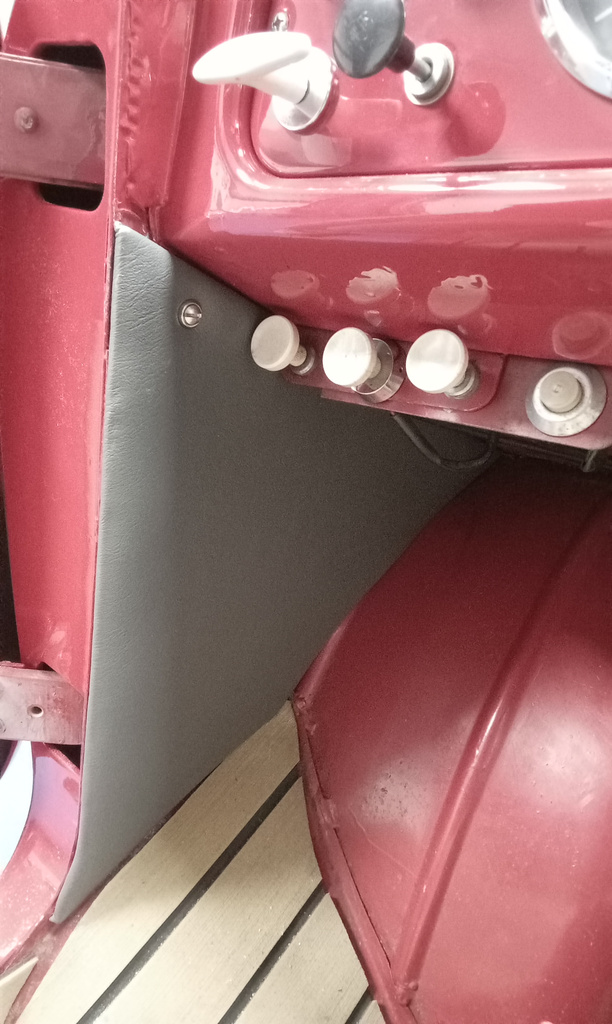
Lydia has been working on our 1964 Amphicar 7-70. Firstly, she made a template for the kick panels to ensure the correct shape and fit. Then she cut the panels out of plywood and cut a hole on the passenger side to allow airflow out of the vent tube.
Lydia then applied a thin layer of scrim foam and used grey vinyl to match the seats and door cards. She then fixed them into the car and used a screw and cup washer to ensure they didn’t fall out whilst driving.


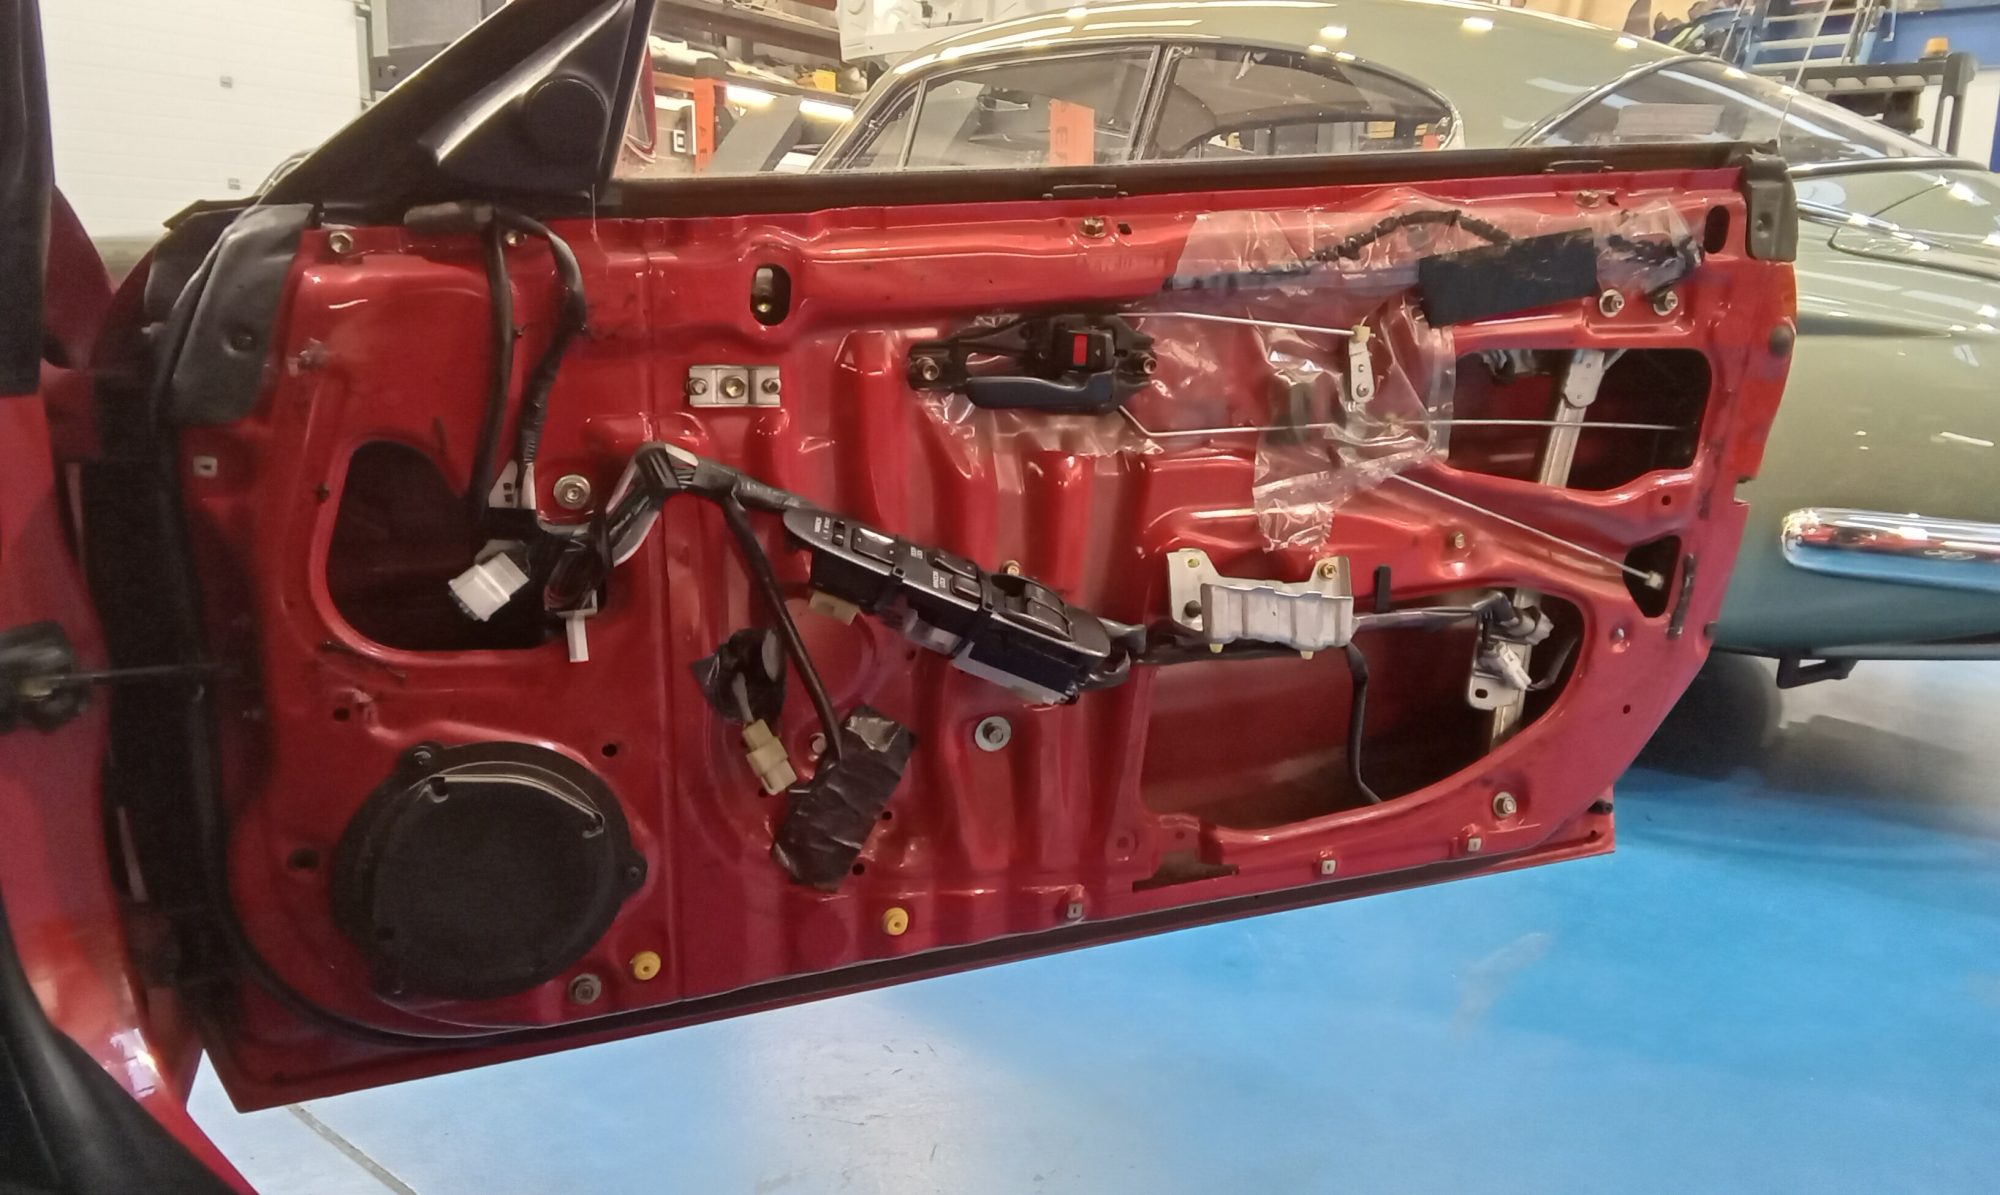
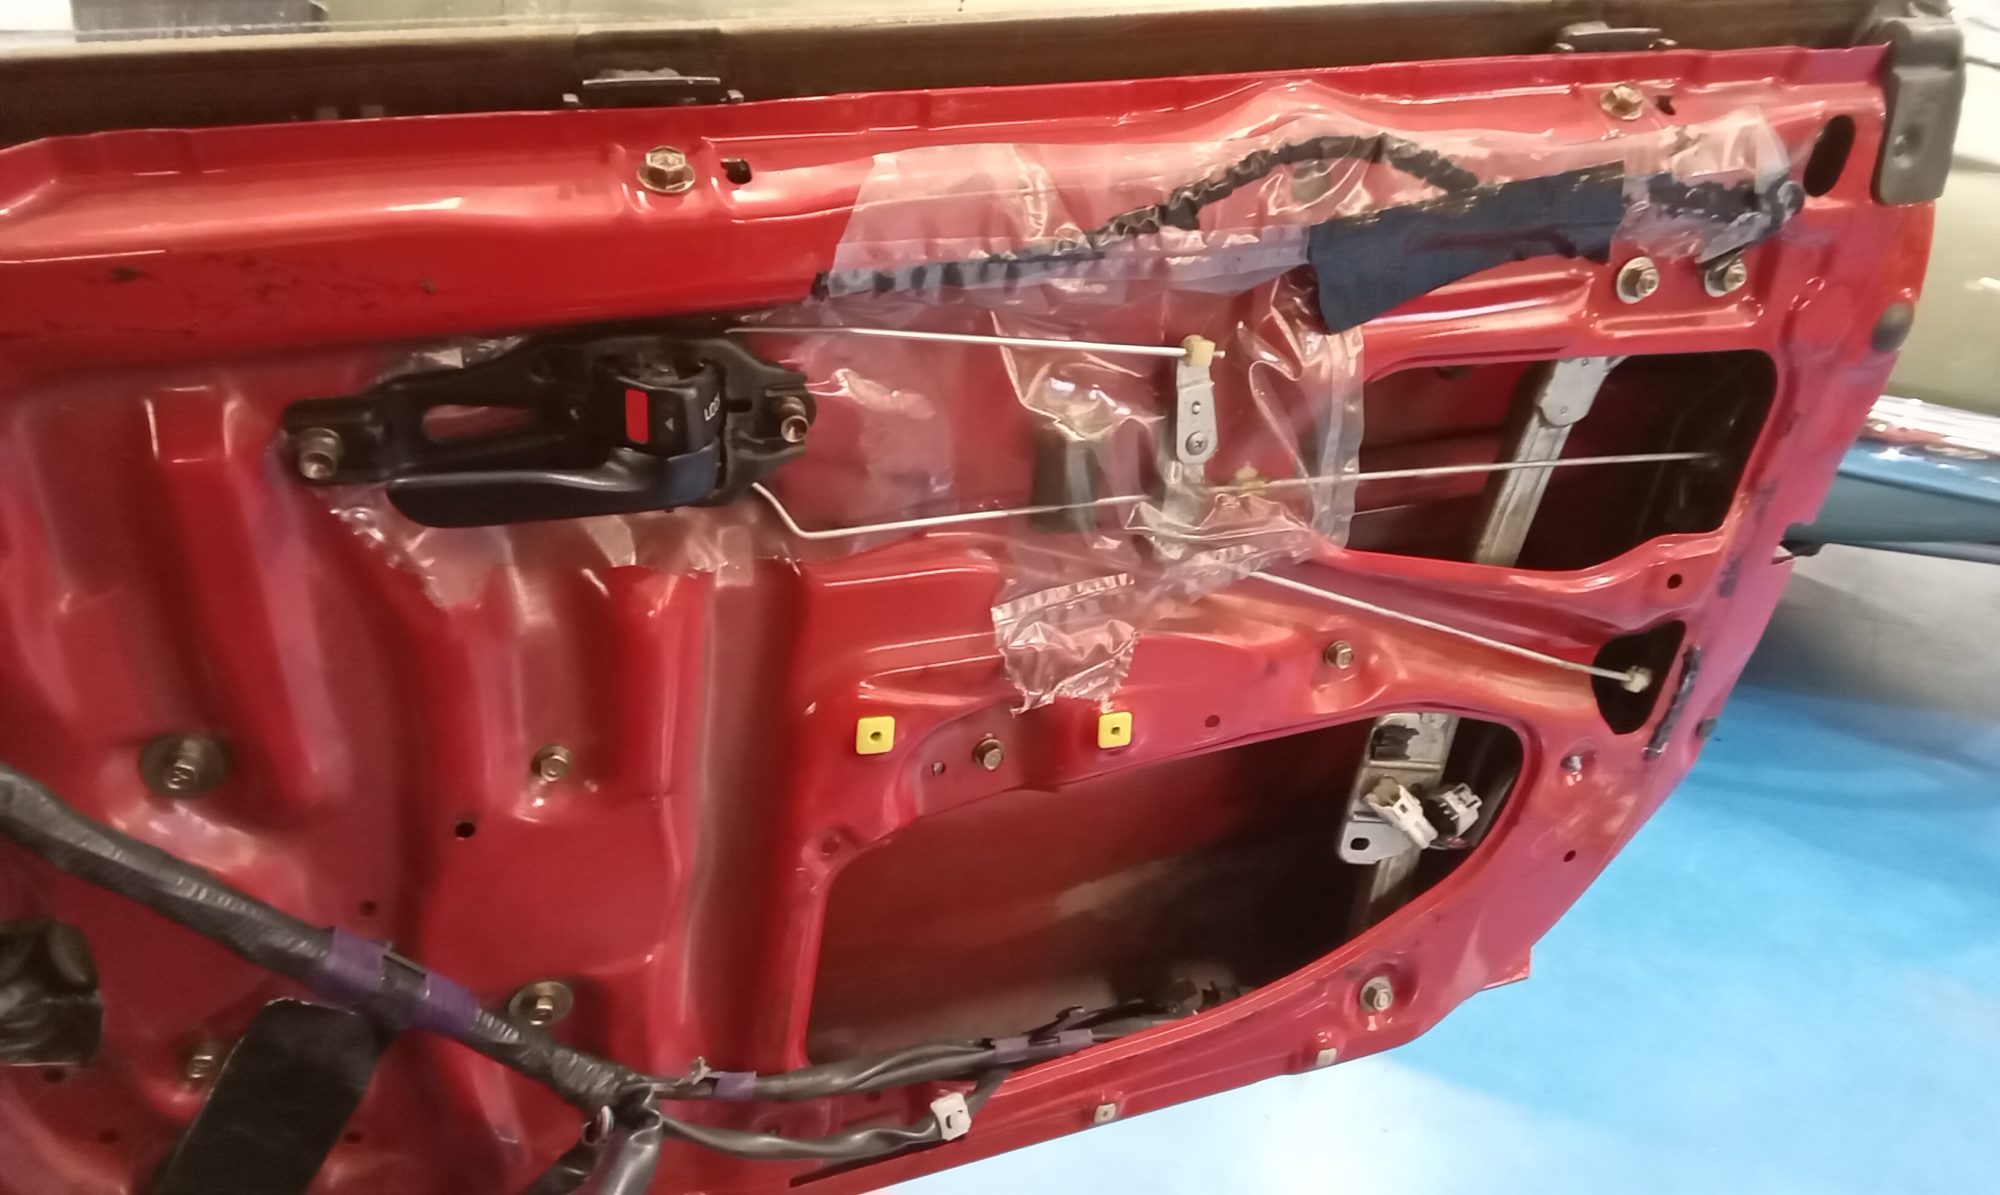
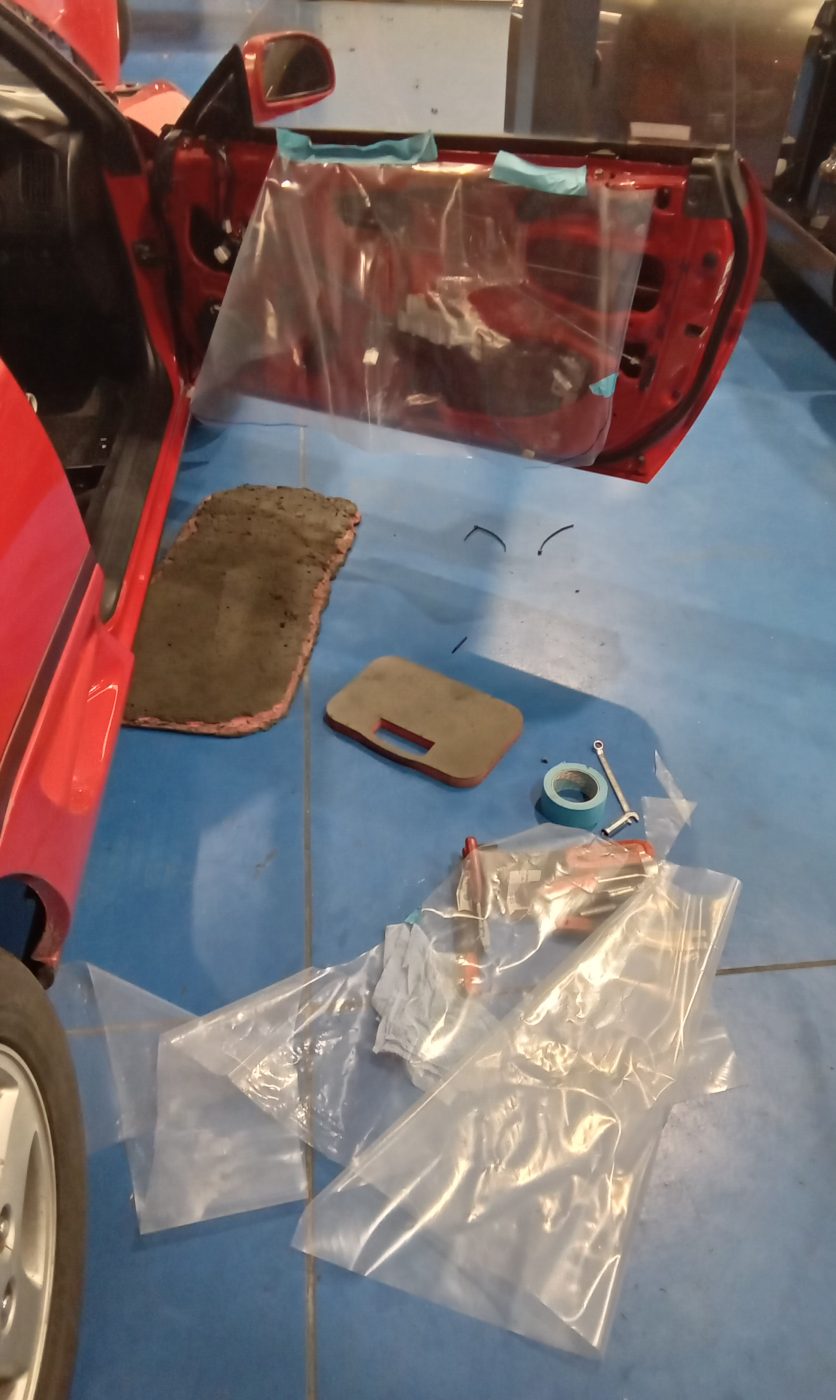
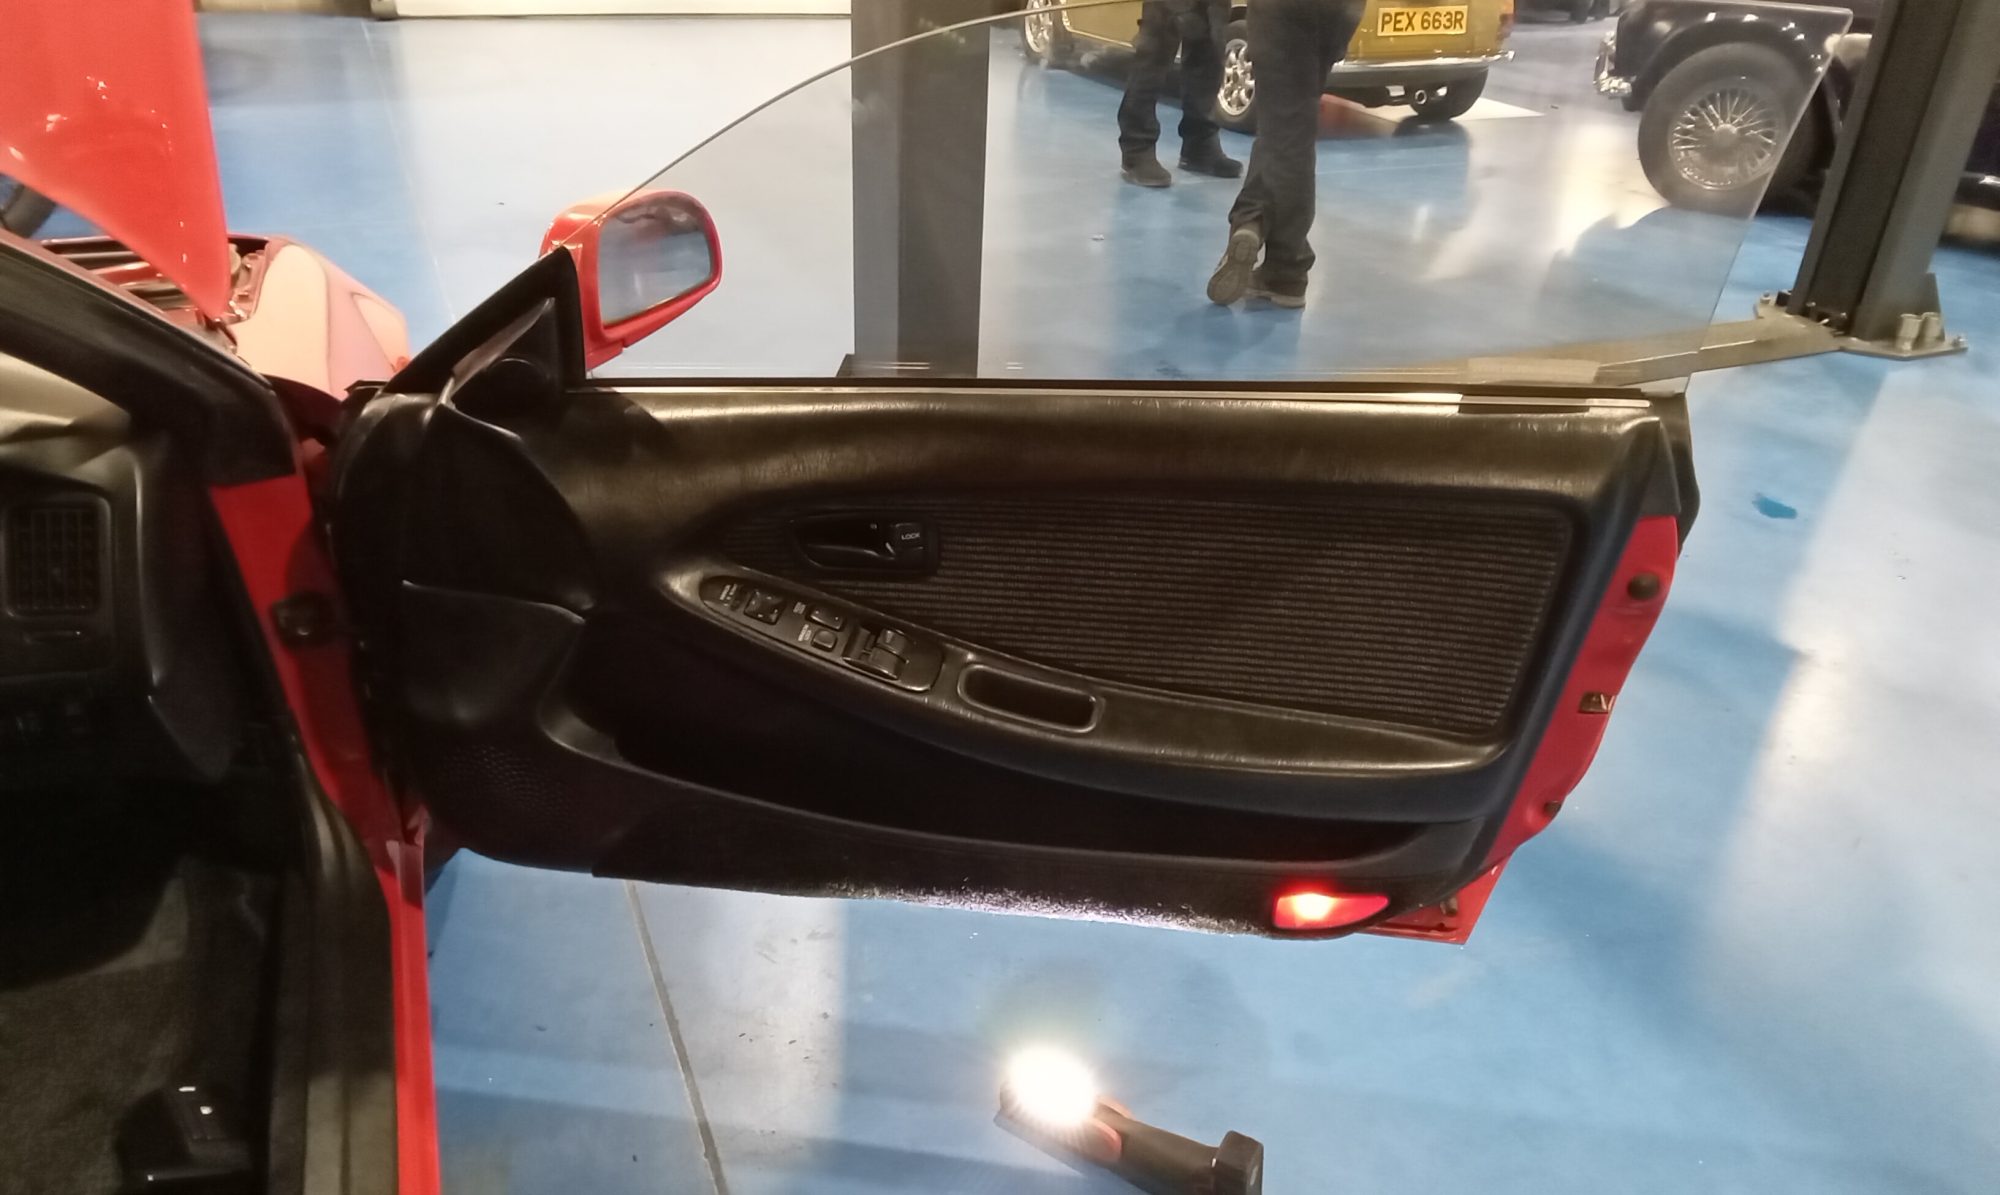
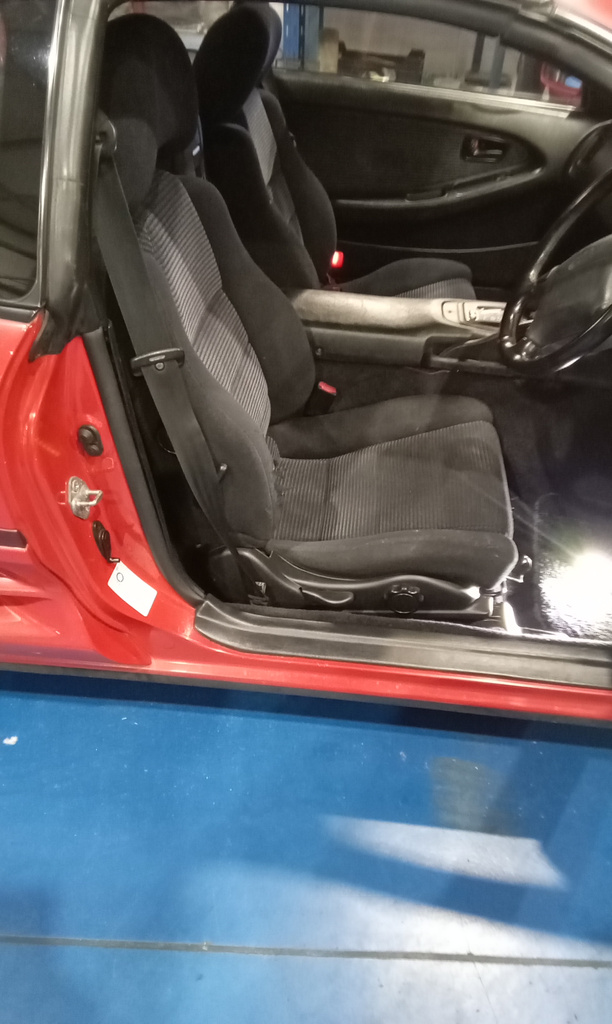
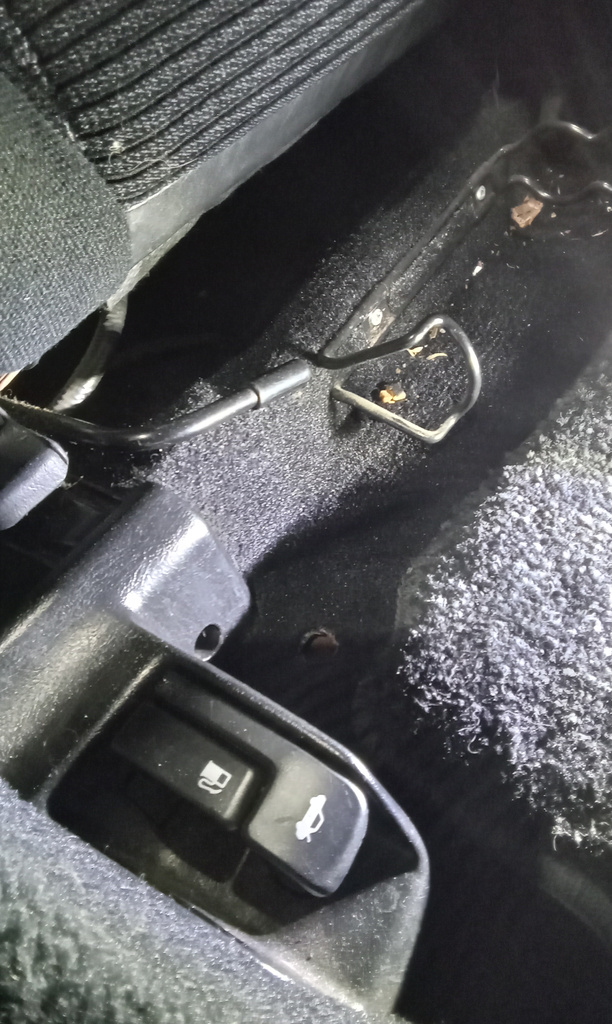
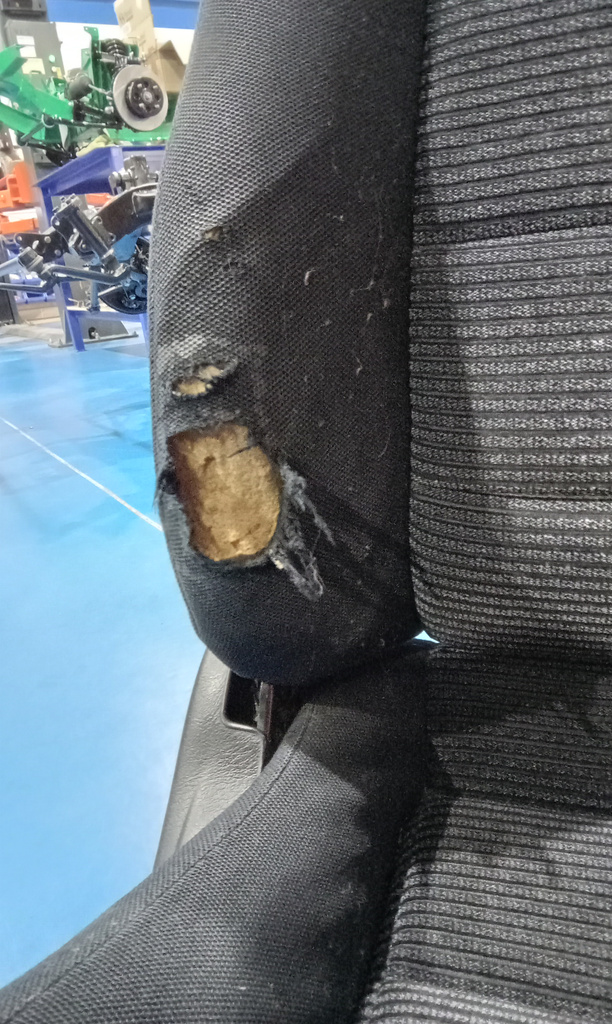
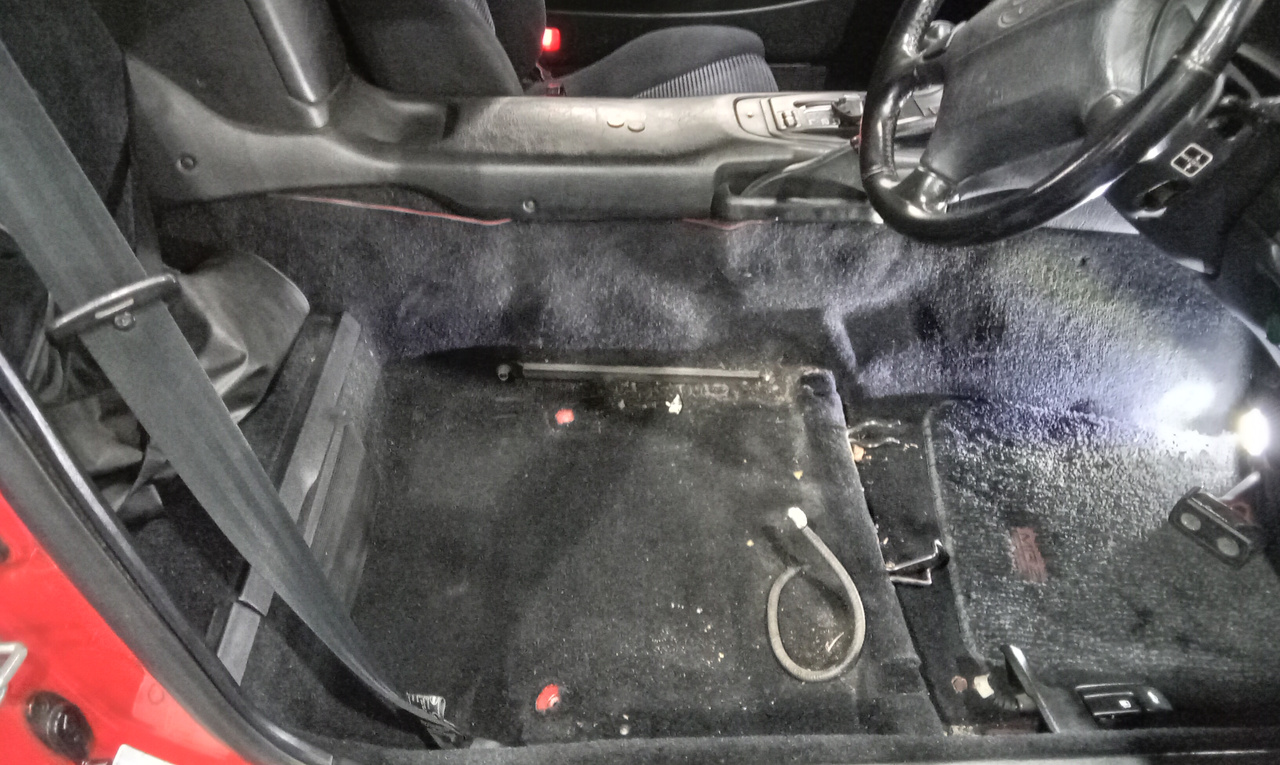
Our 1992 Toyota MR2 has been in the skilled hands of classic car technician Jonn. After he removed the driver’s seat for repair, Jonn disconnected the wiring under the seat before hoovering the space out ready for the seat to go back in once the repair is complete.
A new plastic weather shield was made for the door before the door panel was refitted. New screws were used at the bottom edge as the old ones were missing when the car arrived. Once the switch pack was reconnected, the window was tested and found to be working fine.

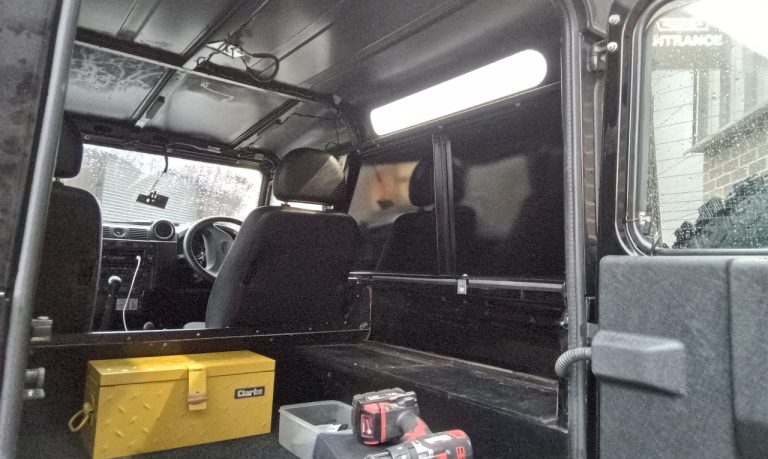
Lydia removed the interior panels of our 2010 Land Rover Defender. The roof had to be removed for some bodywork to take place and the play lining in the rear was removed so it could be covered.
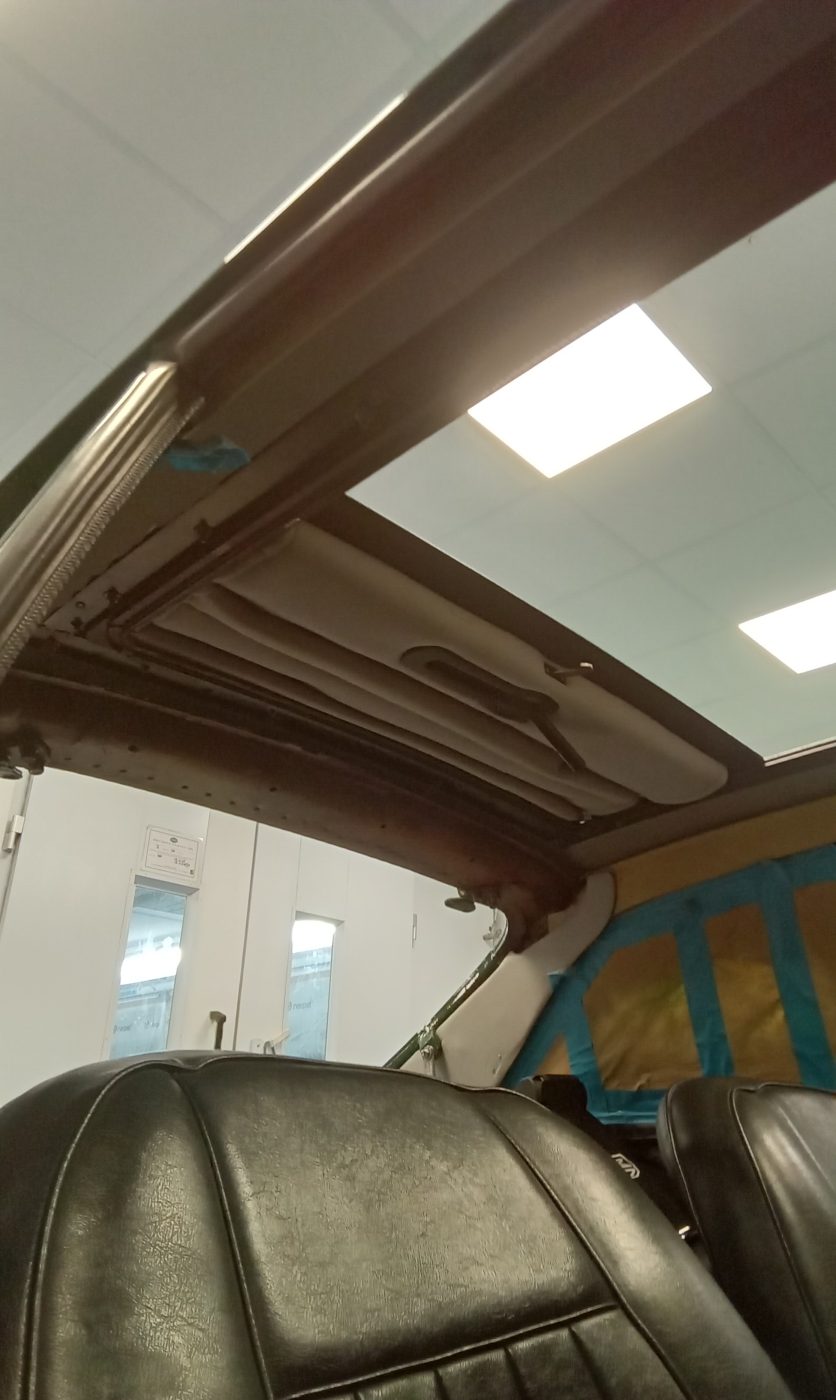
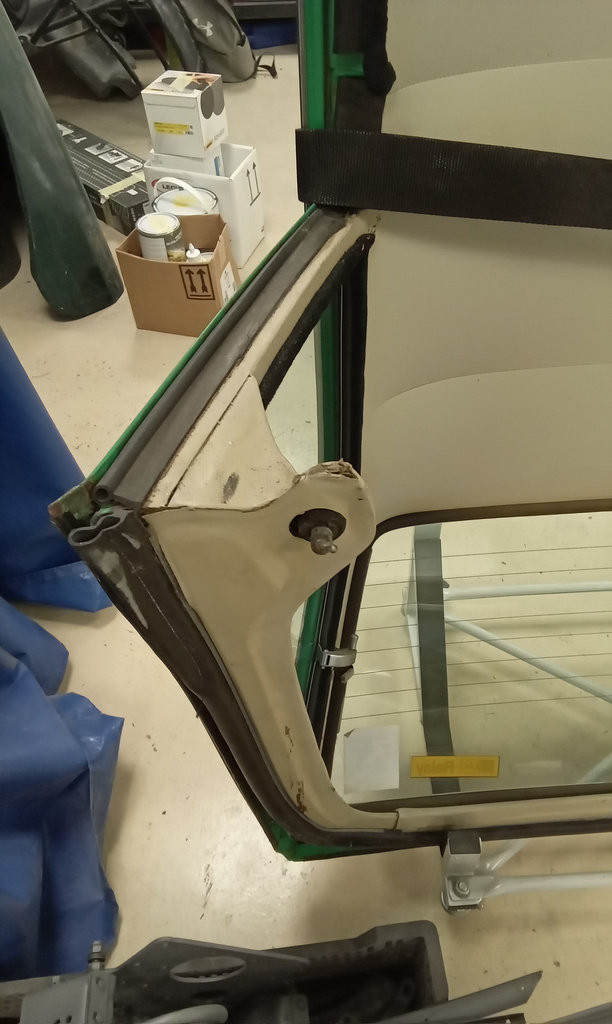
recently, Lydia spent some time stripping the headlining and internal parts off the hard top for our 1978 Triumph Stag.
Firstly, she removed all rubber pieces that she could, to expose the metal strips holding back the headlining. Then she had to drill out the rivets and remove the strips.
Next, Lydia prized the edge of the headlining away , pulled out the roof bars, and was able to pull out the headlining piece.
Classic car technician Mauro has removed the gearbox and fuel line from our 1975 AC Cobra Project.
Brian has also been working on the interior of our Cobra. He has been making and working on the glovebox lid and the dashboard. Brian made good progress on the dashboard and was able to fit the dials and lights to the dash.
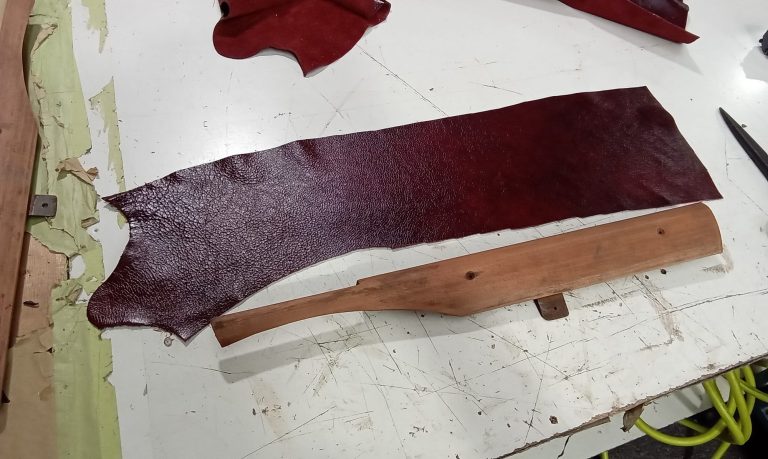
Lydia also made the cushion part of the seat base from tan leather.


After cleaning up the seat of our 1955 Aston Martin DB2/4 Drophead Coupe, Lydia has spent some time making the foams fit.
Unfortunately, the original foam has been lost or destroyed, meaning that it was necessary to make new ones. Having recently seen some original ones, Lydia knew the basic shape that they needed to be and also the way that they were chamfered underneath. This meant that replicating them was not too difficult but still required a few test fits and alterations.
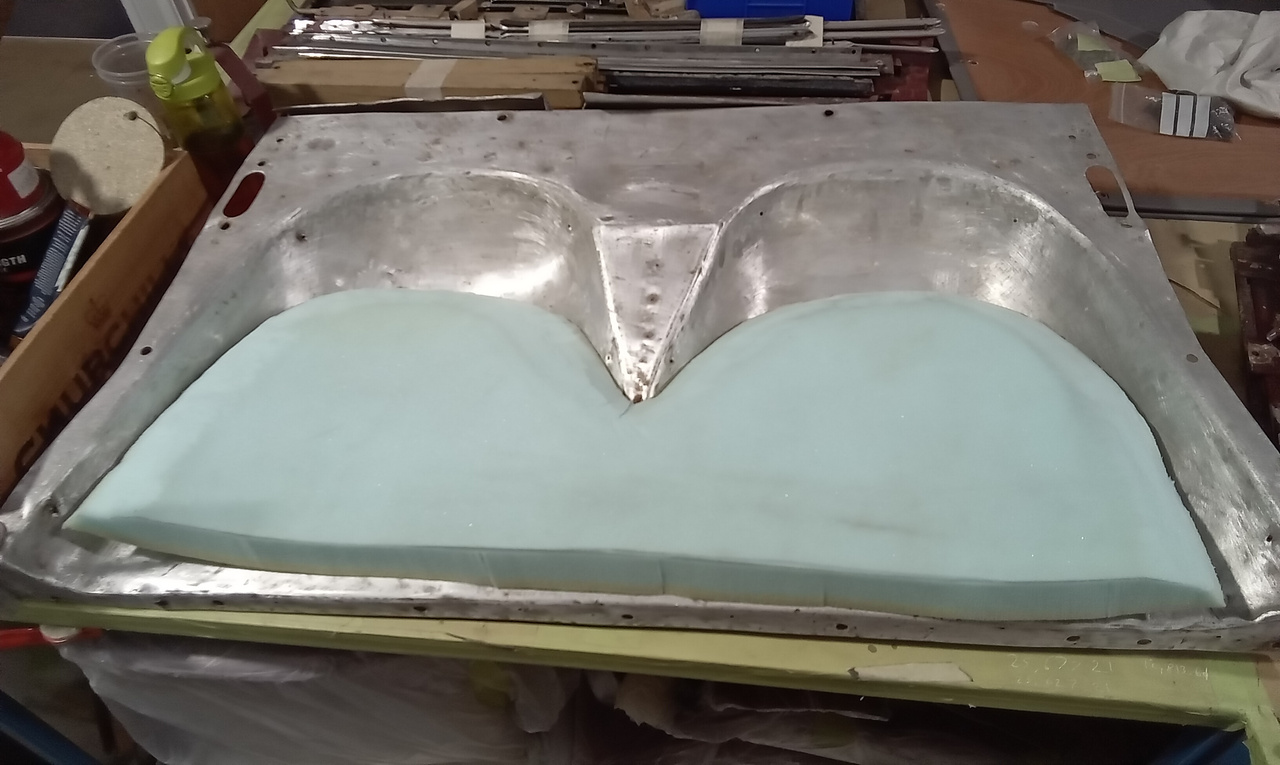
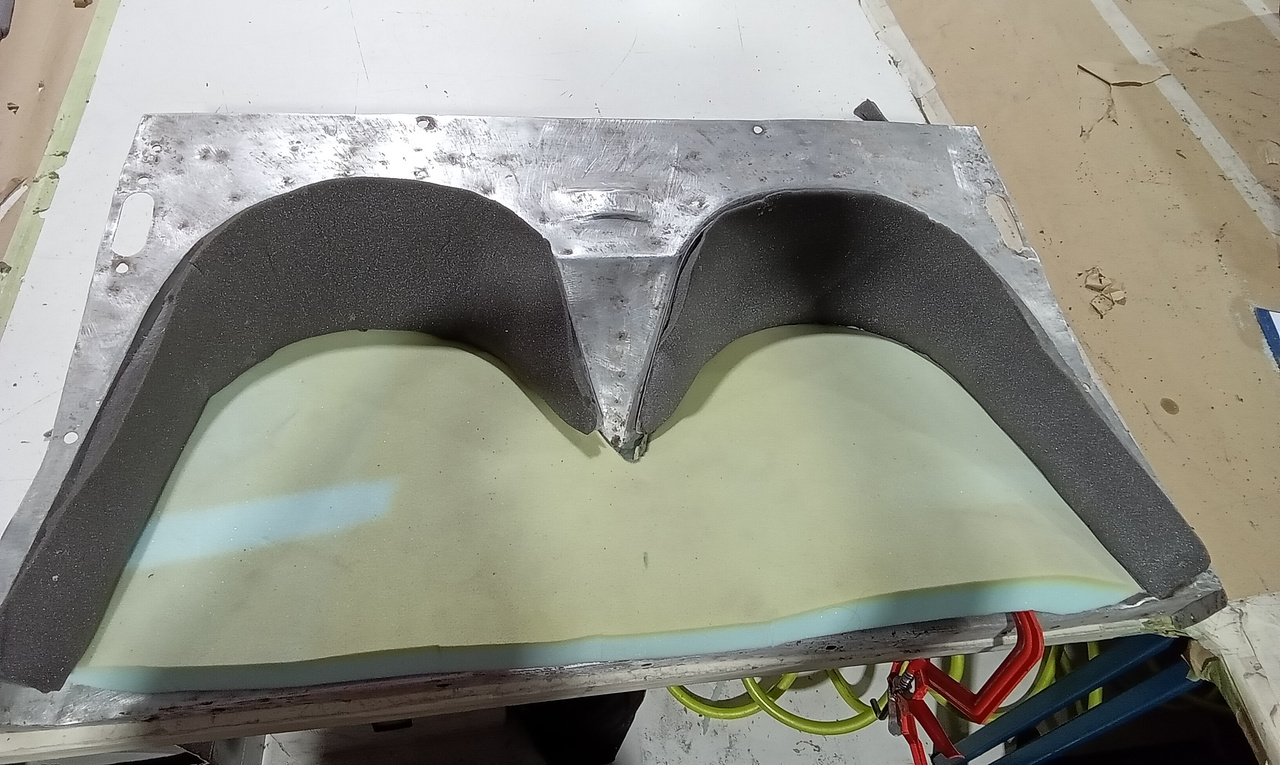
Once she was happy with the seat base, Lydia moved onto the backs. She had one back foam slither that was badly perished, but it gave her a base to work from. She made the backrest foams out of 100mm foam laminated together, then shaped them with the foam saw. After this, she made the cardboard piece that sits on the top of the seats to cover the raw edges of leather.

…and they say men can’t multitask! Brian’s day has been spent on 1953 Aston Martin’s today. He started off sorting out all interior parts, labelling up, bagging up all of the small parts of the Aston martin DB2/4 Drophead Coupe.
Swiftly followed by work on our other 1953 Aston Martin DB2/4. He’s a little further forward with the interior of this one as he fits new clips to the door panels, cutting out foam, gluing the foam to boards, trimming the foam to size, cutting and gluing the leather to the door panels, gluing and trimming onto the back of the boards as well as turning the leather around the pocket holes.


Brian has begun work on stripping down our 1955 Aston Martin Drophead Couple. He has removed the rear boot panels, the rear seat base and door panels. The cappings and door pockets have been taken out and the sill carpets. The carpets under the dash, the dash top panels and window surround panels are all now out.
The project will be a big part of our diary for 2024 but heading up to Christmas we have a few weeks to really get started on the strip down.
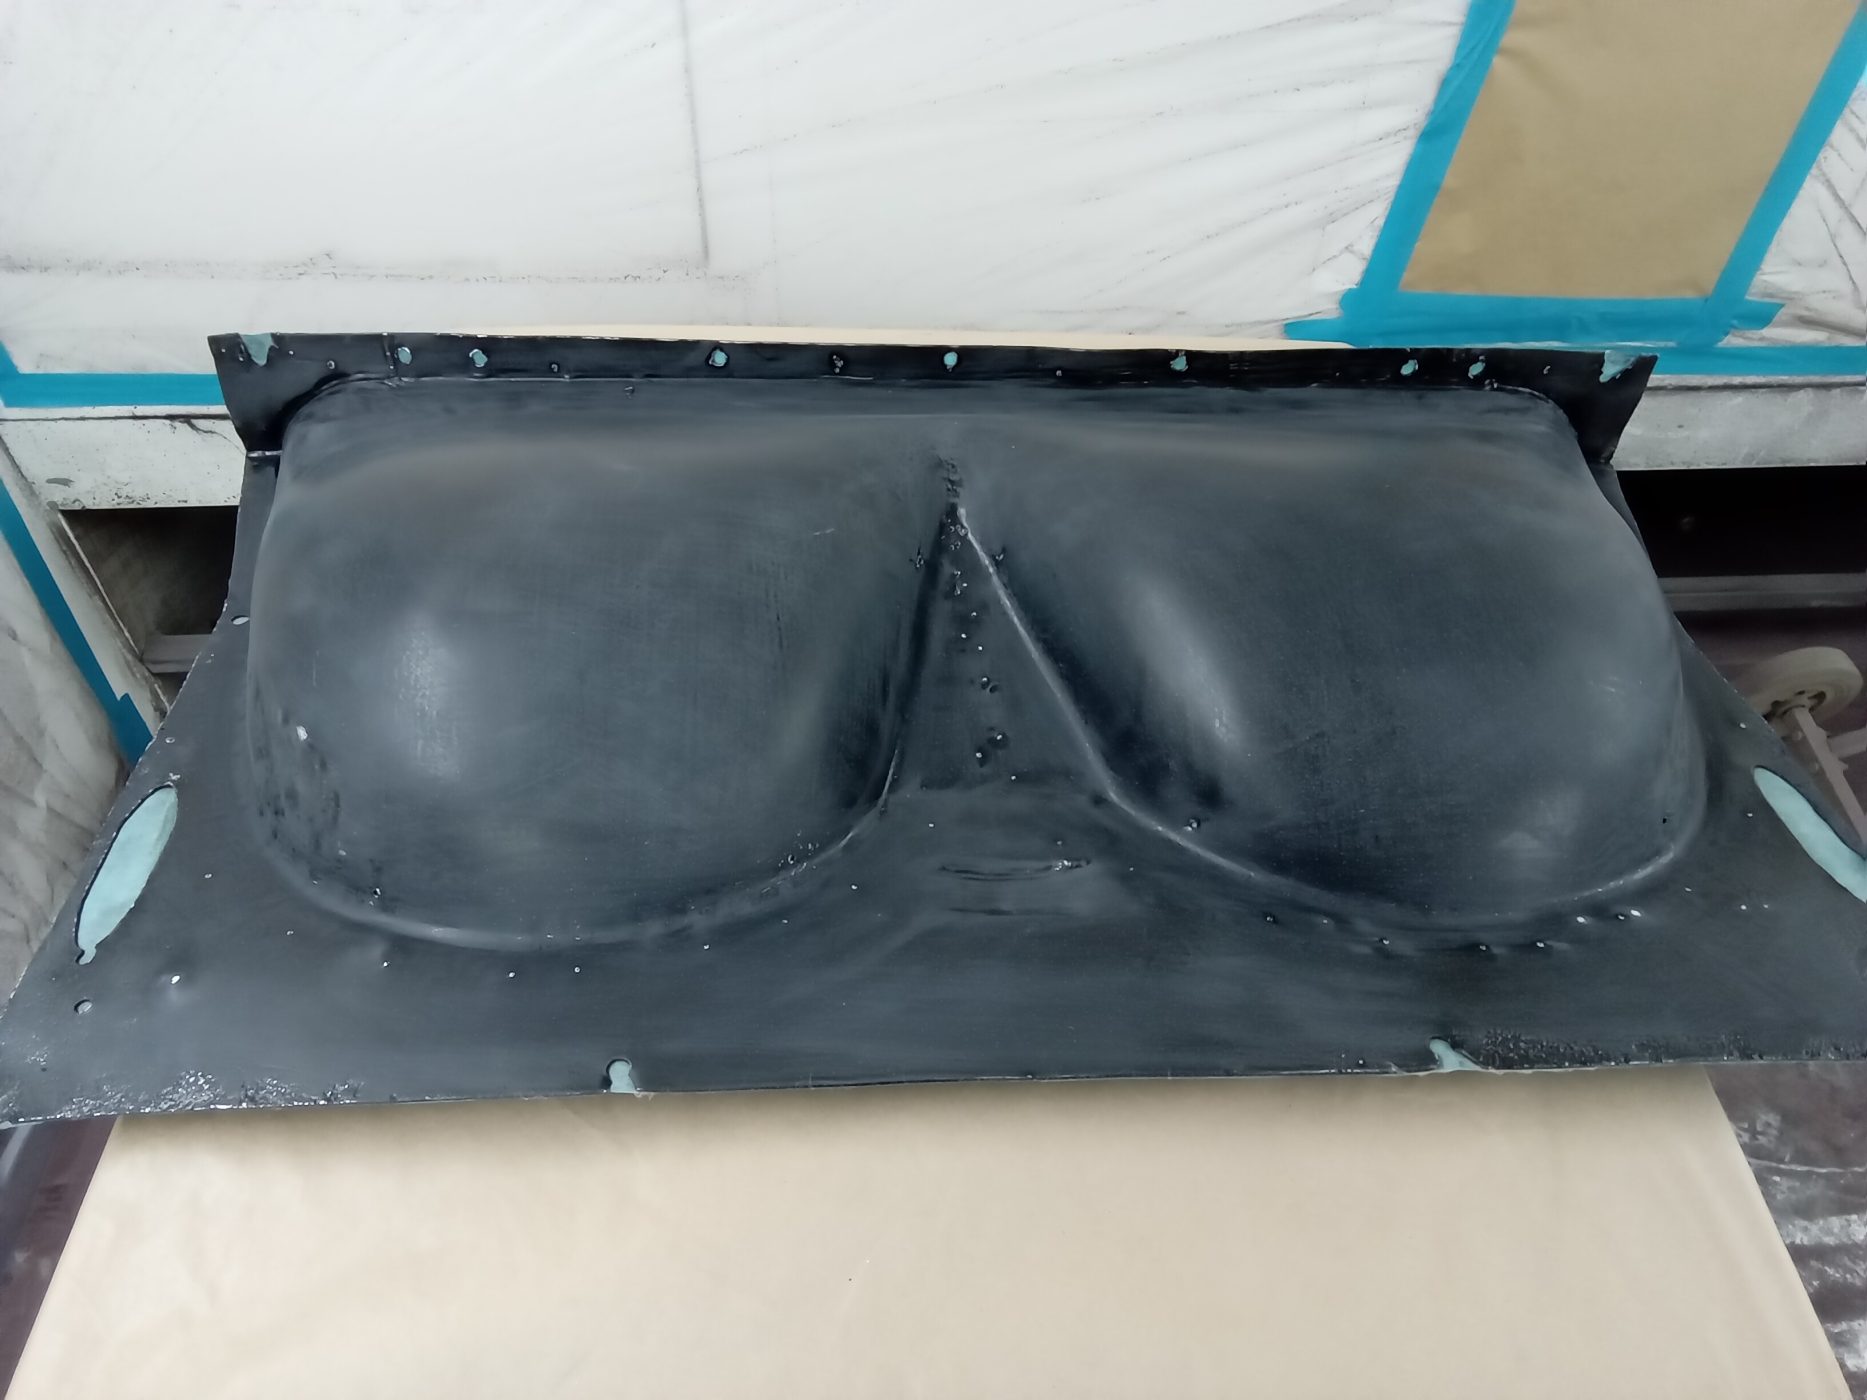
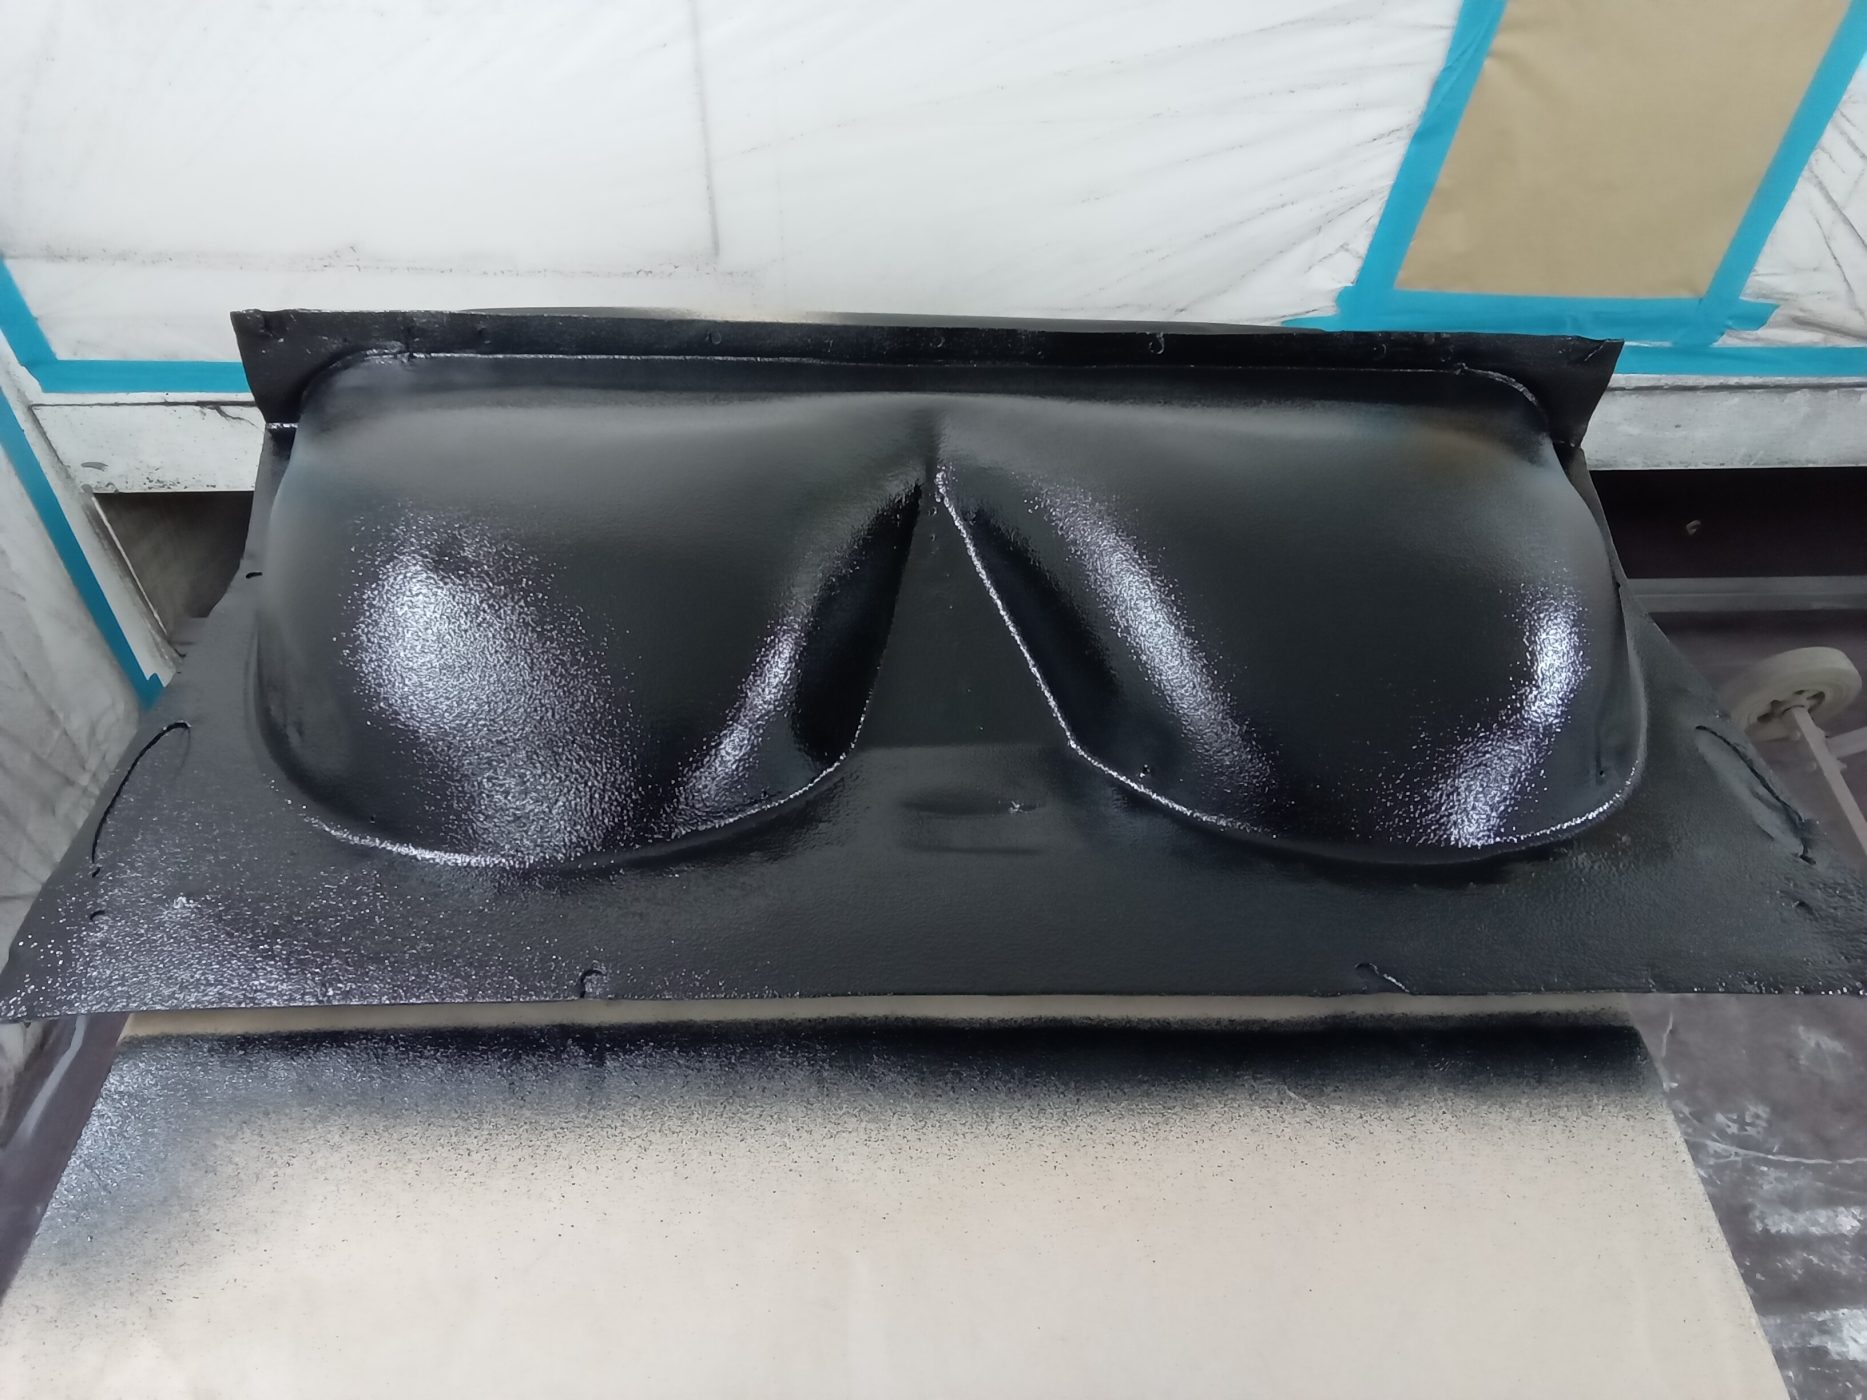
Yesterday and today, Lydia has been working on the rear seat of the Aston Martin DB2/4.
‘Chris has kindly painted the seat tray black for me, and stone chipped the underside, as this part actually forms the bottom of the car and is exposed to all the elements the road can throw at it. Firstly , I re-attached the foam that we removed, and this needed some remedial repairs as the top surface was uneven. Should I have left this, it would have shown through the new leather cover, and it would also have been possible to feel the imperfections beneath. I filled in the deepest dents with some thing scrim foam and then laid a complete piece on top before adding a layer of polyester wadding to ensure that the seats remained soft and comfortable. This also works well at hiding any last imperfections that may remain! Then, I applied the new leather piece which forms the part that the passengers sit on.’
The next part to complete was the backrests, which were a little more tricky. These have to have the fabric half fitted, then they get riveted to the seat tray, then the rest of the fabric is stretched up and over and glued to the seat tray.
Brian has already repaired the foam on these so Lydia added a layer of wadding to make them softer. The leather was cut in 2 parts and sewn together, then fitted to the seat with contact adhesive.
Using heat really helped to soften the leather and made it a lot easier to fit the covers on these.
The final piece is the board that rests on top. This is a simple piece of cardboard, with a thin layer of foam on , then covered in leather. Finally, a piece of piping is applied to the edge to close the gap between the board and the seat underneath.


Brian and Lydia have continued their work on our 1953 Aston Martin DB2/4.
Using the new plywood panels that Brian had cut out for her, Lydia covered them in leather at the top. The bottom part is a piece of carpet with bound edges, so she also cut and sewed this , then attached it to the panel with staples.
The wooden-shaped pieces are simply covered directly with leather, so Lydia cut the material out and glued it straight onto them.
Parts of the interior were painted black before Brian repaired the tailgate top trim panel as well as the headliner.
Lydia then covered the pre-made wooden panels in headlining fabric. Some panels required a small amount of padding, so she added some scrim foam to these before covering them in wool headlining material.


Brian and Lydia have been working on our 1953 Aston Martin DB2/4, specifically the centre console and rear panels.
Using the existing material from the original, Lydia remade the centre console to match the new leather choice. This involved cutting and making new piping, new top and side sections, and also covering the wooden base section. The paintwork underneath was looking a bit tatty, so Lydia cleaned this off and then re-sprayed it with a fresh coat of black.
As for the rear side panels, the old ones had all but disintegrated. Lydia cut new ones from plywood, checking the shape in the car as she went. Then she cut new fabric and binding for the cover, sewed this together, and glued the new piece to the board.