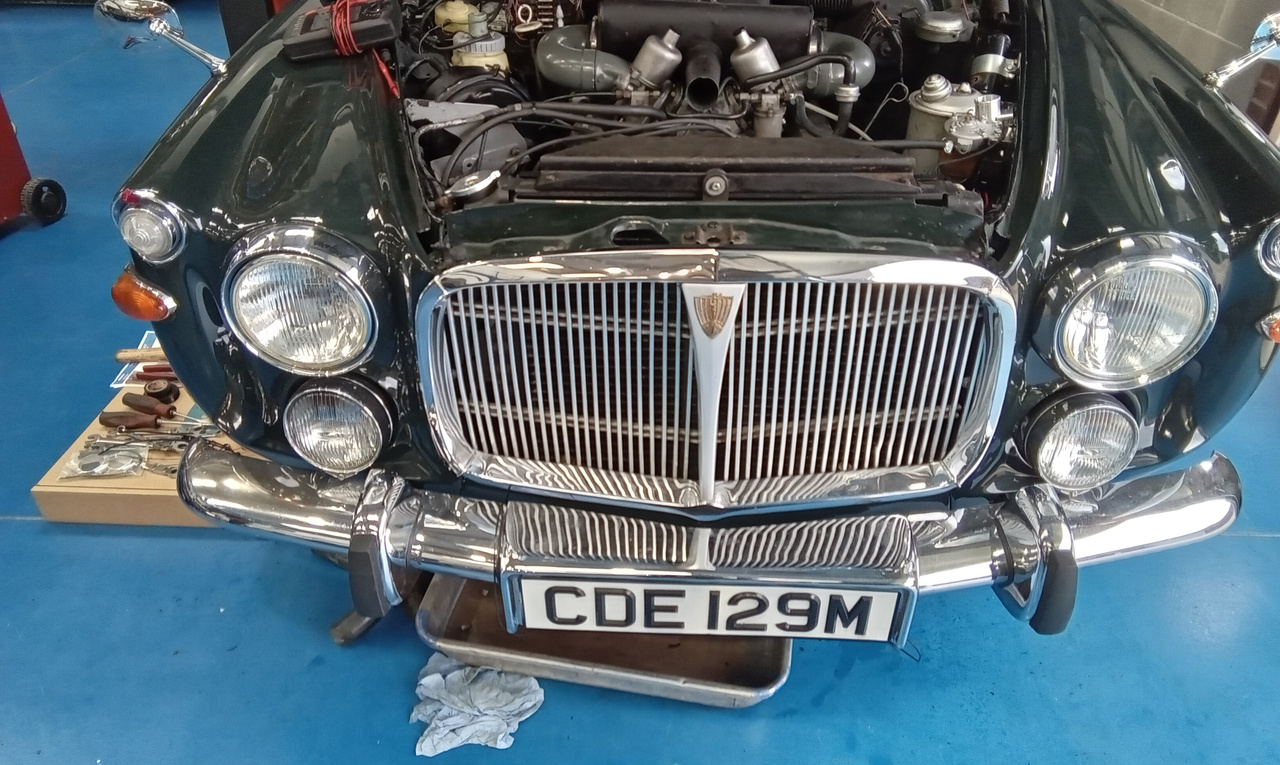
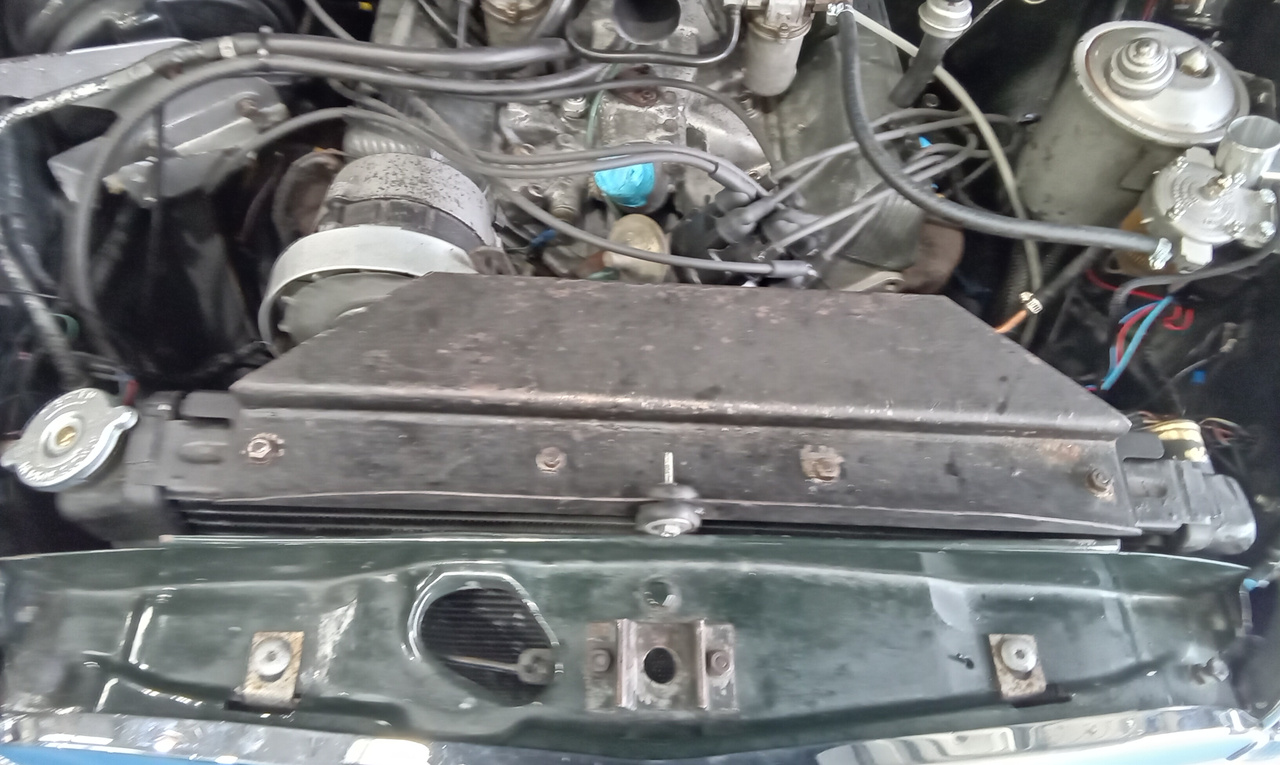
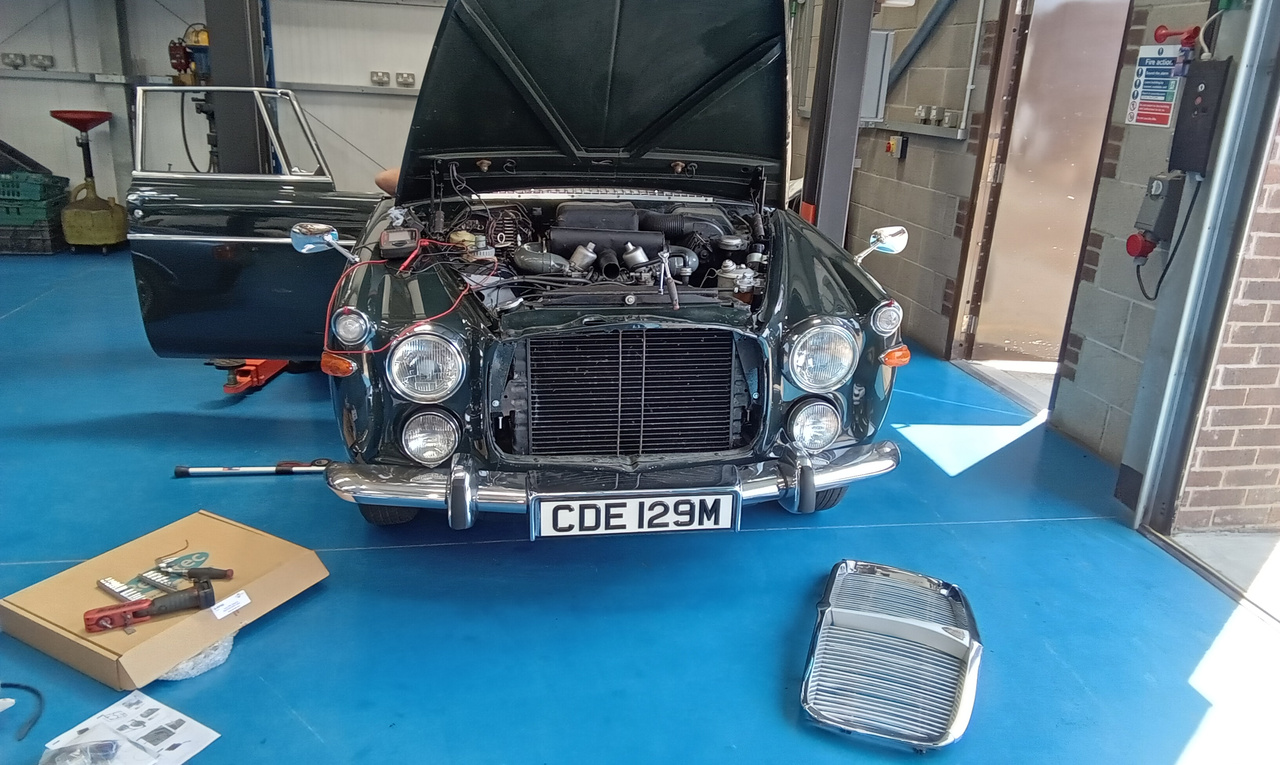
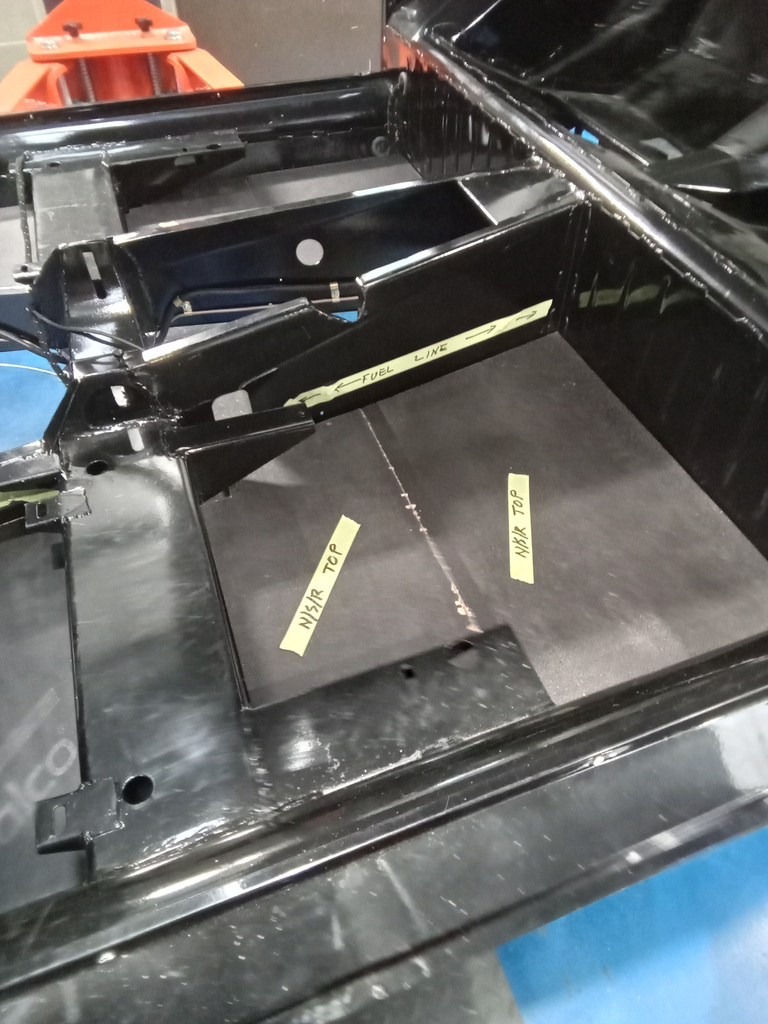
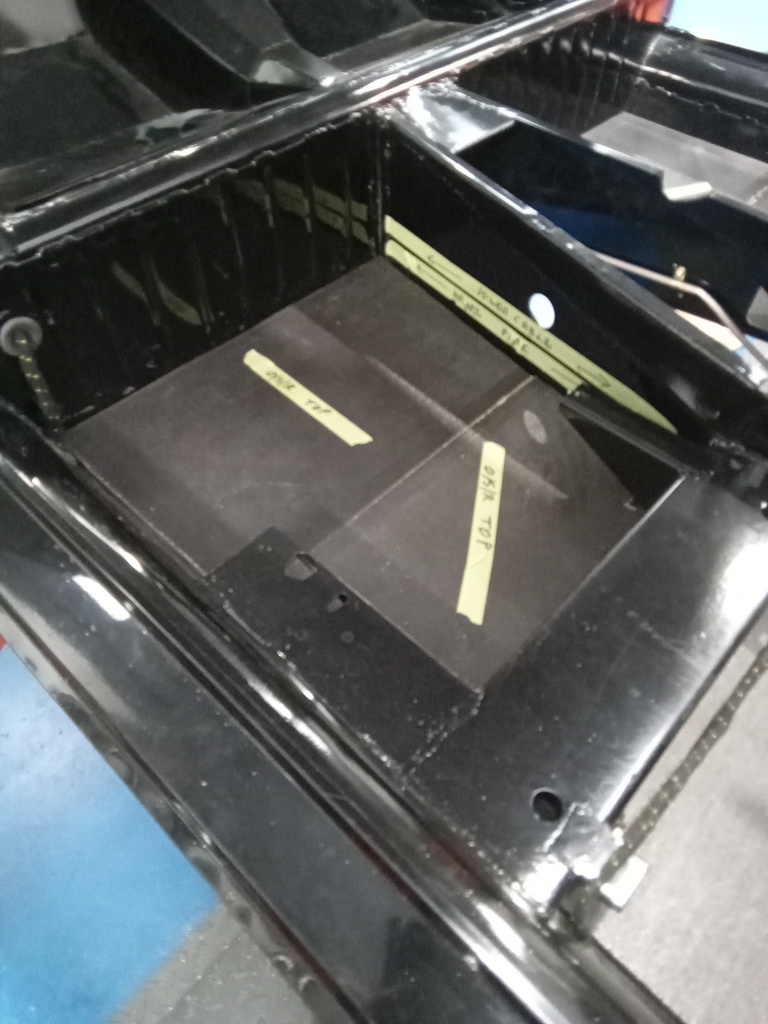
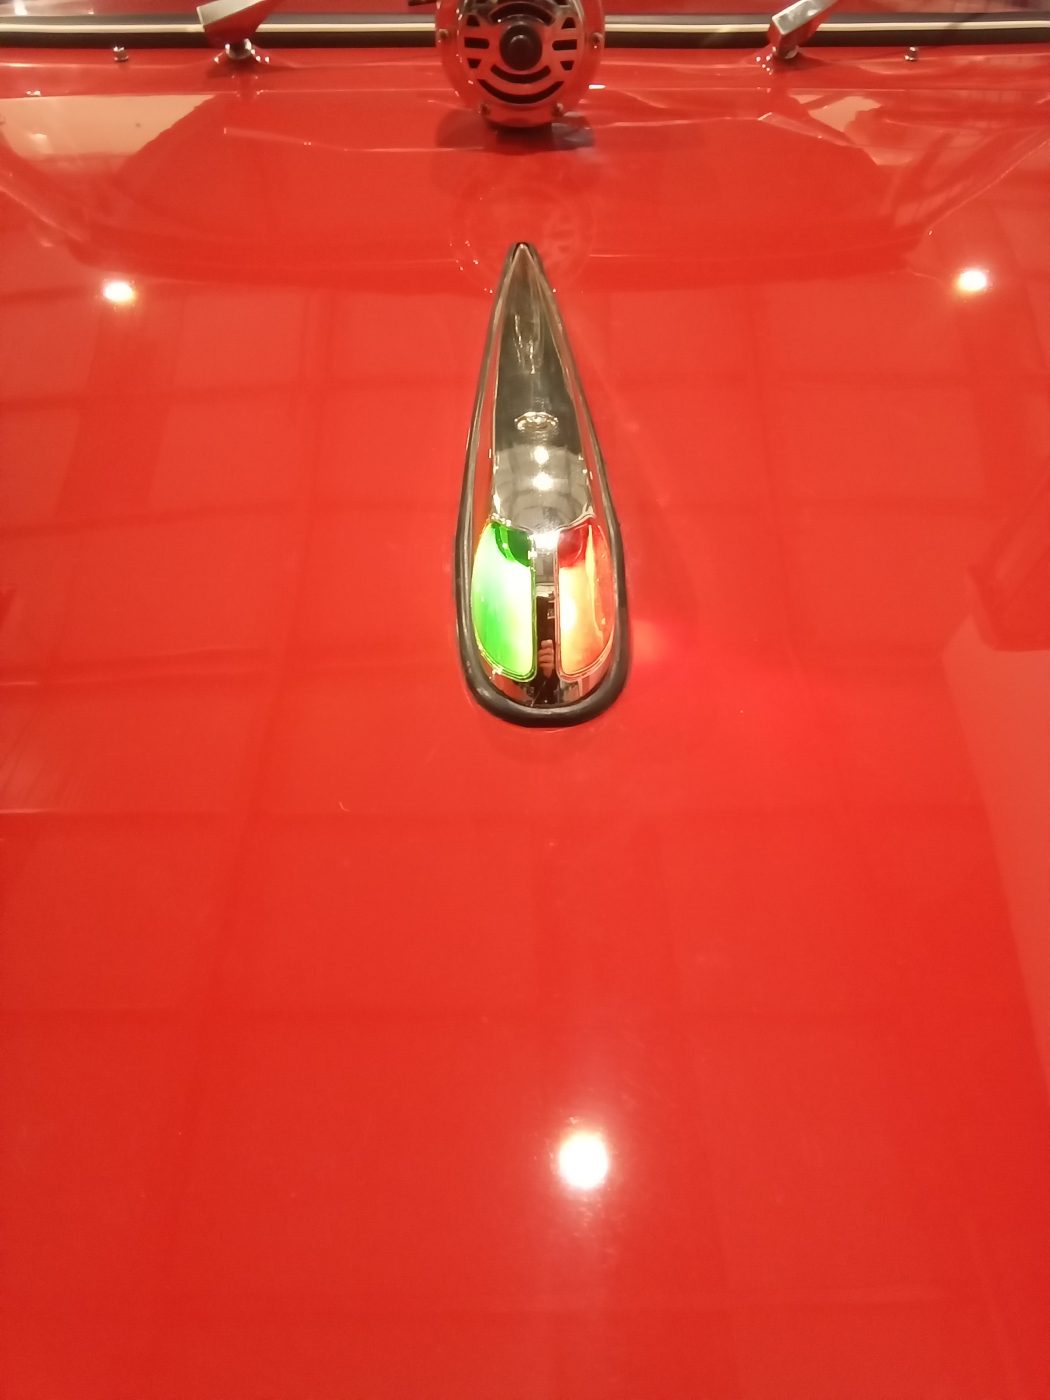
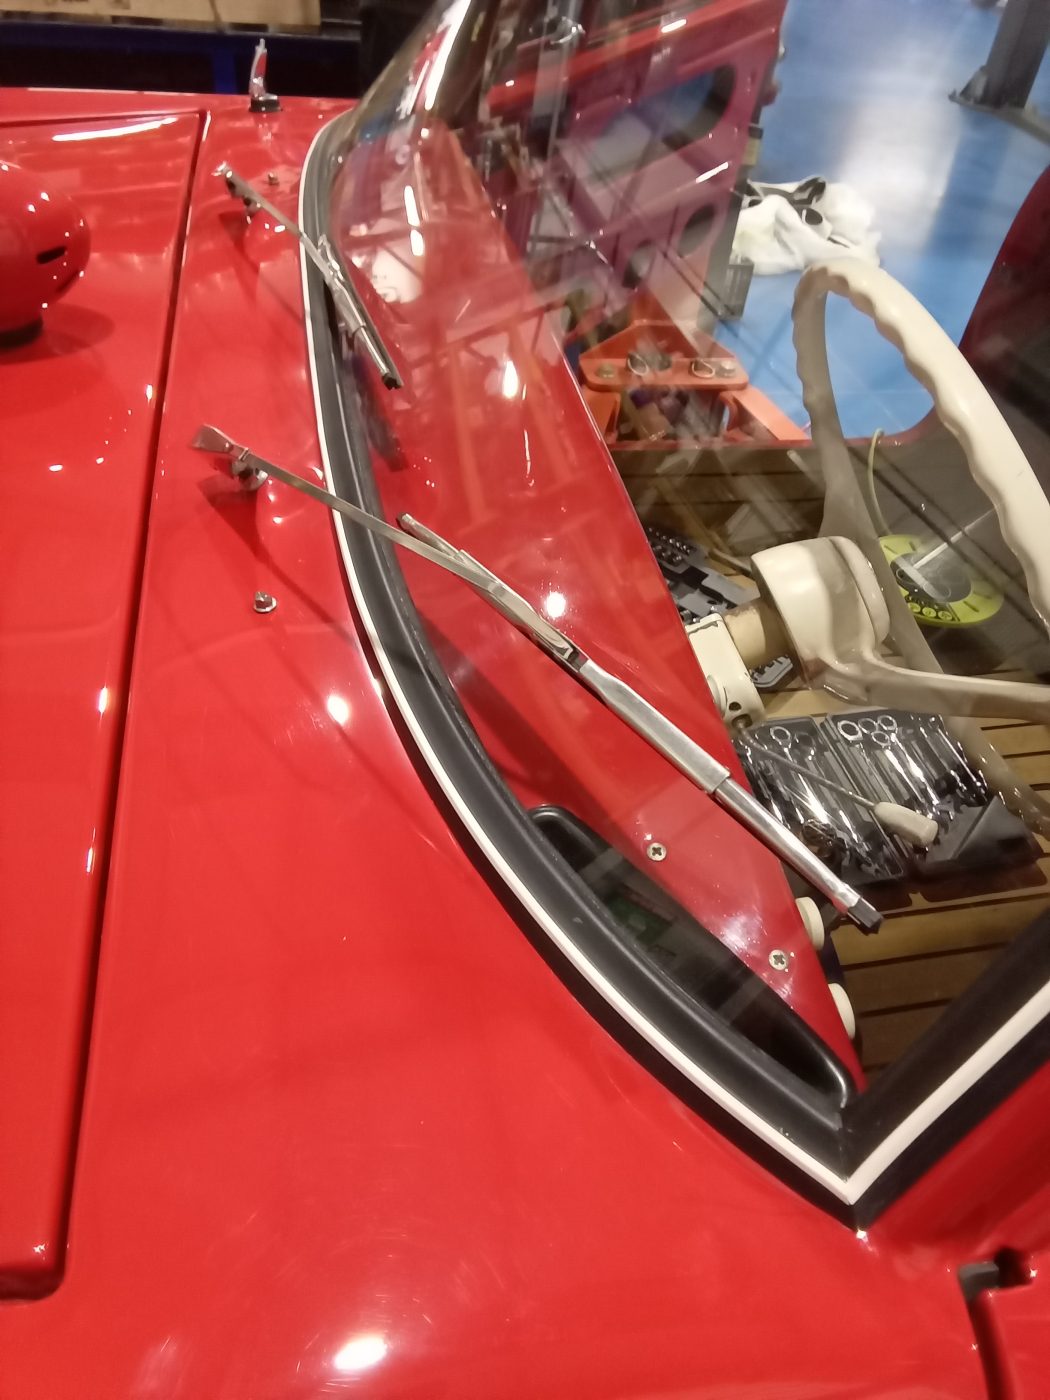
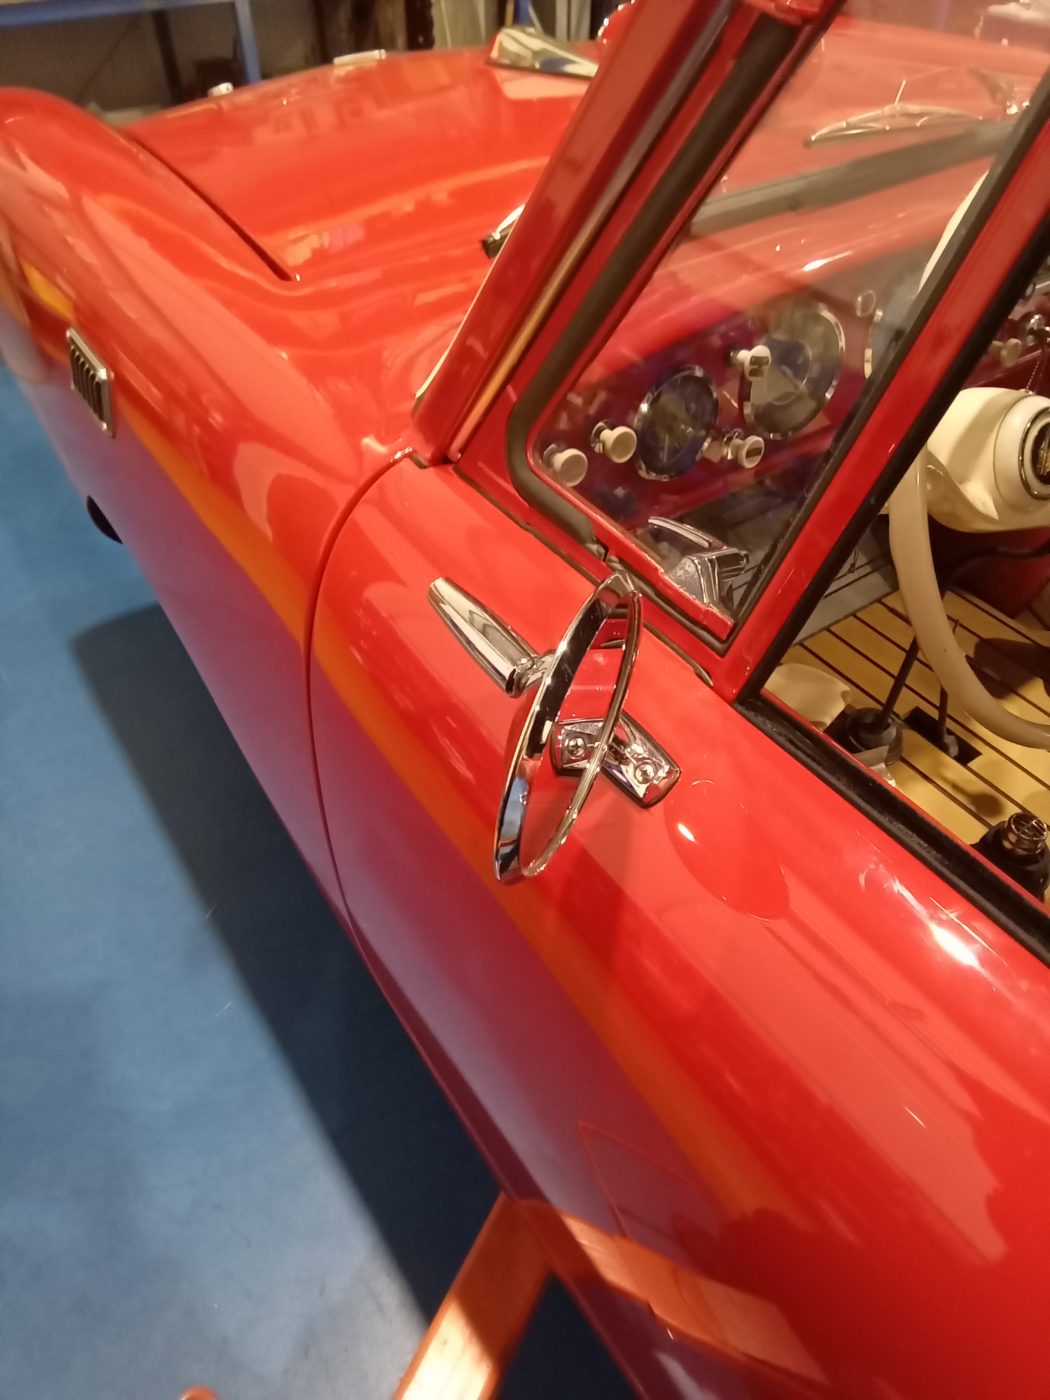
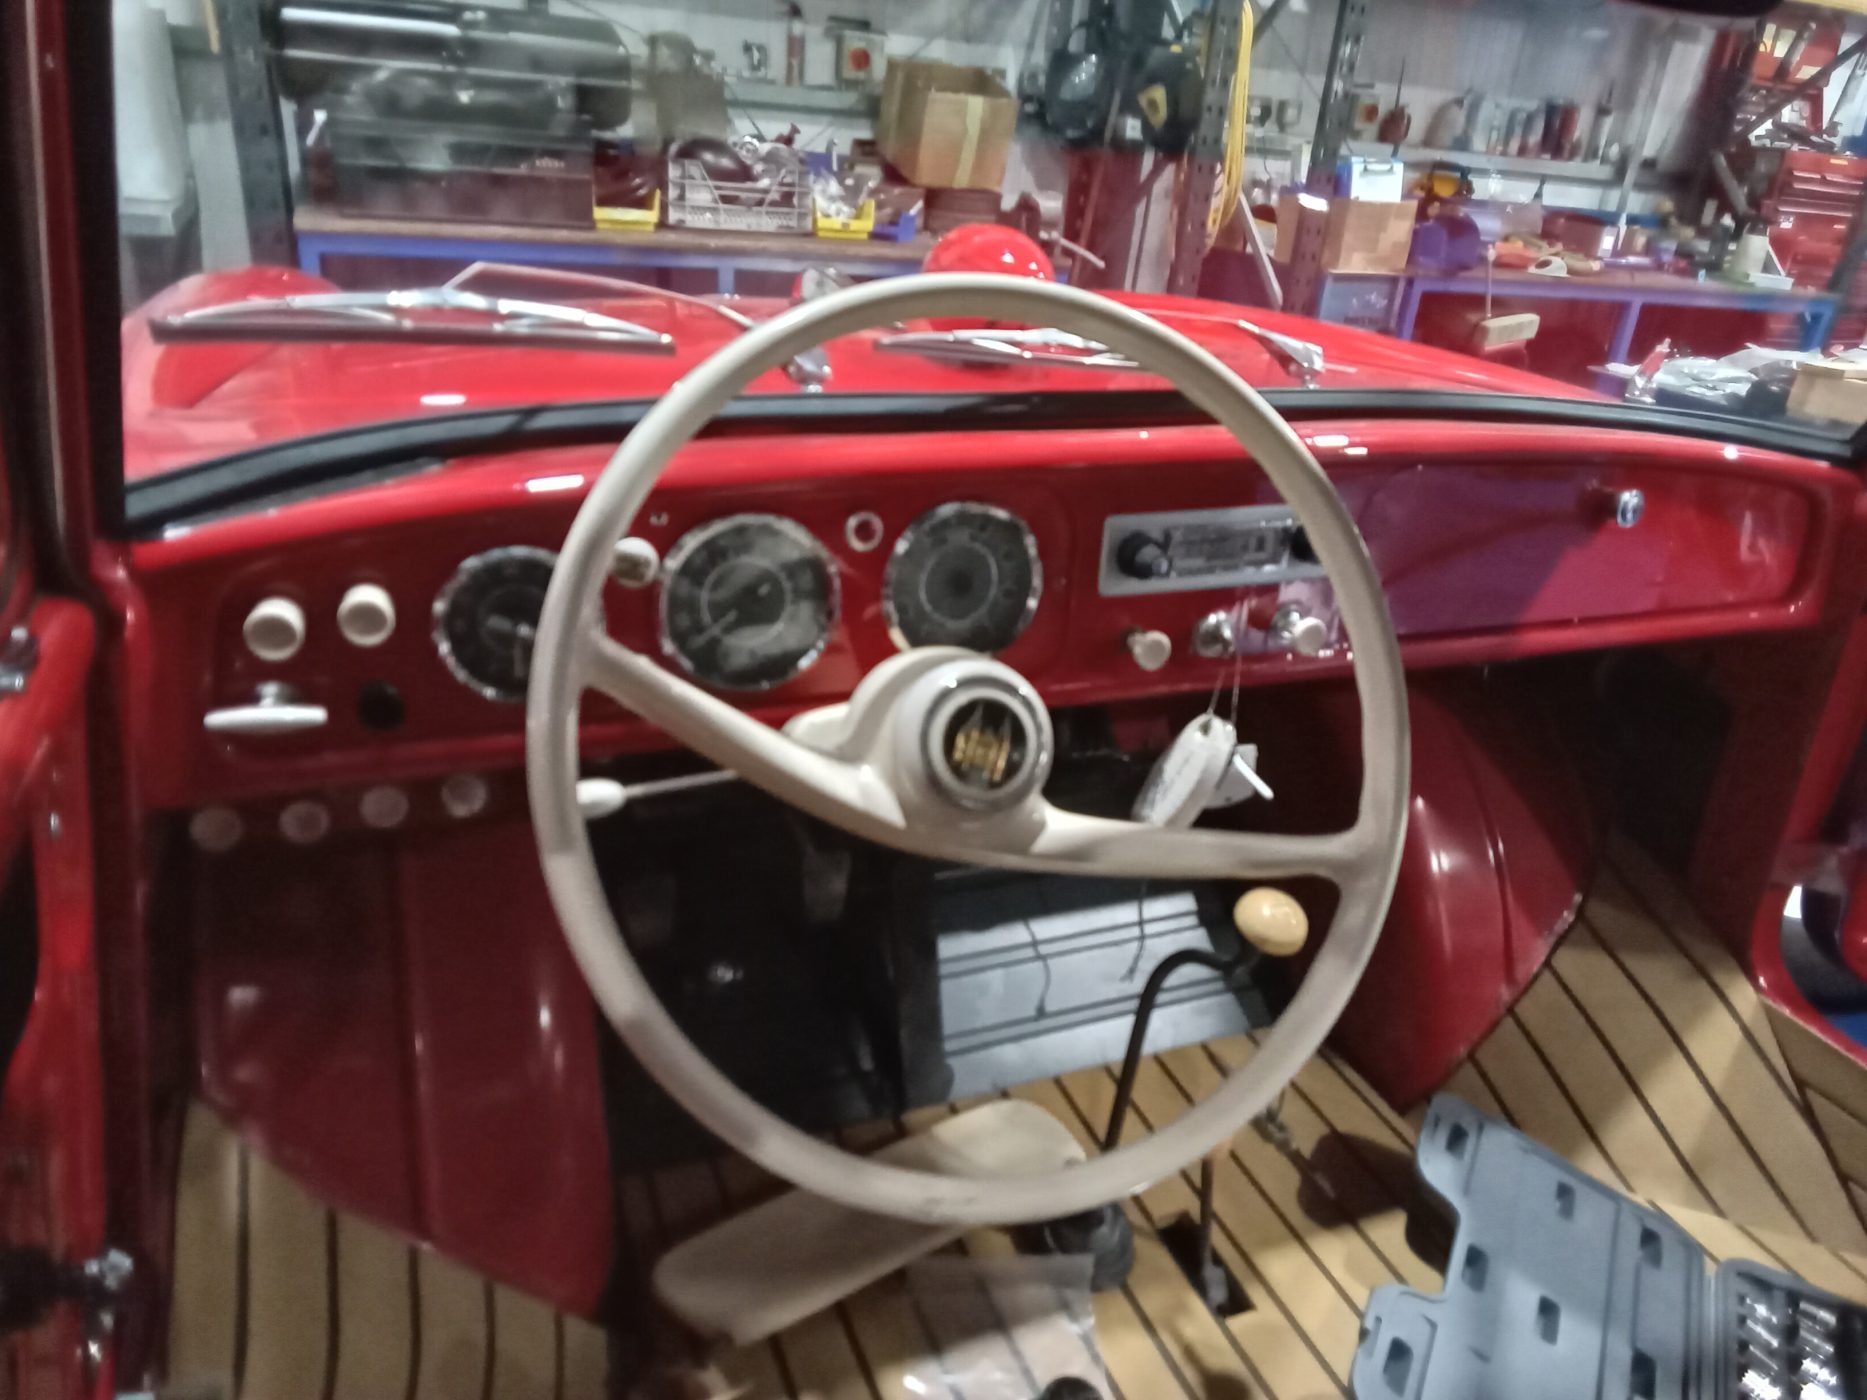
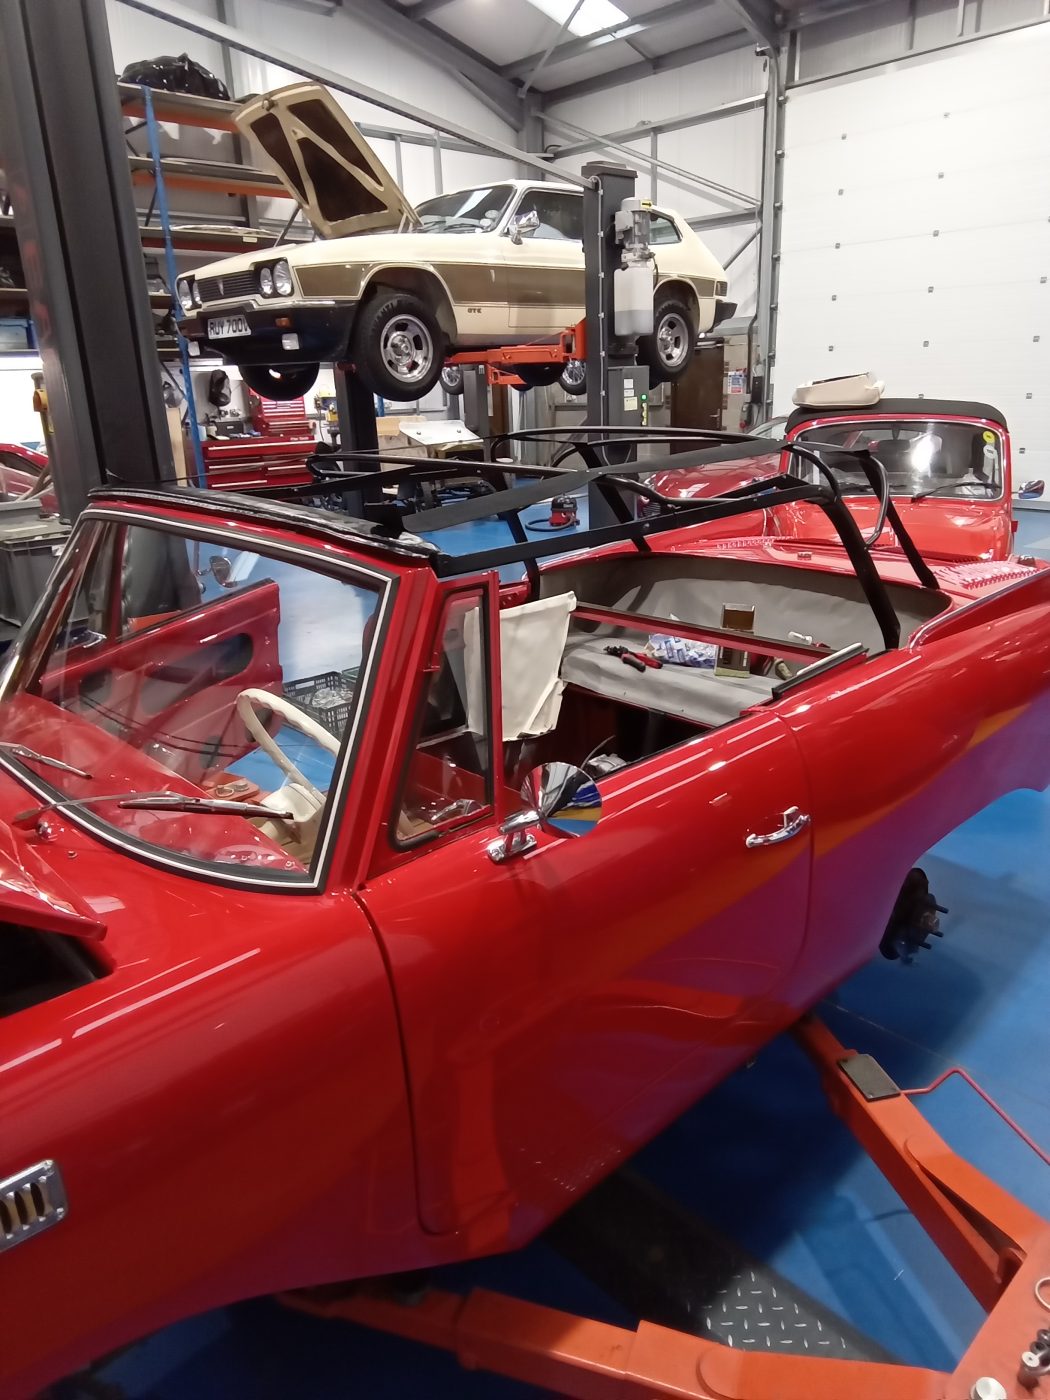
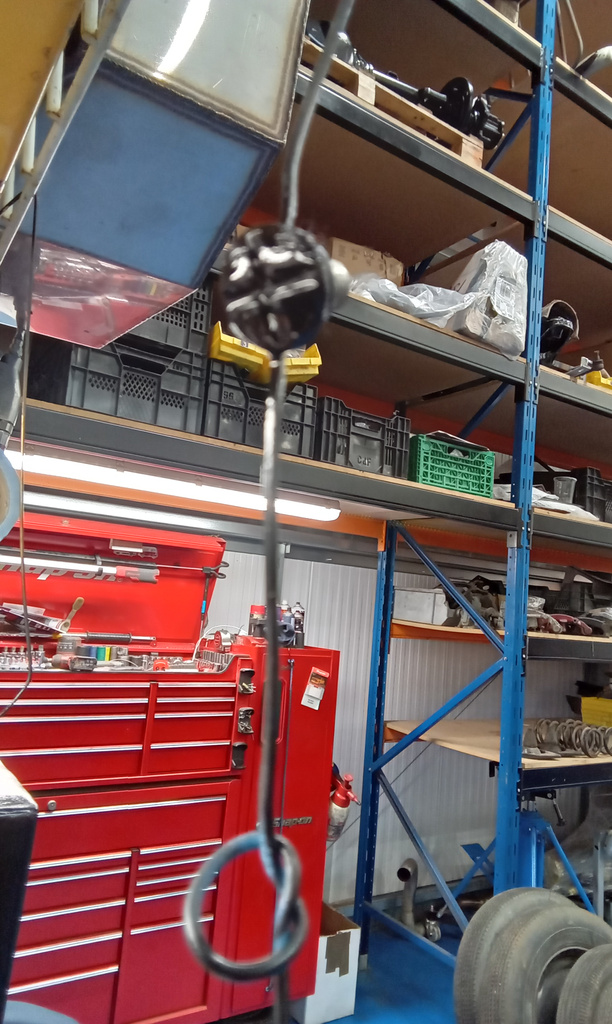
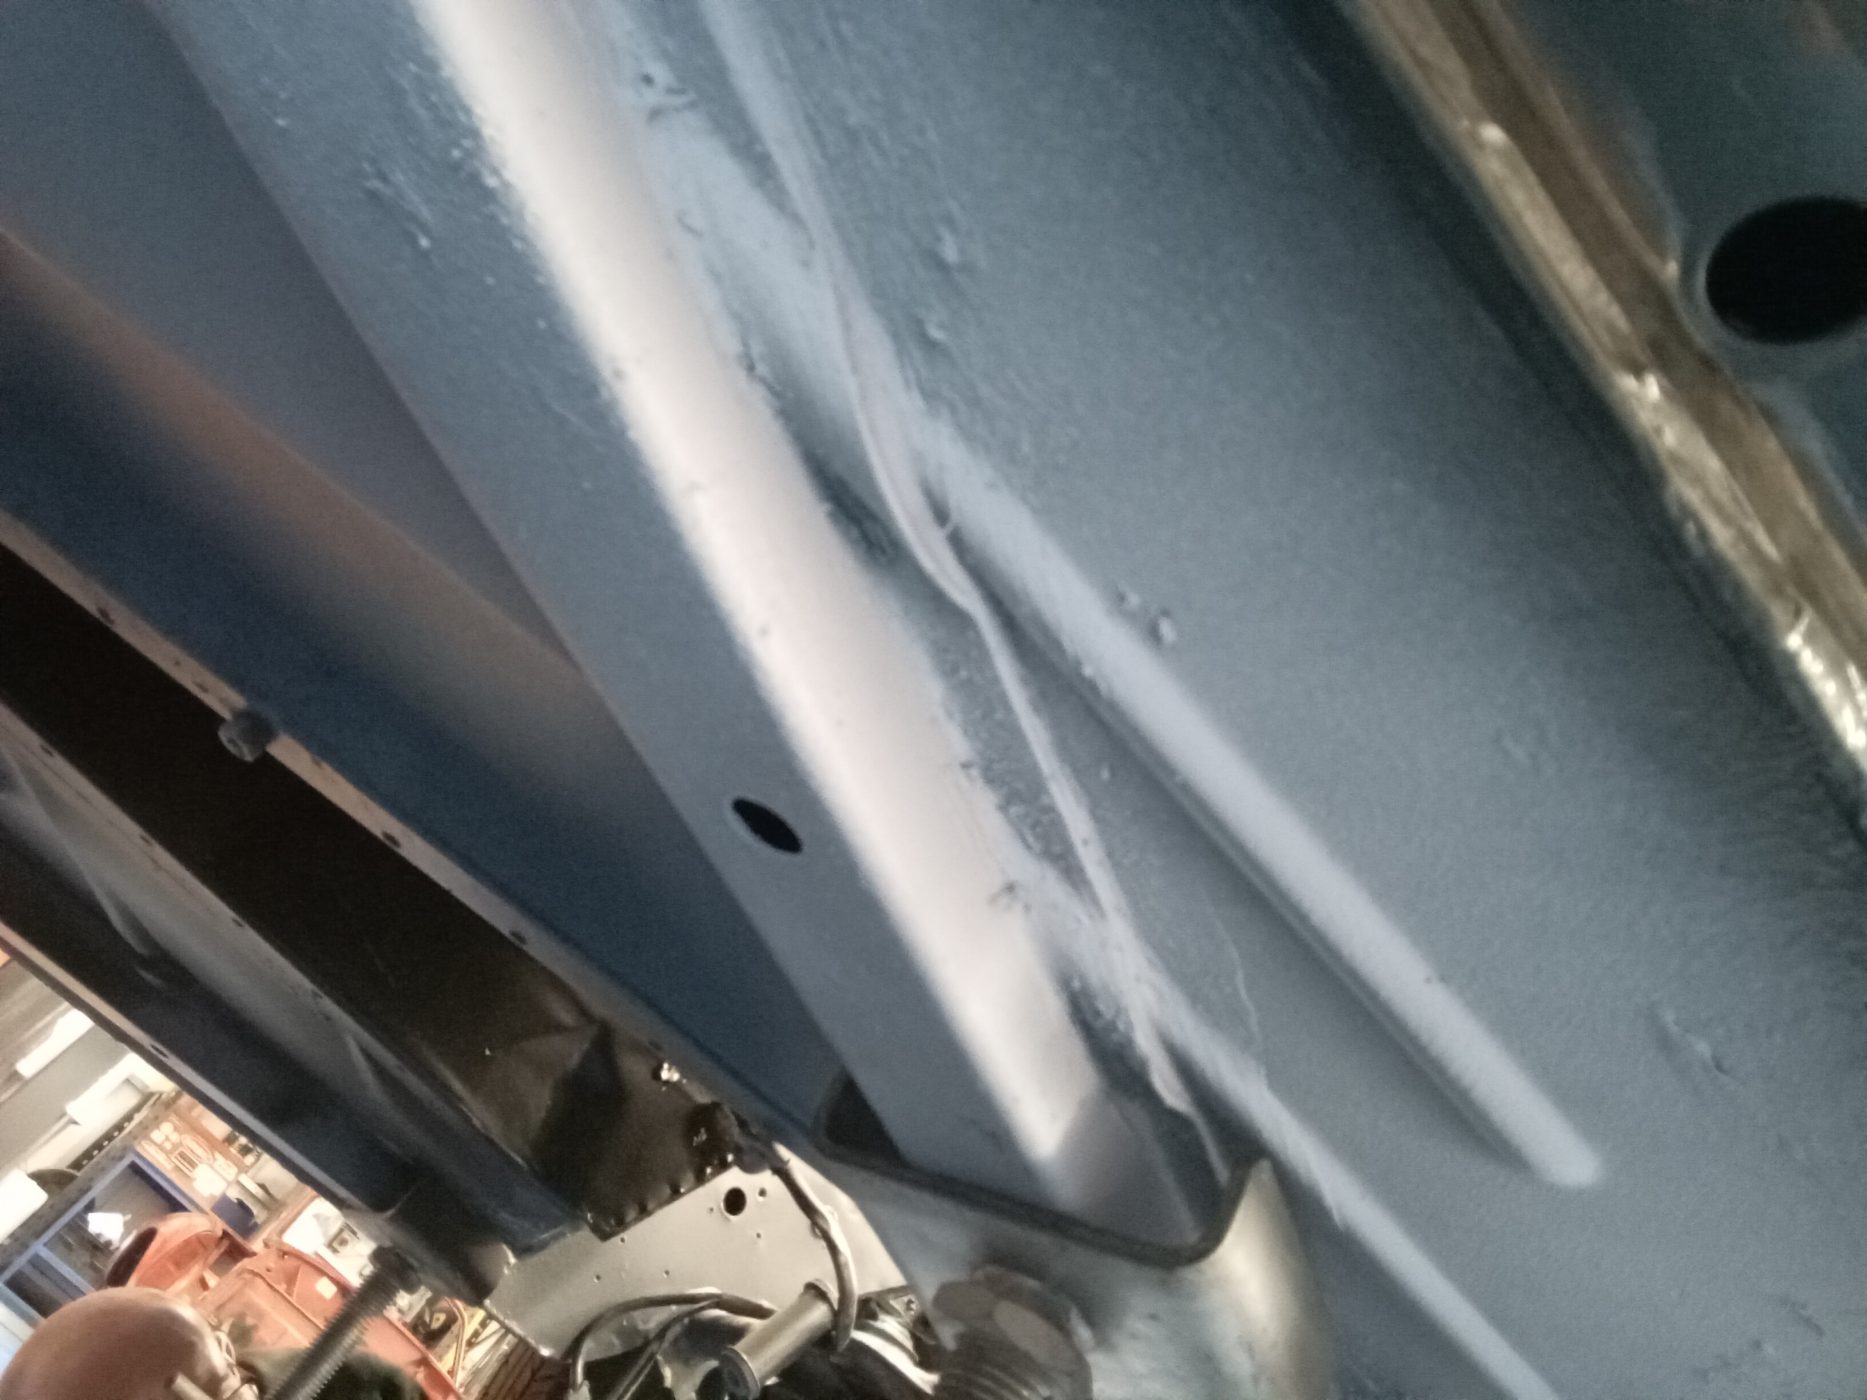
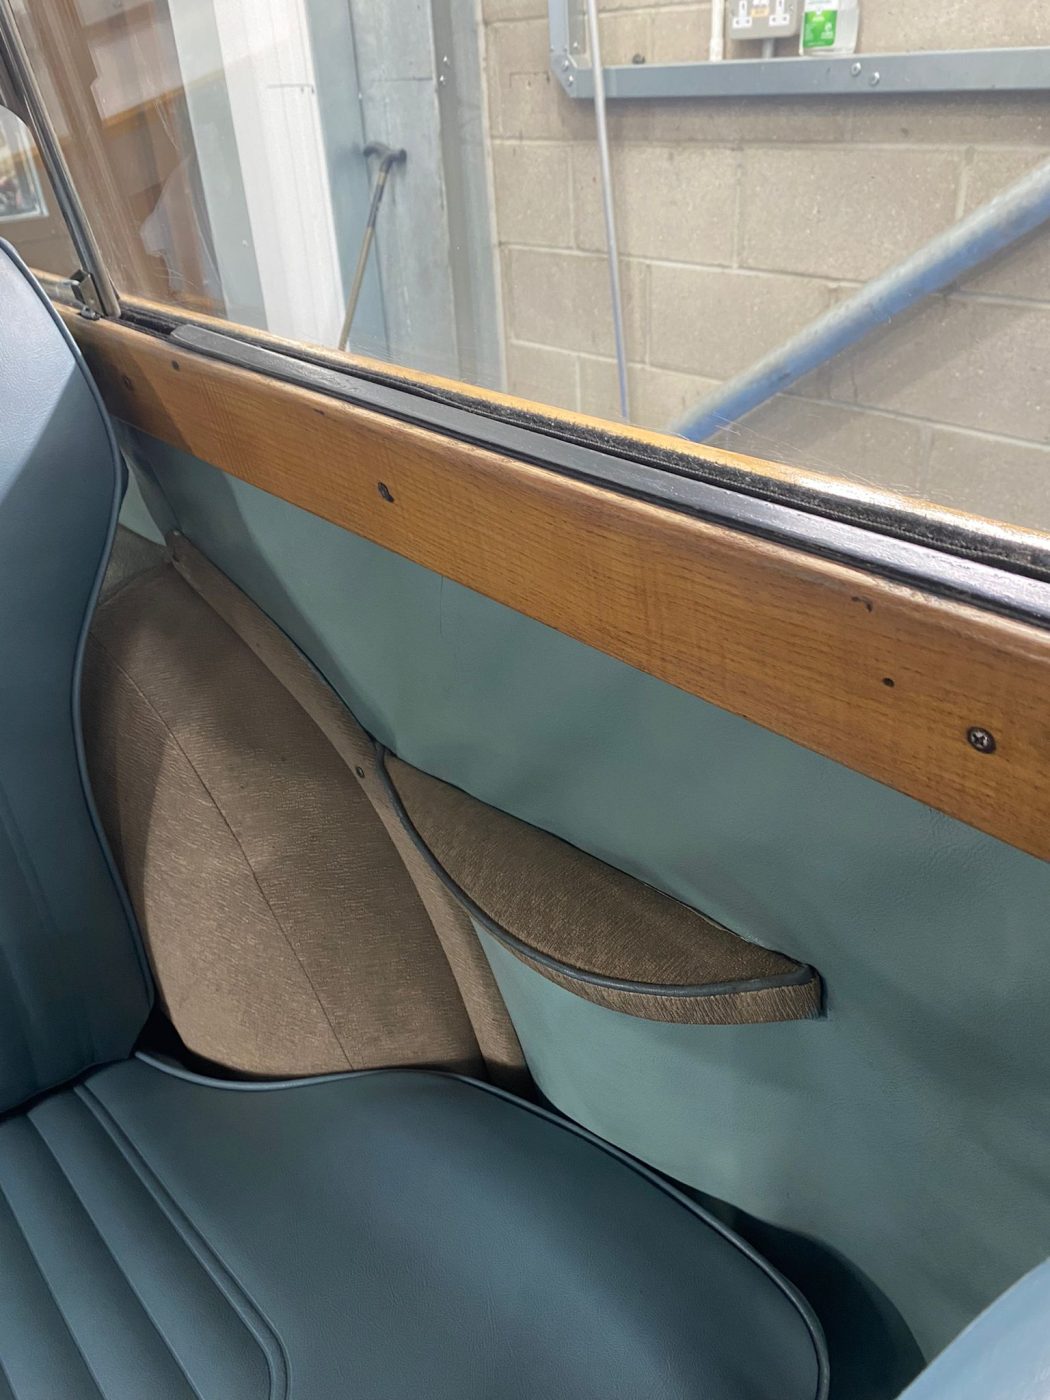
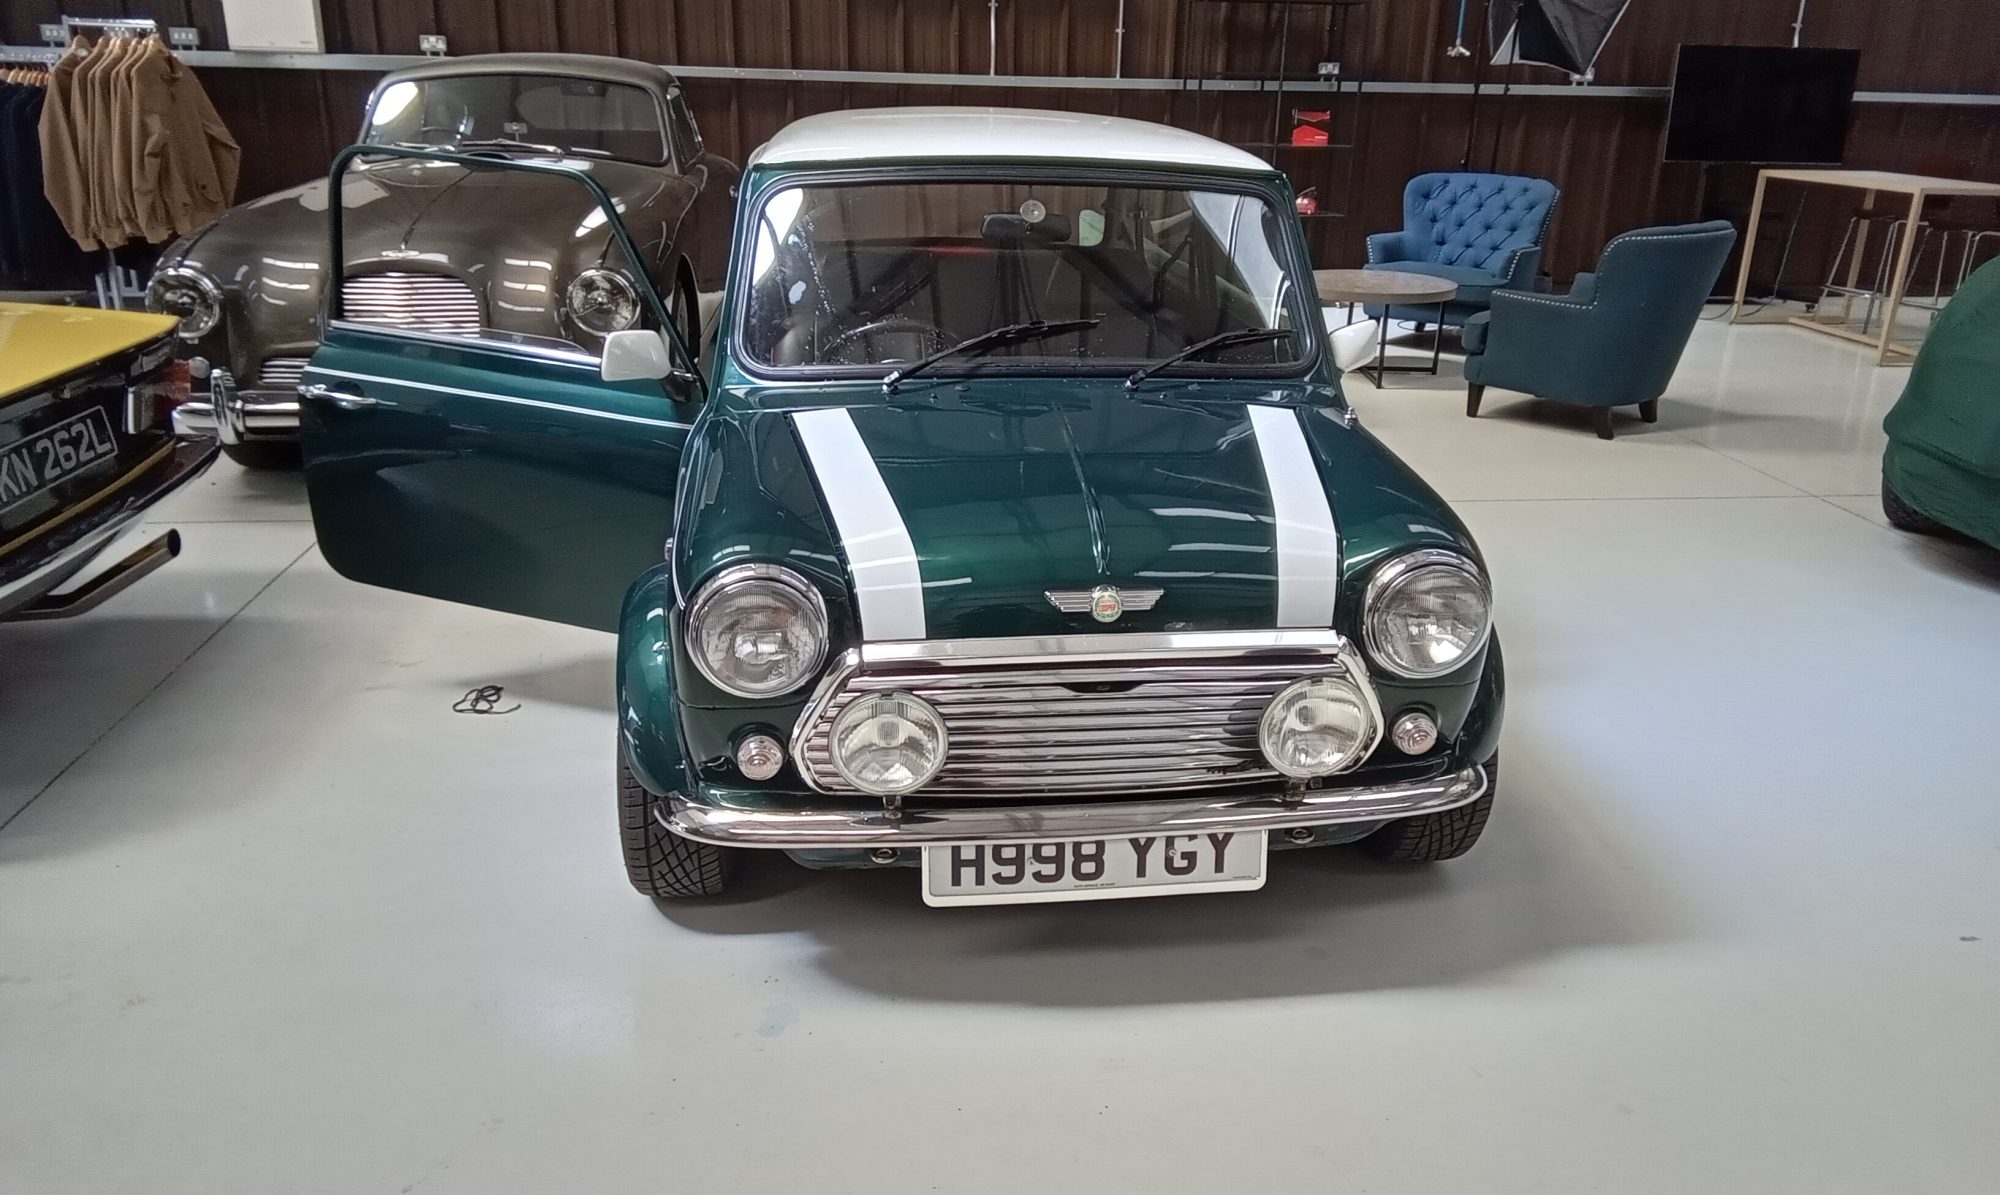
Work Continues on our 1973 Rover P5 Coupe
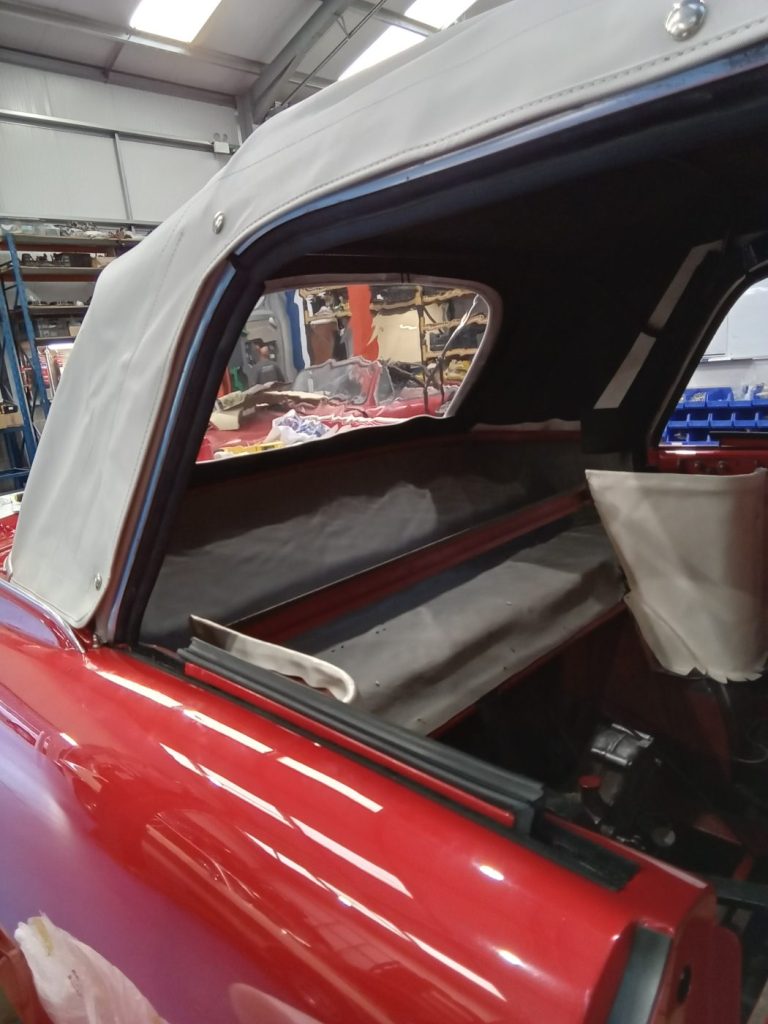
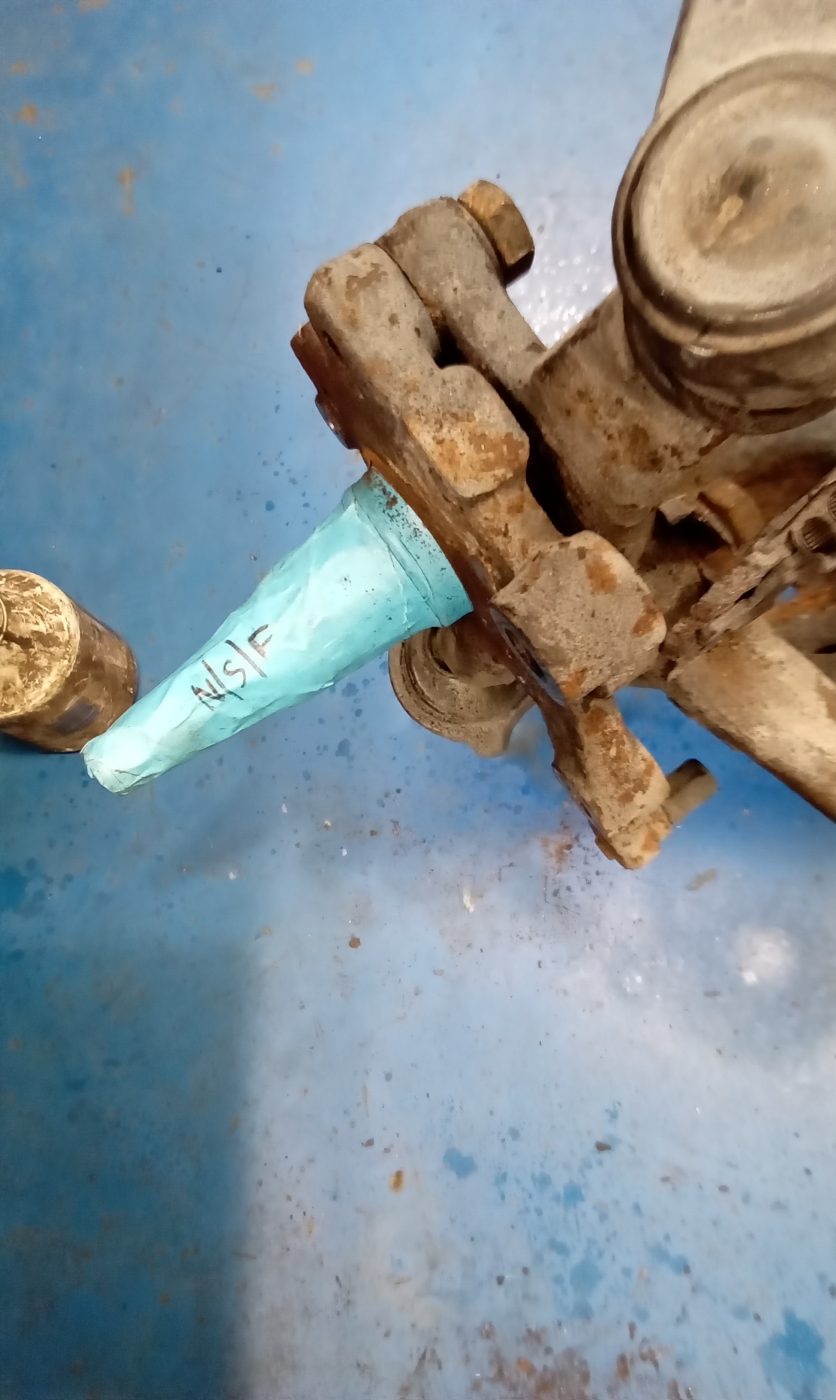
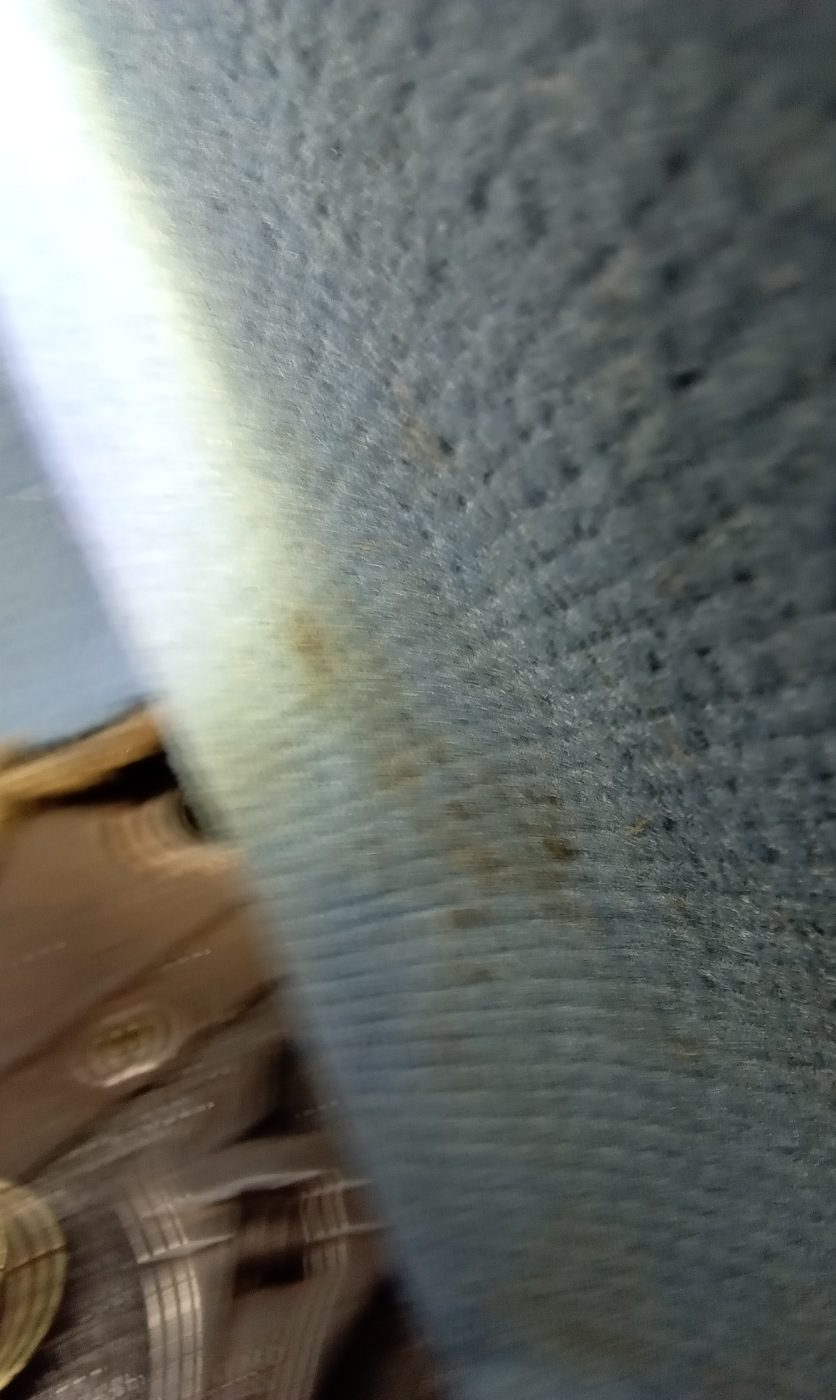
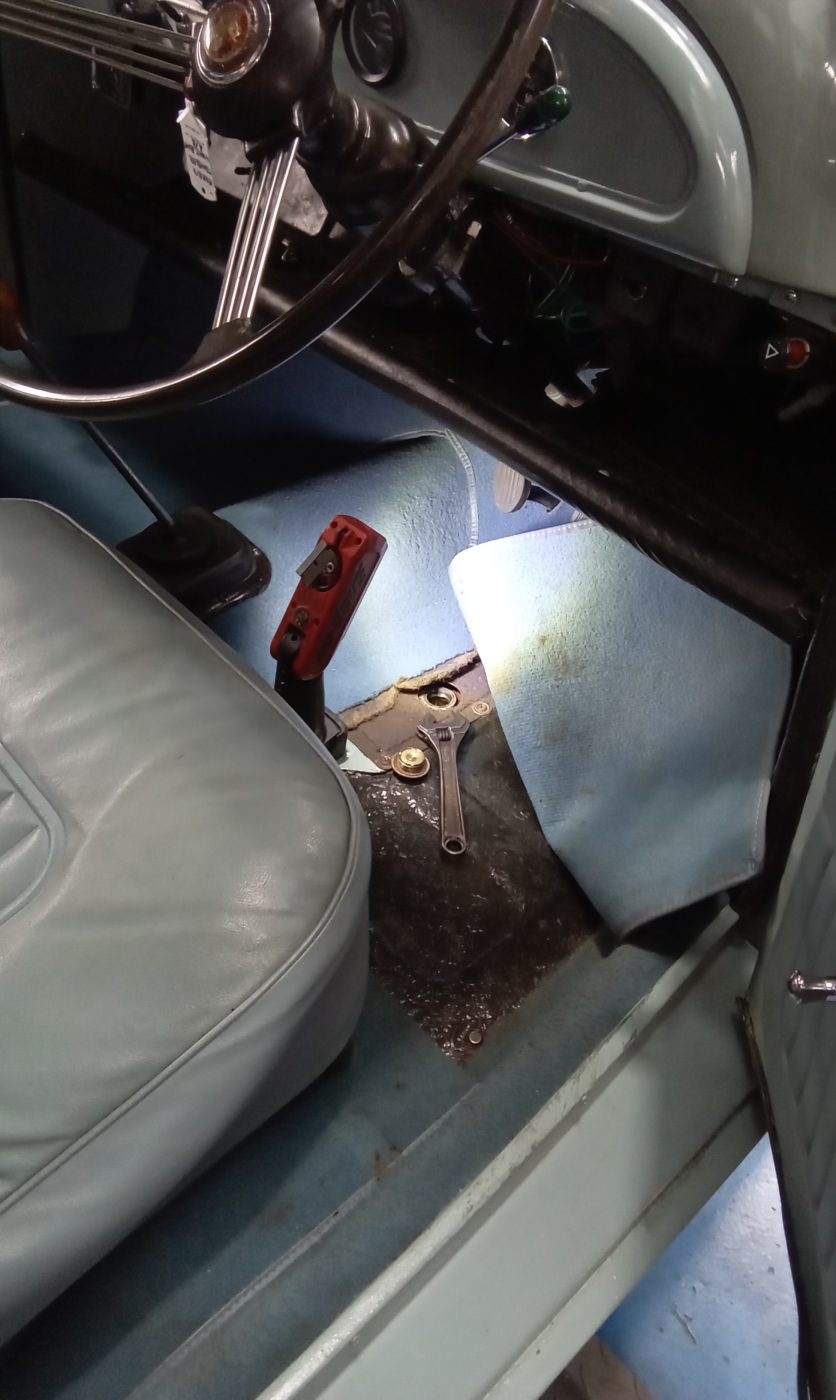
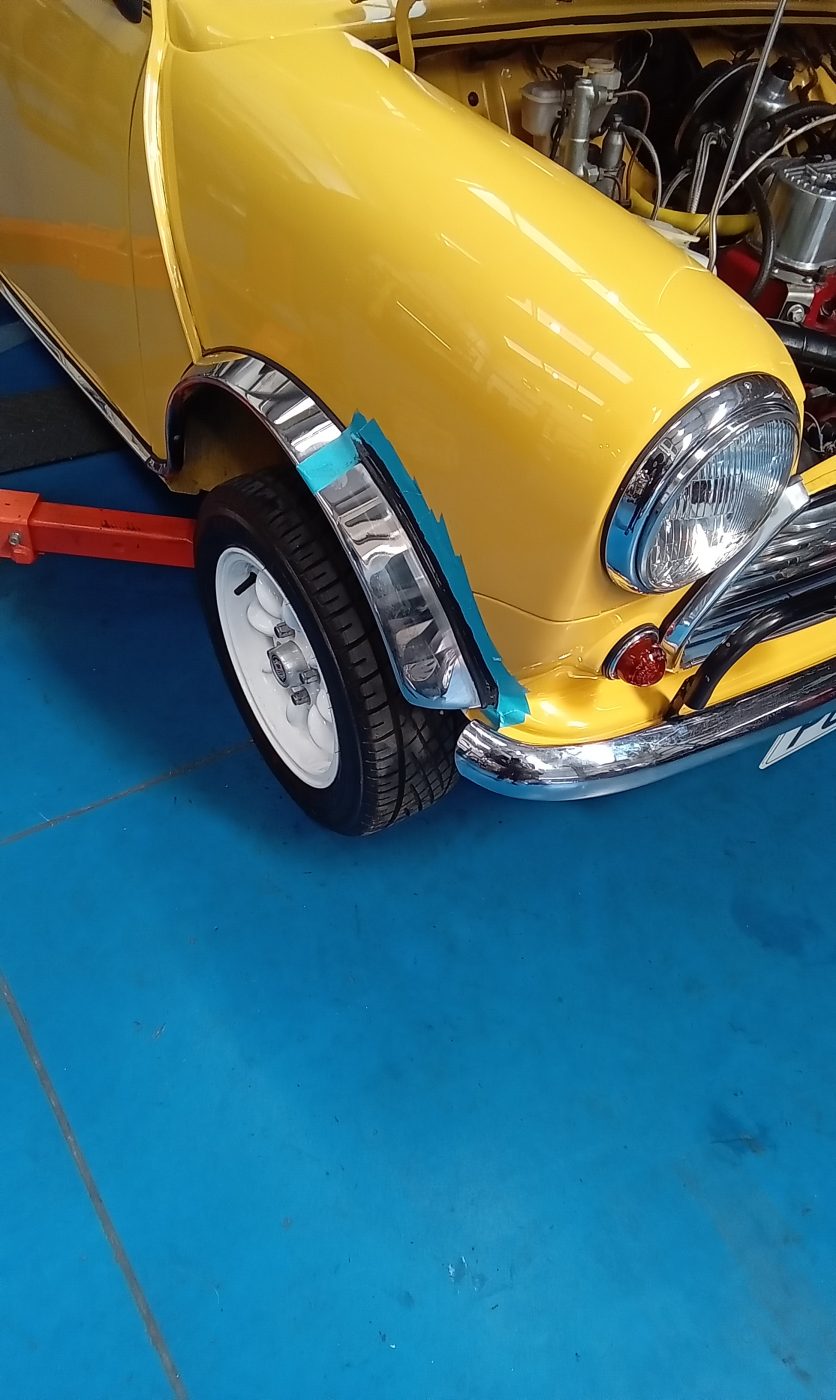
Jon has been working hard on the 1973 Rover P5 Coupe, this time he’s been working inside and underneath the classic 70’s coupe. ”Adjust nearside


Jon has been working hard on the 1973 Rover P5 Coupe, this time he’s been working inside and underneath the classic 70’s coupe. ”Adjust nearside
Jon has also been working on a few upgrades to the 1973 Rover P5 Coupe whilst its in our workshops. This time, he’s been fitting

Over the weekend, John finished wiring in the dash of our 2022 Bridge C-Type Replica. He also fitted the Brantz system and trial-fitted the switches
Our 2007 Land Rover Defender was suffering from a battery drain which John traced back to the wiring to a relay. The wiring was modified
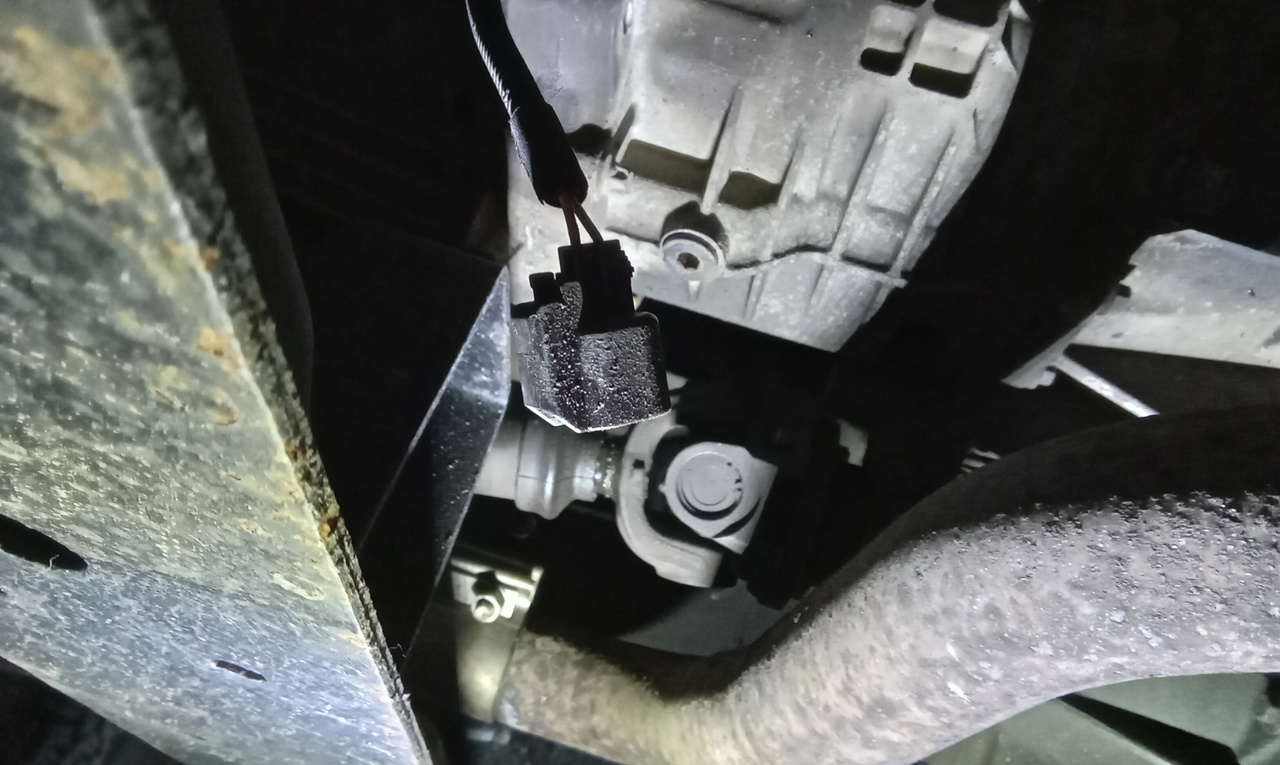
Jonn has fitted a new reverse light switch to our 2007 Land Rover Defender 110. He traced the position to the gearbox and removed the
Chris has applied dtm gloss to various components of our 1956 Jensen 541. While he was doing this, Paul finished wiring the loom into the
Our 1956 Jensen 541 has made a lot of progress recently. Paul has finished the dash mounts and has started work on the wiring. After
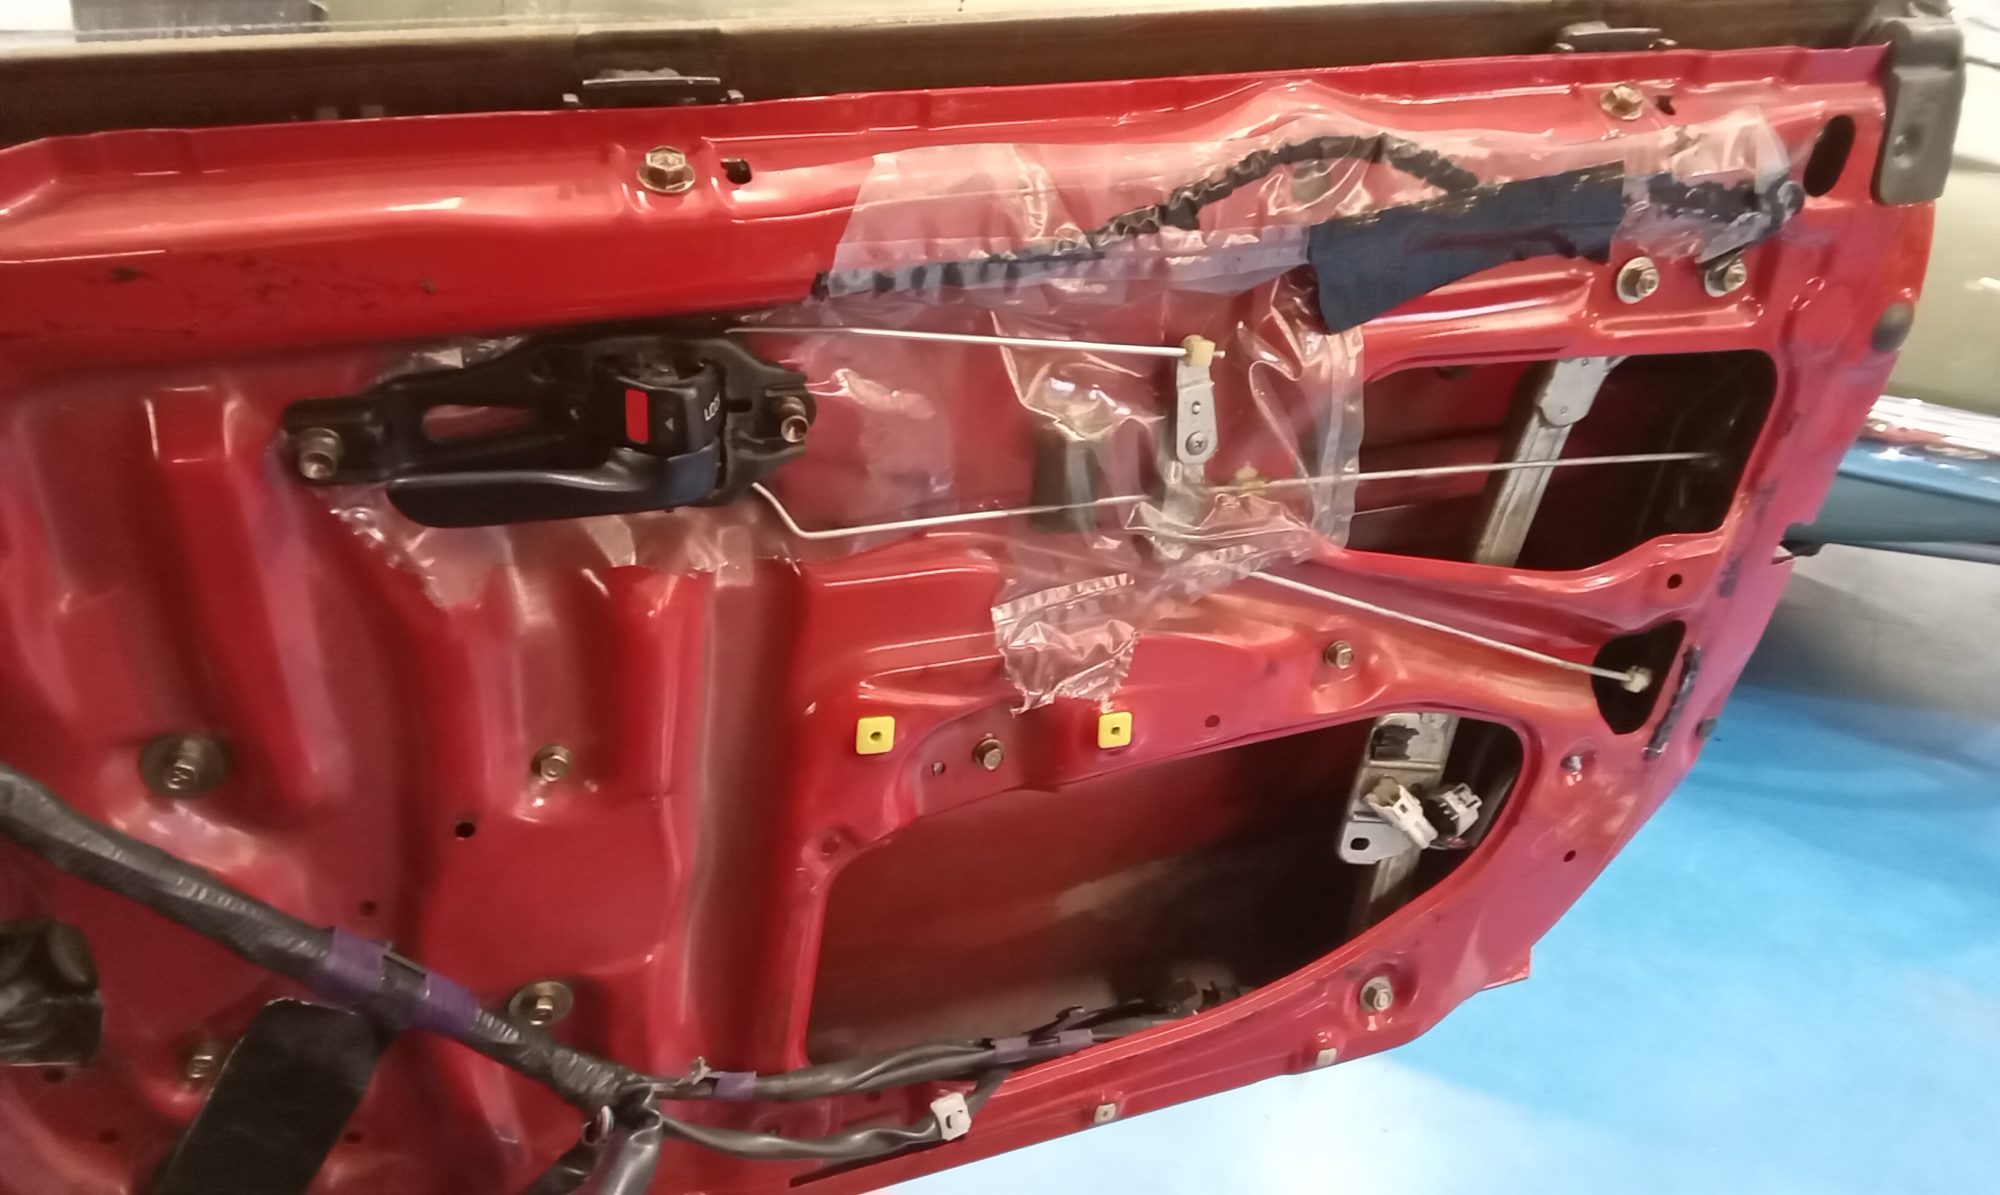
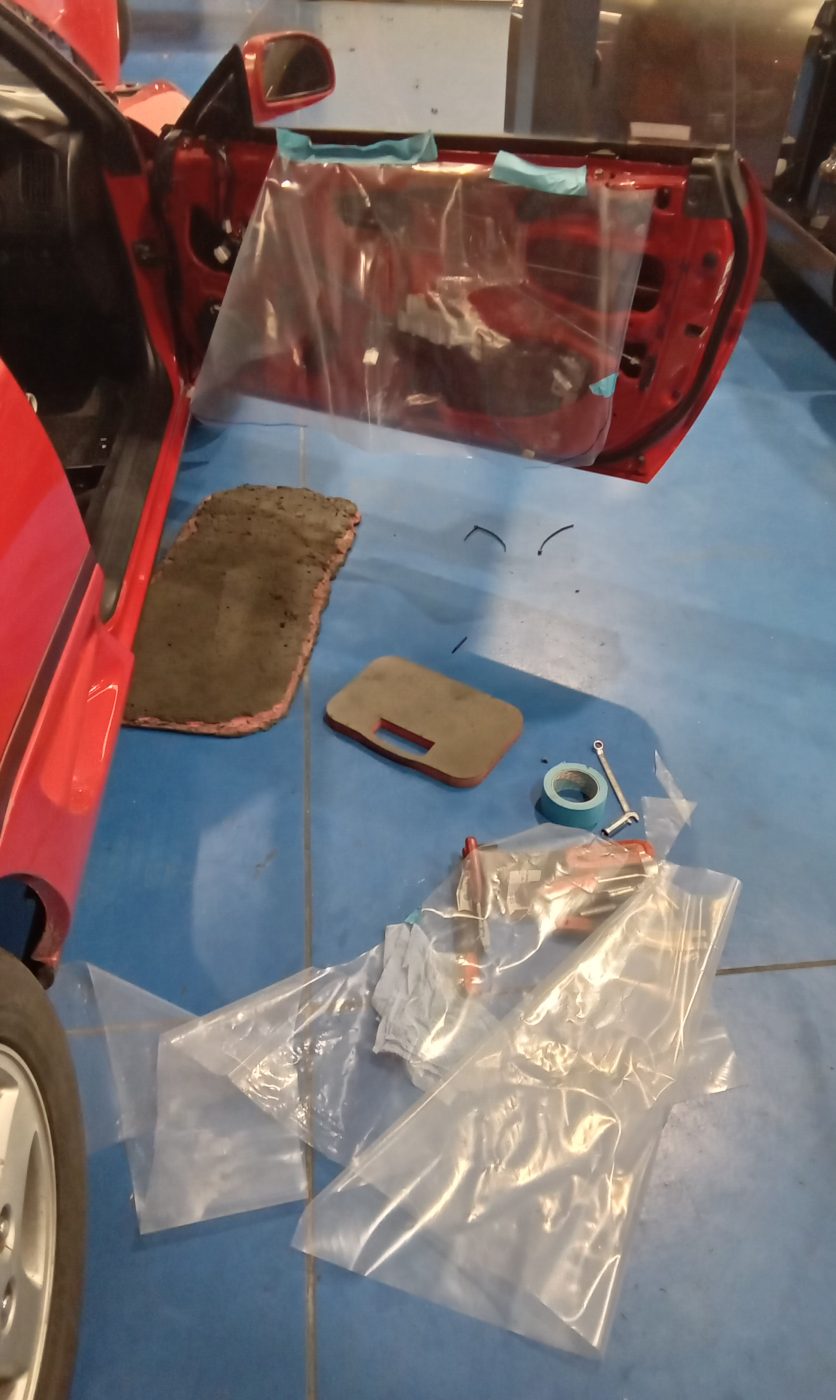
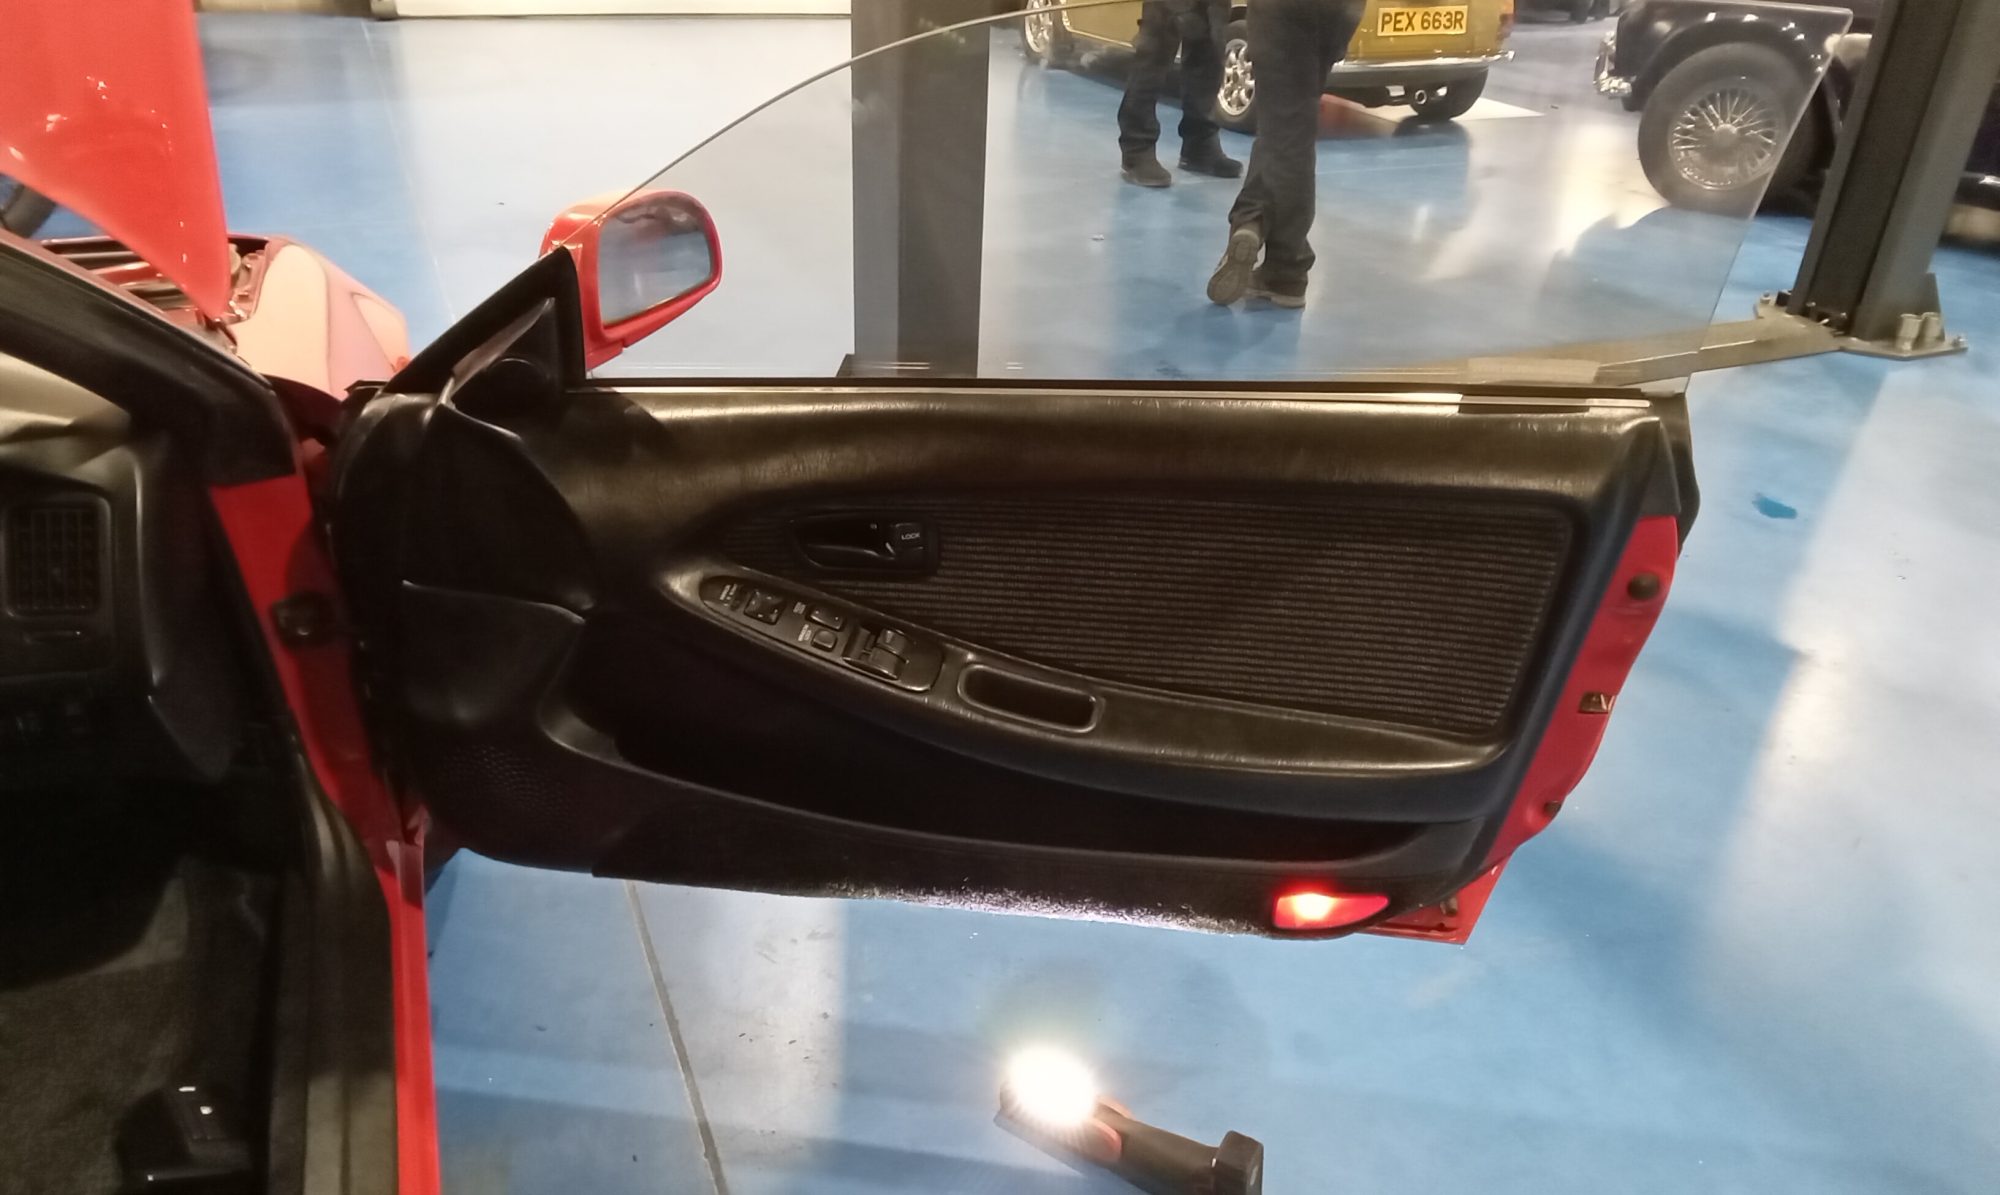
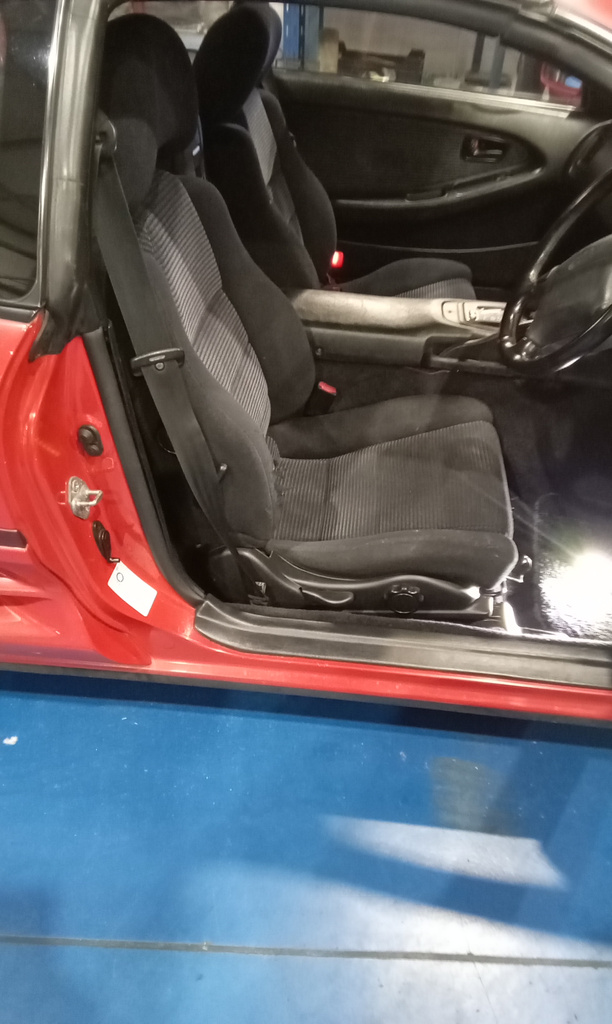
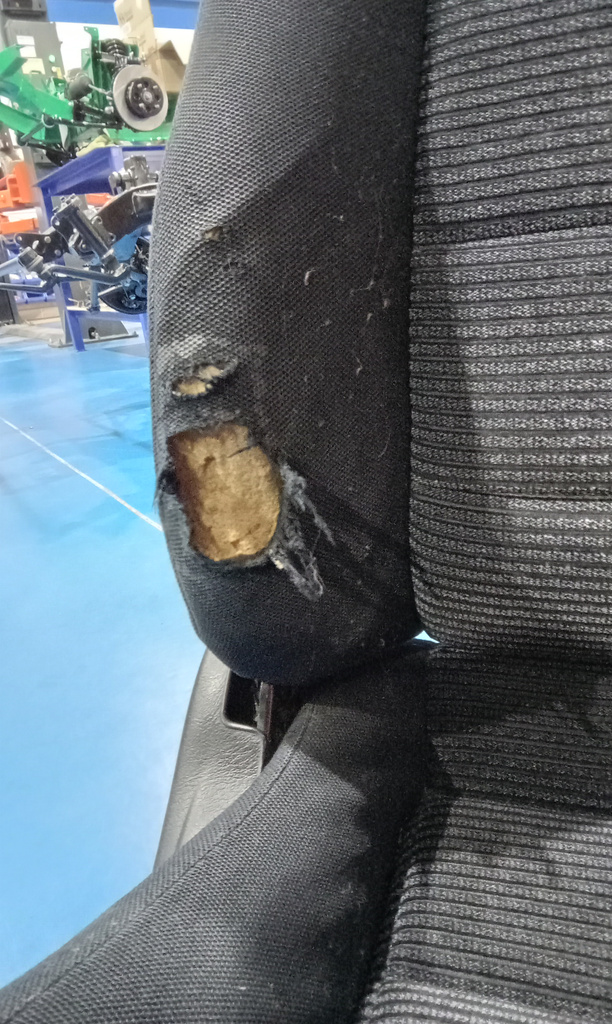
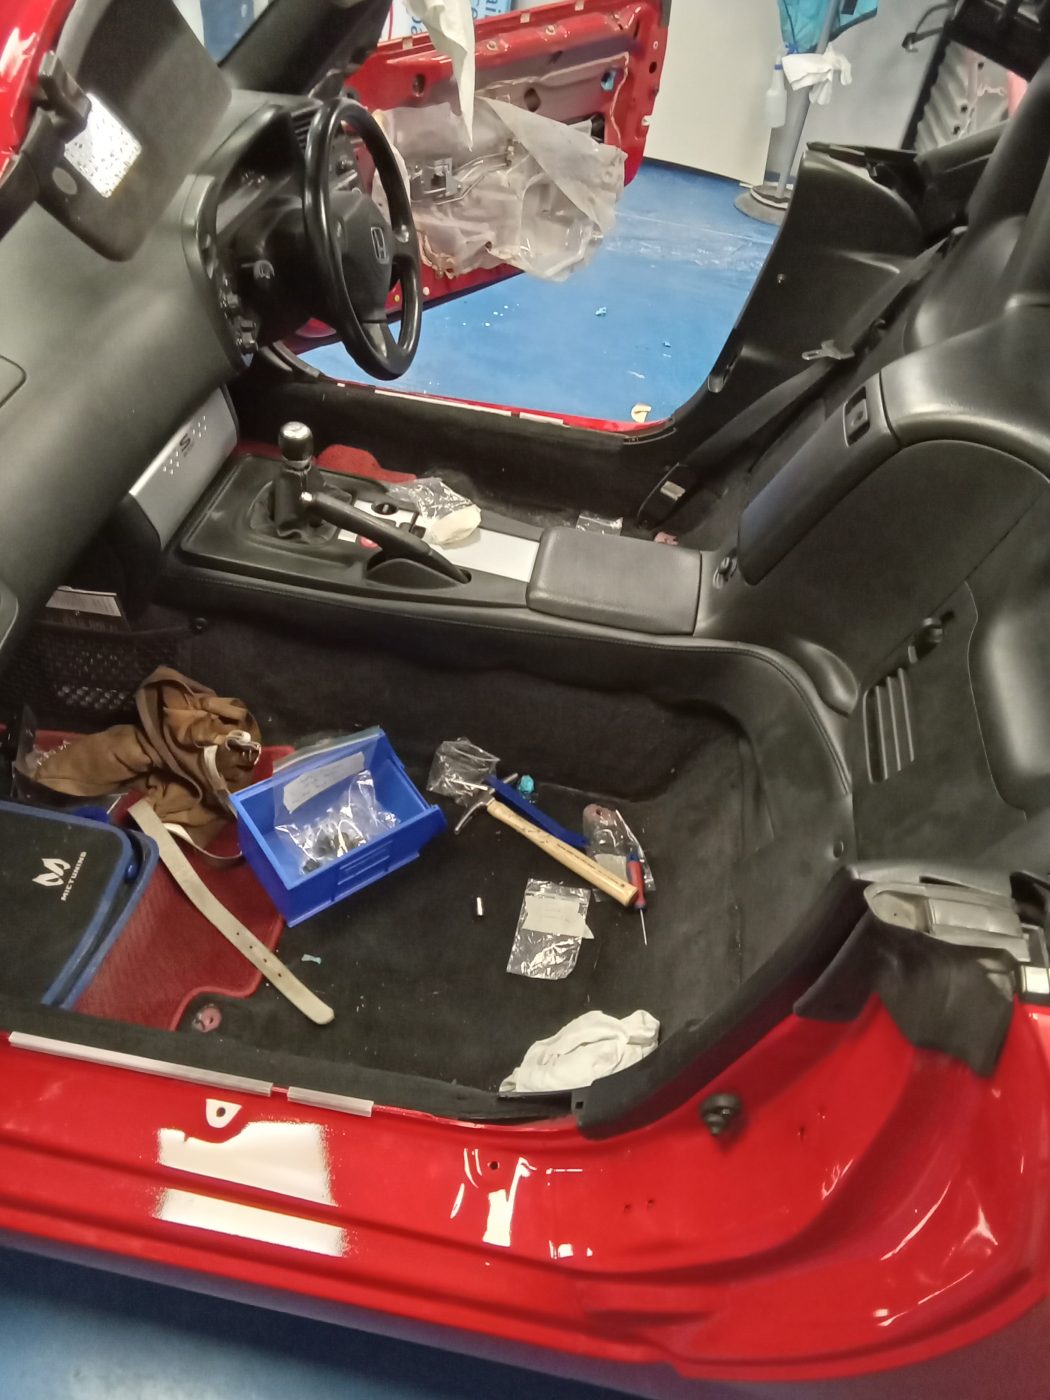
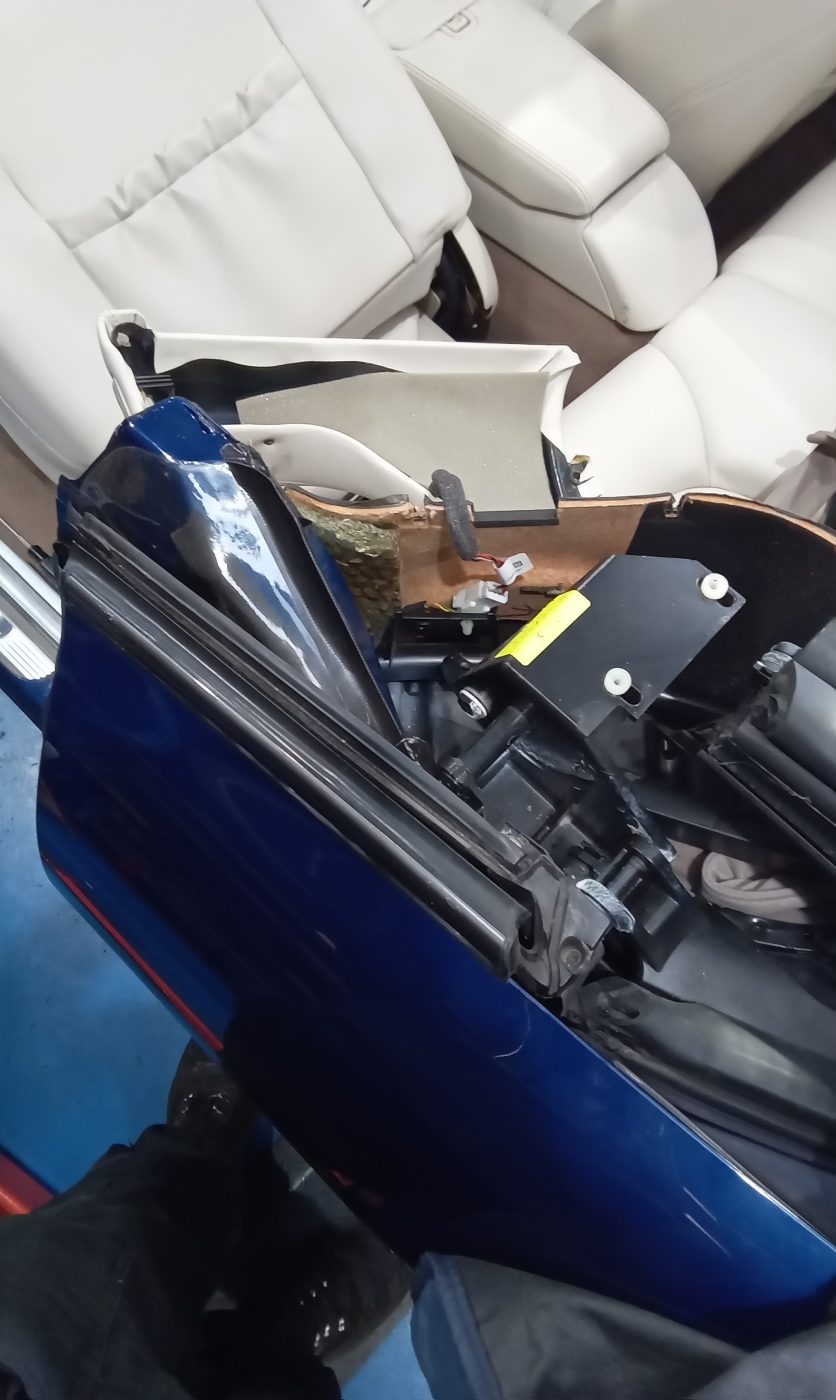
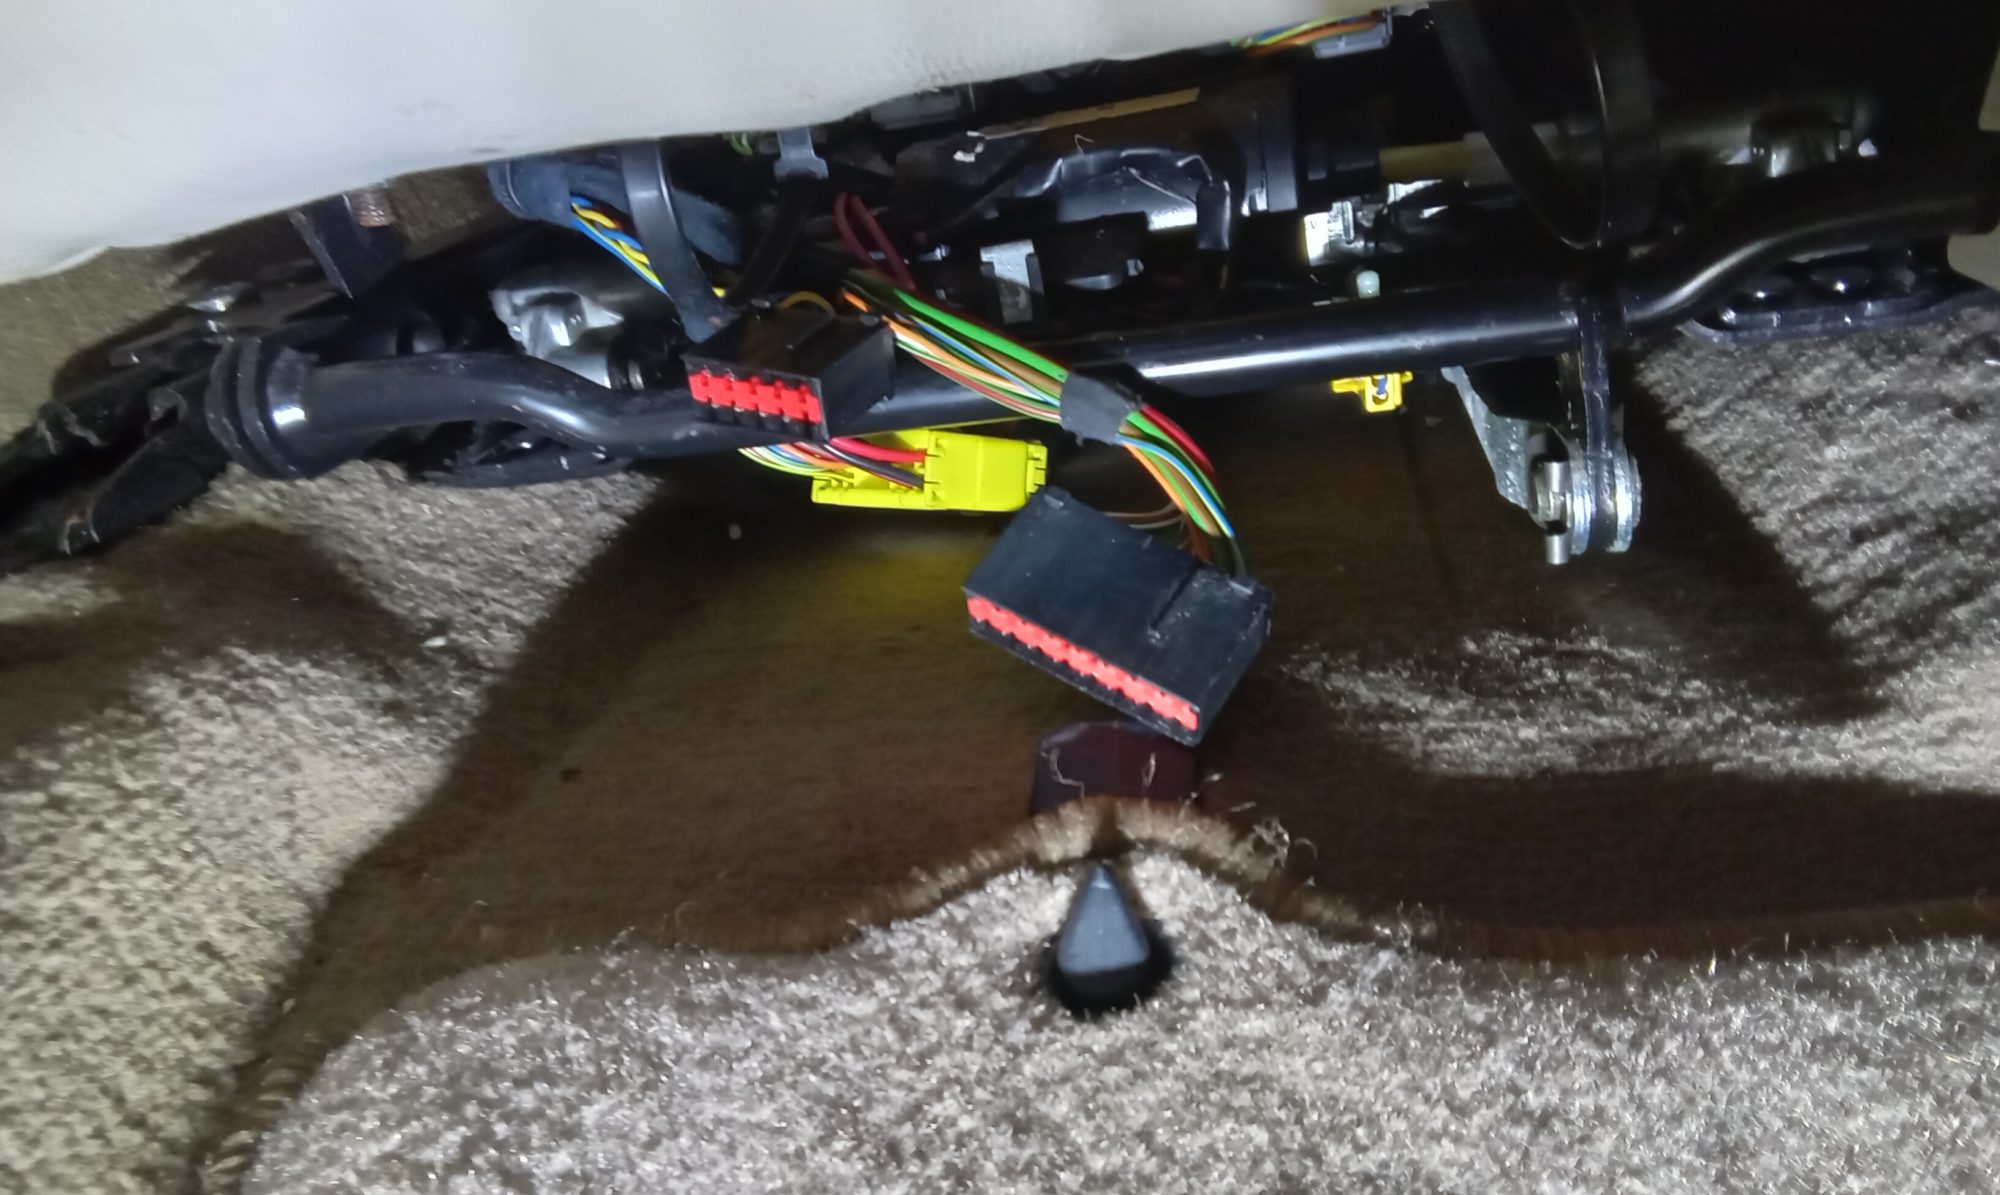
Our 1992 Toyota MR2 has been in the skilled hands of classic car technician Jonn. After he removed the driver’s seat for repair, Jonn disconnected

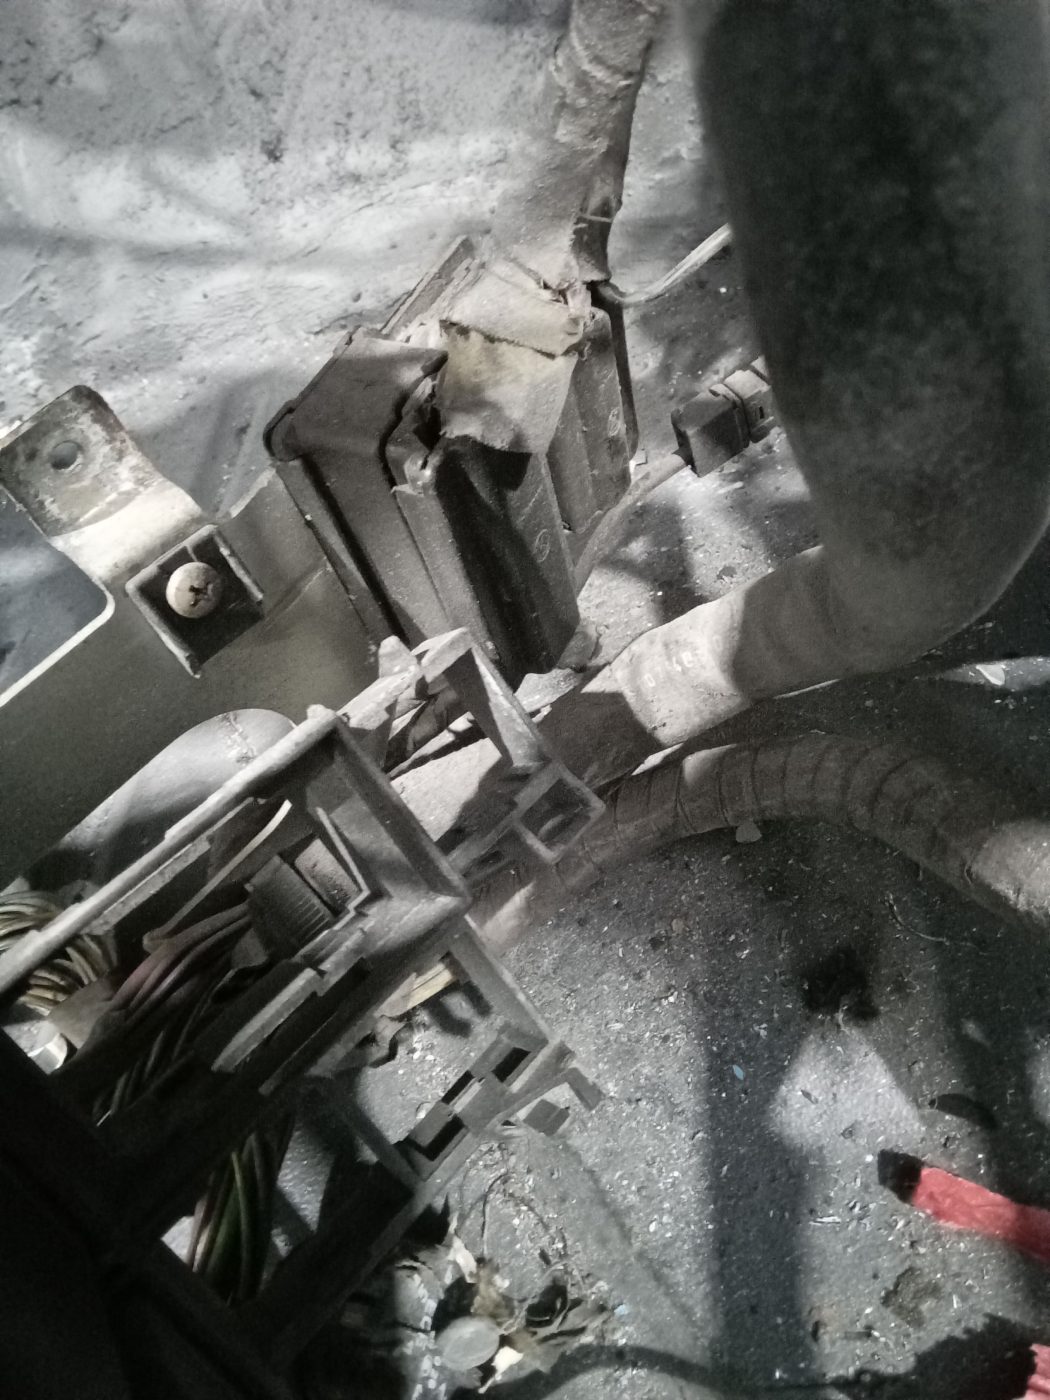
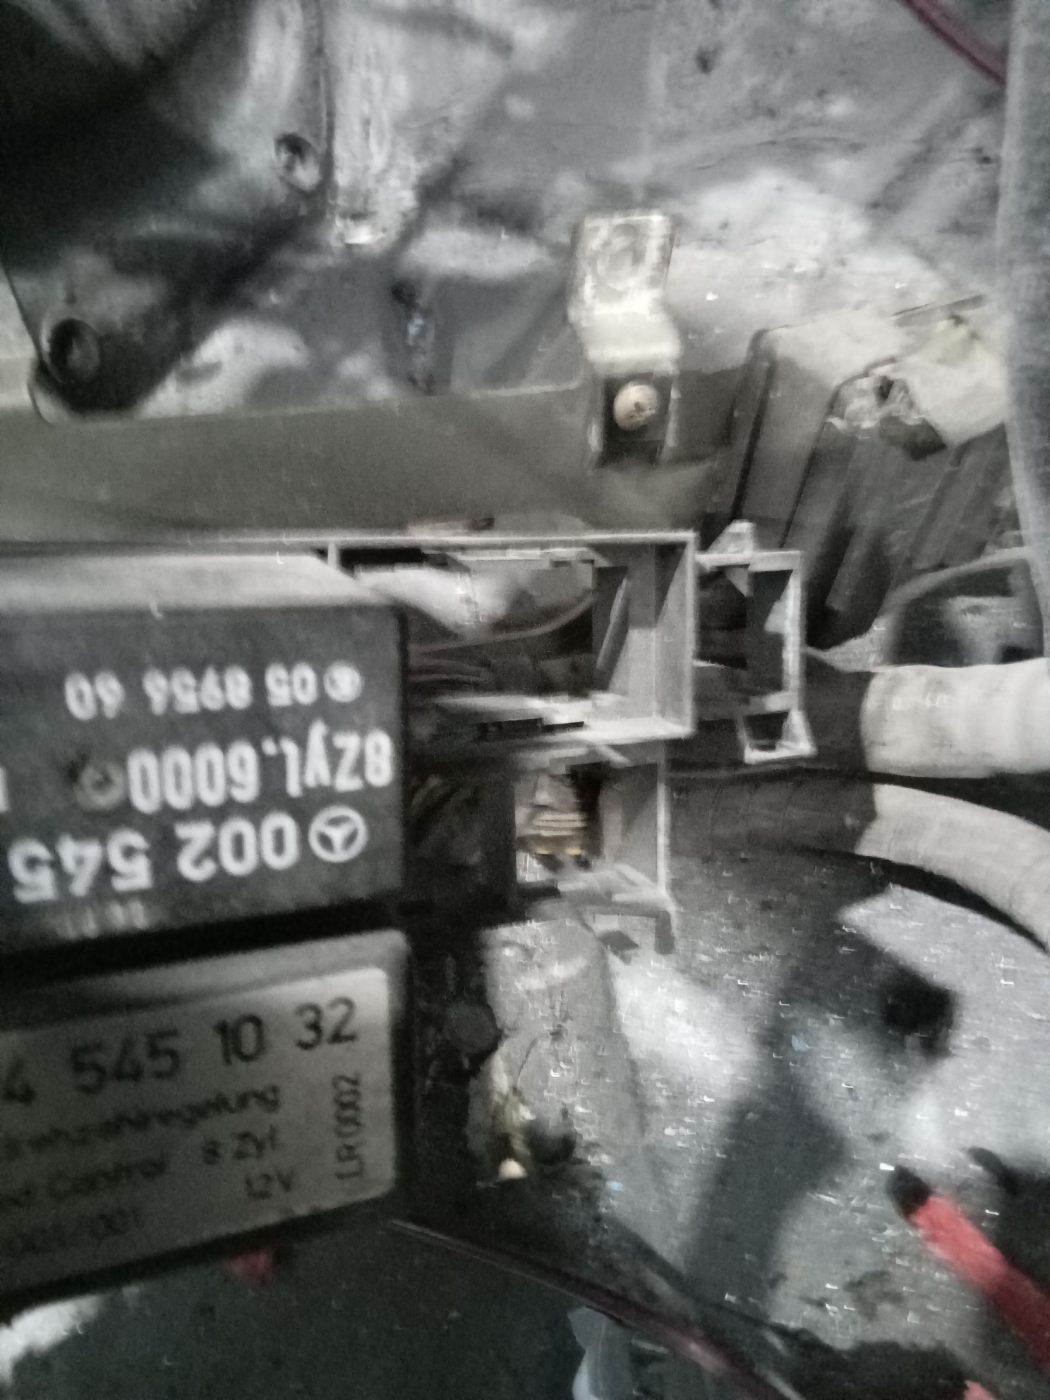
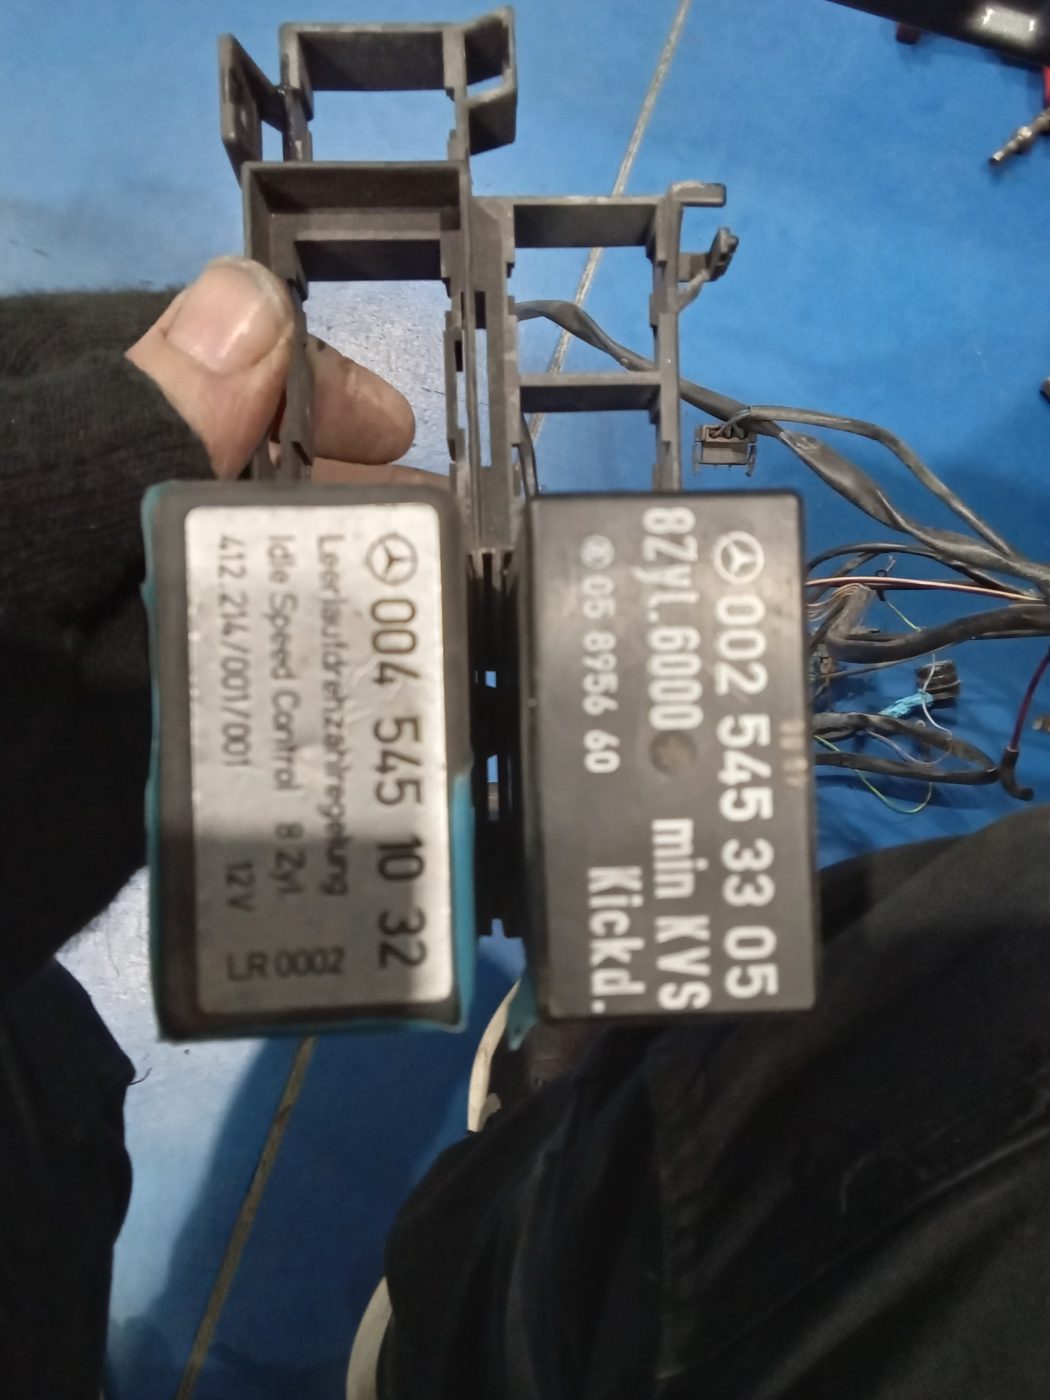
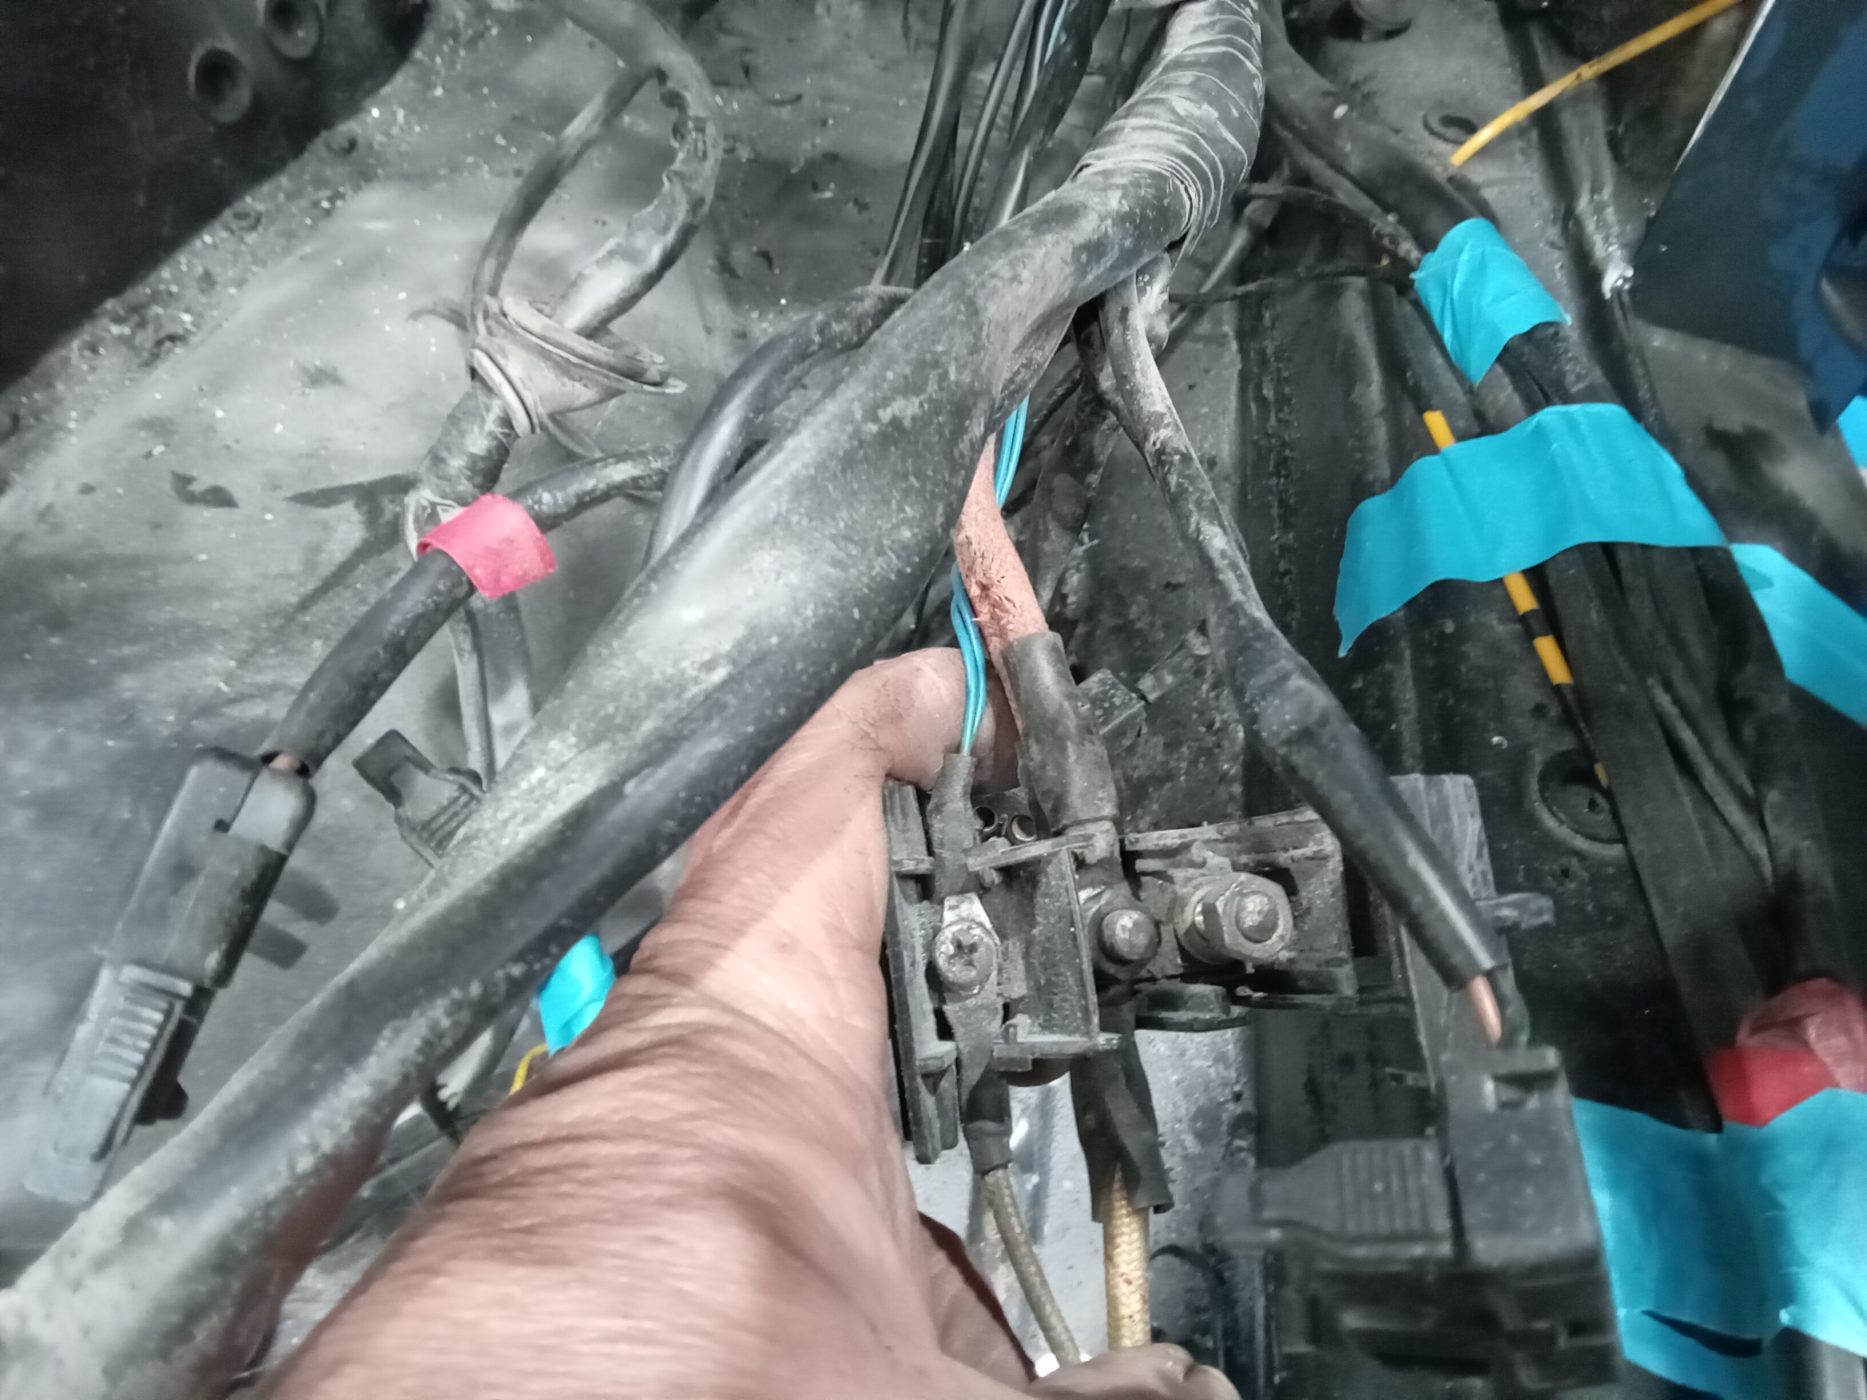
John has been cleaning the overspray and grease and oil off the wiring loom of our 1987 Mercedes 500 SL. He then started routing wiring

Our 1970 MGB Roadster has come to the end of its time in the Bridge Classic Cars paint shop. It recently moved into the main
Bridge Classic Cars workshop manager John has been sorting out the routing and assessing the condition of the wiring in our 1987 Mercedes 500SL.
We currently have 3 Aston Martin DB2/4s in the Bridge Classic Cars workshop. Out of all of them, our 1955 Aston Martin DB2/4 Mark I
After being painted, our 2005 Honda S2000 was put back together by technician Chris. Once Chris had put the majority of the bodywork back together,
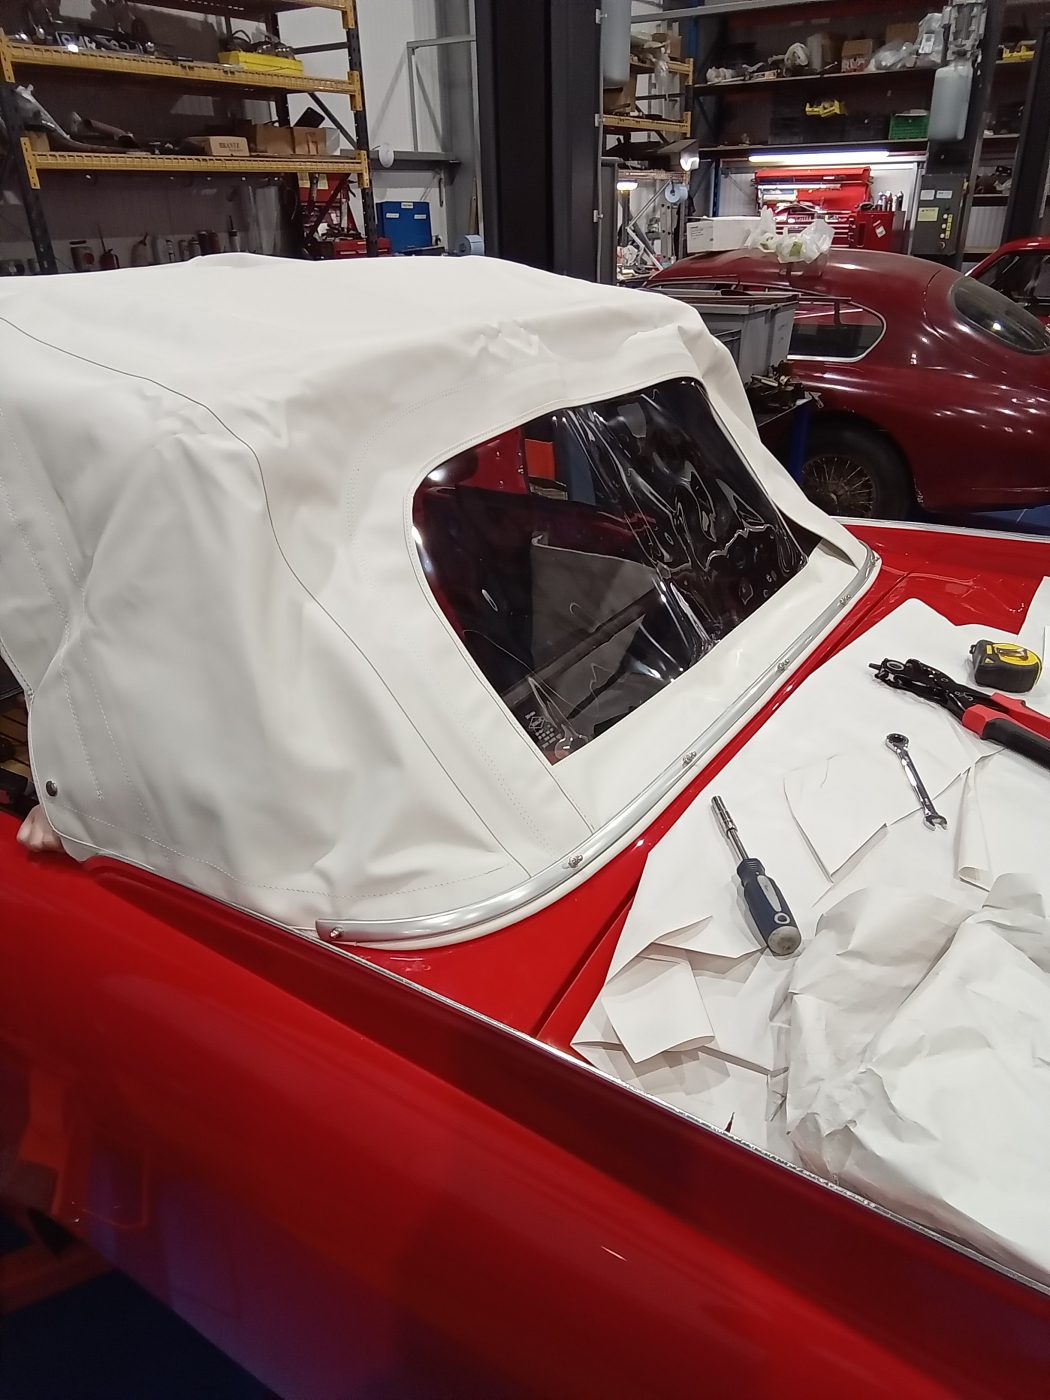
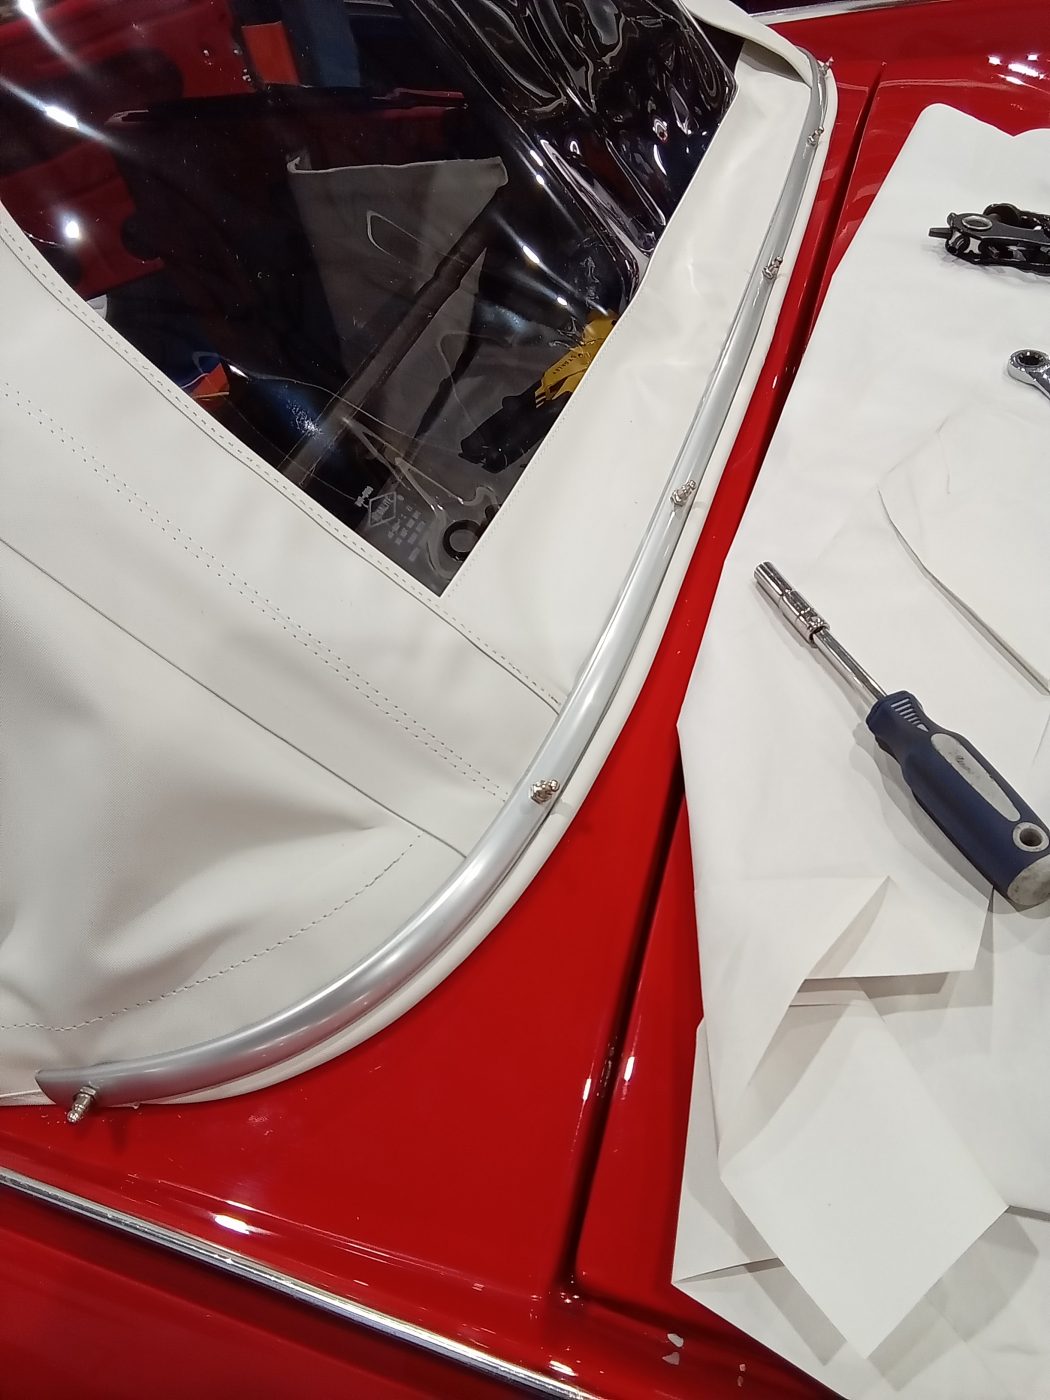
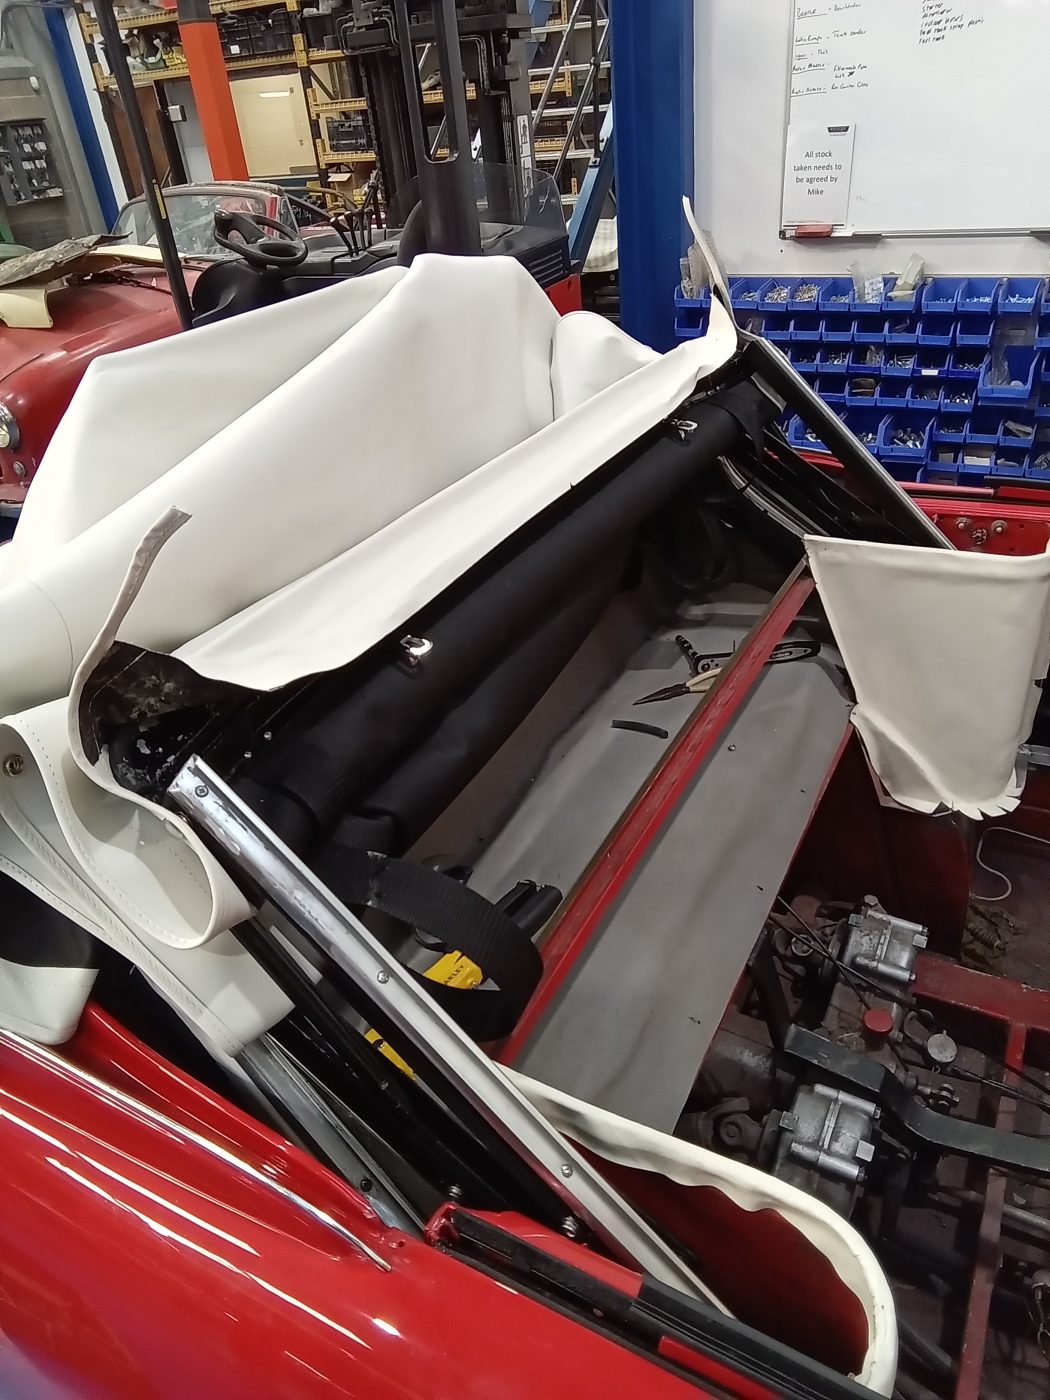
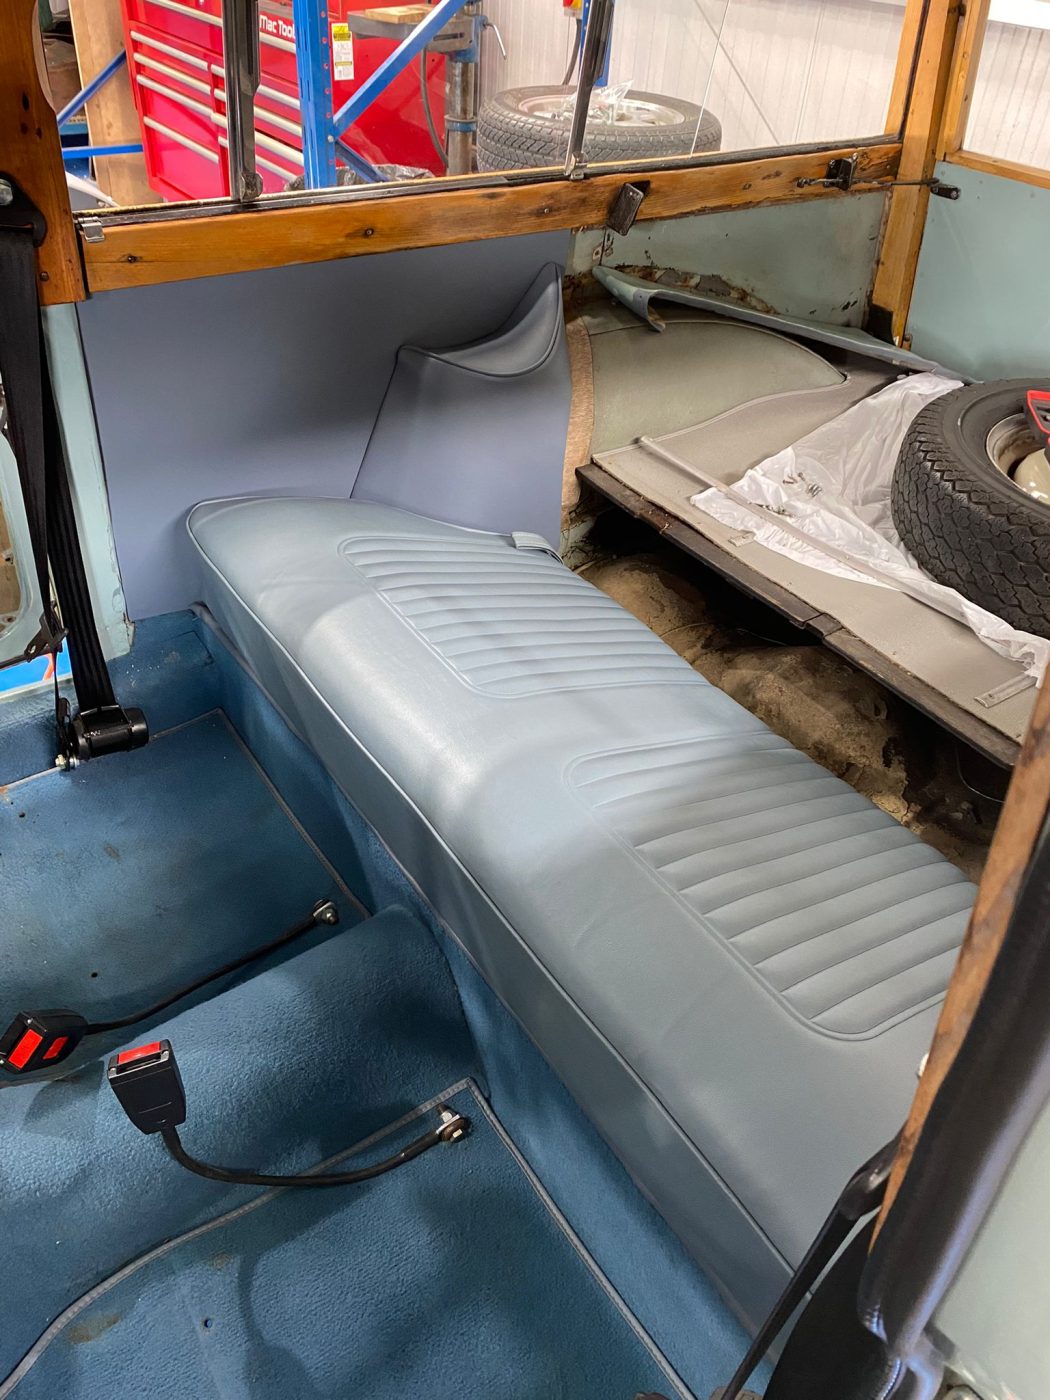
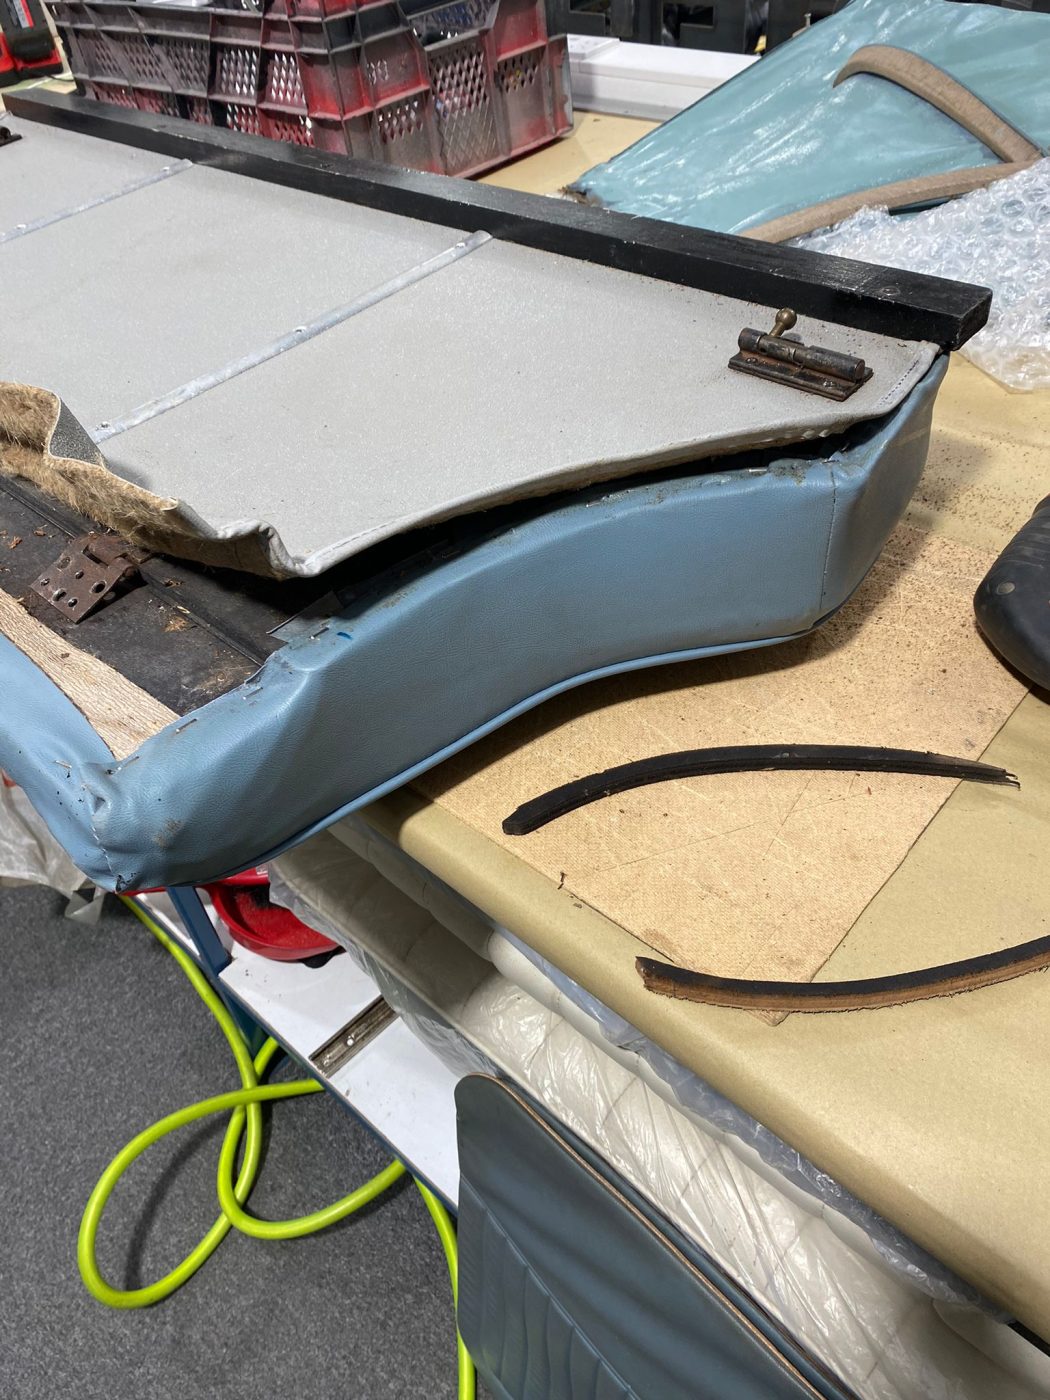
Our 1964 Amphicar 770 has made great progress as of late. Brian has been fitting the roof and roof cover. After glueing the floor side
Before our 1958 Austin-Healey 100-6 gets delivered to its new owner, classic car technician Jonn has been doing some finishing touches to this beautiful classic.
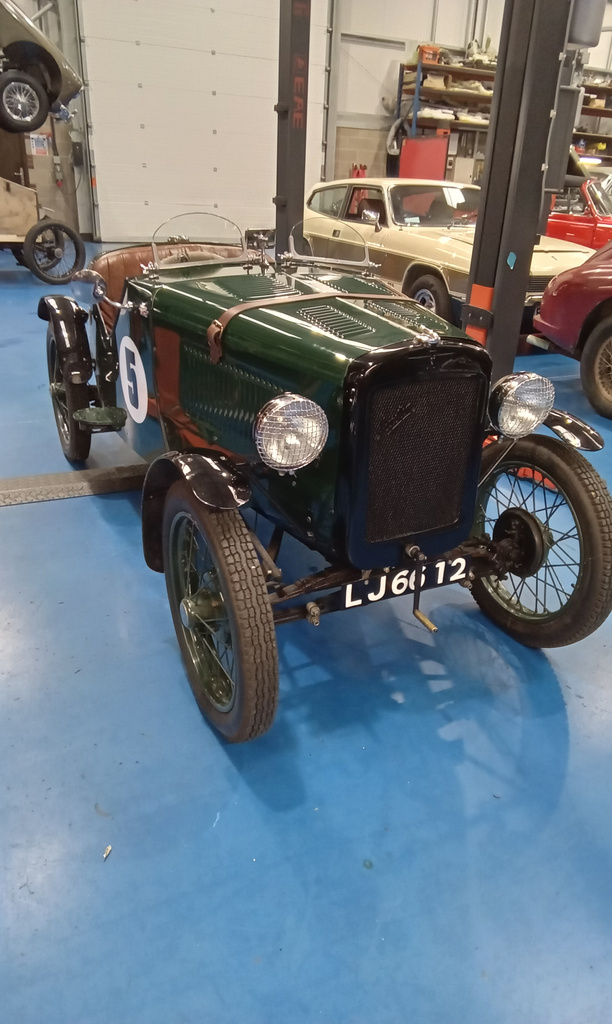
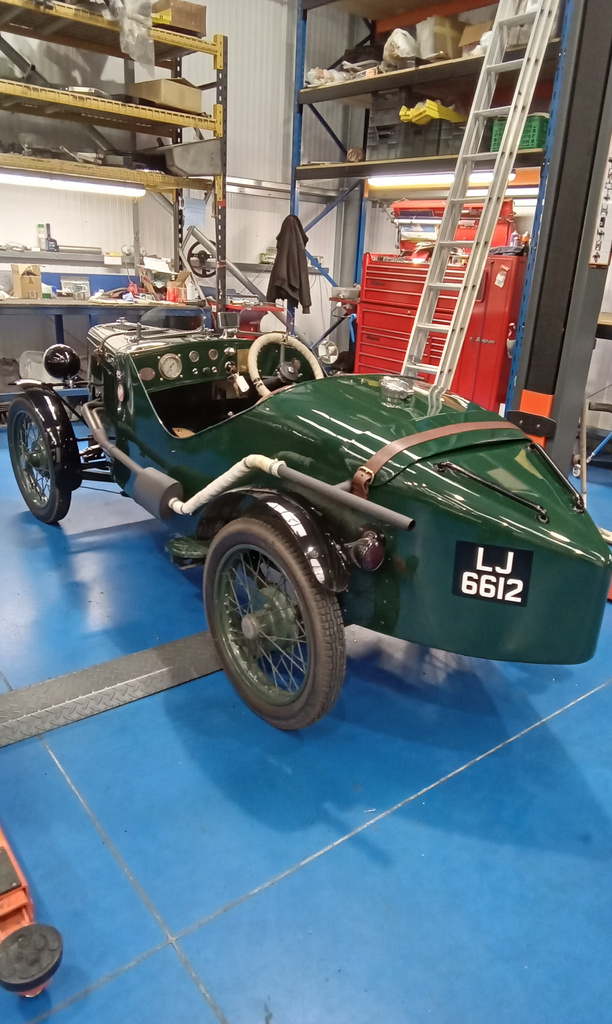
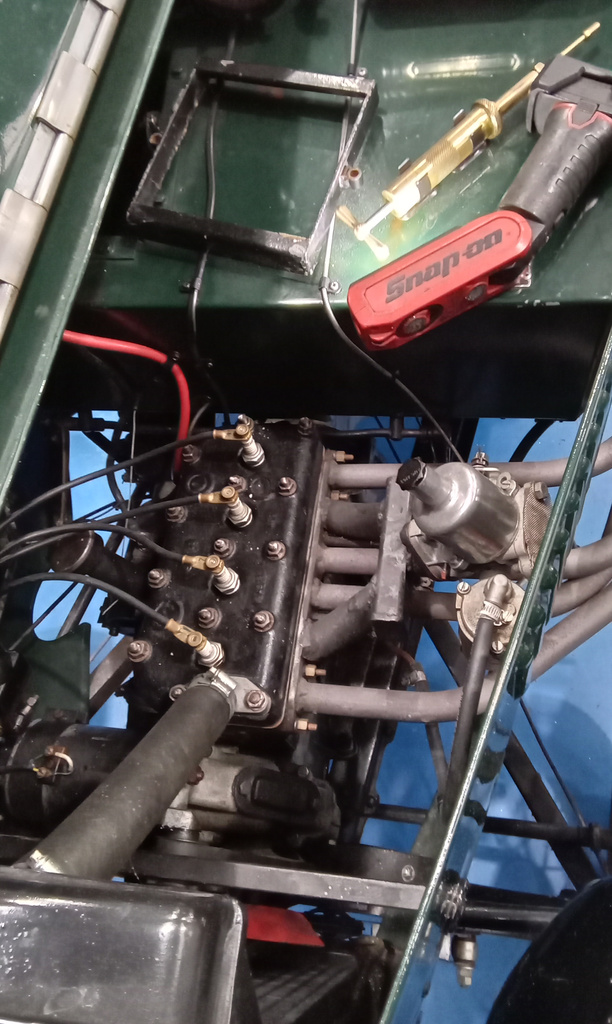
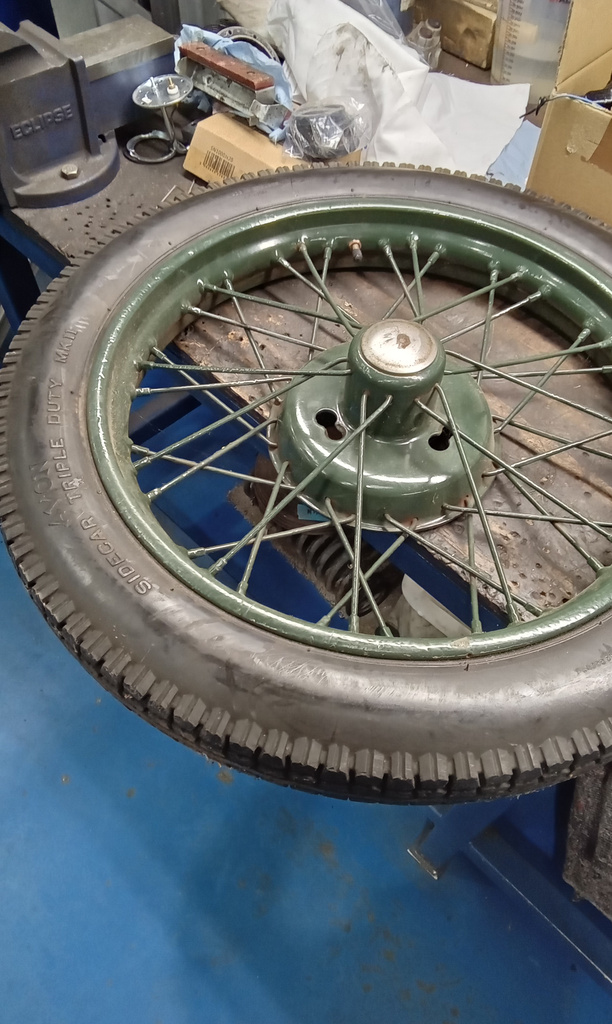
Before our 1932 Austin Ulster is won through Bridge Classic Cars Competitions, Jonn has been making some minor repairs to make sure it is ready

Steve has been working on our 1980 Volvo 245GL. He noticed that, intermittently, the dash lights were not coming on, and the battery was not
Classic car technician James has been working on our 1972 Ford Transit Tipper. Since leaving the Bridge Classic Cars paintshop, it is now in the
Workshop manager John has been looking after our 1970 Lotus Europa. He has been rewiring the fuel pump to work off a relay as well

Classic car technician Jonn has been working on our 1965 Morris Traveller 1000, getting it ready to go live on Bridge Classic Cars Competitions very
Our 1955 Aston Martin DB2/4 Mark 1 has been in the hands of classic car technician Steve. Steve soldered the original ignition advance control cable
Our 1987 Mercedes 500SL is back in the Bridge Classic Cars workshop and work has begun on it once again. Various tasks have already been

Our 1970 Lotus Europa has been in the skilled hands of classic car technician Jonn who has been making and fitting a new heatshield. Jonn

Classic car technicians Jonn and Brian have been working on our 1965 Morris Traveller 1000. Jonn resecured the offside rear door bracket after it was

Bridge Classic Cars workshop manager John has been working on our 1970 Lotus Europa. He has been returning the wiring of our classic Lotus back
Our 2001 Jaguar XKR has been in the hands of classic car technician Jonn as he has begun inspecting the vehicle ready for it to

Our 1990 Rover Mini Cooper has been going through its pre-delivery inspection with classic car technician Jonn. During his inspection, Jonn noticed that the rev

Our 1976 Morris Mini has been in the care of classic car technician Jonn as he has been resolving a few issues that he found
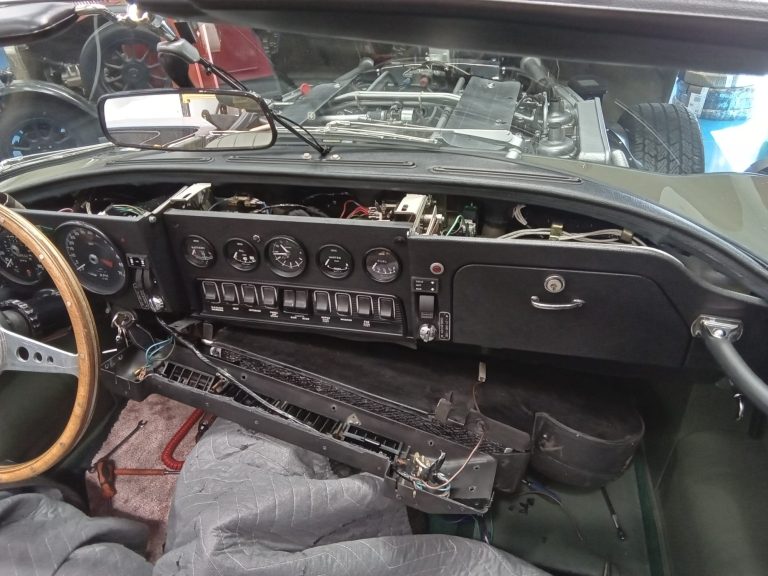
Classic car technician Steve has been resolving an issue with the air conditioning in our 1973 Jaguar E-Type Roadster Series 3. After removing the dash,
Classic car technician Jonn has been giving our 1986 Volkswagen Golf GTI Cabriolet a final check over before it leaves us ready to be delivered
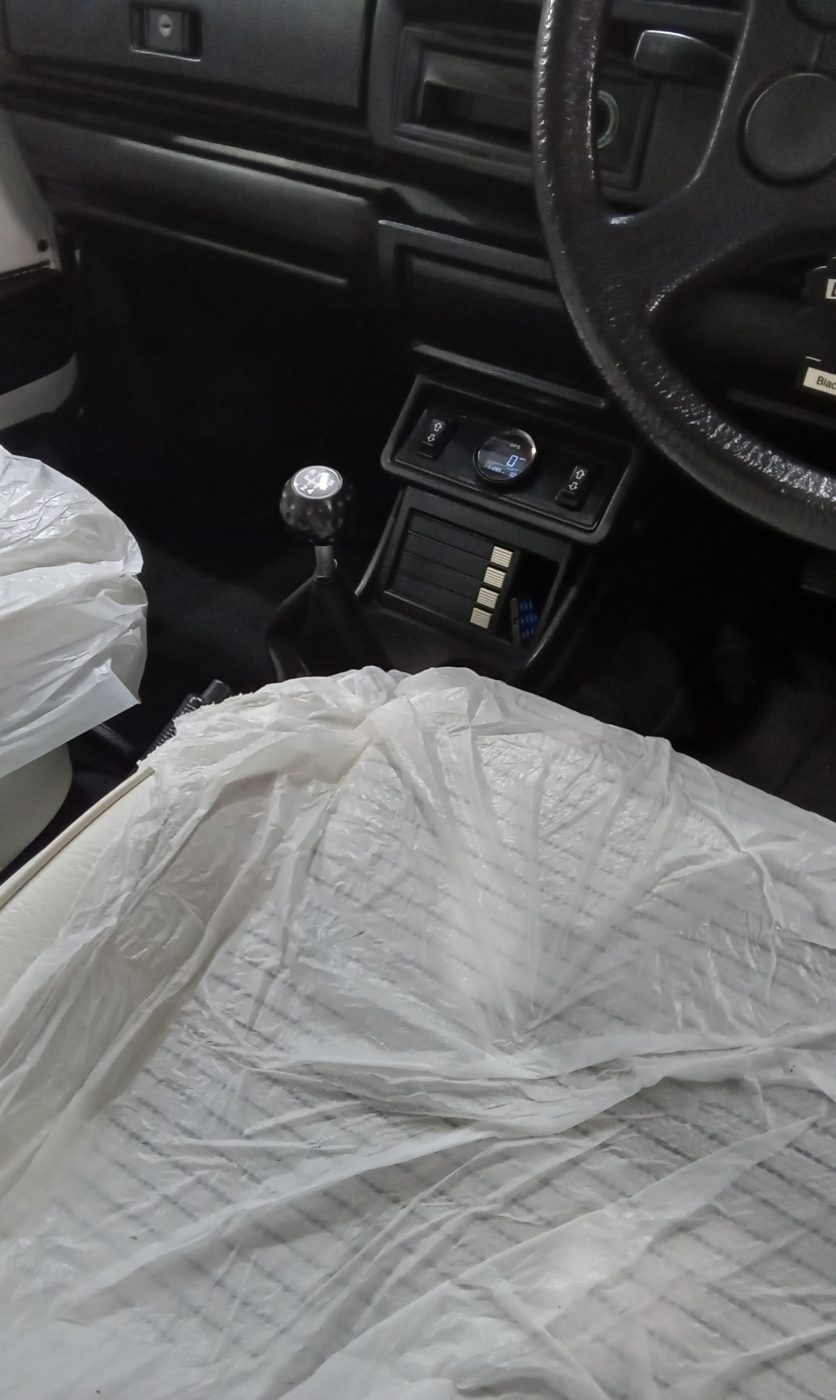
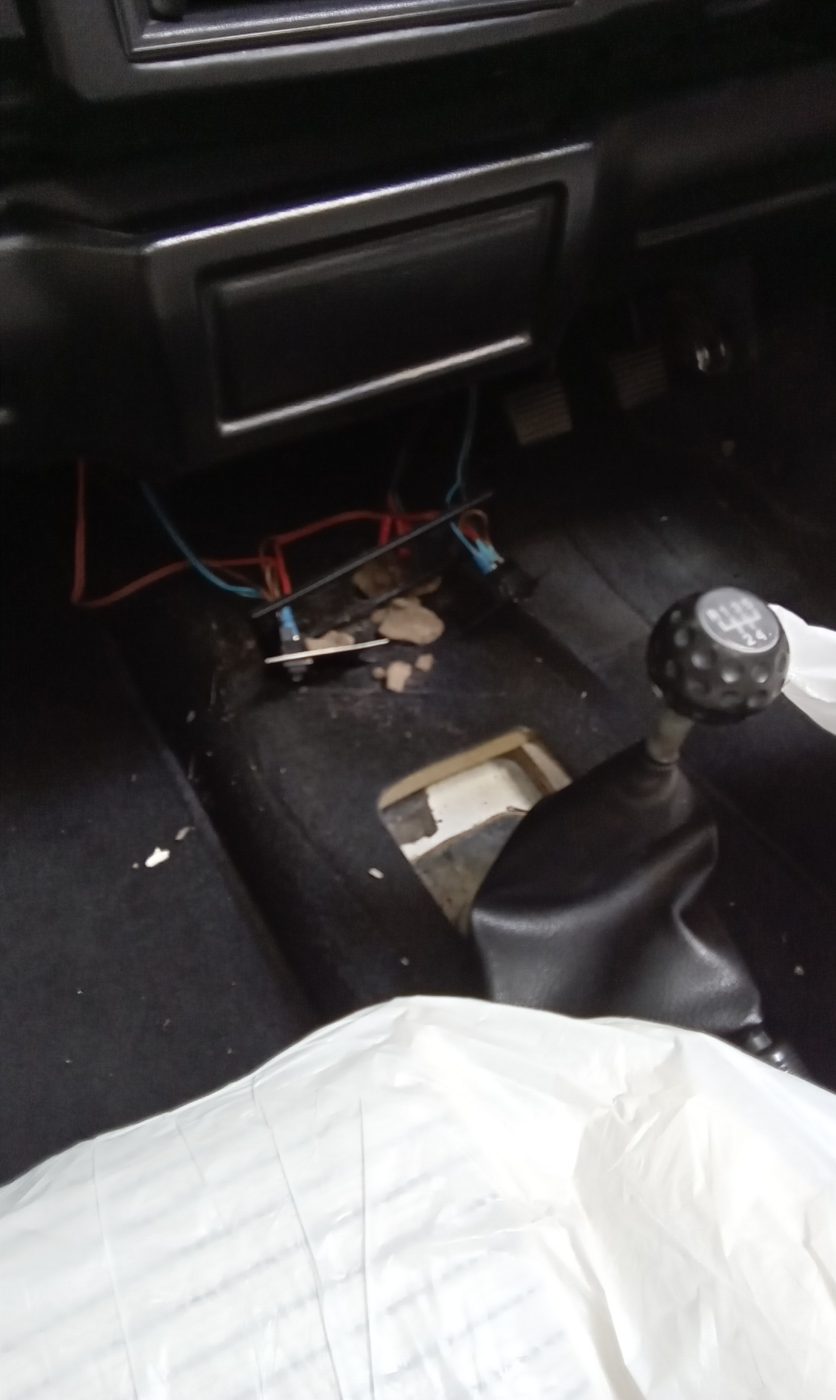
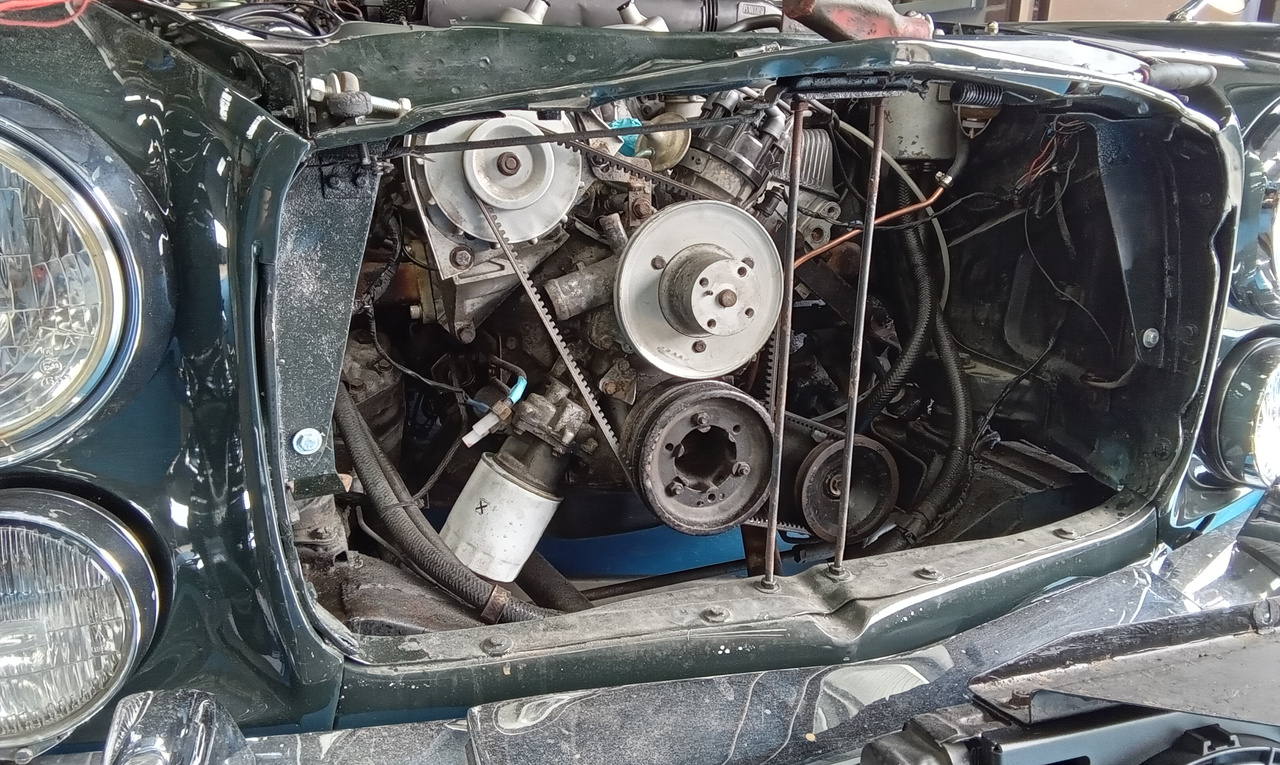
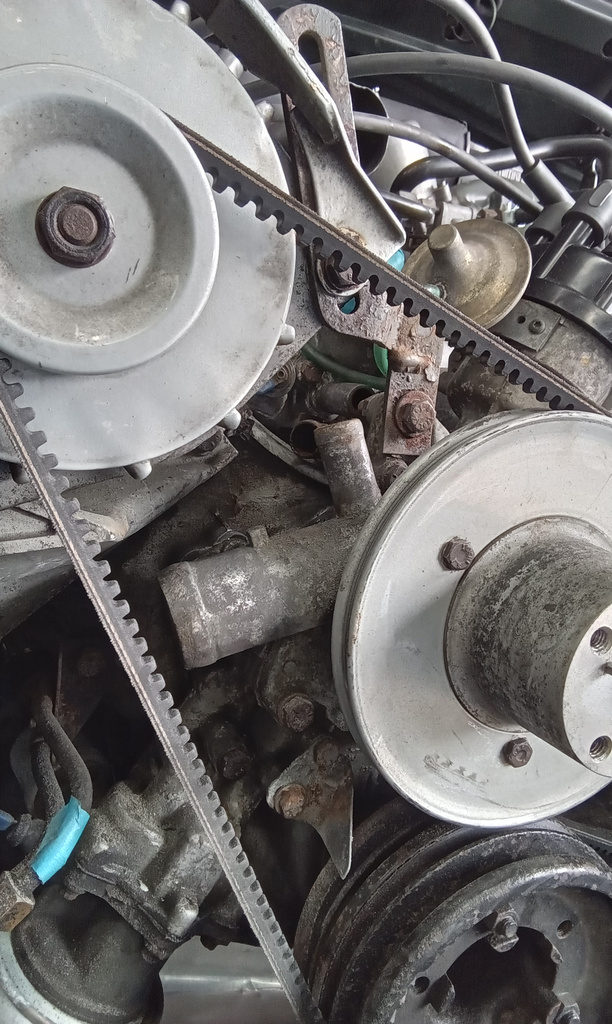
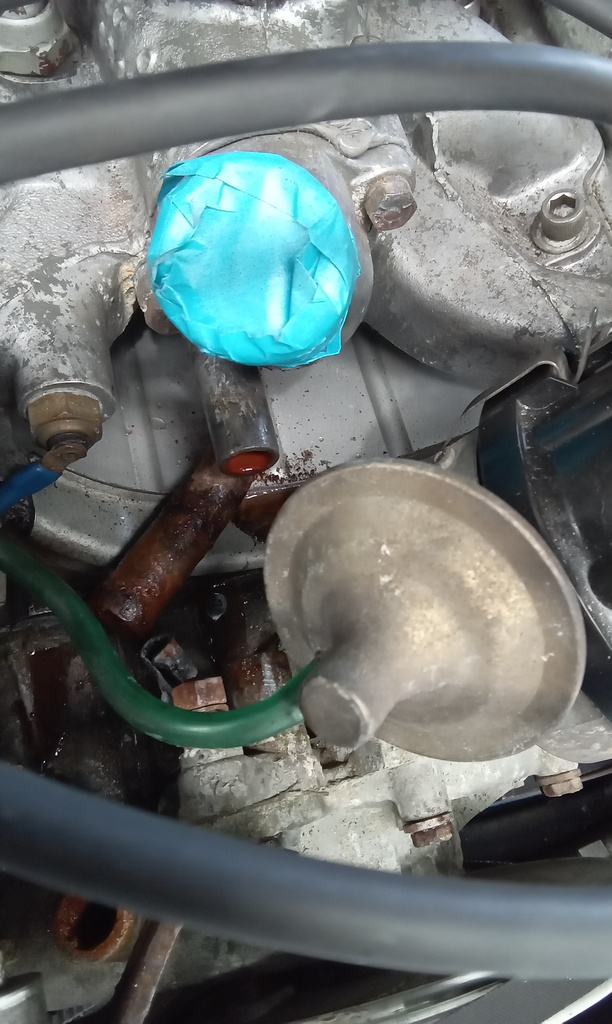
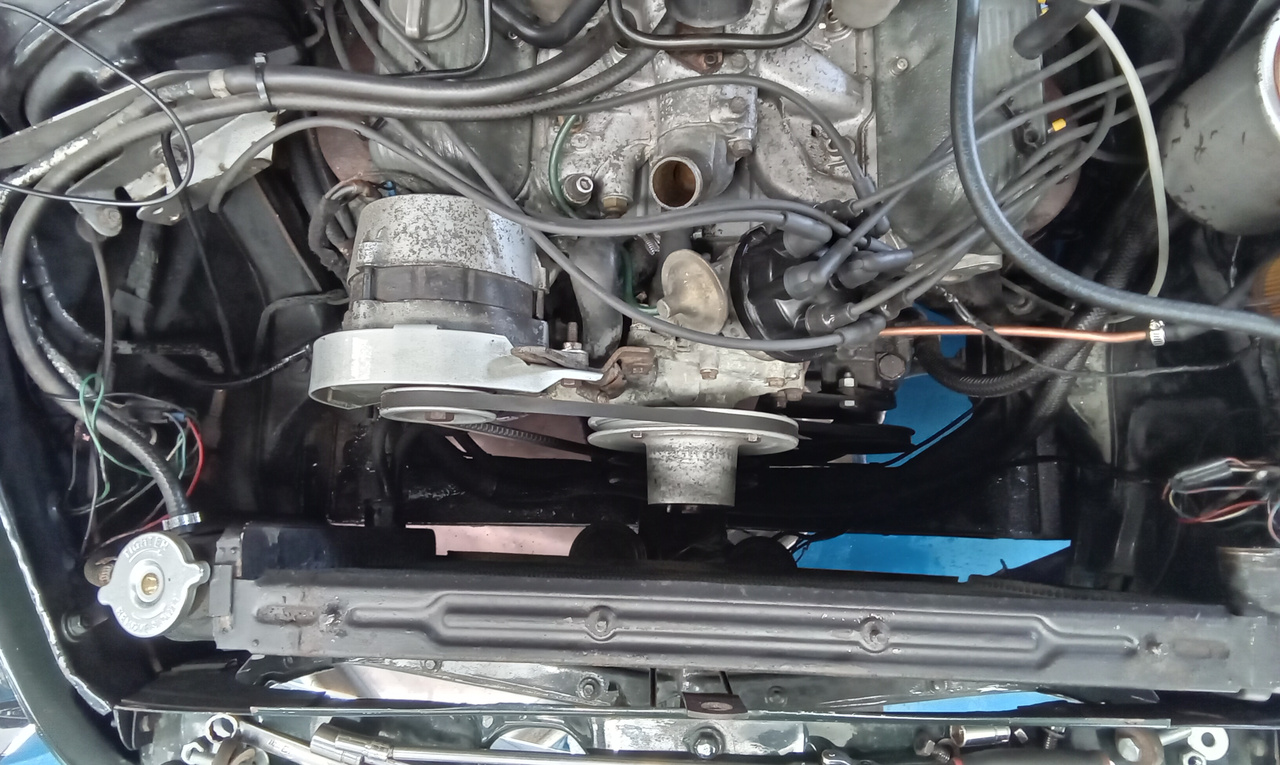
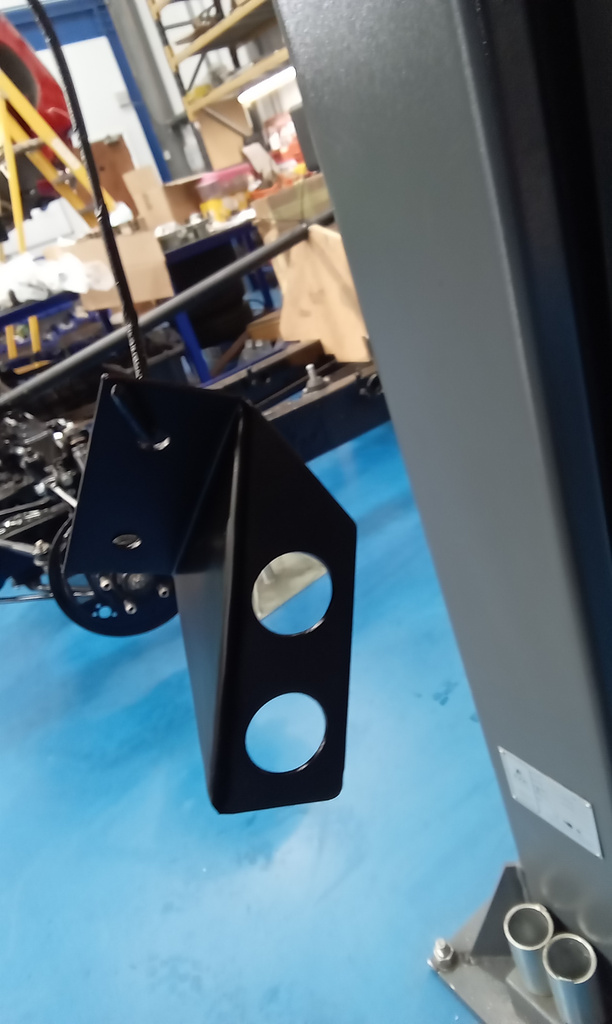
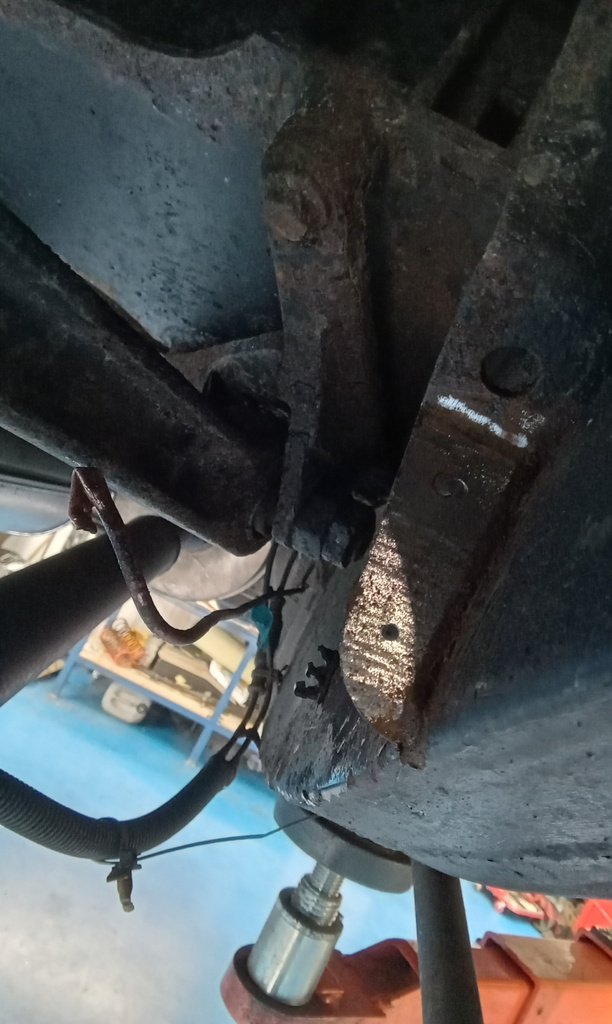
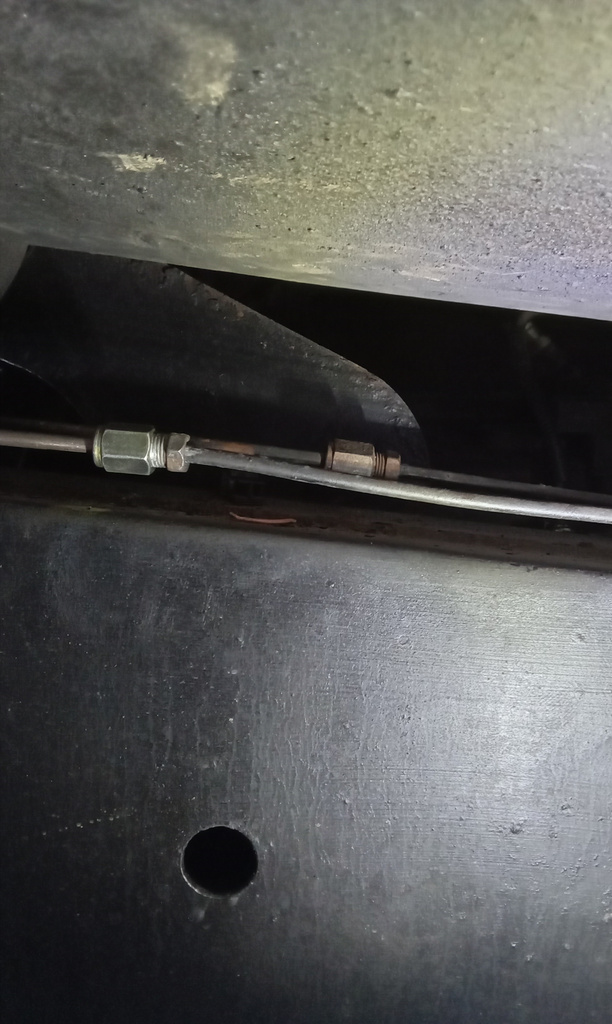
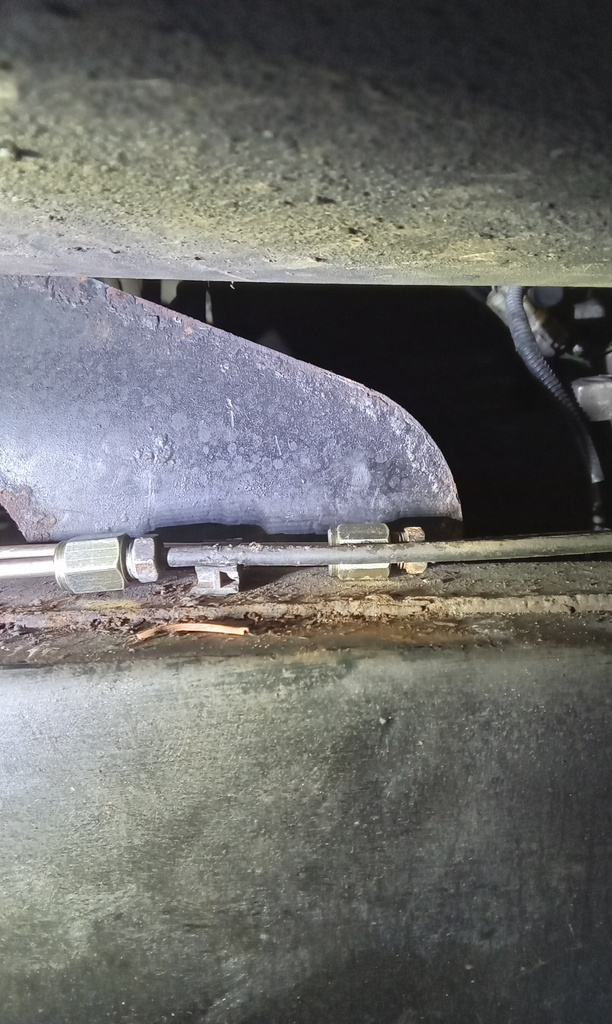
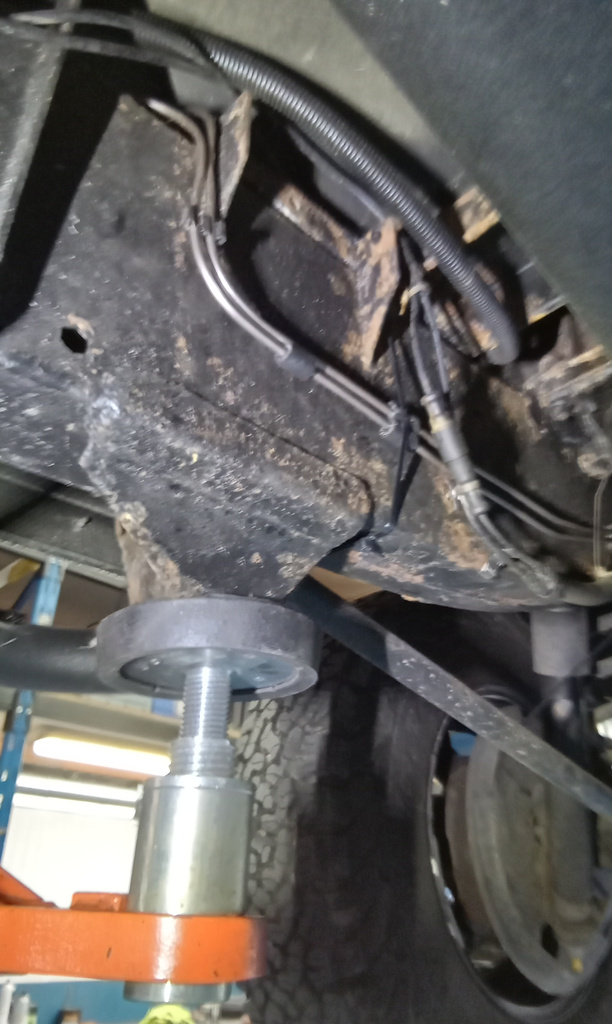
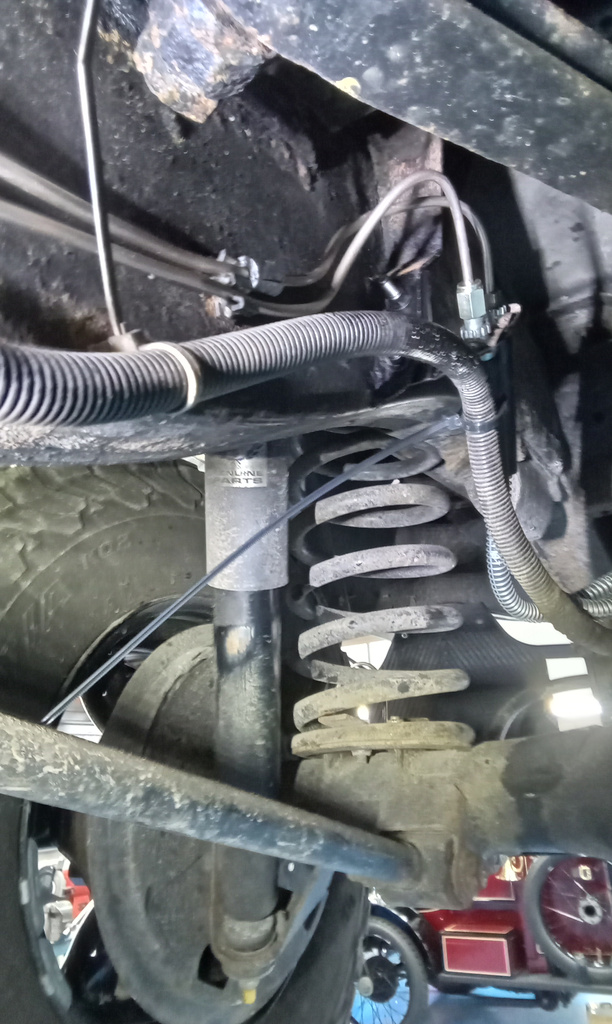
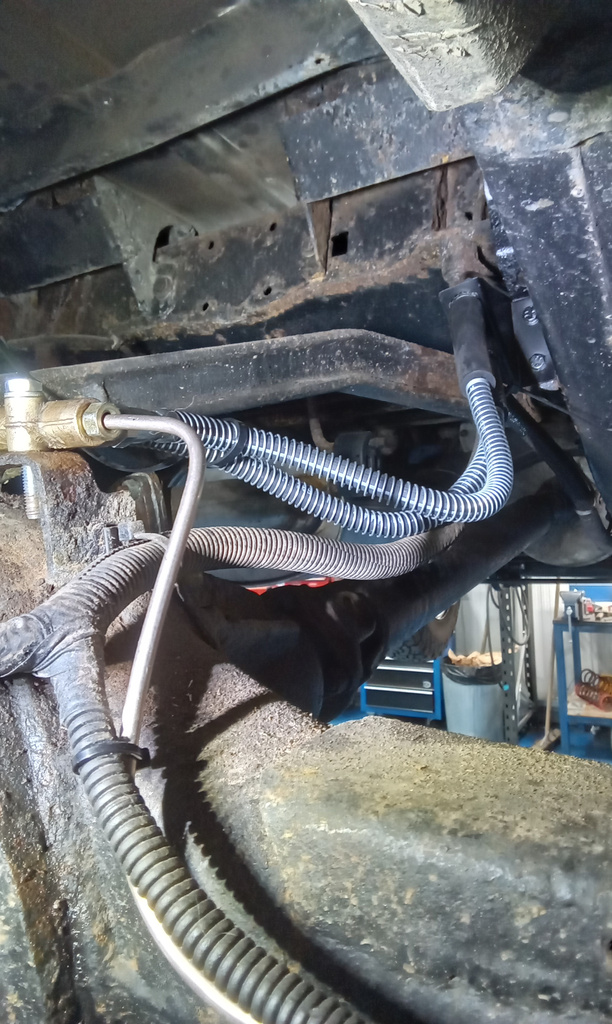
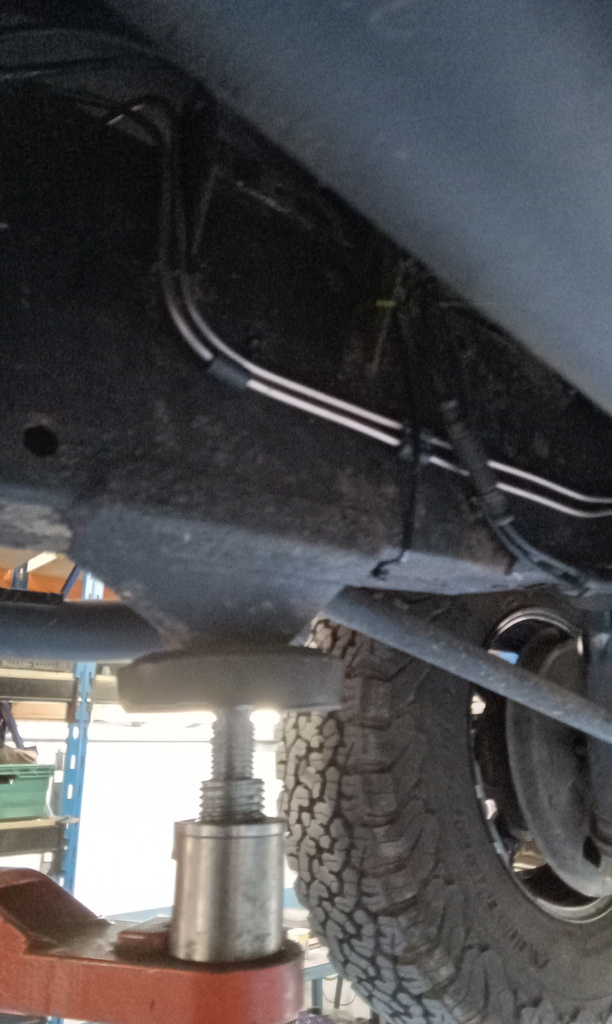
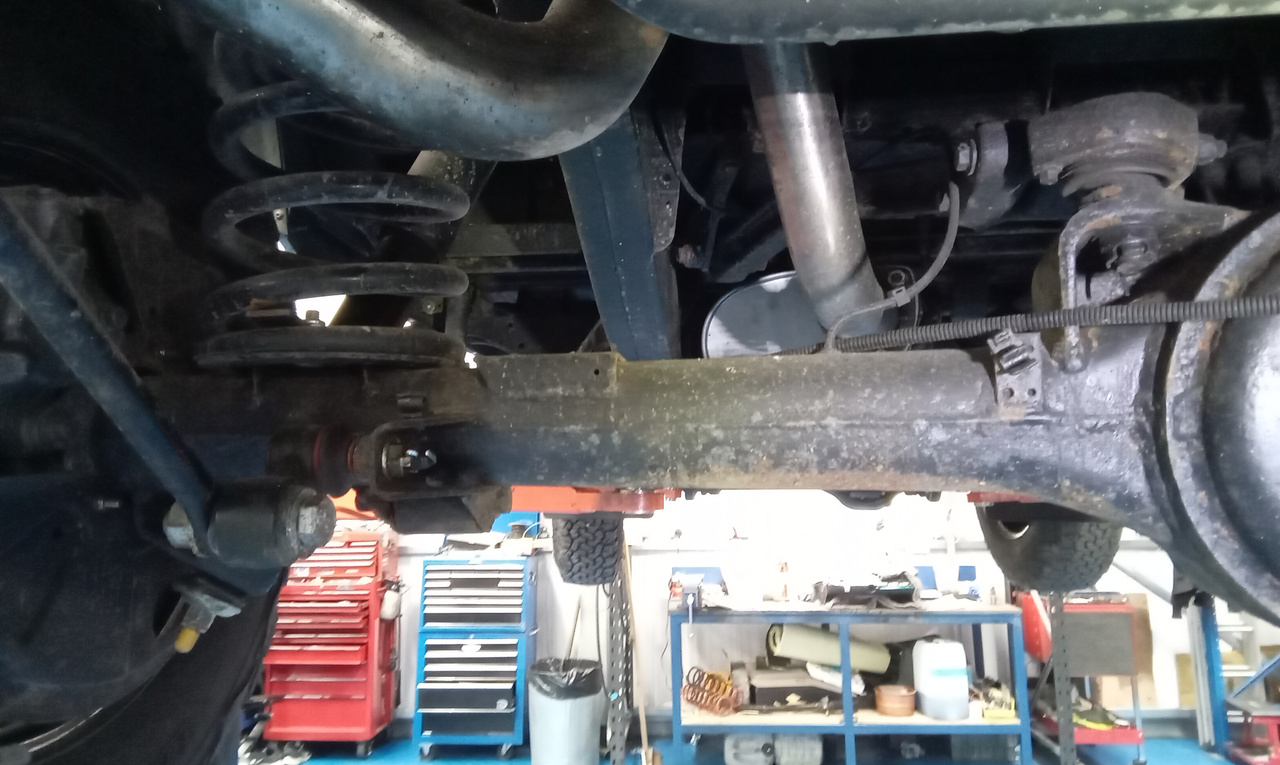
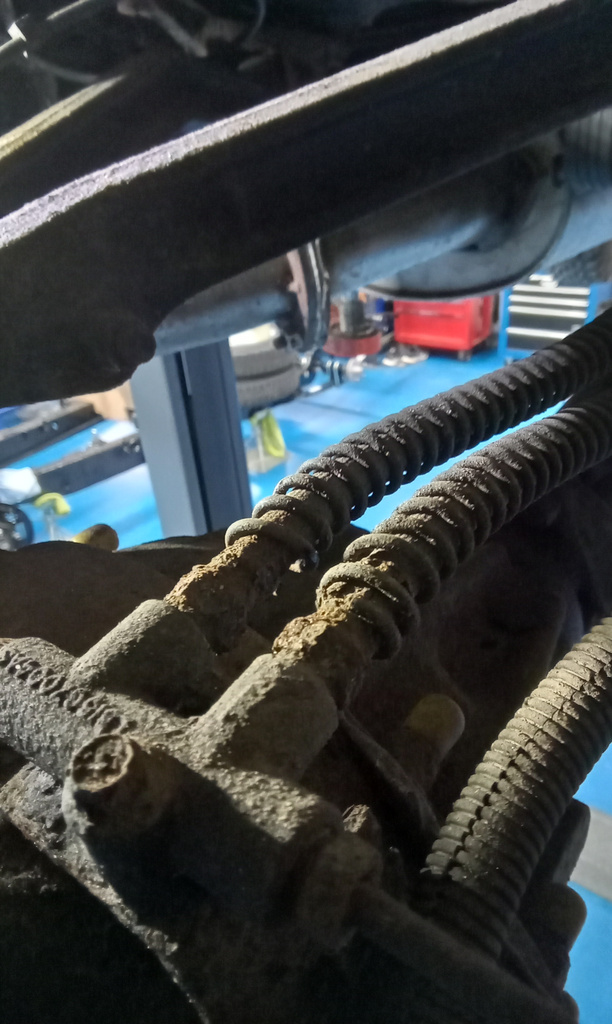
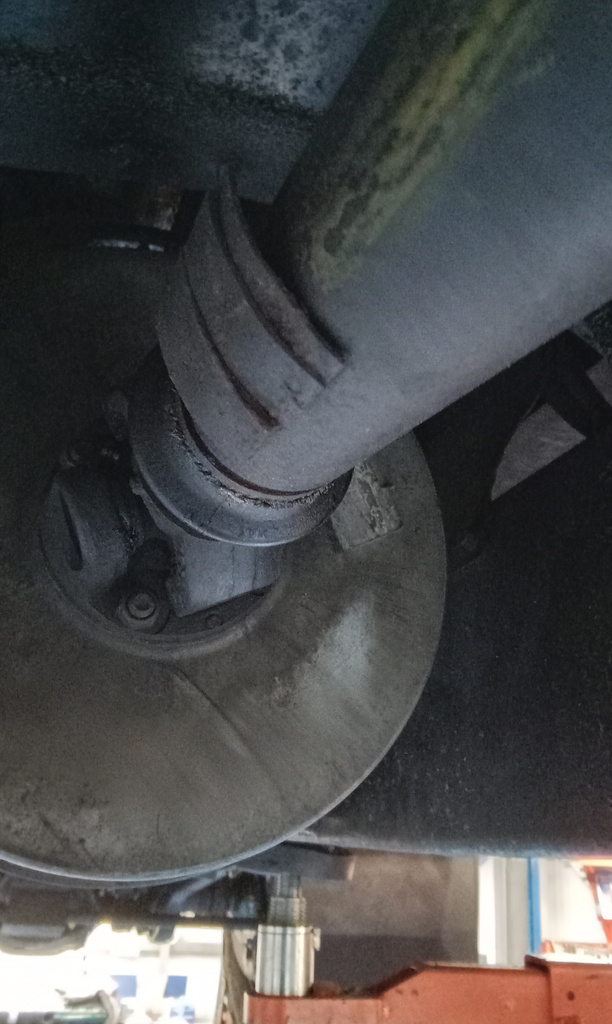
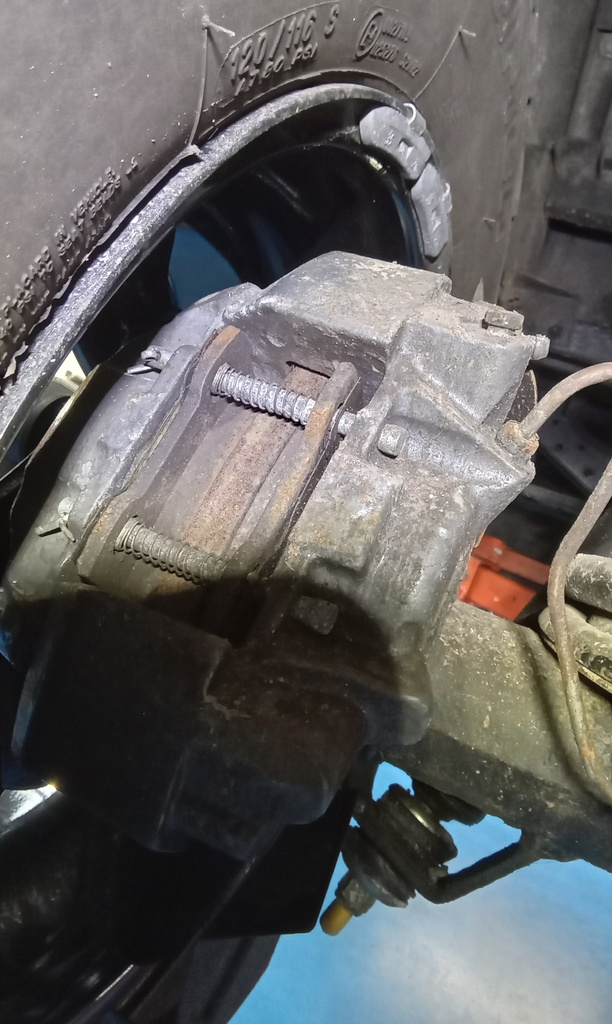
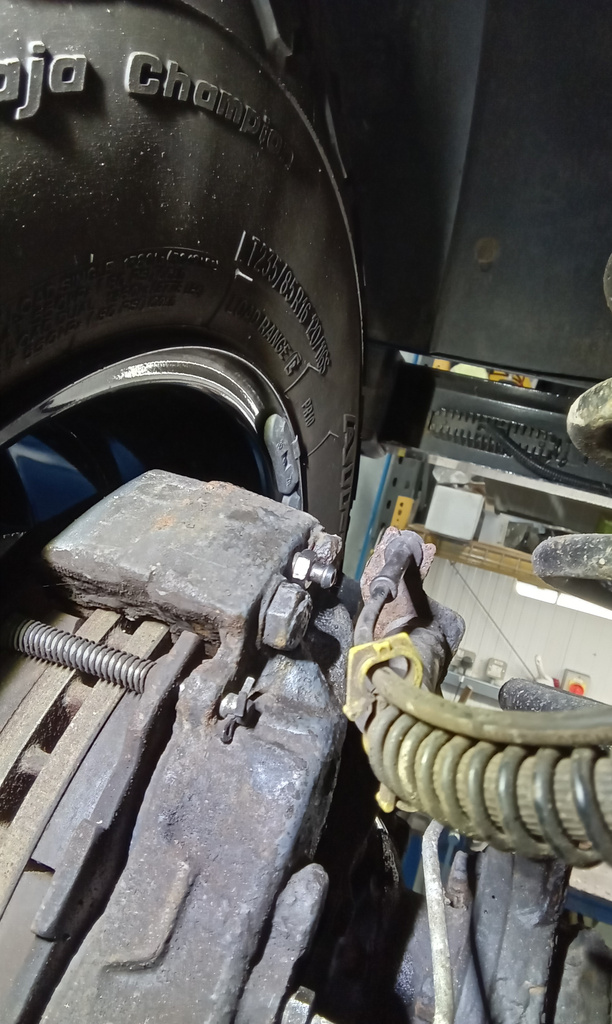
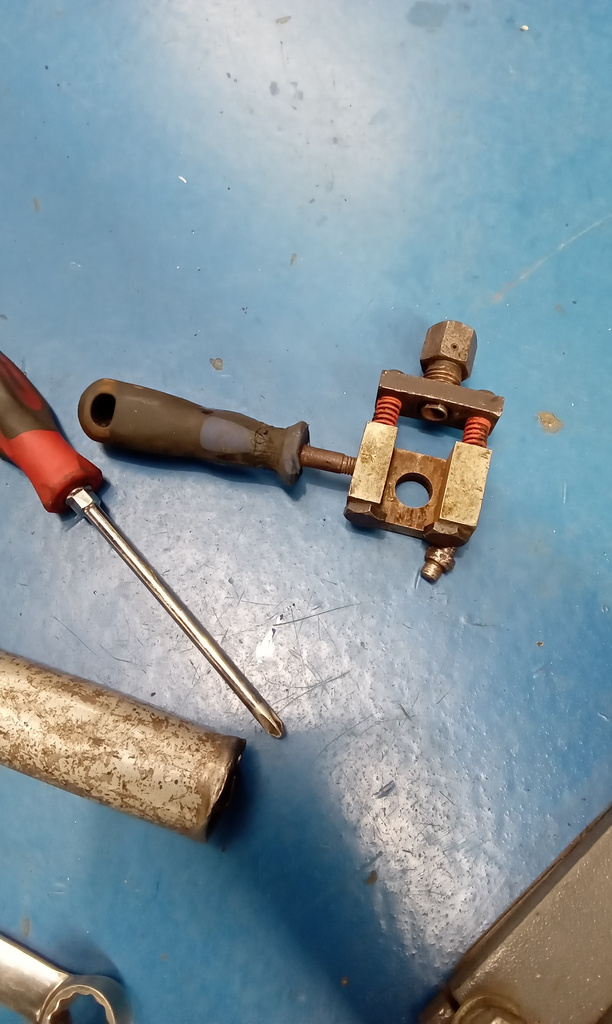
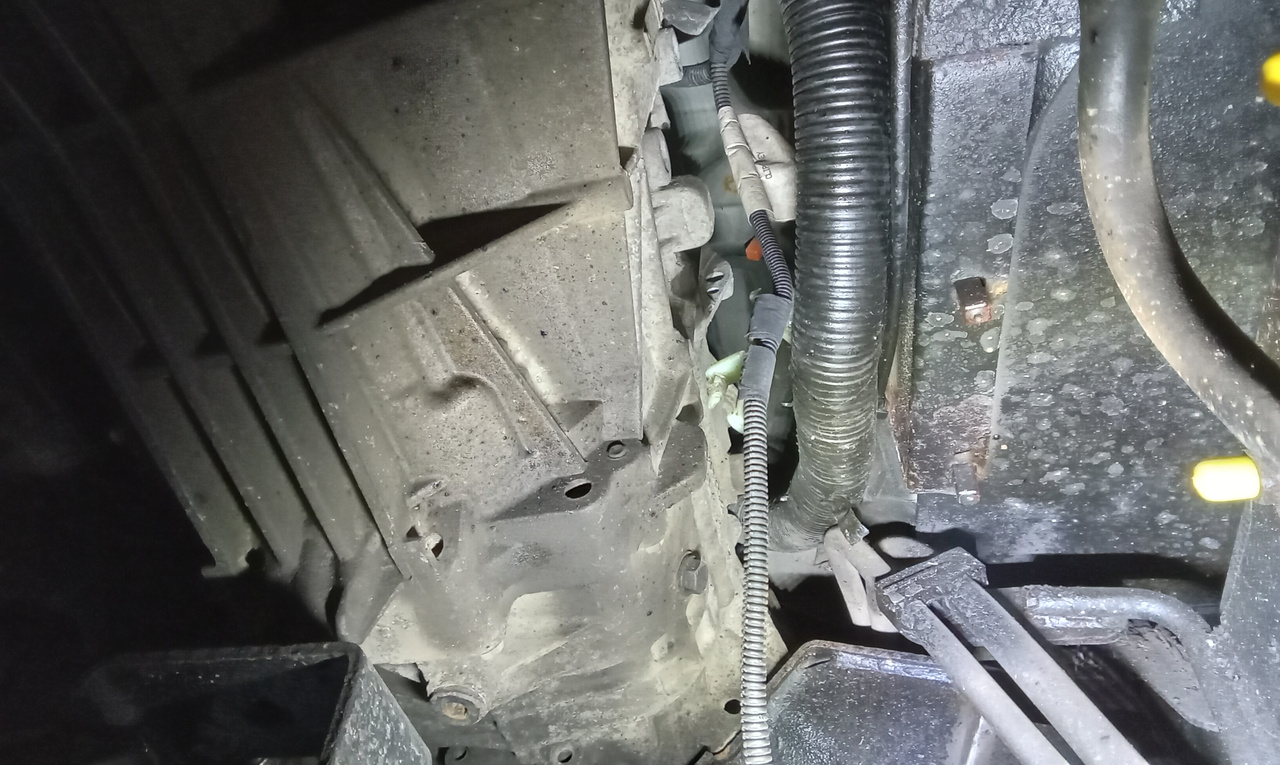
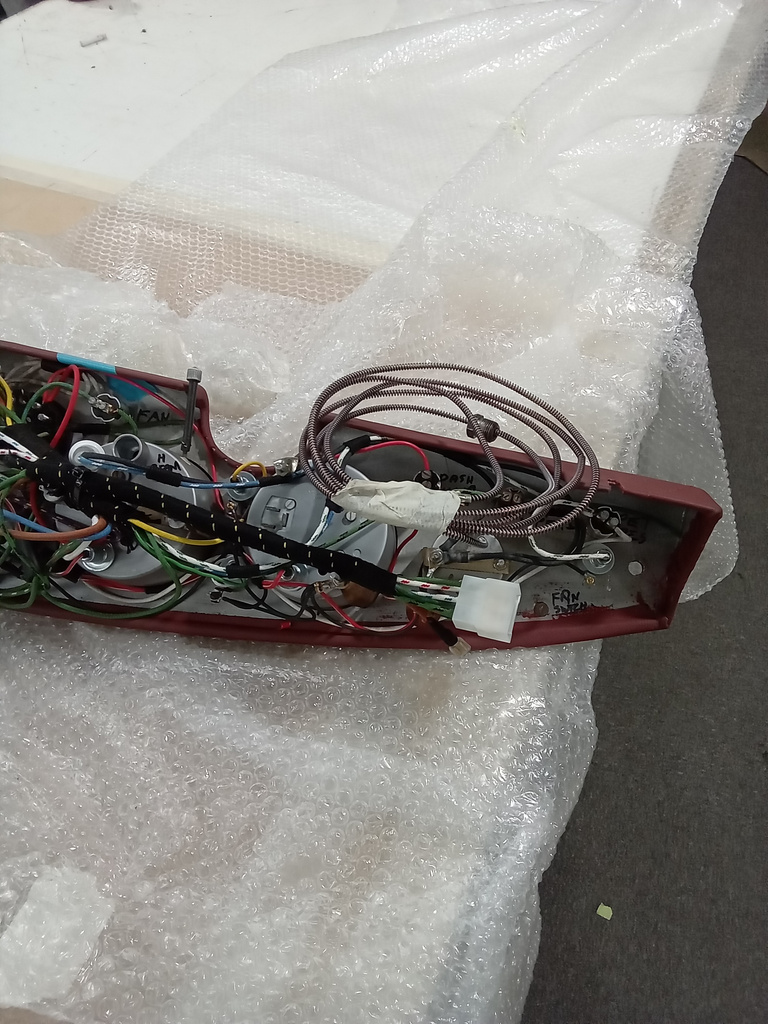
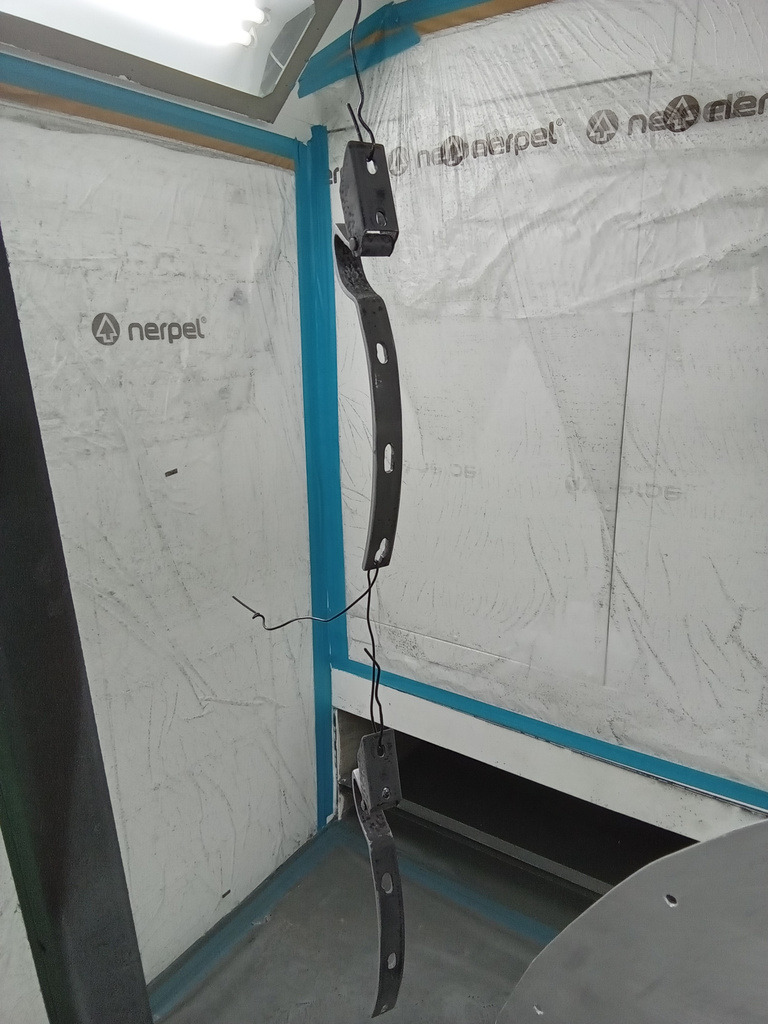
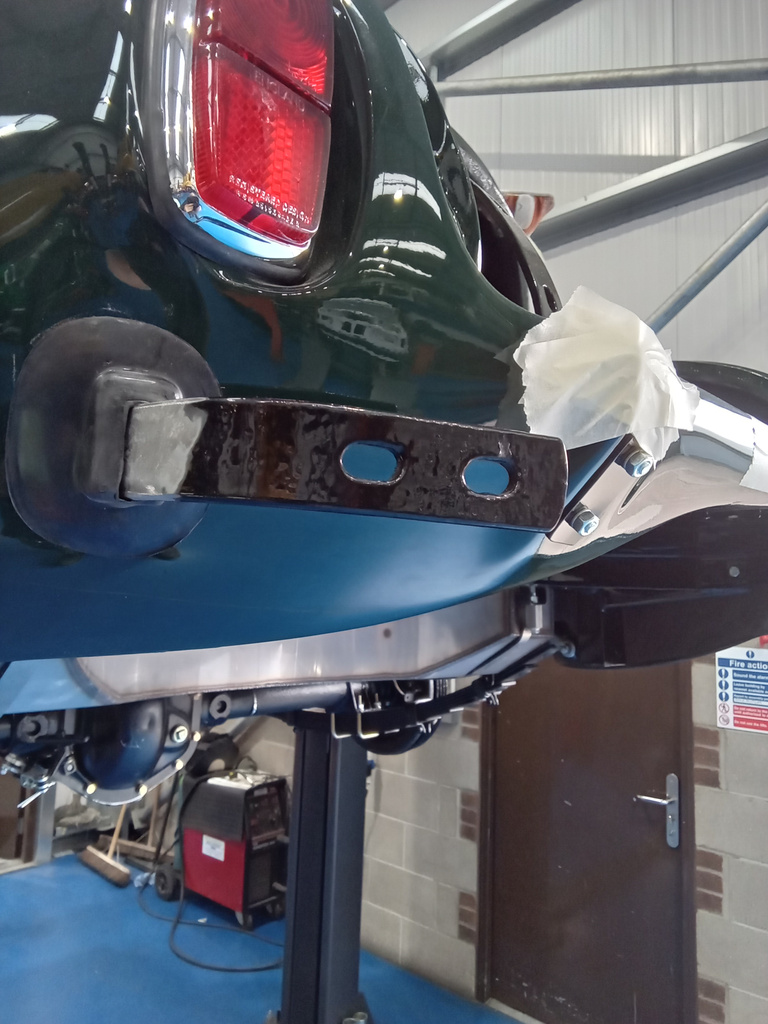
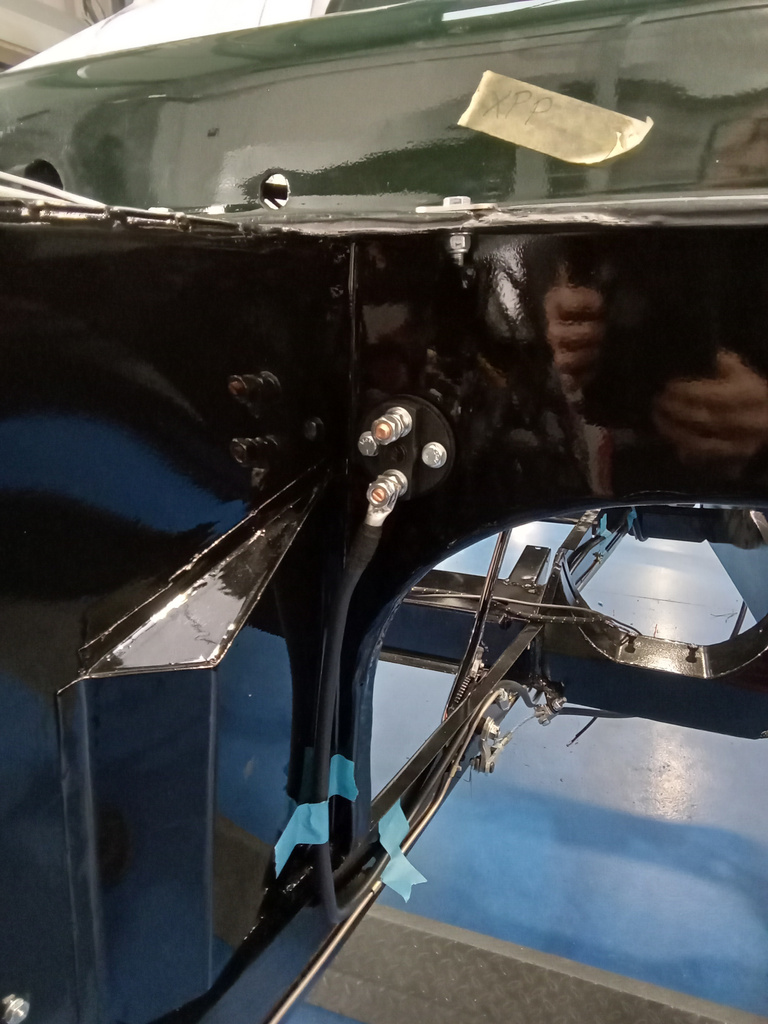
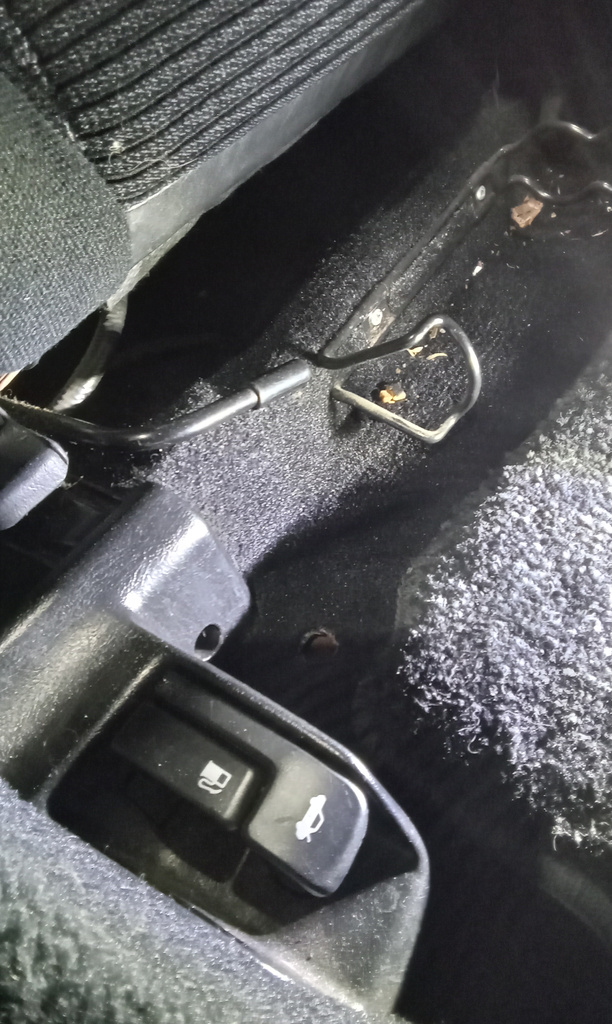
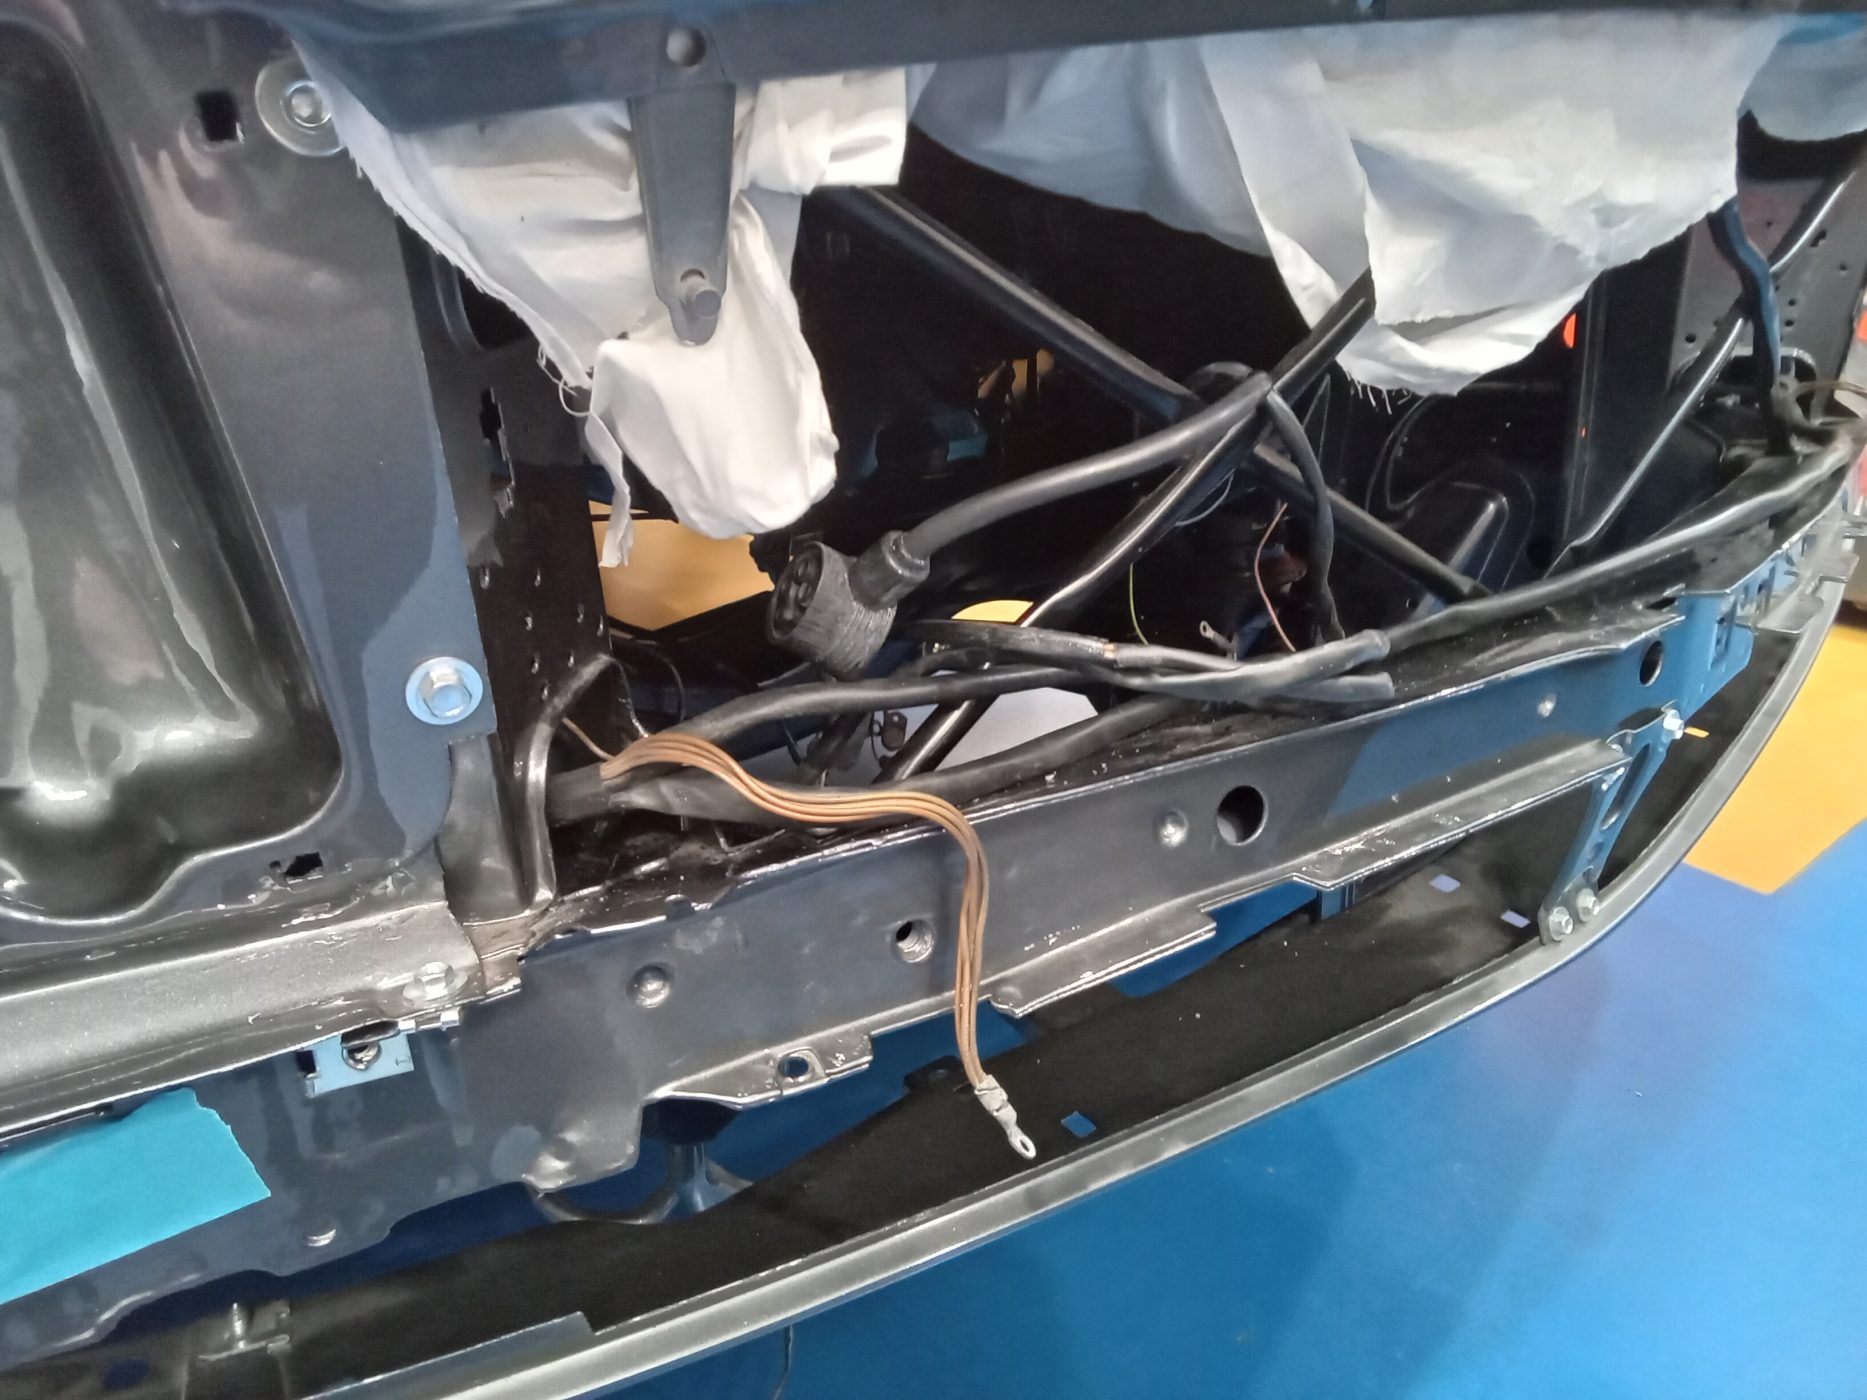
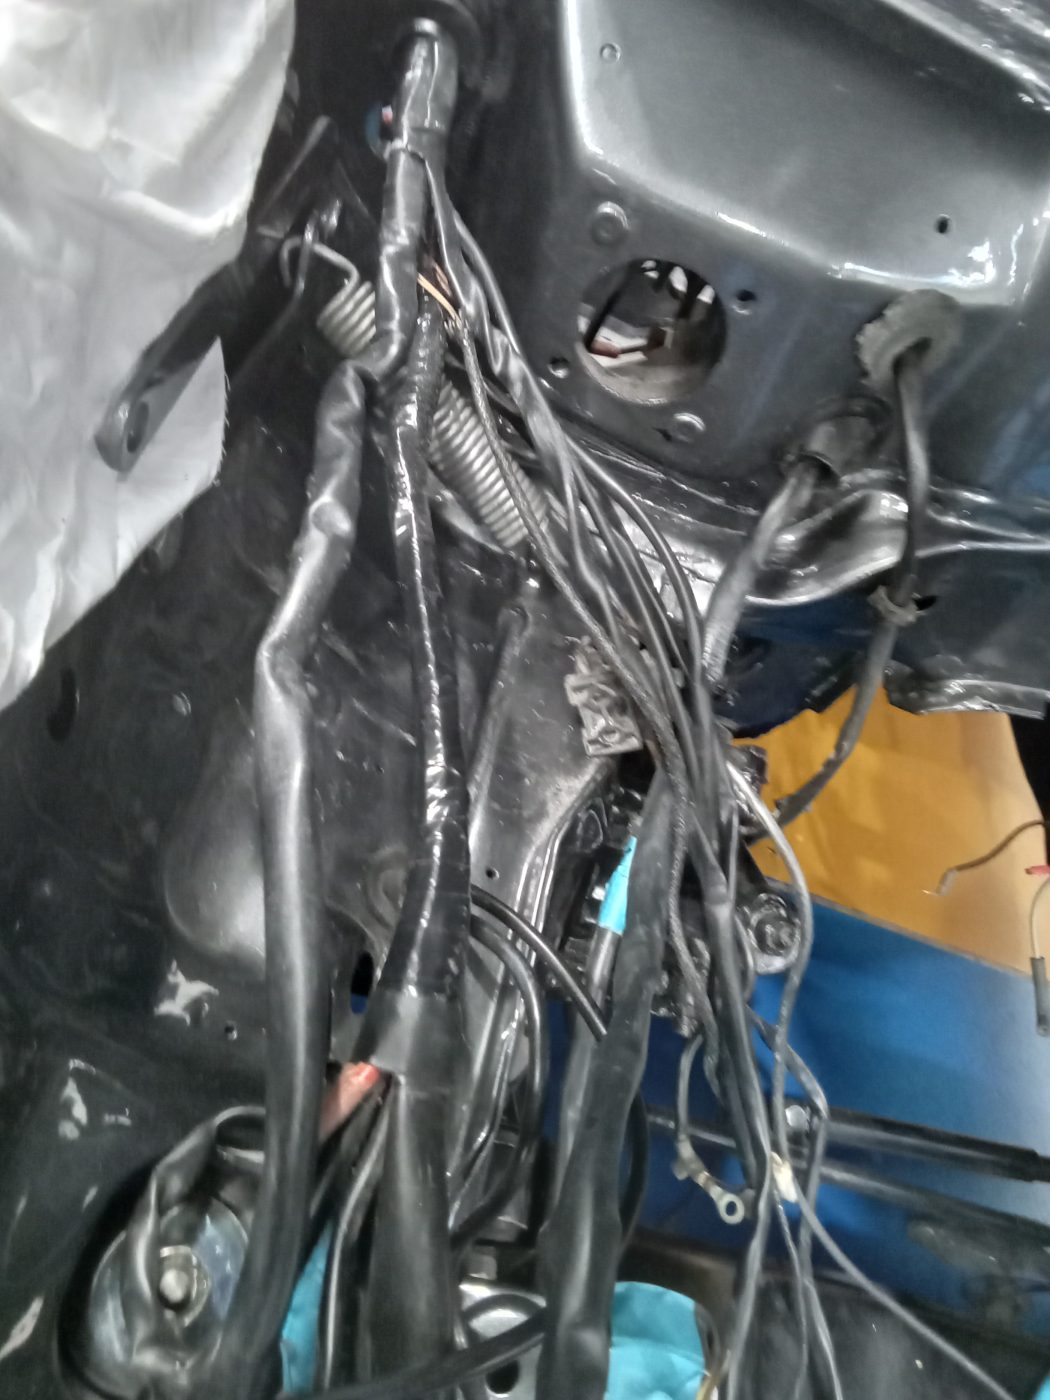
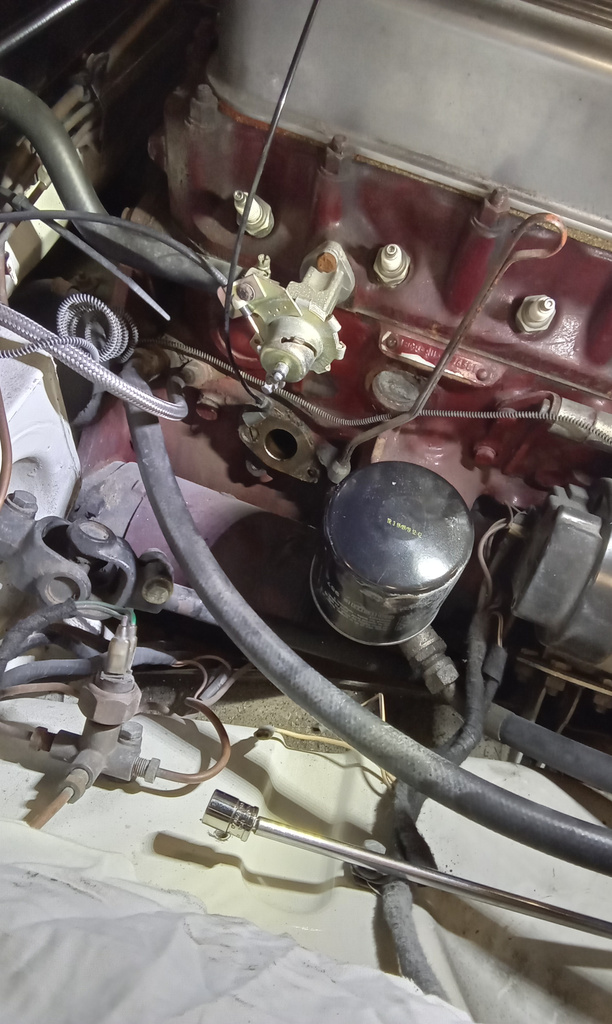
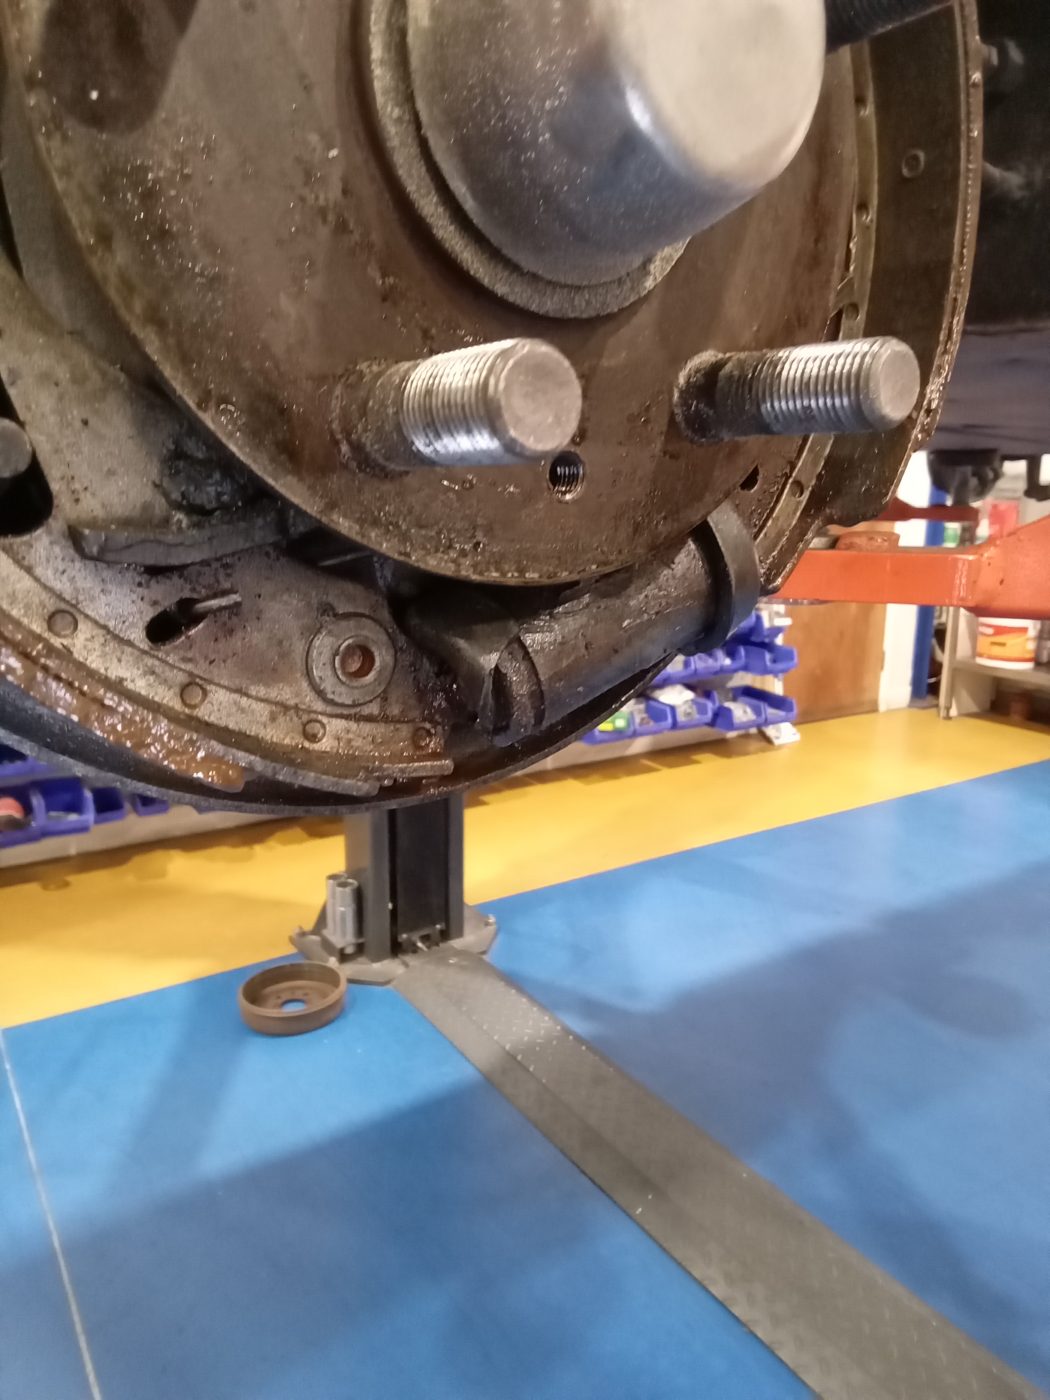
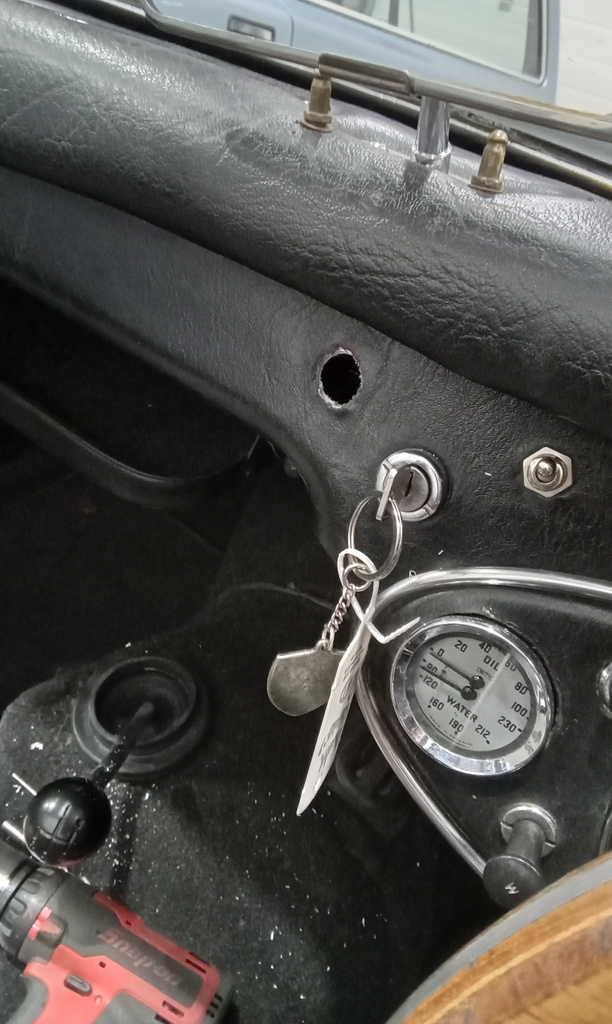
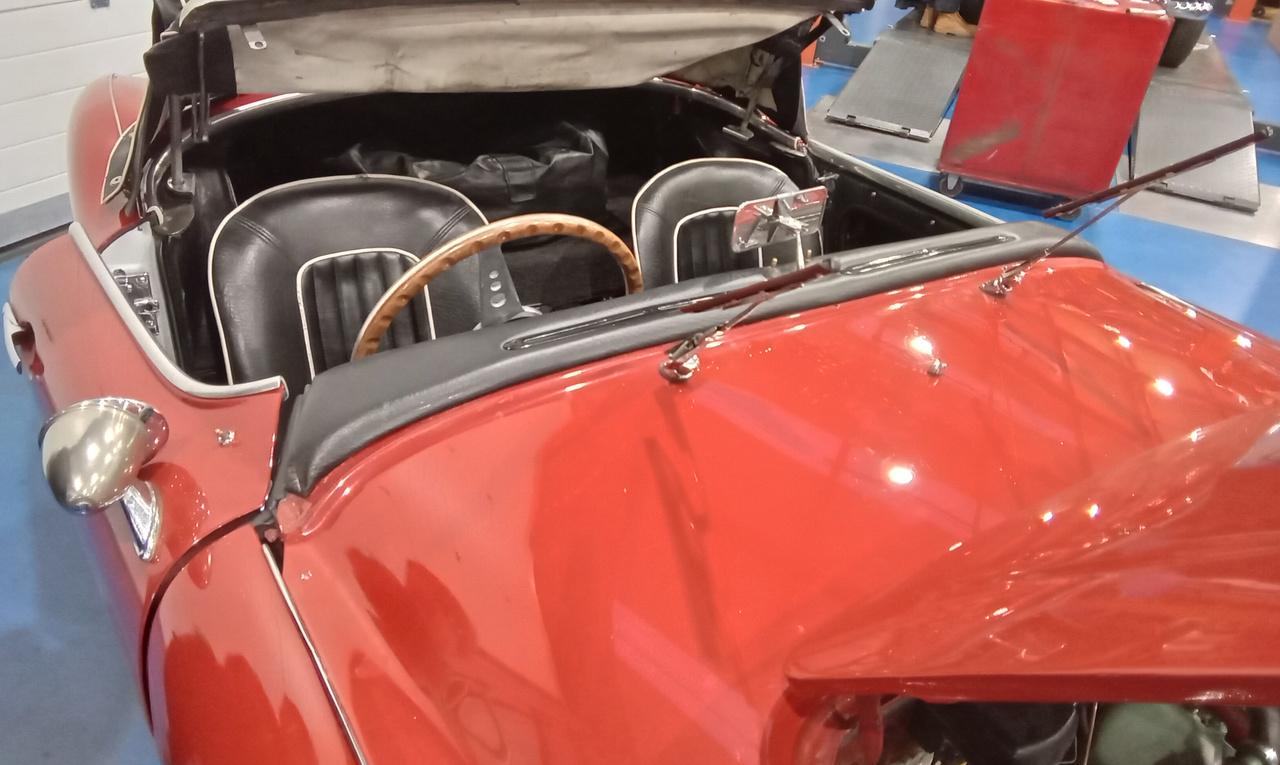
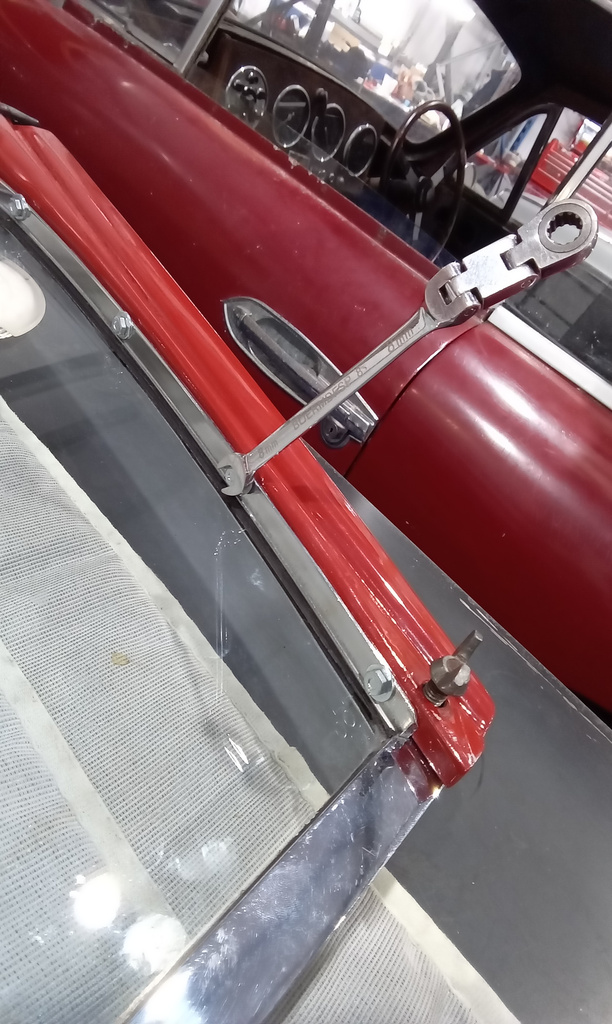
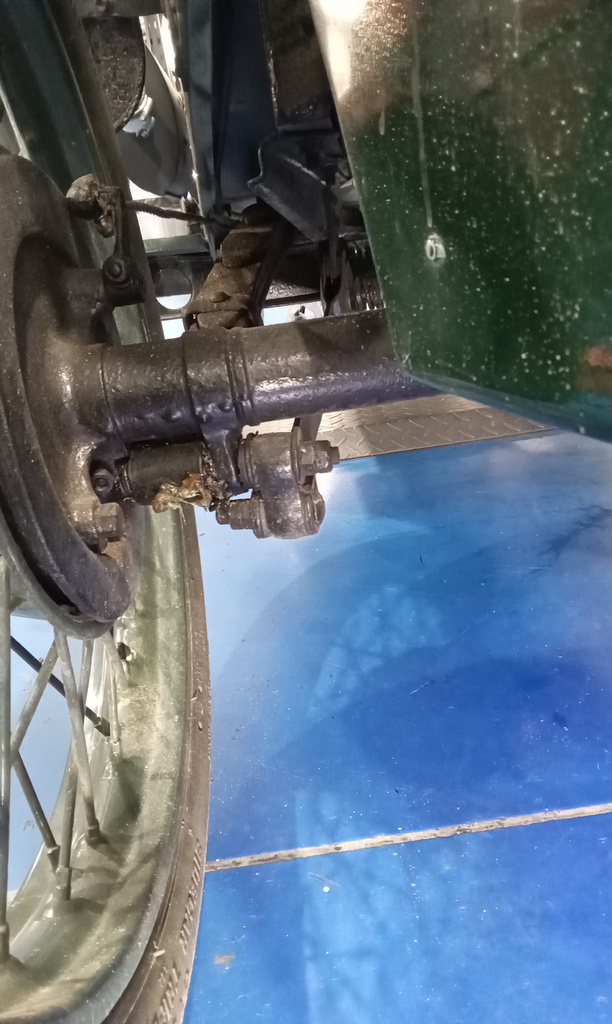
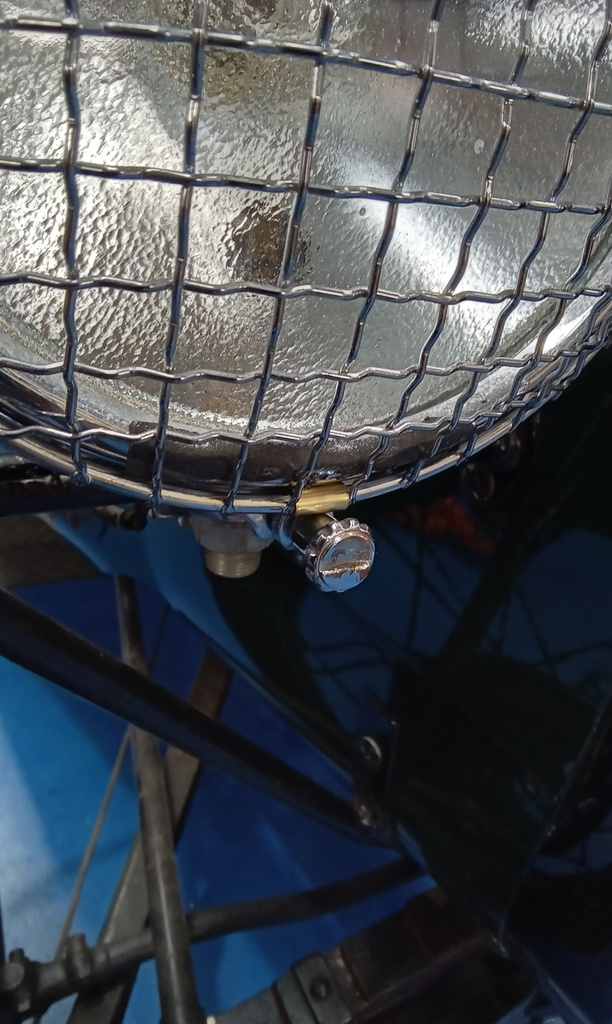
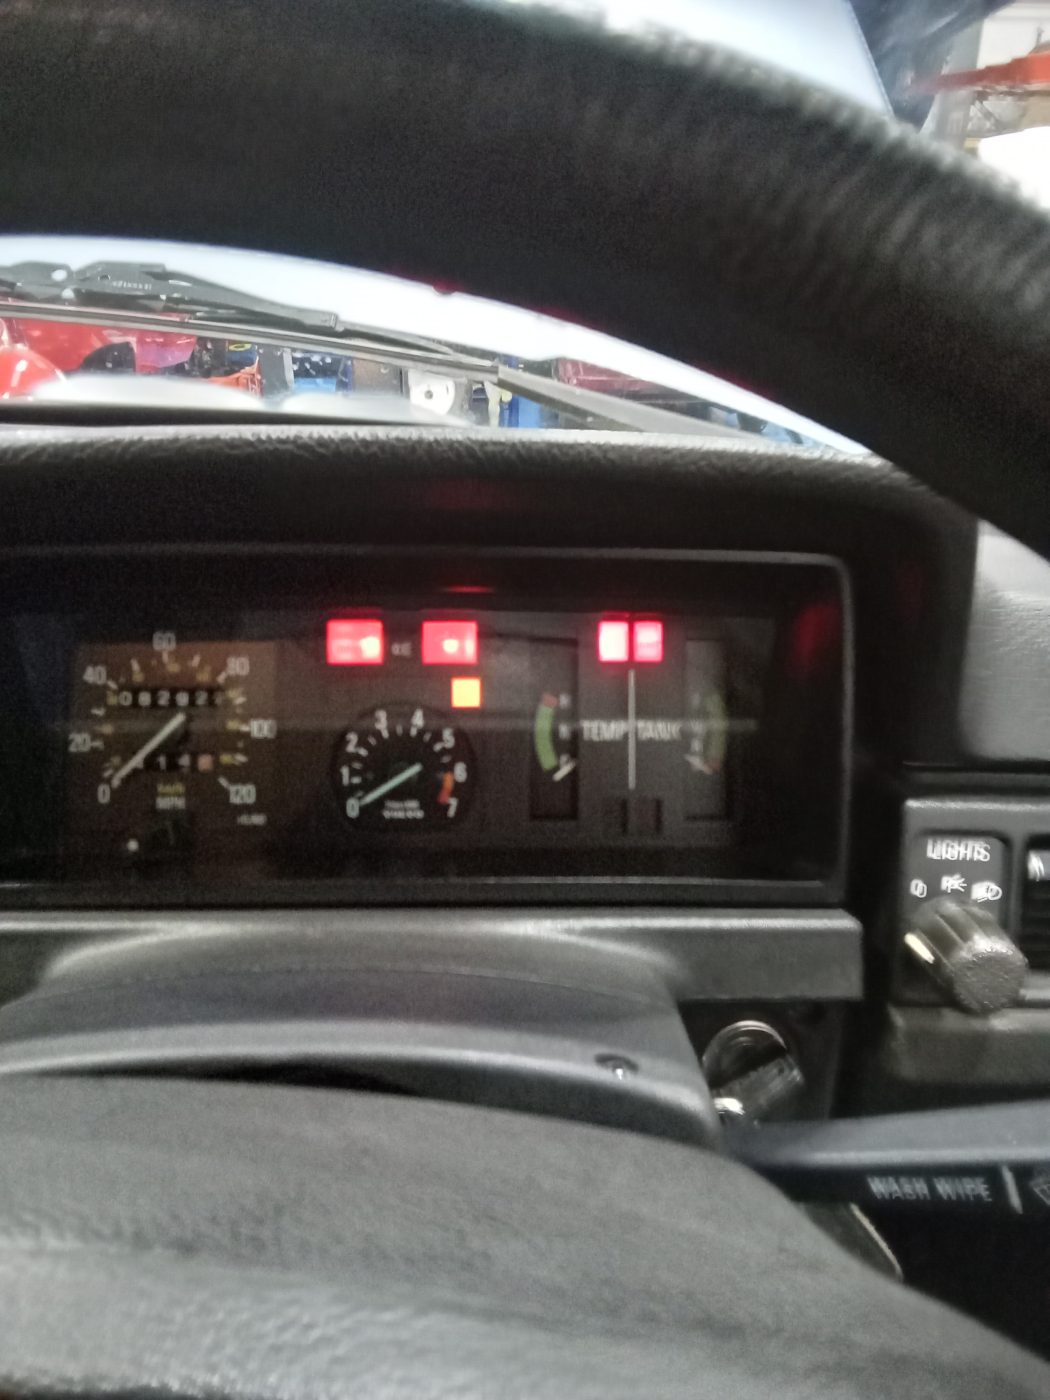
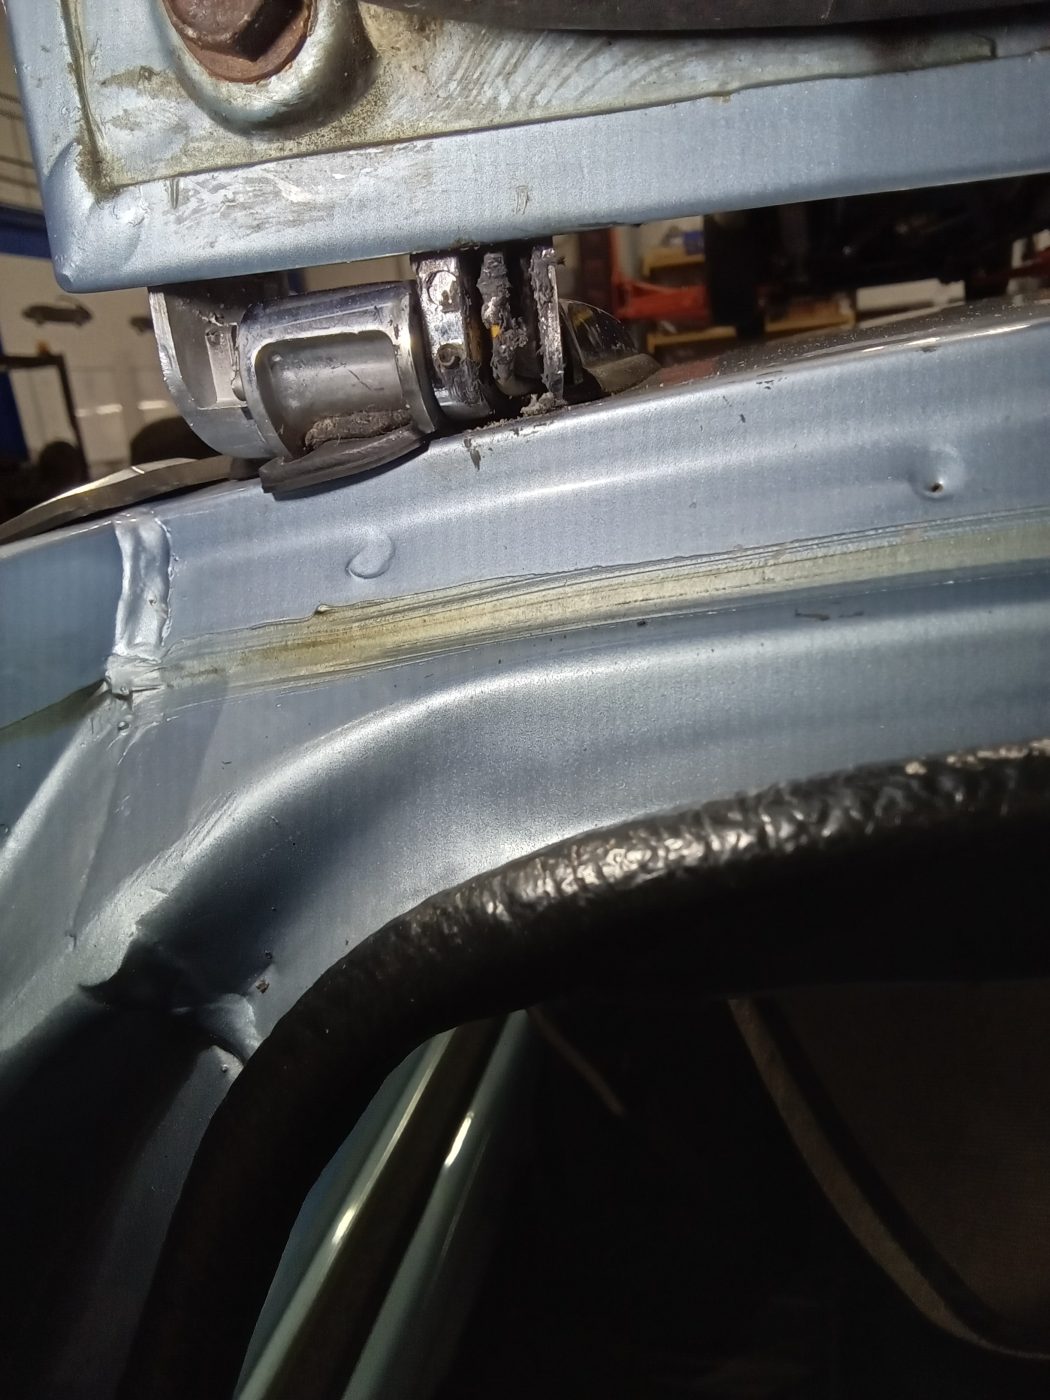
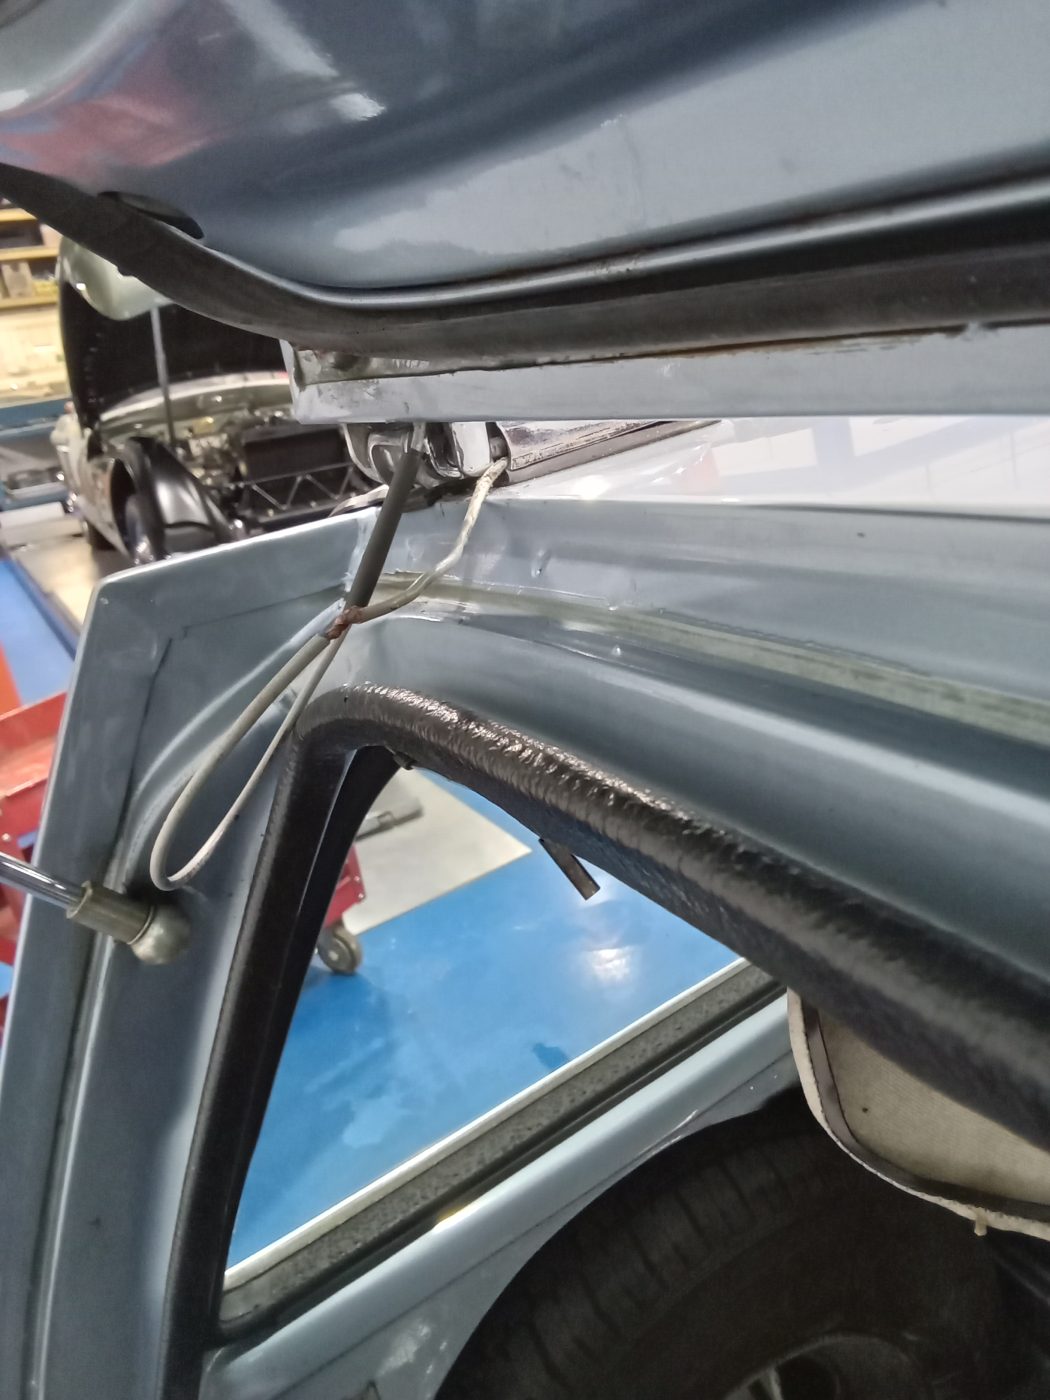
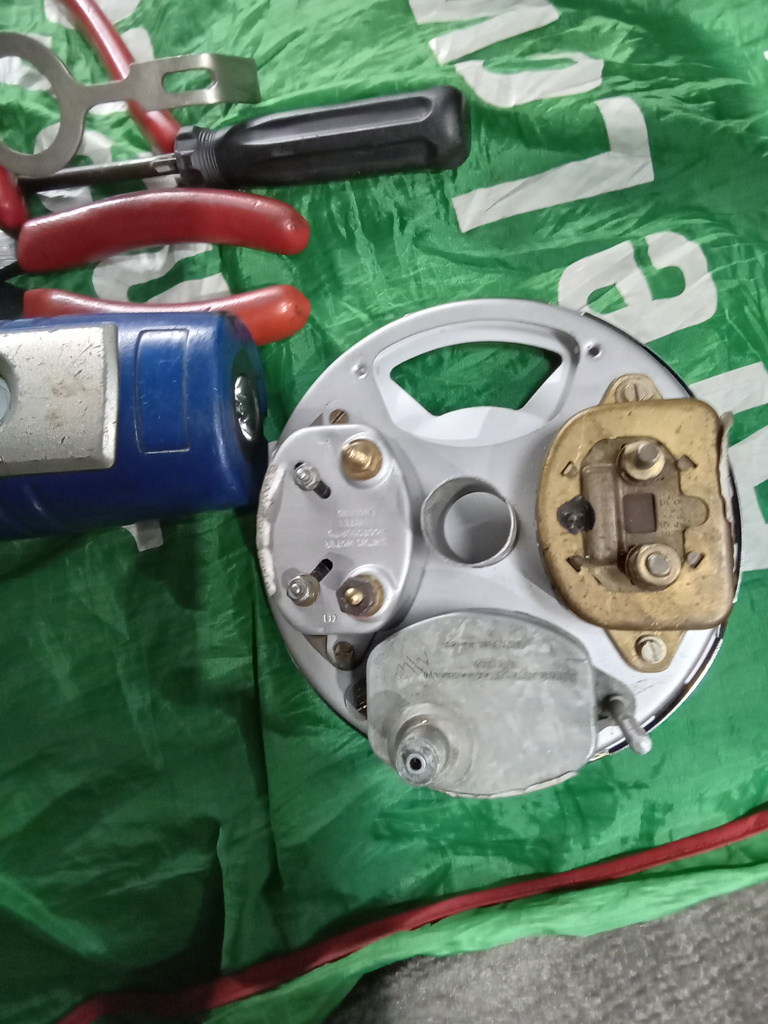
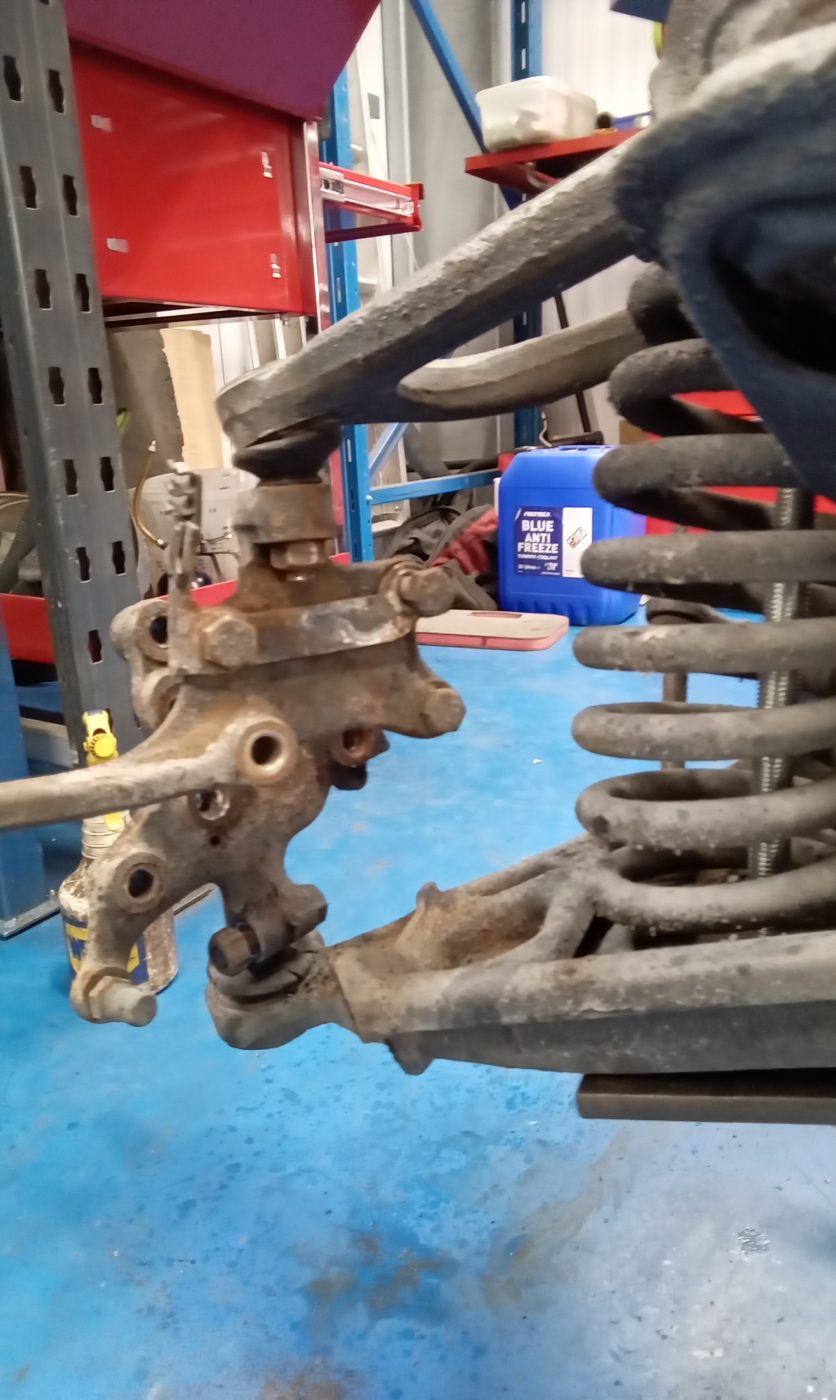
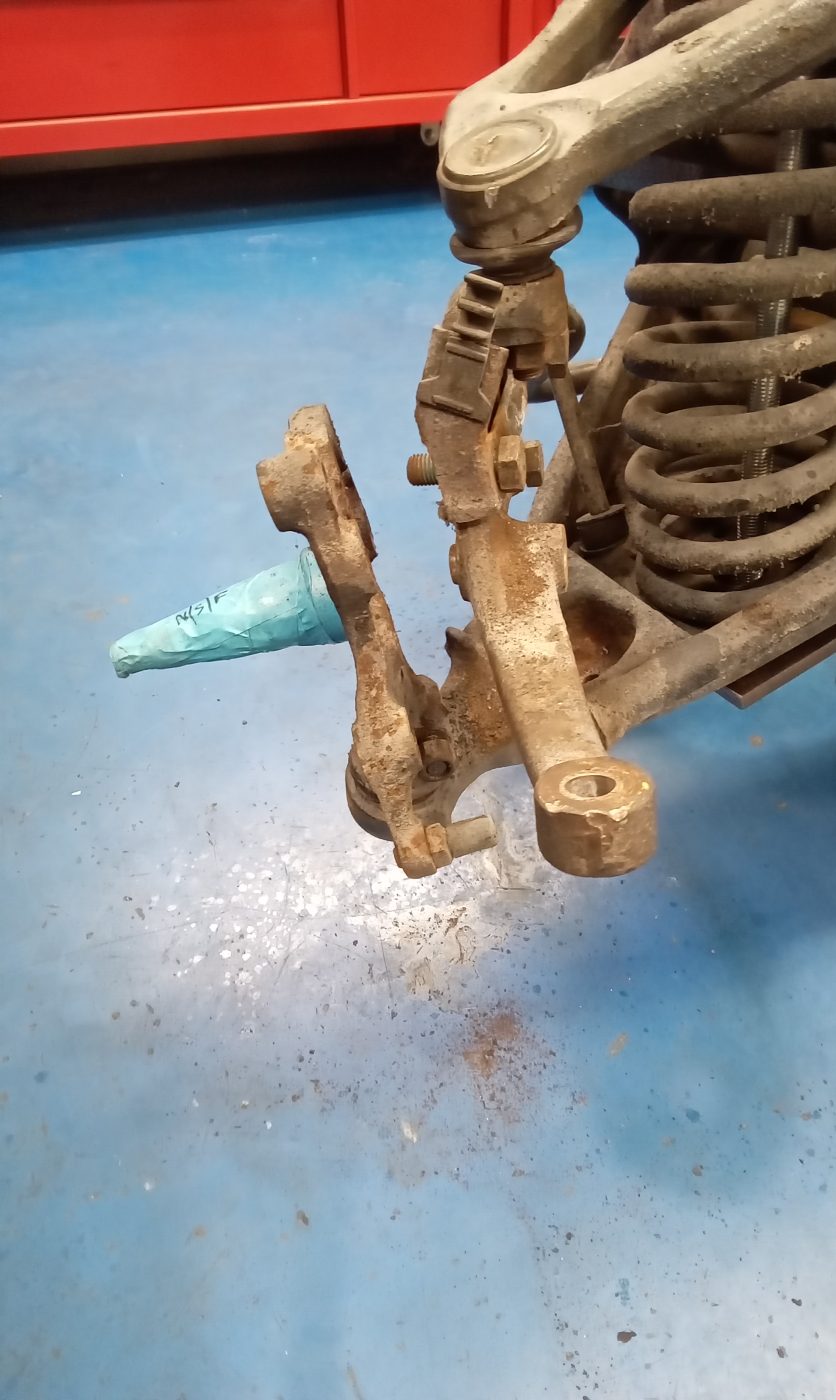
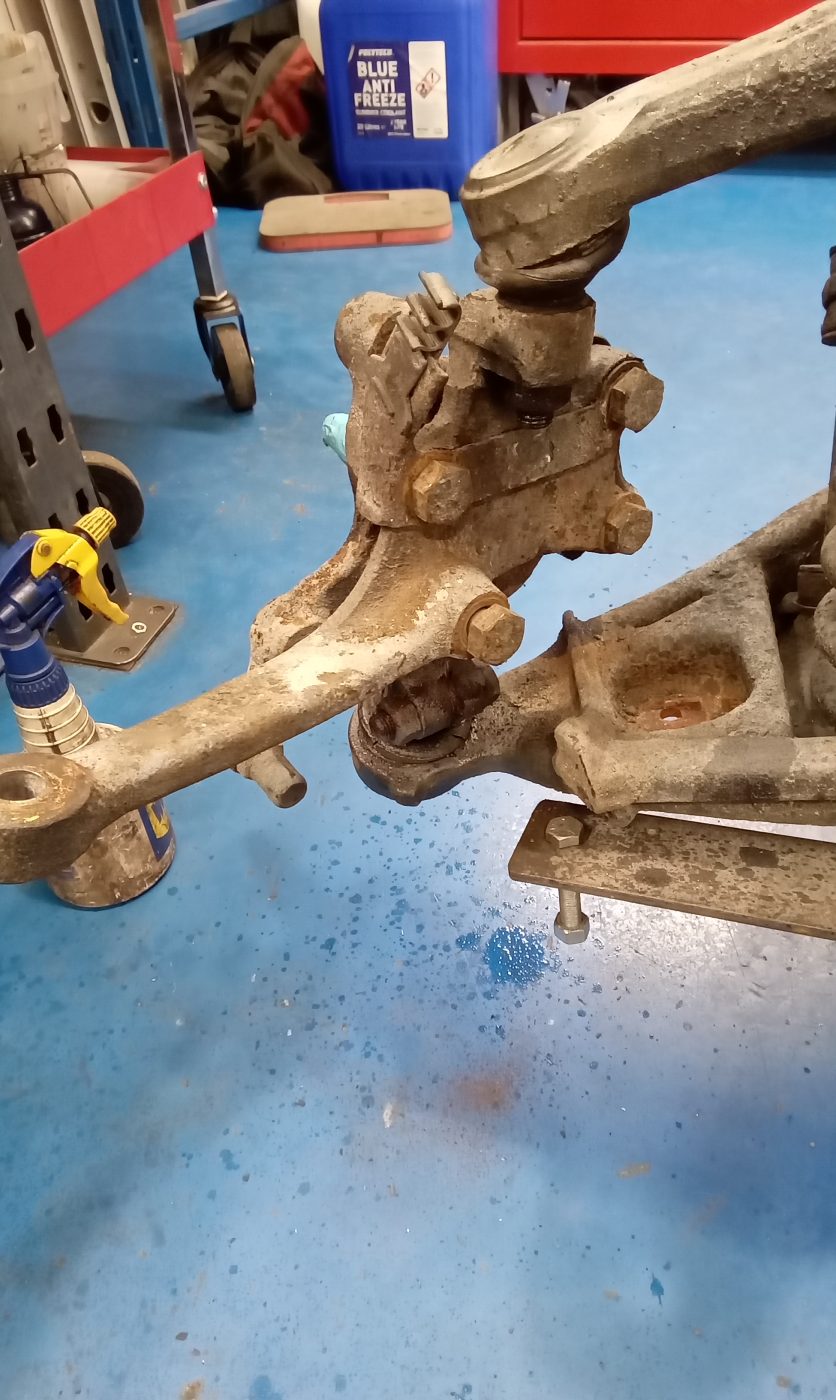
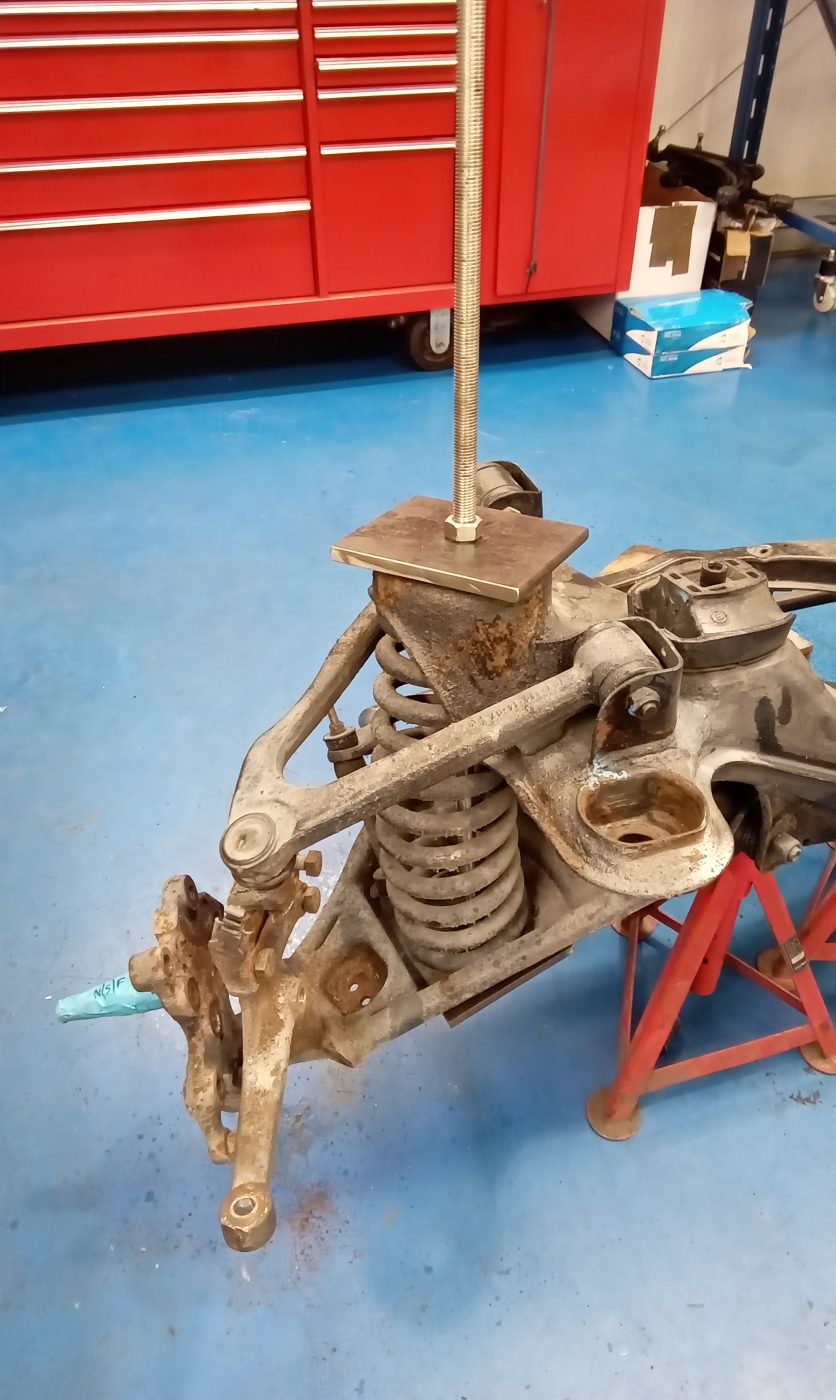
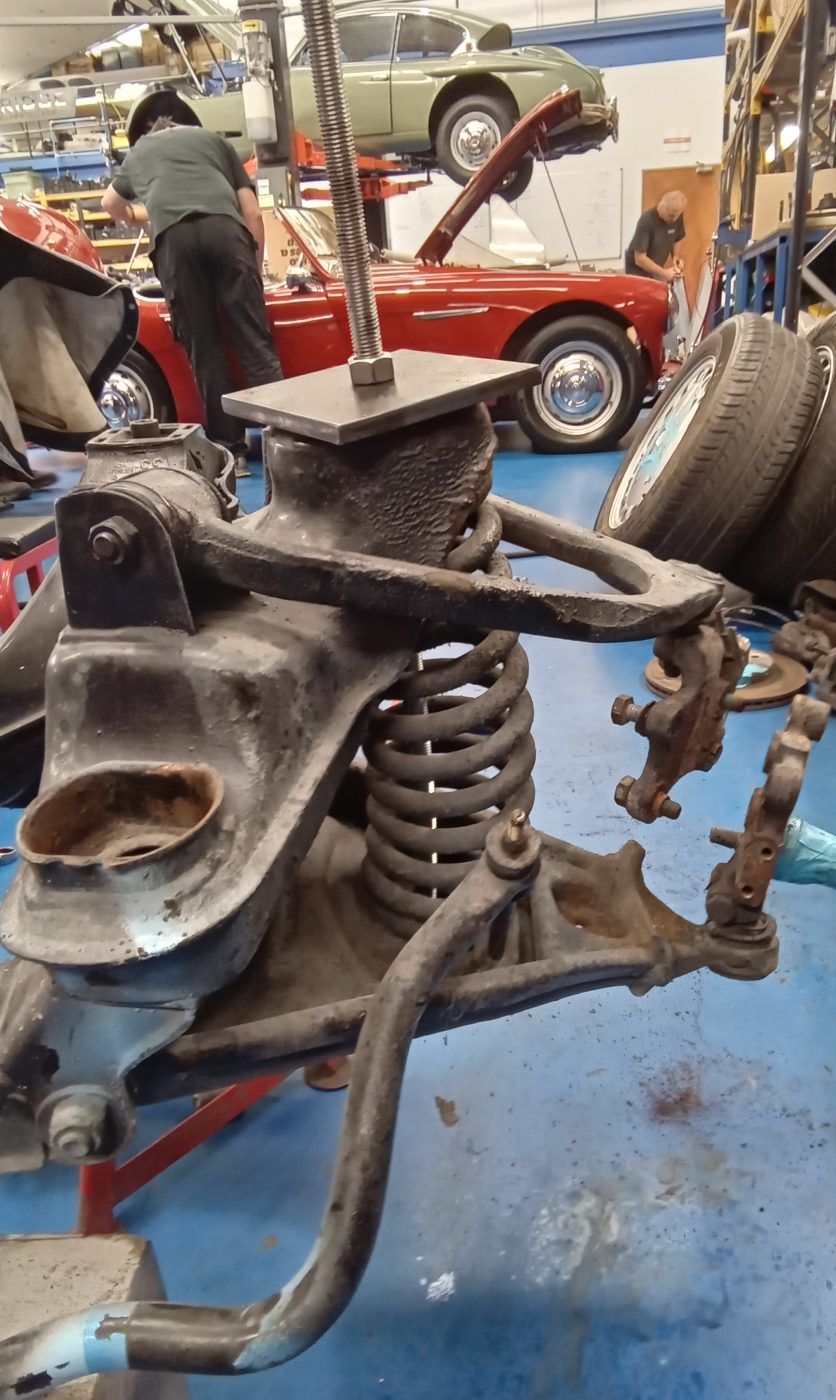
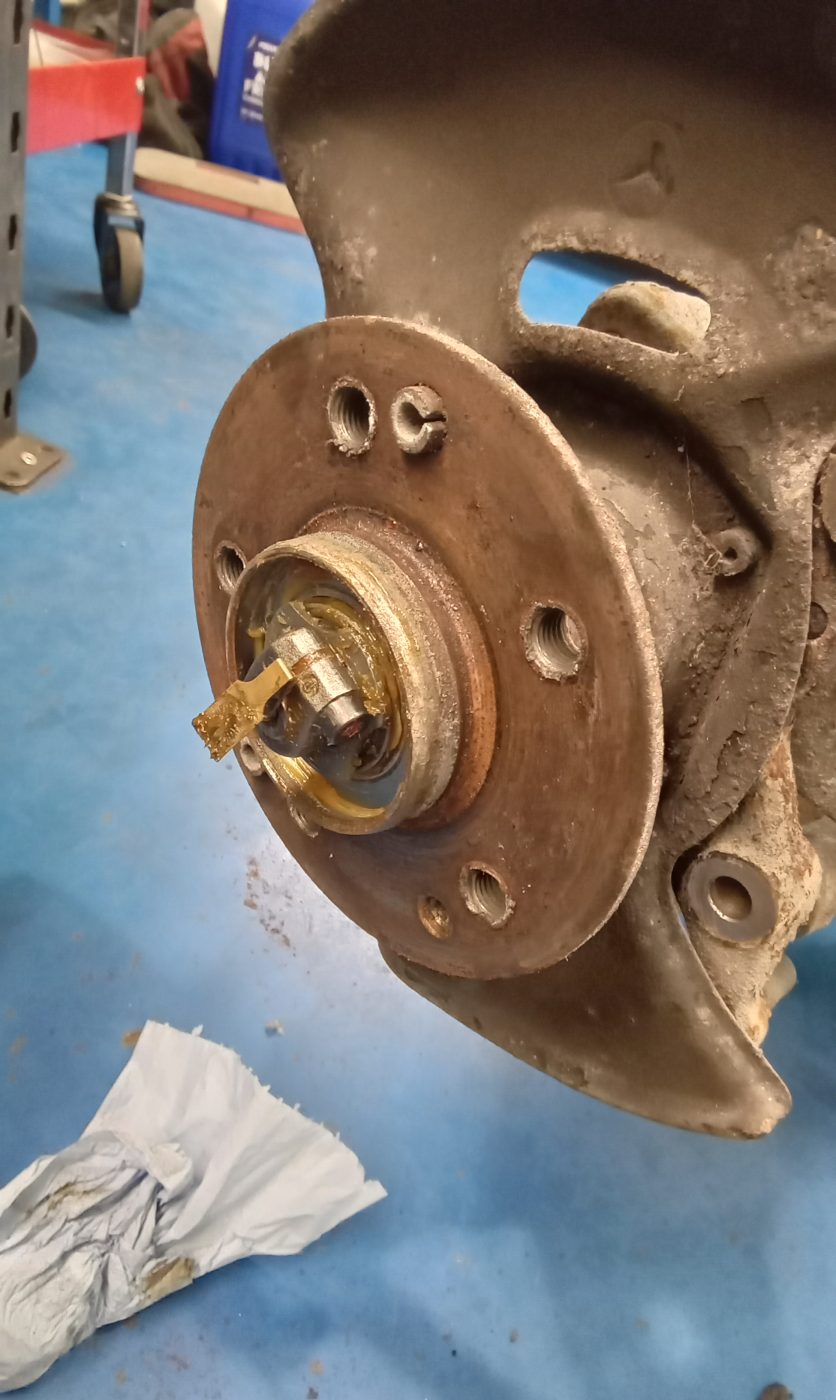
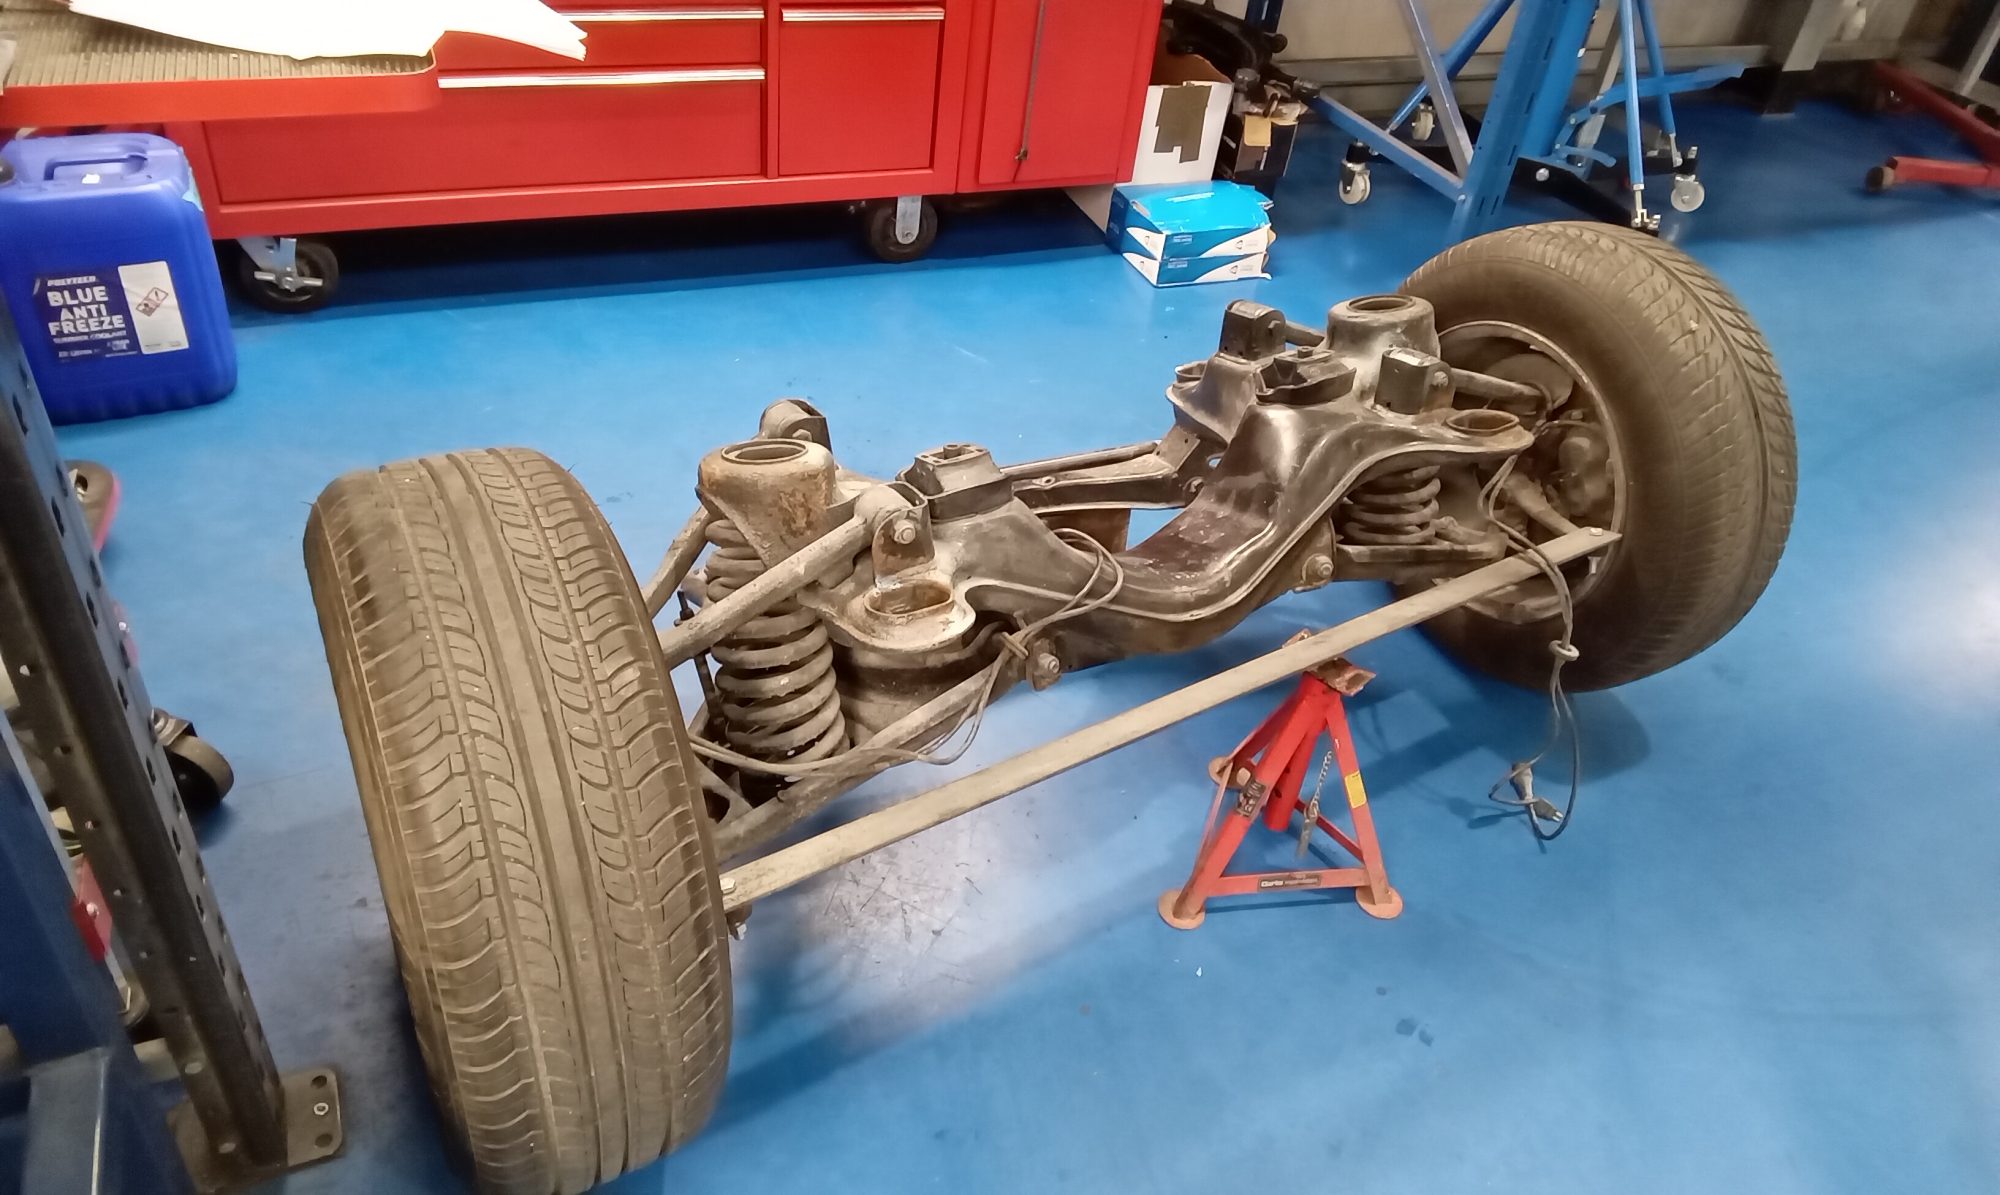
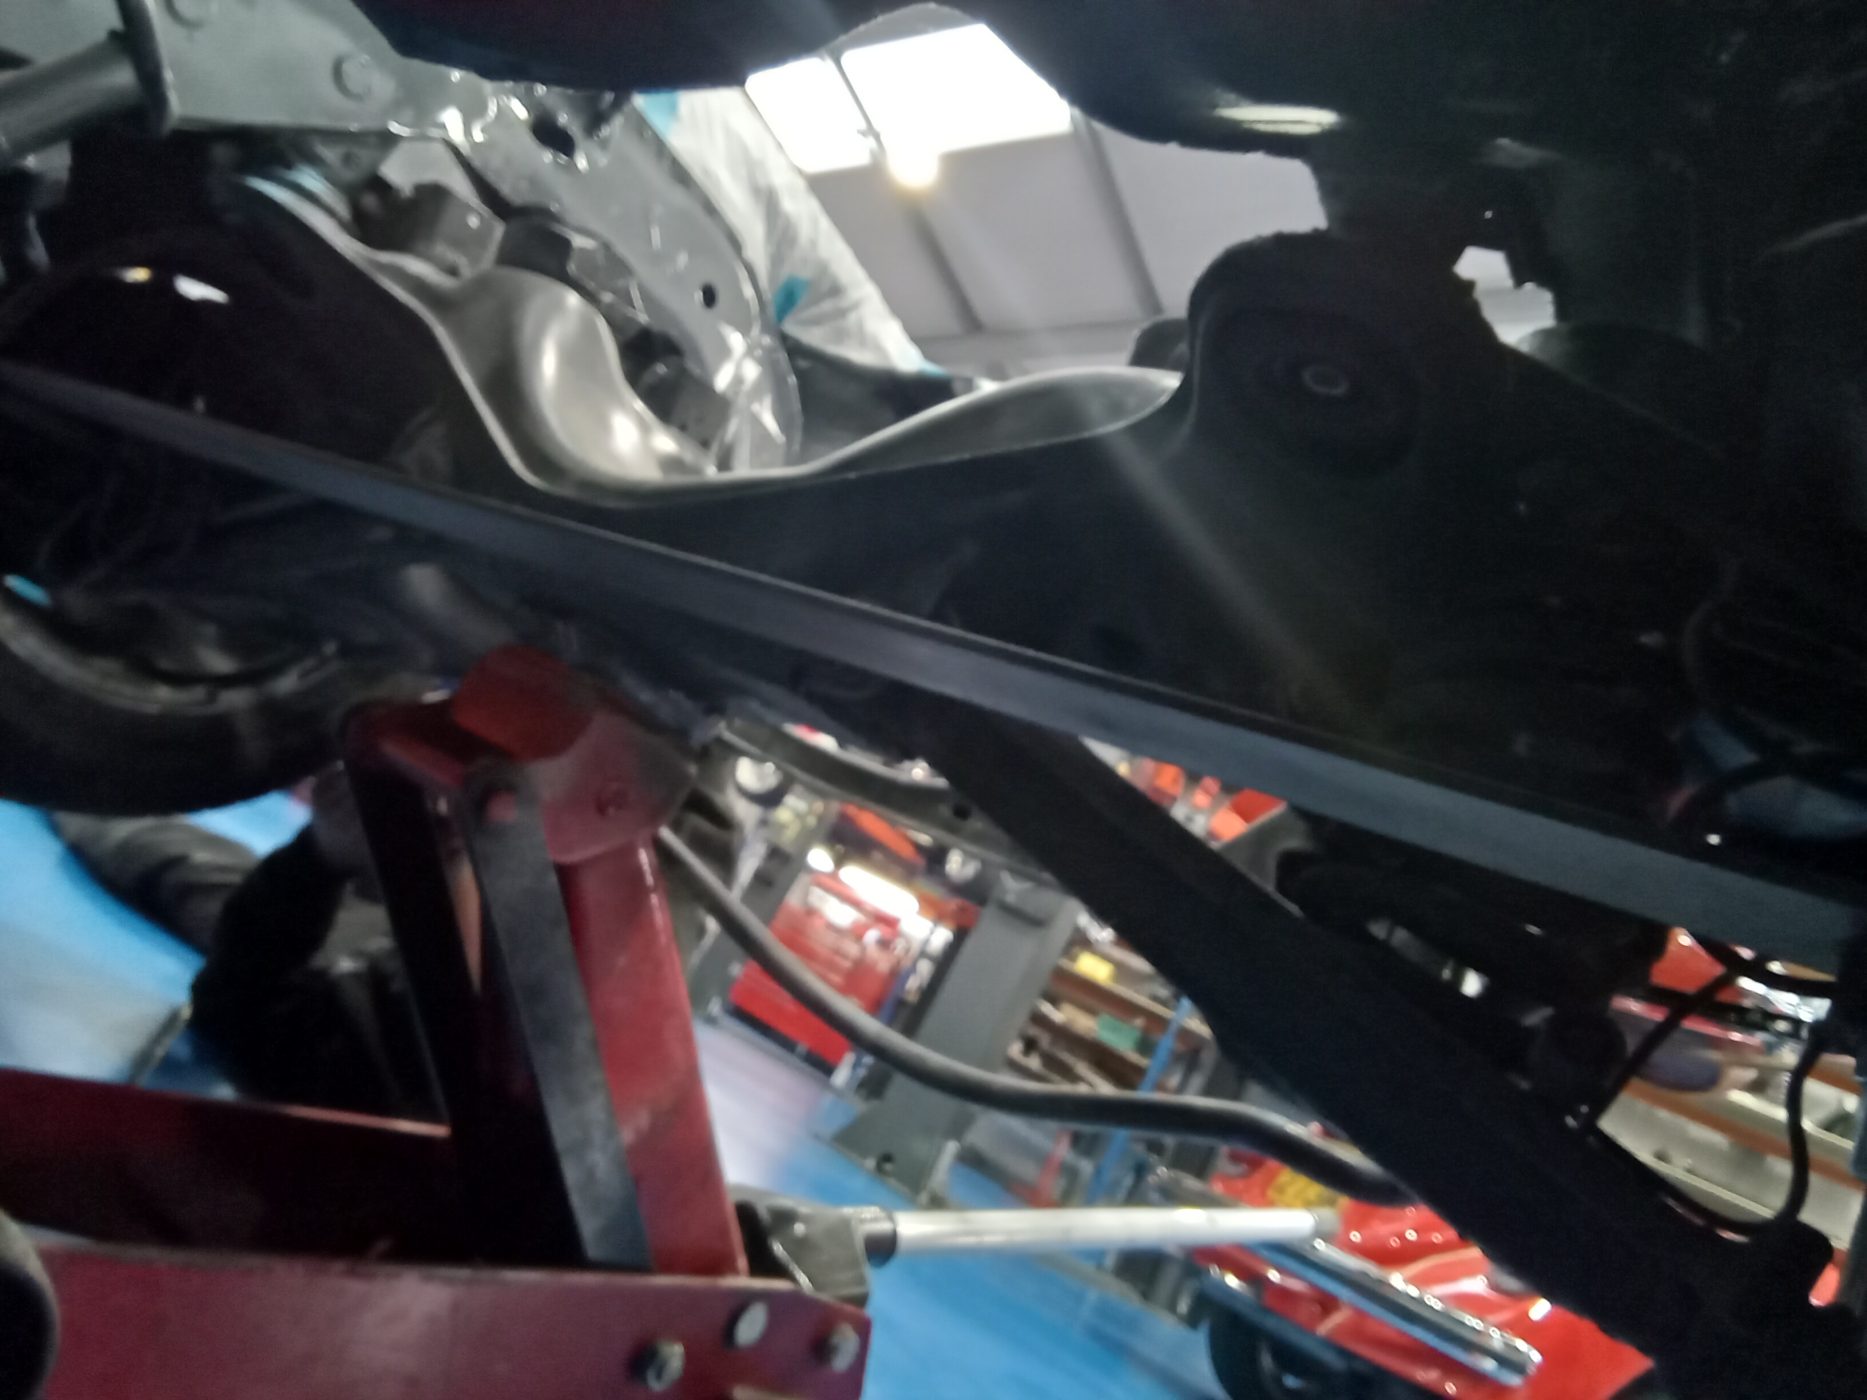
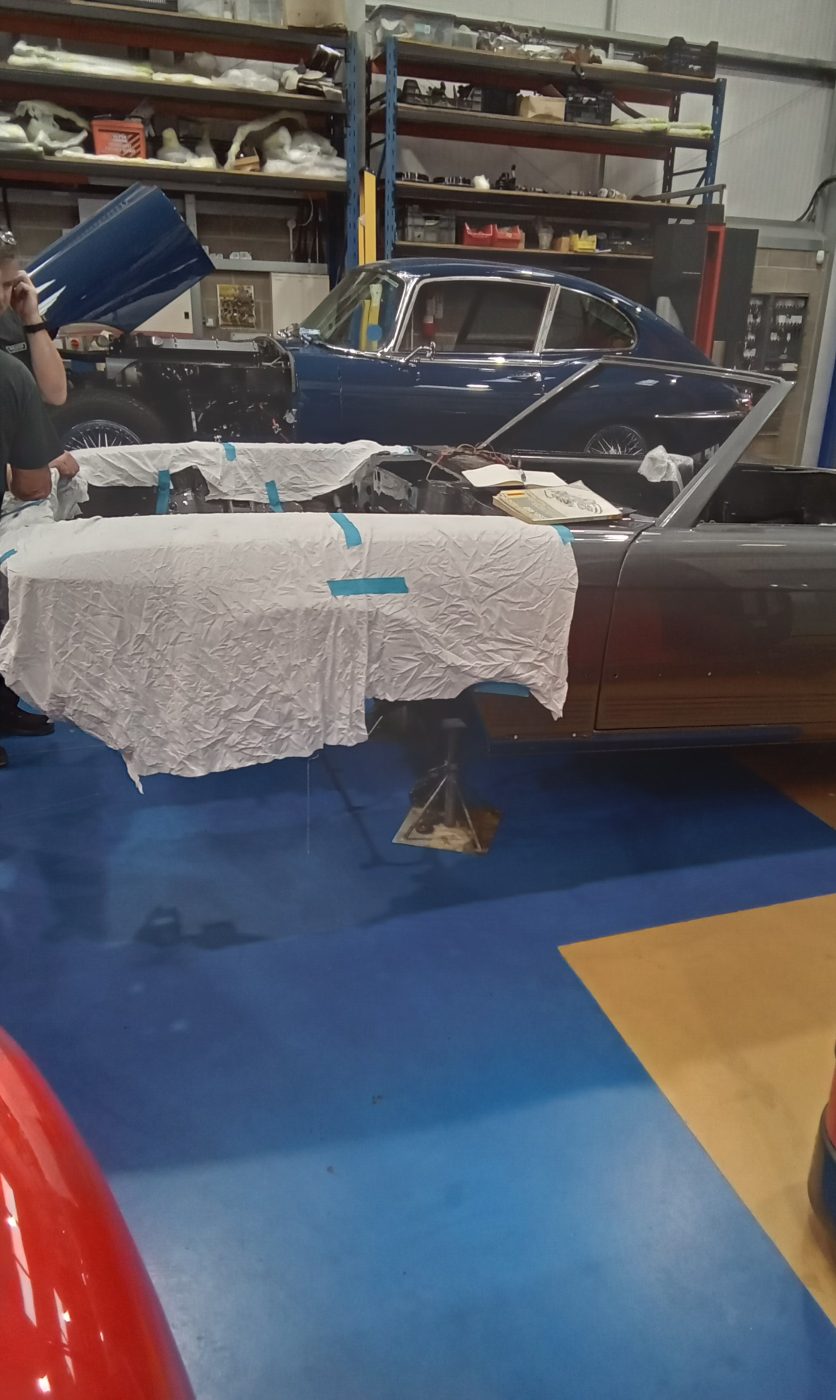
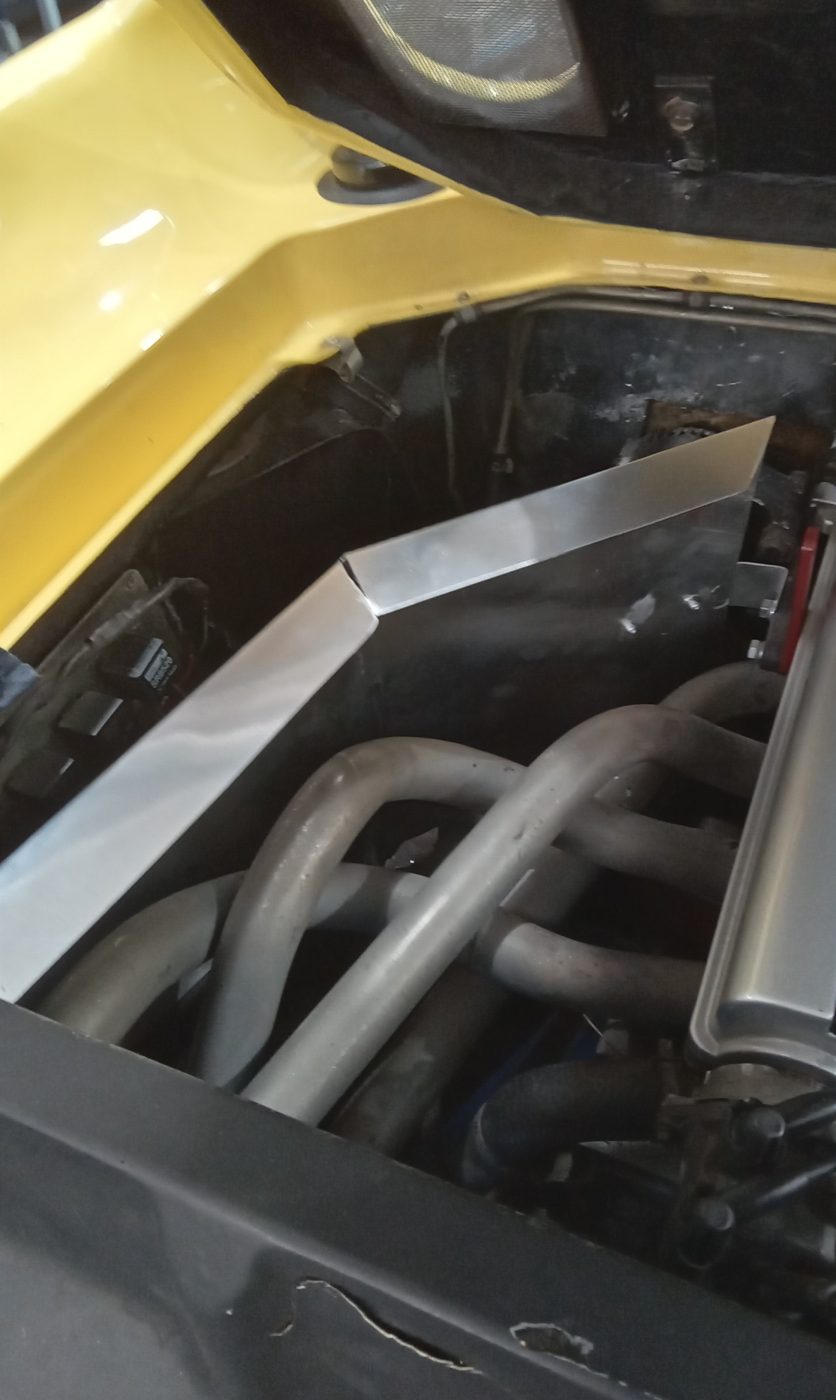
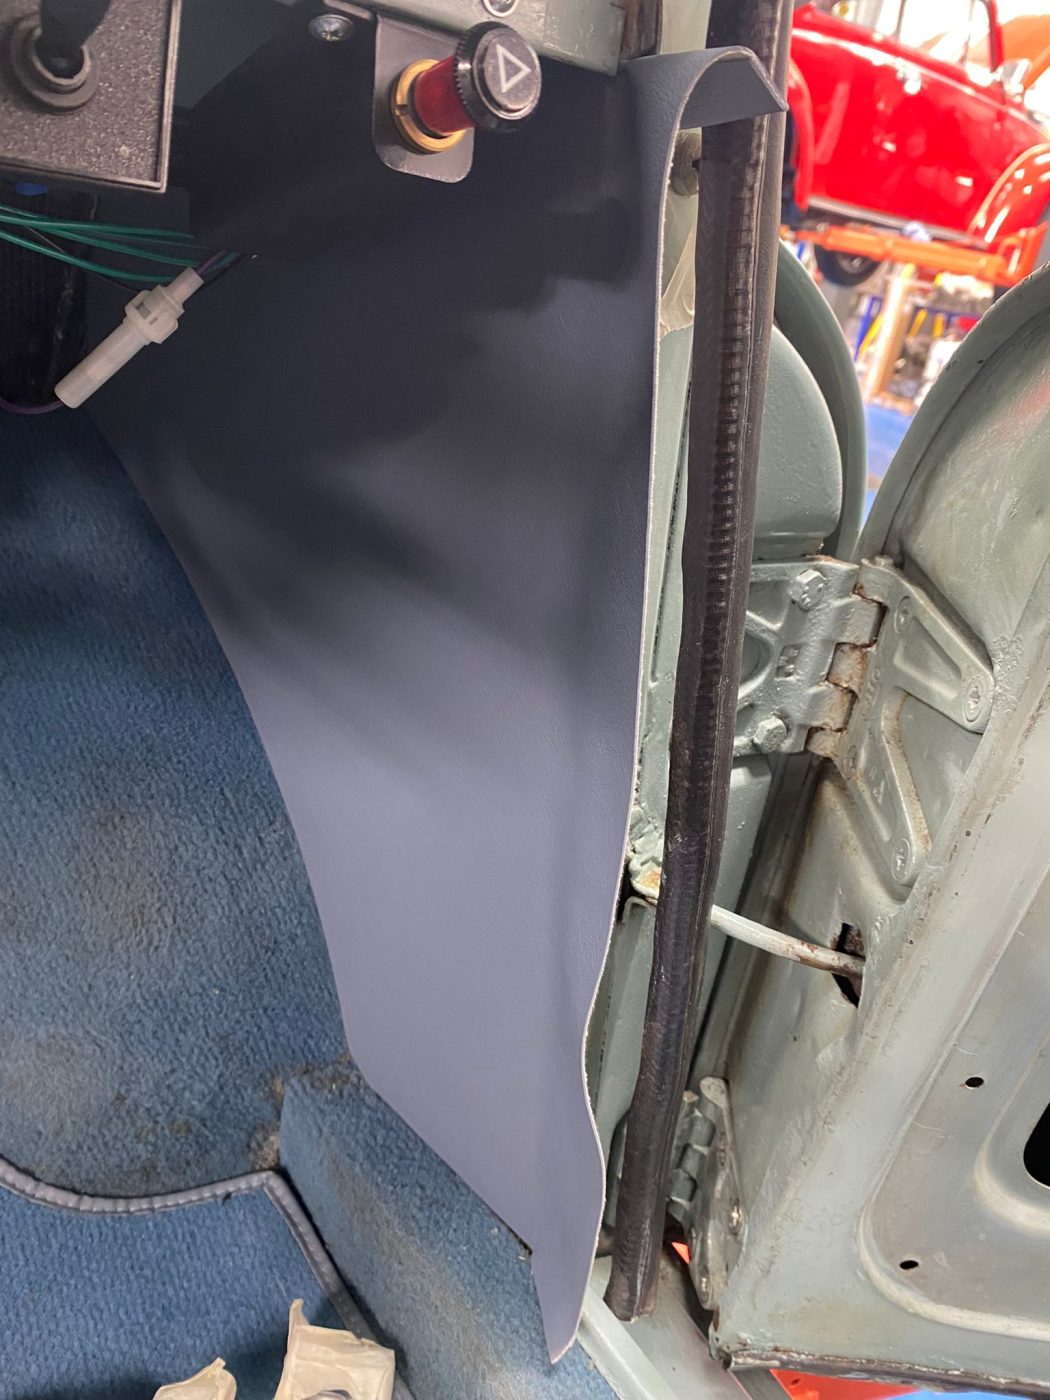
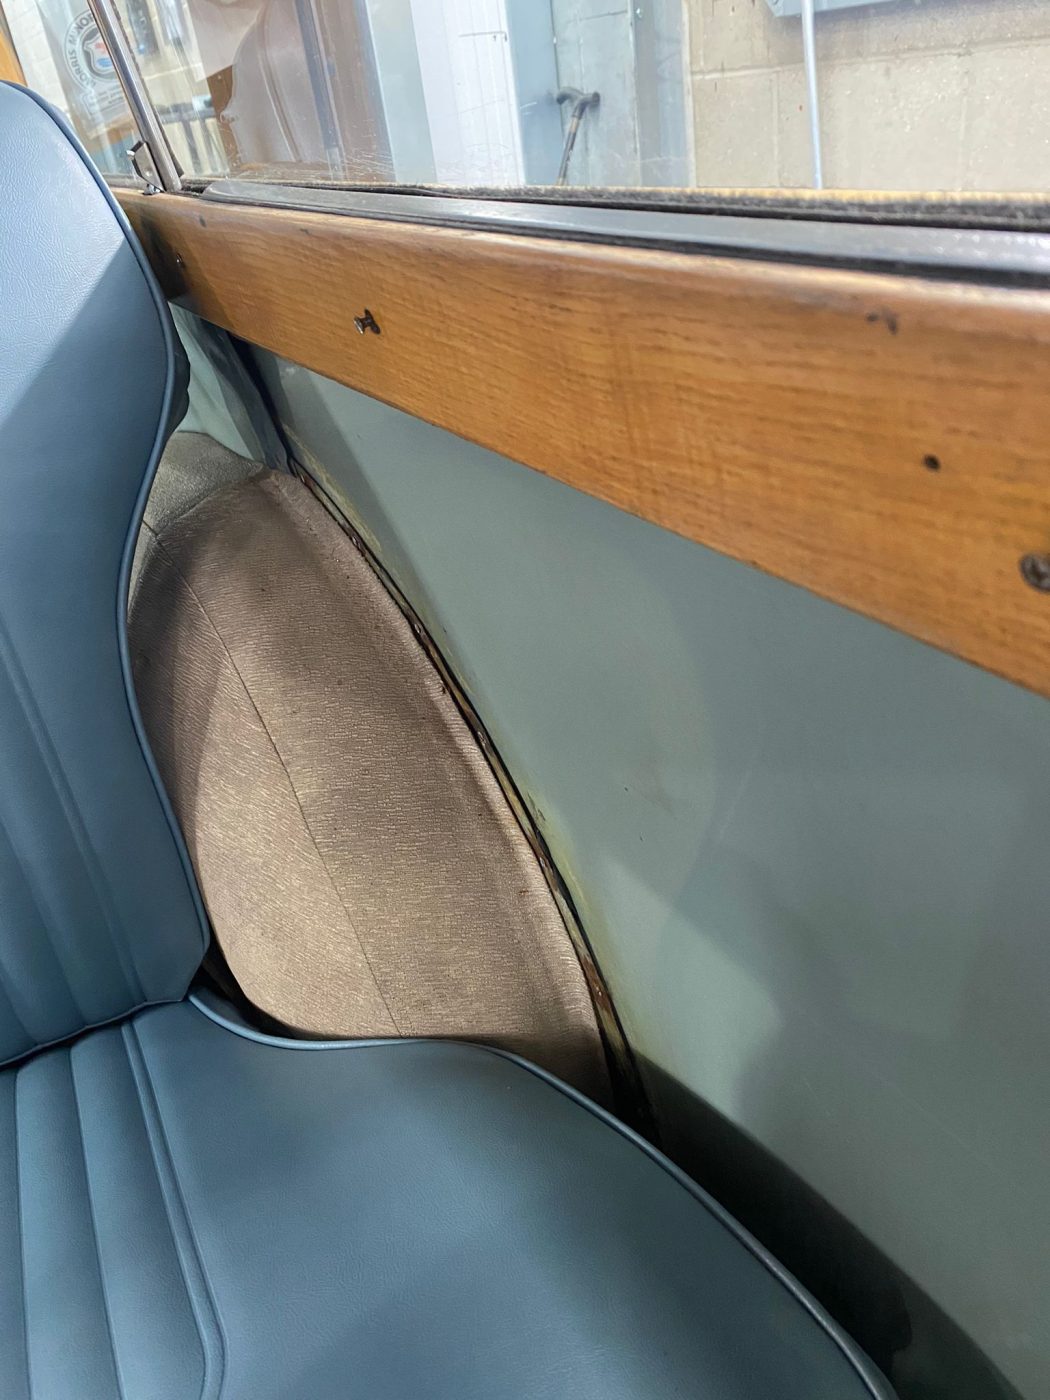
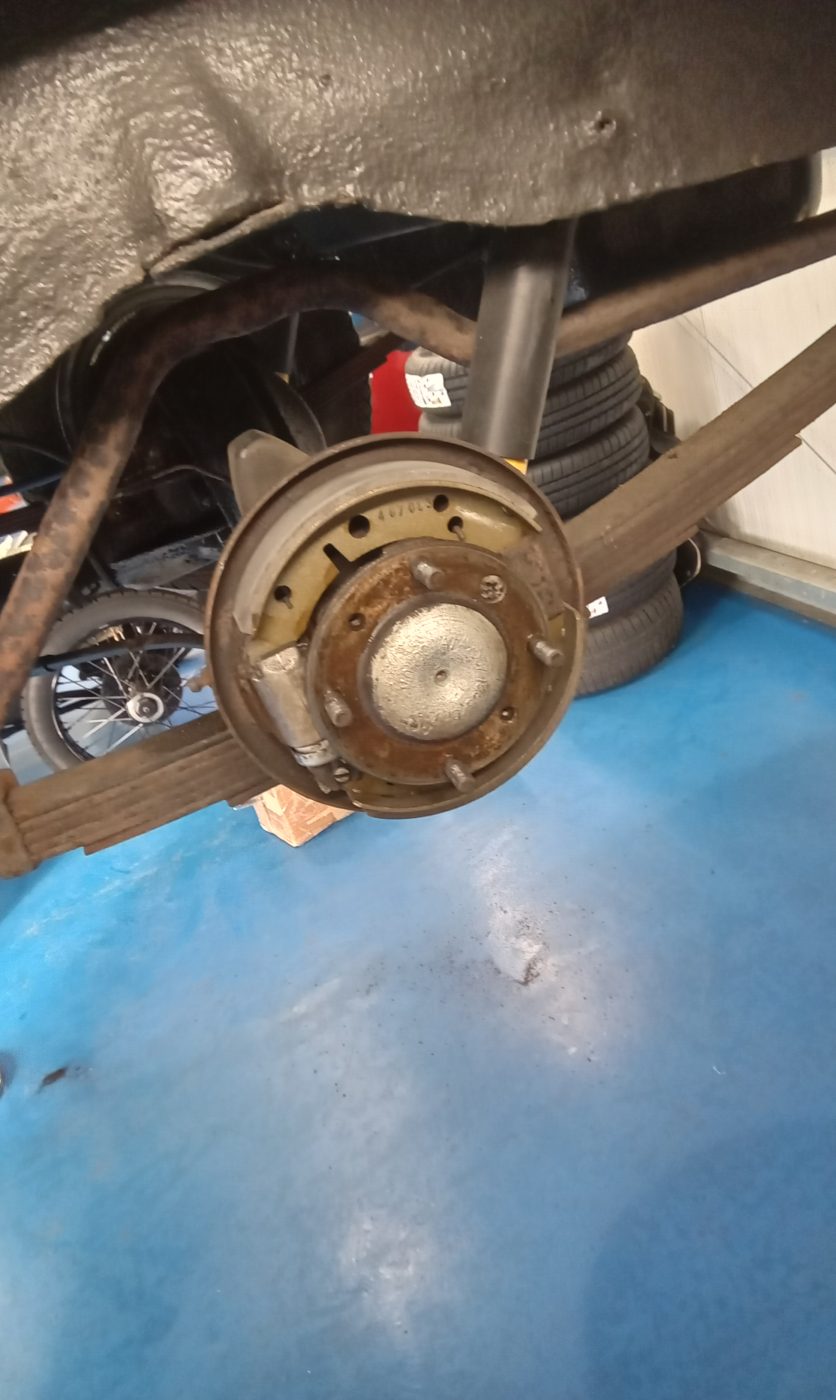
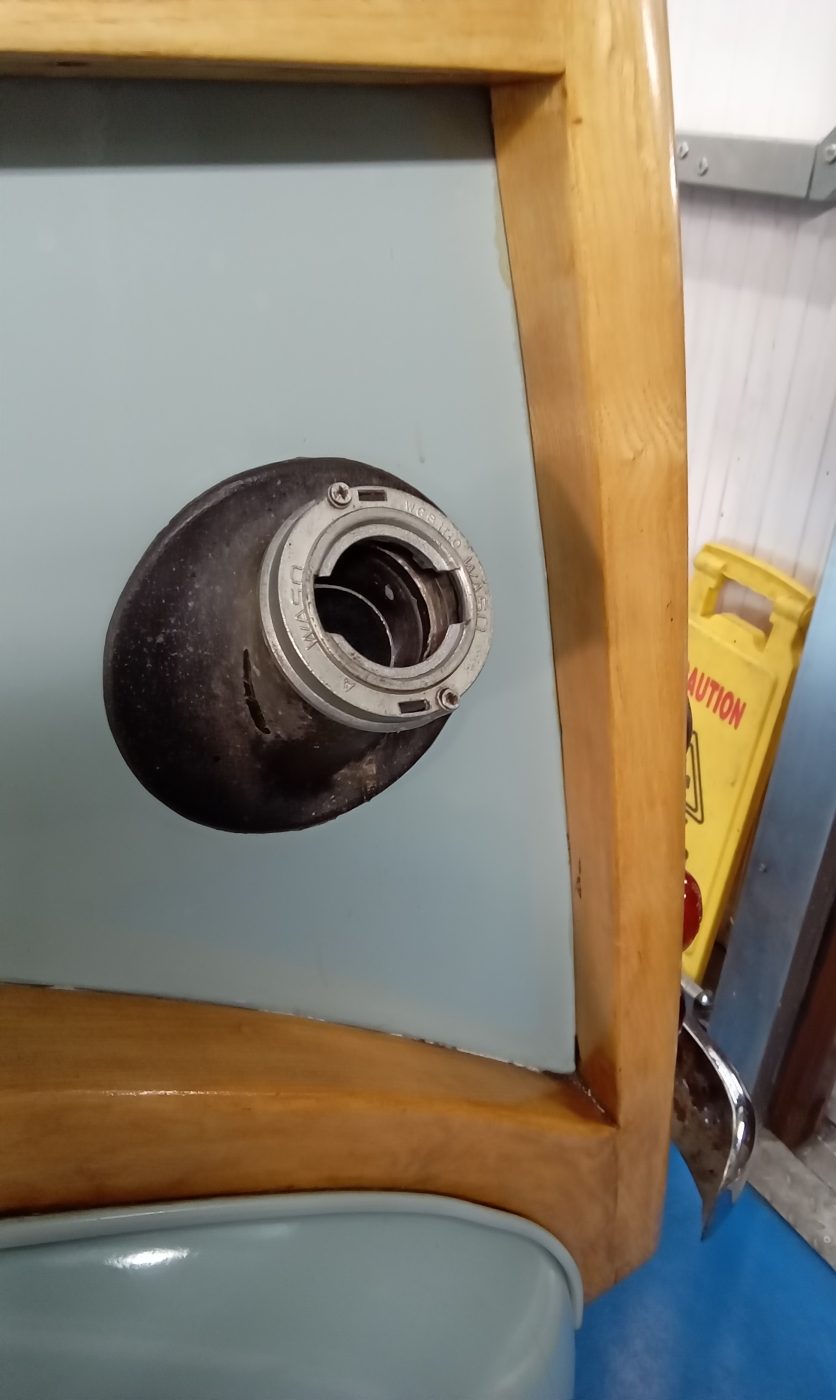
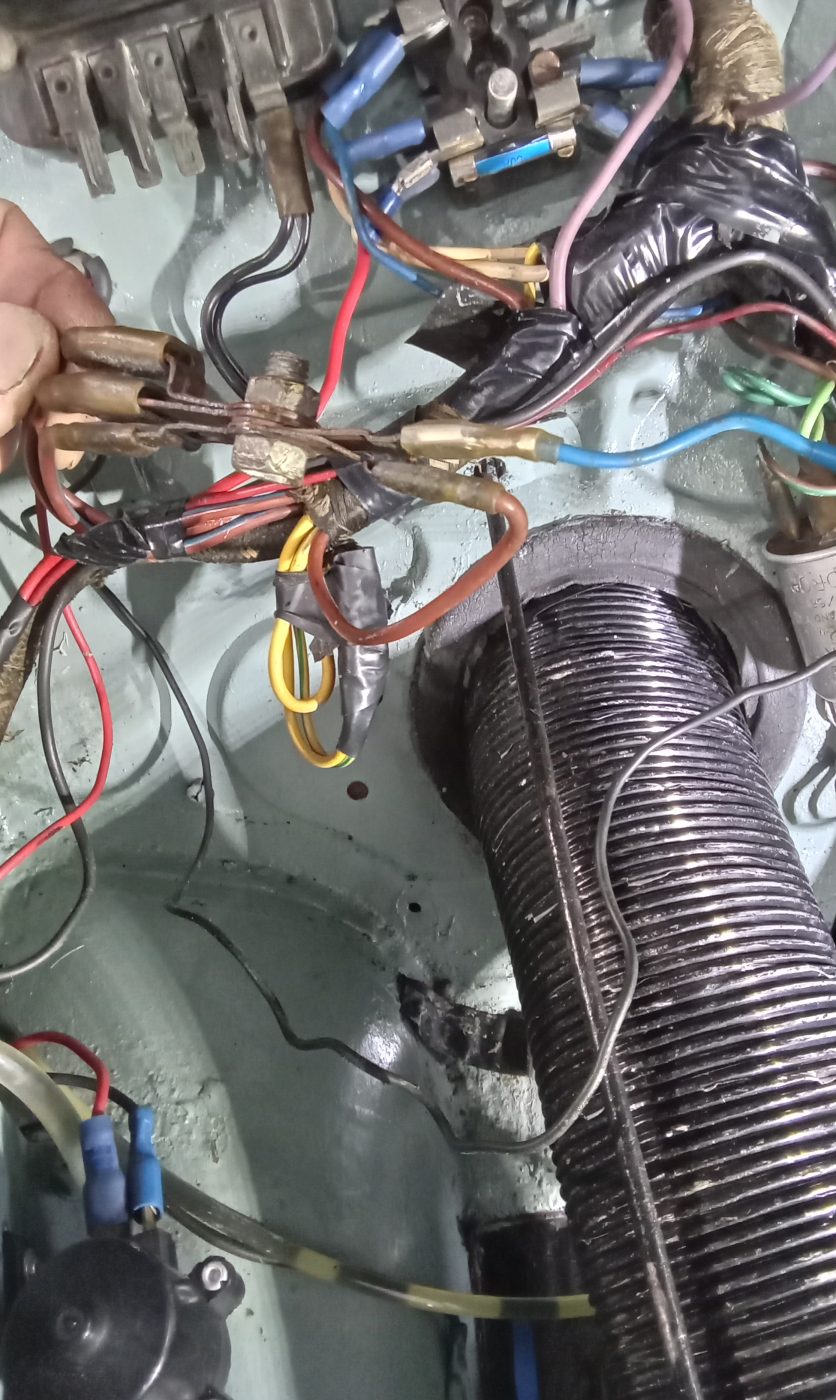
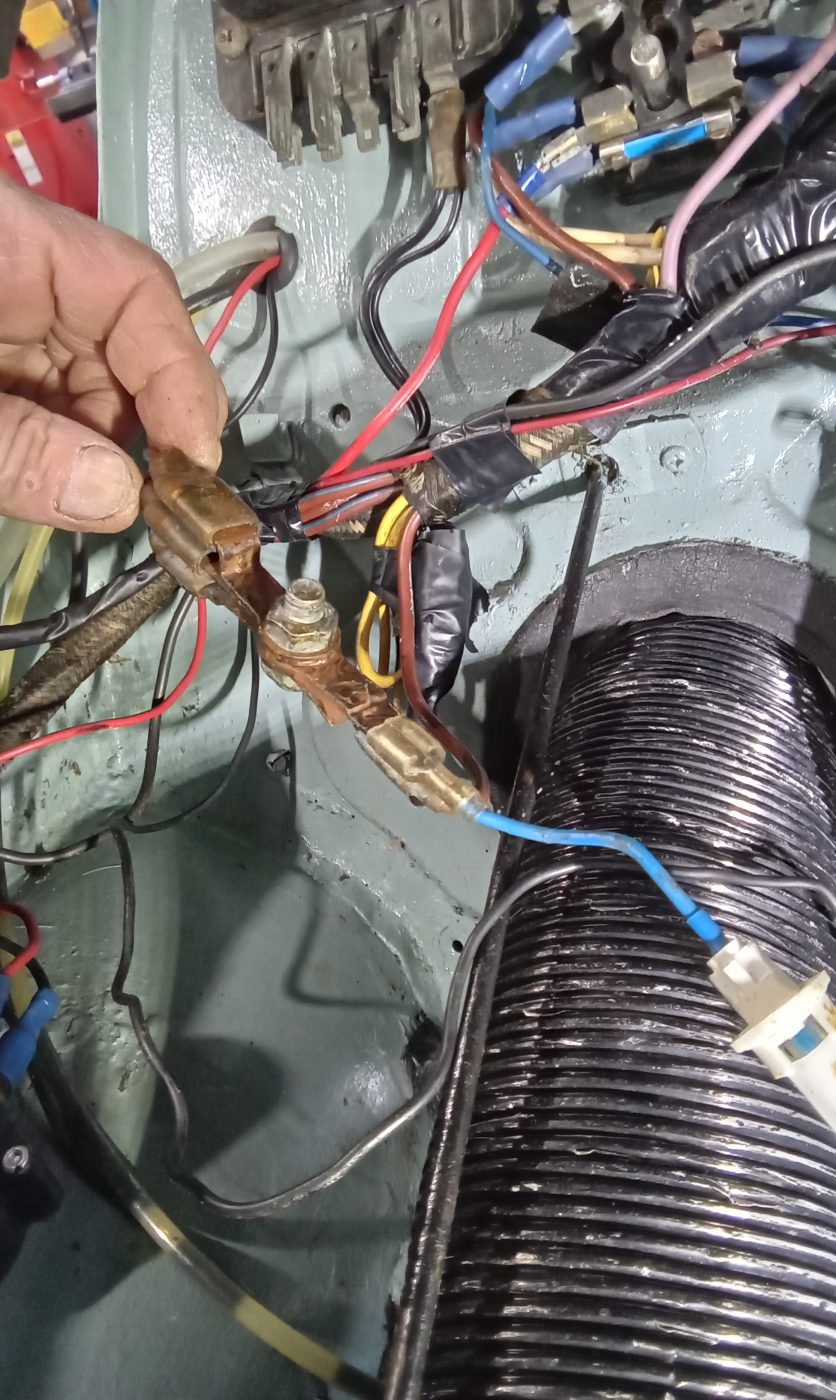
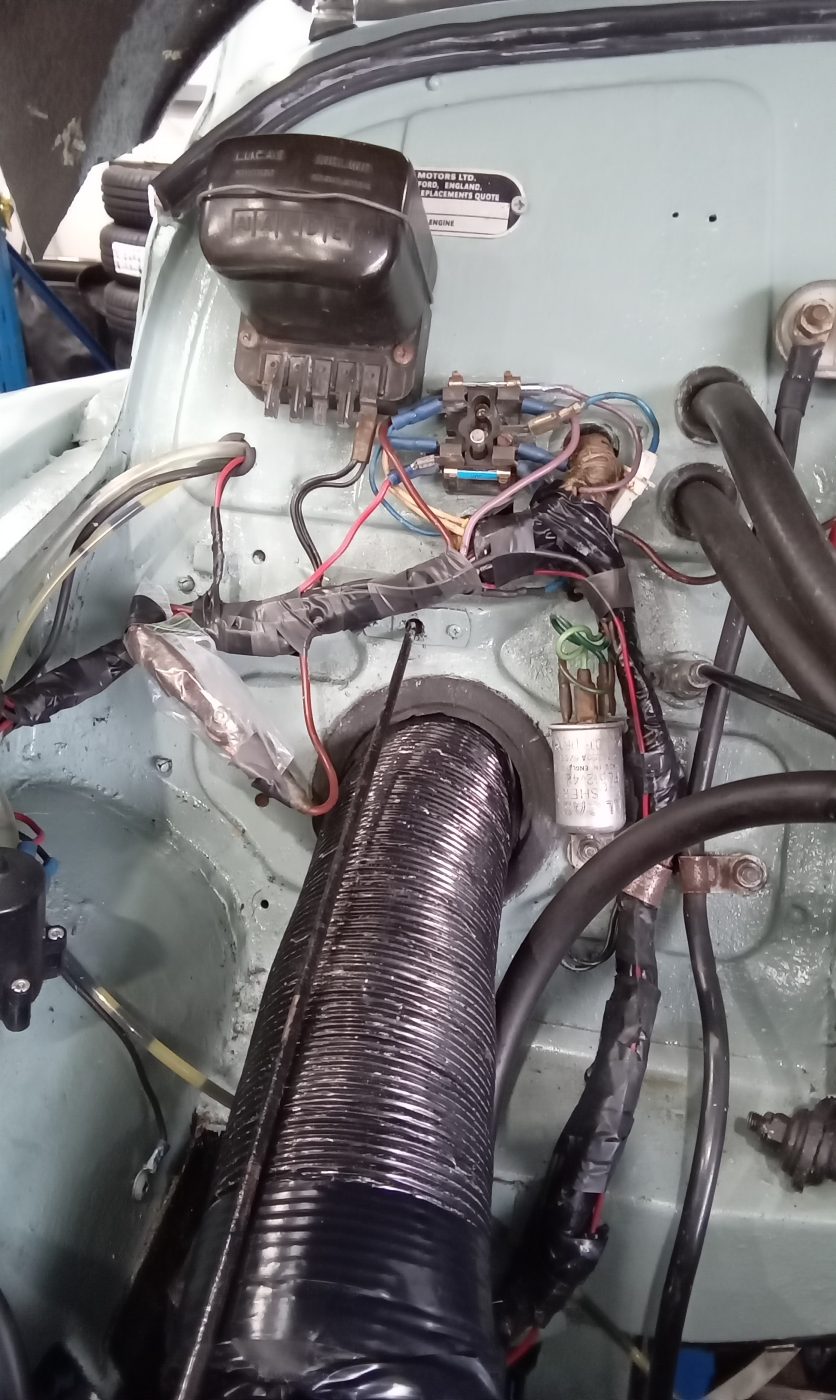
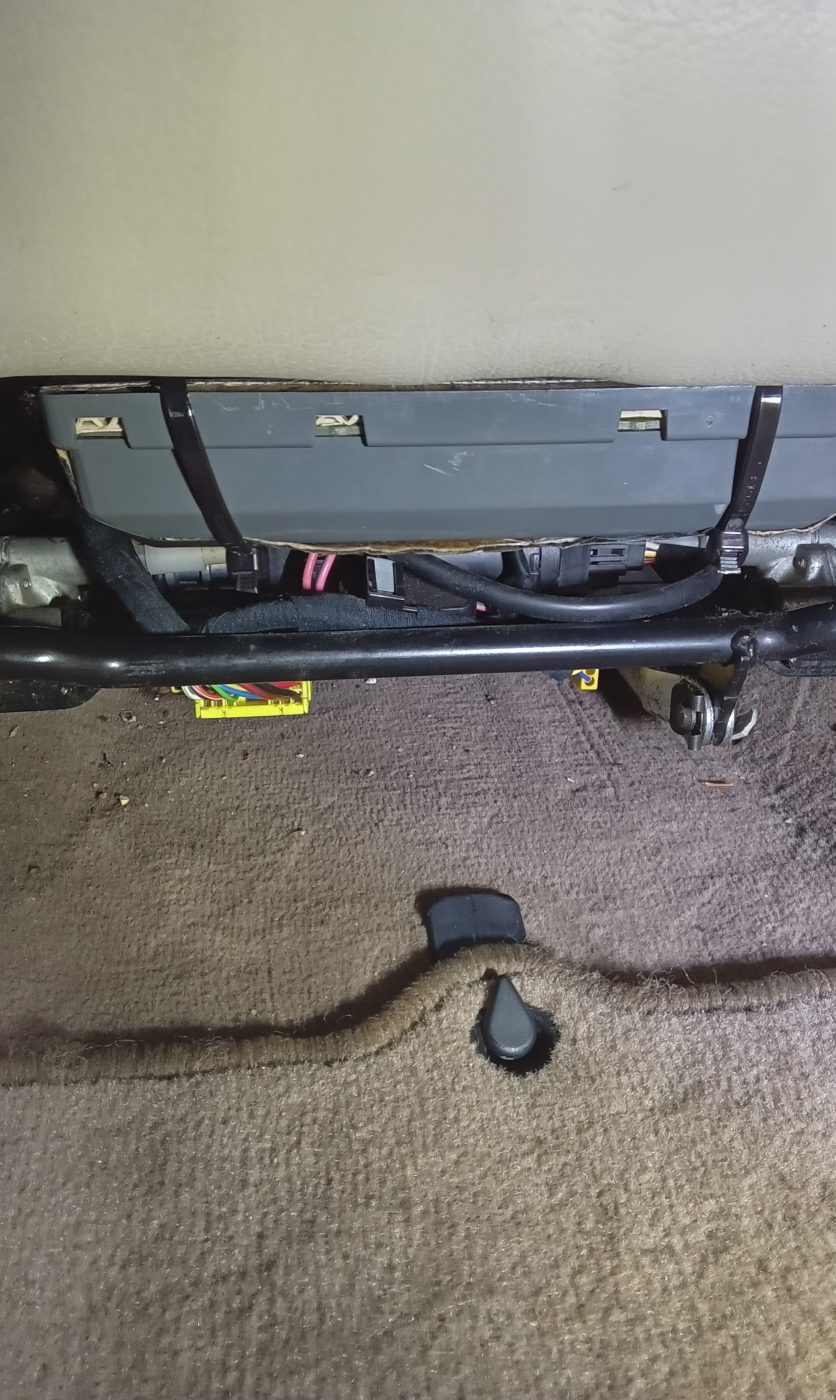
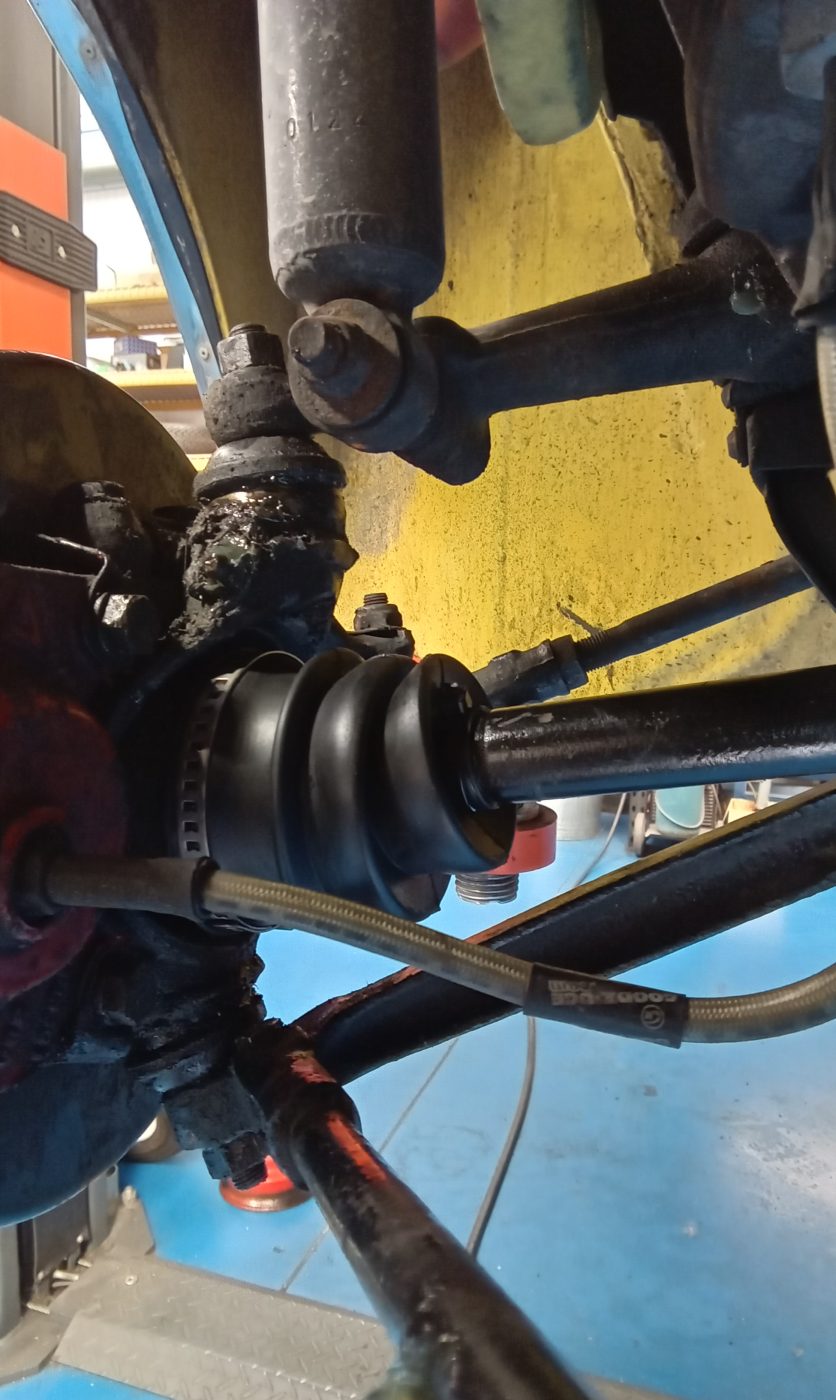
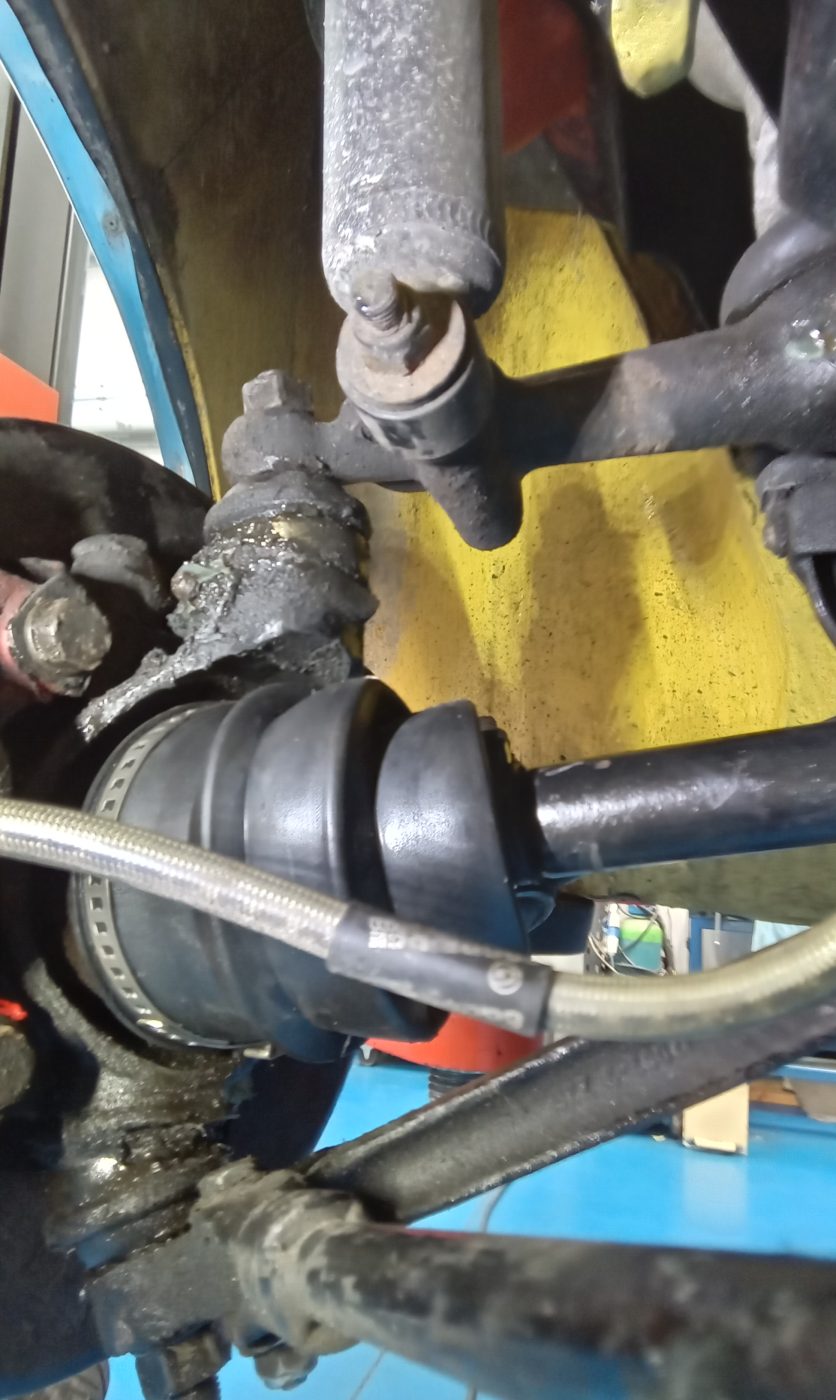
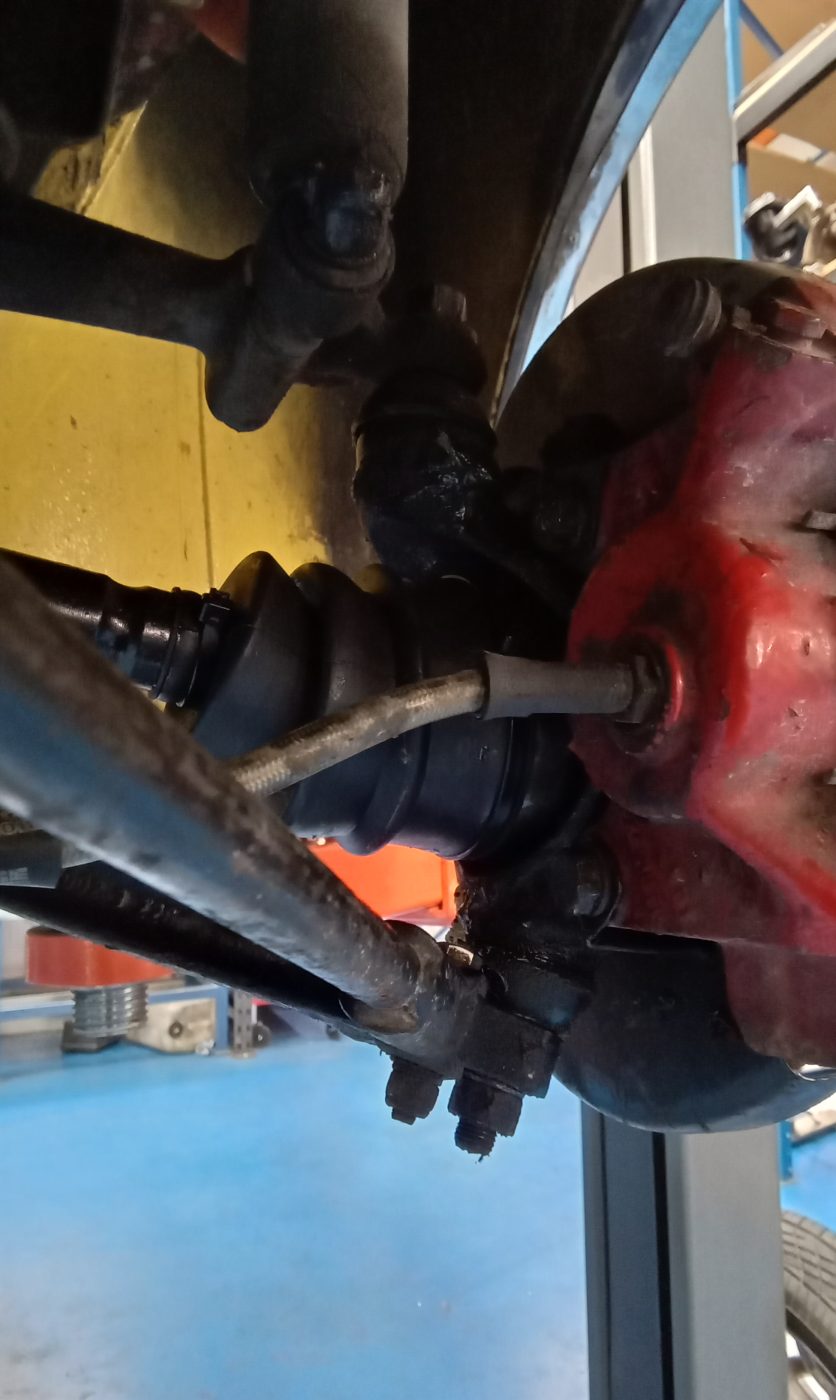
Jon has been working hard on the 1973 Rover P5 Coupe, this time he’s been working inside and underneath the classic 70’s coupe.
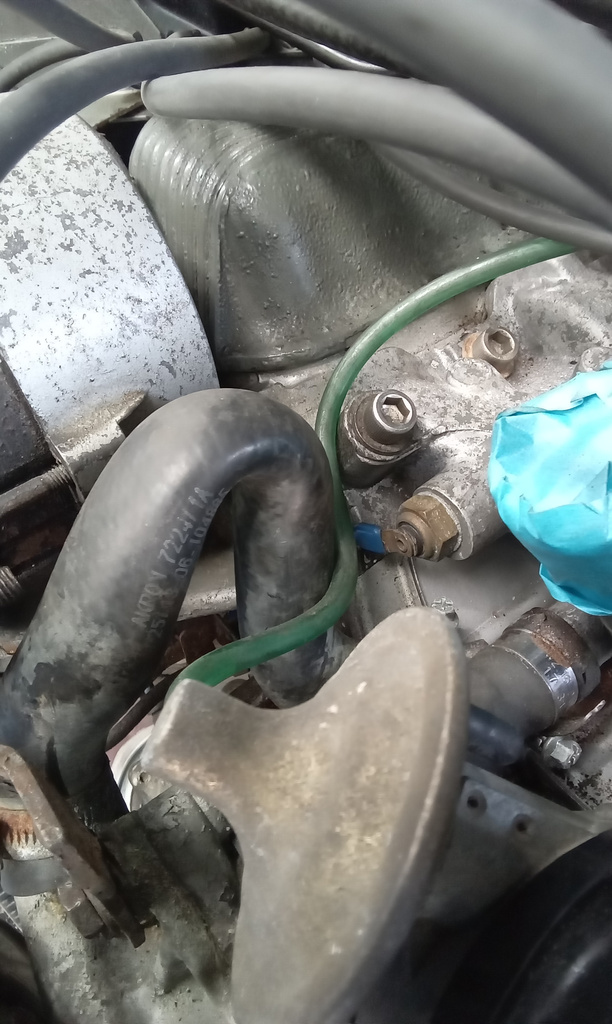
”Adjust nearside chassis seam to avoid exhaust flange hitting floor. Flange is fixed in position so unable to turn.investigate headlights not working. Eventually trace to faulty switch and also main beam dip switch faulty. Continue to wire in new fans. Route wiring and tape into loom. Find ignition live feed and fit connector so able to make connections when ready. Remove air filter assemble and inspect throttle linkage etc.”
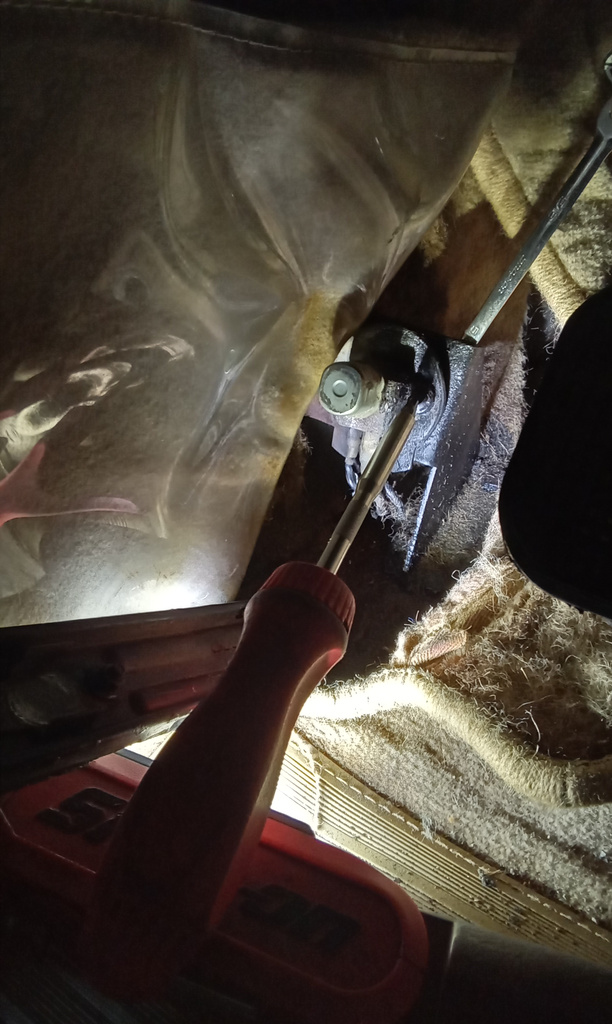
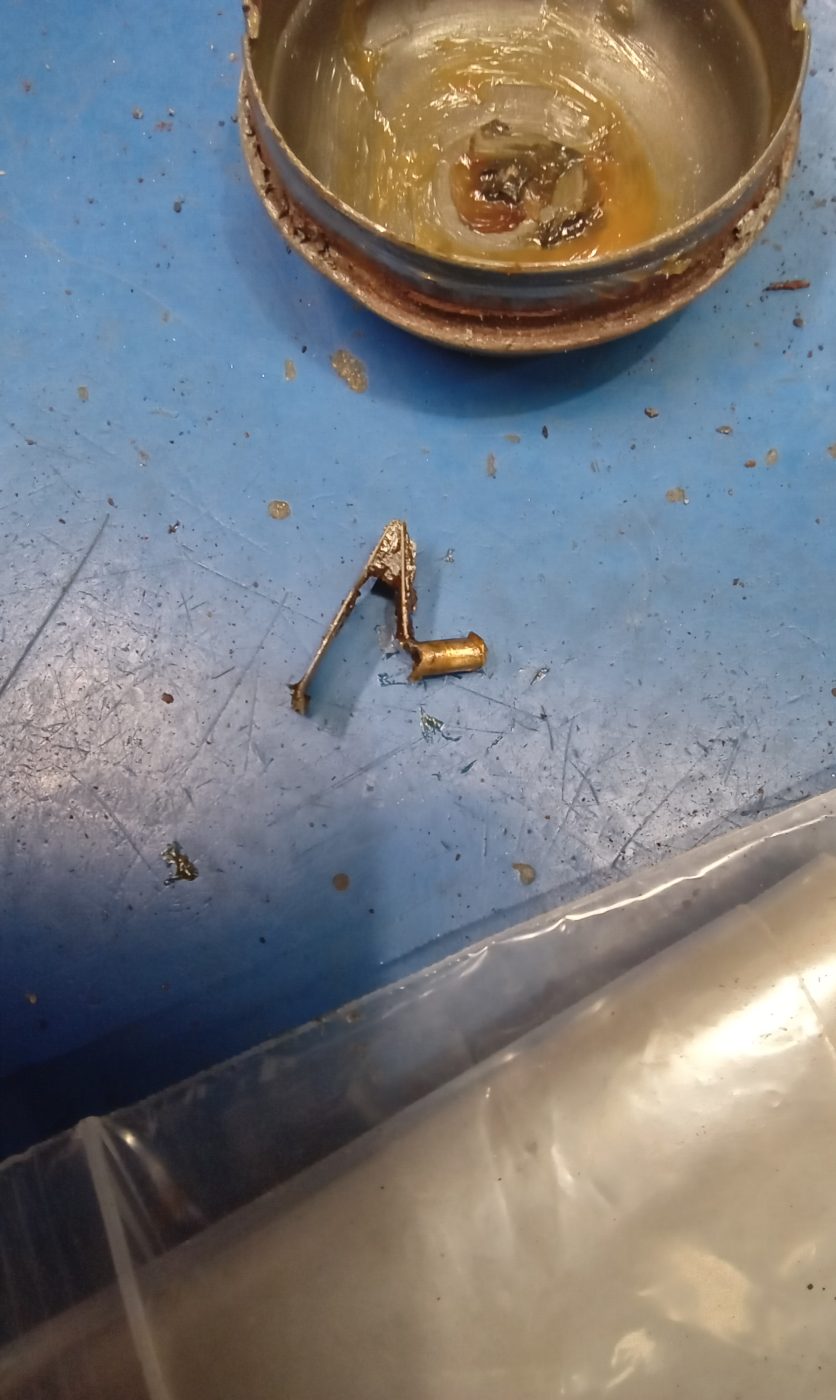
”Finish wiring fans. Mount brake fluid reservoir with bracket supplied. Investigate horn not working. Check horns for power supply, ok. Remove steering wheel centre push. Short out wiring and horns worked once or twice and now they don’t. Check continuity from horns to steering wheel, none. Start looking at tracing horn wires.”

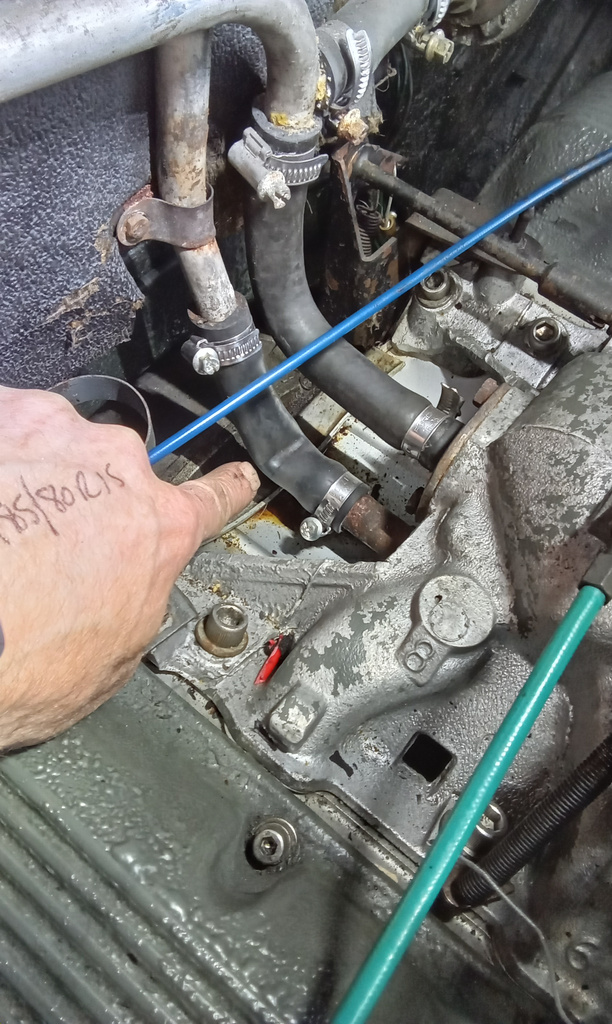
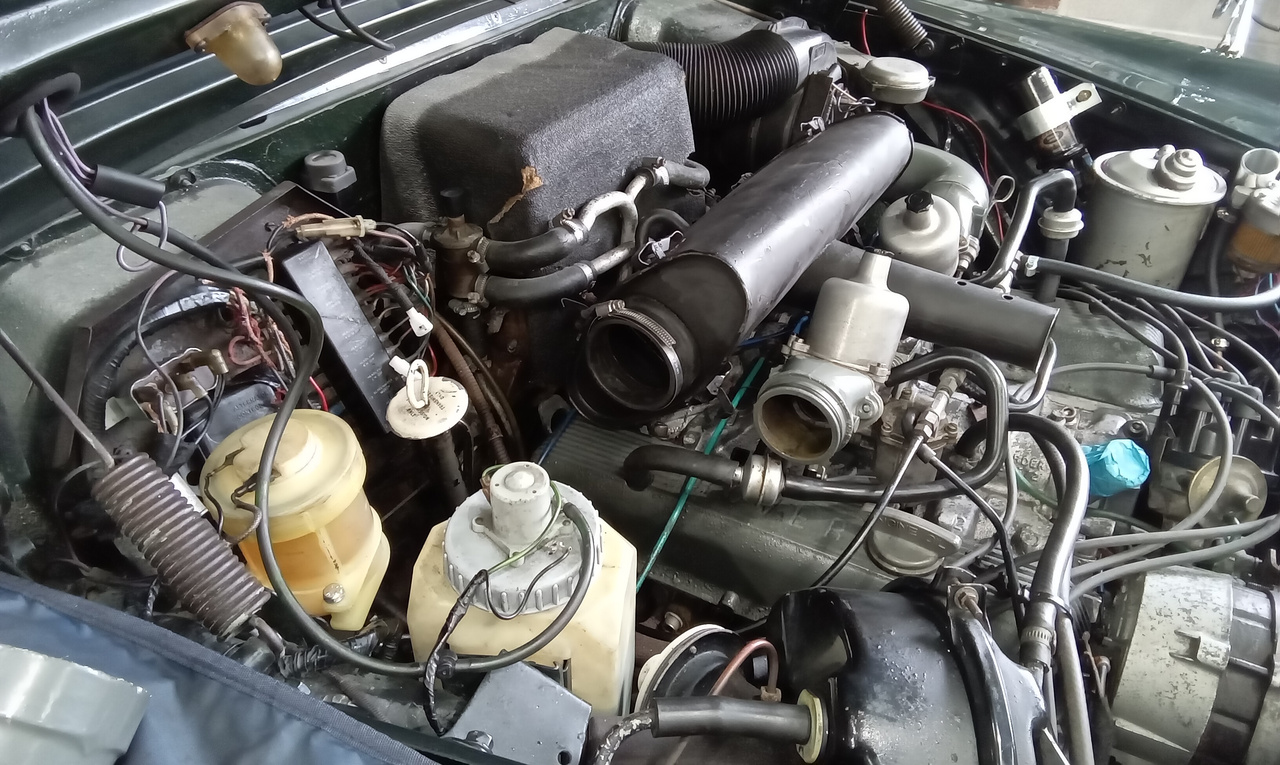
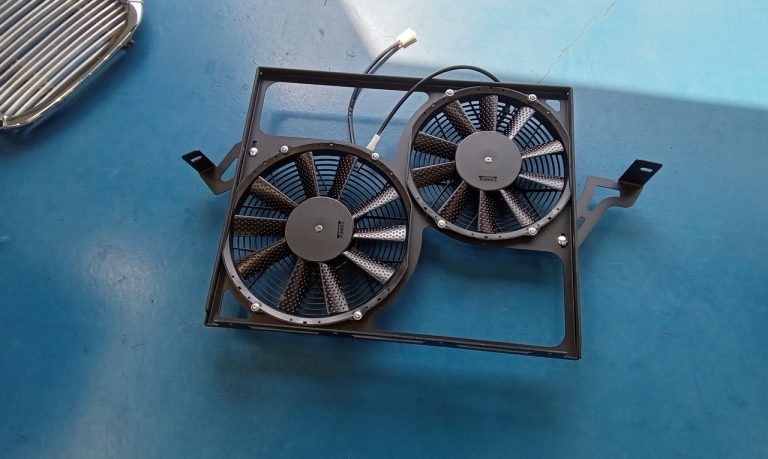
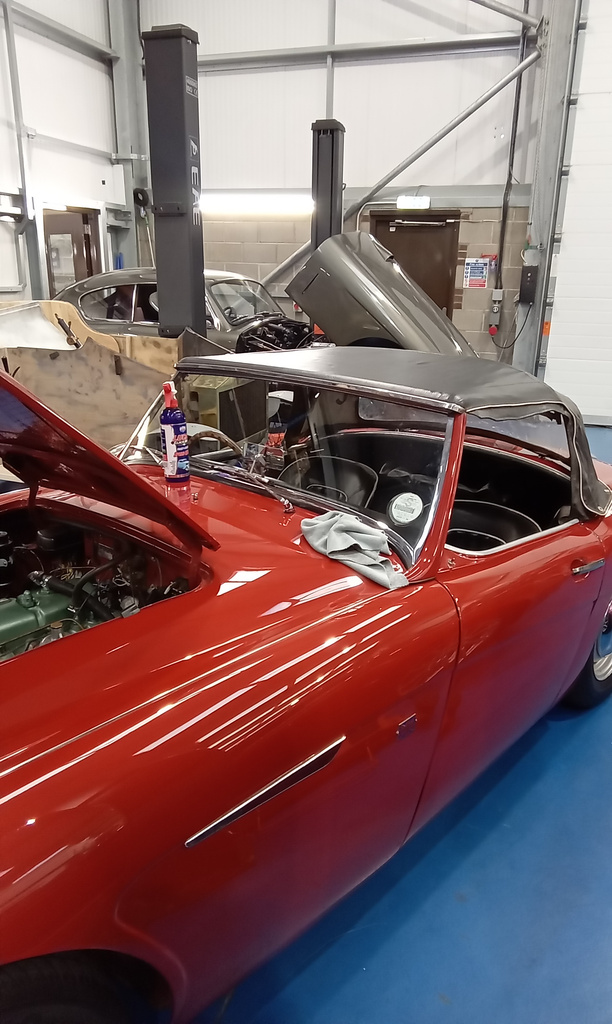
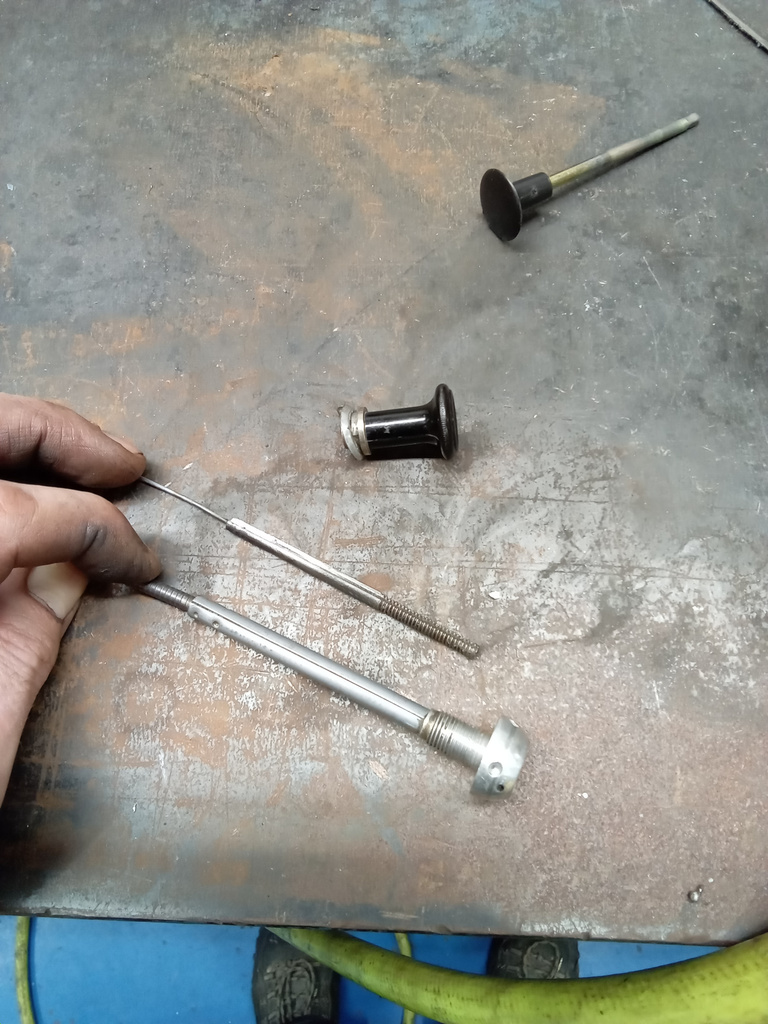
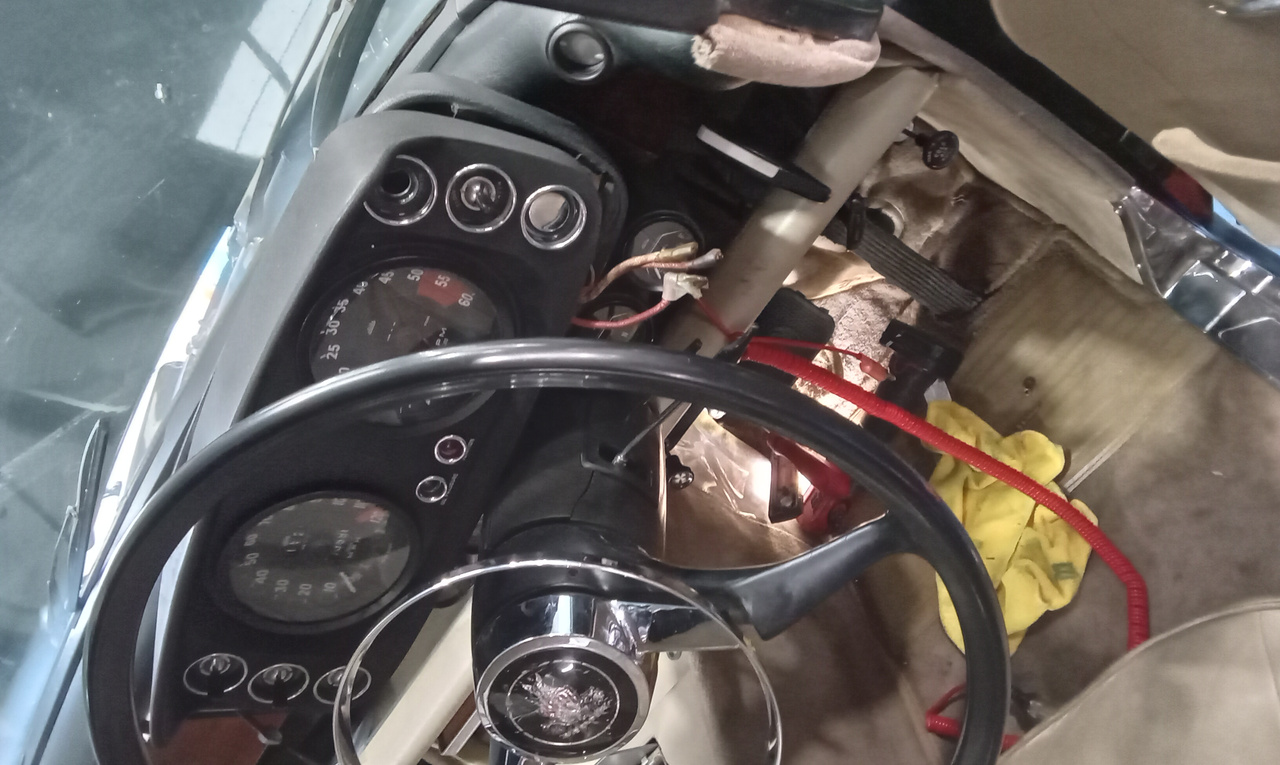
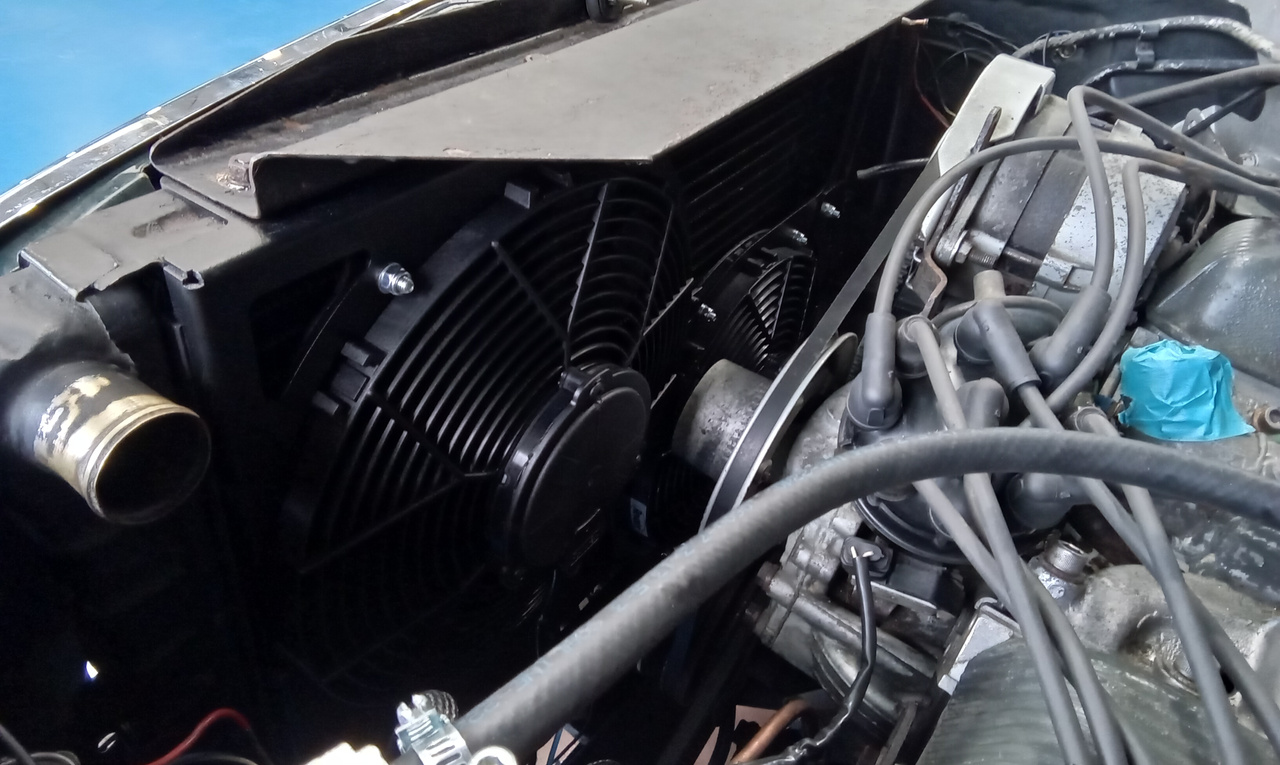
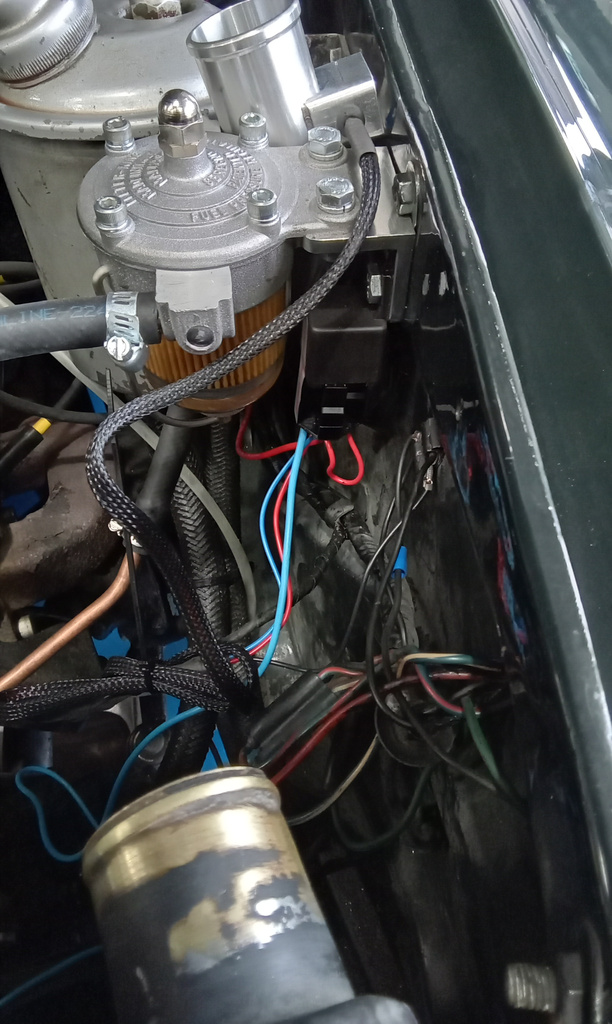
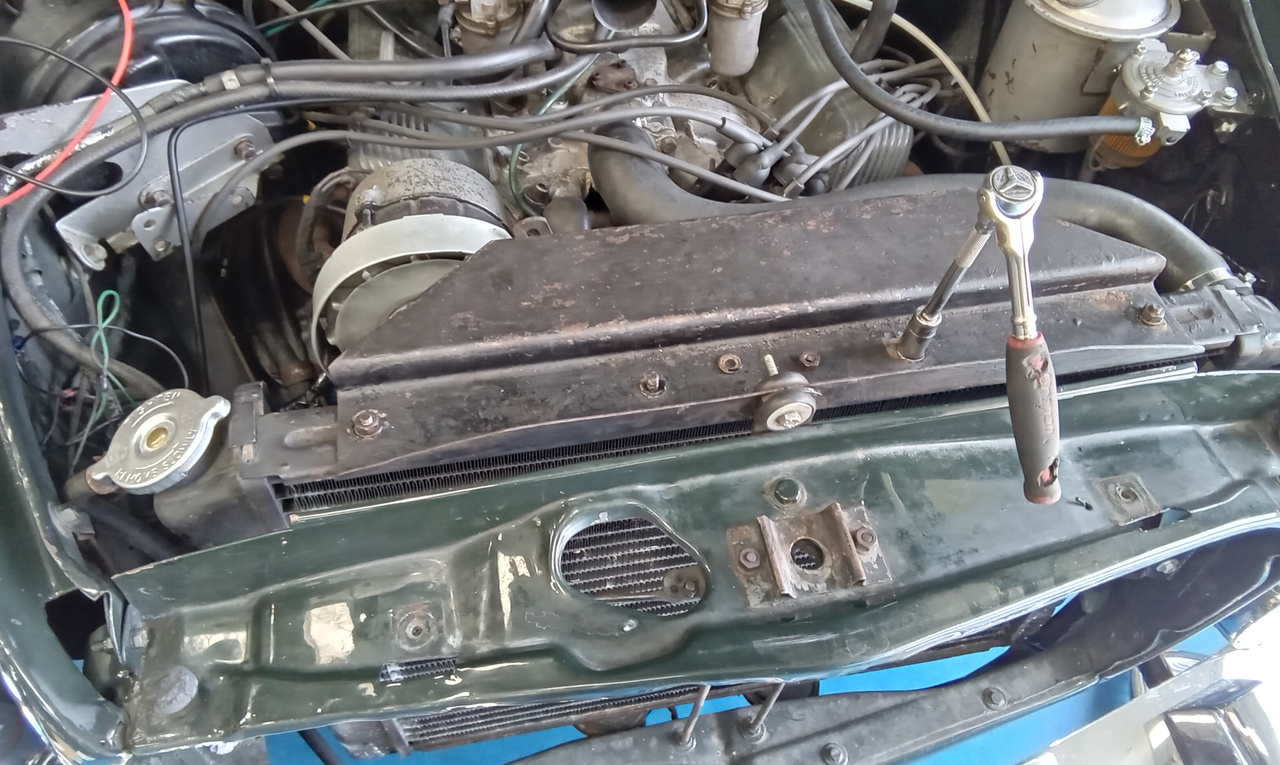
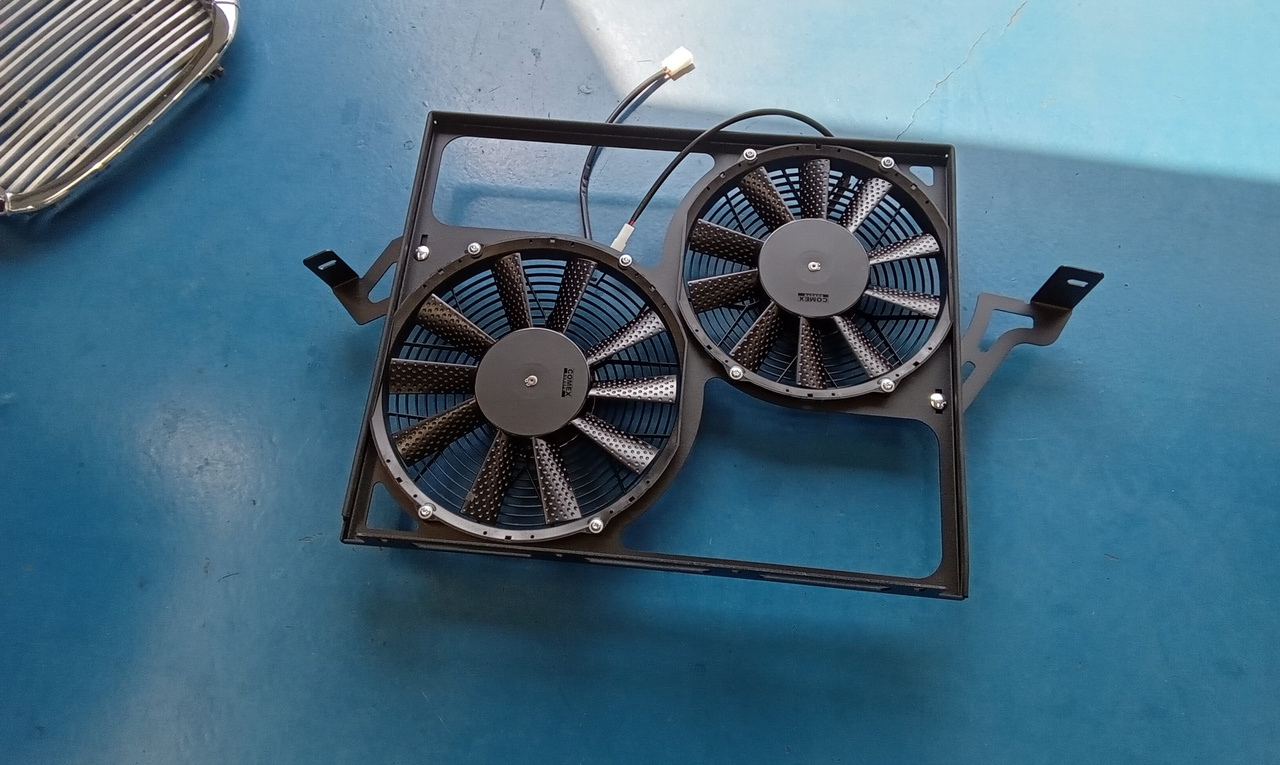
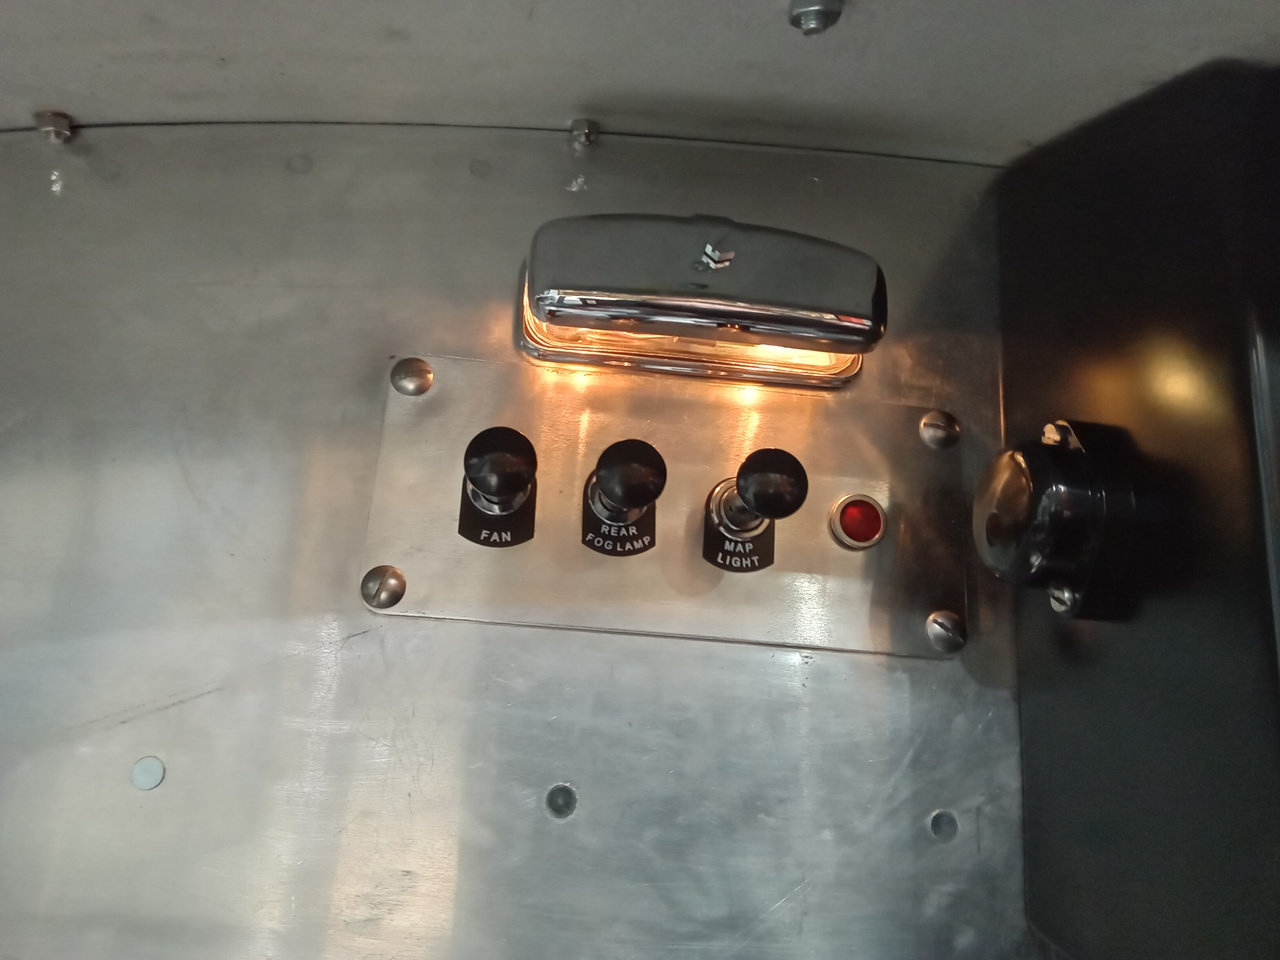
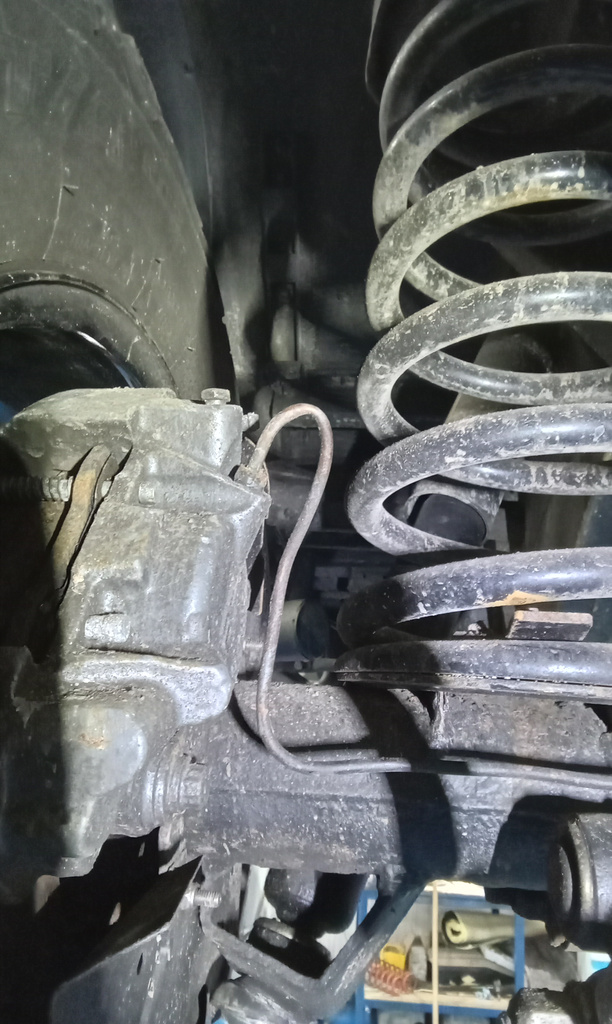
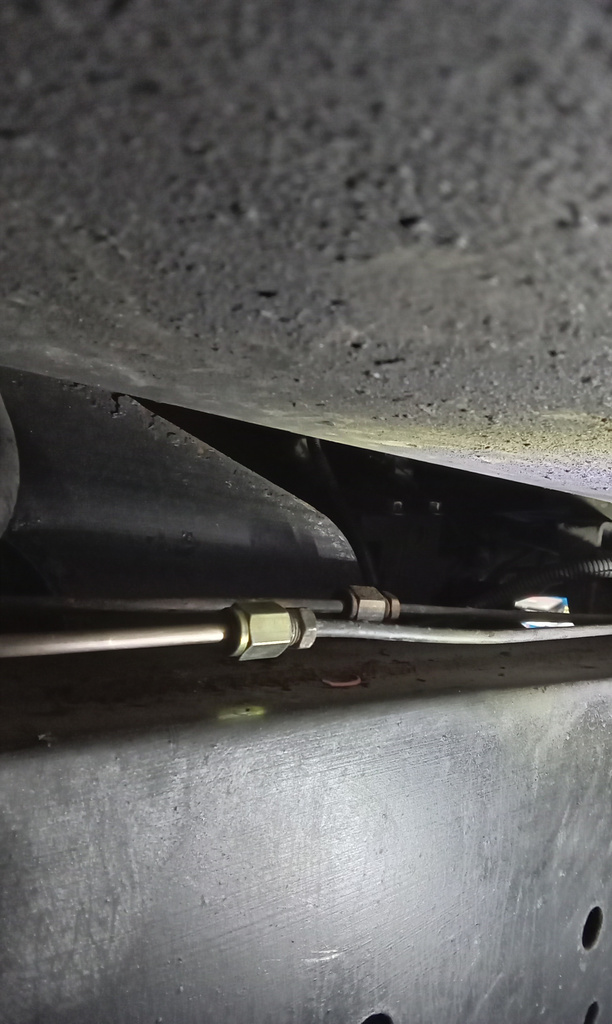
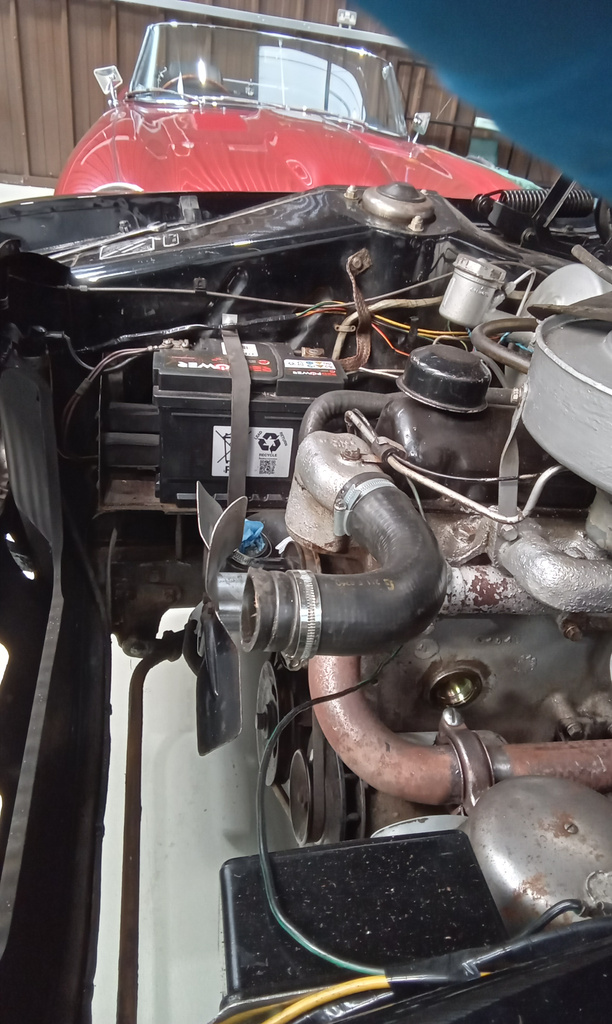
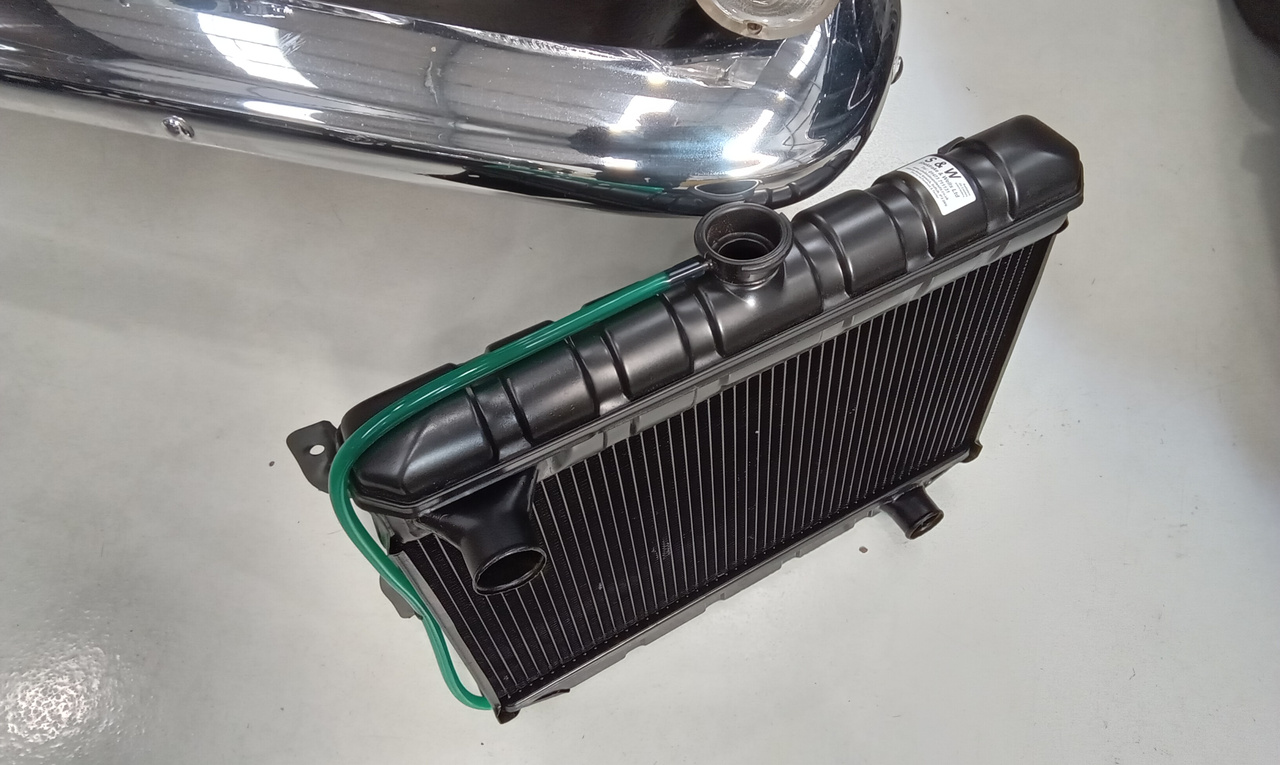
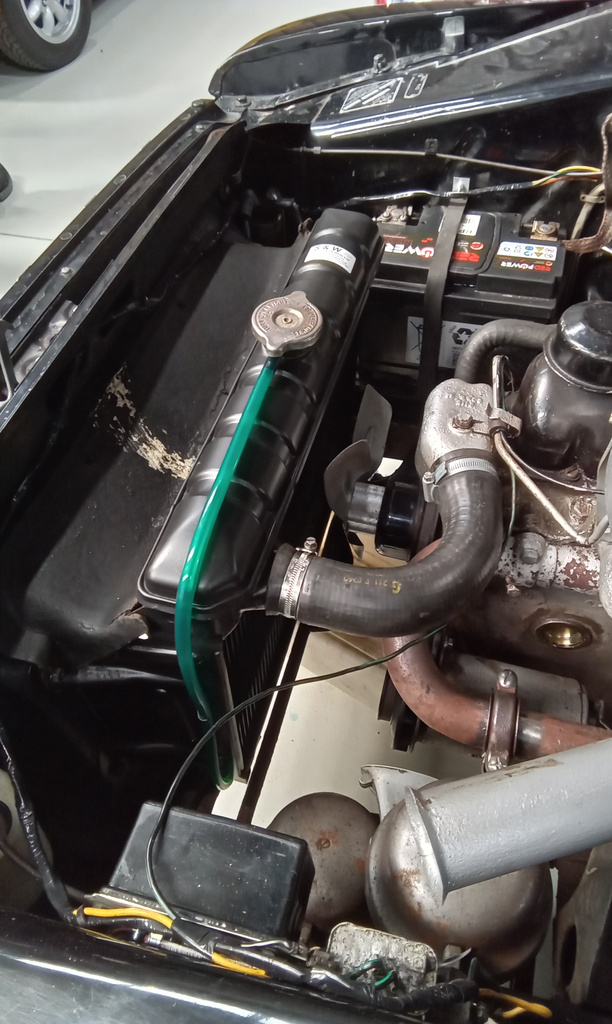
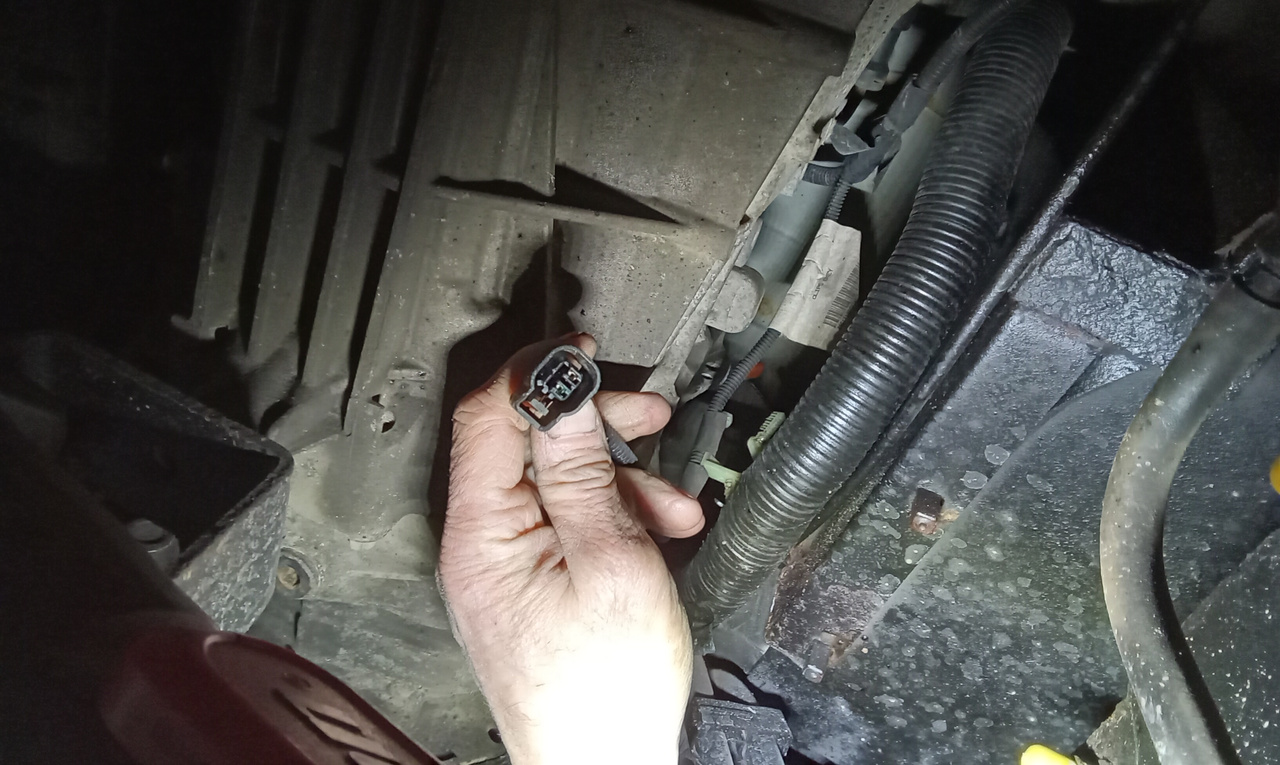
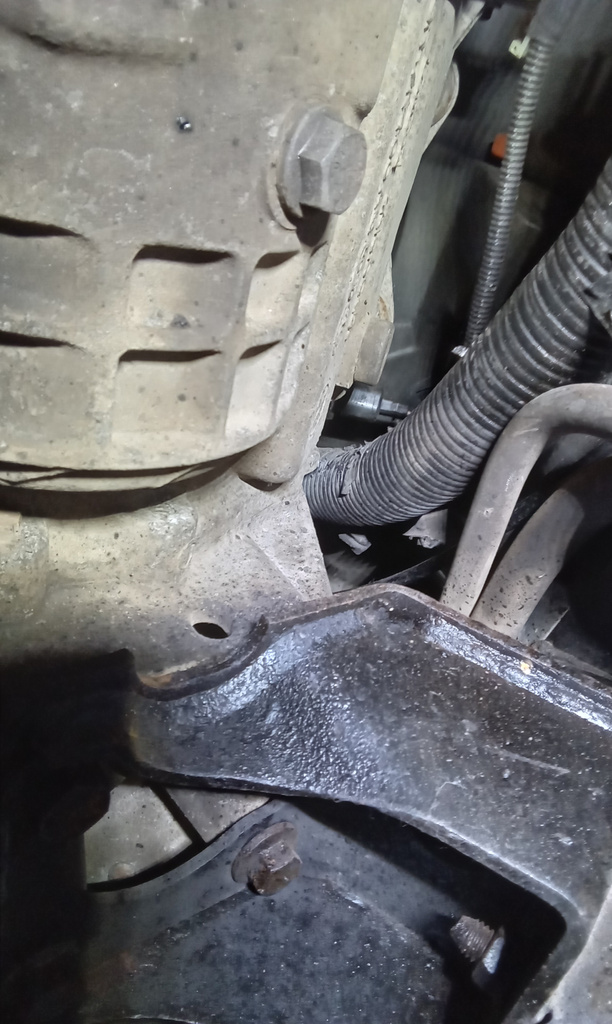
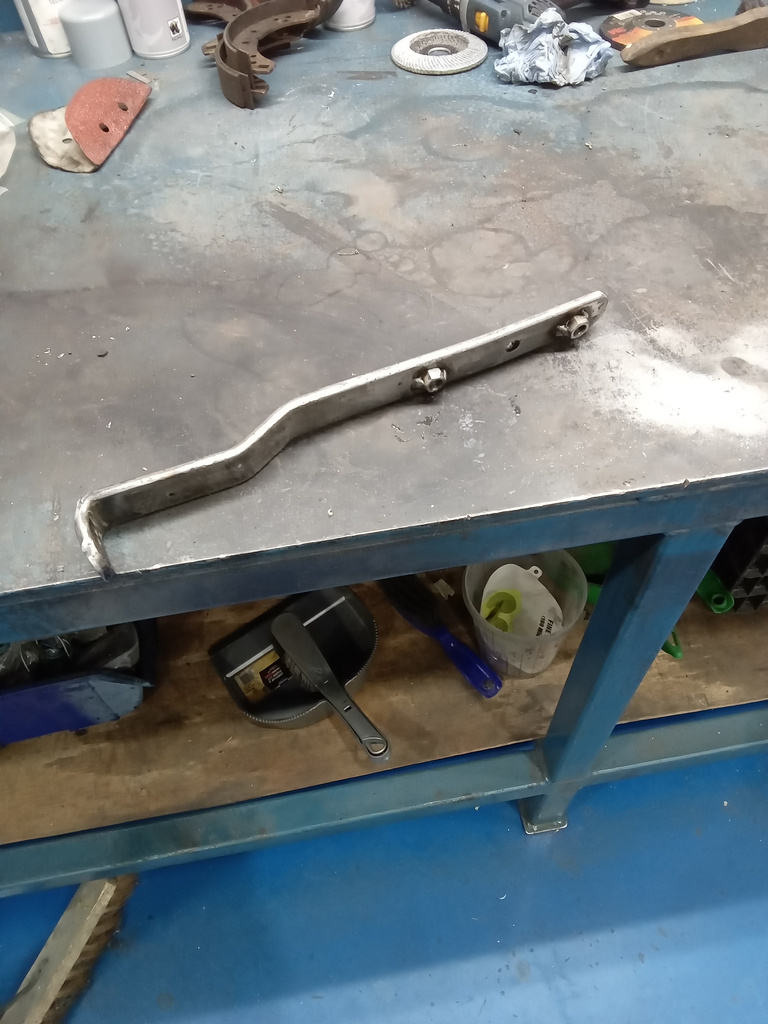
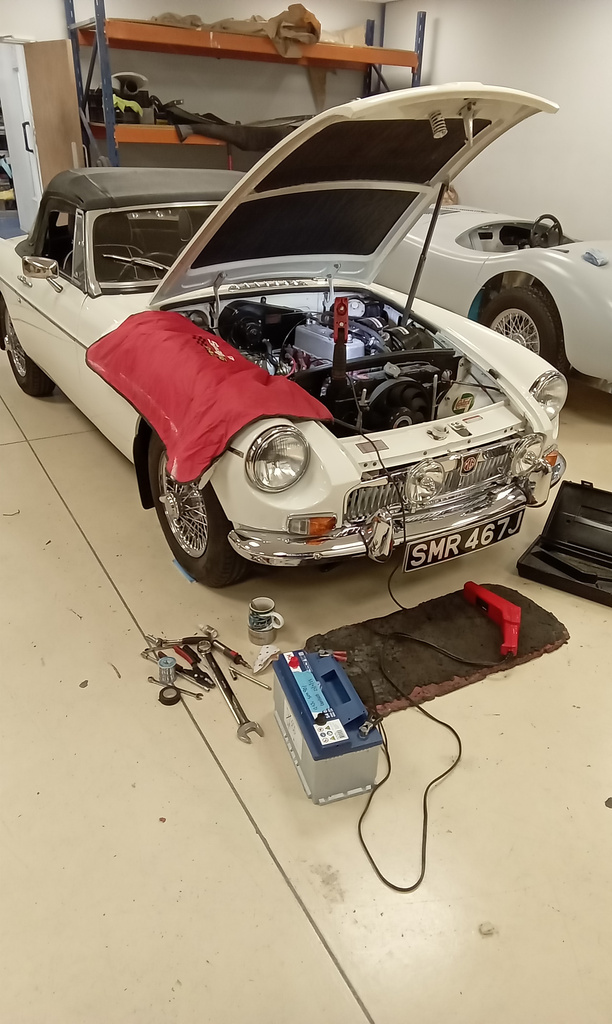
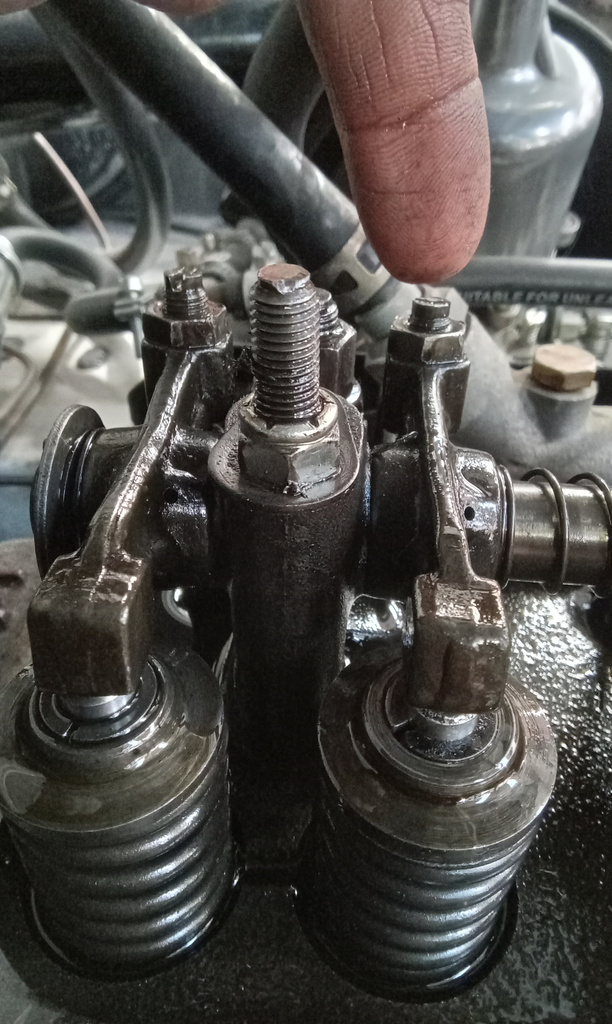
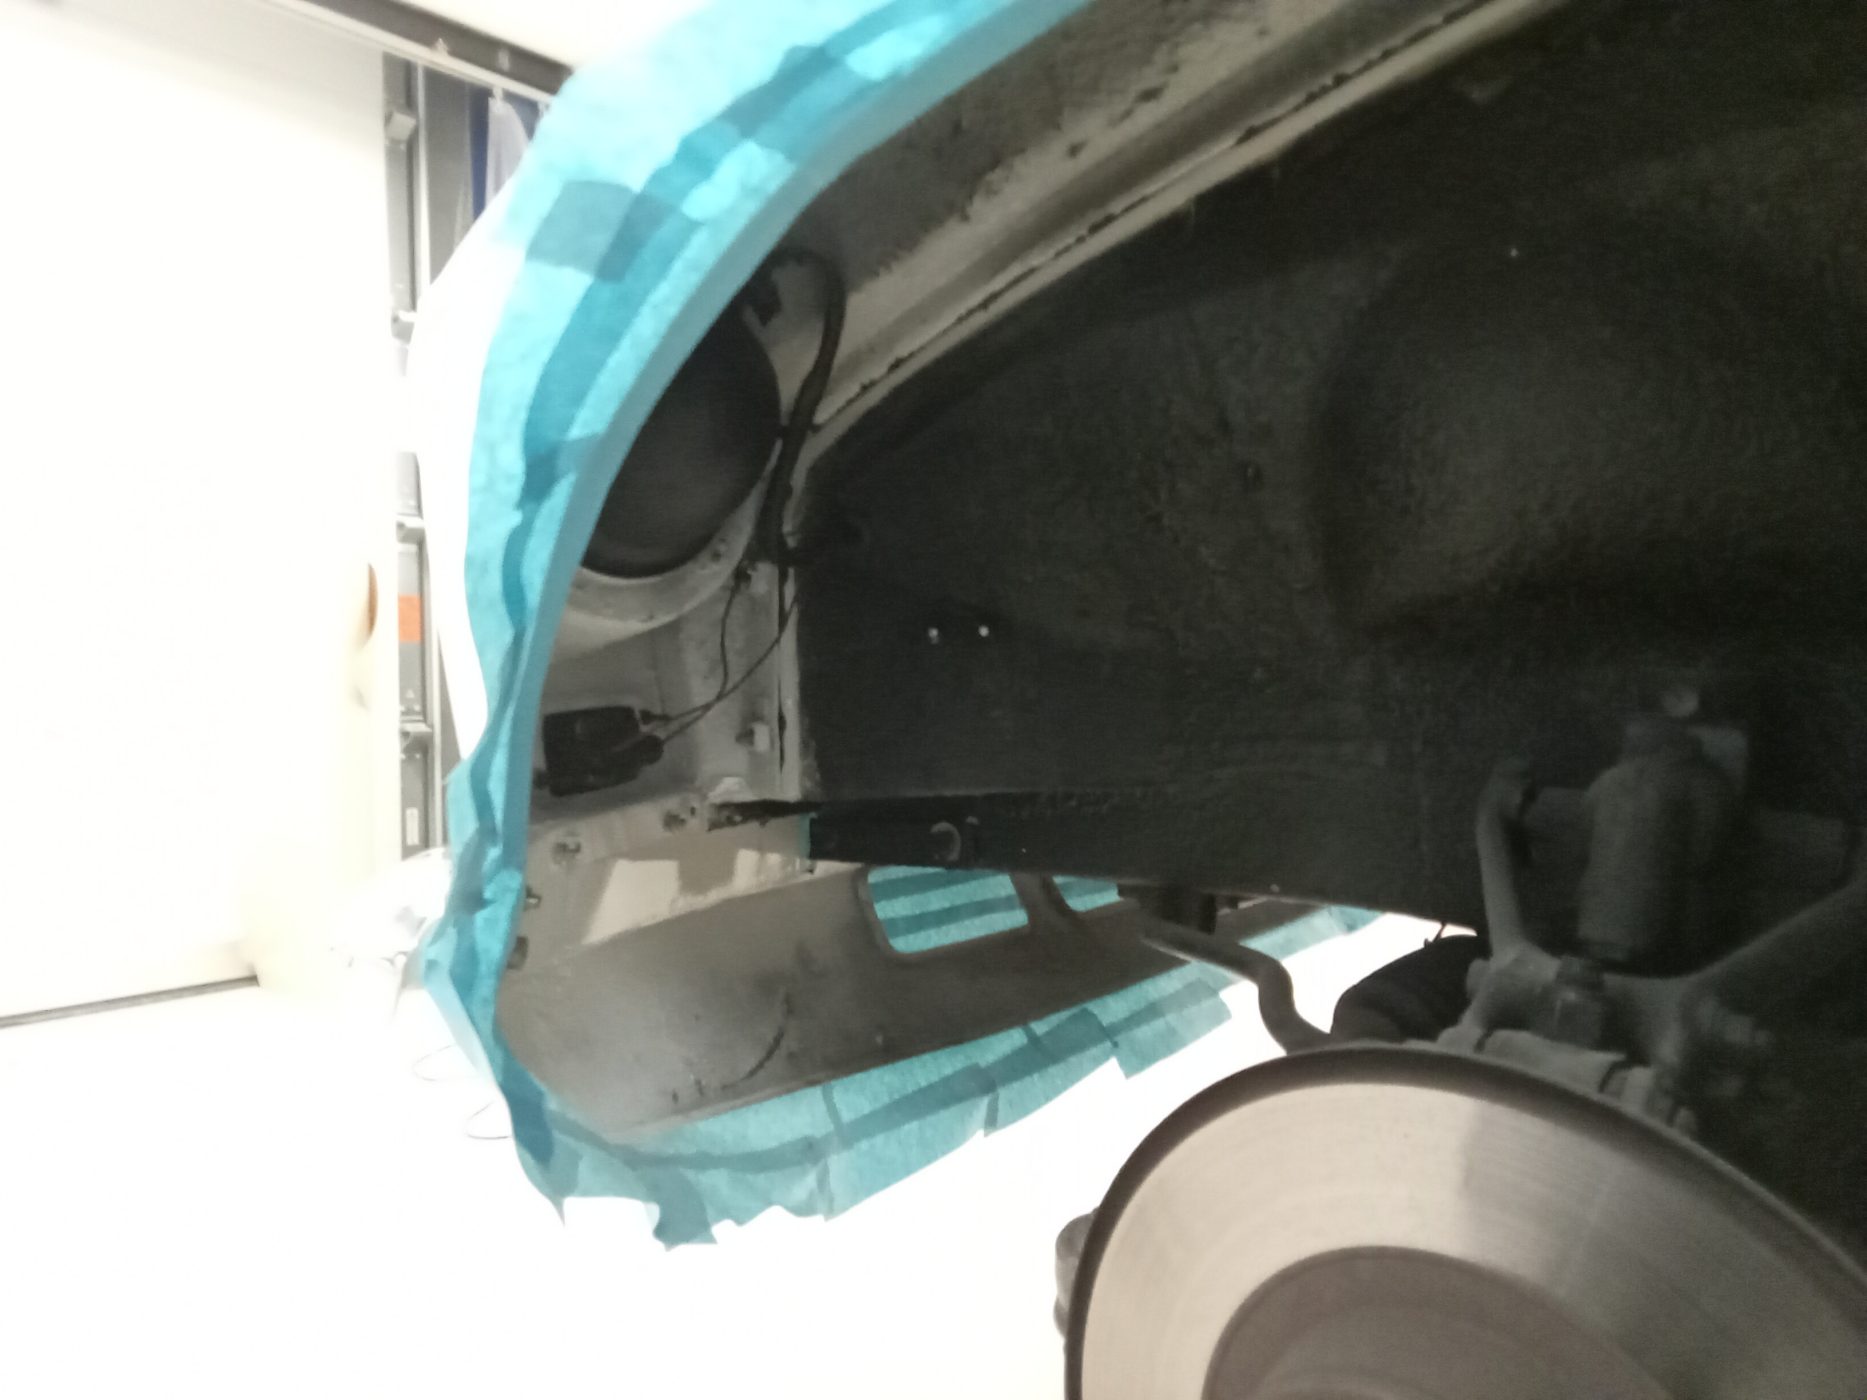
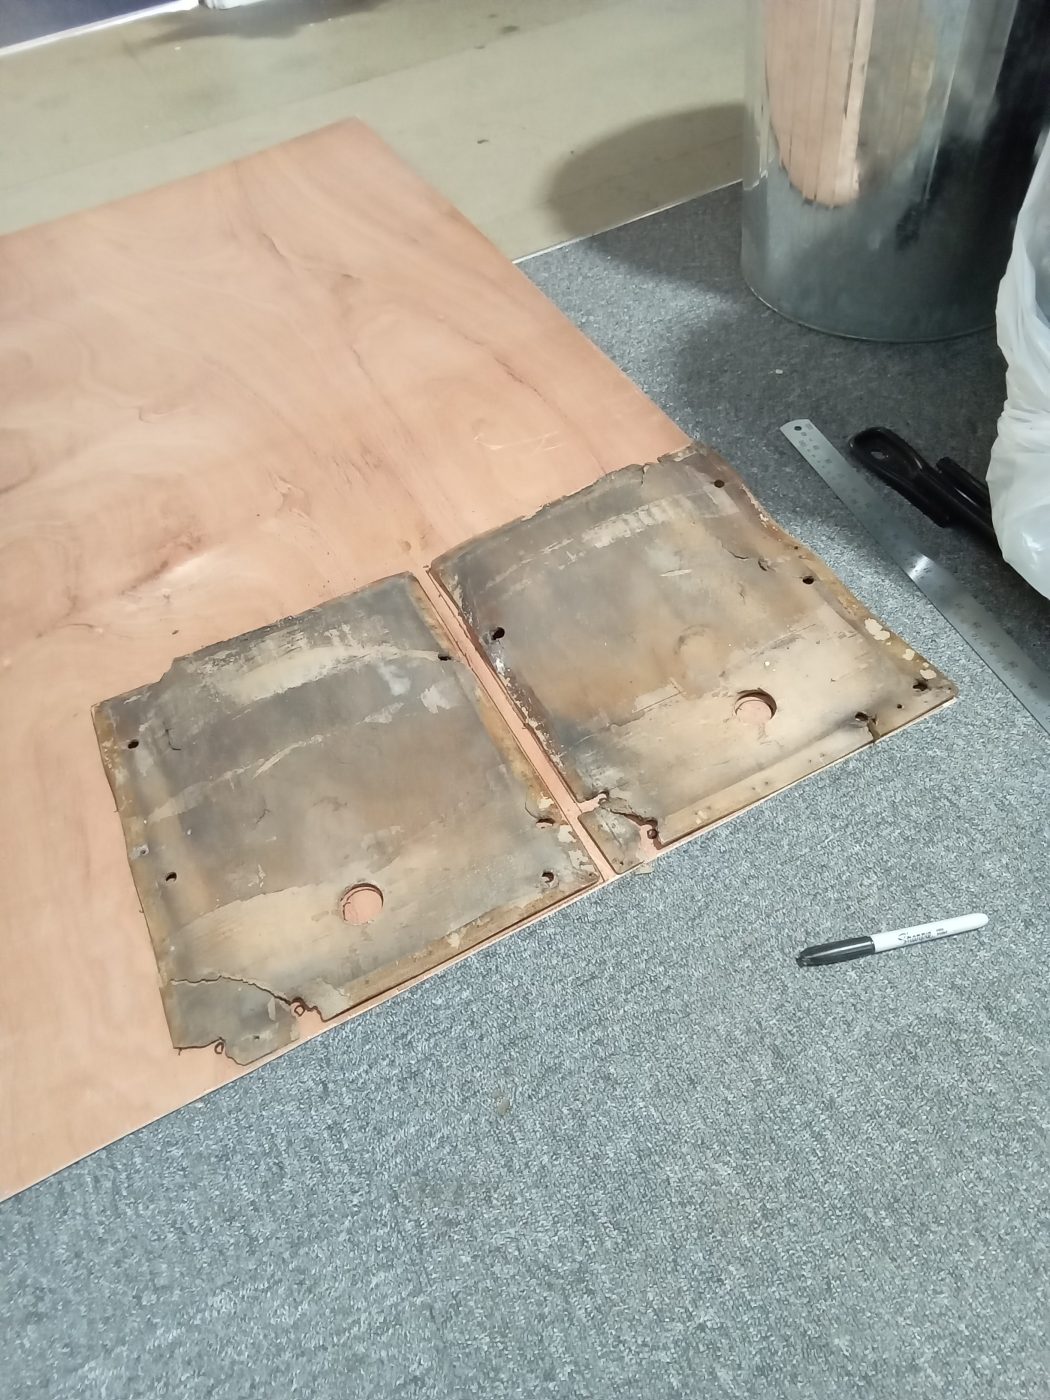
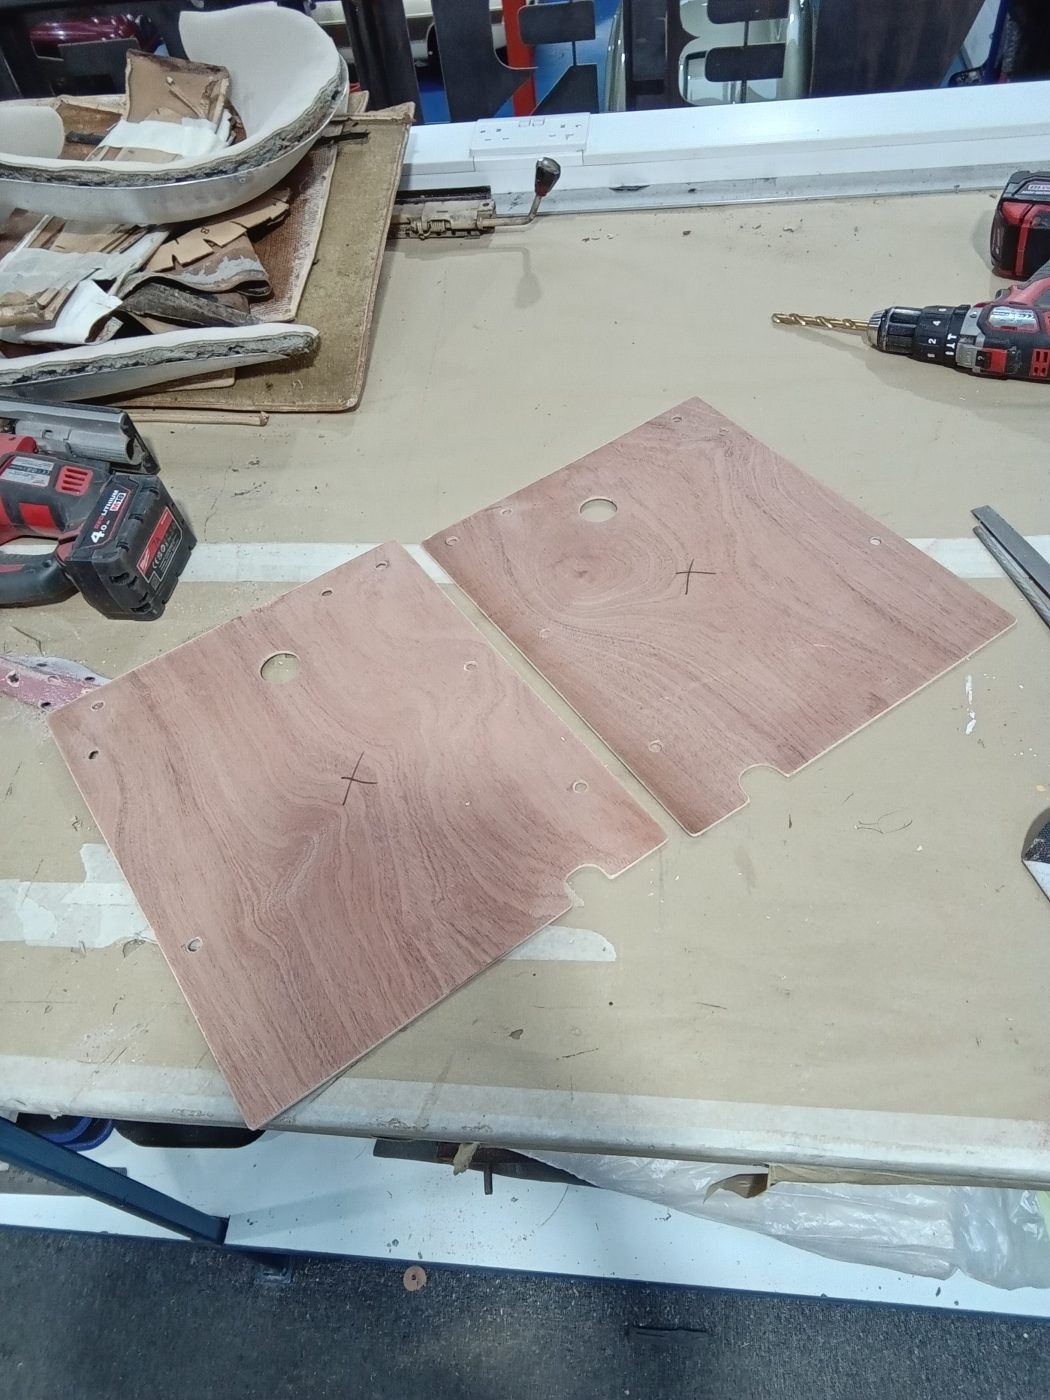
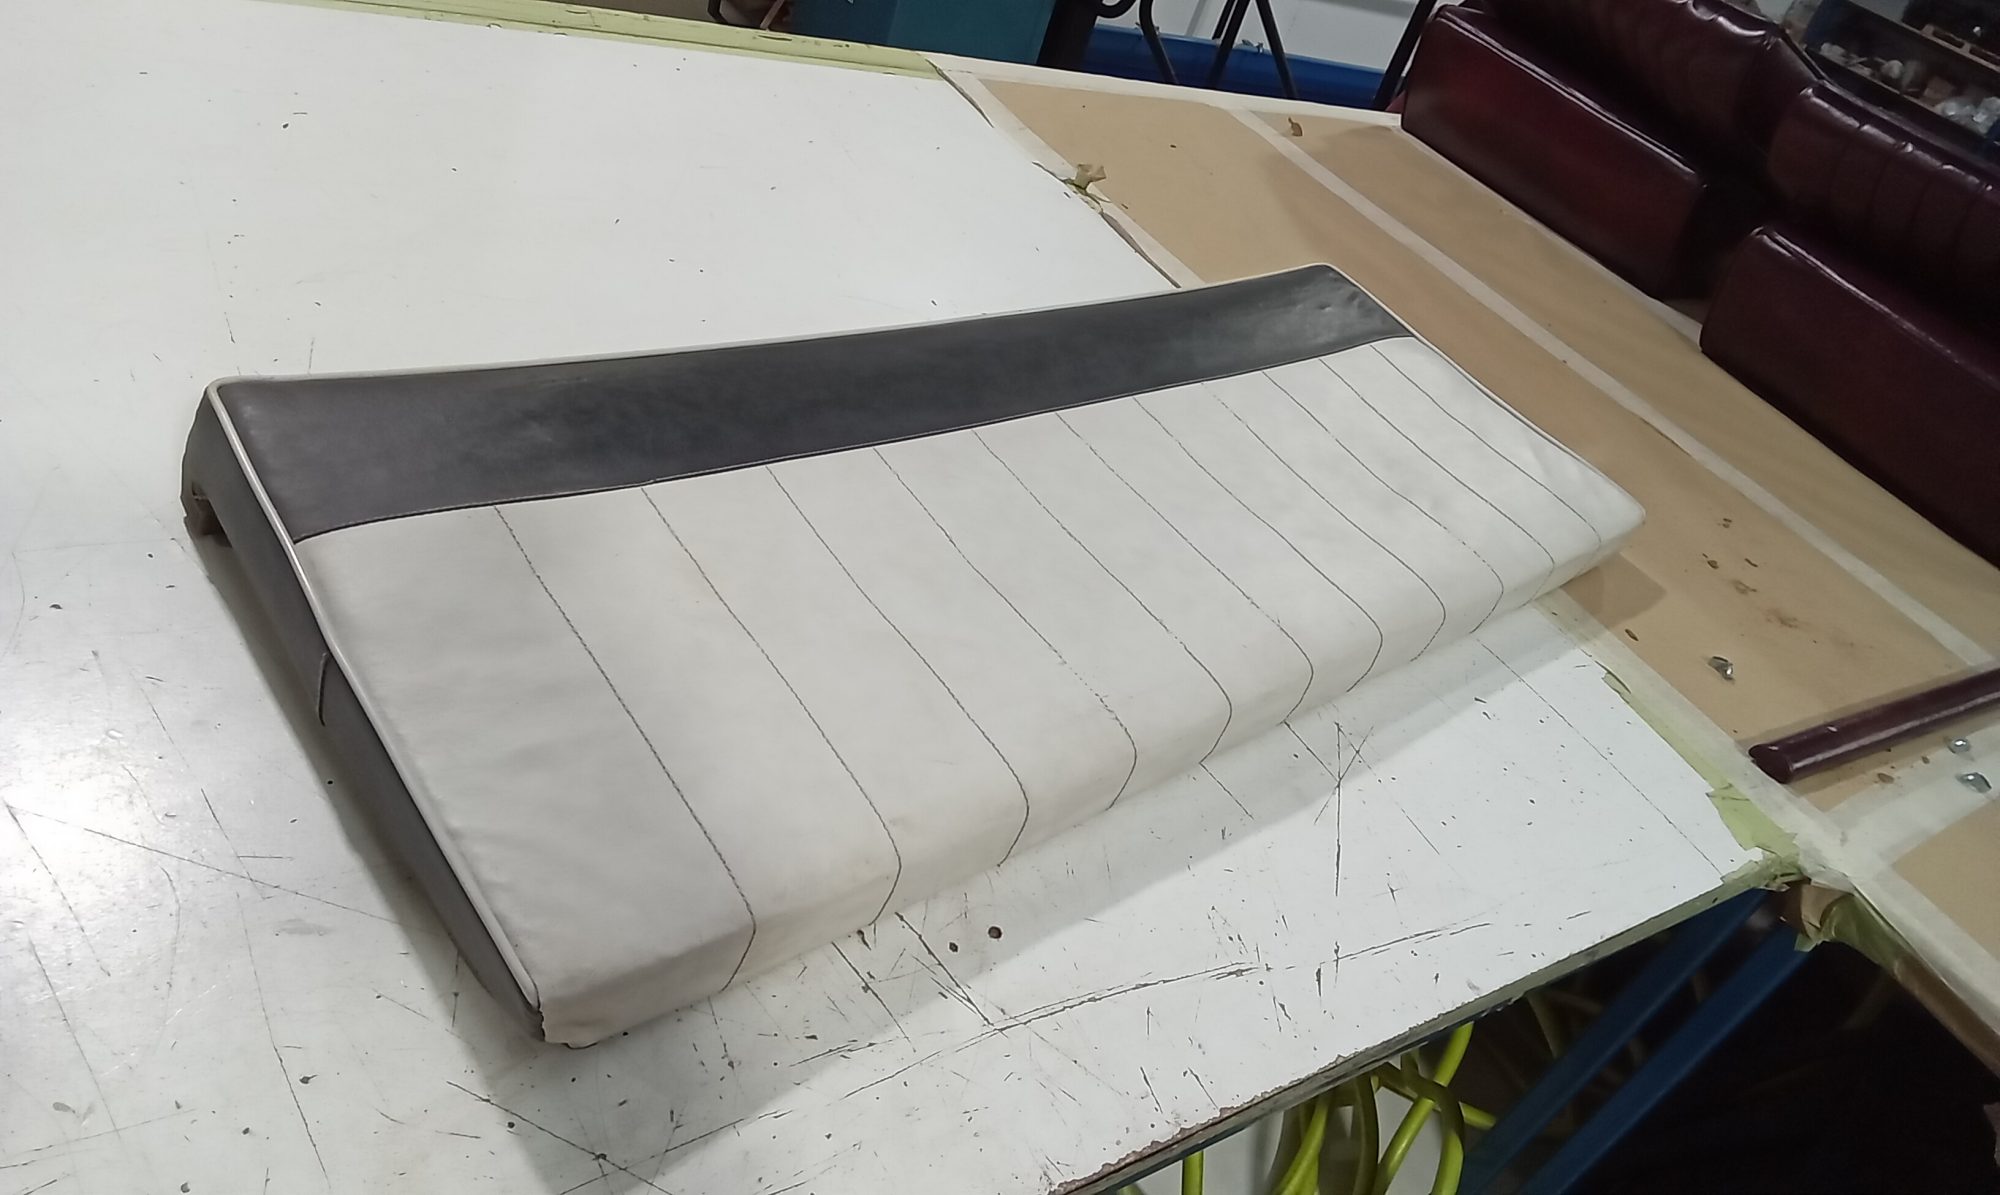
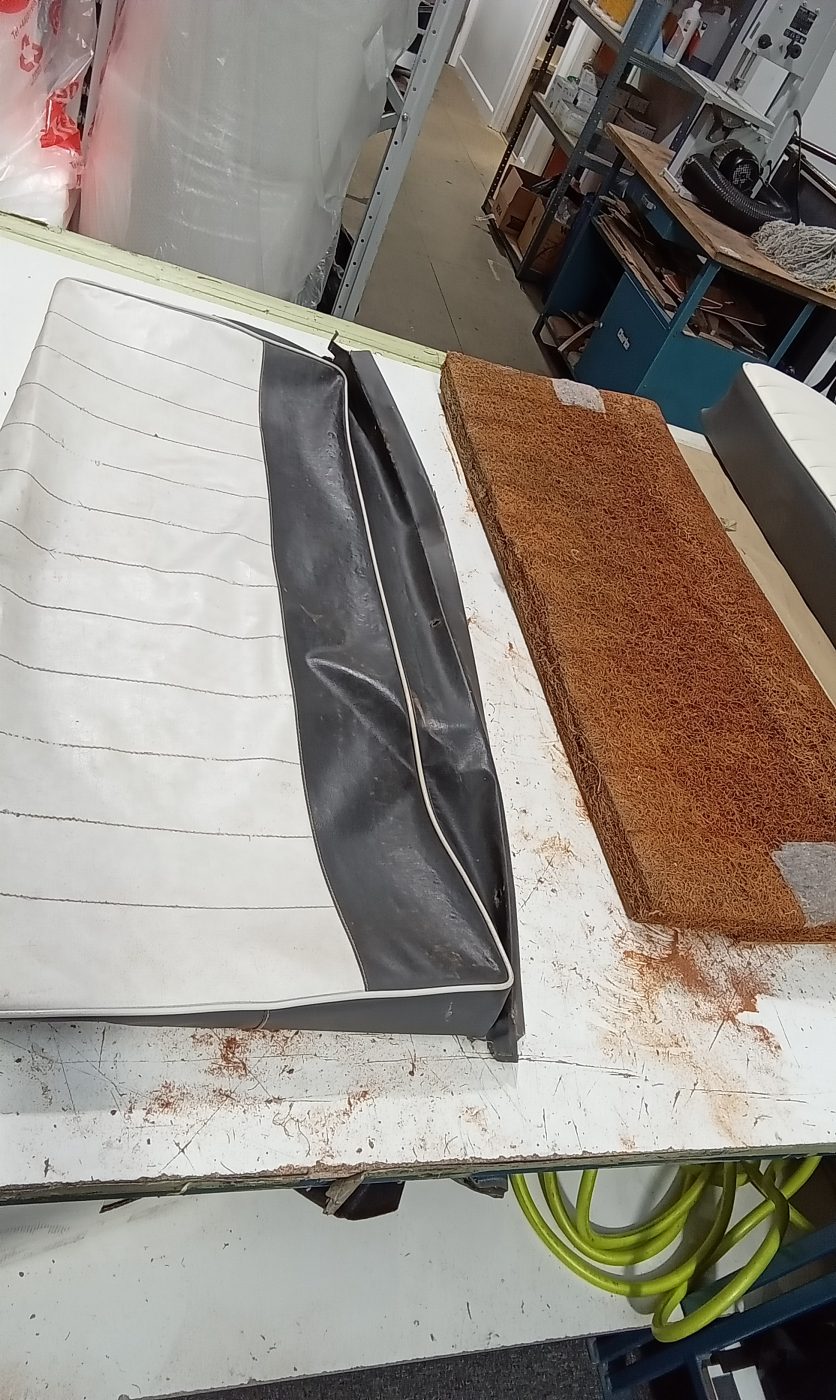
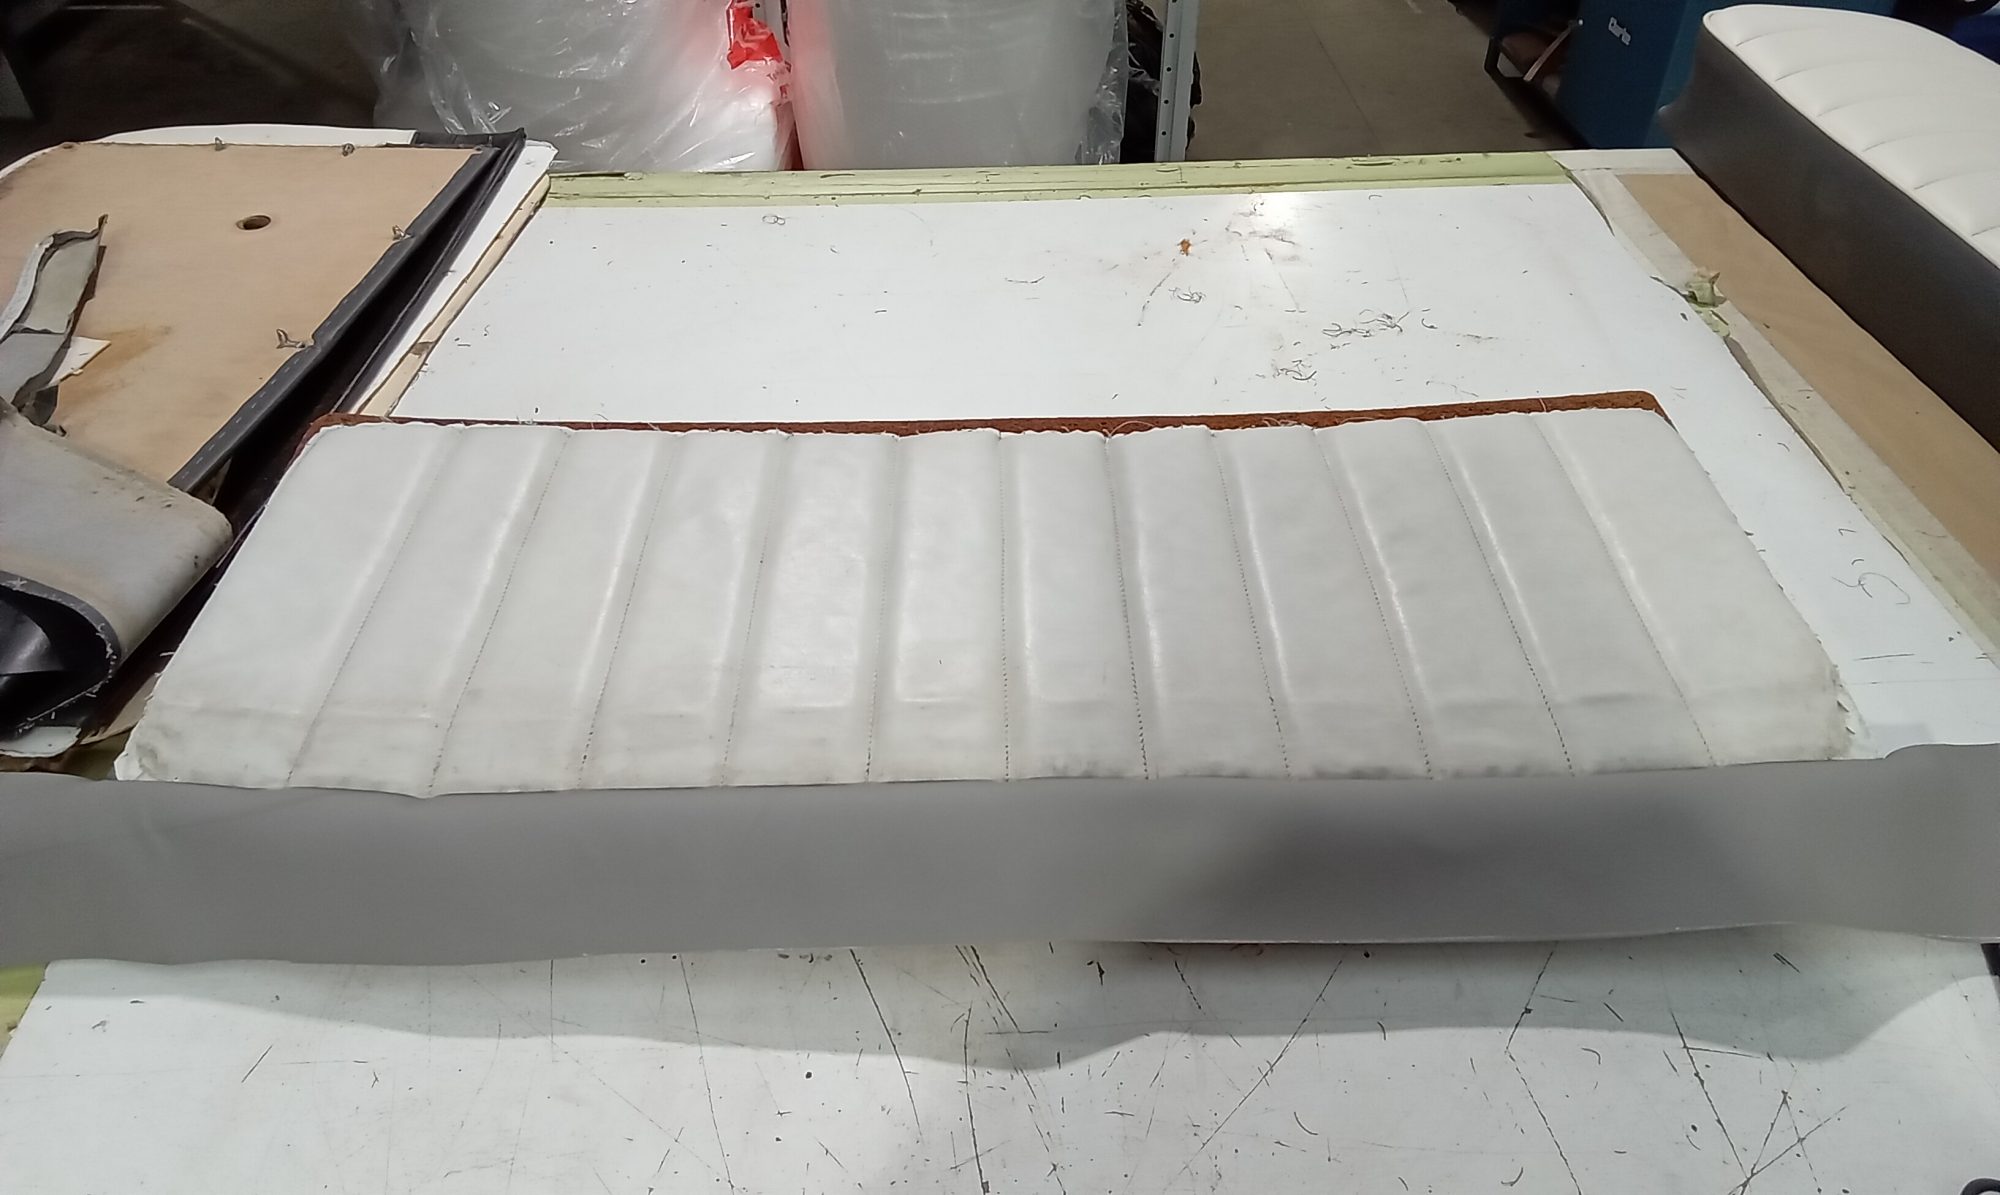
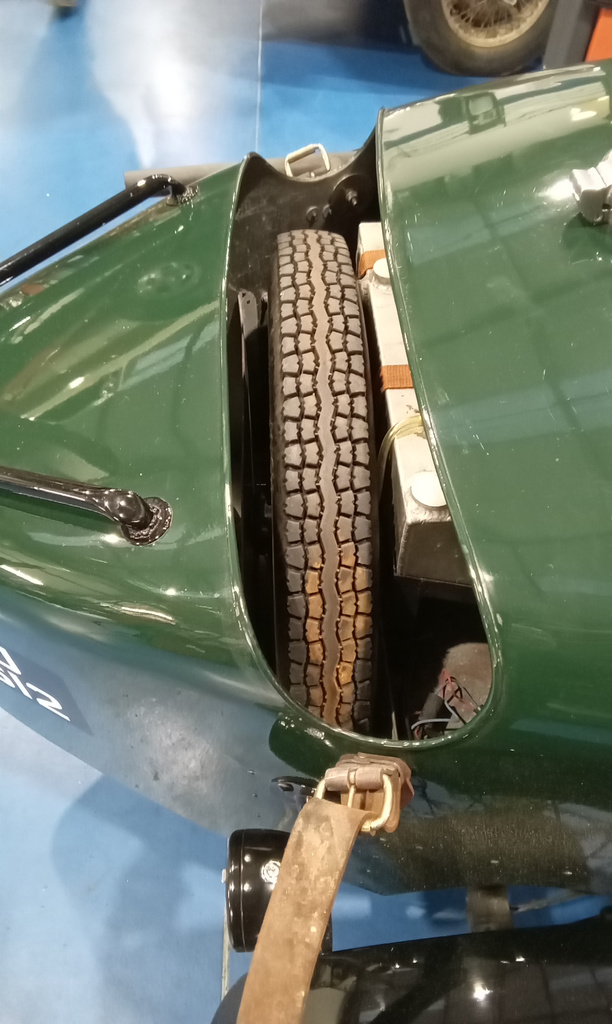
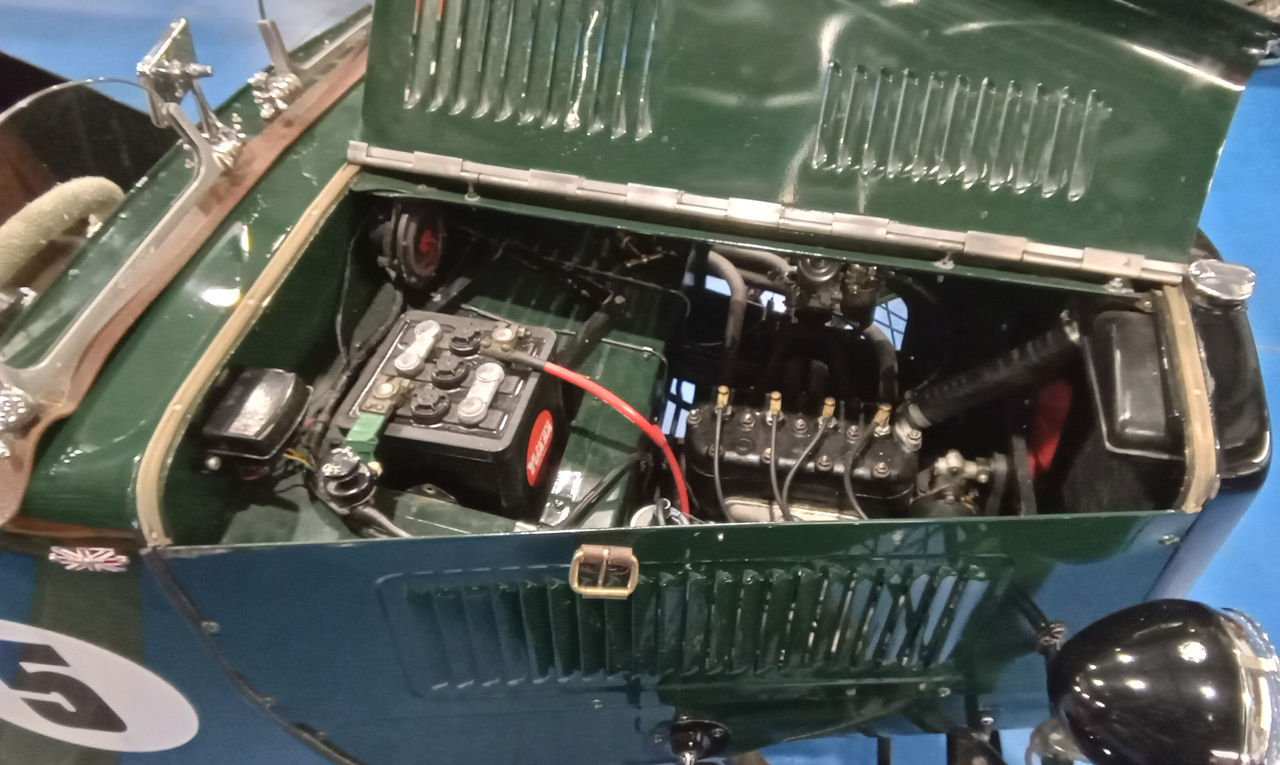
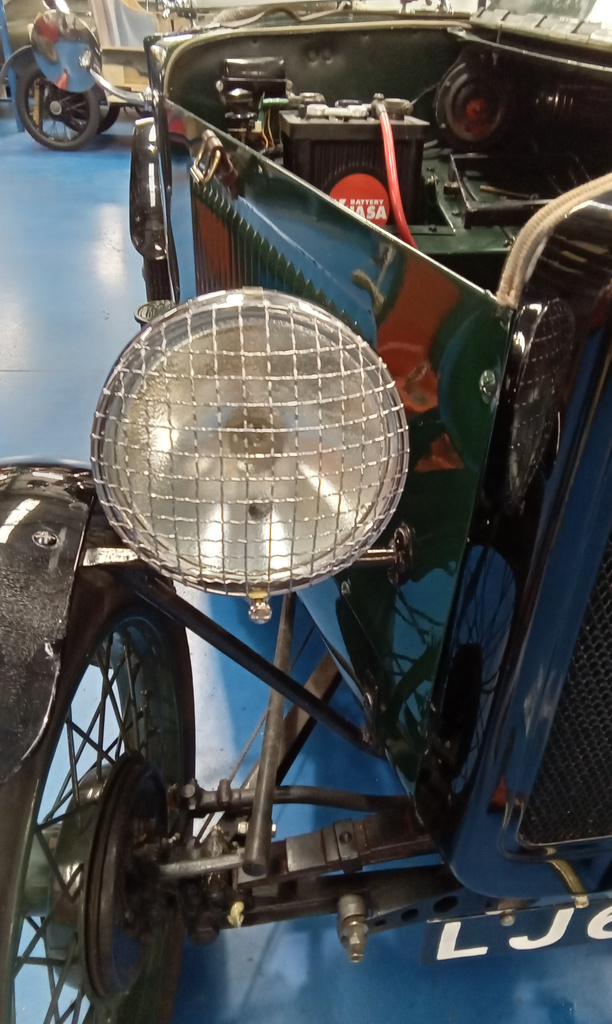
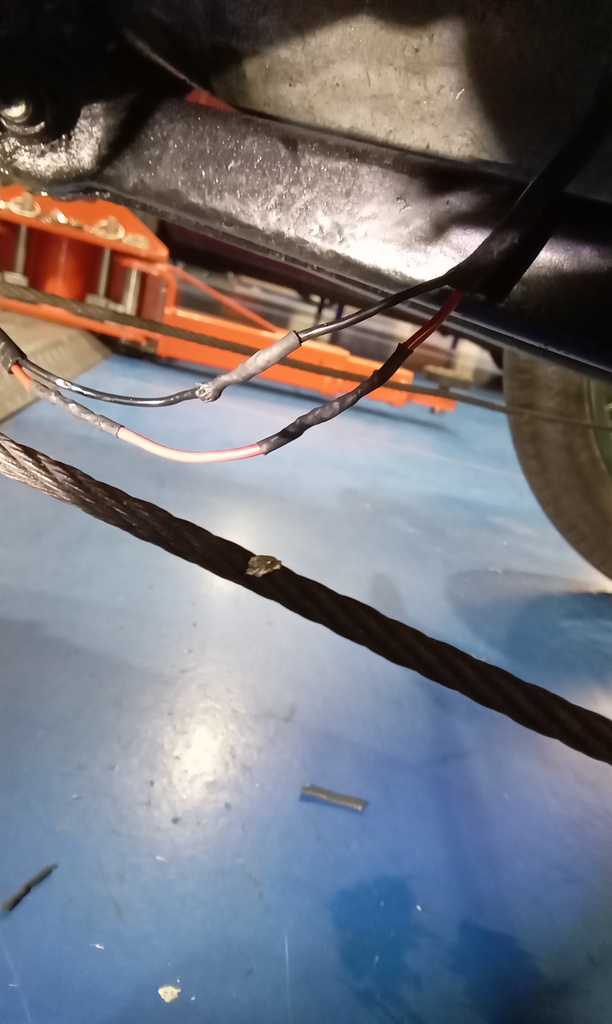
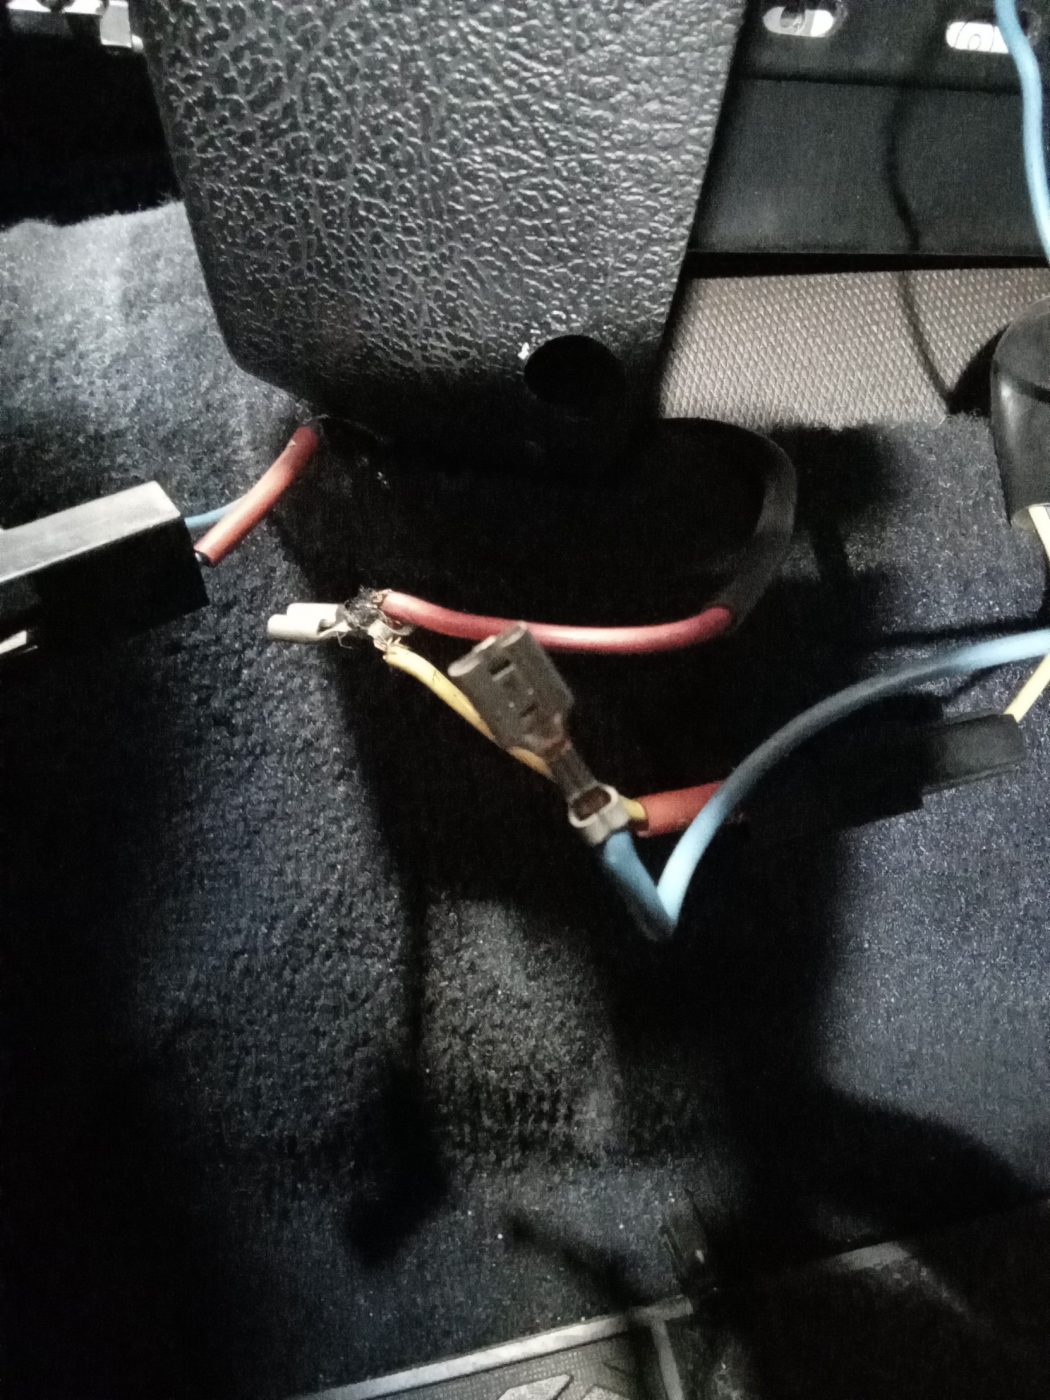
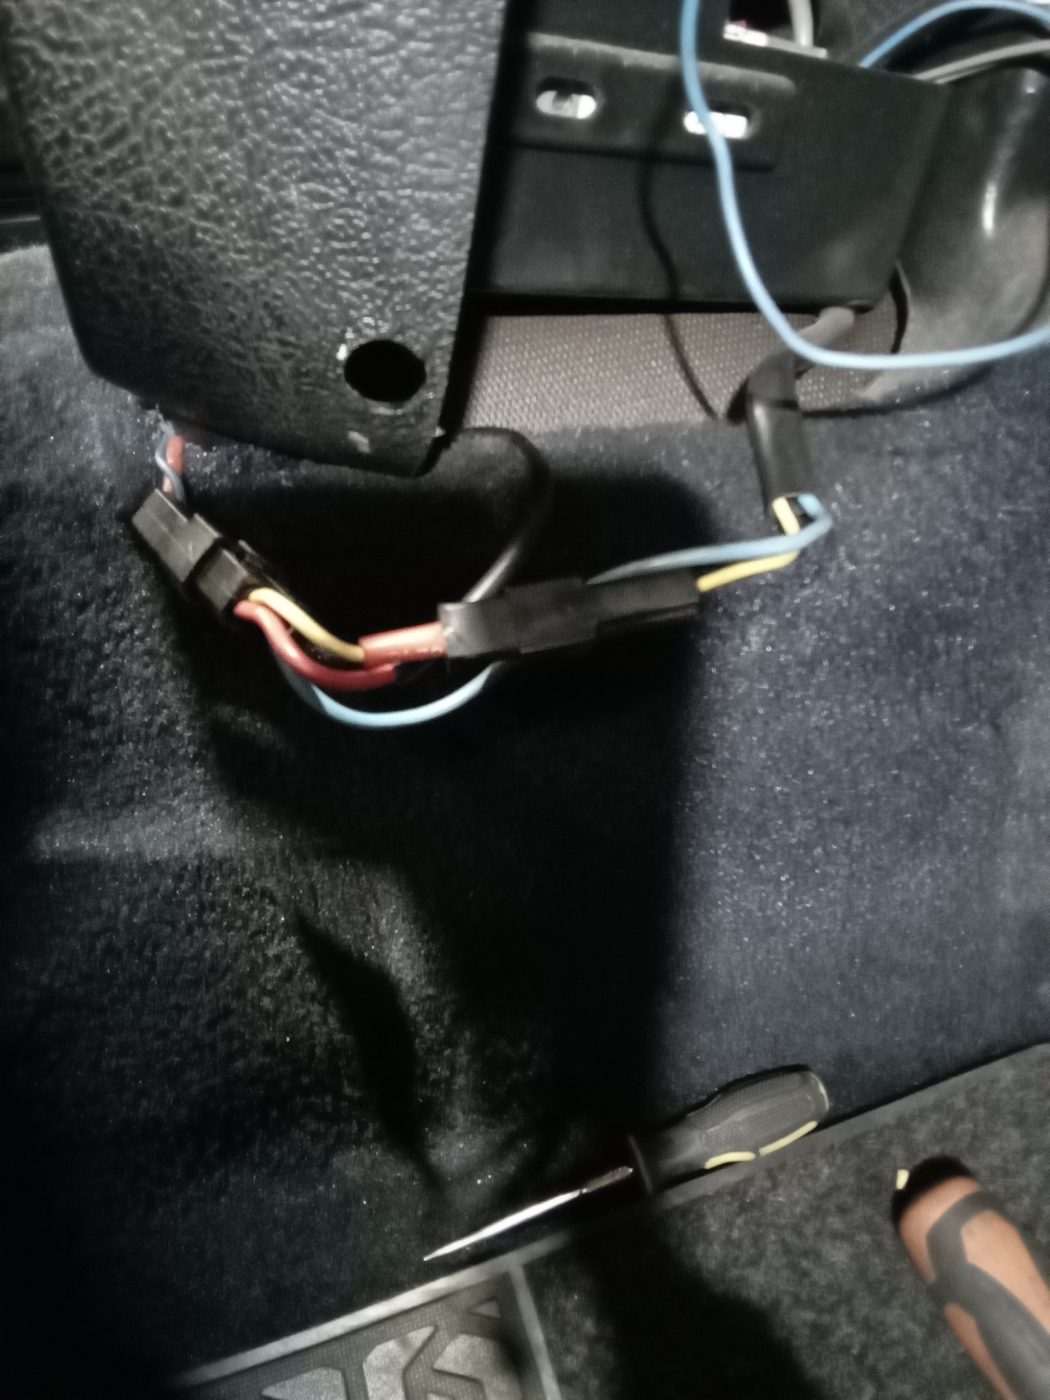
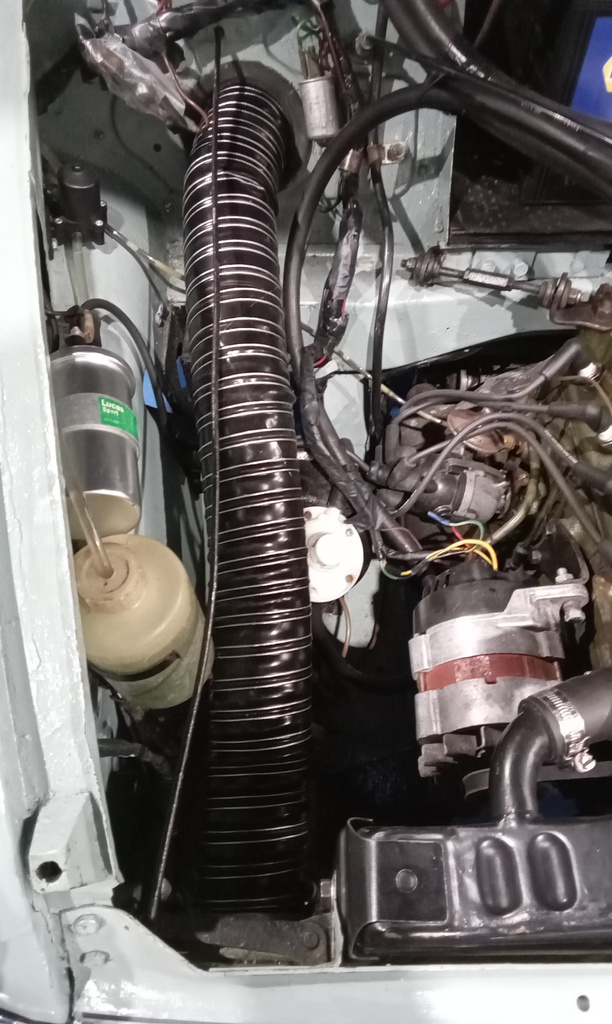
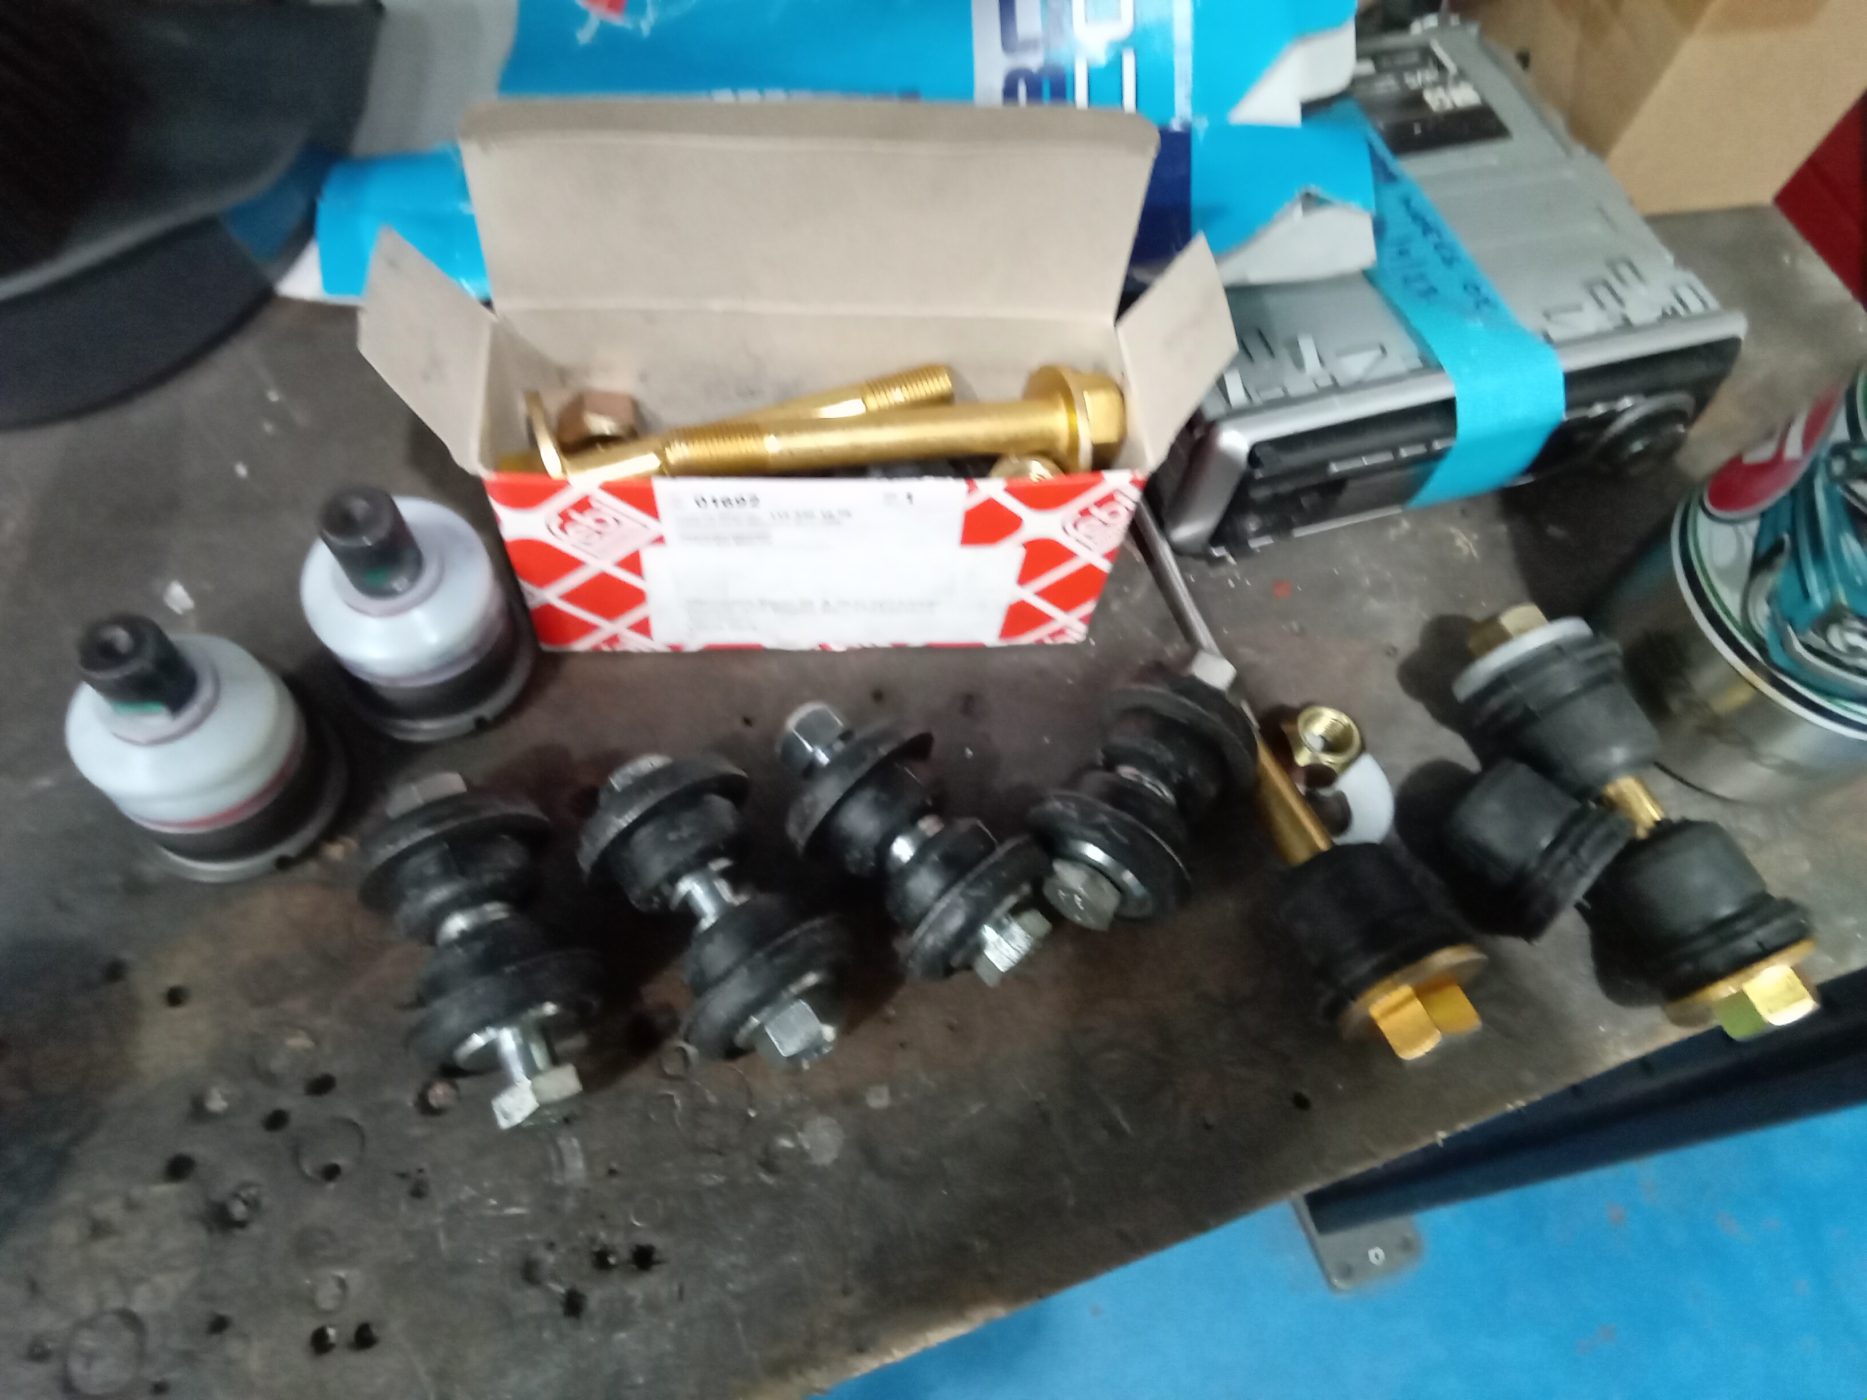
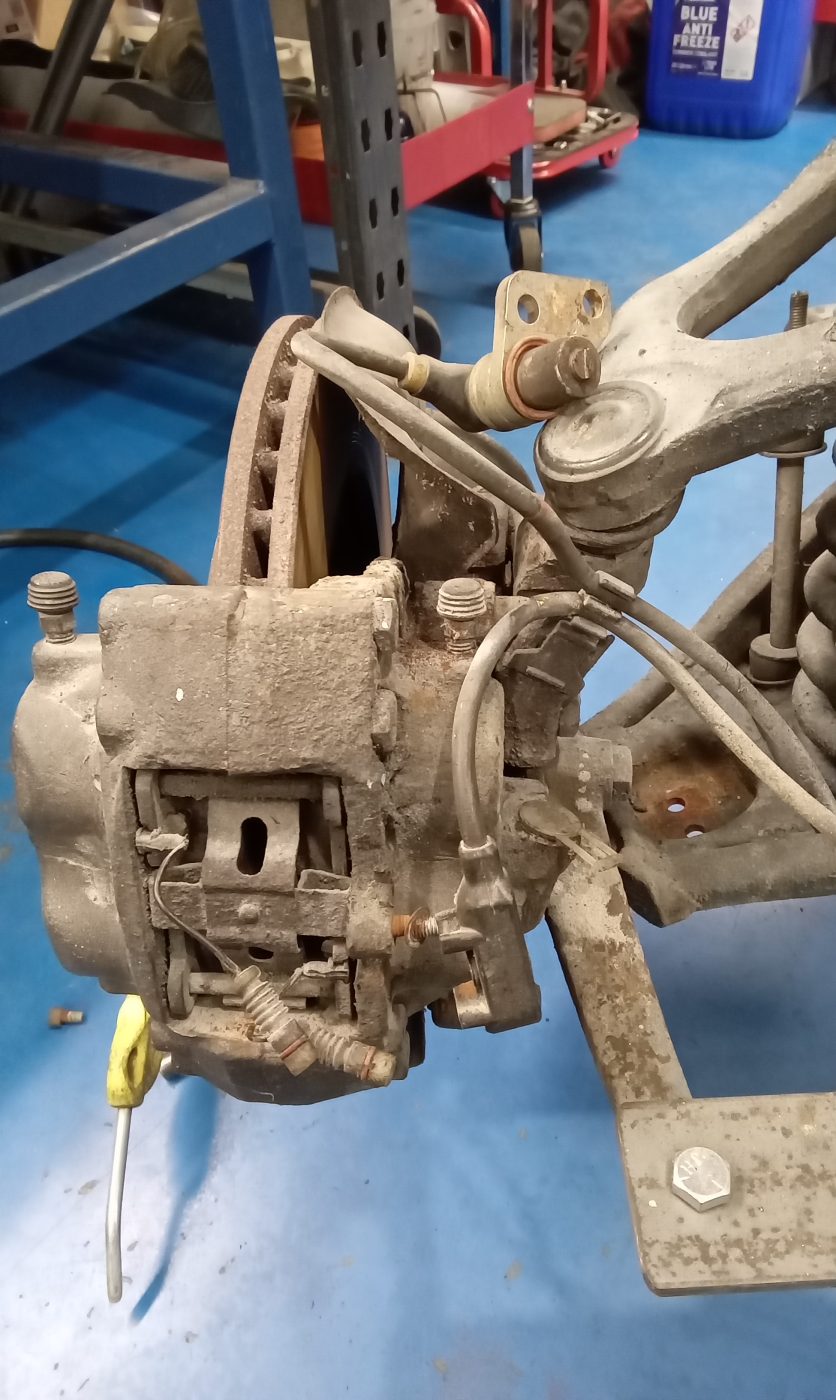
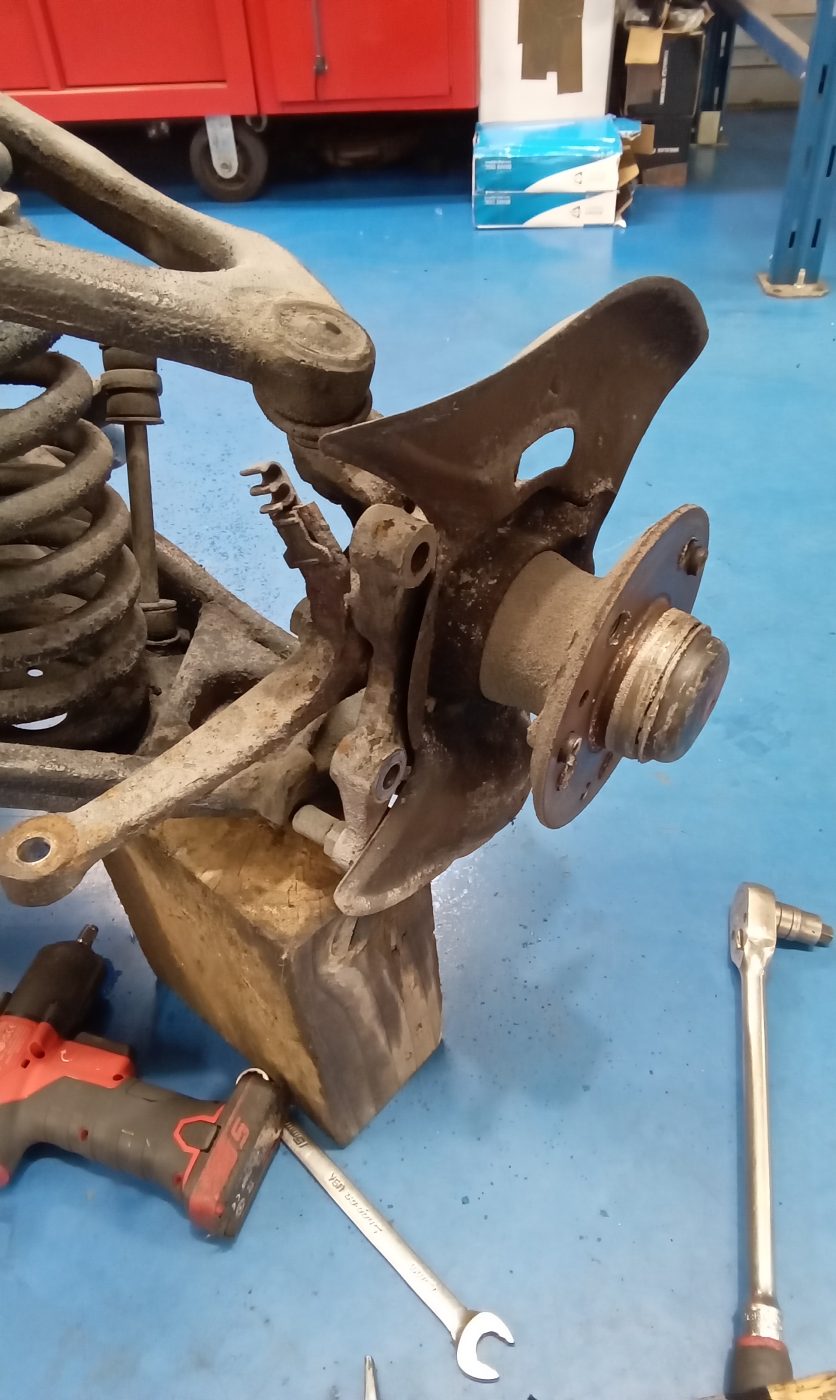
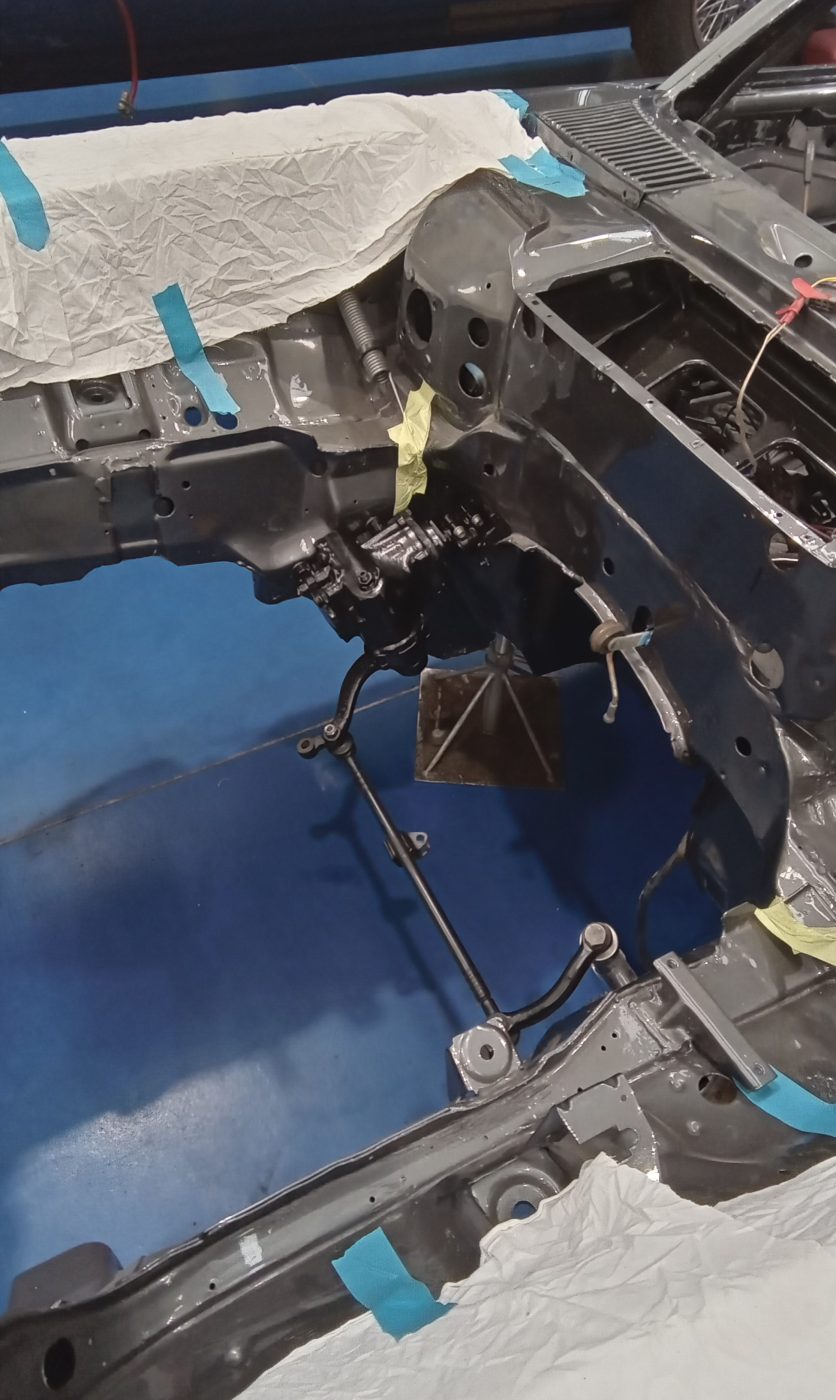
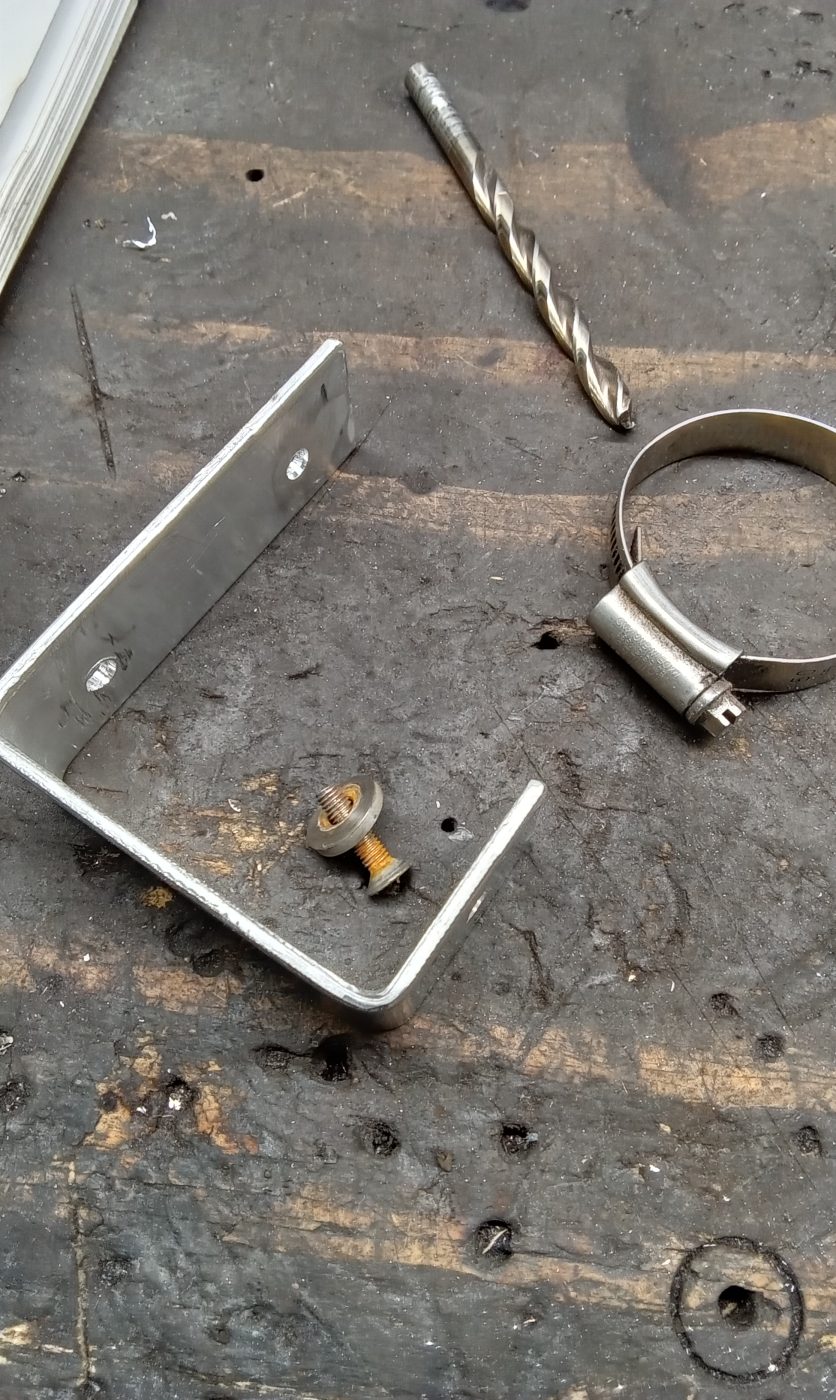
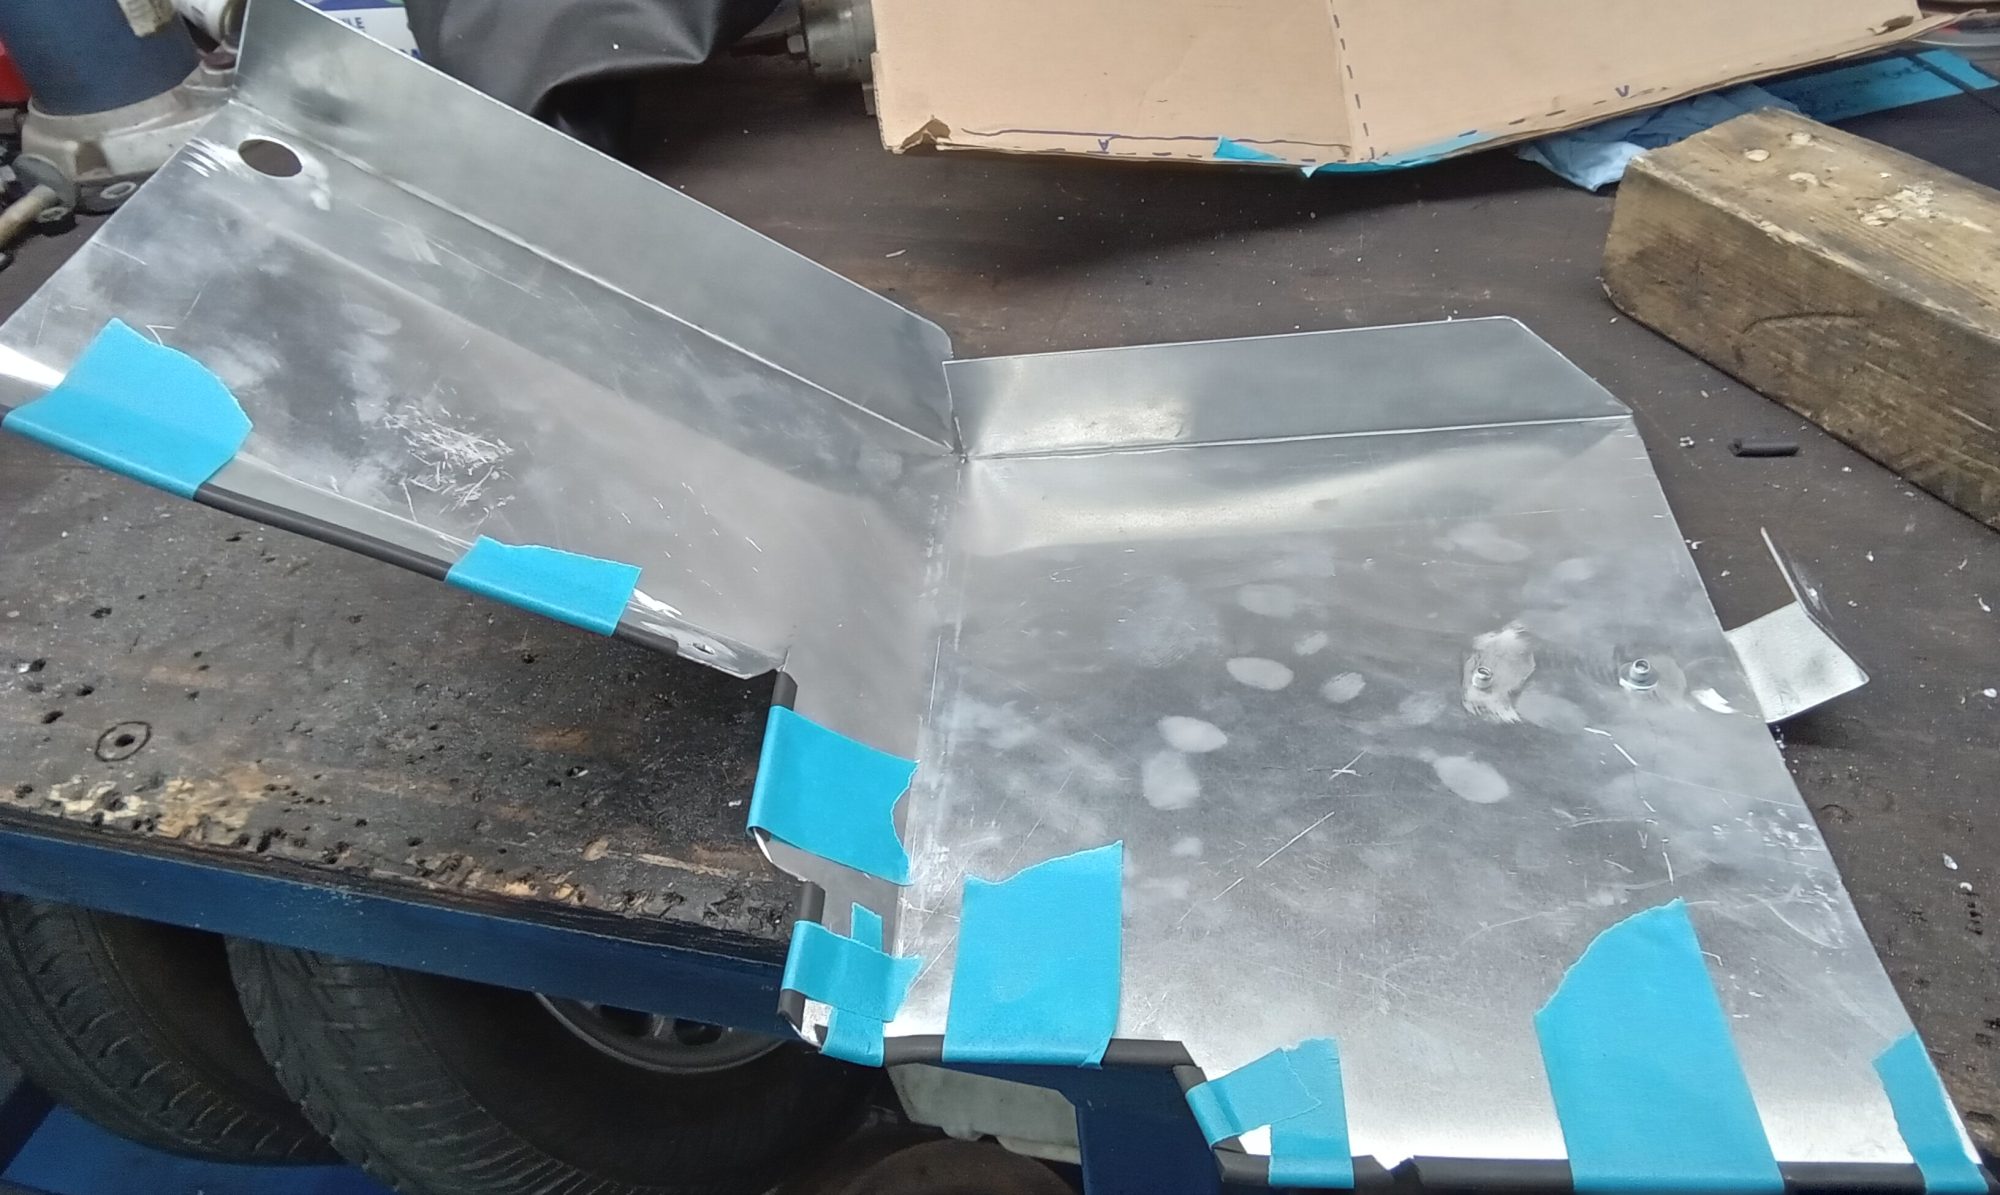
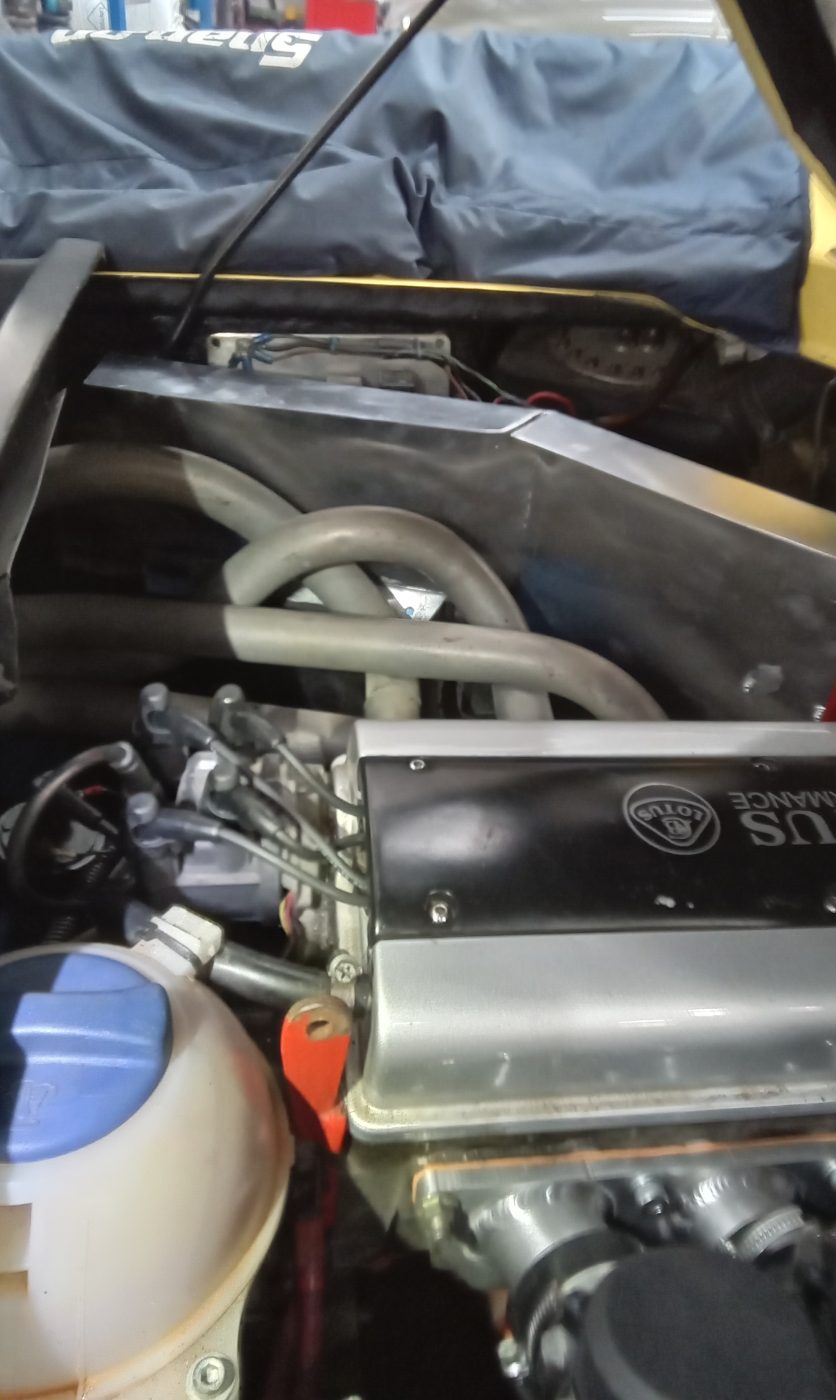
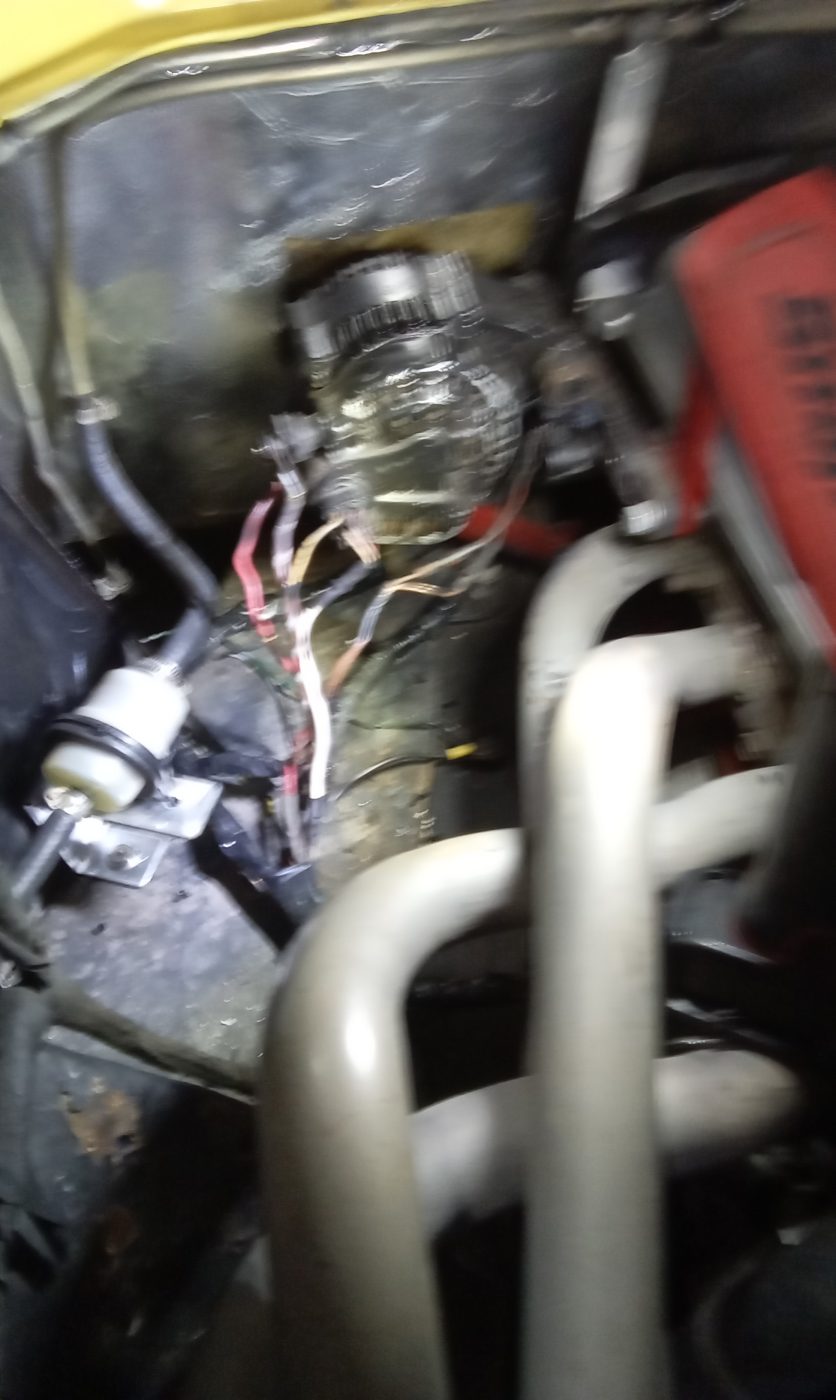
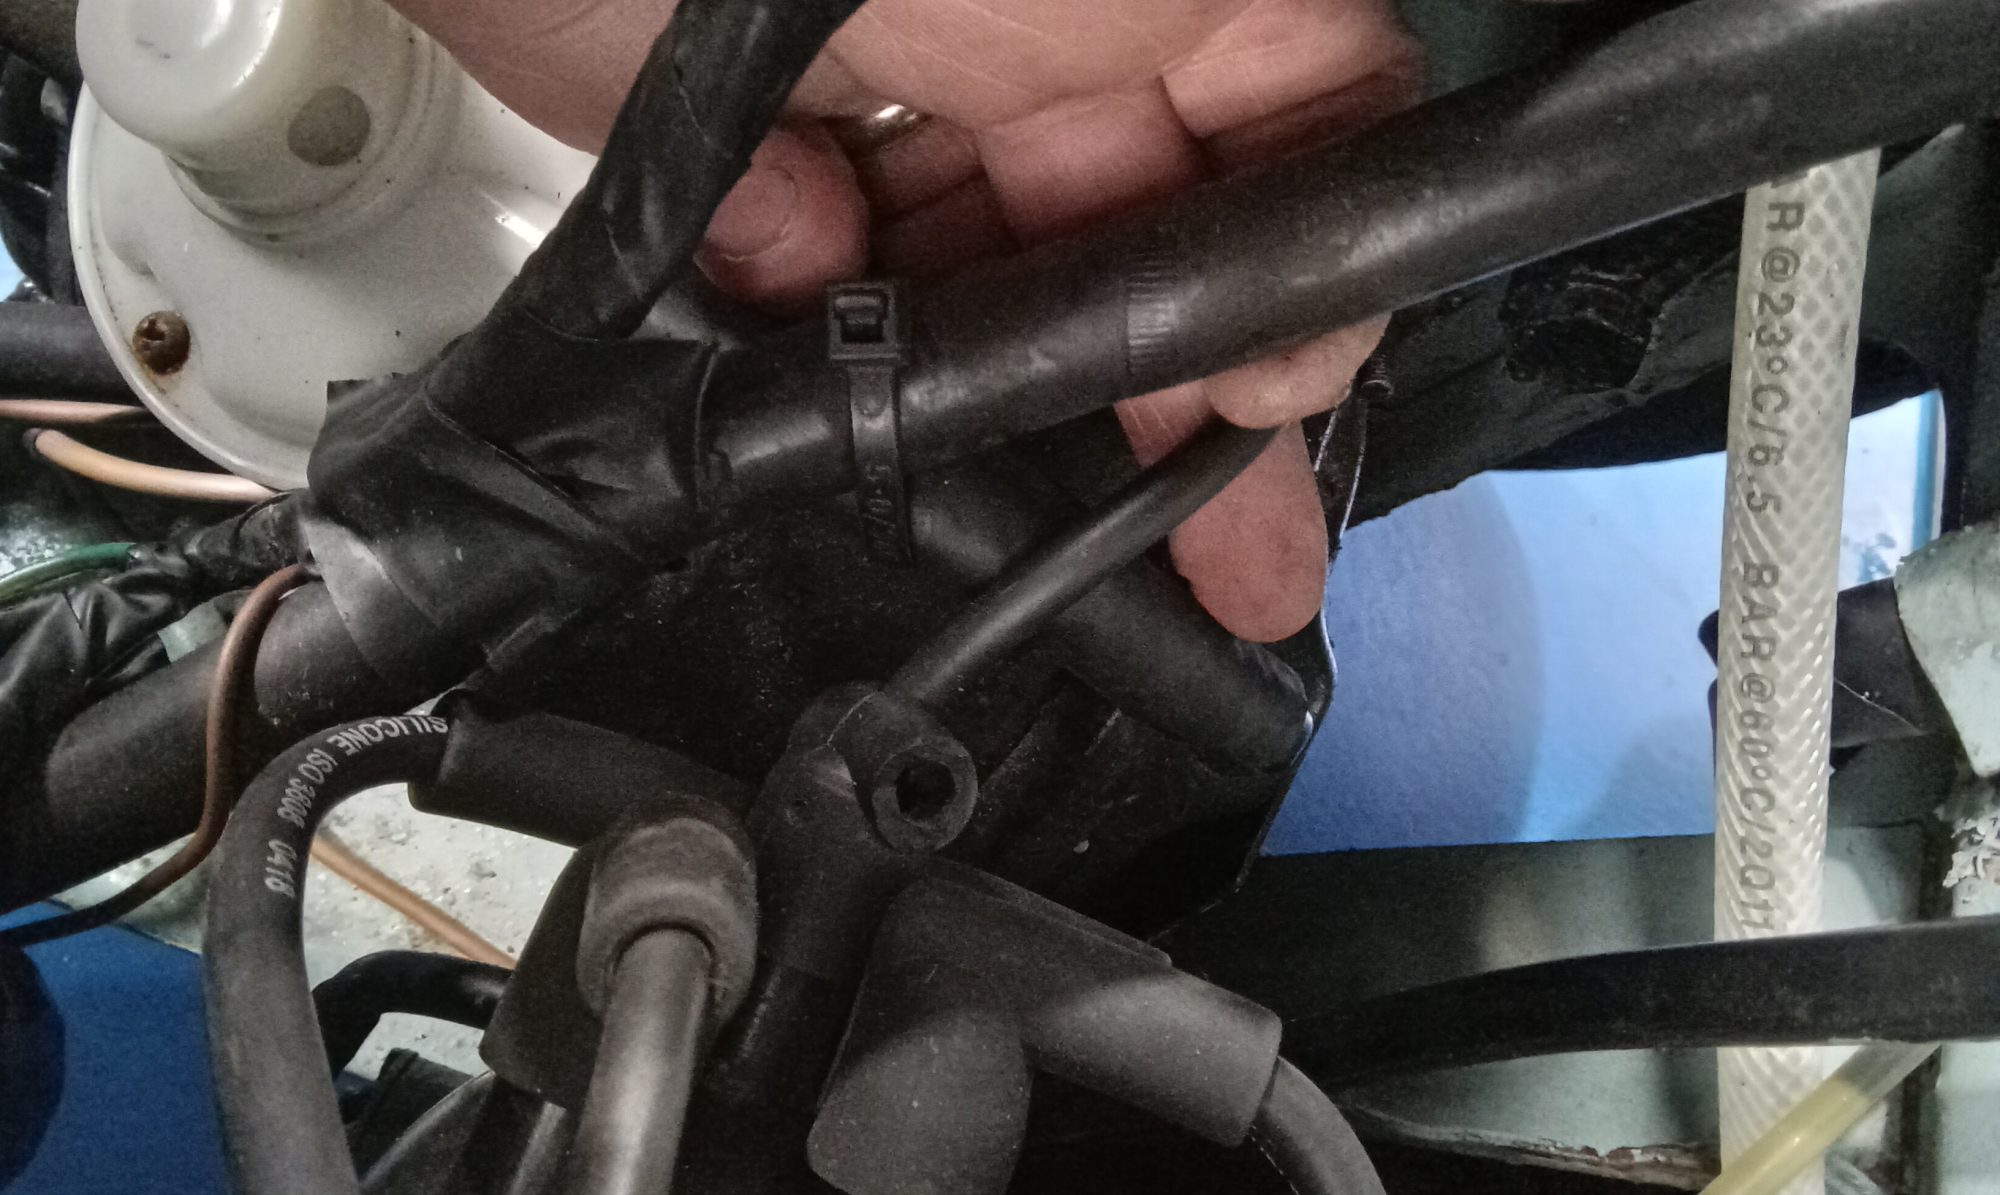
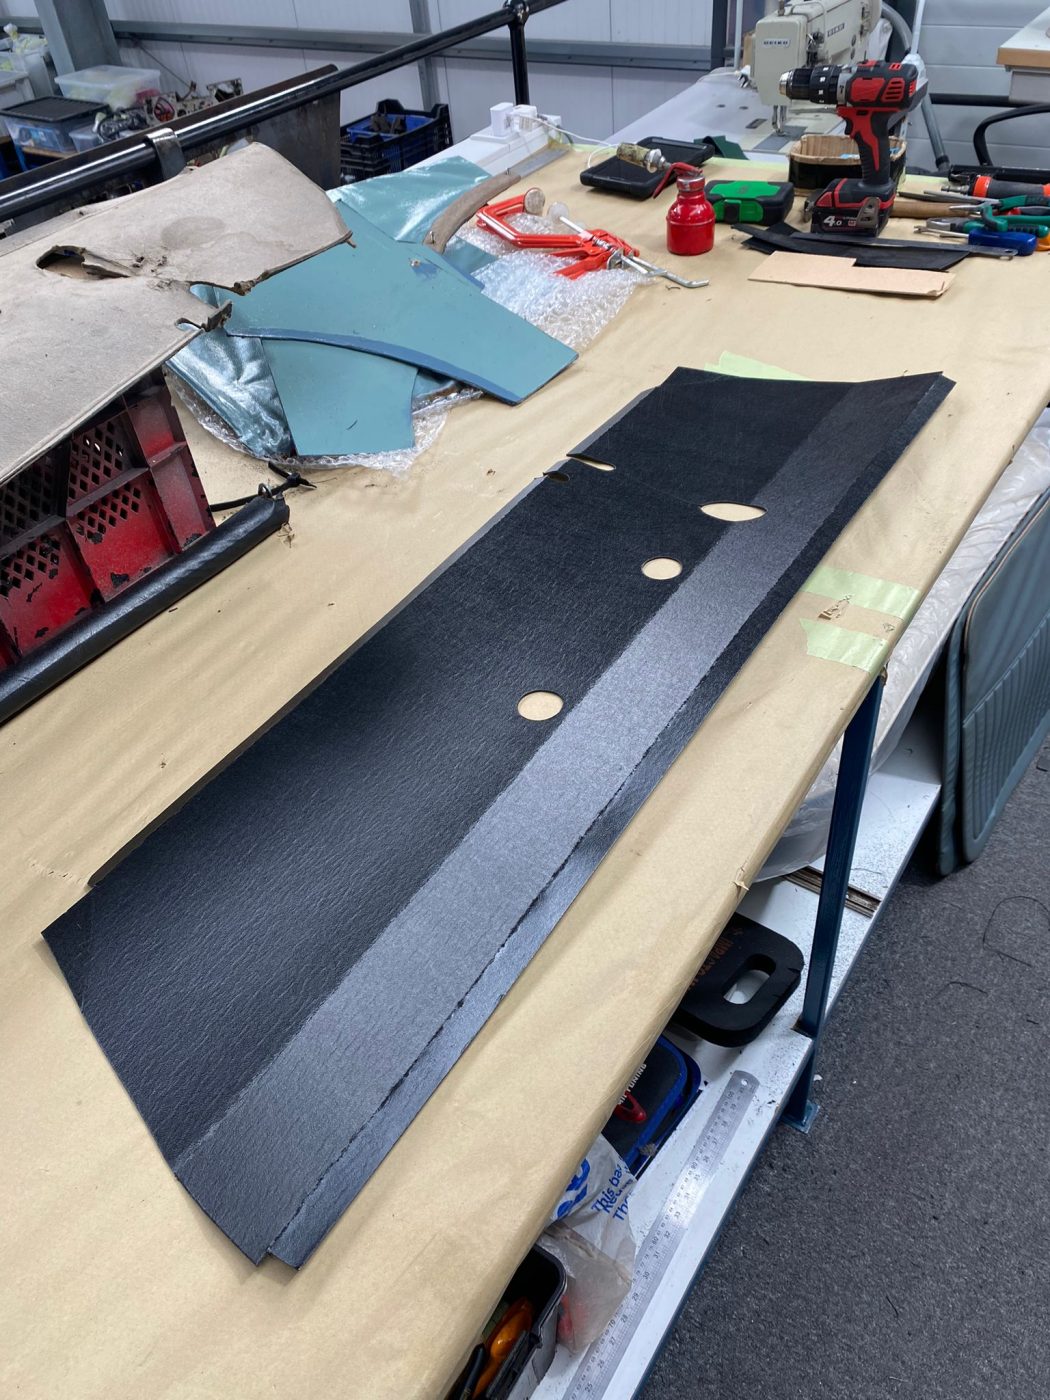
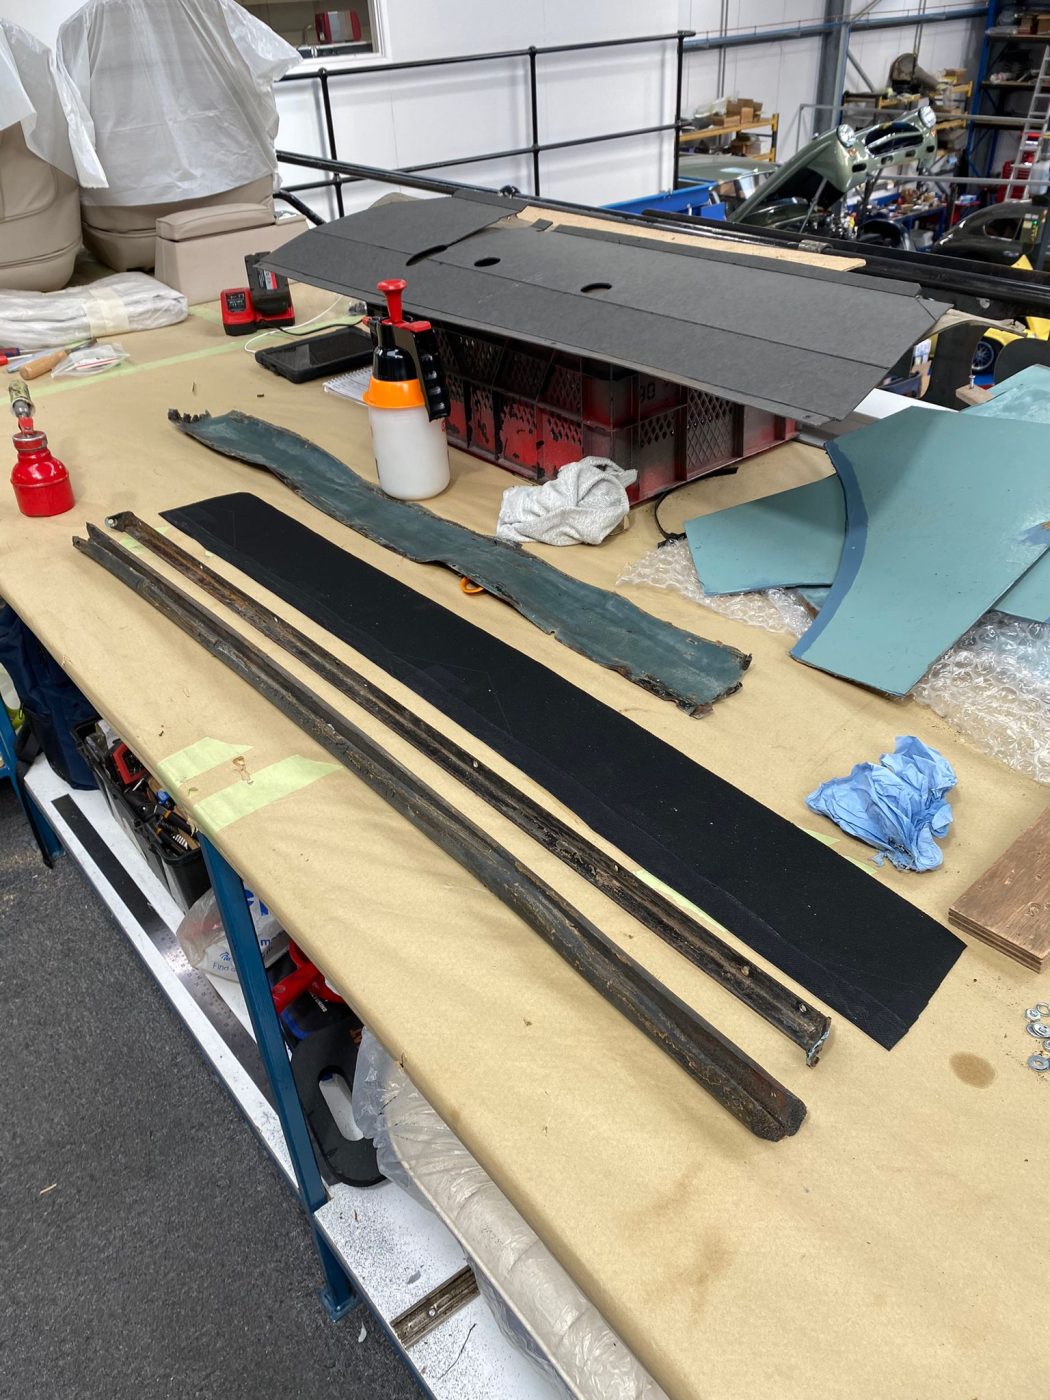
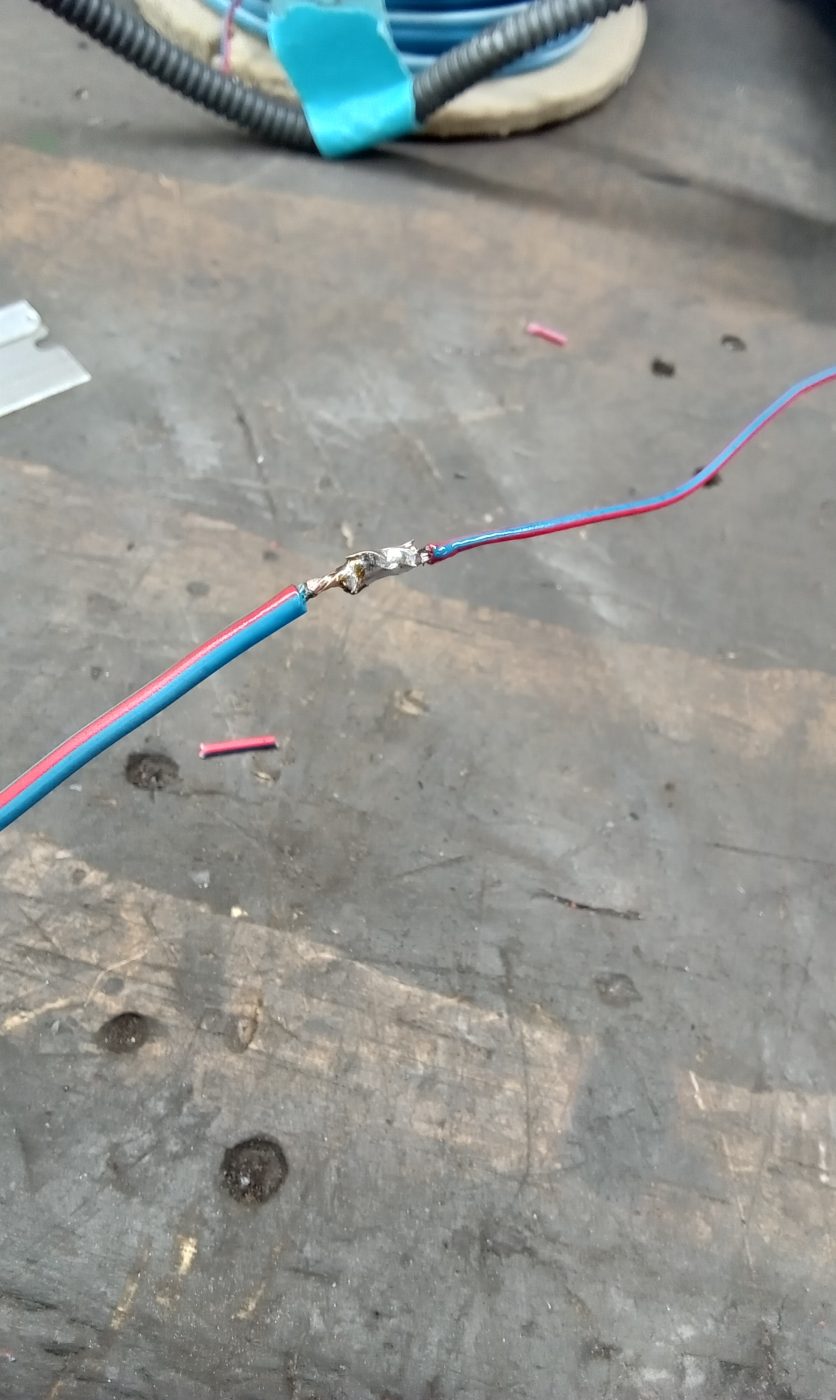
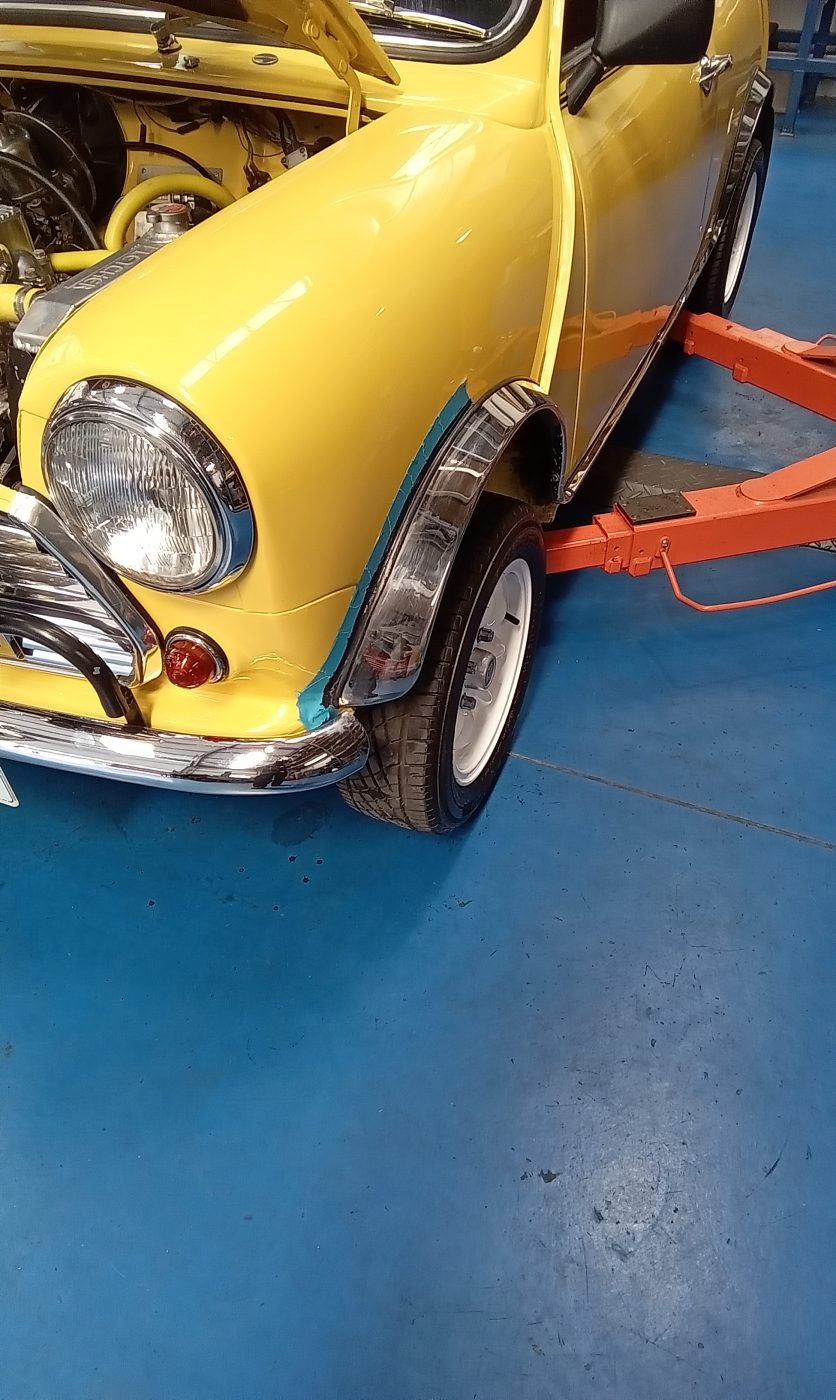
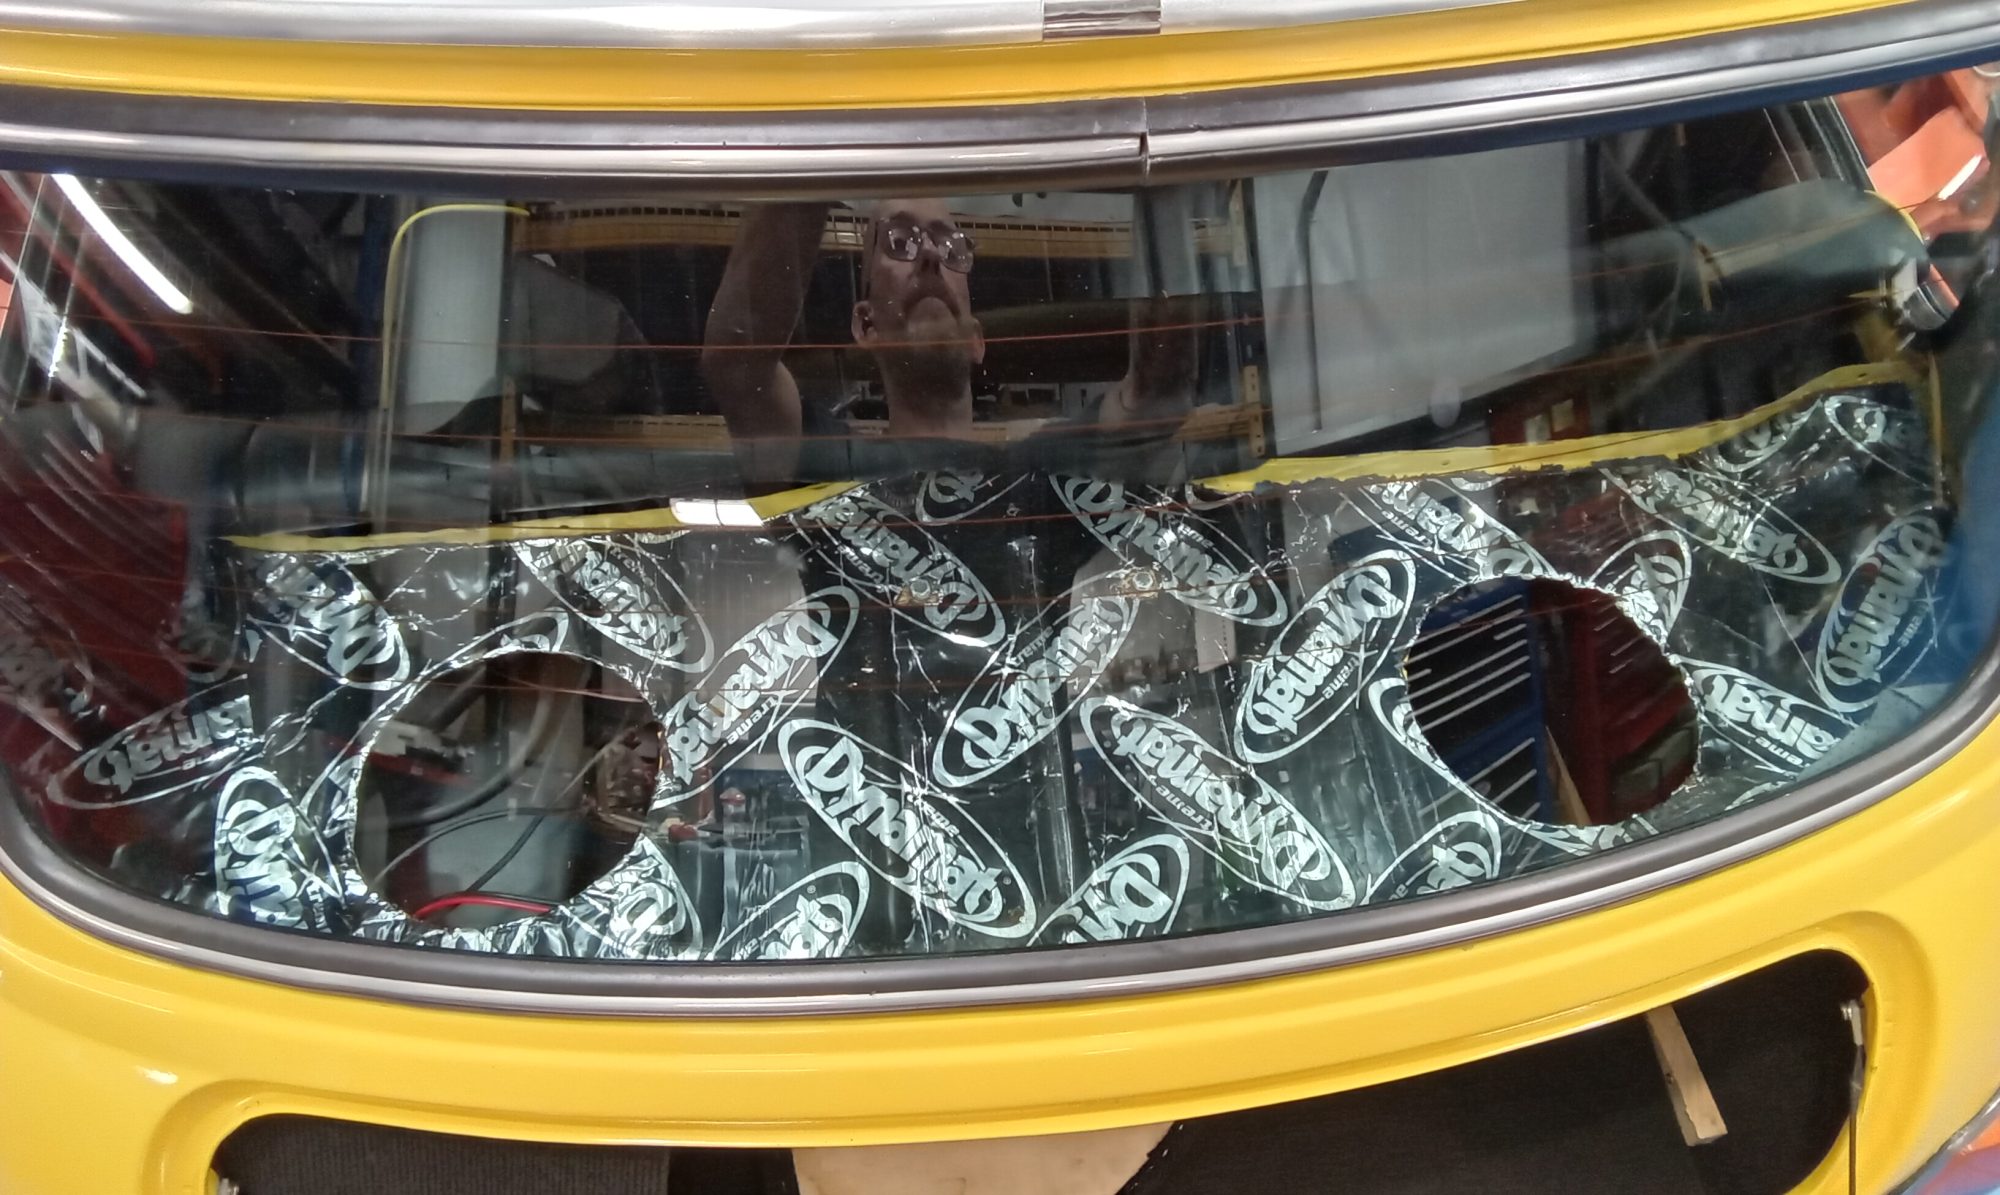
Jon has also been working on a few upgrades to the 1973 Rover P5 Coupe whilst its in our workshops.
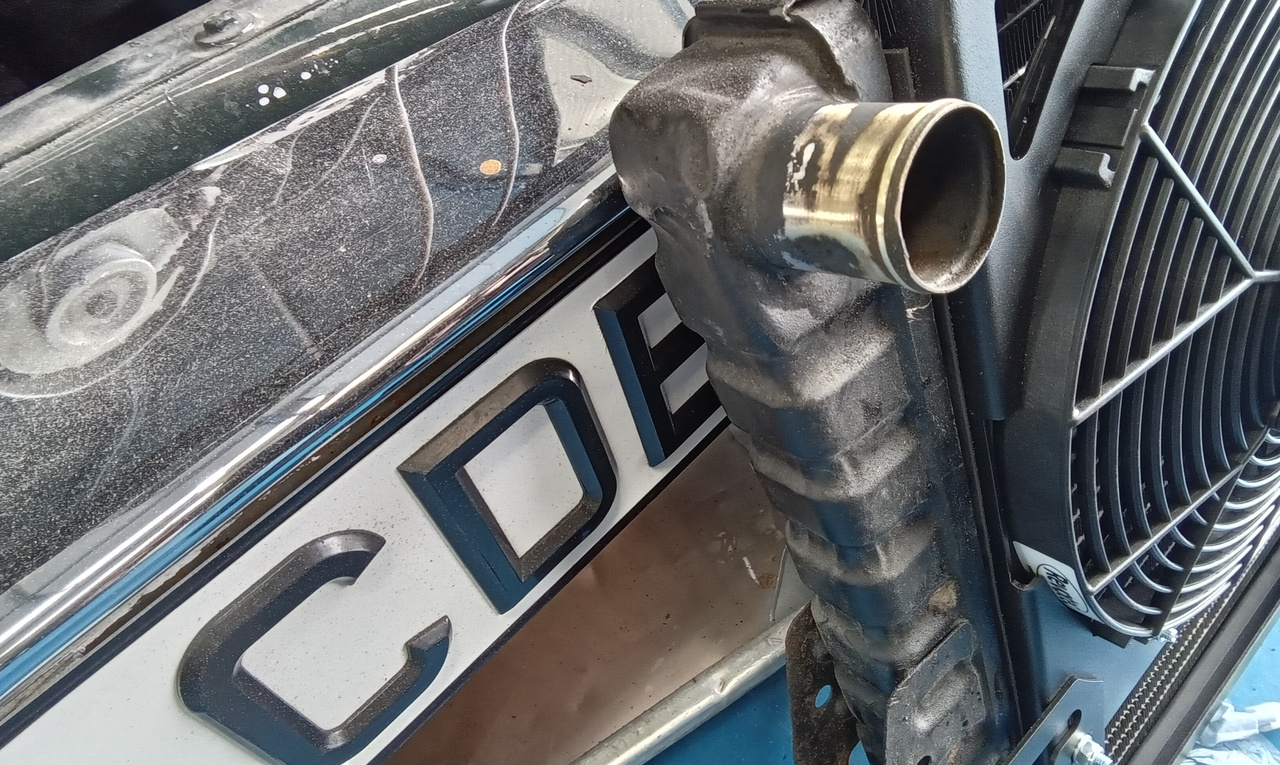
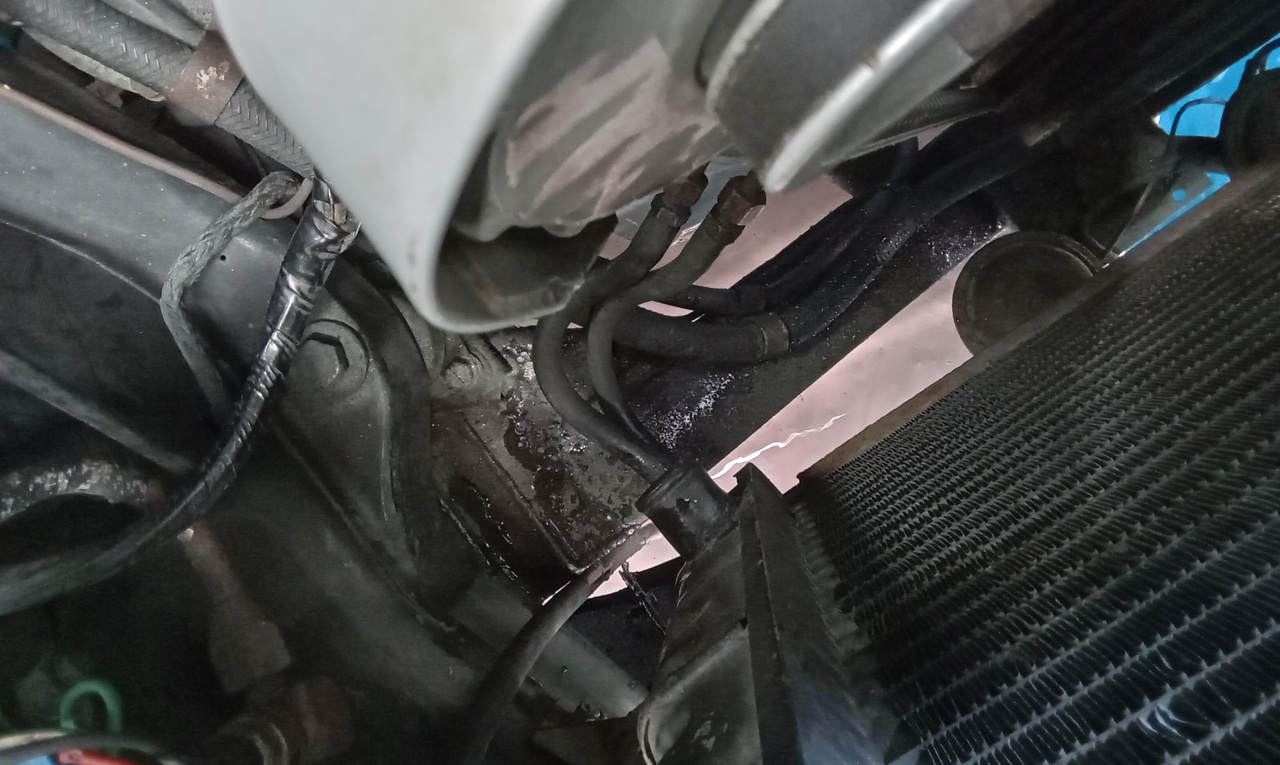
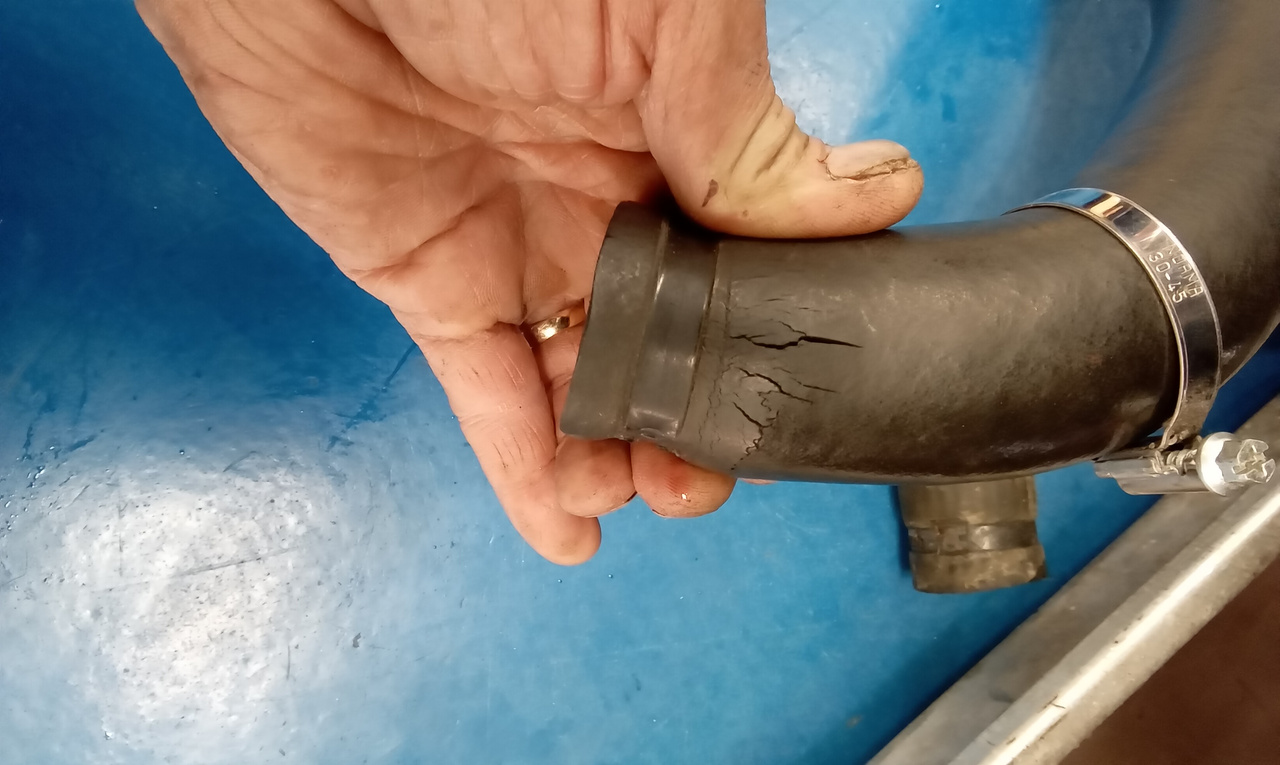
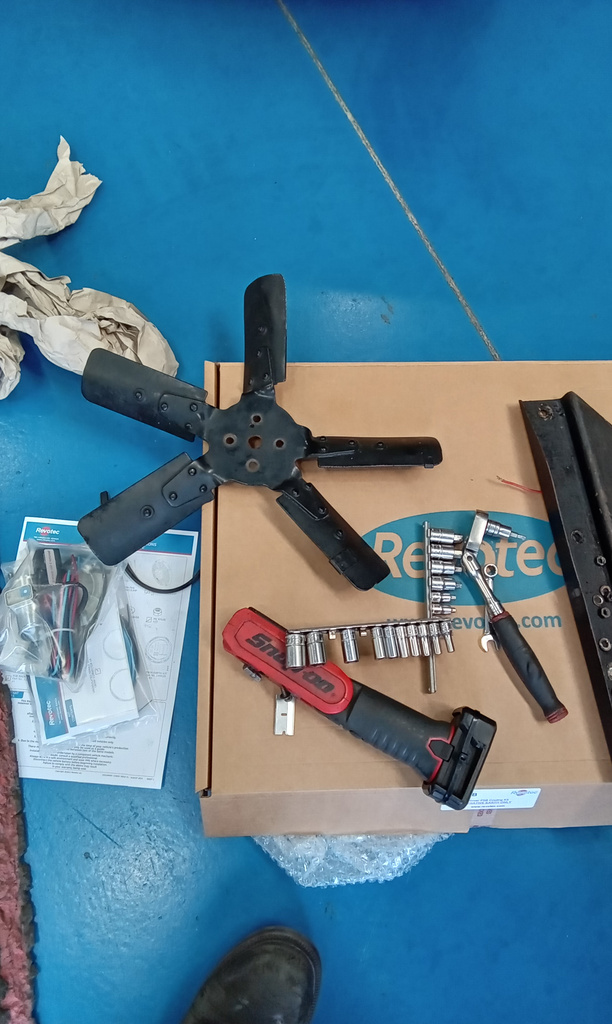
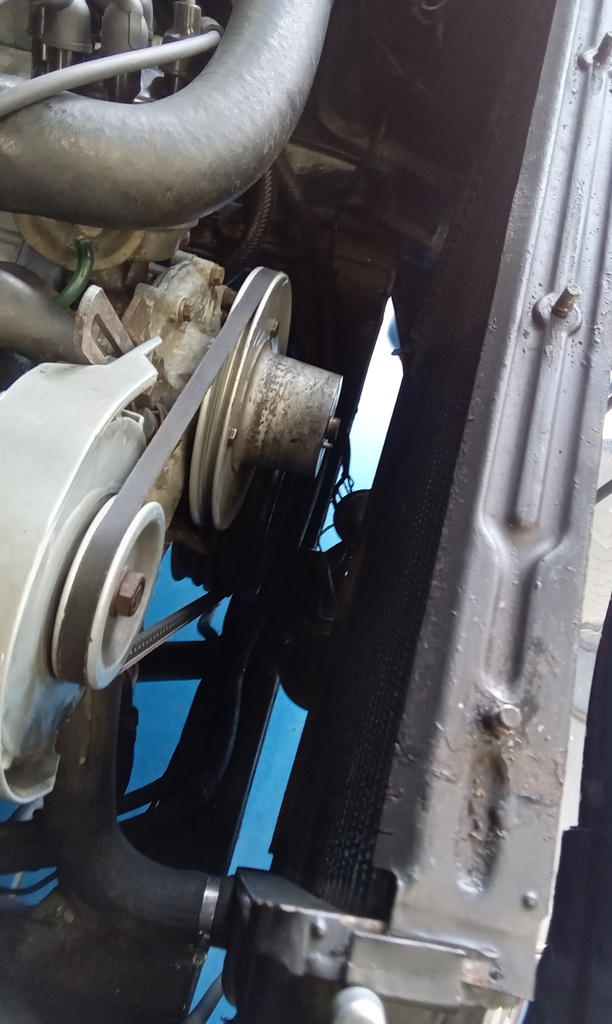
This time, he’s been fitting electric pull through fans to the radiator of the car to help with cooling that glorious 3.5-litre V8. Jon built up the new fans onto the cage to make sure that they fit correctly and there was no obstructions for wiring or the fans themselves. Then, he carefully removed the radiator which had previously been drained, with the hoses already being on the job sheet to be replaced he still took his time to make sure that everything was checked and inspected at every stage.
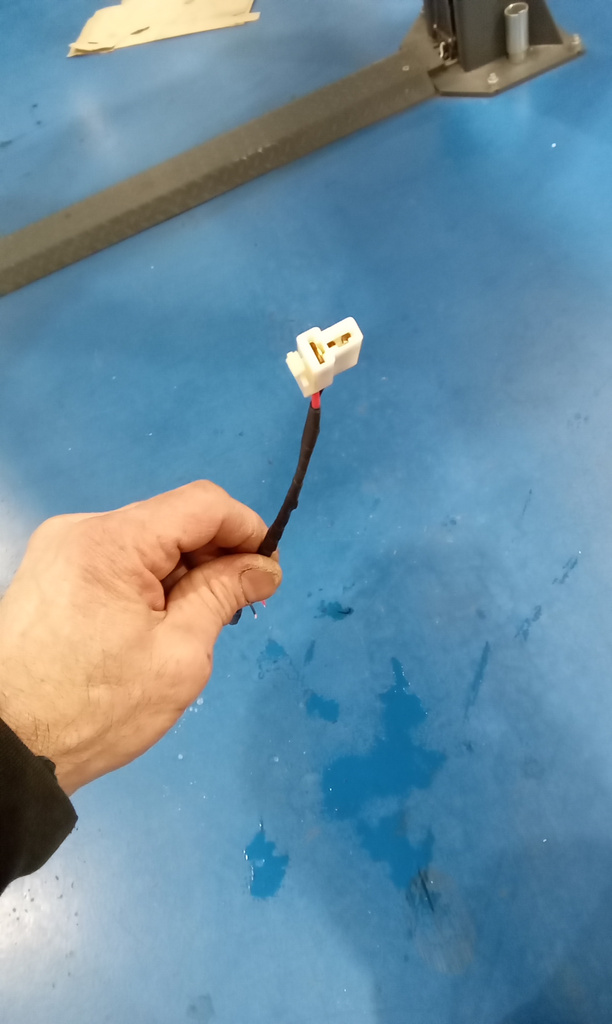
Whilst the radiator was out of the car, it also gave Jon access to look into why the horn on the car wasn’t working. Power to the unit was correct so Jon traced it back to an earthing issue on the steering wheel, which he fixed. Then, he mounted the new fan cage to the radiator before carefully putting the whole assembly back into the nose of the classic Rover. He soldered and secured the connectors for the fans in place before mounting the relay into the inner wing for easy access.

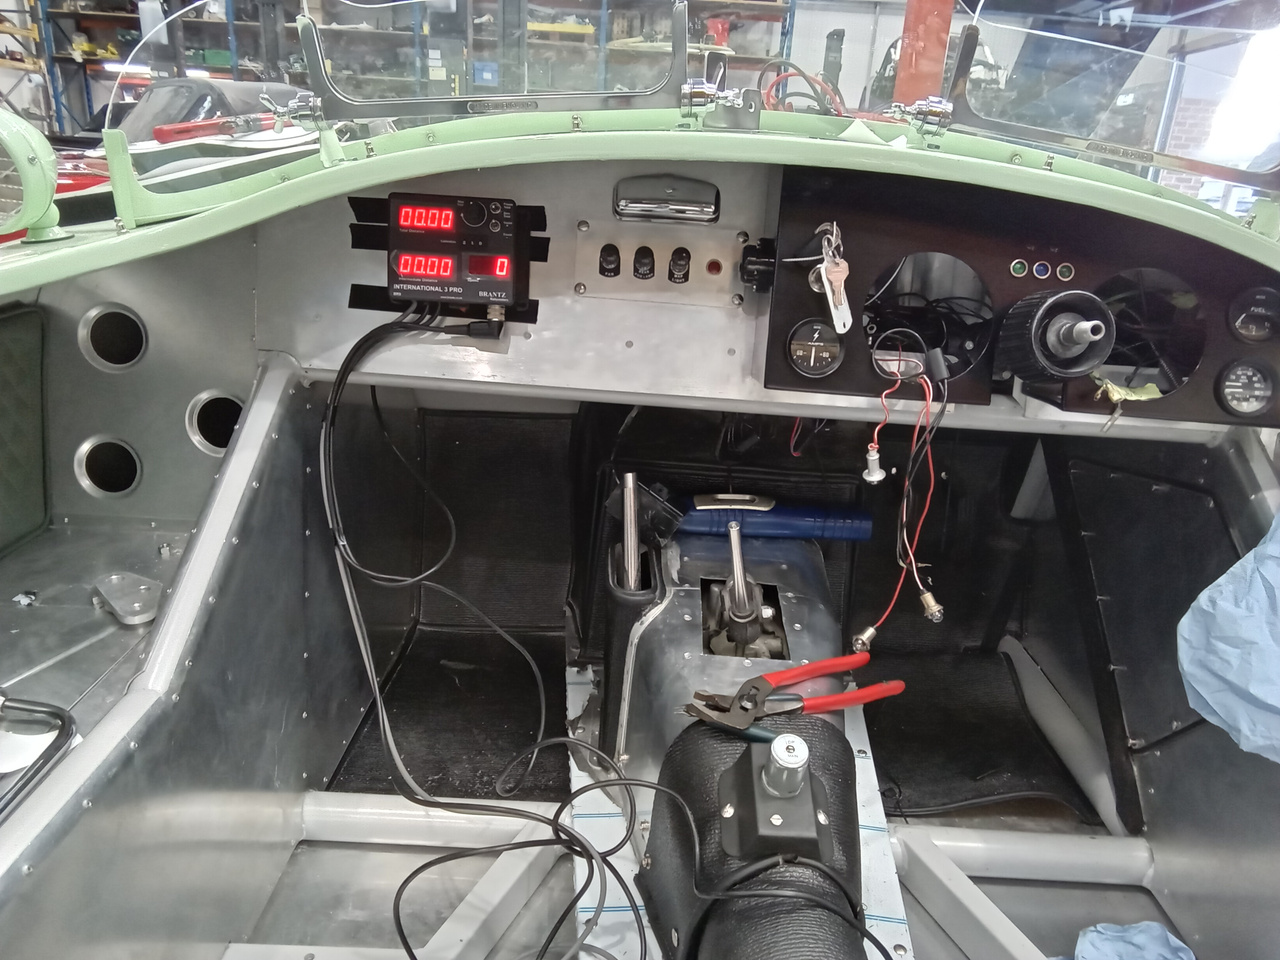
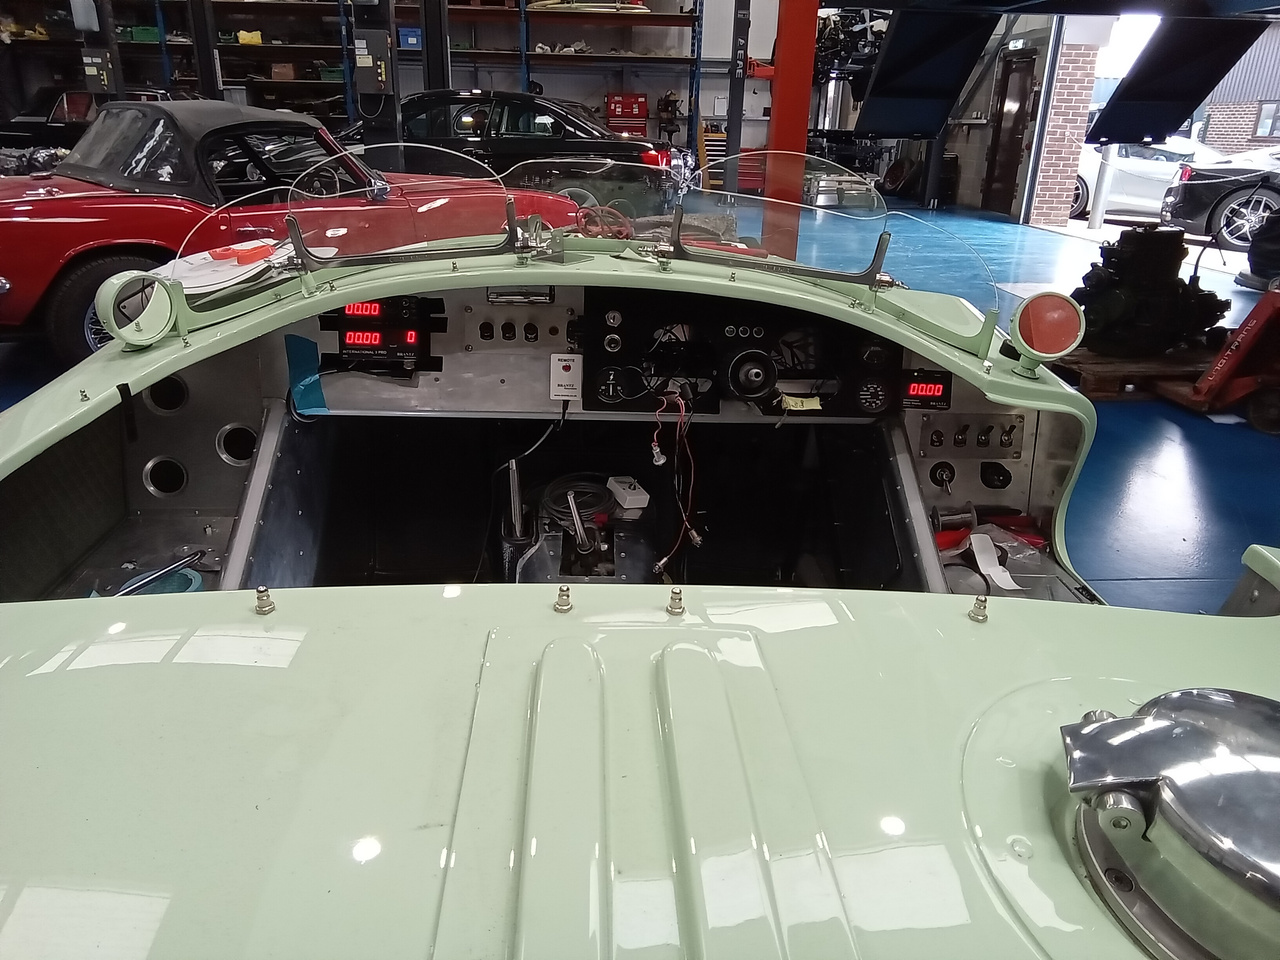
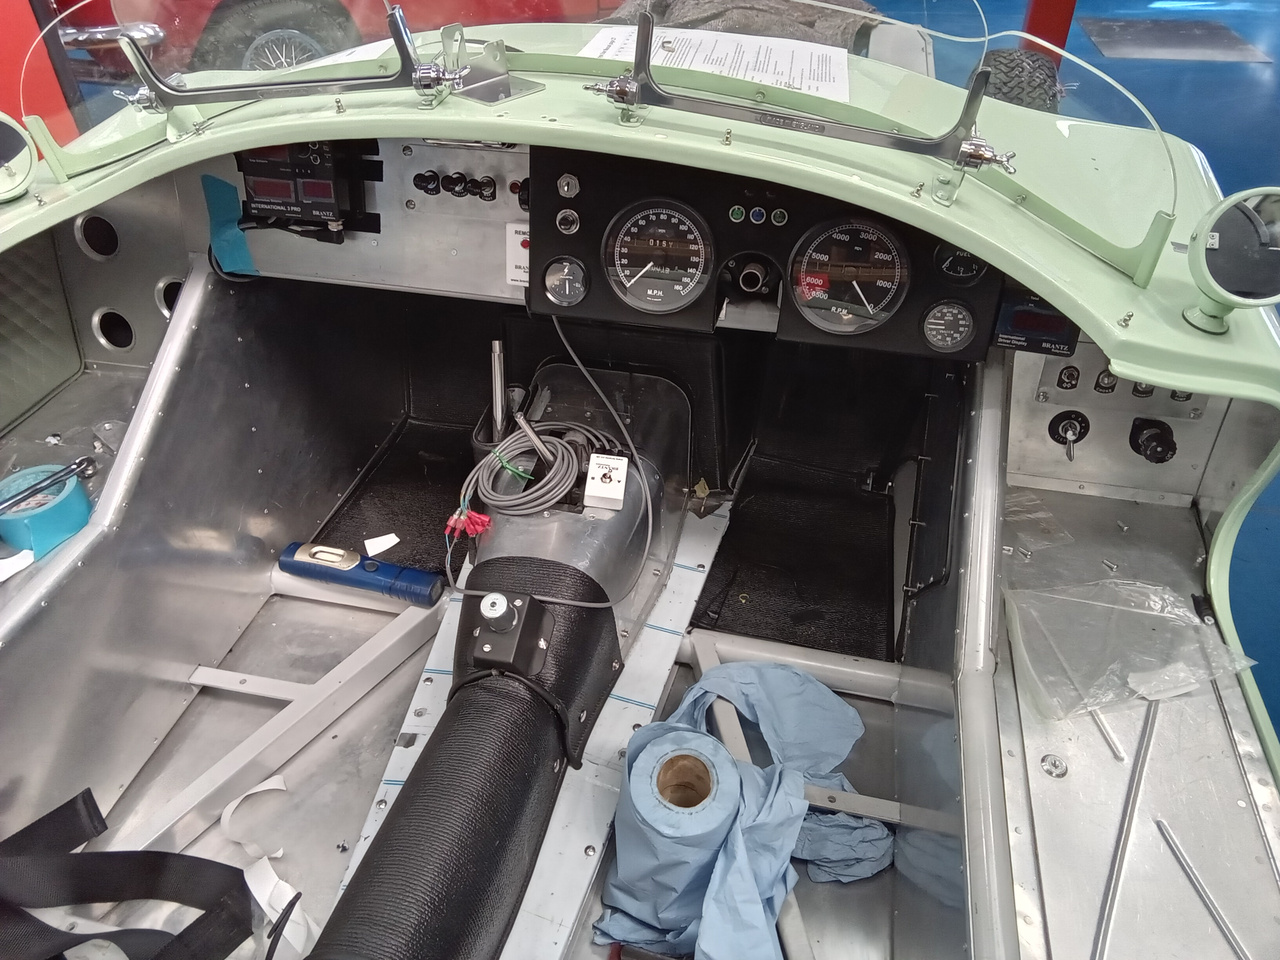
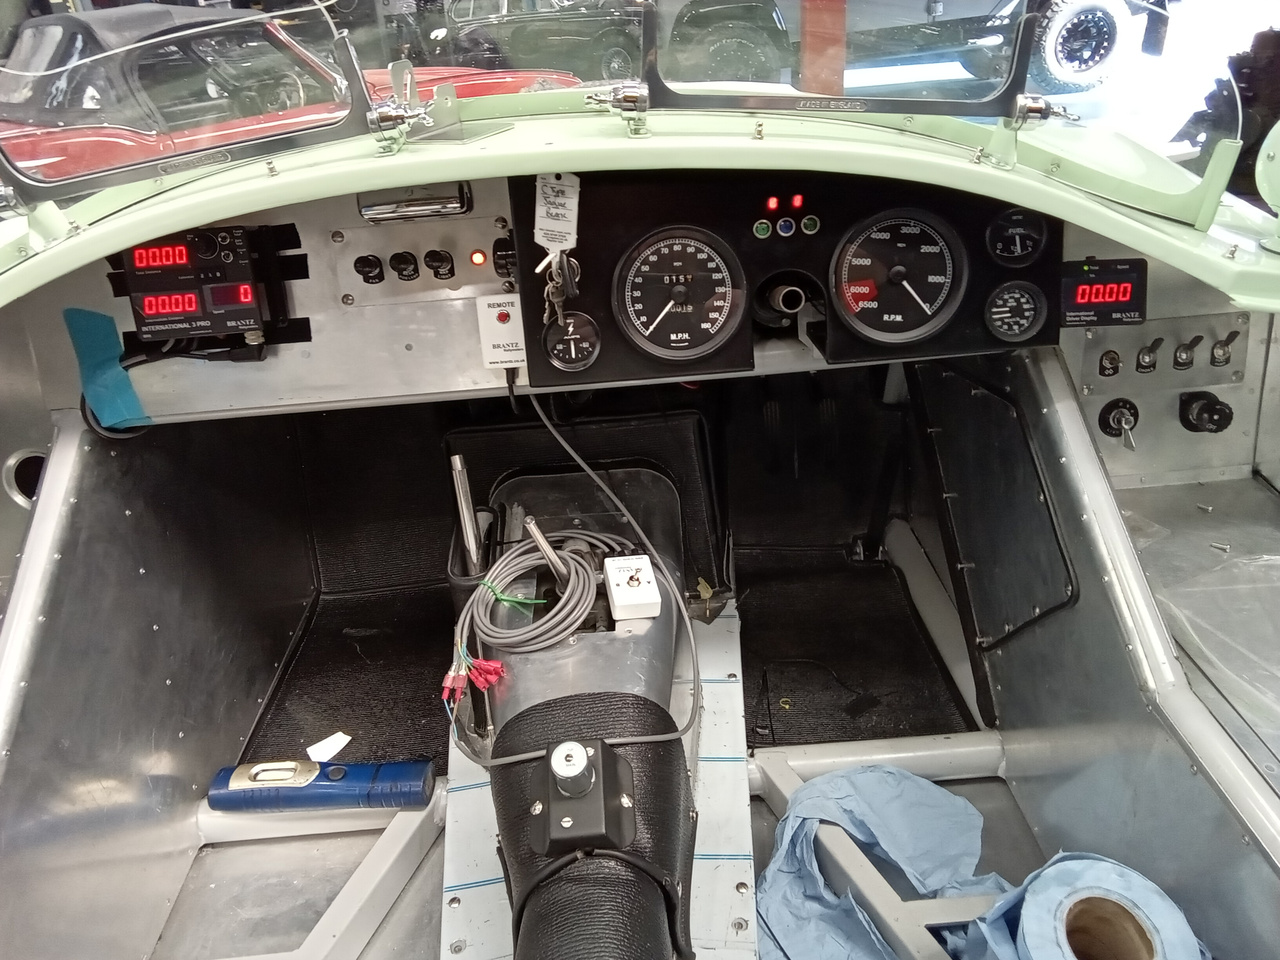
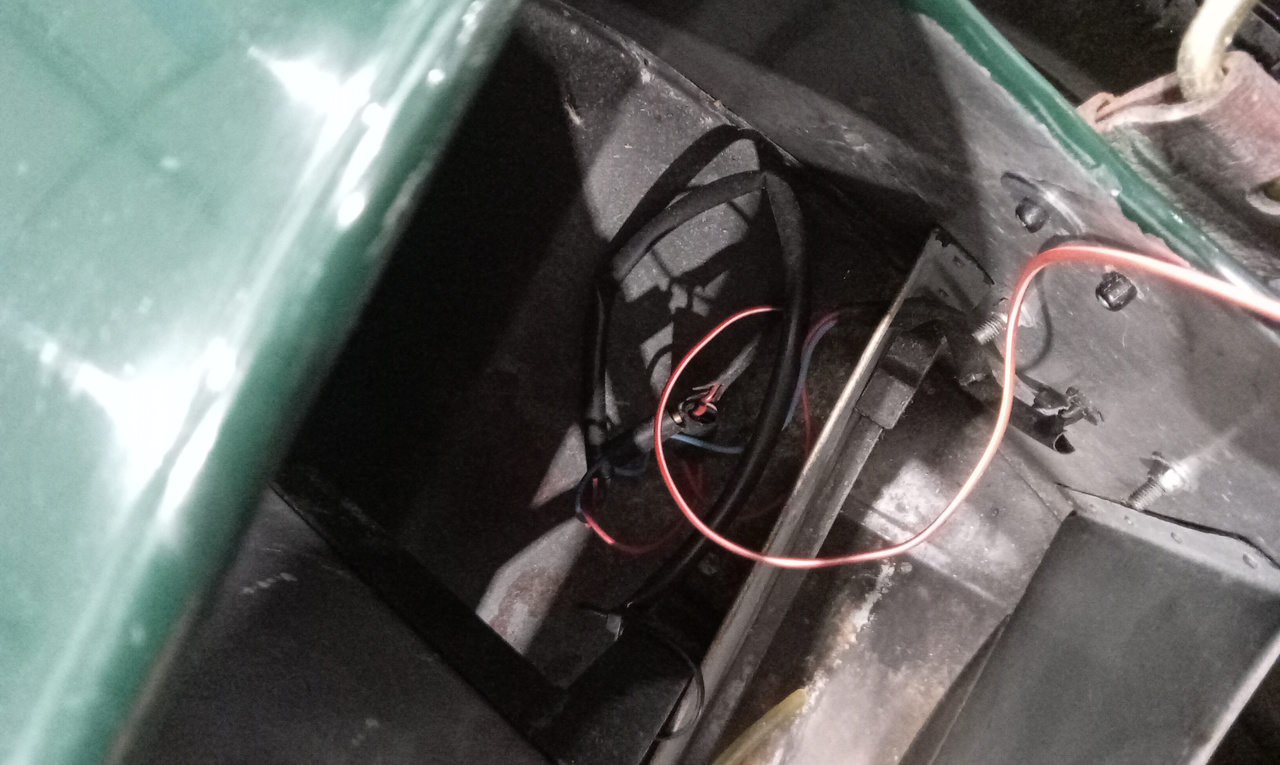
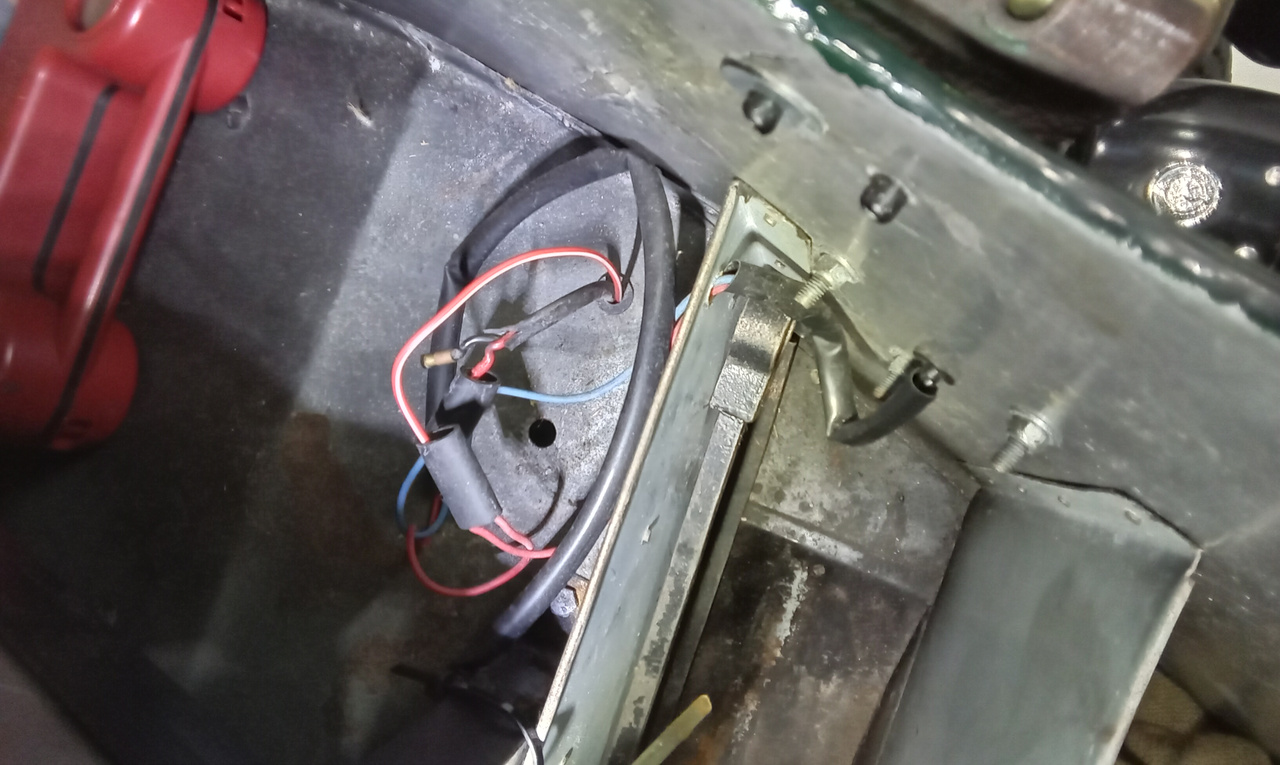
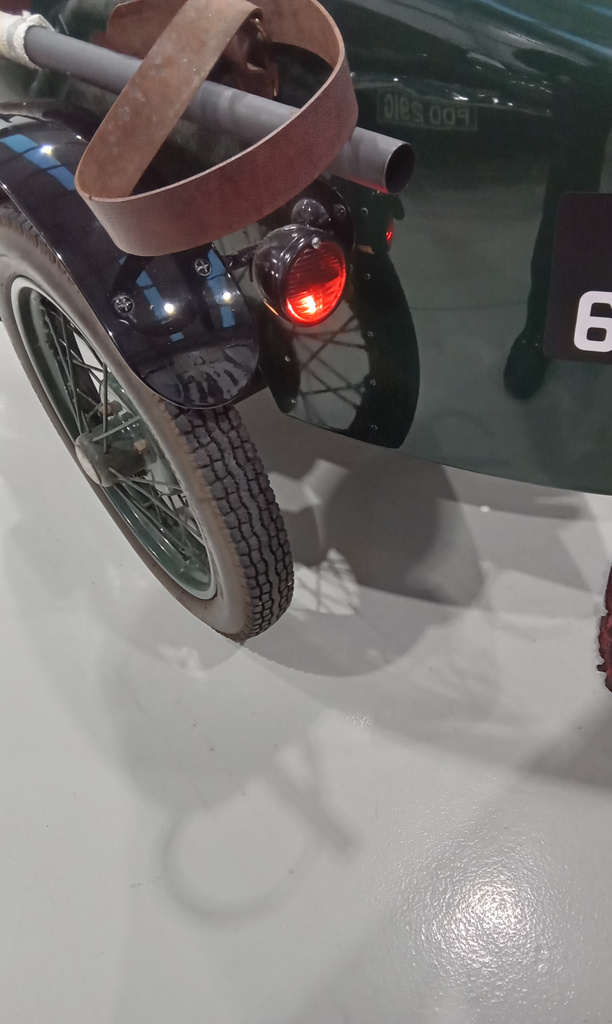
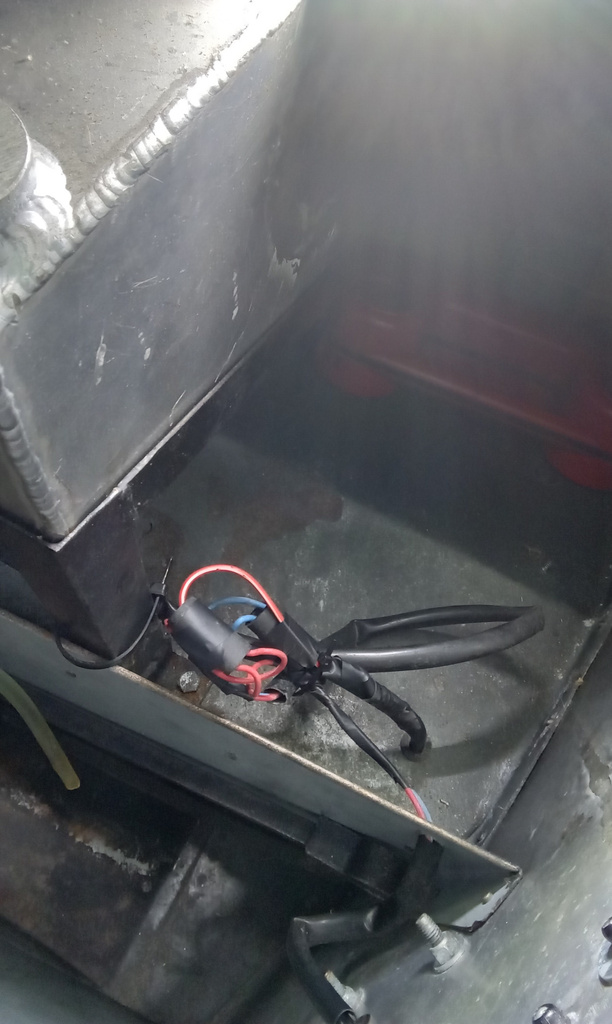
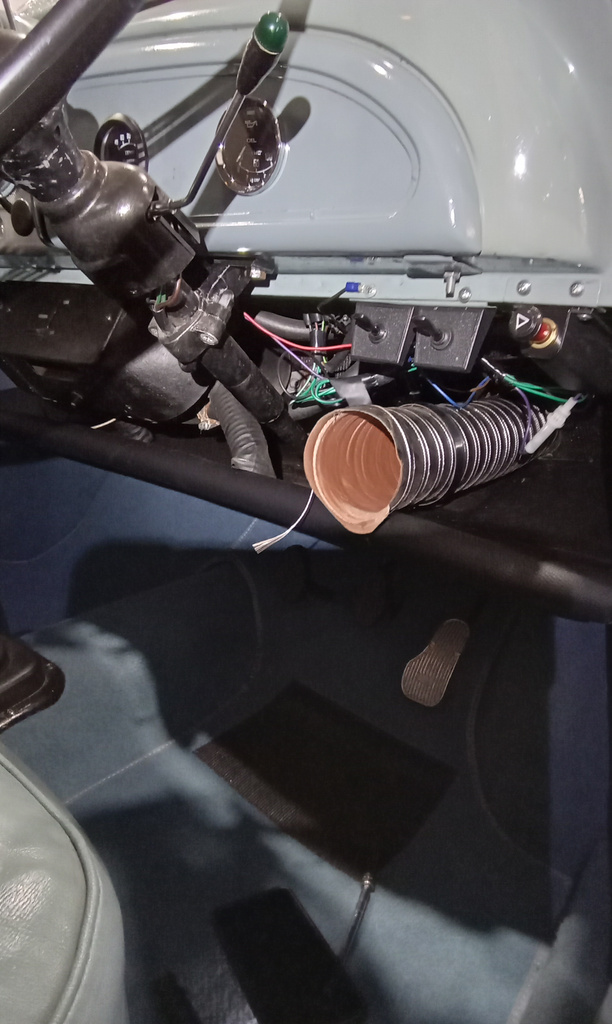
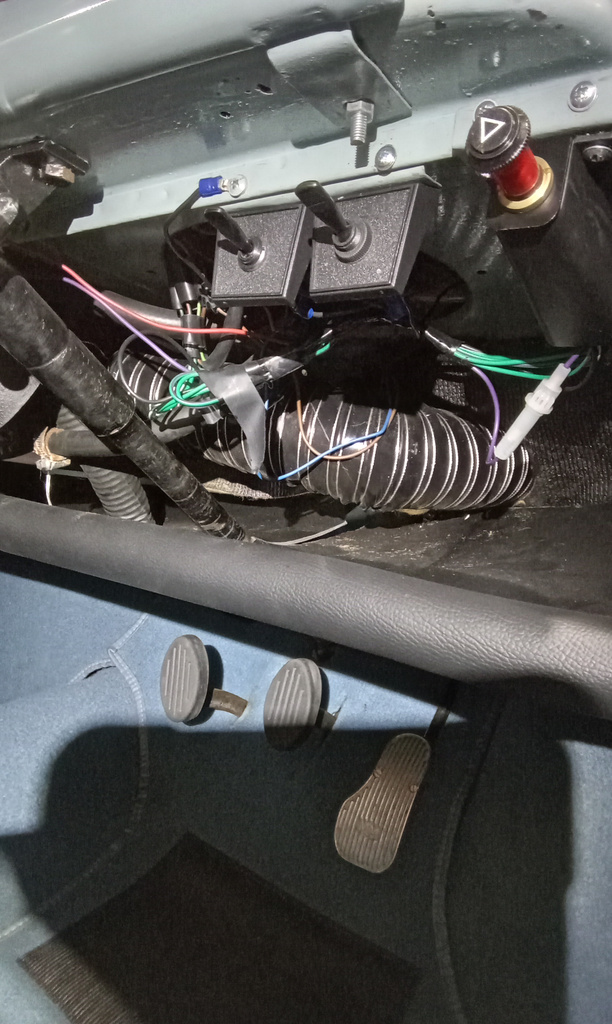
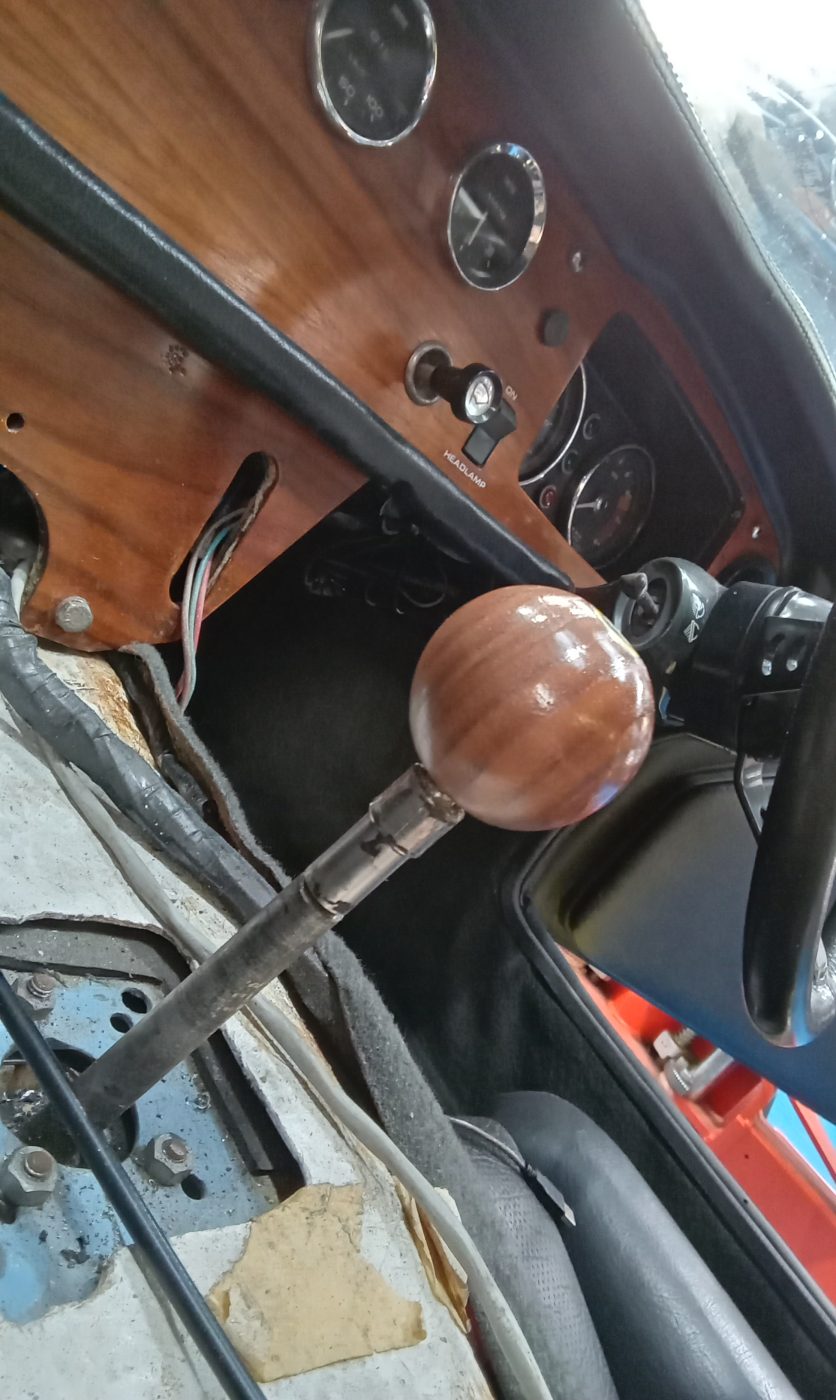
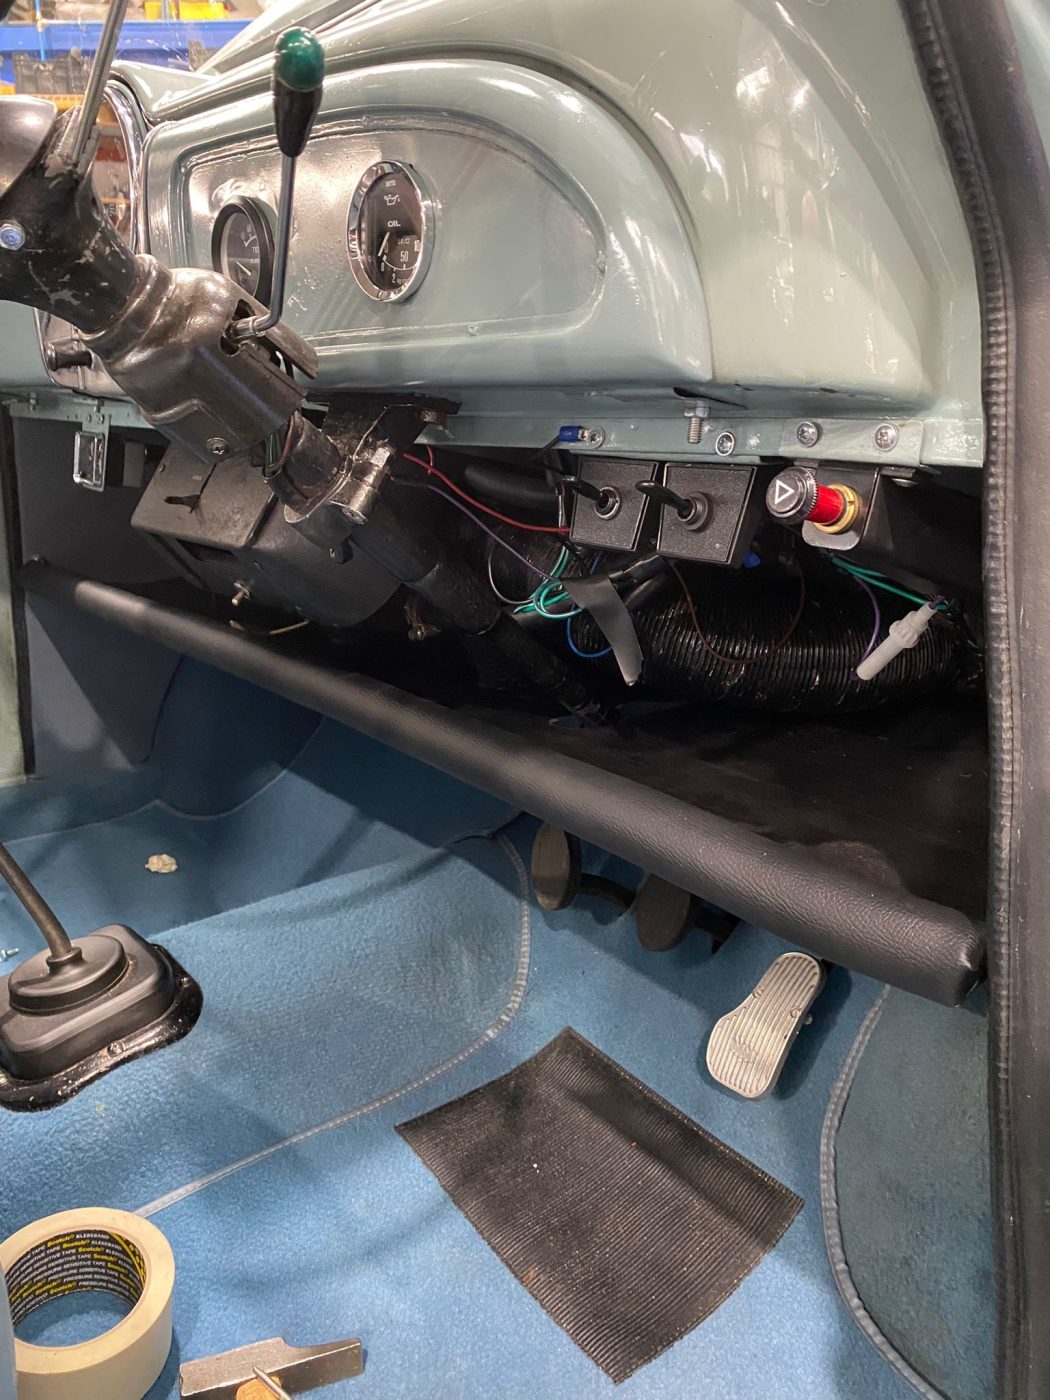
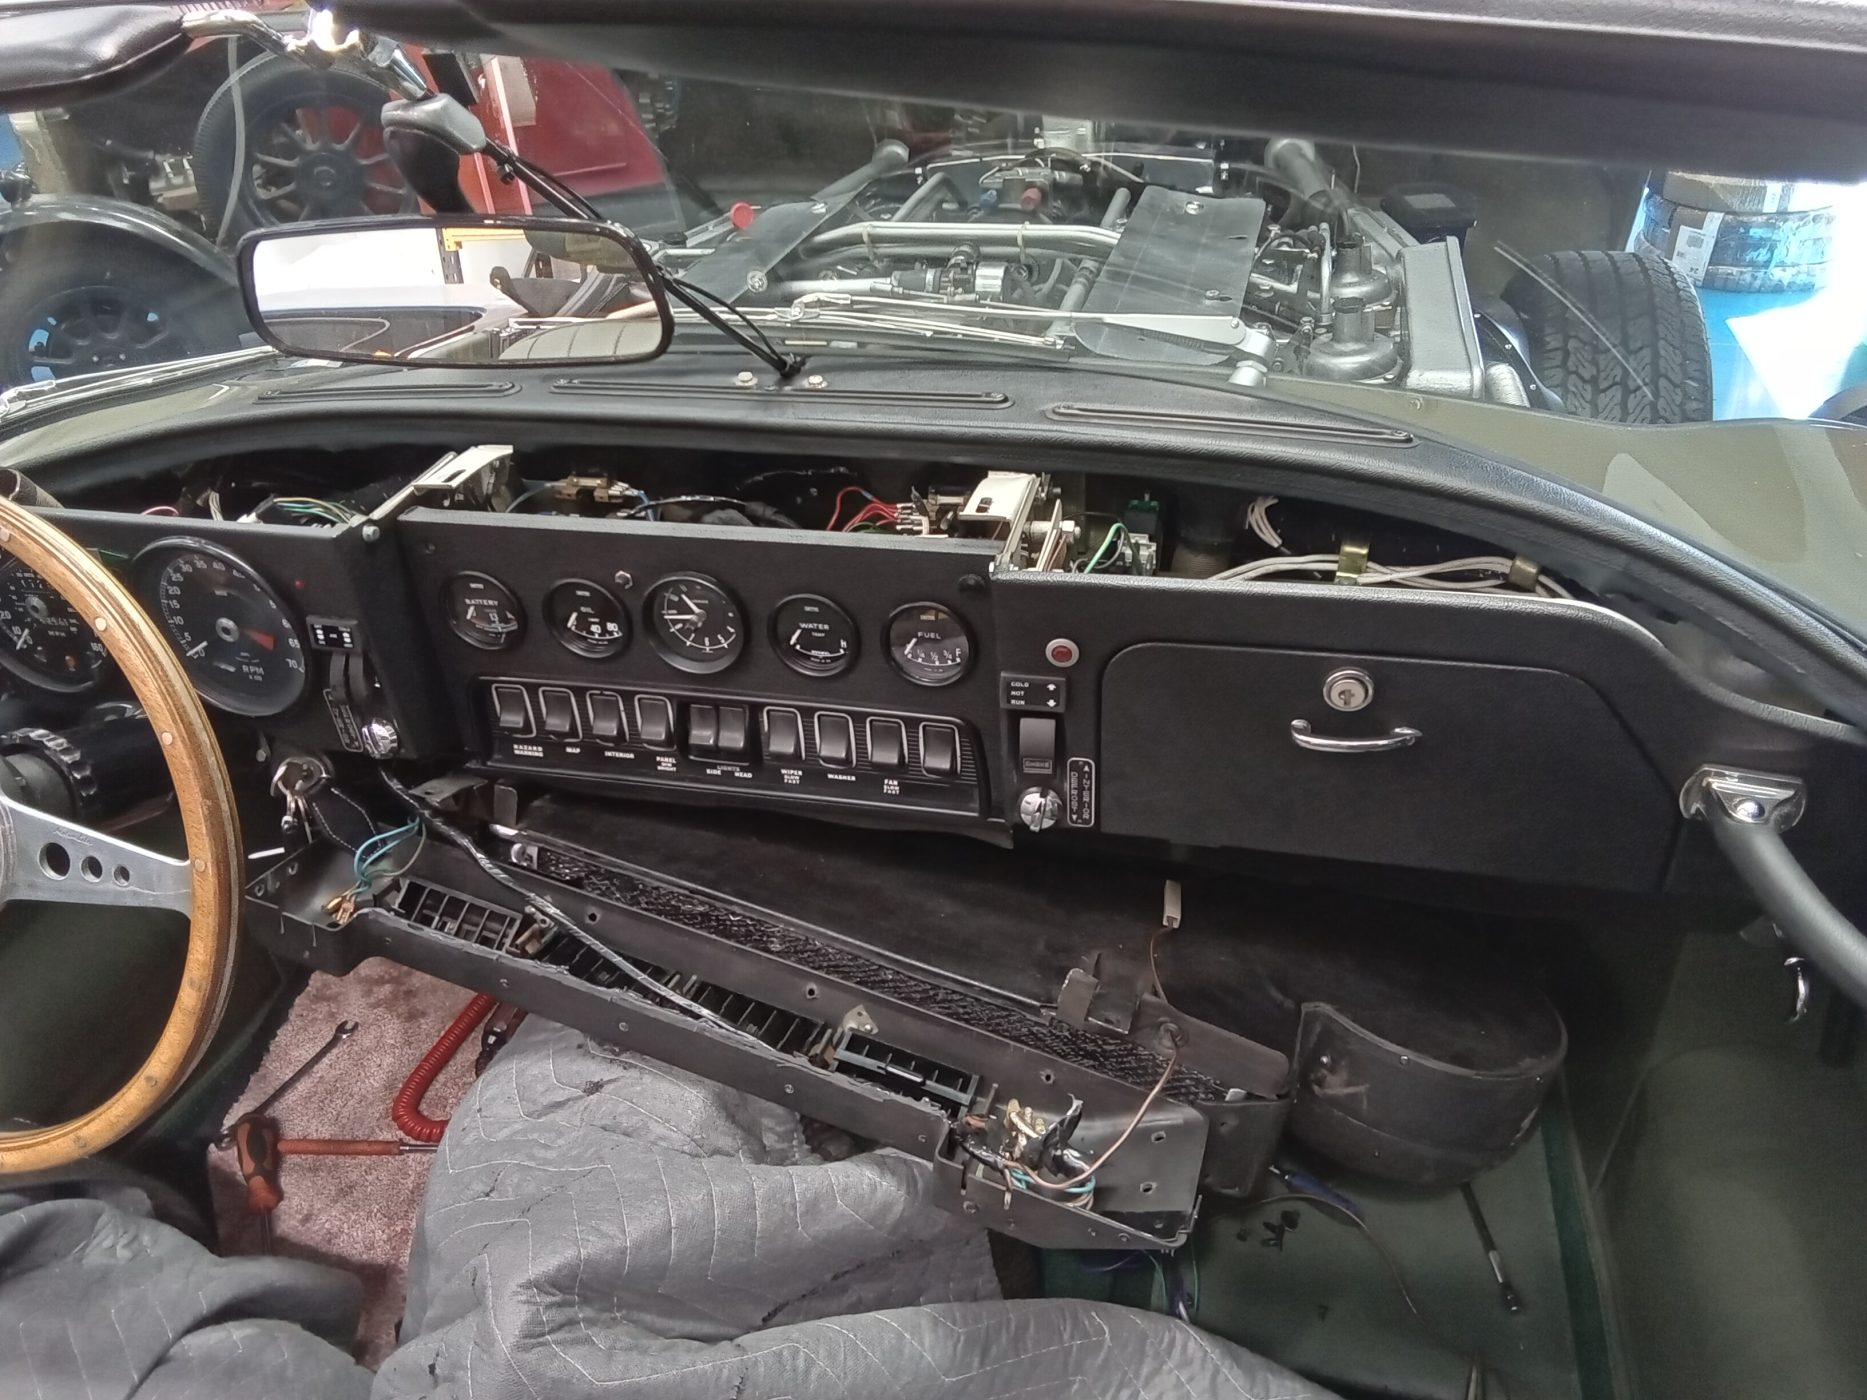
Over the weekend, John finished wiring in the dash of our 2022 Bridge C-Type Replica.
He also fitted the Brantz system and trial-fitted the switches and gauges to help find the best location for each one.
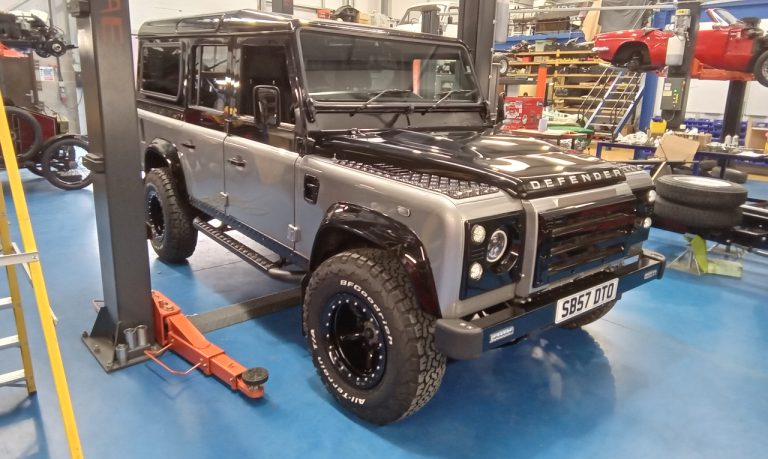
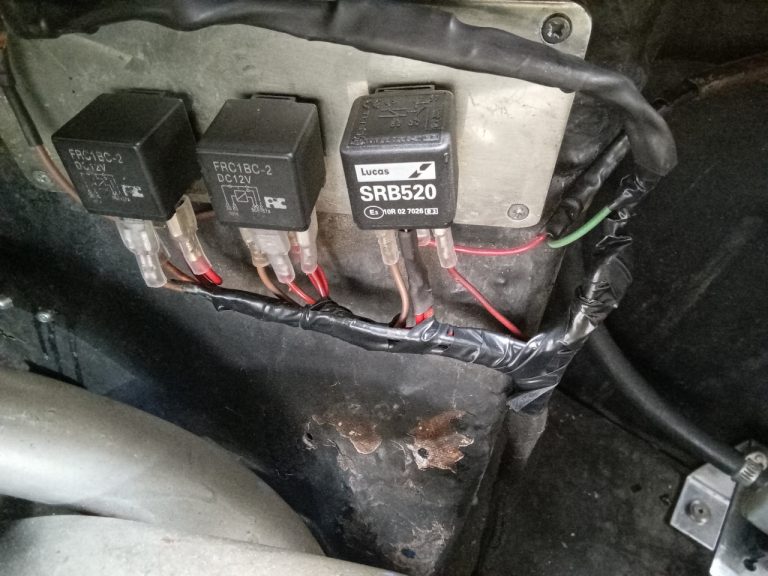
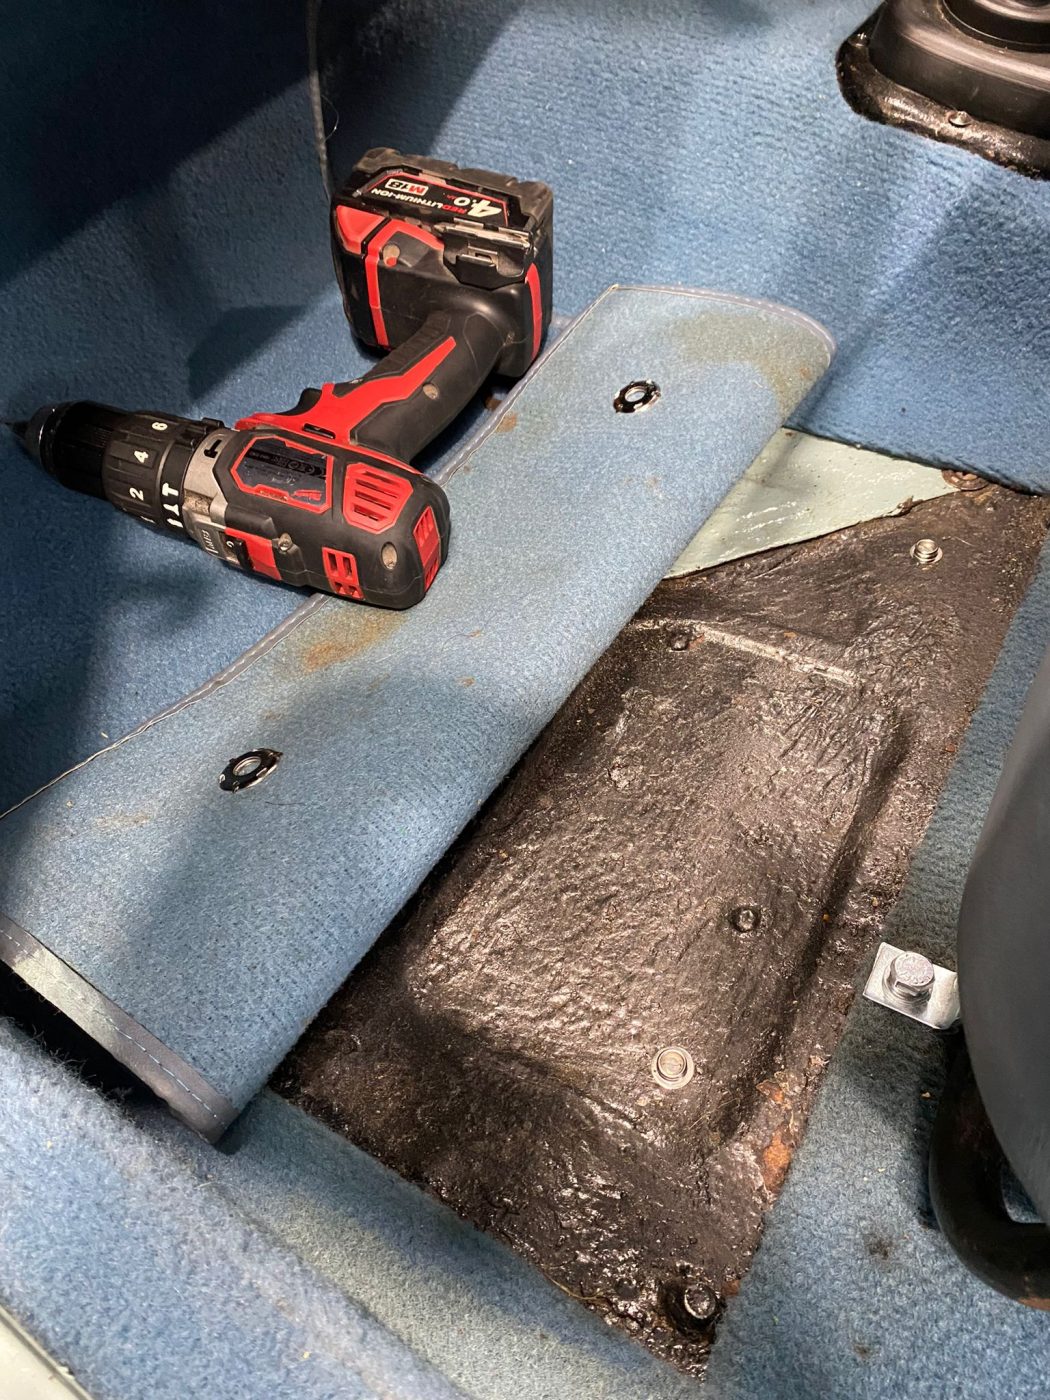
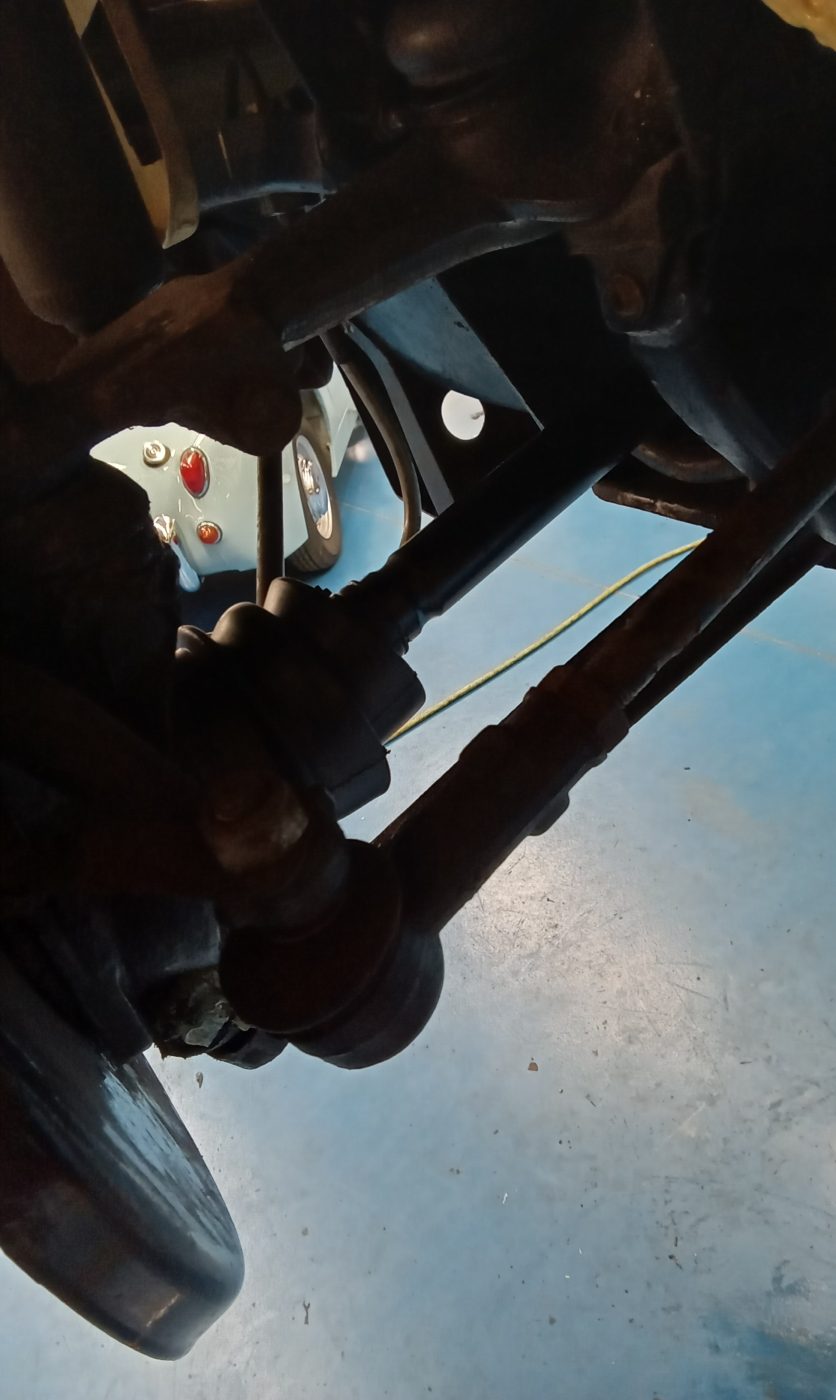
Our 2007 Land Rover Defender was suffering from a battery drain which John traced back to the wiring to a relay. The wiring was modified to bypass the relay which wasn’t needed. A permanent ignition feed was also fitted for the rear-view camera.
The car was then checked over before it is won on Tuesday.
During the checks, our other Jonn made the following notes:
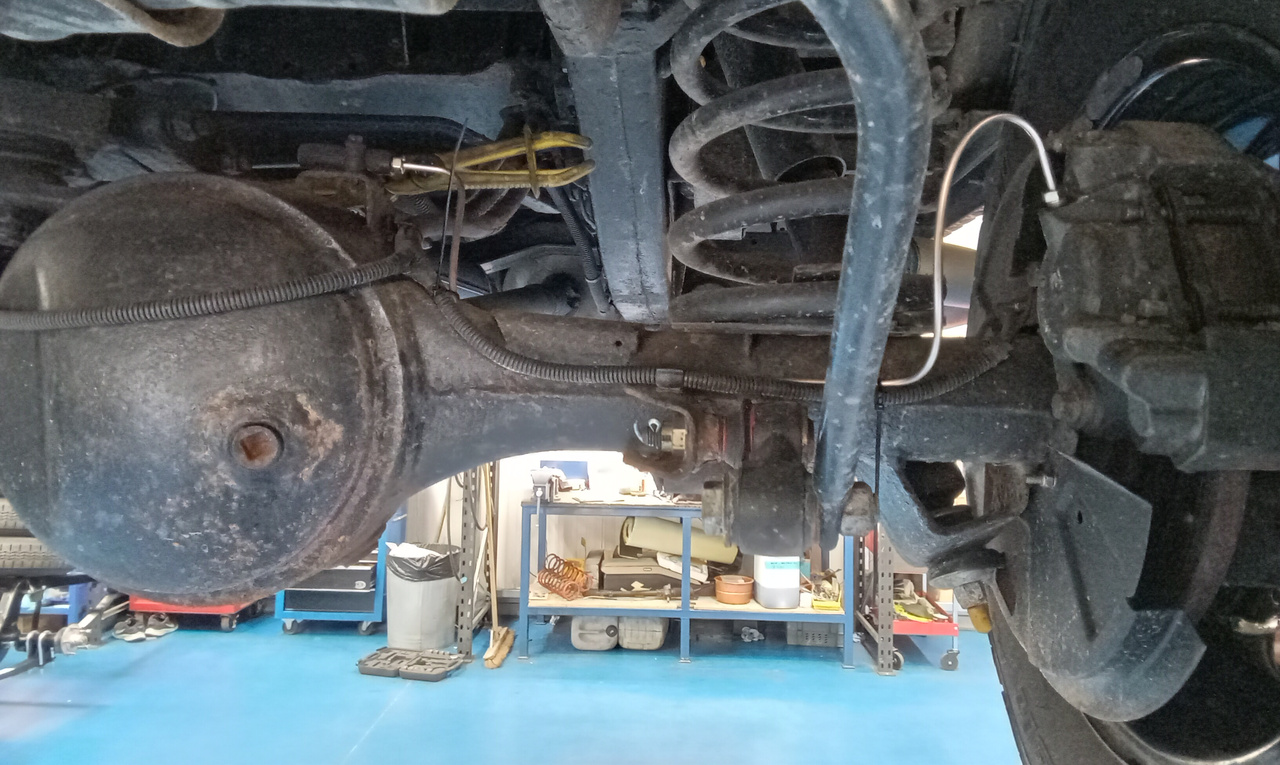
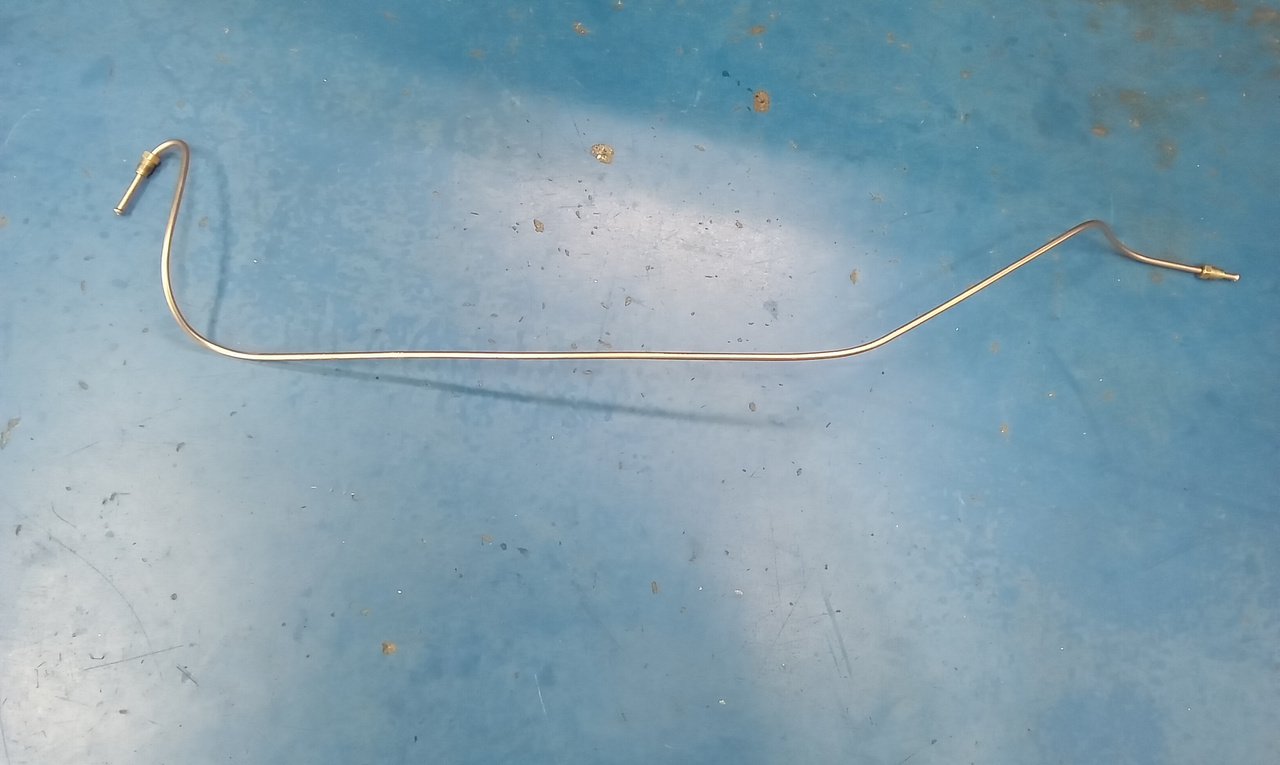
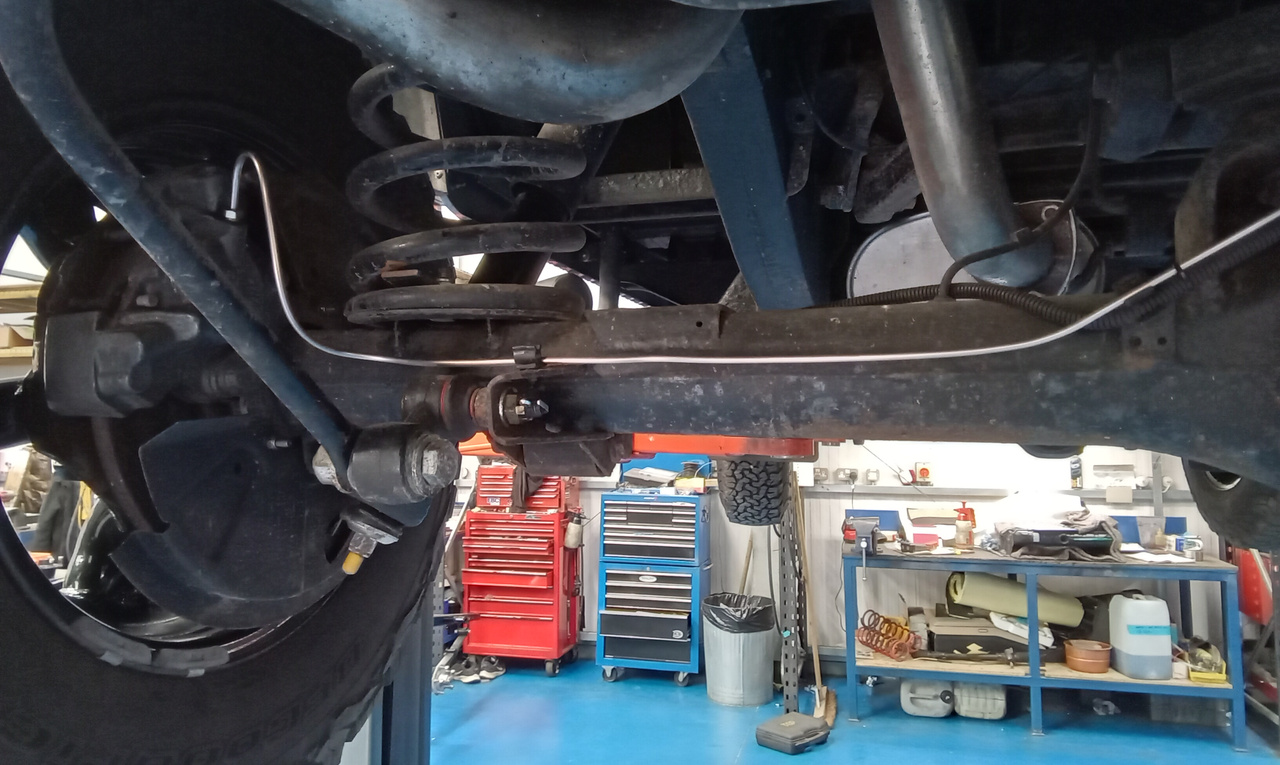
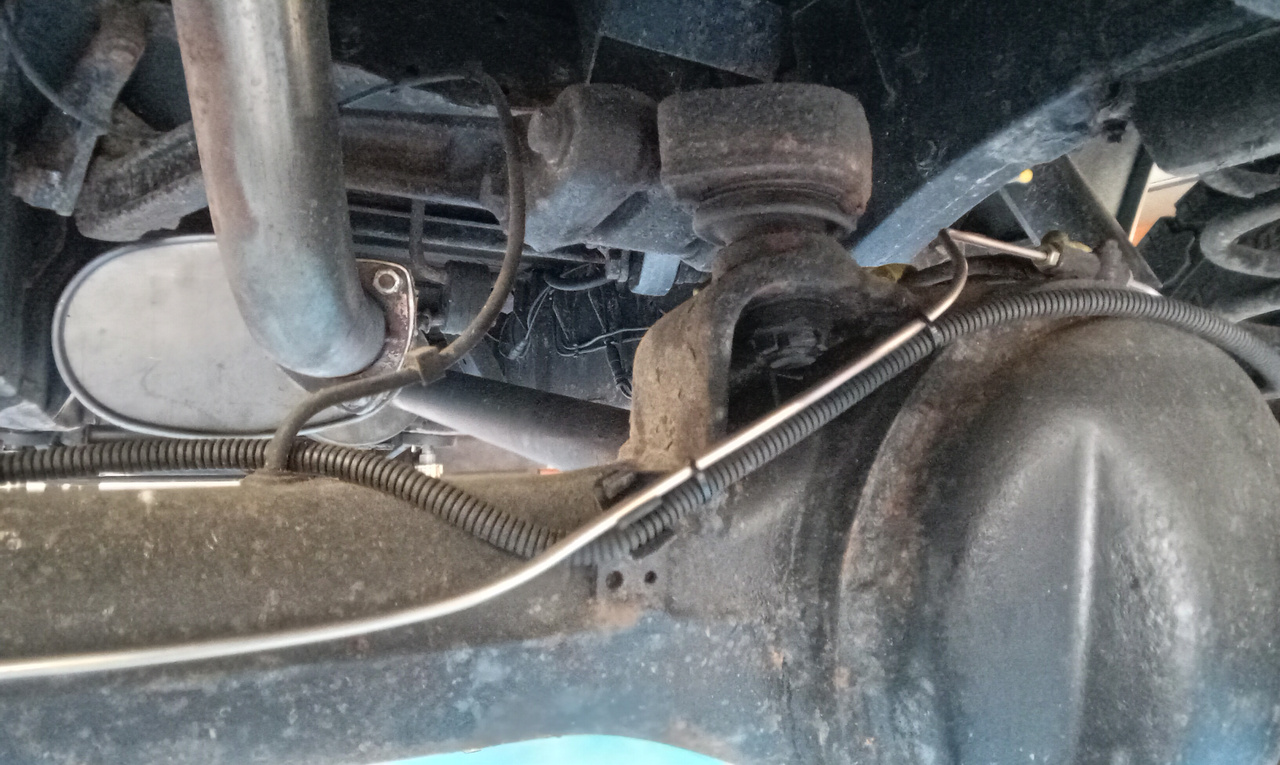
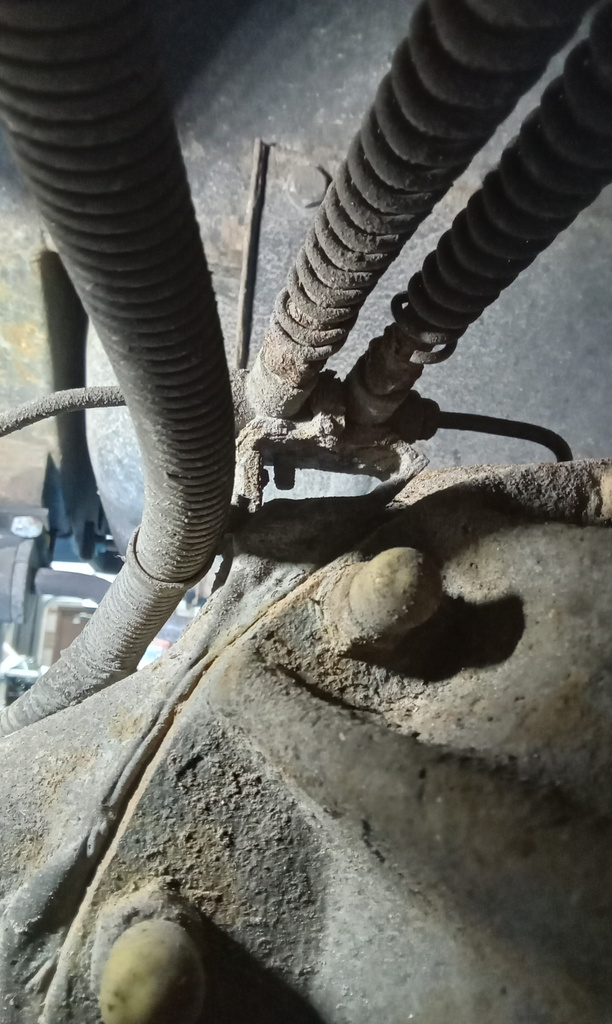
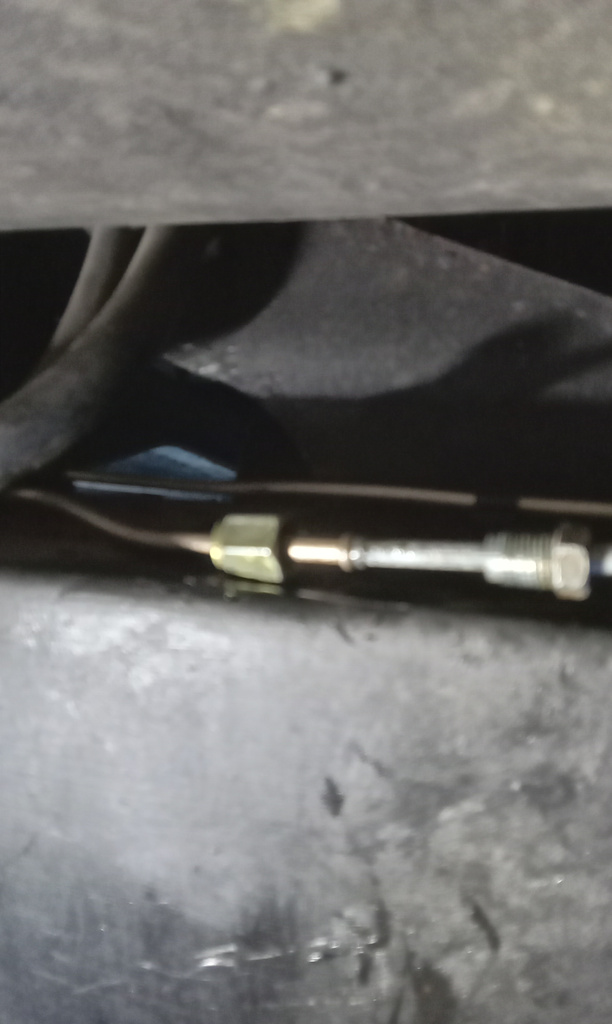
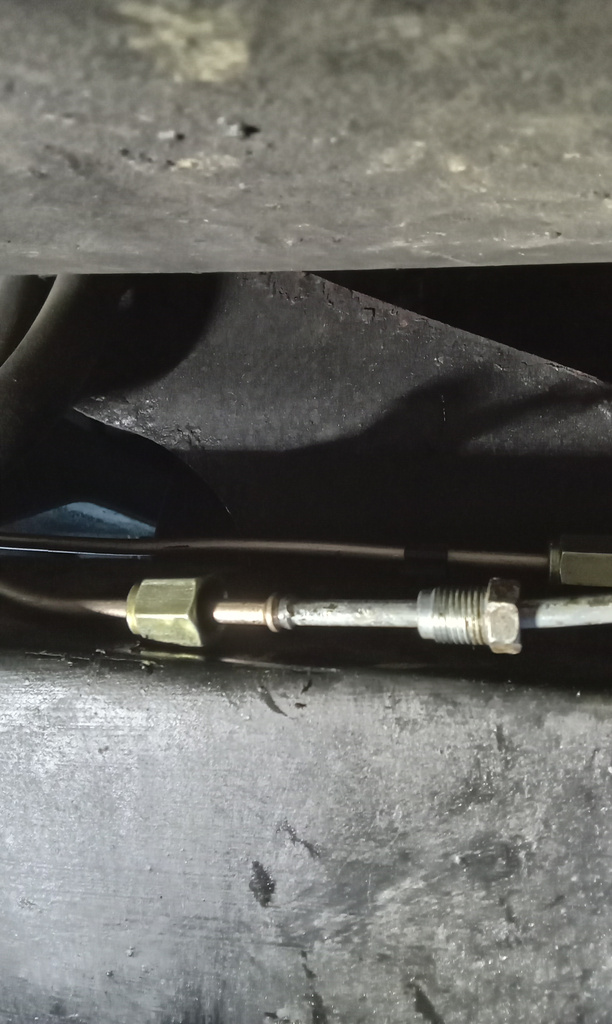
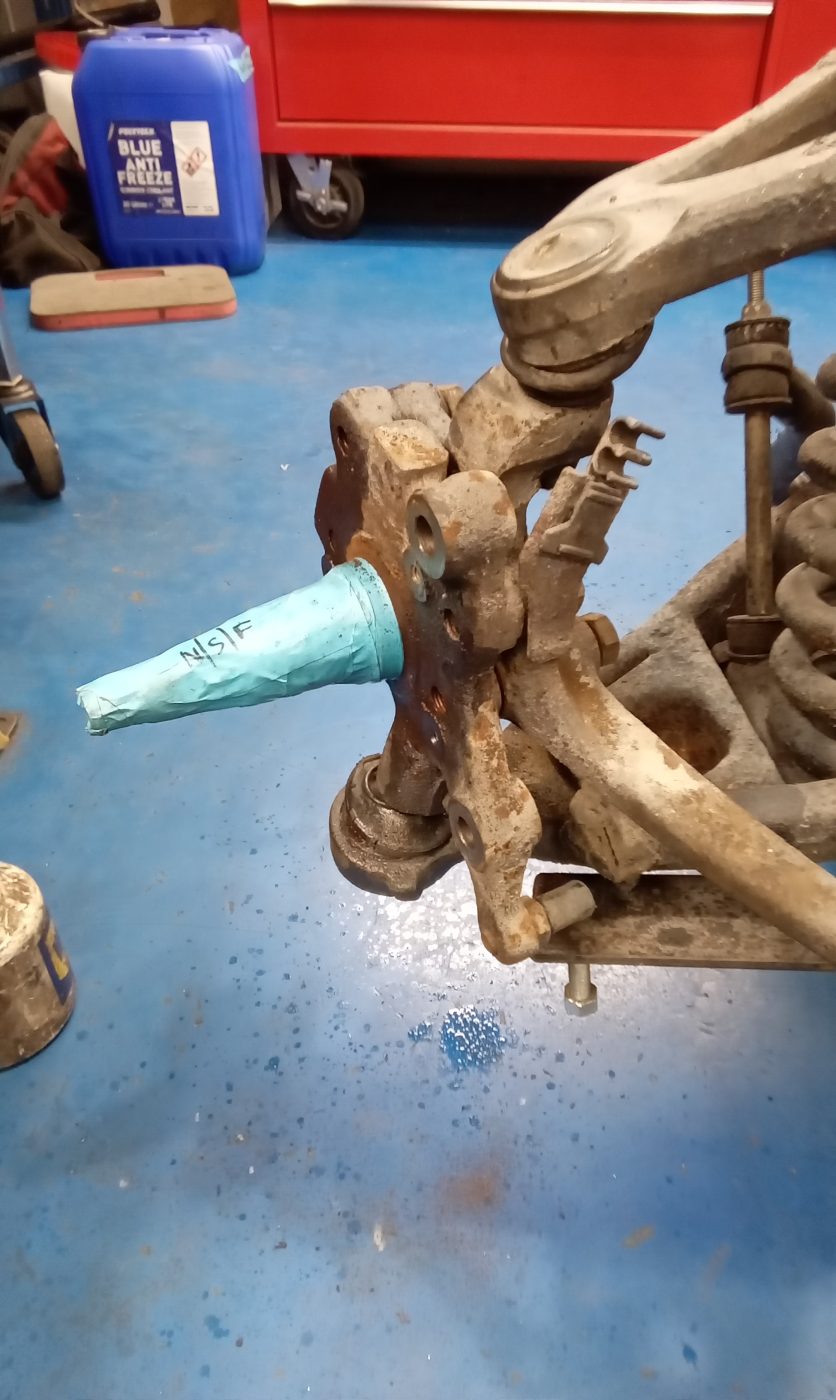
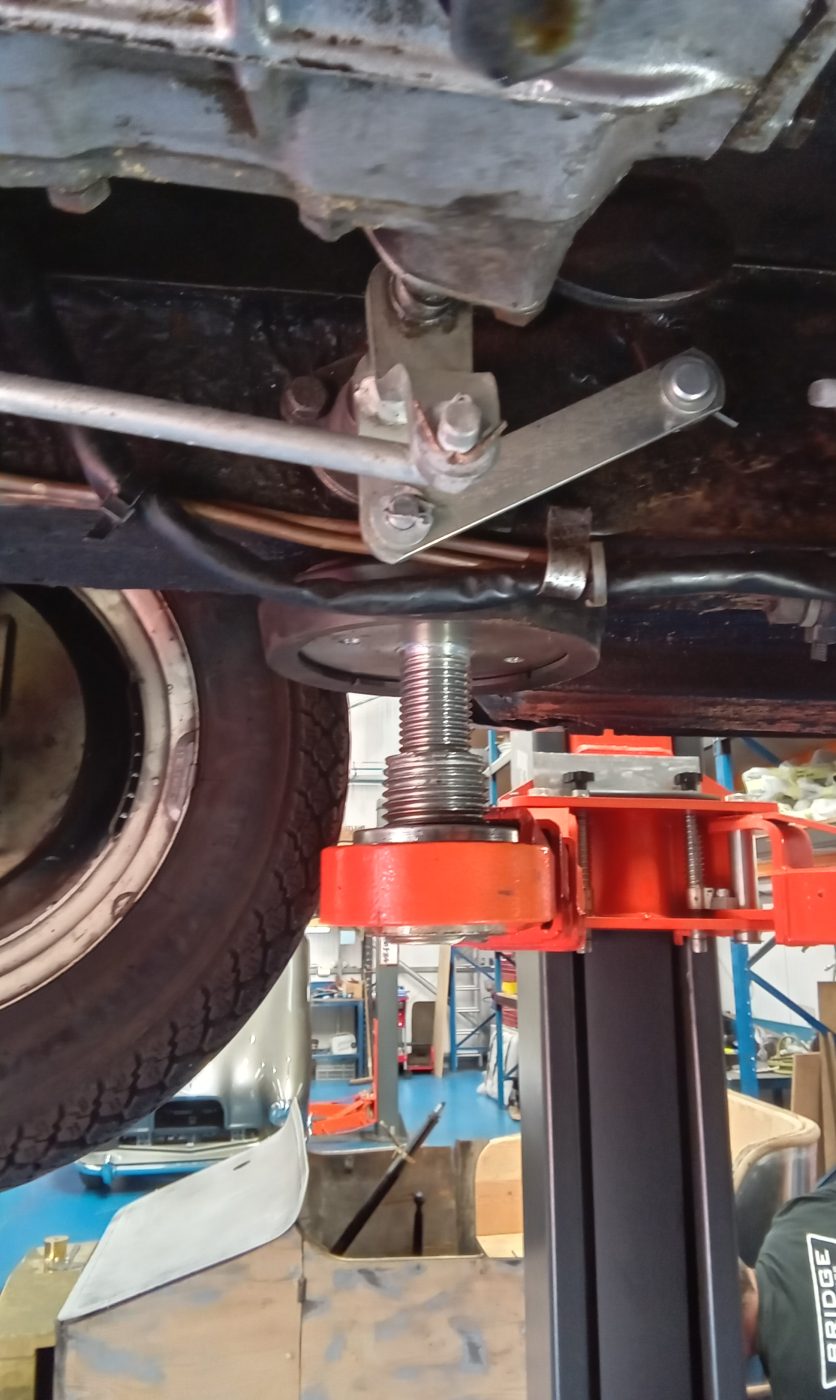
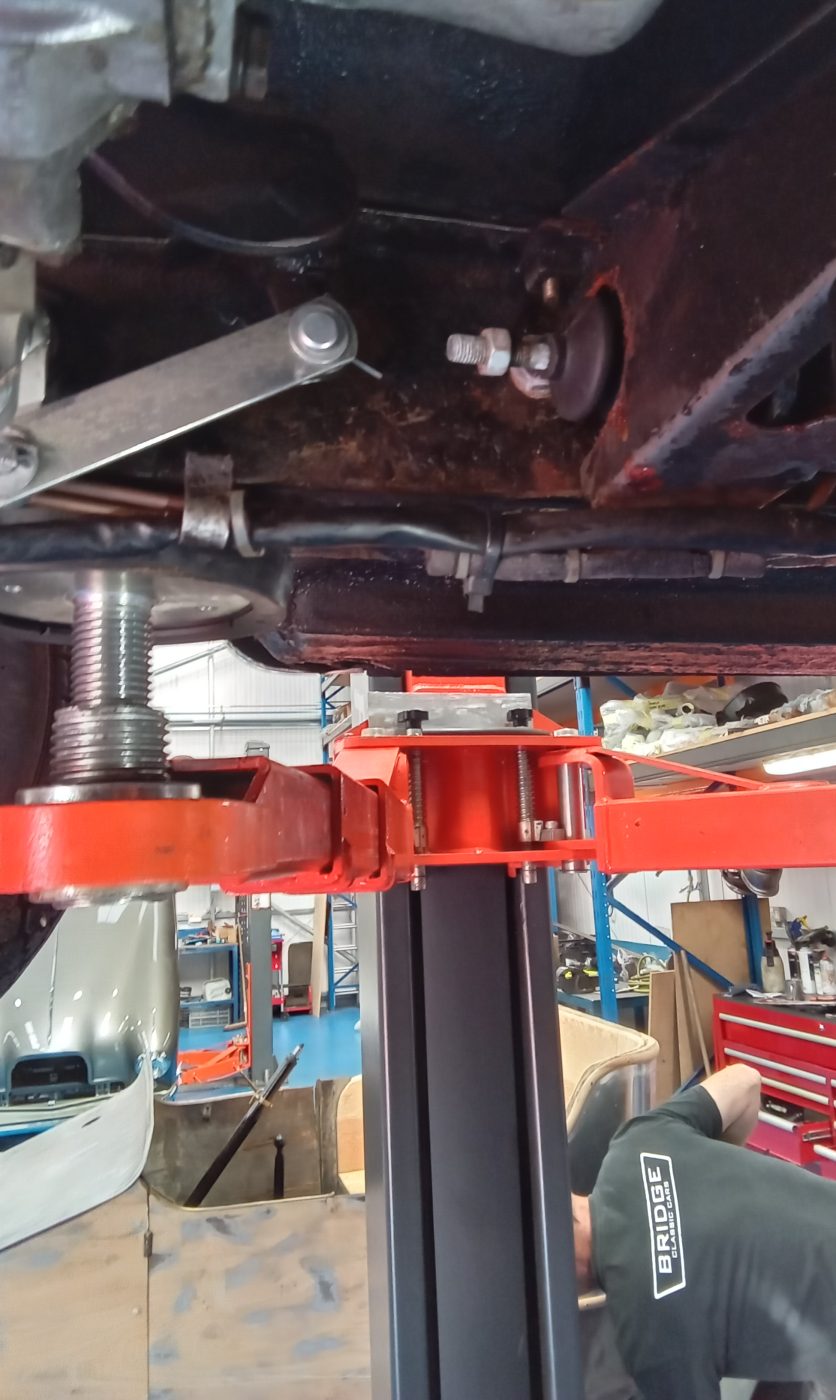
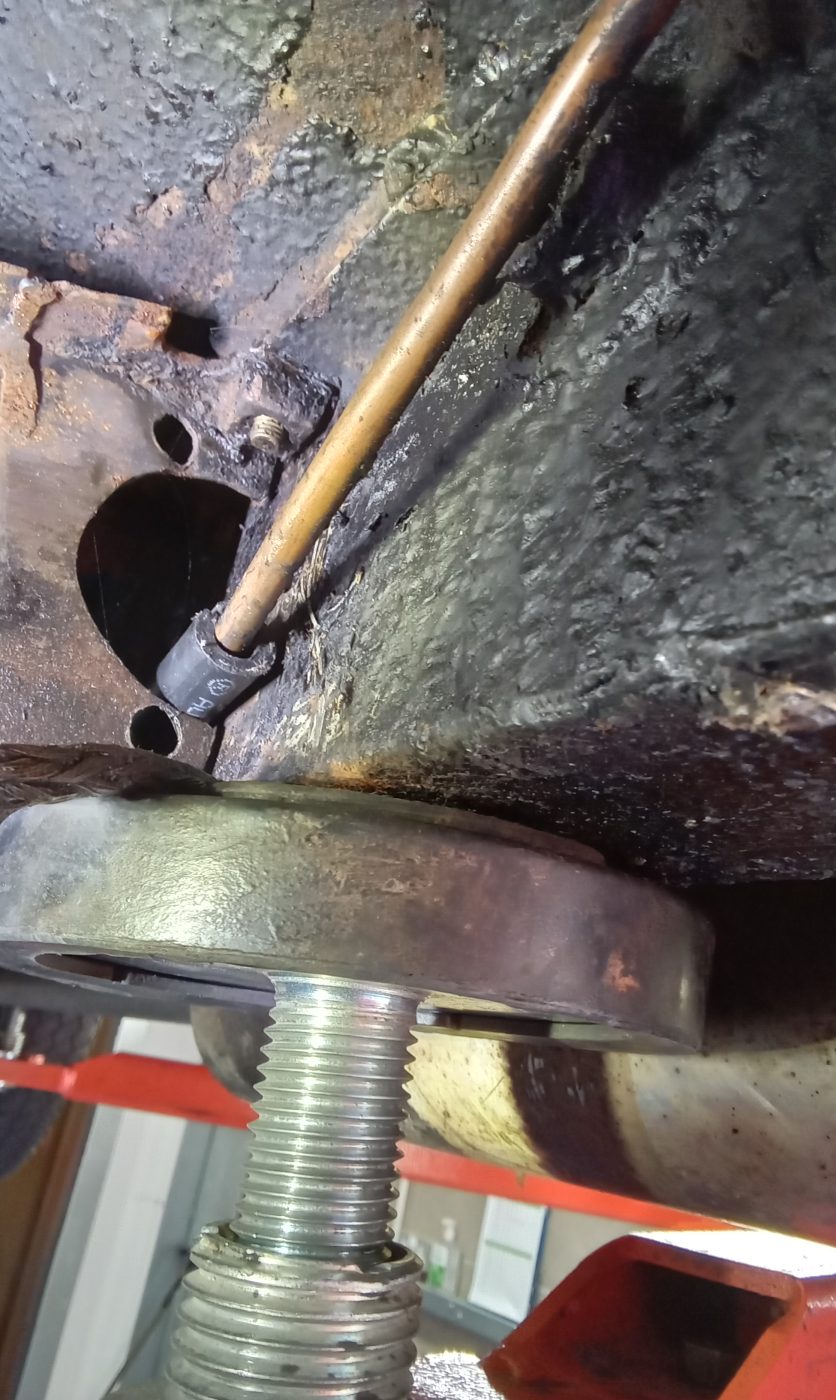
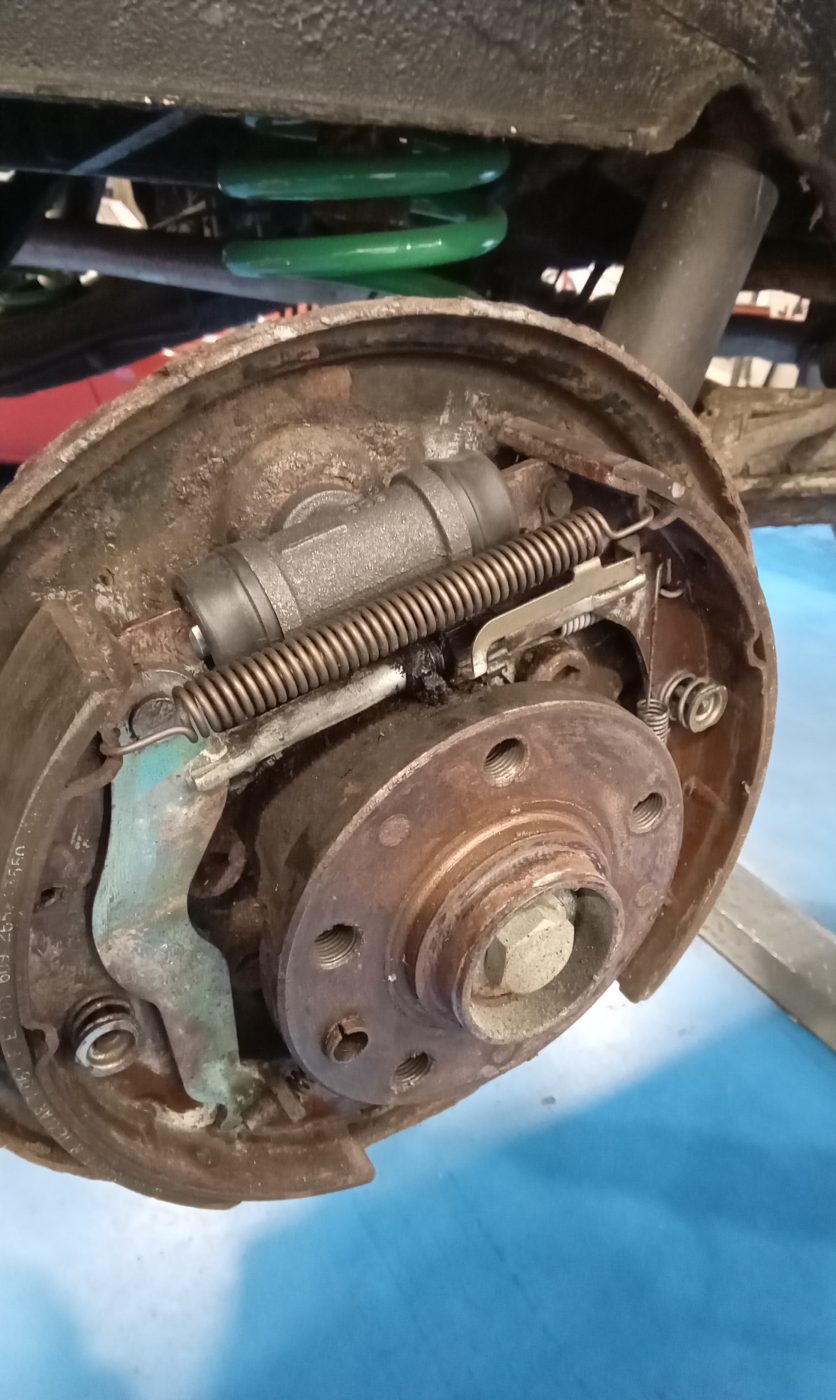
Carry out inspection. Start repairs. Reverse lights still not working after new switch fitted. Remove multi plug and short out. Ignition on and reverse lights working. Remove switch from gearbox and grind away nut slightly so switch goes further into gearbox. Test switch plugged in but not fitted to gear ox. Operate and light works. Fit to gearbox and tighten. Test reverse lights, now working. Adjust hand brake via transmission brake shoe adjuster. Strip and remove brake pipes from across rear axle to replace.
Manufacture new brake pipes for rear. From rear flexis to calipers. Secure and cable tie Abs wiring to pipes. Remove bleed nipples and clean and blow out, refit. Inflate tyres and torque wheel nuts. Adjust washer jetvaim and test. Resecure trim around nearside rear door lock button.
Fit new rear wiper blade. Raise on ramp mp and strip rear flexi brake pipes. Corroded badly and unable to remove brake pipes from flexis. Cut front to rear brake pipes and chisel off bracket supporting rear flexis. Get Christian to make a new support bracket. Mount new flexis at axle end and secure to mount. Reconnect brake pipes across rear axle. Upon inspection found joiners for front to rear brake pipes on top of nearside chassis rail.
Manufacture new brake pipes to rear flexis. Fit each in turn shaping pipe as its fitted. Drill and paint new mount and fit and connect pipes at each end. Use small pieces of hose to protect pipes from chaffng and secure with cable ties.clear up area.
Top up brake fluid and free of all bleed nipples. With John’s help bleed brake system complete. Carry out pressure check. Tack weld weights back onto rear rpropshaft. Take outside and warm up. Carry out road test. Recheck all joints and connections on return and found small weep at nearside chassis joiner. Drain circuit and re flare original steel pipe on car. Reconnect and tighten. Re bleed circuit and pressure check. Ok this time. Carry out road test to fuel station and put £30 diesel in. Finish pdi, ok.

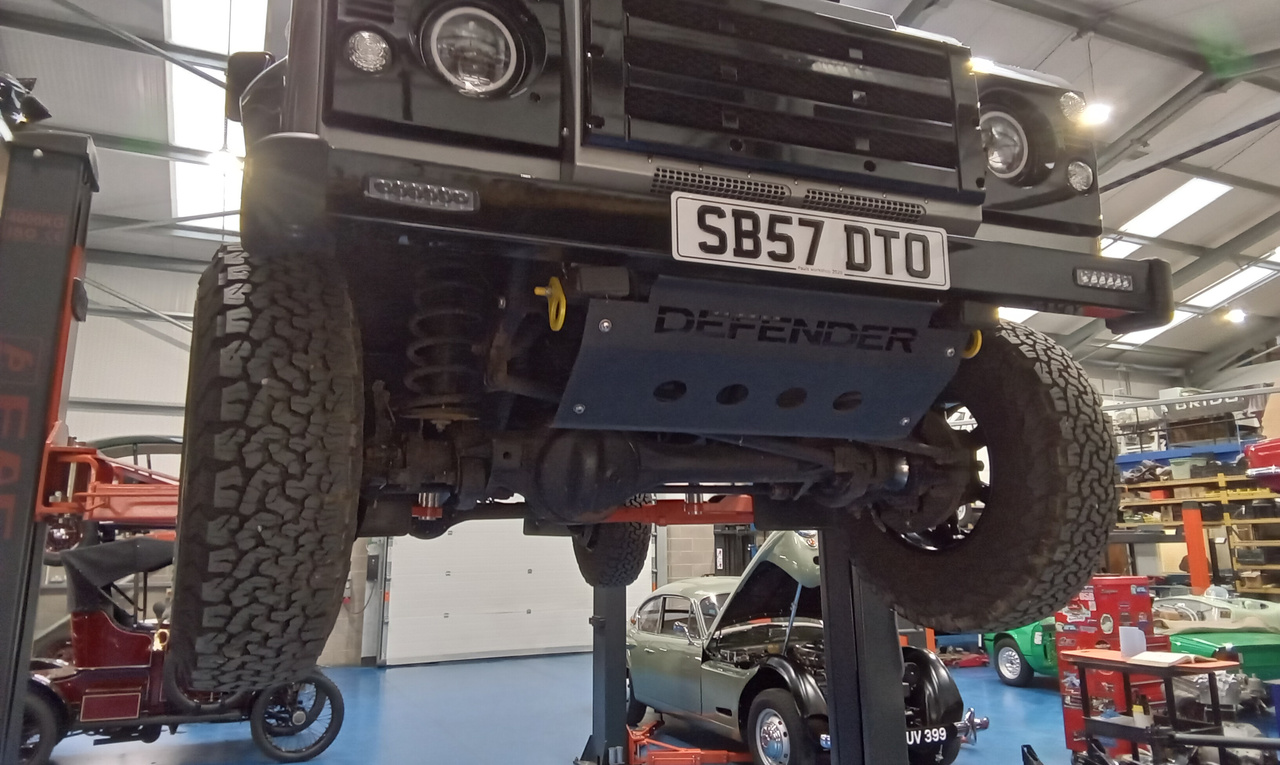


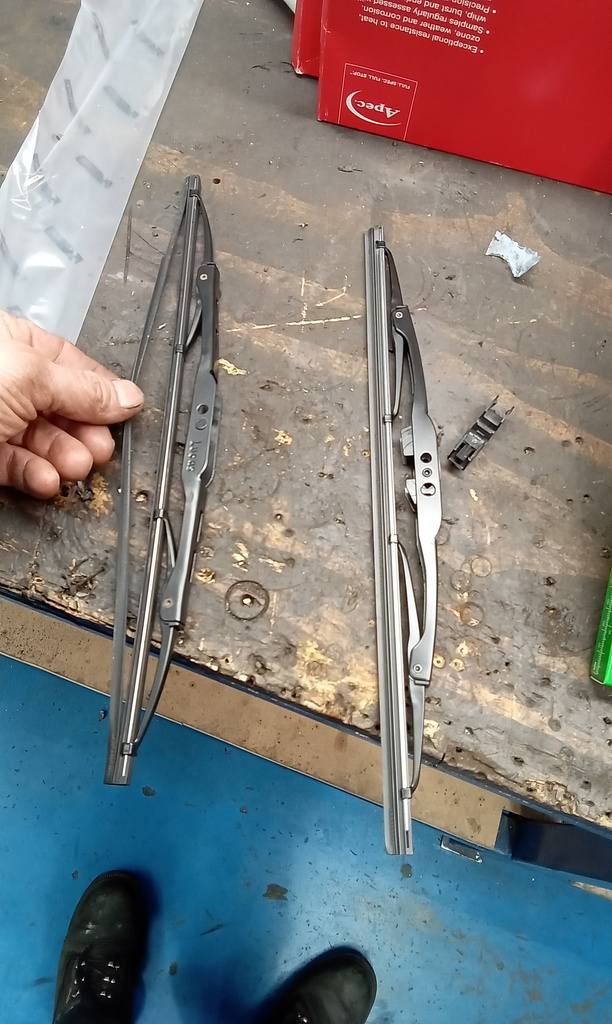


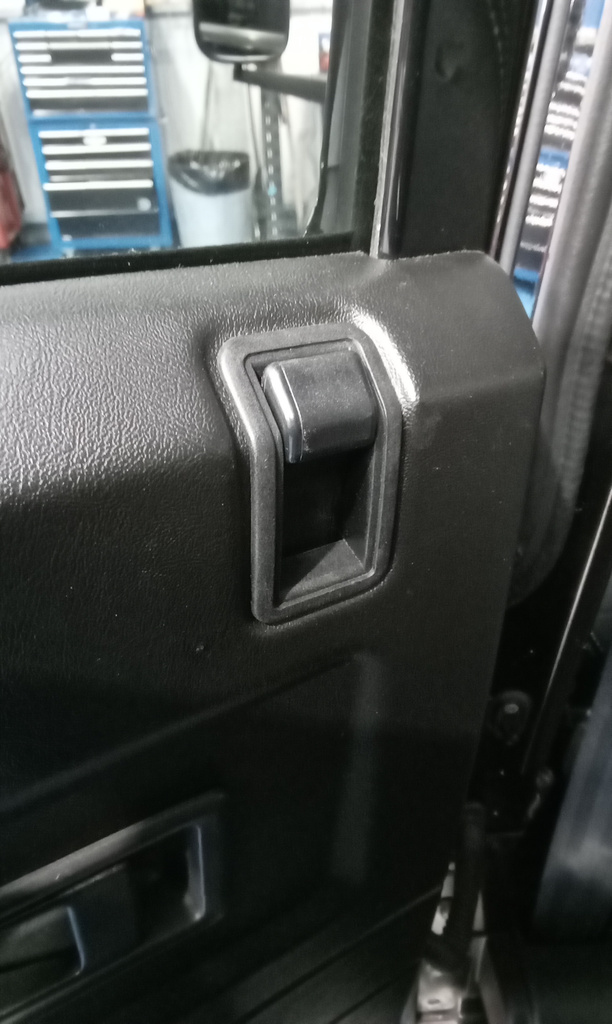
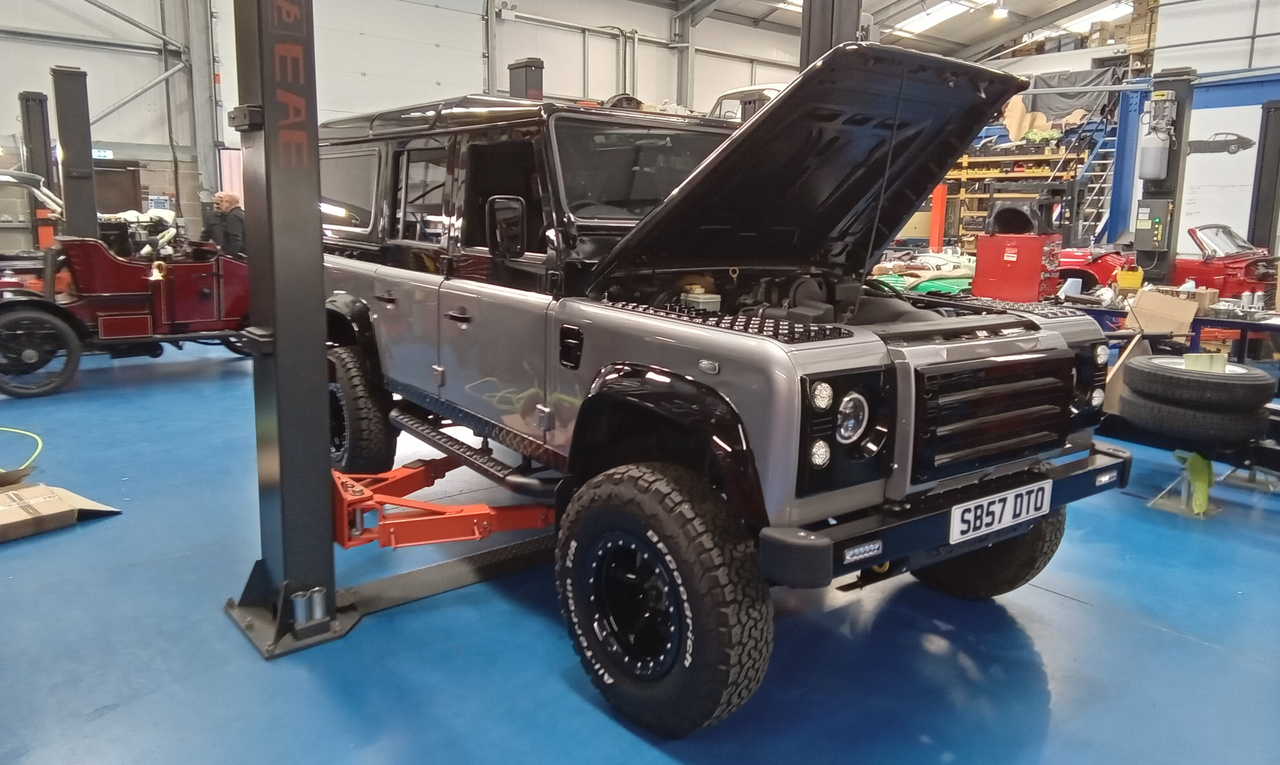
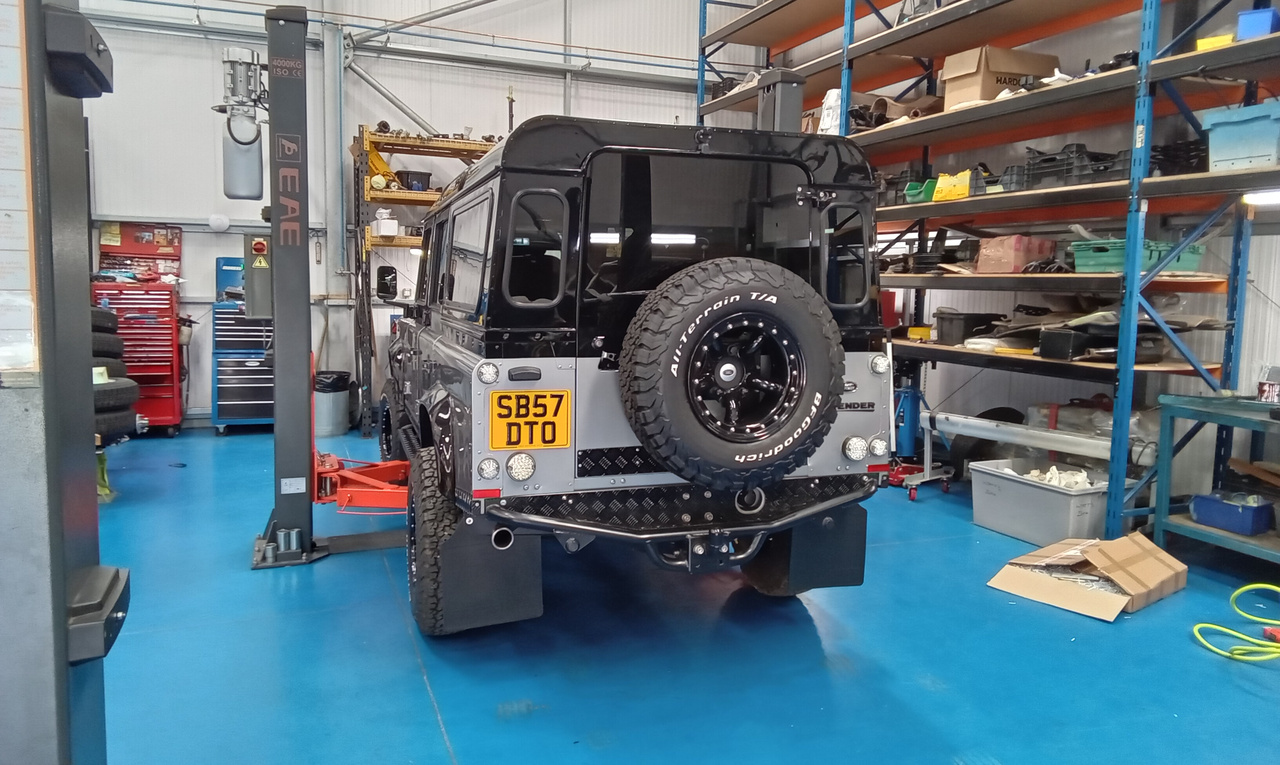


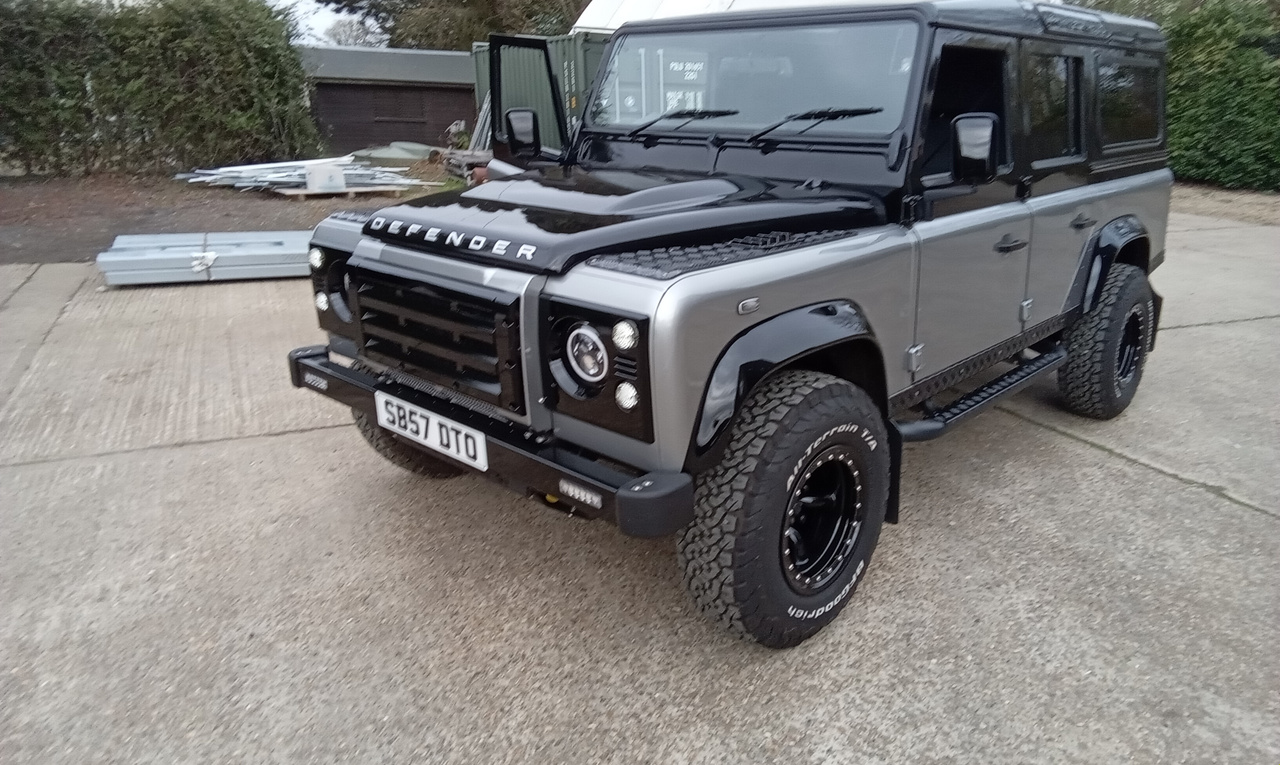
Jonn has fitted a new reverse light switch to our 2007 Land Rover Defender 110. He traced the position to the gearbox and removed the multi-plug which had shorted out. A new switch was fitted and everything worked as it should.

Chris has applied dtm gloss to various components of our 1956 Jensen 541.
While he was doing this, Paul finished wiring the loom into the dashboard and fabricated a gearbox mount. He then went on to fit the floor boards and fuel line before cleaning the gearbox tunnel ready for repair.
Once this was done, Paul modified the old bumper mounts to fit the new chassis.


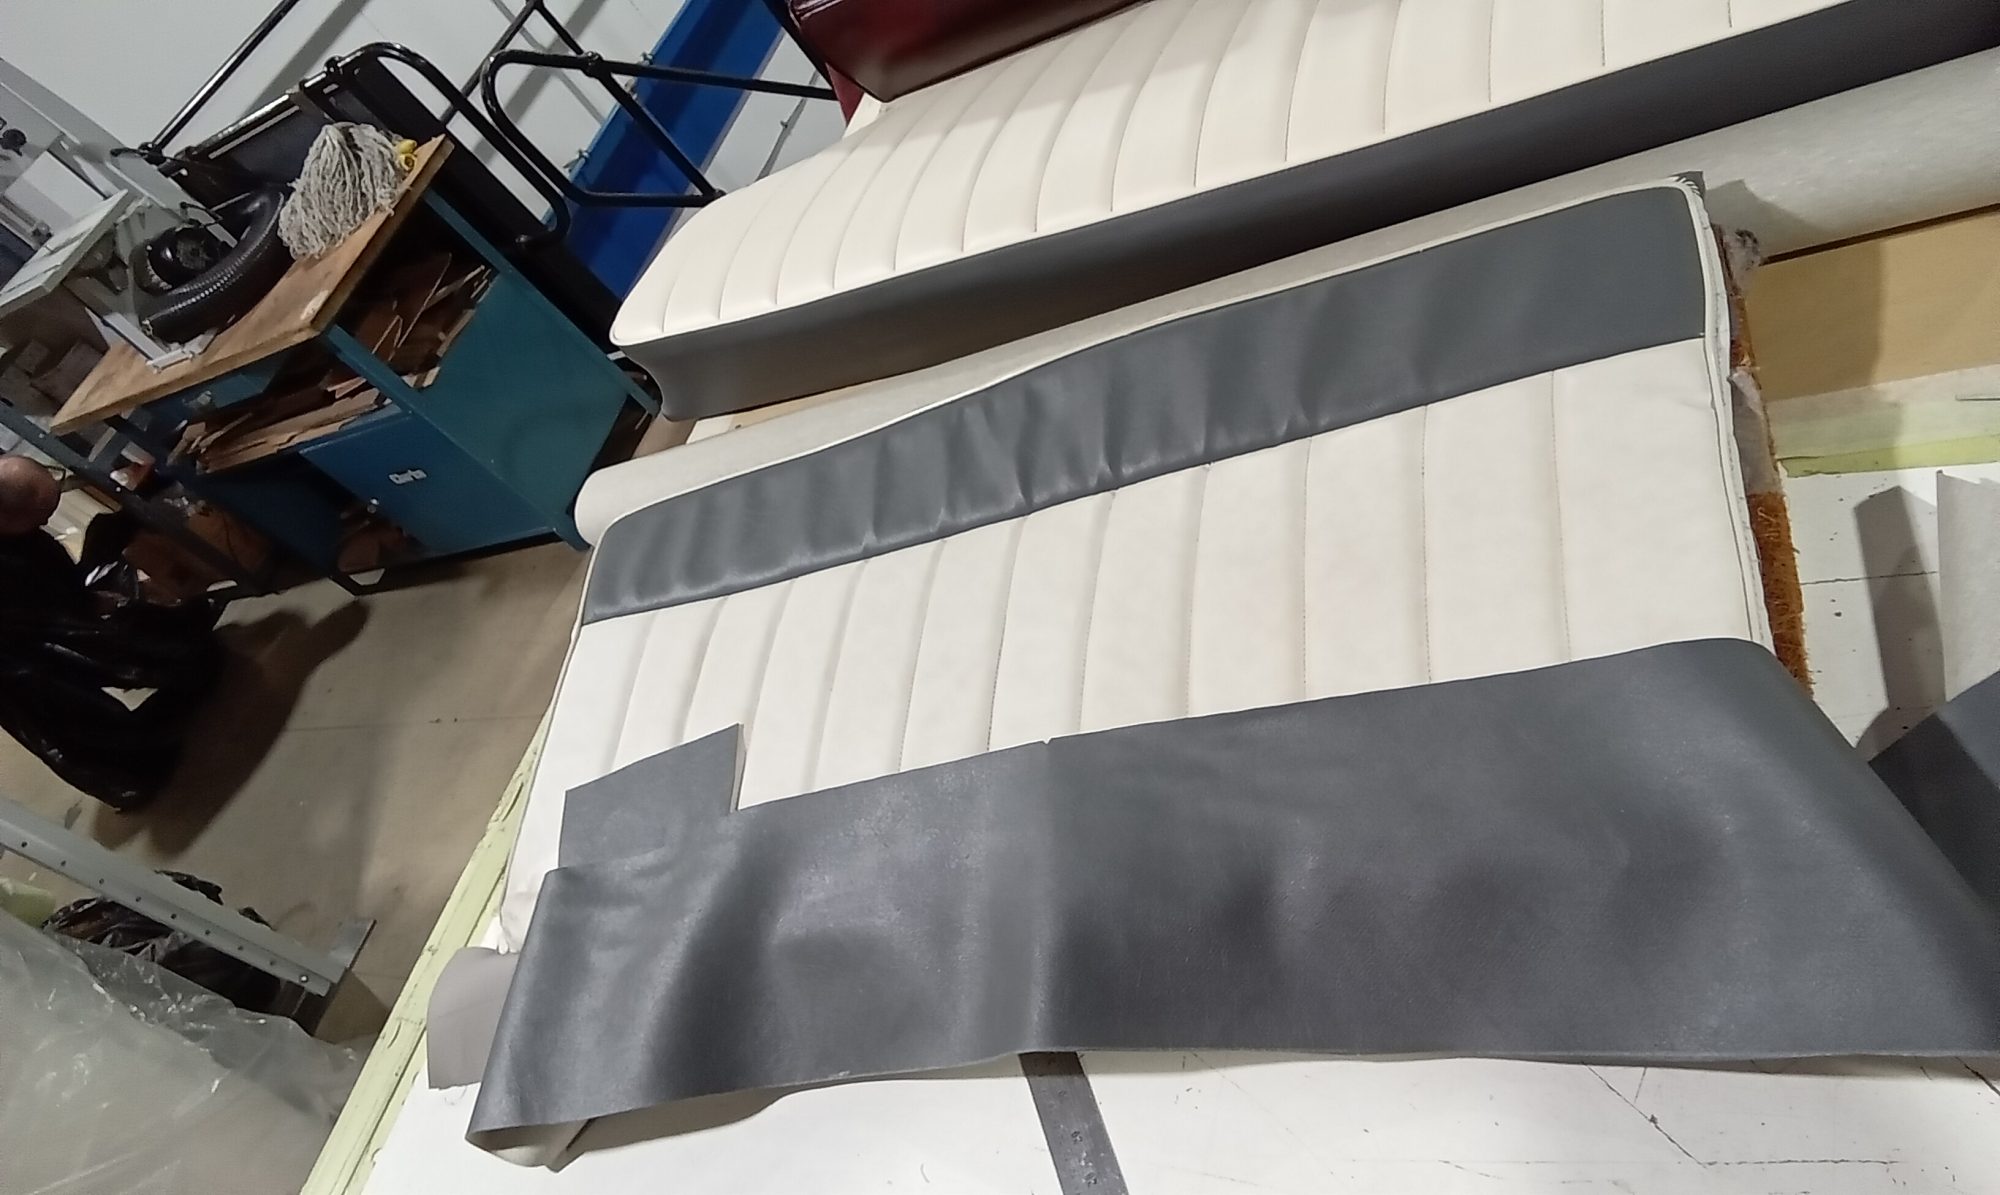
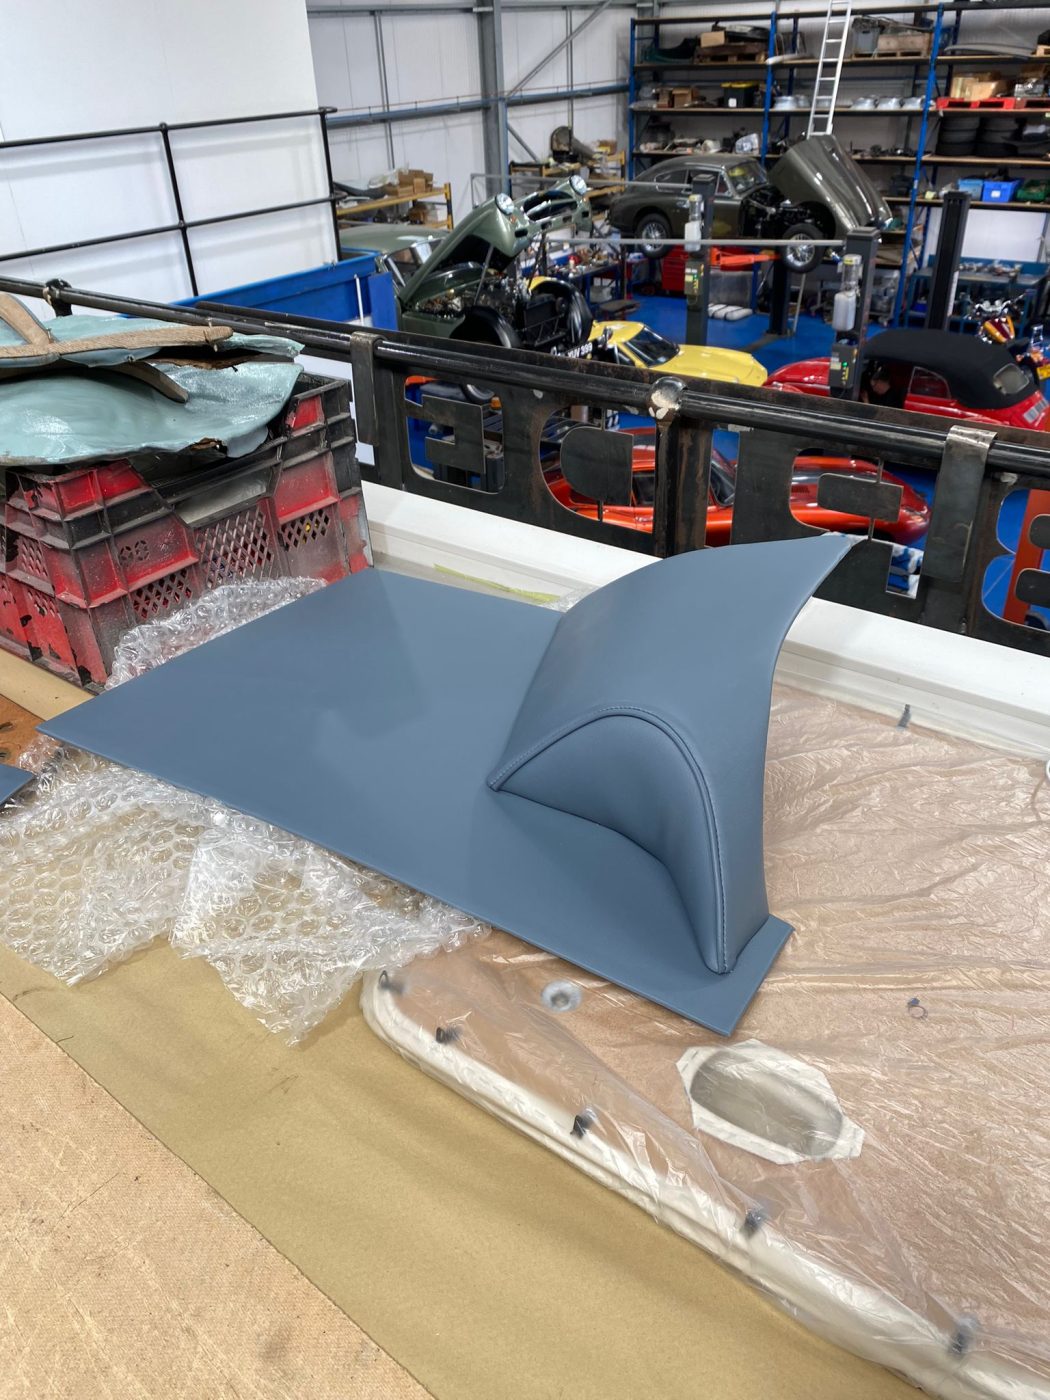
Our 1956 Jensen 541 has made a lot of progress recently.
Paul has finished the dash mounts and has started work on the wiring. After fitting the loom, he began work wiring some of the electrical components into it.
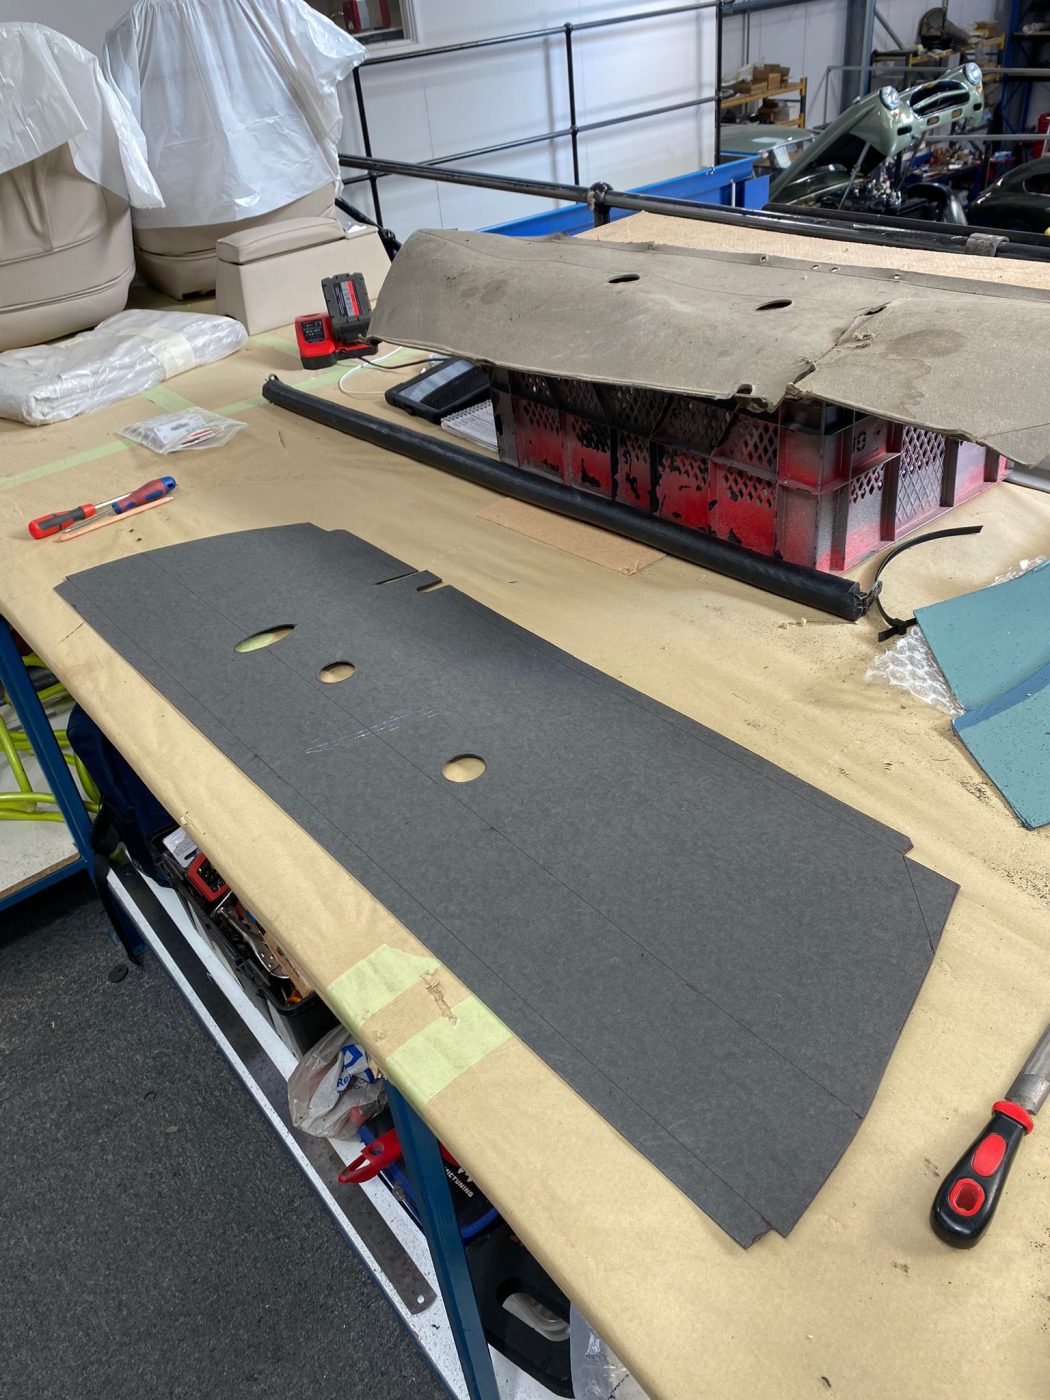
The headlining has been fitted on our 541 too. Lydia made it from a cream vinyl with an embossed pattern. New holes for the roof bars had to be drilled as the previous holes had been repaired and filled in. Lydia then heated the vinyl and pulled it into place, making sure to remove all the creases as she went. She trimmed the excess away and tidied up the edges to make sure that the rubber for the front and back windscreens fit as they should.
Lydia then moved on to the side panels. She first covered the panels in a layer of scrim foam as the fibreglass was very bumpy. This helps to smooth out the thin headlining material. She then covered them in headlining material.
Christian got involved in the recent work too by fabricating a steering column spacer.

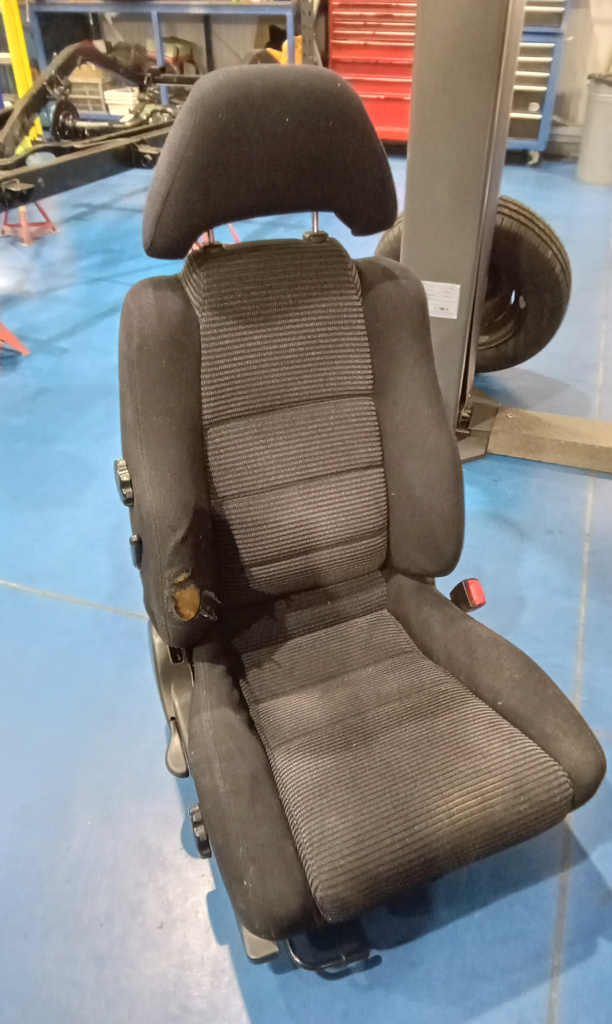
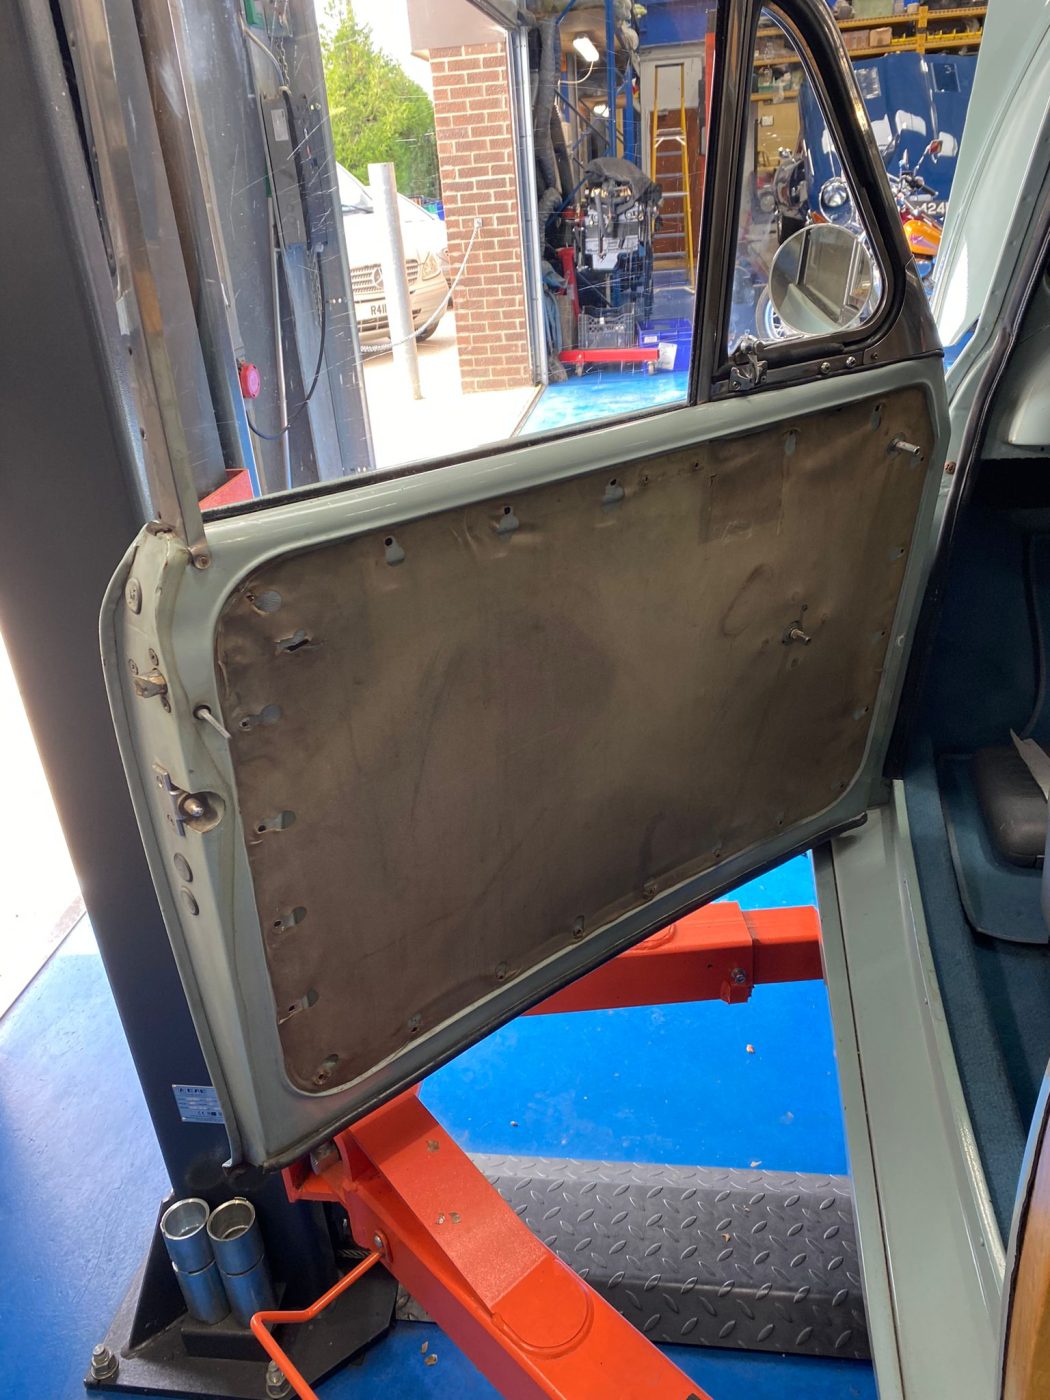
Our 1992 Toyota MR2 has been in the skilled hands of classic car technician Jonn. After he removed the driver’s seat for repair, Jonn disconnected the wiring under the seat before hoovering the space out ready for the seat to go back in once the repair is complete.
A new plastic weather shield was made for the door before the door panel was refitted. New screws were used at the bottom edge as the old ones were missing when the car arrived. Once the switch pack was reconnected, the window was tested and found to be working fine.

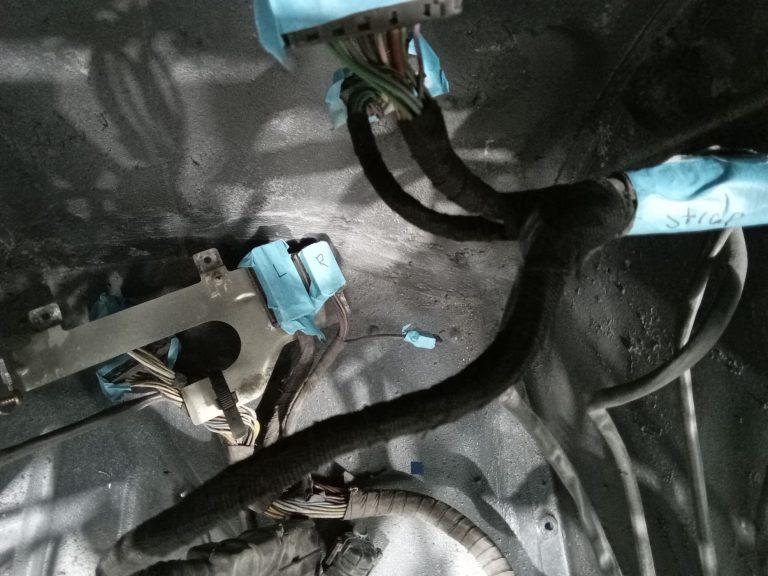
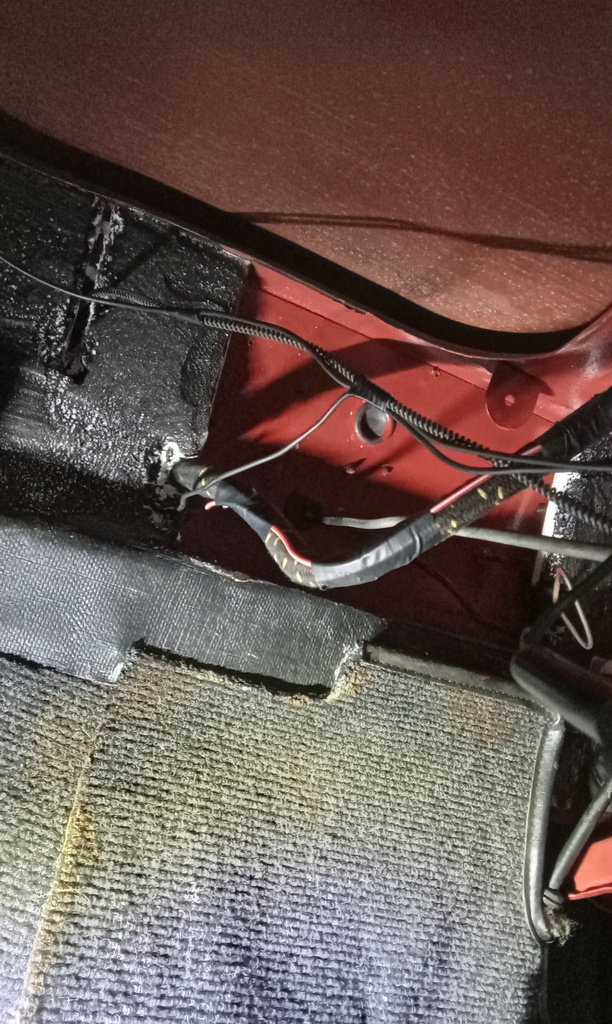
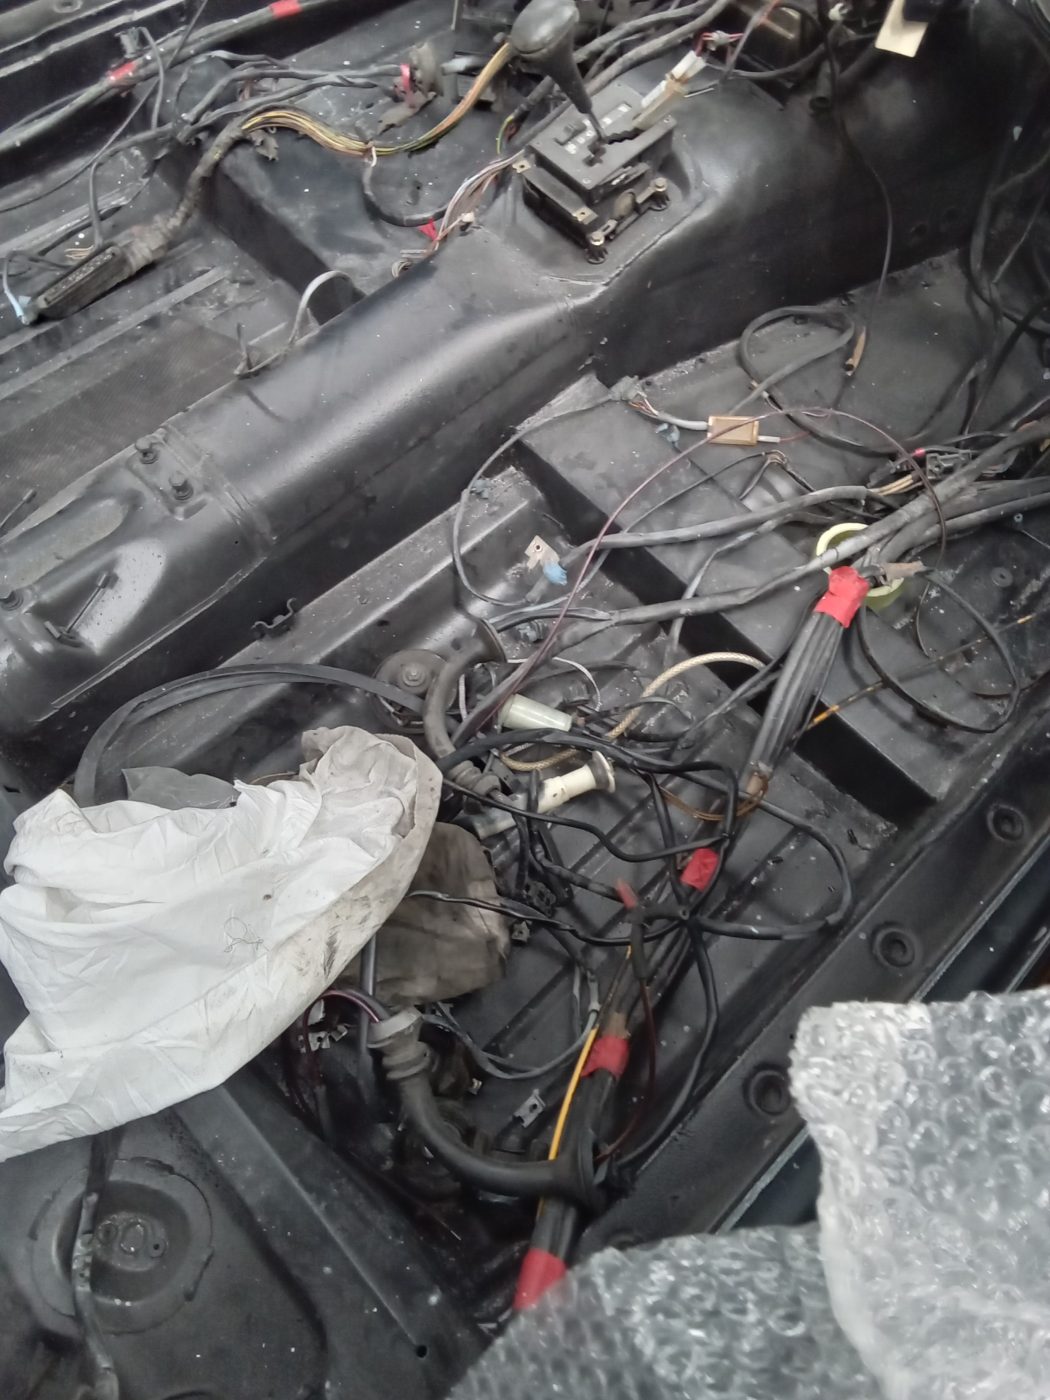
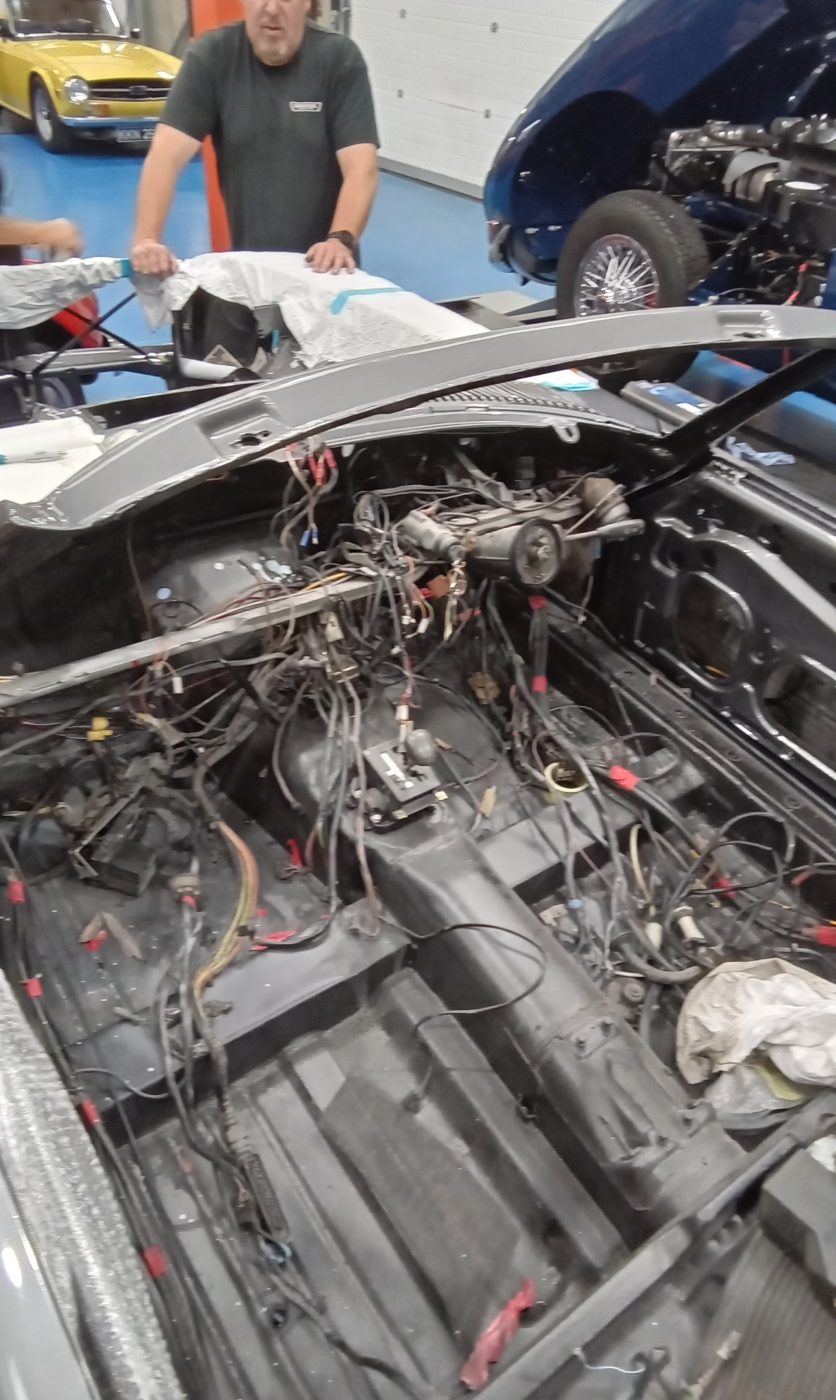
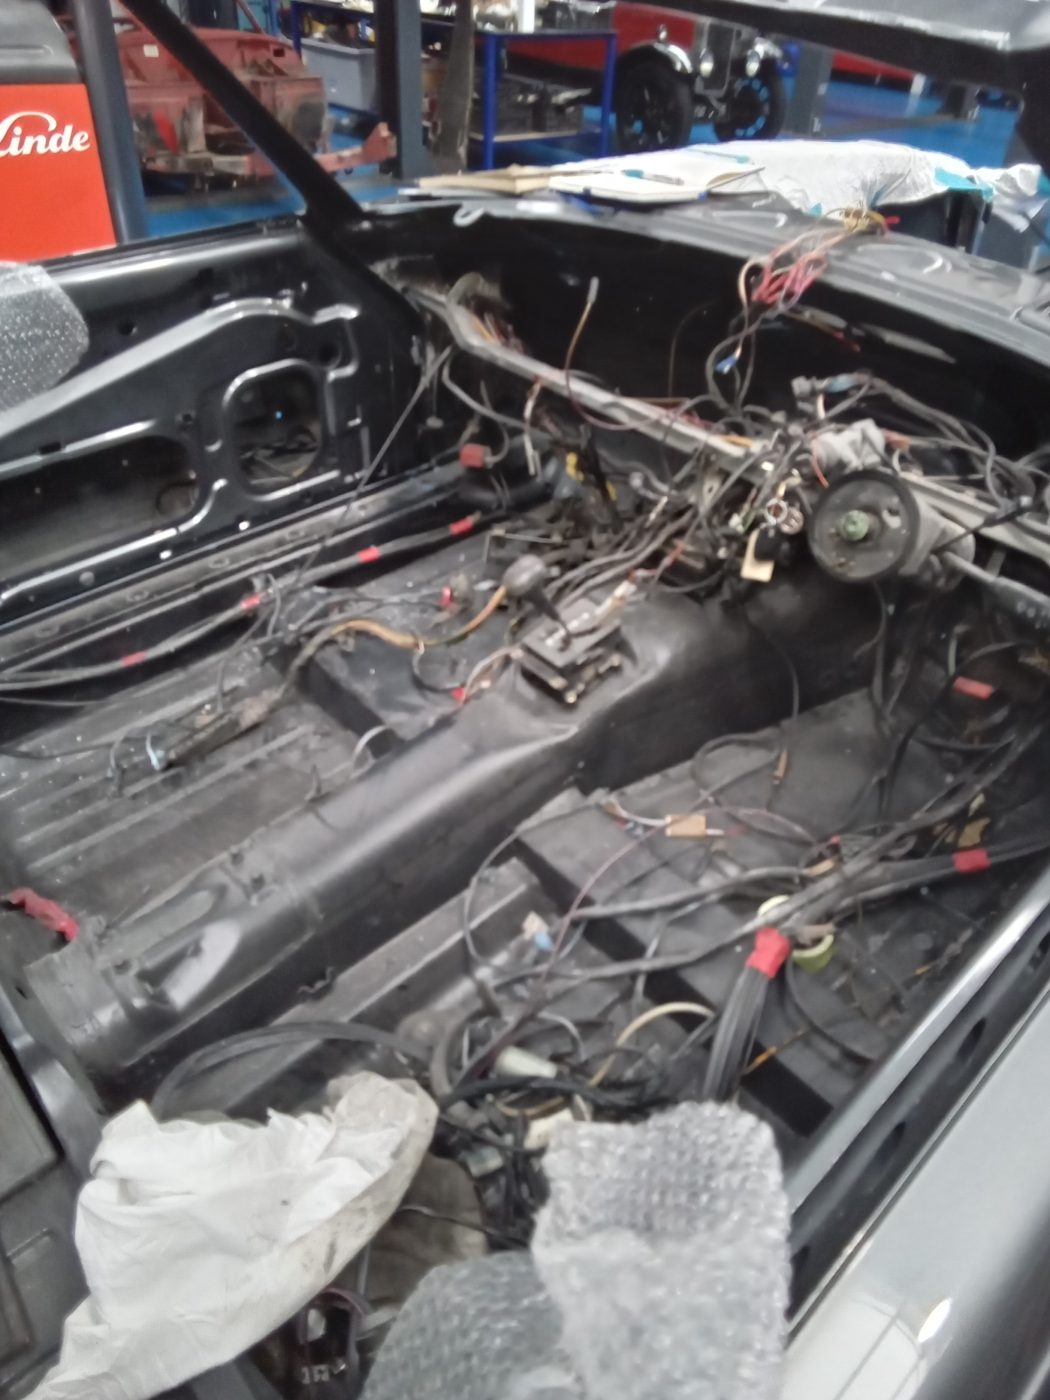
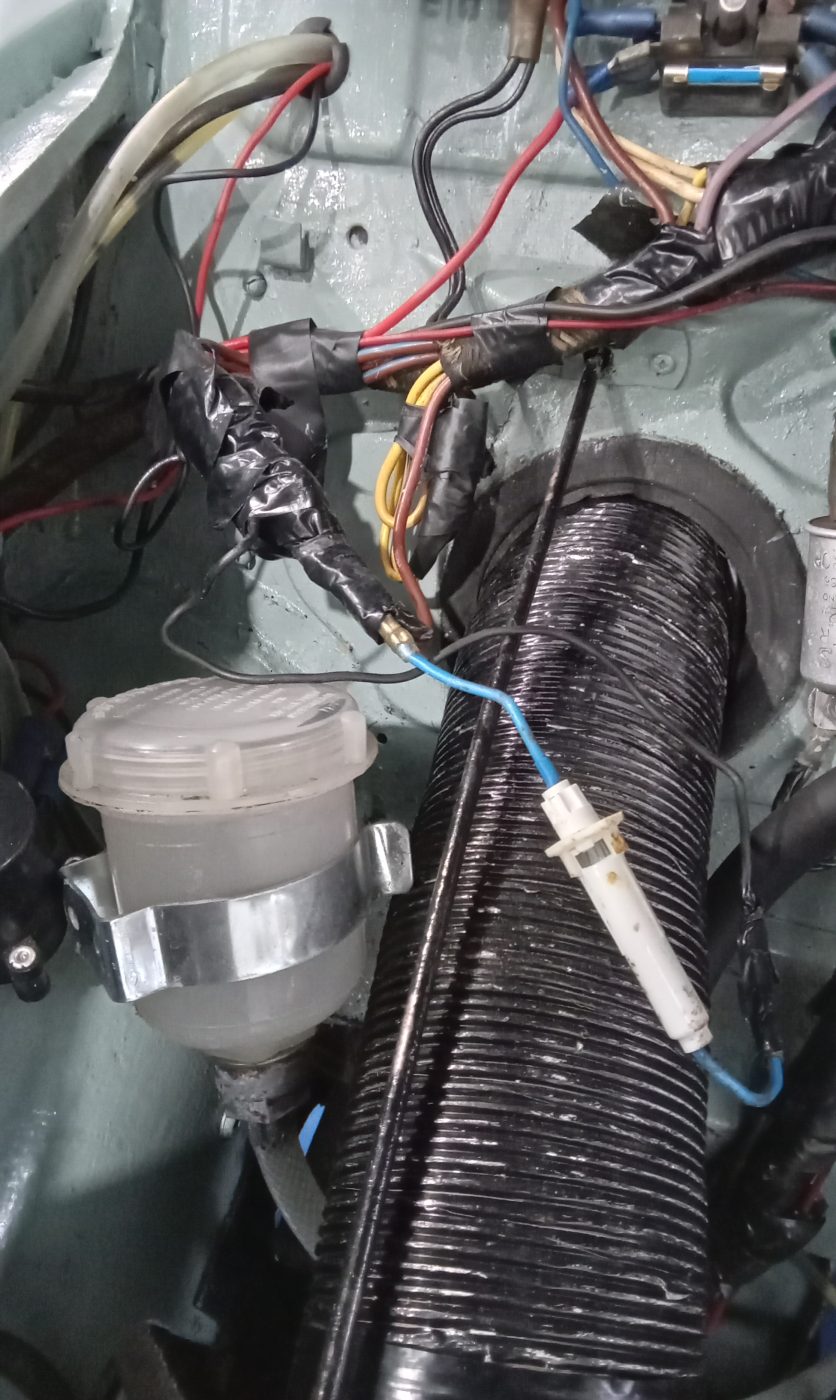
John has been cleaning the overspray and grease and oil off the wiring loom of our 1987 Mercedes 500 SL. He then started routing wiring into the correct positions.
The other Jonn then continued to sort/route the wiring before mounting the heater valve to the bulkhead. The ABS pump was mounted and Jonn repaired and rebuilt the heater fan and mount in place.
Jonn then drilled the hole in the nearside bulkhead and routed the bonnet release cable through.
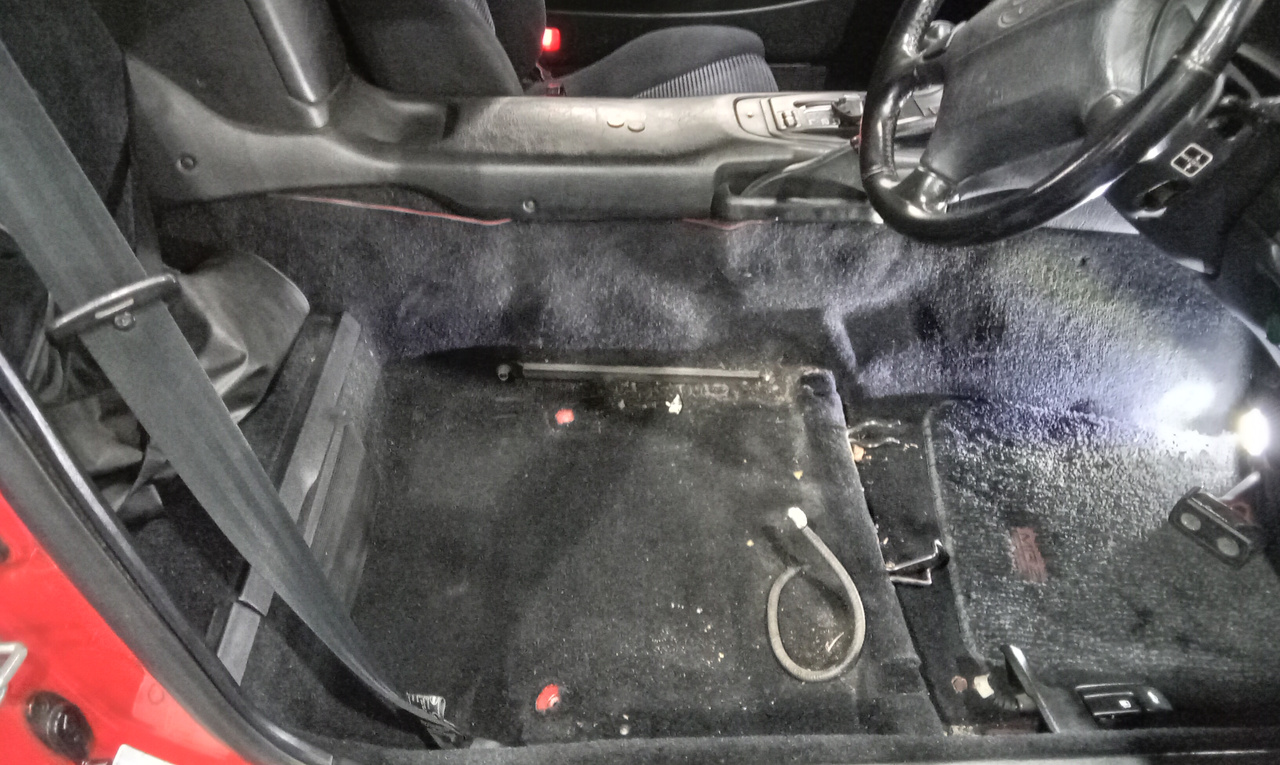
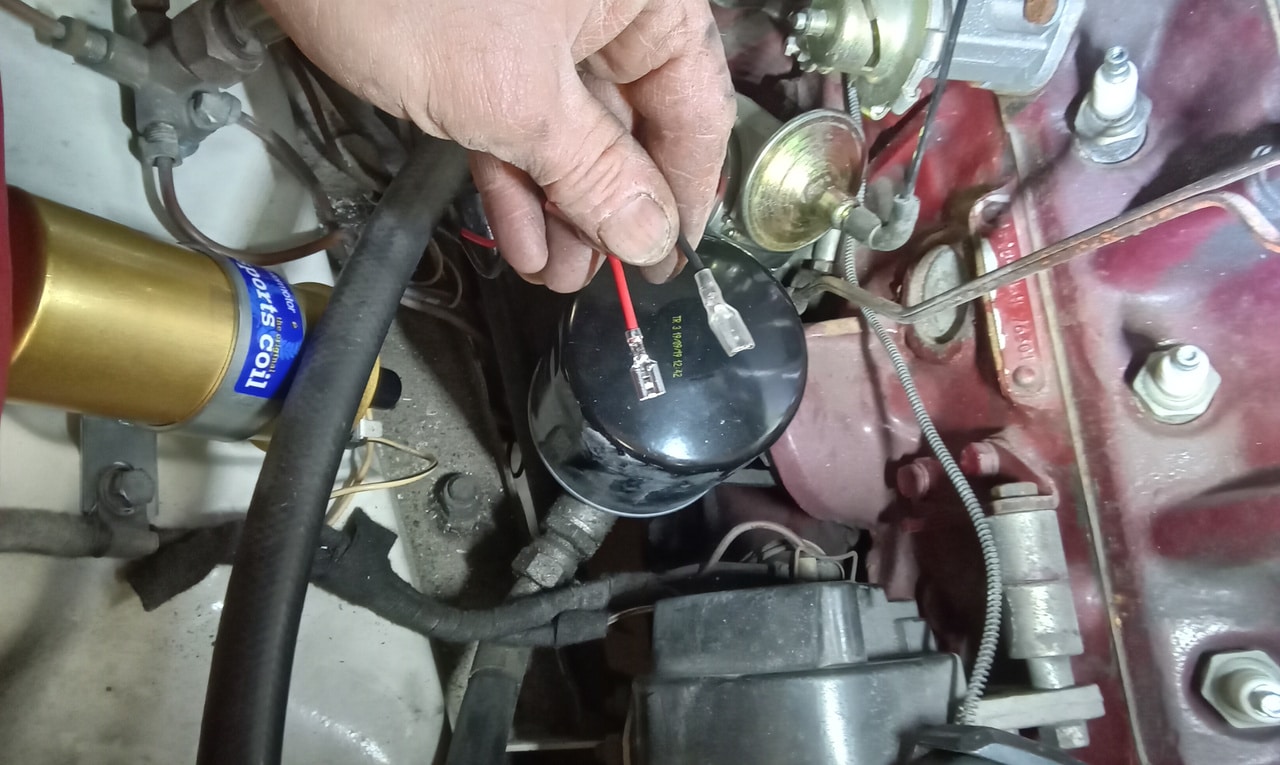
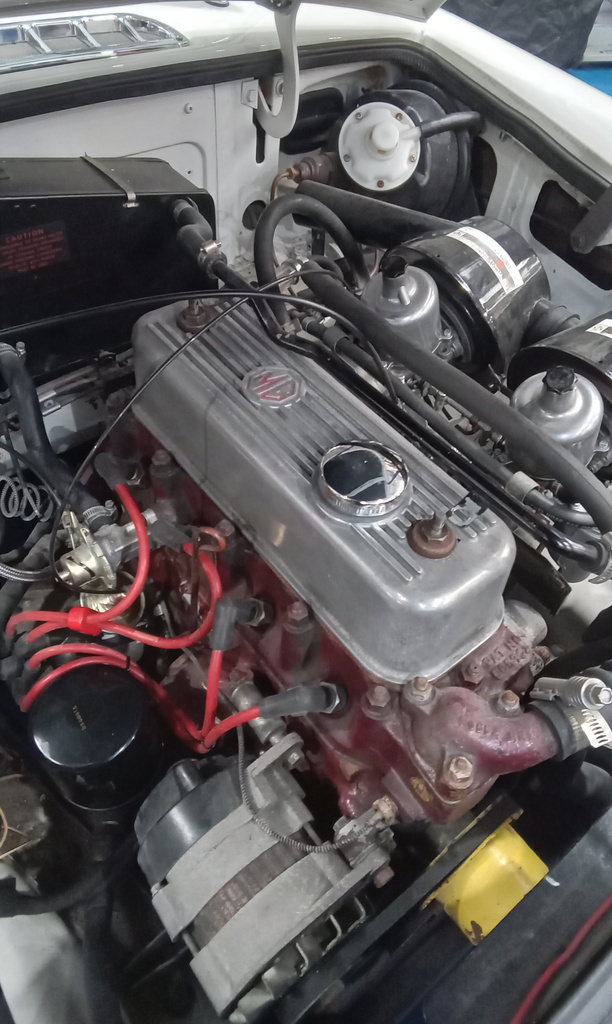
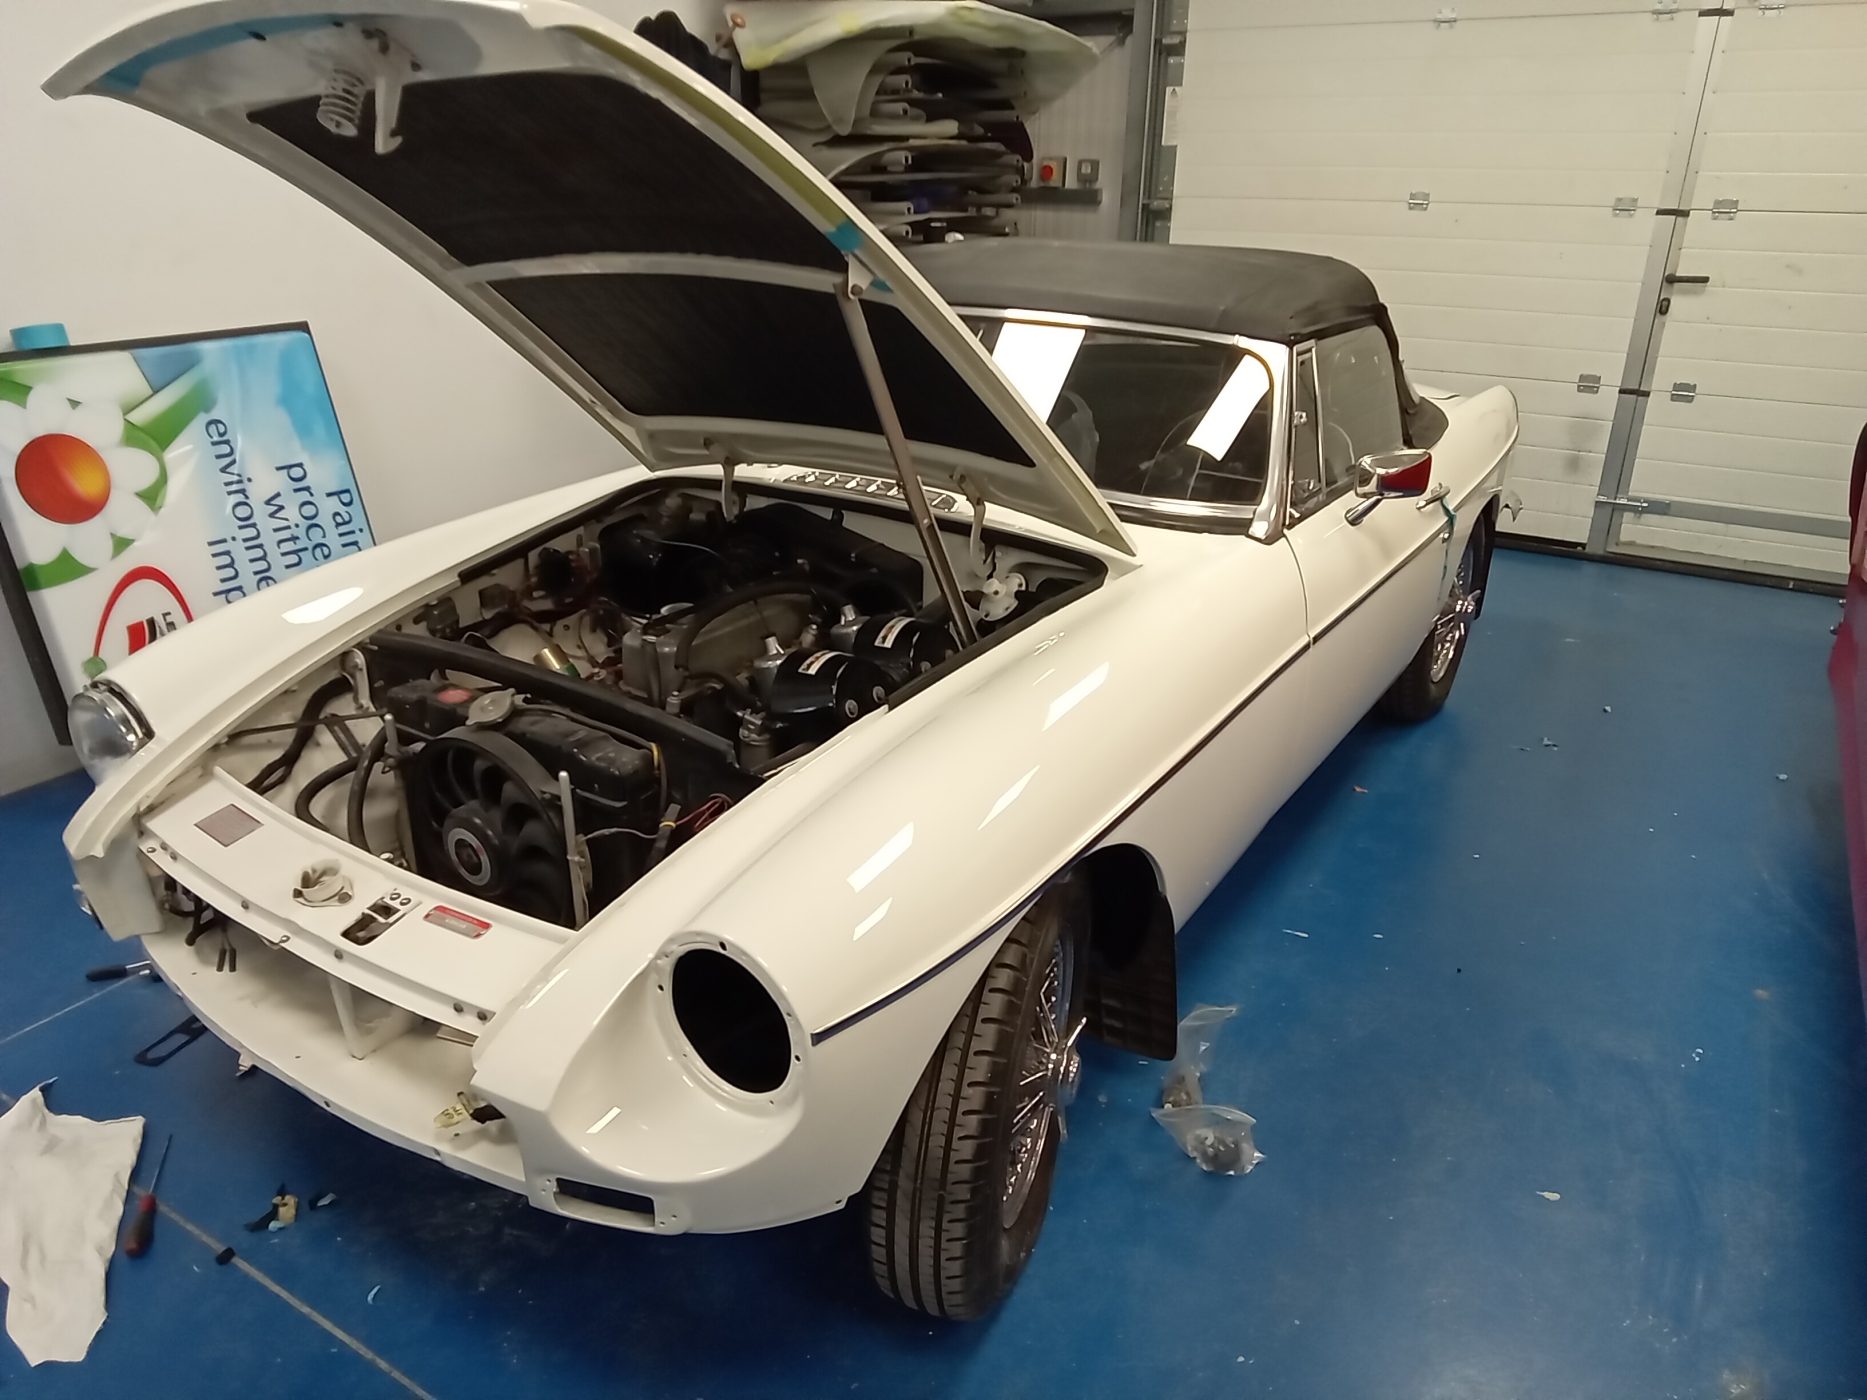
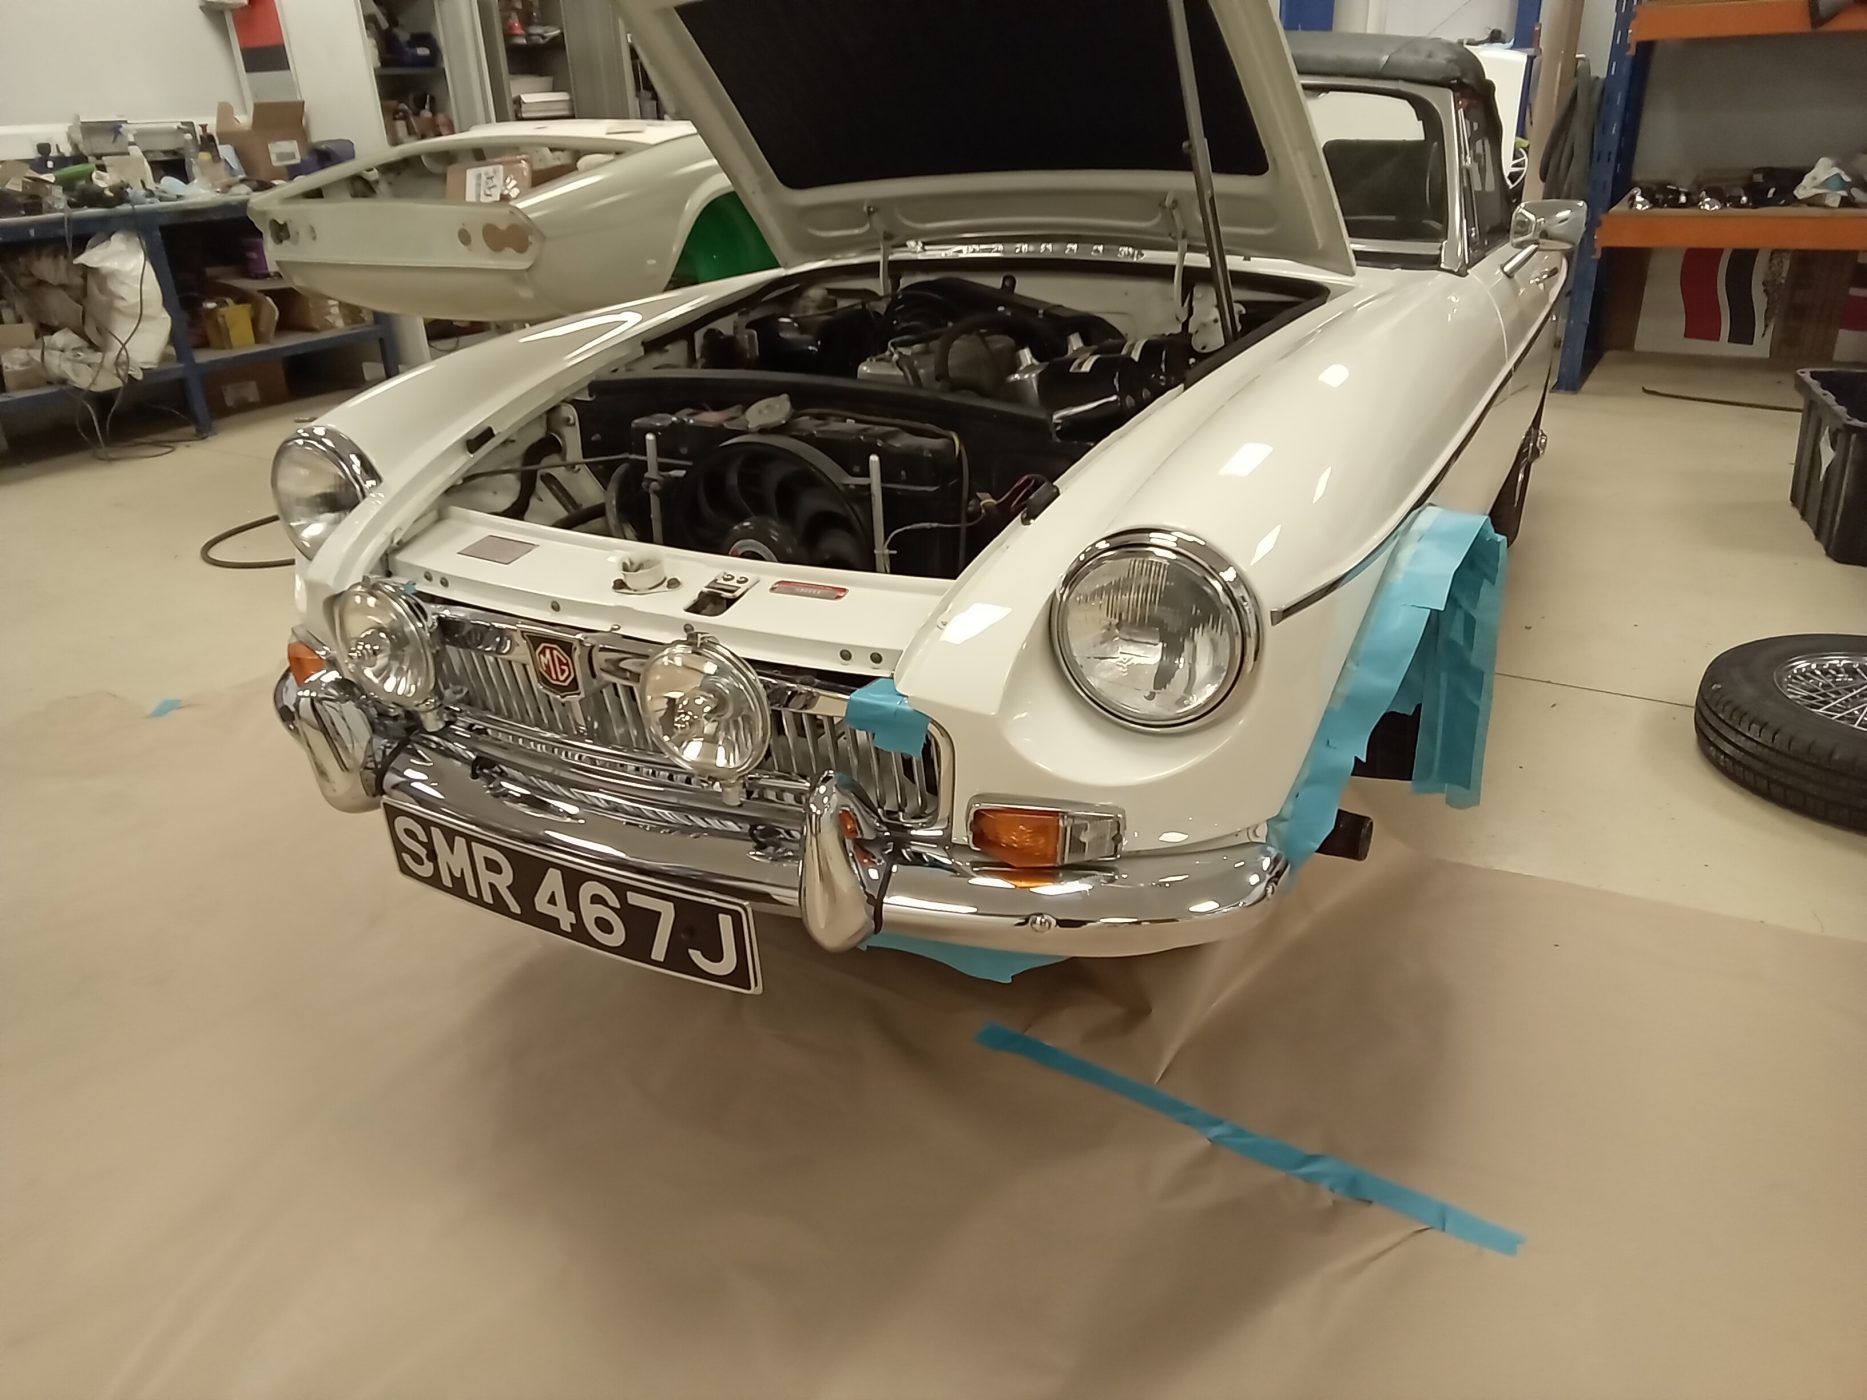
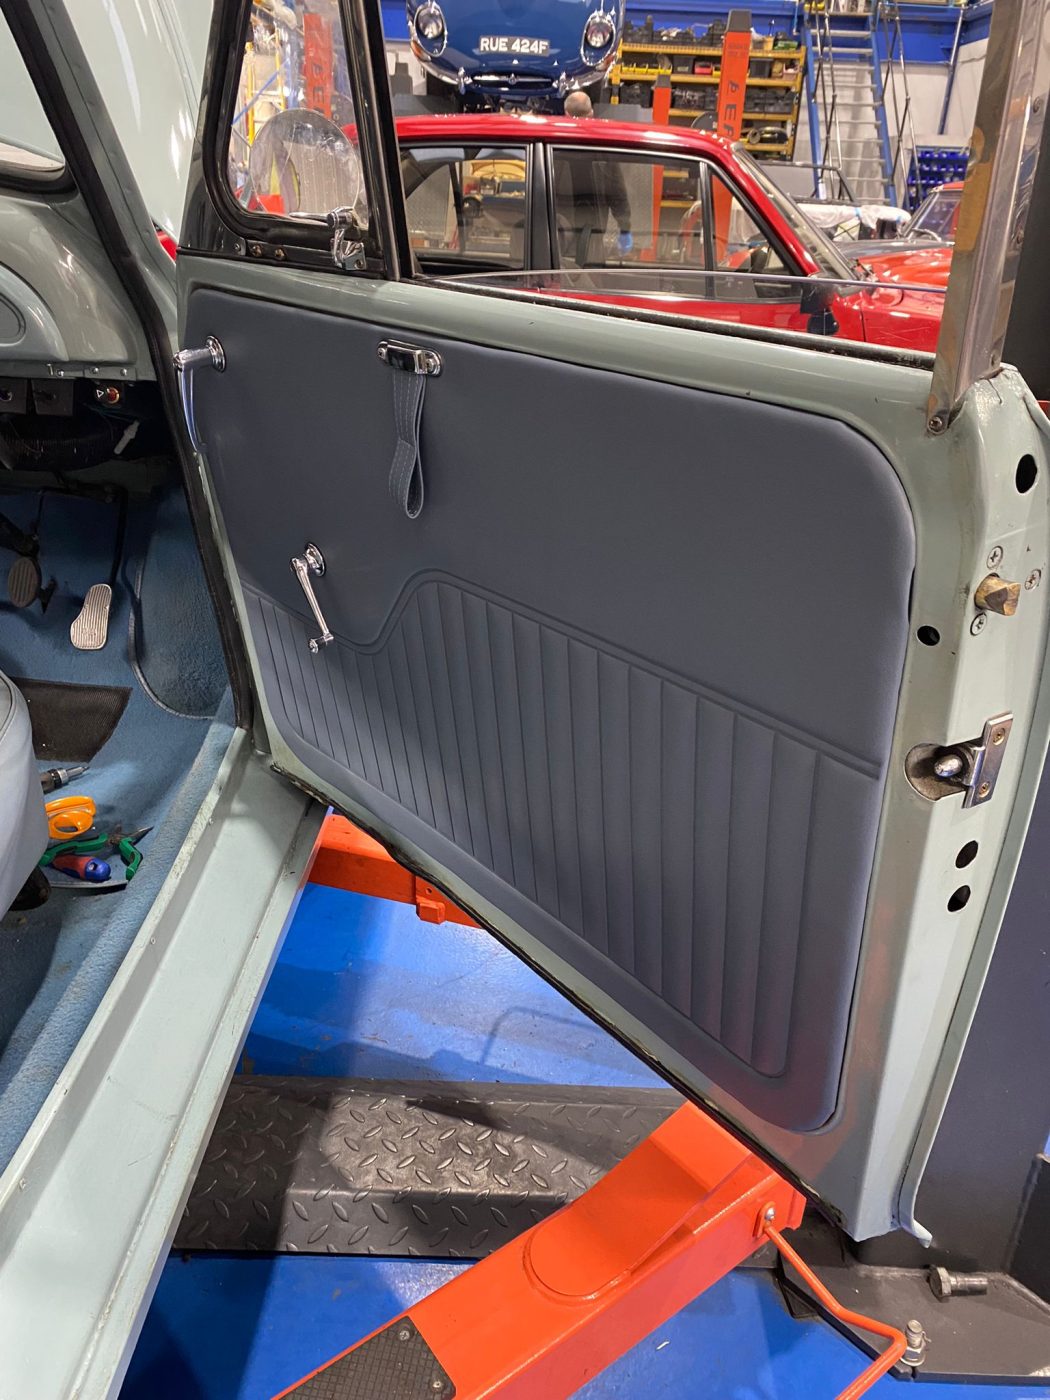
Our 1970 MGB Roadster has come to the end of its time in the Bridge Classic Cars paint shop. It recently moved into the main workshop where classic car technician Jonn has been giving it some attention.
After removing the old coil, Jonn turned the engine over and aligned the timing marks. He then removed the old distributor and swapped over the distributor clamp to the new distributor.
Jon cut the wires to length and taped them up before soldering the new terminals and connecting them to the coil.
While following the setup instructions for the distributor, Jonn found that the engine code is 18GB and is not listed in the paperwork for the distributor, so he was unable to select the correct torque curve from the list.
Jonn set it to number 3 on the list – timing static at 7 btdc, stroboscopic timing at 17btdc. He swapped the HT leads to a new cap and connected. During a road test, Jonn stopped to adjust the timing a few times and to tighten the distributor clamp.
He then cable-tied the wiring before removing the rocker cover and adjusting the tappets. Number 7 appeared to have wear and valve clearance was large.
Further investigation is needed.


Bridge Classic Cars workshop manager John has been sorting out the routing and assessing the condition of the wiring in our 1987 Mercedes 500SL.

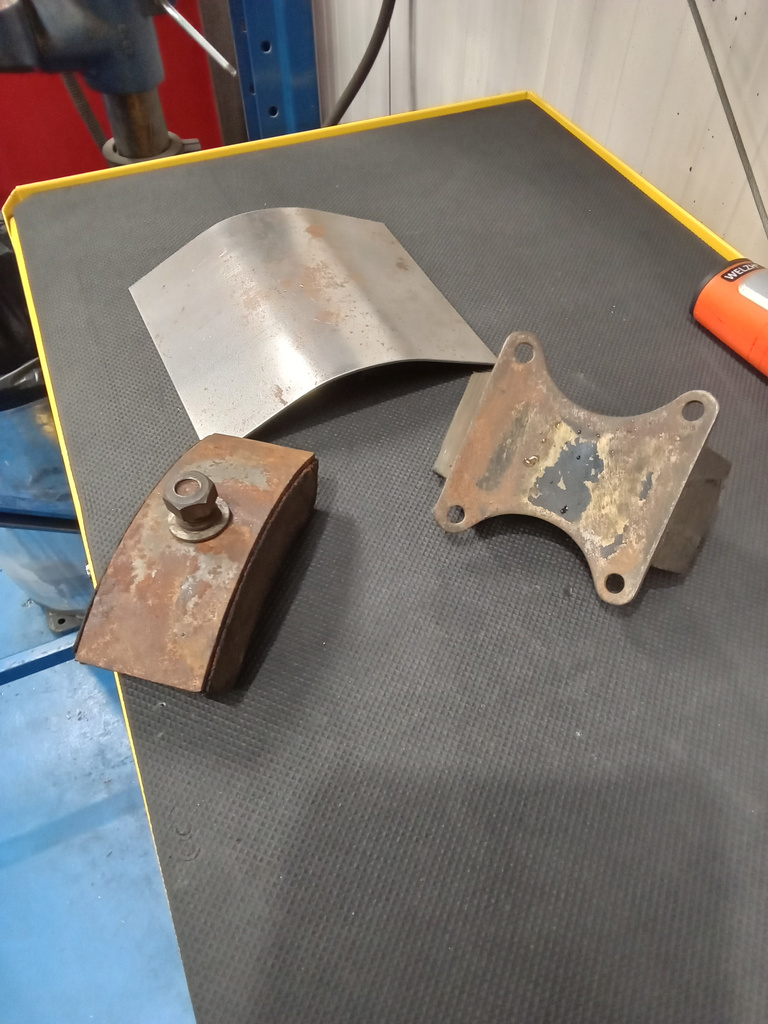
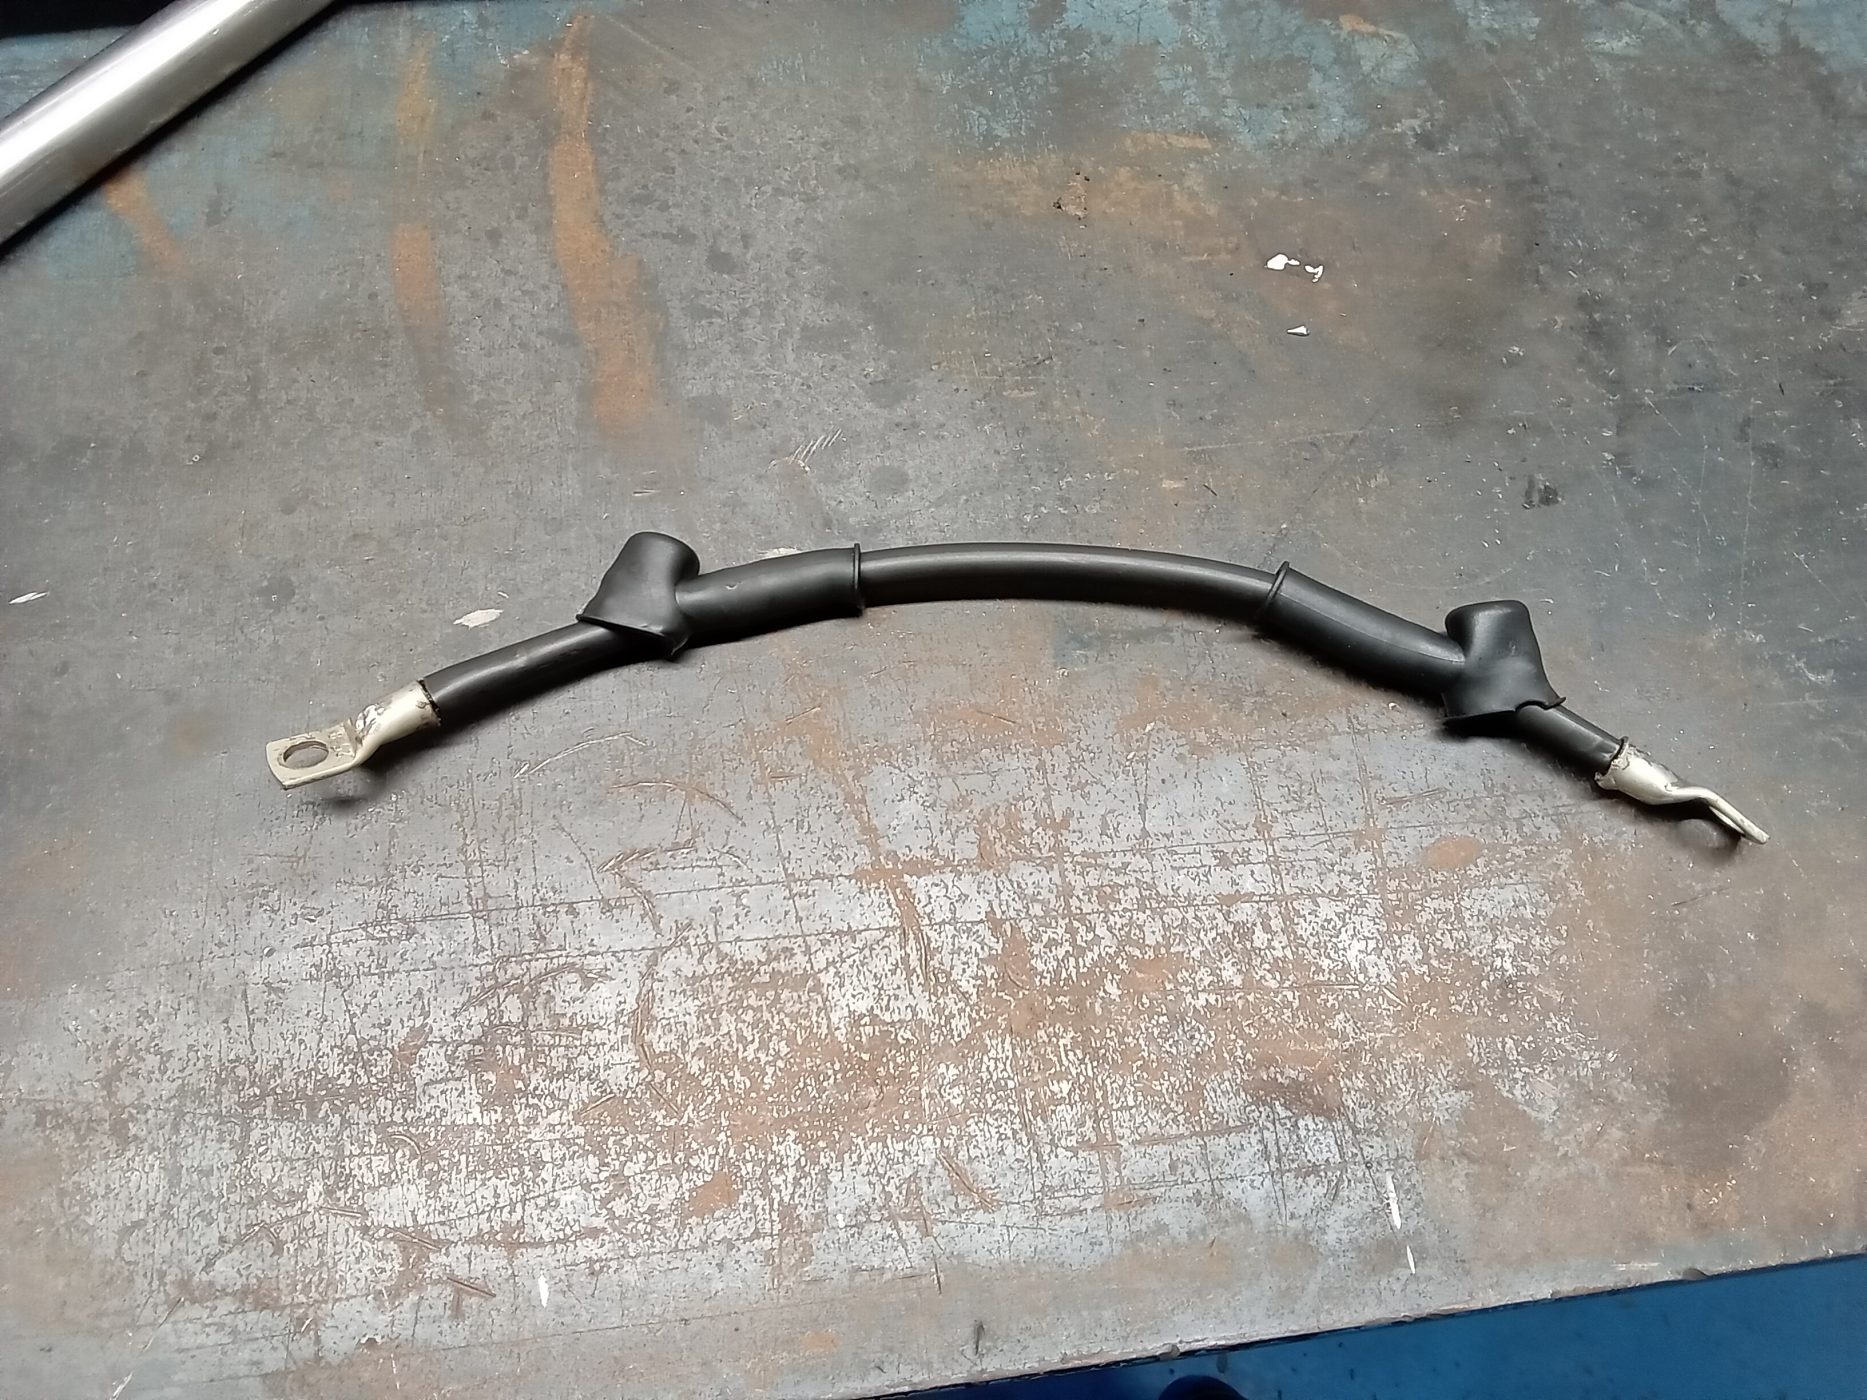
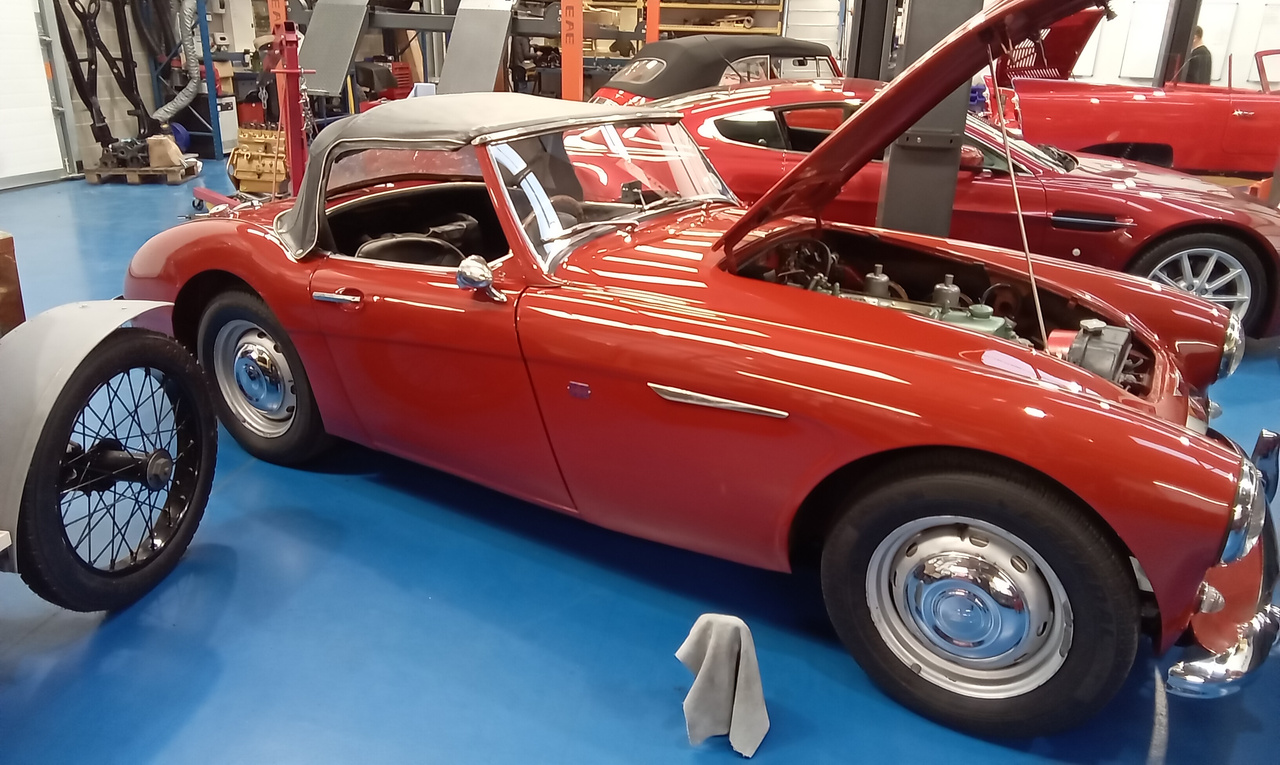
We currently have 3 Aston Martin DB2/4s in the Bridge Classic Cars workshop. Out of all of them, our 1955 Aston Martin DB2/4 Mark I is the furthest along its restoration journey.
In fact, it is coming to the end of its time in the workshop, and preparations have already begun to complete road tests and alike ready for it to go home to its owner very soon.
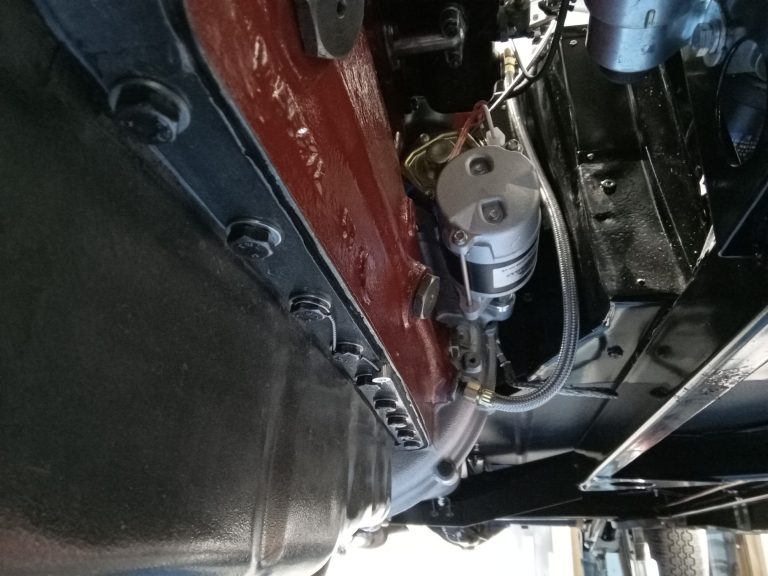
Before we can fire it up though, classic car technician Paul fitted a new starter motor as well as making and fitting a new main cable.
The video of our Aston Martin DB2/4 firing up for the first time is coming soon…

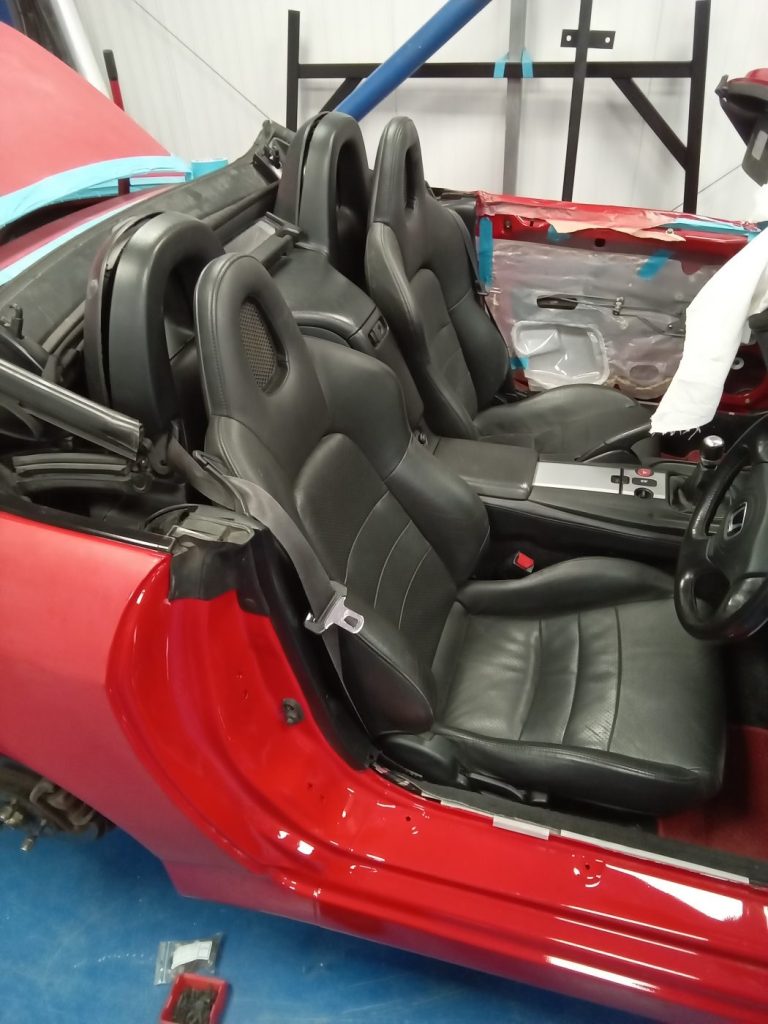
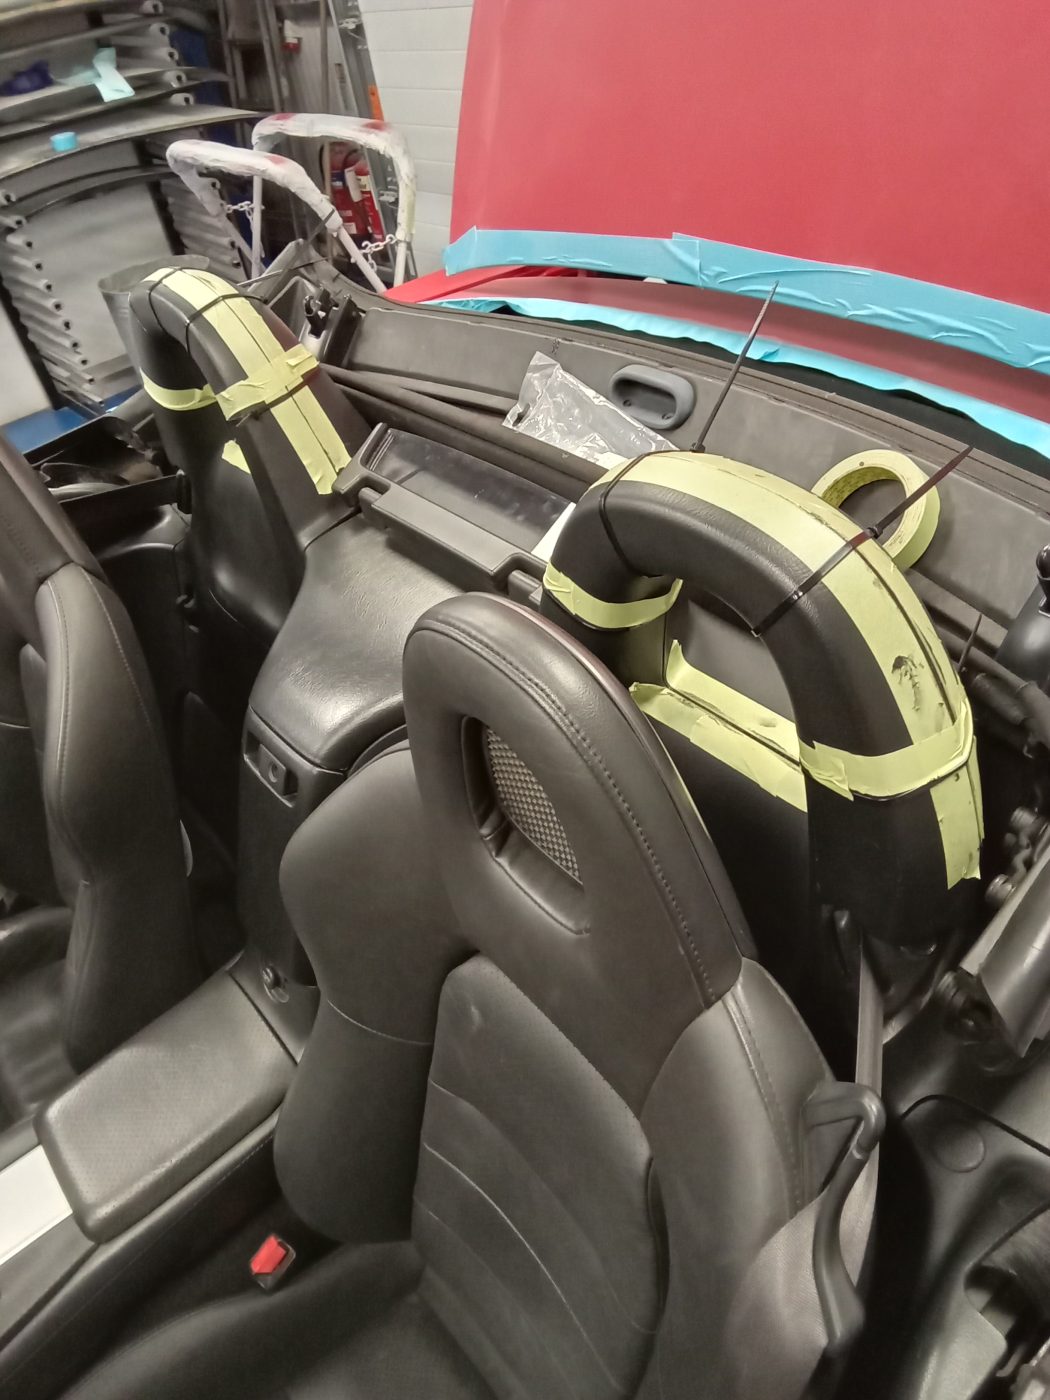
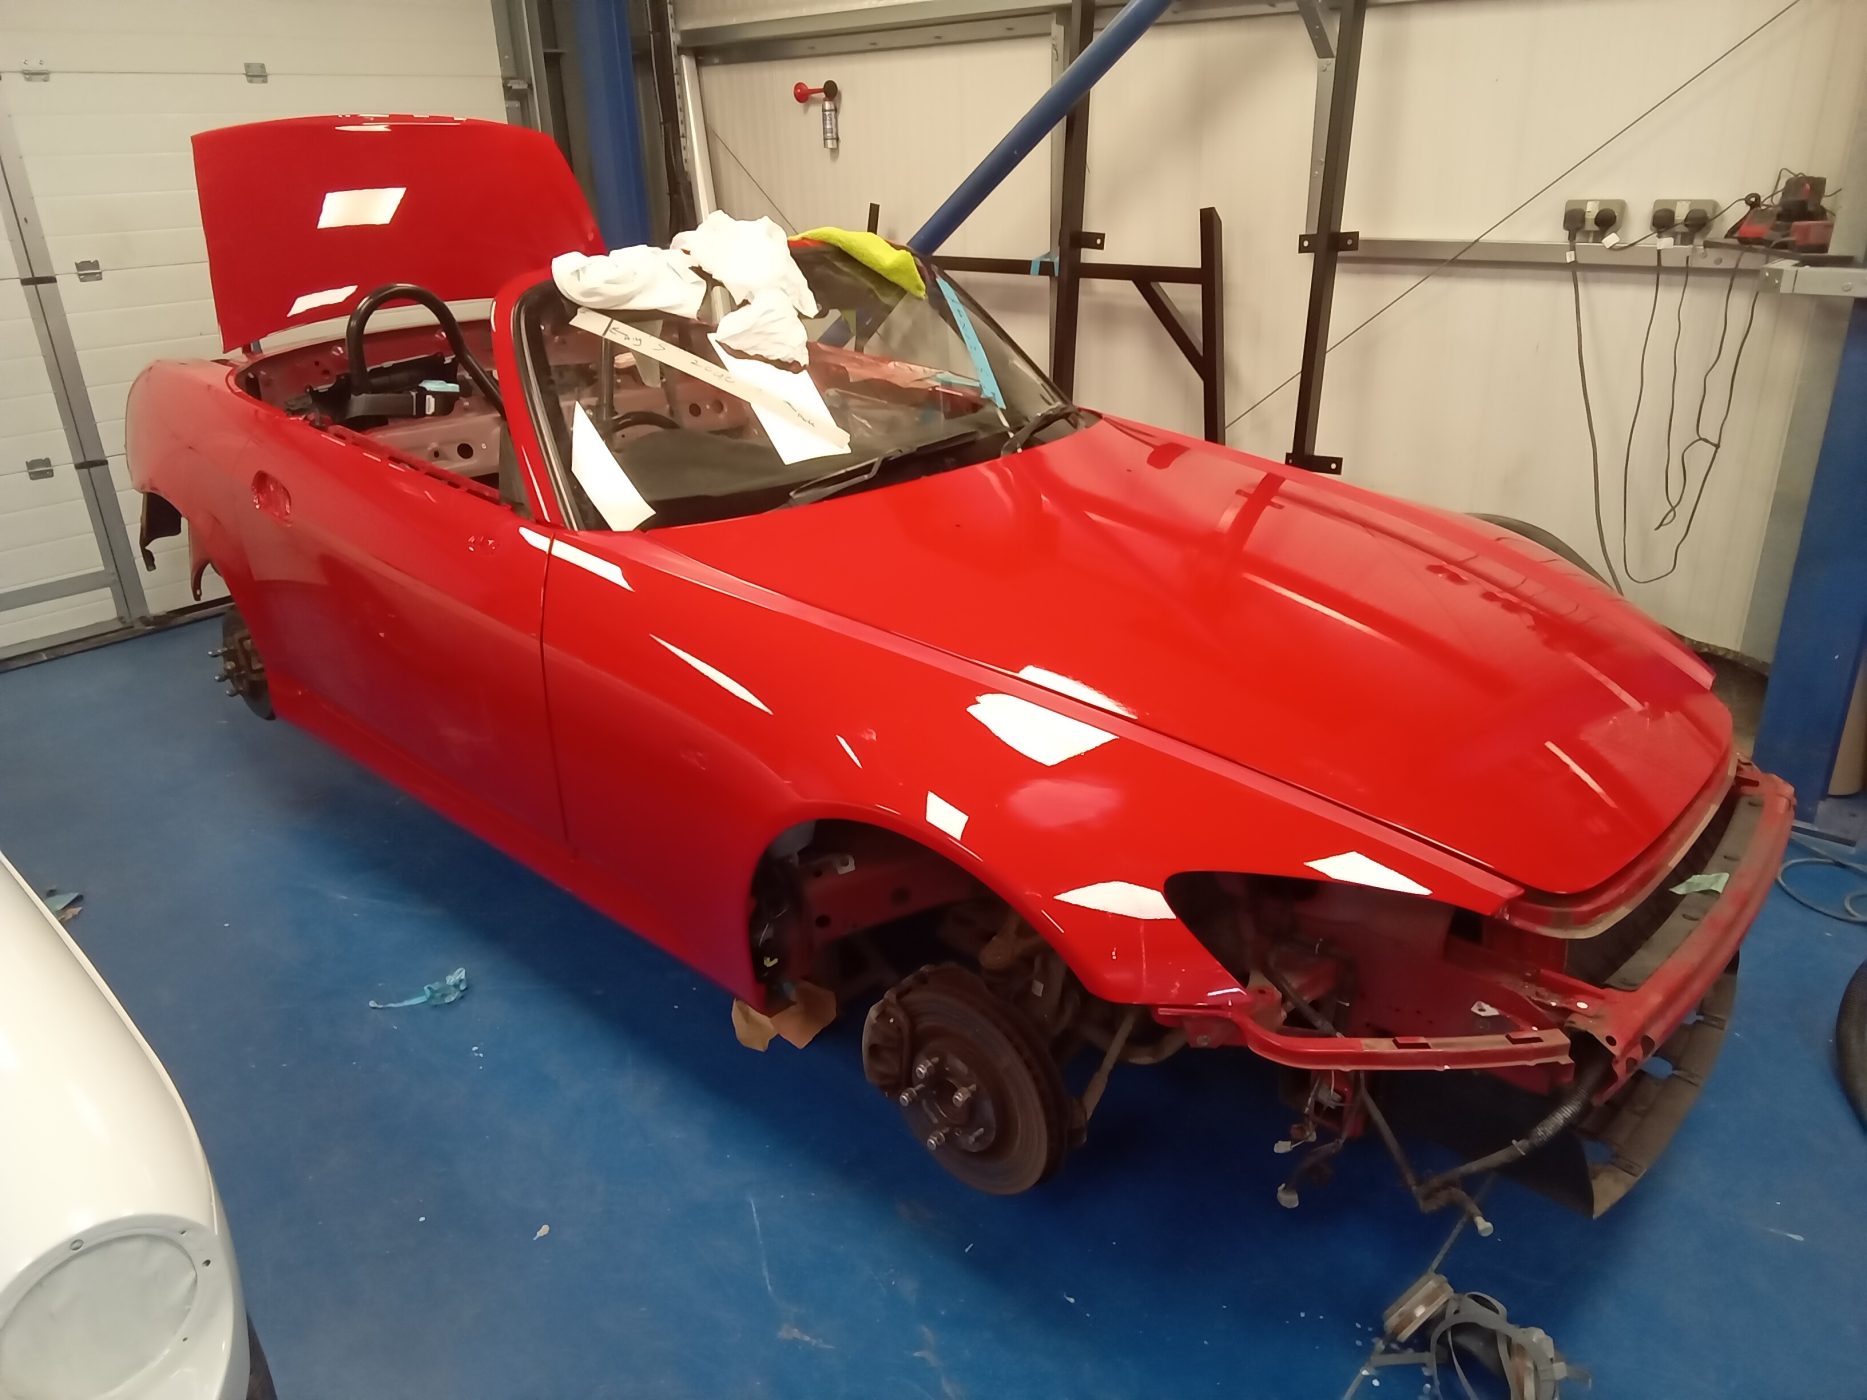
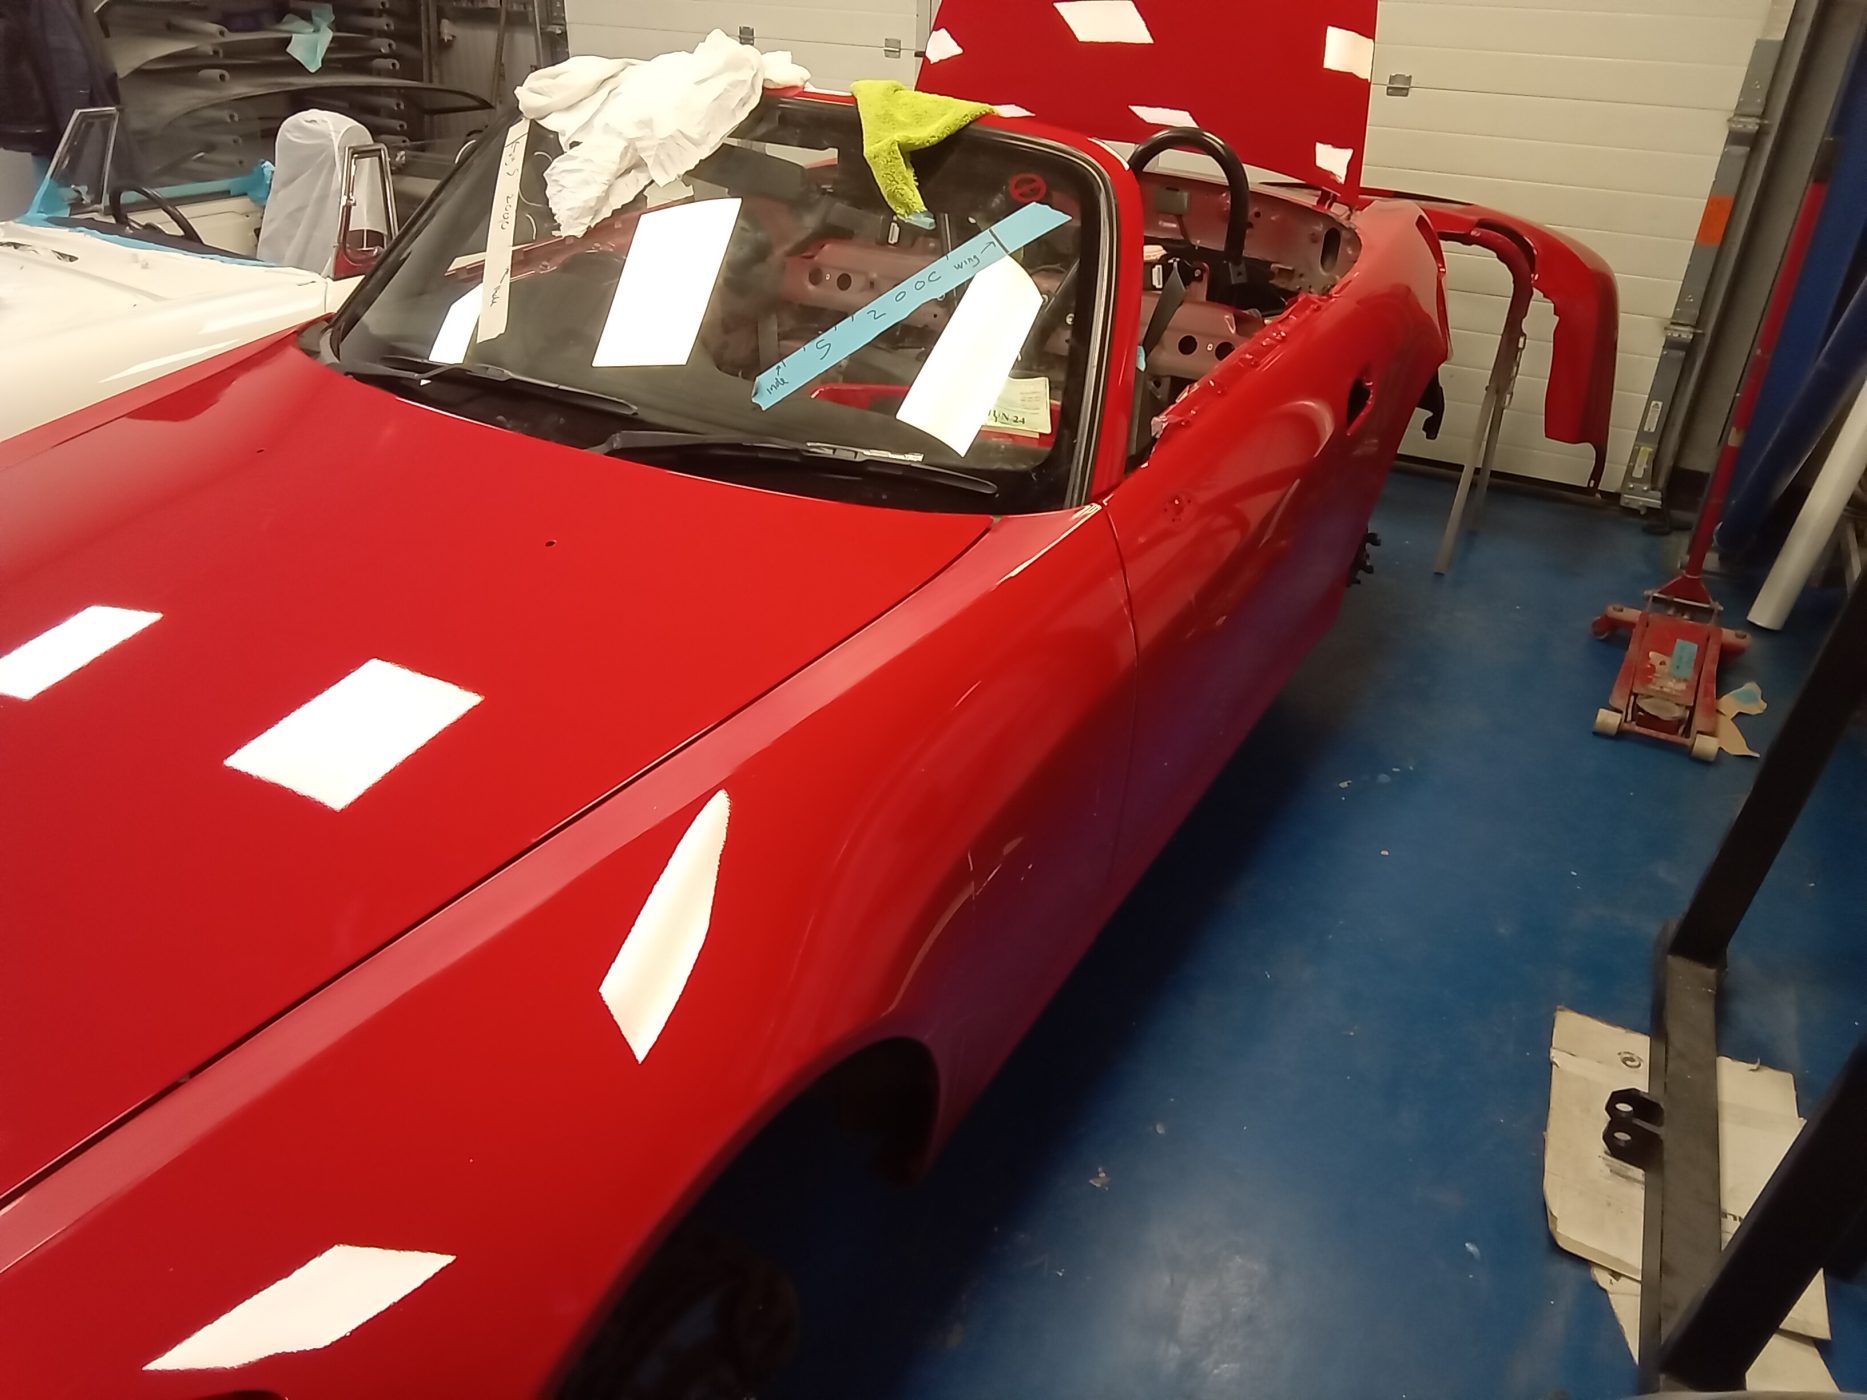
After being painted, our 2005 Honda S2000 was put back together by technician Chris.
Once Chris had put the majority of the bodywork back together, Brian worked on fitting the roof and interior trim. To do this, Brian connected the electrical cables, fitted trim around the rear edge of the roof, and fitted the rear tray and centre console. He then fitted the plastic trims around the roll bars, fitted trims behind the seats, and fitted the seats before using mastic to bond the plastic trims together around the roll bars.


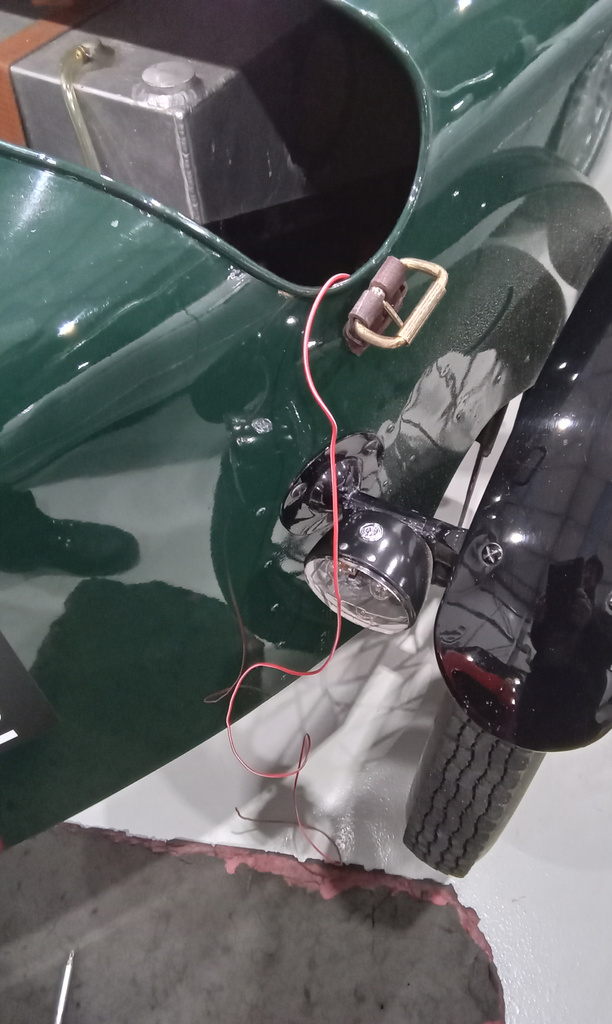
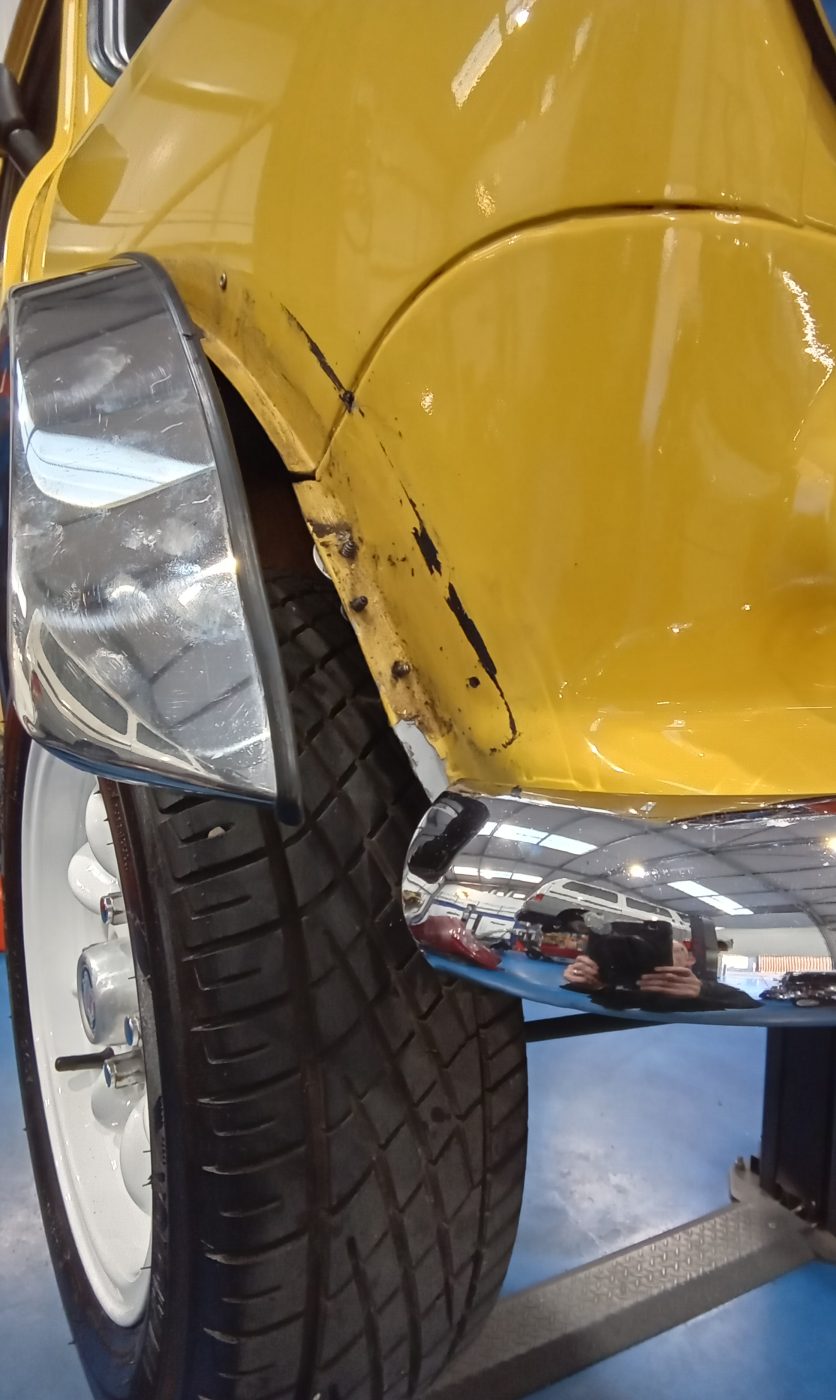
Our 1964 Amphicar 770 has made great progress as of late.
Brian has been fitting the roof and roof cover. After glueing the floor side panels back down, he cleaned the main floorboards and fitted them into the car. He then cut out the new rear quarter panel boards, fitted new catches to the frame & car, and fitted stud fasteners to the hood cover & frame.
Unfortunately, Lydia found that the door cards and seats are in a mismatched and poor state, so we have decided to find a grey vinyl to replace the worst areas with. Lydia has taken the door cards apart to prepare for when the vinyl arrives, and she has also taken the time to laminate the rear backrest to give it a bit more life!
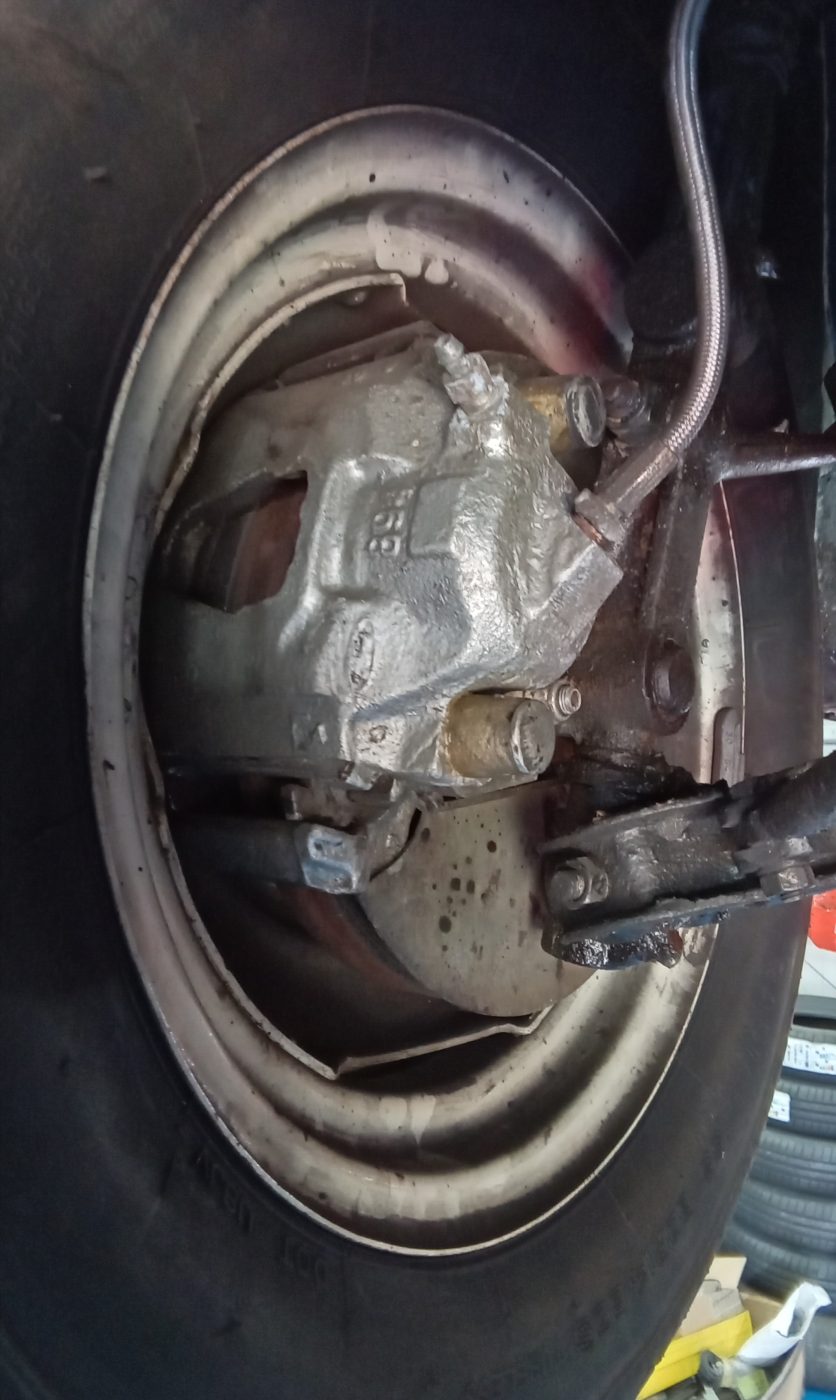
As well as interior work, classic car technician James has also been working on our Amphicar. He found more burnt/melted wiring and replaced it, all electrical circuits are now functioning. The headlamp switch was stripped and cleaned as the terminals were contaminated, and the faulty dim/dip switch was replaced and fitted to the floor. The final external parts such as the mirror and wipers were fitted after the windscreen and new seal were installed. He then removed the wheels and stripped off the brakes for refurbishment, the brake shoes were worn and the wheel cylinders were leaking badly.


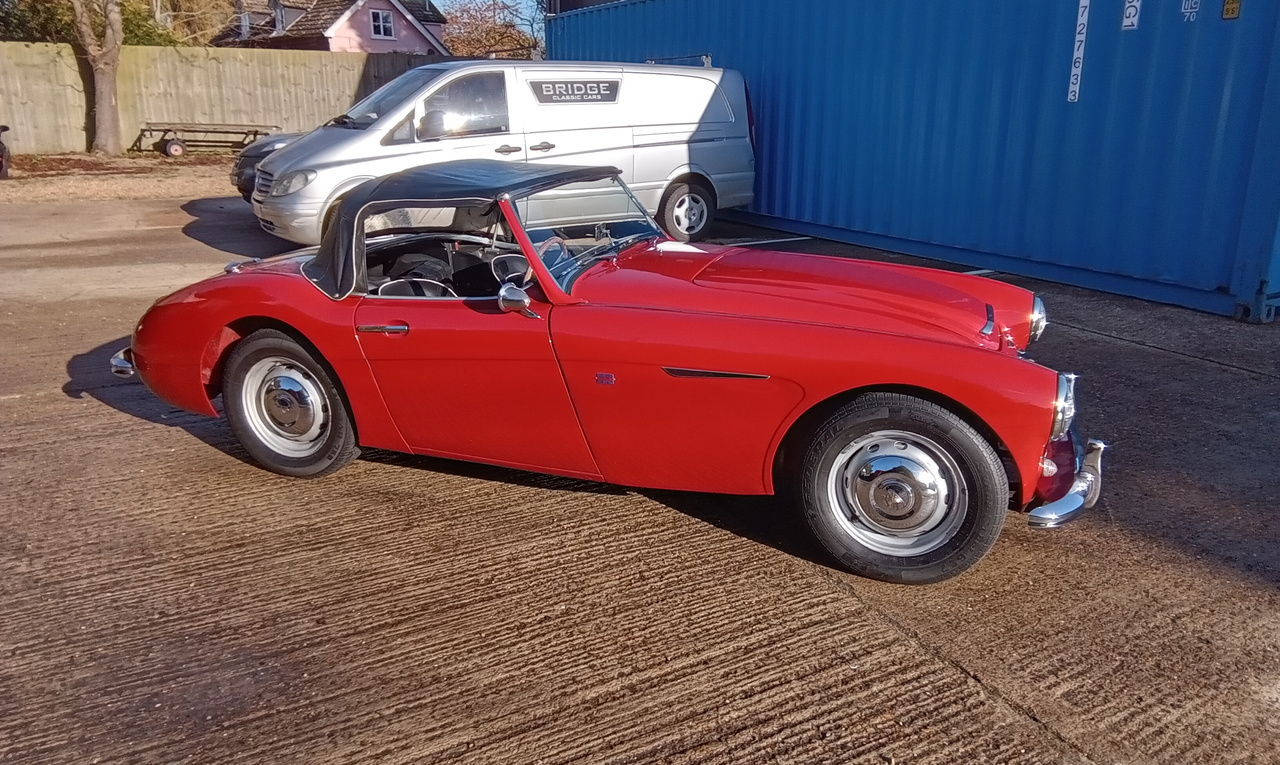
Before our 1958 Austin-Healey 100-6 gets delivered to its new owner, classic car technician Jonn has been doing some finishing touches to this beautiful classic.
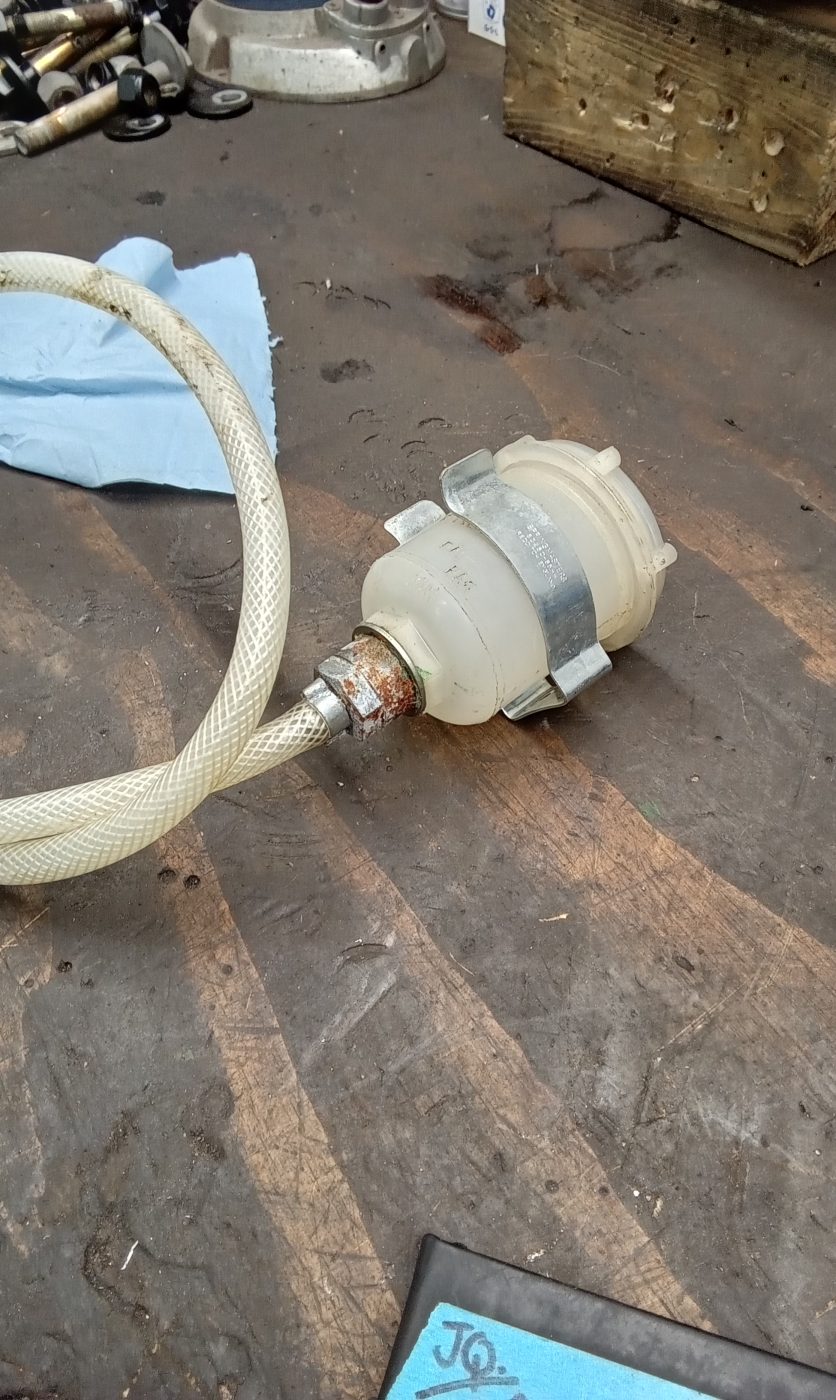
He first attended to the non-existent washer system. After finding a suitable place to mount the bag and pump, Jonn made a bracket to support the bag etc. He then found the switched ignition feed on the fuse box and routed the wiring along the bulkhead and into the car.
He then mounted the switch in the dash and ran the wire back through the bulkhead to the pump. Jonn Earthed out the pump on the frame and ran the washer pipe into the car.
Jonn drilled out the bulkhead scuttle panel and mounted the centre washer jet and connected it. He then topped up the washers and tested them.
Finally, Jonn removed and cleaned the spark plugs, wiped over the car, fitted the roof, ran the car up to temperature and was happy with the vehicle.


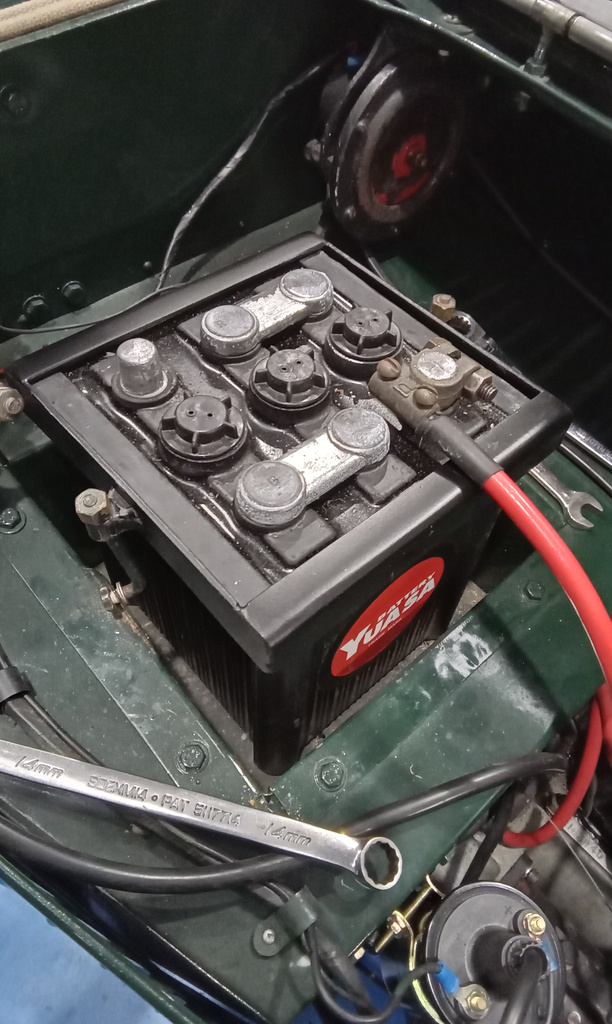
Before our 1932 Austin Ulster is won through Bridge Classic Cars Competitions, Jonn has been making some minor repairs to make sure it is ready to go to its lucky new owner very soon.
Jonn carried out a full inspection of the vehicle. While doing so, a full grease-up was completed and the brakes were adjusted. He checked the wheel nuts and tyre pressures too before inflating them accordingly.
He went on to secure the headlight guards with p clips before refitting the brake pedal and using Loctite to secure.
The battery clamp needed to be modified to fully secure the battery. To do this, Jonn was helped by Chris who welded the clamp before it was painted black. Jonn also wired in the rear sidelights.
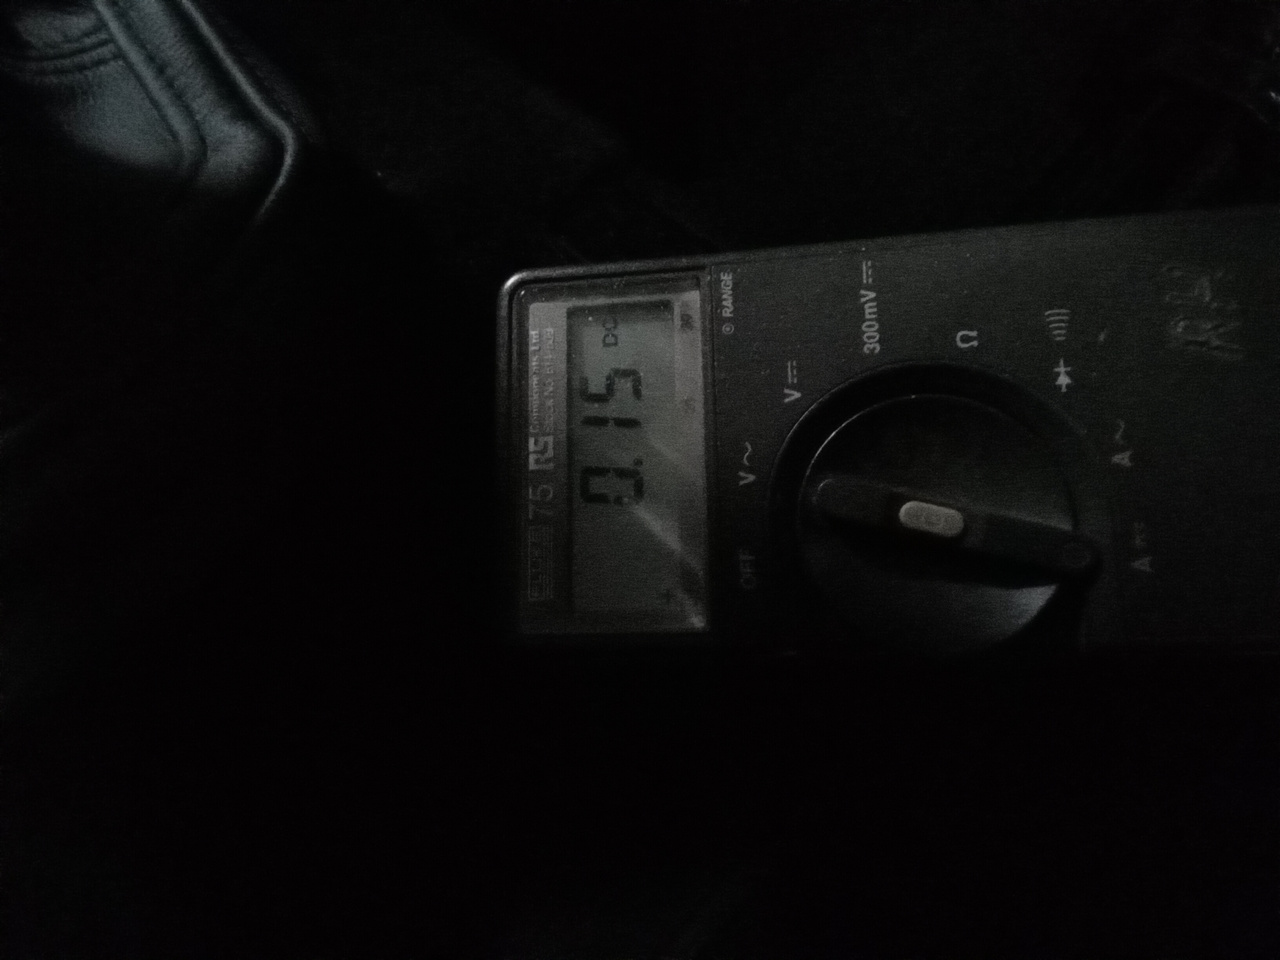
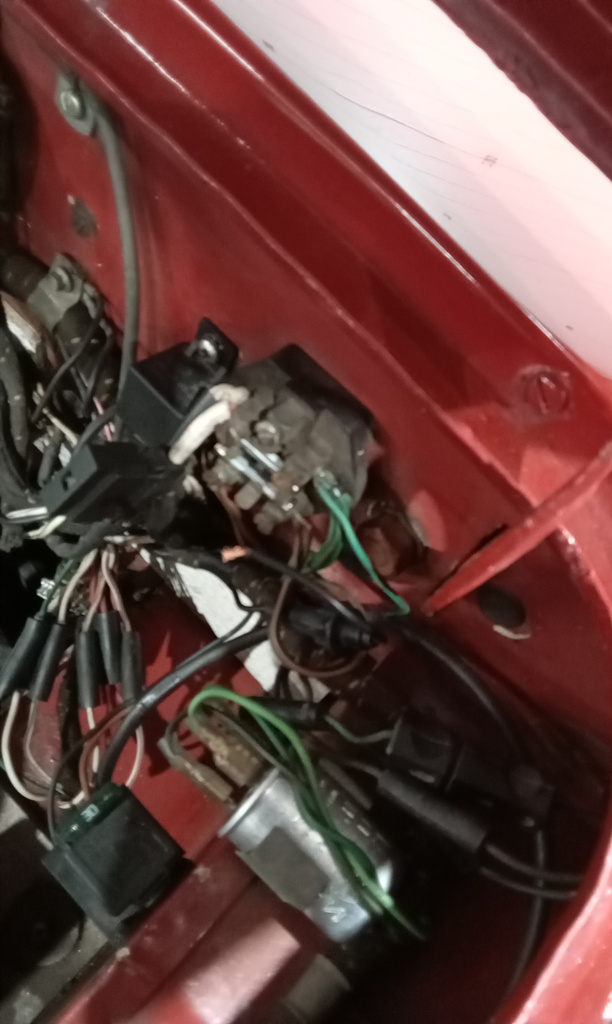
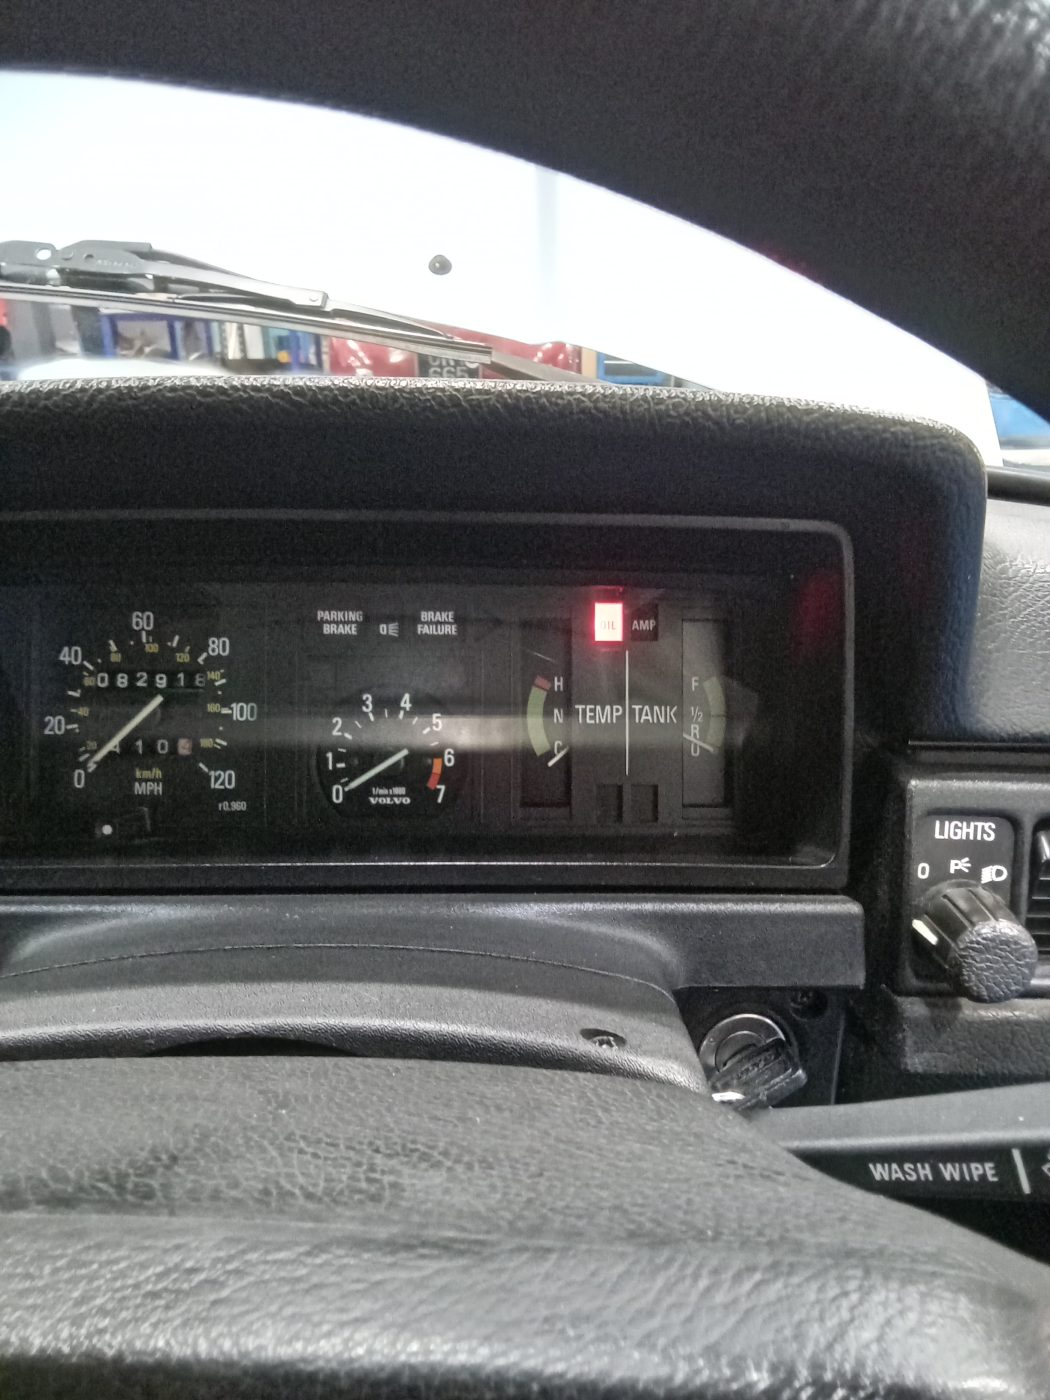
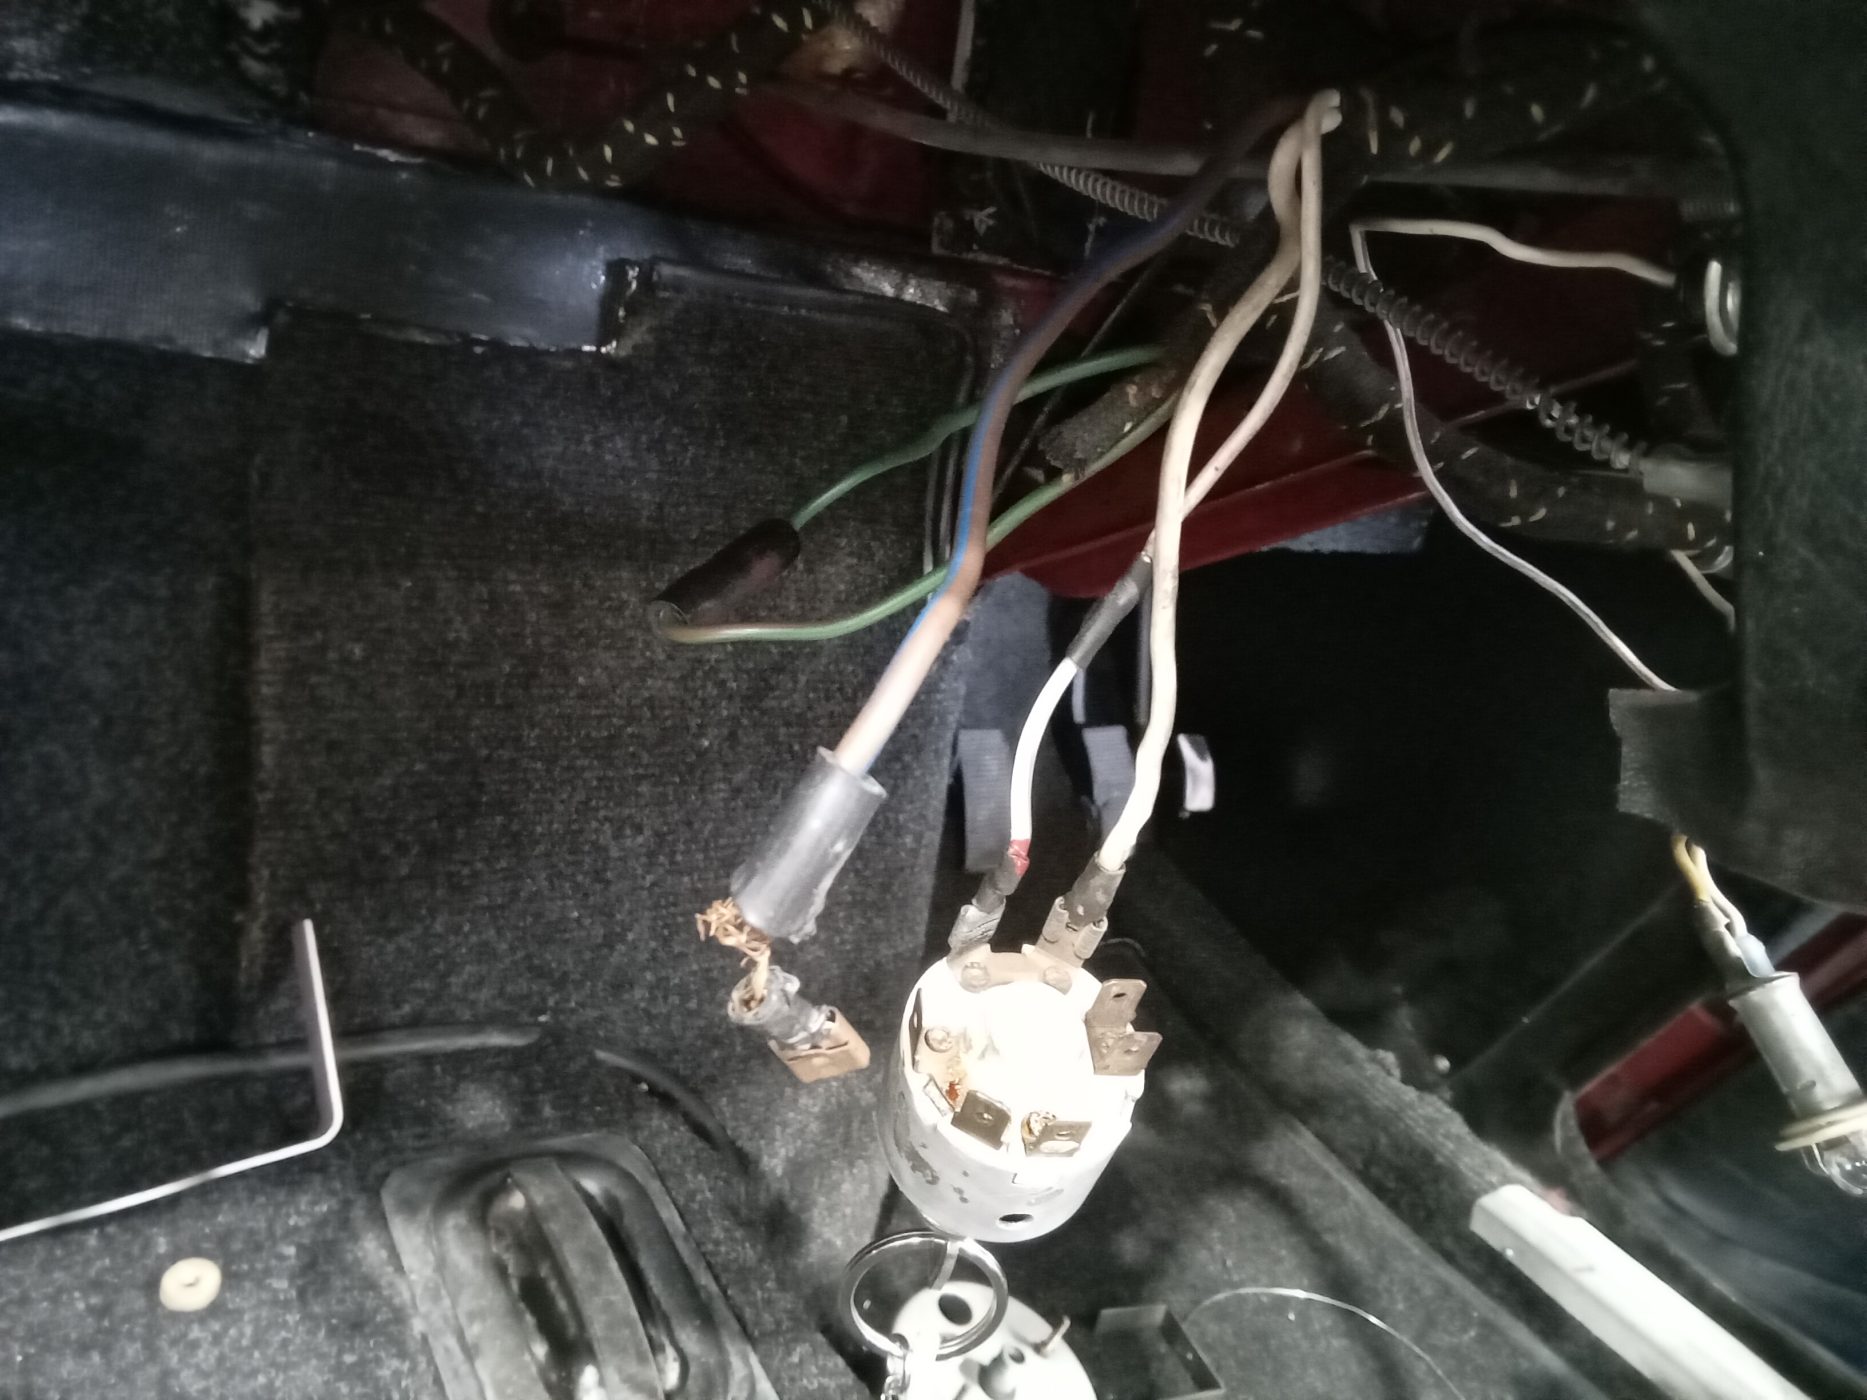
Steve has been working on our 1980 Volvo 245GL. He noticed that, intermittently, the dash lights were not coming on, and the battery was not charging. He found poor connections on the voltage stabiliser and alternator controller that he cleaned up.
The rear fog light wire was broken near the tailgate hinge so this has had a new wire soldered in.
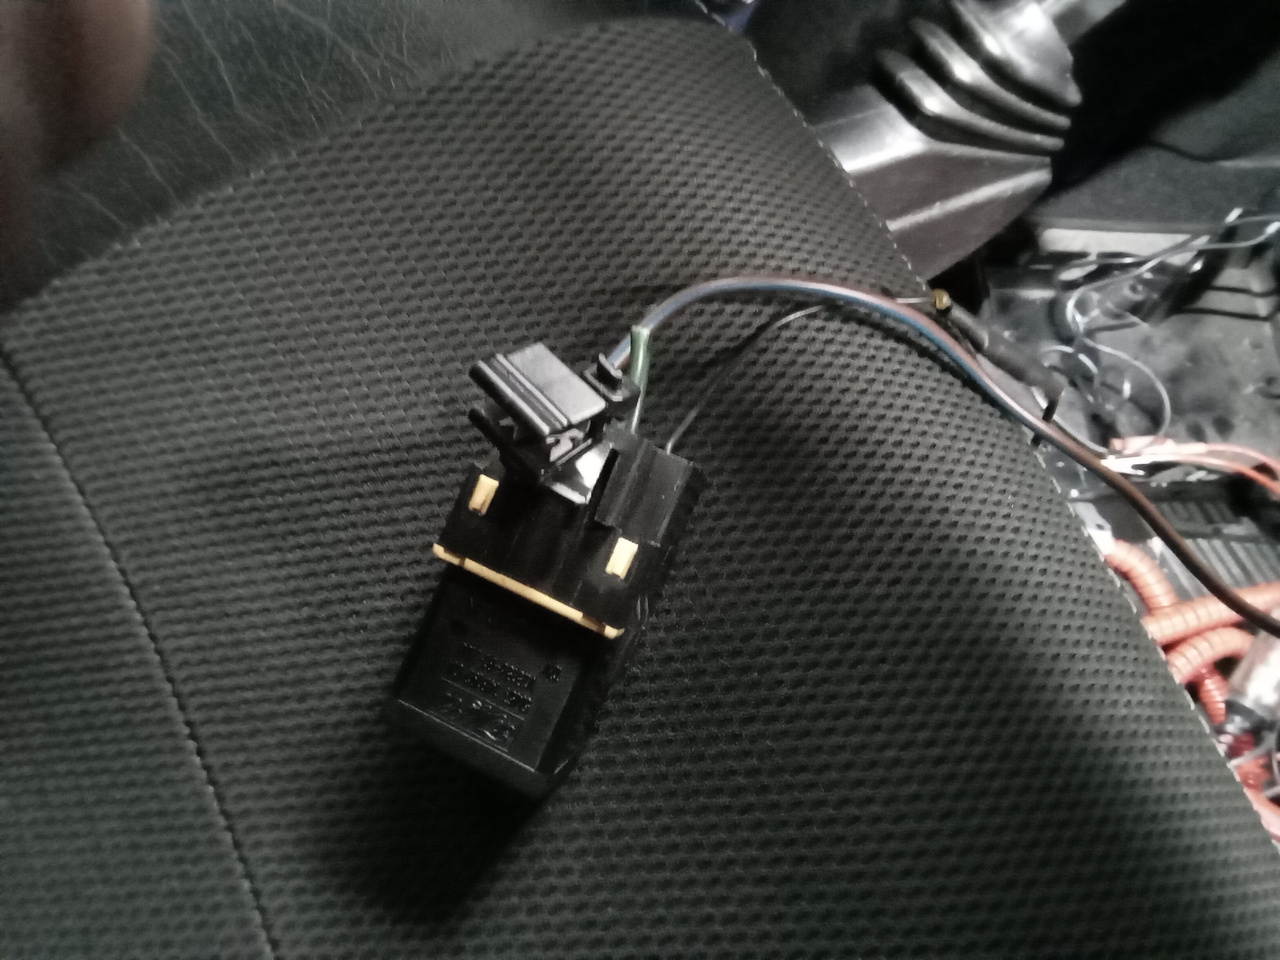
Steve also found that the overdrive was not working. It turned out that the switch in the gear lever was not connected and the connection in the connector block to the loom was poor. He reconnected the switch and replaced the loom connector too.


Classic car technician James has been working on our 1972 Ford Transit Tipper. Since leaving the Bridge Classic Cars paintshop, it is now in the main workshop where the next phase of its restoration will take place.
James repaired the wiring to the rear chassis earth, replaced the unsafe and incorrect fuel hoses under the bonnet, and replaced the split vacuum pipework from the carb to the distributor.
He also tightened the fixings for the bottom front panel and replaced one missing bolt. Our classic Ford Transit Tipper was then checked for oil leaks, and James noticed that the output shaft seal at the rear of the gearbox/propshaft was misaligned and leaking.
The overflow pipe to the top of the radiator was also repaired and re-secured.
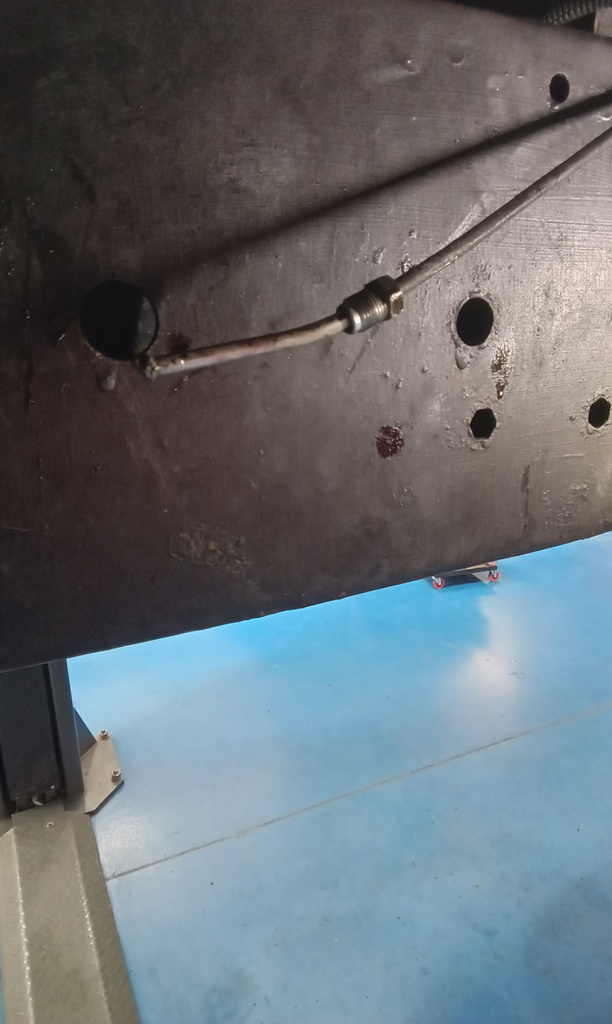
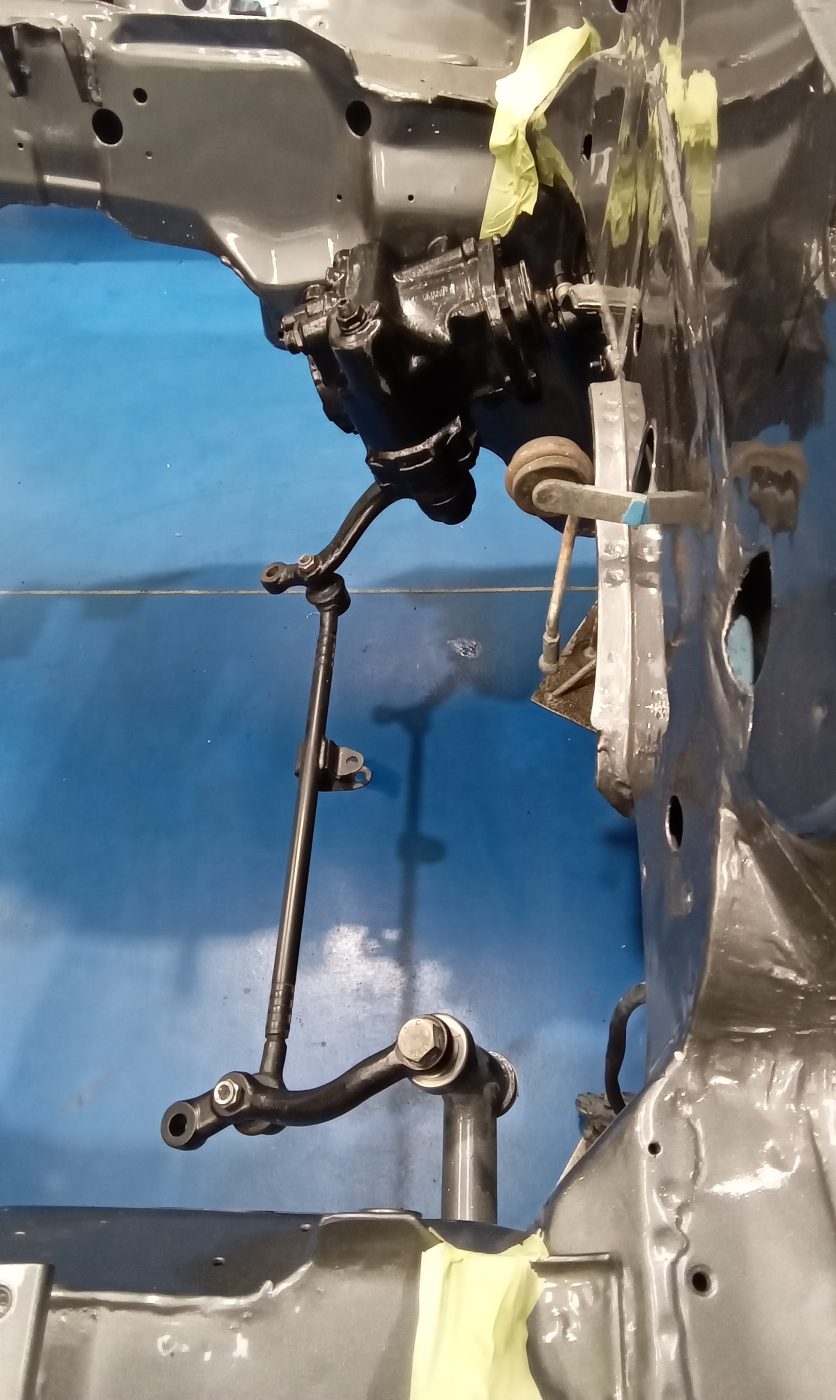
Workshop manager John has been looking after our 1970 Lotus Europa.
He has been rewiring the fuel pump to work off a relay as well as rewiring other relays and tidying up the wiring.
This stunning classic car will soon be going live on the Bridge Classic Cars Competitions website and someone will be the lucky winner of our Lotus Europa.


Classic car technician Jonn has been working on our 1965 Morris Traveller 1000, getting it ready to go live on Bridge Classic Cars Competitions very soon.
Jonn stripped the air intake pipe and fitted a new one in the cabin. He then cut off the old pipe and secured the new one with a jubilee clip at the heater.
A new regulator was wired up and the car was run up to temperature. It was charging at 14.2v which Jonn was happy with. He noticed that the temperature gauge was not working. Upon investigation, he found a blown fuse under the bonnet. This was replaced and tested and everything was working as it should.
The spare wheel was fitted back into the rear of the car and a road test was carried out.

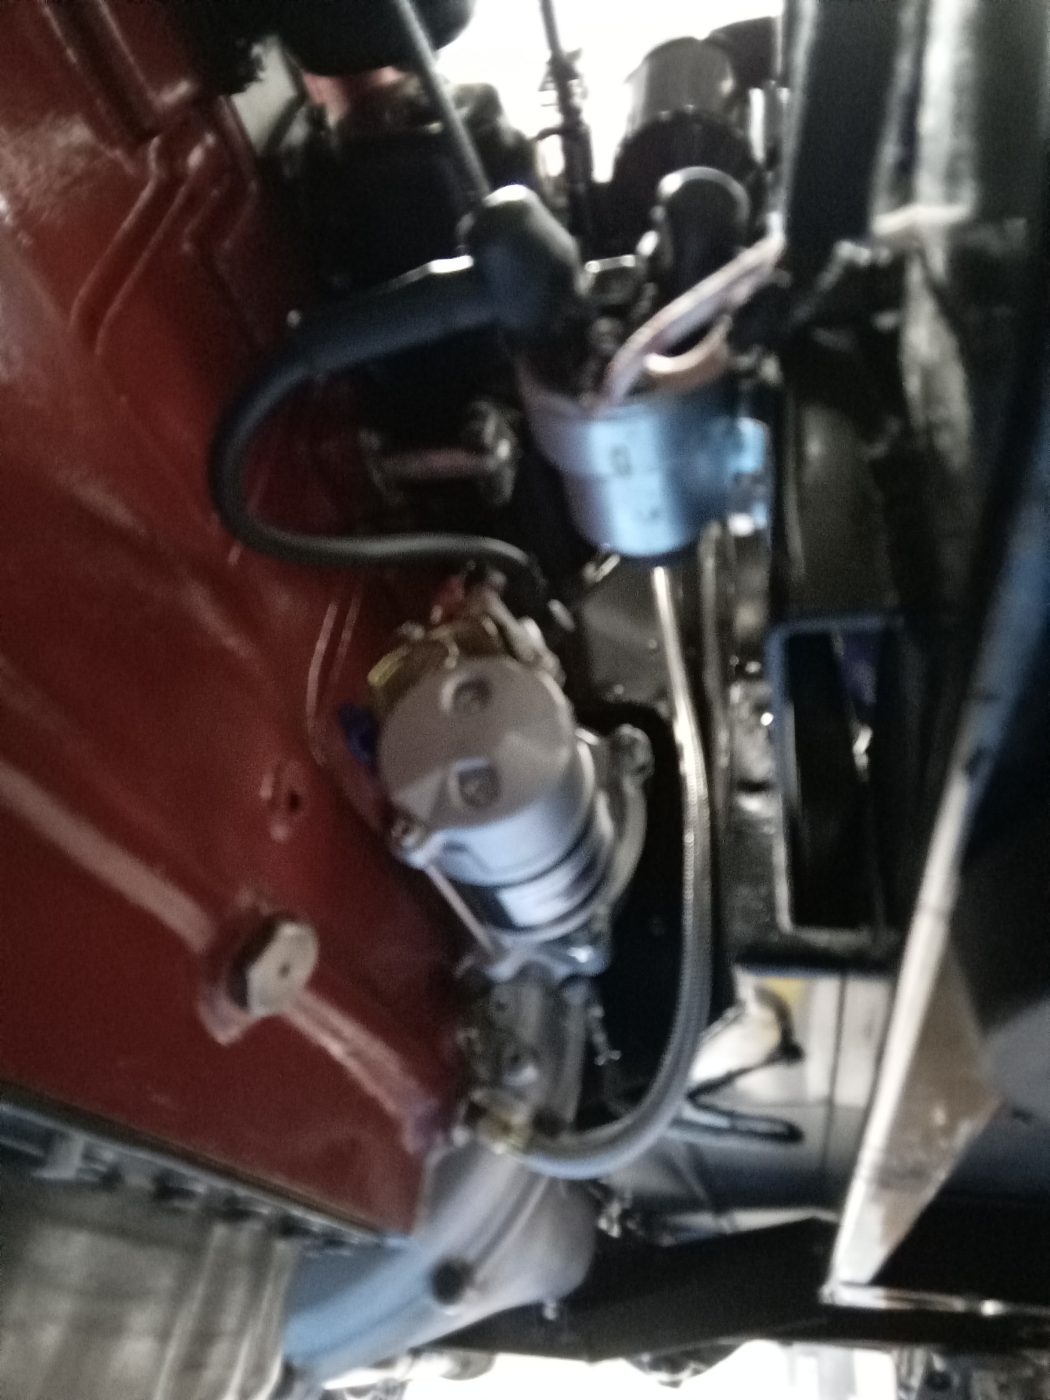
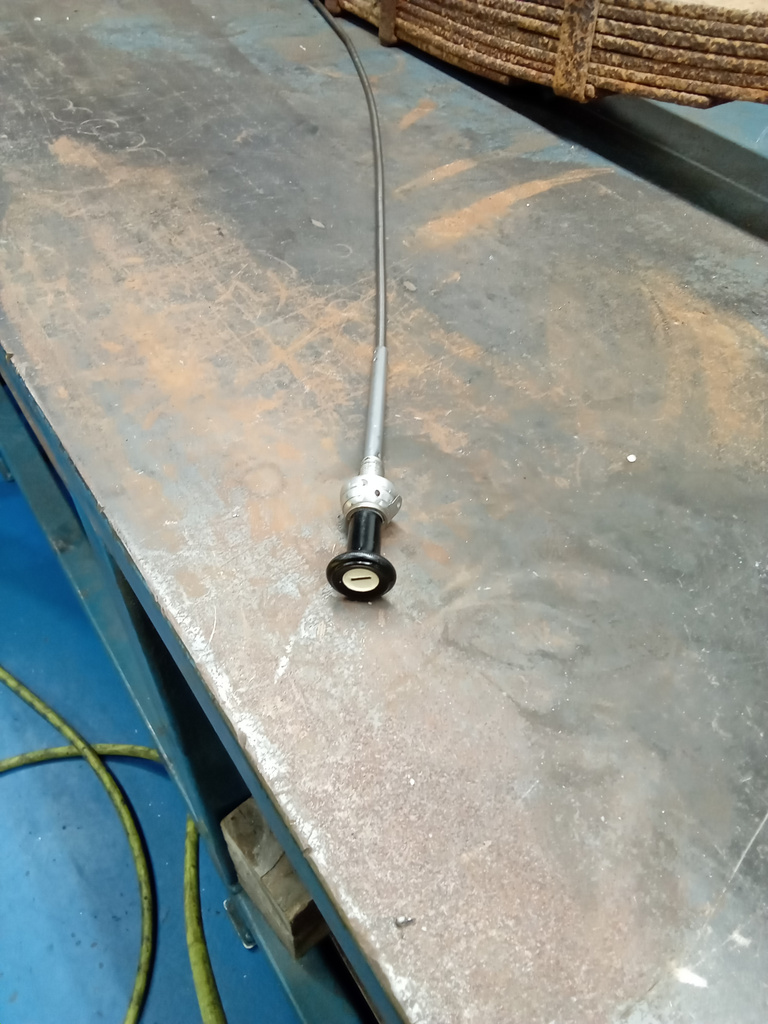
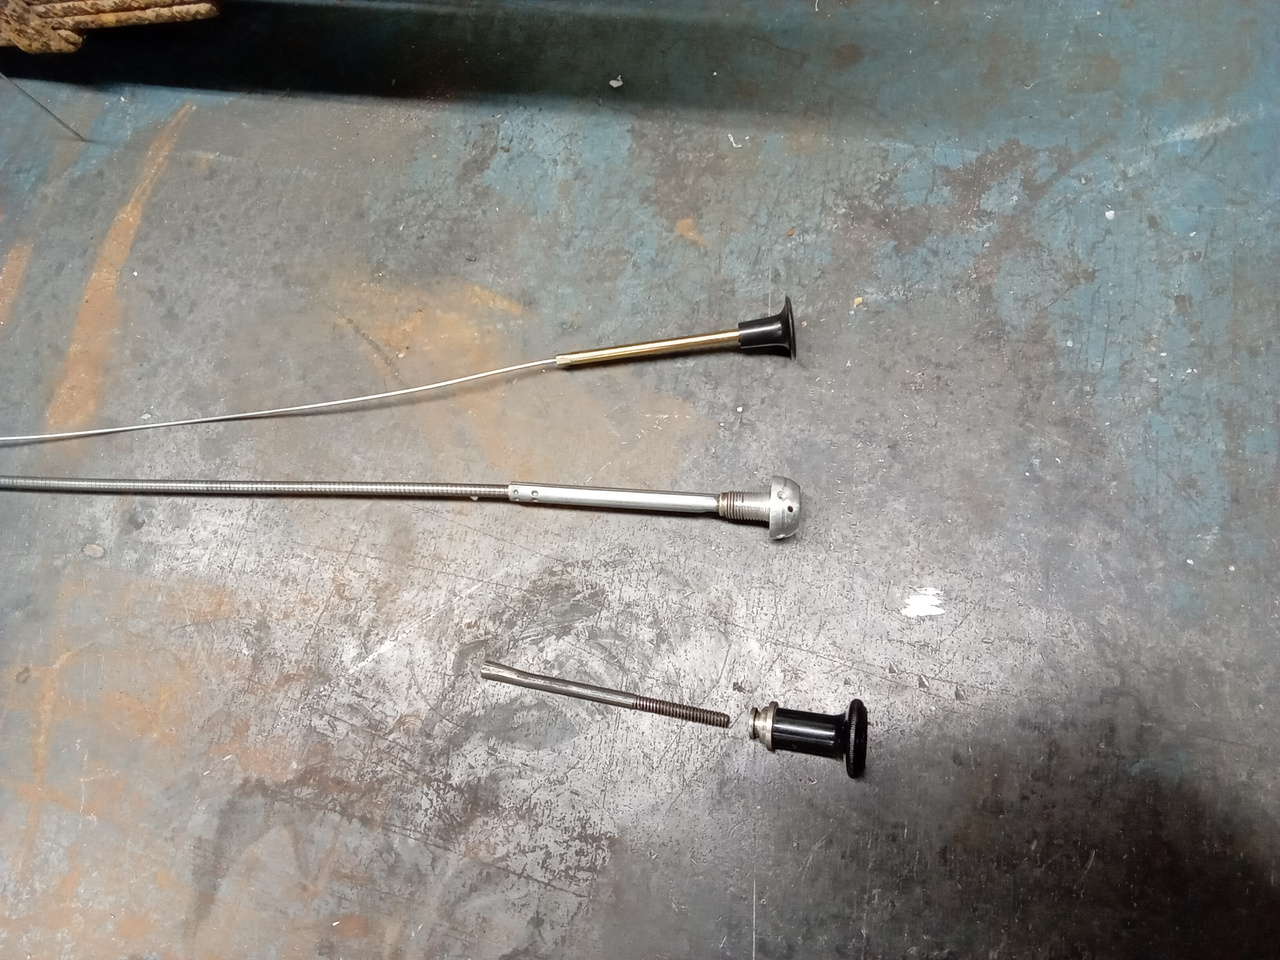
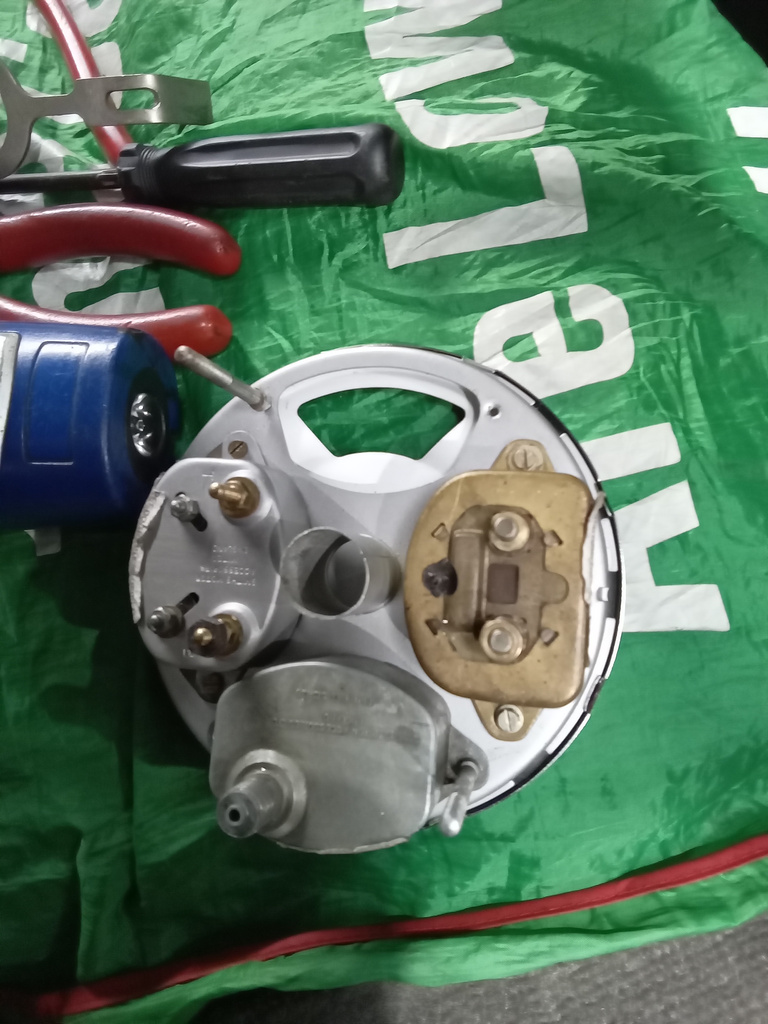
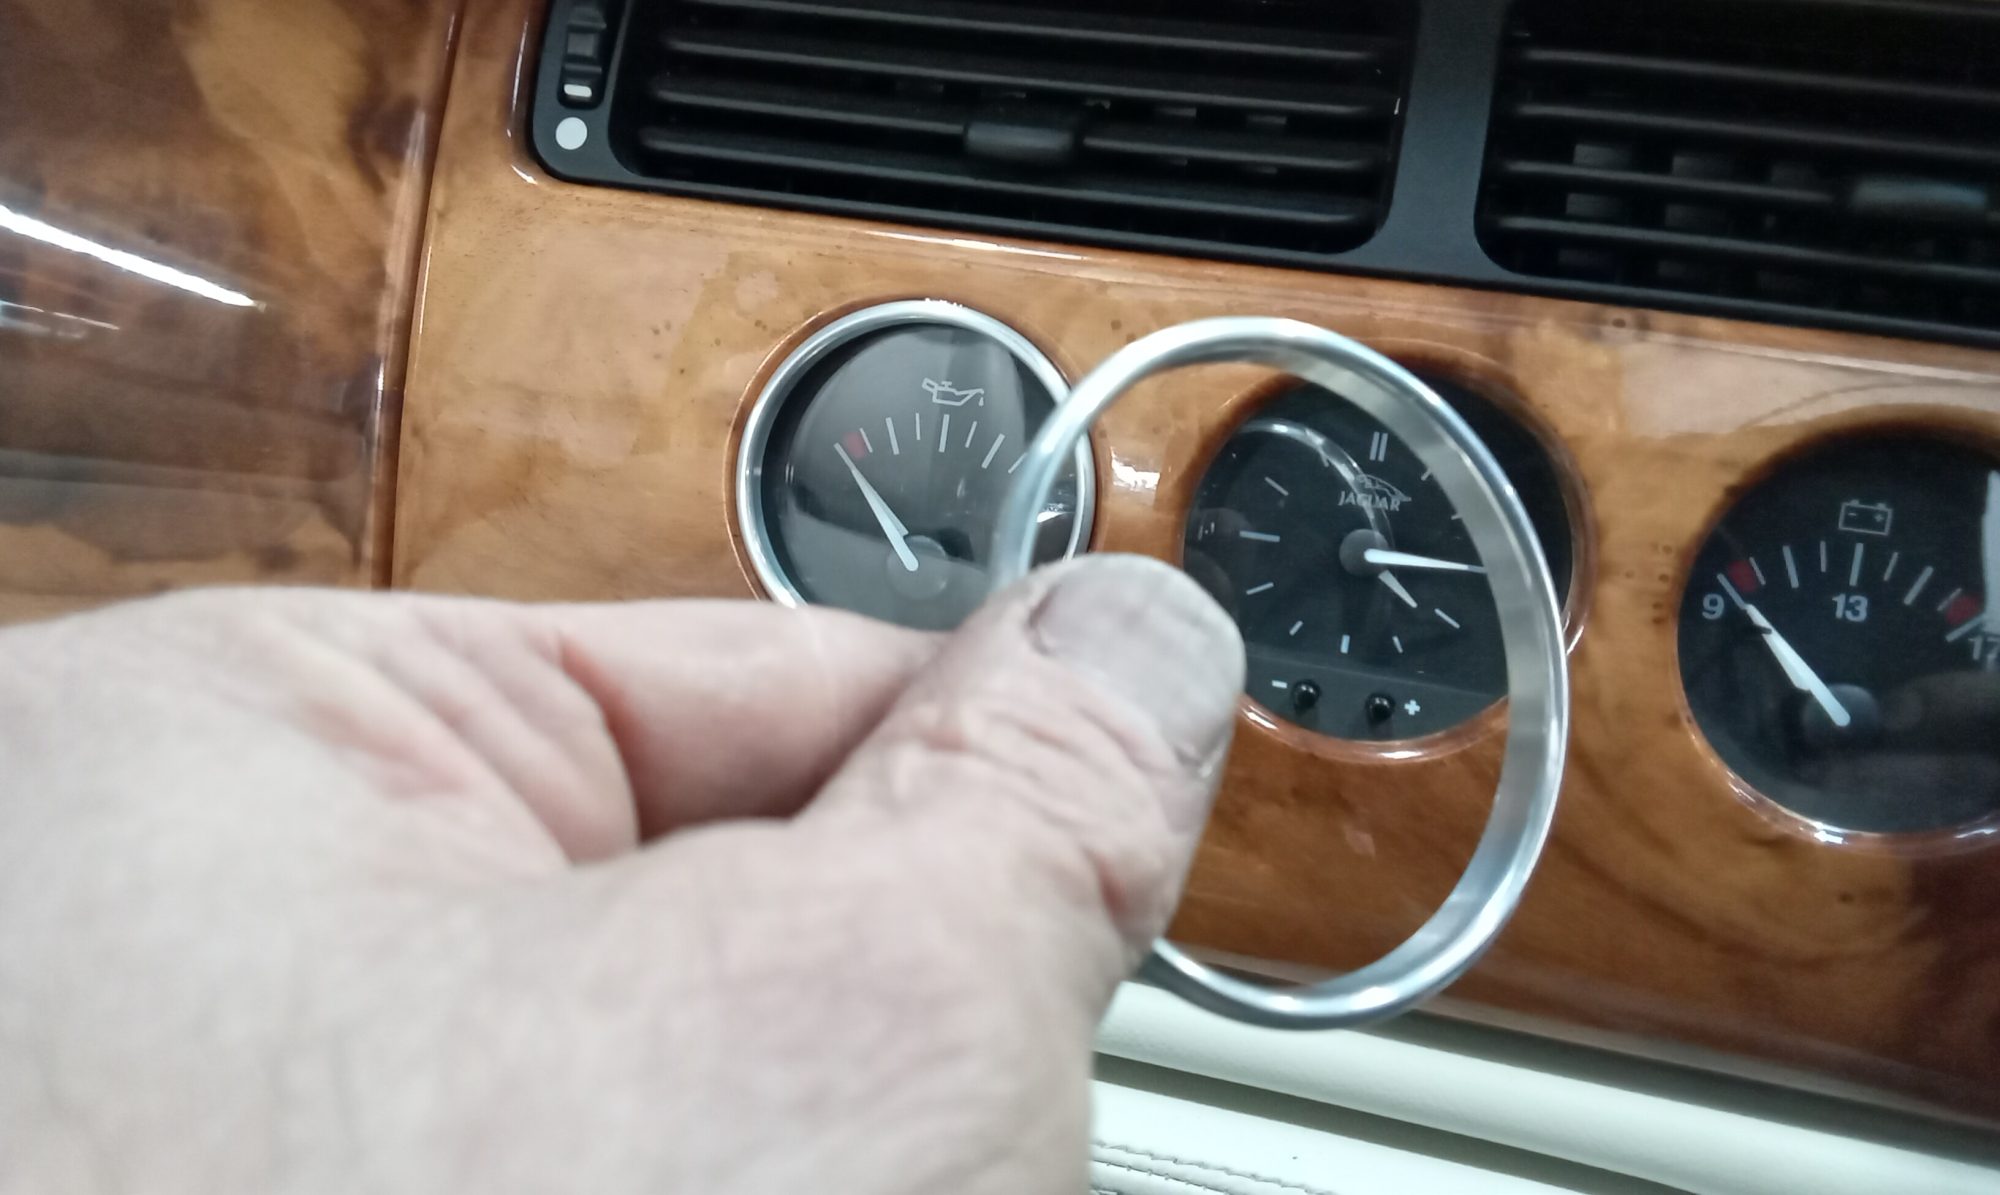
Our 1955 Aston Martin DB2/4 Mark 1 has been in the hands of classic car technician Steve.
Steve soldered the original ignition advance control cable end to the new inner cable as the original was broken and we were unable to source a new one.
Whilst also fitting the refurbished dials, it was noticed that a locating bracket stud was missing so this was replaced before fitting
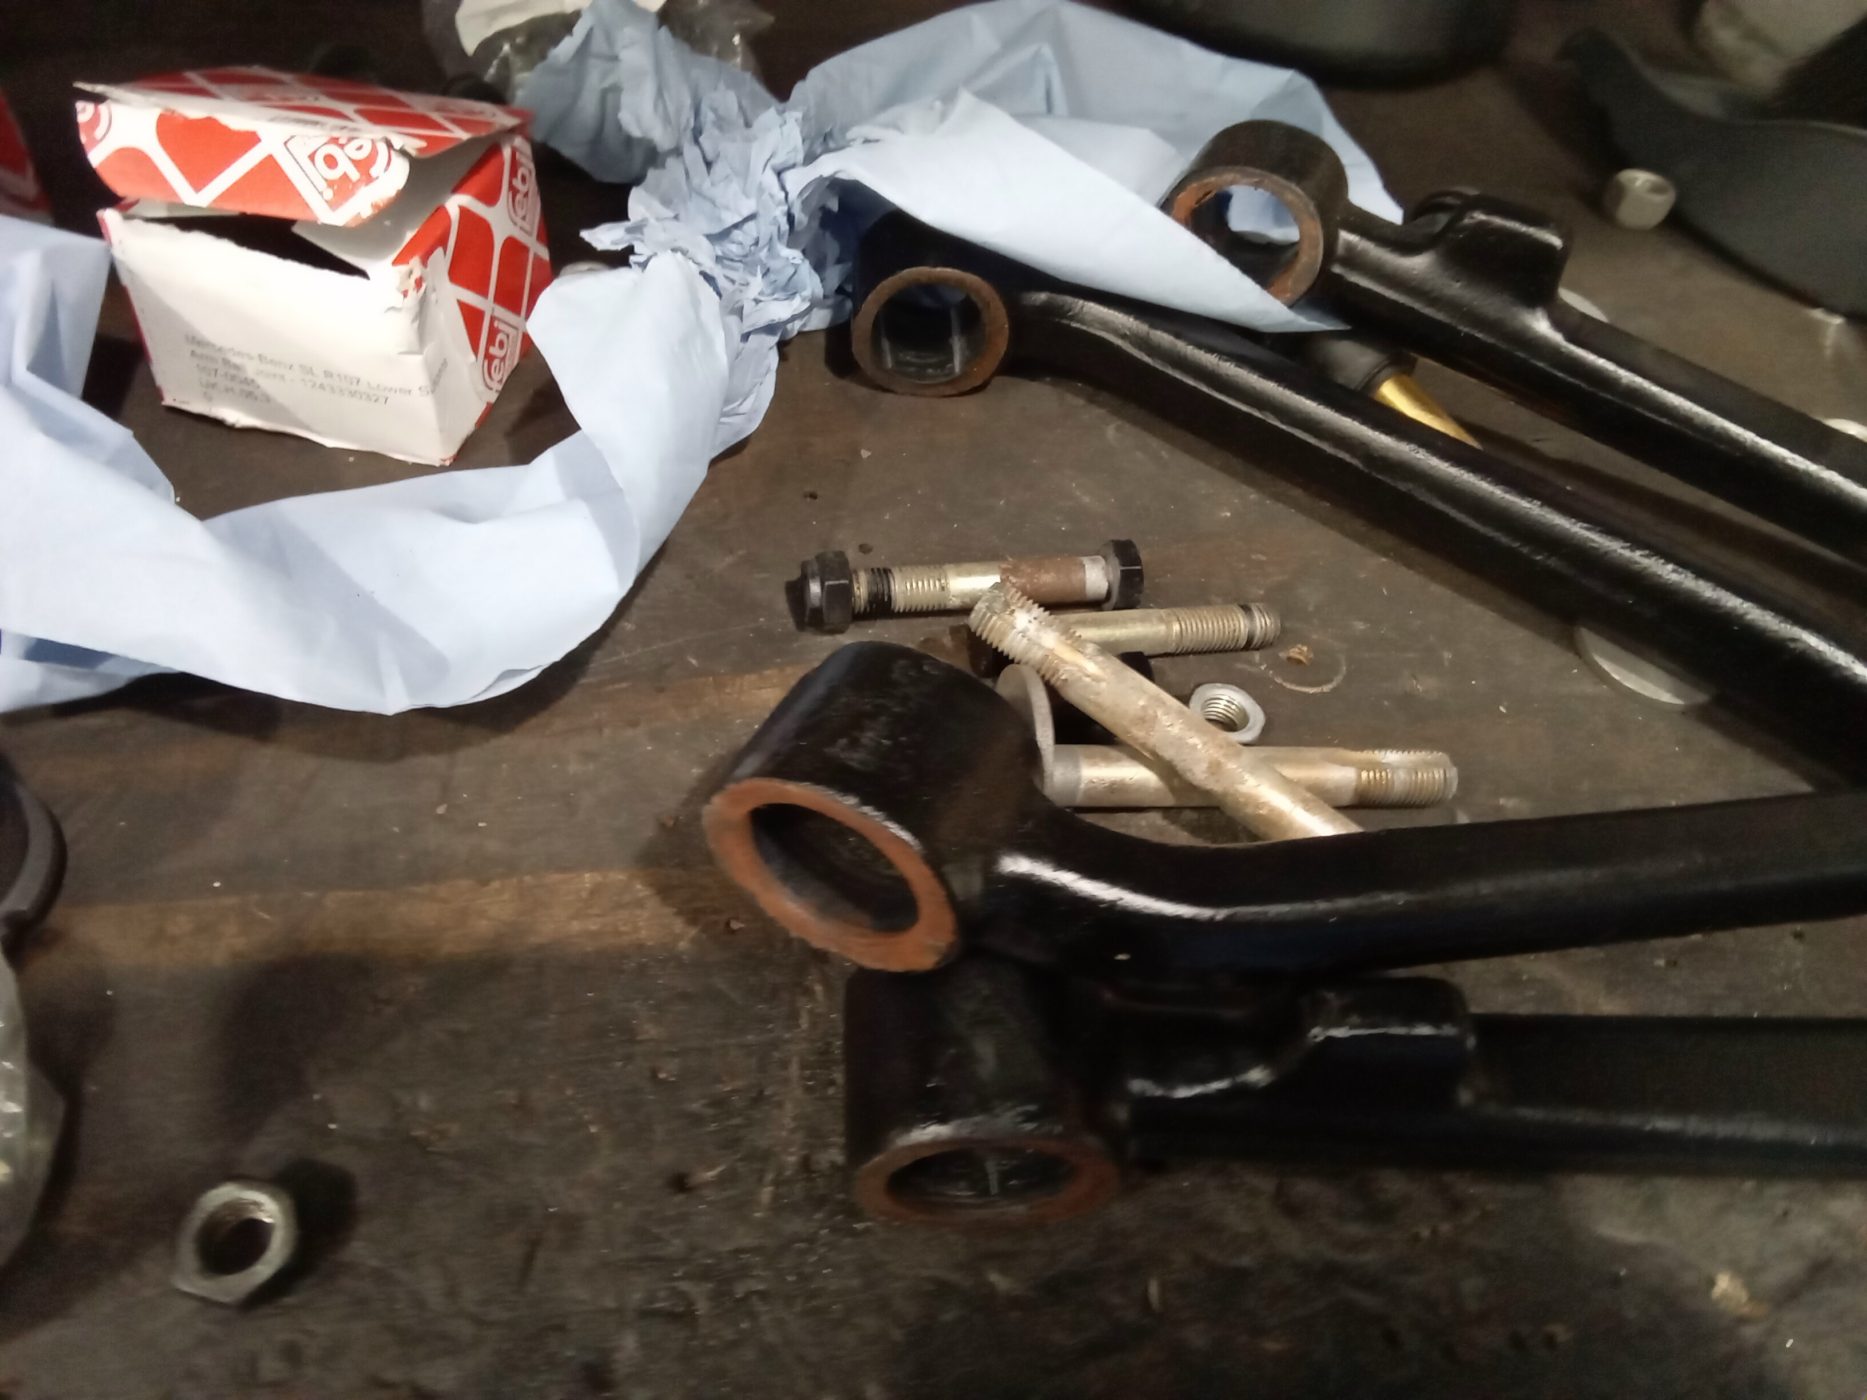
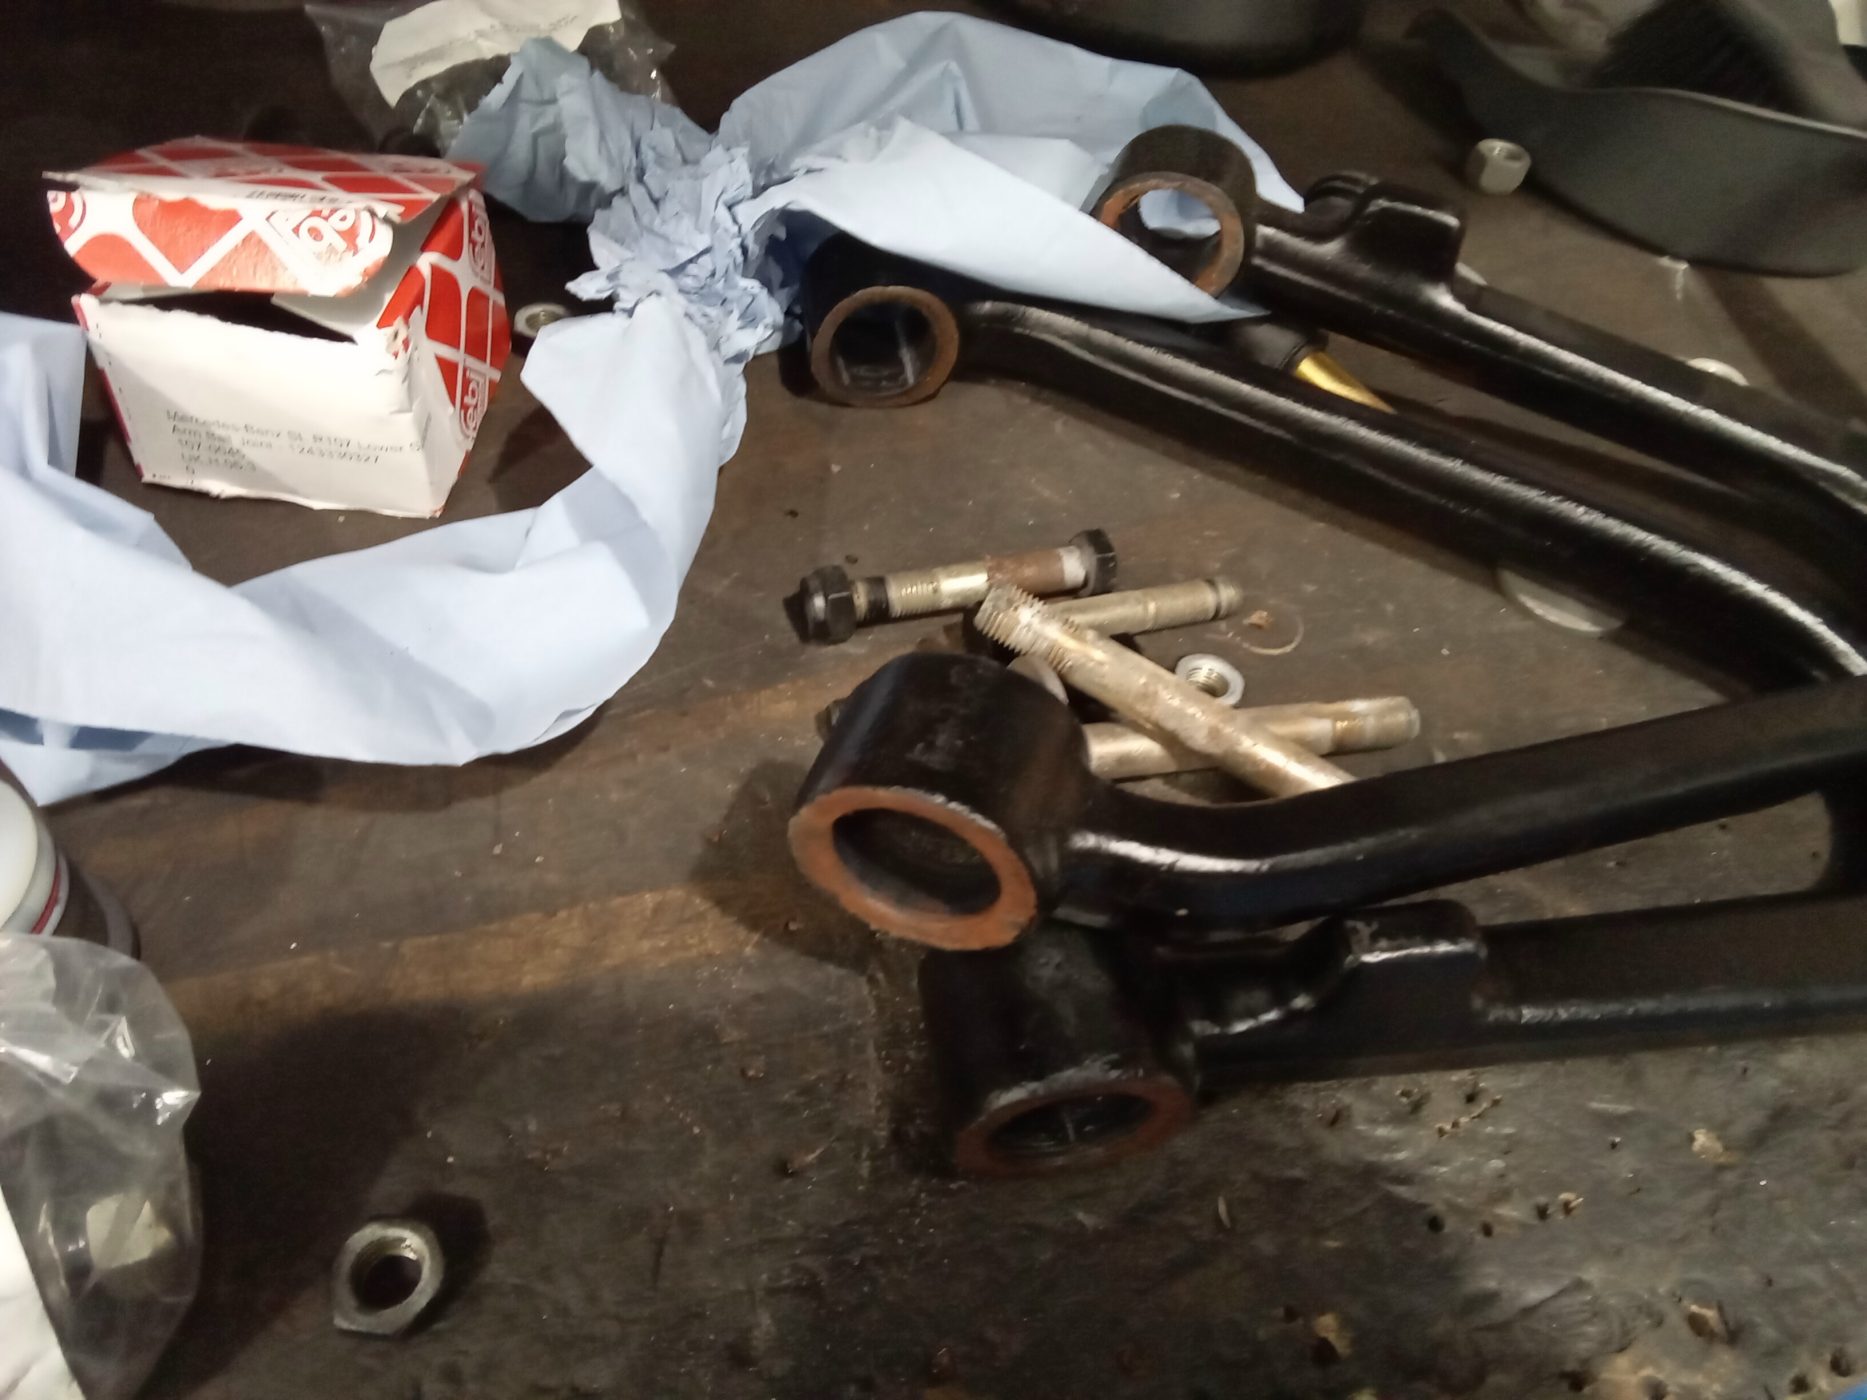
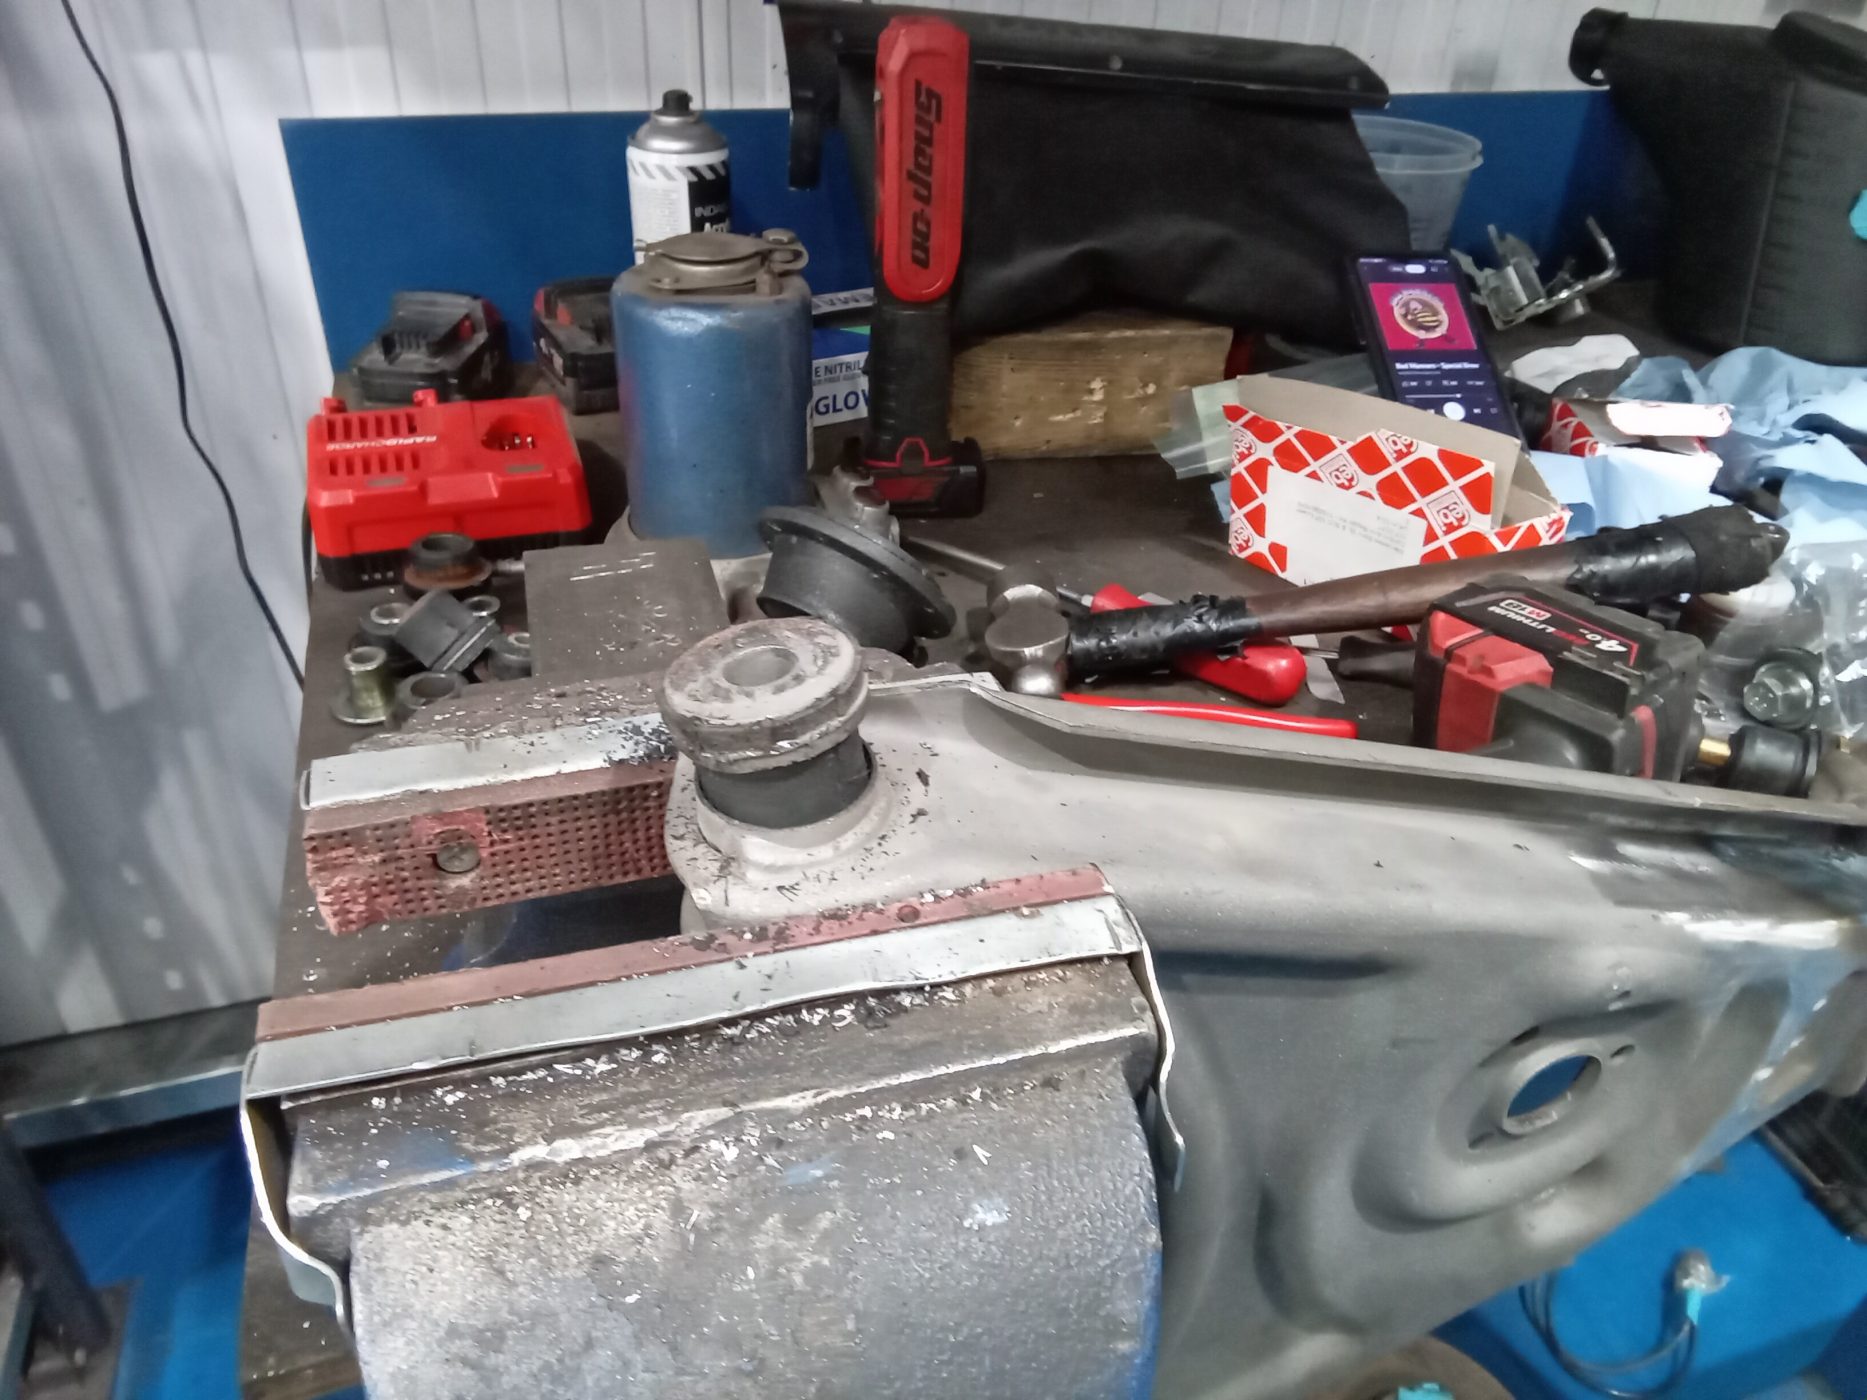
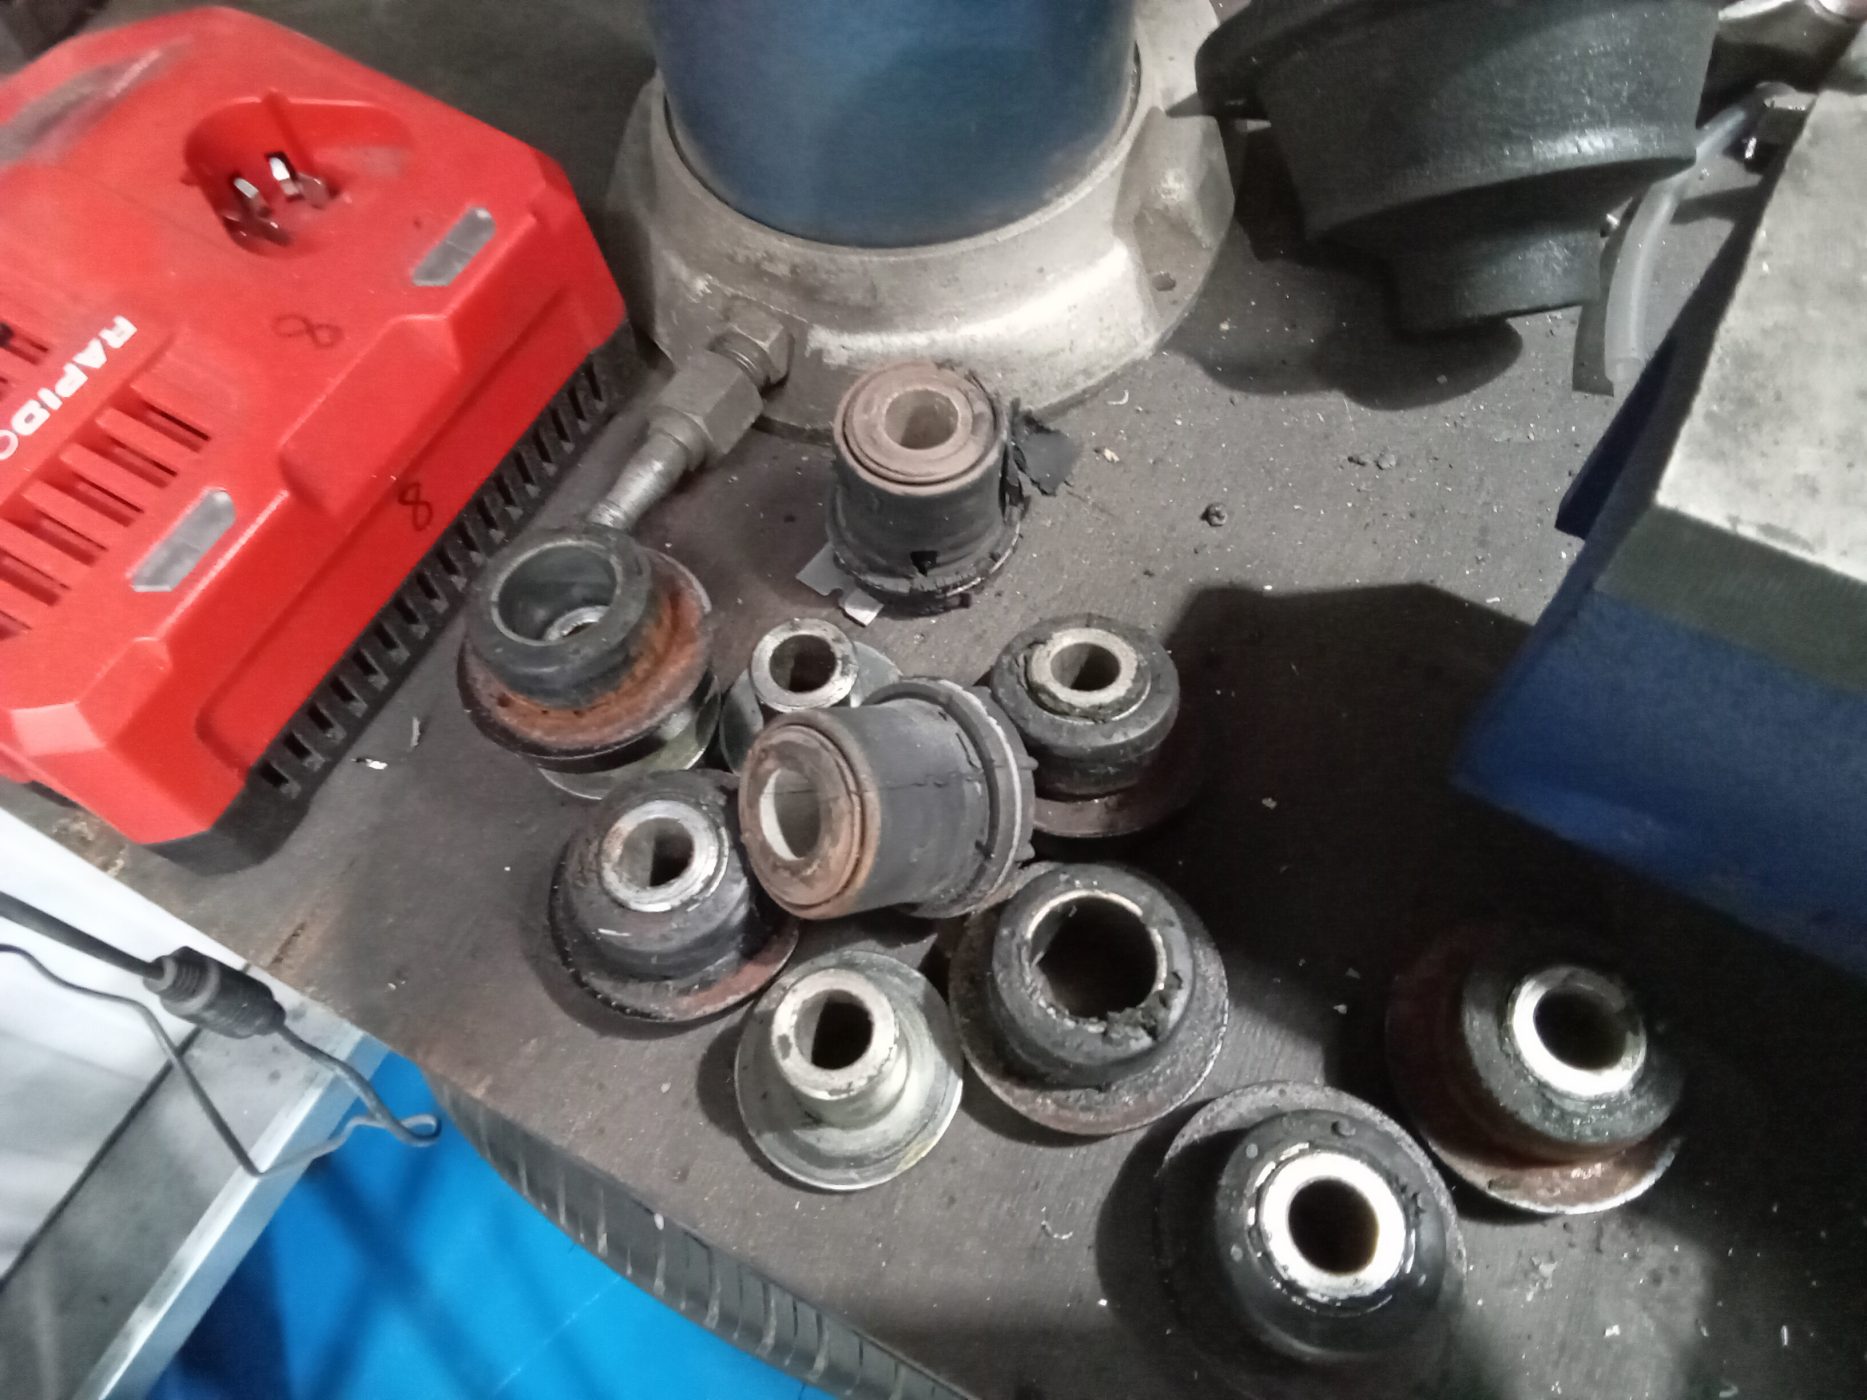
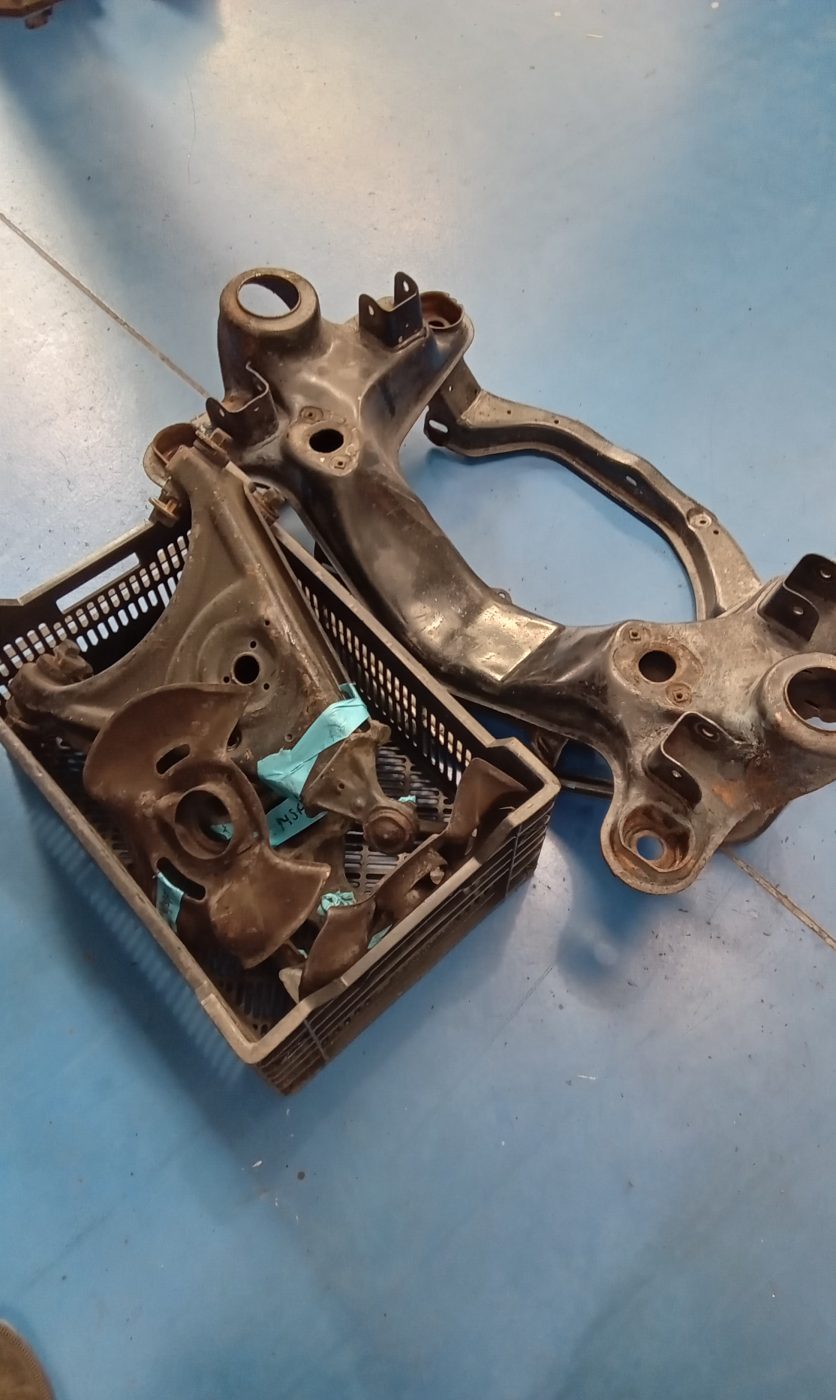
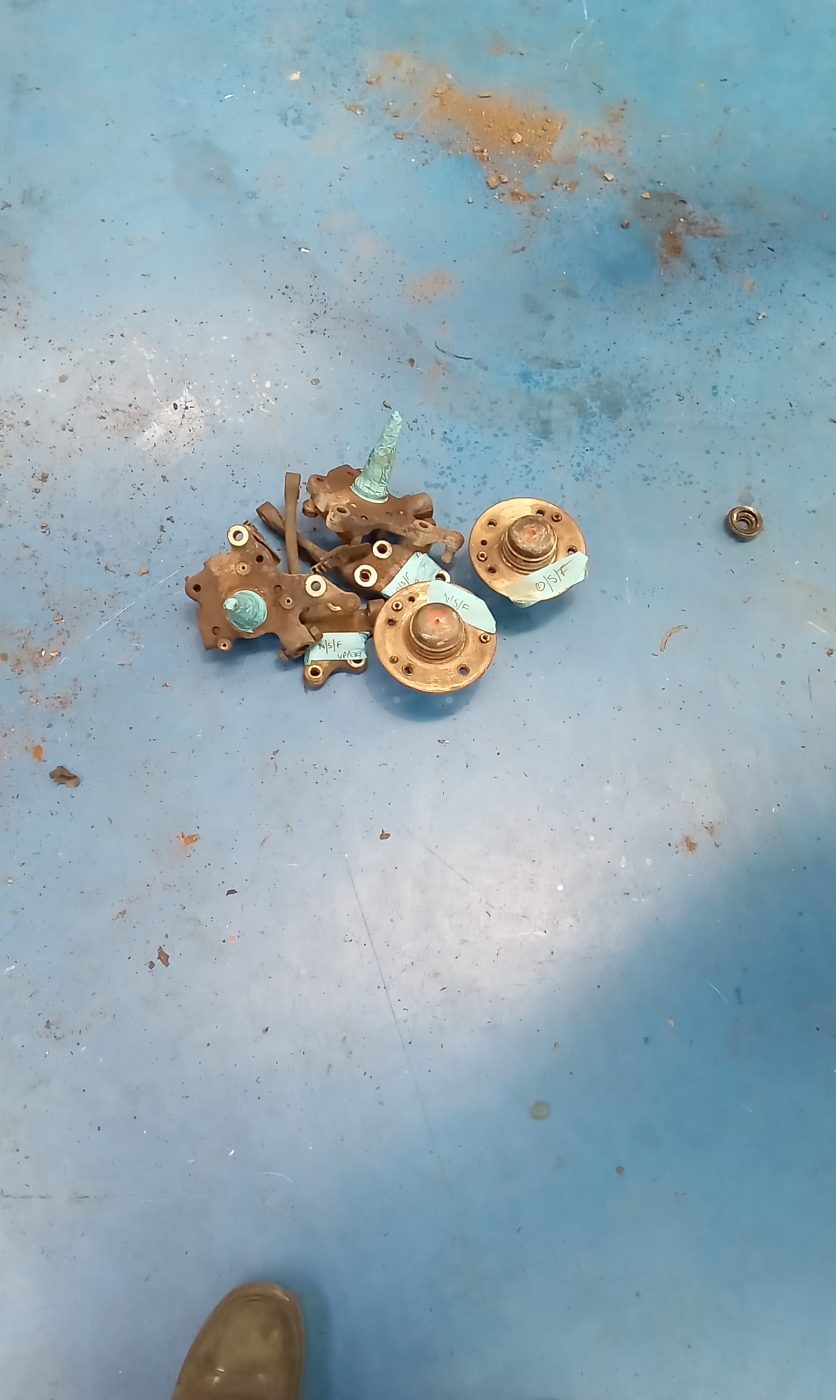
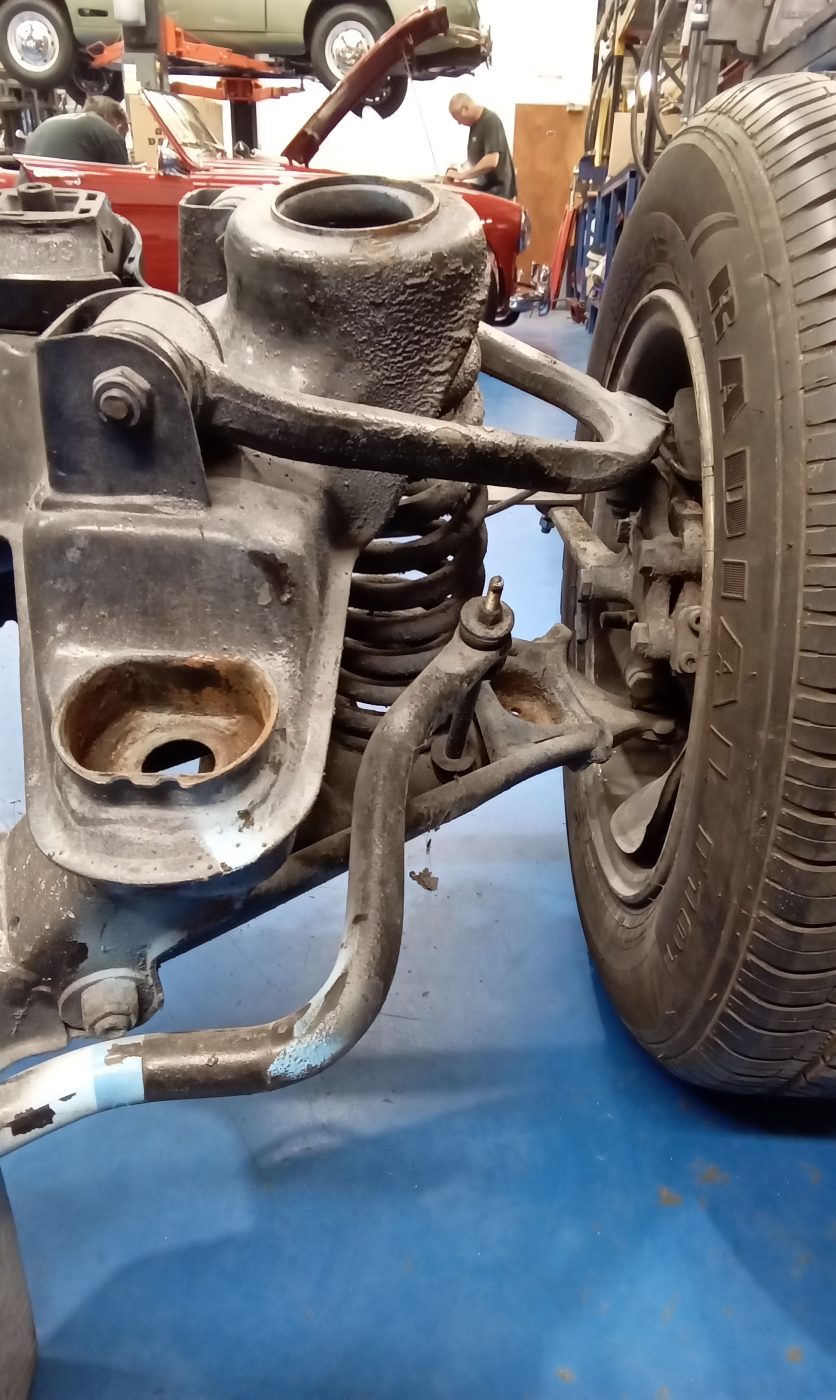
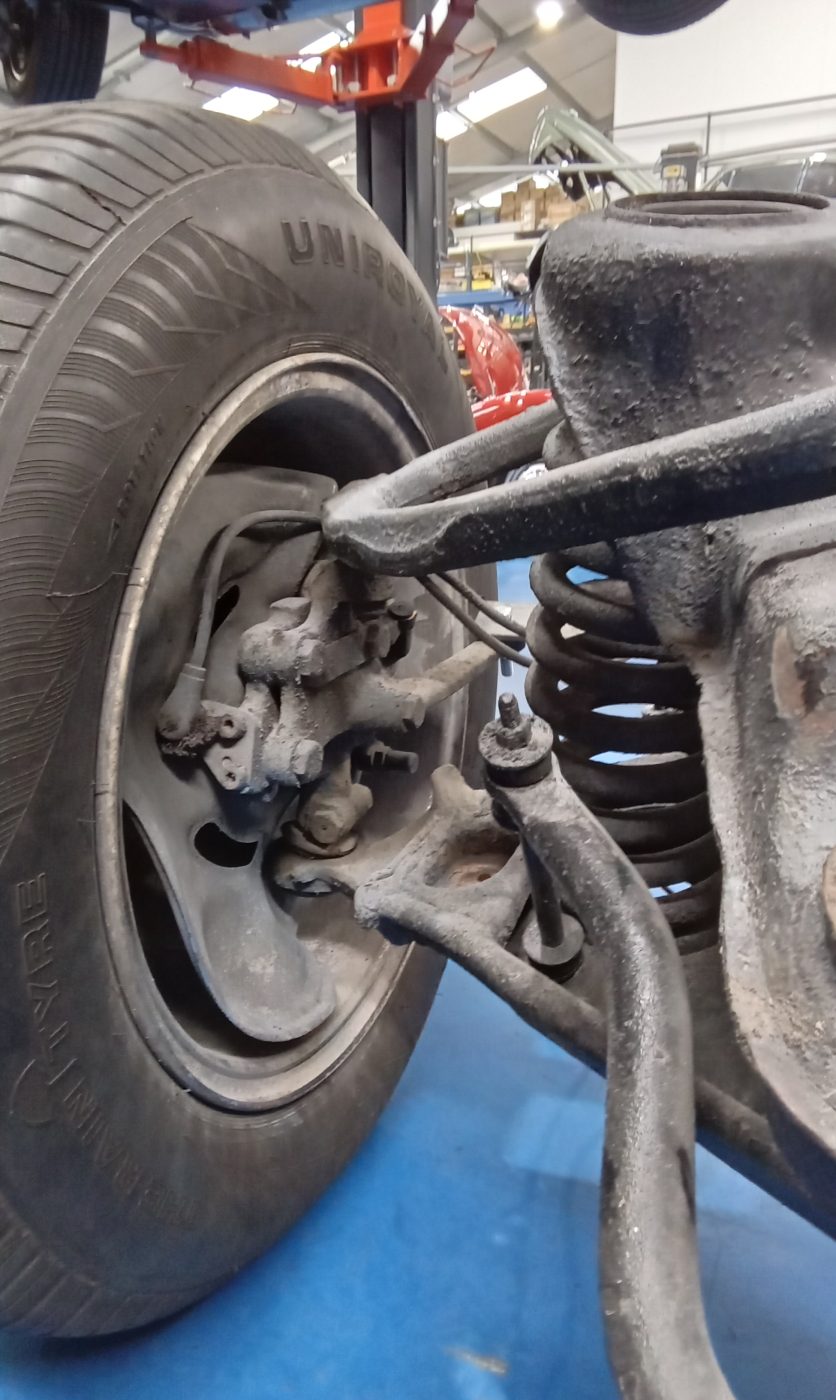
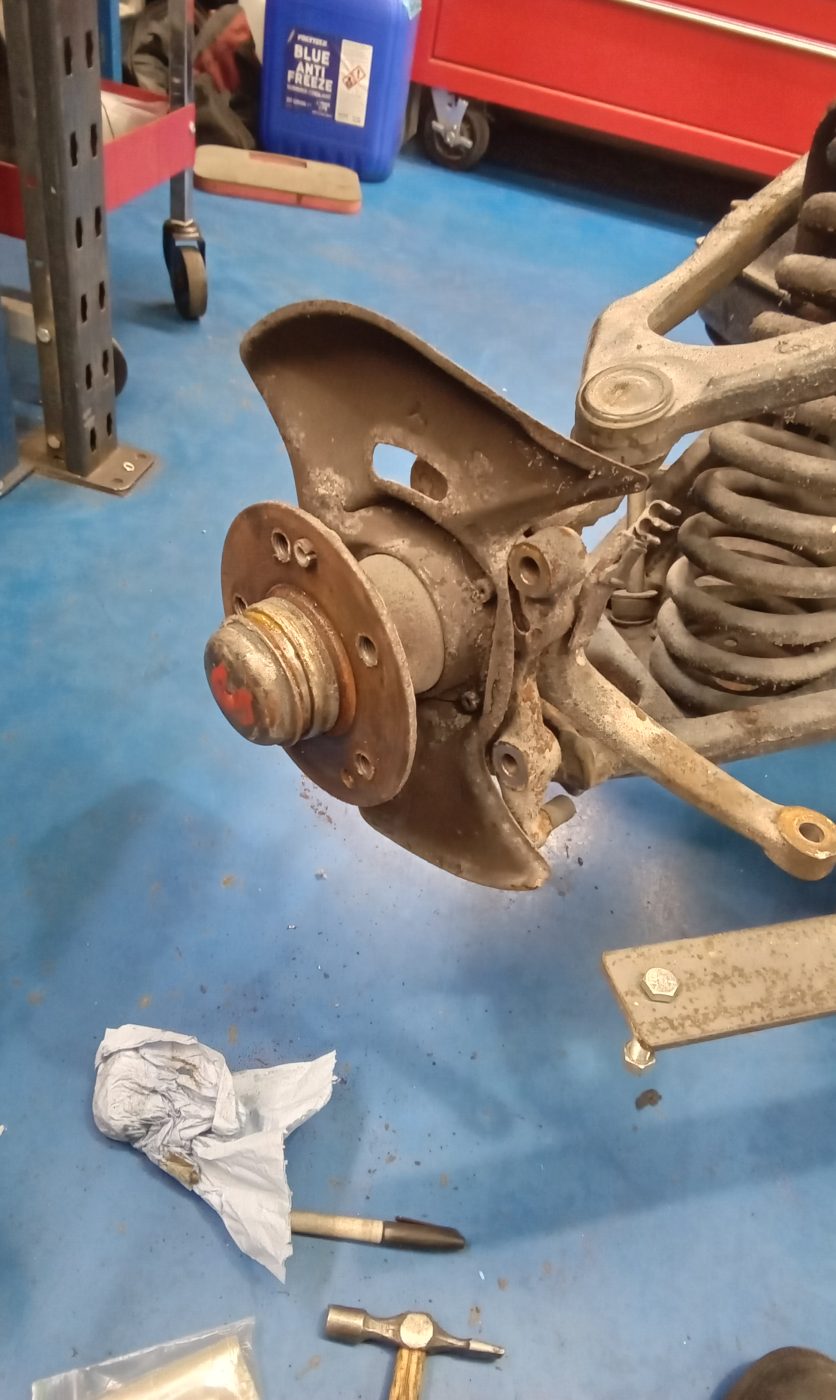
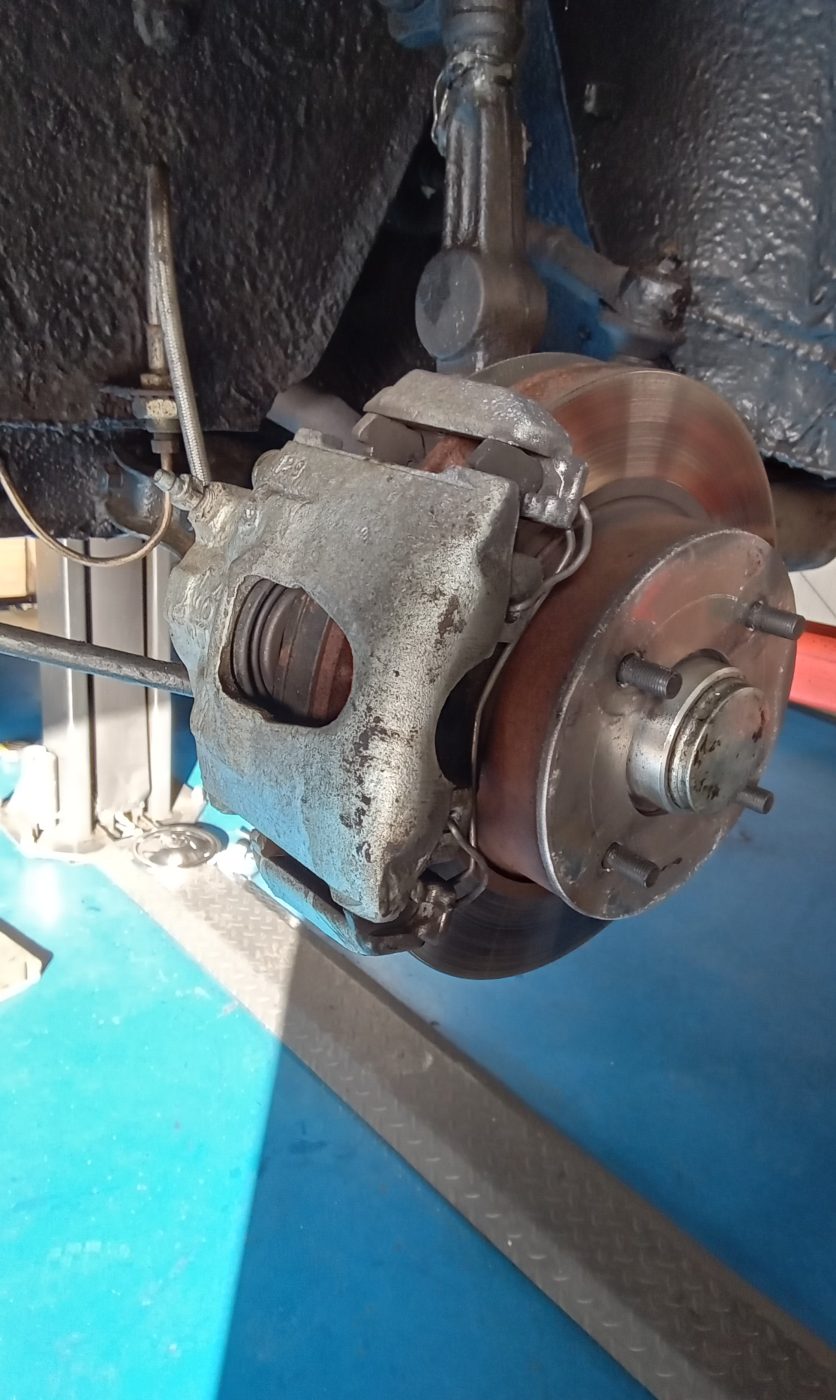
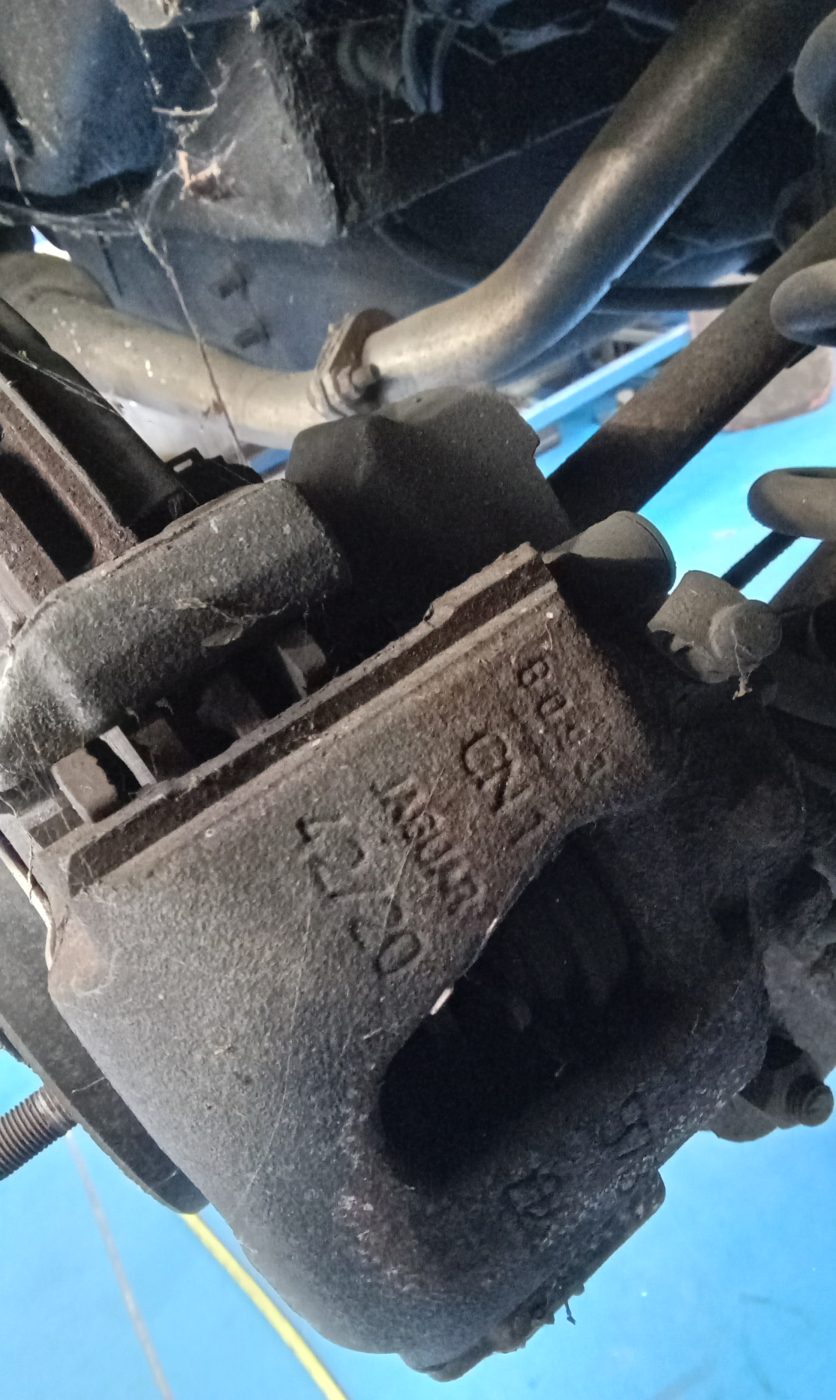
Our 1987 Mercedes 500SL is back in the Bridge Classic Cars workshop and work has begun on it once again.
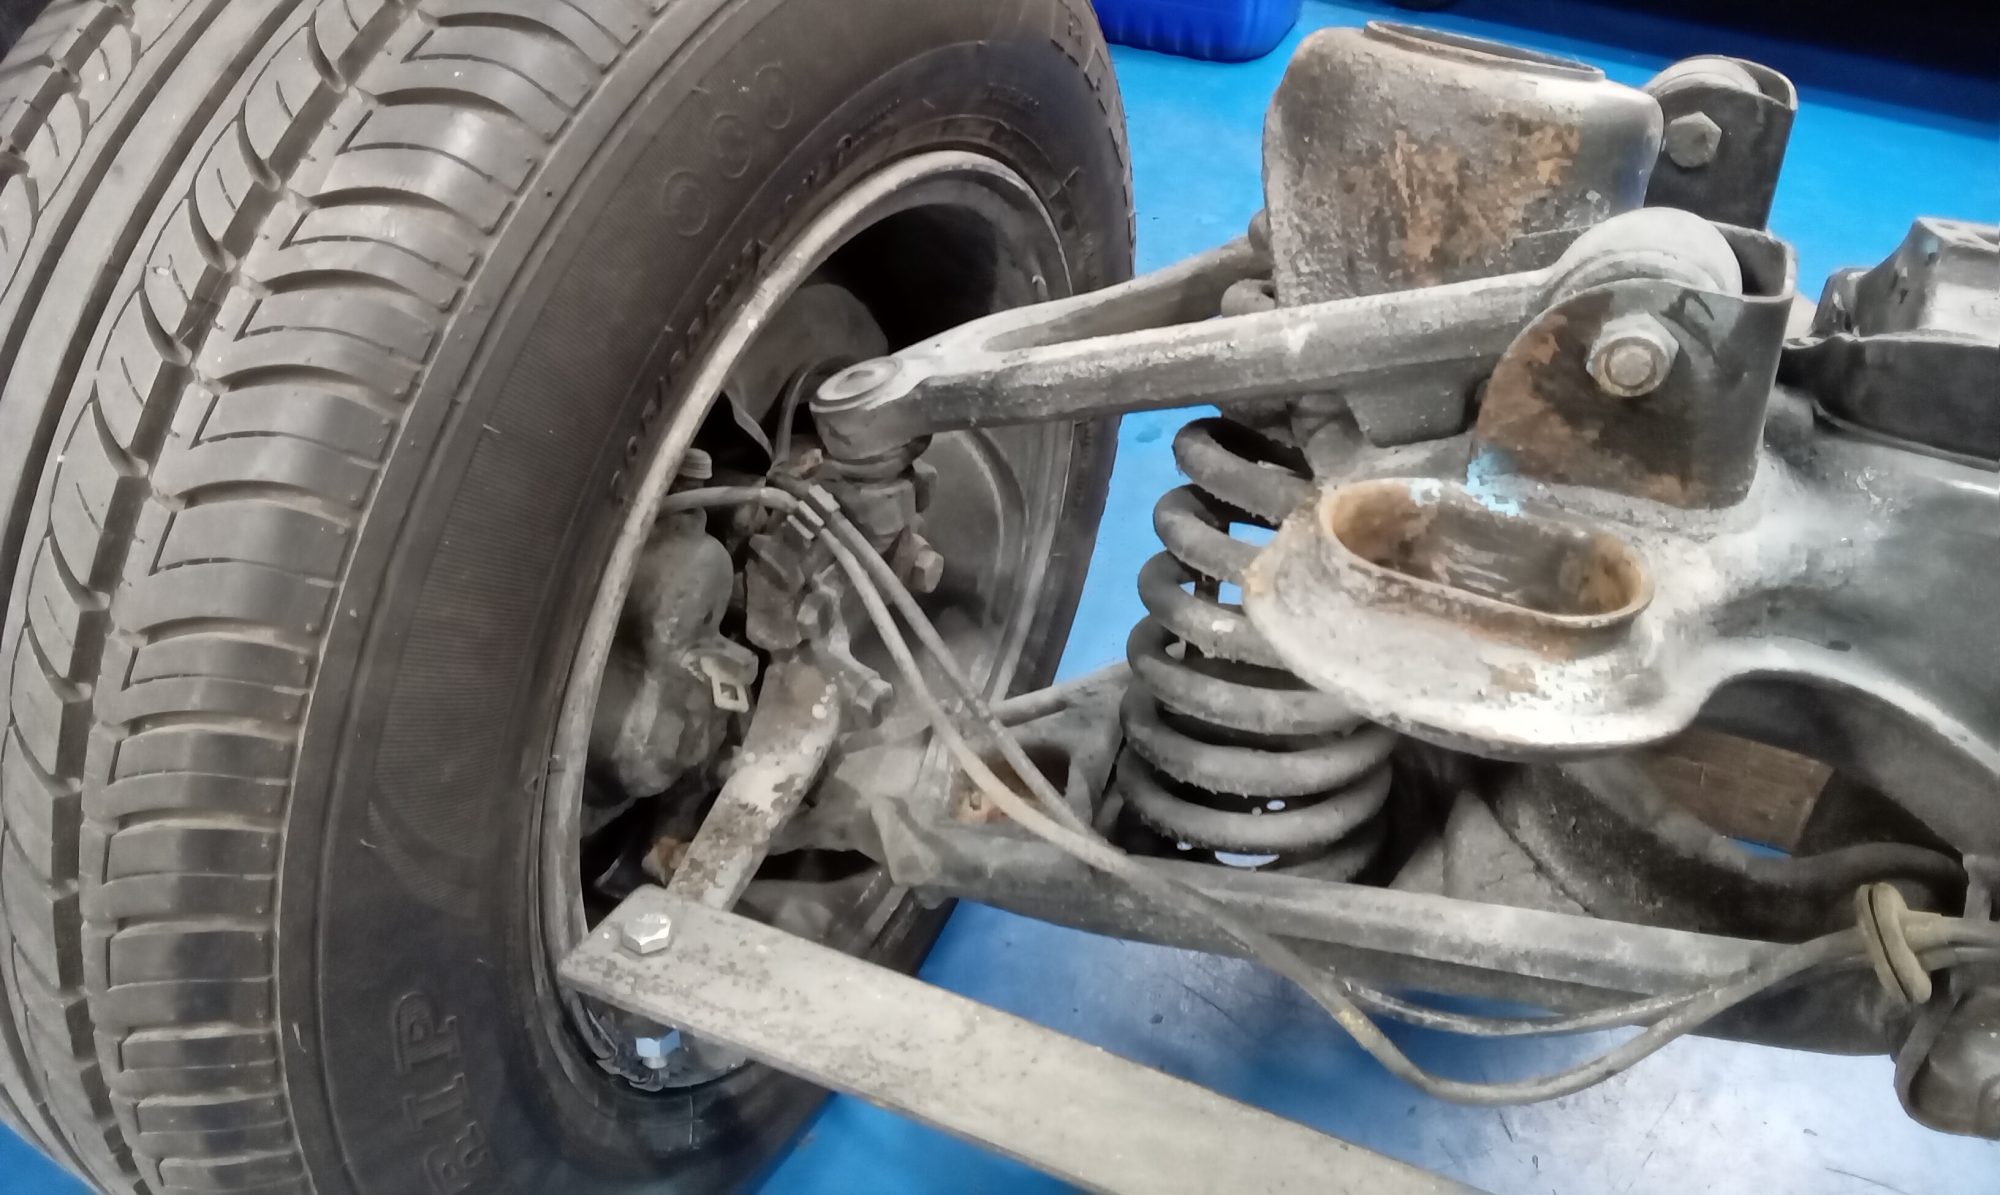
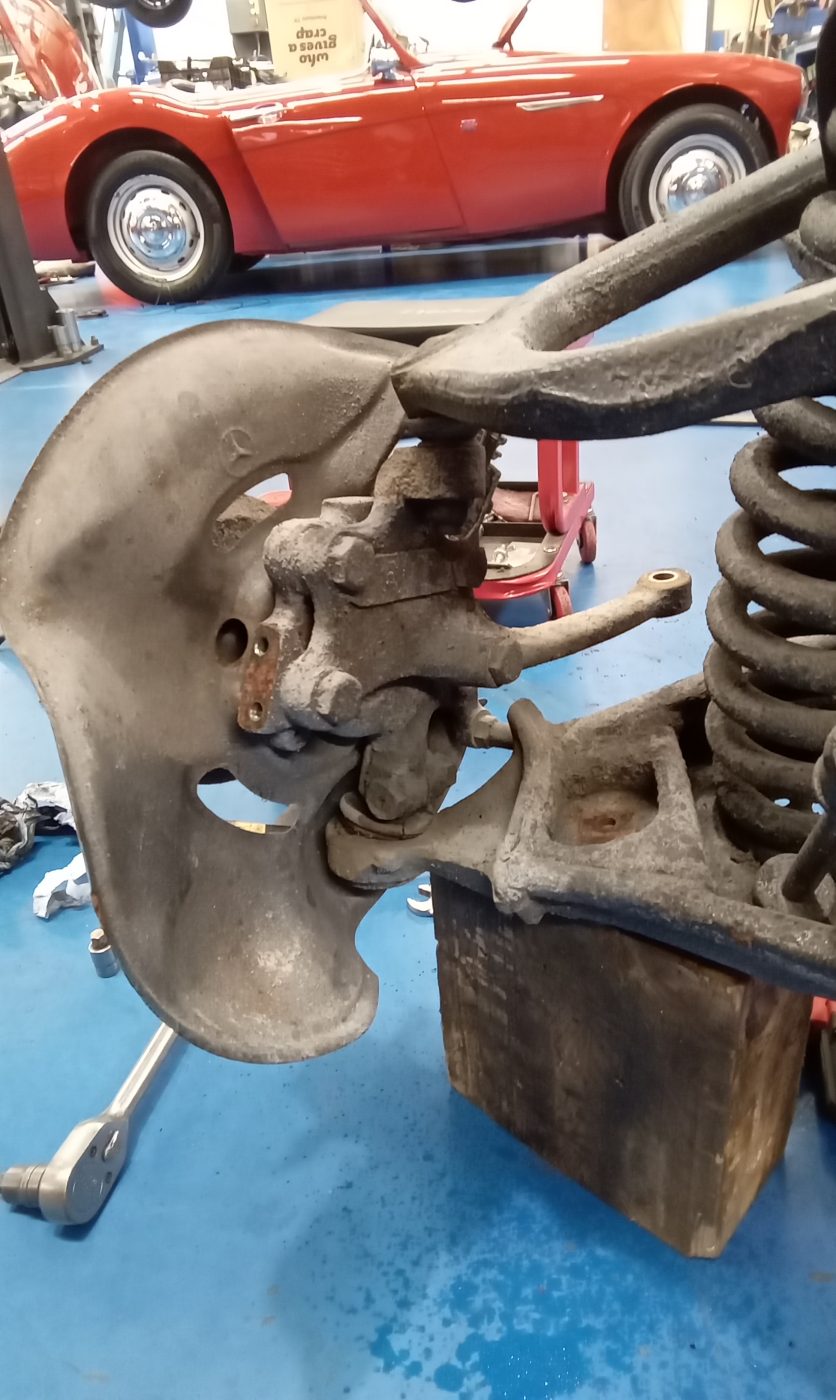
Various tasks have already been completed such as replacing the bushes and ball joint on the front suspension. The car has been stripped back so work can continue on getting this classic Mercedes restored and back out on the road.

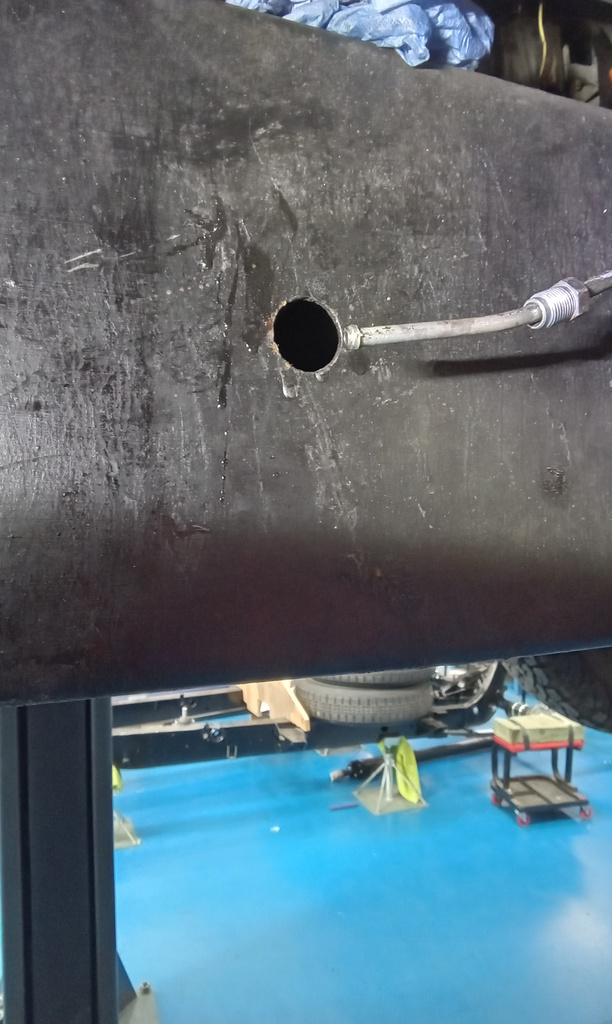
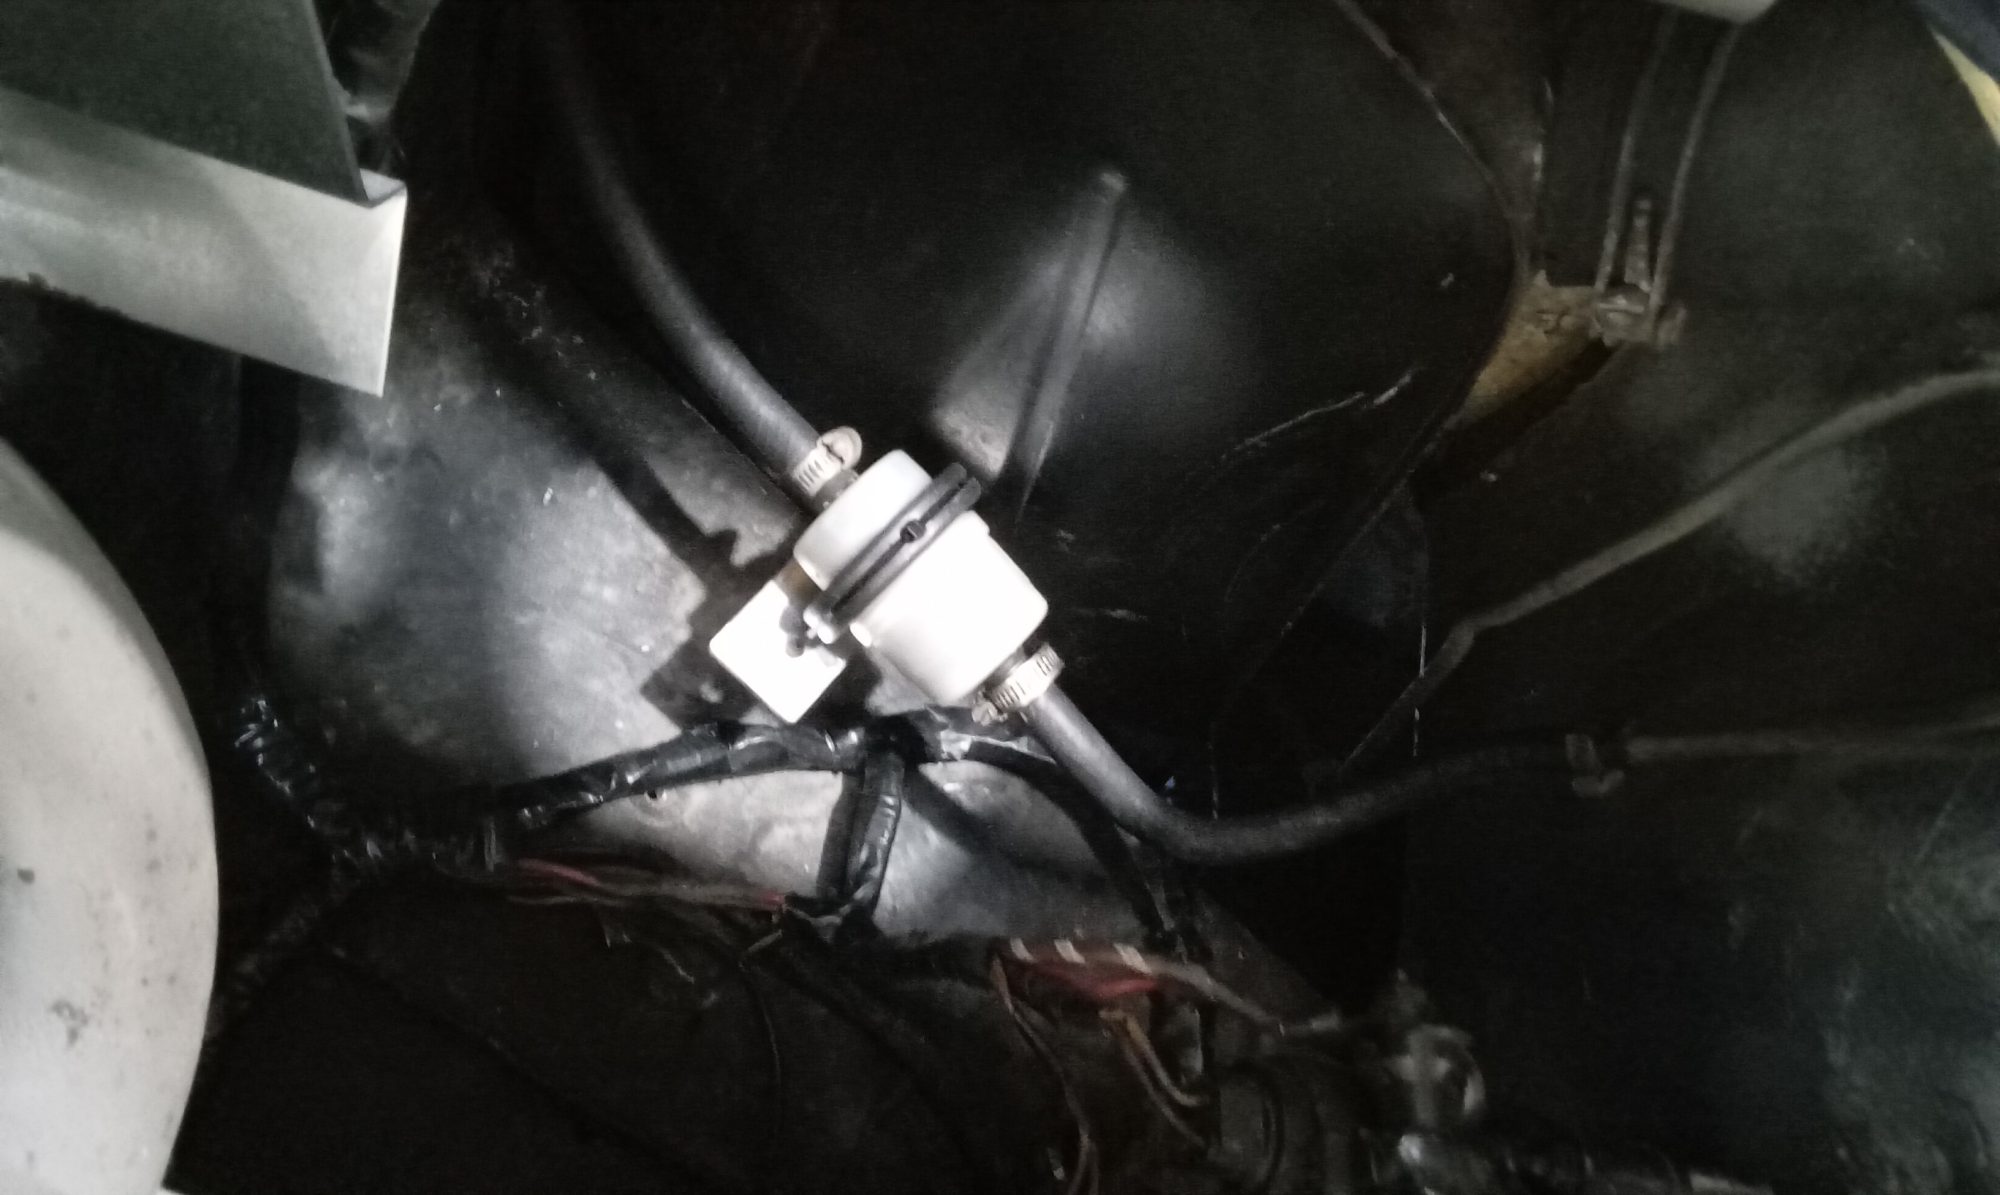
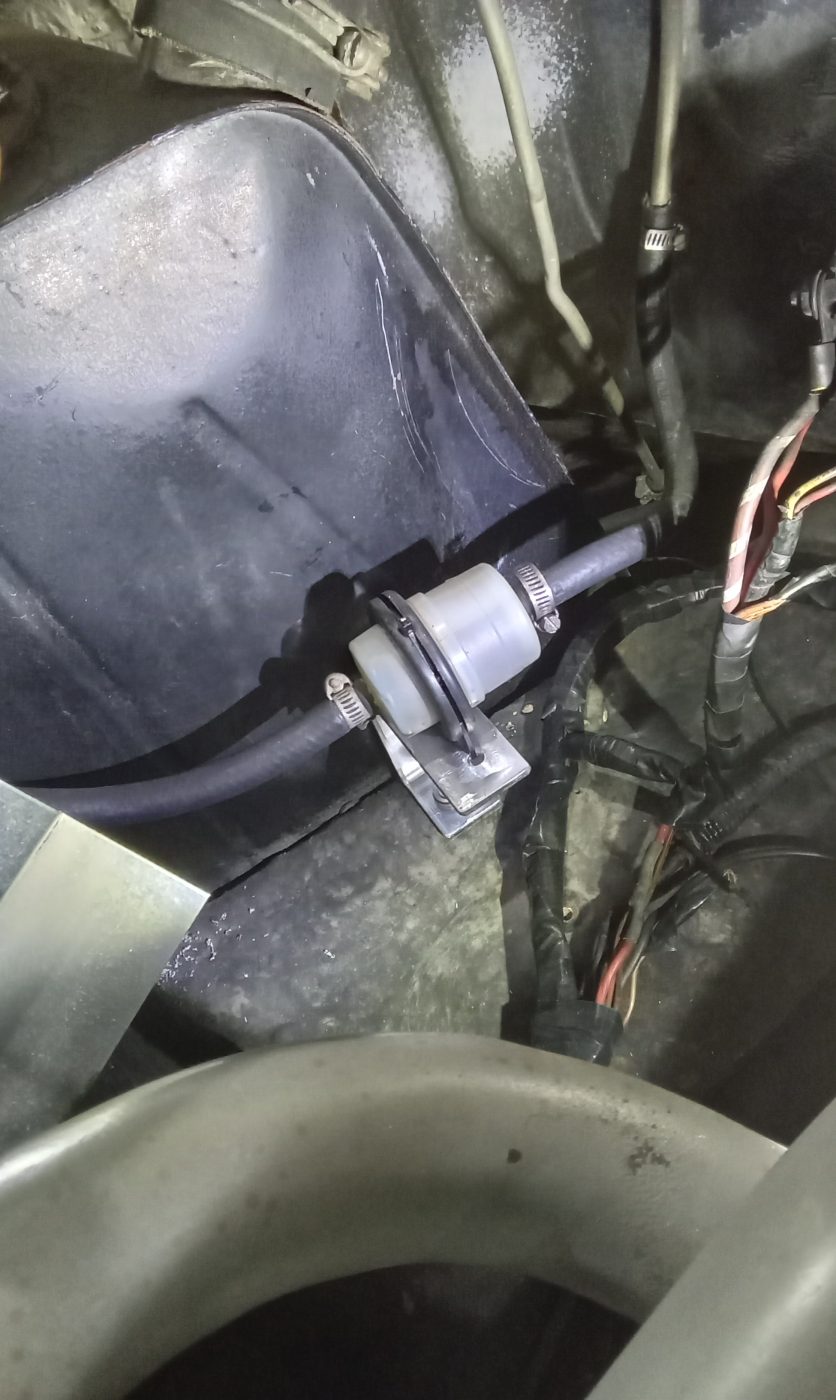
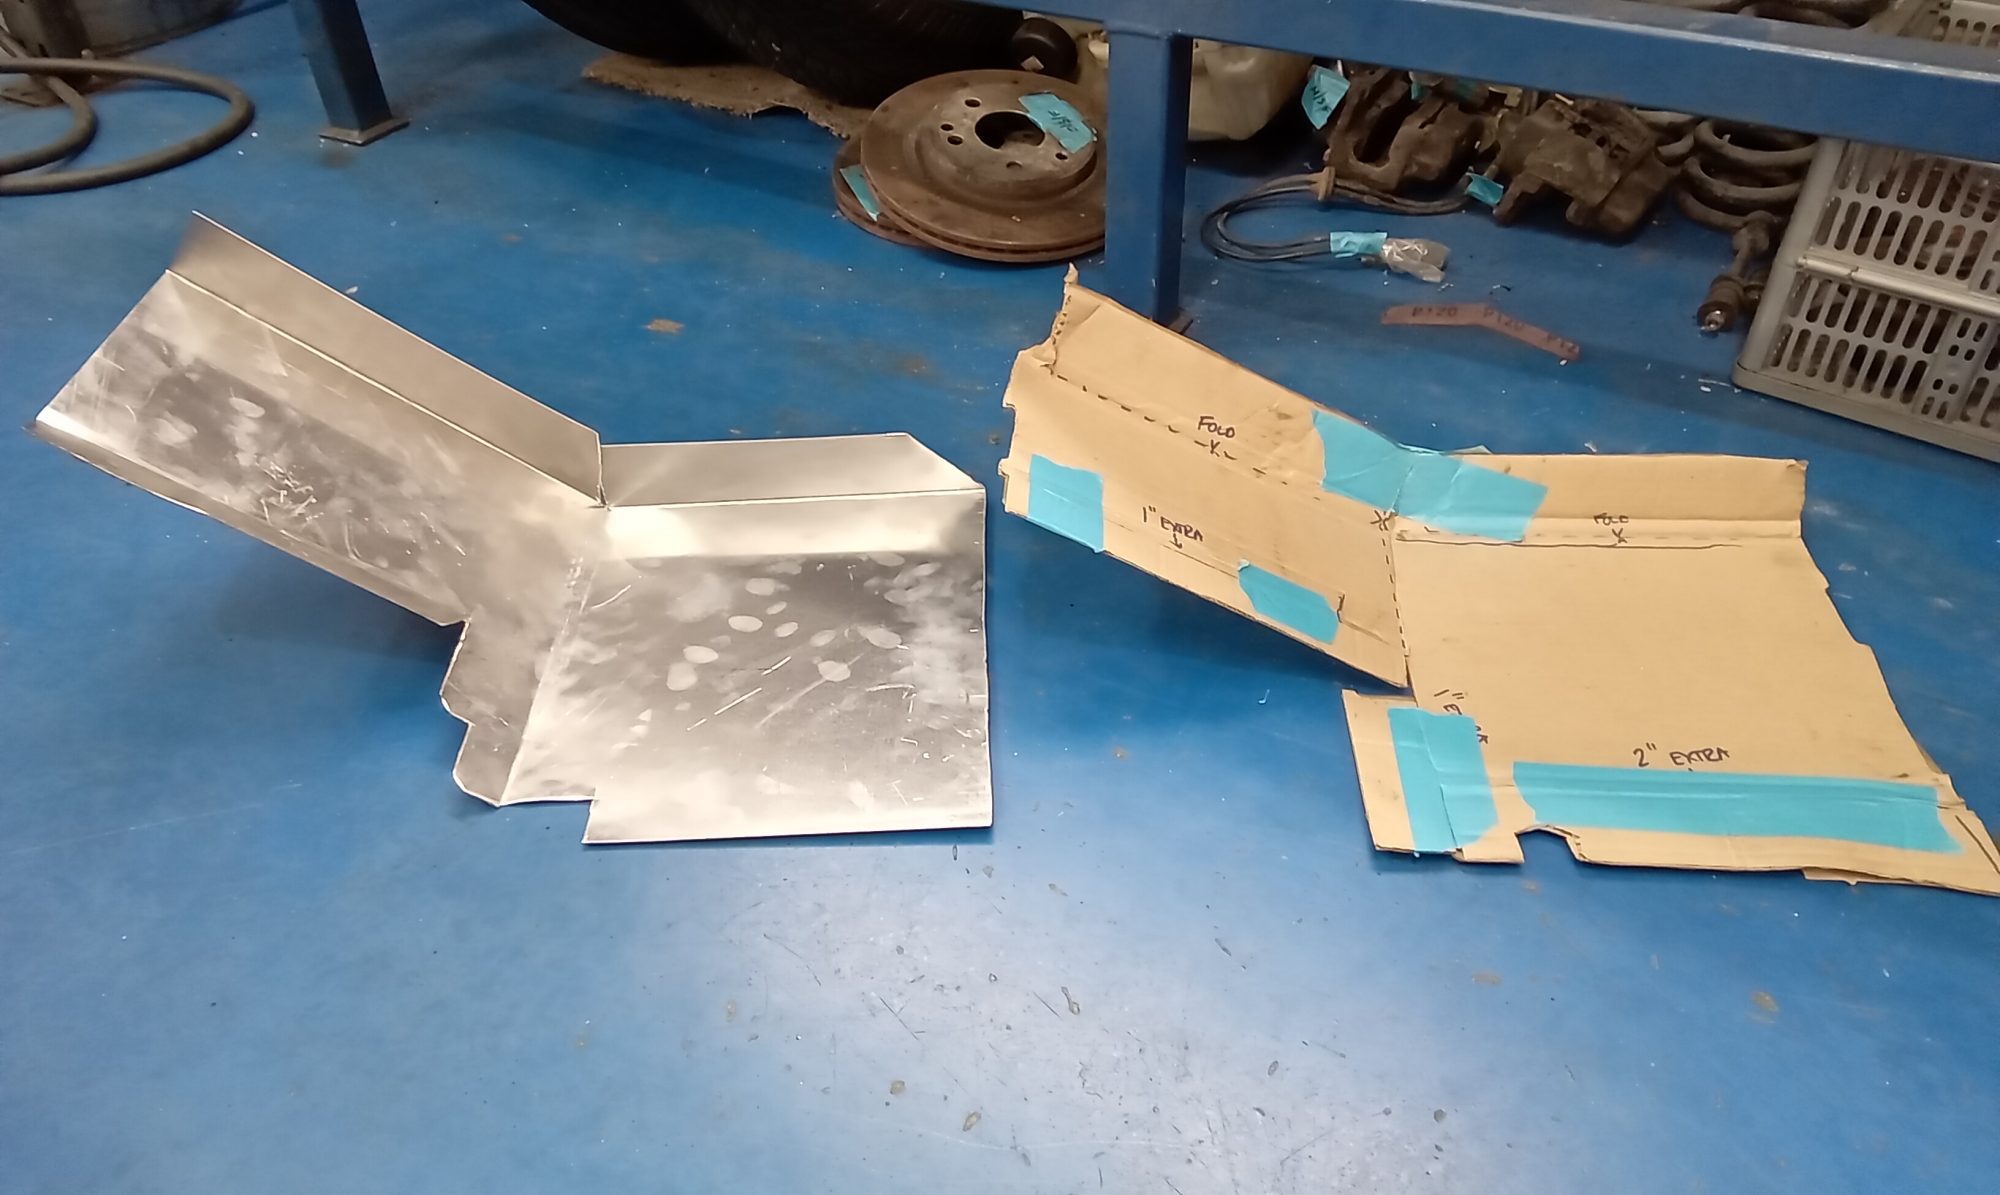
Our 1970 Lotus Europa has been in the skilled hands of classic car technician Jonn who has been making and fitting a new heatshield.
Jonn first made a mock-up of the heatshield from cardboard before making the alloy shield itself. He then went on to fit the new heatshield. While working on the car, Jonn noticed that the alternator wiring is in a poor state so this will need to be rectified before the car becomes available to win through Bridge Classic Cars Competitions.
The fuel filter mount and filter were also secured in place.
Workshop manager John also did some wiring work inside our classic Lotus.


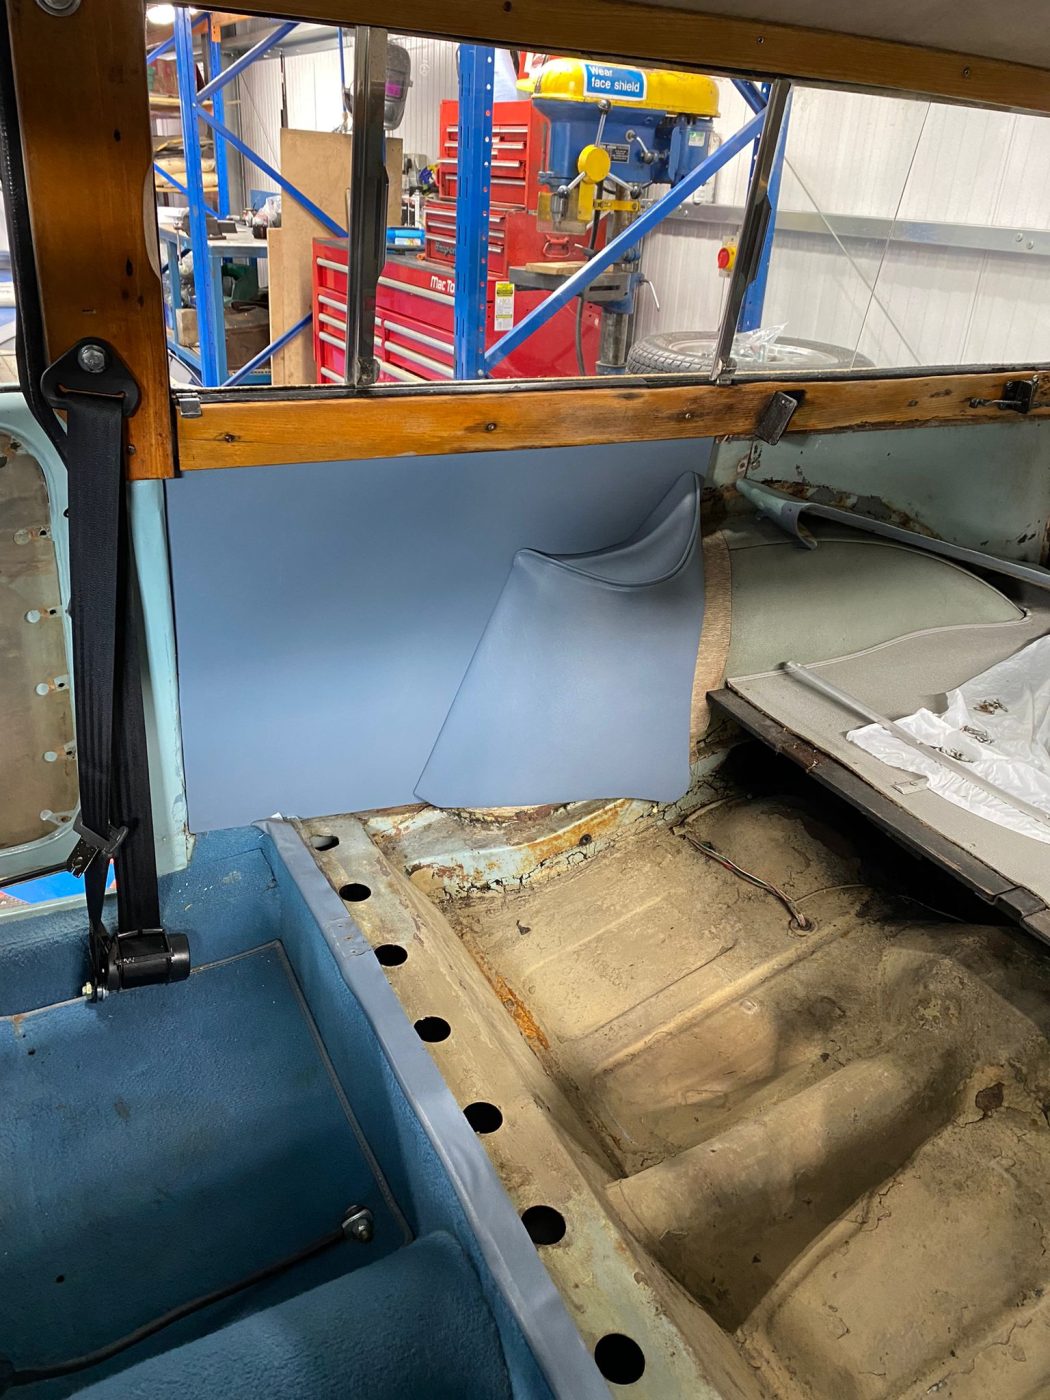
Classic car technicians Jonn and Brian have been working on our 1965 Morris Traveller 1000.
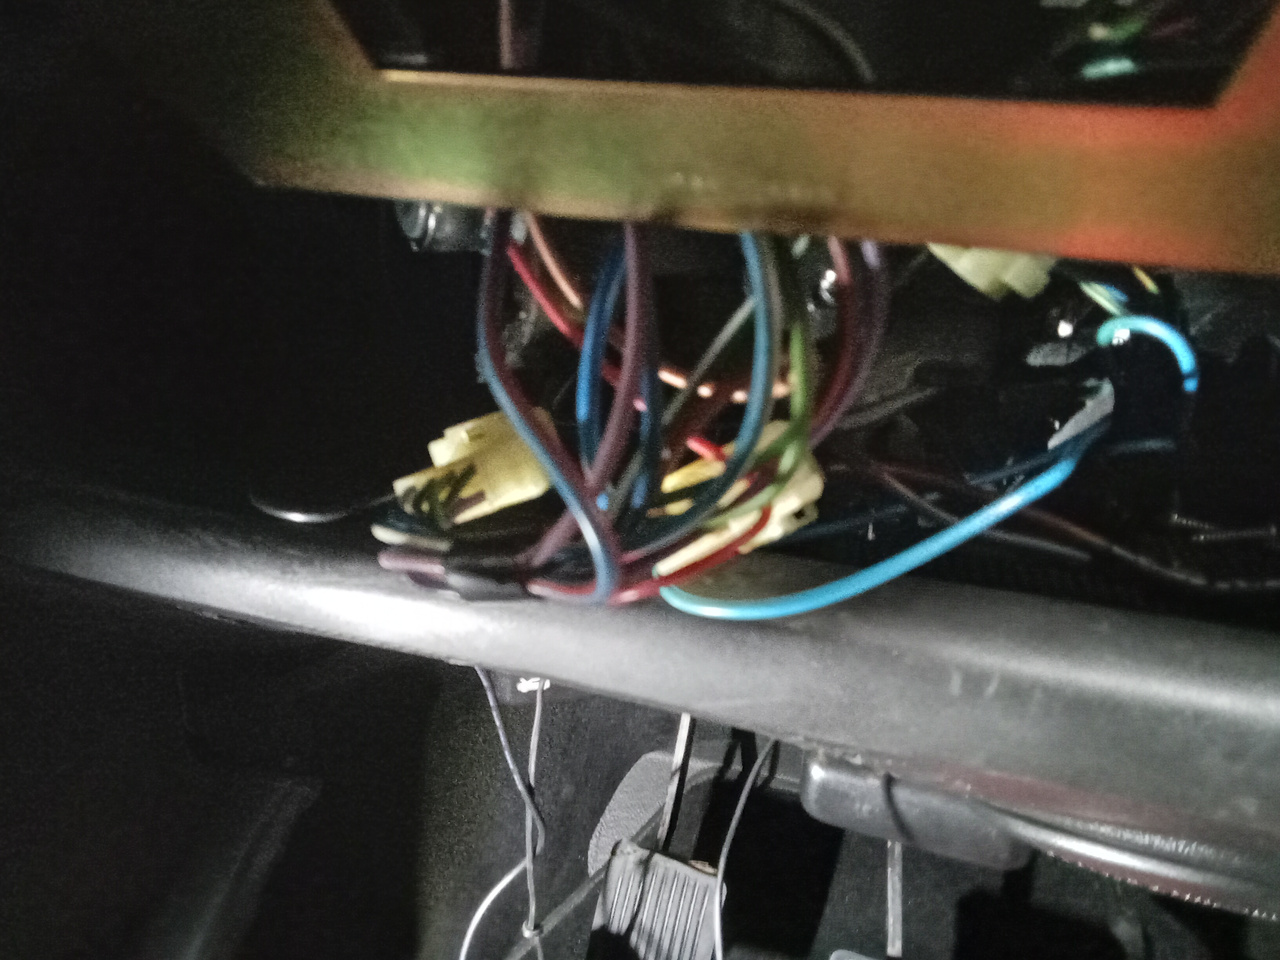
Jonn resecured the offside rear door bracket after it was found to be loose, he then went on to bond the fuel cap surround onto the tank neck. Another job for Jonn was to tidy up and secure the wiring loom that he described as ‘spaghetti junction’. This now looks much better thanks to his handy work. The brake fluid level was checked and found to be okay.
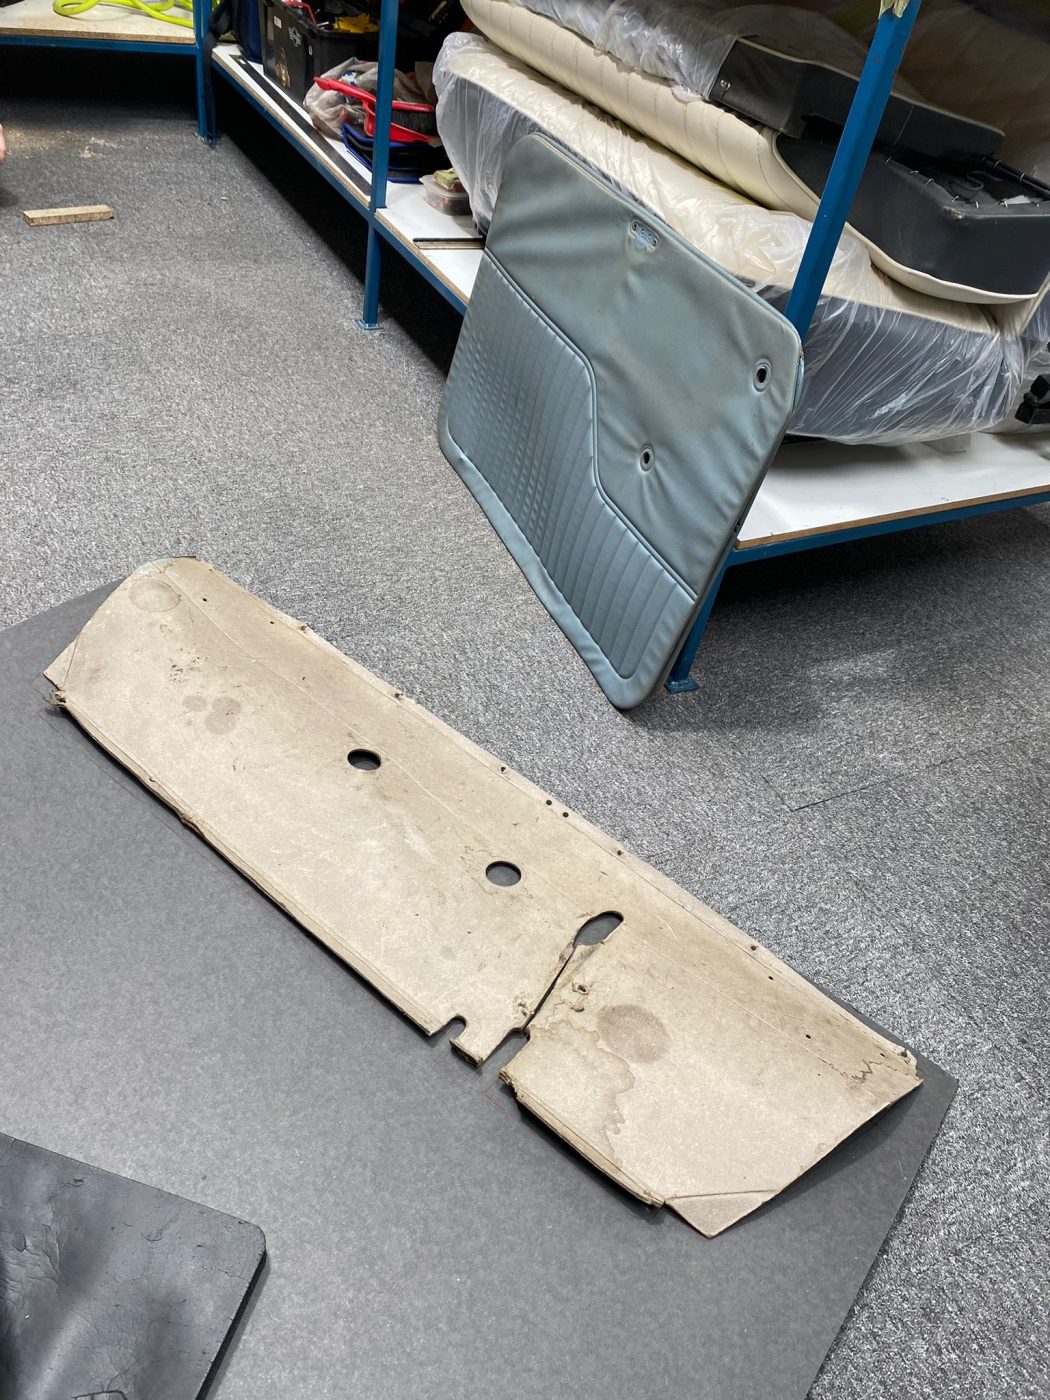
Brian also gave our Morris Traveller some attention with his focus being the interior of the classic vehicle. New kick panels were fitted as were new rear quarter panels before Brian put the rear seat base back into the car.
New door panels, handles, and pull straps were fitted before Brian removed the rear seat so he could cut down the sides allowing the seats to fold back. The parcel shelf was removed and a new one was made before Brian fitted carpet clips to the front carpets.


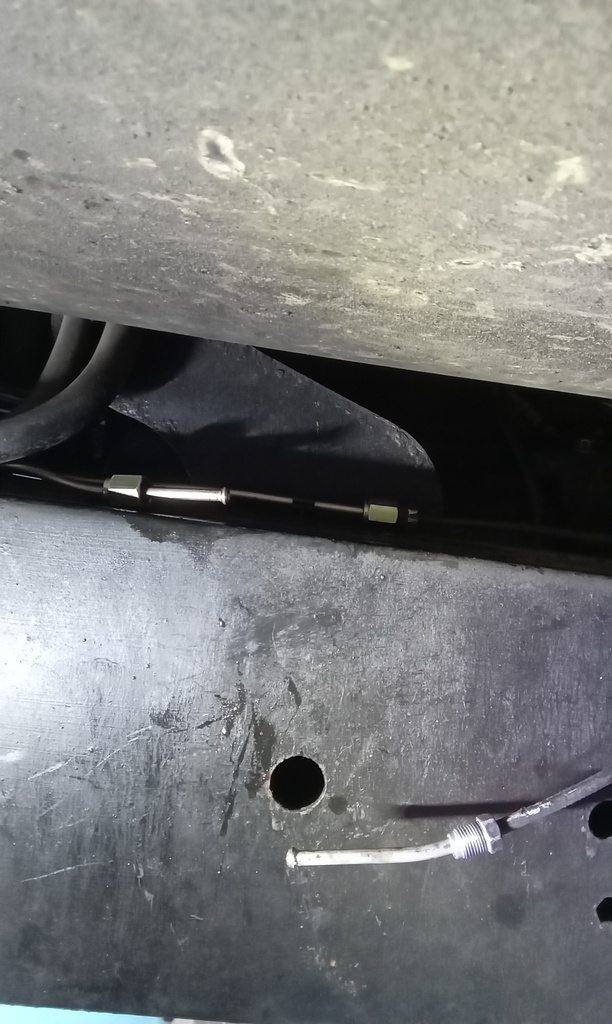
Bridge Classic Cars workshop manager John has been working on our 1970 Lotus Europa. He has been returning the wiring of our classic Lotus back to its original specifications. This is in preparation for the car to be won through Bridge Classic Cars Competitions very soon.

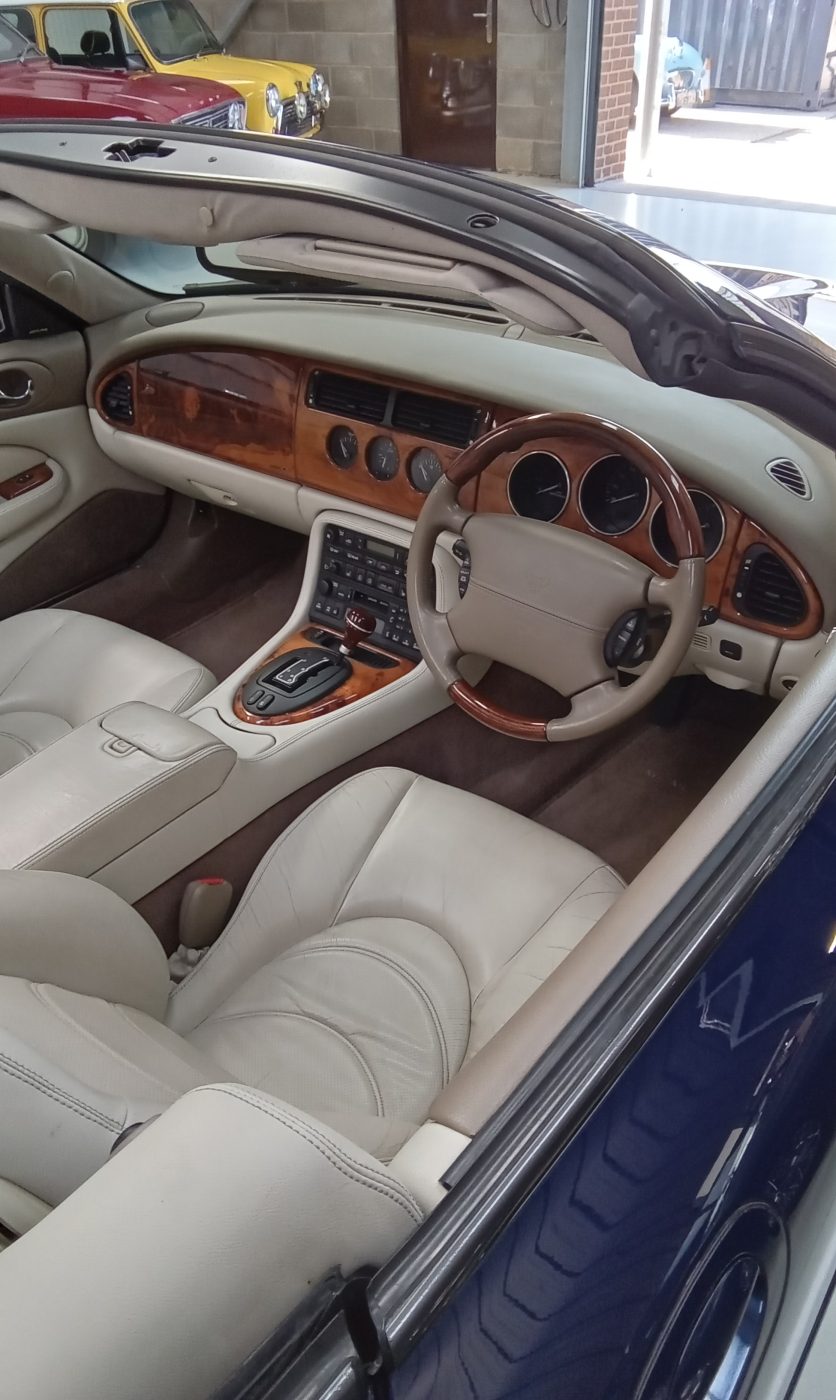
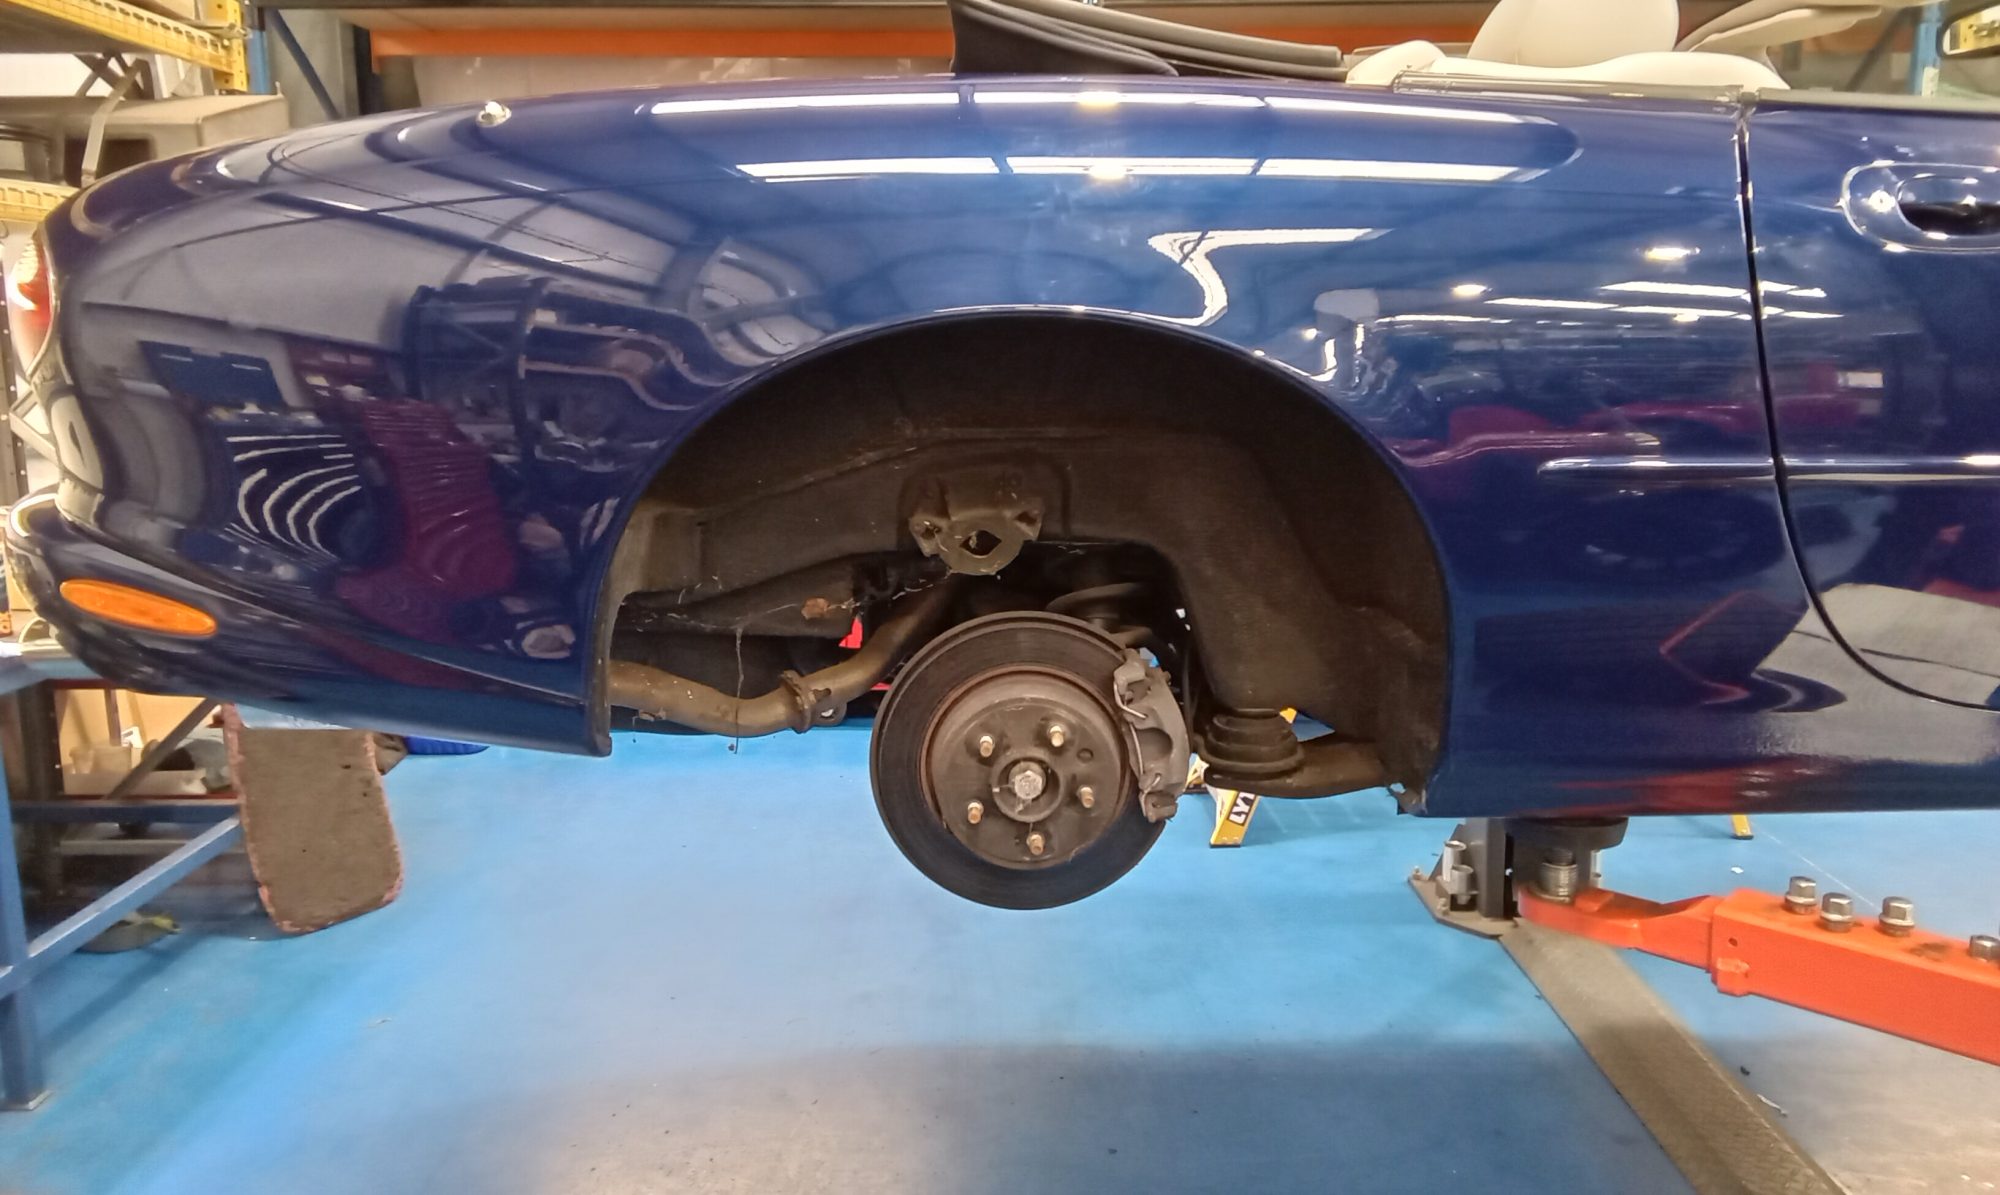
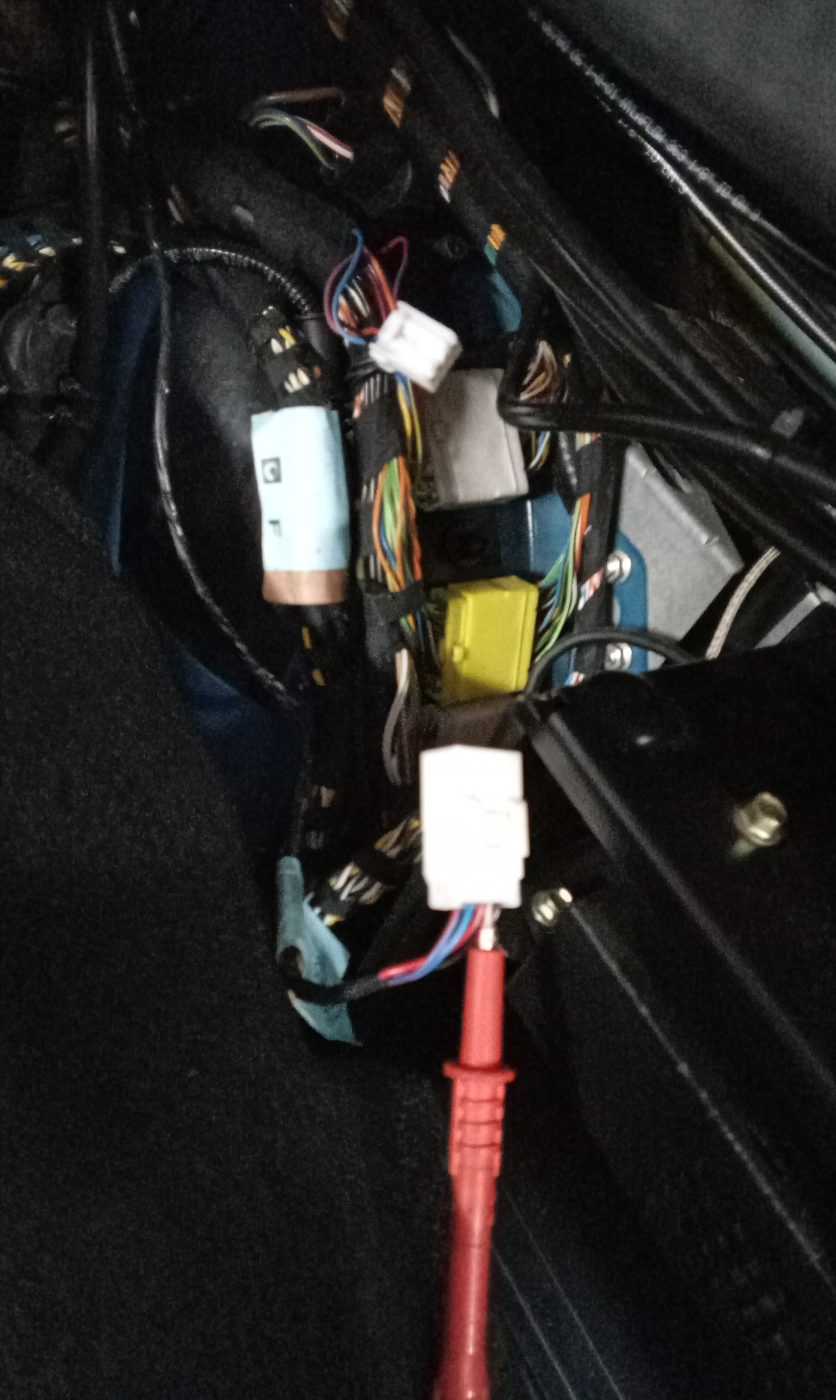
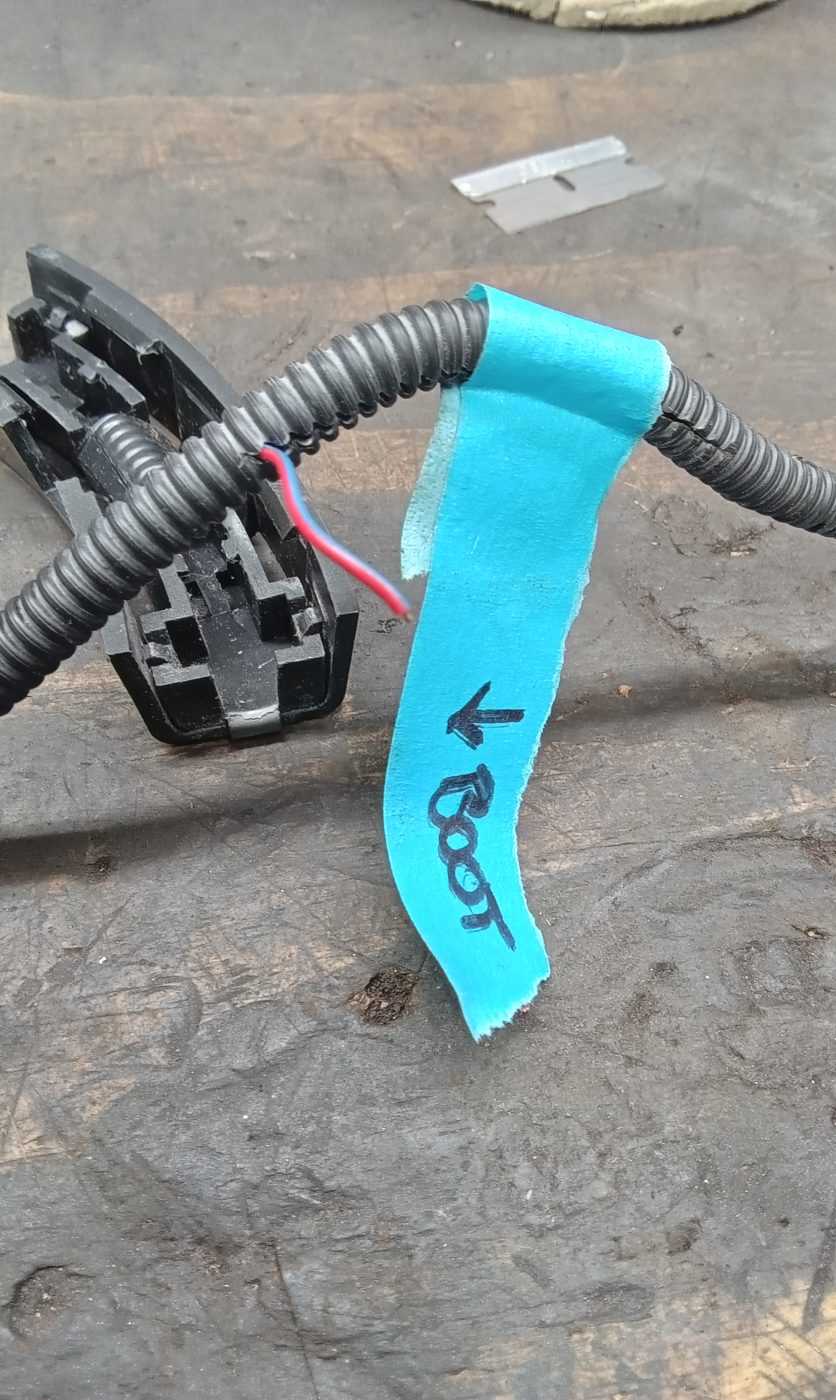
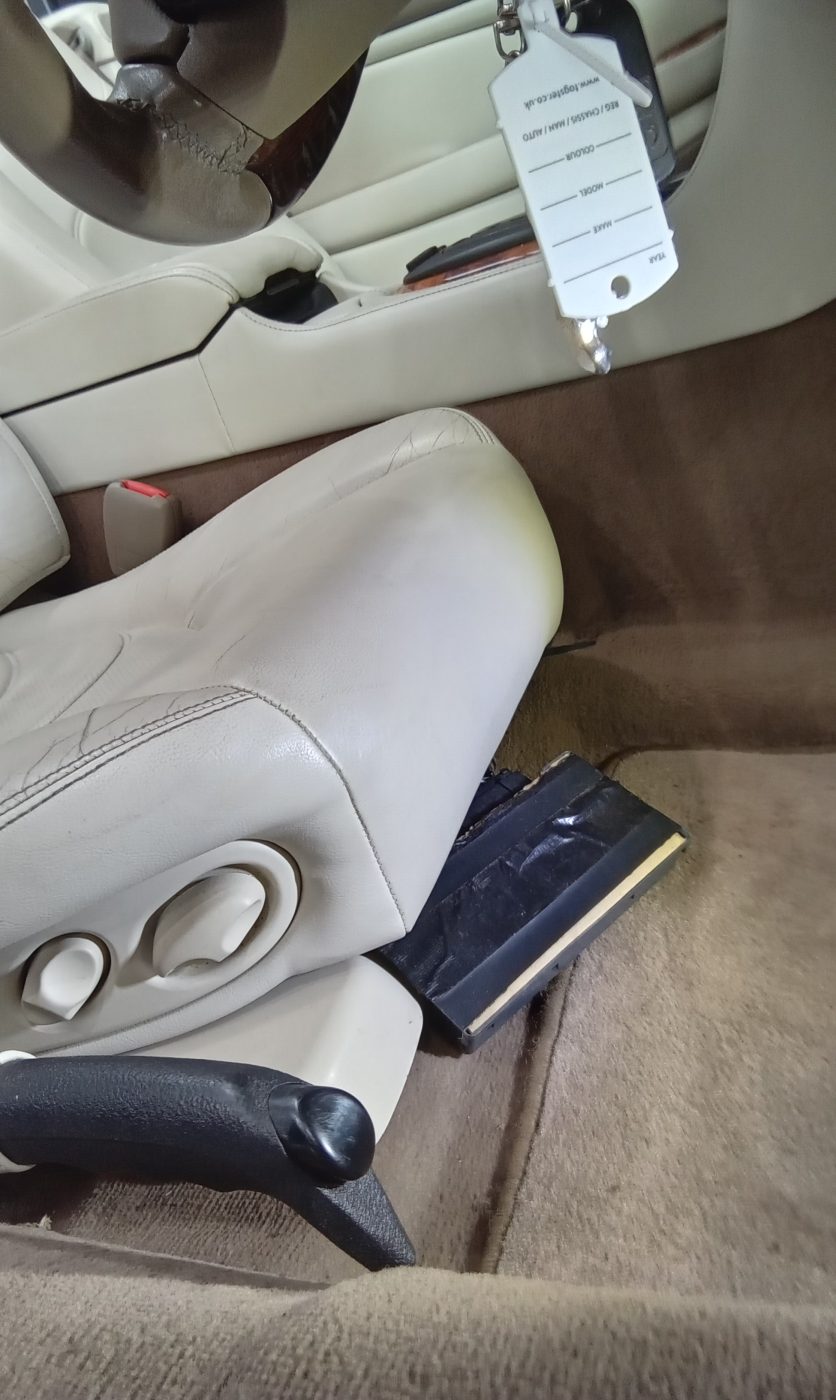
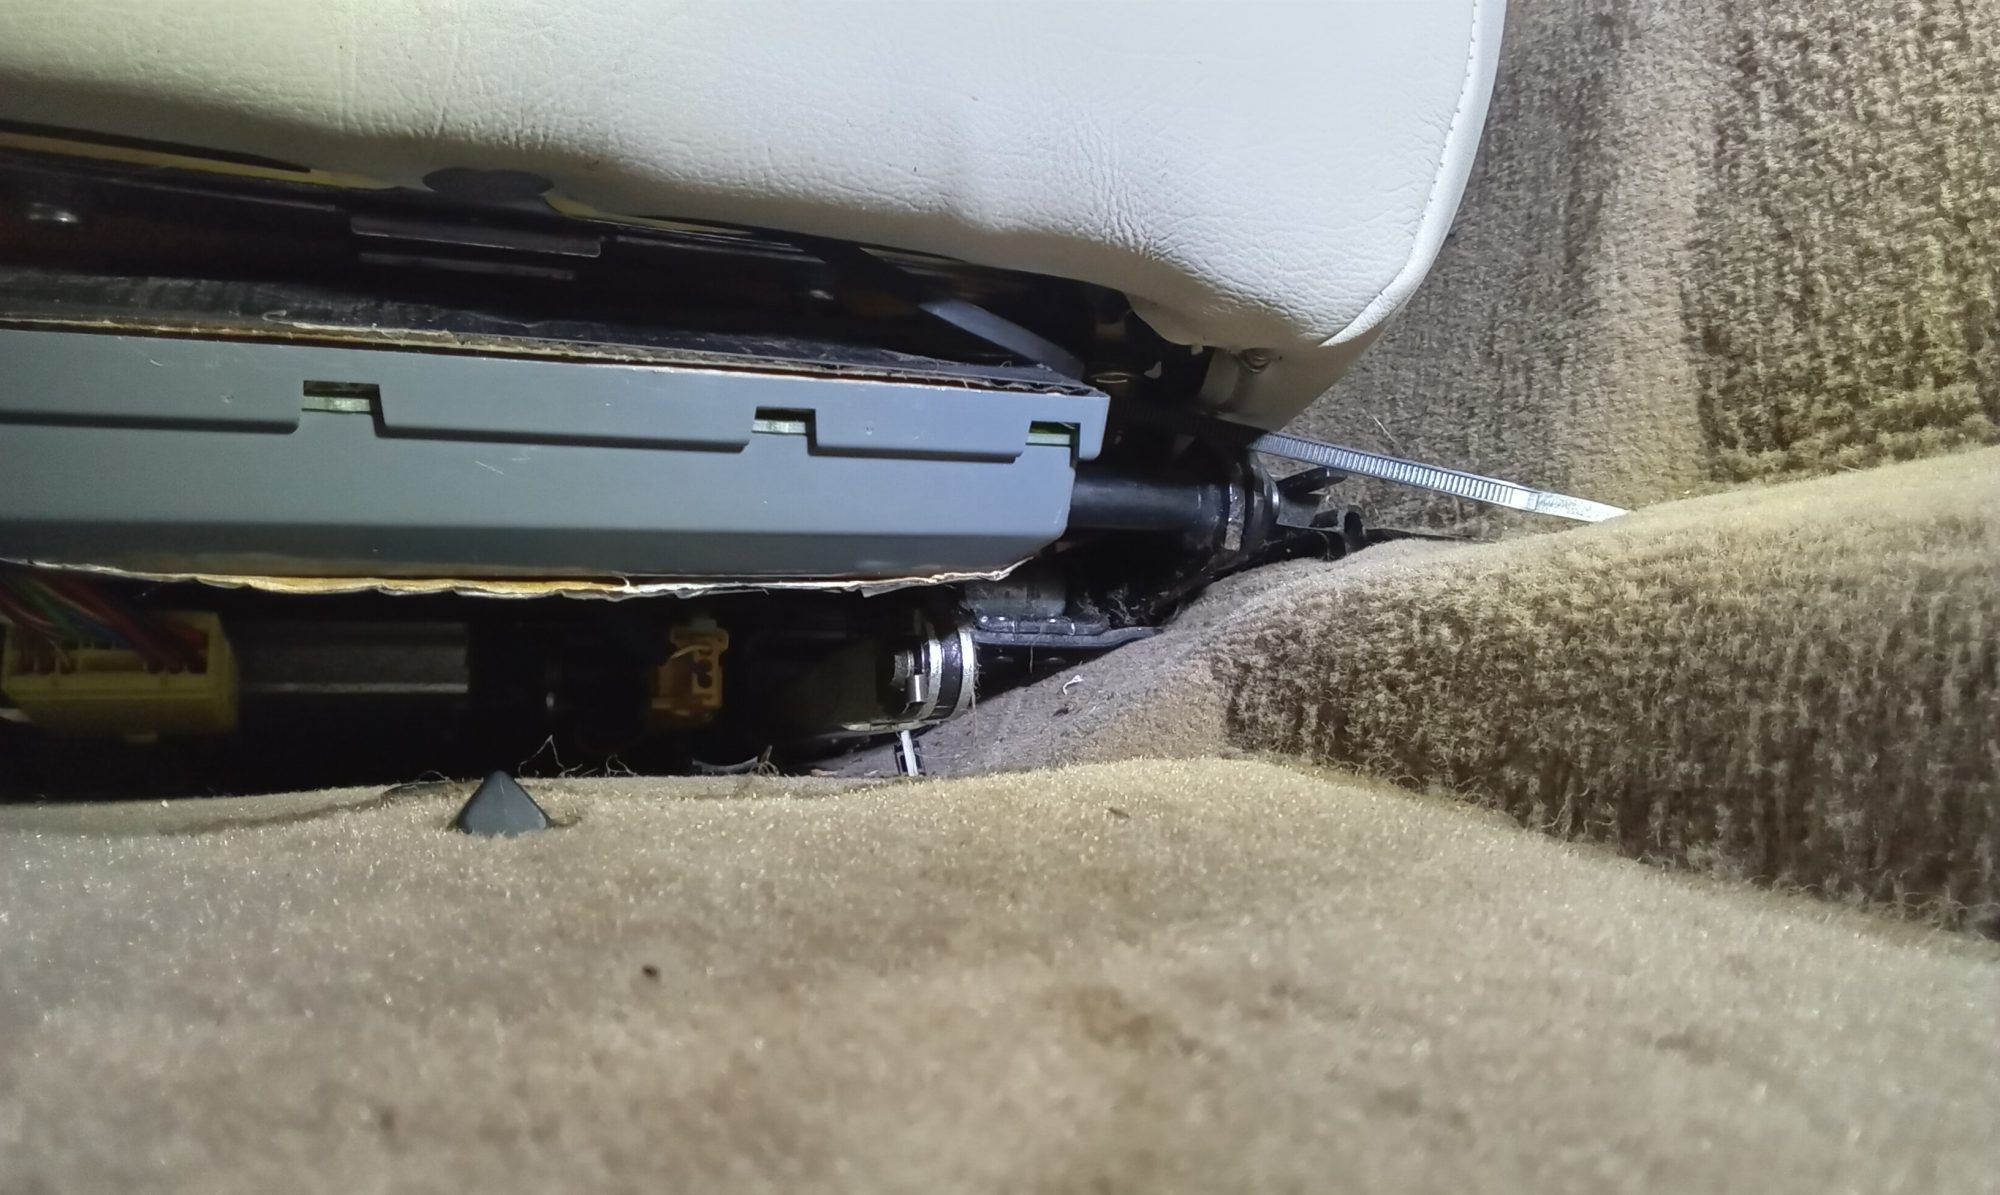
Our 2001 Jaguar XKR has been in the hands of classic car technician Jonn as he has begun inspecting the vehicle ready for it to eventually go live on Bridge Classic Cars Competitions very soon.
During his investigation, Jonn tested the air con which he found to be working fine. He also found that there was a broken wire inside the loom which meant the boot release button was not working as it should. After Jonn had repaired this, everything was back working again.
The bezels that go around the centre gauges were reattached before Jonn turned his attention to the front seats. The driver’s seat module was found loose under the seat so needed to be reattached to the seat frame.
This was slightly better than the passenger side module which was missing completely. Jonn also needed to untwist the nearside front seatbelt at the reel behind the panel.


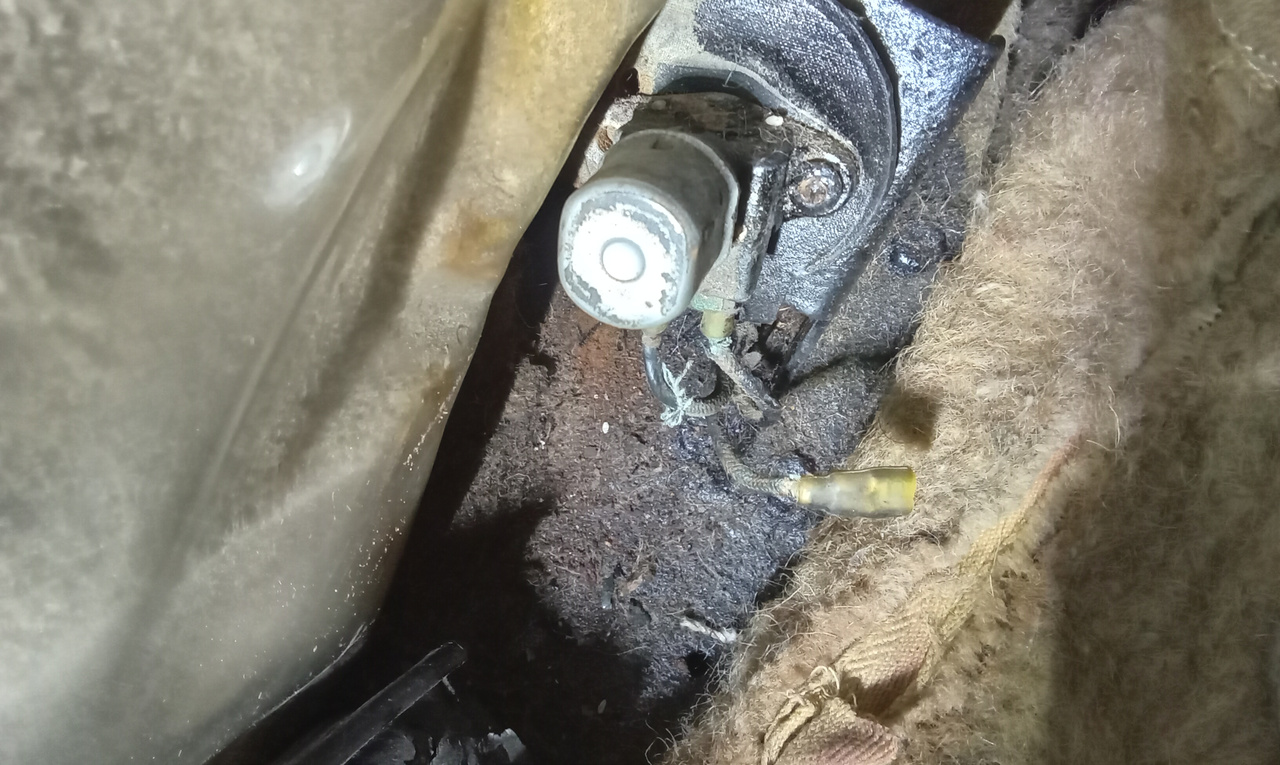
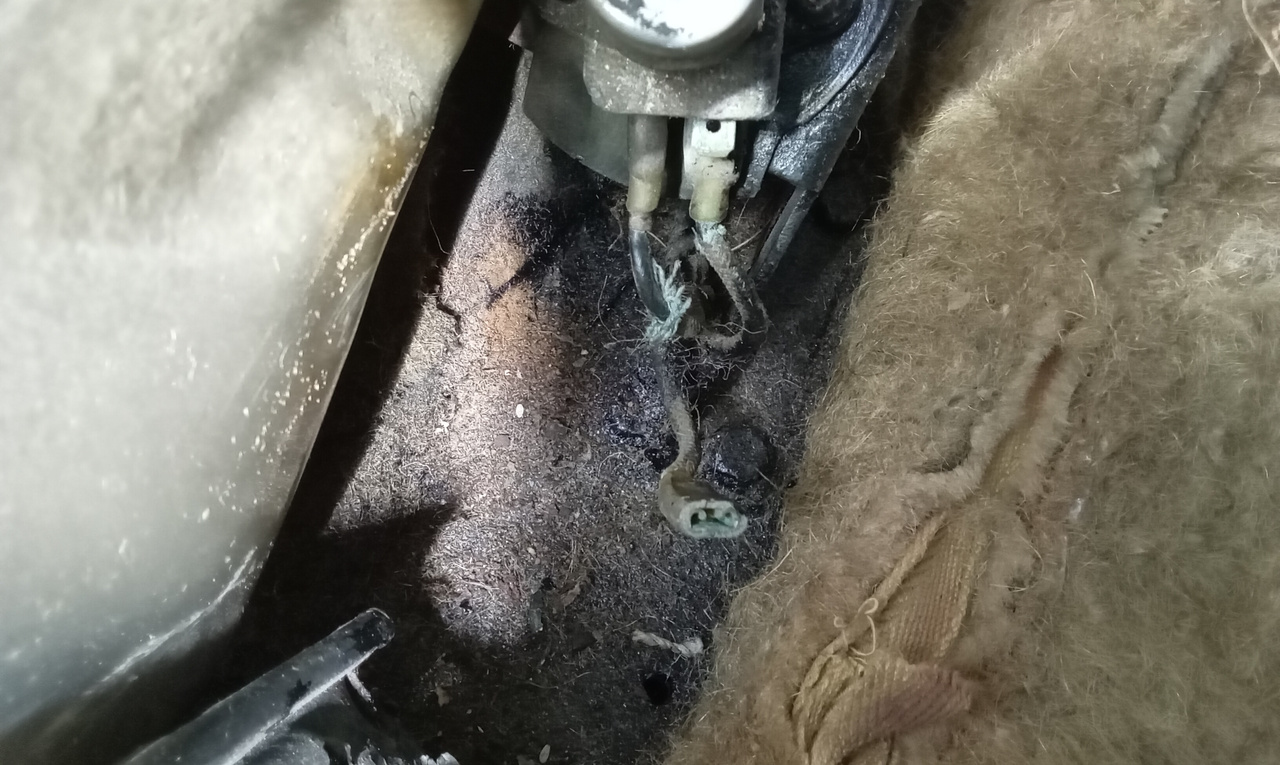
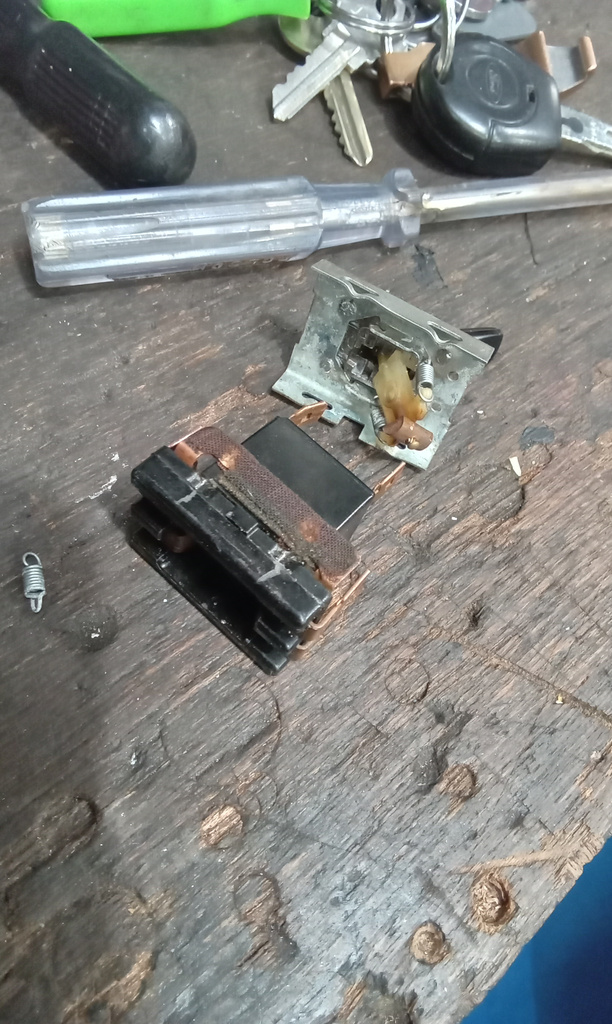
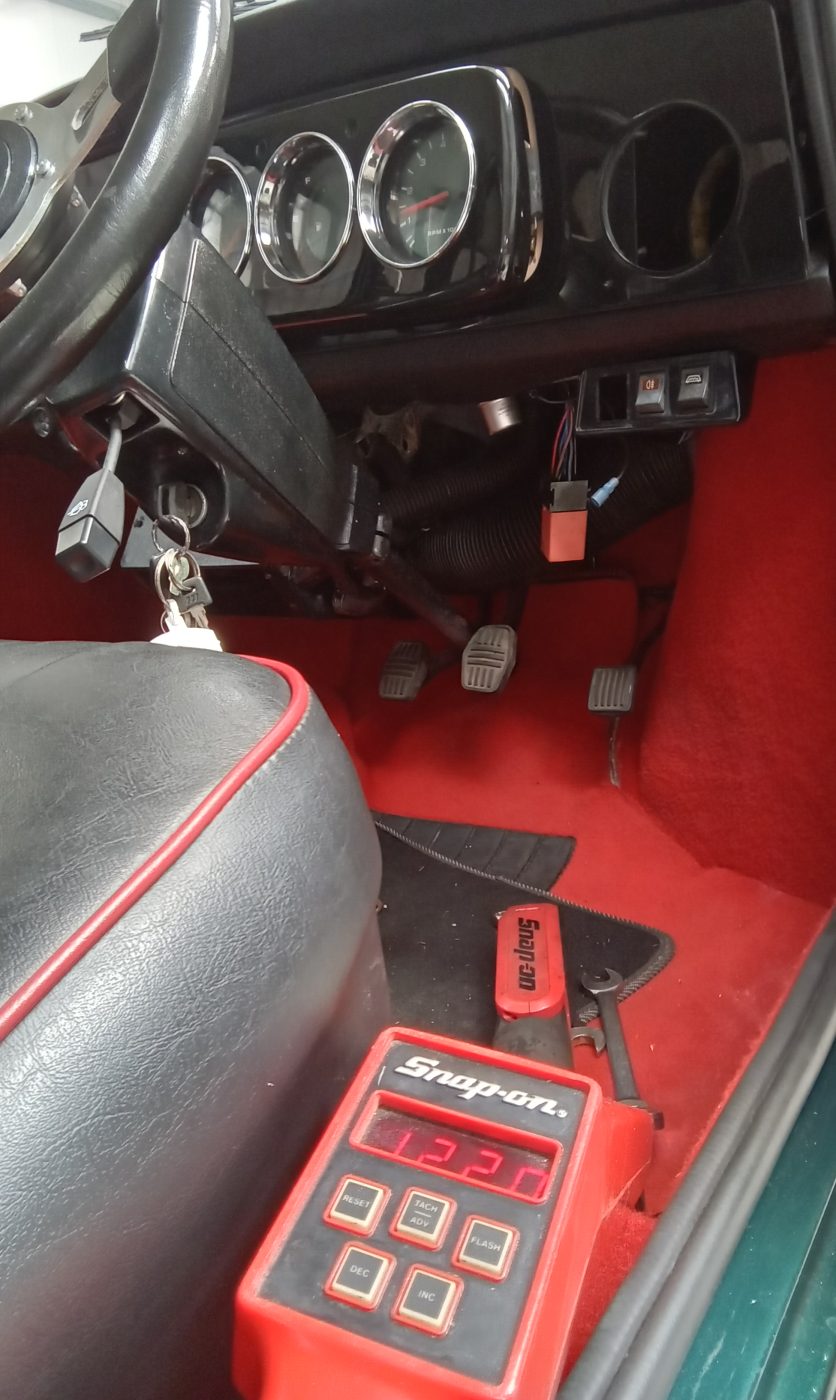
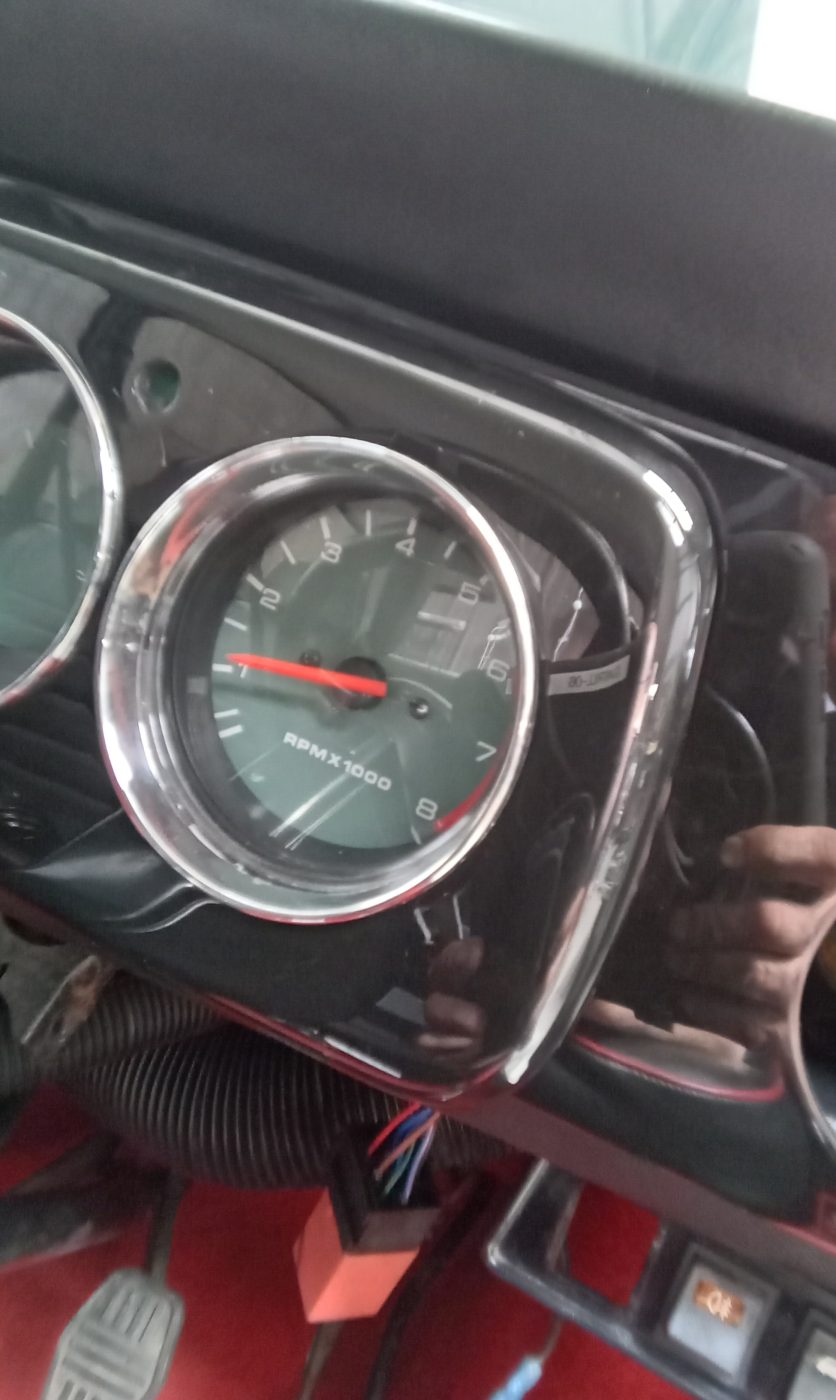
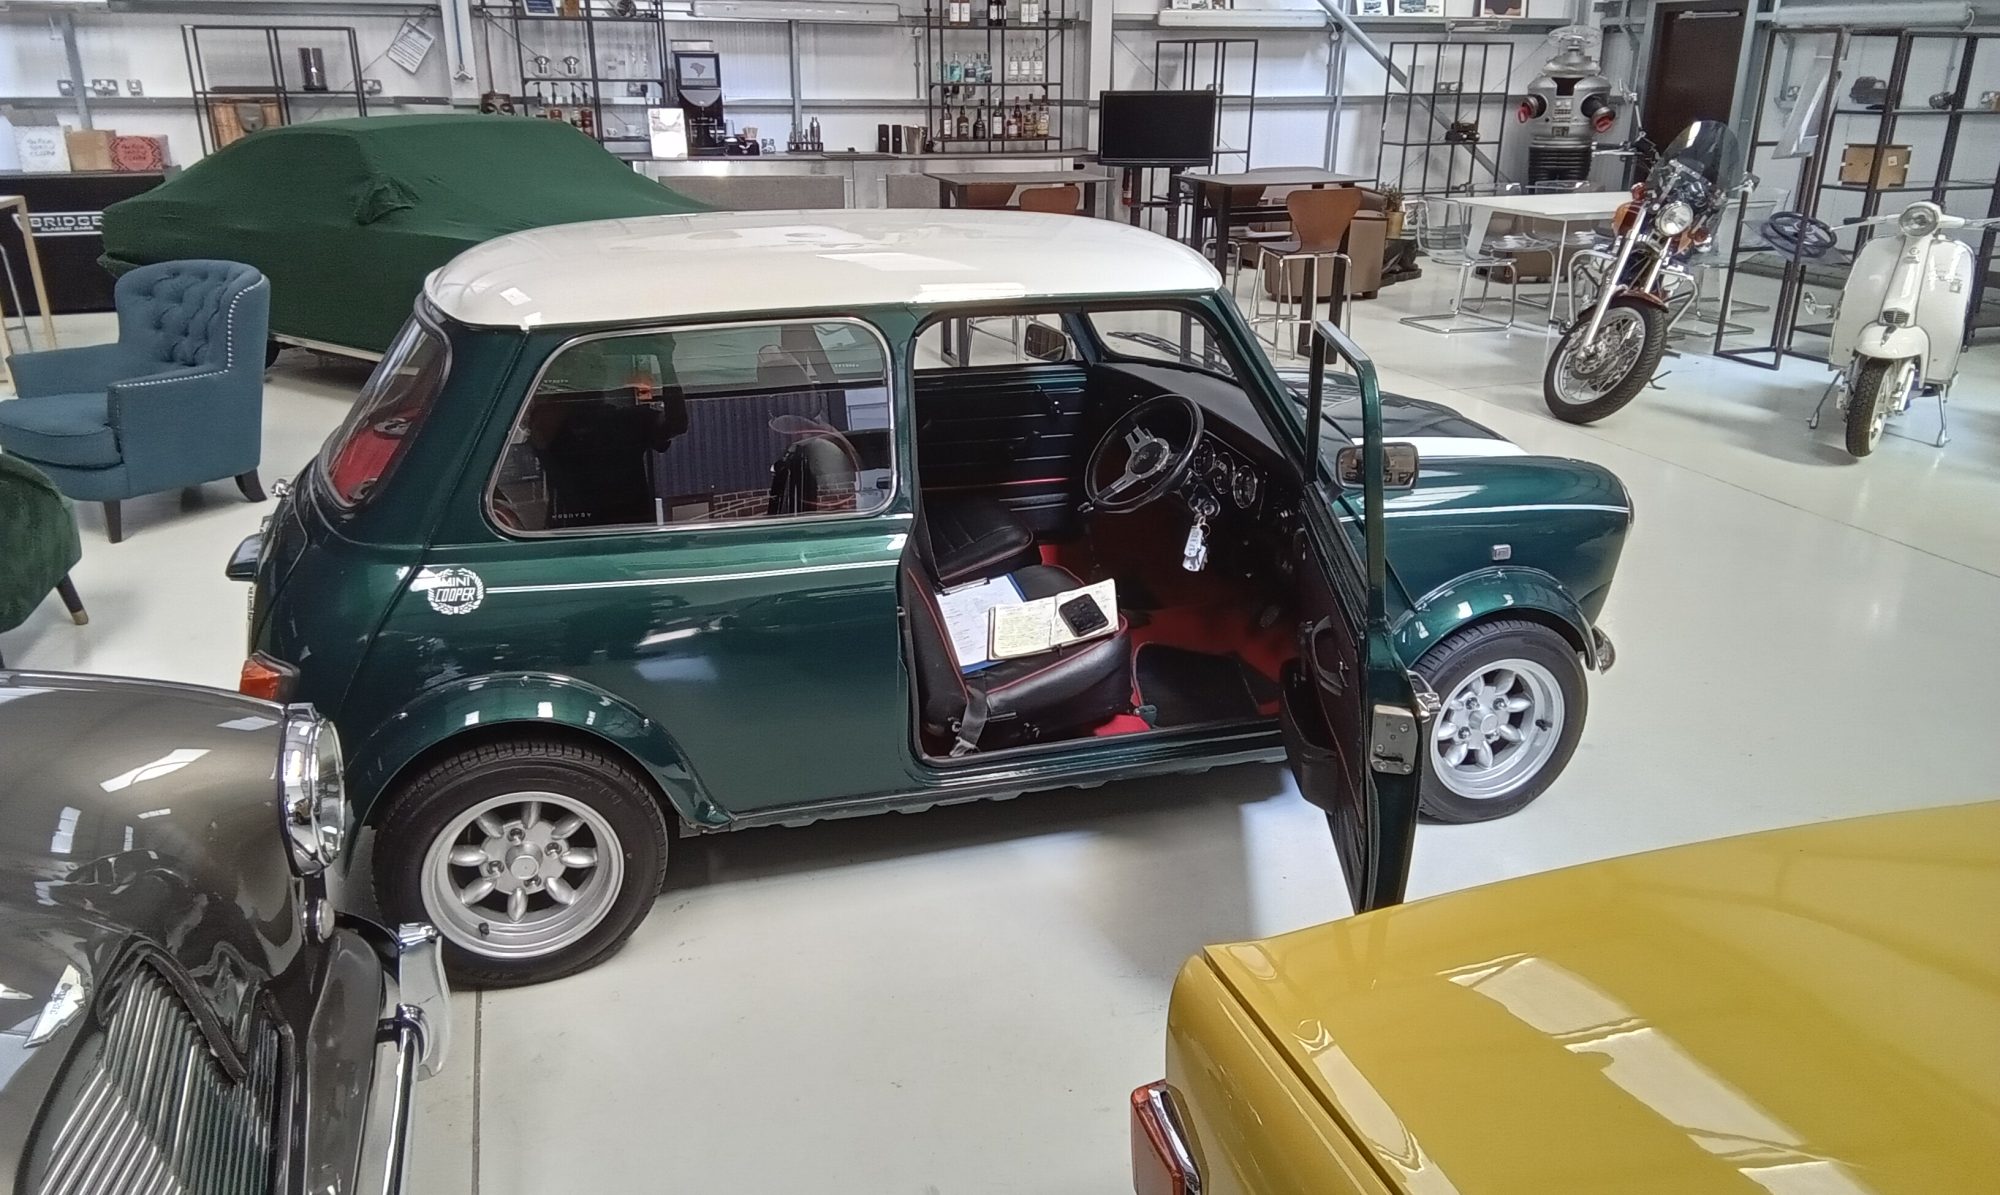
Our 1990 Rover Mini Cooper has been going through its pre-delivery inspection with classic car technician Jonn.
During his inspection, Jonn noticed that the rev counter wasn’t working correctly. To resolve this, he swapped the fascia of a replacement and rebuilt it in the old cluster. After adjusting the rheostat for the rev counter, everything was tested and reading correctly.
The car was then road tested and has now been signed off by Jonn to say it is ready to be delivered to its new owner very soon.


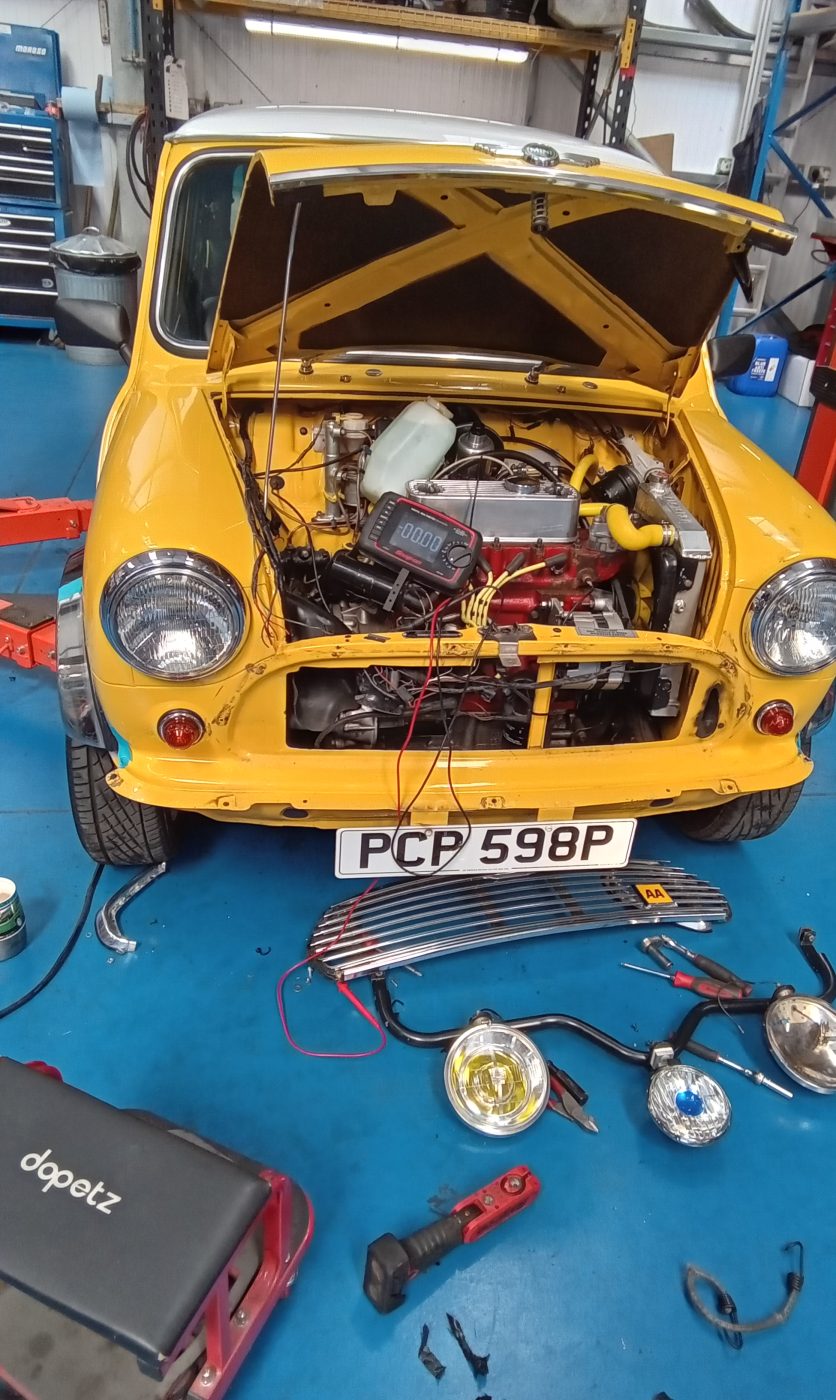
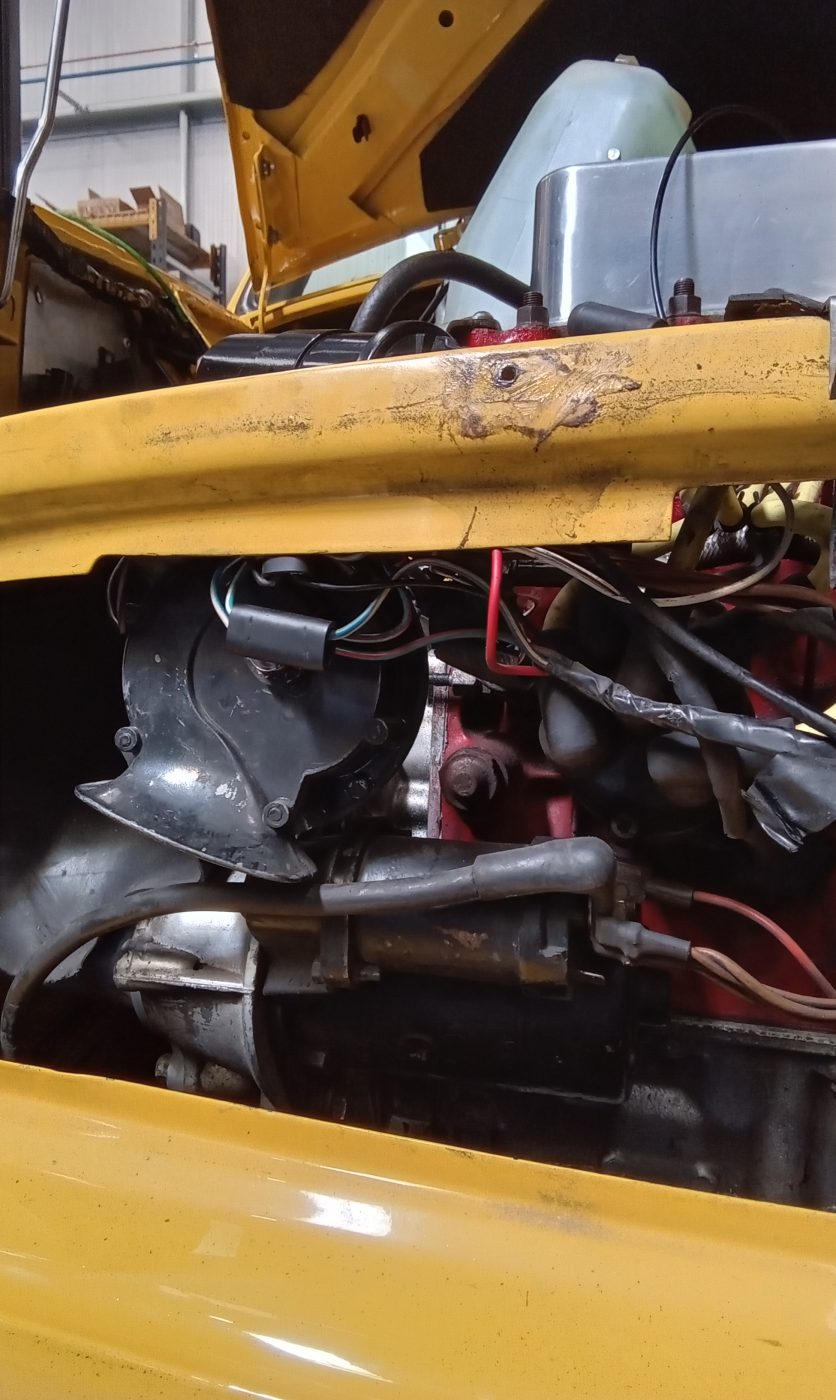
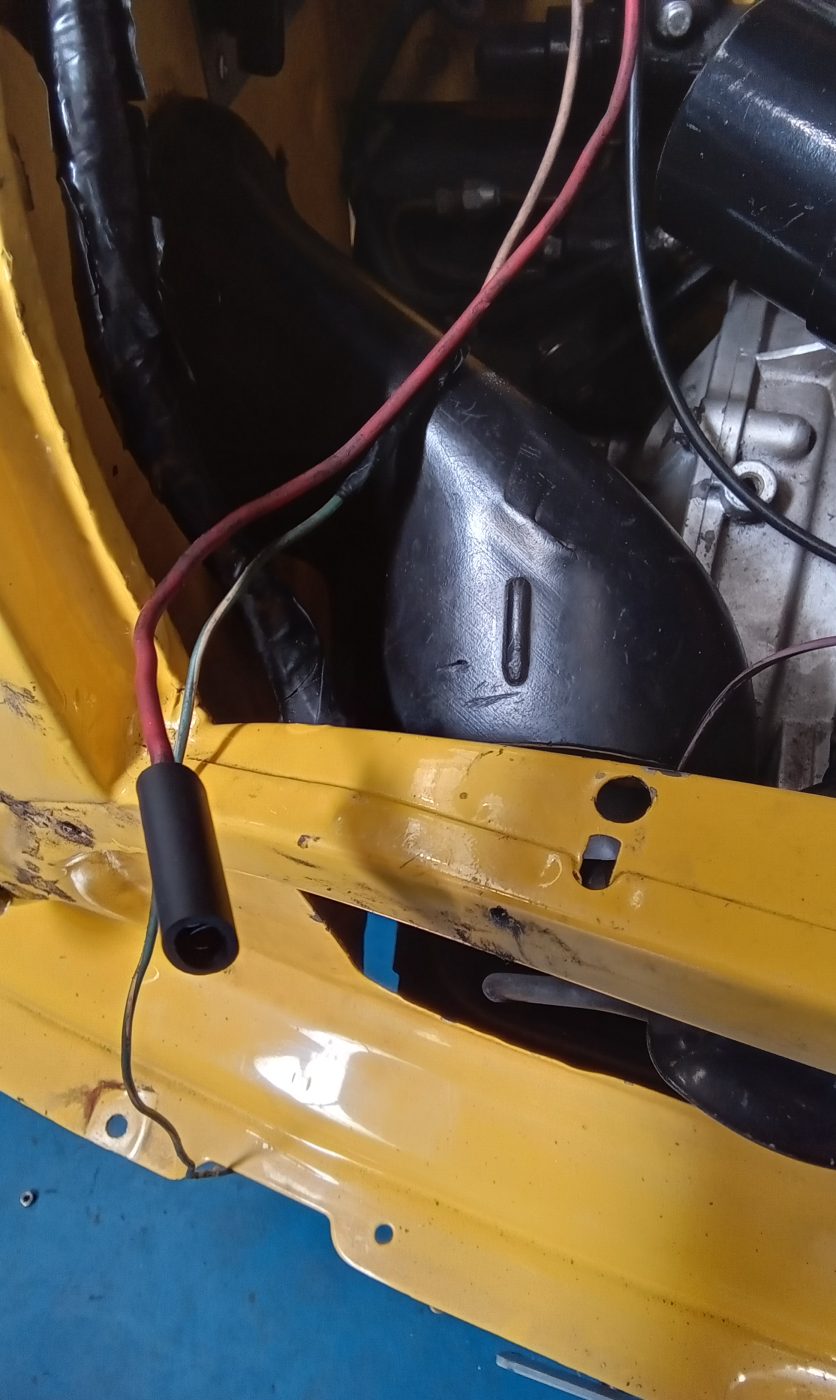
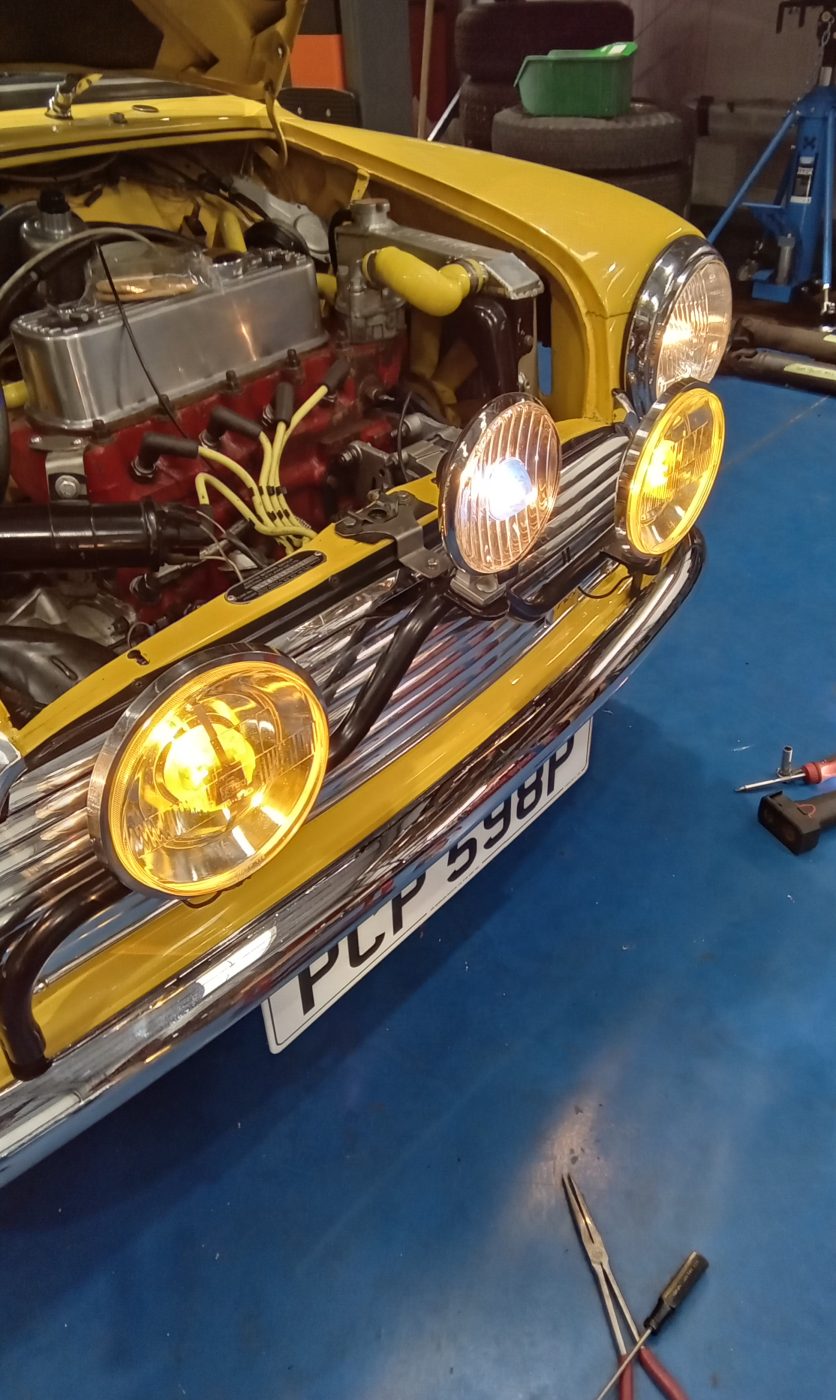
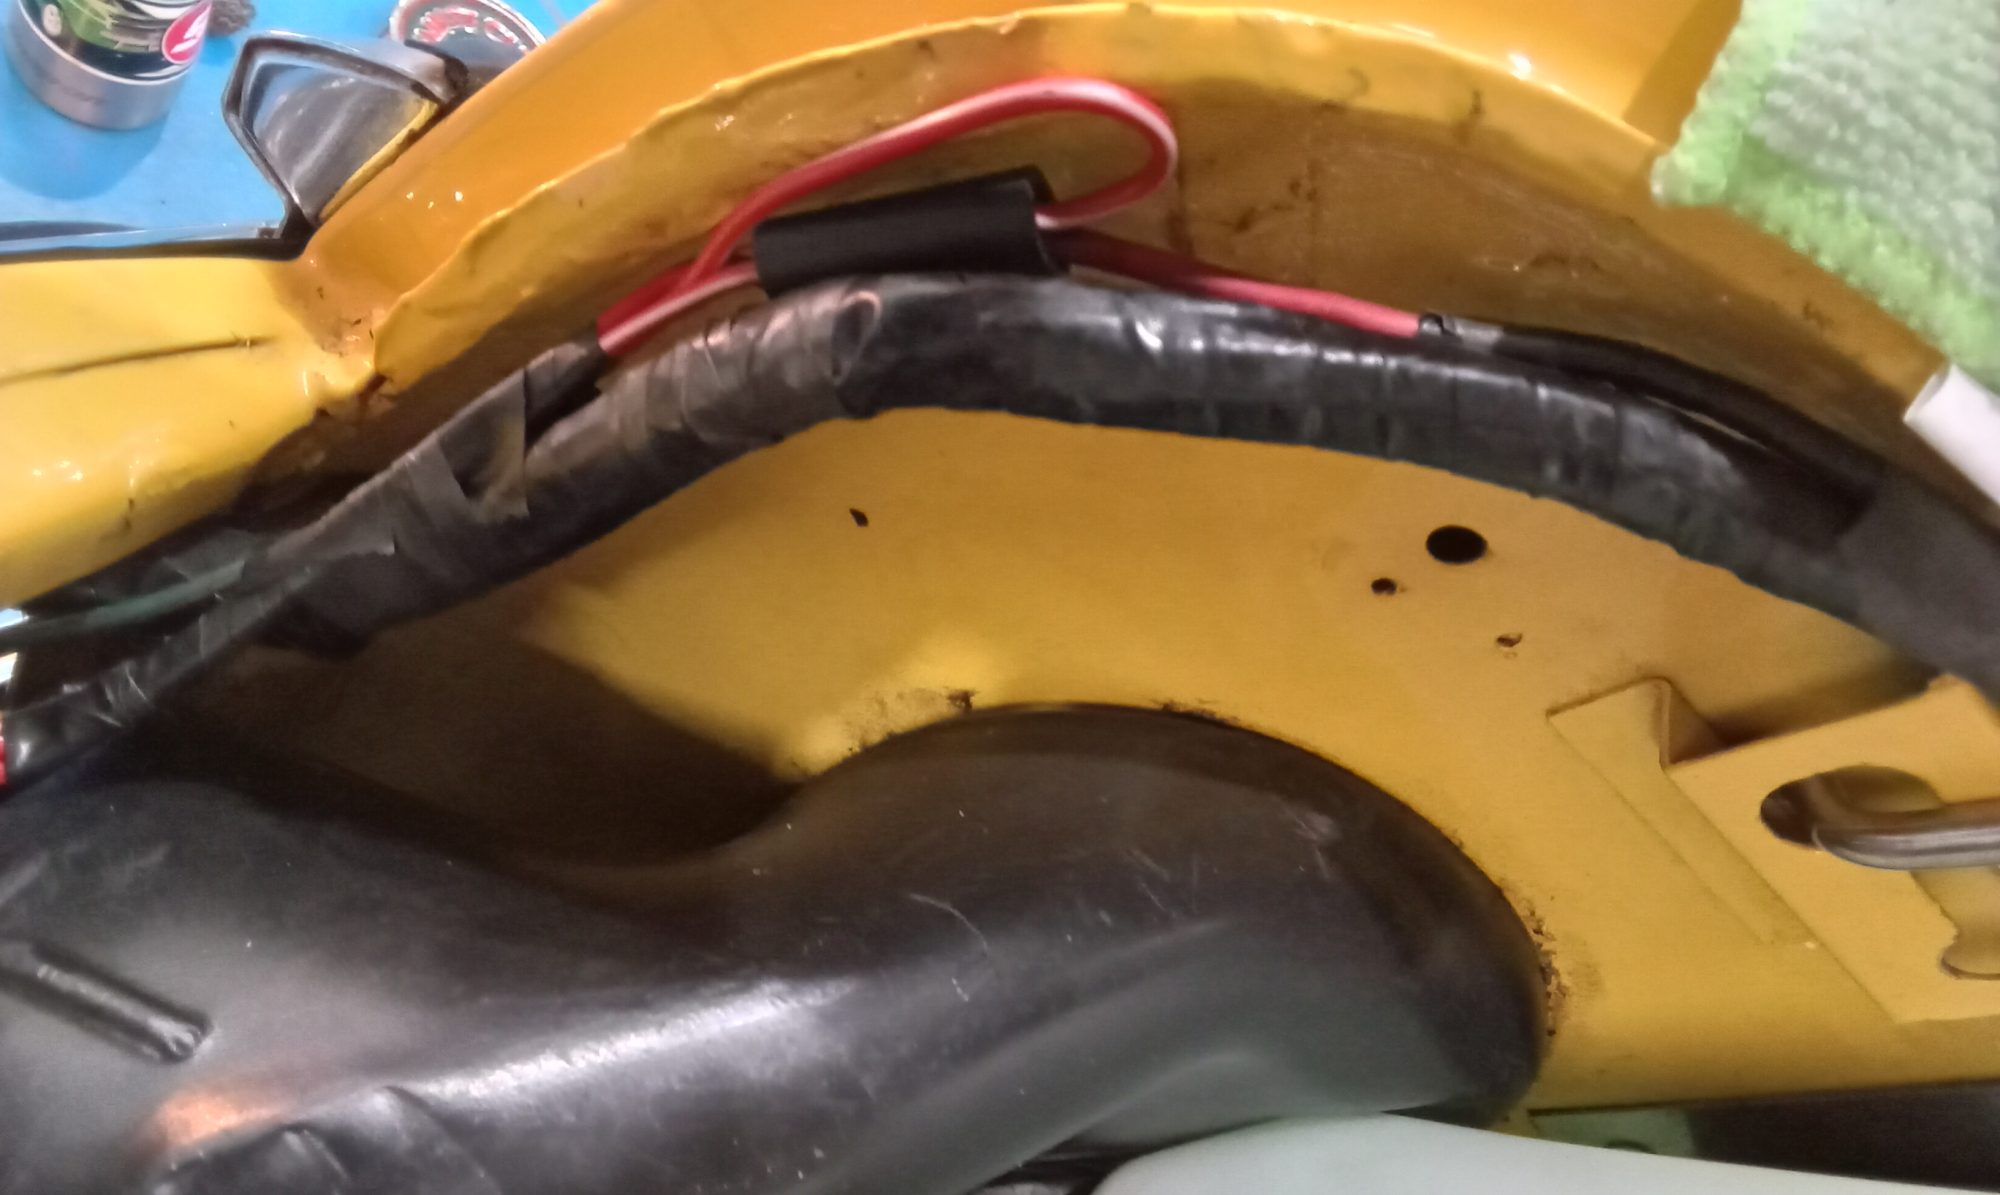
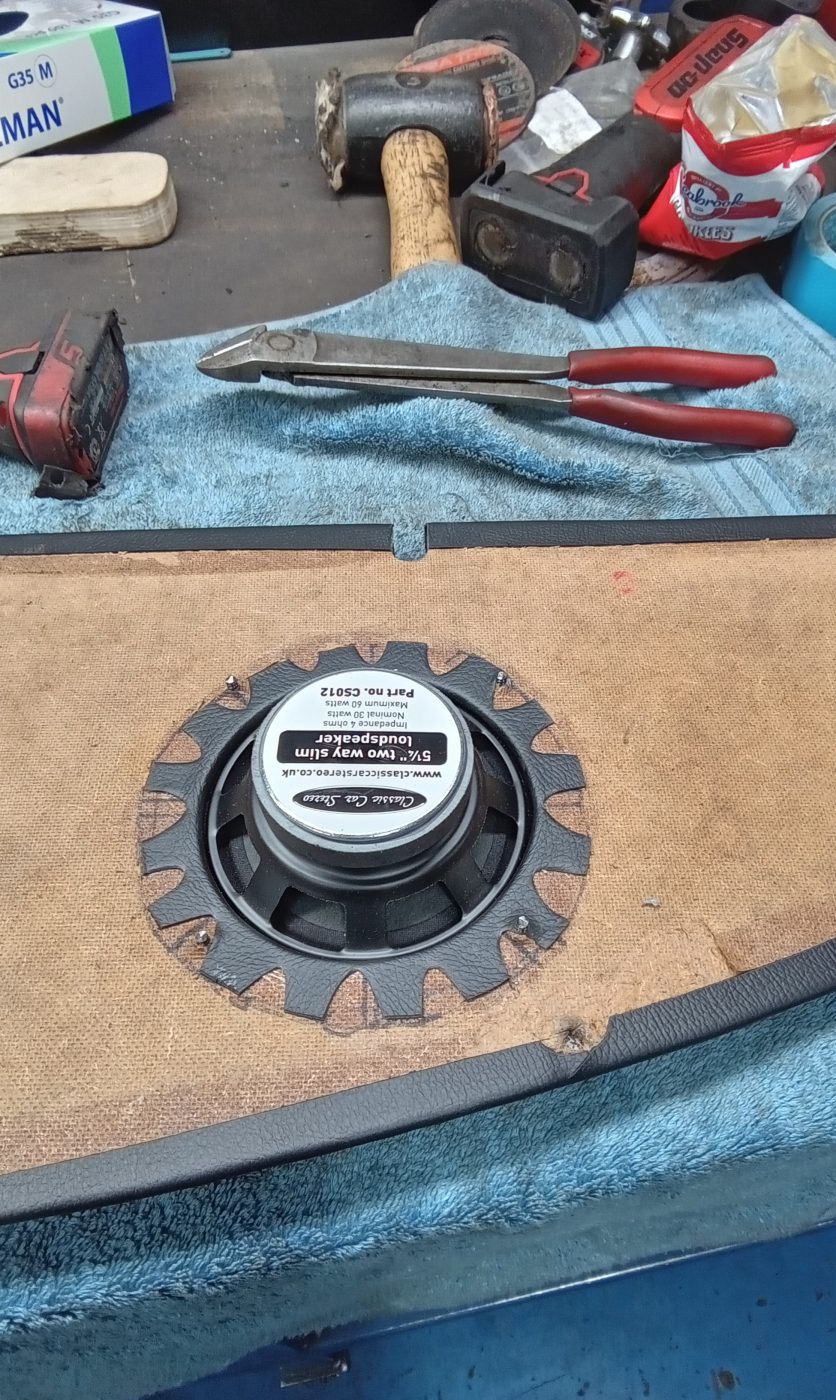
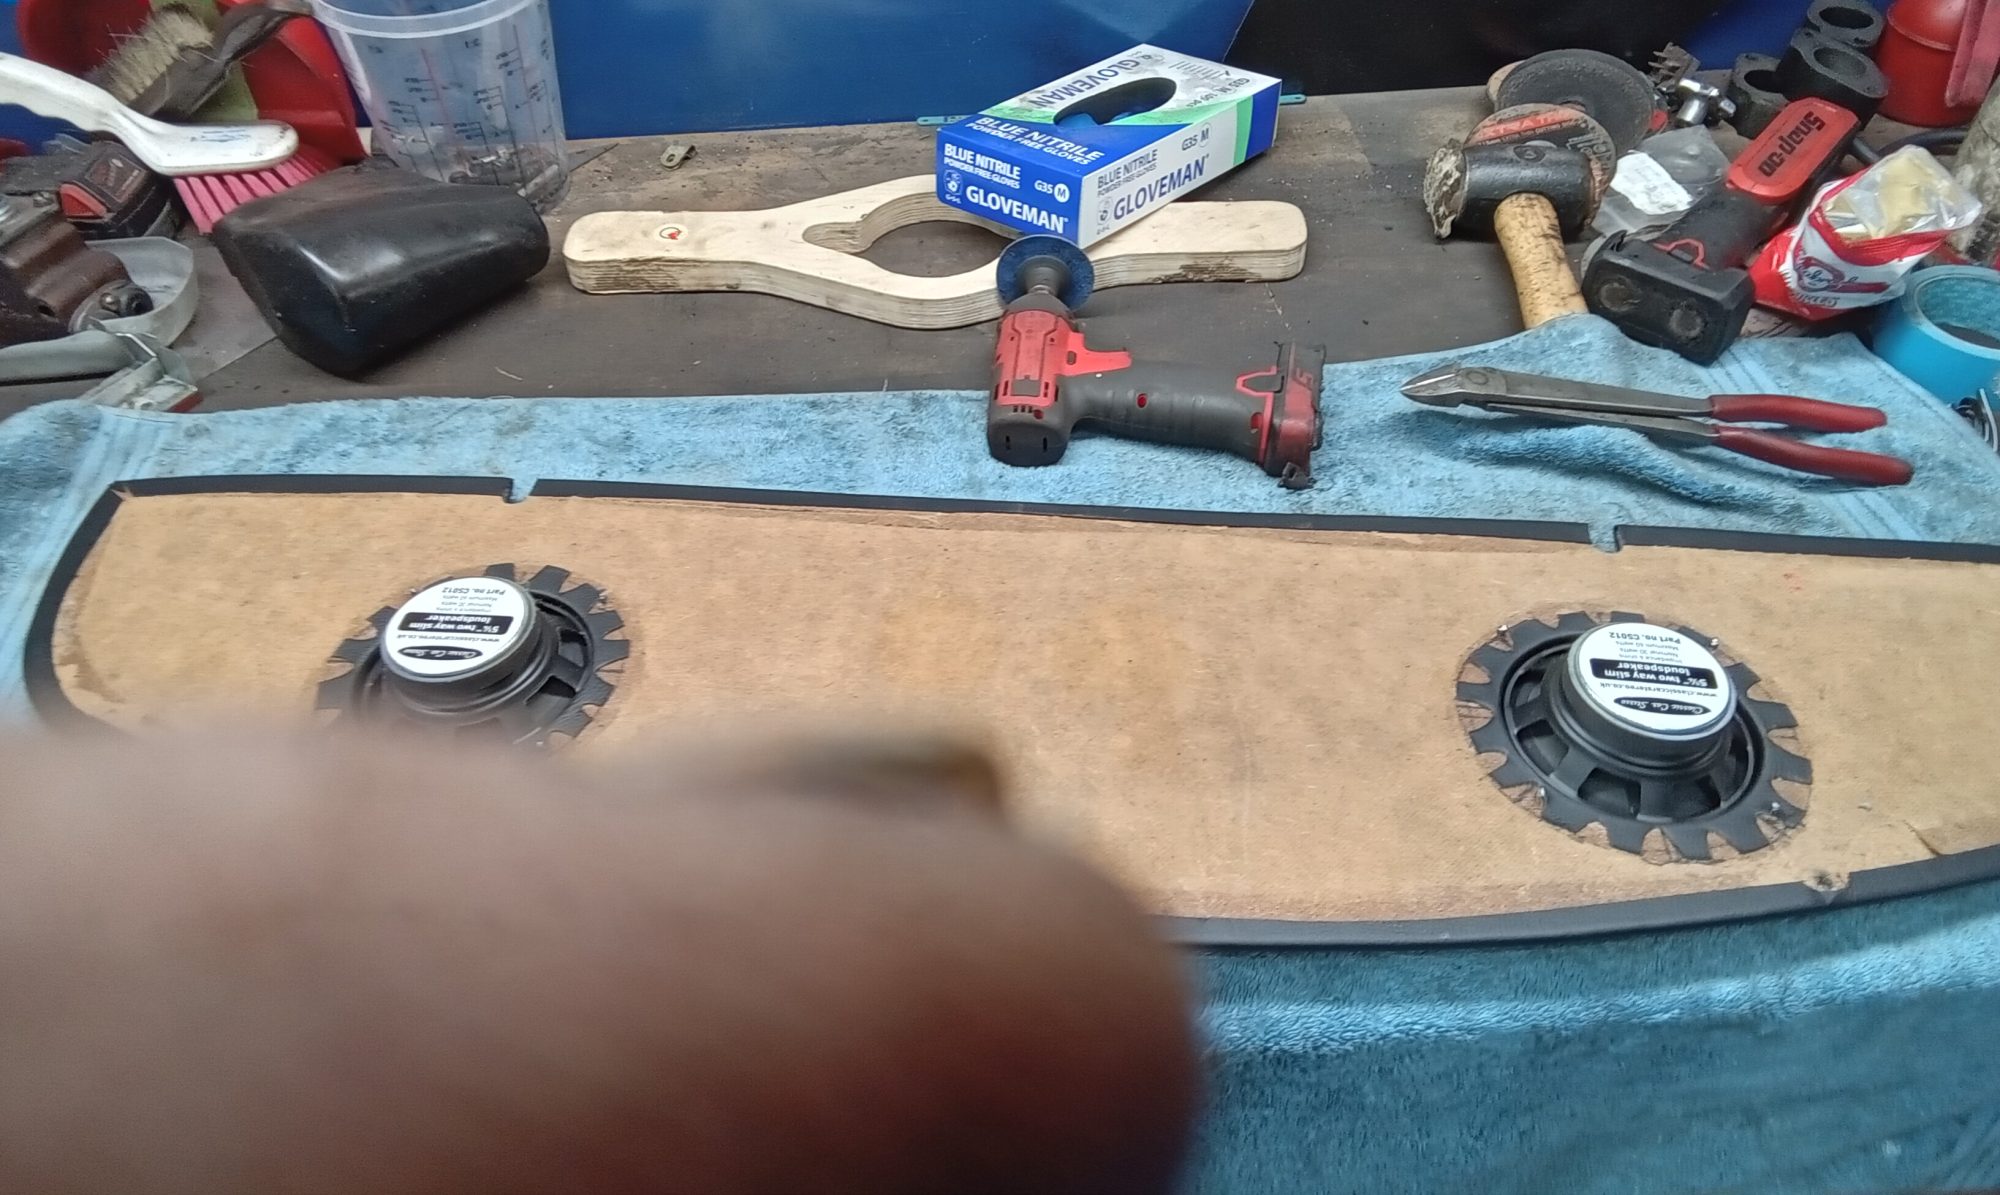
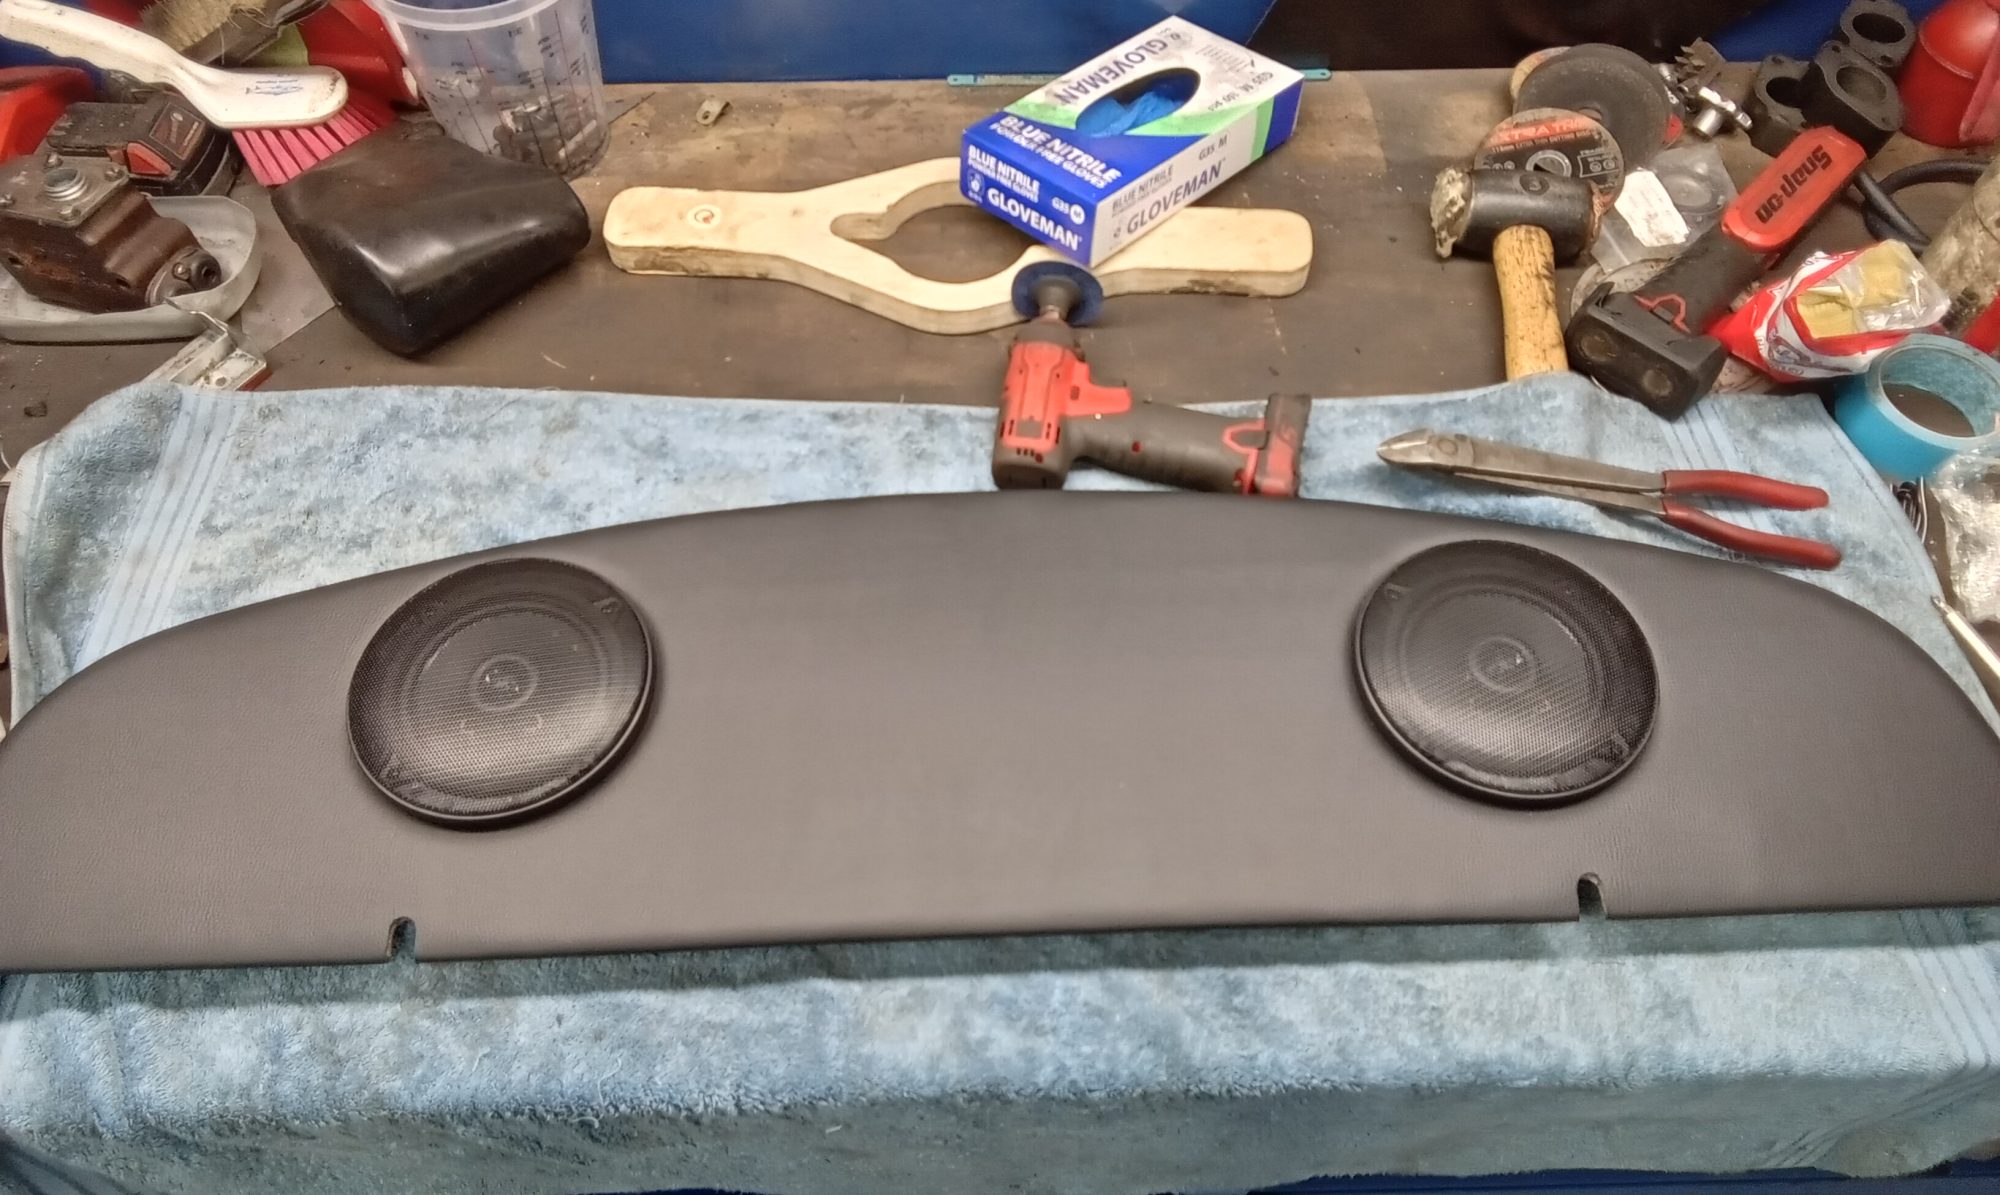
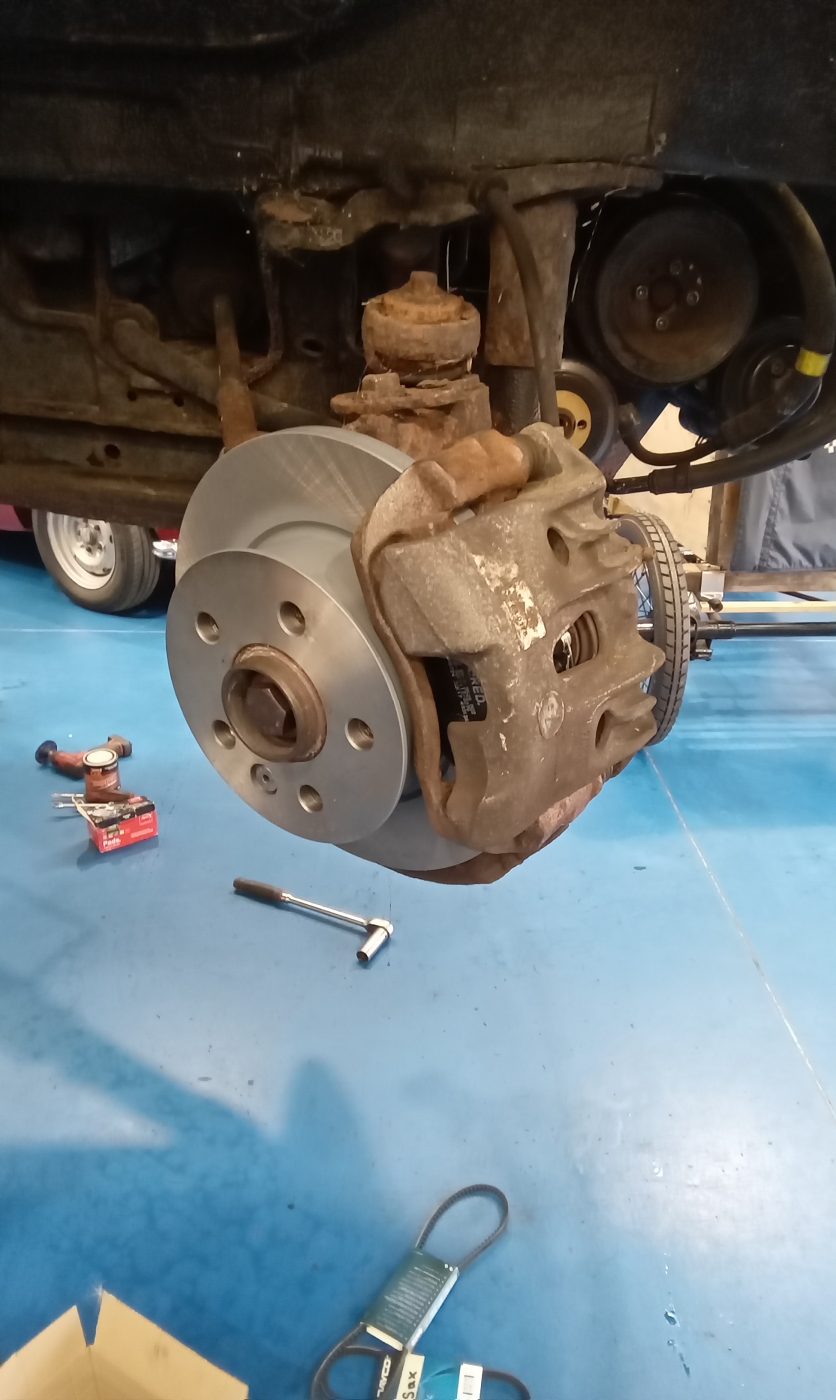
Our 1976 Morris Mini has been in the care of classic car technician Jonn as he has been resolving a few issues that he found during his investigations.
Part of this work involved sorting the wiring for the spotlights on the front of the car. Once this was complete, Jonn reassembled the lights and everything worked as it should. The speakers in the rear shelf were Jonn’s next focus before the front of the car was fully reassembled and cleaned.
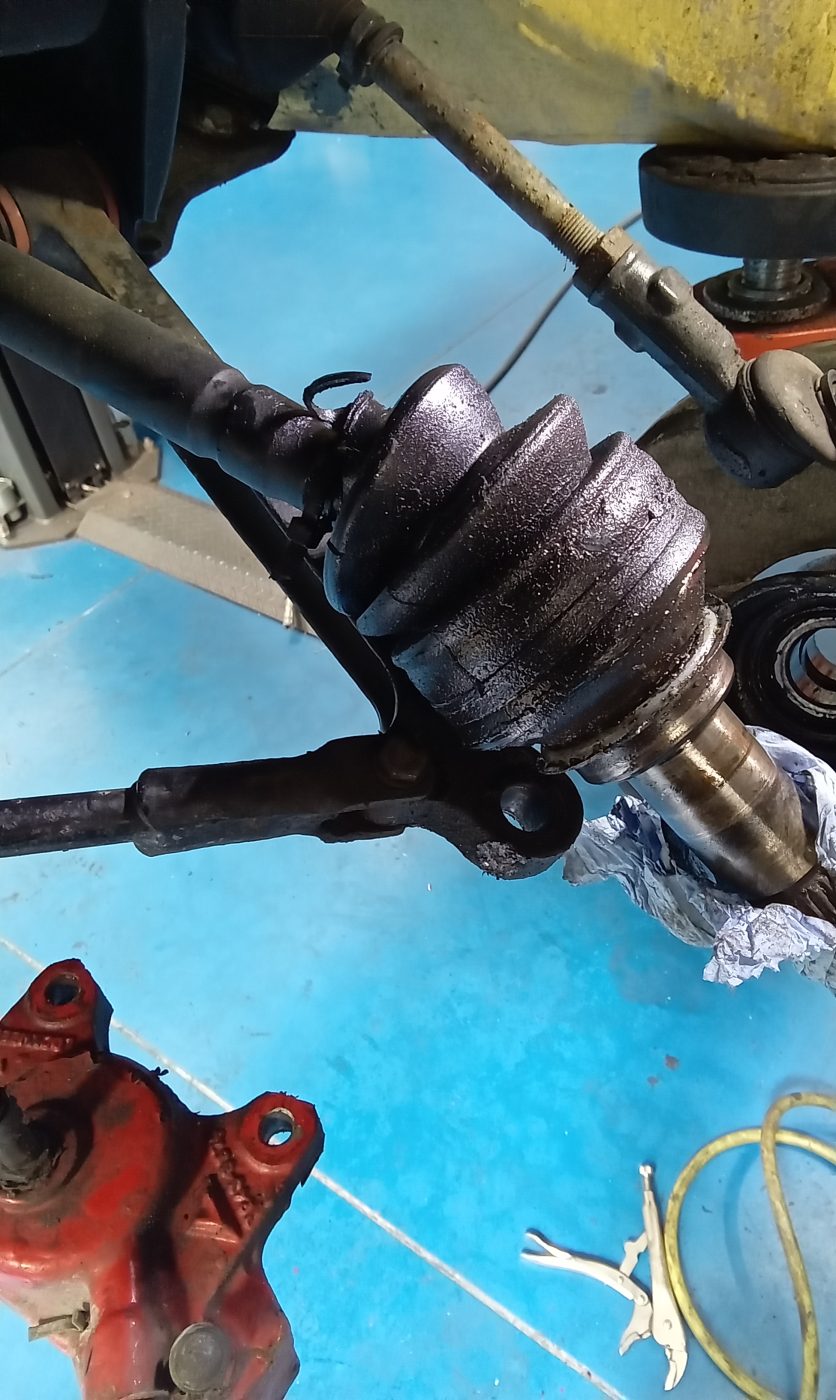
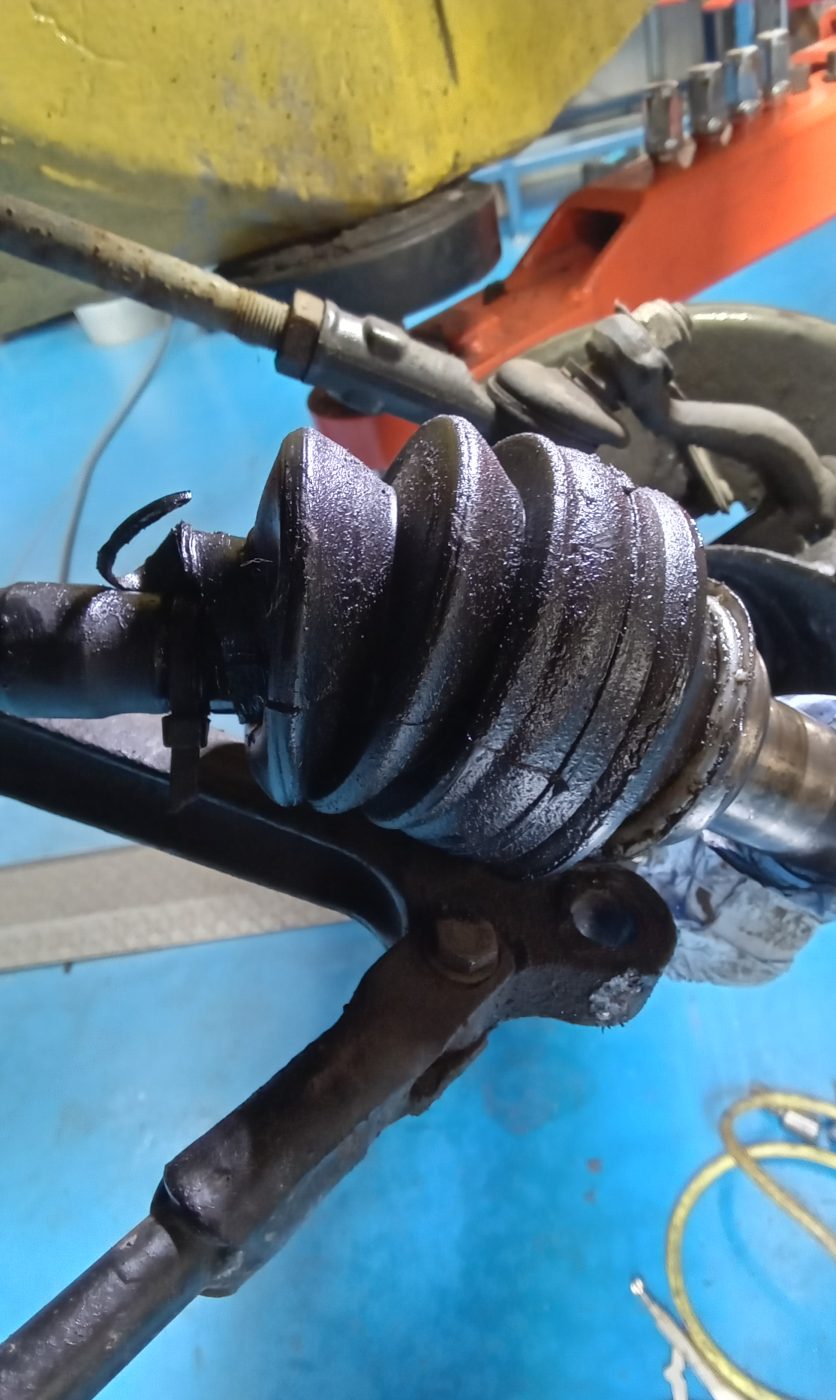
There is a switch on the accessory panel which now functions correctly in that it operates the three spotlights on the front of our Mini when the full beam is activated. New CV boots were also fitted to our latest competition cars.
Before Jonn finished working on our 1976 Morris Mini, new discs and pads were fitted to the front of the vehicle.


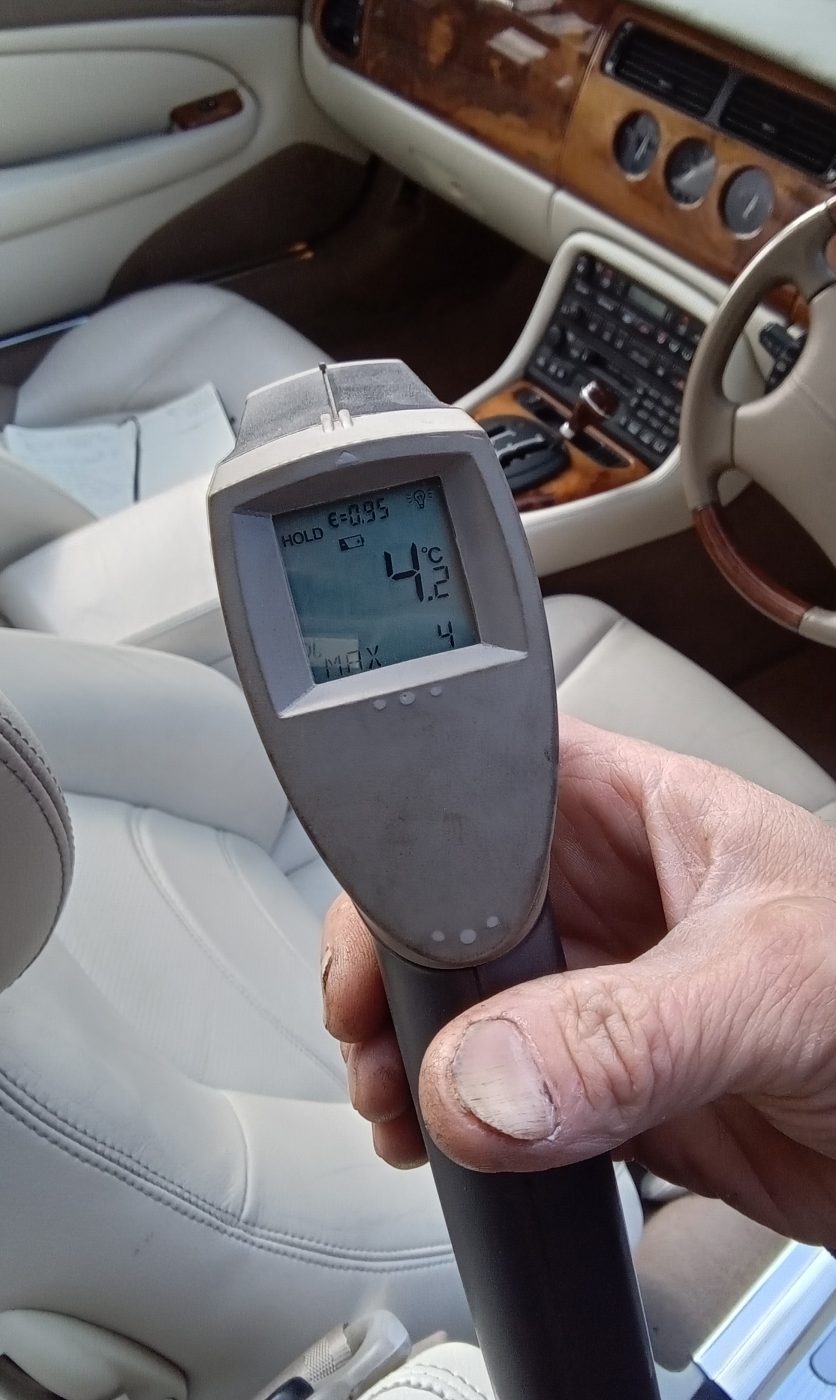
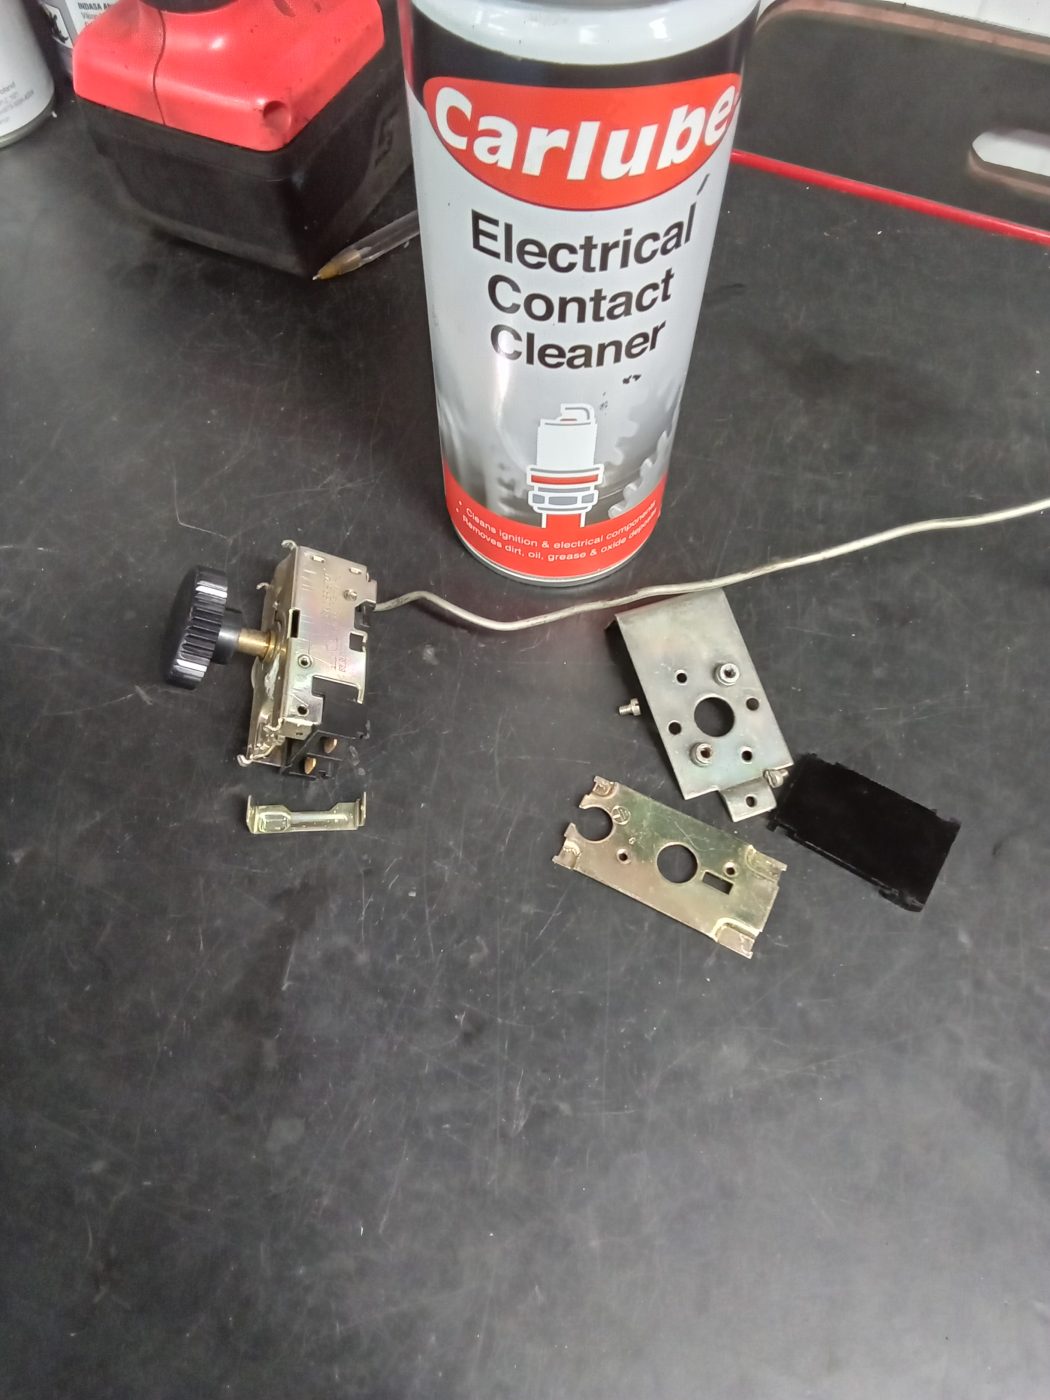
Classic car technician Steve has been resolving an issue with the air conditioning in our 1973 Jaguar E-Type Roadster Series 3.
After removing the dash, Steve was able to gain access to the a/c wiring and control switches. The fault was traced back to the a/c control variable resistor switch so this was taken apart, the contacts cleaned, and put back together.
Steve tested the air conditioning afterwards and everything was working as it should.
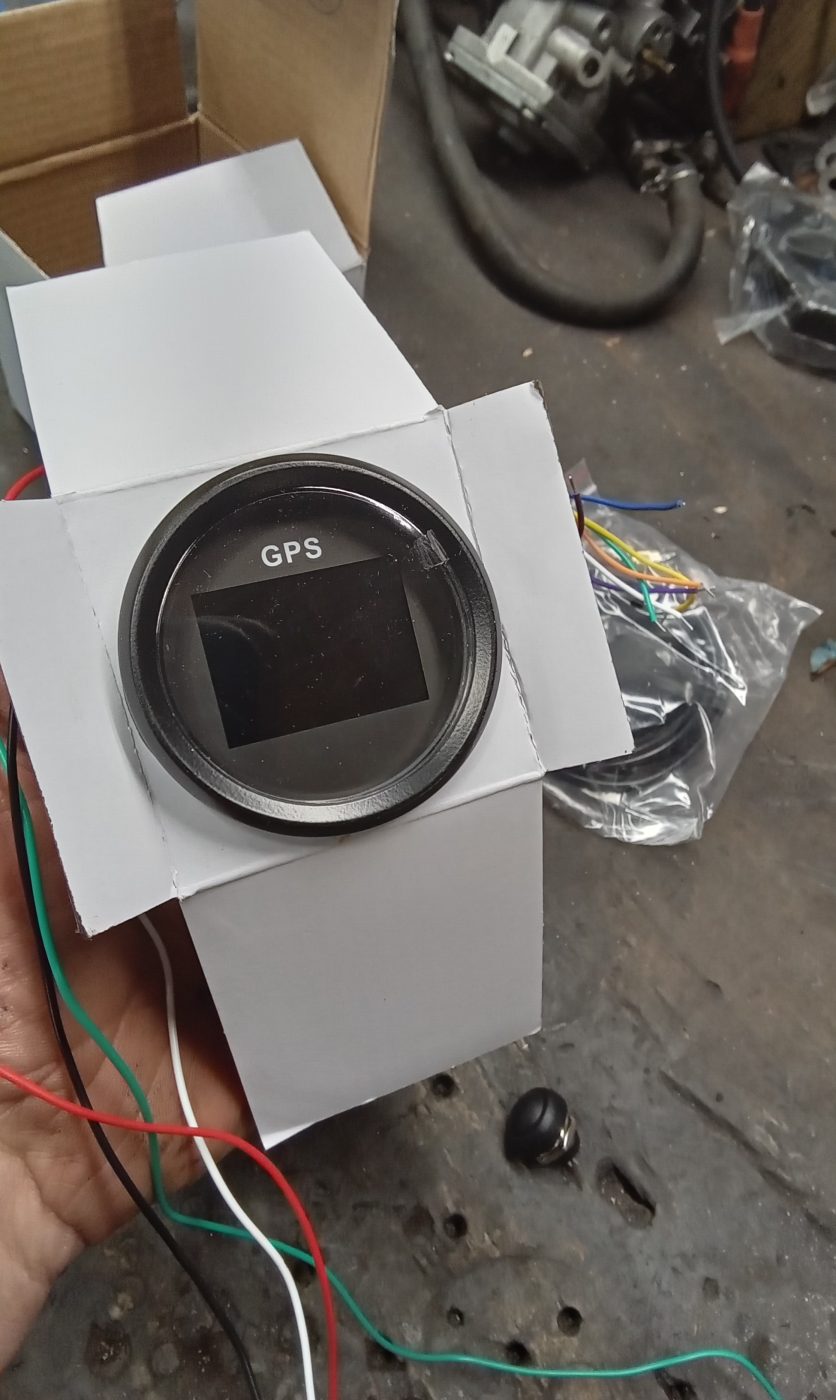
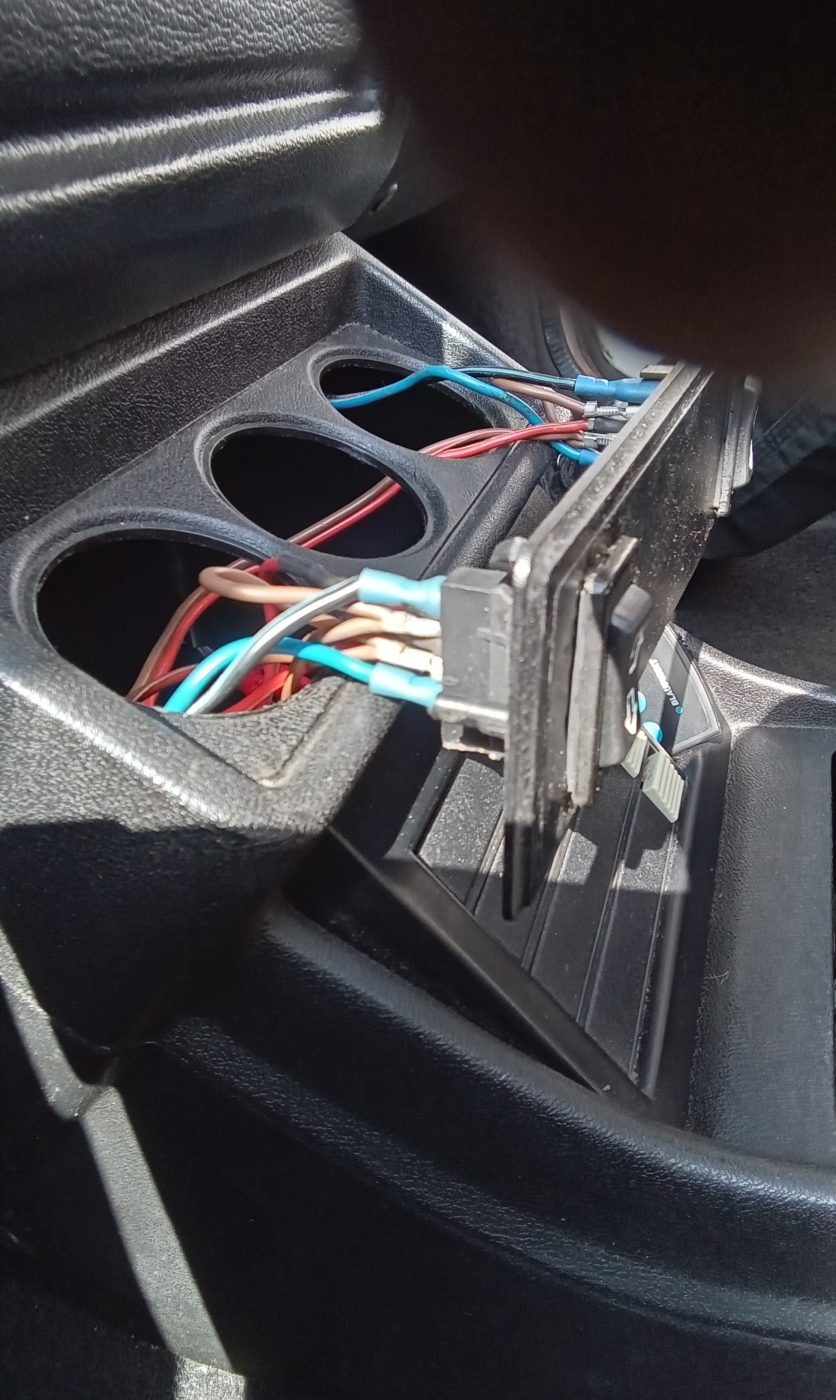
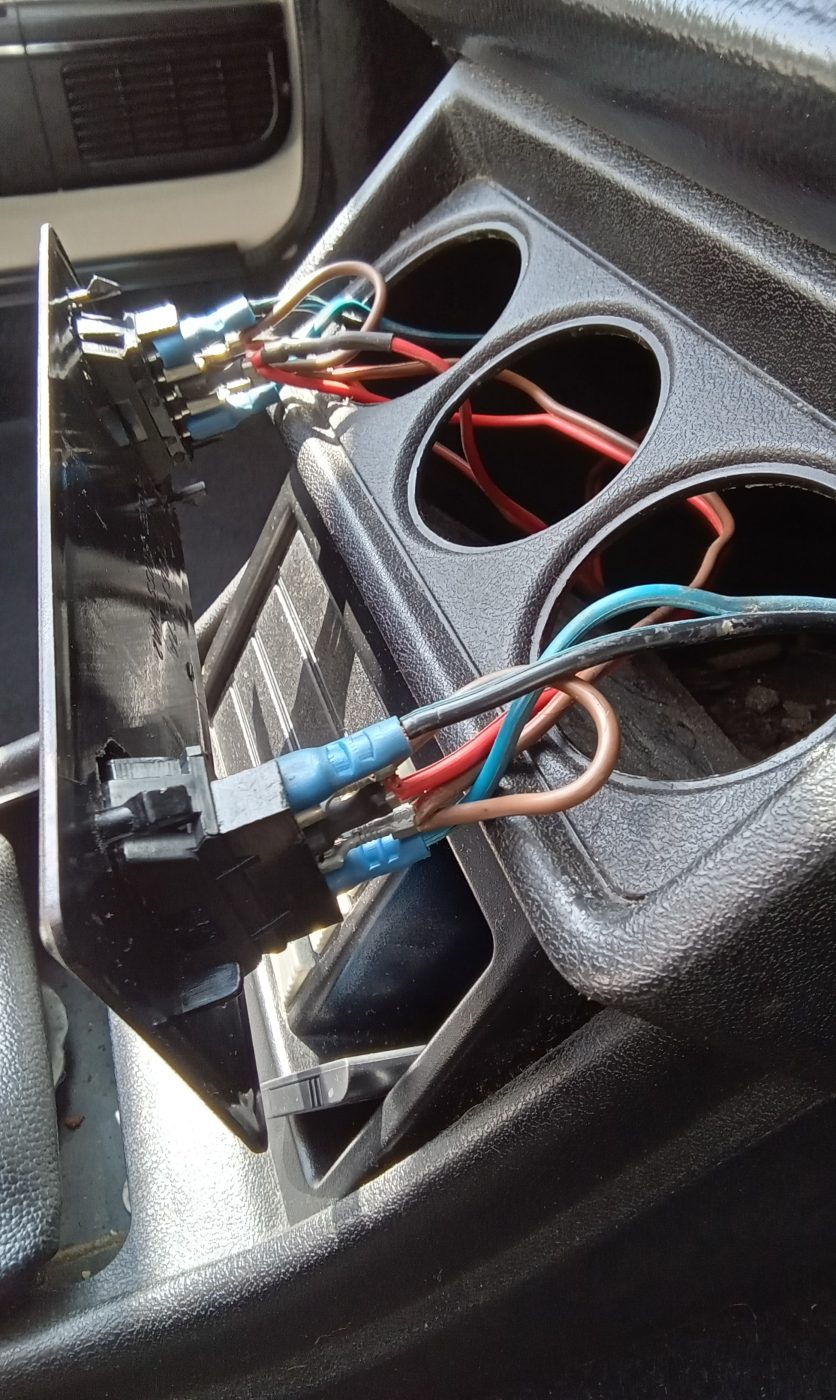
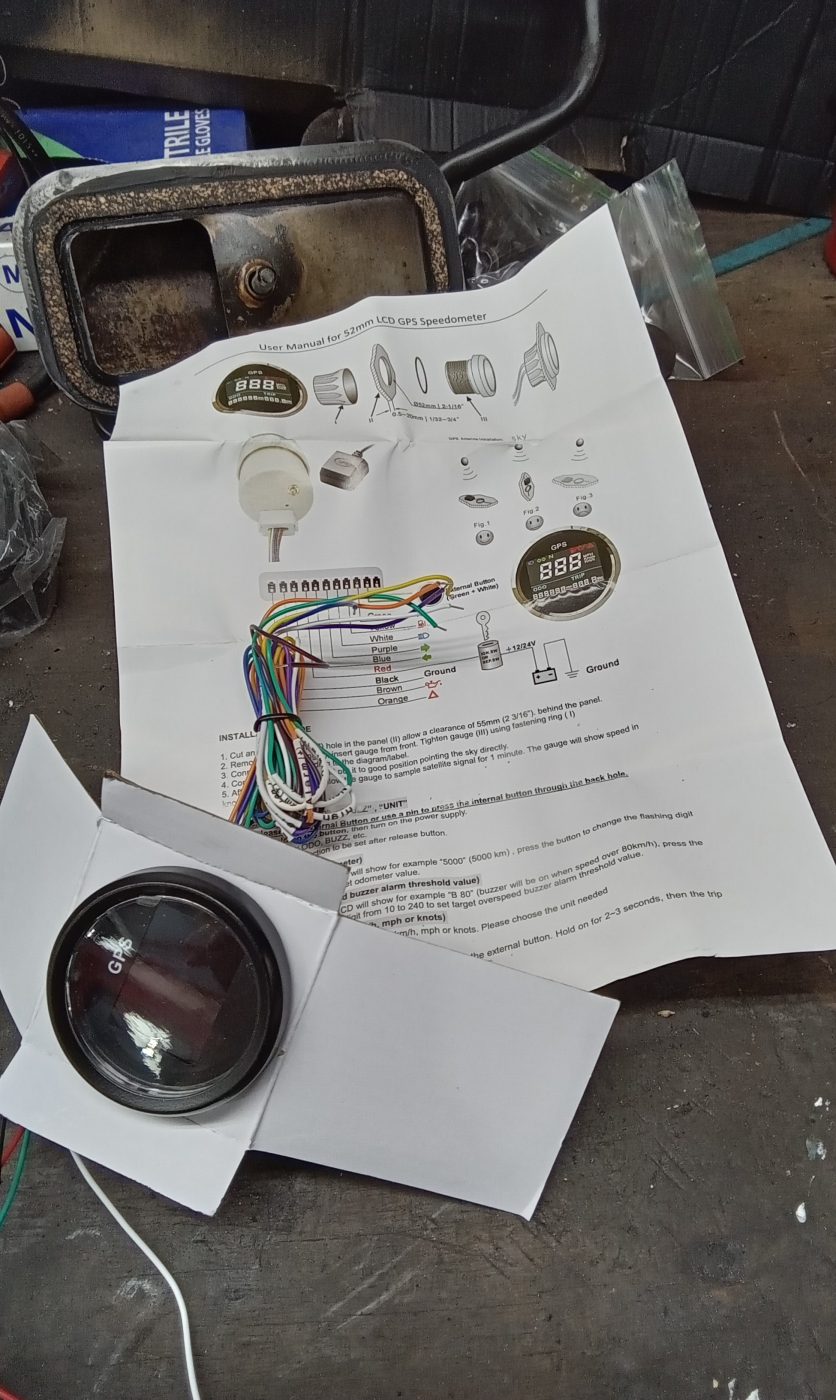
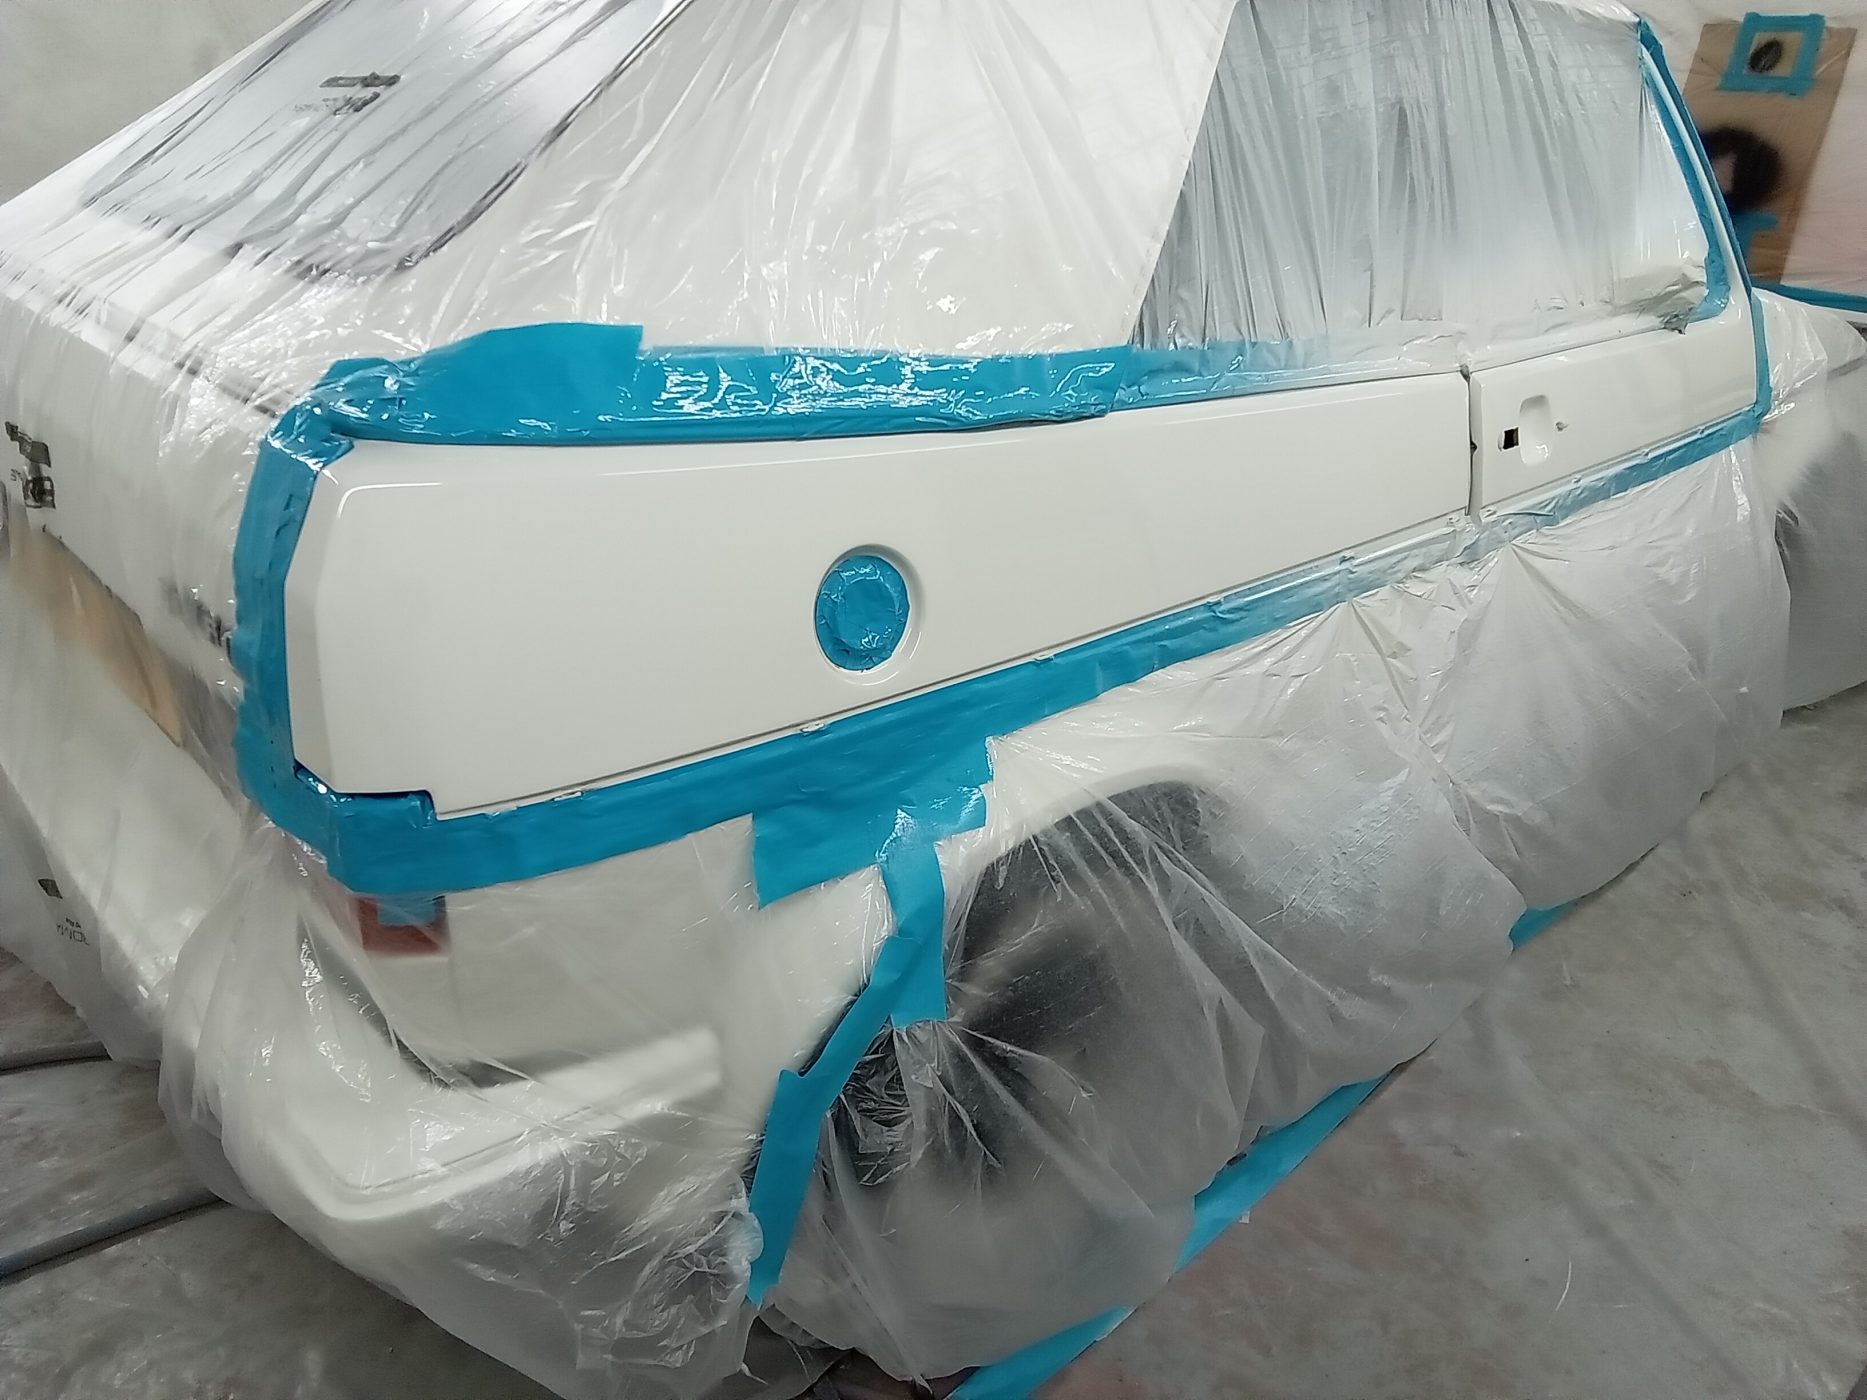
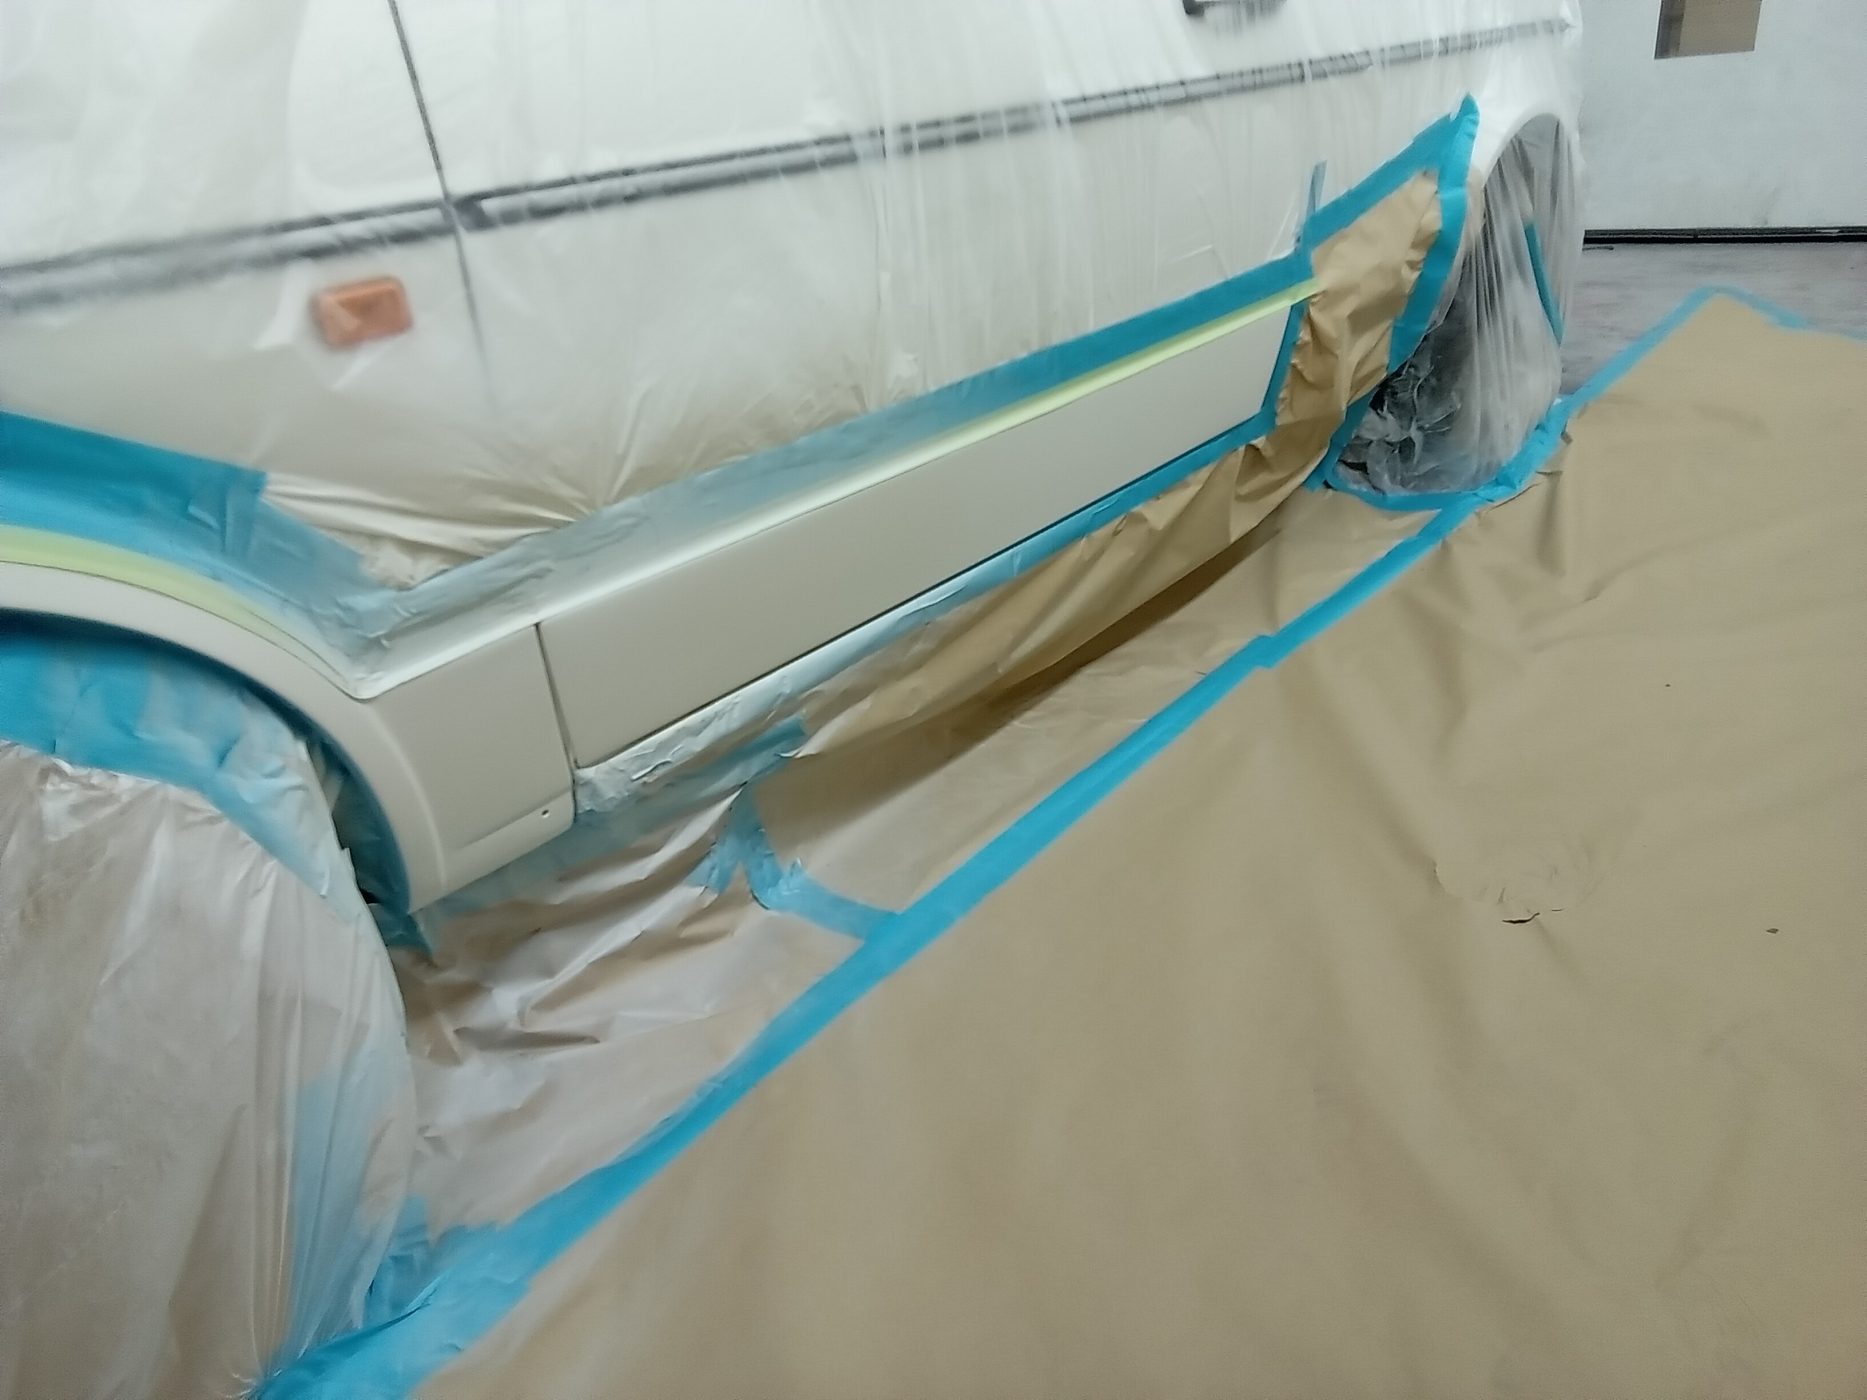
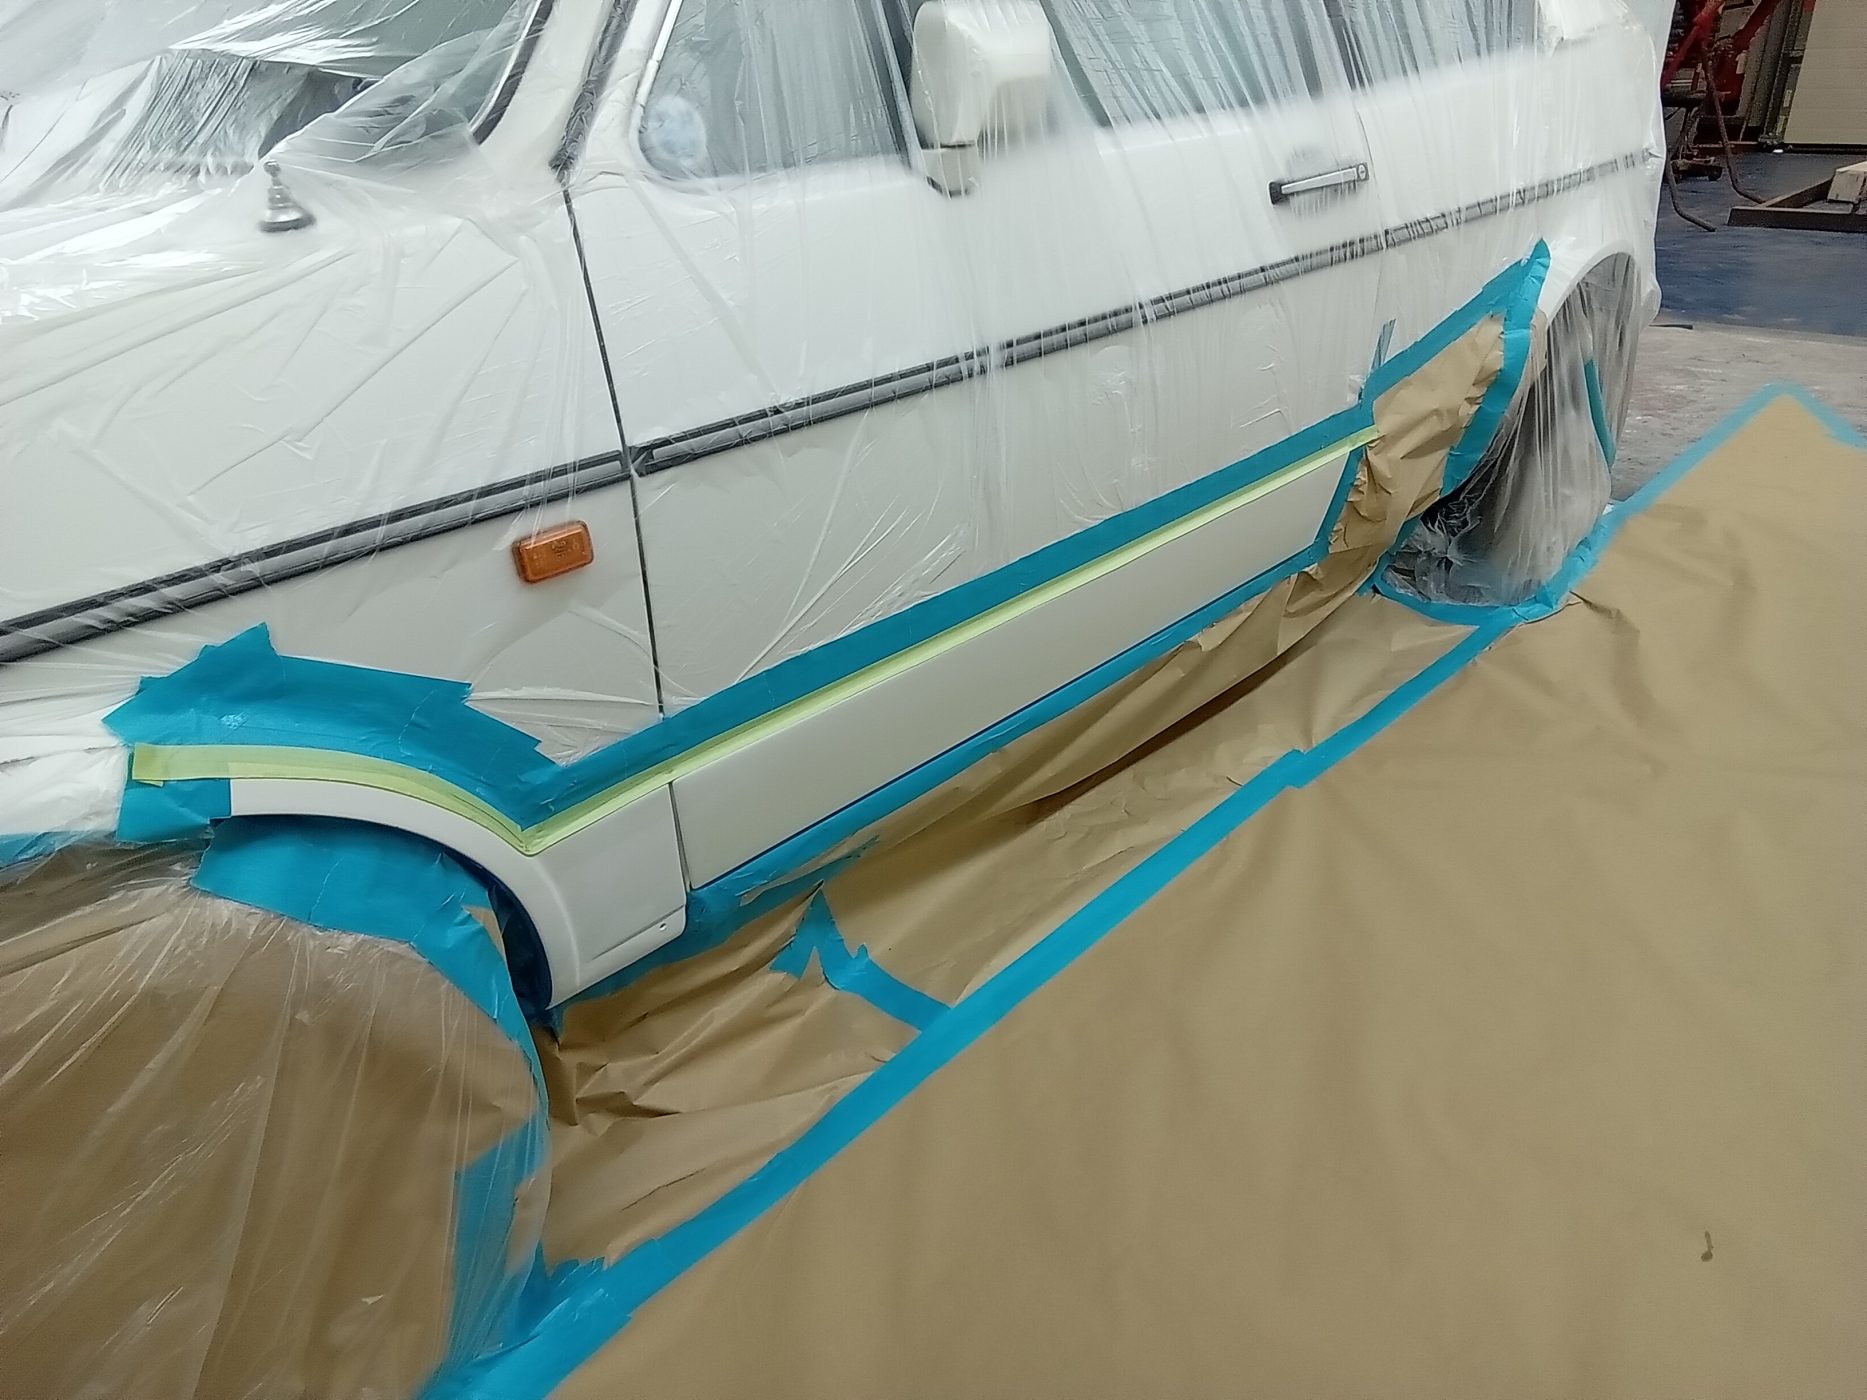
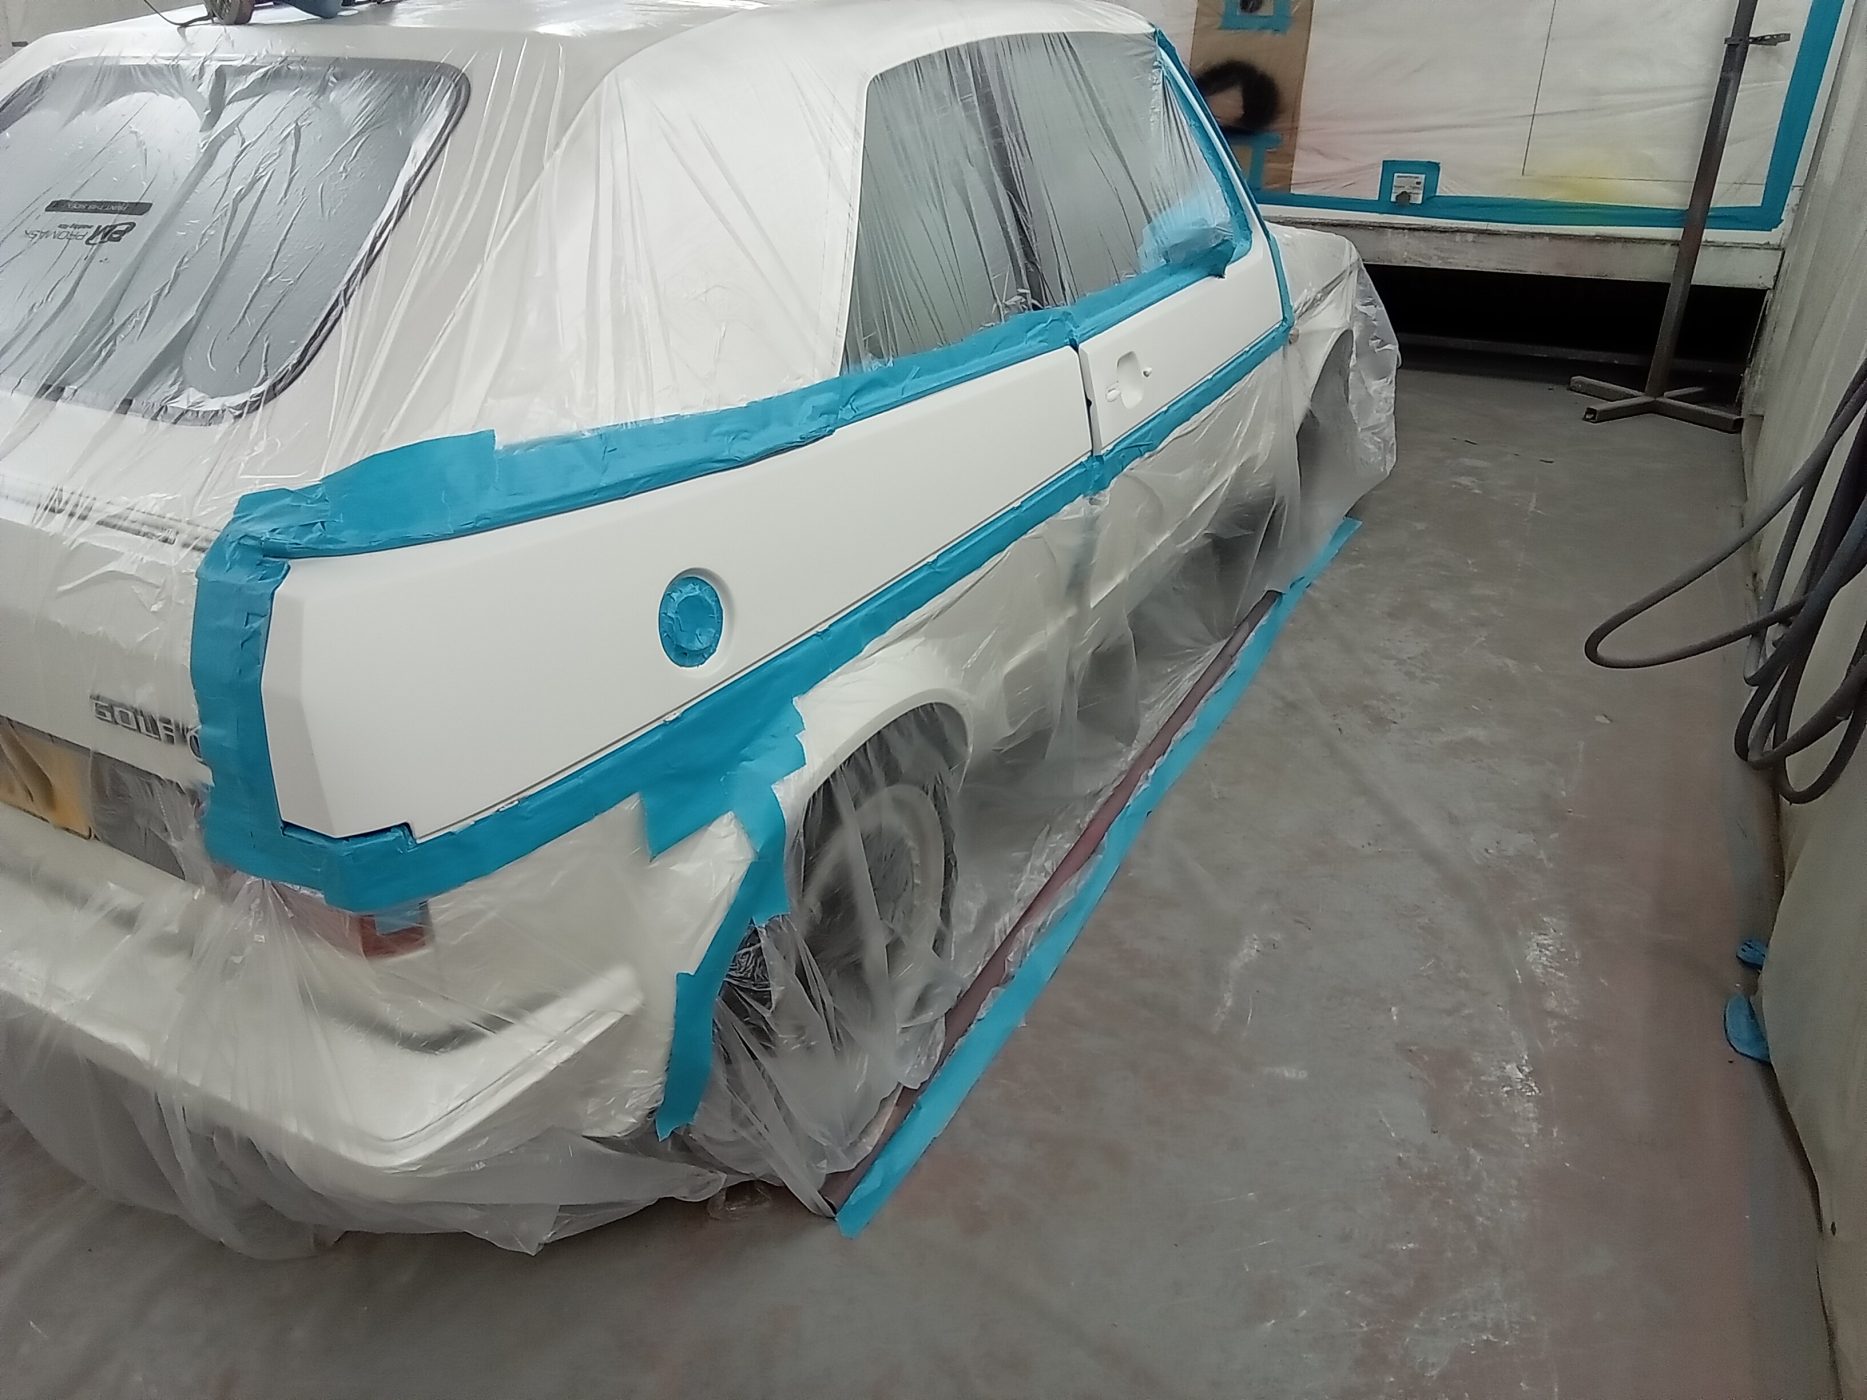
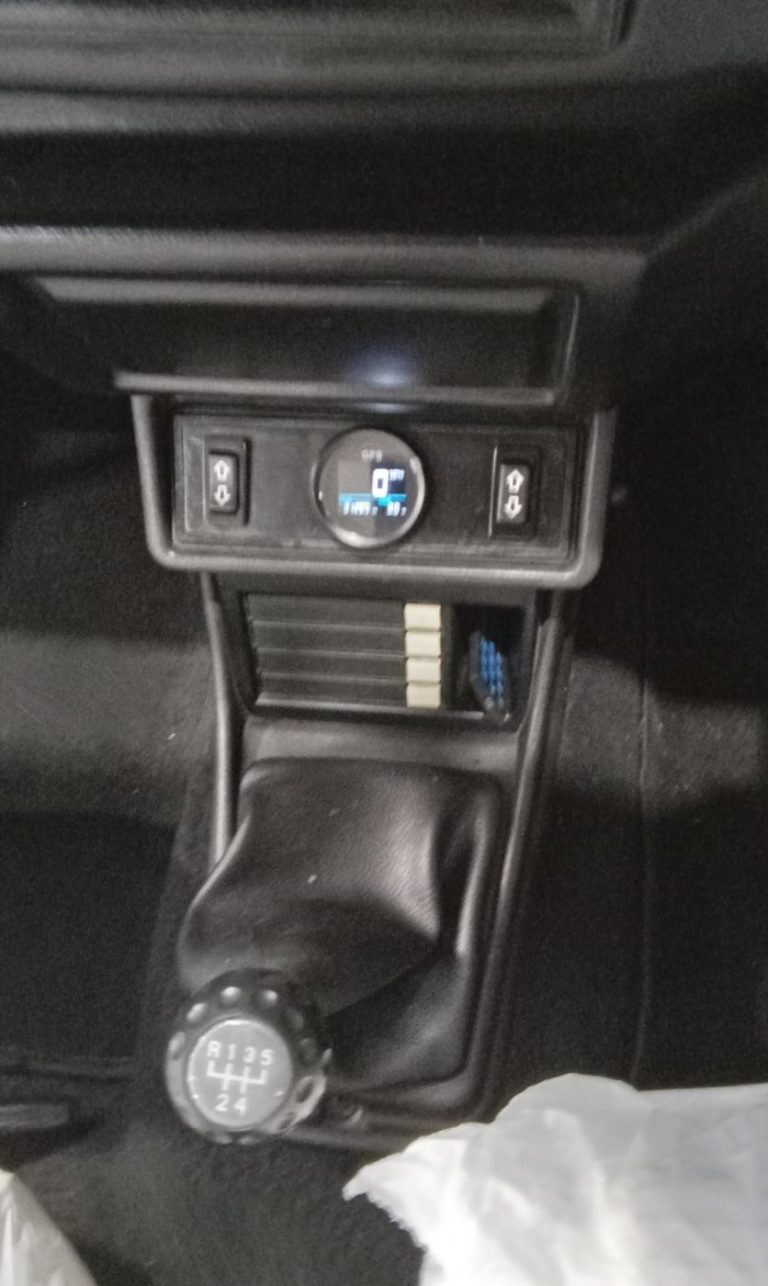
Classic car technician Jonn has been giving our 1986 Volkswagen Golf GTI Cabriolet a final check over before it leaves us ready to be delivered to its new owner, who was lucky enough to win it through Bridge Classic Cars Competitions.
Jonn installed a new GPS speedo in the car before testing it. The test was a successful one and the speedo worked beautifully.
Our Golf GTI also spent a small amount of time in the paint shop with Mauro as he freshened up a couple of areas of paint too.