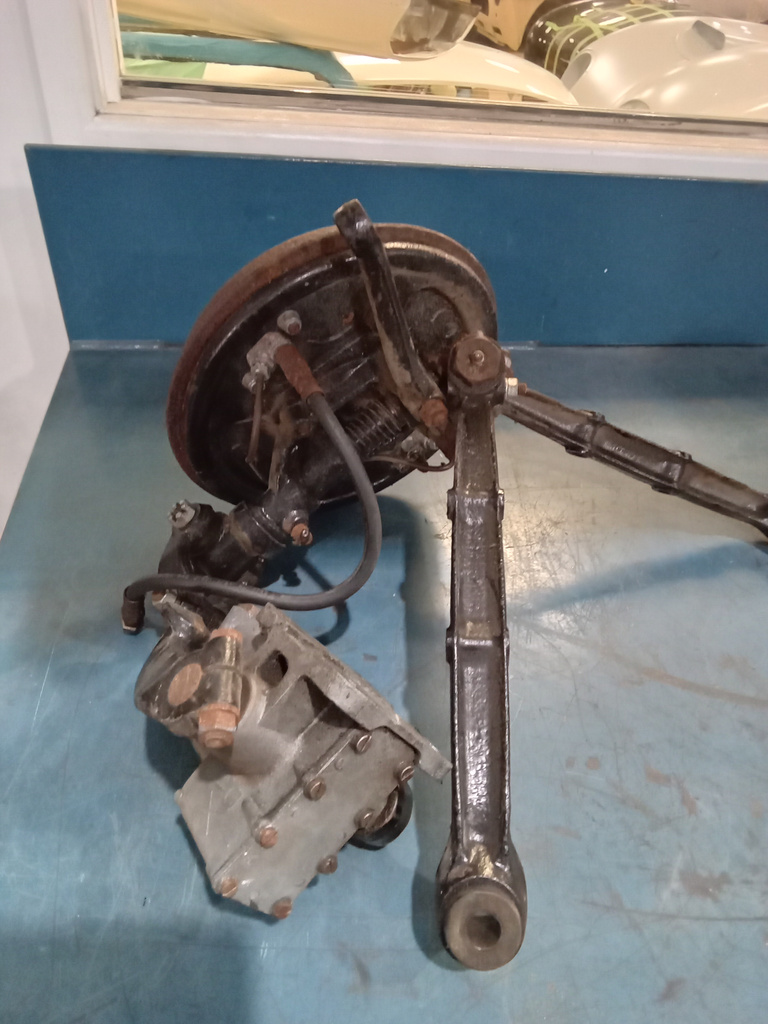
Terry stripping down front suspension
Terry is already getting his teeth stuck into things here at Bridge Classic Cars. He is busy stripping down the front suspension of our Austin

Managing Director – Bridge Classic Cars

Terry is already getting his teeth stuck into things here at Bridge Classic Cars. He is busy stripping down the front suspension of our Austin
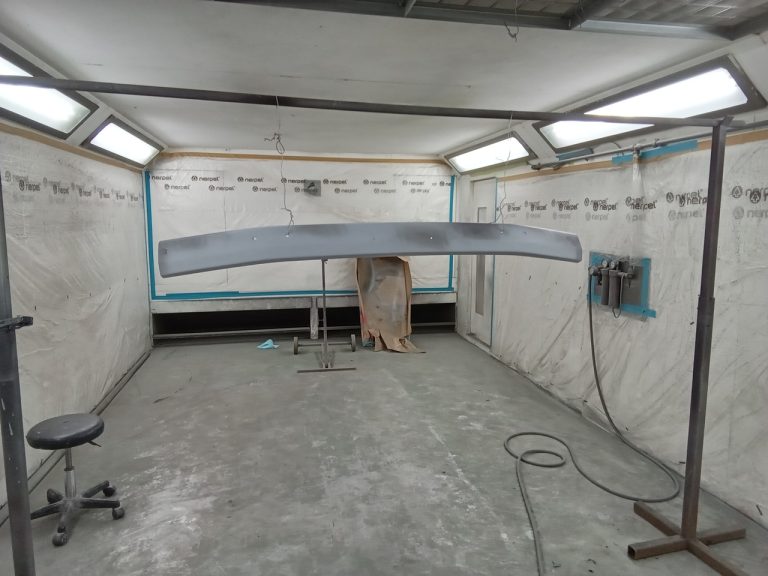
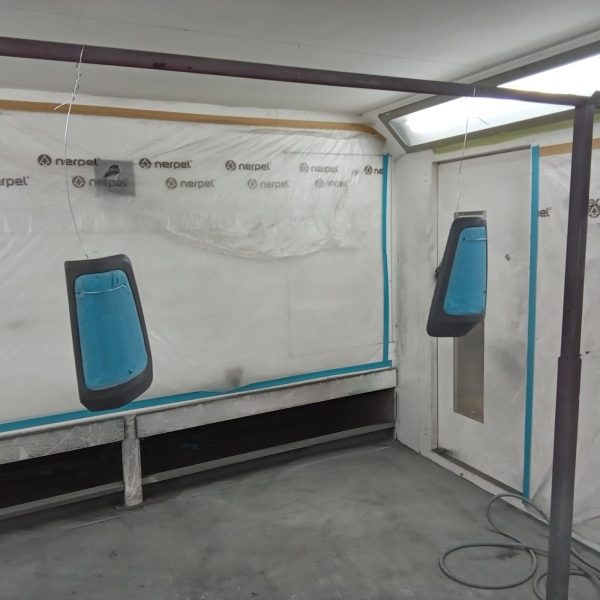
The bumper of our Ford Transit Tipper MKII is all painted and now finished in a satin clear. The rear suspension springs have also been
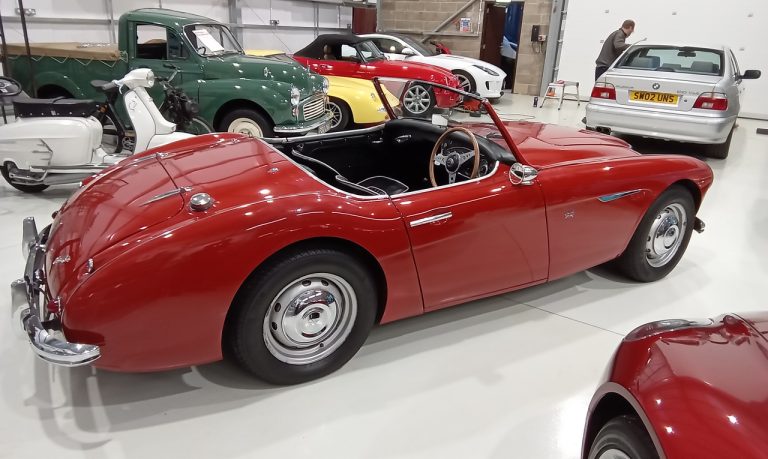
Jon is currently carrying out the pre delivery inspection on our 1958 Austin Healey 100-6. He has secured both front seat bases as the bolts
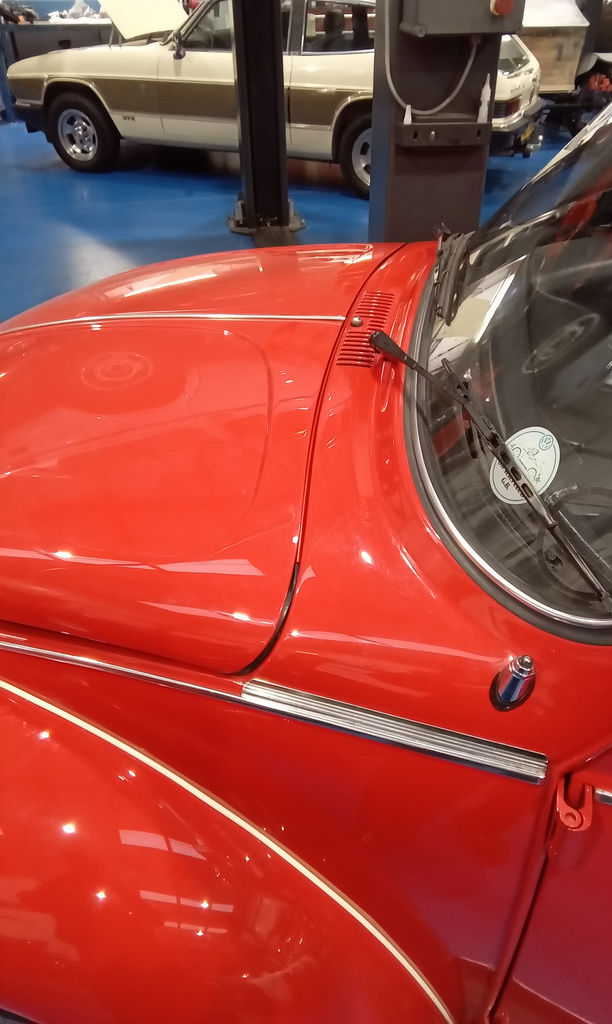
We are so so close now with our Volkswagen Beetle completion. Jon has attended to the bonnet seal at the bulkhead. Align and cut to
More progress fitting the doors and locks, bonnet catches and lock covers, final assembly of the dashboard and controls including cables. The front and rear
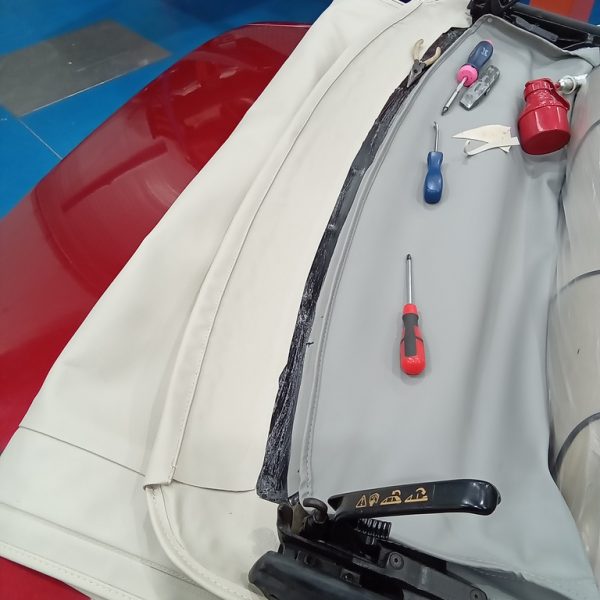
Brian has glued the flaps around the rear side window area of the frame, fitting rubber seals, fitting rear of headliner to the parcel tray.
Jon is preparing the Escort for next week’s competition draw. He has stripped and removed the carburettors. Stripped and checked that the jet sizes correspond
Some additional shaping was needed to the floor mats upon inspection. Lydia cut down the sides slightly and shaped the back edge. She added a
Steve has fitted new points and condenser to the Volvo as well as a new cambelt, tensioner pully and spring. Both near side and one
Work begins on the front wings of our 1970 MG B Roadster project. Mauro has removed the wings to reveal some corrosion.
Back in July we said our final goodbyes to a very good friend of Bridge Classic Cars, Hugh Mitchell. Hugh was a huge car lover
John has carried out some weekend one here at Bridge Classic Cars, working on my 1987 Mercedes 500 SL restoration project. This has been such
Darin from Ashbocking Joinery is completing the final few pieces of our Riley 9 woodwork. Here is the new tool box and trembler being finished.
Alan has been busy prepping the underside of our 1976 Triumph Spitfire ready for the Raptor treatment. He has applied an epoxy primer then seam
Pictures show the brake discs that were covered in surface corrosion but were in good condition and cleaned up very well. Pictures show washer bottle
Jon has fitted up the new bleed nipples to the freshly painted calipers. The bolts have been cleaned and painted We have cleaned up and
Jon is working on the final preparations of the Lotus Europa, ready for the filming to take place, hopefully, the week after next . A
As you can see, Brian and Lydia have been working together to fit the rear edge of the inner liner to the rear bar of
John has fitted an electronic rev counter to our Austin Healey and rewired it from positive earth to negative earth. Changing the wiring on the
“I love classic cars and perusing Bridge Classic Cars site. I grew up in the sixties when iconic cars were manufactured so I appreciate what
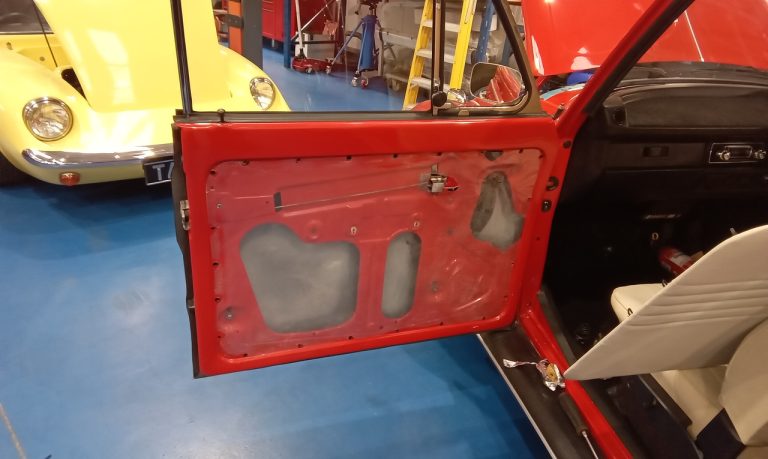
Jon is going through the final few tasks on our VW Beetle before we can take the car back home within the next couple of
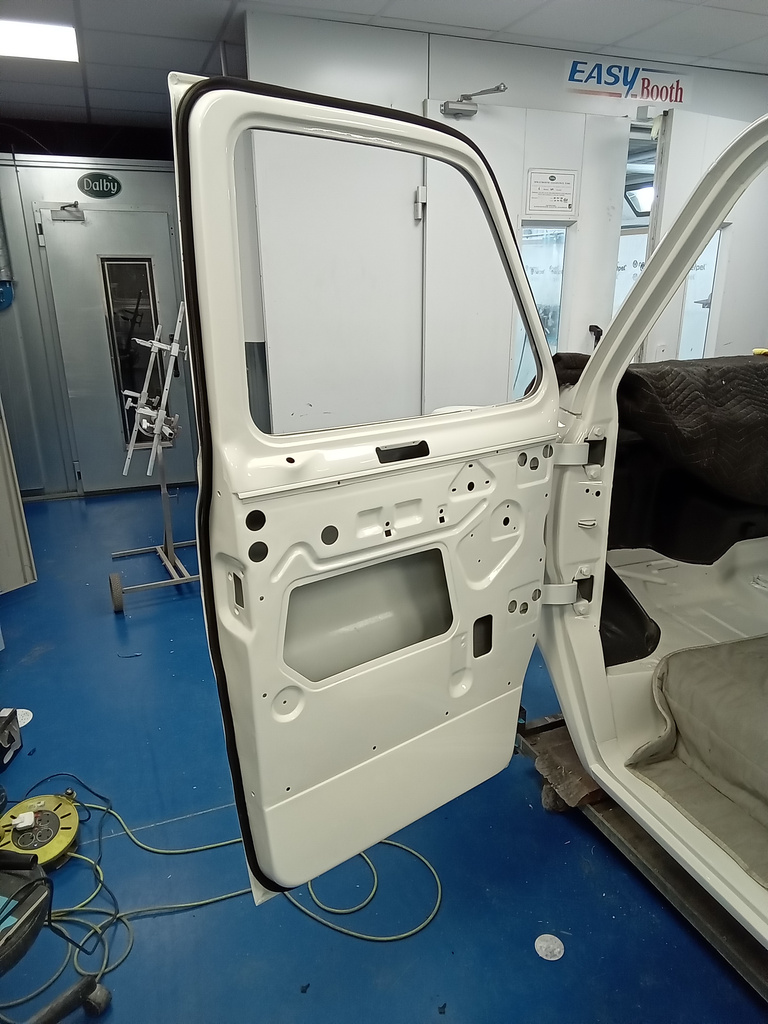
Brian has fitted up the Transit Mk2 with new rubber seals. Help in today’s Storm Ciaran weather!
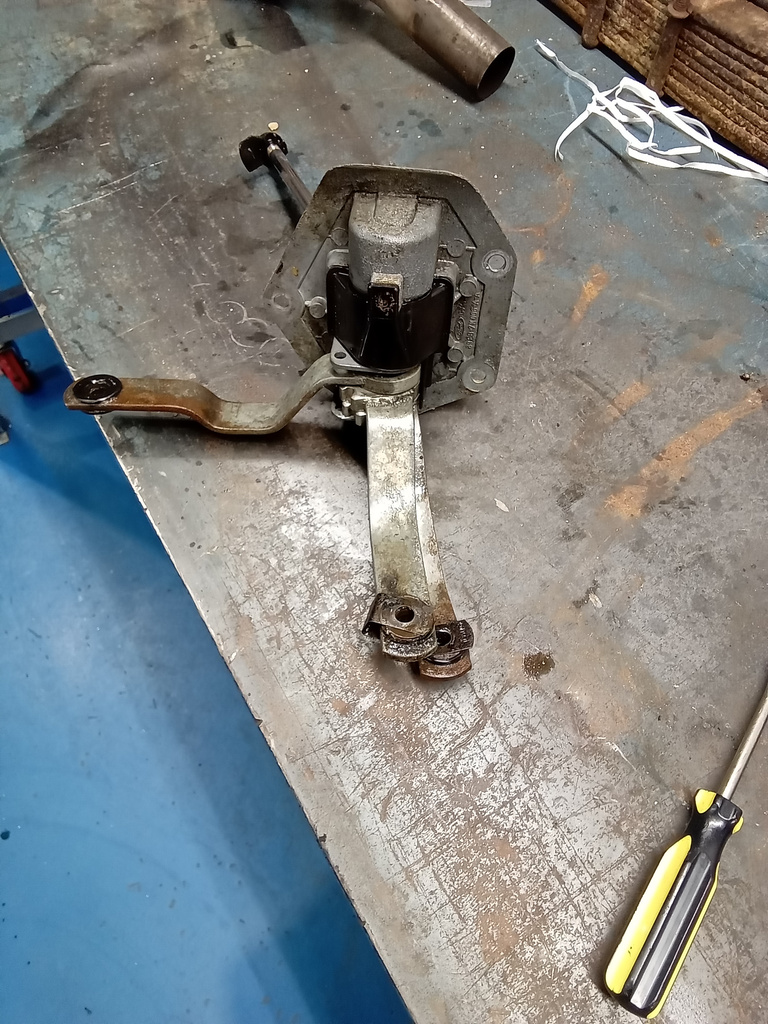
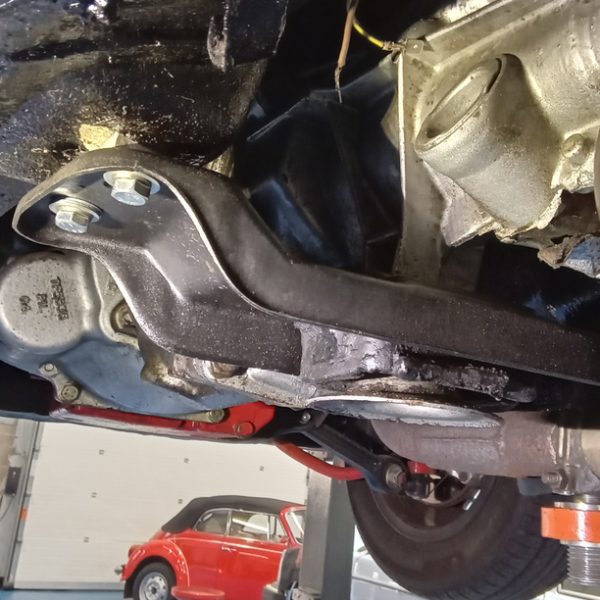
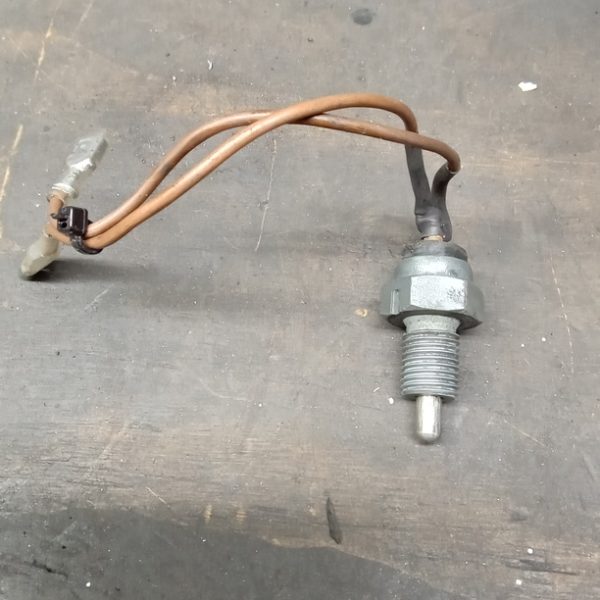
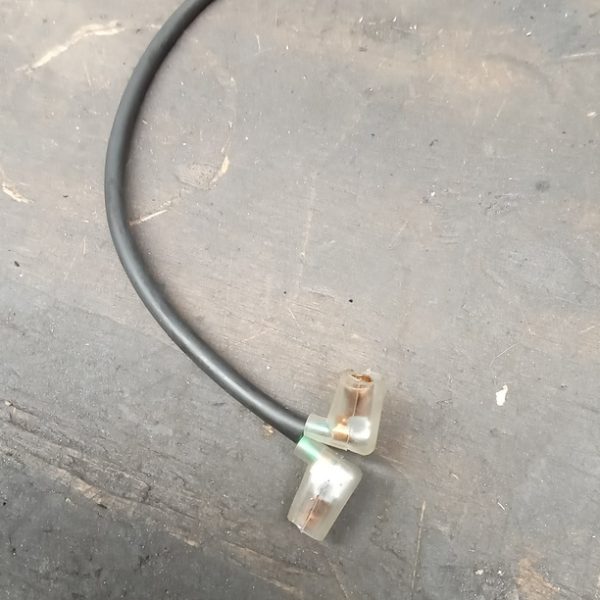
Steve has removed the gear linkage, stripped it down and cleaned. He is now for new bushes to arrive to be fitted. He has then
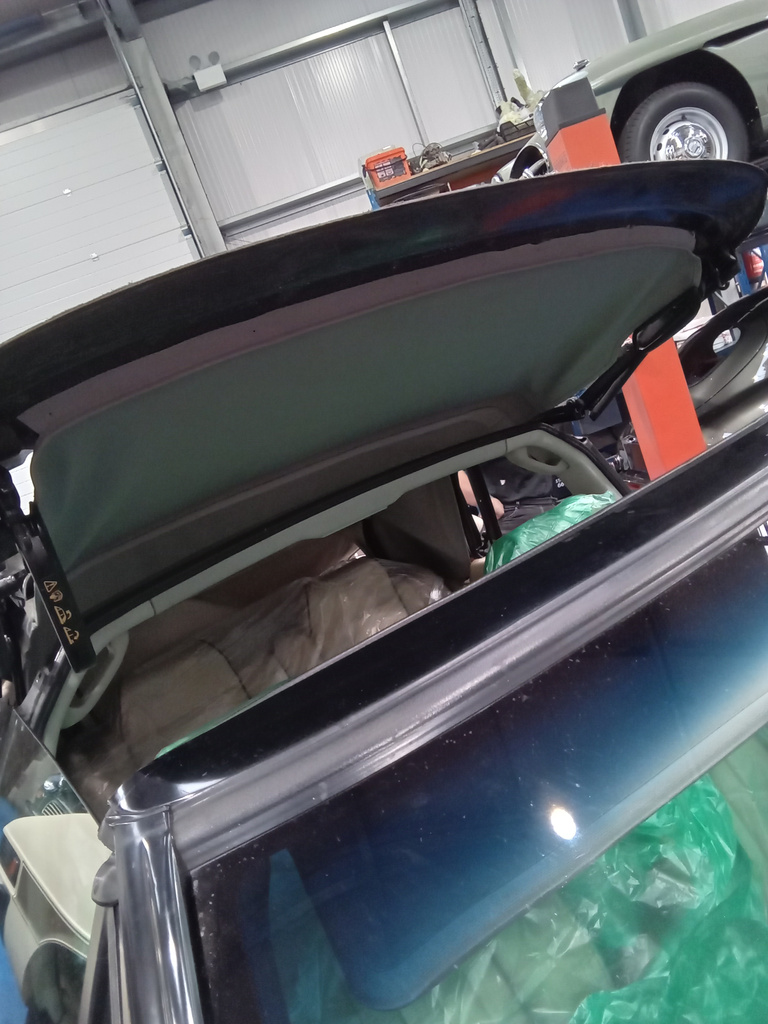
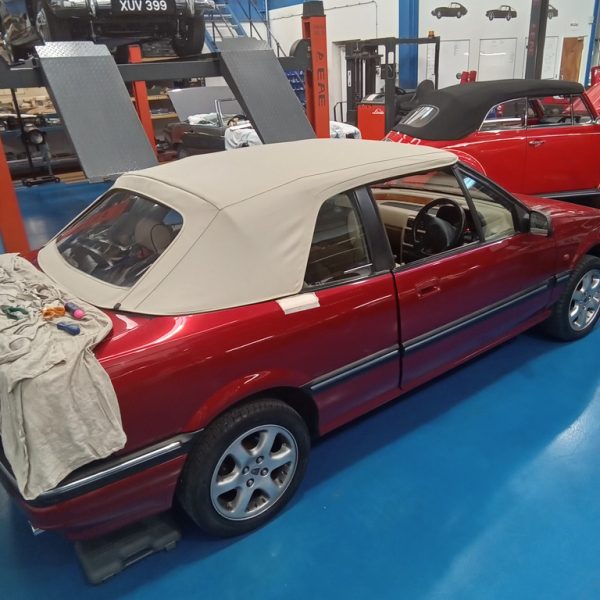
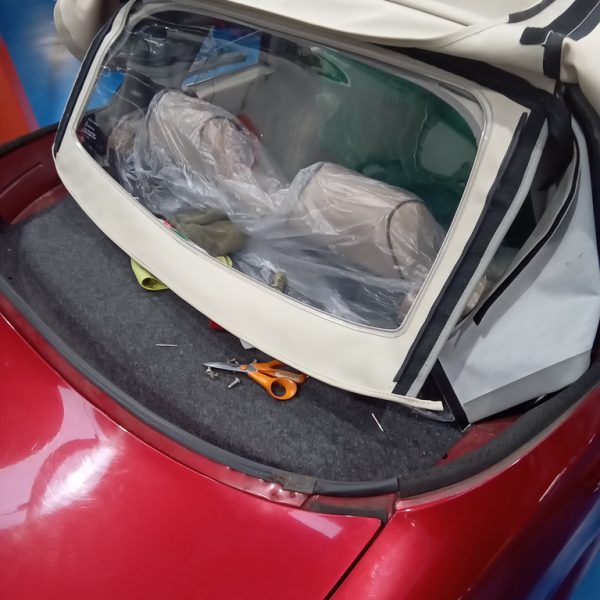
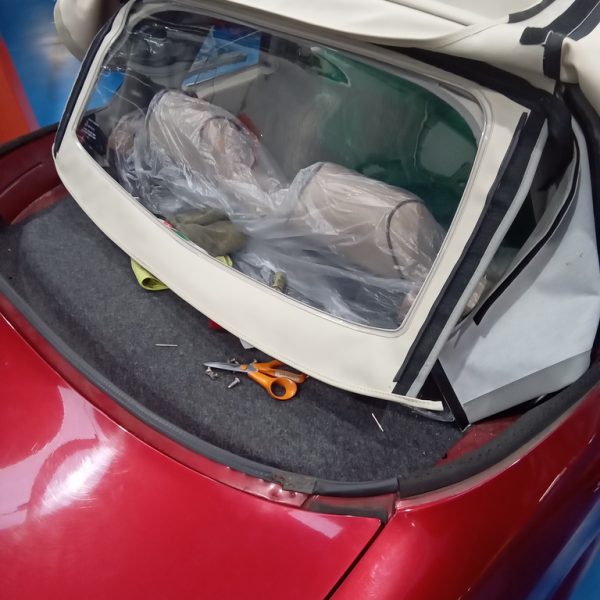
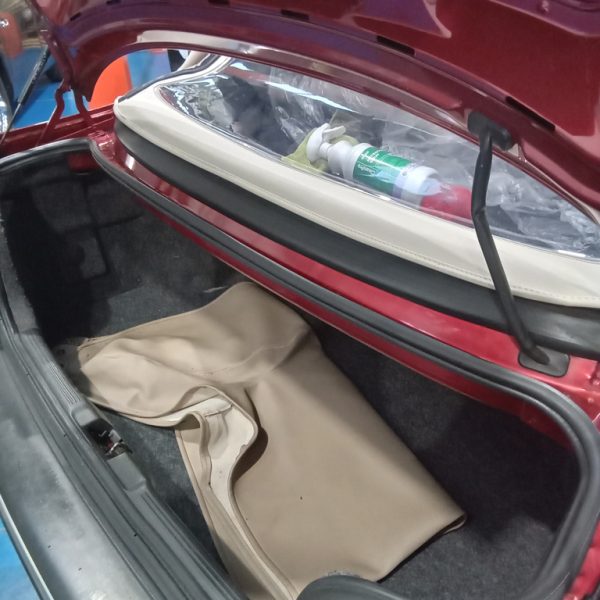
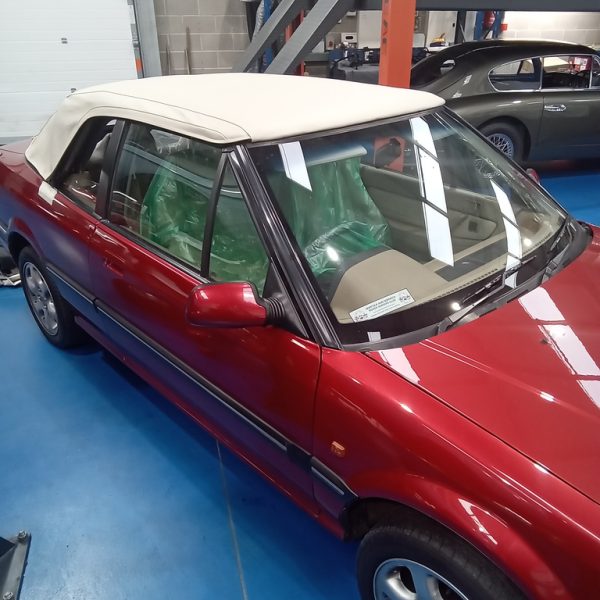
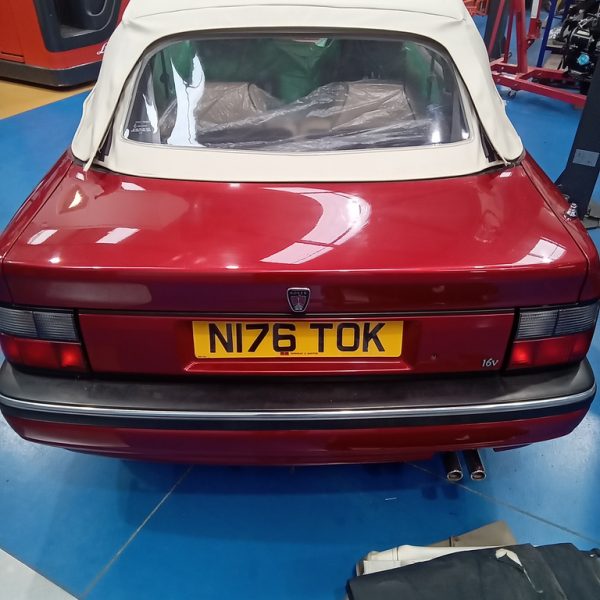
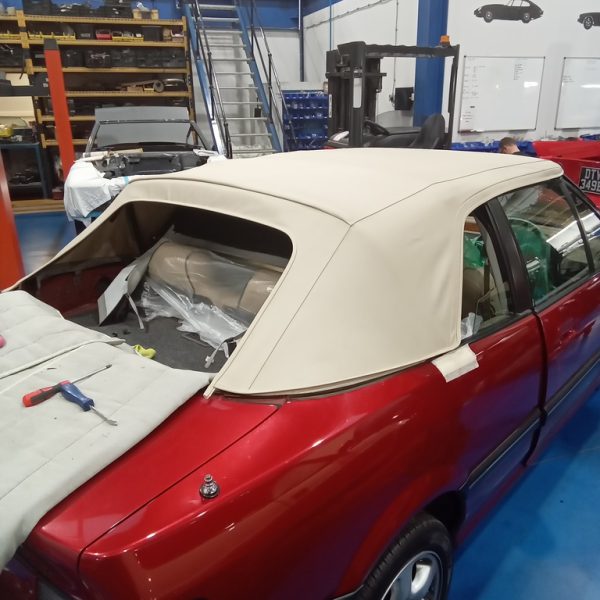
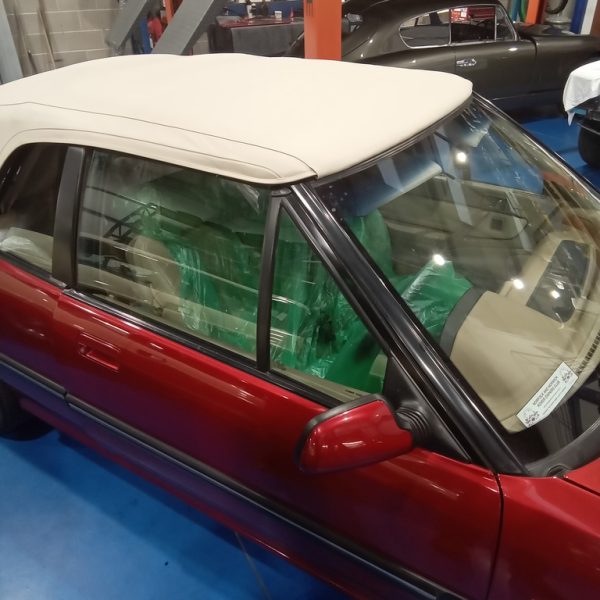
The new roof is progressing well on our 1995 Rover 216 Cabriolet. Brian has been busy glueing headliner to the front edge of the roof
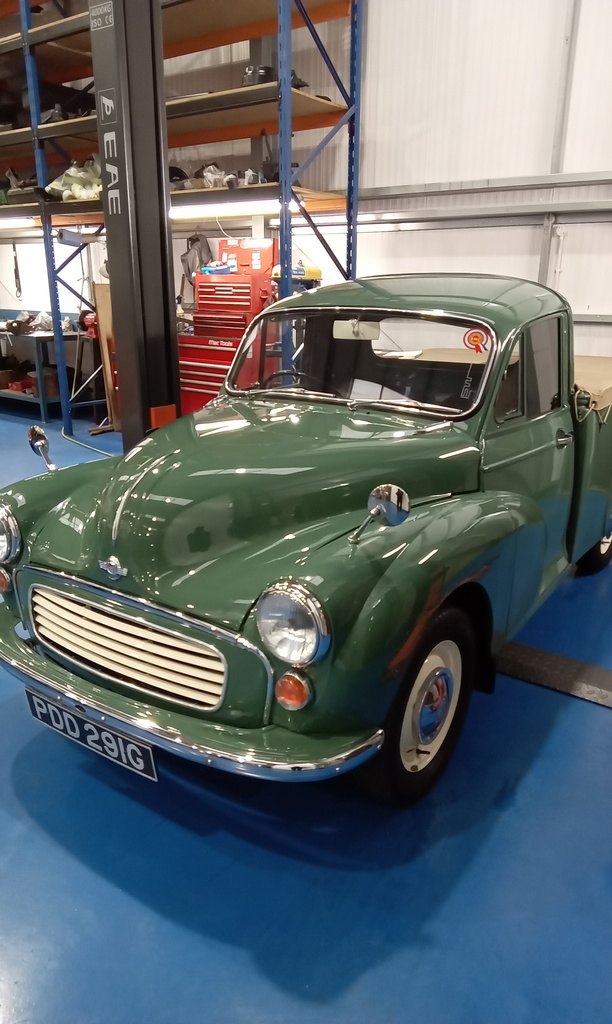
Jon is now carrying out repairs whilst inspecting our beautiful 1968 Morris 1000 Pickup. This is all in preparation for Molly and the competition team
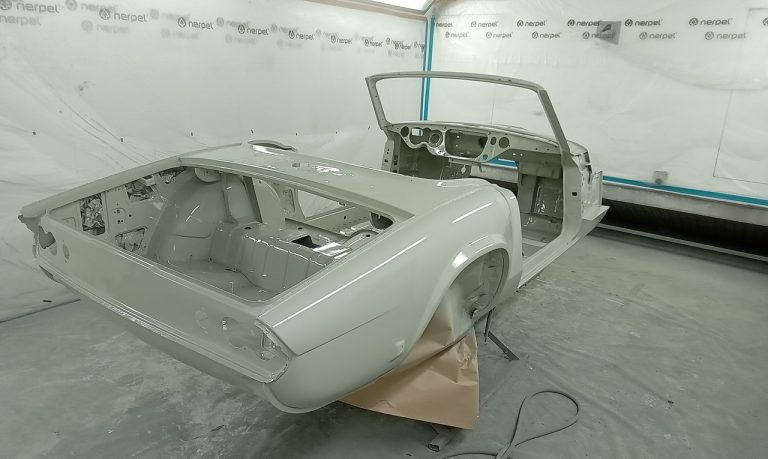
Alan is now on the exciting stage of preparing the car with epoxy primer. The doors, bonnet, boot lid and body of car are now
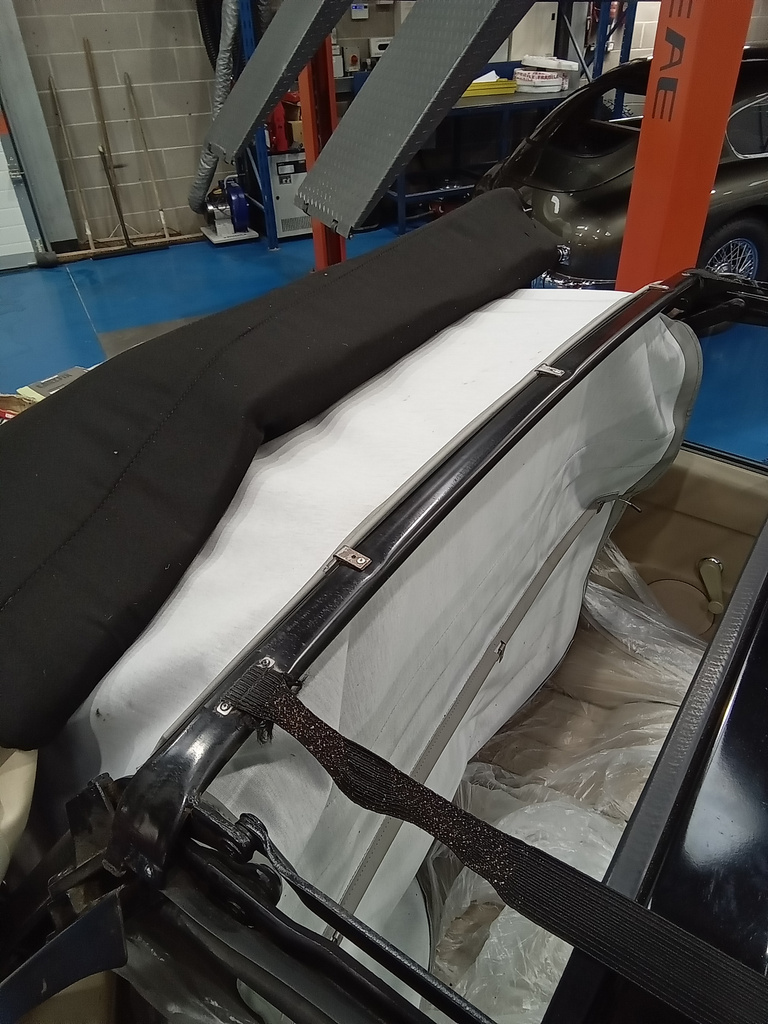
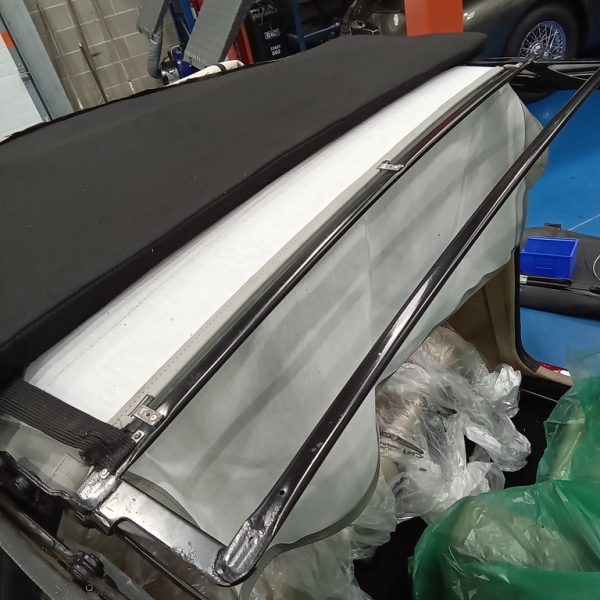
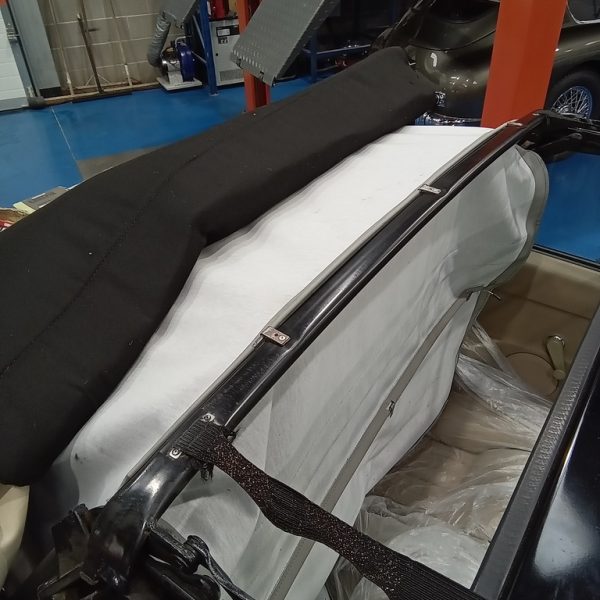
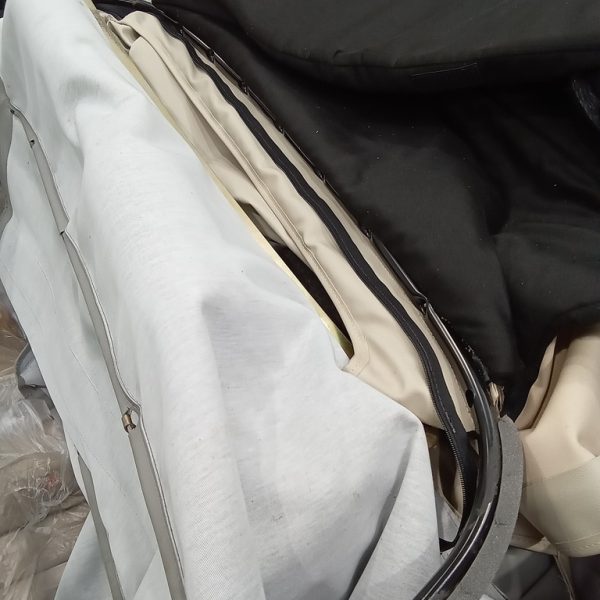
Brian and Lydia are busy fitting the hood, headliner and inner pad to the rear bar.
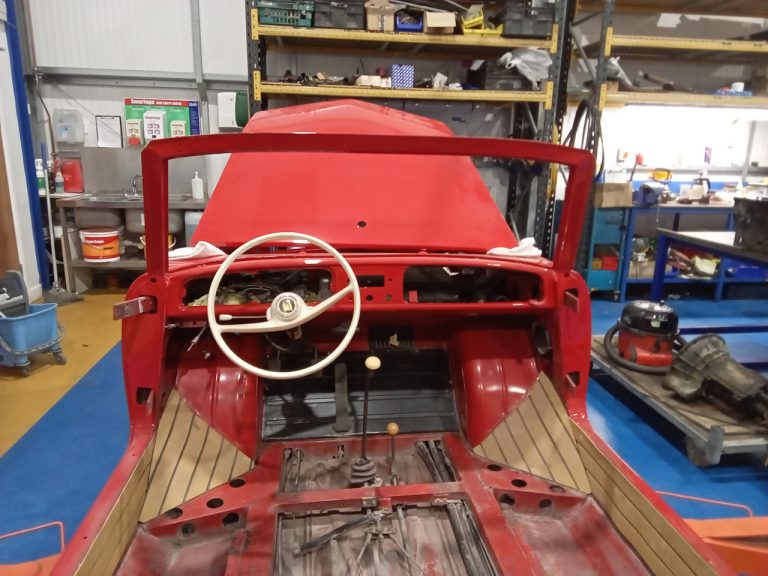
James has started to reassemble our 1964 Amphicar. Starting with electrics, wiring and lighting units he has had to tidy and check all wiring behind
Alright, I am not referring to the start-stop technology of today, it’s not quite the completely automatic system that works by detecting a lack of
Terry is already getting his teeth stuck into things here at Bridge Classic Cars. He is busy stripping down the front suspension of our Austin Devon pickup.

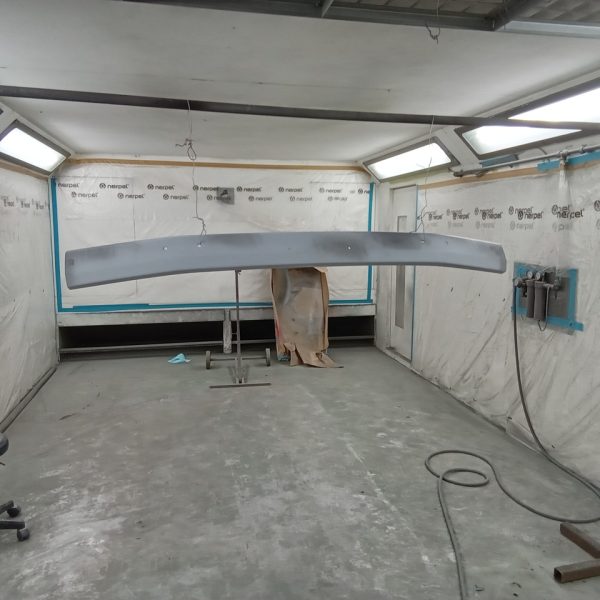
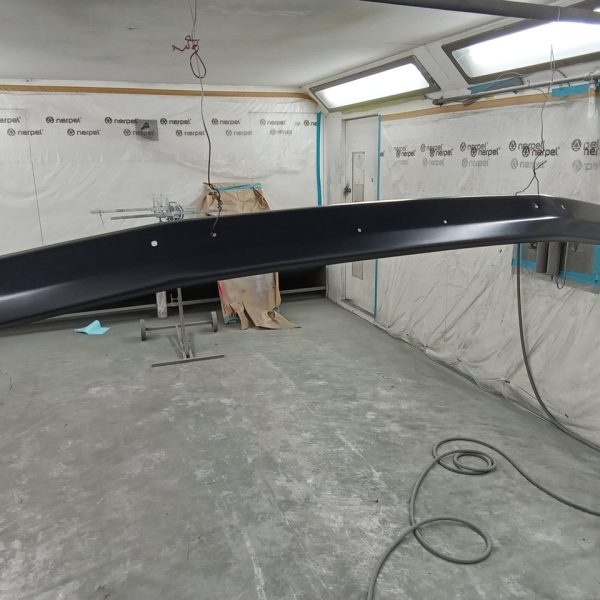
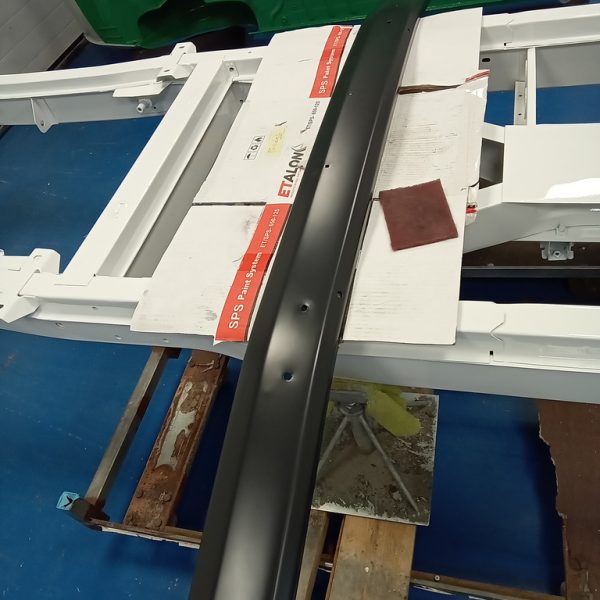
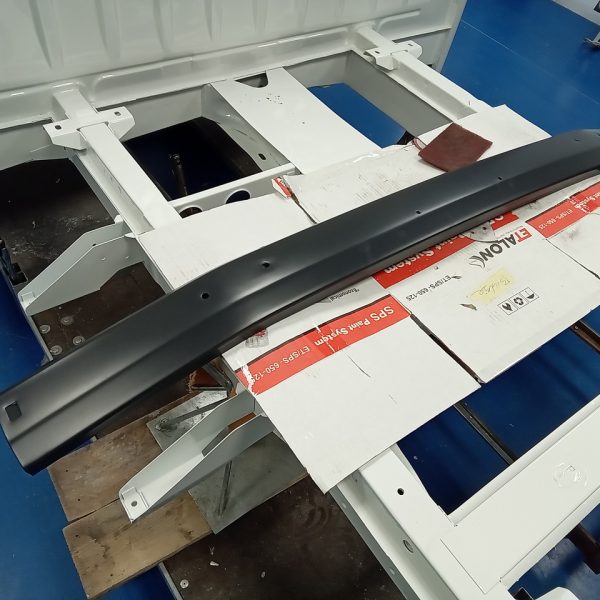
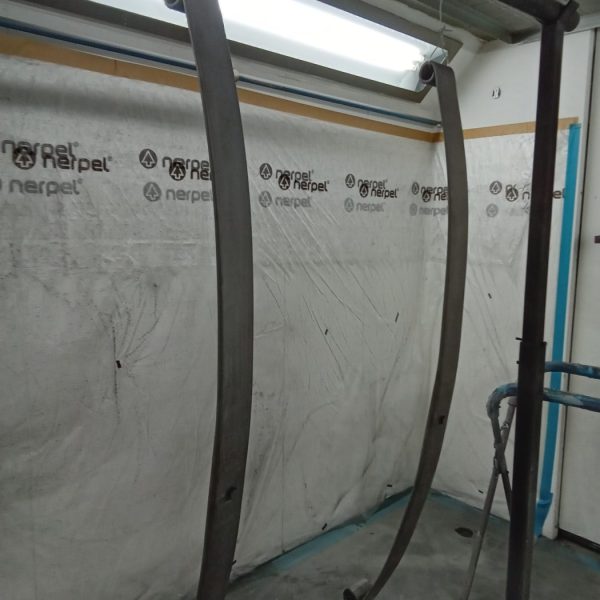
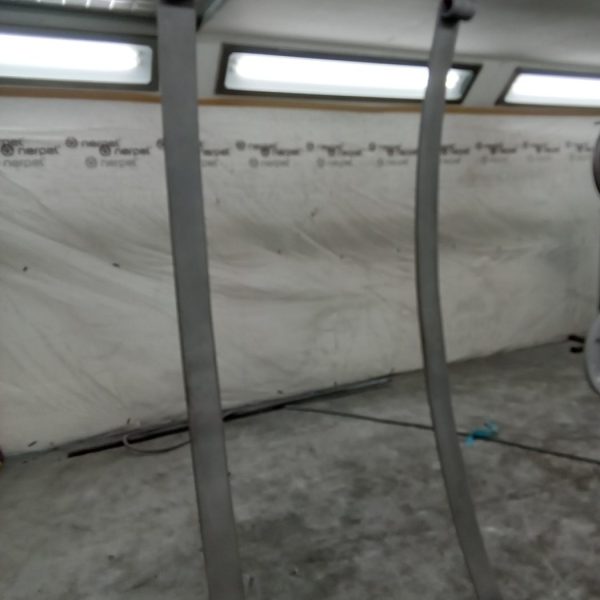
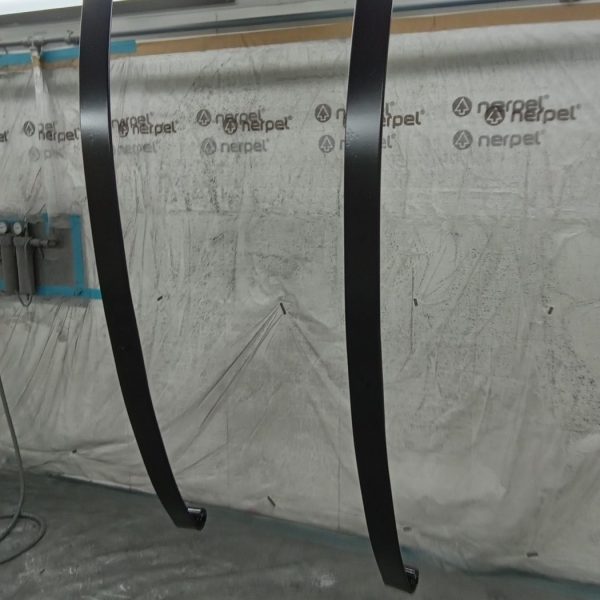
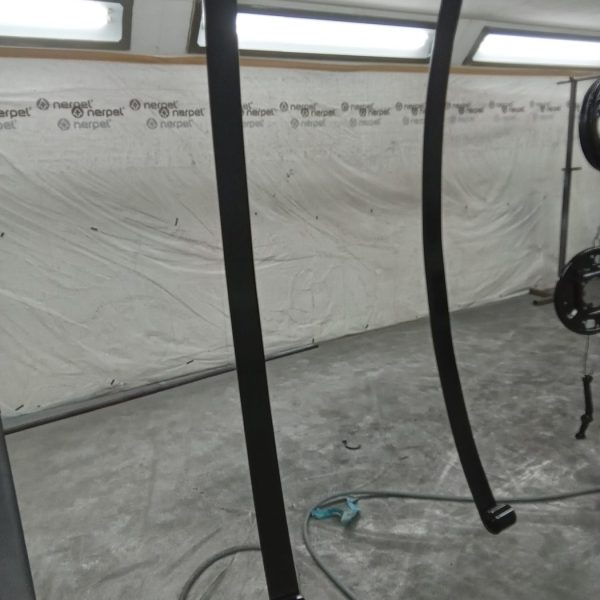
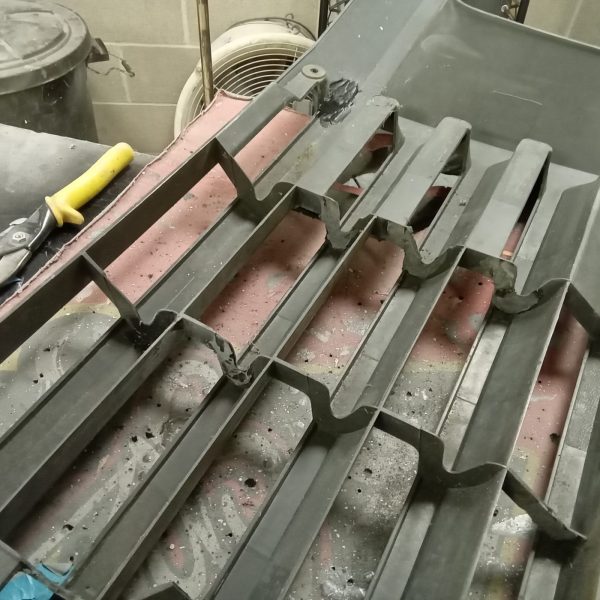
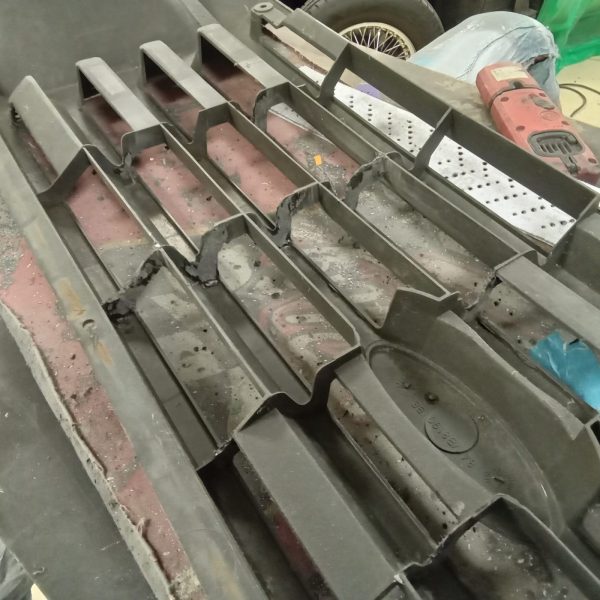
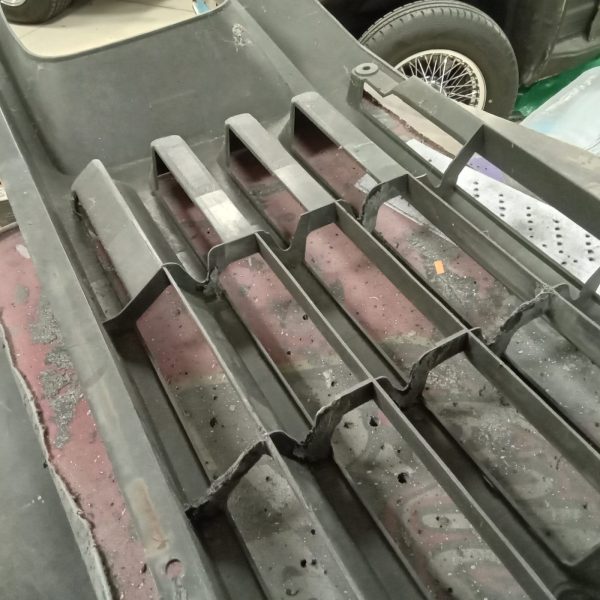
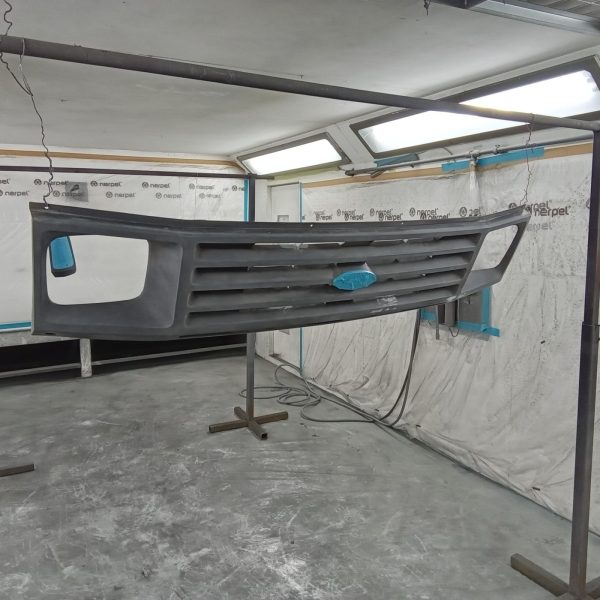
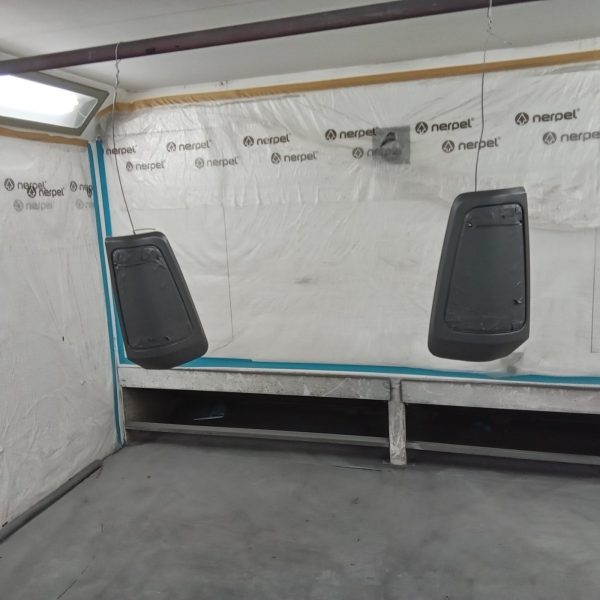
The bumper of our Ford Transit Tipper MKII is all painted and now finished in a satin clear. The rear suspension springs have also been in the paintshop and have had black dtm applied.
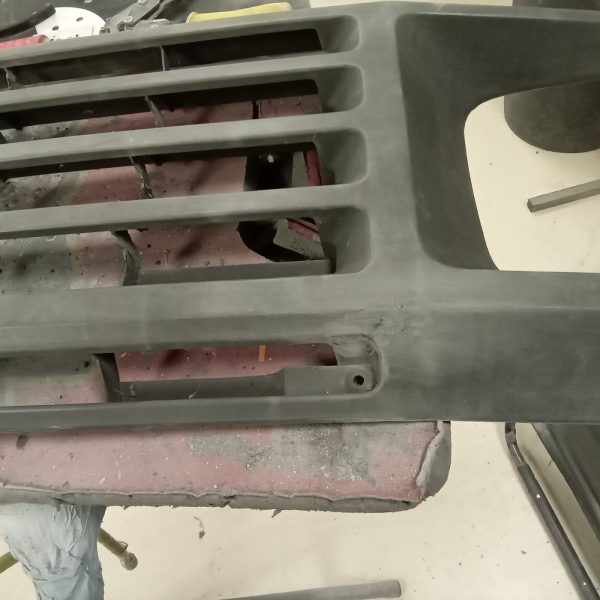
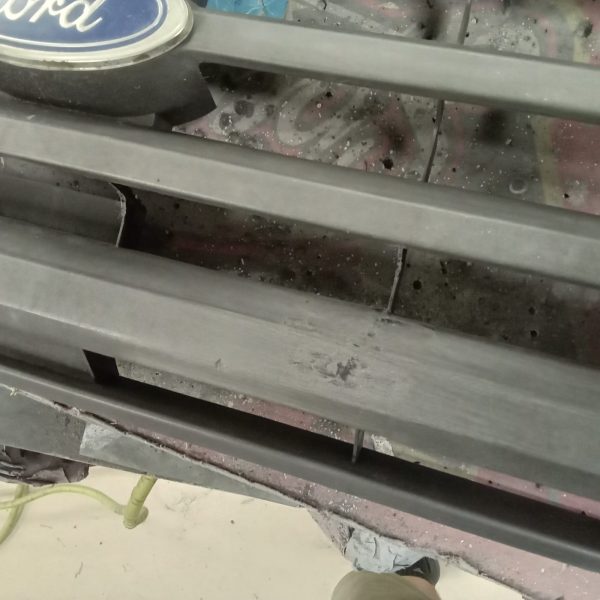
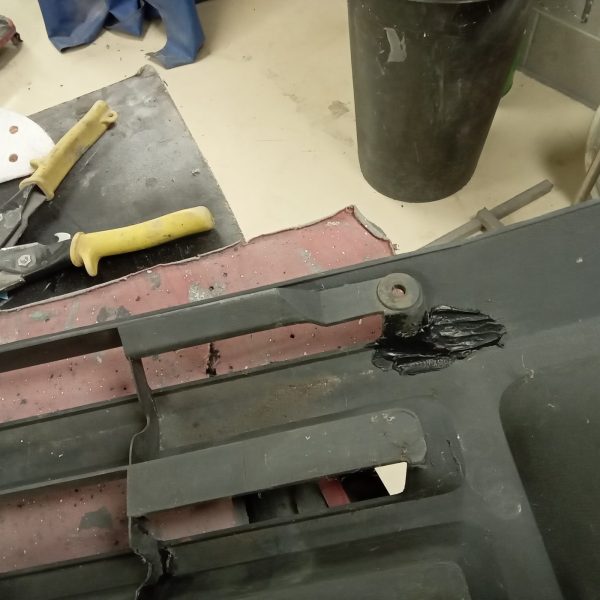
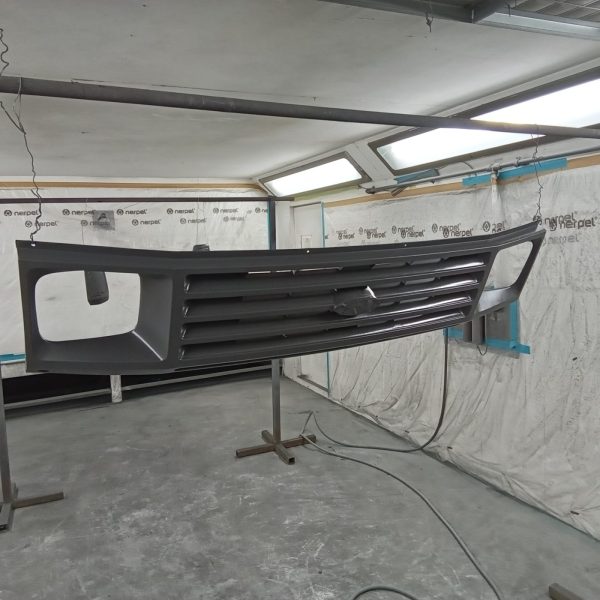
Chris has also fixed and painted the grill.
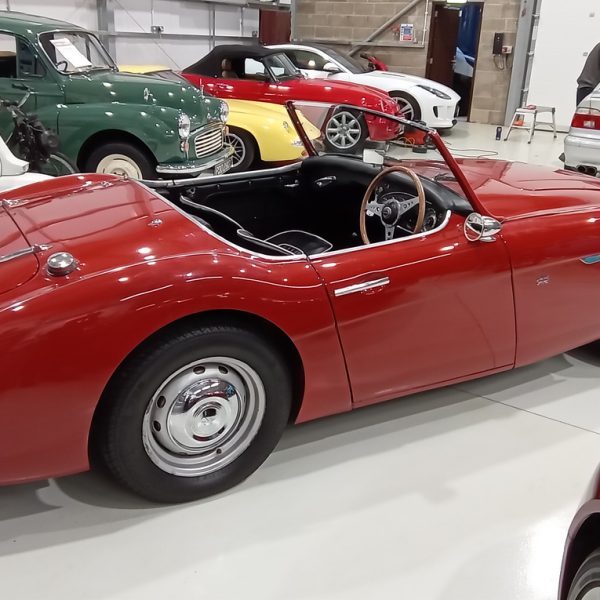
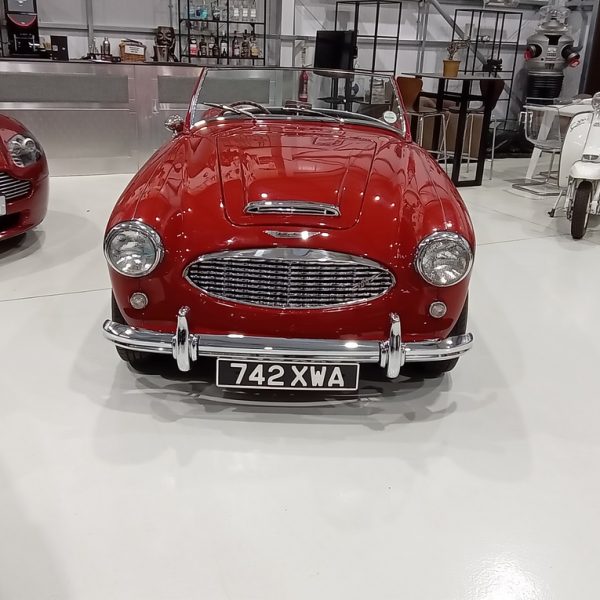
Jon is currently carrying out the pre delivery inspection on our 1958 Austin Healey 100-6.
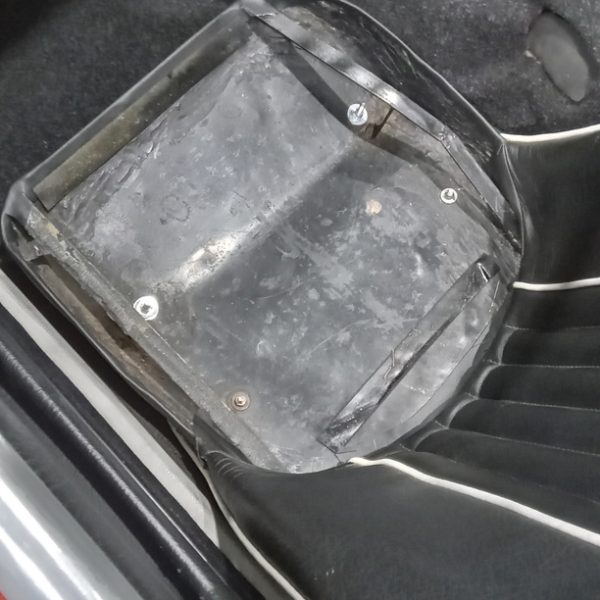
He has secured both front seat bases as the bolts were missing in the frames. Tighten and test and all ok.
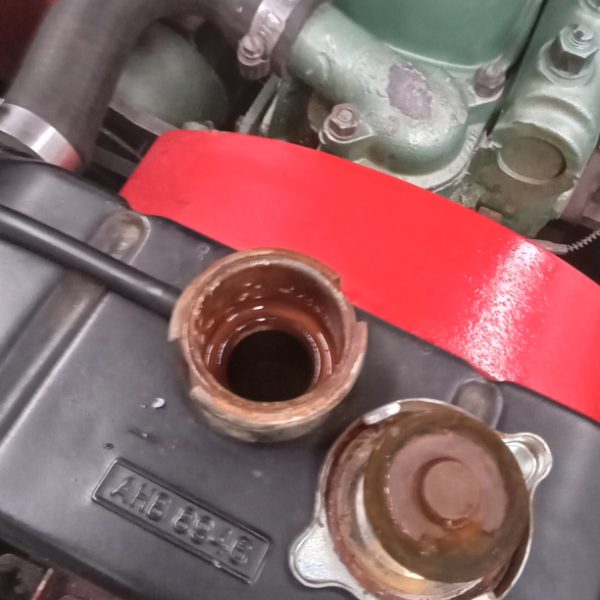
He has drained approximately 3 litres of coolant and replenish with anti freeze.
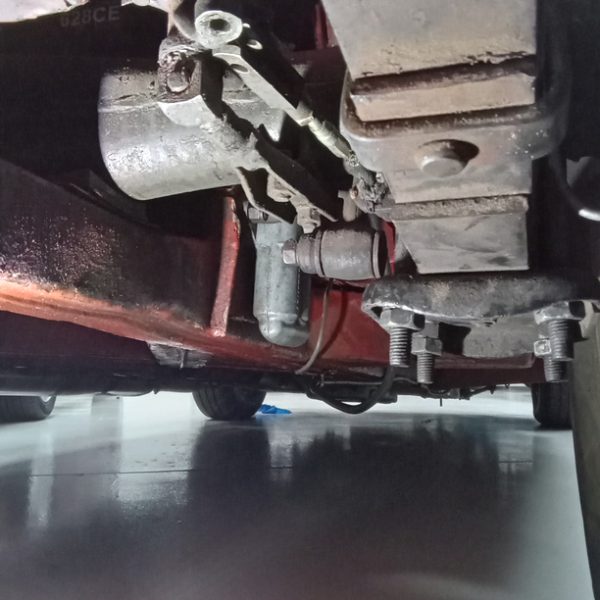
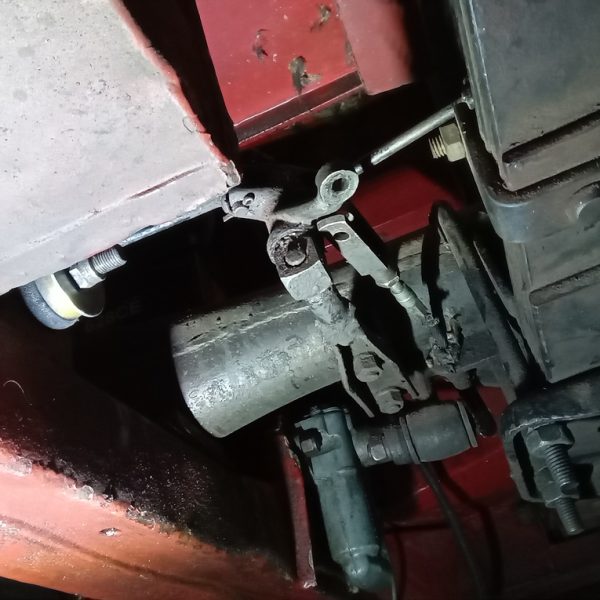
He has slackened the handbrake cable and removed the clevis pin from linkage. He has adjusted the cable end and re-attached, fitted new clevis pin and split pin.
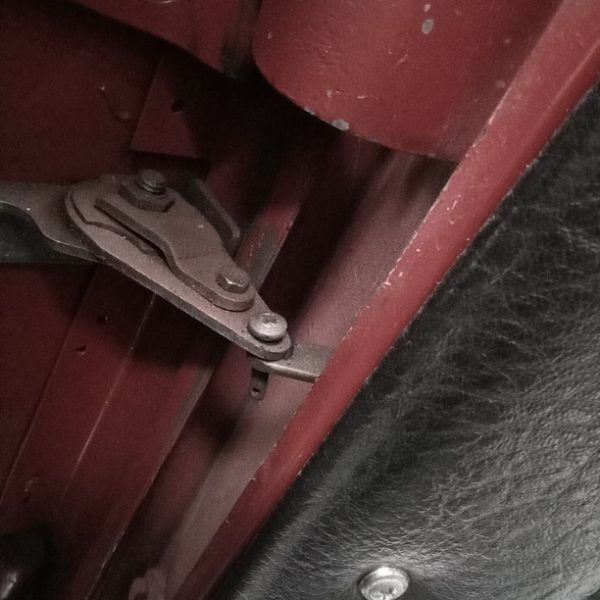
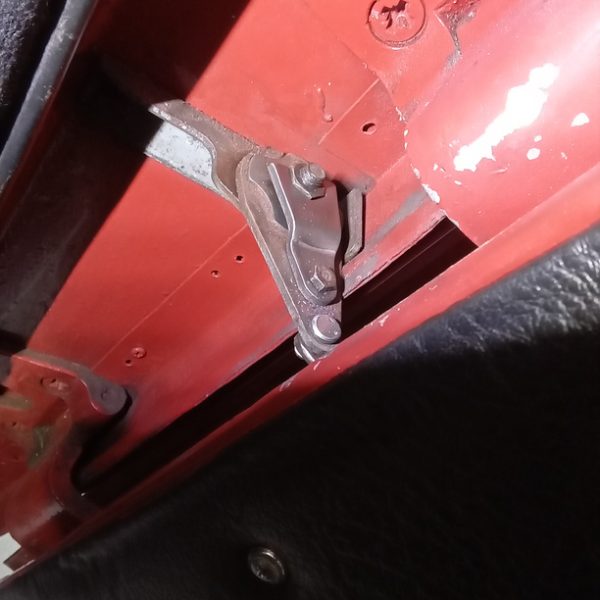
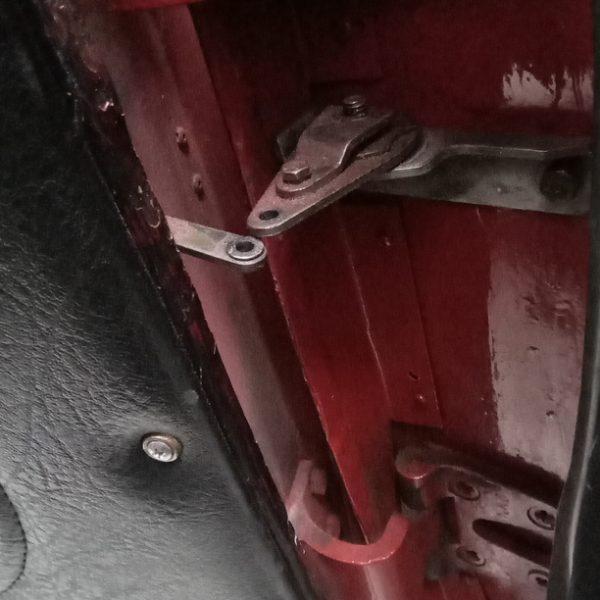
Attend to both door check straps.
Tighten hinge pin and nuts and fit new clevis pins to strap with washer and new split pins.
Trace dash illumination as we have found that it is not working, king to switch under dash. All working now.
Just needs fuel gauge, washers and road test to finish.
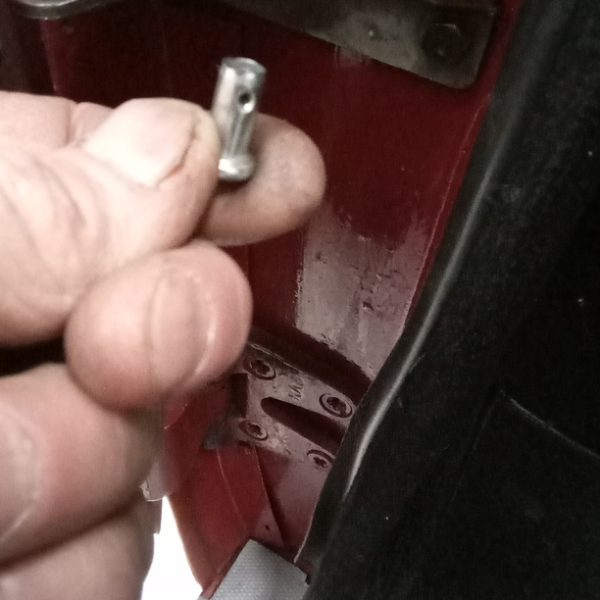
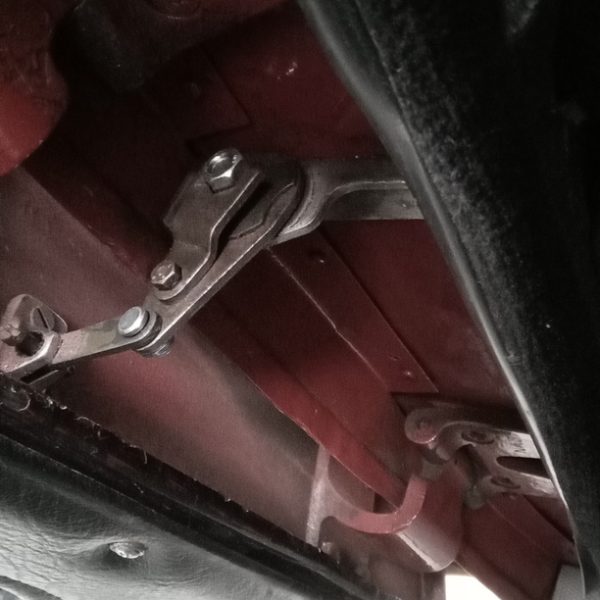
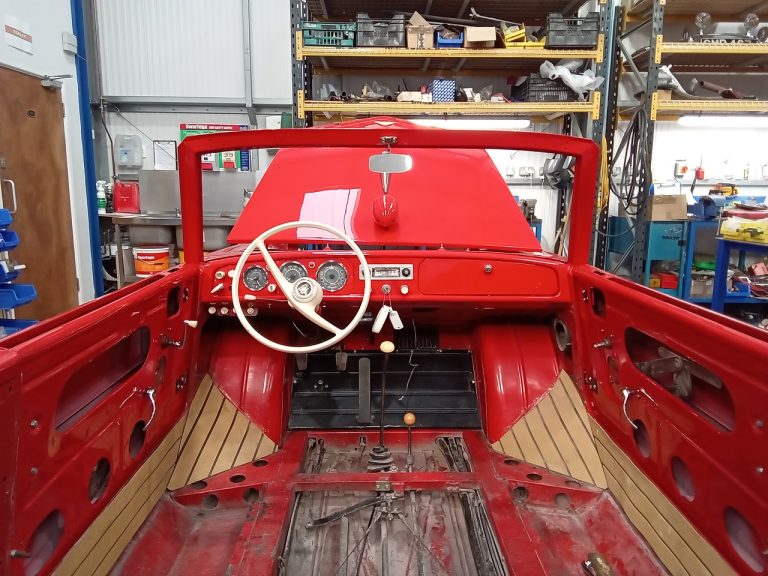
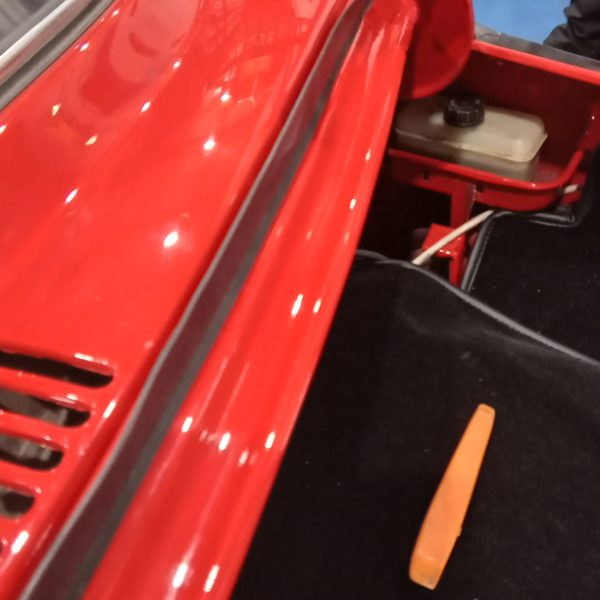
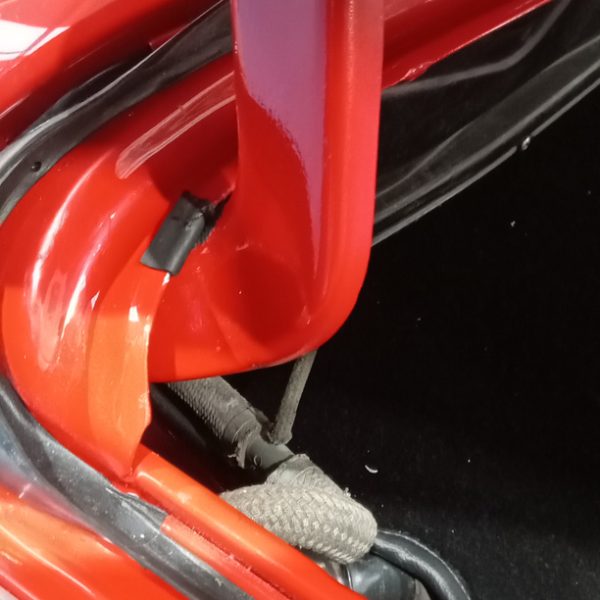
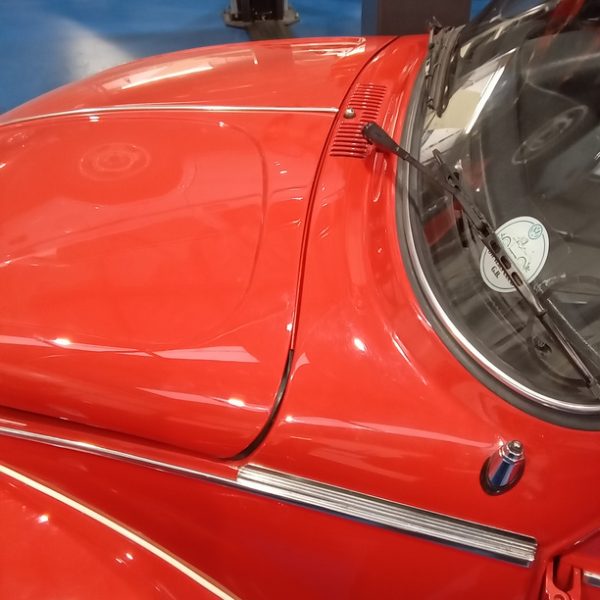
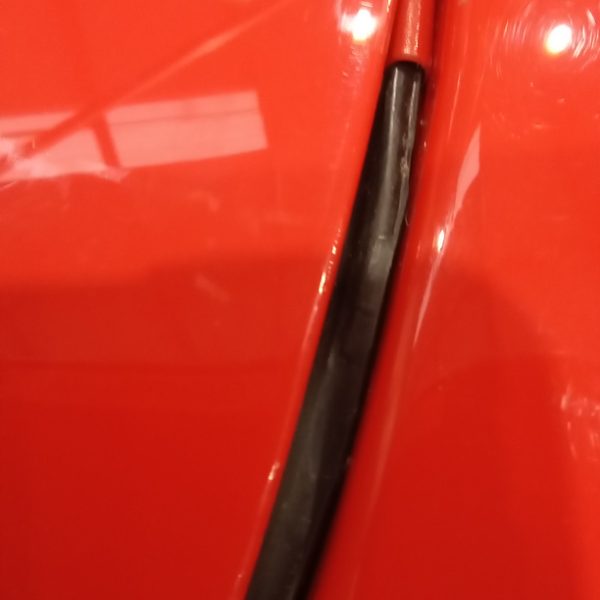
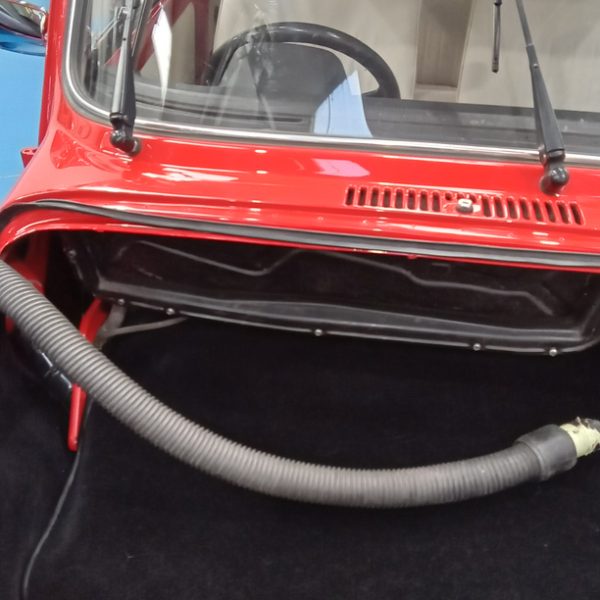
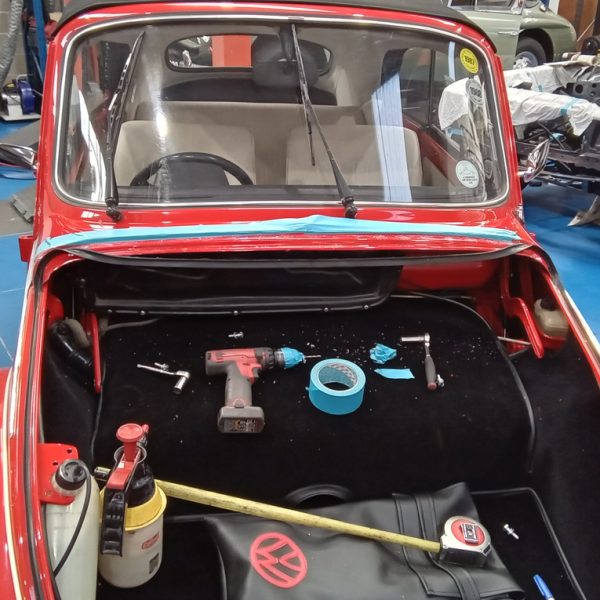
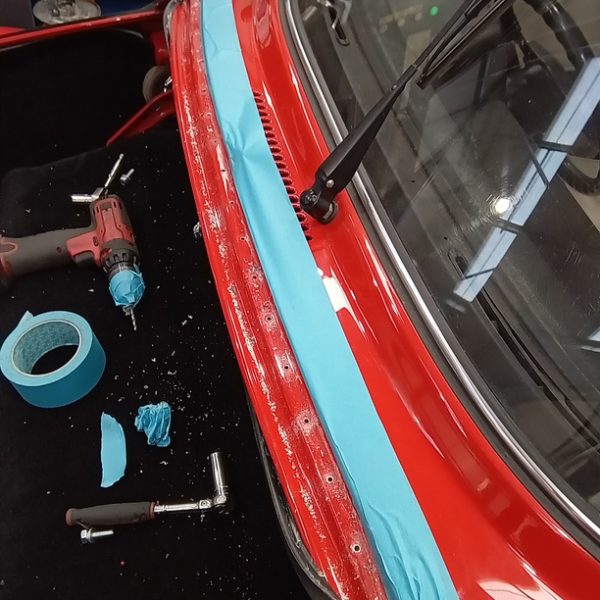
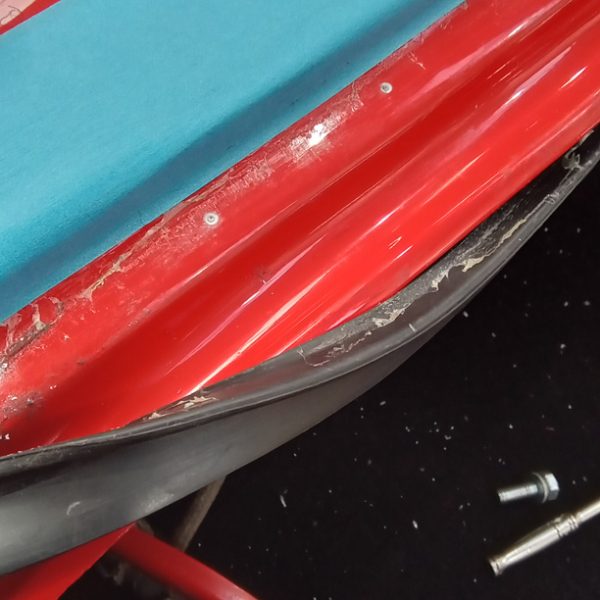
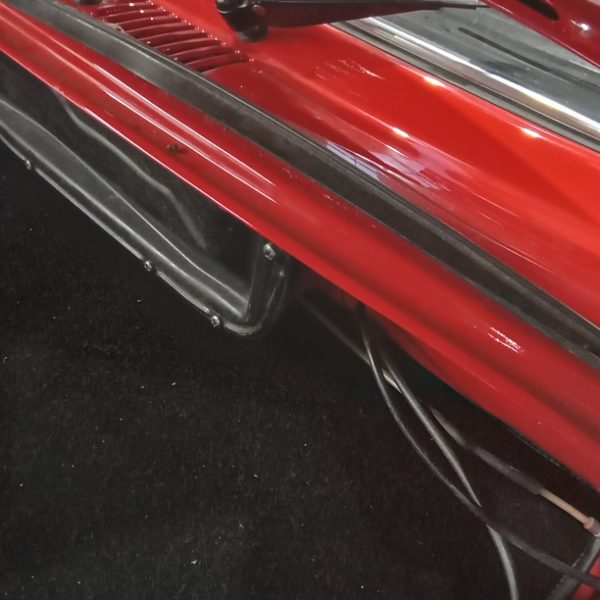
We are so so close now with our Volkswagen Beetle completion. Jon has attended to the bonnet seal at the bulkhead.
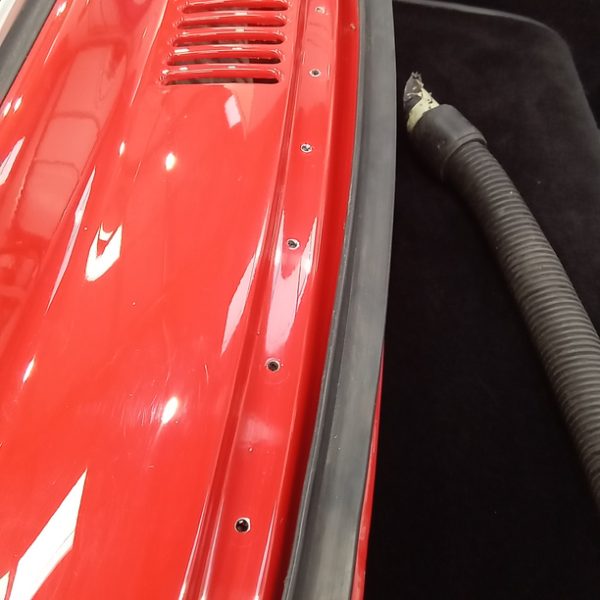
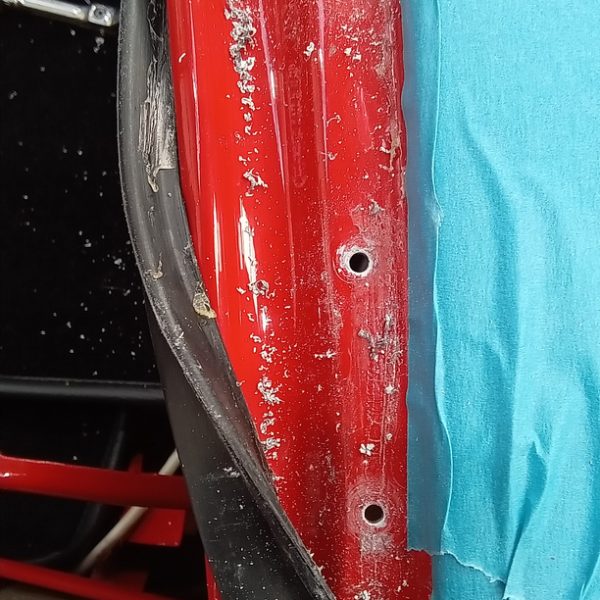
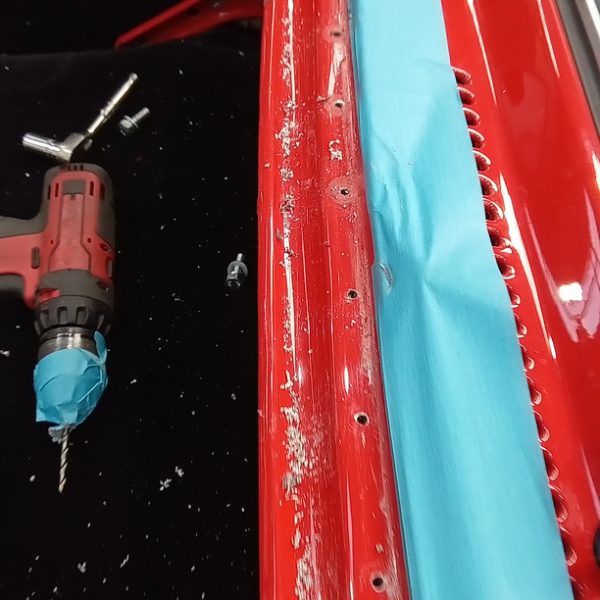
Align and cut to length in the new channel. We have drilled holes along the length.
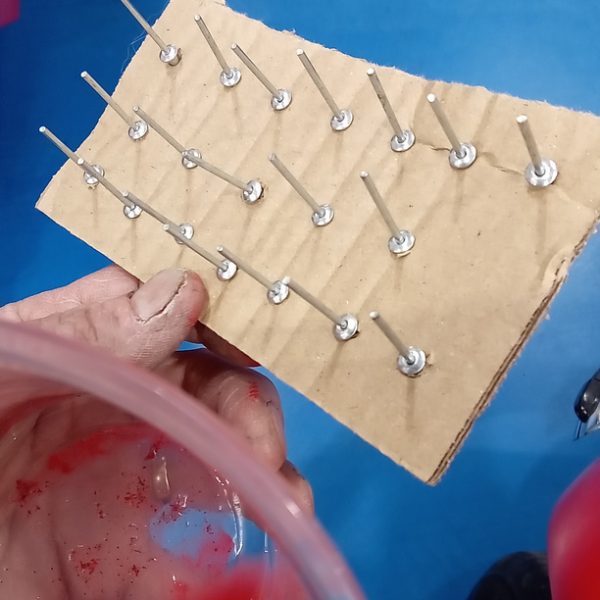
Align on car and drill scuttle panel to match. Give channel to body shop to paint. Touch in all holes with red paint.
Rivet bonnet seal retaining channel to scuttle panel and fit seal. Clean down and refit bonnet. Adjust and tighten.
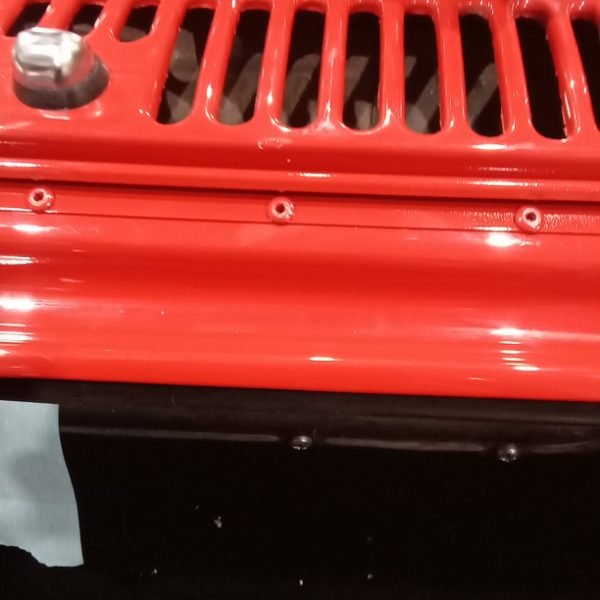
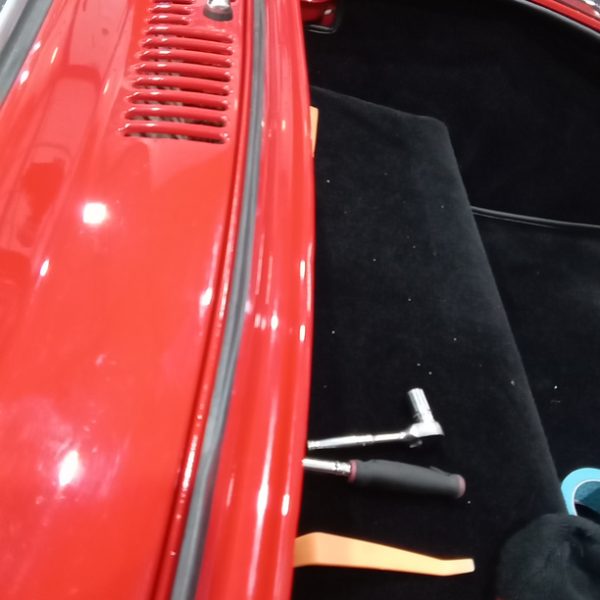
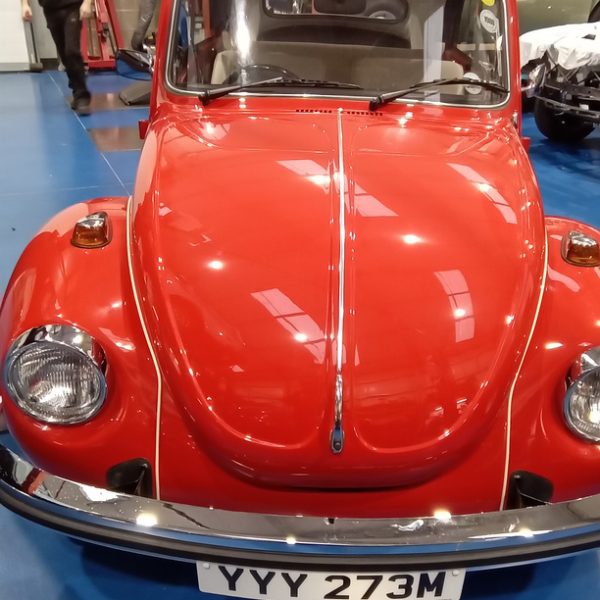
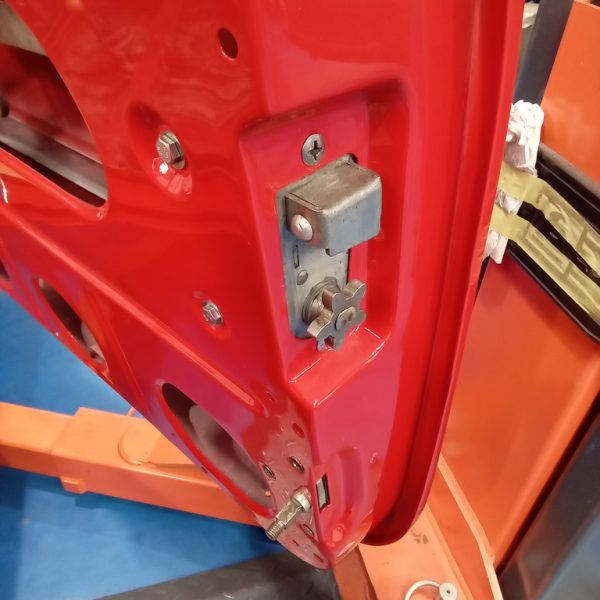
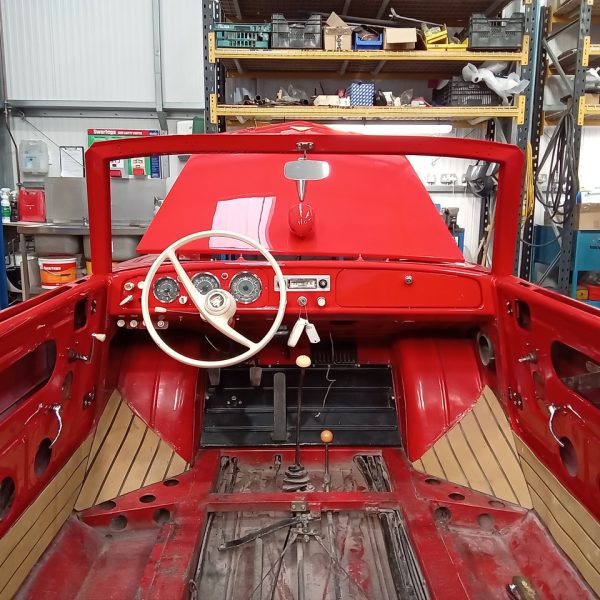
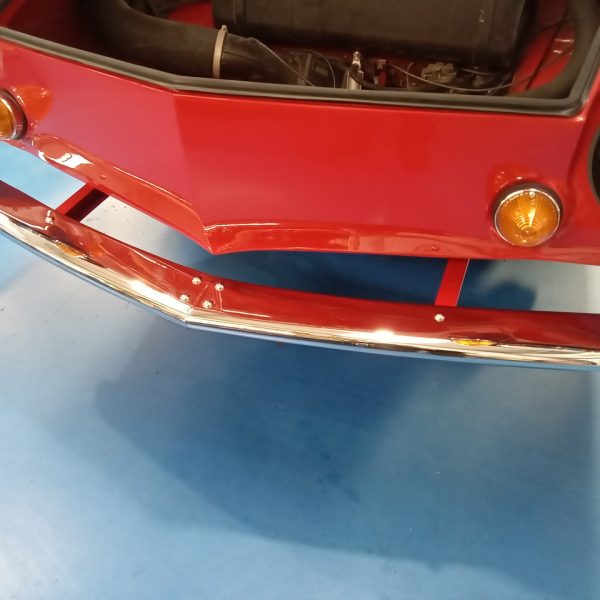
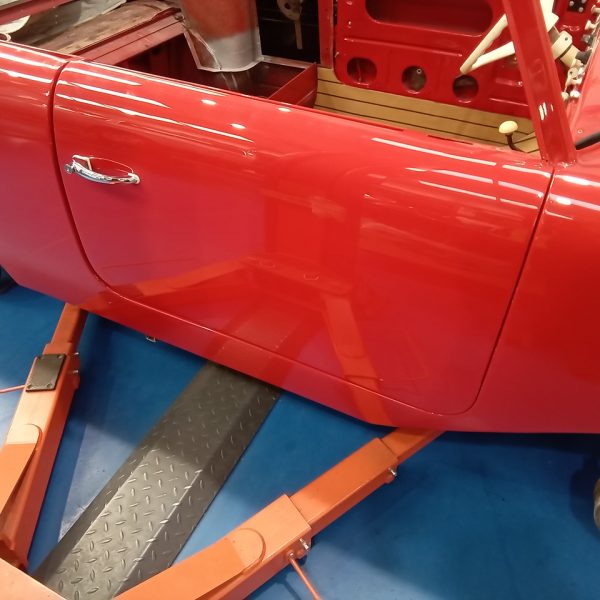
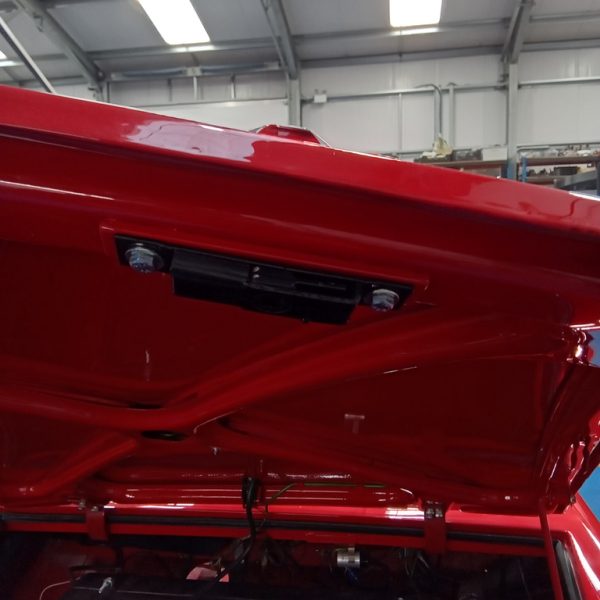
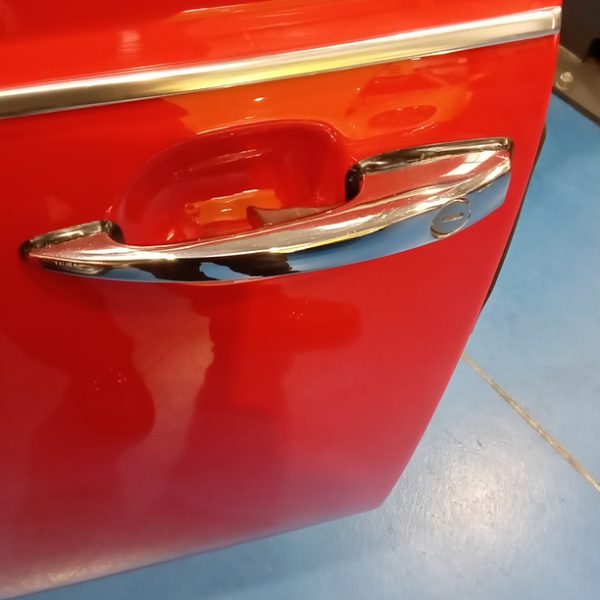
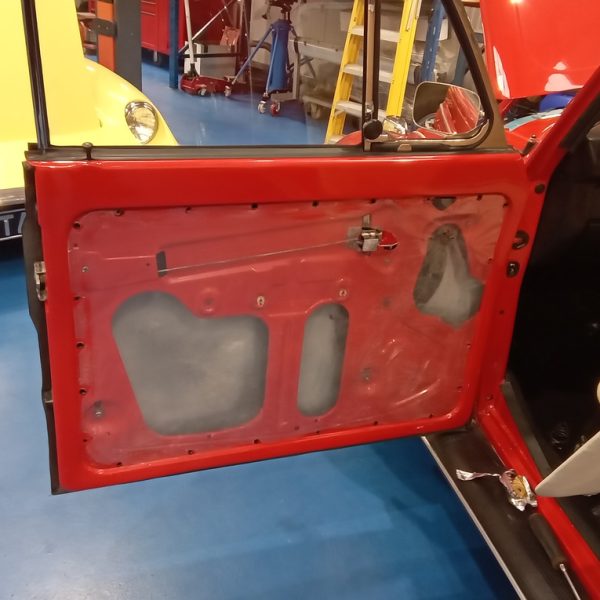
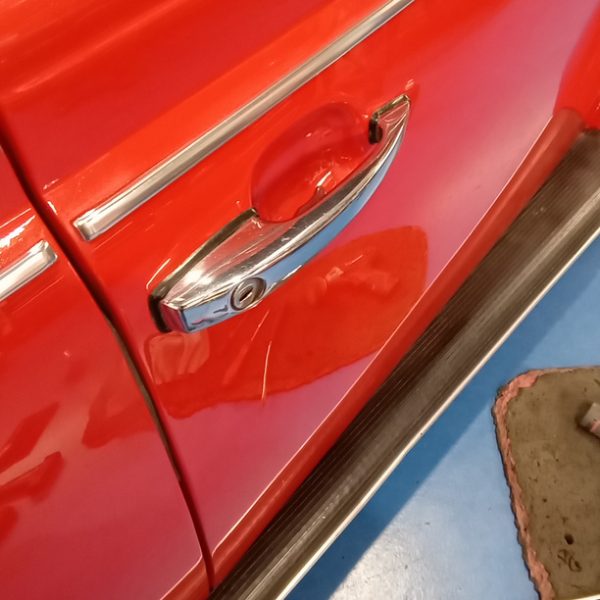
More progress fitting the doors and locks, bonnet catches and lock covers, final assembly of the dashboard and controls including cables.
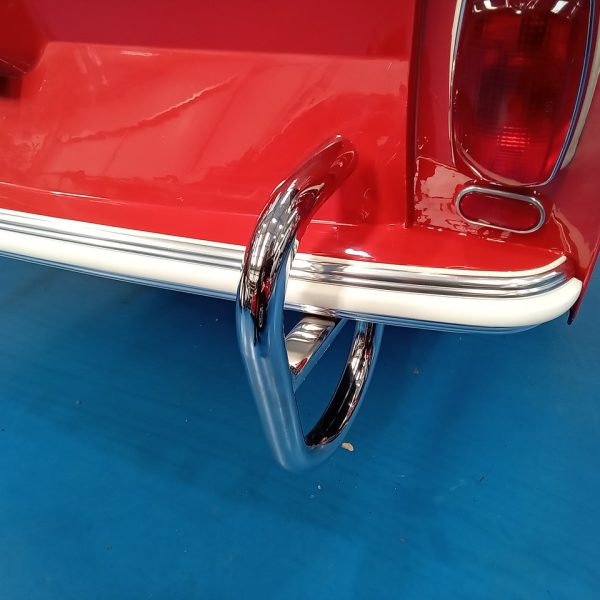
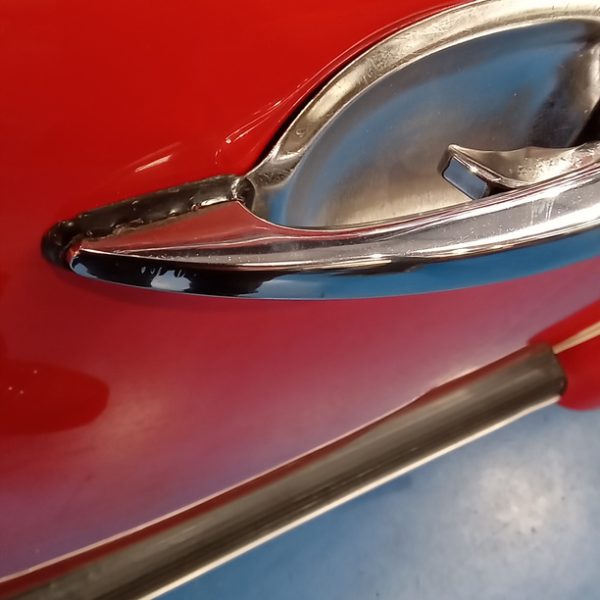
The front and rear bumpers and over riders have been fitted along with the outer door handles.
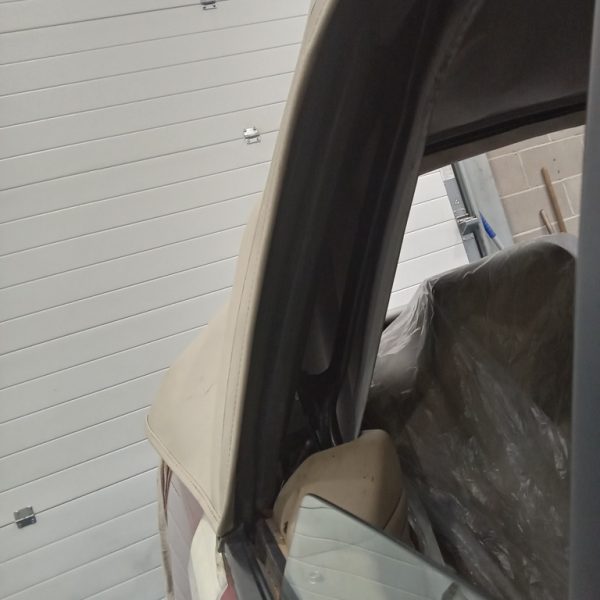
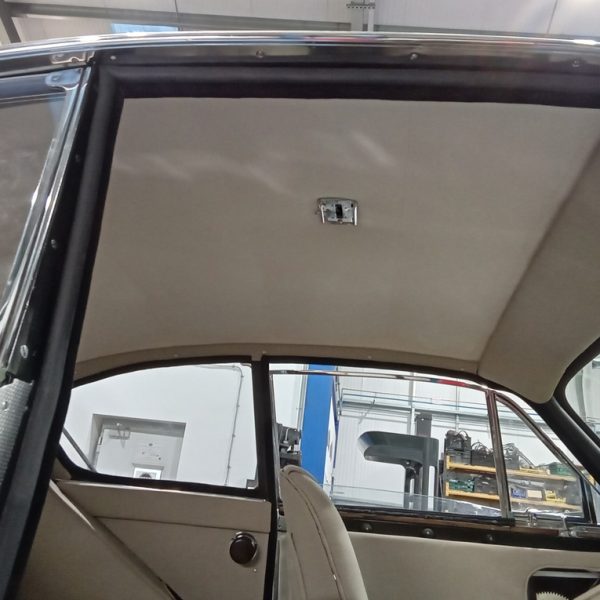
Brian has glued the flaps around the rear side window area of the frame, fitting rubber seals, fitting rear of headliner to the parcel tray. He has glued the metal side bars to the hood cover, bolted the metal bars to the car, fitting rear window in place. He has fitted the headliner around rear window and the screws to rear edge.
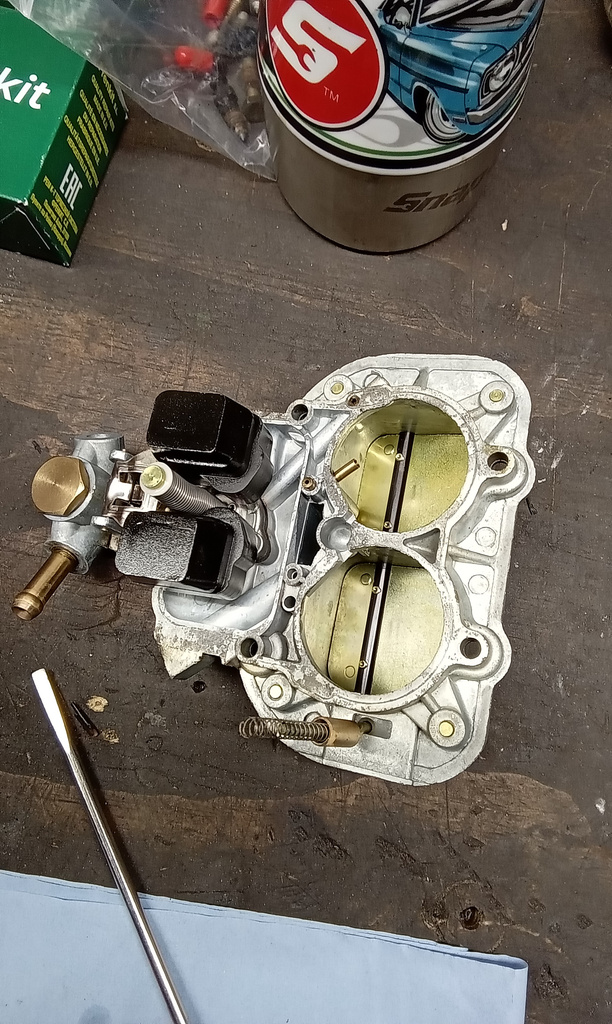
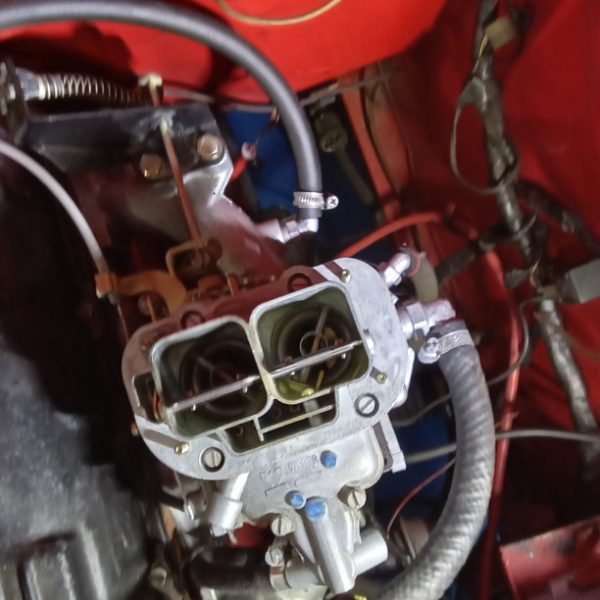
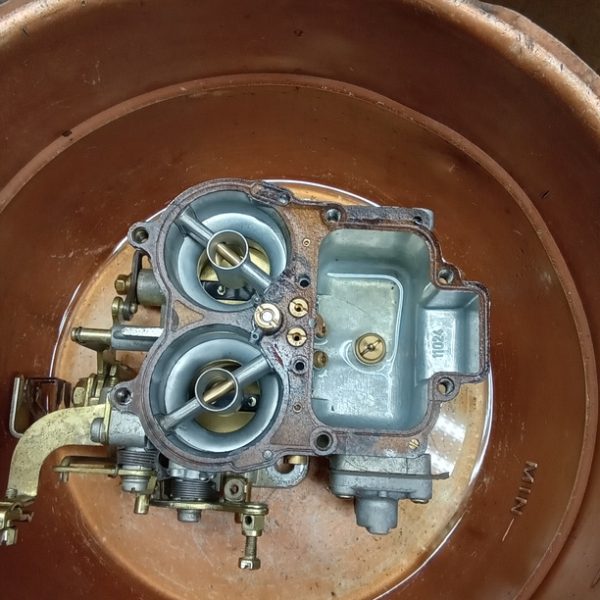
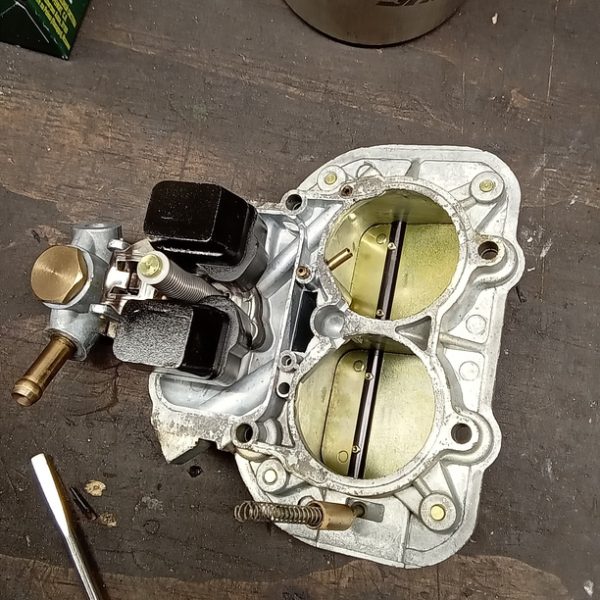
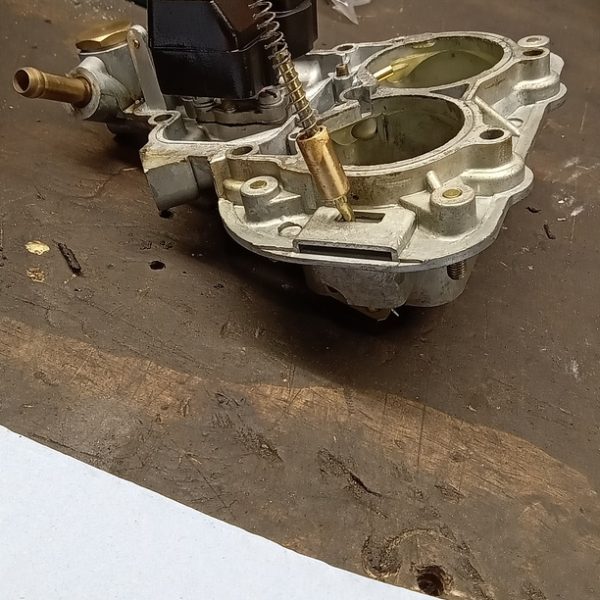
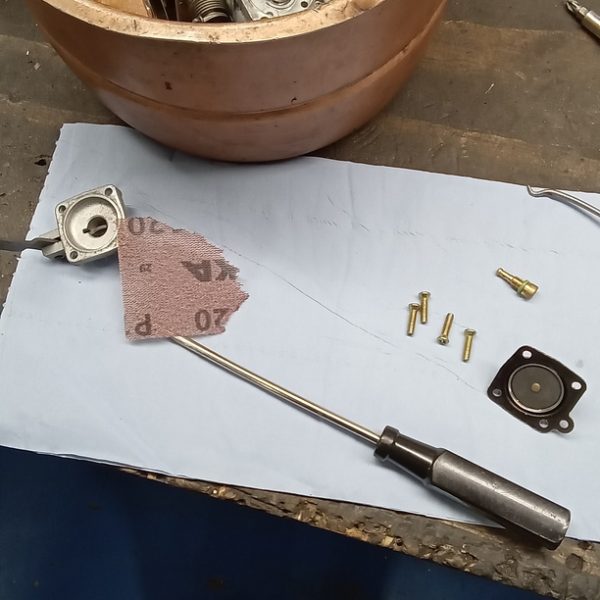
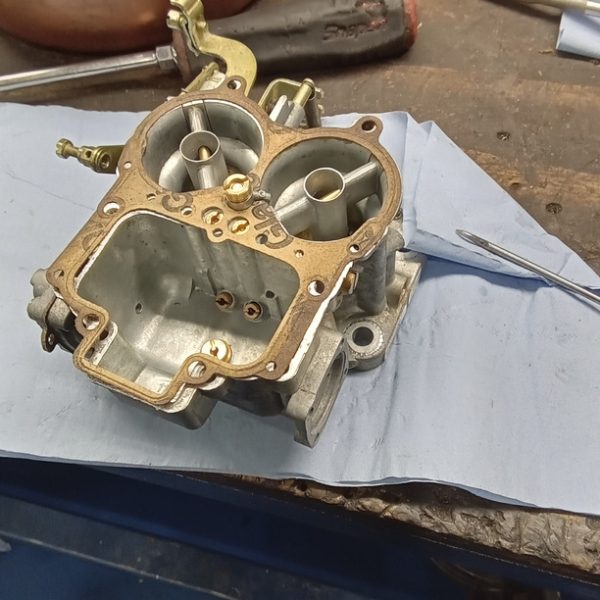
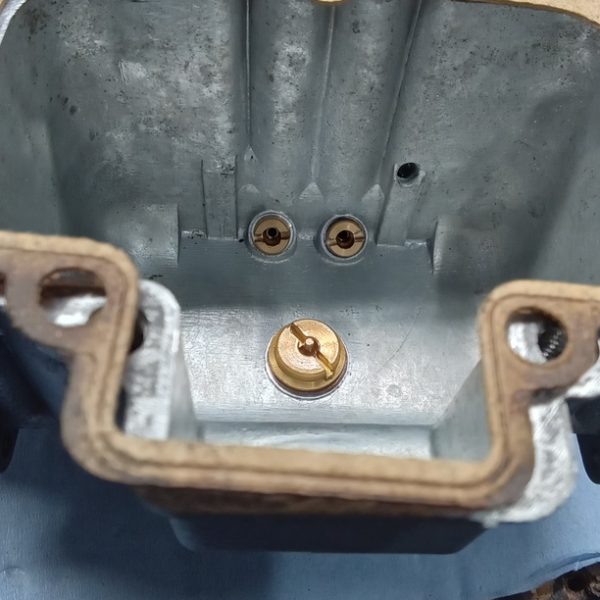
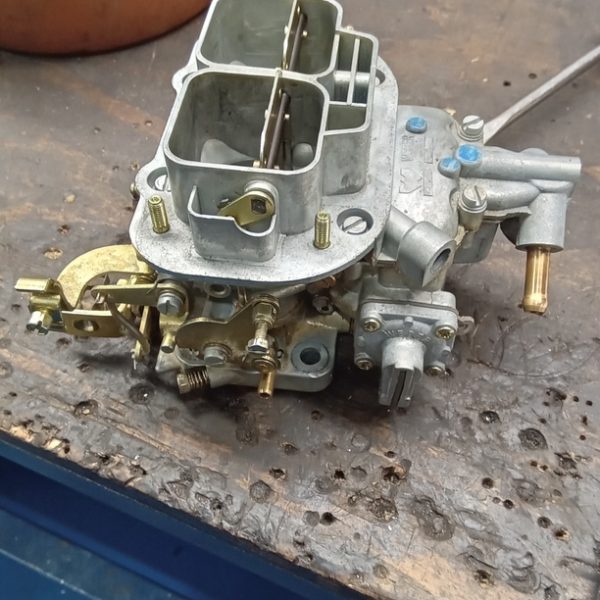
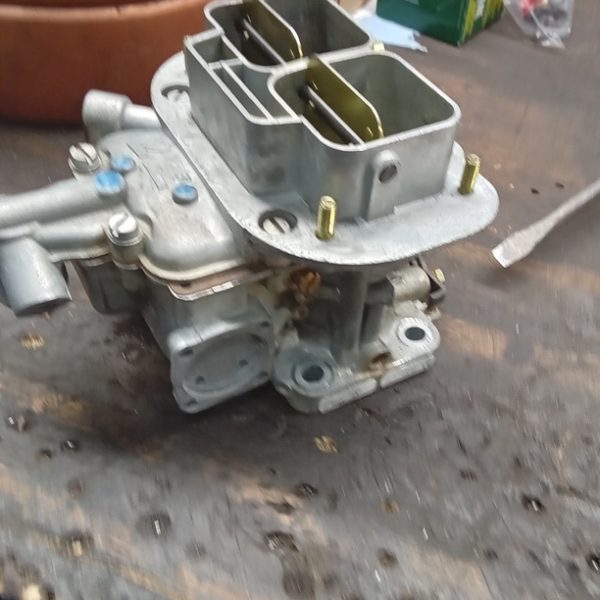
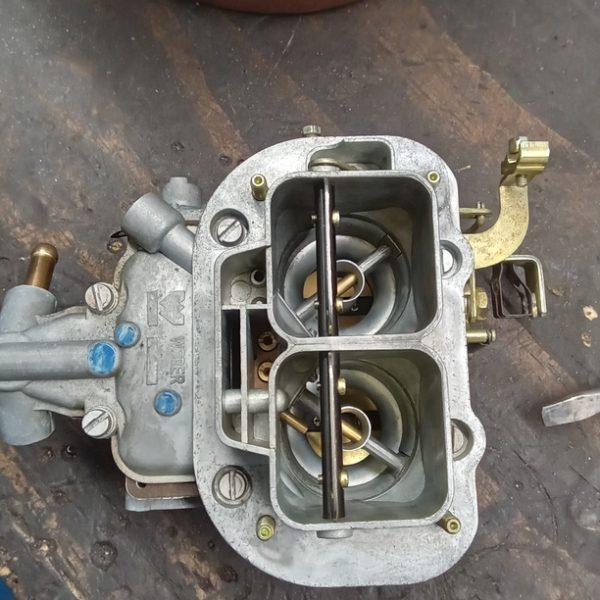
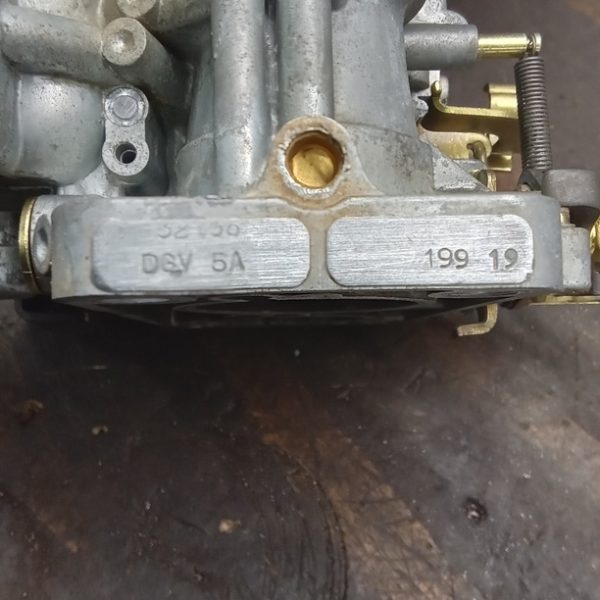
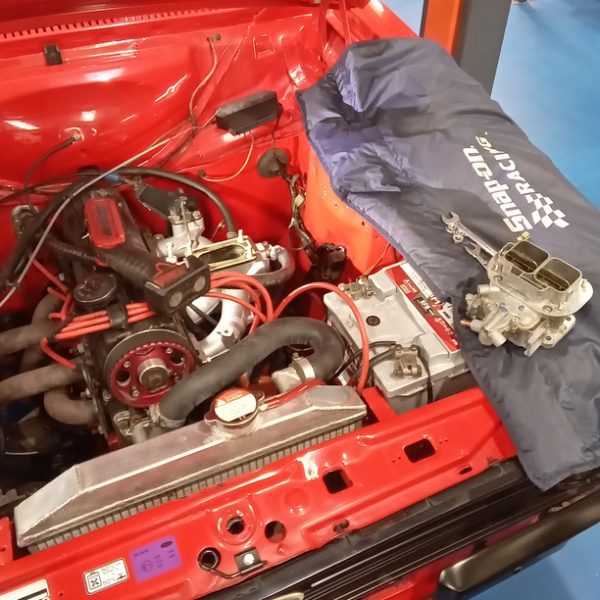
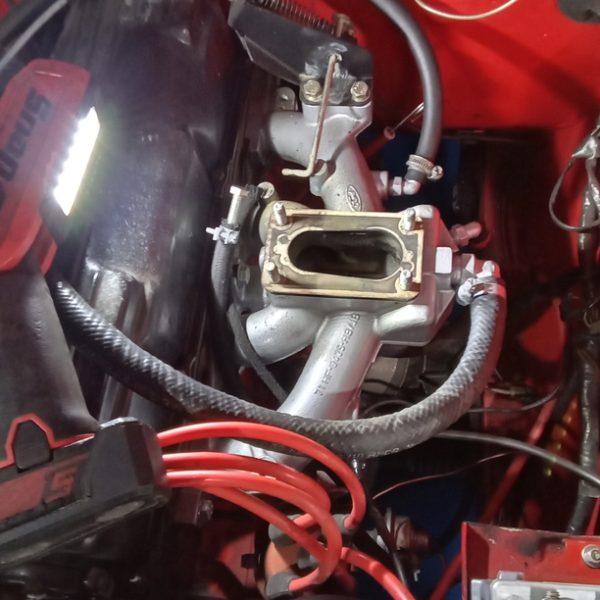
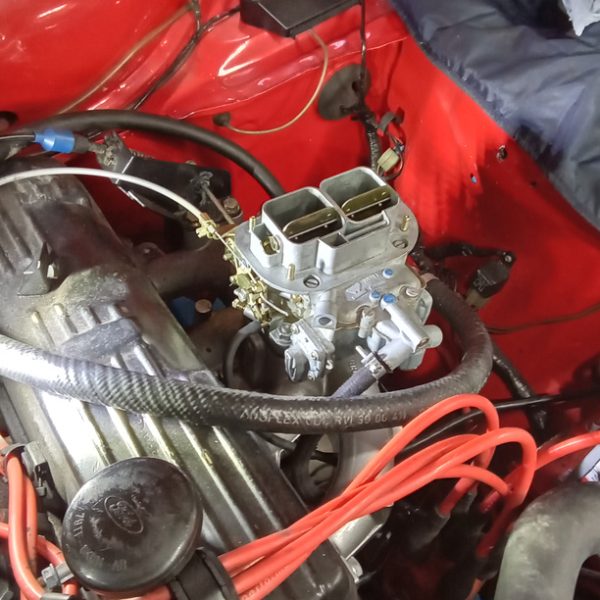
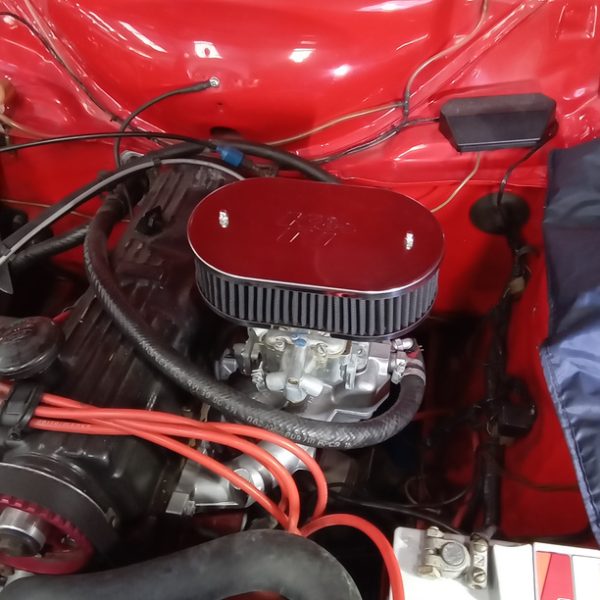
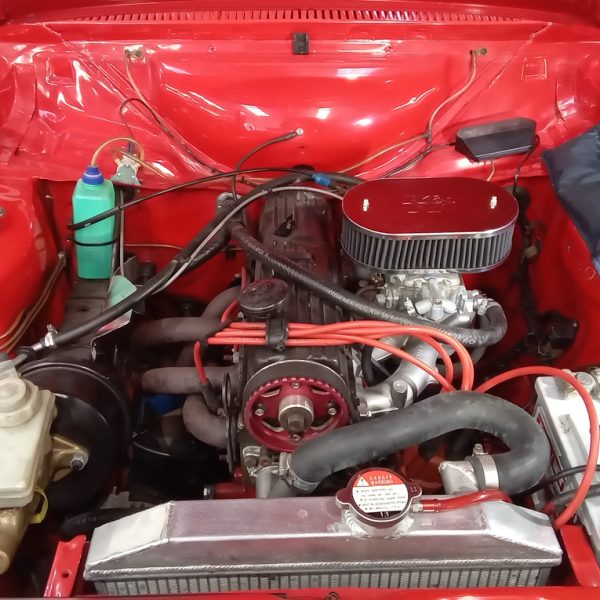
Jon is preparing the Escort for next week’s competition draw. He has stripped and removed the carburettors. Stripped and checked that the jet sizes correspond with the 2000cc engine in 32/36 carb setting. The jet sizes are all ok.
He has cleaned and blown out the carb and rebuilt before refitting to the car.
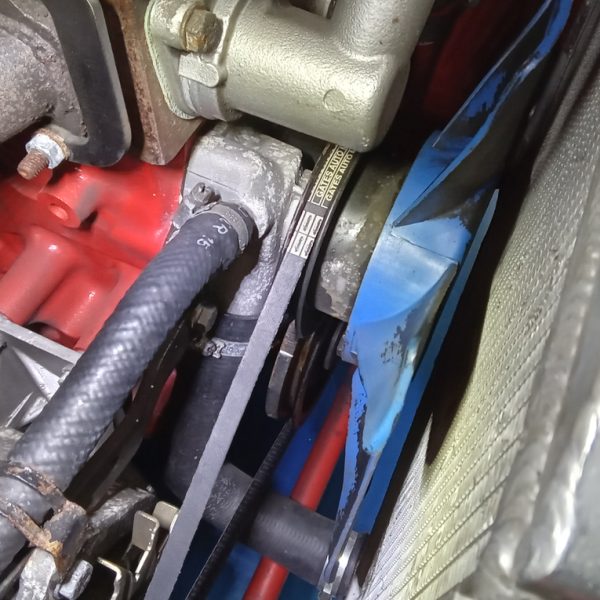
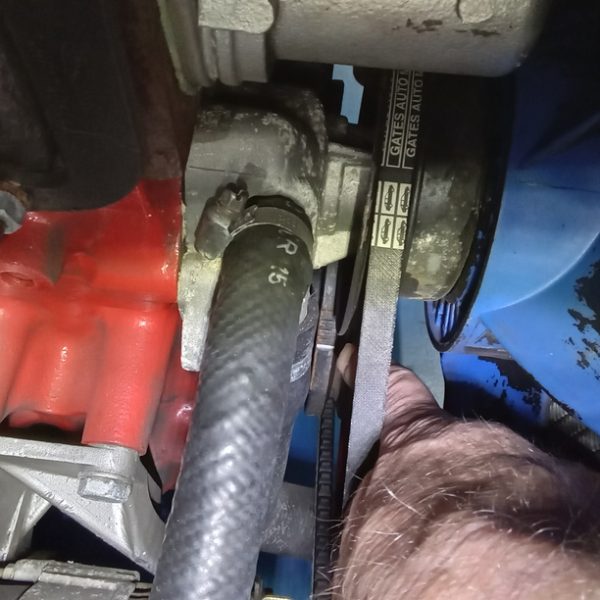
We have replaced split the vacuum hose to the distributor and check the distributor cap and rotor arm.
The rotor is showing signs of a burnt tip and the cap is poor inside with a hole in it. We have checked the spark plugs too.
A new new cap is on order along with a new rotor and plugs.
Jon has cleaned and refitted the air filter assembly and check front seat bolts.
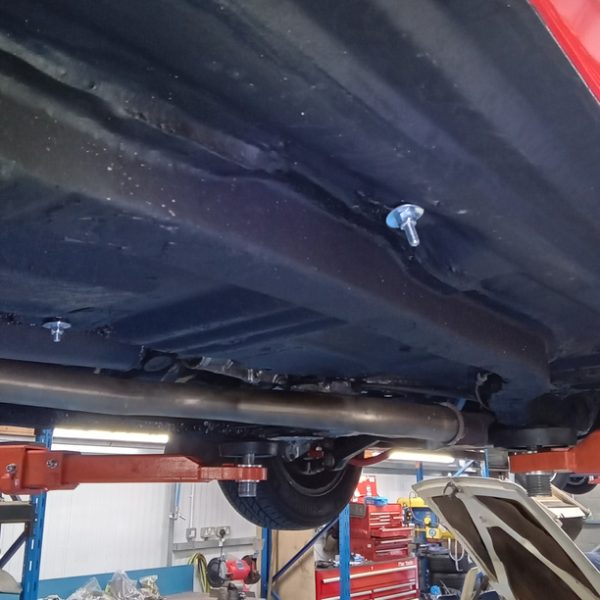
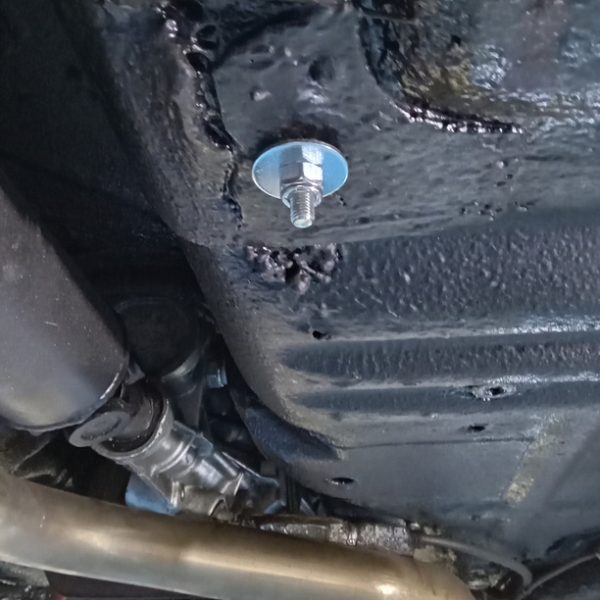
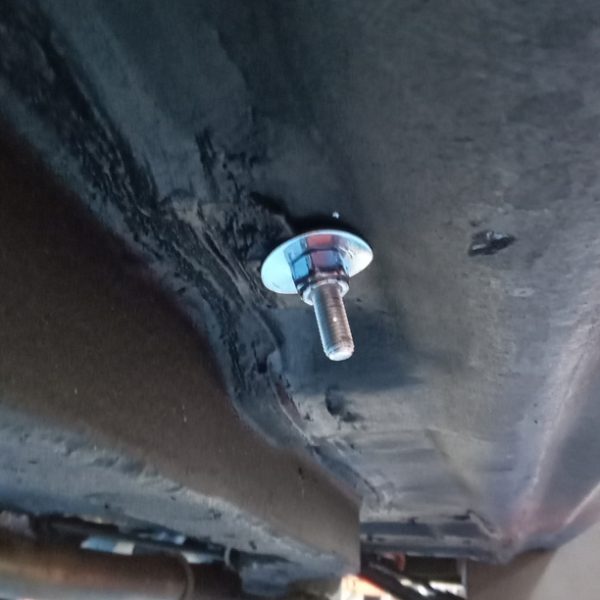
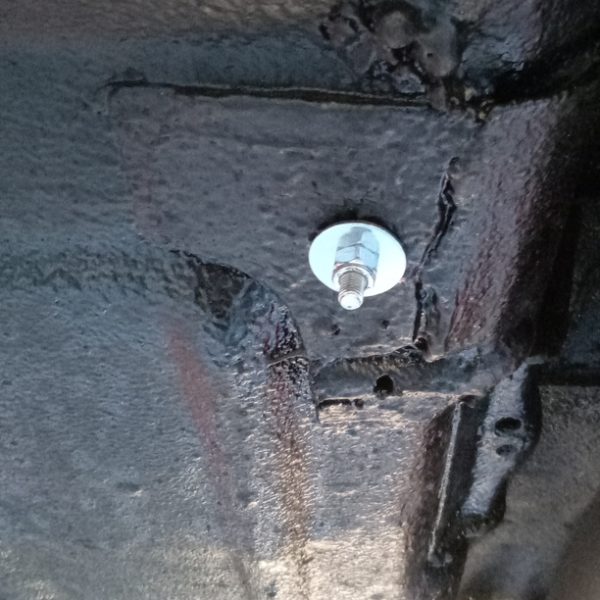
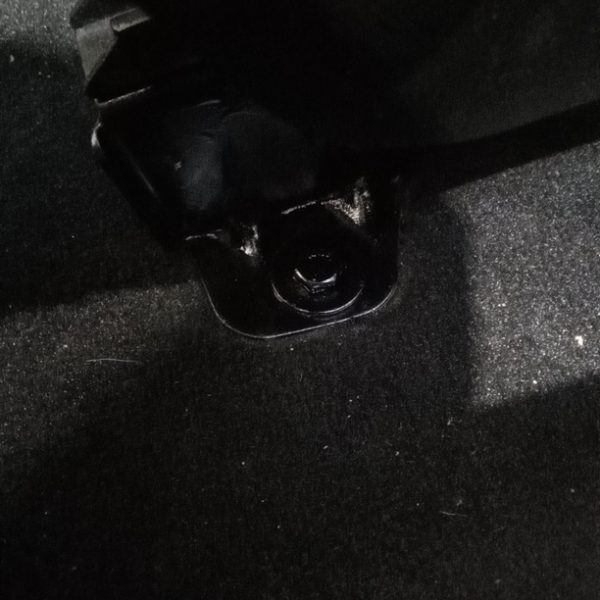
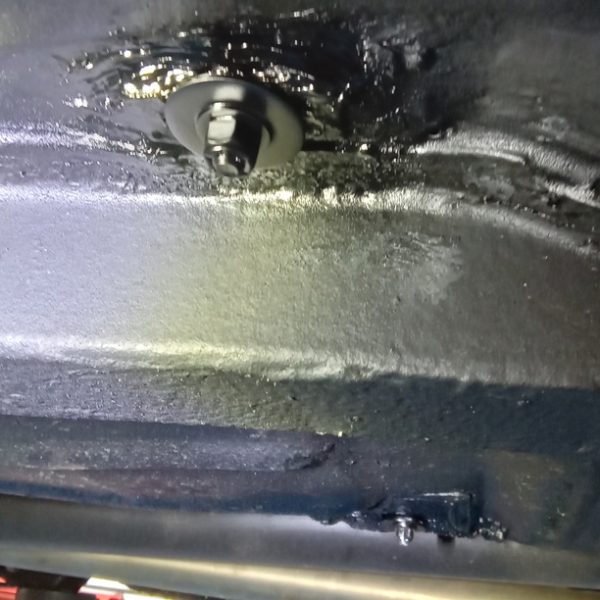
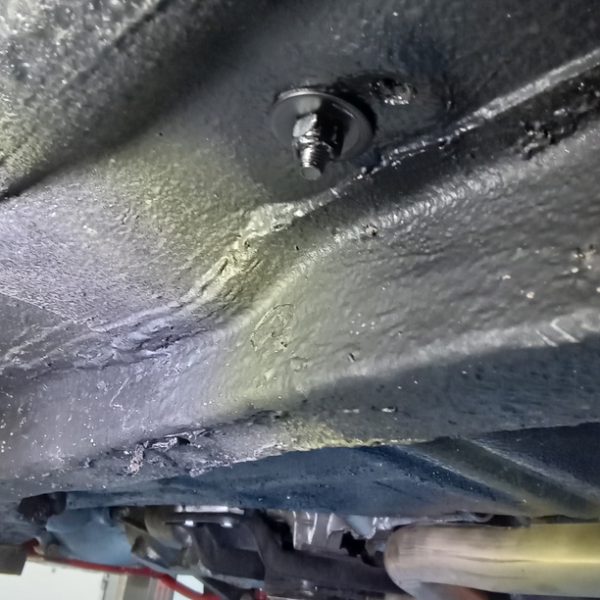
The rear bolts have been removed from the drivers seat and we have drilled out the broken bolt in outer fixing. Fill in floor holes with instant gasket. Refit all seat bolts with large washers and tighten. Paint all nuts bolts black inside and out.
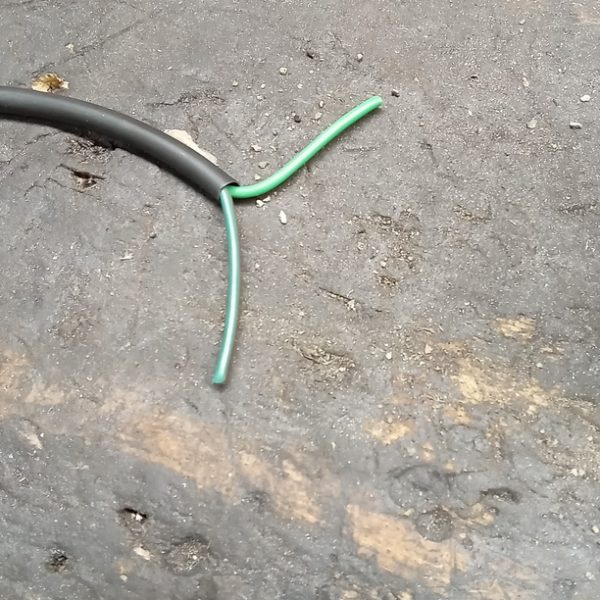
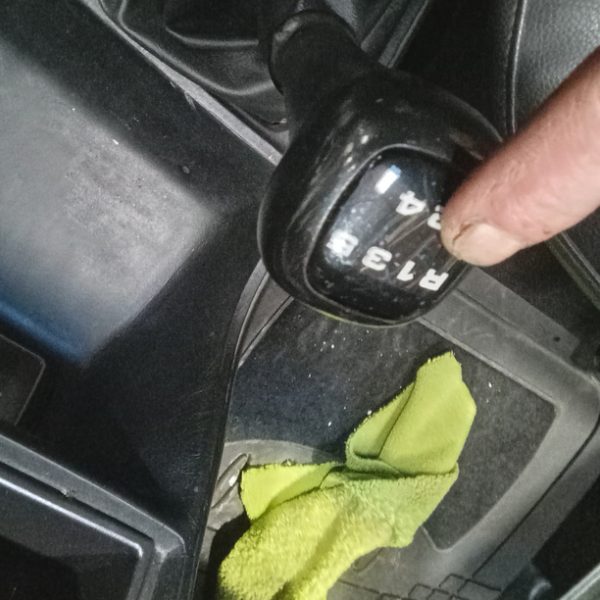
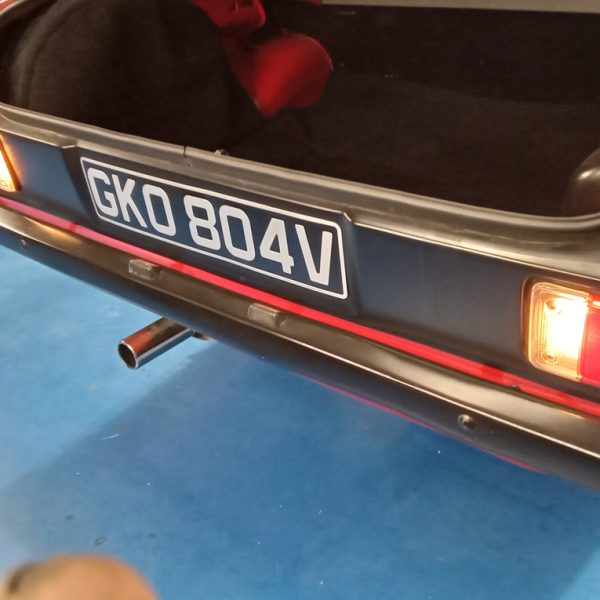
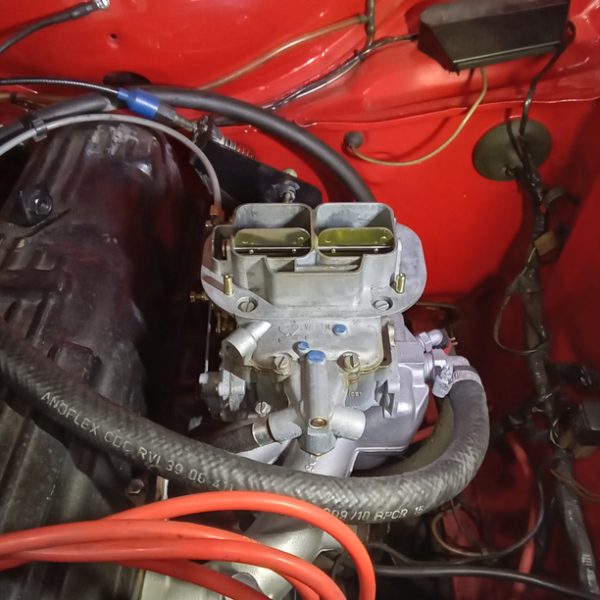
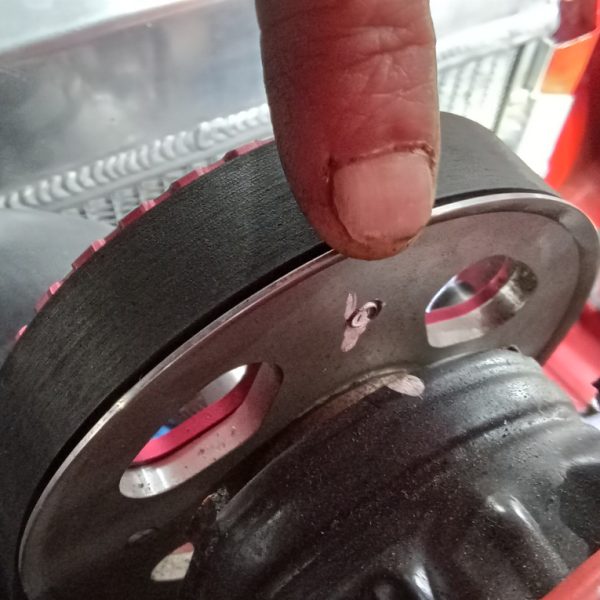
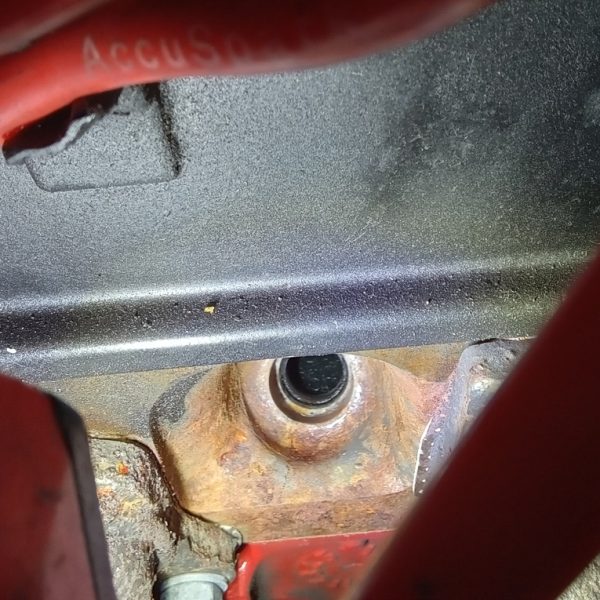
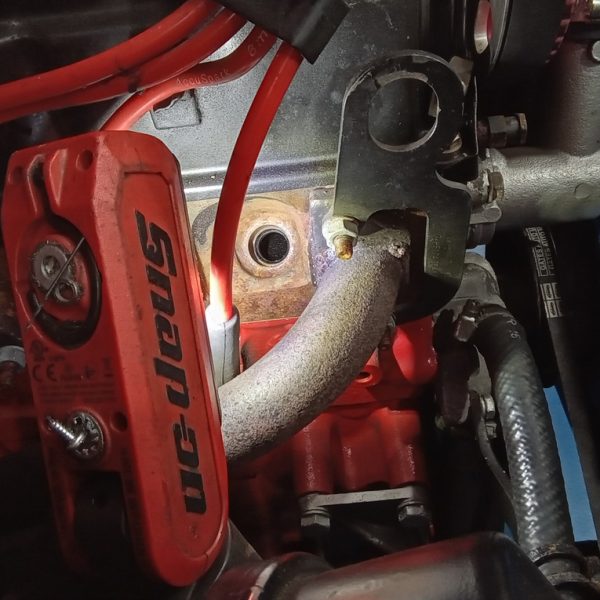
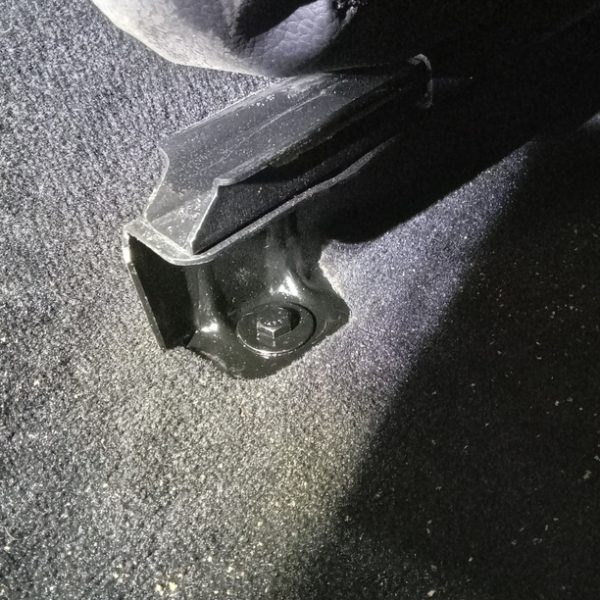
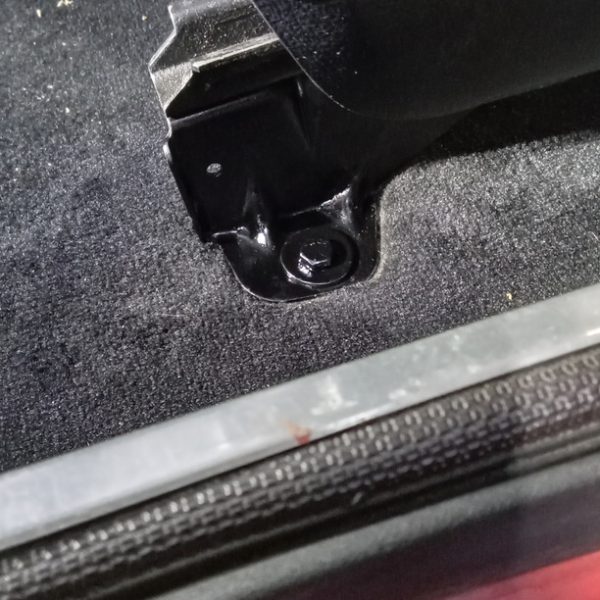
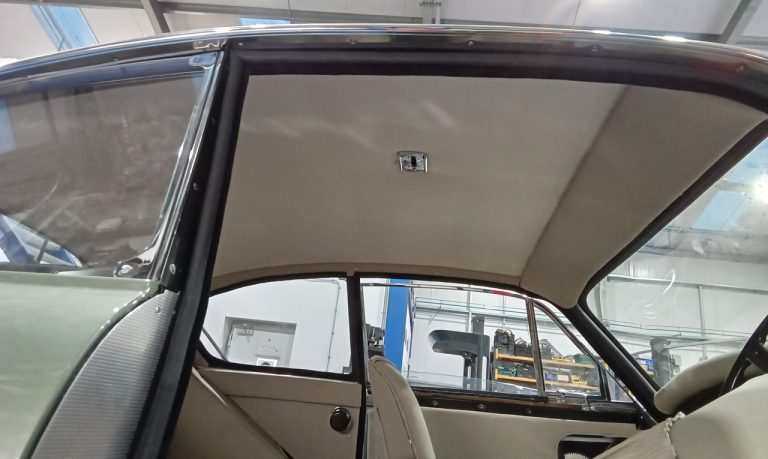
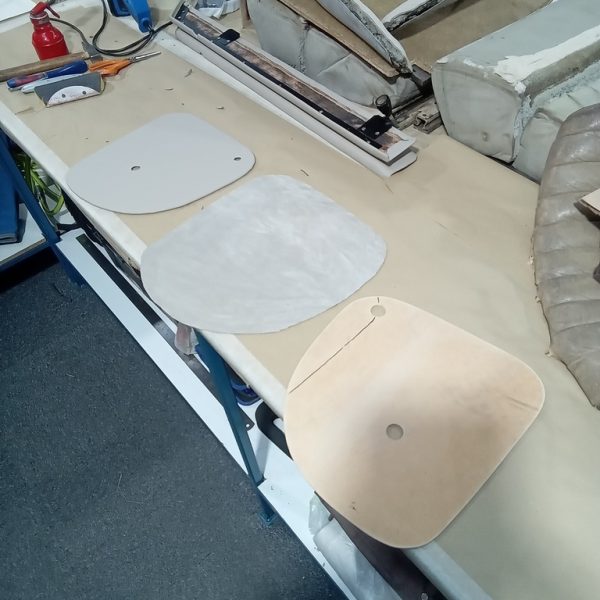
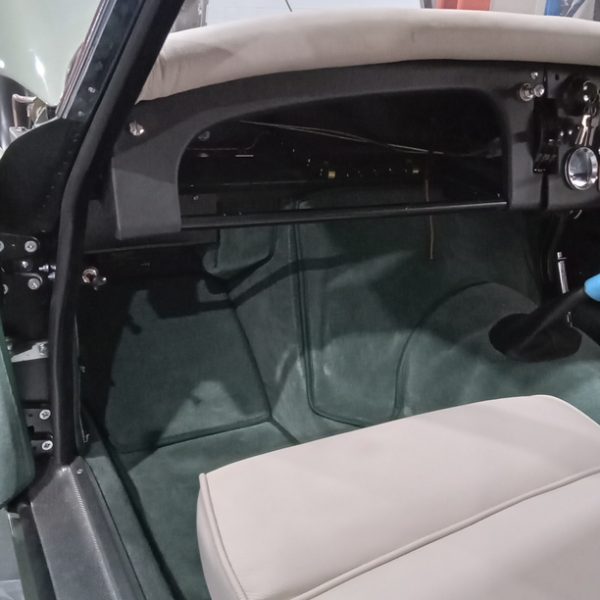
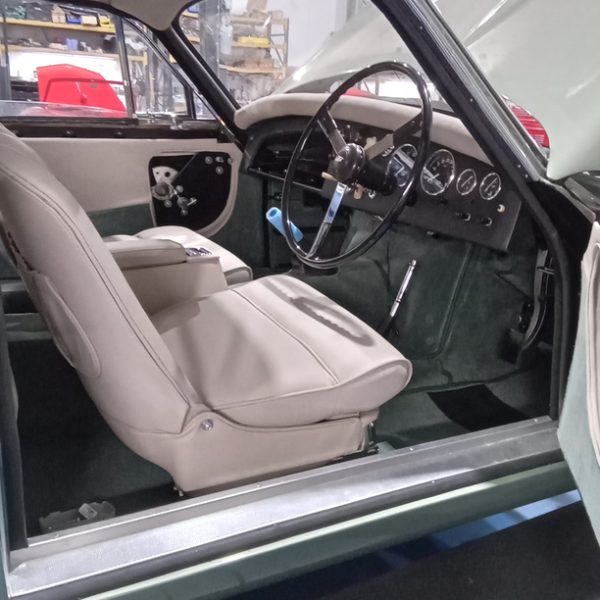
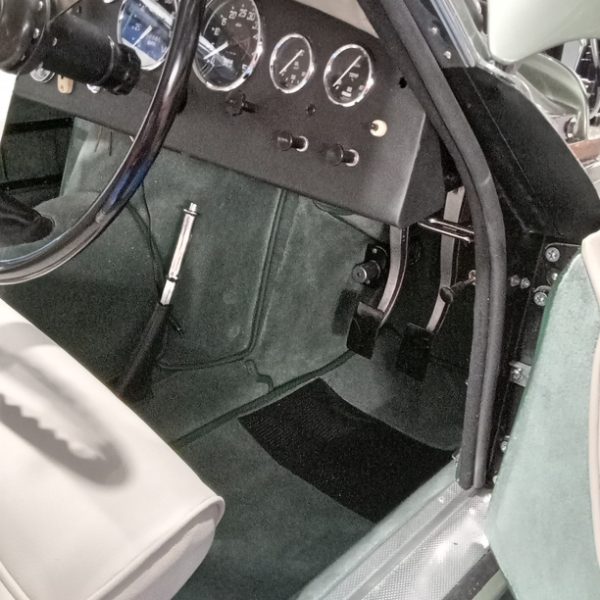
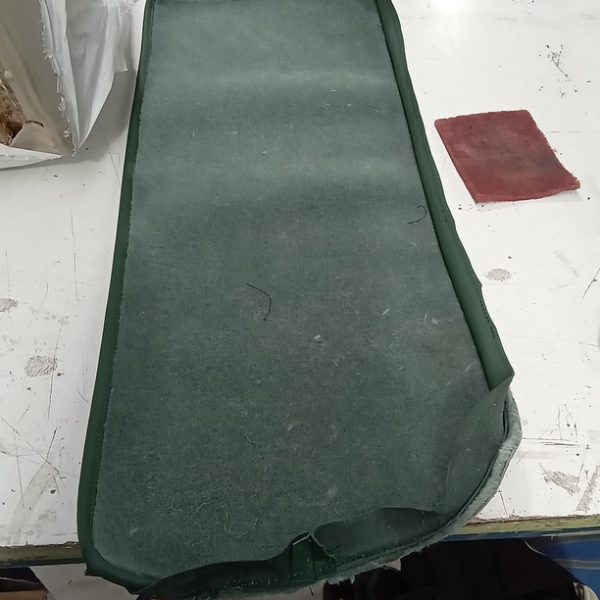
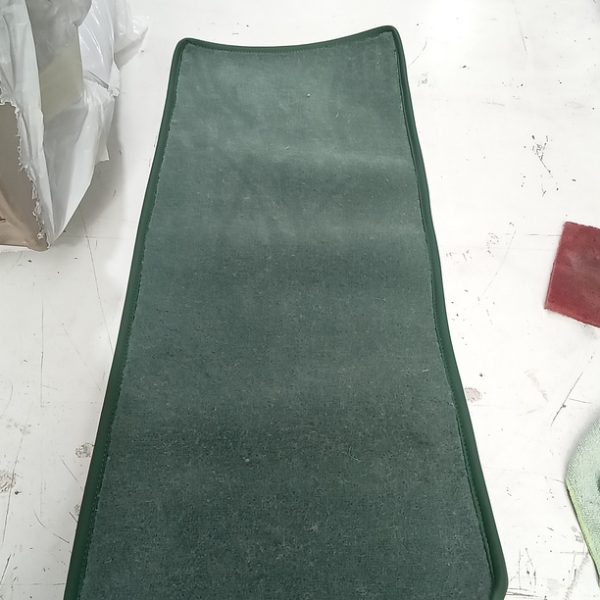
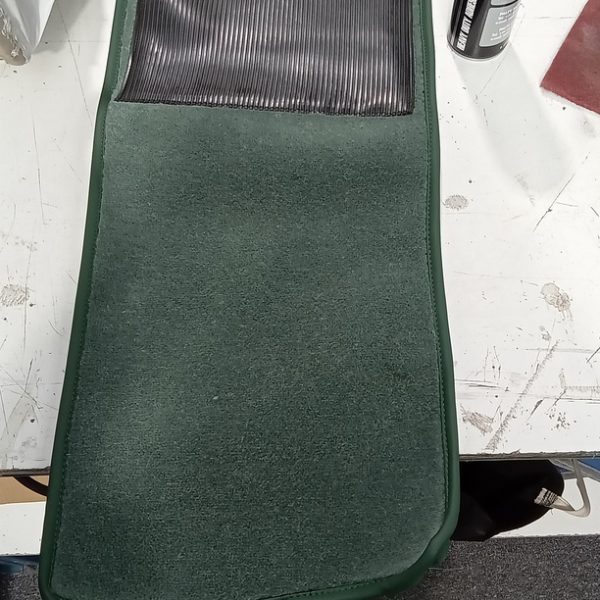
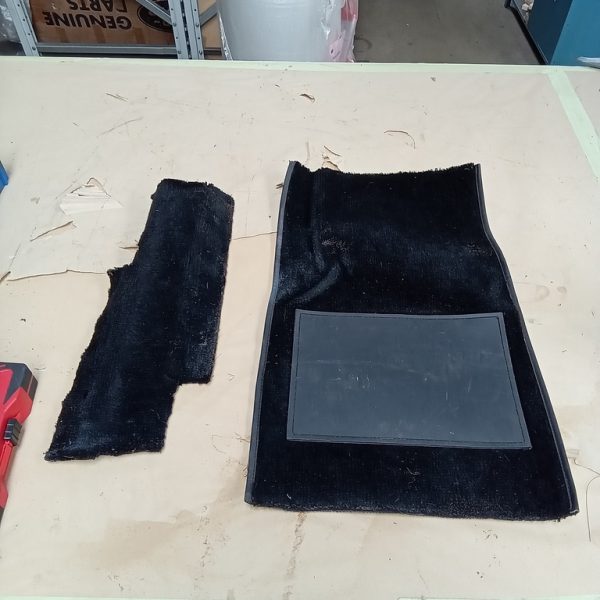
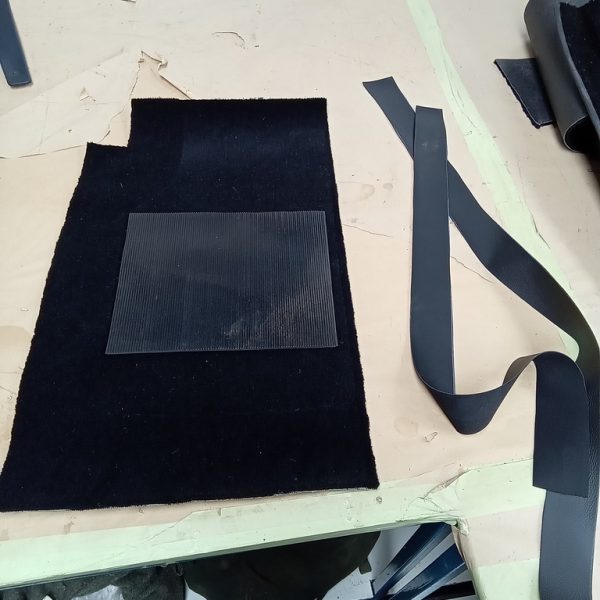
Some additional shaping was needed to the floor mats upon inspection. Lydia cut down the sides slightly and shaped the back edge. She added a rubber floor mat to the drivers side to give some protection for the mat.
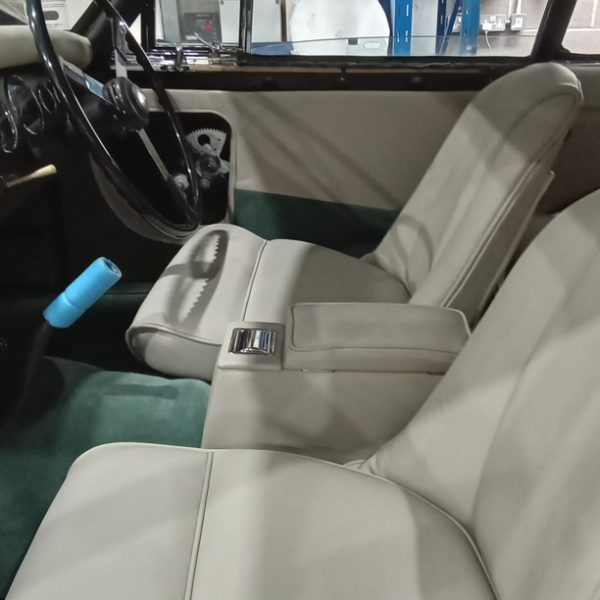
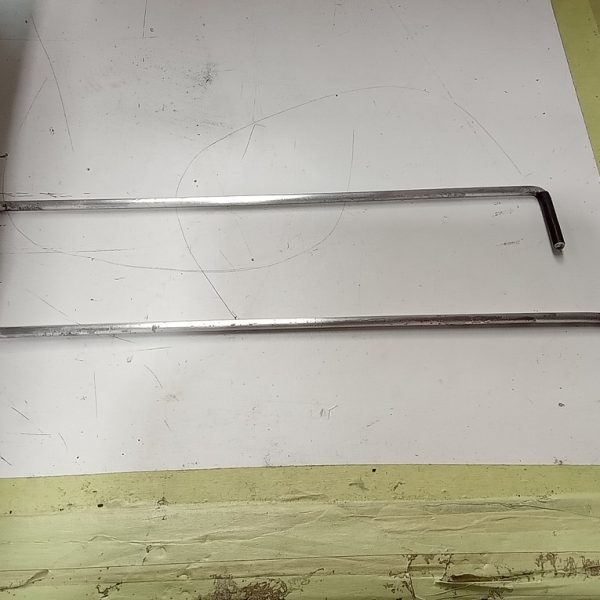
The front carpet mats have been altered to improve the fit and she also located the seat bars to secure the seat bases to the sliding rail. Heat shrink has been added to the end of these to give them a better finish.
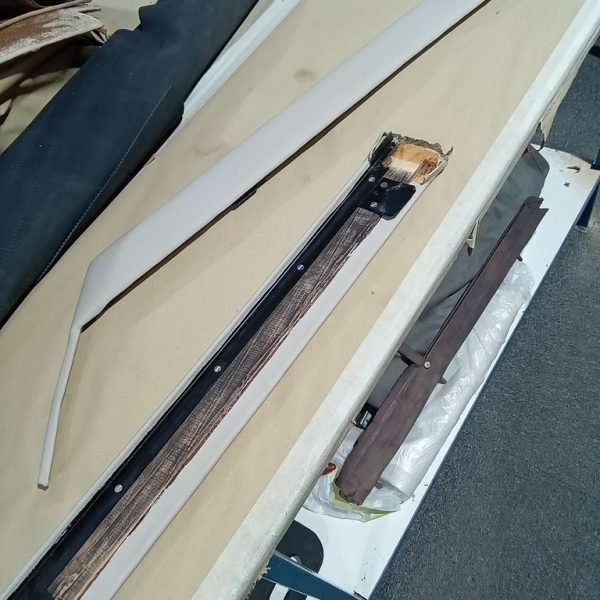
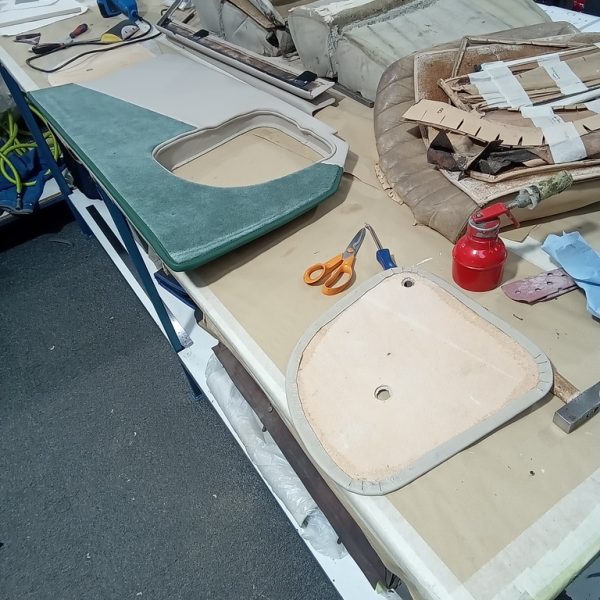
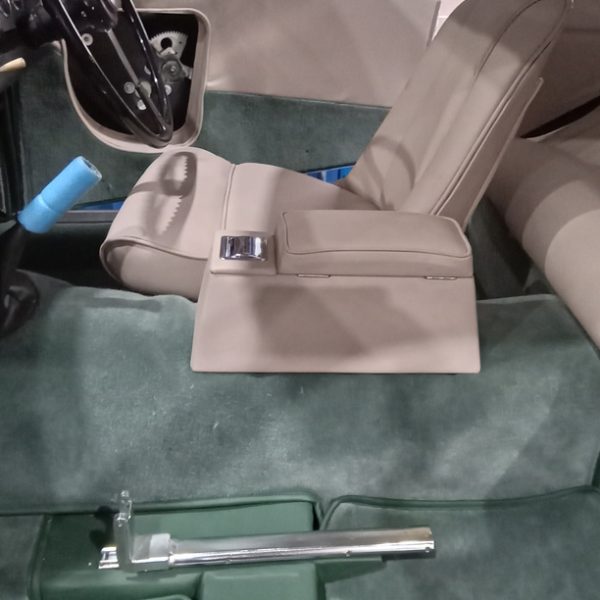
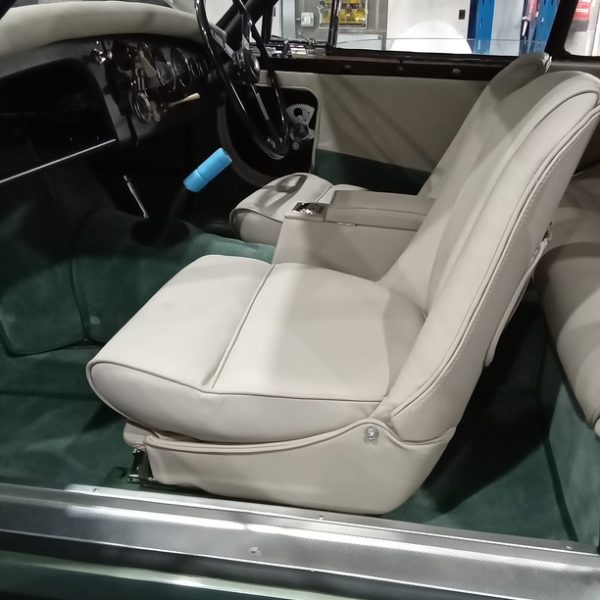
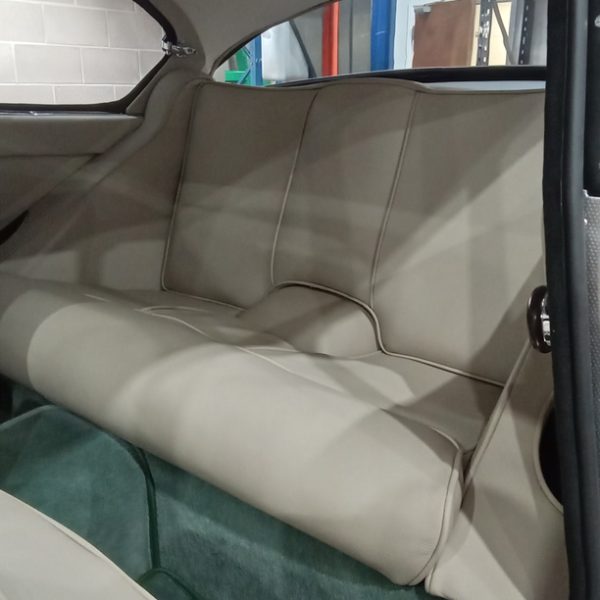
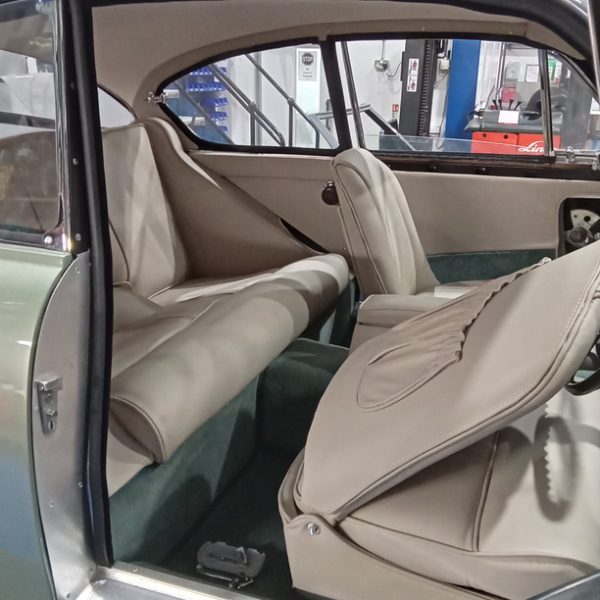
Most of the interior is now complete. The centre arm rest storage has been fitted and the front seats are now secured in as well. Just awaiting the capping pieces for the door cards to be finished.
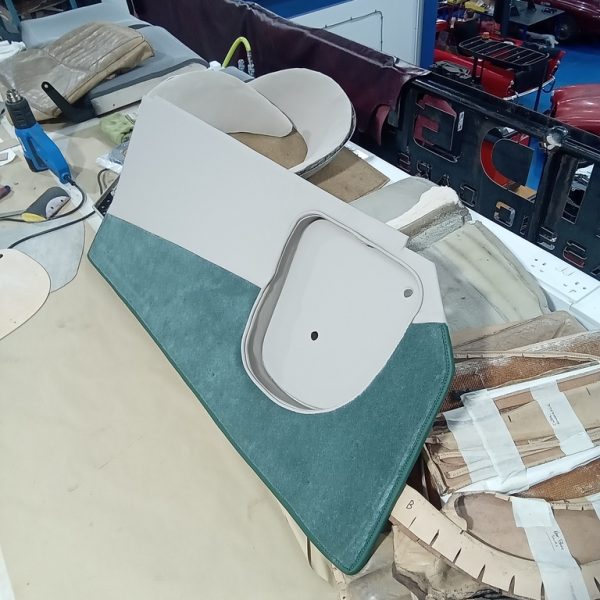
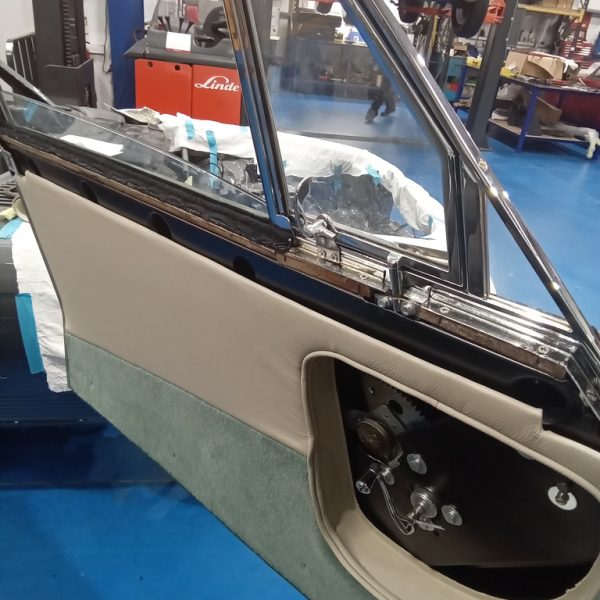
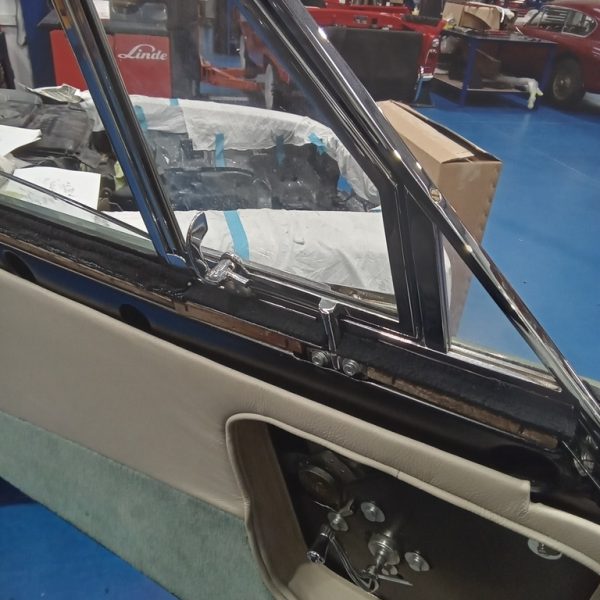
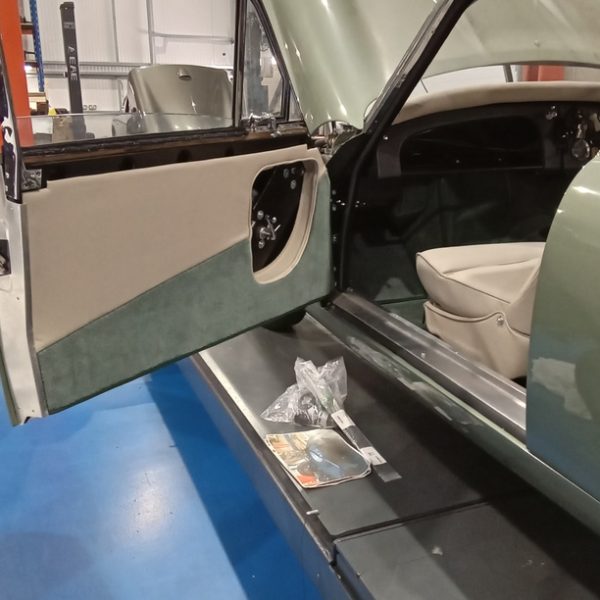
Cutting and fitting weather strips to the door tops, adjusting the ends of the door cappings so the doors close properly. Lydia has cut out insert panels for the door panels, covering insert panels in leather and fitting to the door panels, fitting door panels back onto the car.
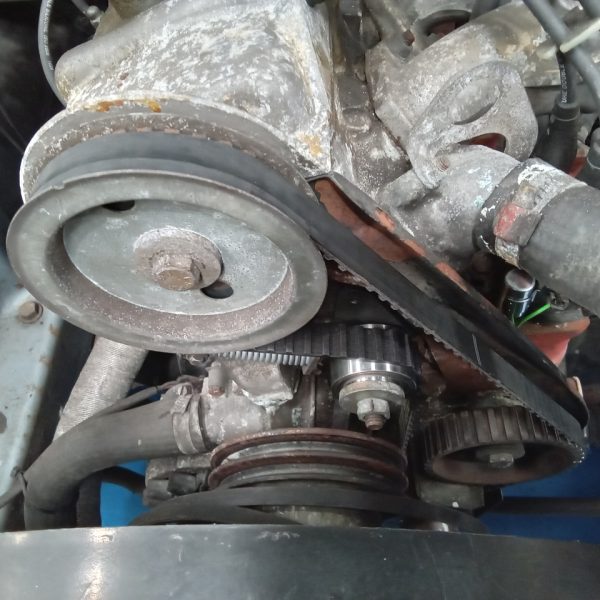
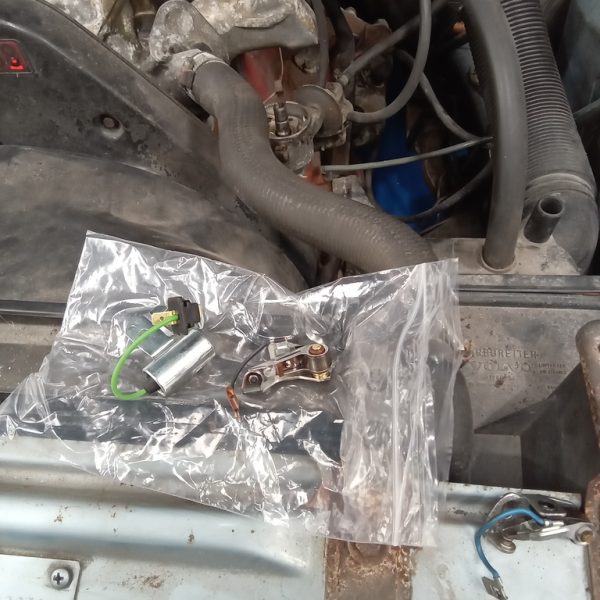
Steve has fitted new points and condenser to the Volvo as well as a new cambelt, tensioner pully and spring.
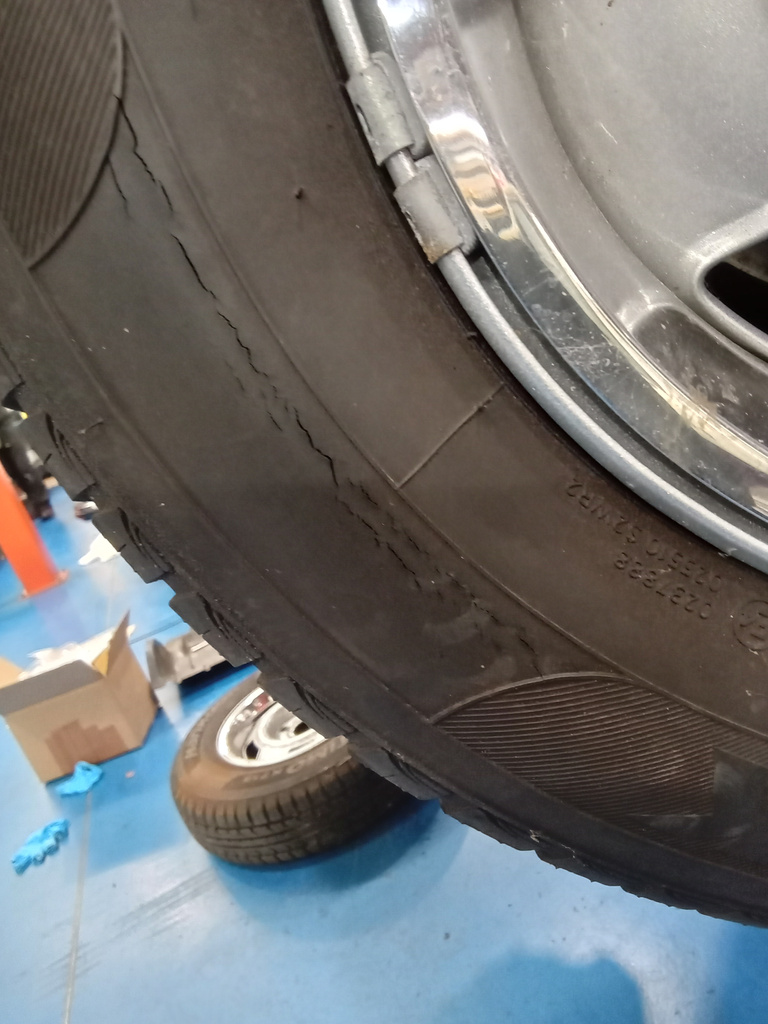
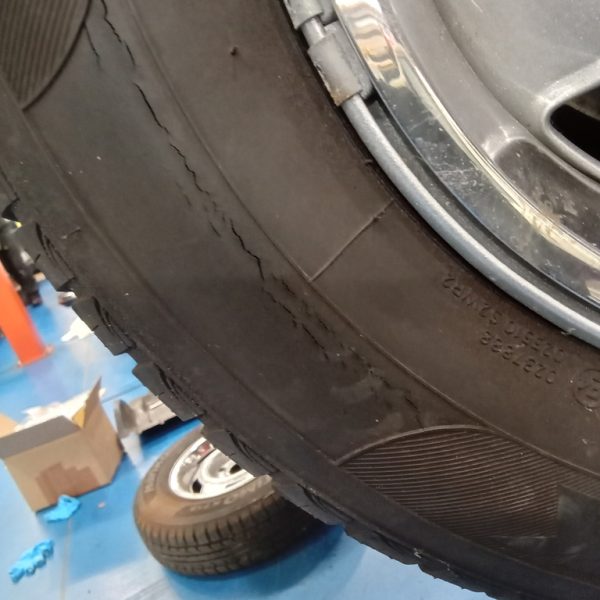
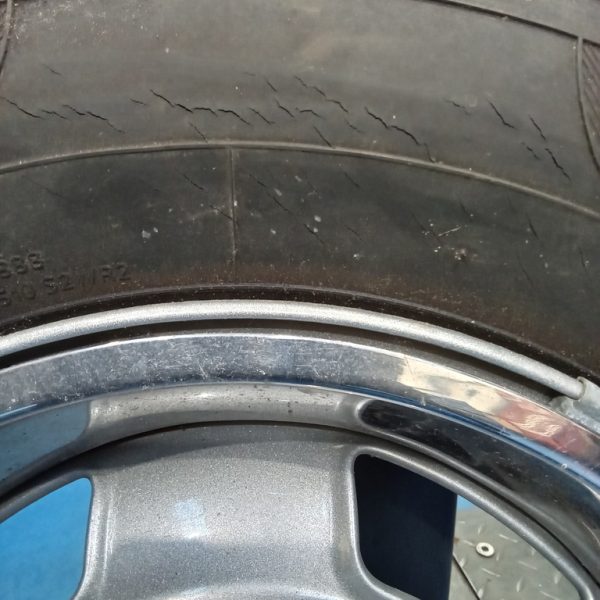
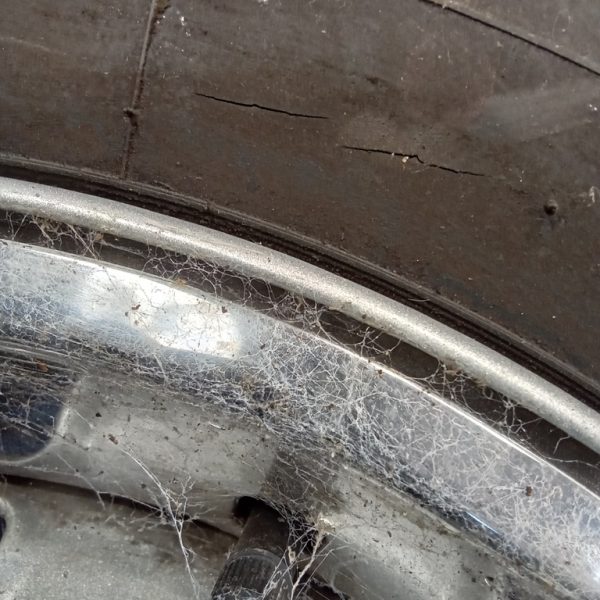
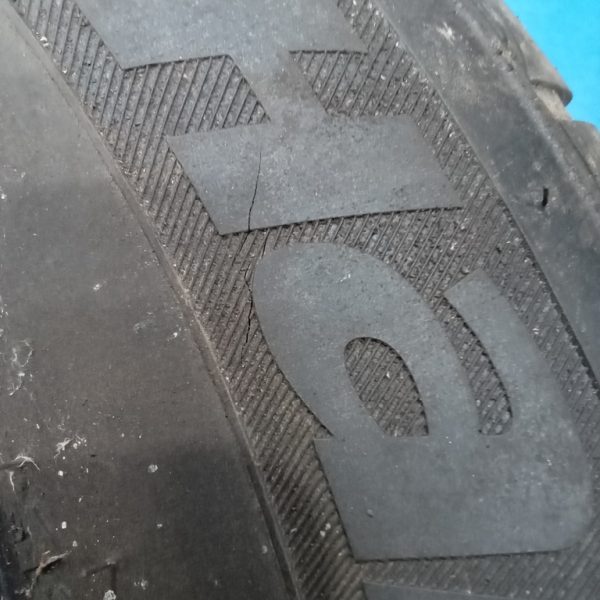
Both near side and one of the off side tyres are badly cracked so will need replacing.
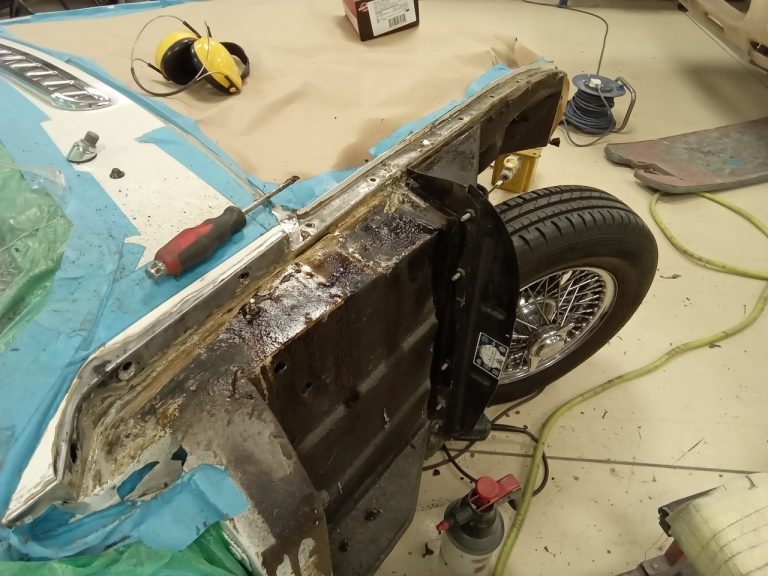
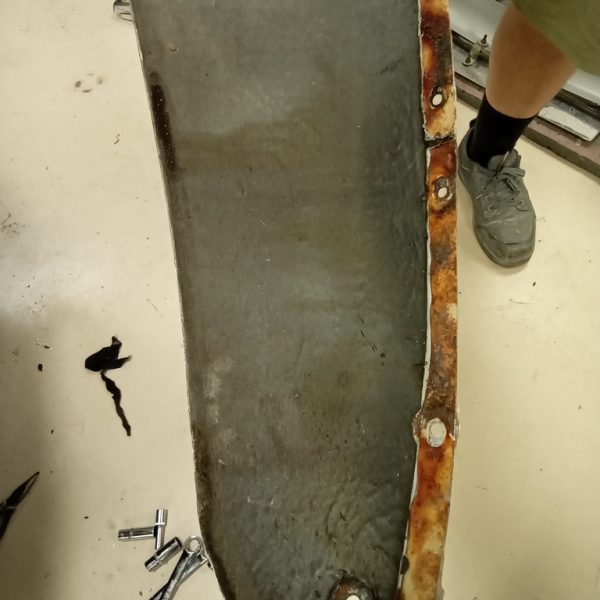
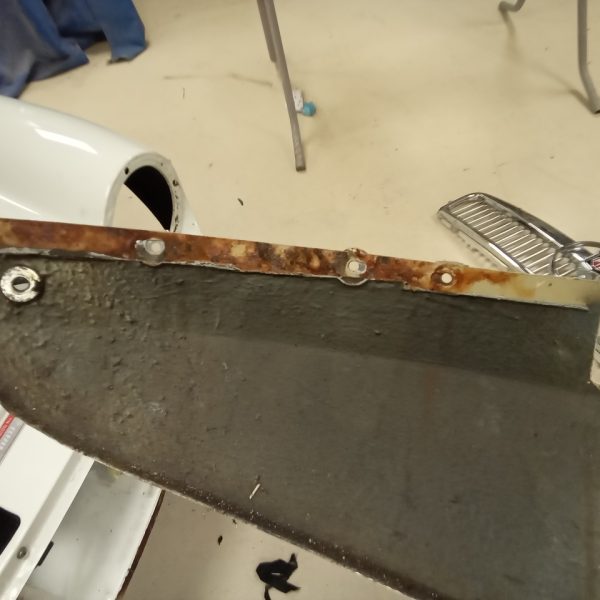
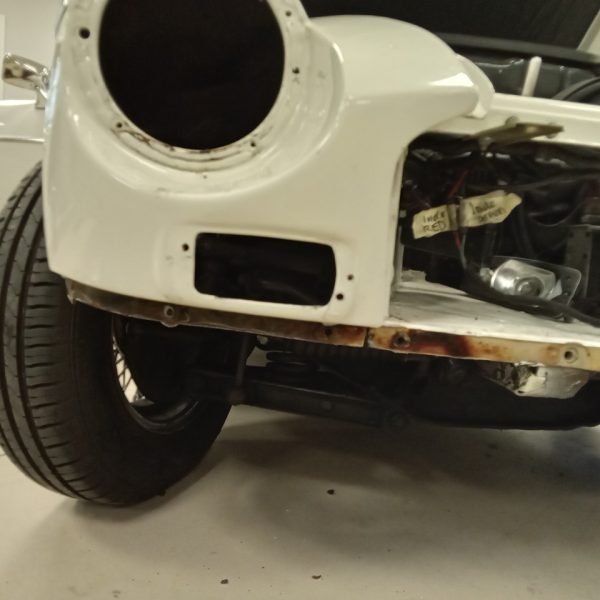
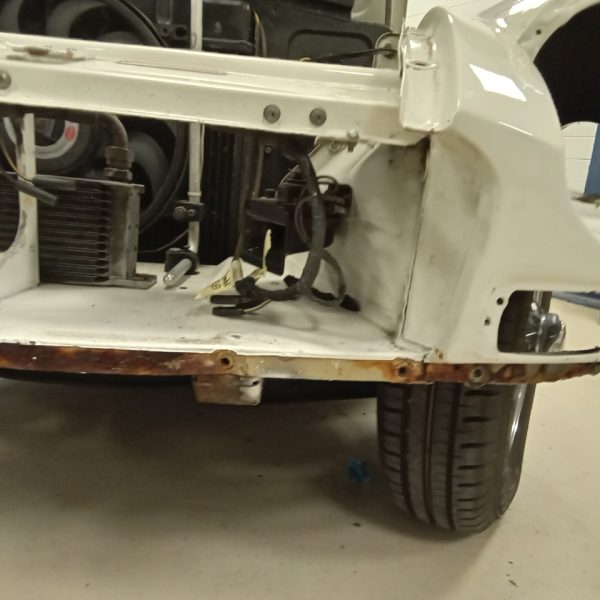
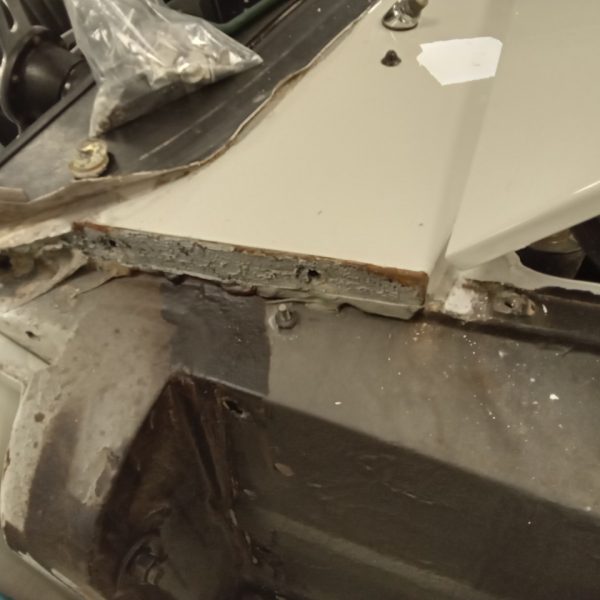
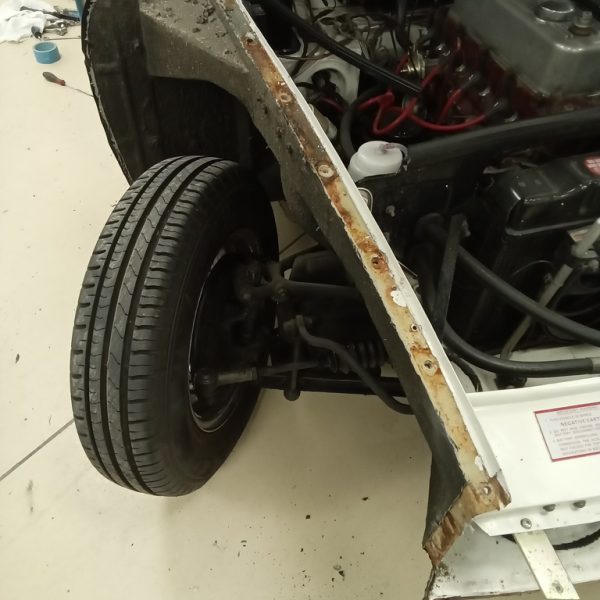
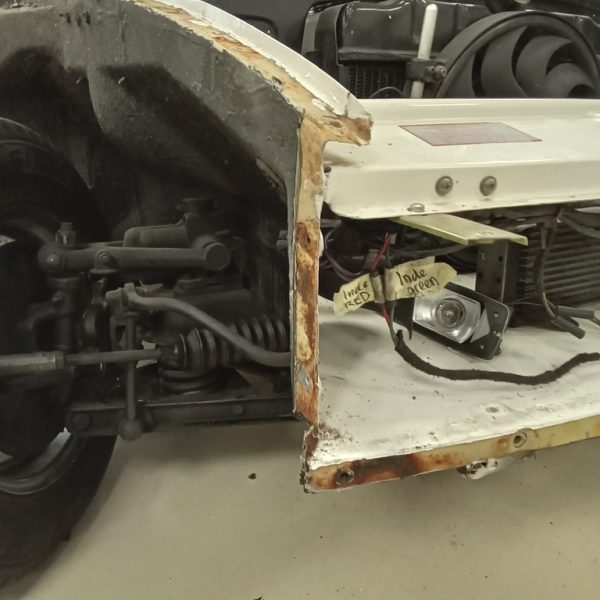
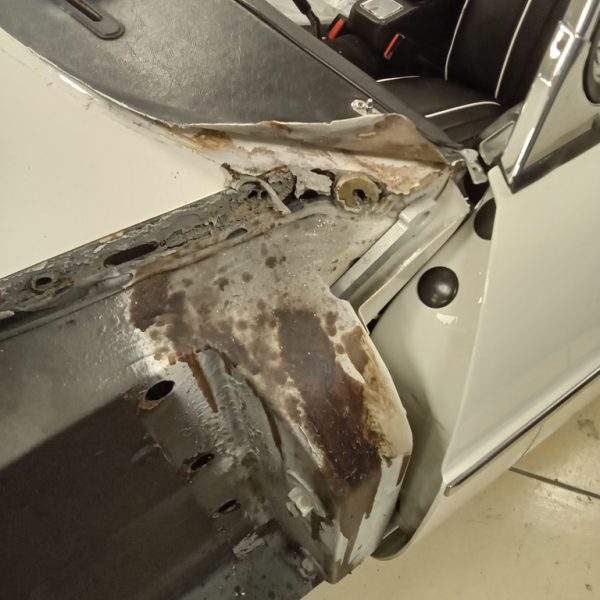
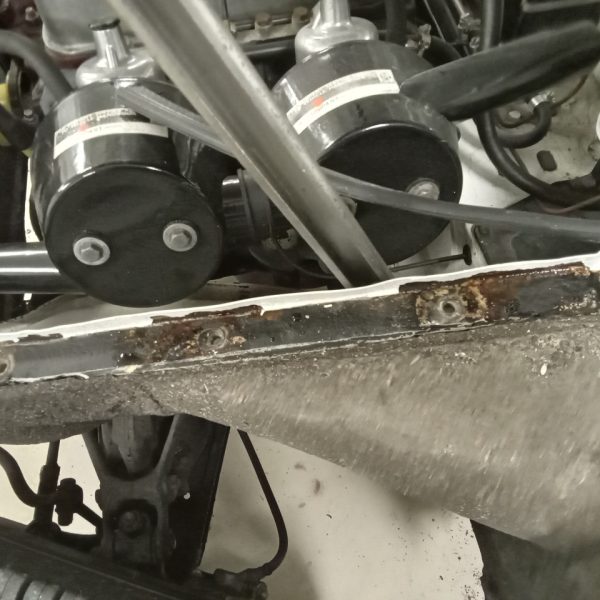
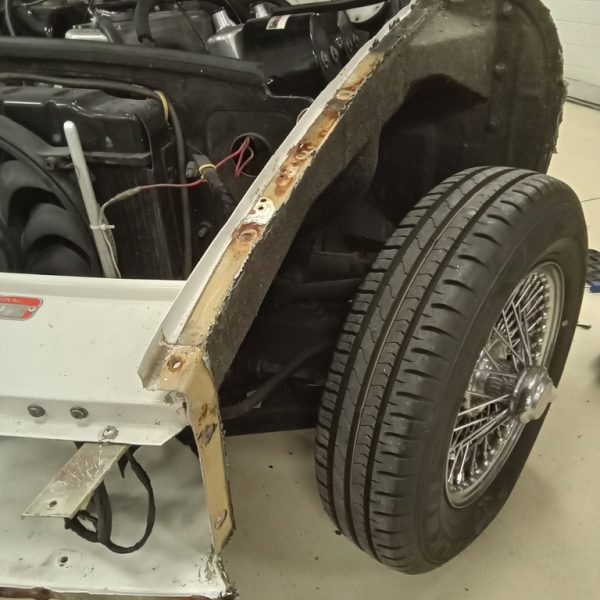
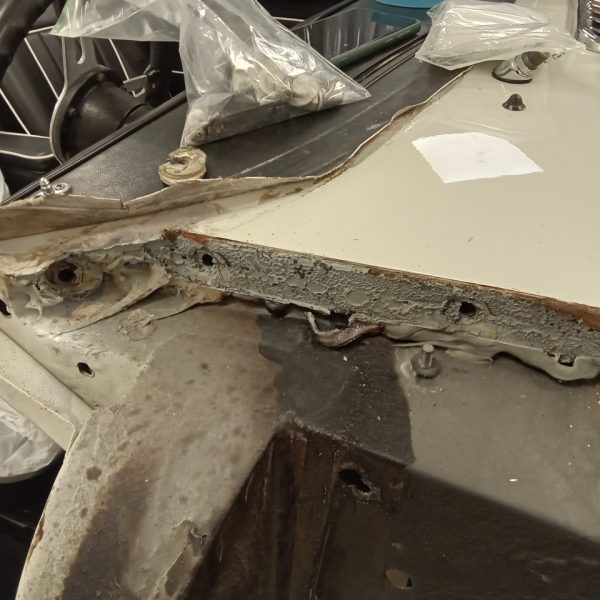
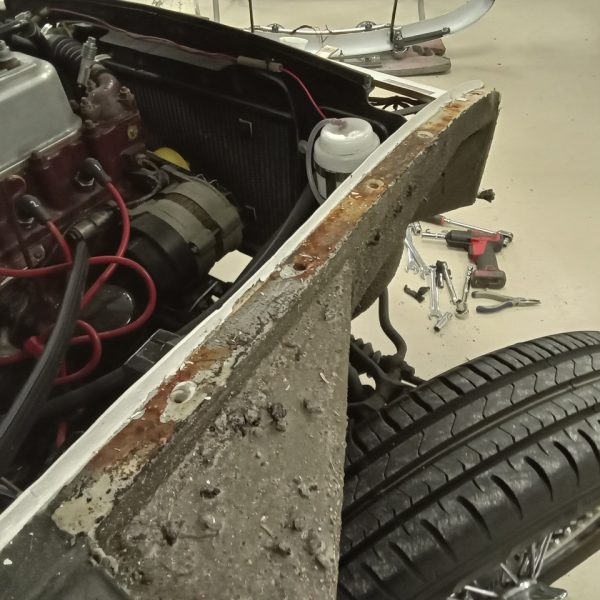
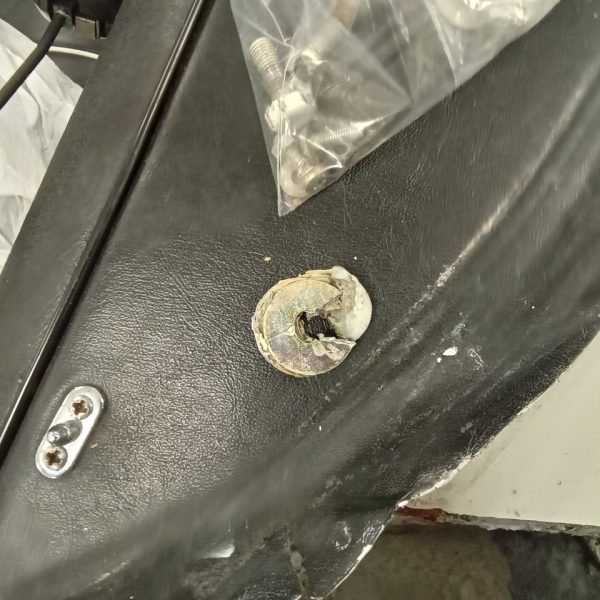
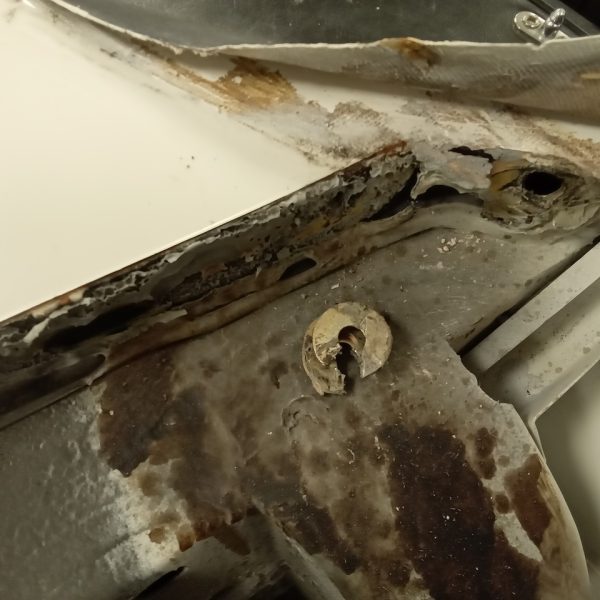
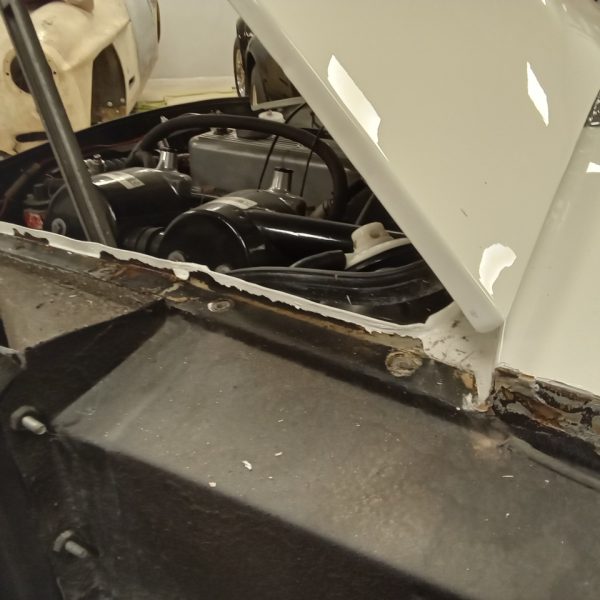
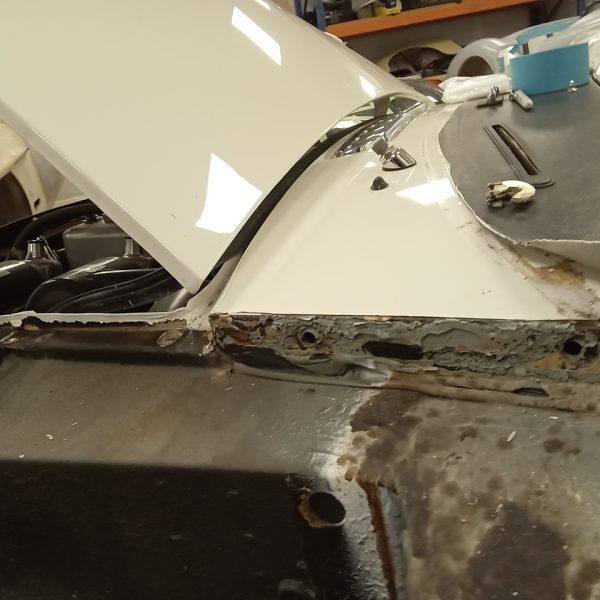
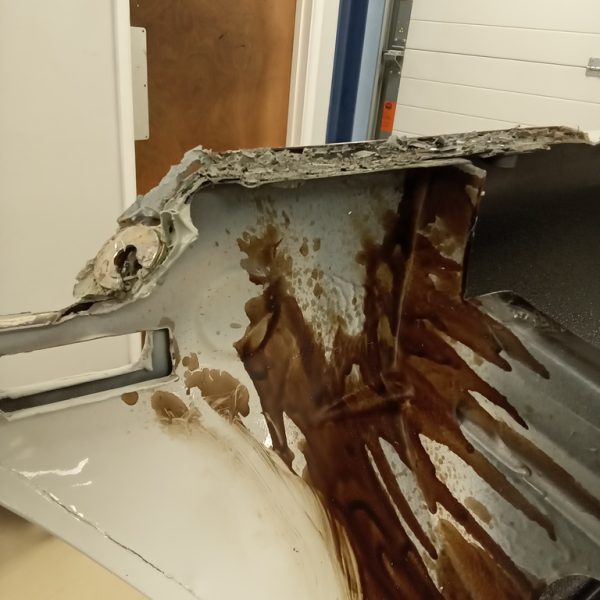
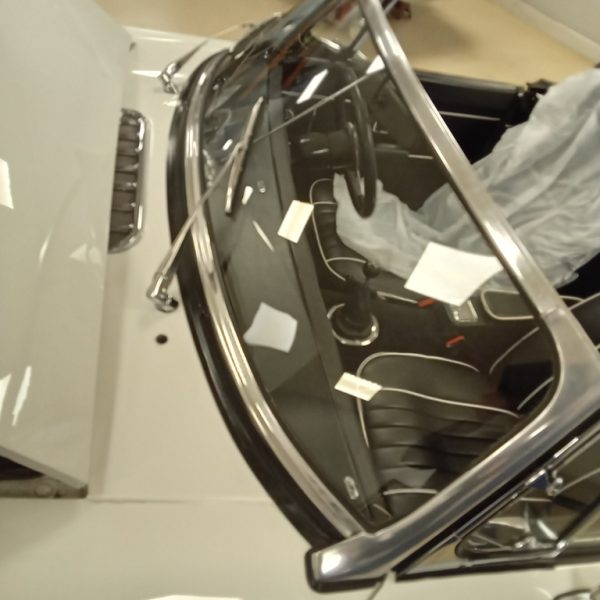
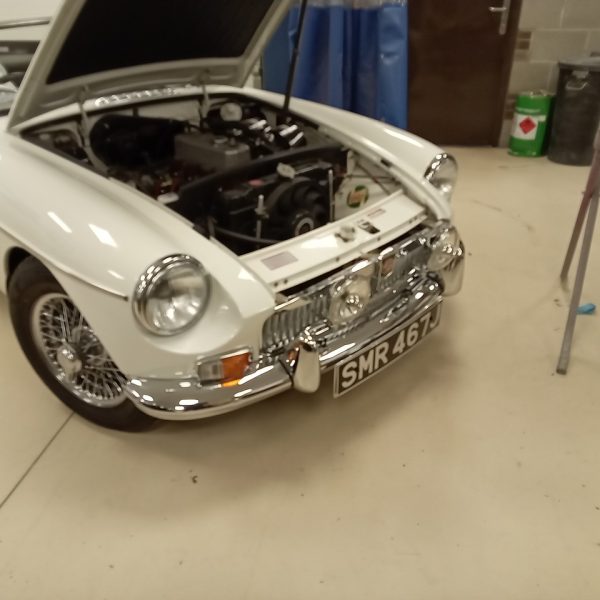
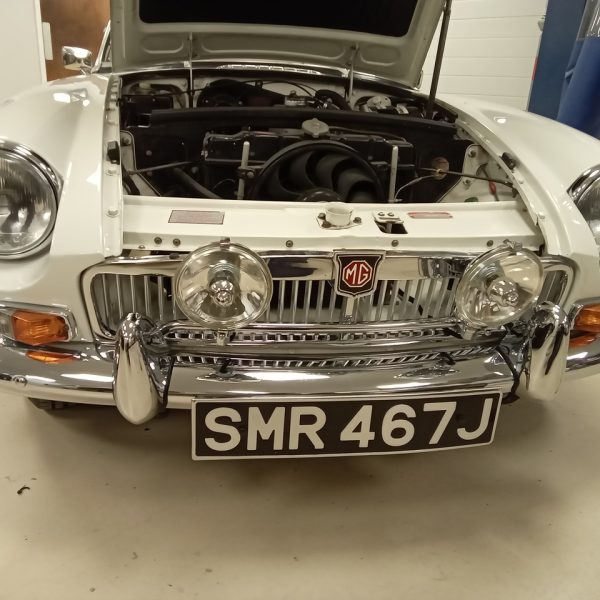
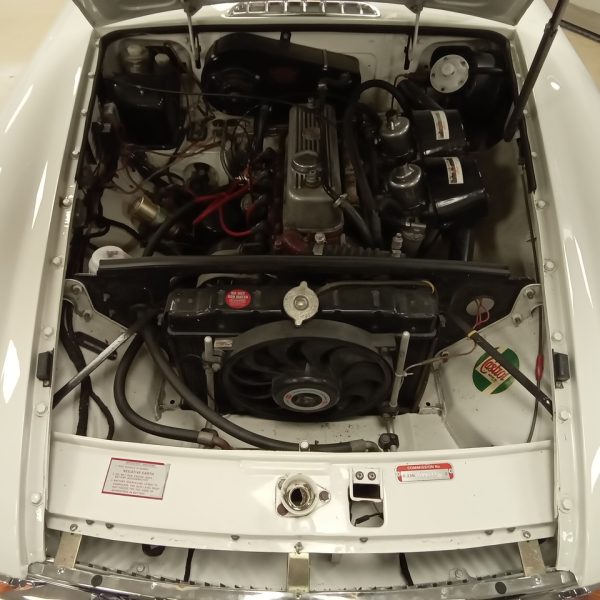
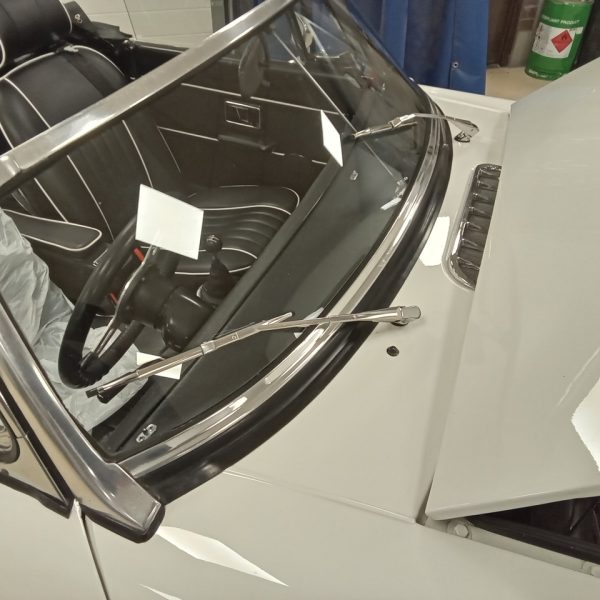
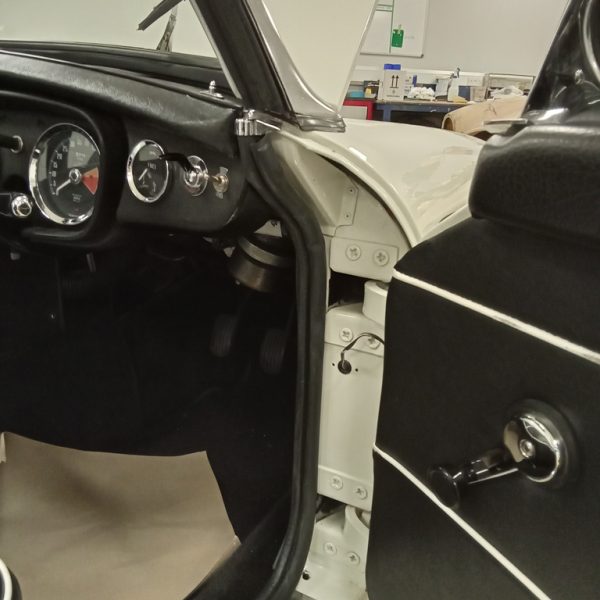
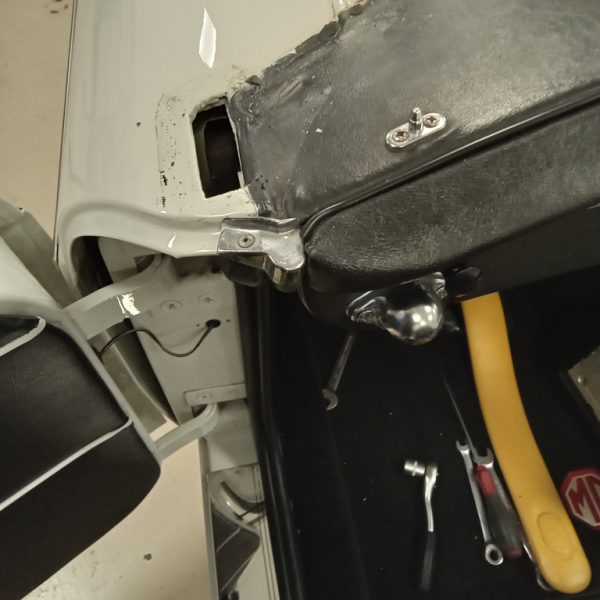
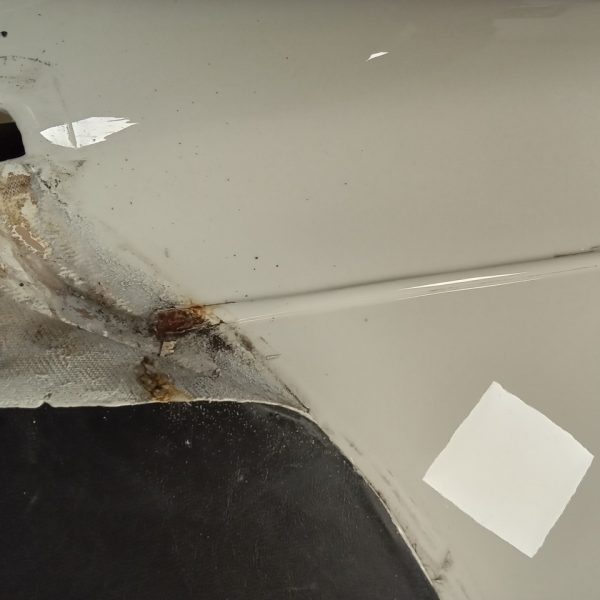
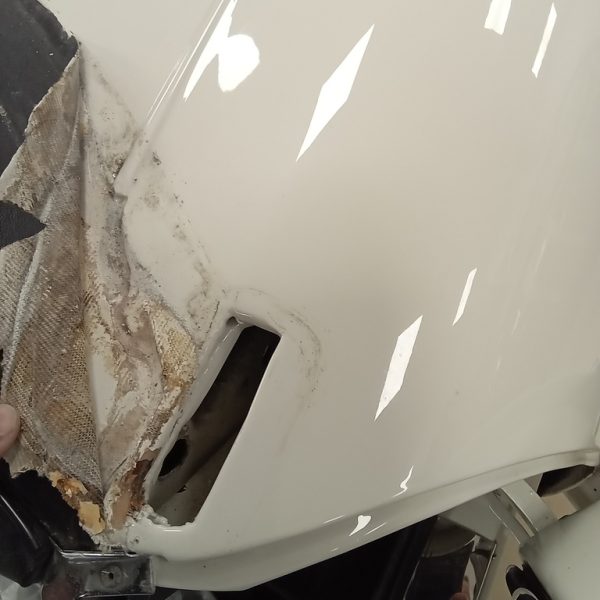
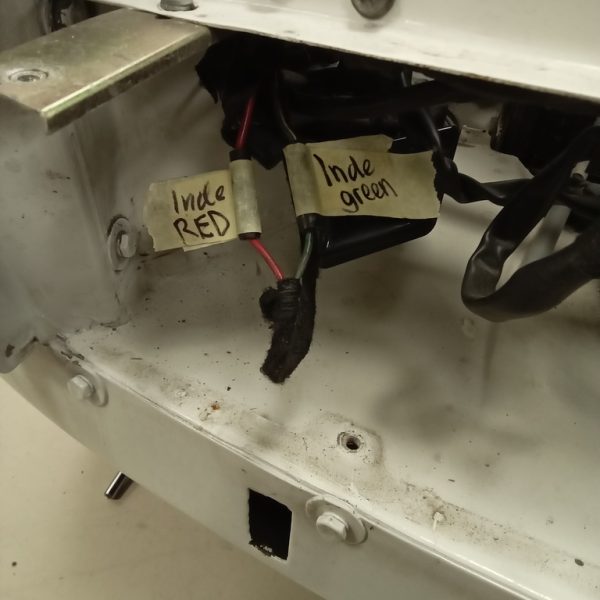
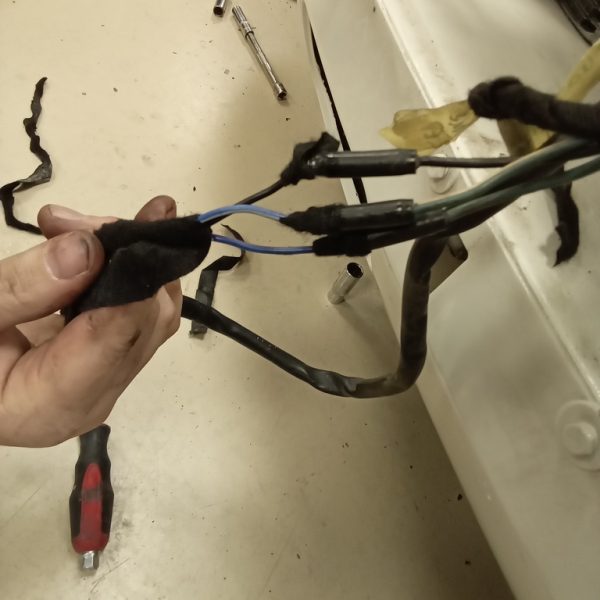
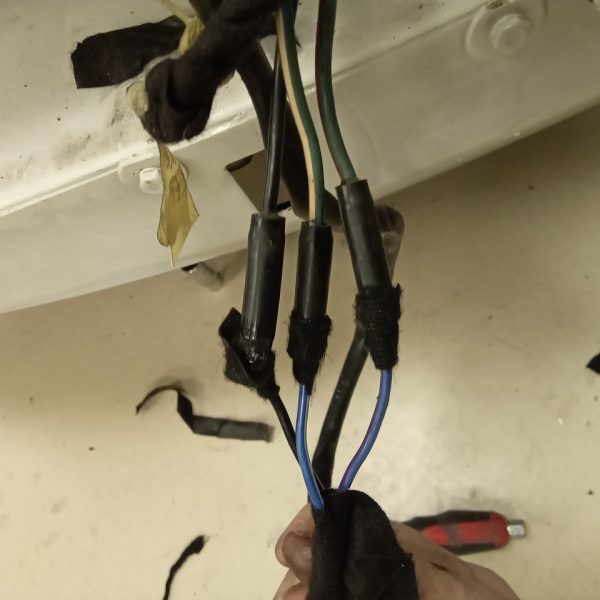
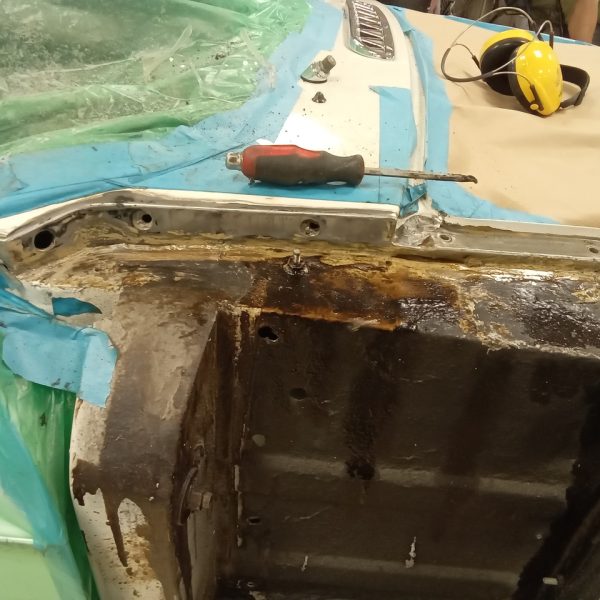
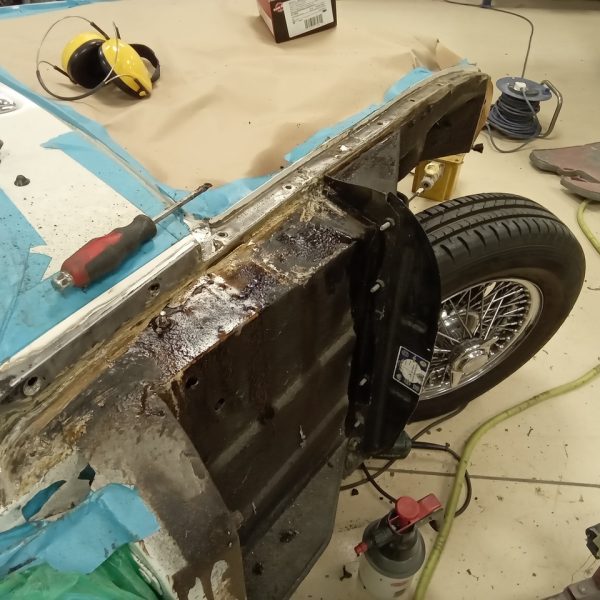
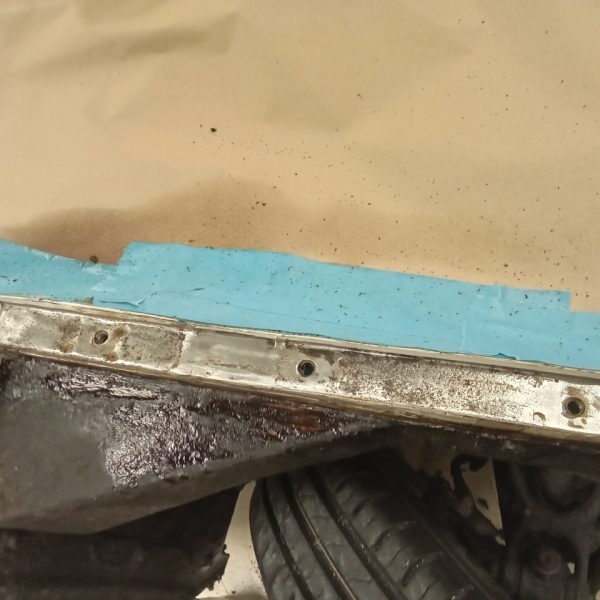
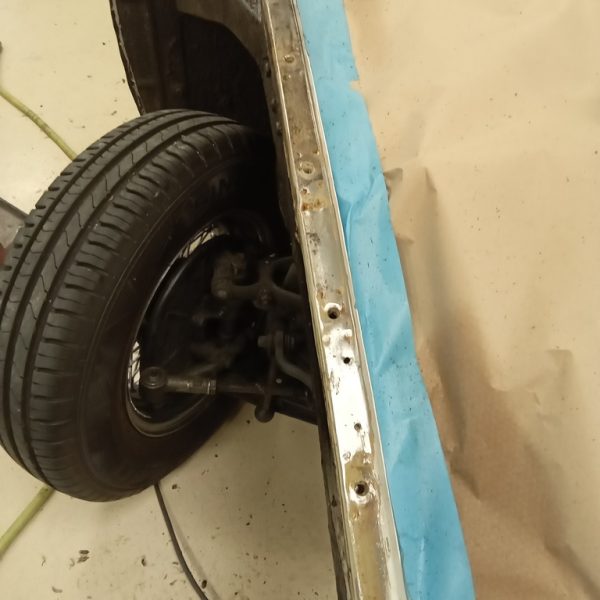
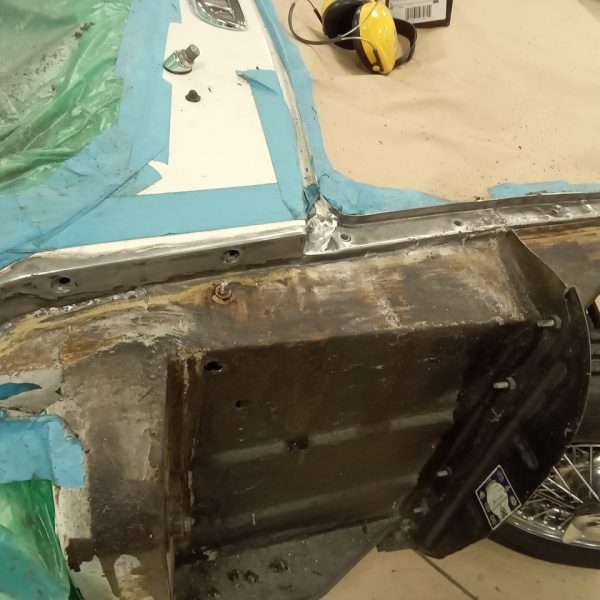
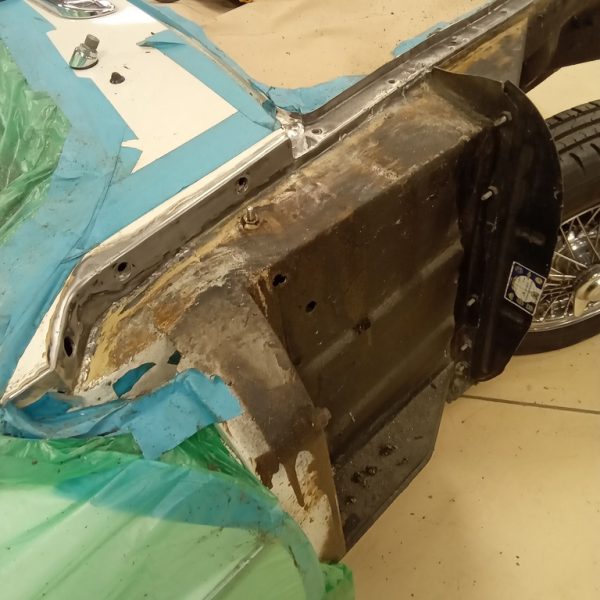
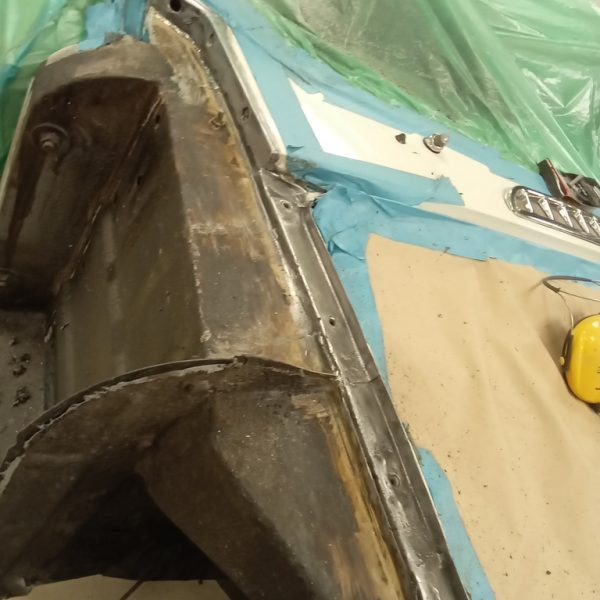
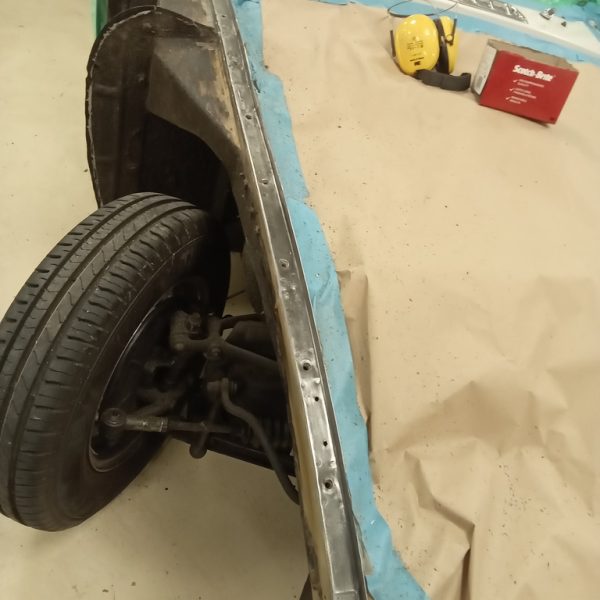
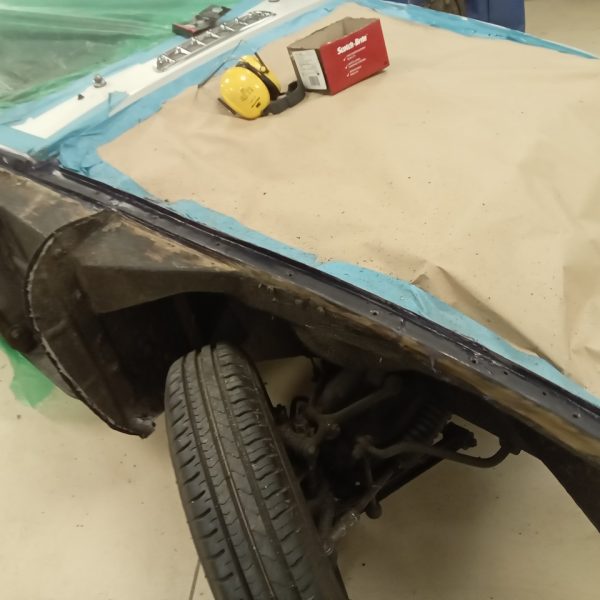
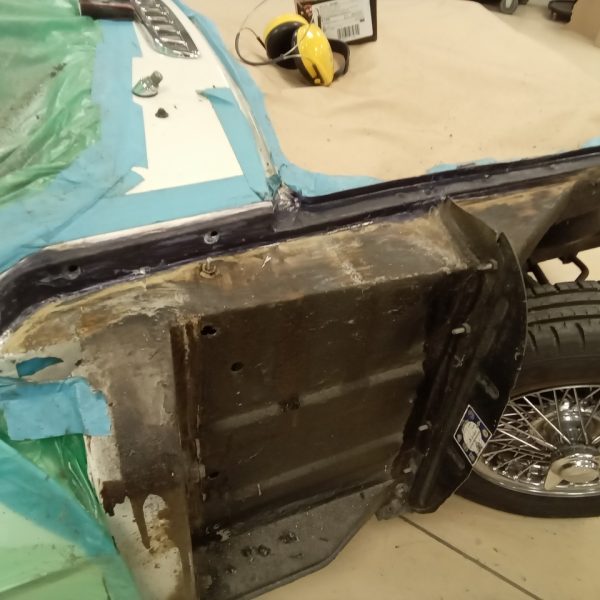
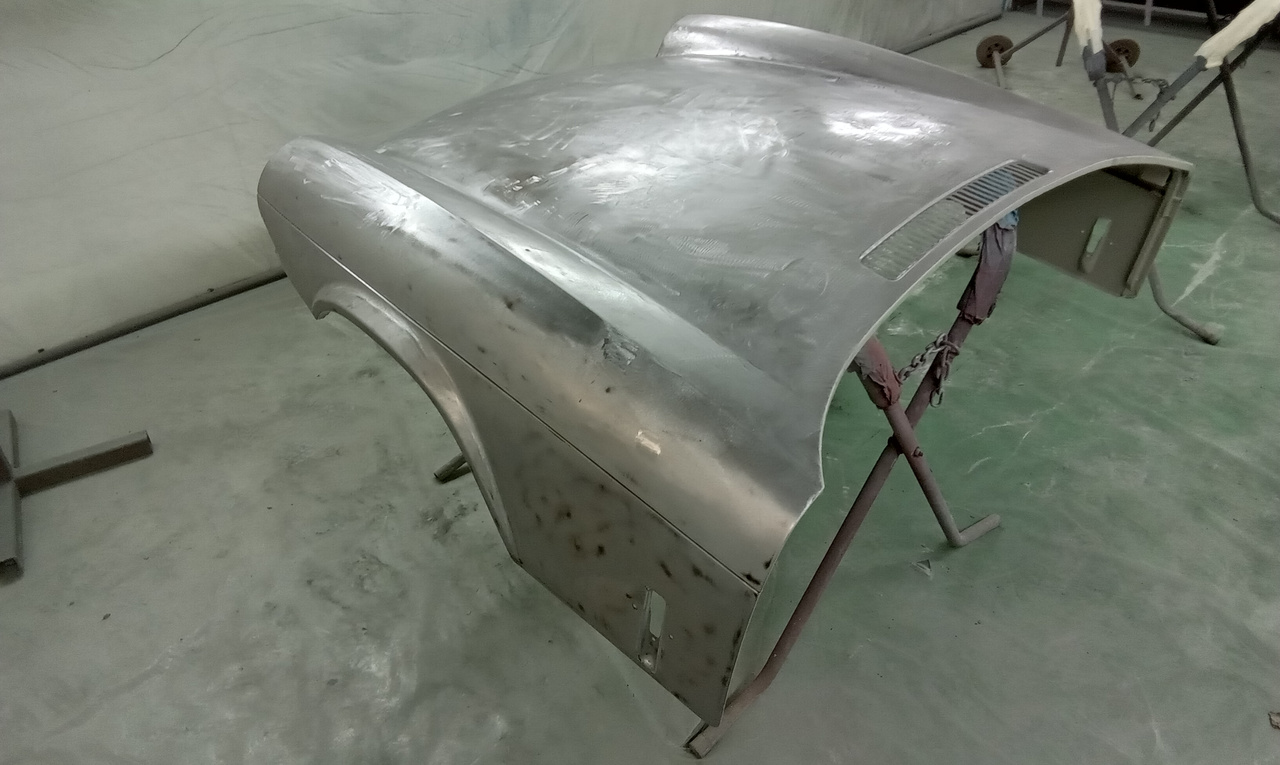
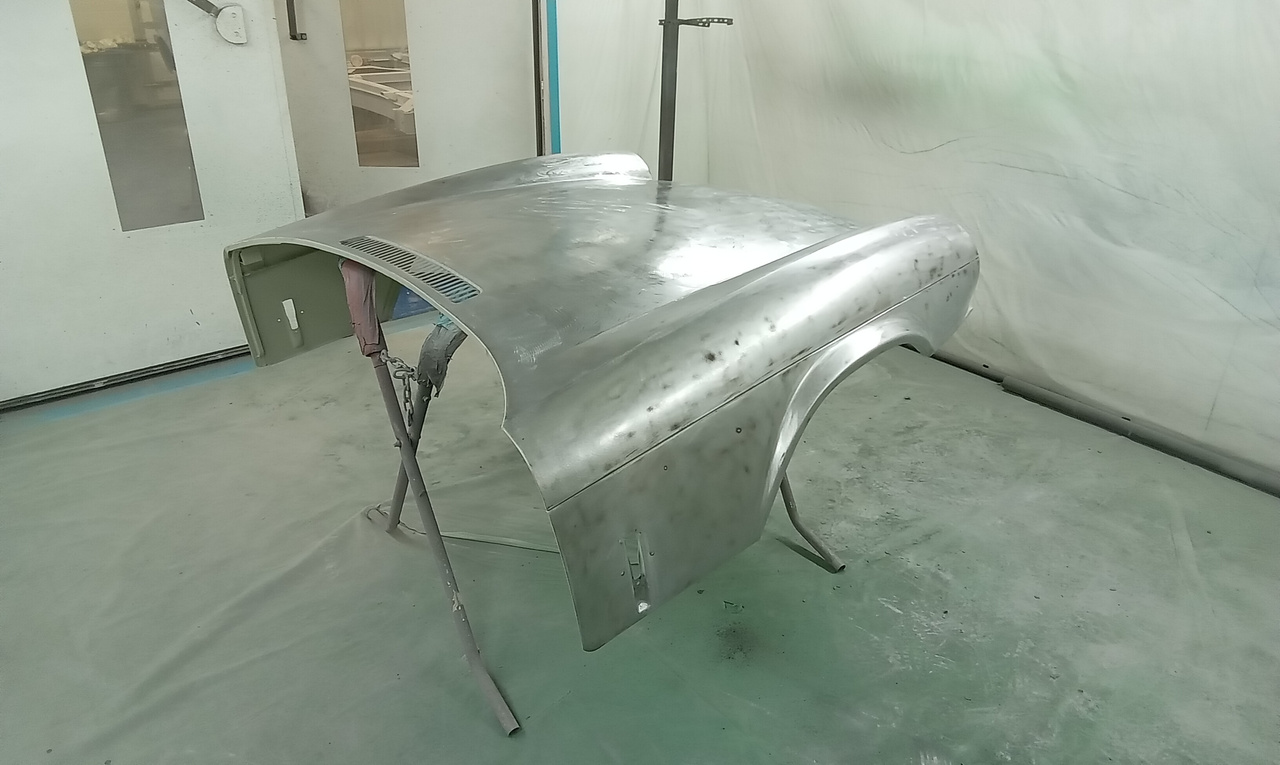
Work begins on the front wings of our 1970 MG B Roadster project. Mauro has removed the wings to reveal some corrosion.
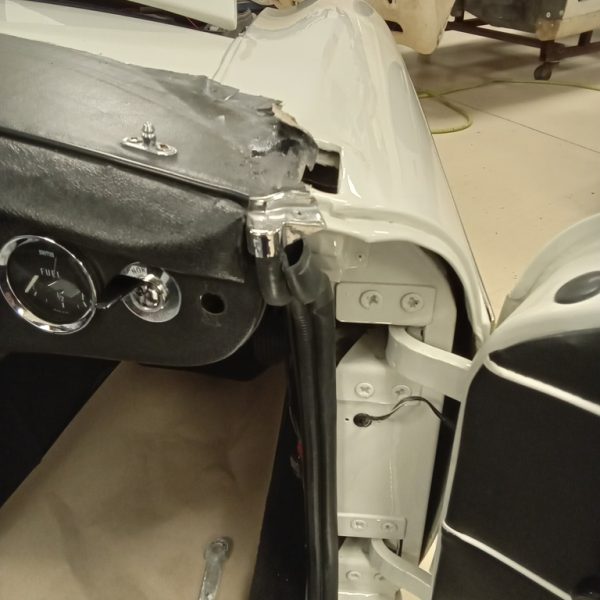
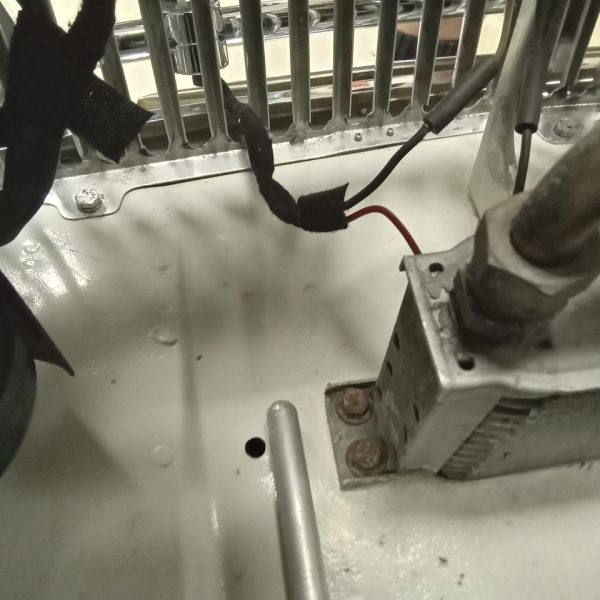
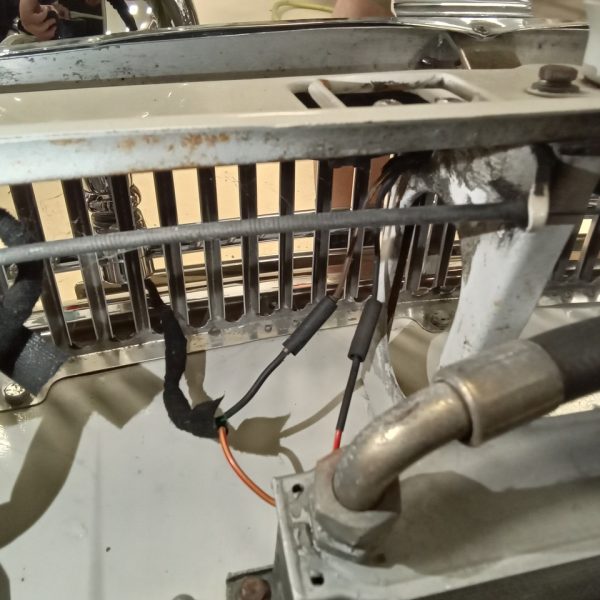
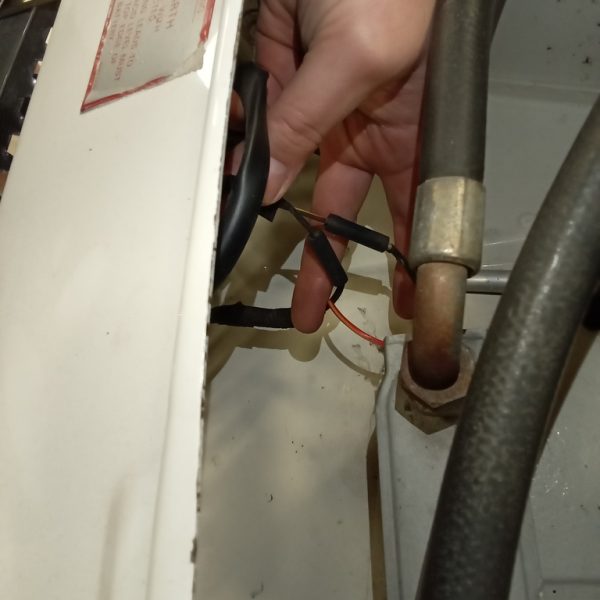
Back in July we said our final goodbyes to a very good friend of Bridge Classic Cars, Hugh Mitchell. Hugh was a huge car lover and not only a good friend to Gordon but a great fan of the work we do here at the workshops.
Some of you may have met Hugh at one of our many car shows over the years.
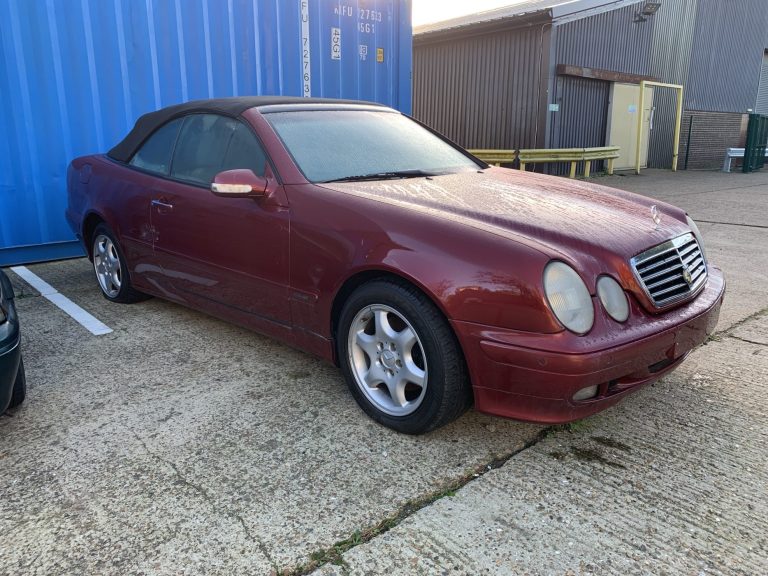
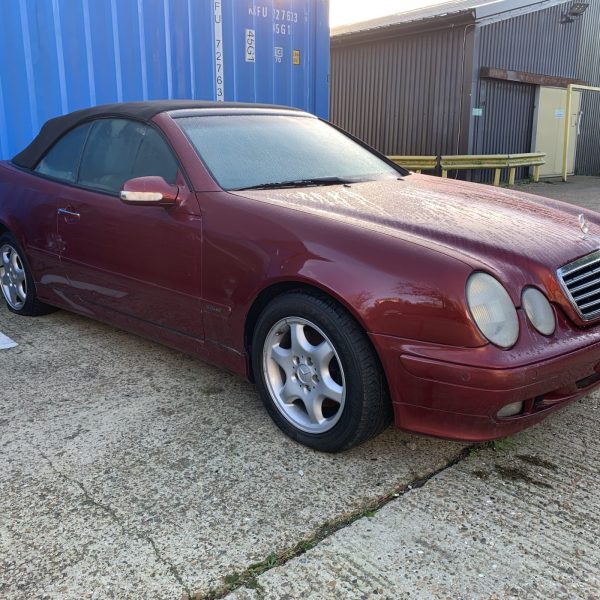
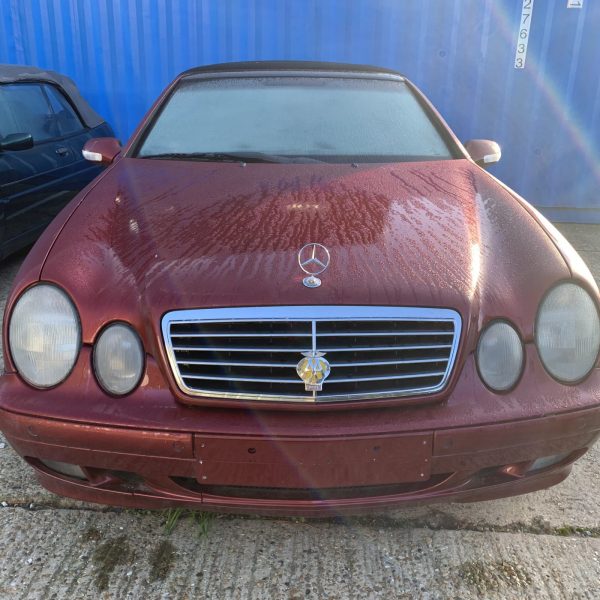
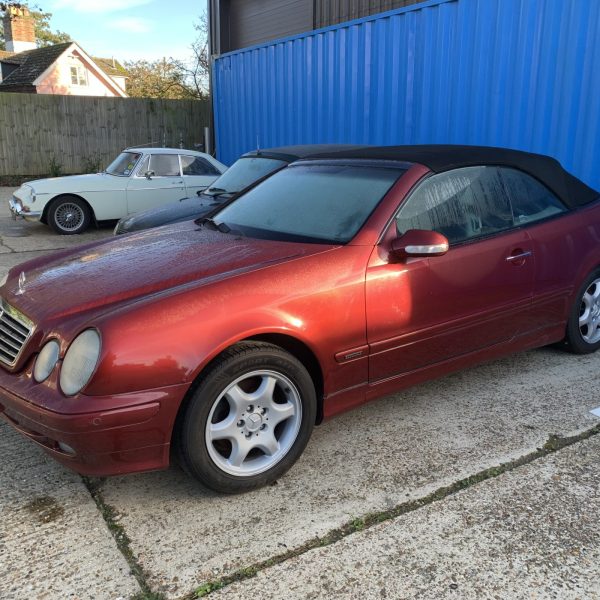
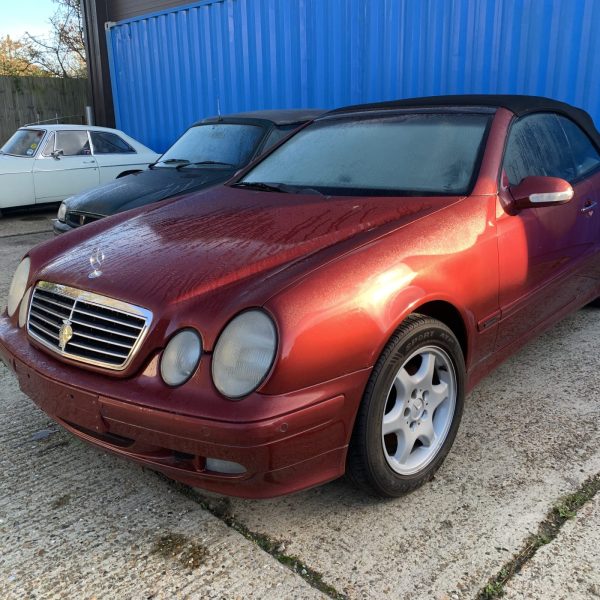
Hugh left behind a small collection of cars, one of which has made it’s way to us at Bridge Classic Cars for a recommission and get it back on the road, our 2000 Mercedes CLK 320.
Work will start on the car very soon as we aim to get a fresh MOT on the car for the next person to enjoy for many years to come.
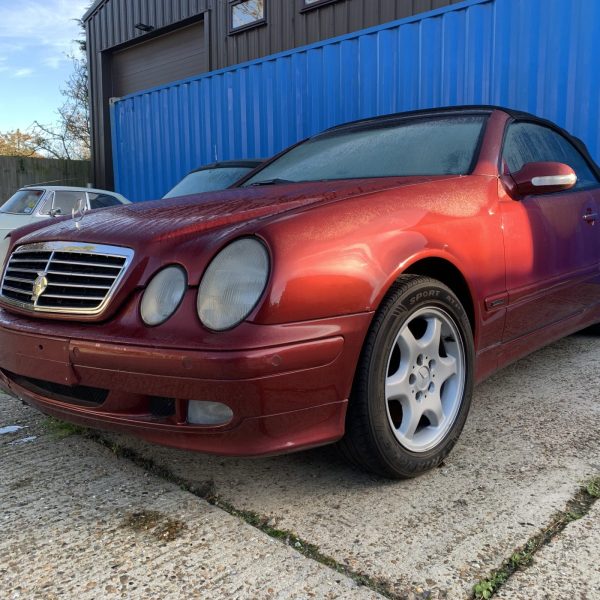
John has carried out some weekend one here at Bridge Classic Cars, working on my 1987 Mercedes 500 SL restoration project. This has been such a long process due to it being one of our own vehicles and never finding the time in the diary to get on with it.
Weekends have now become a thing now to get the car back on the road…hopefully for next summer!!
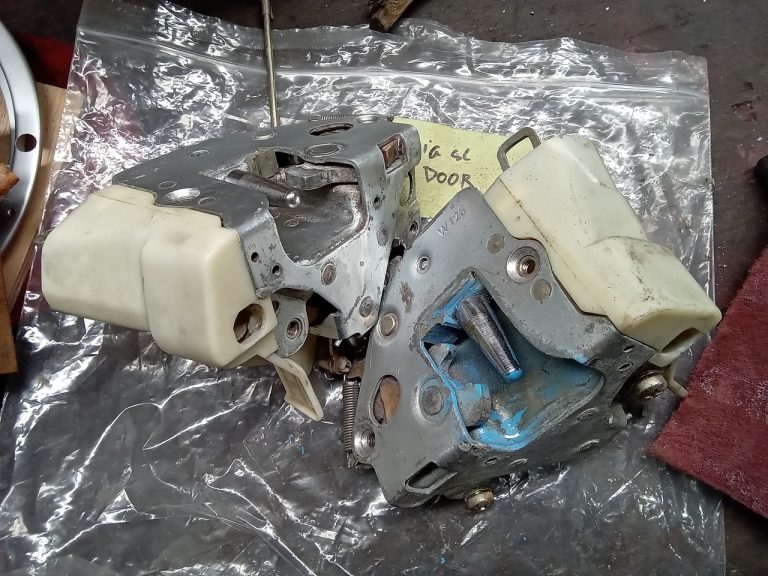
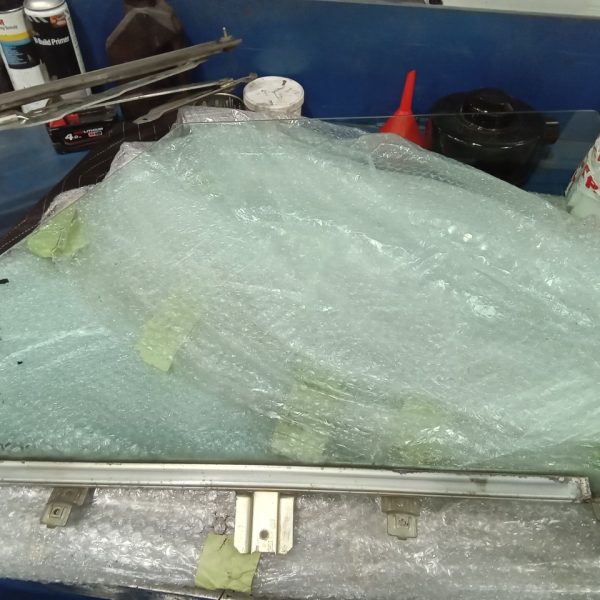
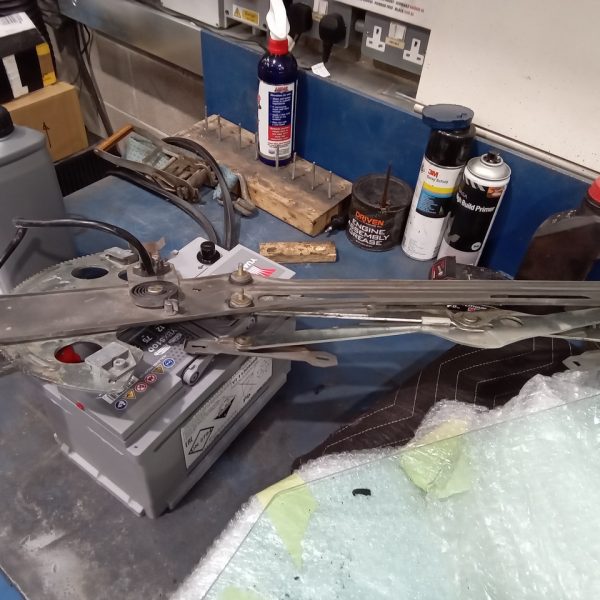
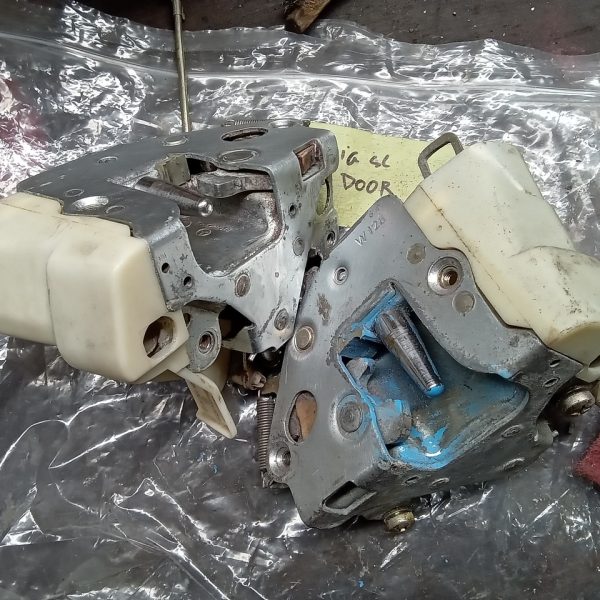
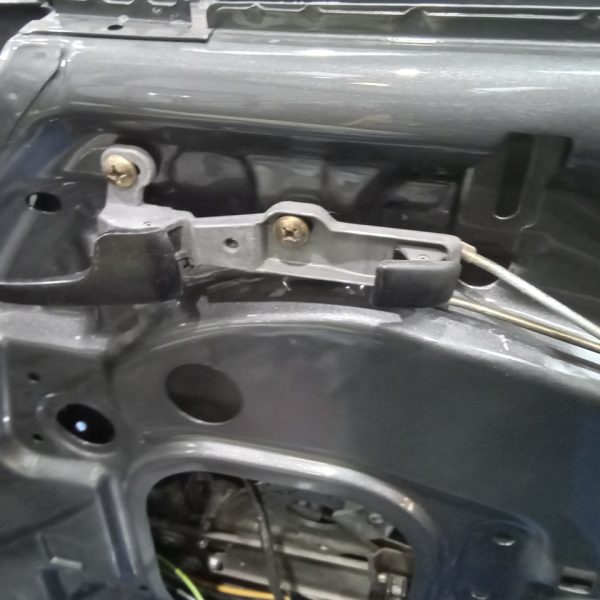
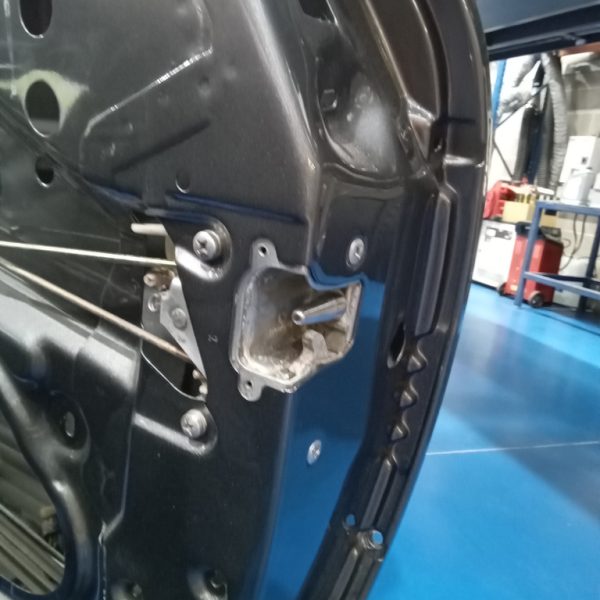
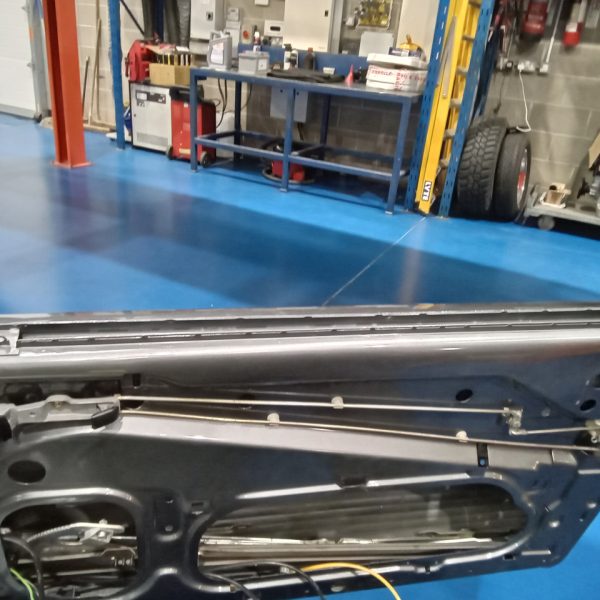
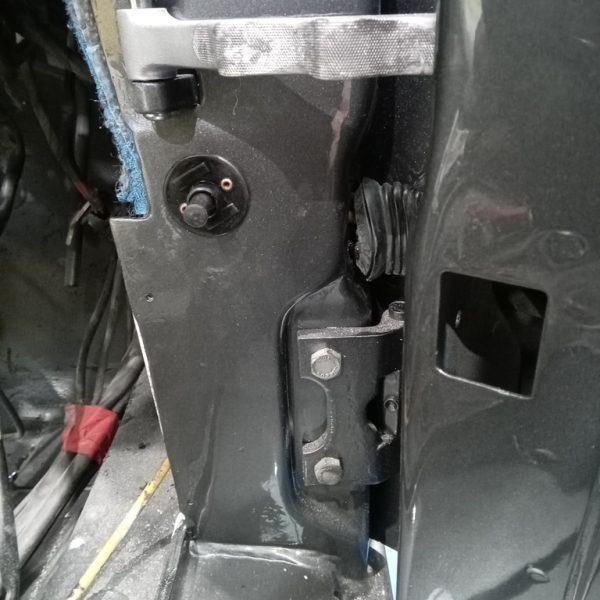
As you can see, John has been cleaning down the locks and door mechanism to fit up doors.
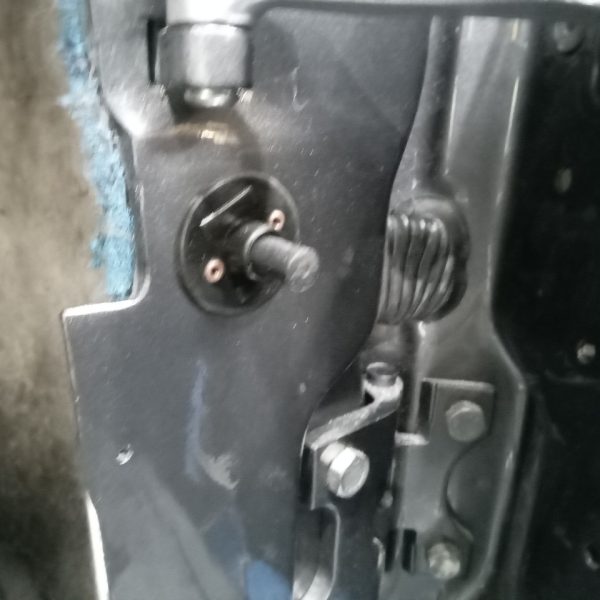
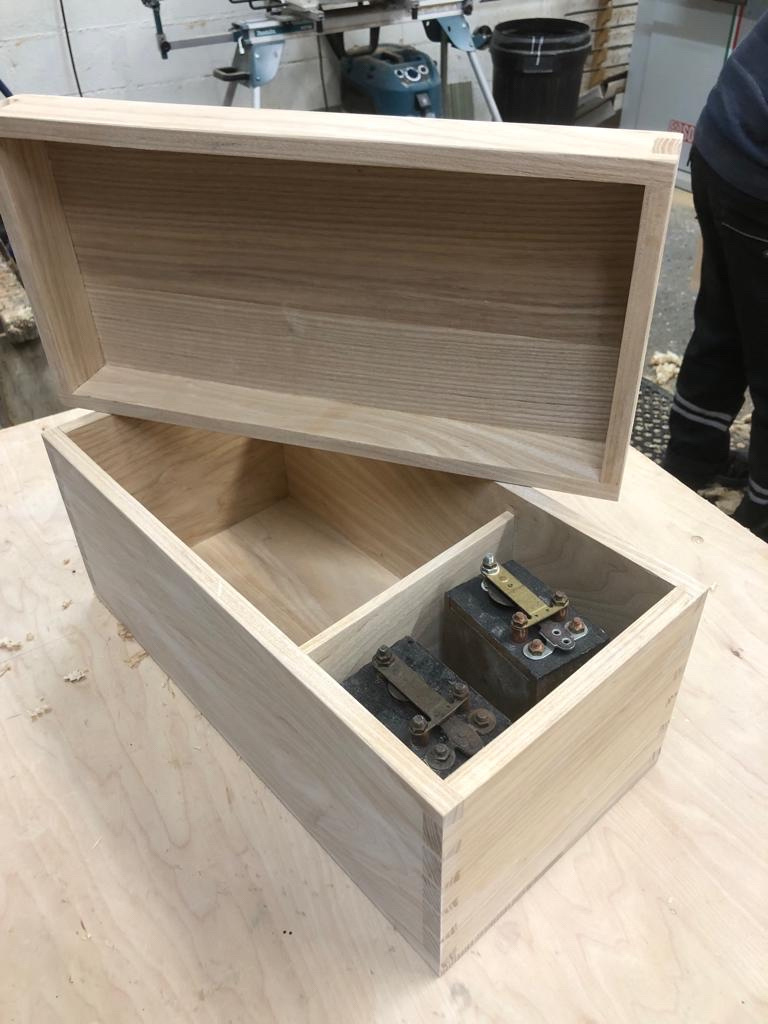
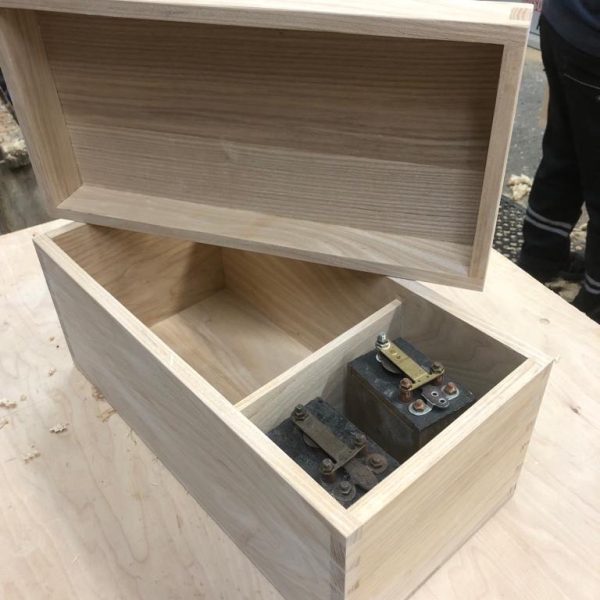
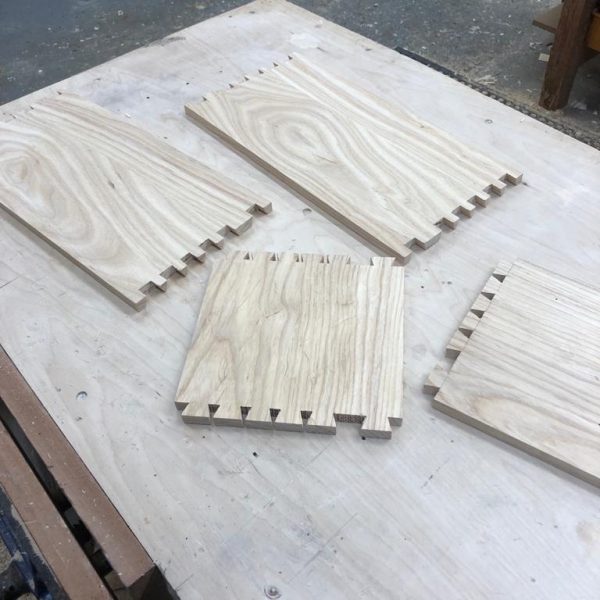
Darin from Ashbocking Joinery is completing the final few pieces of our Riley 9 woodwork. Here is the new tool box and trembler being finished.
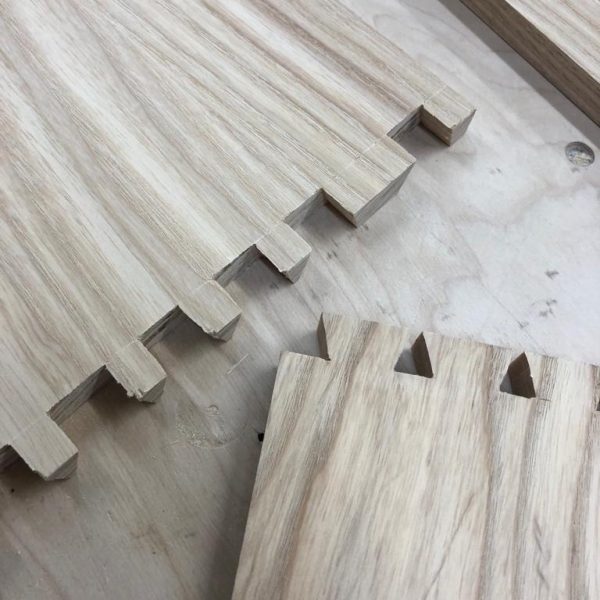
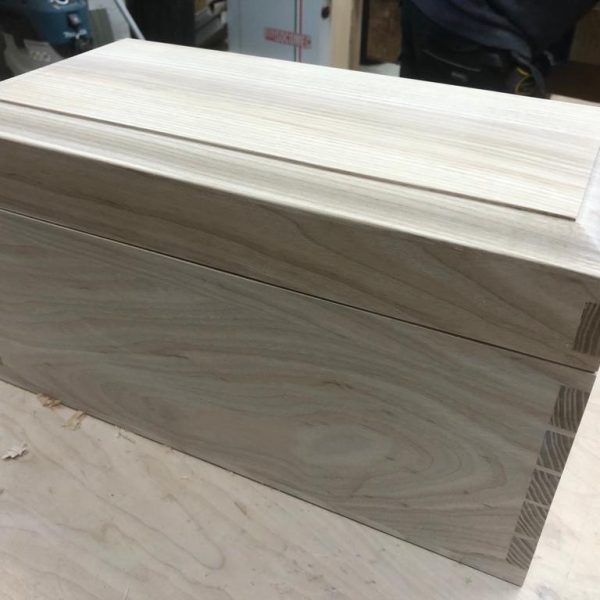
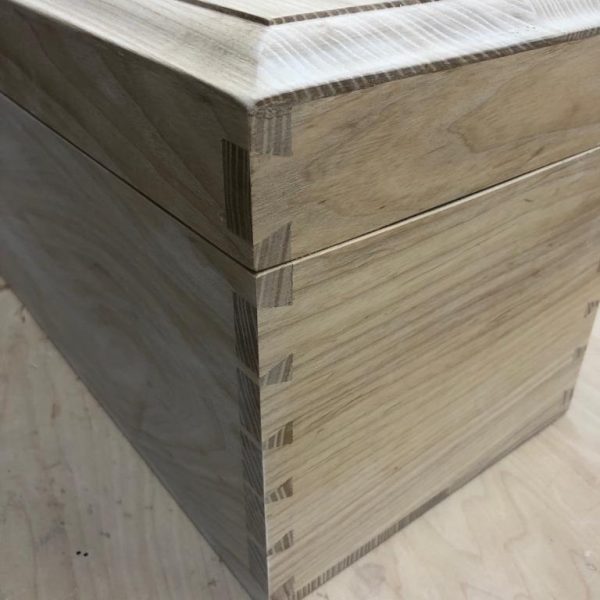
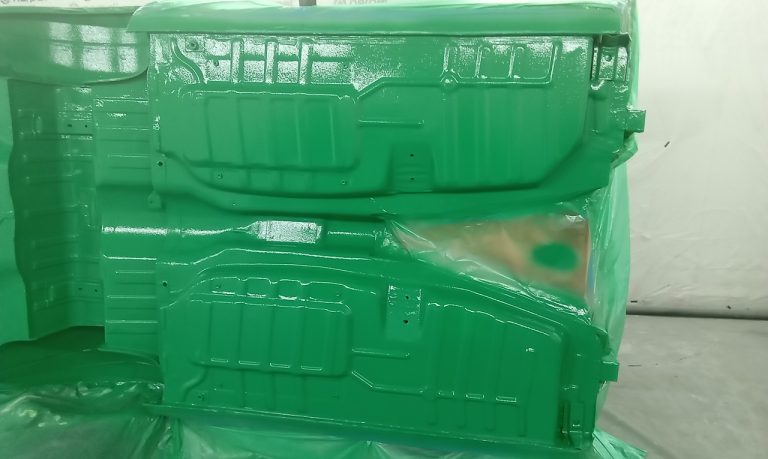
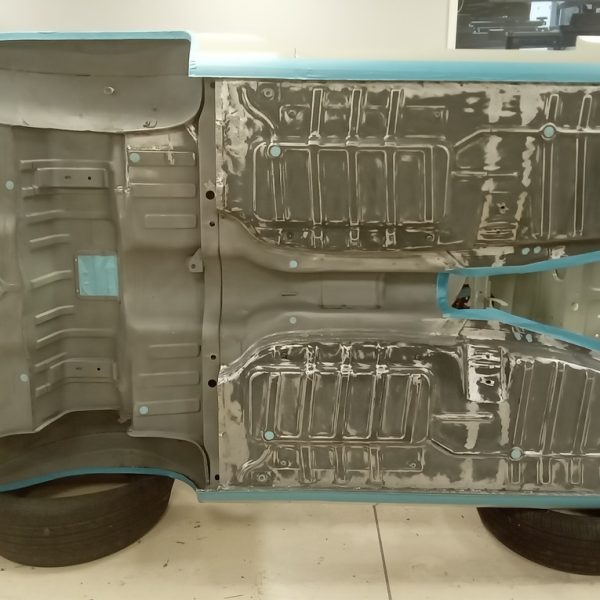
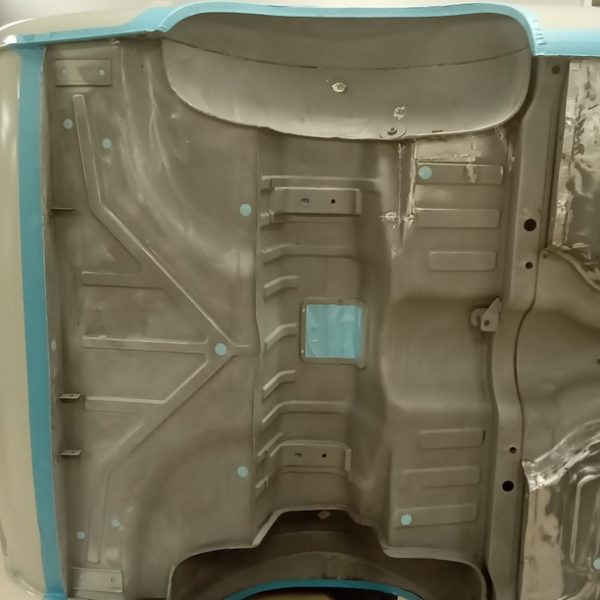
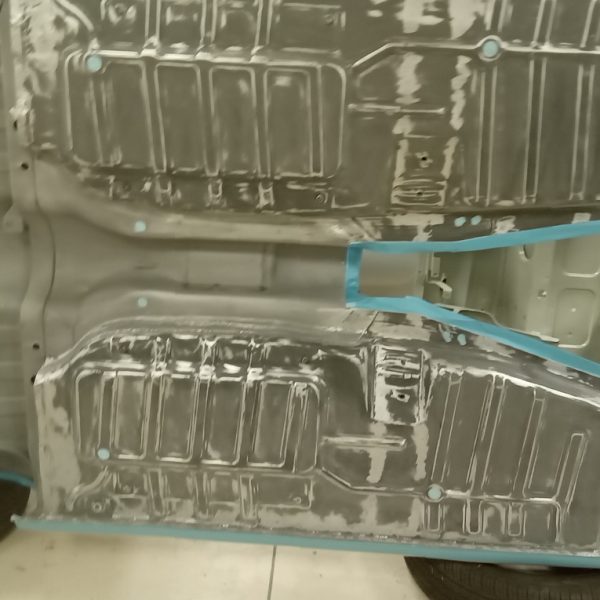
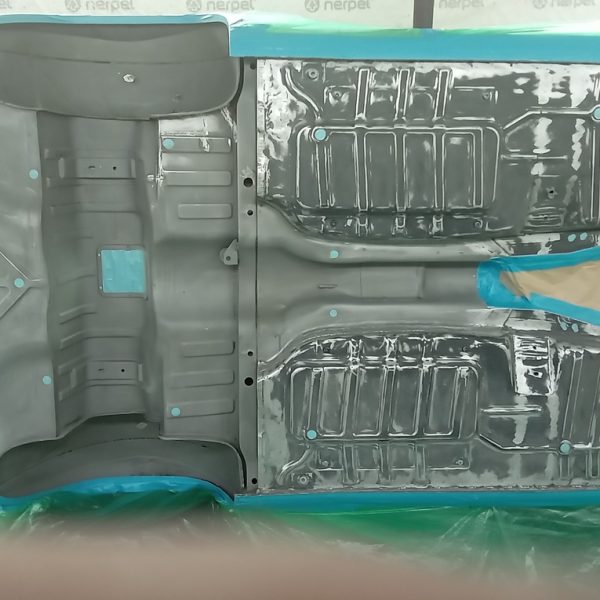
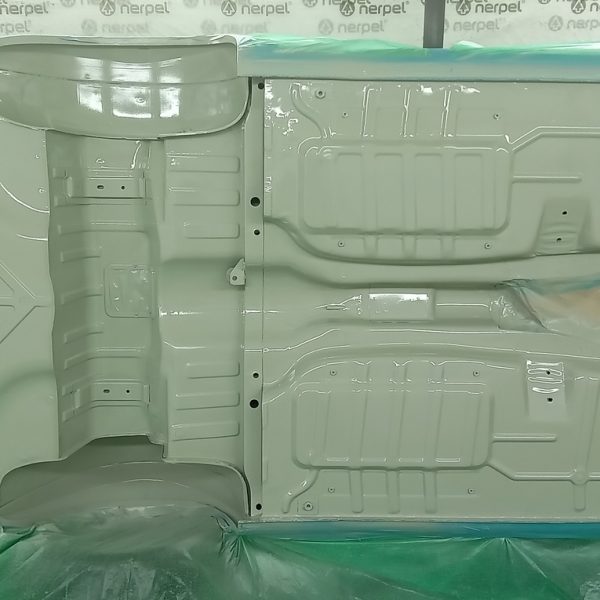
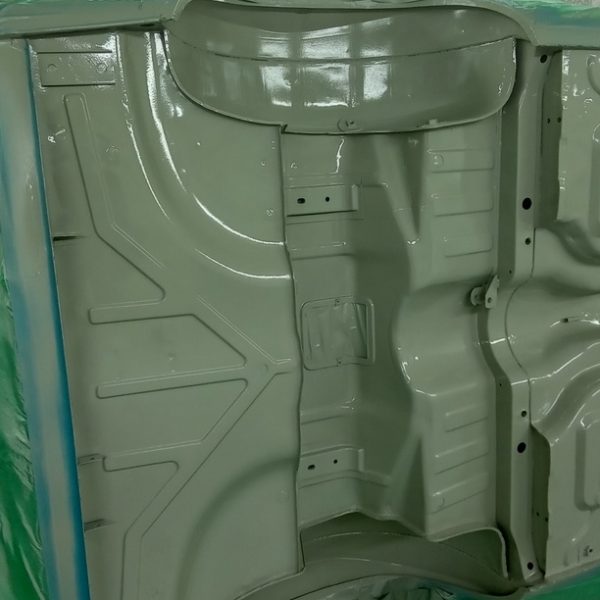
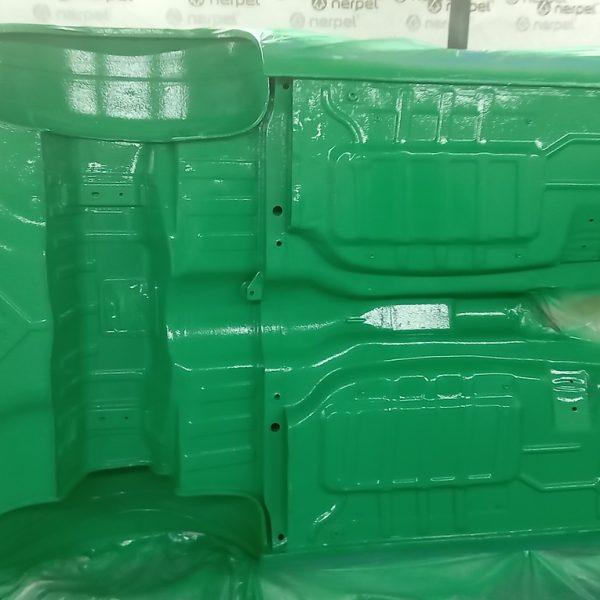
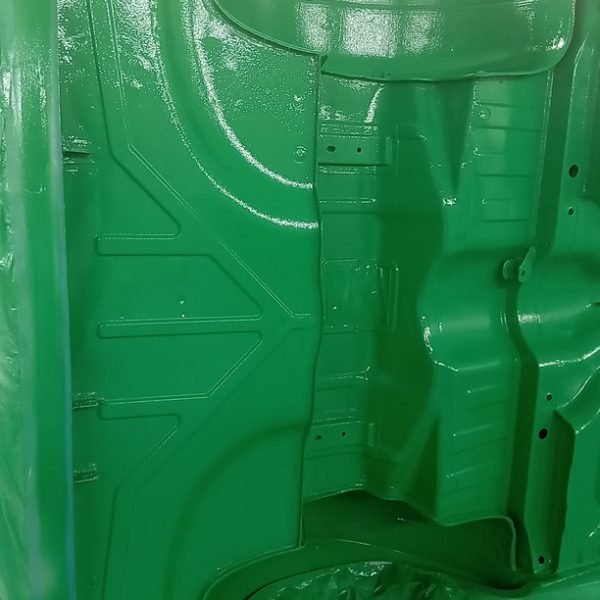
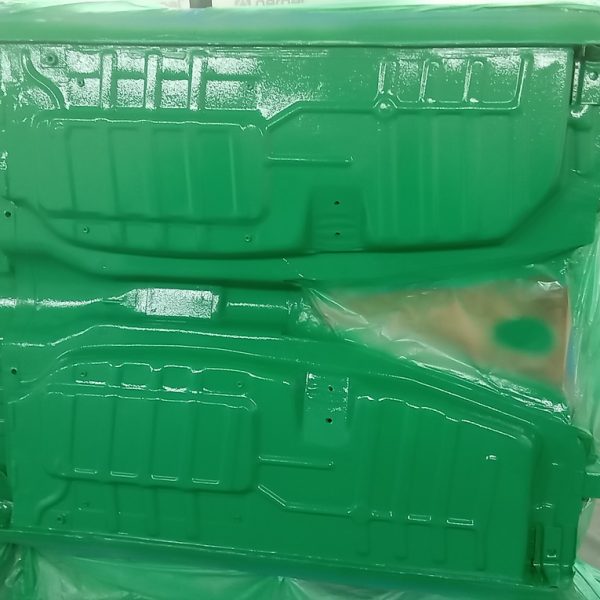
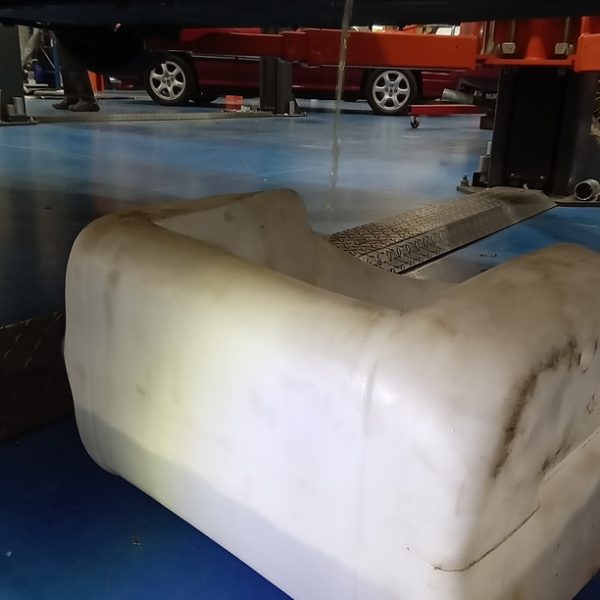
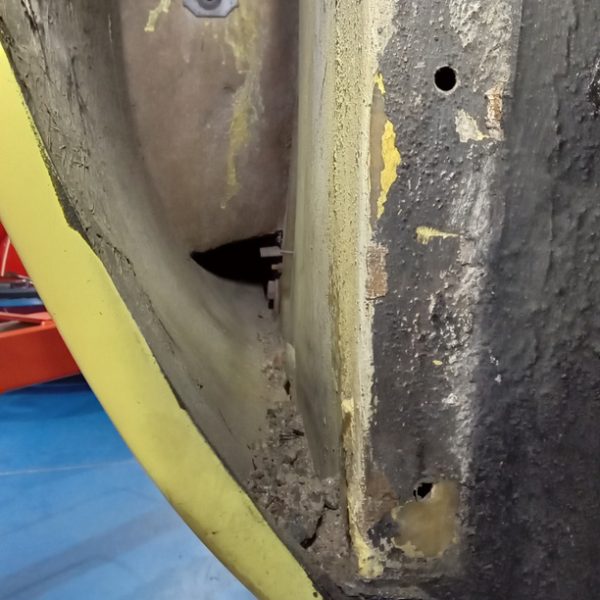
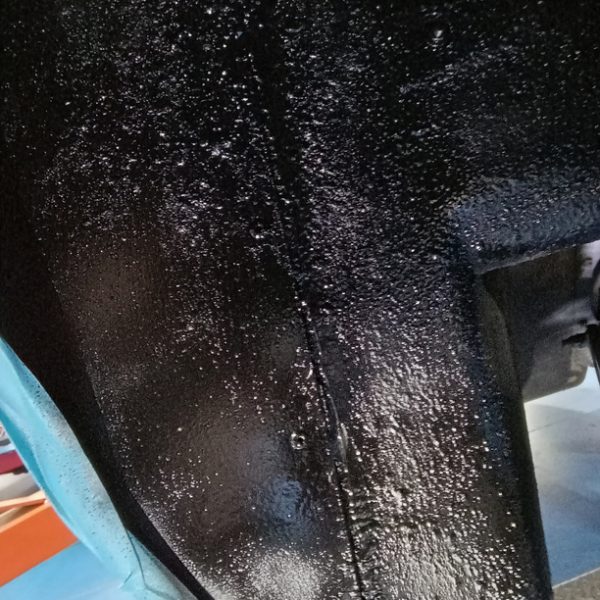
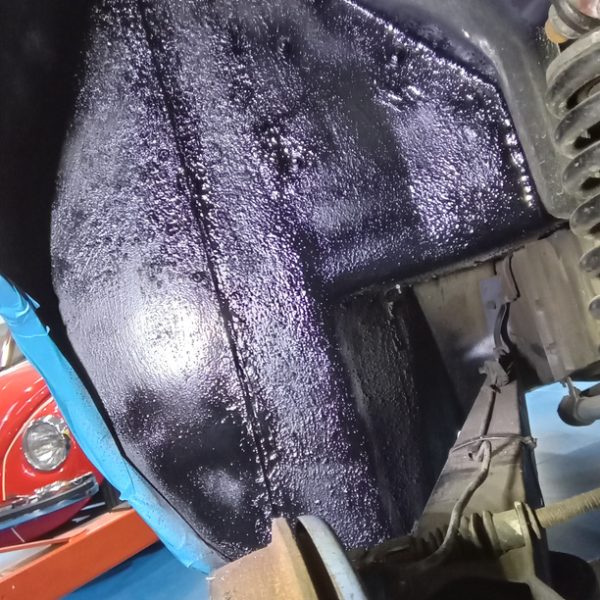
Alan has been busy prepping the underside of our 1976 Triumph Spitfire ready for the Raptor treatment. He has applied an epoxy primer then seam sealed all of joints before covering in raptured.
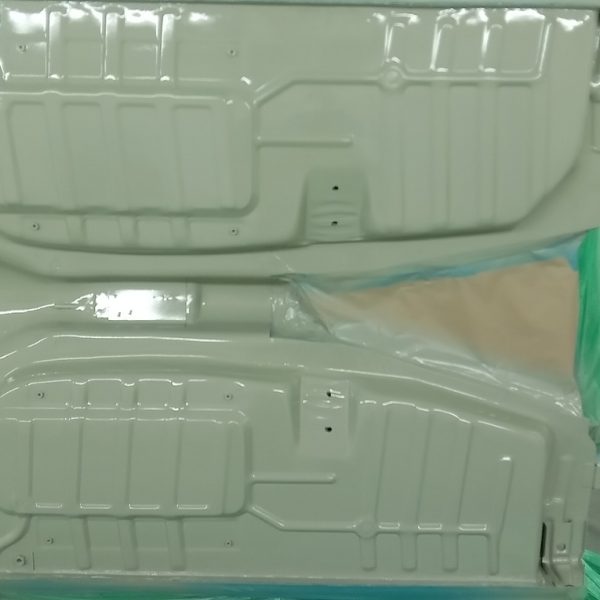
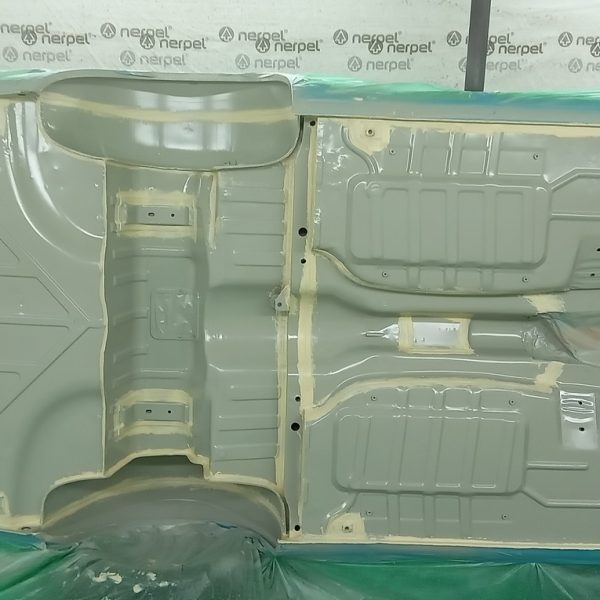
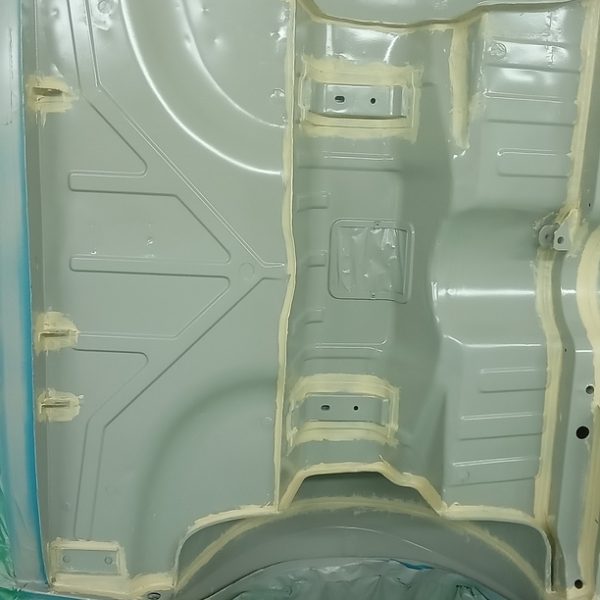
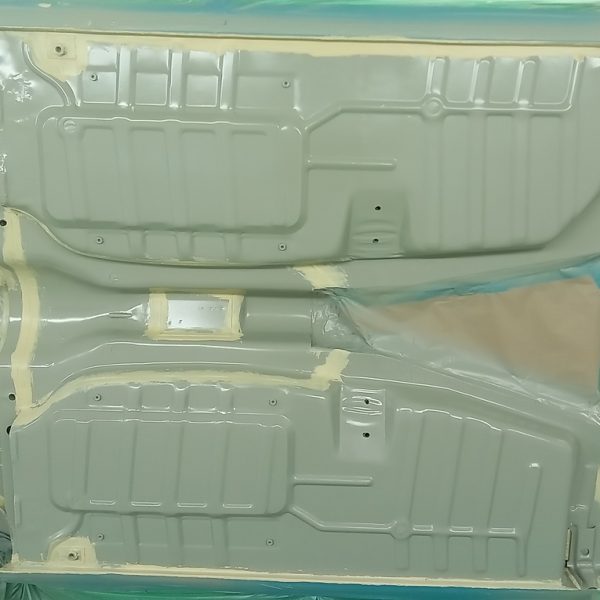
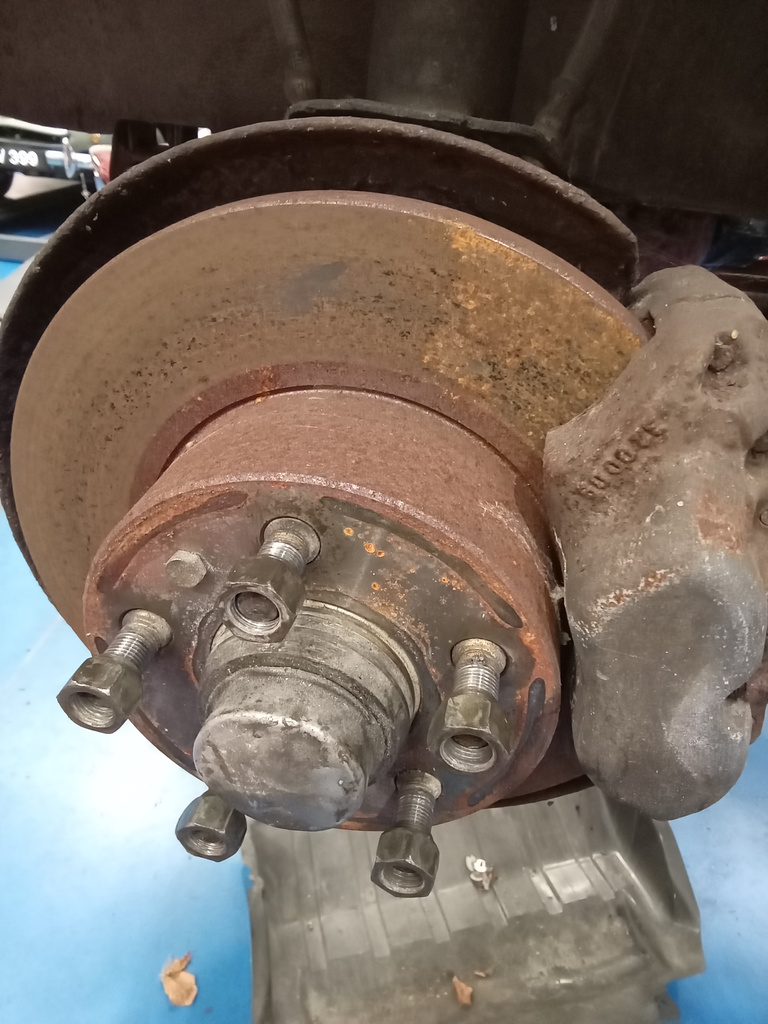
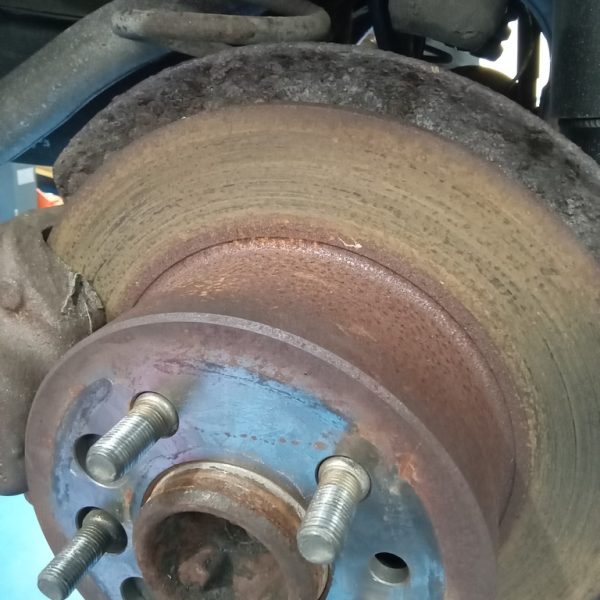
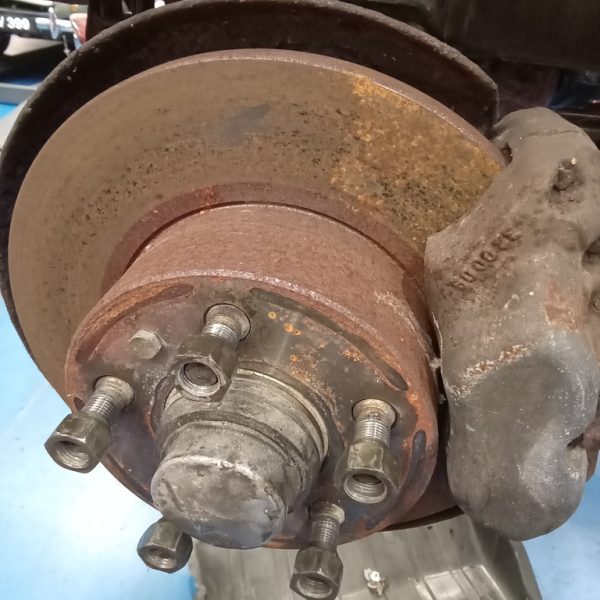
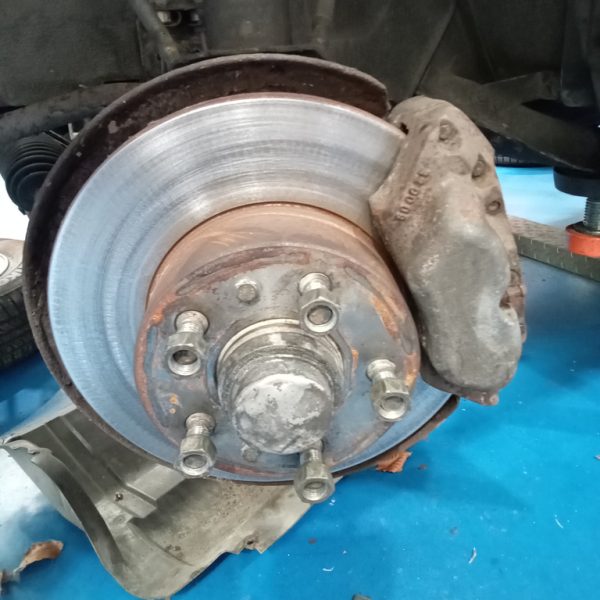
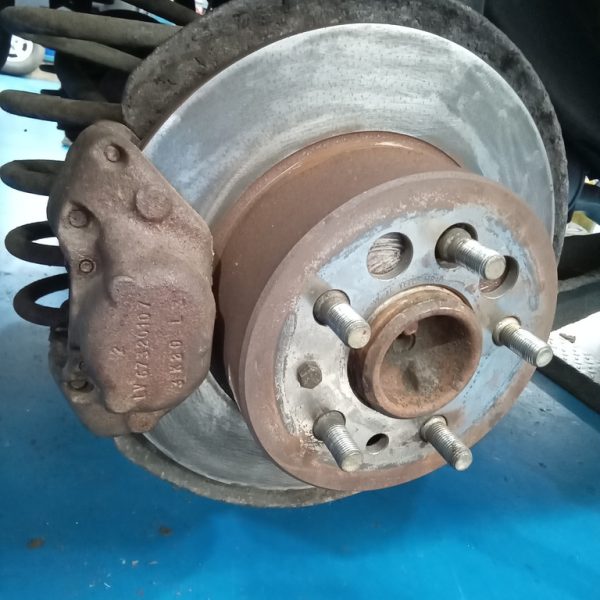
Pictures show the brake discs that were covered in surface corrosion but were in good condition and cleaned up very well.
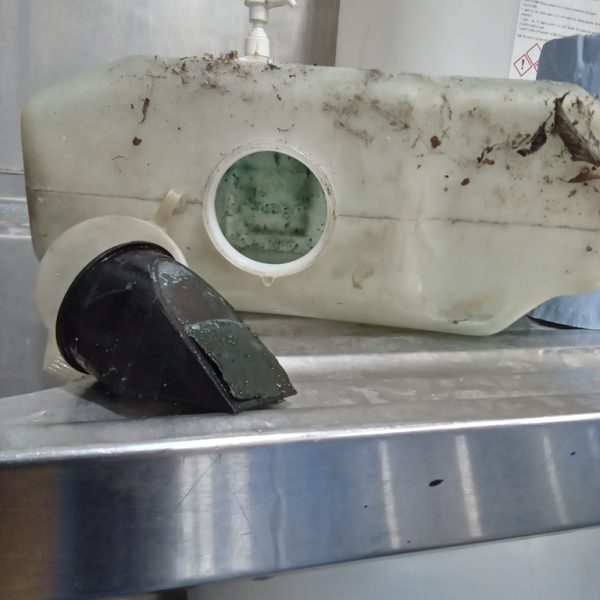
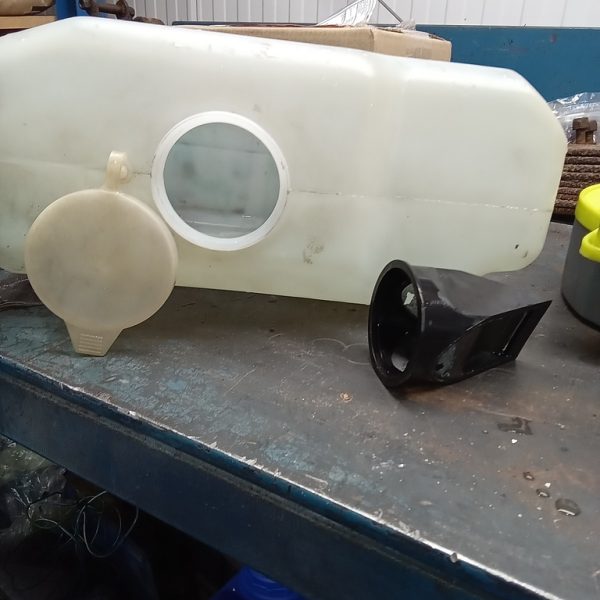
Pictures show washer bottle before and after cleaning of sludgy deposits that were blocking jets.
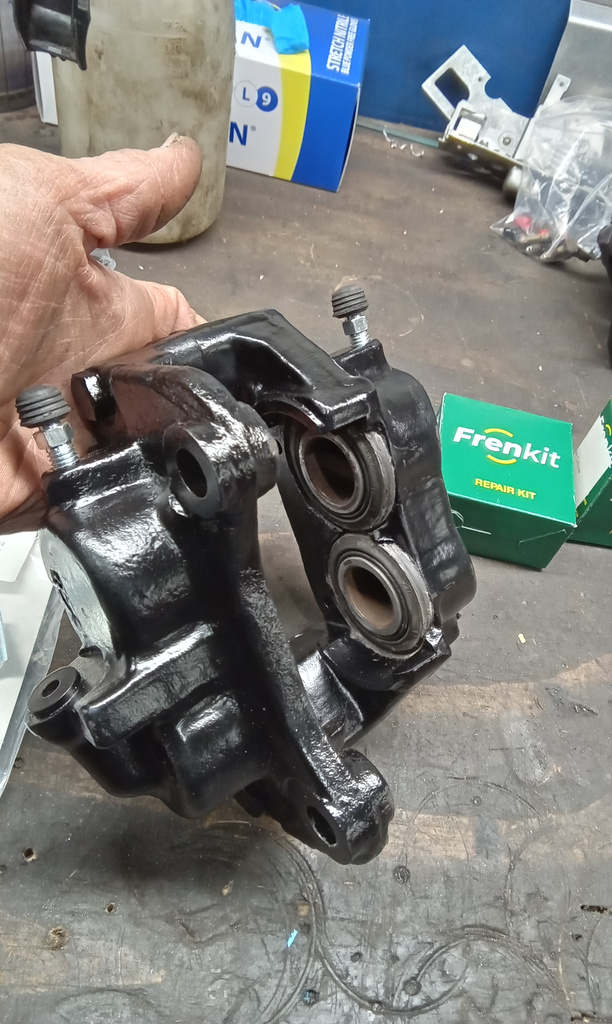
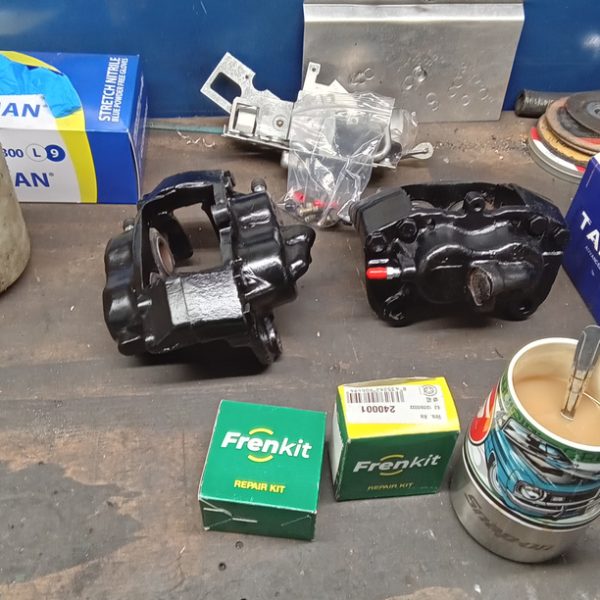
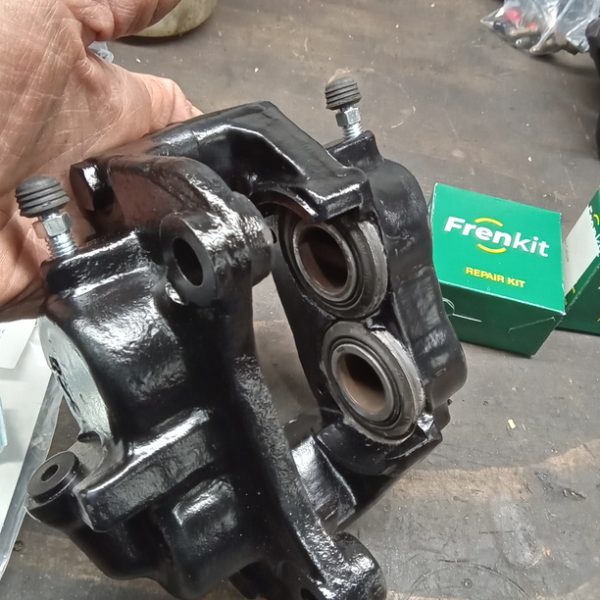
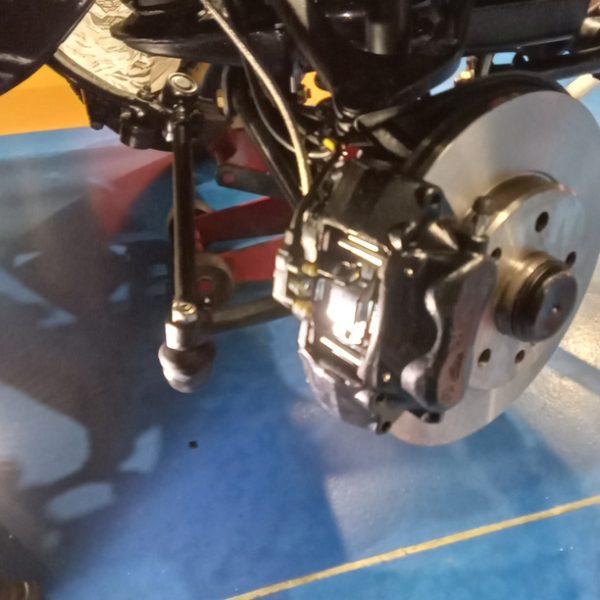
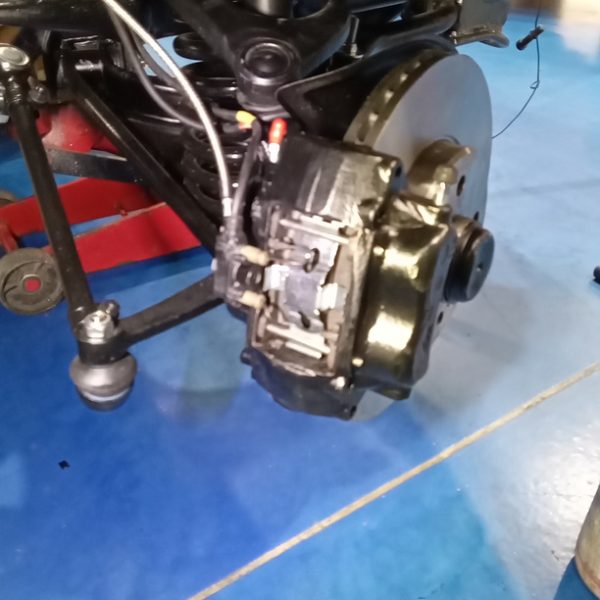
Jon has fitted up the new bleed nipples to the freshly painted calipers.
The bolts have been cleaned and painted
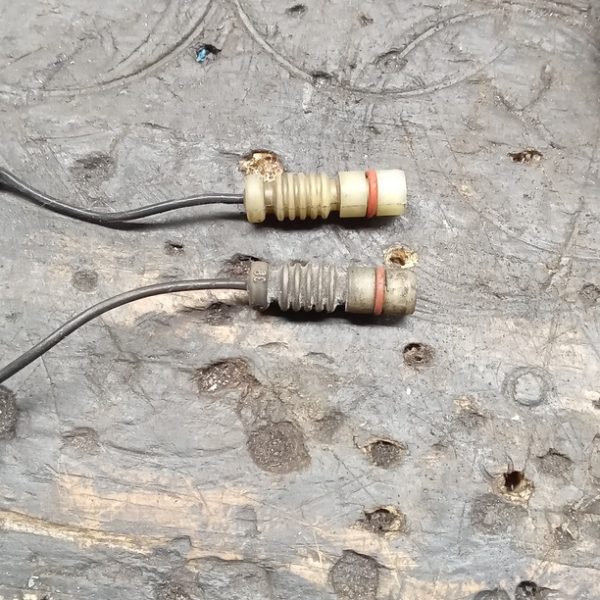
We have cleaned up and reused the pad sensor wires and fitted the calipers to the car.
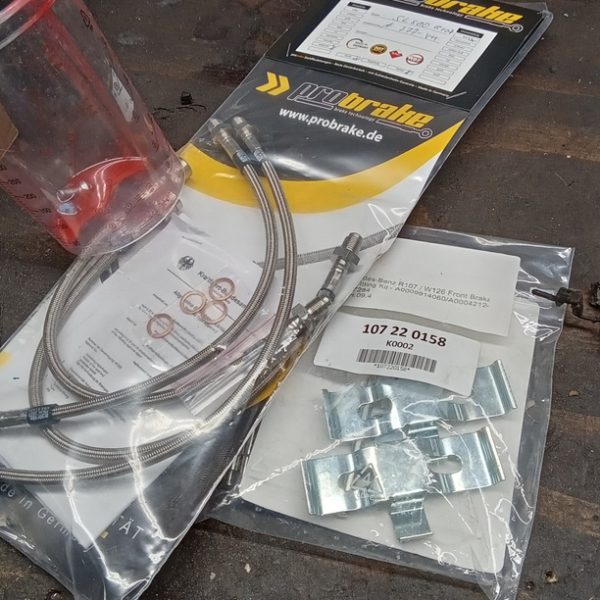
The old pads have been reused as they are nearly new and we used a new fitting kit to secure the pads.
New front shock absorbers have been fitted.
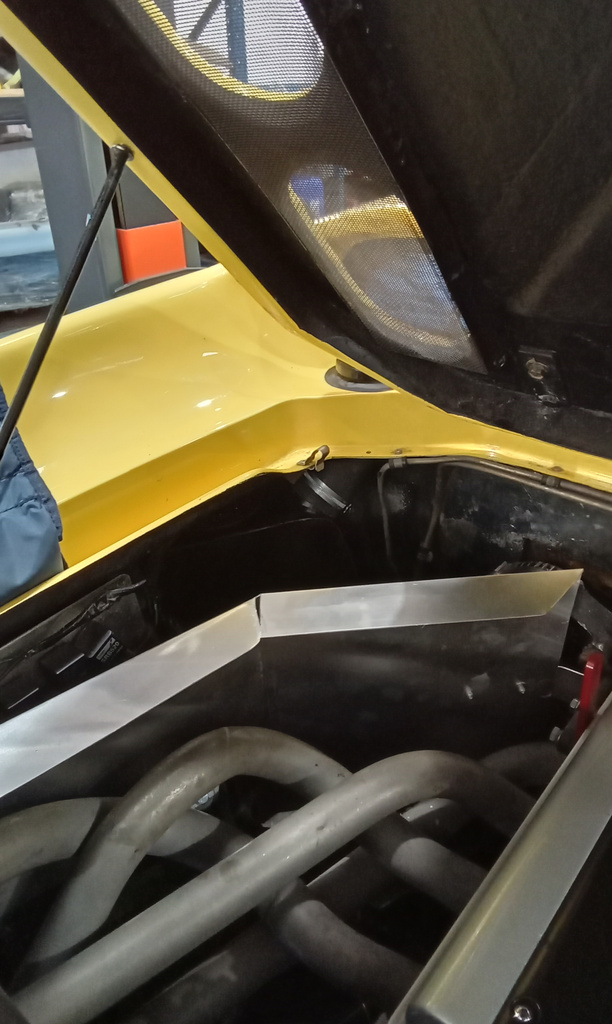
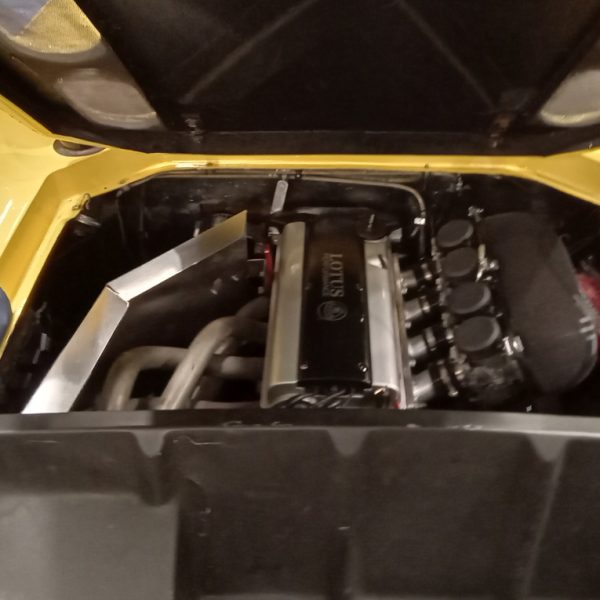
Jon is working on the final preparations of the Lotus Europa, ready for the filming to take place, hopefully, the week after next .
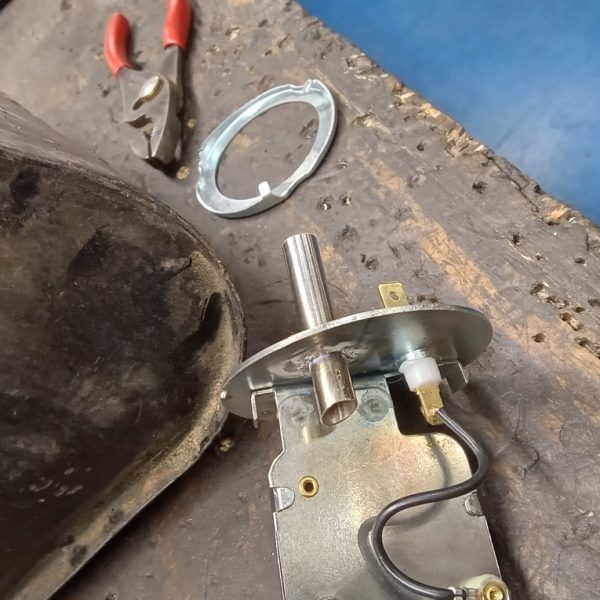
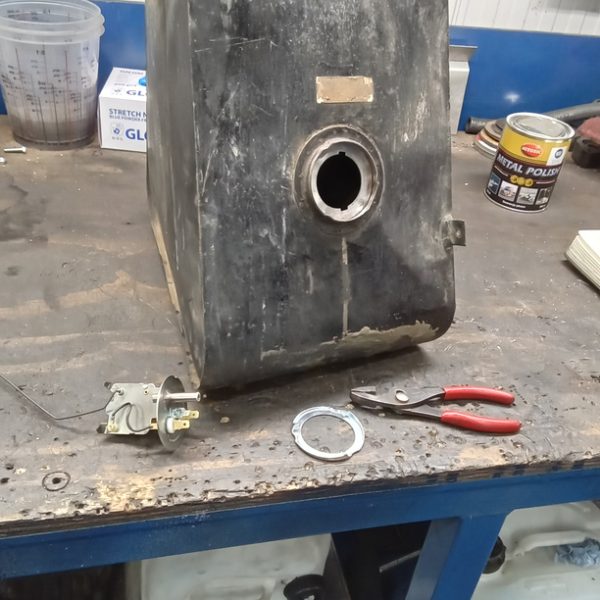
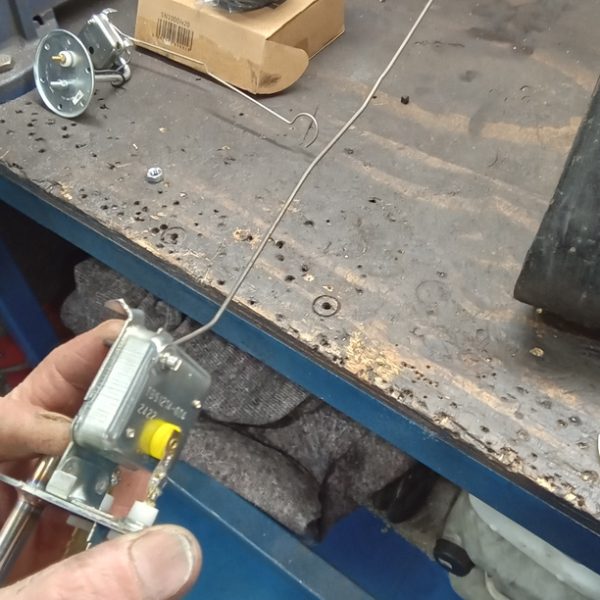
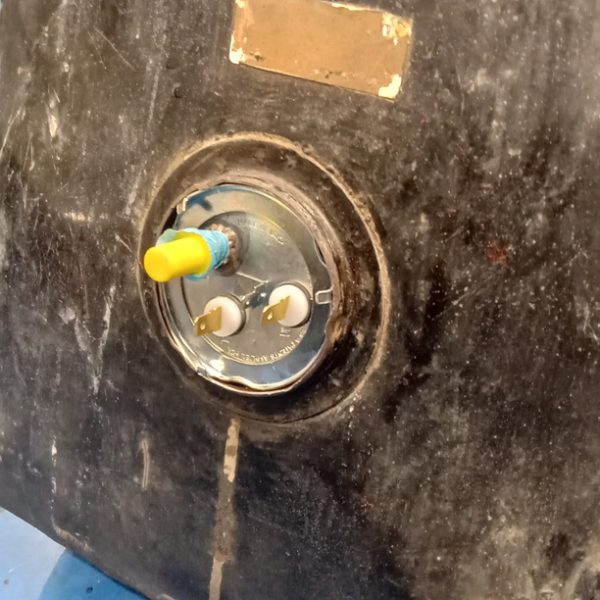
A new, modified fuel sender has been fitted into the tank. Fuel has then been added to check the integrity of sender seal and all ok.
We have fitted tank into the hole in body and aligned the bolts. All fixings have been secured
Jon has then drain the fuel out to connect fuel feed and return pipes.
The electrics were next on his list as he repaired the wiring to the fuel pump and made connections.
Checked pump operates and all ok so we have refilled with fuel.
The gauge is reading ok, 3/4 full on gauge which is accurate.
We have applied underseal in black.
Refit nearside rear wheel and torque up.
Put battery on charge.
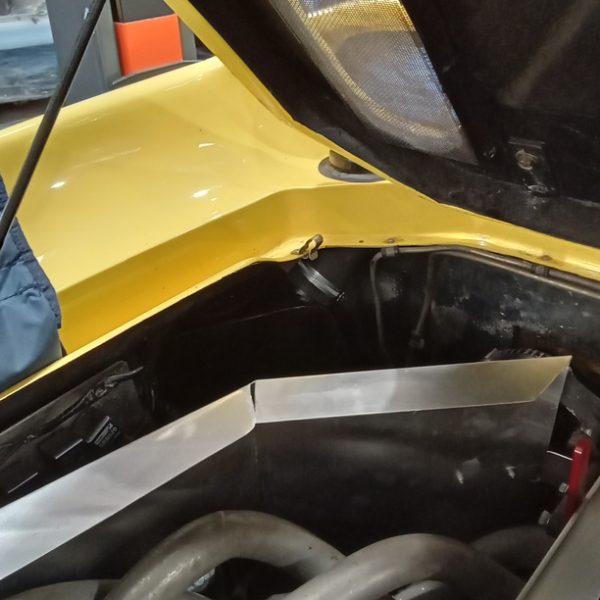
Refit engine heatshield and boot liner.
Get car off ramp and start up before carrying out a road test. The car pops and bangs under light throttle conditions but ok under hard acceleration which will need to be addressed.
Slow idle speed down on each carb equally.
A trip to DanST Performance Engineering next week to correct the running issue and hopefully ready for the competitions department!
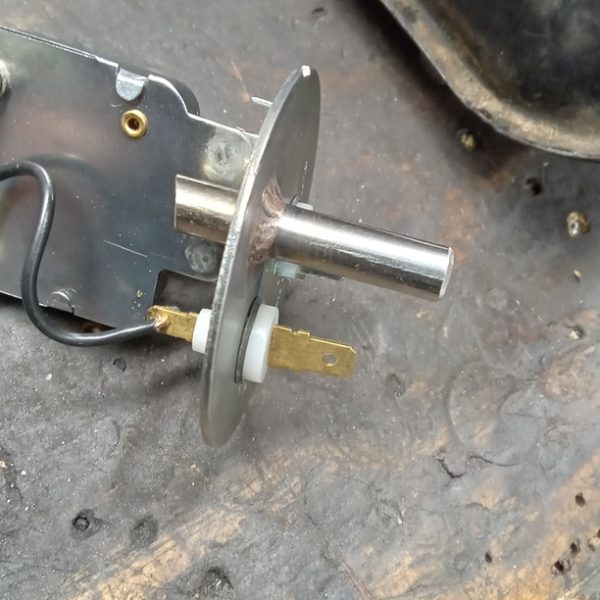
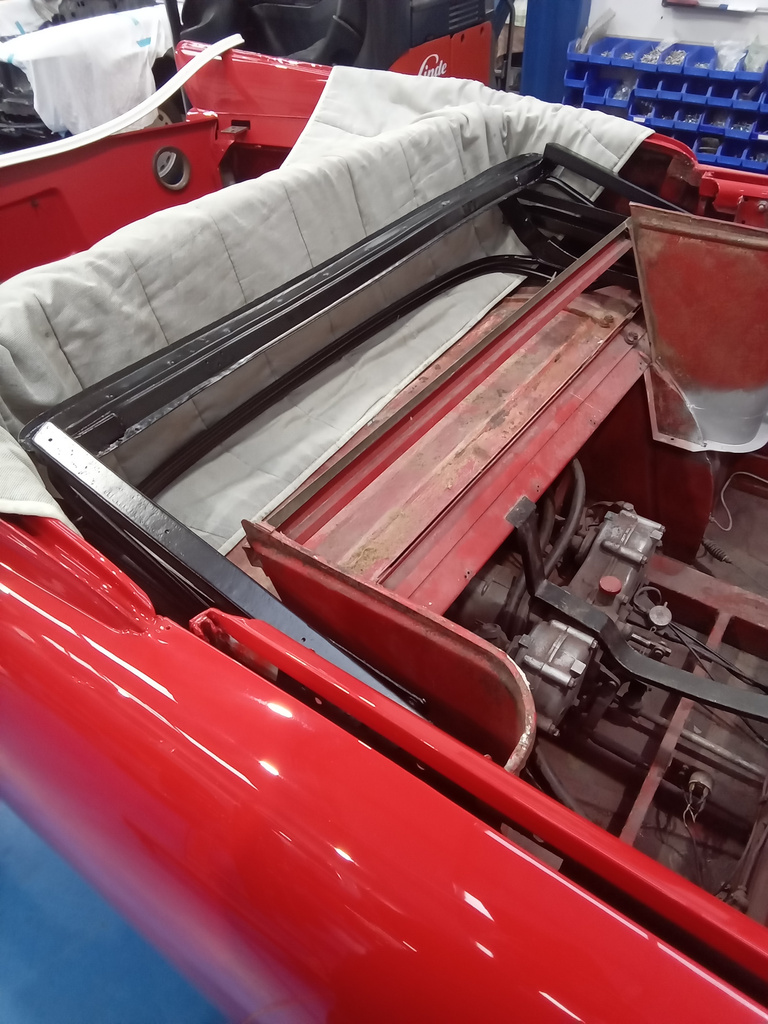
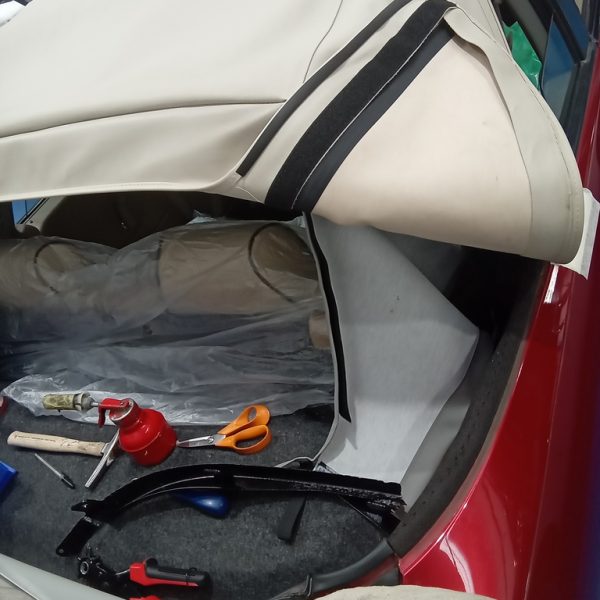
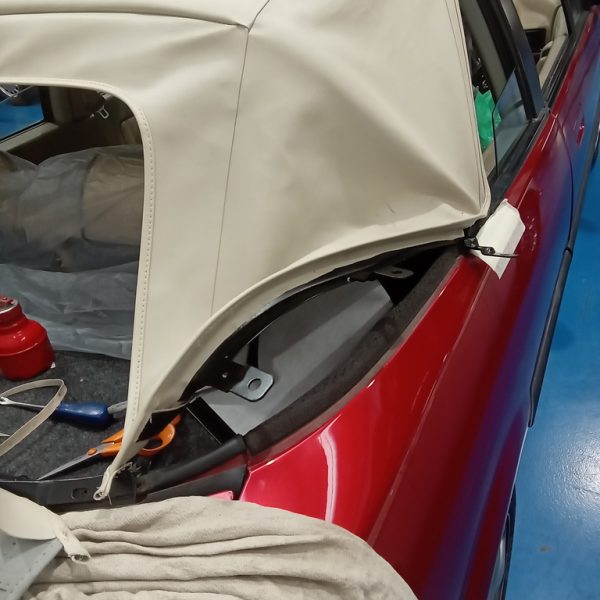
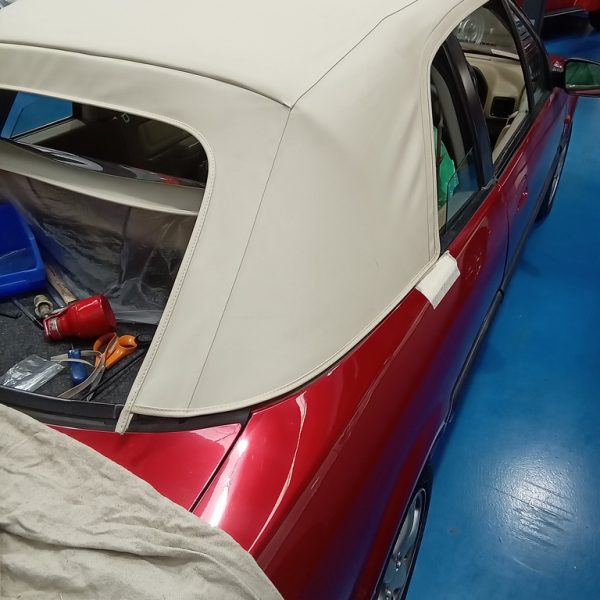
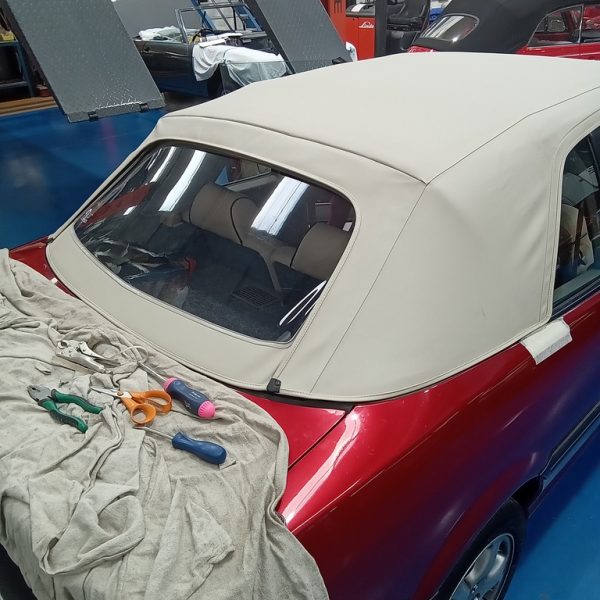
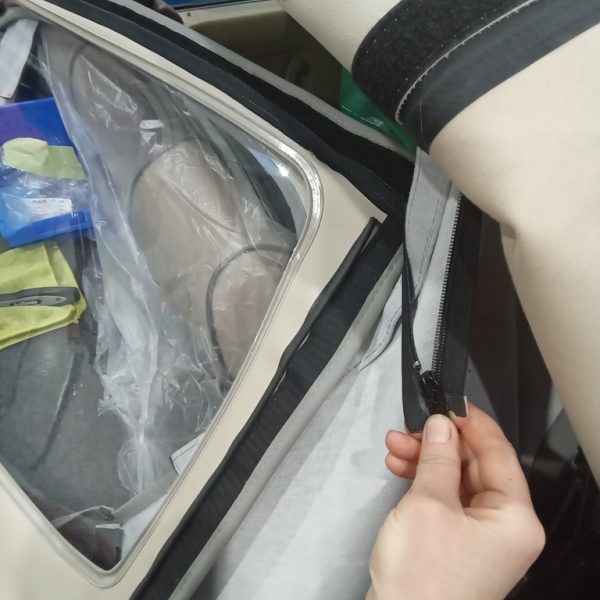
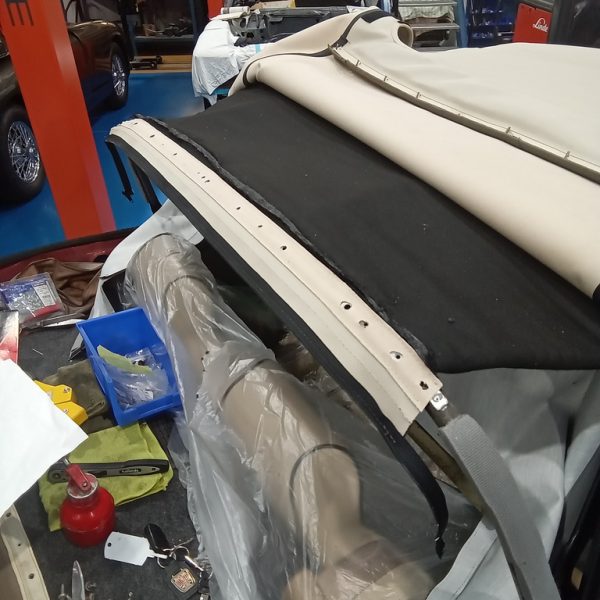
As you can see, Brian and Lydia have been working together to fit the rear edge of the inner liner to the rear bar of the frame. The zip section to the rear bar, rear window have now been fitted and the rubber seal to the bottom of window. The rubber seal to rear edge of the car has now been bolted in.
The cover was too tight so we have adjusted the front edge of the hood cover, glued in the flap to the frame and fitted metal bars into the rear side edges of hood cover. The cover along the rear bar of the frame has been adjusted and we’ll leave the cover on overnight to stretch.
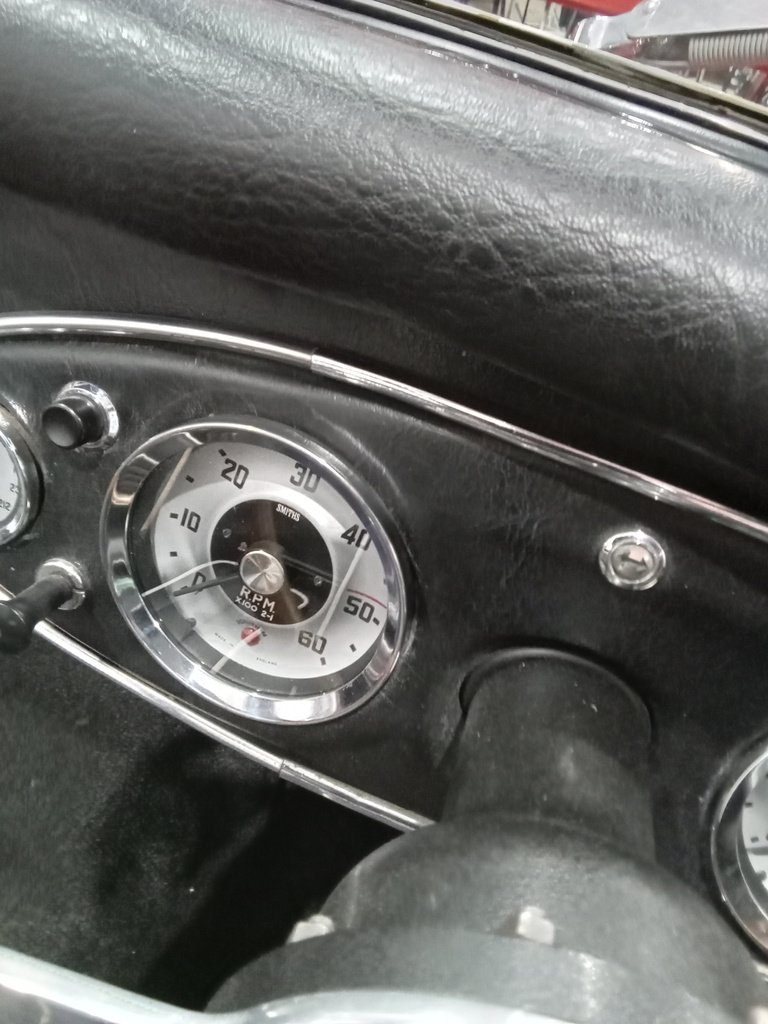
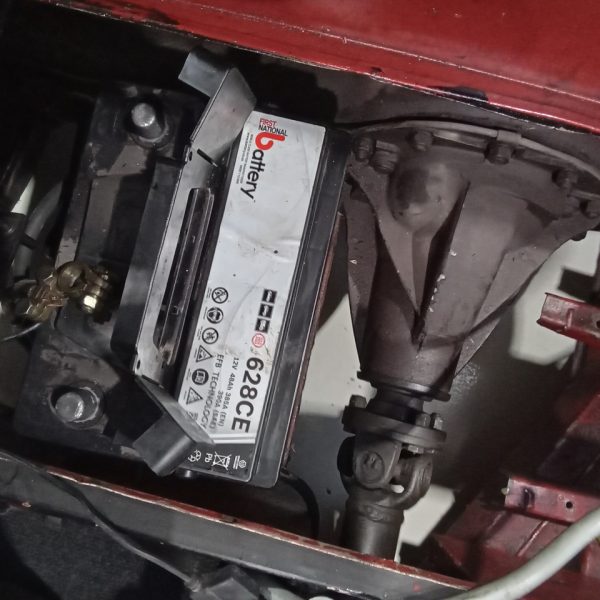
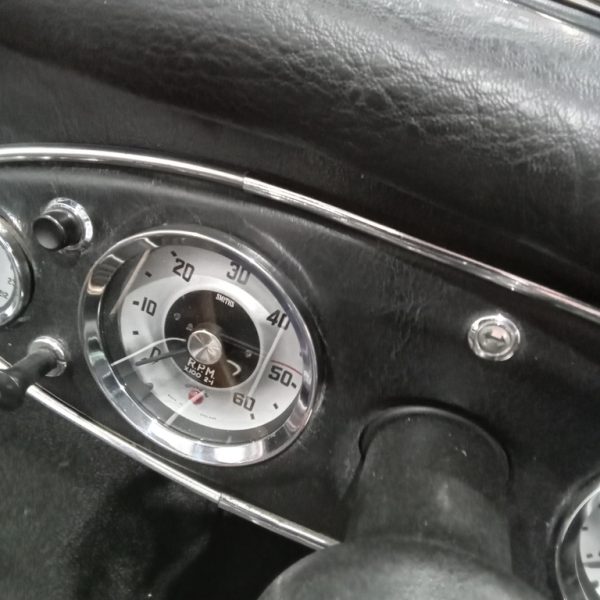
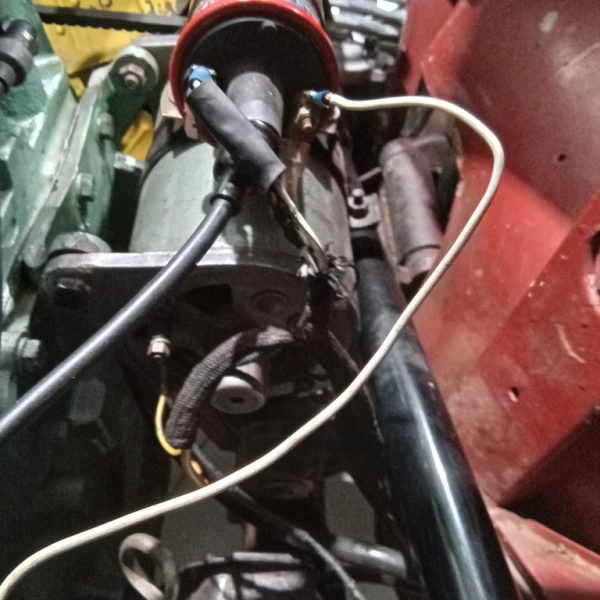
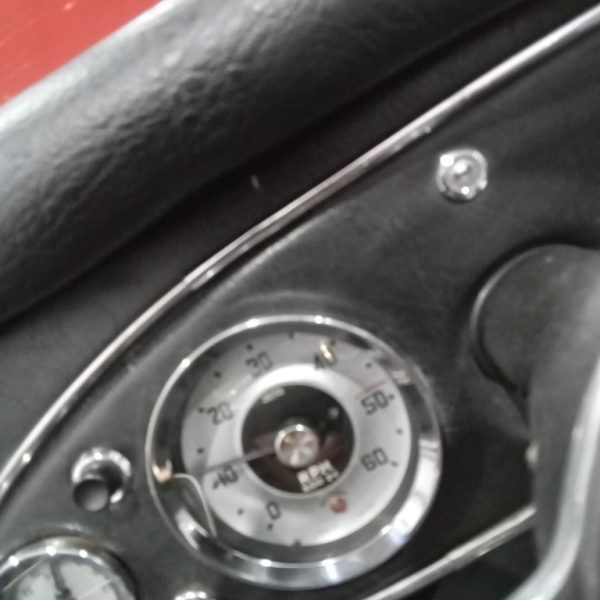
John has fitted an electronic rev counter to our Austin Healey and rewired it from positive earth to negative earth.
Changing the wiring on the fuel pump and also the battery.
“I love classic cars and perusing Bridge Classic Cars site. I grew up in the sixties when iconic cars were manufactured so I appreciate what Bridge Classic Cars do. They are restoring and keeping these fantastic cars from disappearing and giving the opportunity to own one for little money, well done.”
Jon is going through the final few tasks on our VW Beetle before we can take the car back home within the next couple of weeks.
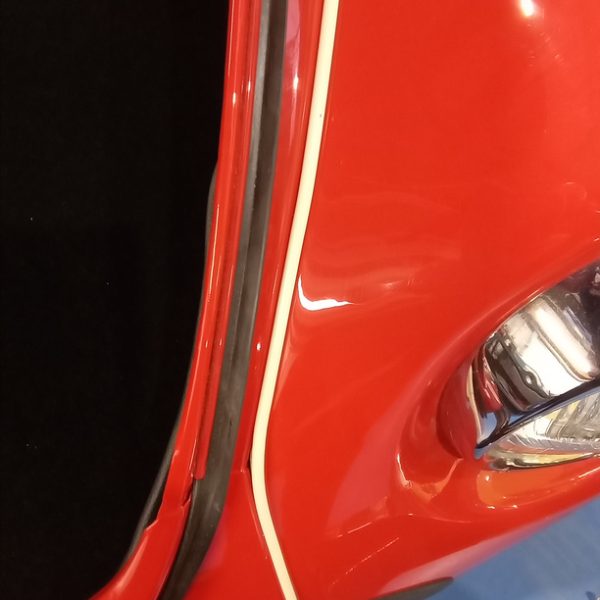
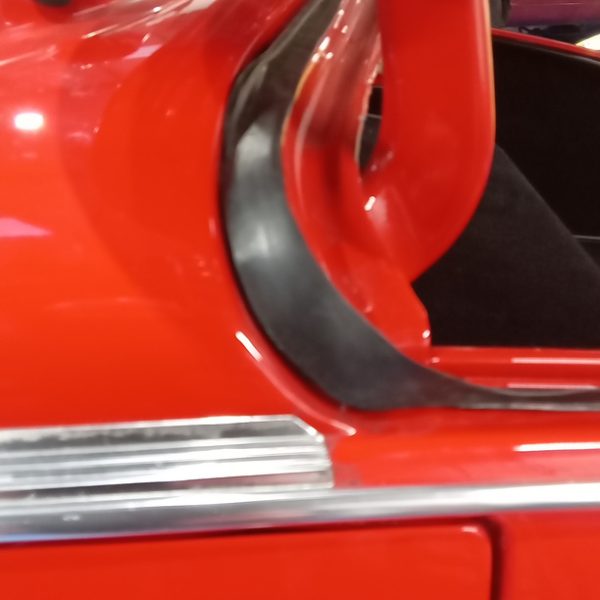
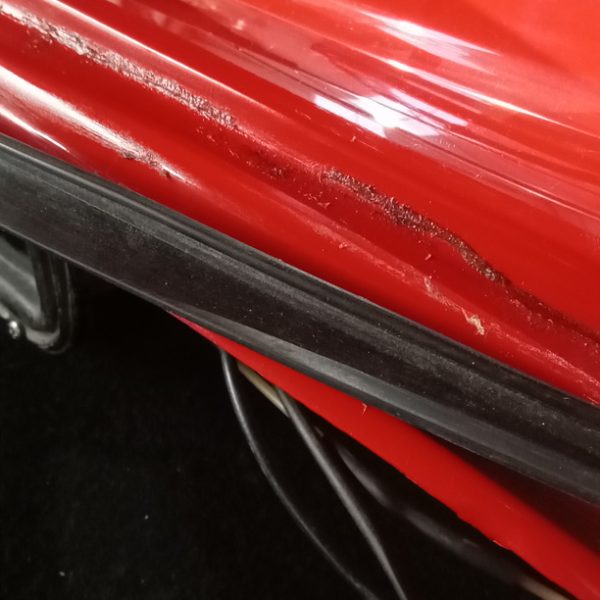
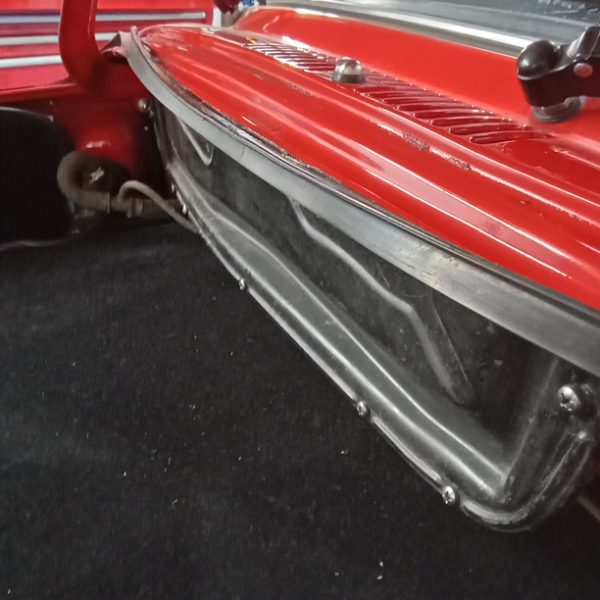
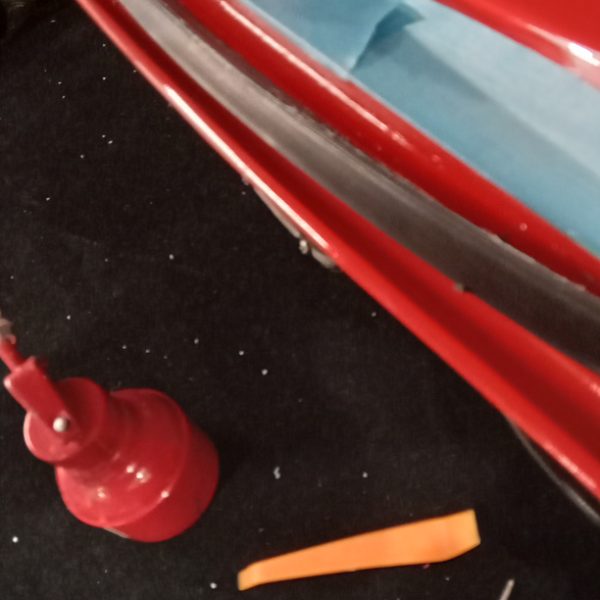
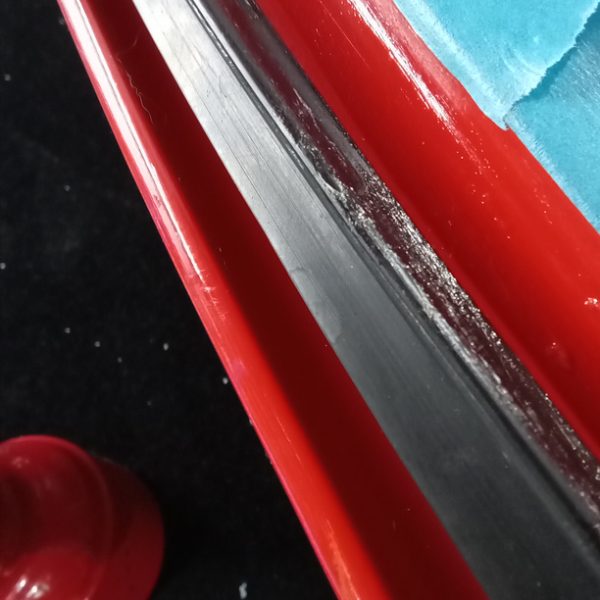
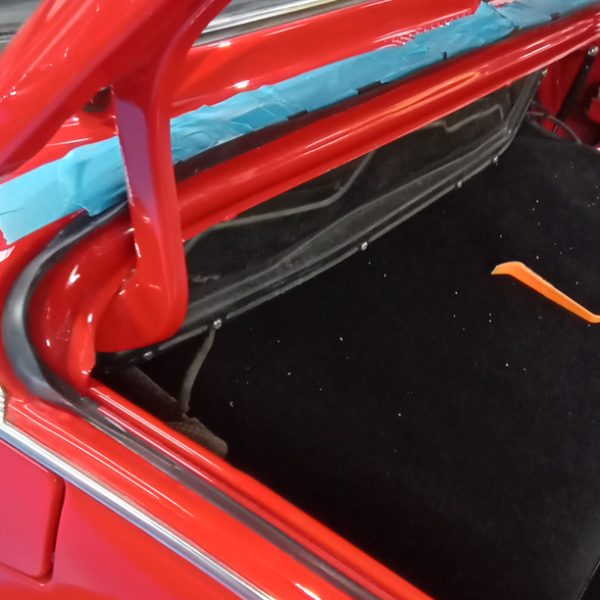
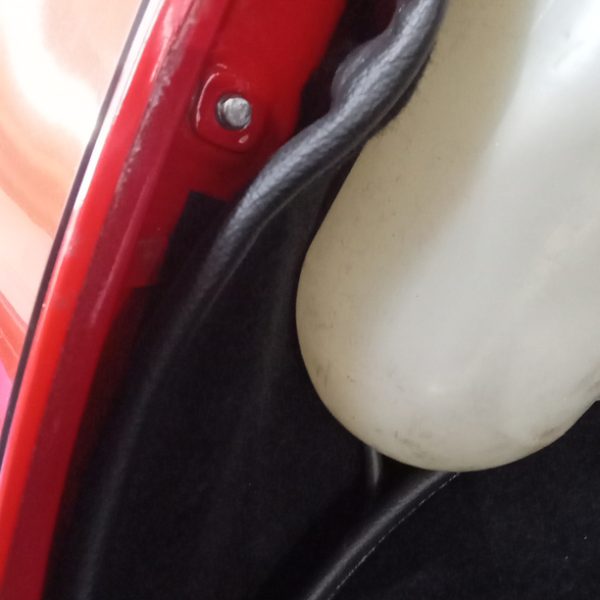
Brian has fitted up the Transit Mk2 with new rubber seals. Help in today’s Storm Ciaran weather!
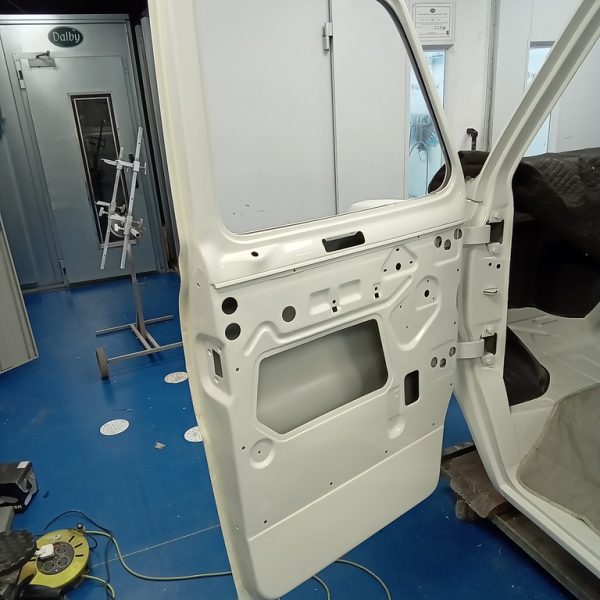
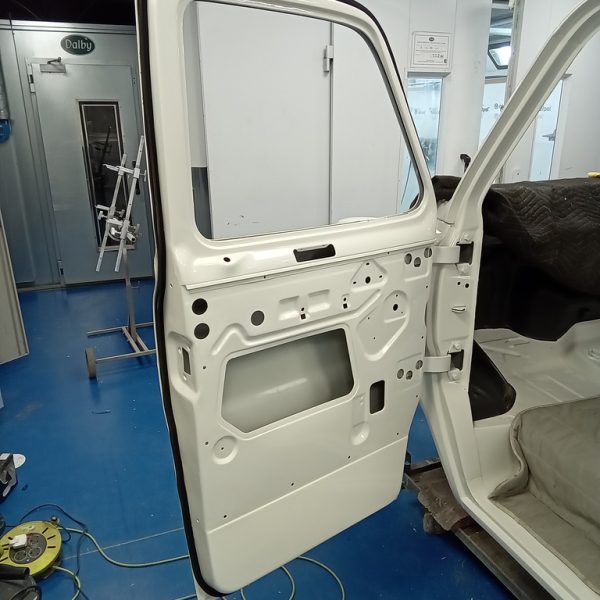
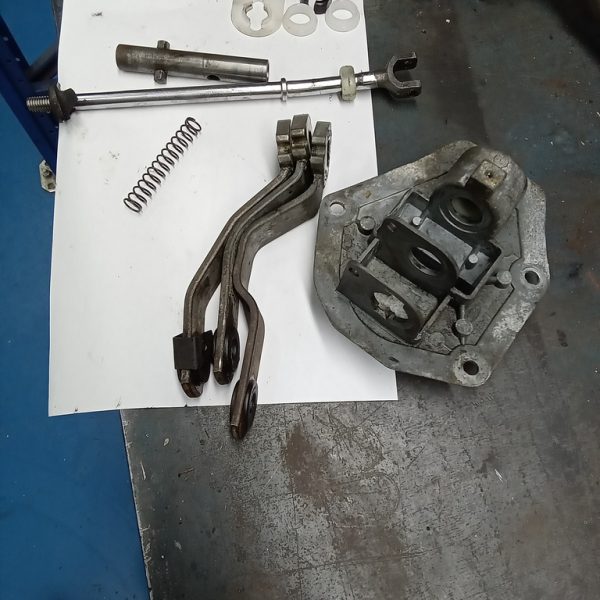
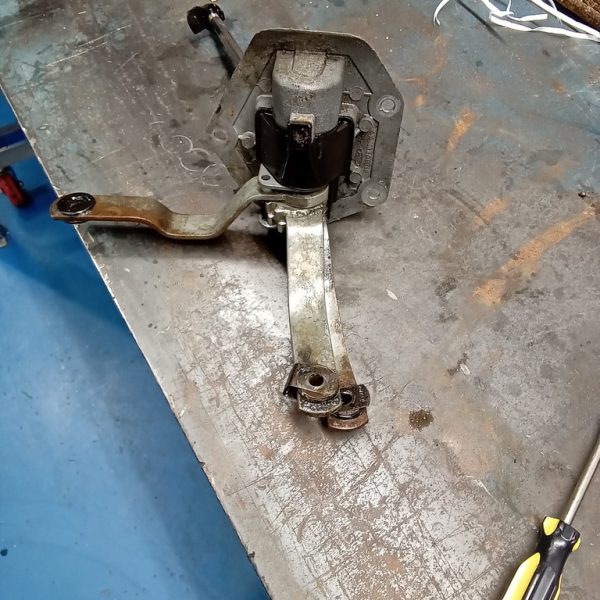
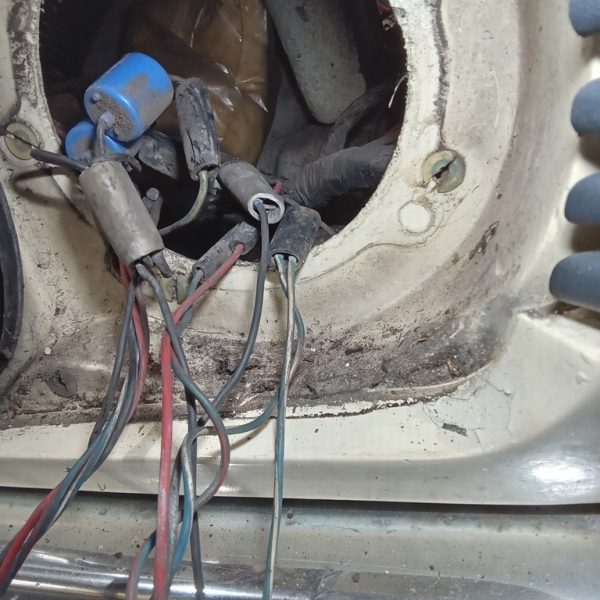
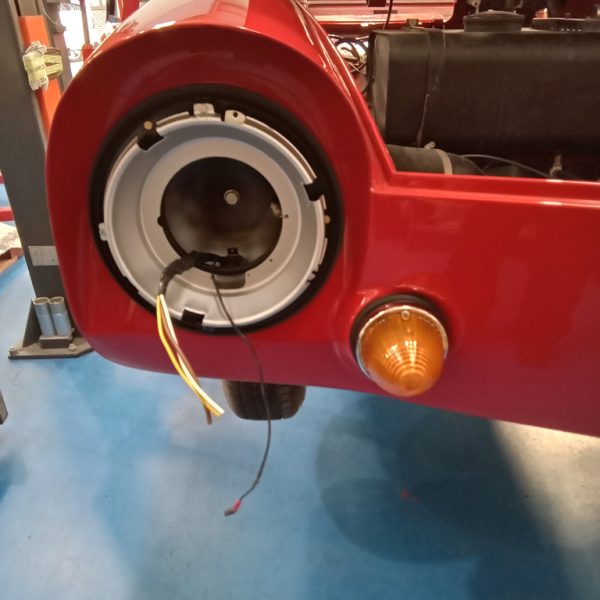
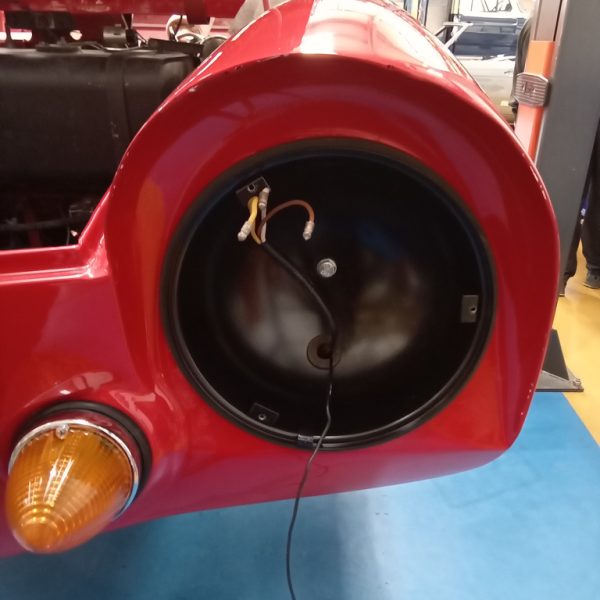
Steve has removed the gear linkage, stripped it down and cleaned. He is now for new bushes to arrive to be fitted. He has then moved on to cleaning up and fixing the headlamp wiring connectors where they have corroded and worn away.
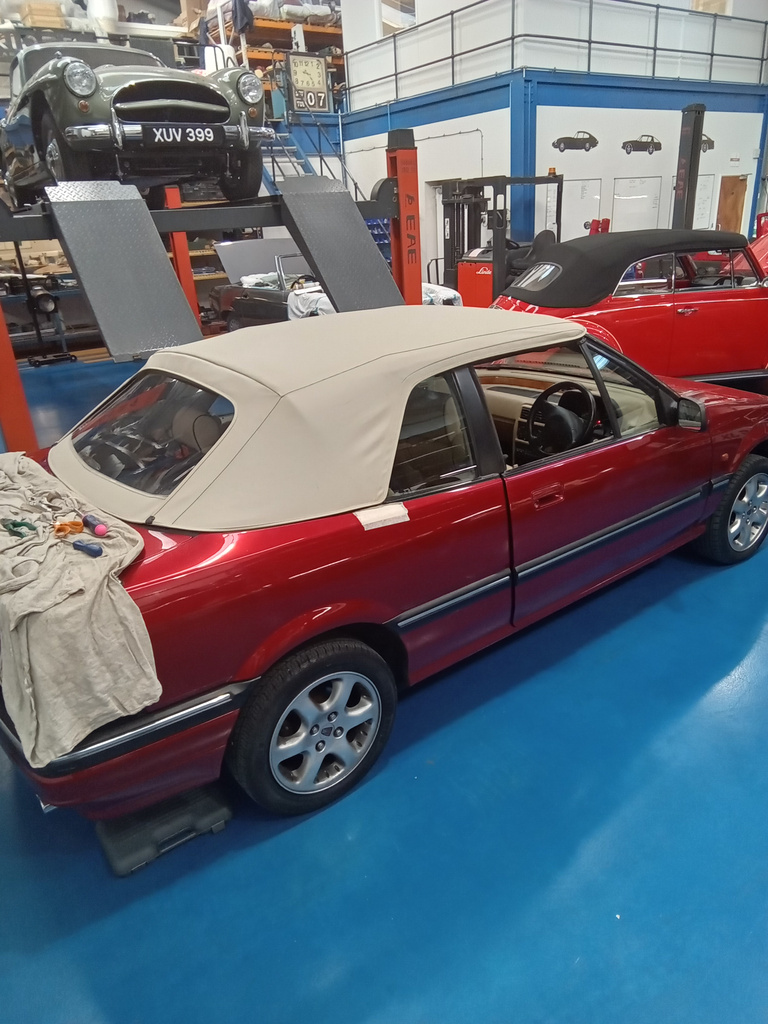
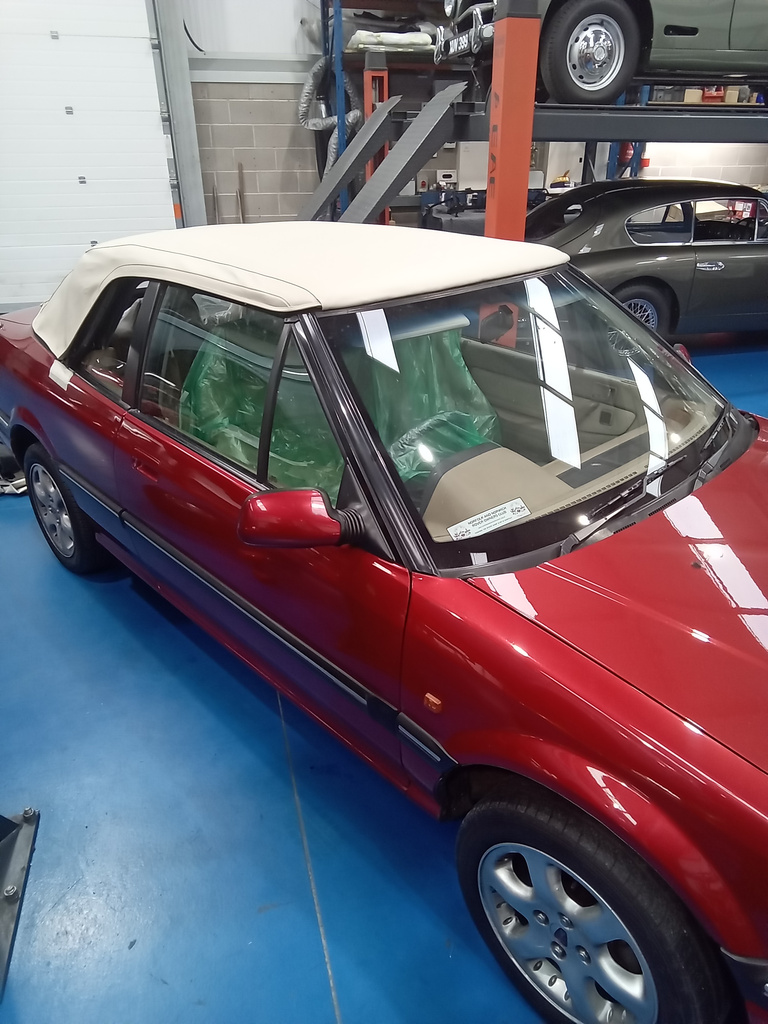
The new roof is progressing well on our 1995 Rover 216 Cabriolet. Brian has been busy glueing headliner to the front edge of the roof frame.

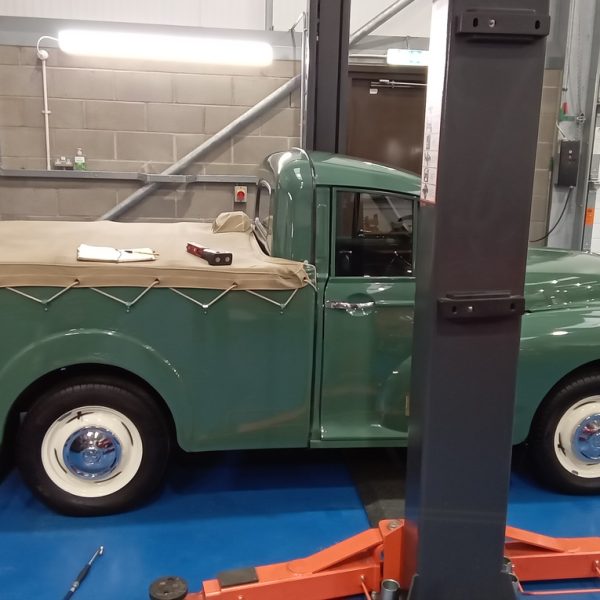
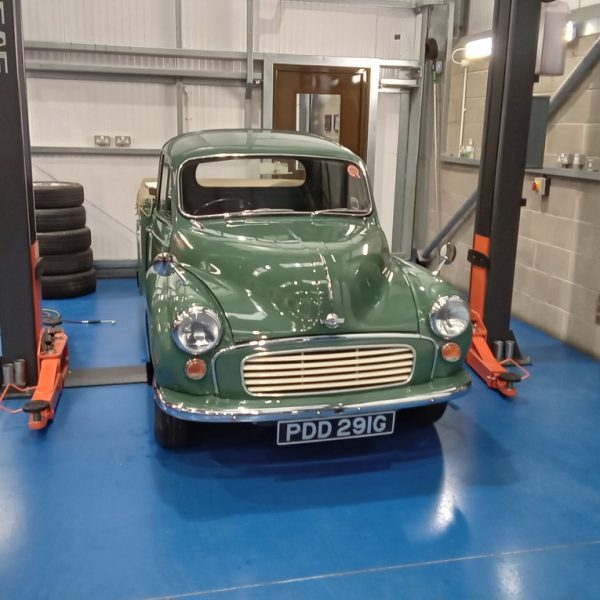
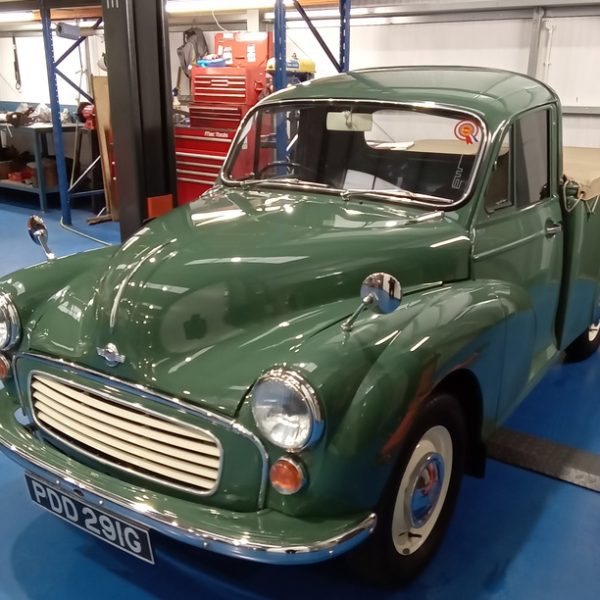
Jon is now carrying out repairs whilst inspecting our beautiful 1968 Morris 1000 Pickup. This is all in preparation for Molly and the competition team to take control for filming and marketing.
Having been previously restored by the experts at Charles Ware Restoration, the world renowned Morris Minor specialists we don’t expect to find anything too serious to rectofy.
All levels are ok.
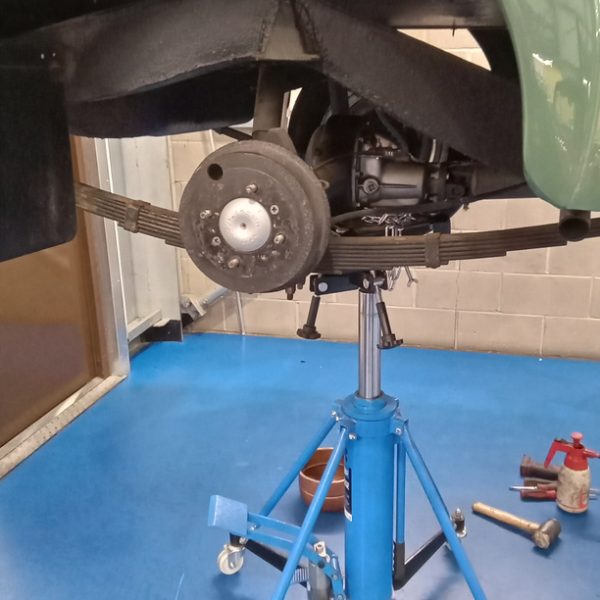
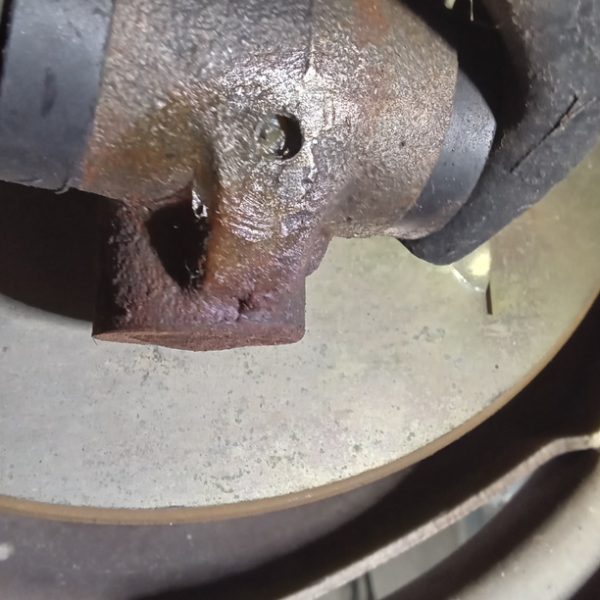
We have stripped, cleaned and inspected the brakes. The nearside rear has now been freed off, de-lipped the drums, refitted and adjusted.
All points have been greased and Jon has fitted new nipples to the nearside front trunion.
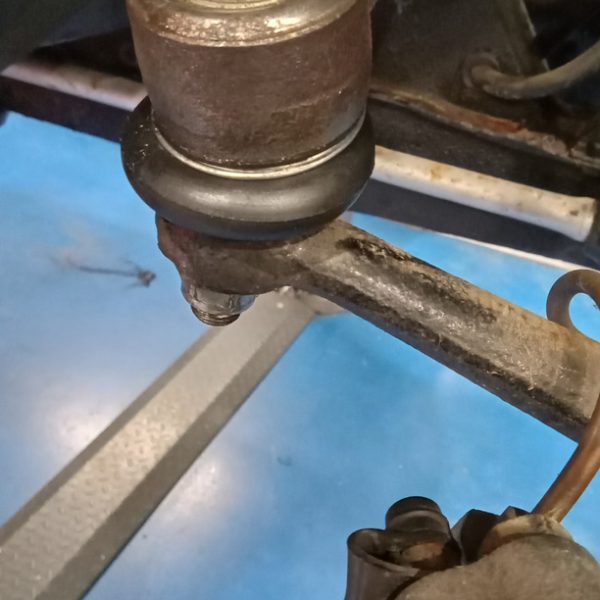
Strip and fit new nearside track rod end rubber. Glued the scuttle panel rubber seal in place. The grommets have been fitted to the wiring through the nearside bulk head.
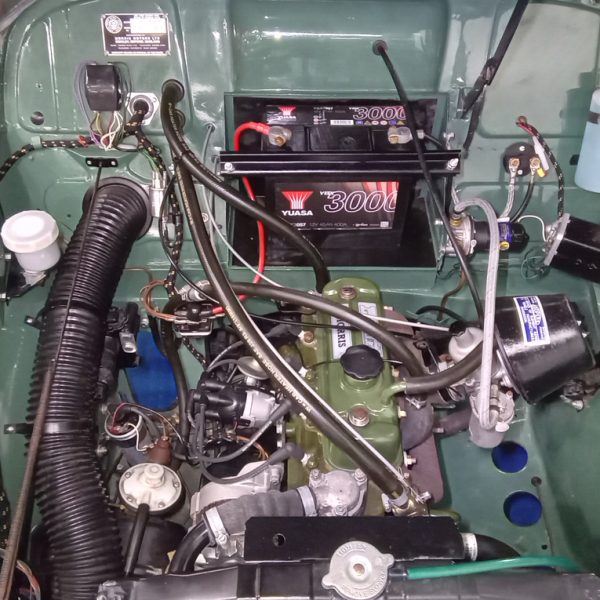
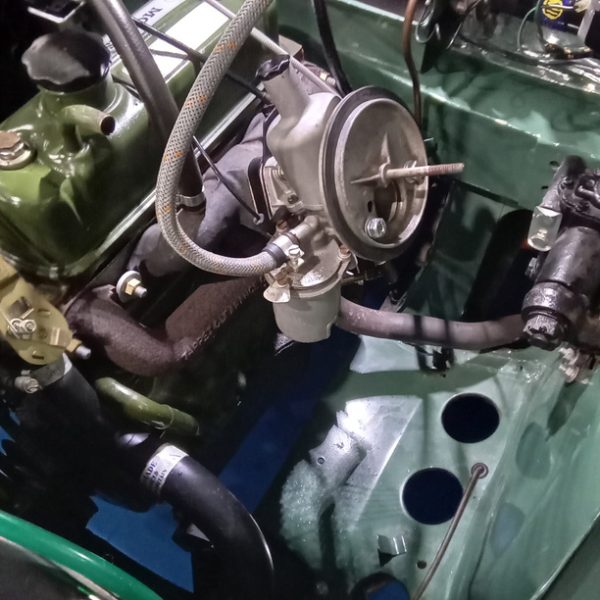
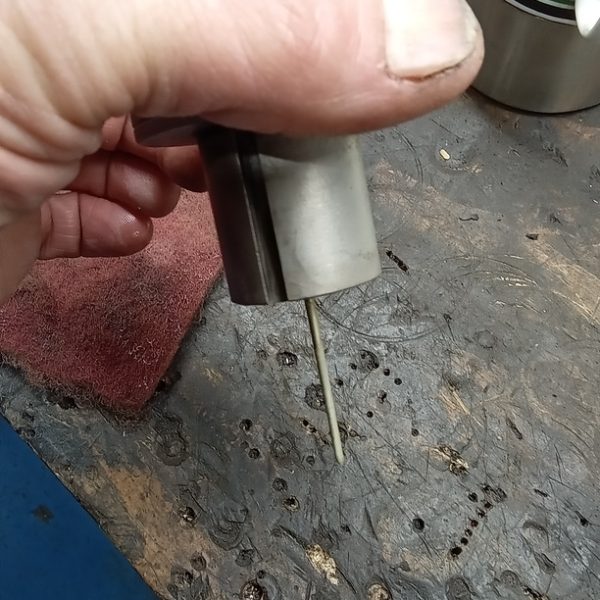
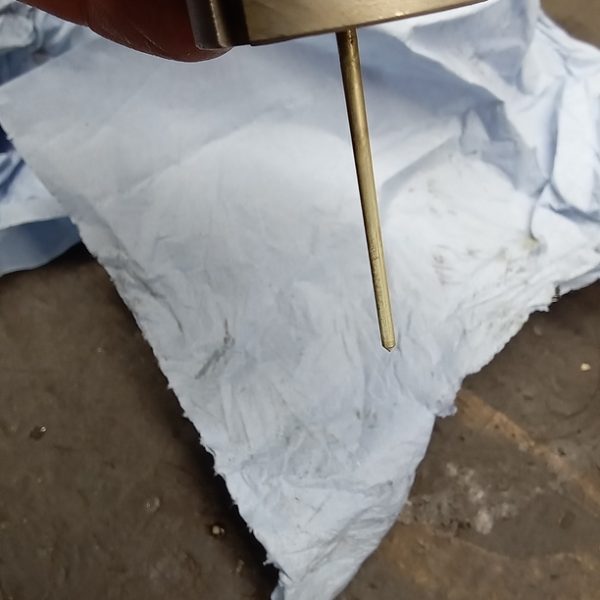
The air filter have been removed so we can look into the rich running issue. Jon found the choke cable caught up not allowing the jet tube to return fully. We have remove piston and cleaned along with the needle. We have also fitted a new choke mechanism before operating a few times via choke lever. Tested and it all runs ok.
New tyres to come and a good road test.
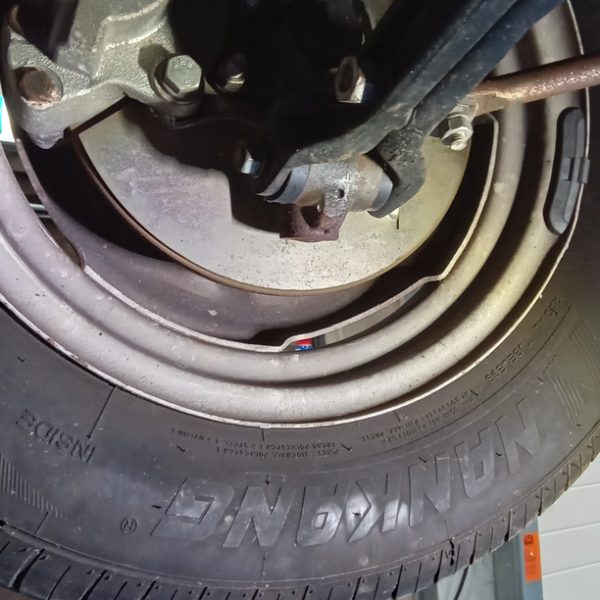
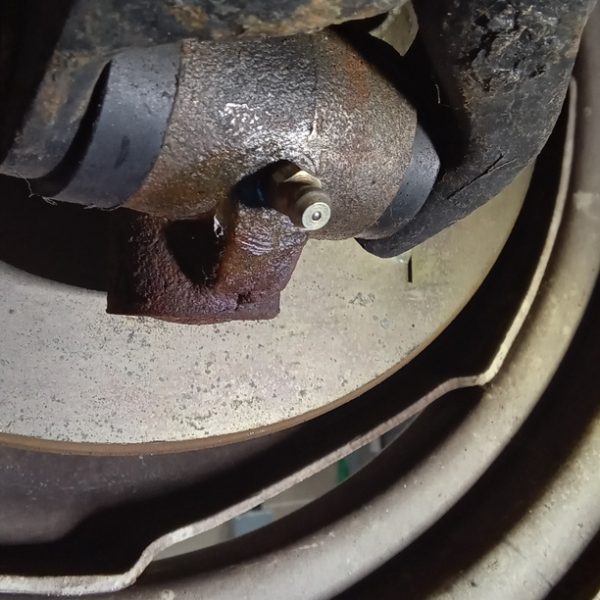
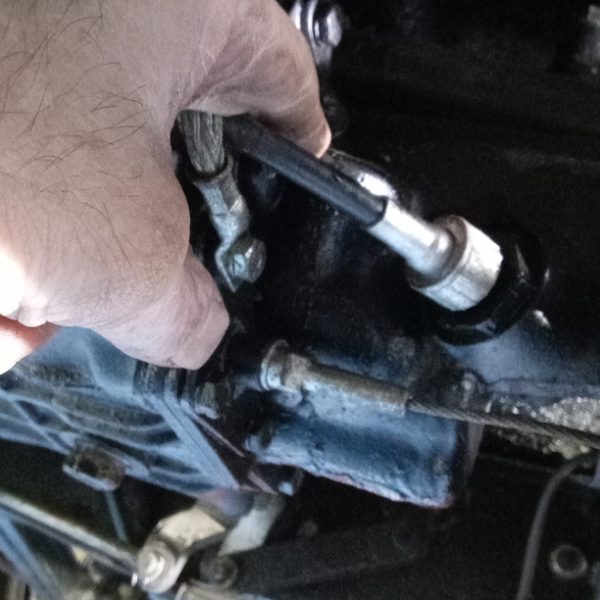
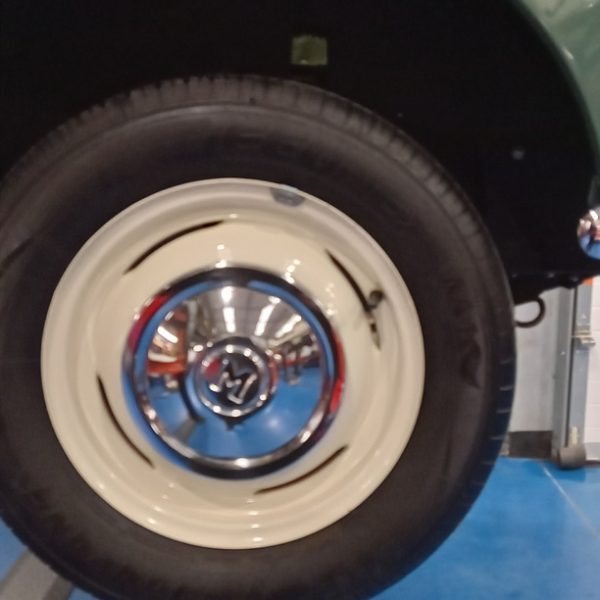
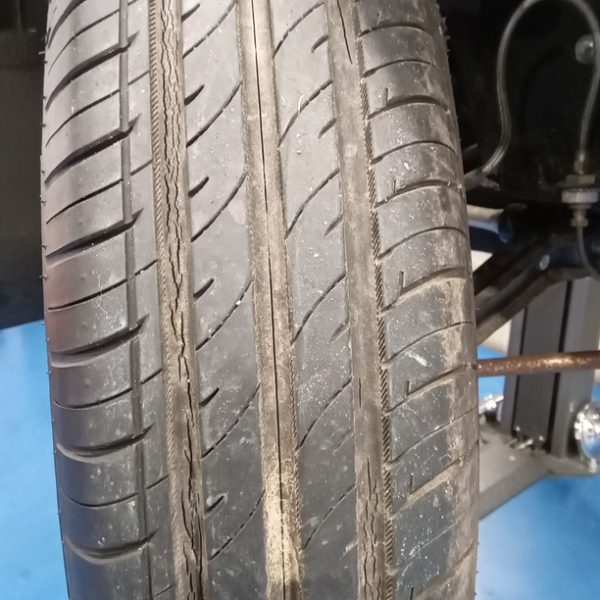
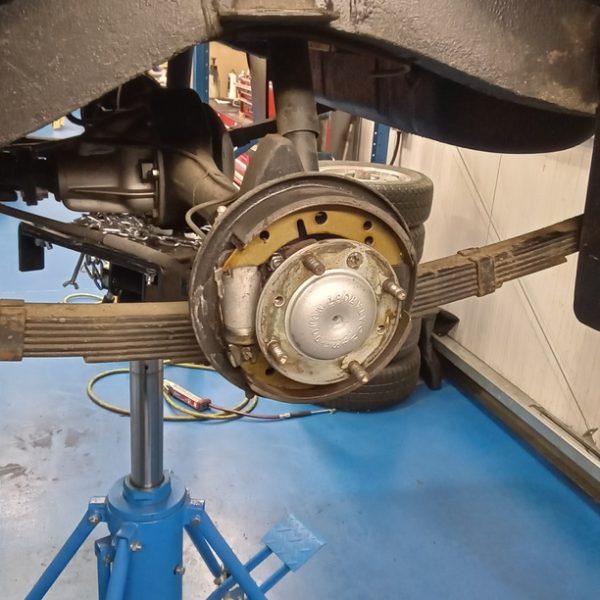
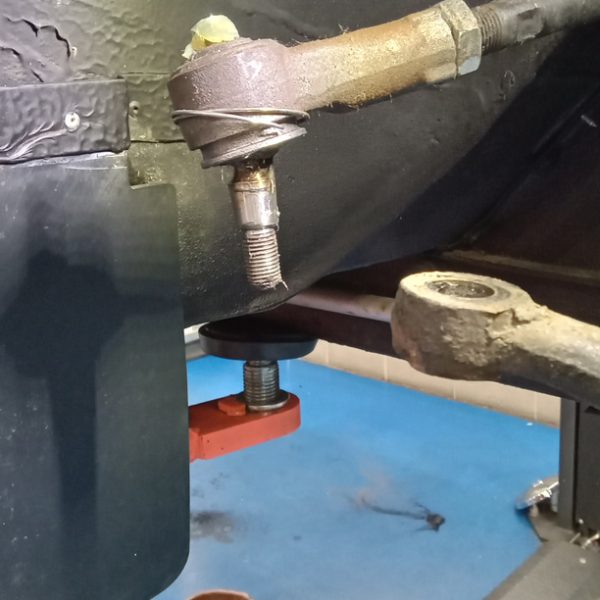
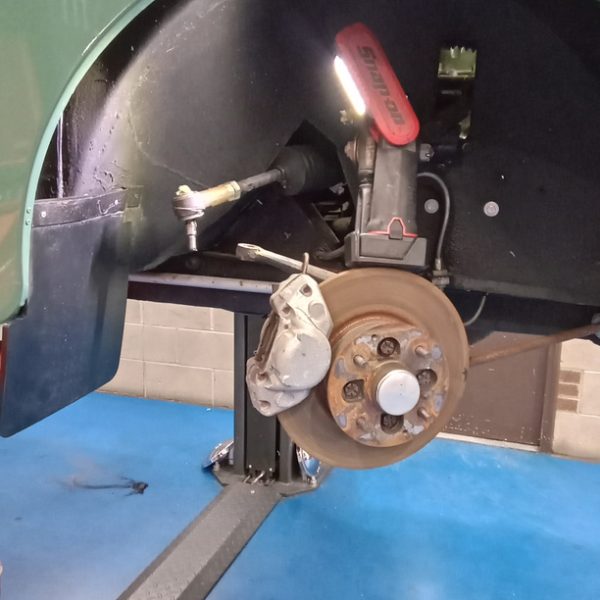
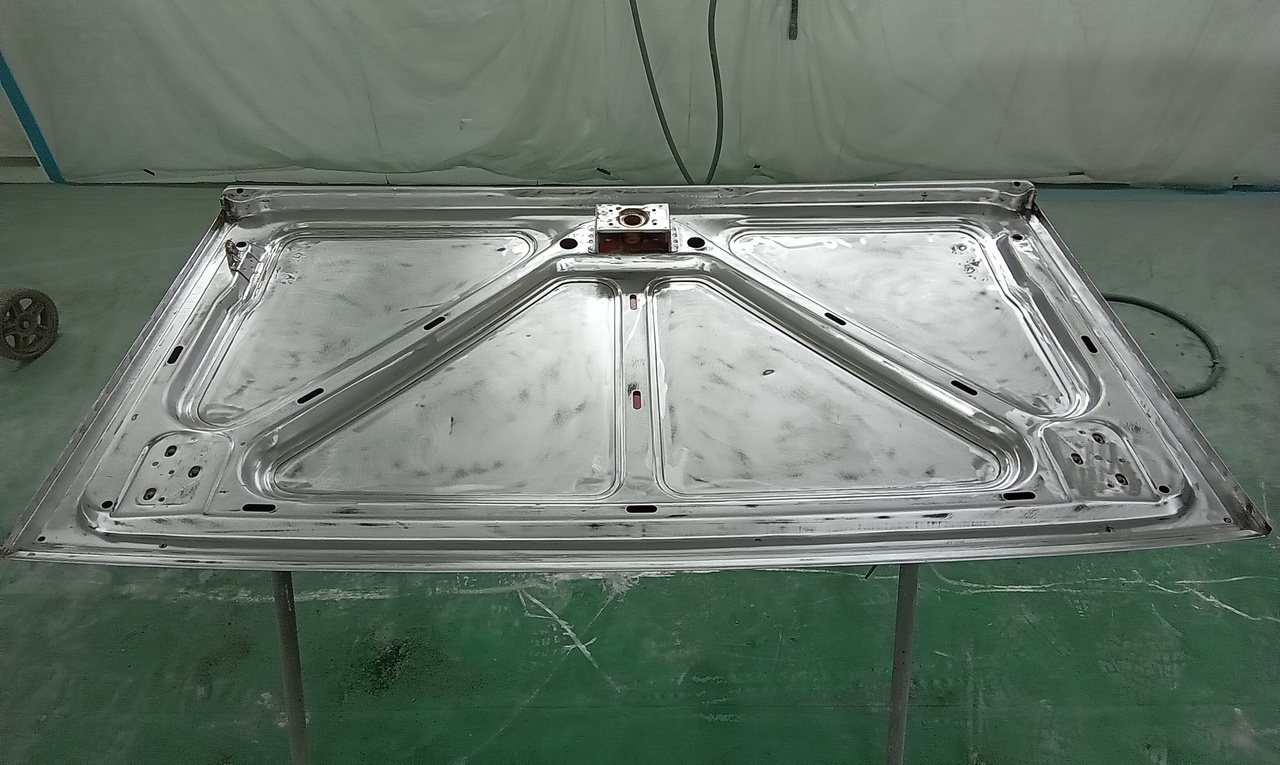
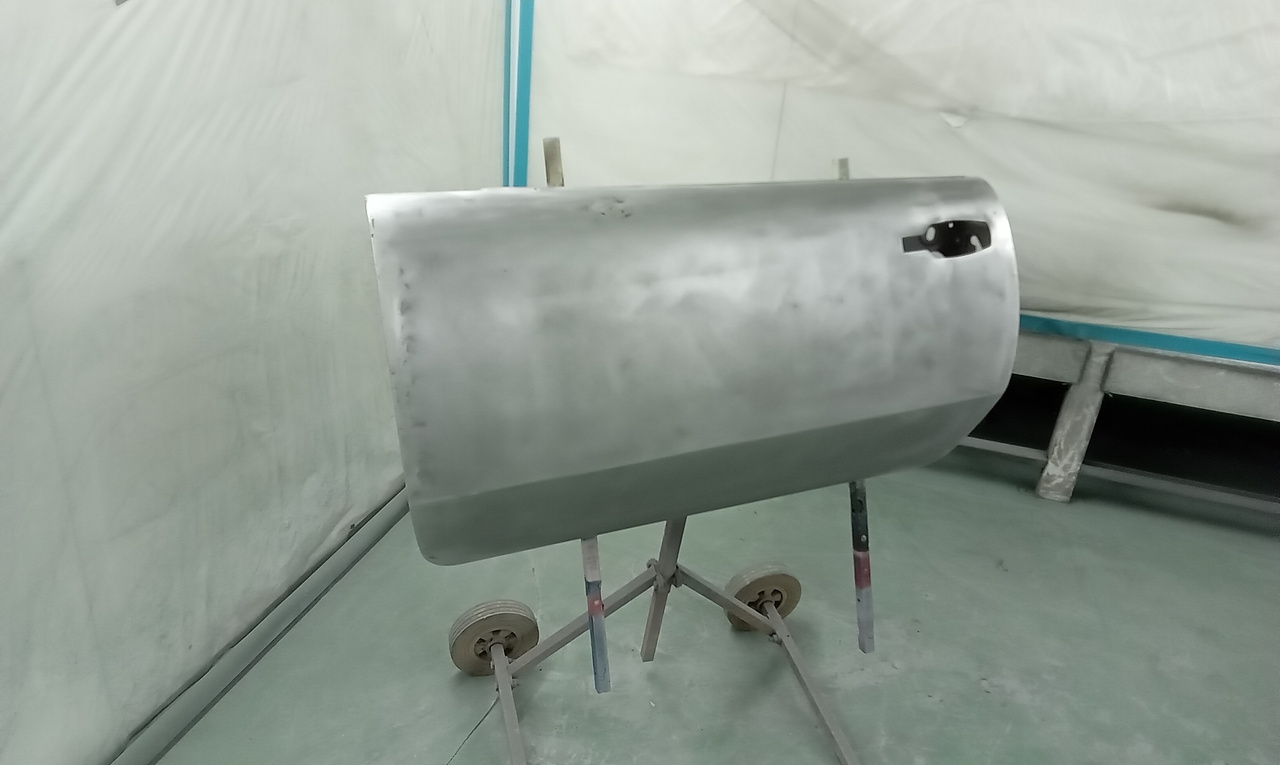
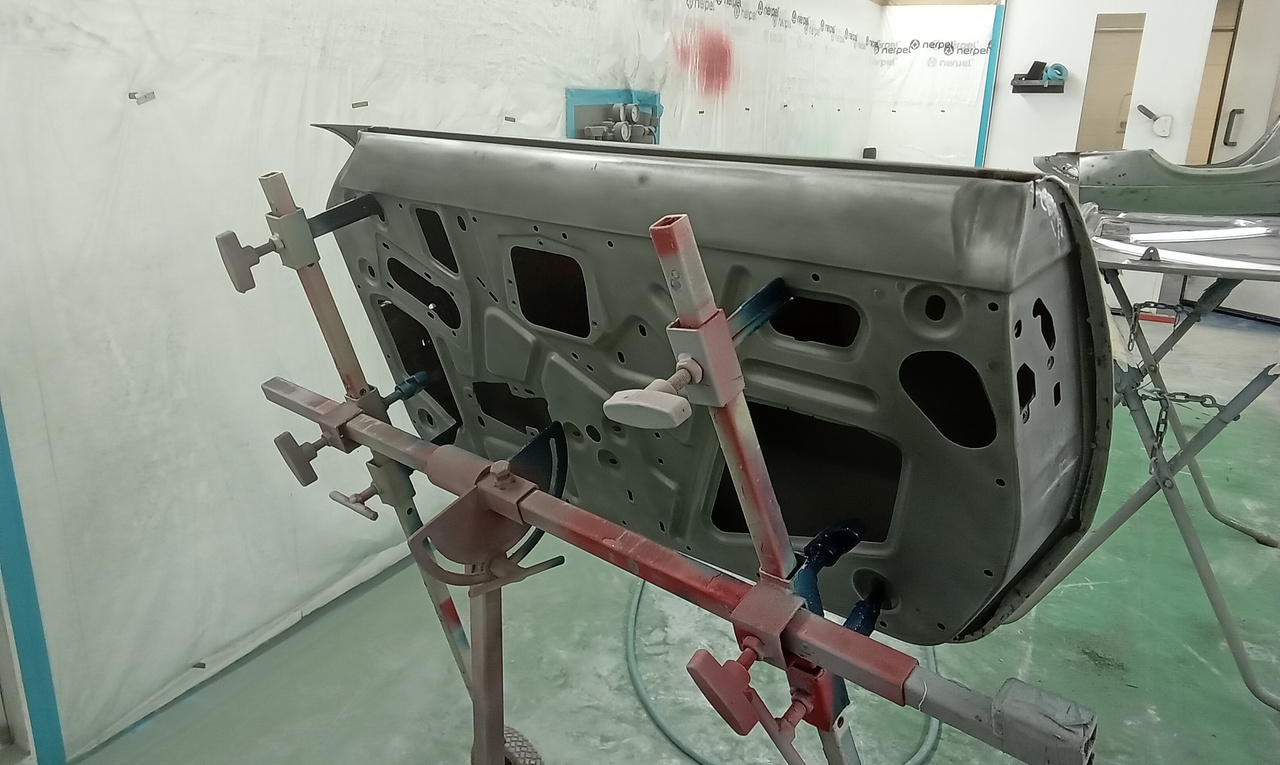
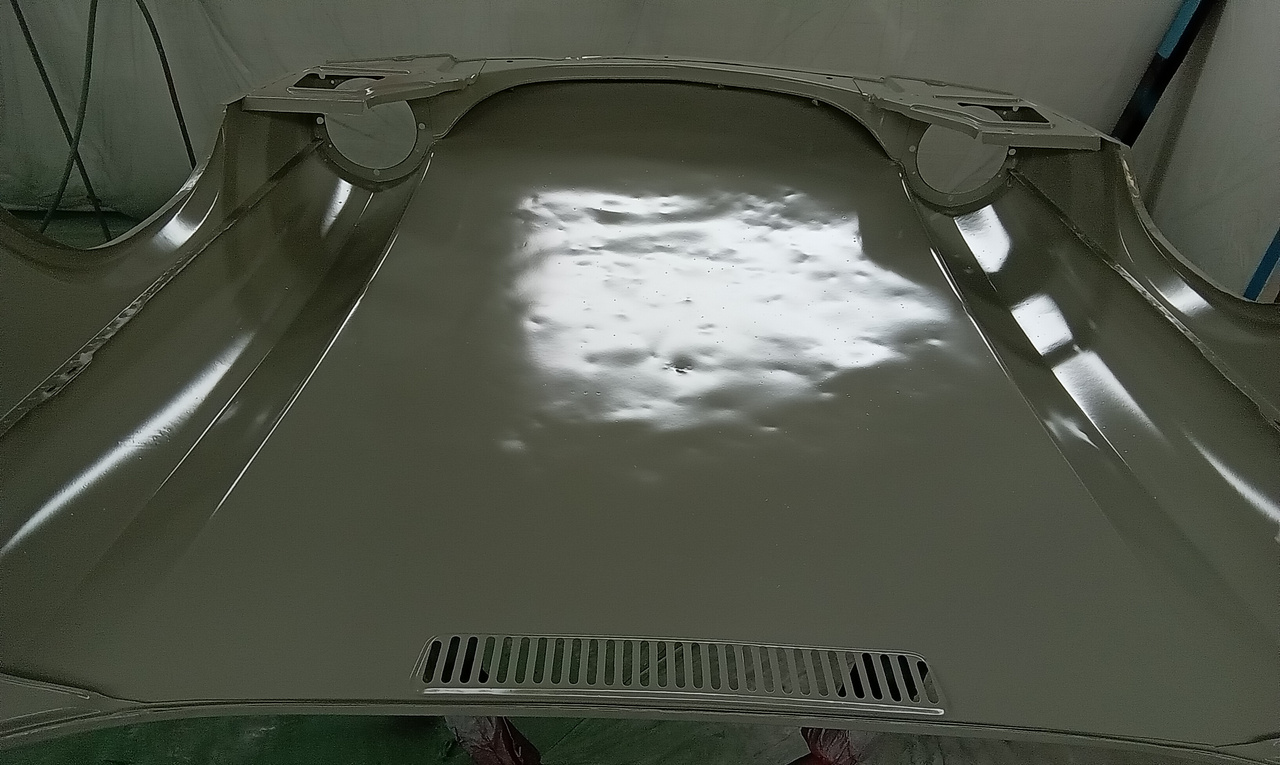
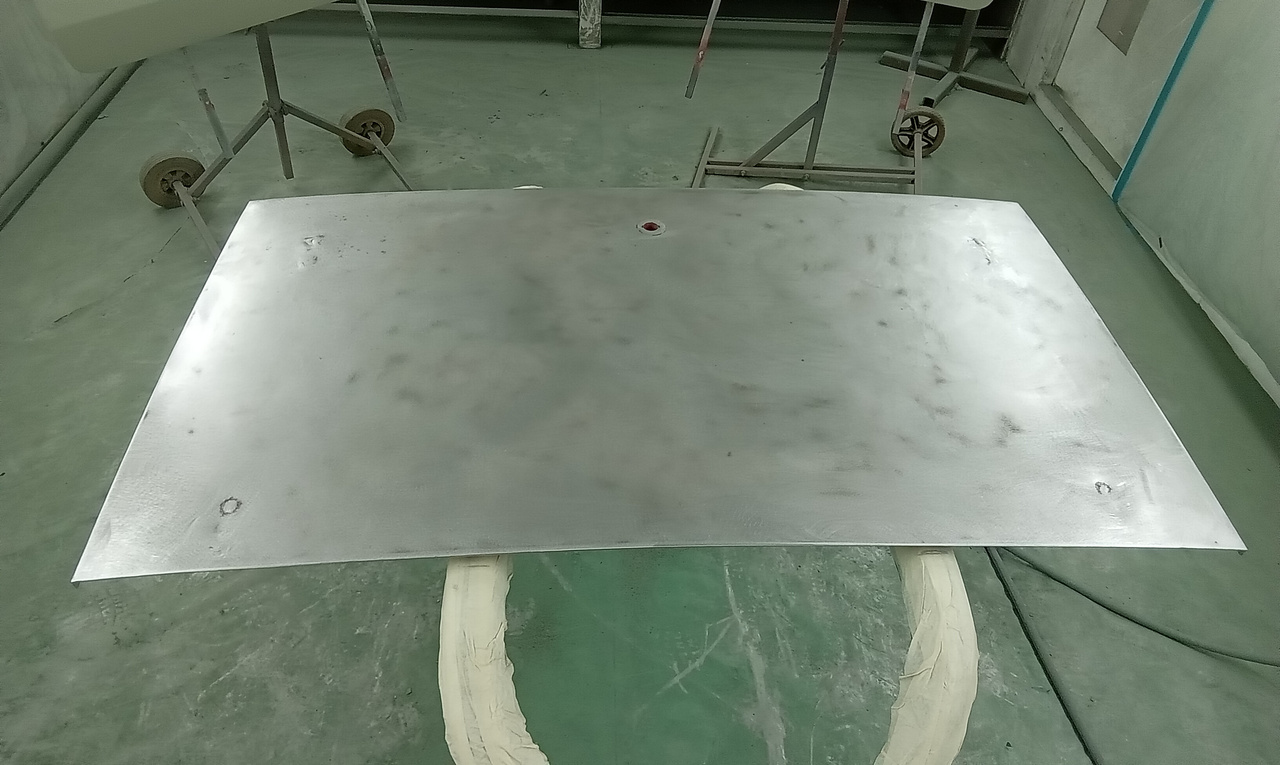
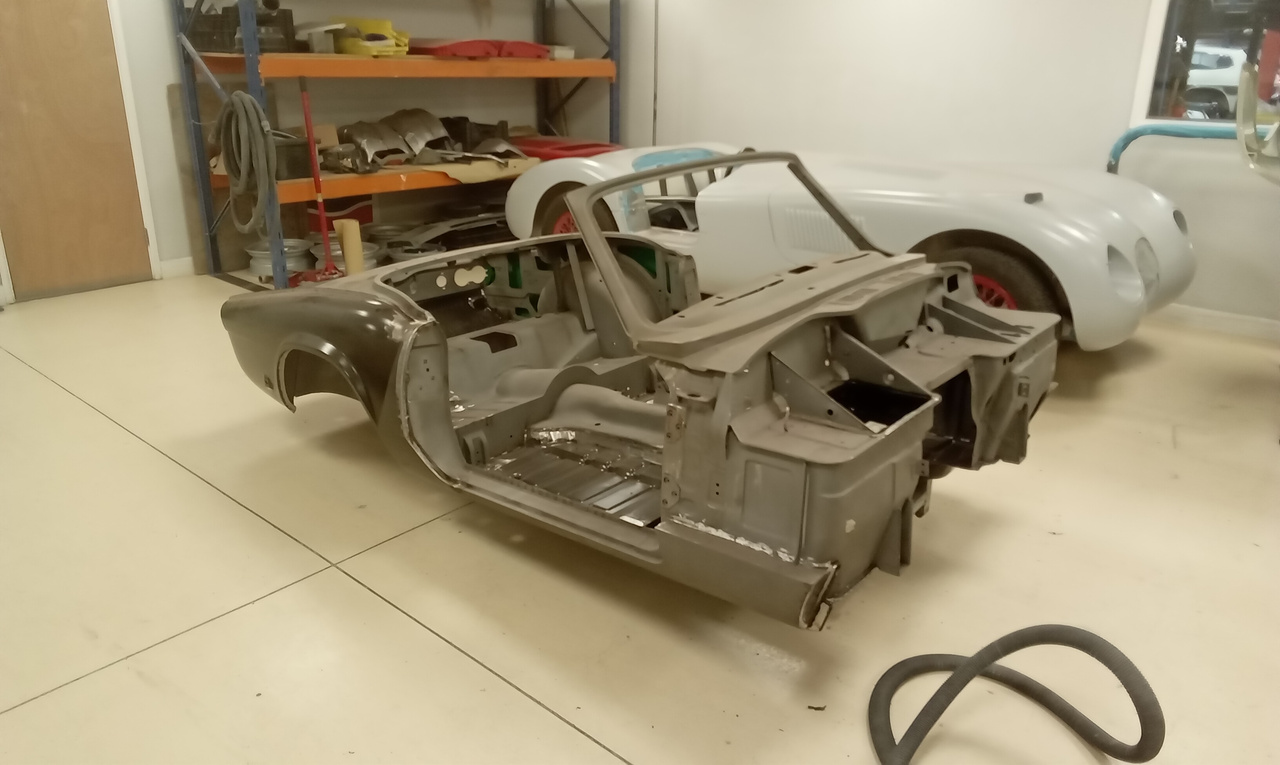
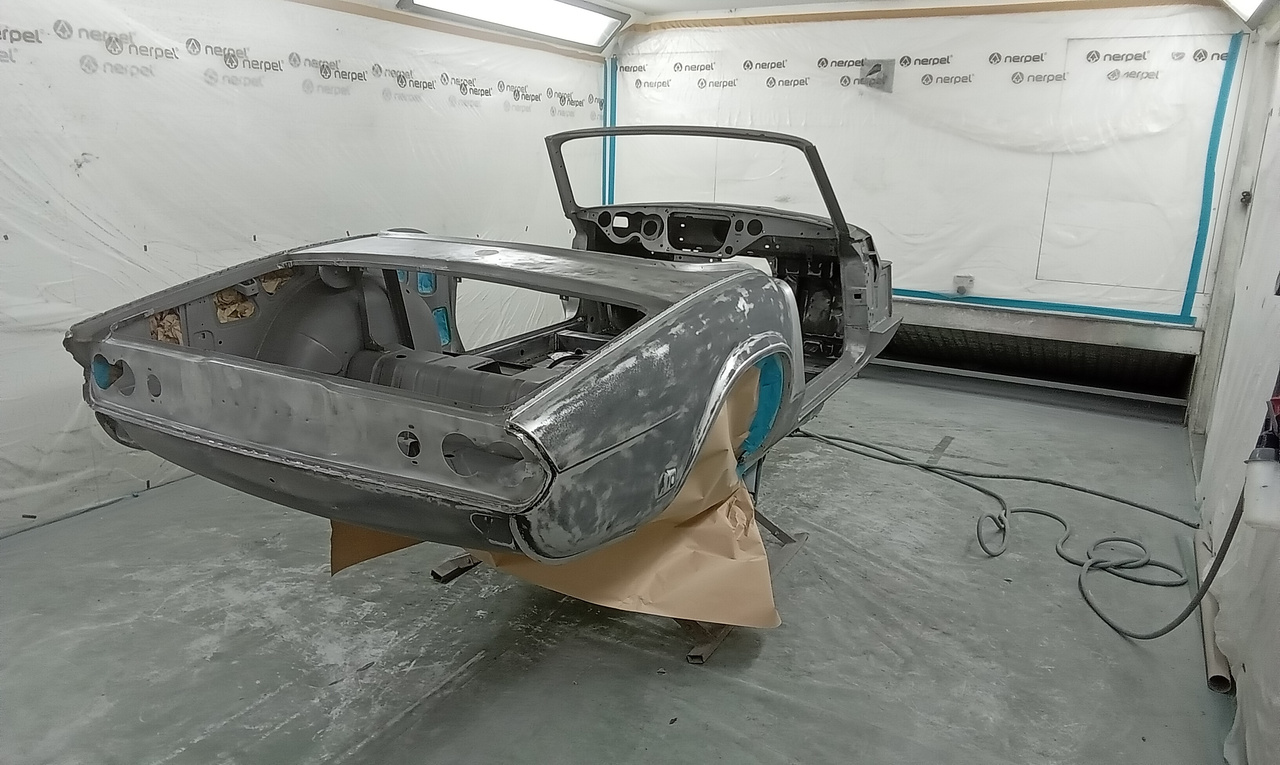
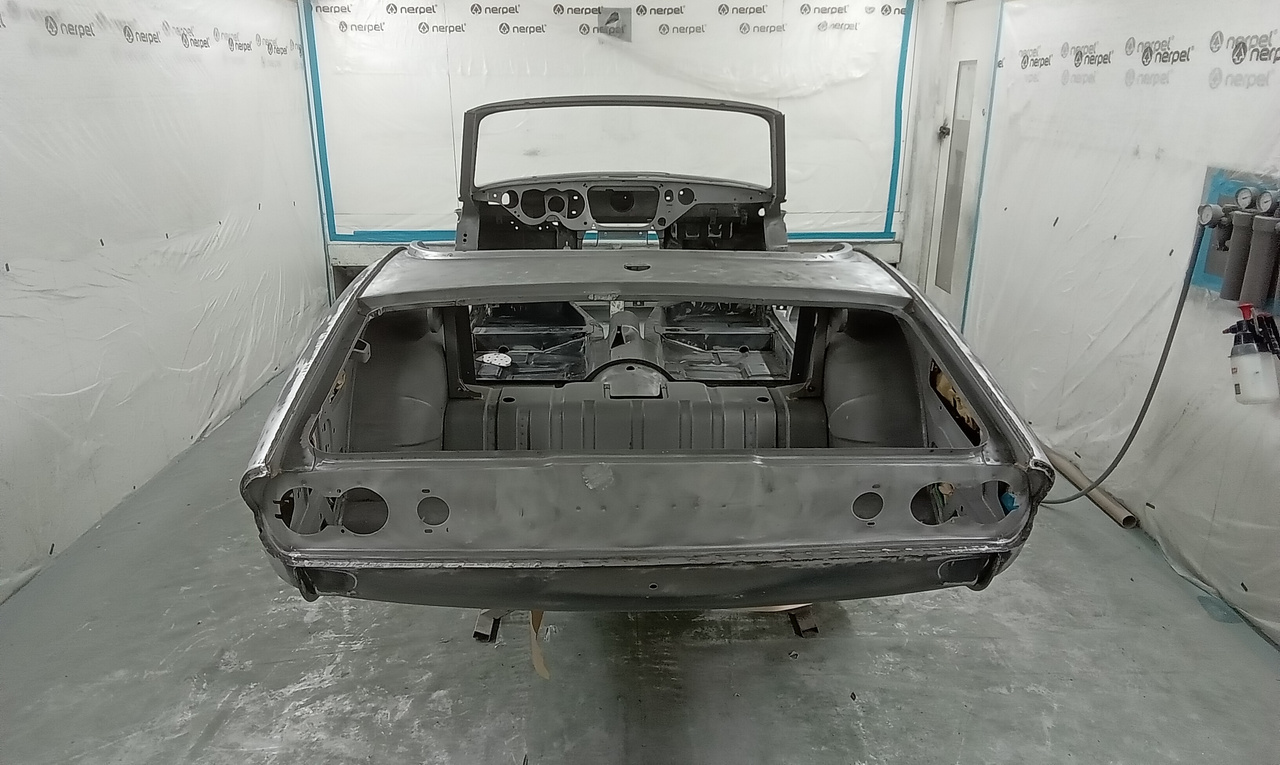
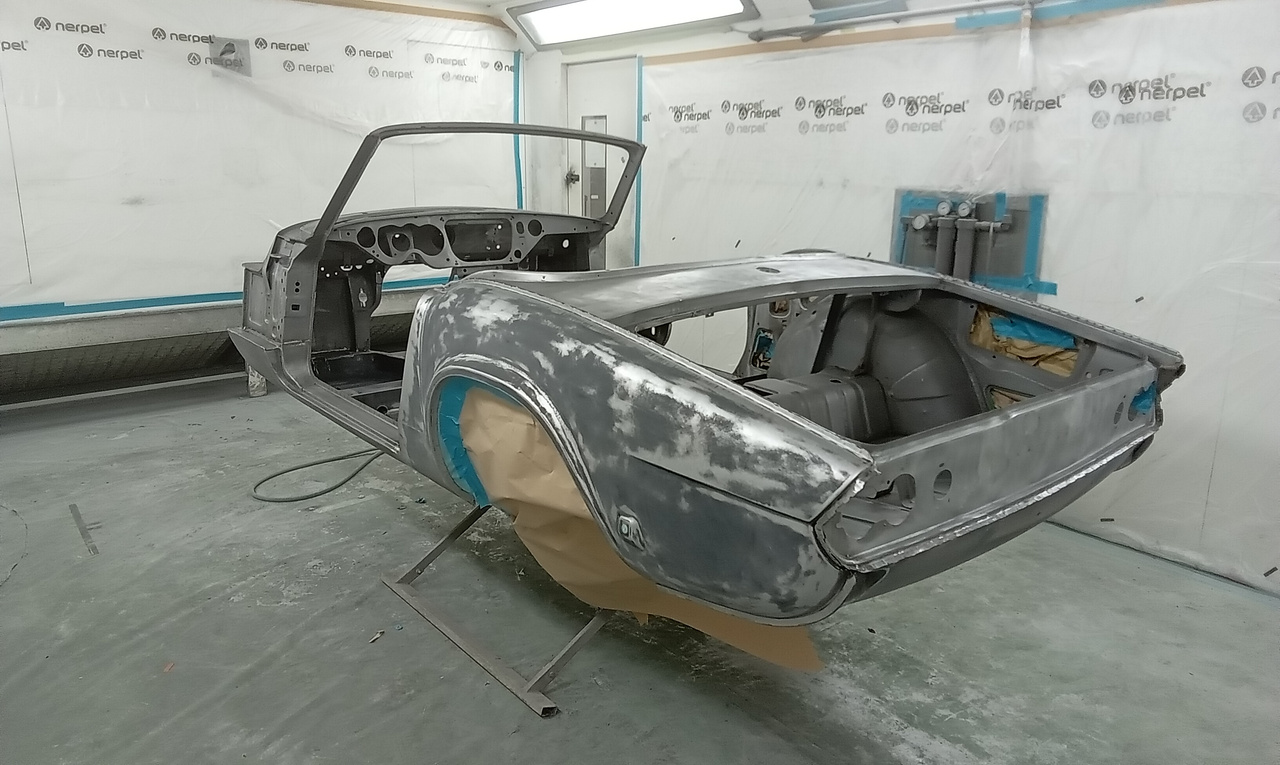
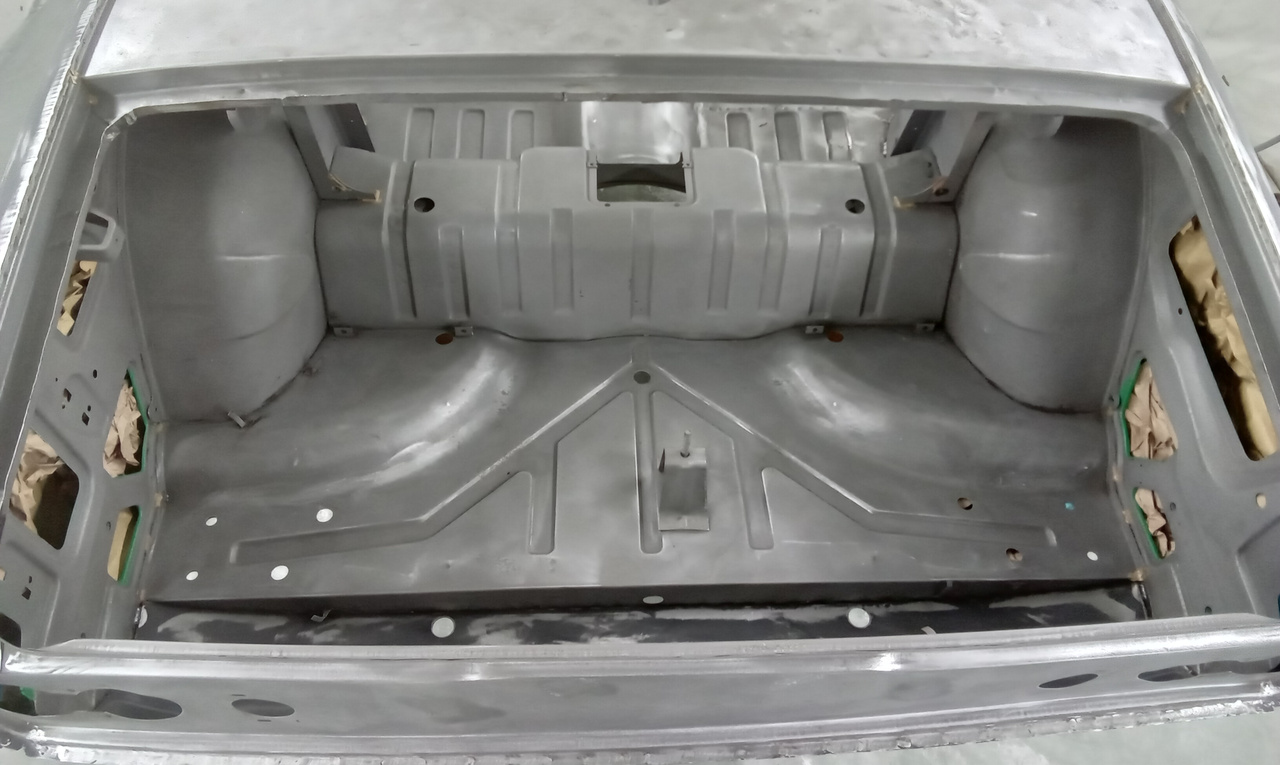
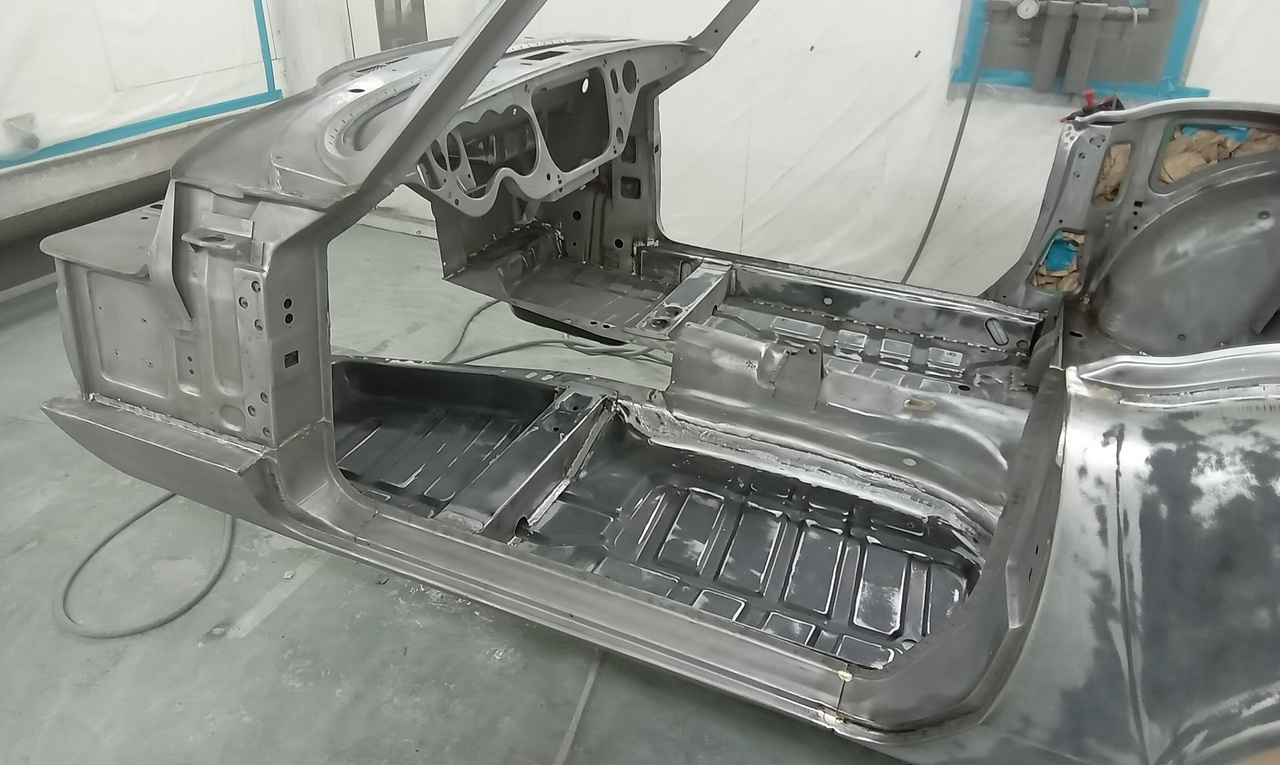
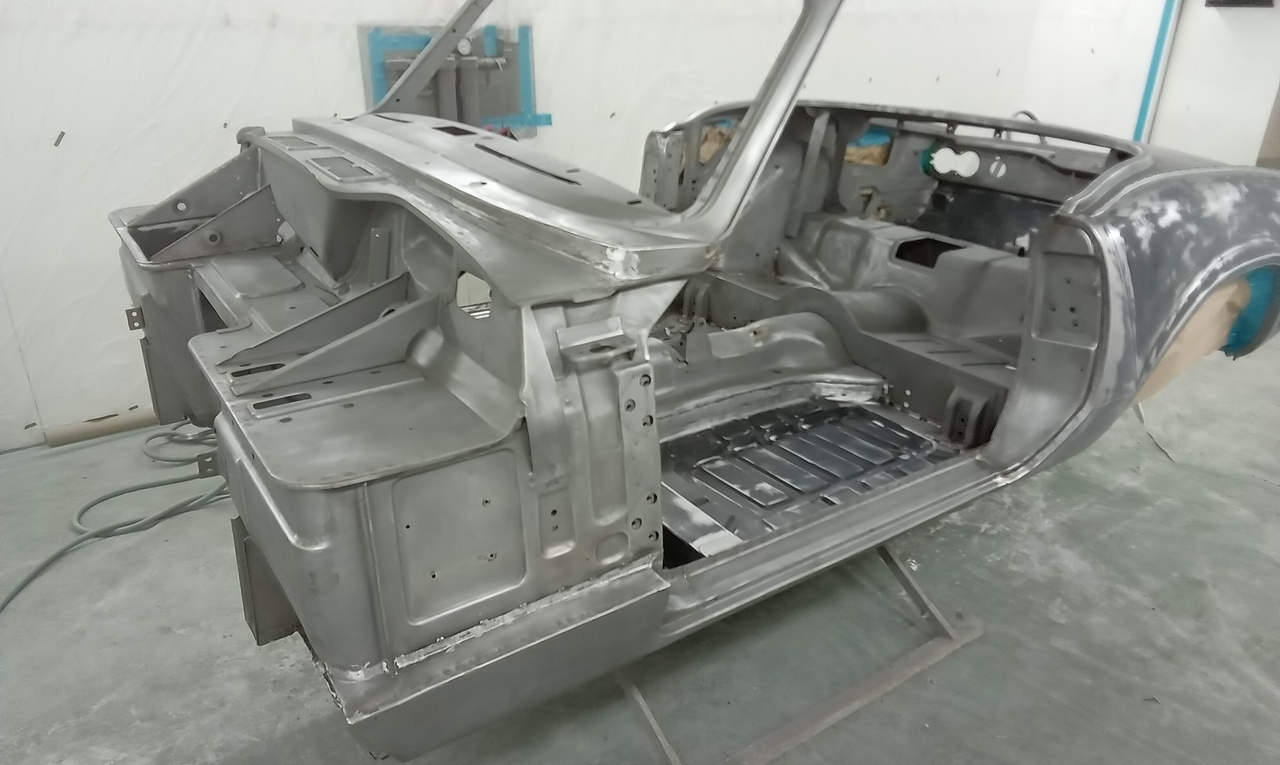
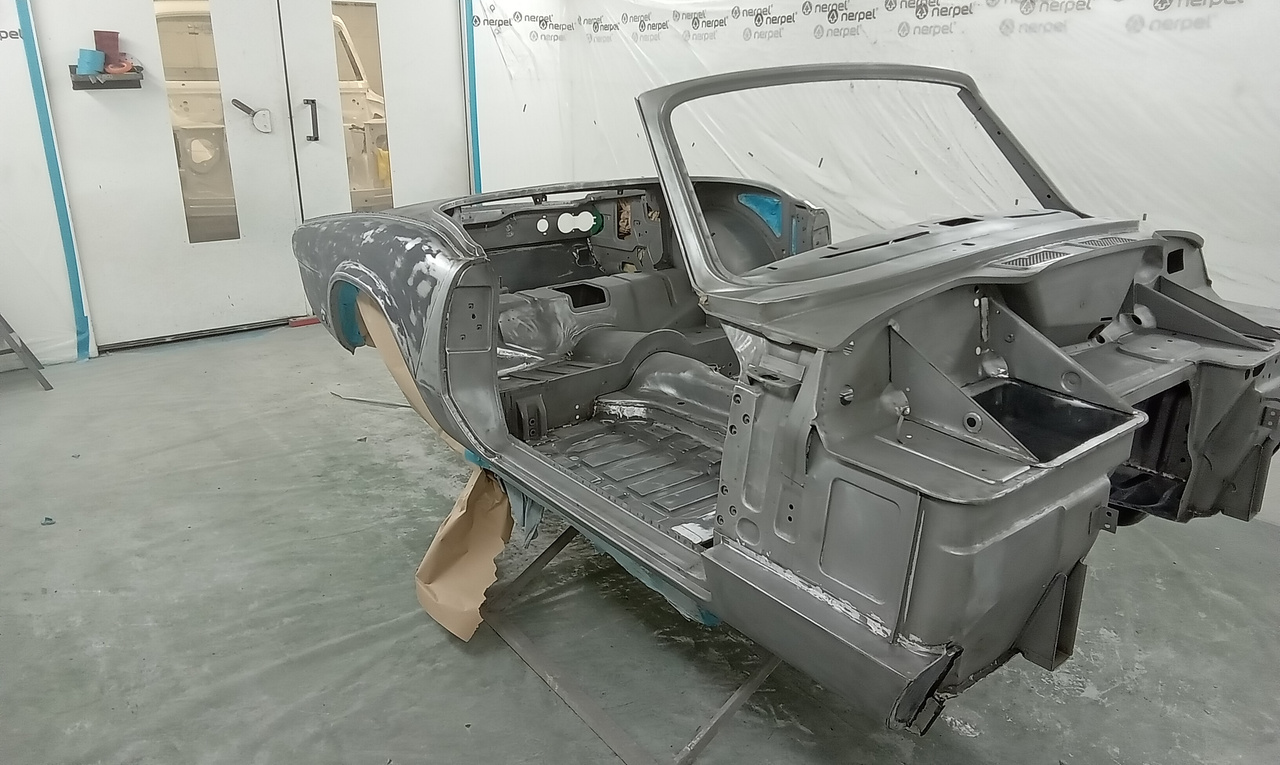
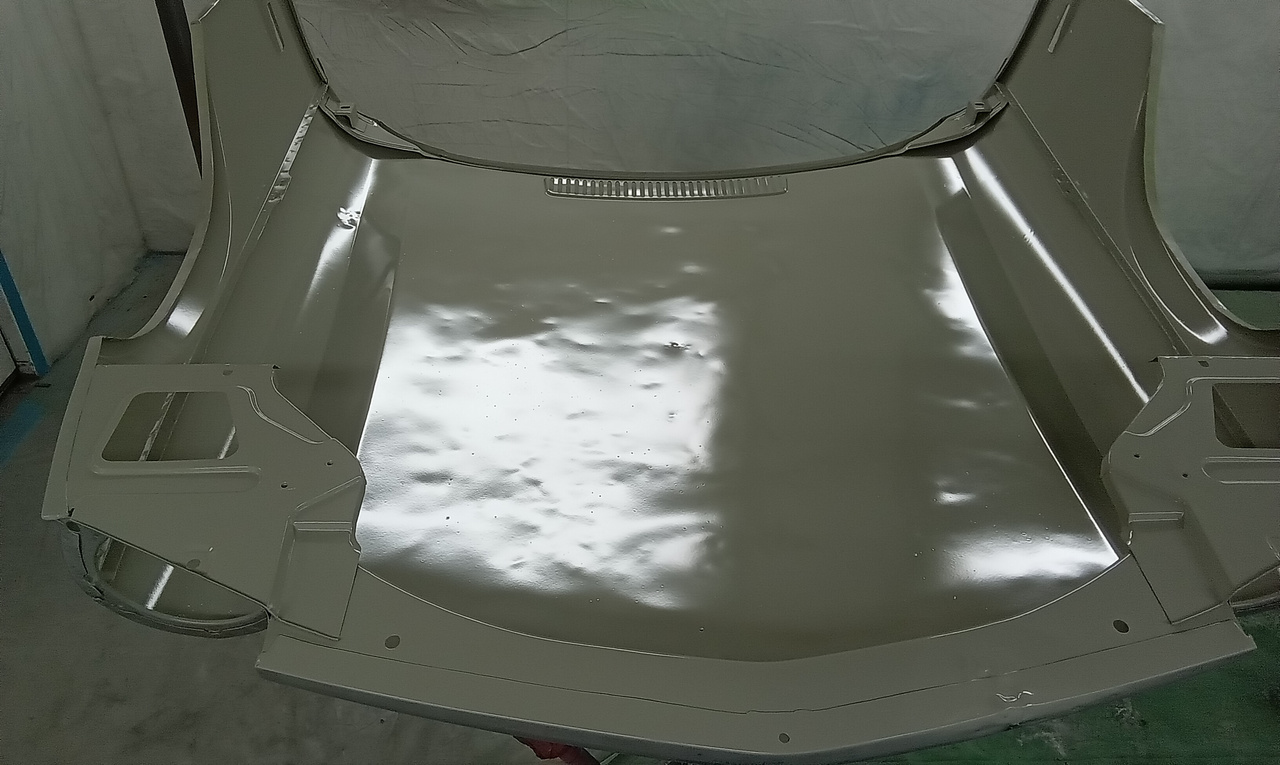
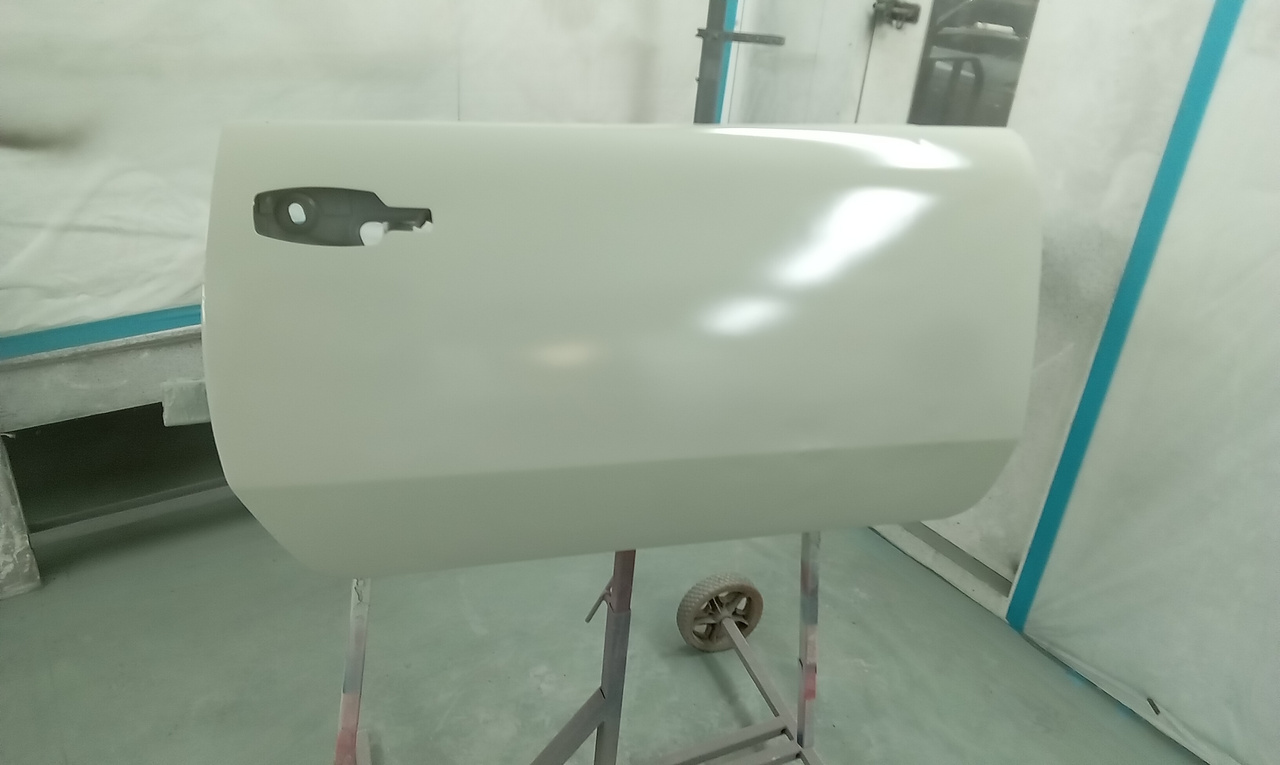
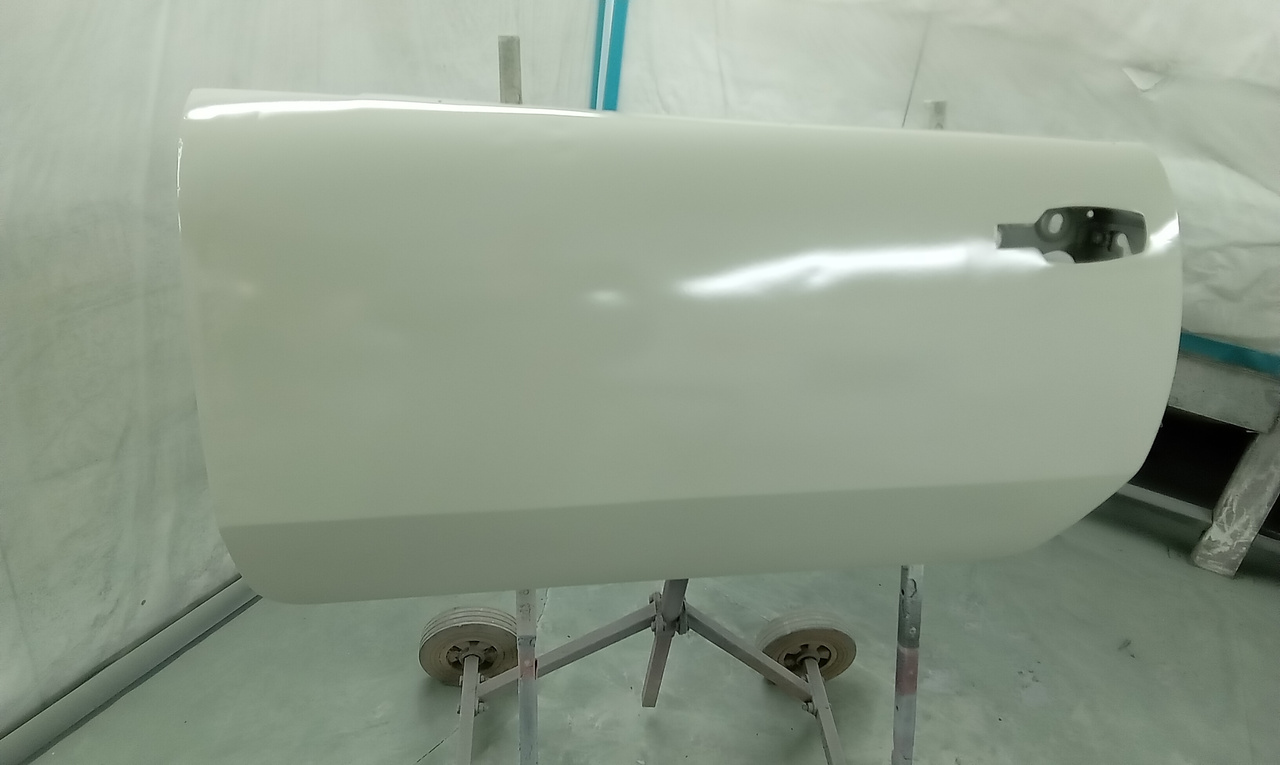
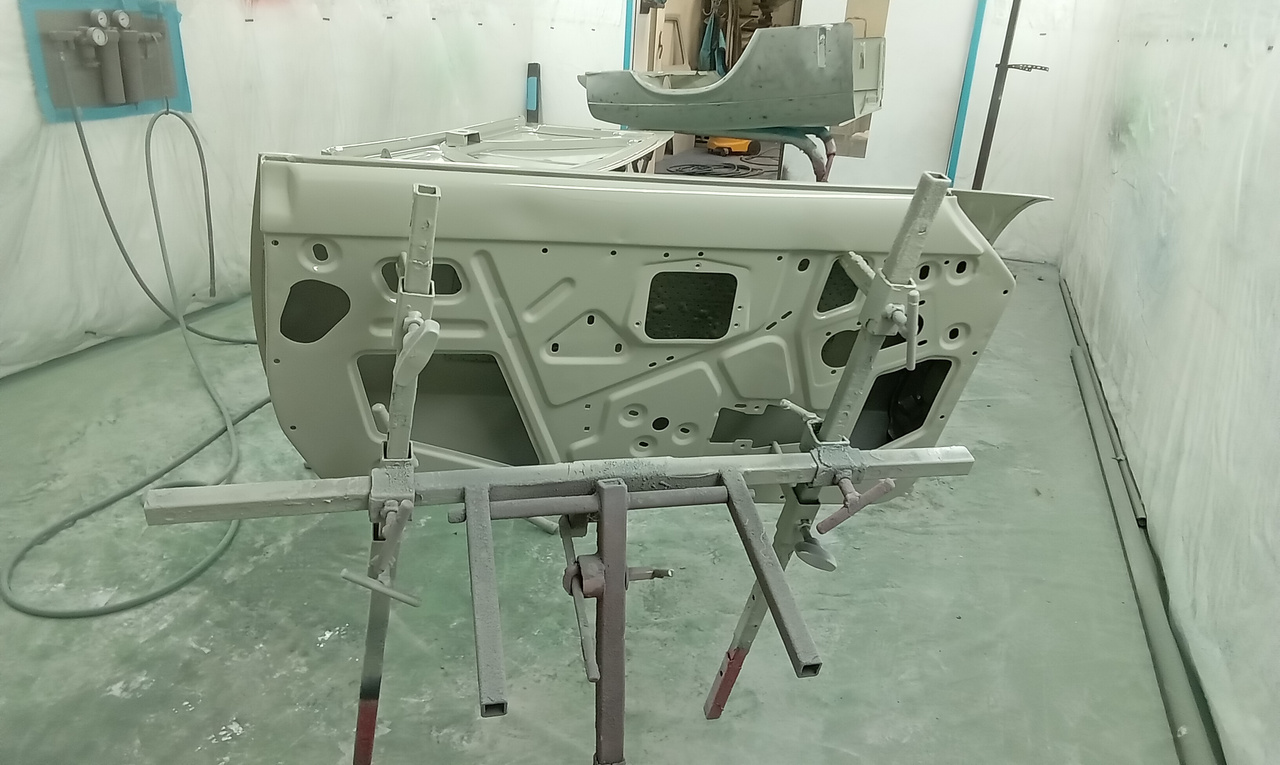
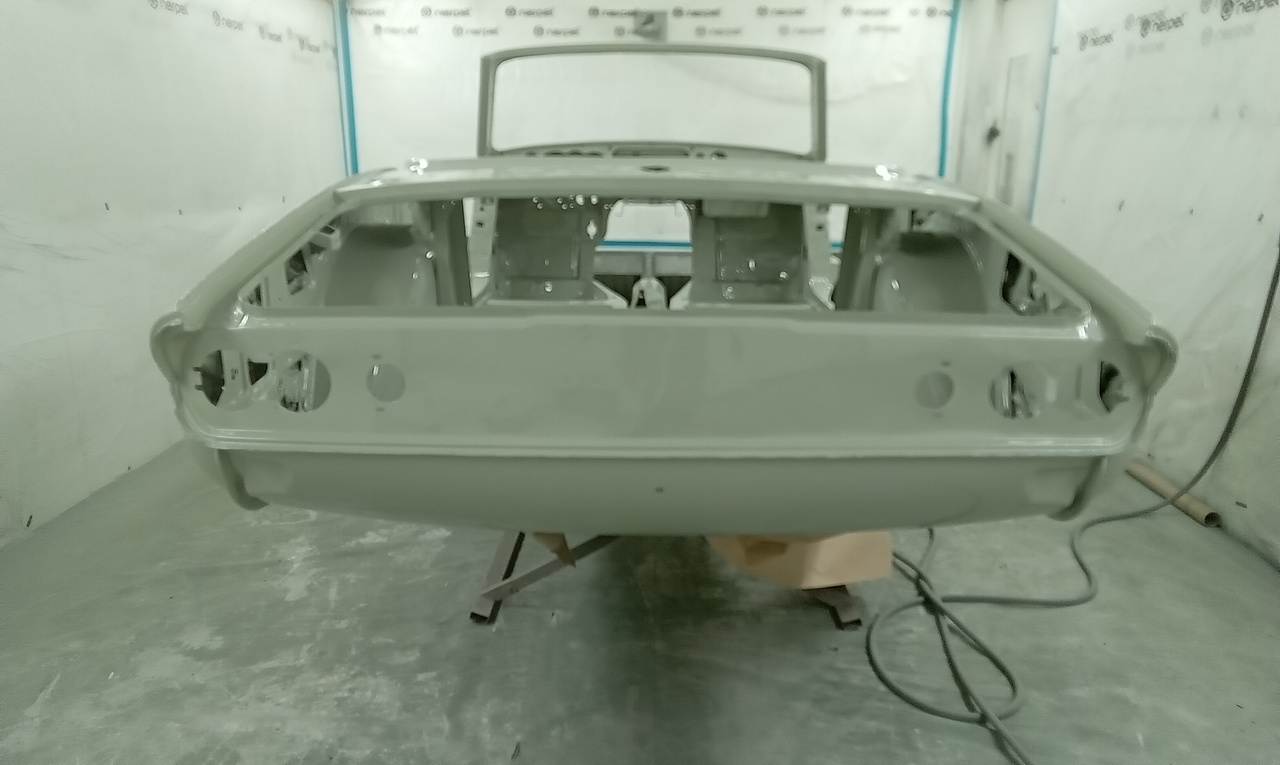
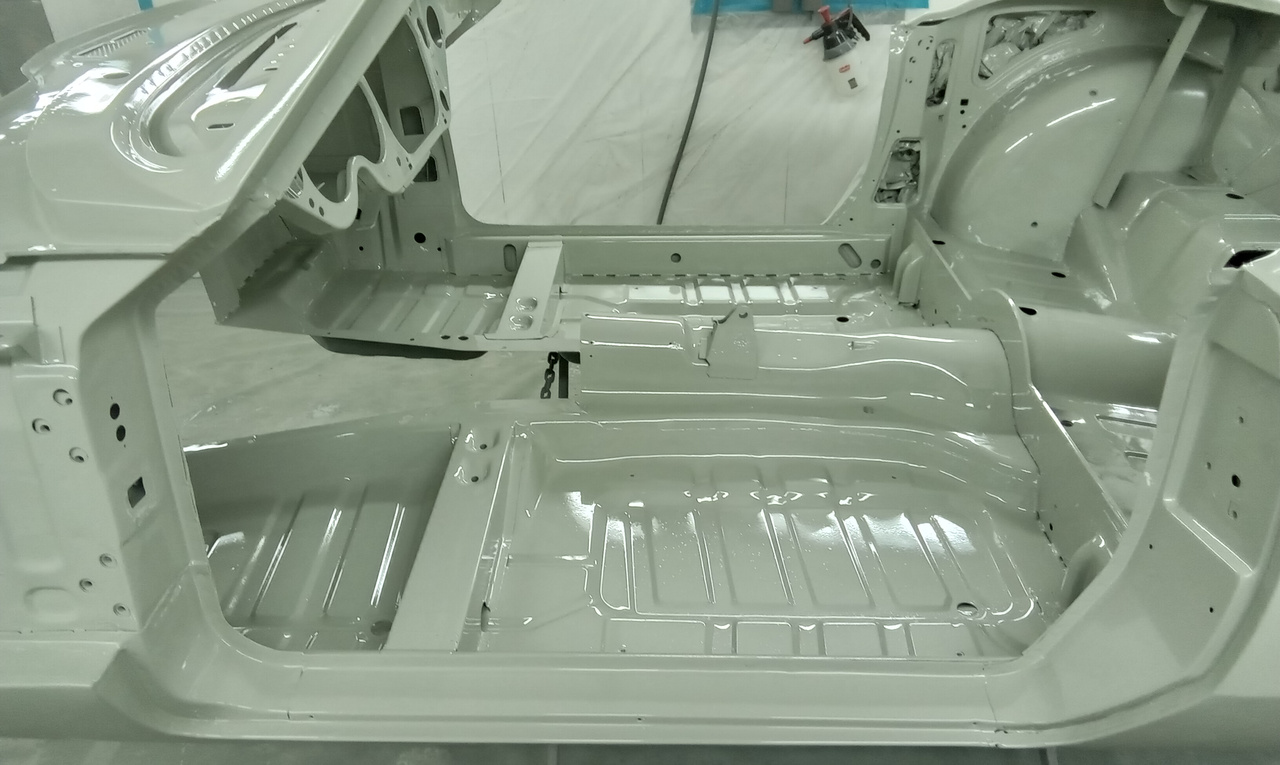
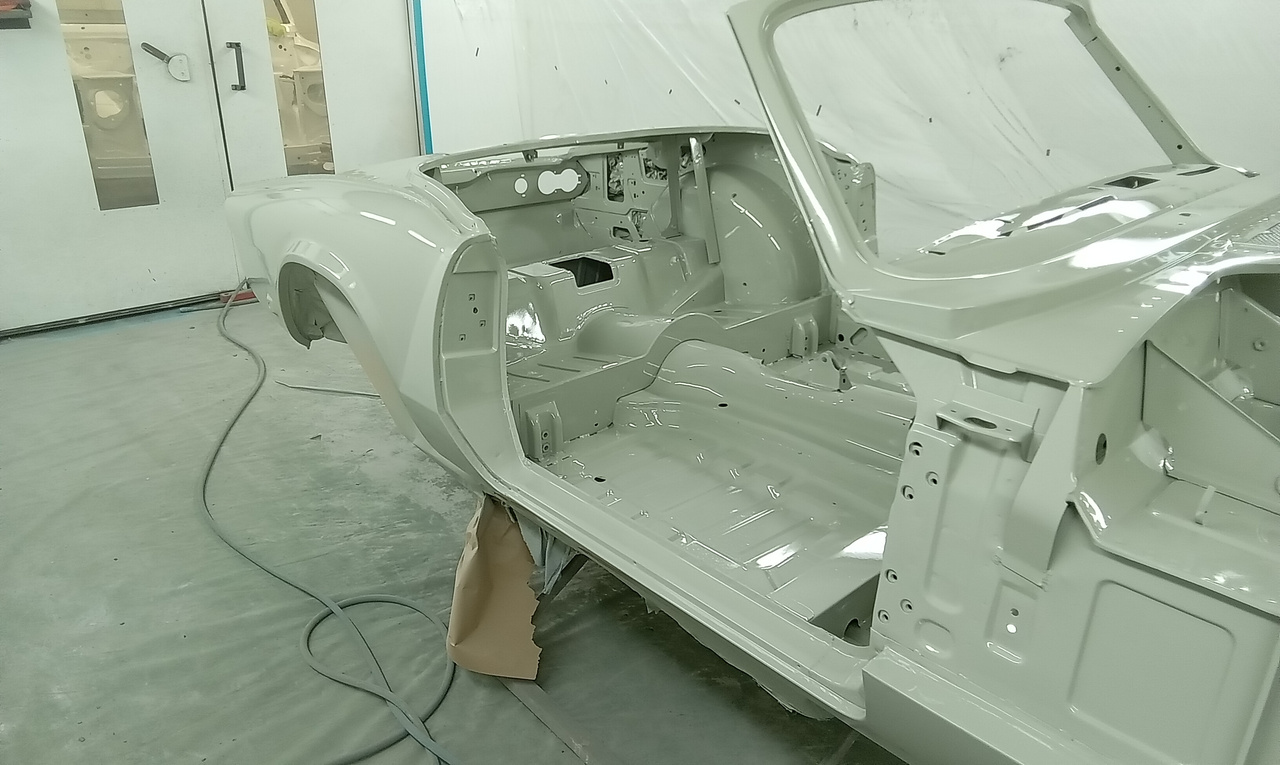
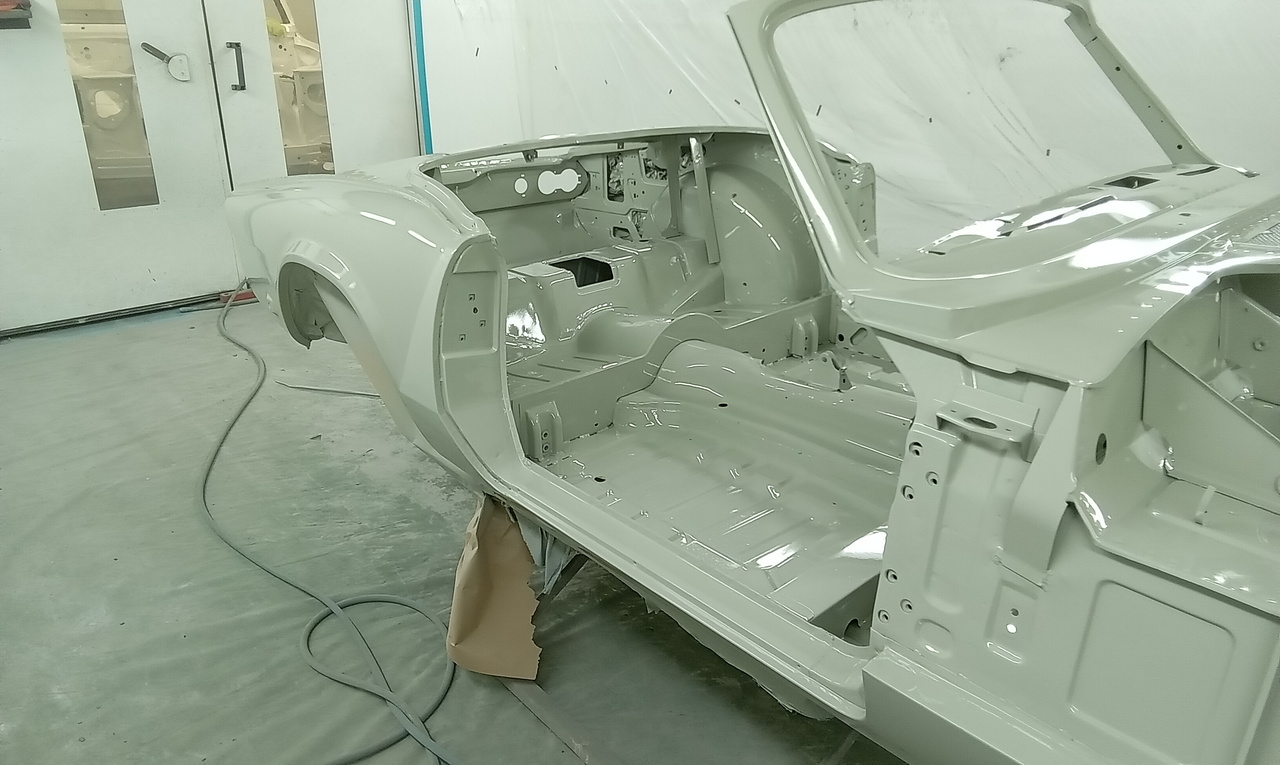
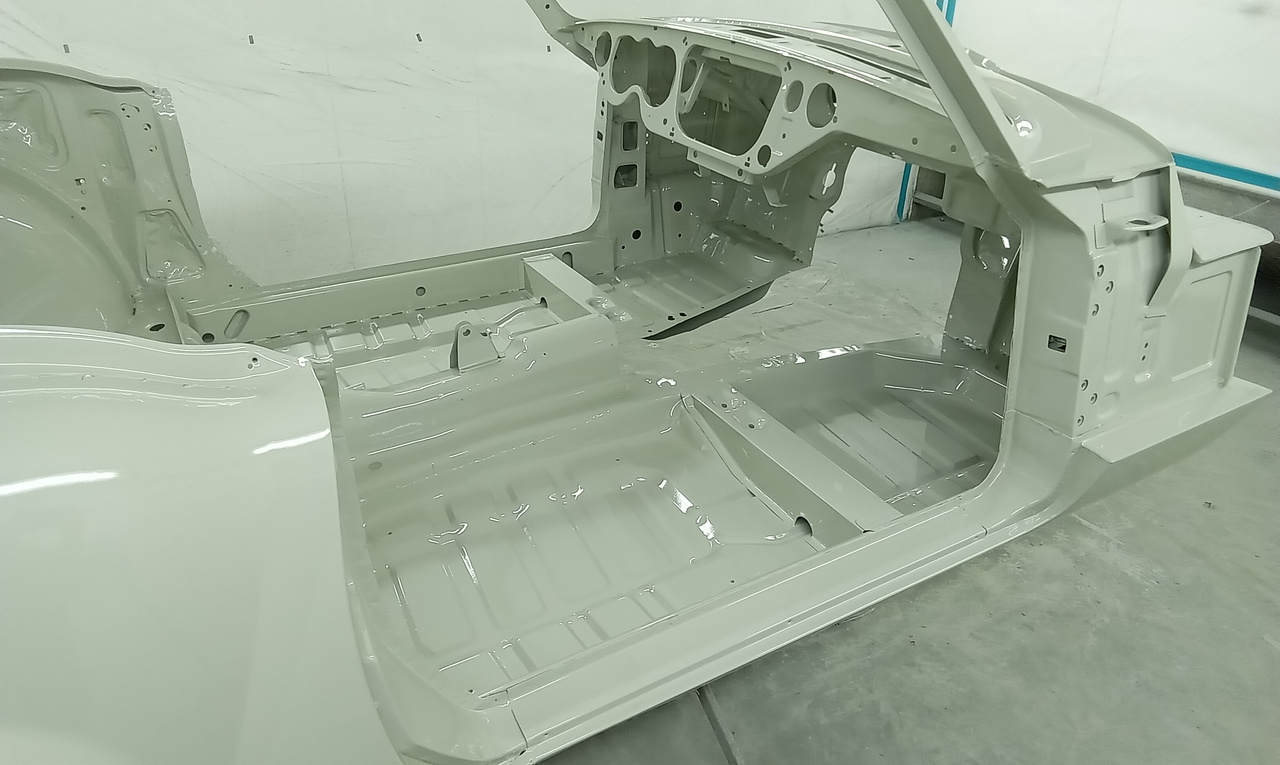
Alan is now on the exciting stage of preparing the car with epoxy primer. The doors, bonnet, boot lid and body of car are now all primed and ready for the Java Green finished to be applied.















Brian and Lydia are busy fitting the hood, headliner and inner pad to the rear bar.
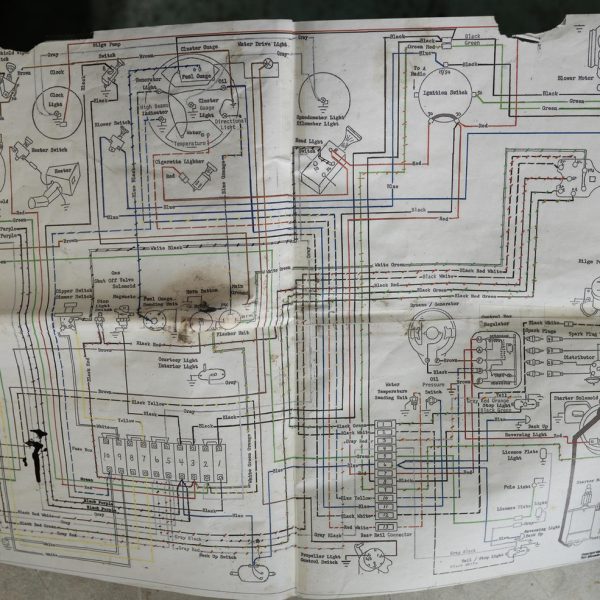
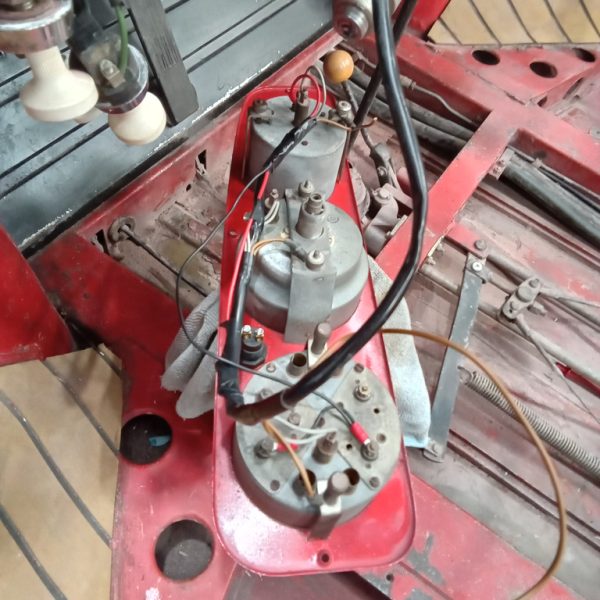
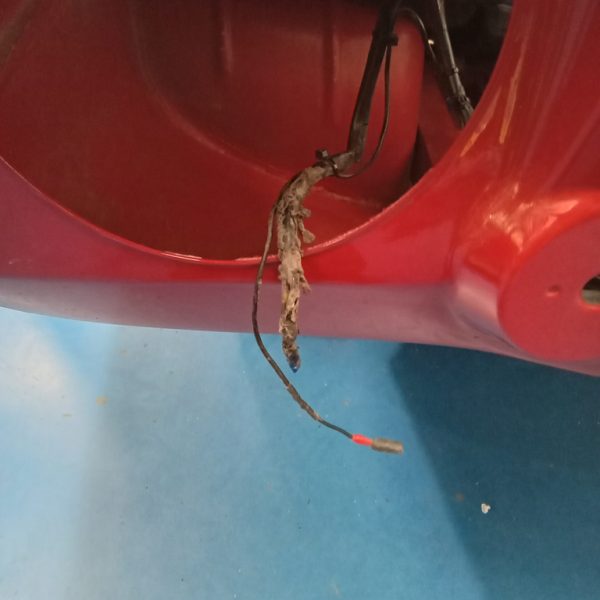
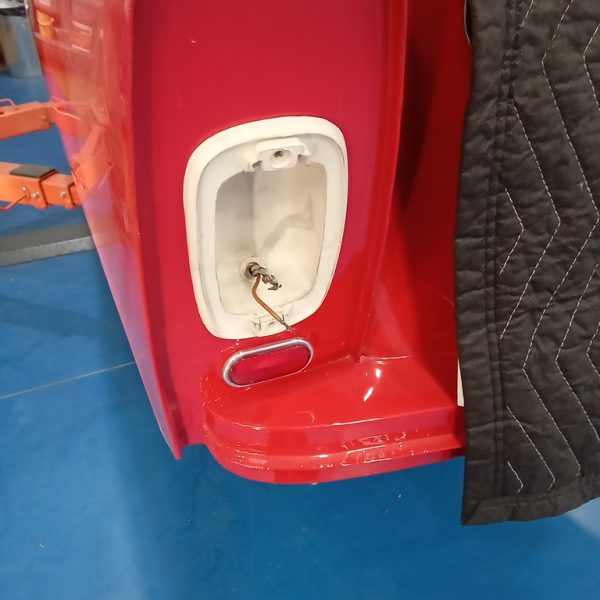
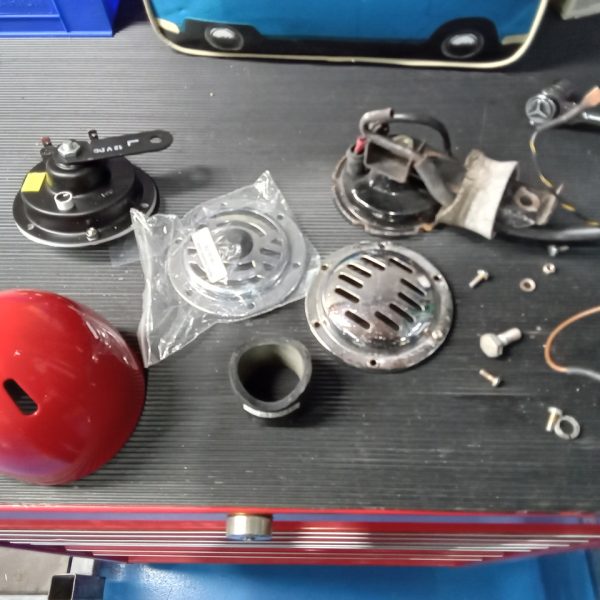
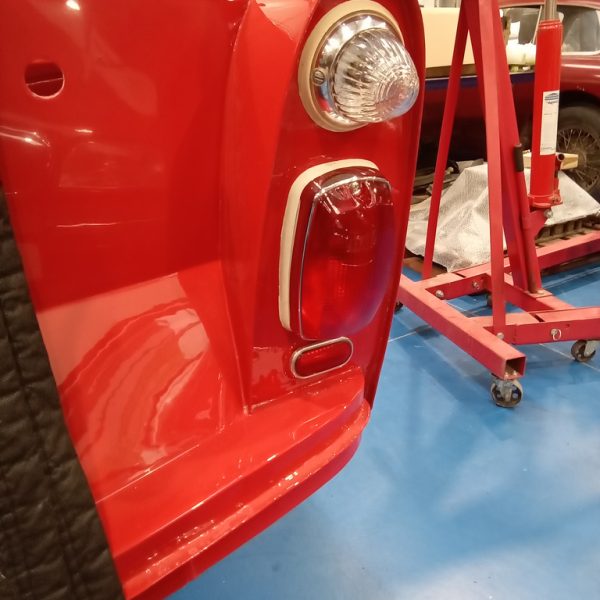
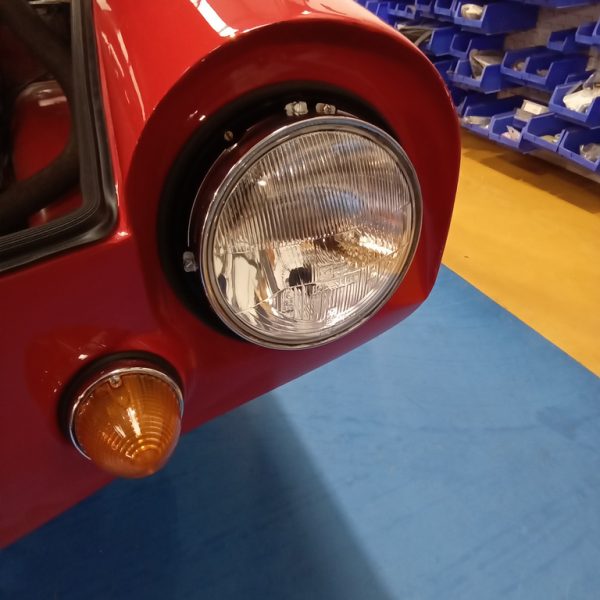
James has started to reassemble our 1964 Amphicar. Starting with electrics, wiring and lighting units he has had to tidy and check all wiring behind the dashboard as a previous wire had melted. All of the wiring has been checked for condition and security before refitting any parts.
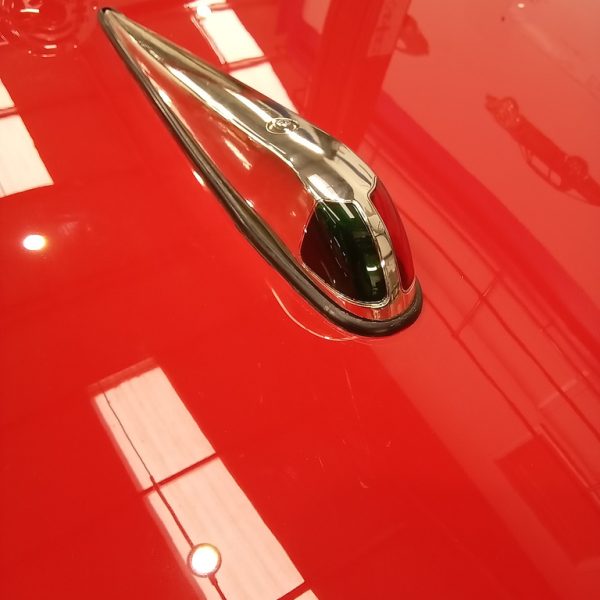
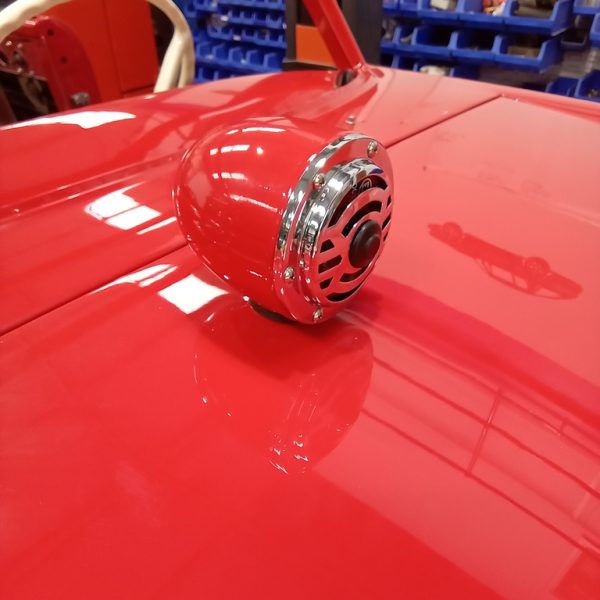
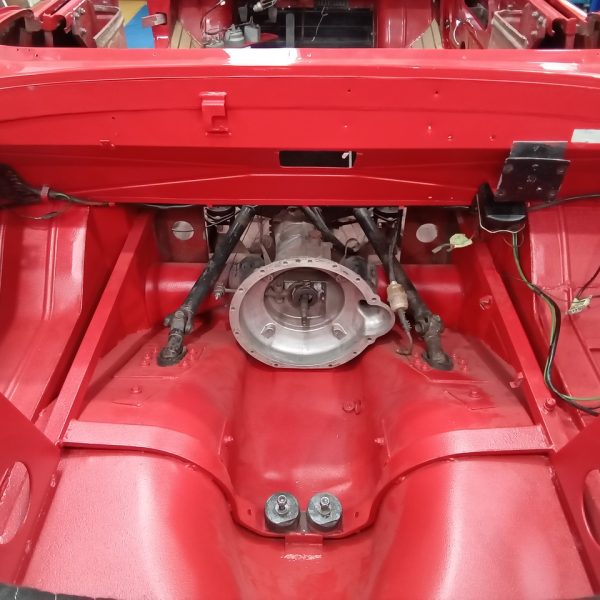
We are now fitting the engine bay along with the radio and bonnet lights, a new horn was fitted into the housing and mounted to the bonnet.
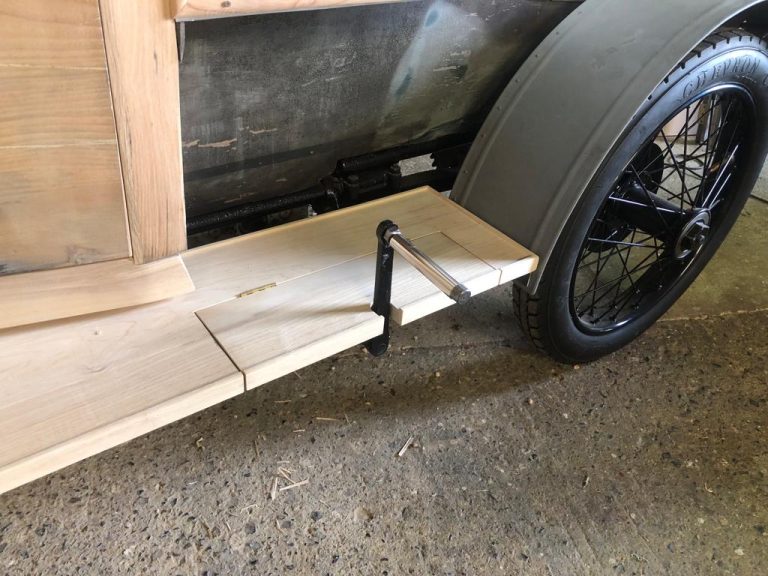
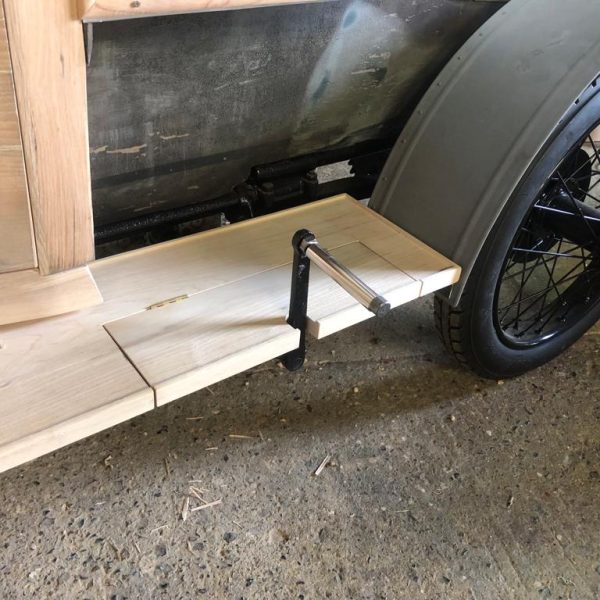
Alright, I am not referring to the start-stop technology of today, it’s not quite the completely automatic system that works by detecting a lack of vehicle motion.
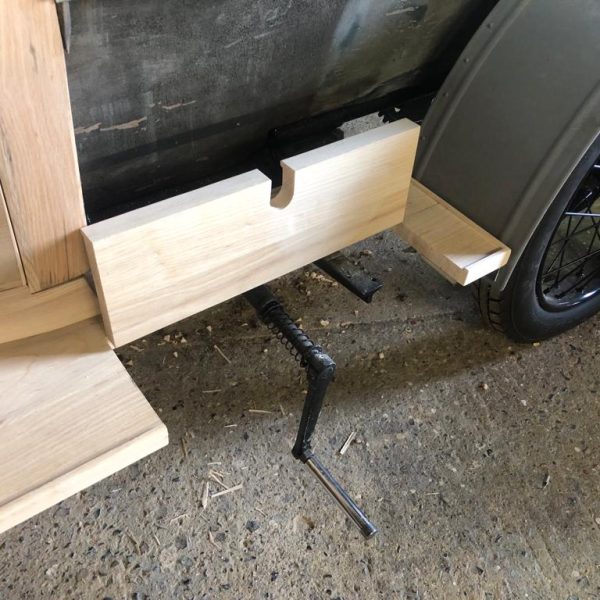
Instead, check out the beautifully crafted hatch that has been made up for our 1905 Riley 9HP. When opened, the vehicle’s engine can be run by simply turning the handle but when the hatch is closed, the handle fits perfectly inside a grove that has been cut out especially for the handle. Doesn’t it look amazing?
What is start-stop technology in modern cars and how does it work?
You probably have it on your modern car right now; start-stop technology detects when your car comes to a halt and stops the engine automatically. It then starts the engine again for you when you press the accelerater. This technology was developed to reduce the amount of pollution caused by vehicles, specifically emissions released into the atmosphere when cars and vans are idling or stuck in slow-moving traffic.
We use cookies to deliver the best possible experience whilst visiting our website. By clicking "Accept All", you consent to our use of cookies, or you can manage your preferences by clicking the link below. You can manage your preferences at any time from out Cookie Policy page.