
MG C GT – exposing the rust areas
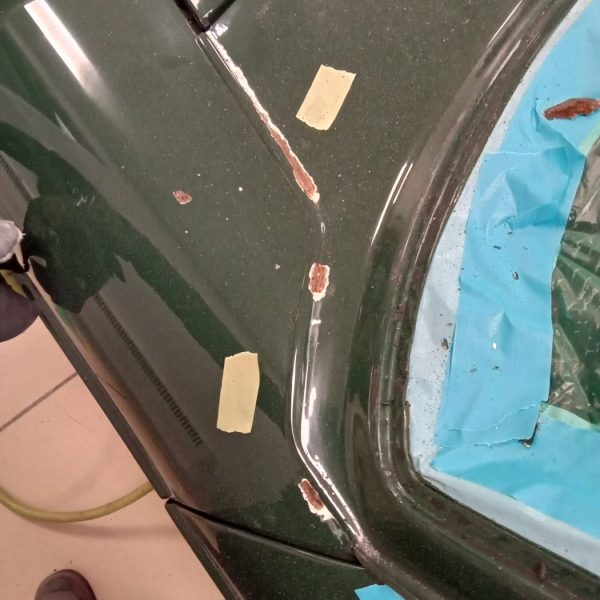
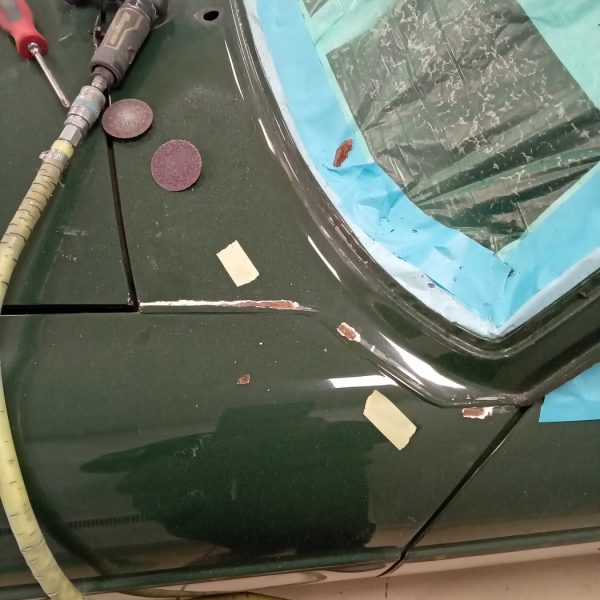
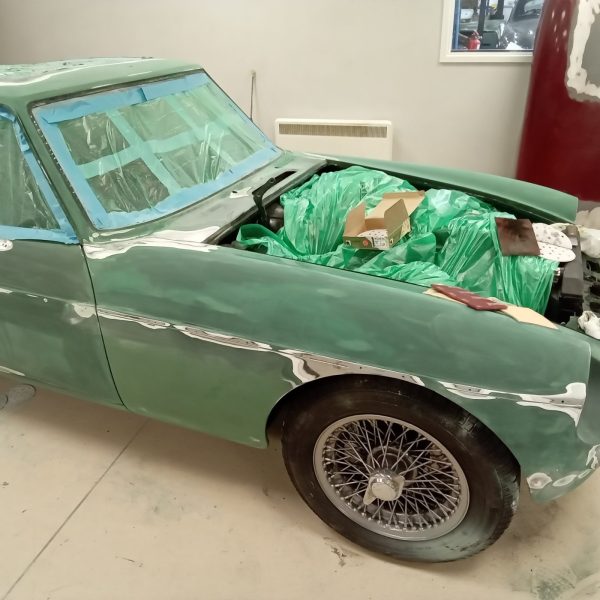
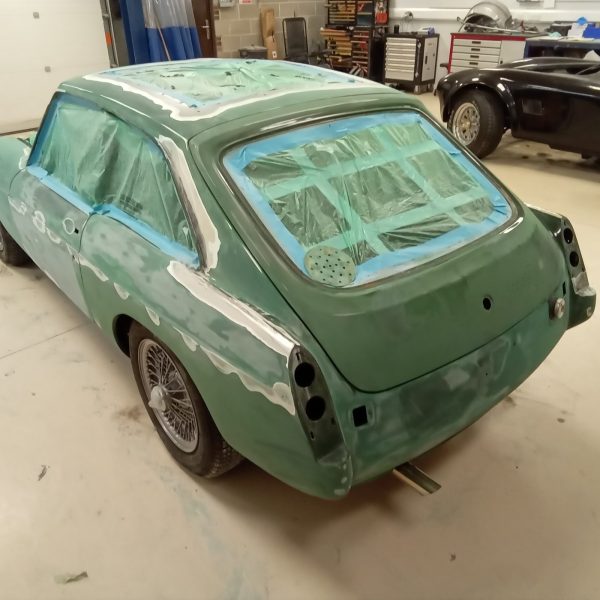
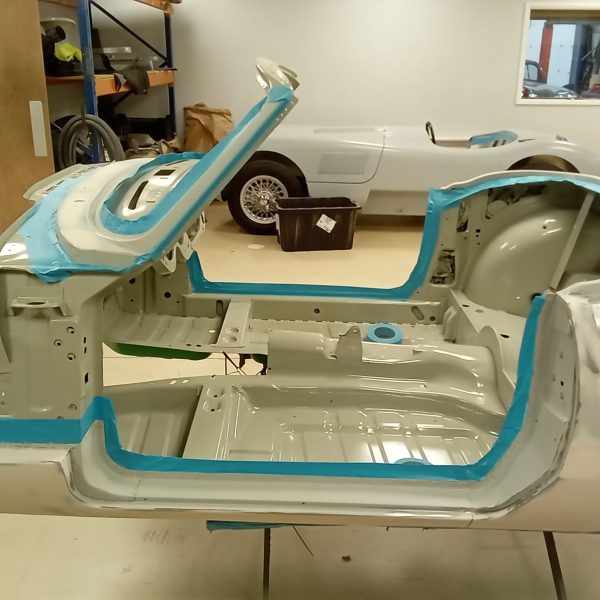
Chris is currently stripping back our MG C GT to expose all of the rust and corrosion areas that will need addressing. As we find

Managing Director – Bridge Classic Cars

Chris is currently stripping back our MG C GT to expose all of the rust and corrosion areas that will need addressing. As we find
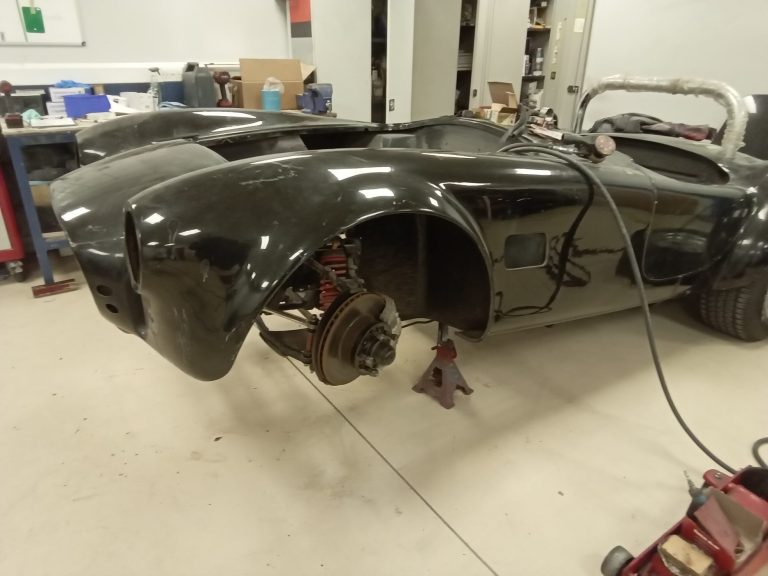
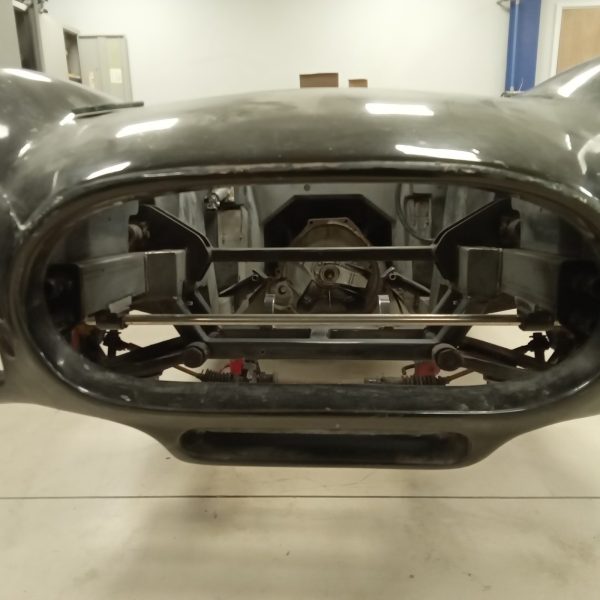
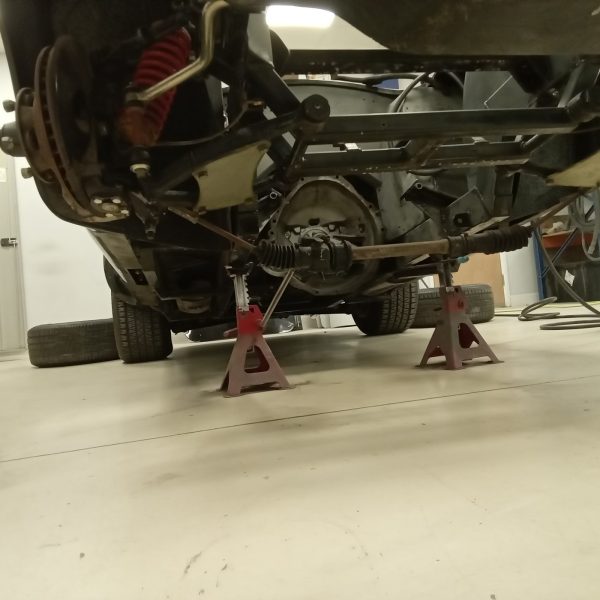
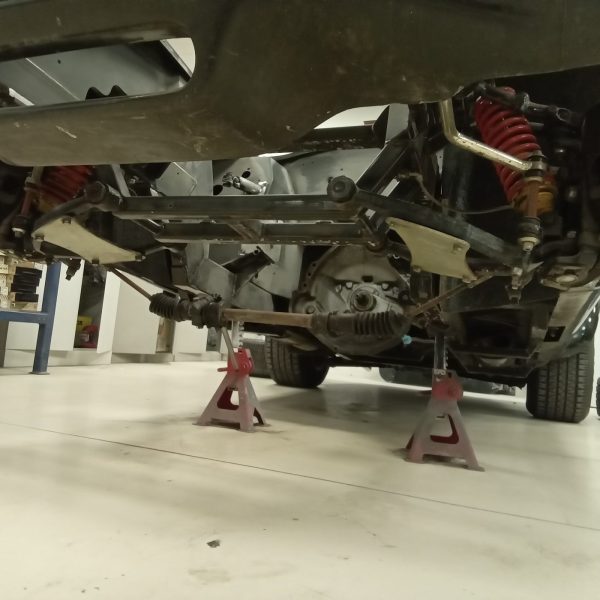
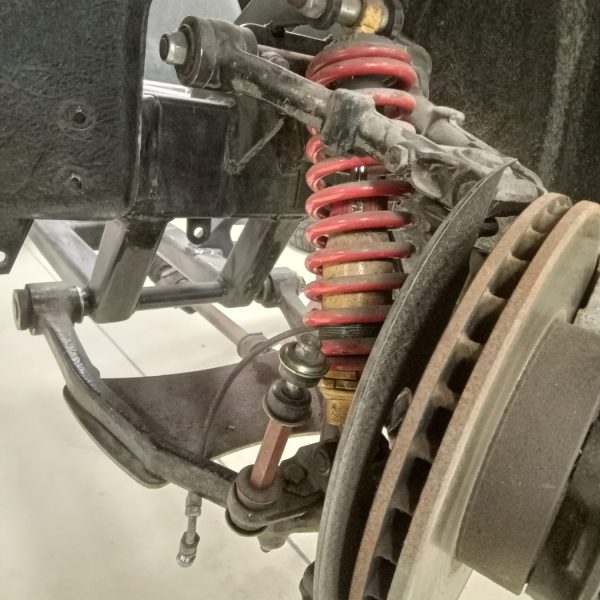
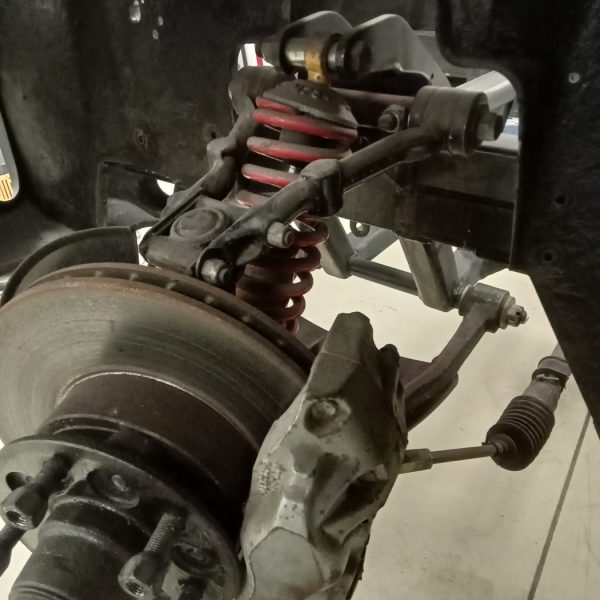
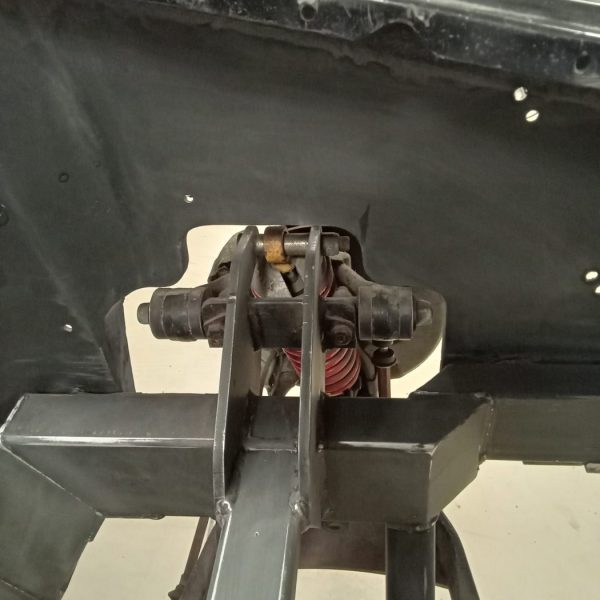
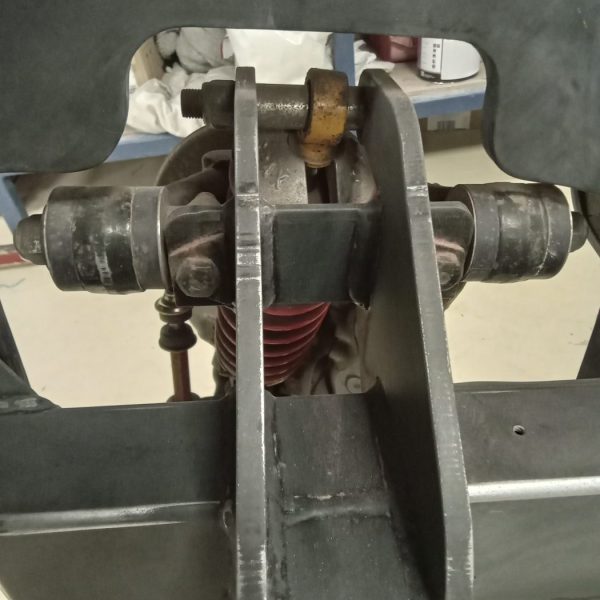
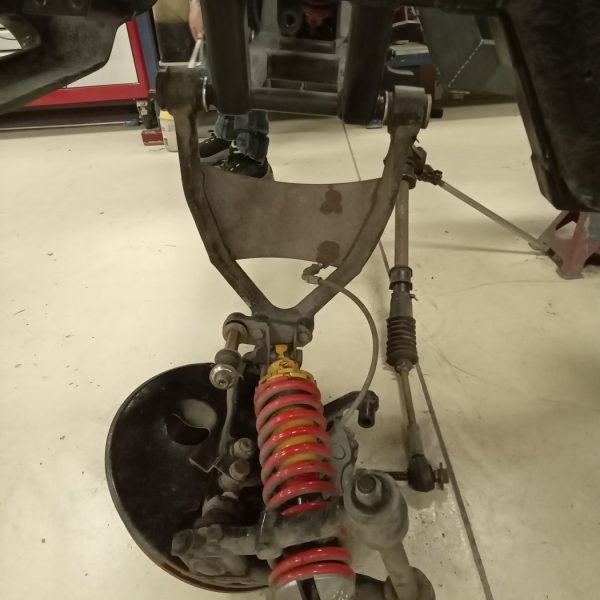
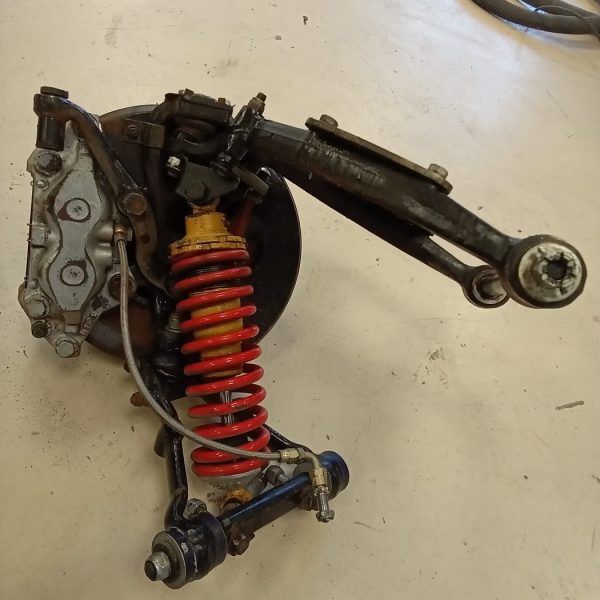
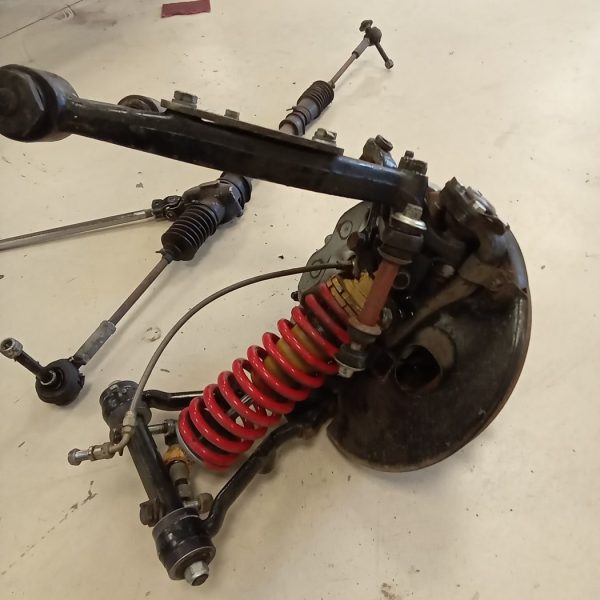
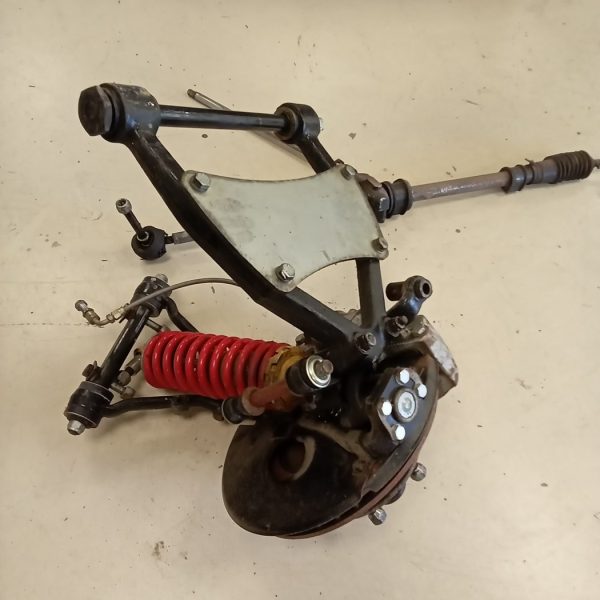
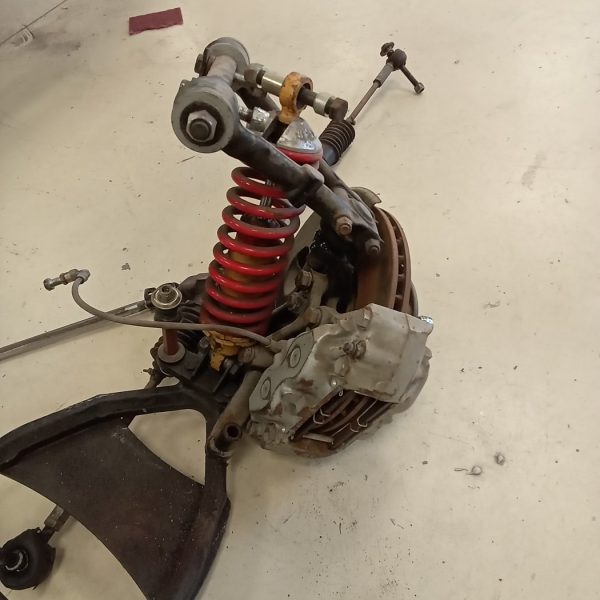
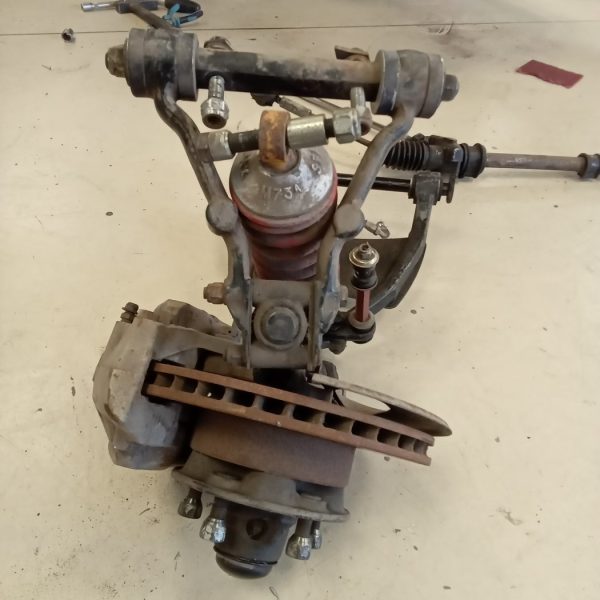
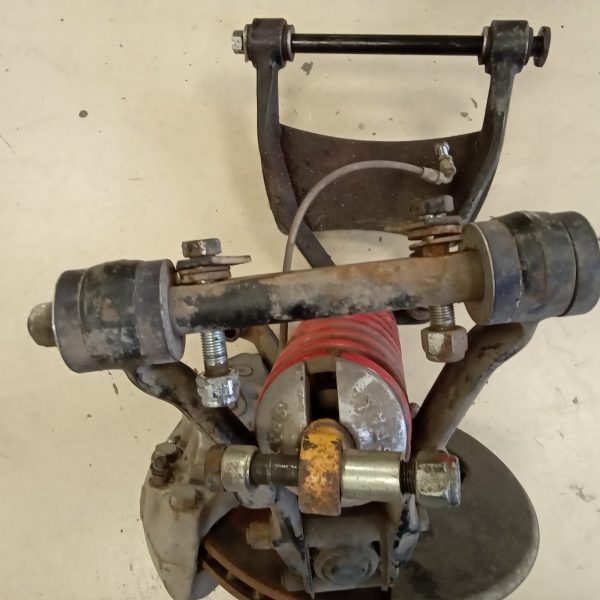
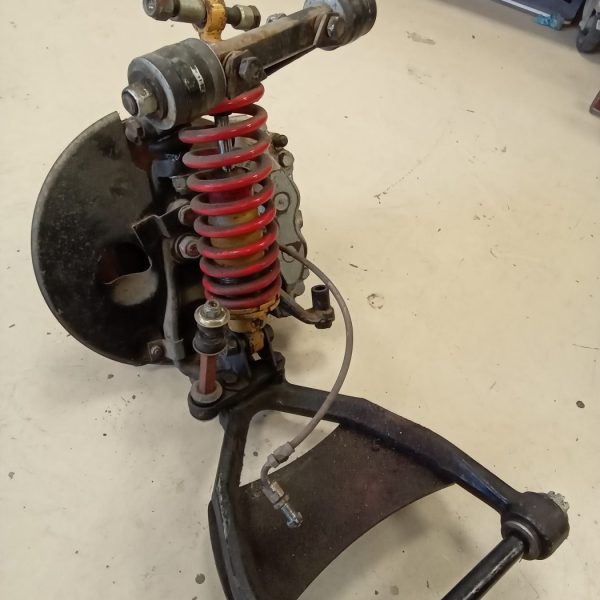
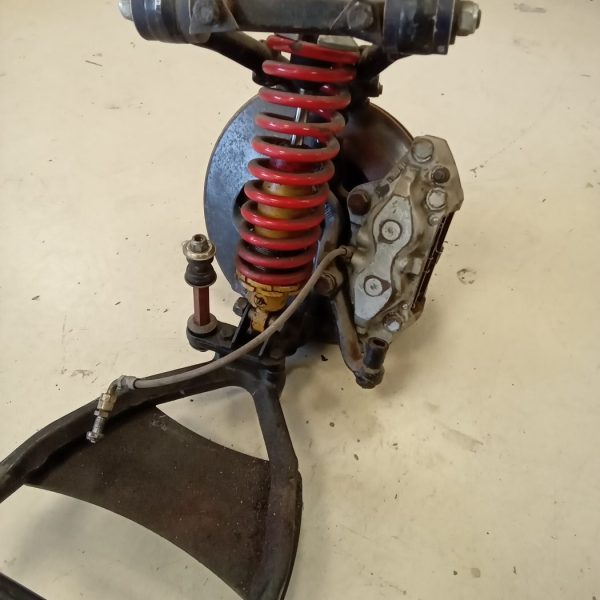
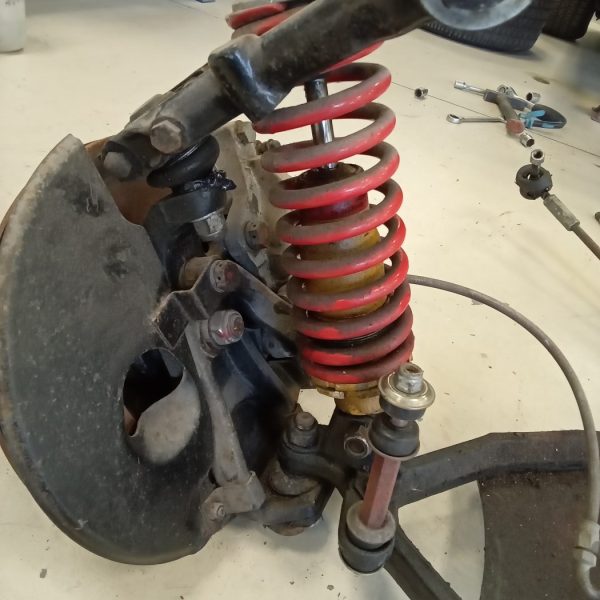
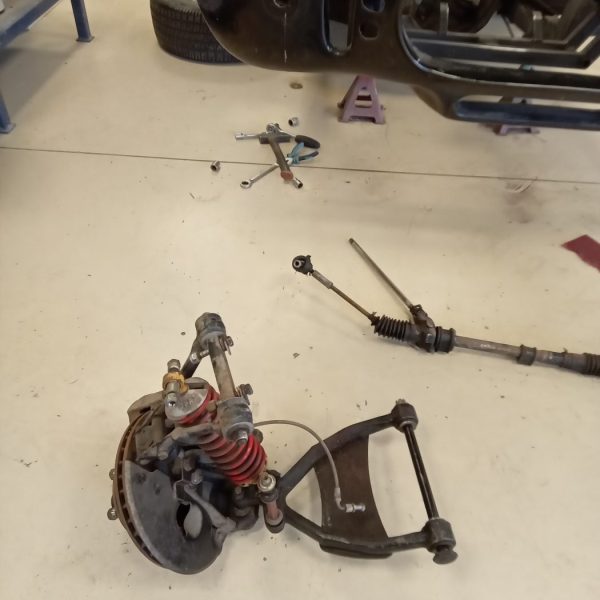
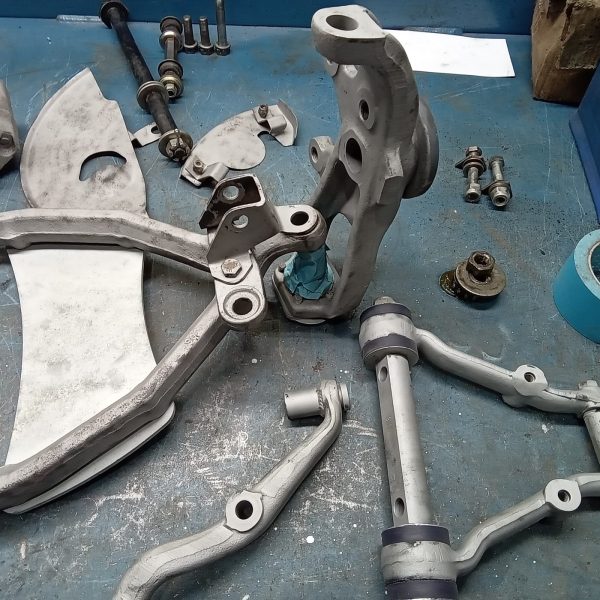
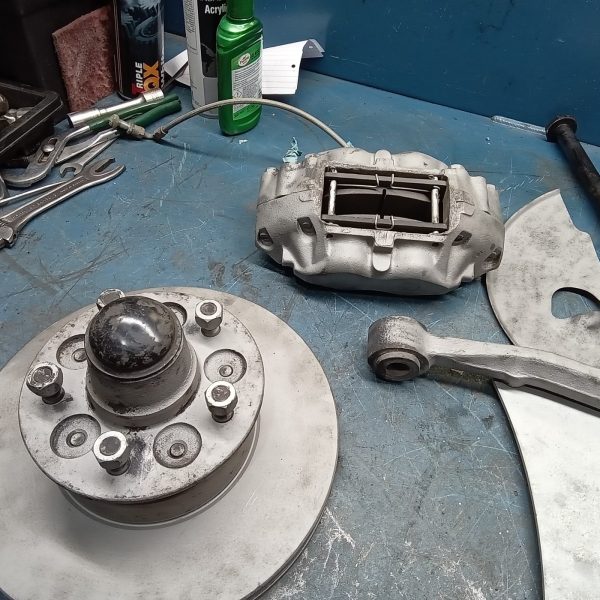
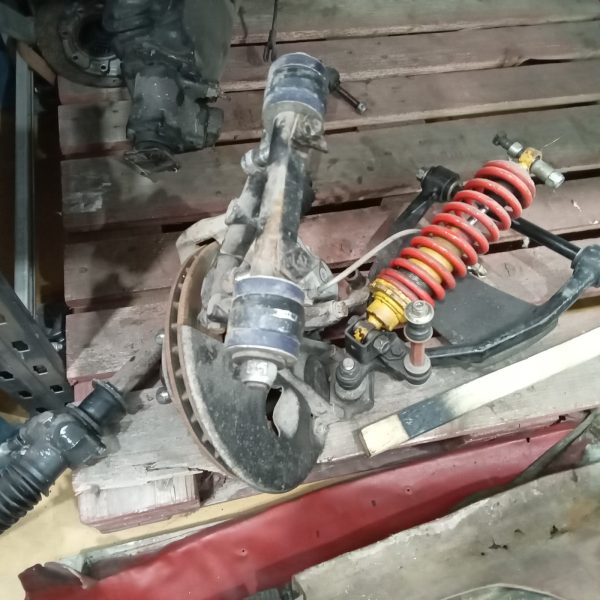
Mauro is continuing to strip down the Cobra project in preparation for the primer stage. Whilst Terry is stripping down the front suspension and front
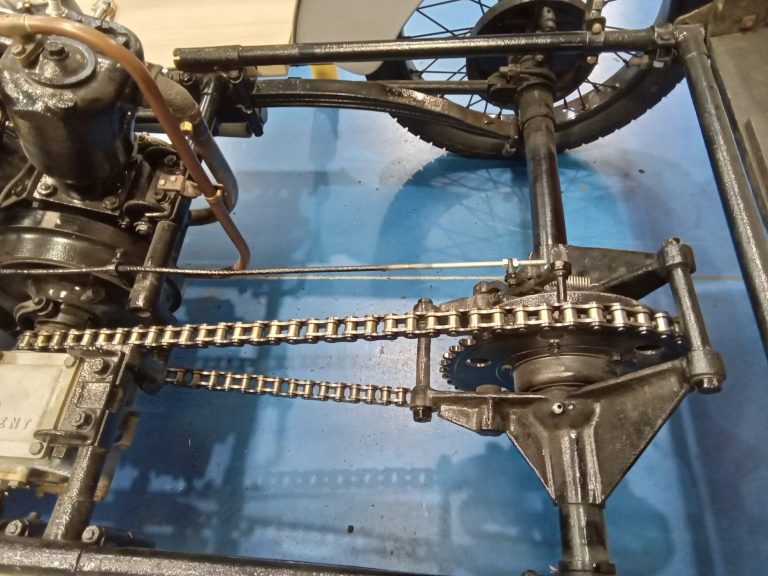
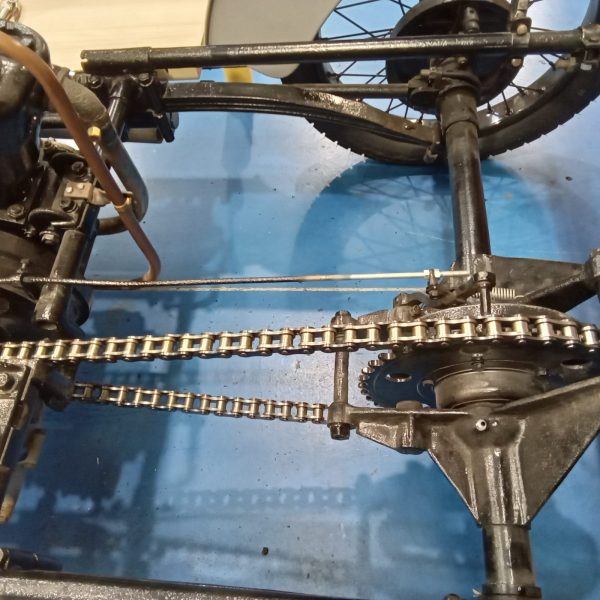
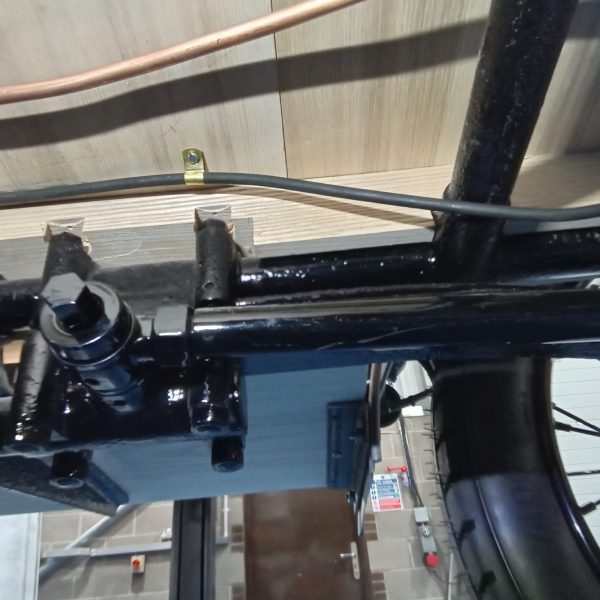
Steve is still working through the few final pieces on the 1905 Riley 9HP restoration. A new final drive chain has been fitted, new fabric
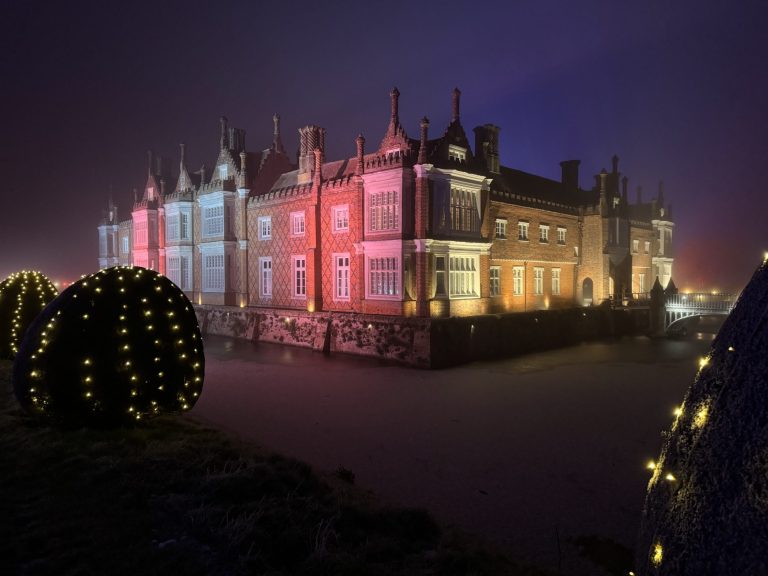
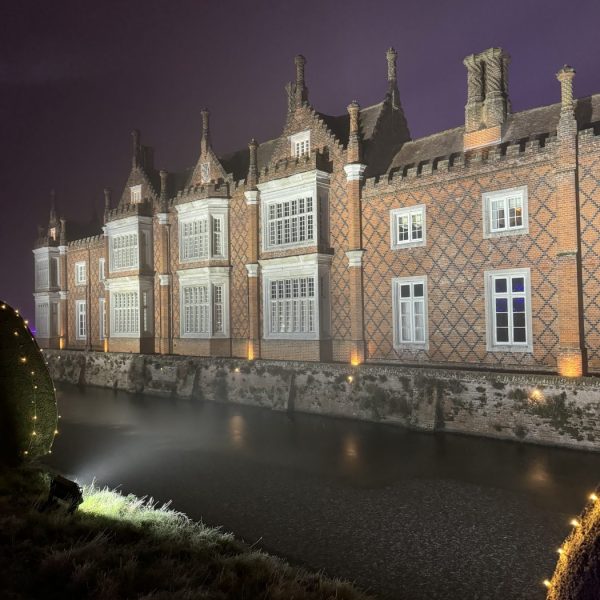
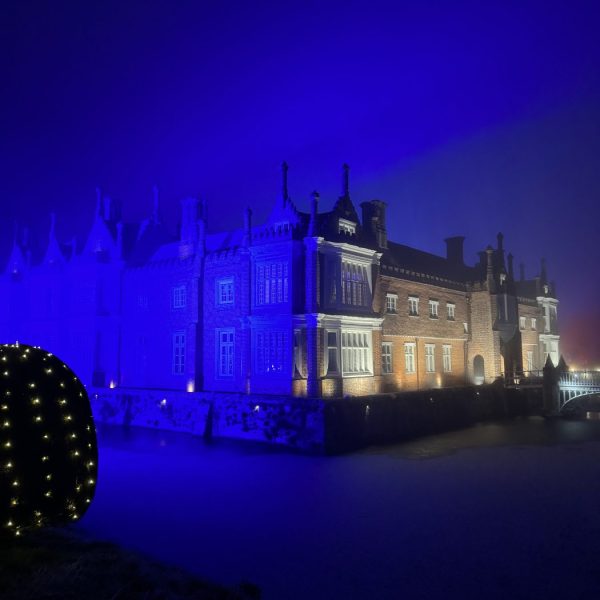
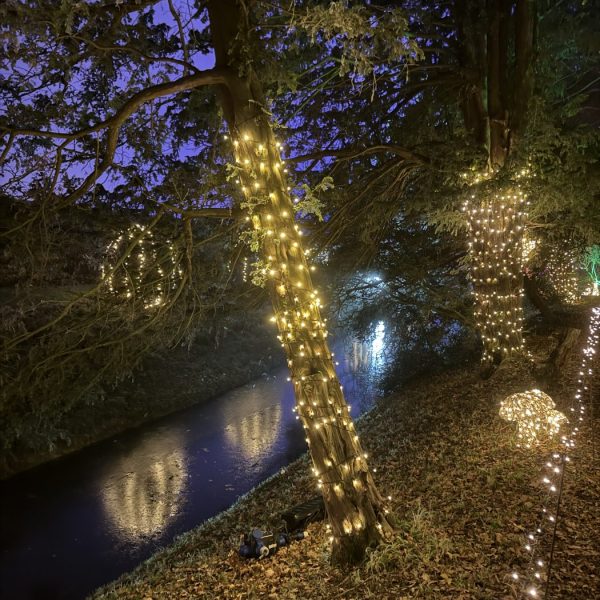
Last Saturday I battled the cold and took the family over to the magical world of light, colour and sound and Helmingham Hall Gardens. We
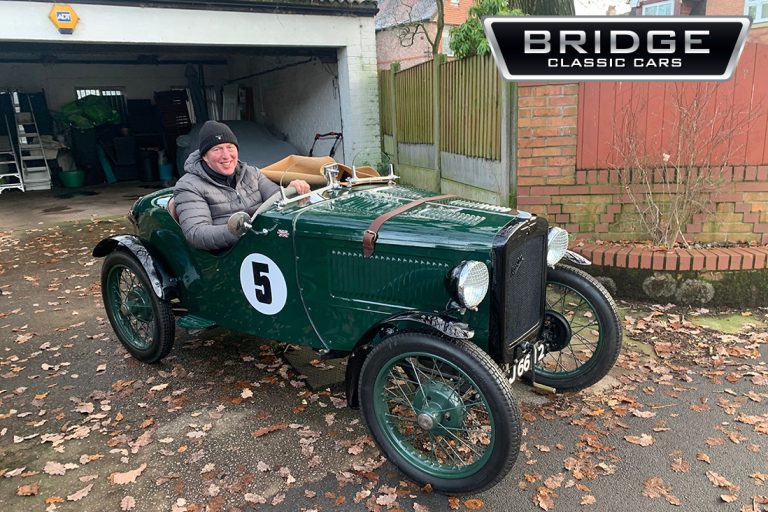
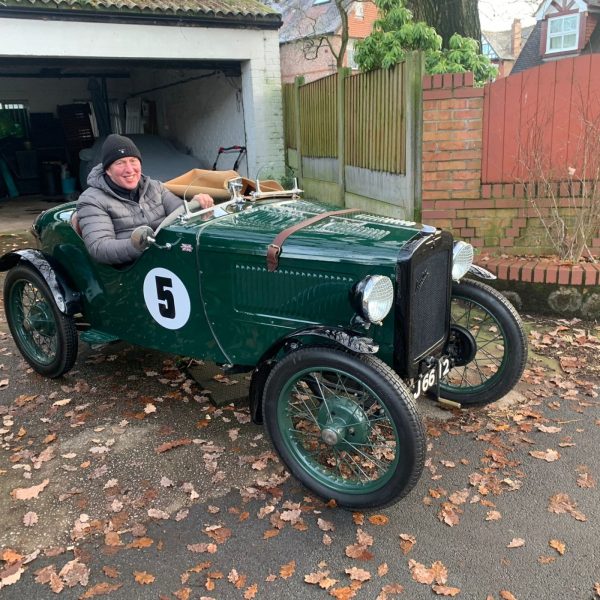
Just in time for Christmas, here we have Tom Higgins, proud winner of our 1932 Austin 7 ‘Ulster’ accepting his car.
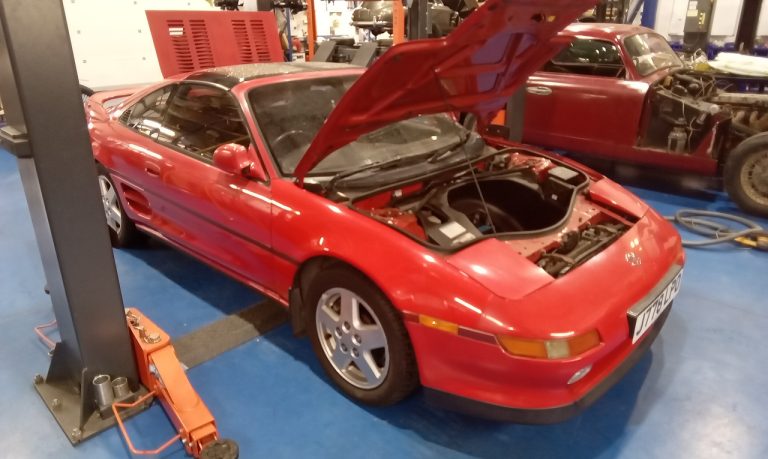
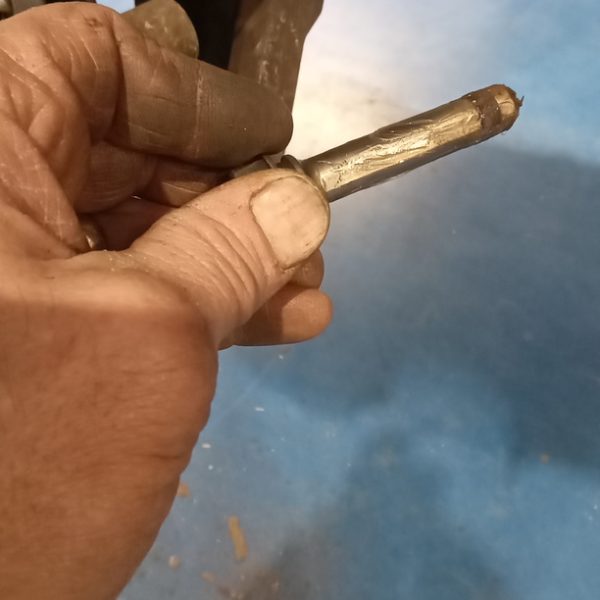
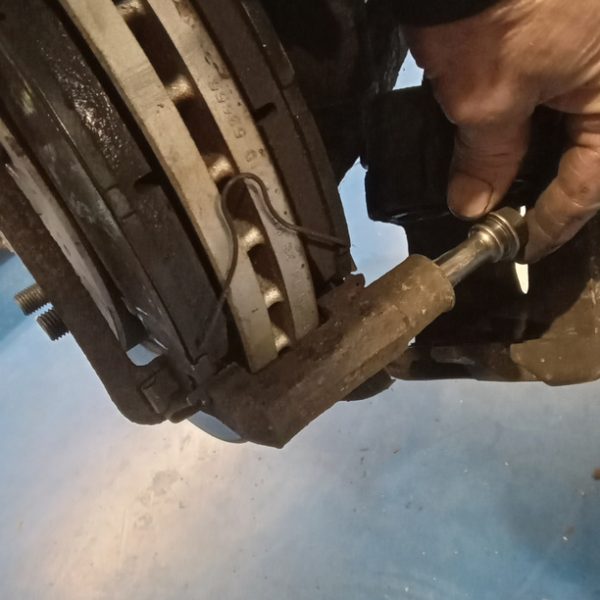
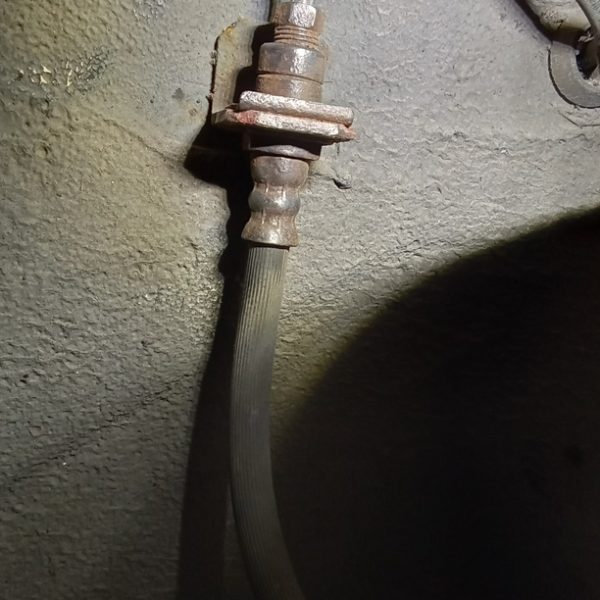
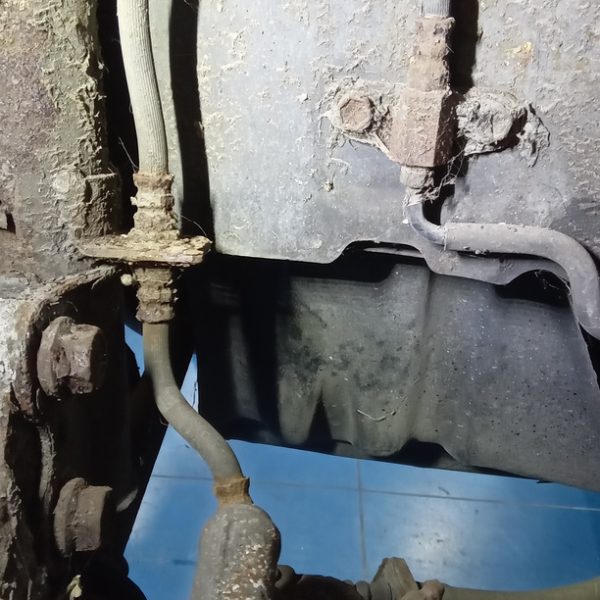
John has finished up the report. He has stripped and cleaned nearside front brake and found the sliders have seized. Remove and free off before
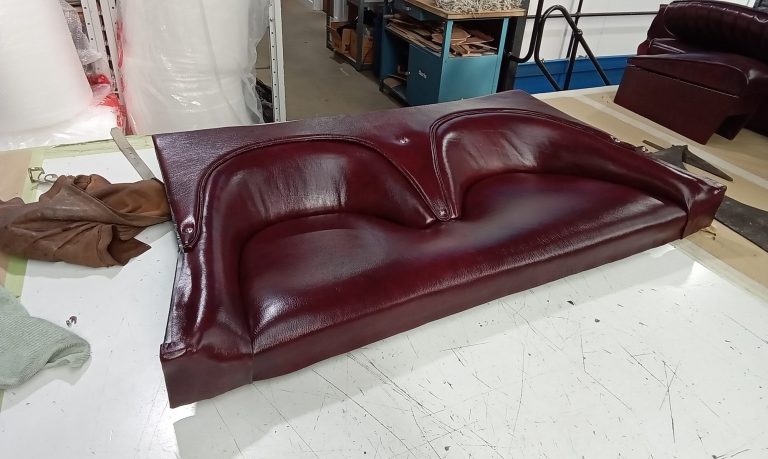
Yesterday and today, Lydia has been working on the rear seat of the Aston Martin DB2/4. ‘Chris has kindly painted the seat tray black for
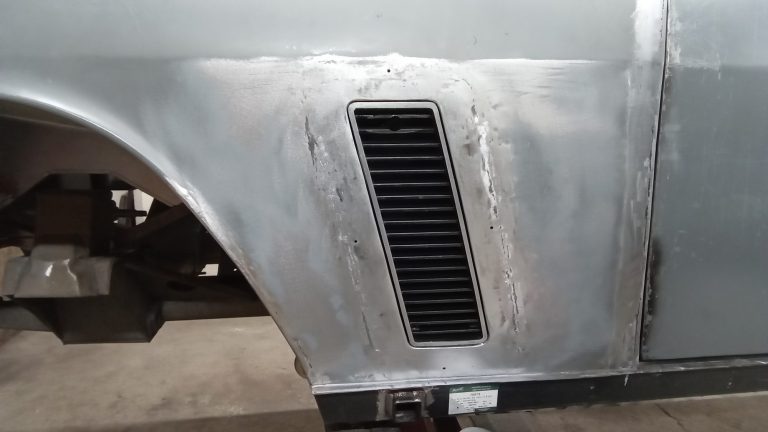
Christian has been planishing welds and making panel flat.
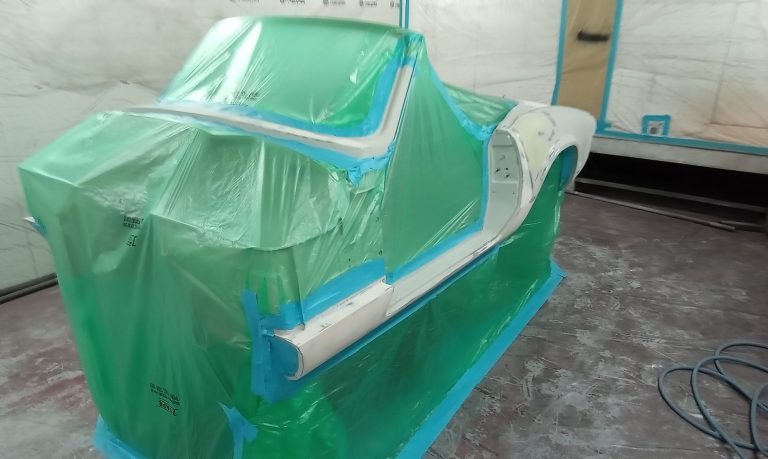
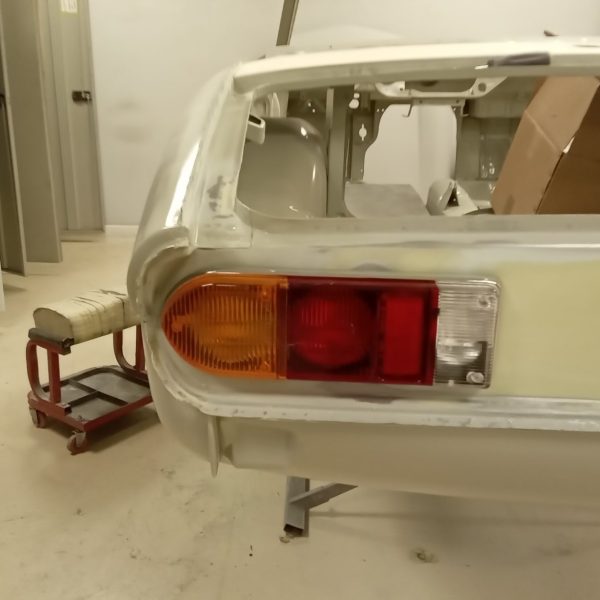
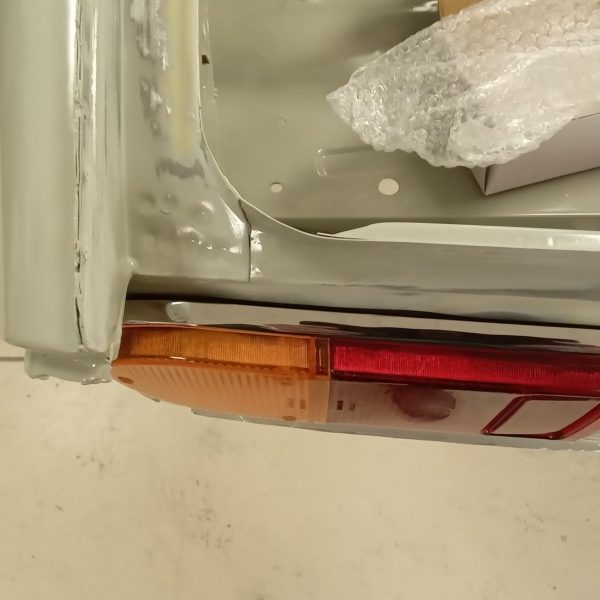
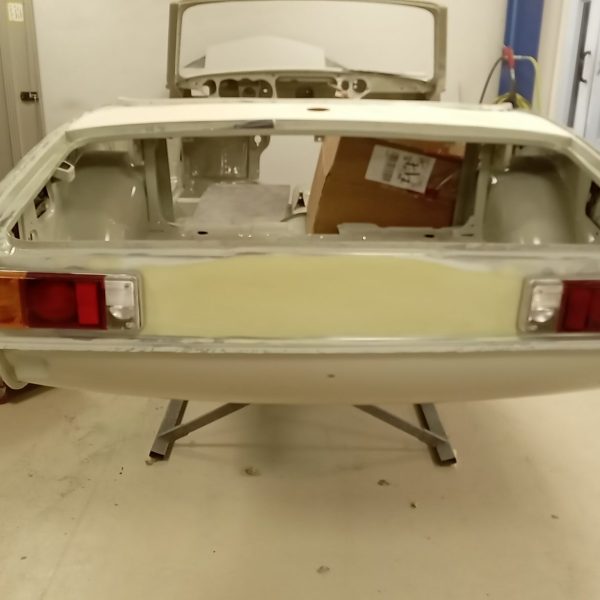
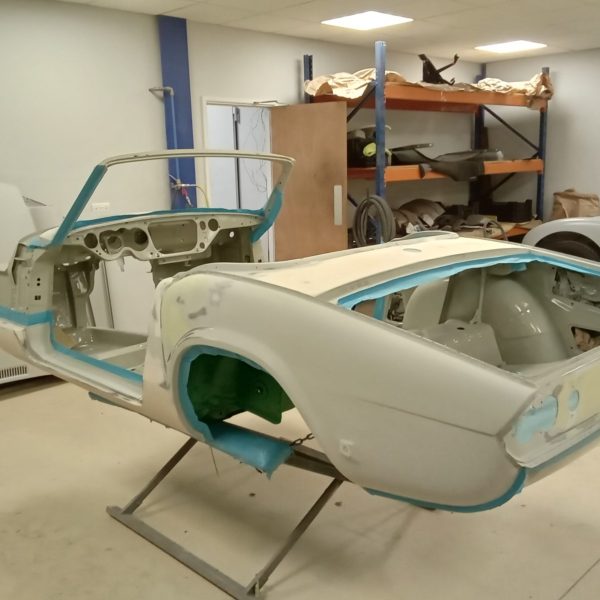
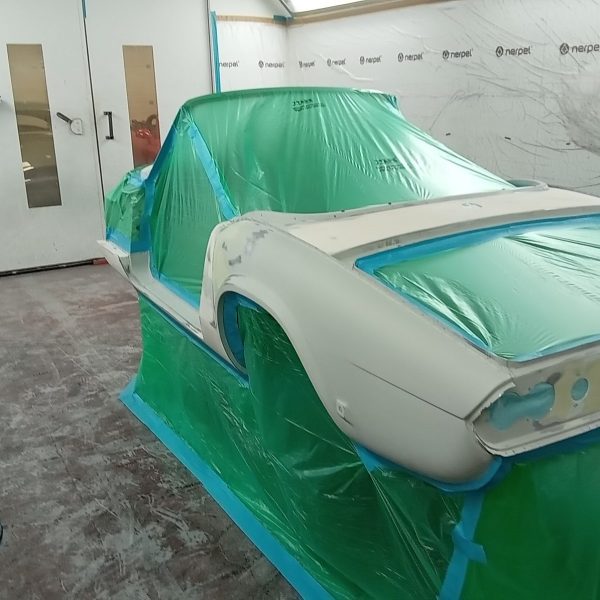
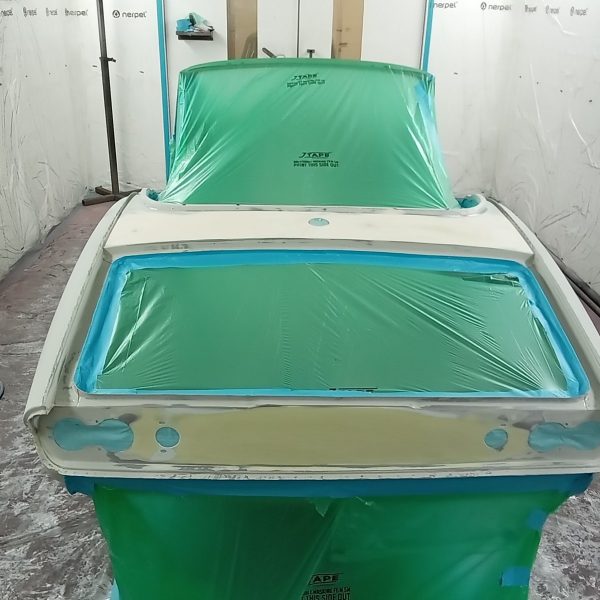
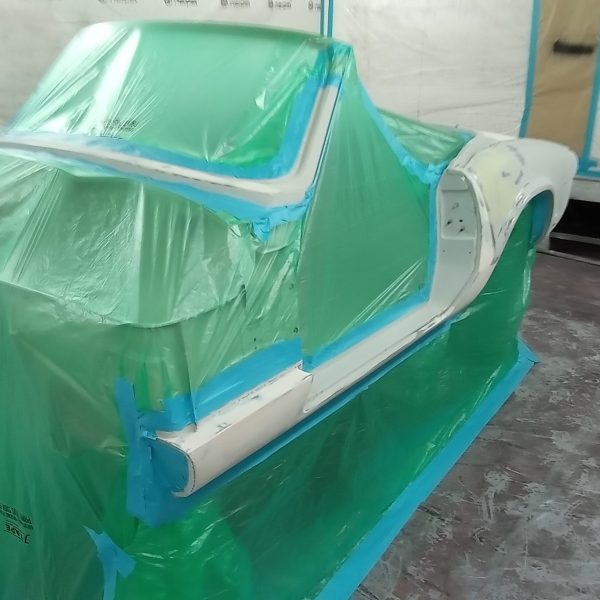
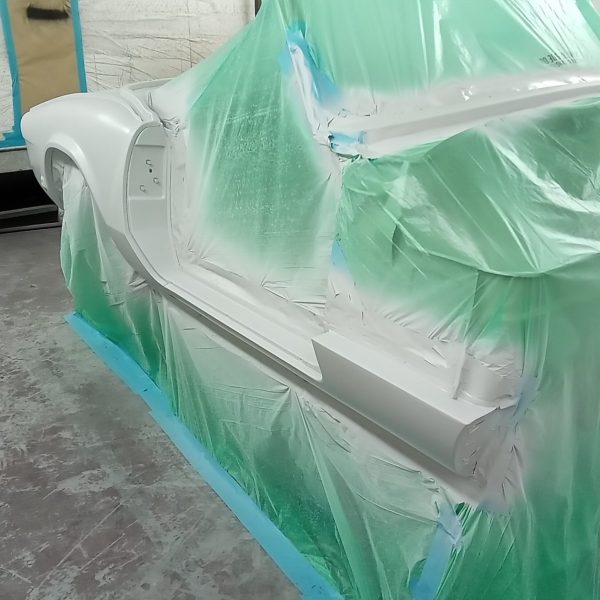
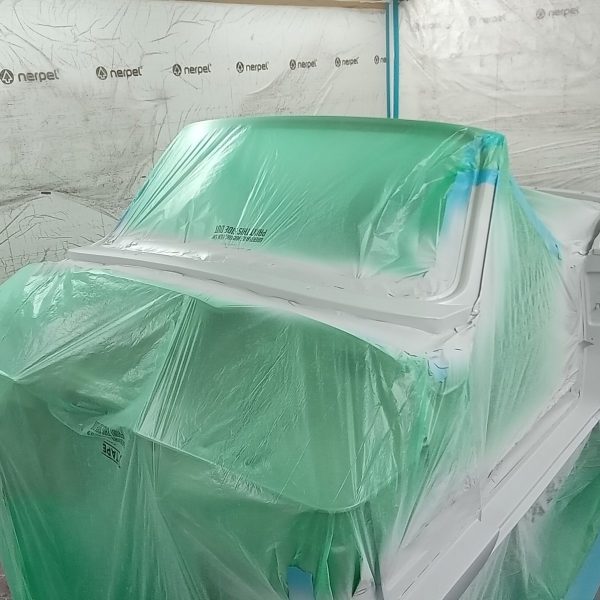
Alan is refitting the rear lights to check the fit. He is masking up for polyester primer preparation. Body was first epoxy primed then polyester
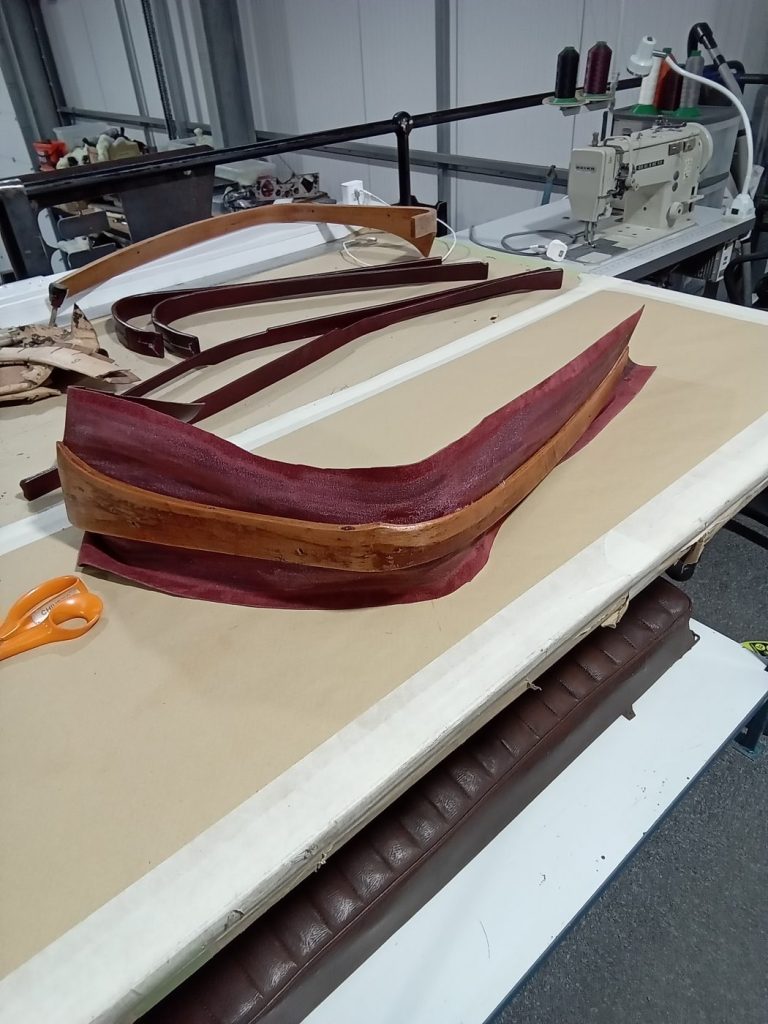
Cutting and gluing the leather to the front side window surround panels. Trimming onto the back of the panels, cutting and gluing leather onto the
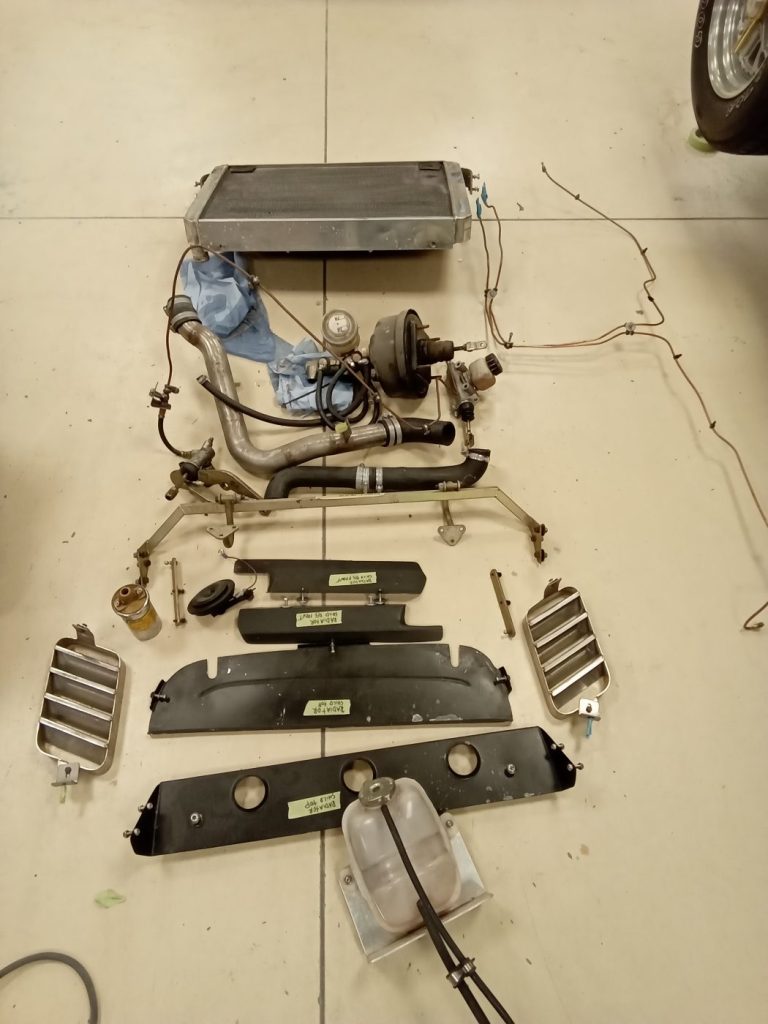
Mauro is still busy stripping down the car of it’s components ready for shape preparation.
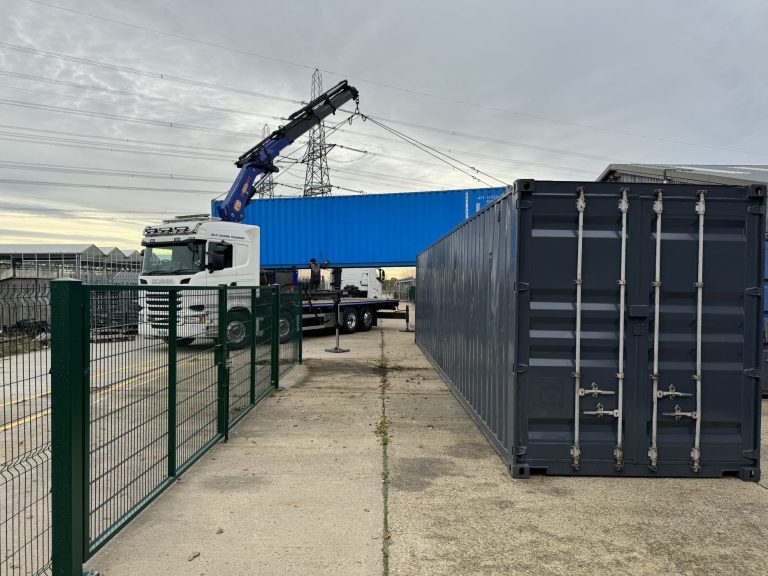
We have some very exciting changes afoot at Bridge Classic Cars in early 2024. In preparation for these changes, 4 new containers have arrived on
I would like to take this opportunity to thank Gordon and your team for the swift resuscitation of my dead Volvo! Great to know there
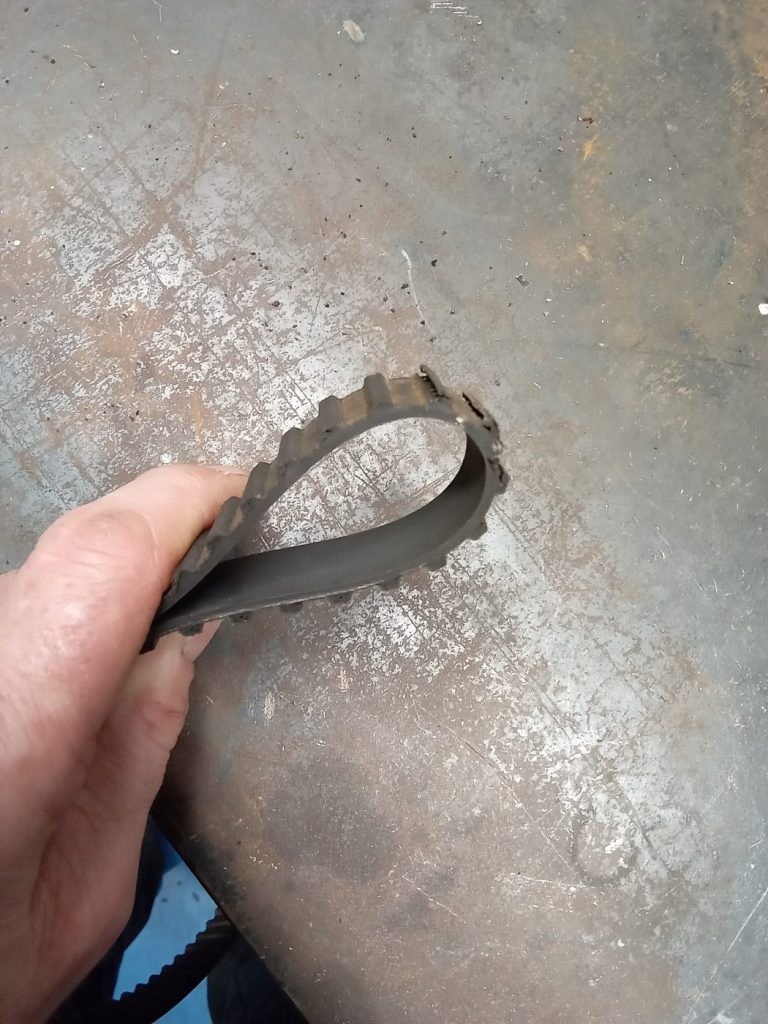
Steve is showing here our old cambelt with damaged teeth causing the belt to slip. He has now fitted a new belt, tensioner and spring.
Christian has been working on our Austin Ulster this week. He has modified the battery tie down.
John has found a damaged water pipe on the Aston Martin DB2/4 so has replaced with new.
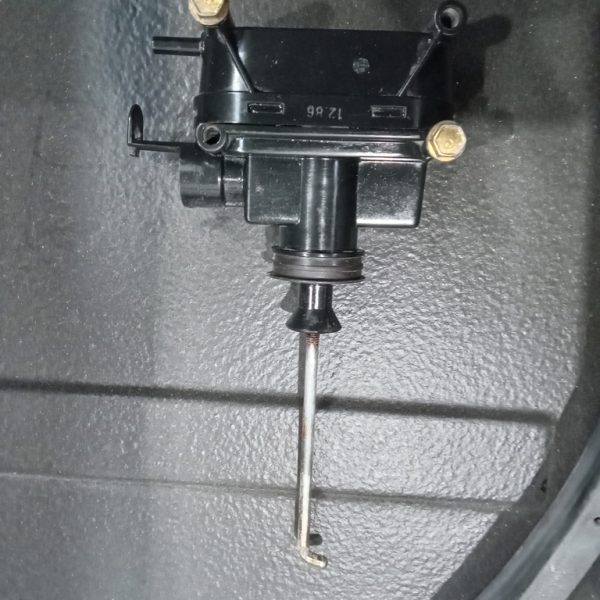
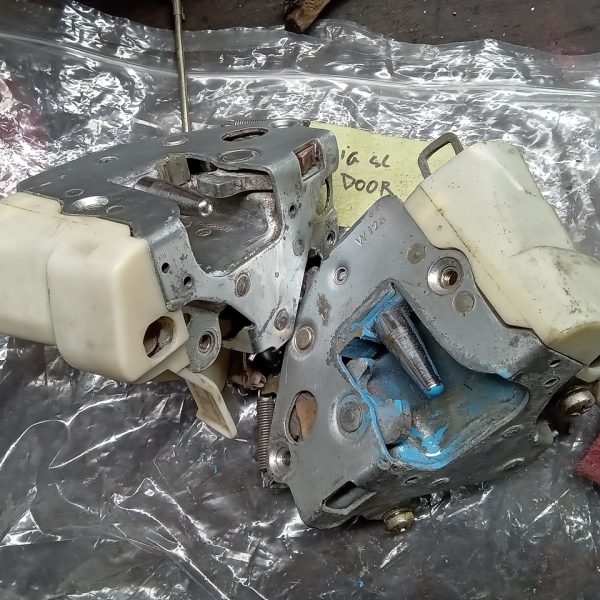
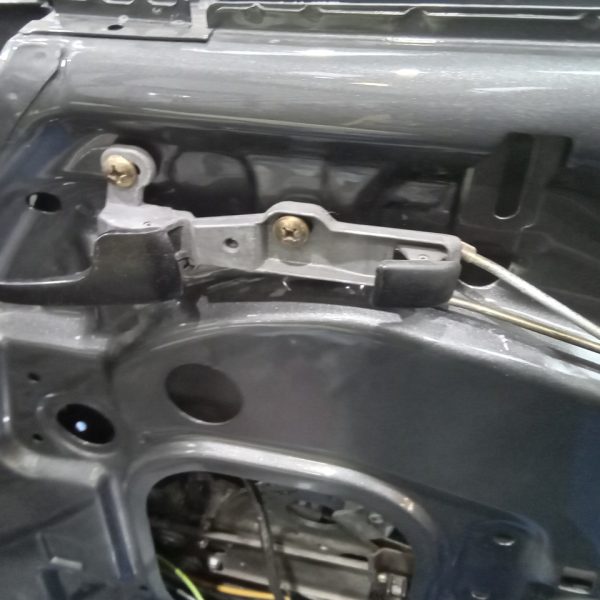
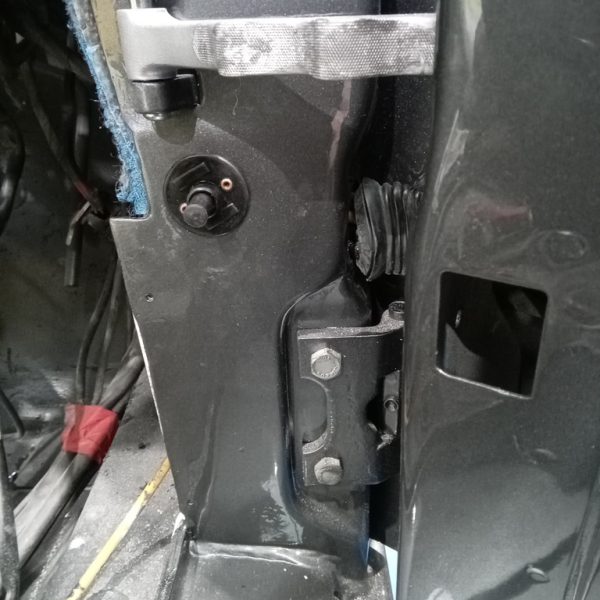
The doors are being built up right now on our 1987 Mercedes SL500 R107.
The new clutch has been fitted and the engine re-installed in the car. All of the ancillaries have been refitted, the radiator has been tested
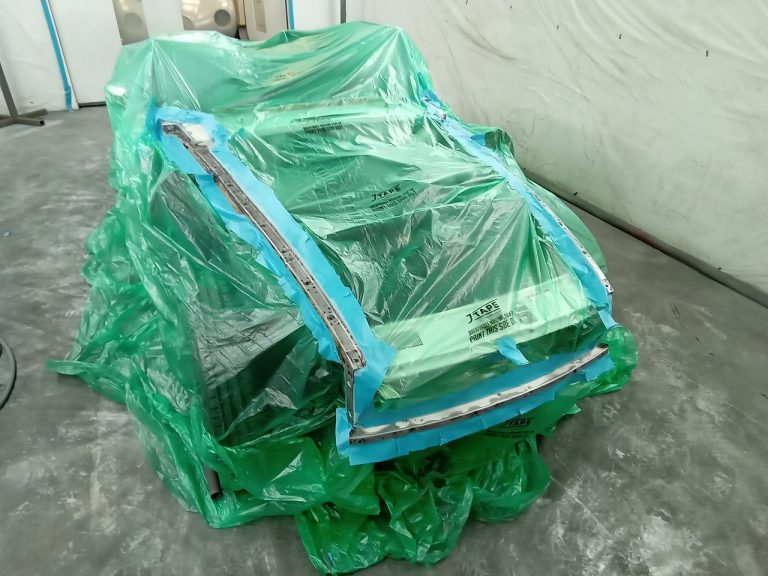
The MG B Roadster is now in epoxy prime and ready for paint.
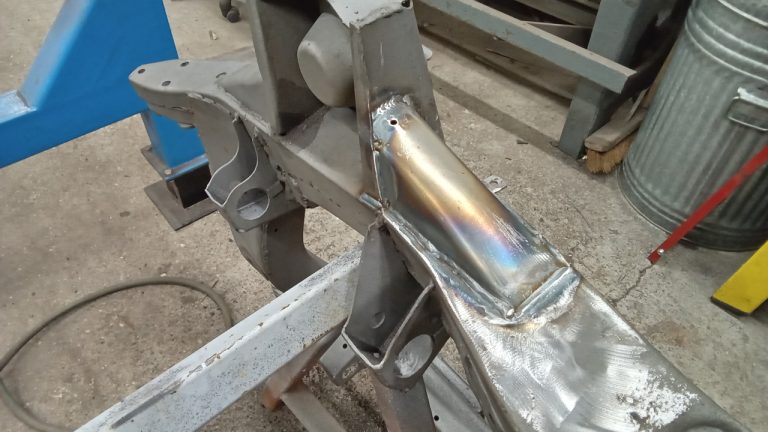
Christian is continuing with the Austin Devon body panel fabrication.
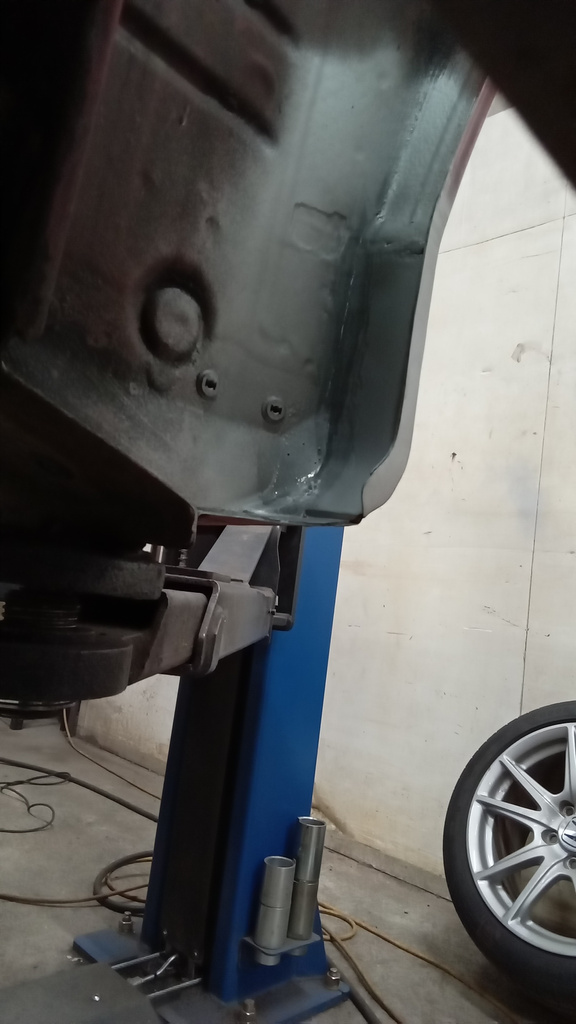
Monty has completed the weld repairs to the arch of the S2000.
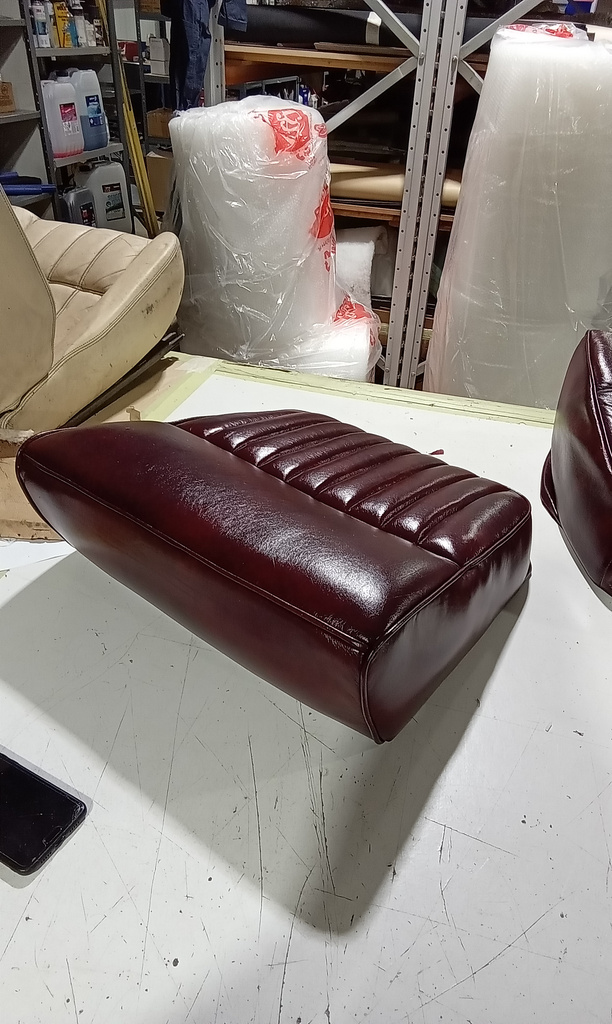
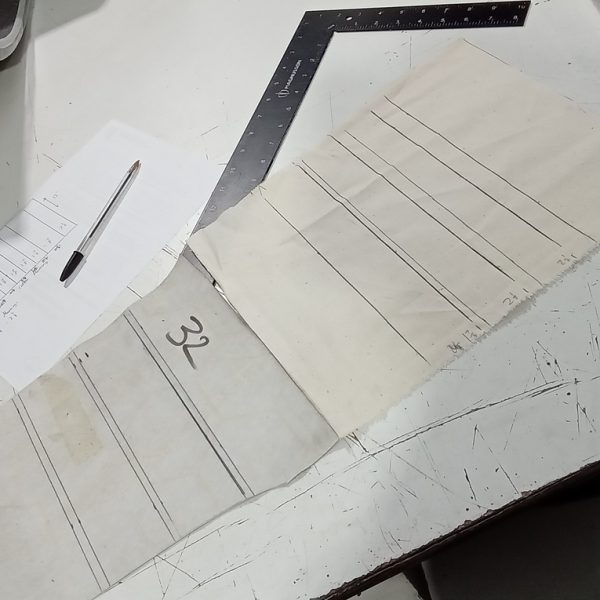
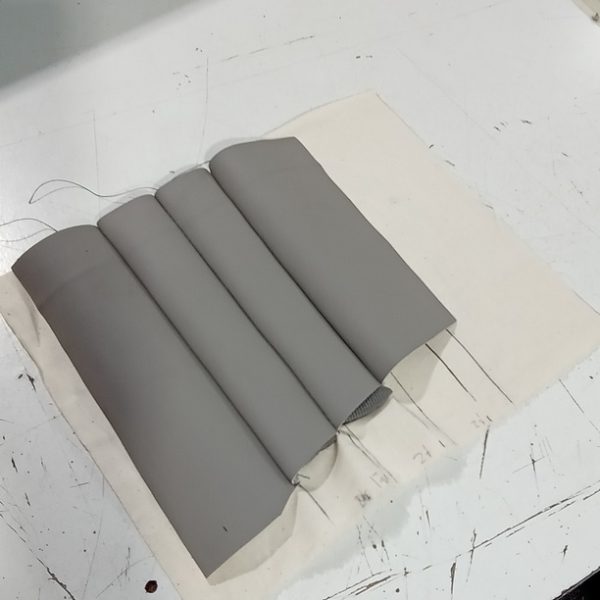
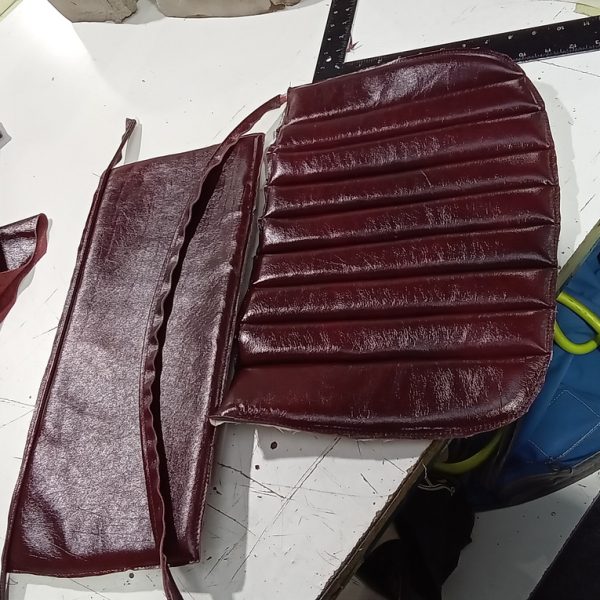
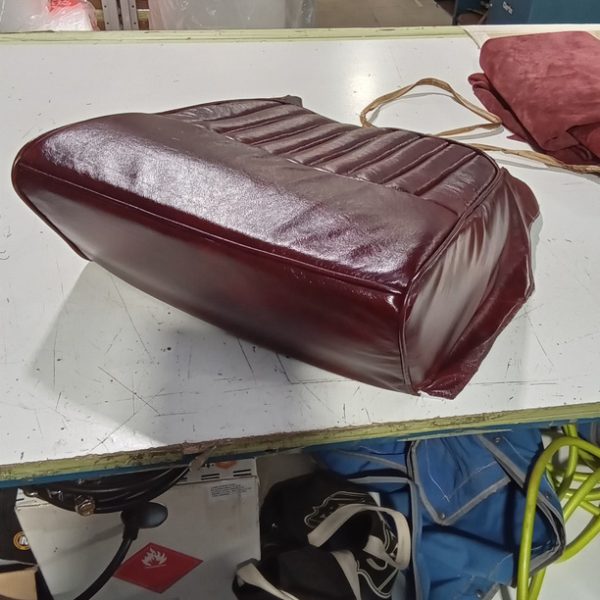
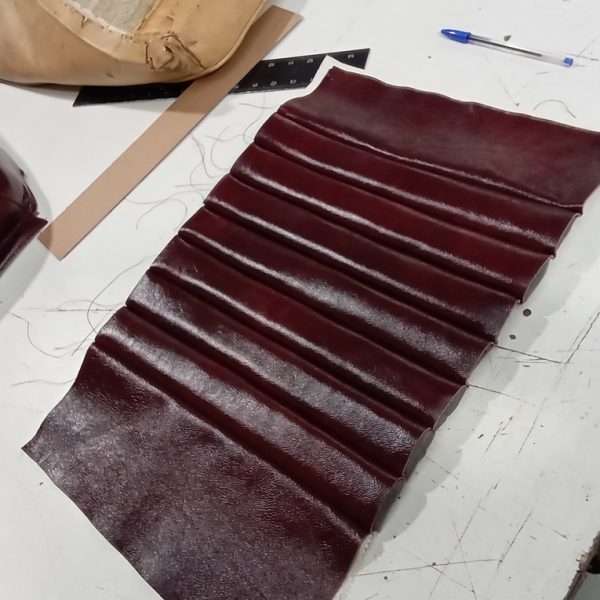
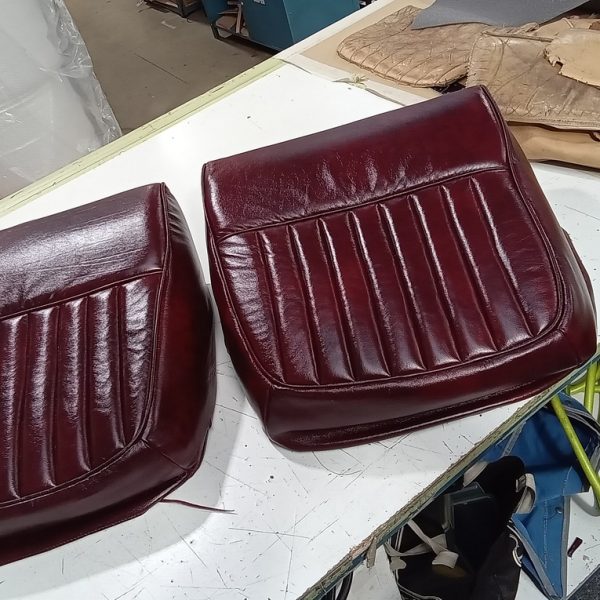
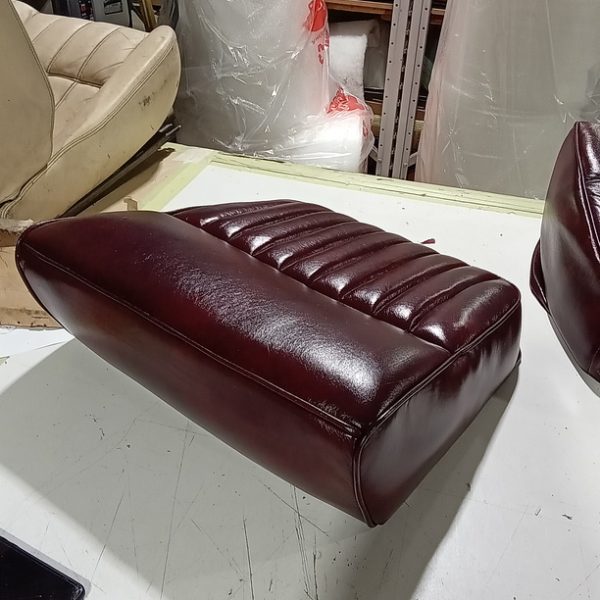
To begin with, Lydia has made a mock-up panel to test the measurements for the tuck and roll flutes. This requires precise measurement and calculation
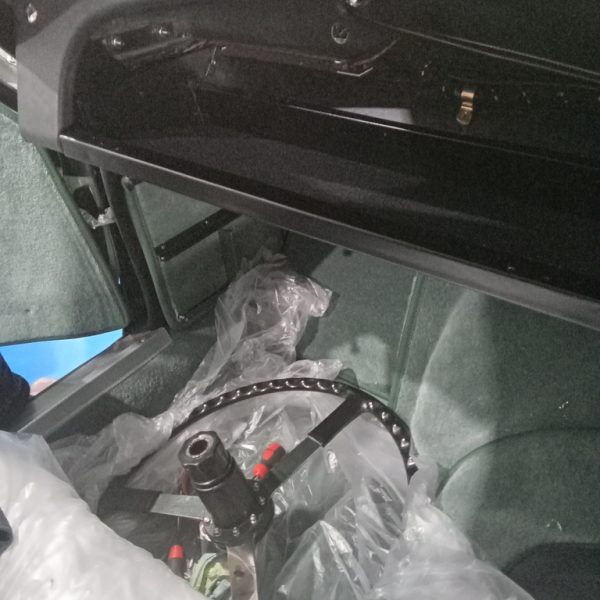
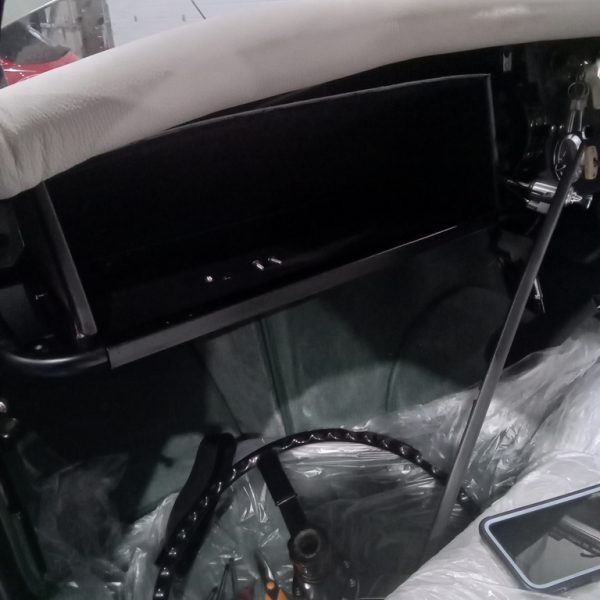
Fitting inner glovebox top section and outer panel. We have glued the vinyl to the bottom section, fitting hinges to the glovebox lid, fitted lock
Today the interior was refitted; seats, seat belts and boot areas that were removed for metalwork/welding. On refitting the passenger seat, we found the back
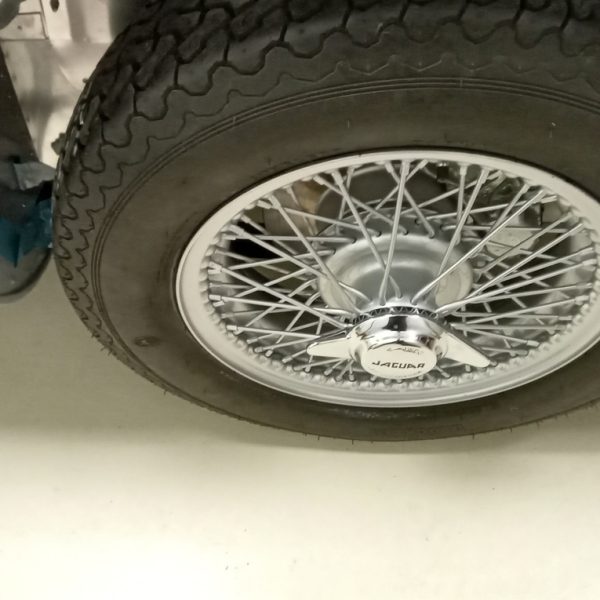
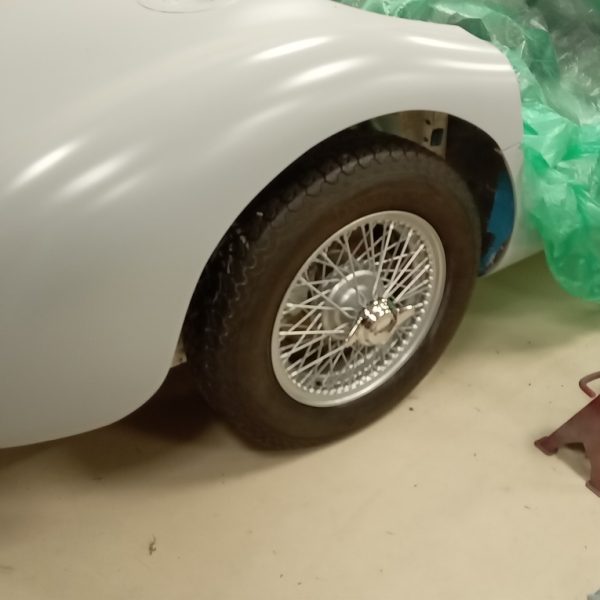
Now that the wheels have returned from our good friends at Wheelworx having been re-coloured from red to silver, Jon has refitted them to make
Mauro is continuing on with the MG B Roadster rust removal.
Monty has started on the corrosion repairs on our S2000 this week. As you can see, the rear inner arch requires some fabrication and welding
Brian has fitted weather strips to the top of the doors, adjusting the ends of the door cappings to let the doors close properly./ He
Our Christmas line up is being prepared as we speak. We have an amazing selection of competitions coming up between now and Christmas. Something for
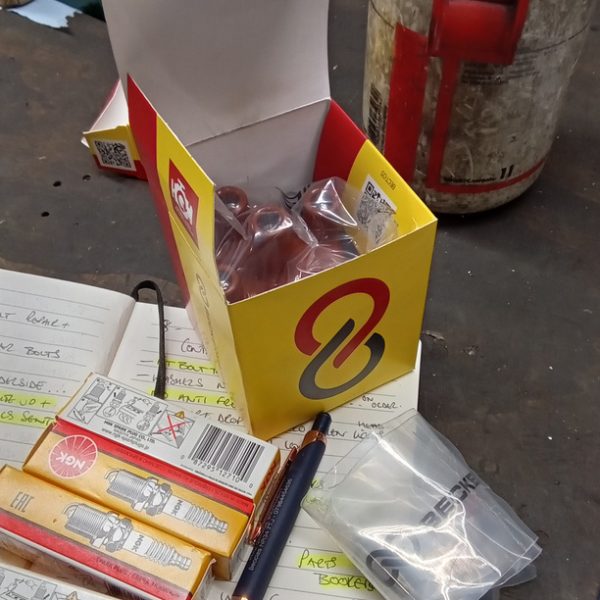
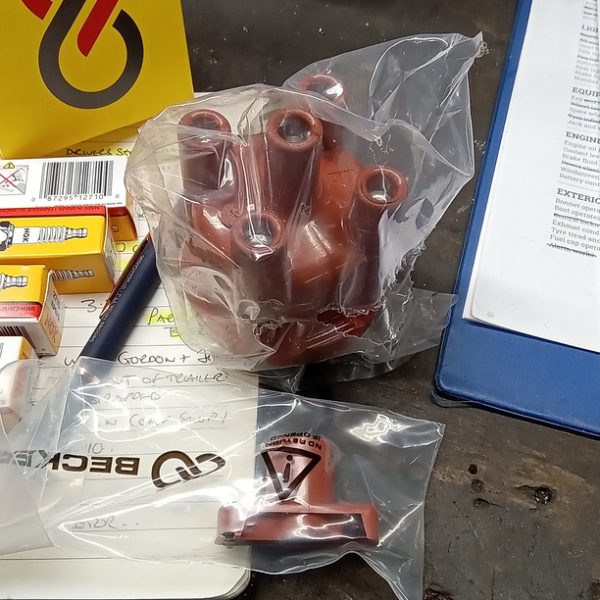
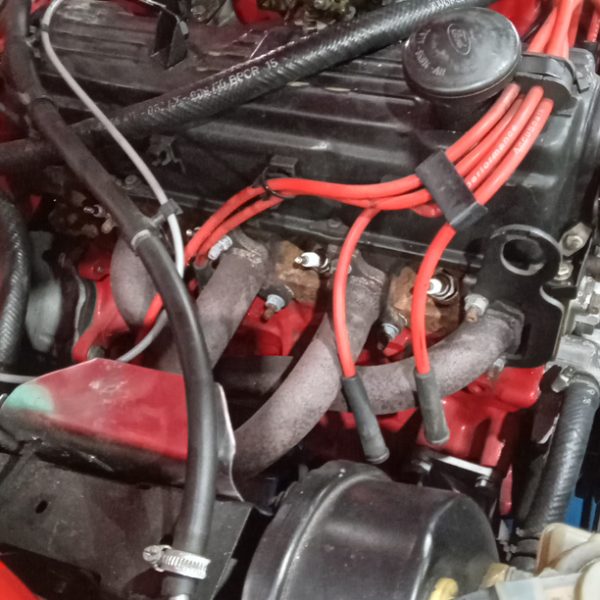
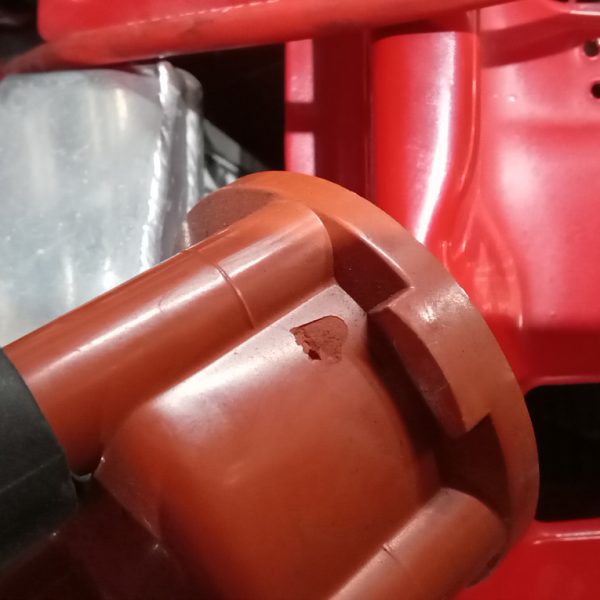
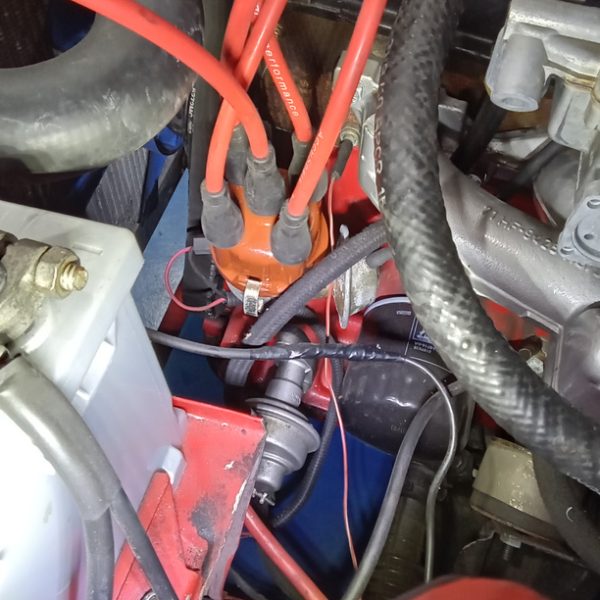
Fitted new distributor cap and rotor arm. Gap and fit new spark plugs, run and test briefly, all ok. Ready for full road test and
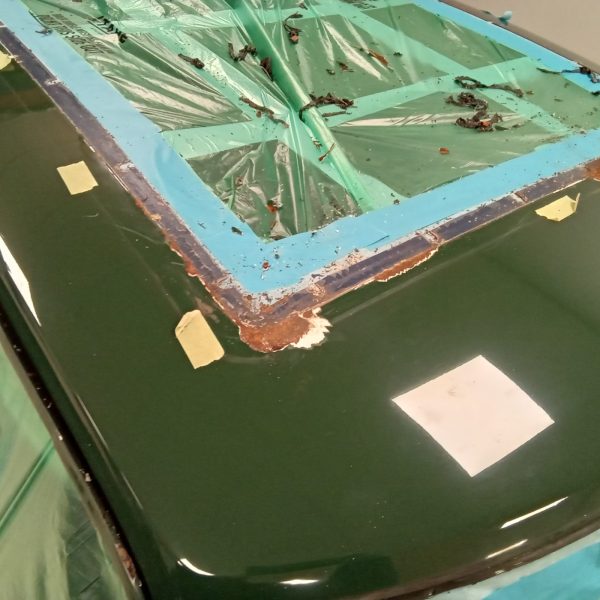
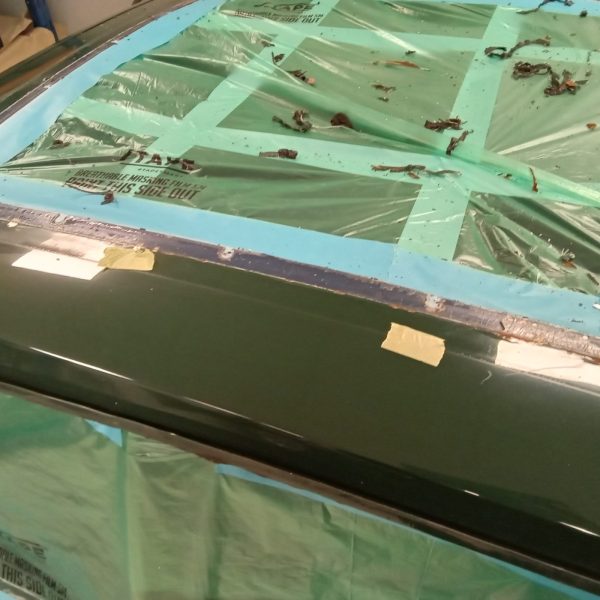
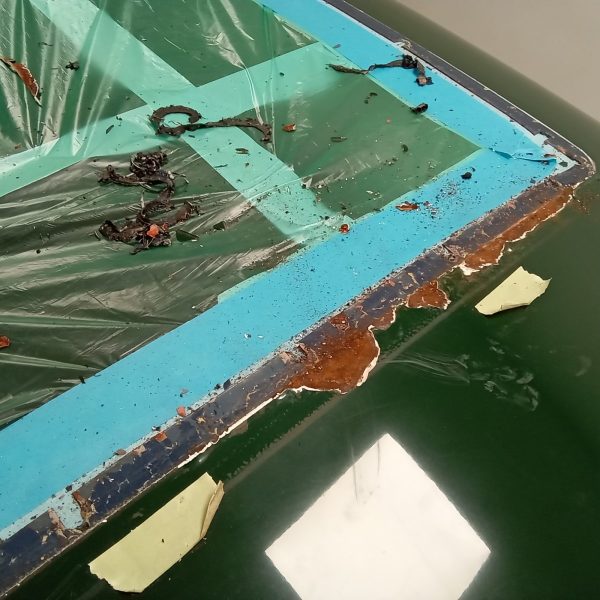
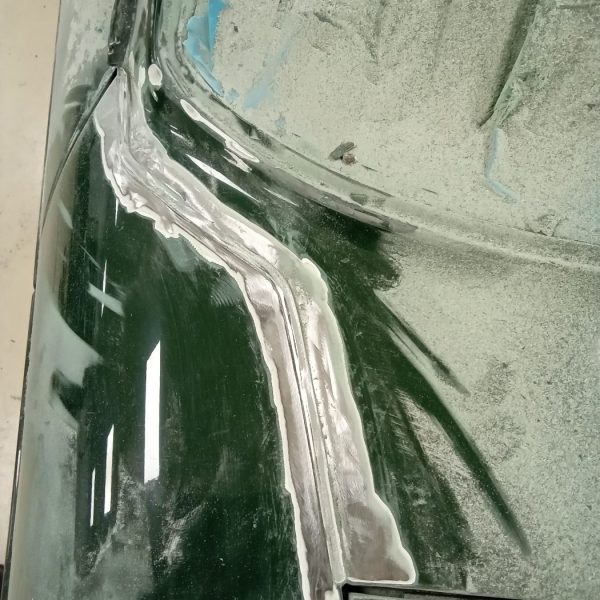
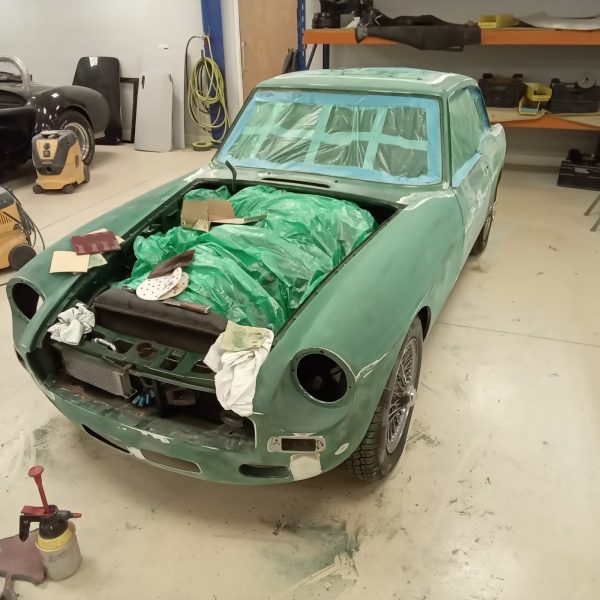
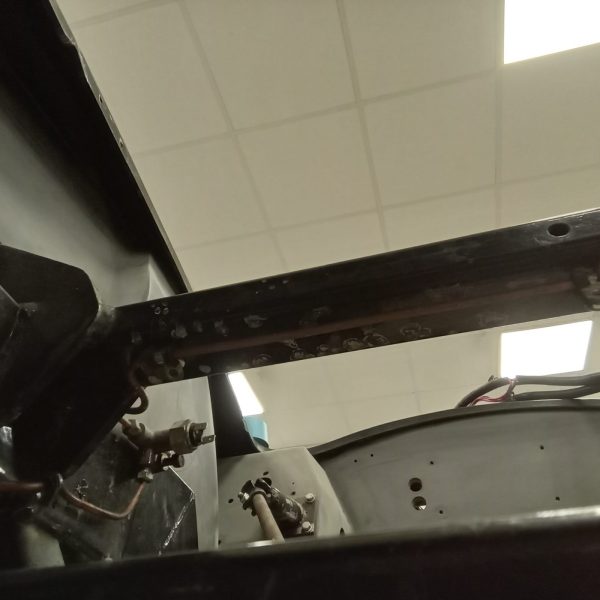
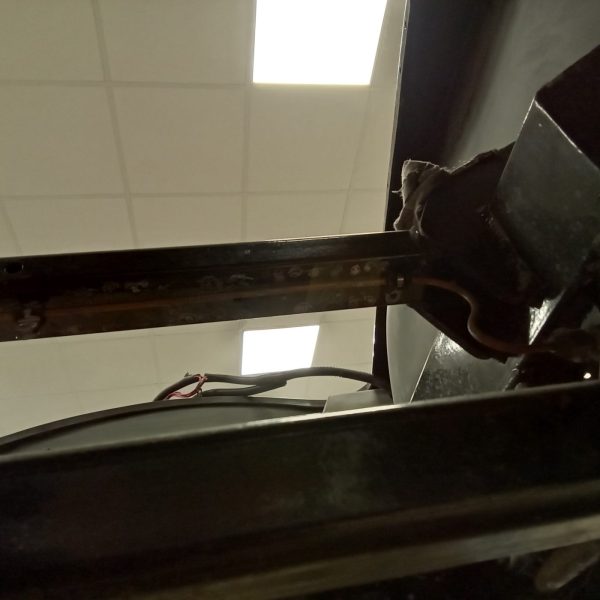
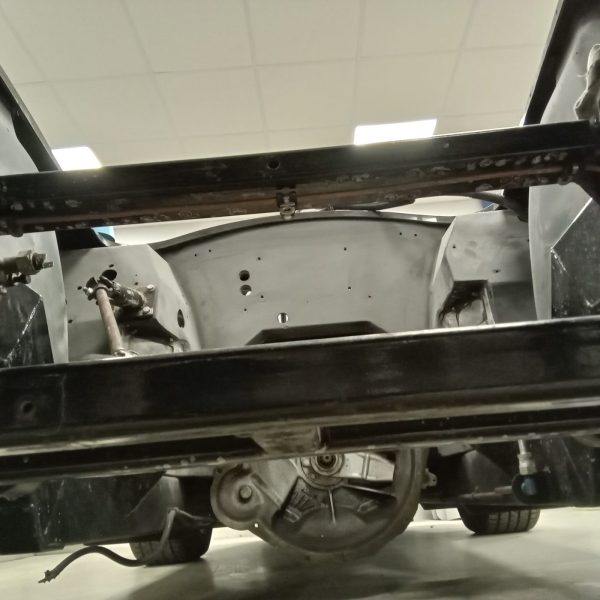
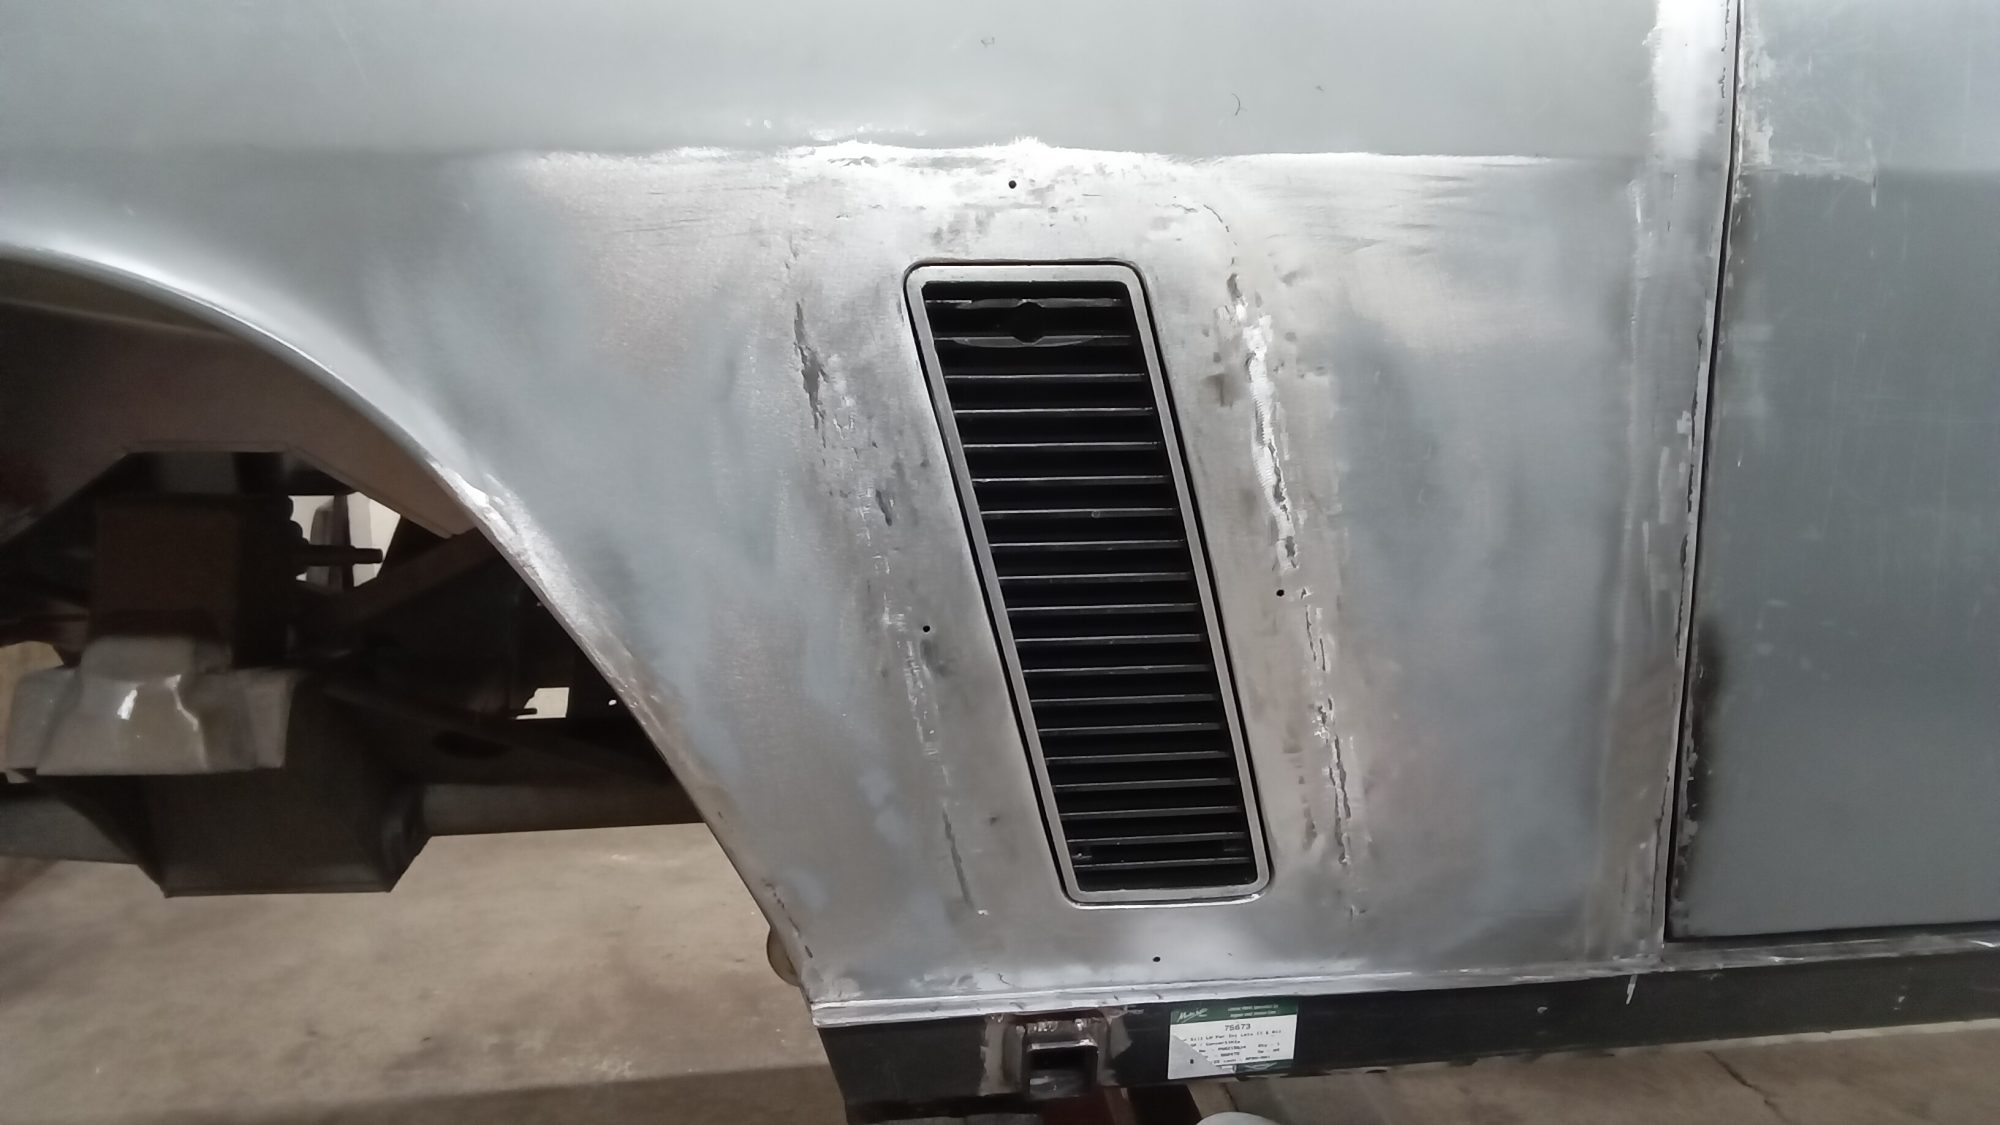
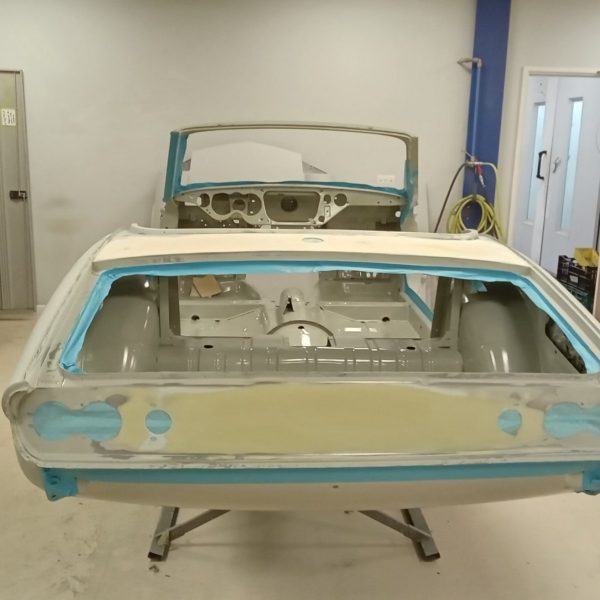
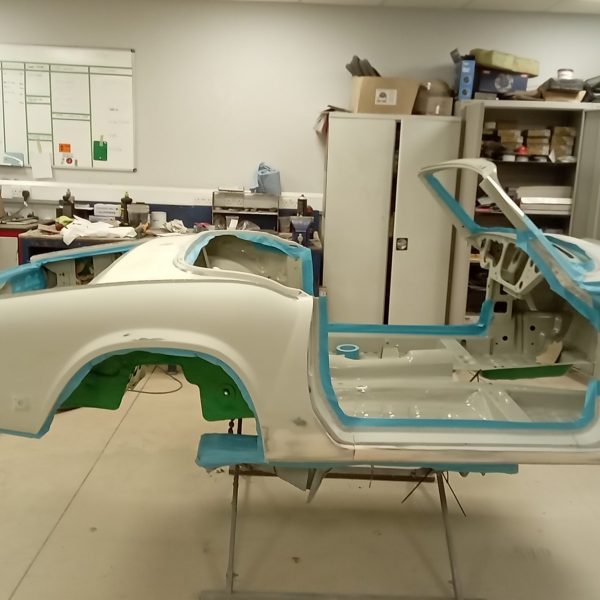
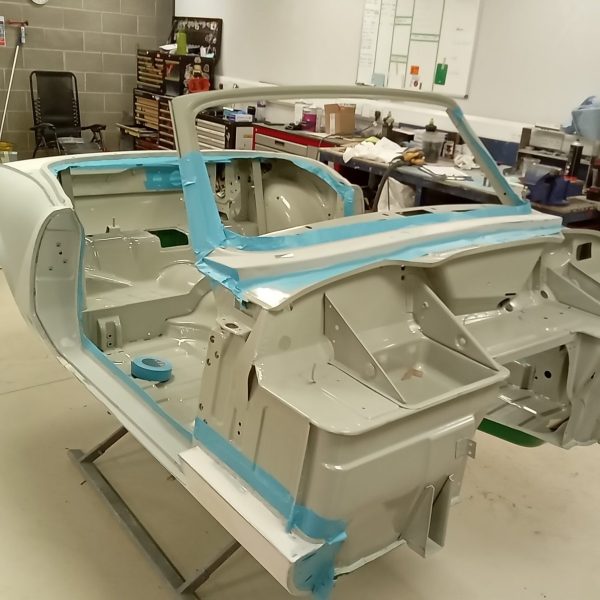
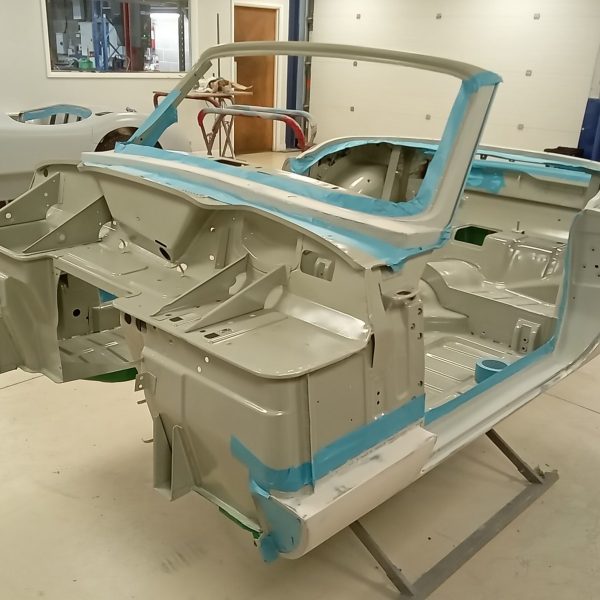
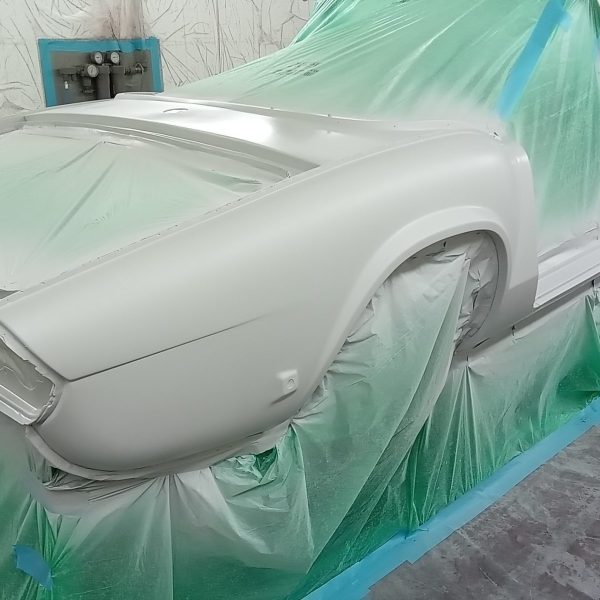
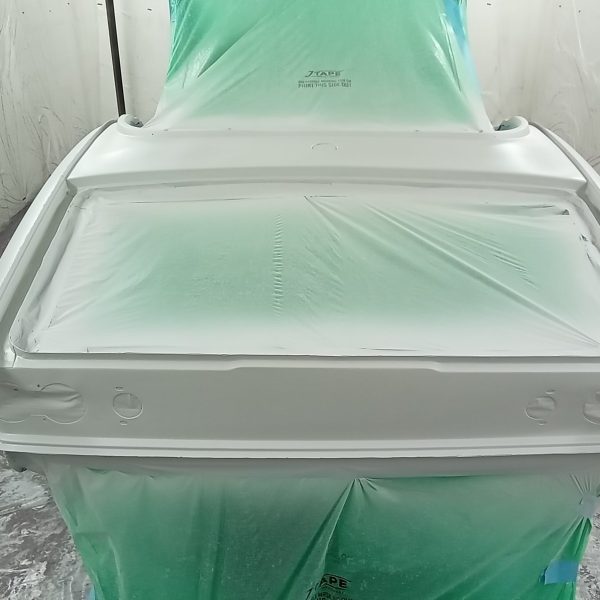
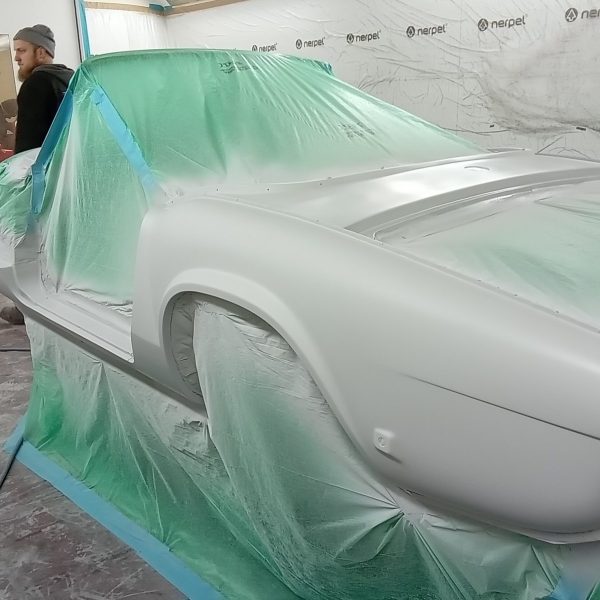
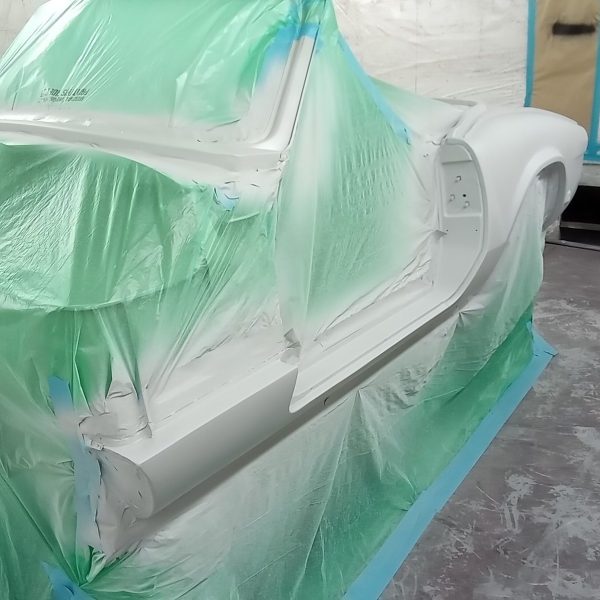
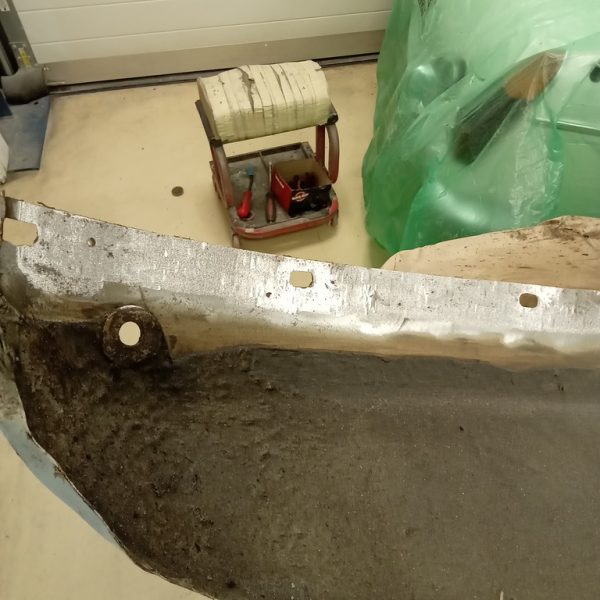
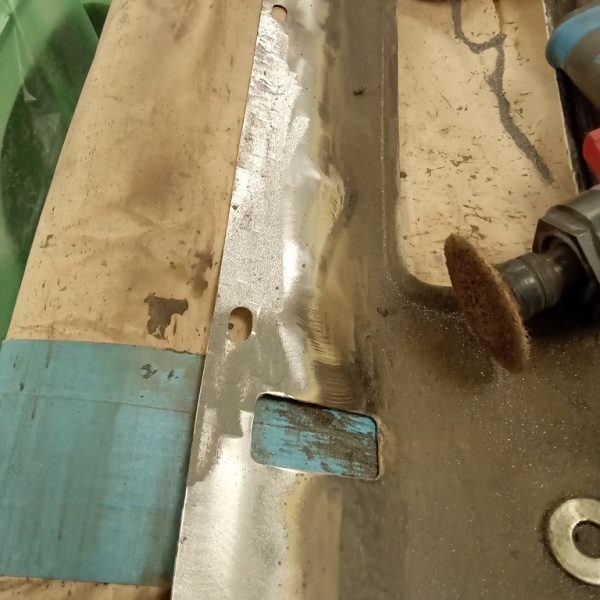
Chris is currently stripping back our MG C GT to expose all of the rust and corrosion areas that will need addressing. As we find more often than not, the areas we initially see upon first inspection is not able to reveal the true extent of work required. It is only when you start to strip a car do you see a true picture of corrosion that has developed and what work will be required to put it right before we even look to repaint.


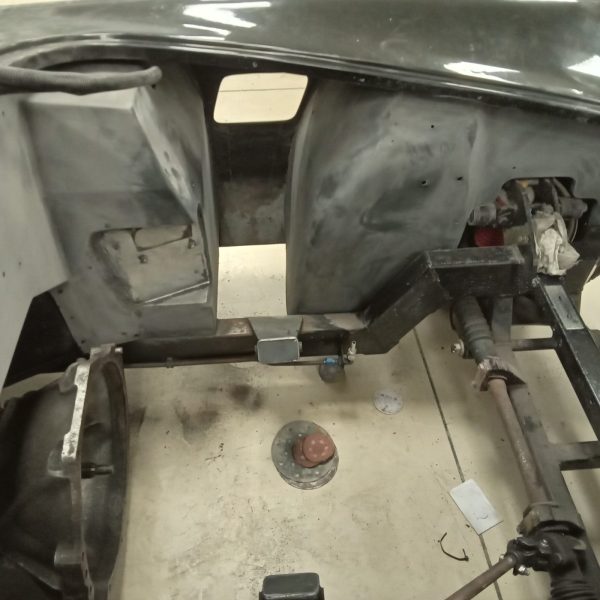
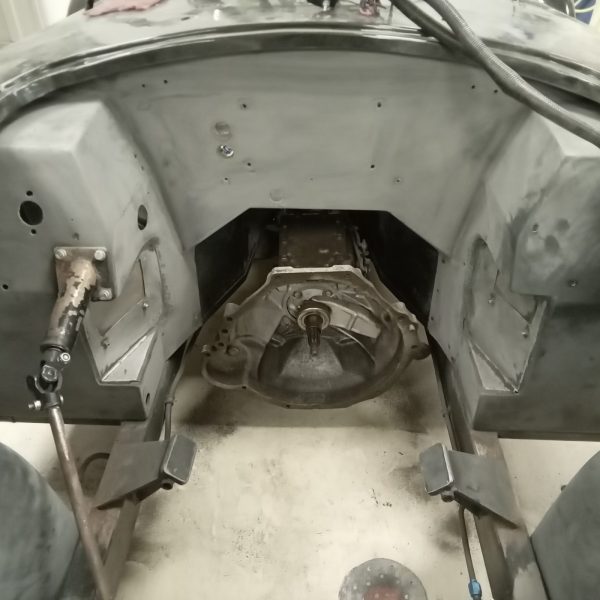
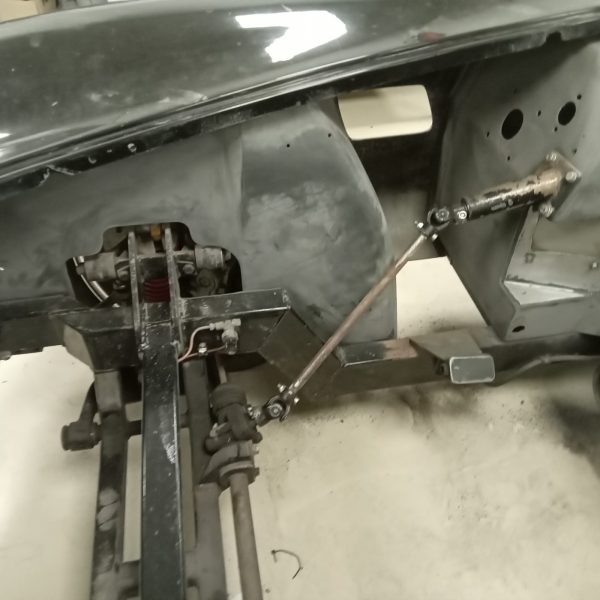
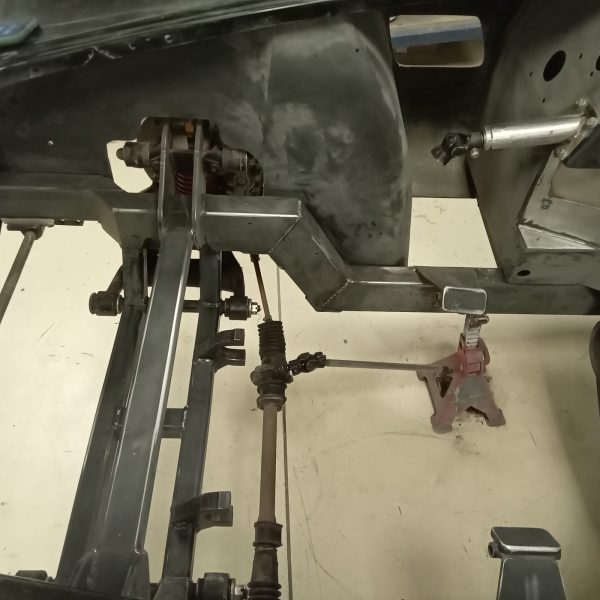
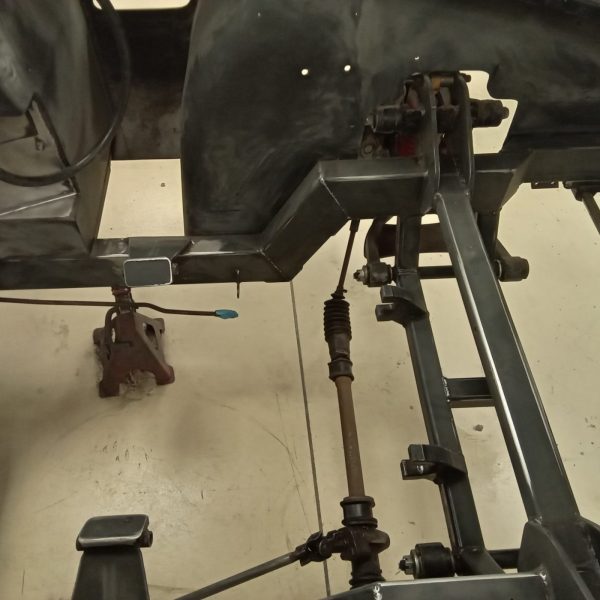
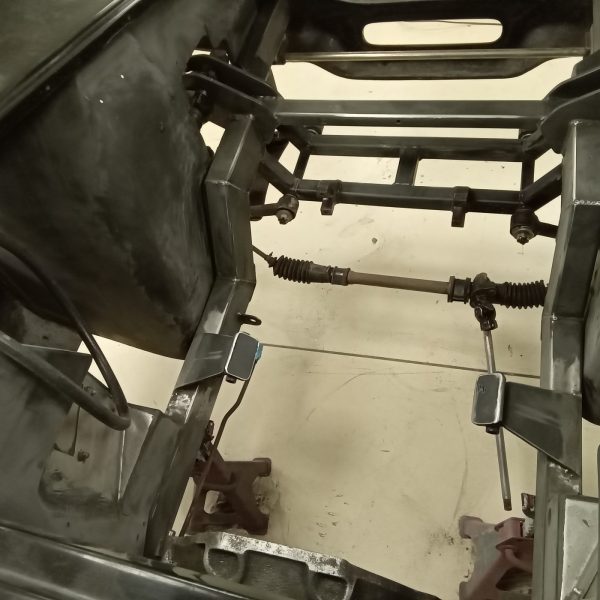
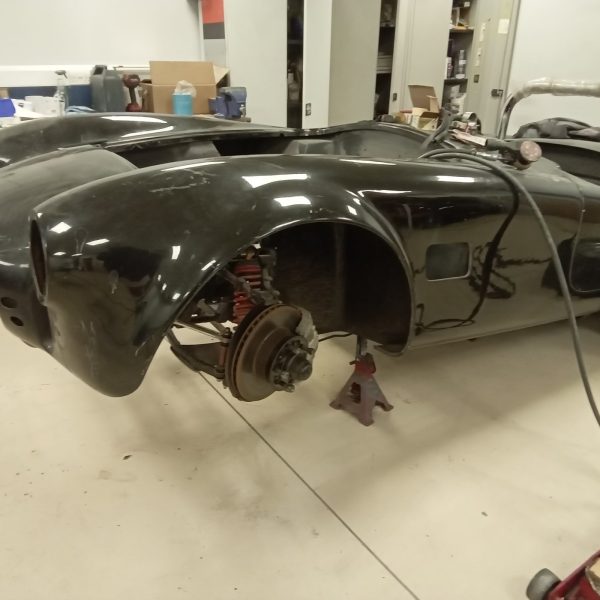
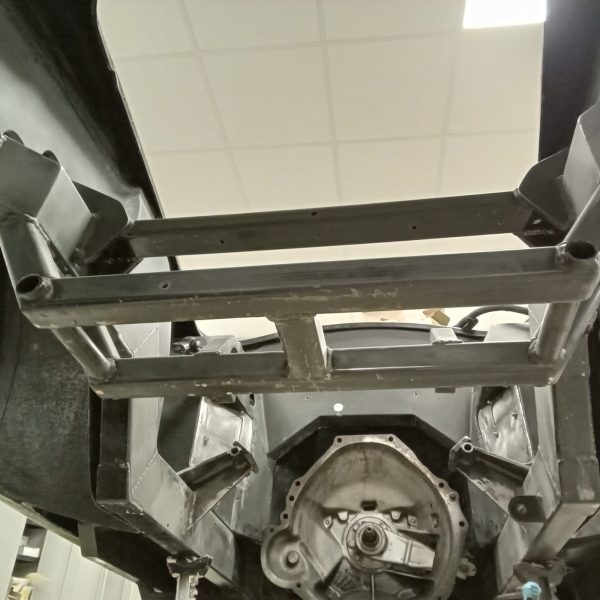
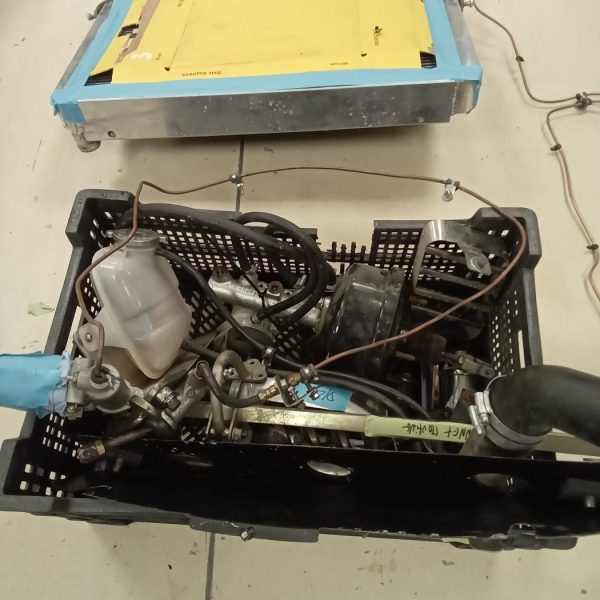
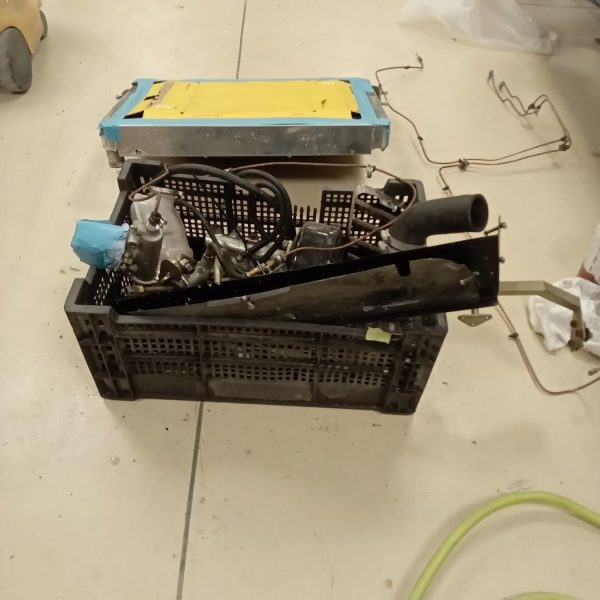
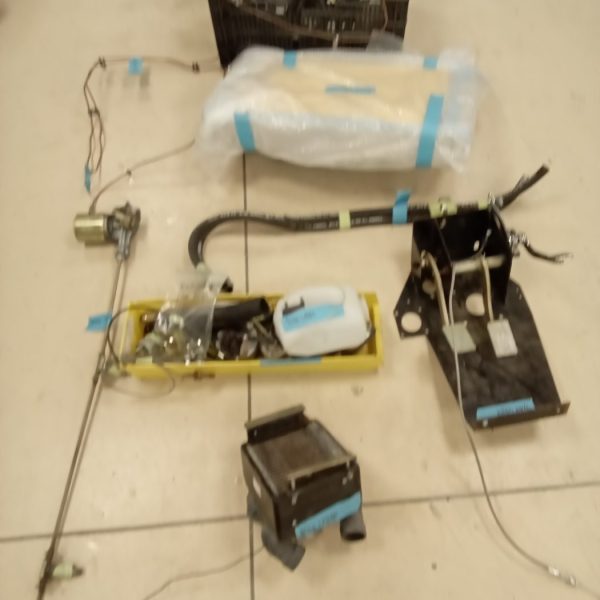
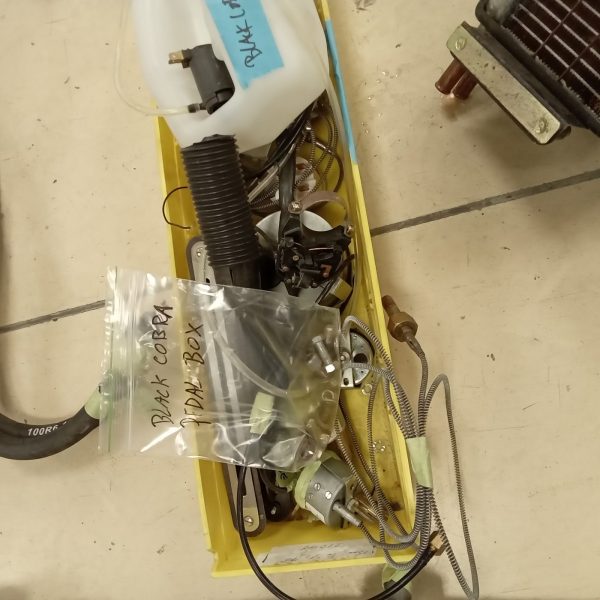
Mauro is continuing to strip down the Cobra project in preparation for the primer stage.
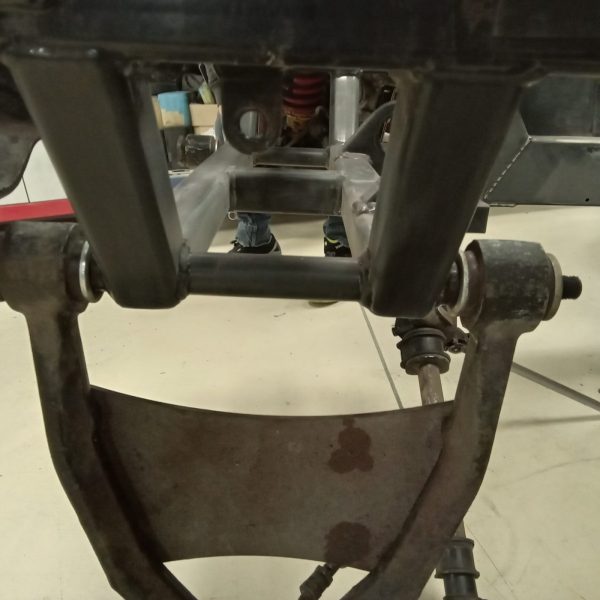
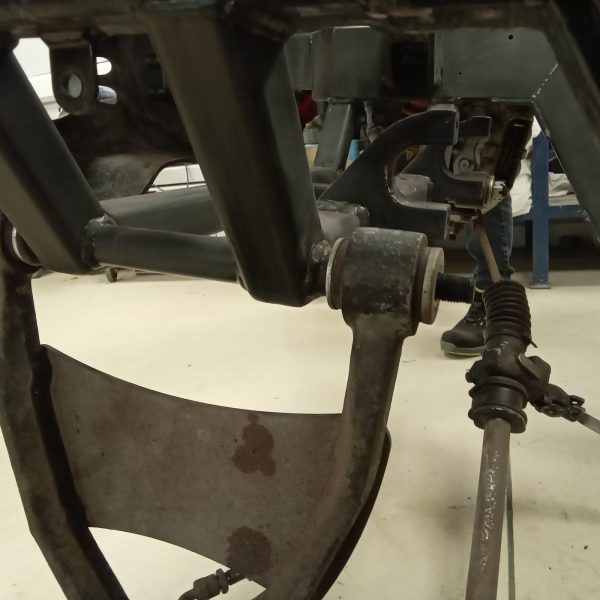
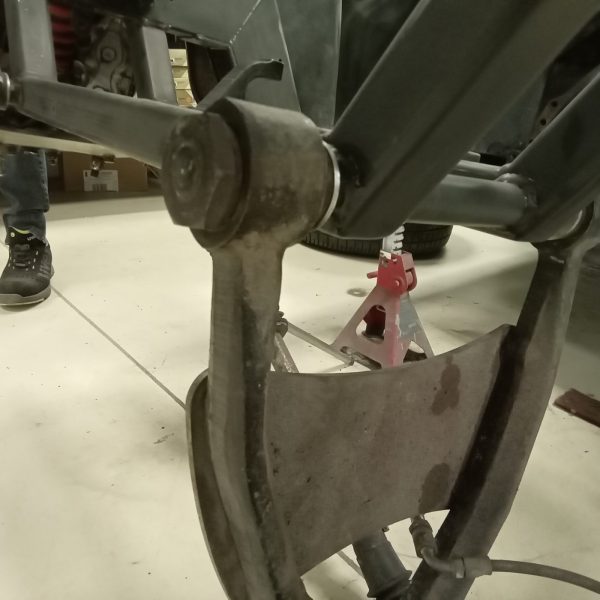
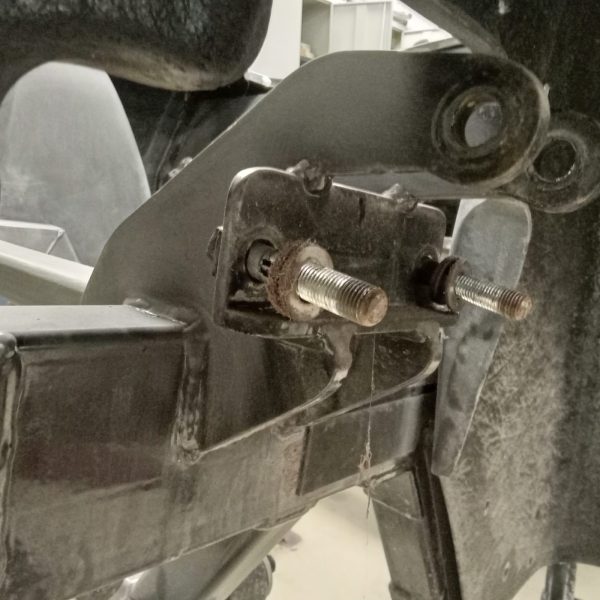
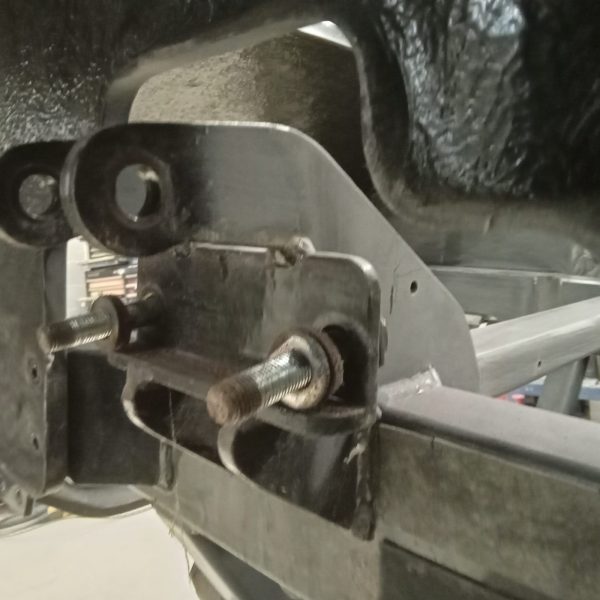
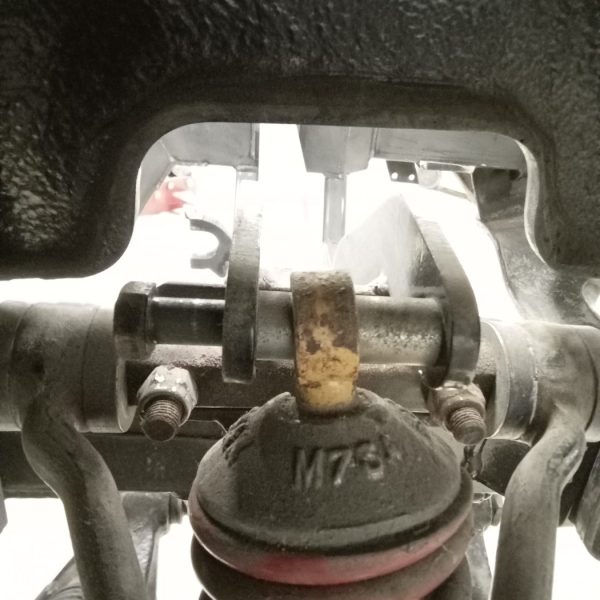
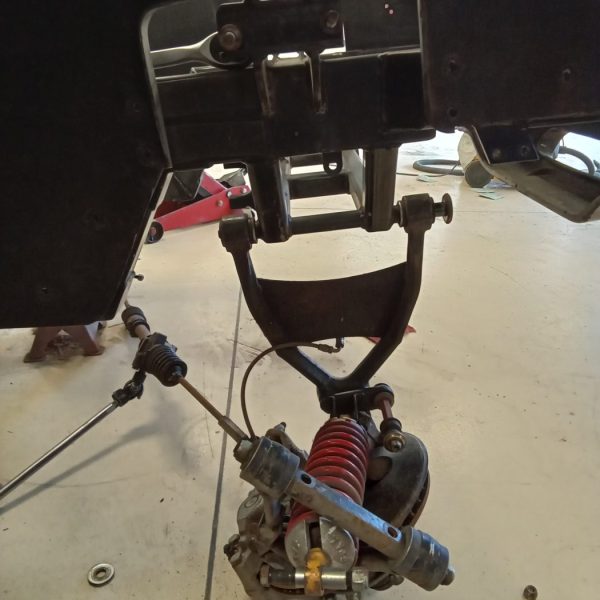
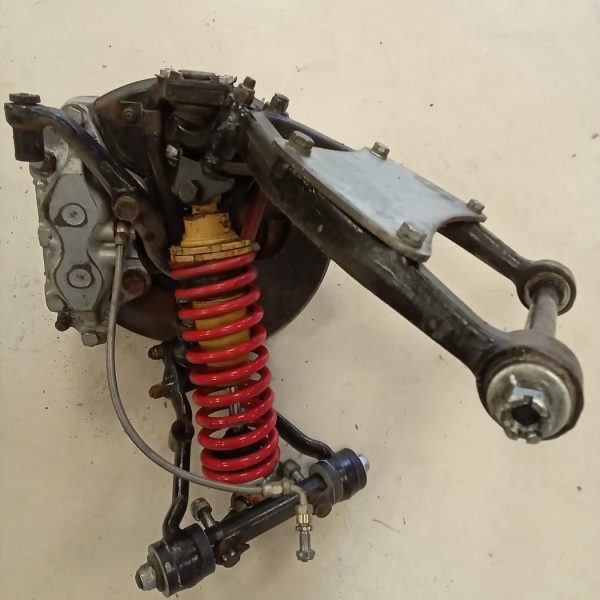
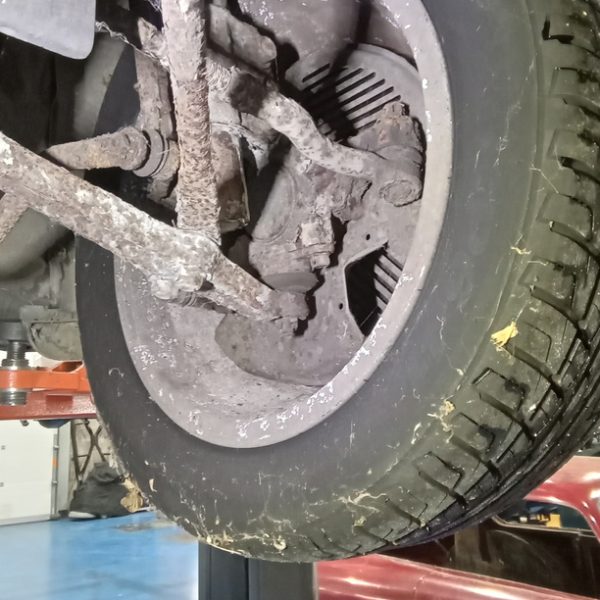
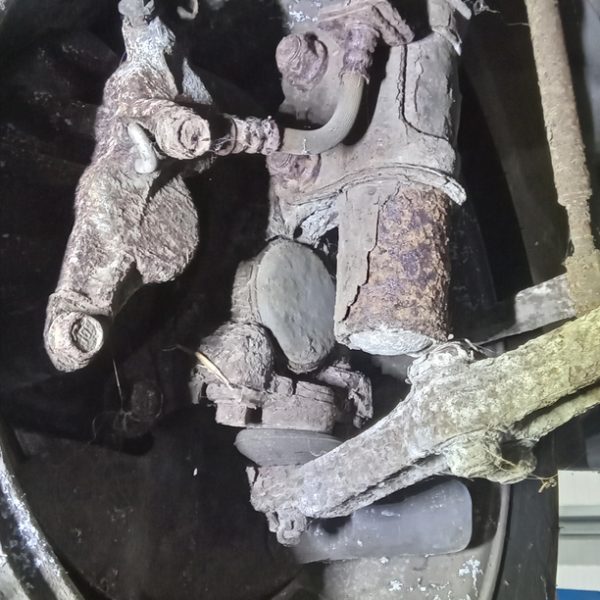
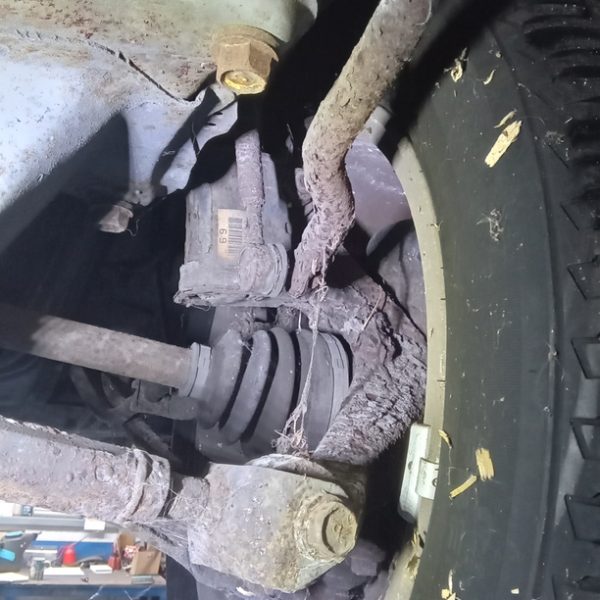
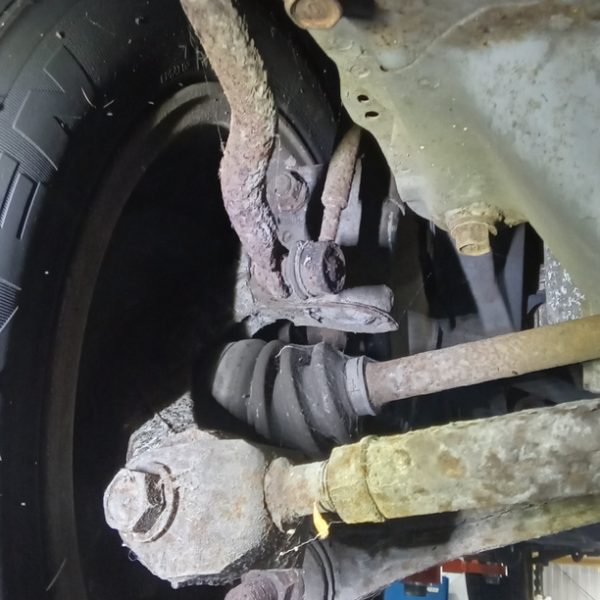
Whilst Terry is stripping down the front suspension and front brakes. He’s blasting off the dirt ready for paint.
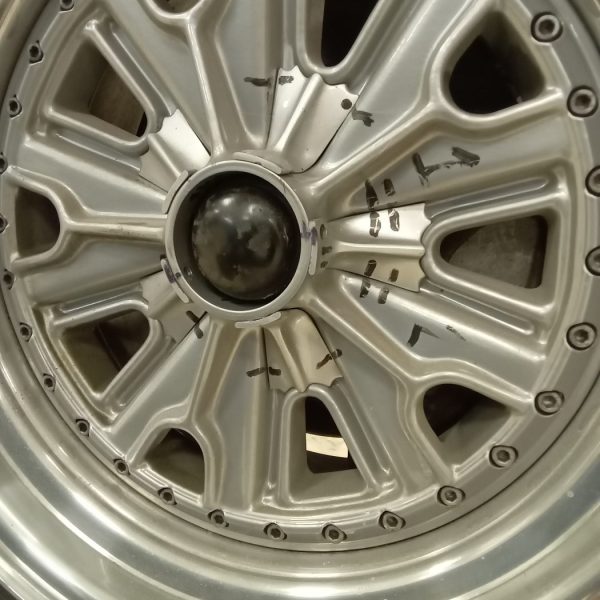



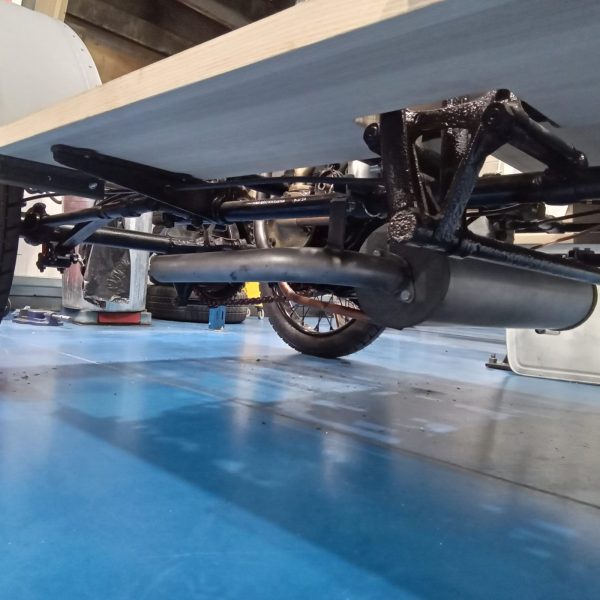
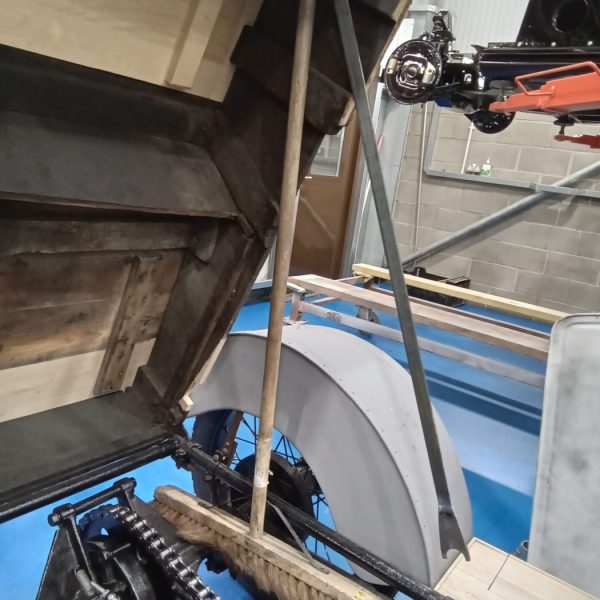
Steve is still working through the few final pieces on the 1905 Riley 9HP restoration. A new final drive chain has been fitted, new fabric body prop, new fabric exhaust has been temporarily fitted to help with routing of coolant pipes.
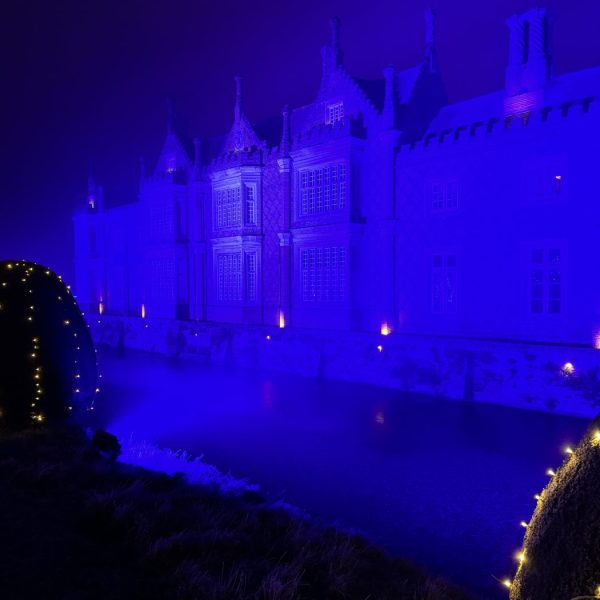
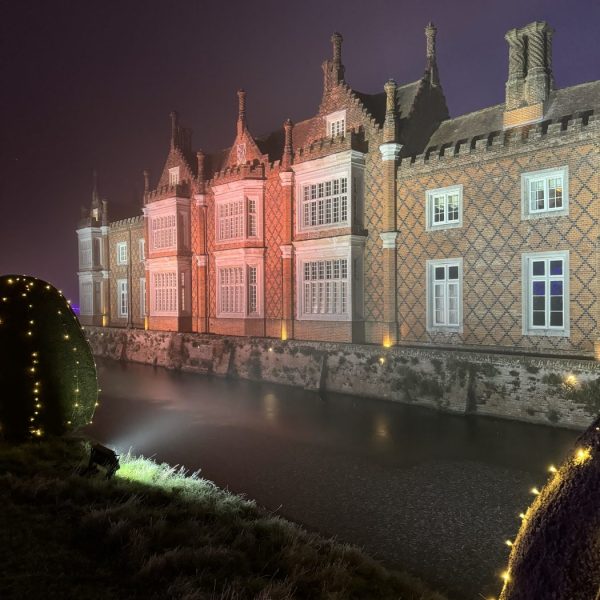
Last Saturday I battled the cold and took the family over to the magical world of light, colour and sound and Helmingham Hall Gardens.
We enjoyed a lovely mulled wine, hot chocolate and marshmallows toasted over an open fire before exploring the grounds of Helmingham Hall adorned with thousands of lights which transformed the gardens into an enchanted winter wonderland.







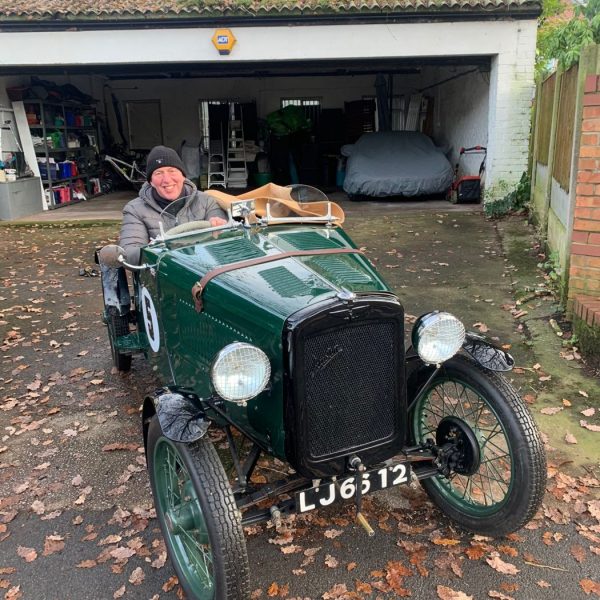
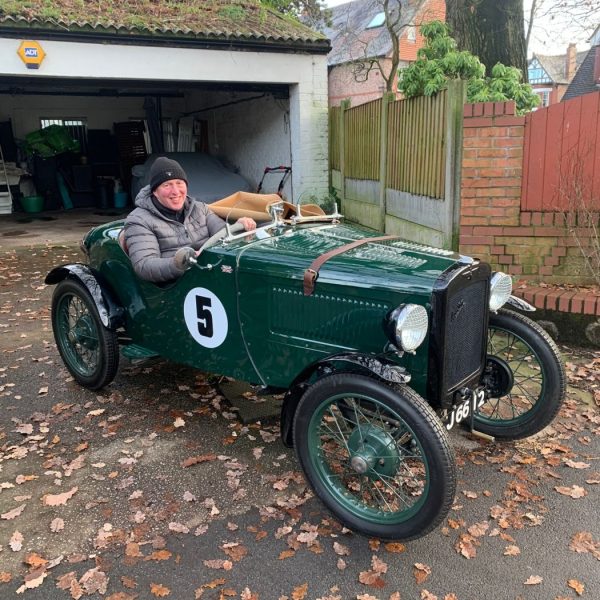
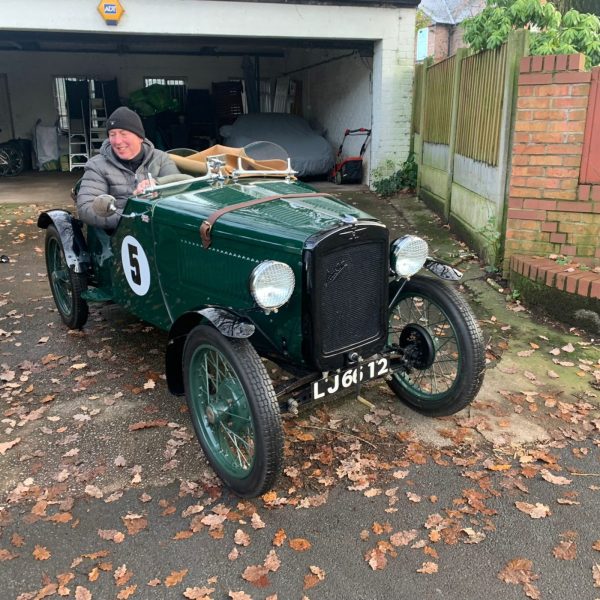
Just in time for Christmas, here we have Tom Higgins, proud winner of our 1932 Austin 7 ‘Ulster’ accepting his car.
John has finished up the report.
He has stripped and cleaned nearside front brake and found the sliders have seized.
Remove and free off before reassembling.
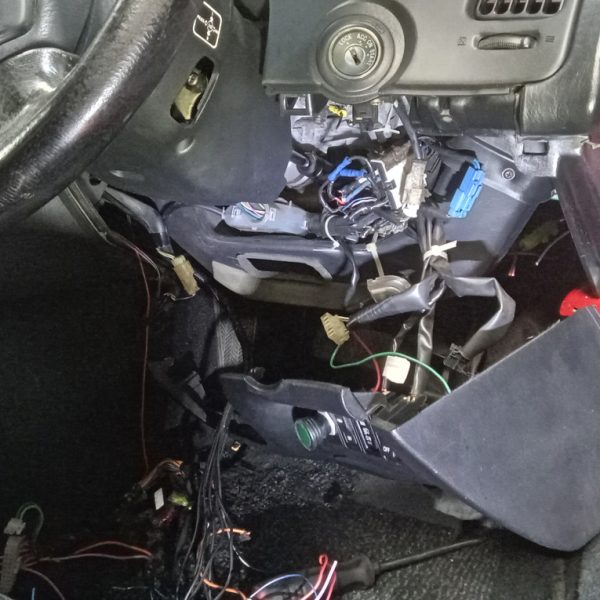
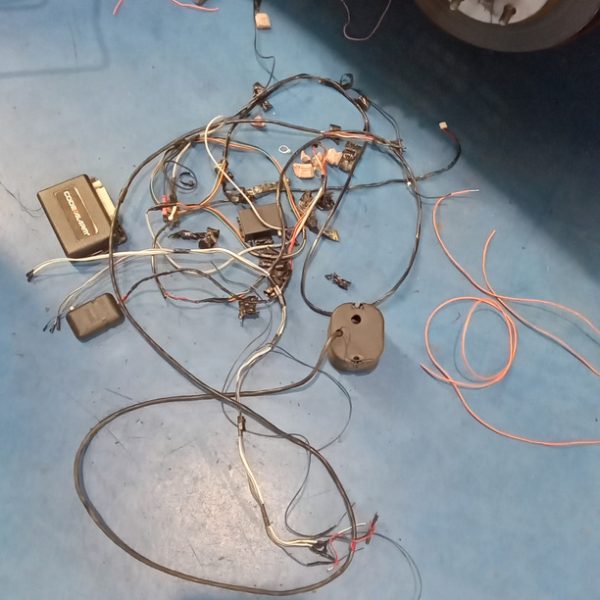
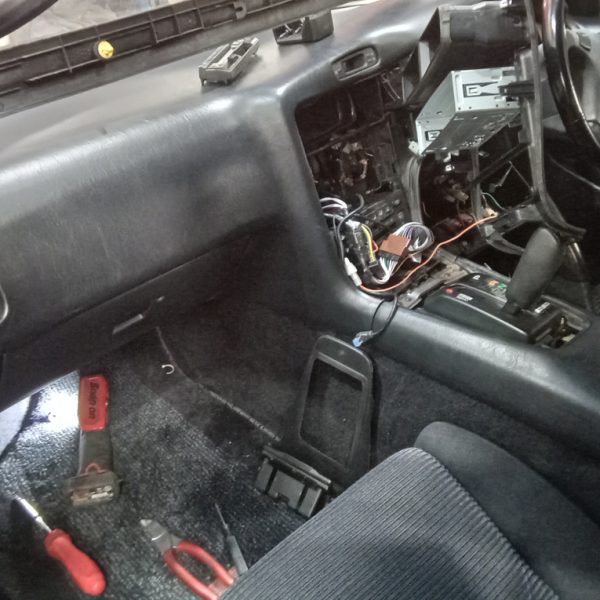
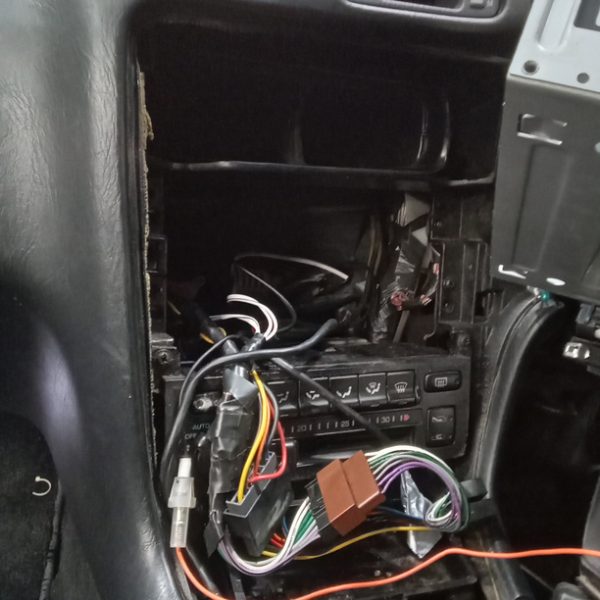
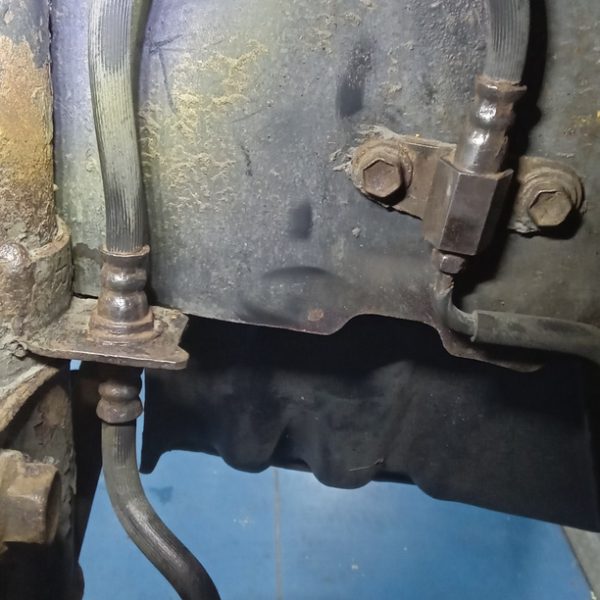
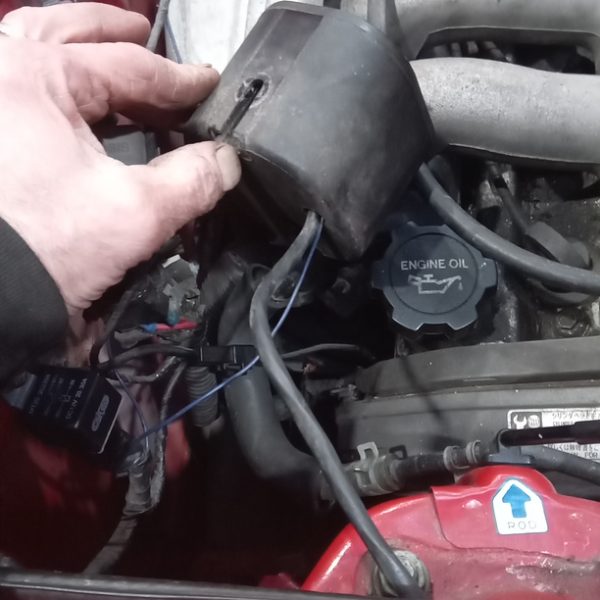
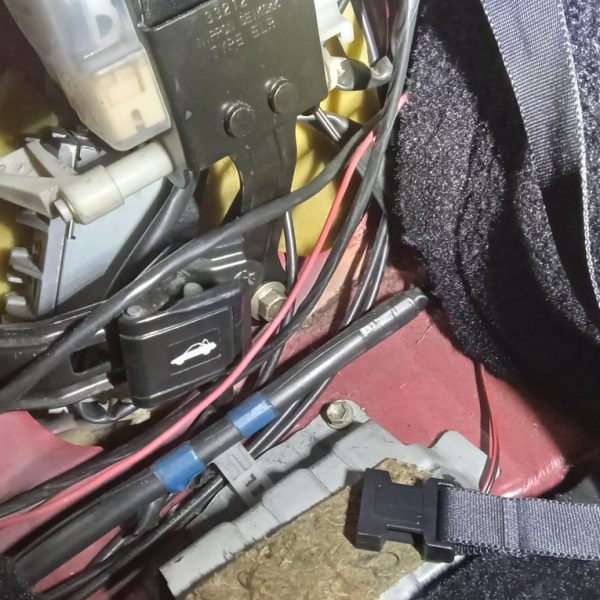
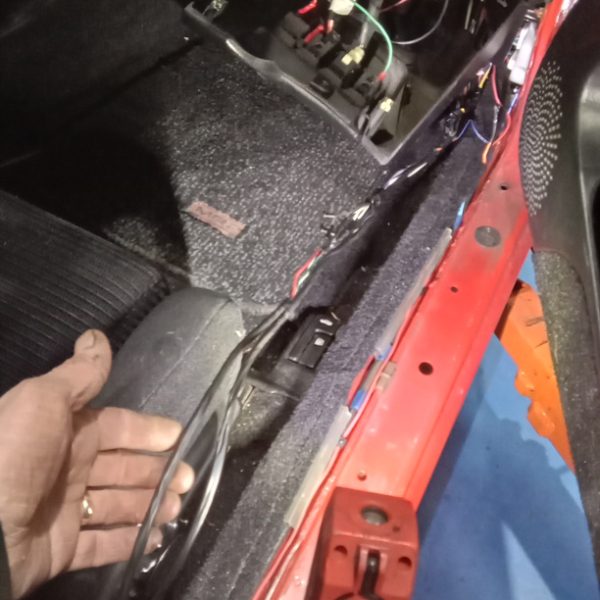
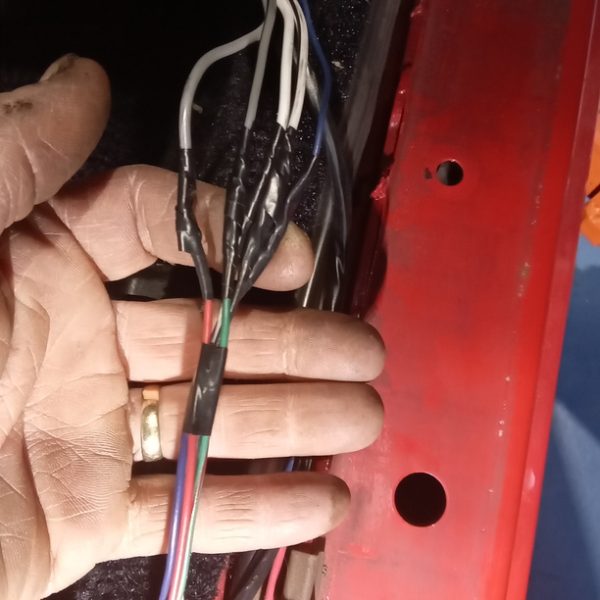
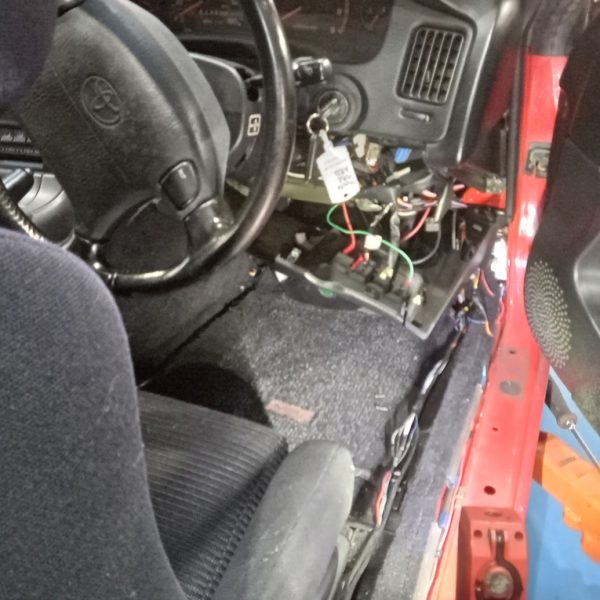
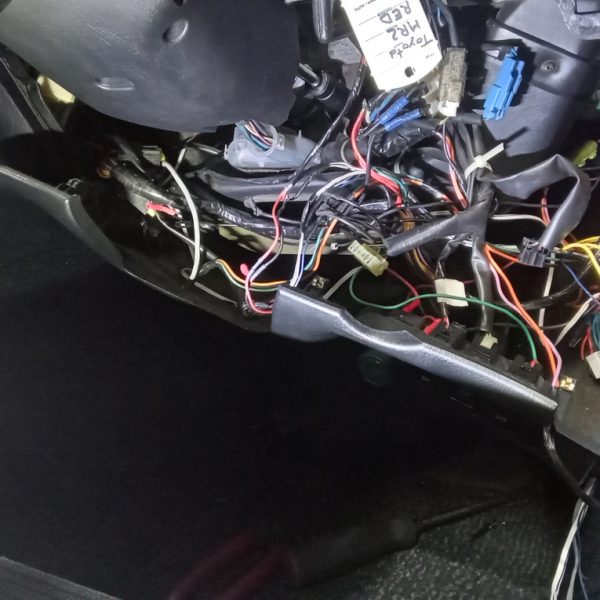
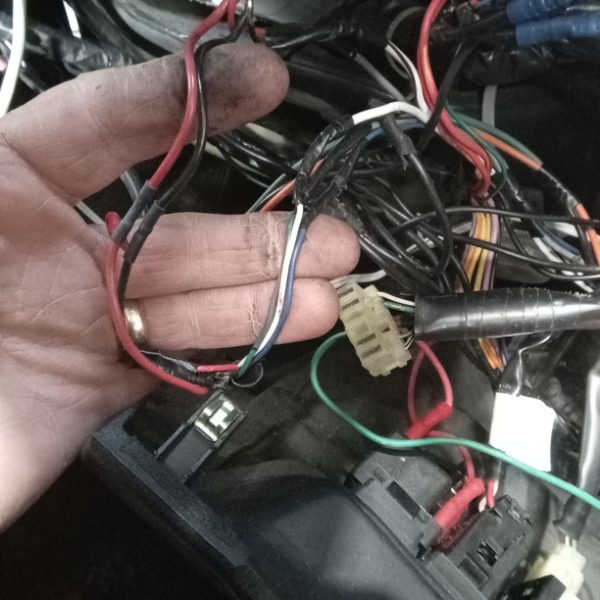
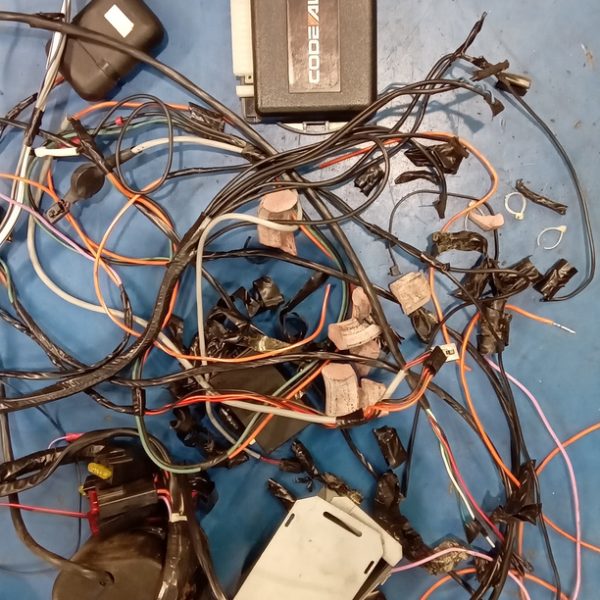
Wire brush all flexi hose ferrules. Strip alarm wiring. Trace through car and disconnect from loom. Cut wires and remove complete system.
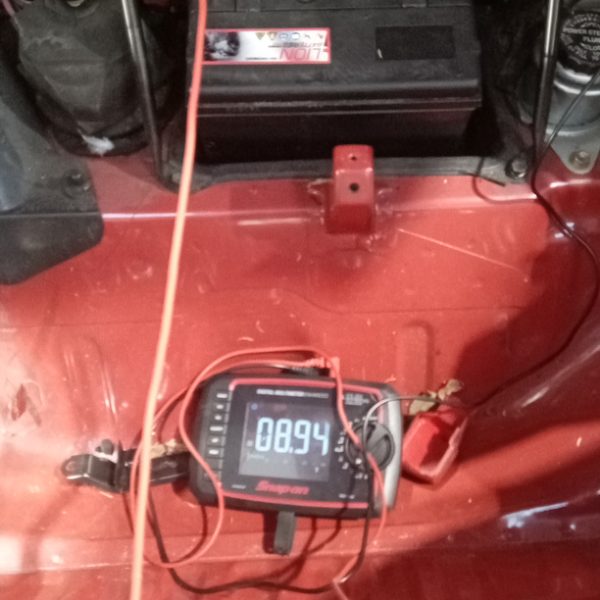
Check that car still starts and runs, ok. Check alternator charge; 8.9v which is very poor. Warning lights on dash probably due to battery voltage or lack of it.
Refit wheels.

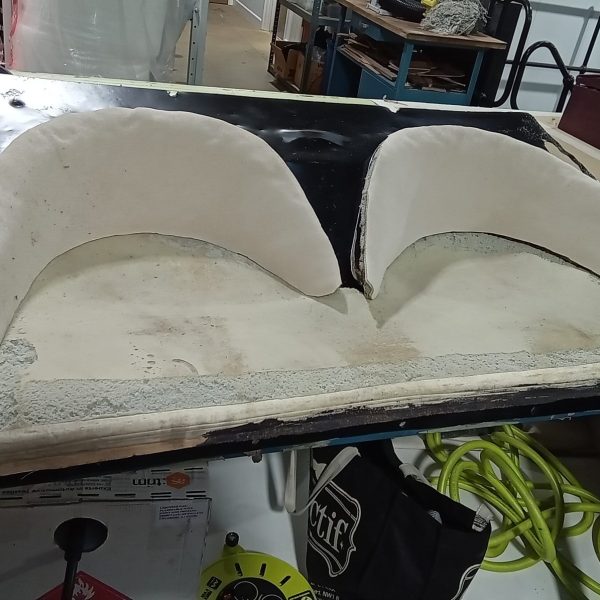
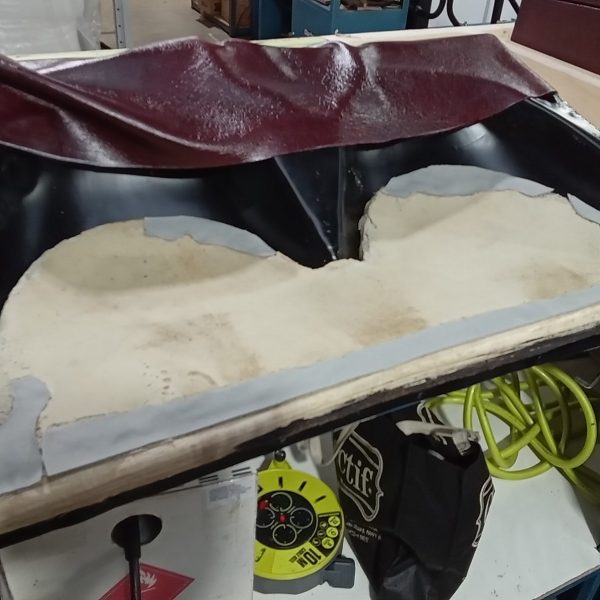
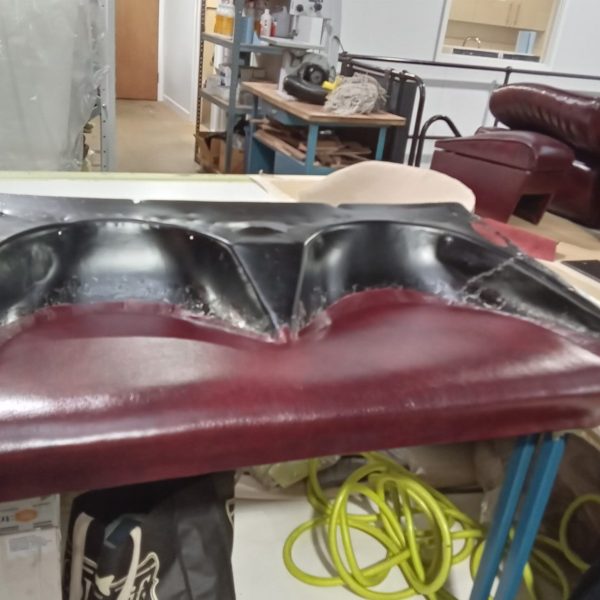
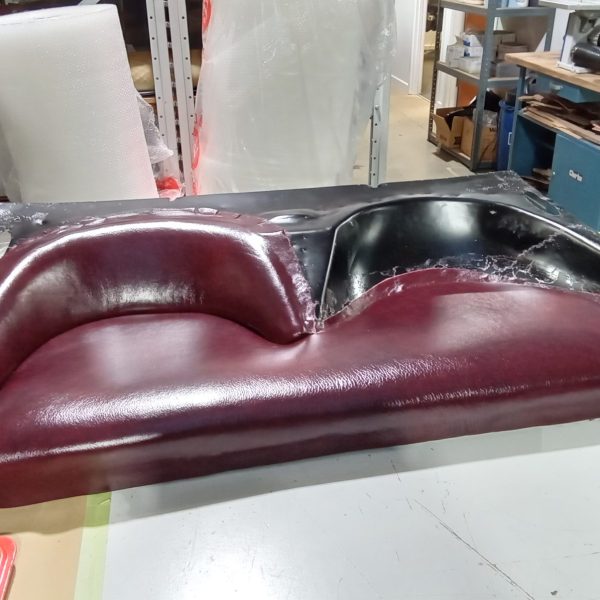
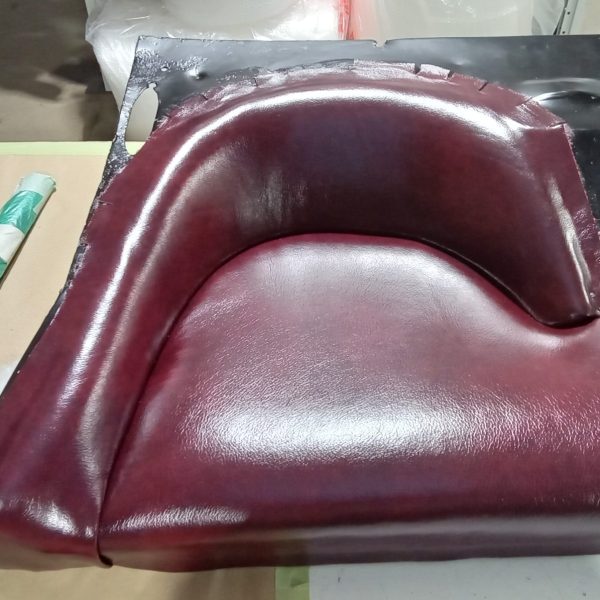
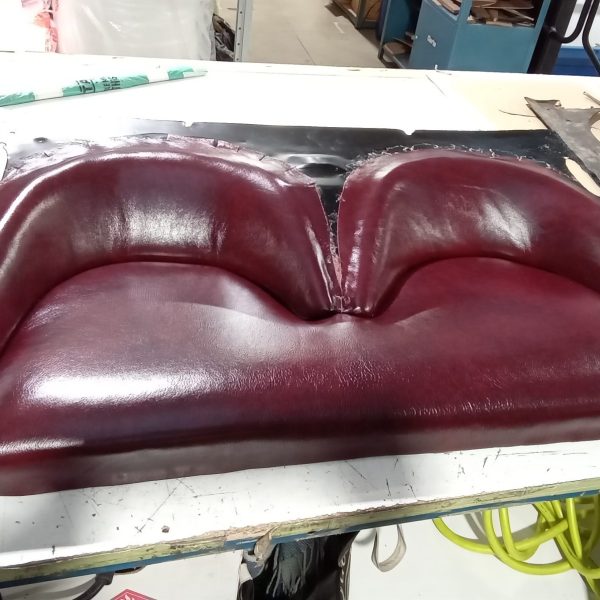
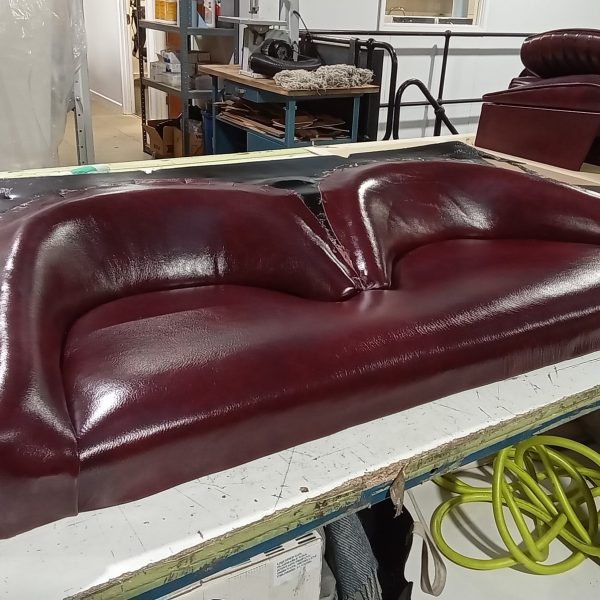
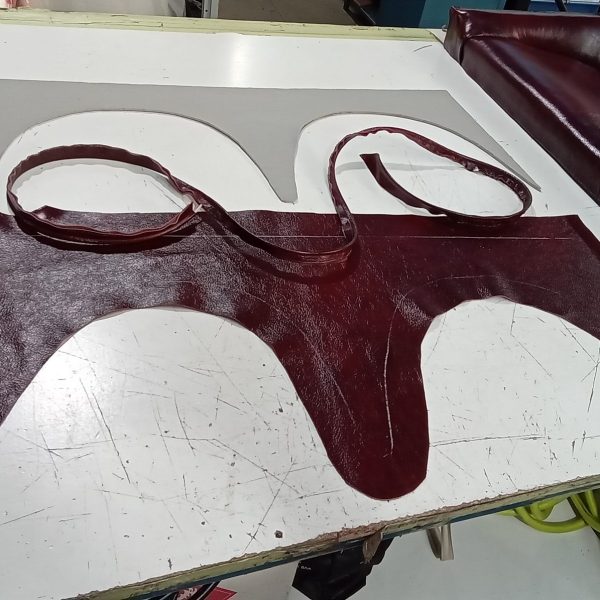
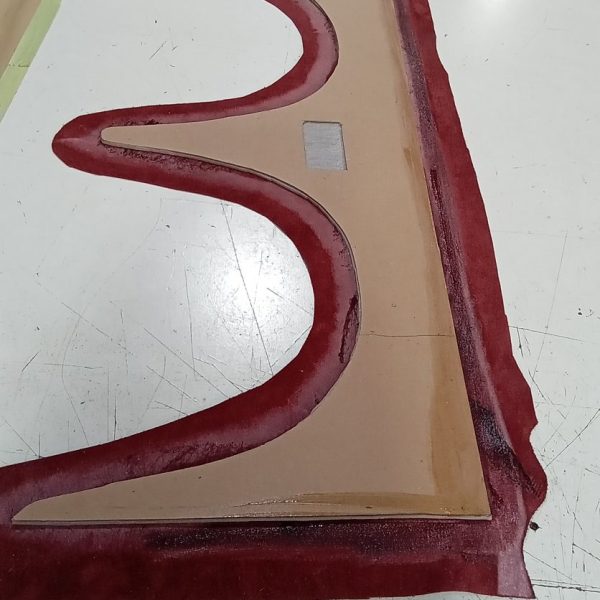
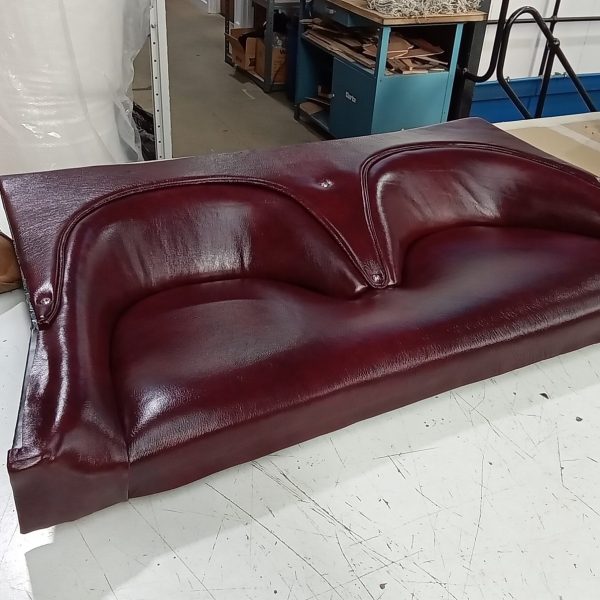
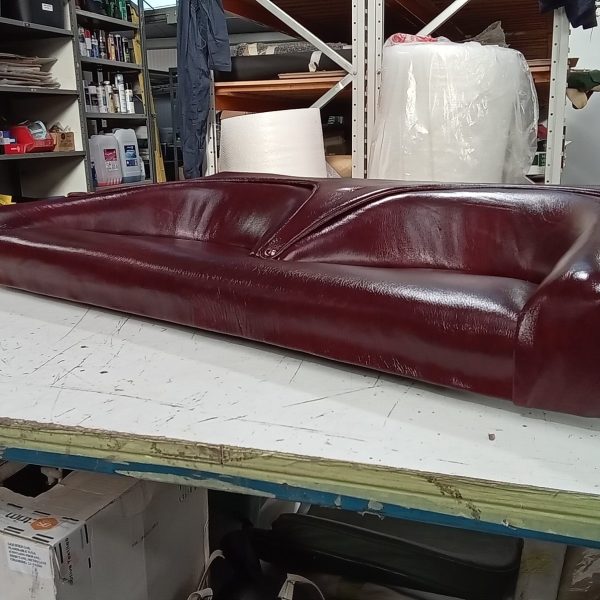
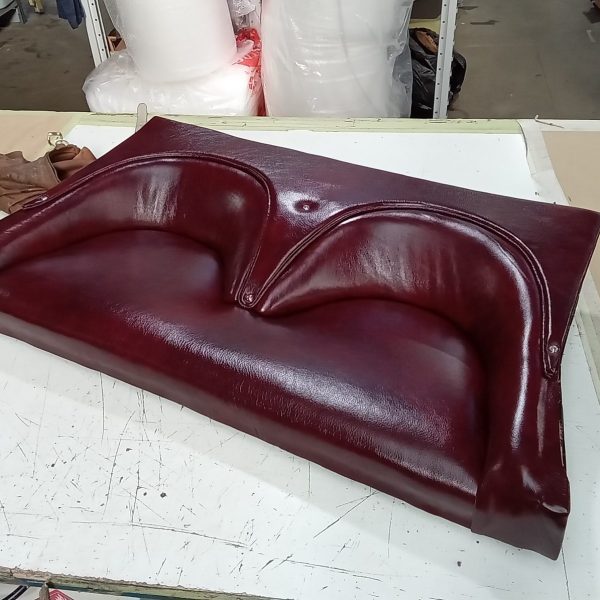
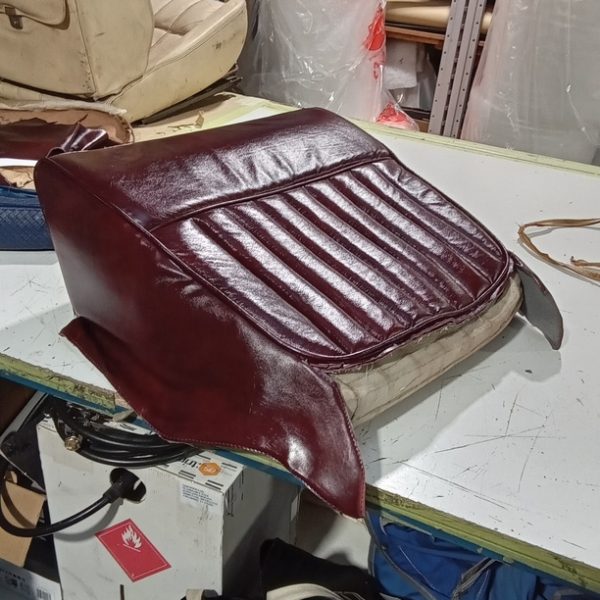
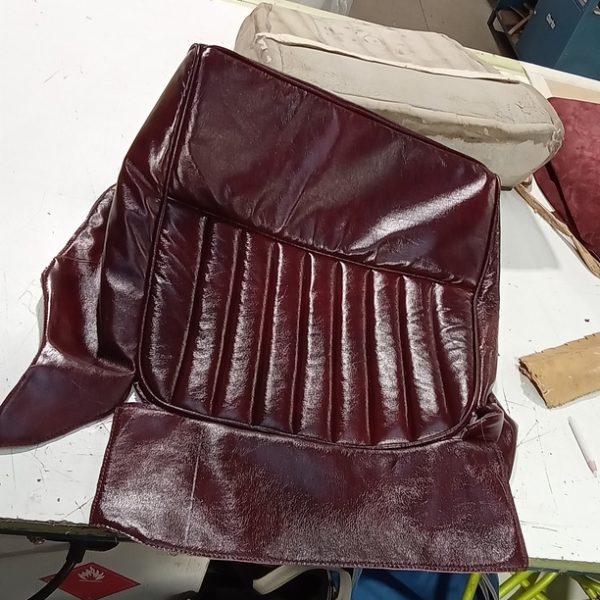
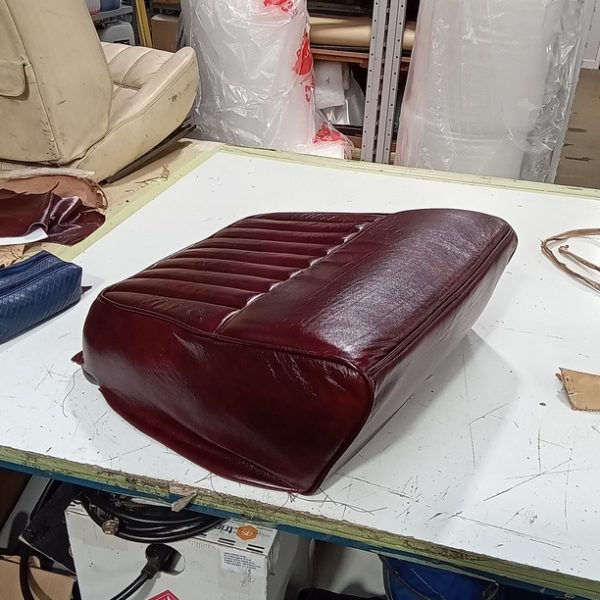
Yesterday and today, Lydia has been working on the rear seat of the Aston Martin DB2/4.
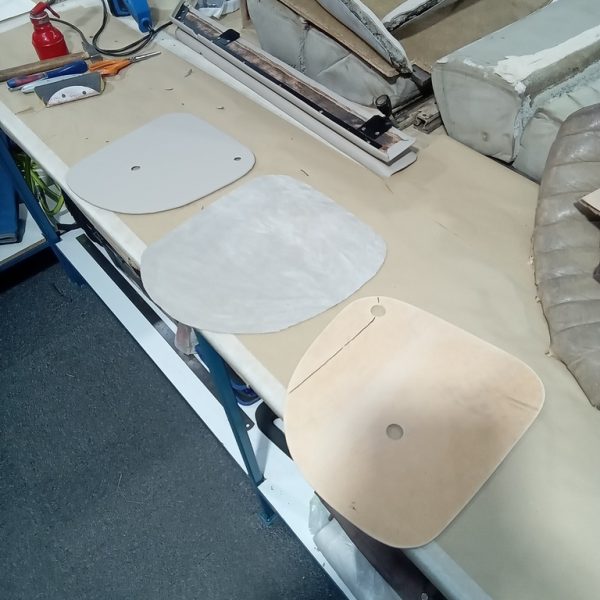
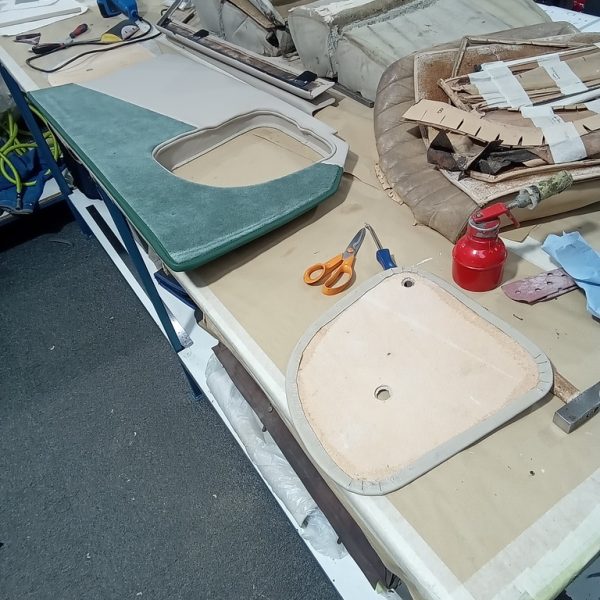
‘Chris has kindly painted the seat tray black for me, and stone chipped the underside, as this part actually forms the bottom of the car and is exposed to all the elements the road can throw at it. Firstly , I re-attached the foam that we removed, and this needed some remedial repairs as the top surface was uneven. Should I have left this, it would have shown through the new leather cover, and it would also have been possible to feel the imperfections beneath. I filled in the deepest dents with some thing scrim foam and then laid a complete piece on top before adding a layer of polyester wadding to ensure that the seats remained soft and comfortable. This also works well at hiding any last imperfections that may remain! Then, I applied the new leather piece which forms the part that the passengers sit on.’
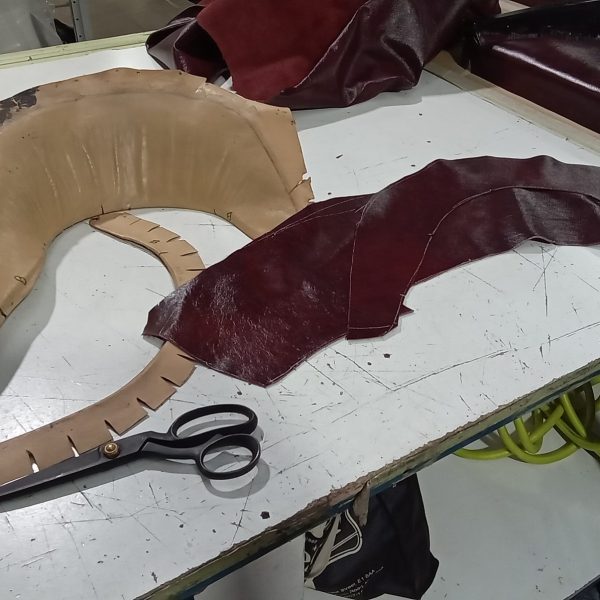
The next part to complete was the backrests, which were a little more tricky. These have to have the fabric half fitted, then they get riveted to the seat tray, then the rest of the fabric is stretched up and over and glued to the seat tray.
Brian has already repaired the foam on these so Lydia added a layer of wadding to make them softer. The leather was cut in 2 parts and sewn together, then fitted to the seat with contact adhesive.
Using heat really helped to soften the leather and made it a lot easier to fit the covers on these.
The final piece is the board that rests on top. This is a simple piece of cardboard, with a thin layer of foam on , then covered in leather. Finally, a piece of piping is applied to the edge to close the gap between the board and the seat underneath.
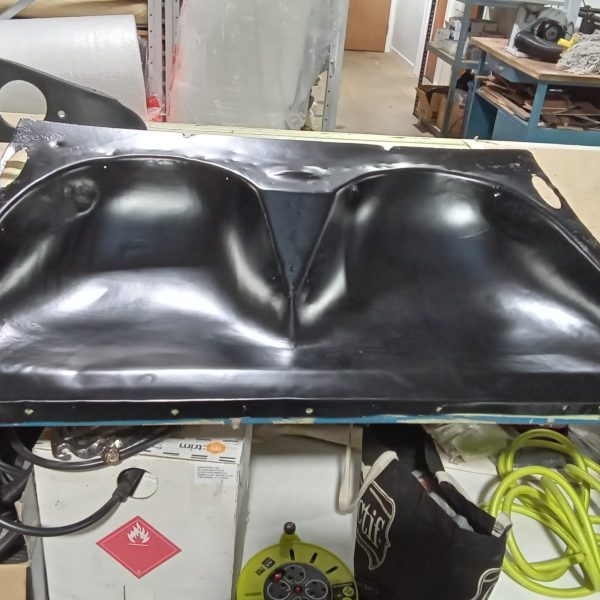
Christian has been planishing welds and making panel flat.
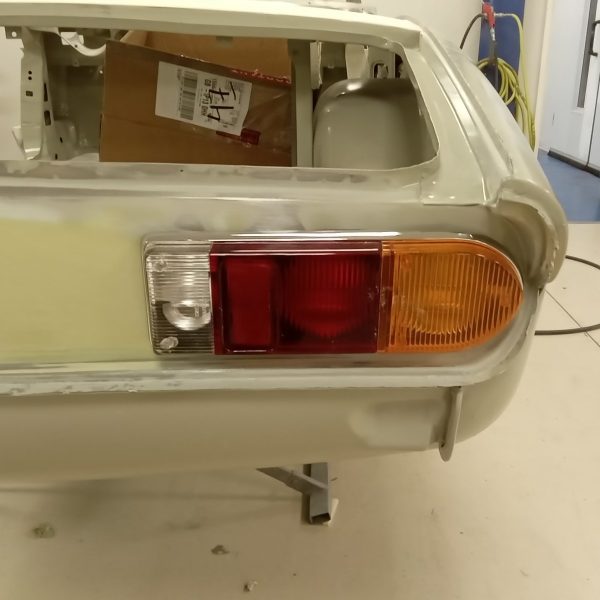
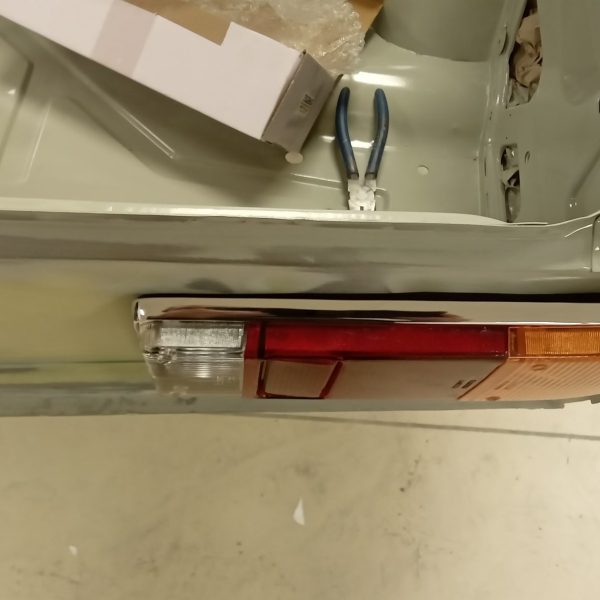
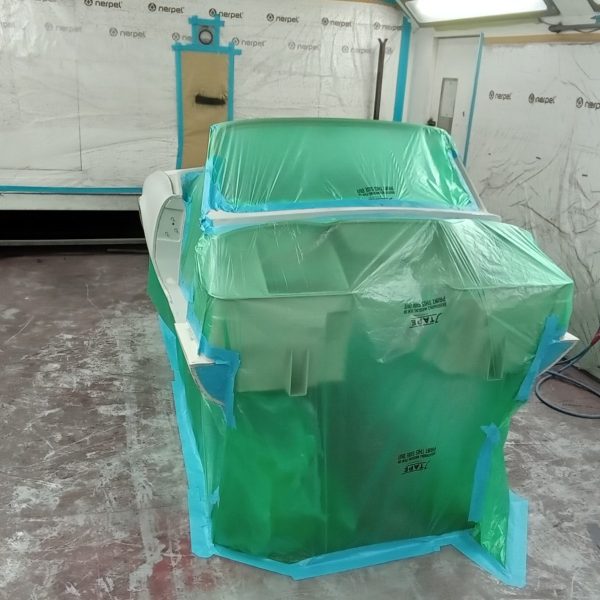
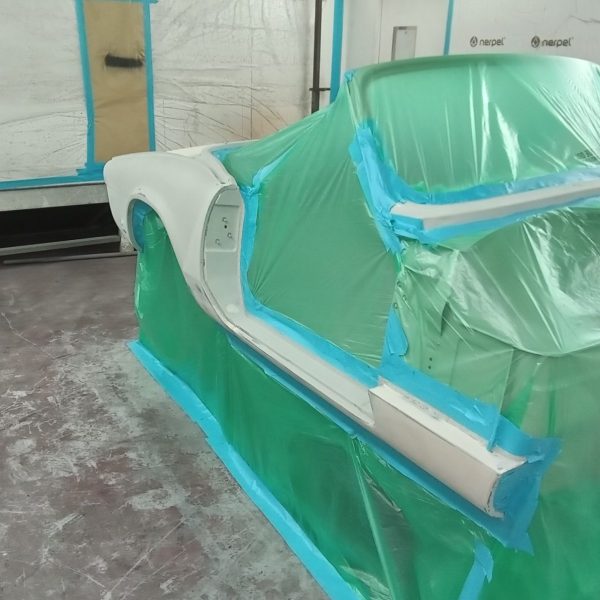
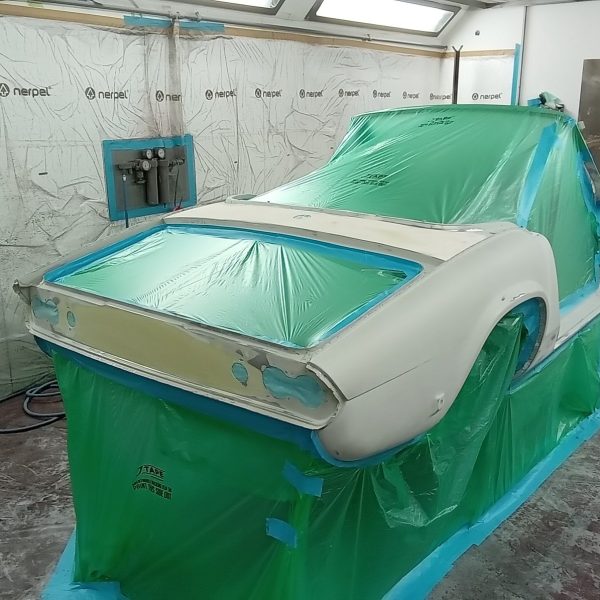
Alan is refitting the rear lights to check the fit. He is masking up for polyester primer preparation.
Body was first epoxy primed then polyester primed.
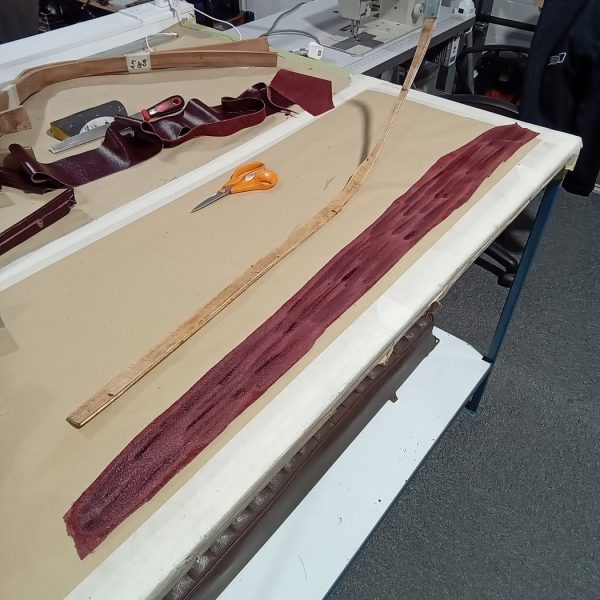
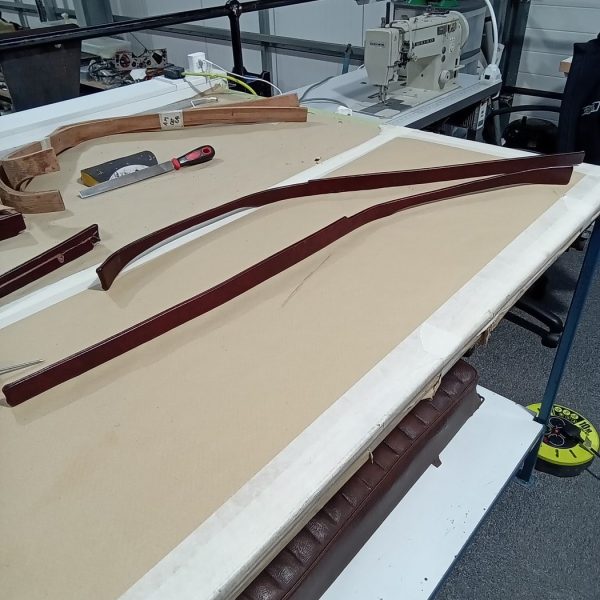
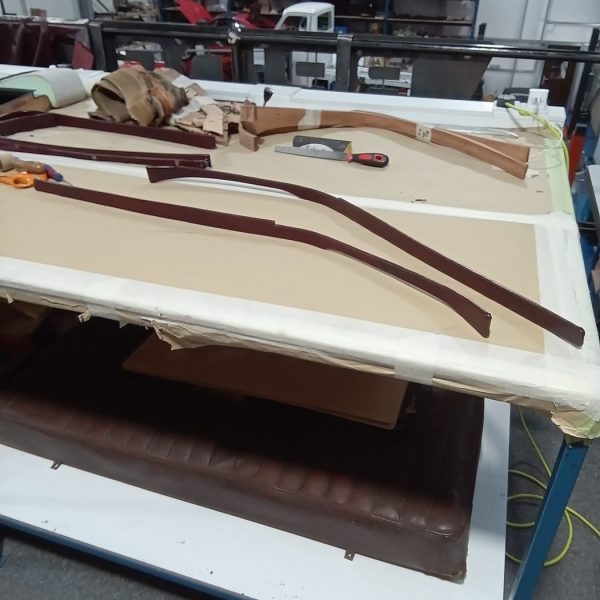
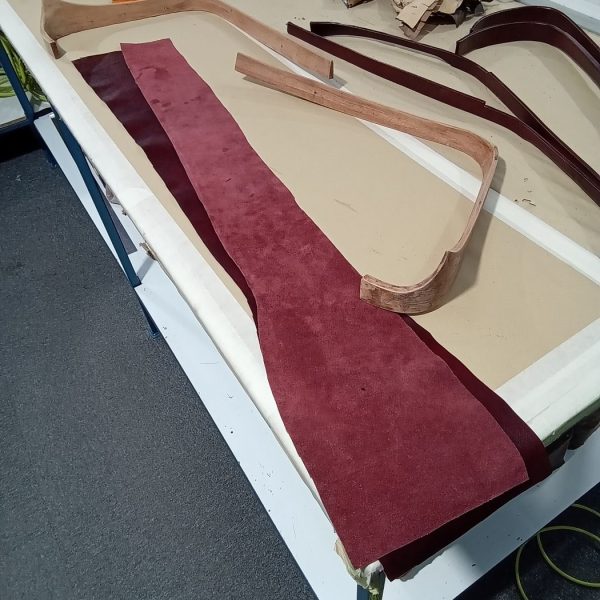
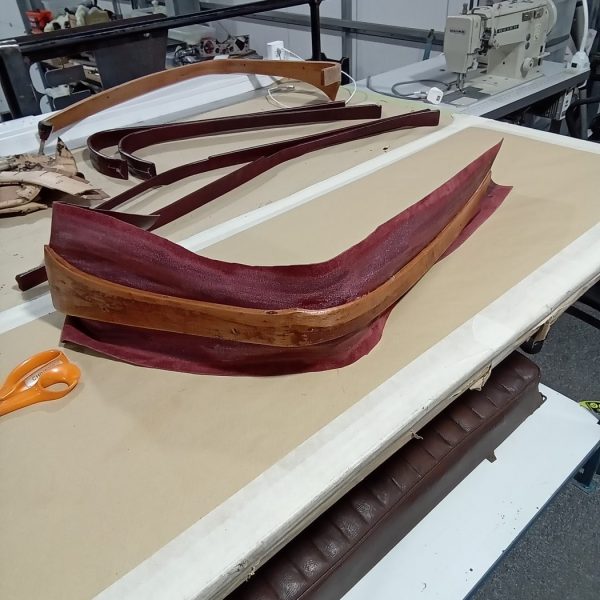
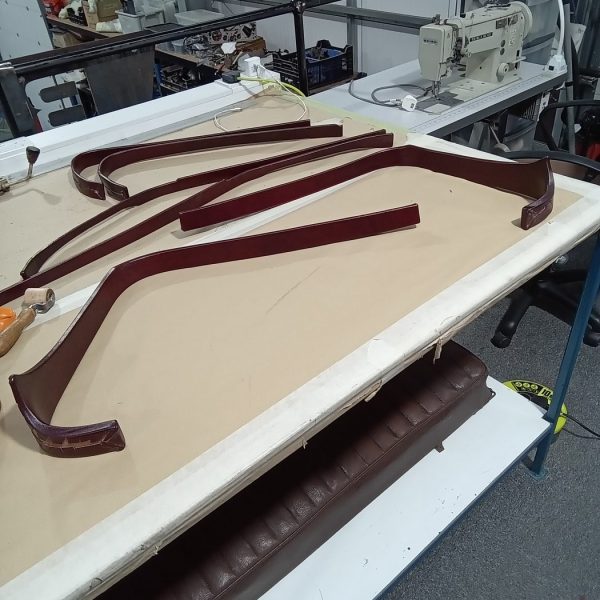
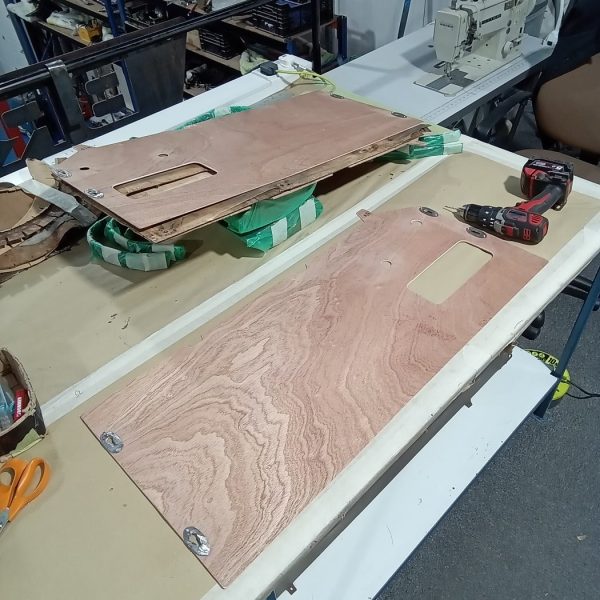
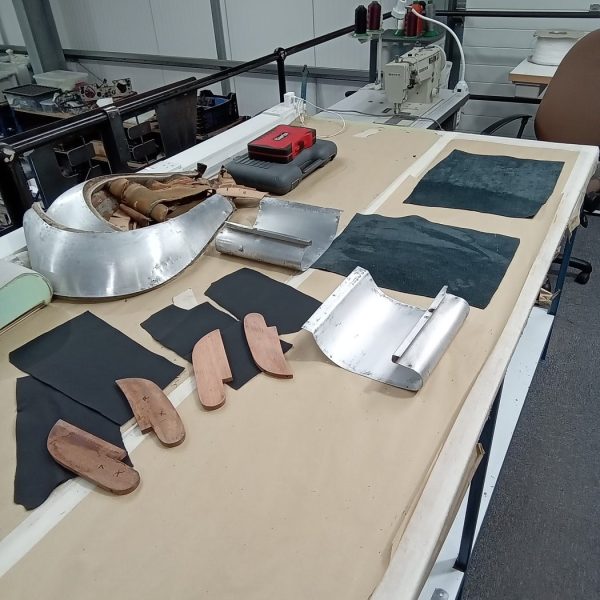
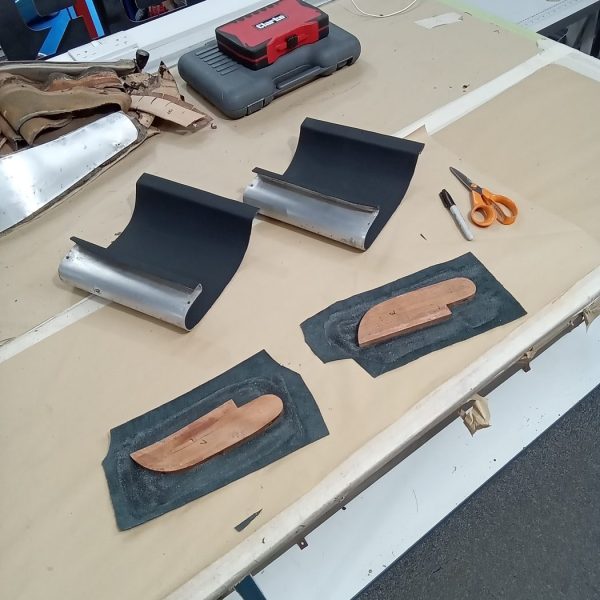
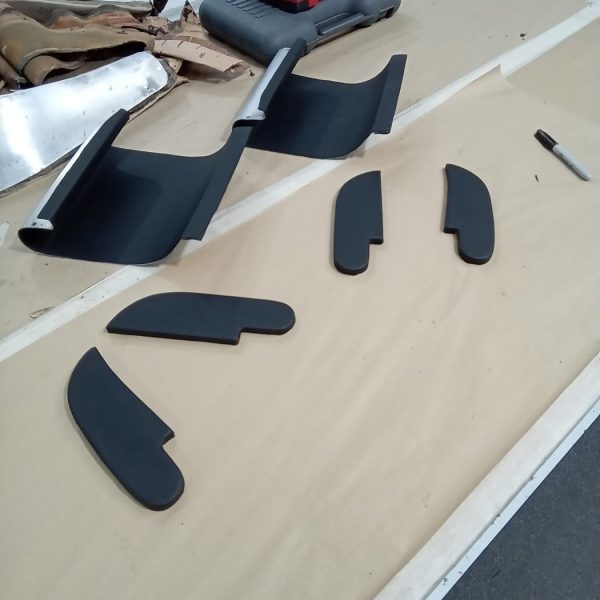
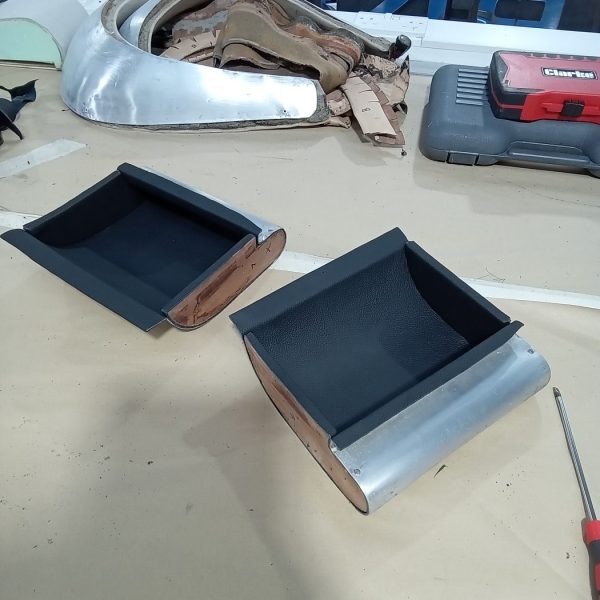
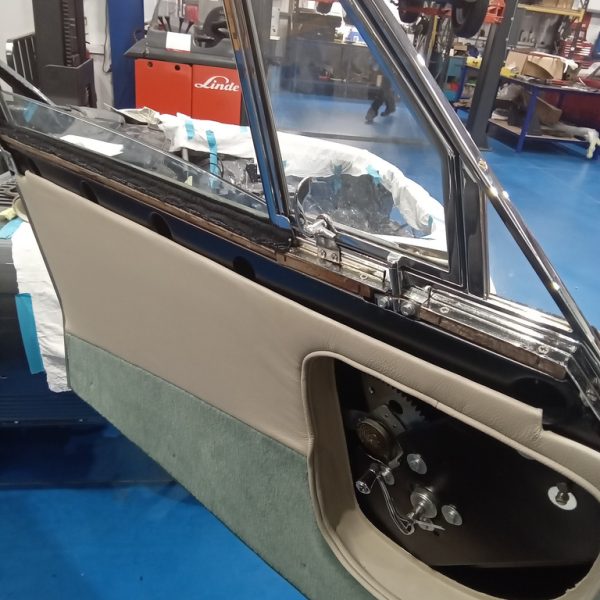
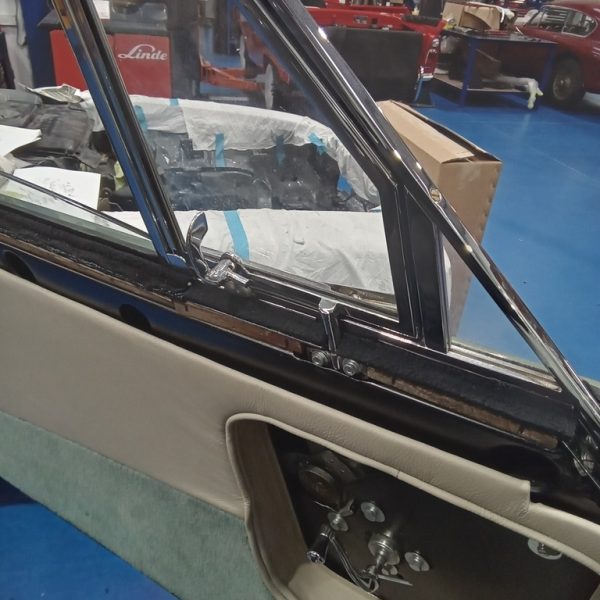
Cutting and gluing the leather to the front side window surround panels. Trimming onto the back of the panels, cutting and gluing leather onto the front window surround panels. Trimming onto the back panels, filing out the holes for the door panel brackets, fitting the door panel brackets.
Cutting and gluing leather to the door pockets and pocket side panels, screwing side panels to the pockets, gluing leather to the rear window surround panels.
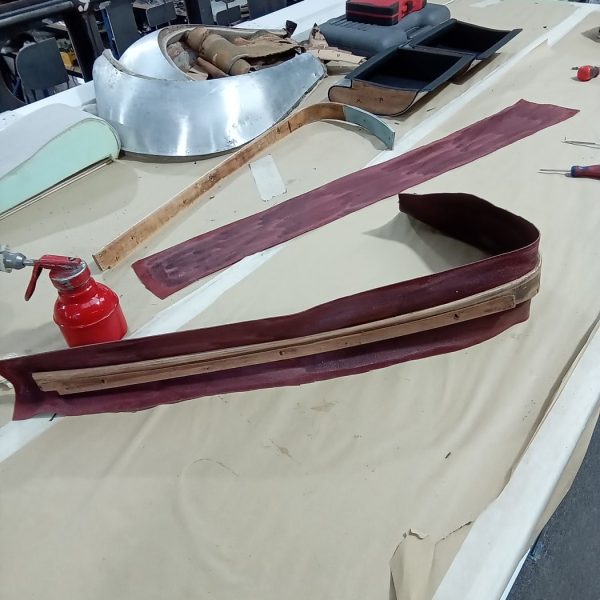
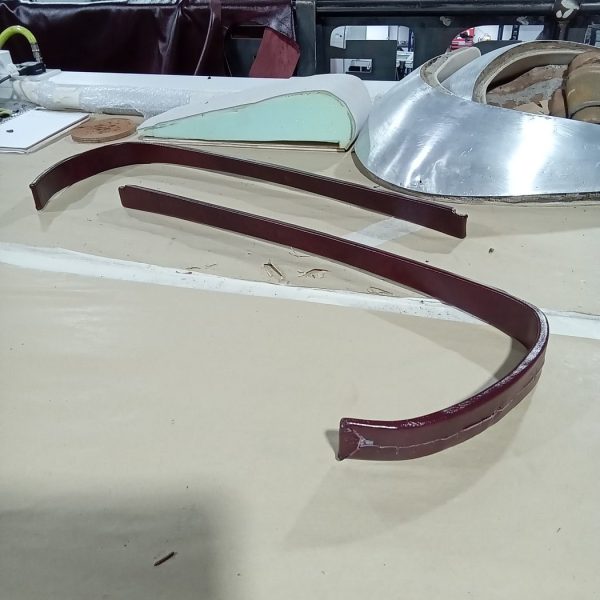
Mauro is still busy stripping down the car of it’s components ready for shape preparation.
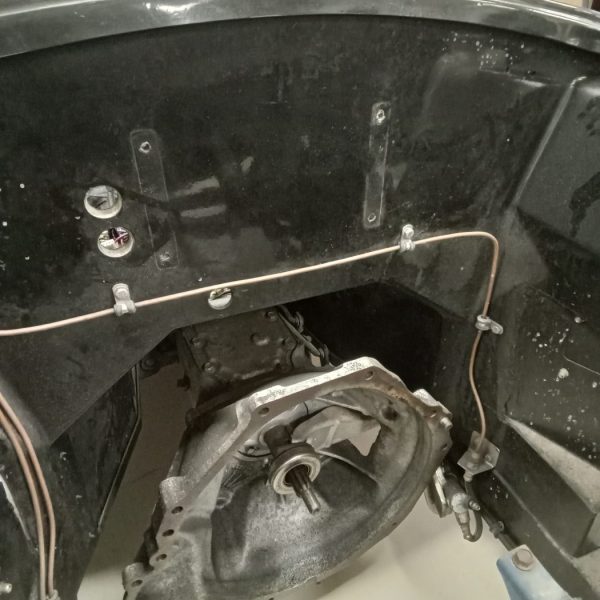
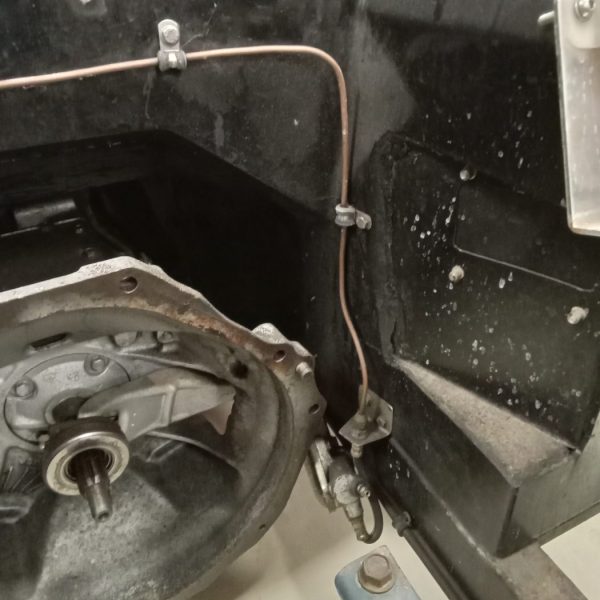
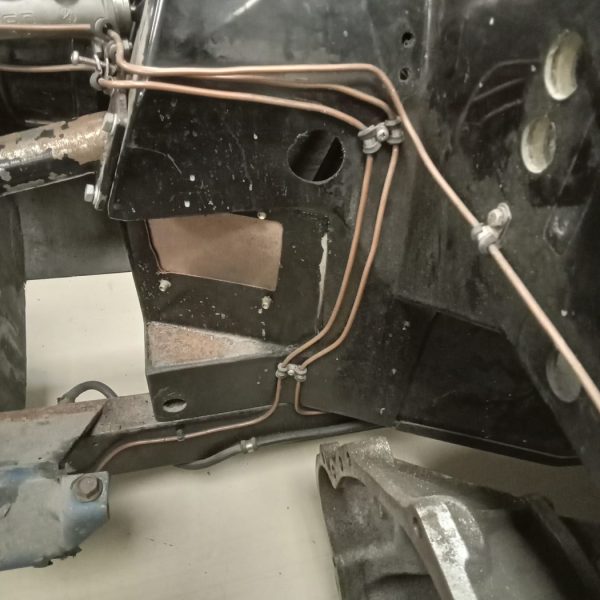
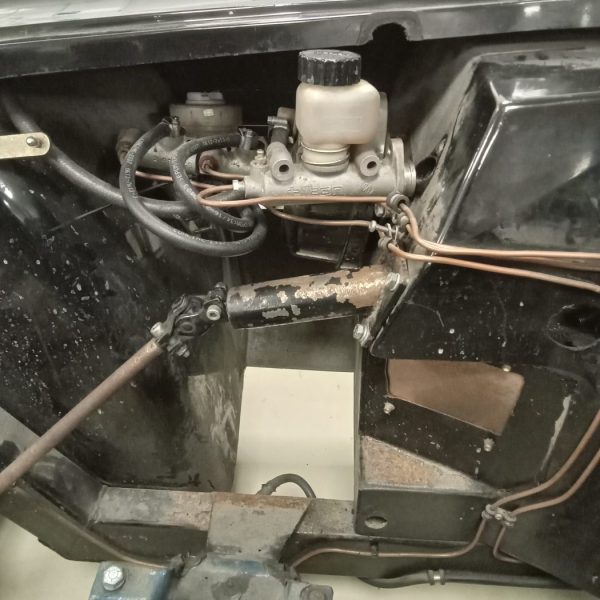
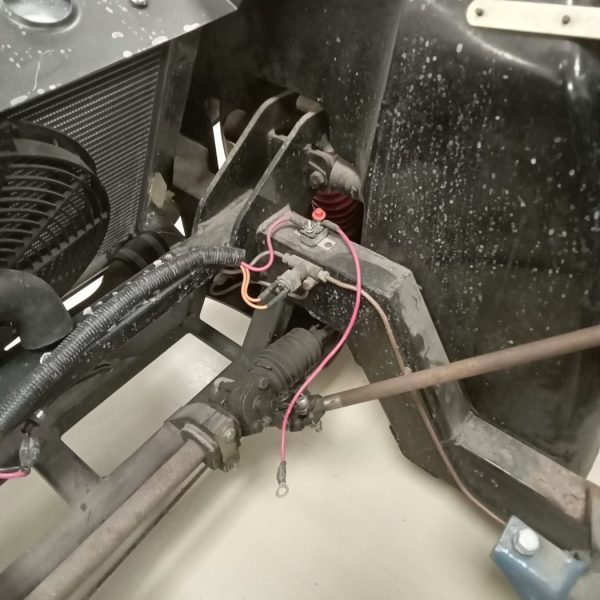
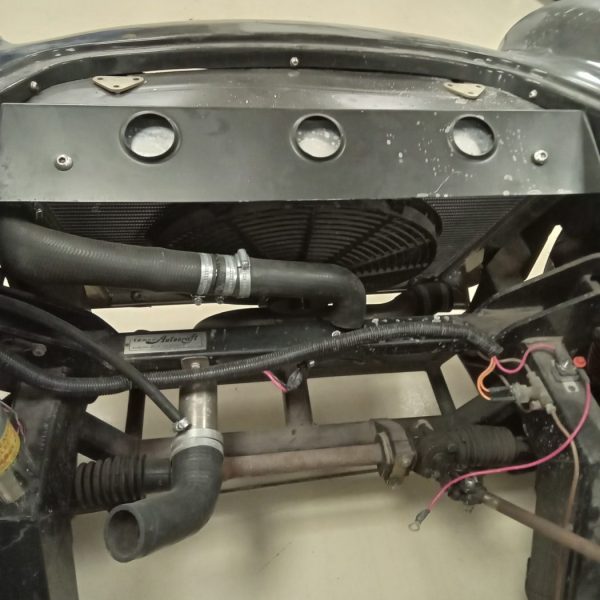
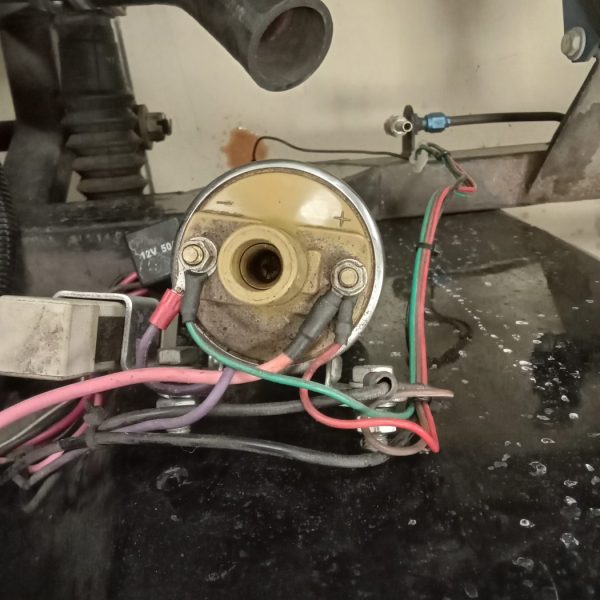
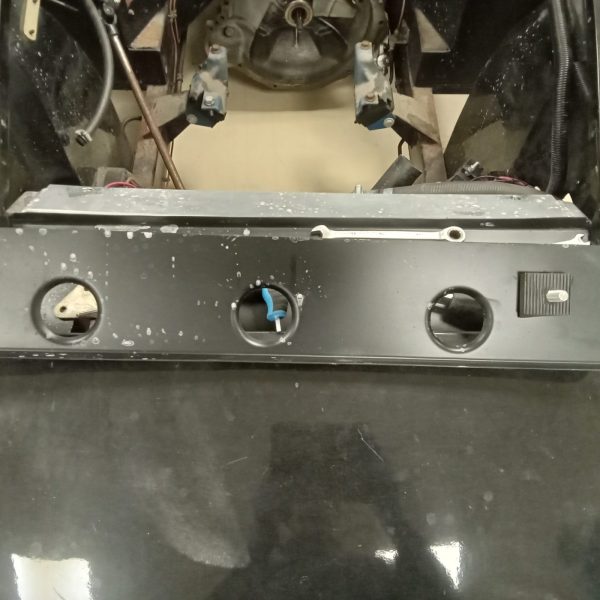
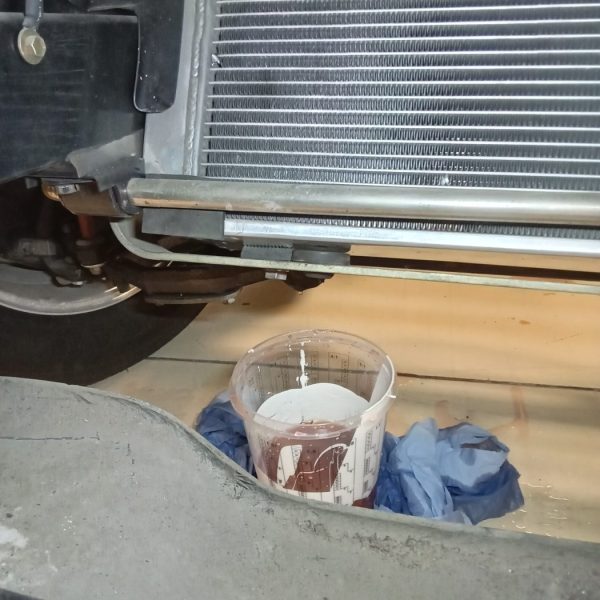
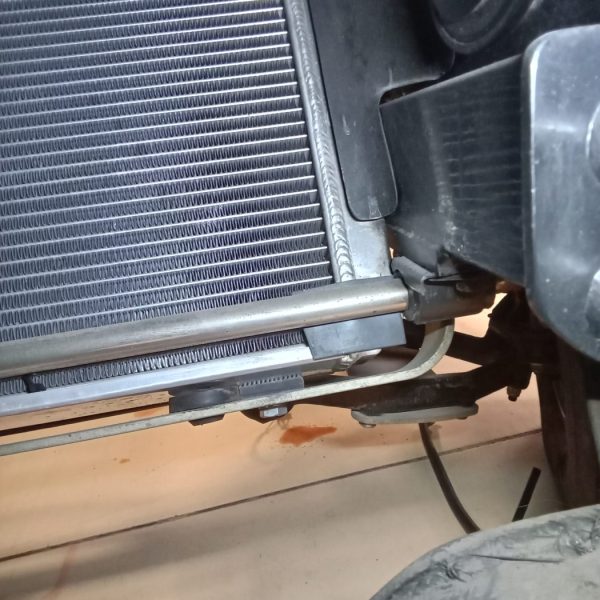
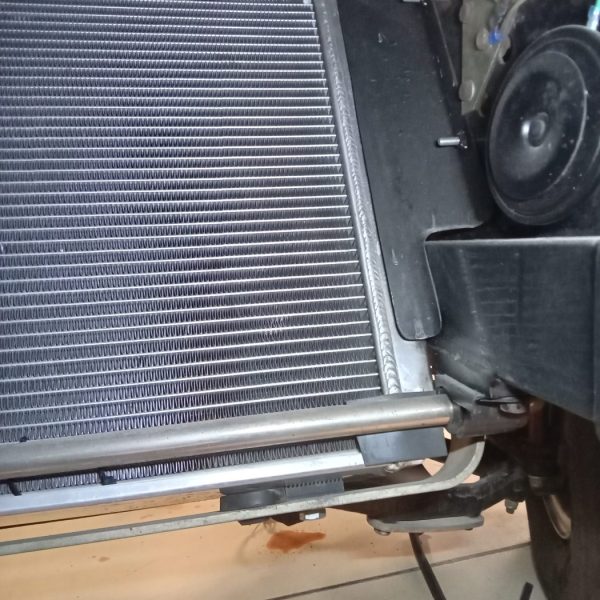
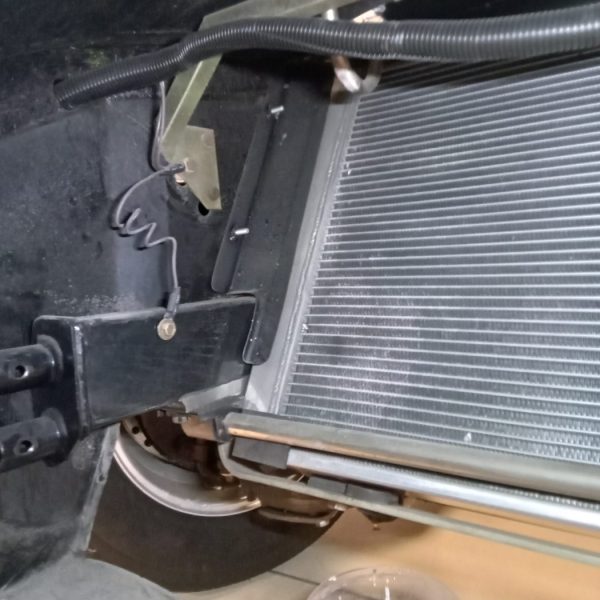
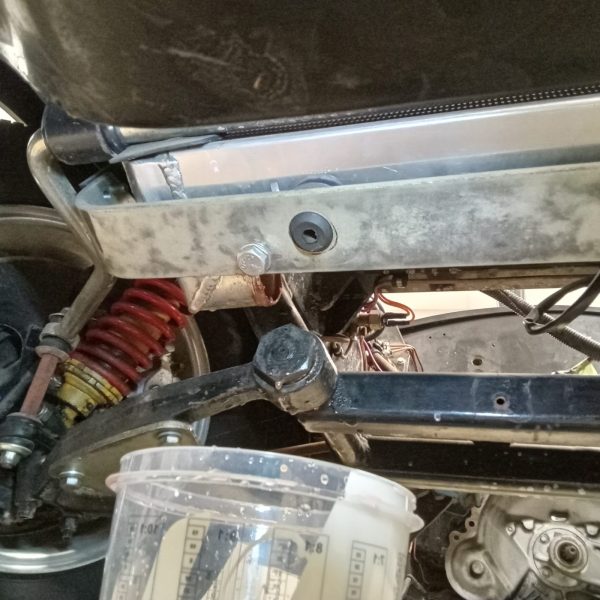
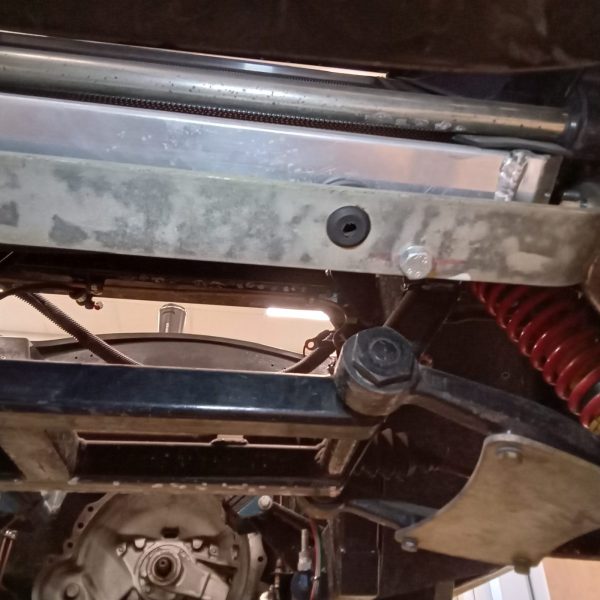
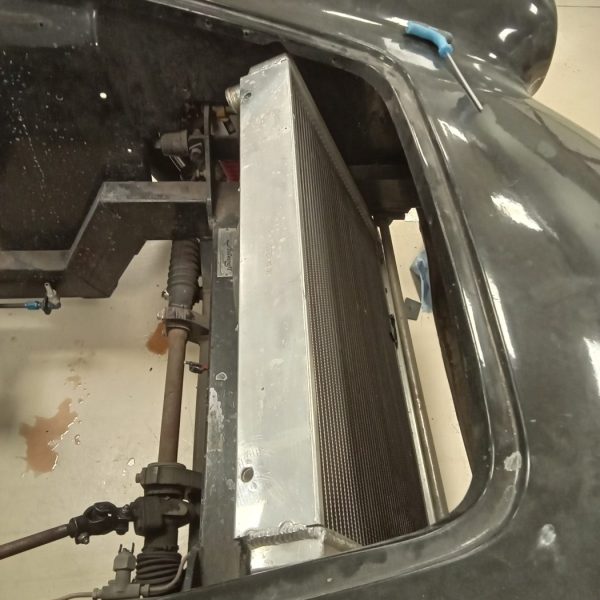
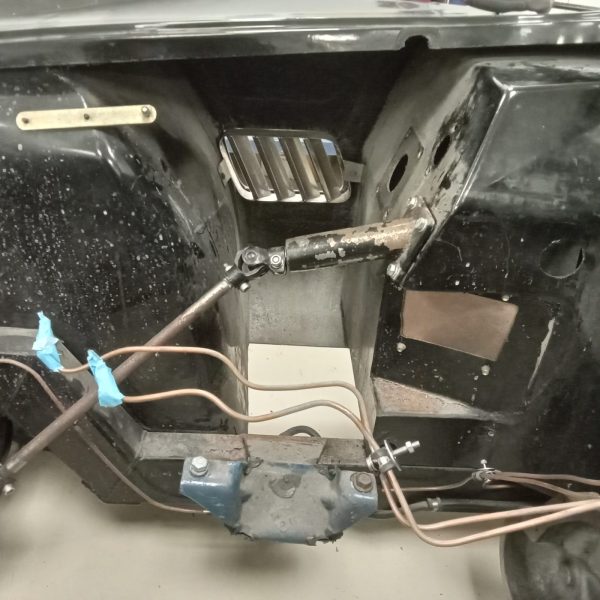
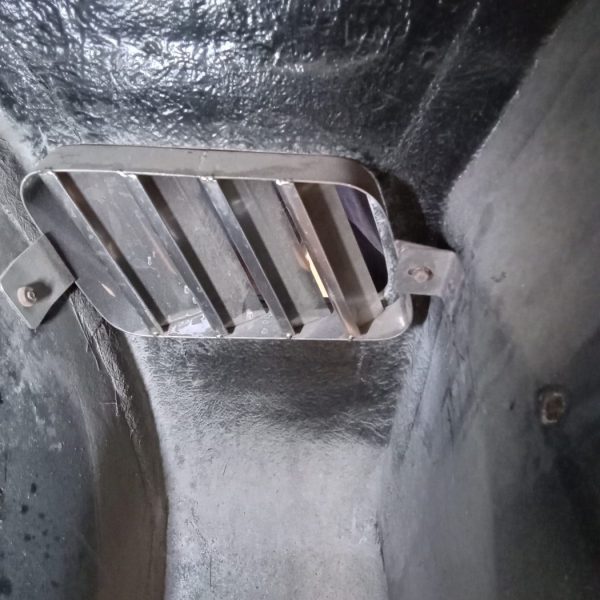
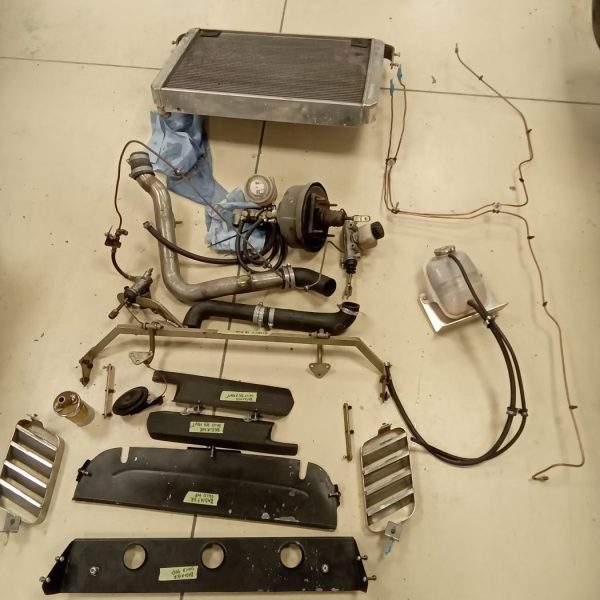
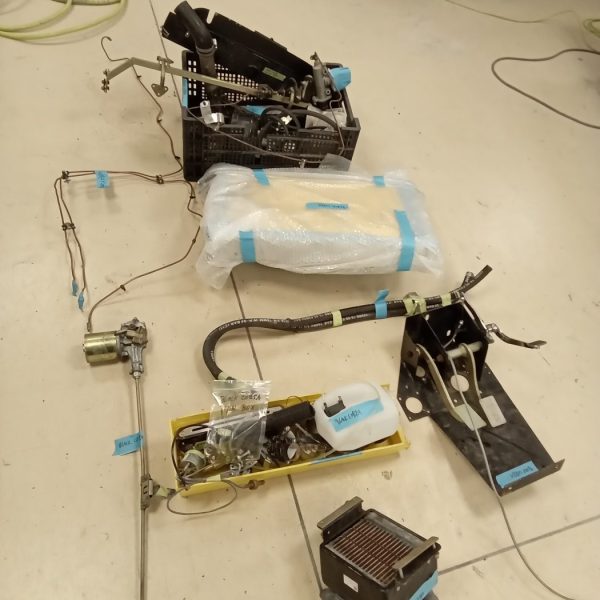
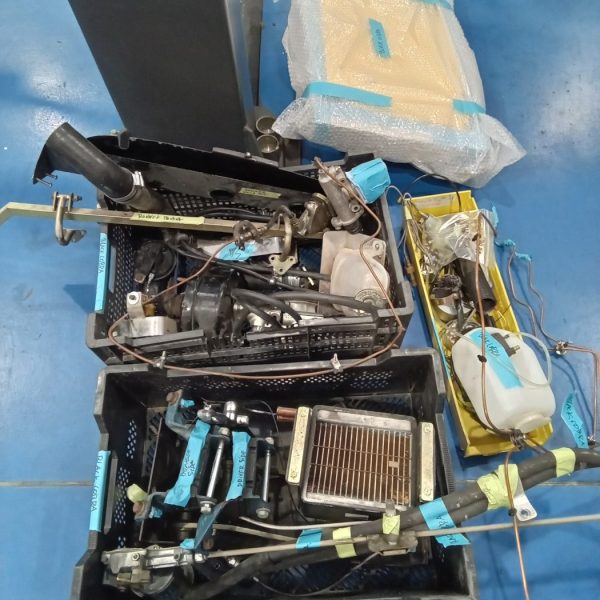
We have some very exciting changes afoot at Bridge Classic Cars in early 2024. In preparation for these changes, 4 new containers have arrived on site.
Not only do we love a container but we also watching the cranes lowering them into position…
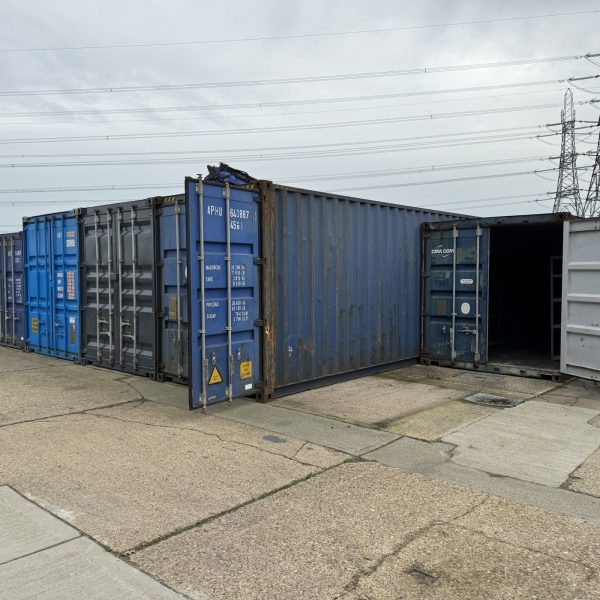
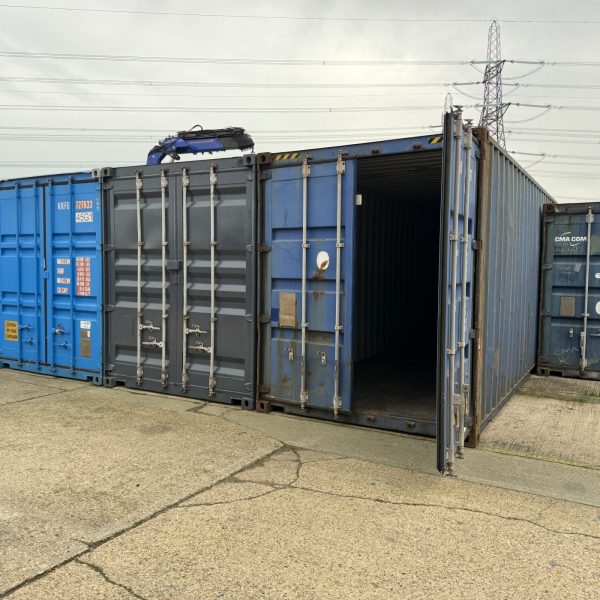
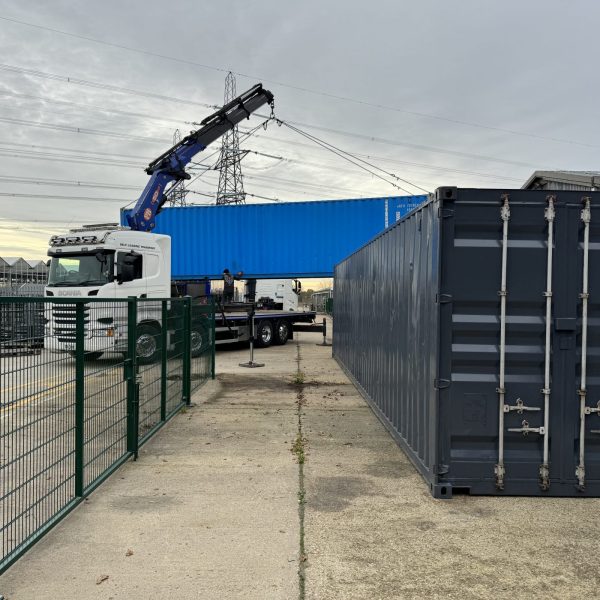
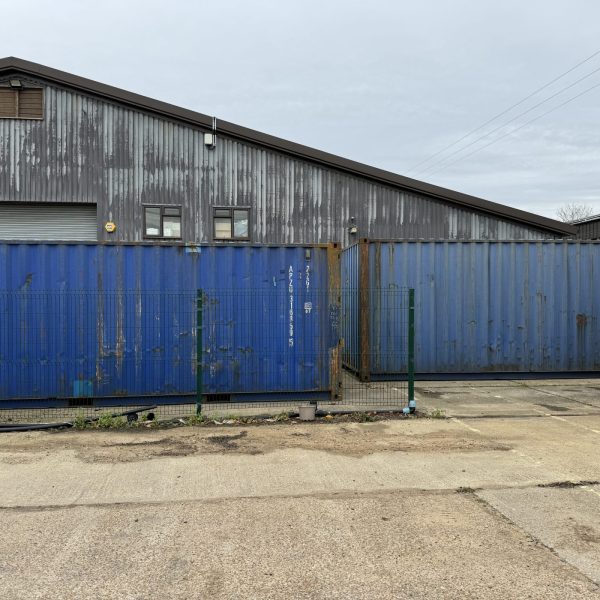
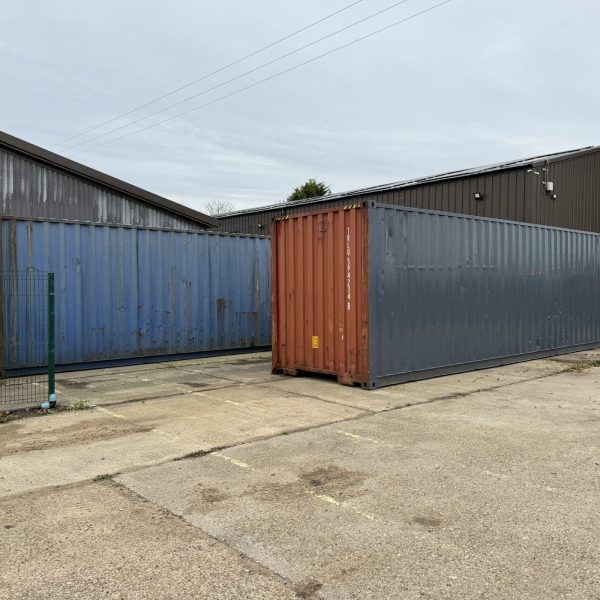
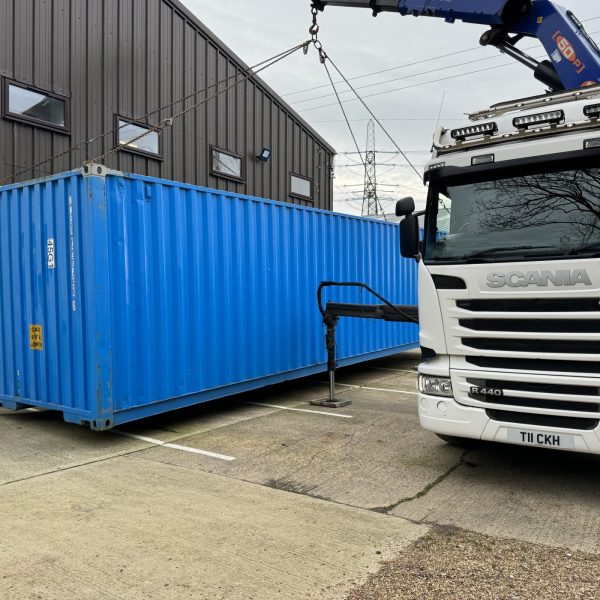
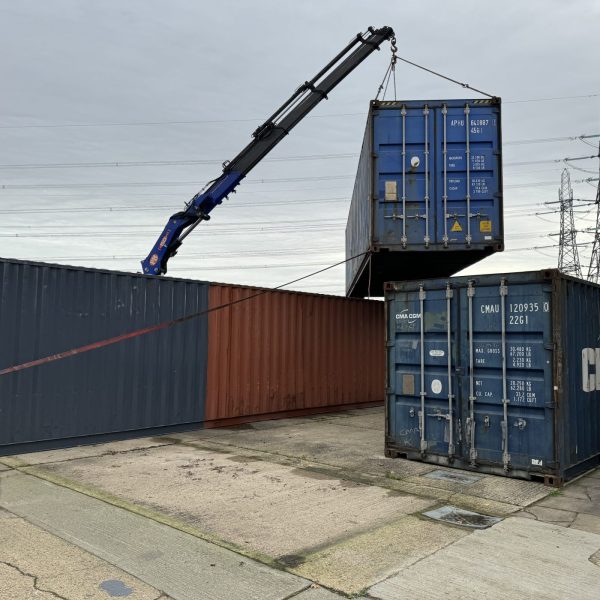
Next up…paint the containers to smarten them all up.
I would like to take this opportunity to thank Gordon and your team for the swift resuscitation of my dead Volvo! Great to know there are skilled technicians who can fix the older car.
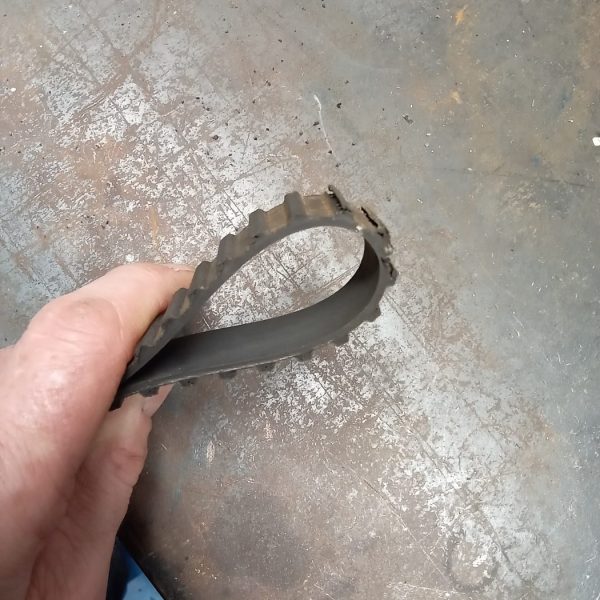
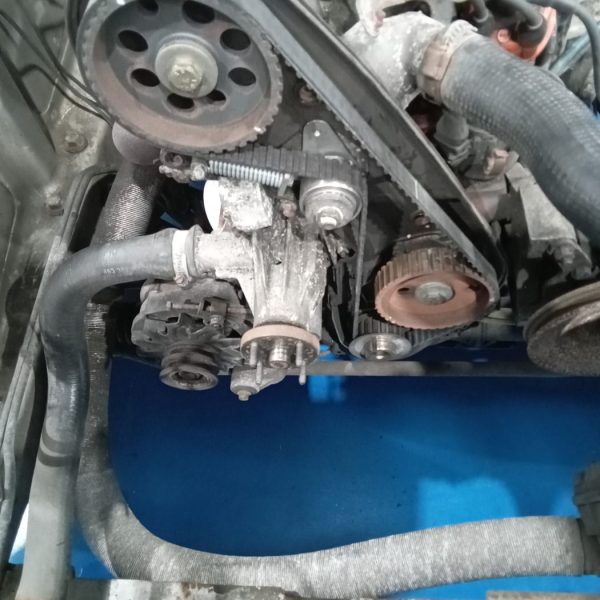
Steve is showing here our old cambelt with damaged teeth causing the belt to slip. He has now fitted a new belt, tensioner and spring.
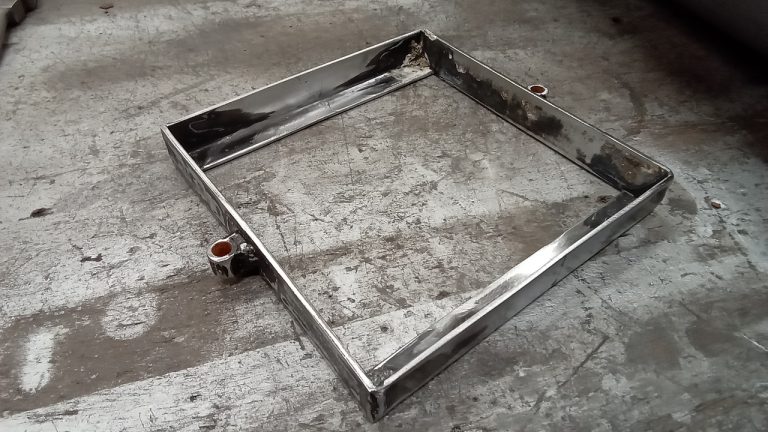
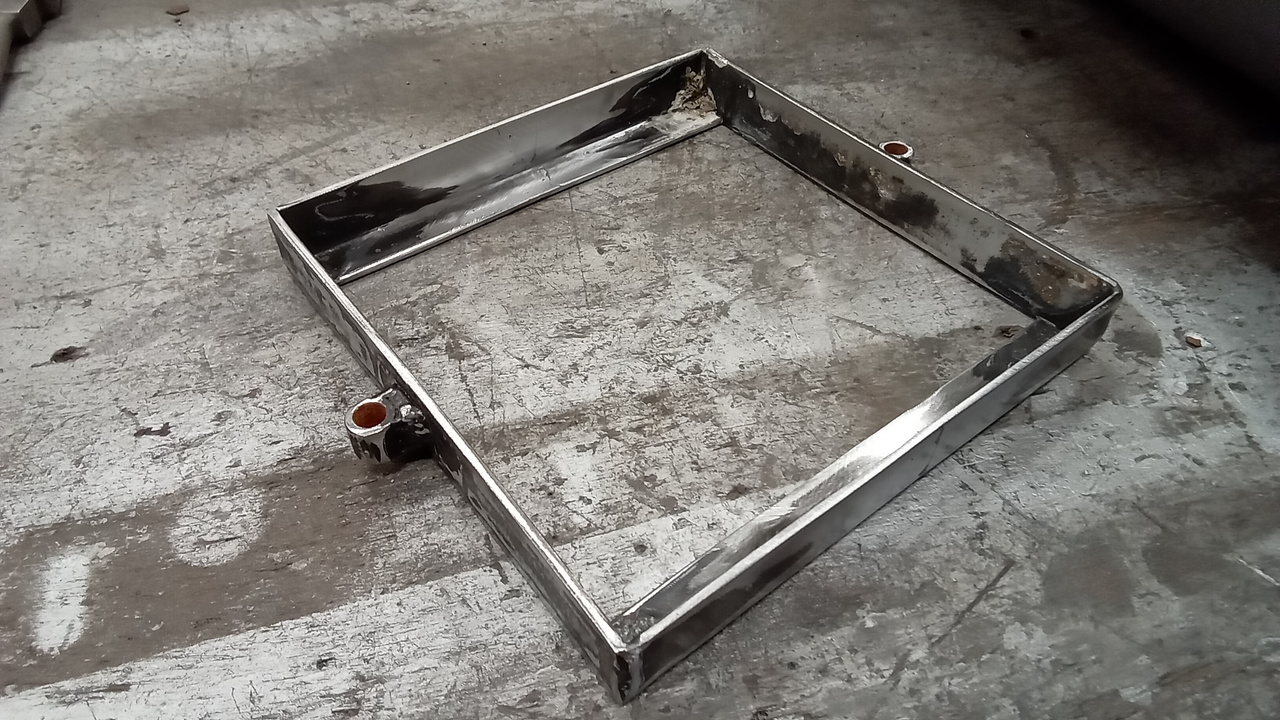
Christian has been working on our Austin Ulster this week. He has modified the battery tie down.
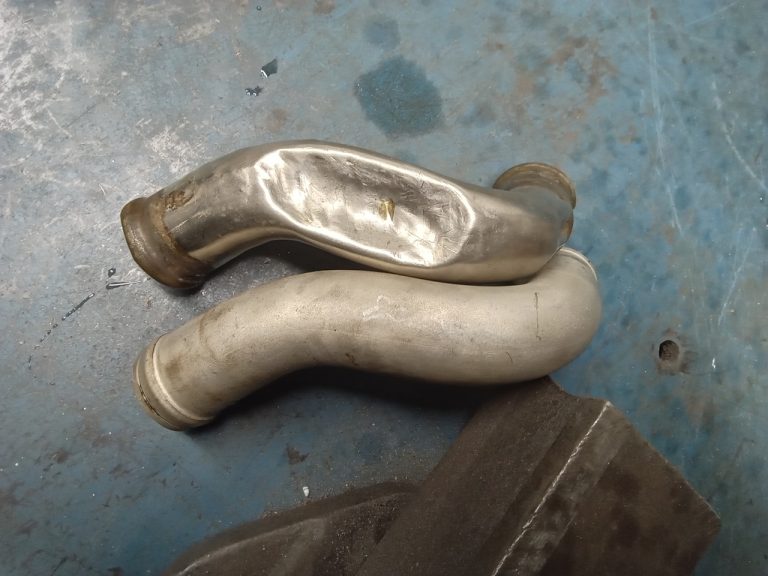
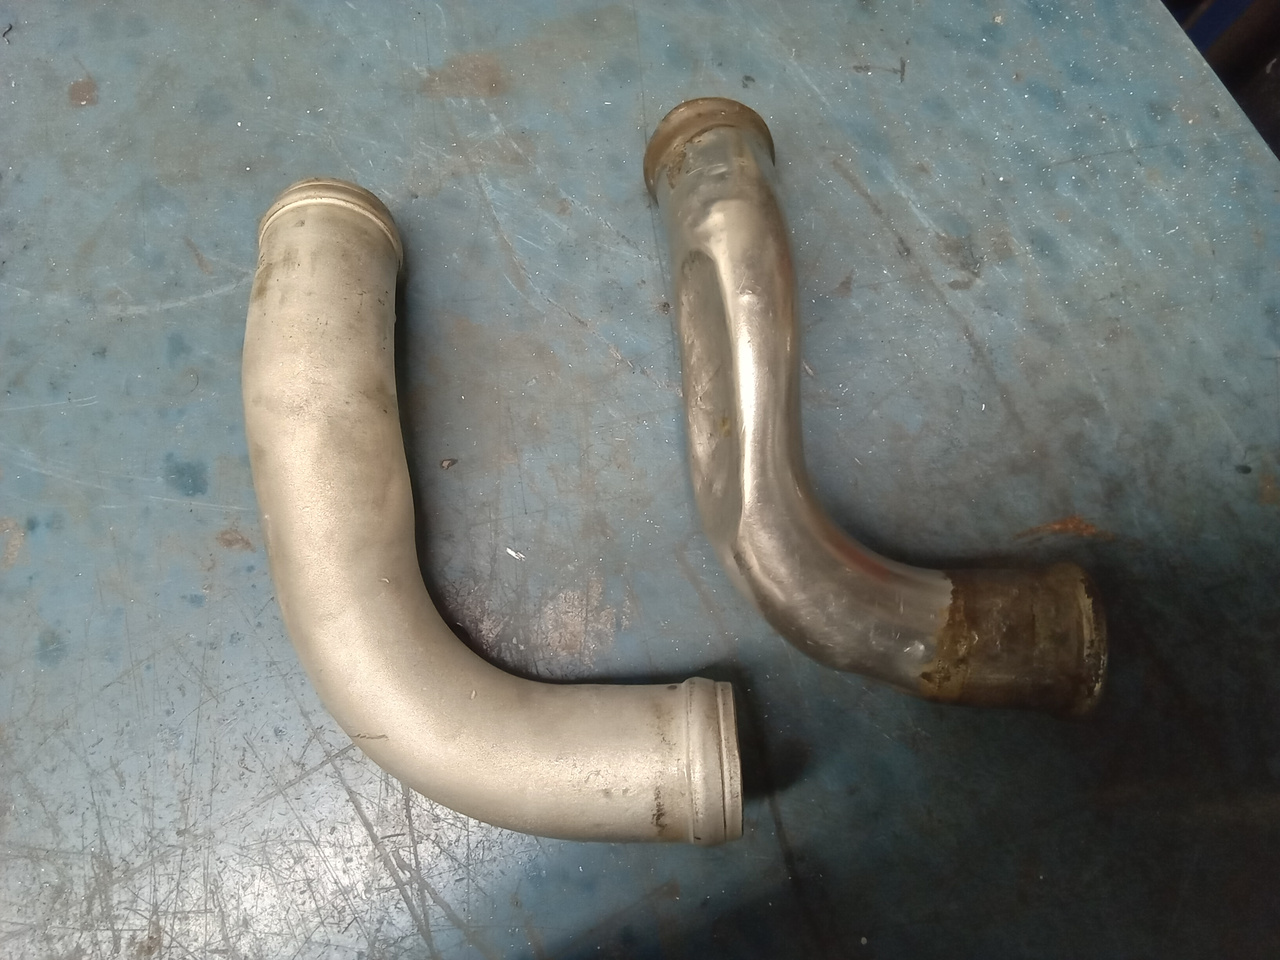
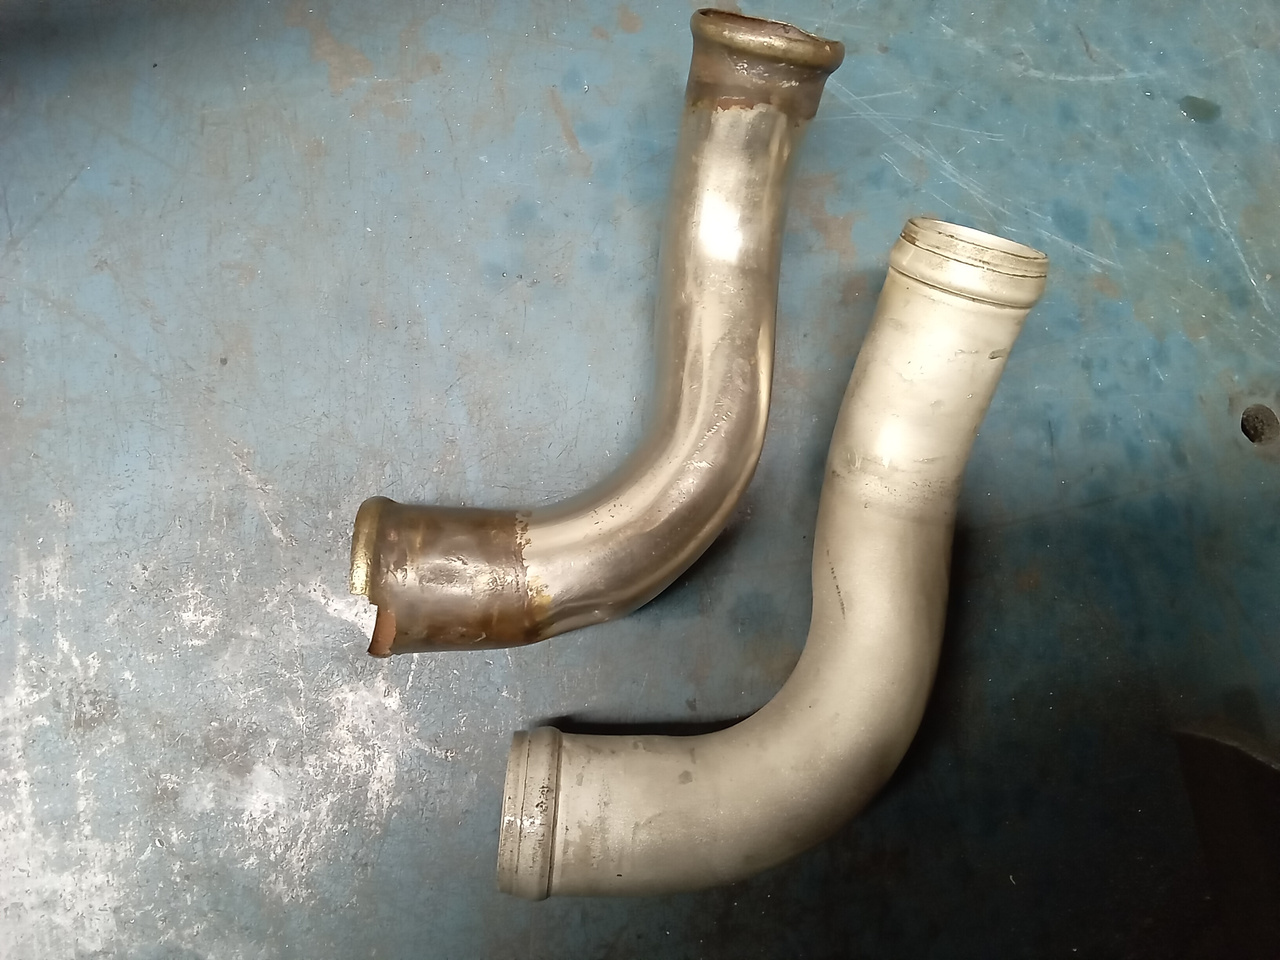
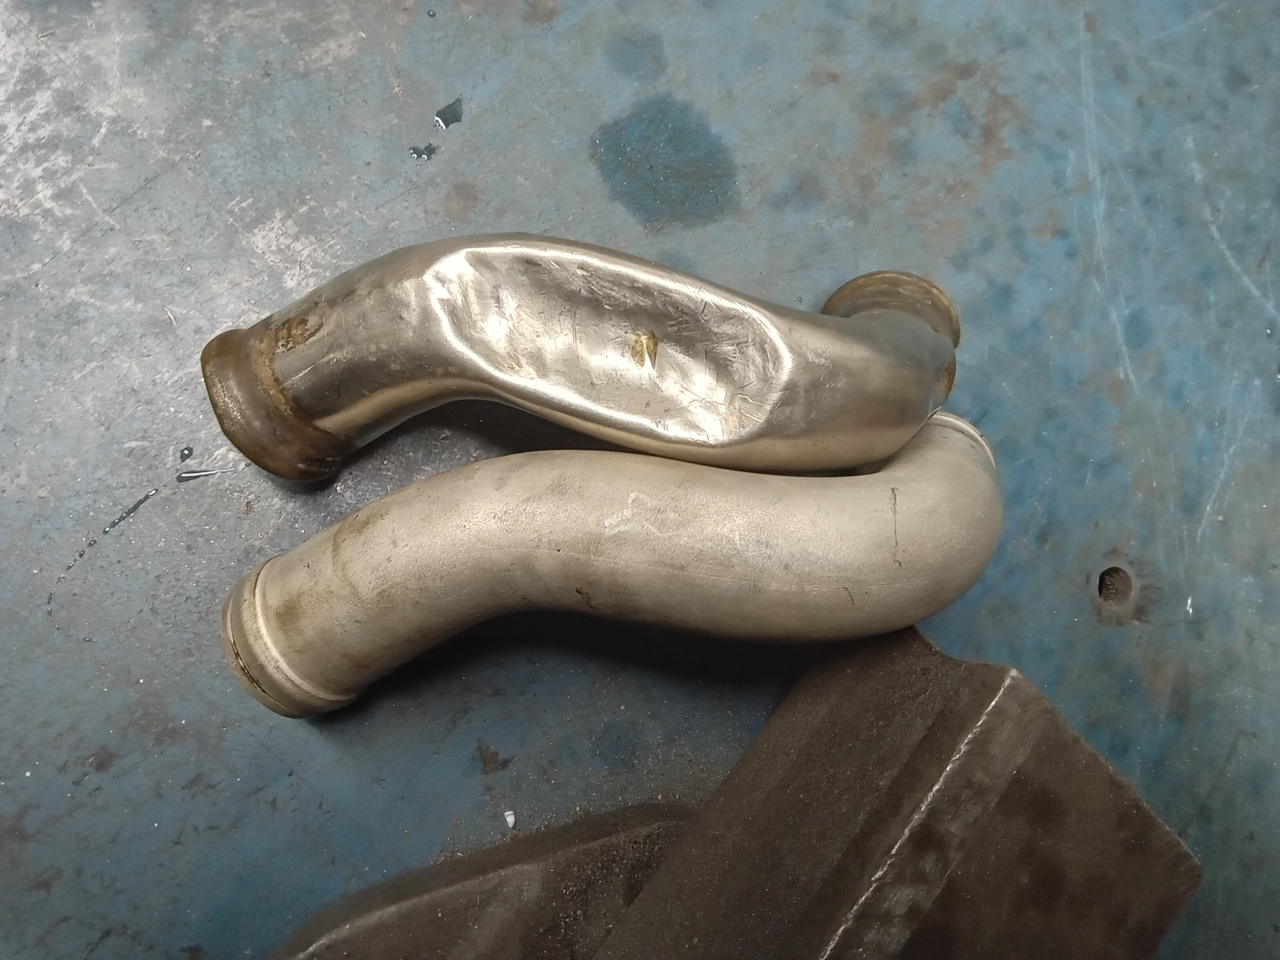
John has found a damaged water pipe on the Aston Martin DB2/4 so has replaced with new.
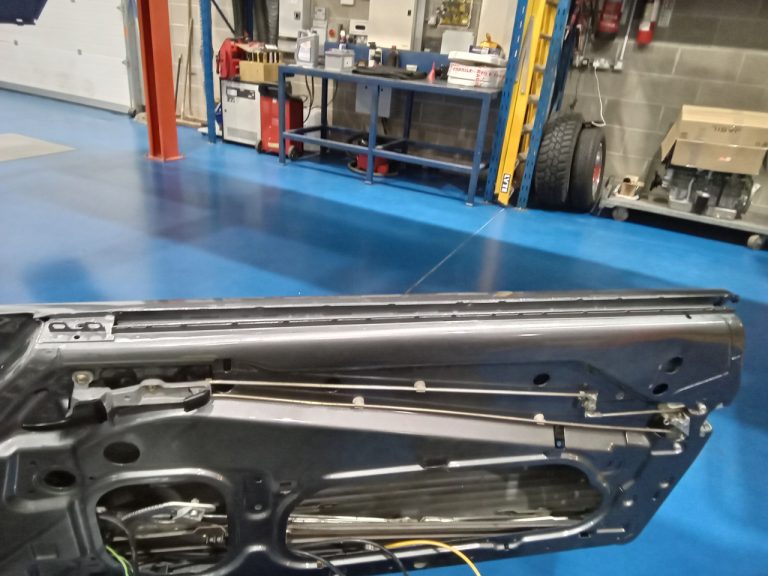
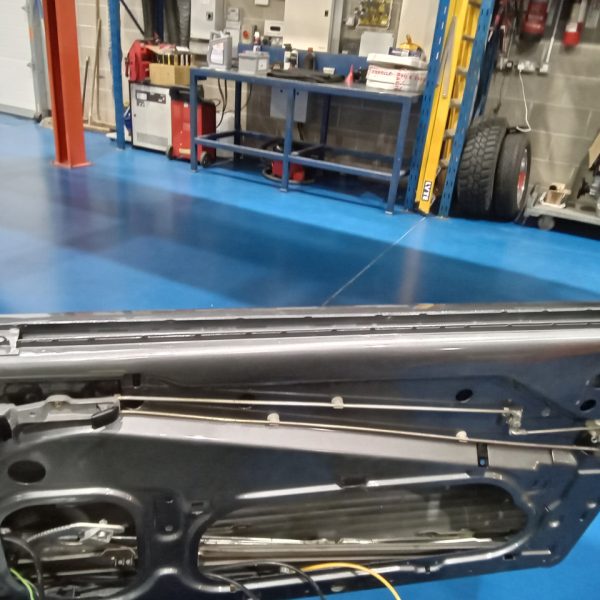
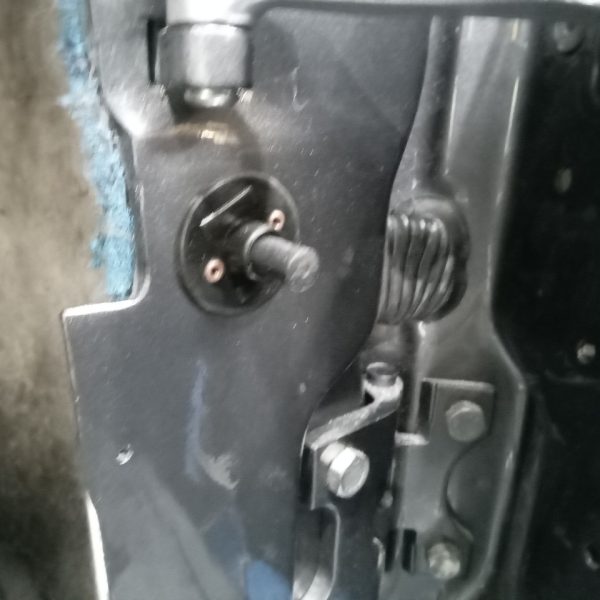
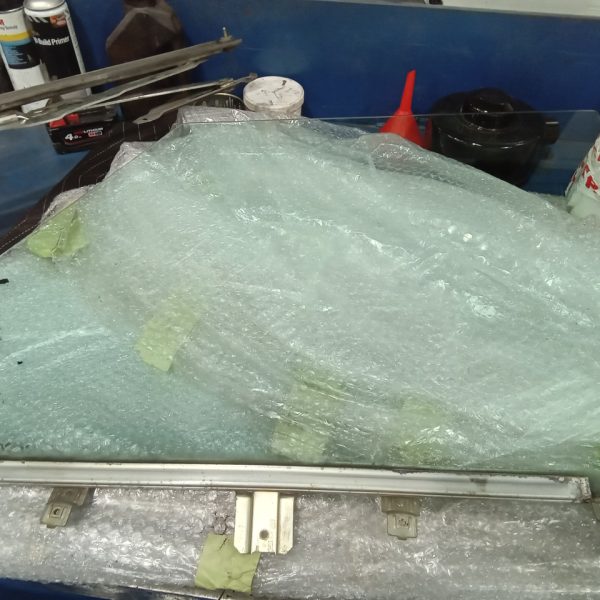
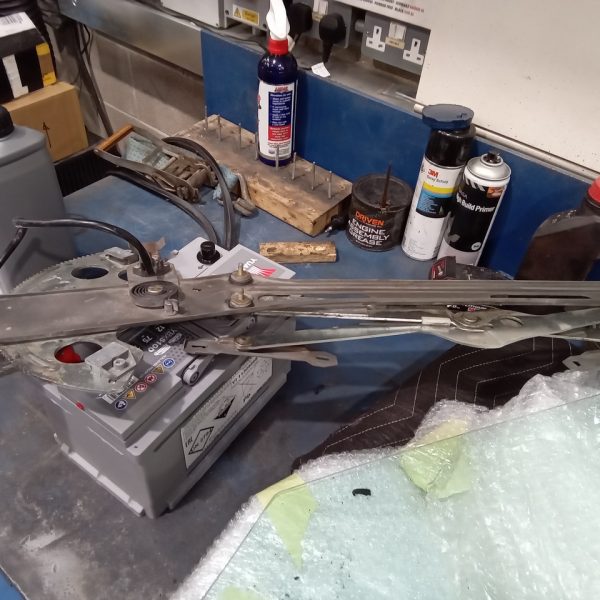
The doors are being built up right now on our 1987 Mercedes SL500 R107.
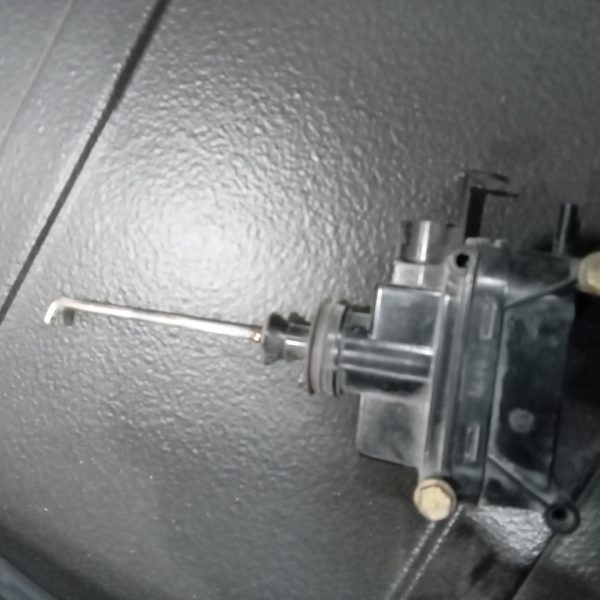
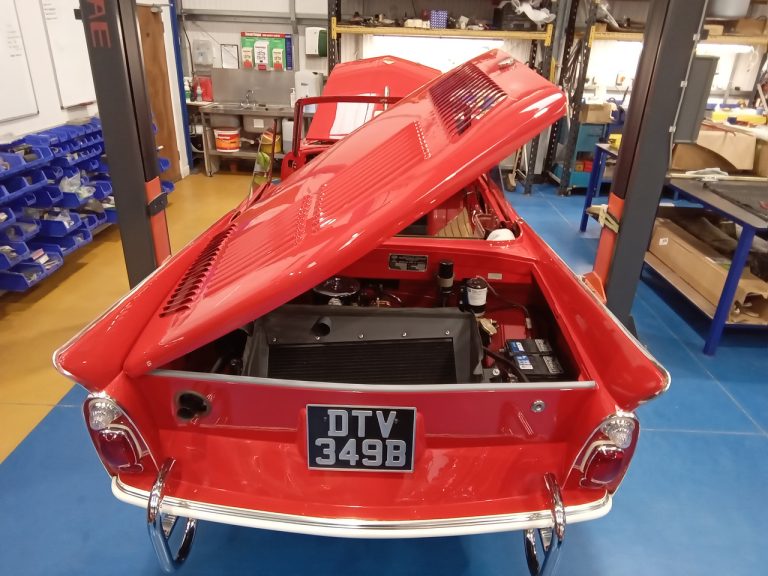
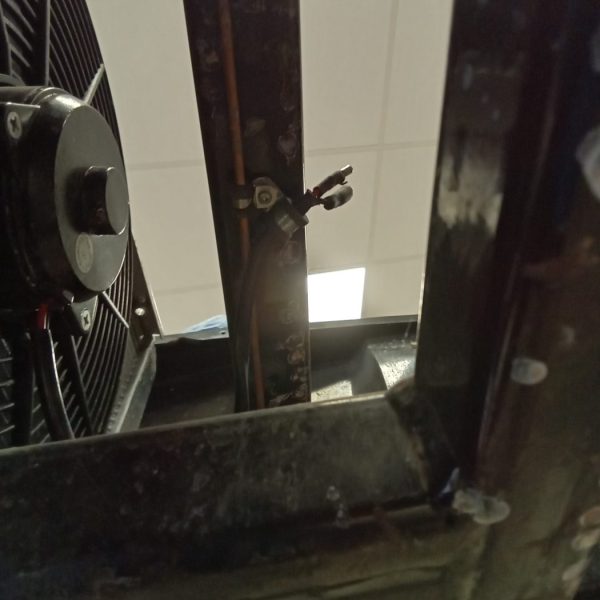
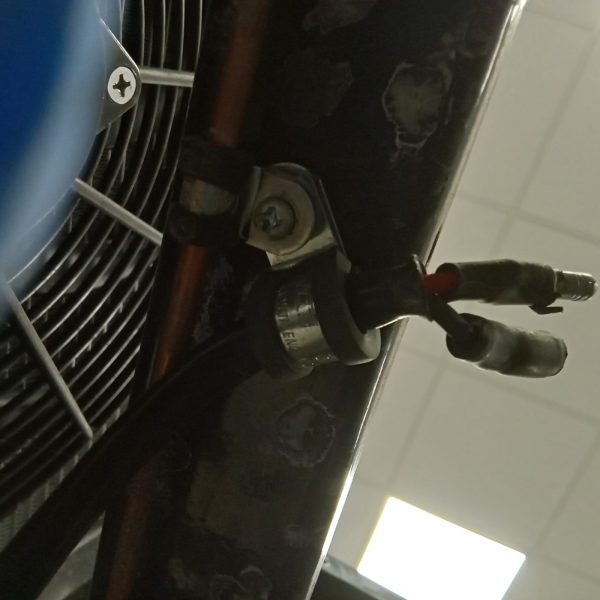
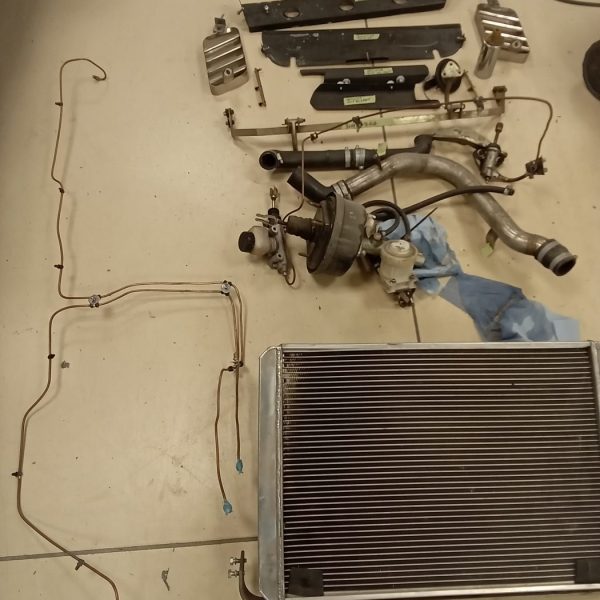
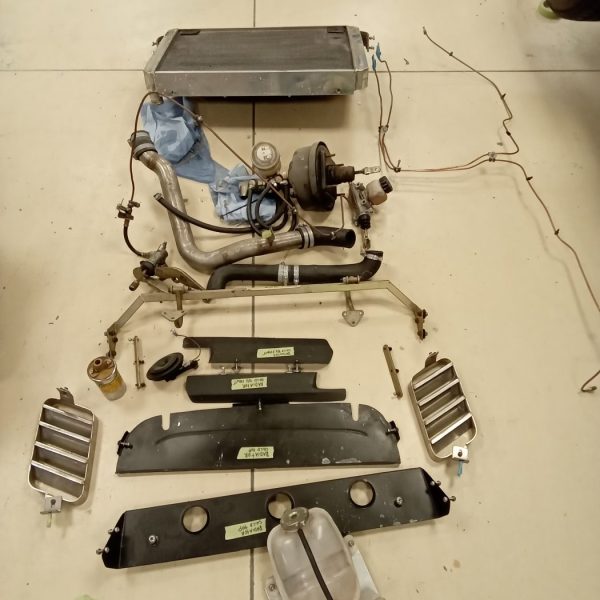
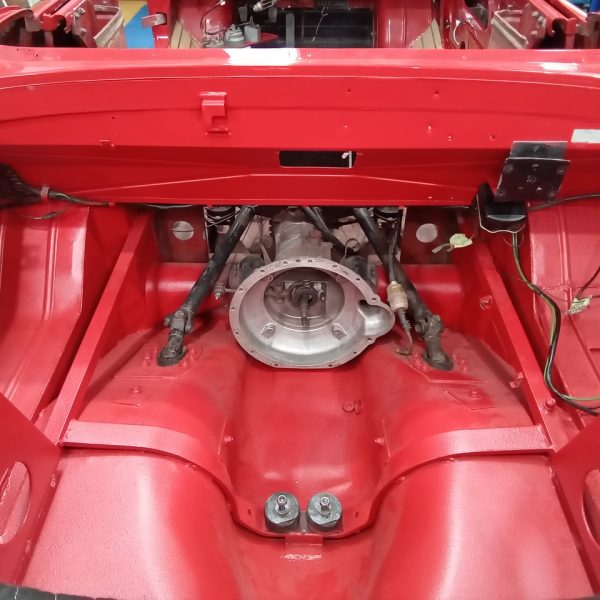
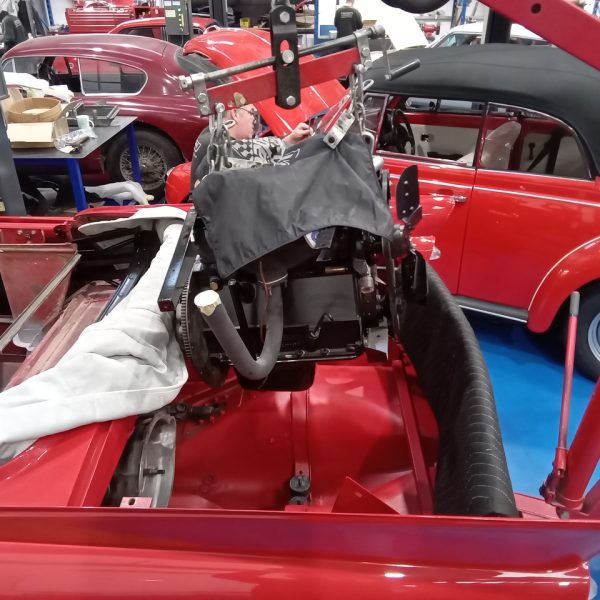
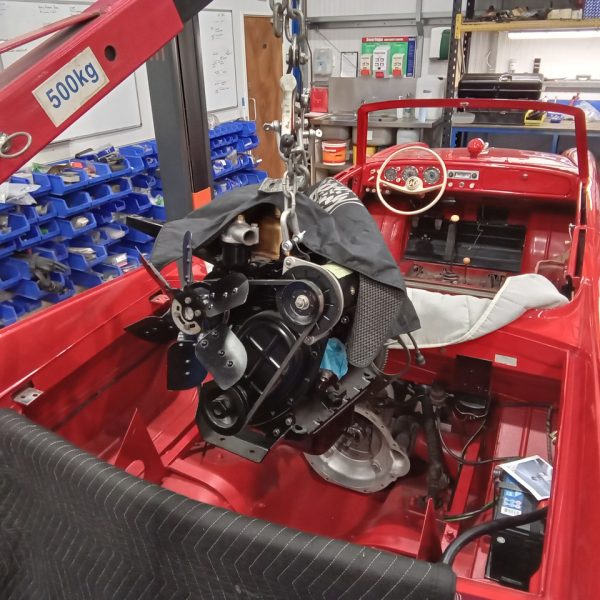
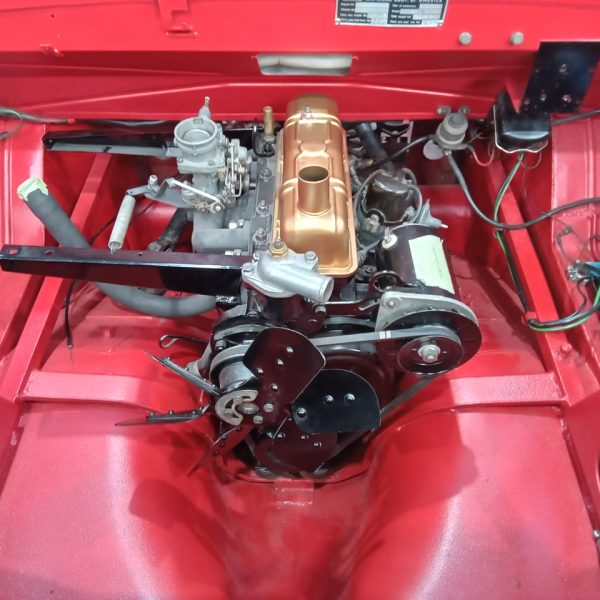
The new clutch has been fitted and the engine re-installed in the car.
All of the ancillaries have been refitted, the radiator has been tested and refitted also along with the exhaust.
The engine has been run up with new oil and coolant, and the engine lid attached.
Now on to the door seals and final mechanical parts before passing to the trim team to refit the interior and the soft top to the frame.
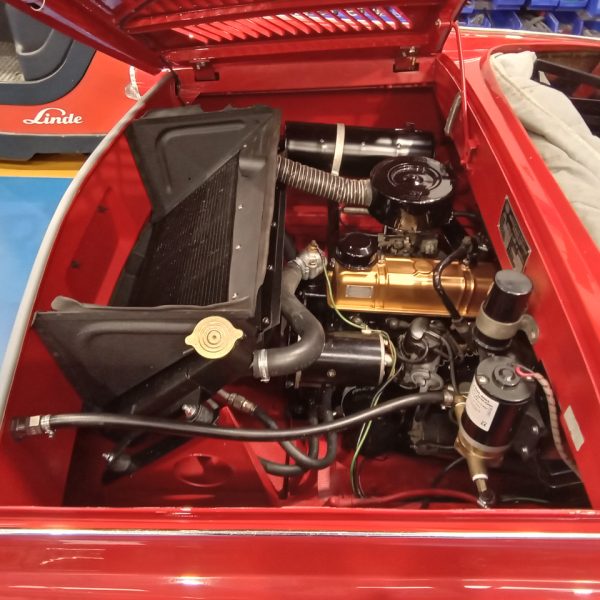
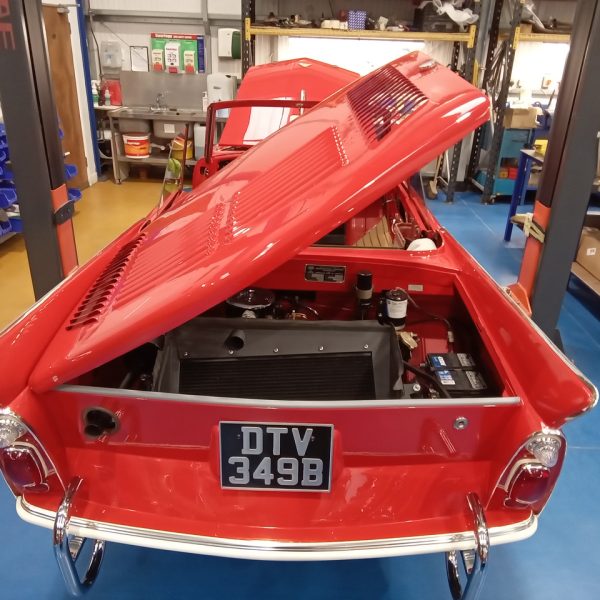
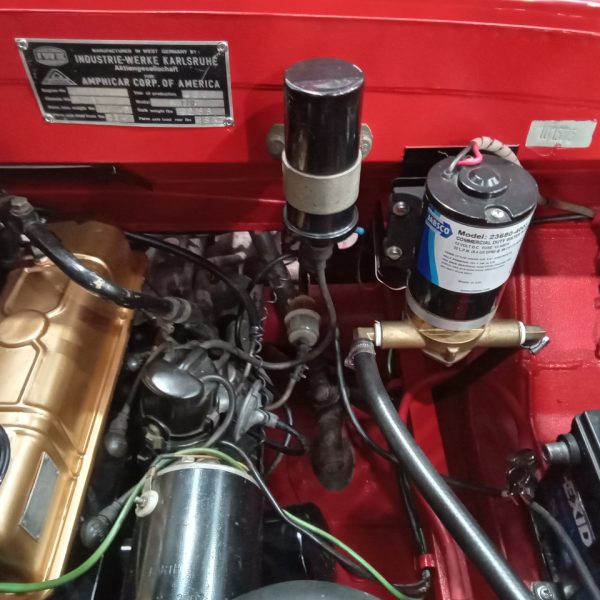
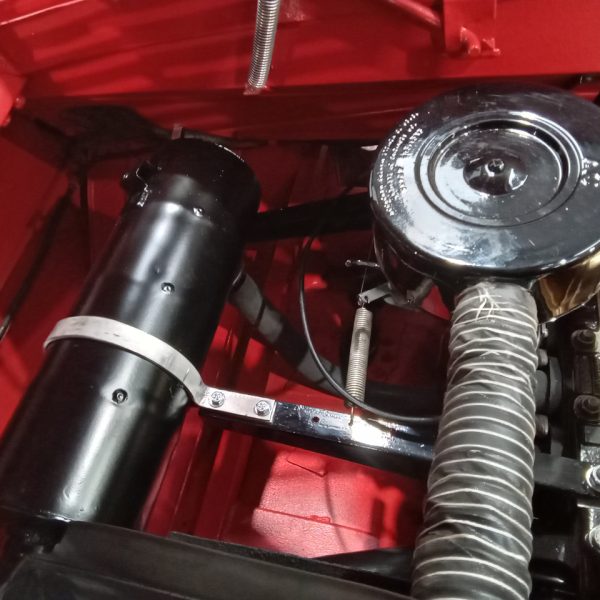
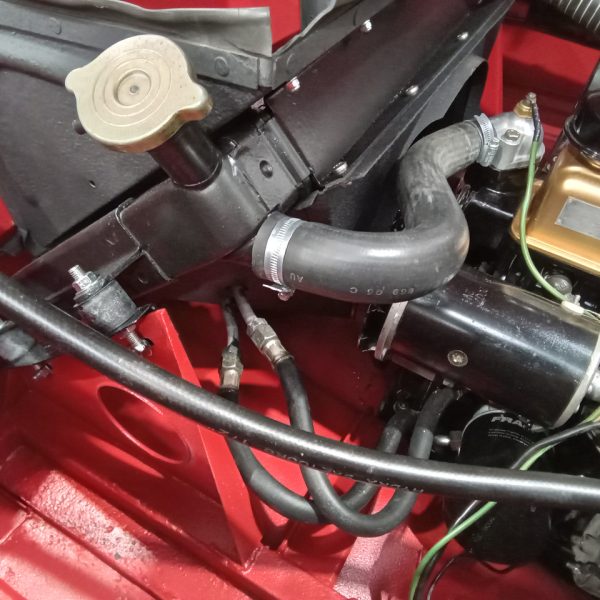
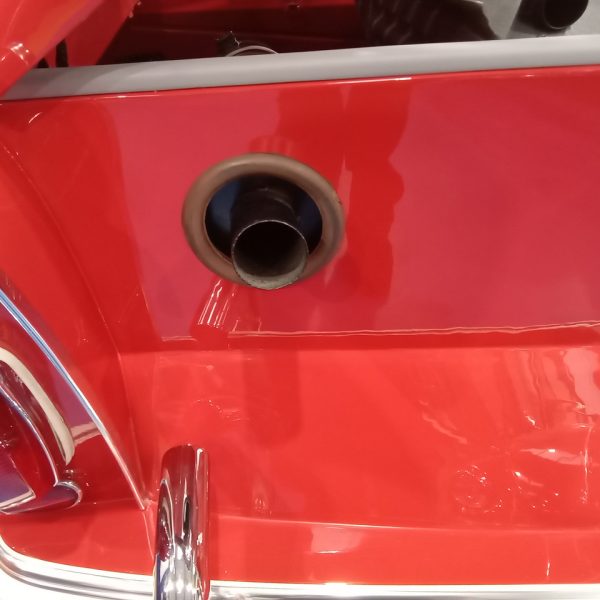
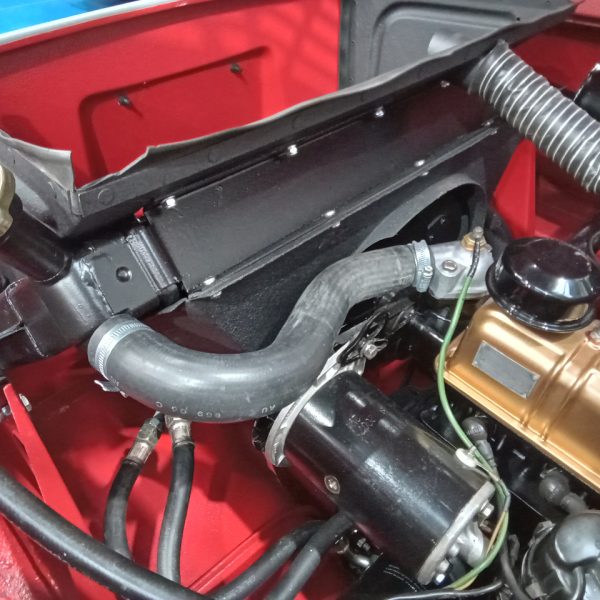
The MG B Roadster is now in epoxy prime and ready for paint.
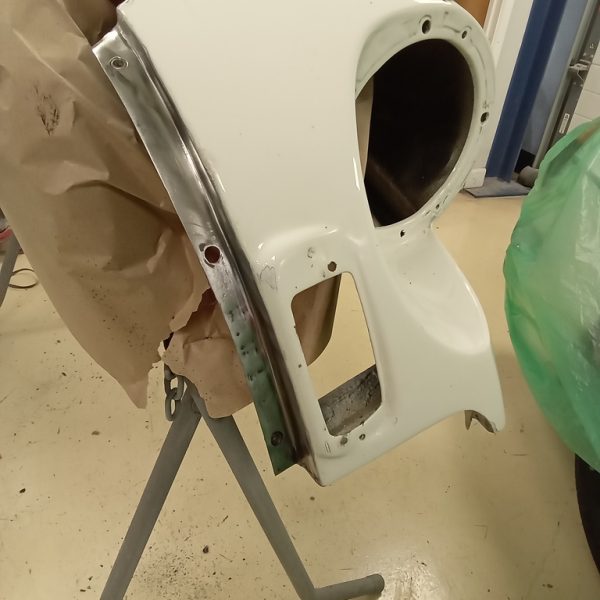
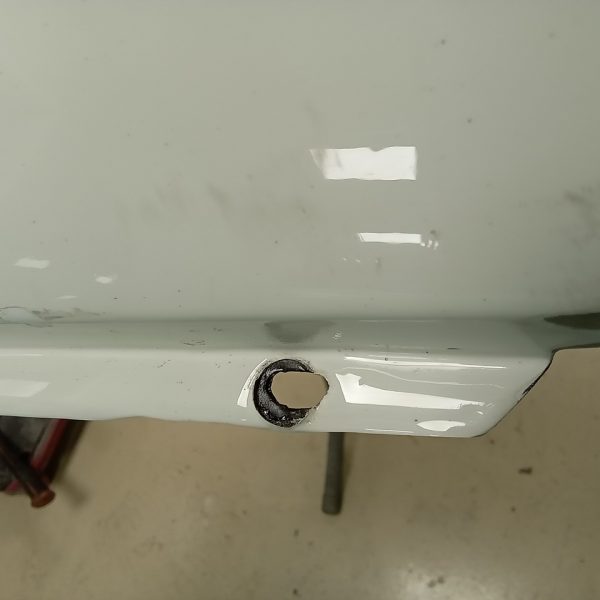
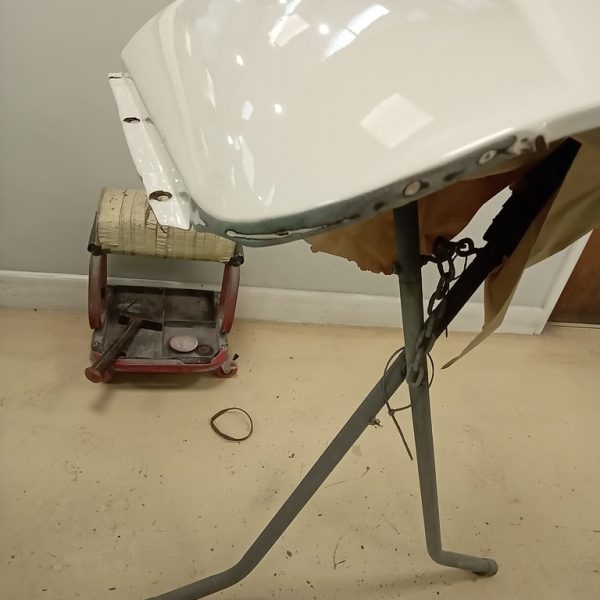
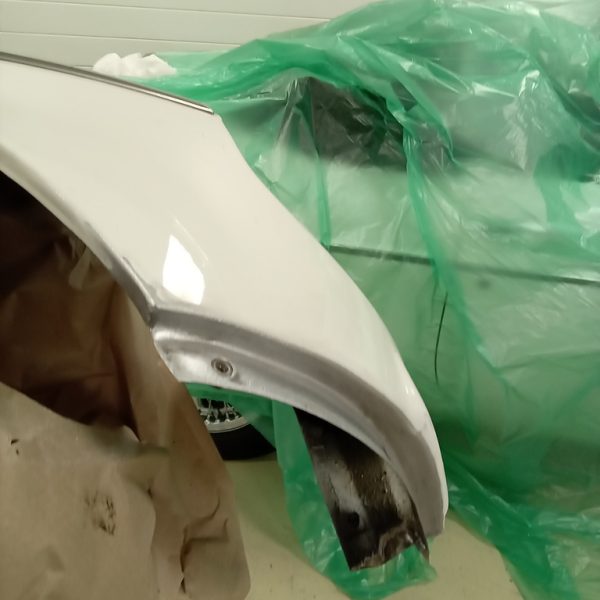
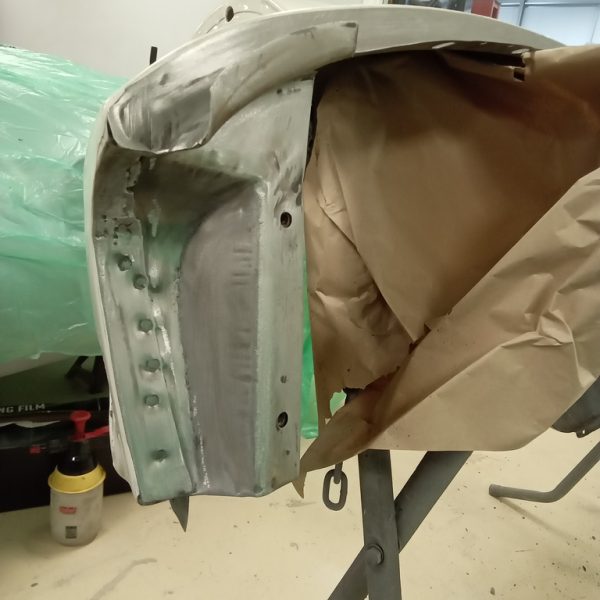
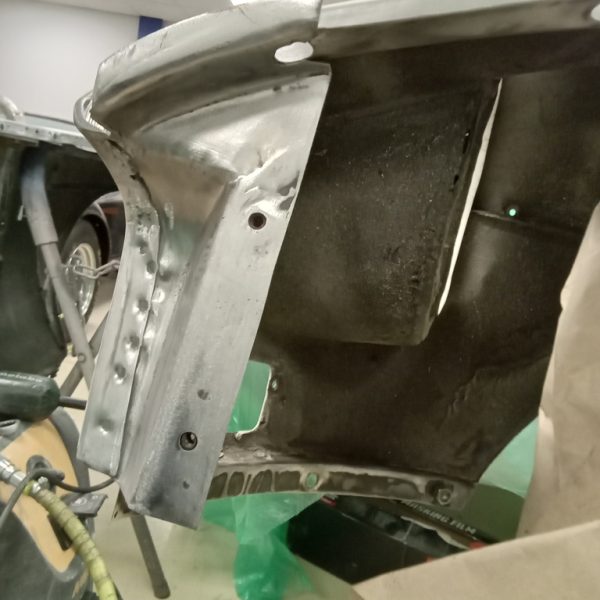
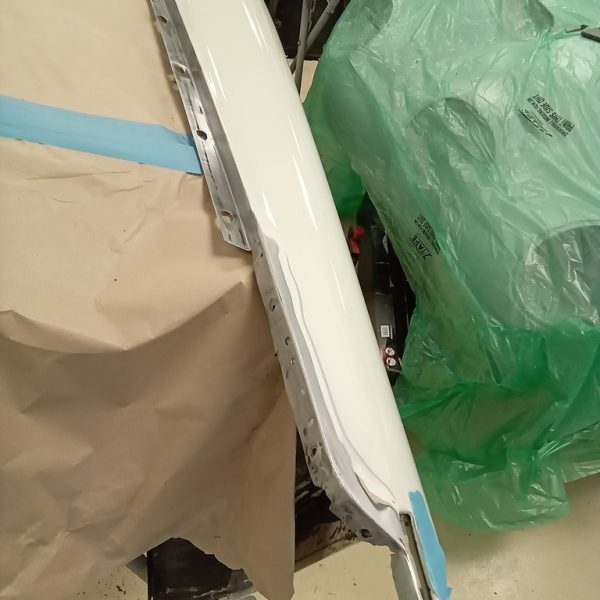
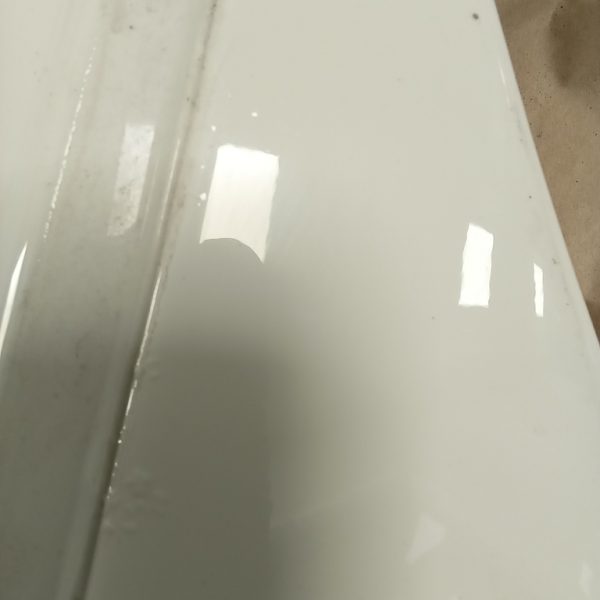
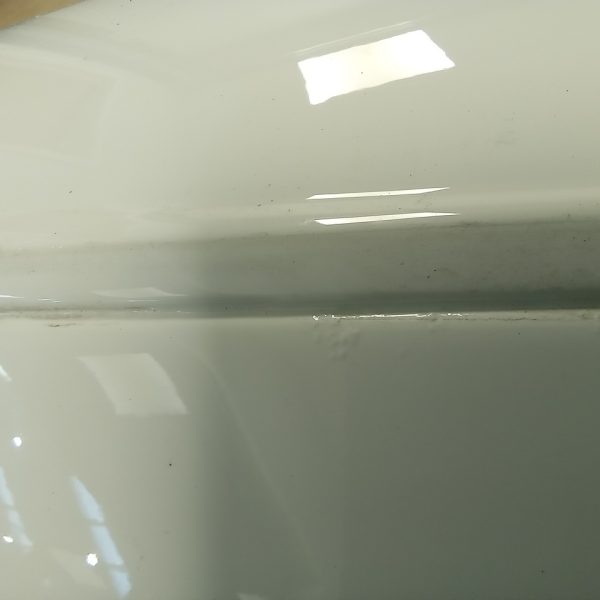
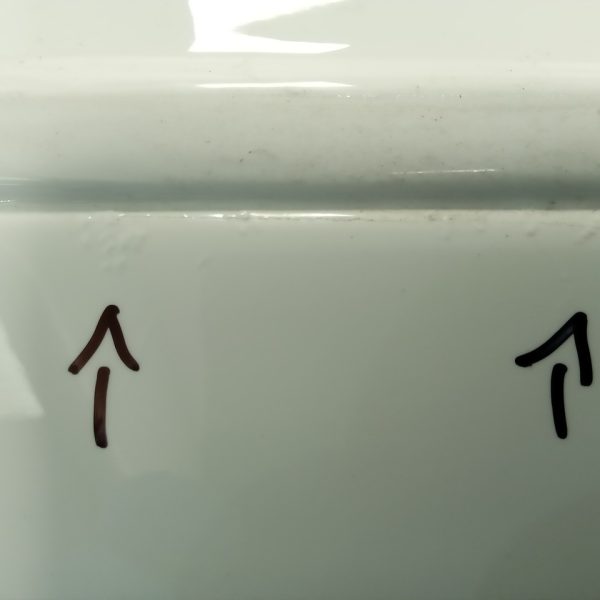
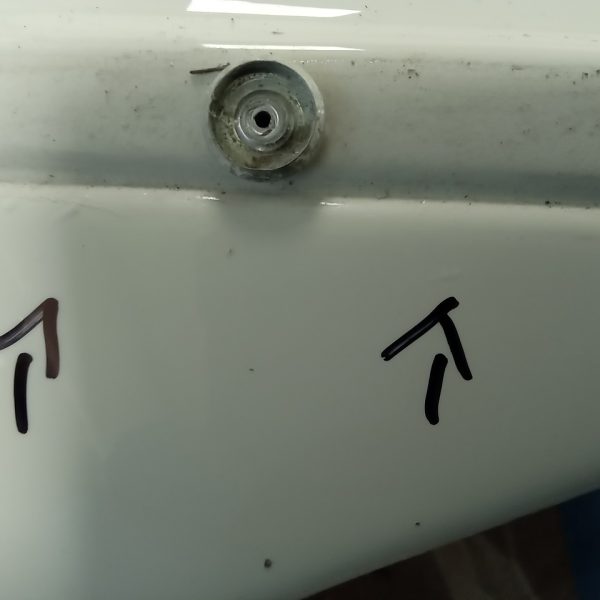
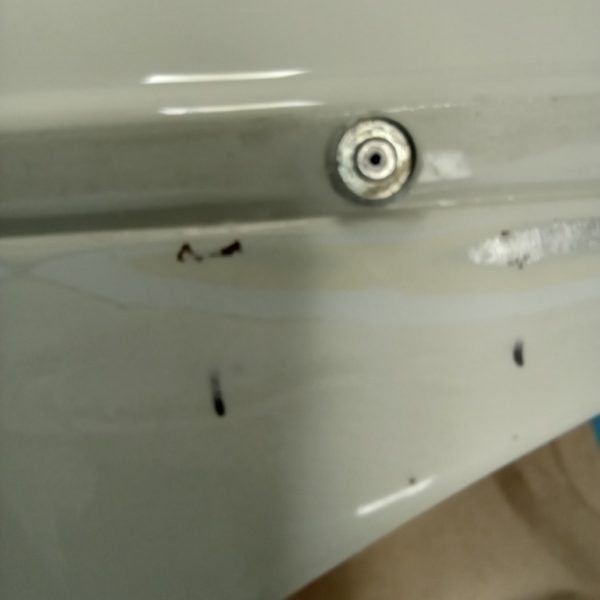
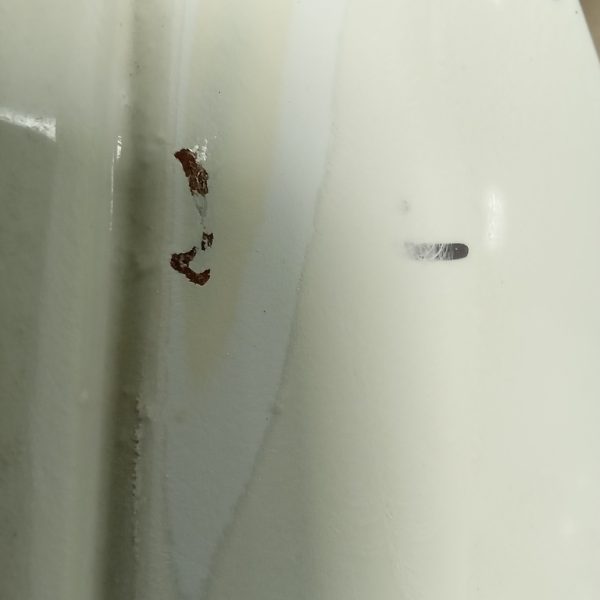
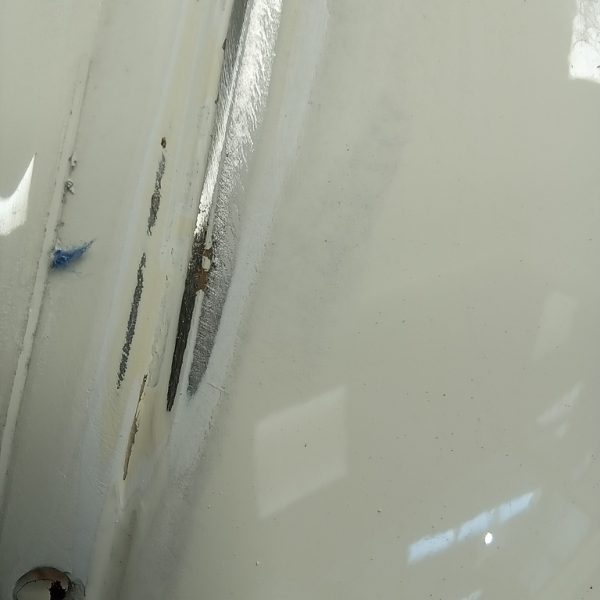
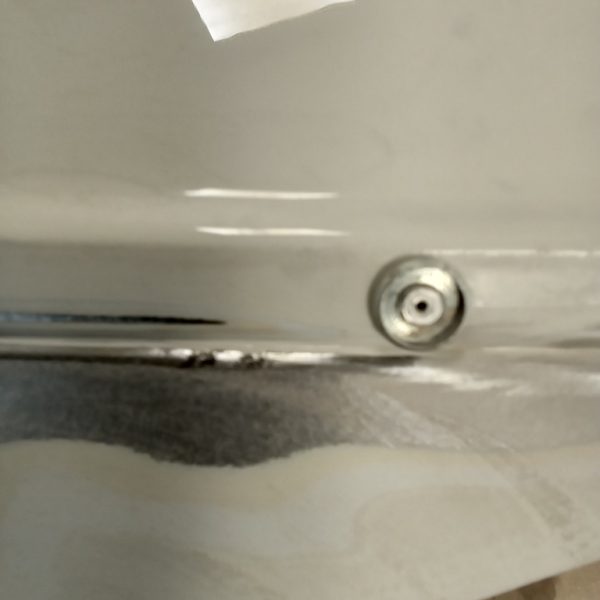
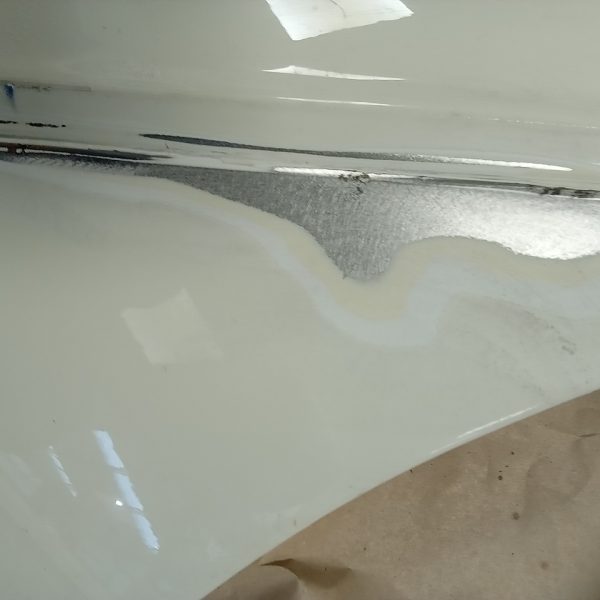
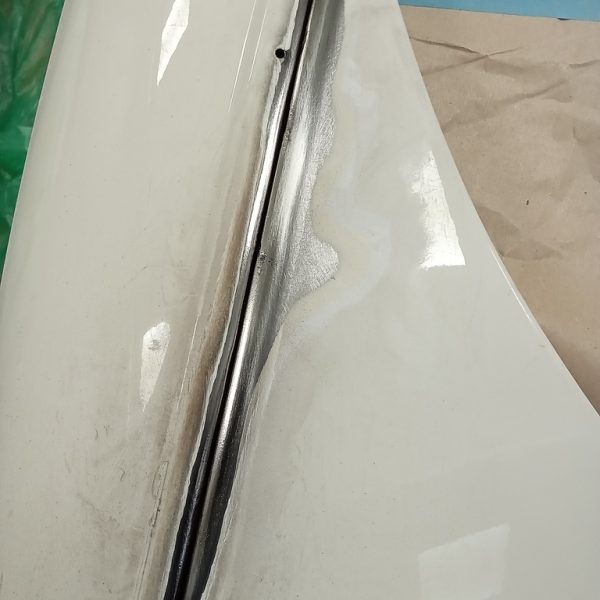
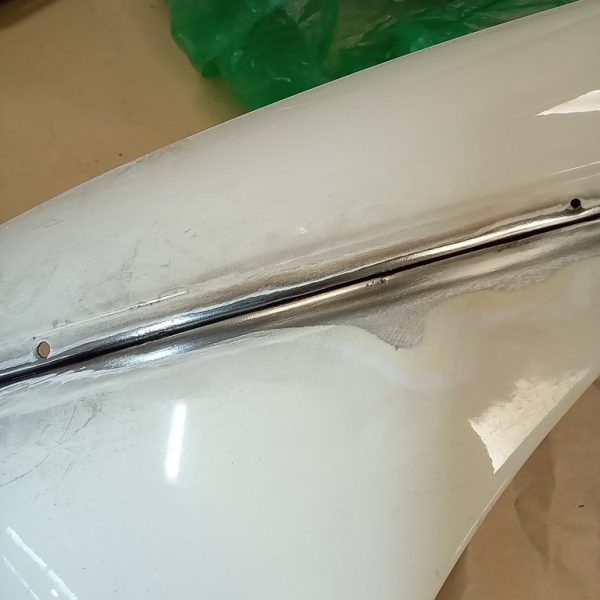
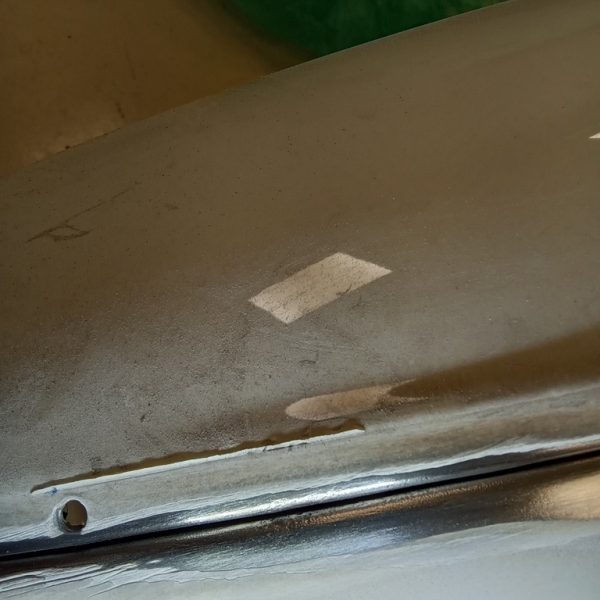
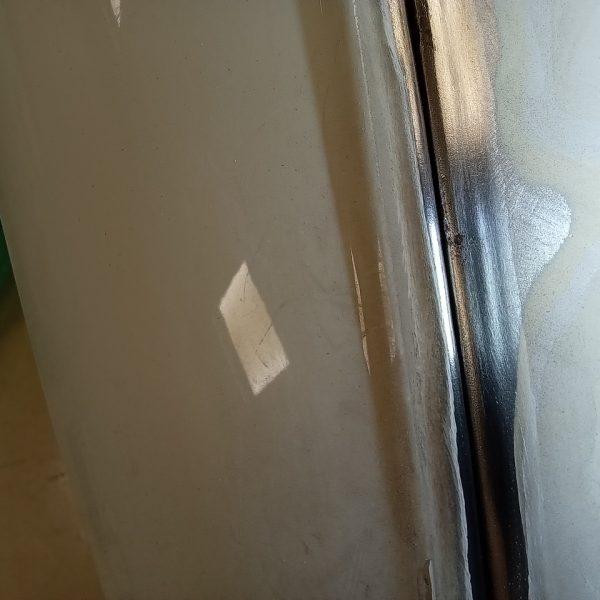
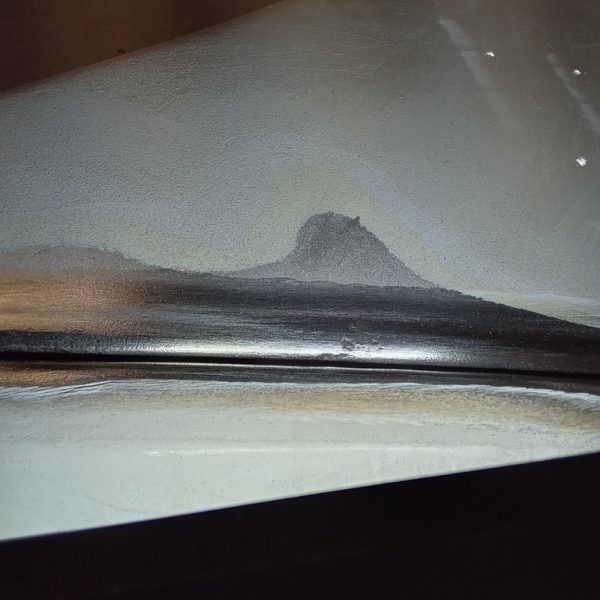
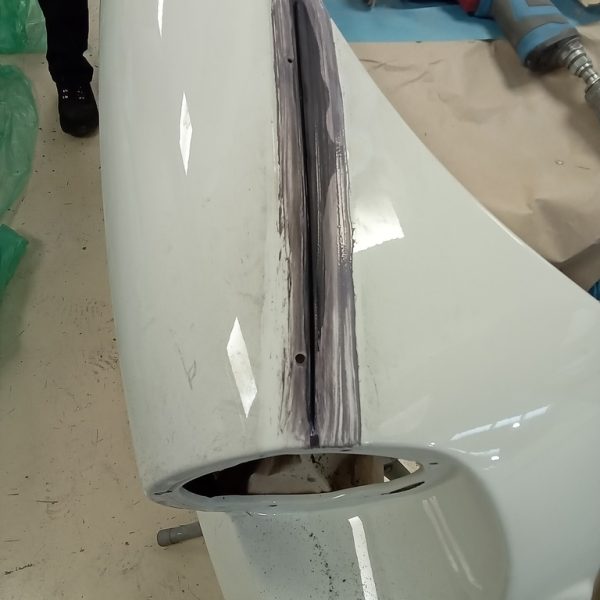
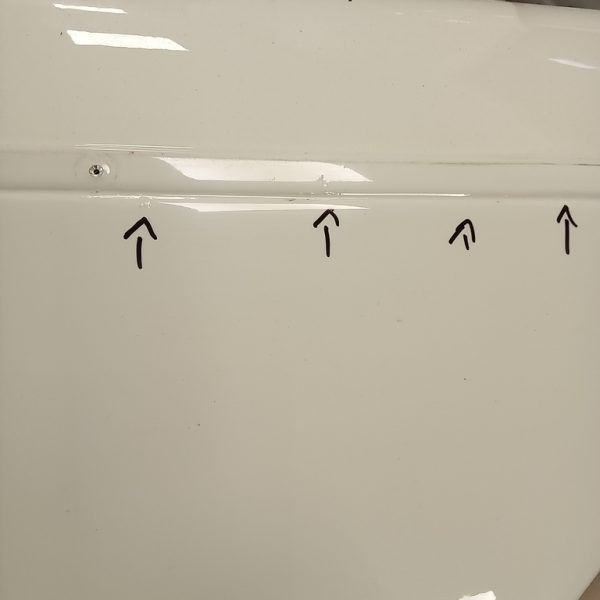
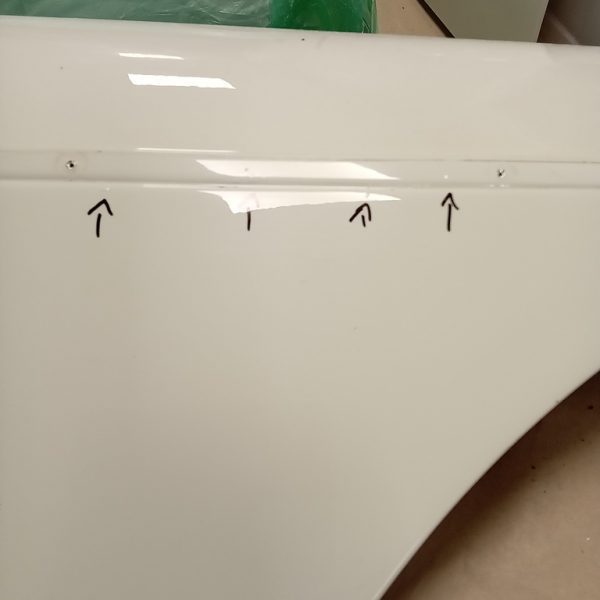
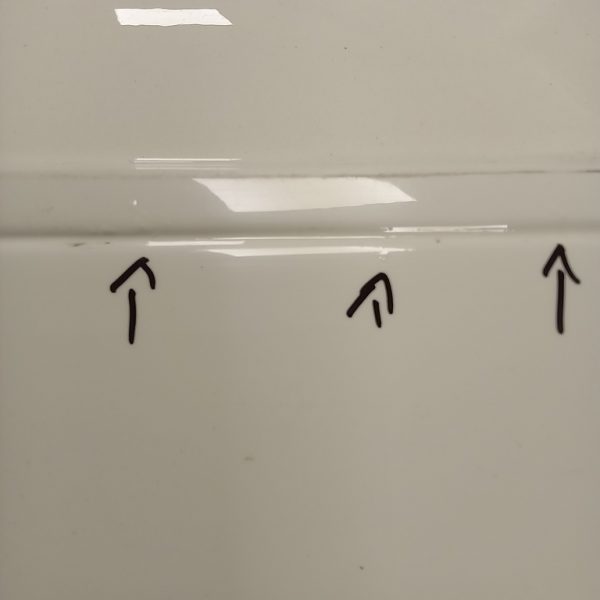
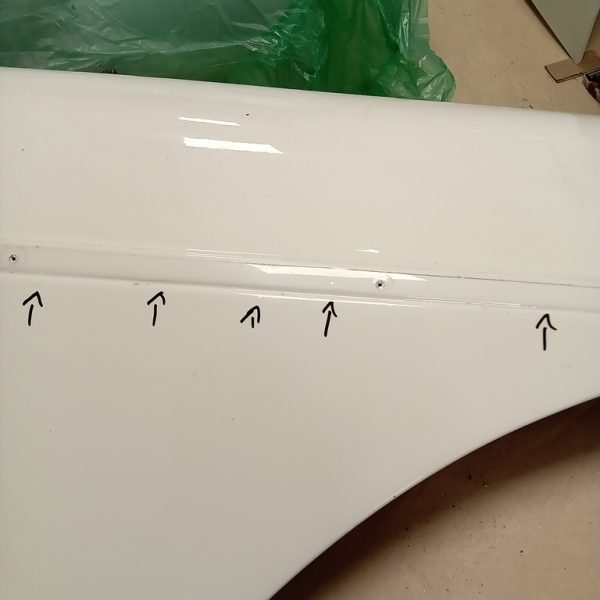
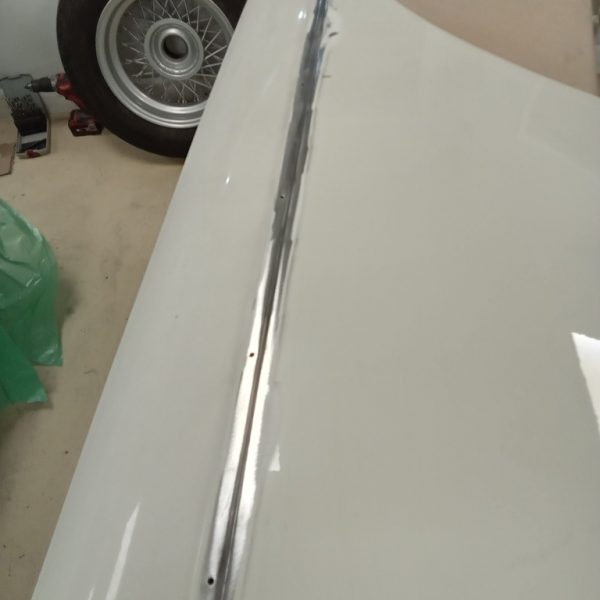
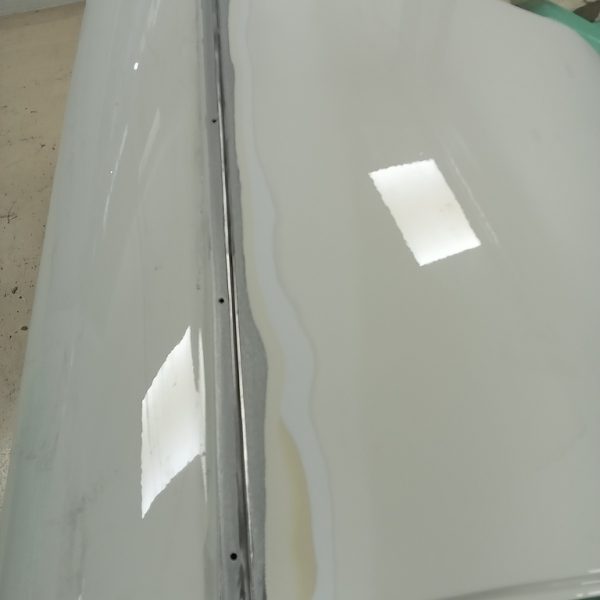
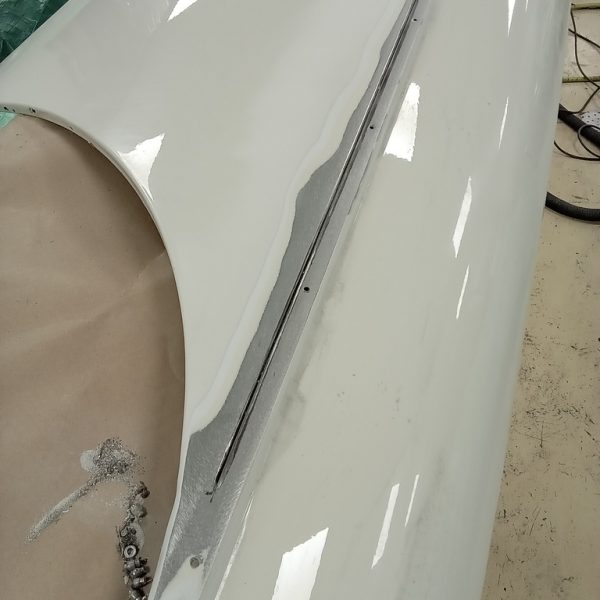
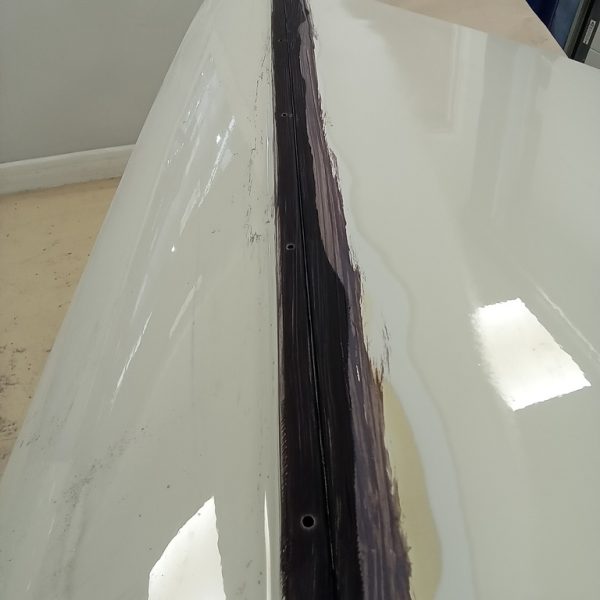
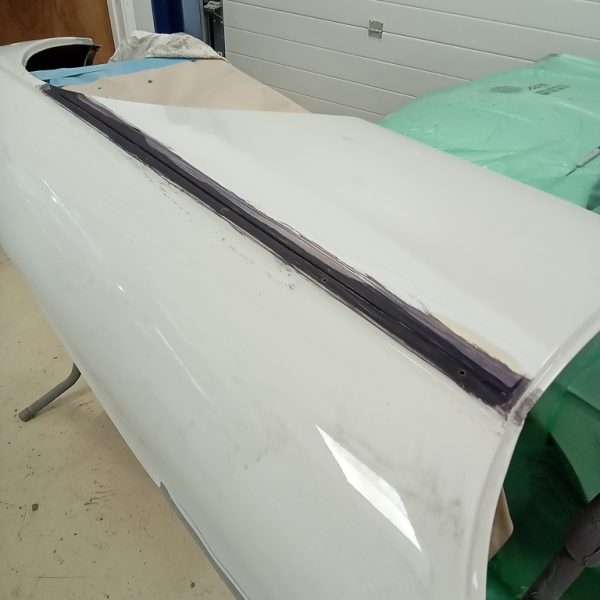
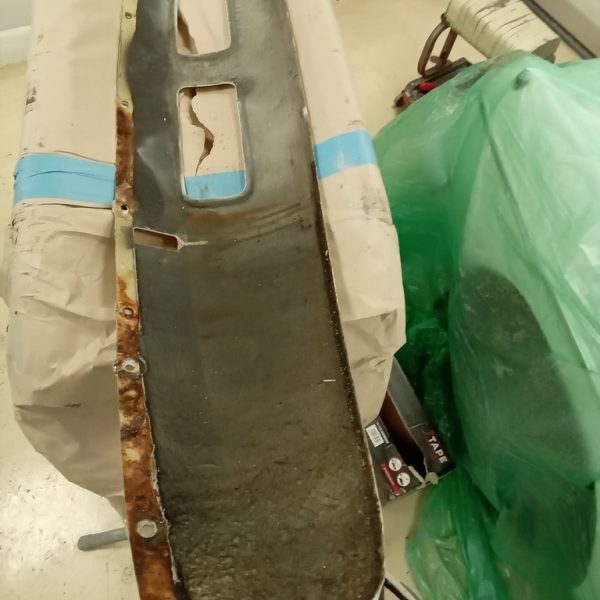
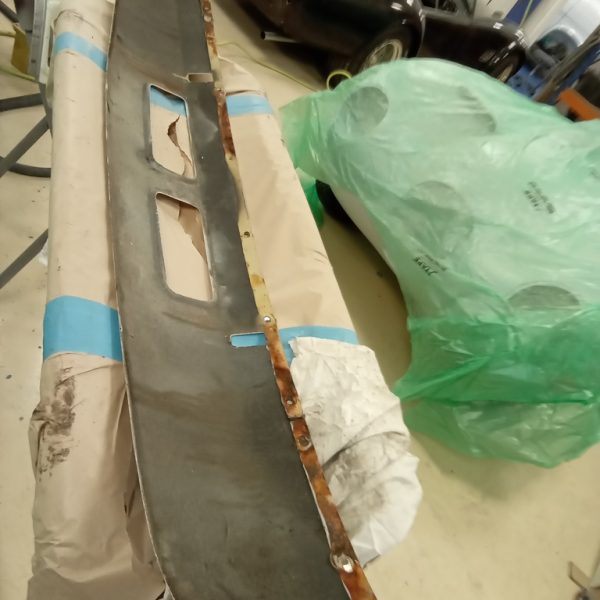
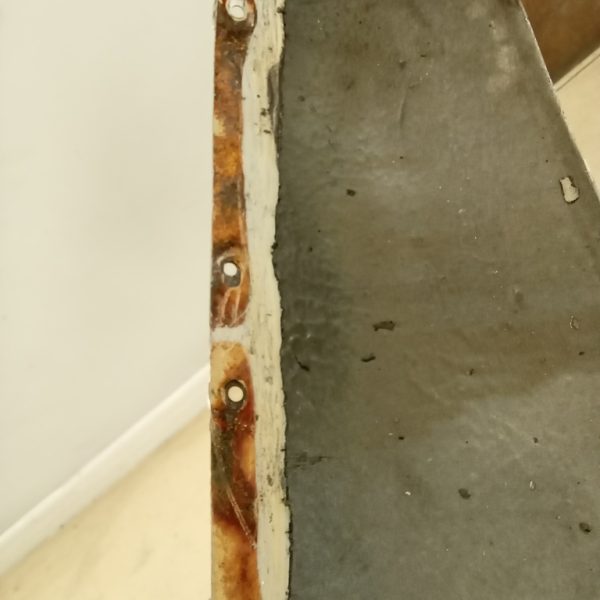
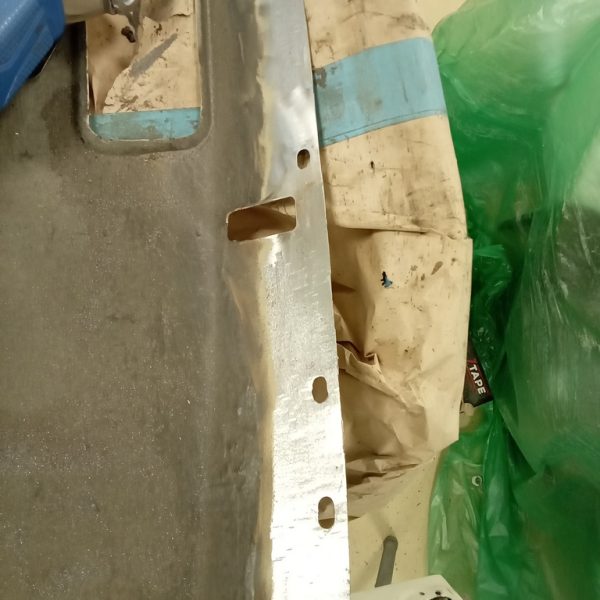
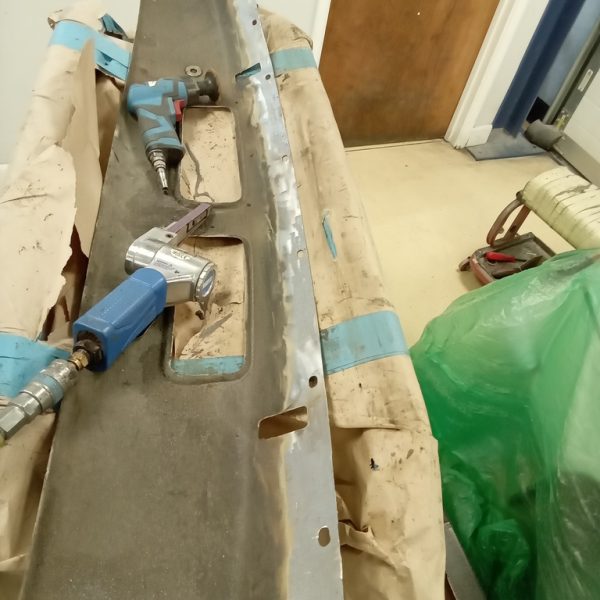
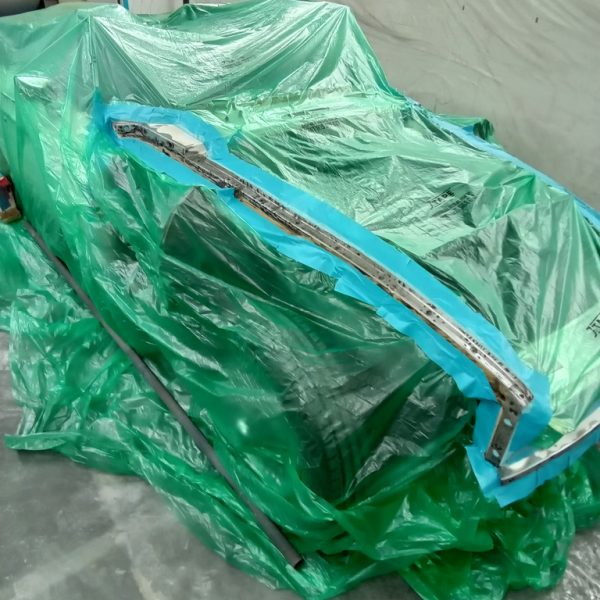
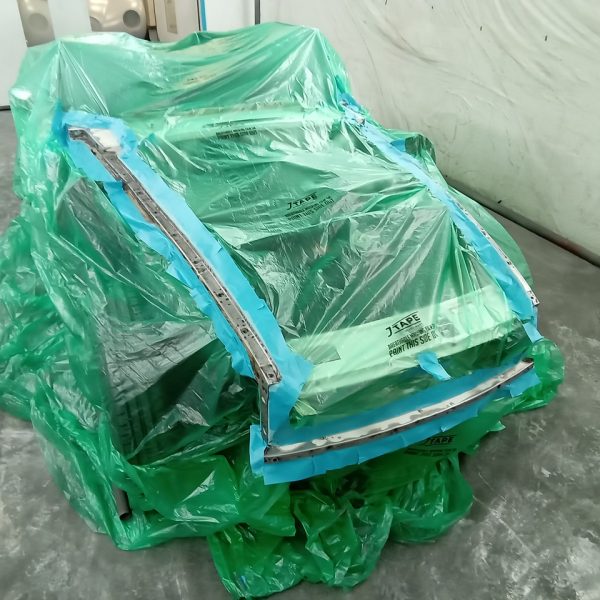
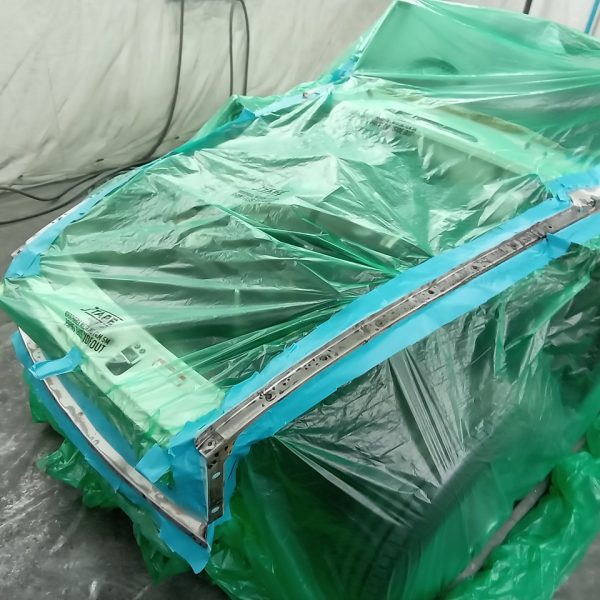
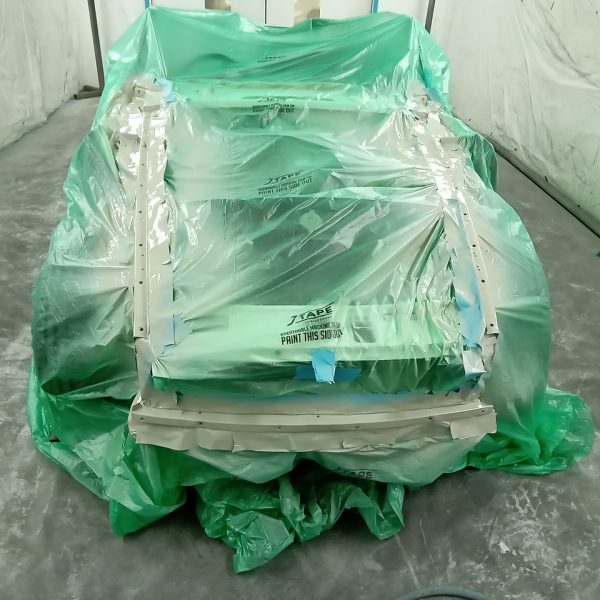
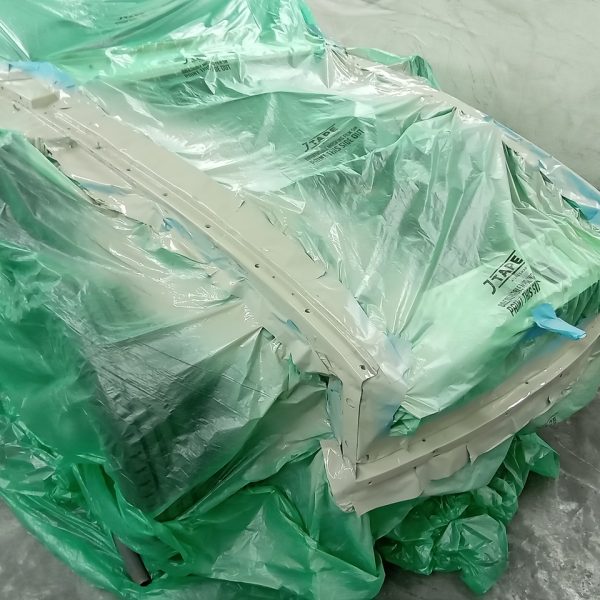
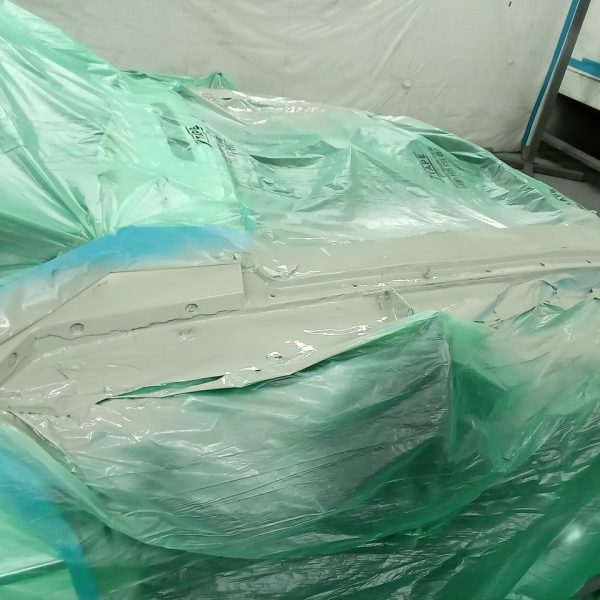
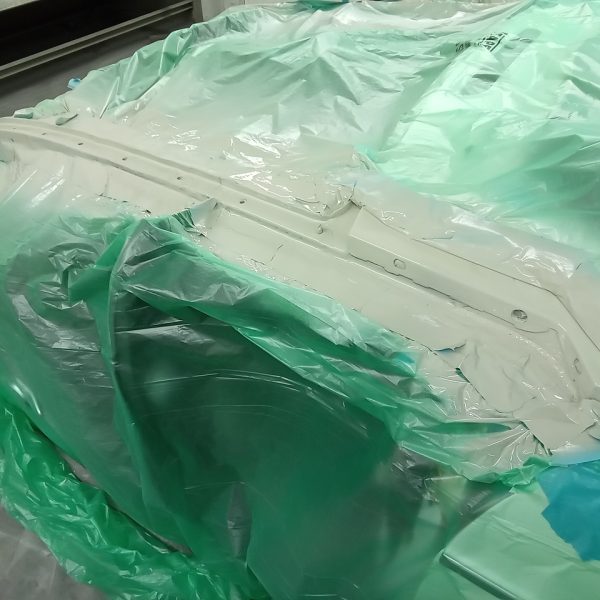
Christian is continuing with the Austin Devon body panel fabrication.
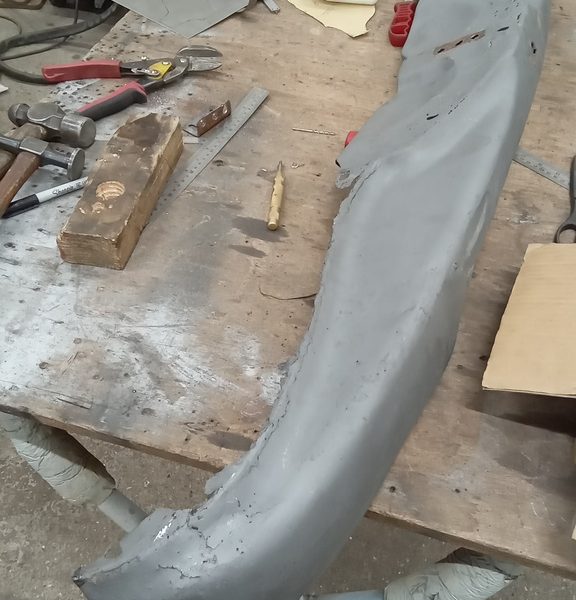
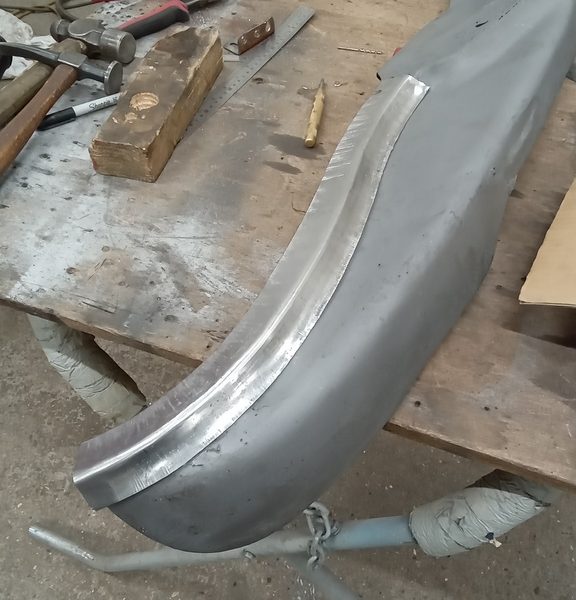
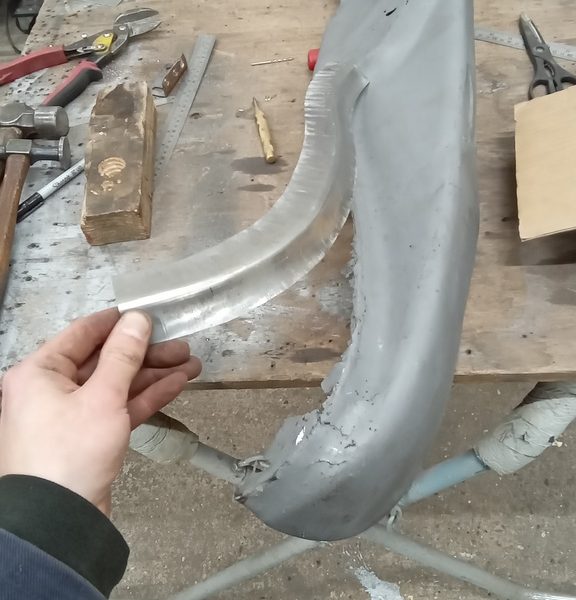
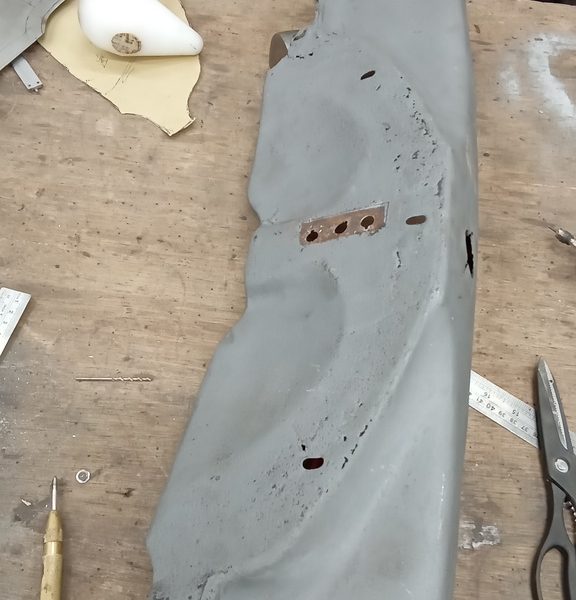
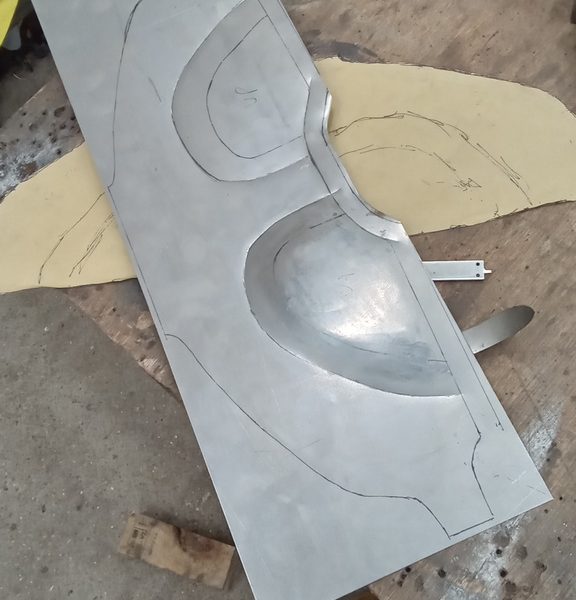
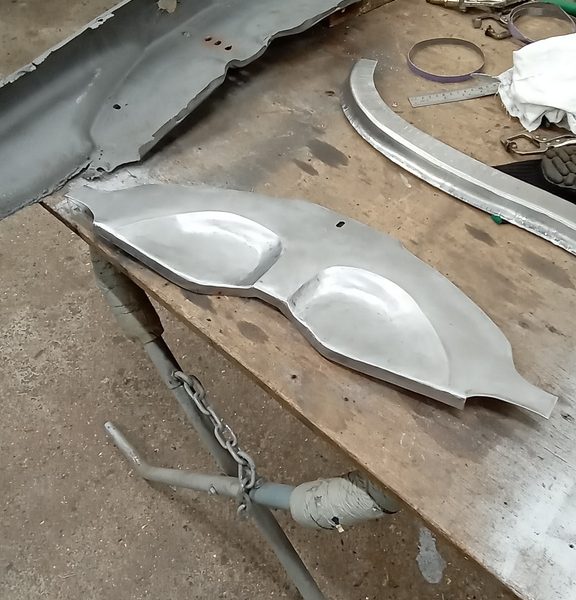
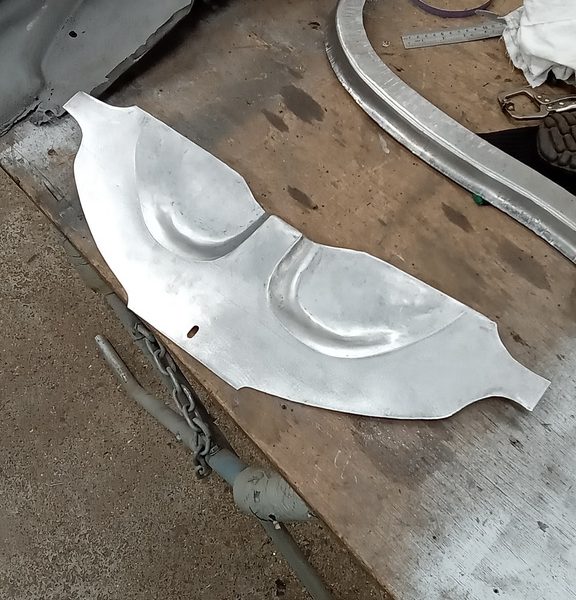
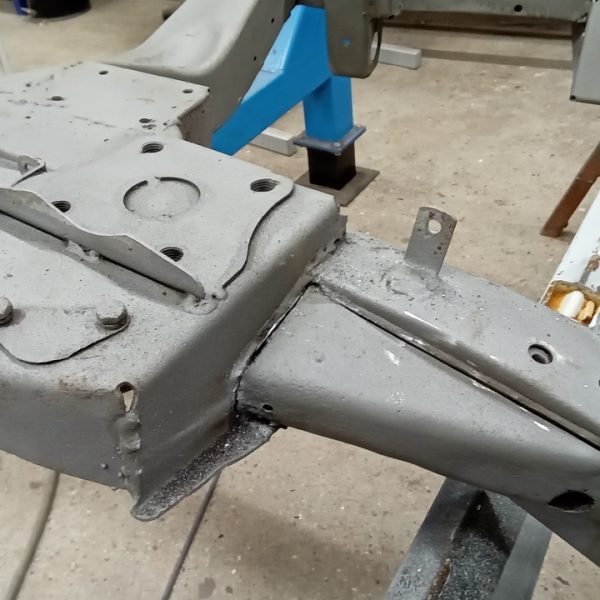
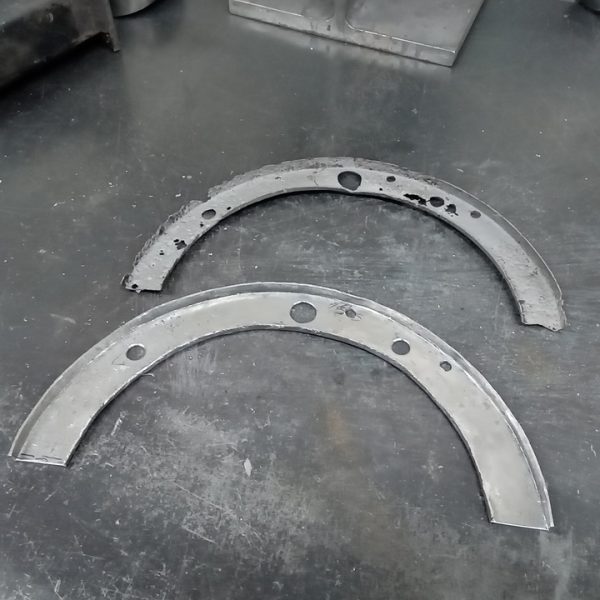
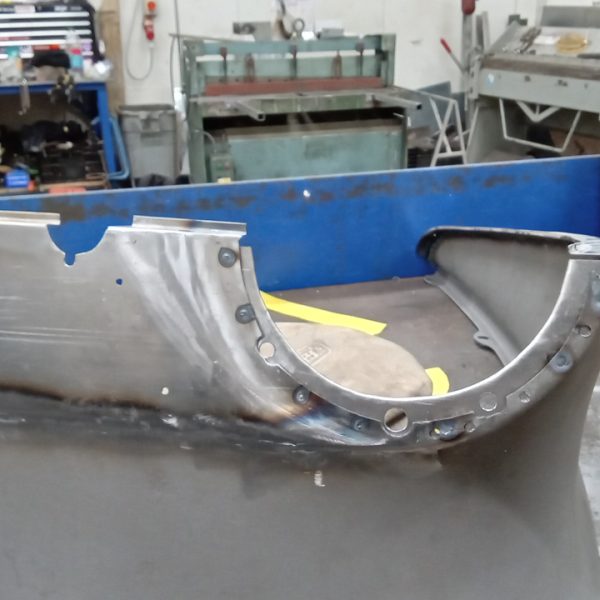
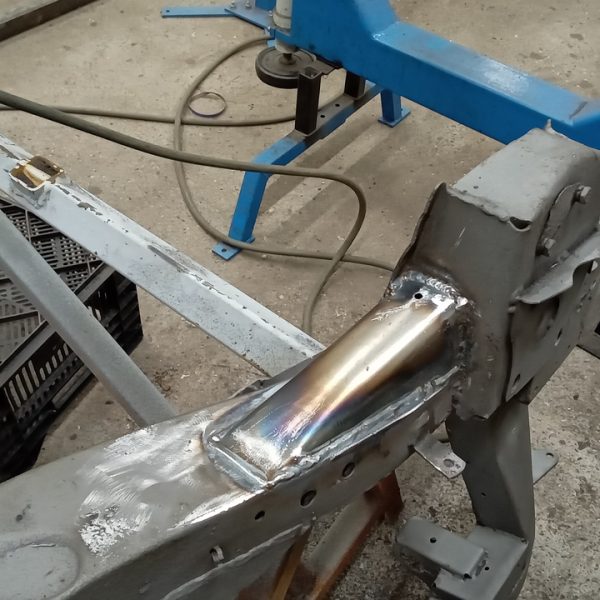
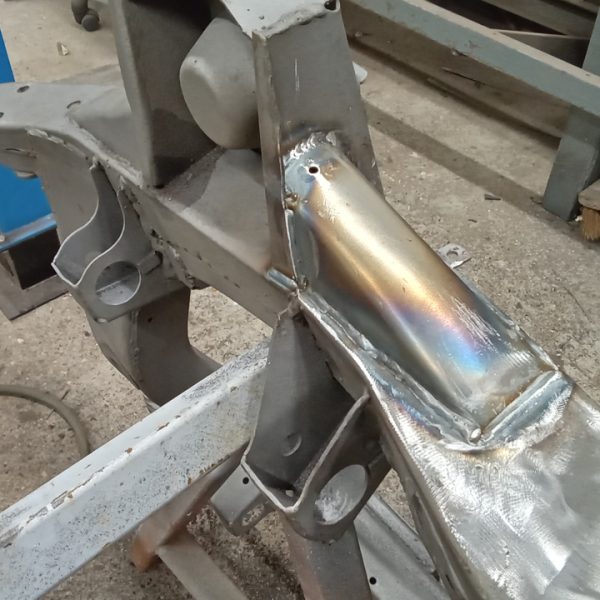
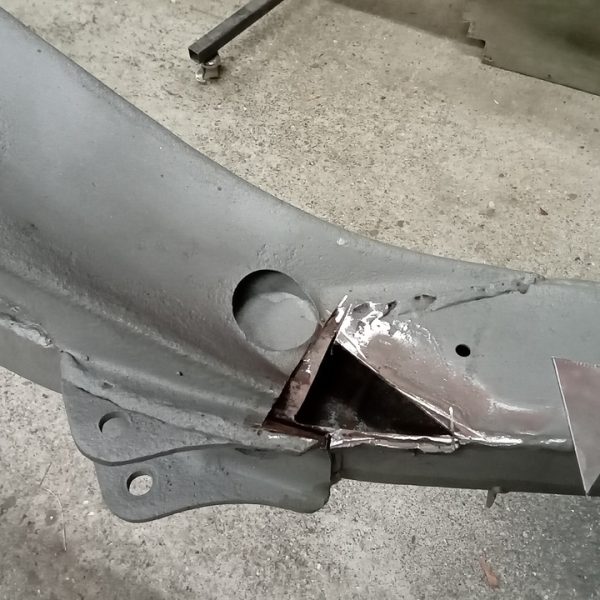
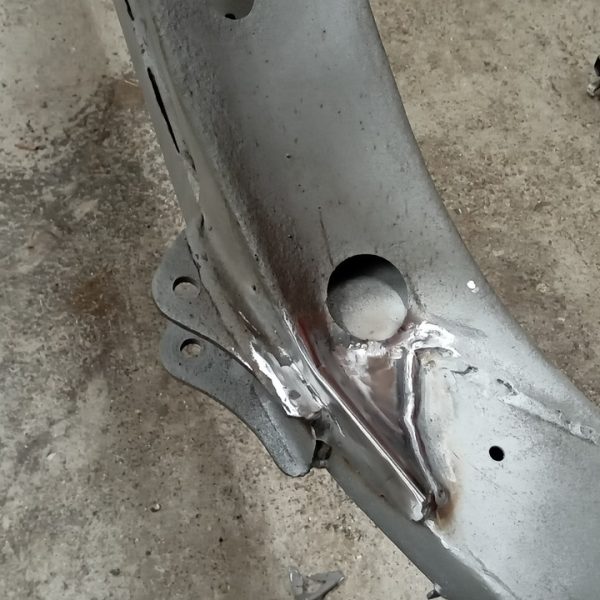
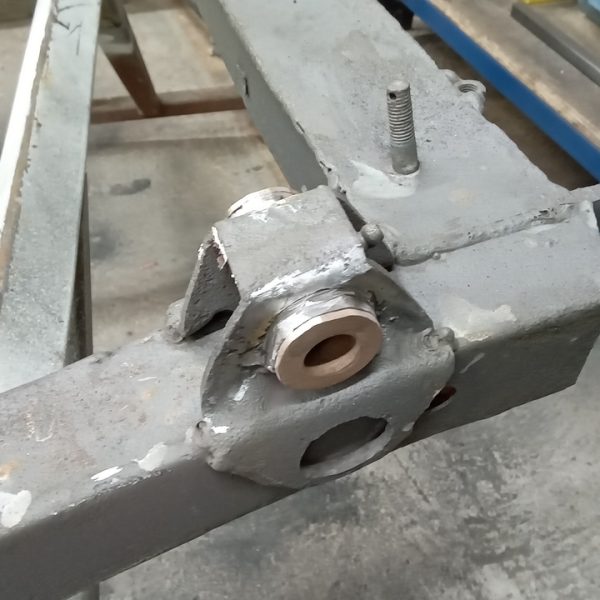
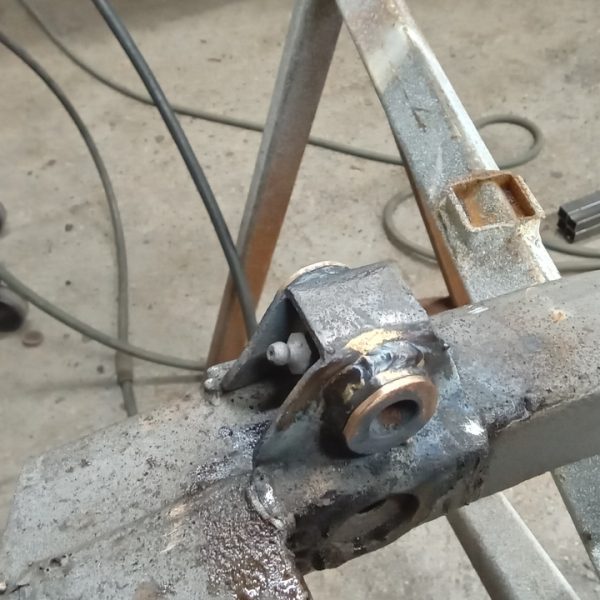
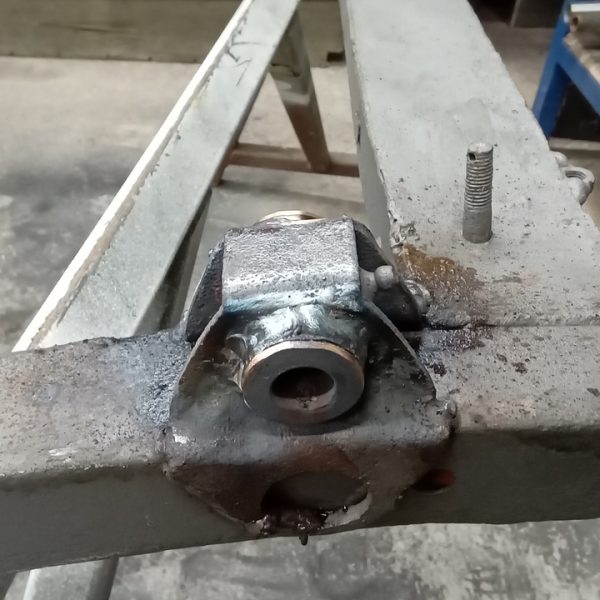
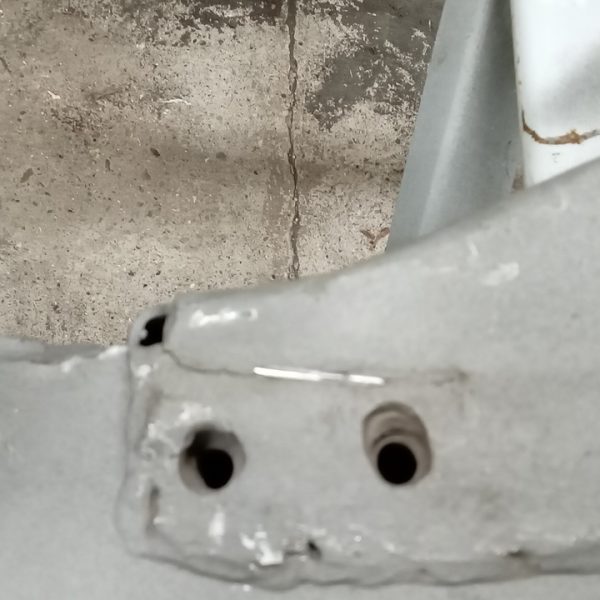
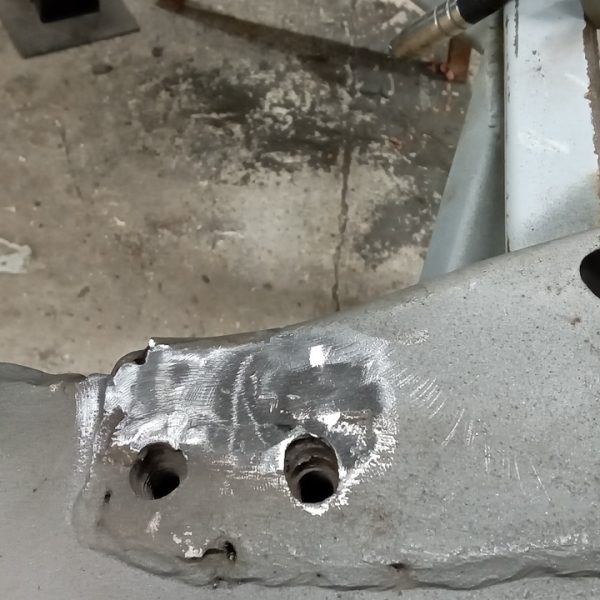
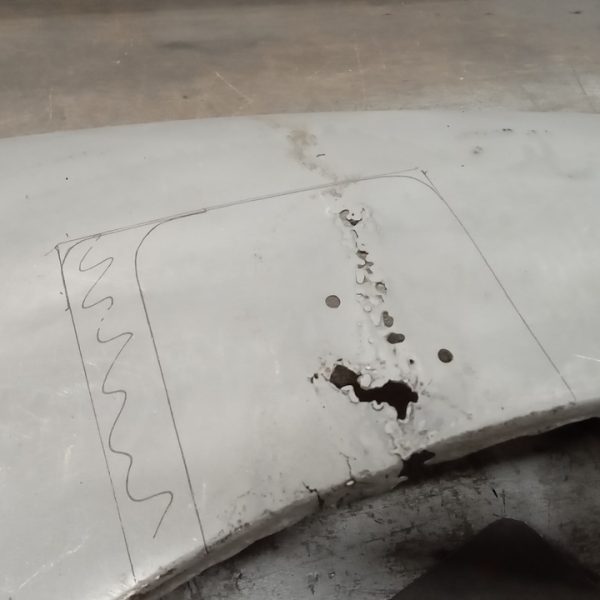
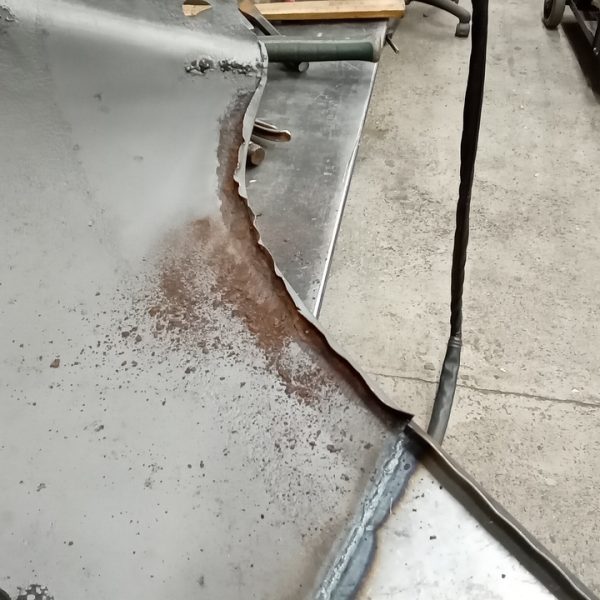
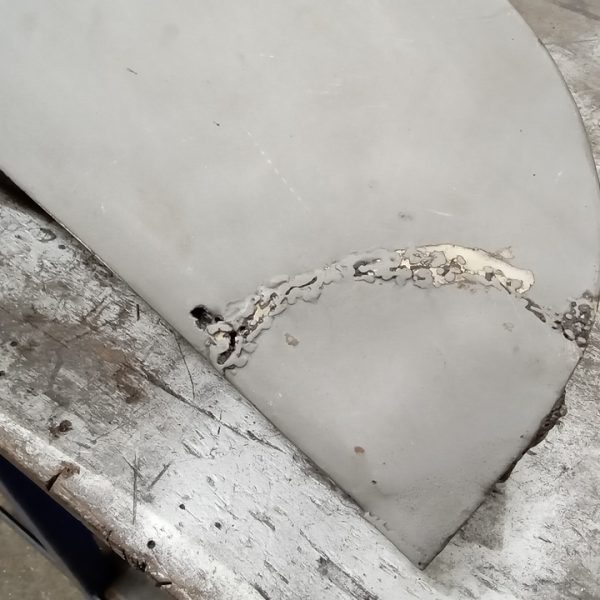
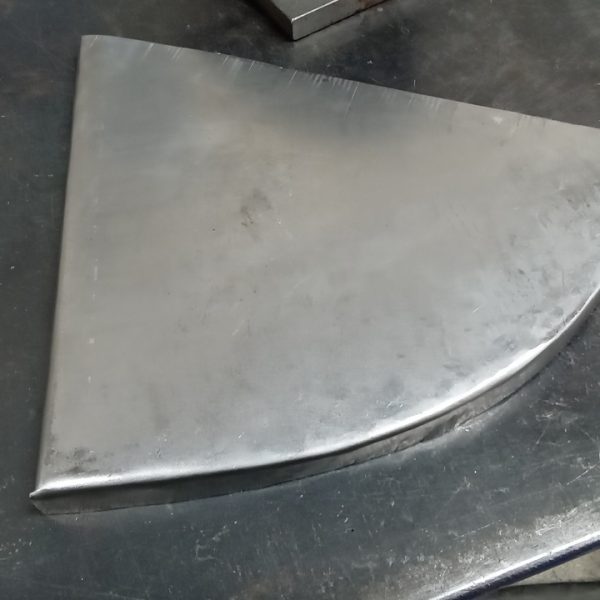
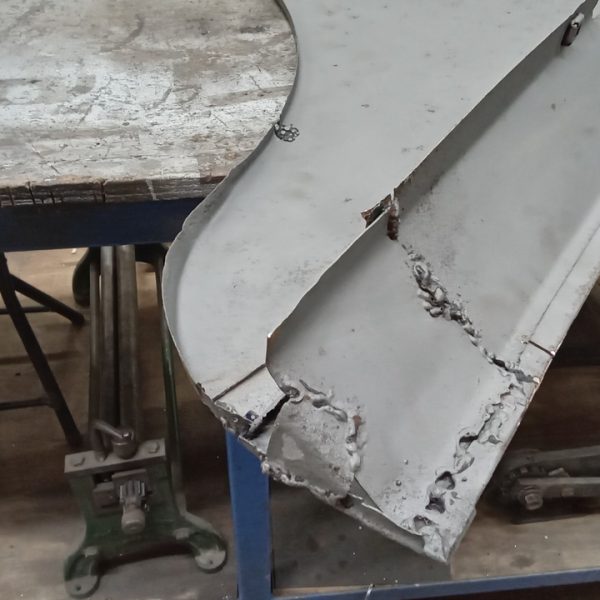
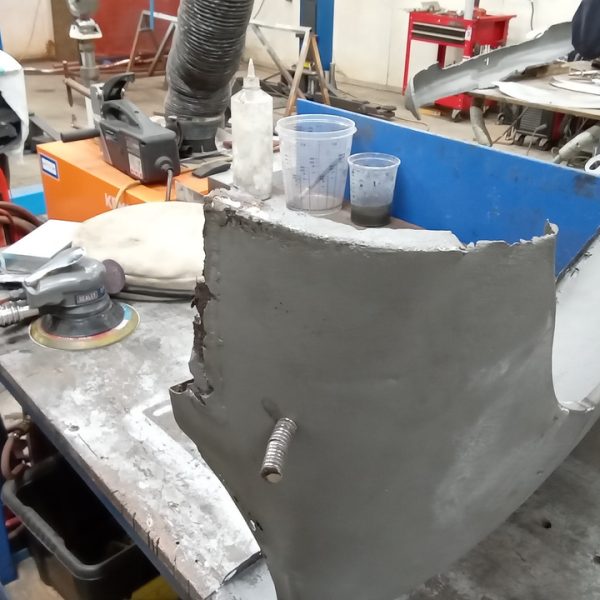
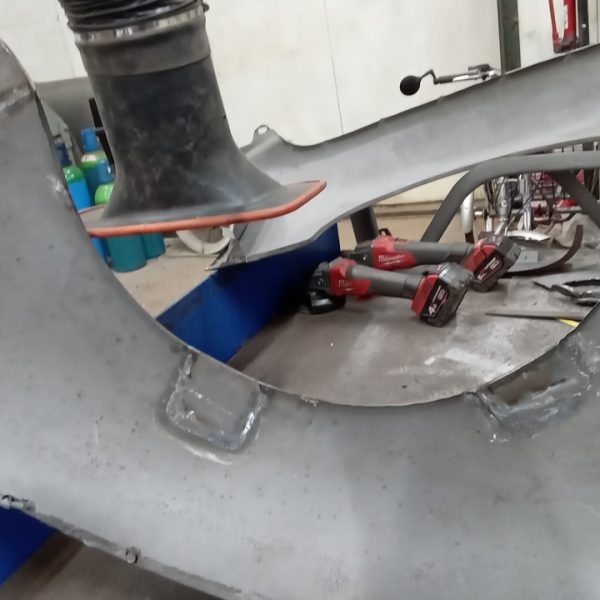
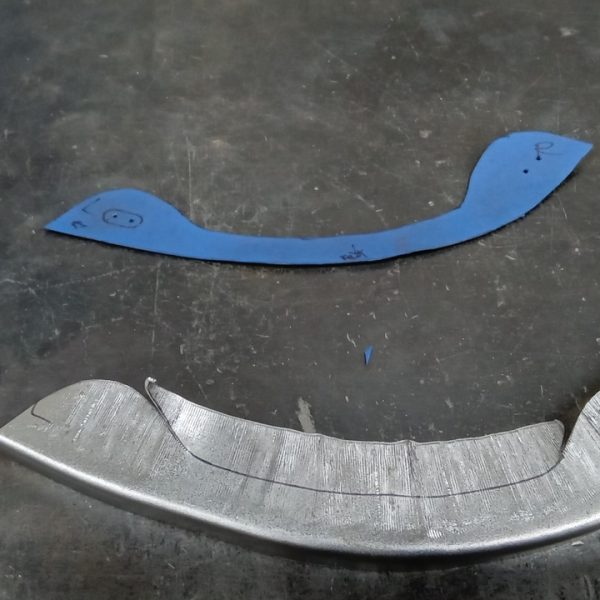
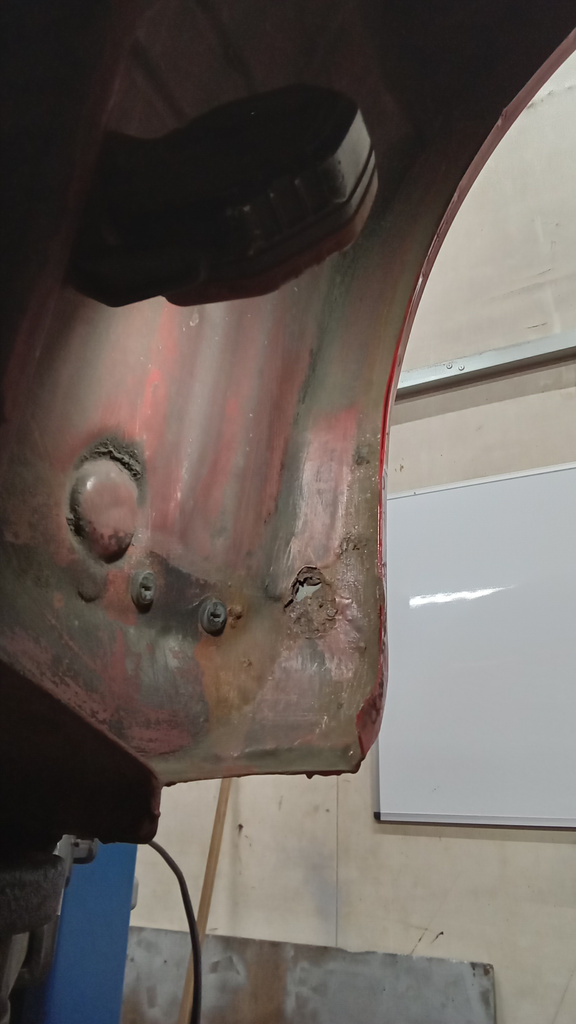
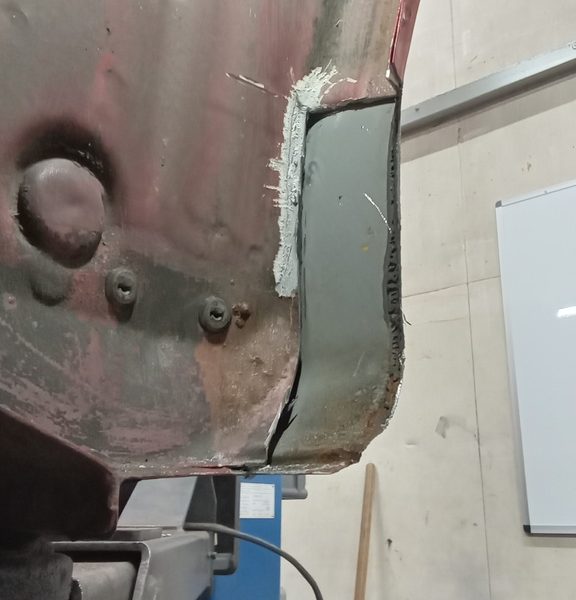
Monty has completed the weld repairs to the arch of the S2000.
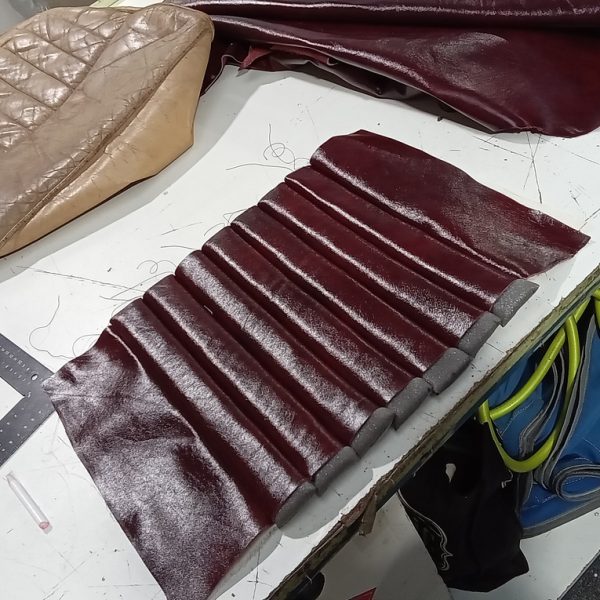
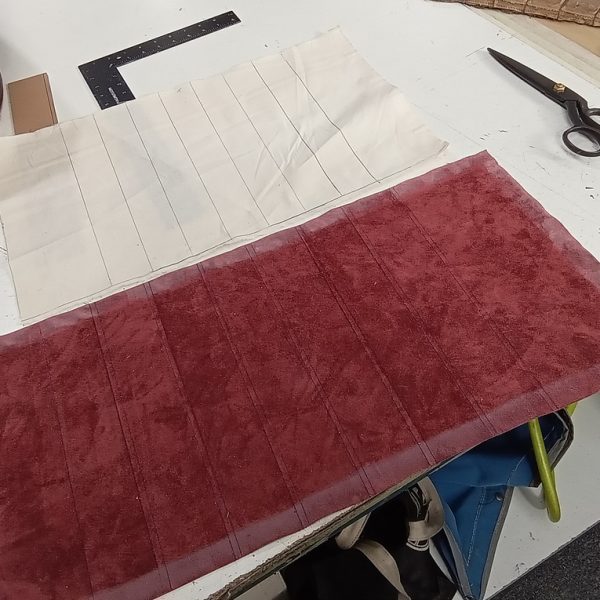
To begin with, Lydia has made a mock-up panel to test the measurements for the tuck and roll flutes. This requires precise measurement and calculation to ensure that the flutes end up at the correct width. If they do not, then the panel will not fit! Tuck and roll requires the correct measurements on both a cotton underlayer and the leather upper layer. Each flute is then filled with foam after it has been sewn up, thus encapsulating the foam into the channel. Lydia has not tried this method of tuck and roll before, but found it to be quite effective, and it ensures that the seat retains its original look. Next was the shaping of the panel to make it fit the seat. She used a combination of the original pieces and her judgement to determine the size and shaping of the panel, then cut it down to size. As we are working with the original foam, which is in fairly good condition, it didn’t require much deviation from the original pattern piece. Lydia then worked her way through laminating all of the other pieces onto scrim foam, adding her point marks, and sewing them on. After many attempts at trying the covers on and altering them, Lydia is happy with the fit, so she begun to staple them and glue the flies to the foam.
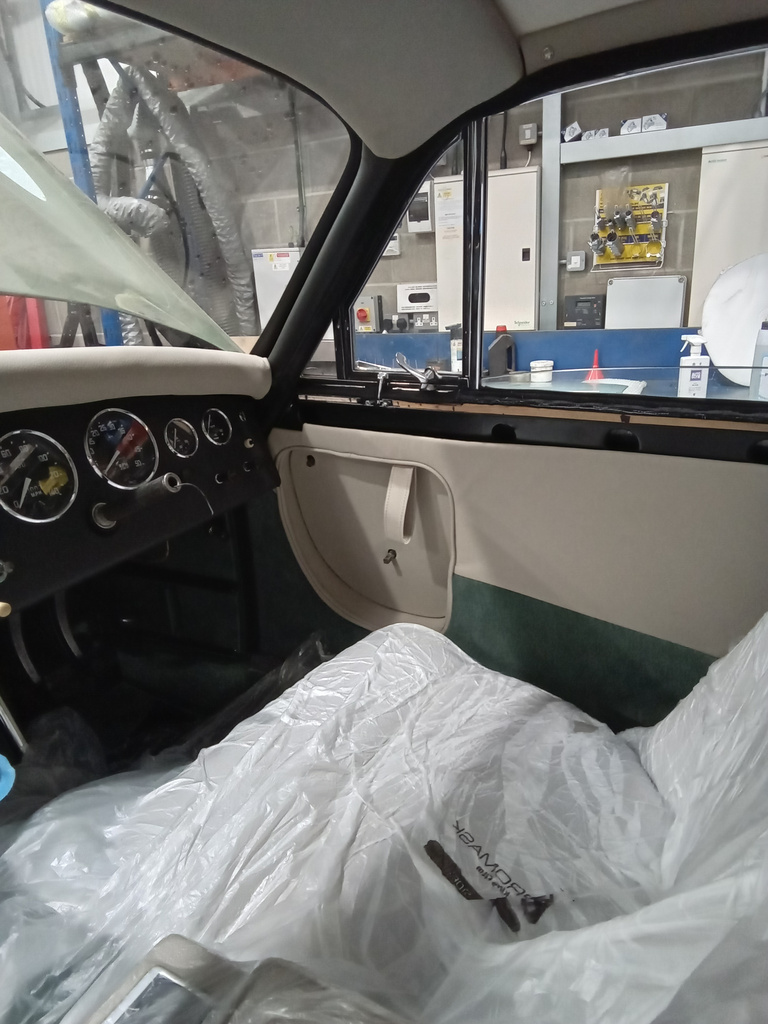
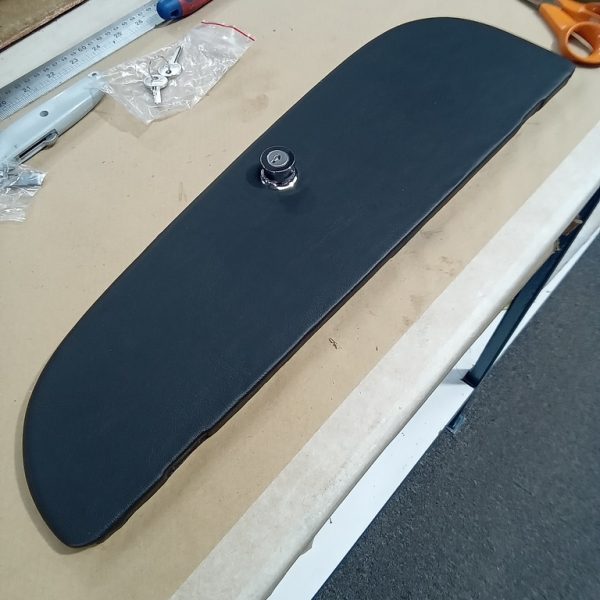
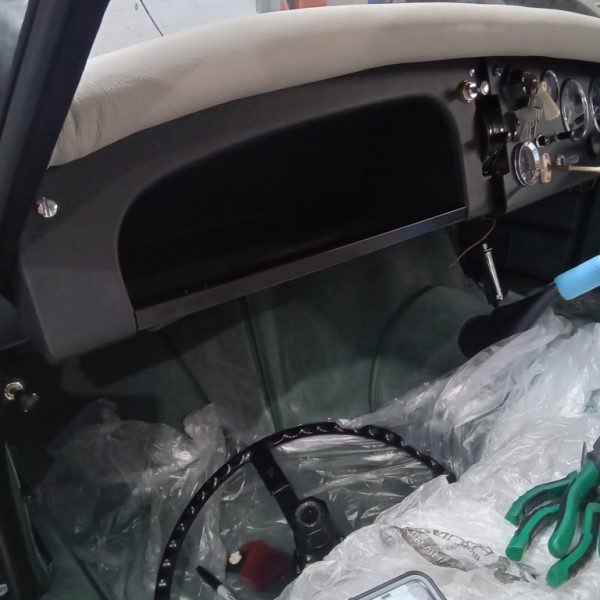
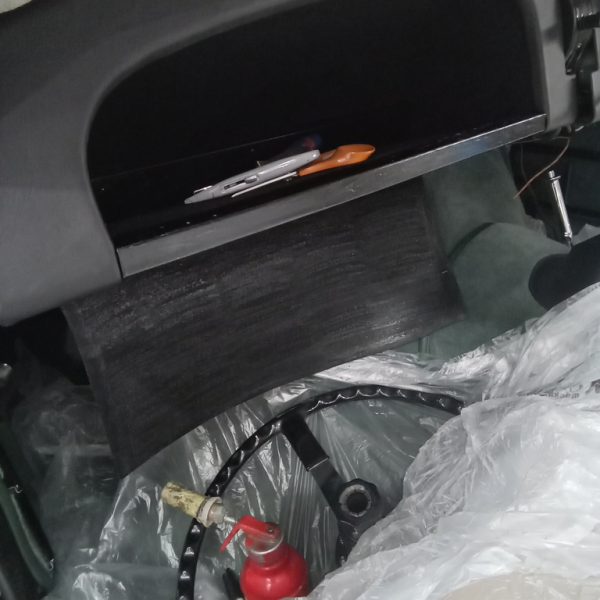
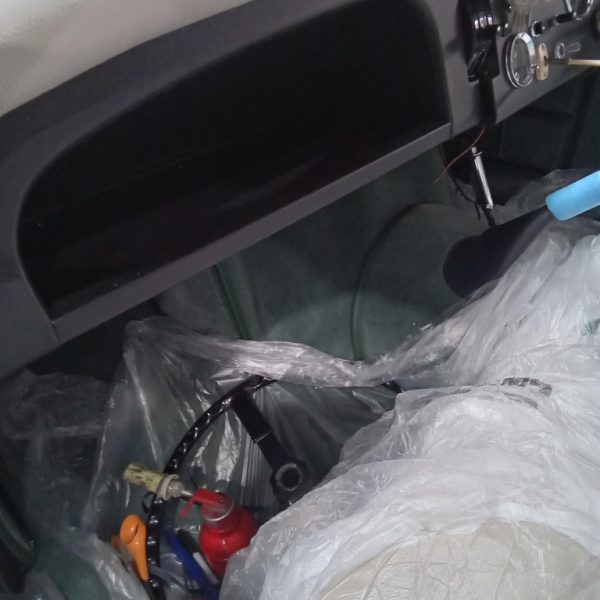
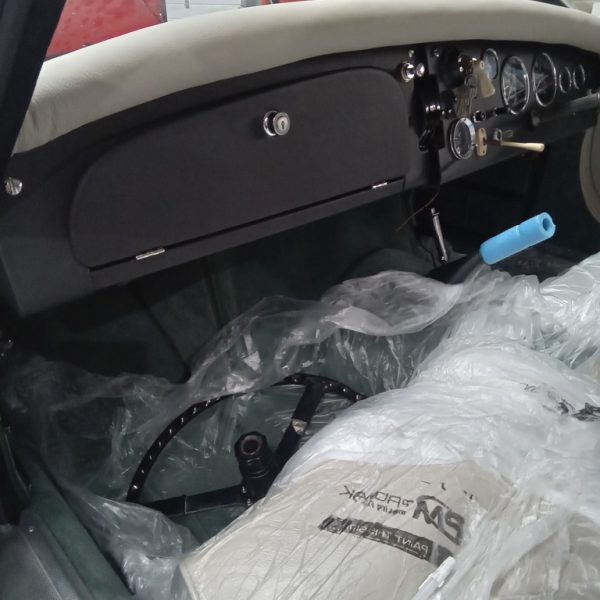
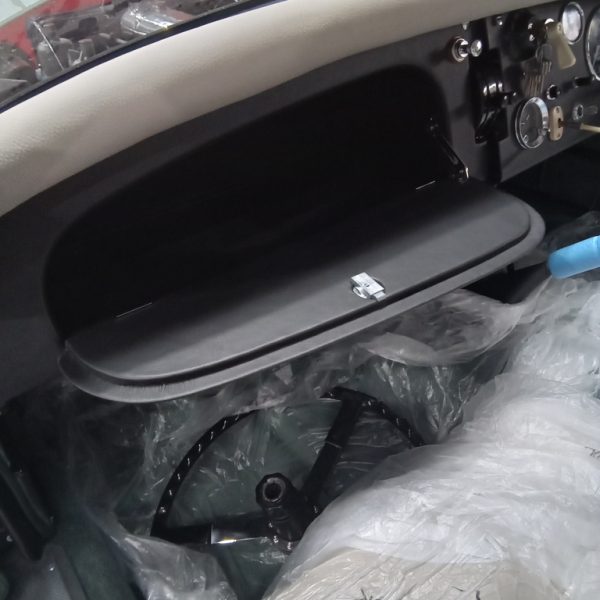
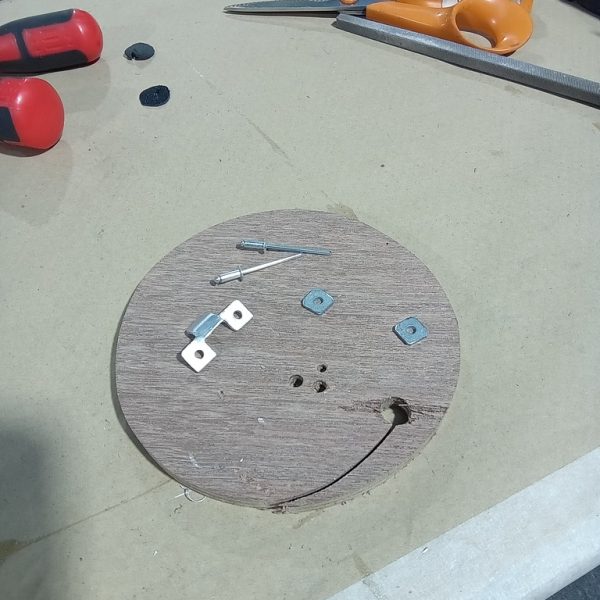
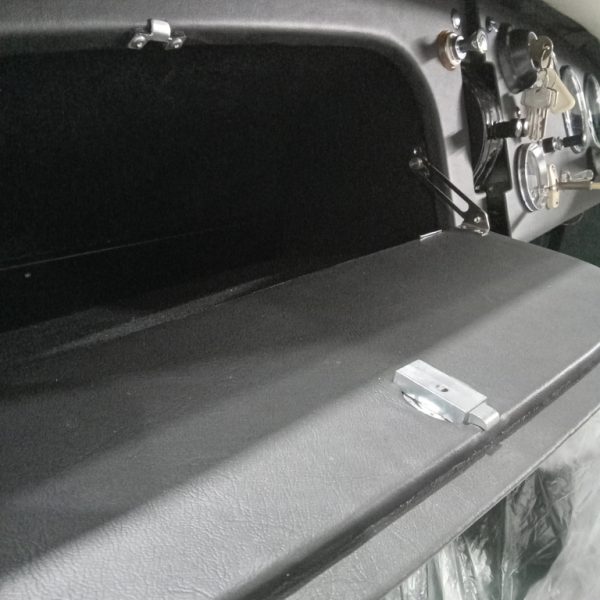
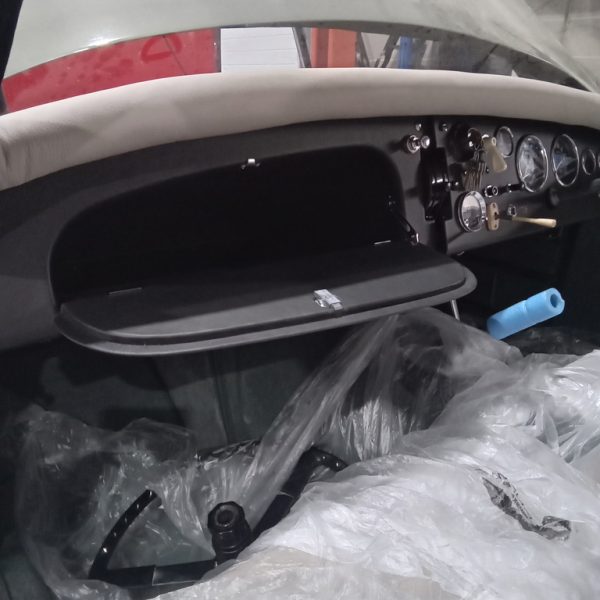
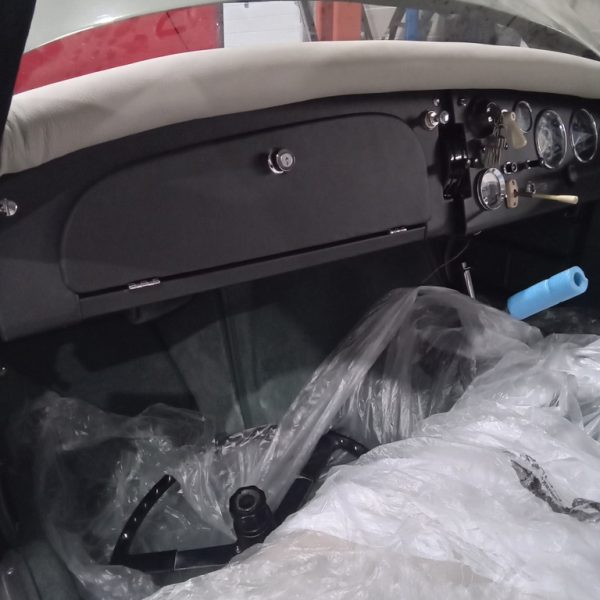
Fitting inner glovebox top section and outer panel. We have glued the vinyl to the bottom section, fitting hinges to the glovebox lid, fitted lock to the lid before fitting lid to the glovebox outer panel.
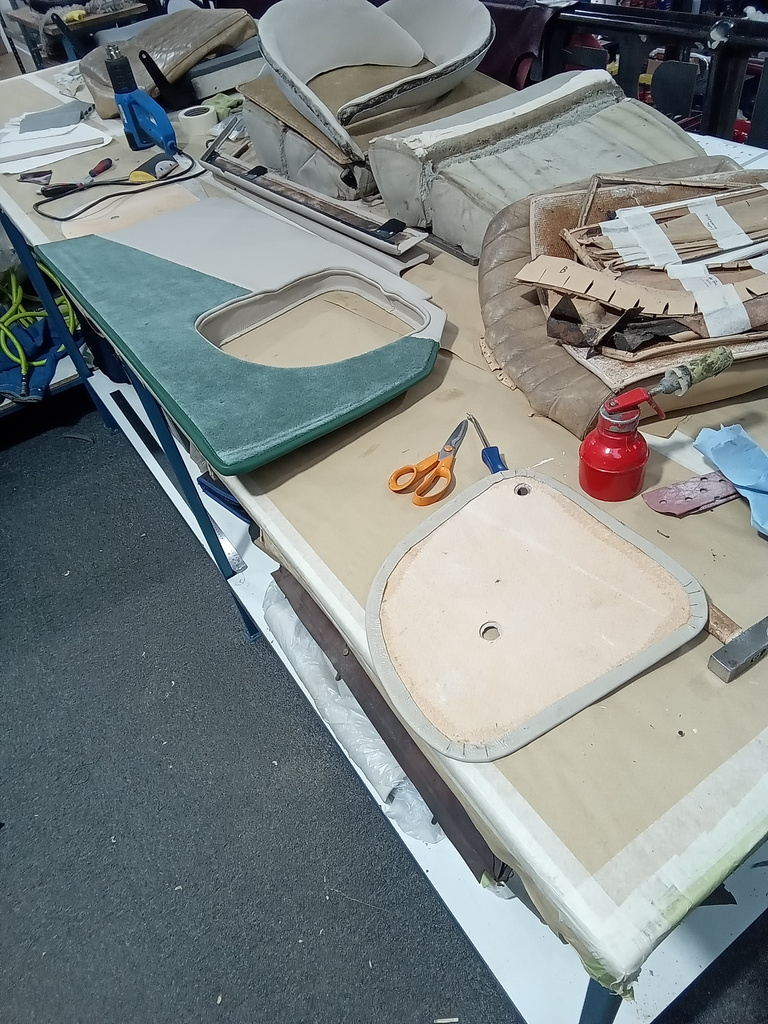
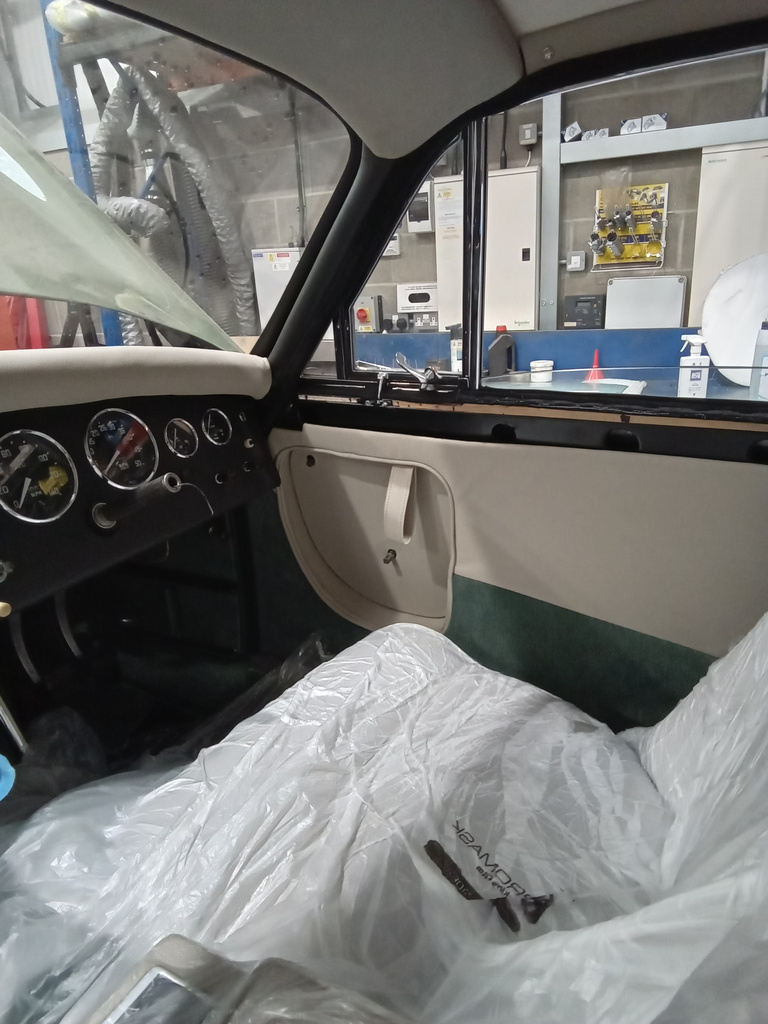
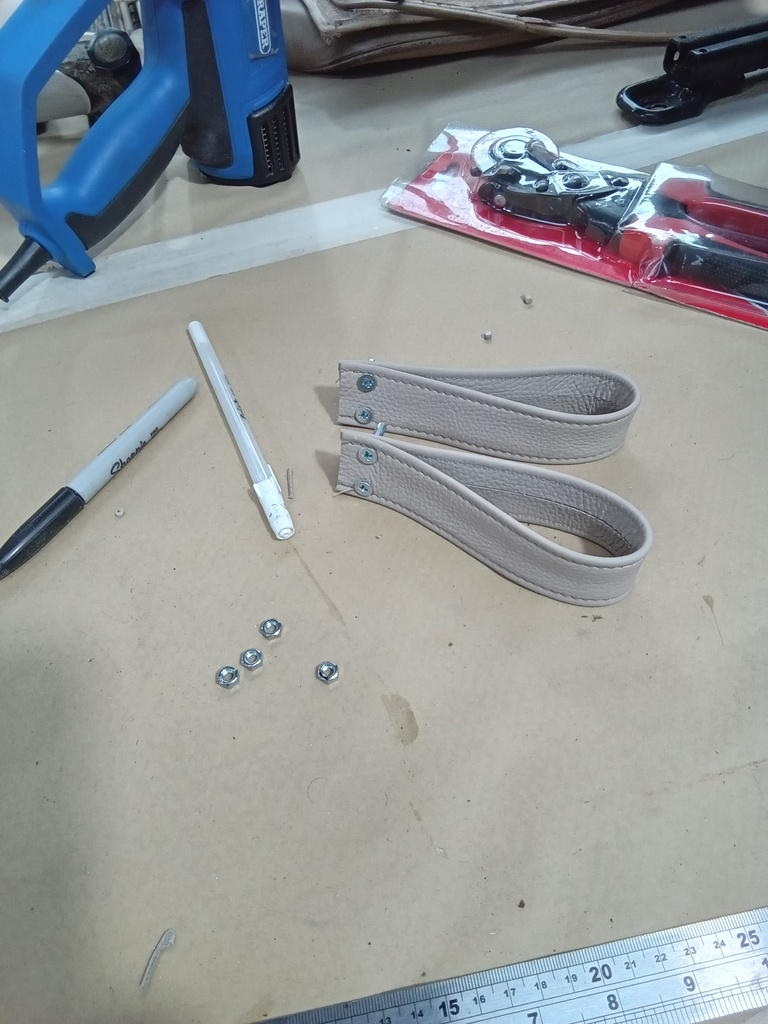
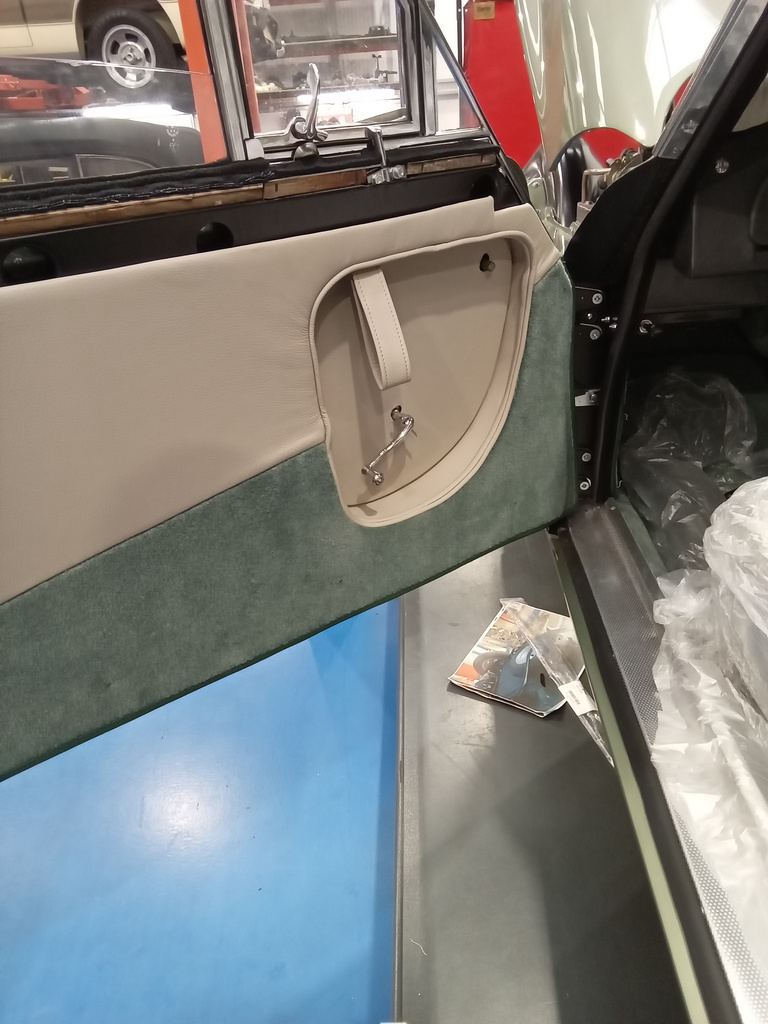
Brian has also made up the leather door straps, glued leather together ready to be sewn and bolted leather straps to the door panels.

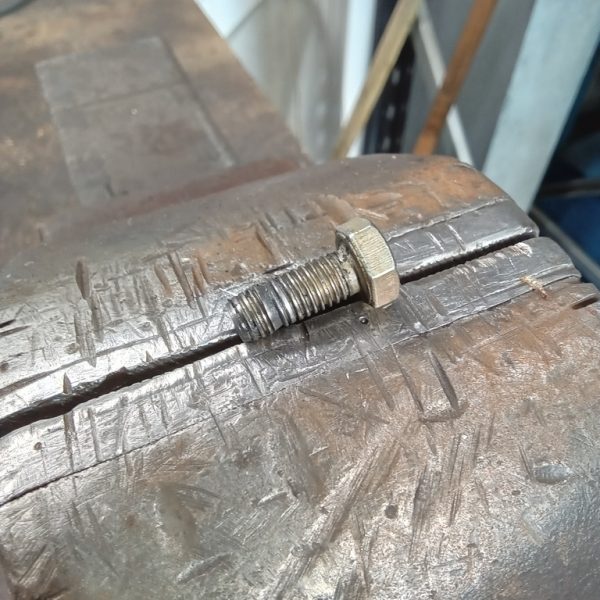
John has also bee fixing a water leak in the engine. Water way blanking stud is missing so he has made up a new one and fit.
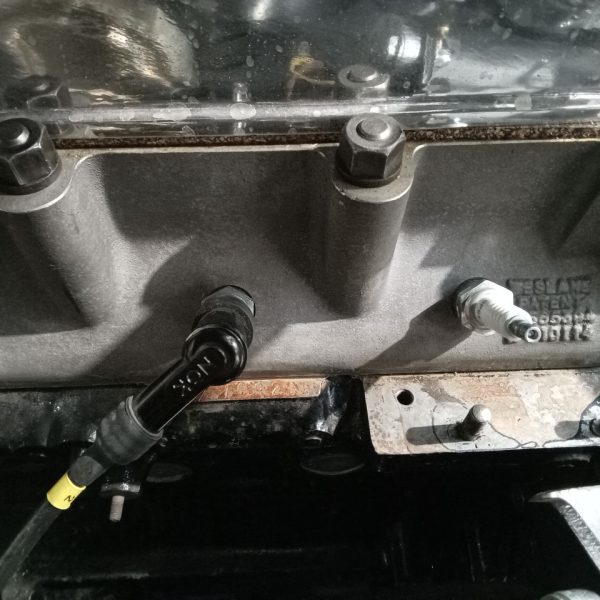
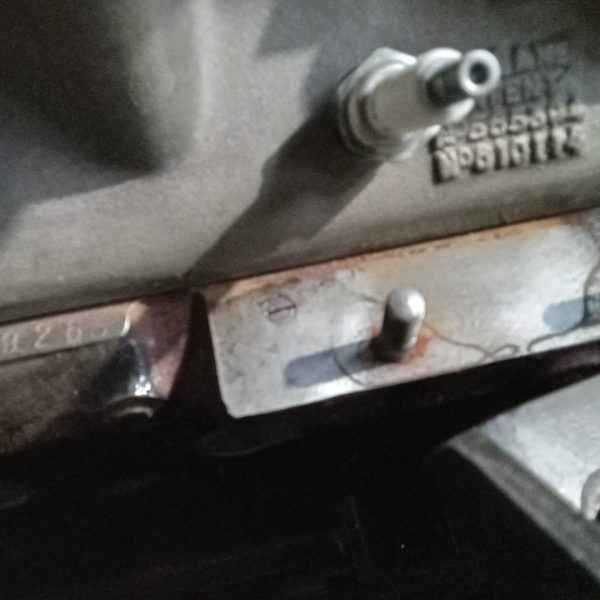
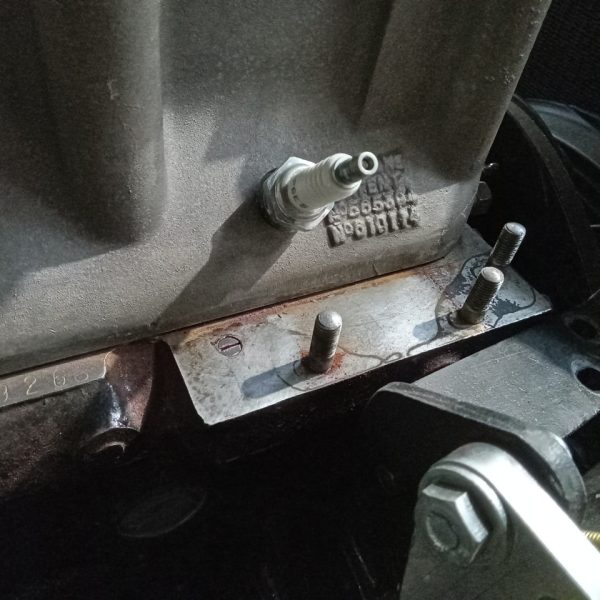
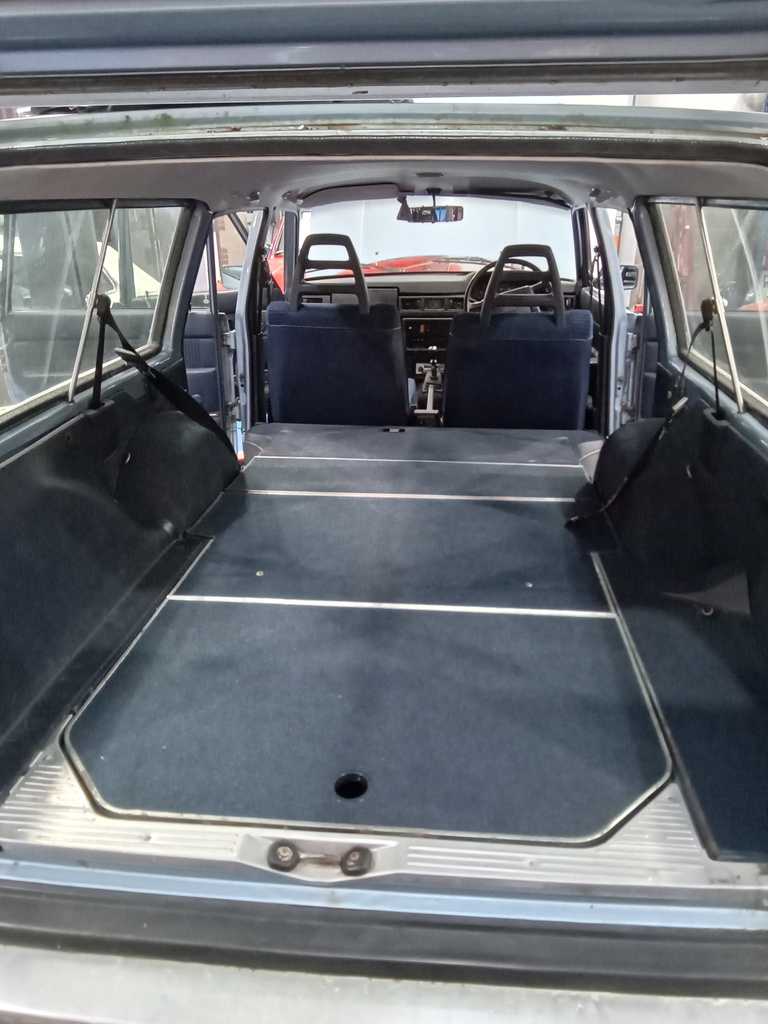
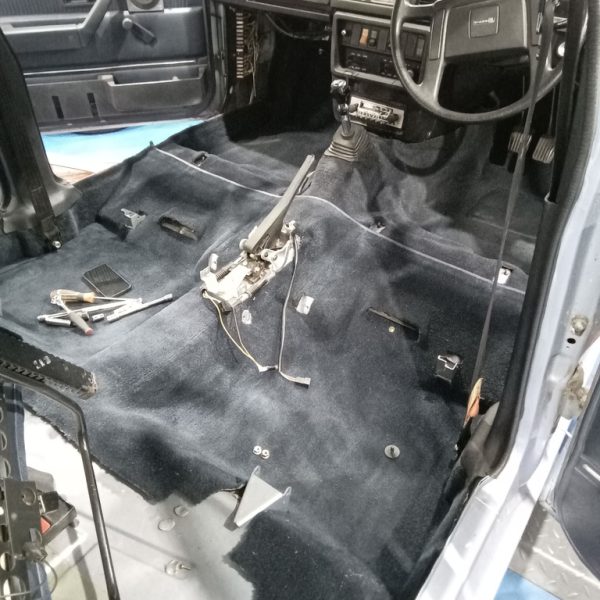
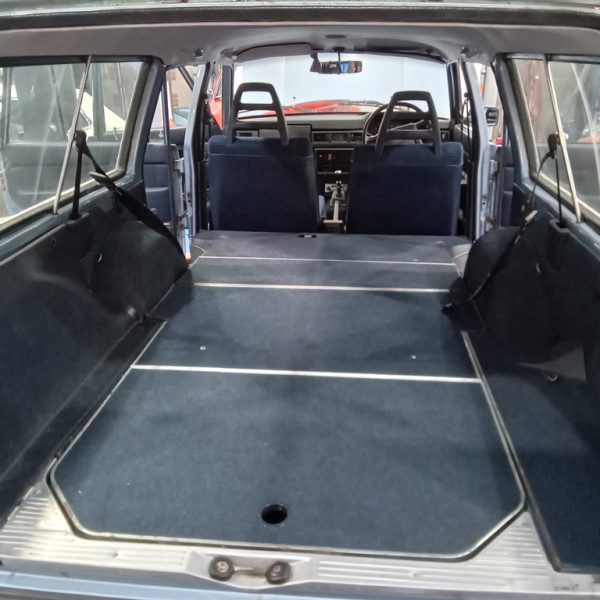
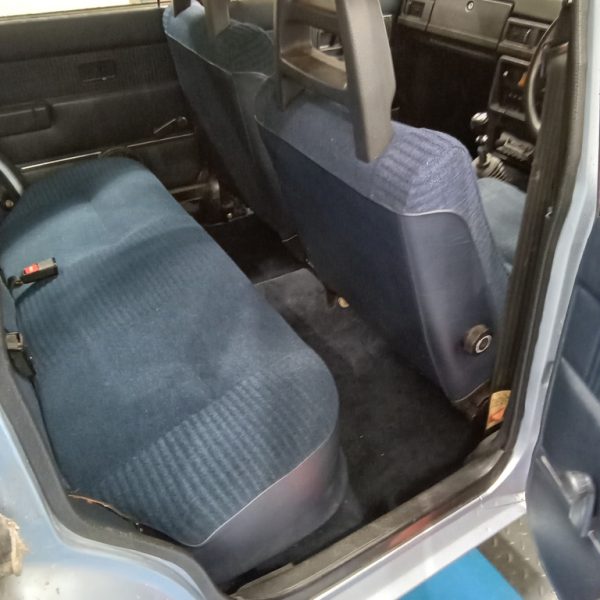
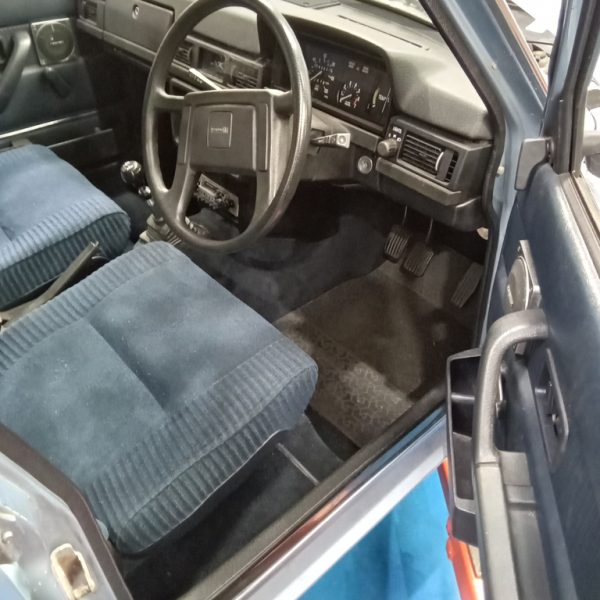
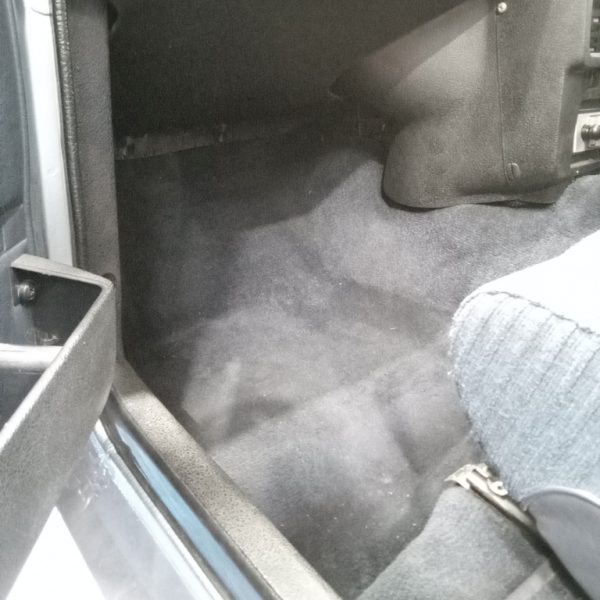
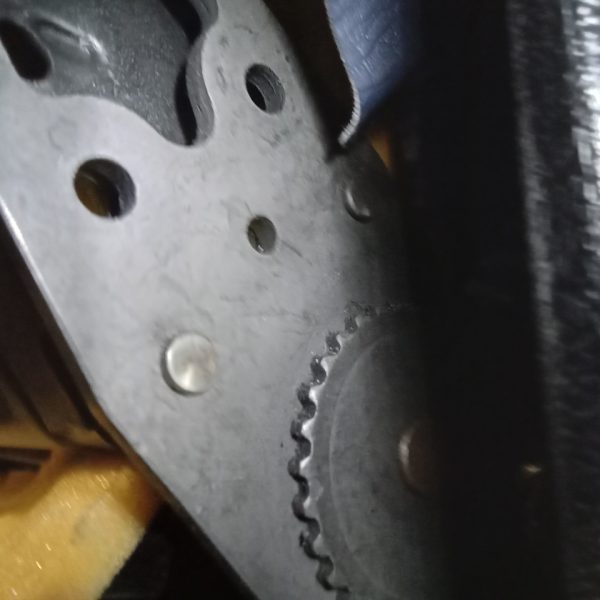
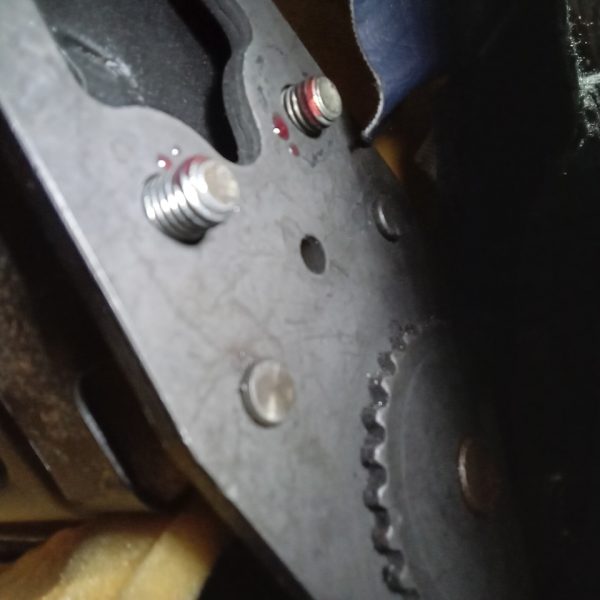
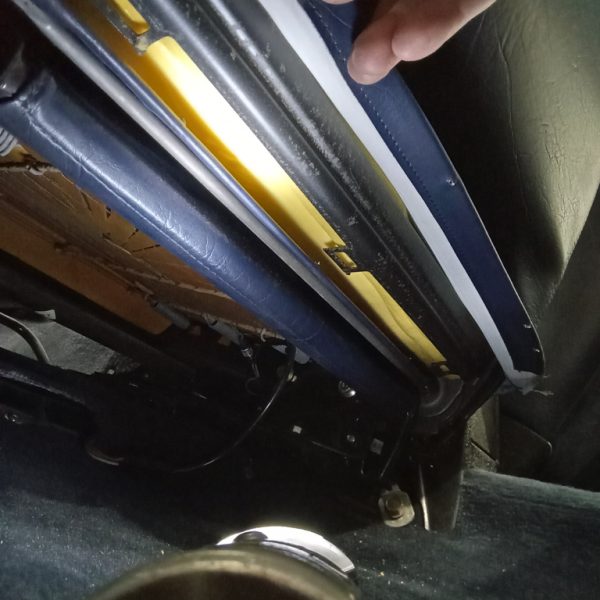
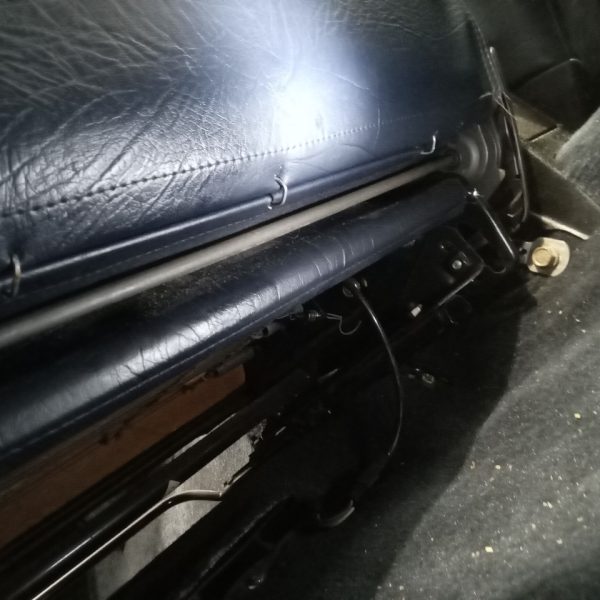
Today the interior was refitted; seats, seat belts and boot areas that were removed for metalwork/welding. On refitting the passenger seat, we found the back rest bolts had worked loose and fallen out, these were refitted with thread lock to stop them coming undone again.
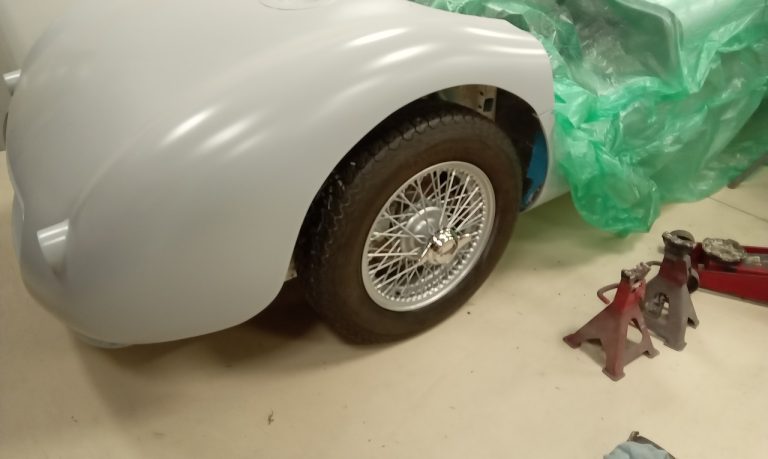
Now that the wheels have returned from our good friends at Wheelworx having been re-coloured from red to silver, Jon has refitted them to make the car mobile once again. He has then removed the axle stands and dropped to the floor so he can knock all wheels up tight.
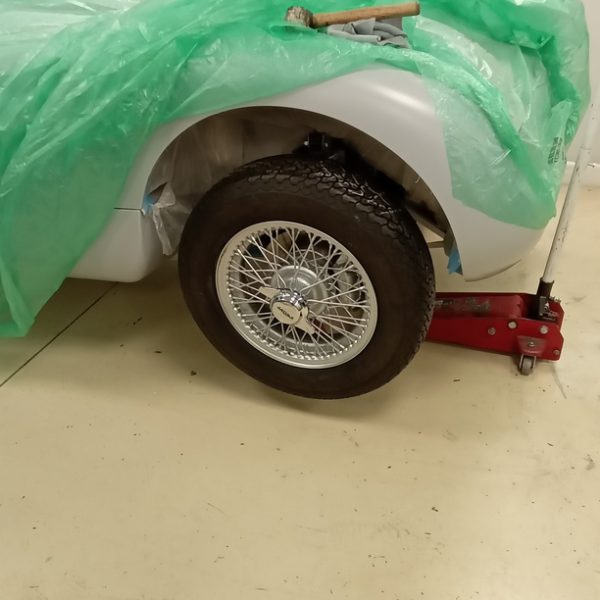
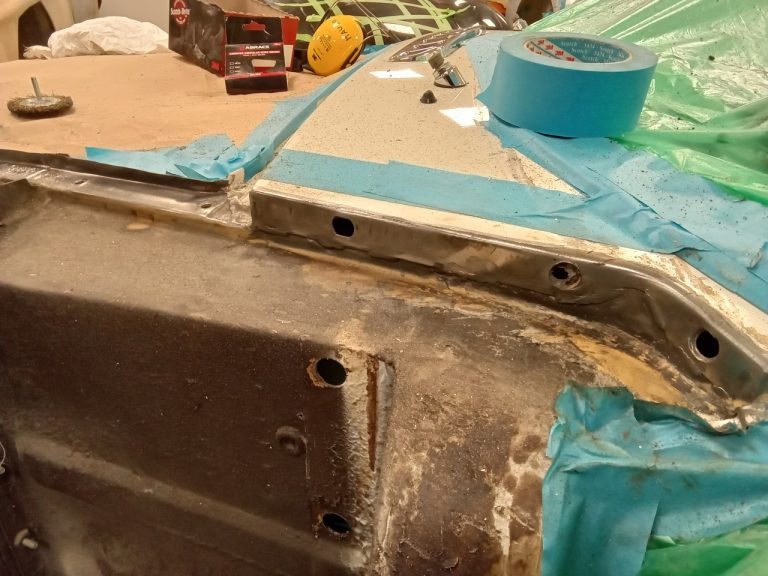
Mauro is continuing on with the MG B Roadster rust removal.
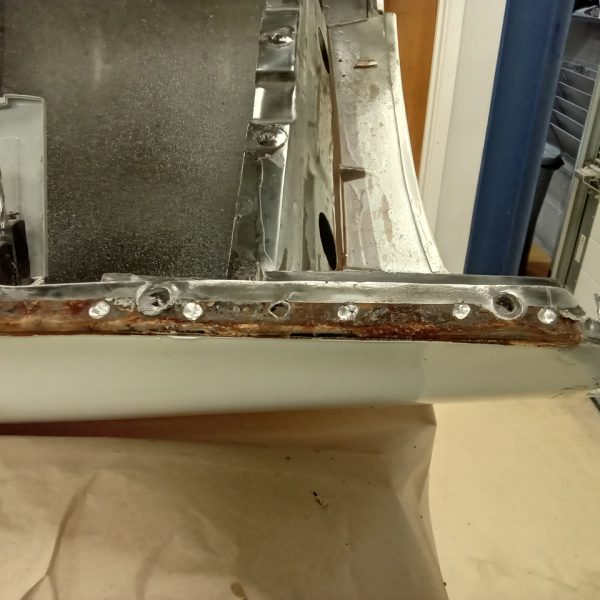
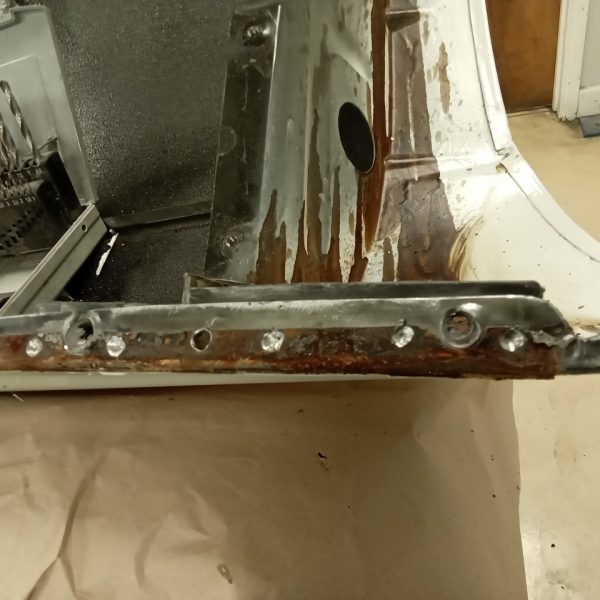
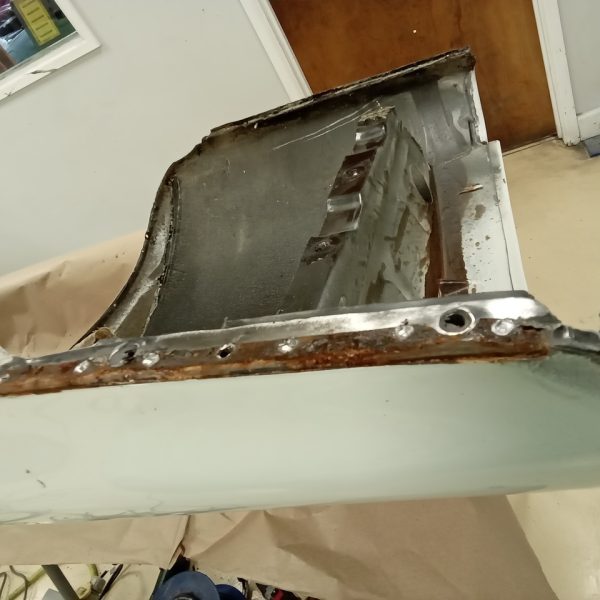
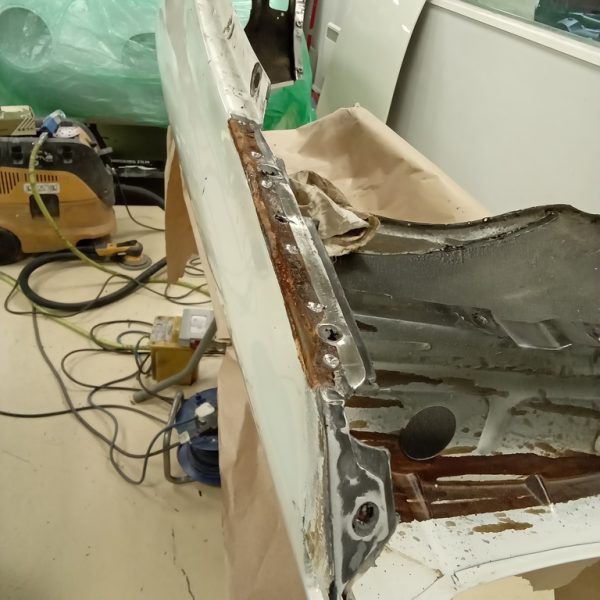
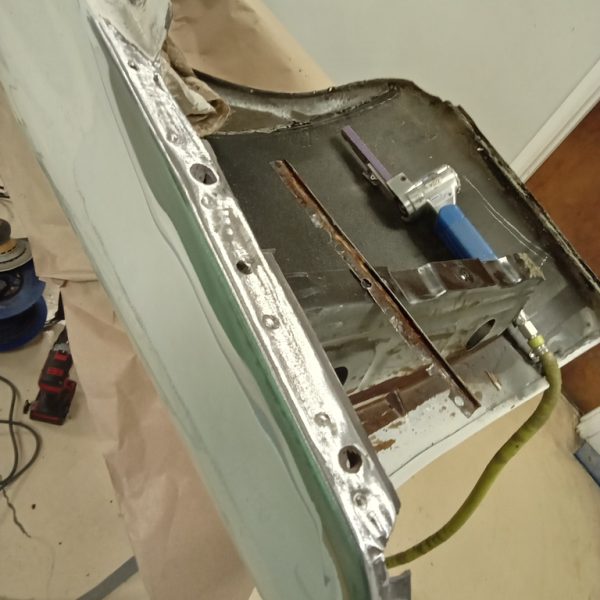
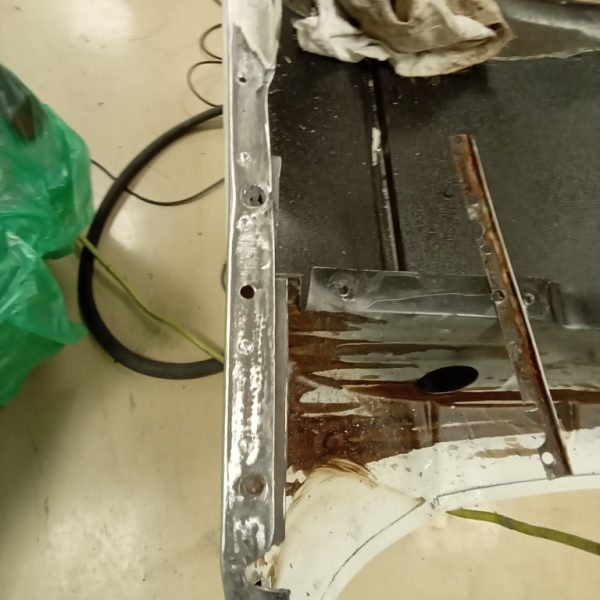
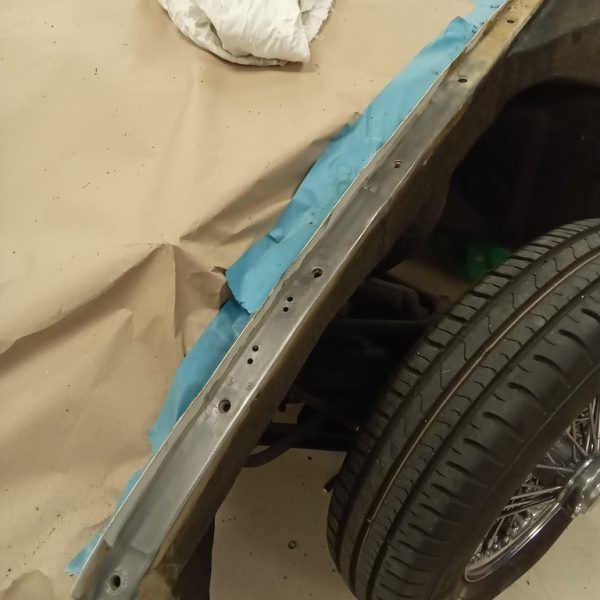
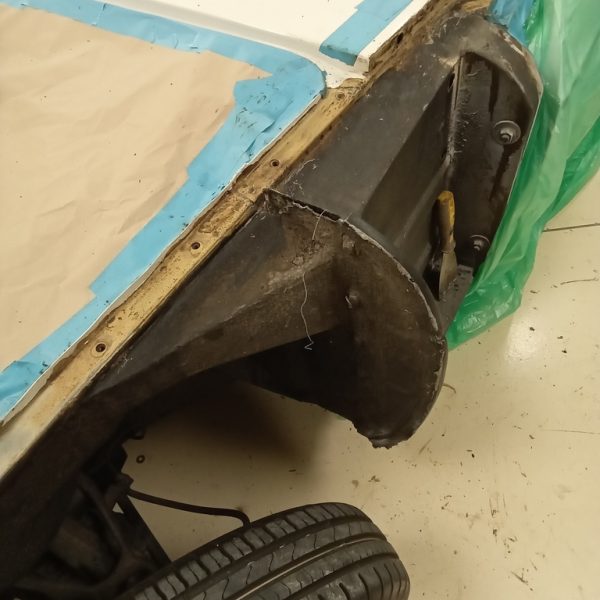
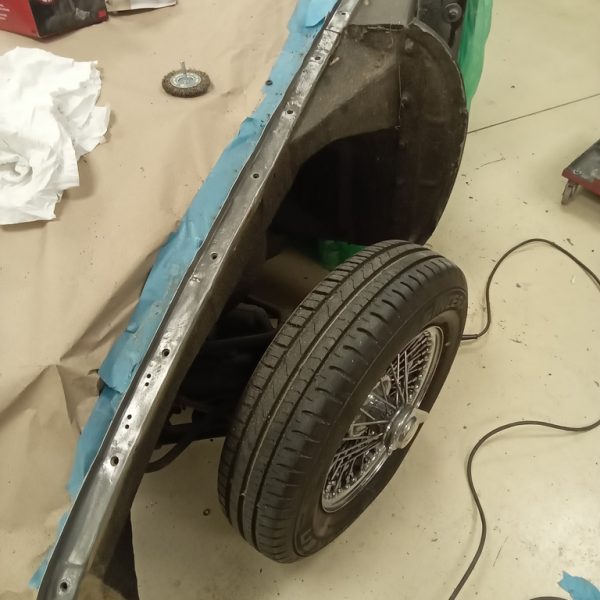
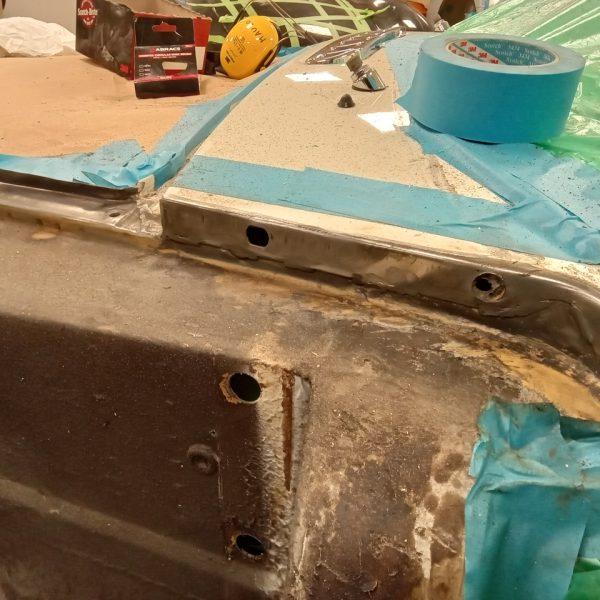
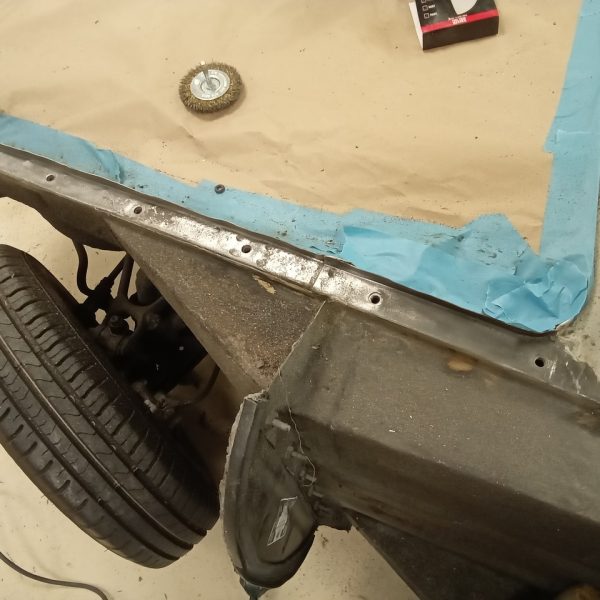
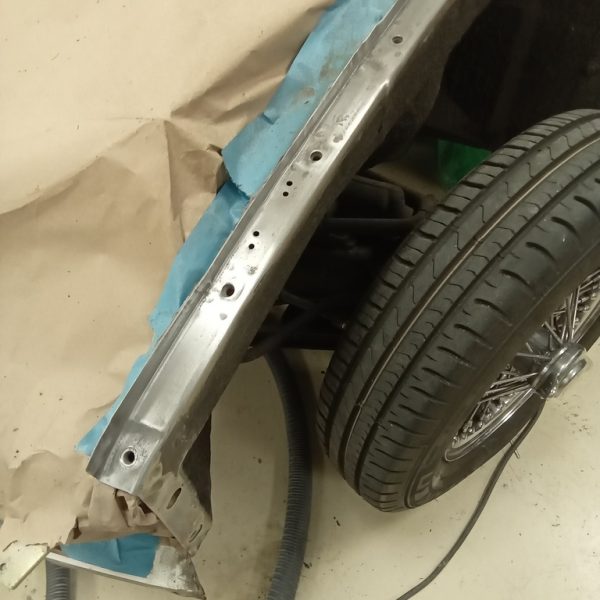
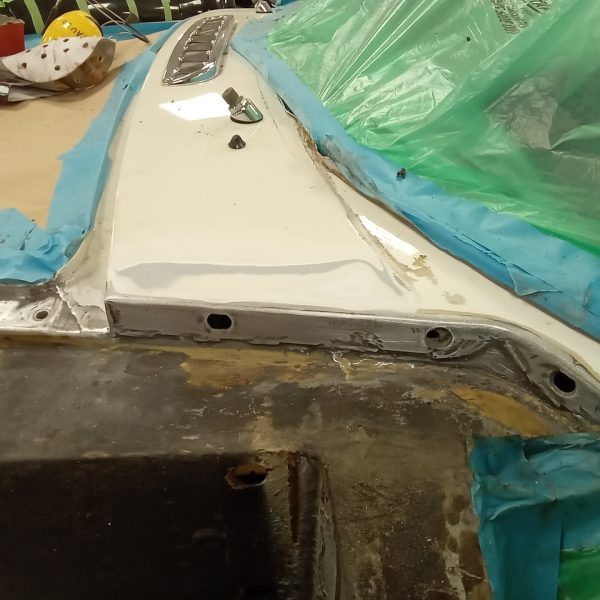
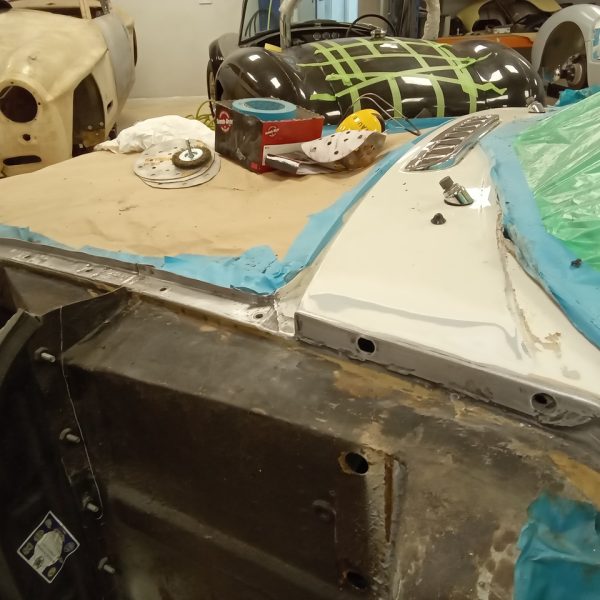
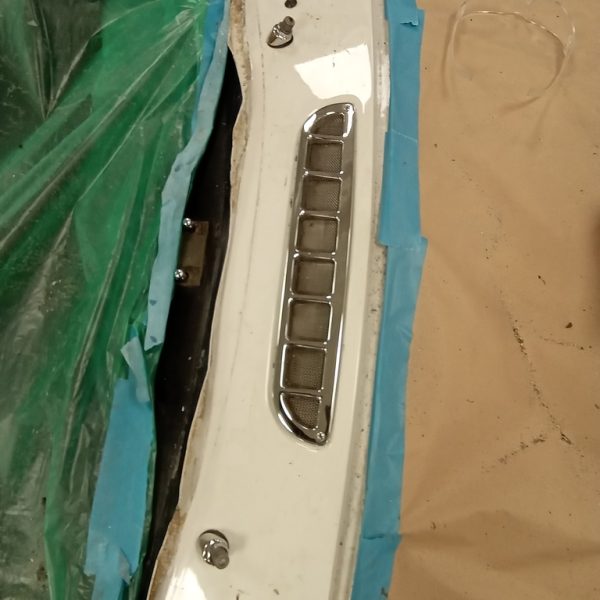
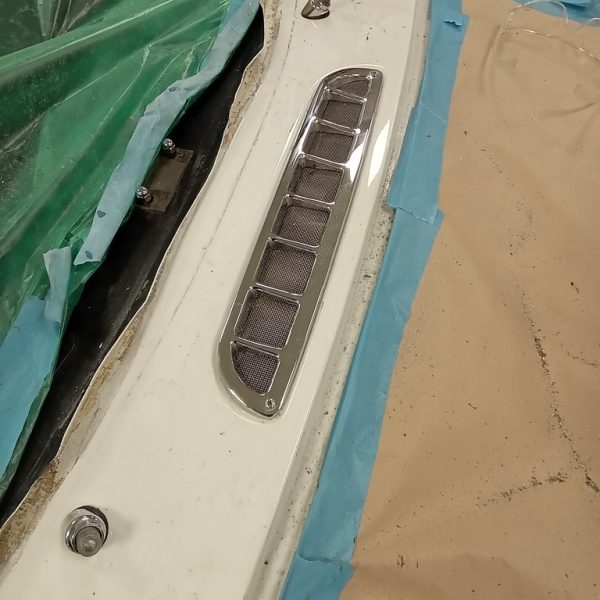
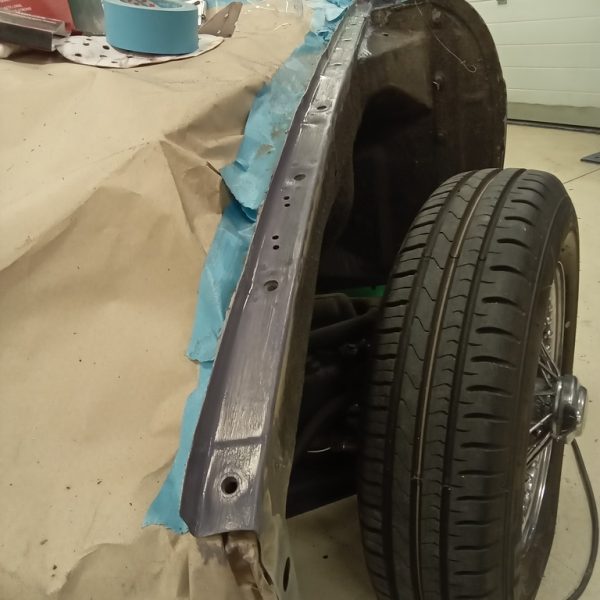
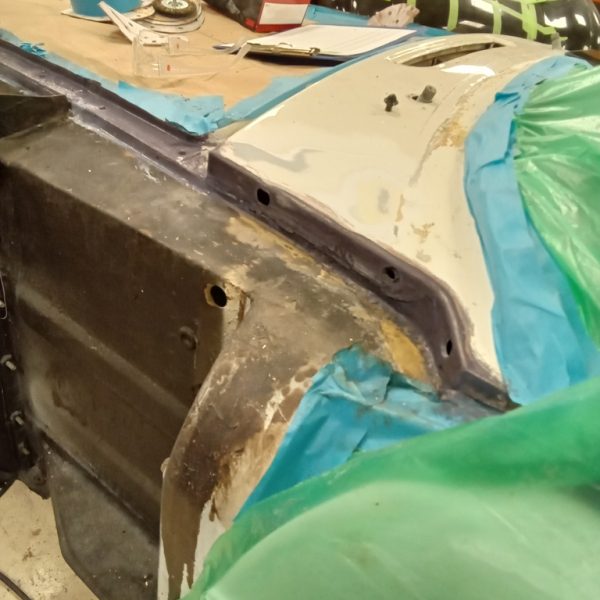
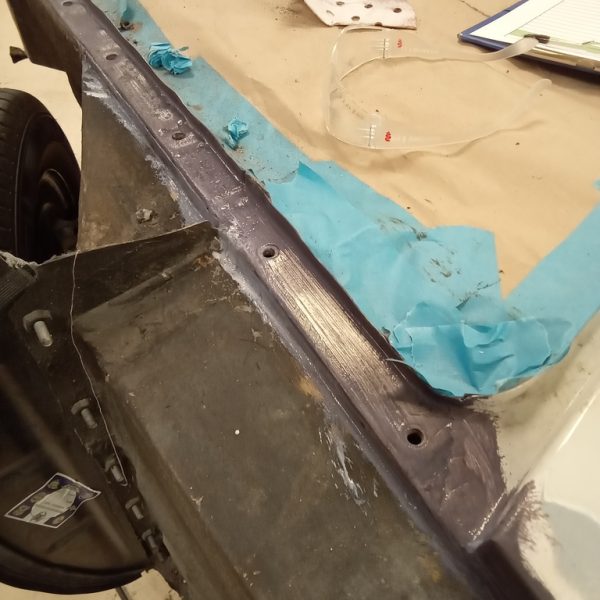
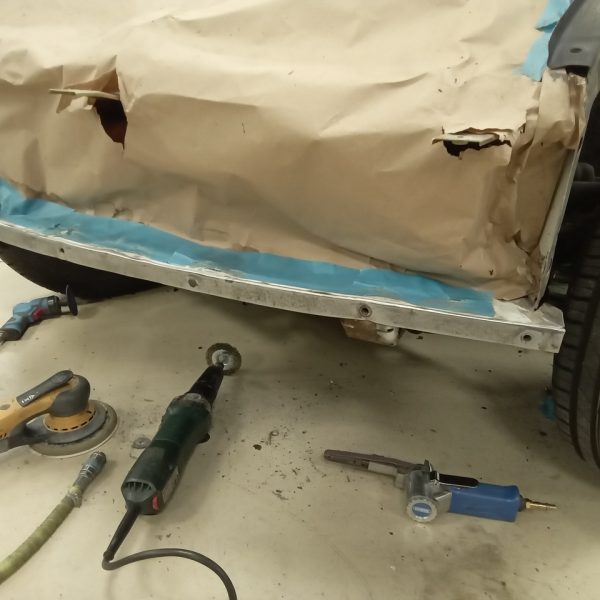
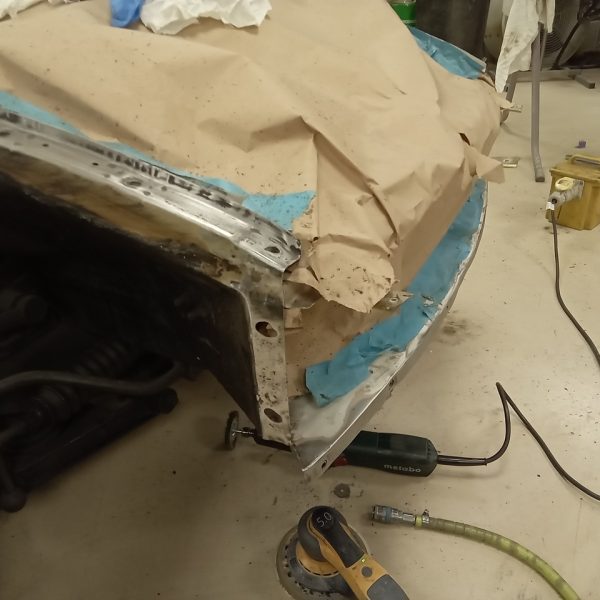
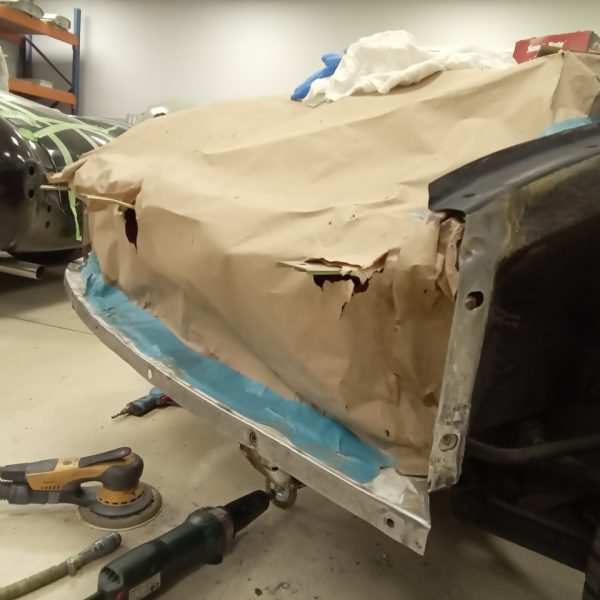
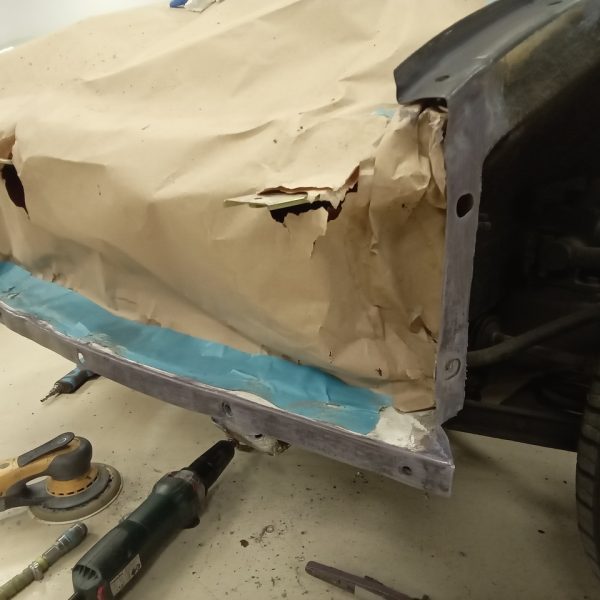
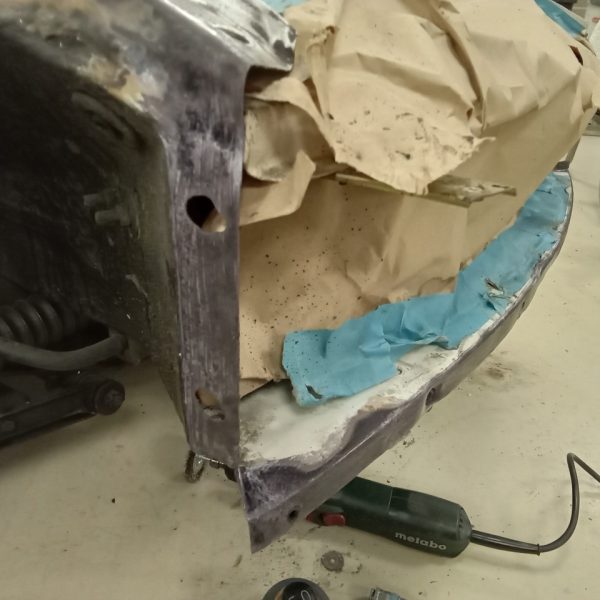
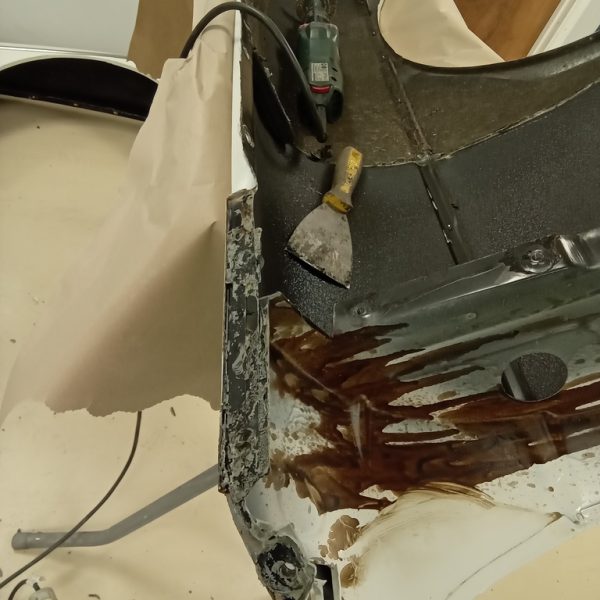
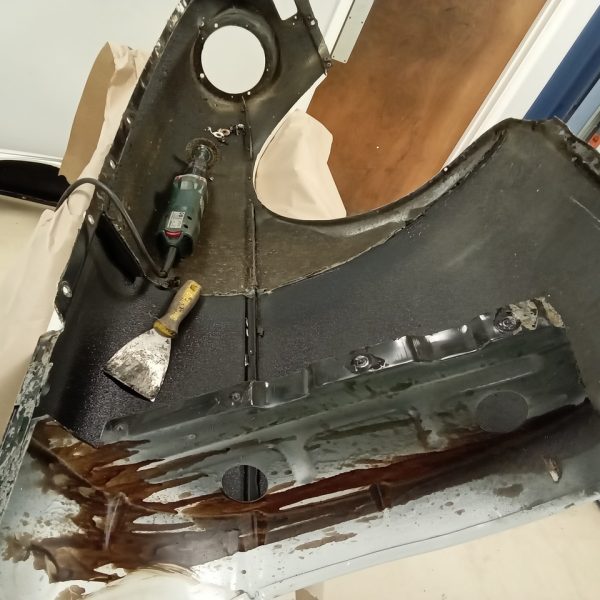
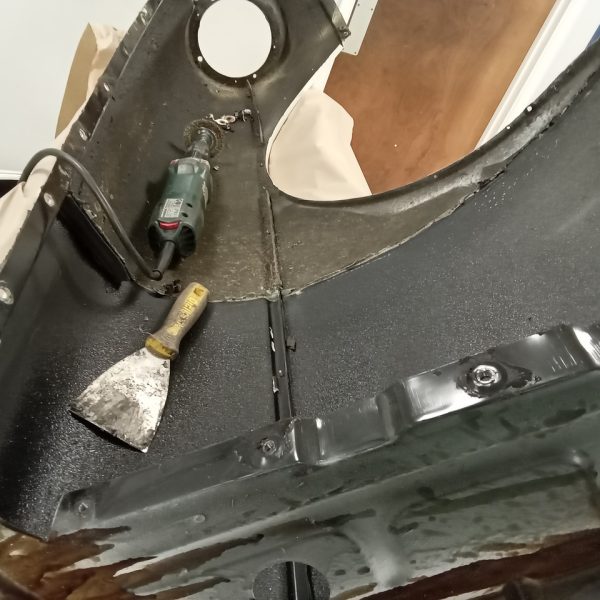
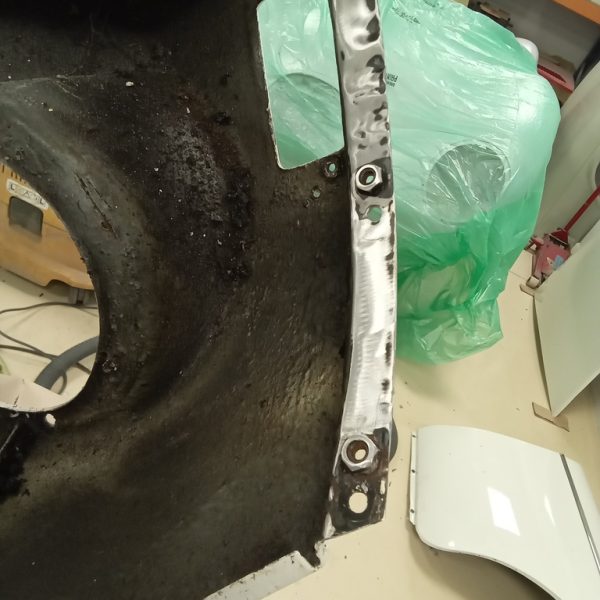
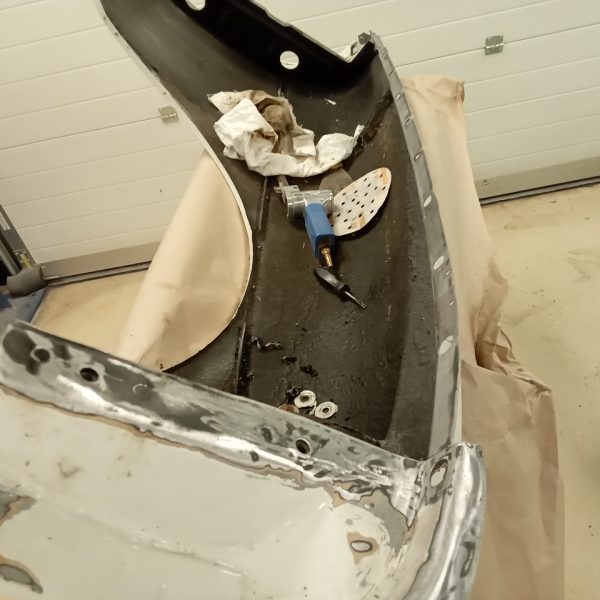
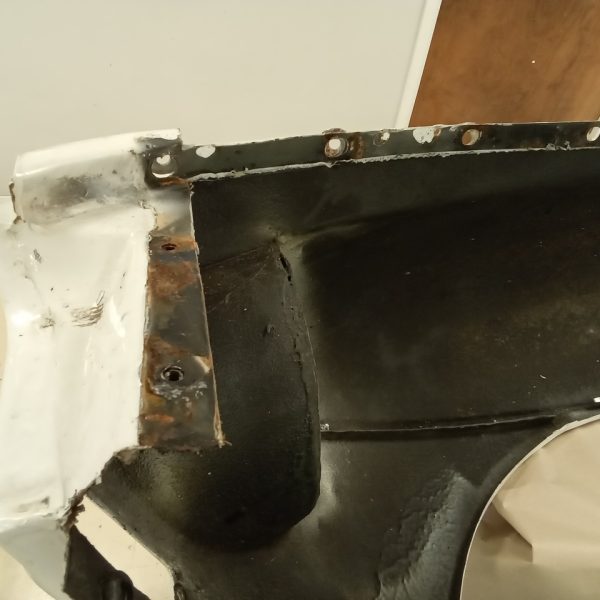
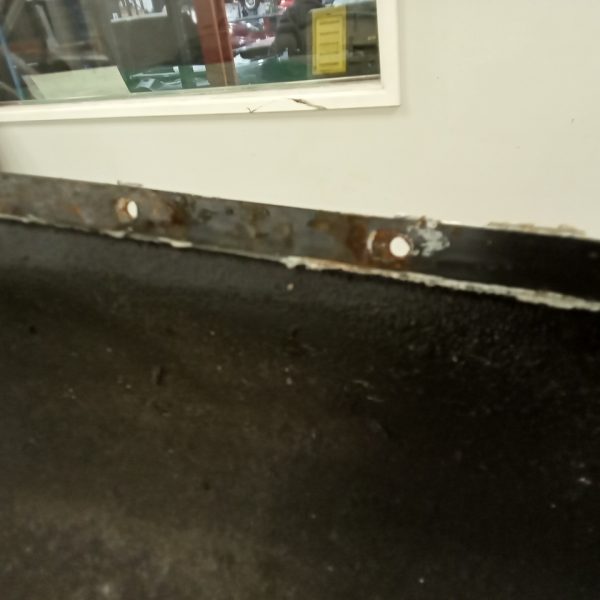
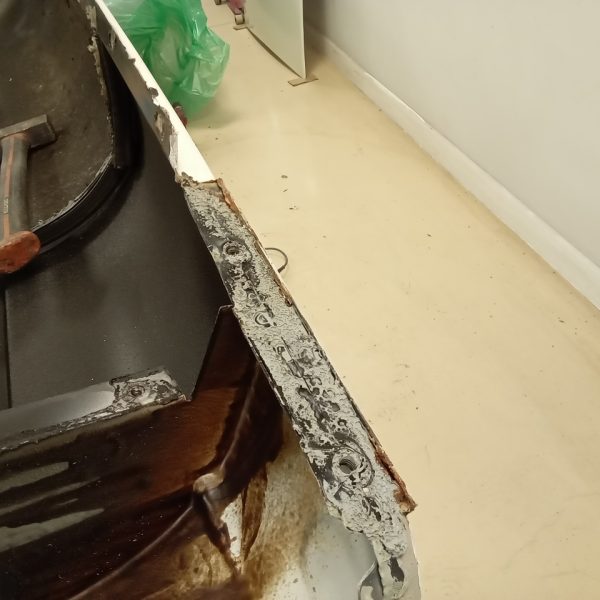
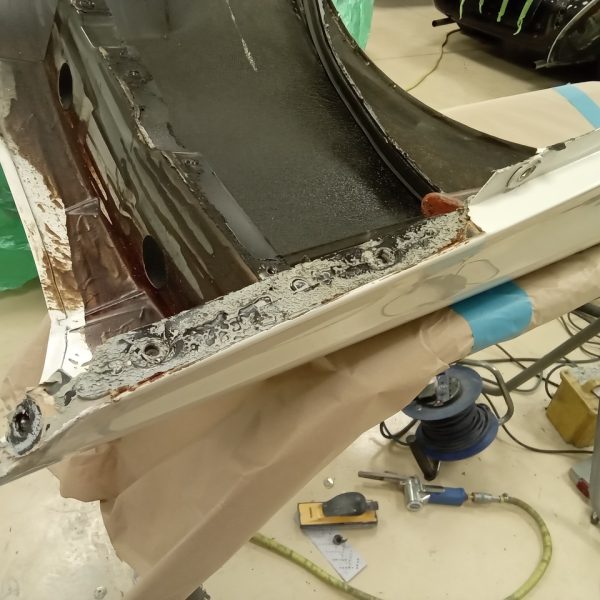
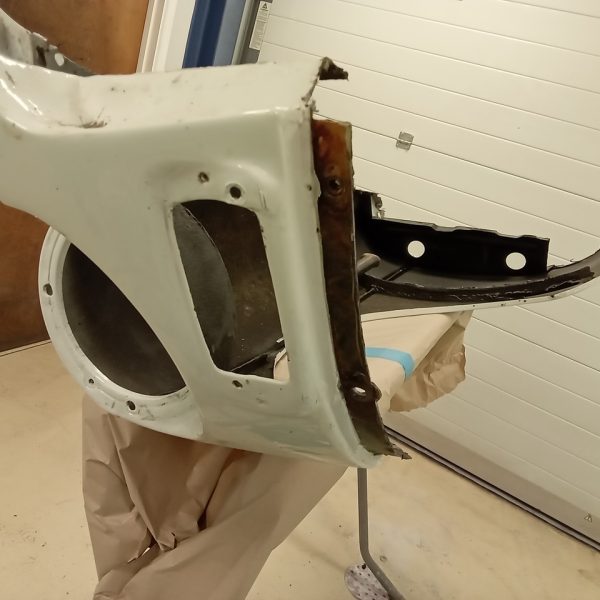
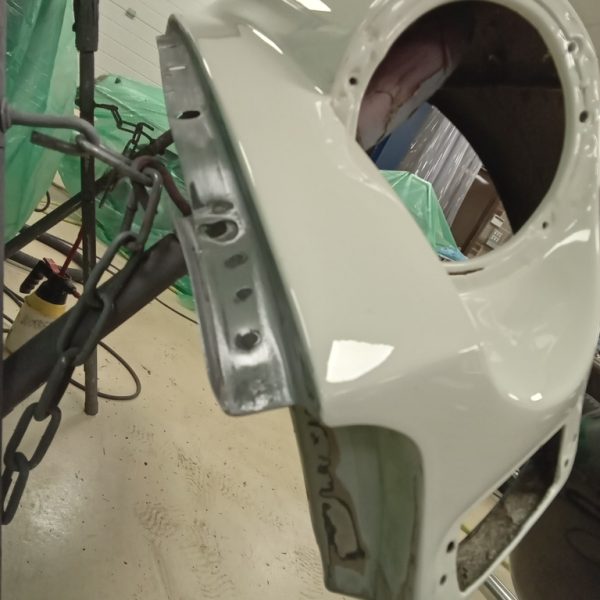
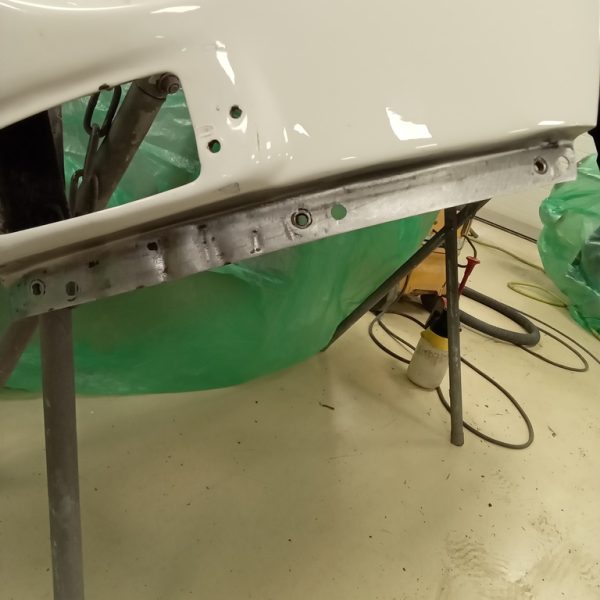
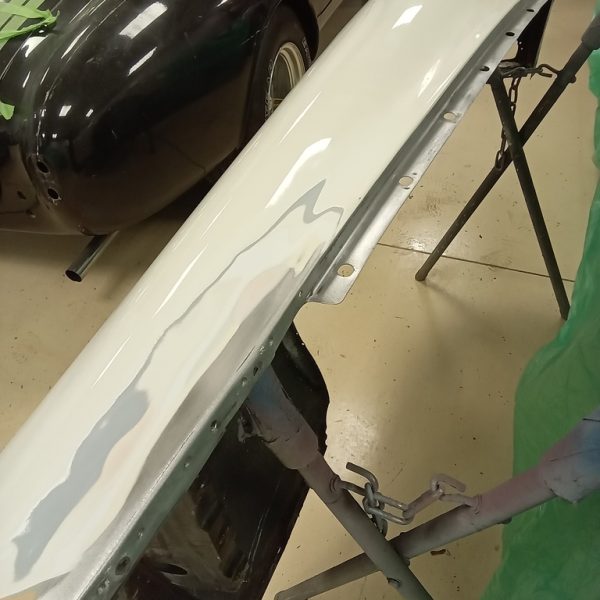
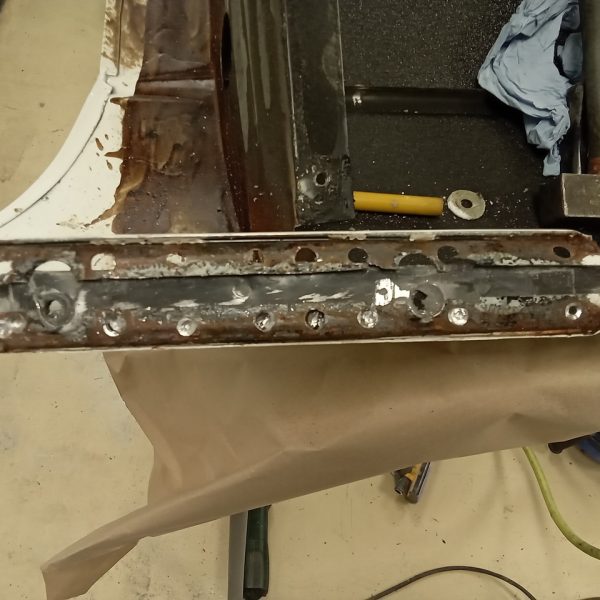
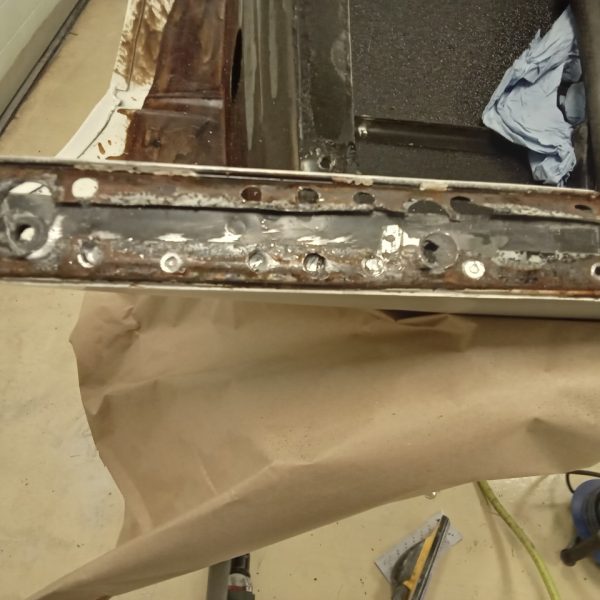
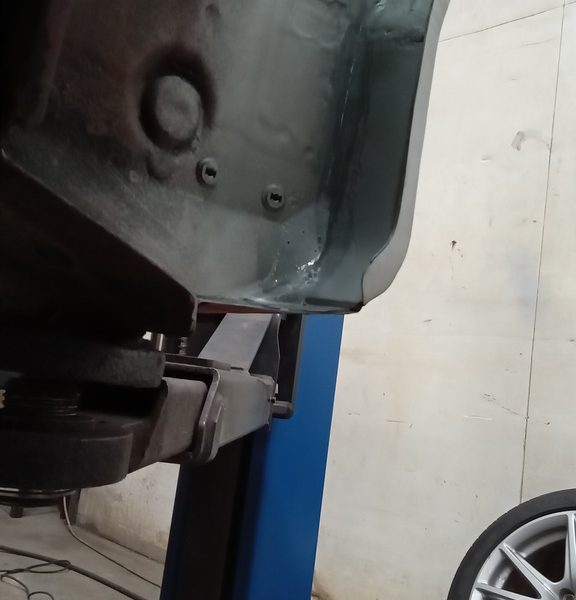
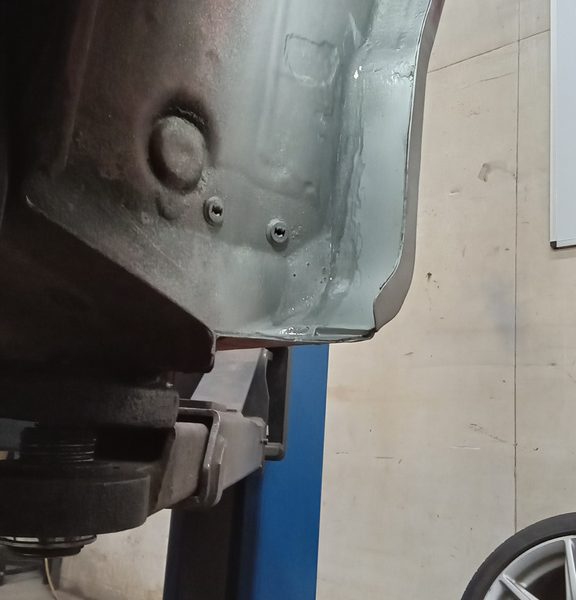
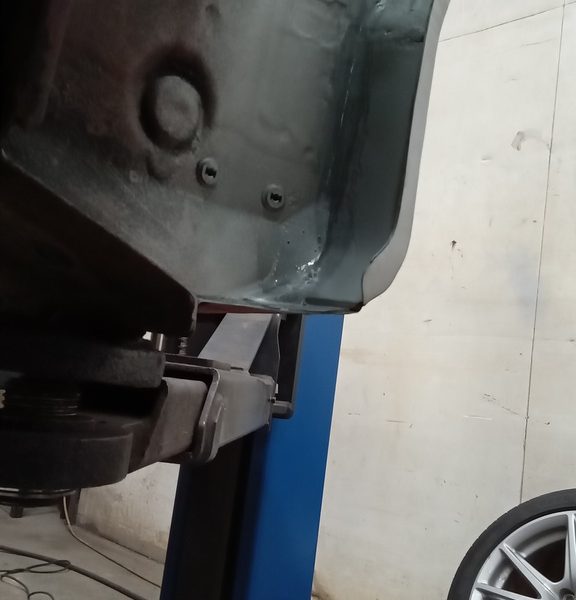
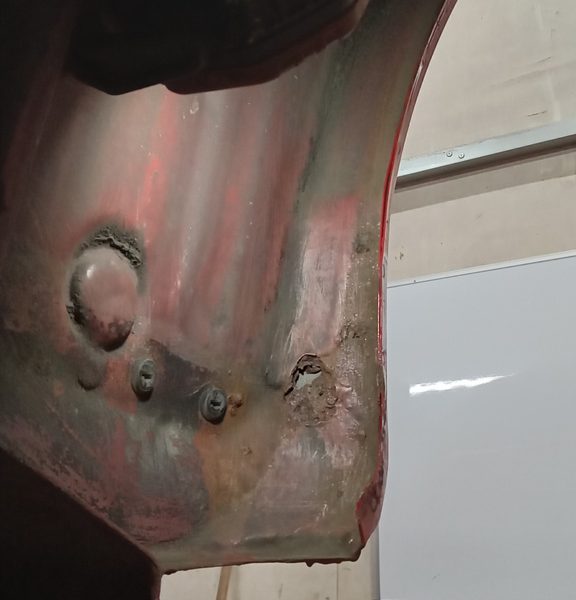
Monty has started on the corrosion repairs on our S2000 this week. As you can see, the rear inner arch requires some fabrication and welding to correct the corrosion before the paint shop take control to make it all look lovely once again.
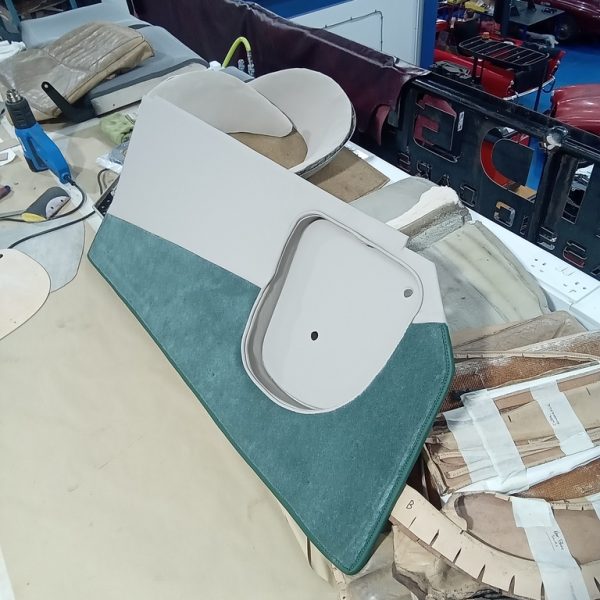
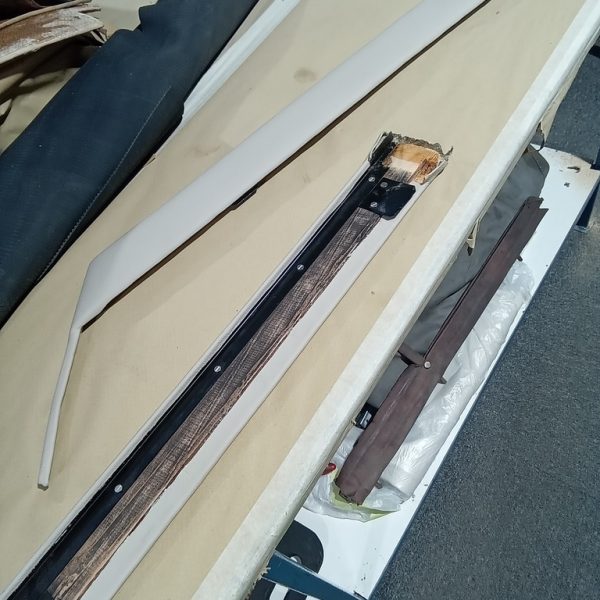
Brian has fitted weather strips to the top of the doors, adjusting the ends of the door cappings to let the doors close properly./ He has cut out door panel insert panels and covered in leather. He has fitted insert panels into door panels, fitting door panels back on, fitting top and bottom sections of the glovebox into dashboard.
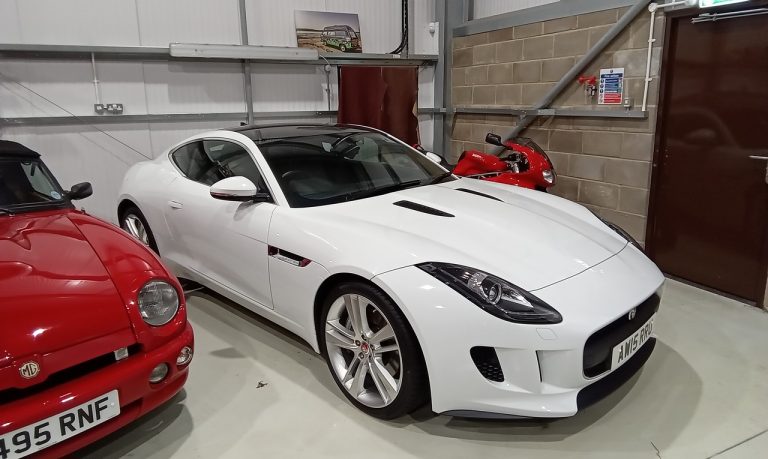
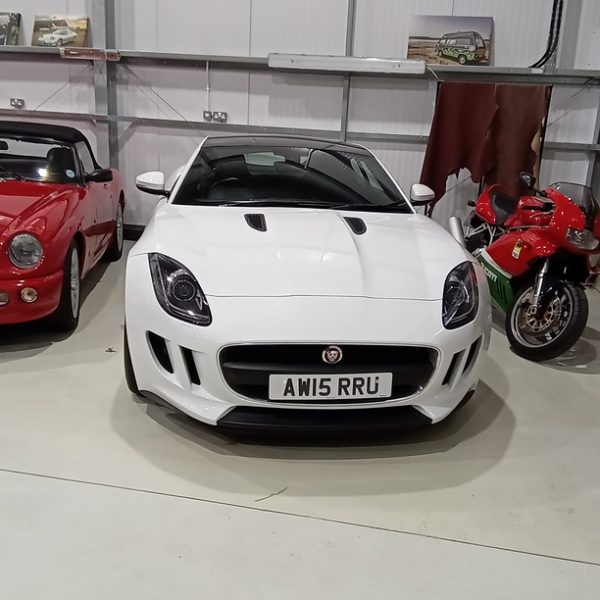
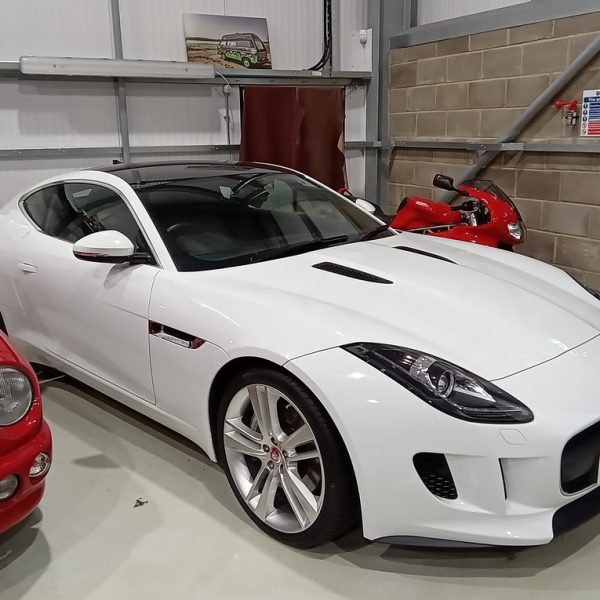
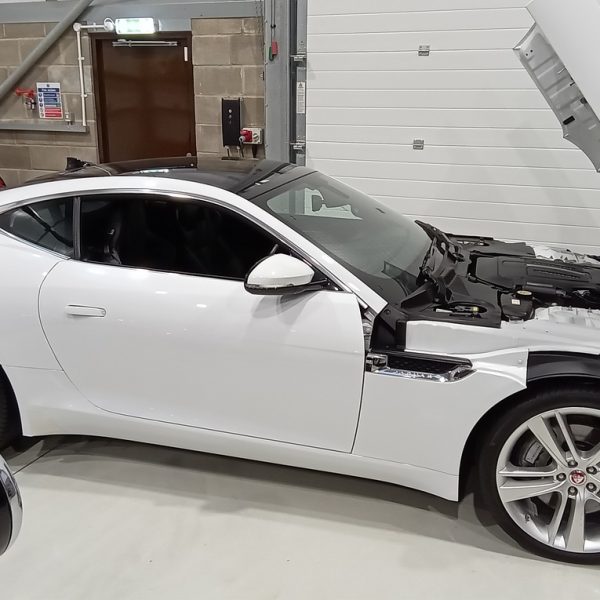
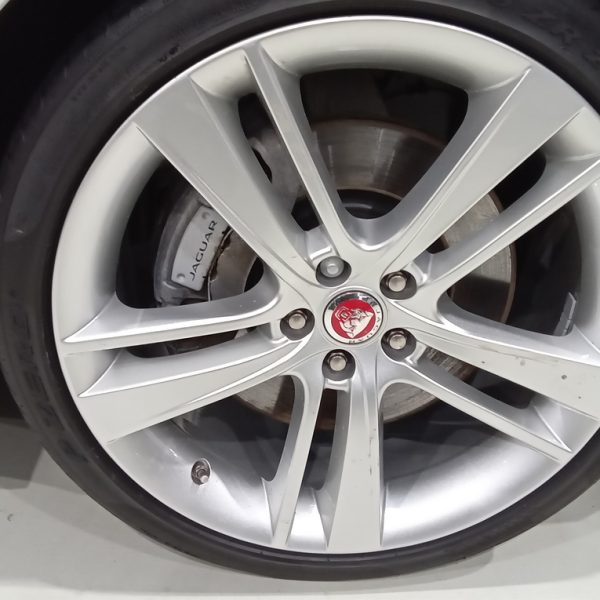
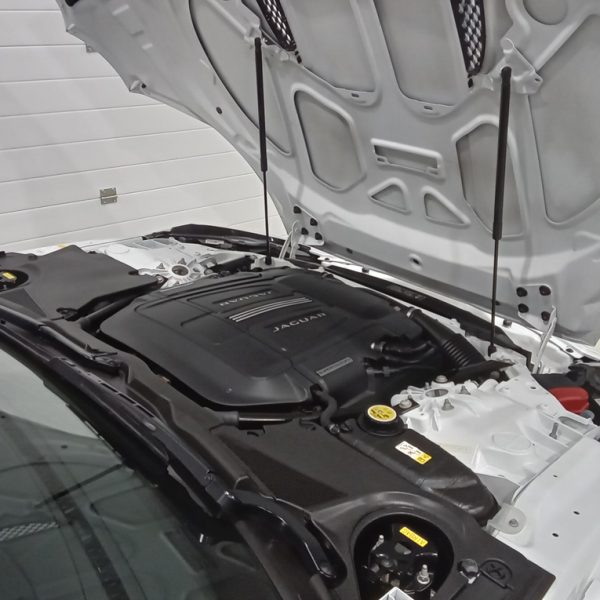
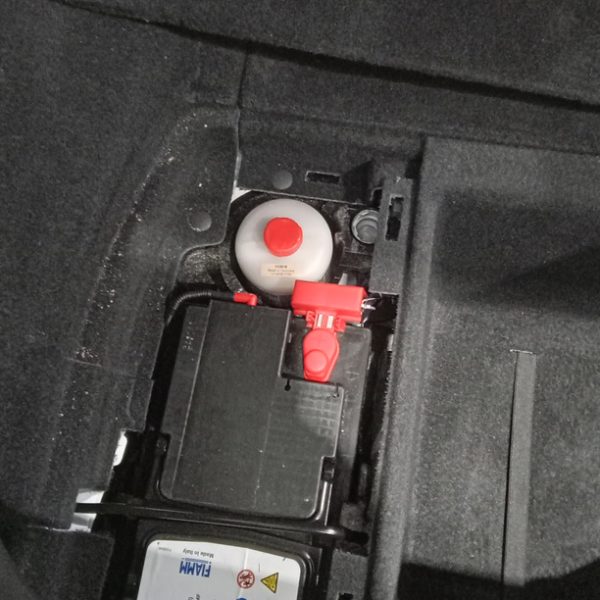
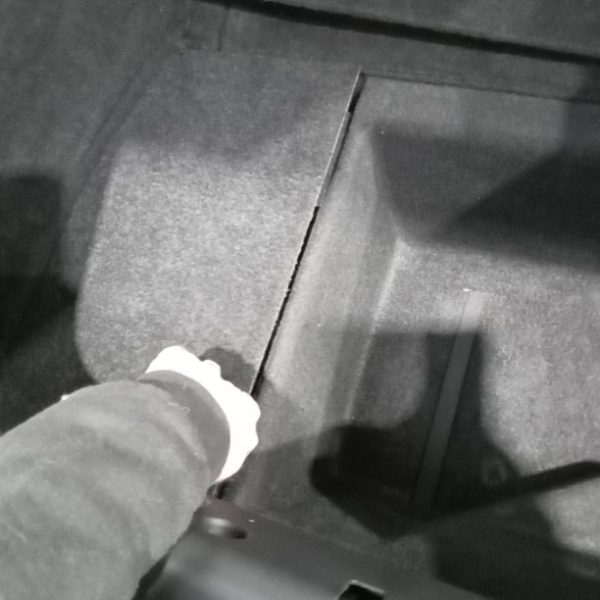
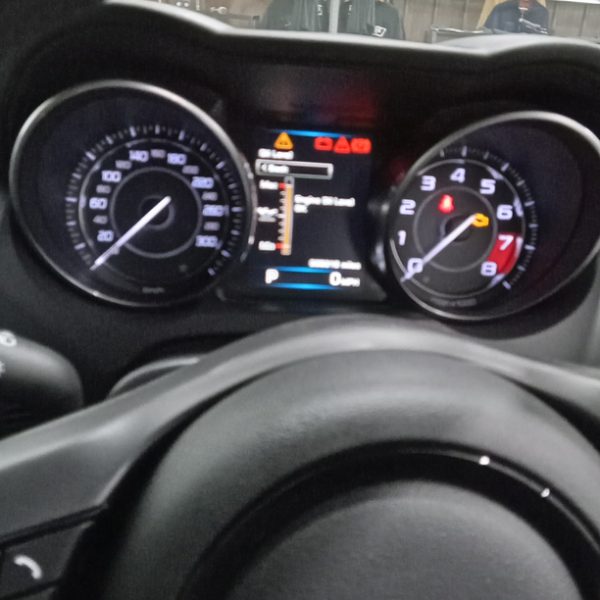
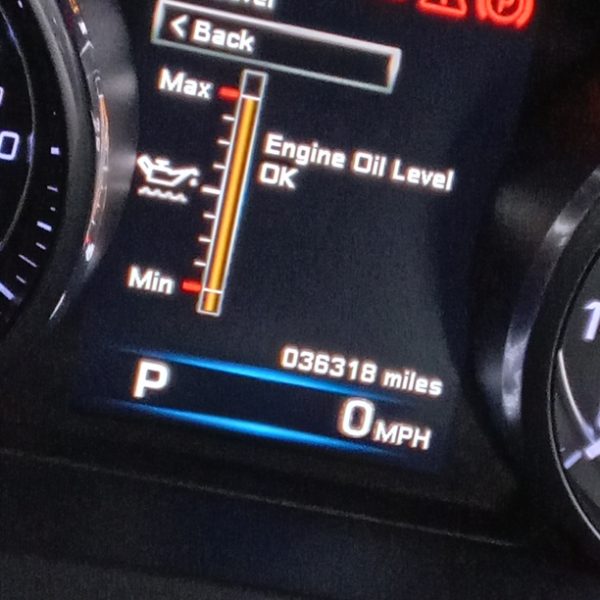
Our Christmas line up is being prepared as we speak. We have an amazing selection of competitions coming up between now and Christmas. Something for everyone I’d say. Our incredible 2015 Jaguar F-Type is currently going through it’s inspection and assessment. We have replaced the spare remote key battery and tested. Reset the service indicator. Torque wheel nuts and put locking wheel nut key back in boot. This was due to having recently refurbished all 4 allows to factory new!
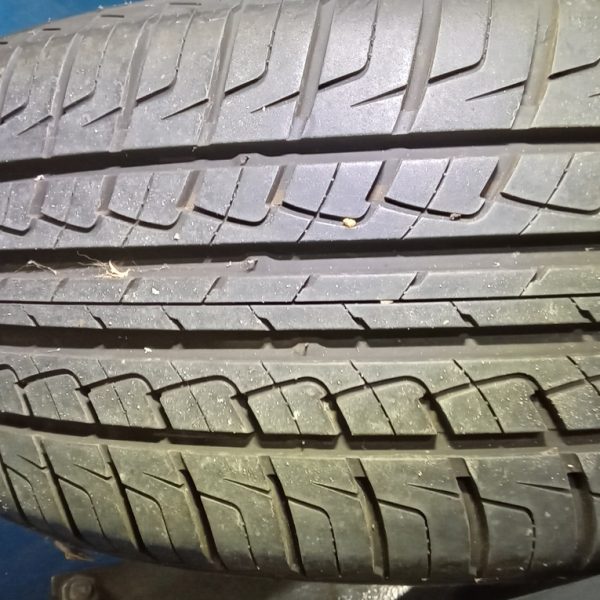
We have carried out a road test and ok, The tyre pressure gauge has been reinitialised and we’ve checked and adjusted the tyre pressures.
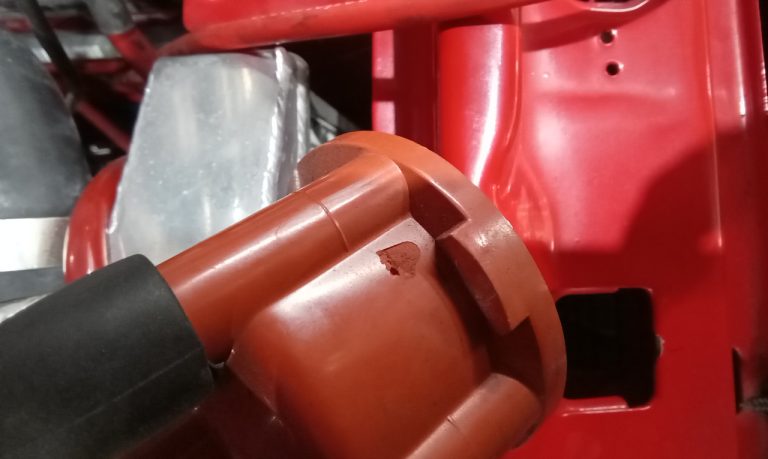
Fitted new distributor cap and rotor arm. Gap and fit new spark plugs, run and test briefly, all ok.
Ready for full road test and tune. Weather permitting…
We use cookies to deliver the best possible experience whilst visiting our website. By clicking "Accept All", you consent to our use of cookies, or you can manage your preferences by clicking the link below. You can manage your preferences at any time from out Cookie Policy page.