


Julian has been giving our 1996 Jaguar XJS V12 a checkover in preparation for an MOT. Here are his notes: Remove all wheels and remove

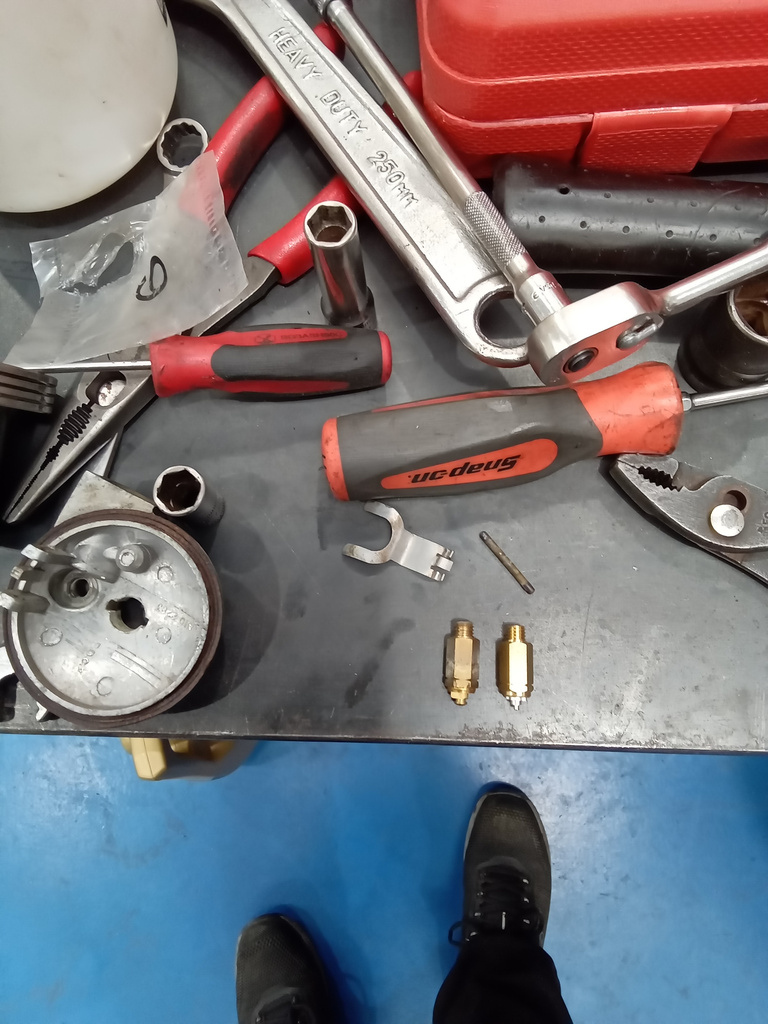
Tony recently collected the gearbox of our 1986 Fiat X1/9 ready to go back in the car. While he was out, he also collected the

Jonn has been continuing his work preparing our 1989 Daimler Double Six for someone to win it in the near future through Bridge Classic Cars

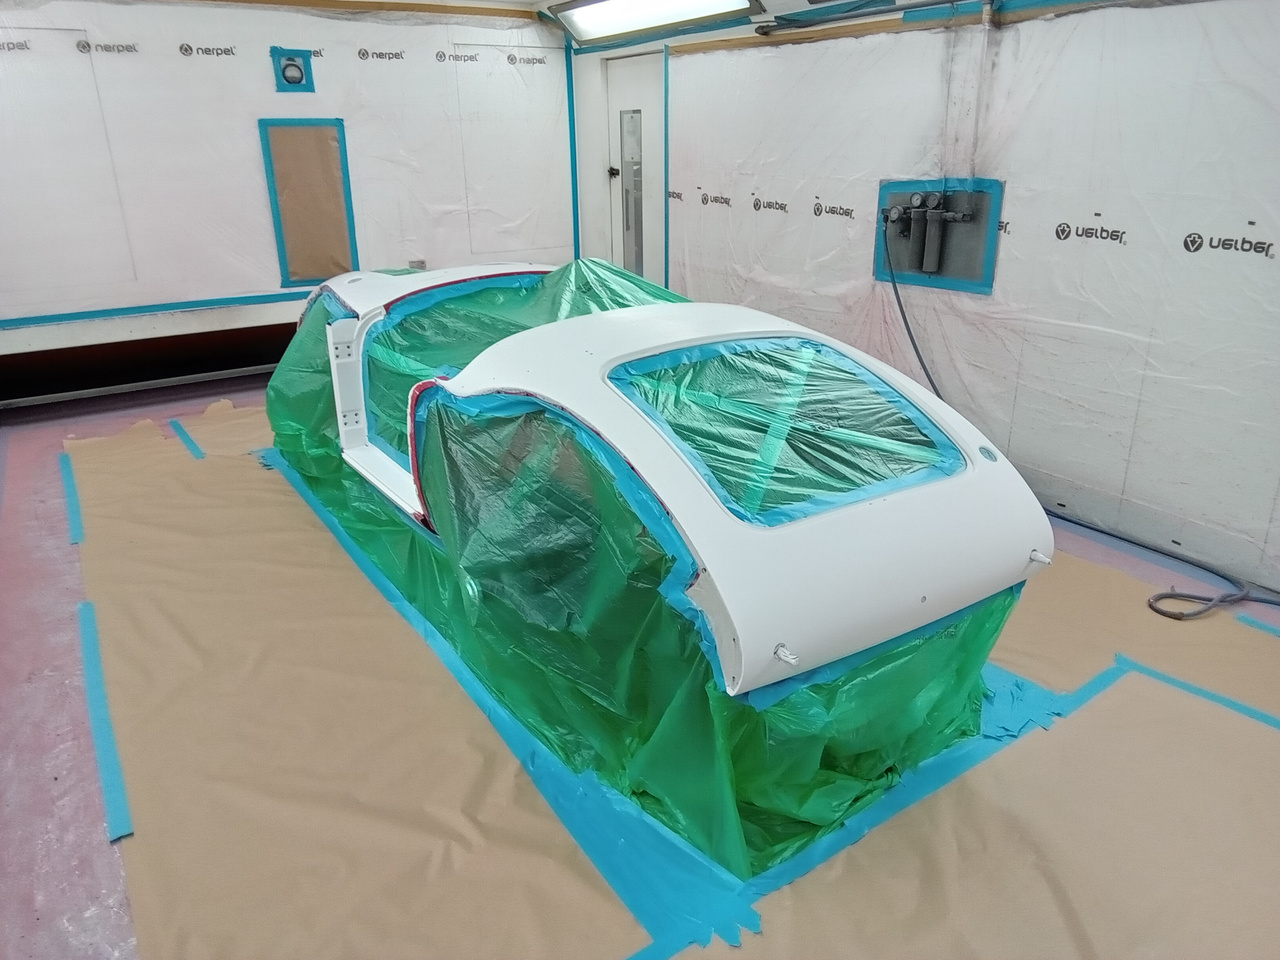
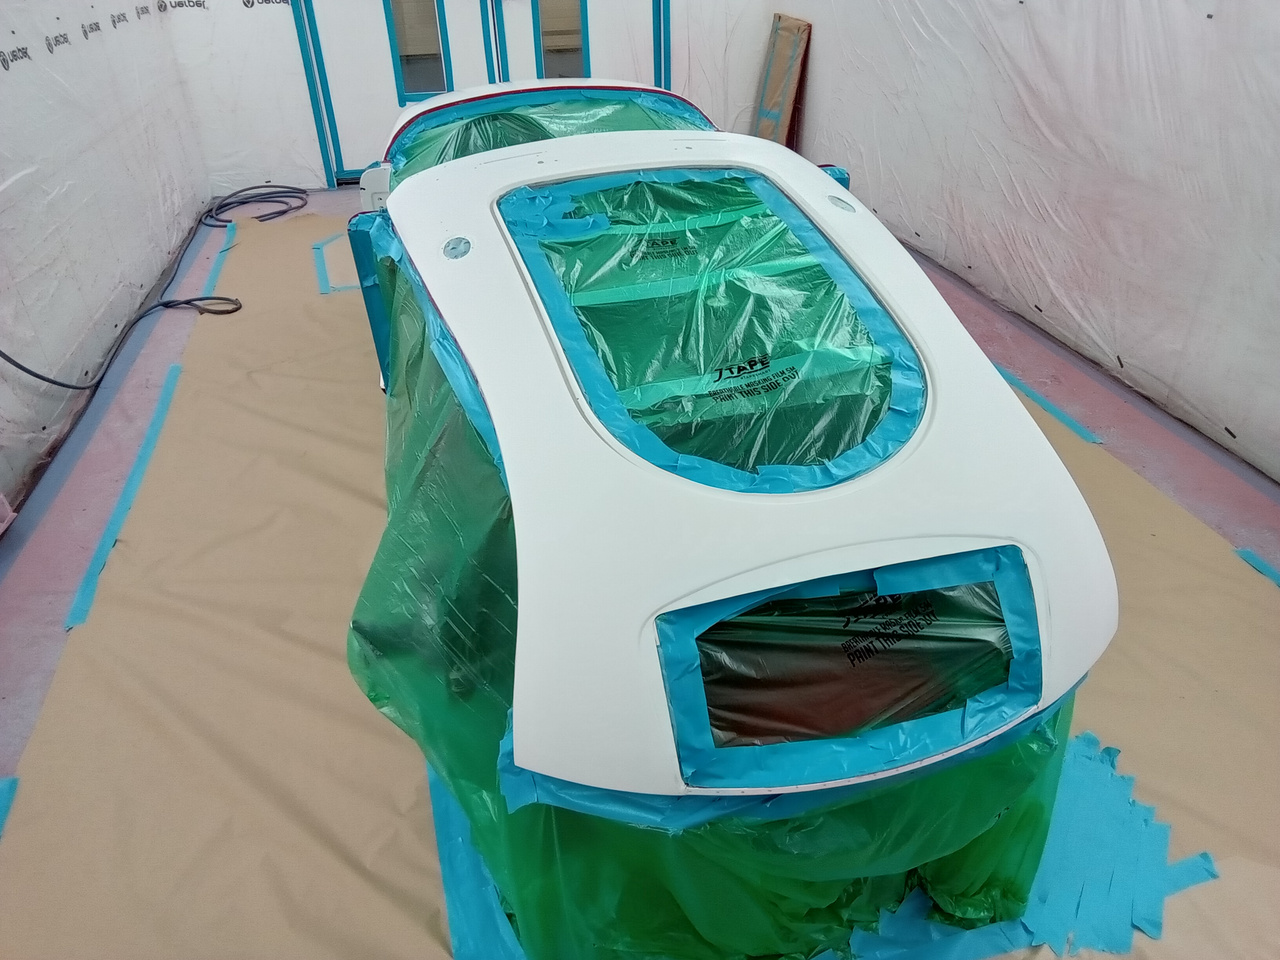
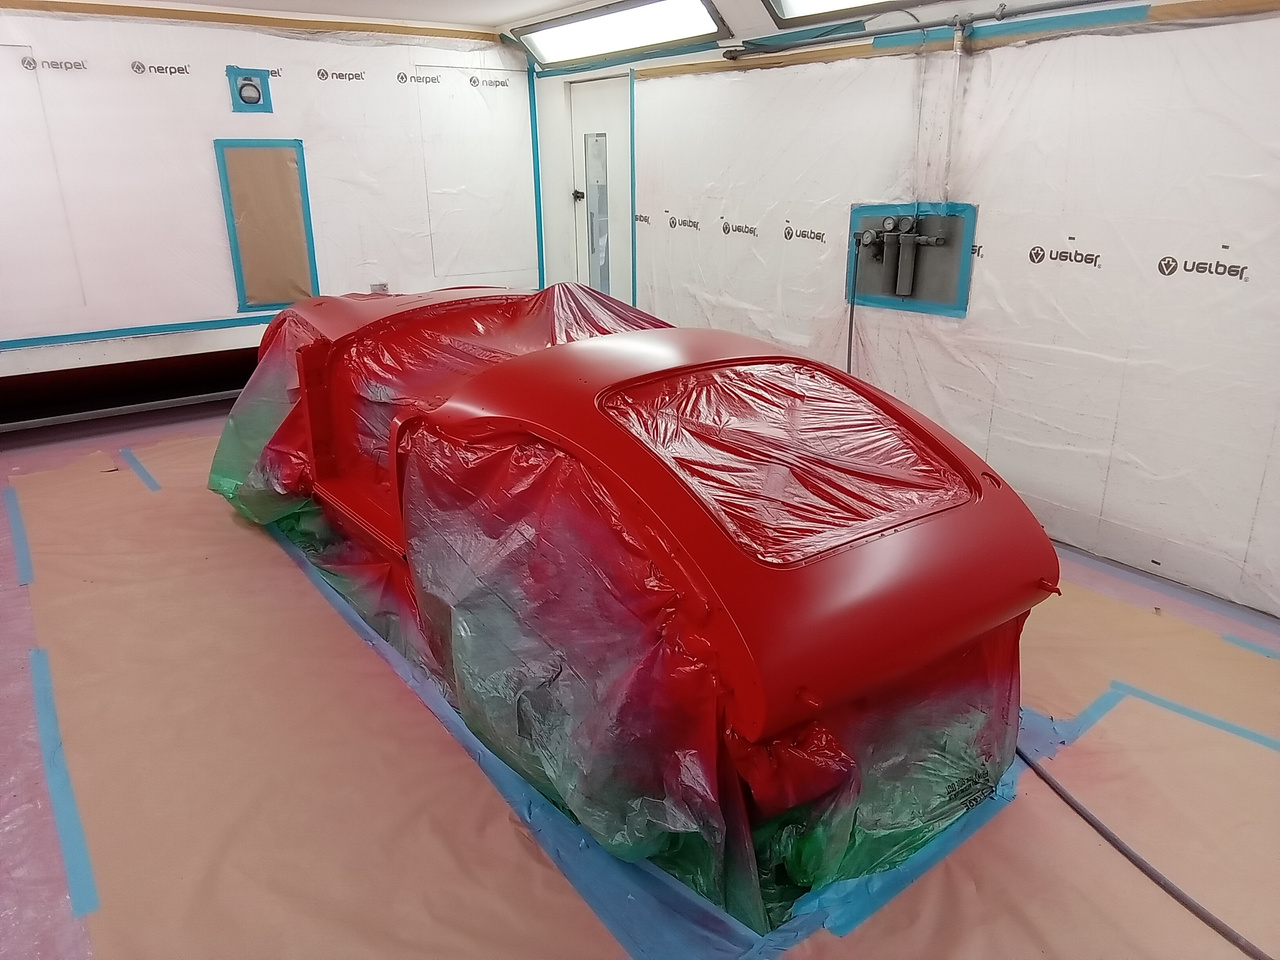
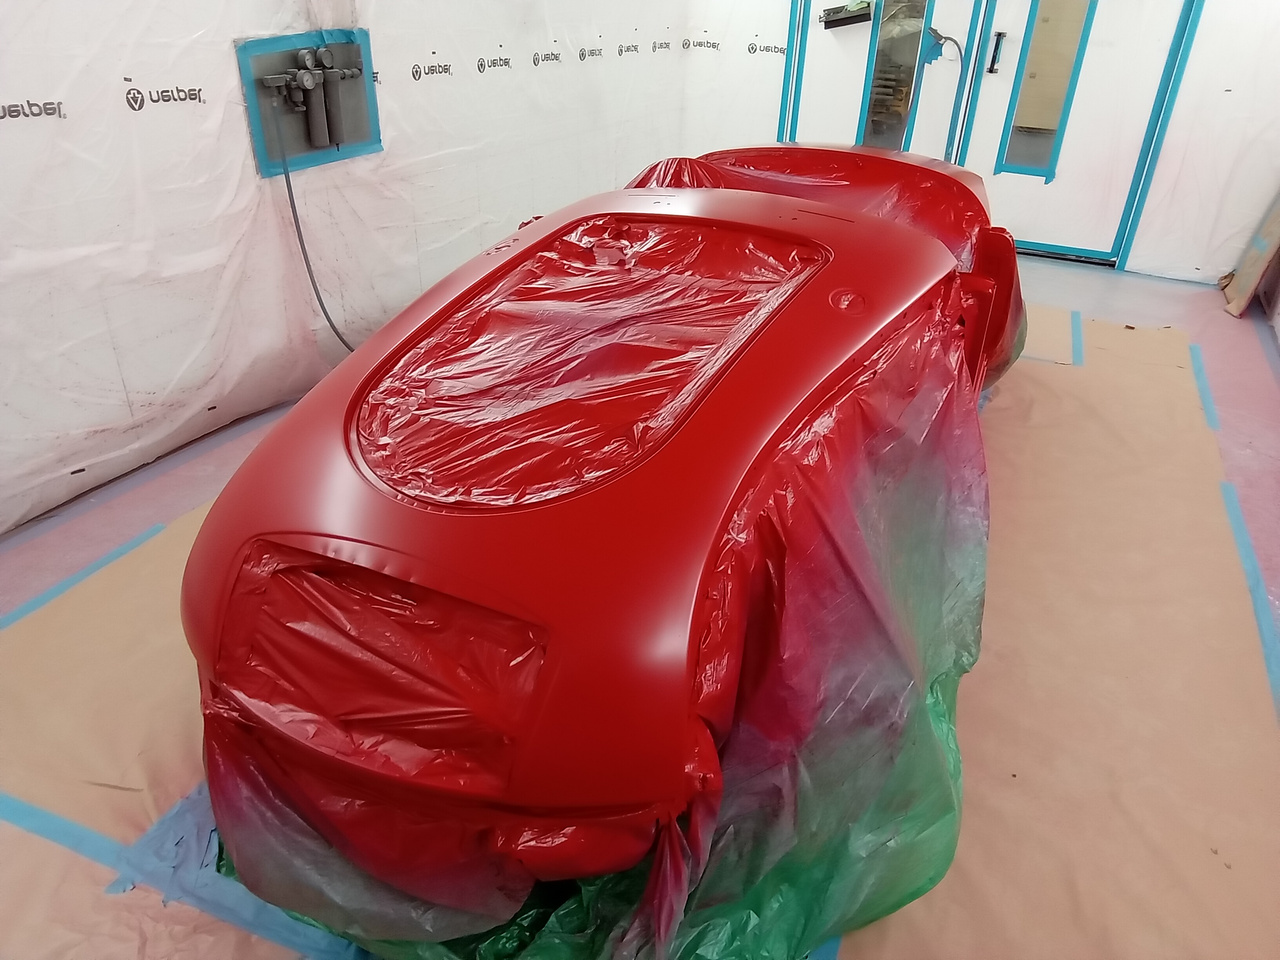
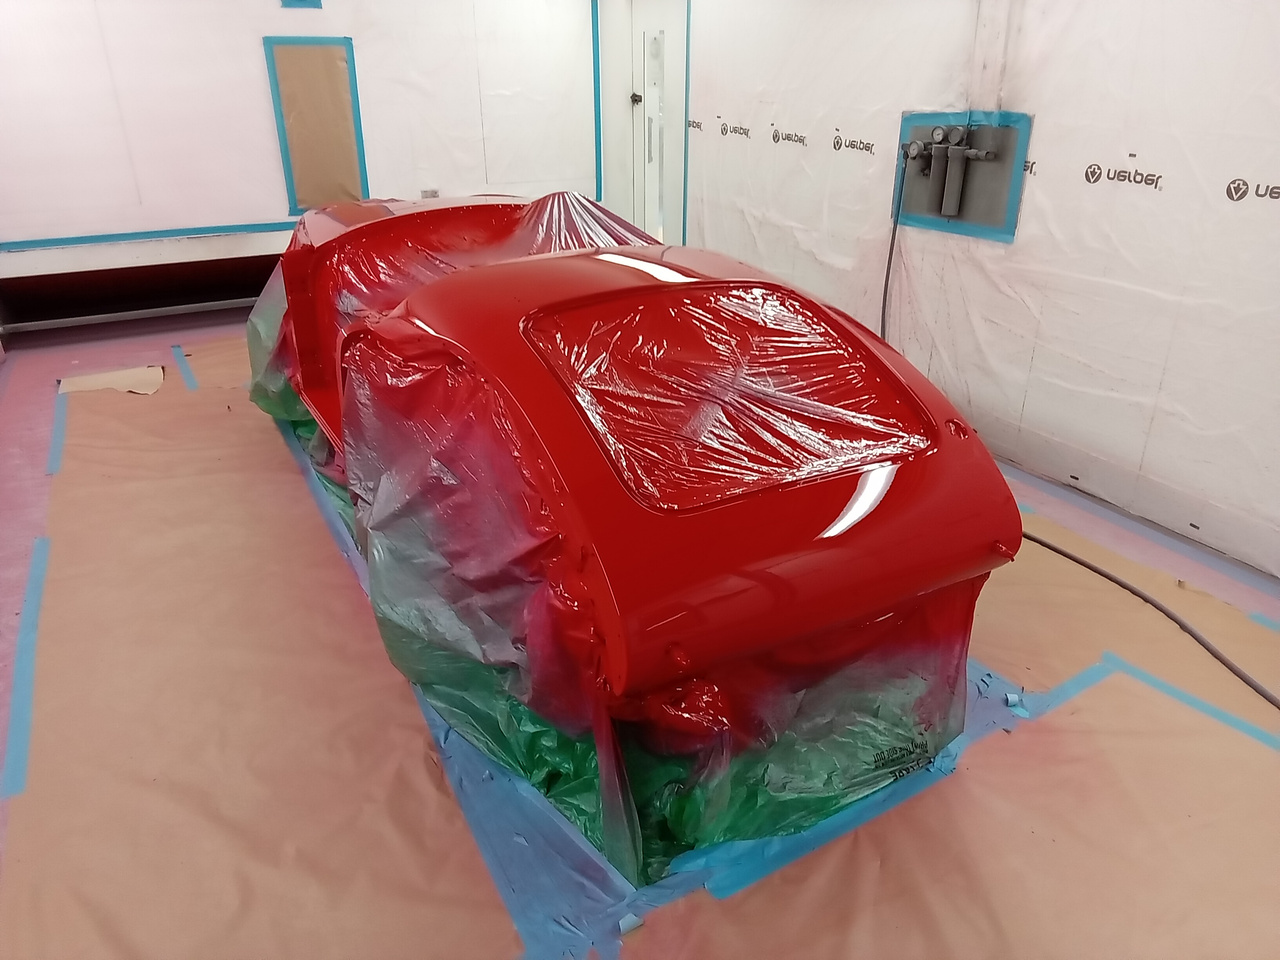
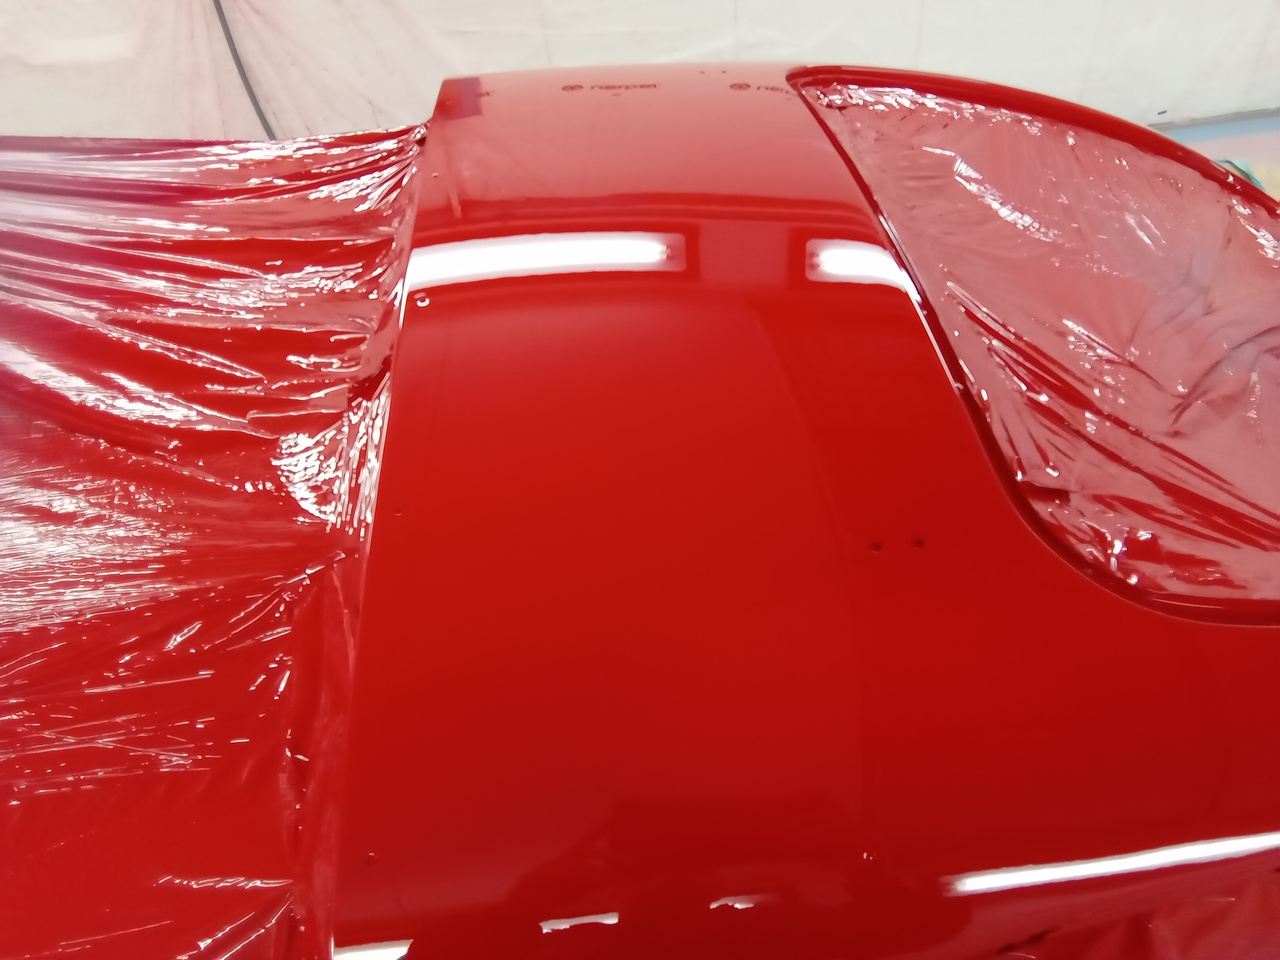
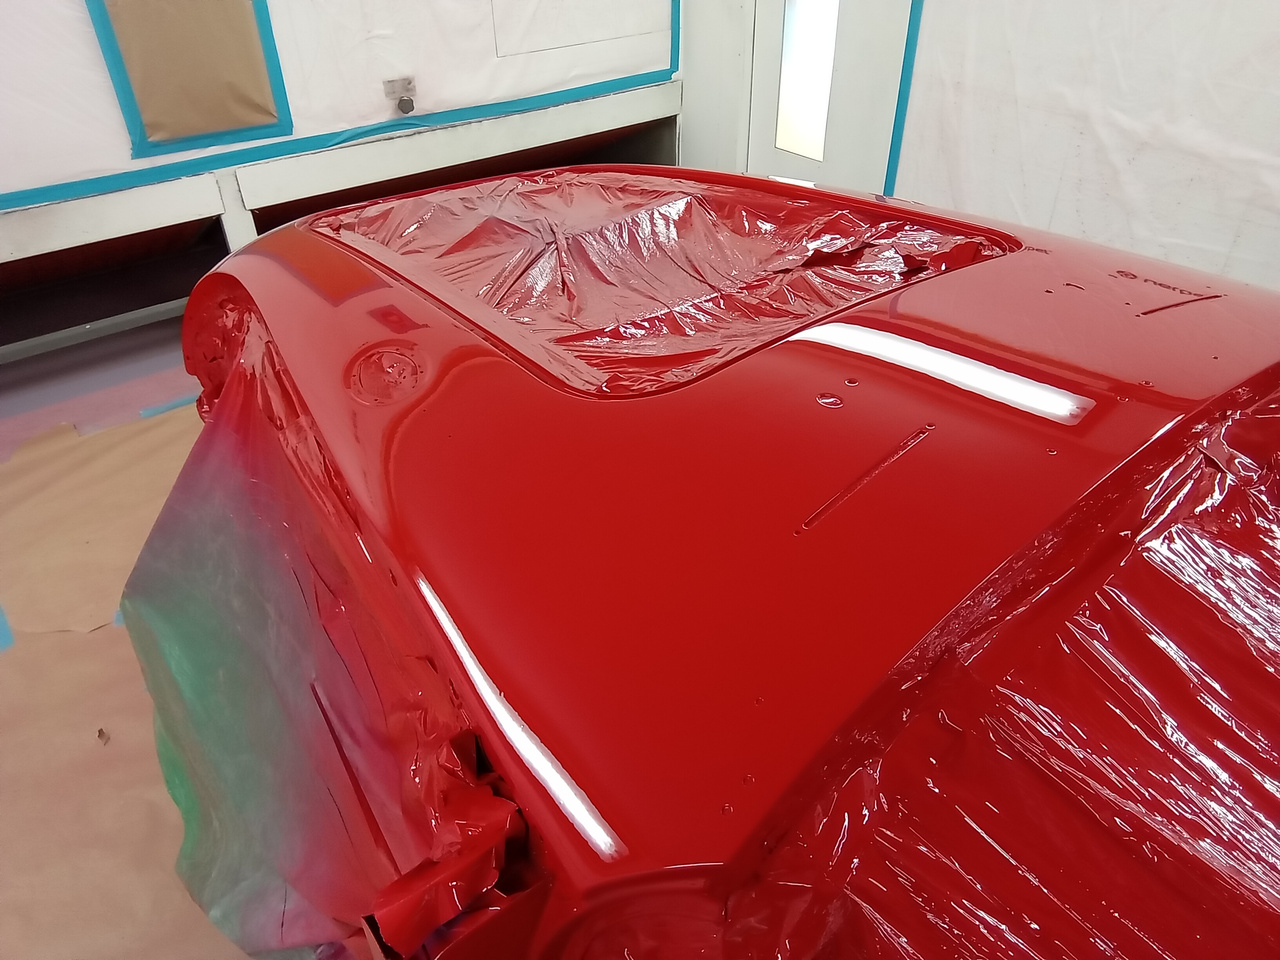
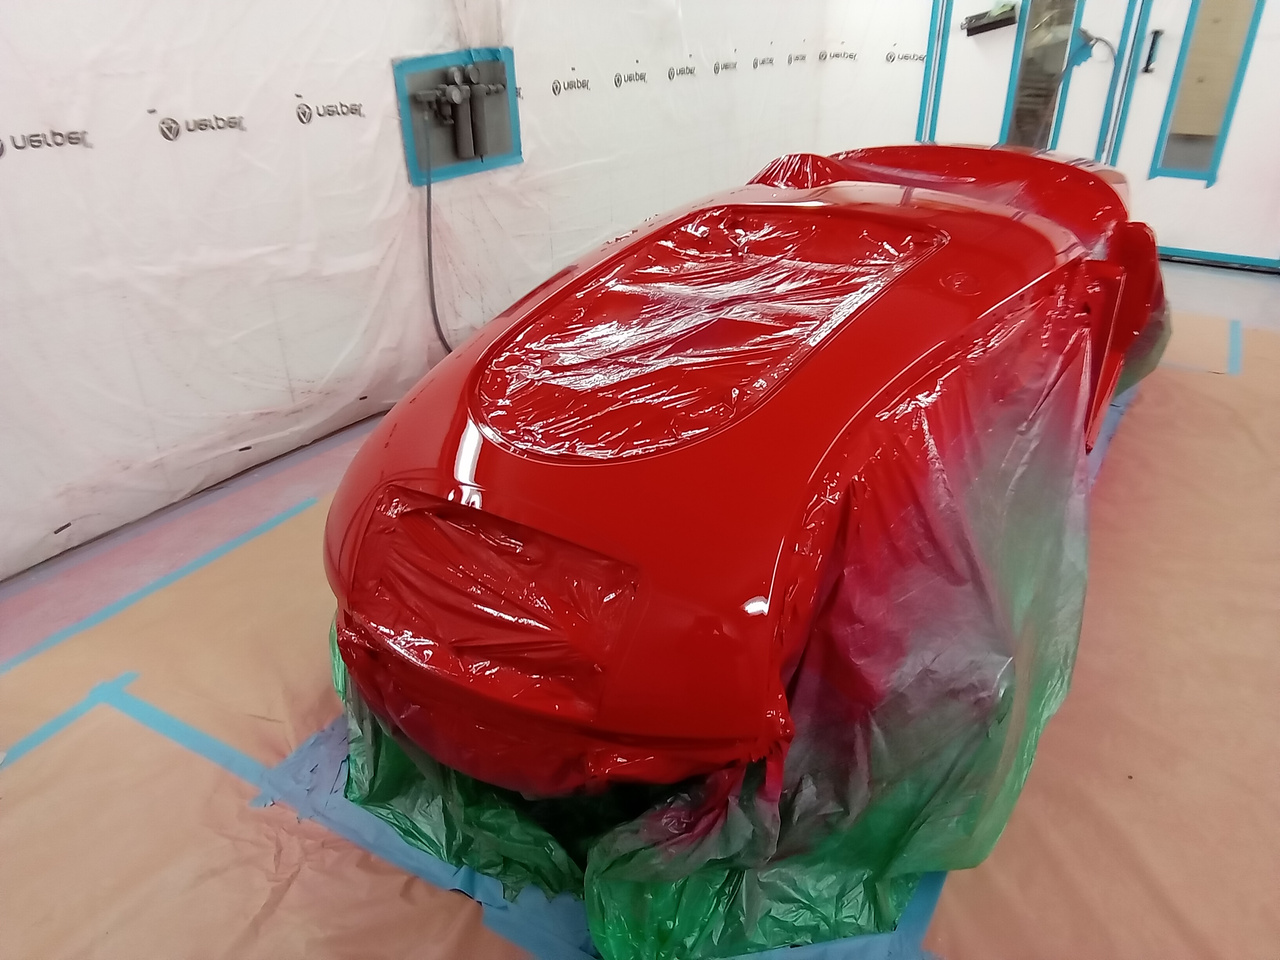
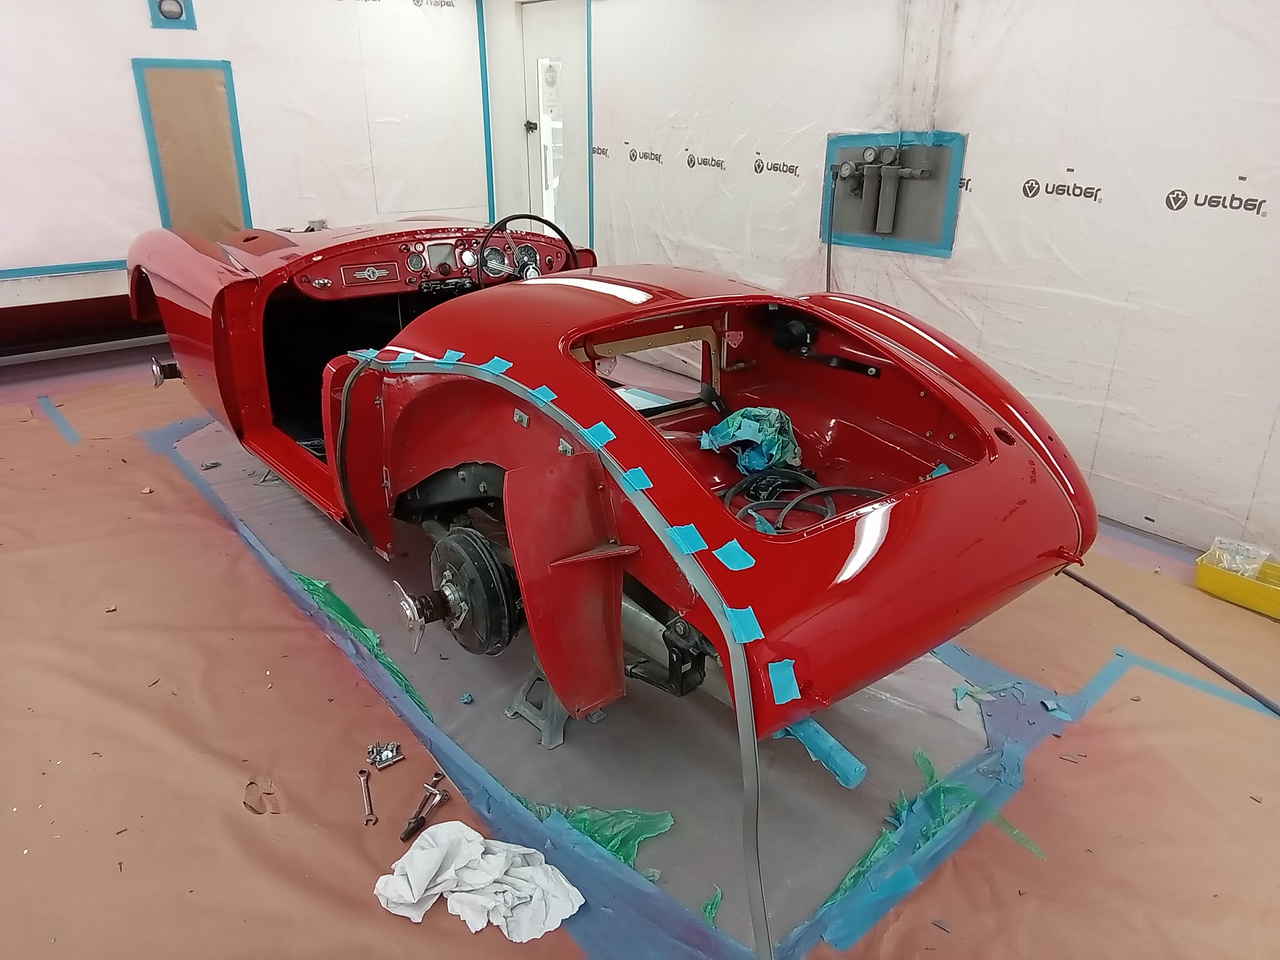
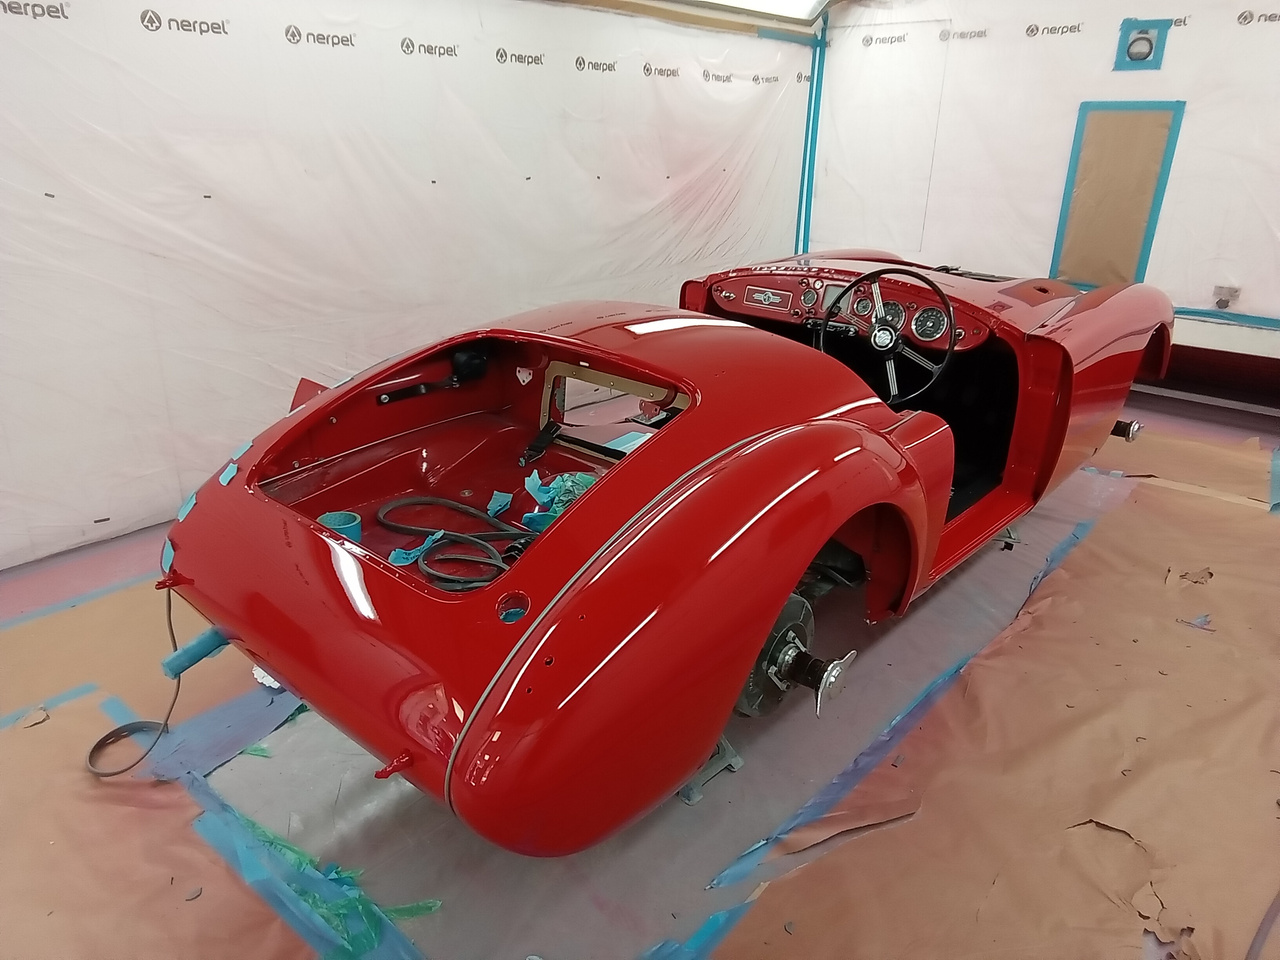
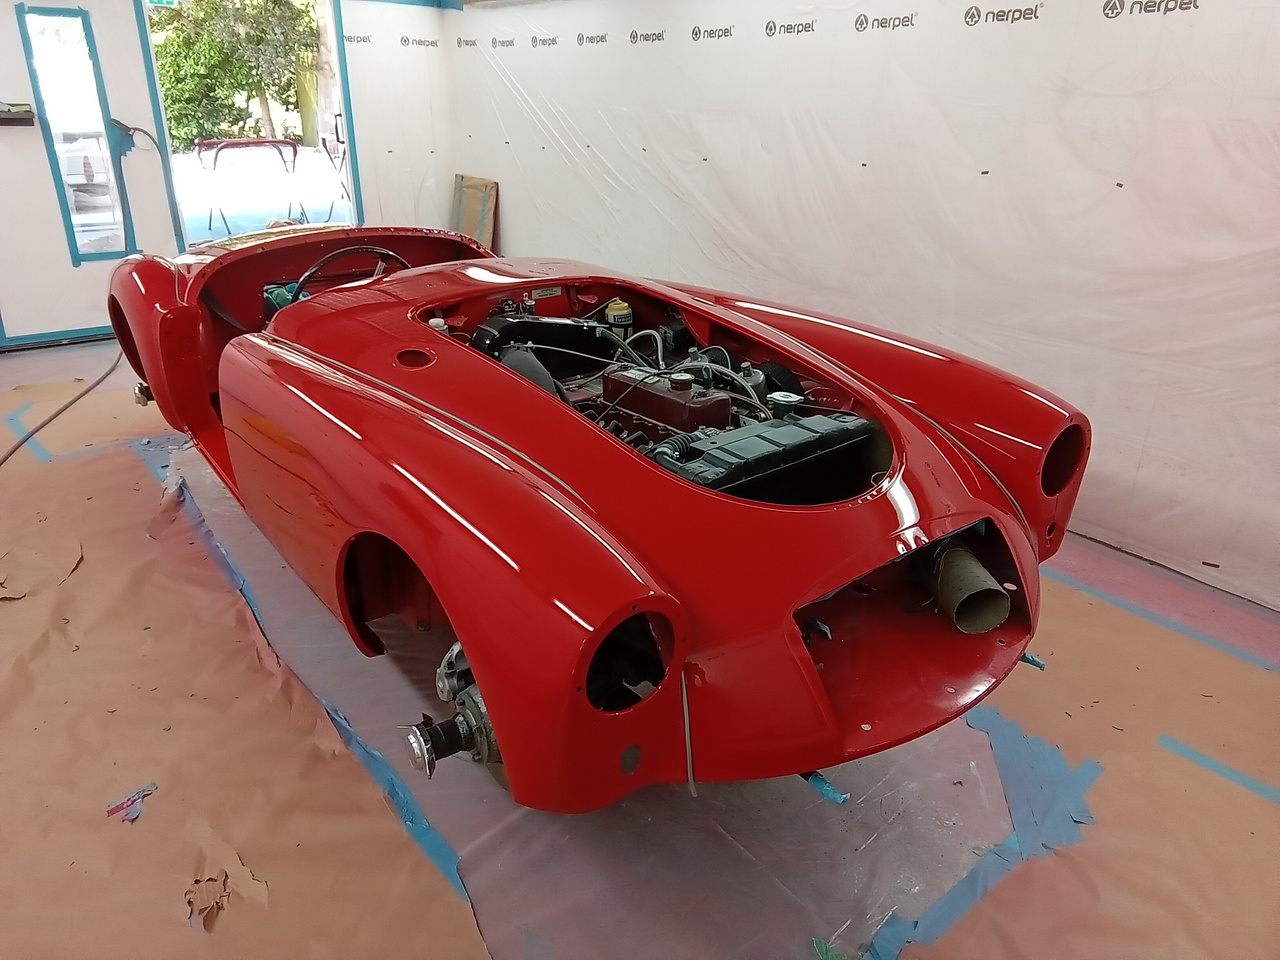
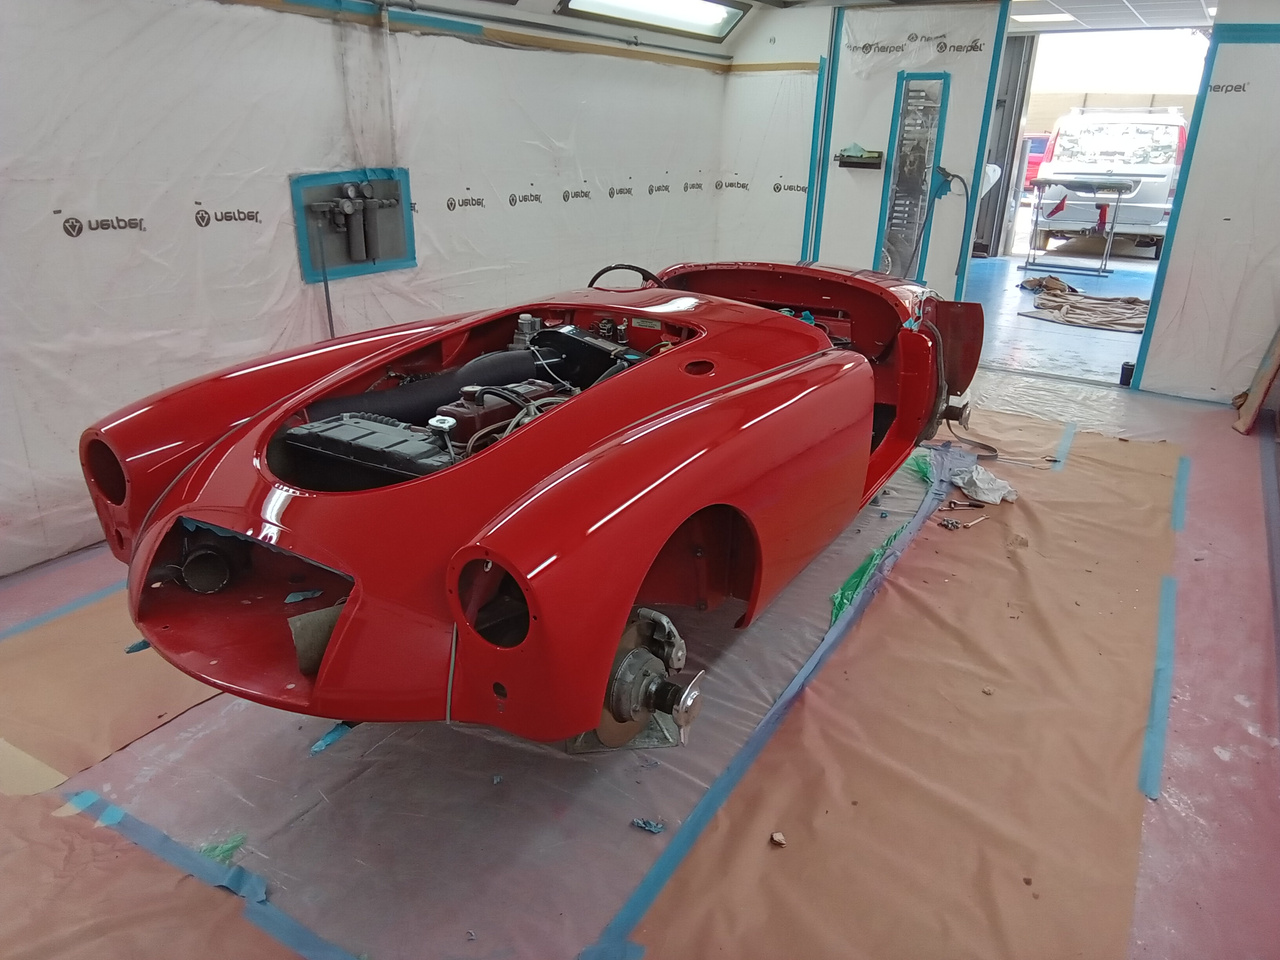
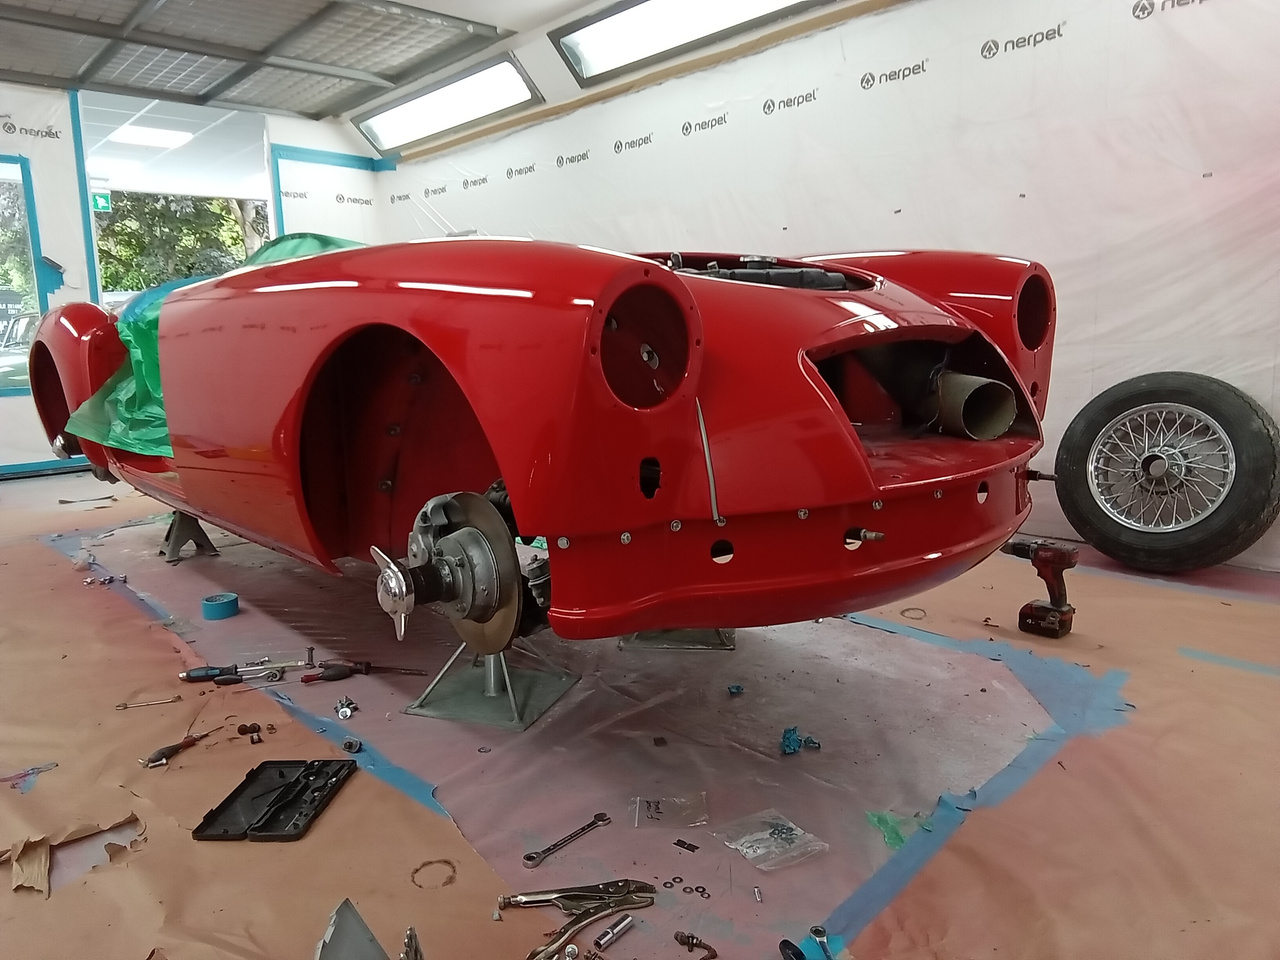
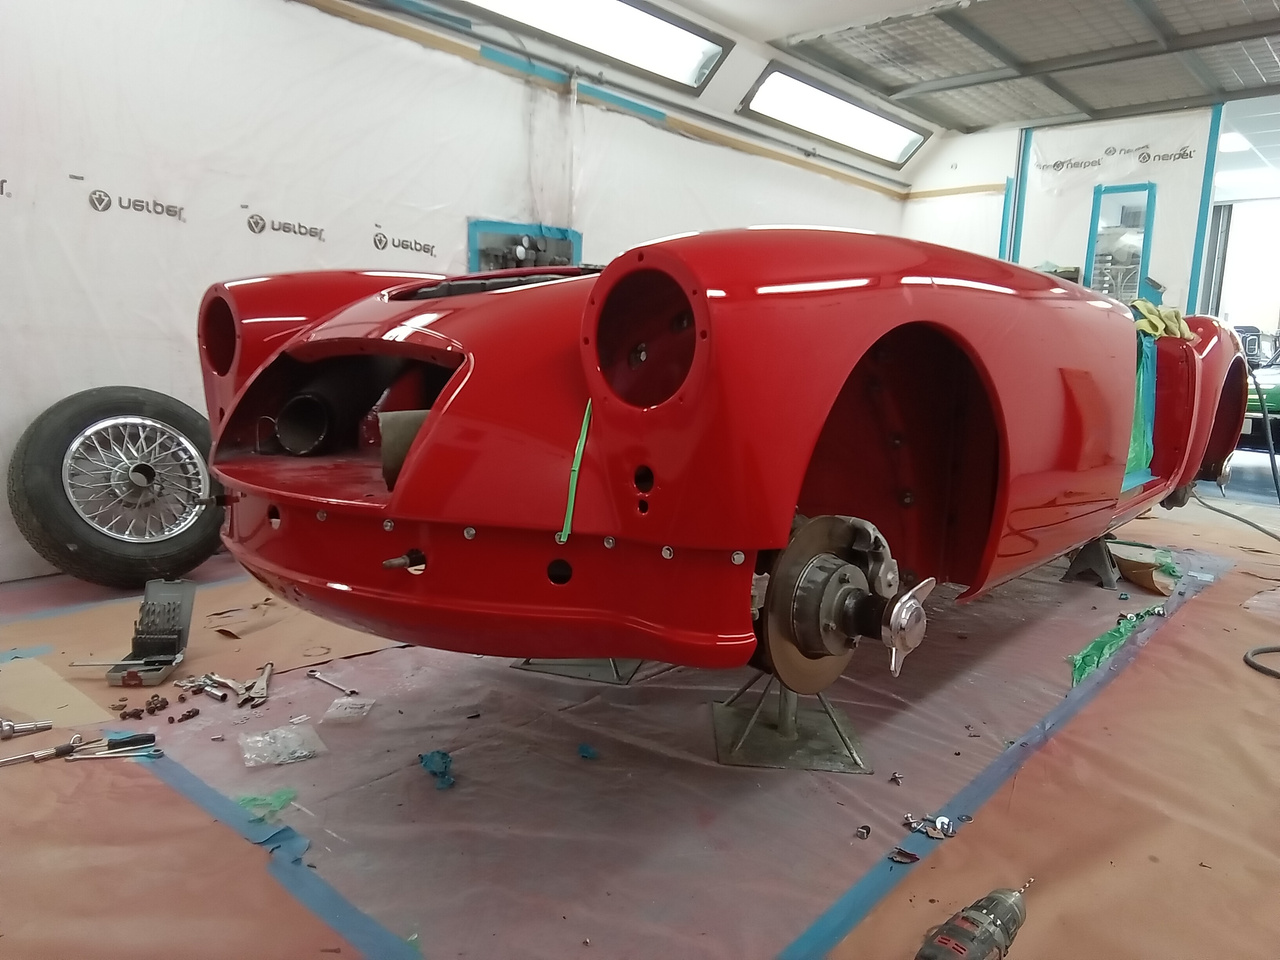
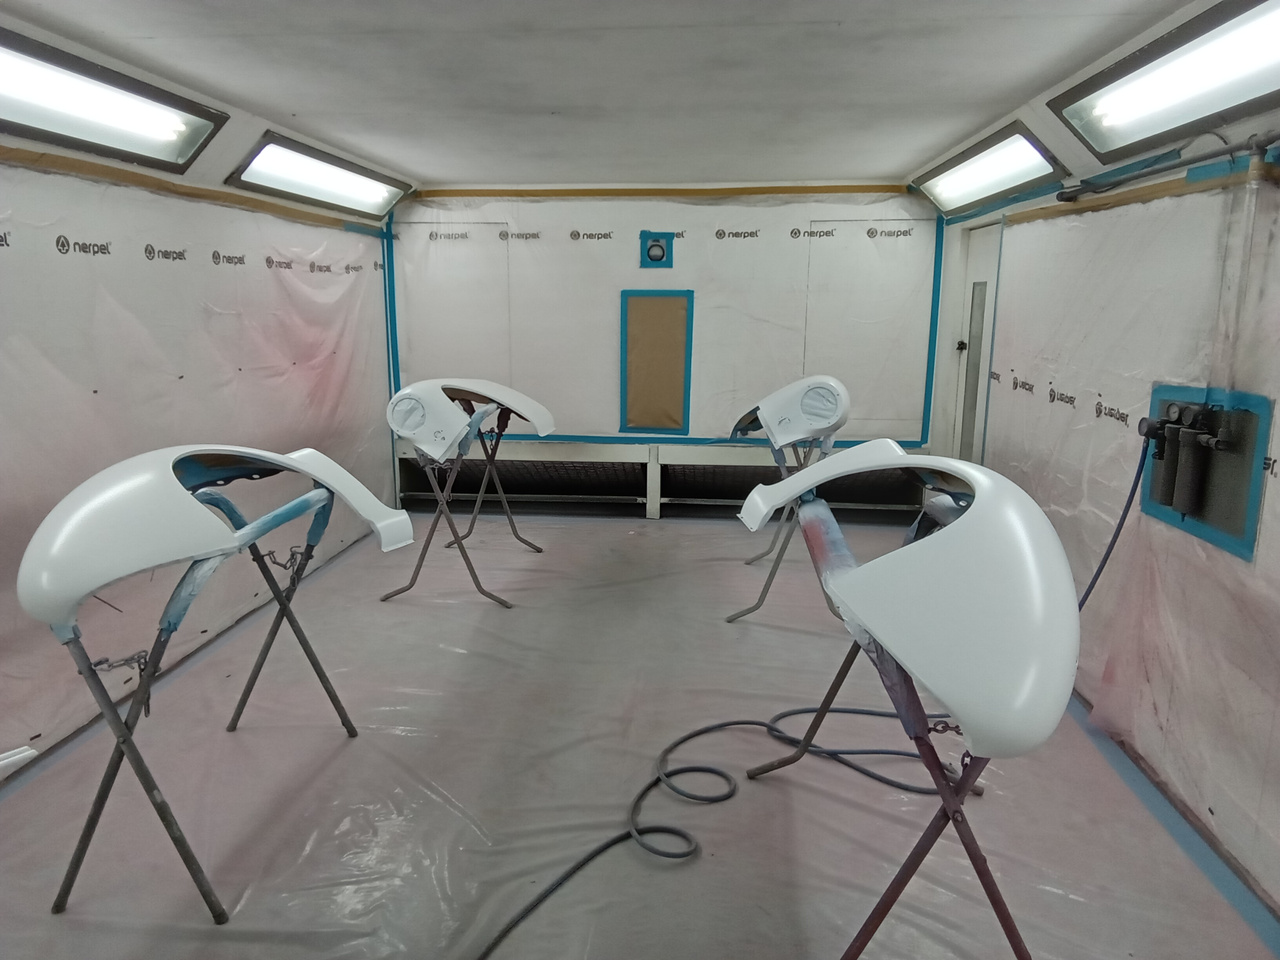
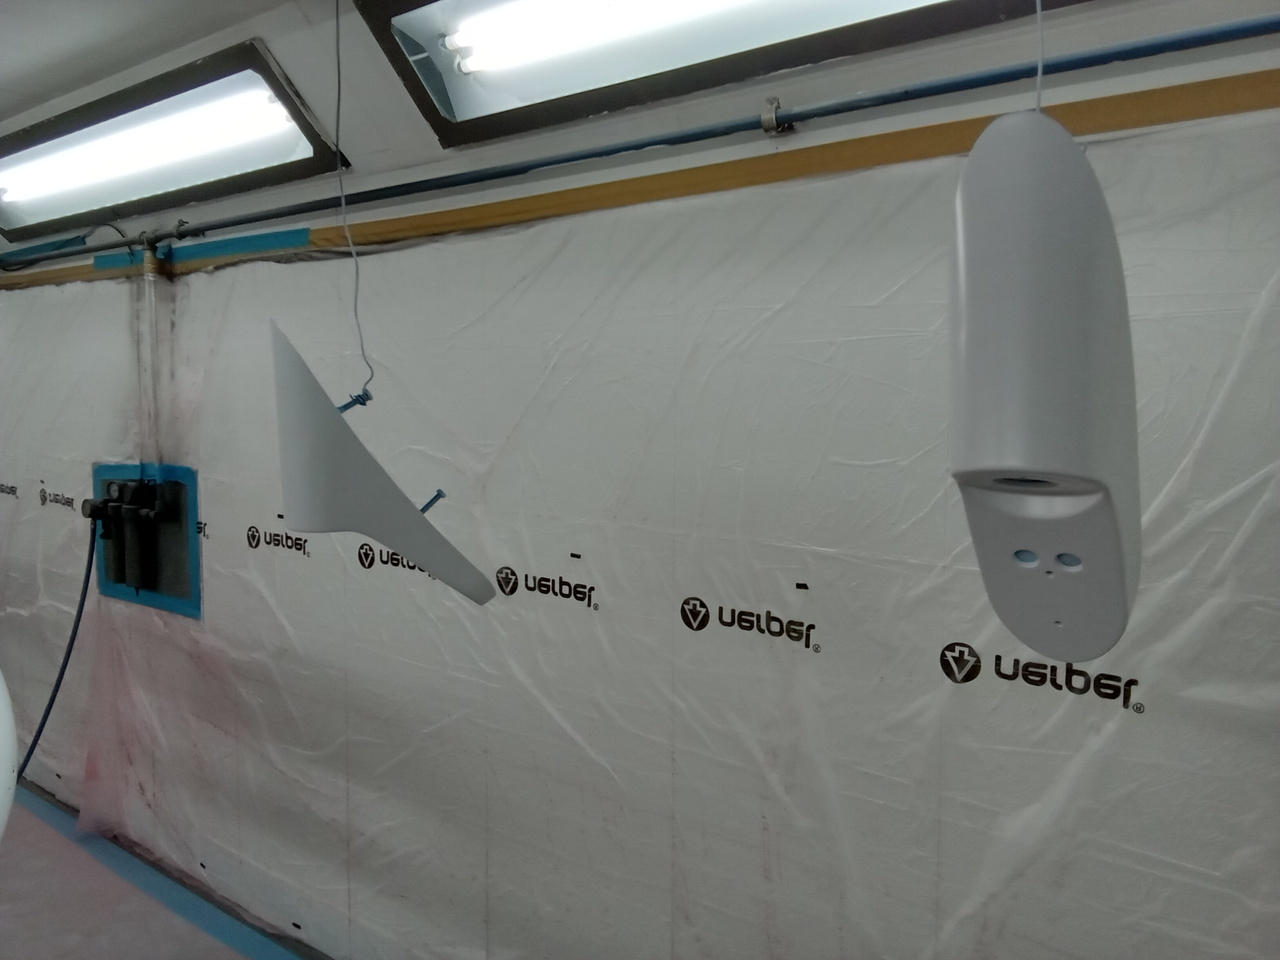
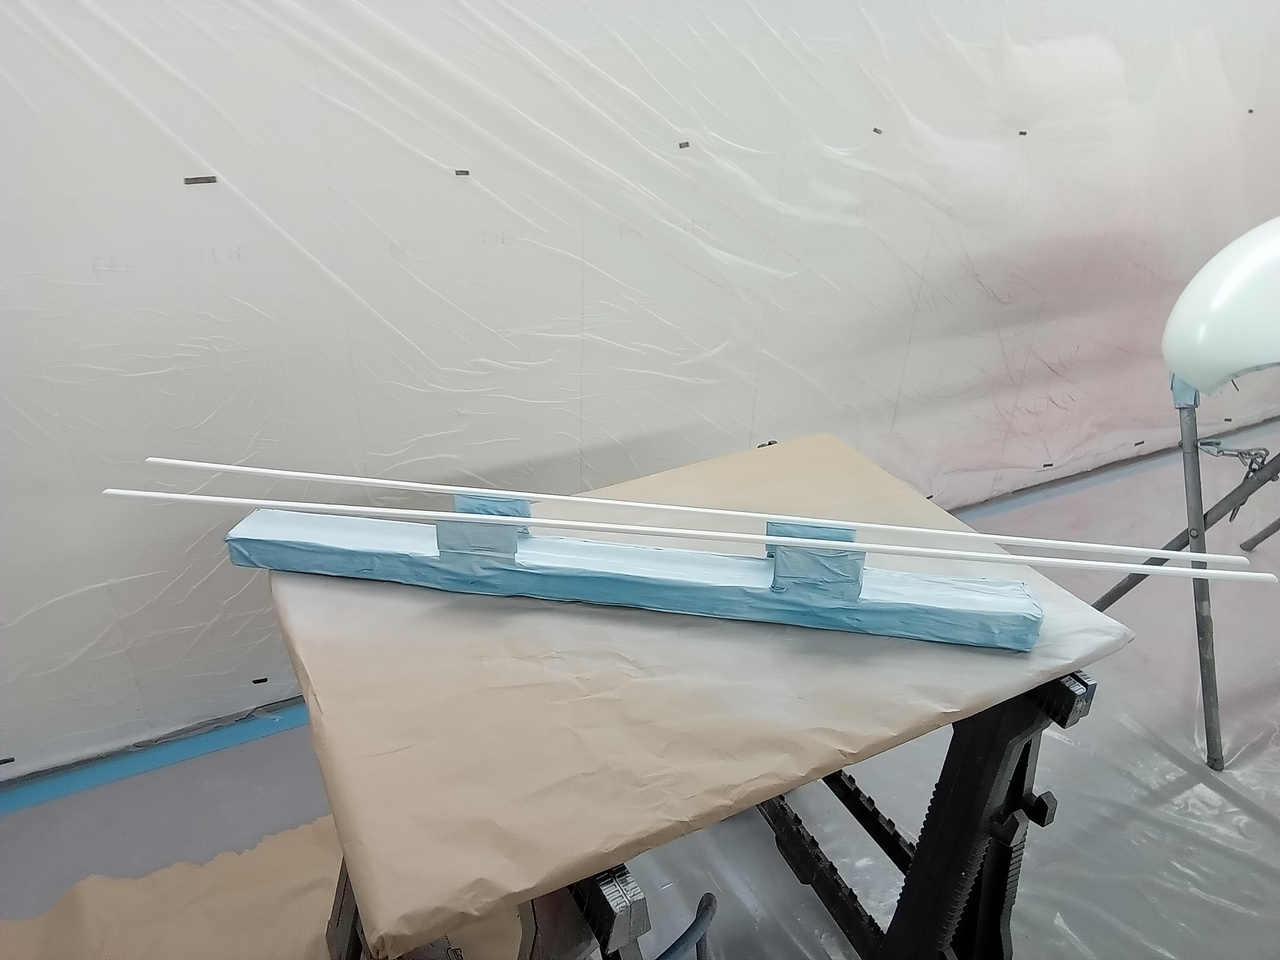
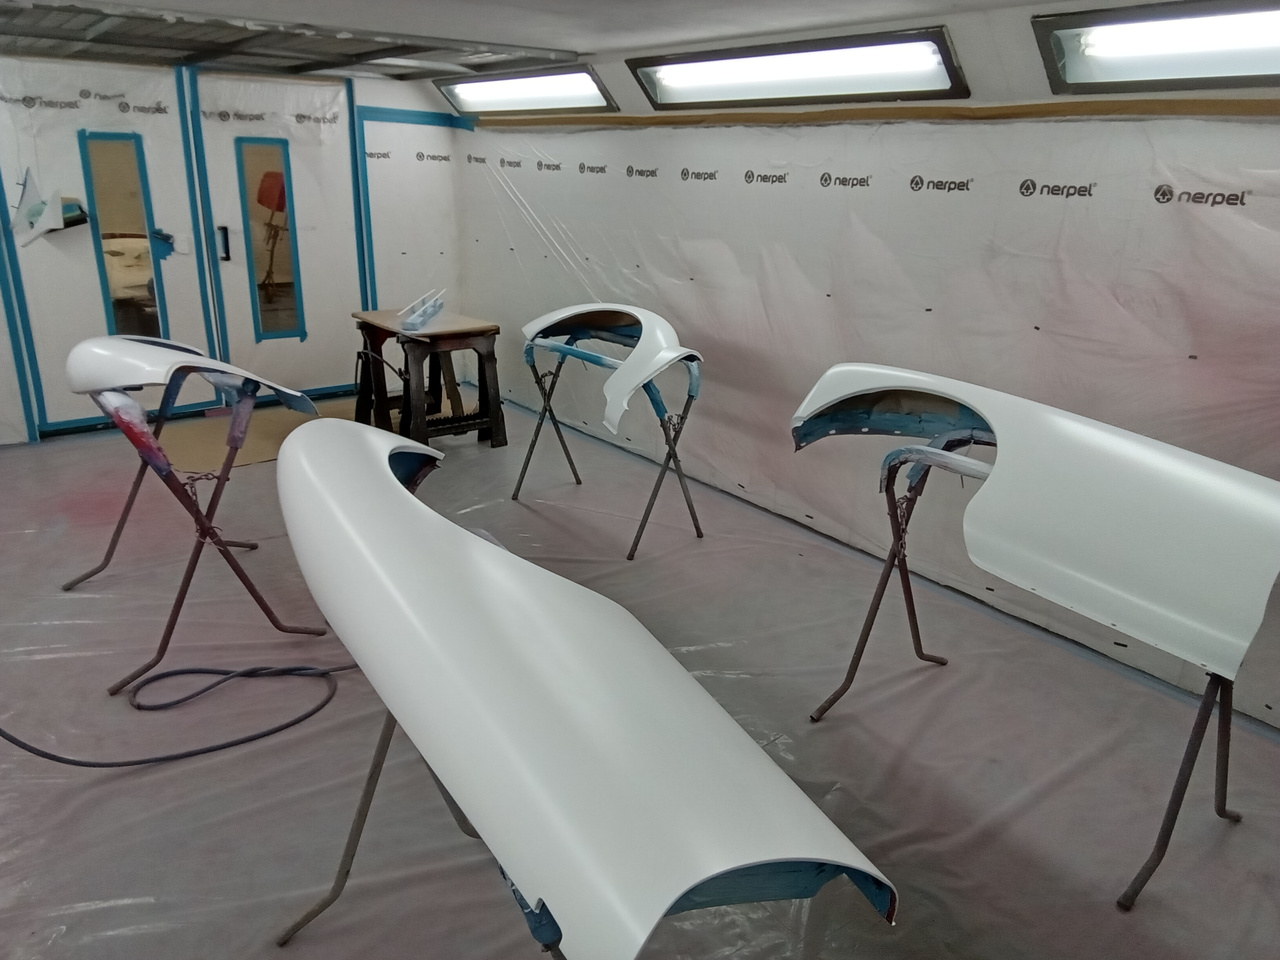
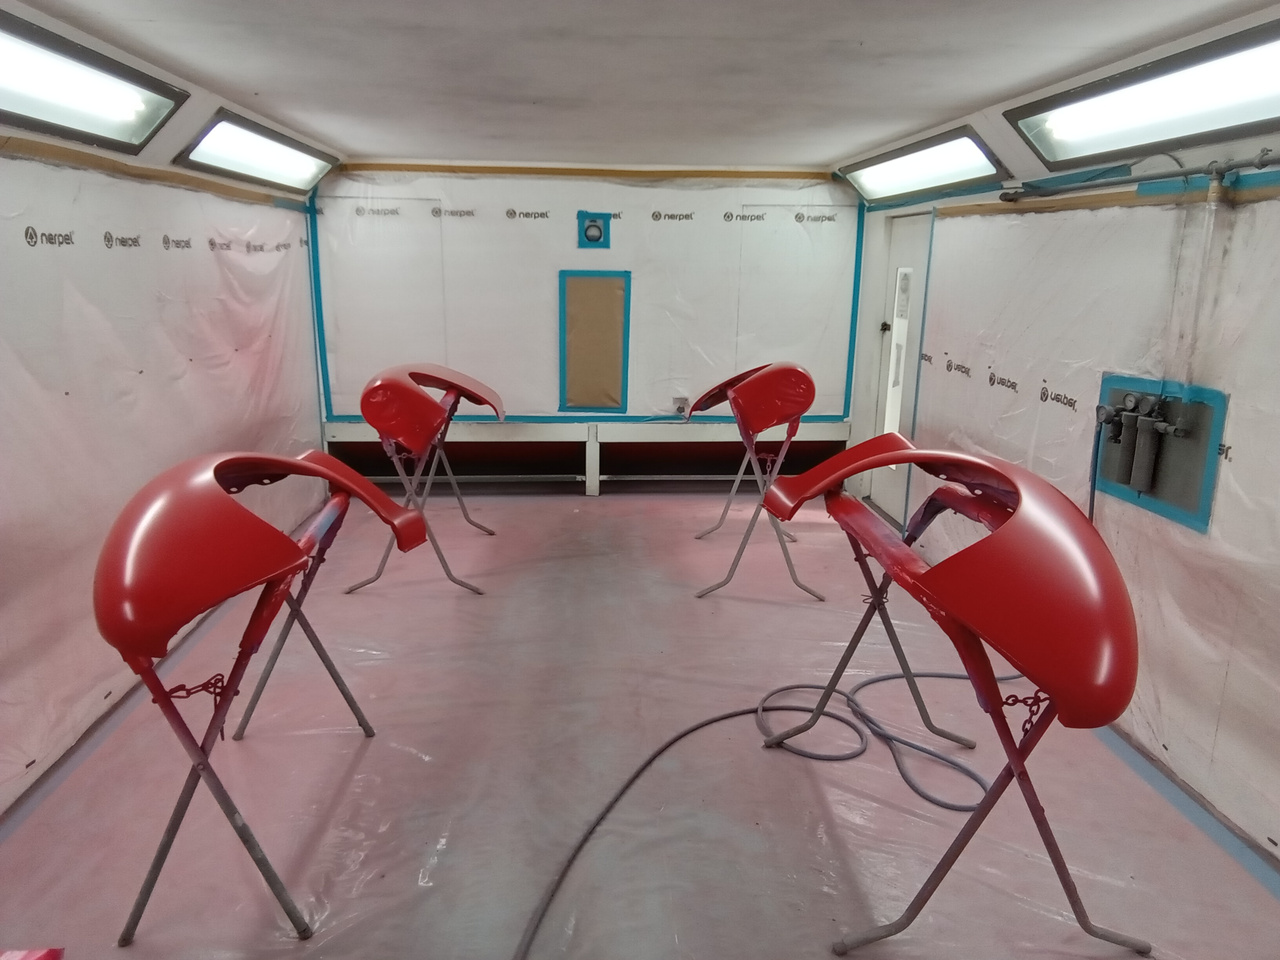
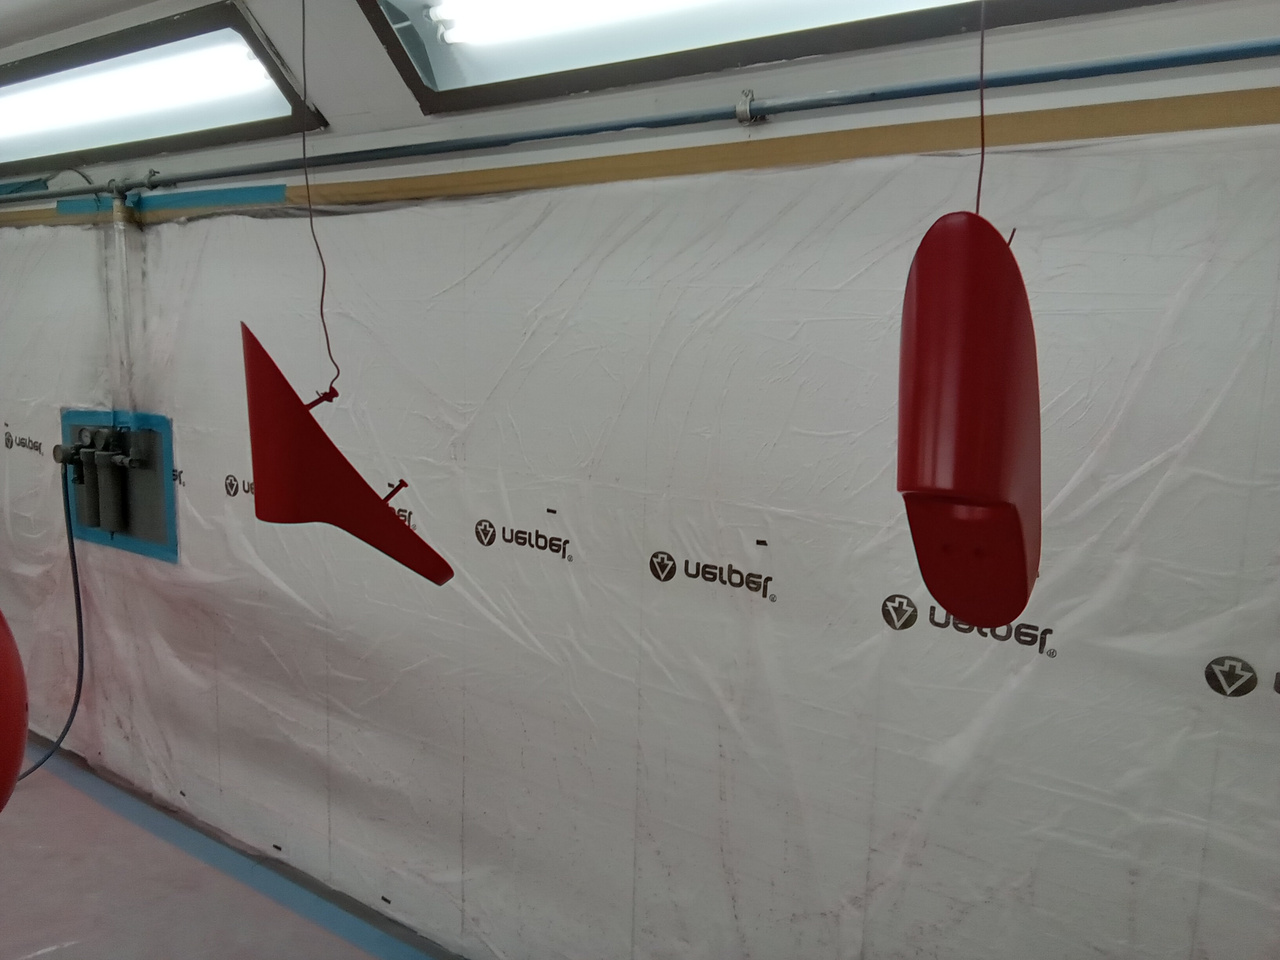
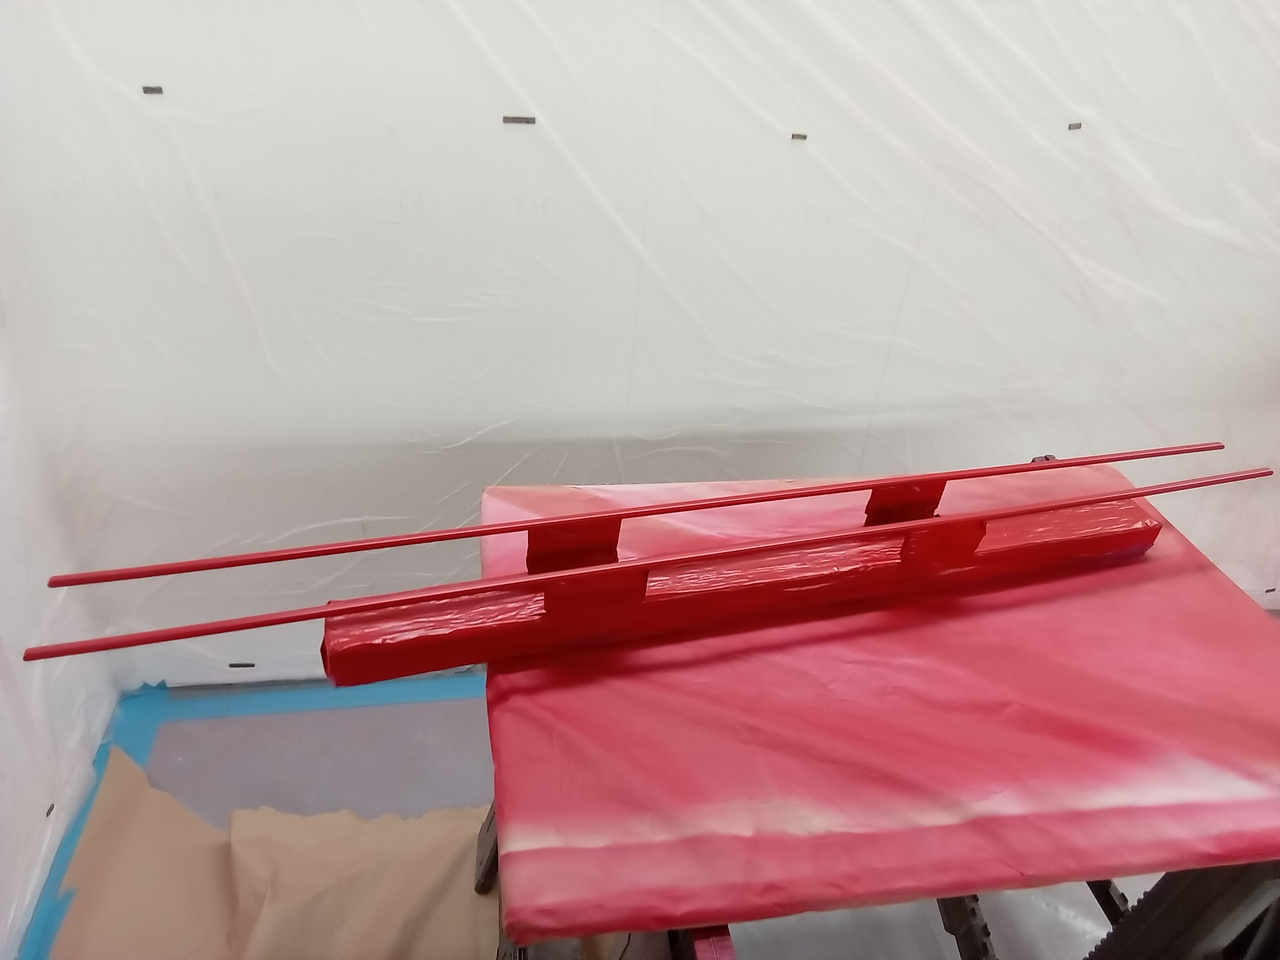
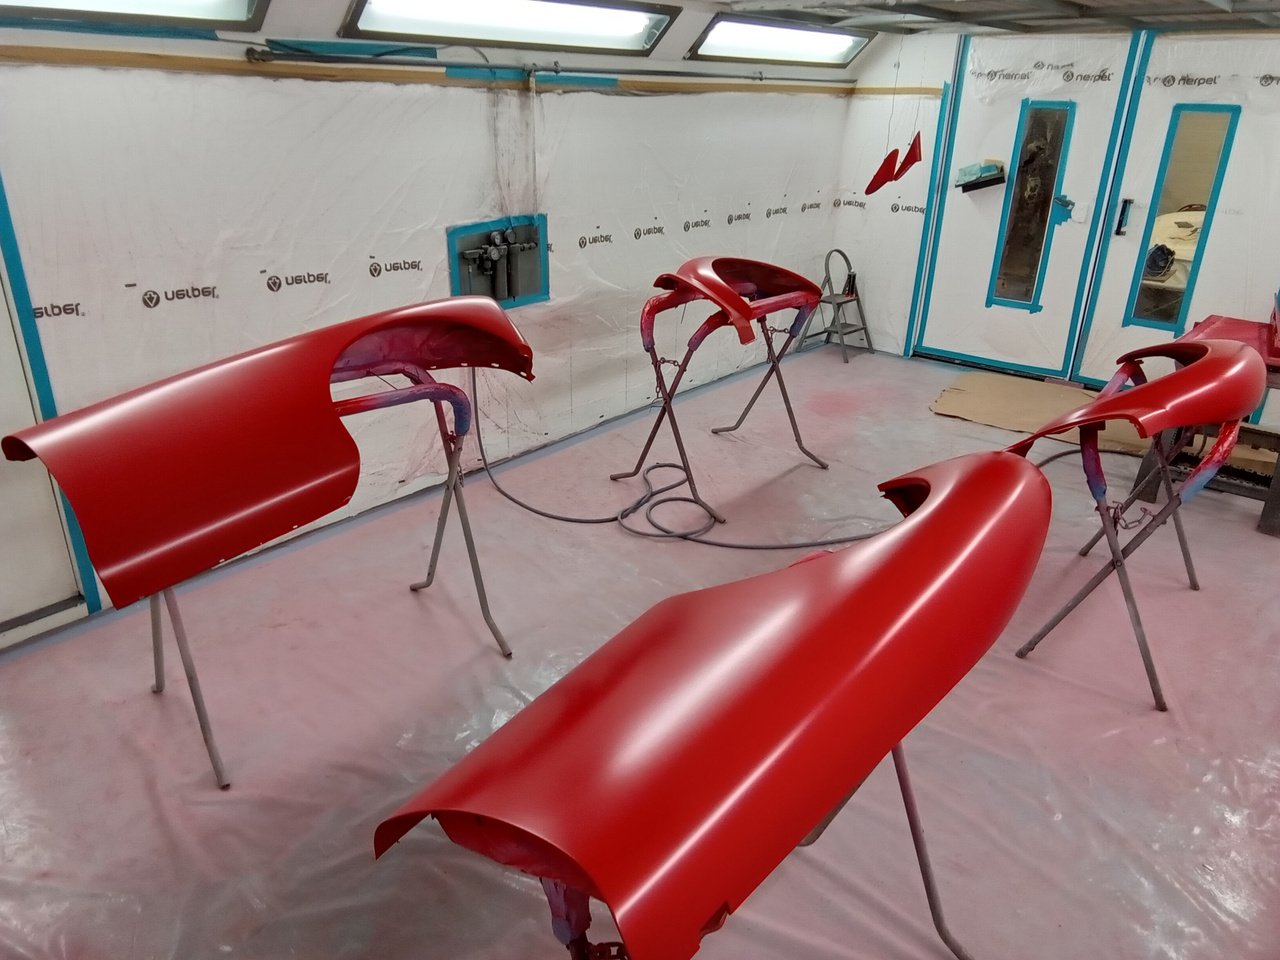
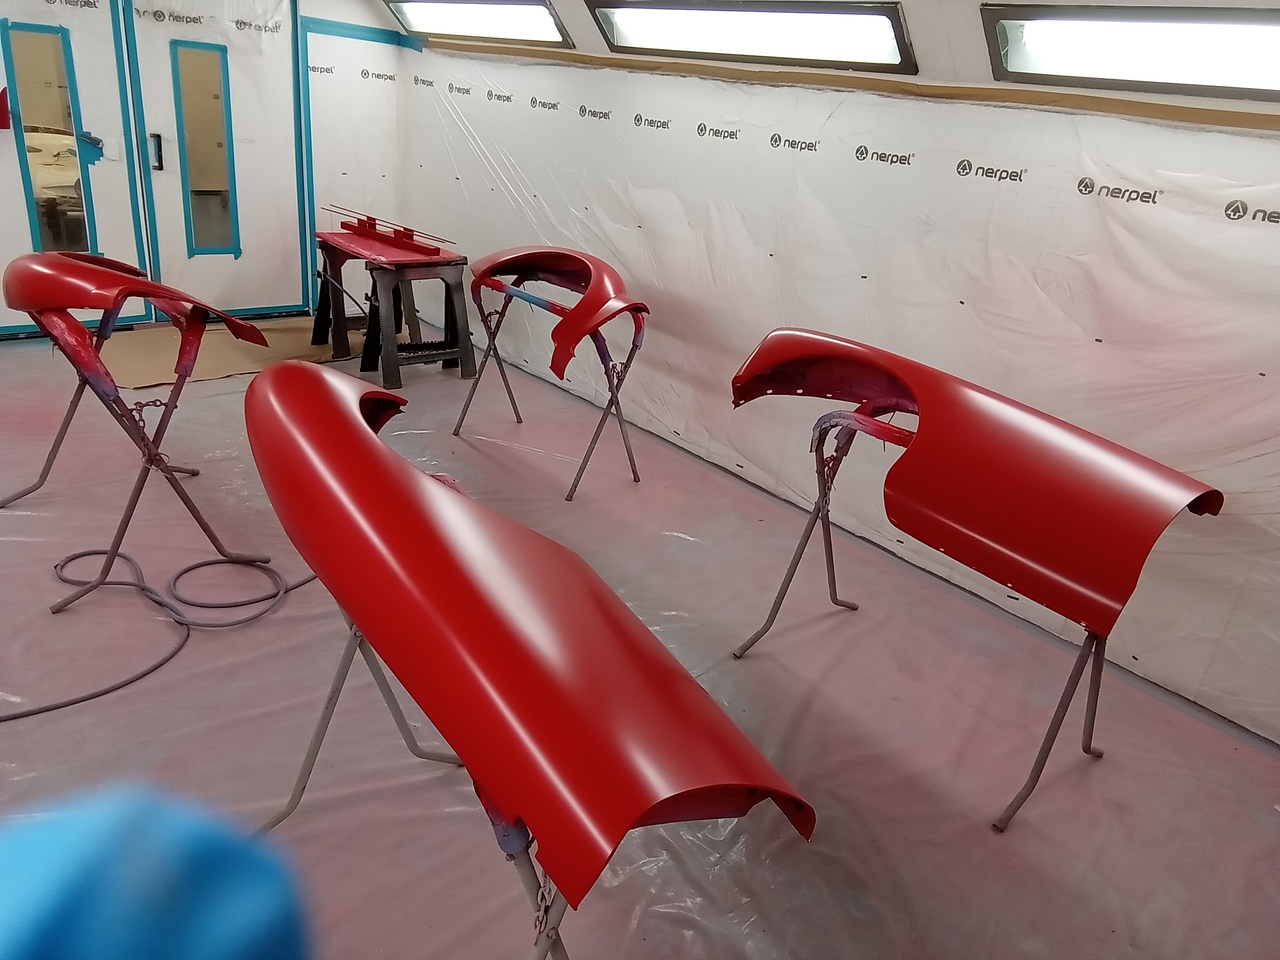
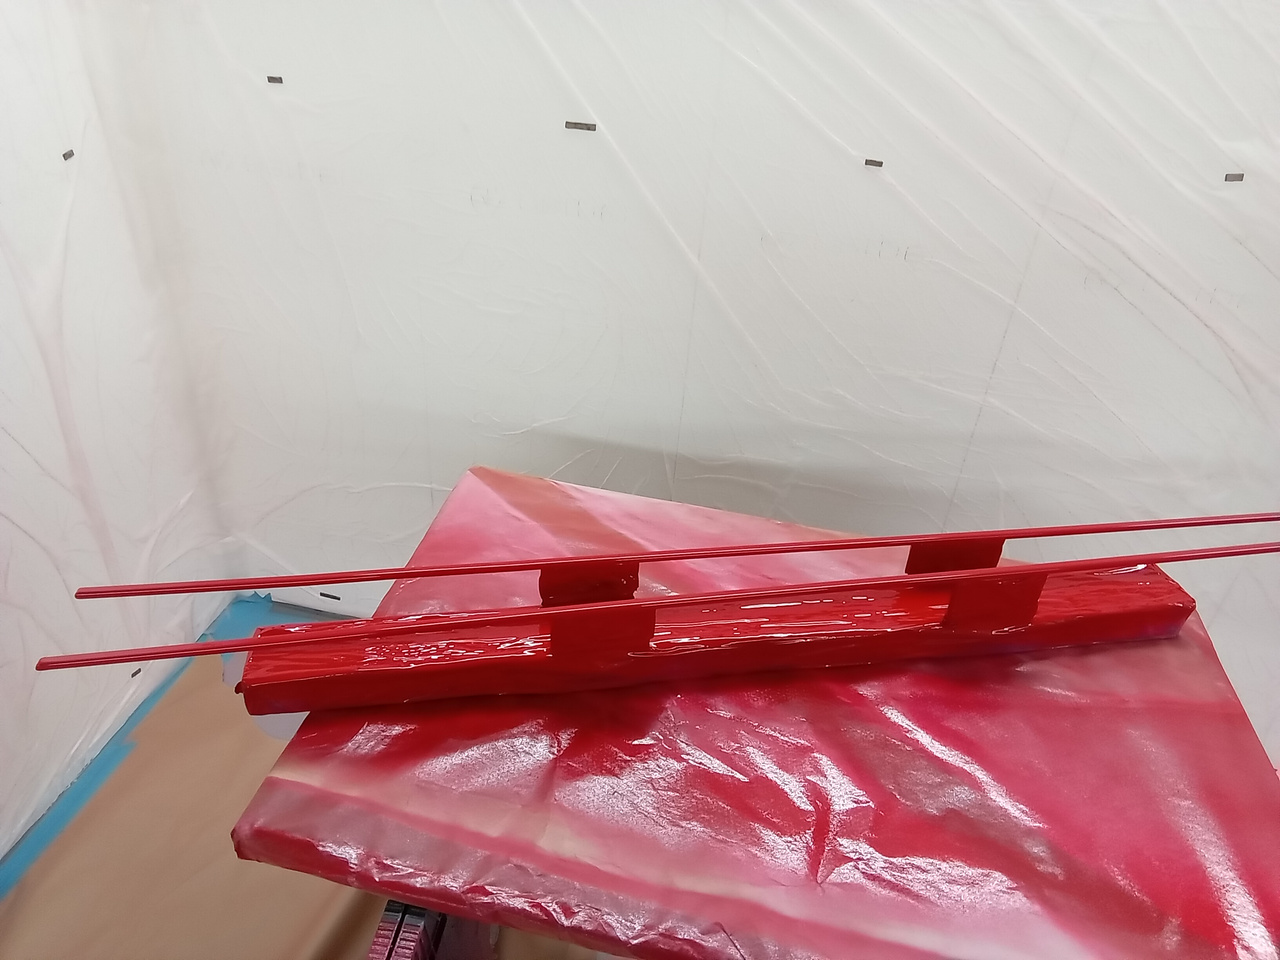
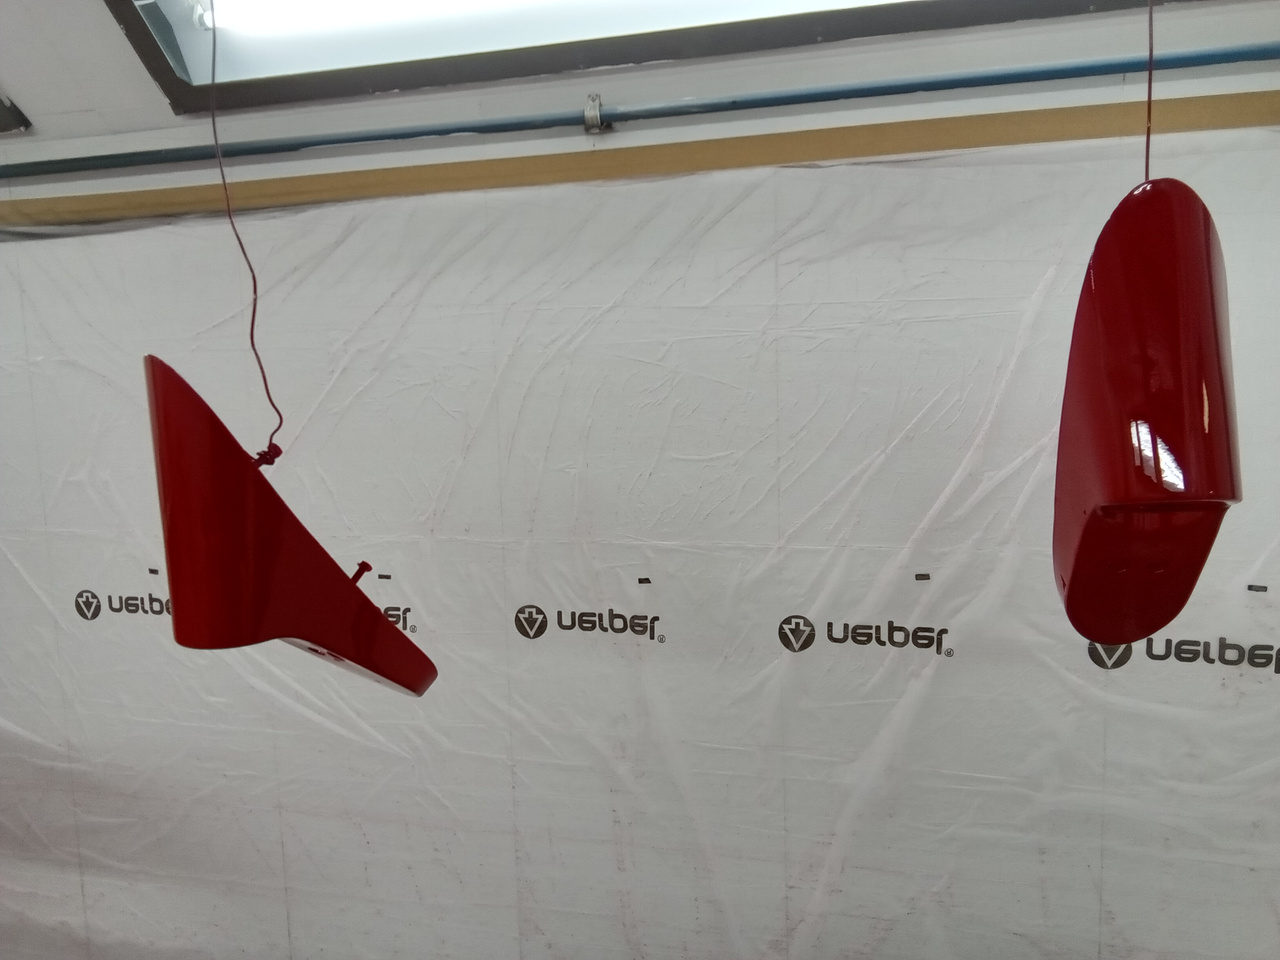
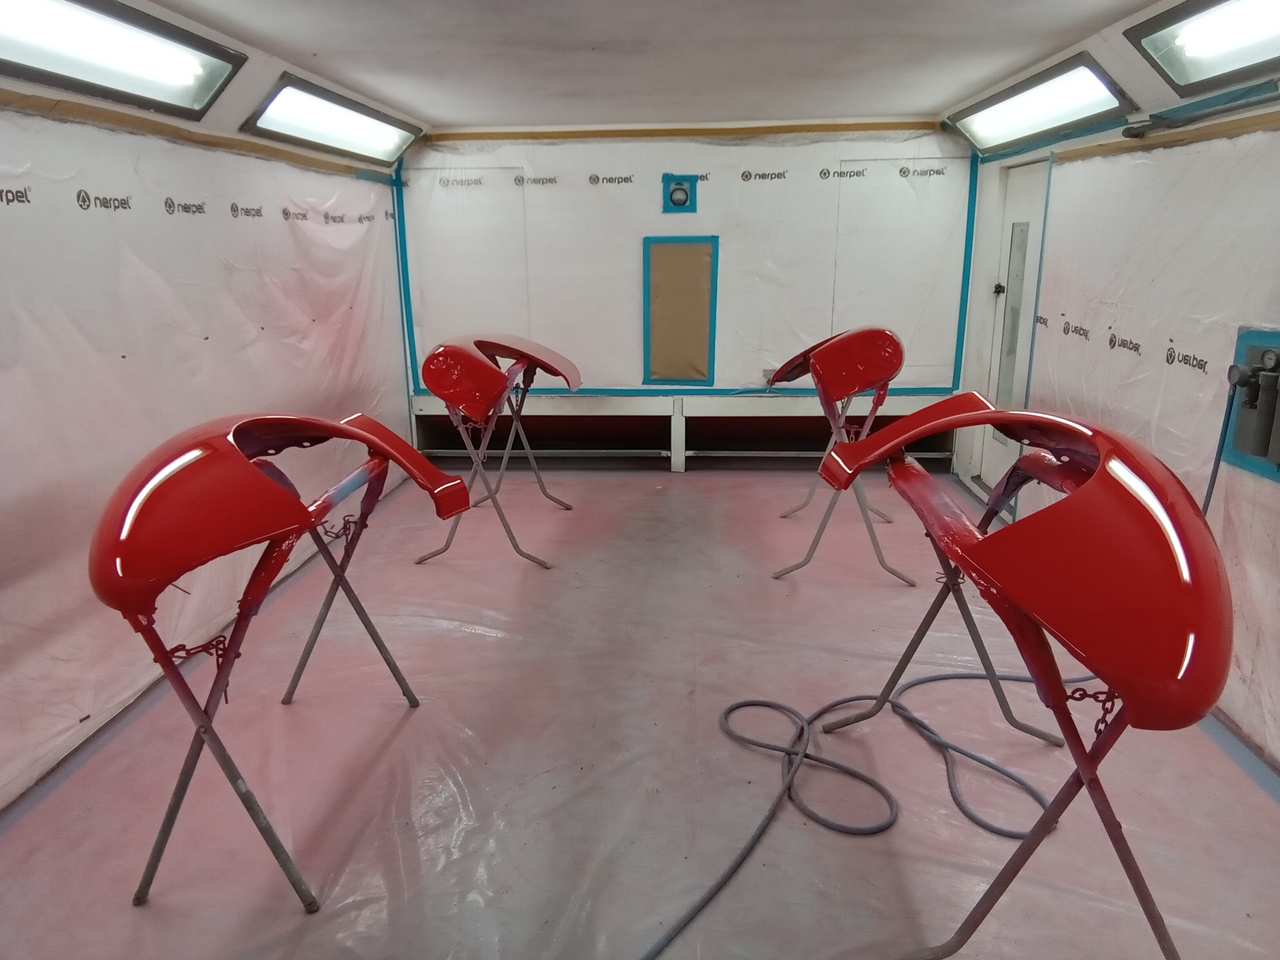
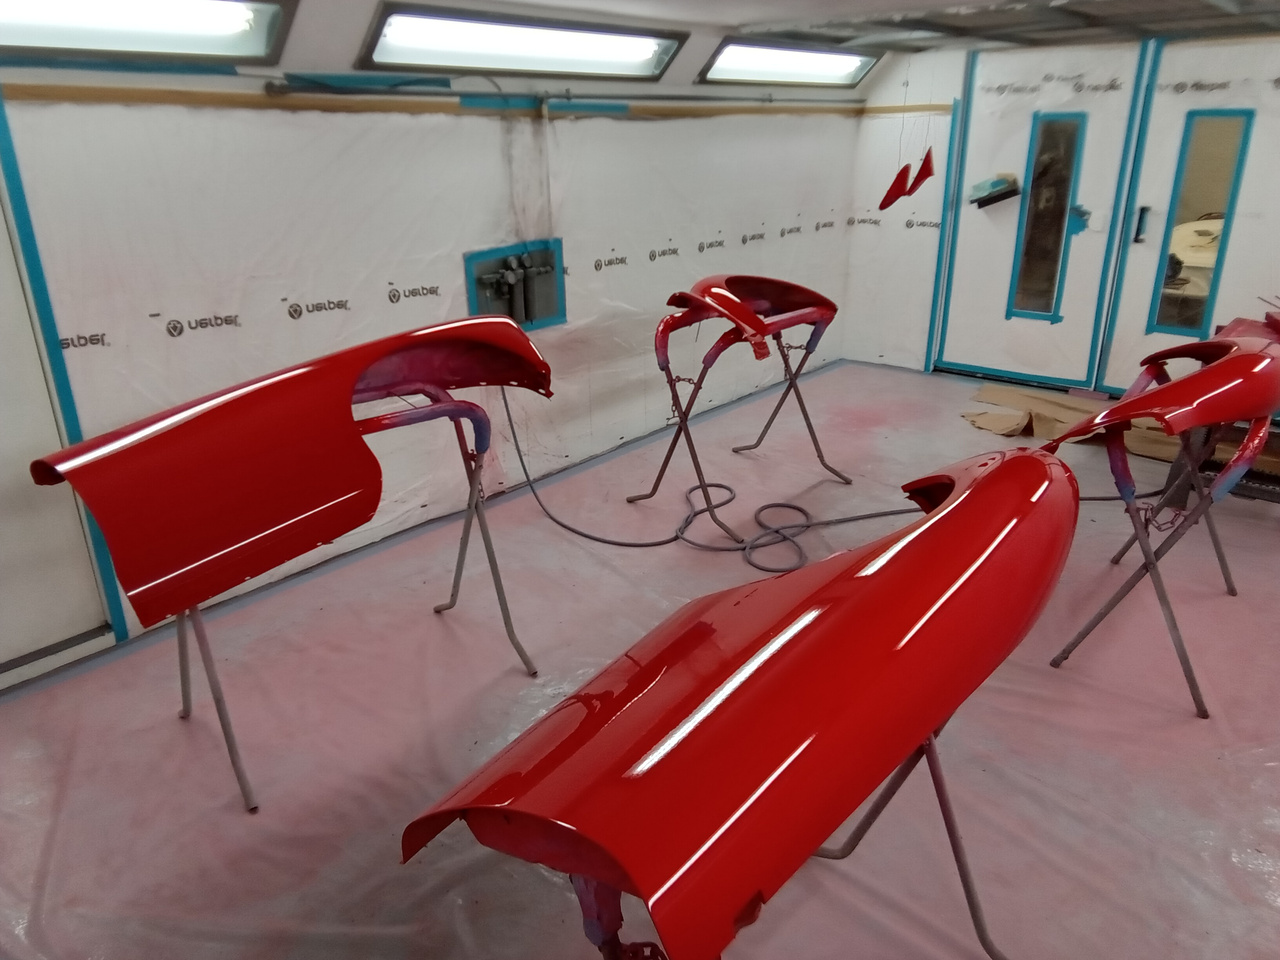
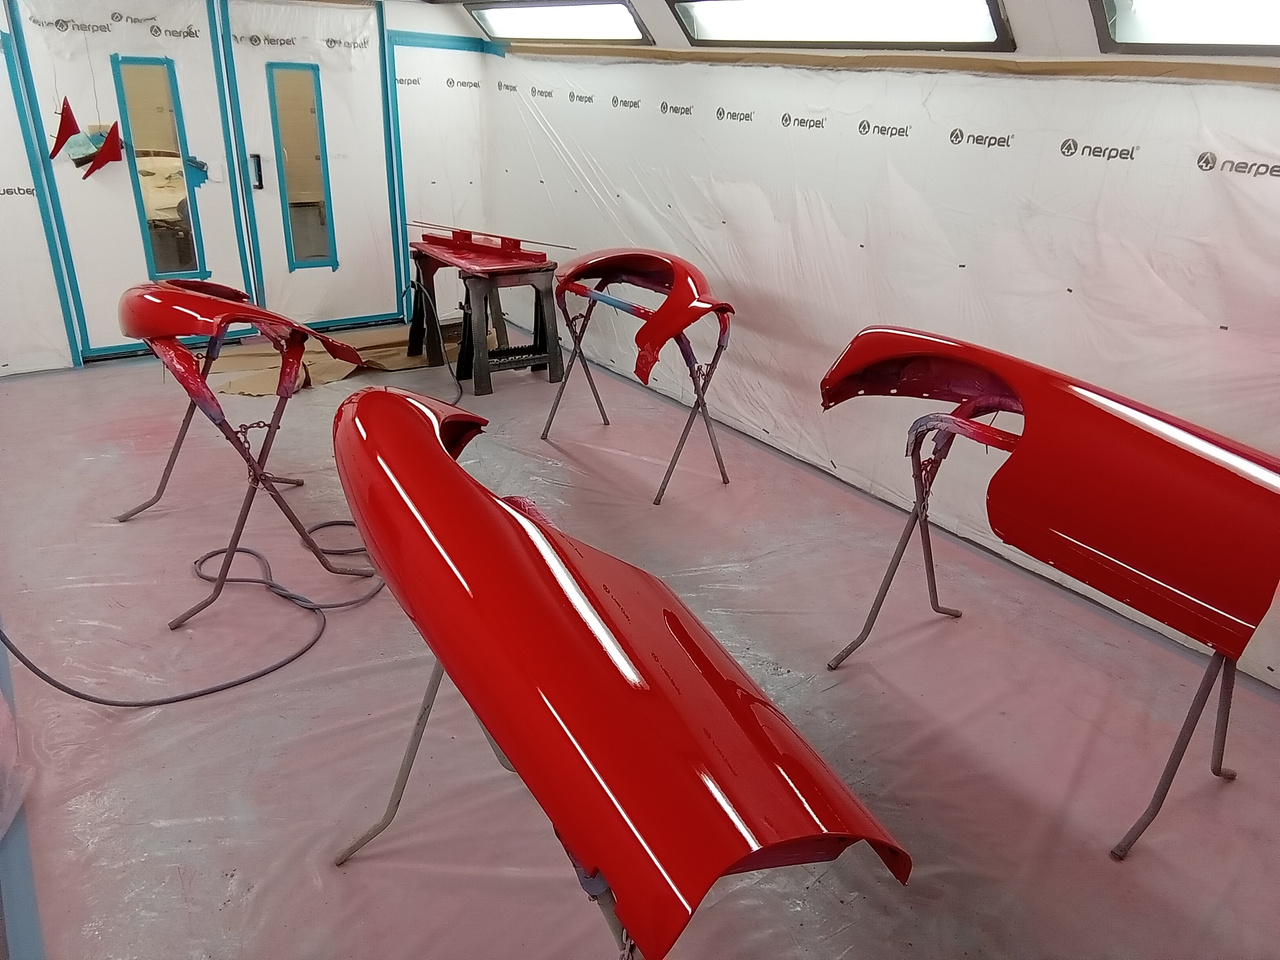
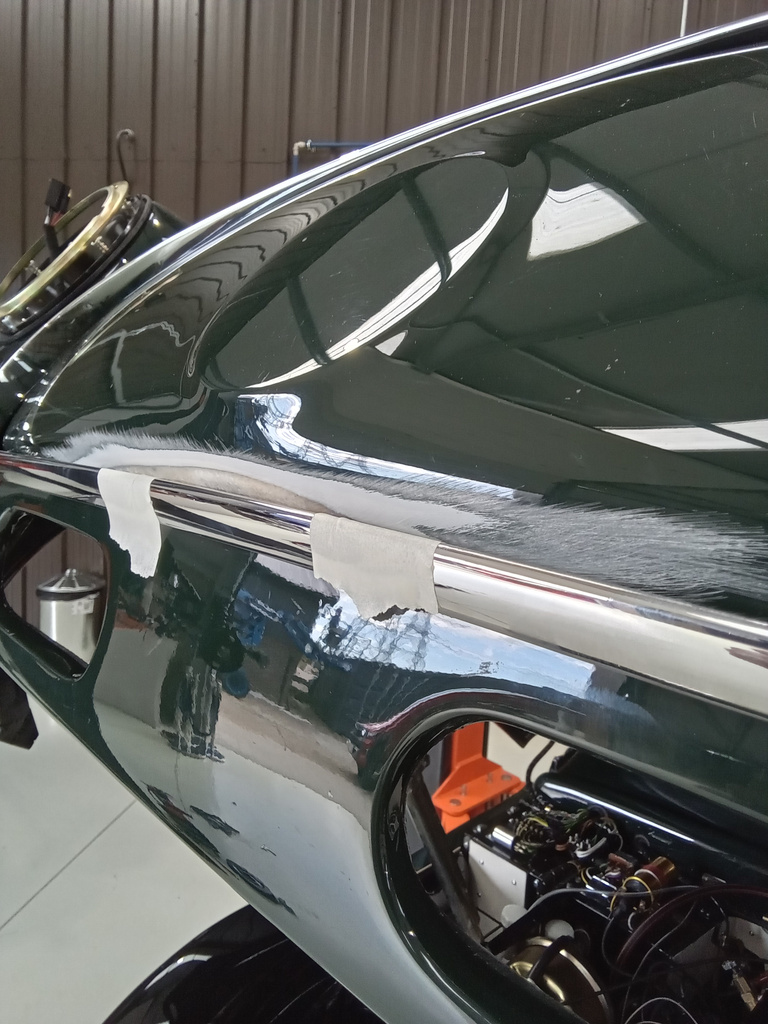
Our 1960 MGA has continued its stay in the Bridge Classic Cars paint shop. Mauro painted the wings while Chris painted the rest of the

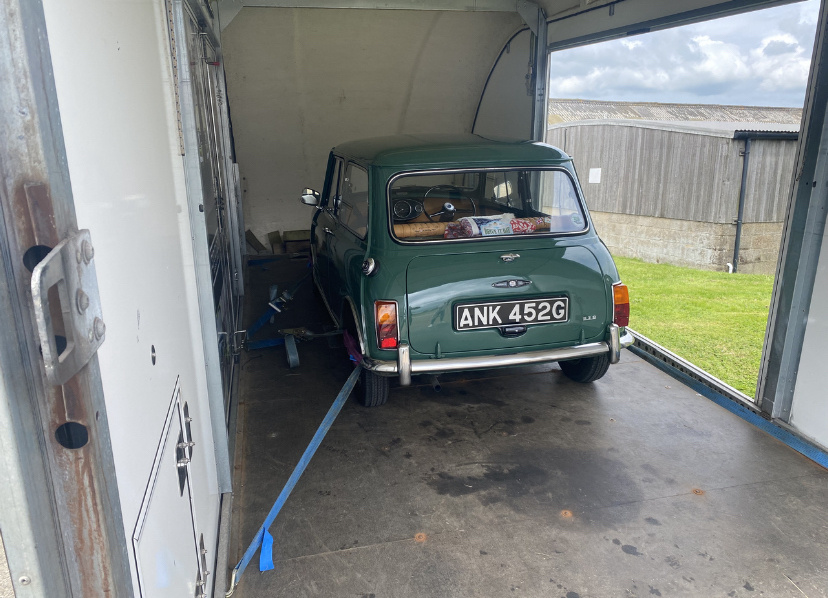
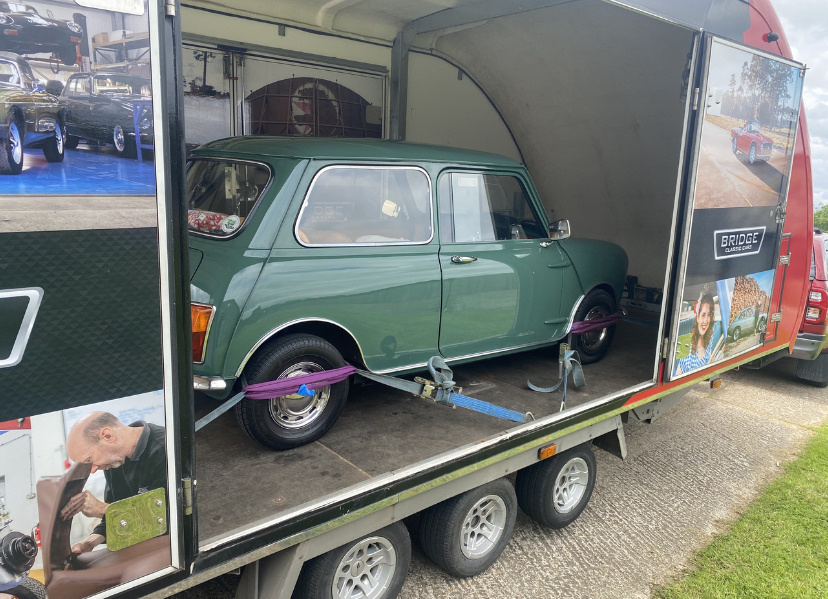
We recently welcomed our 1968 Morris Mini 850 back into the workshop. It didn’t stay long though as Tony has already delivered it back to

Earlier today, our 1952 Fiat 1900 A arrived at the Bridge Classic Cars workshop and it comes with a very special story. An executive from

Technician Jonn has been hard at work on our 1954 Daimler Conquest Roadster preparing it to soon go live on Bridge Classic Cars Competitions. Here

Paul has continued his hard work on our 1956 Jensen 541. Here are his notes of what he has been up to: Fabricate throttle pedal
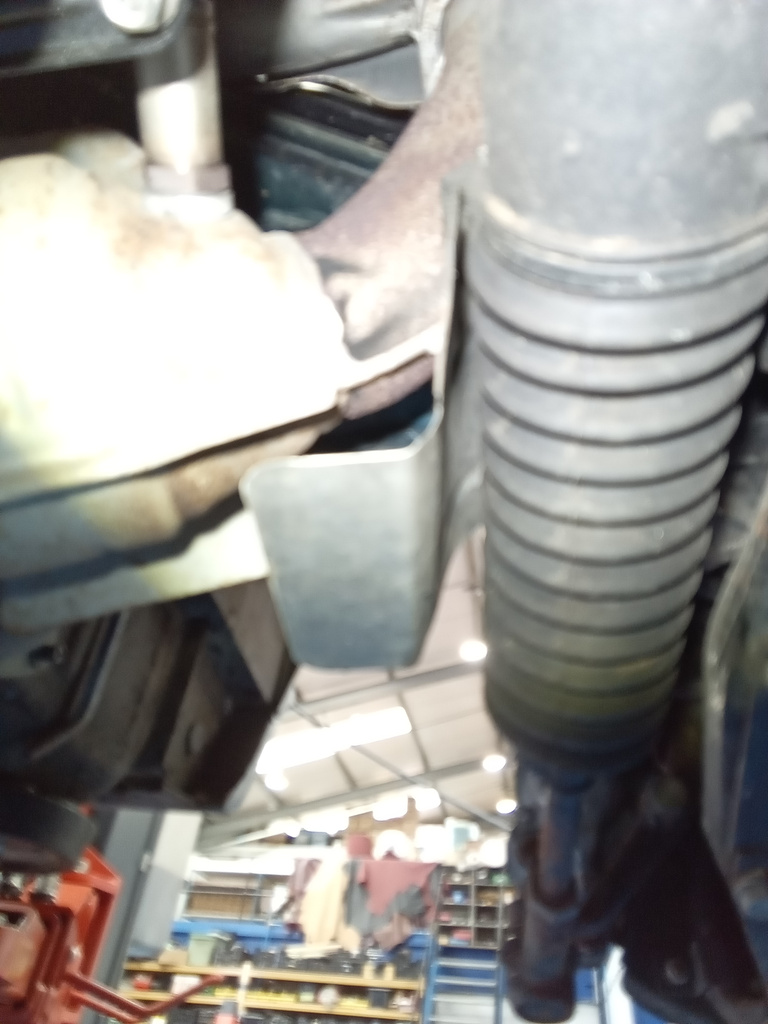
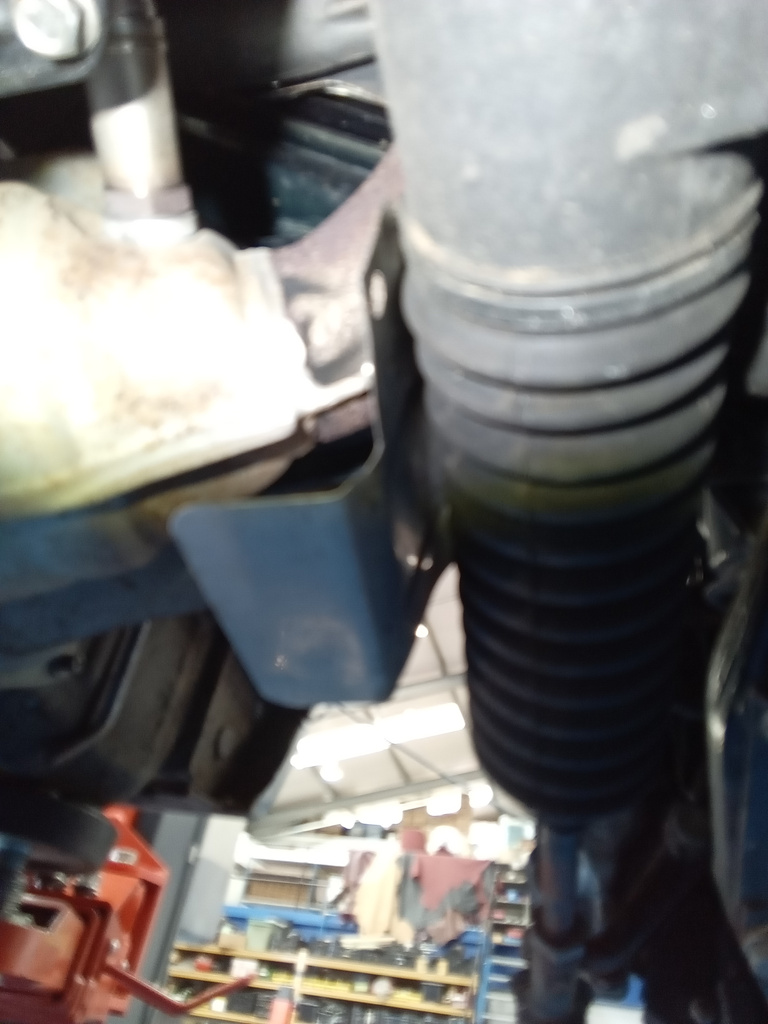
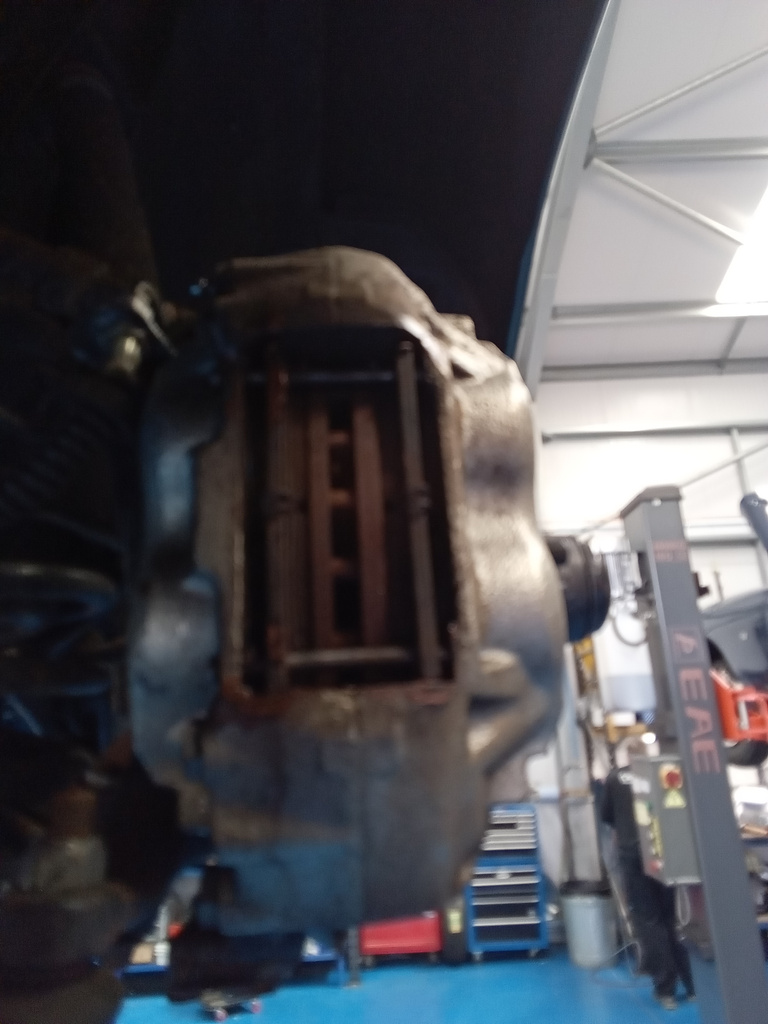
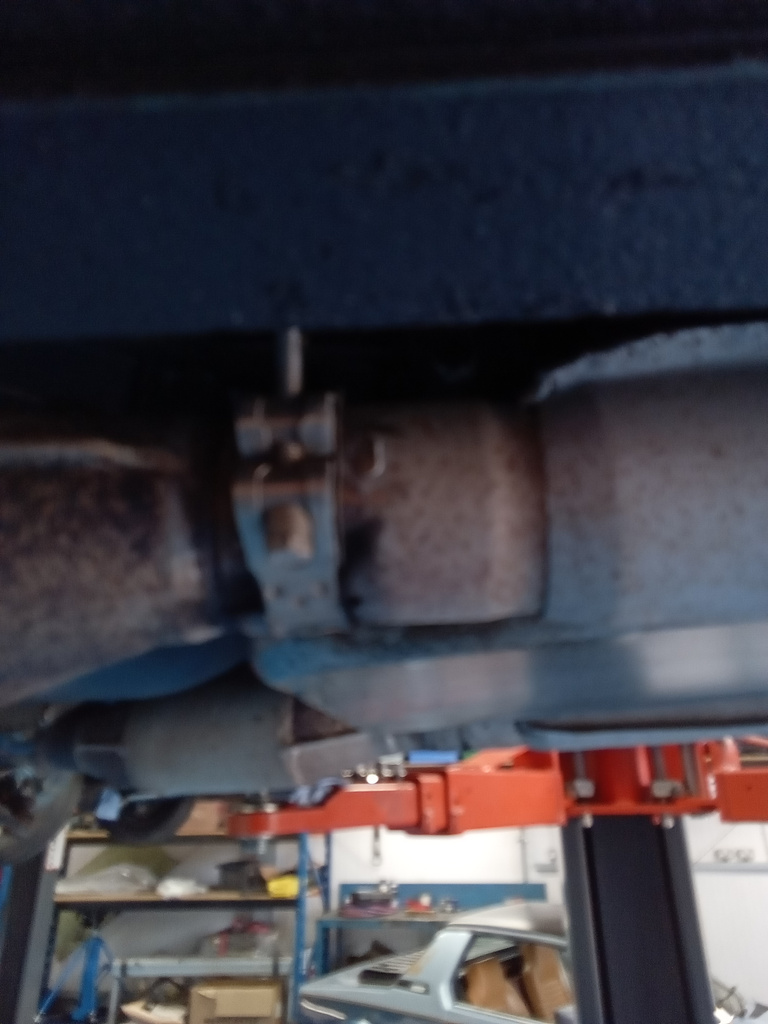
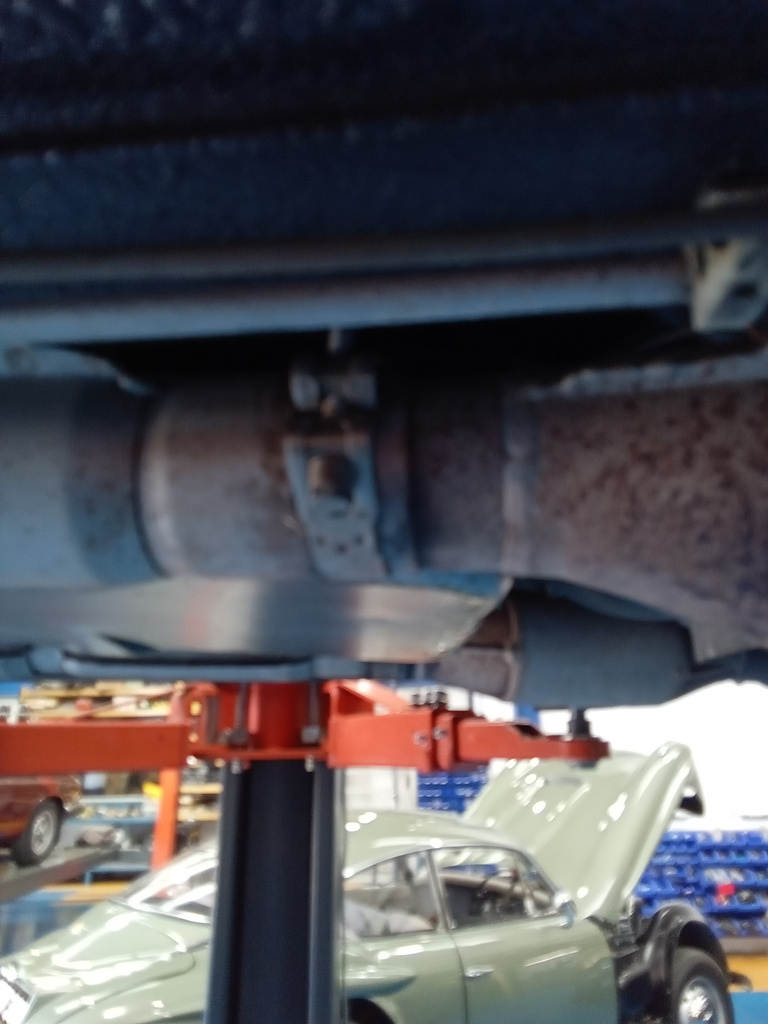
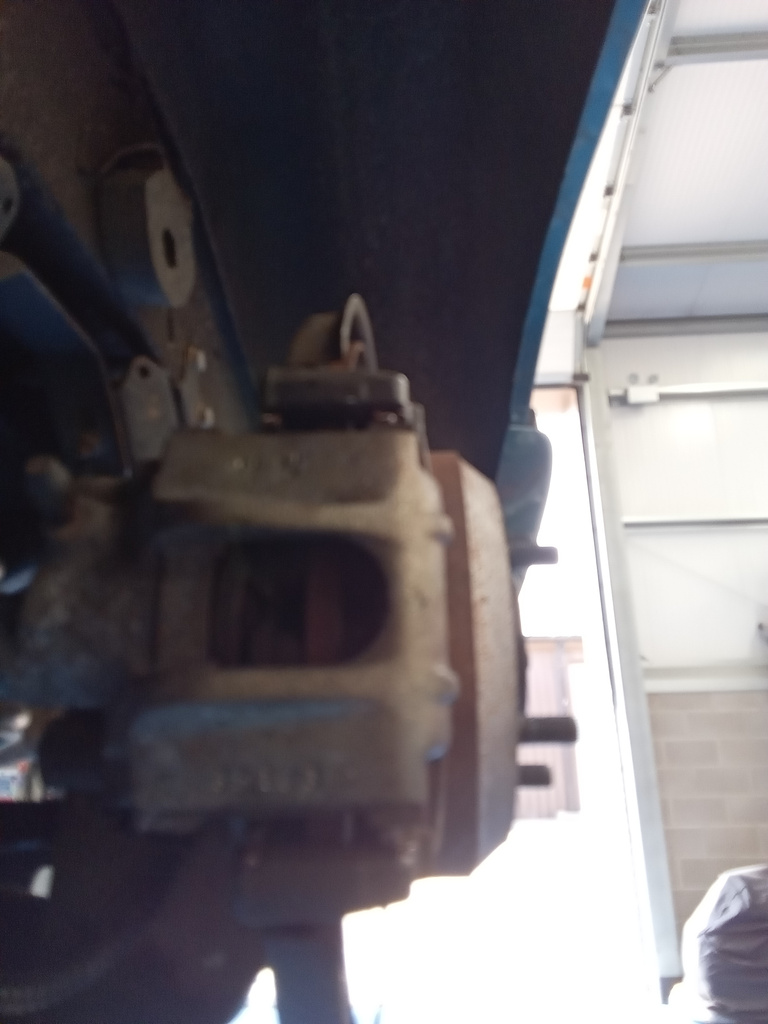
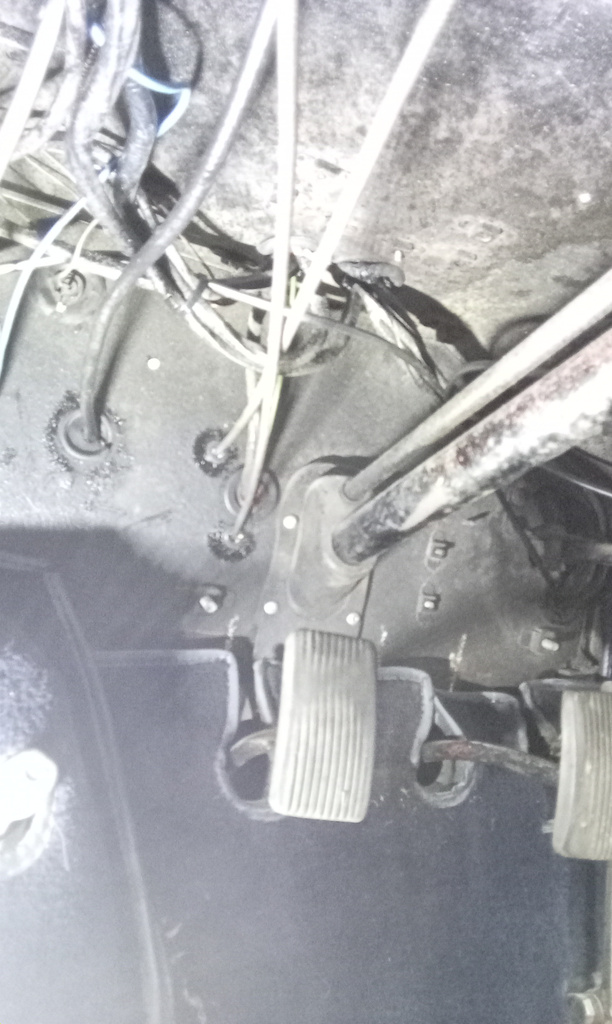
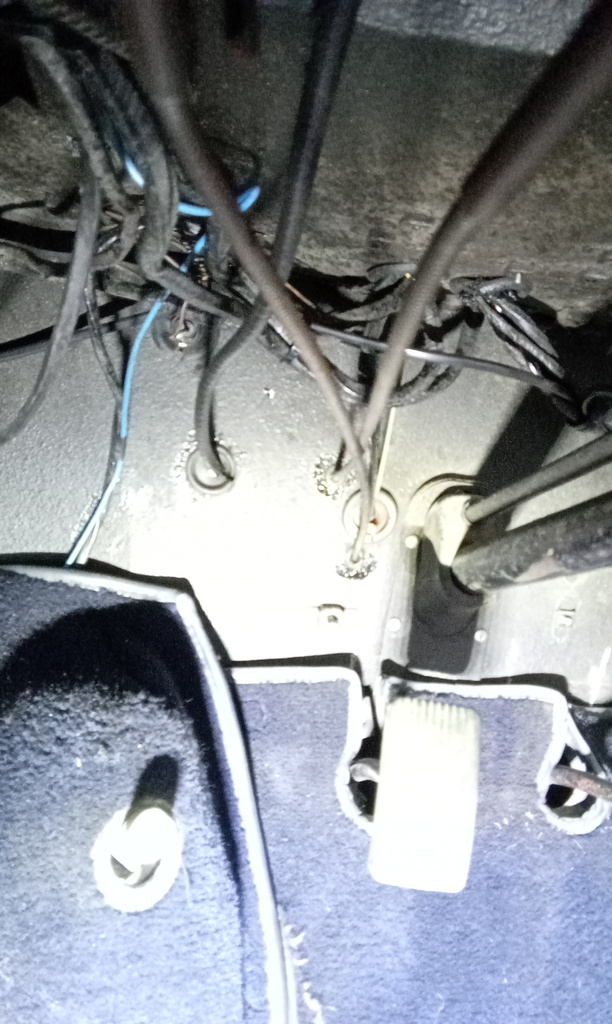
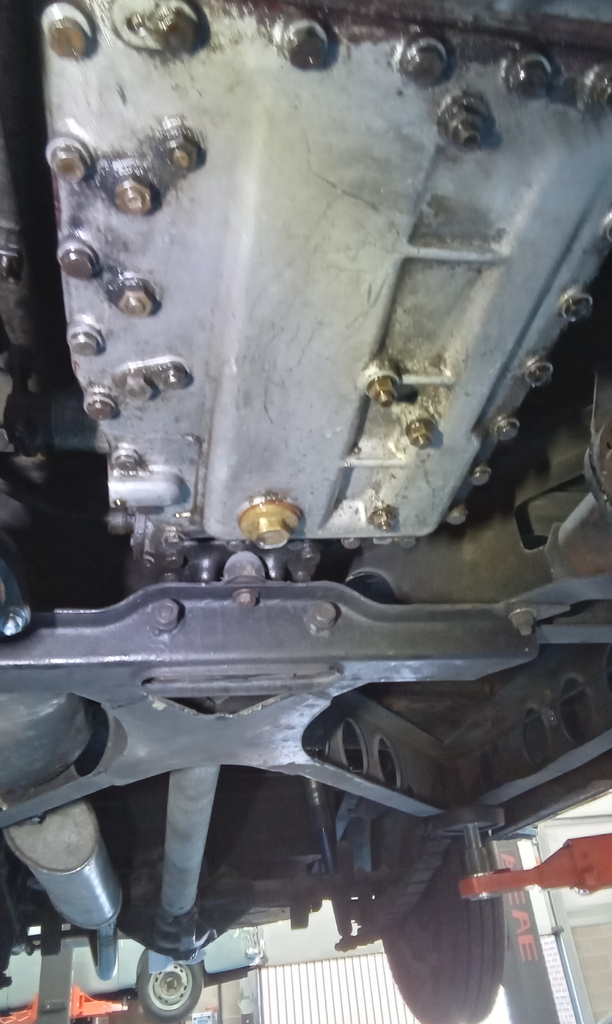
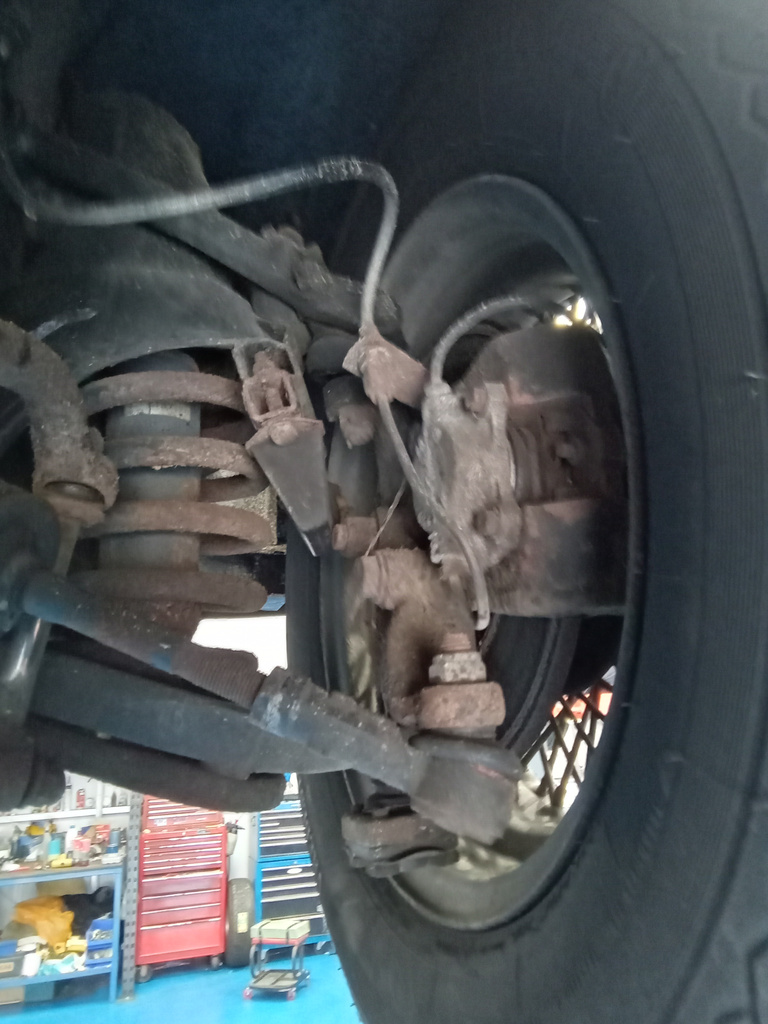
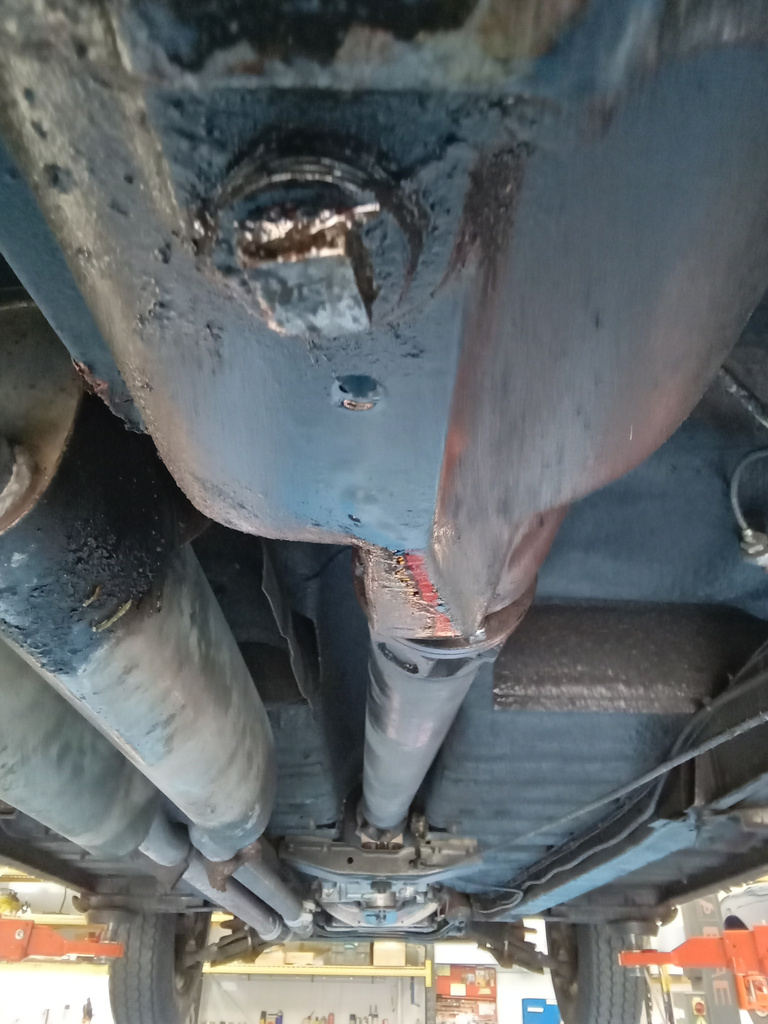
Julian has been giving our 1996 Jaguar XJS V12 a checkover in preparation for an MOT. Here are his notes:
Remove all wheels and remove all brake pads, clean and grease pads and refit, changed brake fluid. Undo front exhaust clamps and reseal exhaust pipes, check all levels. Heater stuck on hot, have fitted a link pipe to vacuum pipes under passenger mat s temporary fix, suspect faulty heater panel. Left hand exhaust cat has a small crack on the weld this would need to be removed to be fixed.
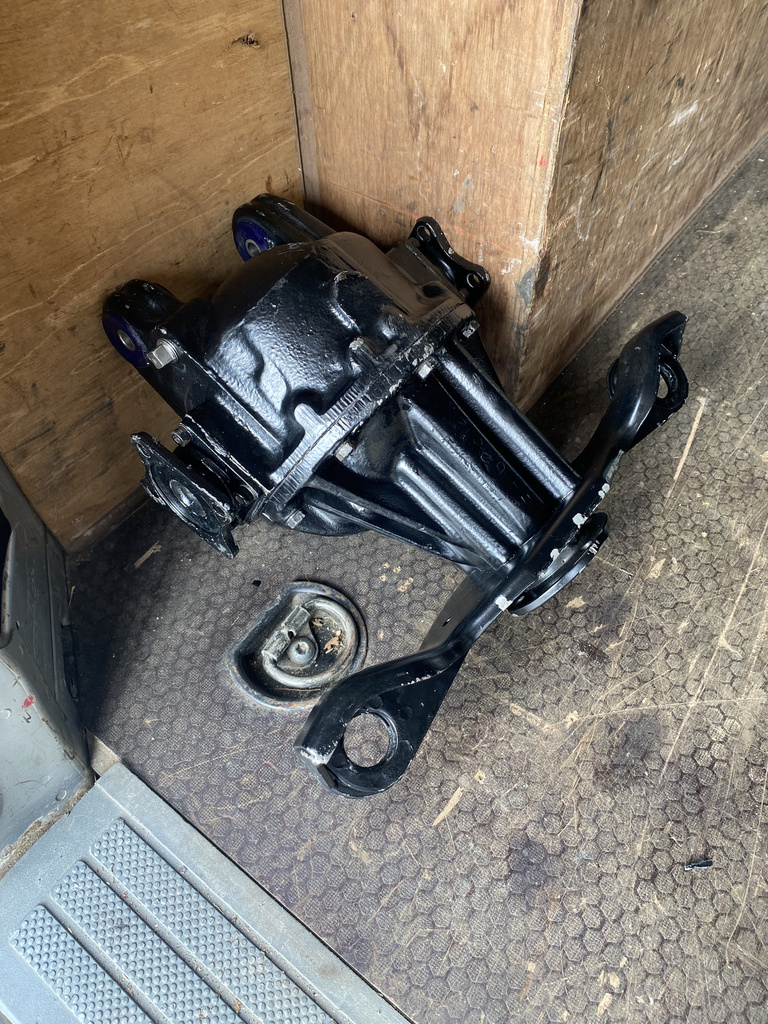
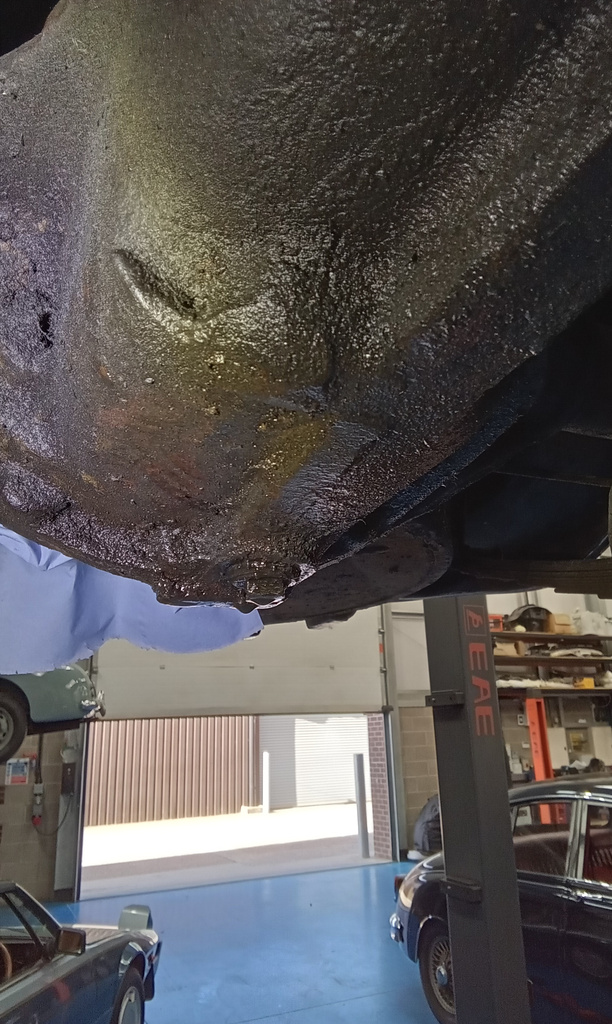
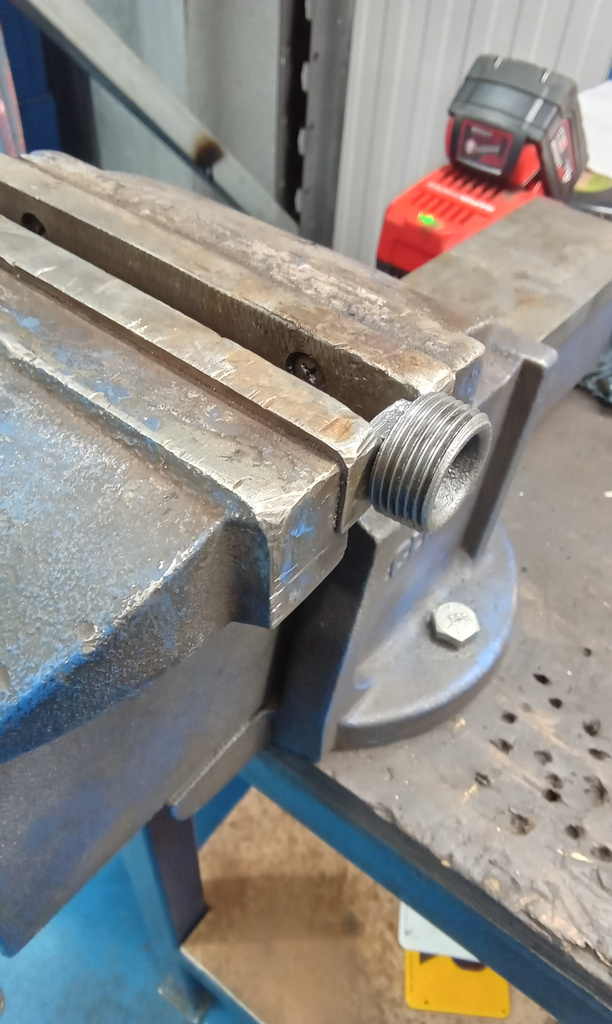
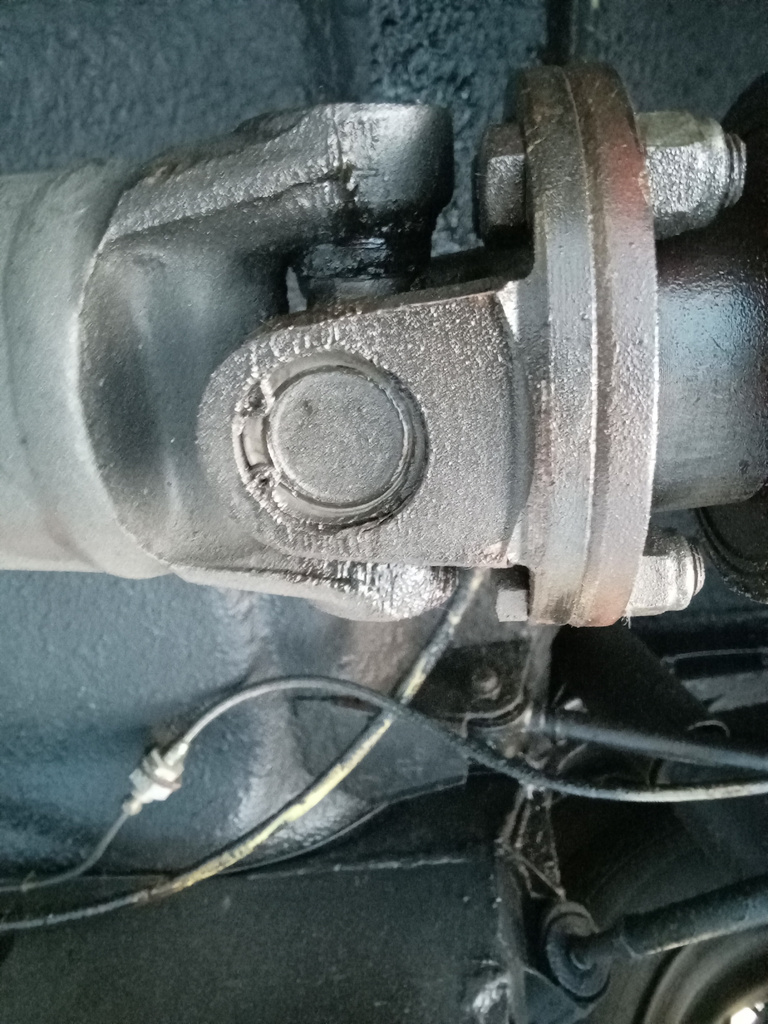
Tony recently collected the gearbox of our 1986 Fiat X1/9 ready to go back in the car. While he was out, he also collected the diff from our 1976 Triumph Spitfire.

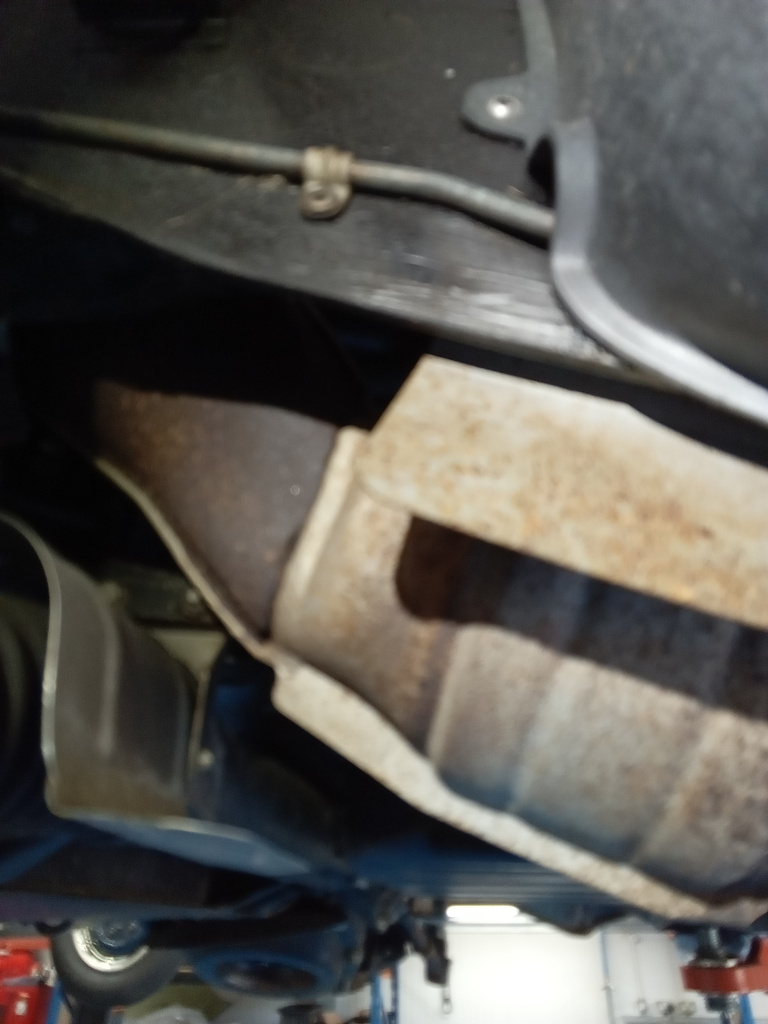
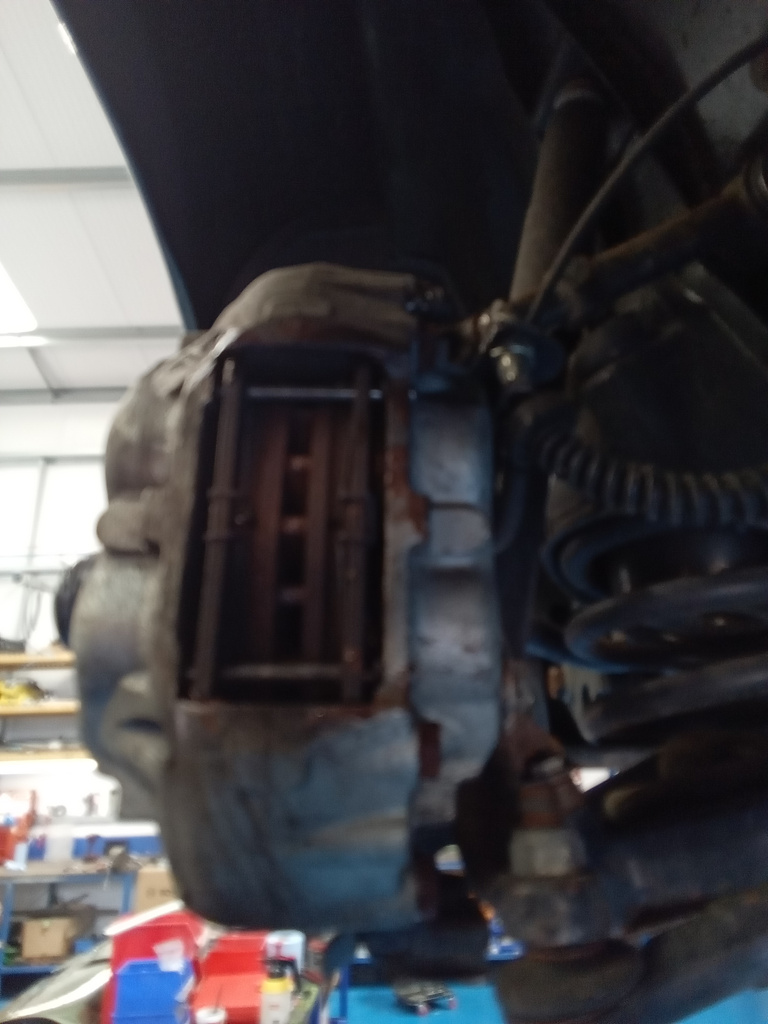
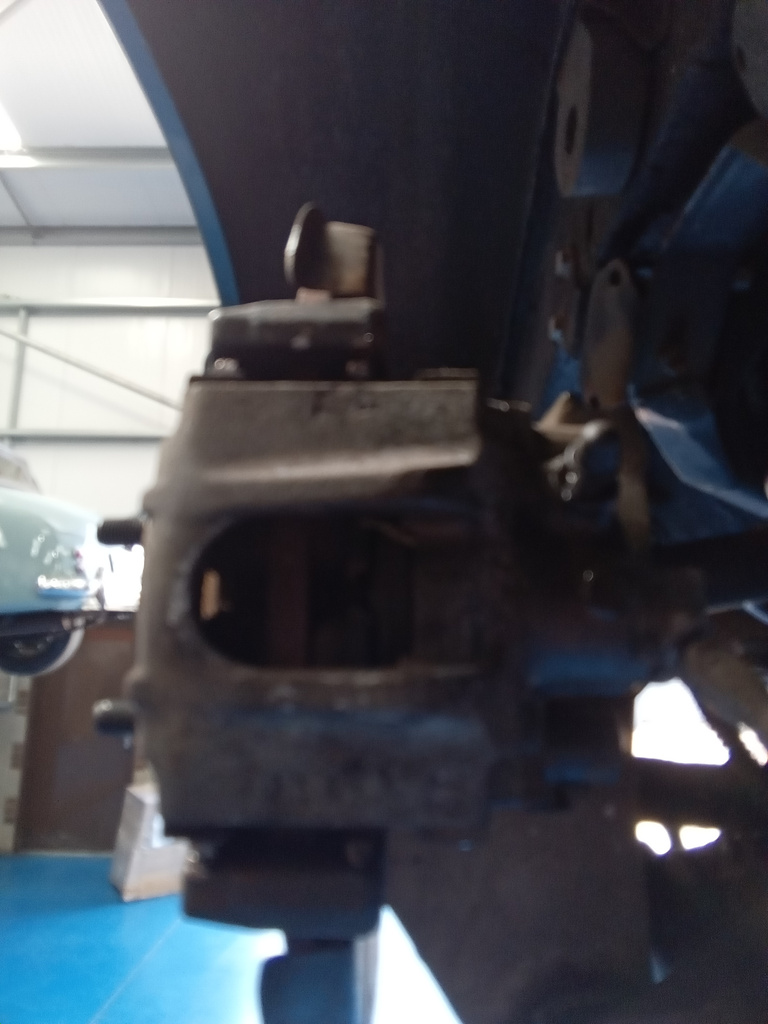
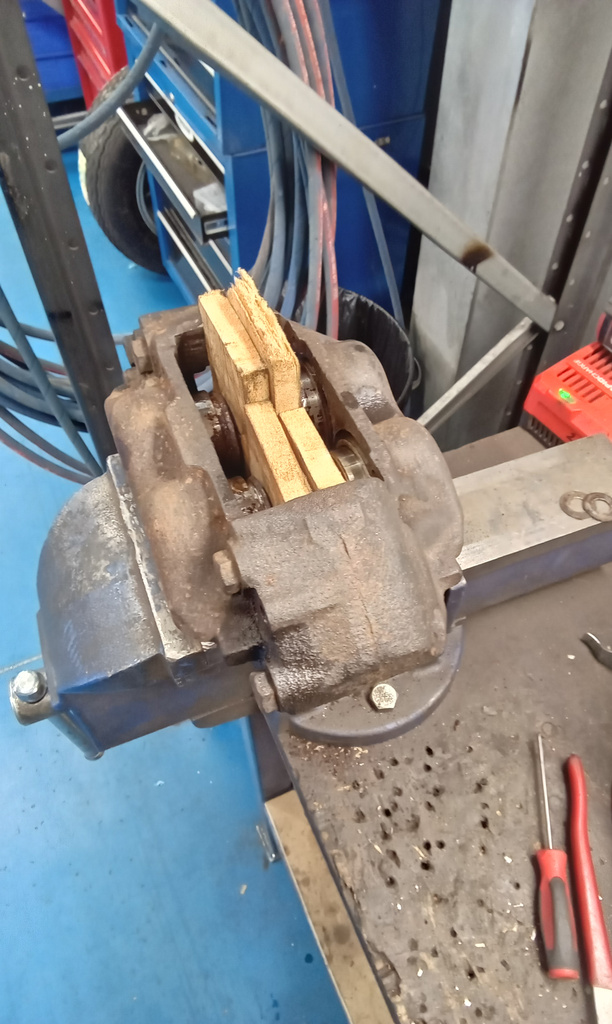
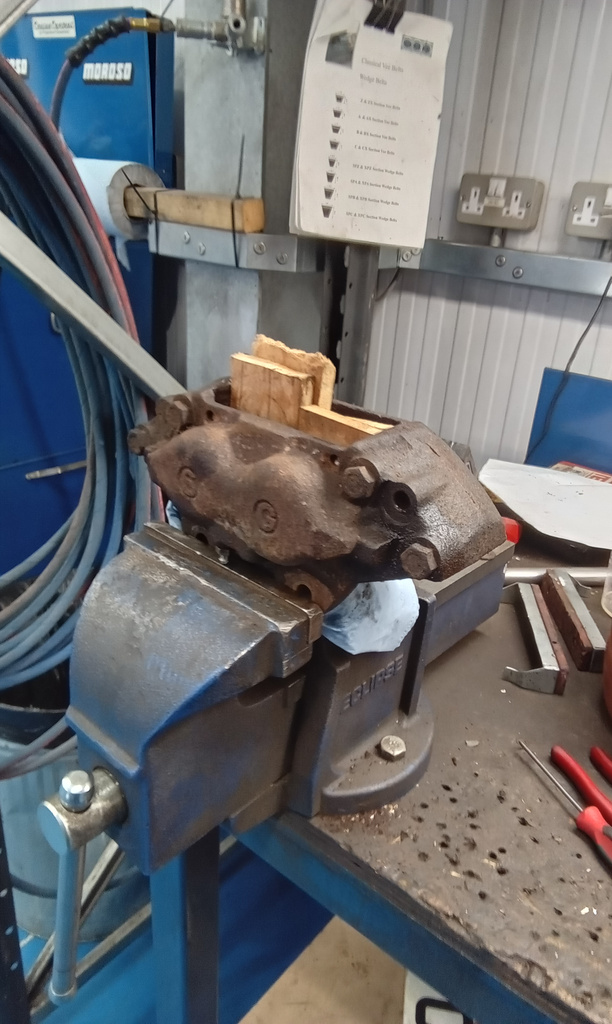
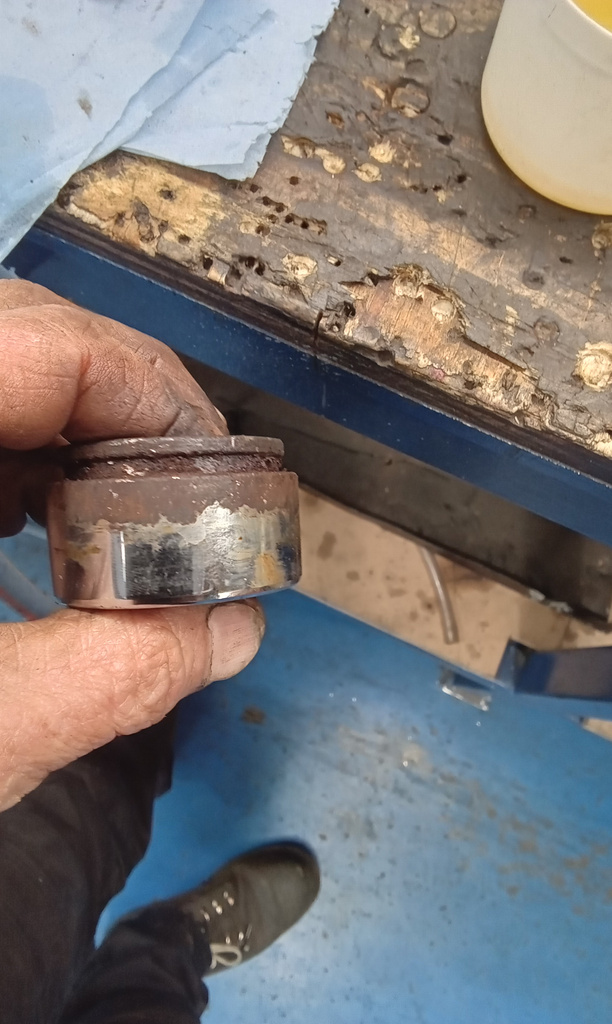
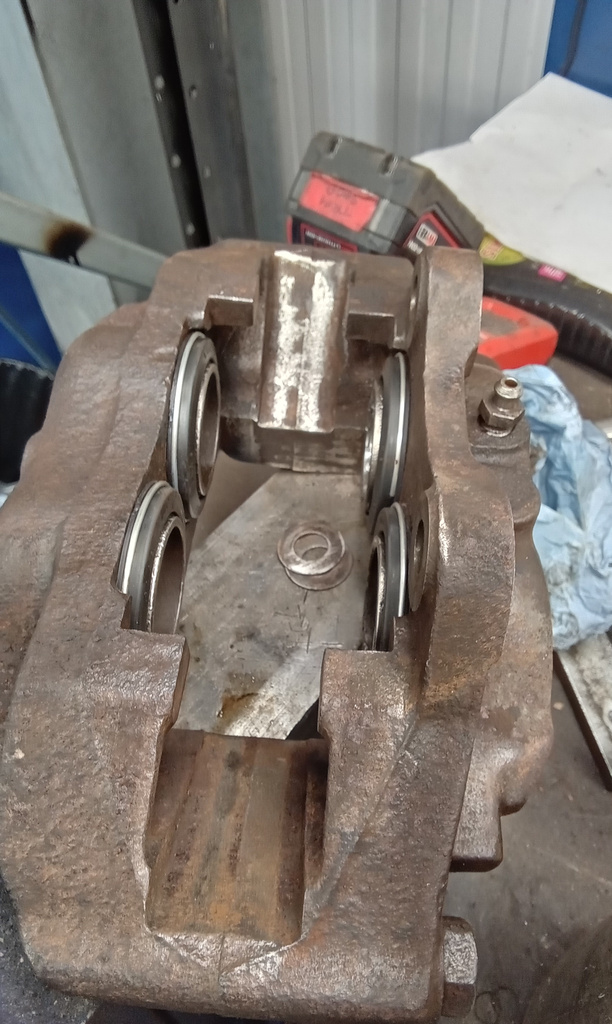
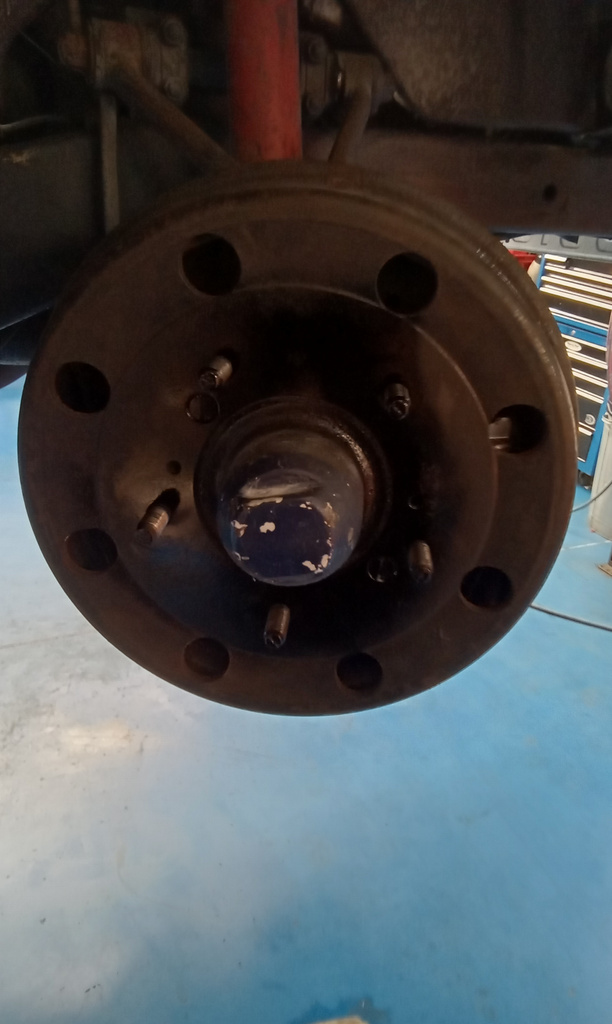
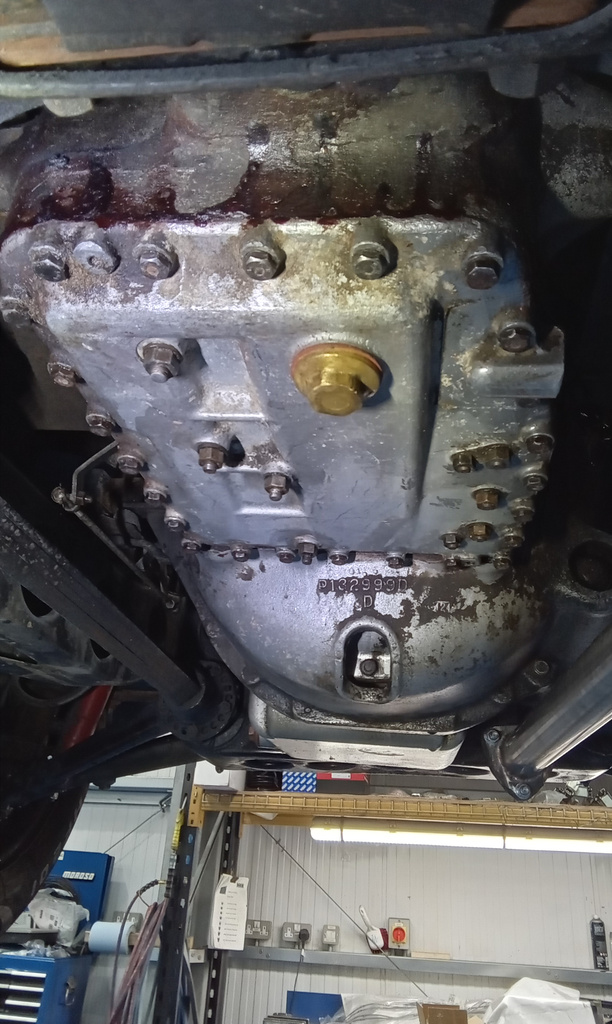
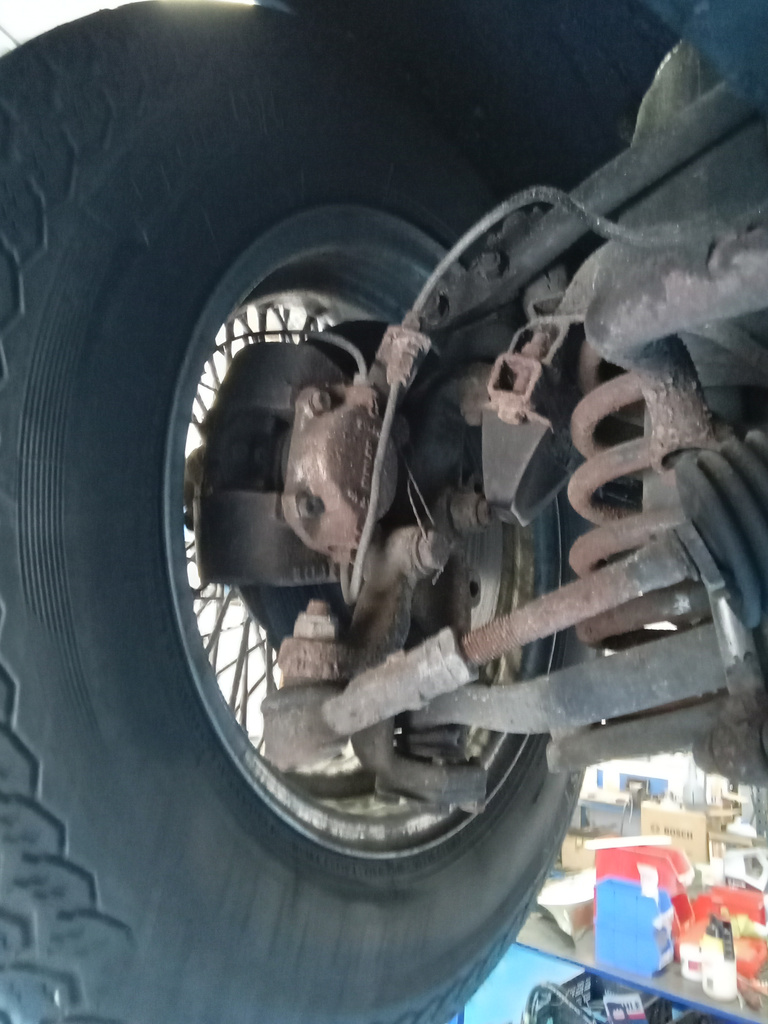
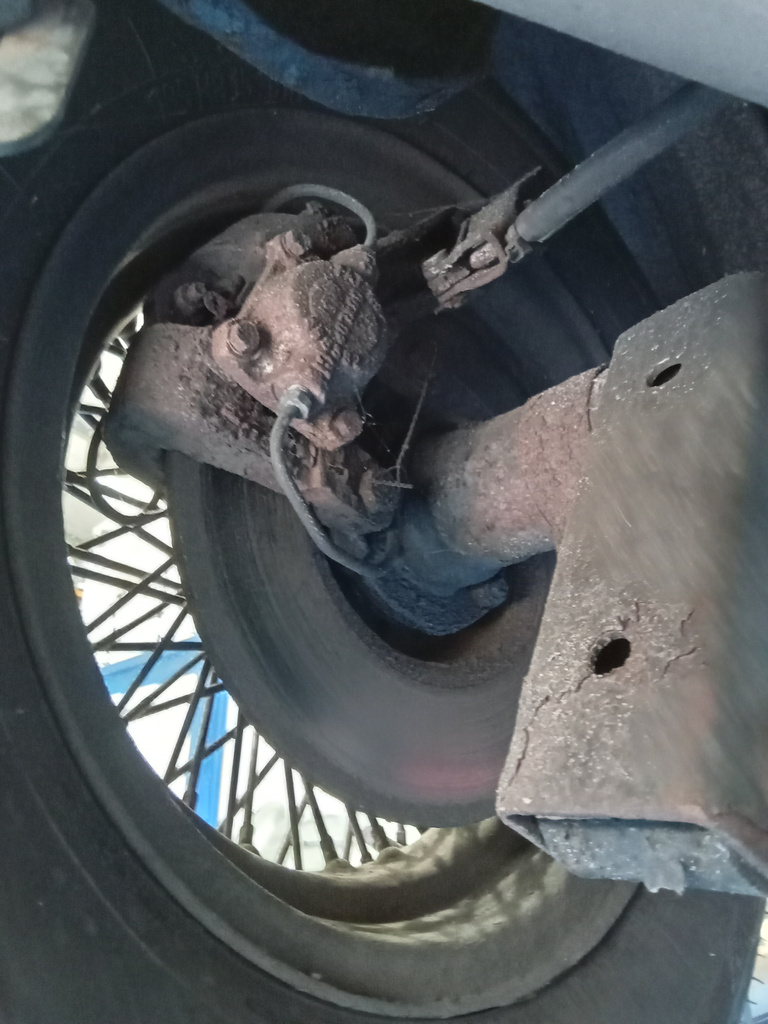
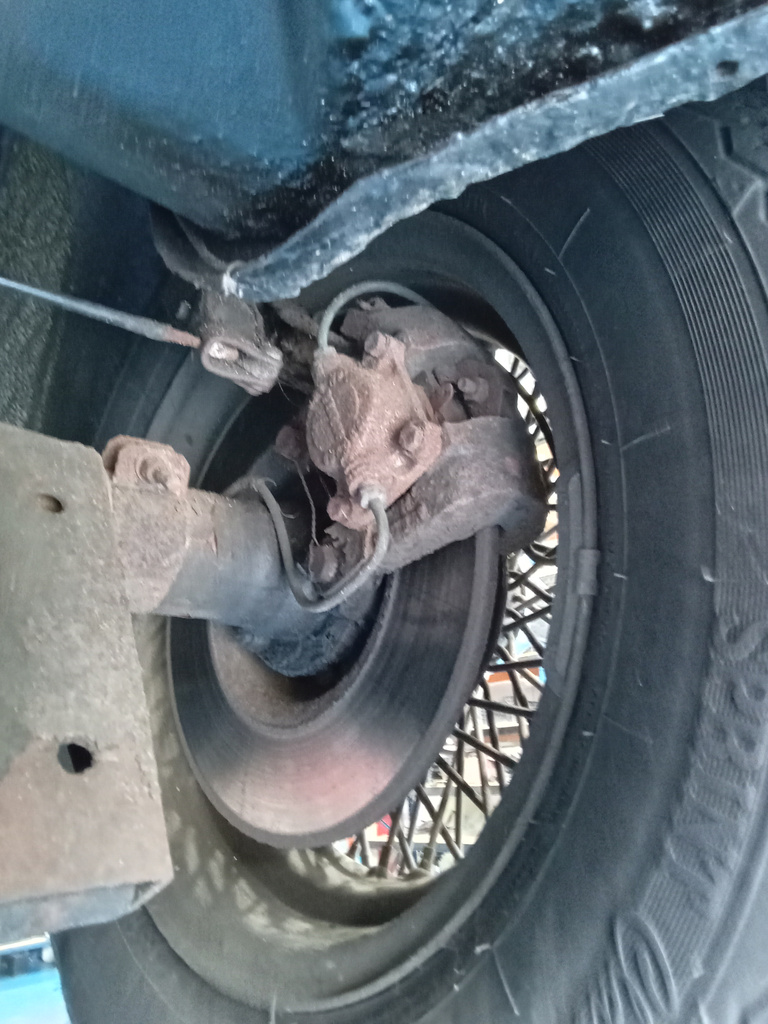
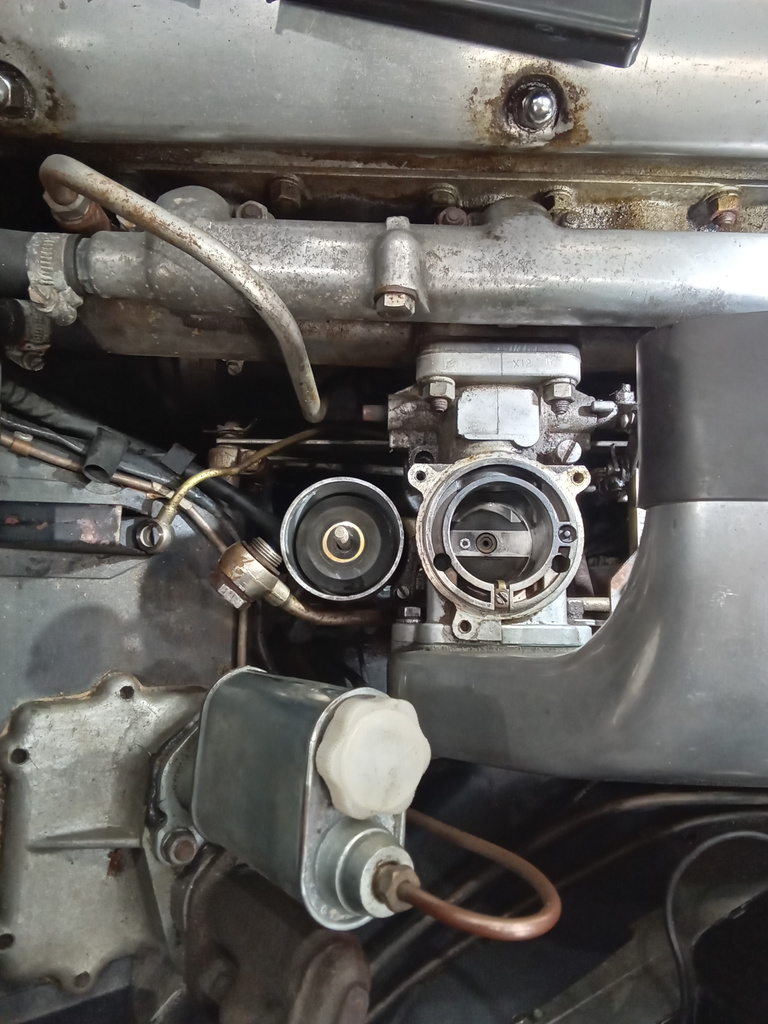
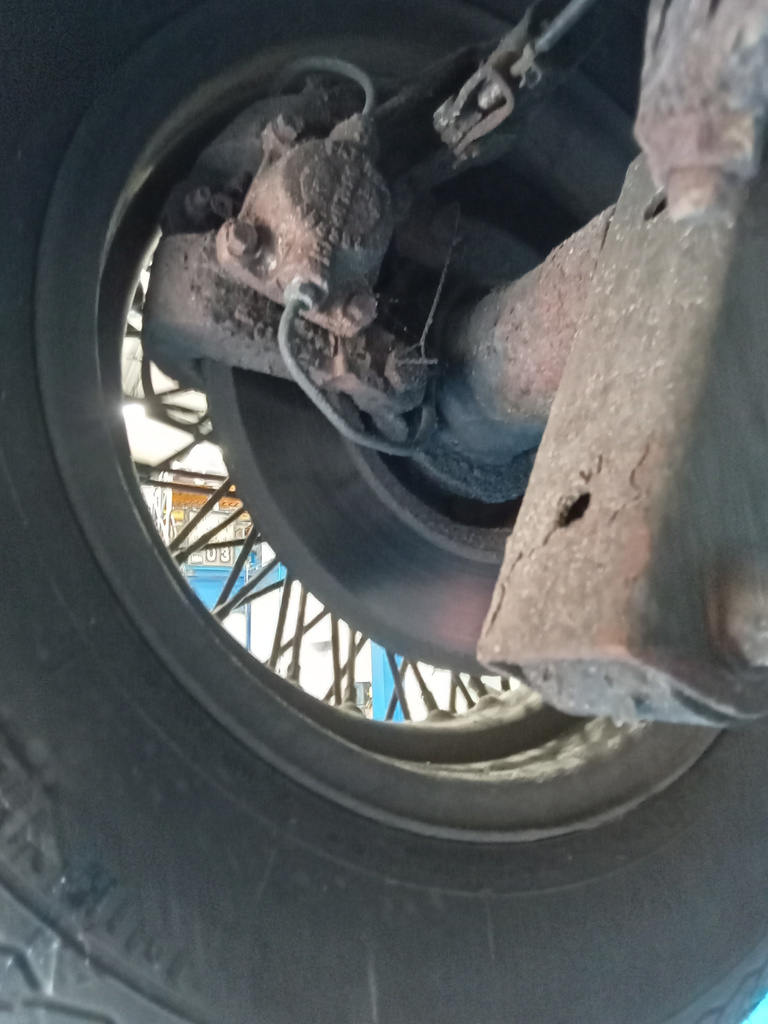
Jonn has been continuing his work preparing our 1989 Daimler Double Six for someone to win it in the near future through Bridge Classic Cars Competitions.
Here are his notes:
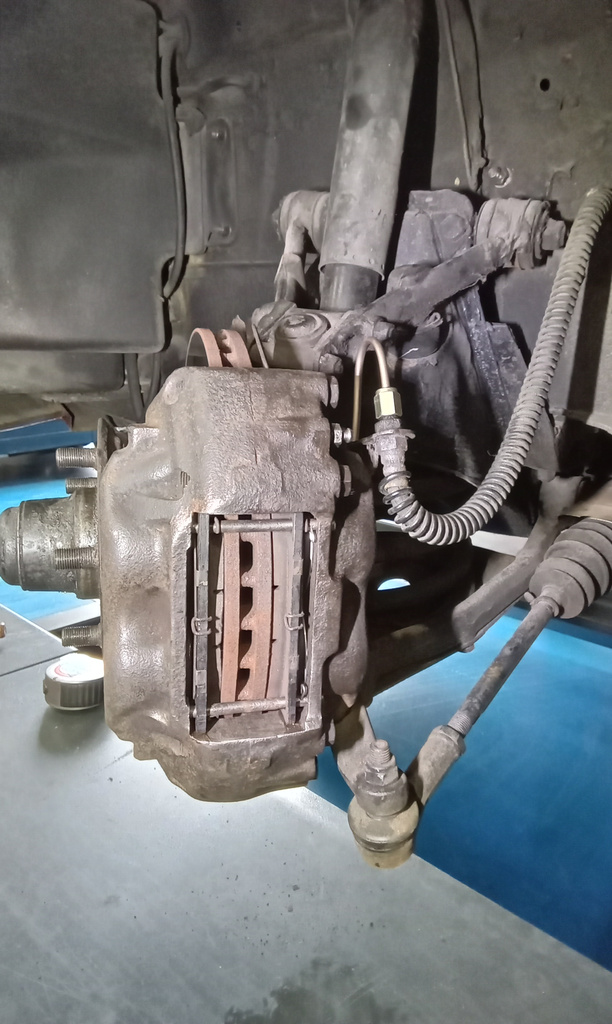
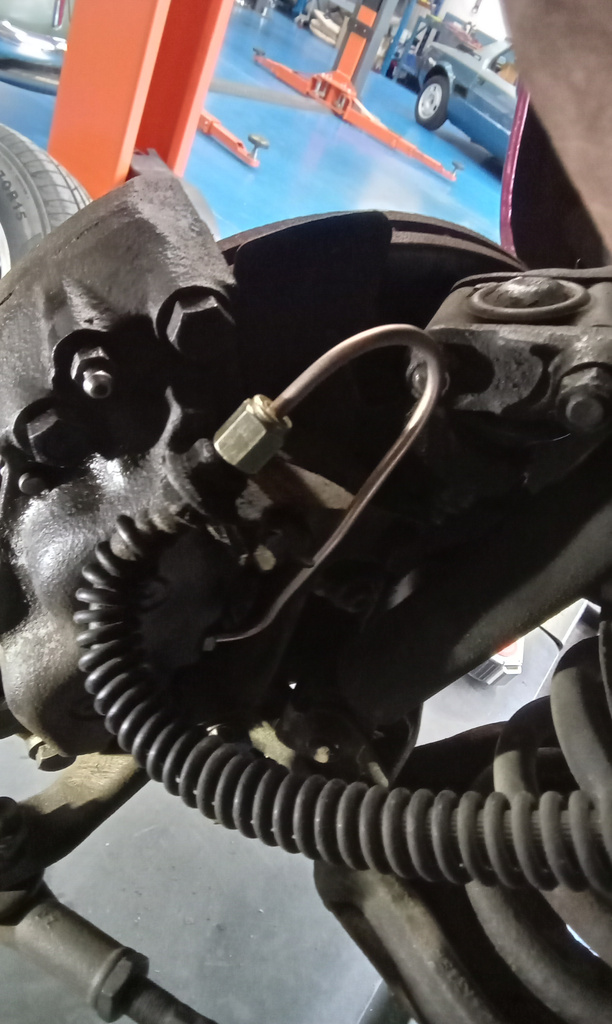
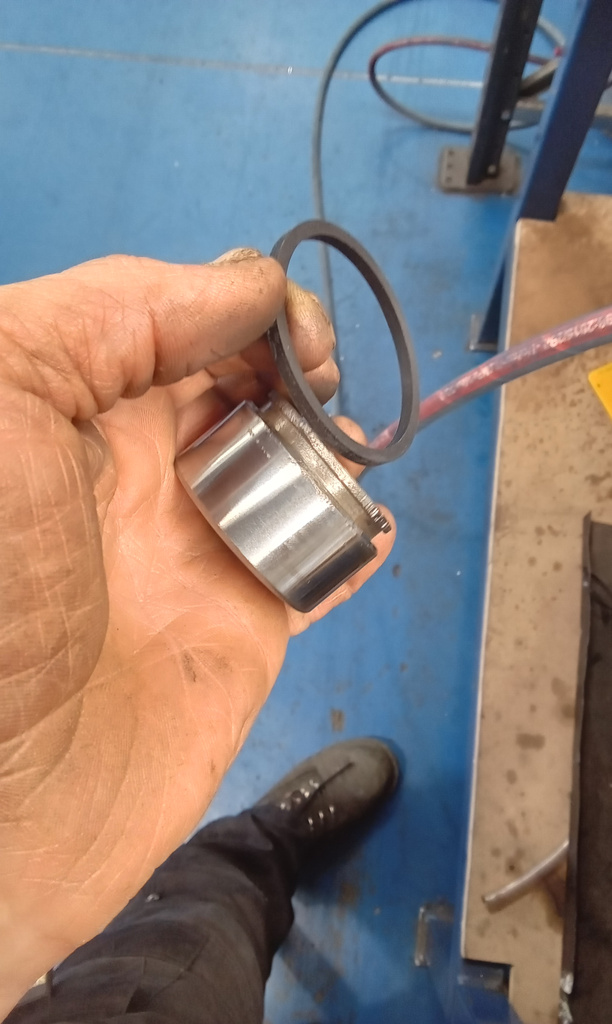
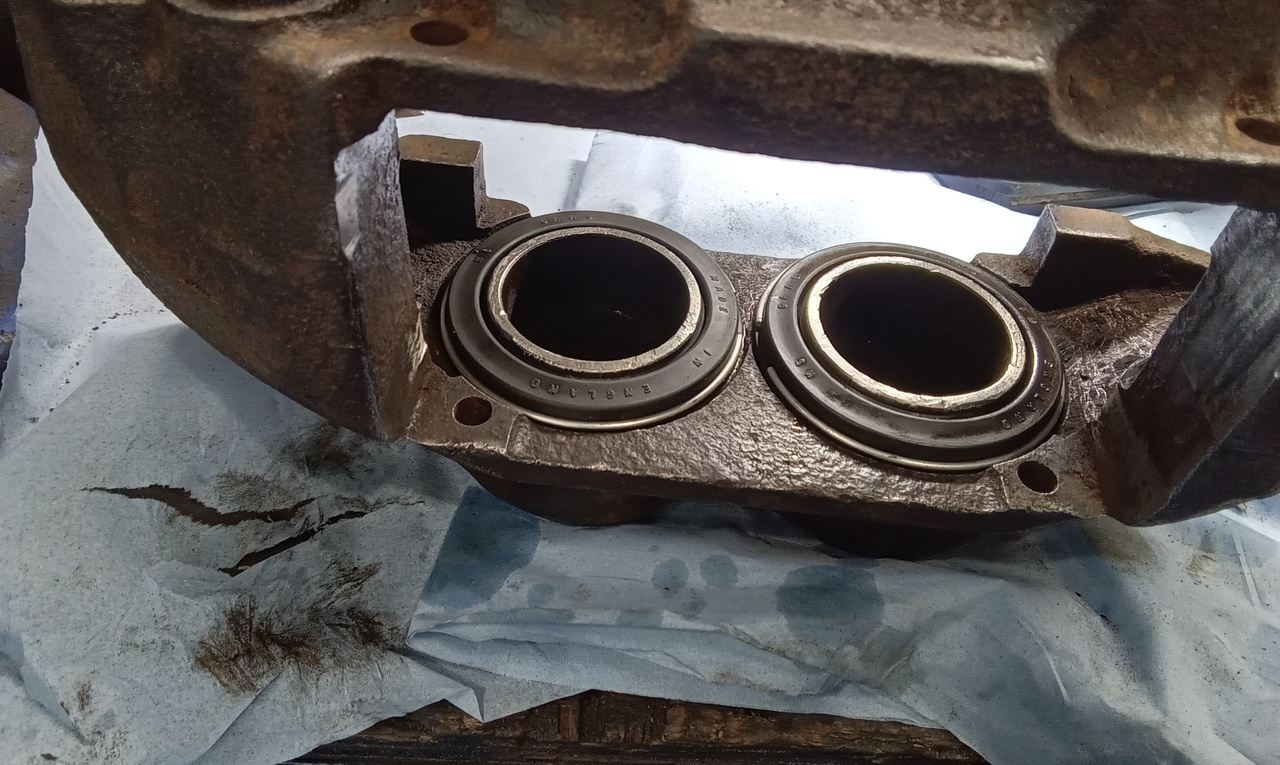
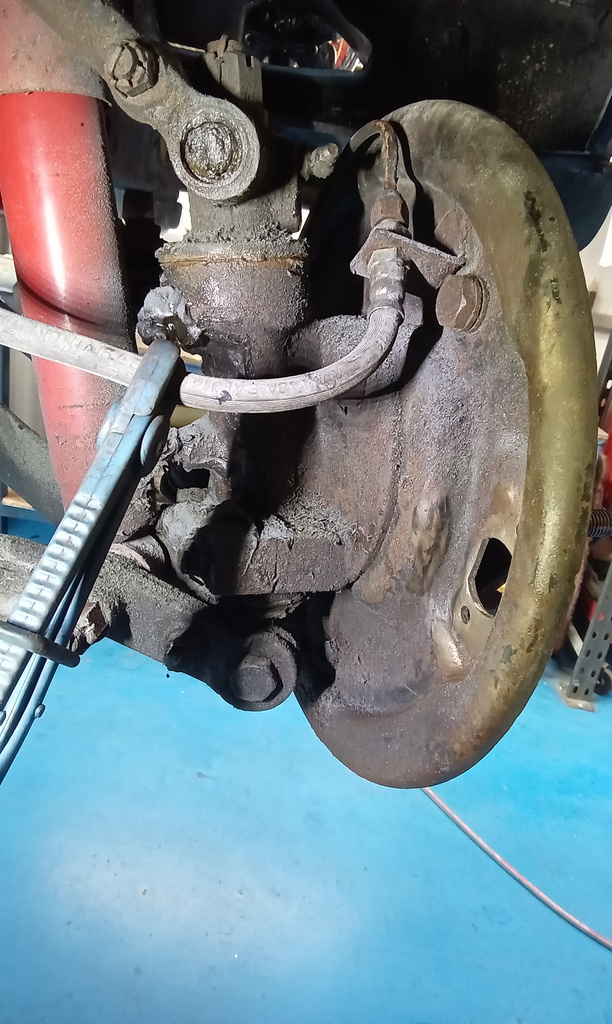
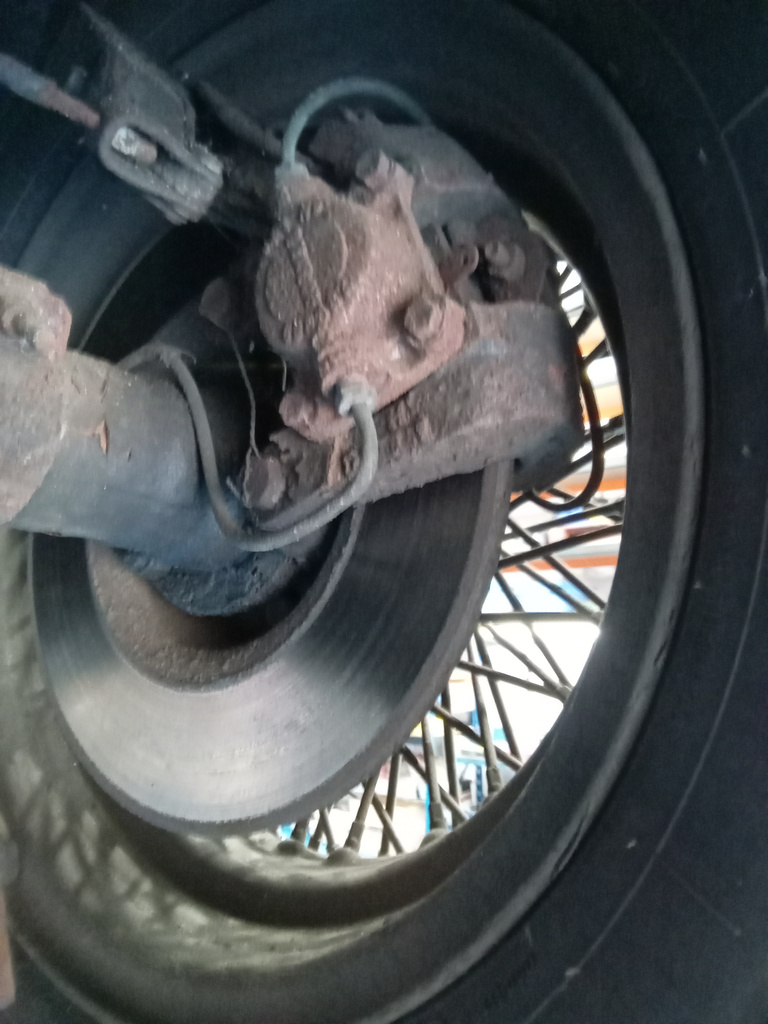
Strip caliper. Remove all dust seals, pistons and seals. Clean thoroughly. Use new brake fluid to assemble with new seals and refit pistons. A couple of the pistons have corrosion but should seal after cleaning. Make new brake pipe from caliper to flexi hose.
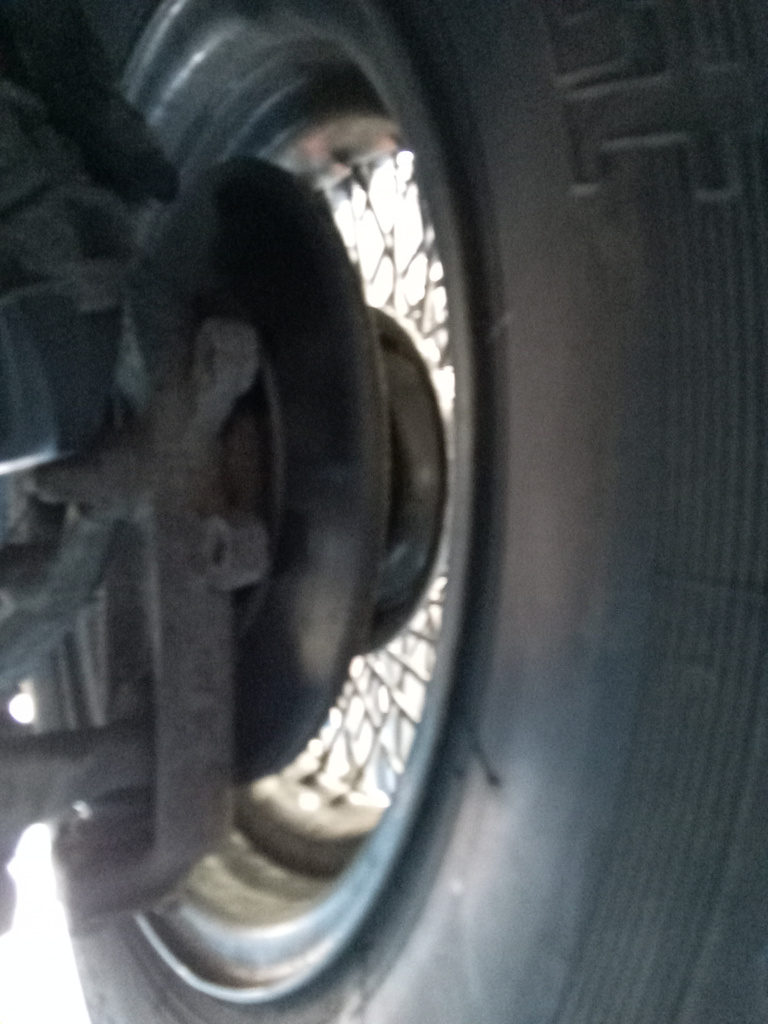
Bend new brake pipe to rough shape of old pipe. Fit caliper and spacers to car. Fit new brake pipe and secure. Let gravity feed brake fluid into caliper. Refit pads and lubricate. Bleed caliper and test under pressure. No signs of leaks at this stage. Check brake operation and wheel spins freely upon release. Refit wheel and torque to spec.
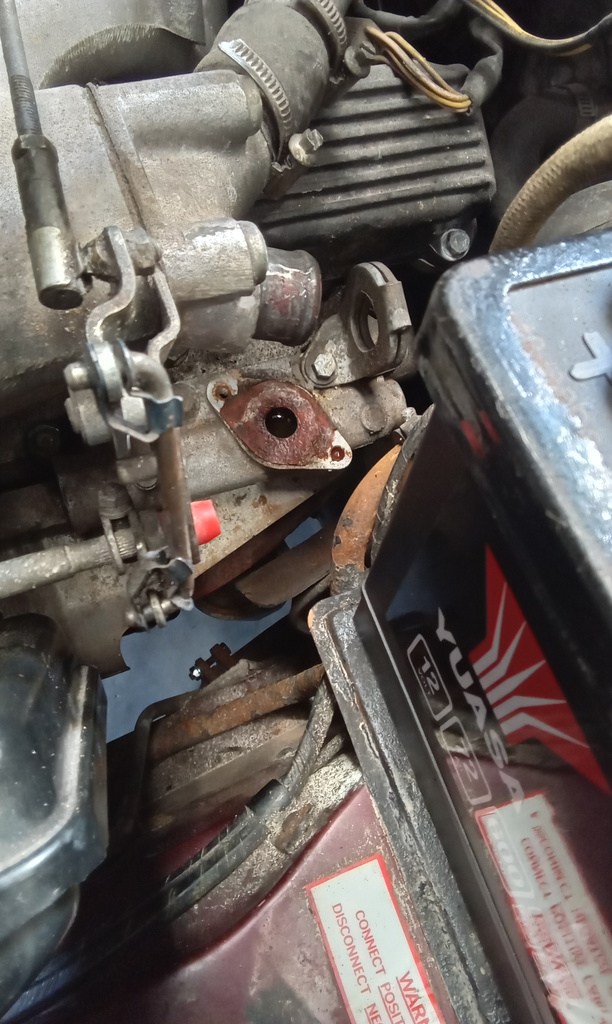
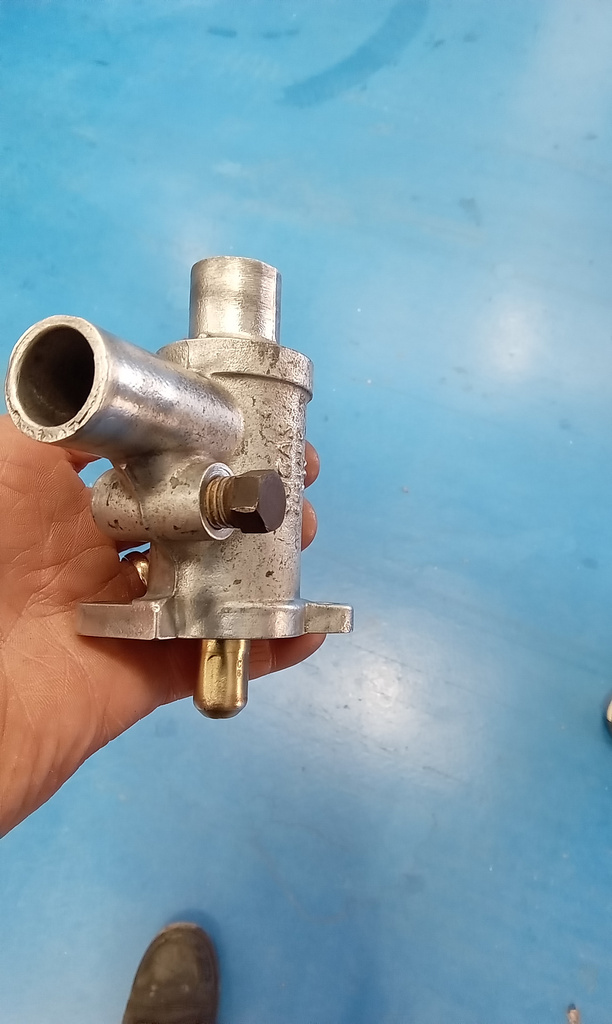
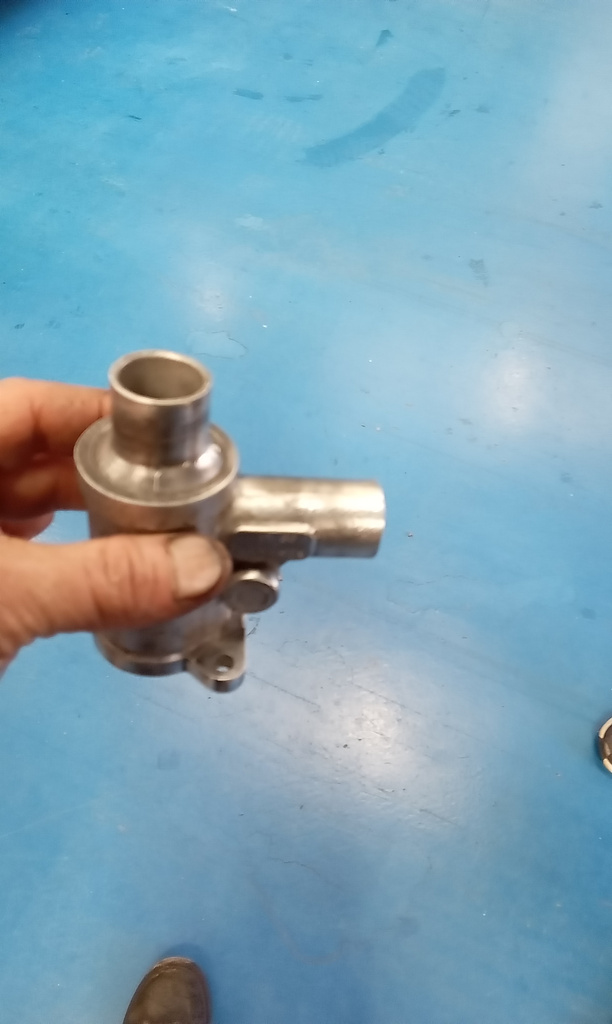
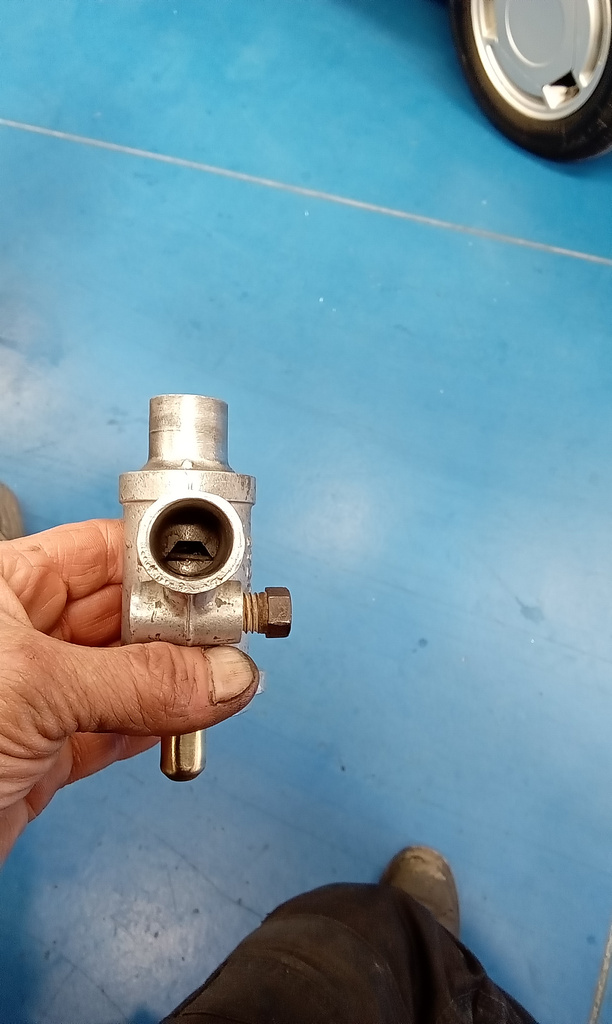
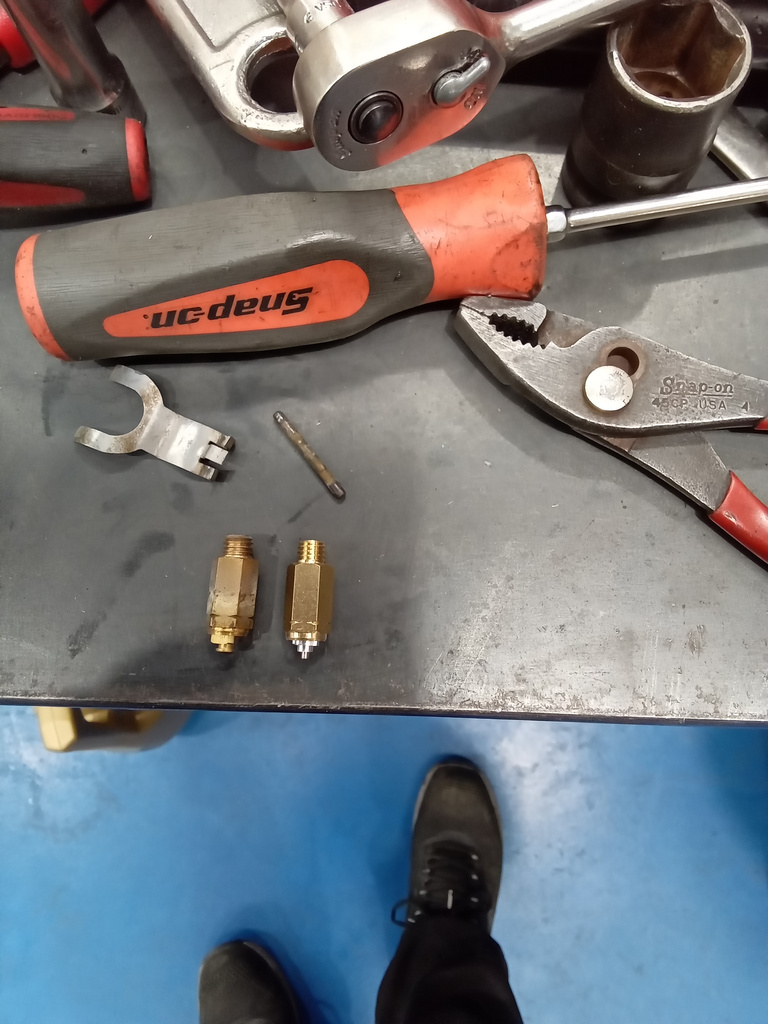
Remove Aav from nearside engine. Clean thoroughly and attempt to free off. Test in hot water but valve slide inside seized. Requires new valve.


Our 1960 MGA has continued its stay in the Bridge Classic Cars paint shop. Mauro painted the wings while Chris painted the rest of the car before the rebuild began.

We recently welcomed our 1968 Morris Mini 850 back into the workshop. It didn’t stay long though as Tony has already delivered it back to its very happy owner.
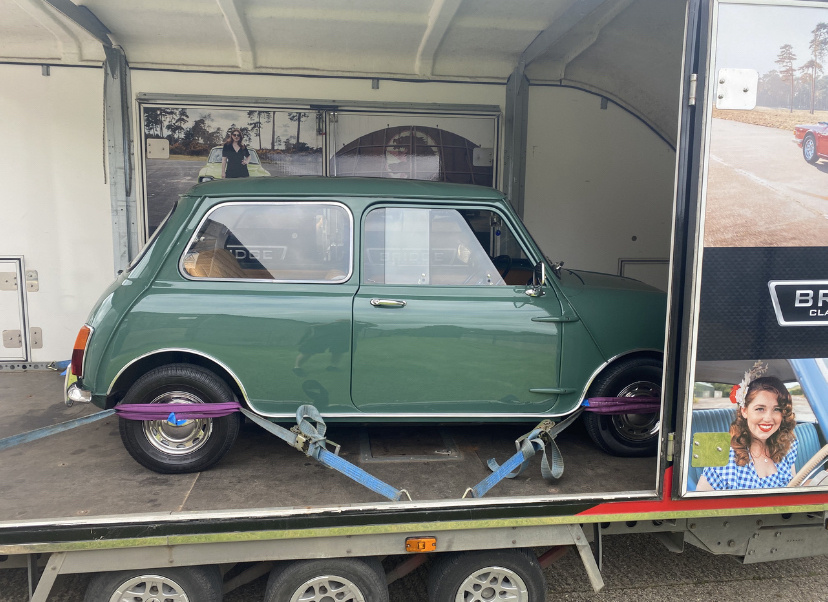
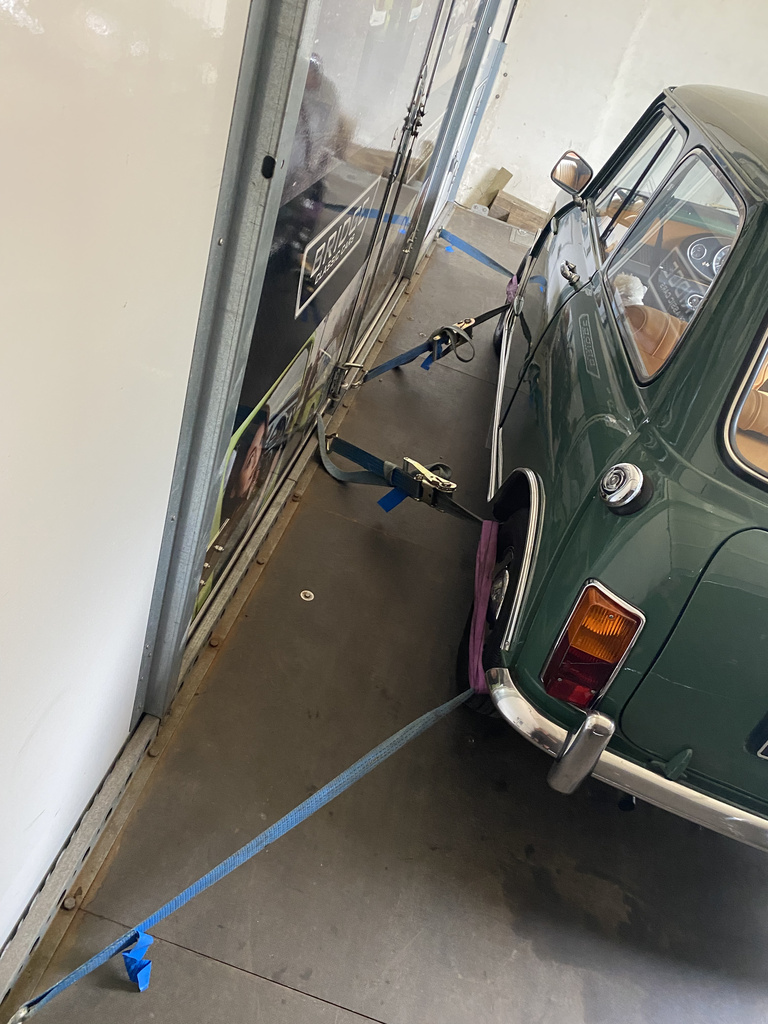
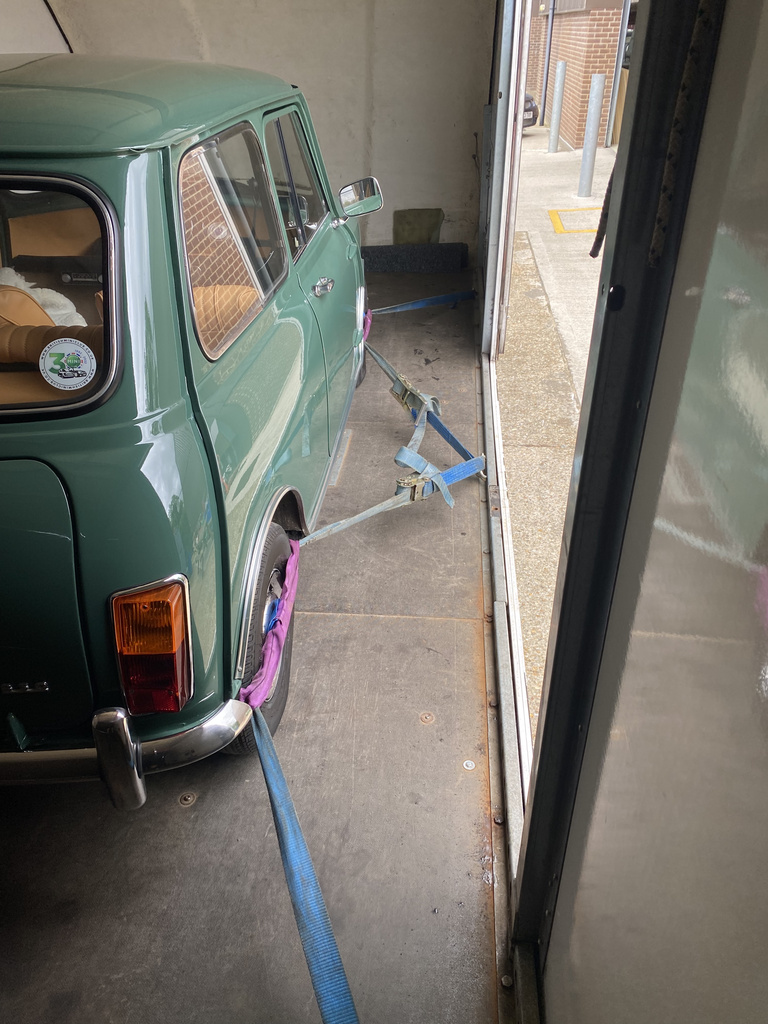
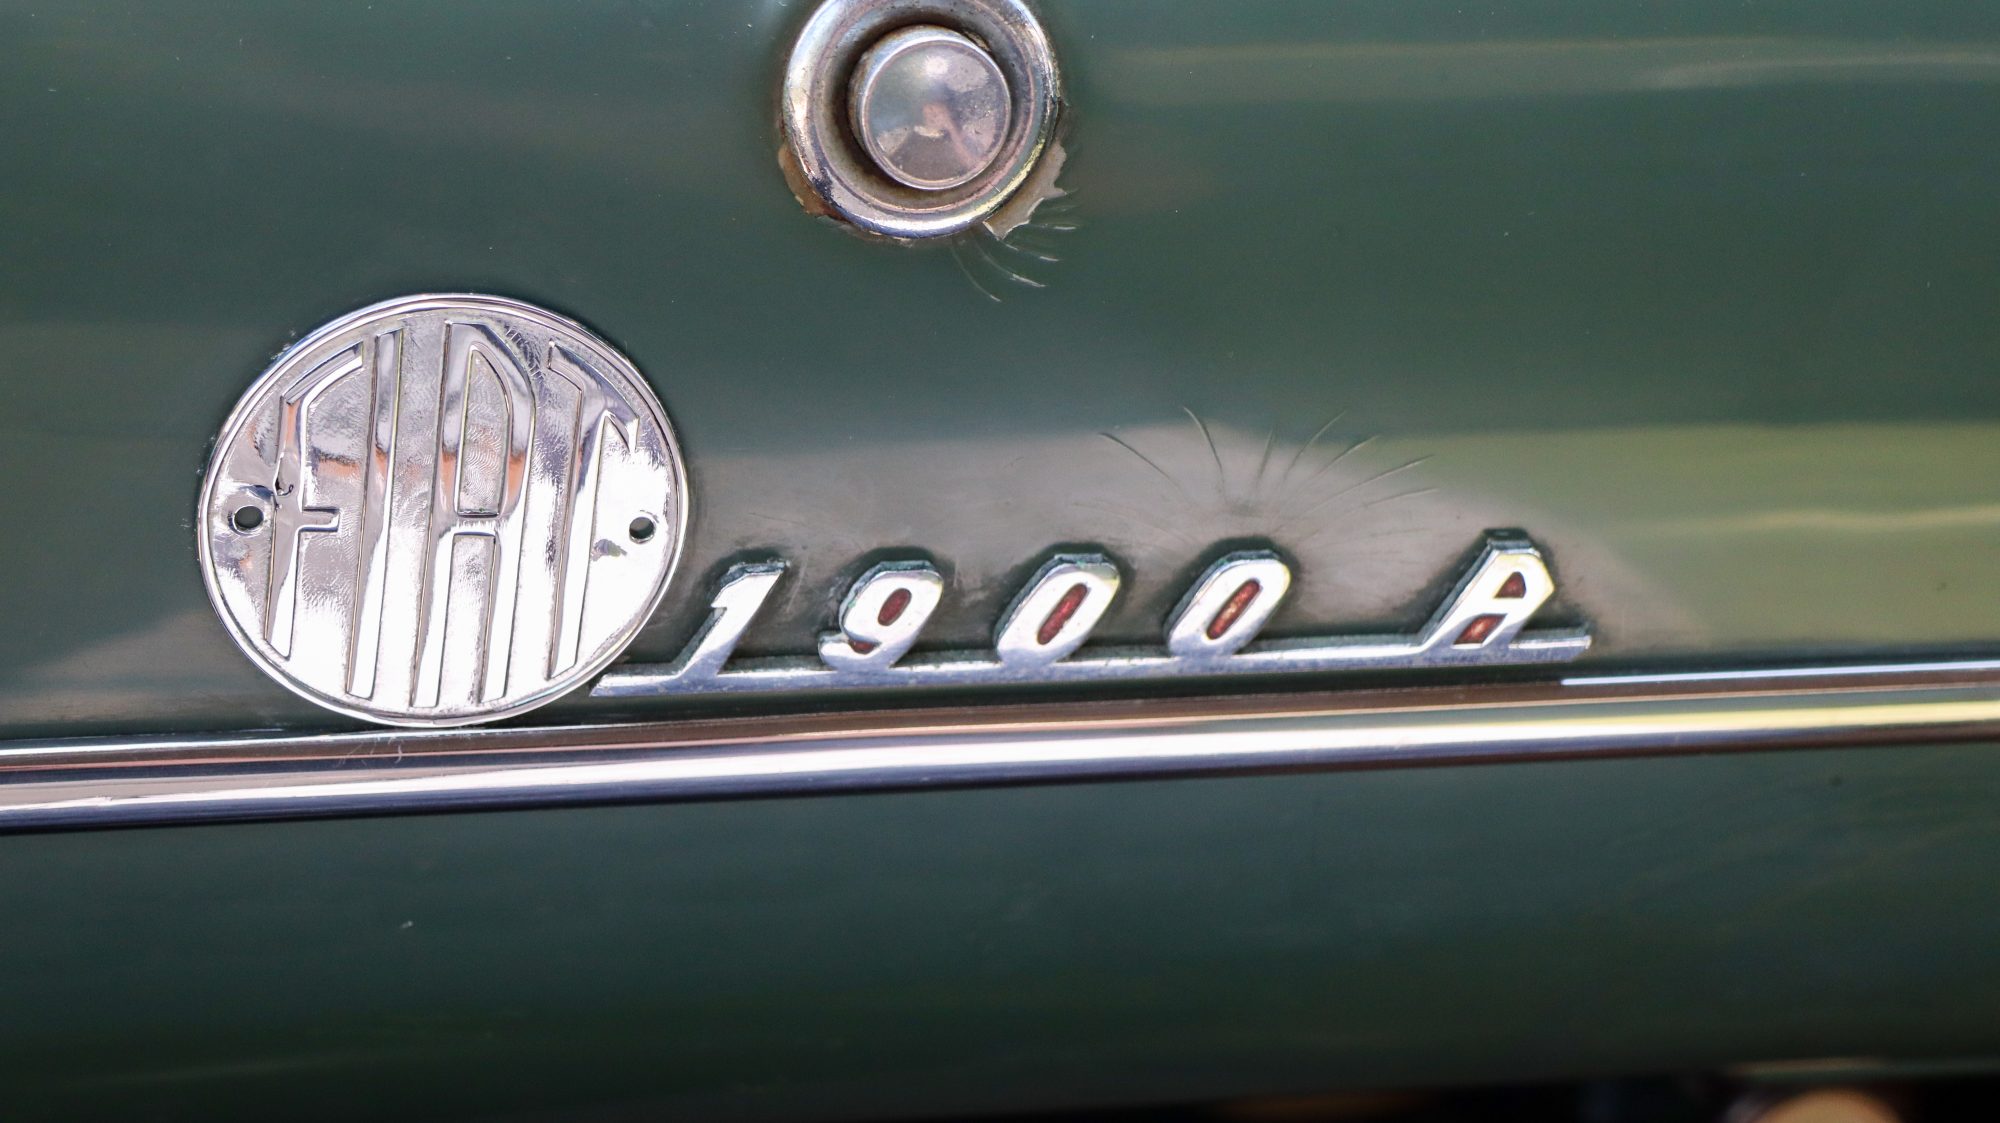
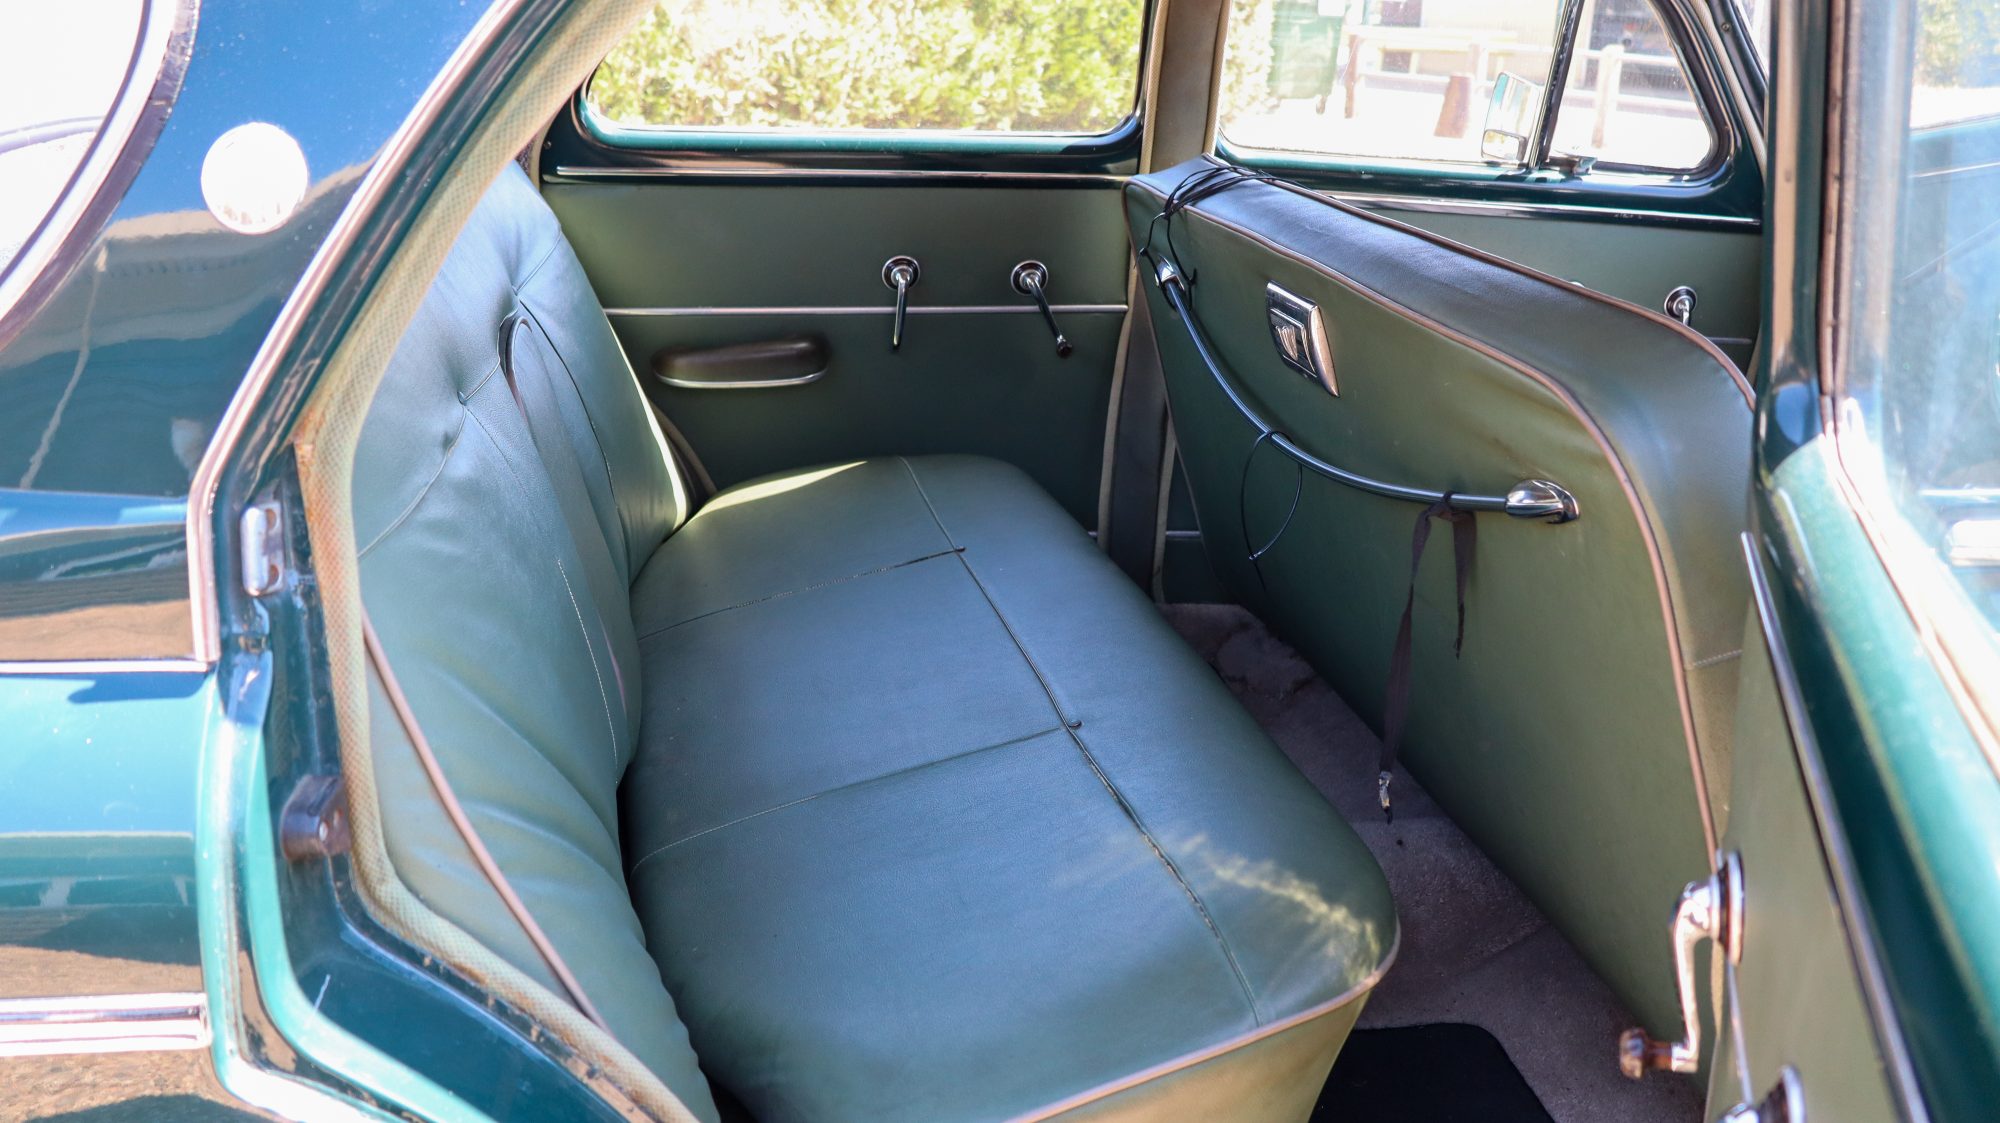
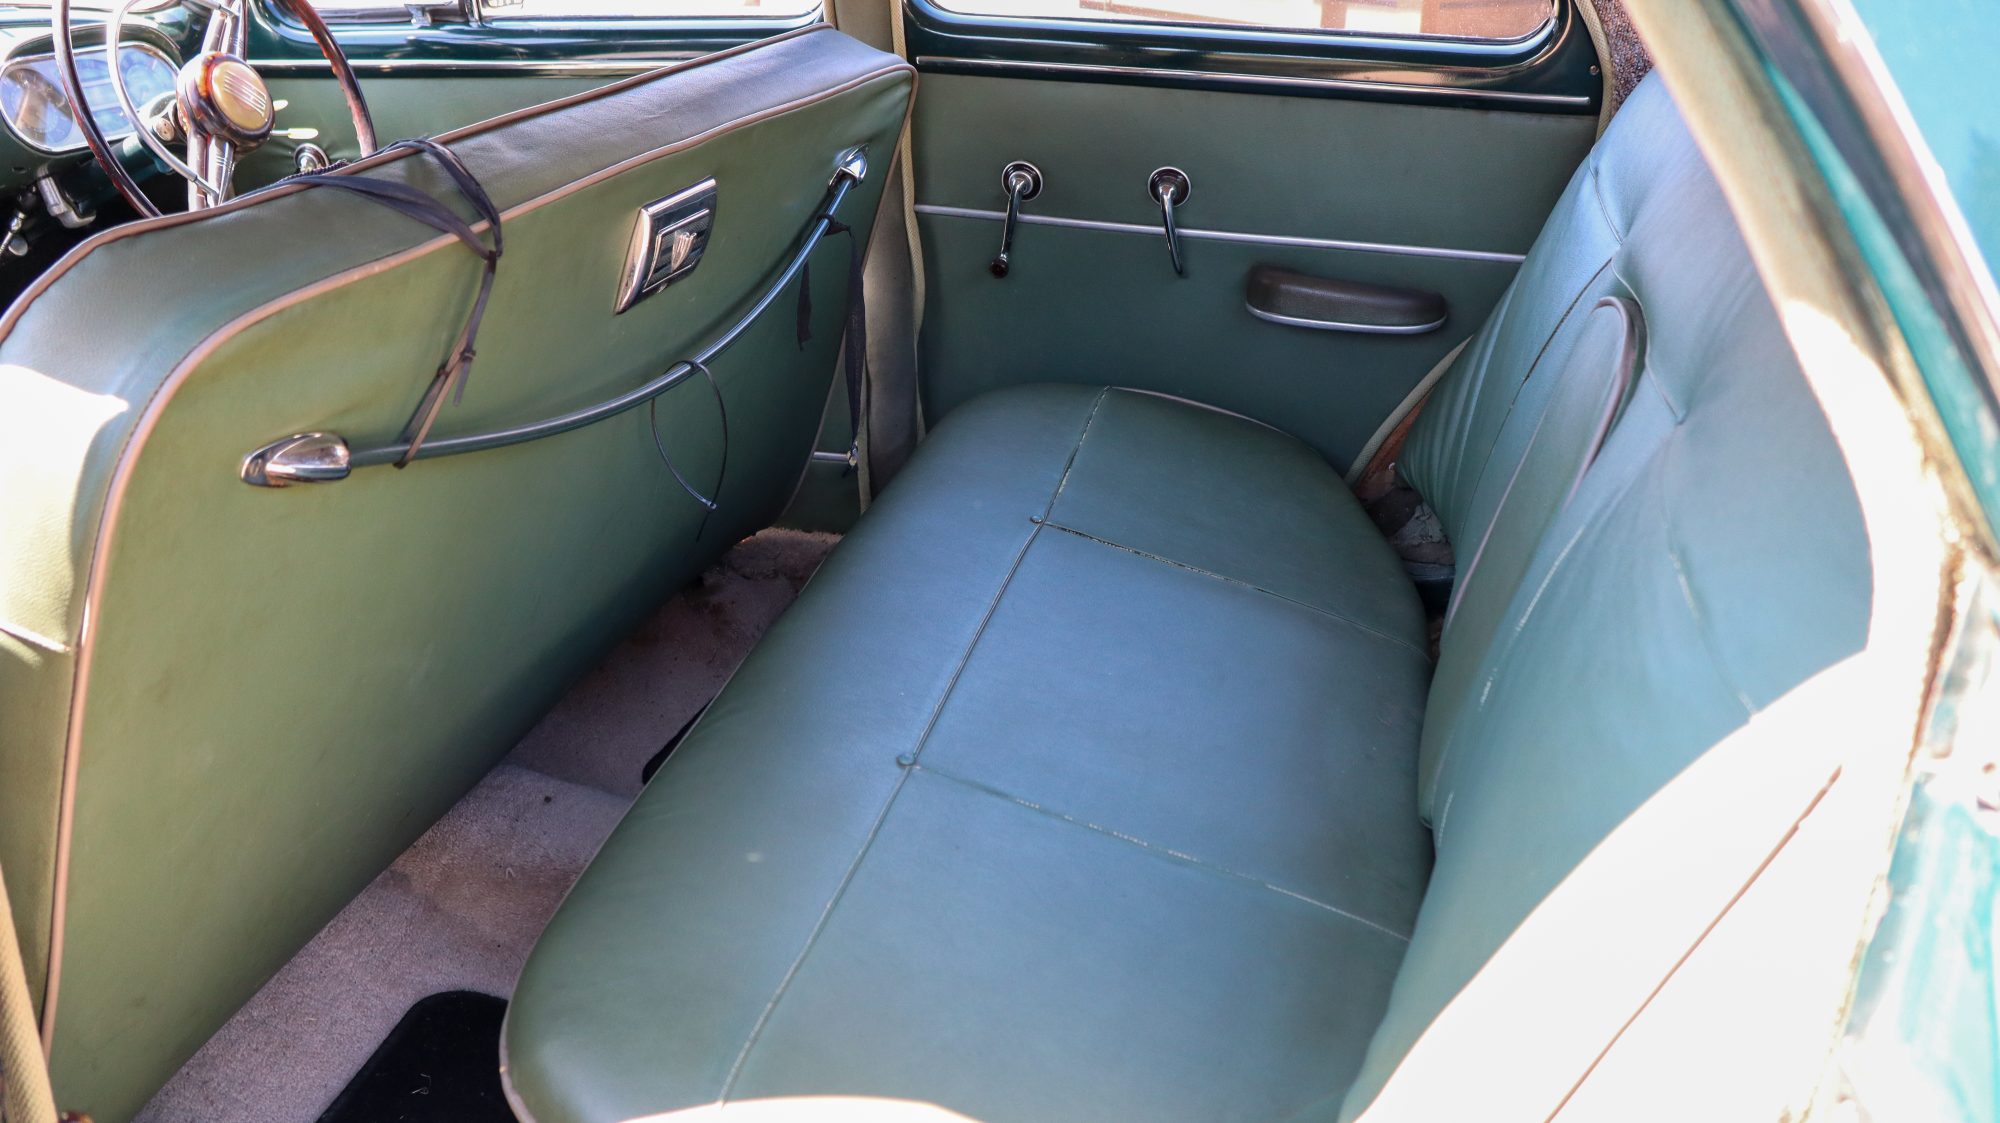
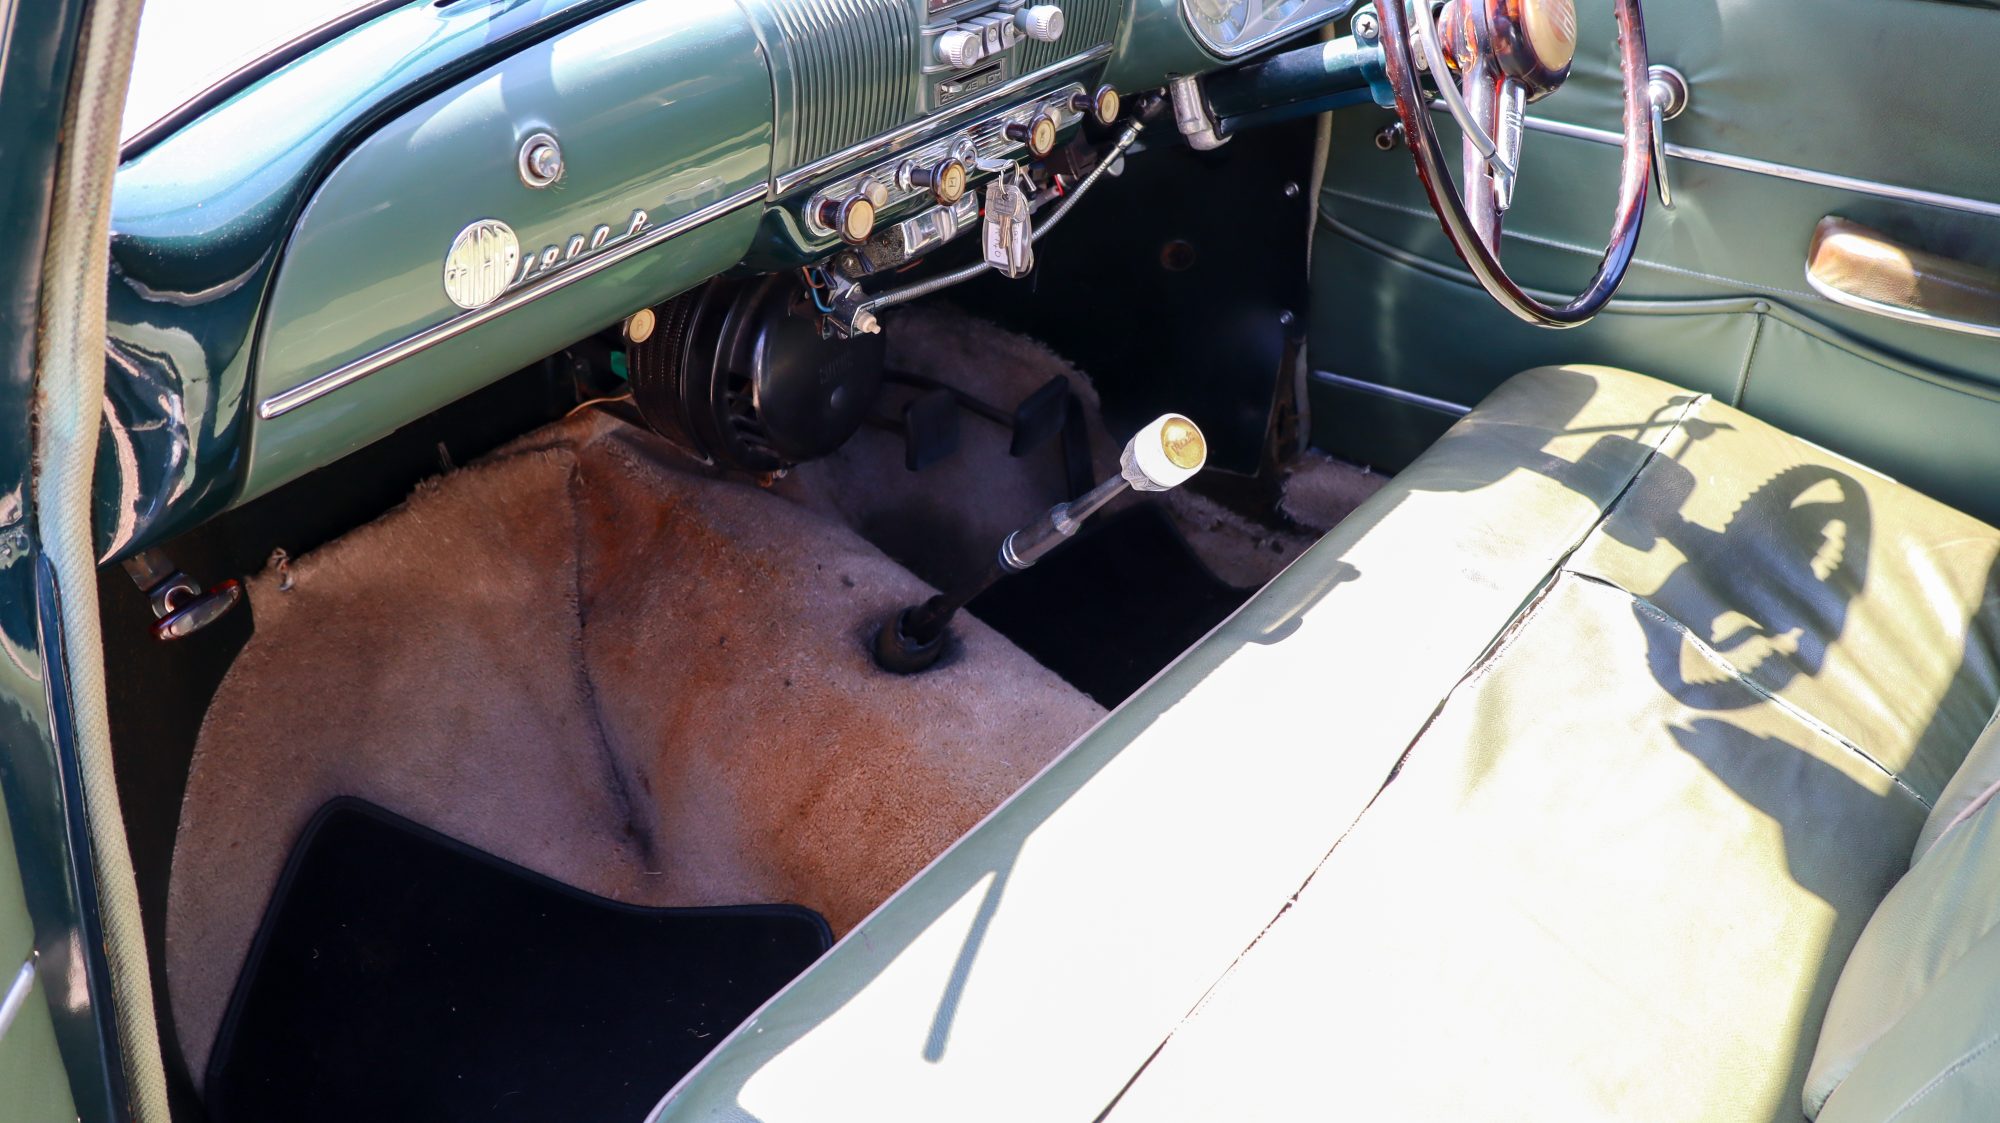
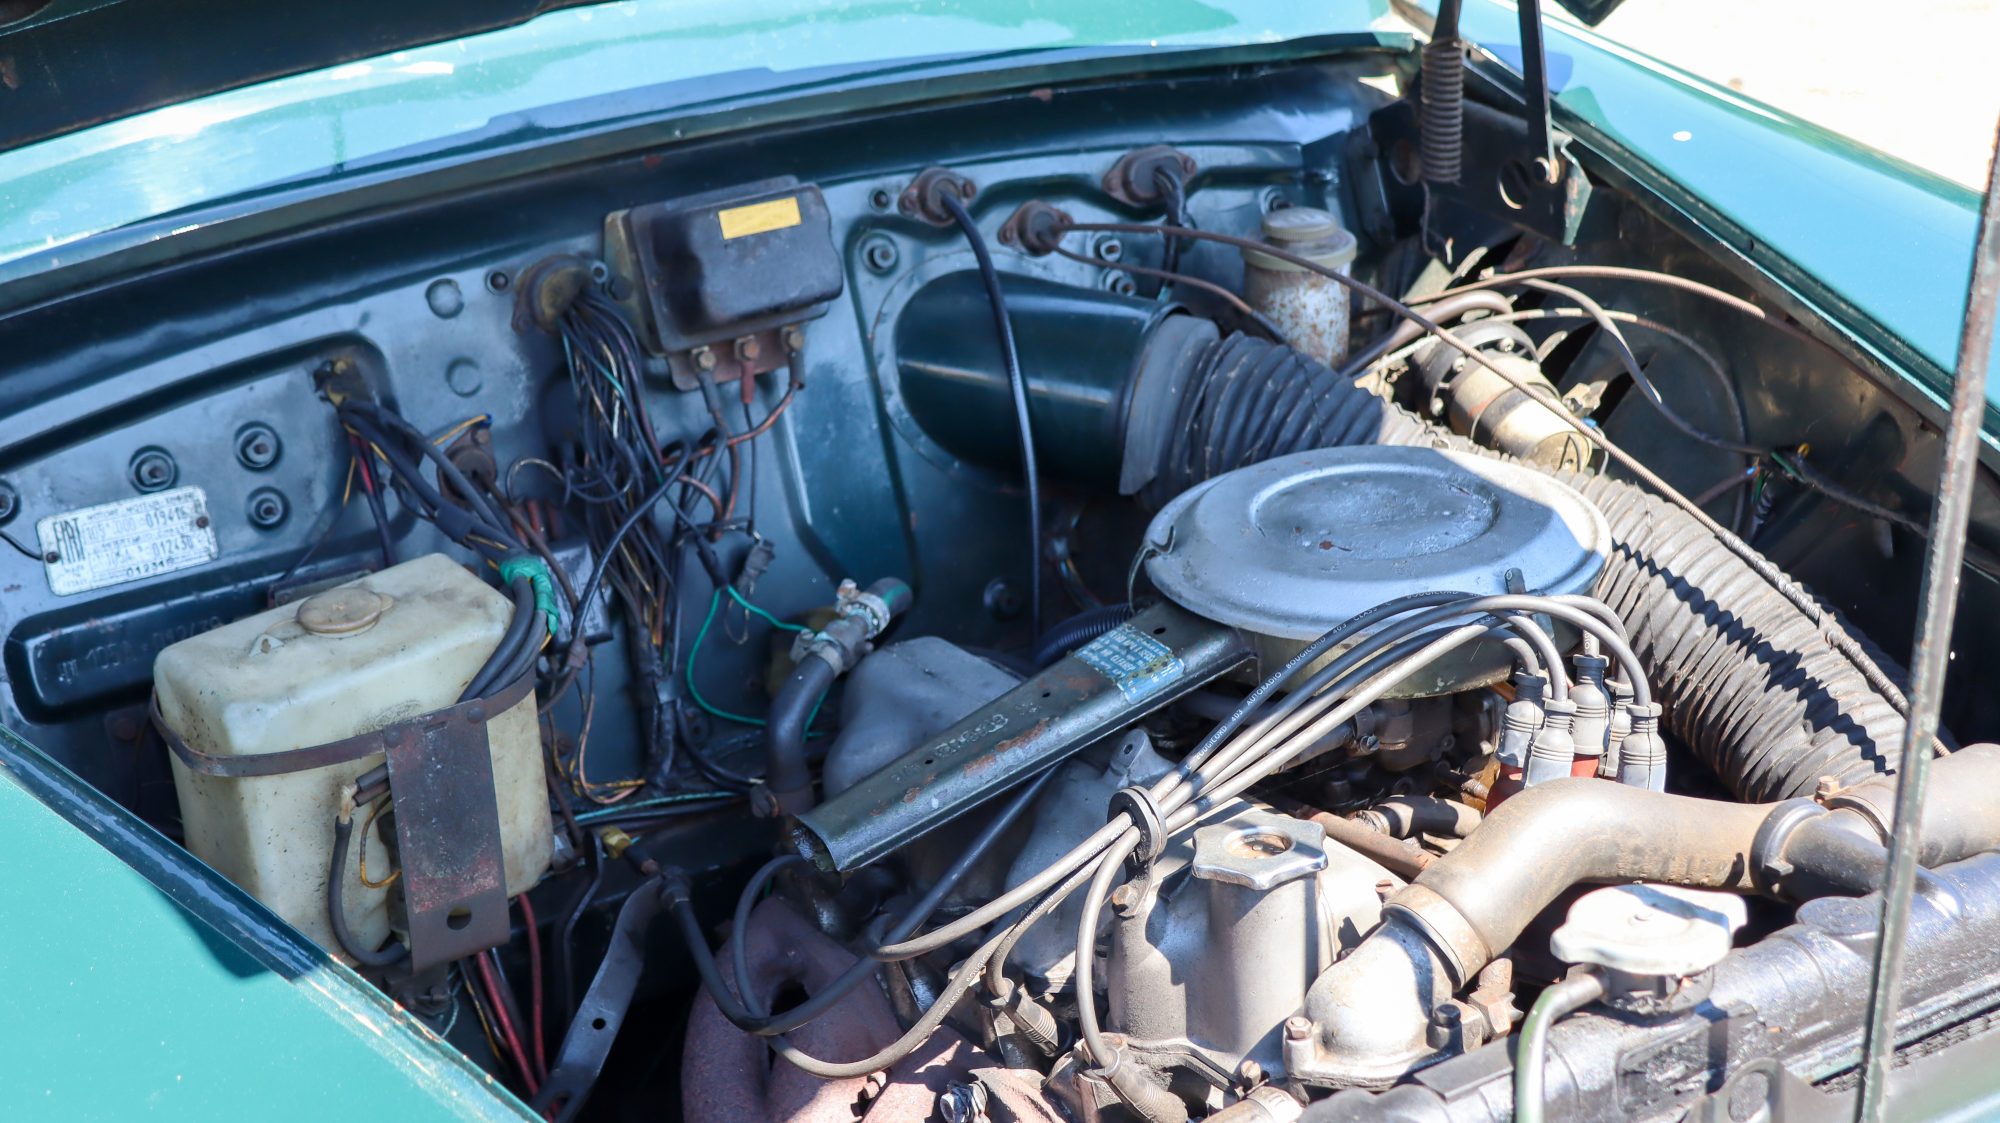
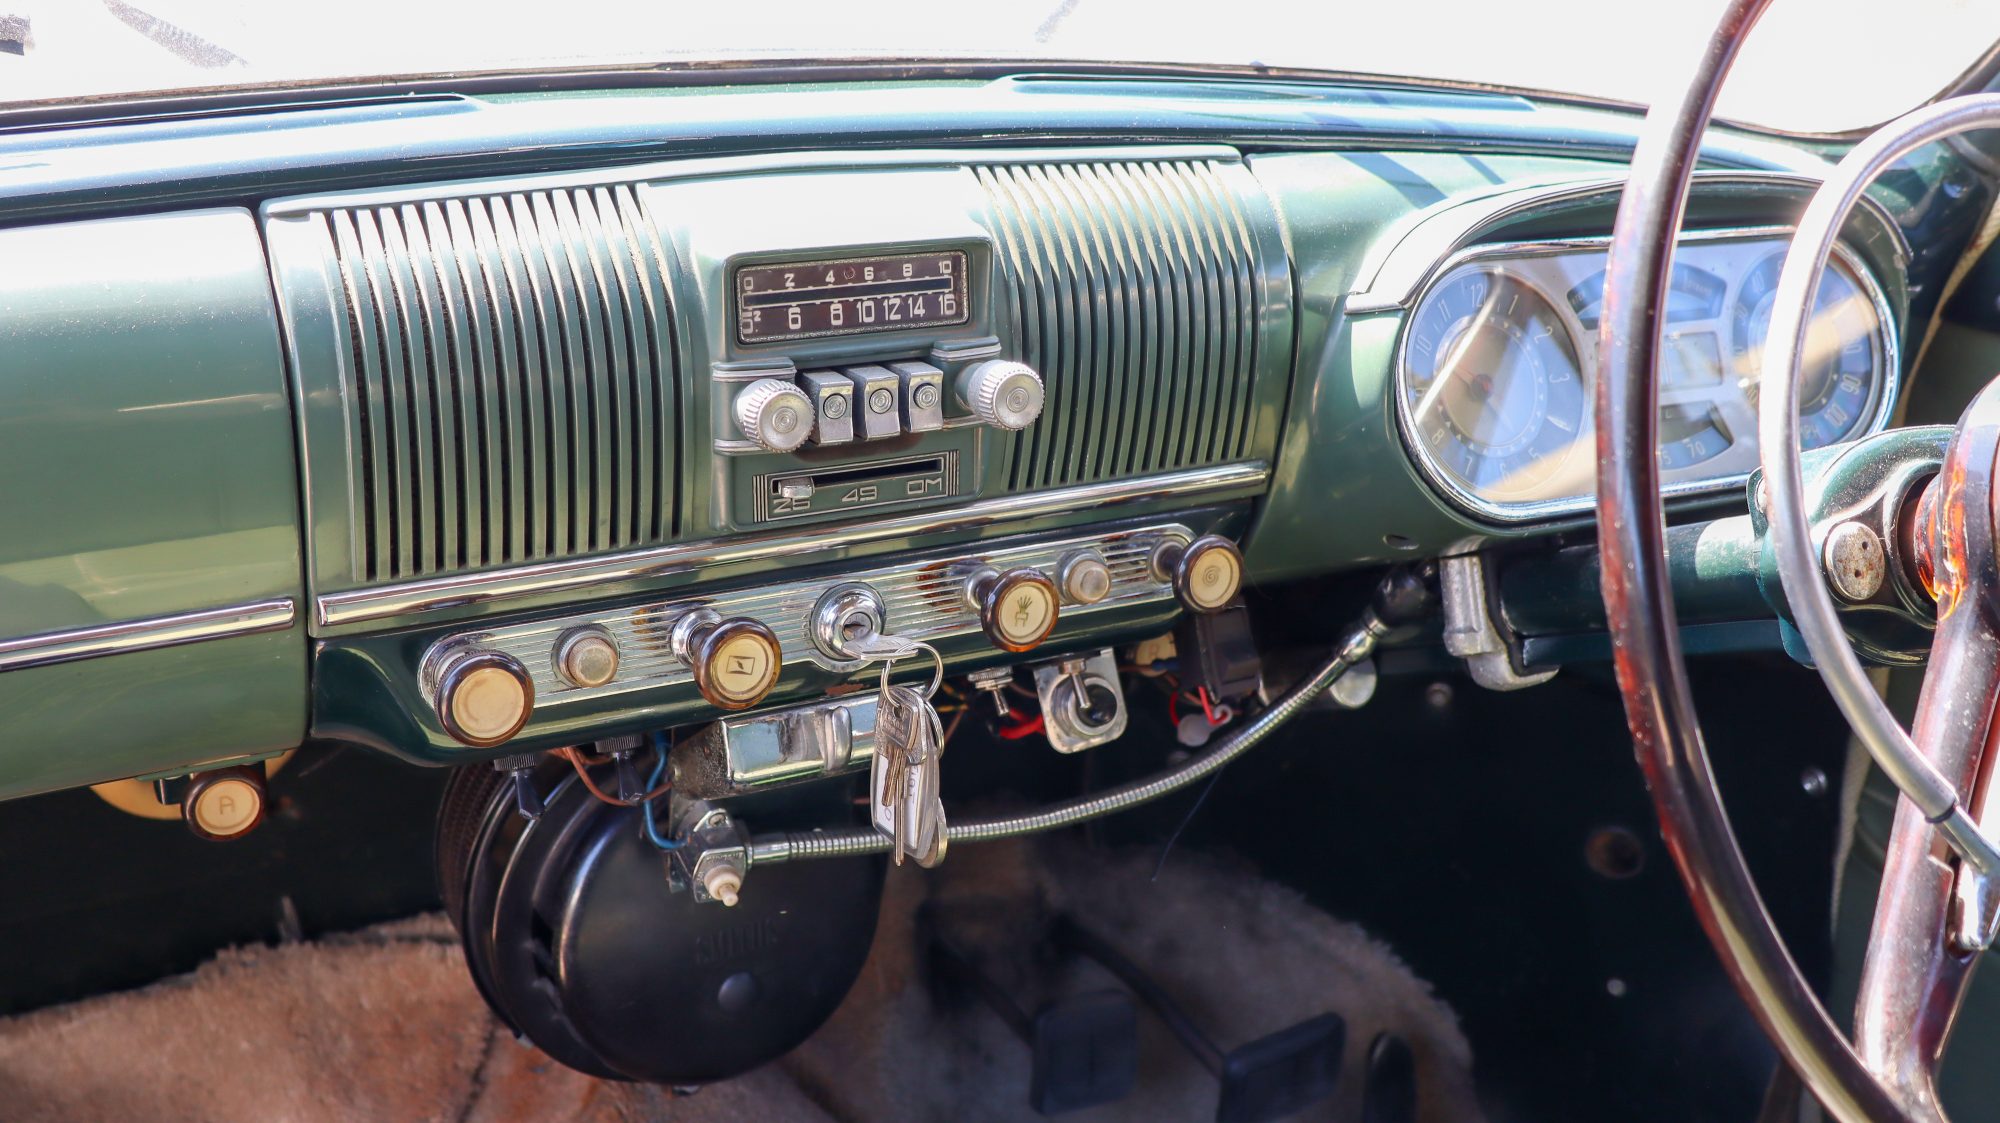
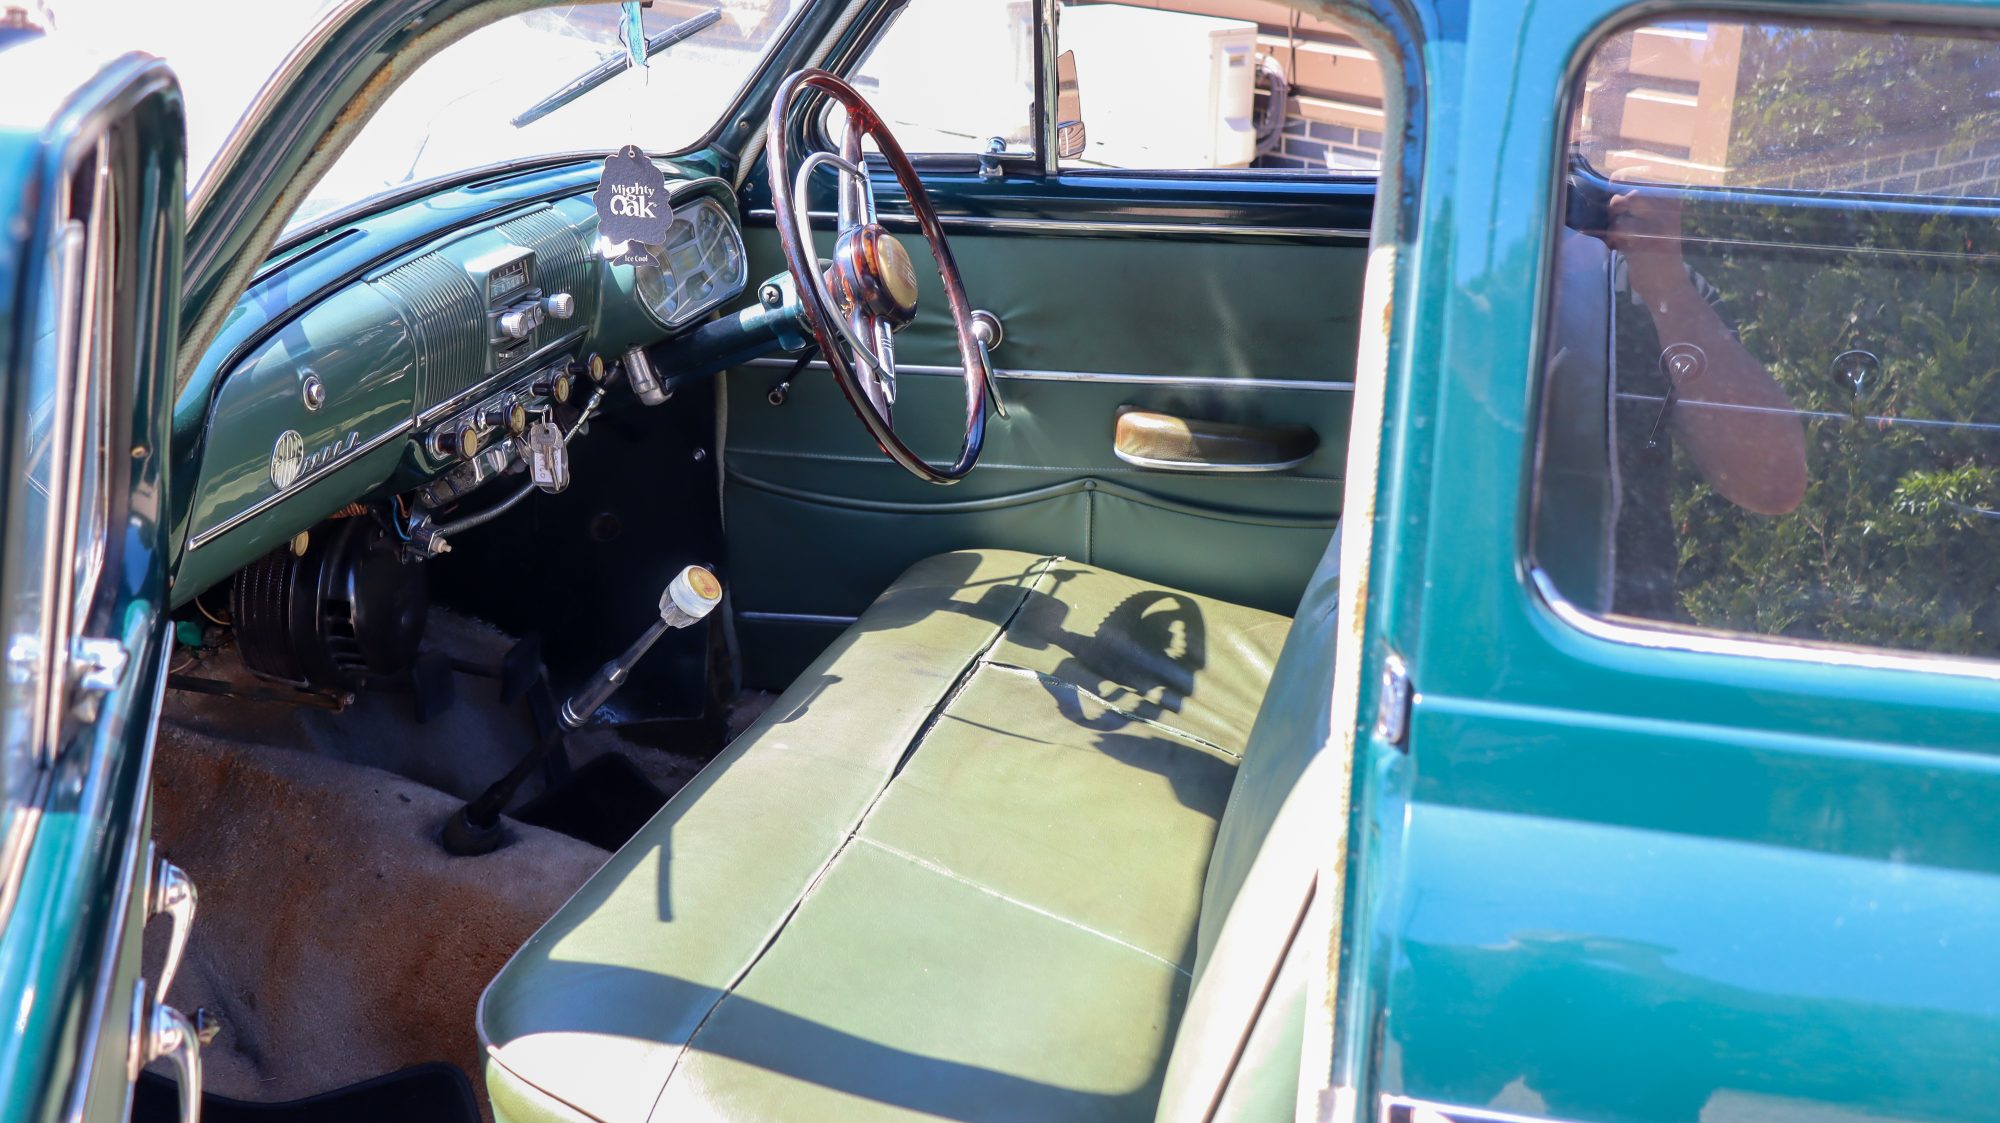
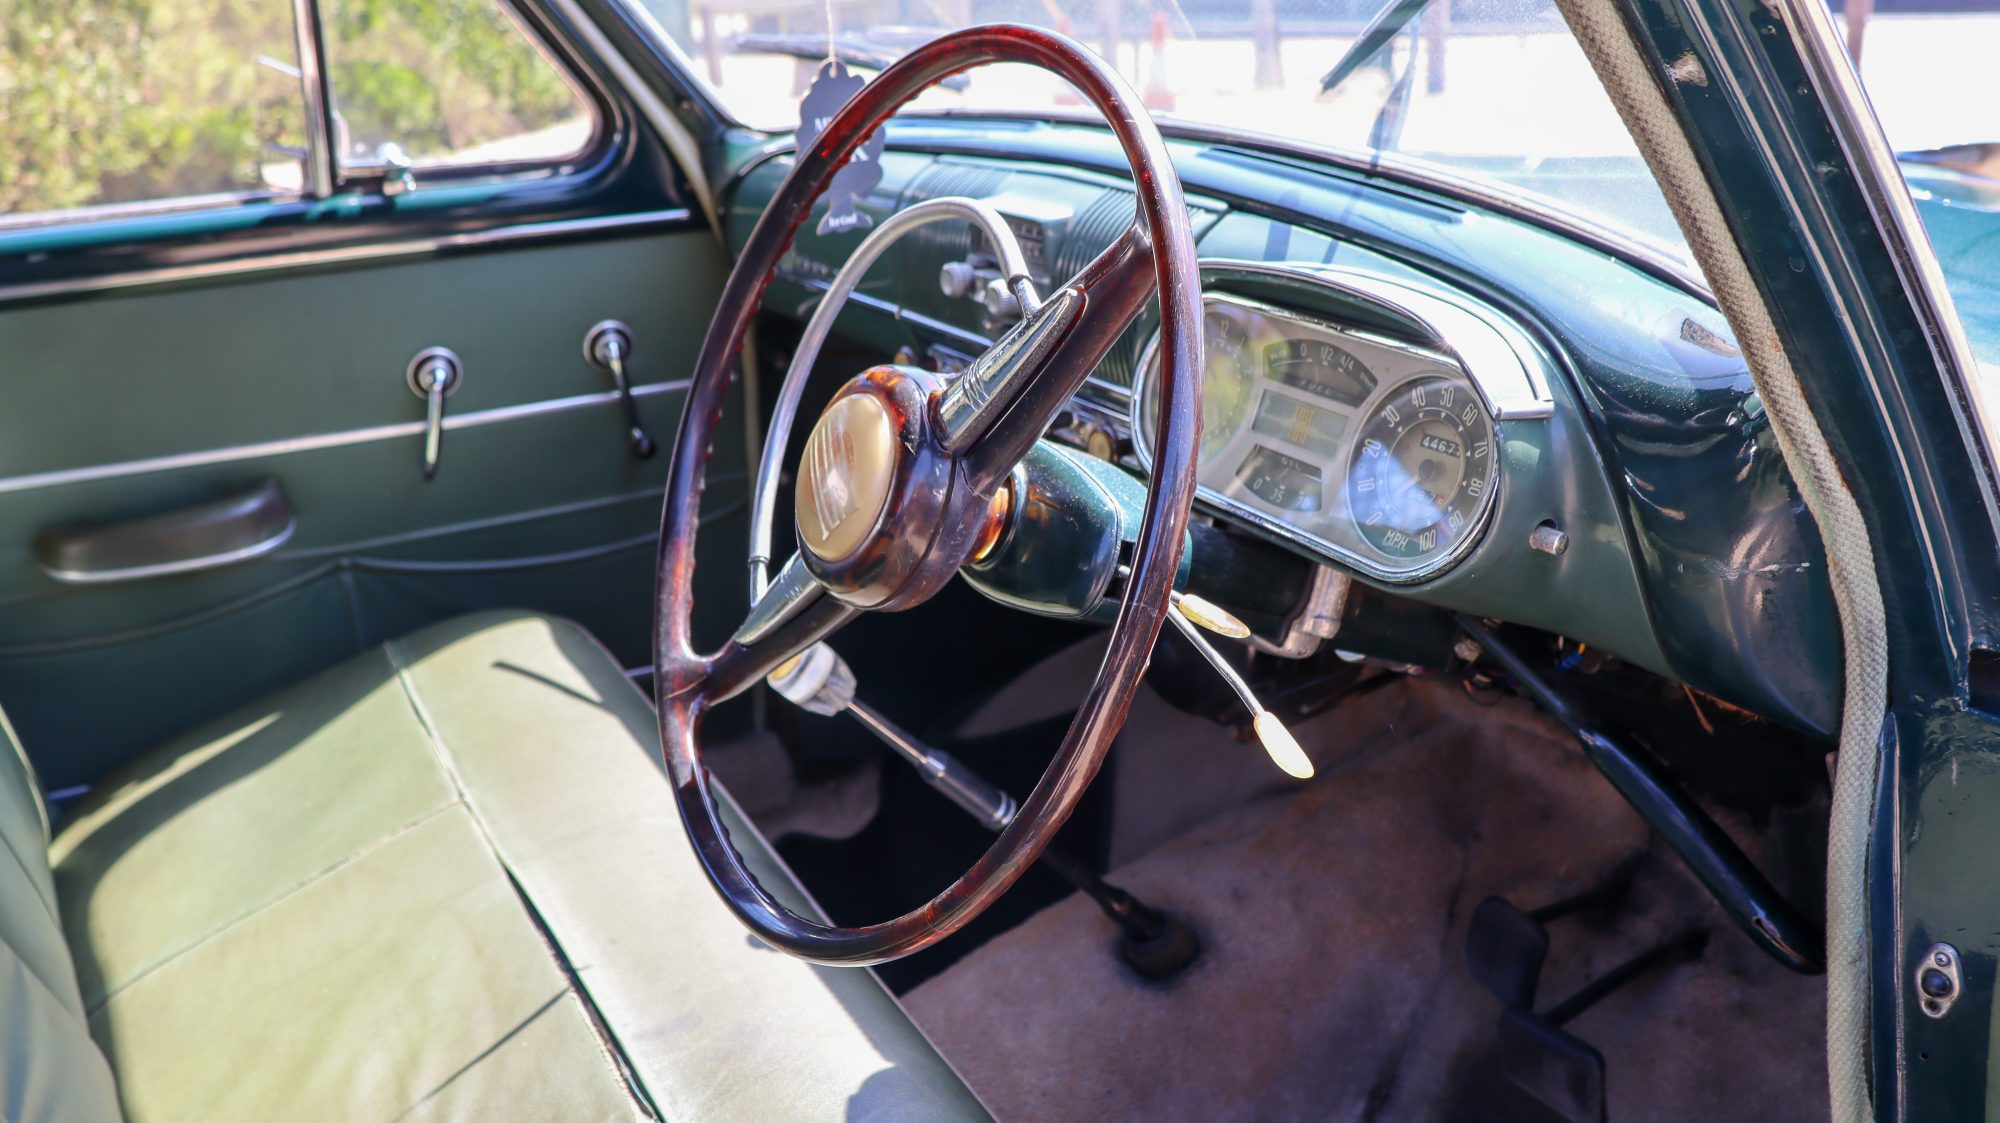
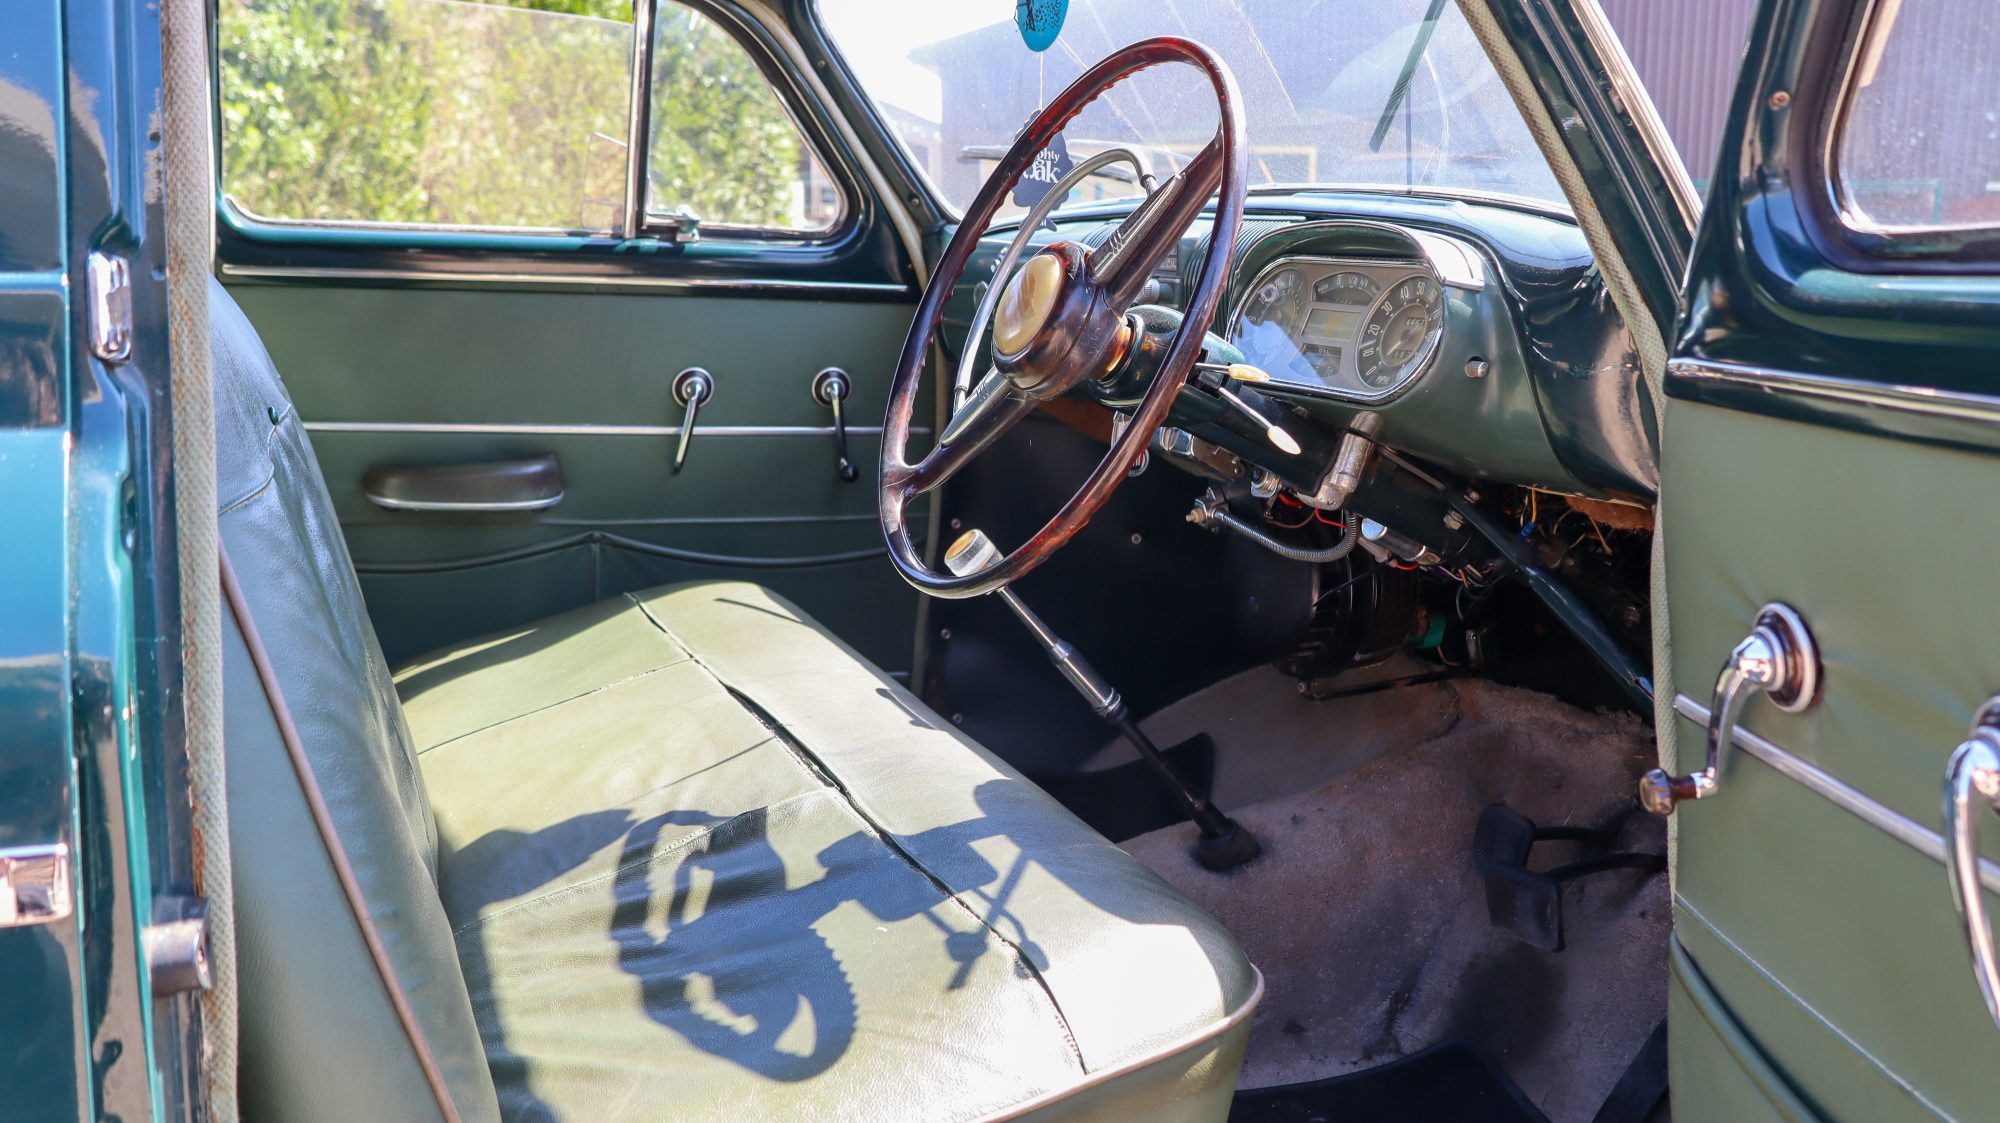
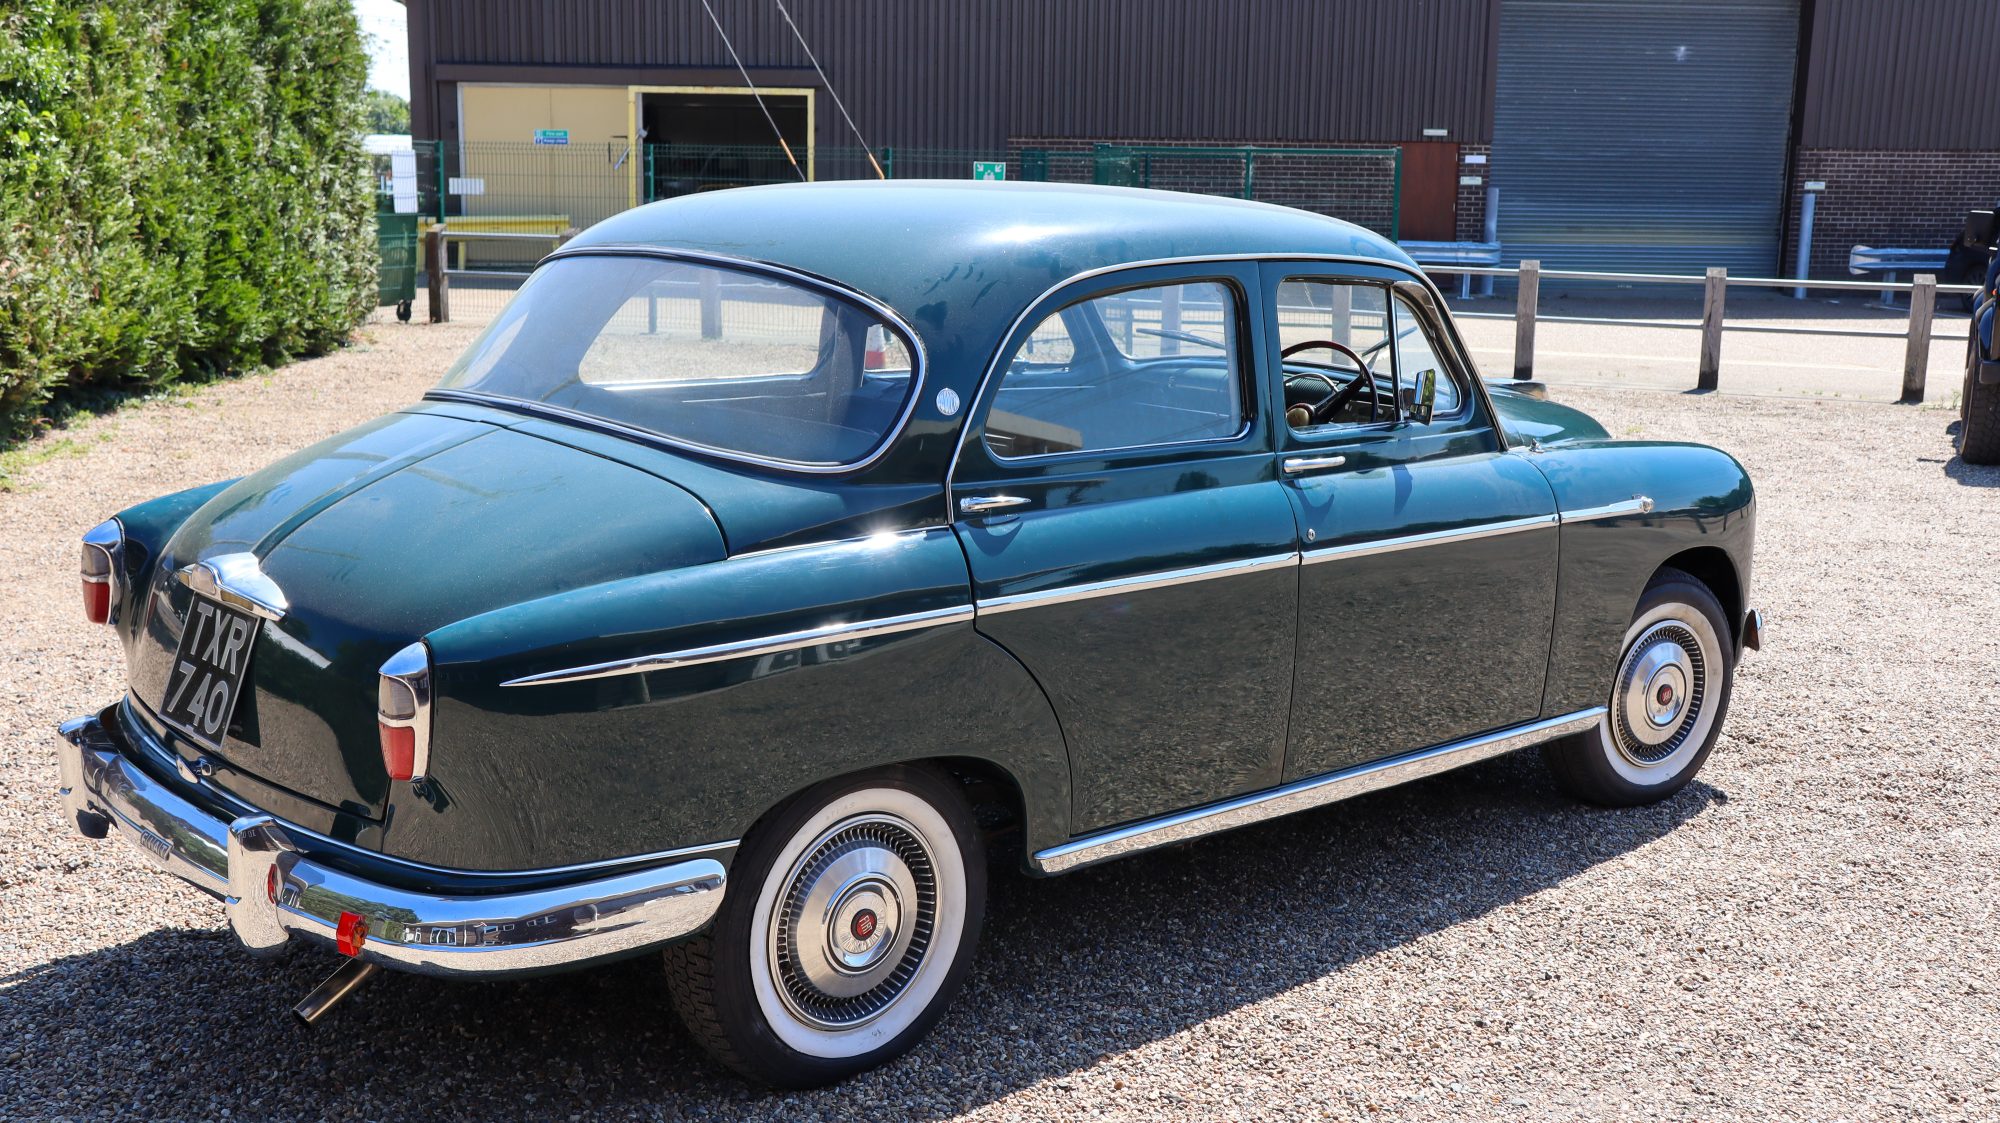
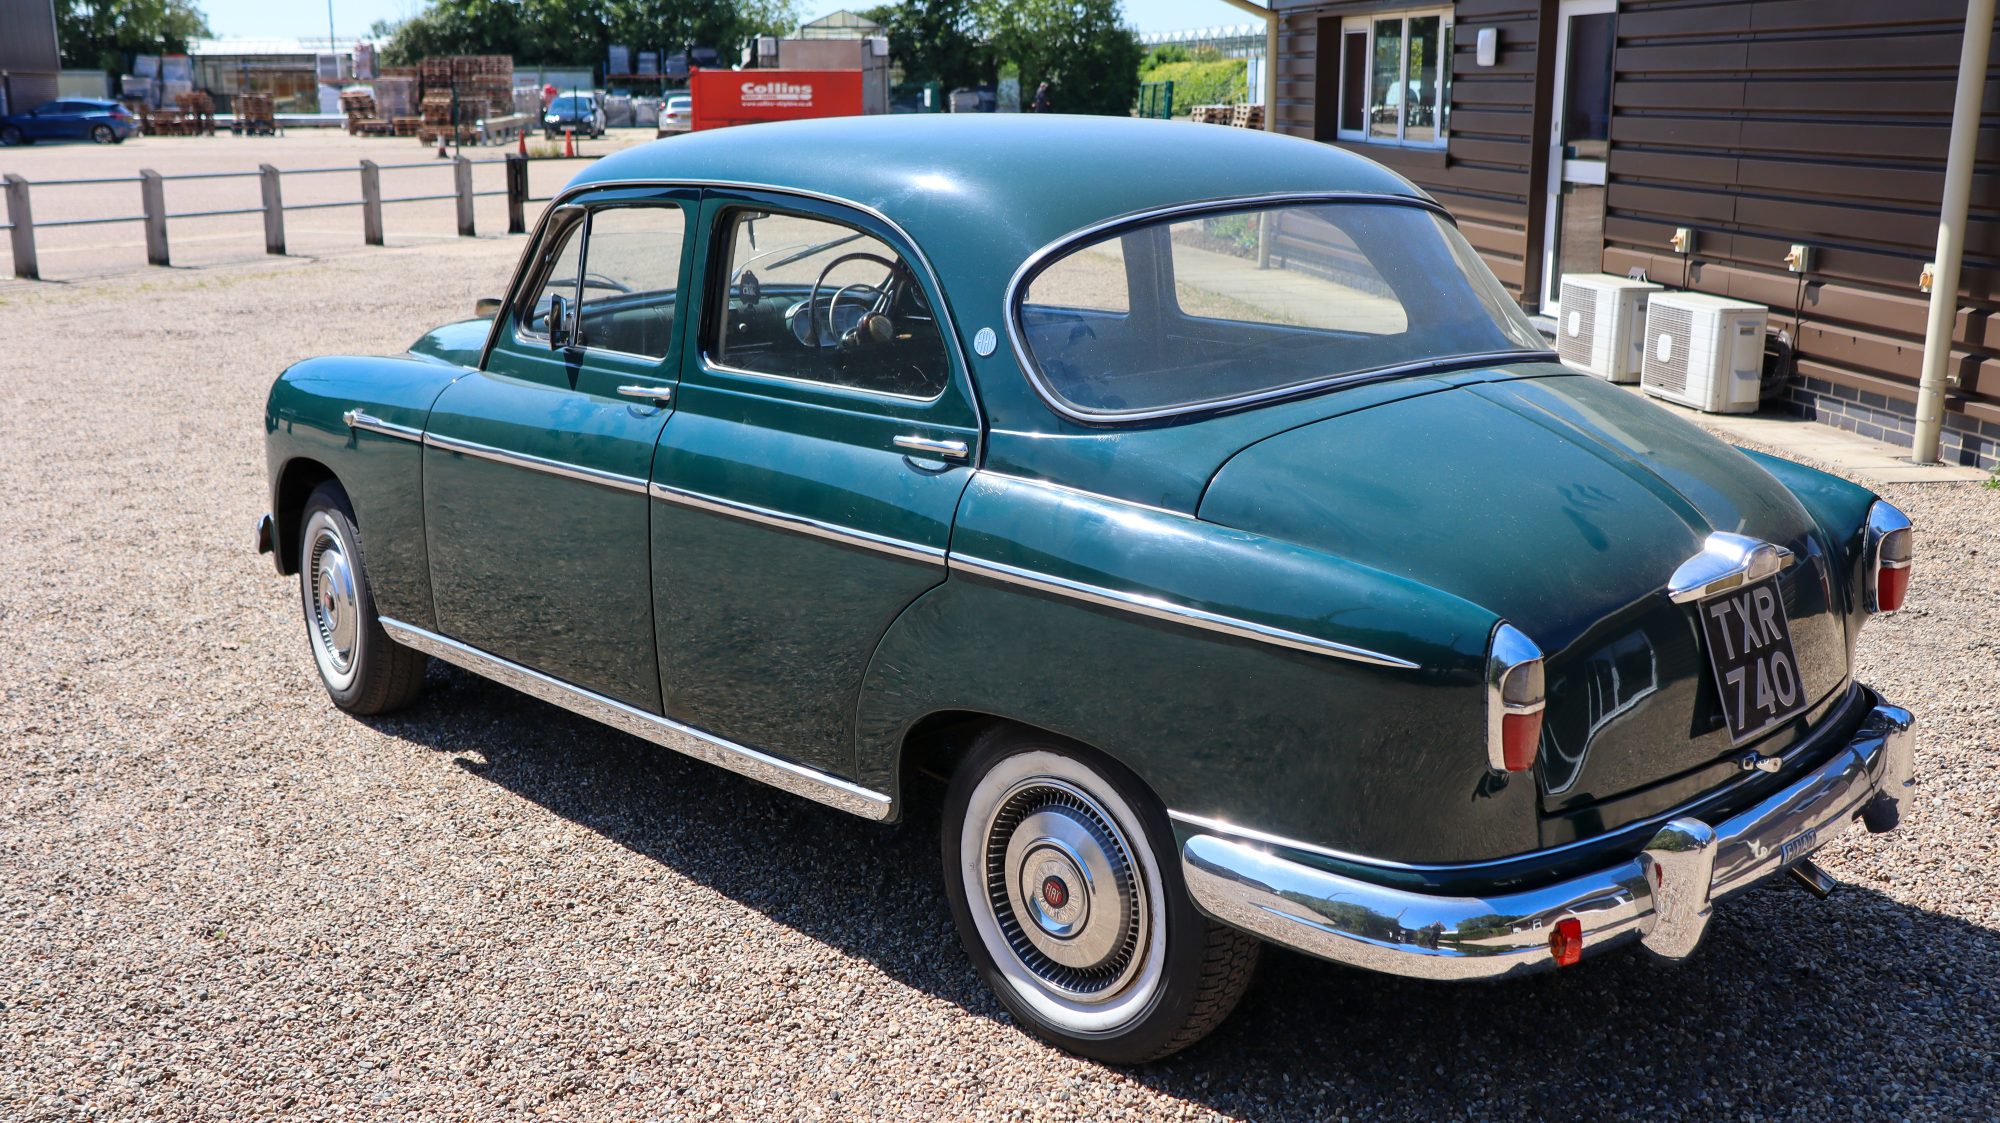
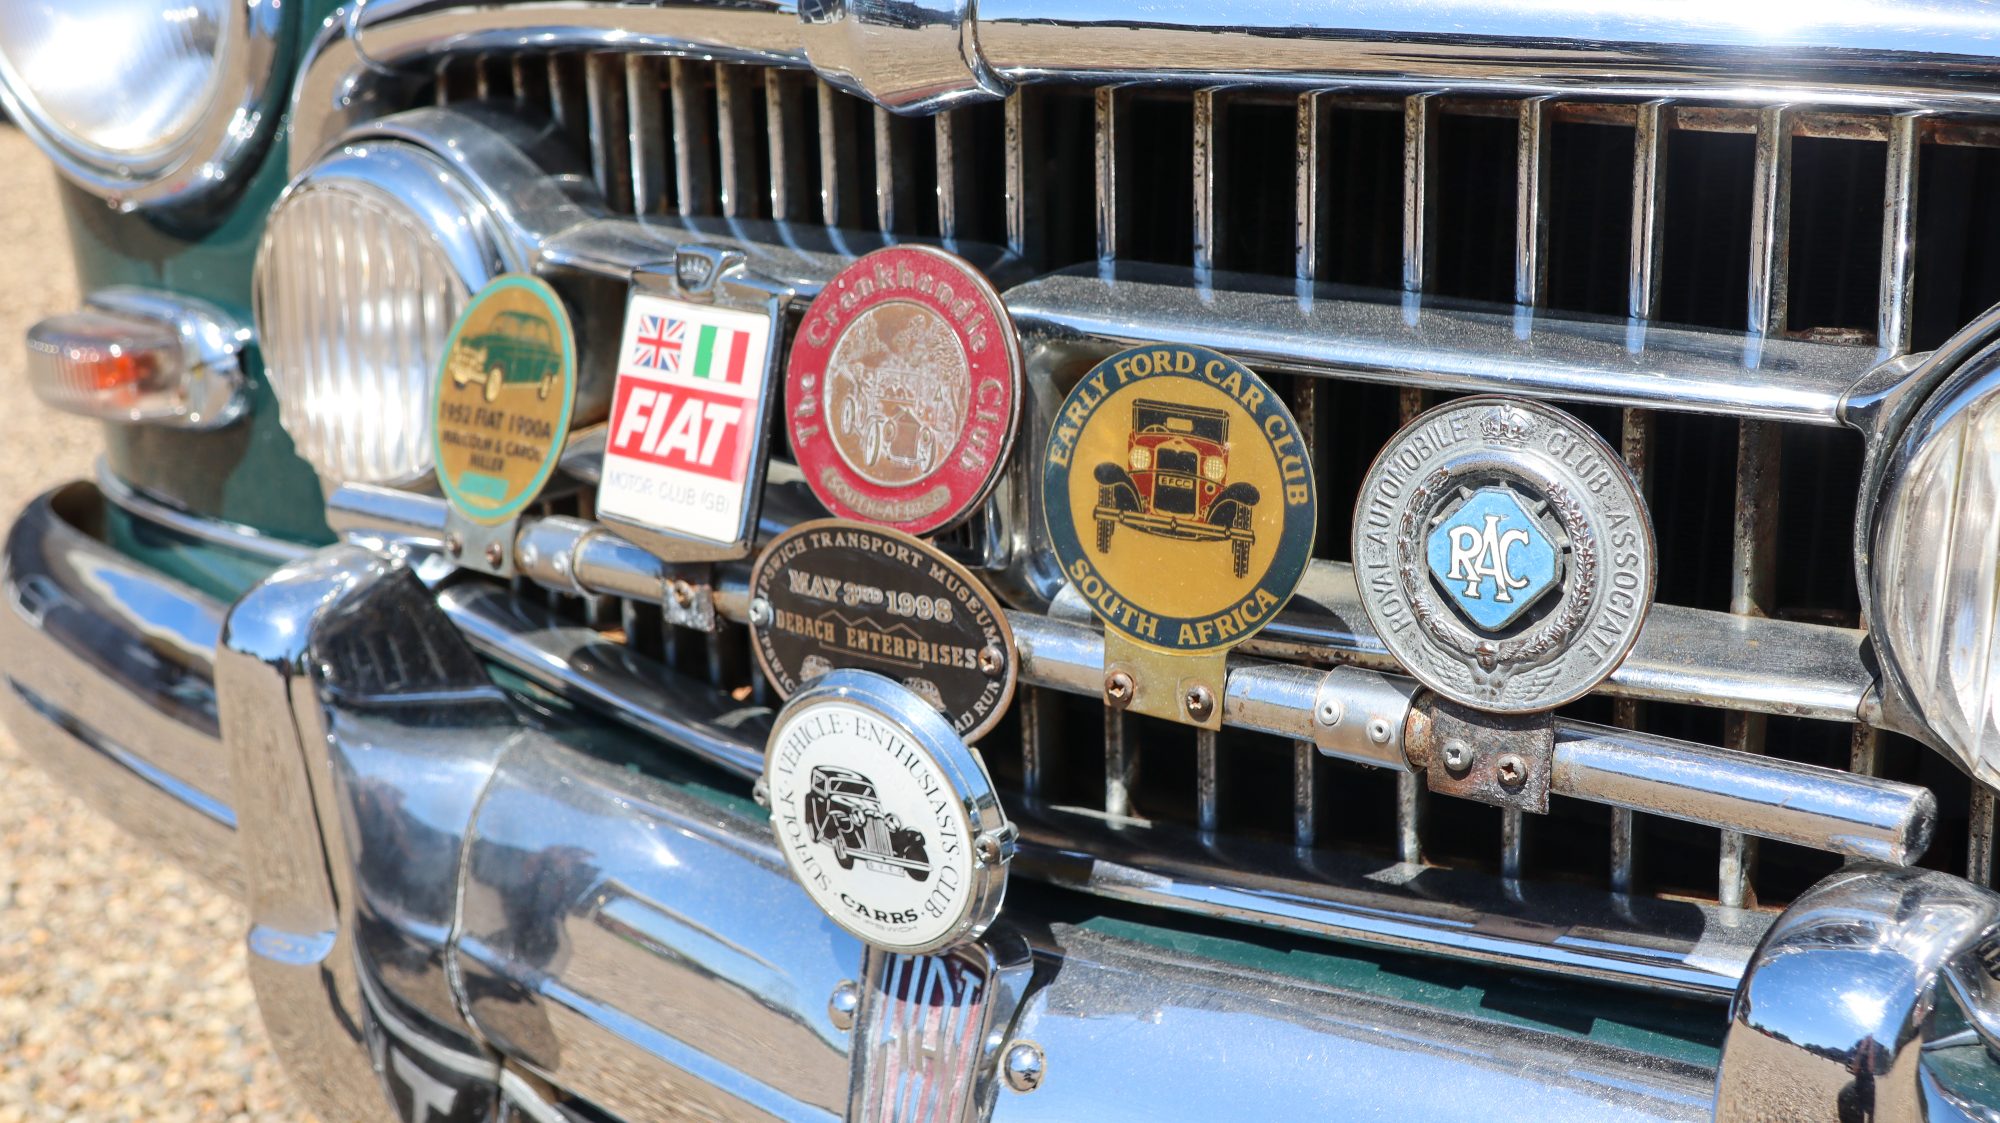
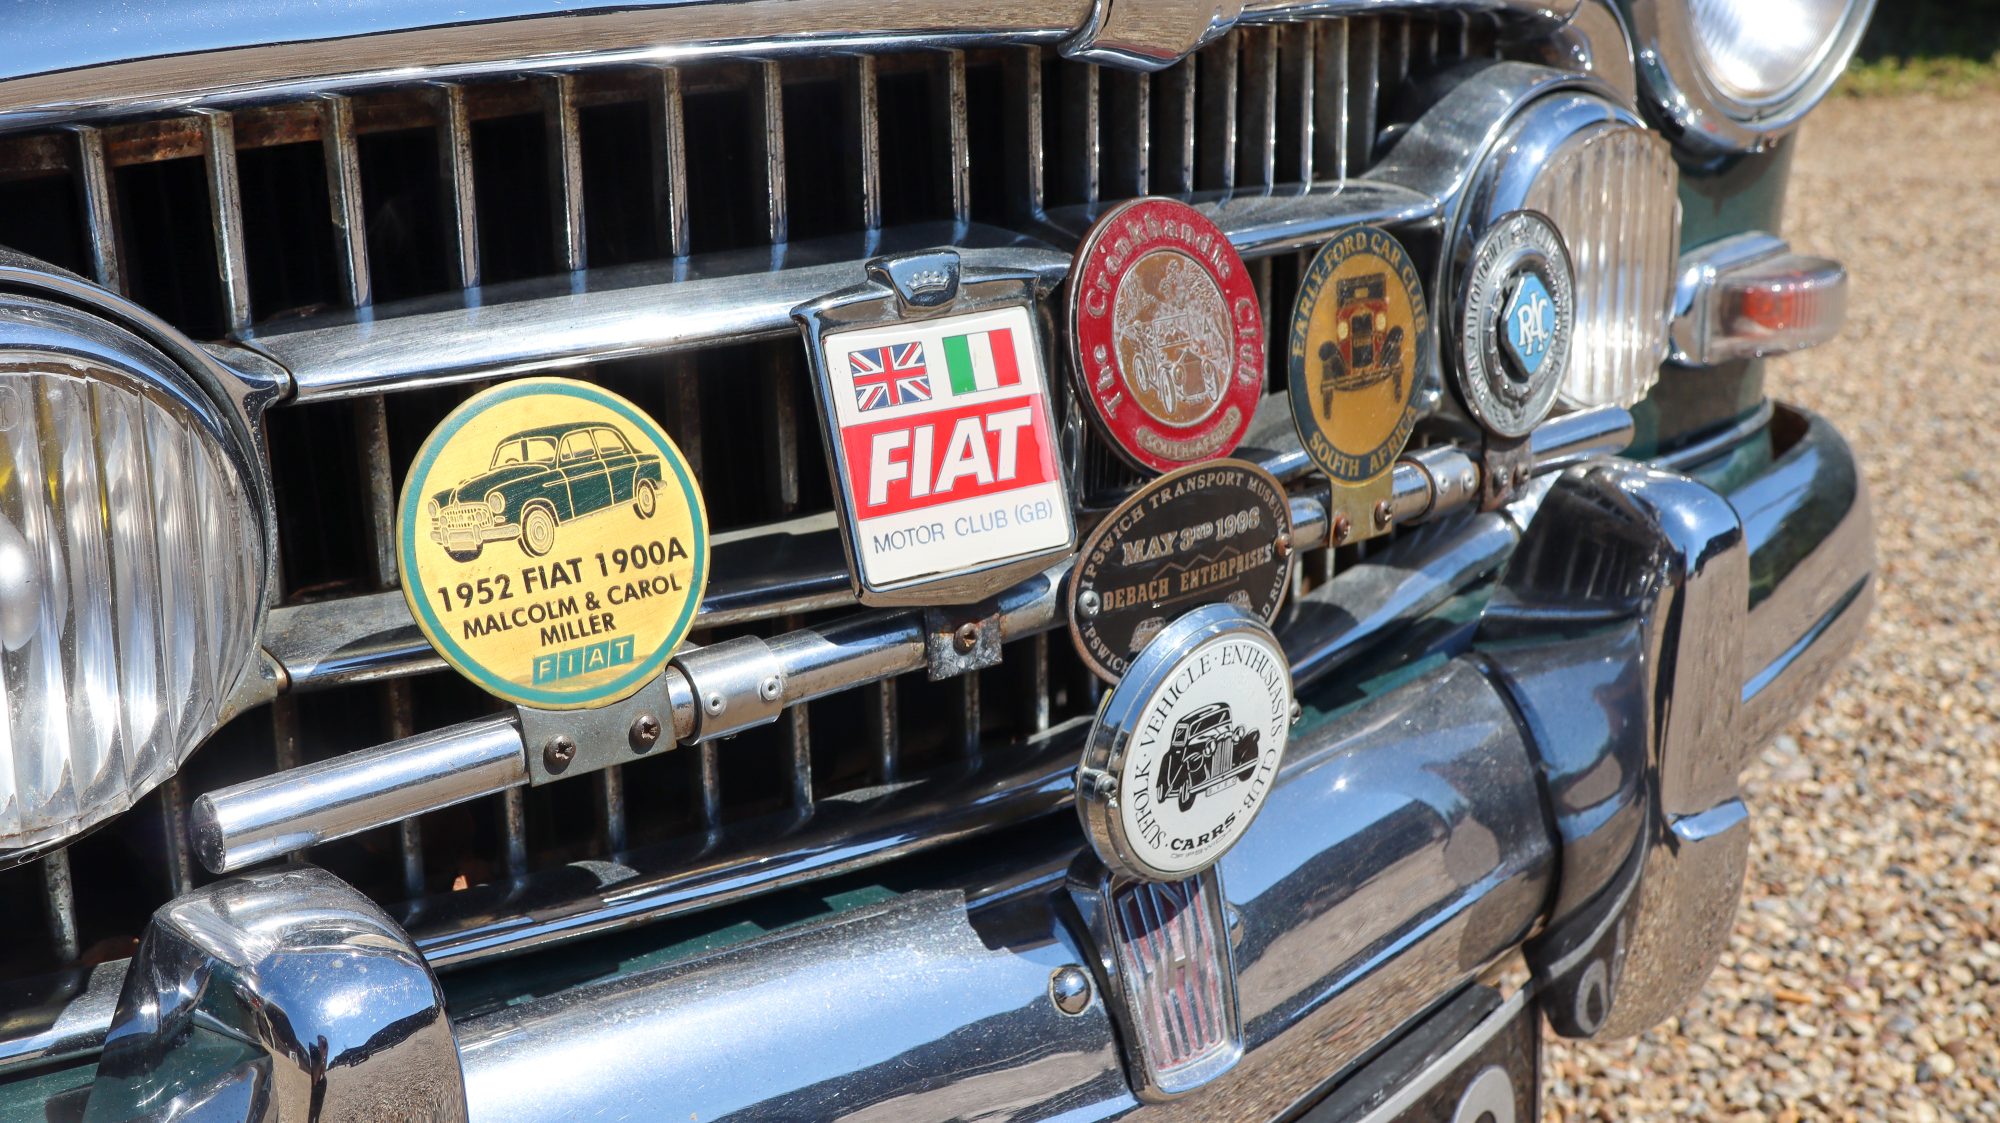
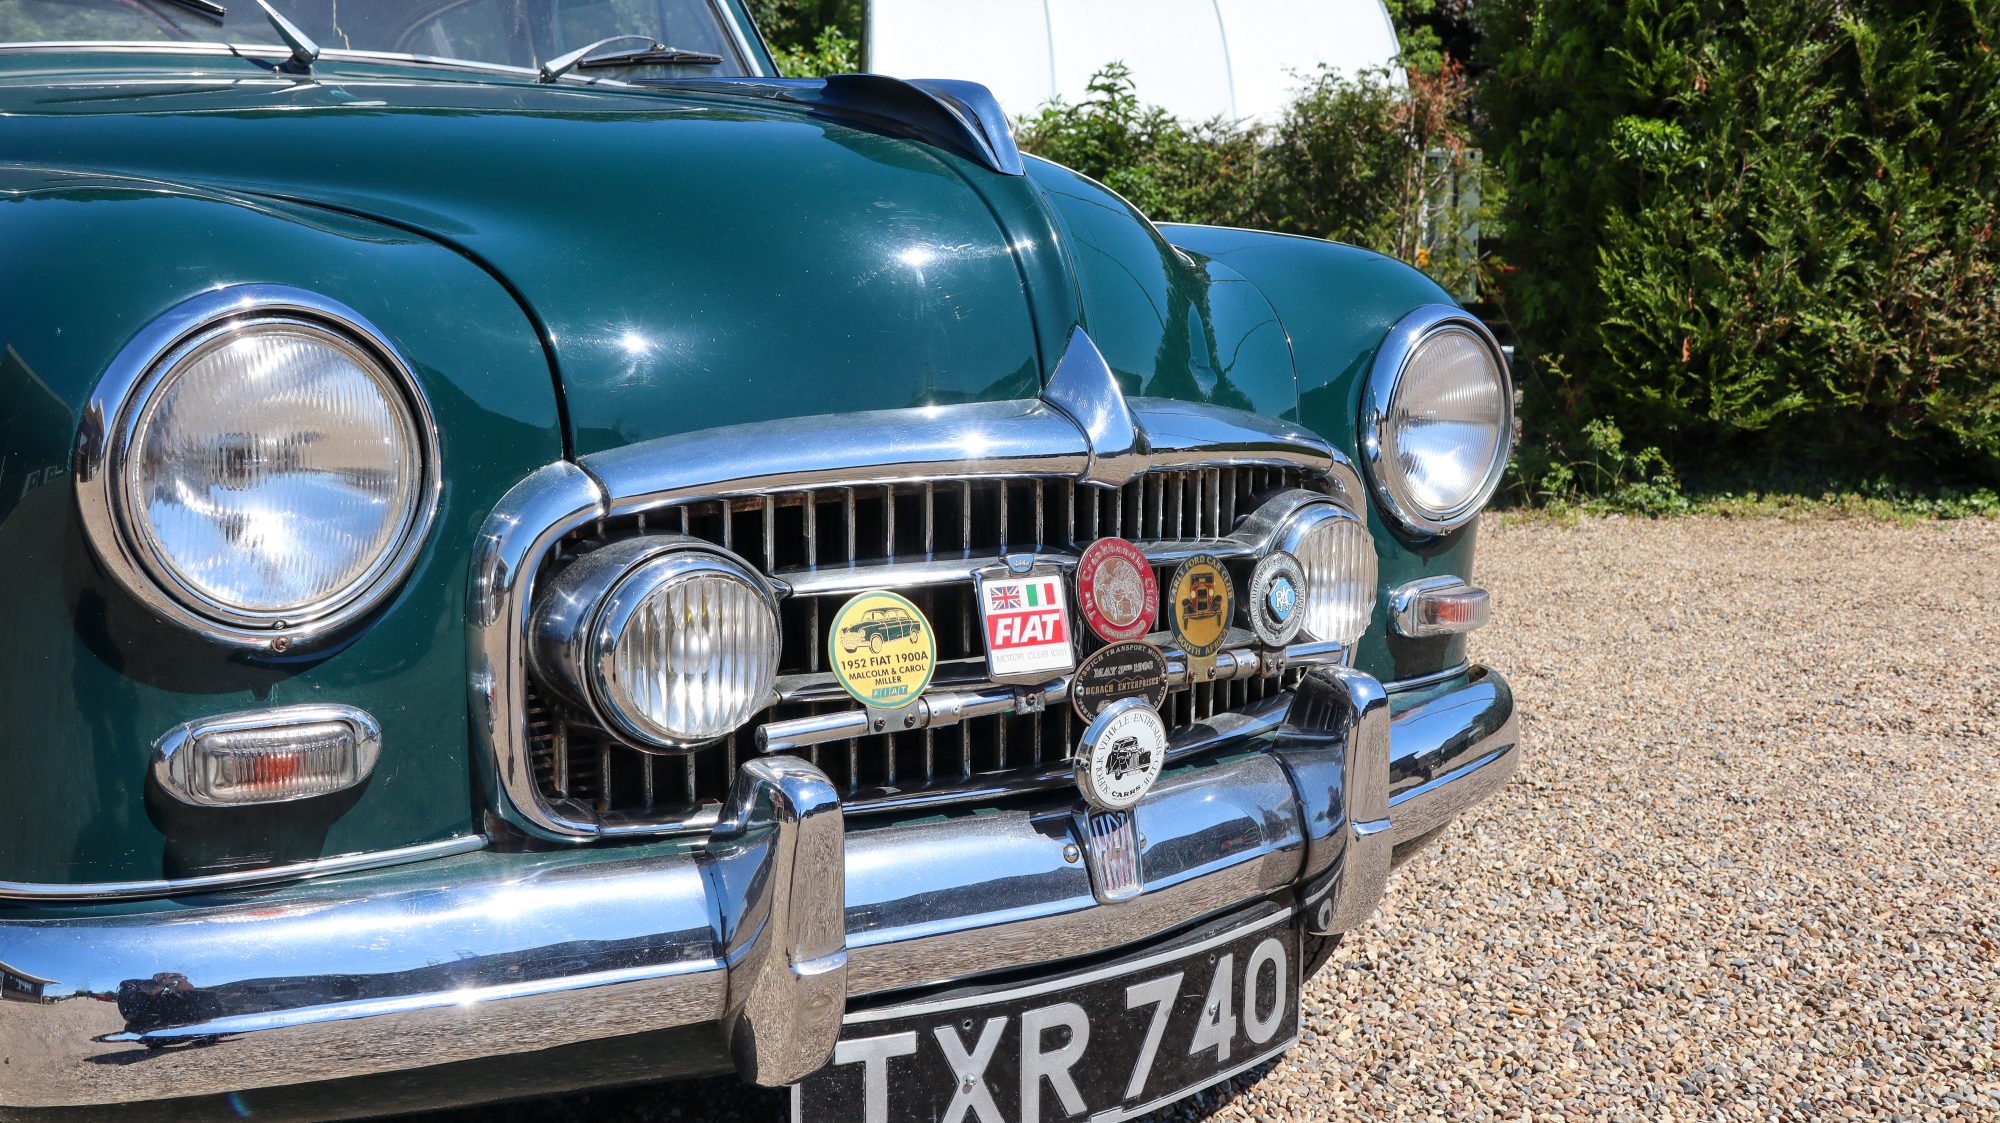
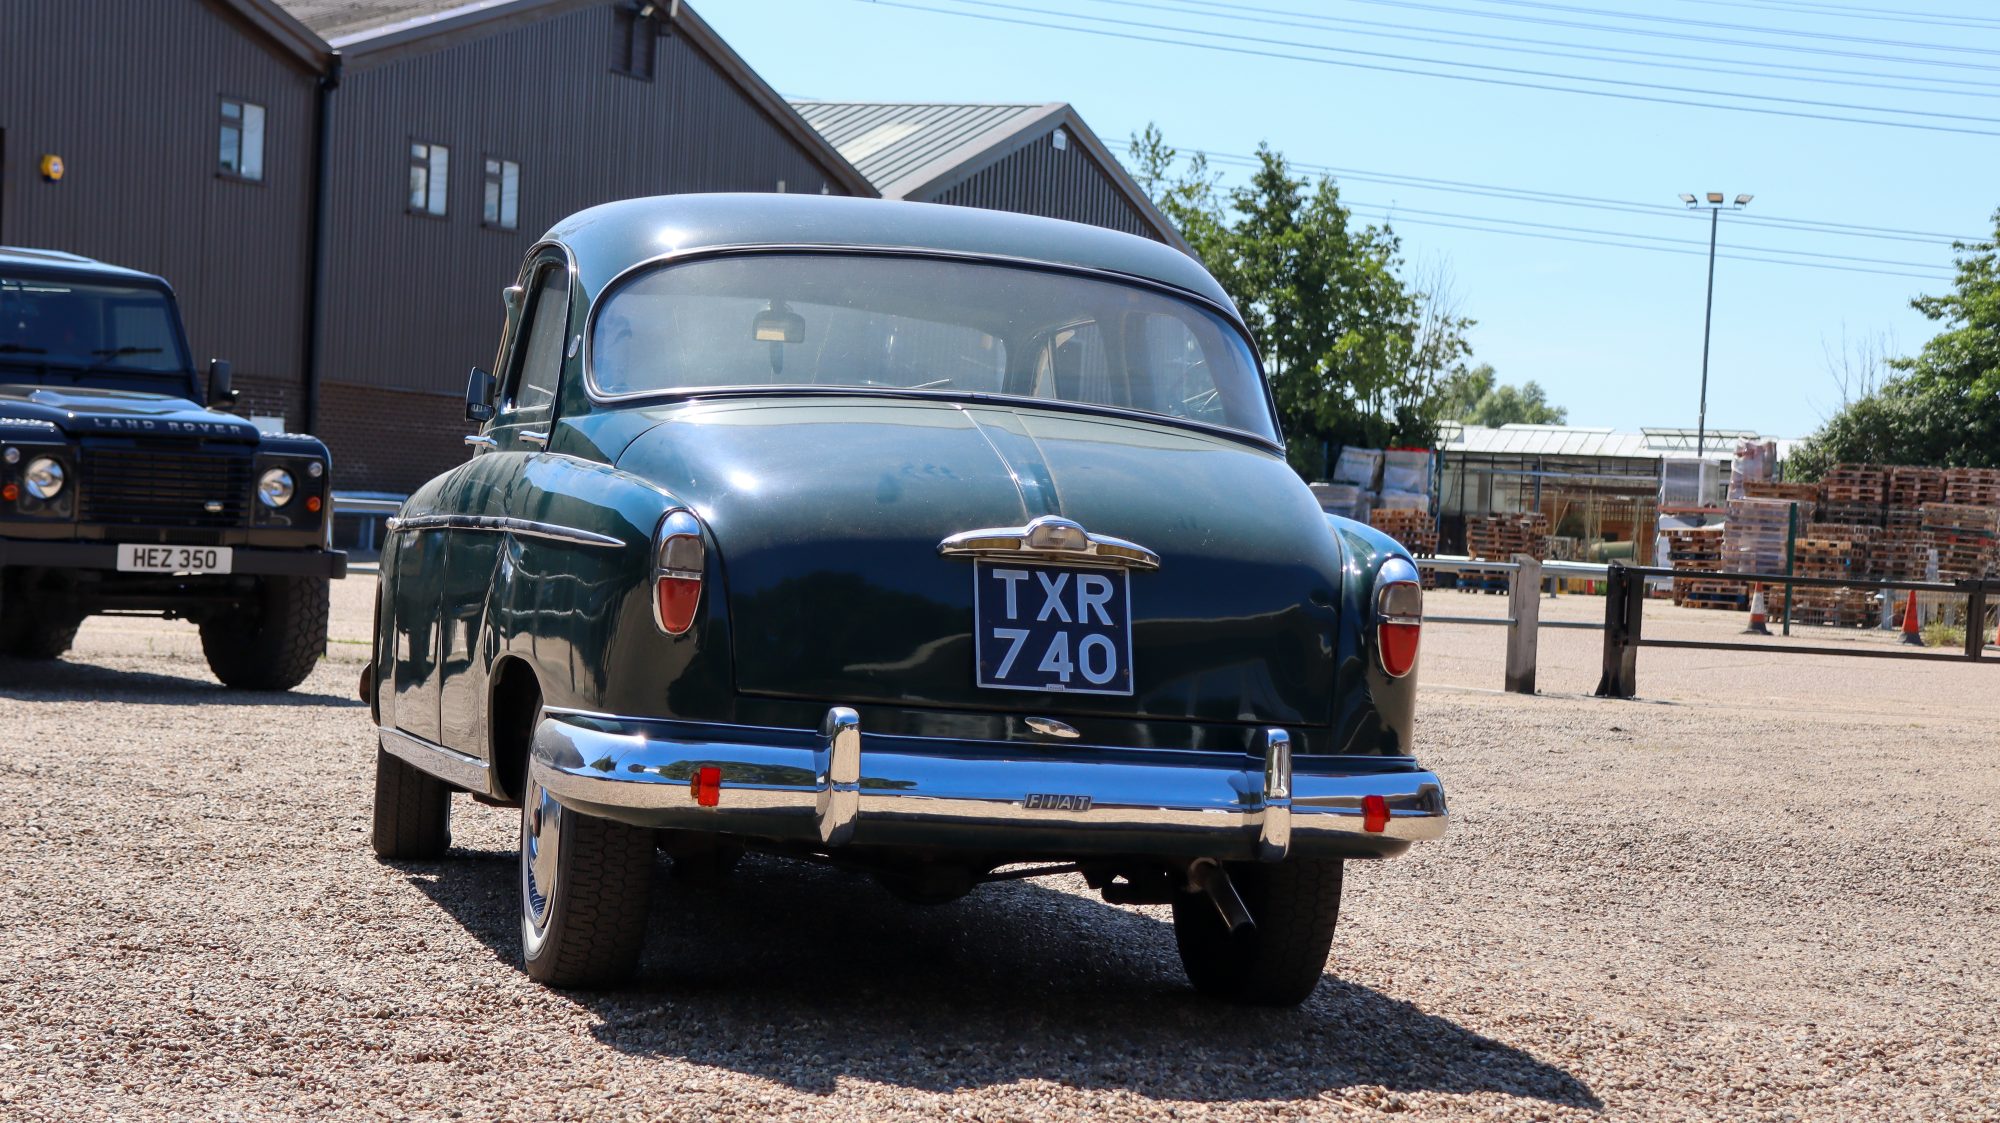
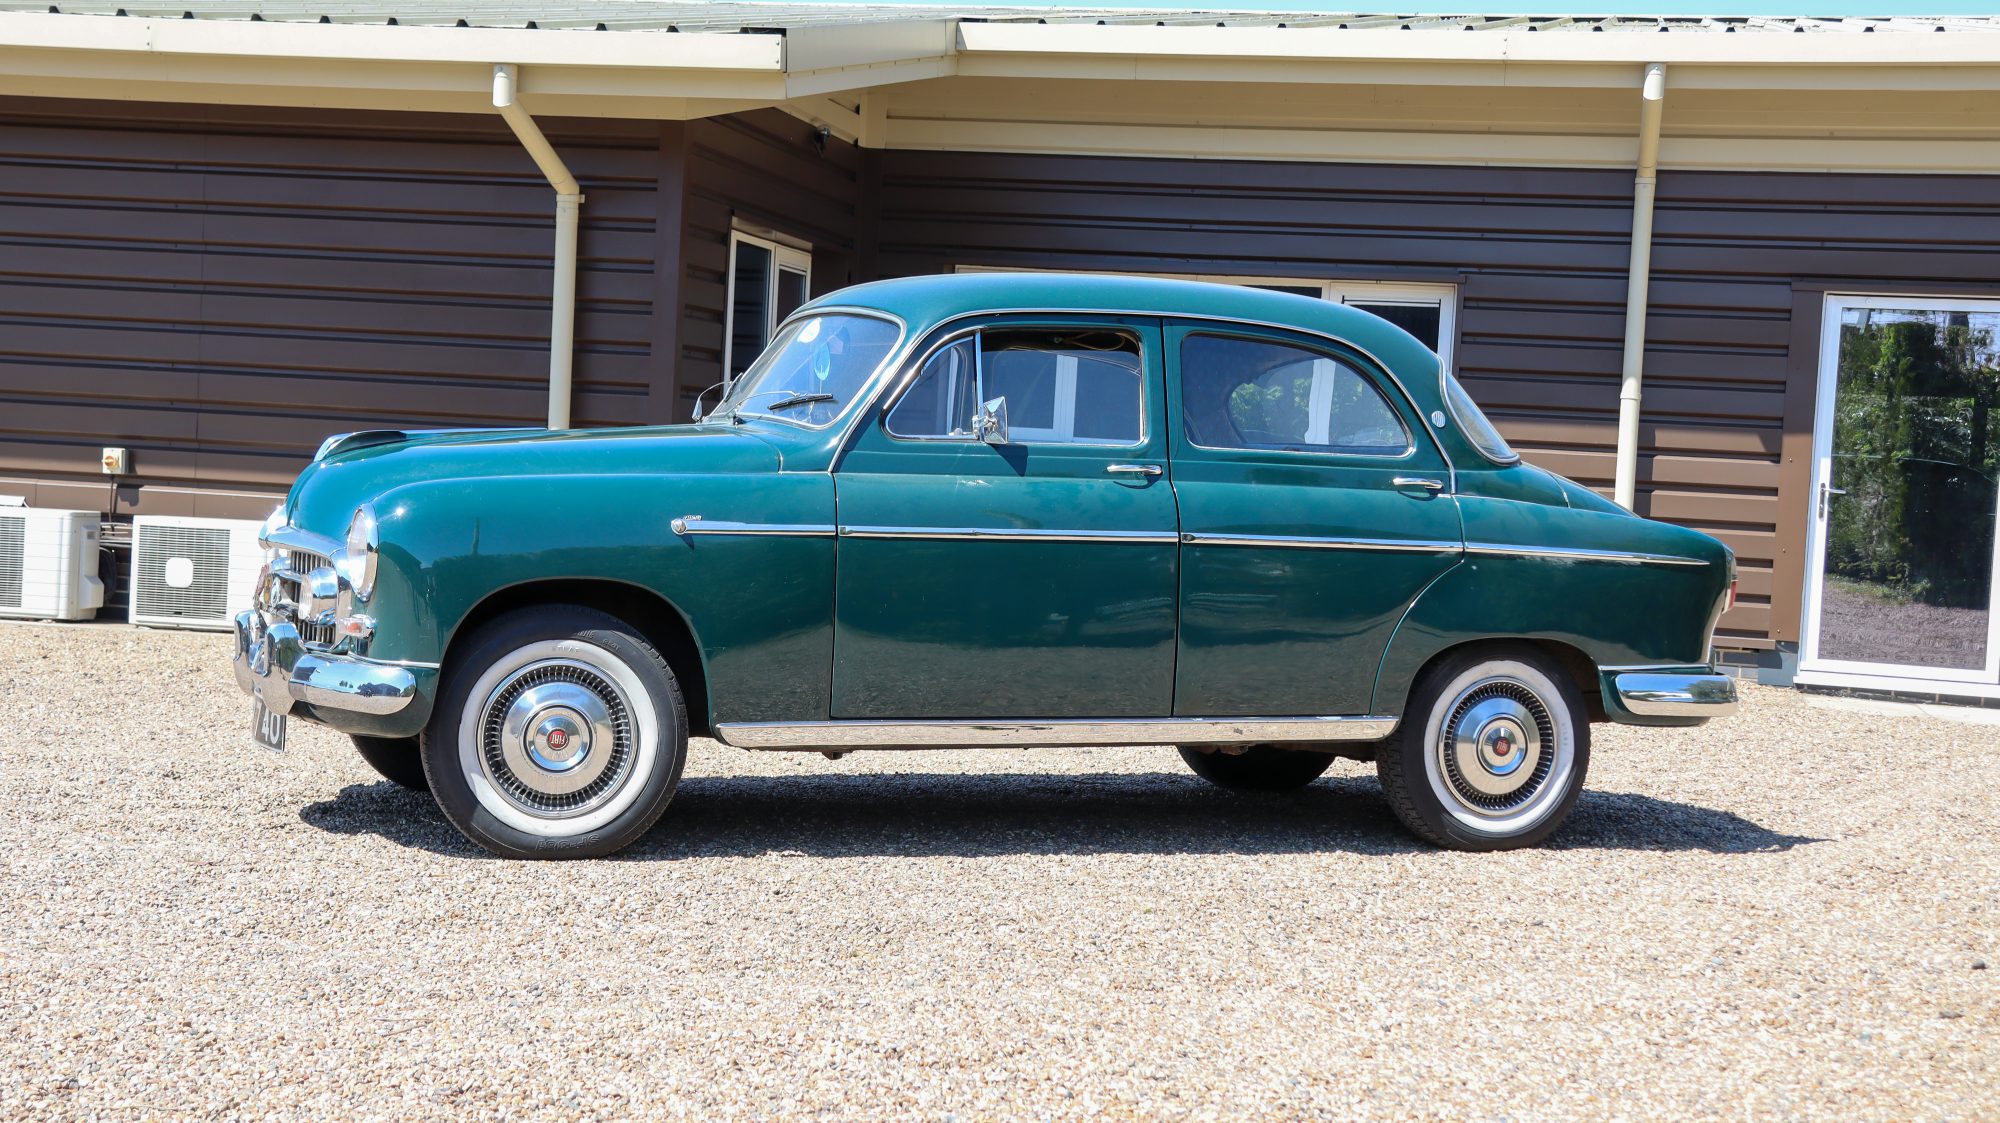
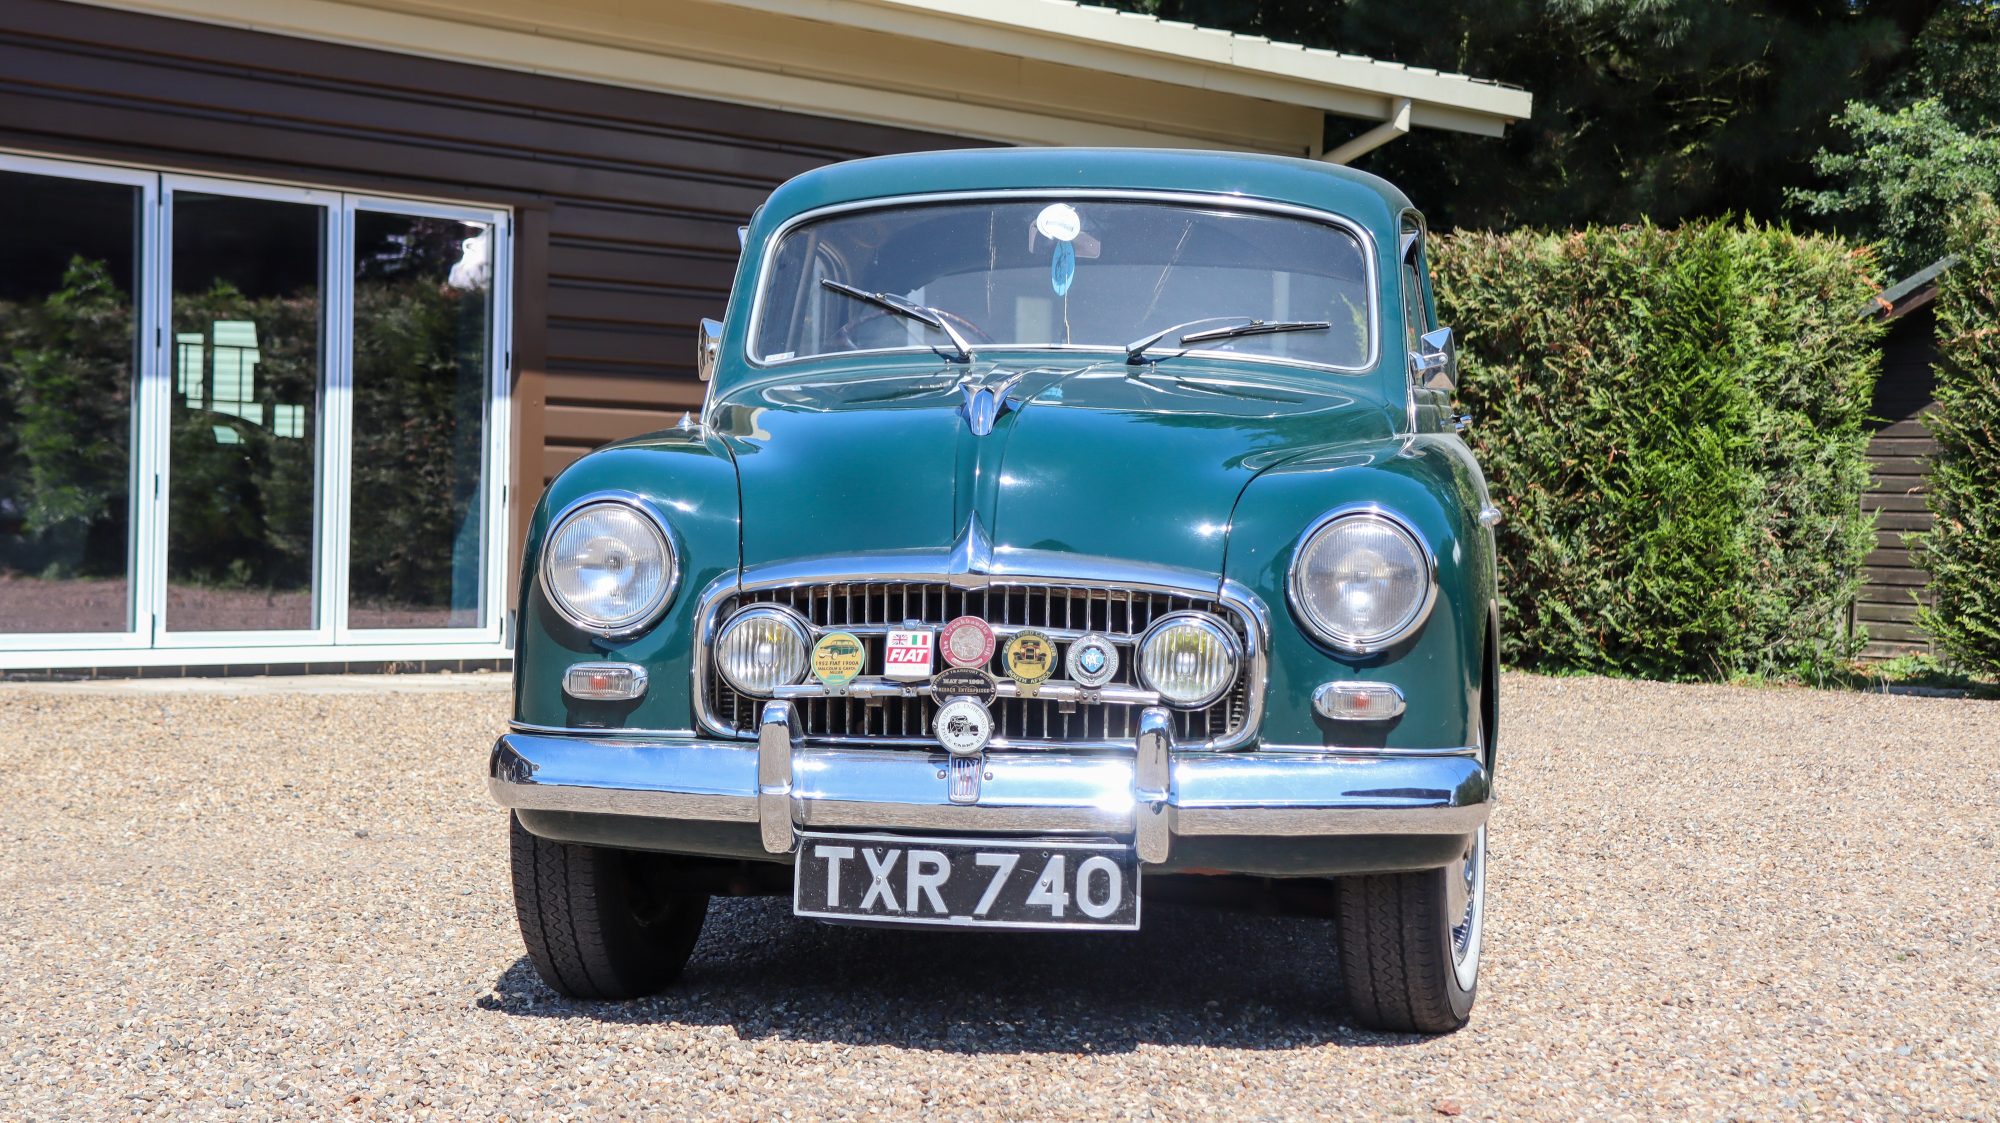
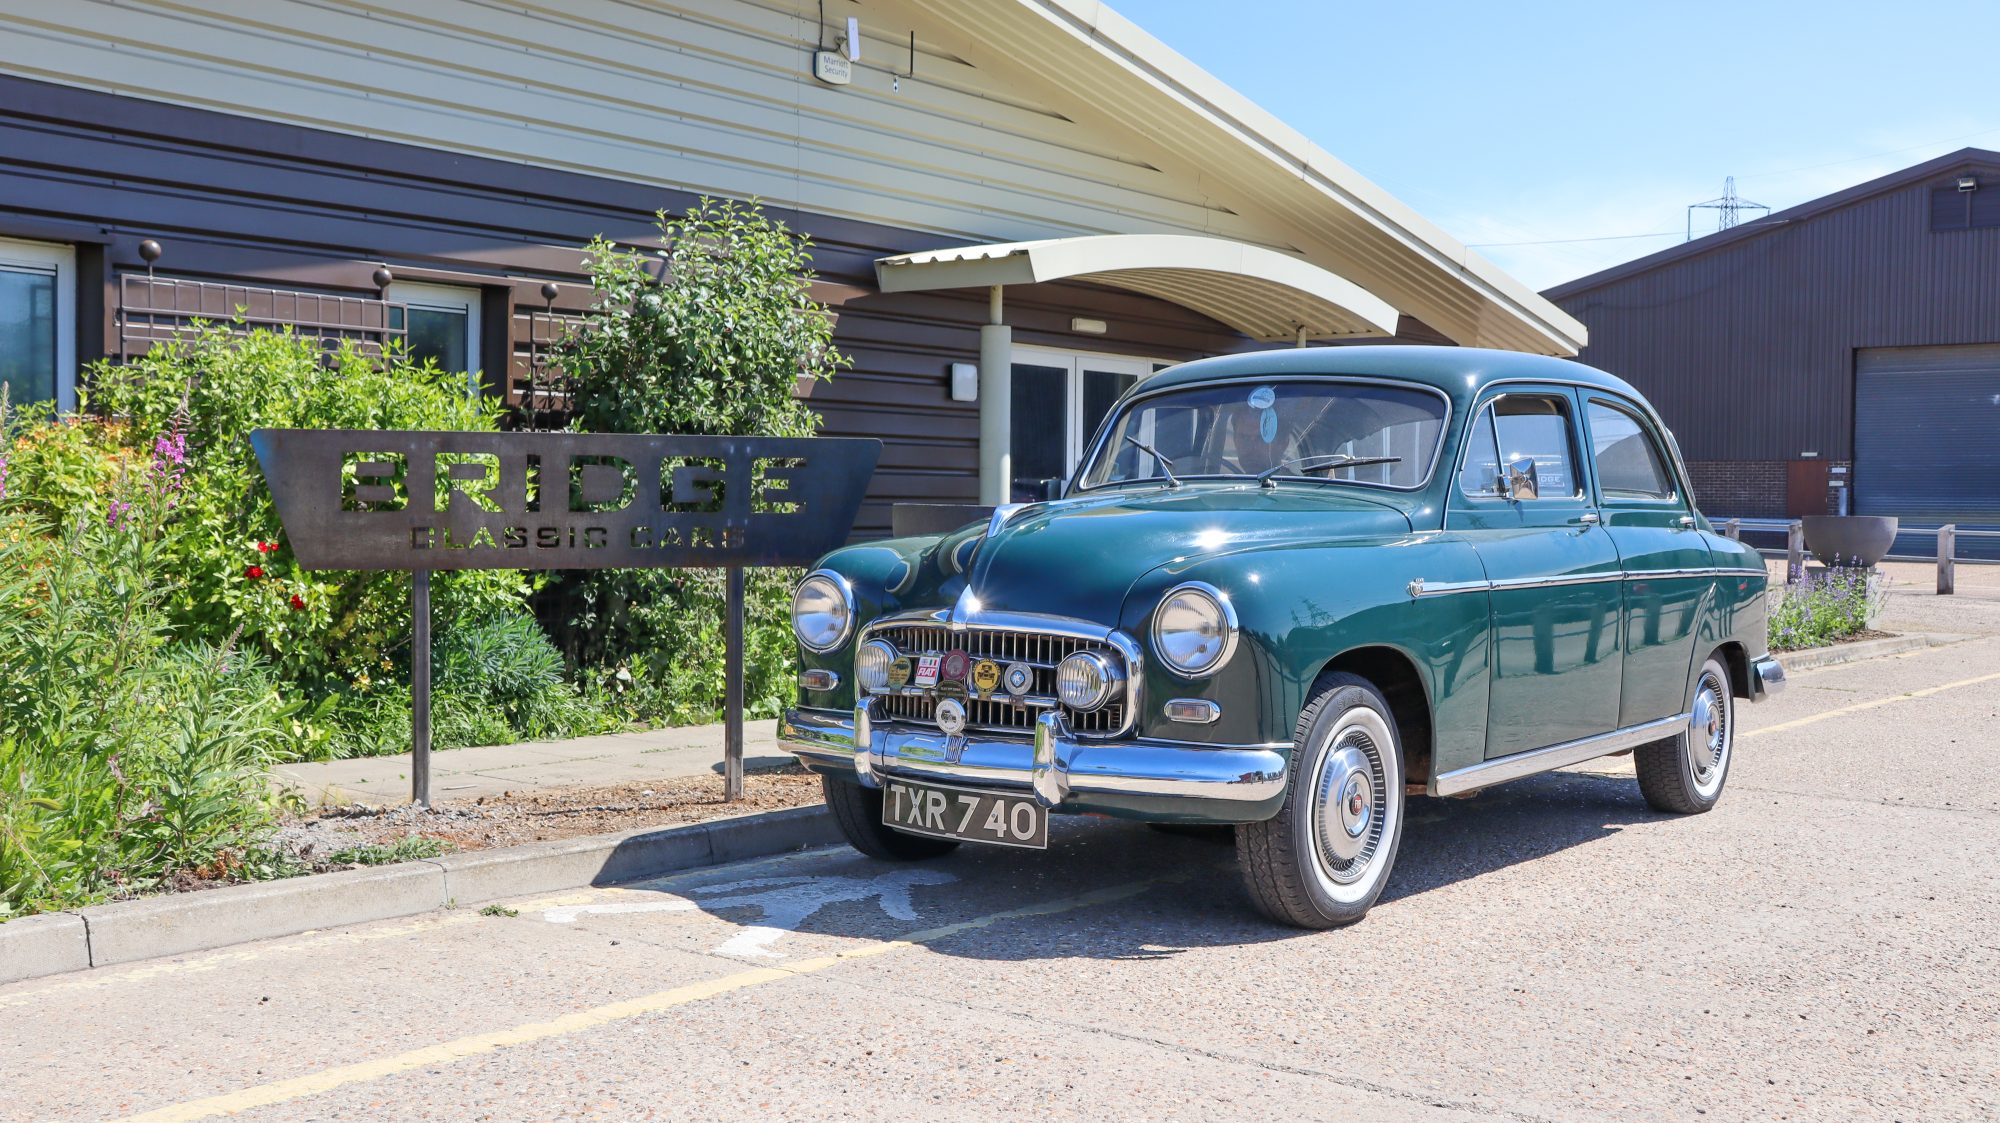
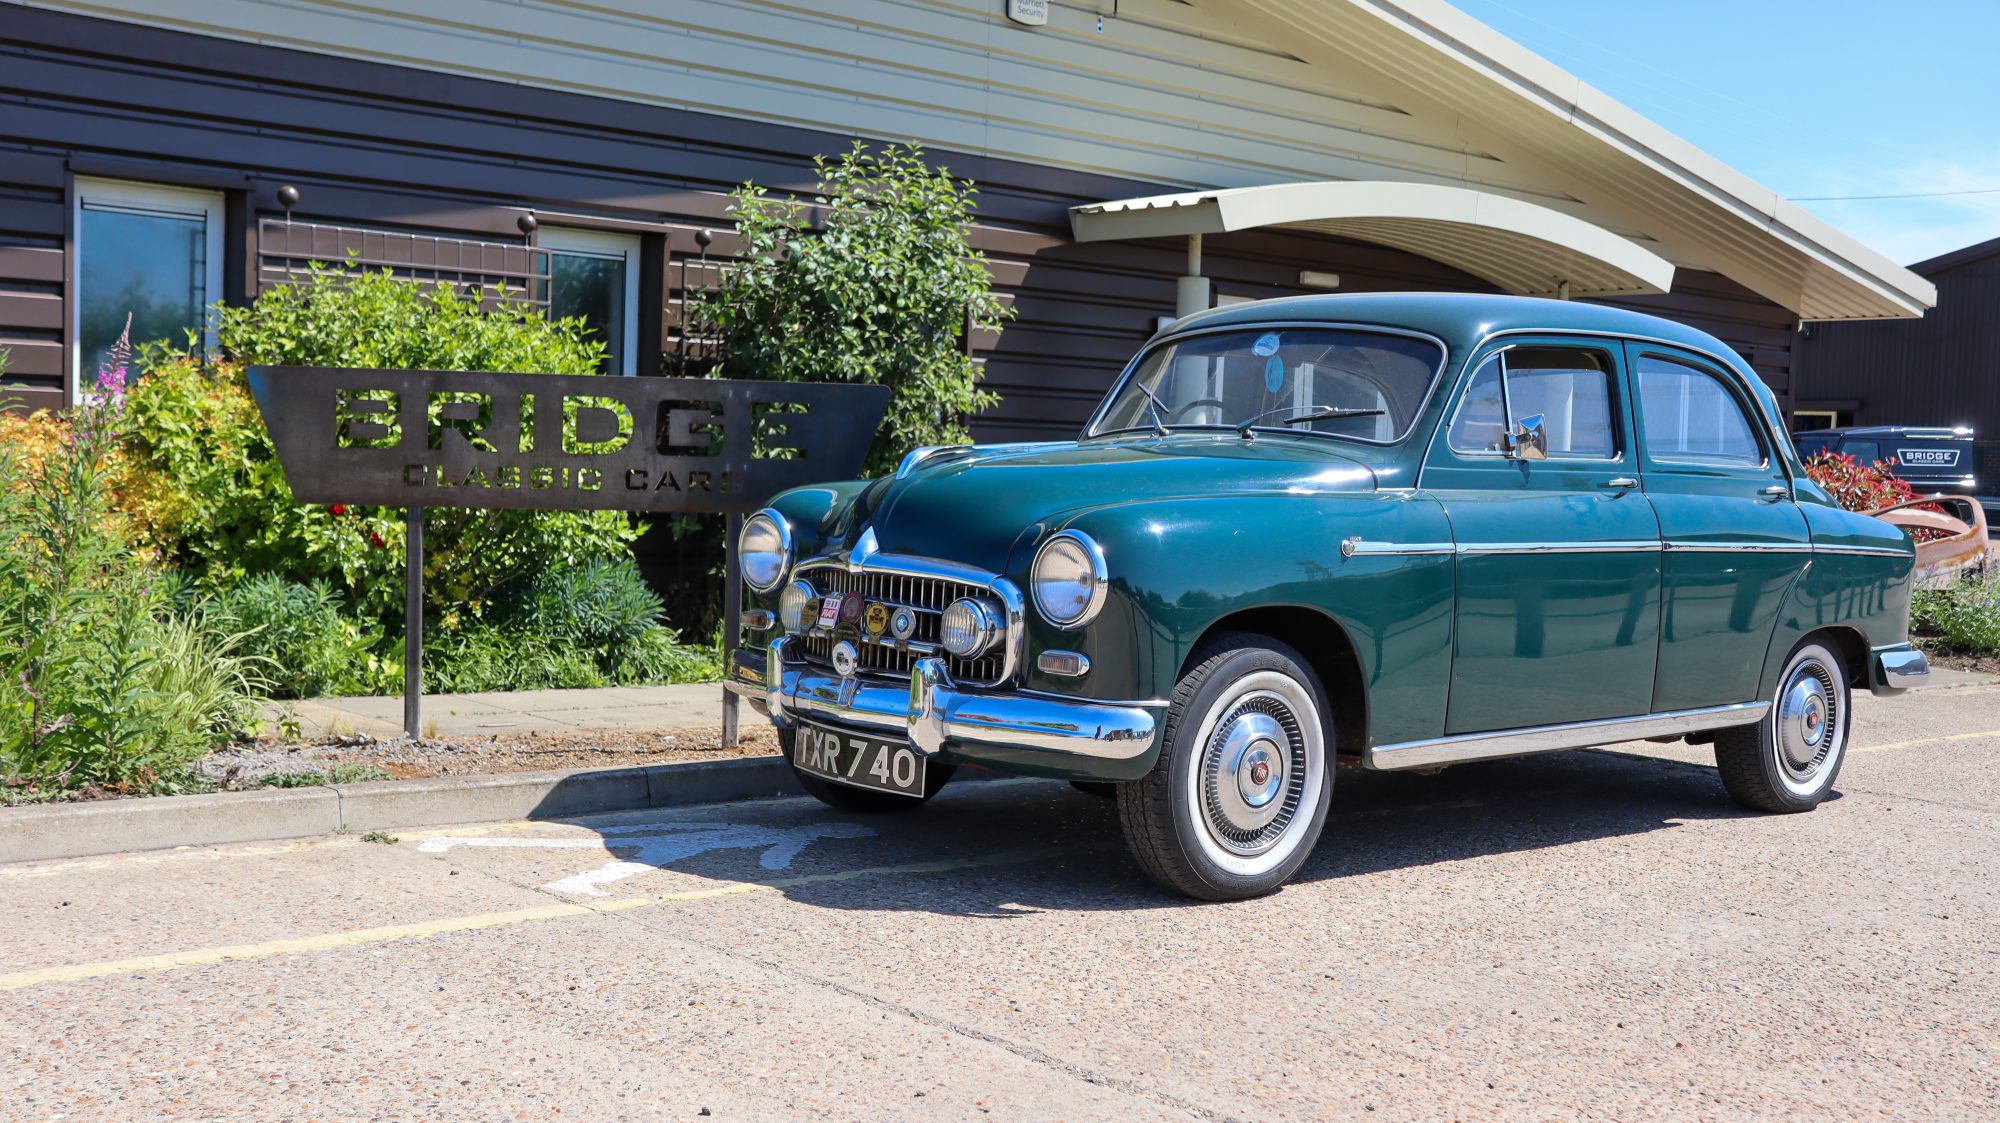
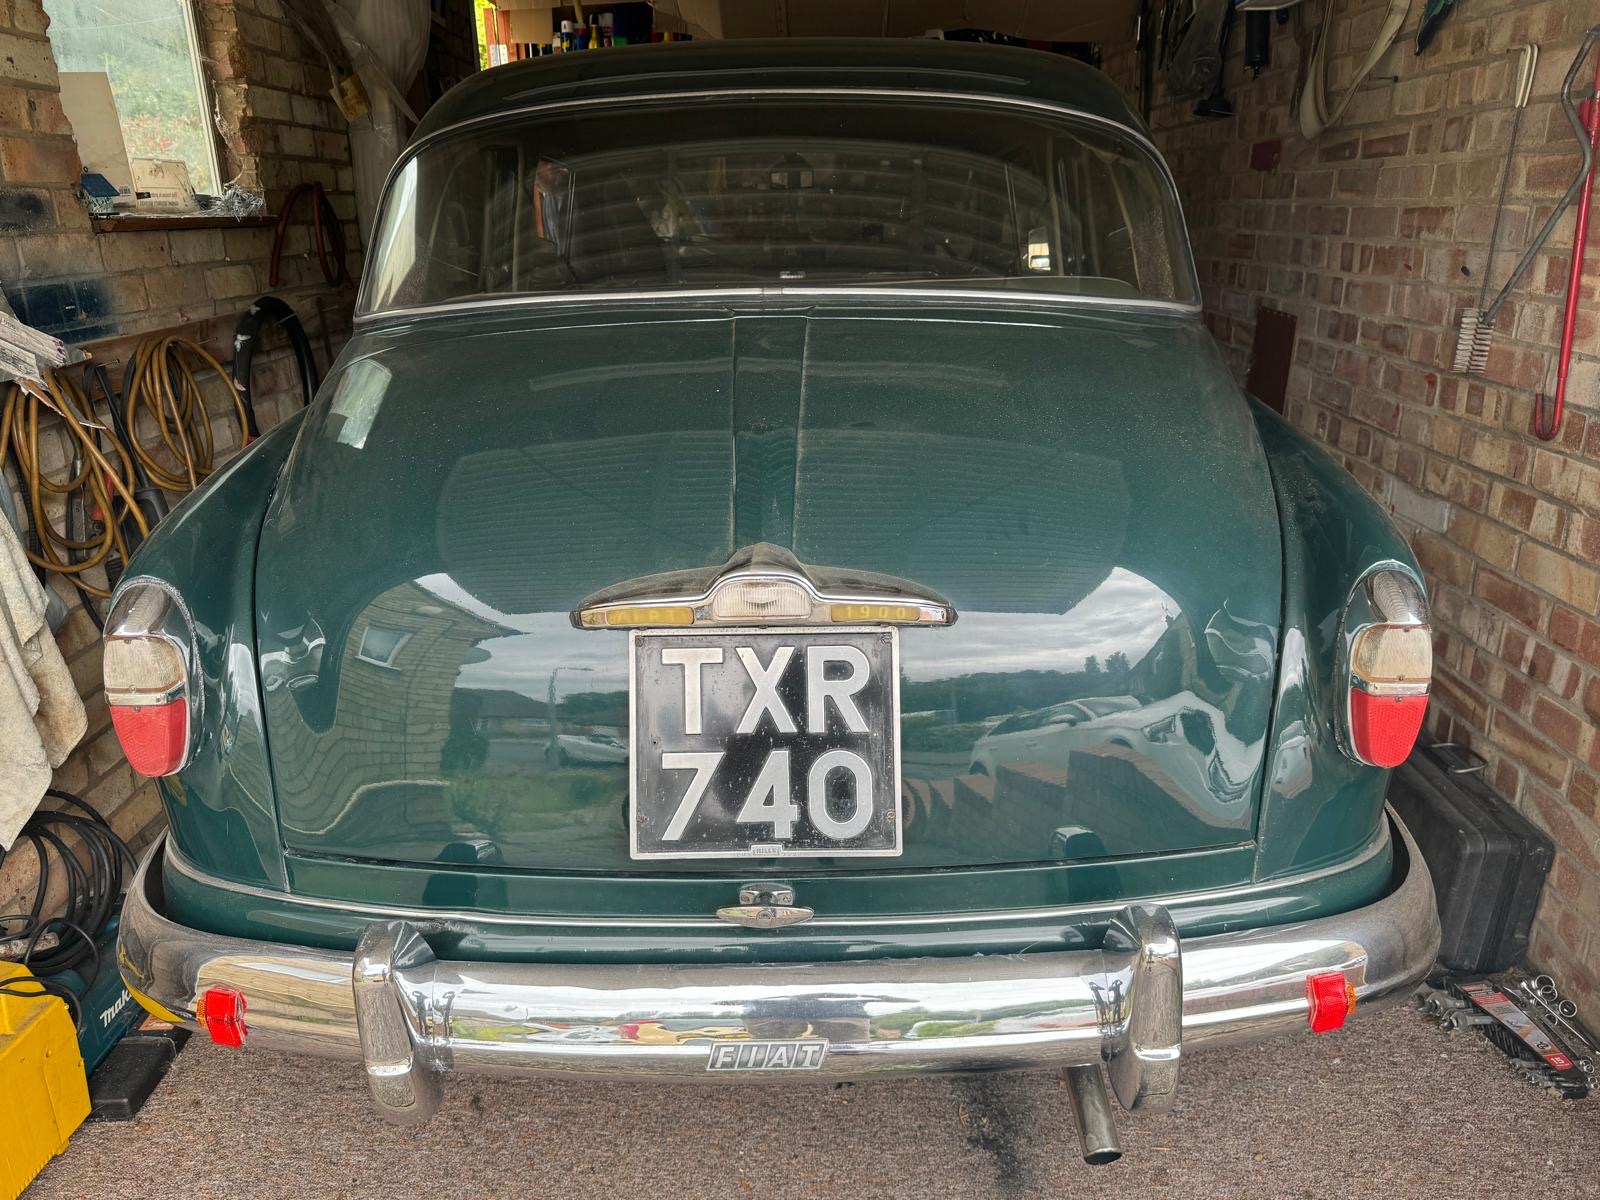
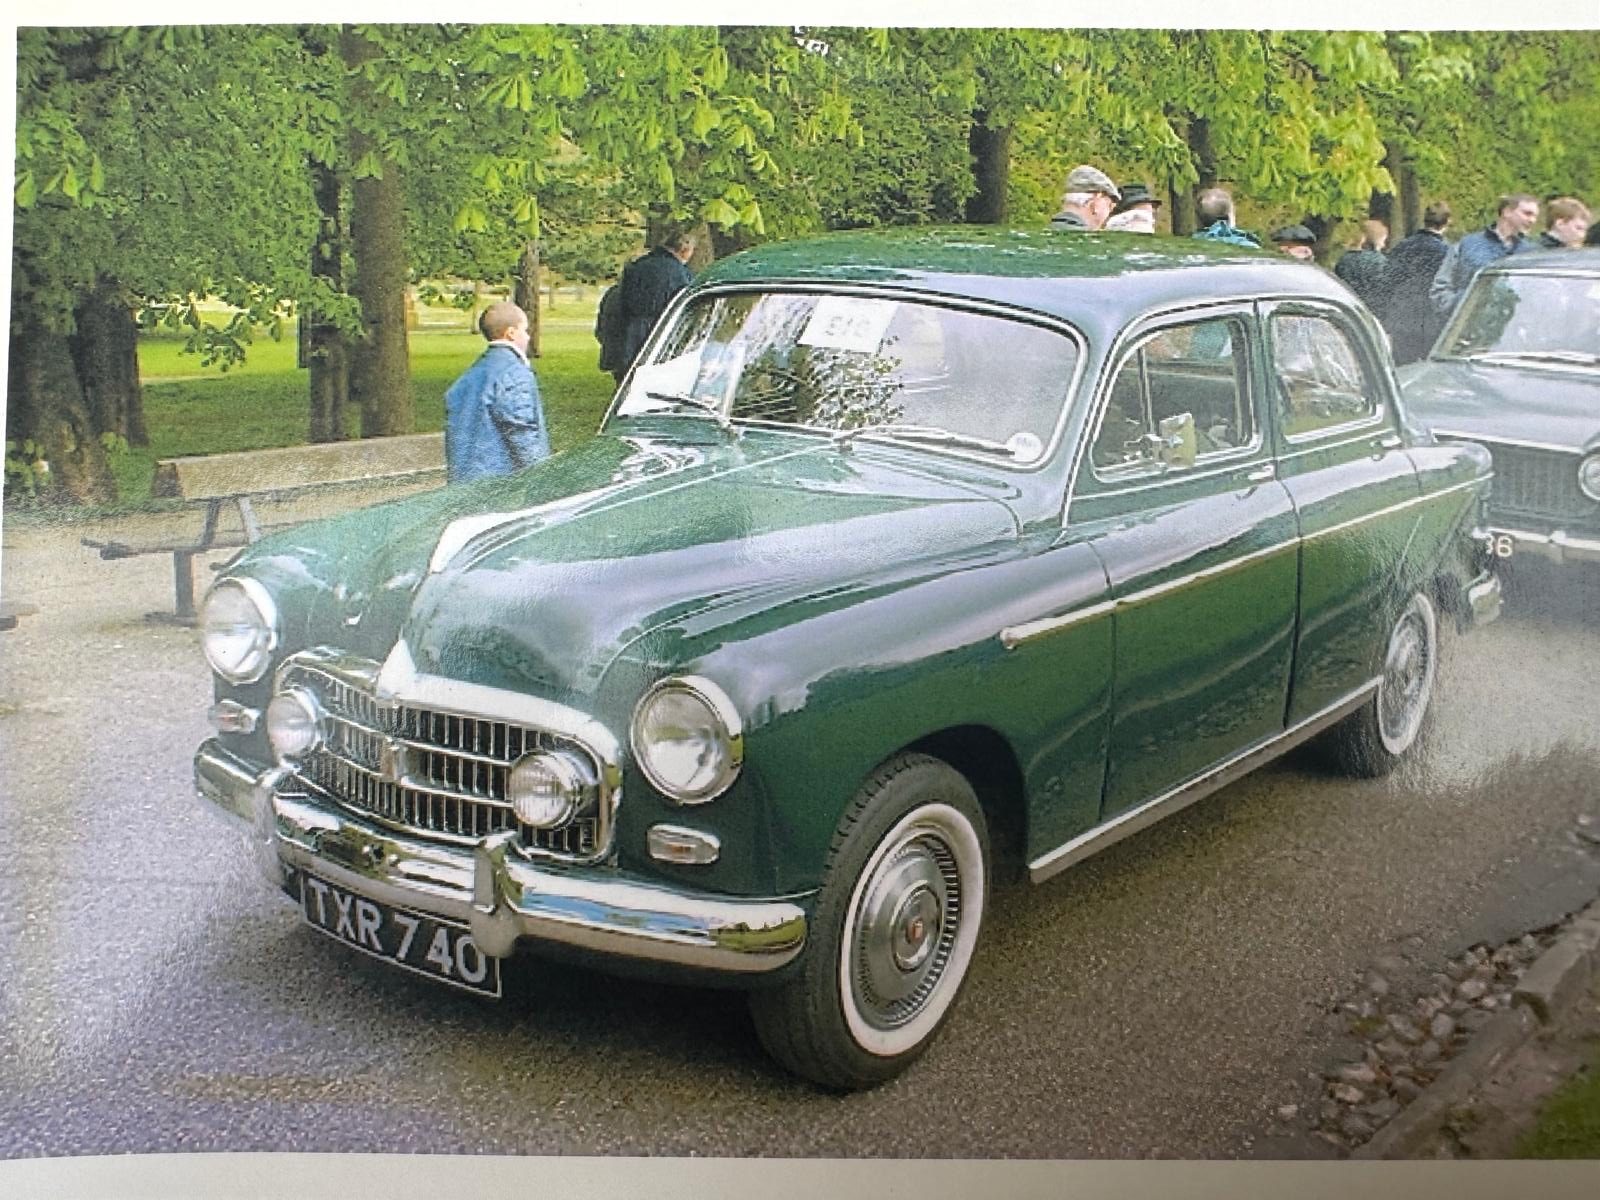
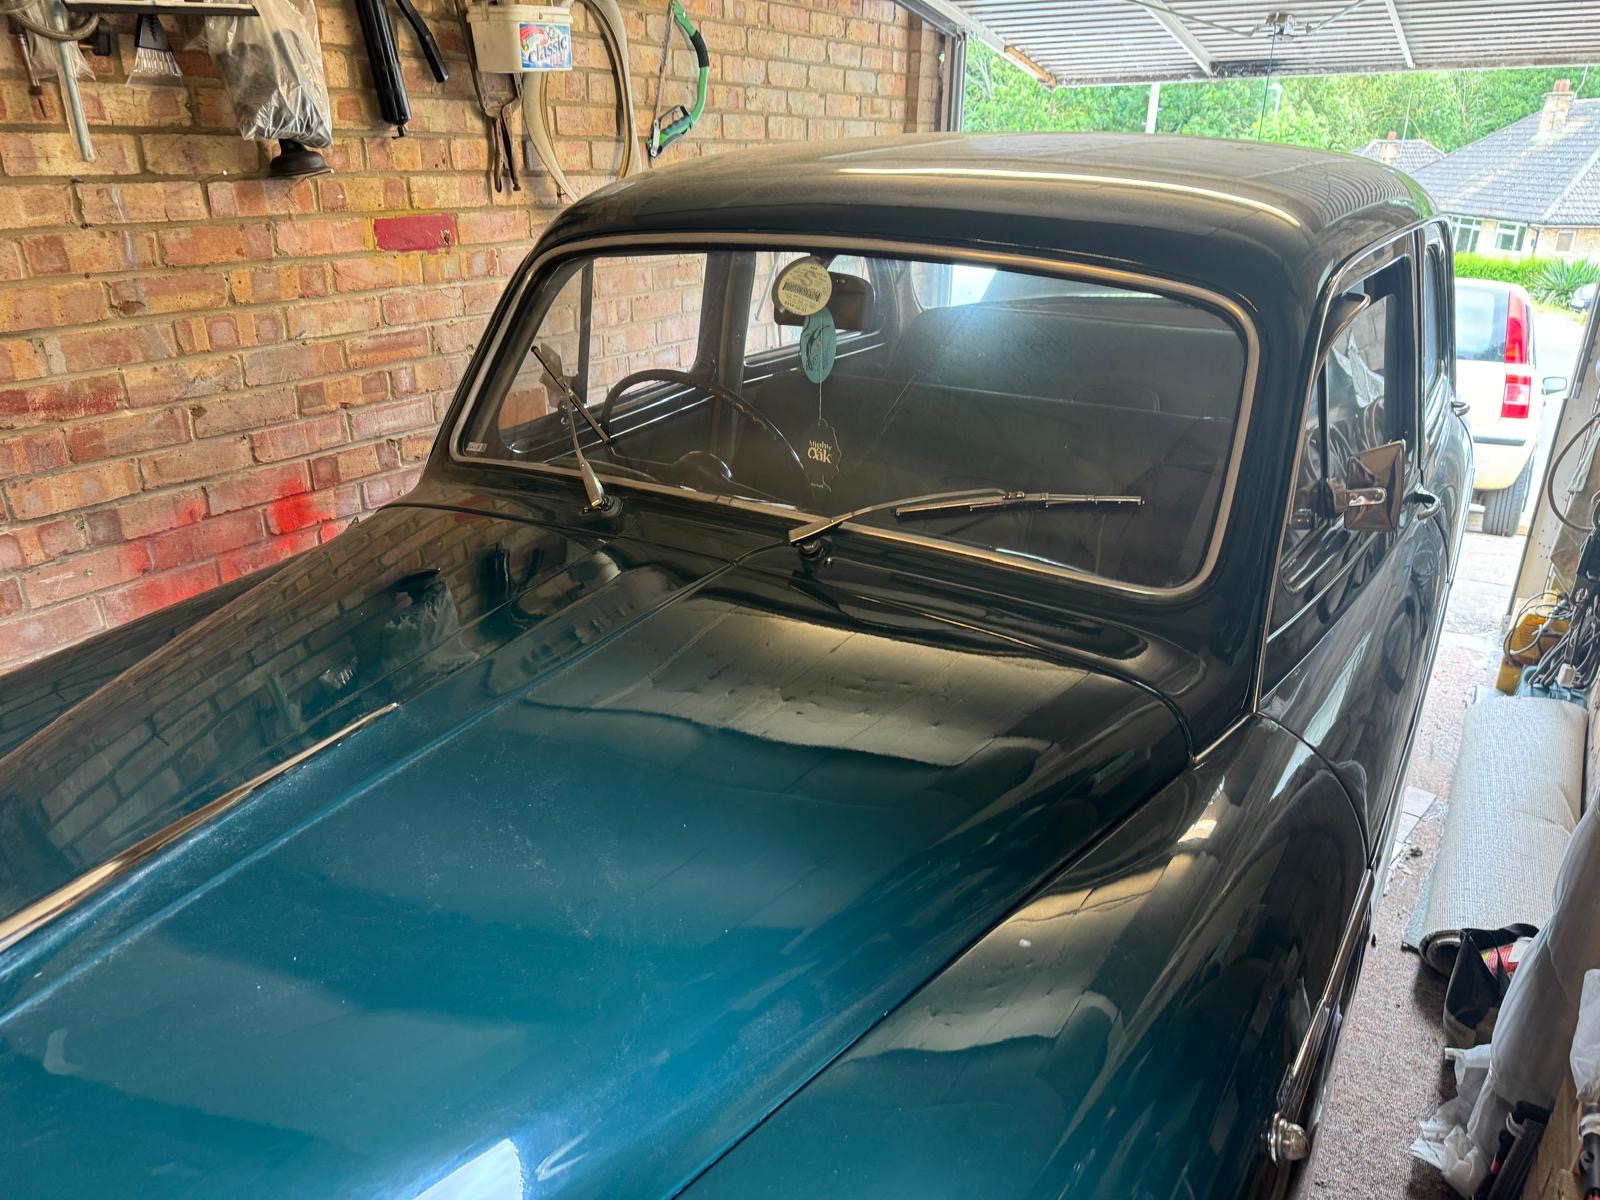
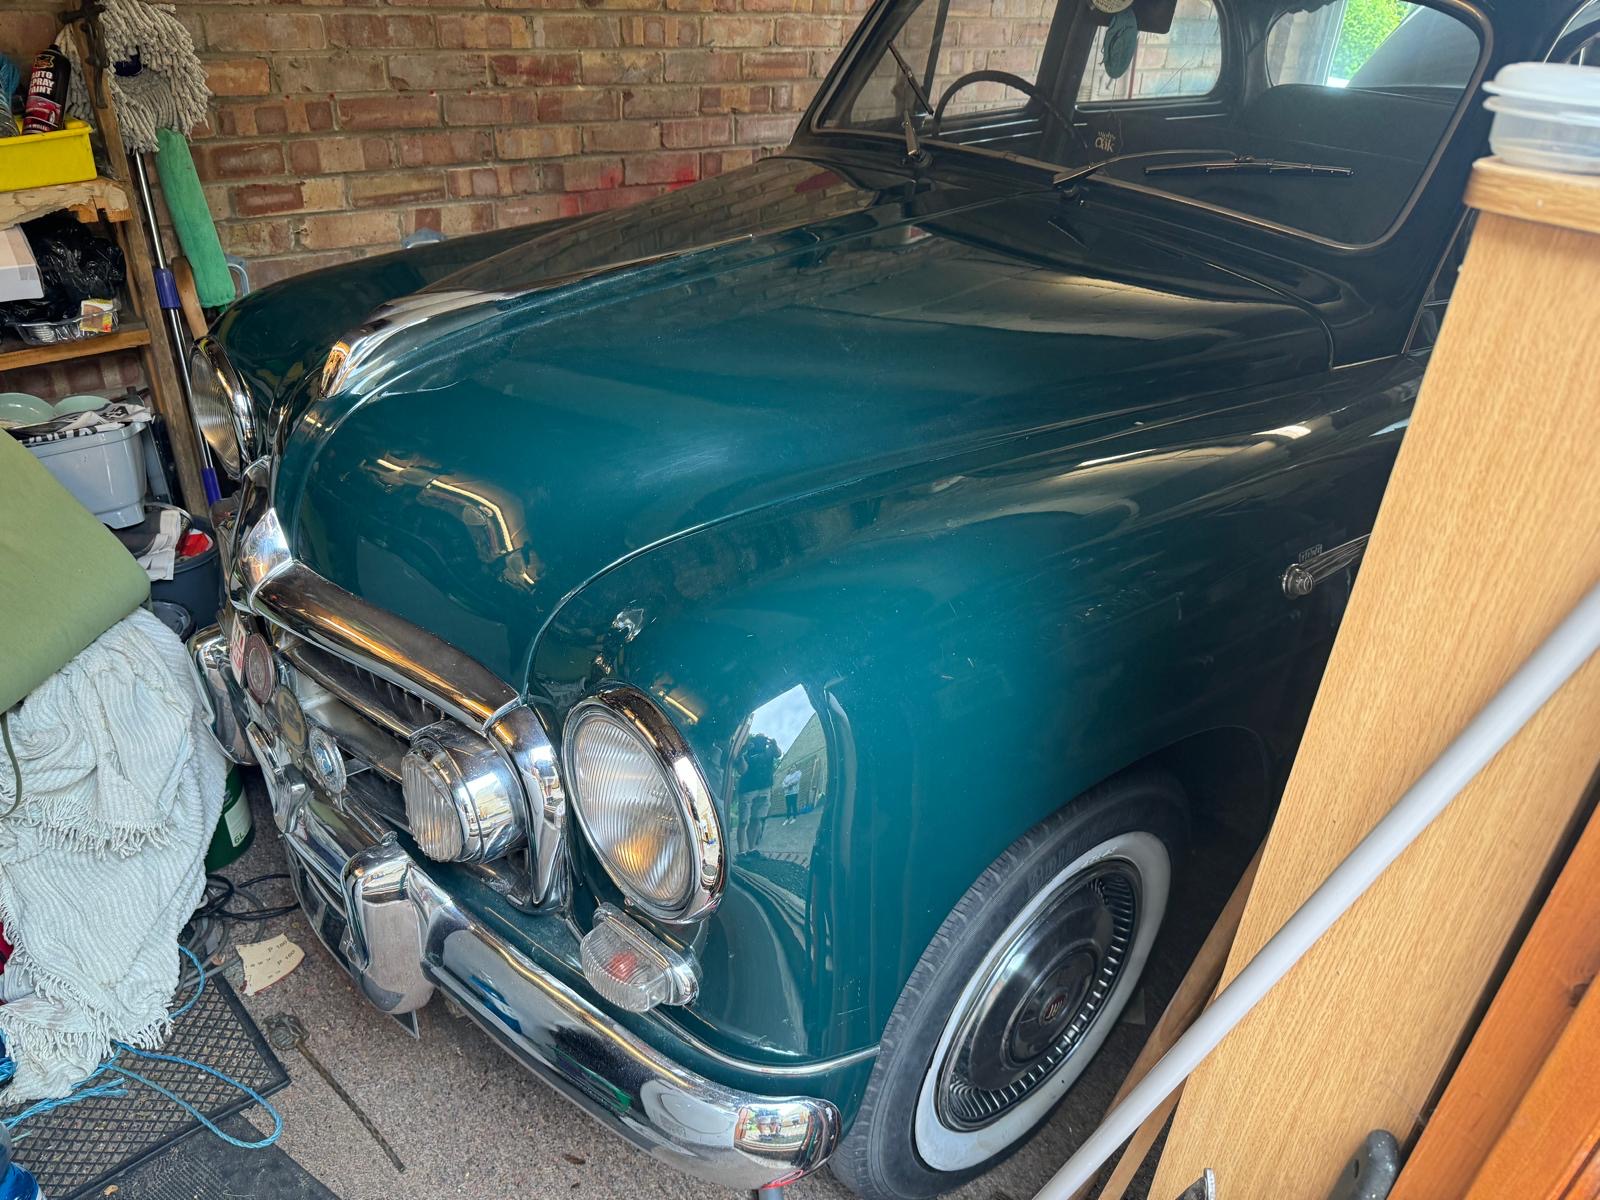
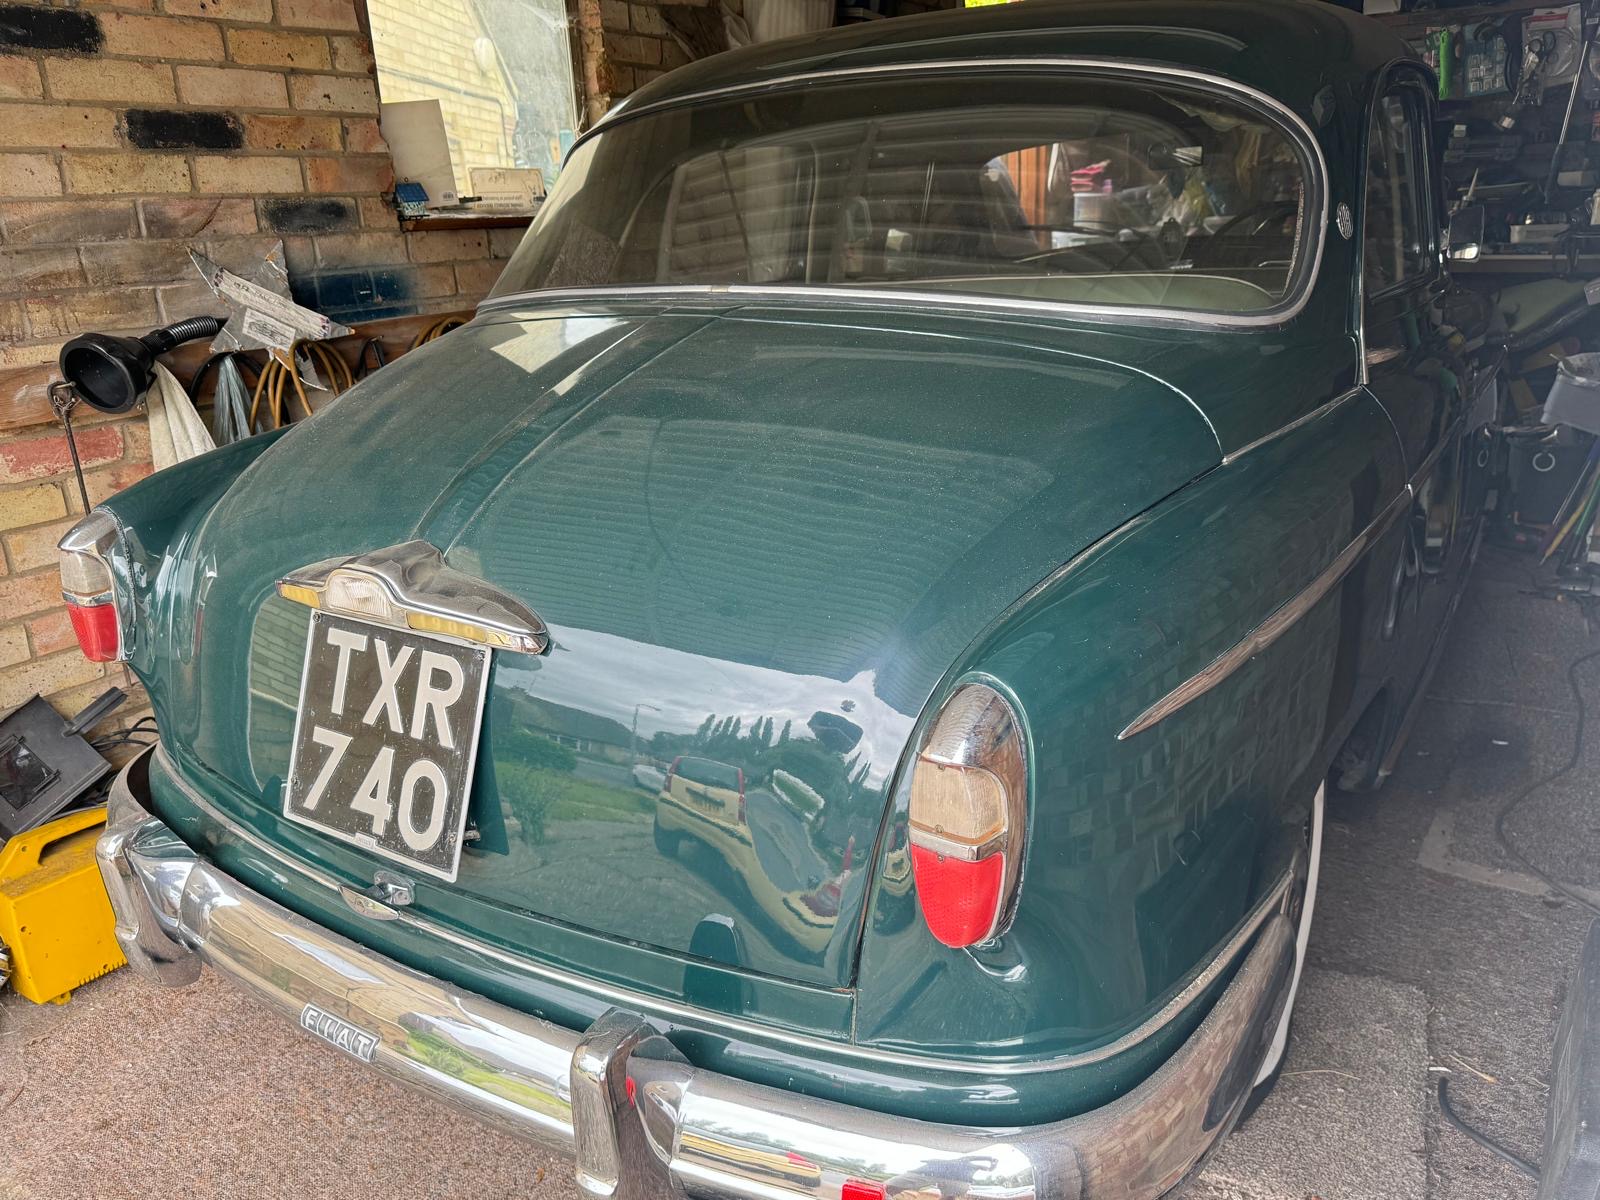
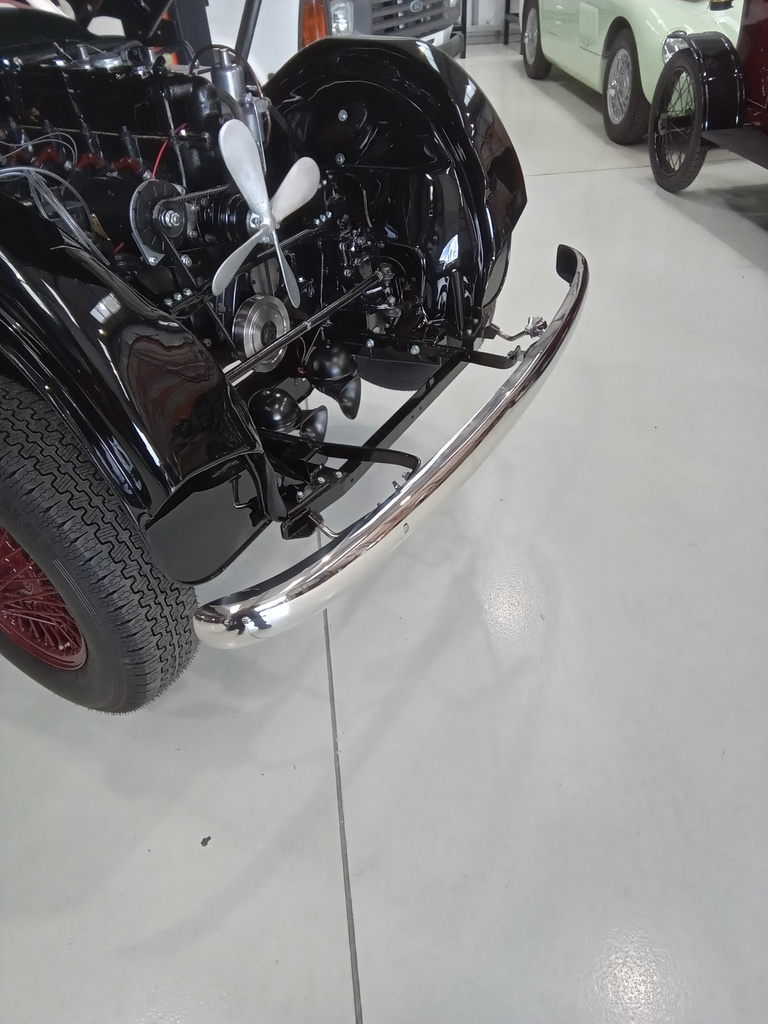
Earlier today, our 1952 Fiat 1900 A arrived at the Bridge Classic Cars workshop and it comes with a very special story.
An executive from the Gas Board in Norwich got a Fiat 1900 as a company car when he was working abroad in 1951. He loved it so much that when he came back to the UK, he ordered one to bring with him but needed it to be a right-hand drive. The Fiat factory converted a 1900A to a right-hand drive just for him and, in 1952, the only right-hand drive Fiat 1900 to leave the factory was sold new in the UK to the happy executive.
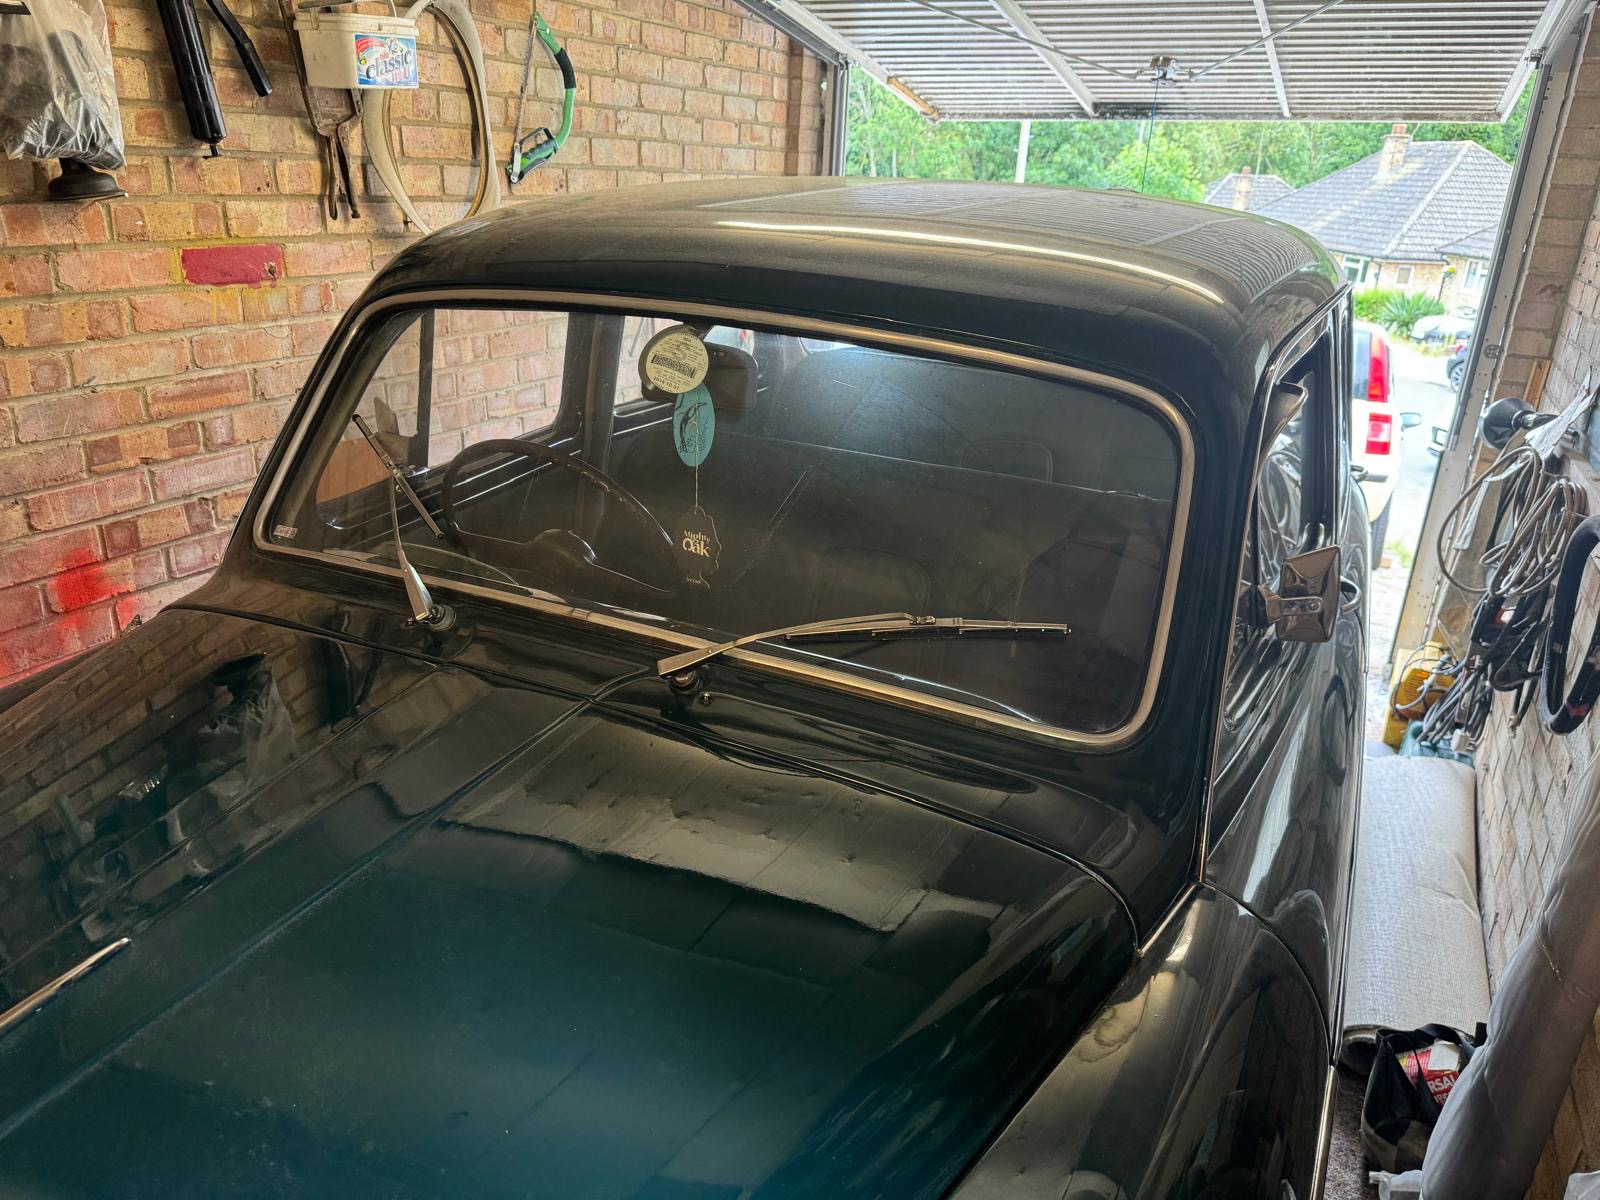
Unfortunately, he fell ill in 1955, and the car stayed unused in his garage for the next 40 years. Around that time, the most recent owner was in the UK working for a Fiat and Nissan dealership. He heard about the car and, after some negotiations with the original owner’s daughter, managed to get it. The garage was opened, and this beautiful classic, affectionately known as “Grandad” was found with only 21,000 miles on the clock.
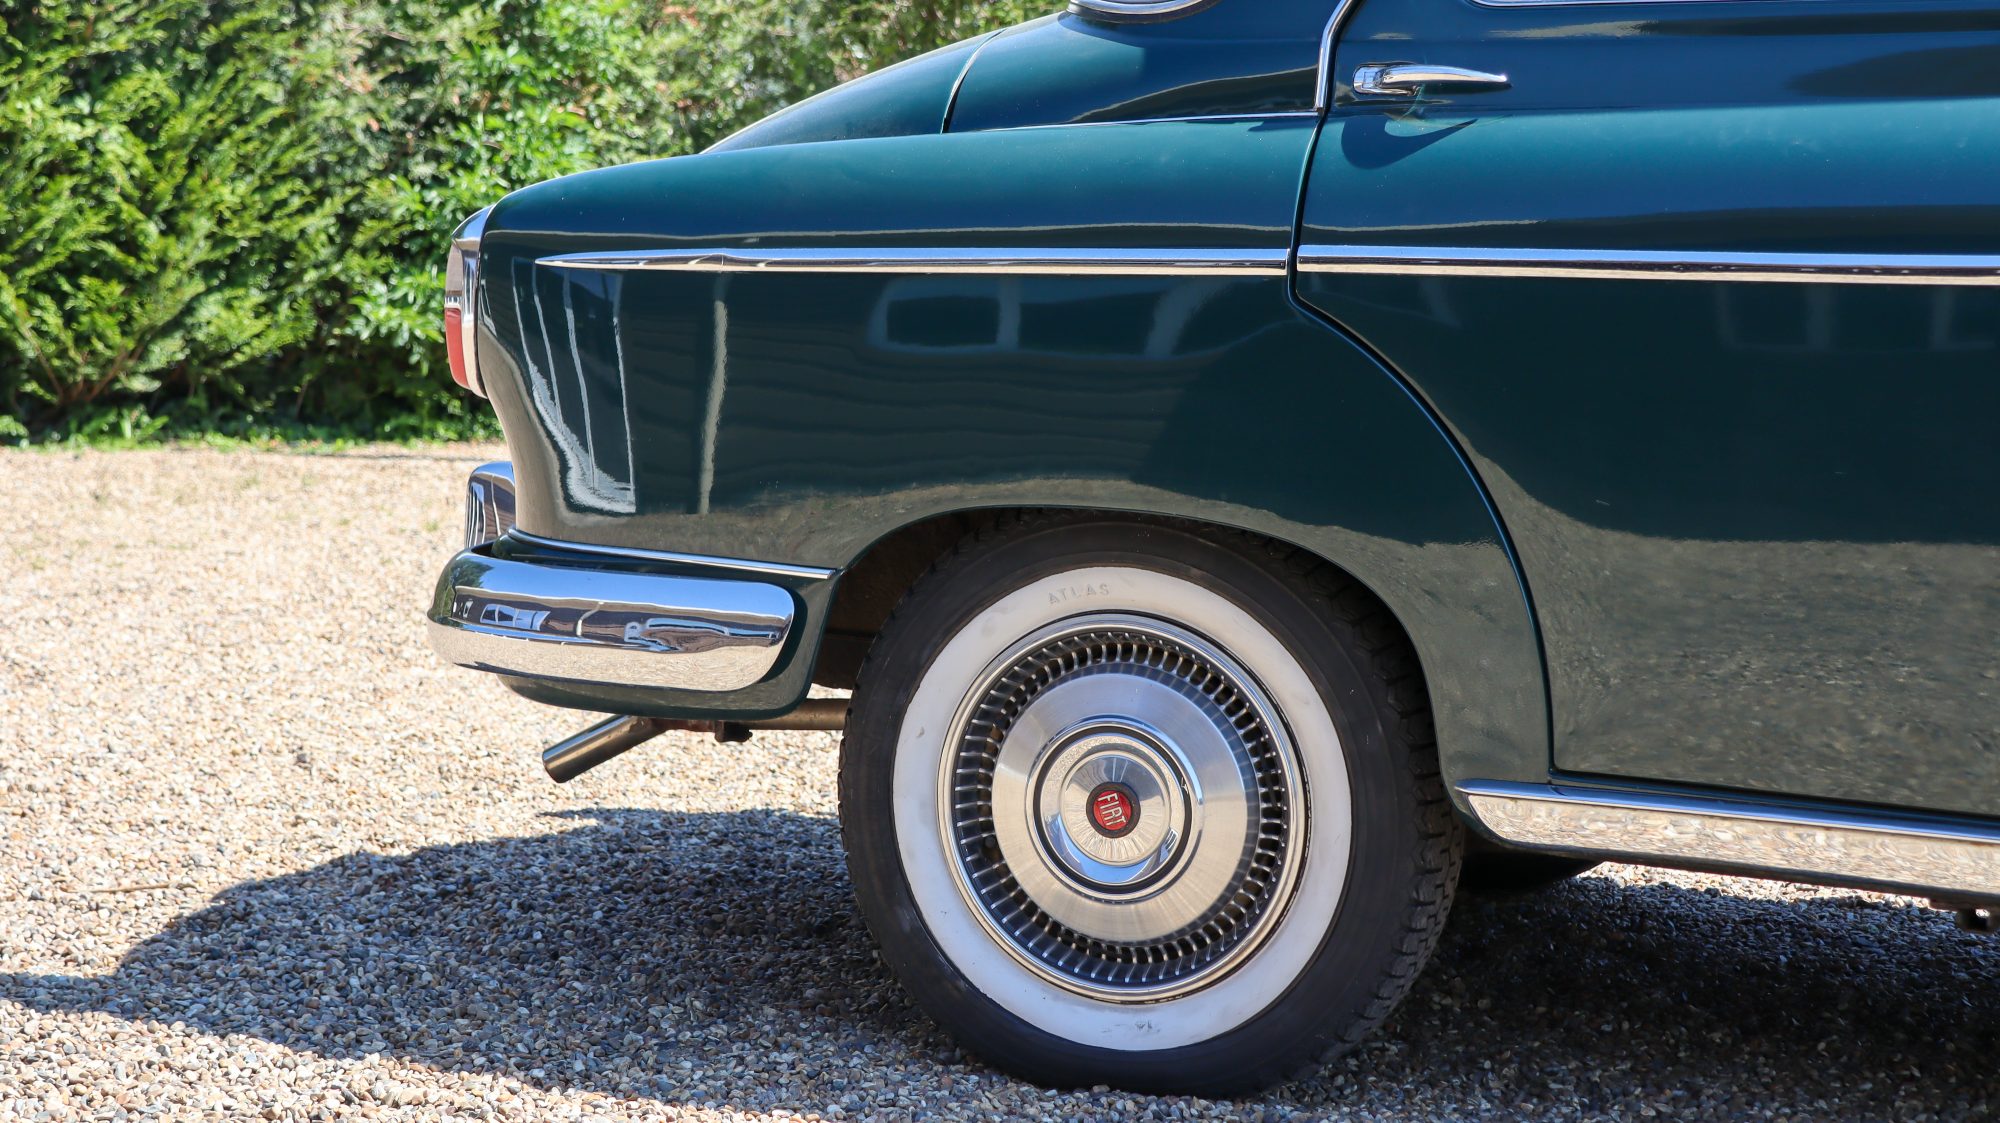
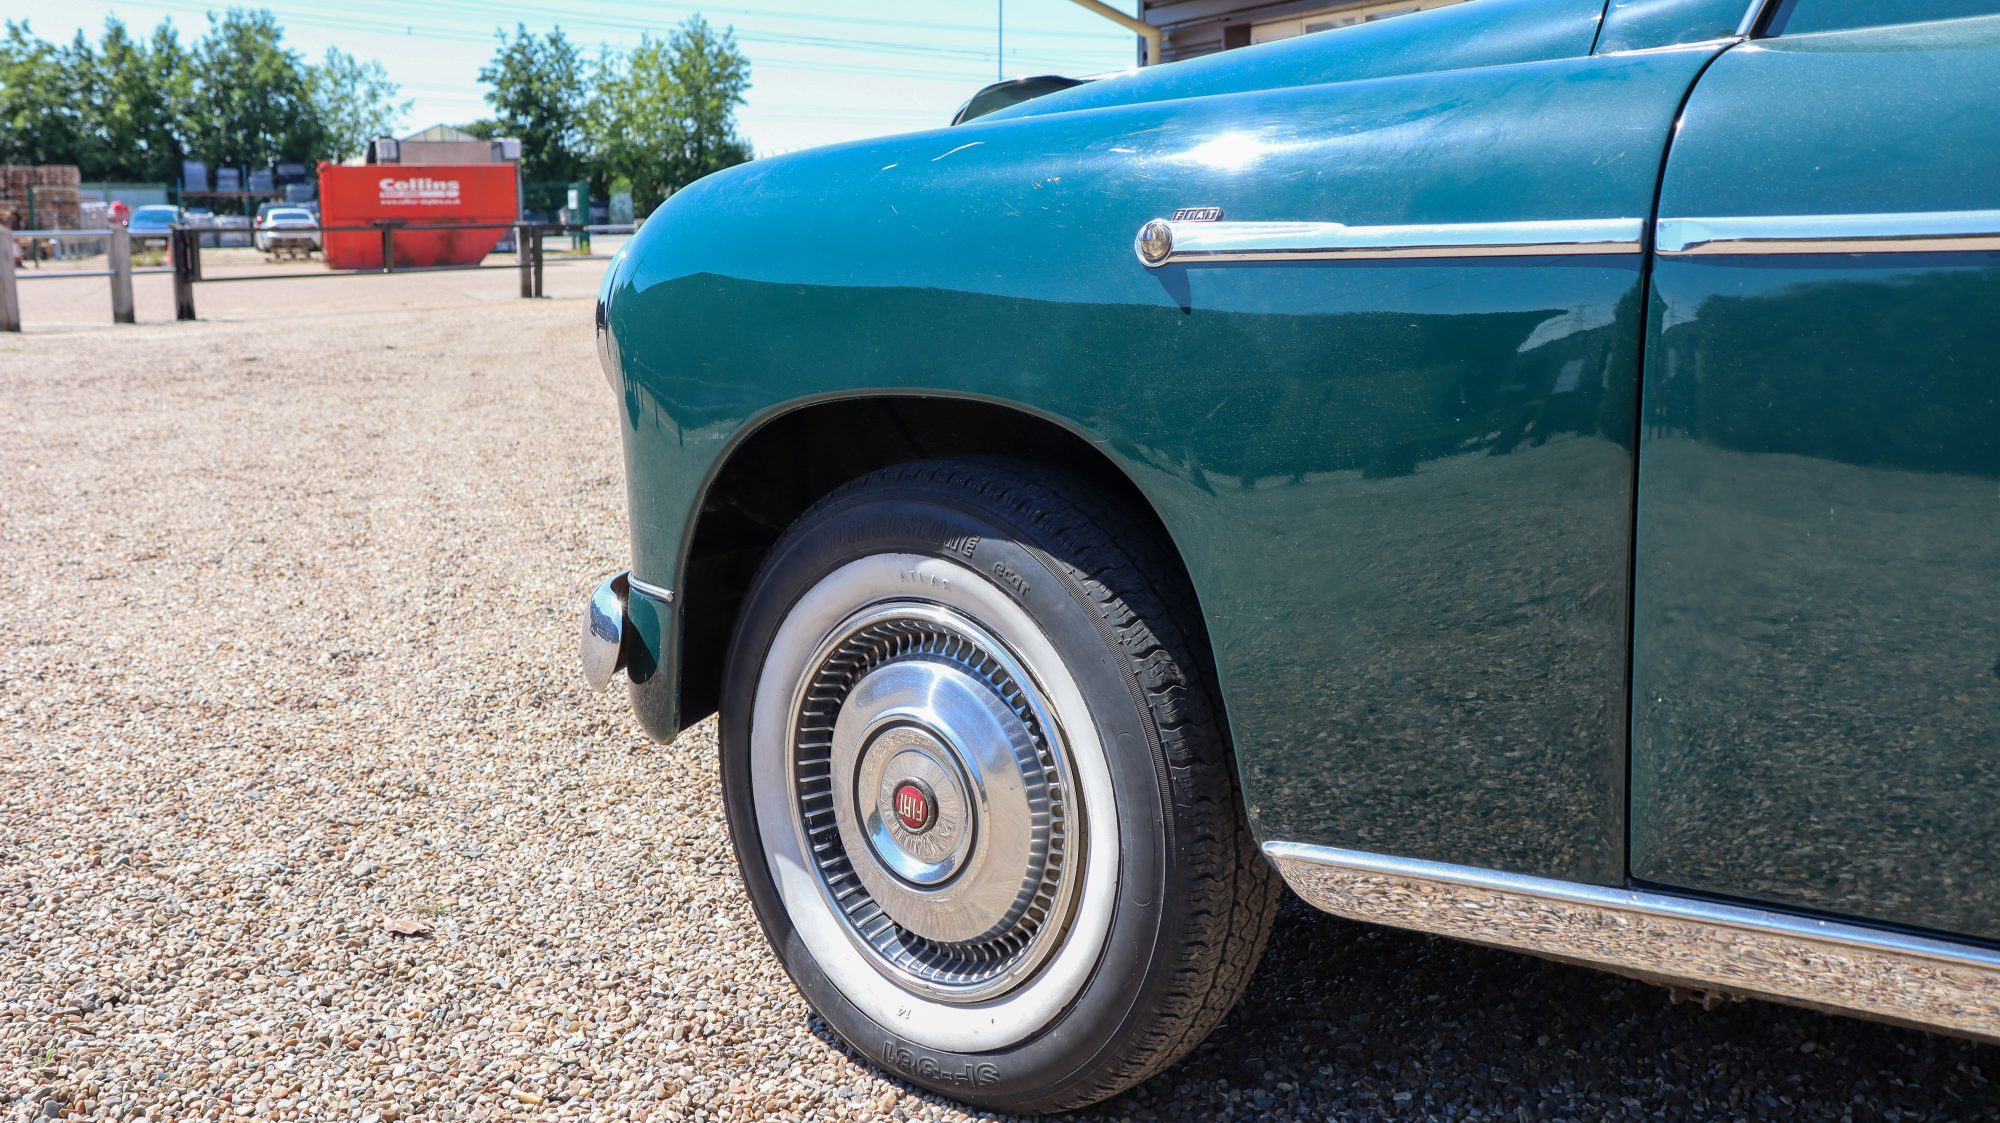
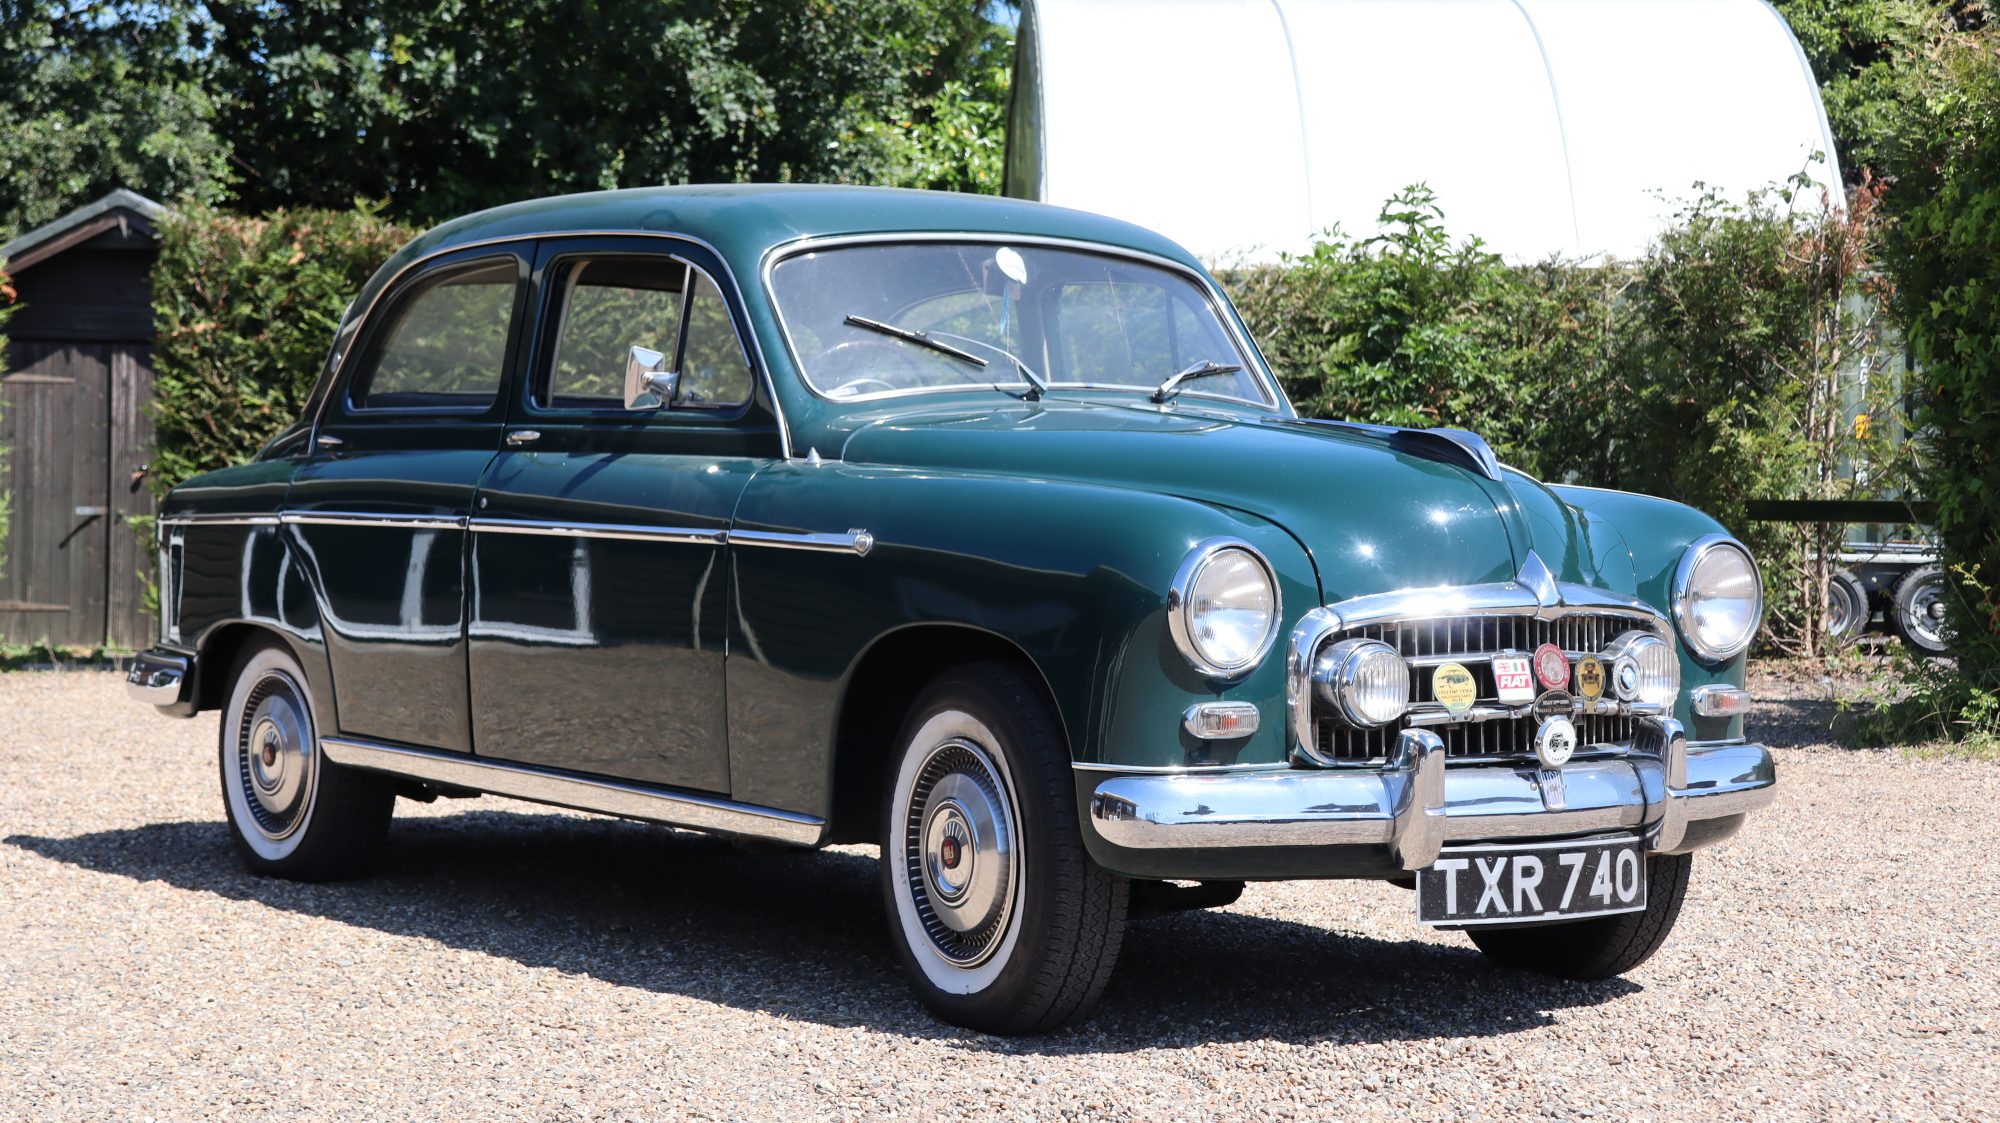
After 40 years locked away, the engine and aluminium brake shoes were completely seized, and the car still wore its original tyres. New steel brake shoes were machined, and replacement tyres were fitted. The paint and chrome are all original which adds to the uniqueness of this car – believed to be the only factory-built right-hand drive 1900.
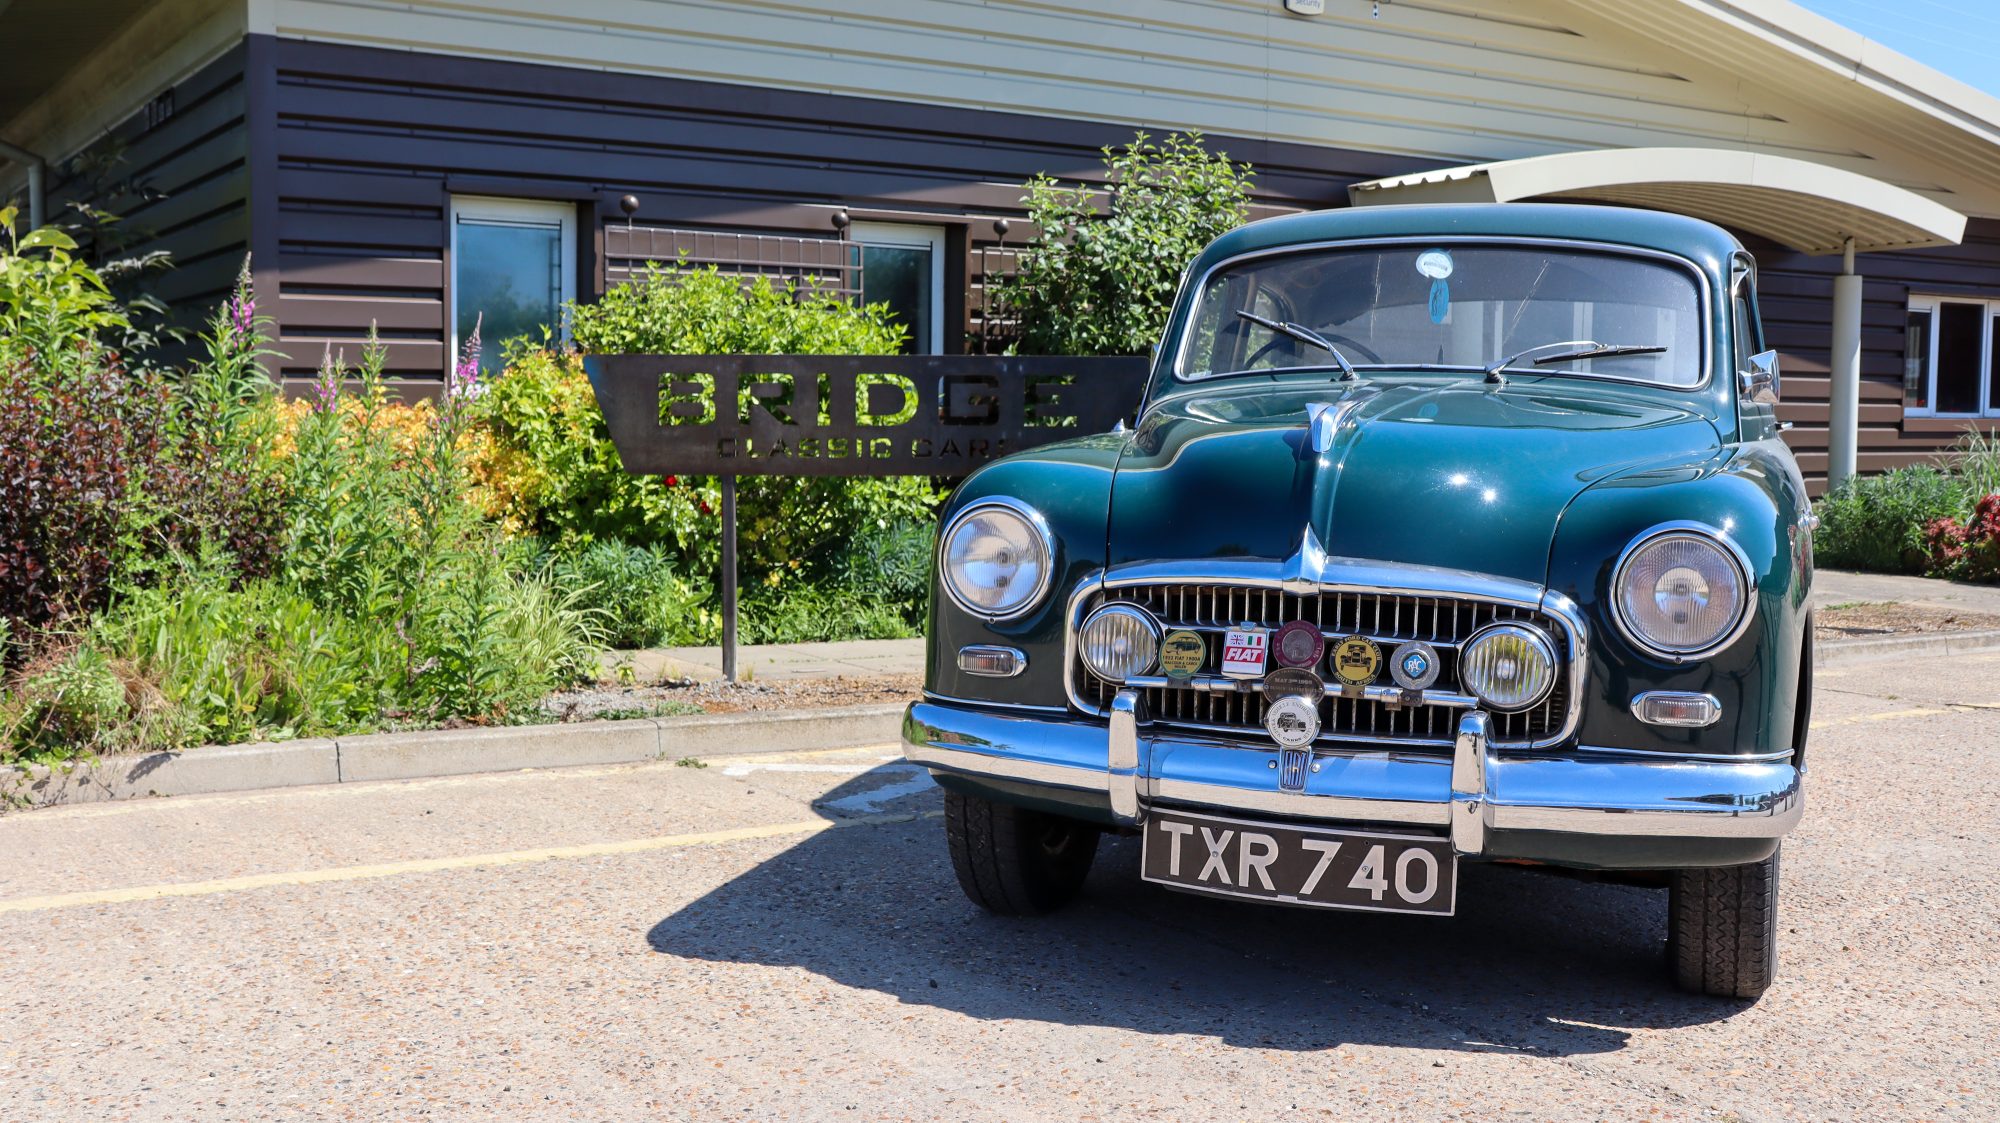
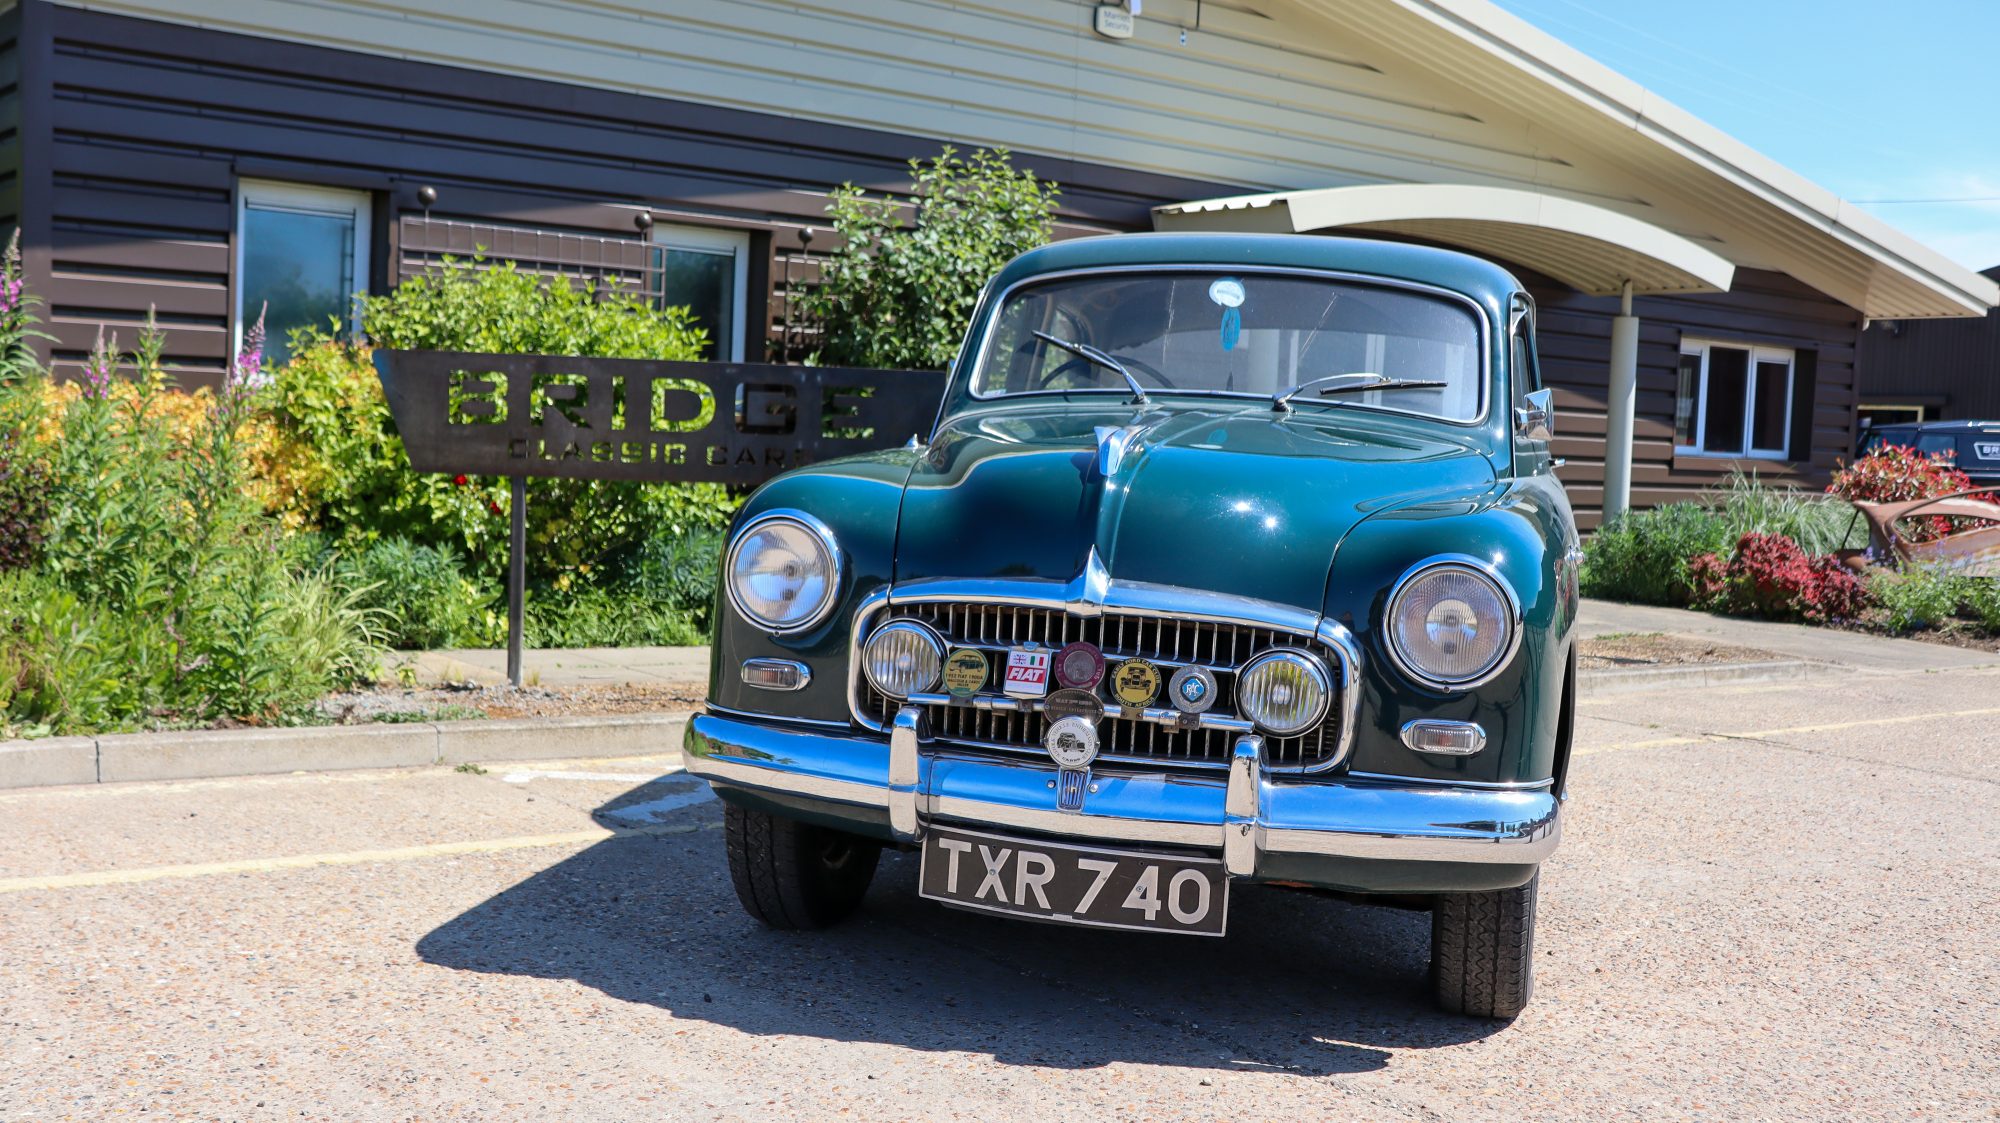
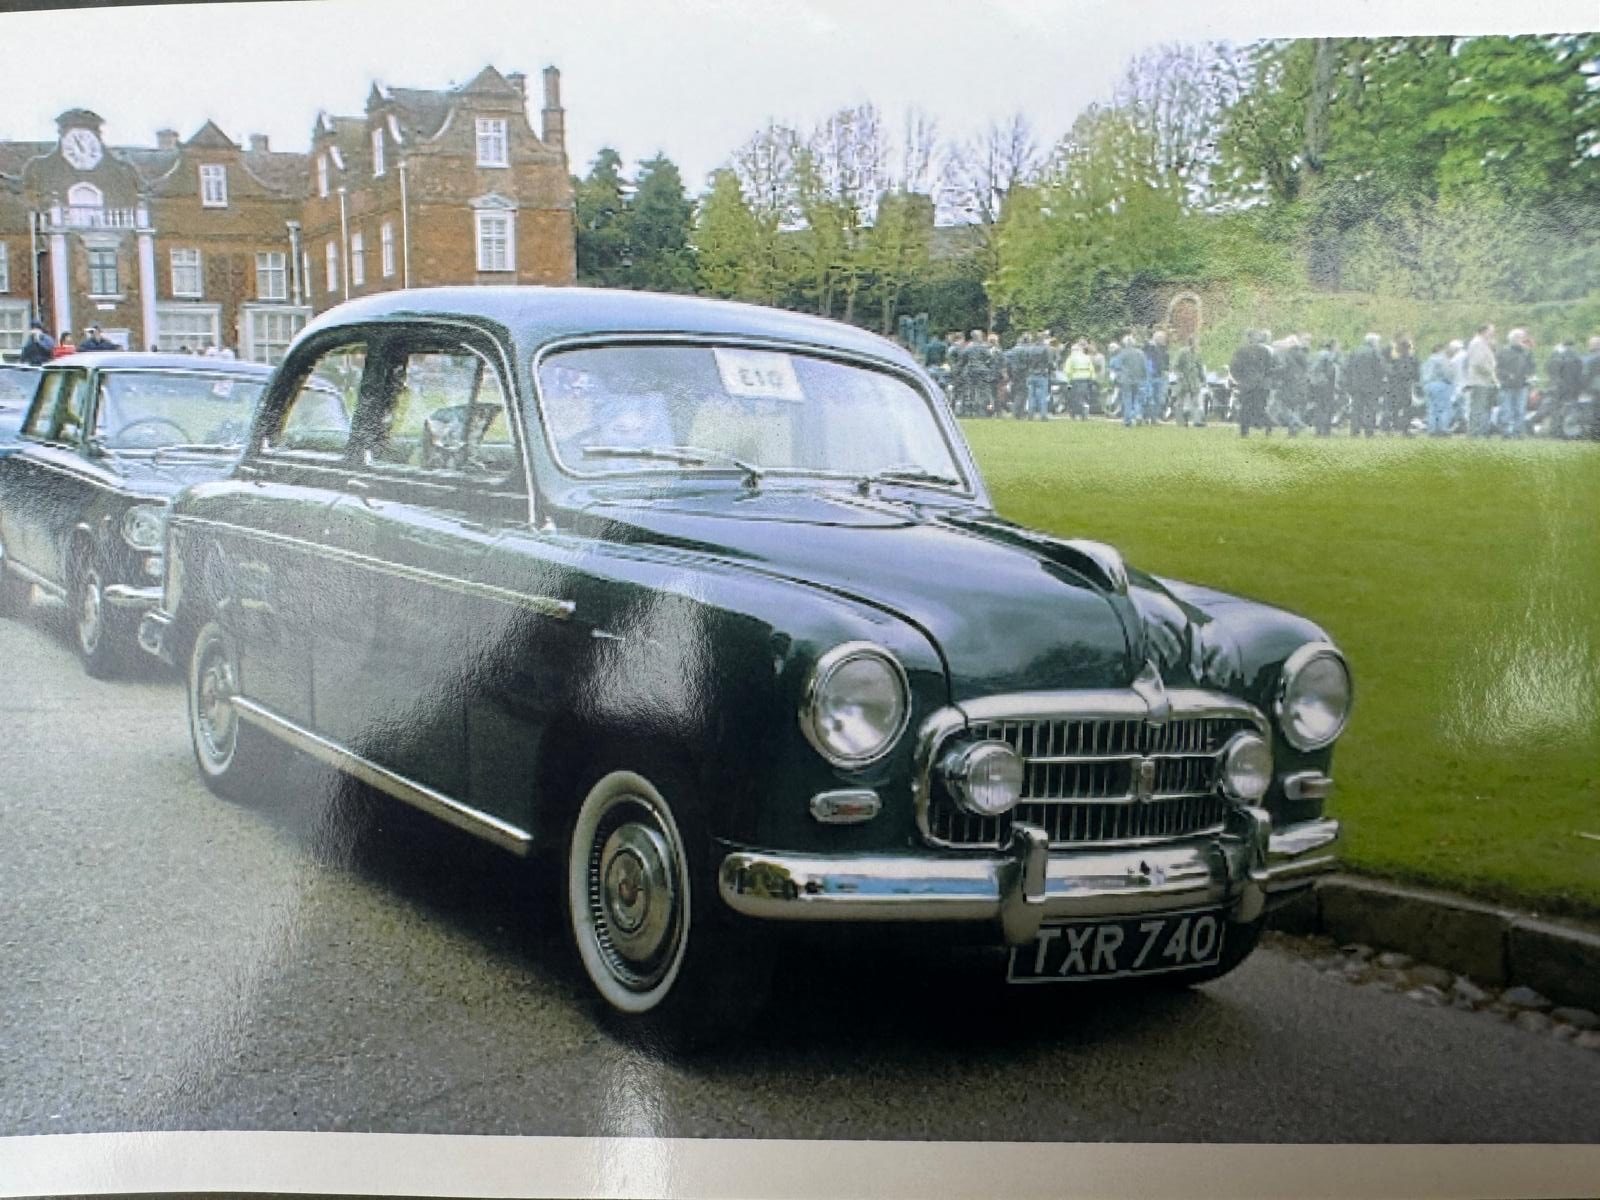
The previous owner of the car took it to South Africa with him where it was used regularly for more than a decade. Recently, it’s been living back in the UK, safely locked away all over again. Now it’s here at the workshop, who knows where it will go next…
A fascinating story for a very special car.


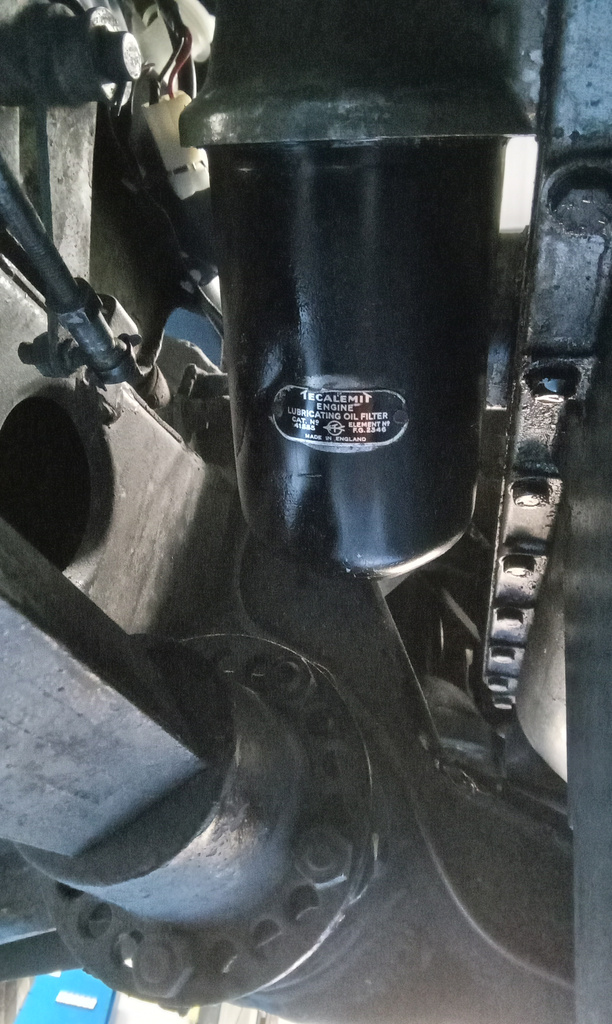
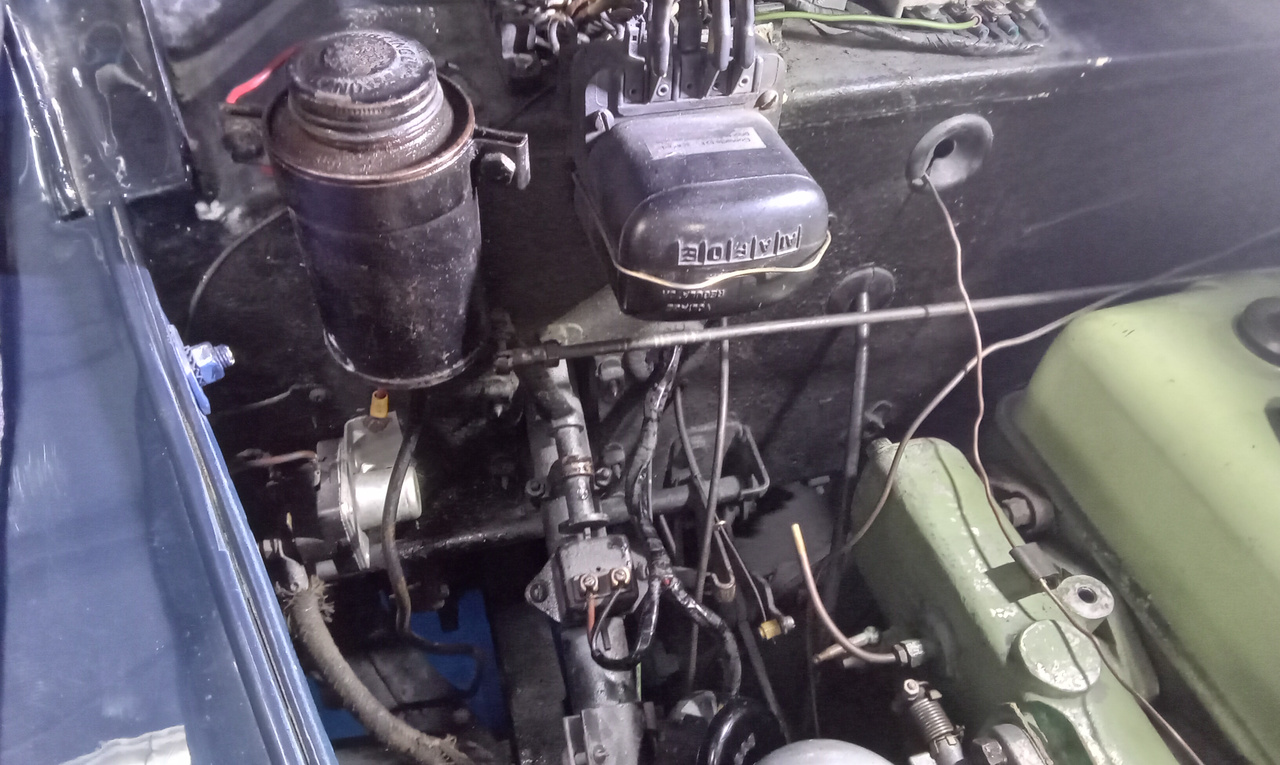
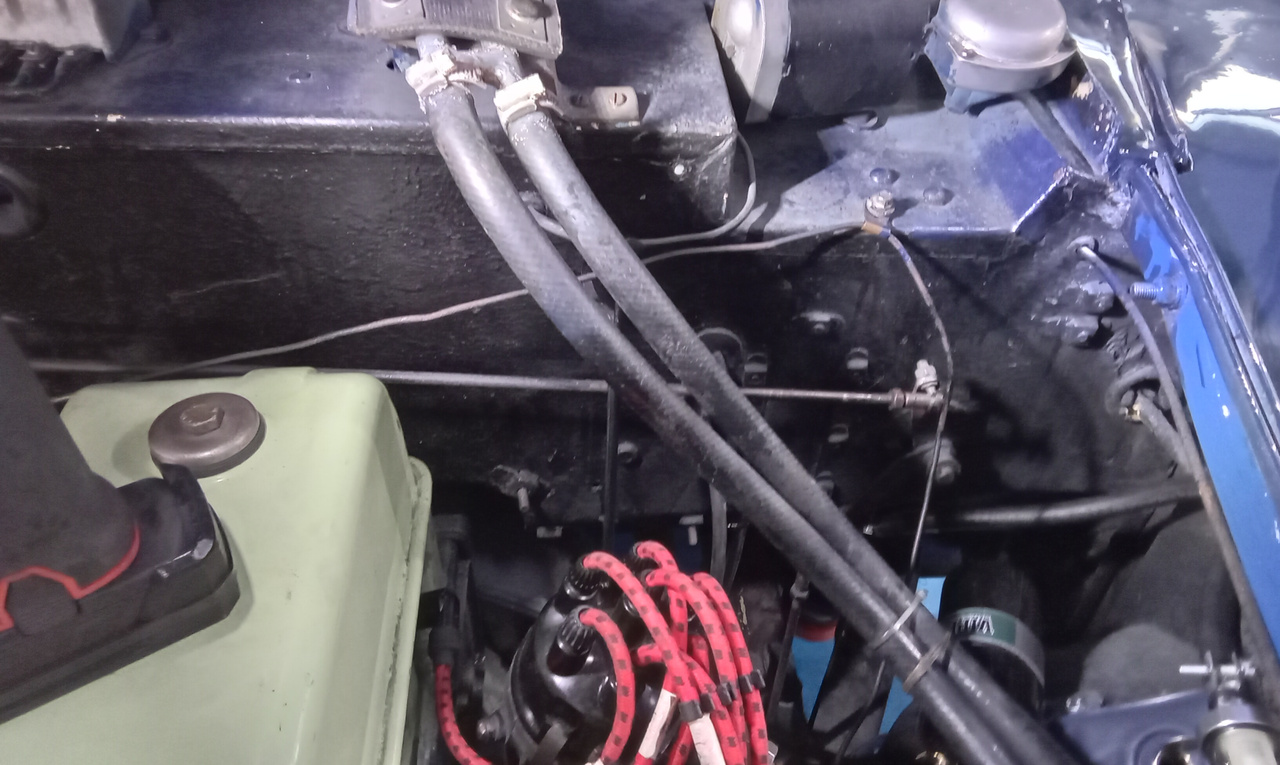
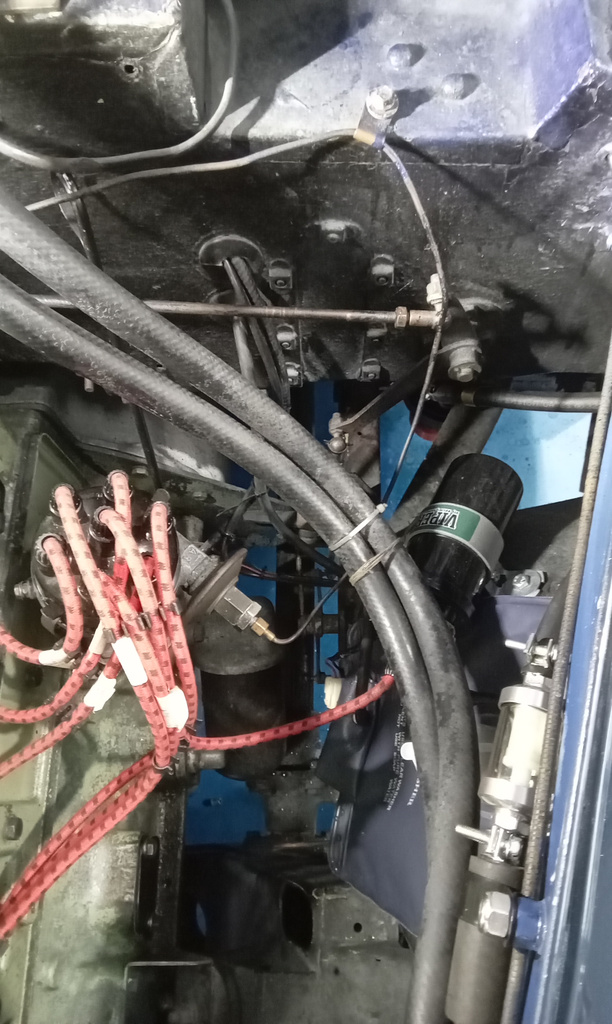
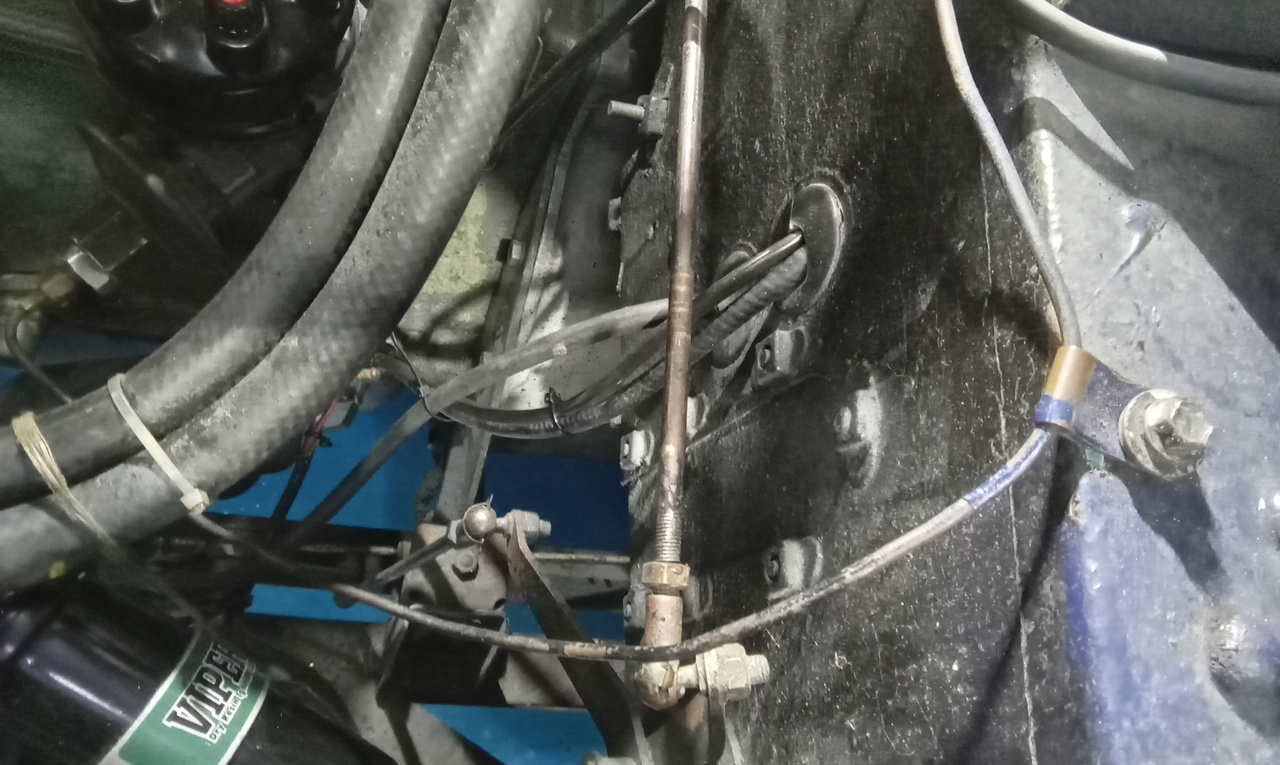
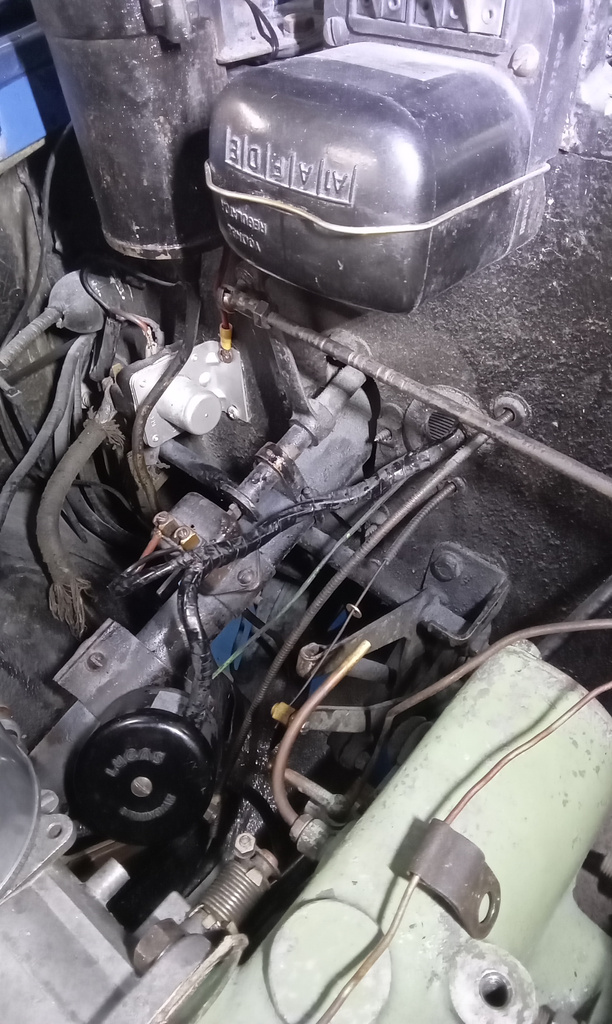
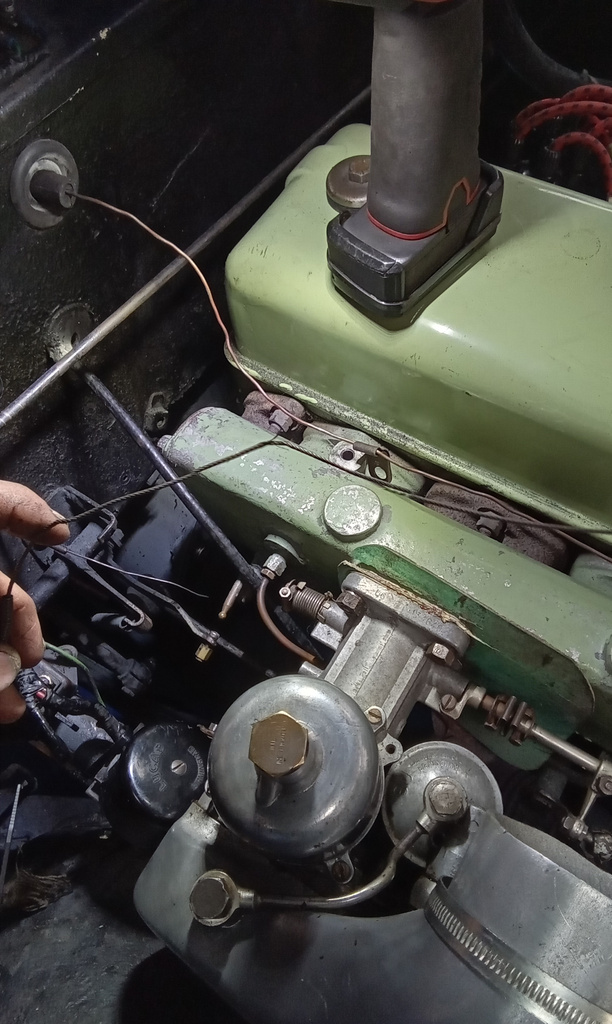
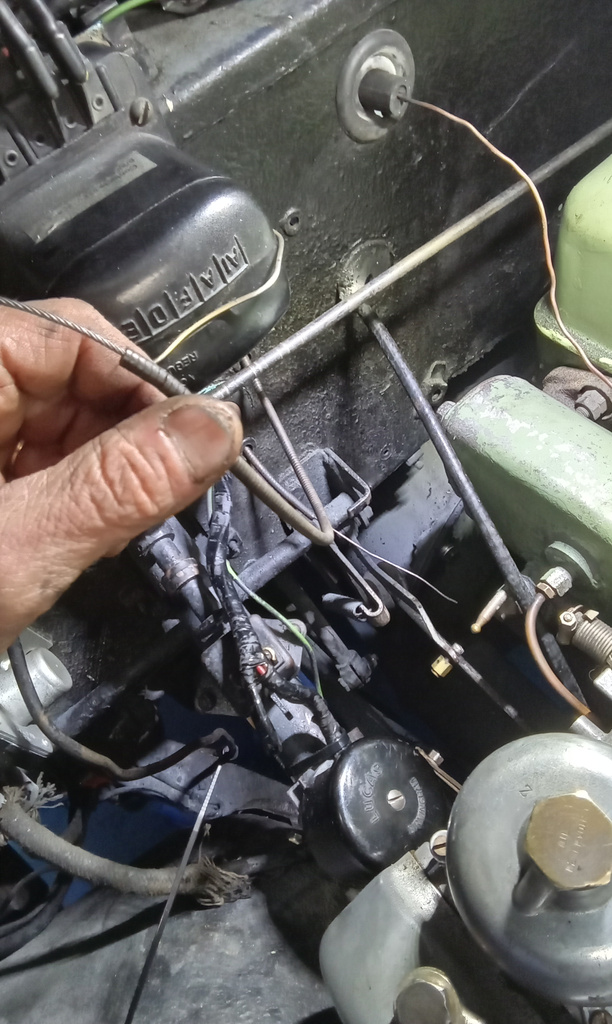
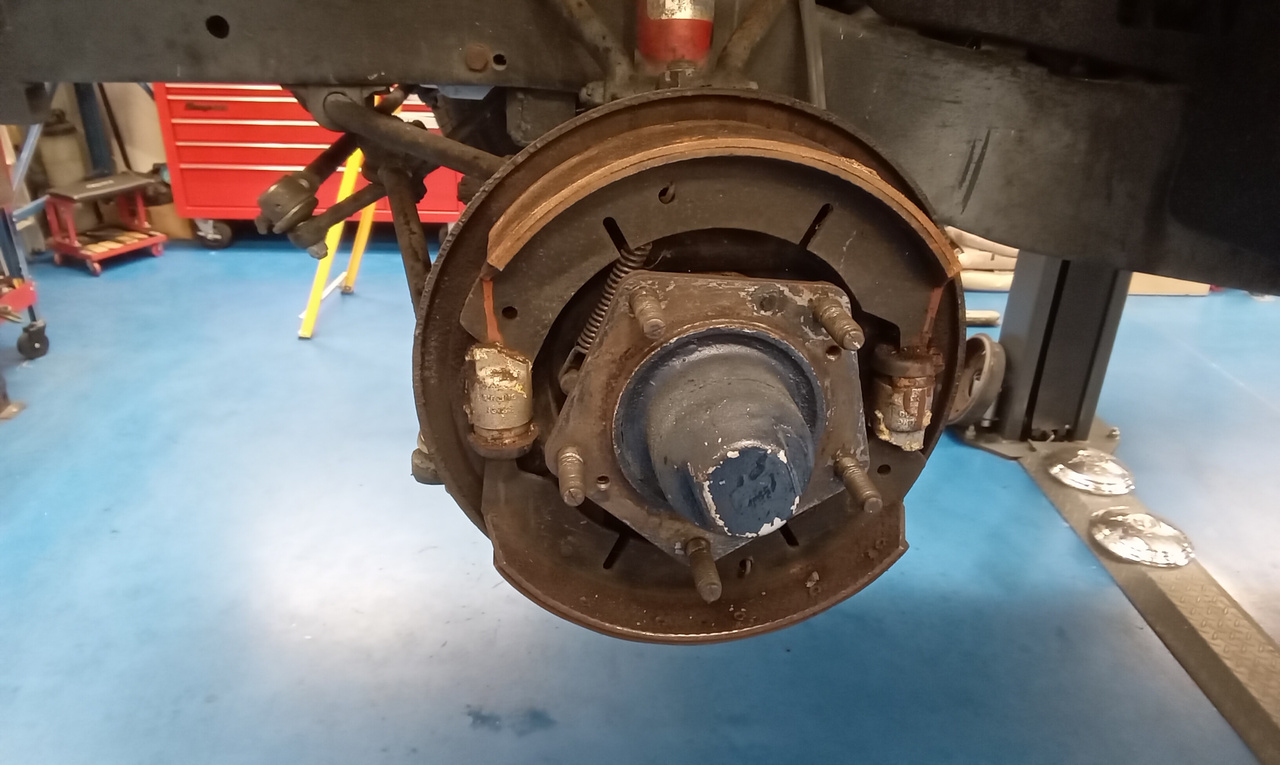
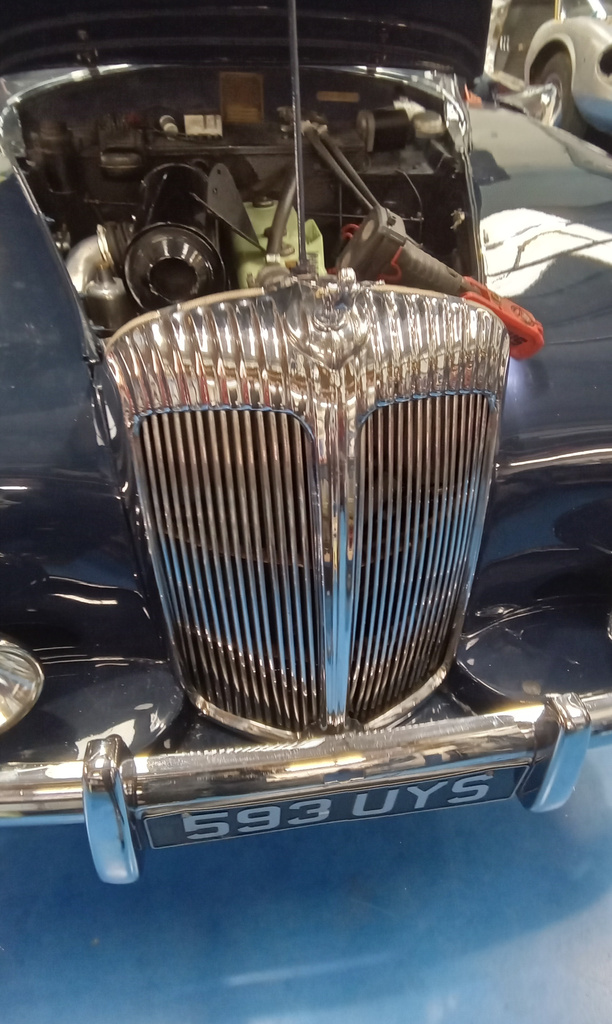
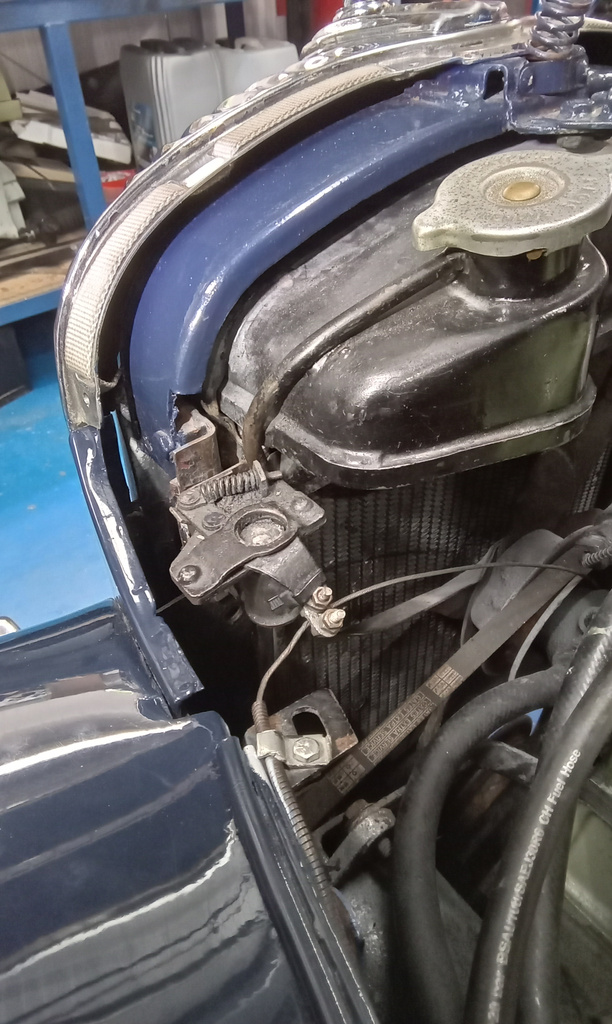
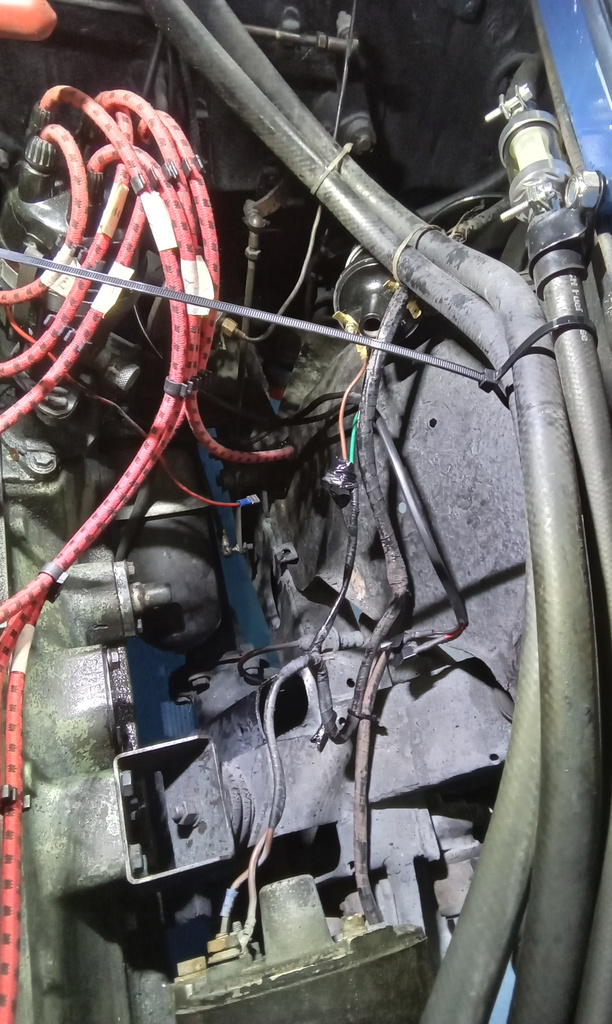
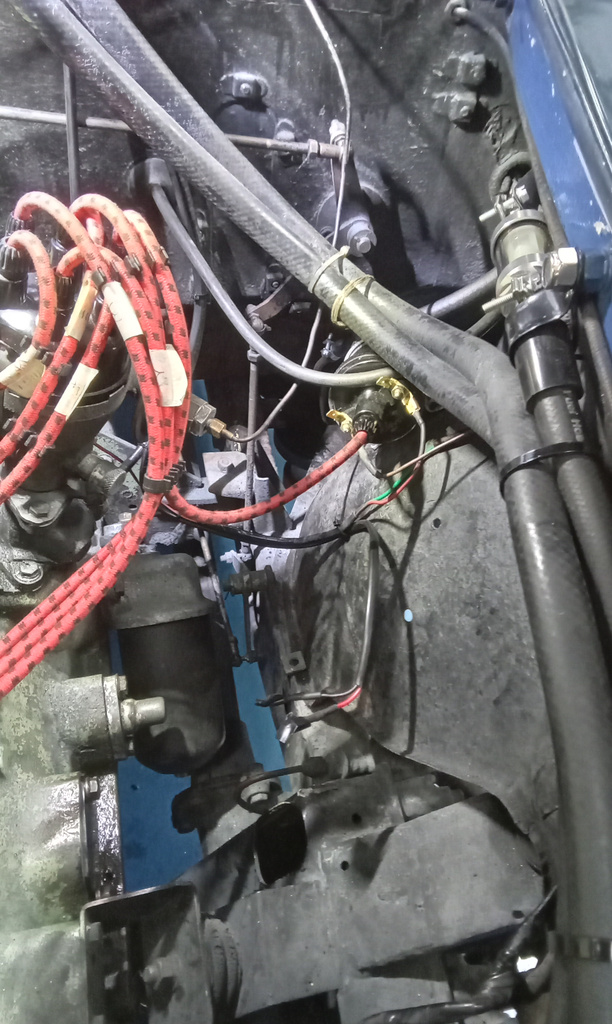
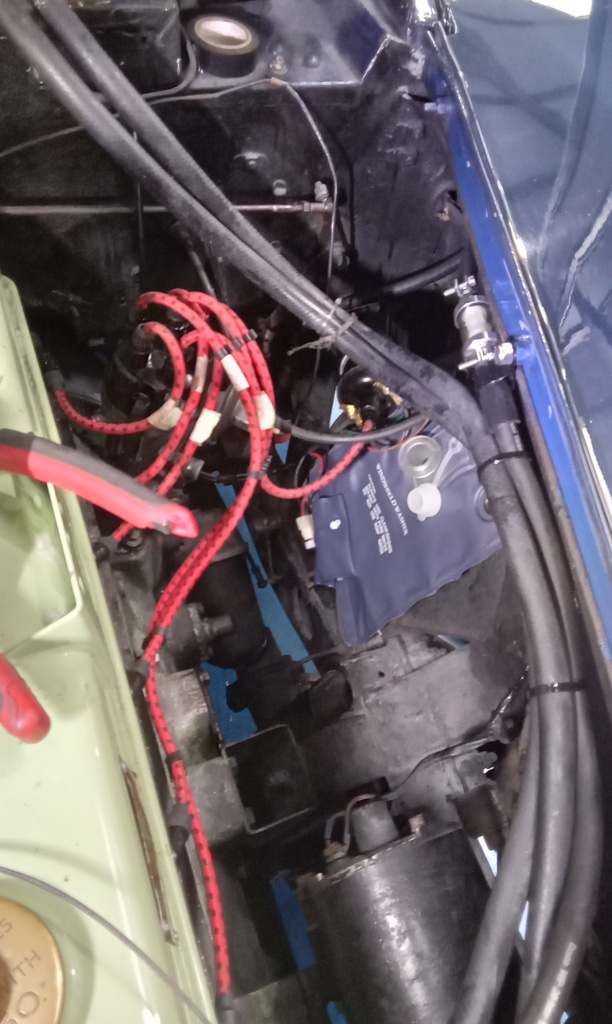
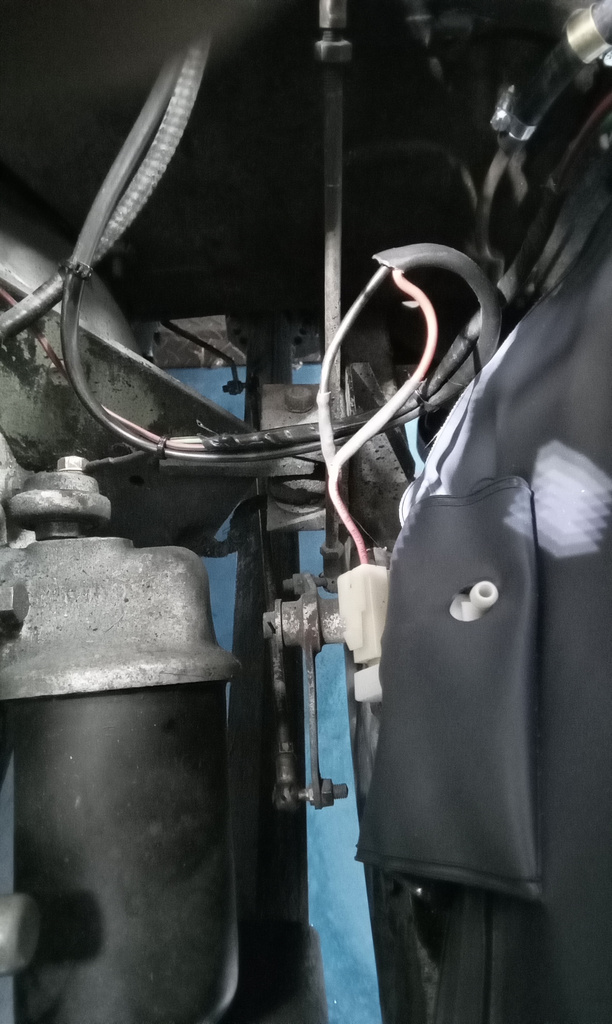
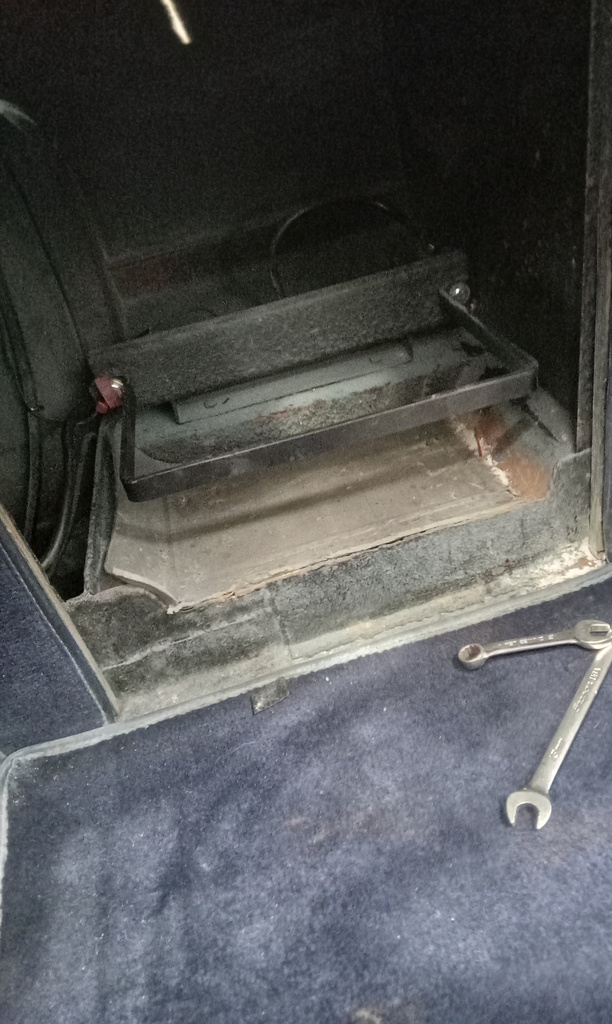
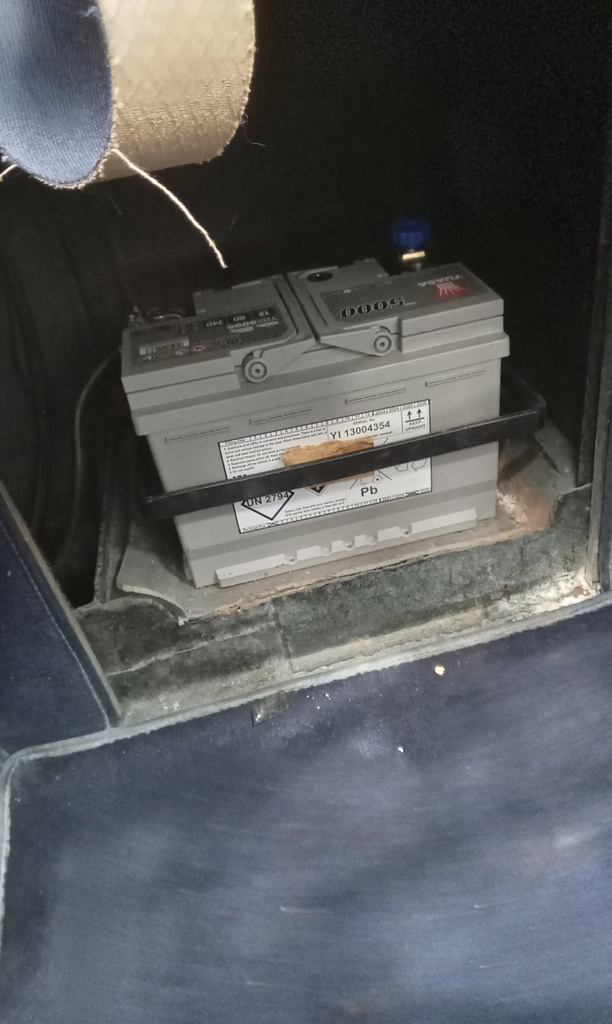
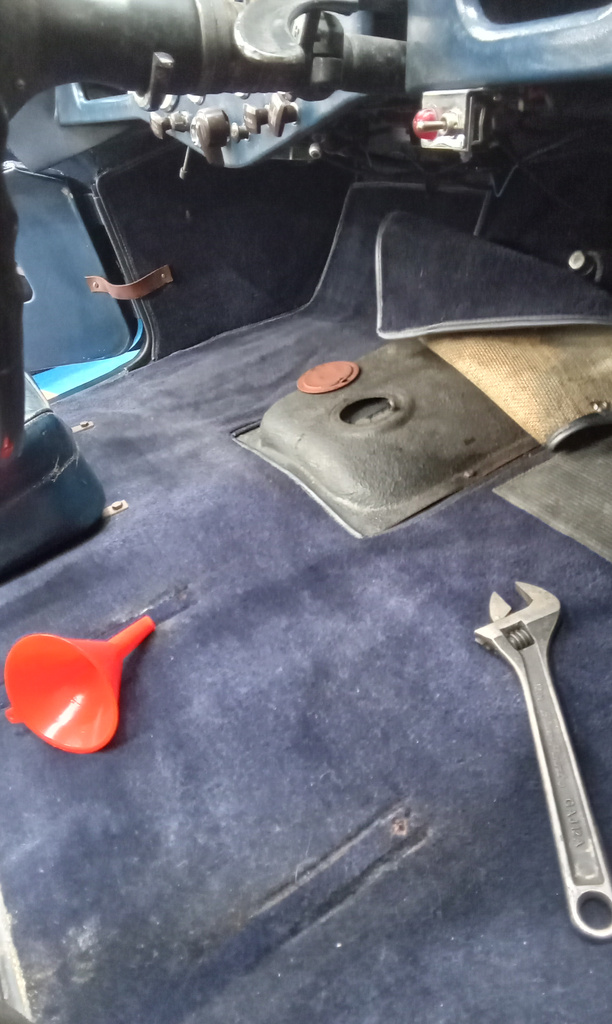
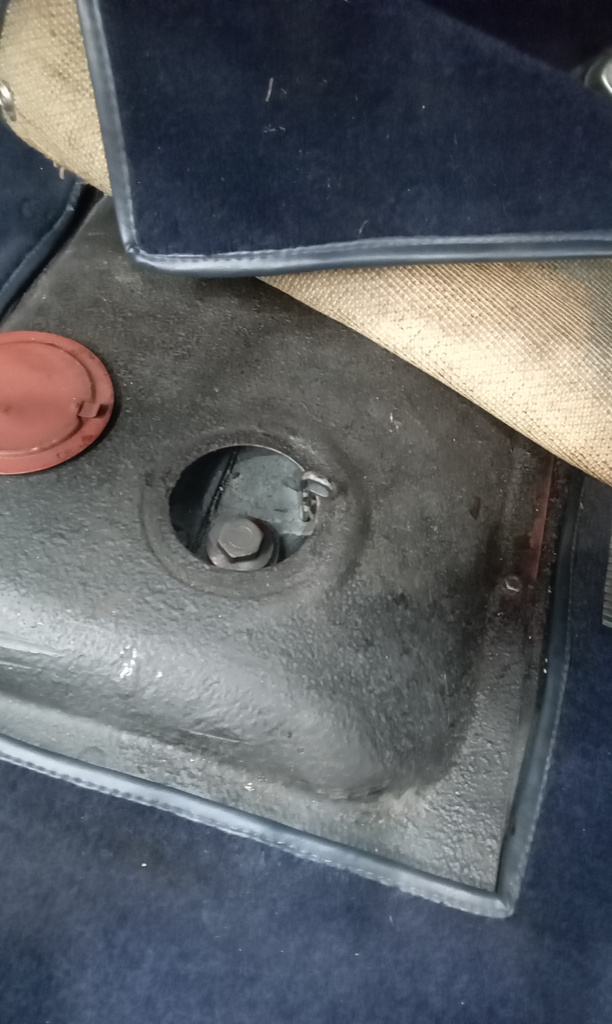
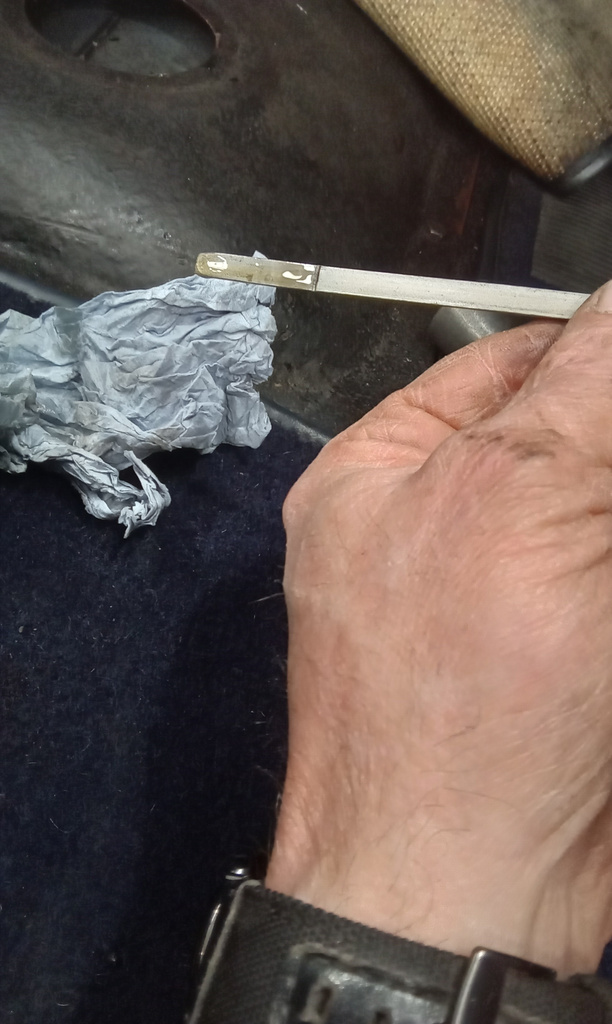
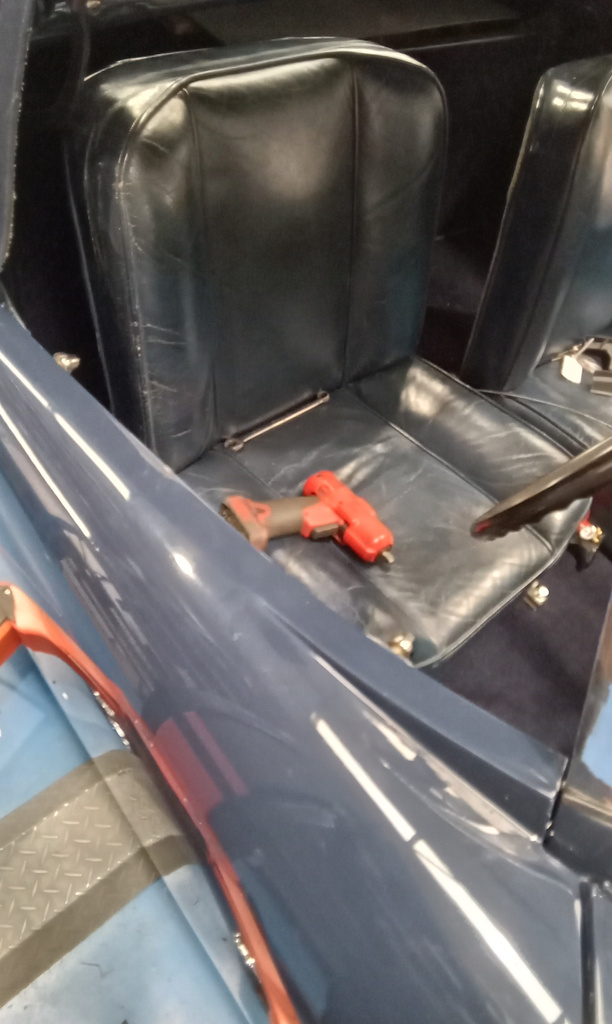
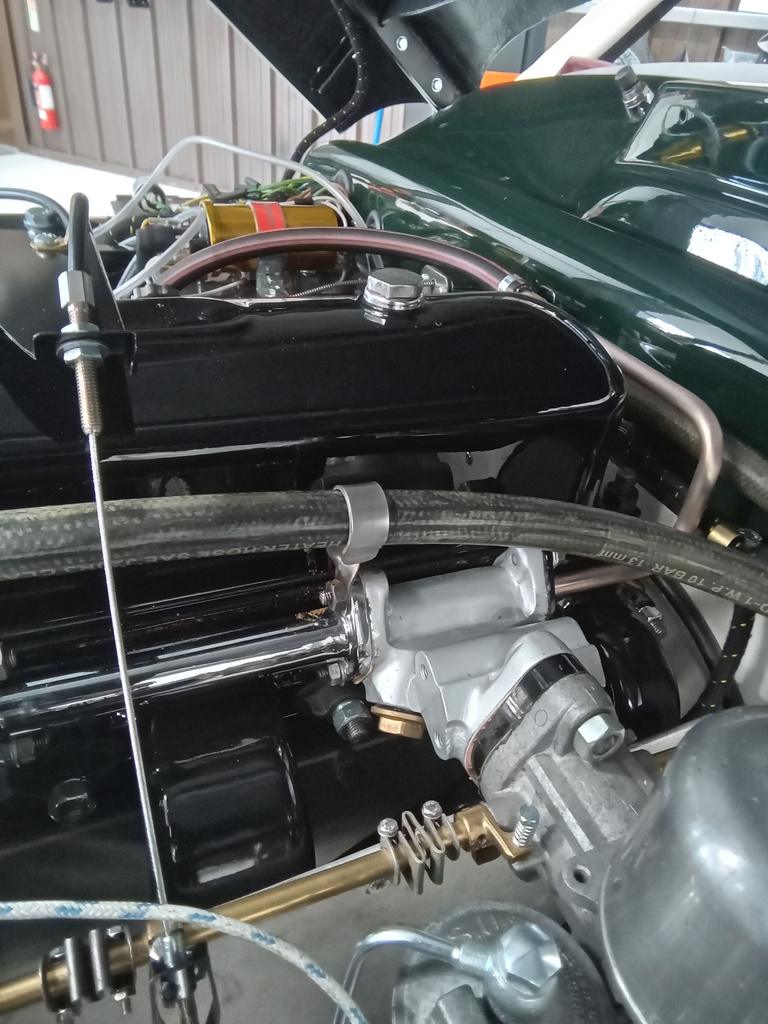
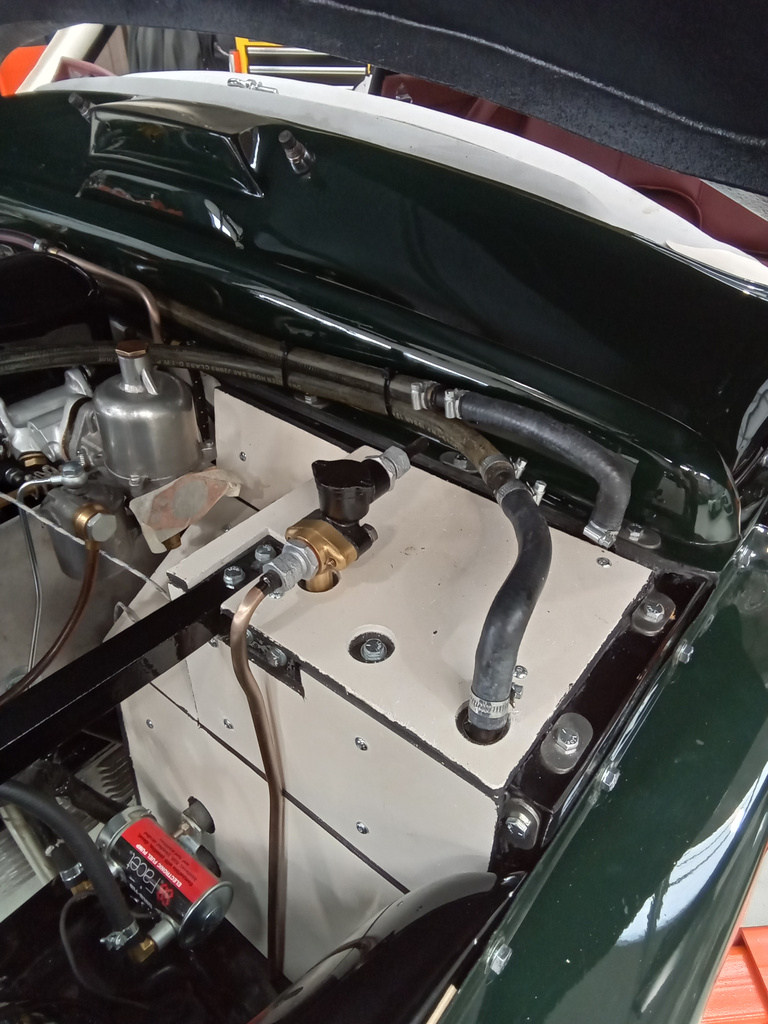
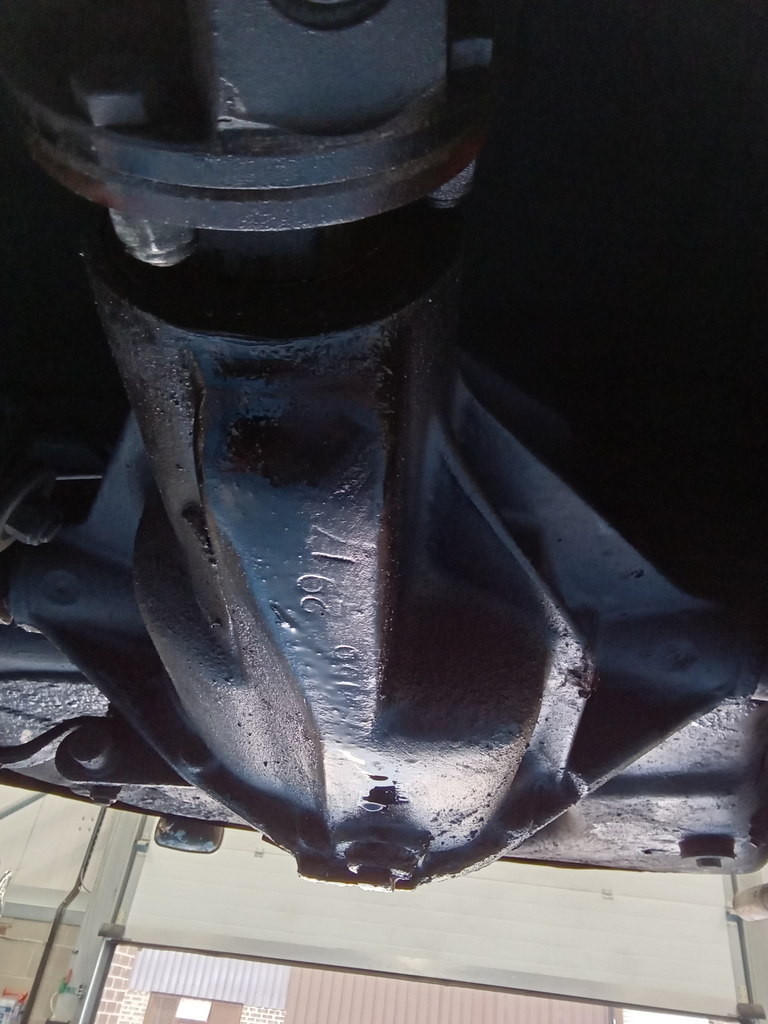
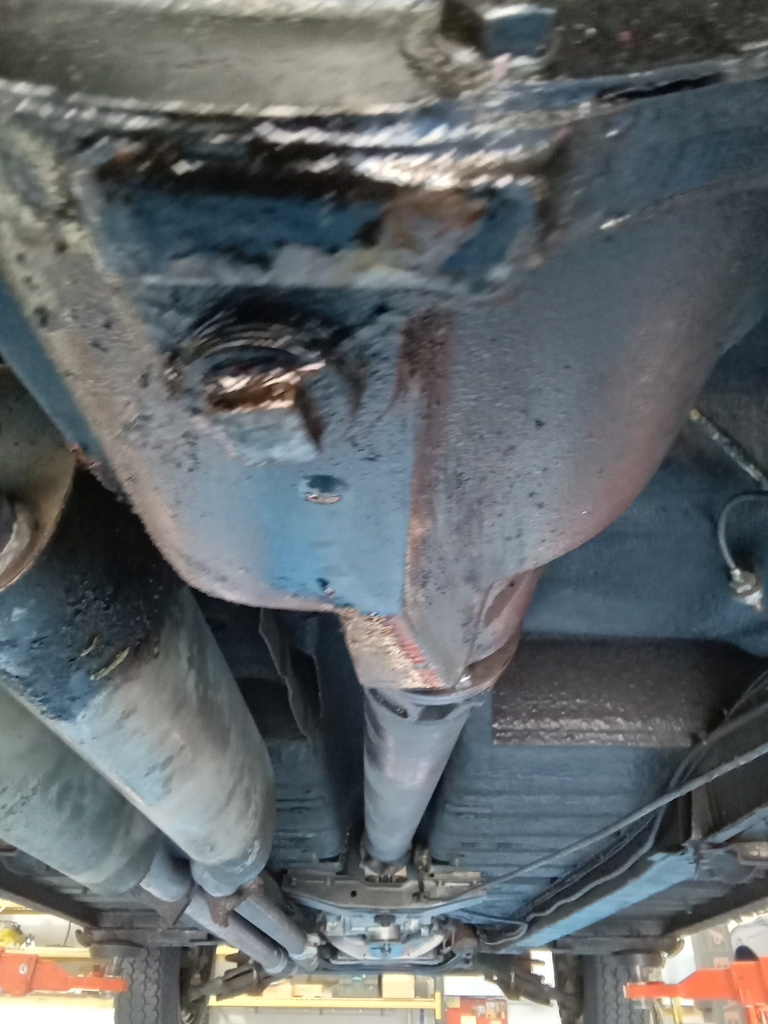
Technician Jonn has been hard at work on our 1954 Daimler Conquest Roadster preparing it to soon go live on Bridge Classic Cars Competitions.
Here are his notes from his recent work:
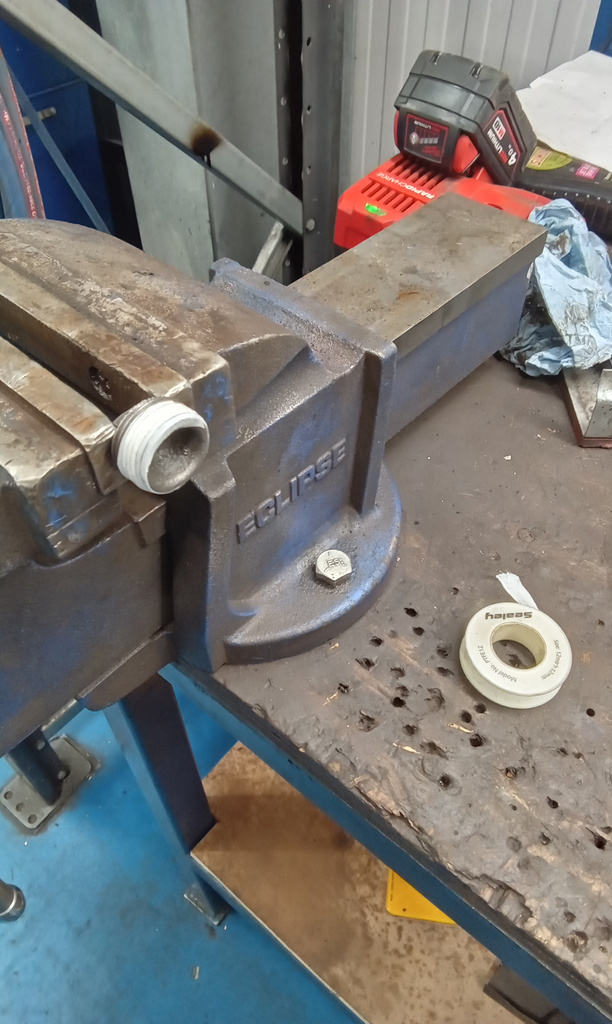
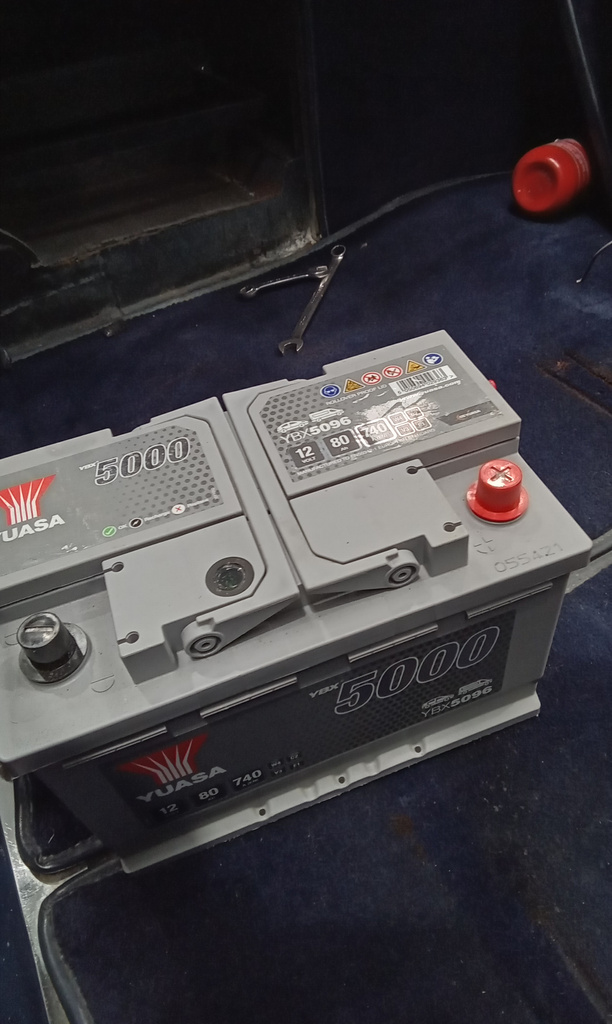
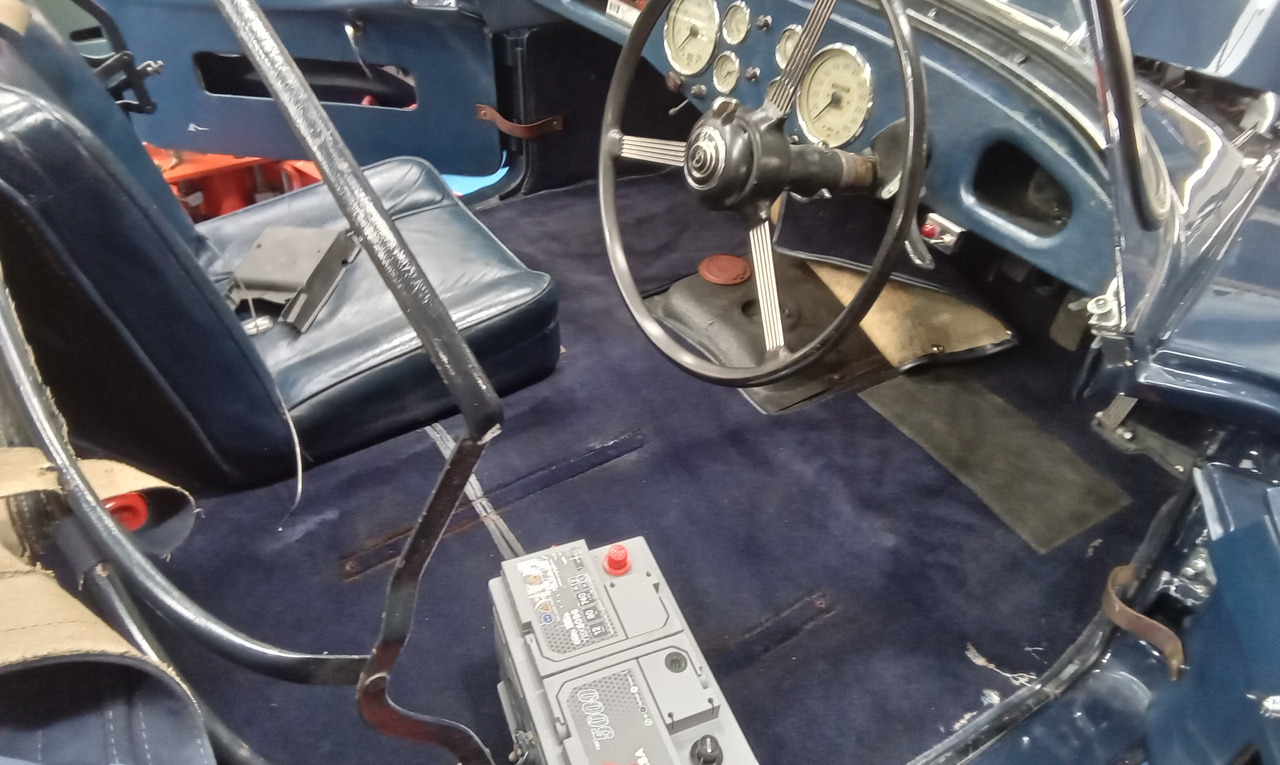
While drivers seat out, take chance to fit new battery. Remove old battery from behind drivers seat. Fit new battery and secure and fit connections. Refit cover. Hover out. Remove bung from floor and top up gearbox level. Refit bung and carpet and refit drivers seat.
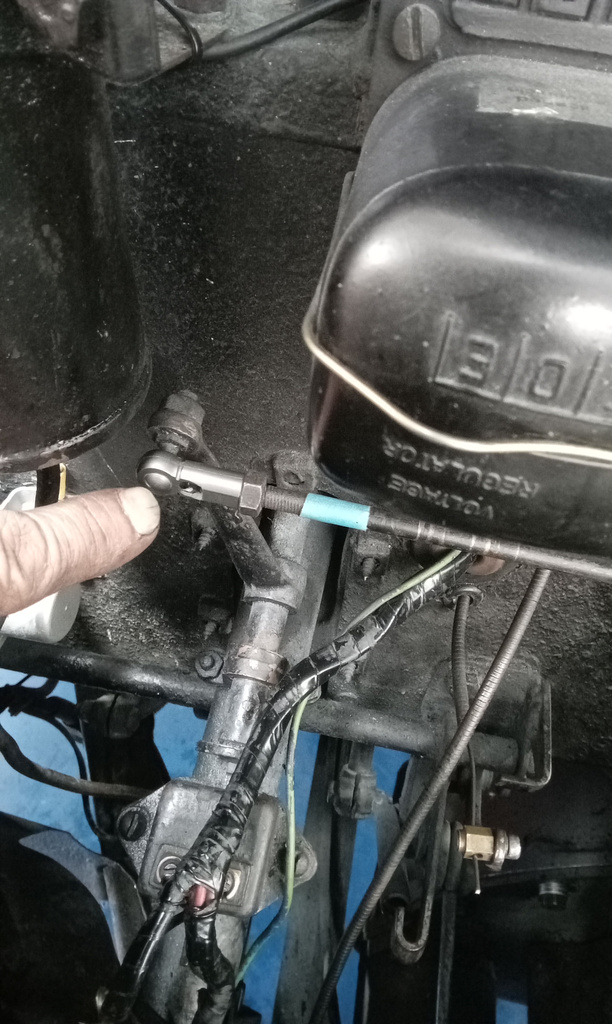
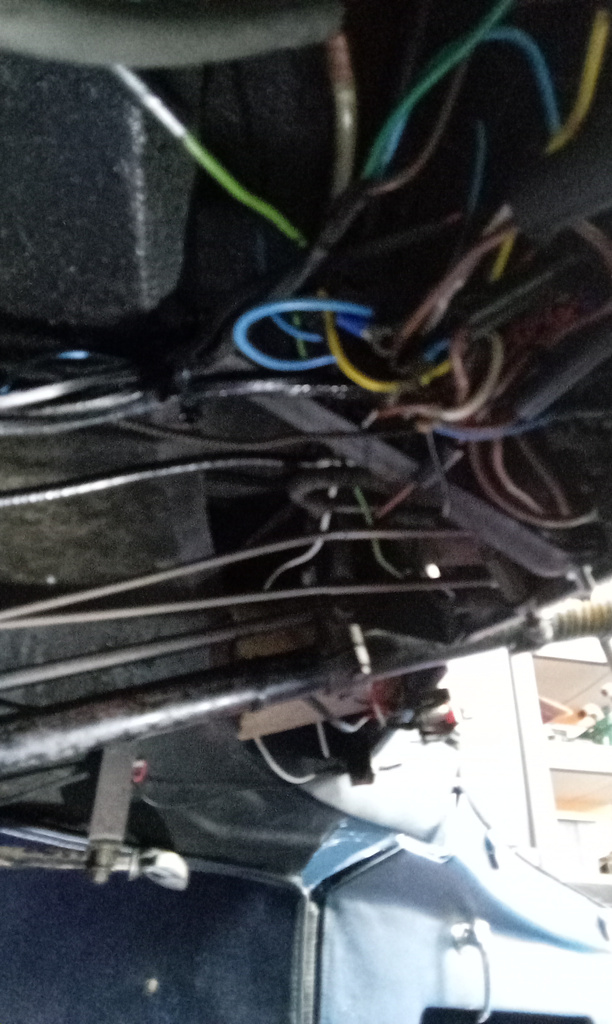
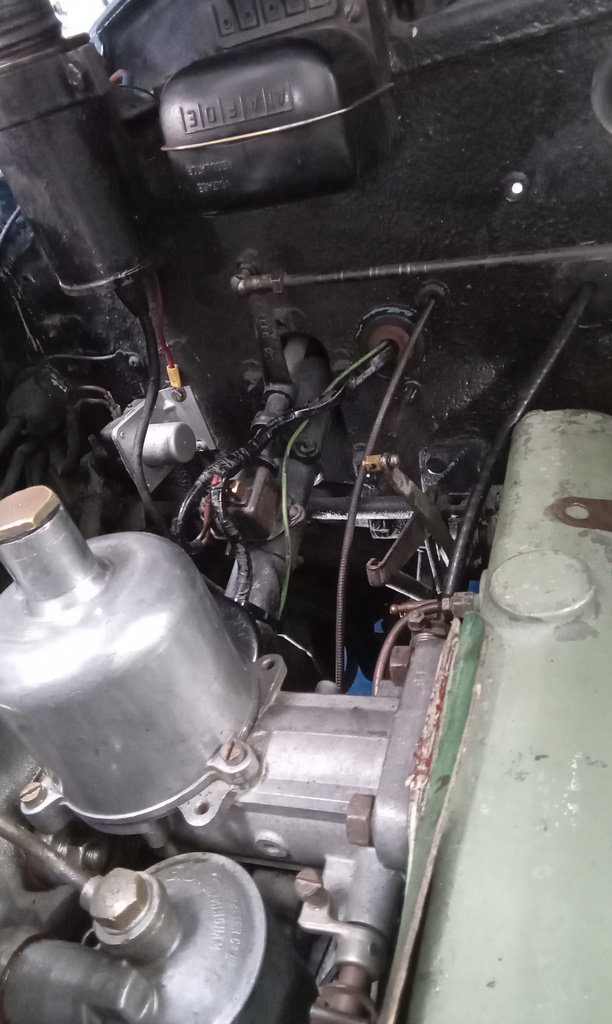
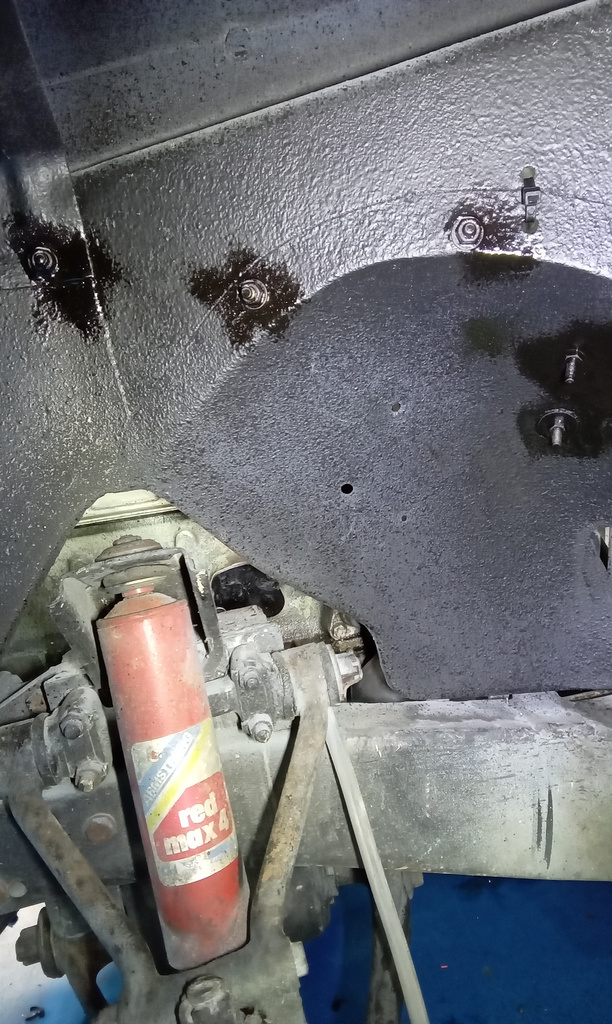
Mount washer bottle to nearside inner wing in engine bay. It’s the inly place I can fit it and wiring loom is in the way. Cut loom and extend wires to coil, oil pressure switch and solder all joints. Shrink wrap and remount higher up inner wing and secure. Mount bottle and drill and fix bracket to wing. Fill up and connect pipes. Test. Adjust jets and retry, ok. Start to refit grill. Test fan direction correct. Swap wires so it now sucks air in front and blows through radiator.
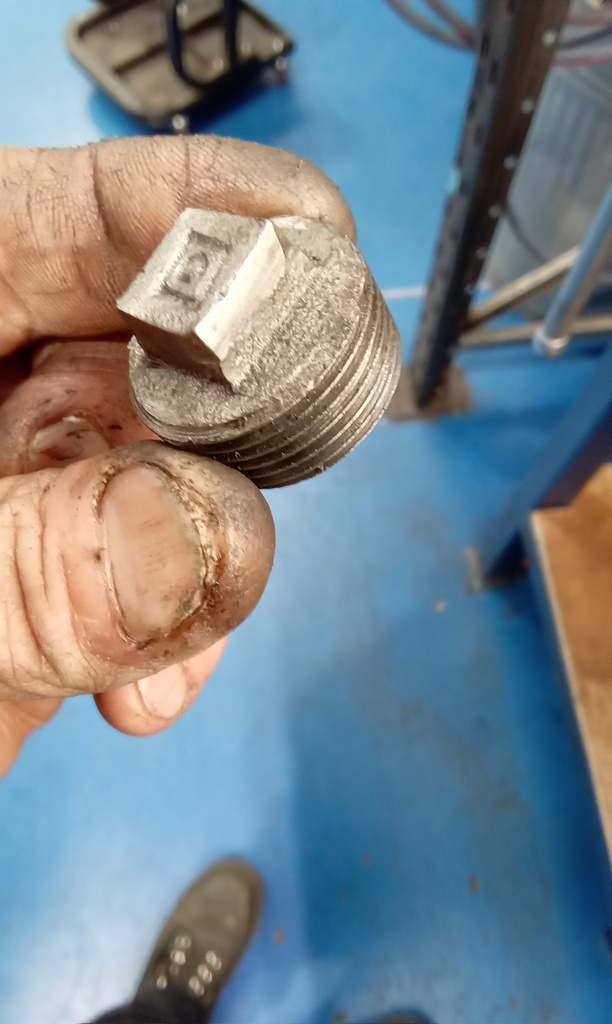
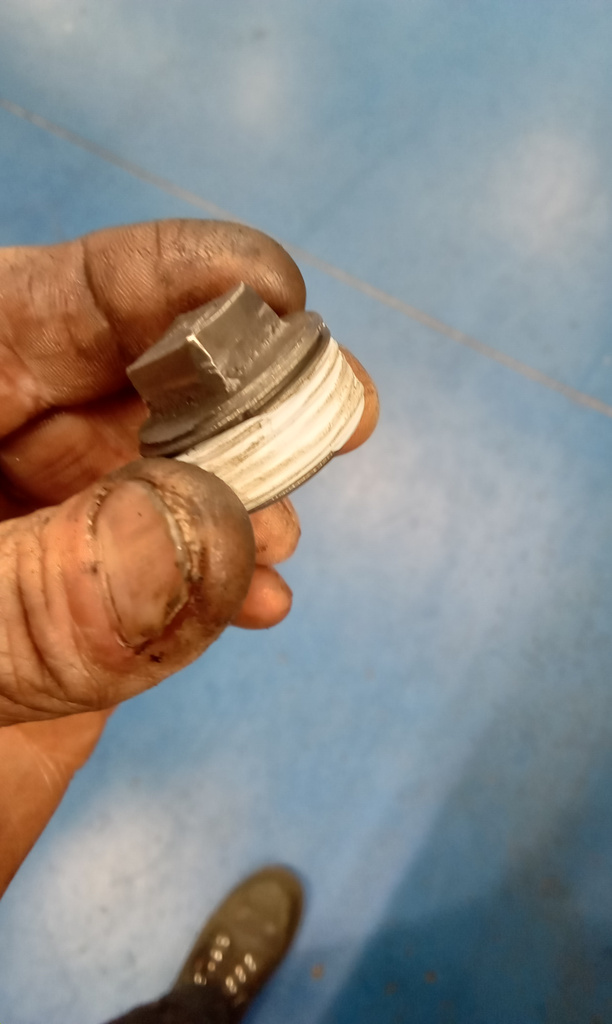
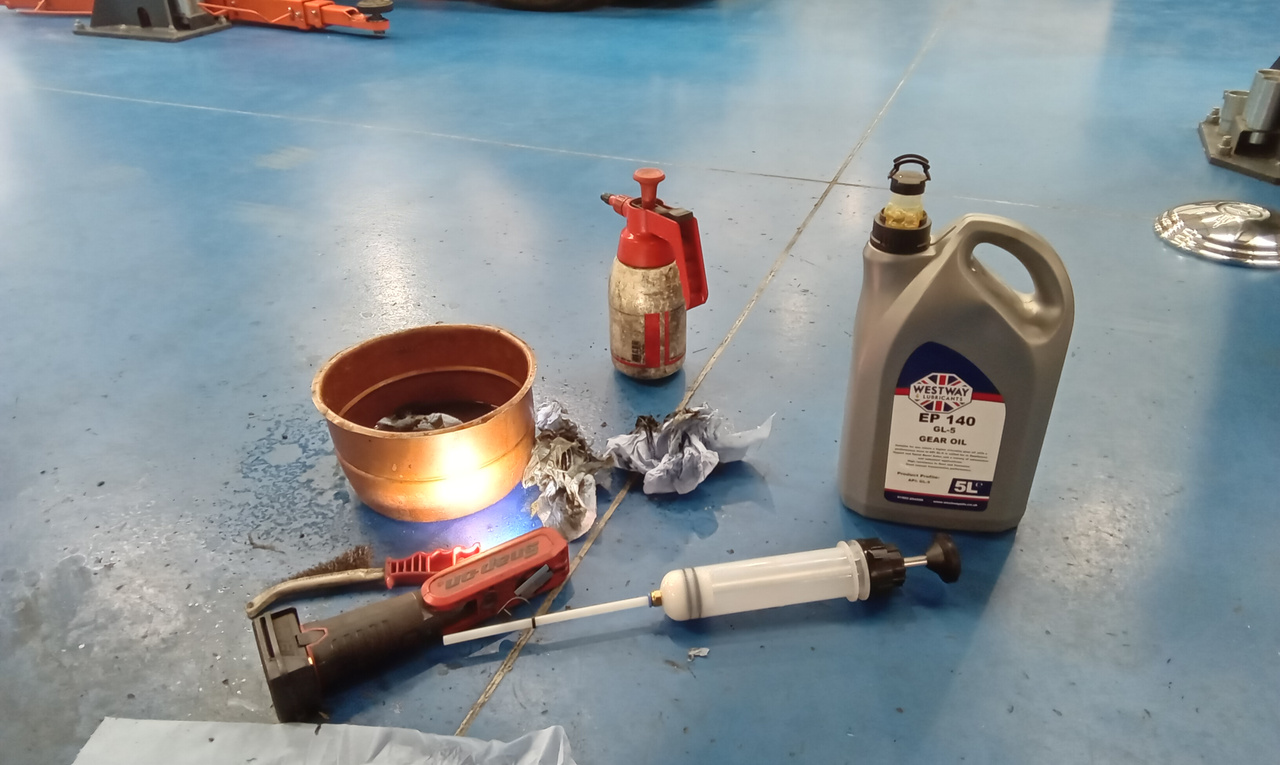
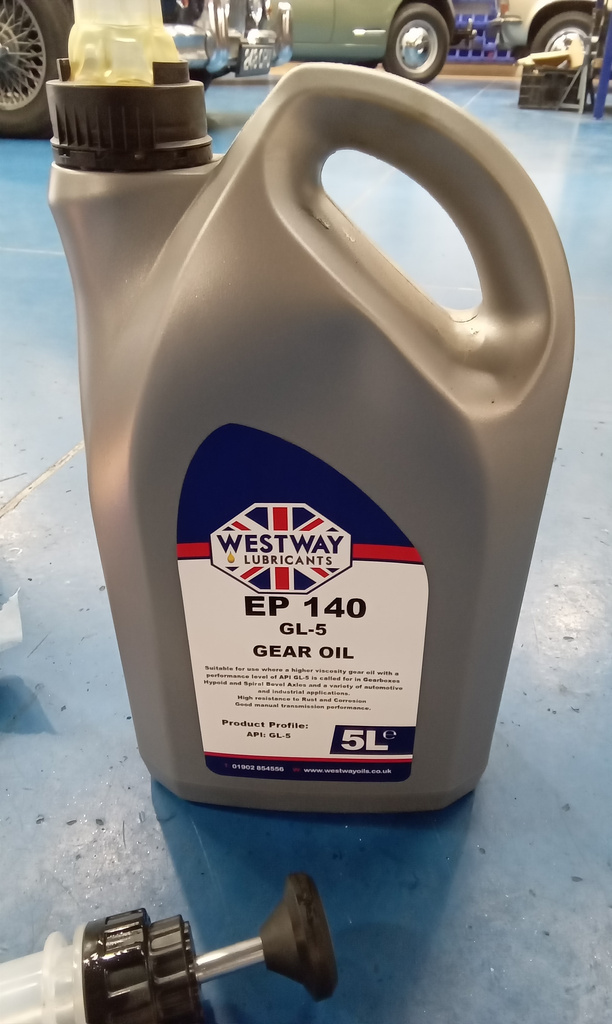
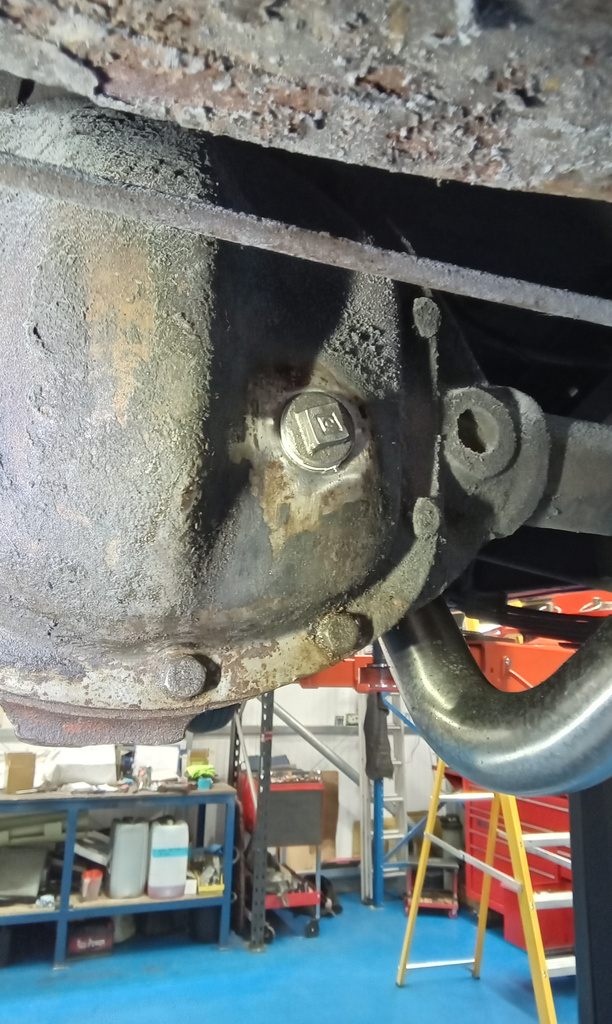
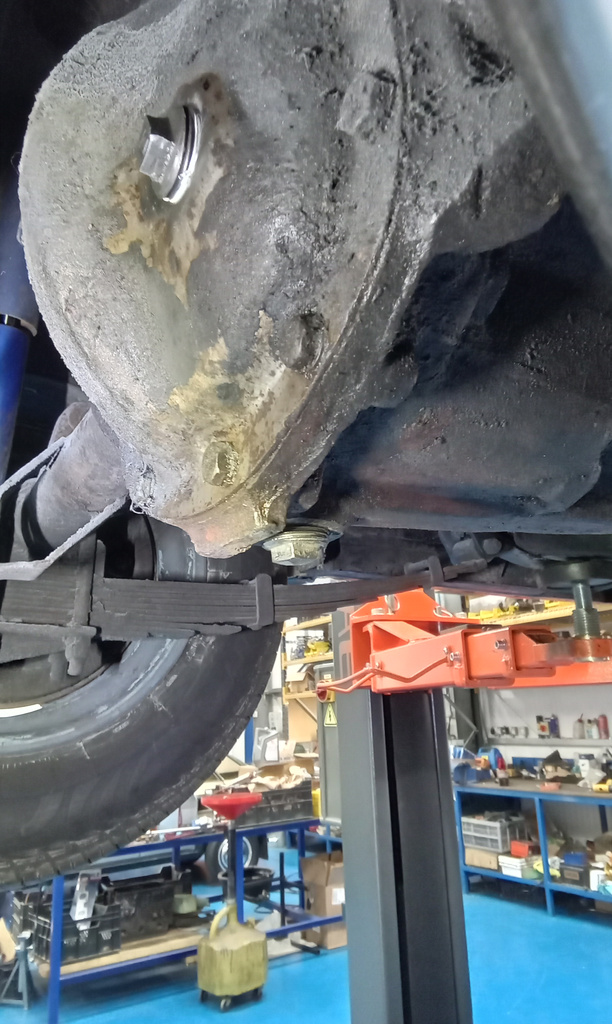
Wash off gearbox. Tighten all bolts around sump area. Tighten bung. Drain rear differential. Clean both bungs and wash off. Apply Ptfe and fit drain bung. Fill with new oil and fit level bung.
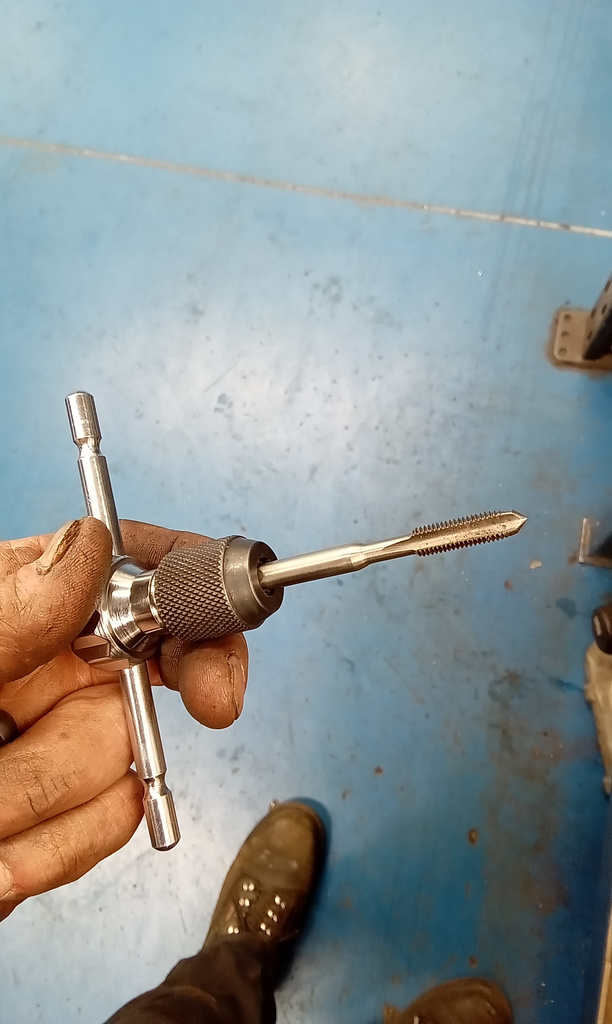
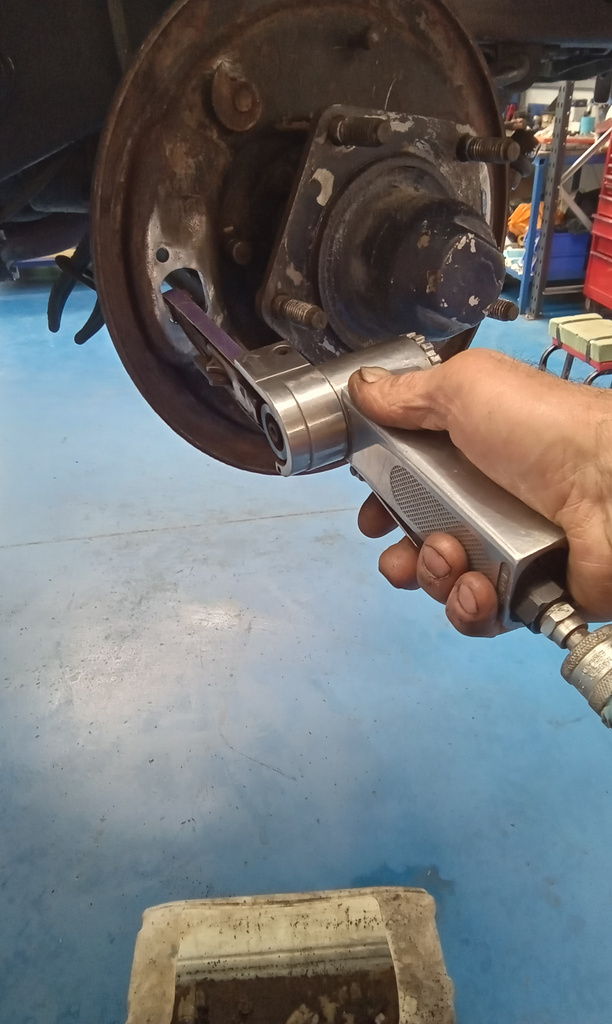
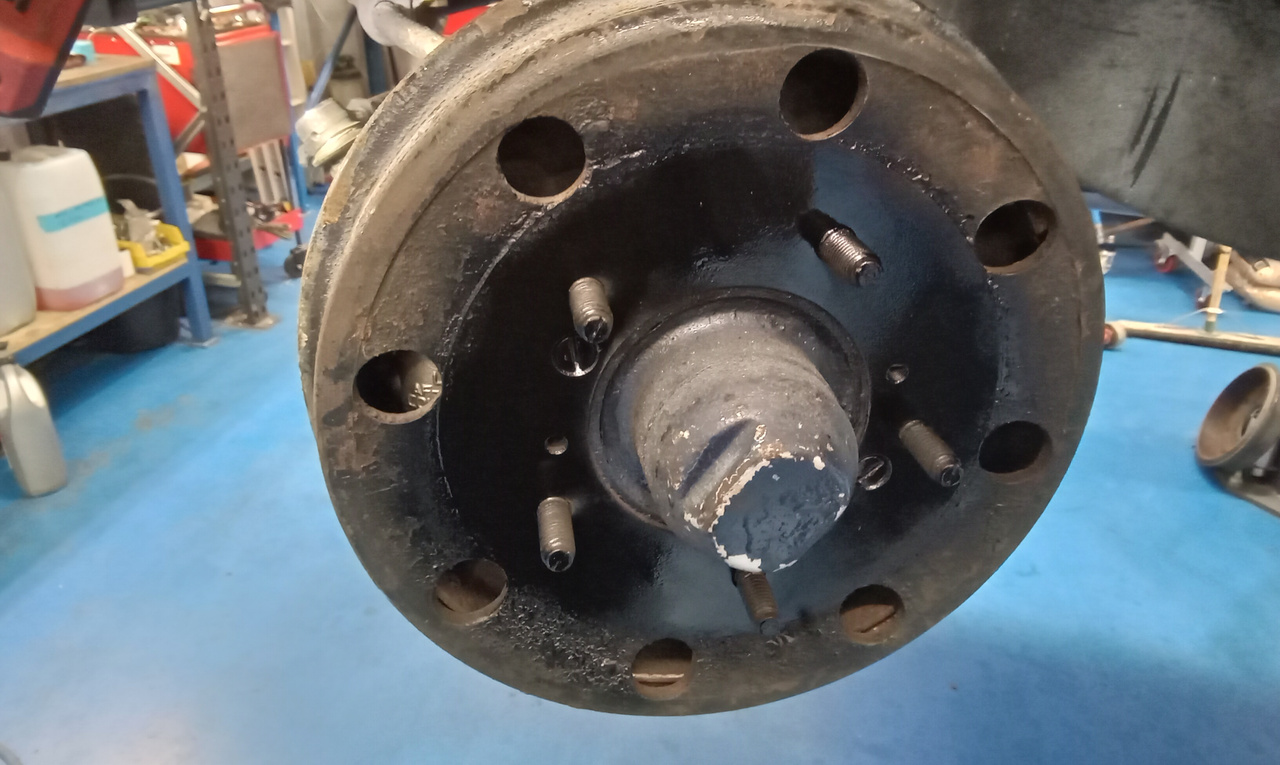
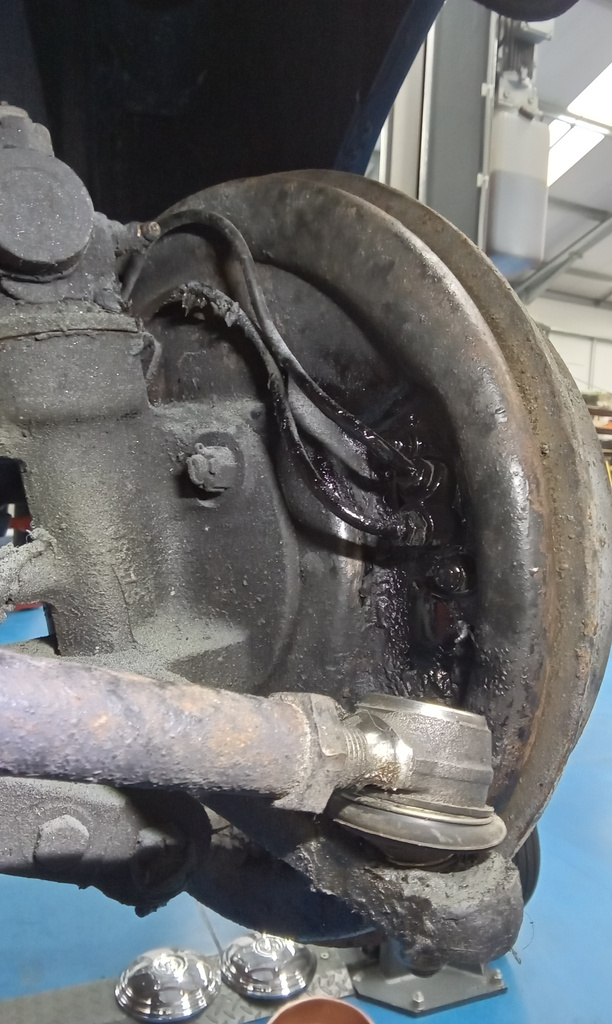
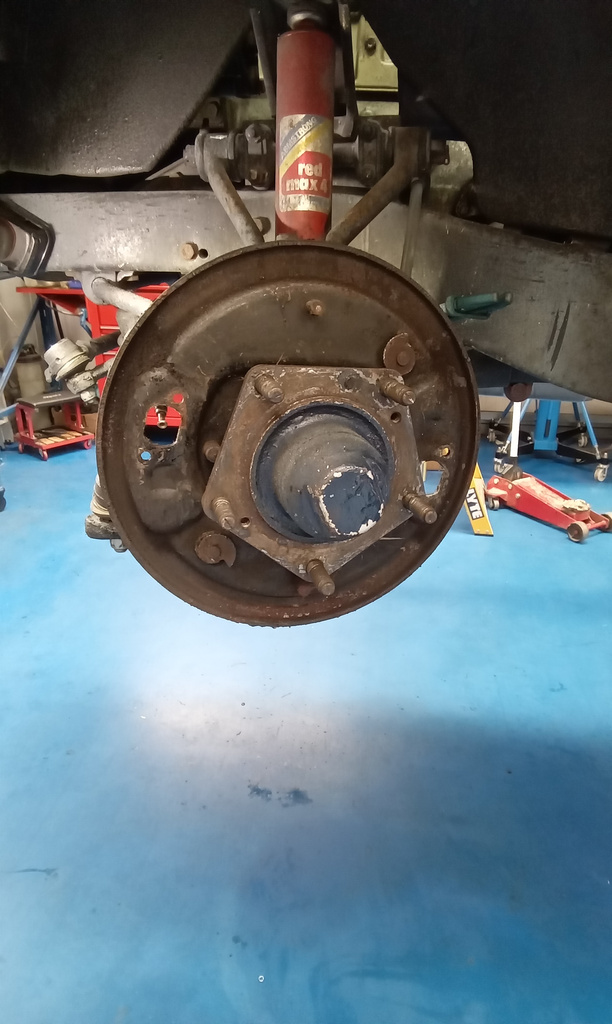
Strip nearside front brake. Remove old wheel cylinders. Clean backplate and enlarge holes to take new wheel cylinders. Fit new cylinders and refit shoes. Refit drum and adjust shoes. Start the same process for offside front. Paint exposed bare metal areas black.
Strip offsidefront brake and repeat processes as nearside front. Clean and refit drum and adjust shoes.
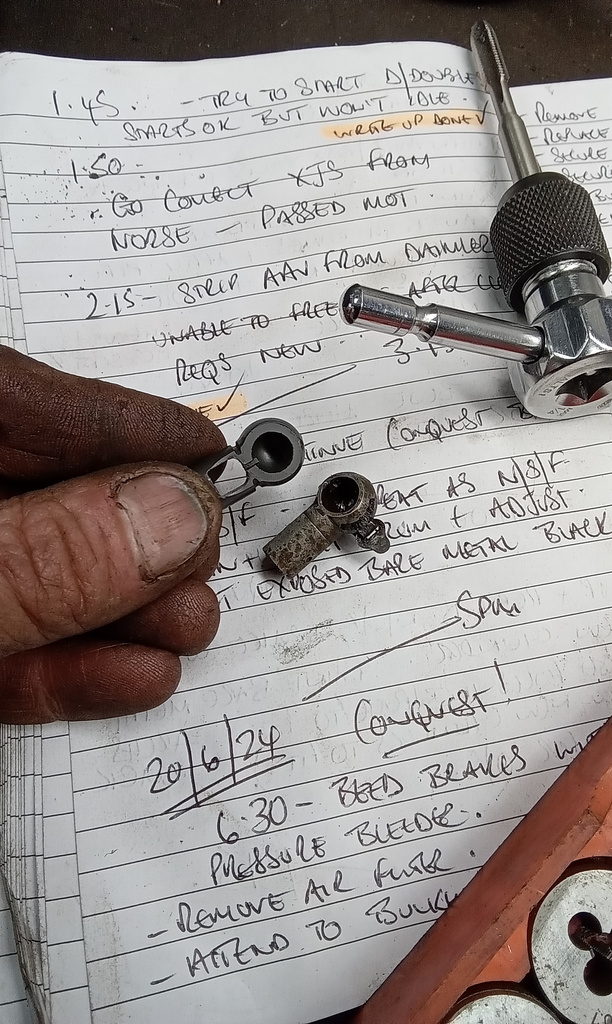
Finish front brakes and bleed with pressure bleeder. Remove air filter and attend to bulkhead grommets a nd cable/wire routing. Remove distributor vacuum pipe. Replace bulkhead grommets. Secure wires to column. Drill and fit p clips to secure wiring in offside engine bay bulkhead area. Remove and re route speedo cable. Ch9ke able and hand throttle cable. Secure wiring under dashboard.reconnect cables and set/test. Tighten wing bolts.se are wiring away from throttle link at bulkhead. Drill out and fit new ball joint to gear change rod across bulkhead. Will need adjusting and setting as gears not aligned with column selector.
Grease all points from underneath. Carry out oil and filter change. Fit new filter and sump bung seal. Top up oil run and test. Refit front wheels.


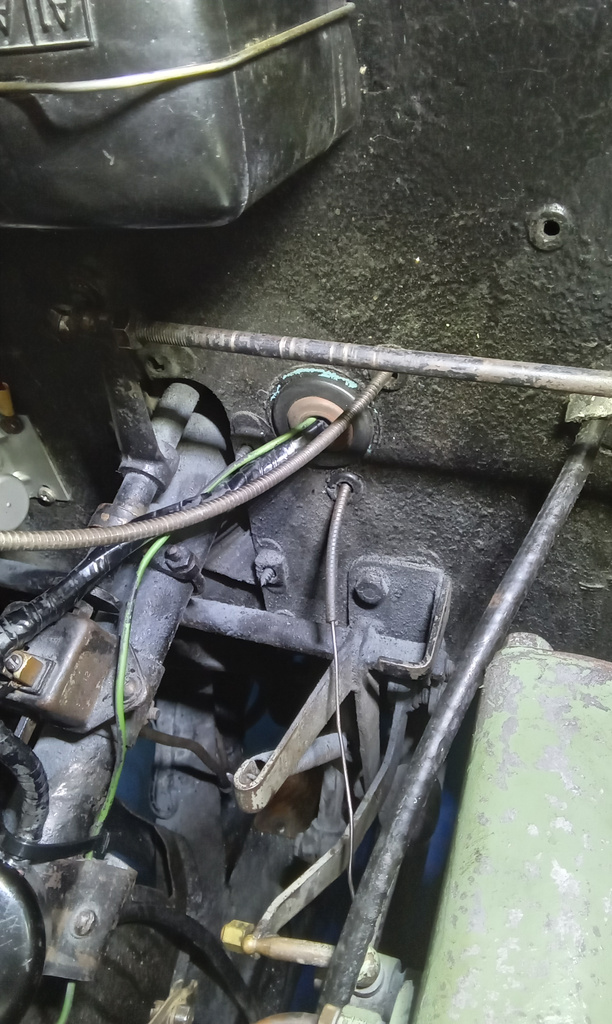
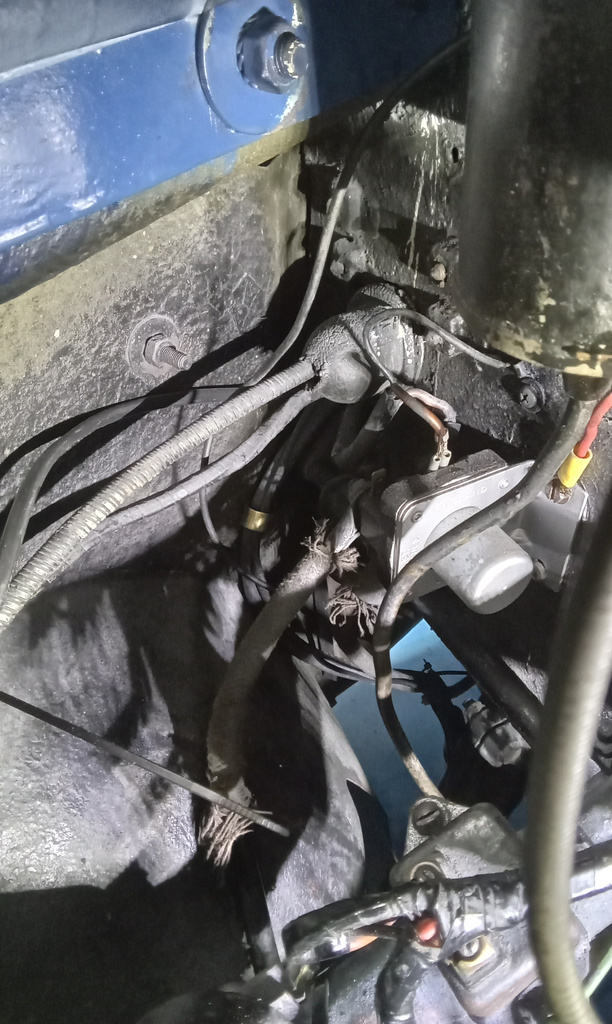

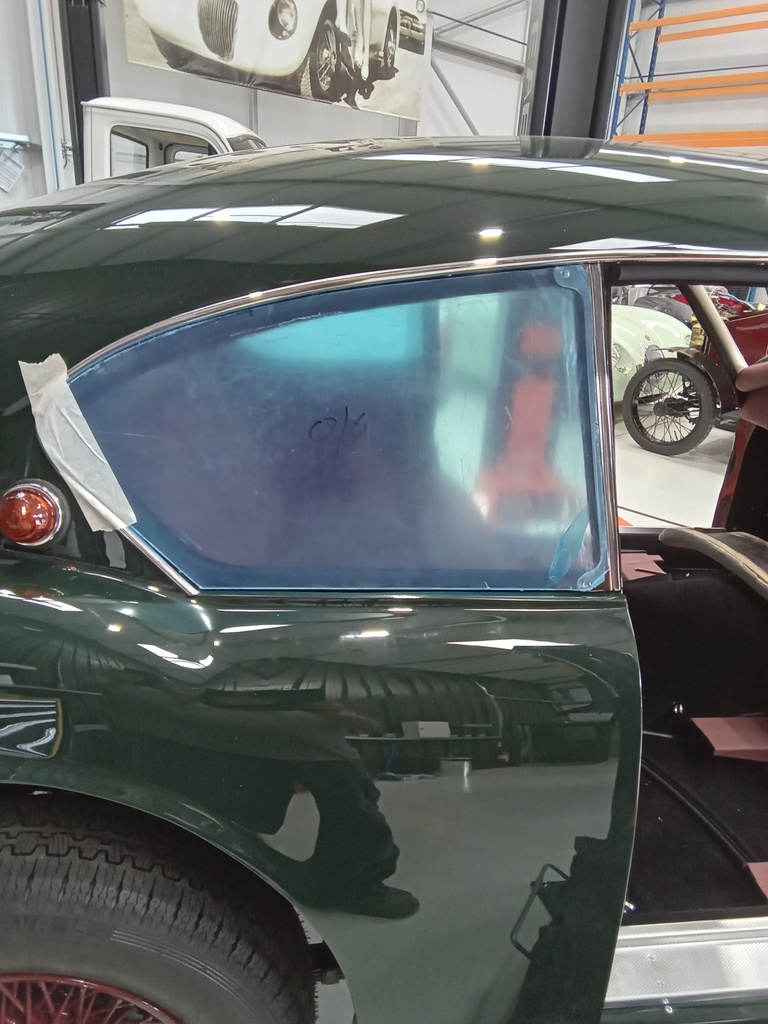
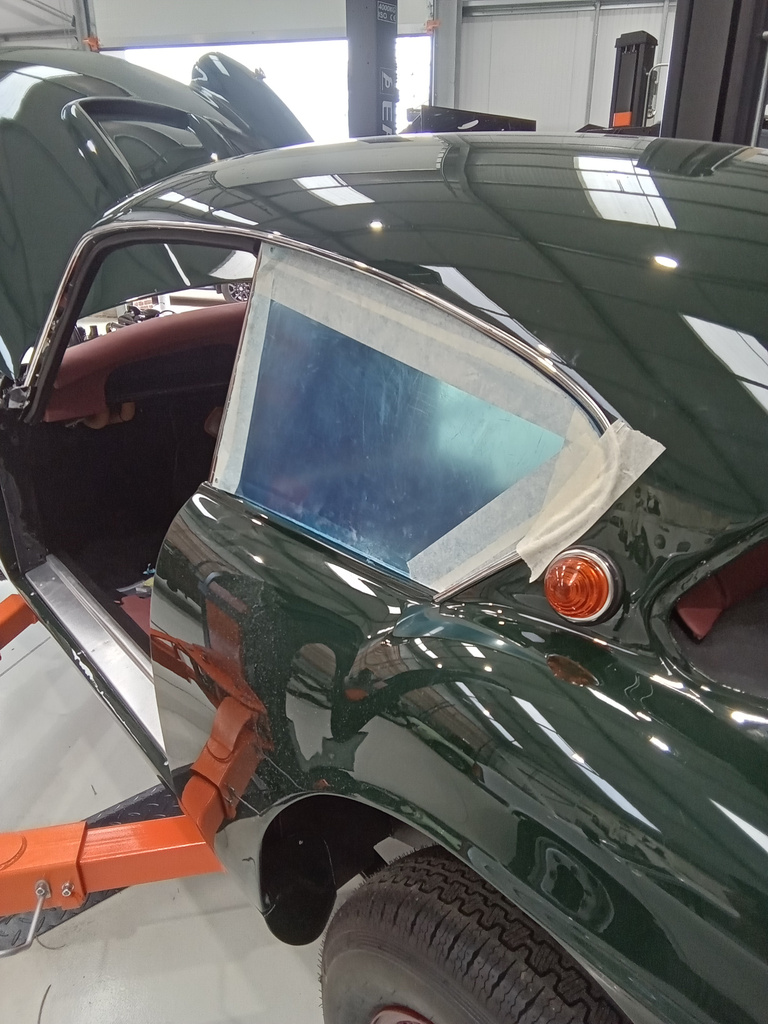
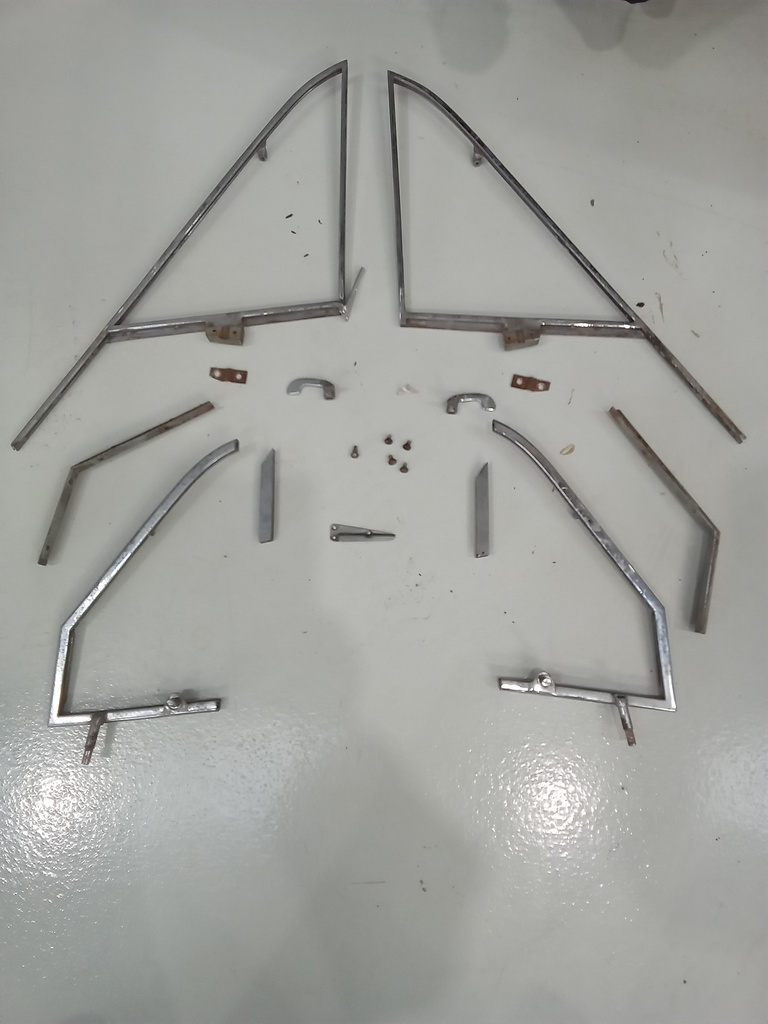
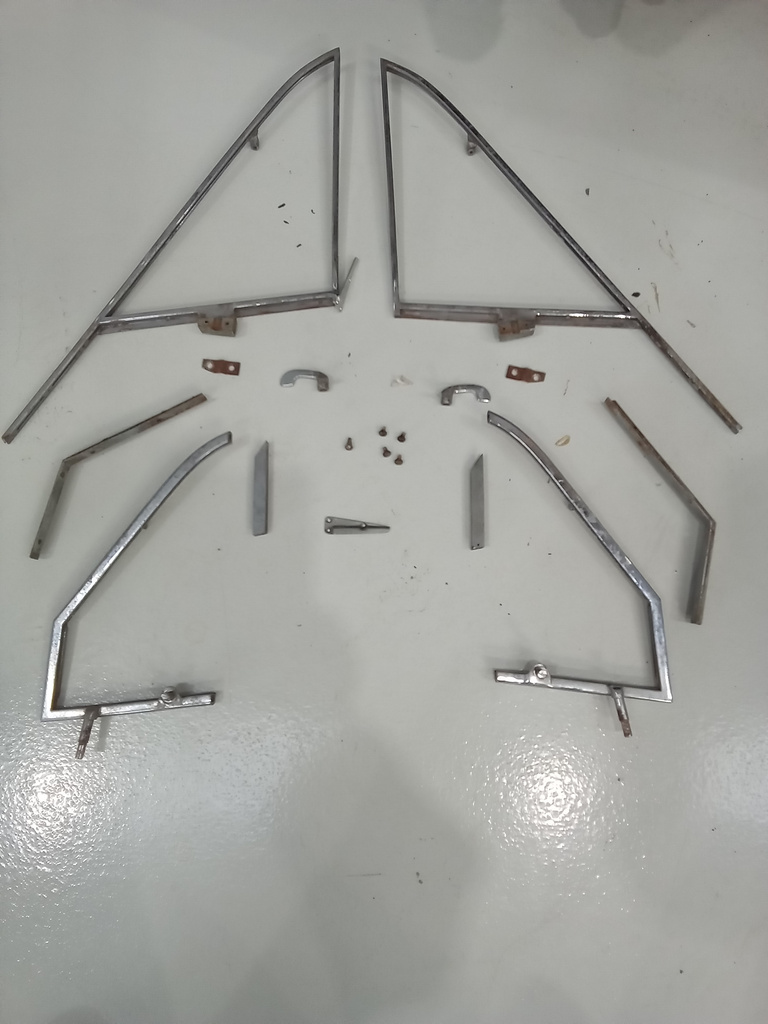
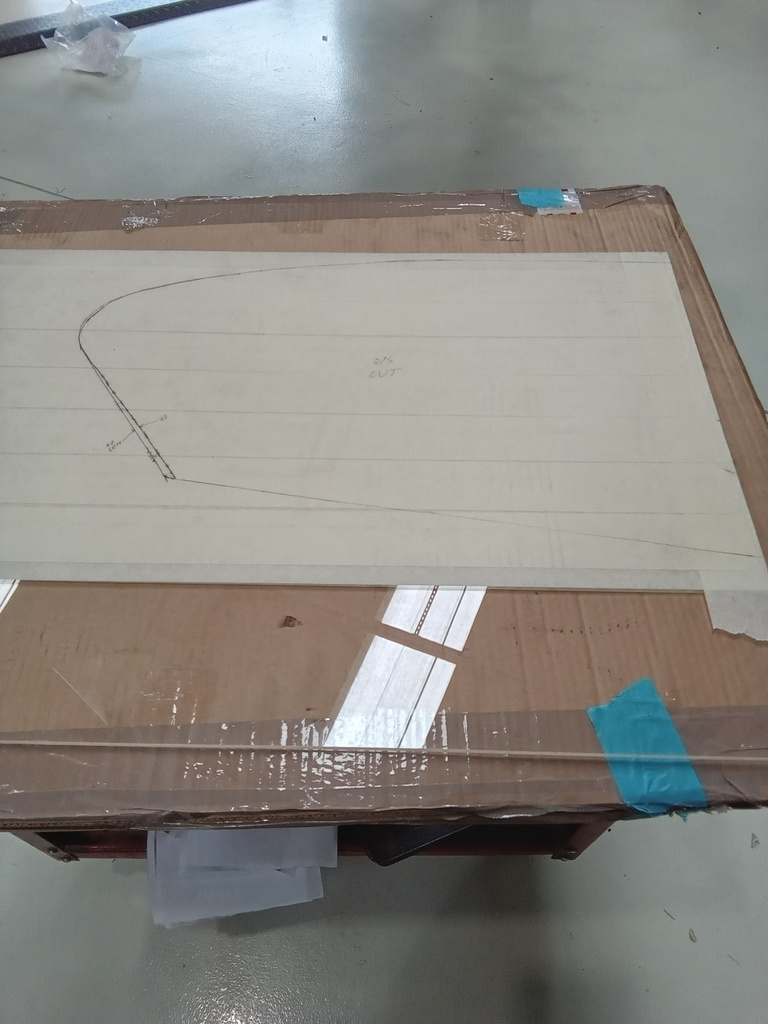
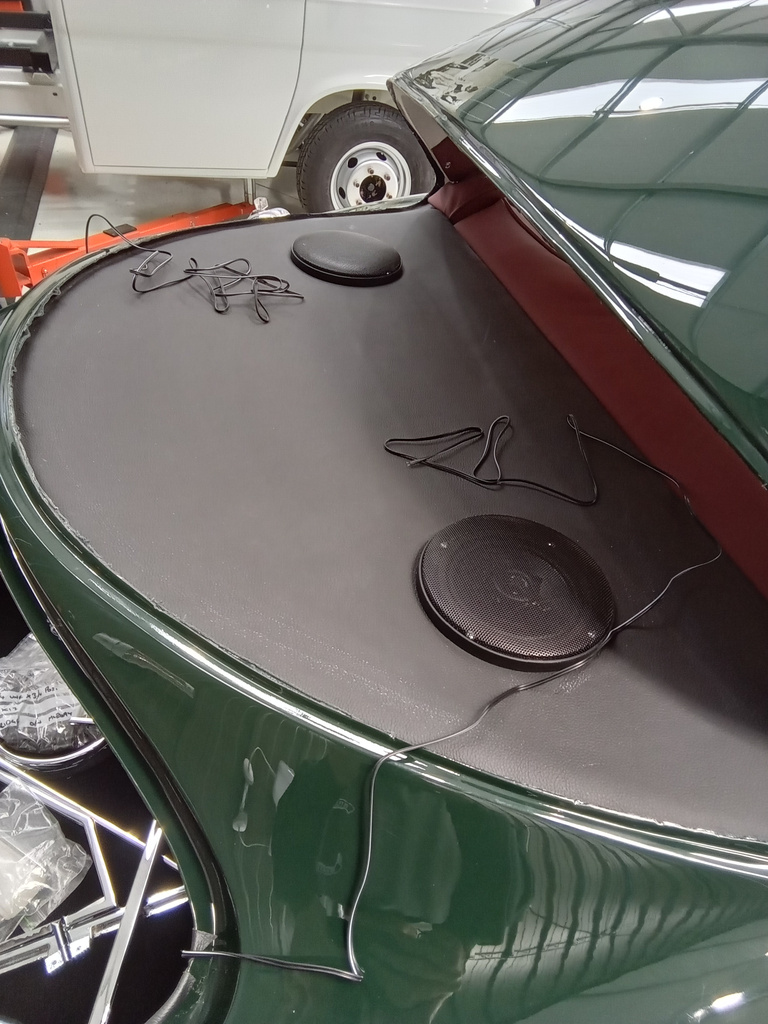
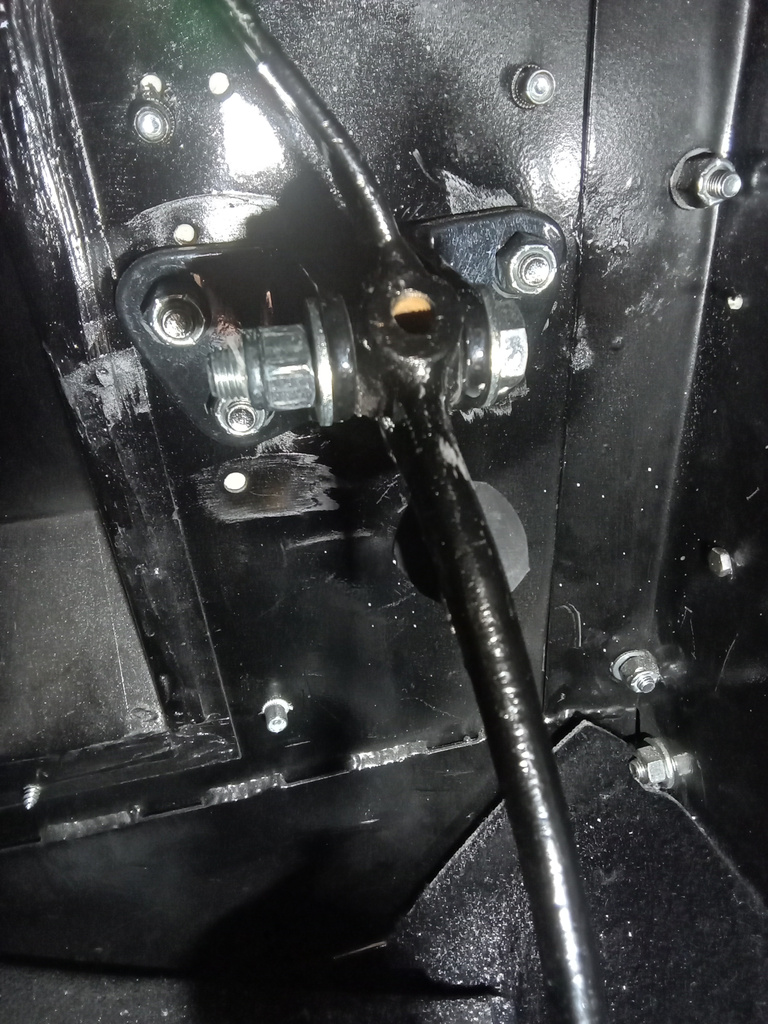
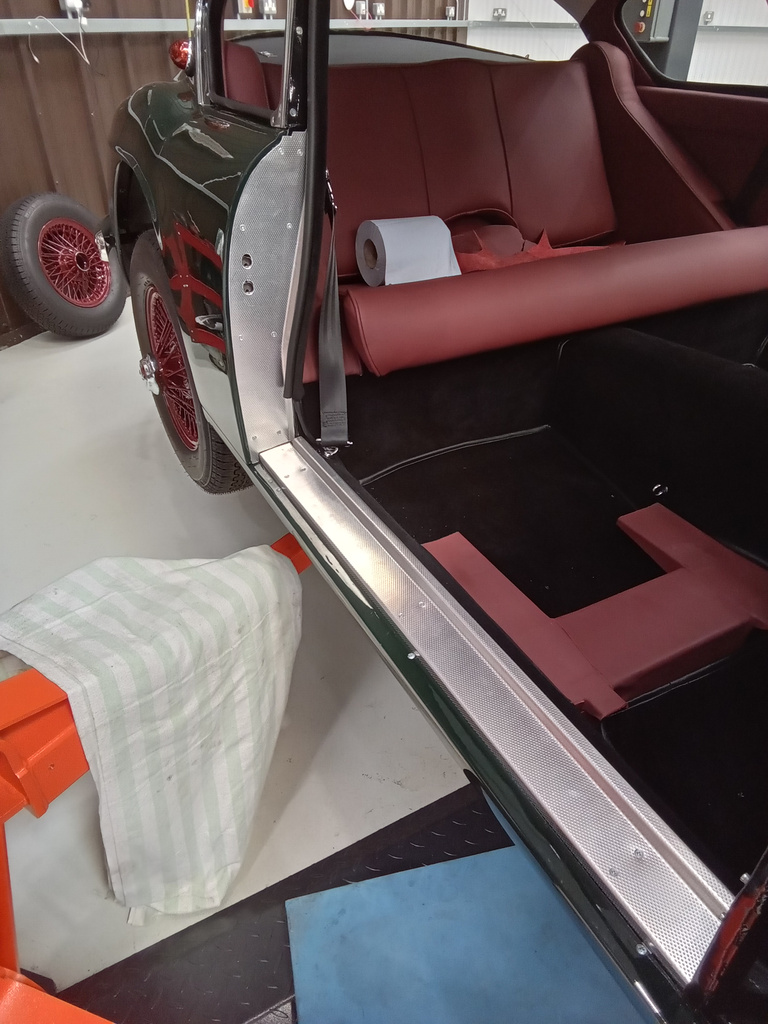
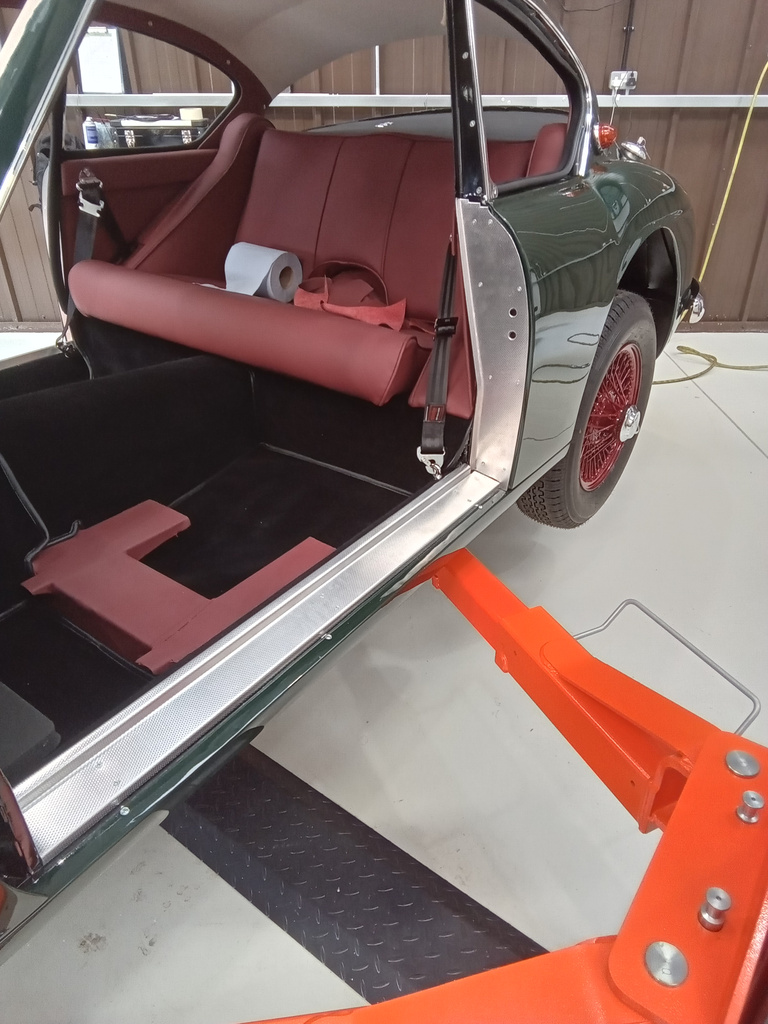
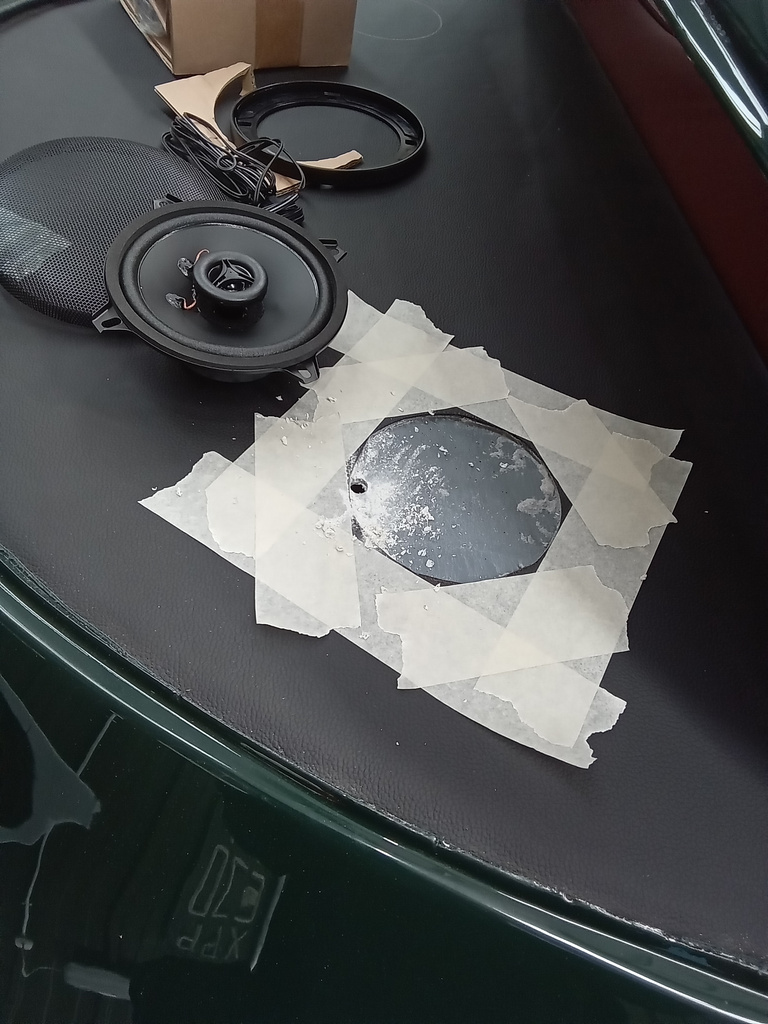
Paul has continued his hard work on our 1956 Jensen 541. Here are his notes of what he has been up to:
Fabricate throttle pedal stop and fit cable,fit trim to door apertures, fit speakers in parcel shelf,find and match parts for doors chrome etc.
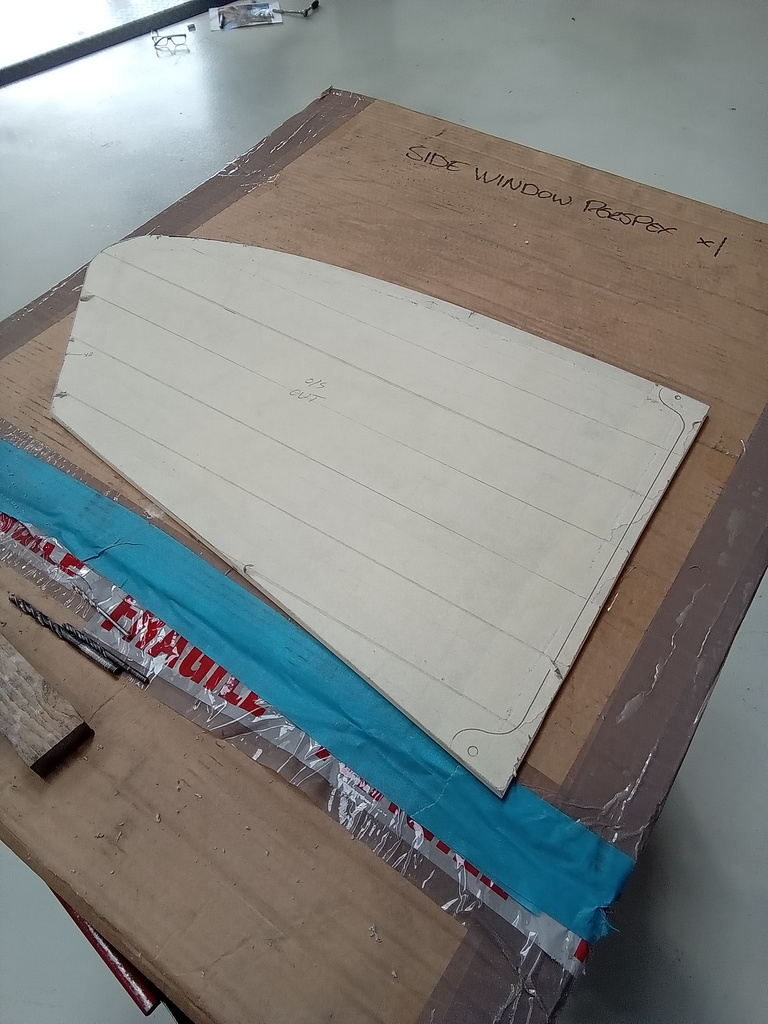
Prepare window chrome for chroming,fit heater hoses and fabricate mounts,cut perspex rear windows using template.
Fit front grill and reshape to fit,fit rear side windows,fit front bumper and measure up for spacers,prepare trim for window for lydia, modify air box to take return spring.


Leave a Reply