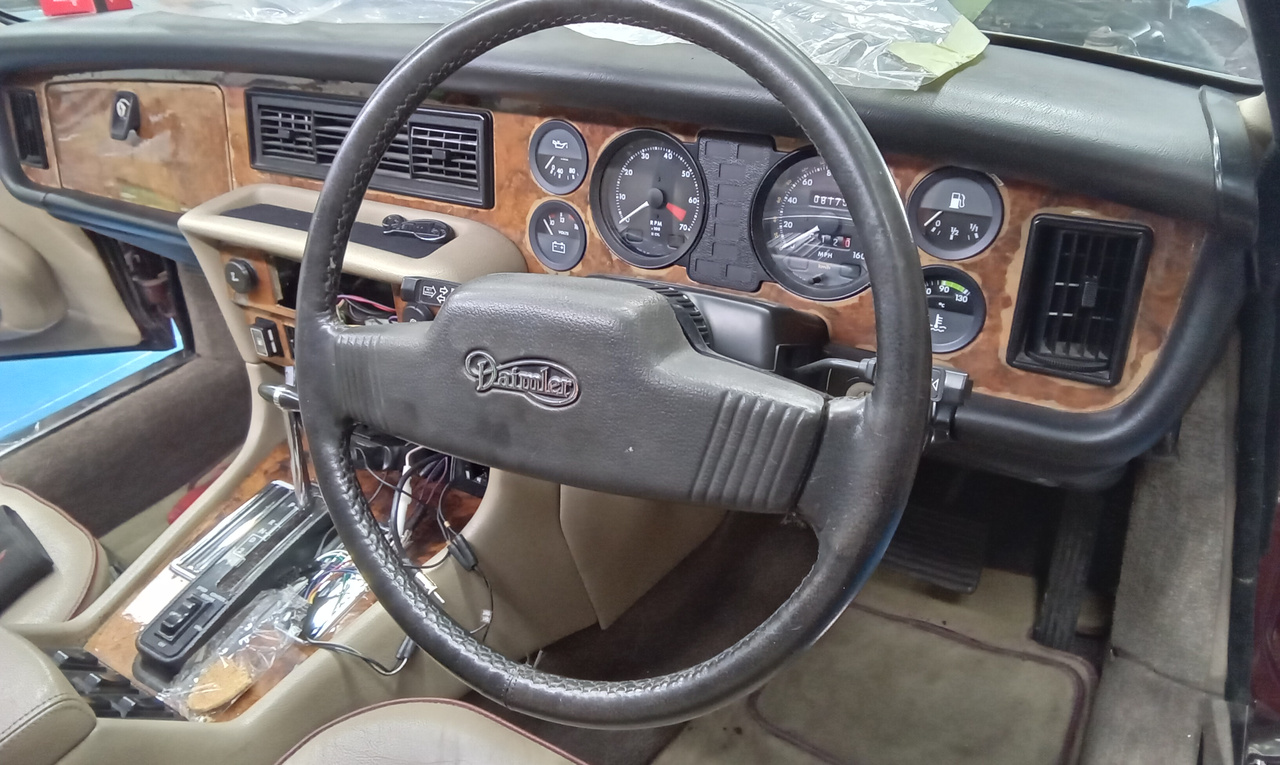
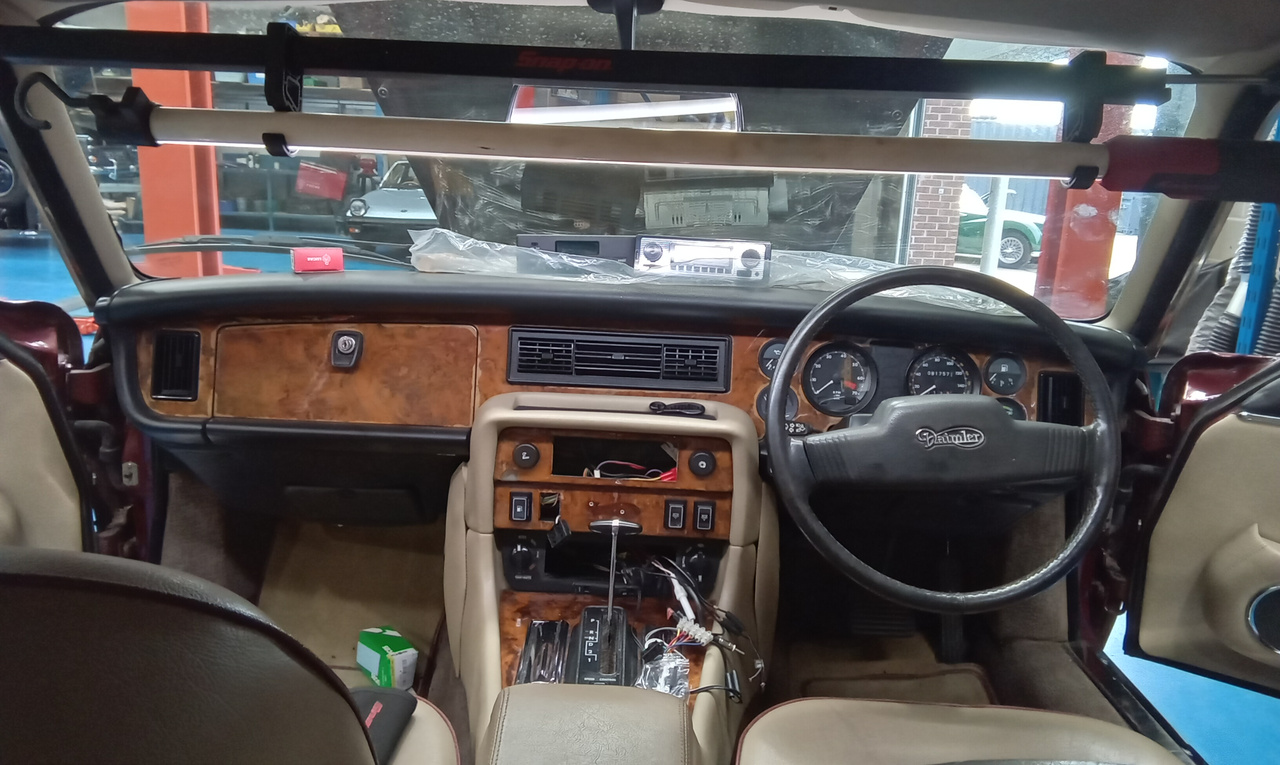
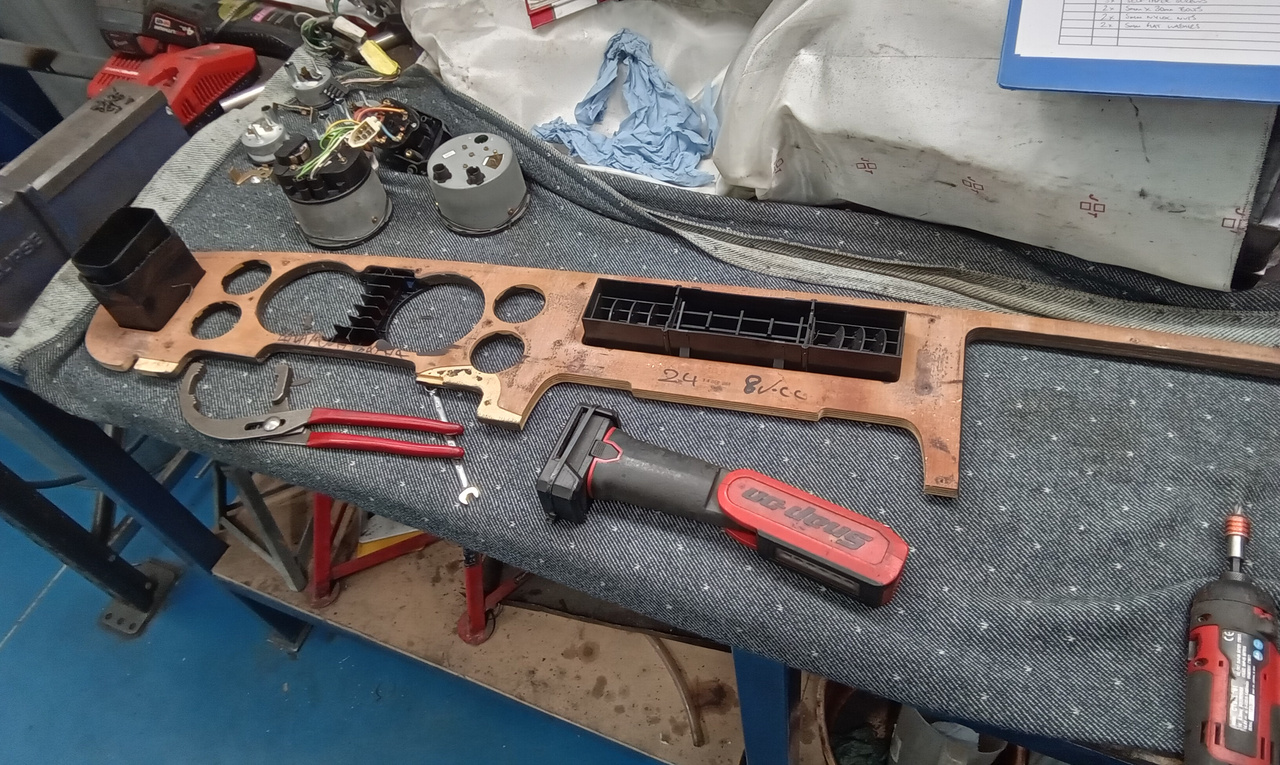
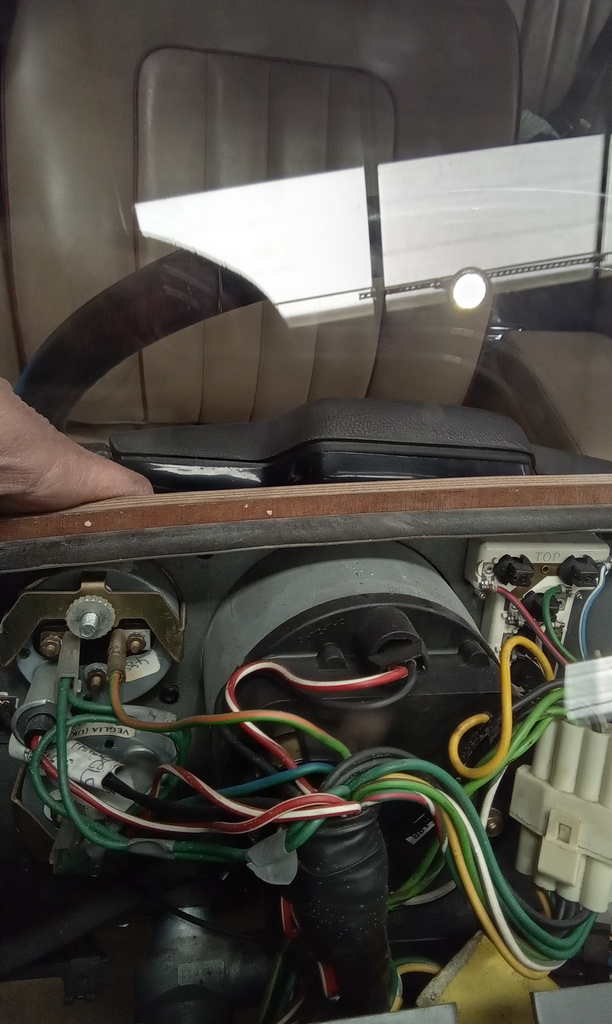
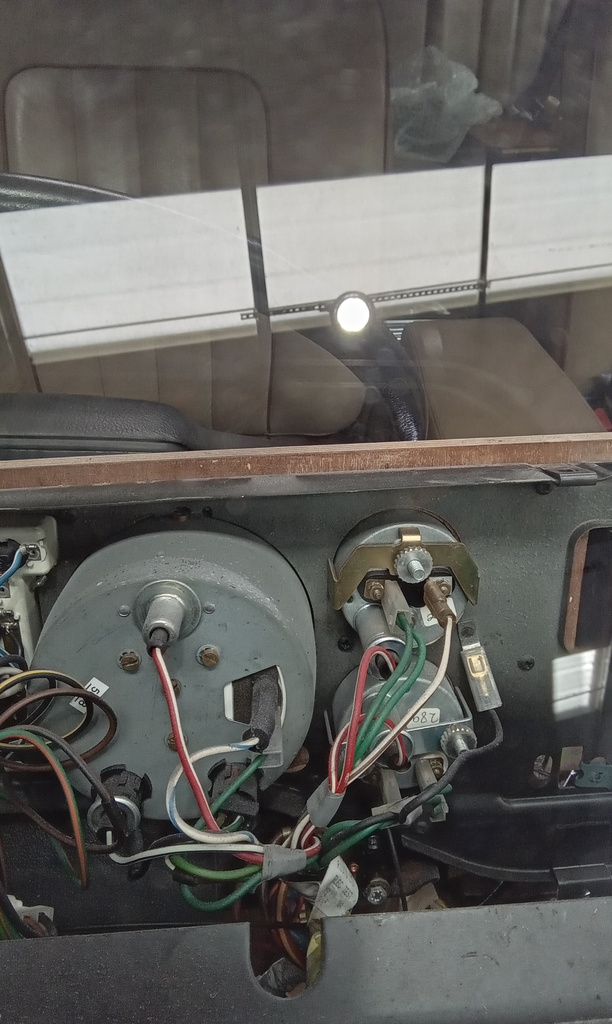
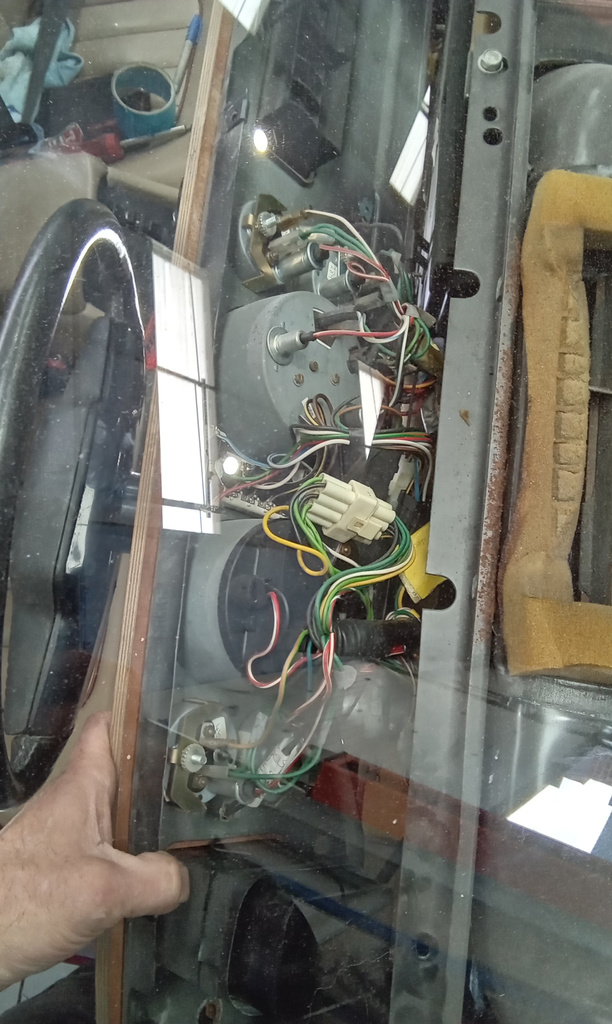
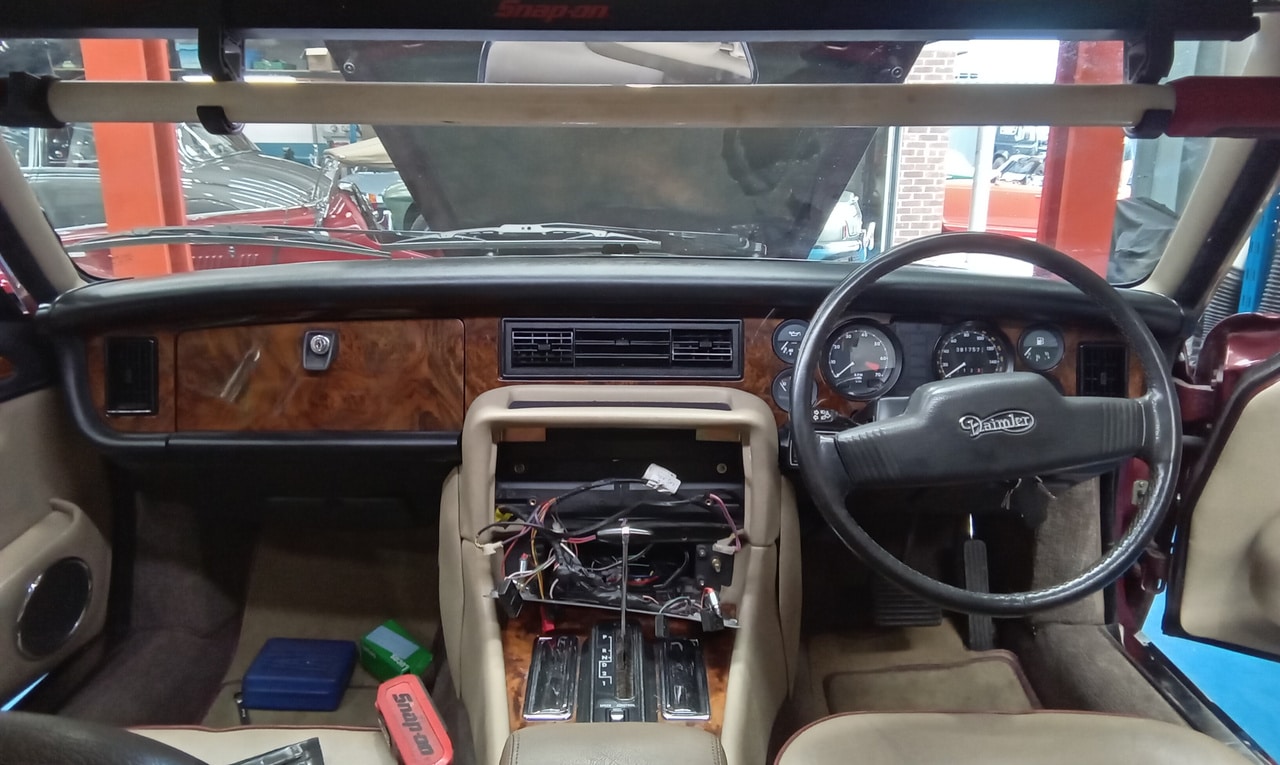
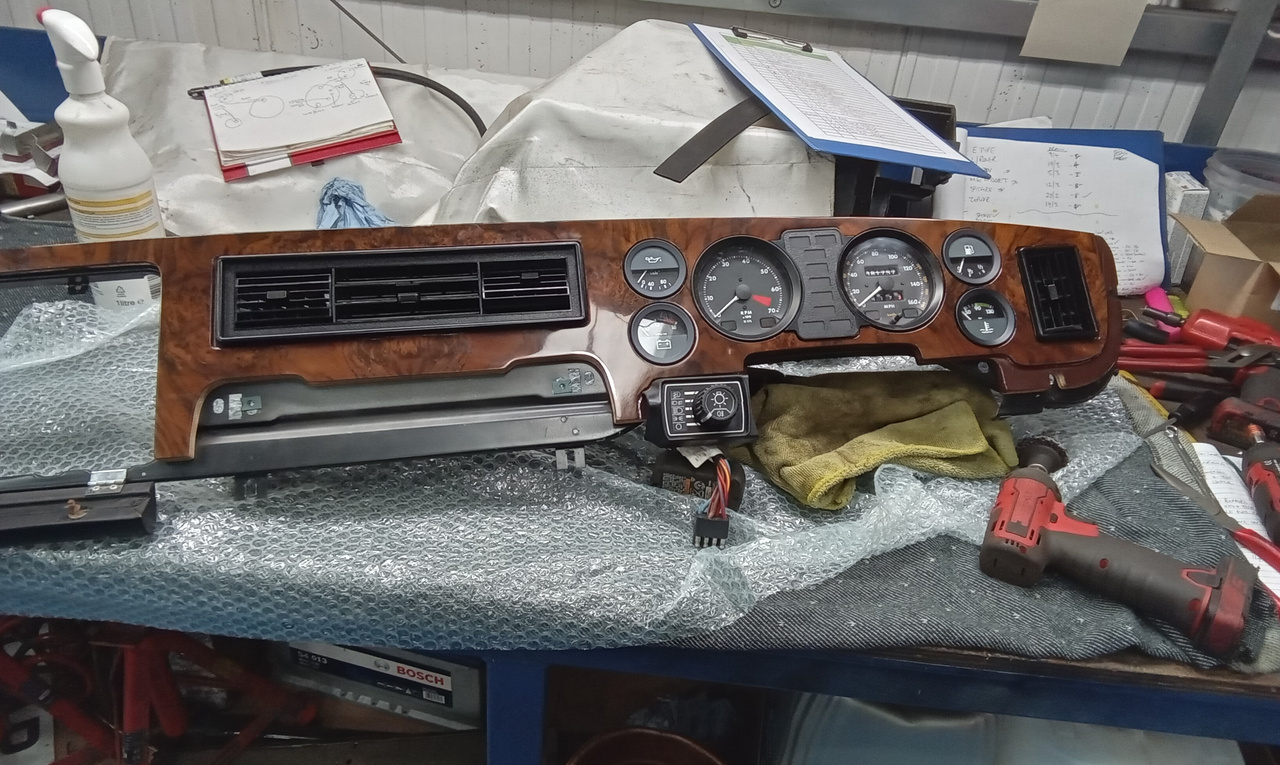
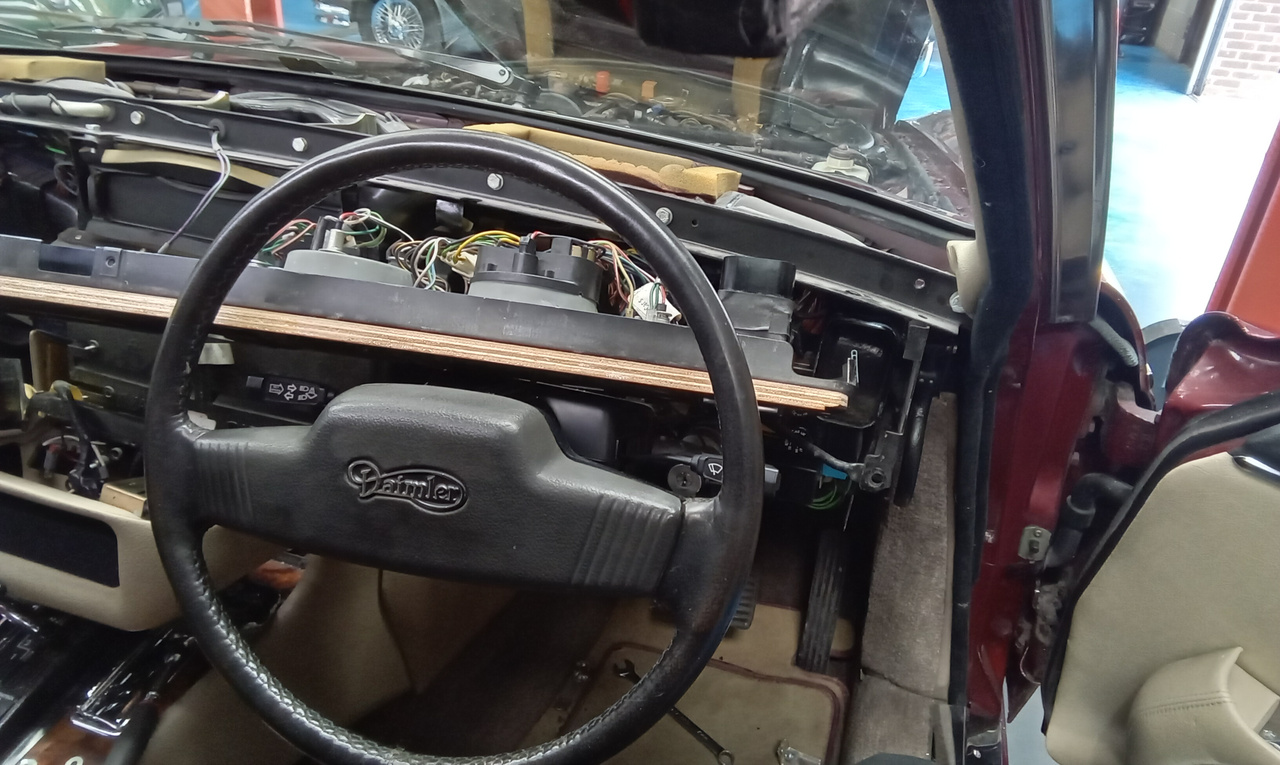
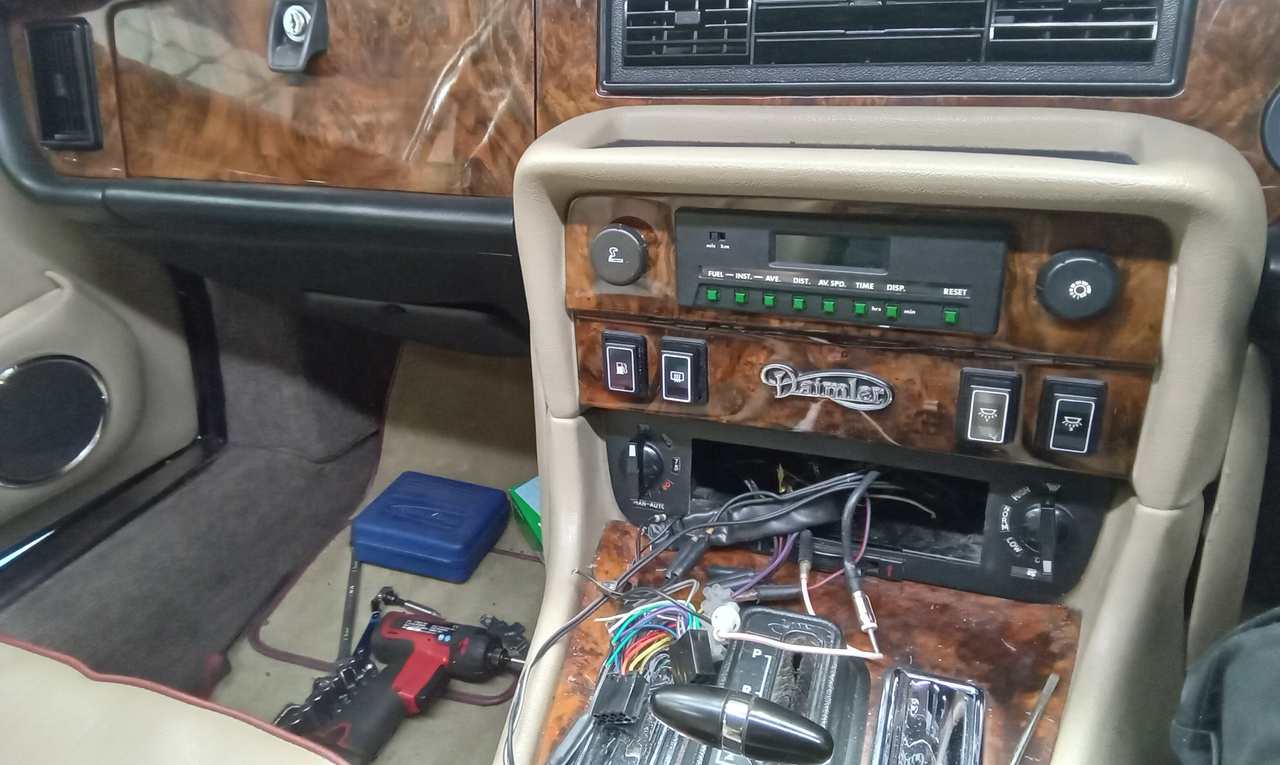
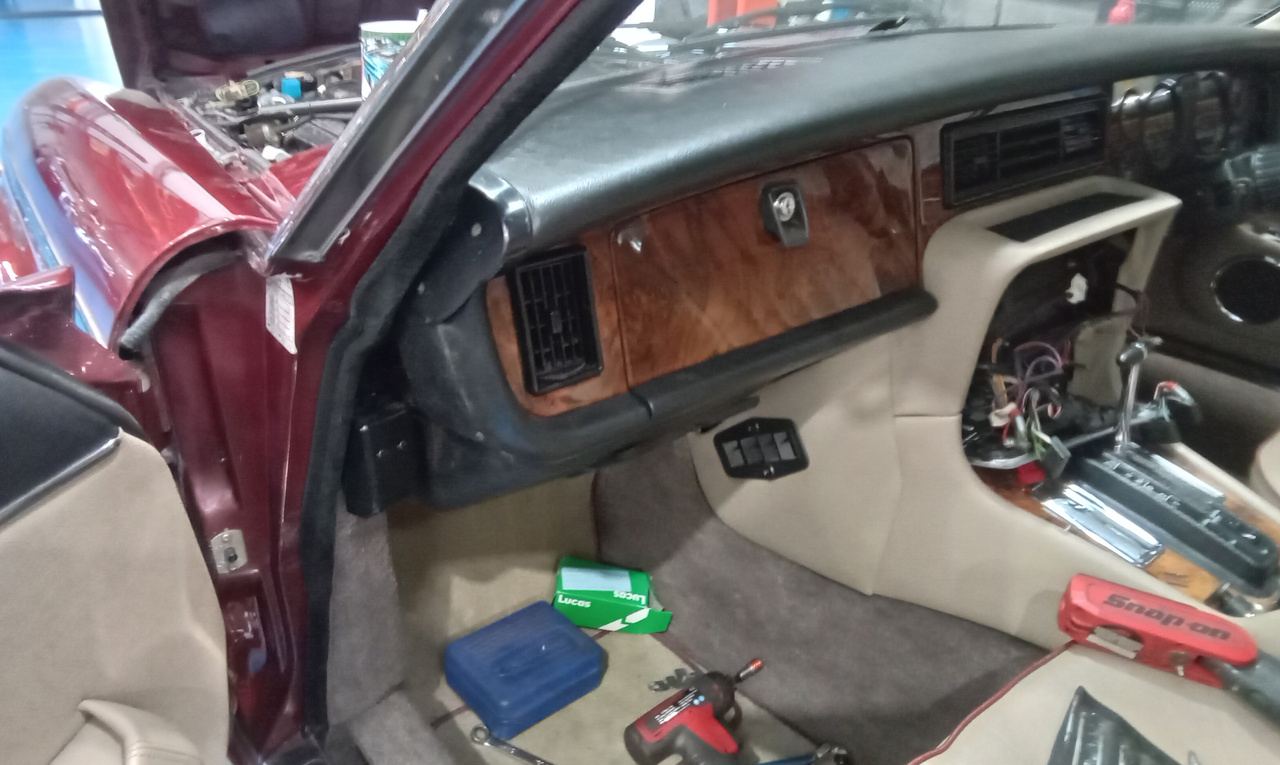
Jon has been working on our 1989 Daimler Double Six recently to get it back into shape. To begin with, he’s been working inside the cabin of the V12 saloon car to do some work on the dashboard.
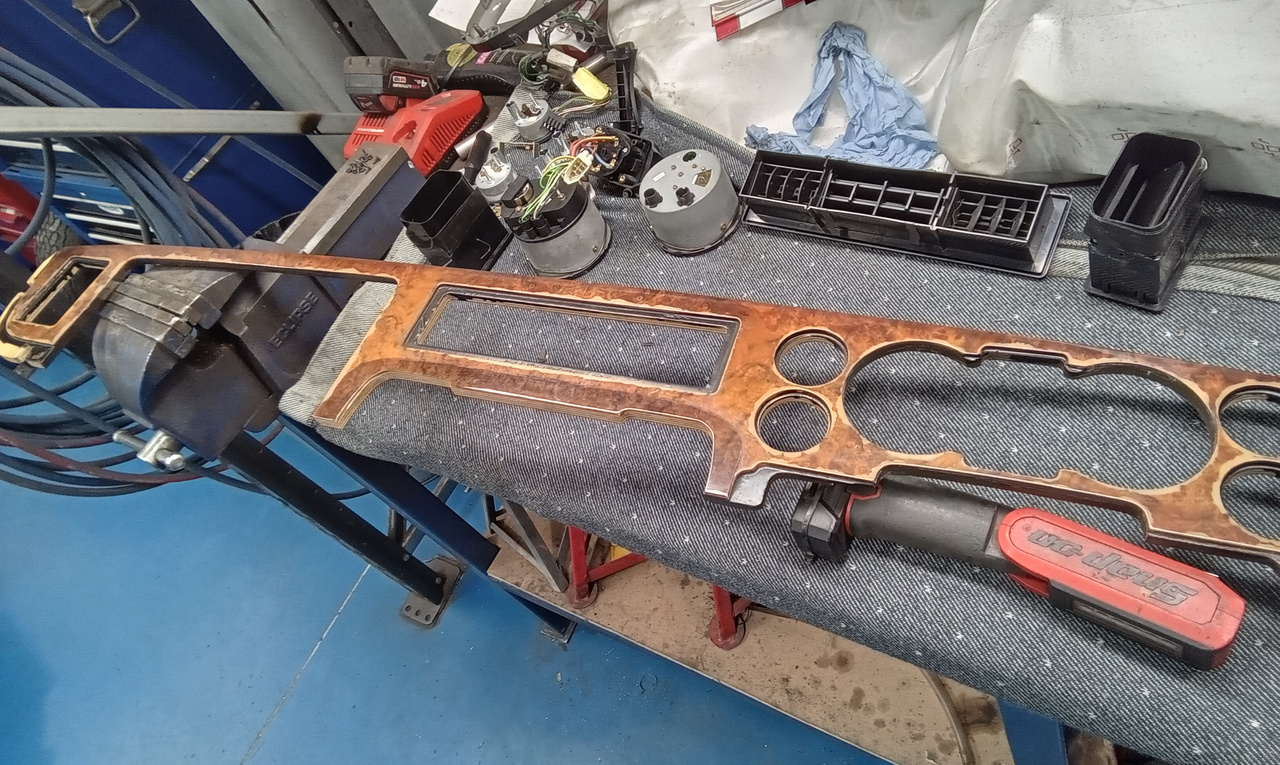
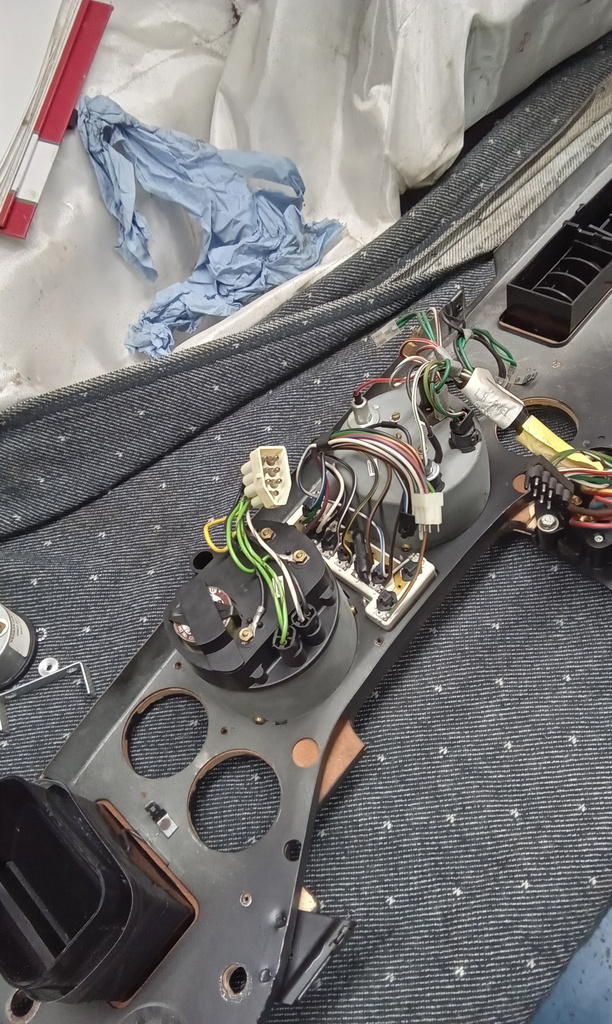
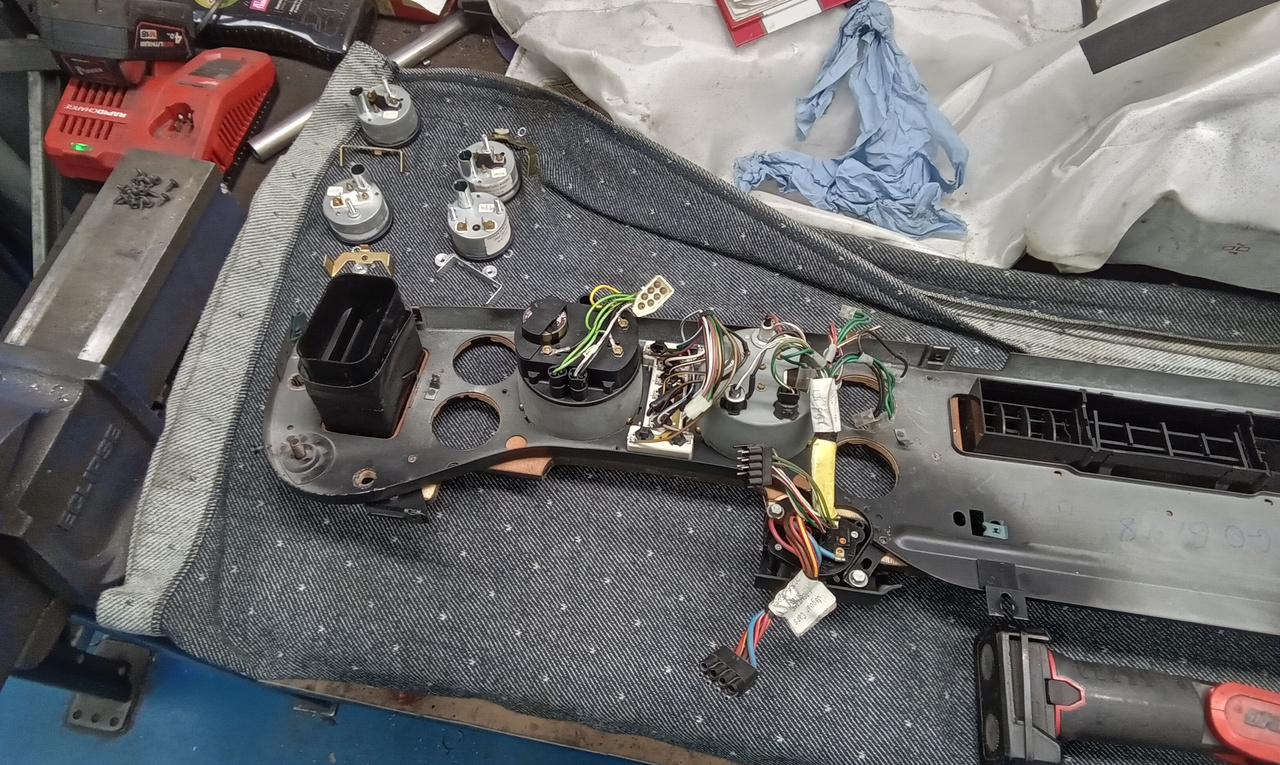
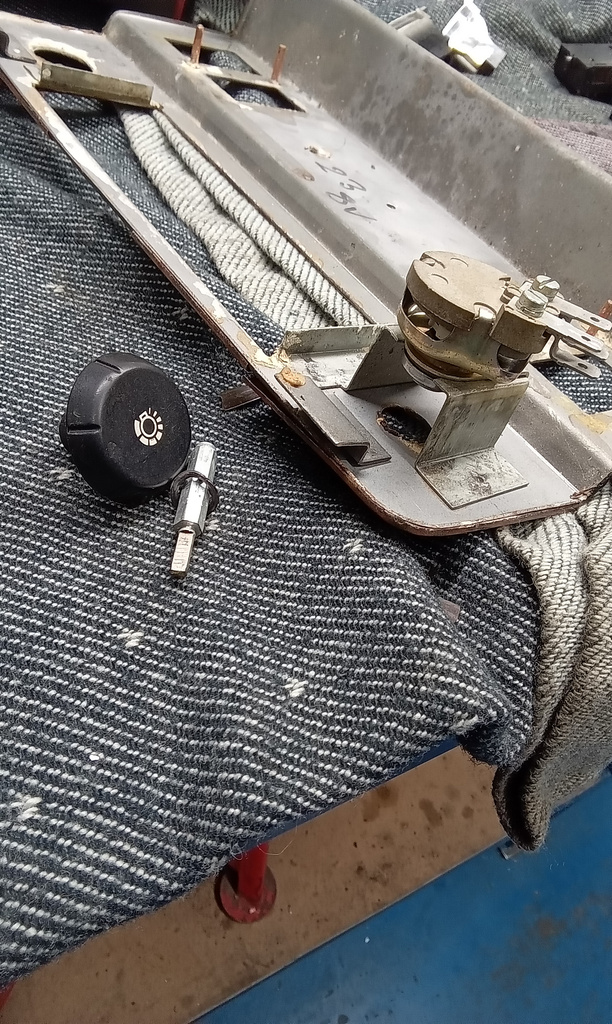
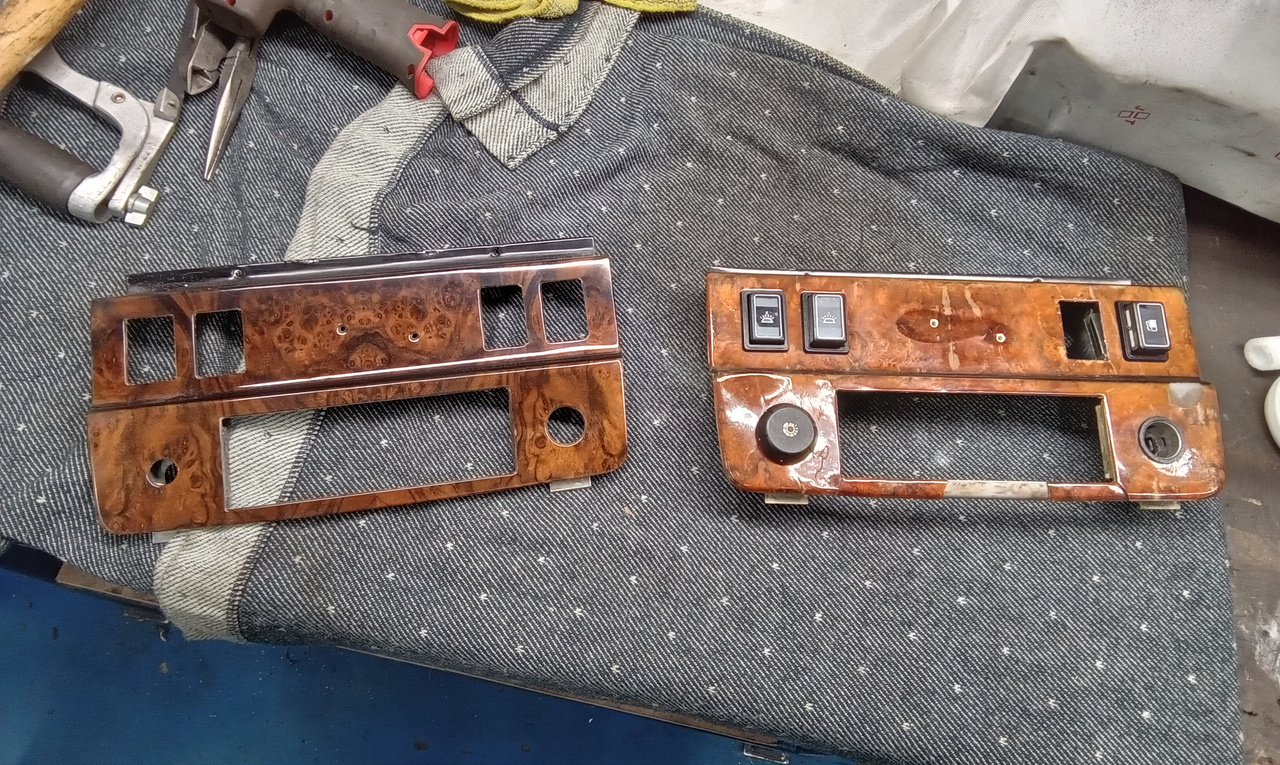
This is what he did: ”Disconnect battery. Strip dashboard and remove components to facilitate the removal of wooden dash. Take over to bench to separate metal frame from wooden dash. Place frame on wooden dash and screw together. Clean parts and fit to new dash.
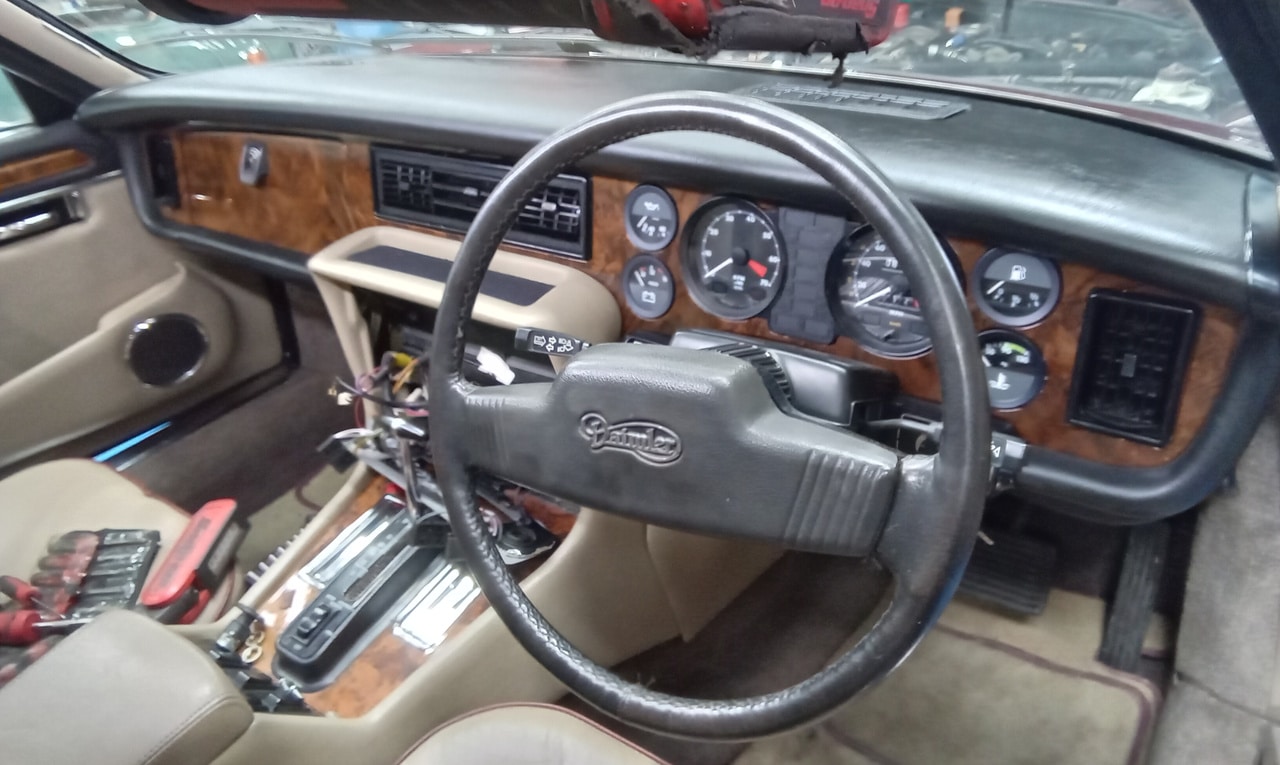
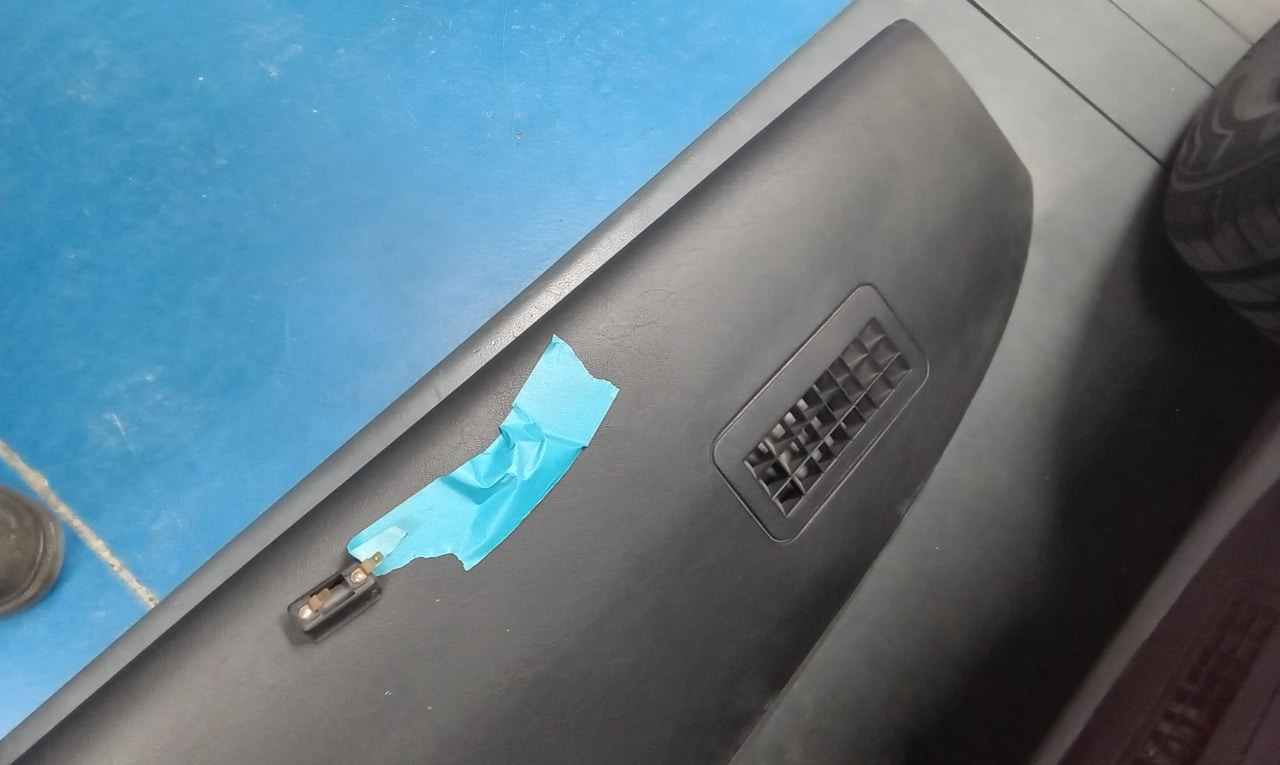
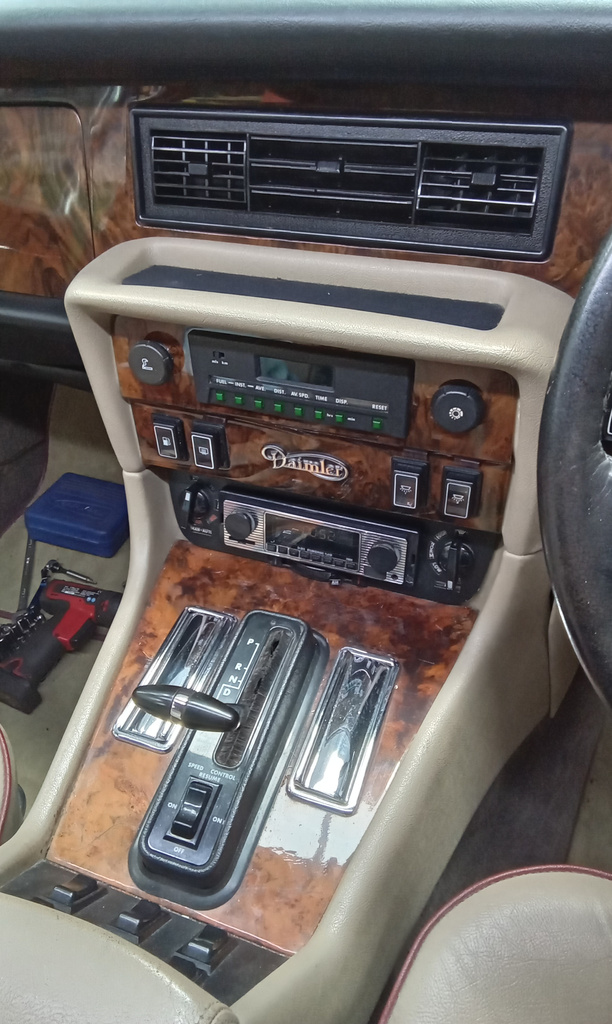
Refit dashboard to car. Reconnect components and rebolt dash to car. Refit components removed before dash removed. Fit new glovebox wooden trim and adjust catch. ”
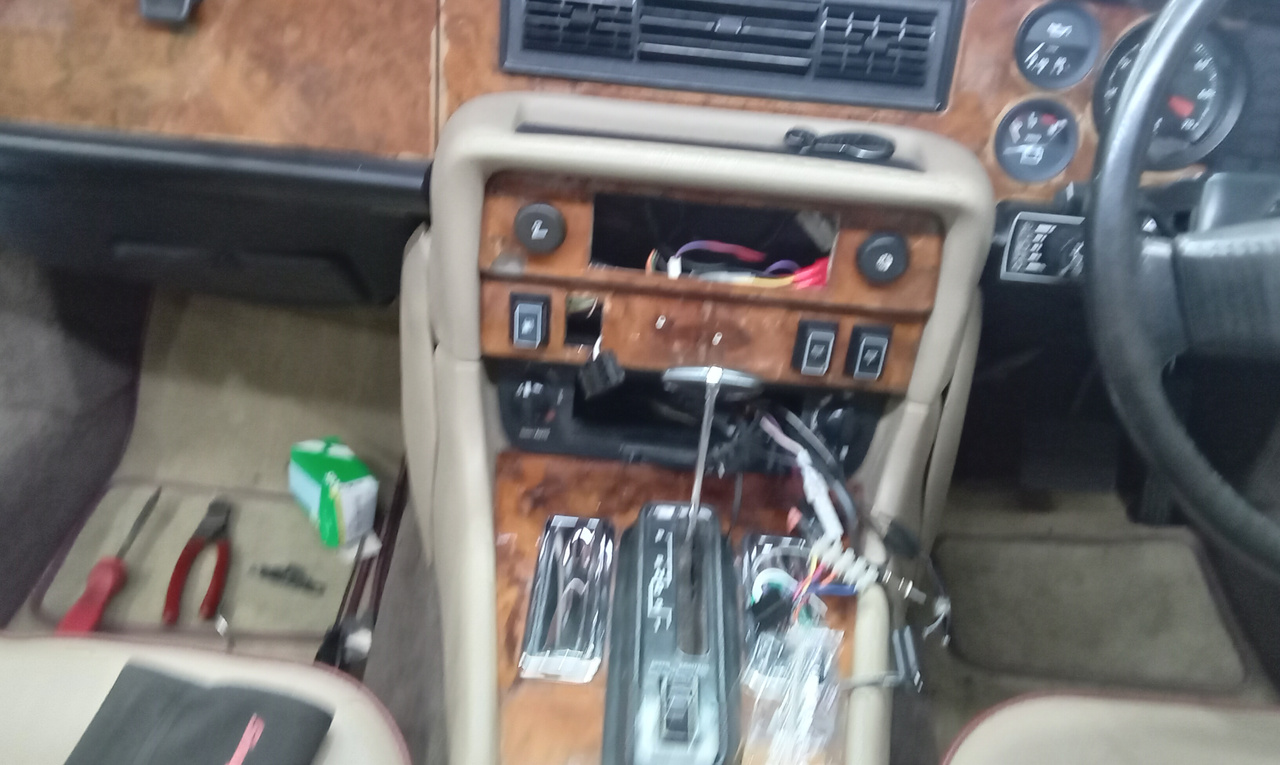
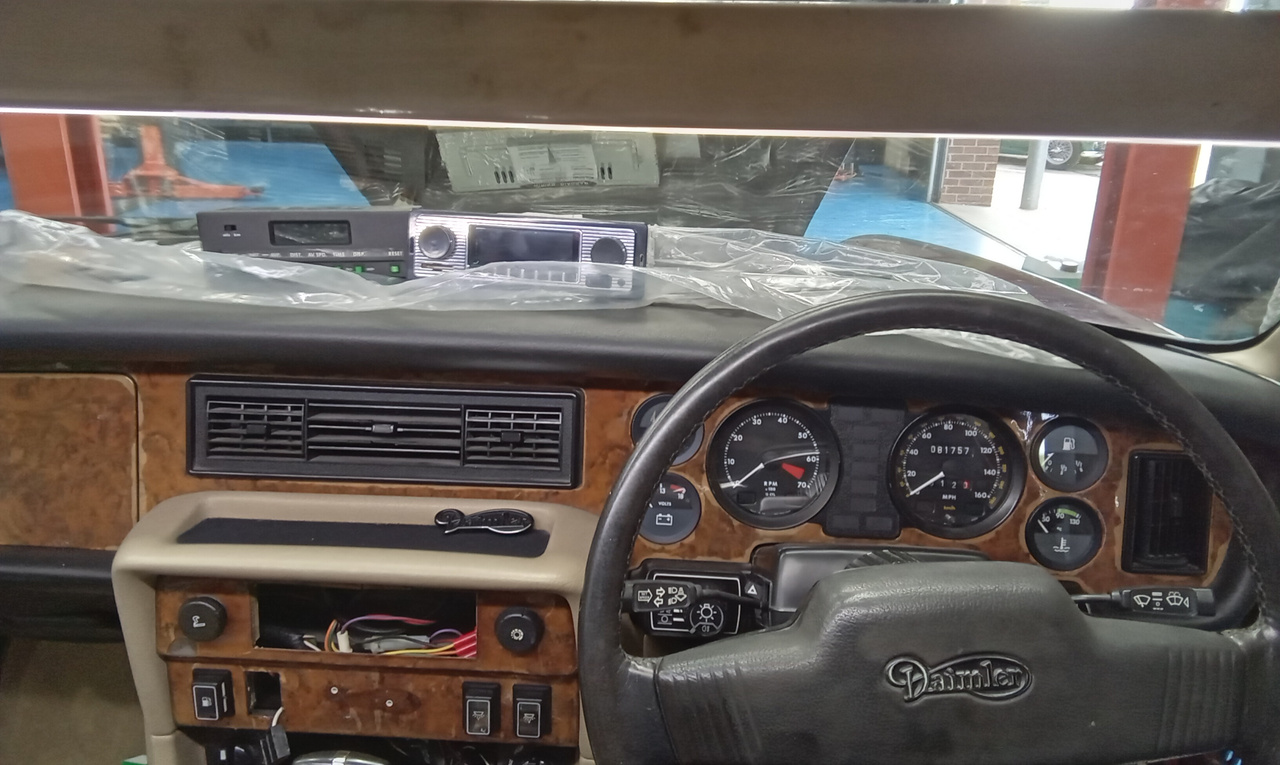
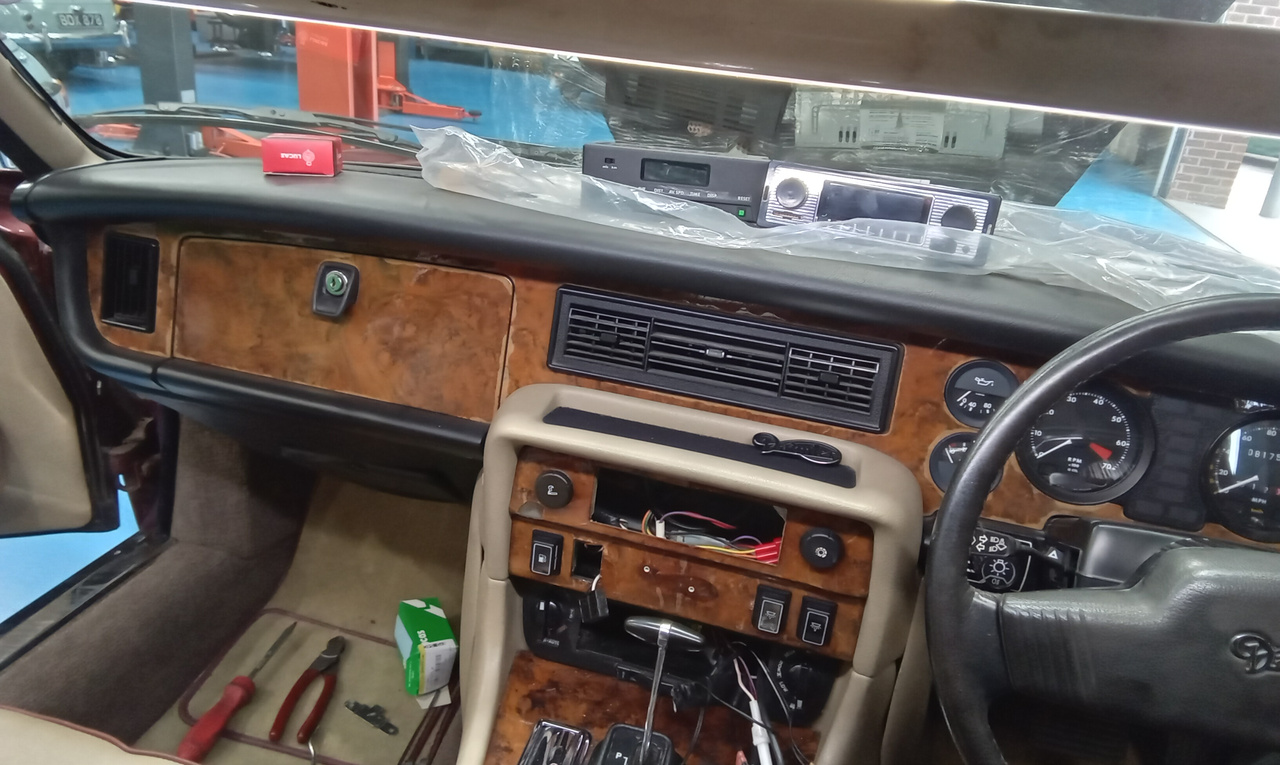


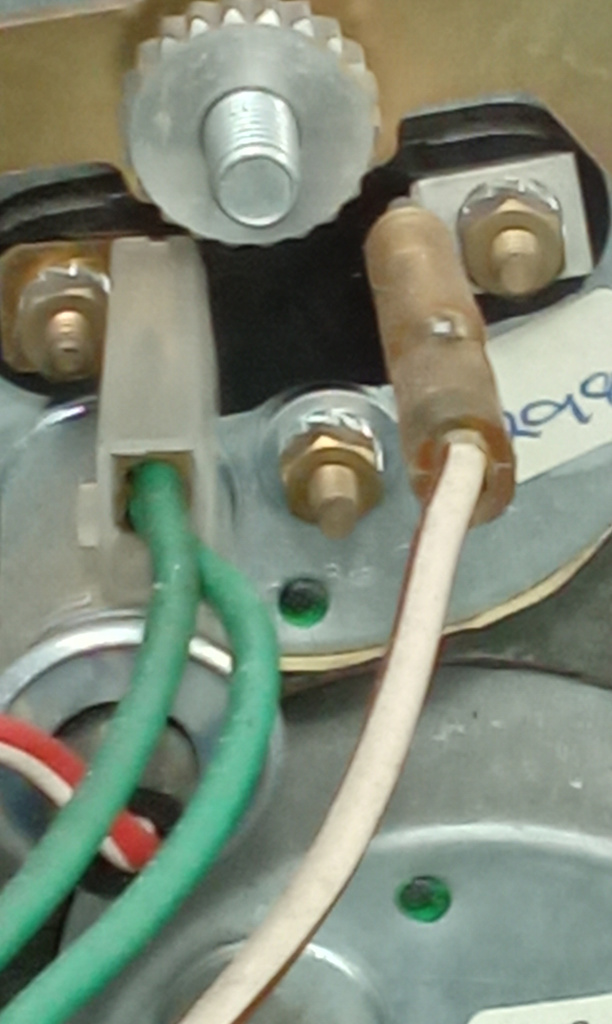
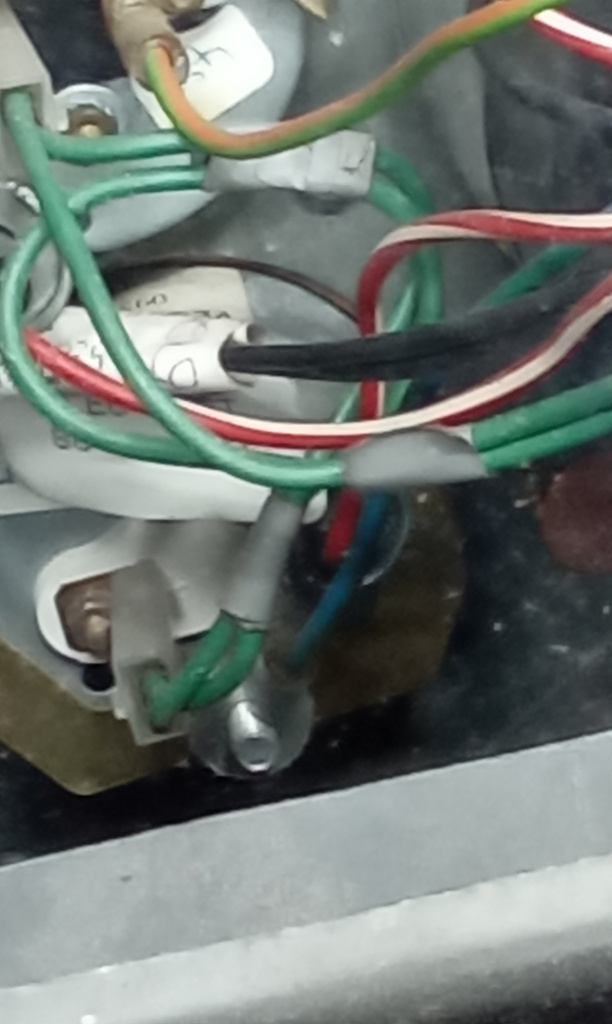
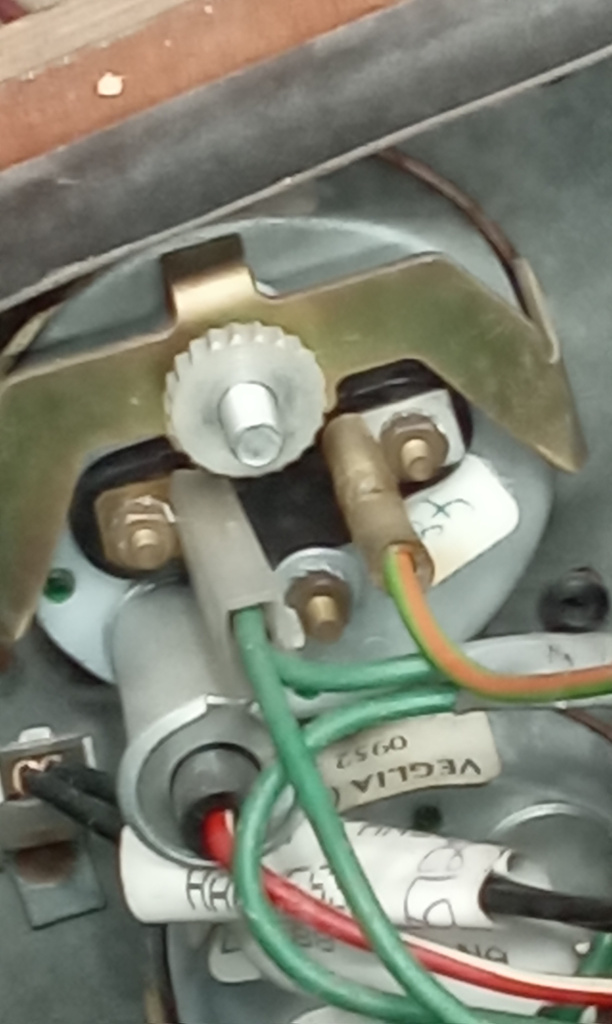
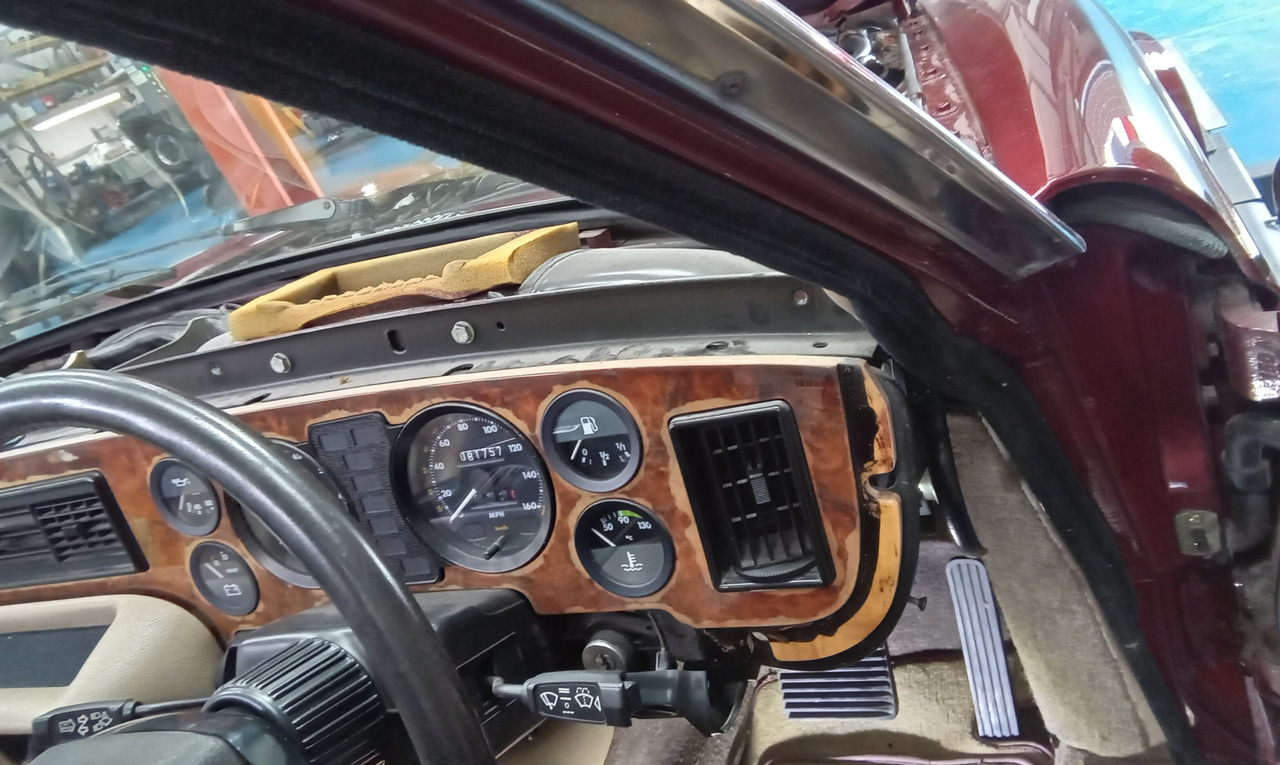
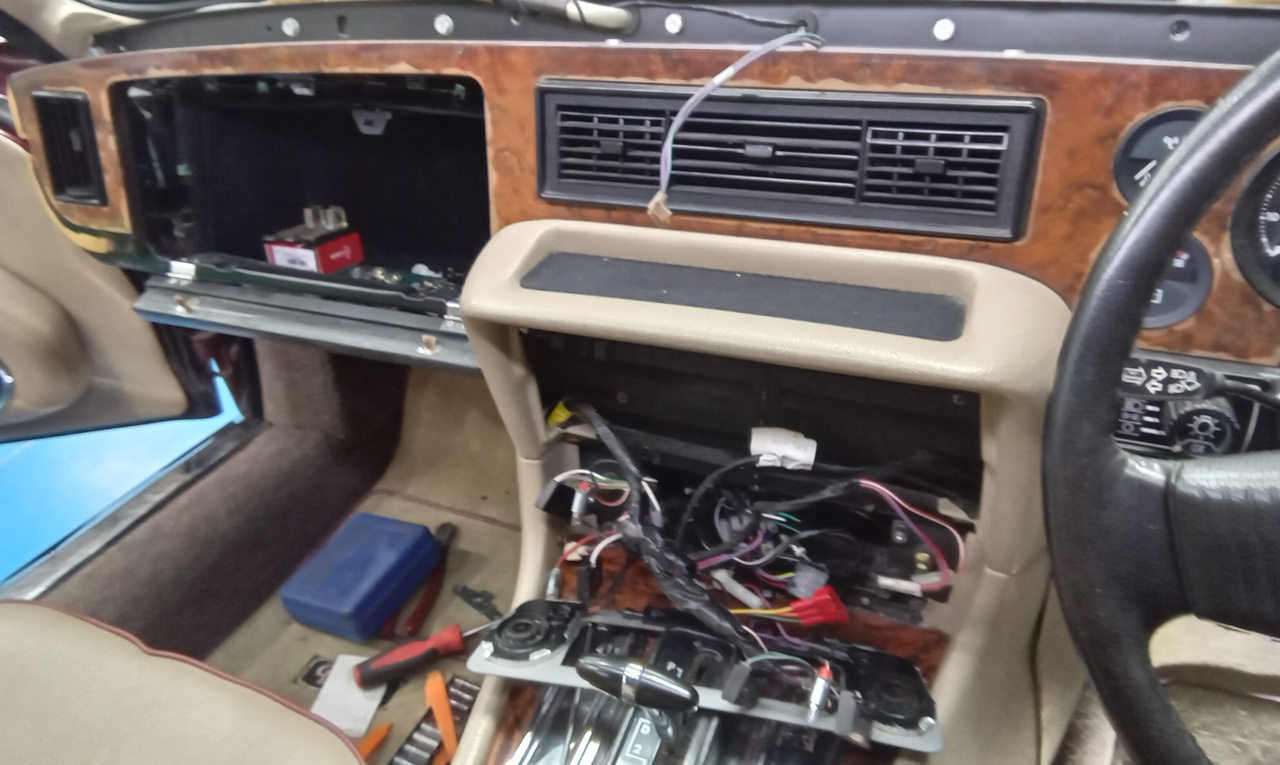
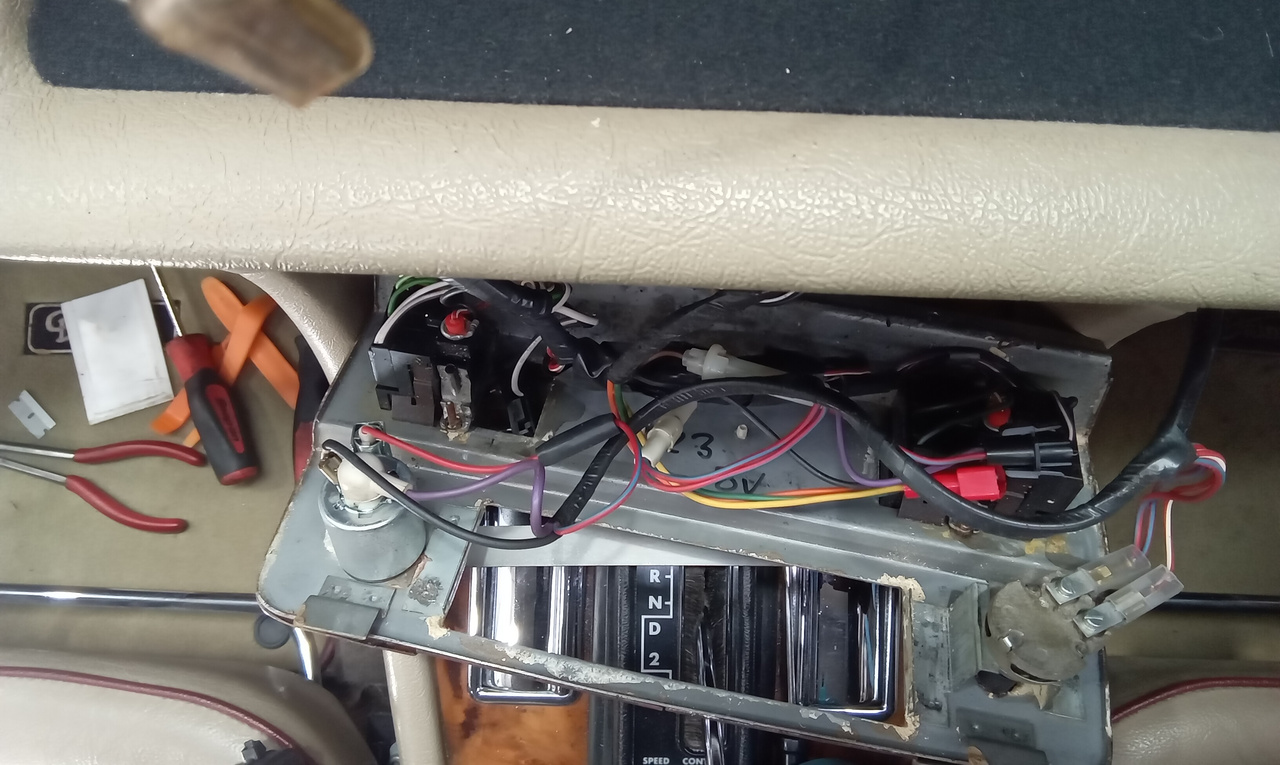
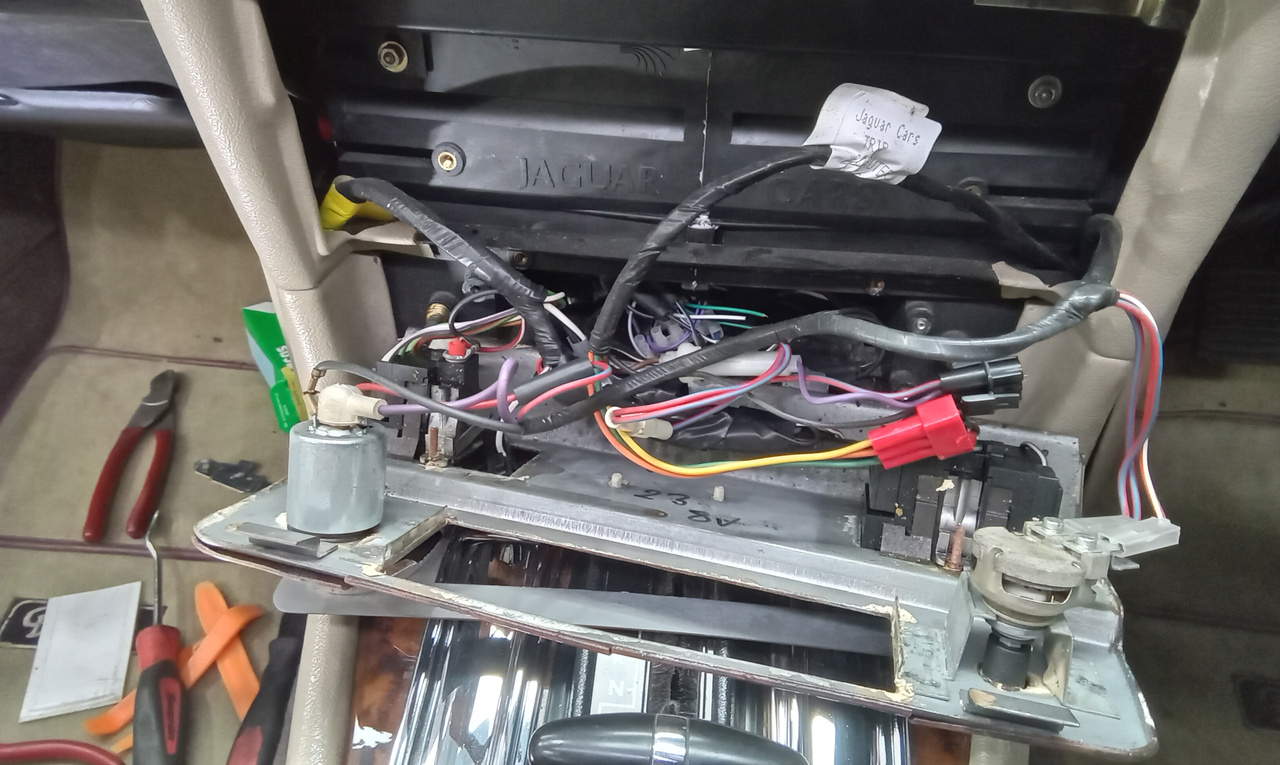
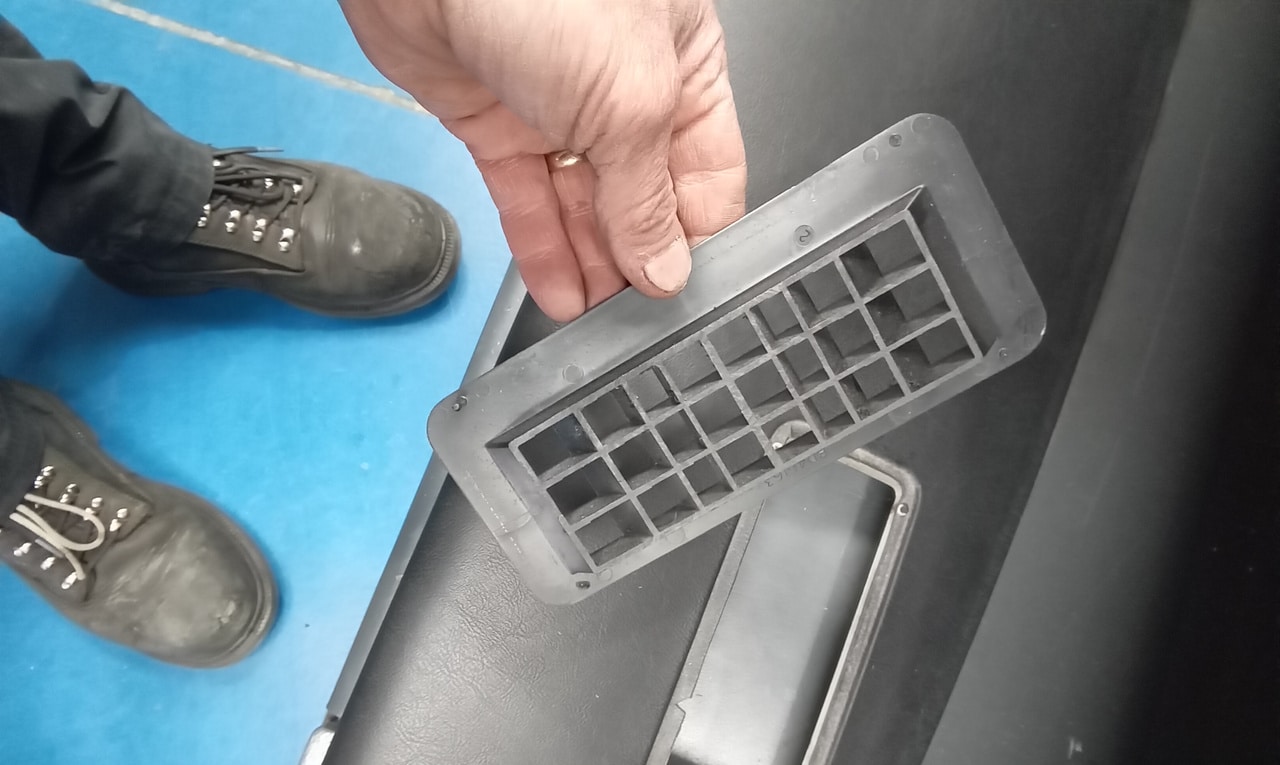
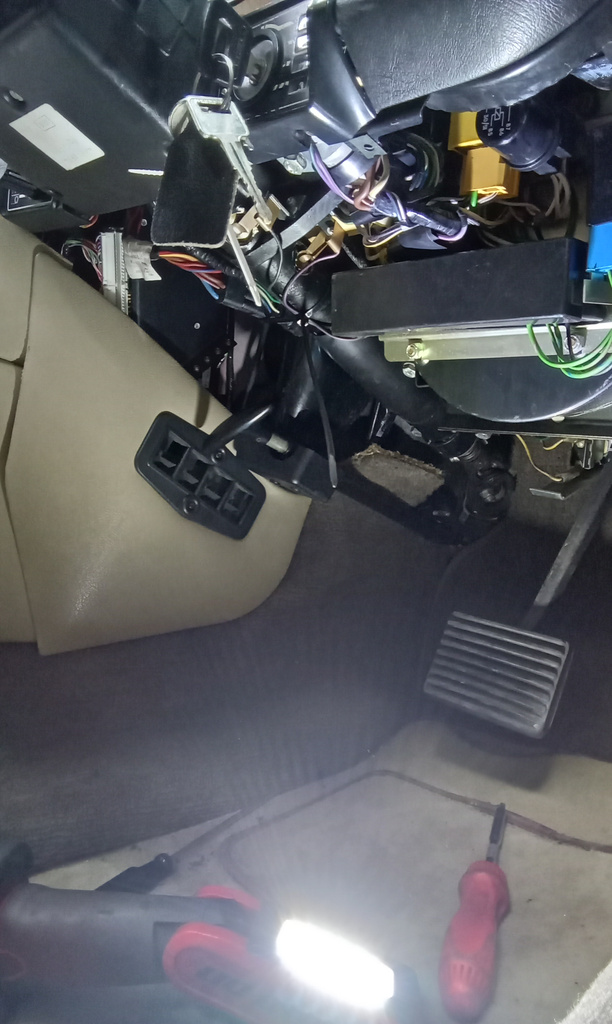
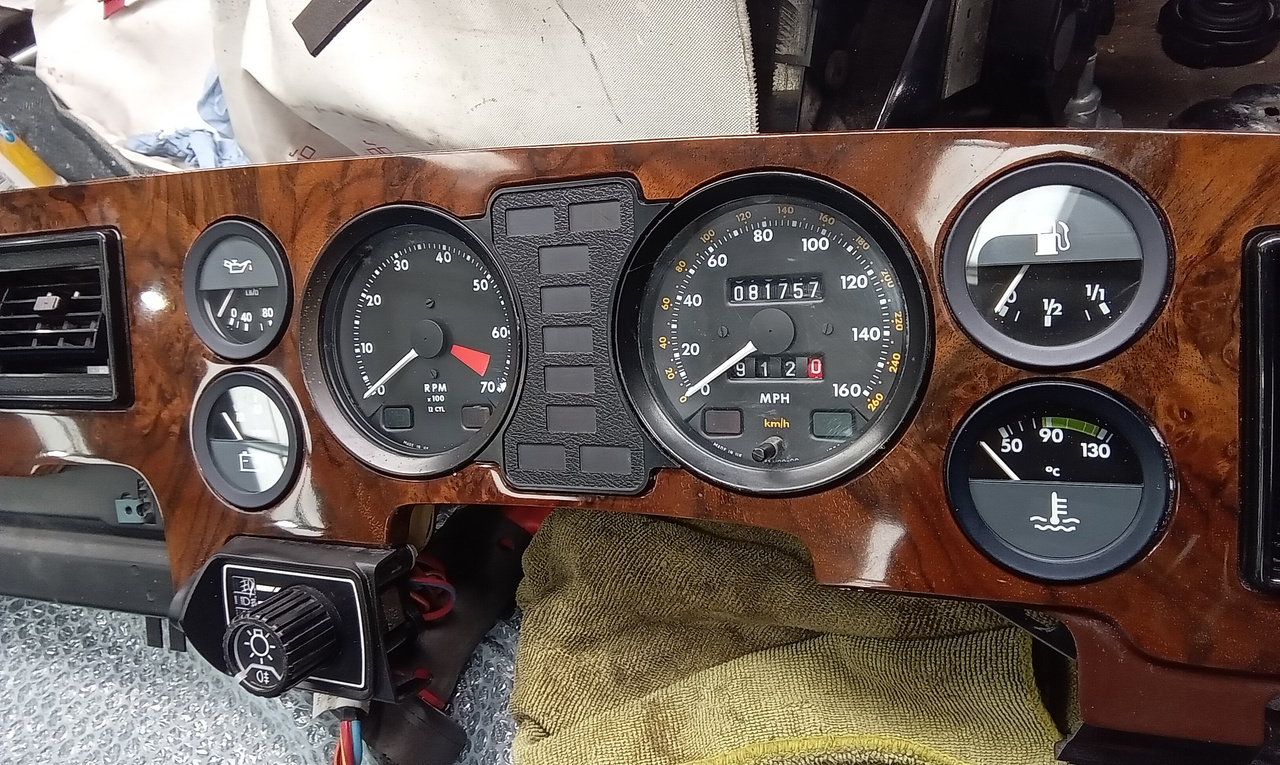
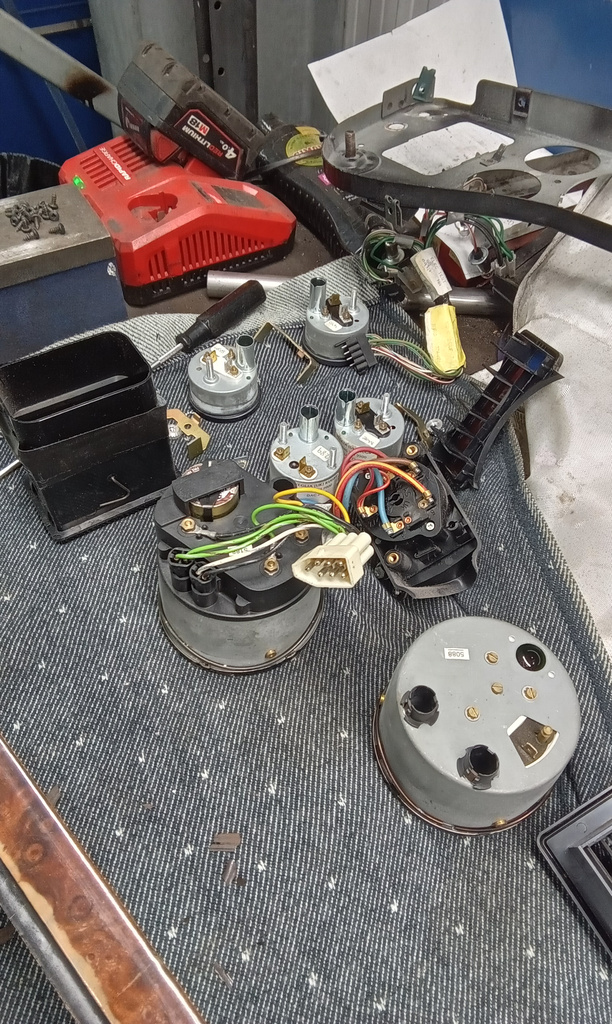
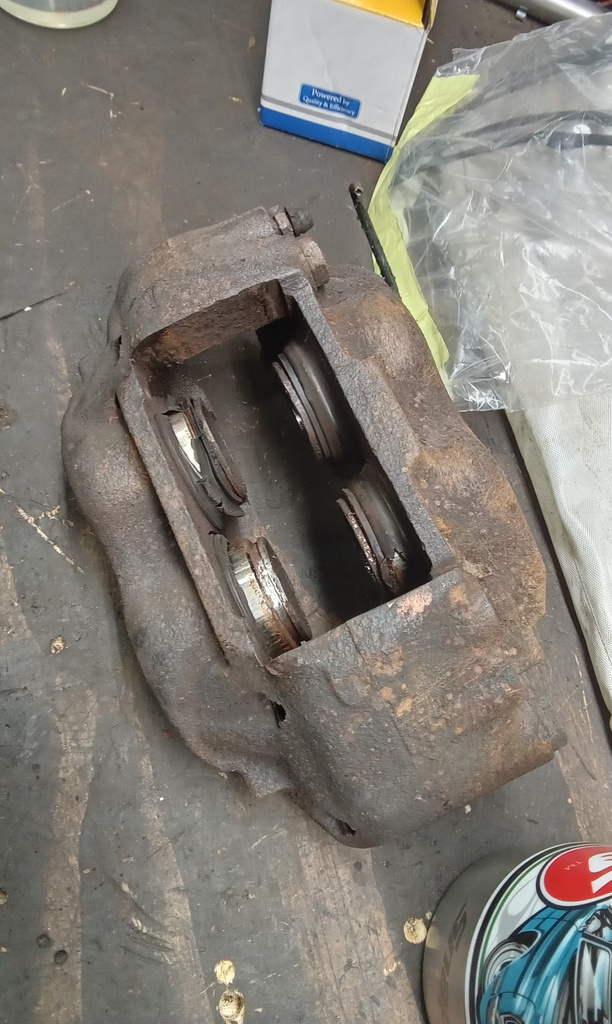
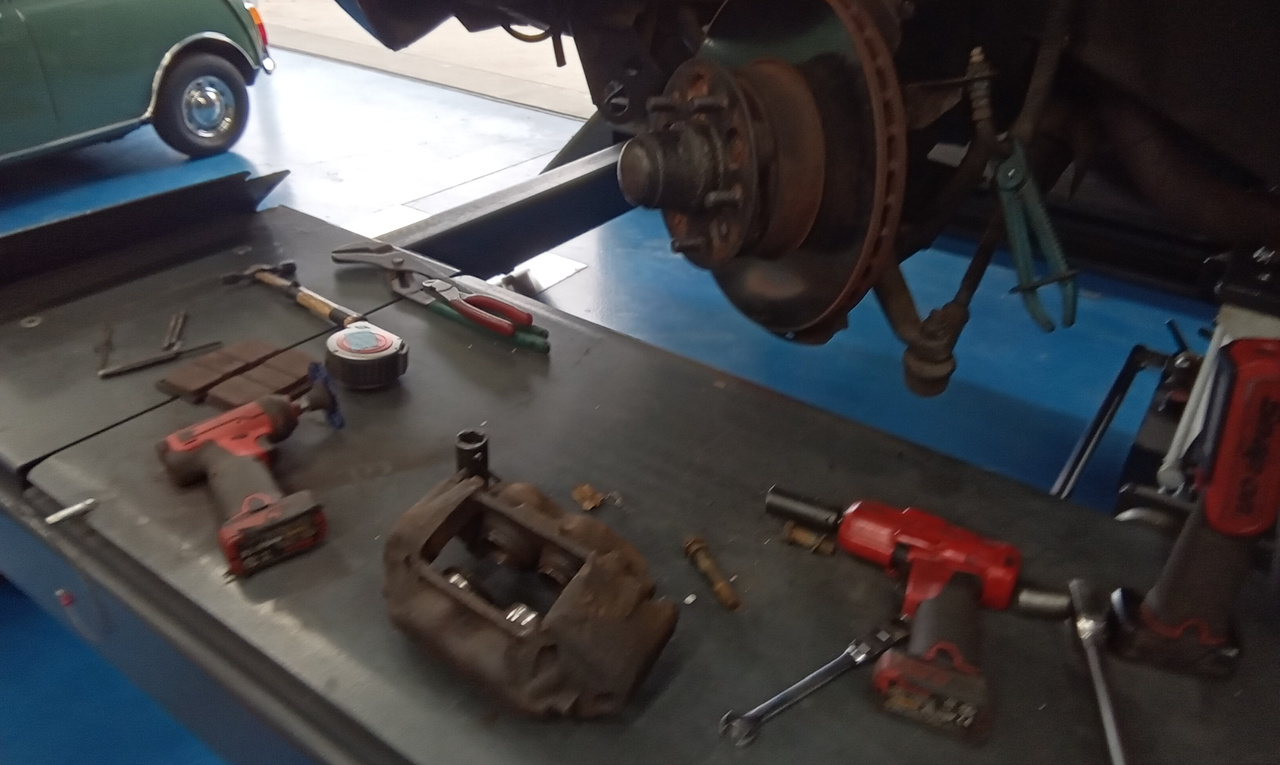
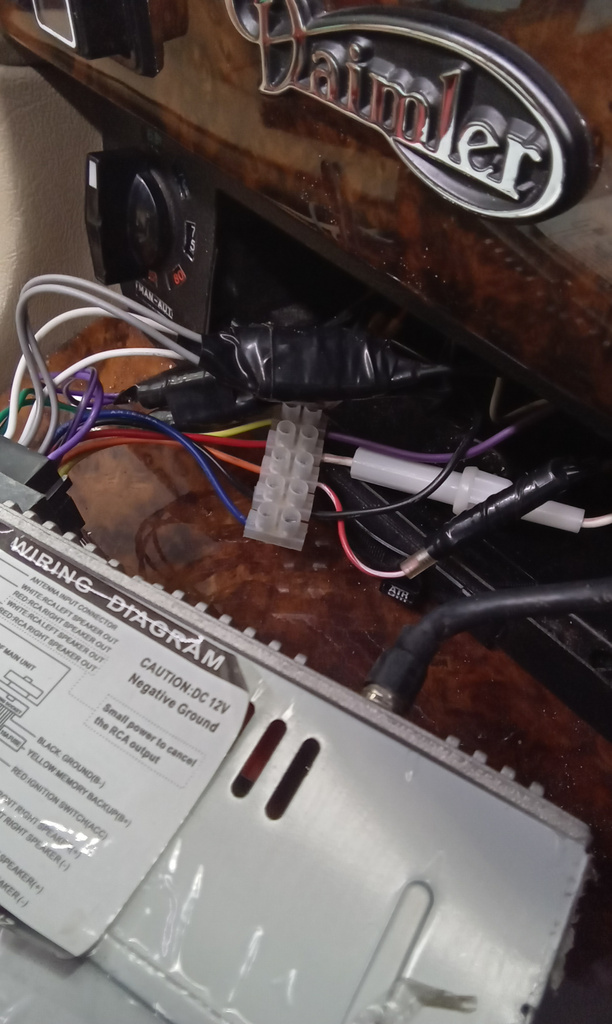
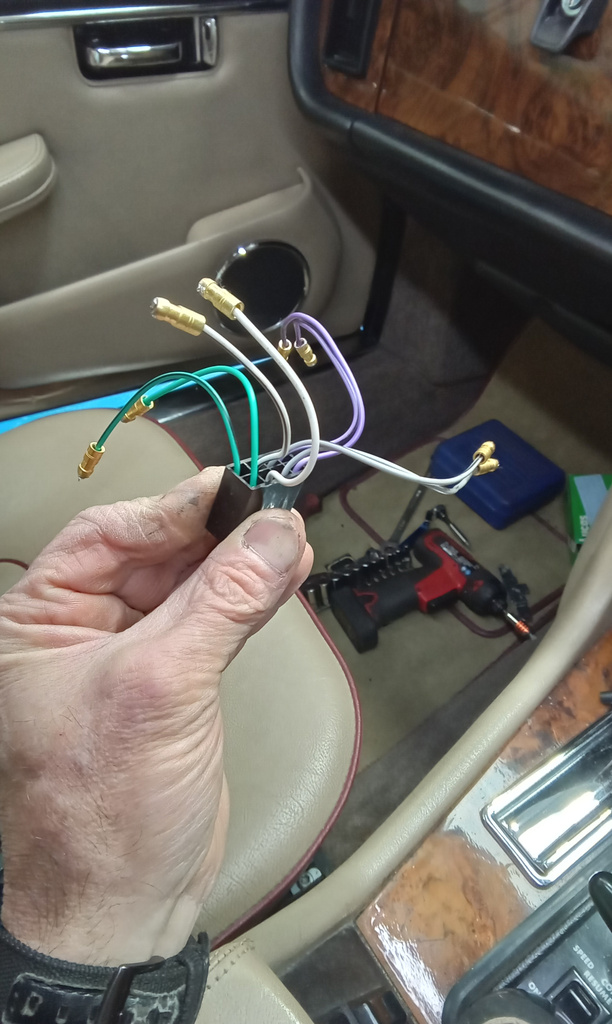
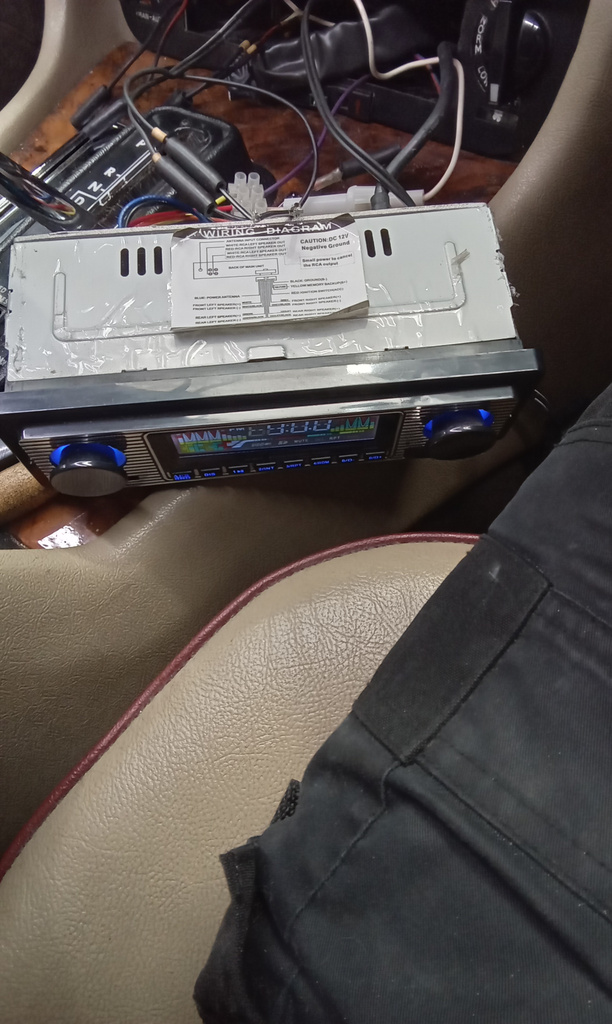
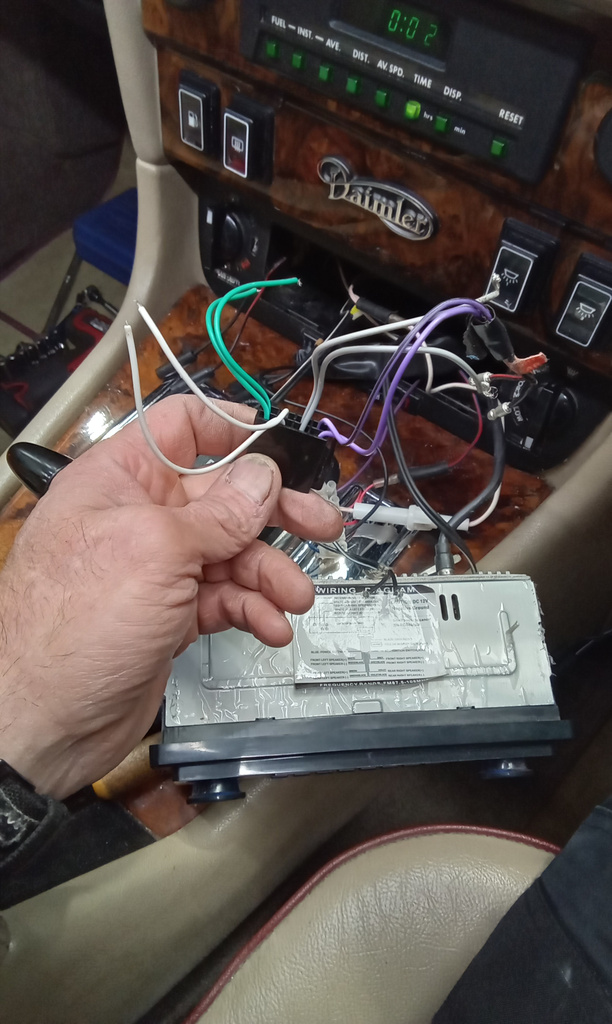
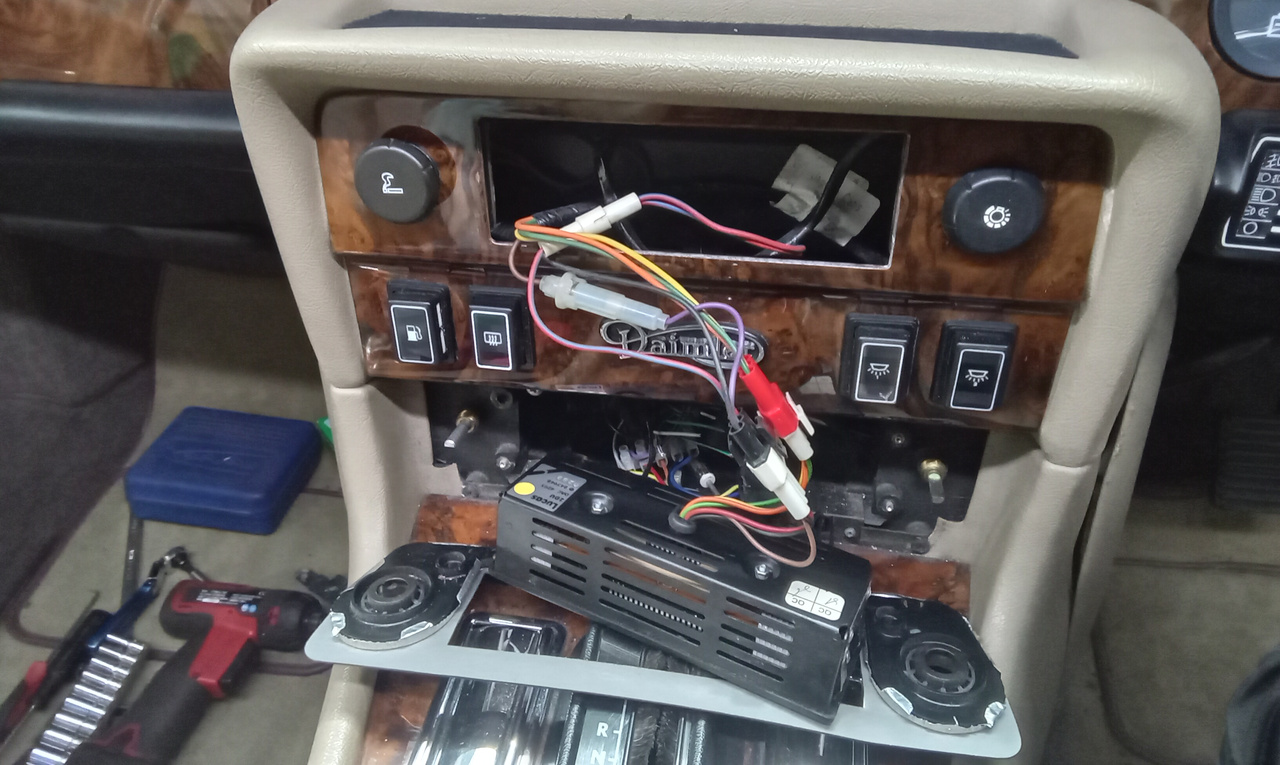
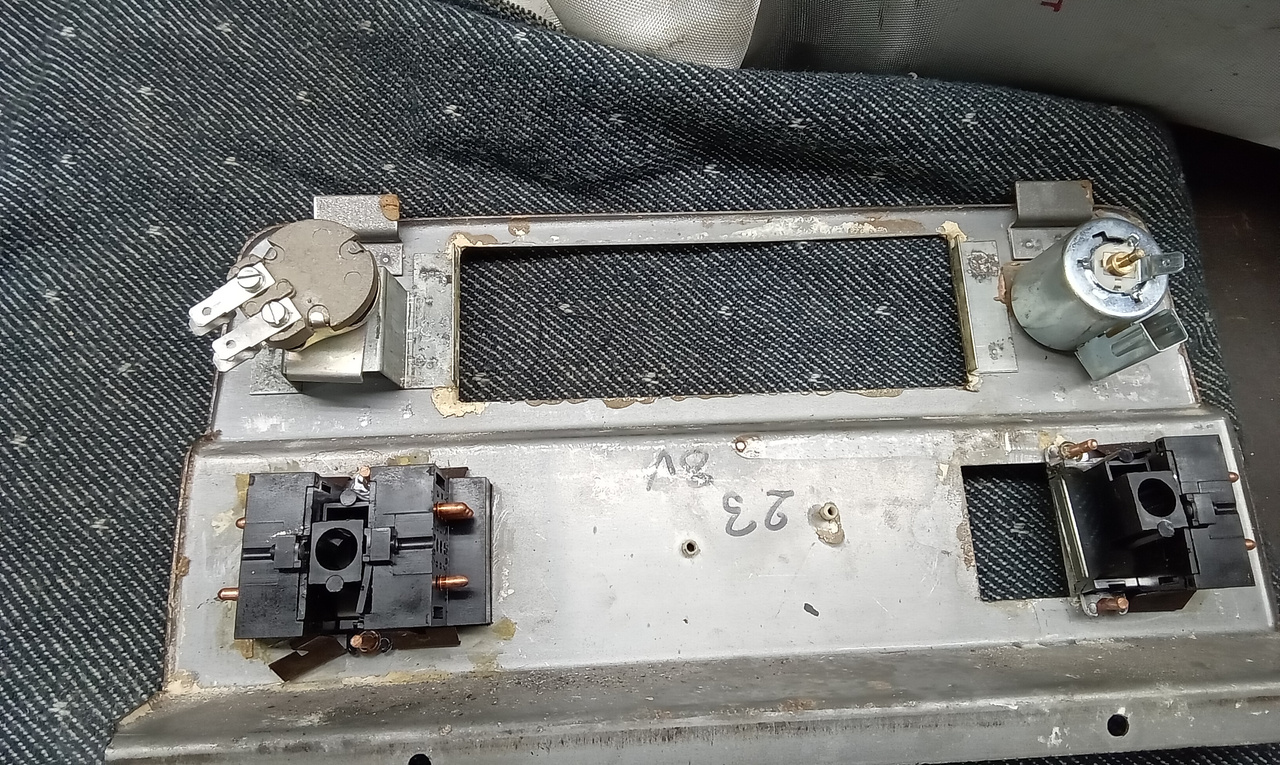
”Continue dashboard replacement. Like out holes for switches in centre panel and fit switches. Original rheostat came apart upon removal but managed to find old one from stock to fit instead. Fit centre panel. Connect battery and test all switch functions. Solder terminals onto stereo speaker wires and connect stereo and test. Bend tangs on stereo to hold in place and fit to centre panel. Tighten battery terminal. Fit new horn relay but horn still not working via steering g wheel centre push. Use power probe to check horns and switch . No earth from switch. Check via column contact under dash. Horn works from here so fault with horn push. Remove steering g wheel centre and test. Adjust steering wheel and horn earth now ok. Reassemble and test, ok. Secure loom I engine bay. Check levels and carry out road test. Couple of issues to address. Raise in ramp and jack in. Nearside binding. Strip caliper and order new seal kit. Attend to gearbox mount, strip and remove.”
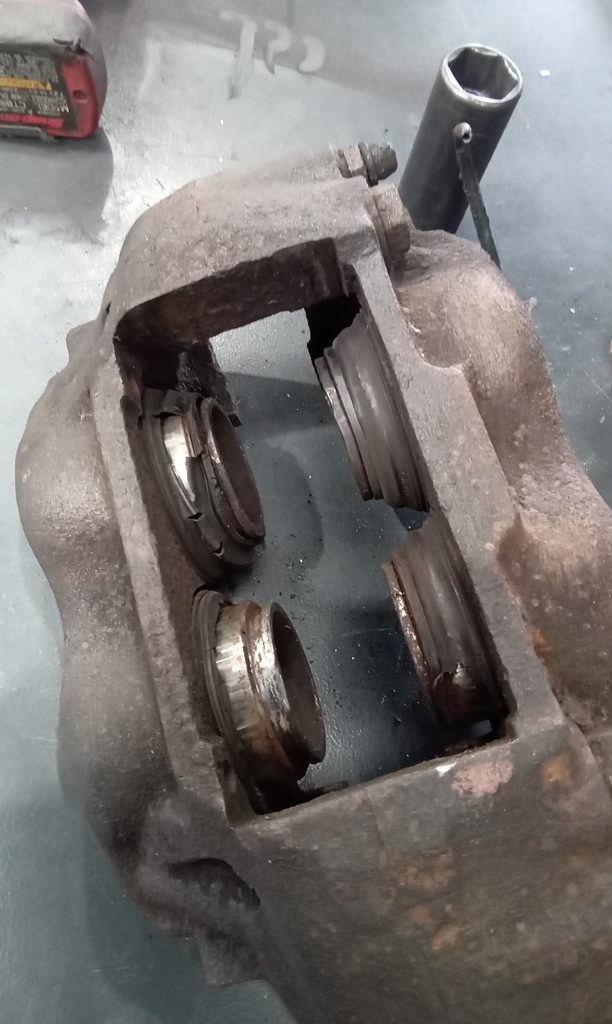


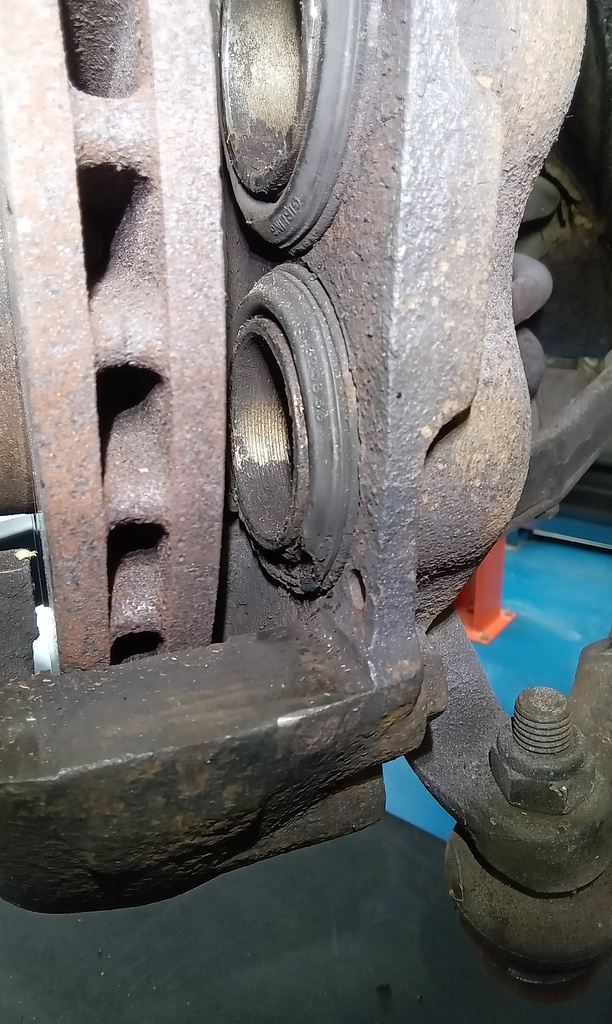
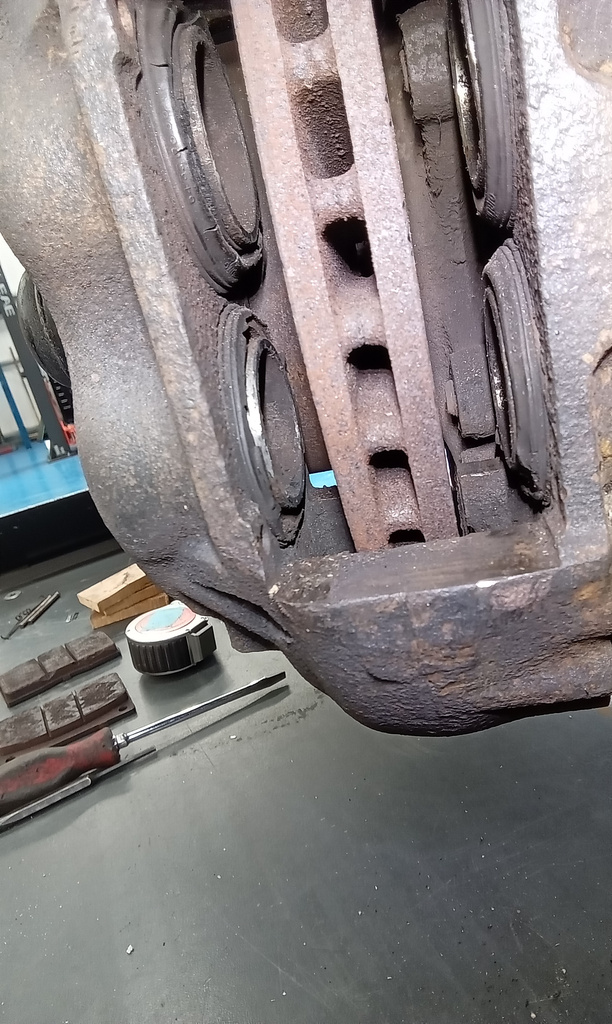
”Get exploded view of gearbox mount and with John’s (workshop manager) help reassemble in correct order and bolt back up securely. Remove nearside front caliper ready for new seals to be fitted.”