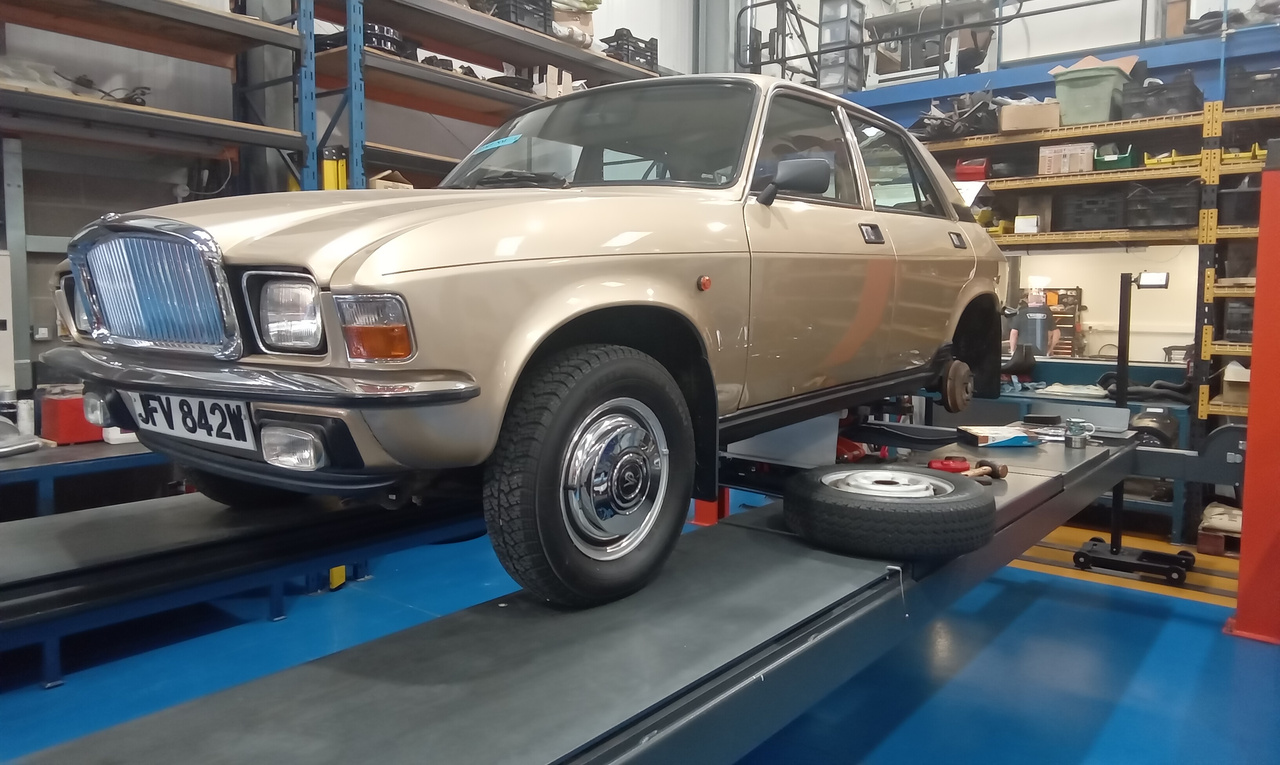
Jonn has been working hard to get our 1981 Austin Vanden Plas ready to be delivered to its lucky new owner. Here are his notes:
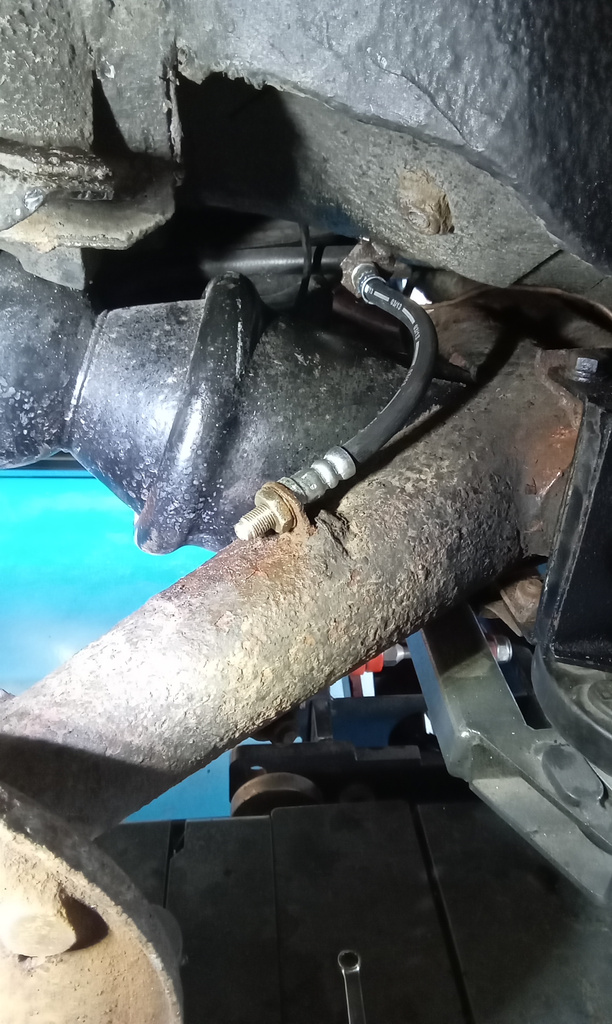
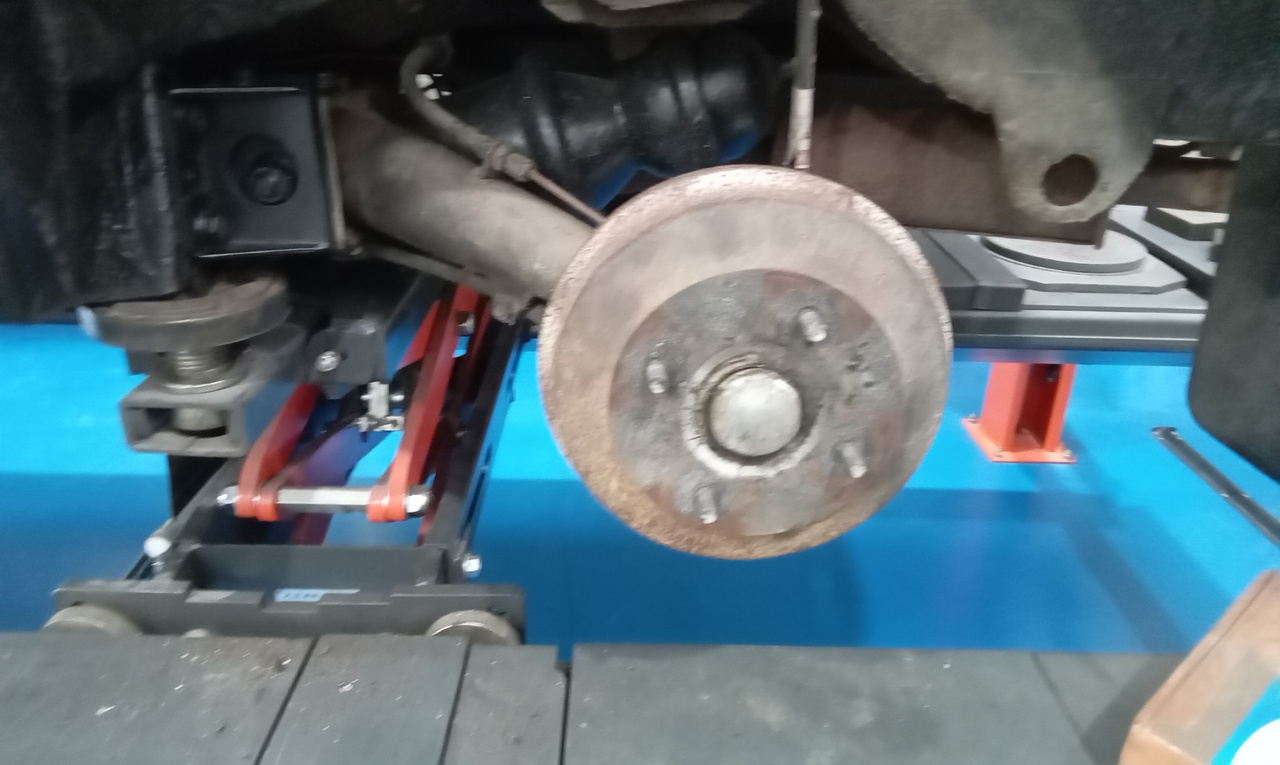
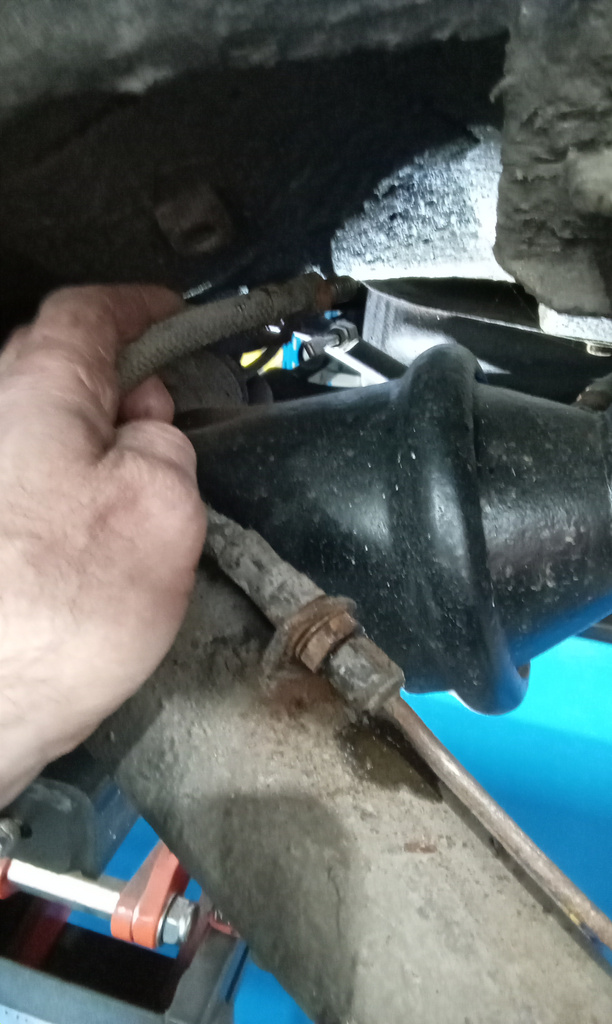
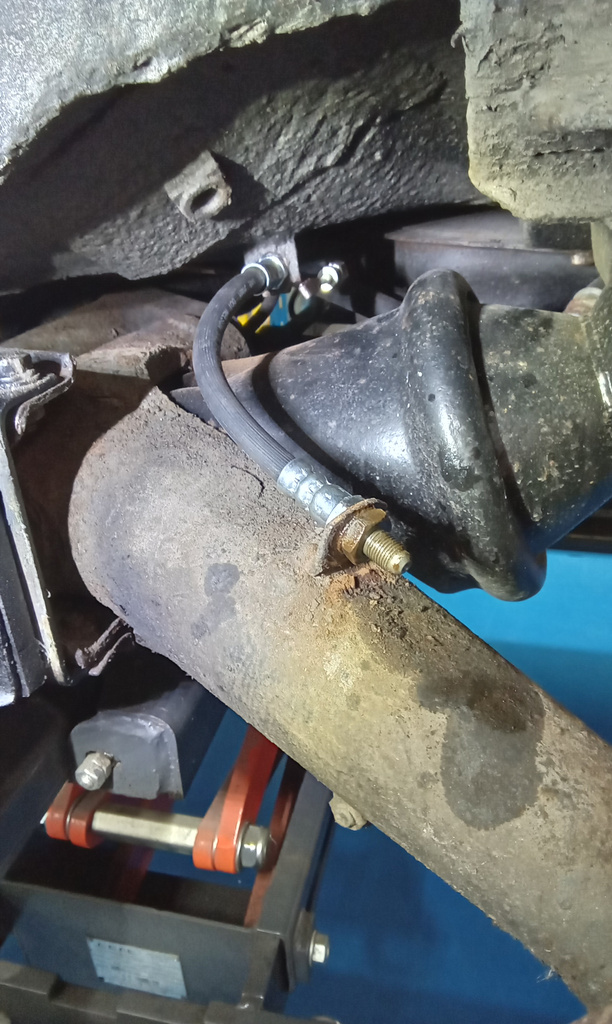
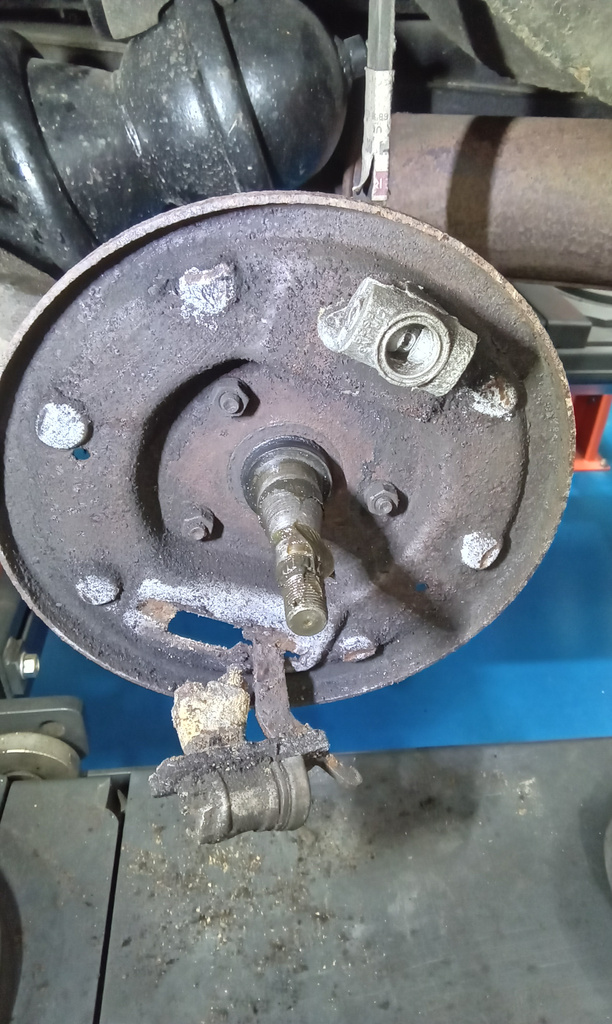
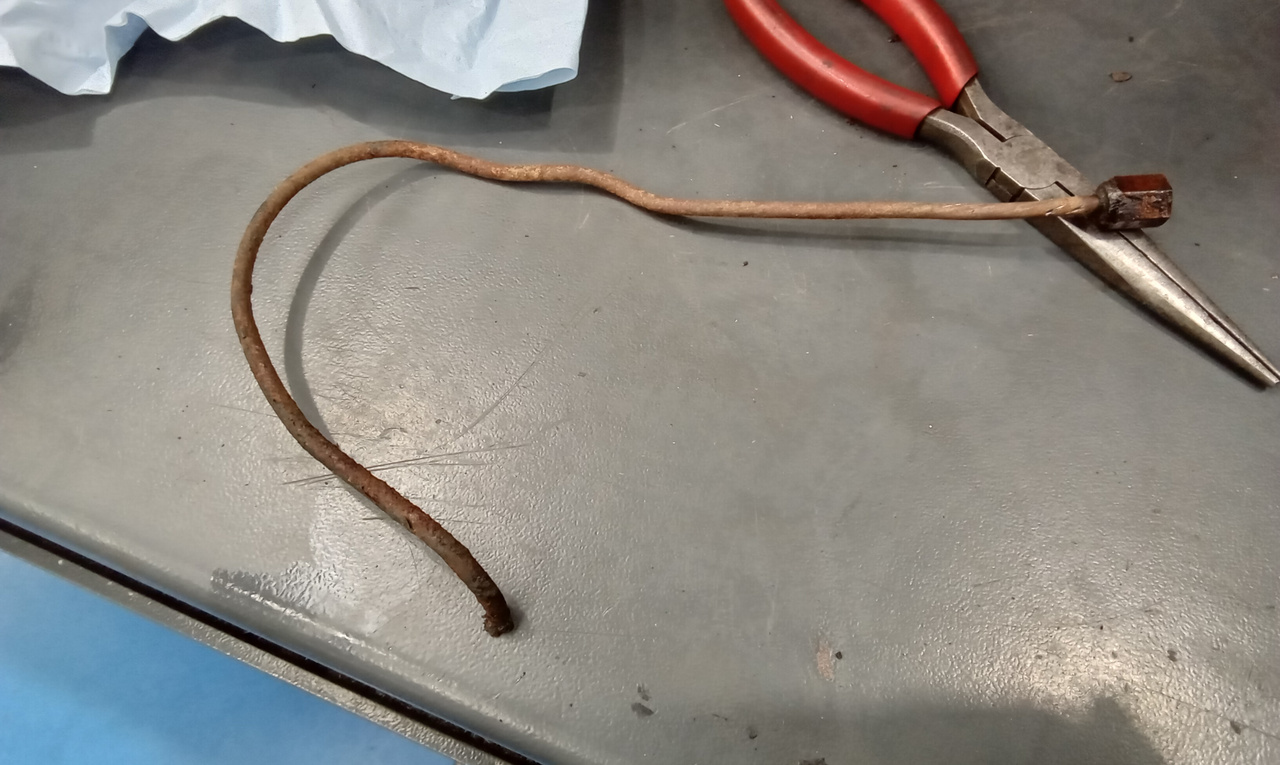
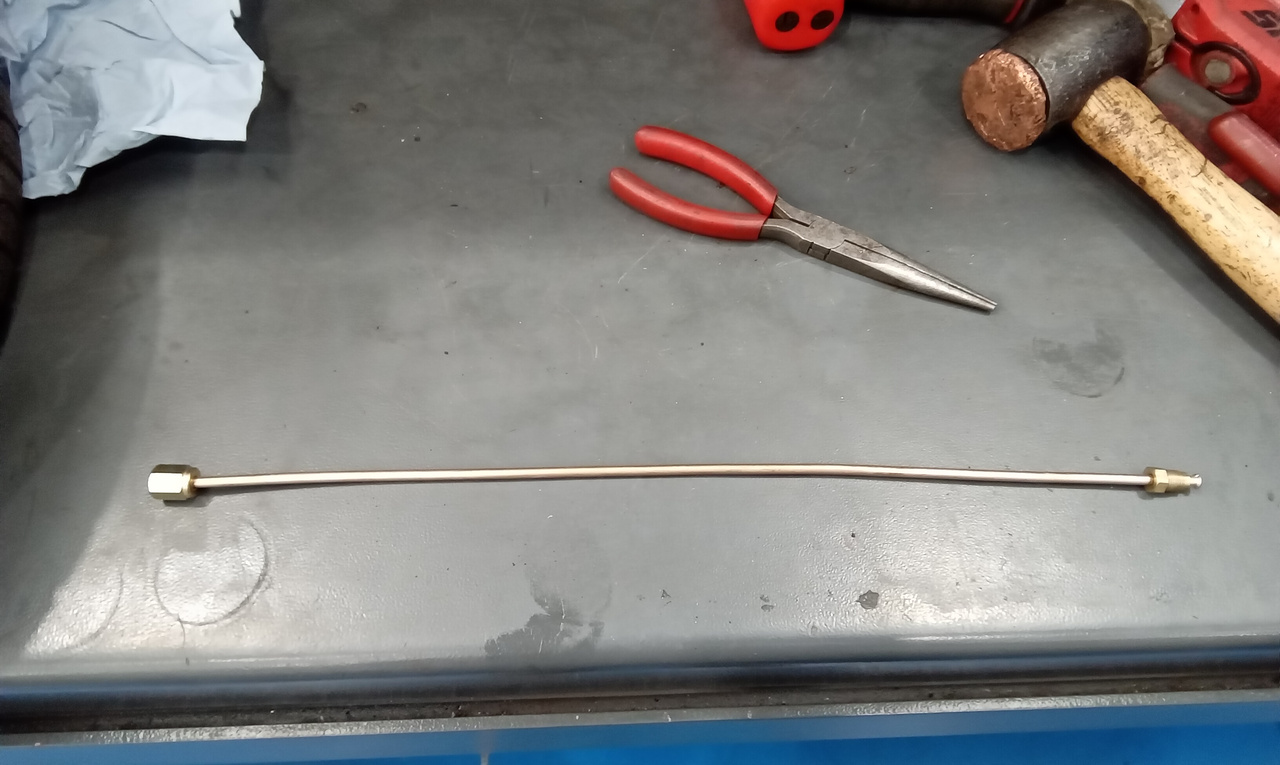
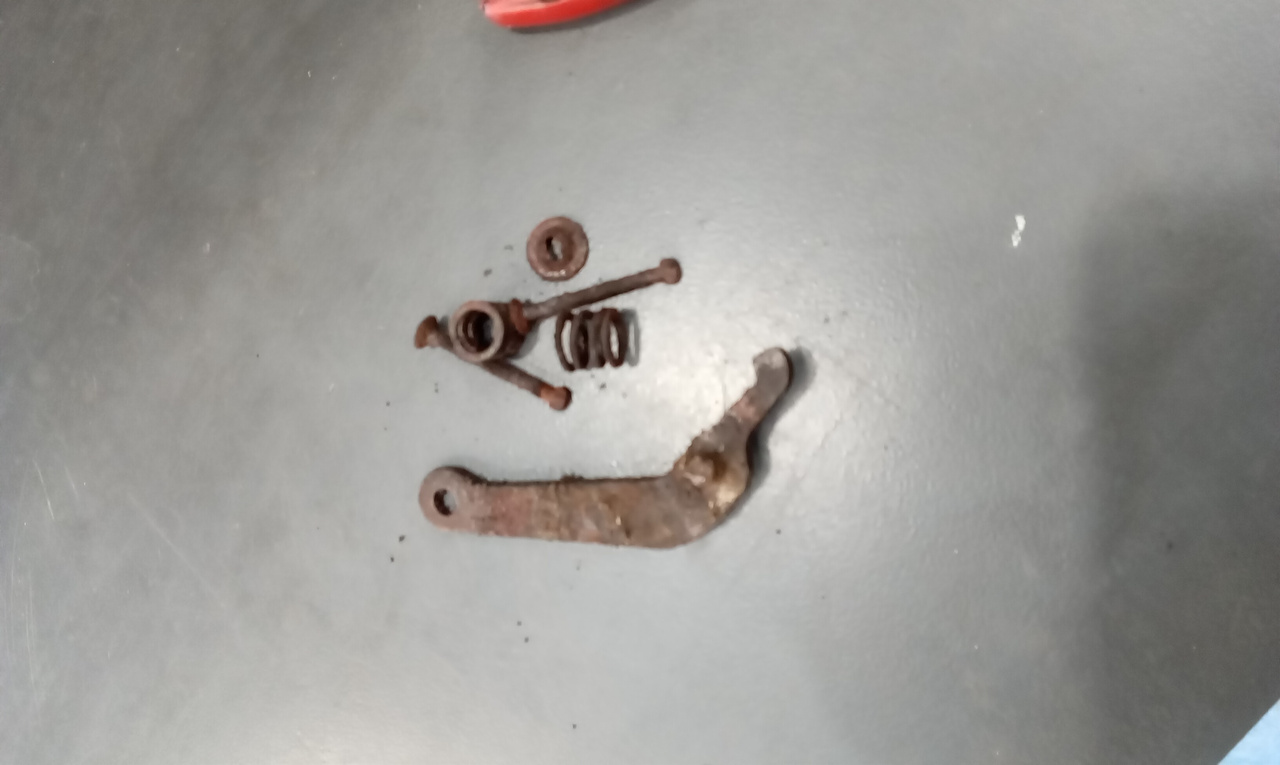
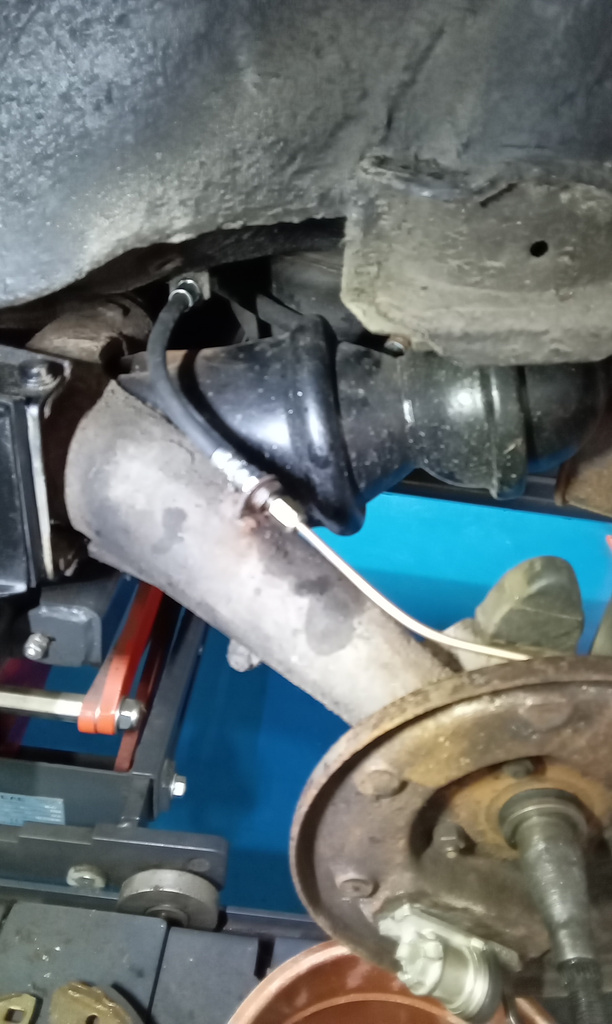
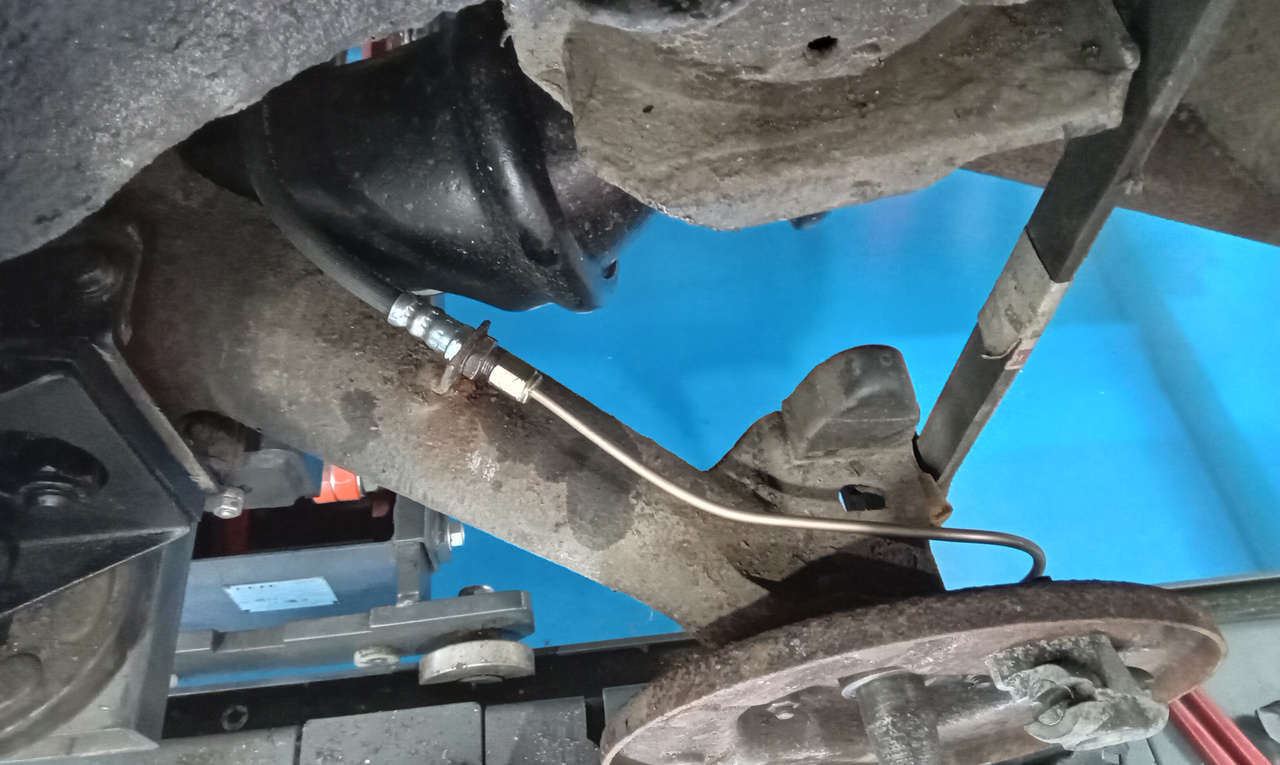
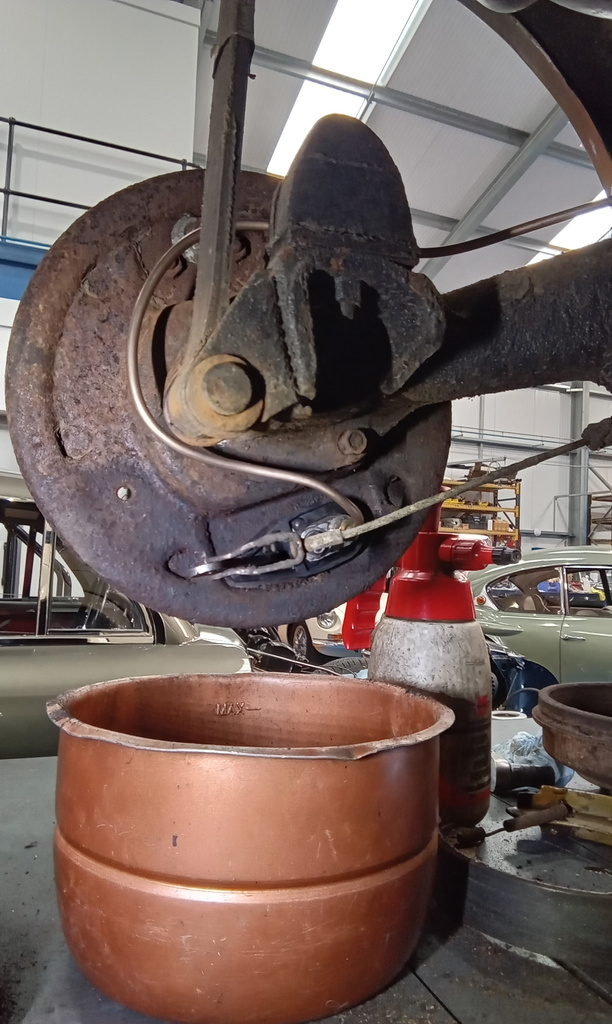
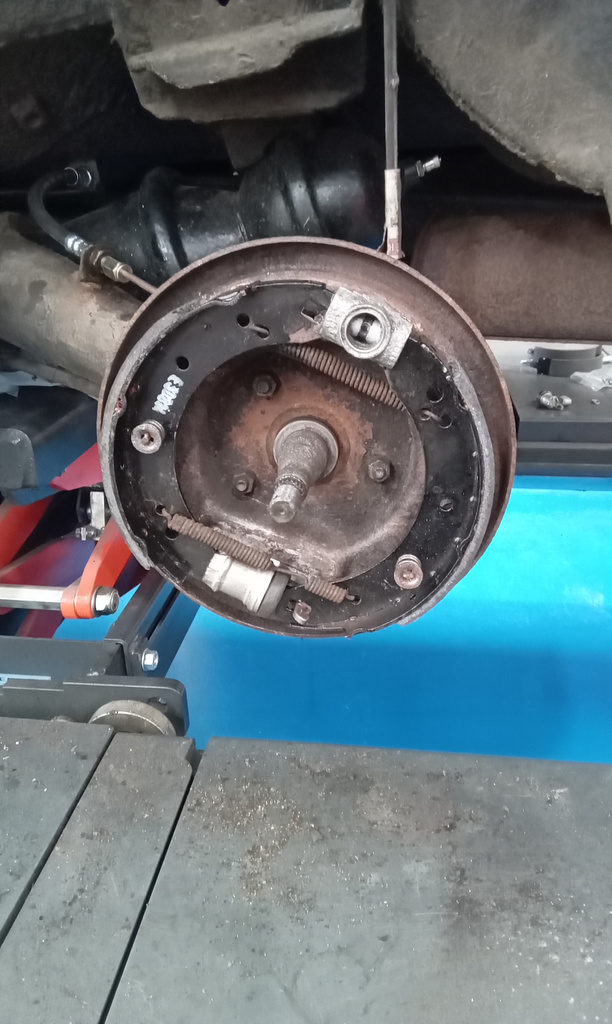
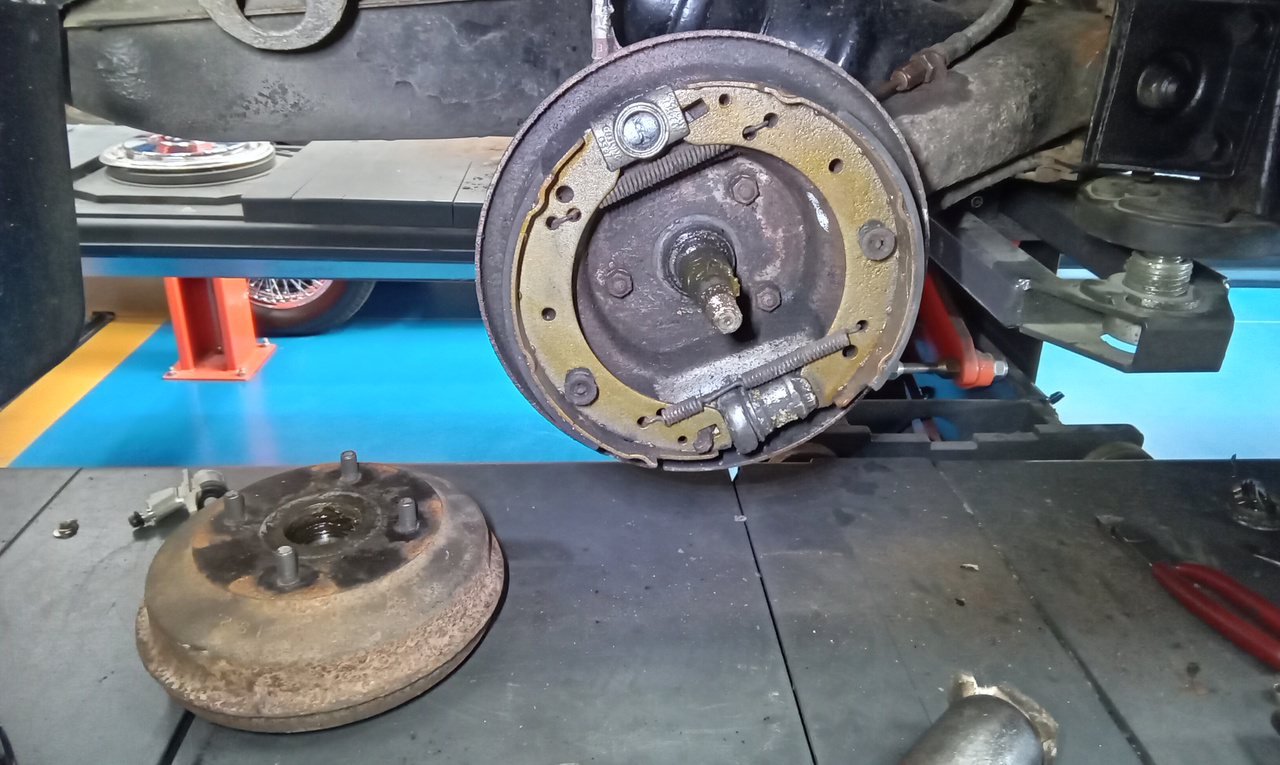
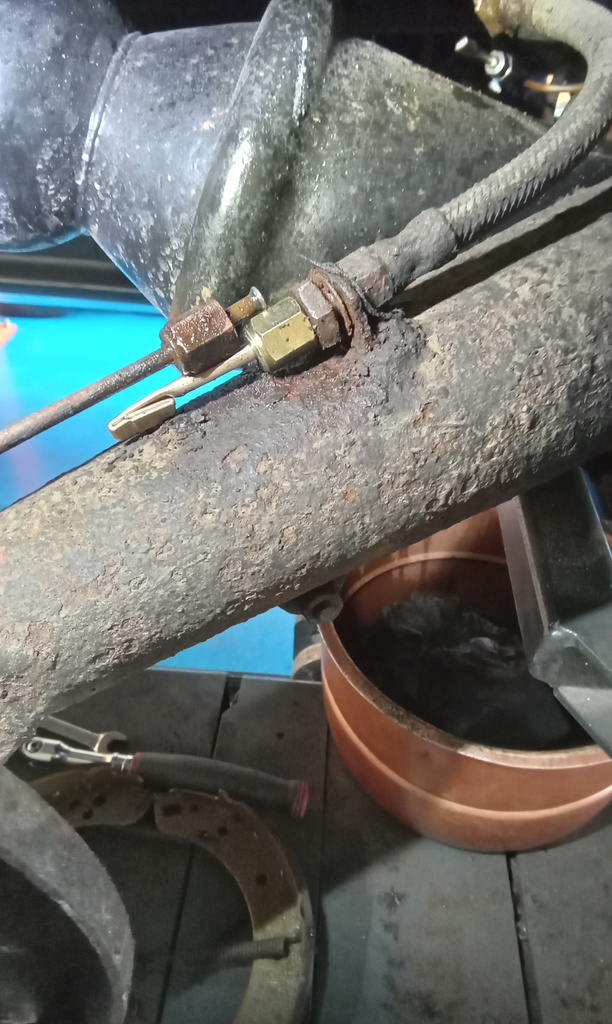
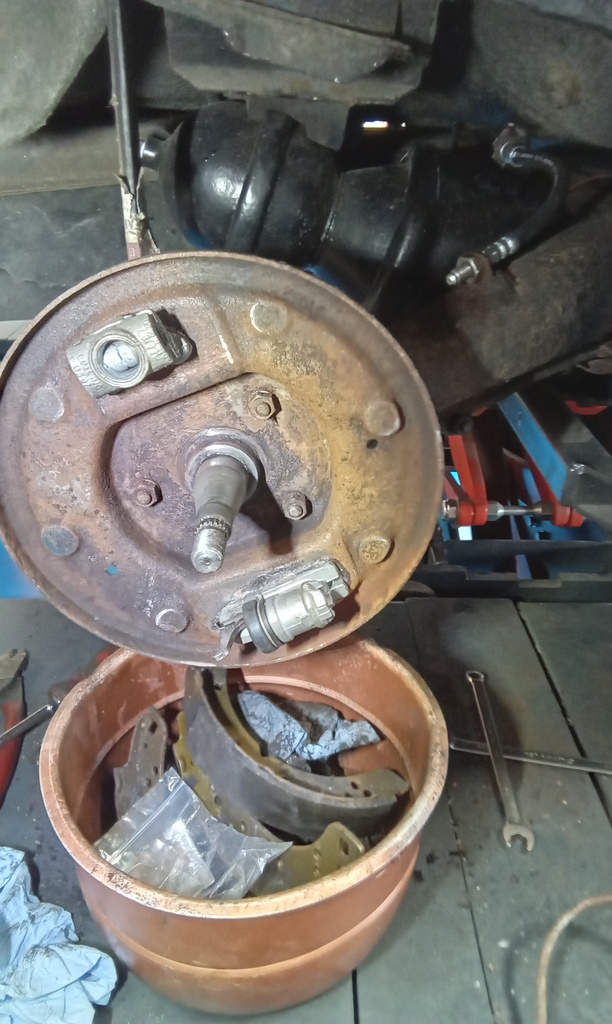
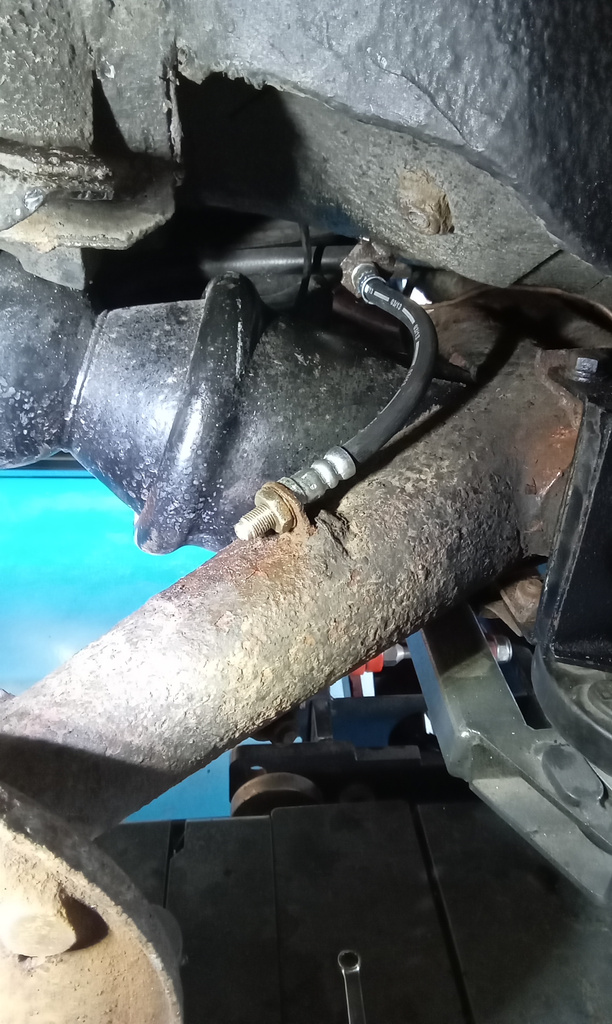
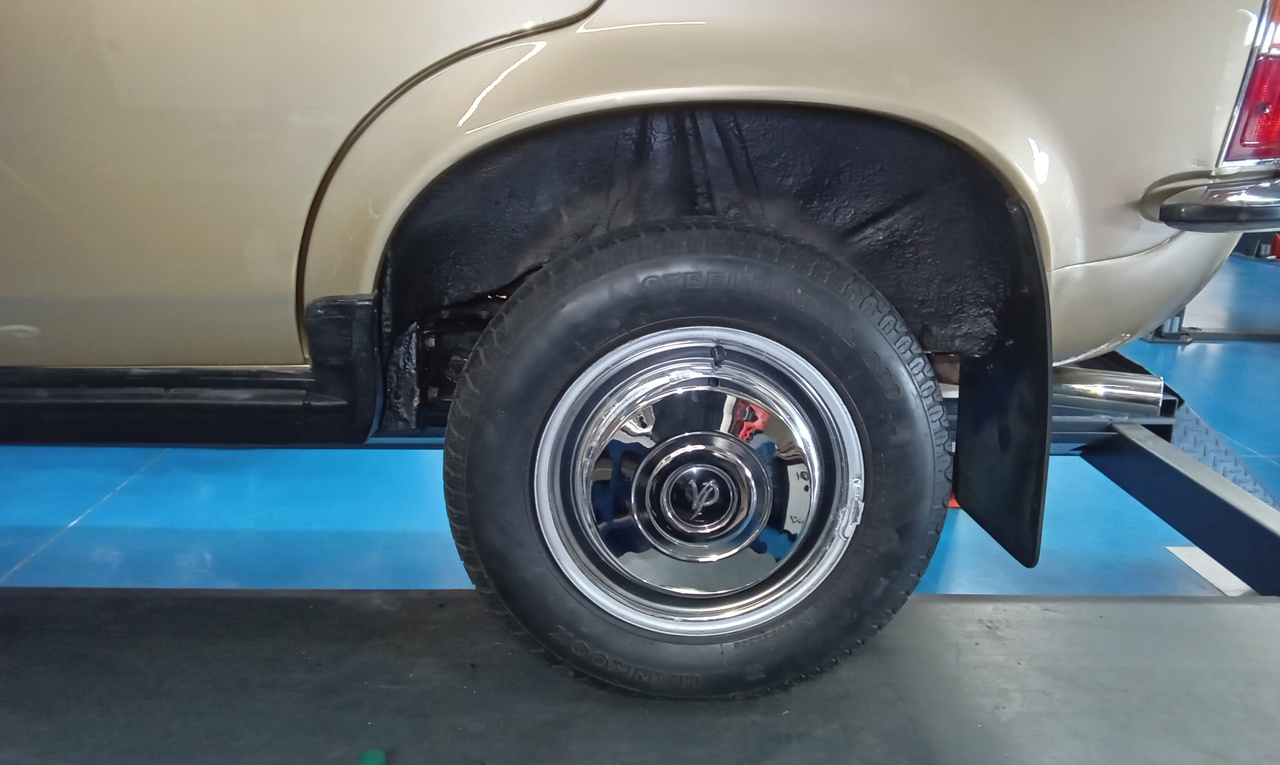
Remove rear wheels. Remove rear wheel bearings and drums. Strip and remove brake shoes and cylinders. Remove flexi hoses and fit new hoses. Manufacture barke pipes from glexis to wheel cylinders. Clean re usable components. Clean and lubricate backplates. Fit new wheel cylinders and connect. Fit new shoes and secure. Remove rear seatbase and de adjust handbrake cable. Clean and delip drums. Fit drums and adjust wheel bearings.
Bleed rear brakes. Adjust rear shoes. Adjust handbrake cable. Refit rear wheels.
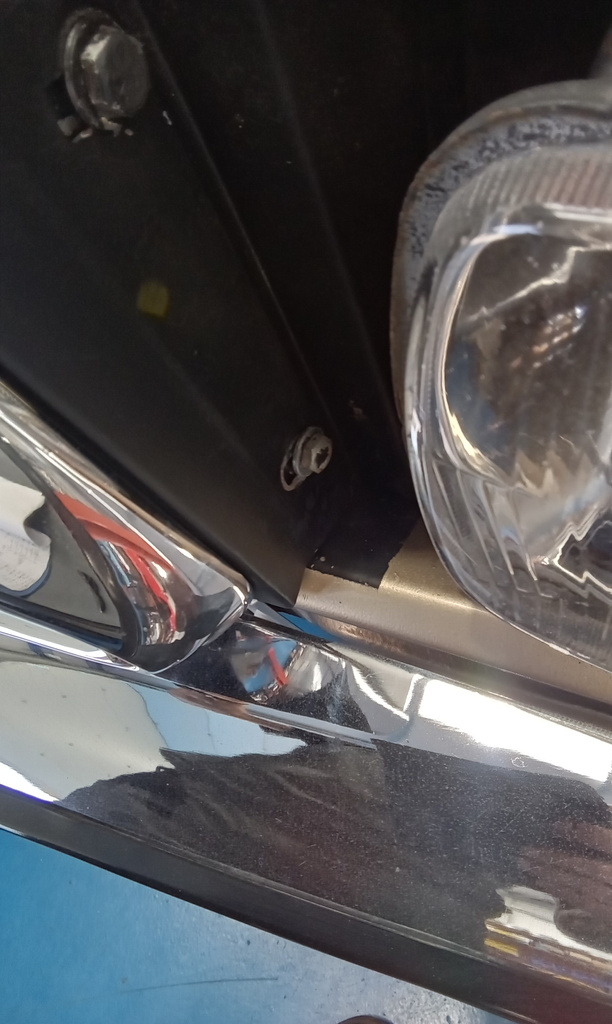
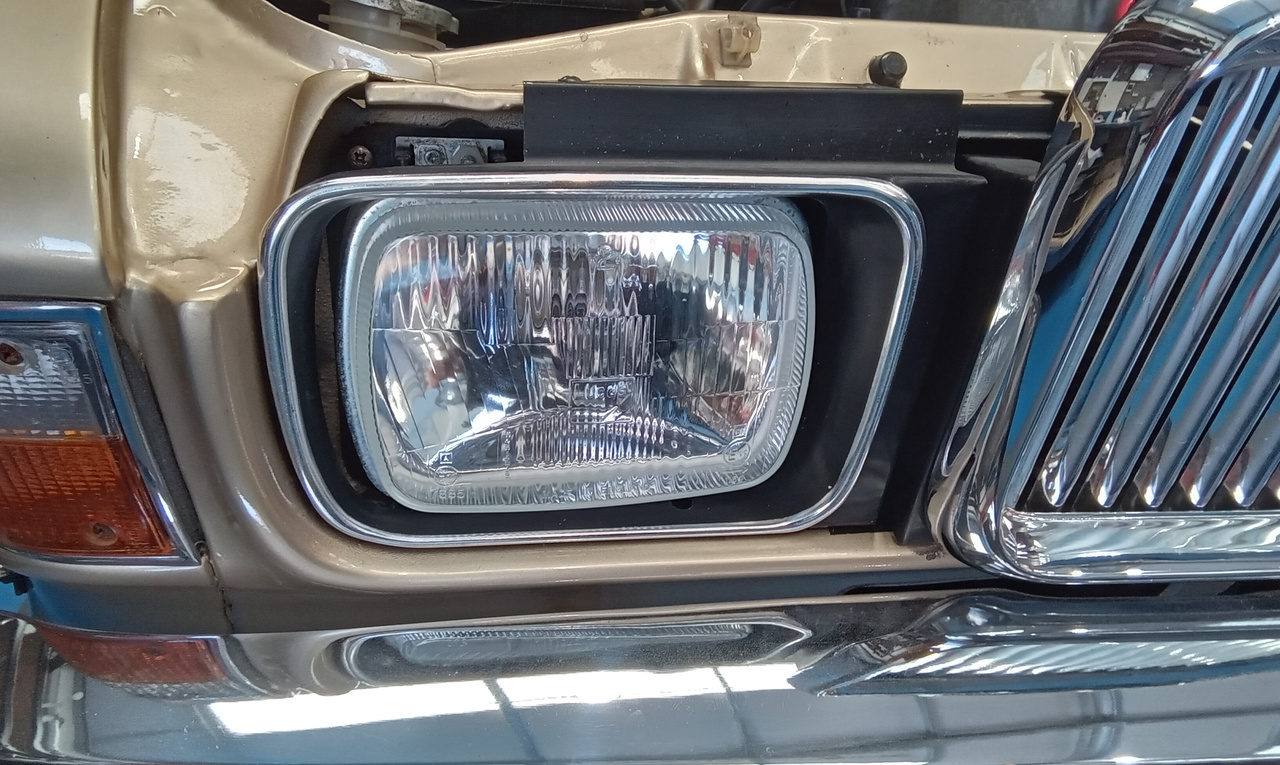
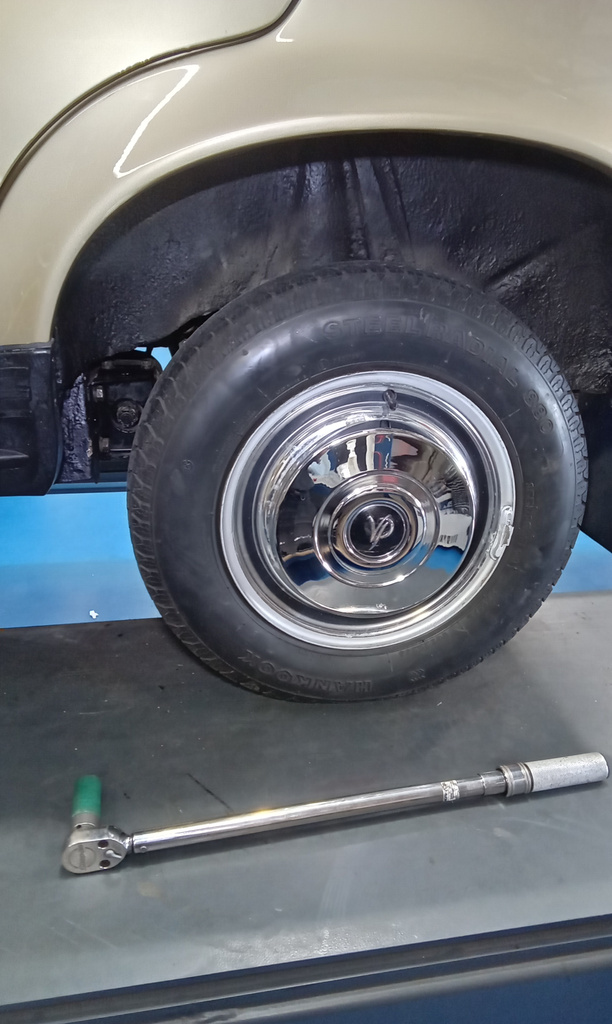
Torque wheels and refit wheel trims. Top up brake fluid. Refit rear seat base. Carry out pdi. Resecure front grill
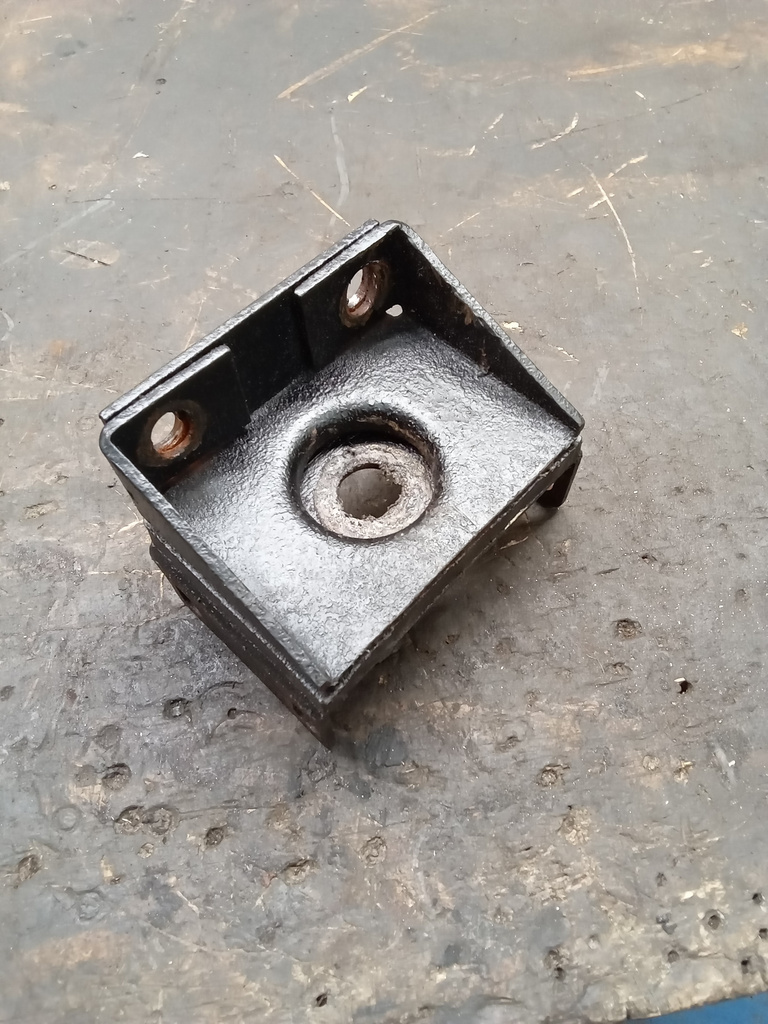
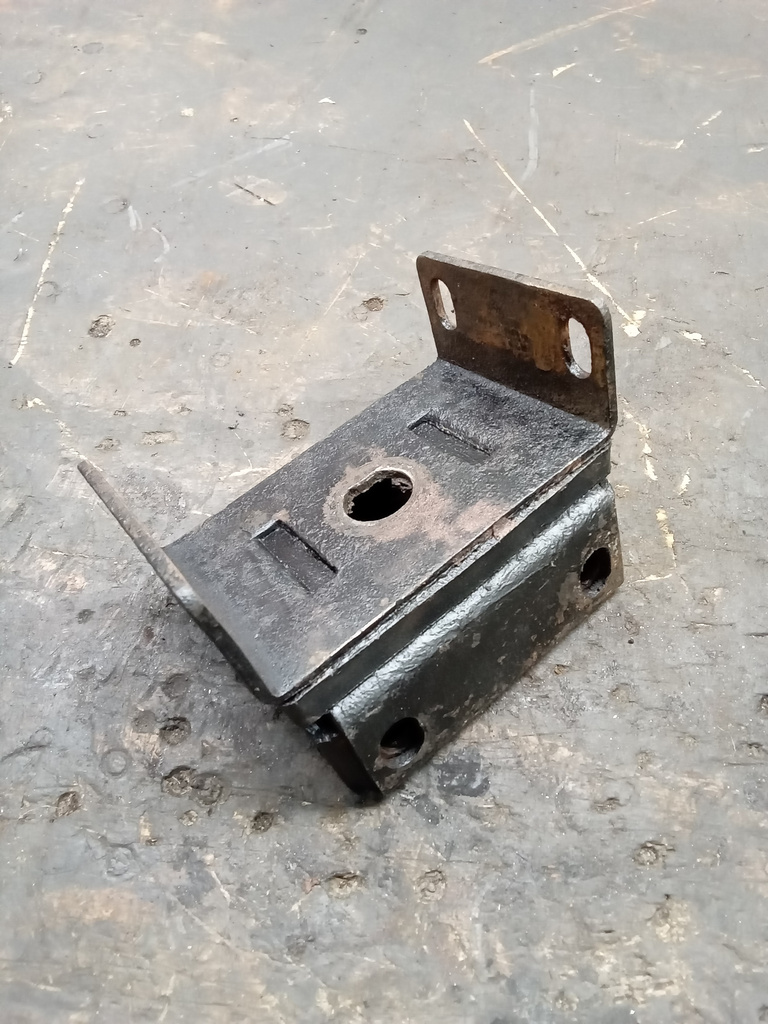
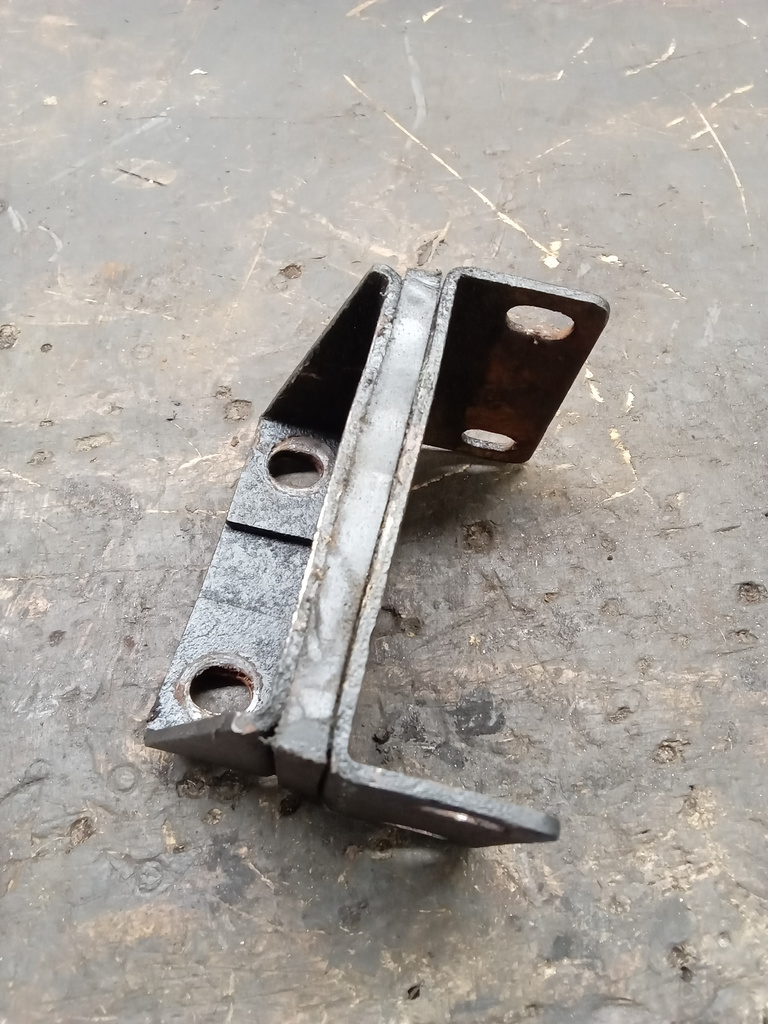
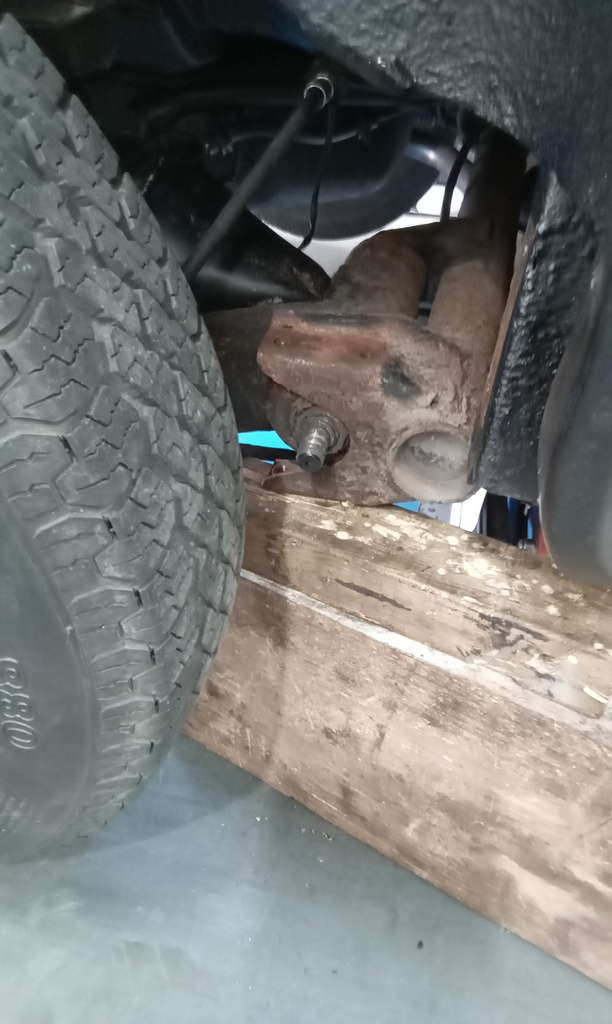
Strip and remove rear axle support mounts for welding.
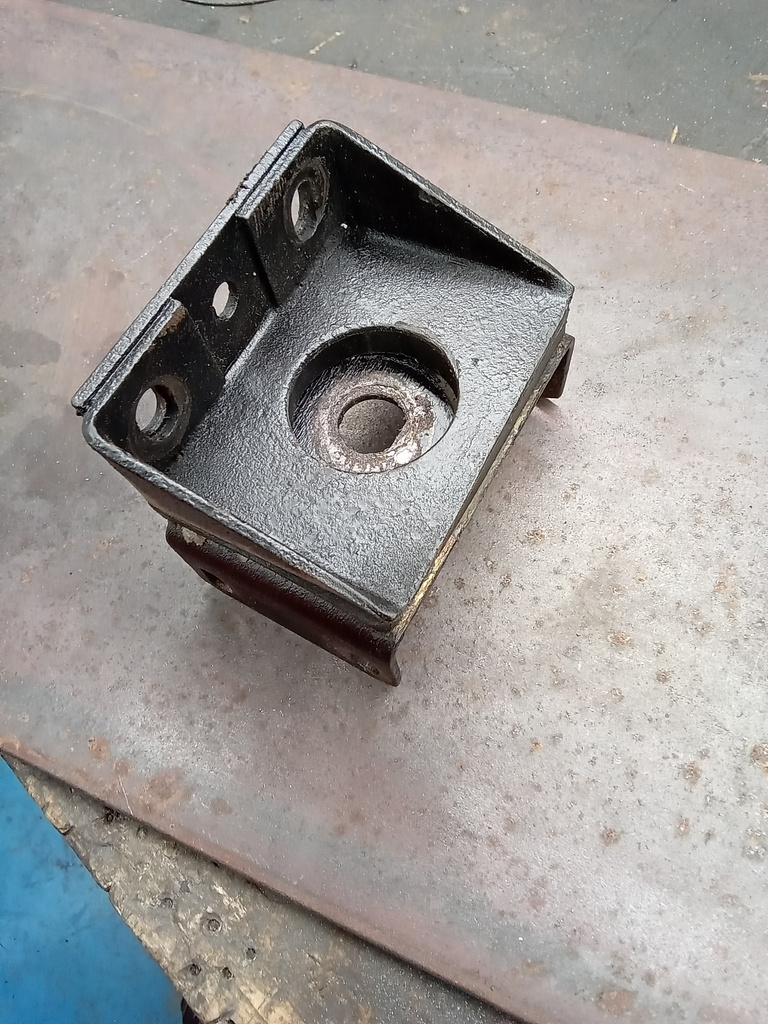
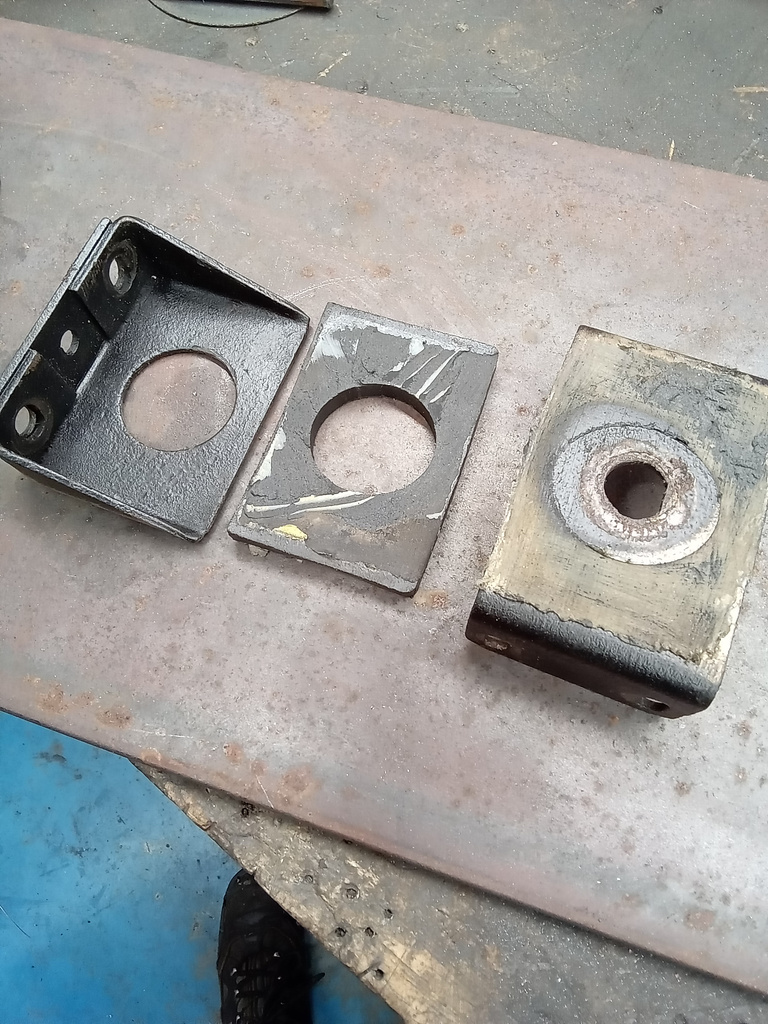
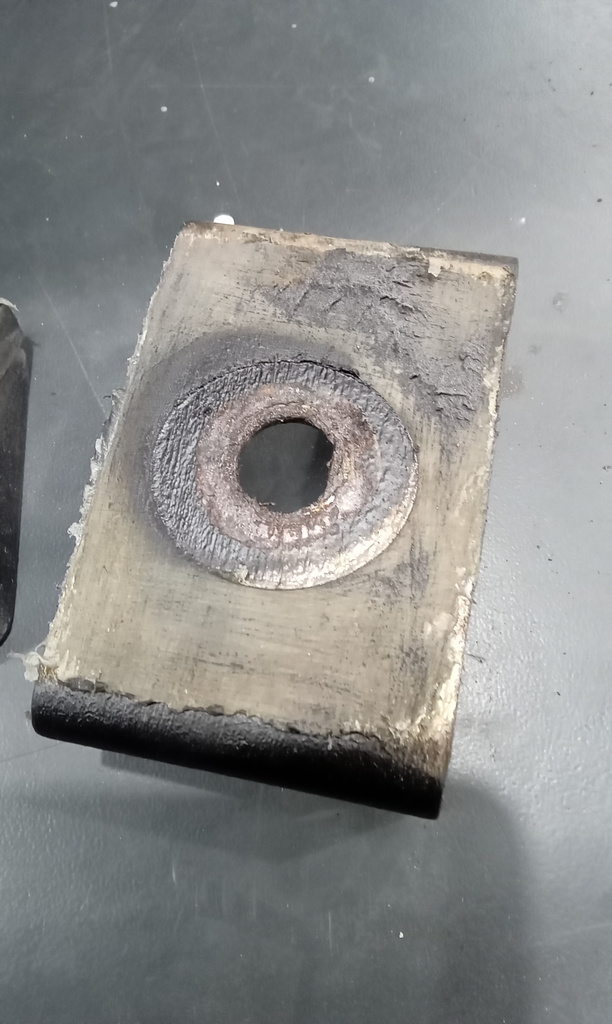
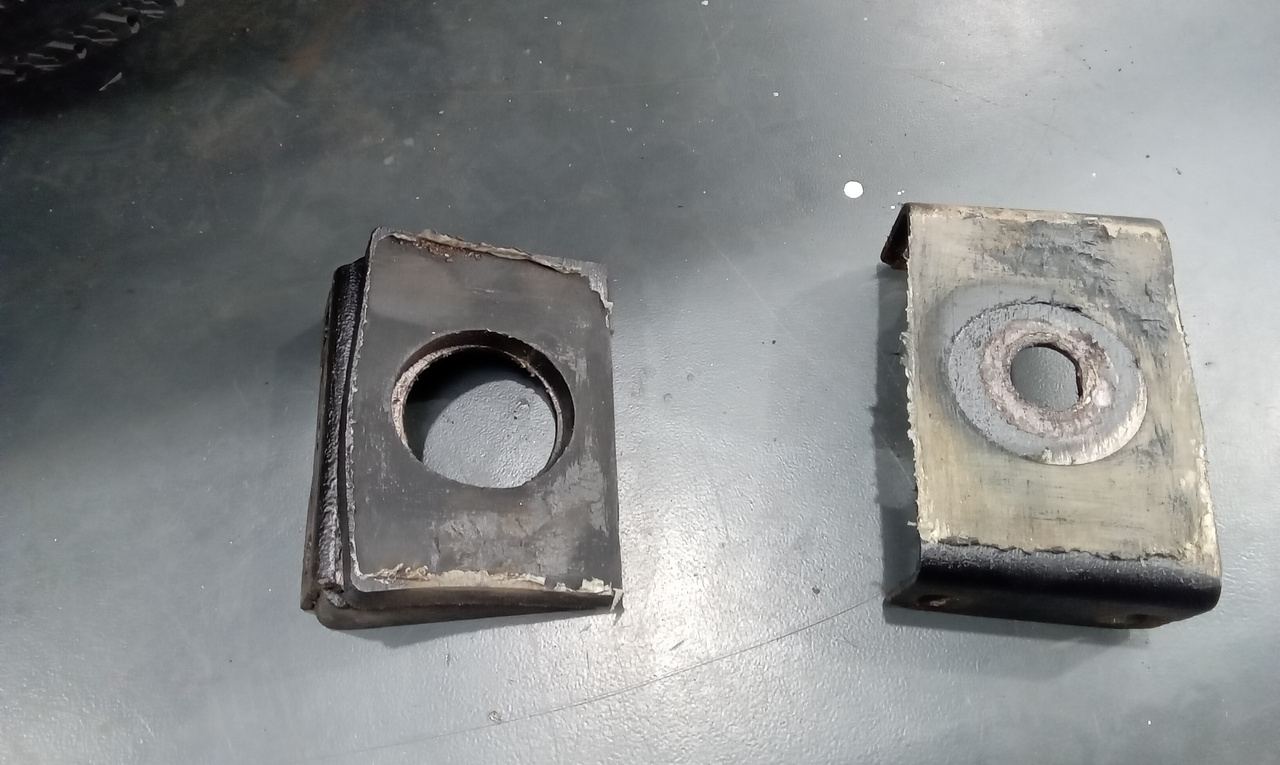
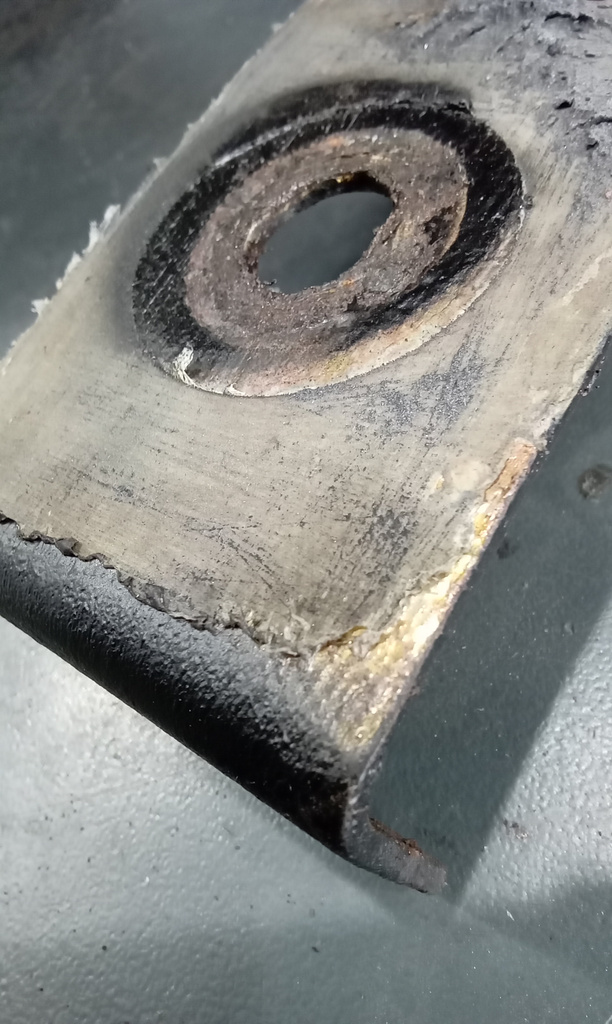
Strip and remove nearside rear axle mount for welding. Mount had completely separated
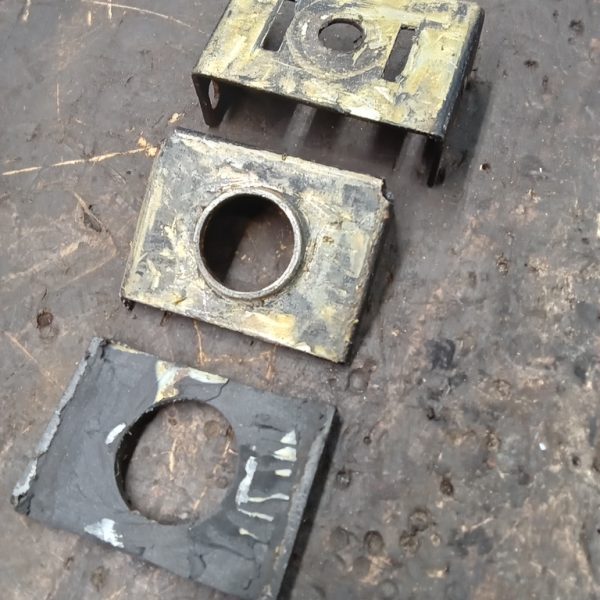
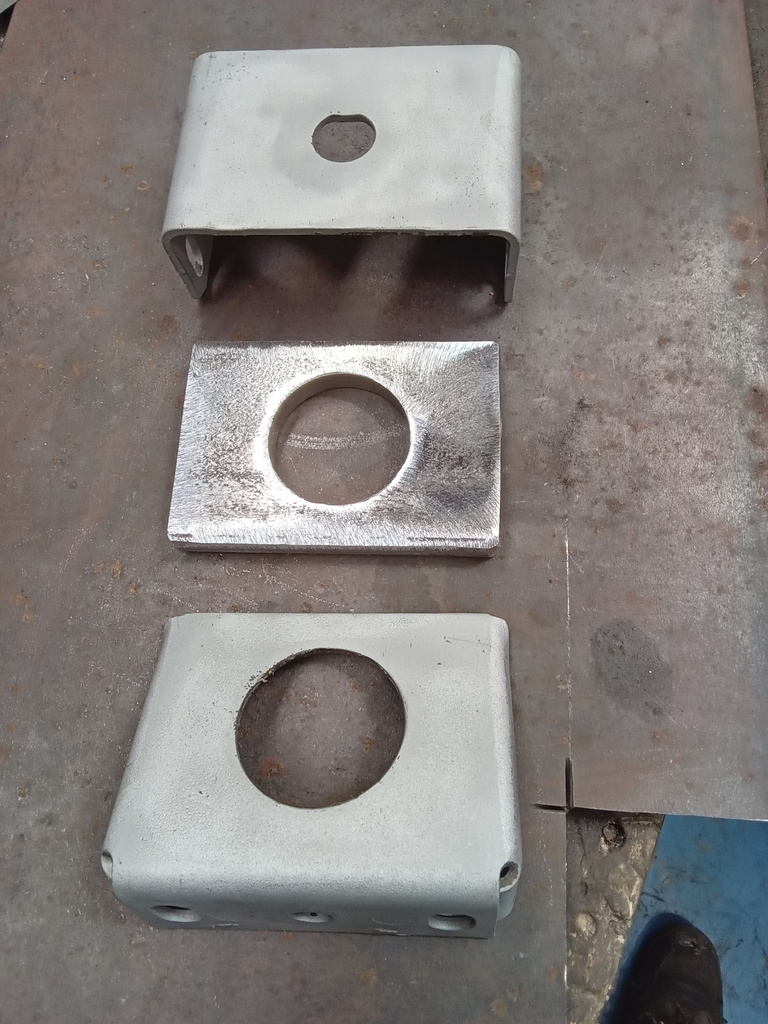
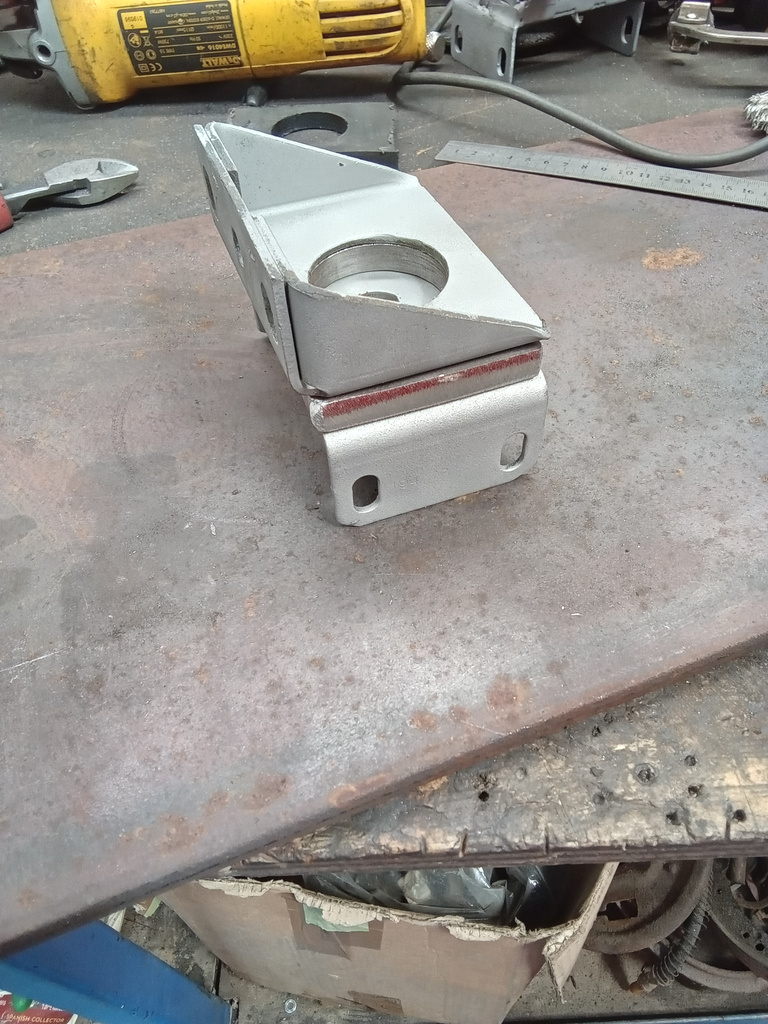
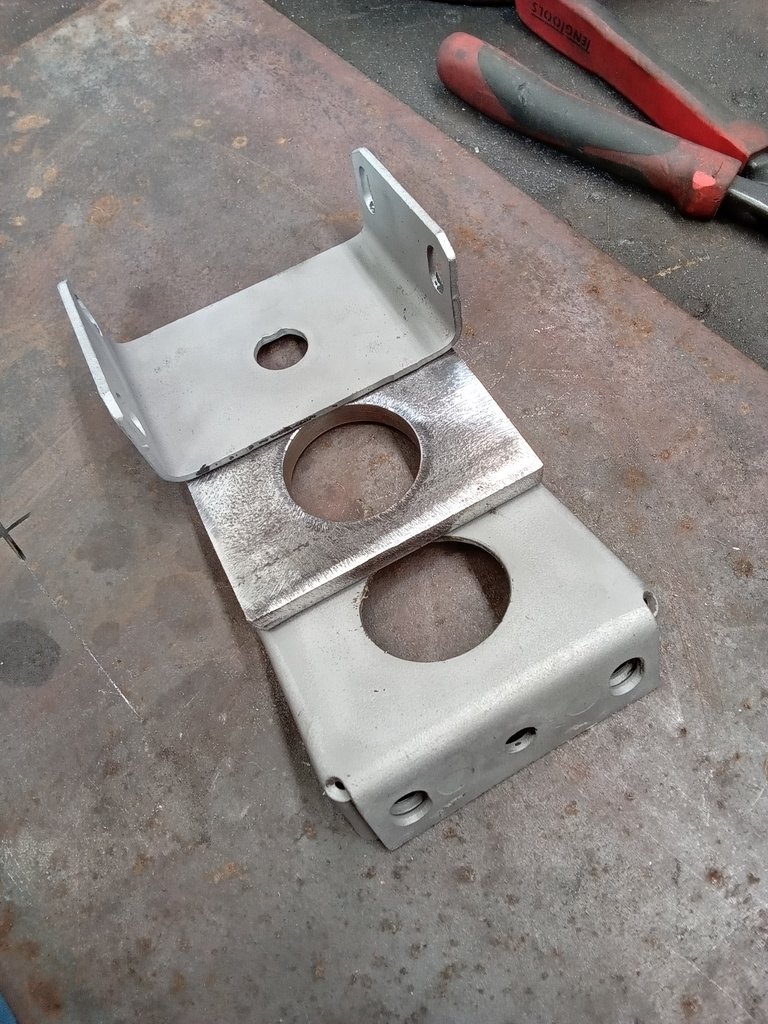
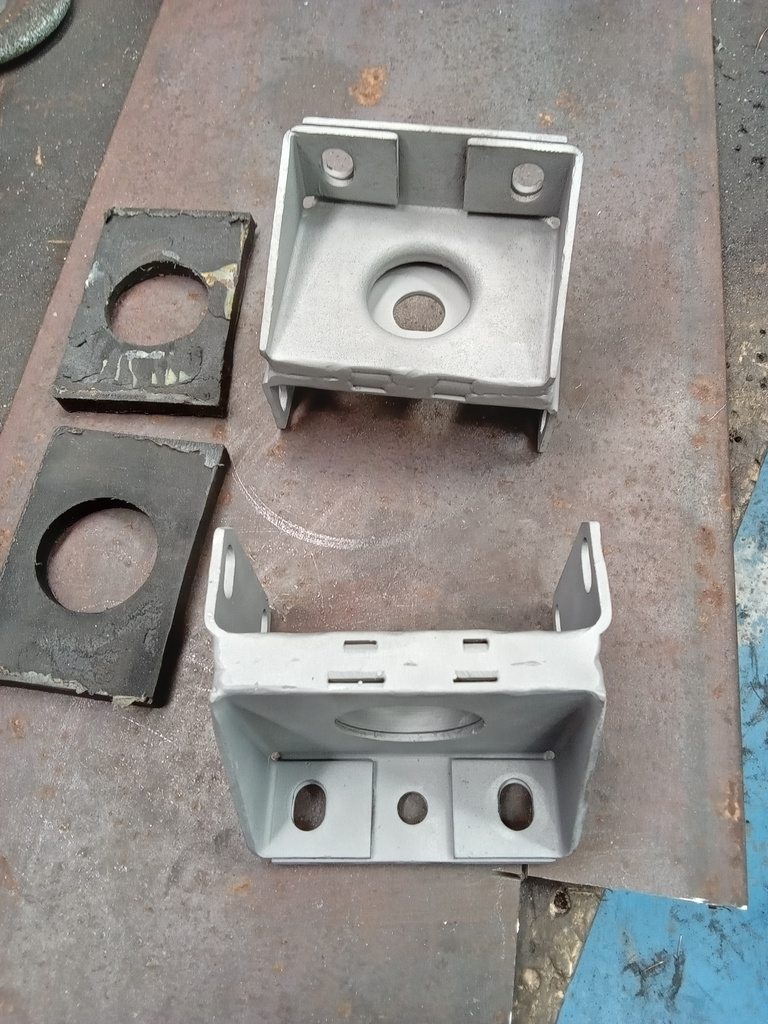
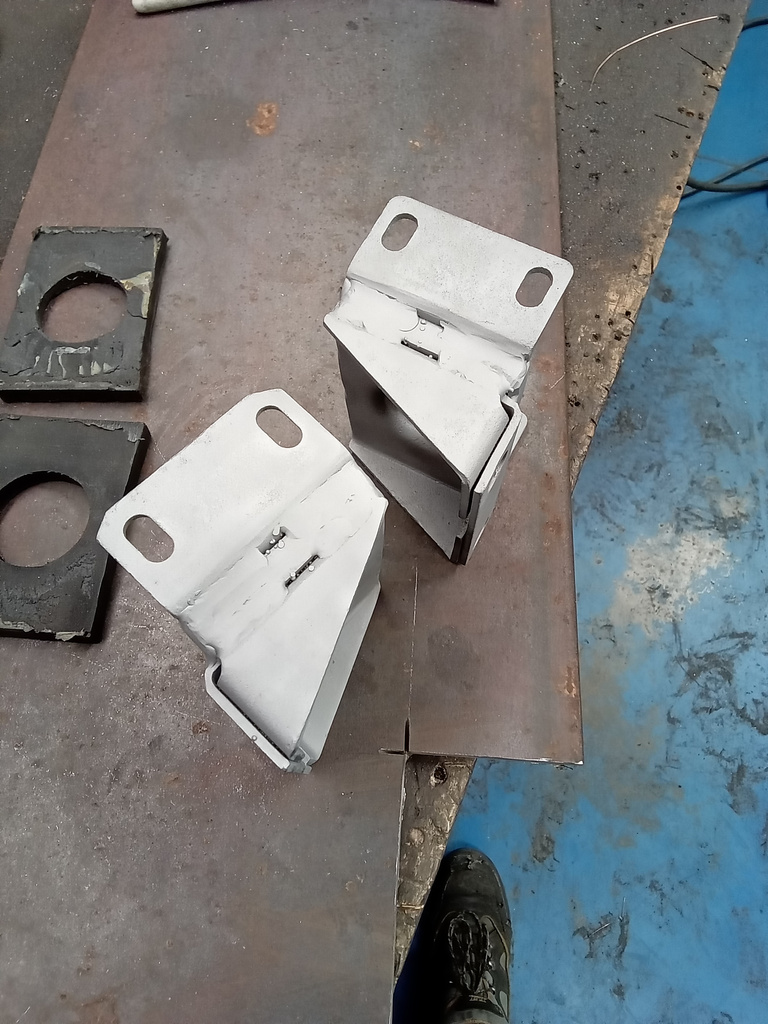
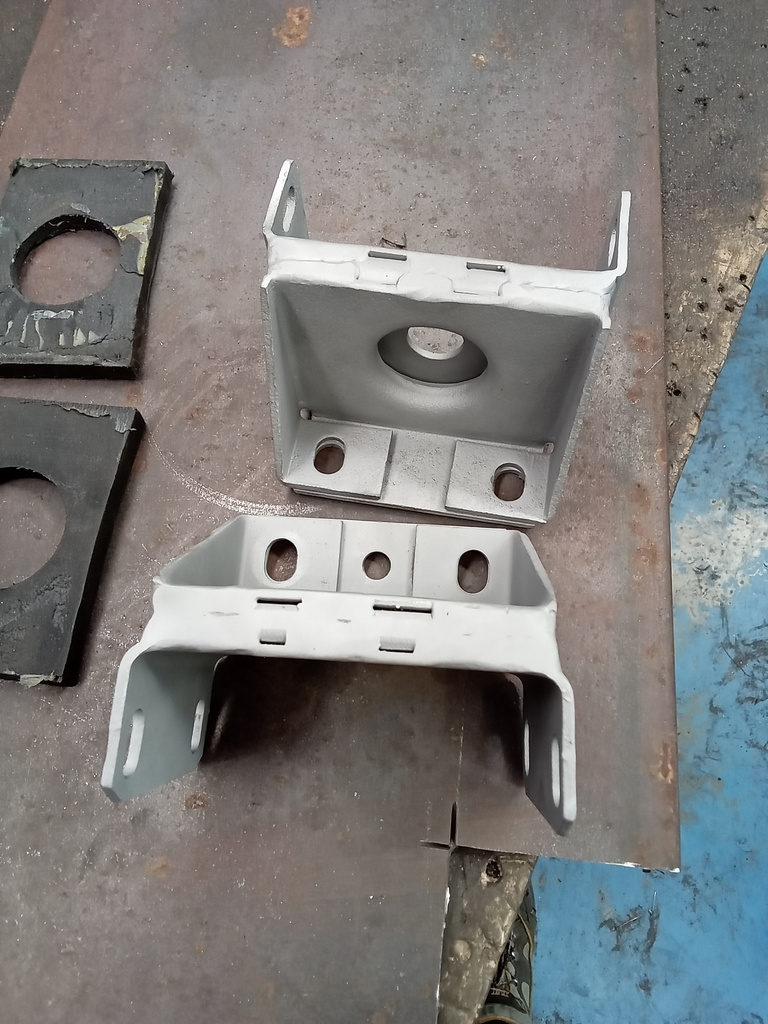
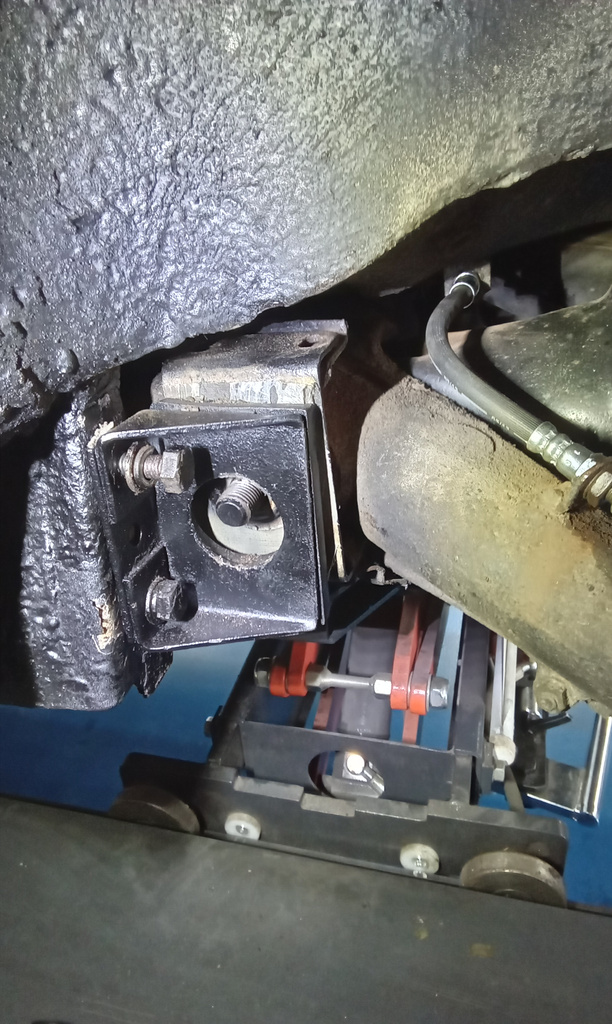
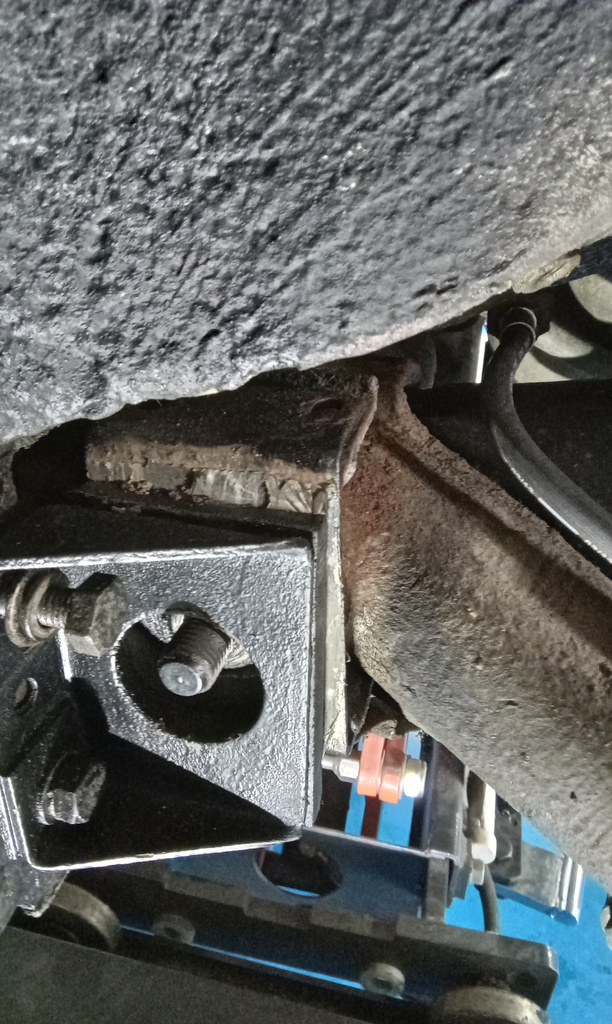
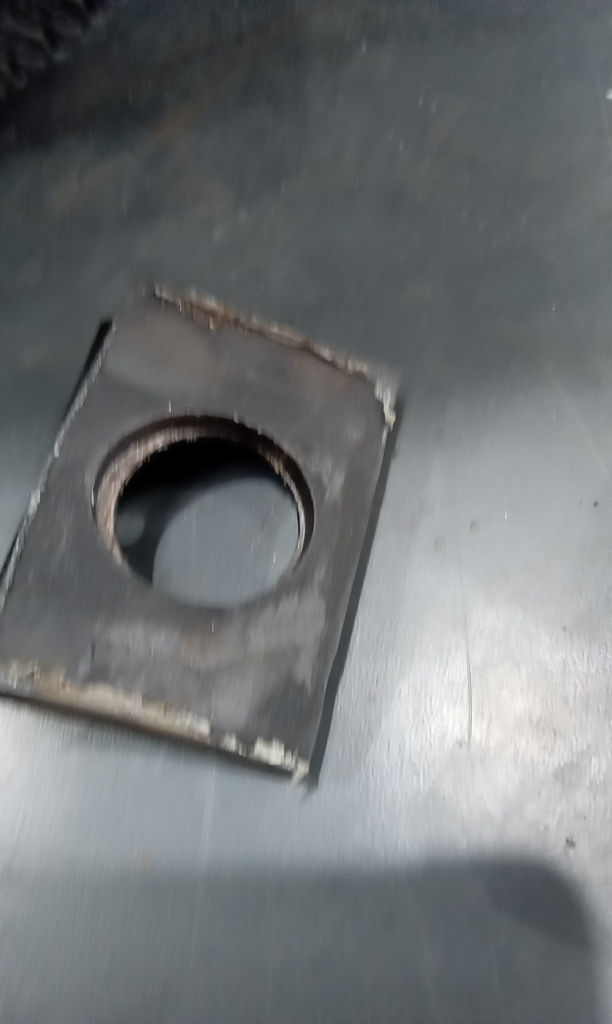
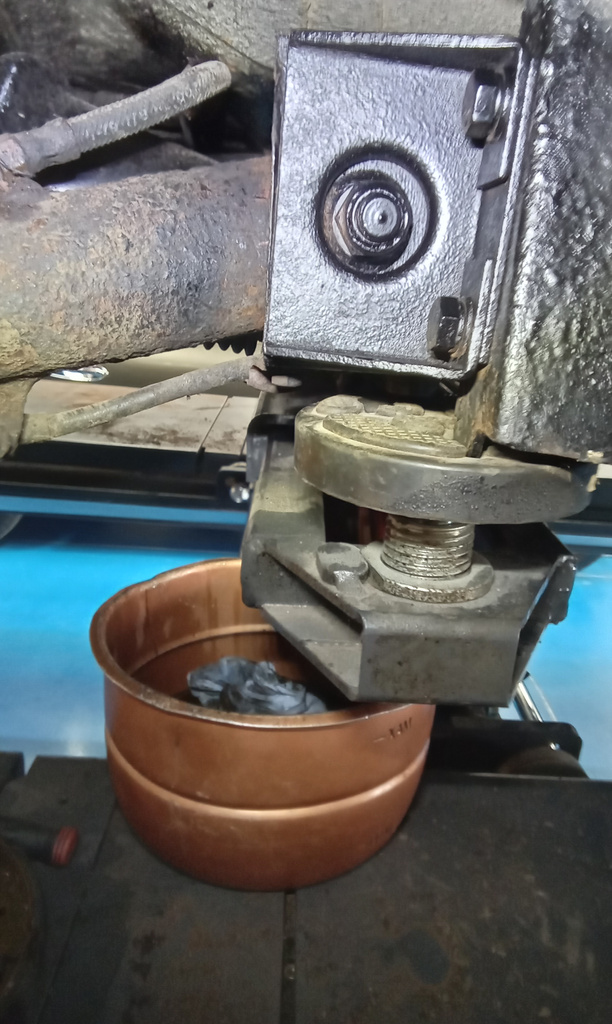
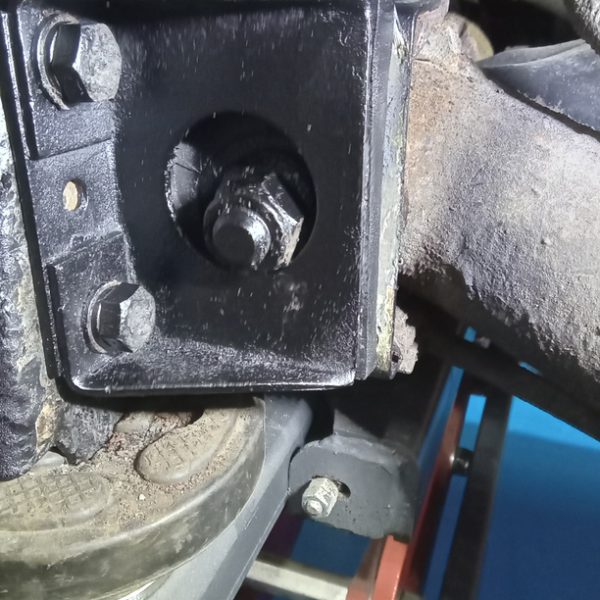
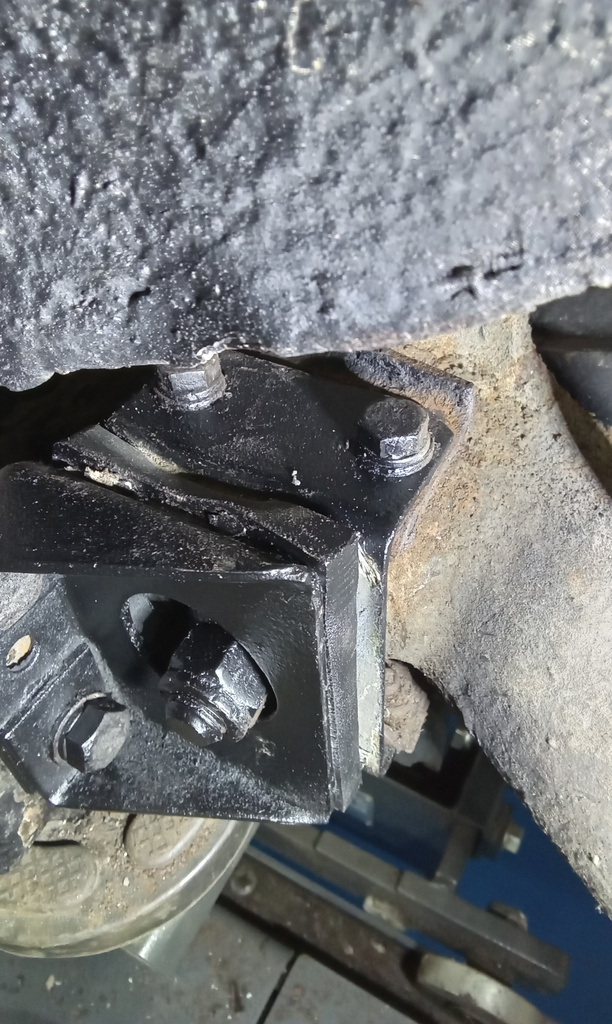
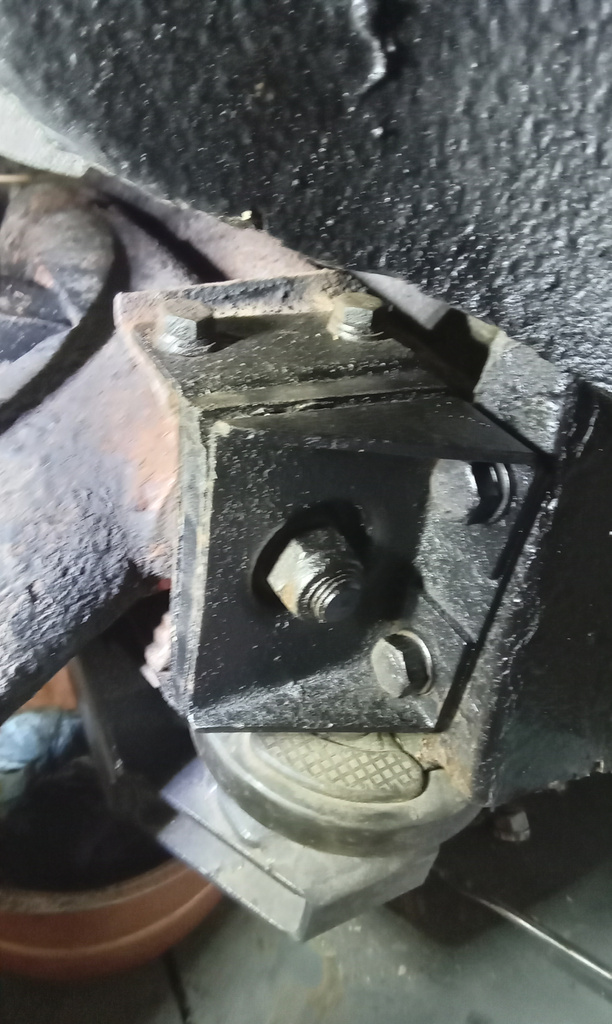
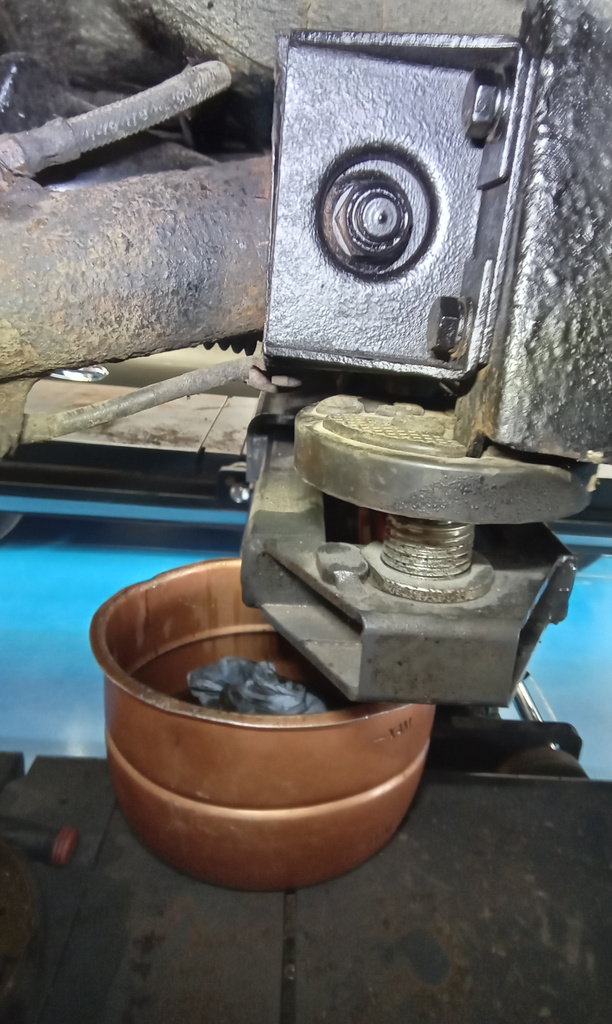
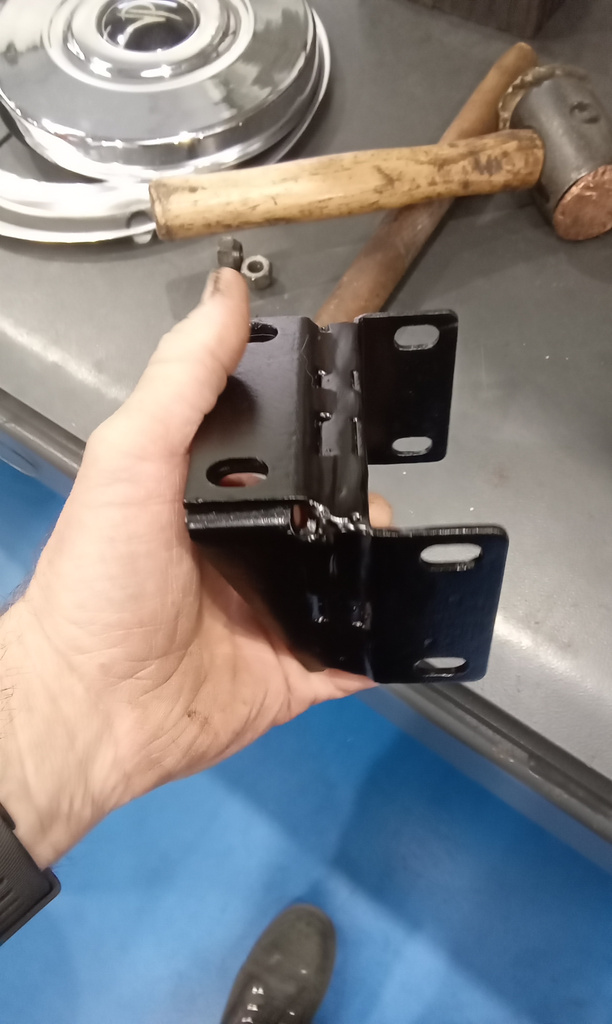
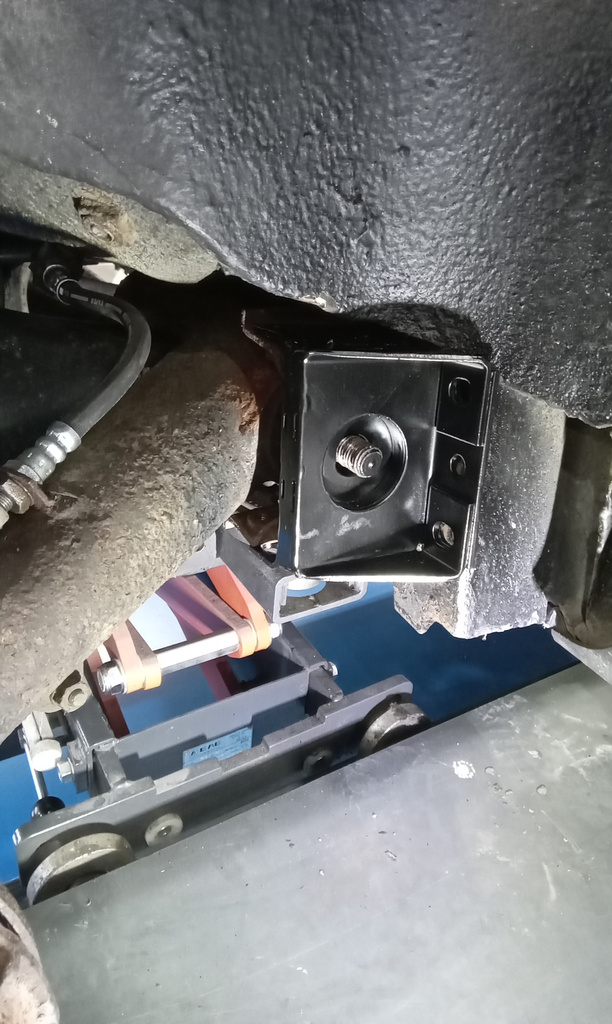
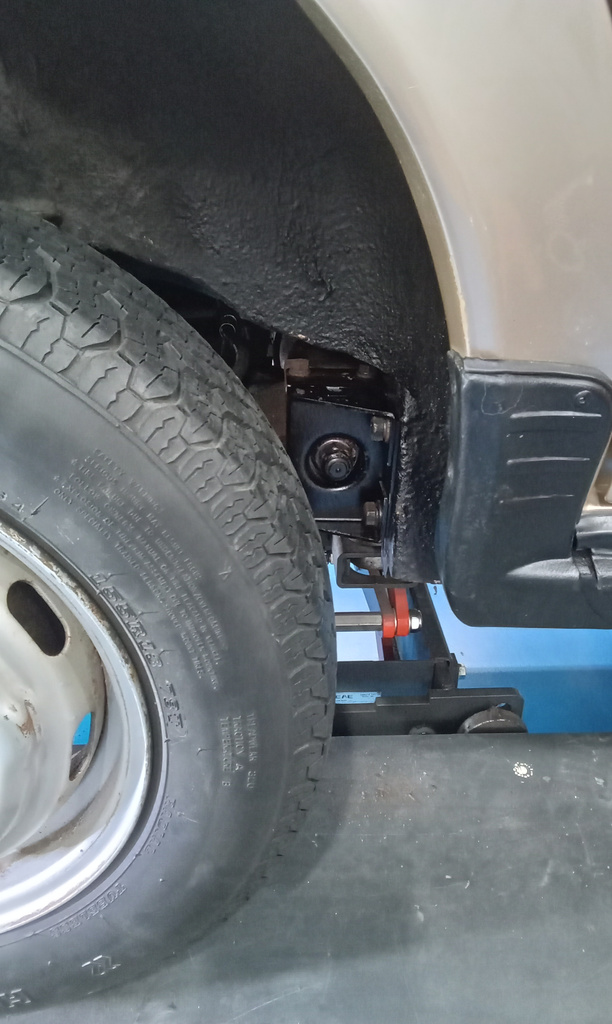
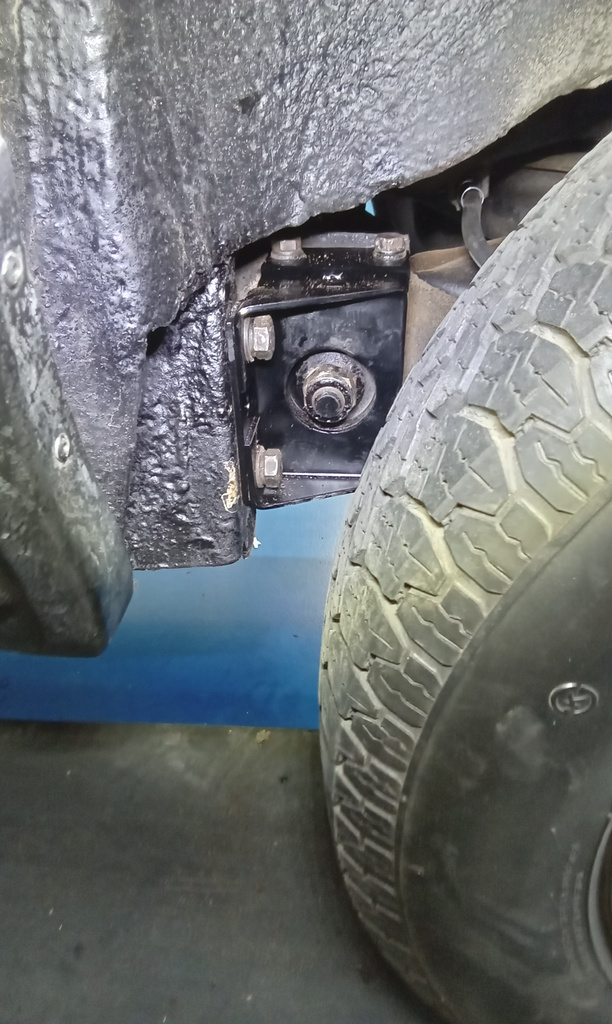
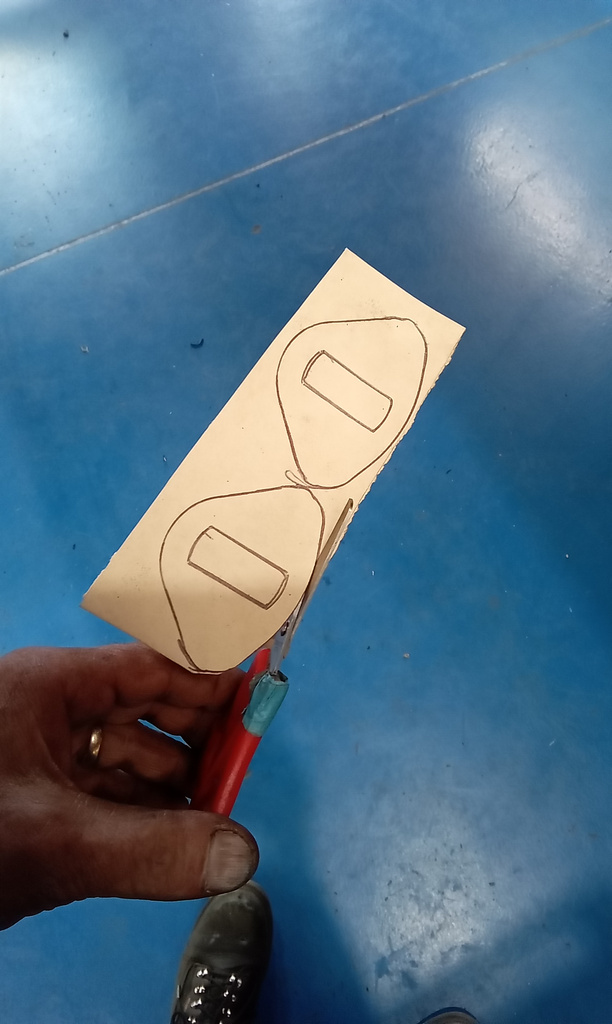
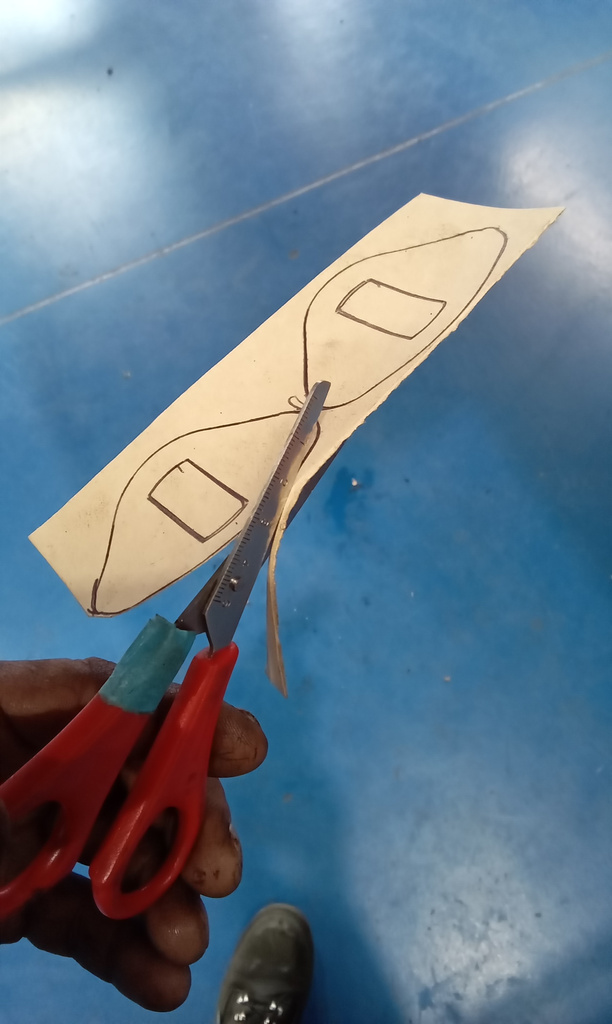
To overcome the problem with the new axle mounts rubber bushes collapsing it was decided to solid mount the axle ends. First the rubber is removed and then a steel plate of the same thickness is cut. The original mounting are then welded to the steel packer to create a solid mount which will locate the axle more securely.
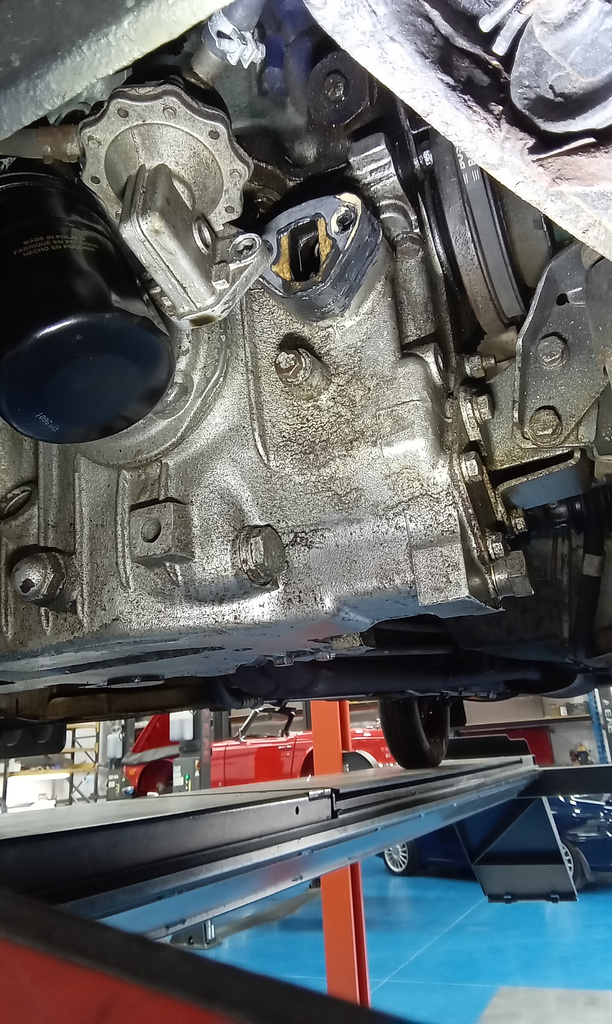
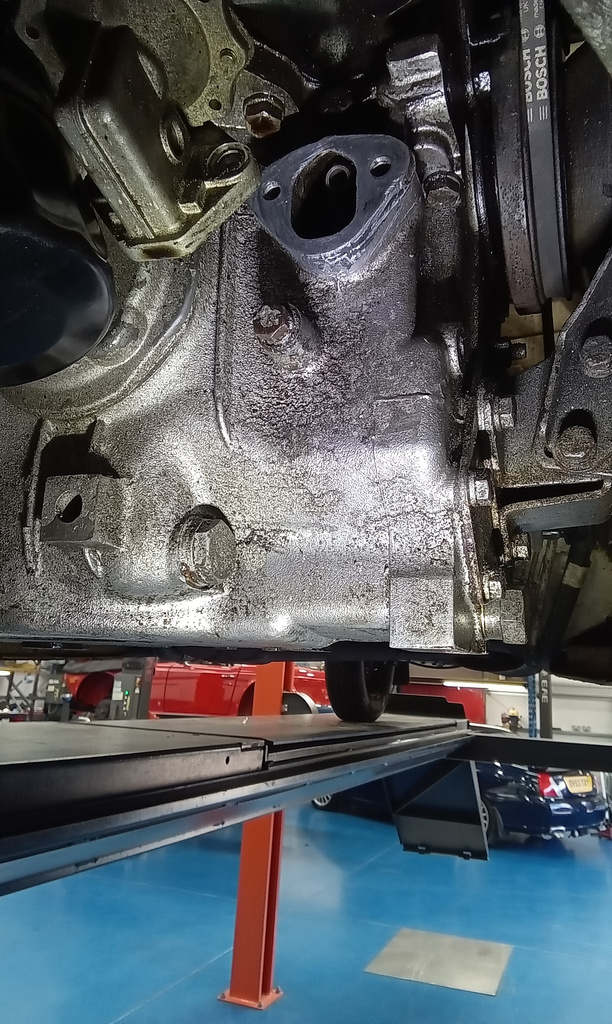
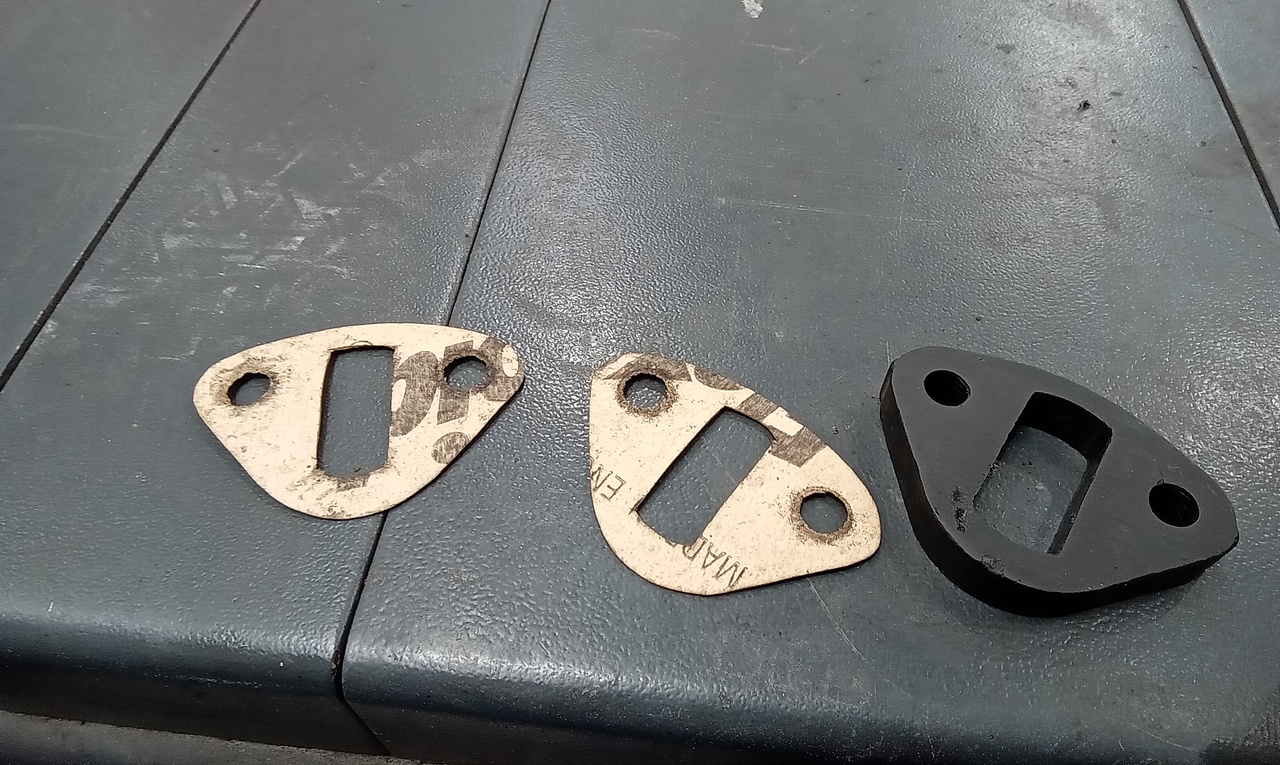
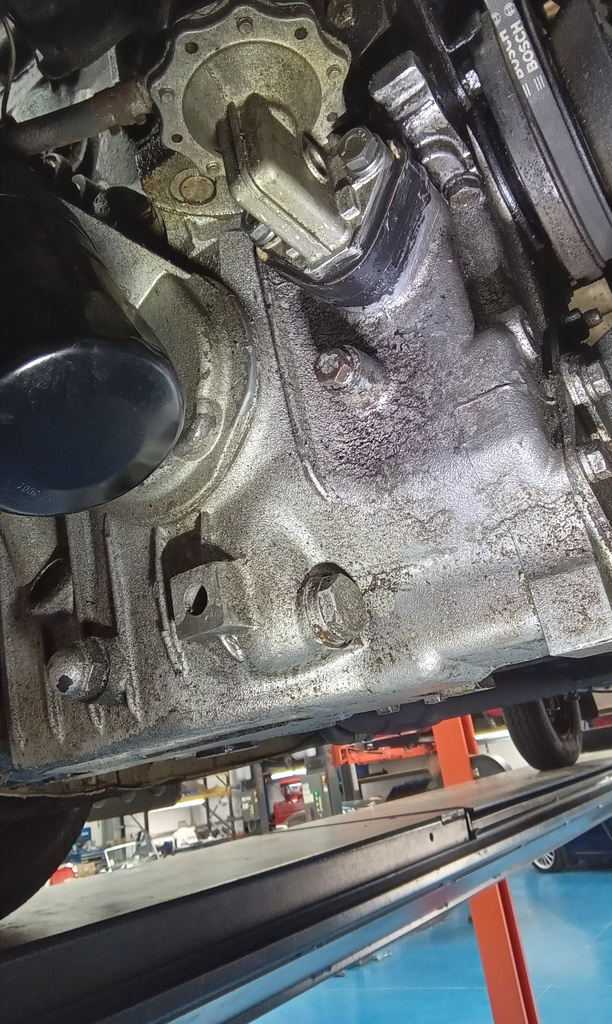
Refit modified rear axle mounting brackets. Align and secure. Refit rear wheels and torque up. Refit wheel trims. Using suspension pump lower suspension at rear. (Hydrogas not hydrolastic). Lower by approx 2 inches. Remove lift pump again as still has a leak. Clean and inspect all mating surfaces and spacer block. All appear fine. Make 2 x new gaskets and refit using derko sealer. Secure and leave to go off.
