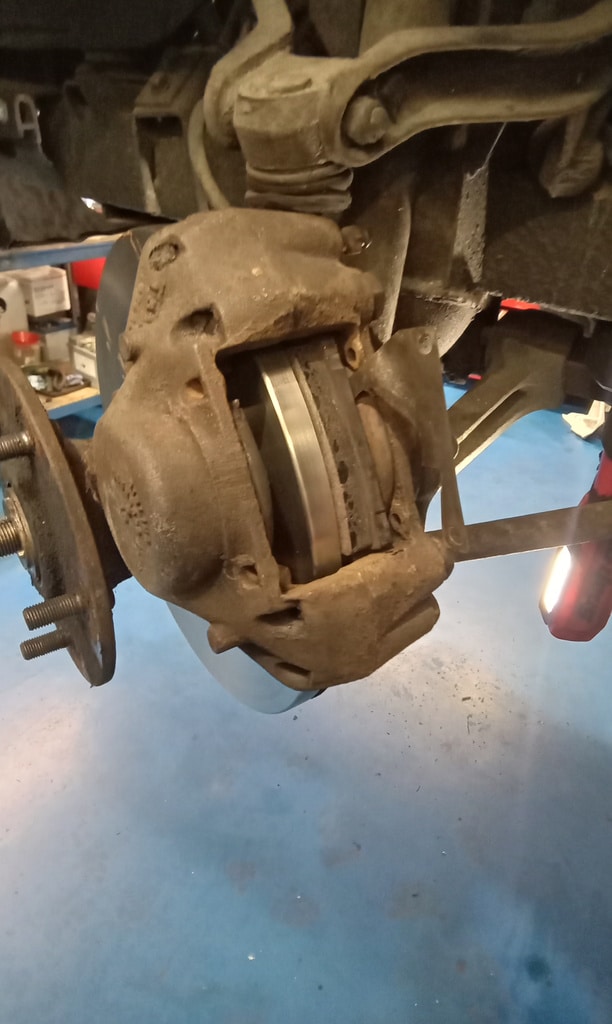
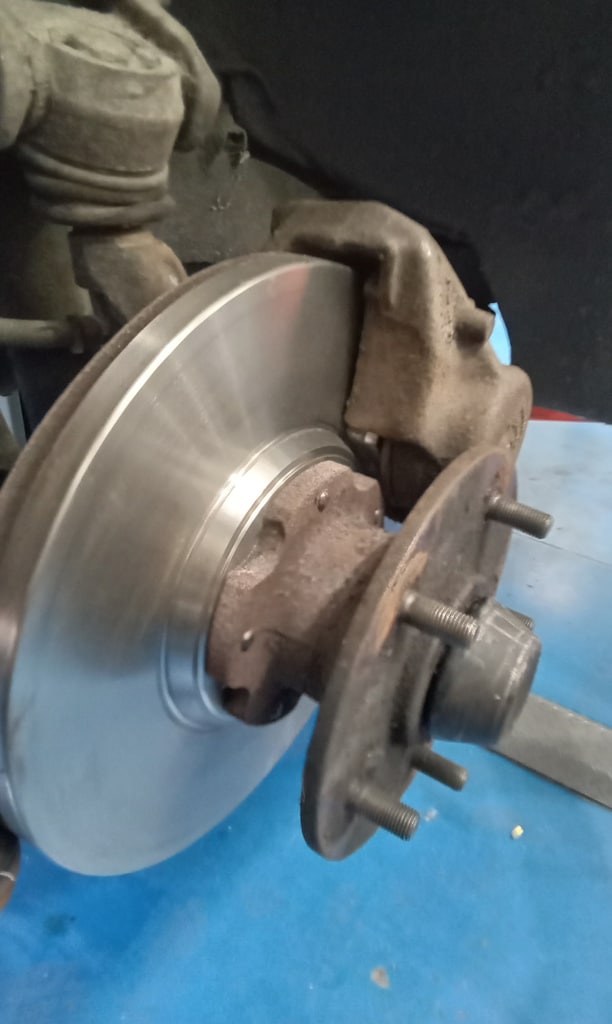
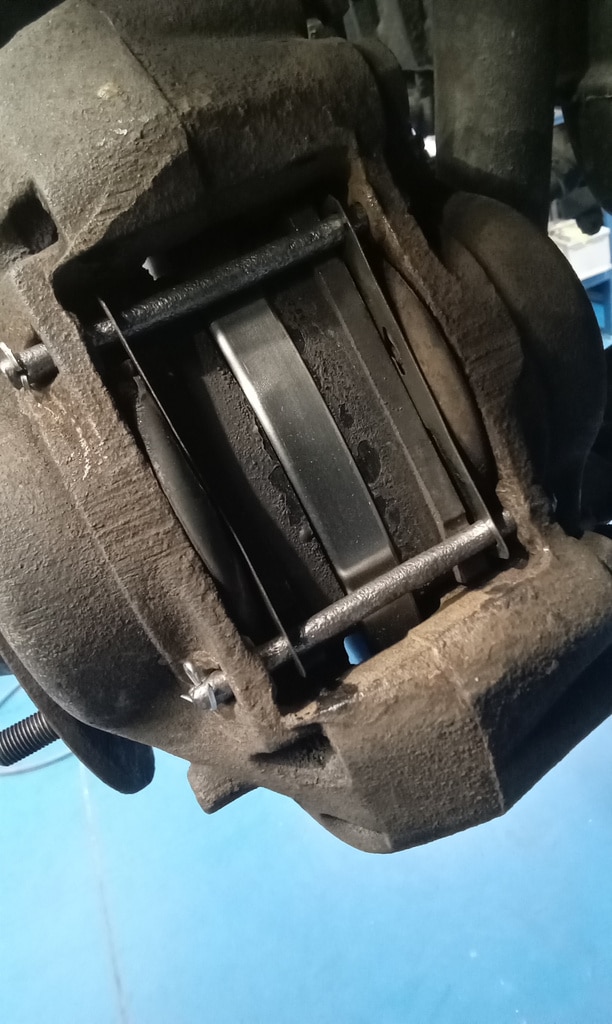
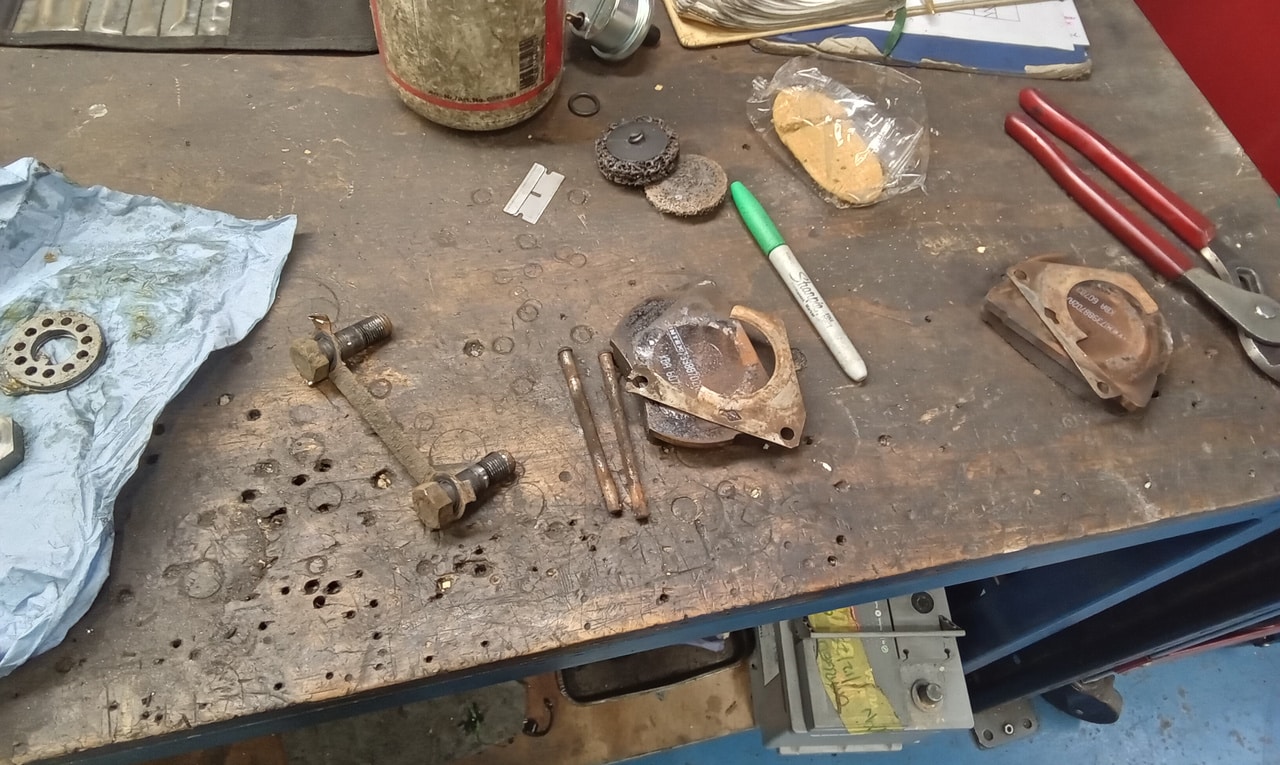
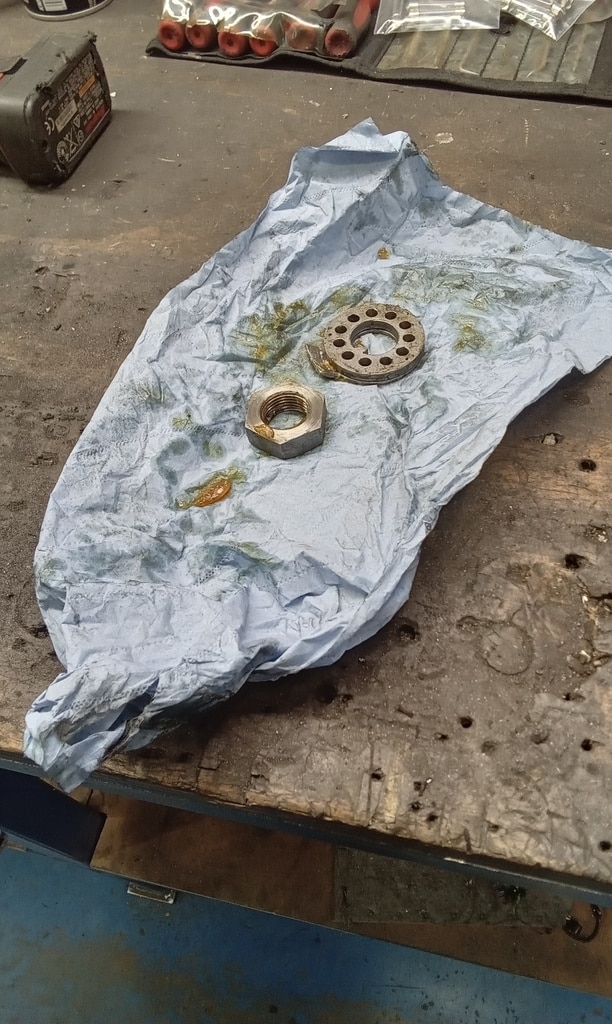
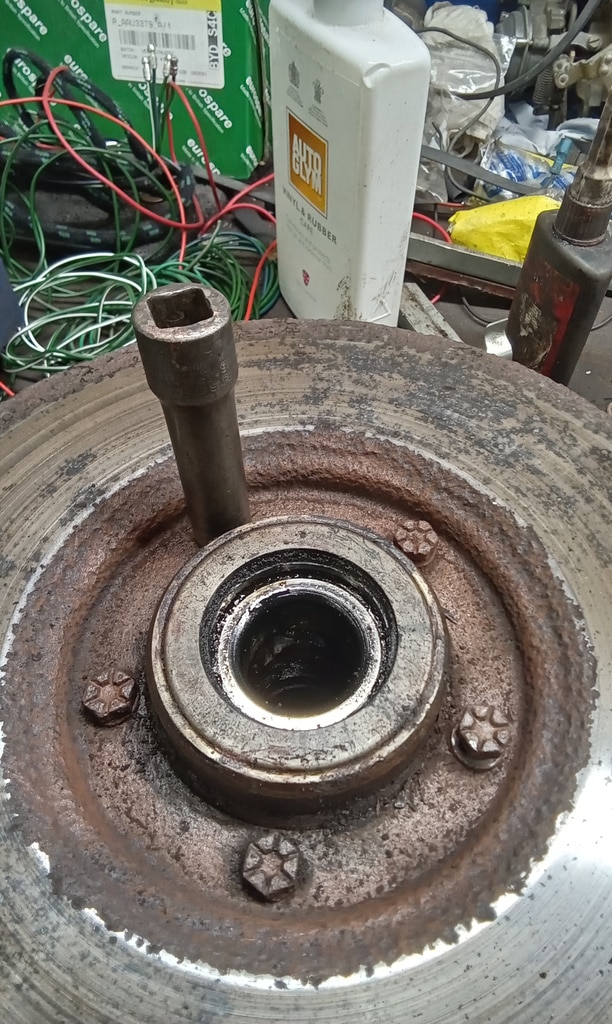
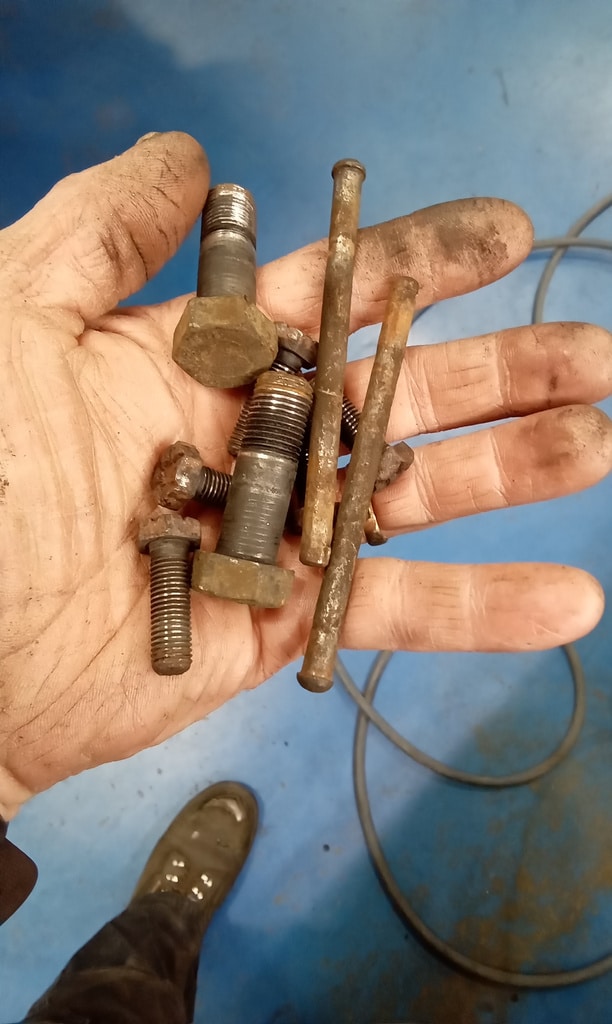
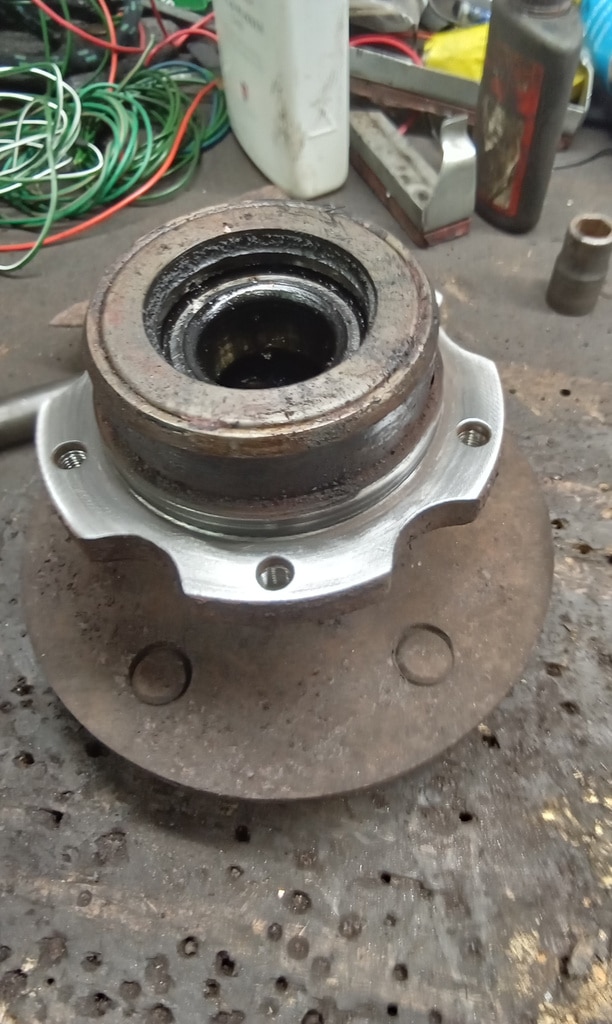
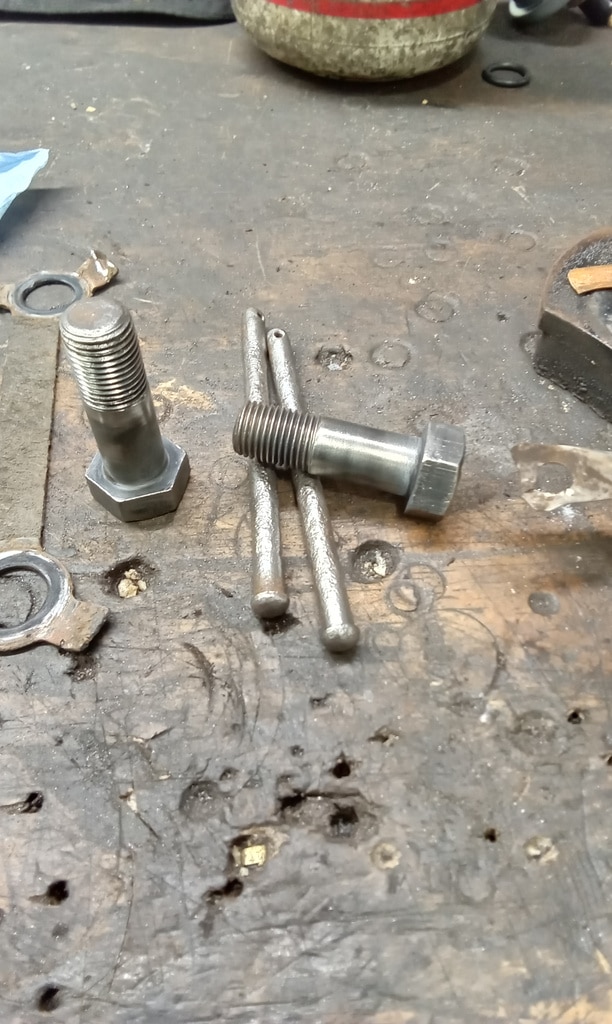
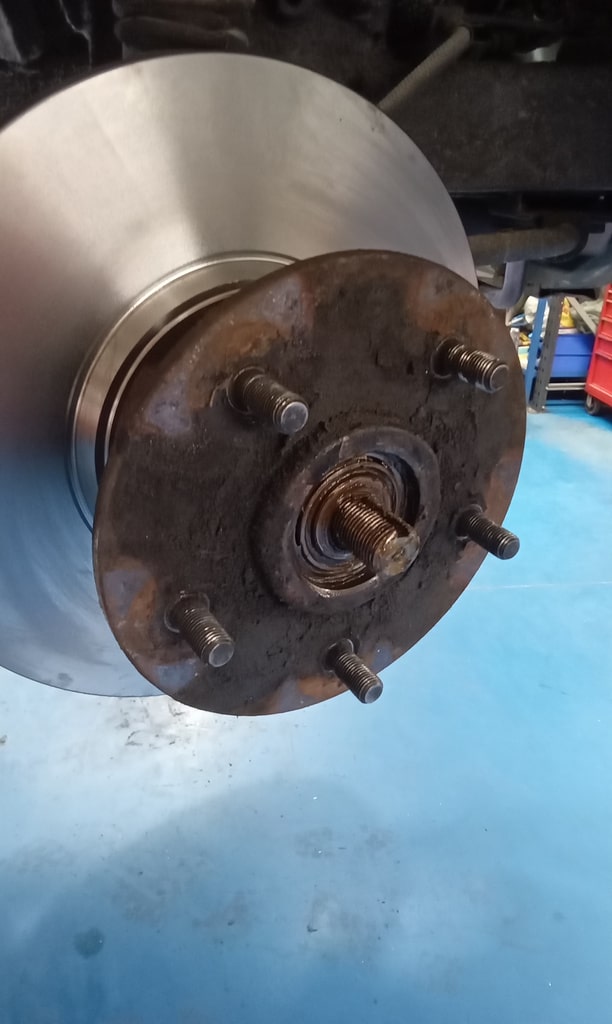
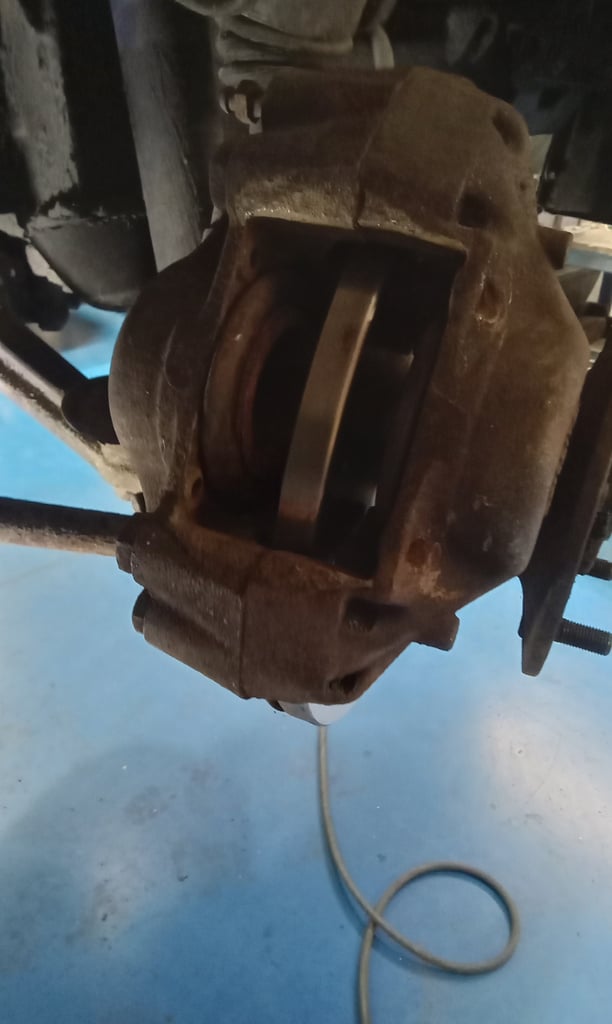
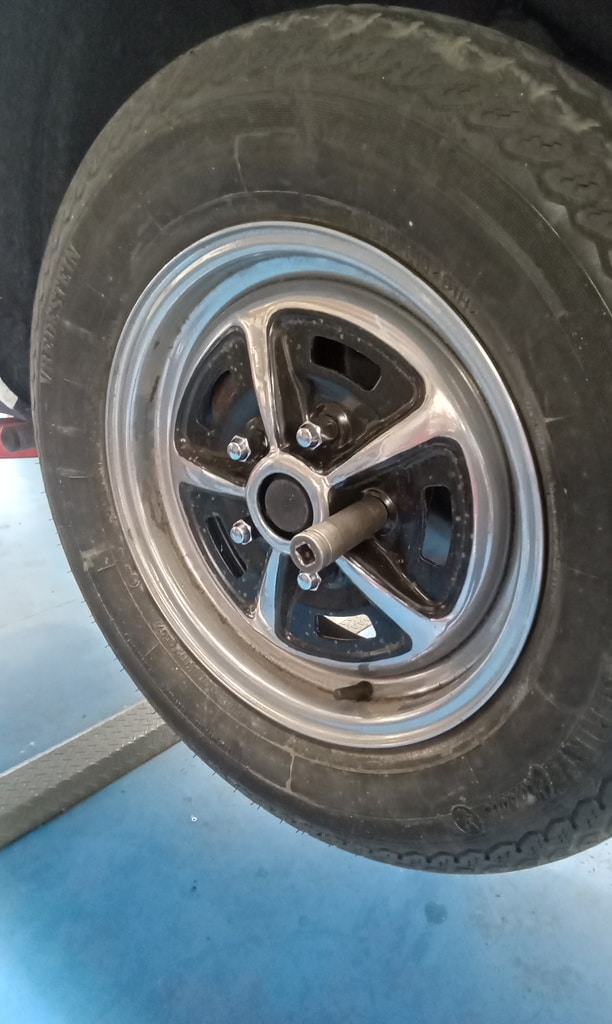
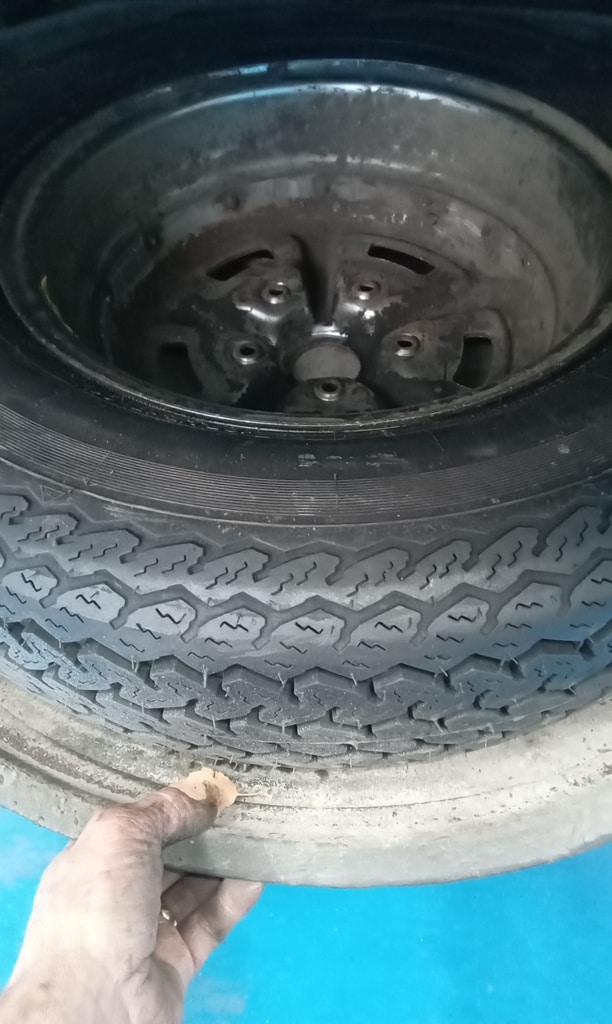
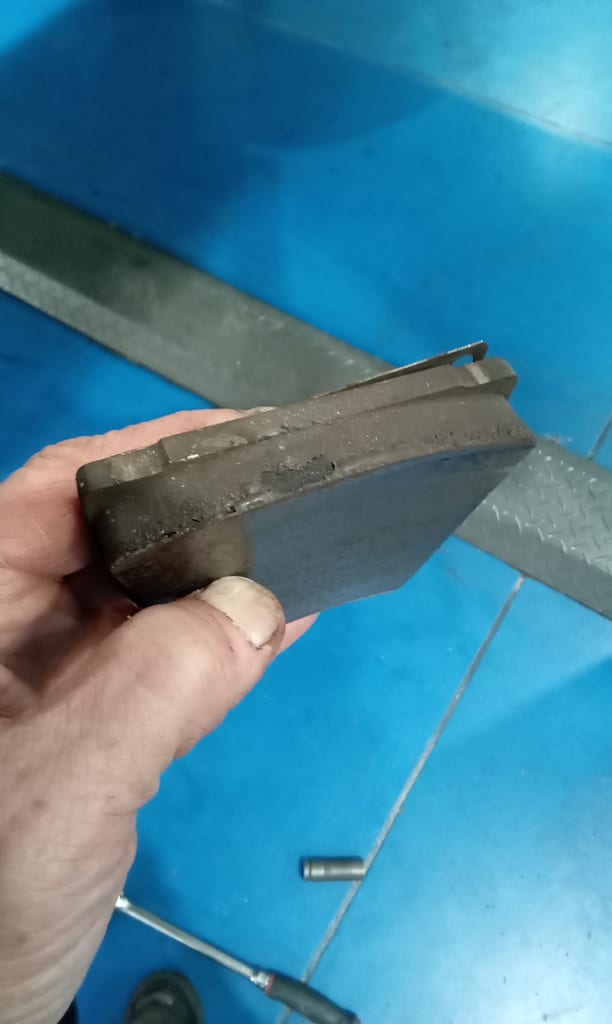
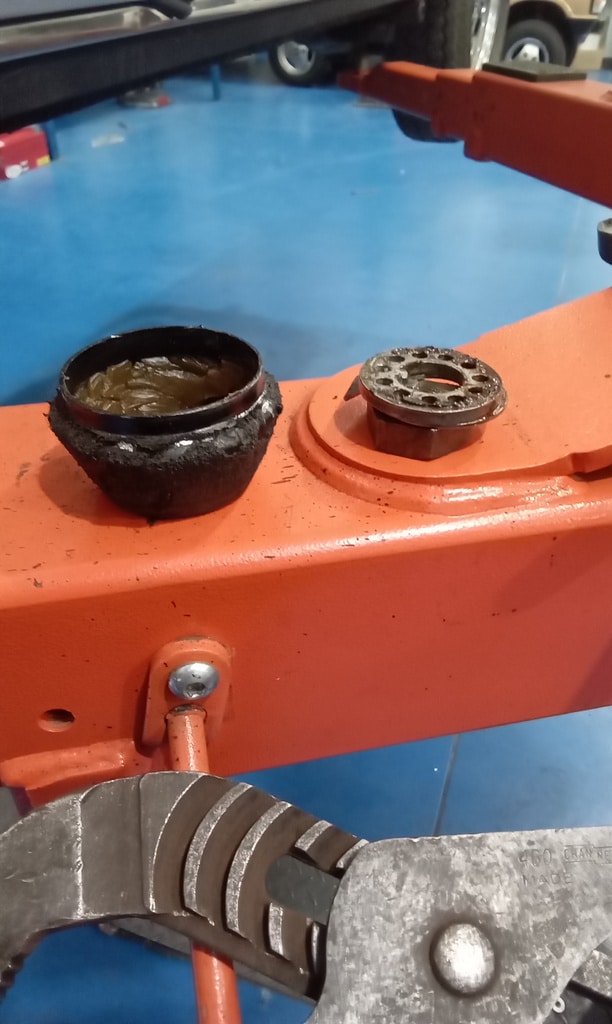
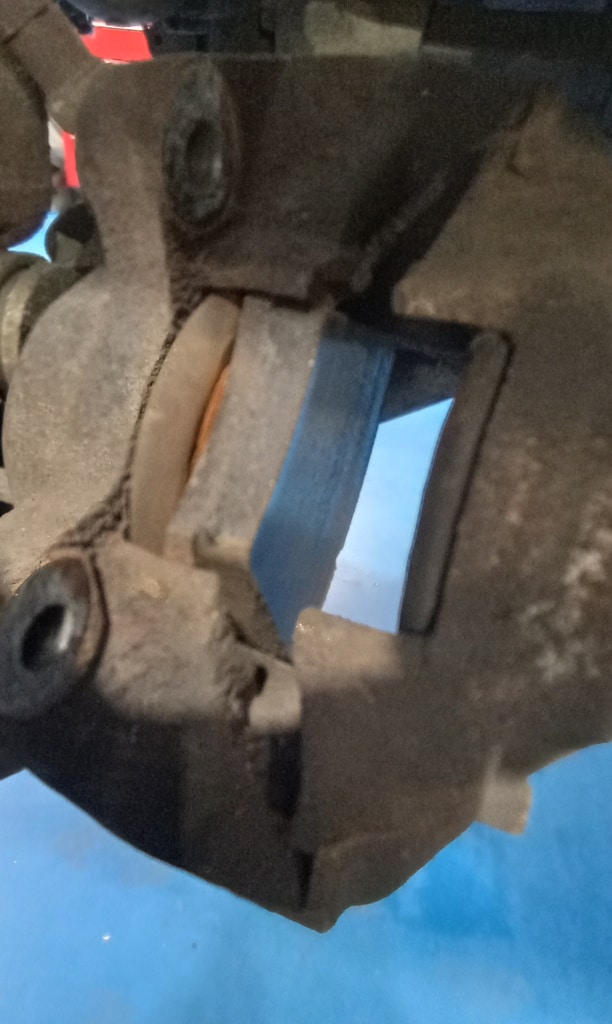
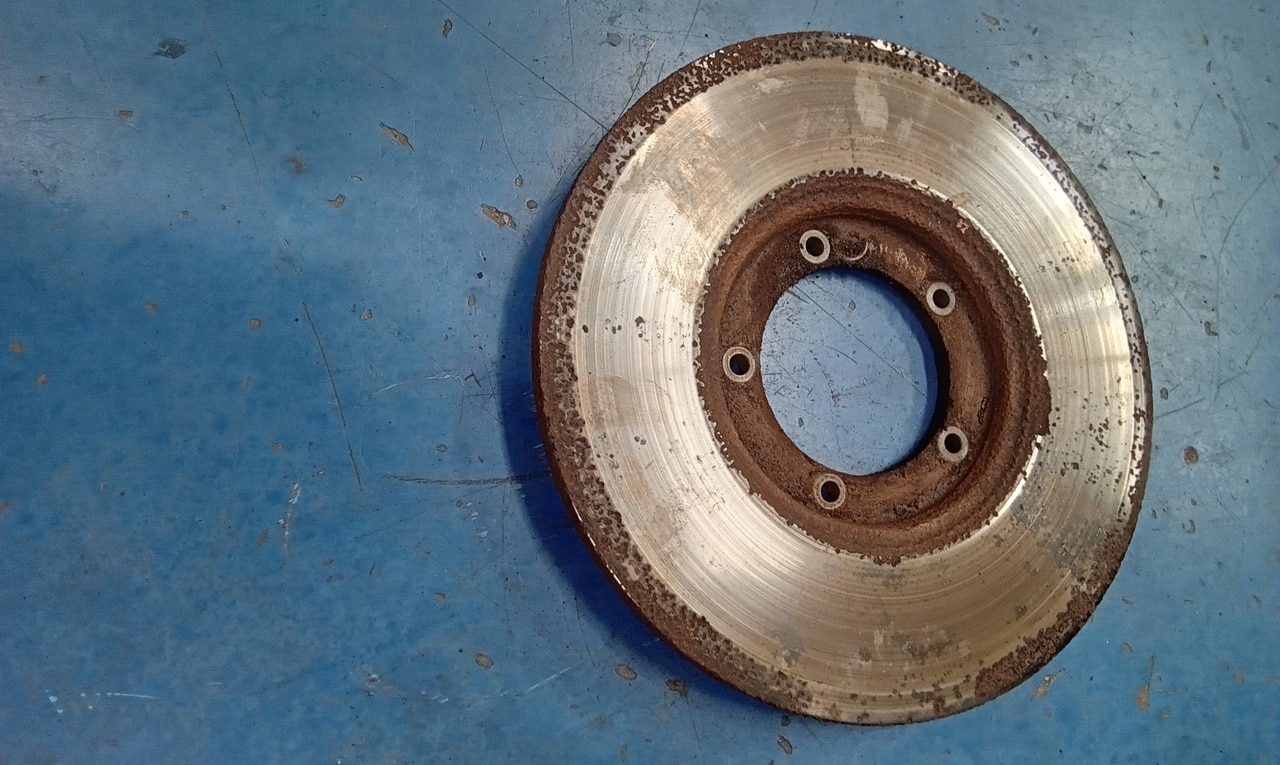
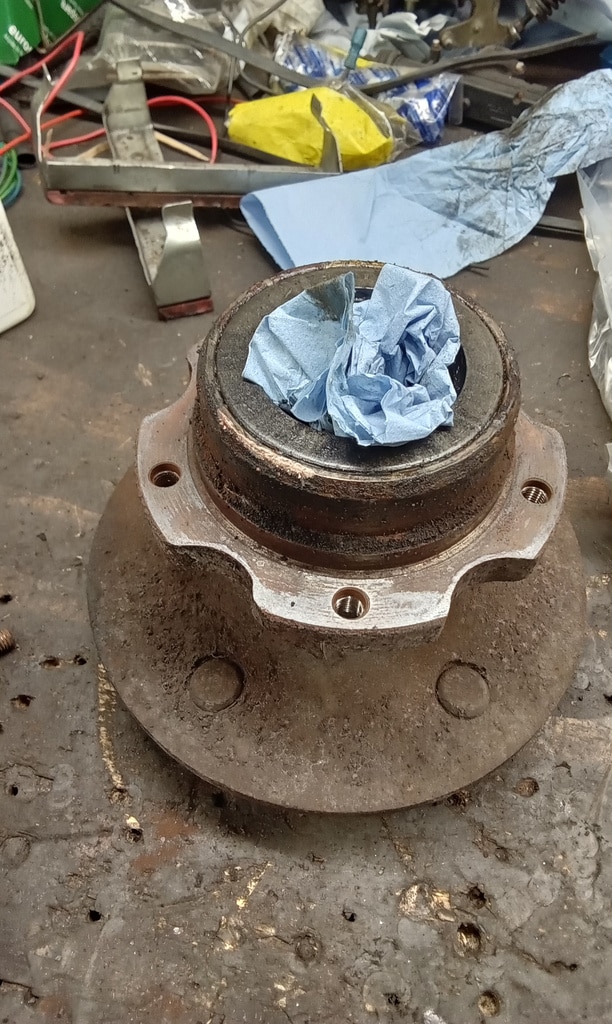
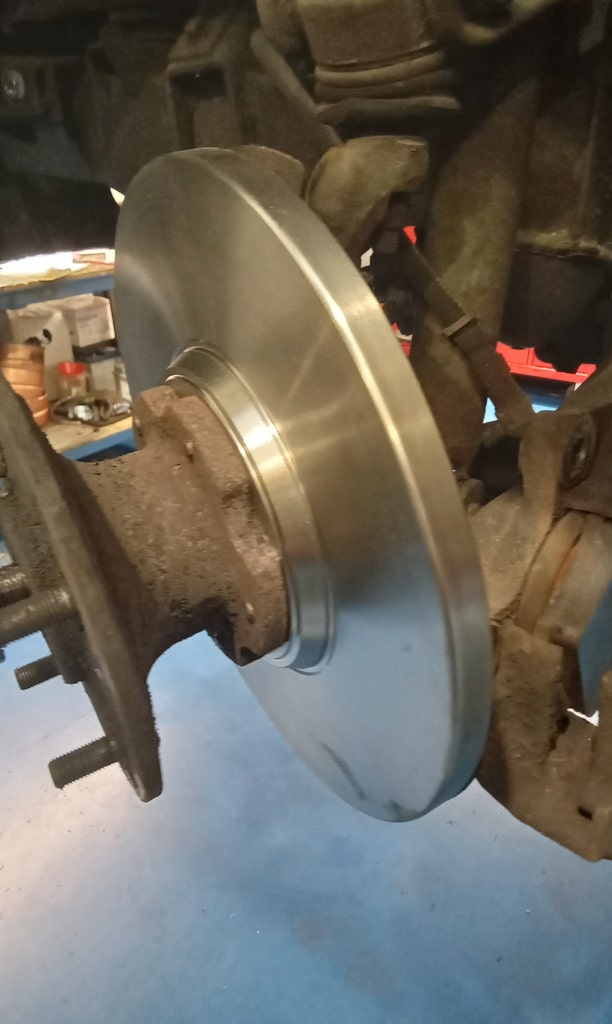
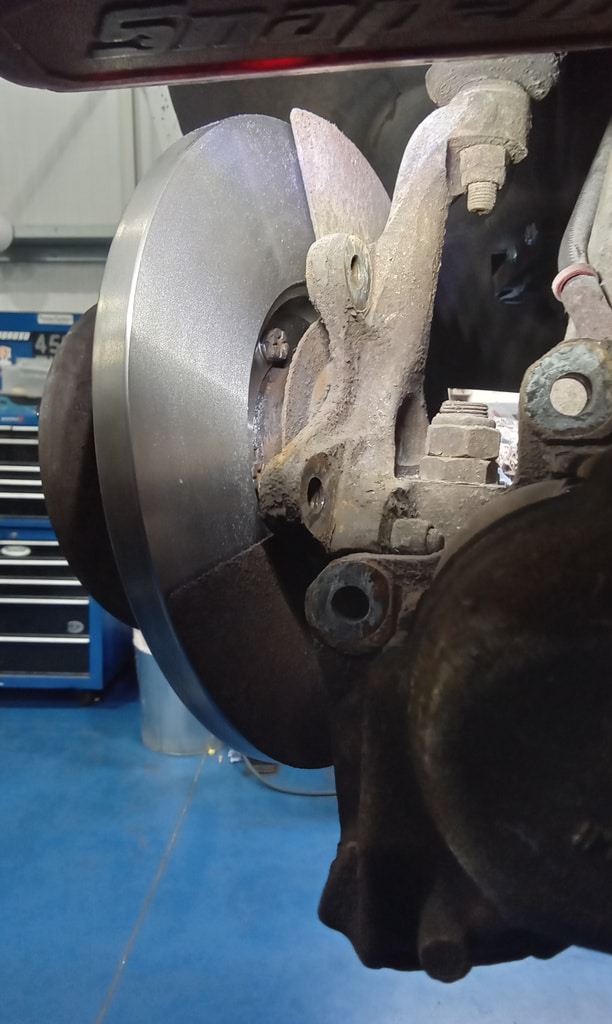
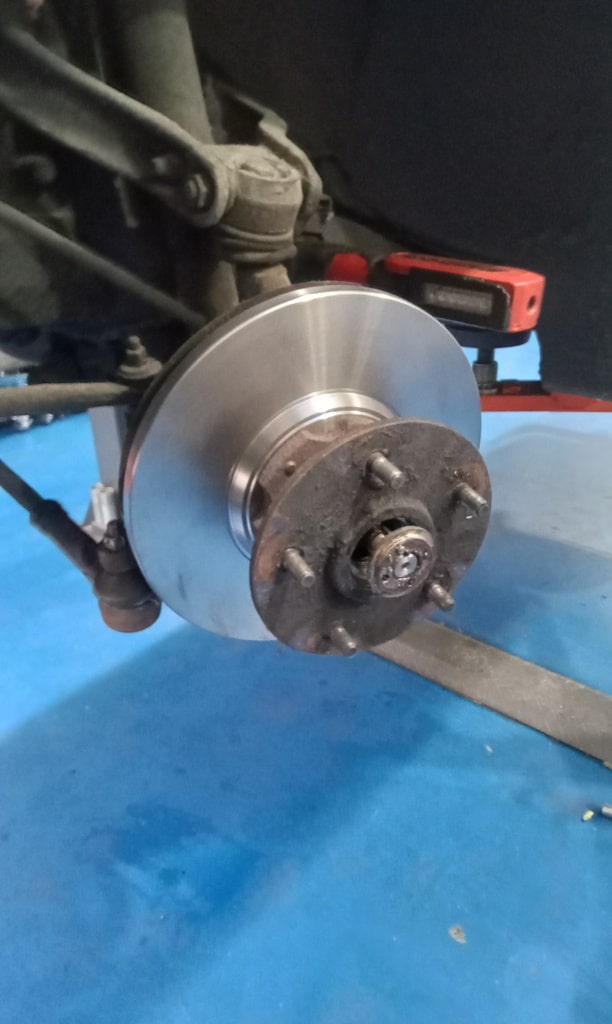
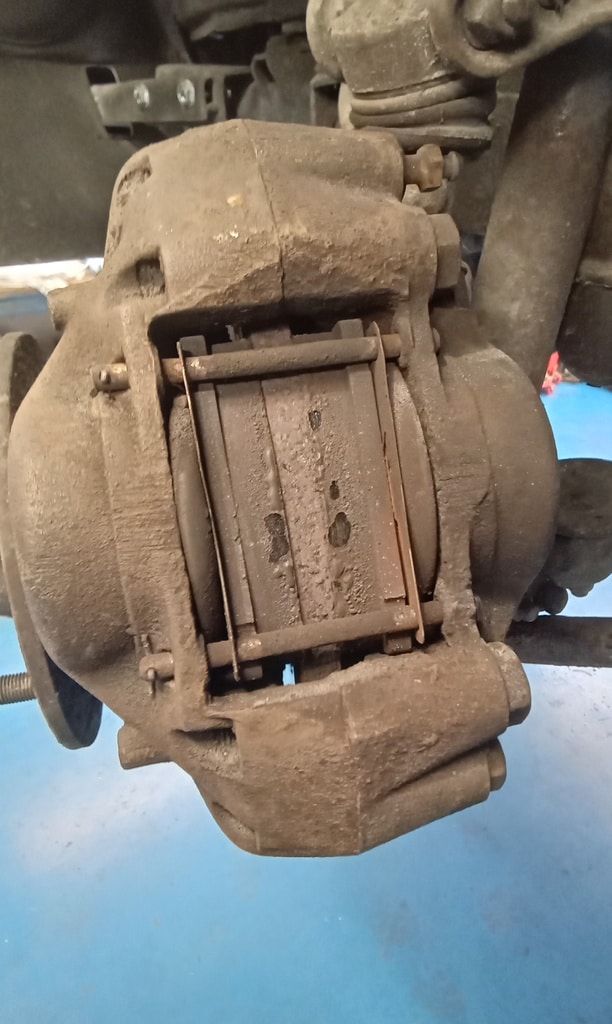
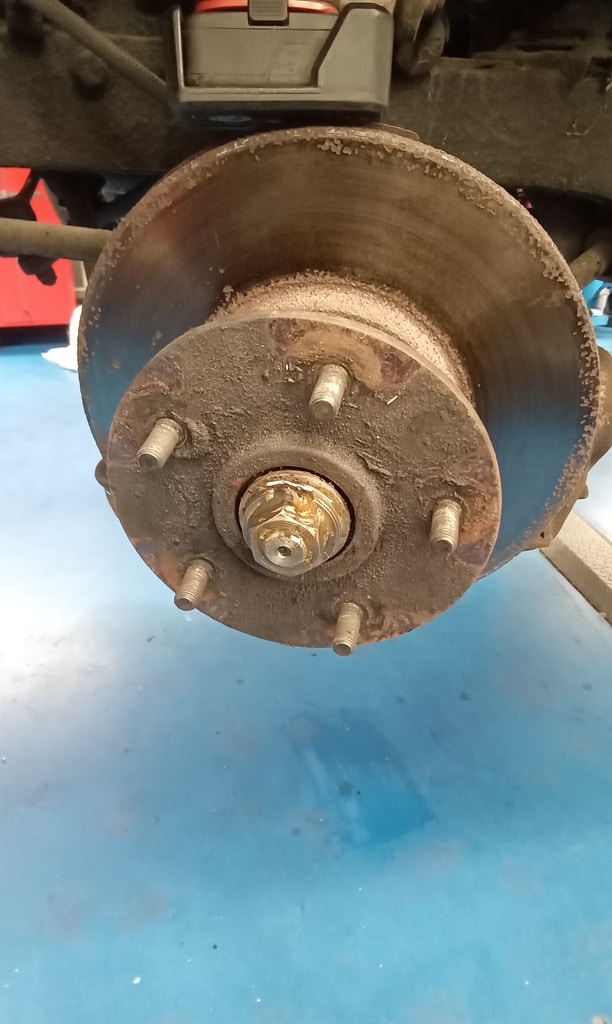
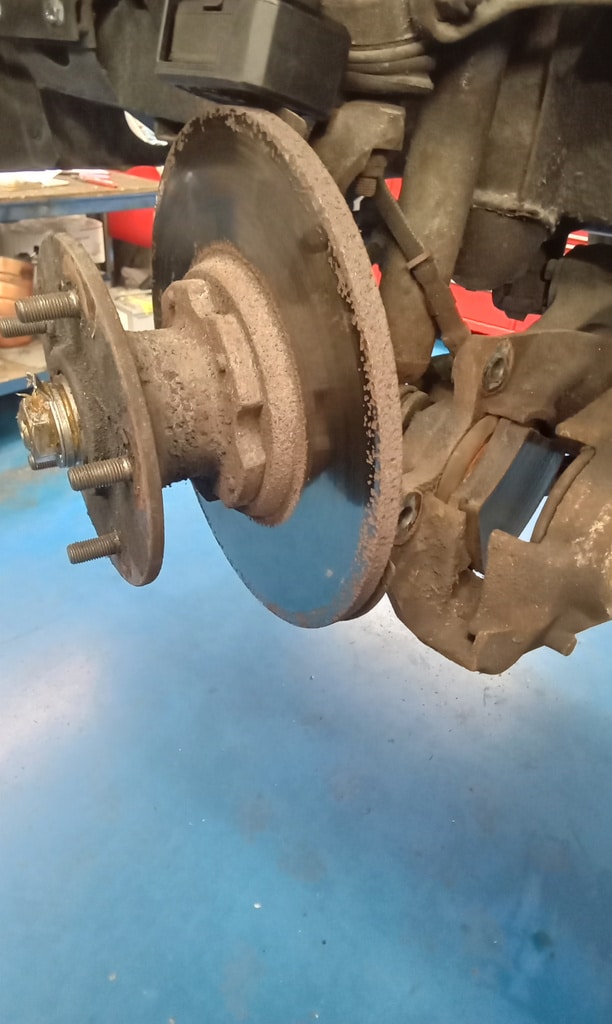
With the parts for our 1972 Rover P5 having arrived, Jon began by unboxing and organising everything before turning his attention to the front brakes. He removed the front wheels and started on the nearside, stripping the assembly by taking off the calliper and pads. The pads were cleaned for reuse while the disc and hub were removed, with the securing bolts wire brushed before being taken out. Jon separated the disc from the hub, carefully cleaning the hub face before preparing the bolts with fresh spring washers and thread locking compound. The new disc was fitted and secured, after which he cleaned and regreased the bearing before reinstalling the hub and disc assembly.
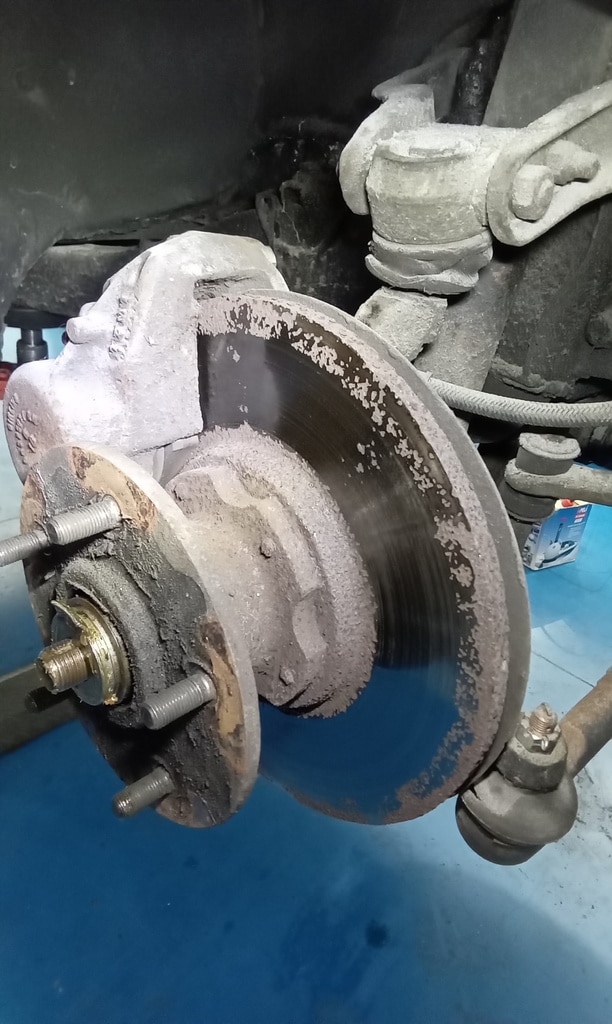
Jon then worked through the remaining front brake components, cleaning any parts that were to be reused and wire brushing the calliper in preparation. Once satisfied, he completed the nearside by regreasing the bearing again, refitting the wheel, and carrying out the correct adjustment. He then removed the wheel once more to fit the washer and locknut, before reinstalling the dust cap and wheel. The same process was repeated on the offside, where a new disc was fitted and the wheel bearing adjusted accordingly. With both sides complete, Jon inflated the tyres and raised the car, positioning a transmission jack beneath the axle in preparation for the next stage.
Attention then shifted to the rear, where Jon stripped out and removed the broken offside rear spring hanger. A new hanger was fitted and securely mounted. He removed the oil pressure switch intended for the gauge, cleaned it, and noted that the replacement part differed. After checking available stock without success, he refitted the original switch following cleaning.
Moving to the front of our P5, Jon addressed the bonnet release cable. He removed the grille, noting it had not been secured at the bottom, which allowed access to the bonnet catch. The broken cable was removed, and a new inner cable was threaded through and routed correctly. After removing the barrel end and sliding it onto the cable, he secured it to the mechanism and tested its operation. A minor adjustment was required before achieving a satisfactory result. The grille was then refitted using new bolts, this time properly aligned and secured at the bottom.
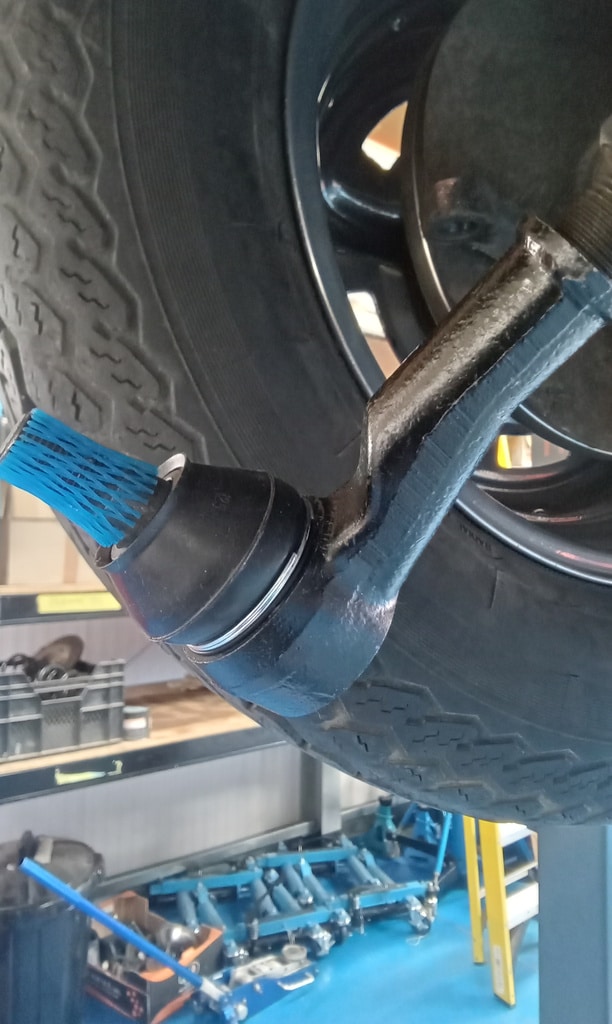
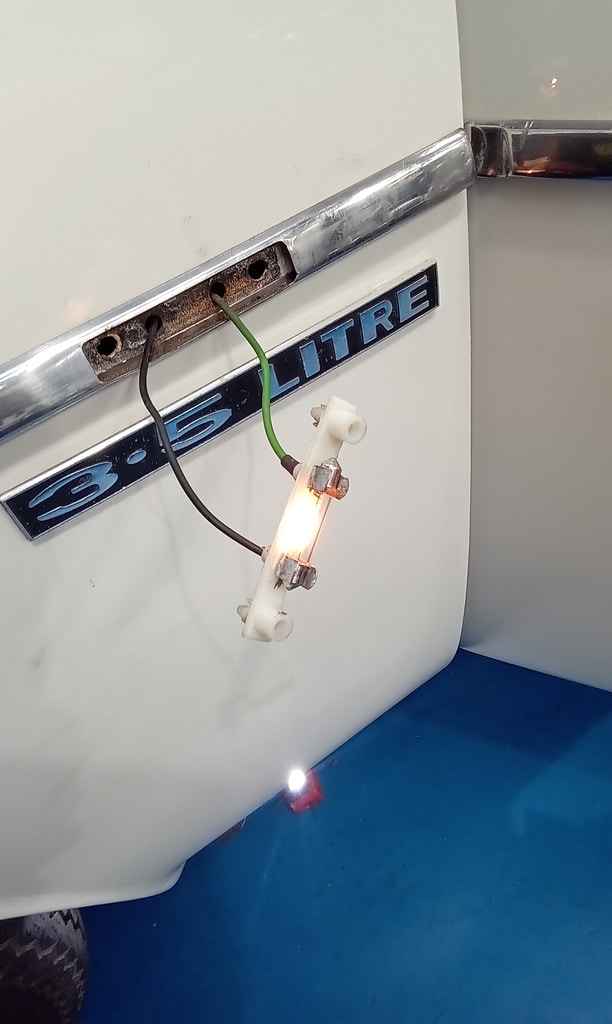
Further work saw Jon strip the offside track rod, replacing both rubber dust covers and securing them with lockwire. Upon refitting, he found the outer end would not tighten correctly, and despite attempting to rethread it, the issue remained, indicating a replacement end would be required. He then removed the oil pressure switch for the warning light, cleaned and bench tested it, before refitting and reconnecting it.
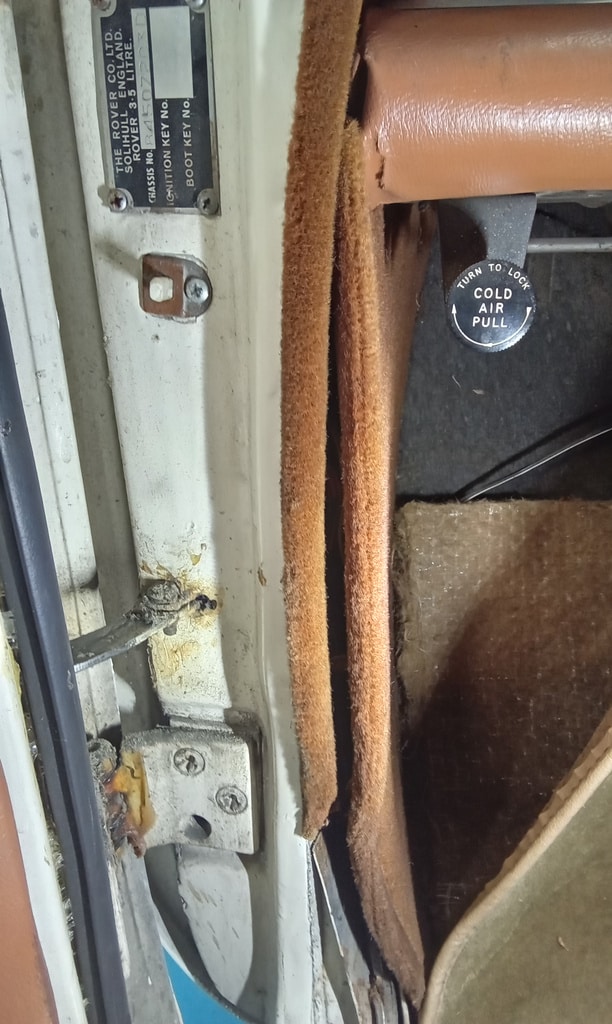
Finally, Jon removed the old radio and installed a new DAB unit. He identified the permanent live, ignition live, and earth connections, wiring them in before connecting the rear speaker and testing functionality. All connections were soldered and protected with heat shrink for reliability. The aerial was mounted to the screen, the microphone positioned near the steering column, and once everything was confirmed working, he tidied the wiring and refitted the interior trim.