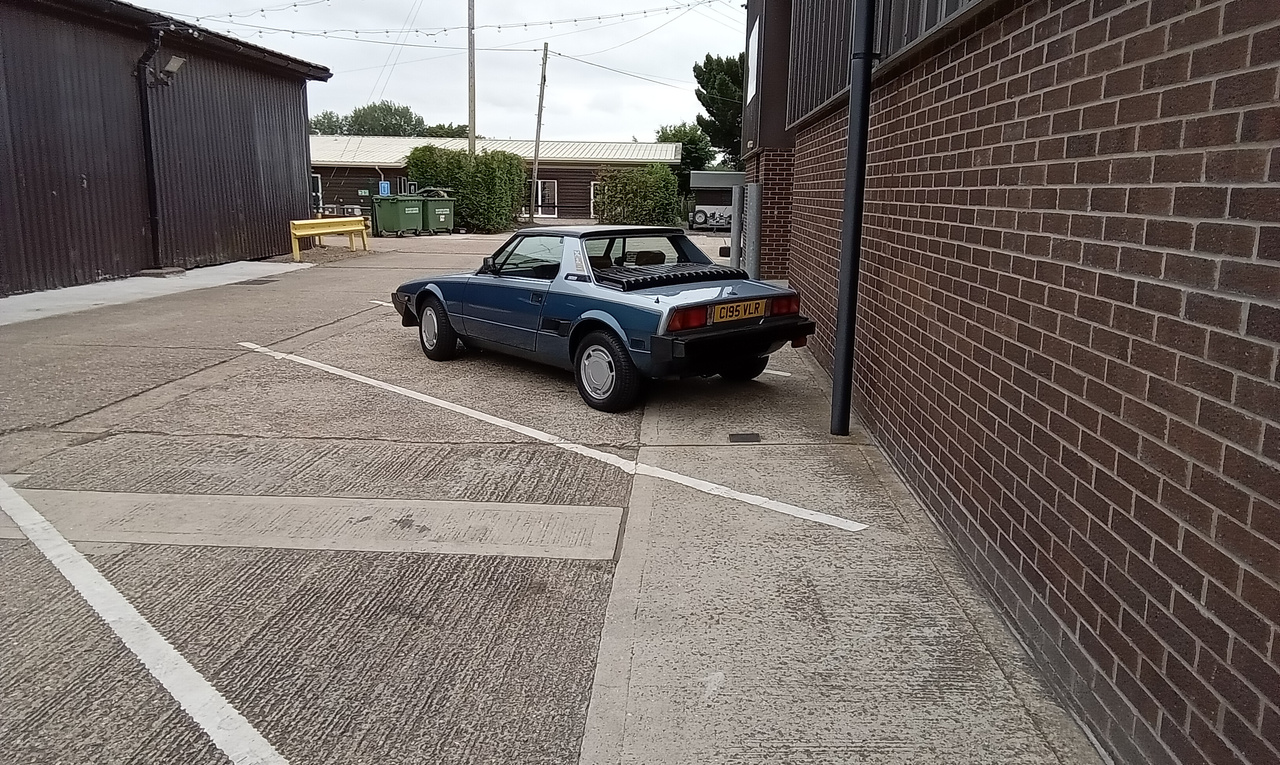
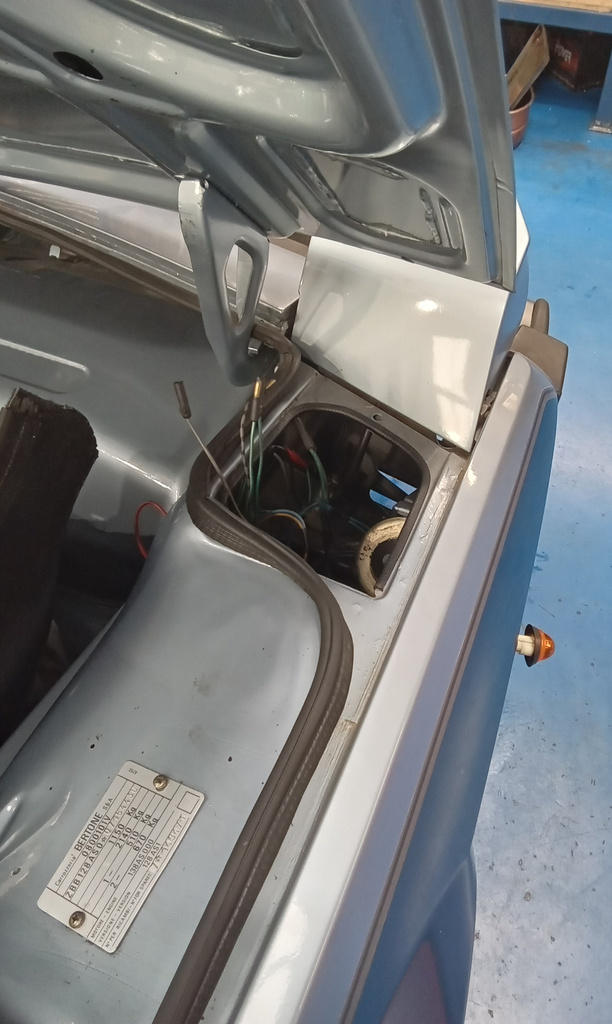
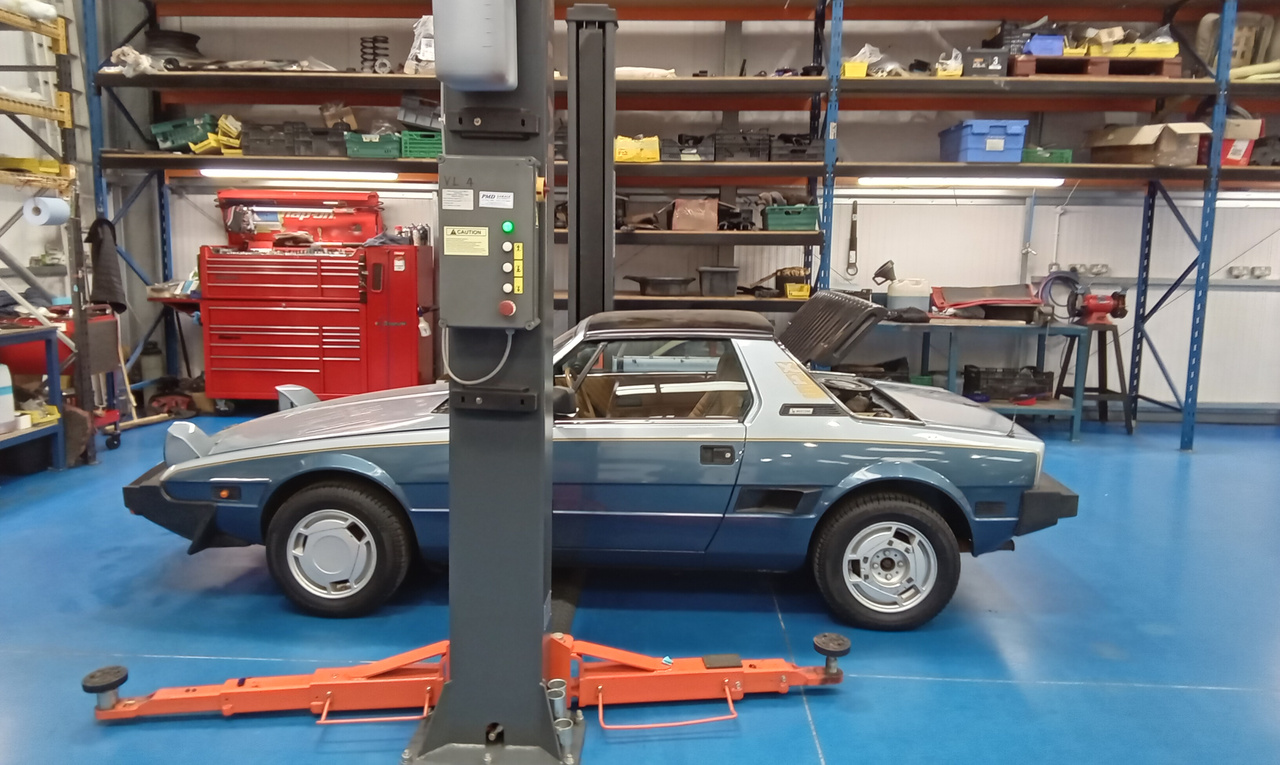
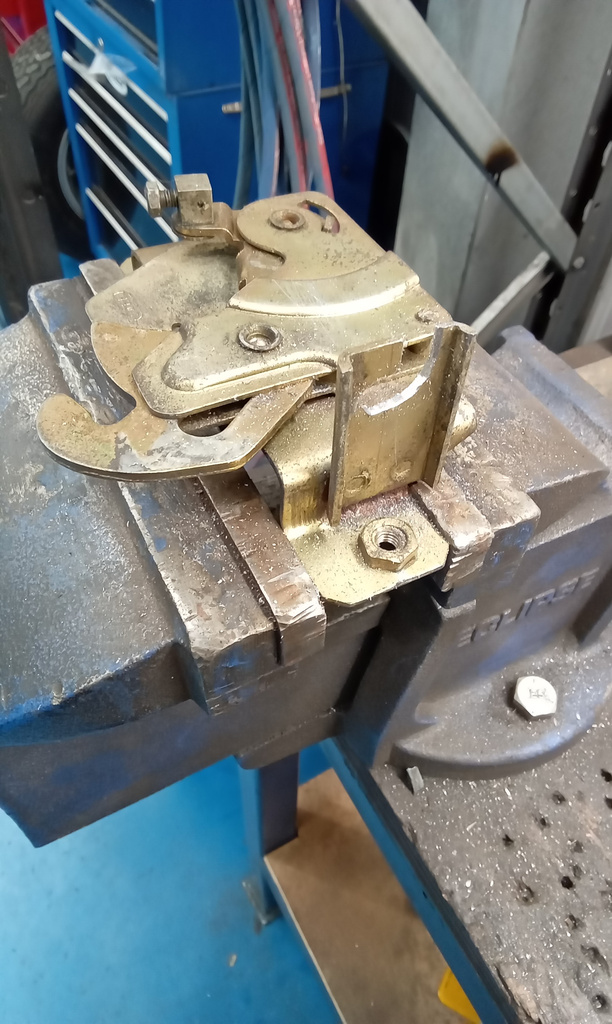
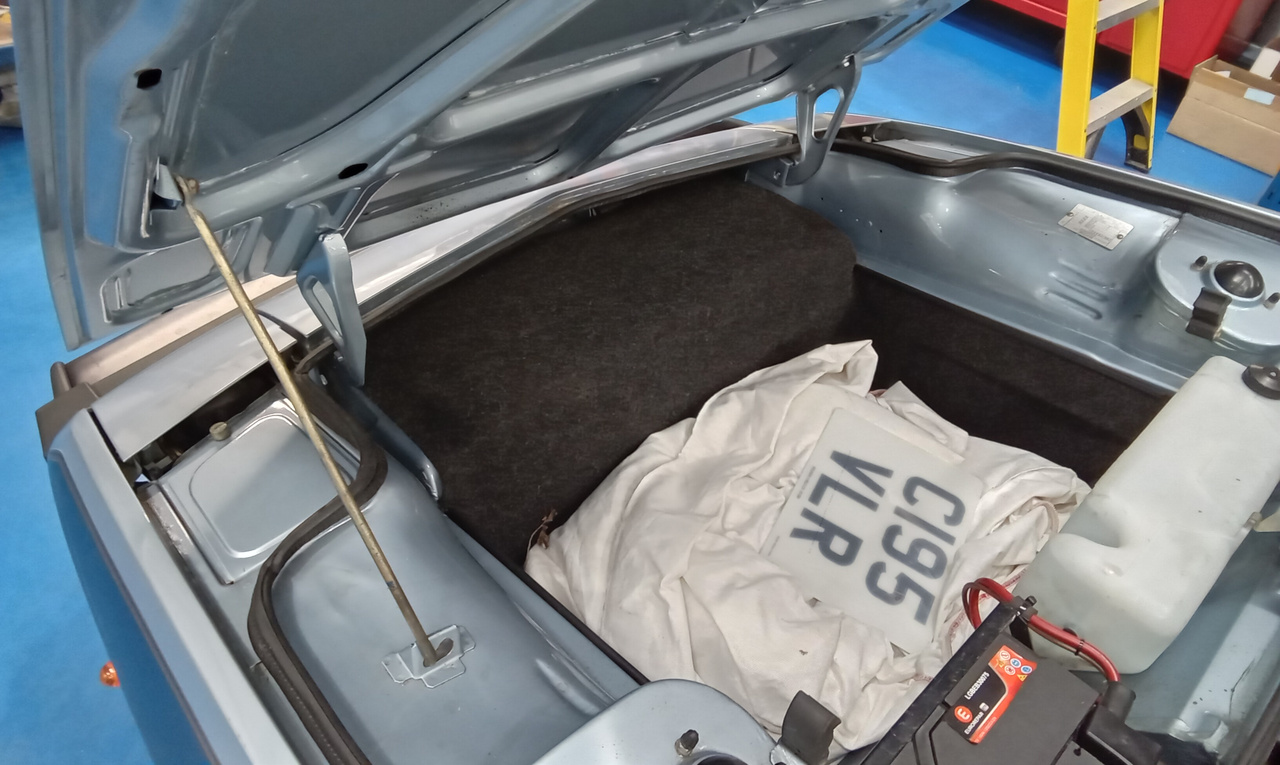
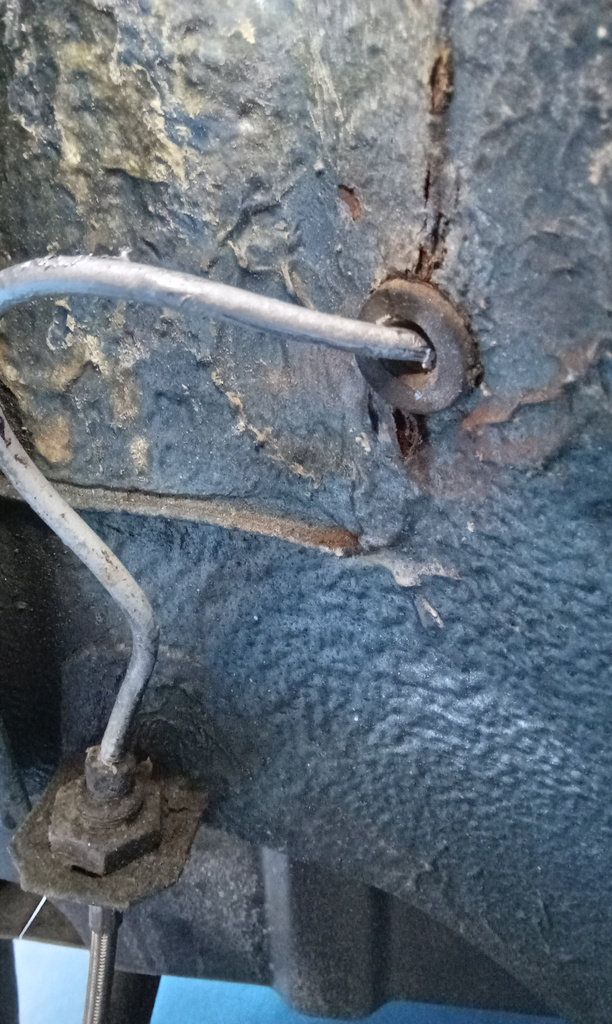
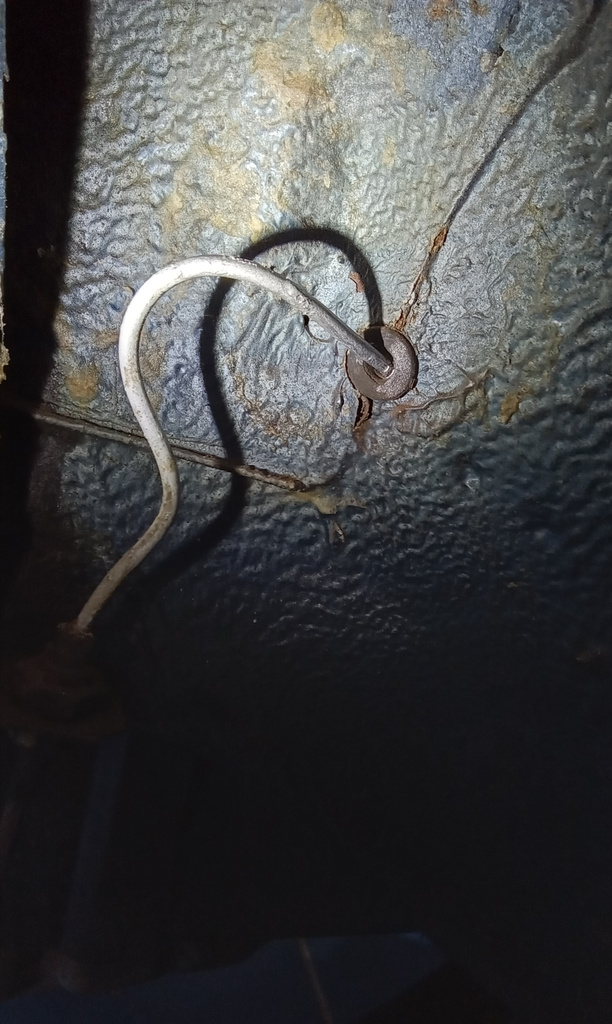
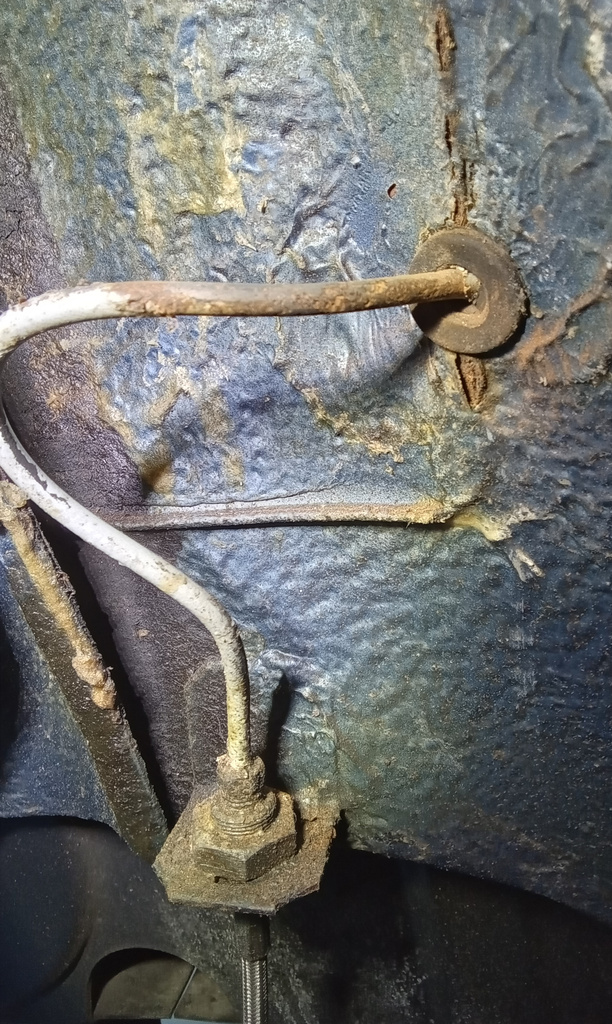
To begin with, Jon has taken over the preparation of our 1986 Fiat X1/9. He is carrying on with repairing this rare and quirky sports car, beginning with getting the bonnet releases to work correctly.
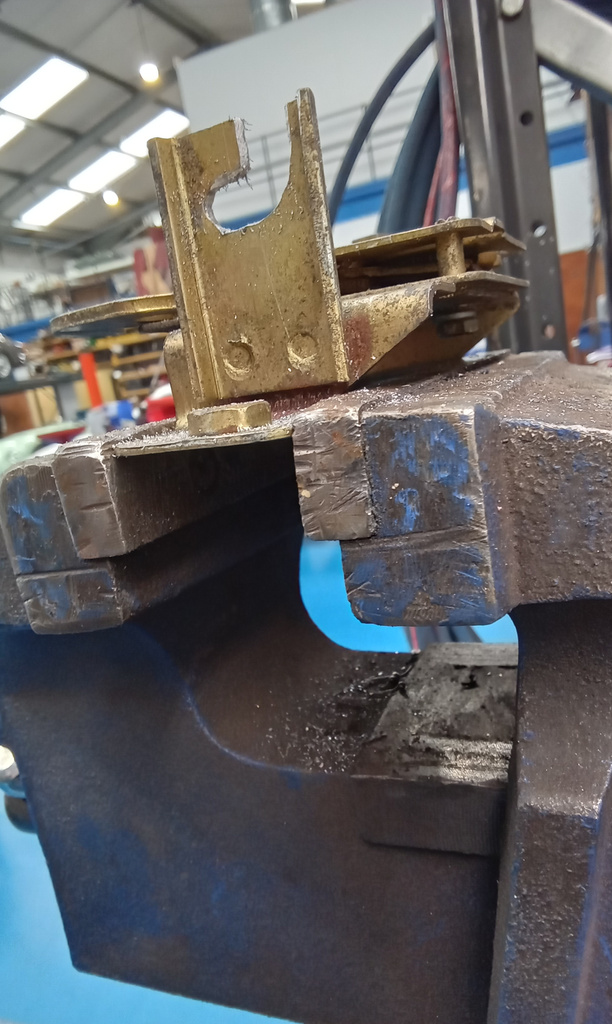
Jon had to remove the catch and latch out of the car to modify it in order to accept the new cable. In order to get everything routed correctly through the car, he had to dismantle the scuttle panel. But with everything now in place, he could work on getting everything back in place and move onto the next job on the list.
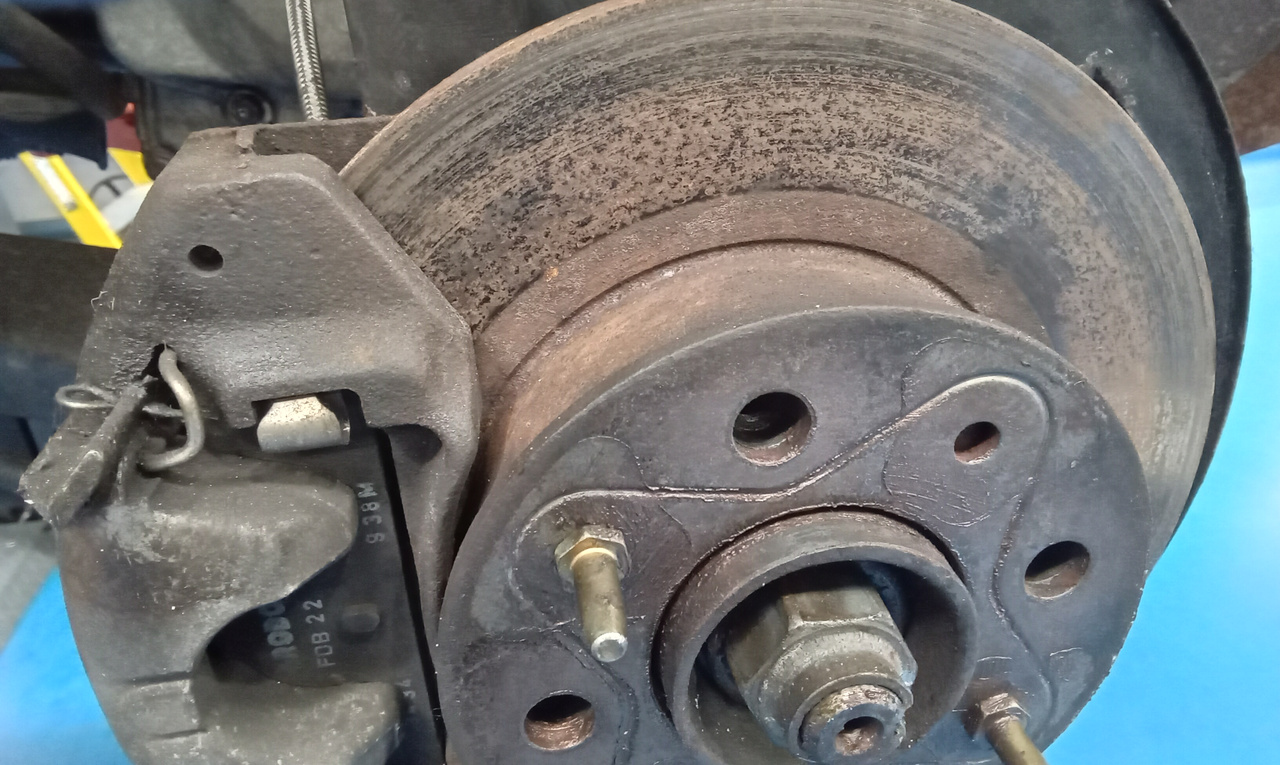
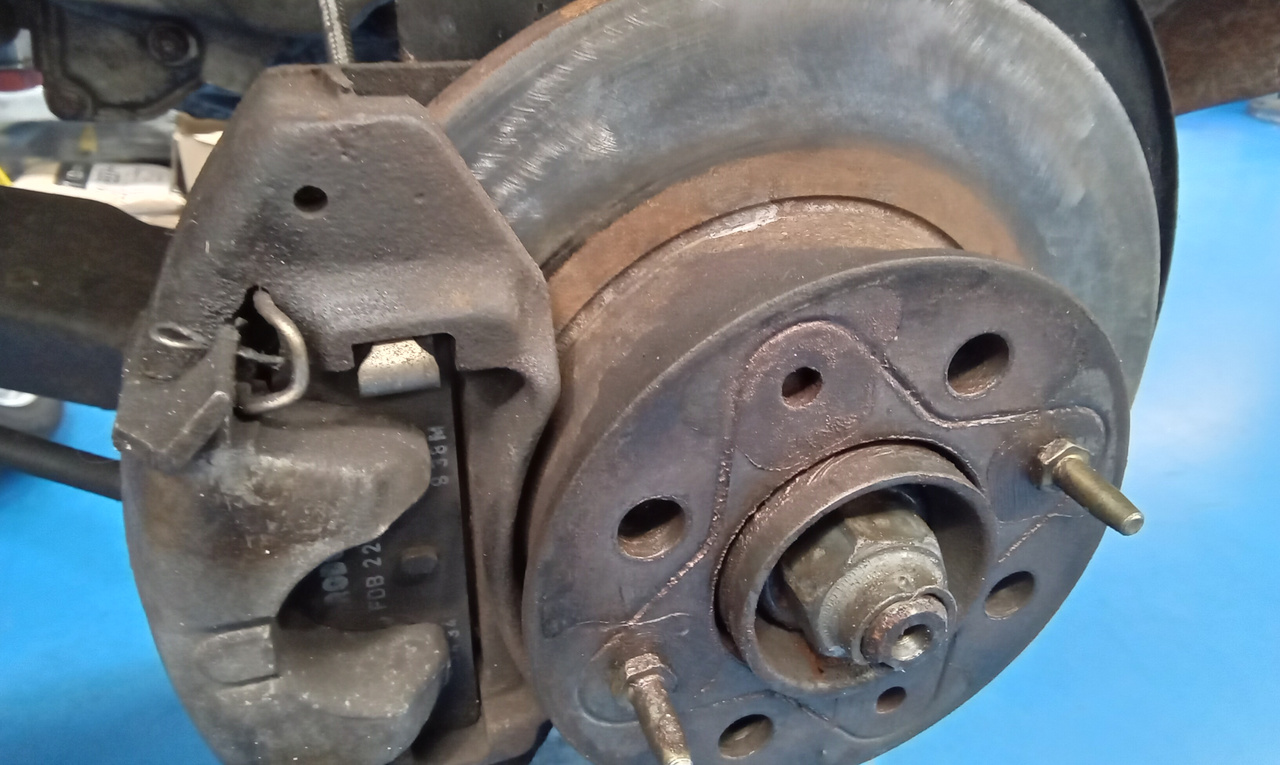
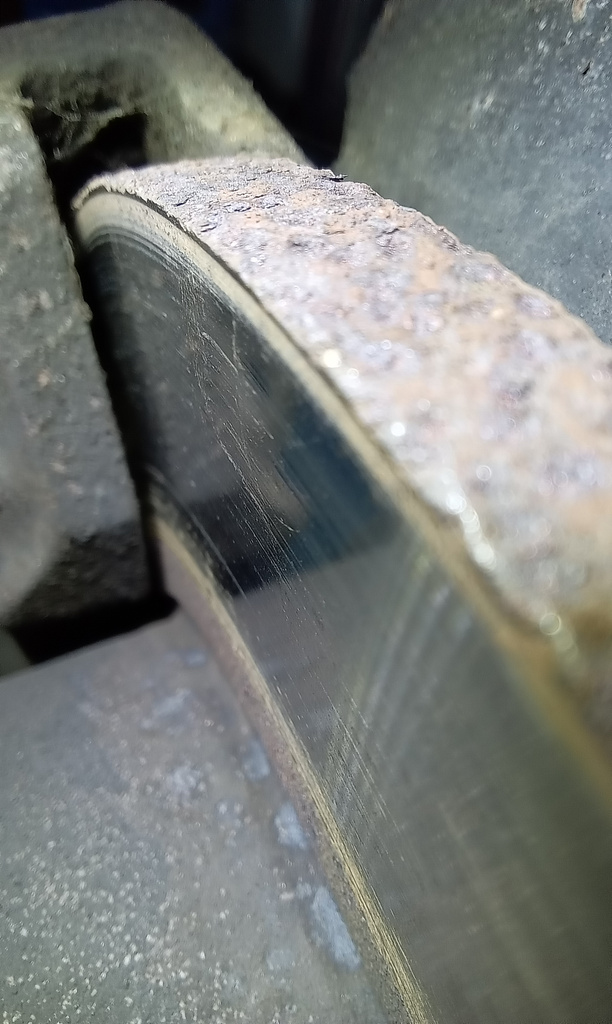
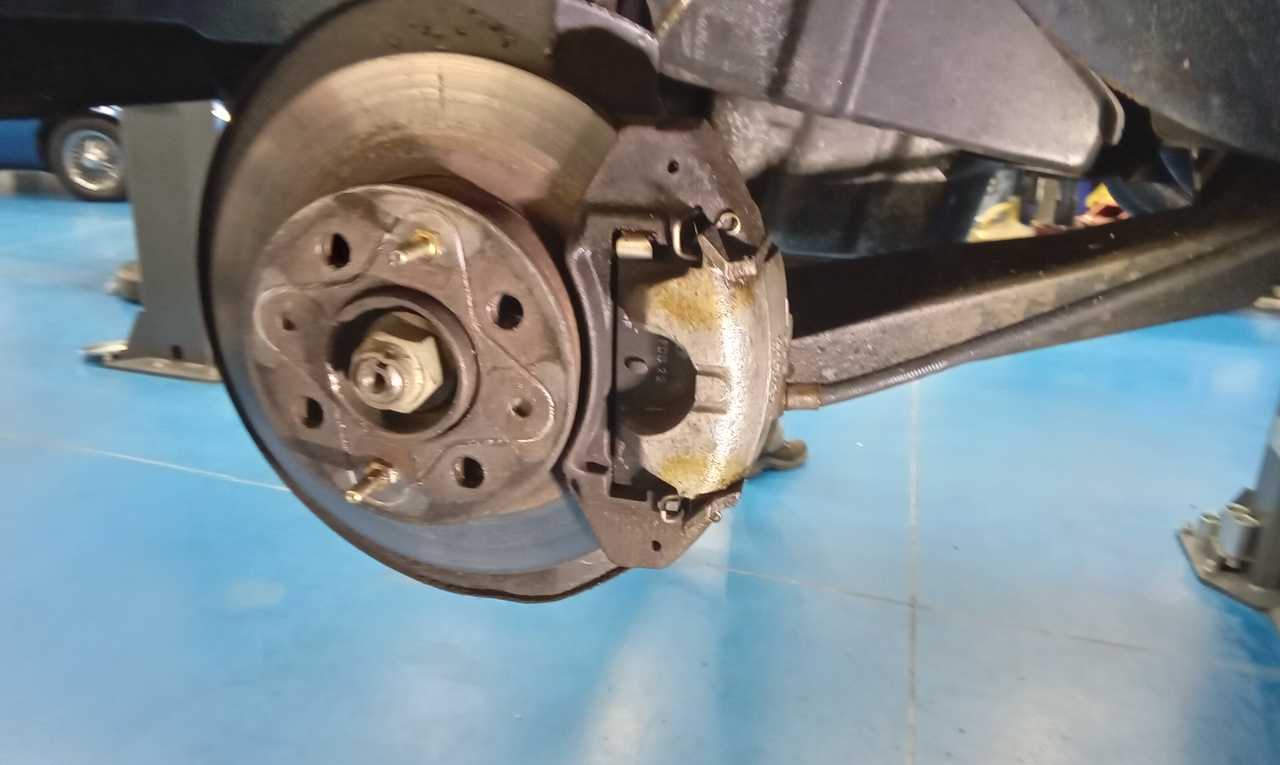
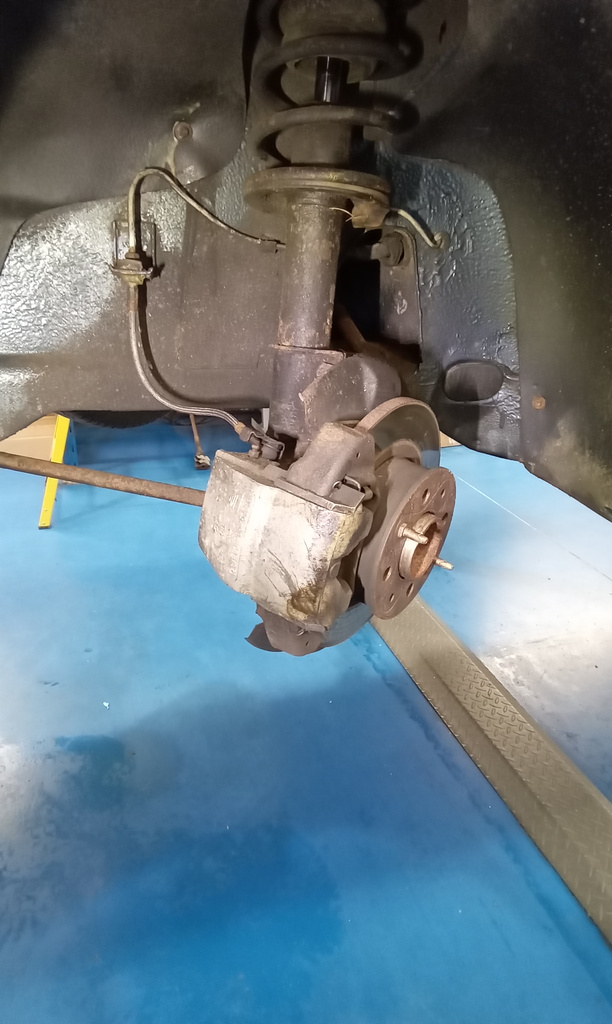
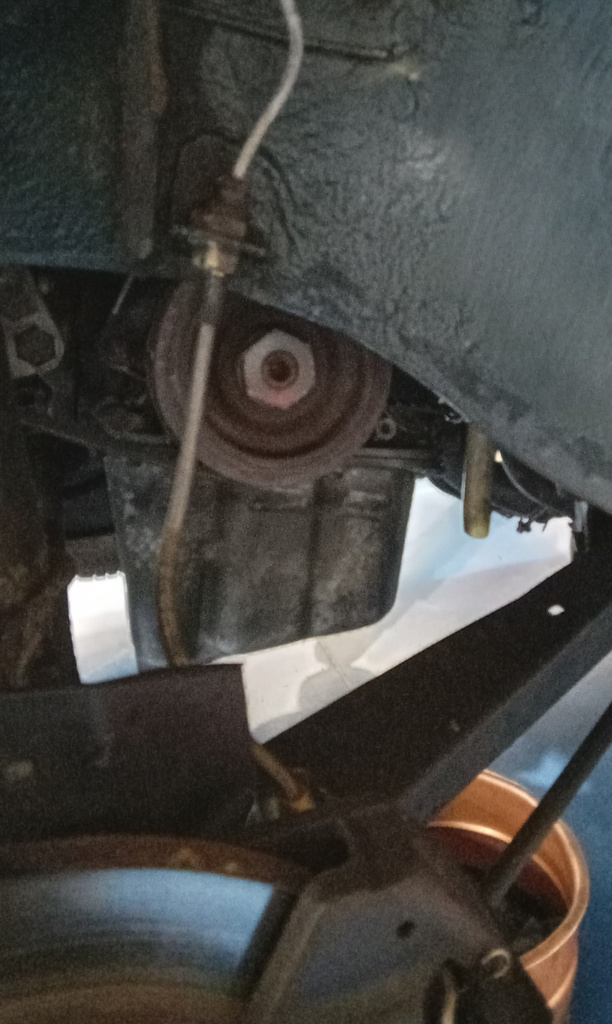
First up was an inspection of the brakes on the car. After clearing the disc of any surface rust, Jon could them back onto the car but not before inspecting all brake lines, hubs and bearings. He then inflated all tyres to the correct pressure before refitting them to the car, except for the offside rear which must be left off in order to replace the cambelt.
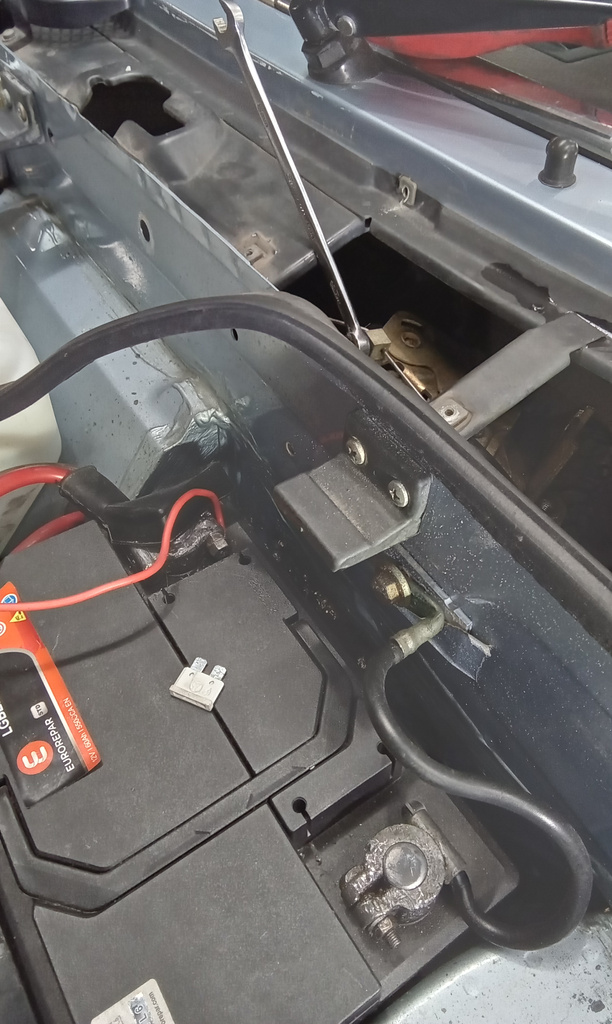
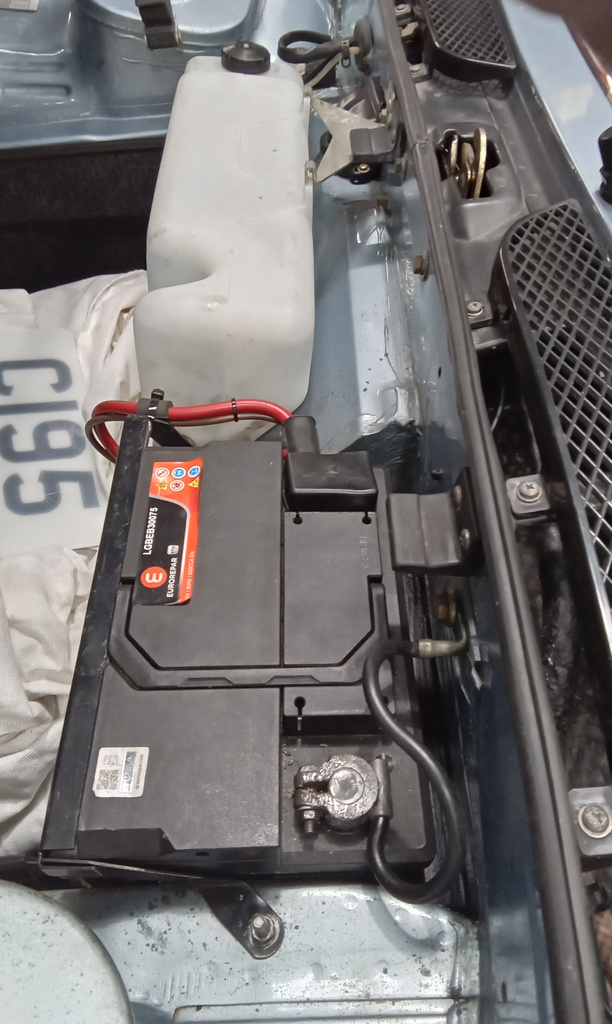
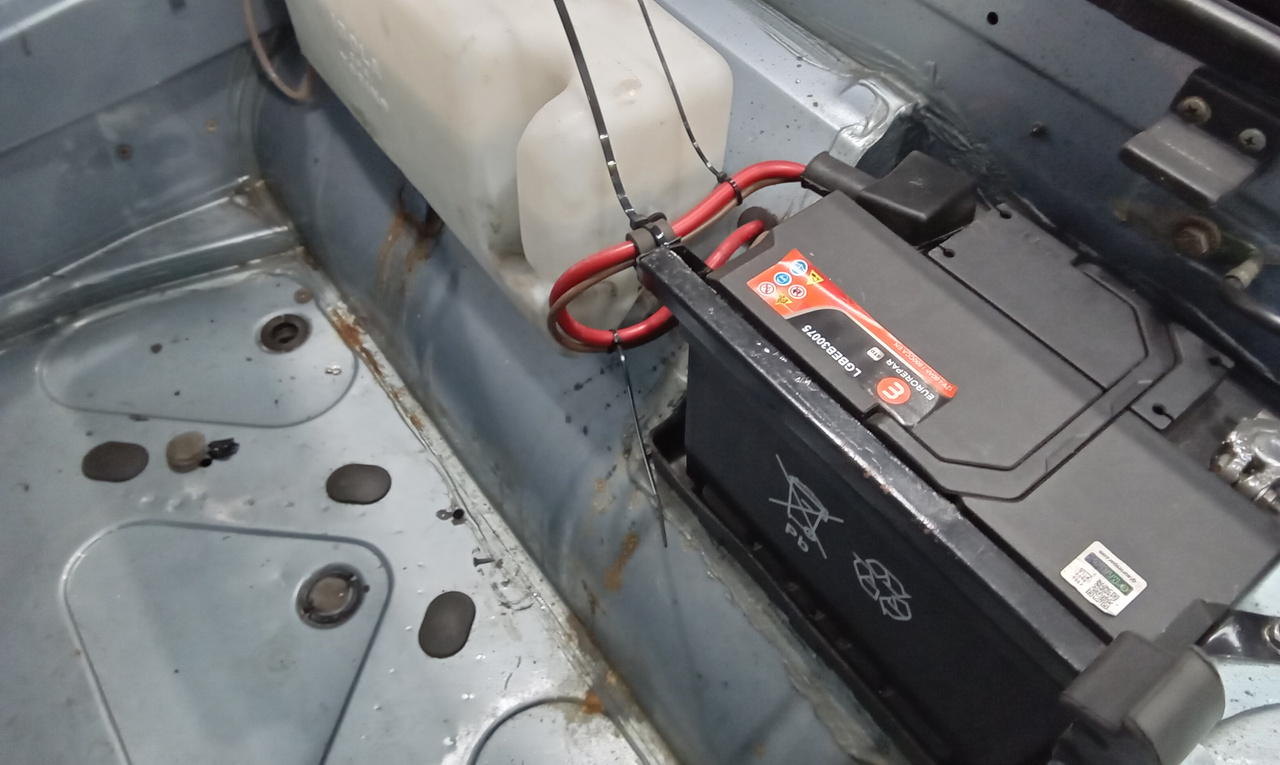
He then sorted out a few small jobs on the car such as repairing a battery terminal and make new wooden shims for the battery tray of the car and stripping the air cleaner to clean it out and fit to the car.
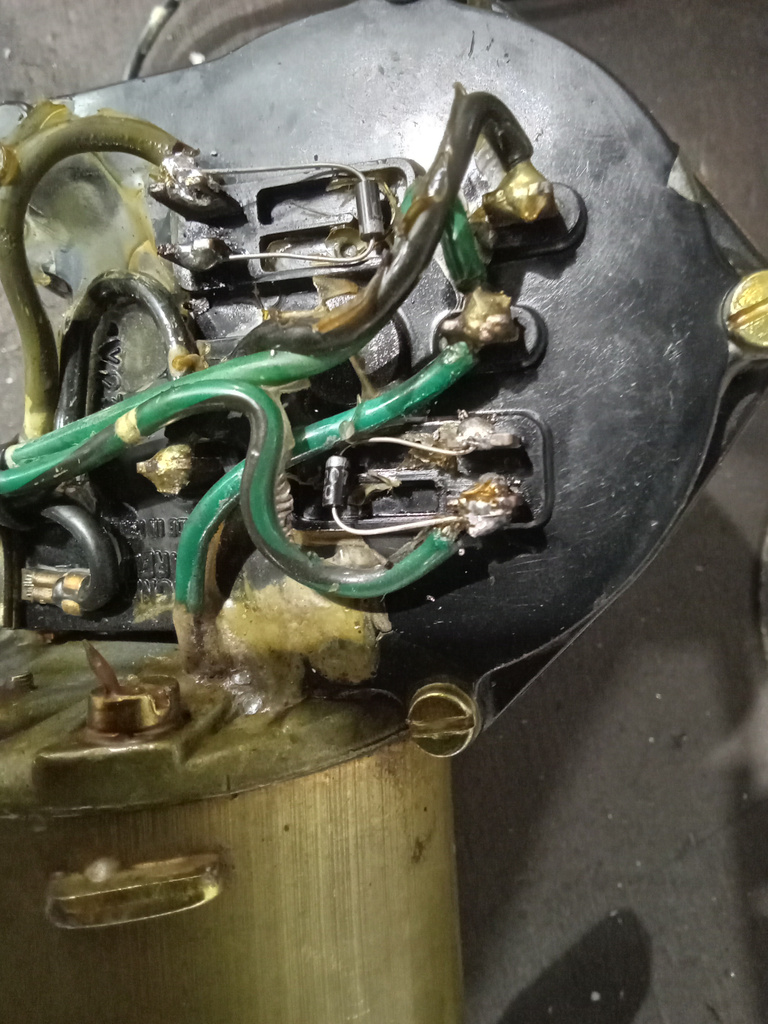
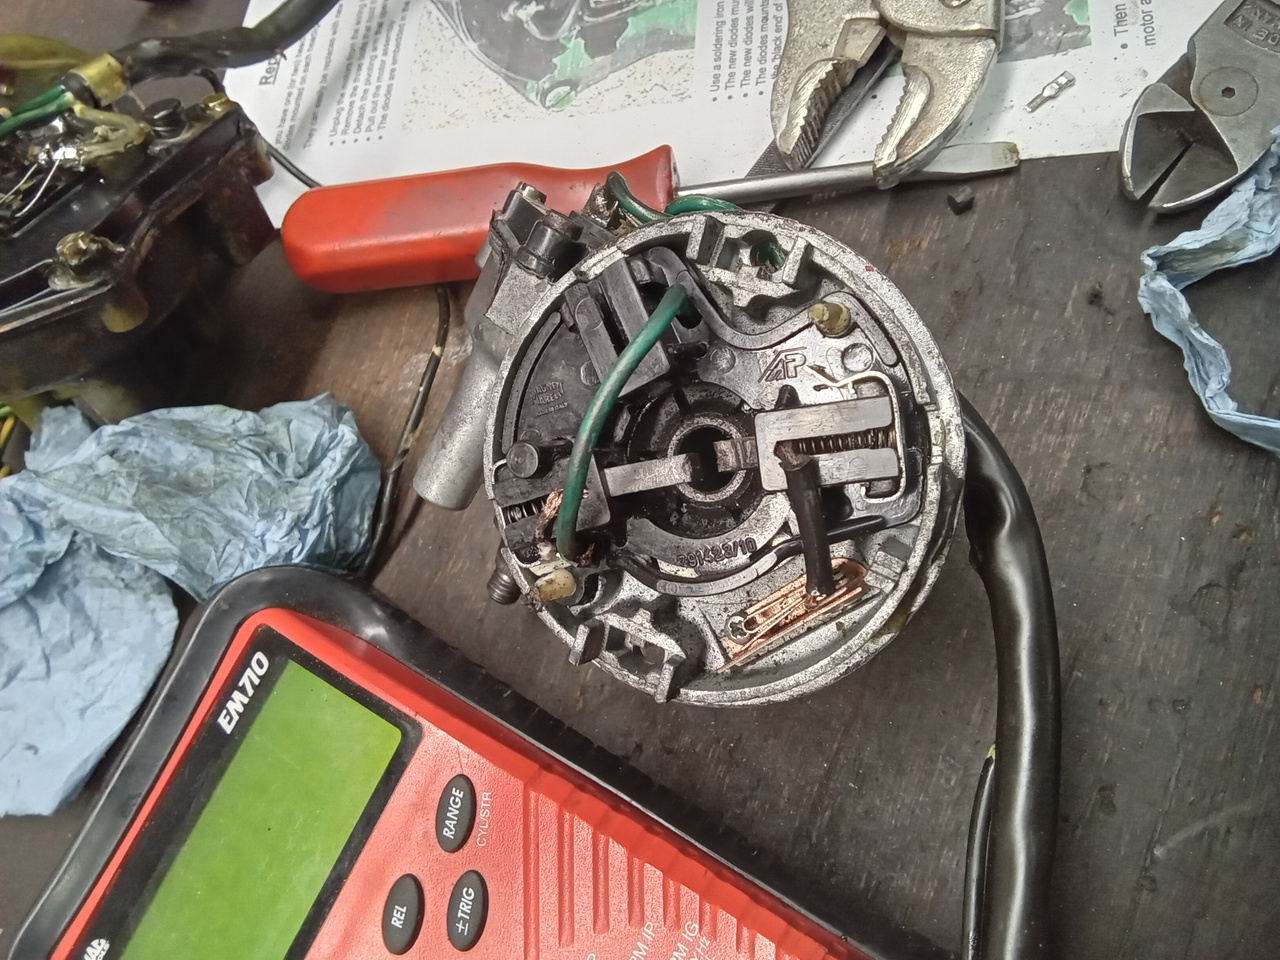
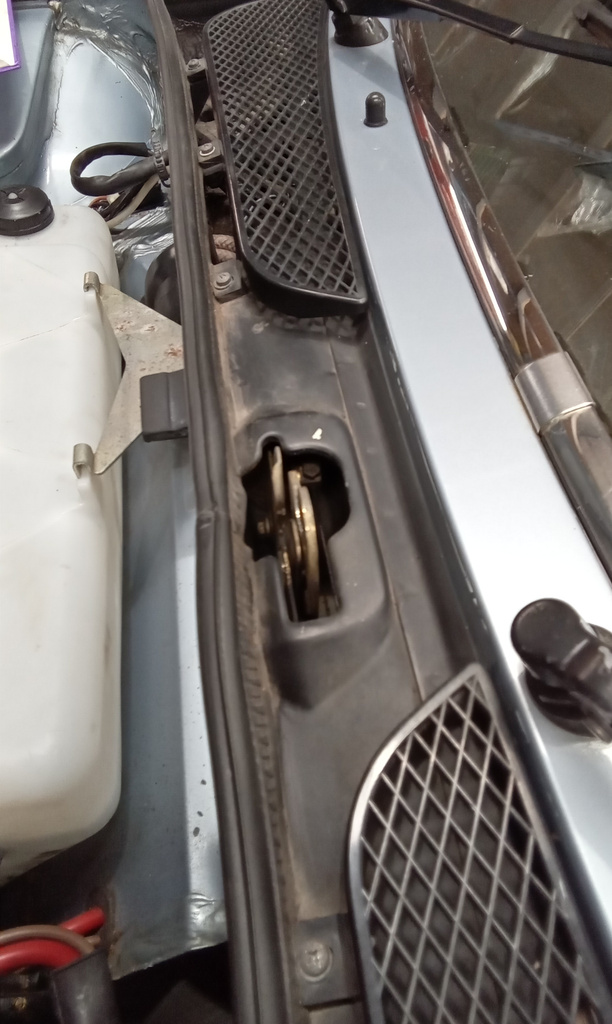
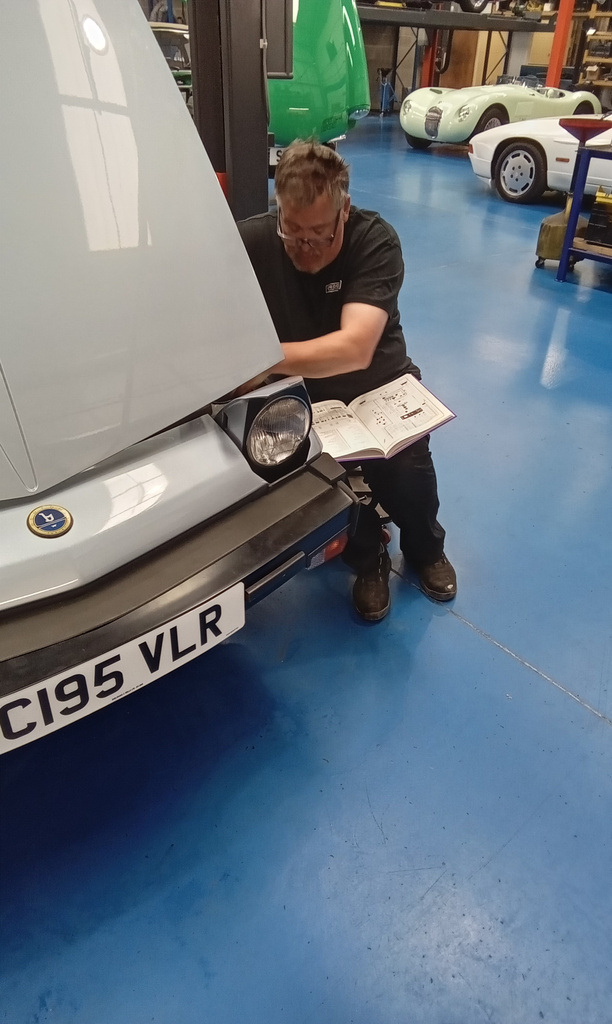
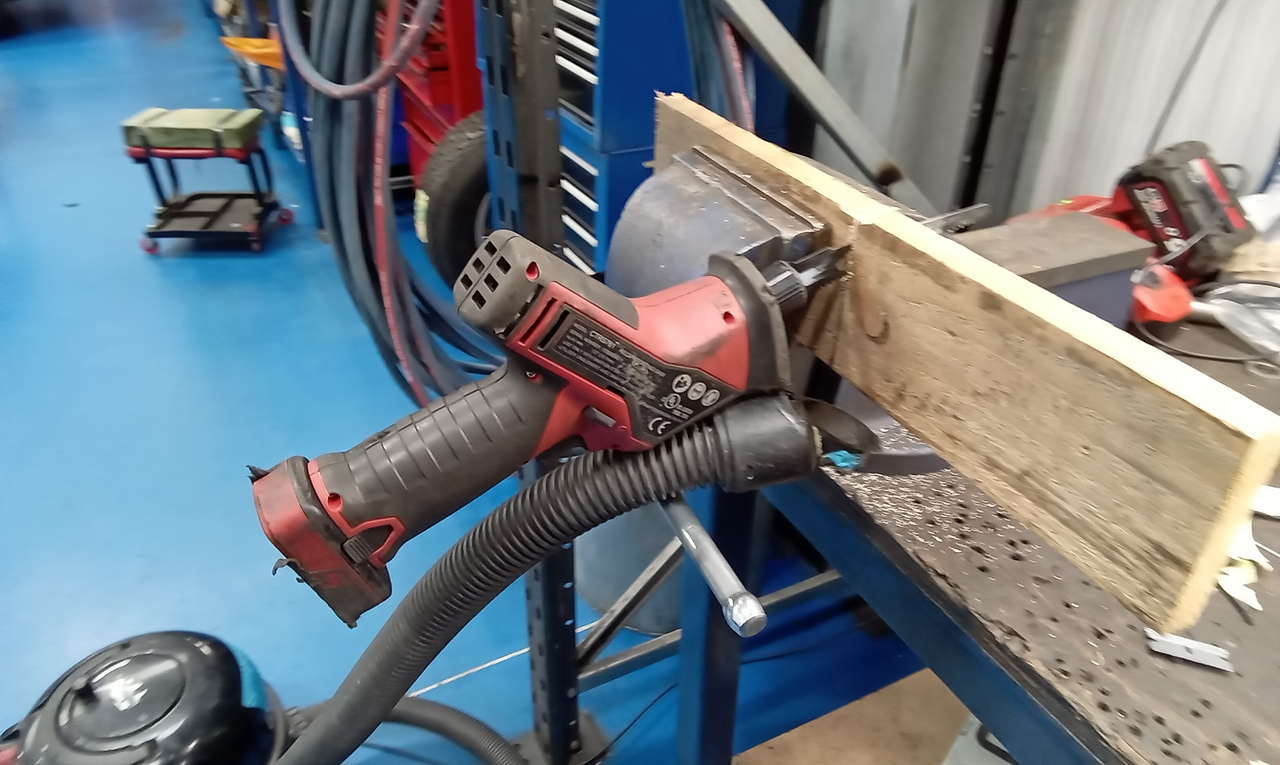
While Jon was busy working on the X1/9, our workshop manager John has been working on getting the headlight motor to work correctly. The nearside motor would go up and down on its own and the offside one wouldn’t return into its storage space. John stripped out the motors, and had to replace the brushes and diodes in the offisde motor. Once he got everything back into the car, he replaced the fuses with fresh unit and everything worked perfectly.
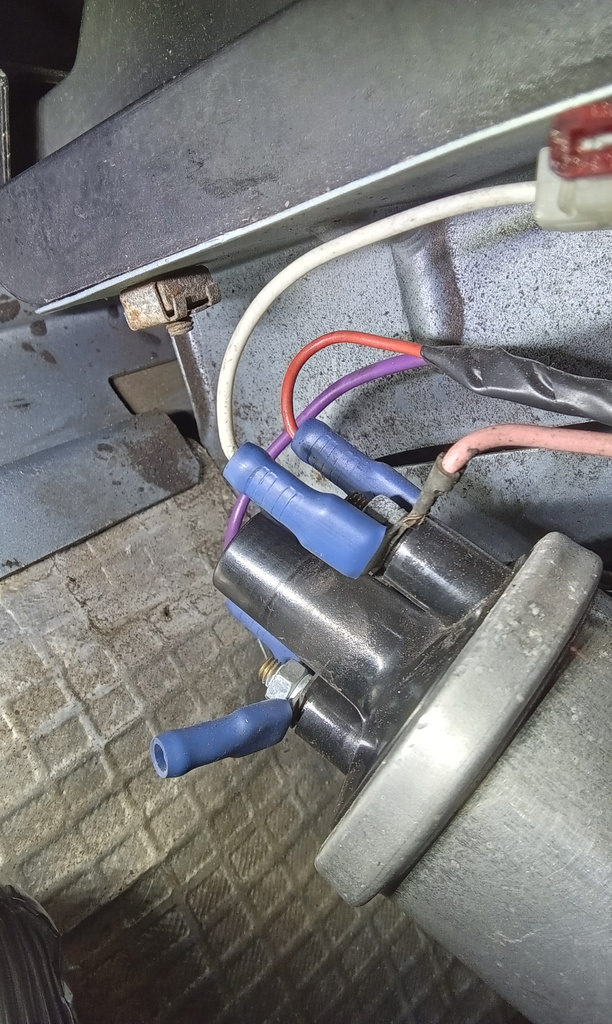
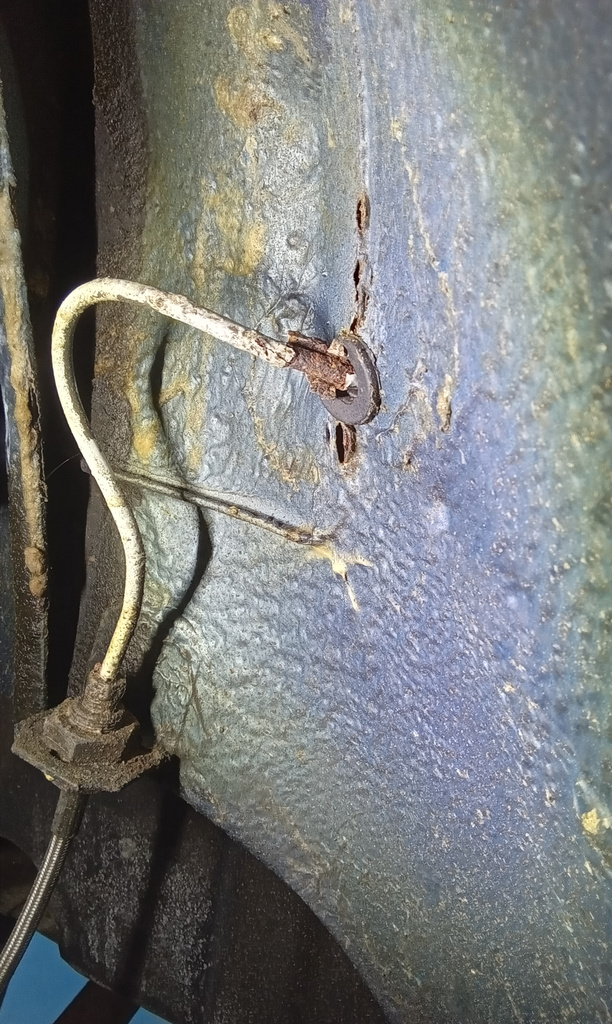
Back on the car, Jon worked his way through and replaced the fuel filter and also rubbed back and cleaned down the brake pipes in order to check everything was ok. The next step was a common issue with the X19 series of cars, the ignition coil kept heating up. So, Jon actually fitted a new coil to confirm this was a general problem and not an issue with the original coil. The new one also heated up, so the original was put back on the car and John regapped the spark plugs, check all of the earthing straps and anything else he could. Ran the car up to temperature and the coil still kept getting hot, so after the cambelt is changed – he will continue investigating.
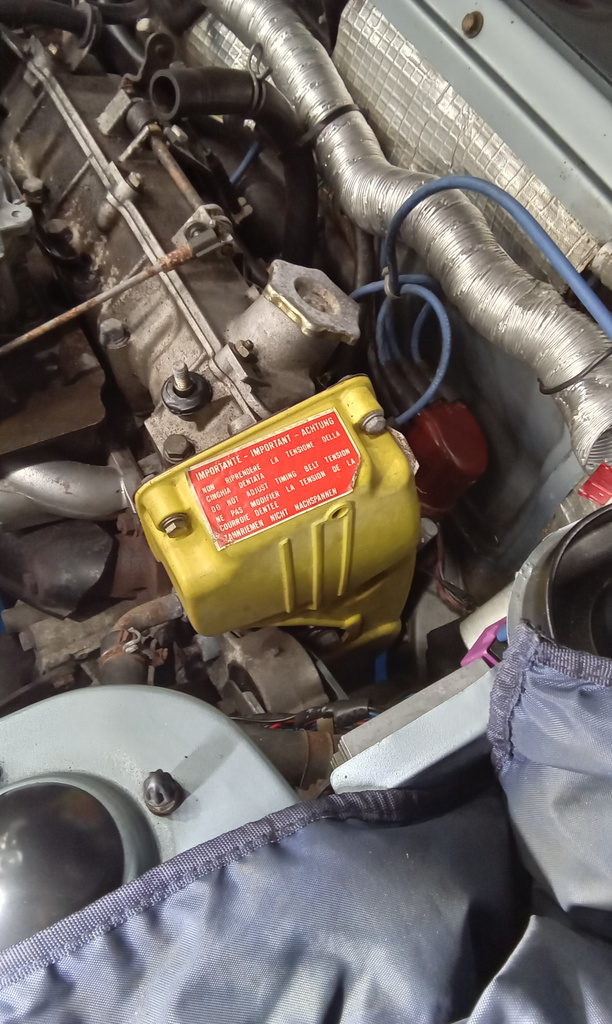
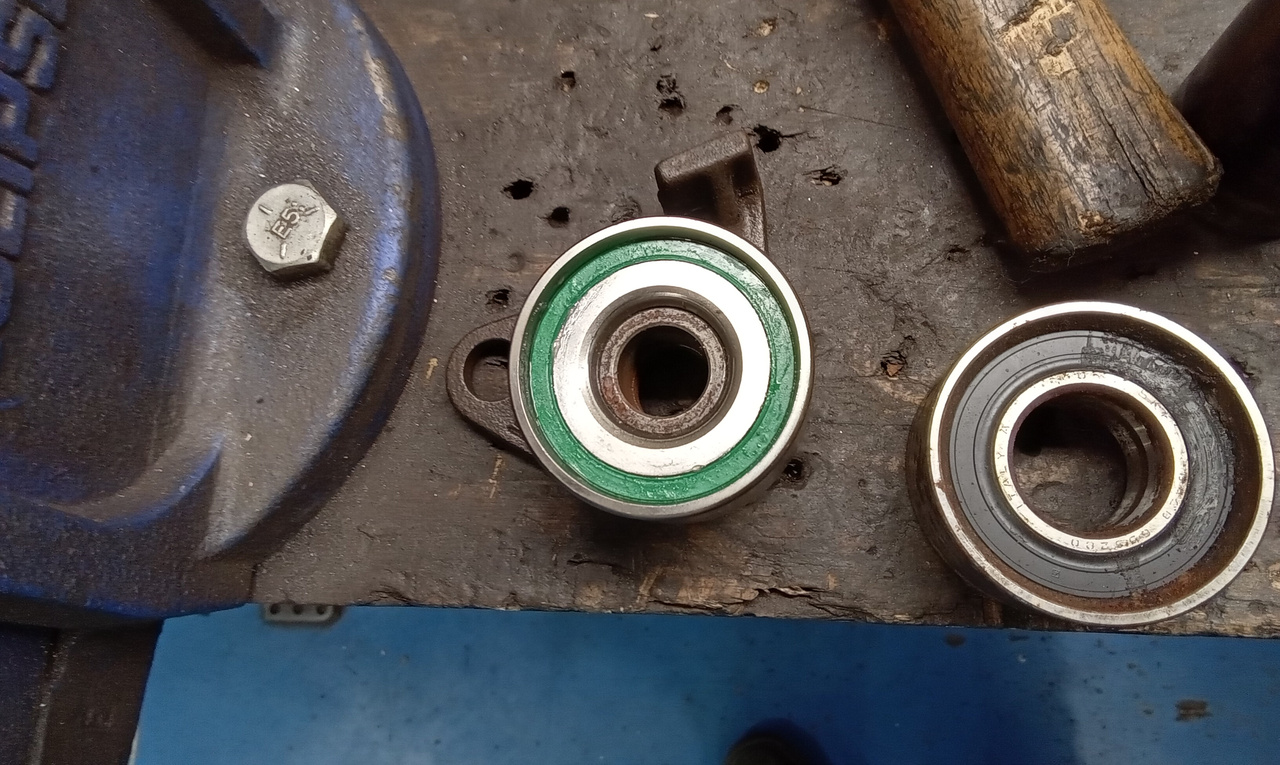
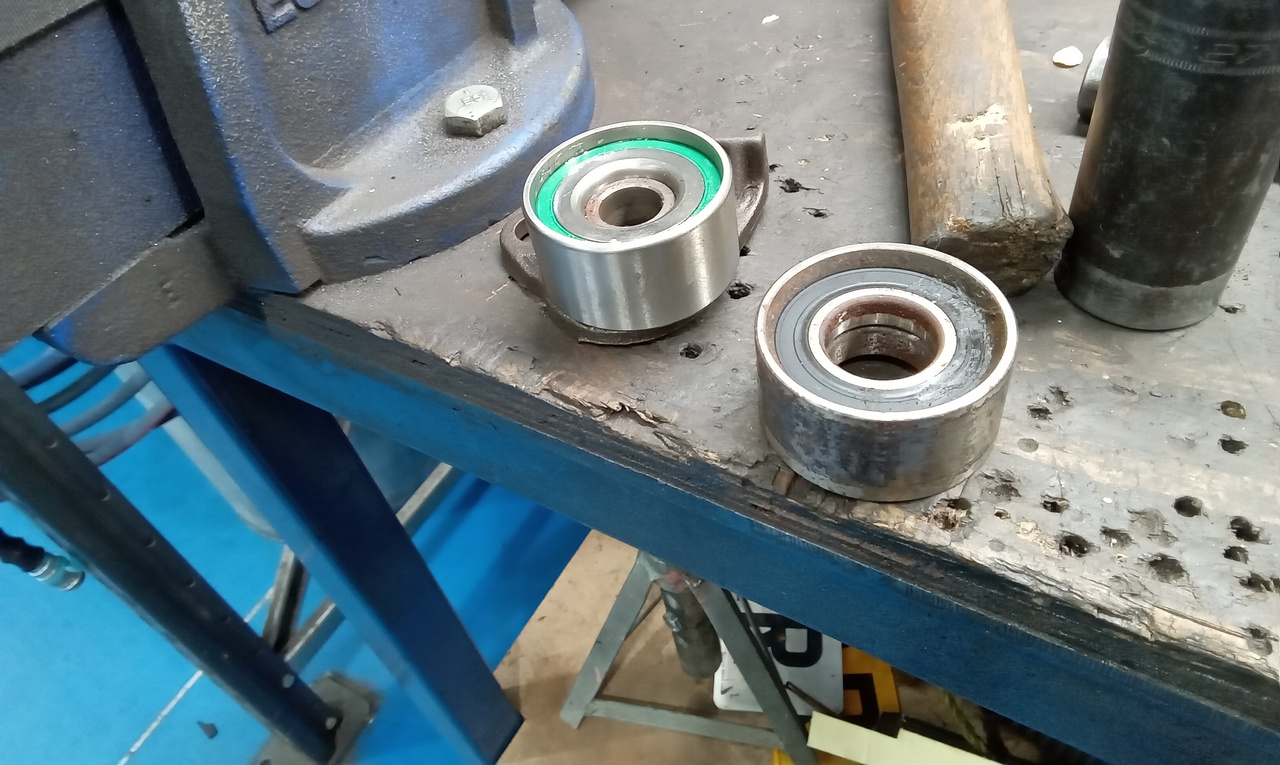
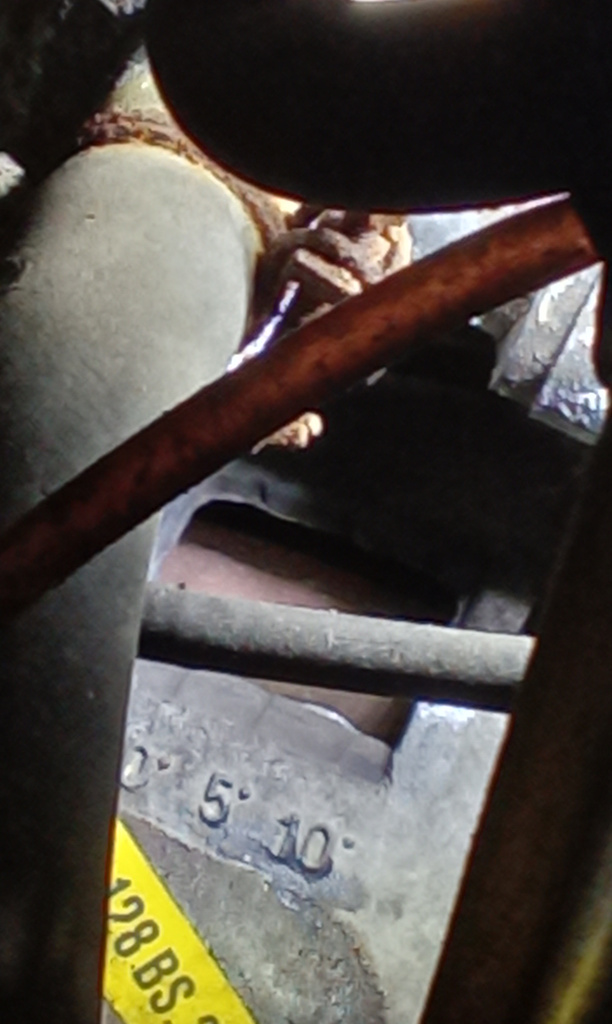
Whilst replacing the timing belt/cambelt on the X1/9, Jon began by taking the timing cover off to align and set the timing marks before removing the belt. Then, as a matter of course, Jon removed the tensioner and backing plate. After pulling the old pulley off of the backing plate, he could press the new tensioner pulley onto the plate and refit to the car. Whilst everything went back together, when Jon began to refill the coolant the engine began to leak.
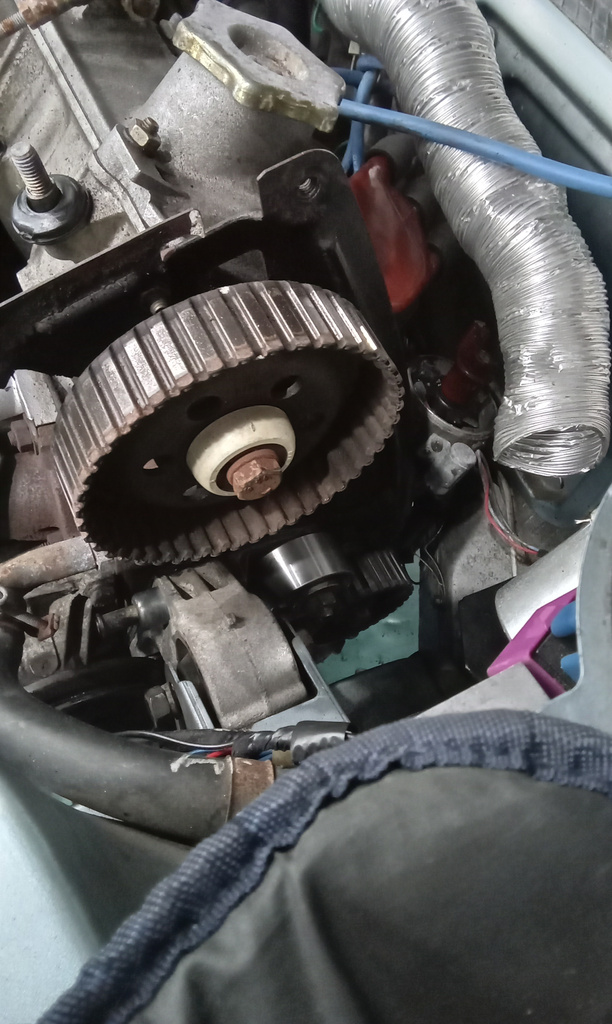
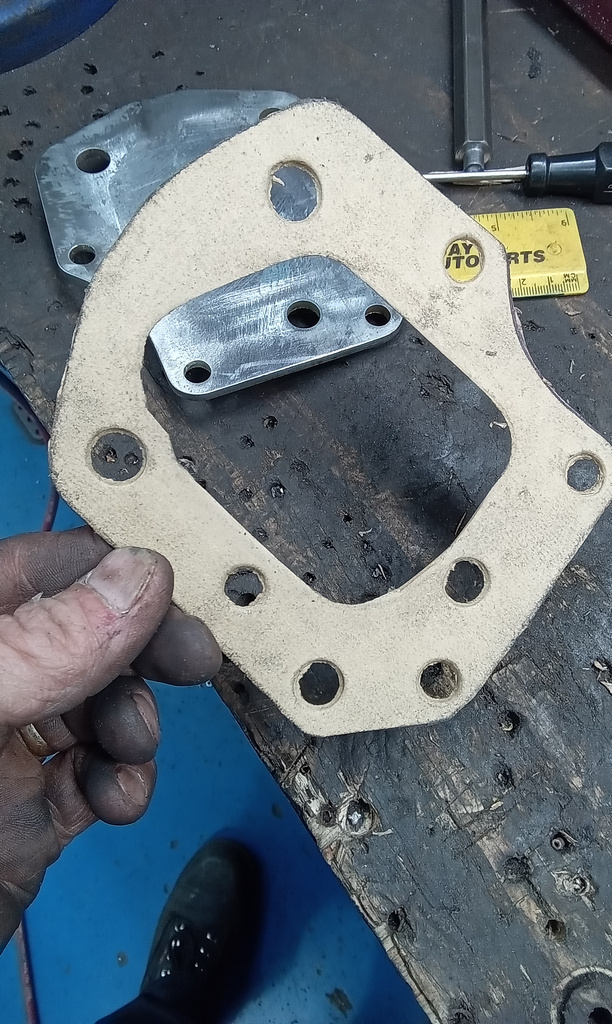
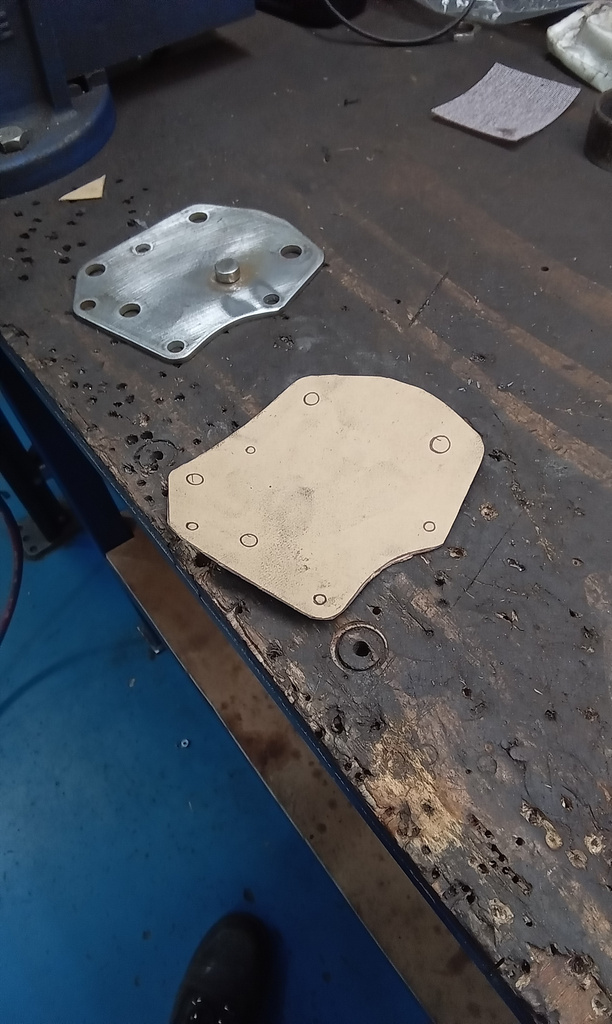
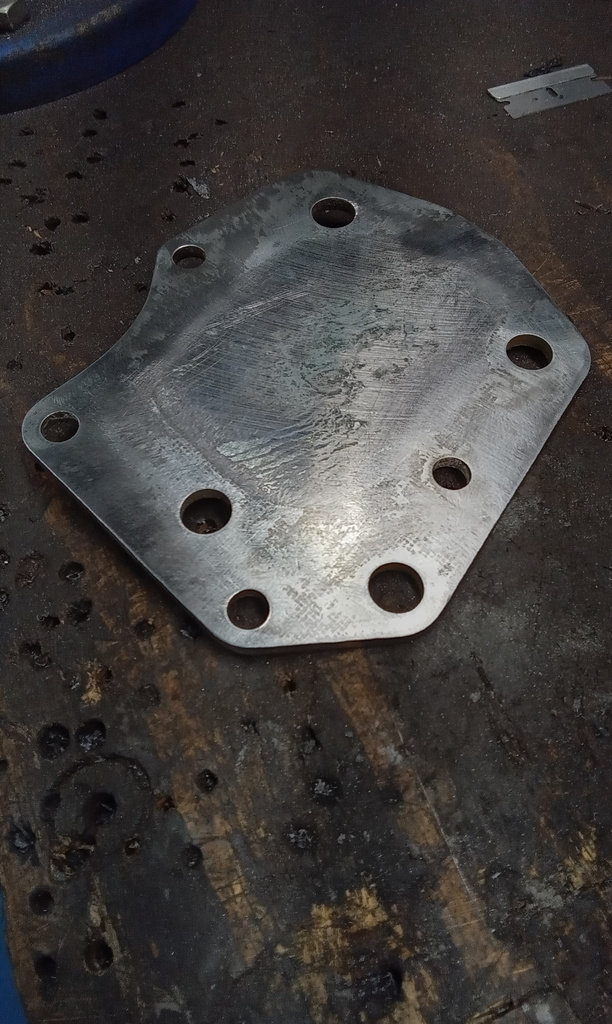
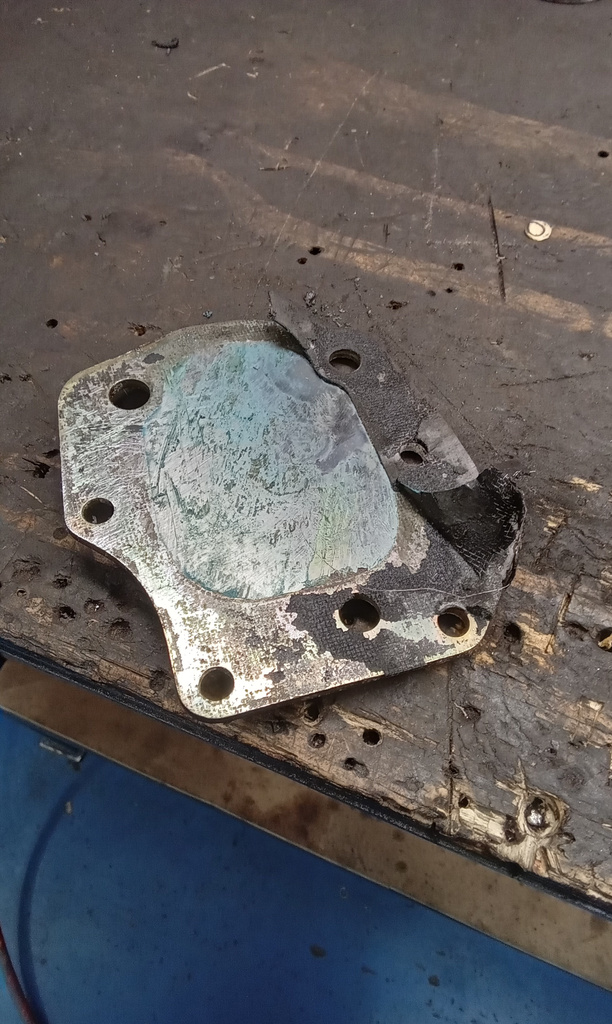
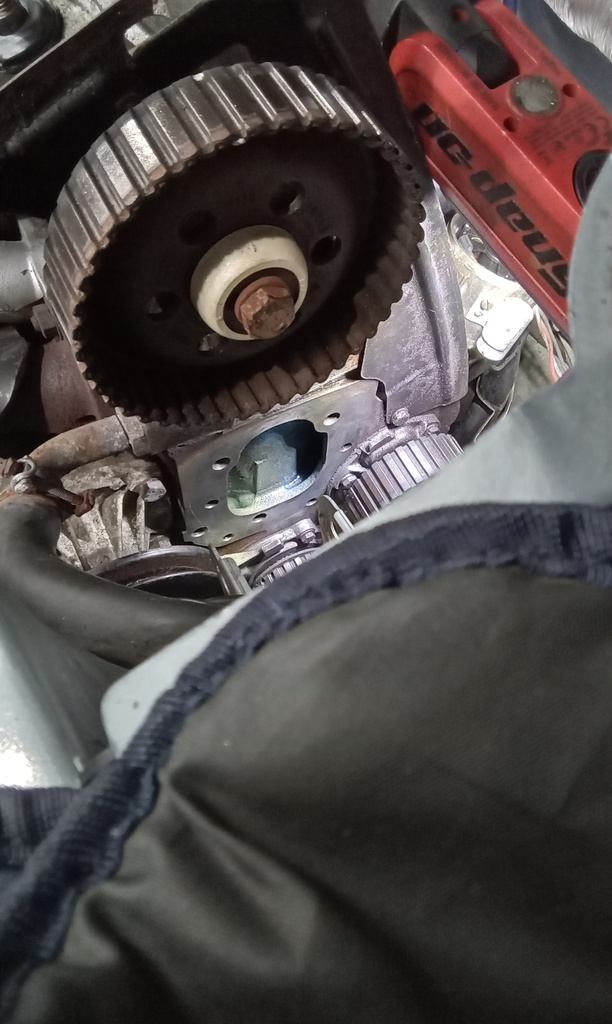

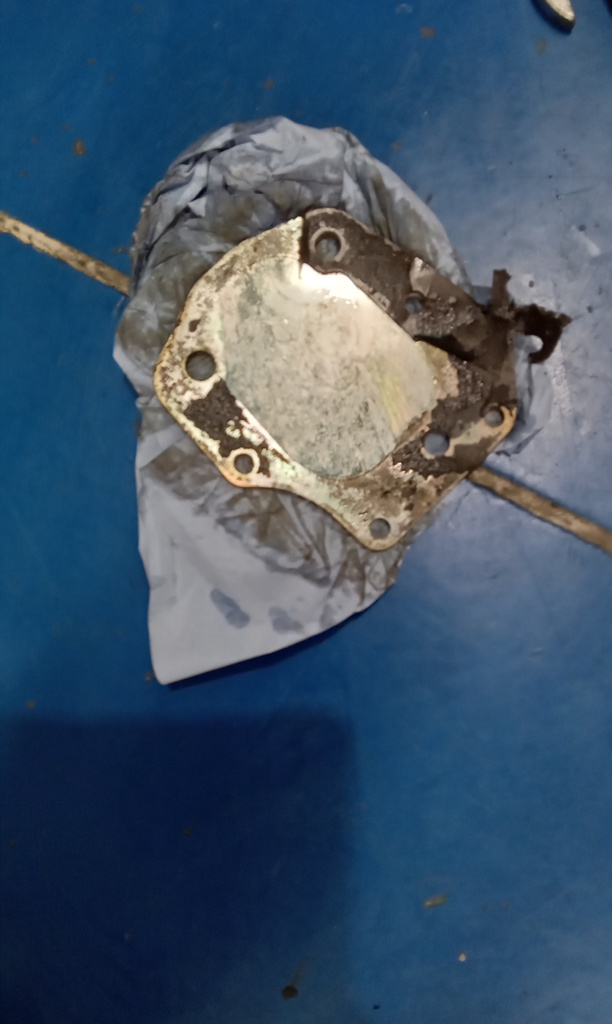


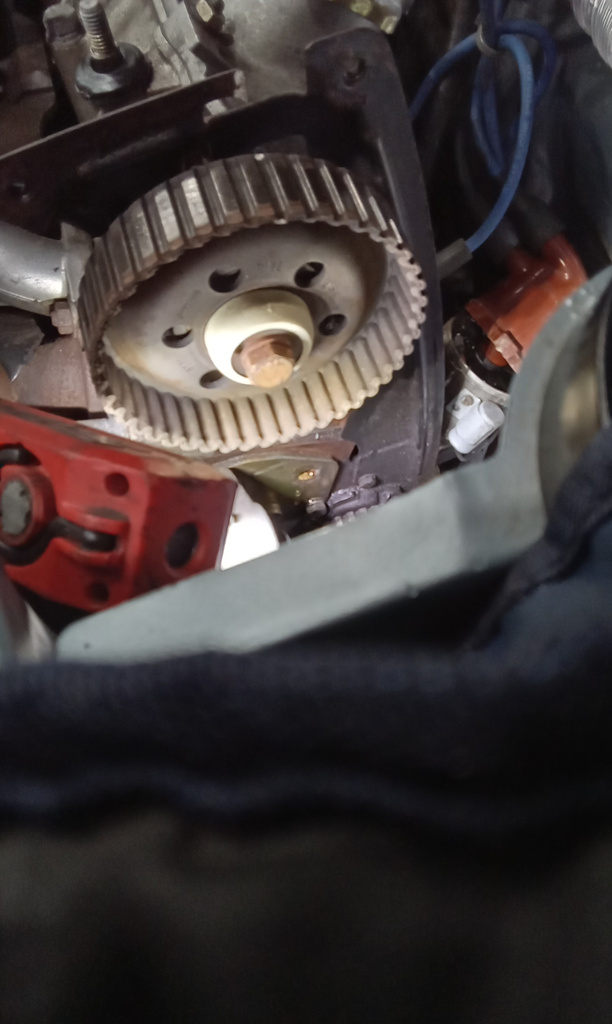
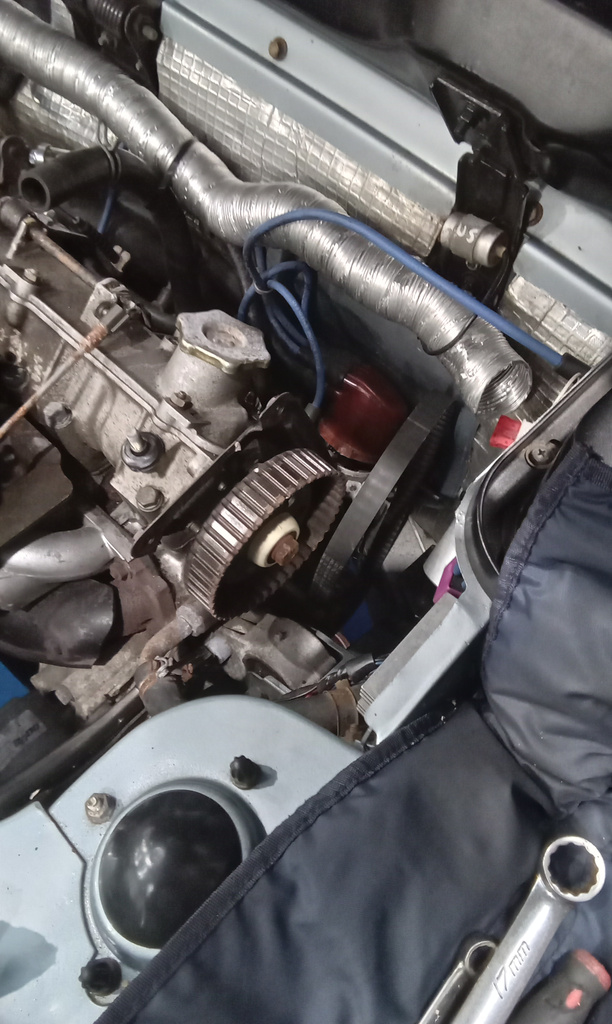
Looking into it further, Jon discovered that the tensioner backing plate was leaking coolant. So, he removed the engine mount (which also uses the tensioner backing plate) and then could work on cleaning the surfaces up before making a new gasket for the plate. Along with the gasket, Jon could begin work on getting the tensioner pulley back on the plate and then align the timing marks before refilling the coolant system and thoroughly checking for any leaks.
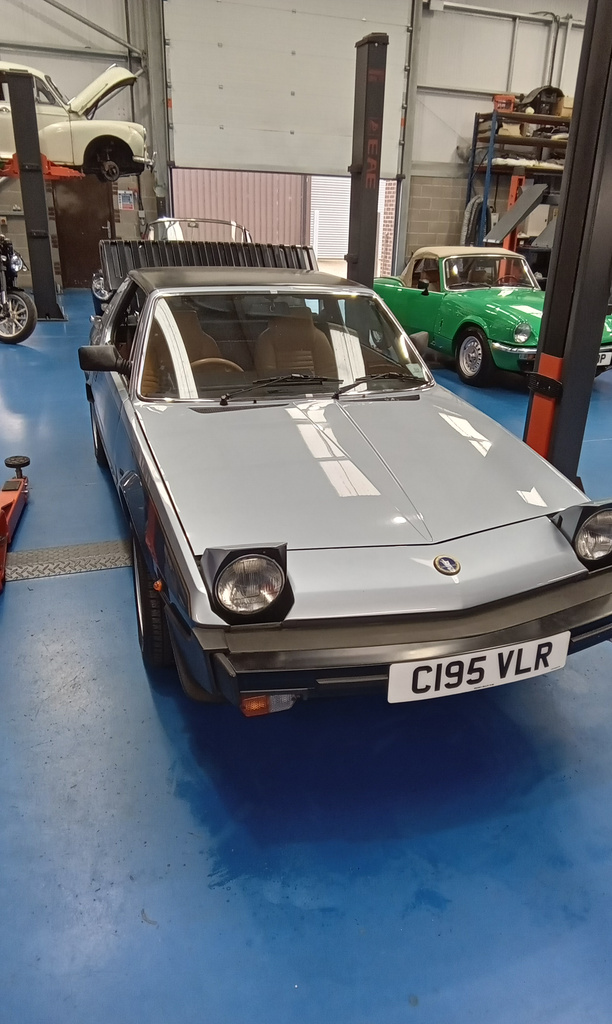
Now, the car is ready to head off for its MOT very soon.