As the Bridge Classic Cars team pull ahead with the gearbox swap on the 1959 Jaguar MkIX, our technician Jon has been carefully and methodically working through the finer details of the job.
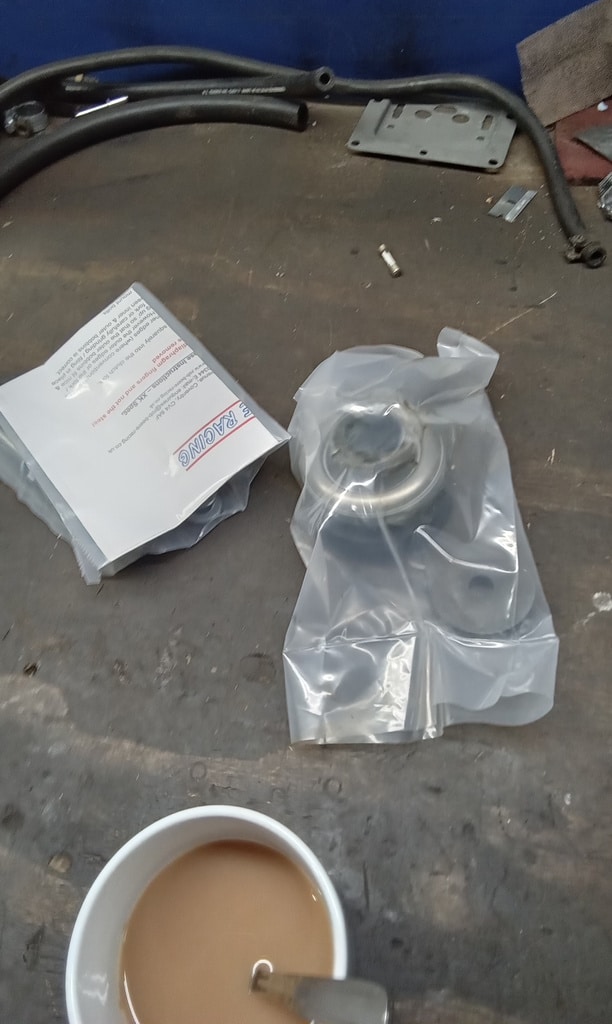
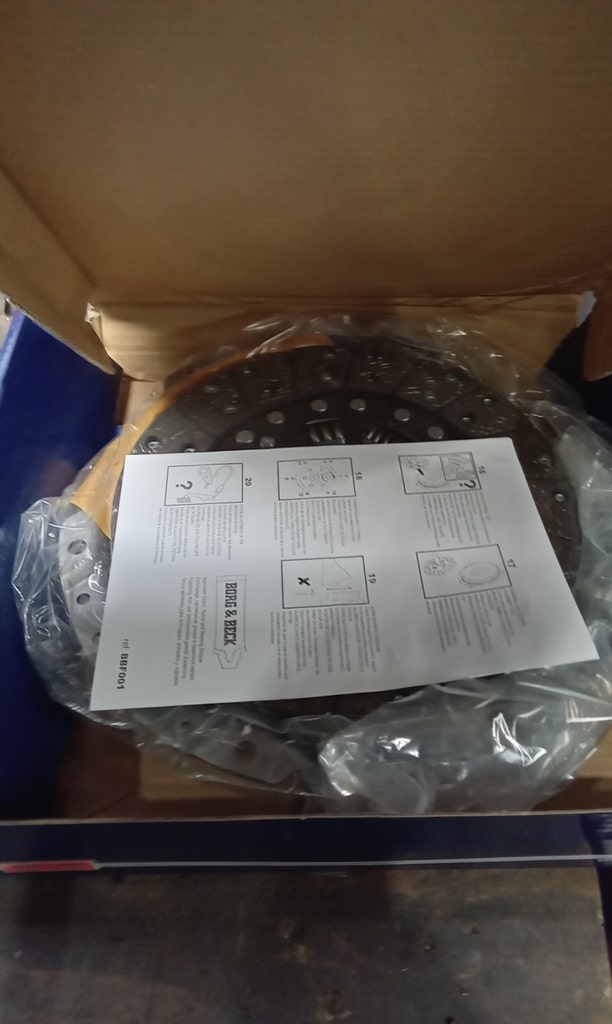
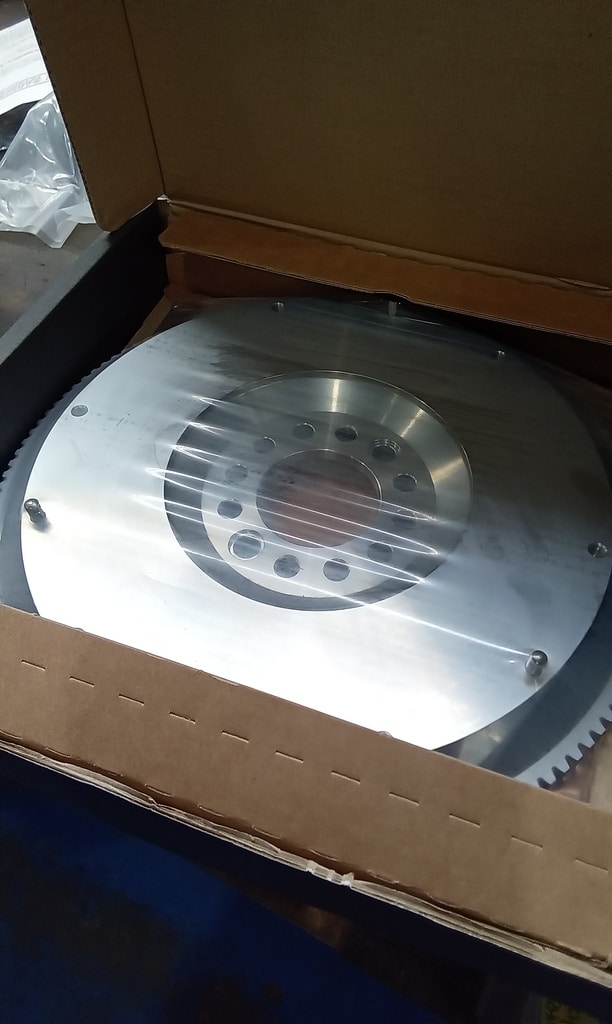
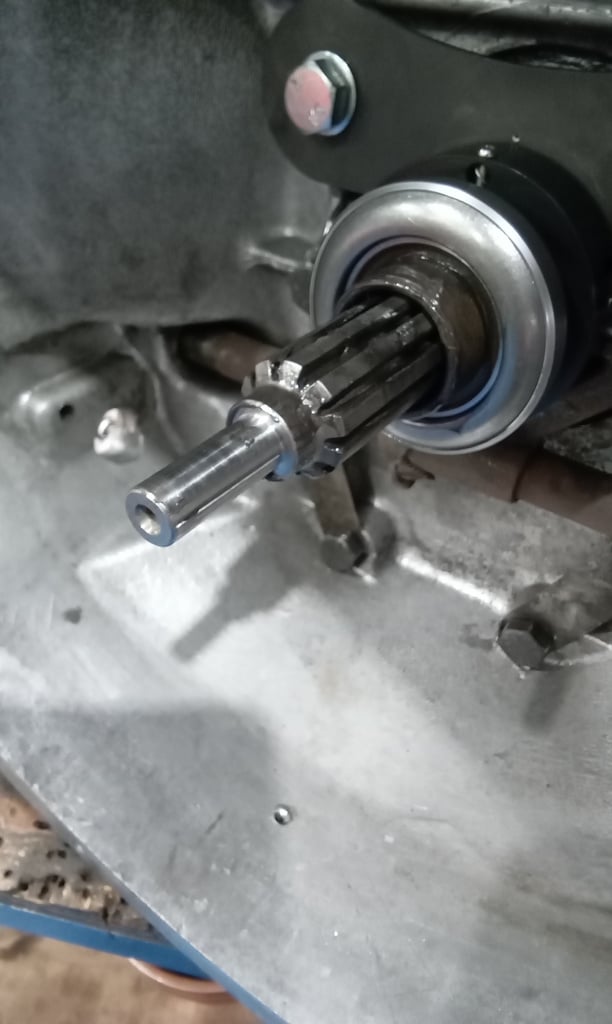
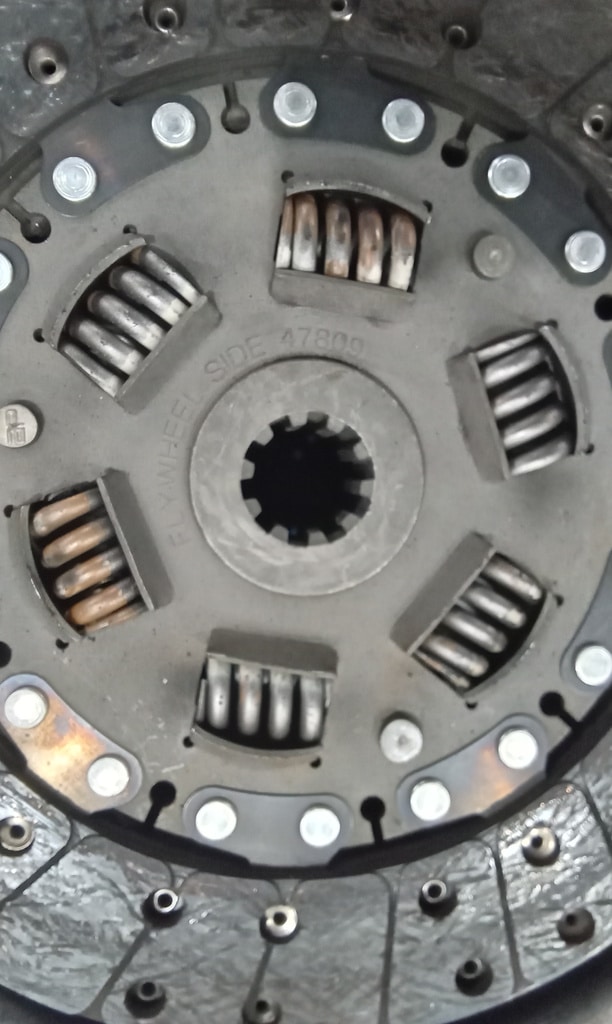
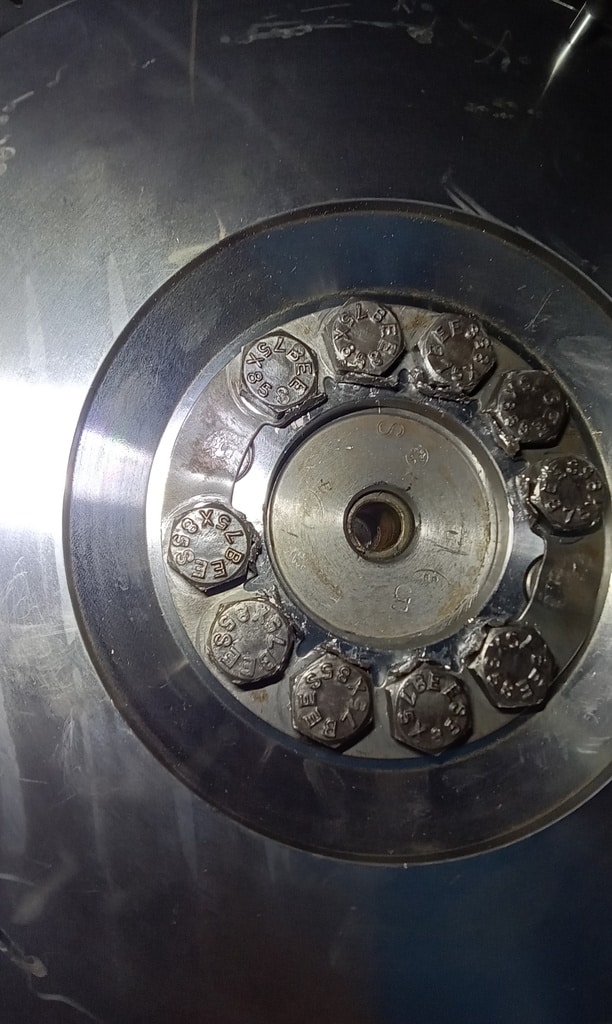
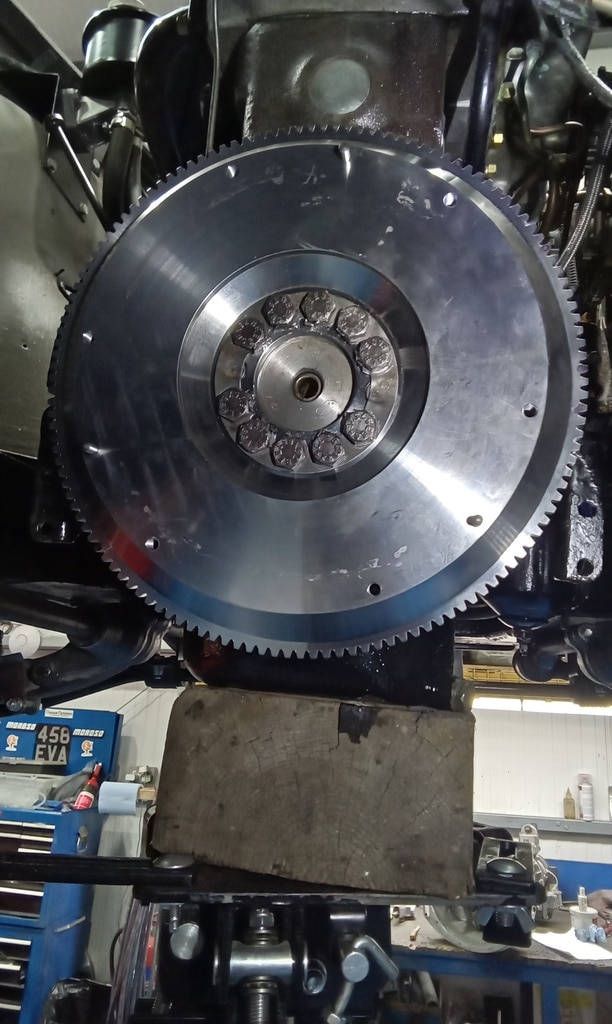
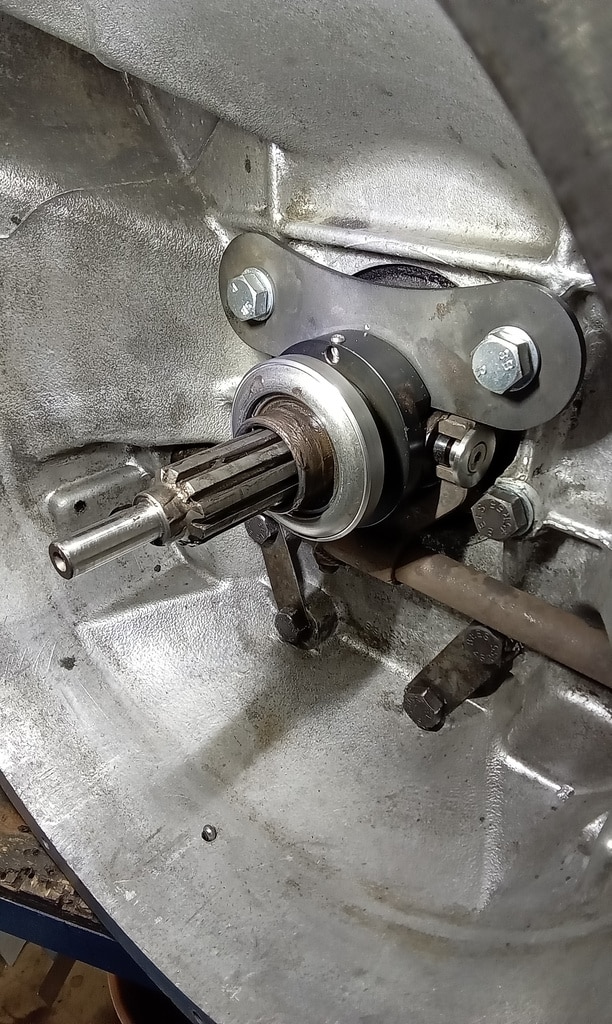
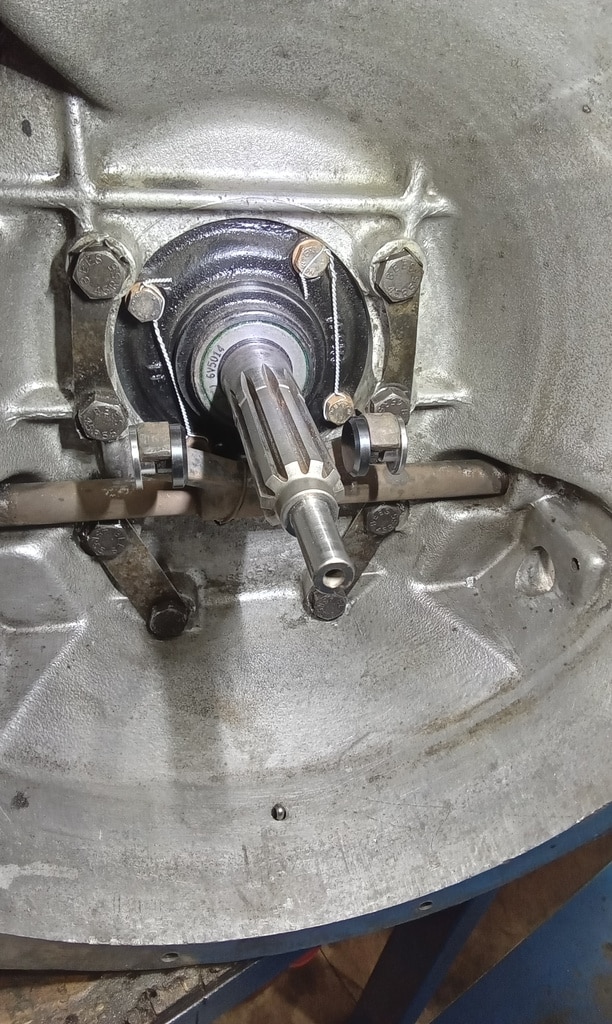
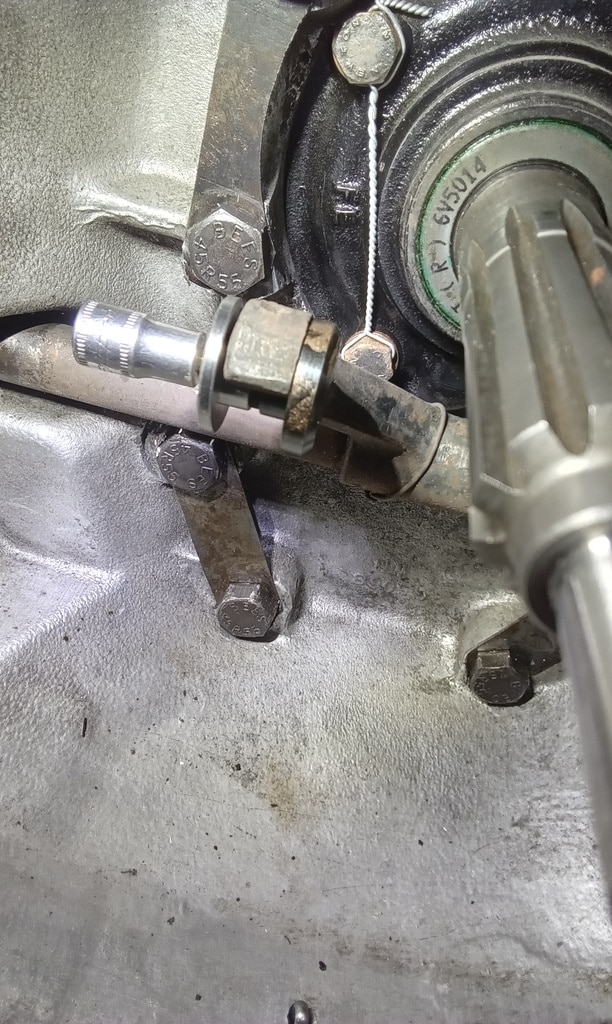
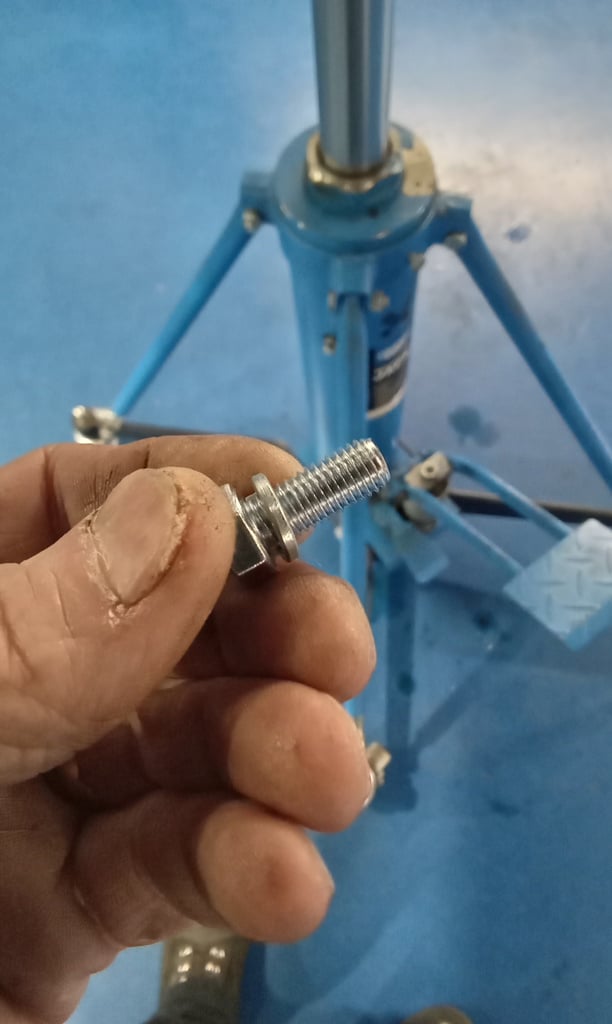
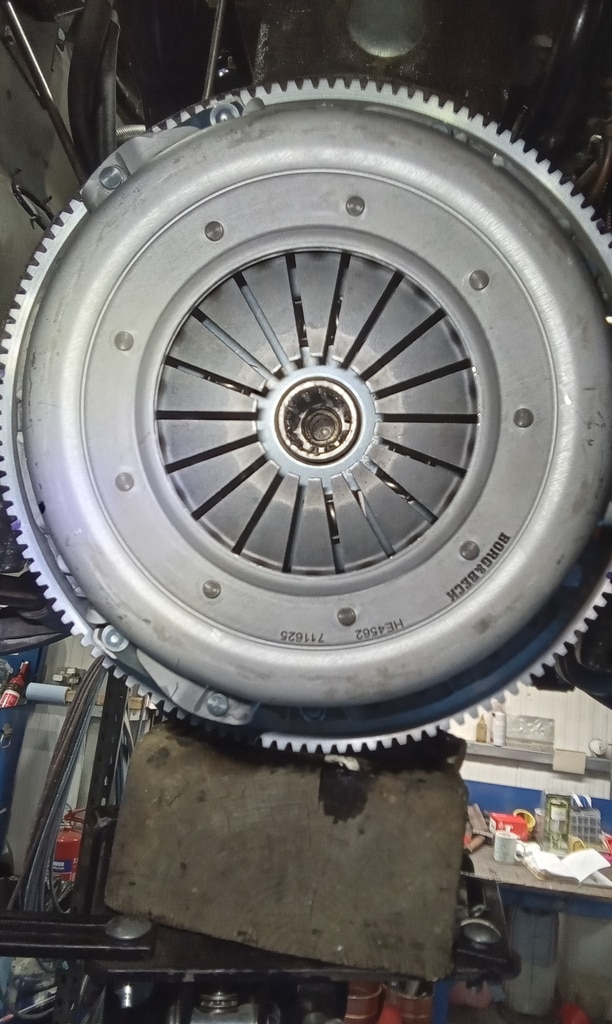
Jon strip down the bellhousing to fit up the new and modified release bearing along with its mount, Then, Jon could carefully remove the old flywheel, swap it in for the new one and go through the process of torque up with bolts before finally knocking over the locking tabs. However, when it came time to fit the new clutch Jon discovered the wrong unit had been recieved.

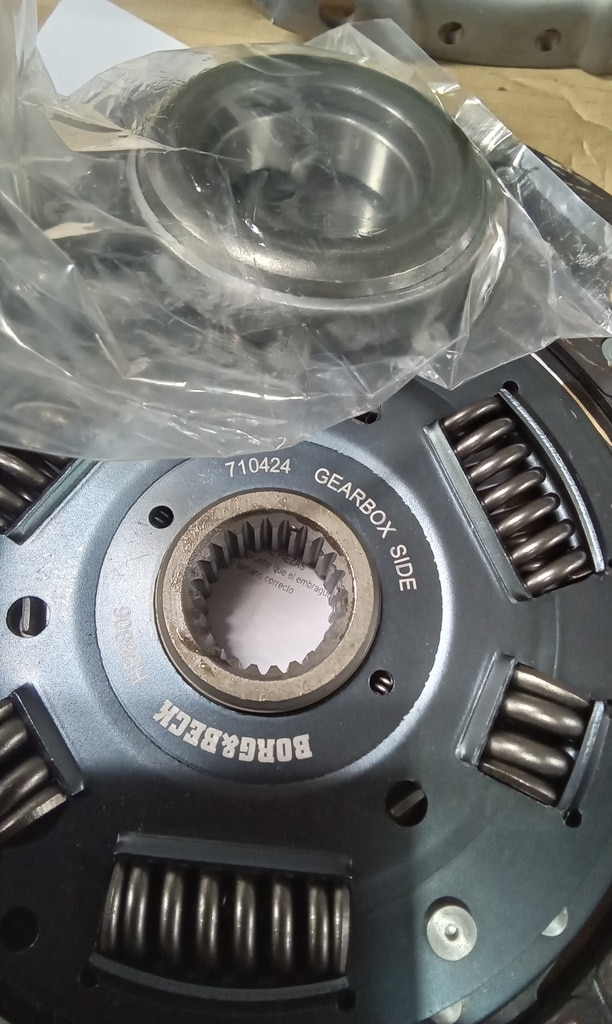
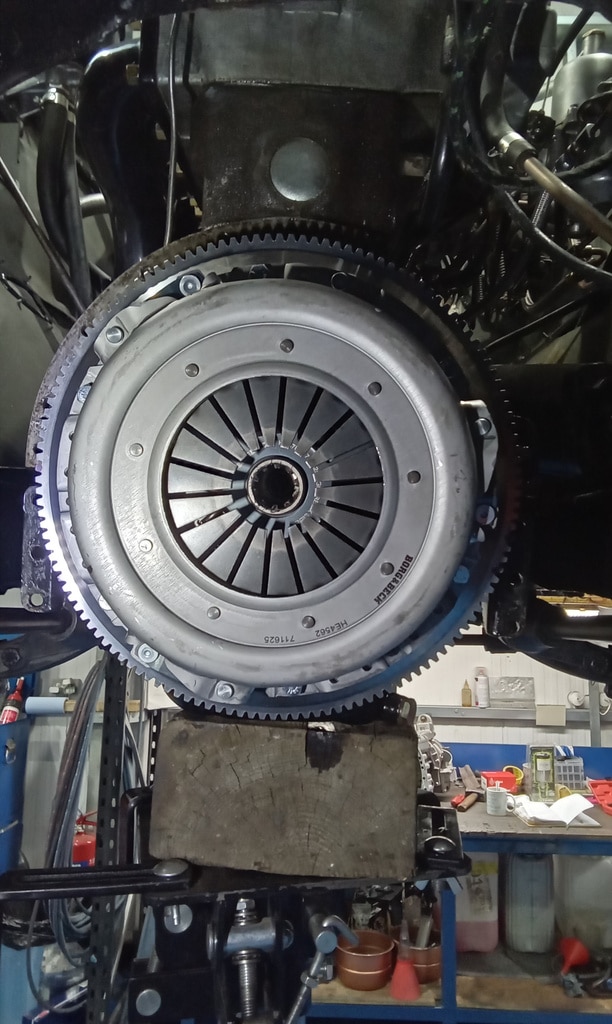
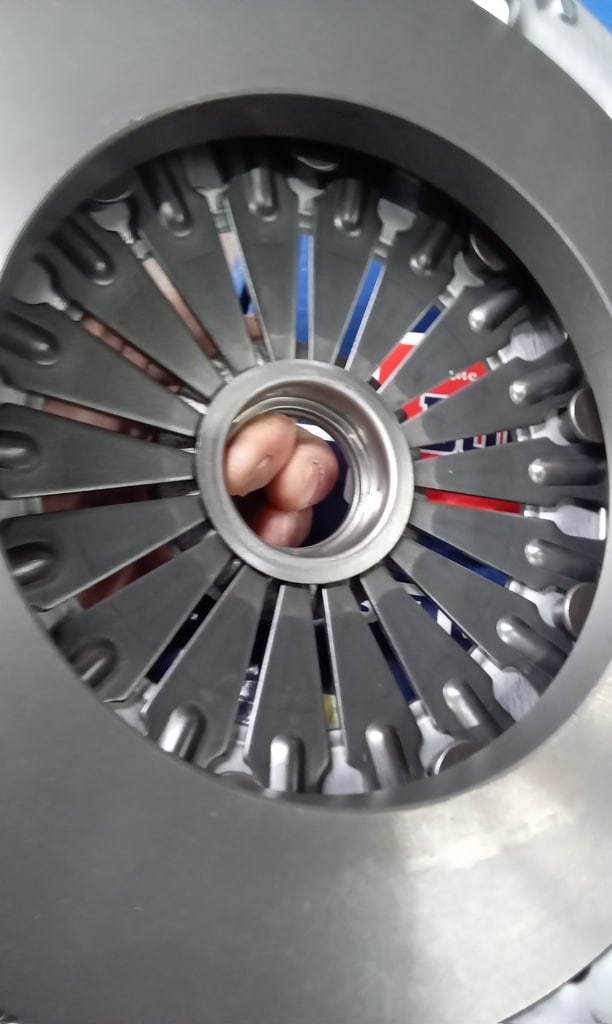
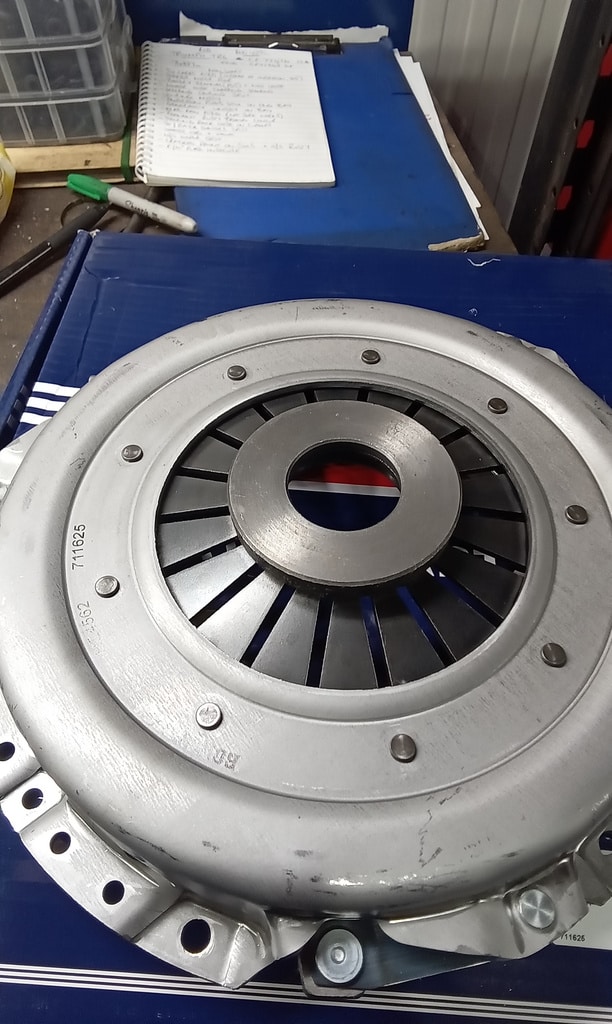
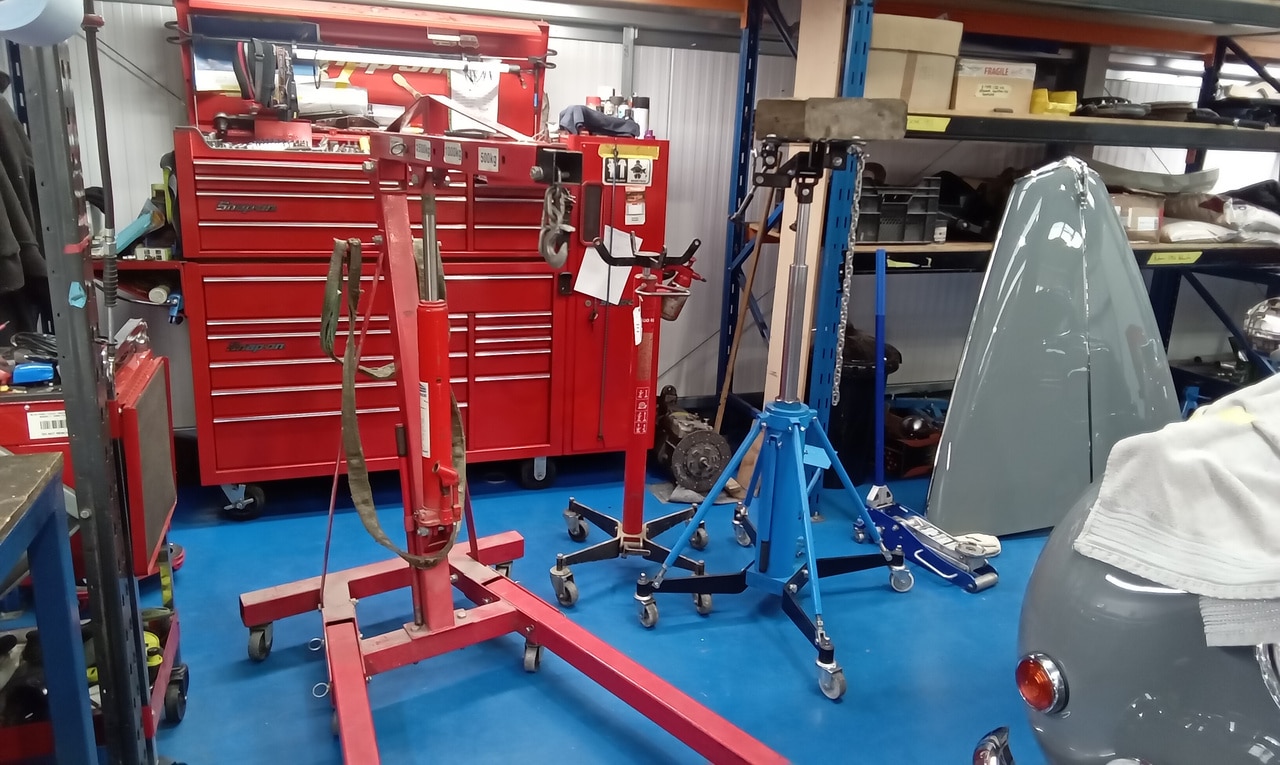
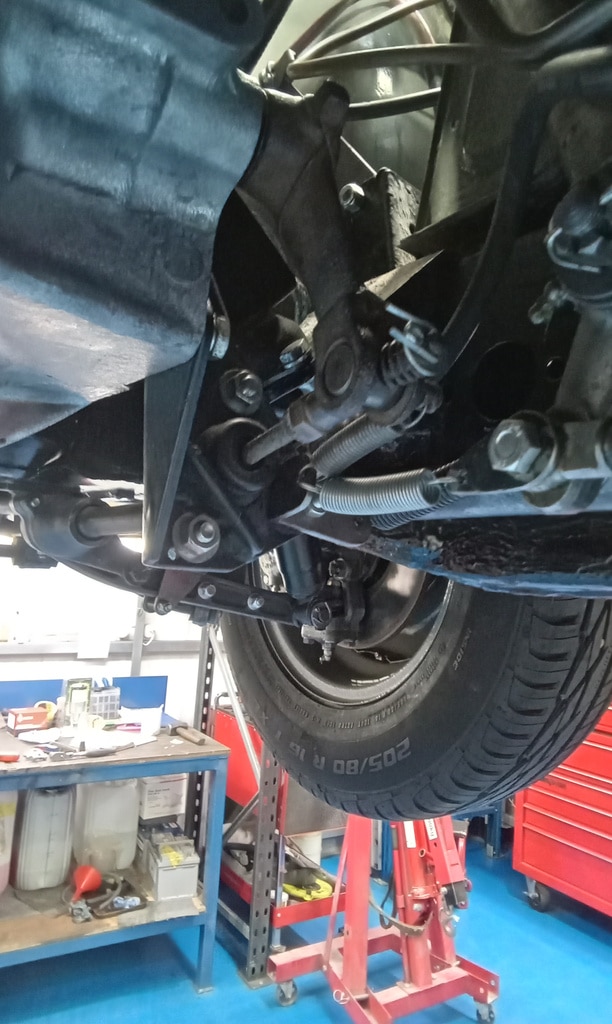
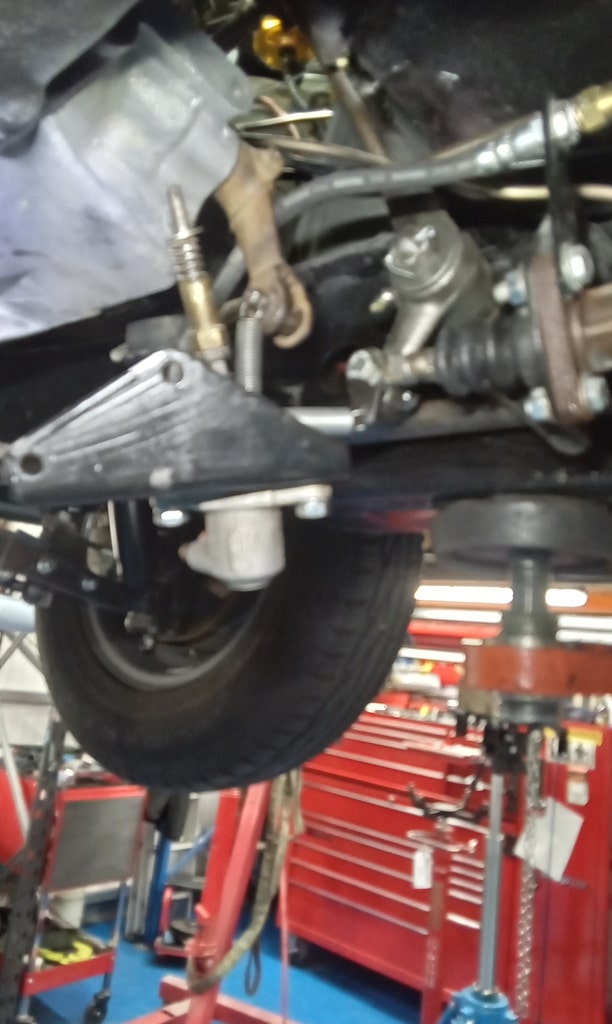
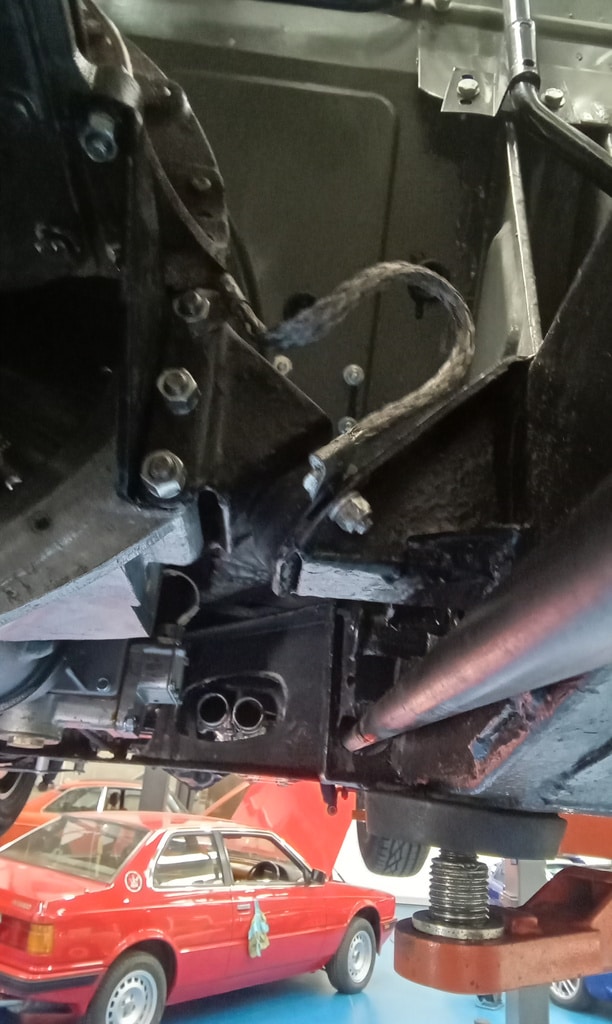
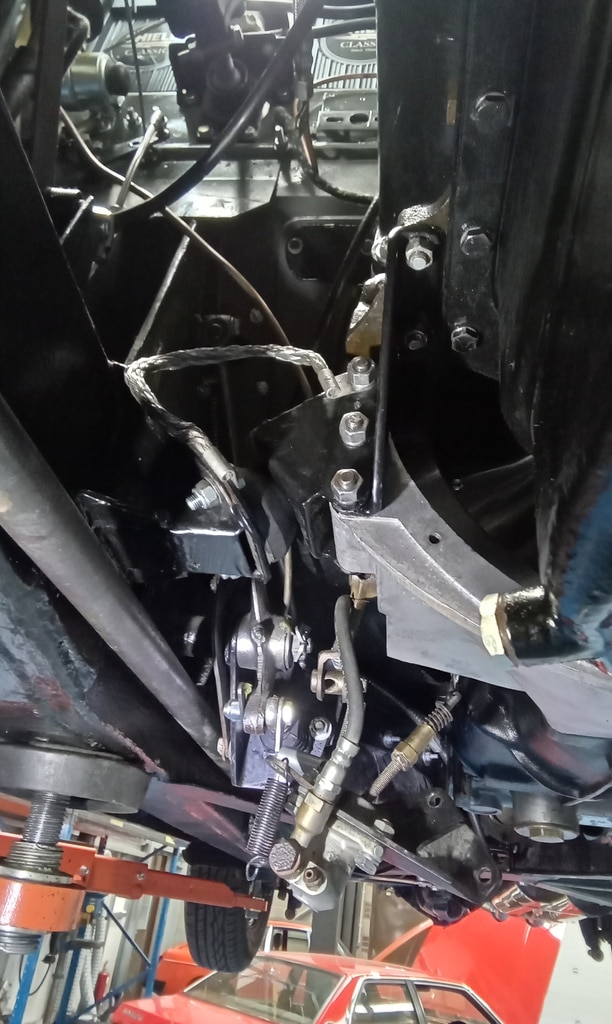
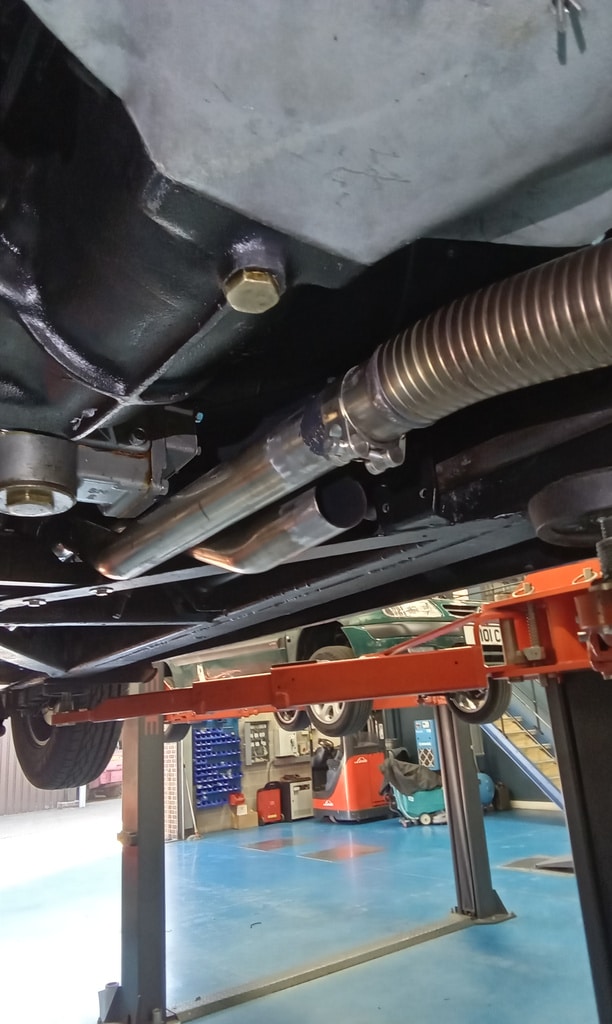
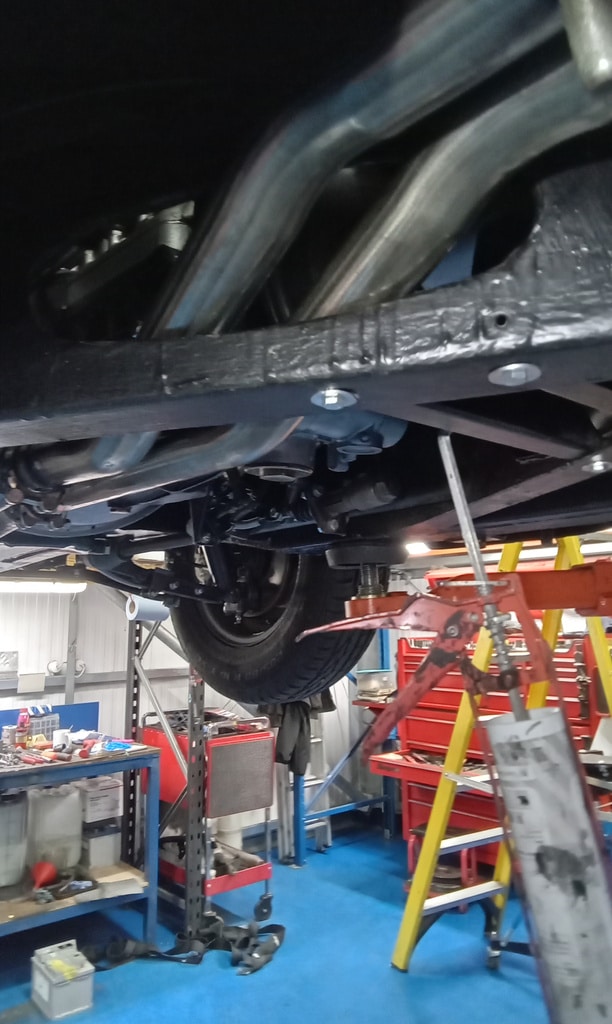
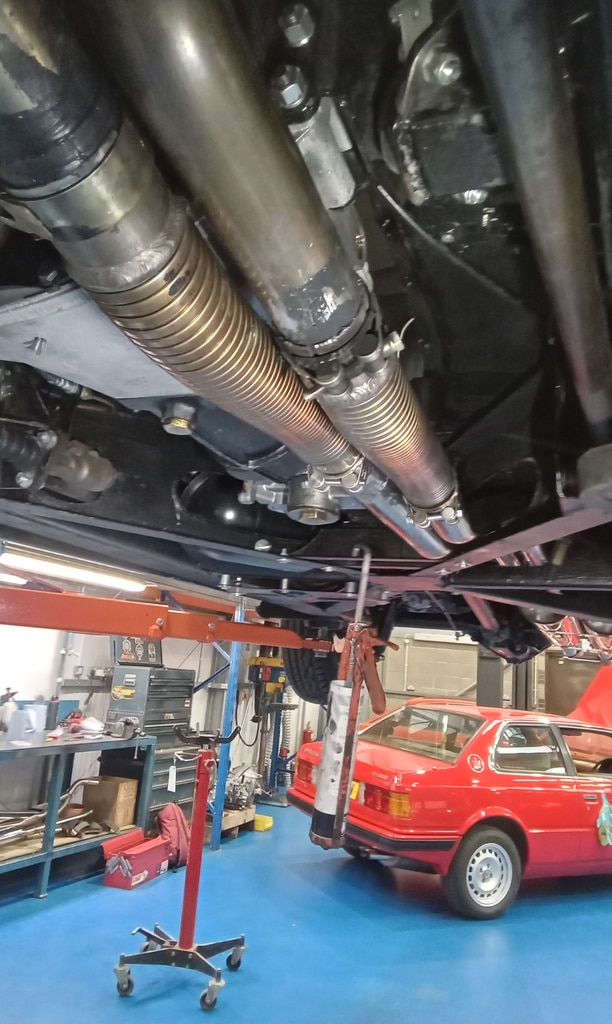
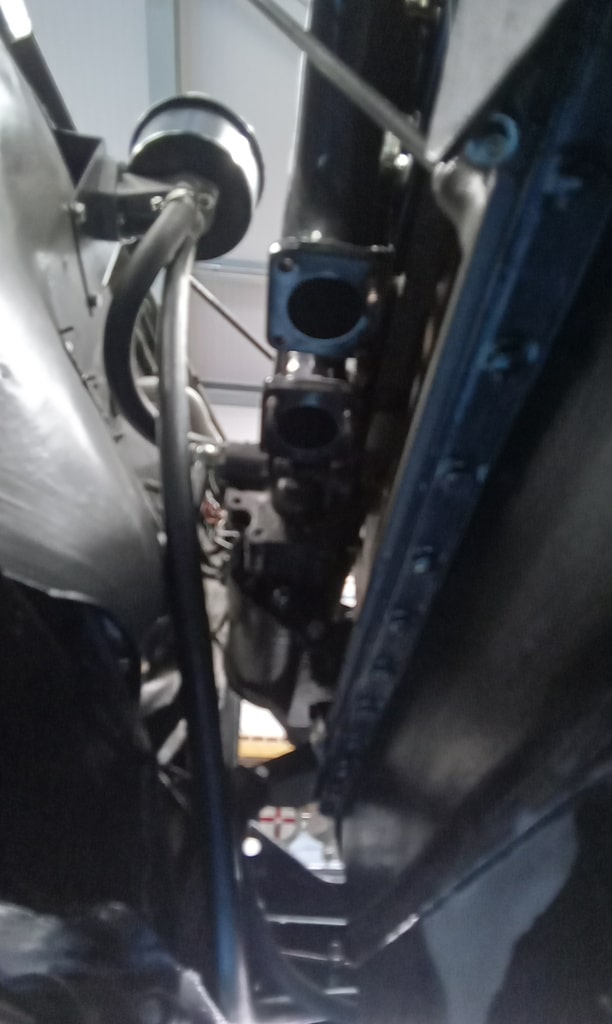
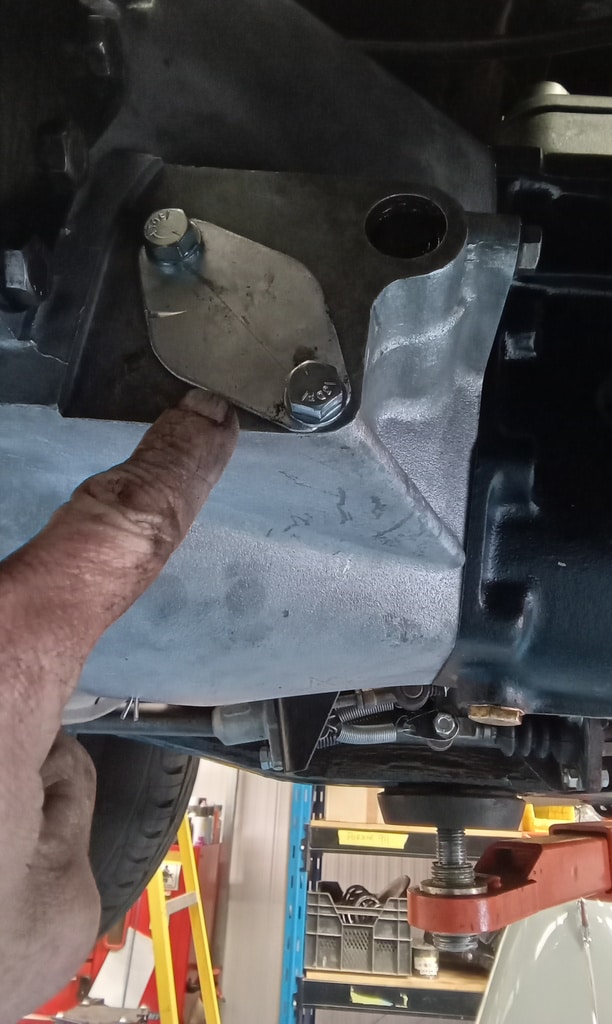
Once the correct clutch arrived at the workshop, Jon could get the engine back into the car. Using the engine crane, Jon (with the help of Rob) got it safely into the engine back of the classic Jaguar along with the new gearbox. Once in the car, the team seperated the gearbox from the engine block to fit up the new clutch unit (including the pressure plate). Whilst the engine was put into place, Jon could change over some of the older engine mounts for new units, but once all in place Jon could fit up the starter motor and exhuast.

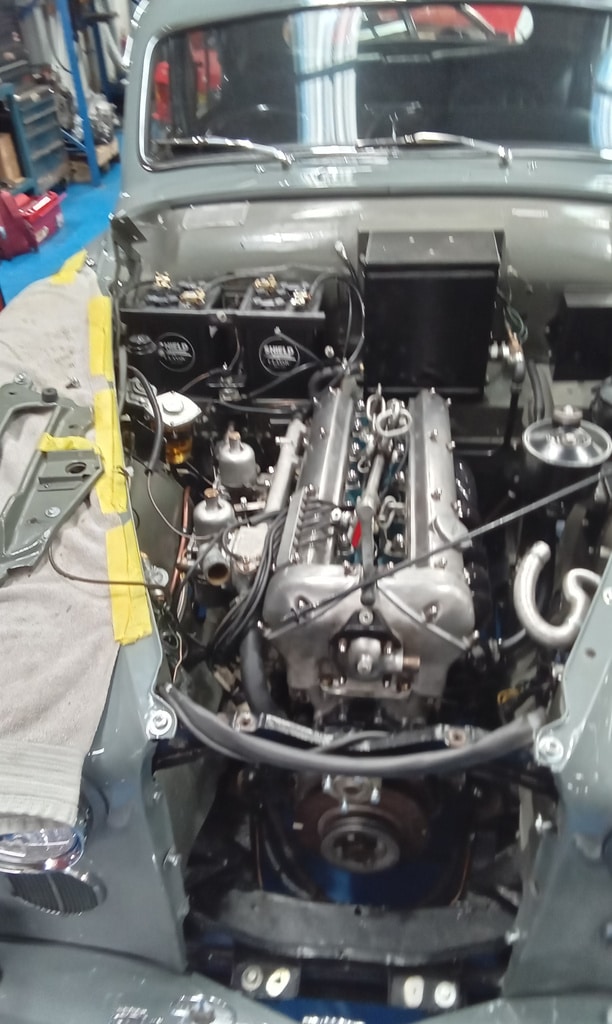
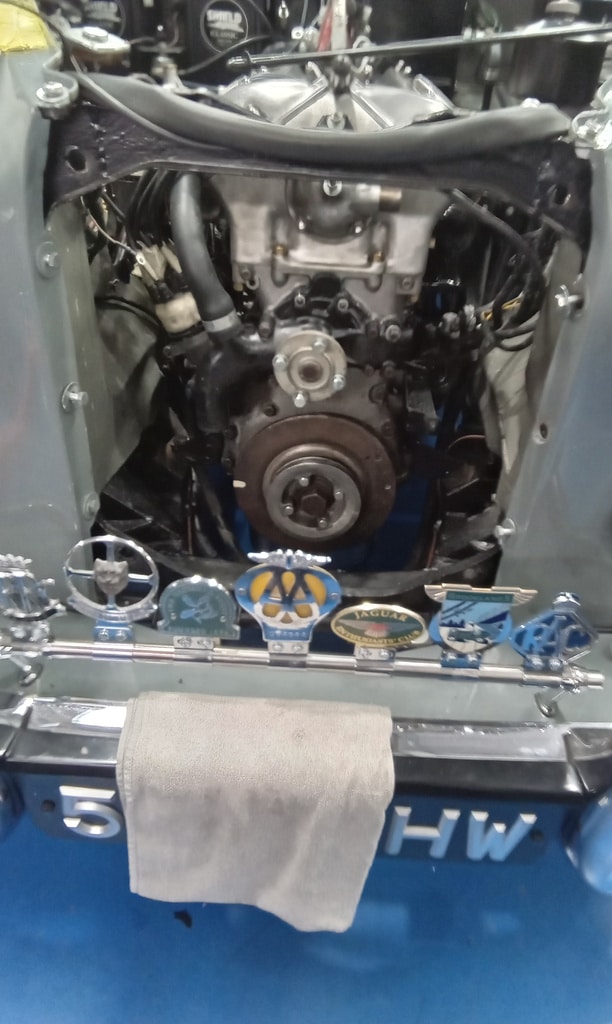
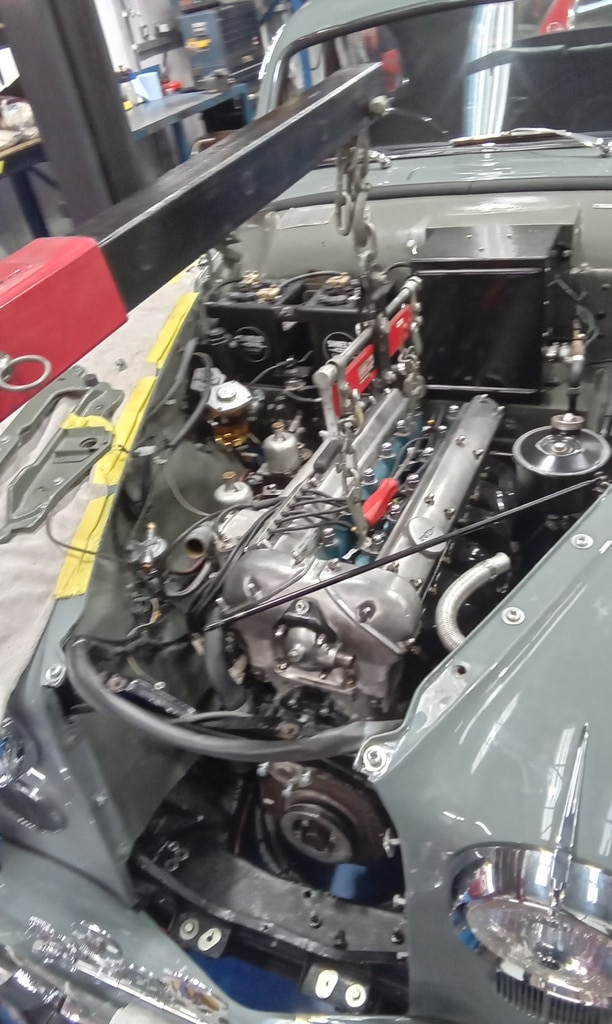
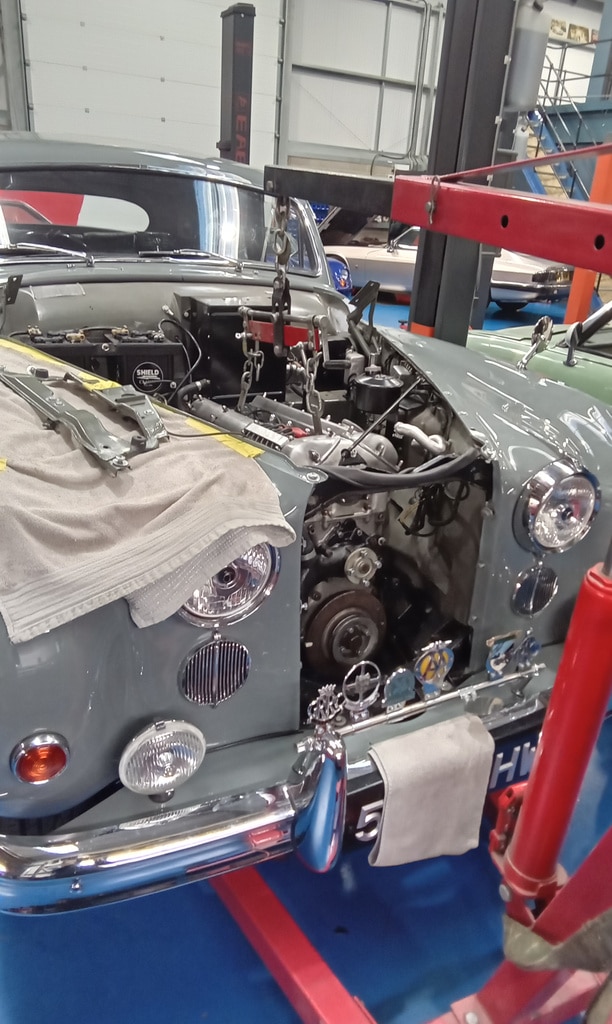
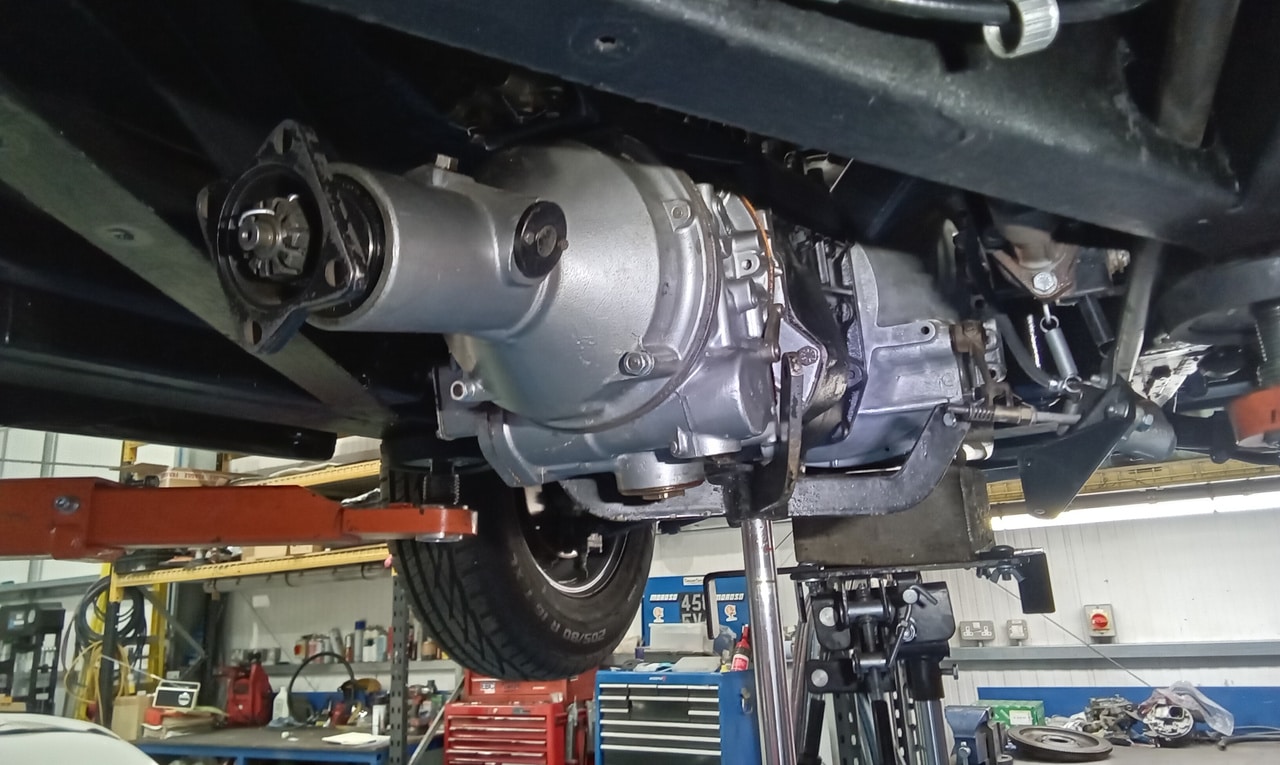
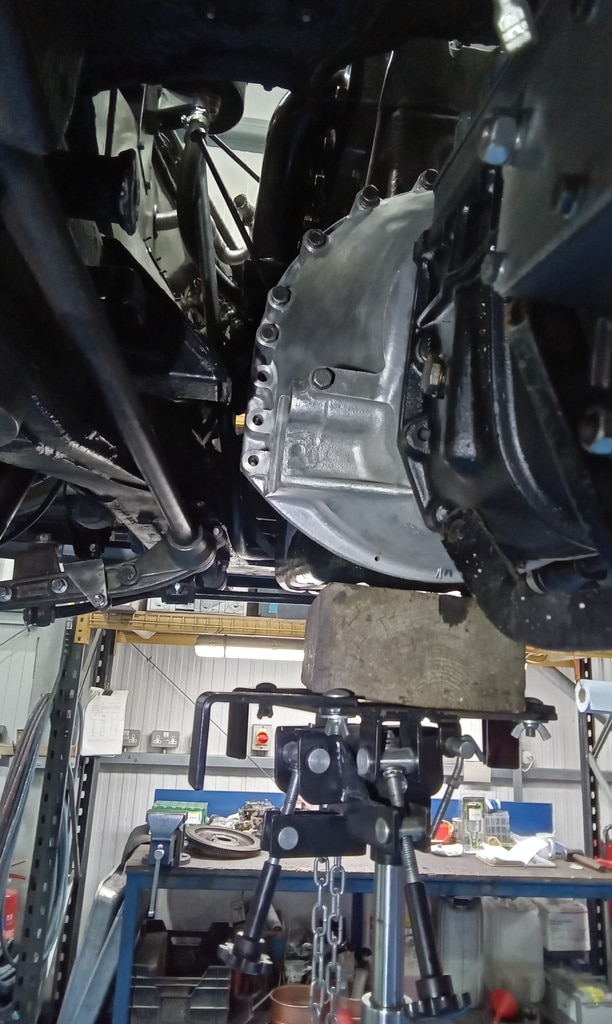
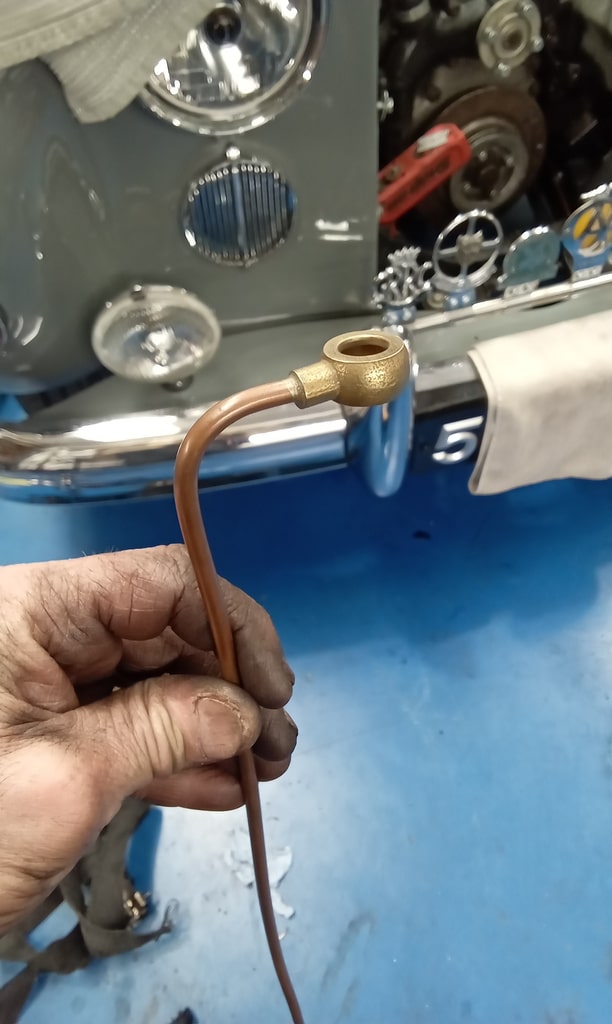
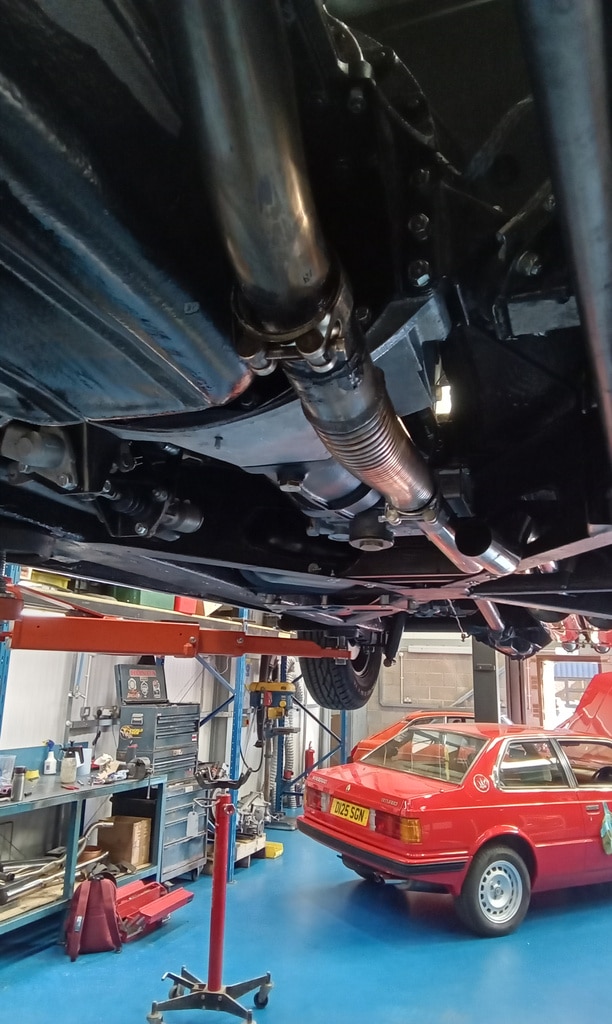
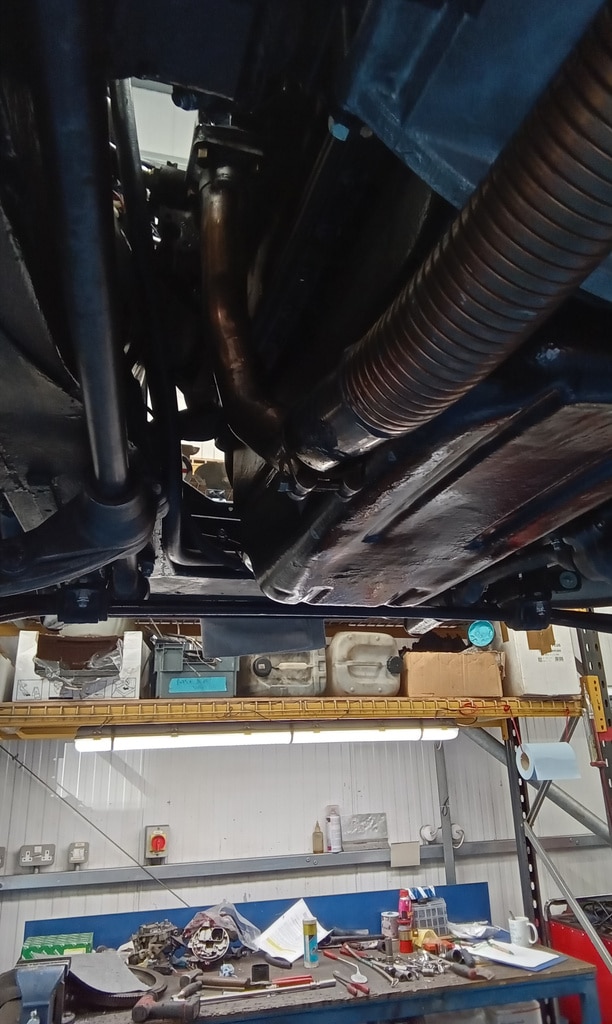
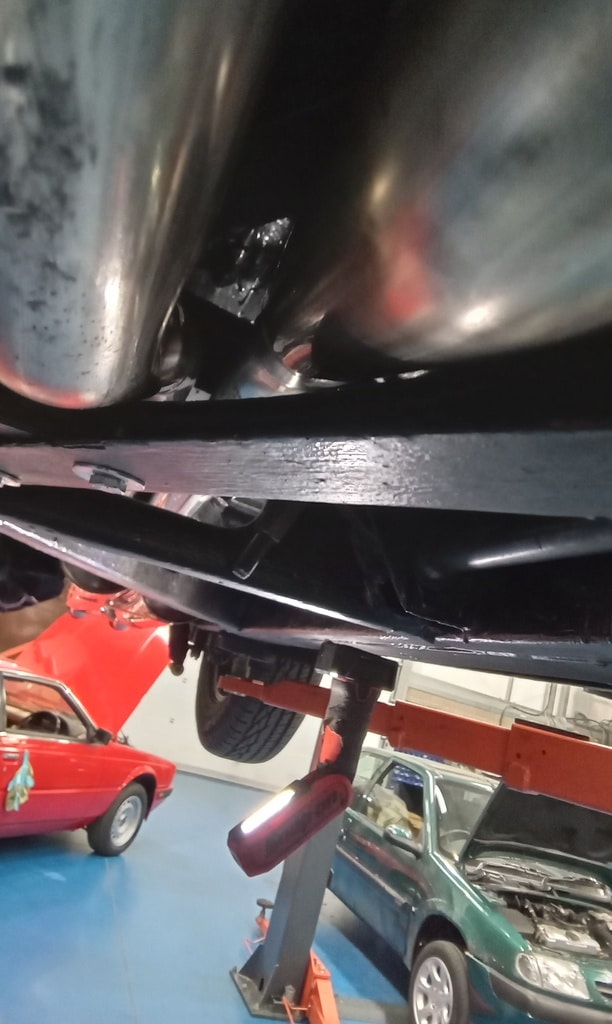
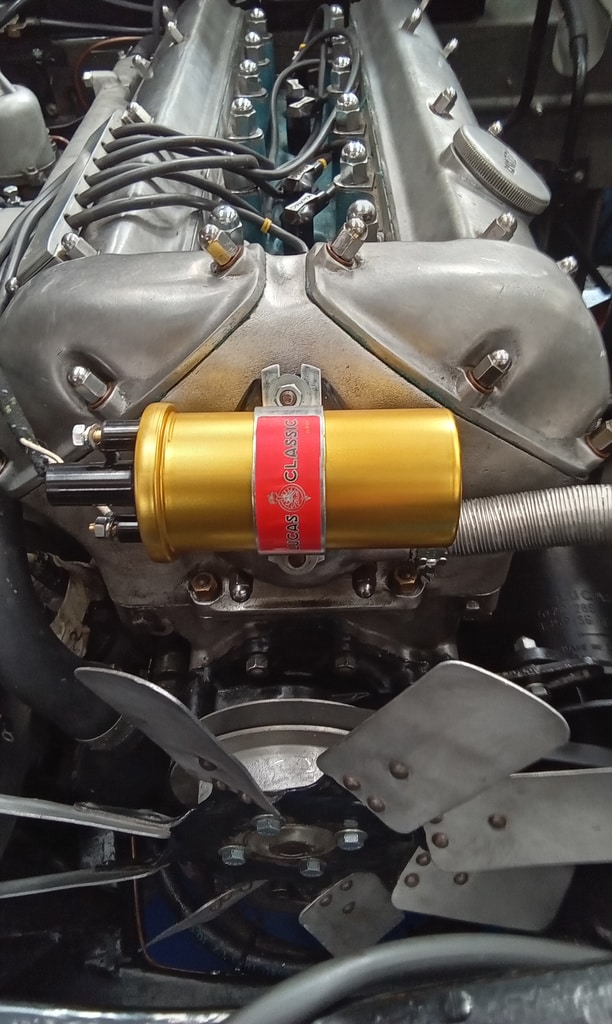
Once the engine and gearbox were securely in their mounts, Jon could remove the engine crane and put the car higher up on the ramp in order to fit the new clutch save cylinder as well as rerouting the speedometer cable. Once everything was safely in place, Jon could refit the prop shaft and bolt it in at the yoke and then lower back onto the workshop floor so he could begin fitting the dynamo and power steering pump to the back of the unit along with the belt, fan and pulley. Carefully, Jon got the car back to its TDC timing marks and refitted the throttle linkage.
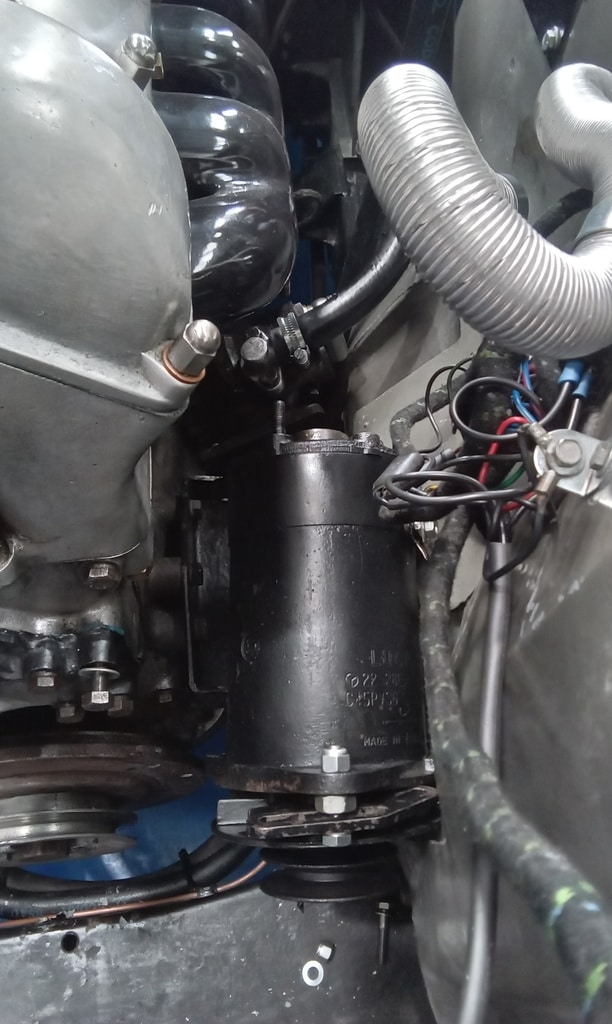
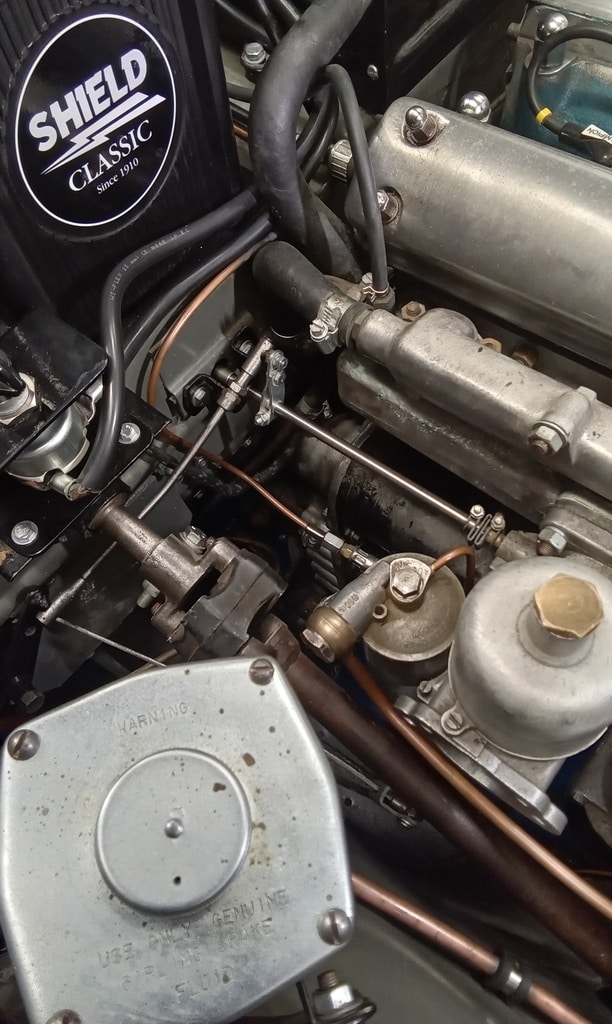
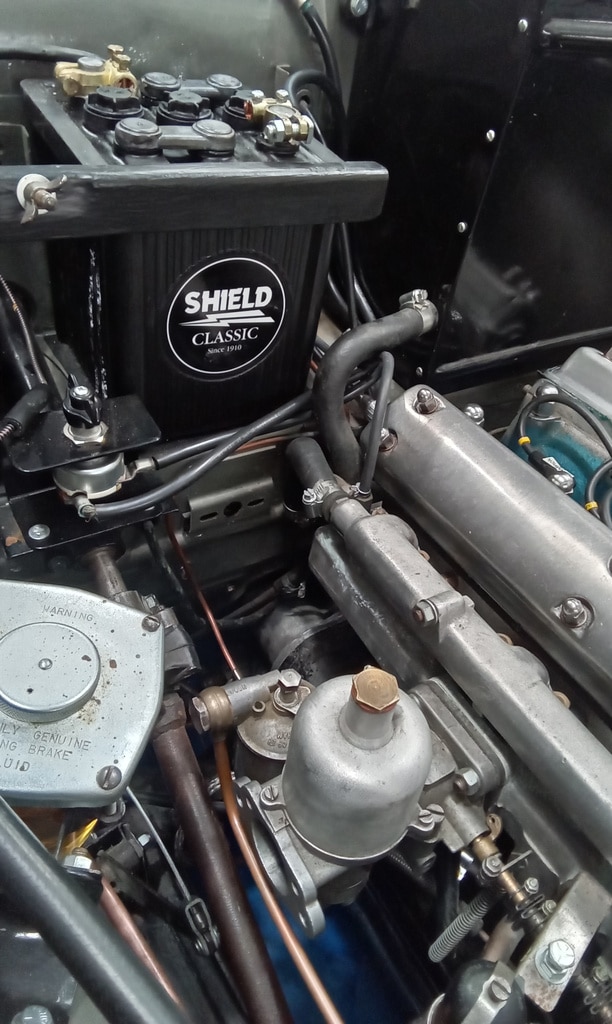
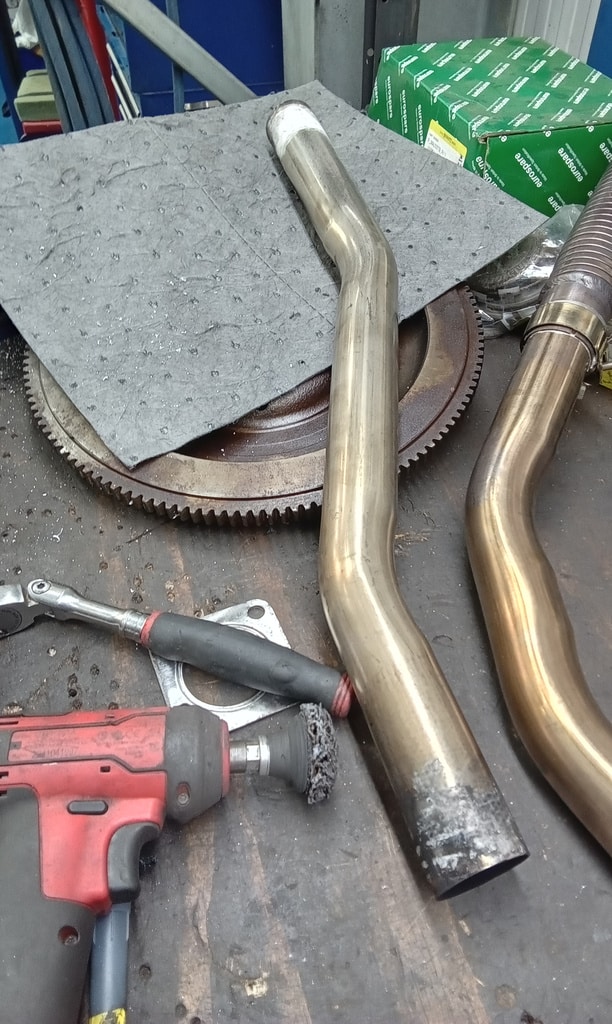
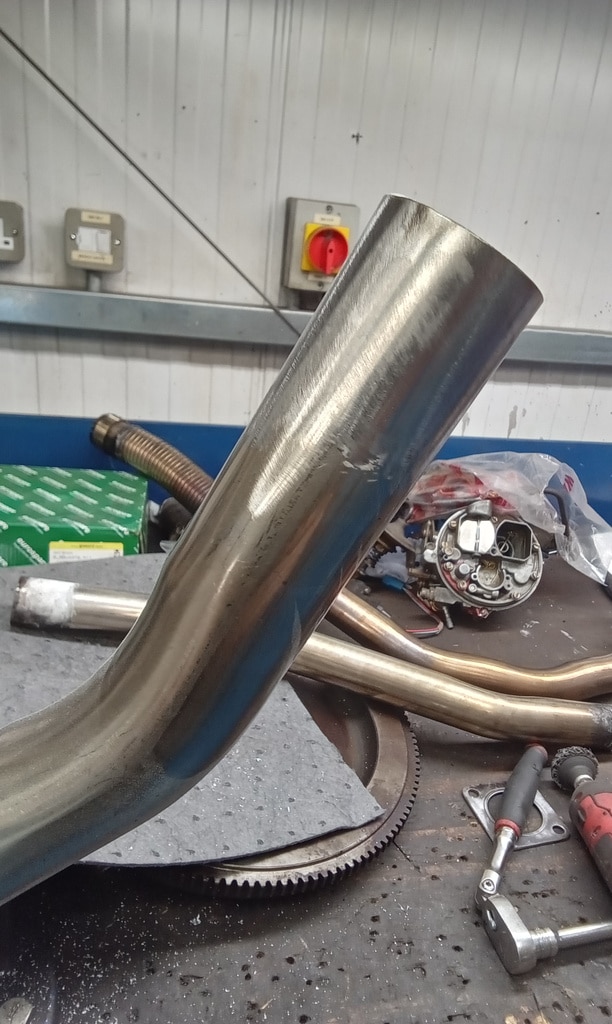
Once everything was in place, Jon could work his way getting the various components fitted back into the car such as the new coil and begin to fit up the exhaust with some modifcations neccesary to get fit up safely.

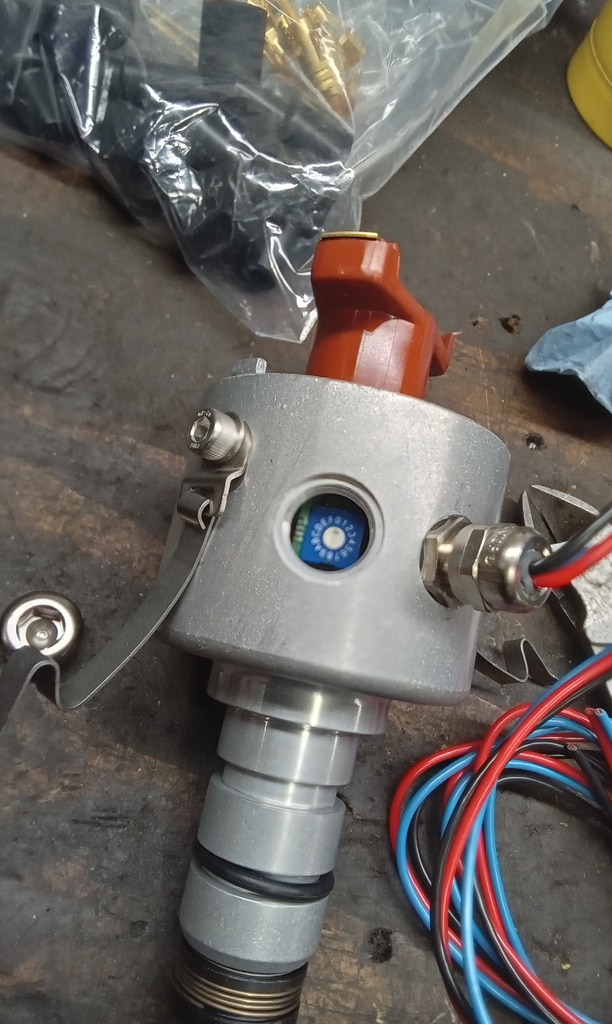
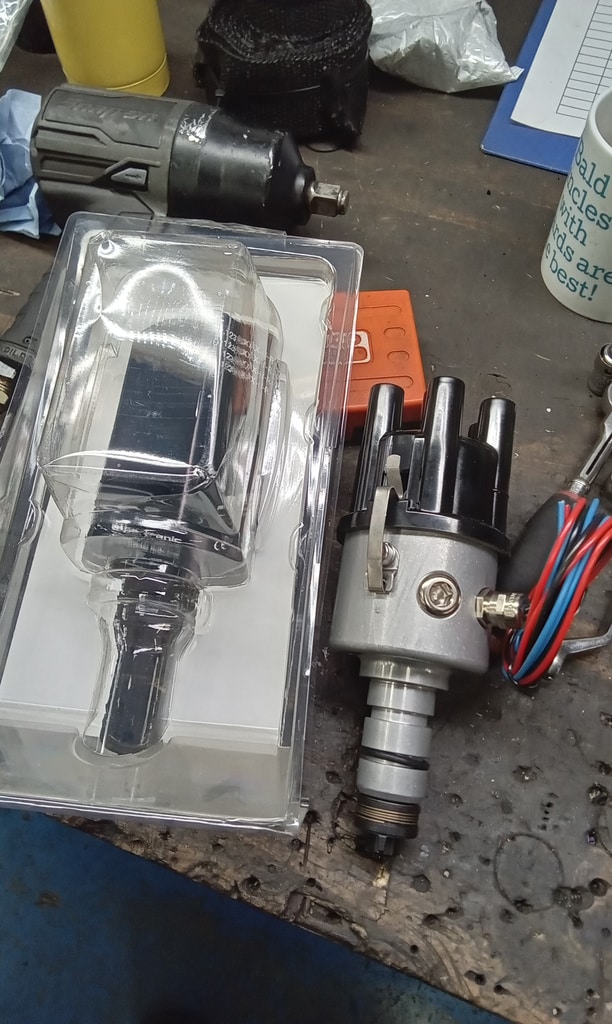
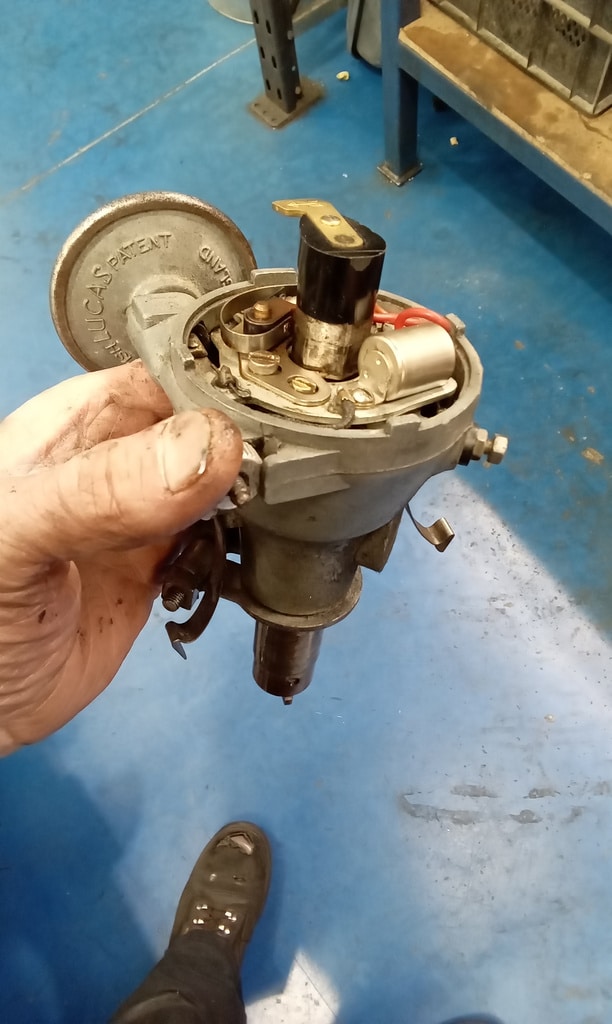
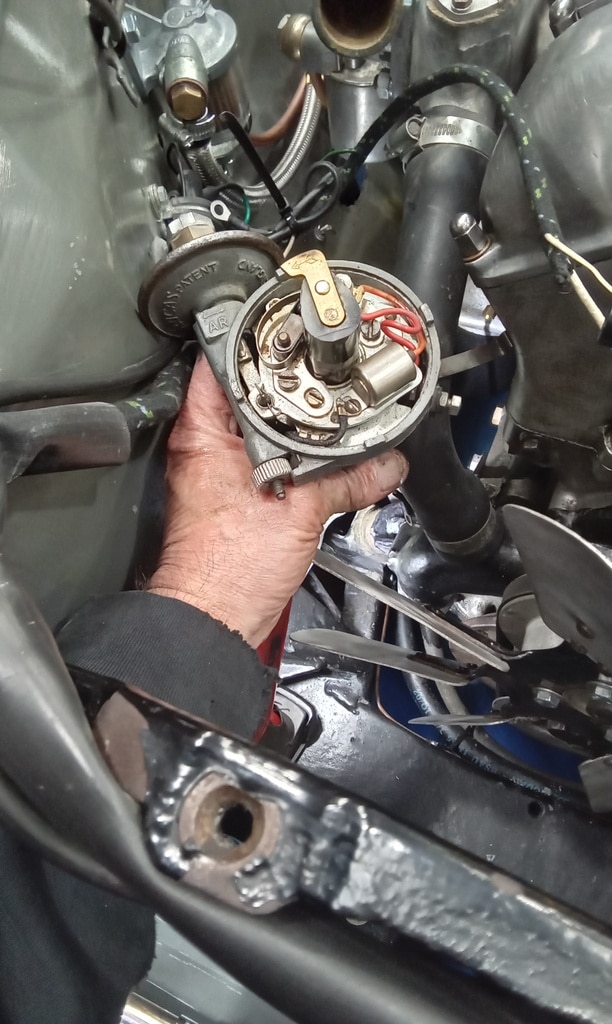
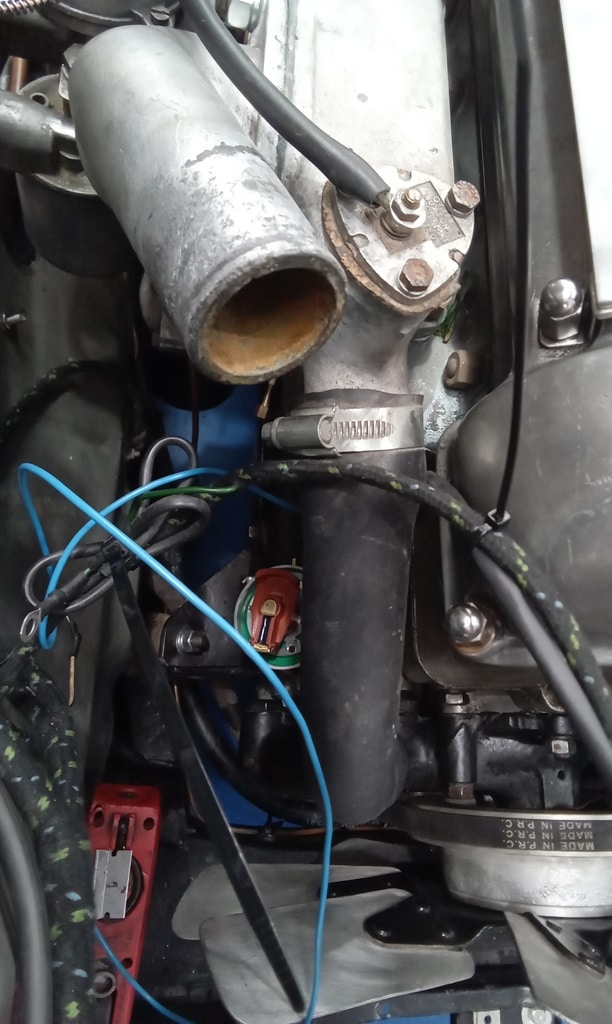
With the engine at TDC on cylinder 1, Jon could remove the old distributor ready for a new unit to be put in its place.
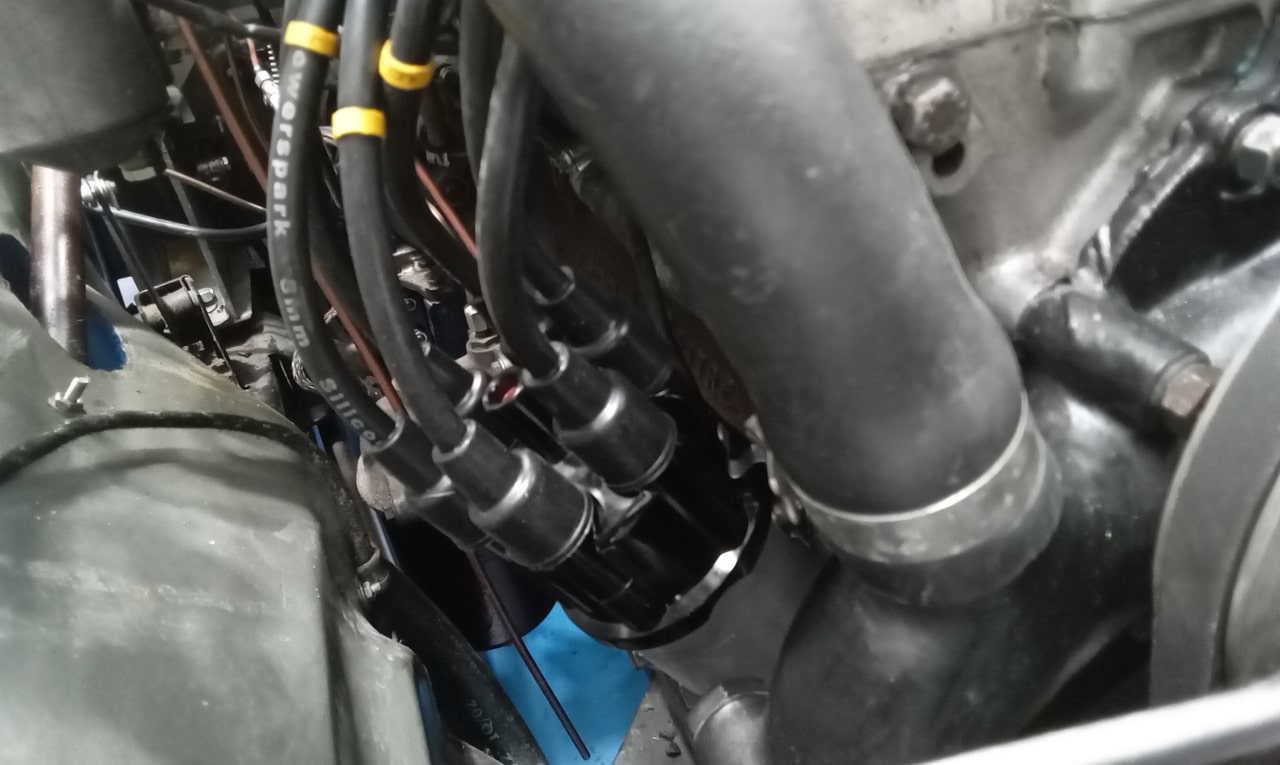
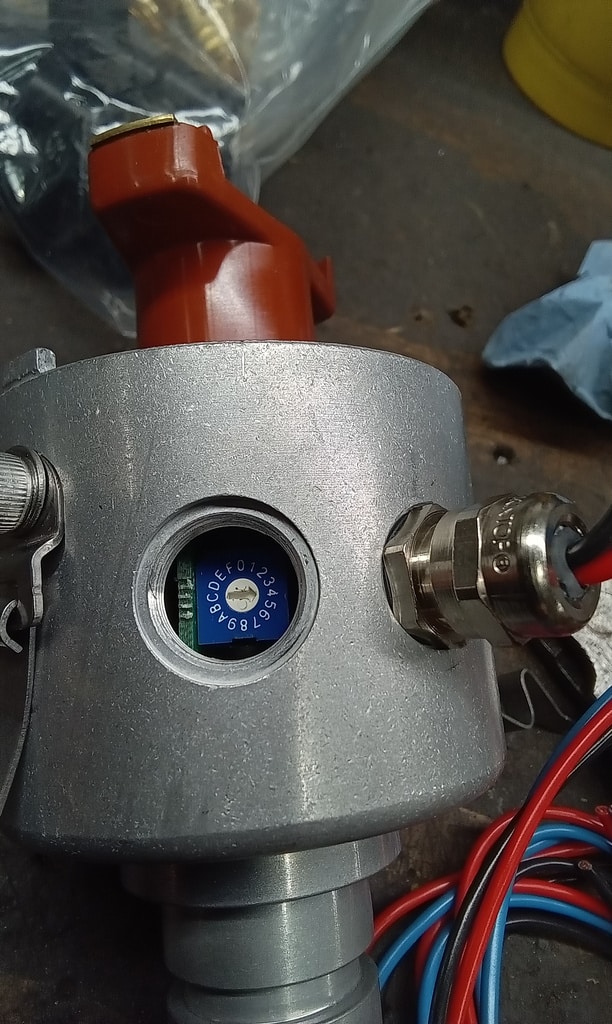
‘Adjust distributor torquecurve setting and refit cap. Remove clamp from old dizzy and mount to engine. Swap seal and fit dizzy. Move to a position that wires and vacuum port accessible. Route wiring to coil and crimp on ring terminal. Find ignition live and connect wire. Tape up and secure to inner wing.’
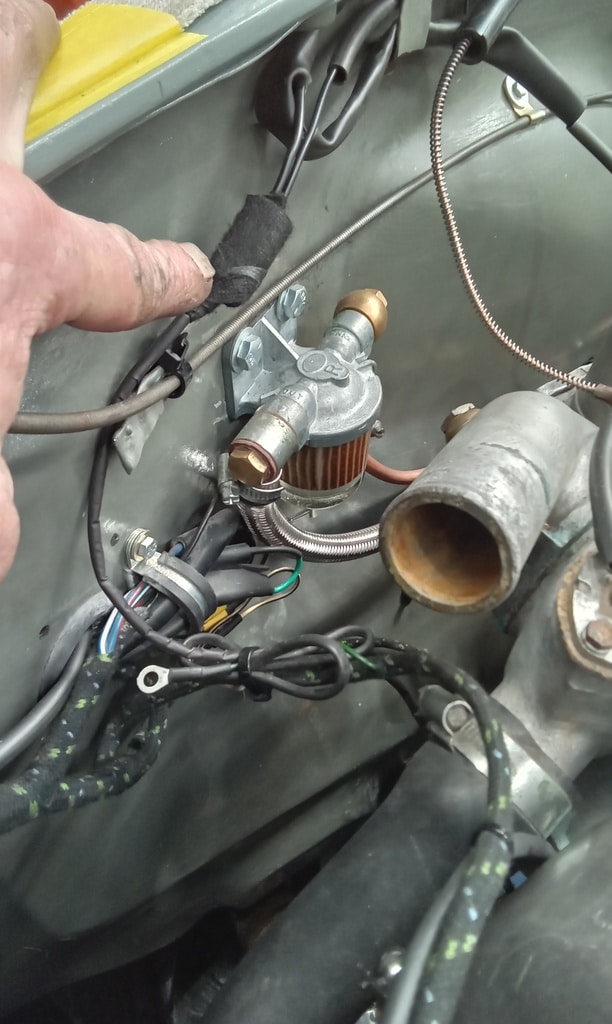

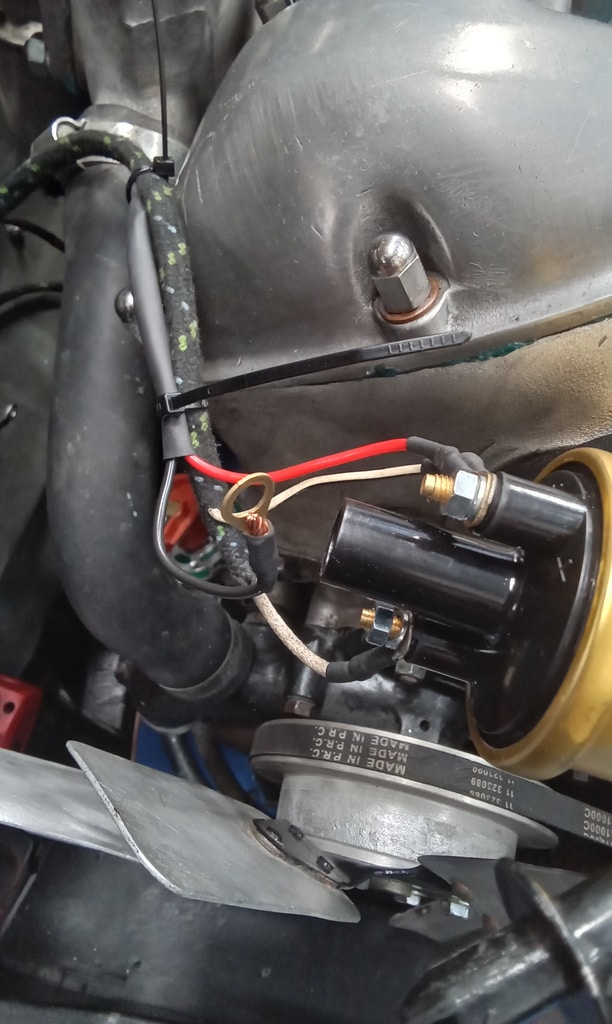
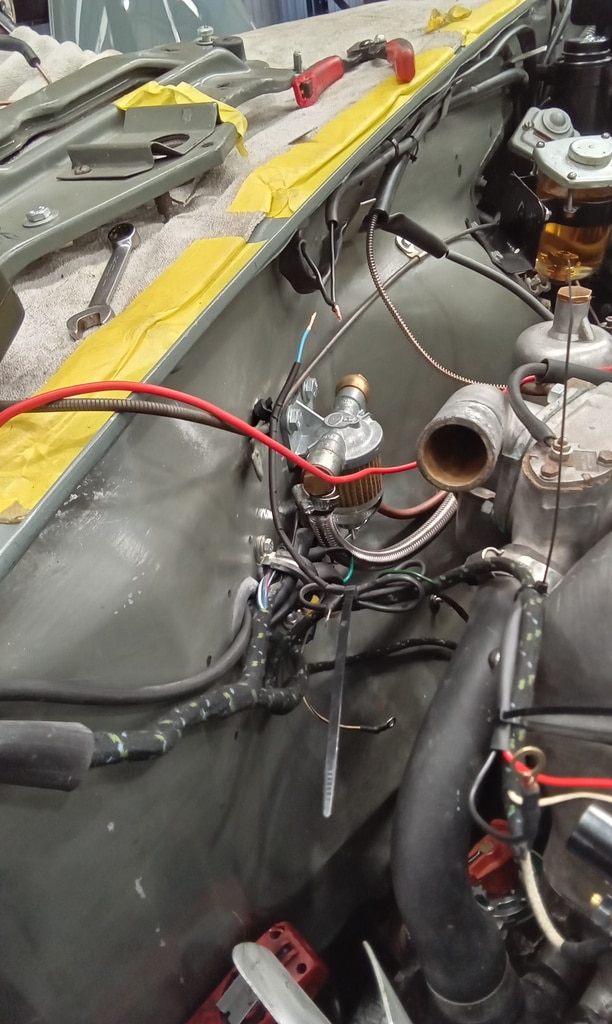

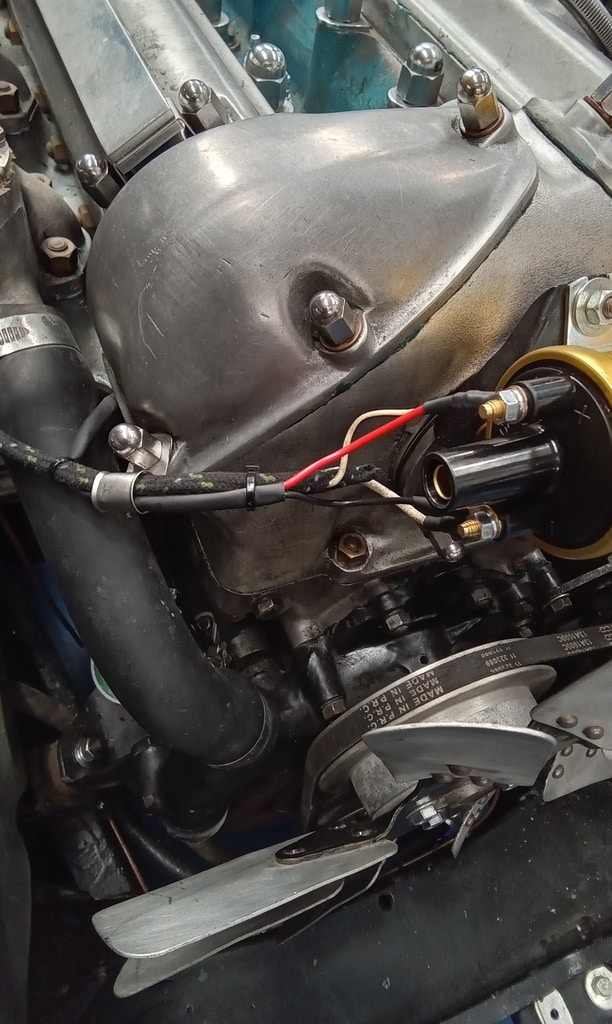
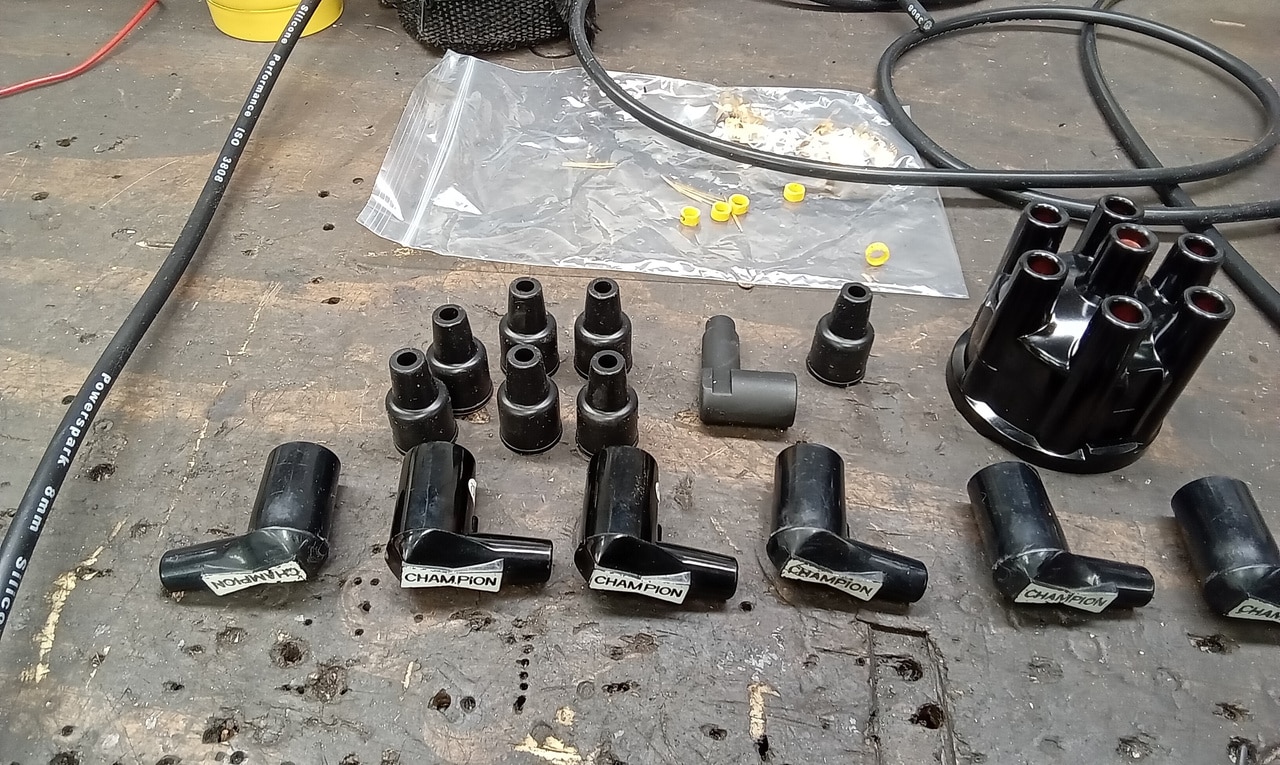
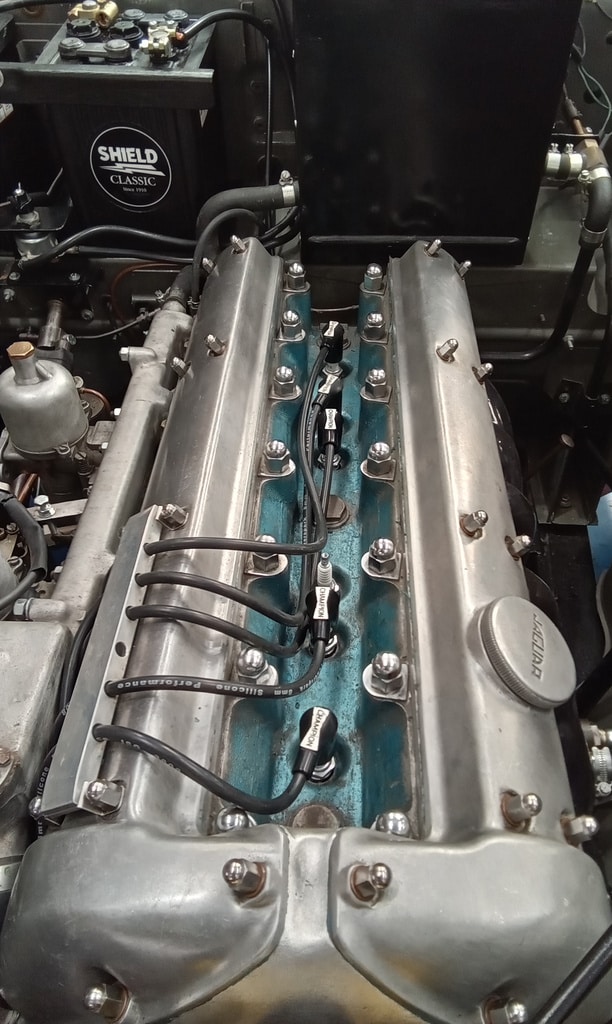
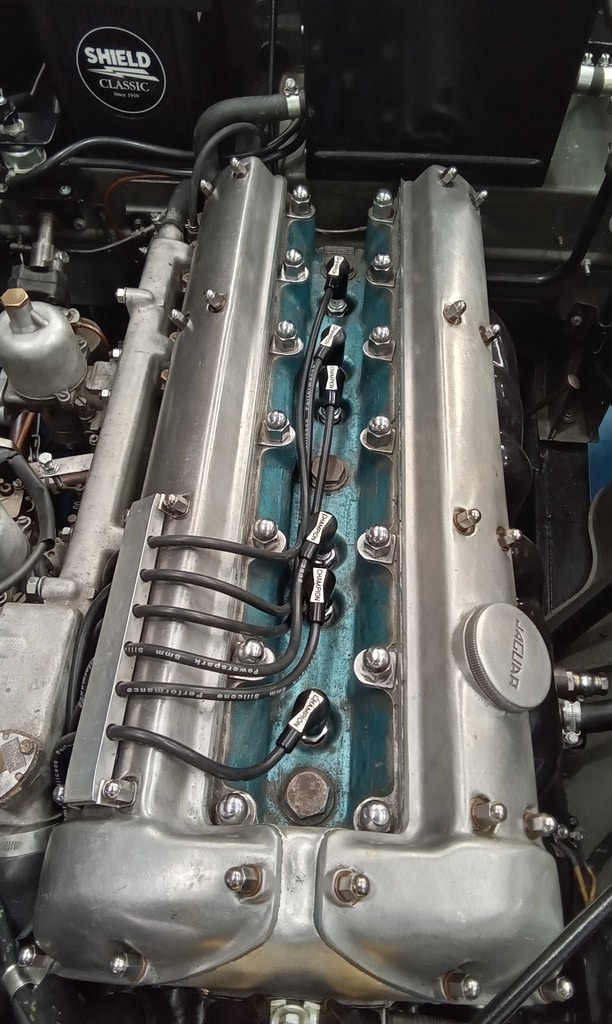
‘Tidy and secure wiring and now dizzy set crimp ring terminal to black wire and connect to coil. Fit P clip to hold loom near coil. Start making new Ht leads. Measure and cut cable to length starting at cylinder 1 nearest bulkhead. Finish making leads. Finally make new coil lead and connect. Turn on ignition and Crank over briefly and switch off. Check for fuel leaks at carbs and pipes. Tighten float bowl top nuts and unions to carbs. Clean up.’