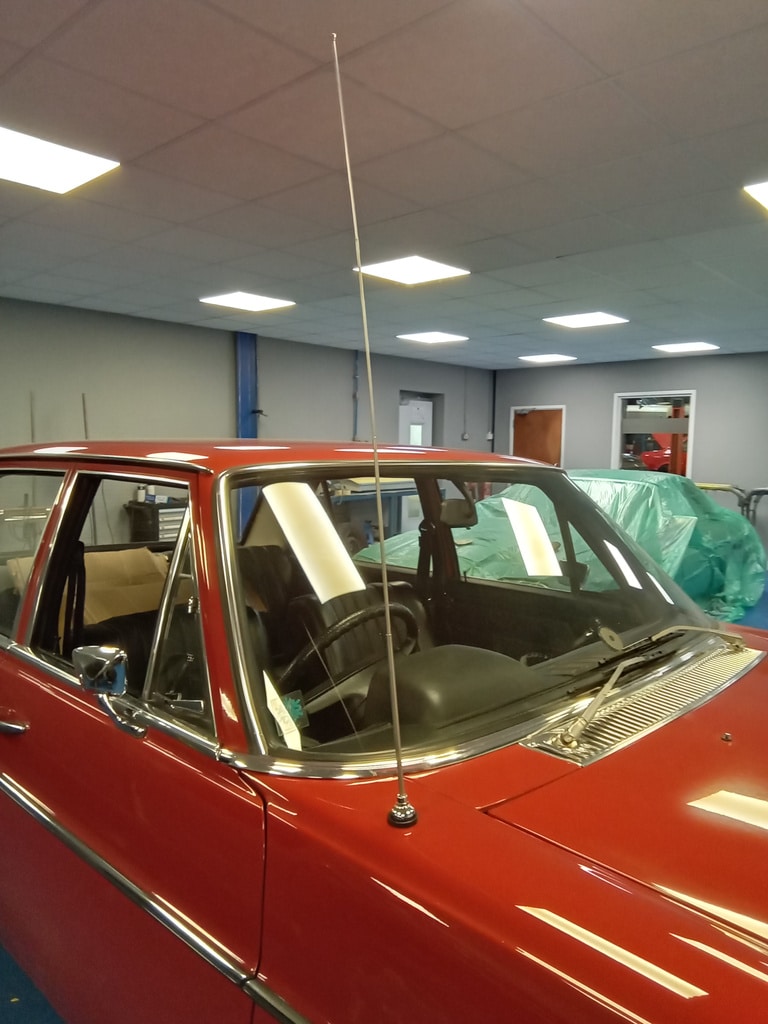
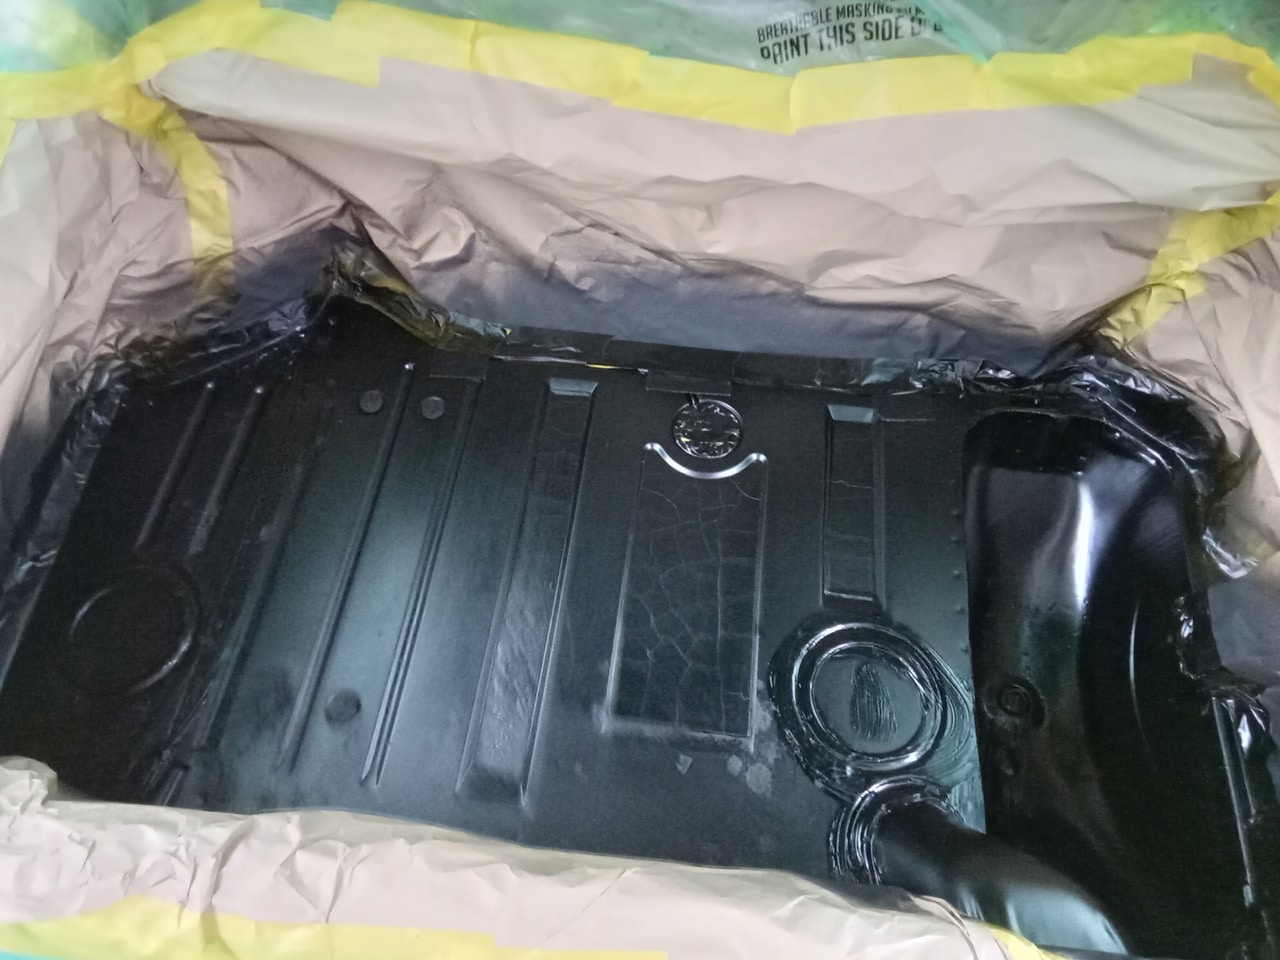
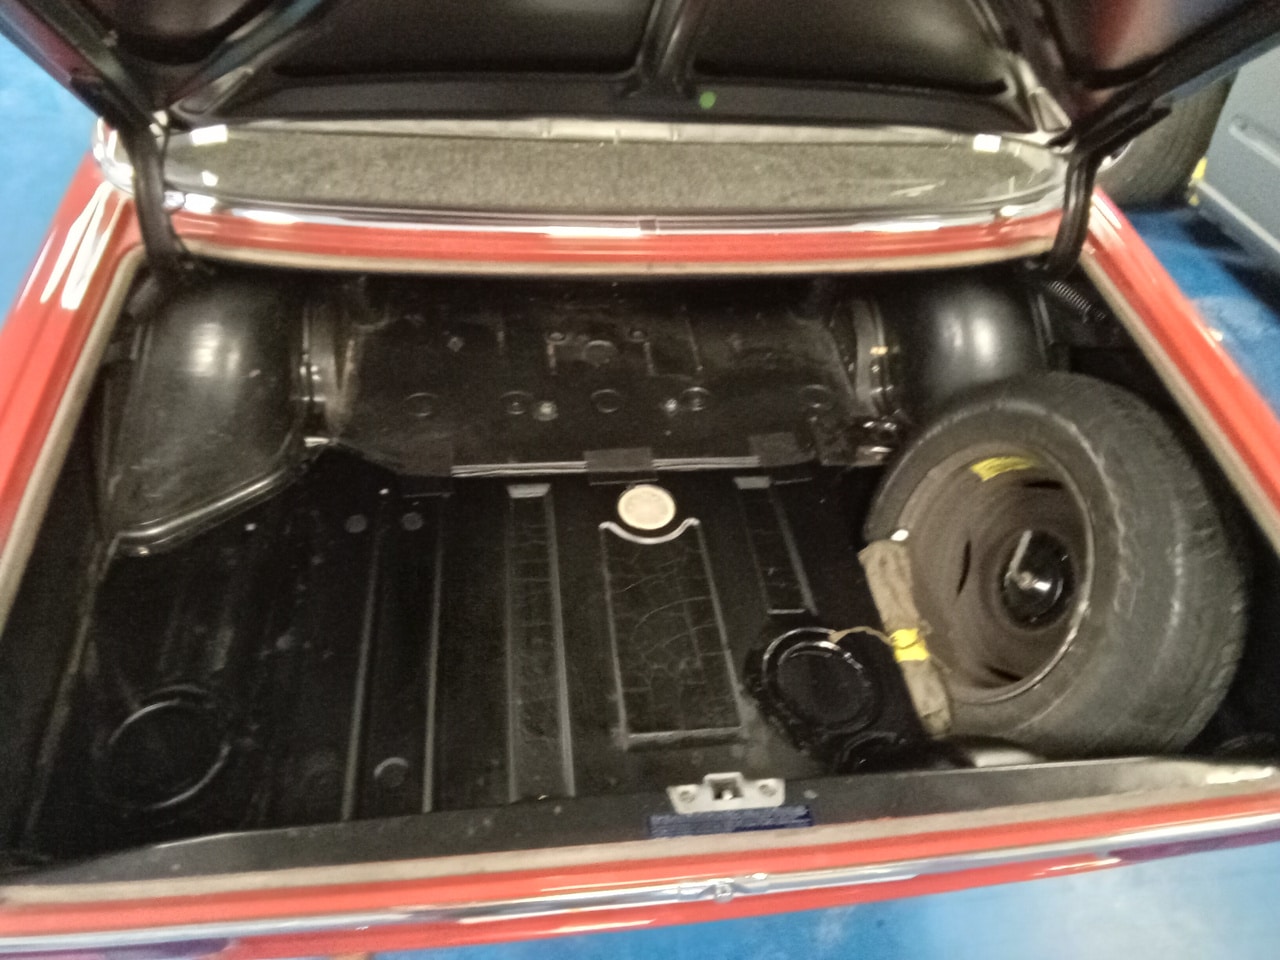
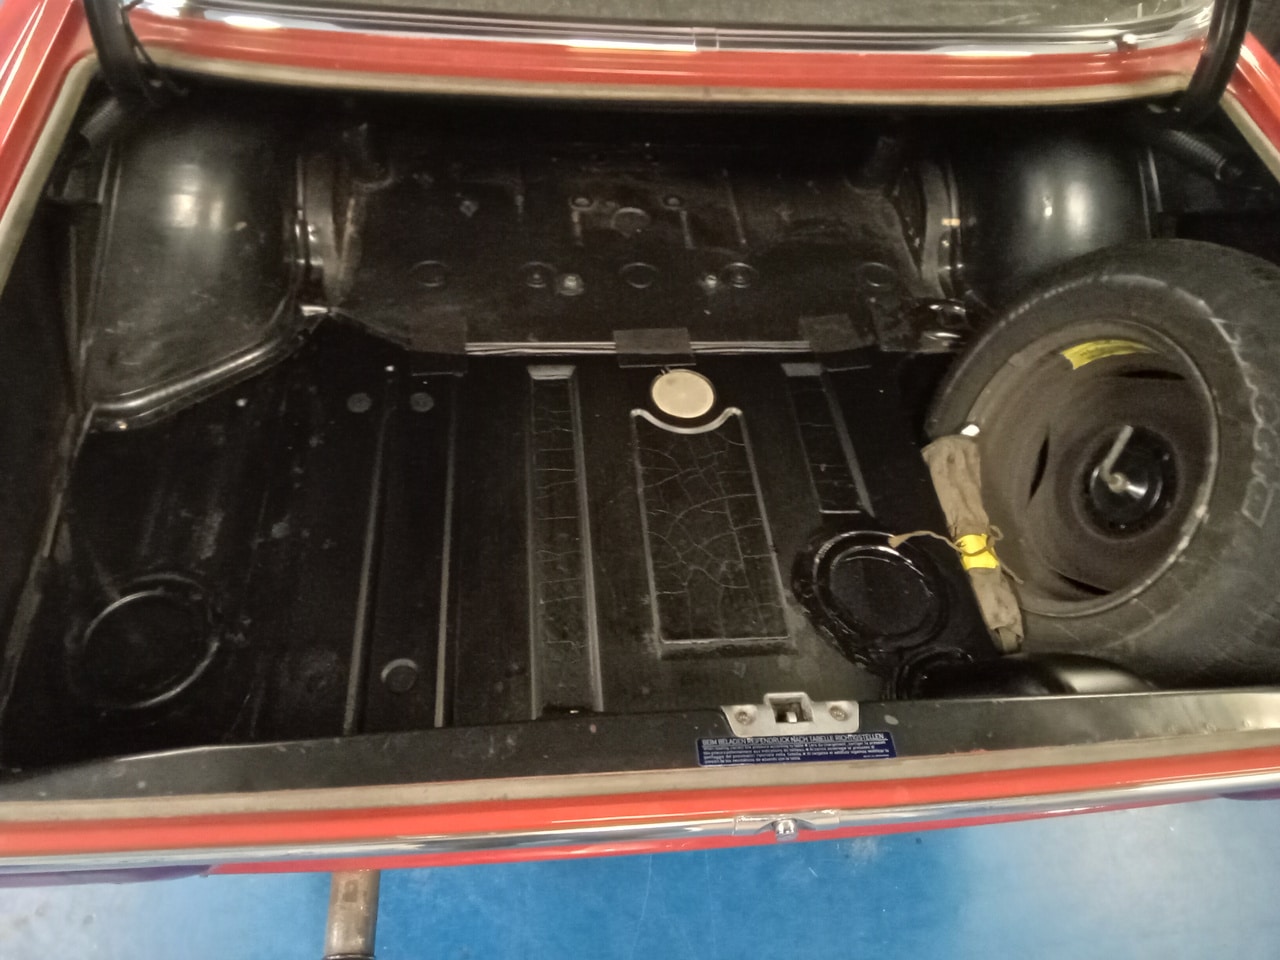
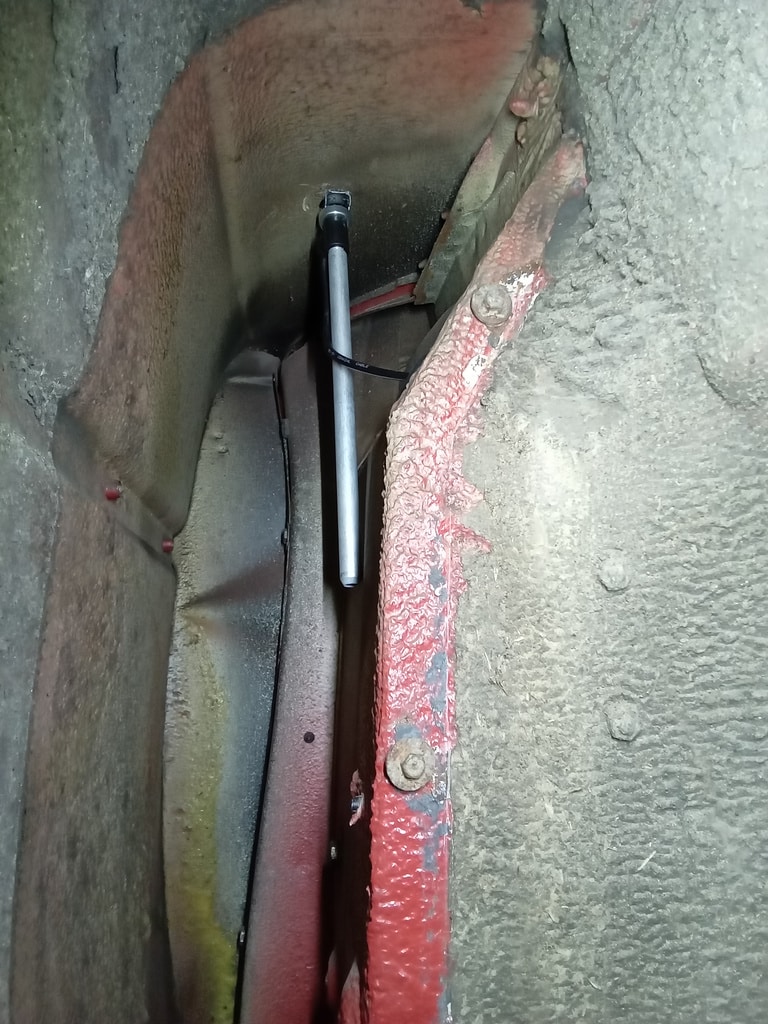
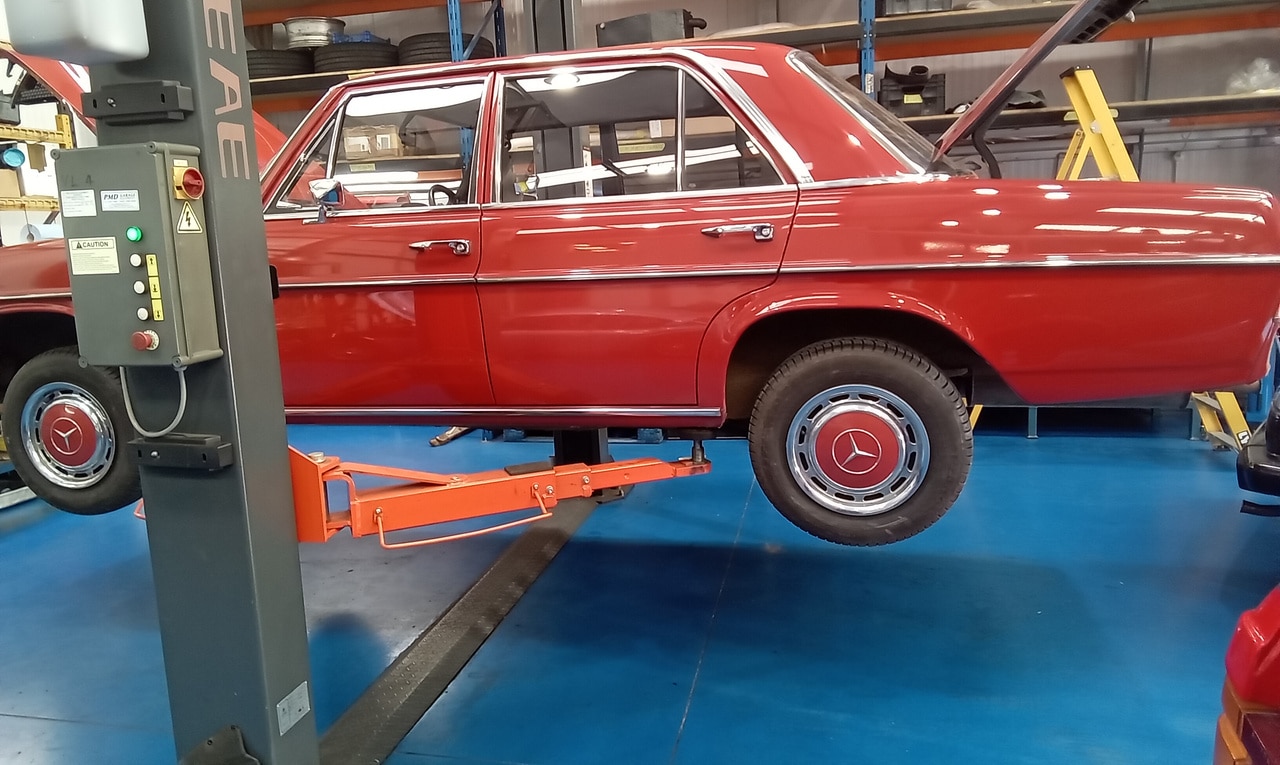
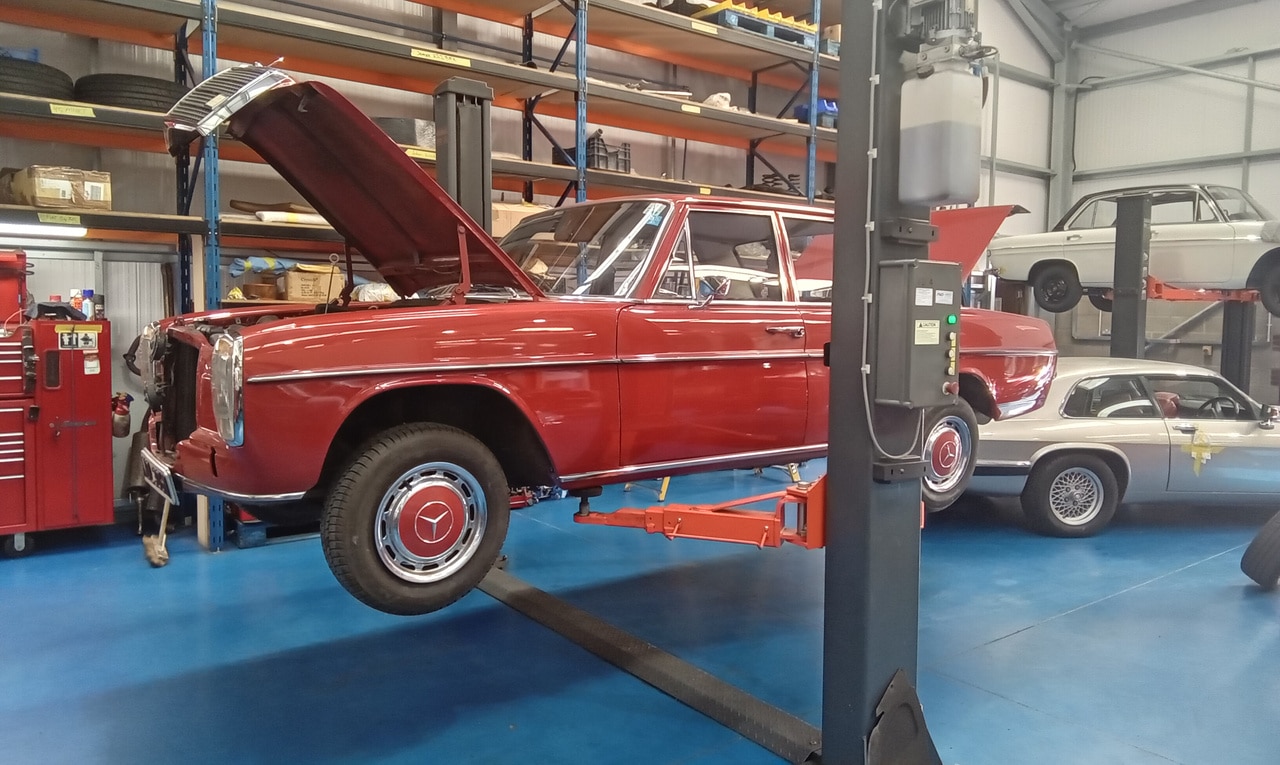
The Bridge Classic Cars team have been busy reinvigorating our 1973 Mercedes 250. to start with, our paint and body technician Mauro has finished painting the inside of the boot before fitting the aerial to the car before the car is handed over to our main workshop for them to begin their work on the classic Mercedes W114.
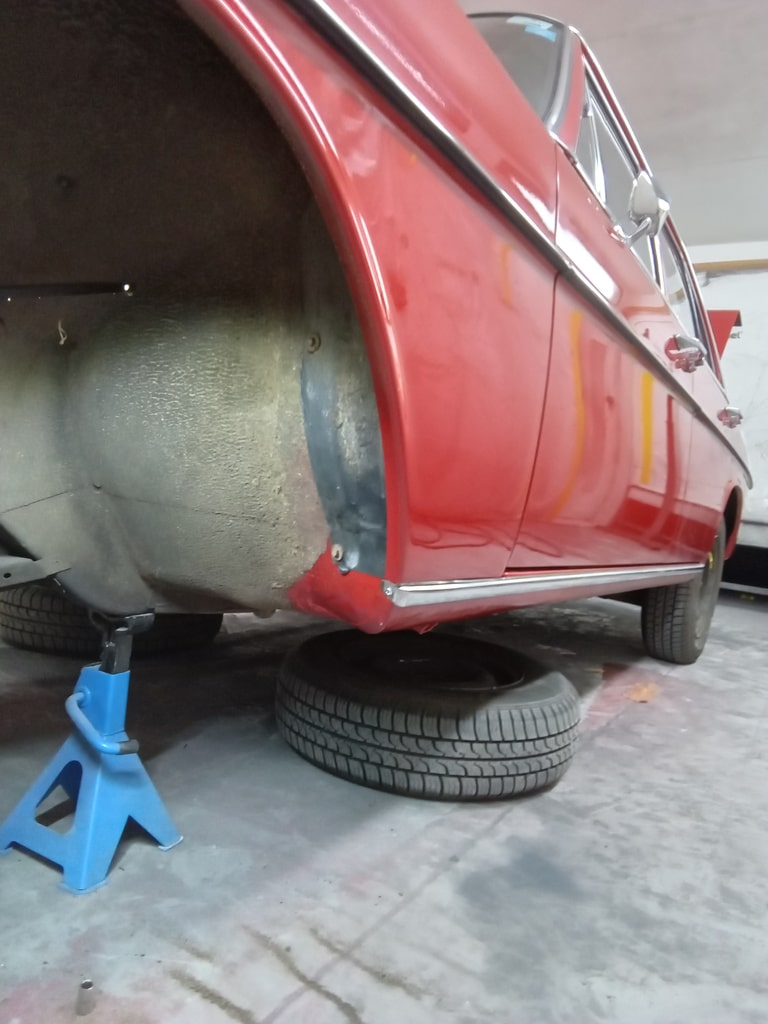

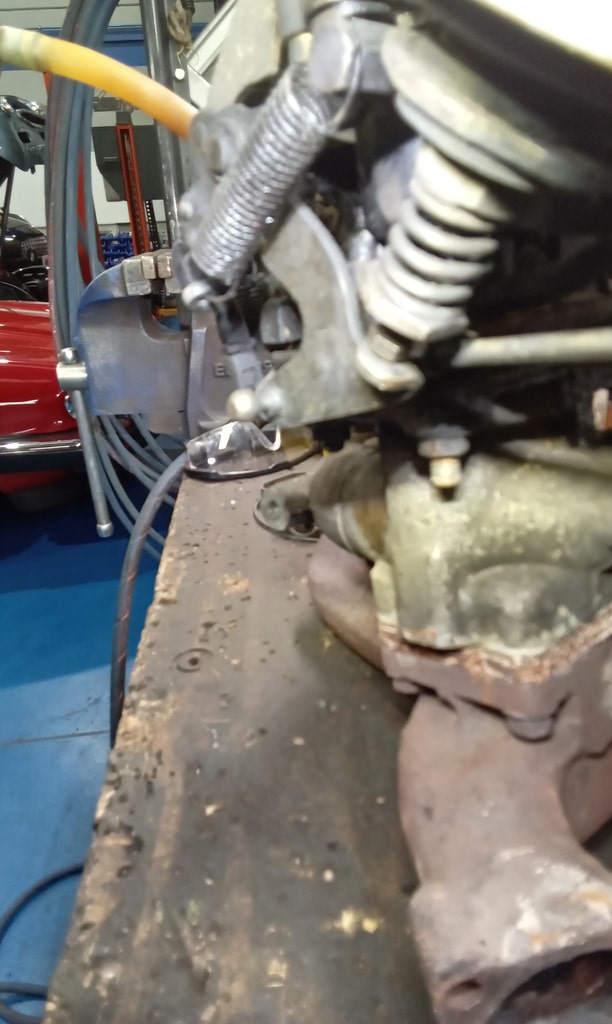
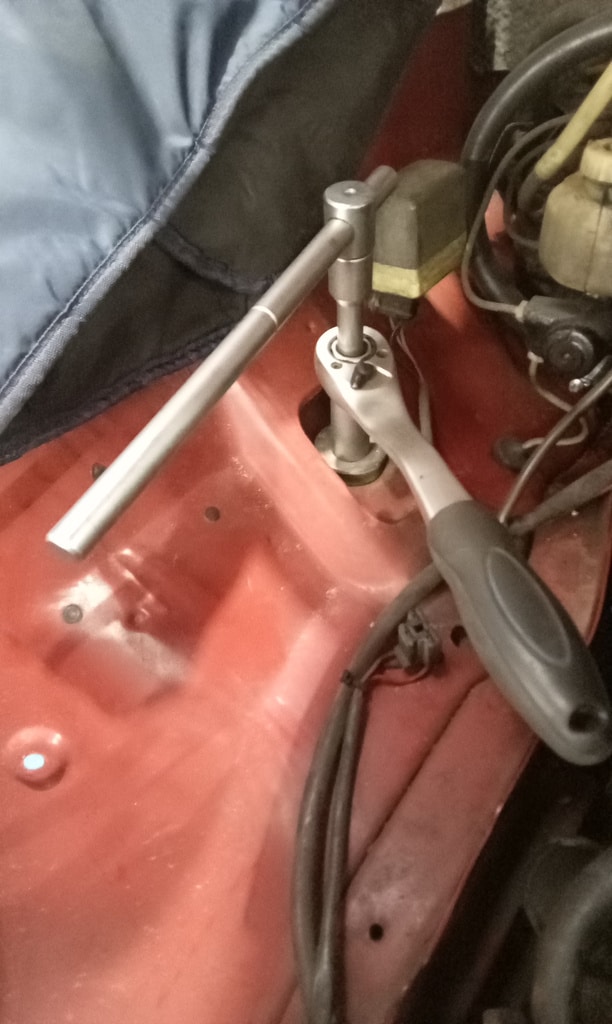
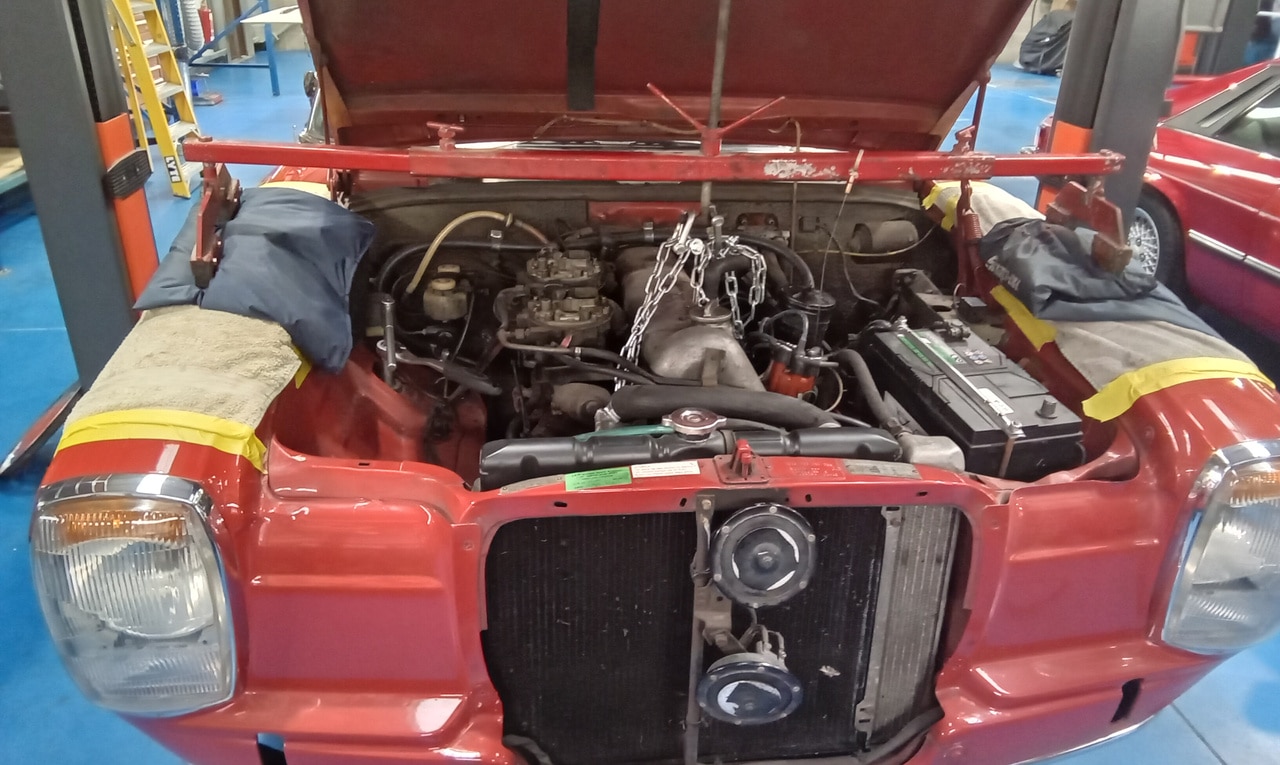
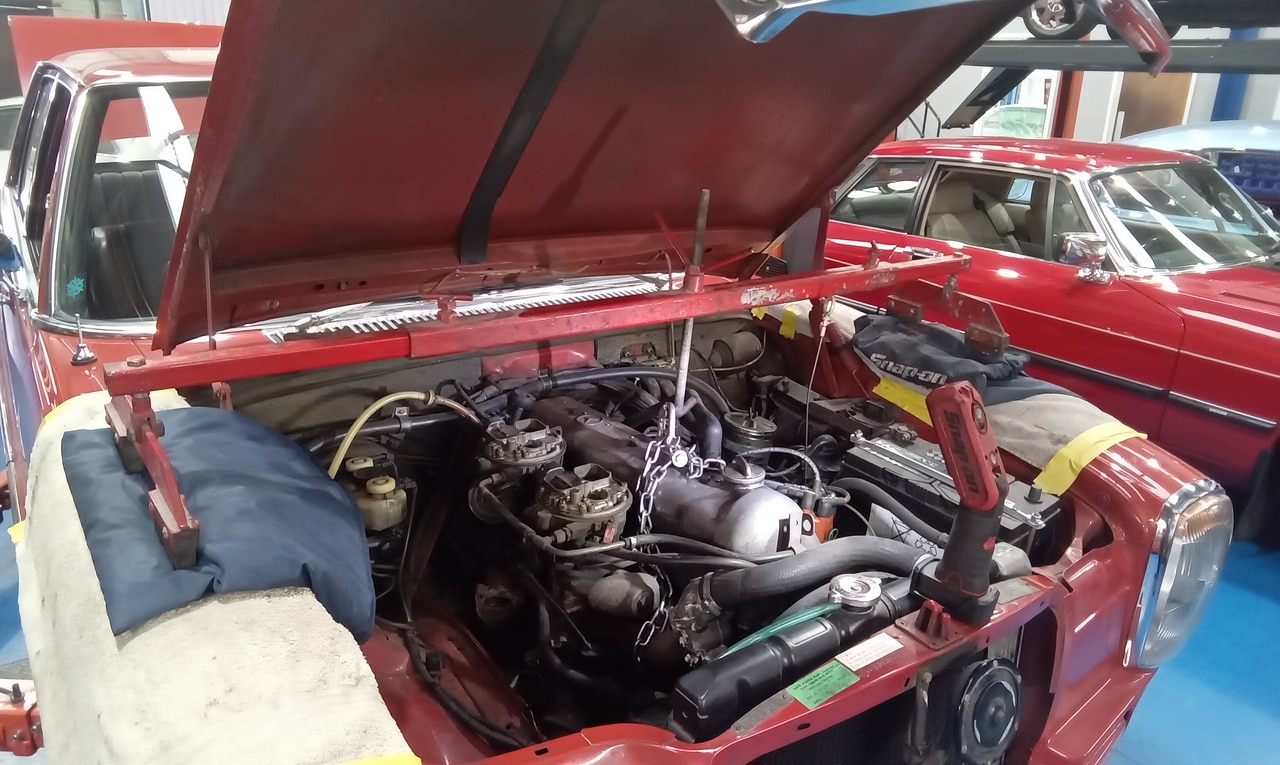
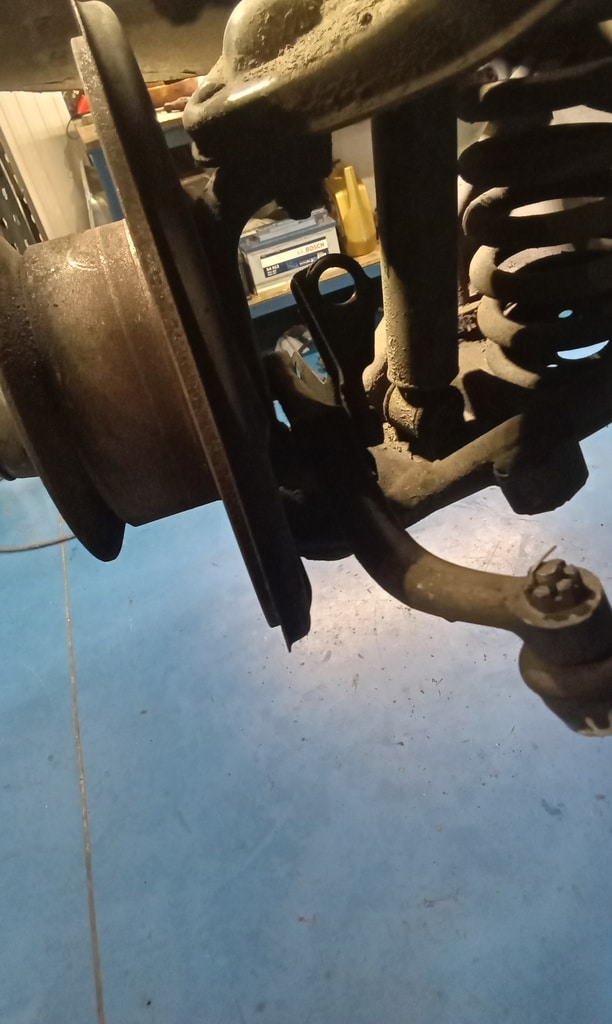
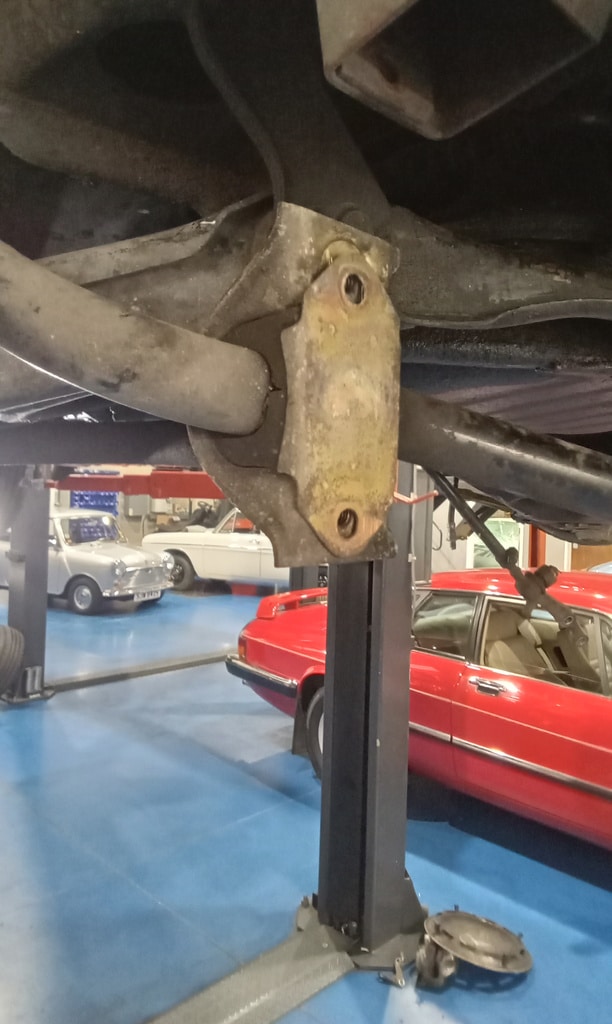
Once back in the mechanical workshop, our technician Jon could begin his side of the repairs on the classic Mercedes saloon. Jon could begin to strip down ready for the subframe to be removed from the car.
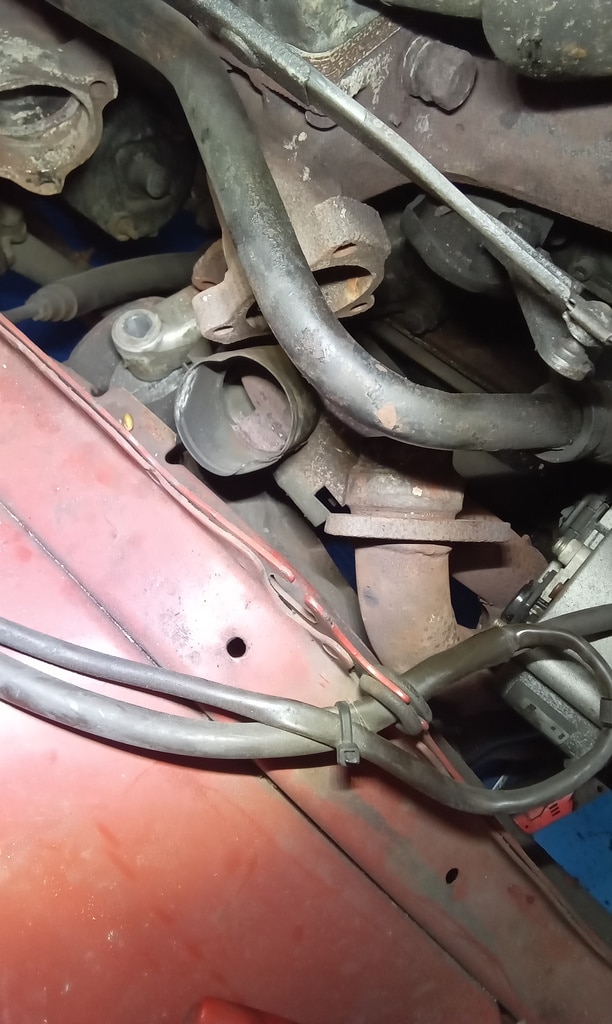
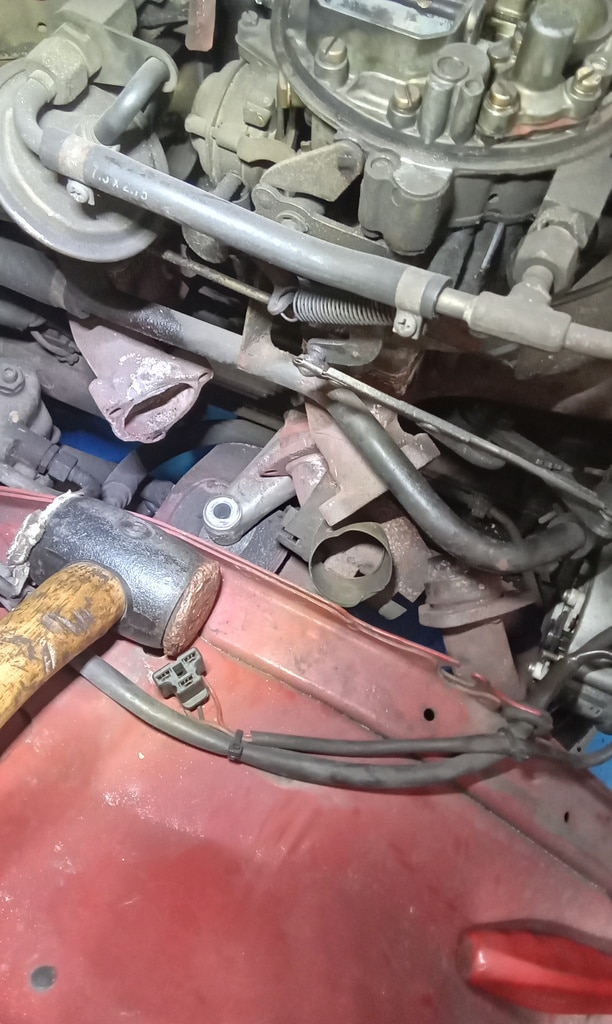
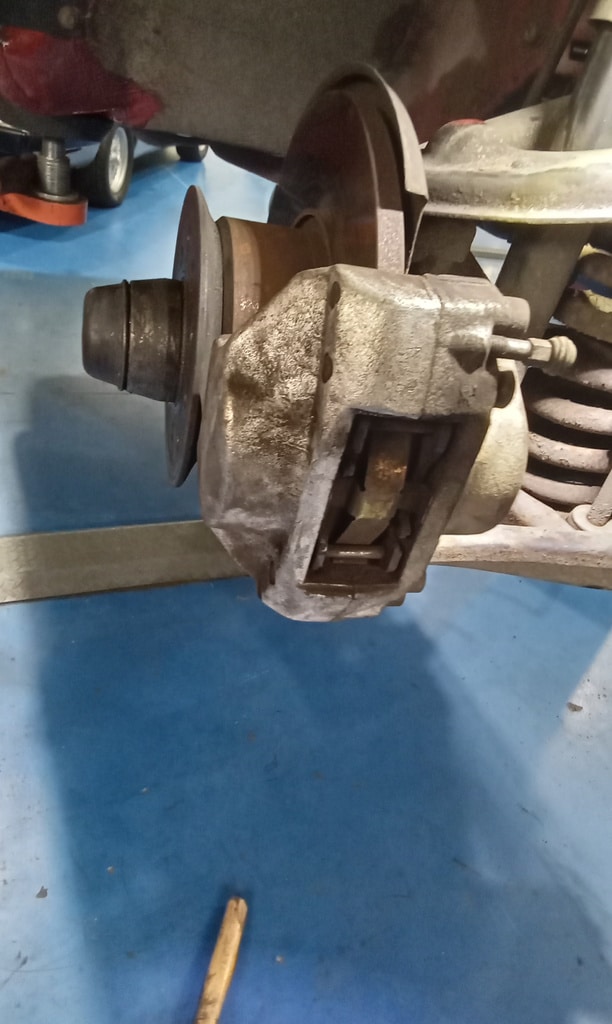
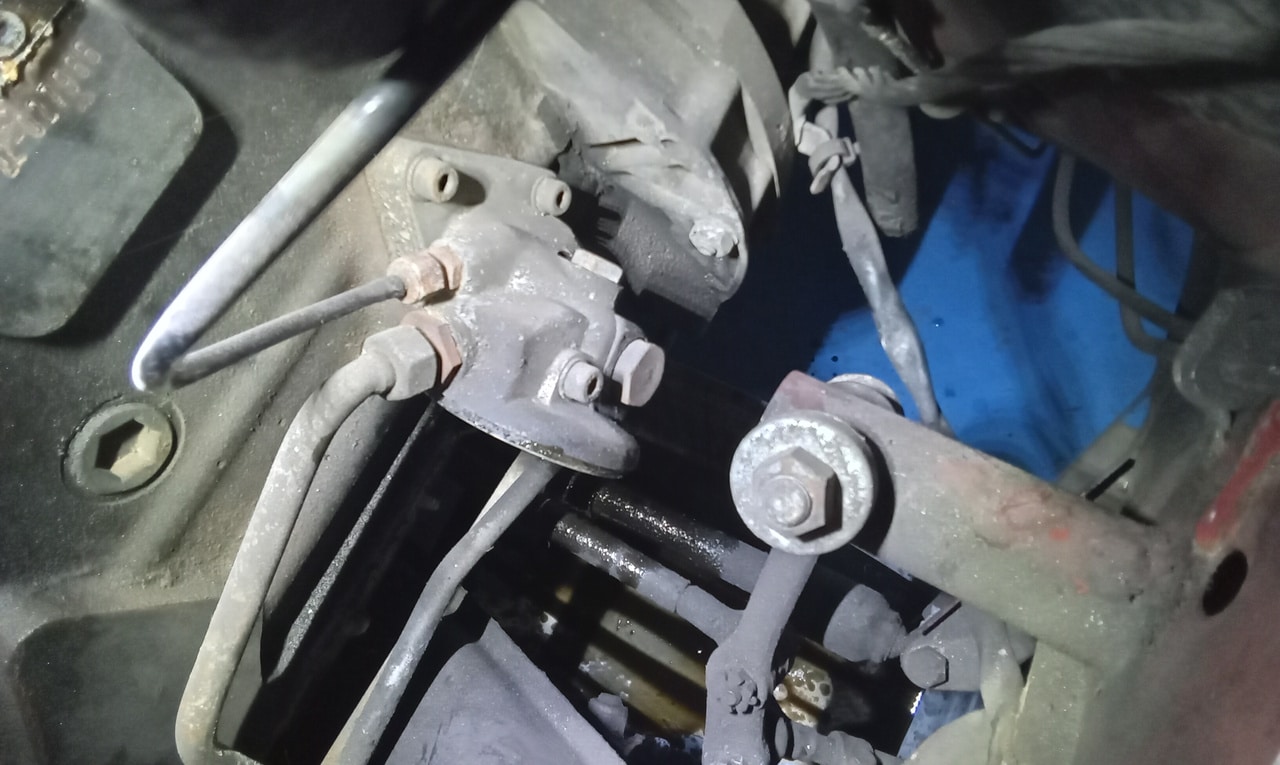
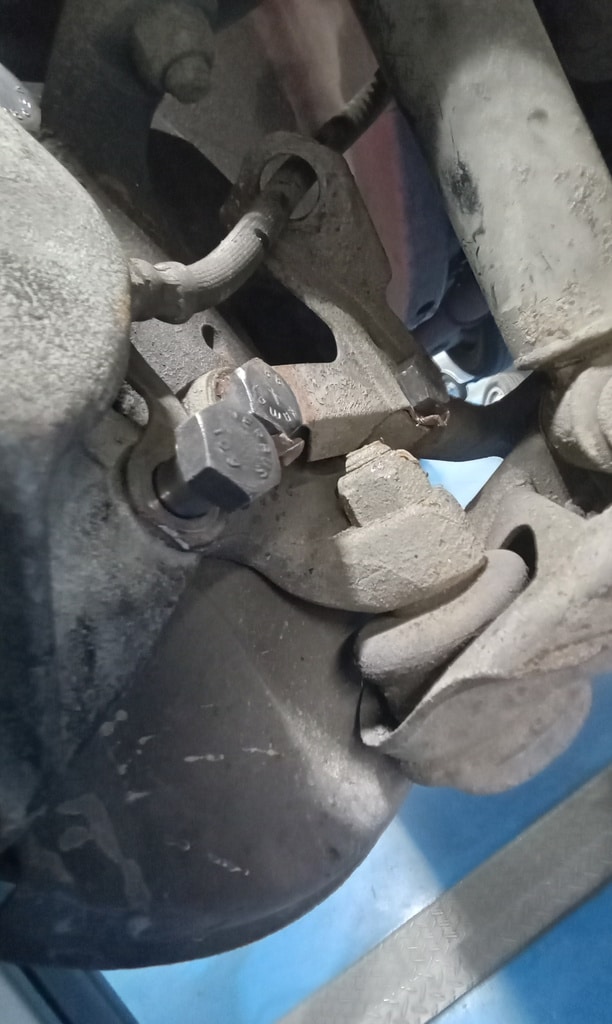
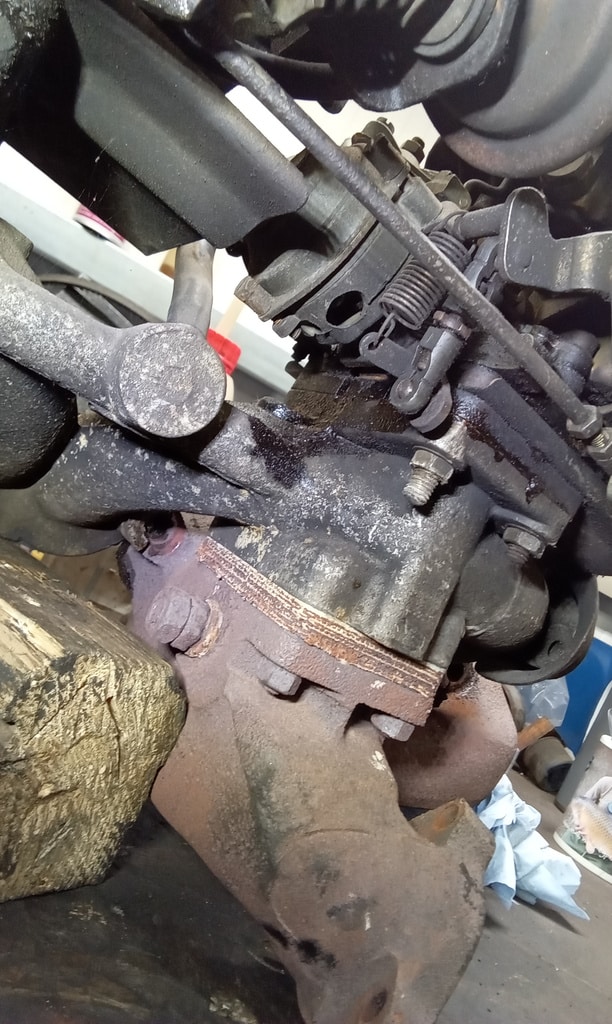
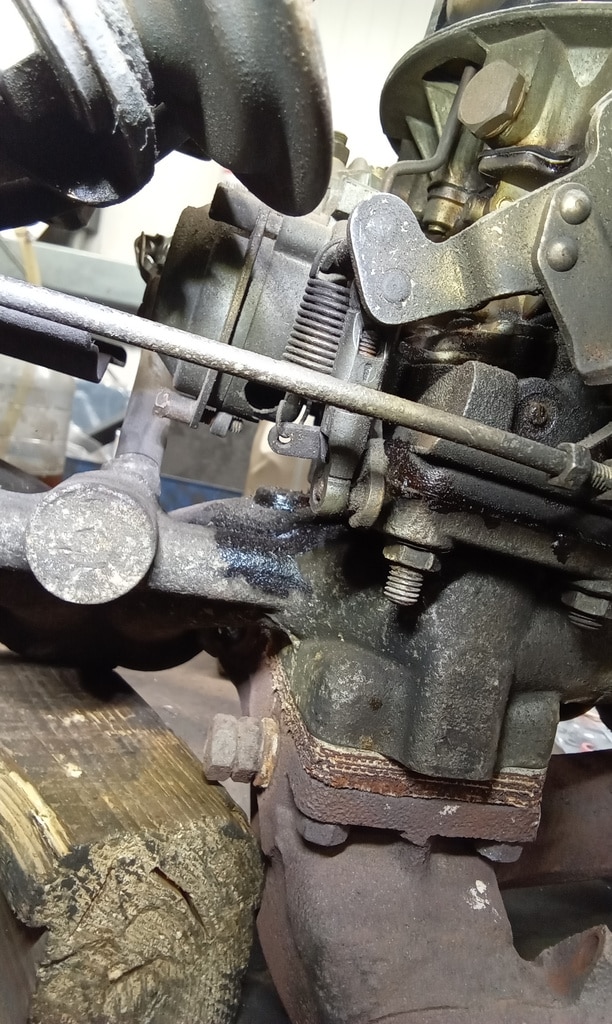
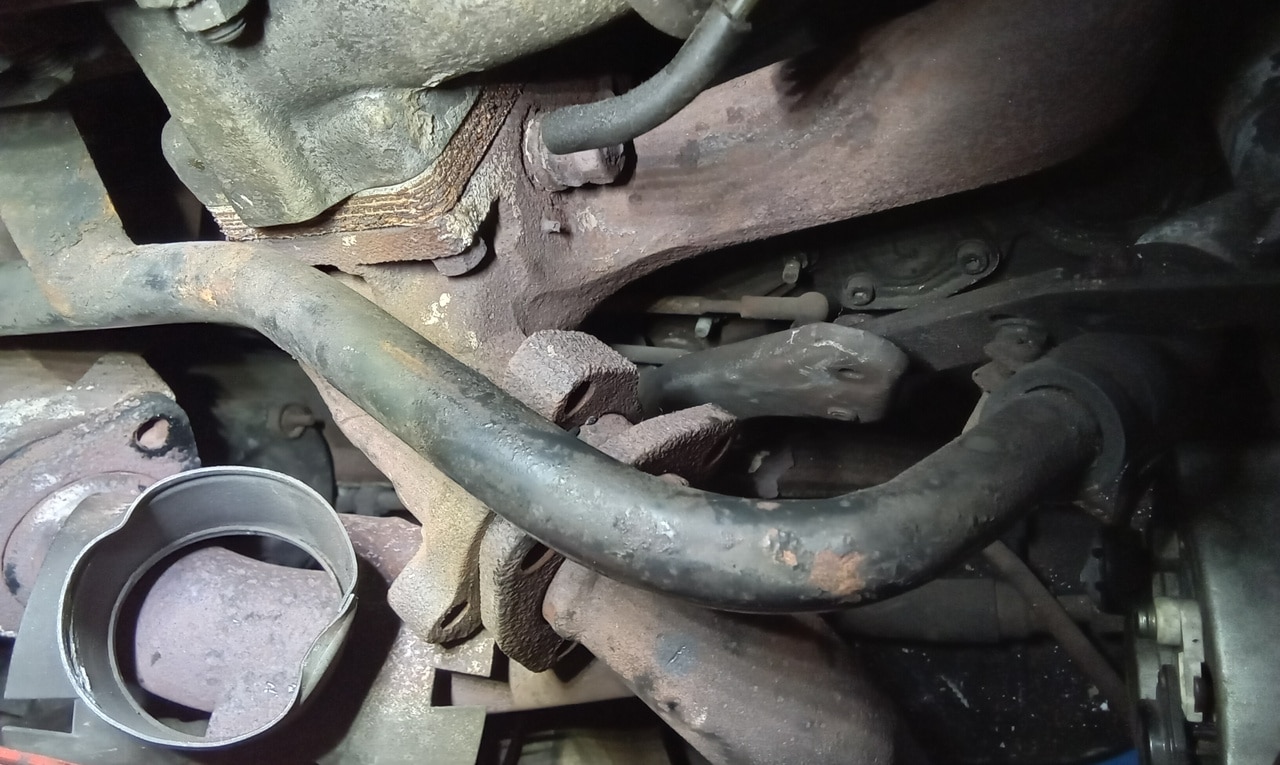
This included undoing the steering arms, exhaust and brake calipers to prepare for the drop.
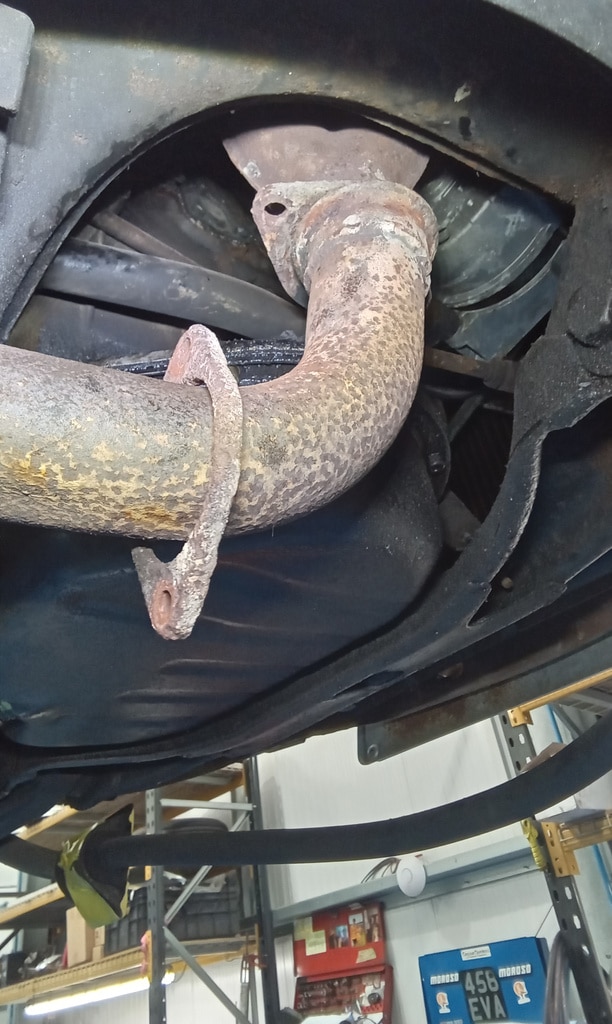
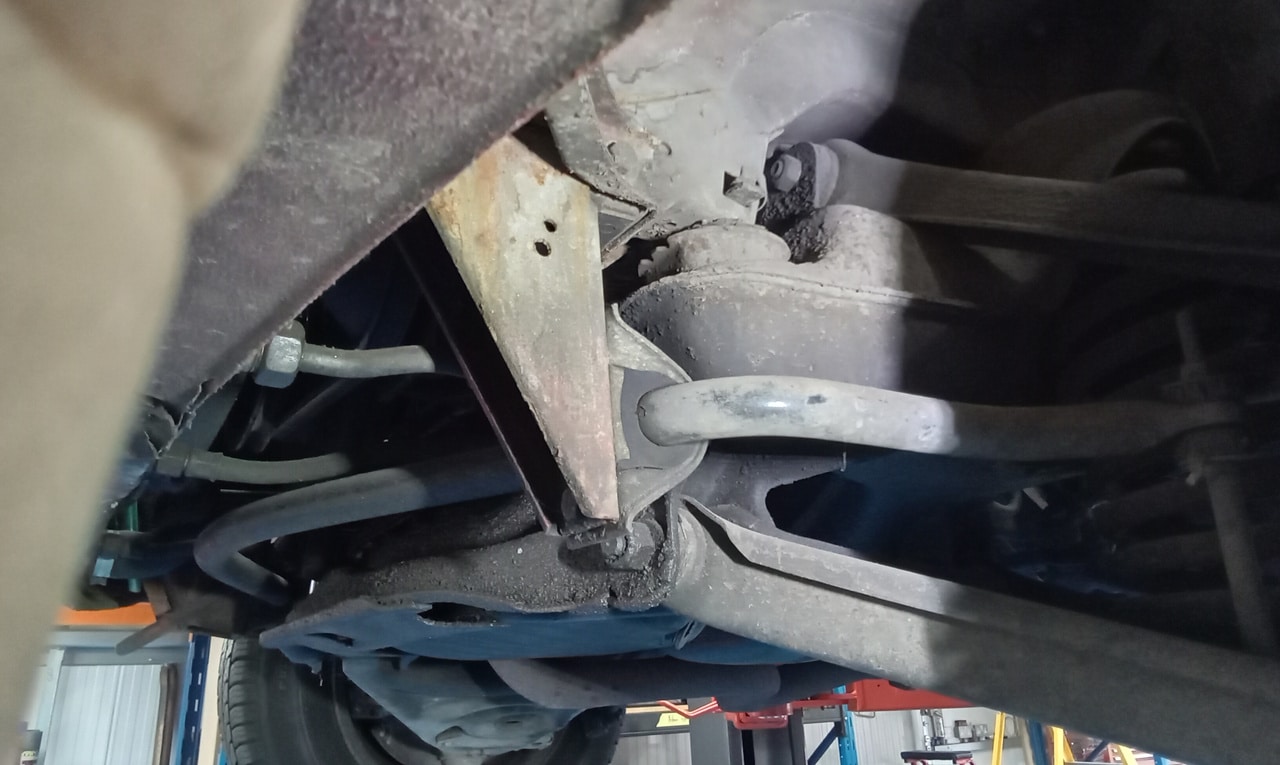
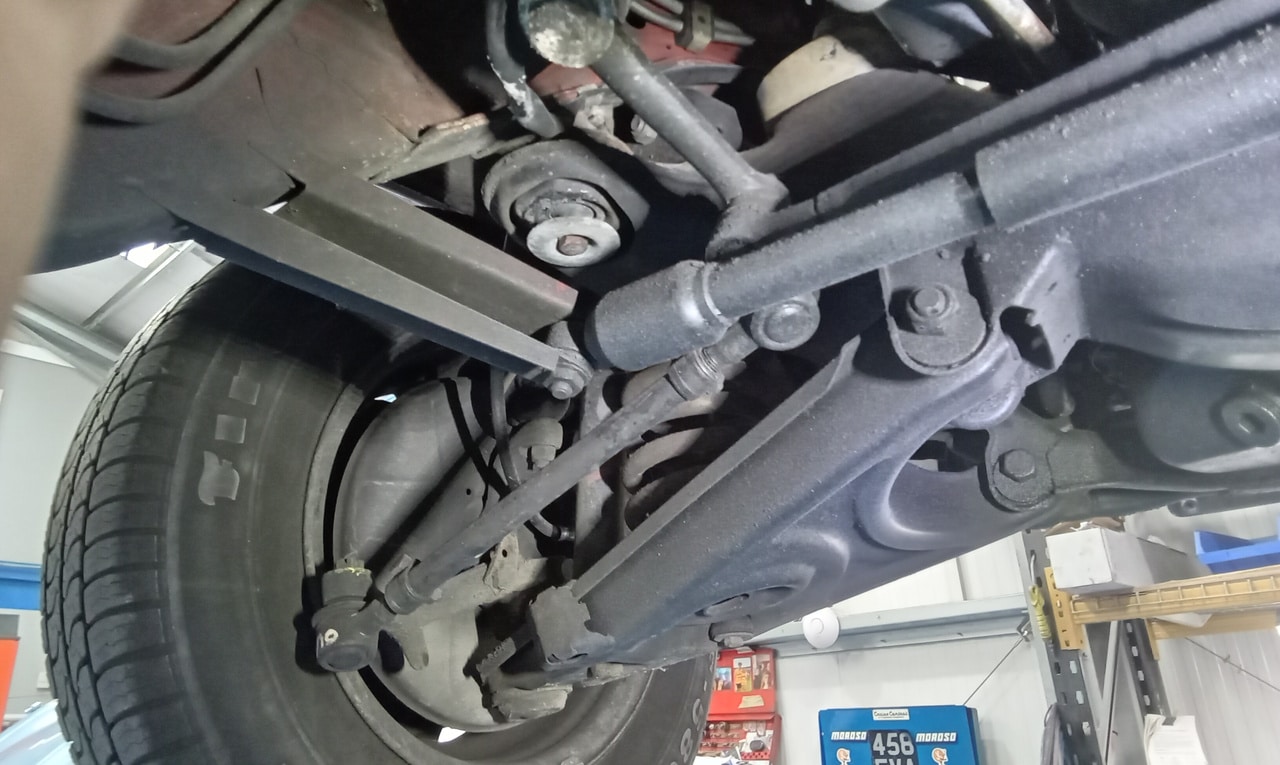
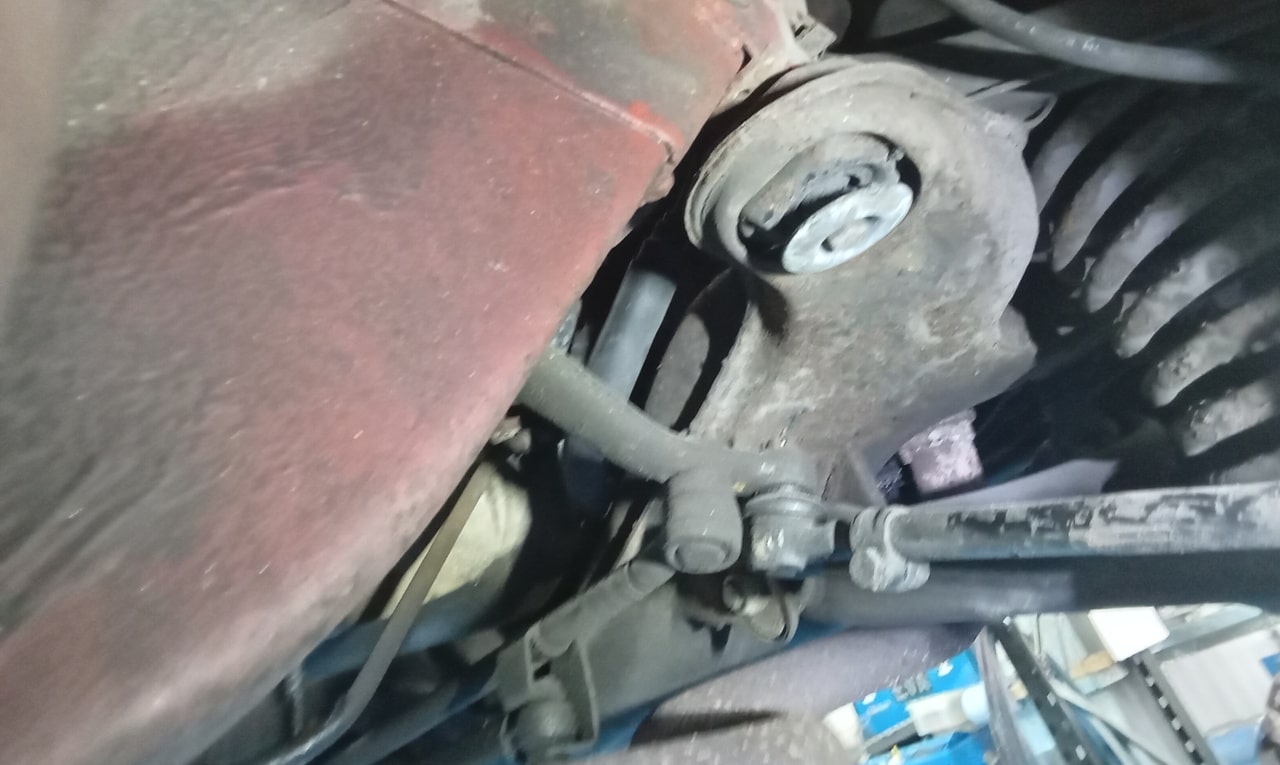
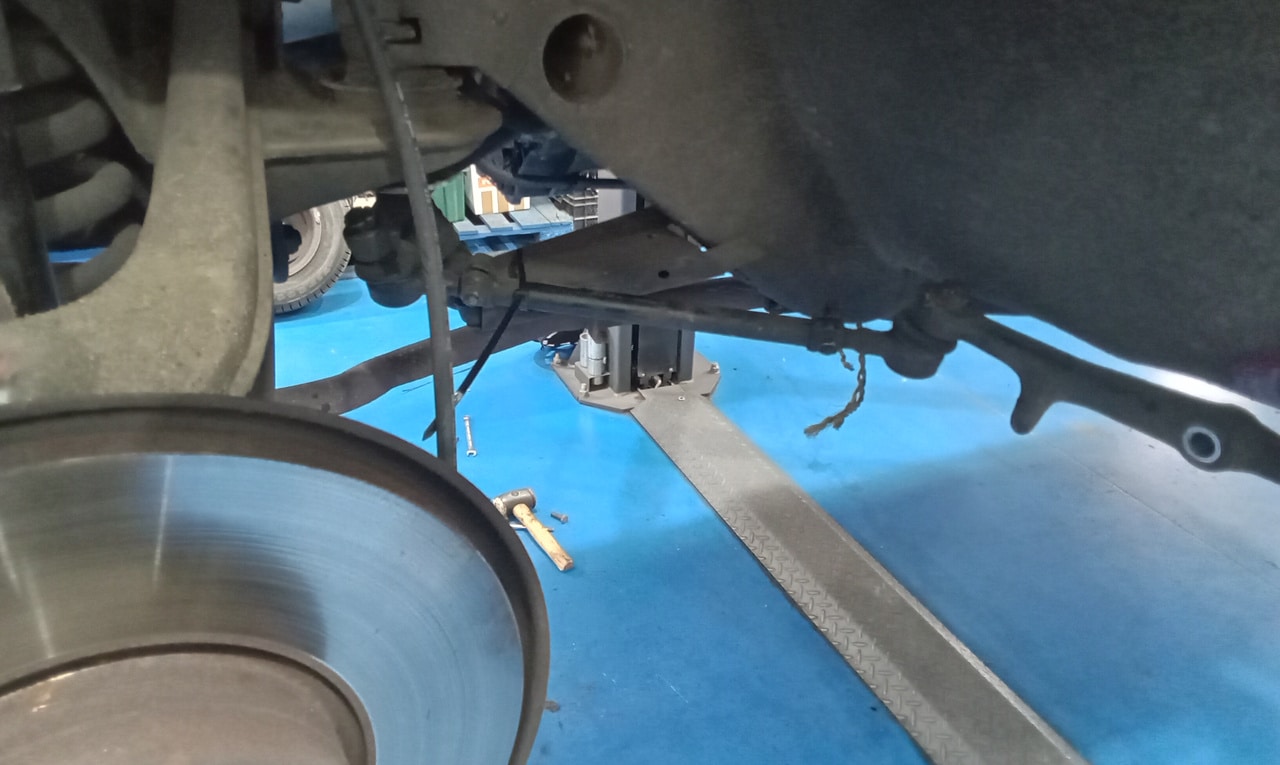
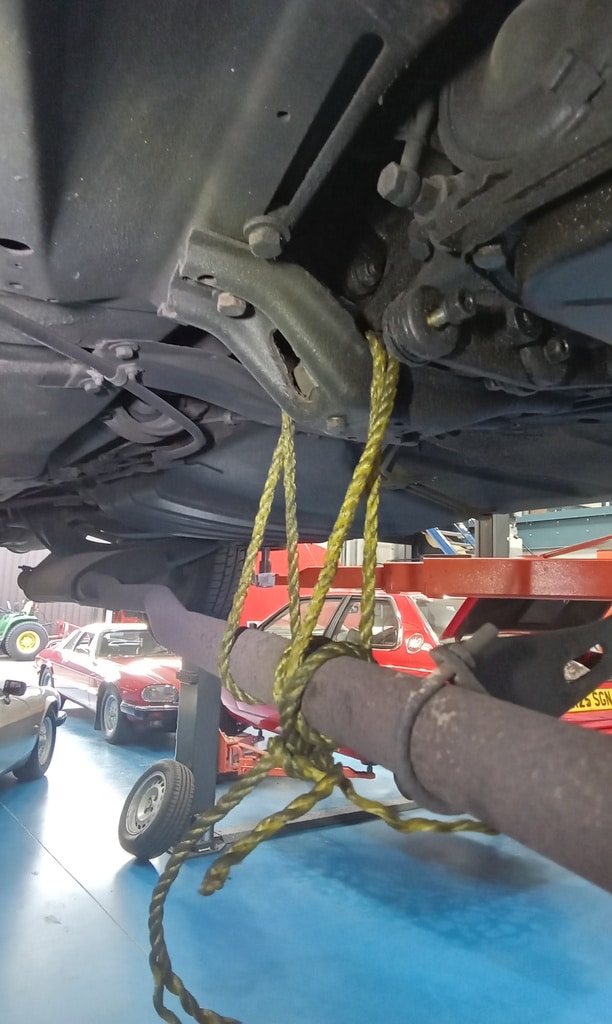
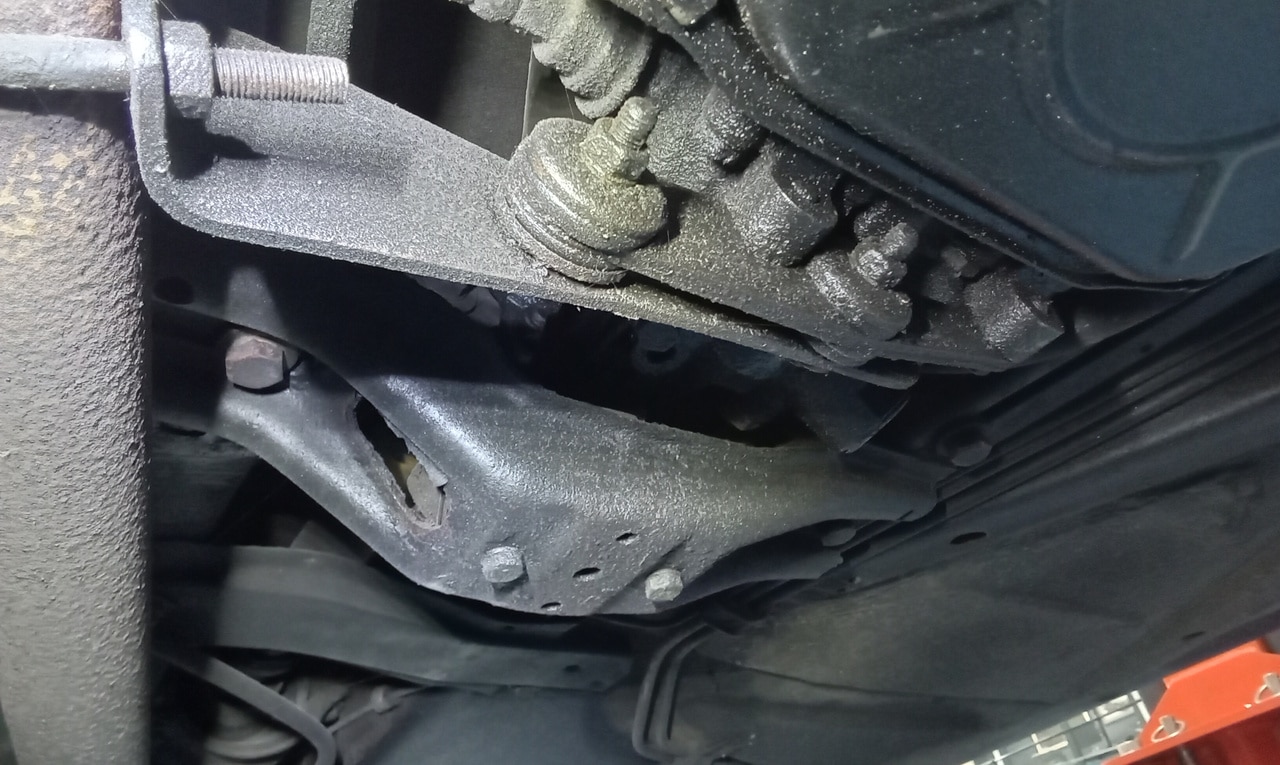
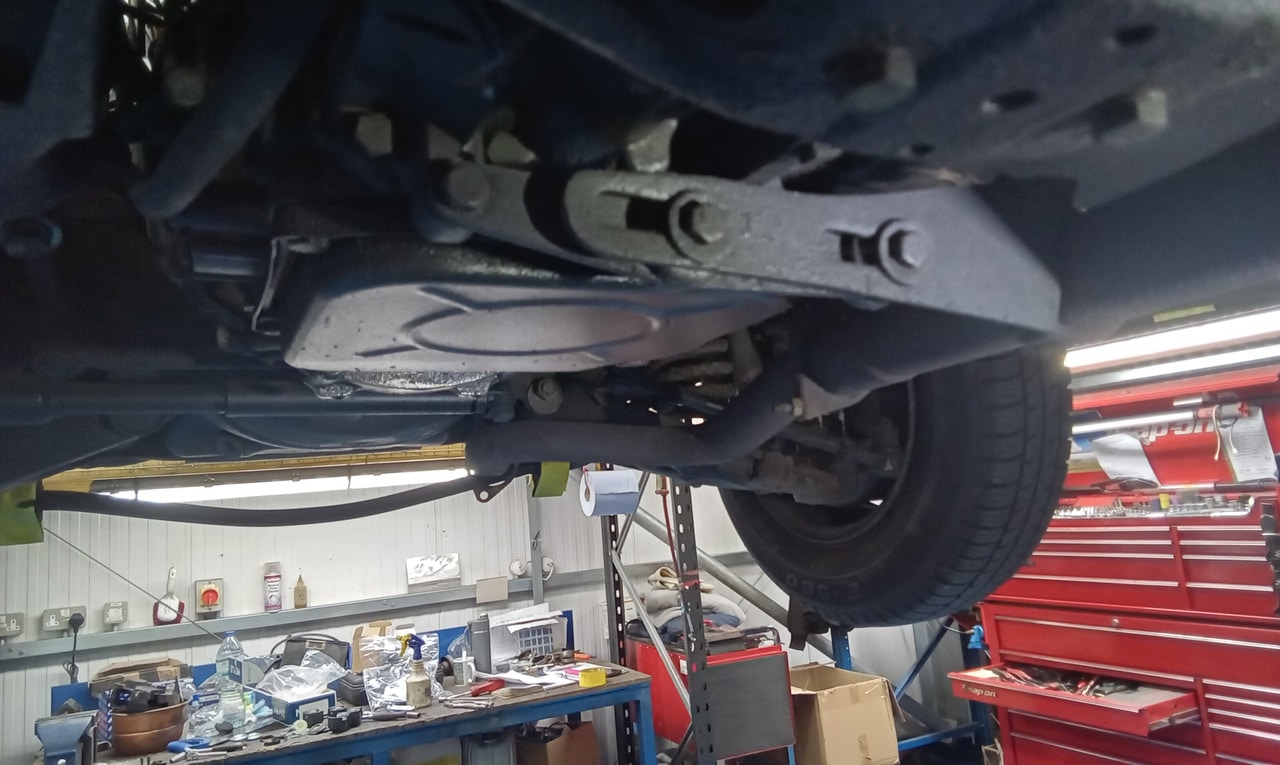
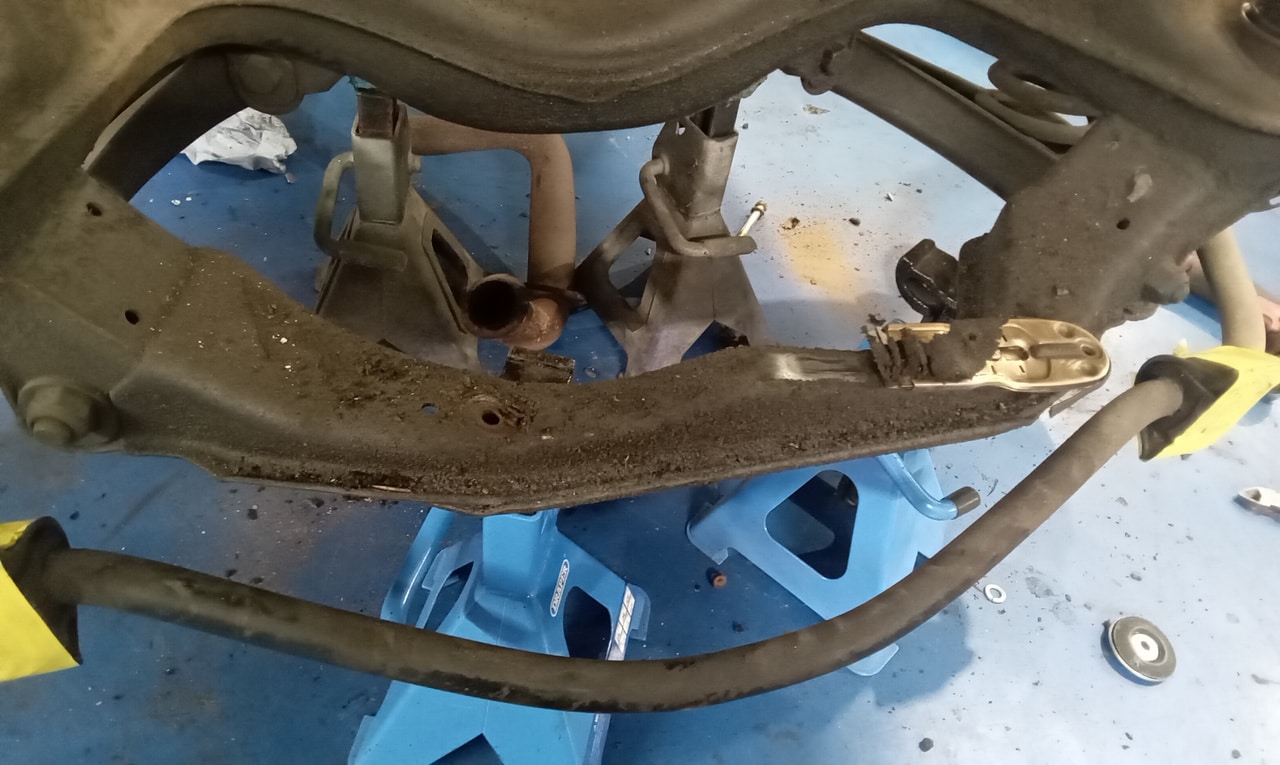
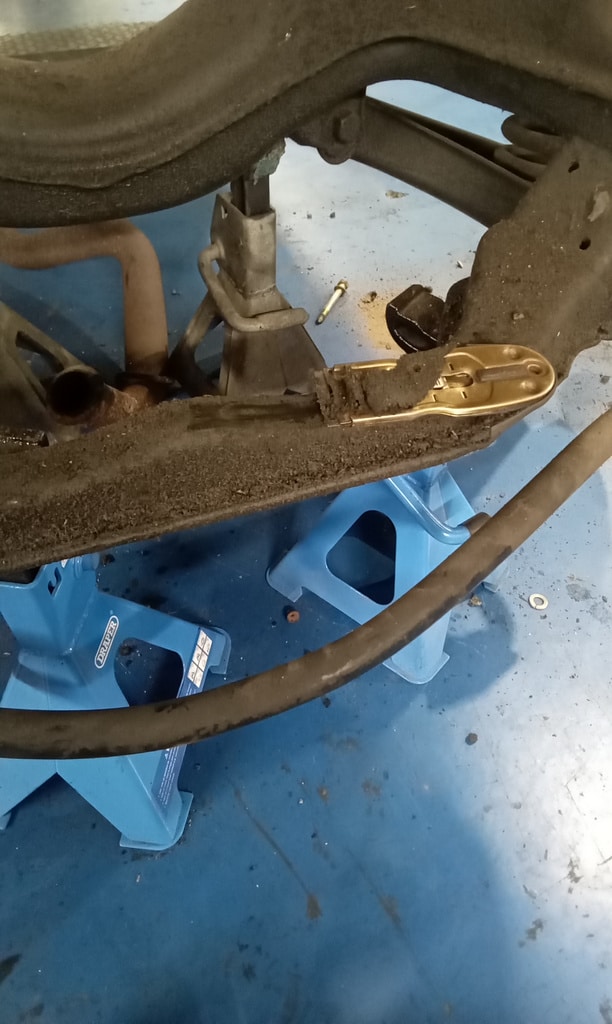
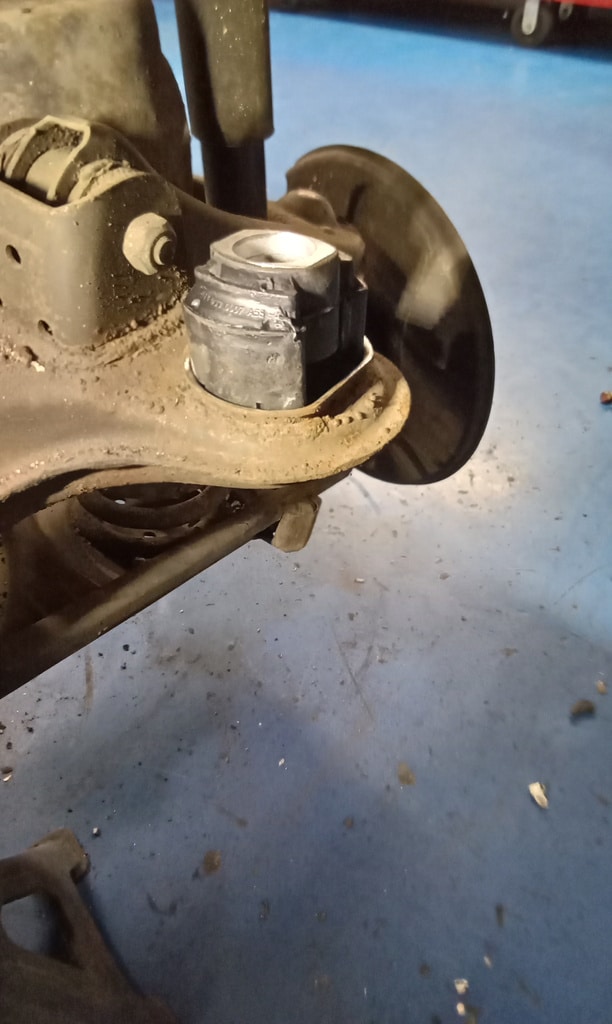
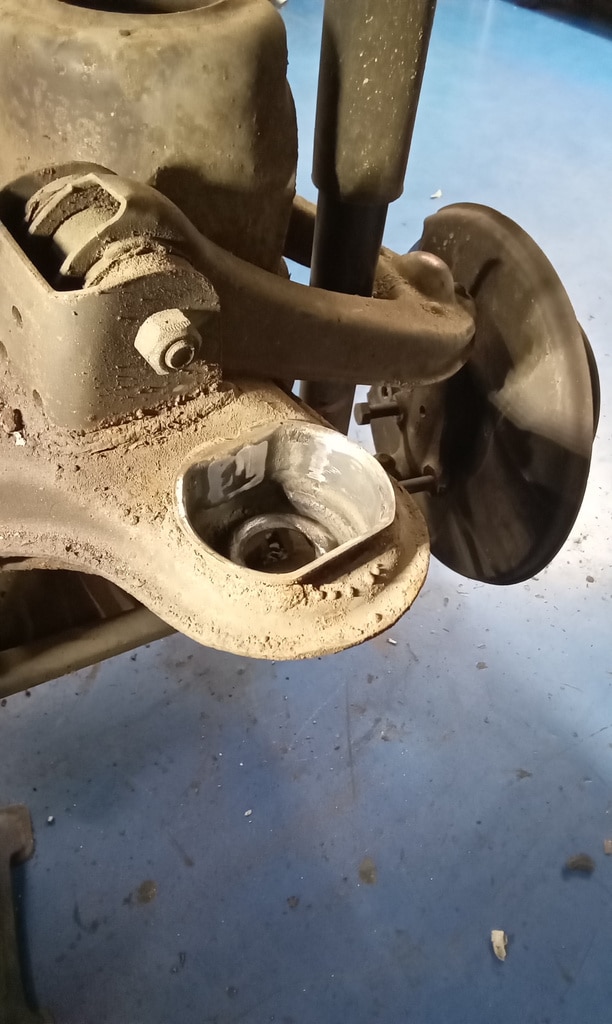
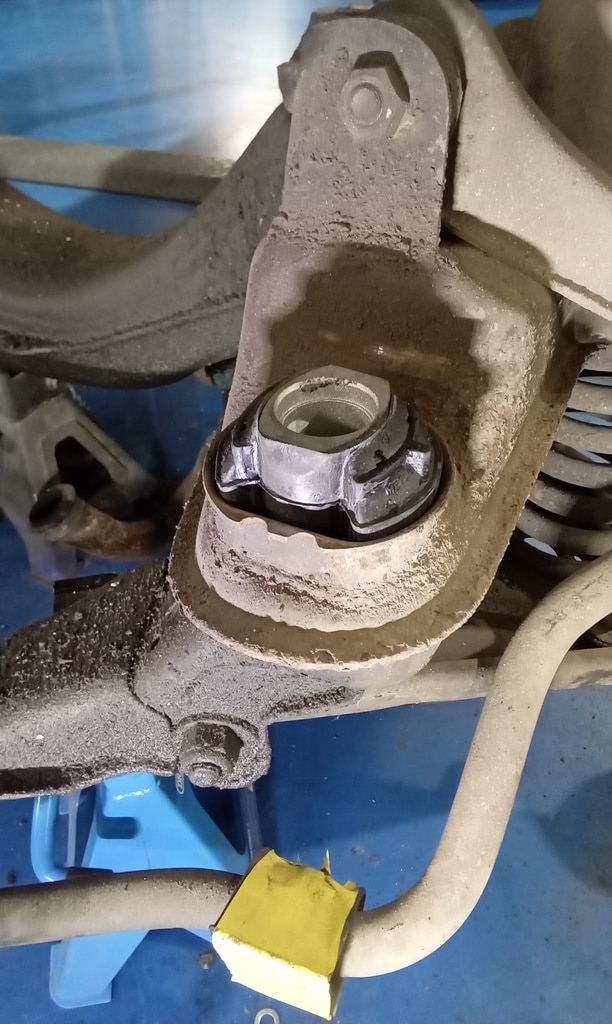
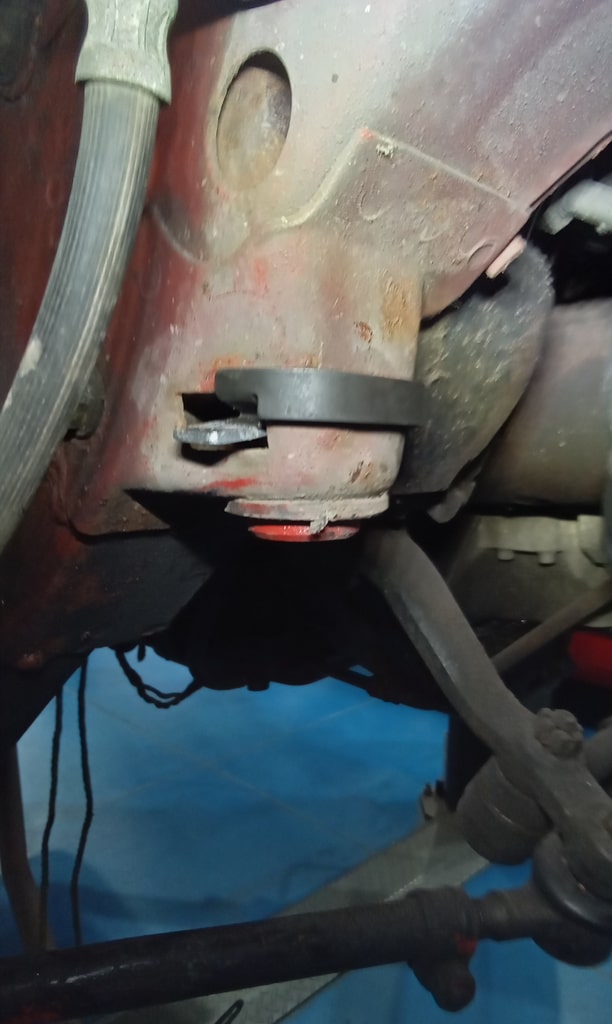
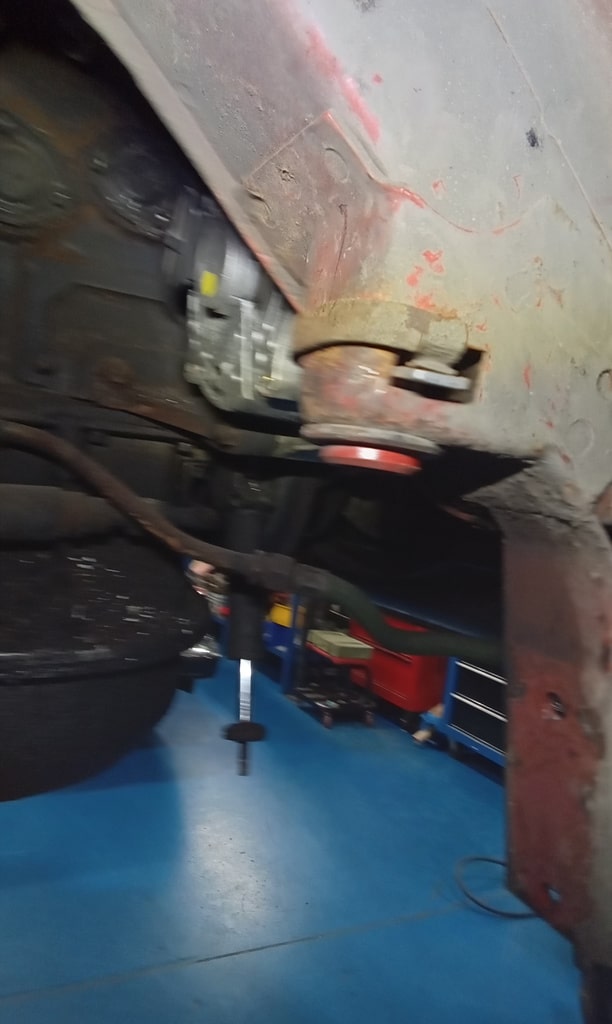
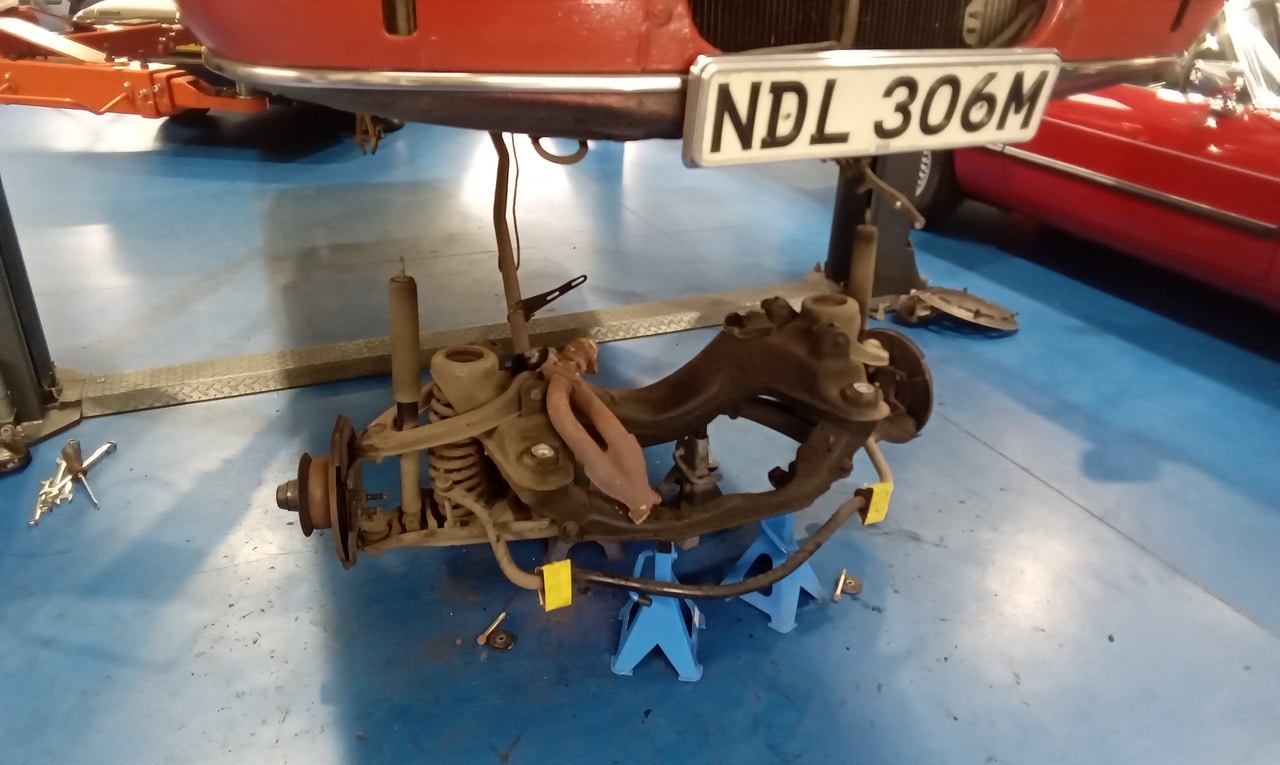
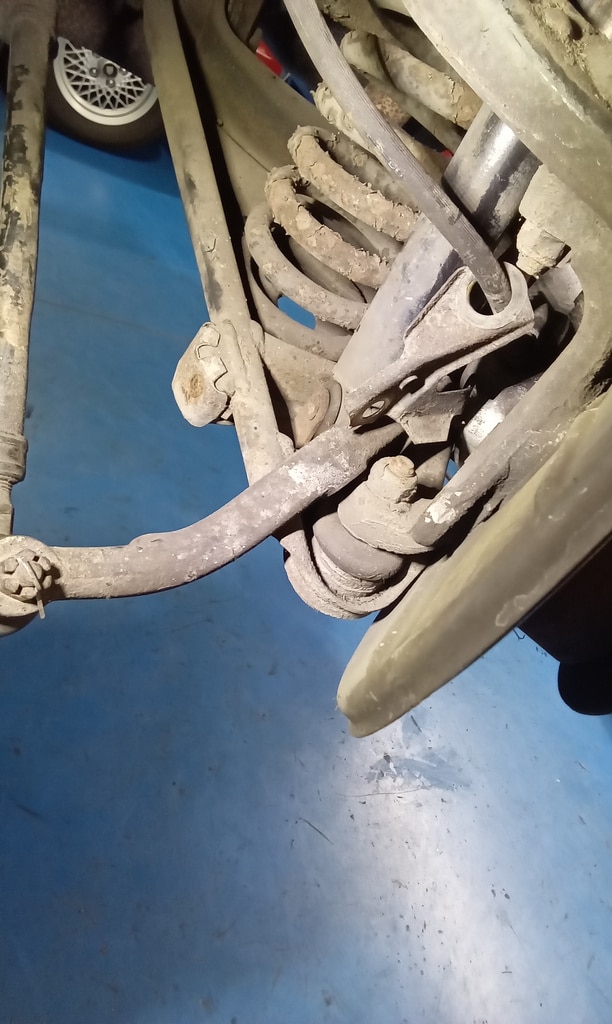
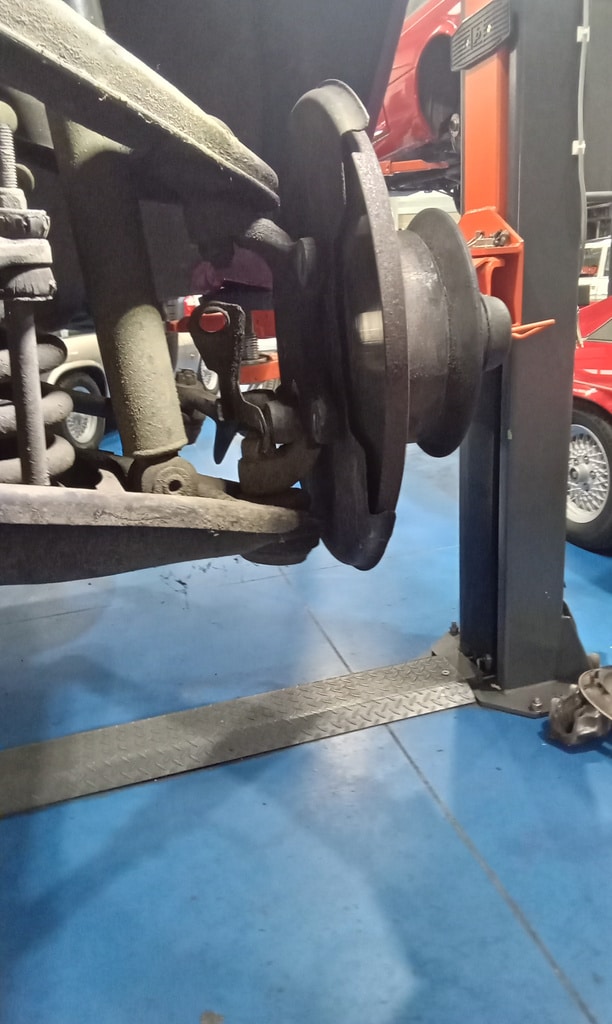
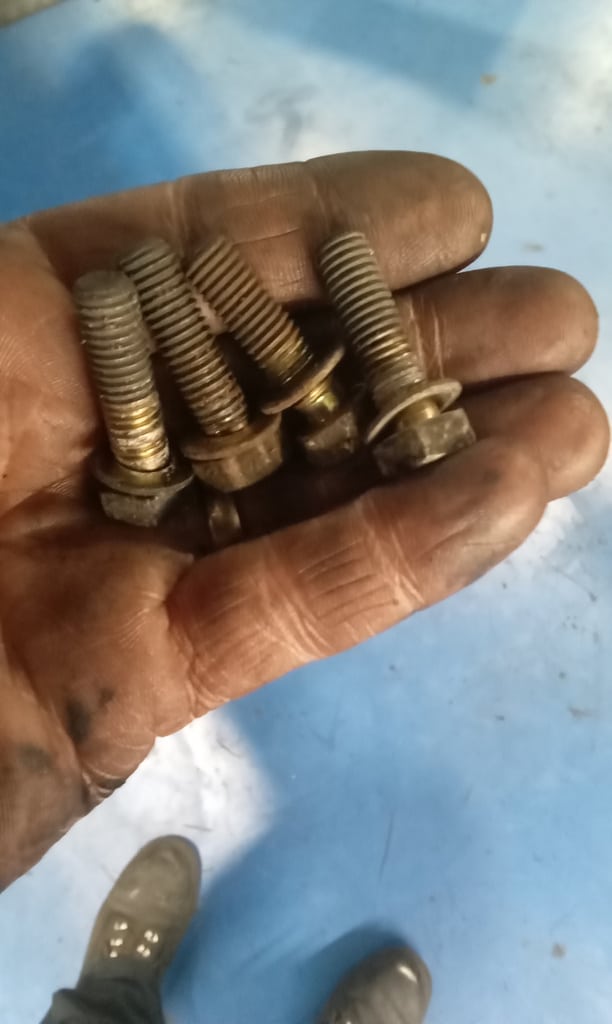
Once everything was squared up, Jon could then proceed to drop the subframe from the car to install new subframe mounts:
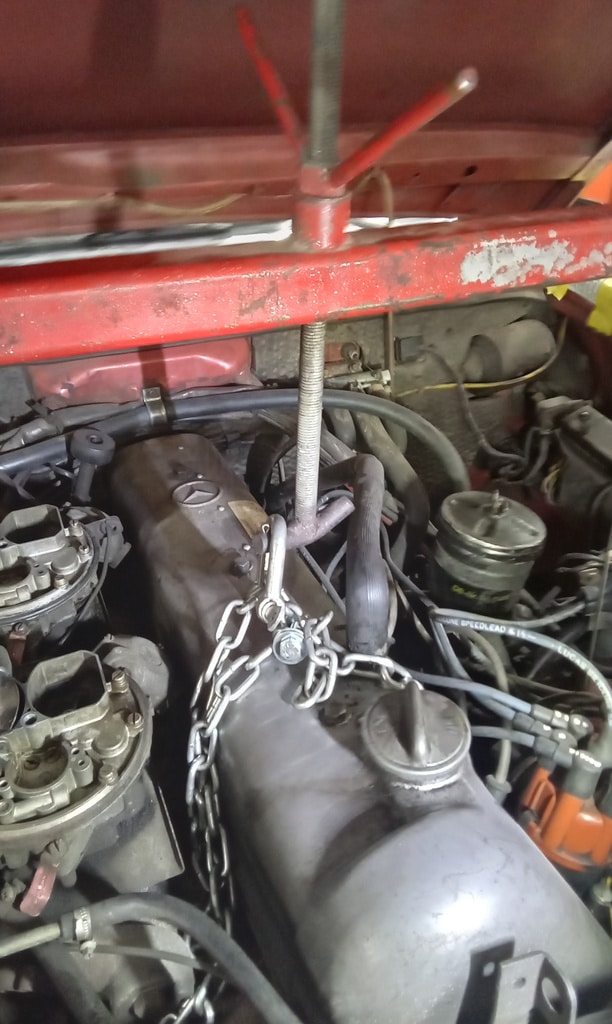
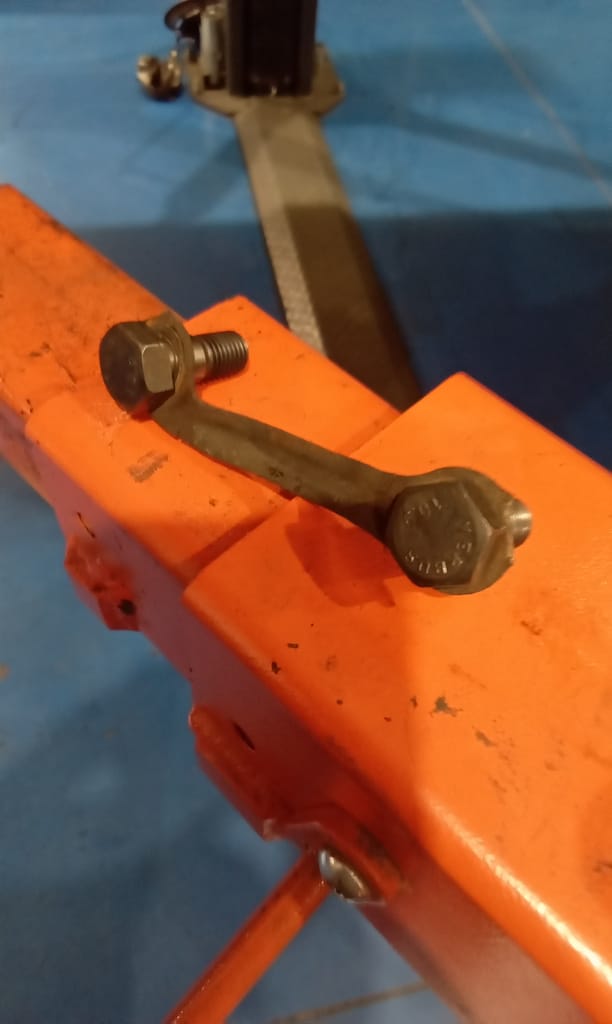
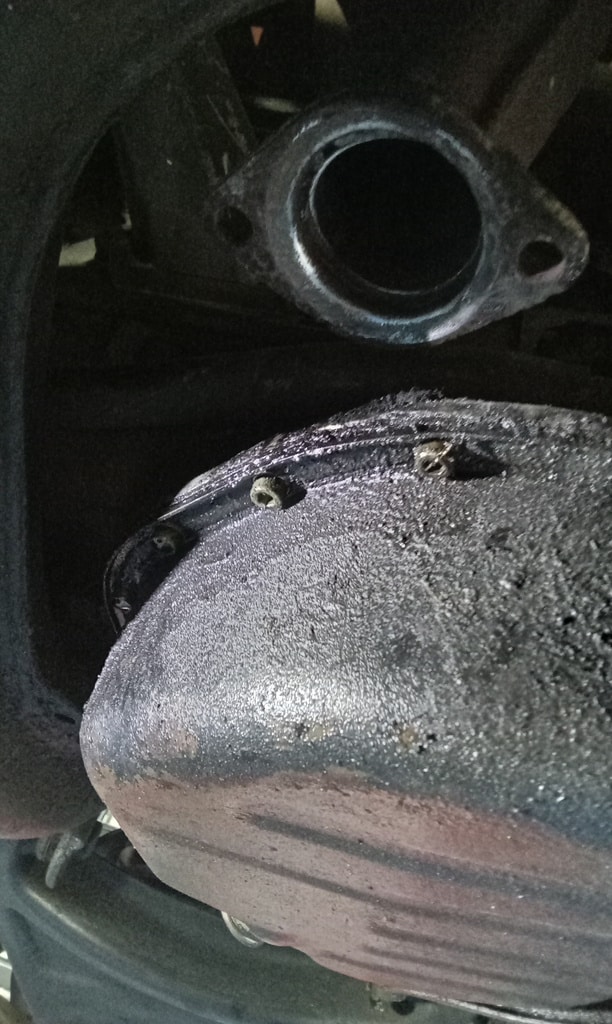
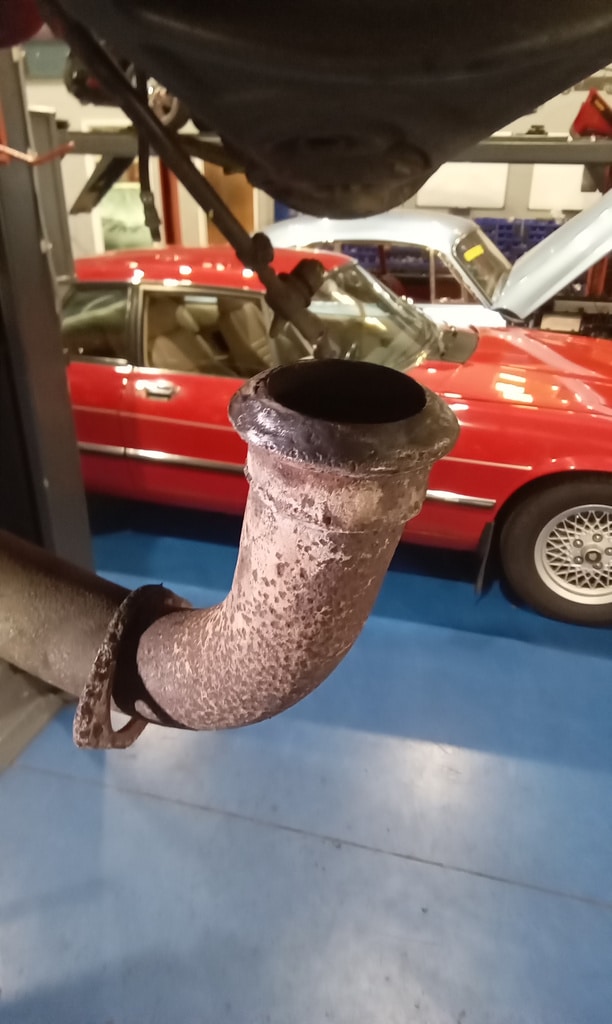
”Lower so the subframe is resting on axle stands. Use engine steady bar to hold engine up. Undo engine mounts and shocks. Remove all 4 subframe bolts and lift car from subframe. Remove old subframe mounts and clean holes. Fit new captive nuts and clips to chassis. Fit new mounts. Lower car, align and refit subframe. Refit engine mounts and shocks. Clean and refit exhaust downpipe.”


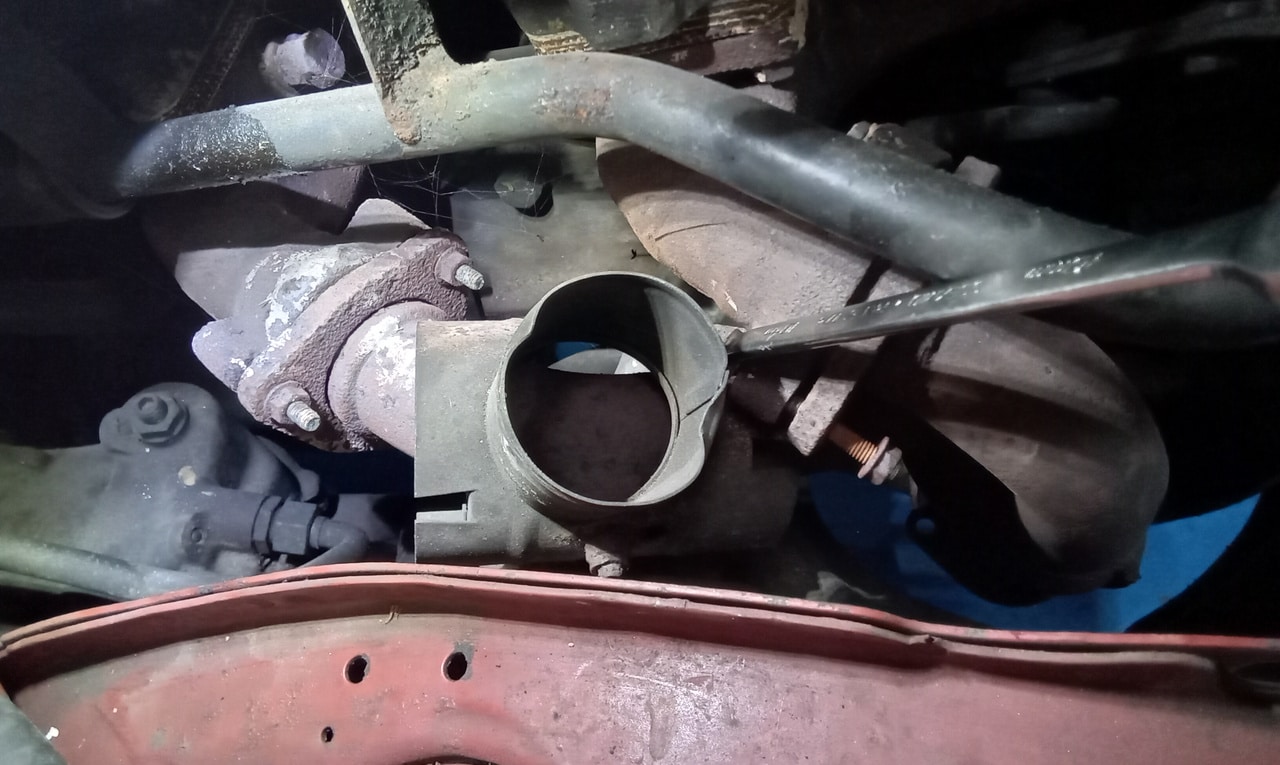
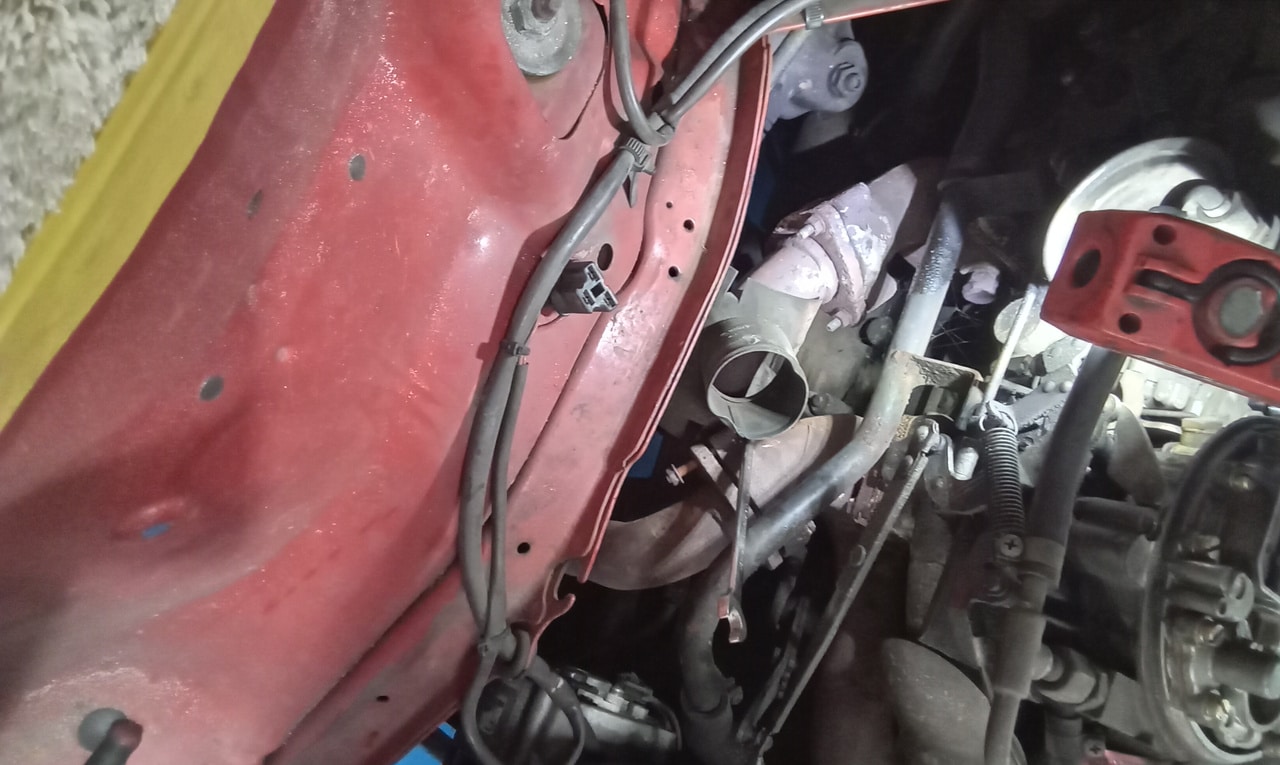

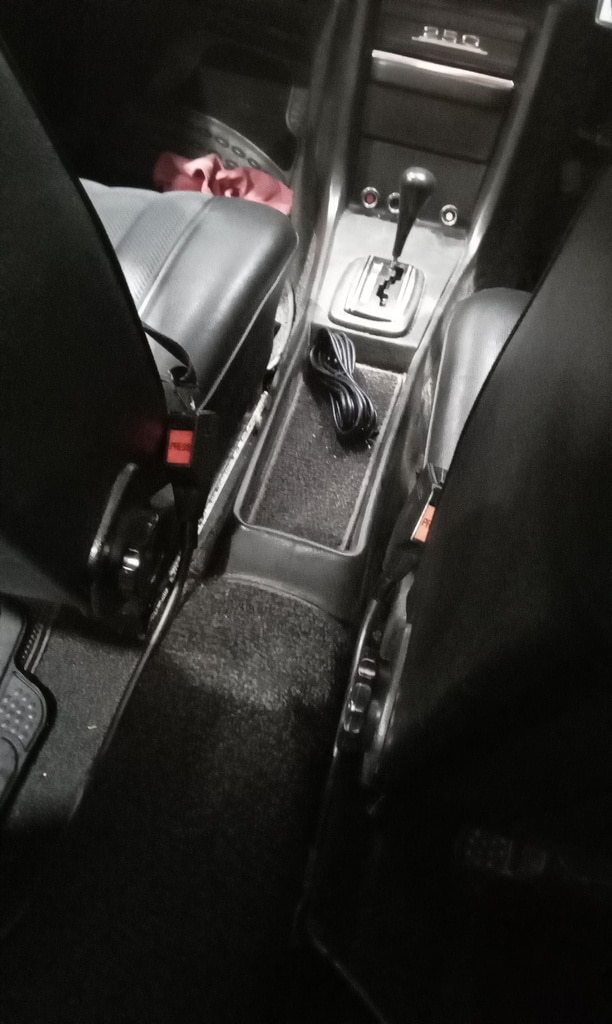
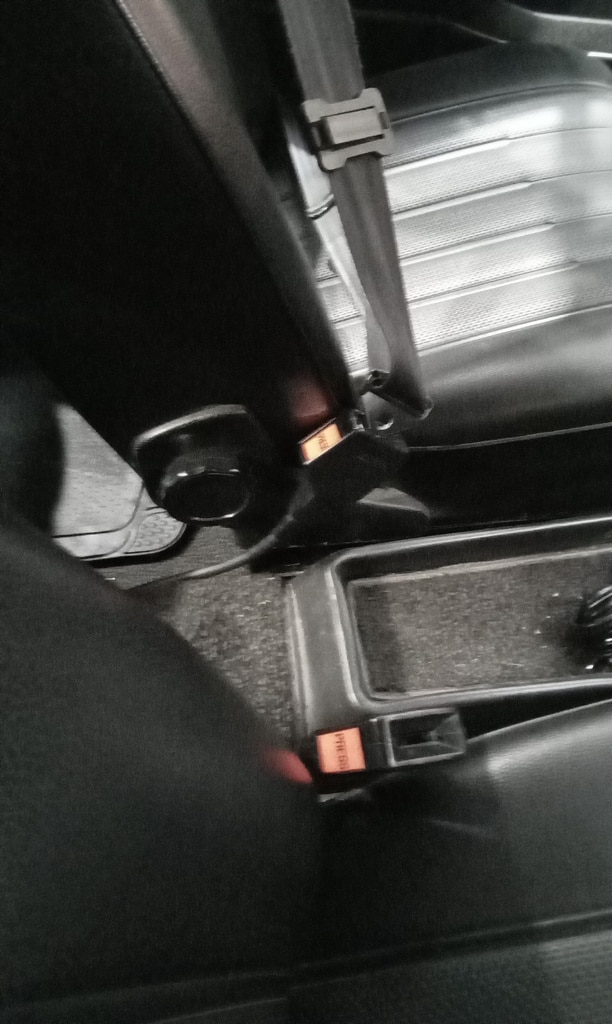
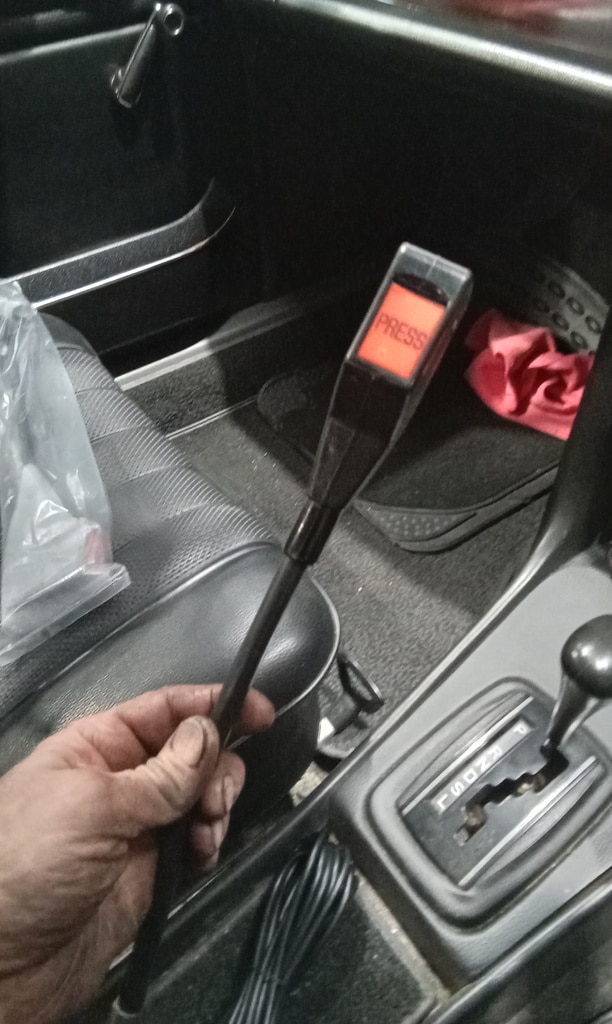
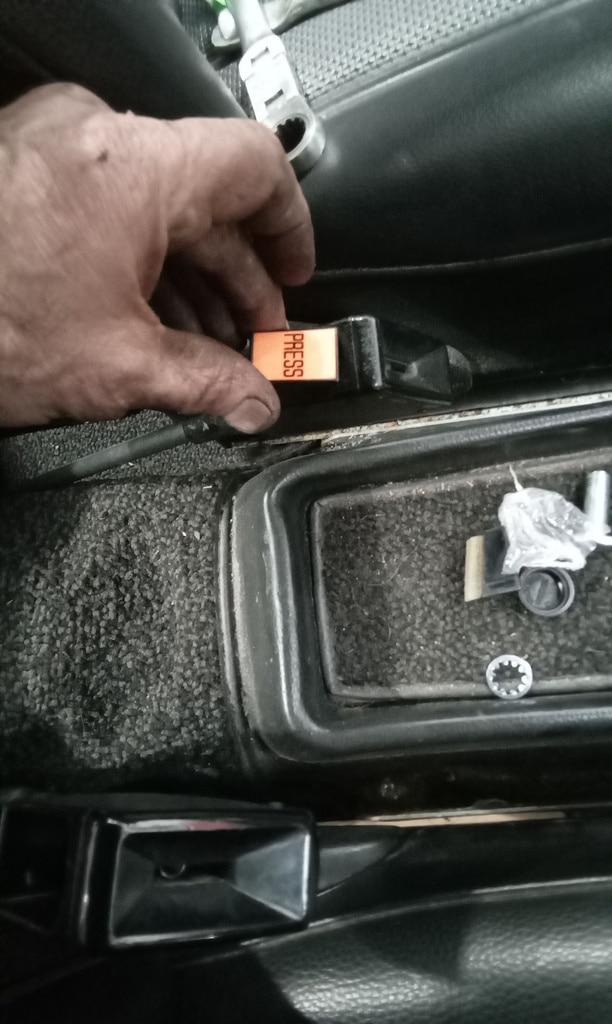
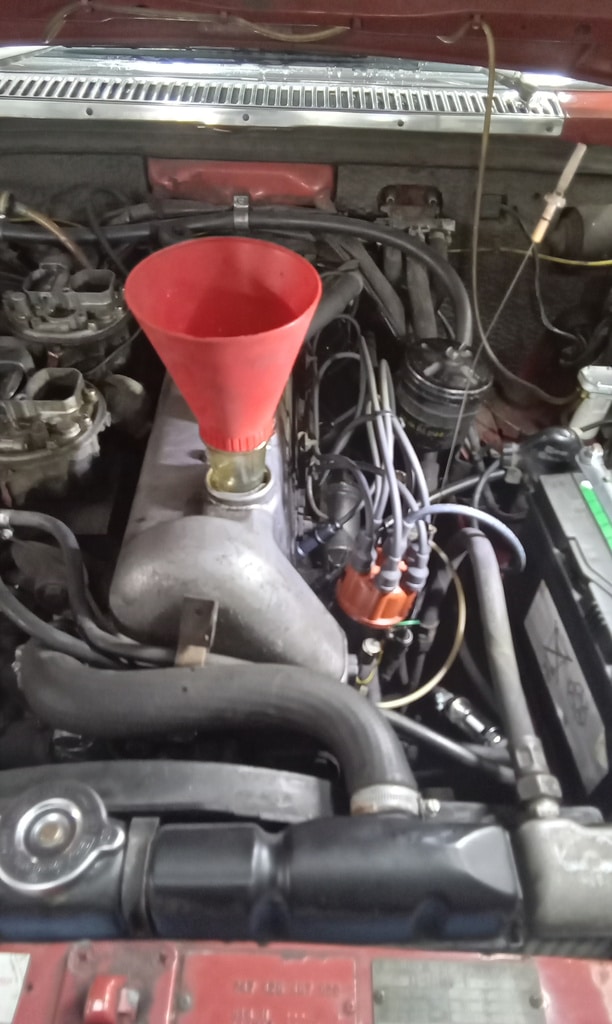
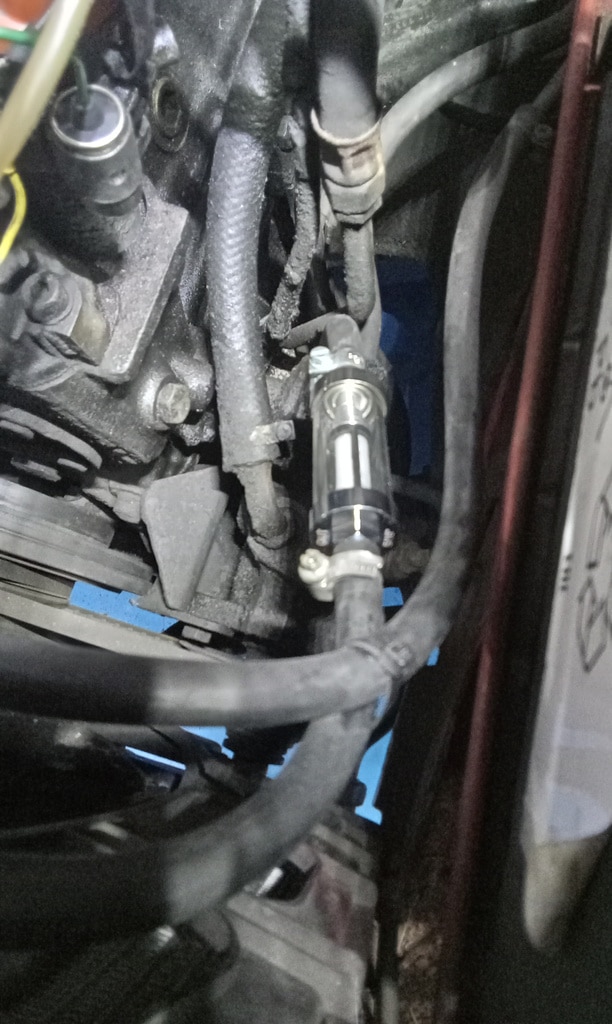
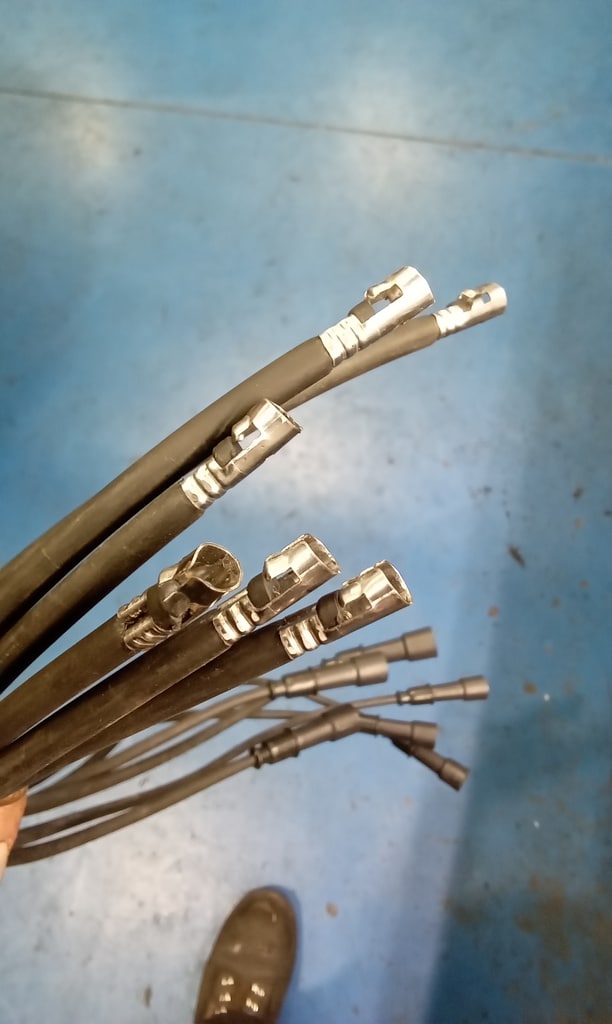
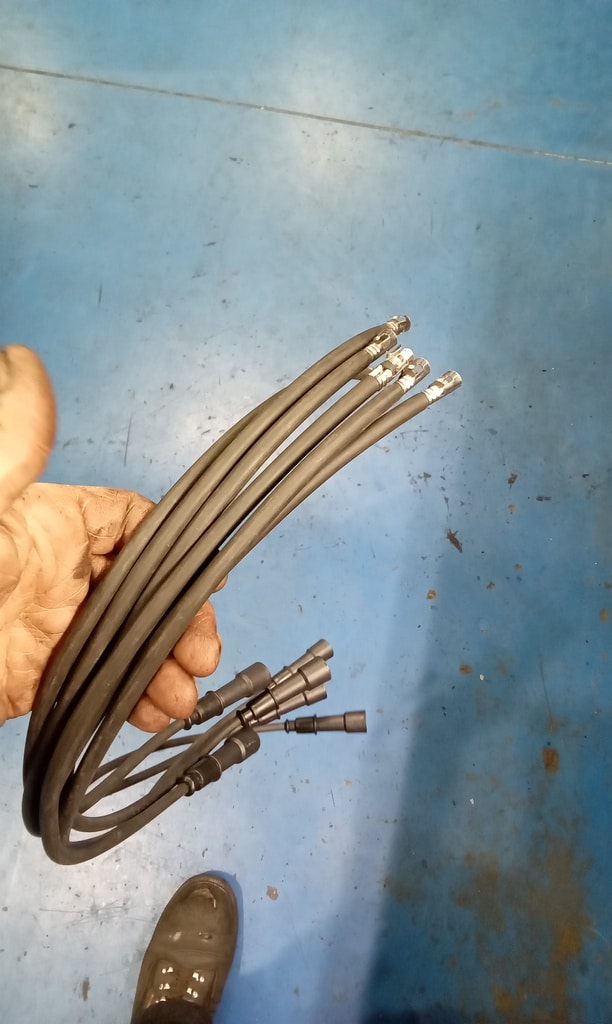
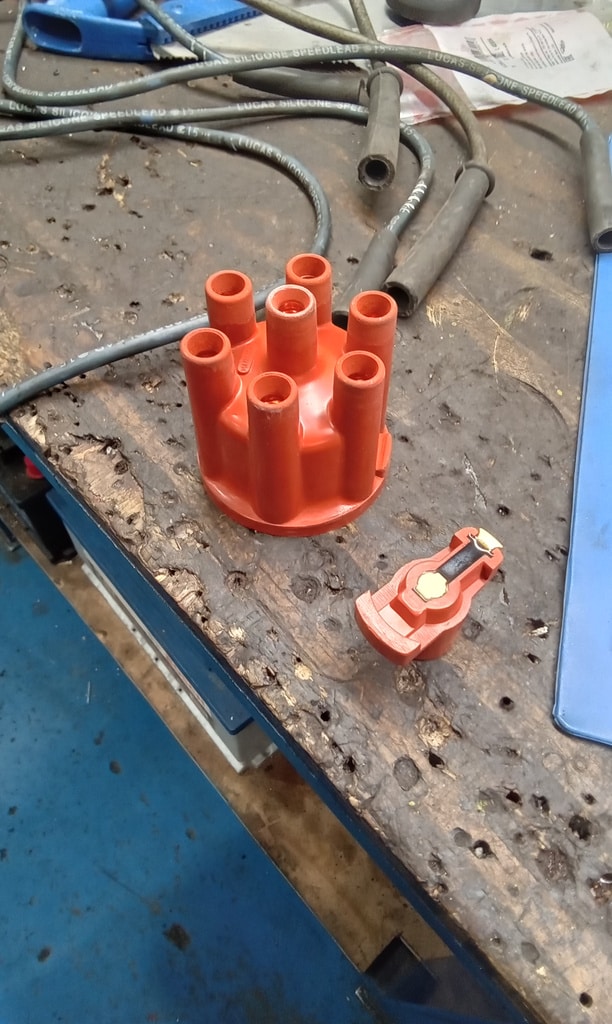
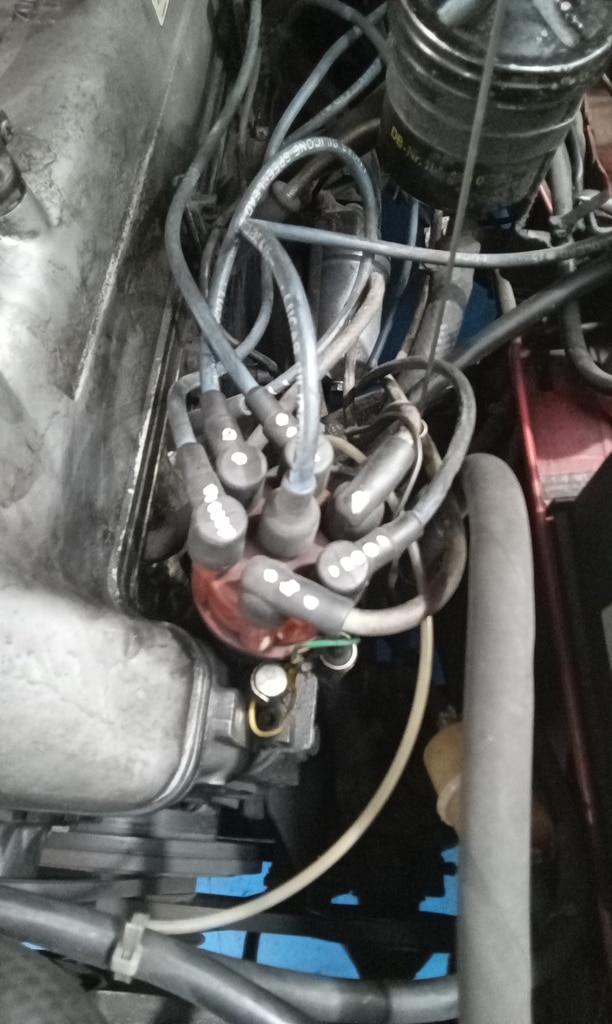
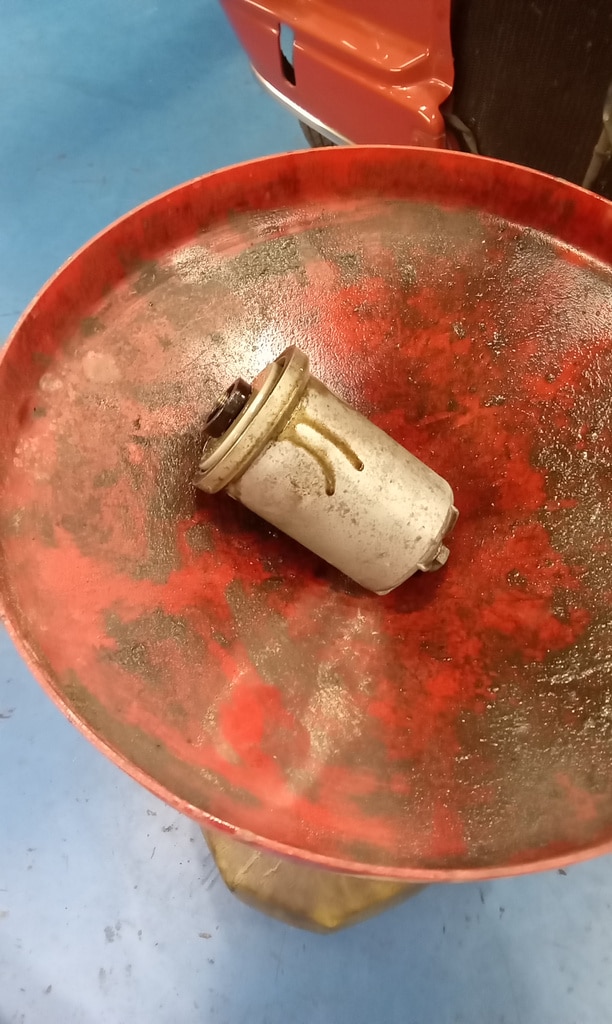
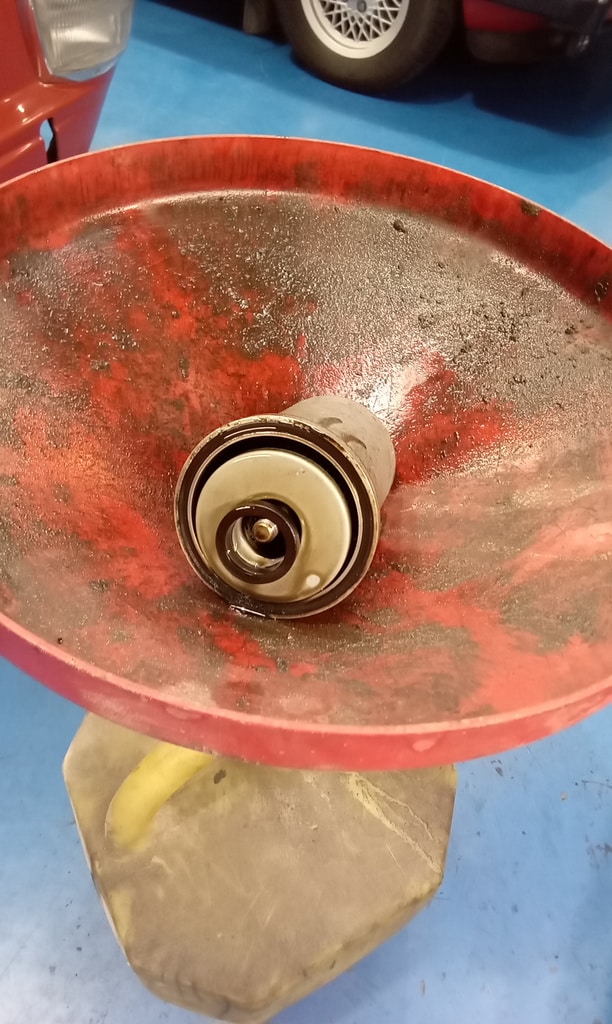
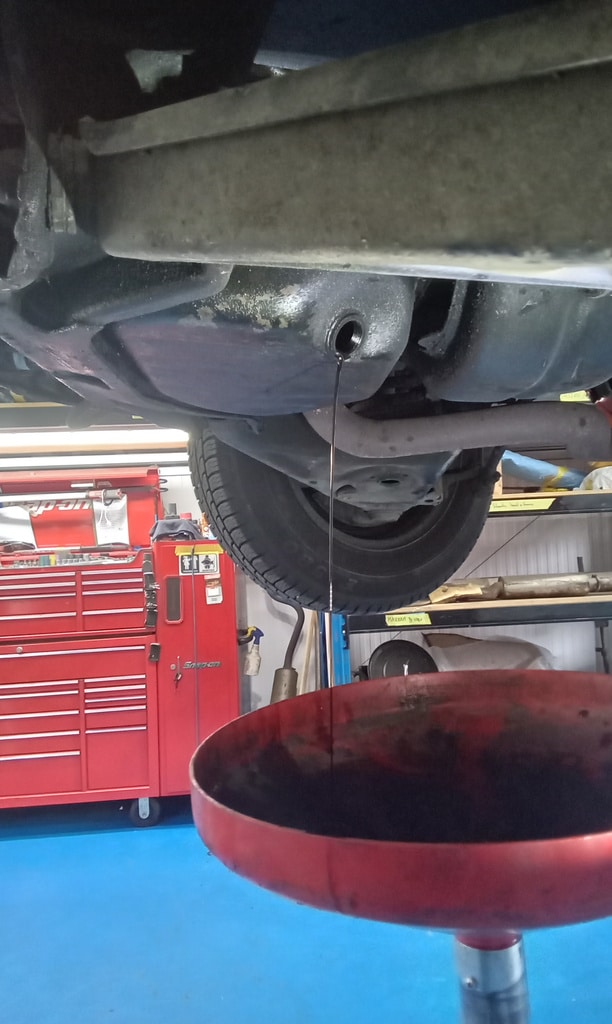
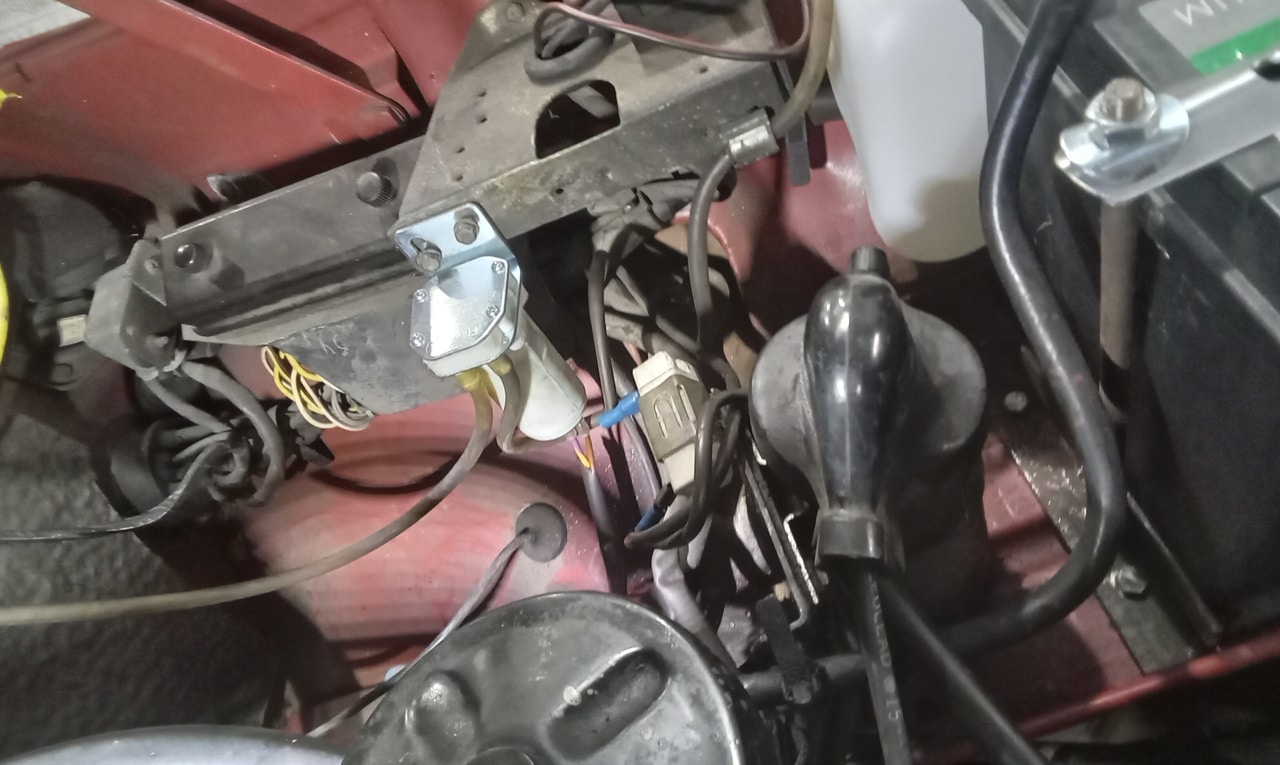
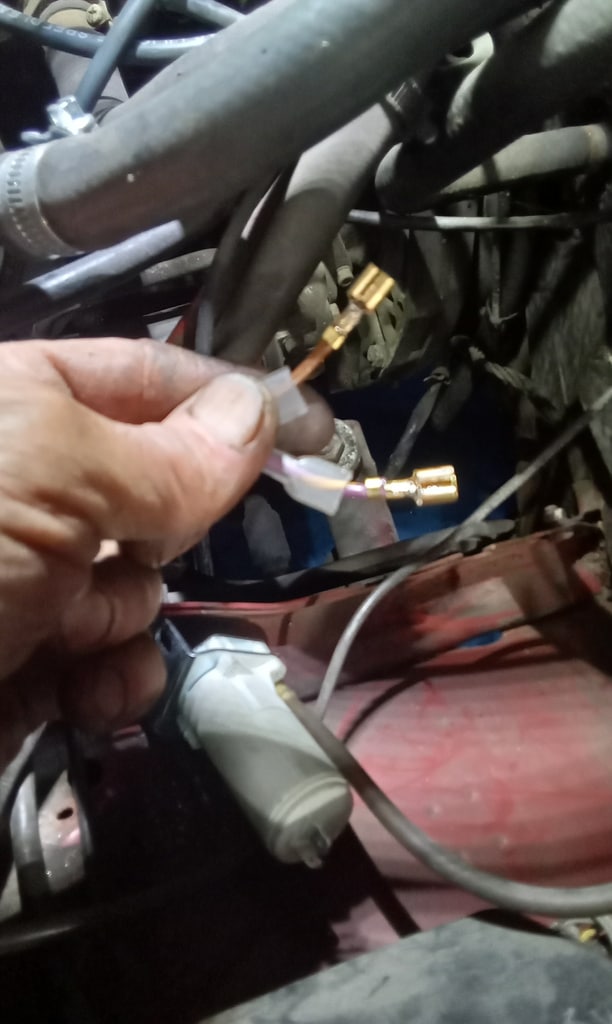
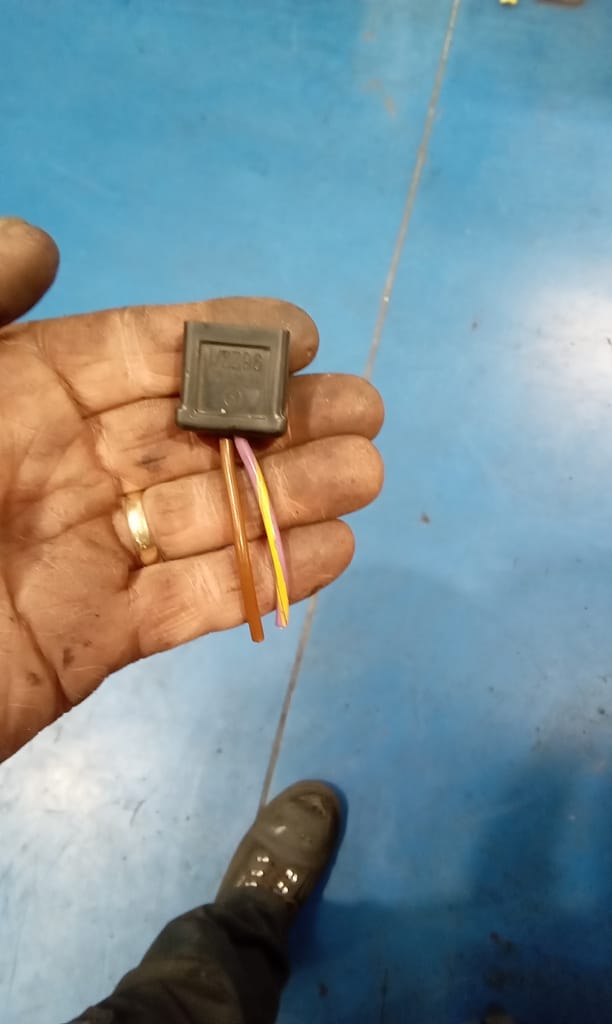
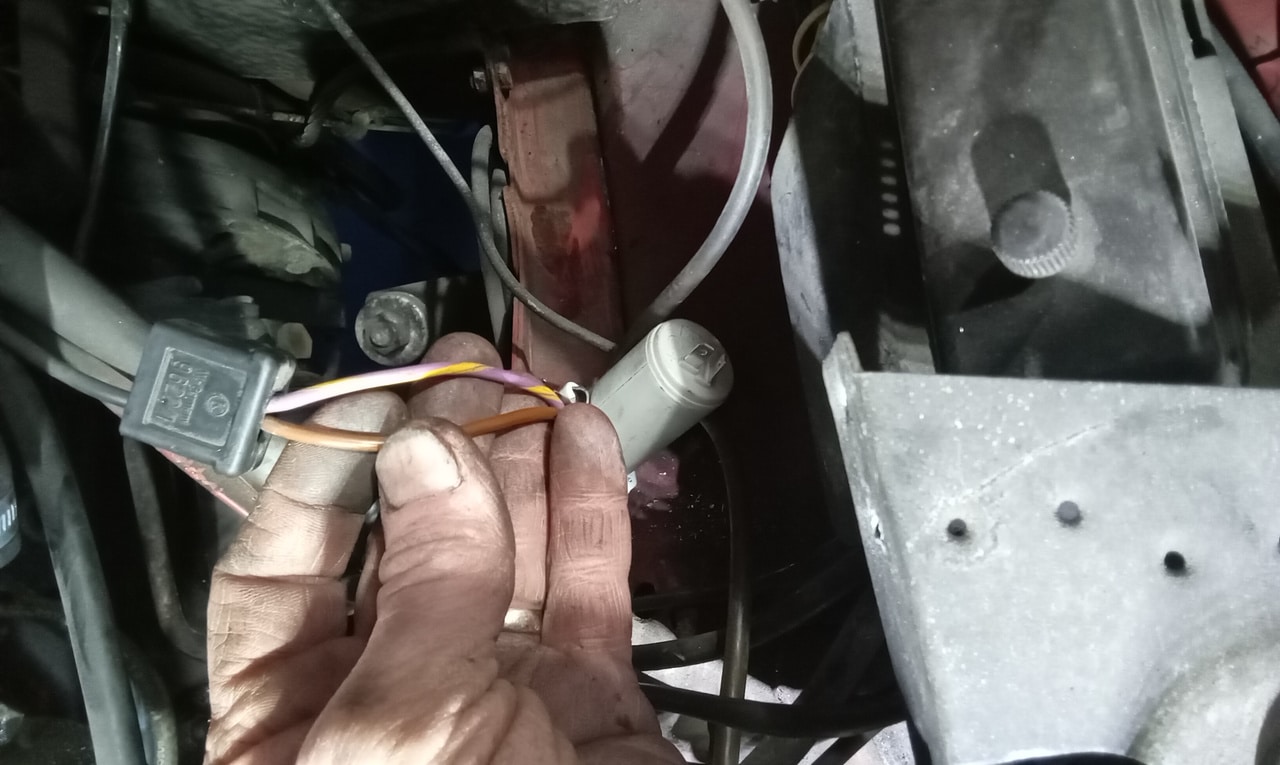
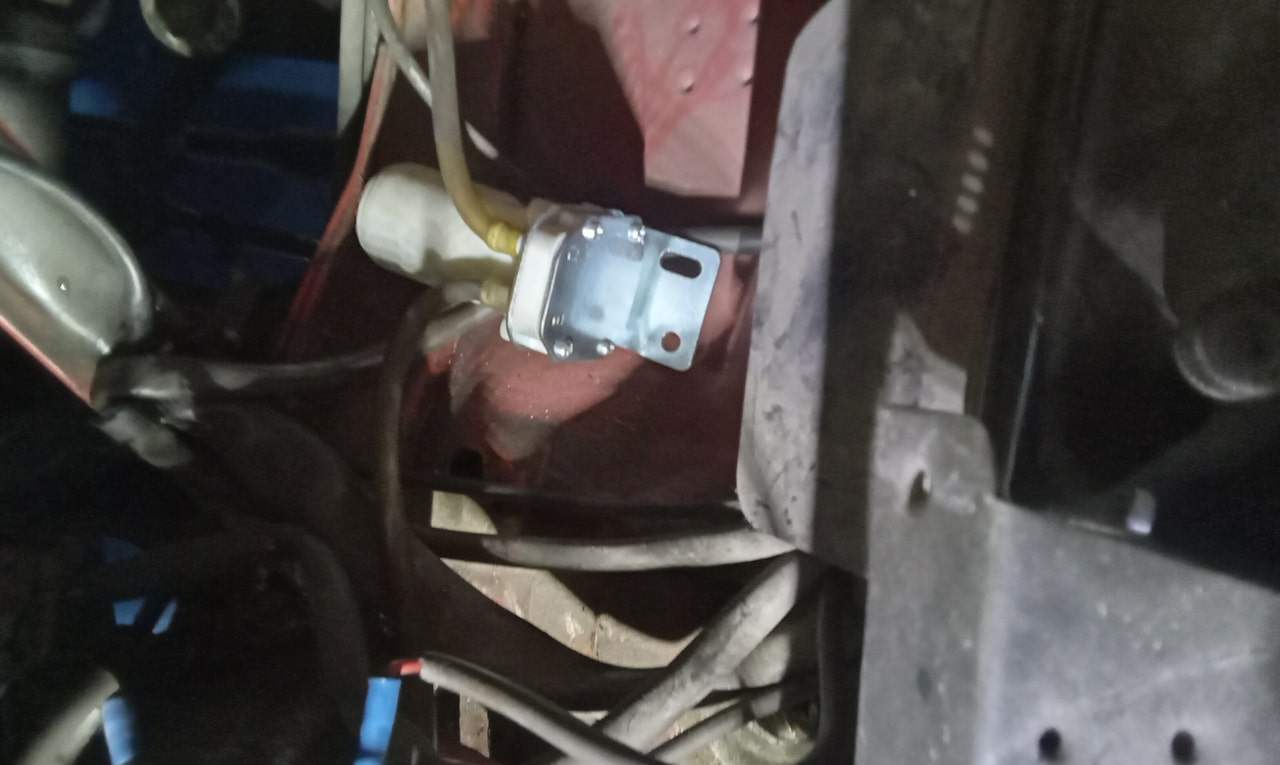
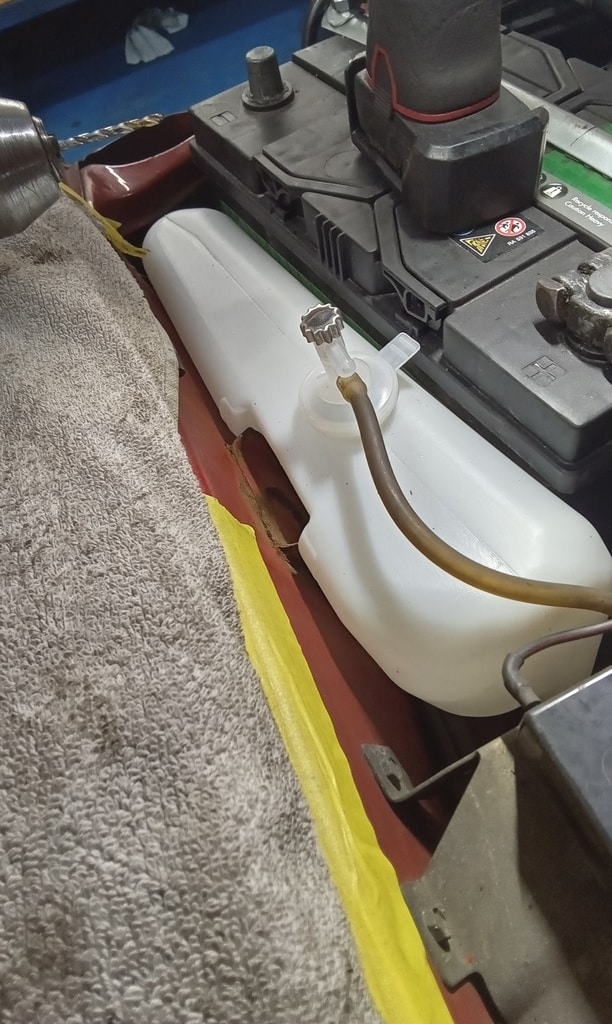
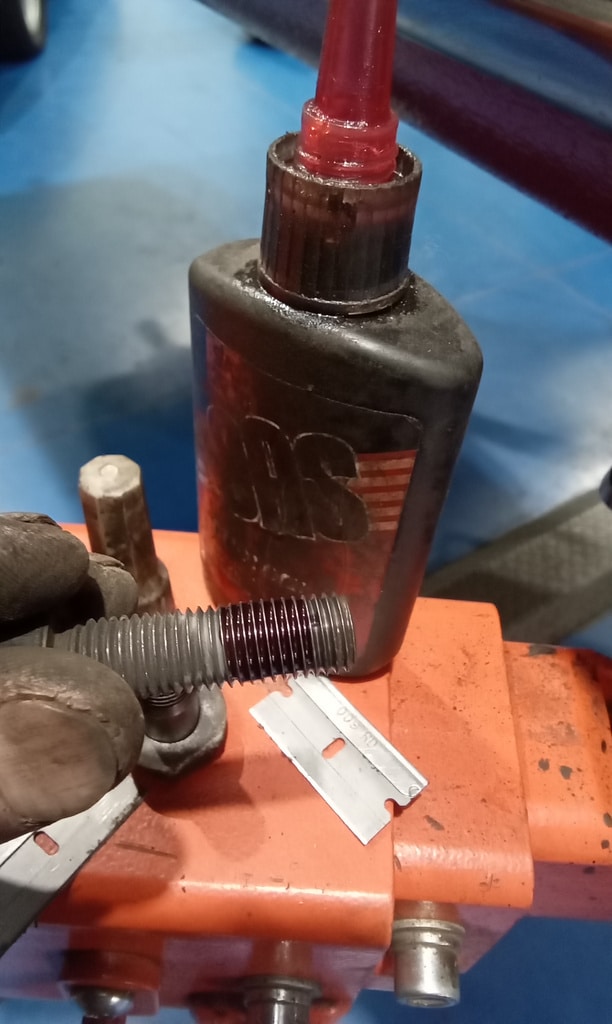
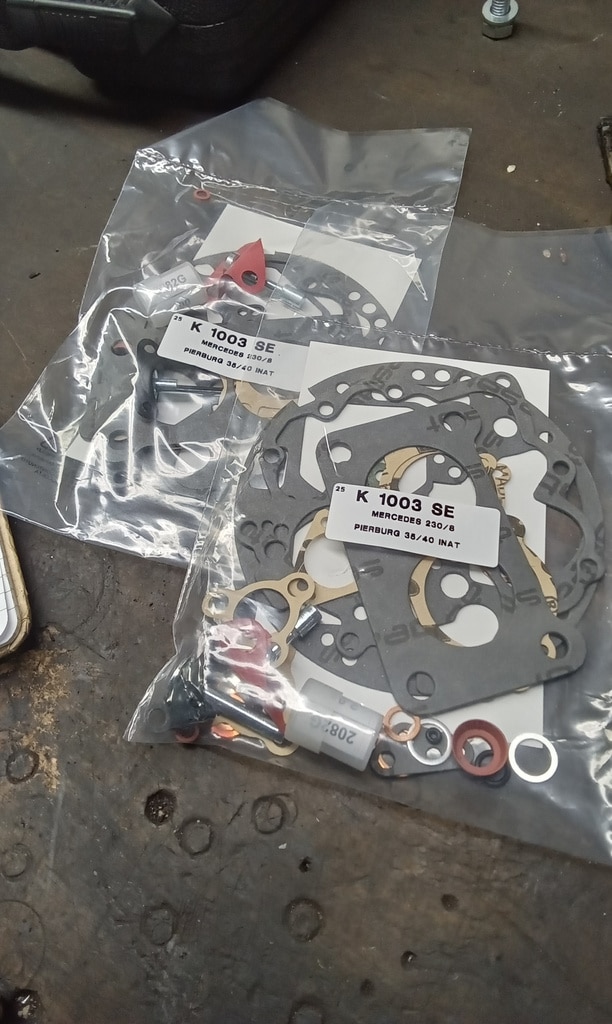
”Finish bolting up steering arms calipers and flexi hoses. Refit exhaust and mount anti roll bar mounts. Clean and blow out brakes. Loctite caliper and steering holes. Bleed brakes and top up fluid. Fit washer bottle and connect pipes. Fit new pump. Solder on 2 spade terminals to fit new pump and se ure. Fill bottle and bleed system to get working. Drain oil and filter. Fit new oil filter and seal. Fit new sump bung and torque up. Fit new glass inline fuel filter. Fit new Ht leads, cap and rotor wrong. Fill with new oil and put battery on charge. Put some more fuel in 10ltrs. Crank over and get fuel up and try to start. Starts and runs if revved but won’t tick over. Suspect blockage in carburettors. Order service kits for both. Fit new seatbelt stalks to front.”

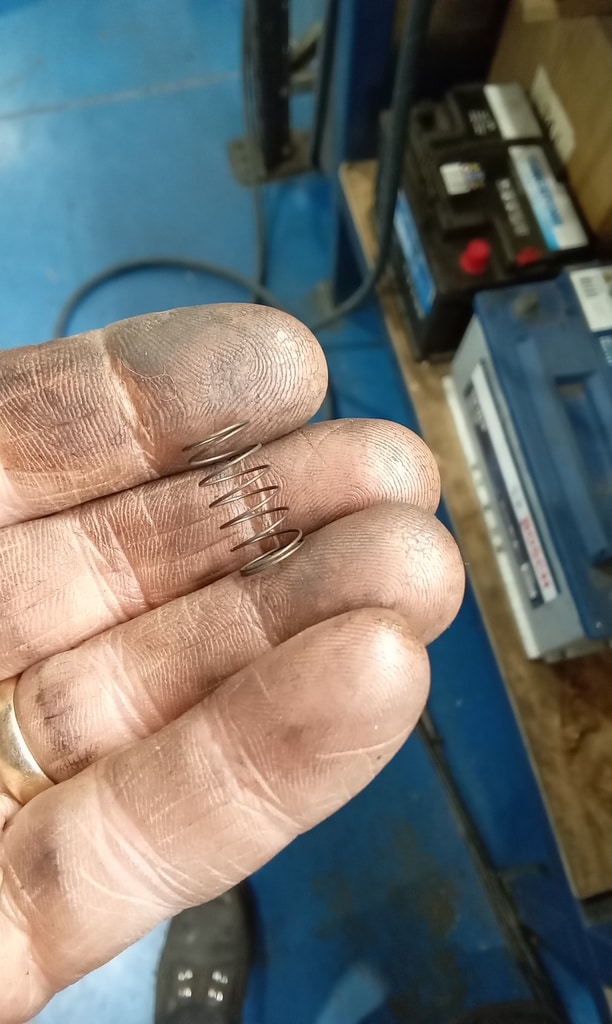
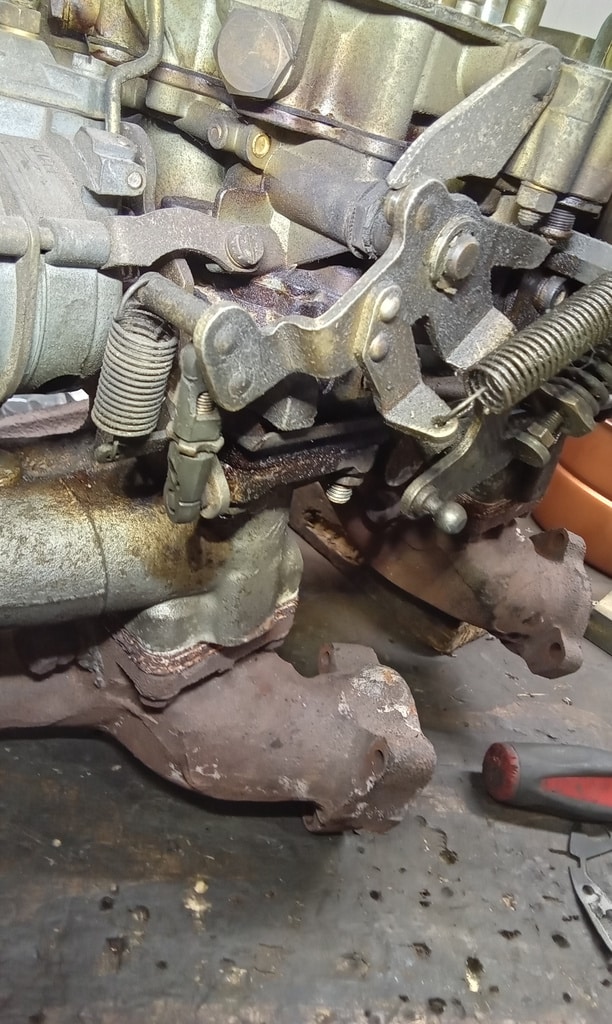
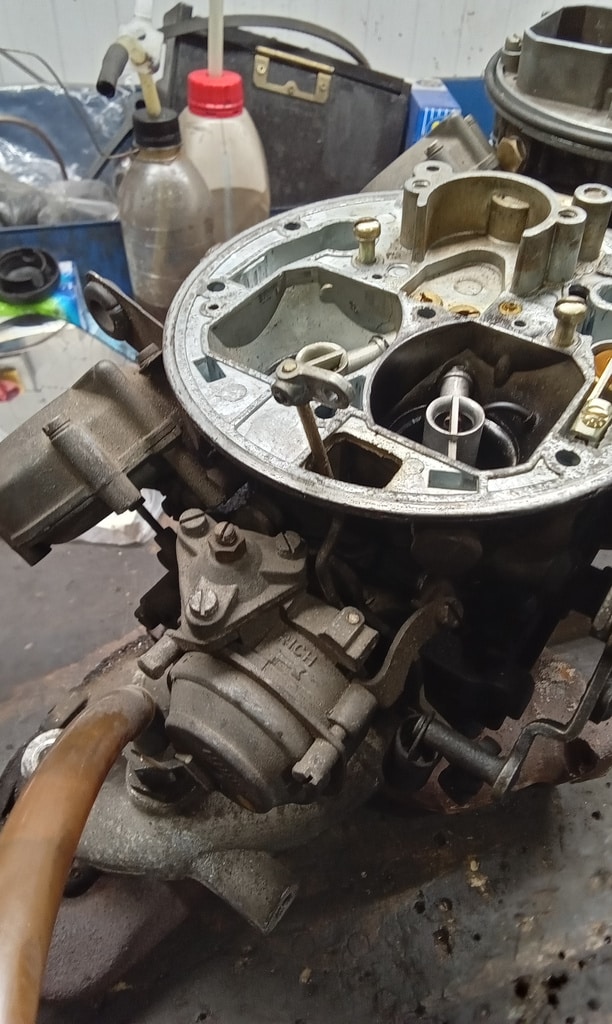
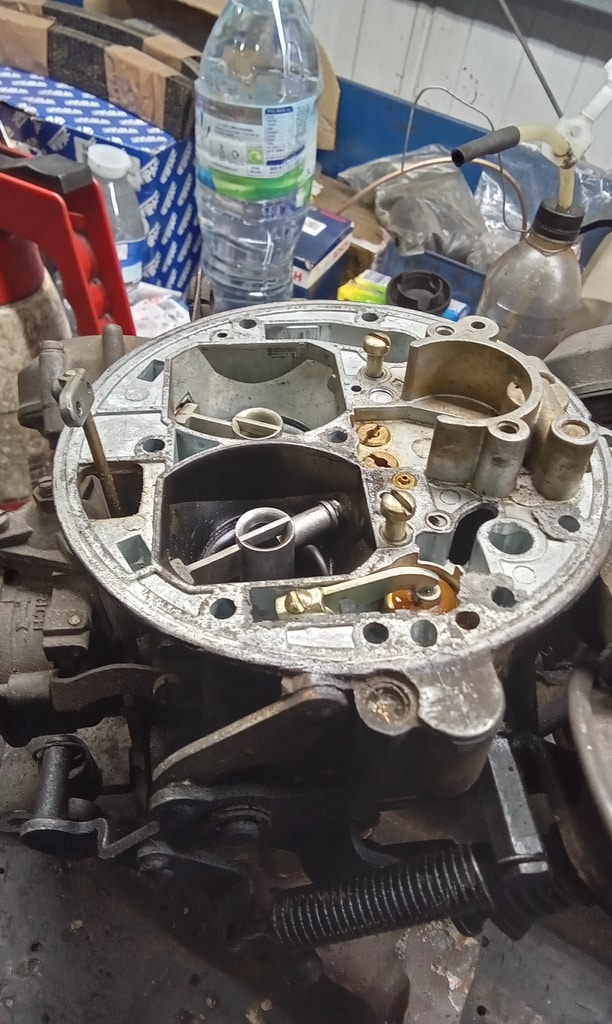
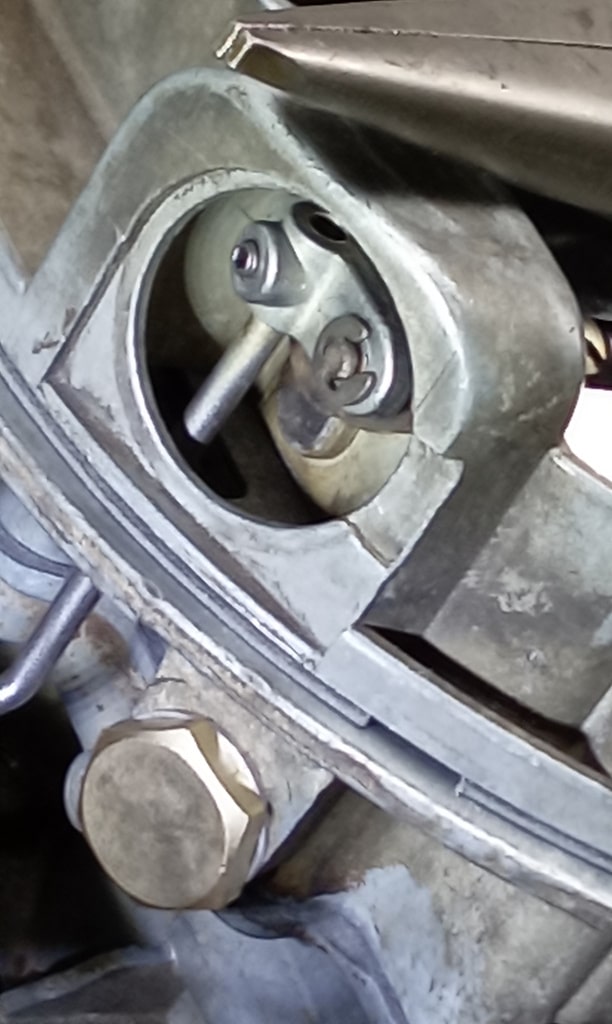
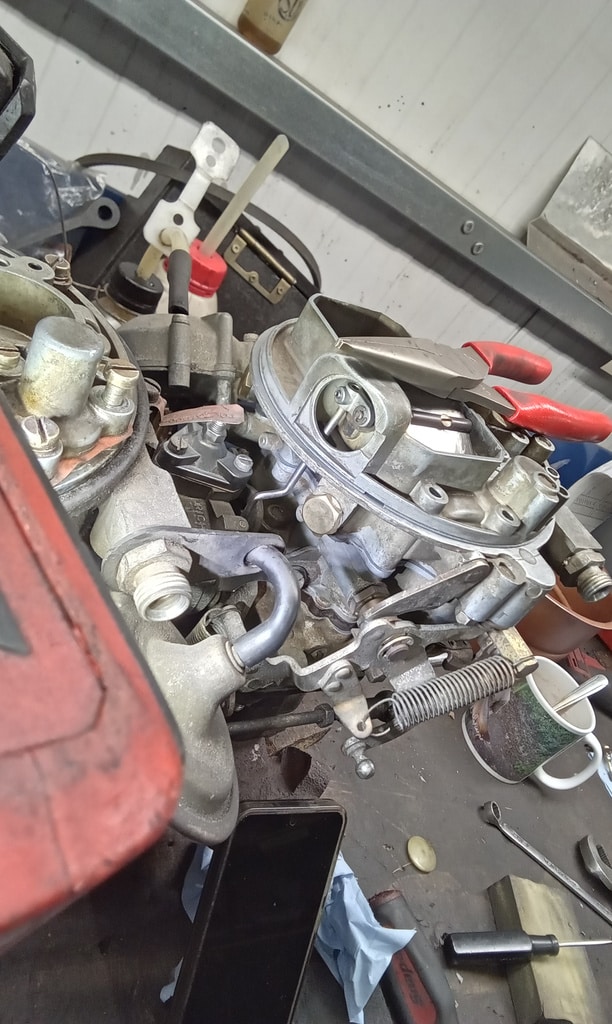
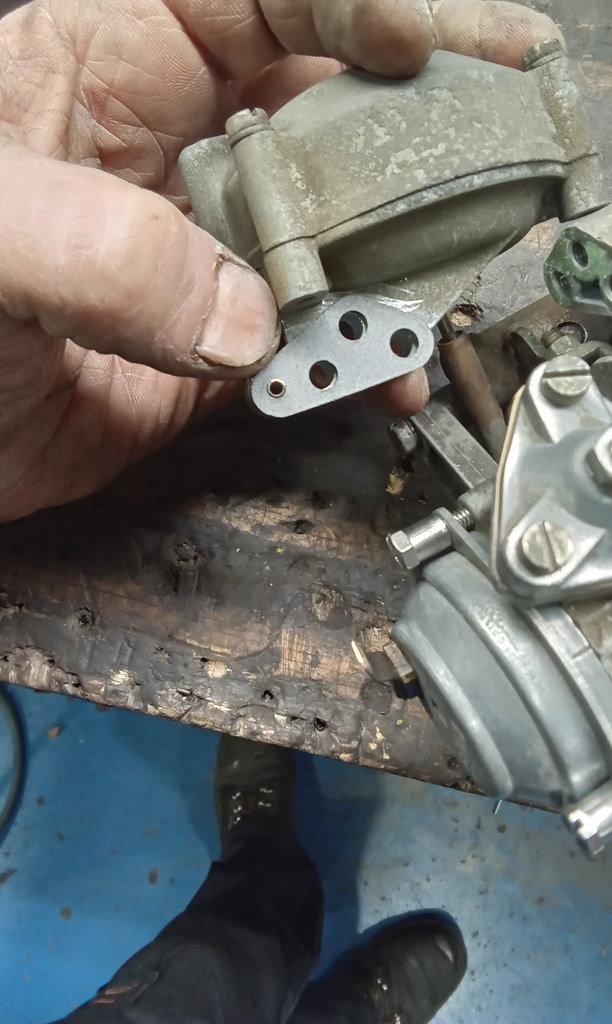
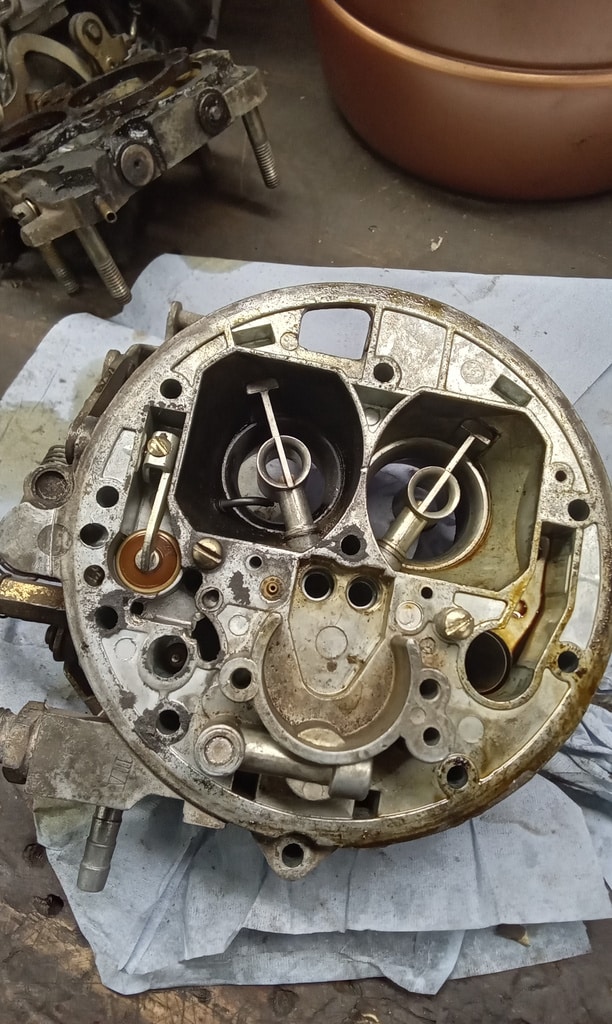
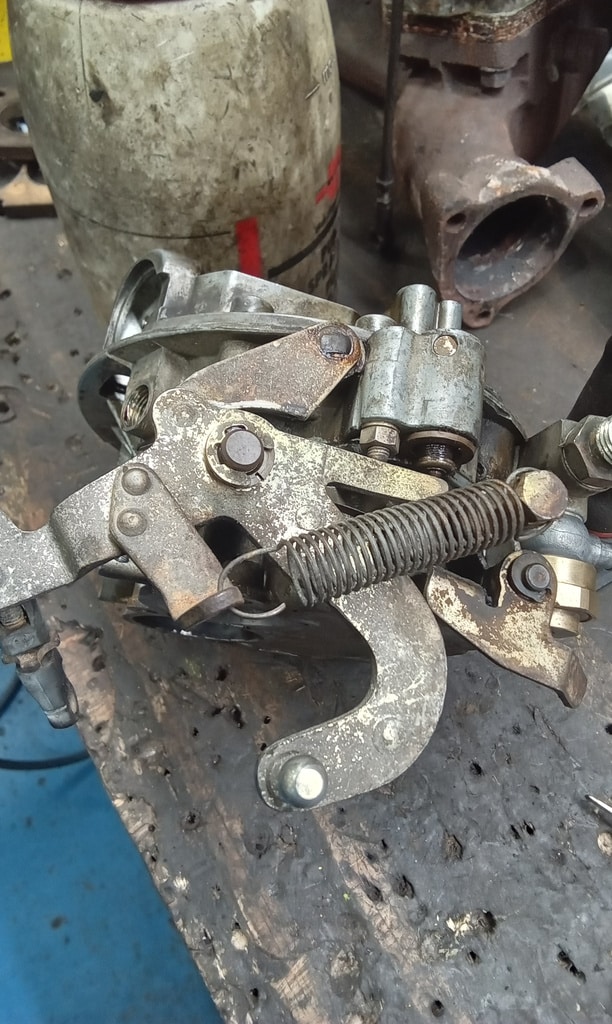
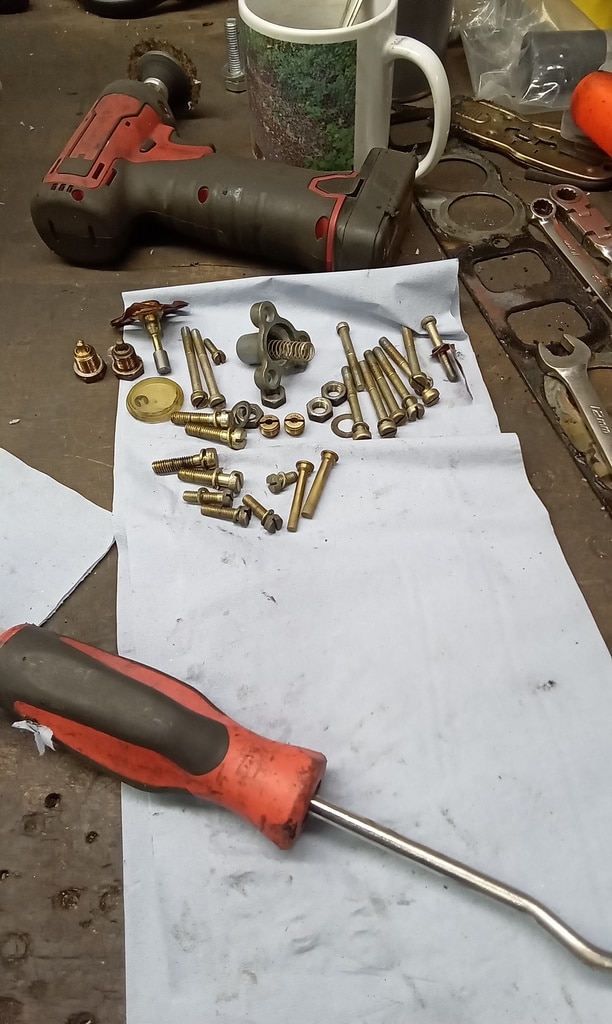
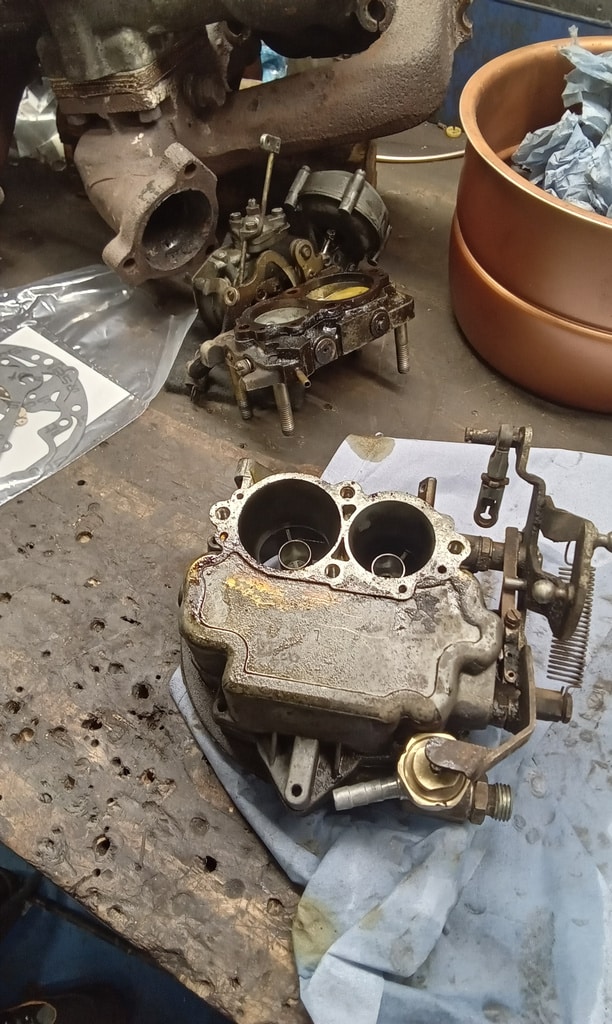
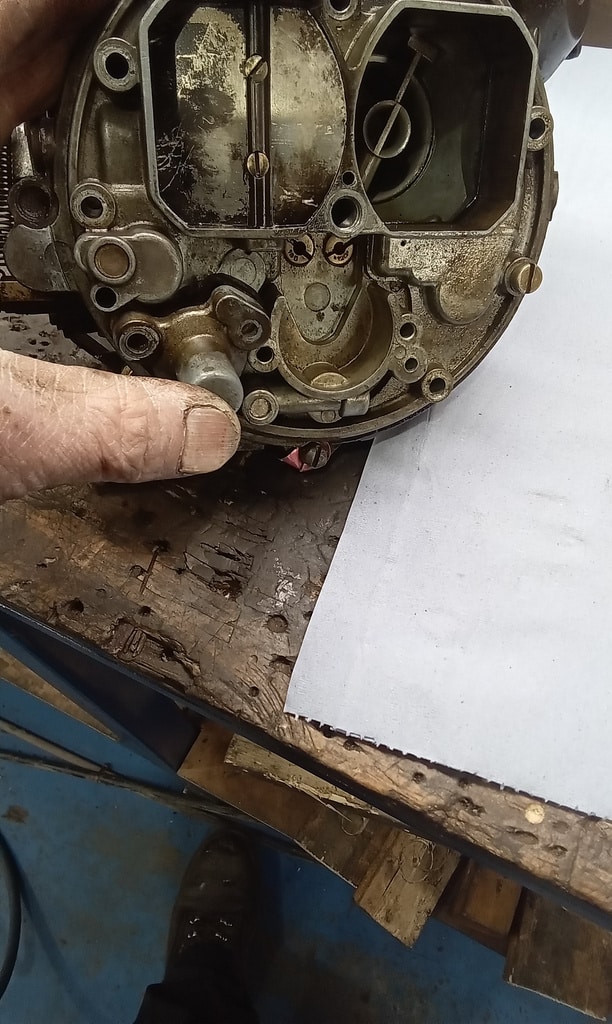
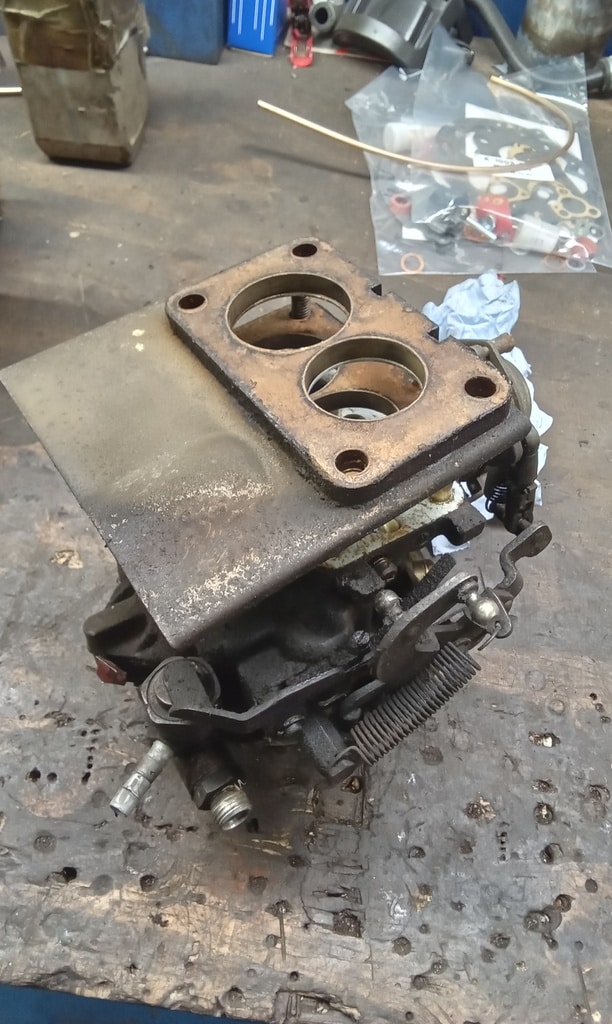
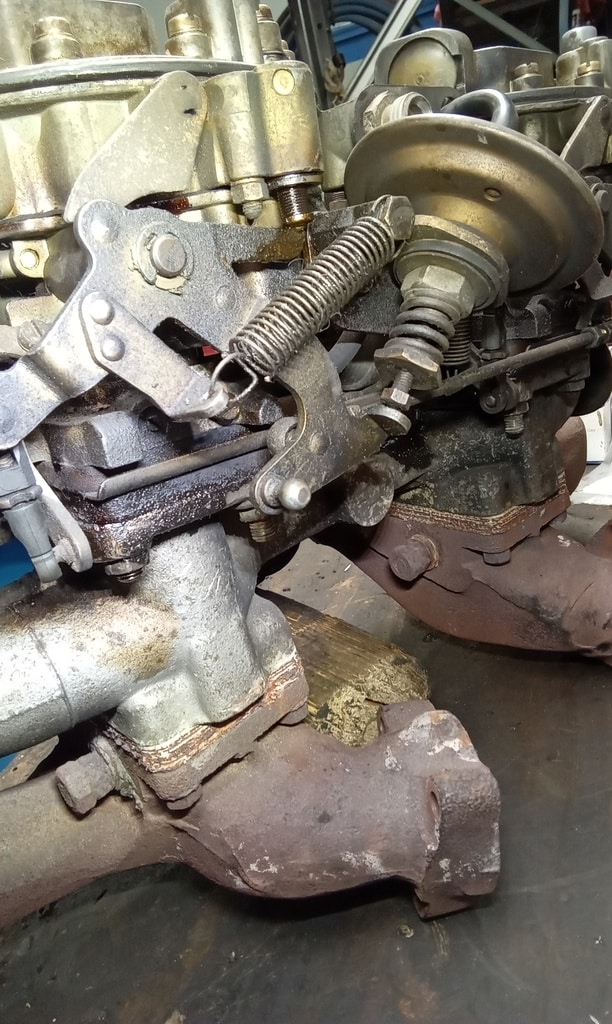
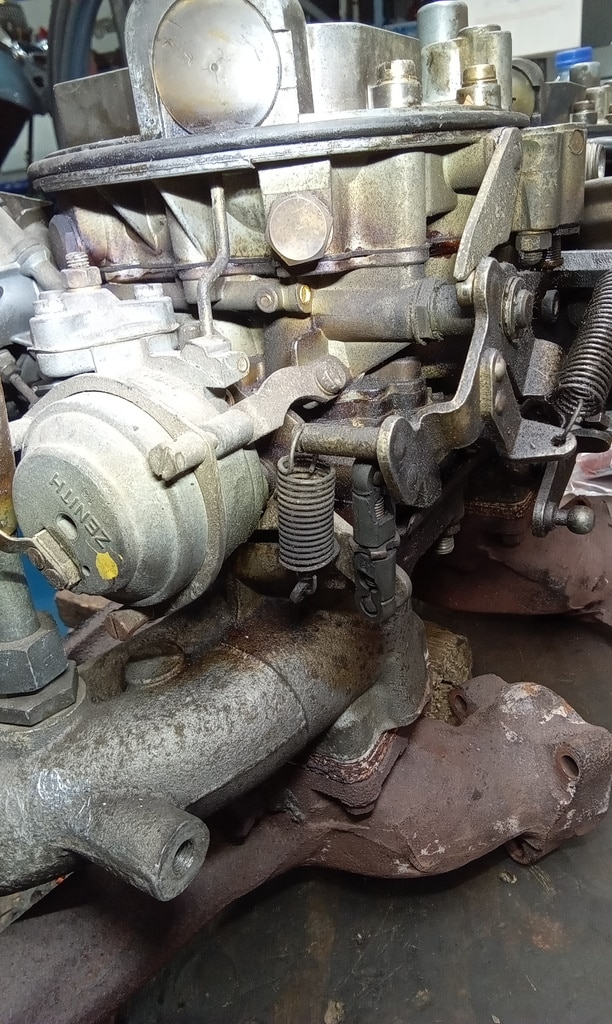
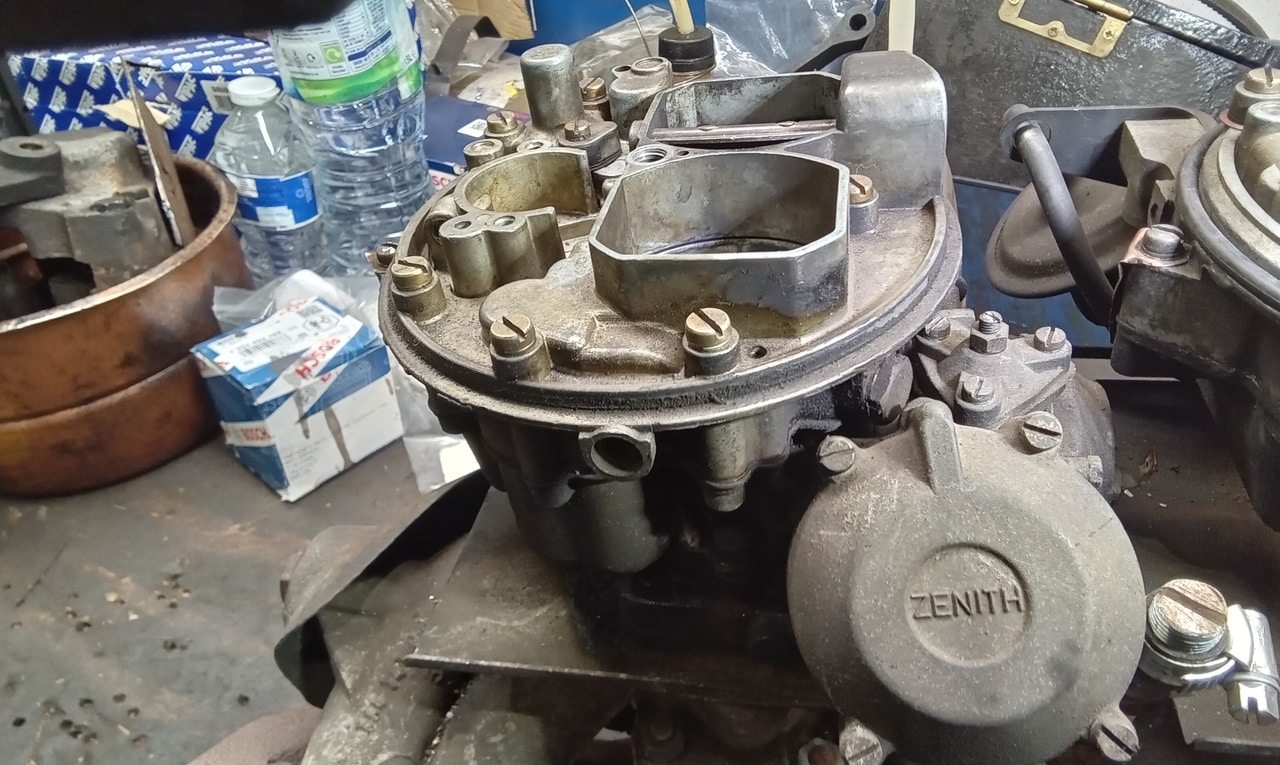
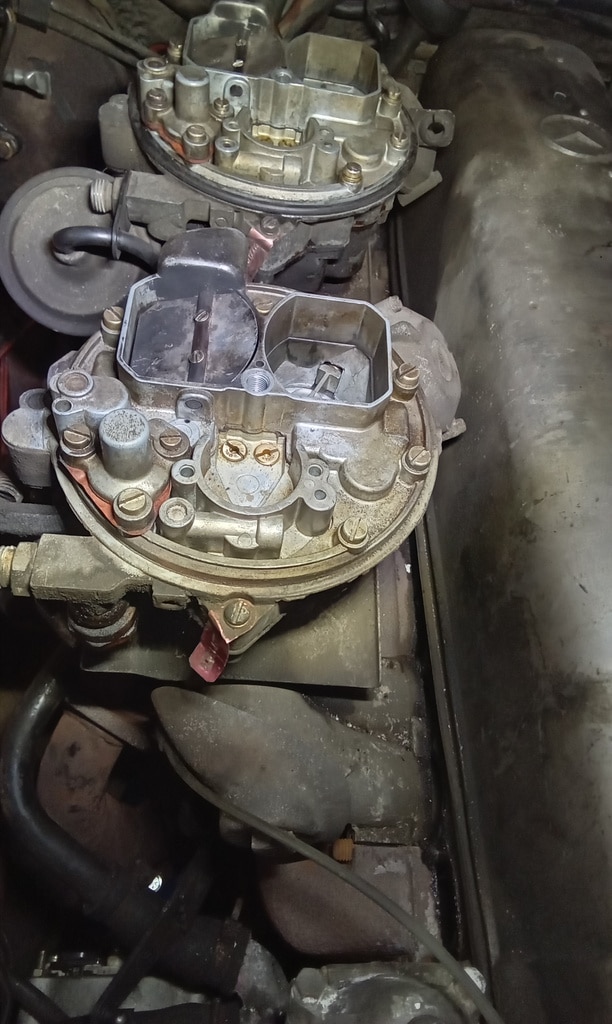
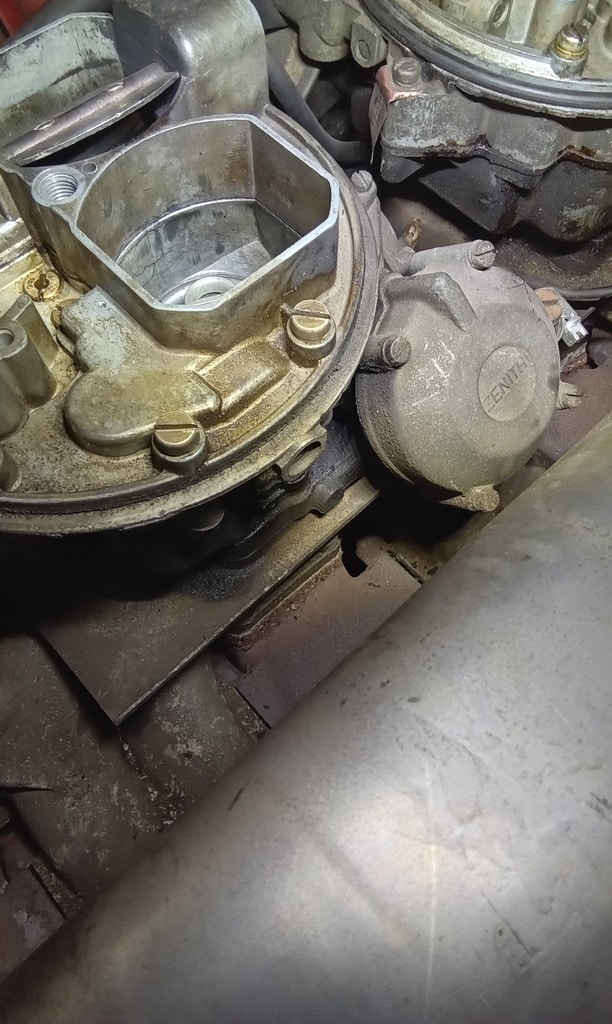
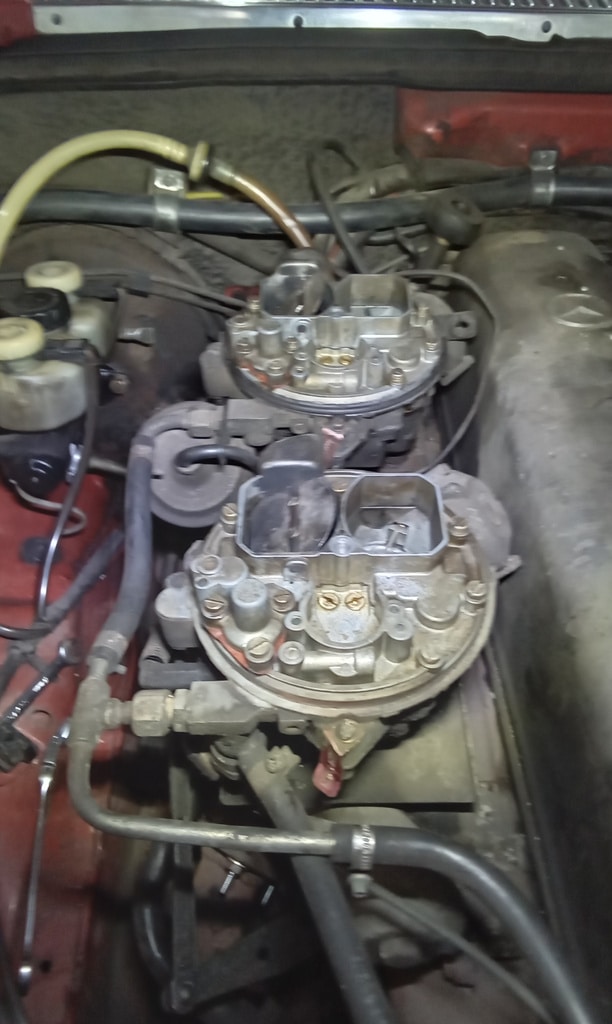
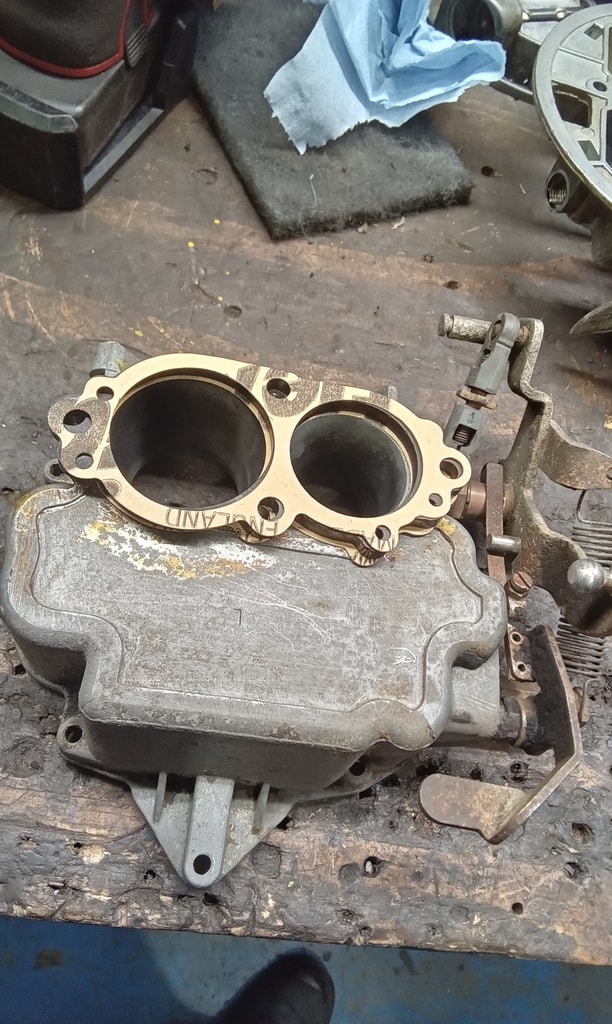
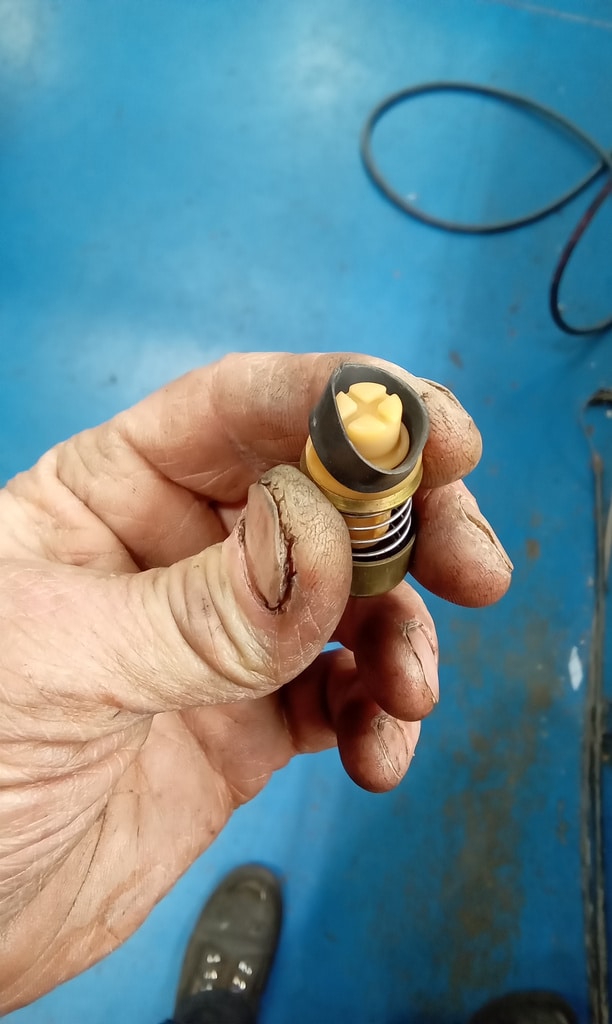
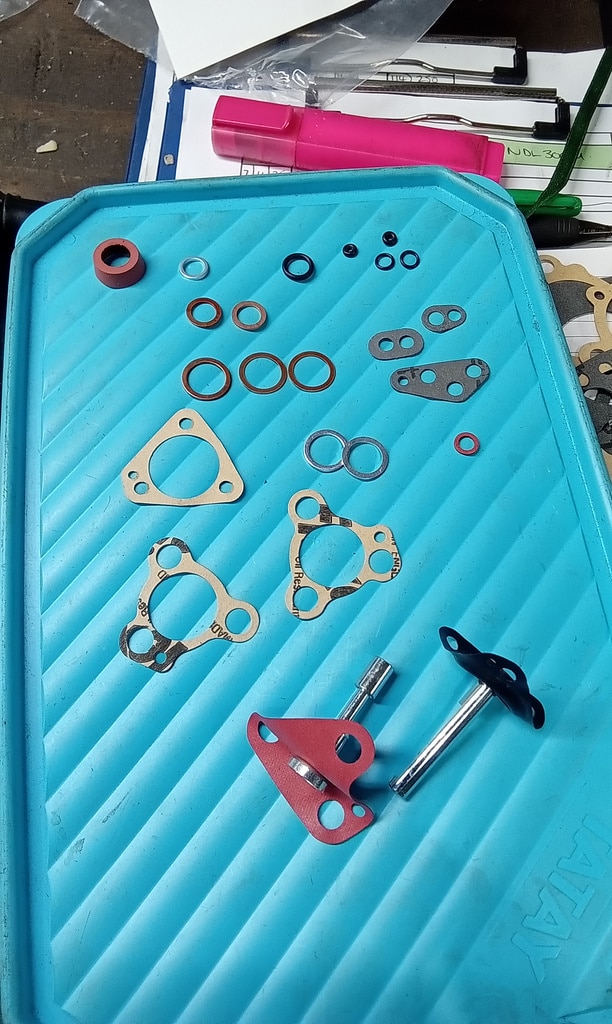
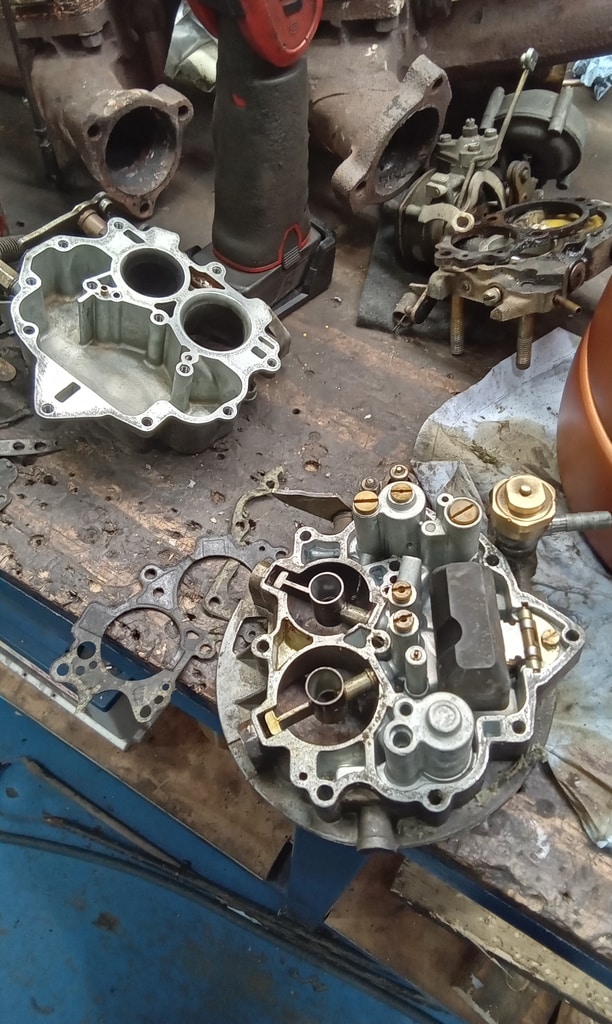
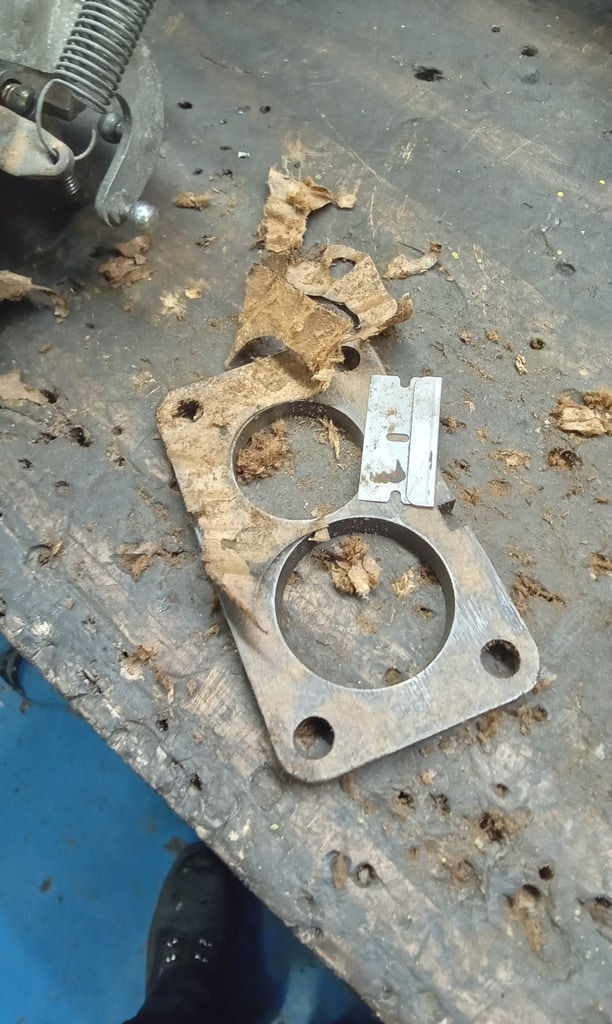
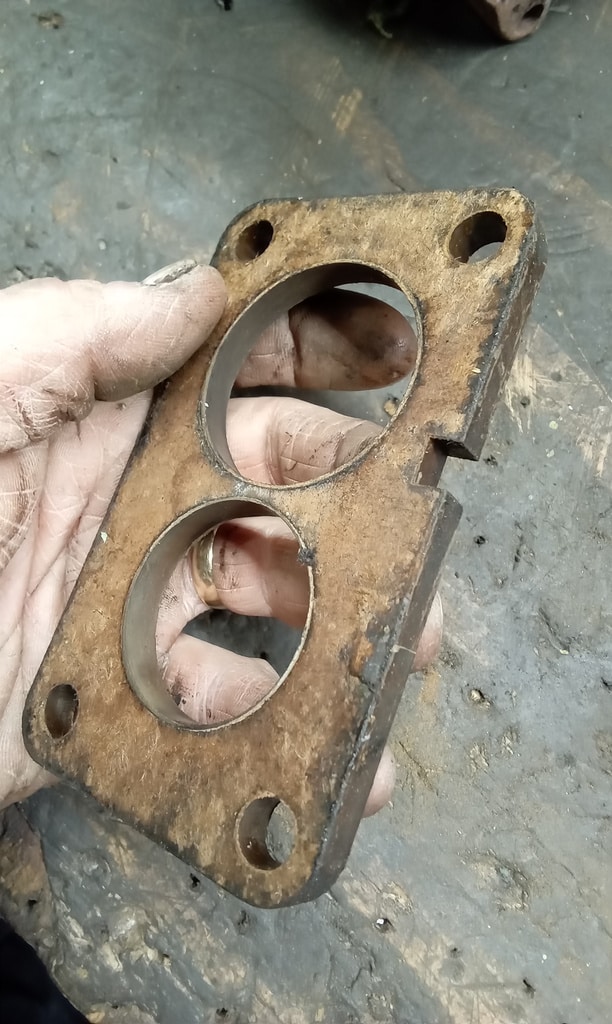
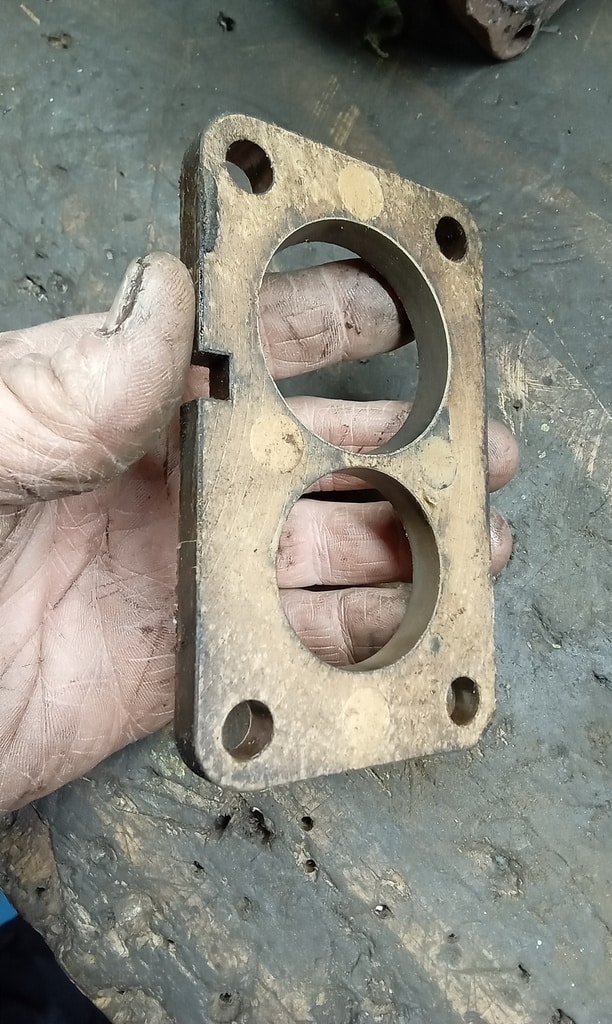
”Remove accelerator pump diaphragm from carbs and check. Both look bad. Blow out jets to see if it makes difference, but no. Runs if throttle applied still. So wait for kits and strip and clean both carbs.
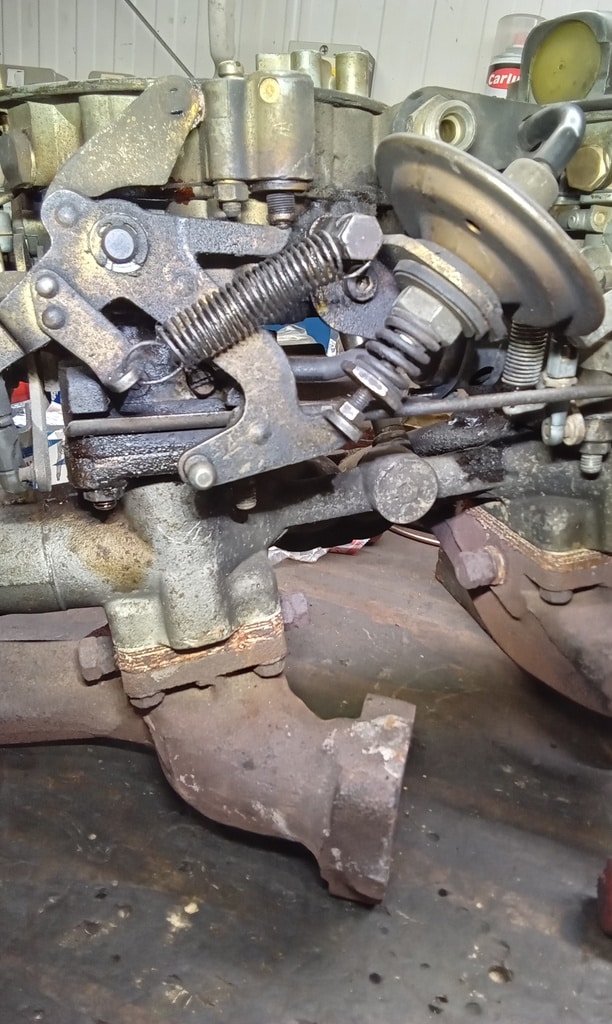
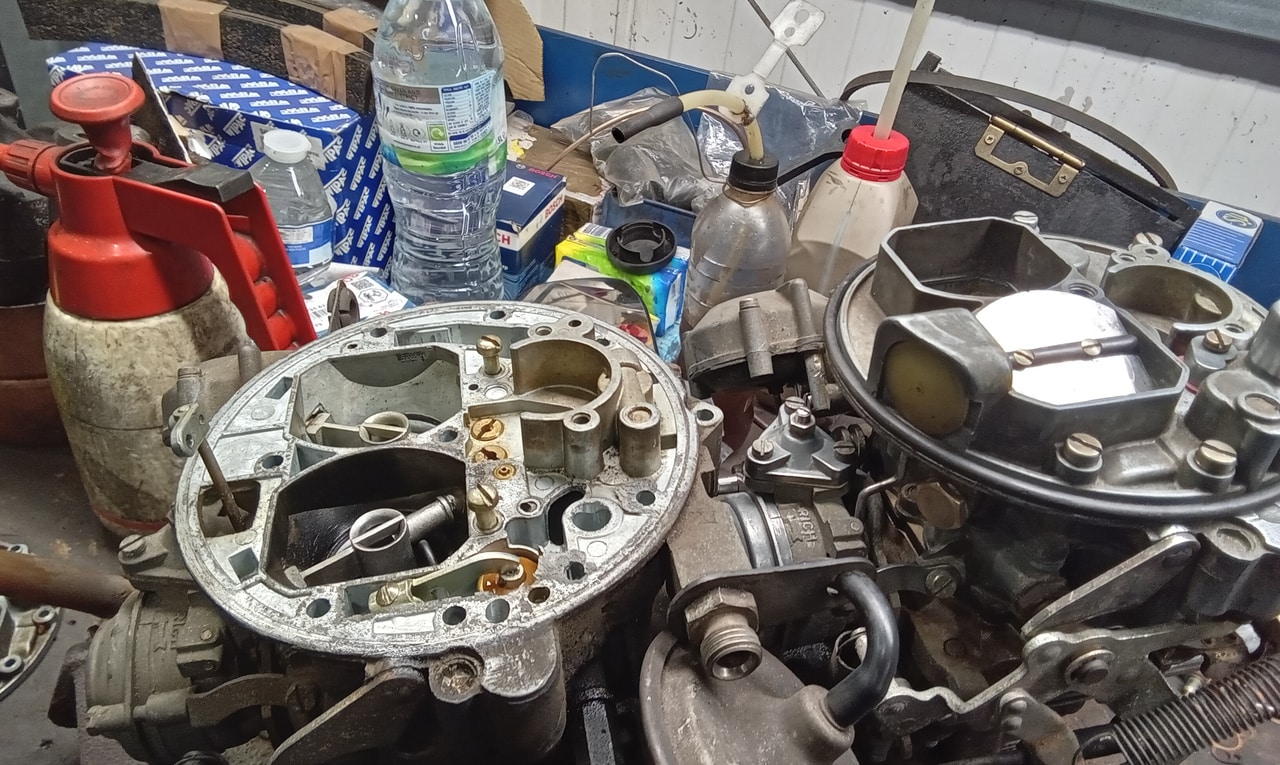
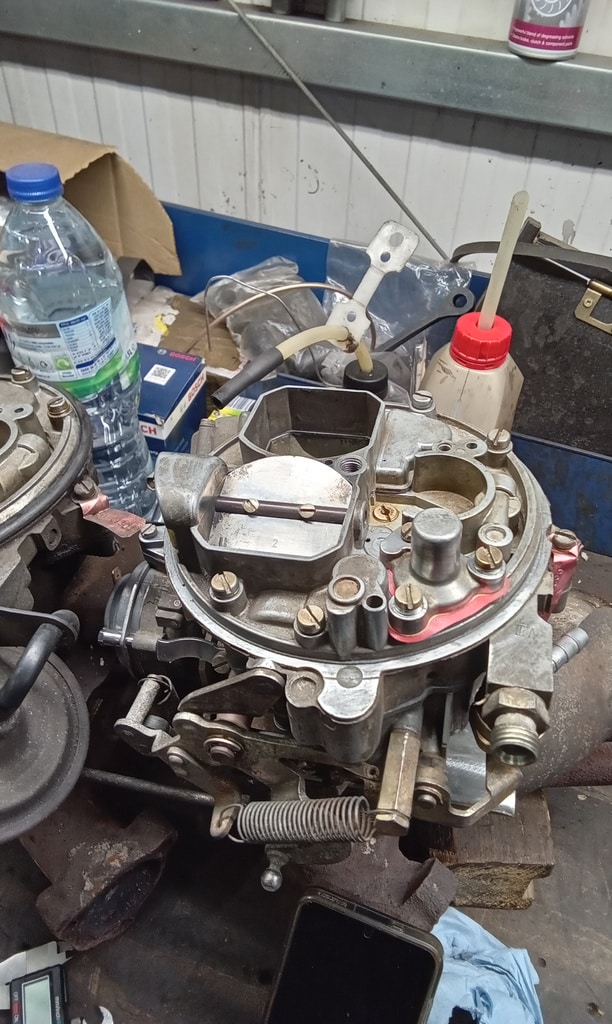
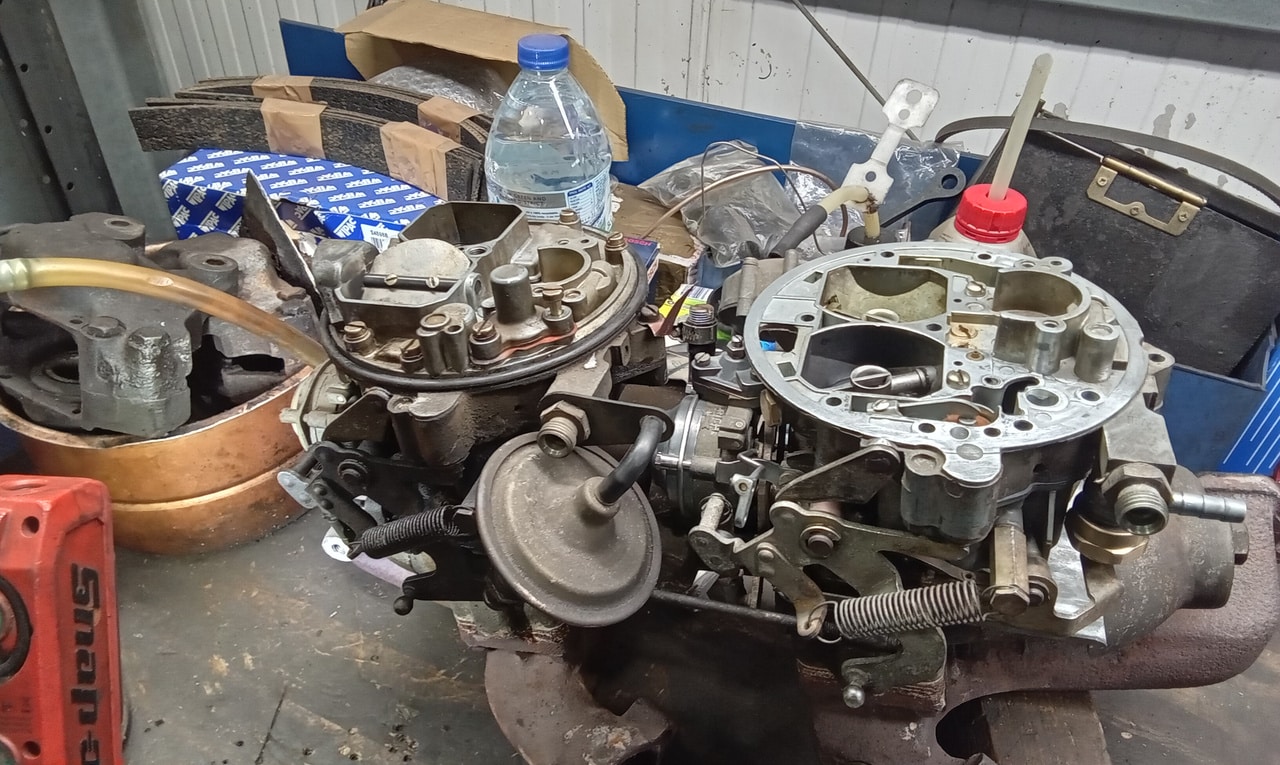
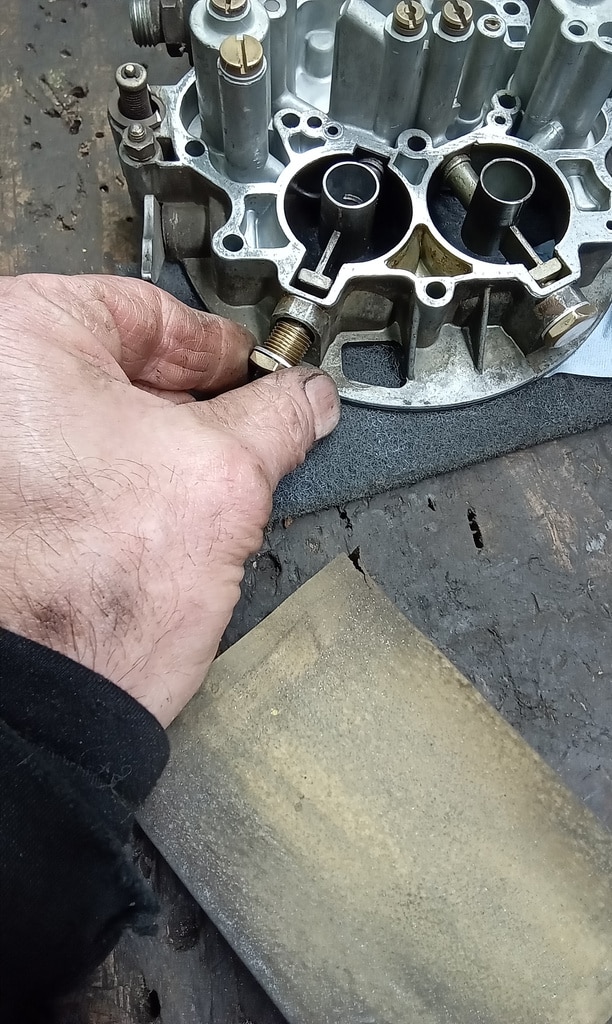
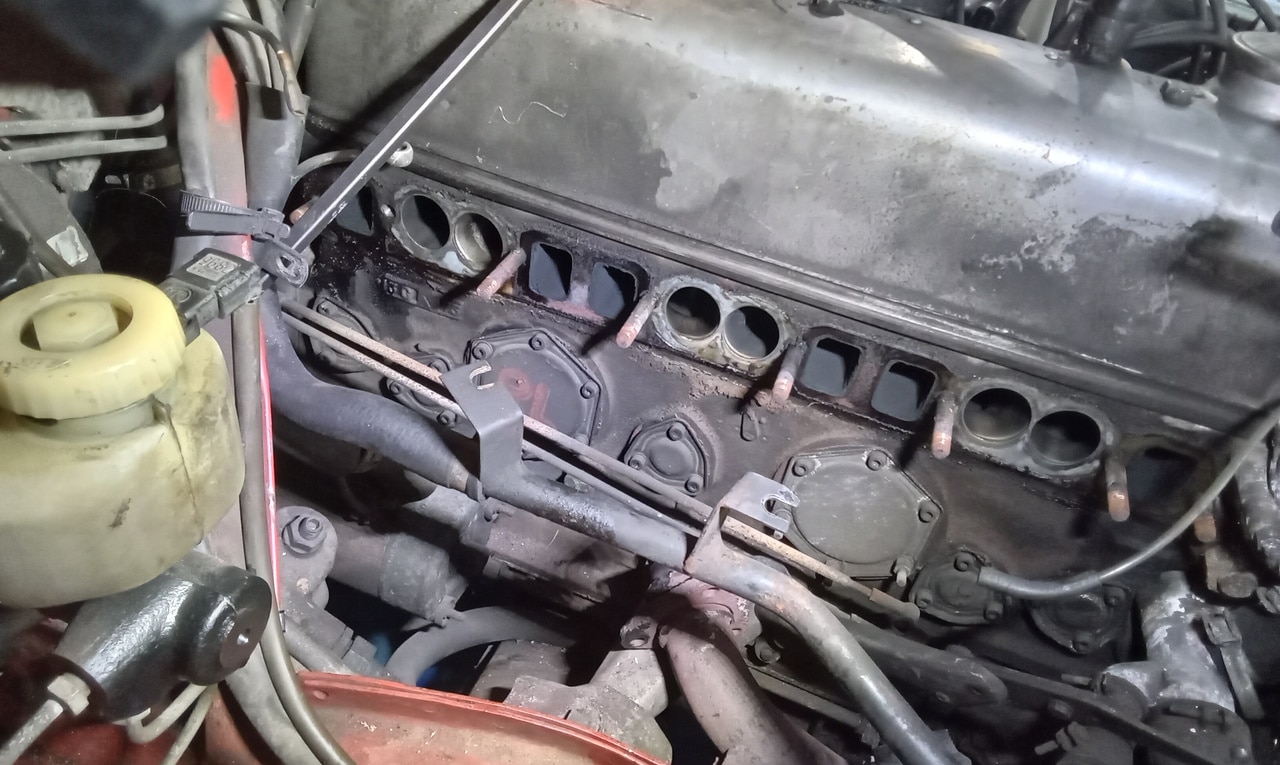
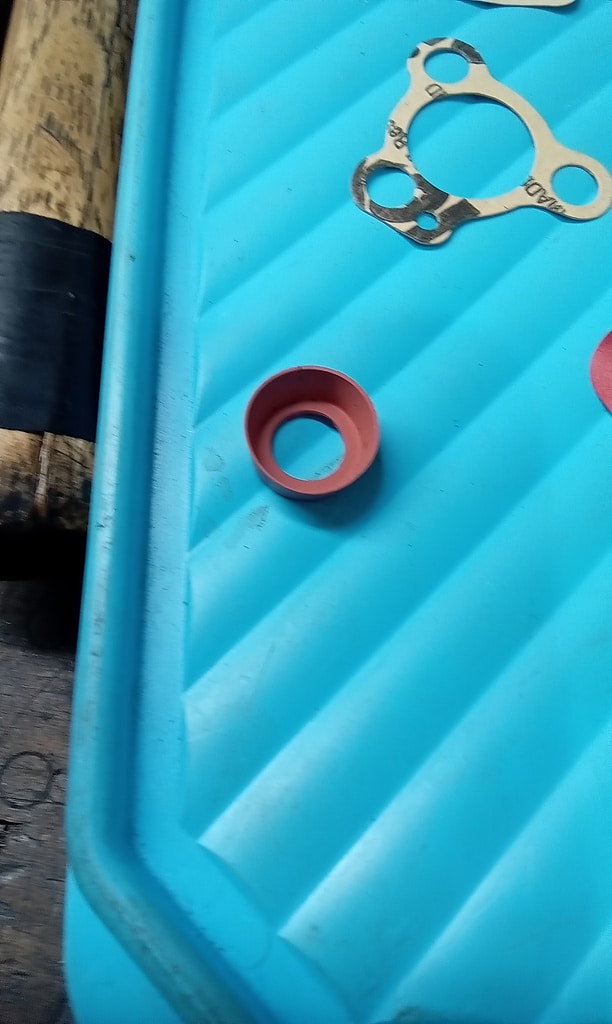
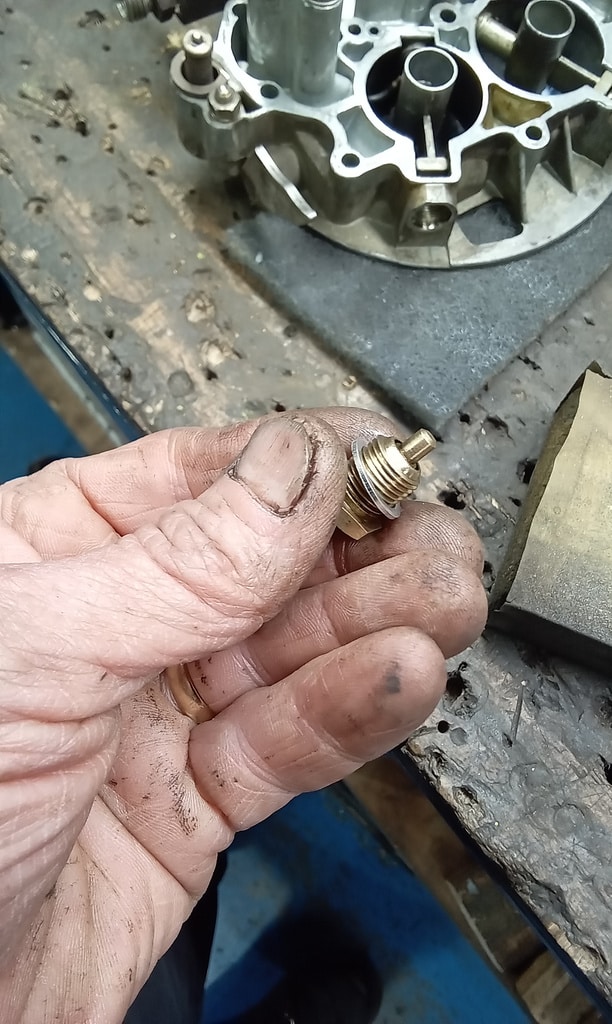
Remove manifolds complete with carbs. Strip front carb and start to clean. Work out how it comes apart and strip. Clean components and blow out. Start eassembly with new gaskets etc. Fit new needle valve and measure float height OK. Blow out jets and reassemble. Fit carb base to manifold.”
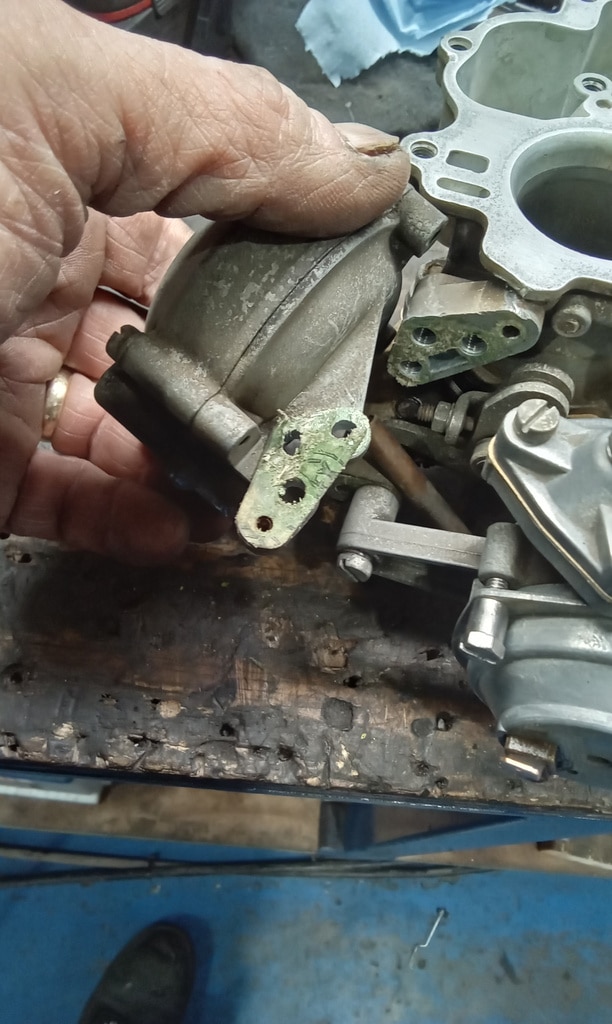
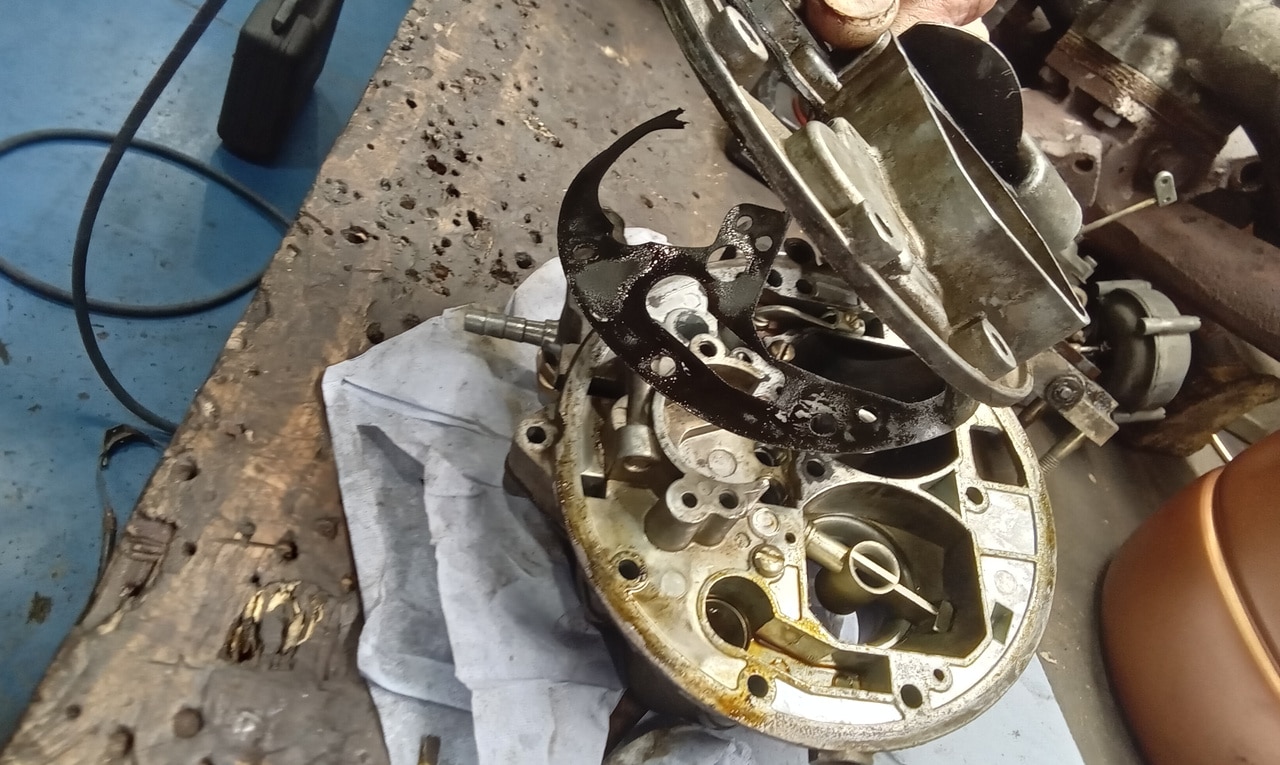
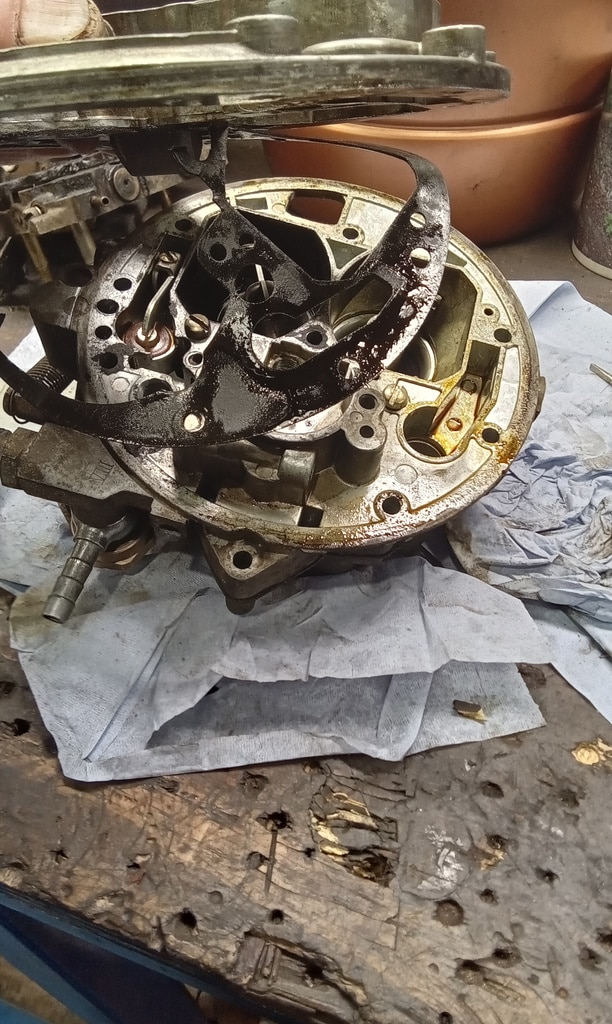
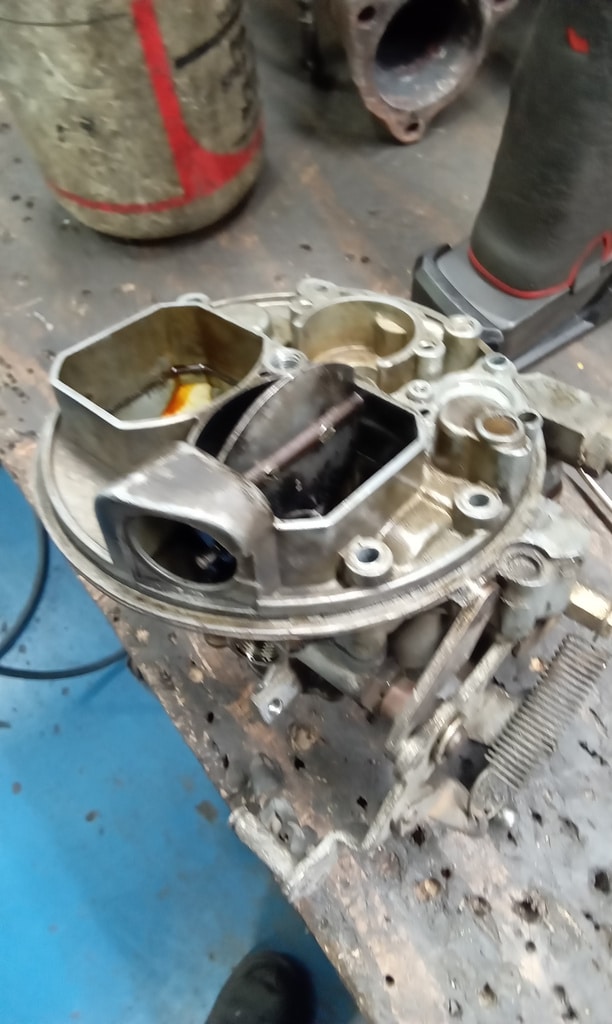
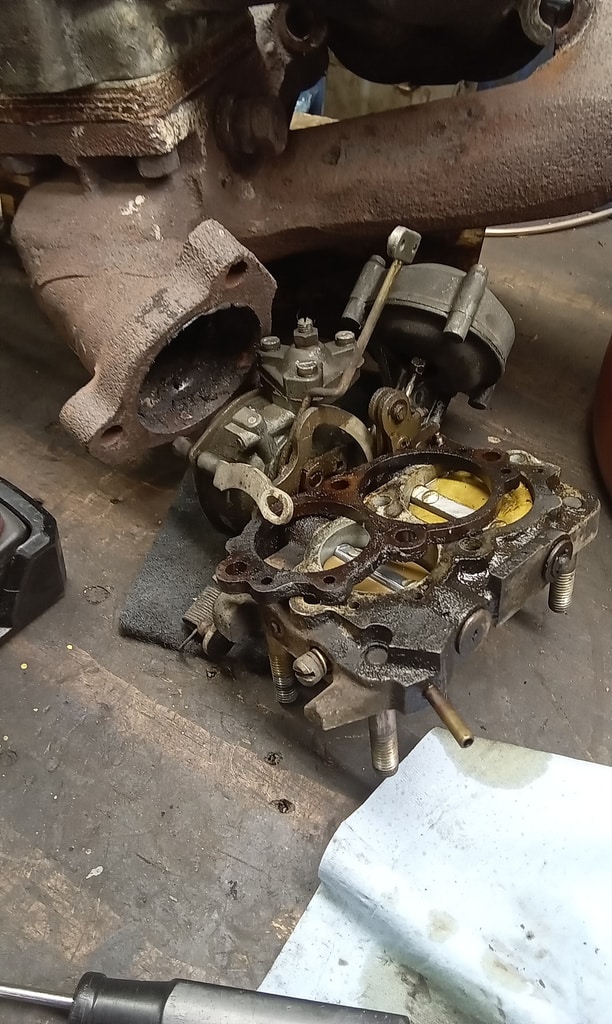
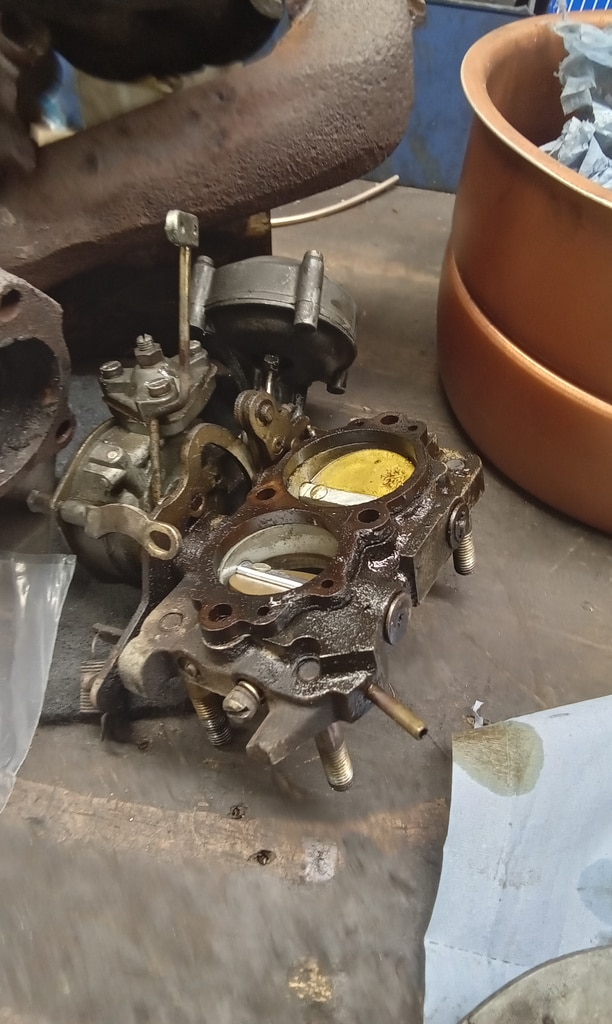

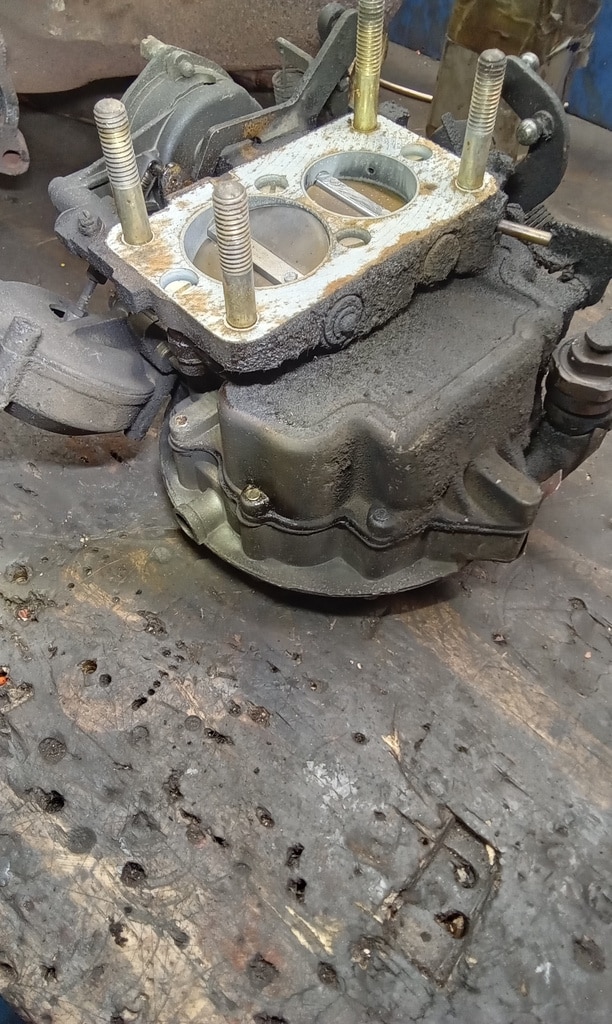


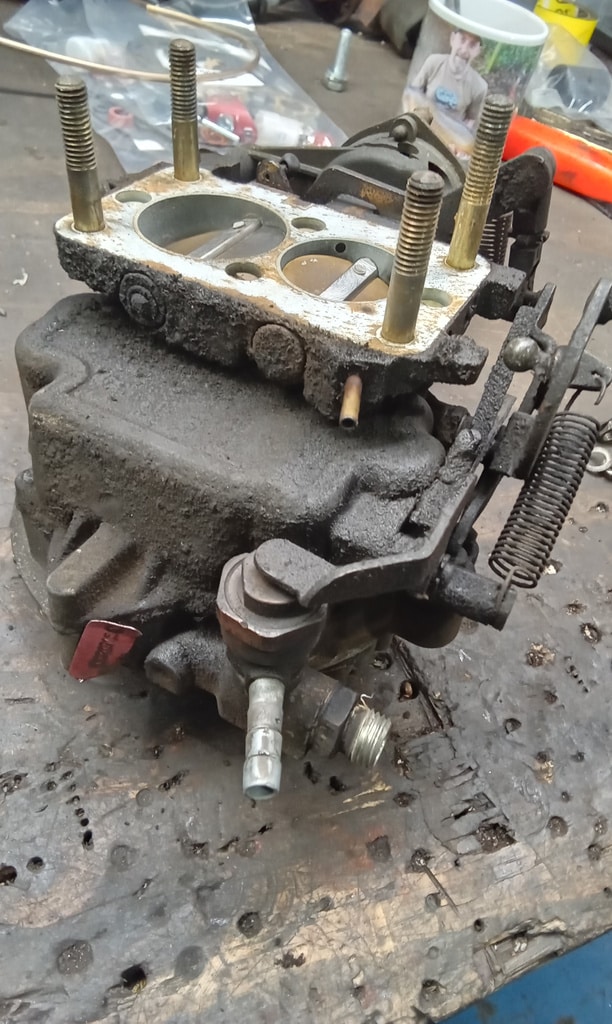
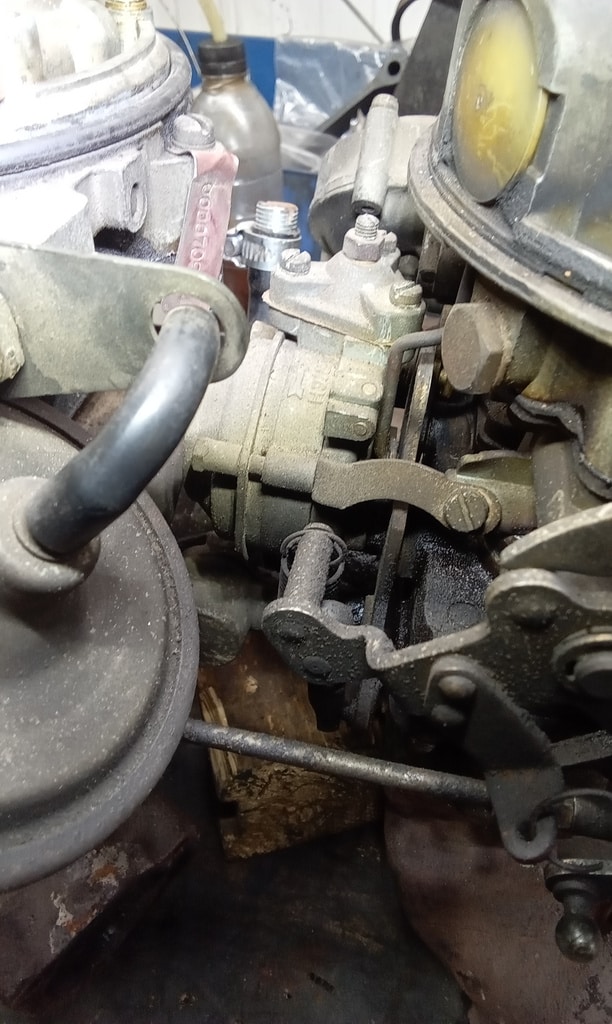
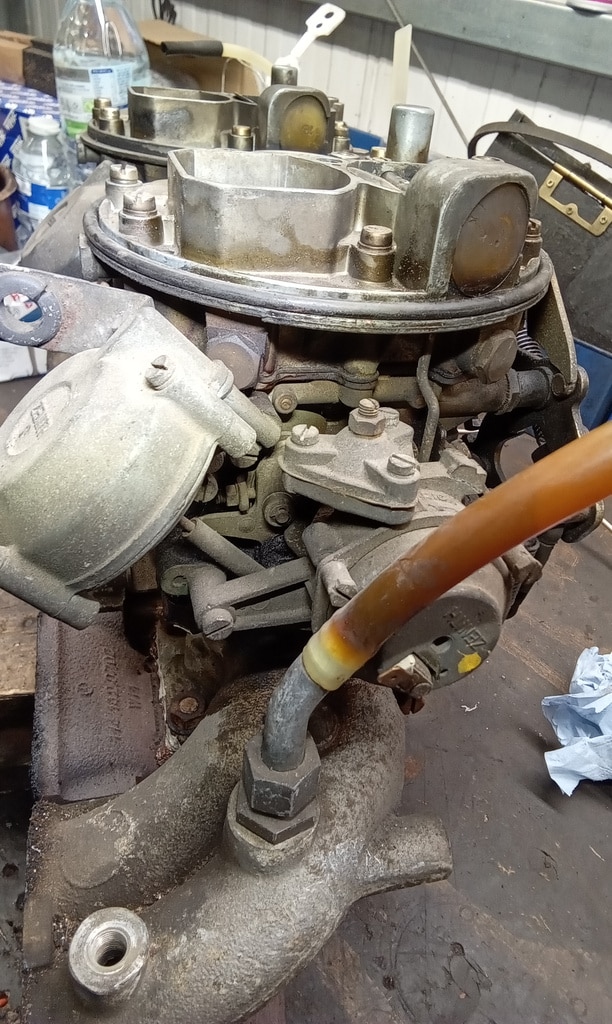
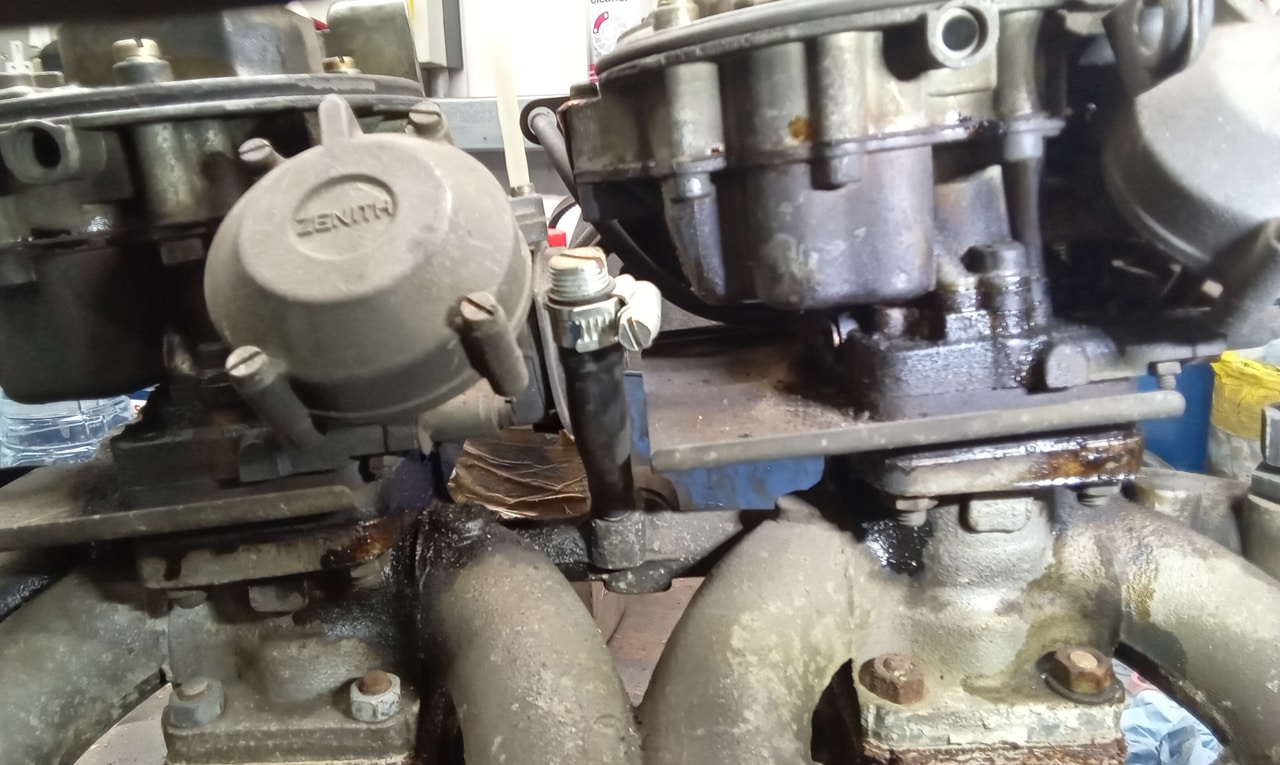
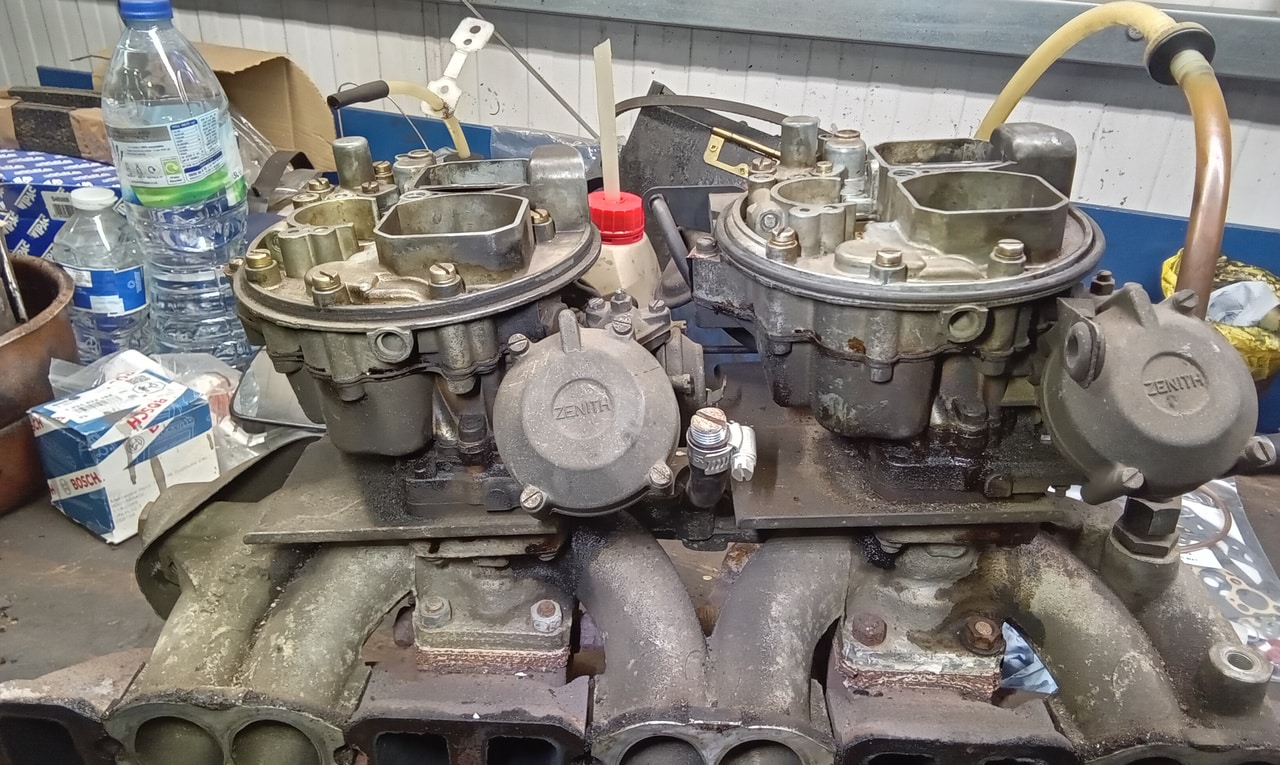
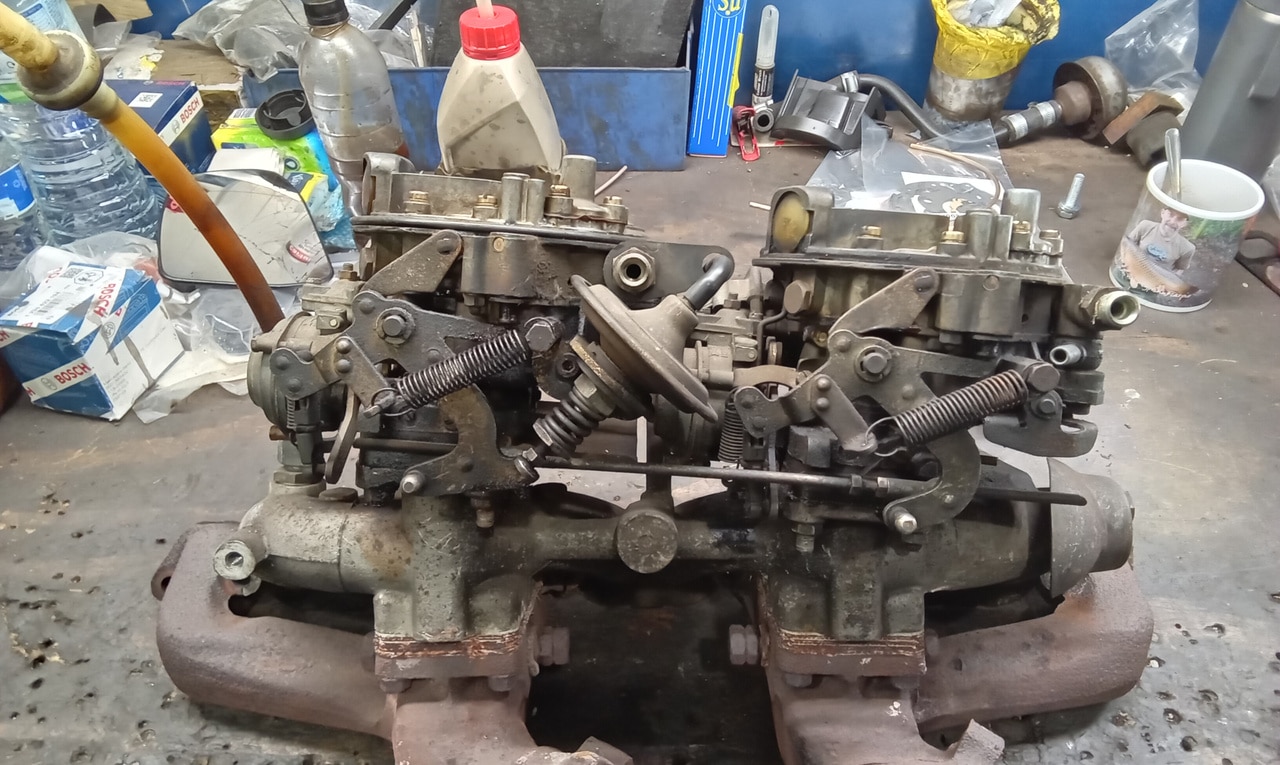
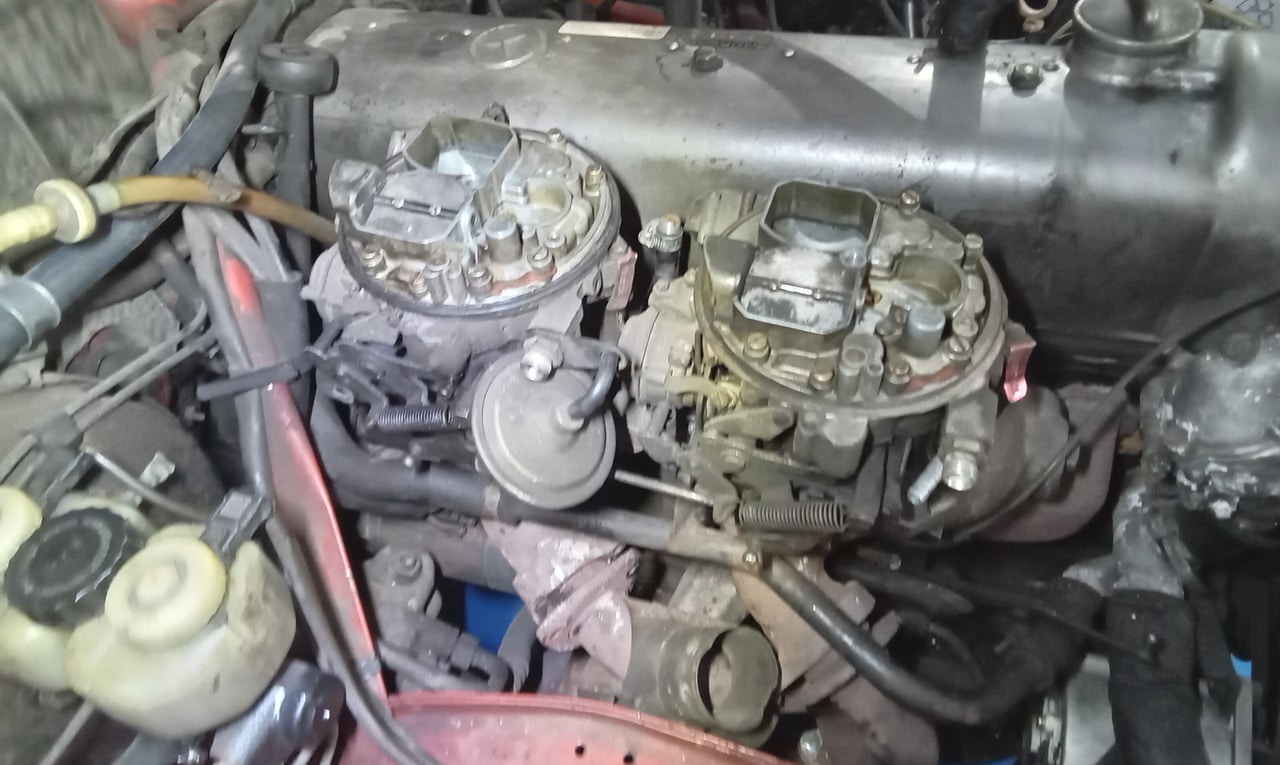
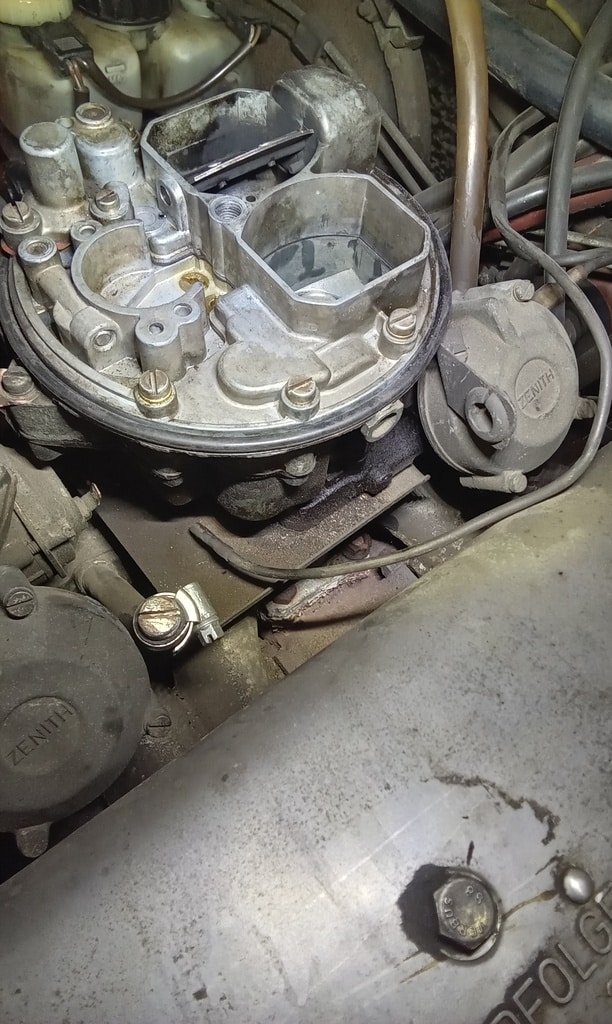


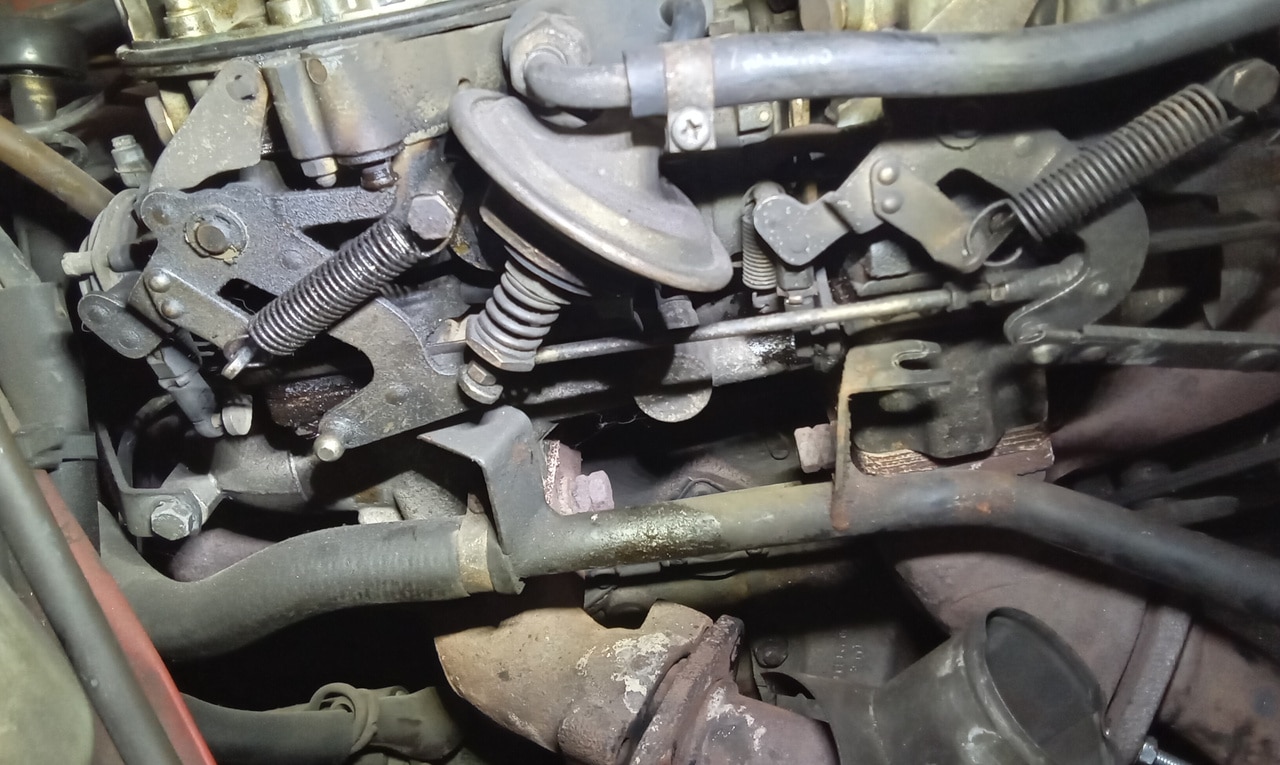
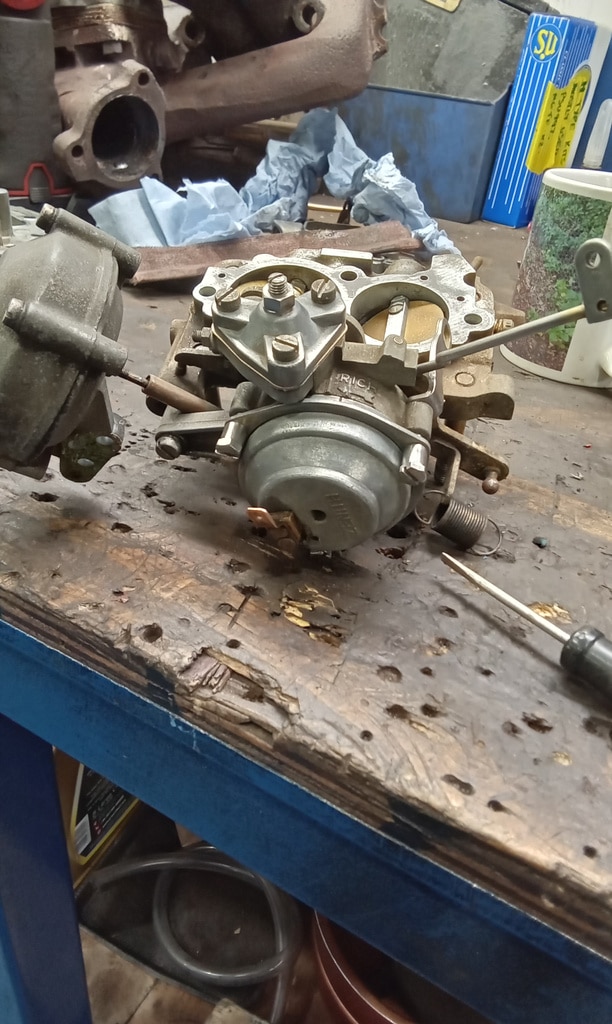
”Continue to rebuild carbs and secure all back onto manifold. Adjust throttle link. Repeat for rear carb. Test vacuum idle control. Doesn’t seem to operate but clean and refit and test when on car. Split carb and clean.”