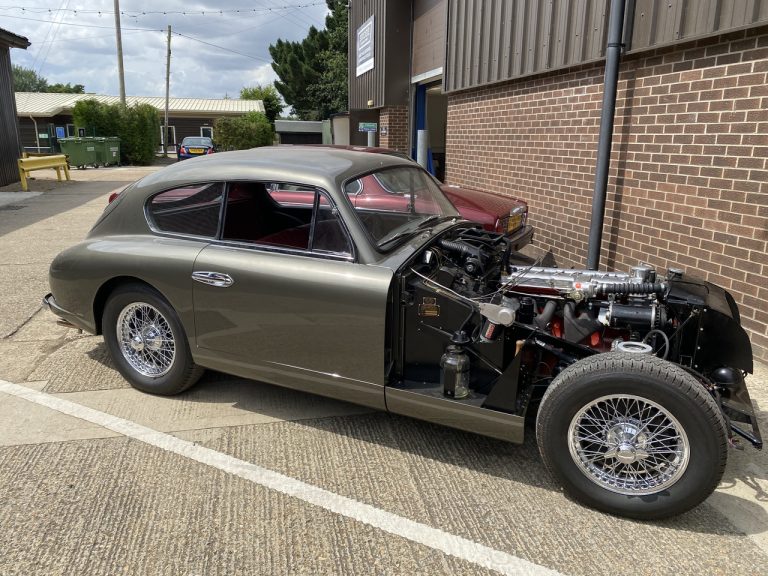
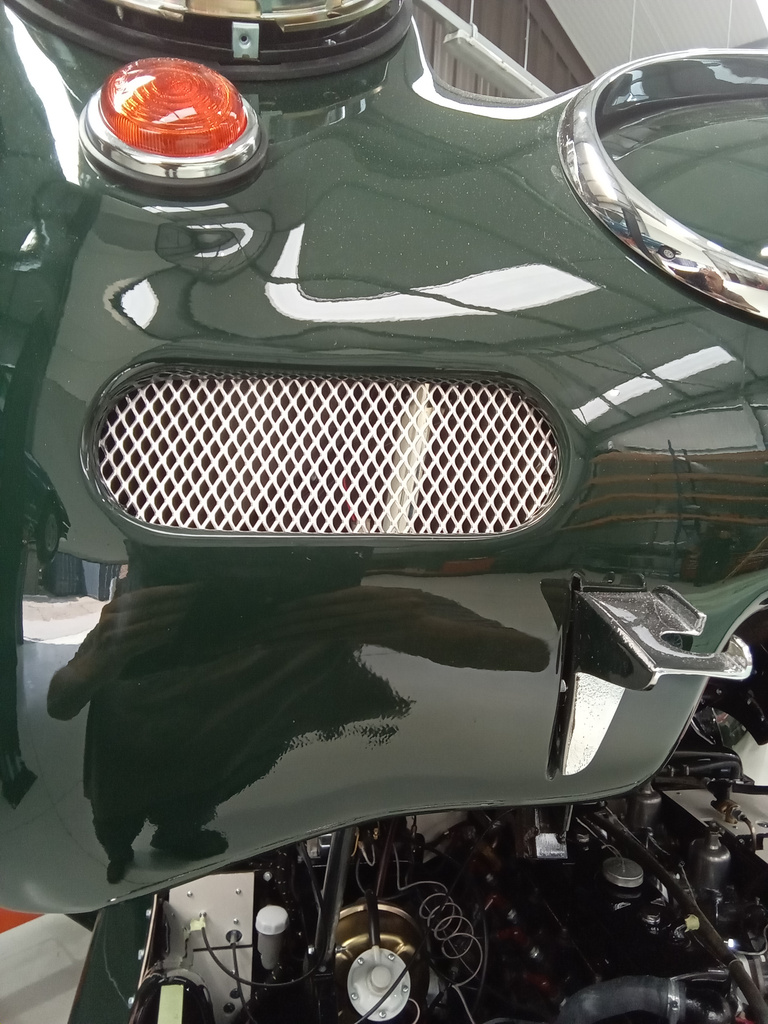
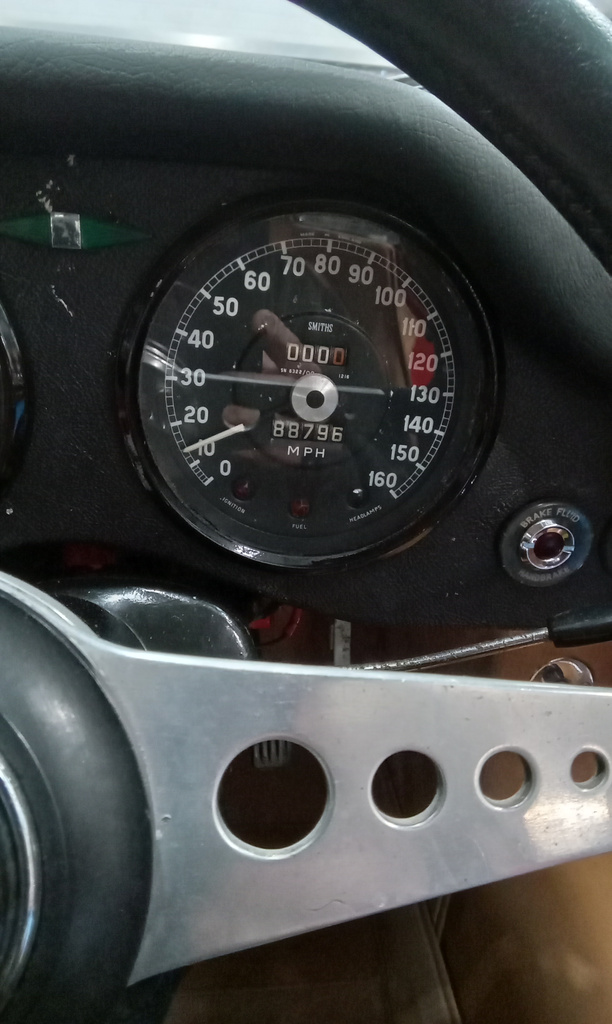
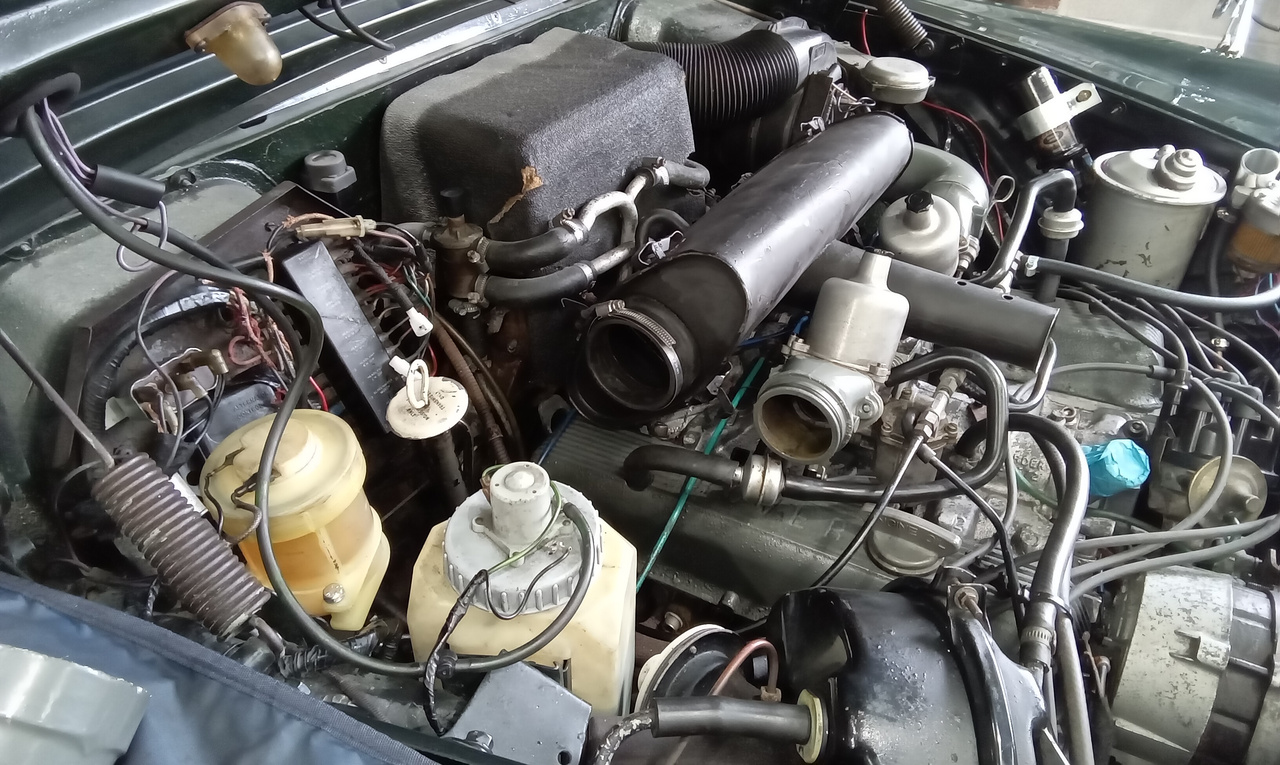
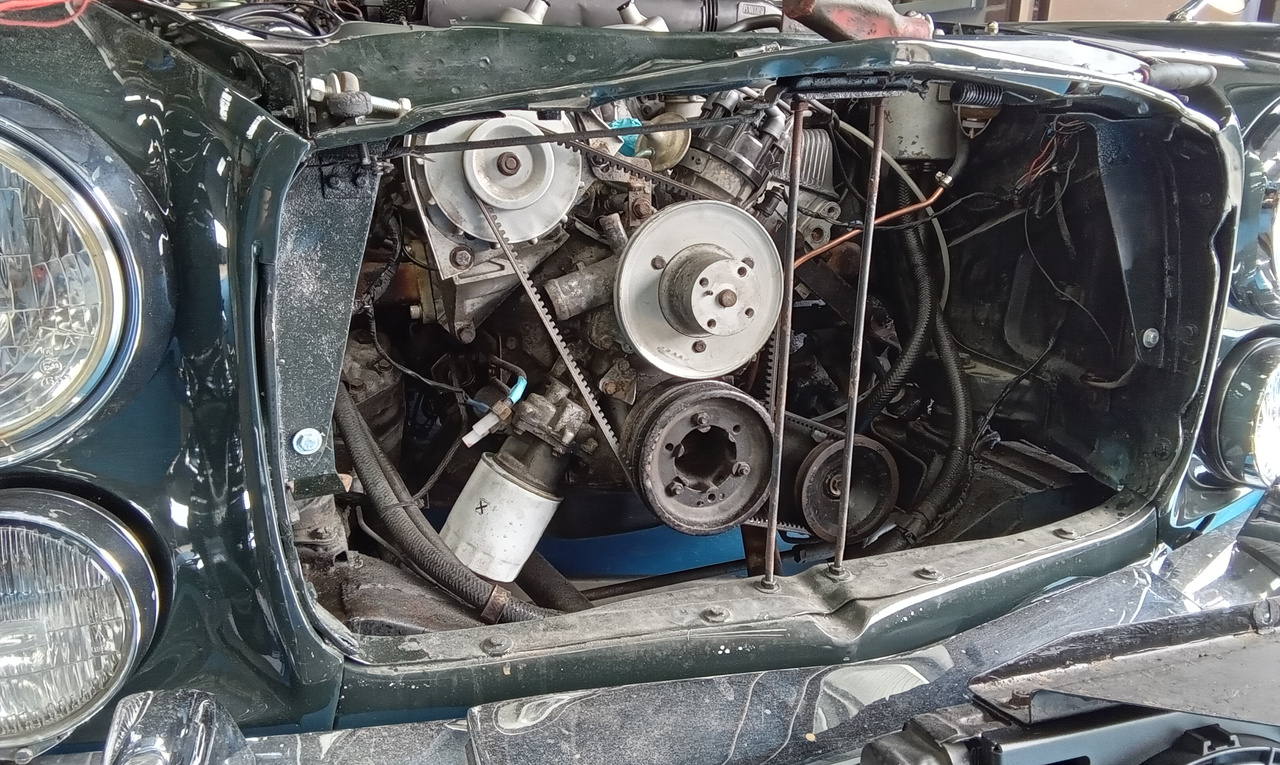
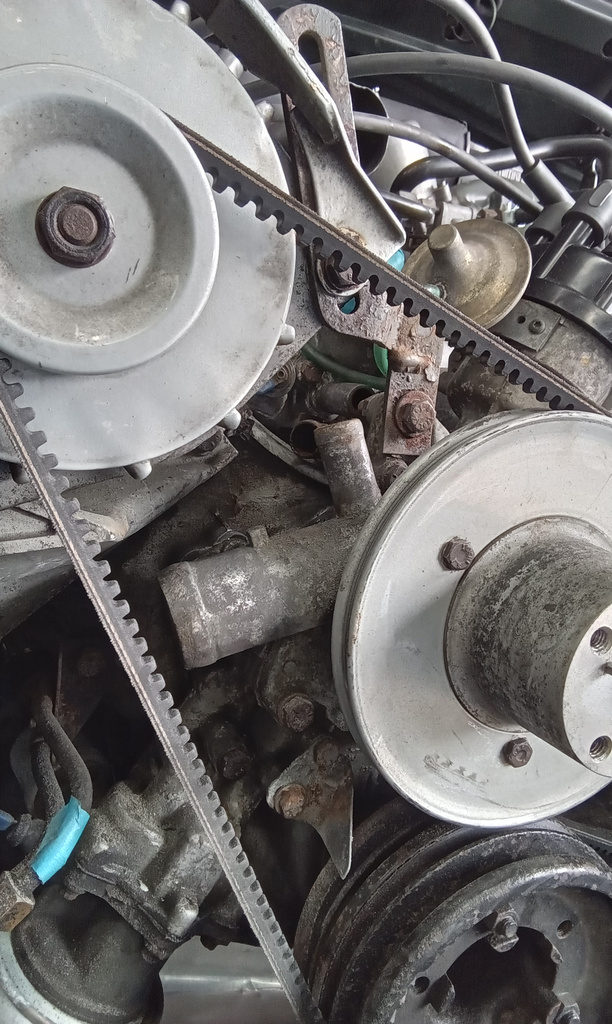
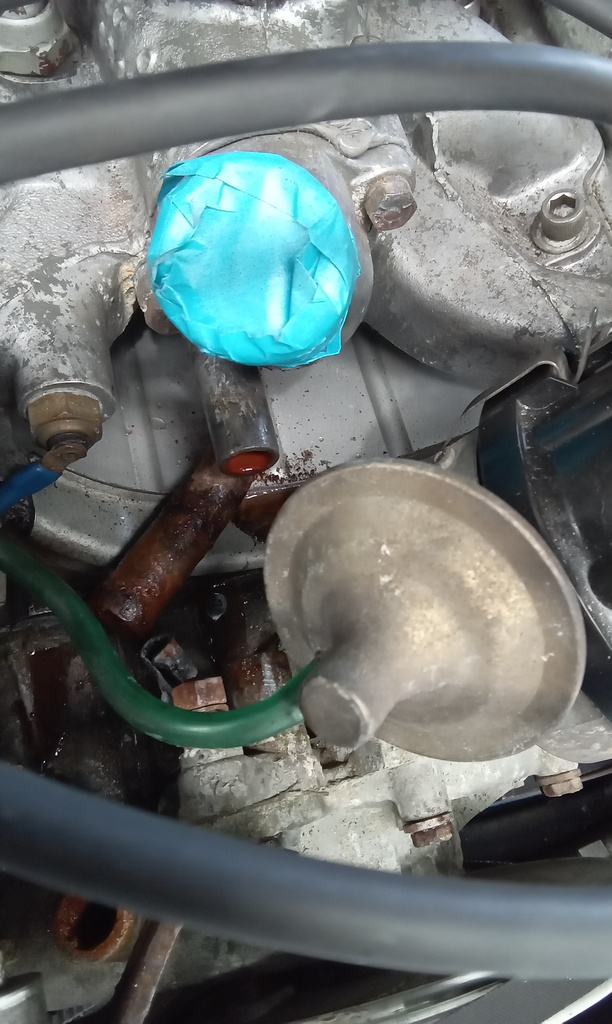
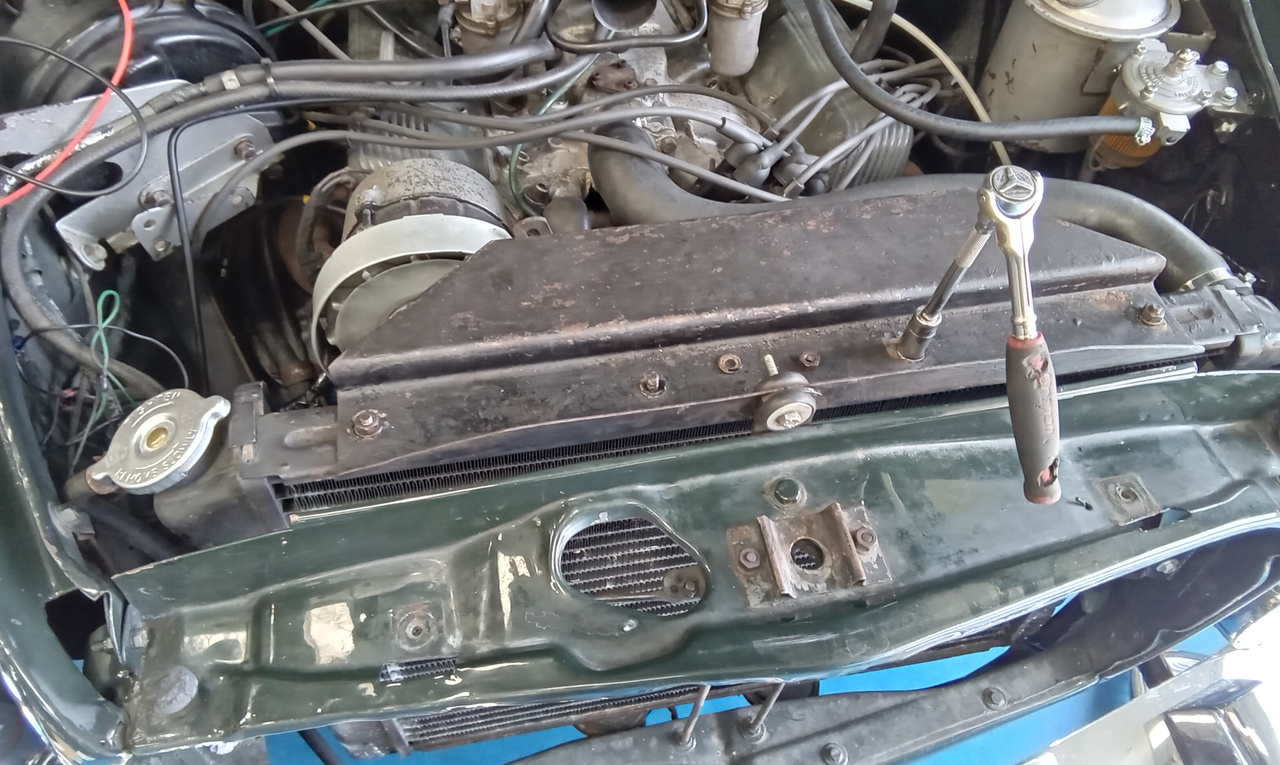
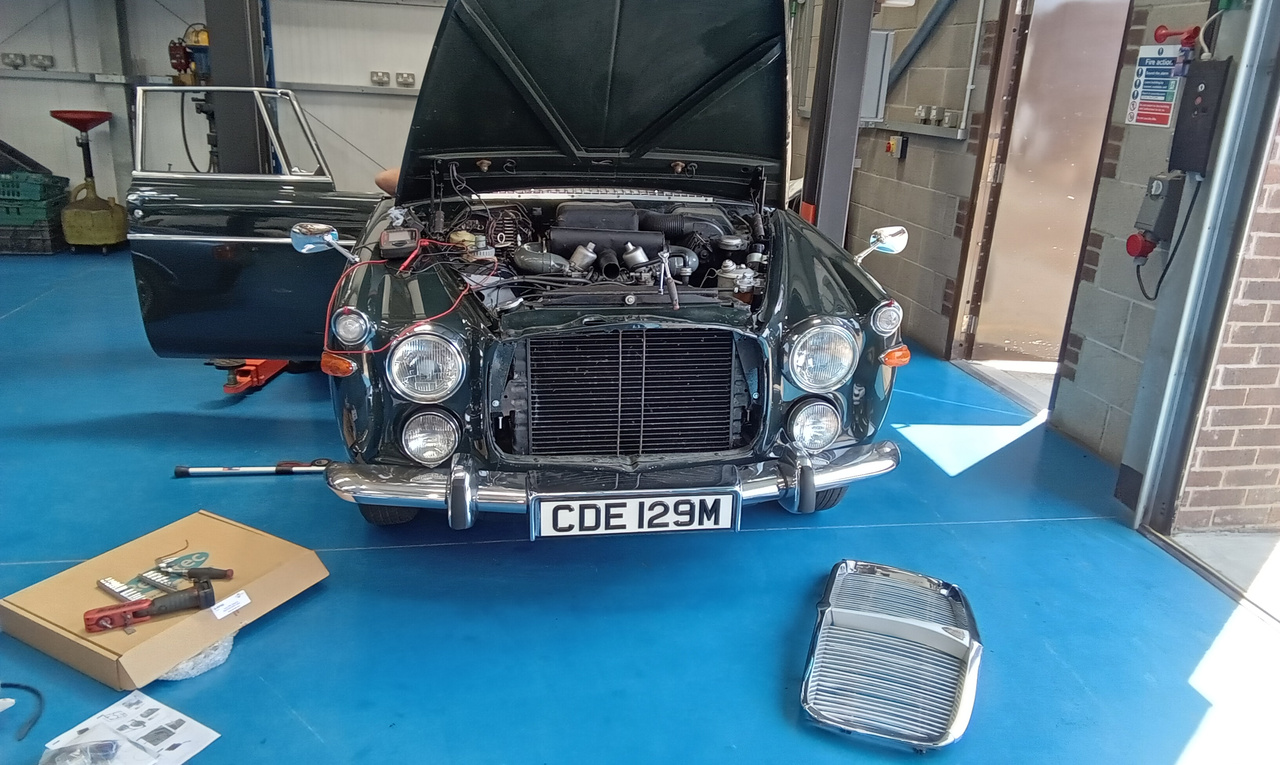
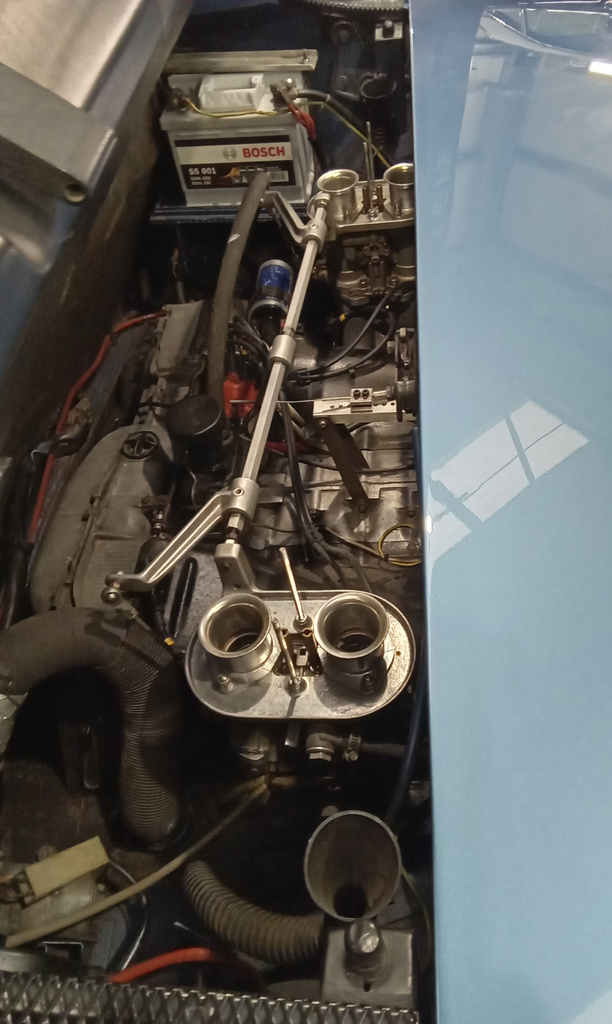
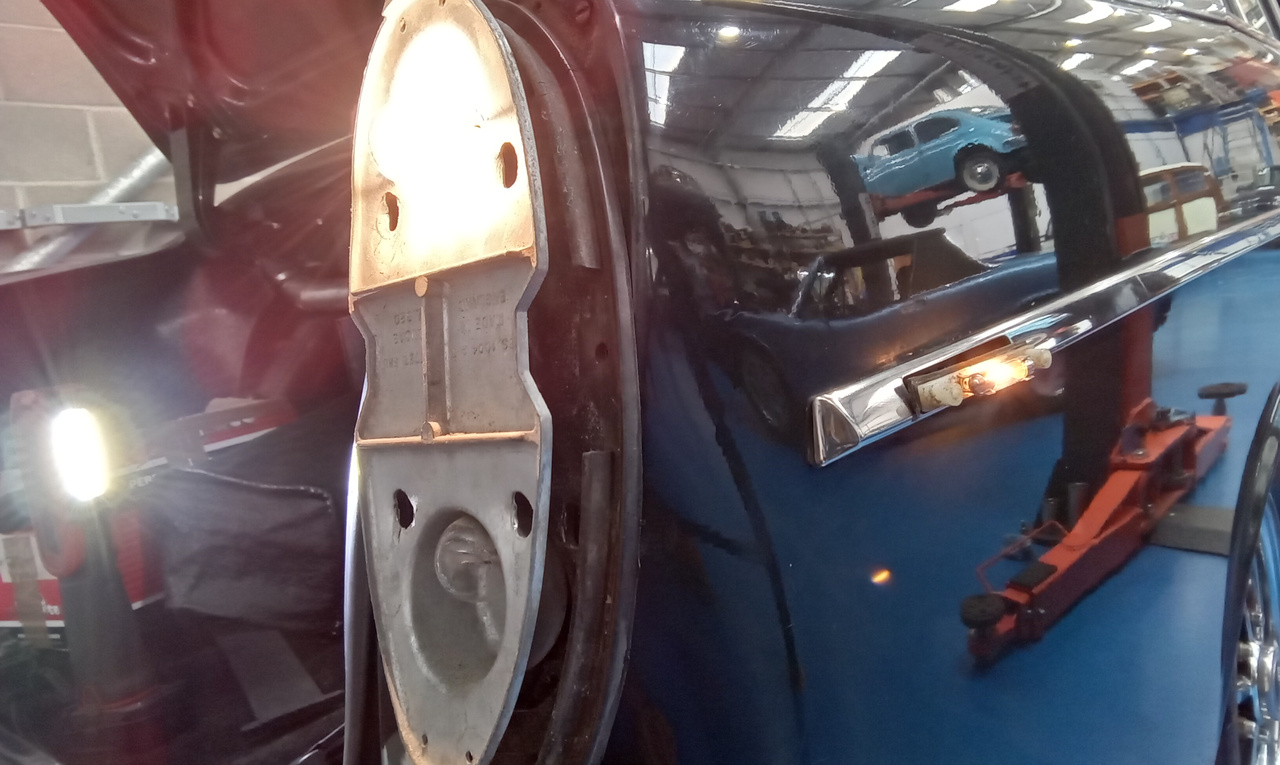
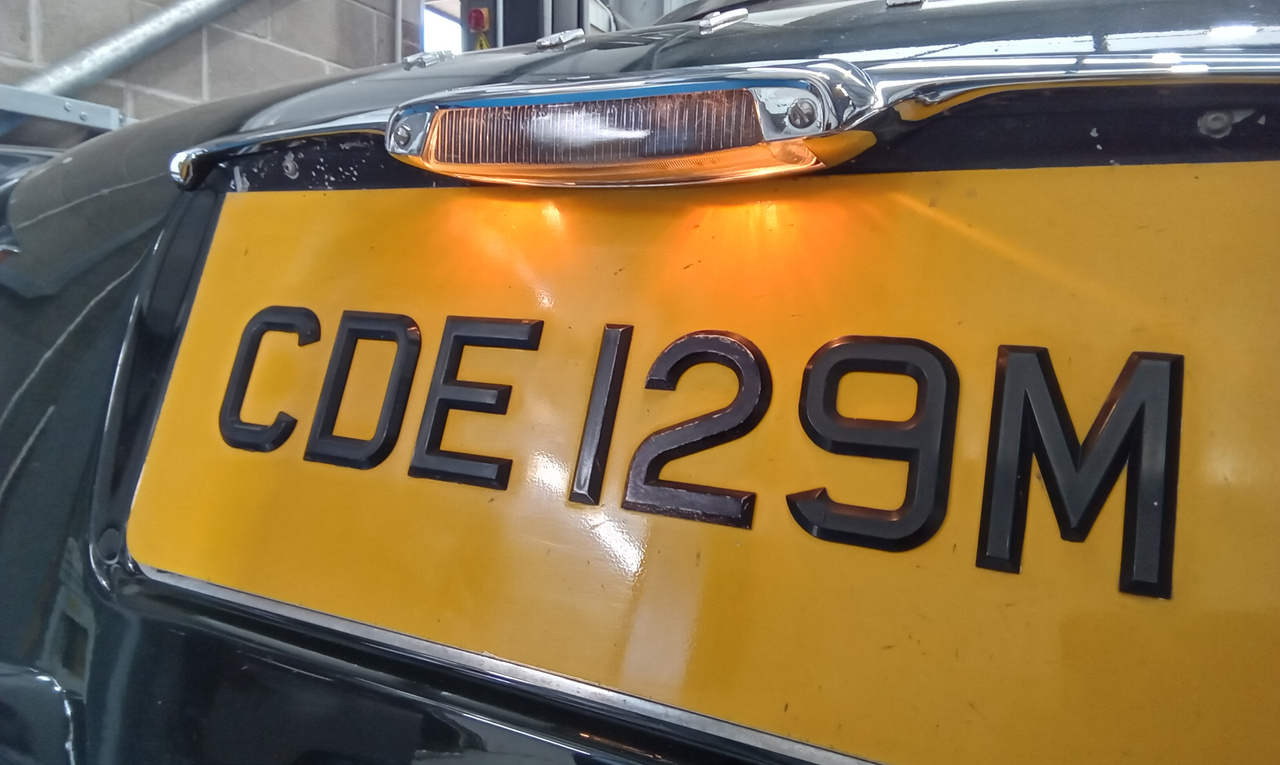
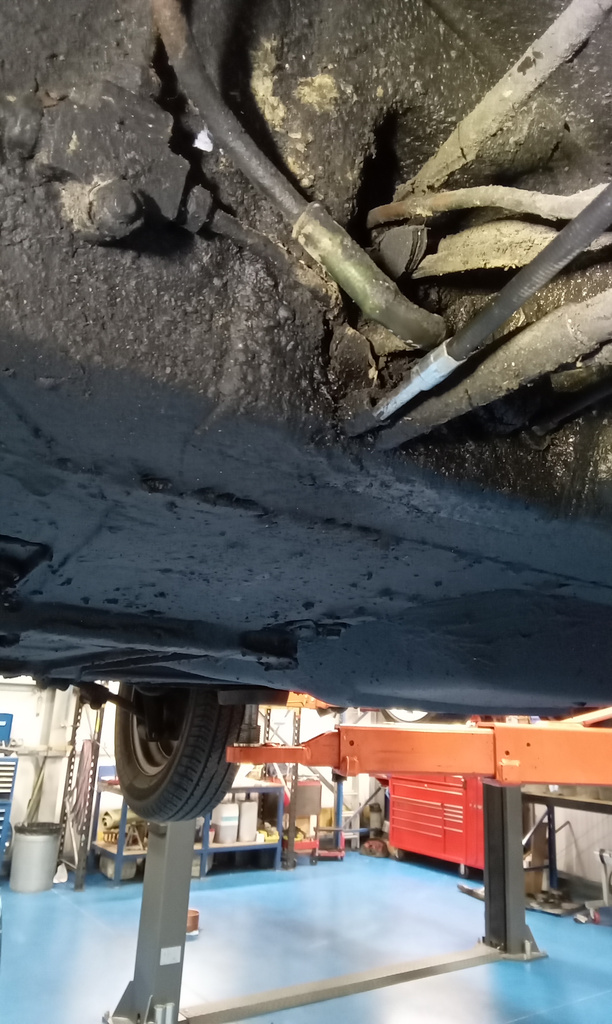
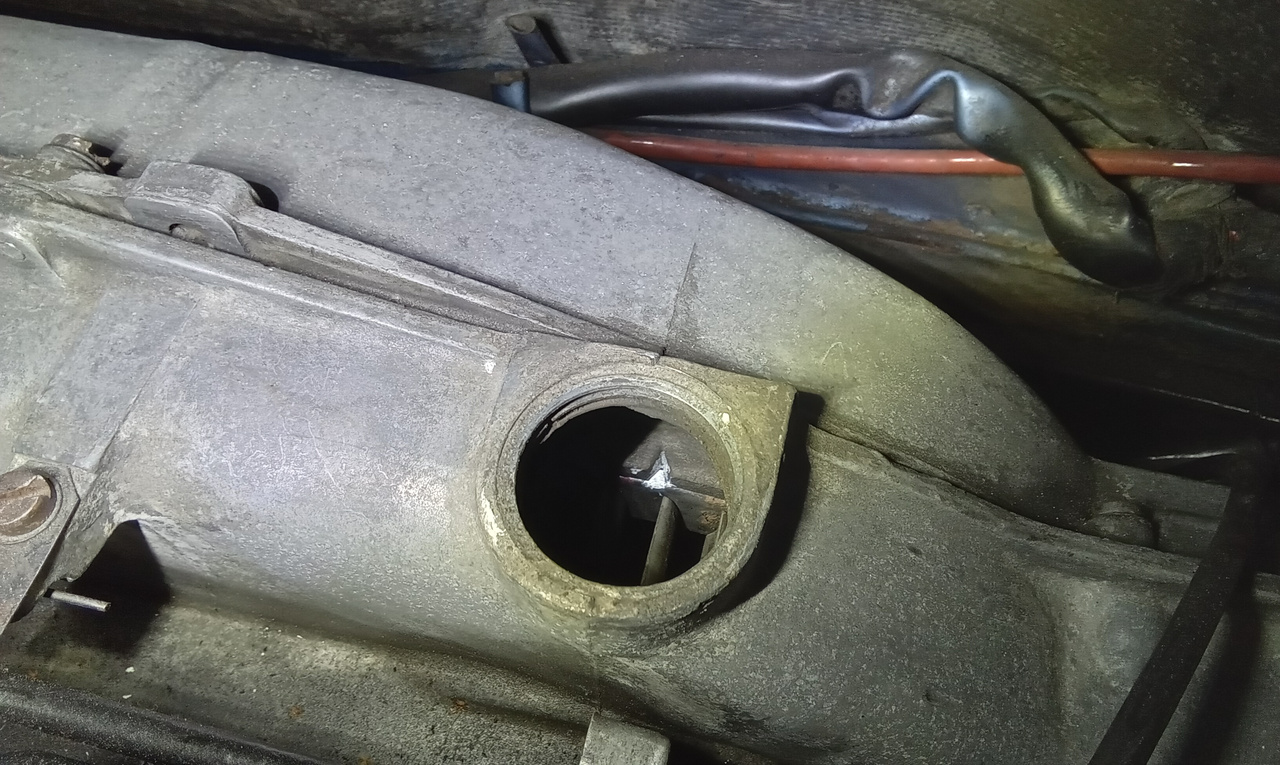
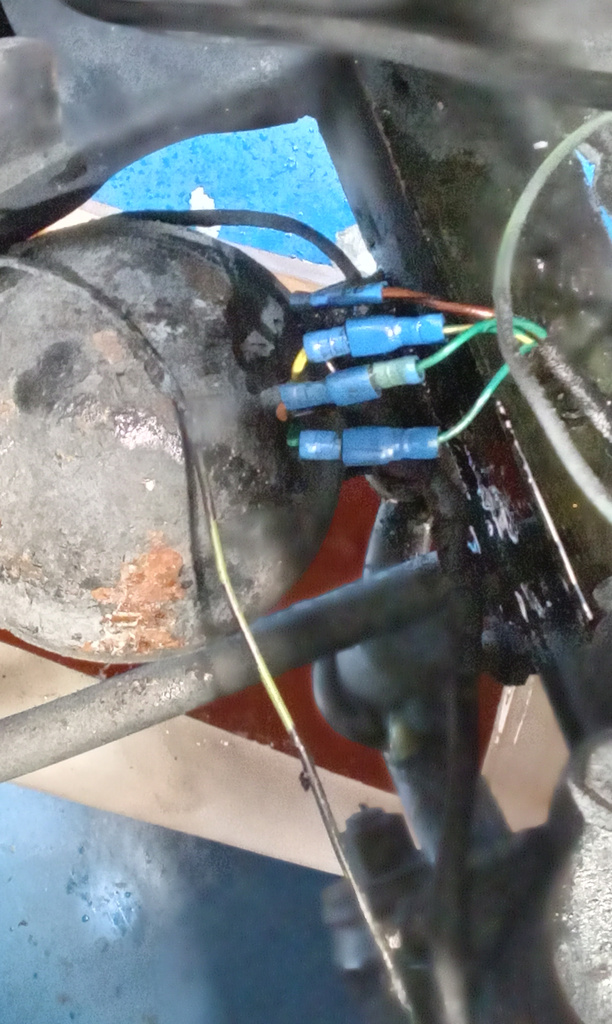
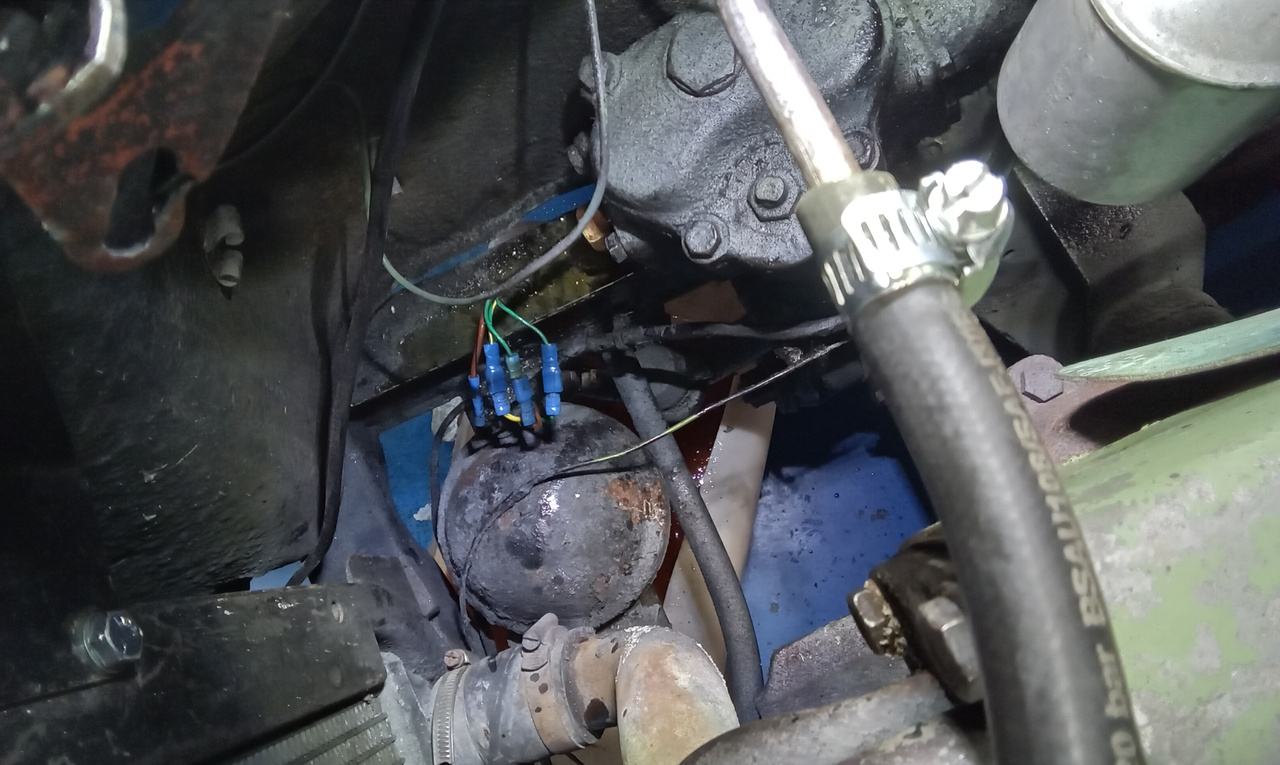
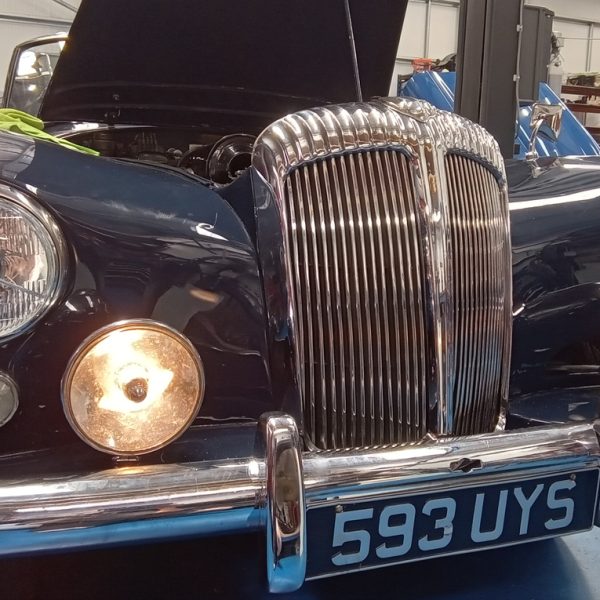
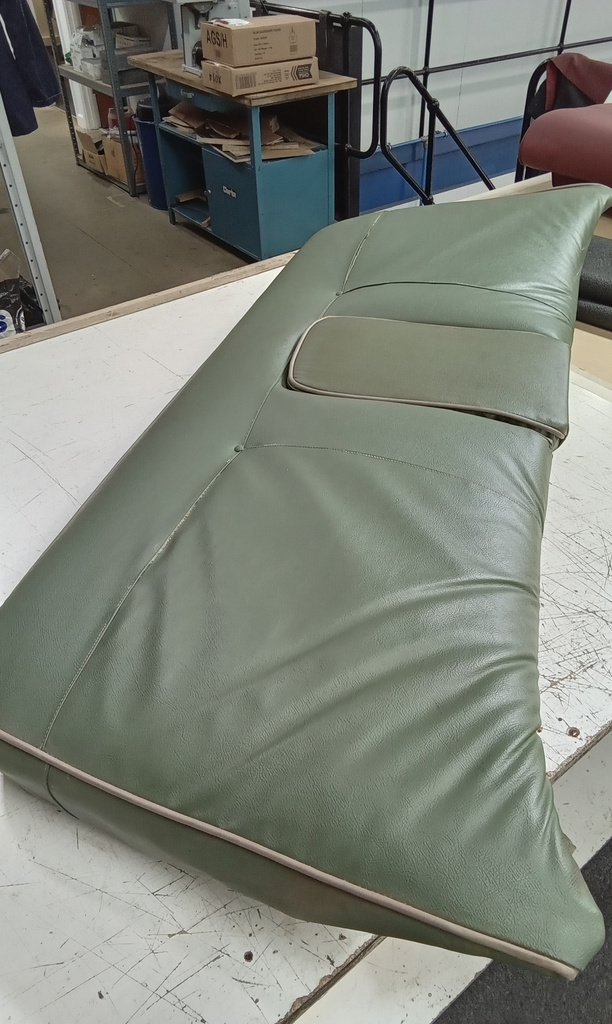
Head Gasket Delivered and Ready to Test our 1955 Aston Martin DB2/4
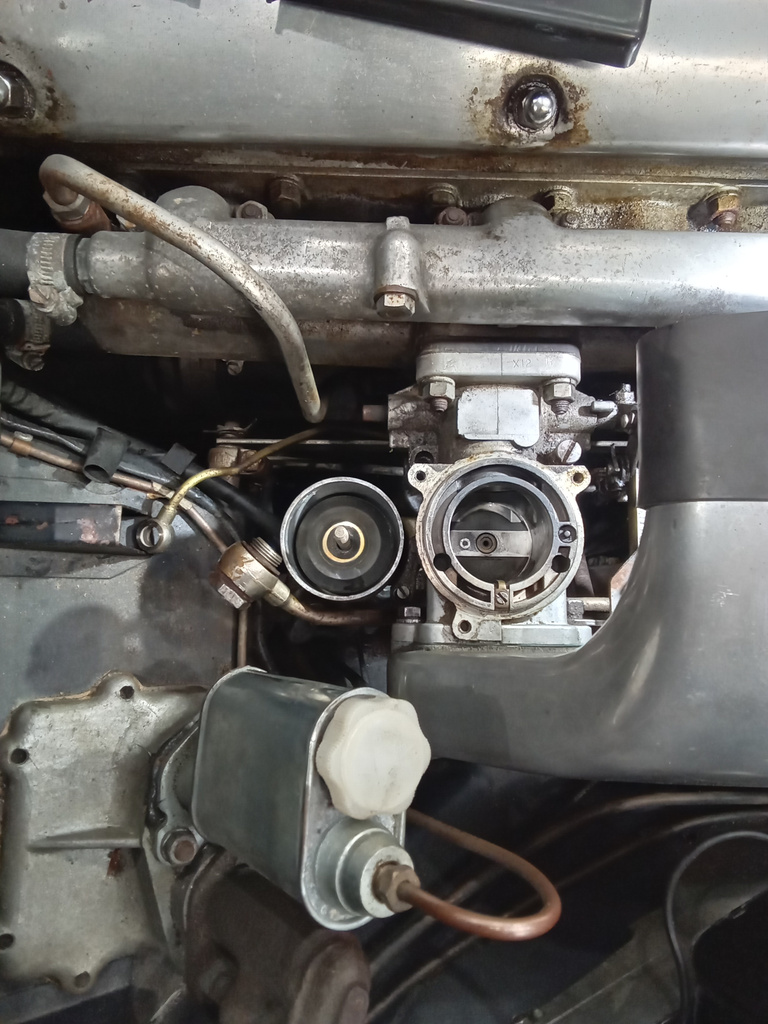
The bespoke head gasket for our 1955 Aston Martin DB2/4 has arrived at the Bridge Classic Cars HQ. This means that the team can now


The bespoke head gasket for our 1955 Aston Martin DB2/4 has arrived at the Bridge Classic Cars HQ. This means that the team can now

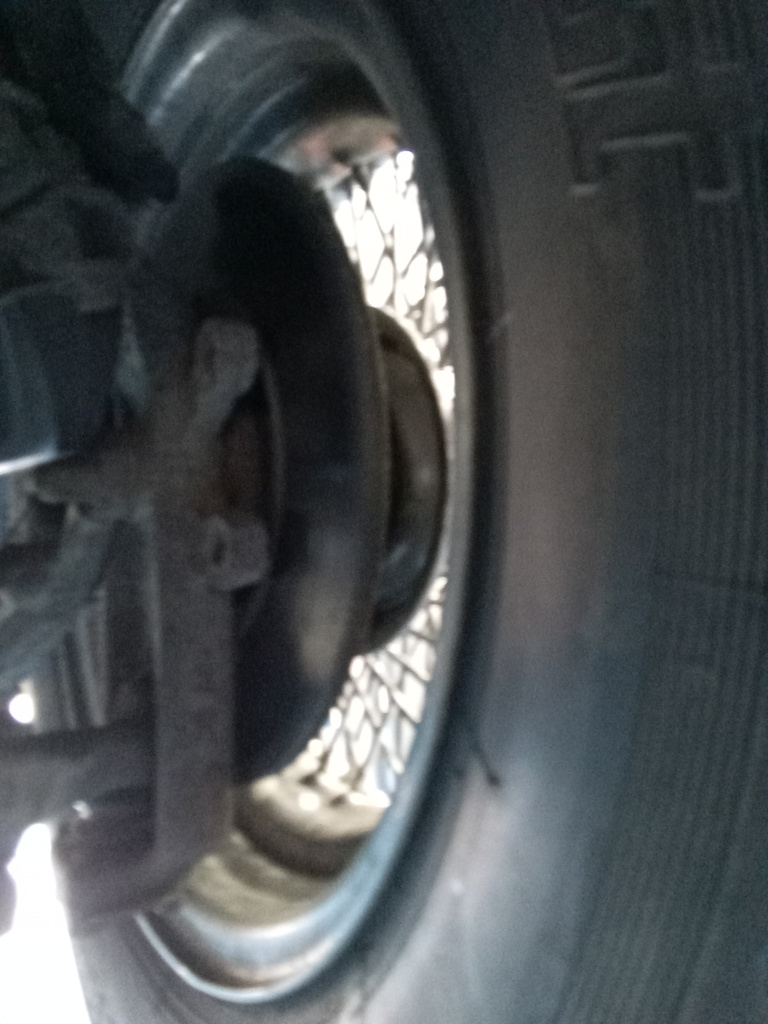
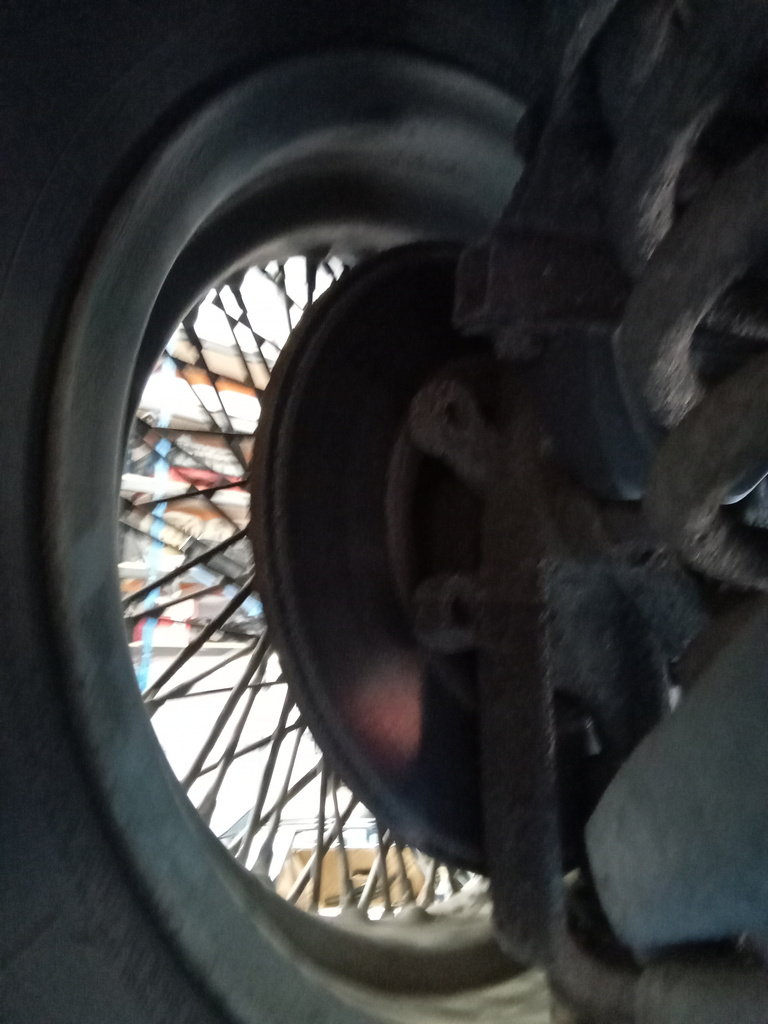
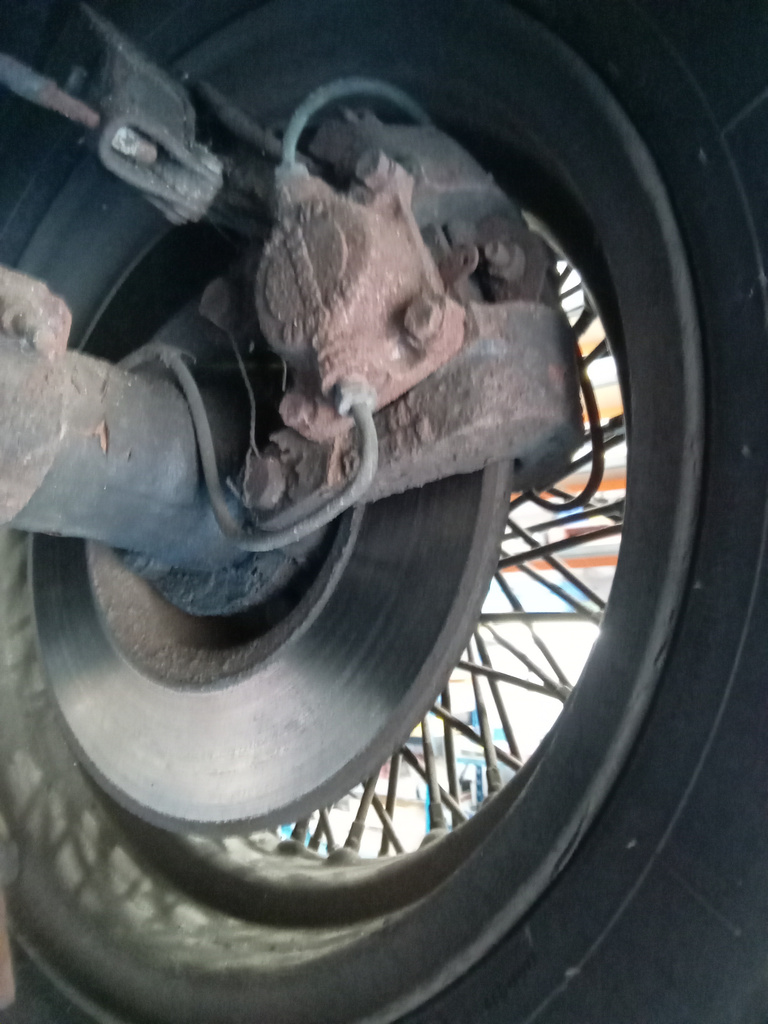
Steve has been working on the driveline of the 1973 Dino 246GTS while the car is in the fabrication bay at the Bridge Classic Cars

Jon has been working hard on the 1973 Rover P5 Coupe, this time he’s been working inside and underneath the classic 70’s coupe. ”Adjust nearside
The Bridge Classic Cars fabrication team have finished up work on the drivers side of the gorgeous 1973 Dino 246GTS. Chris has been working incredibly
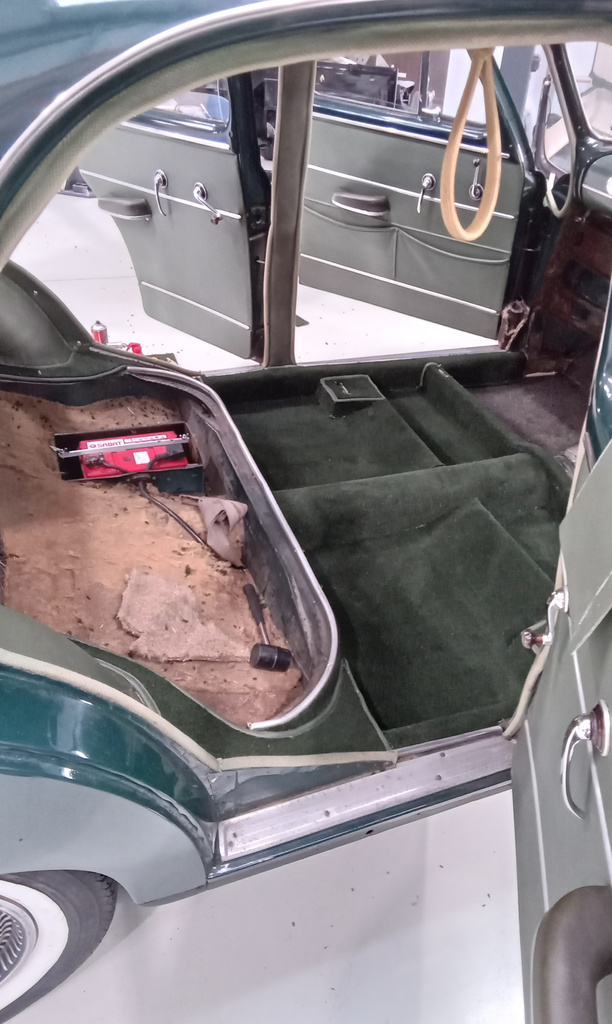
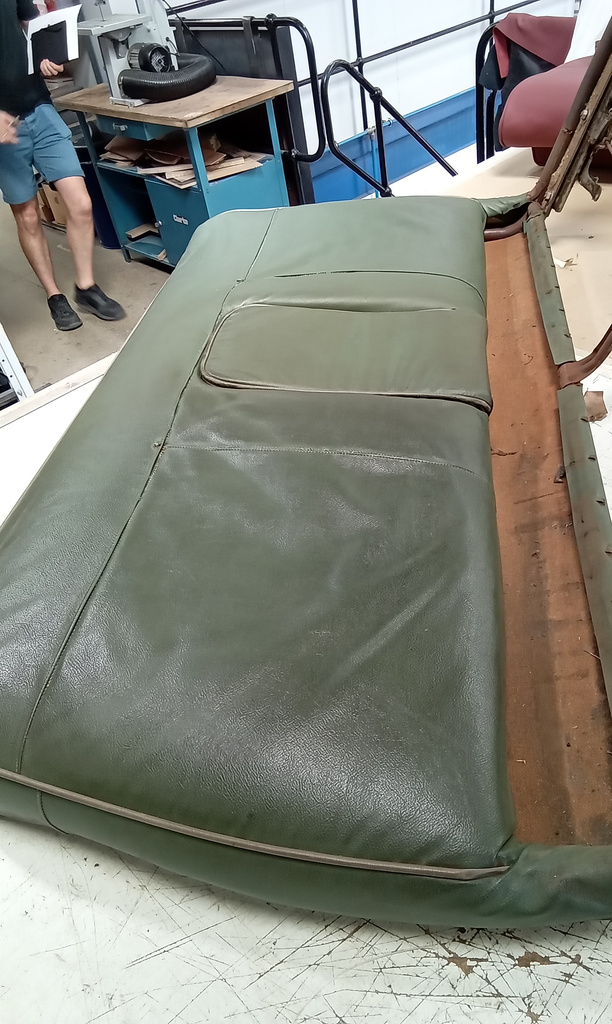
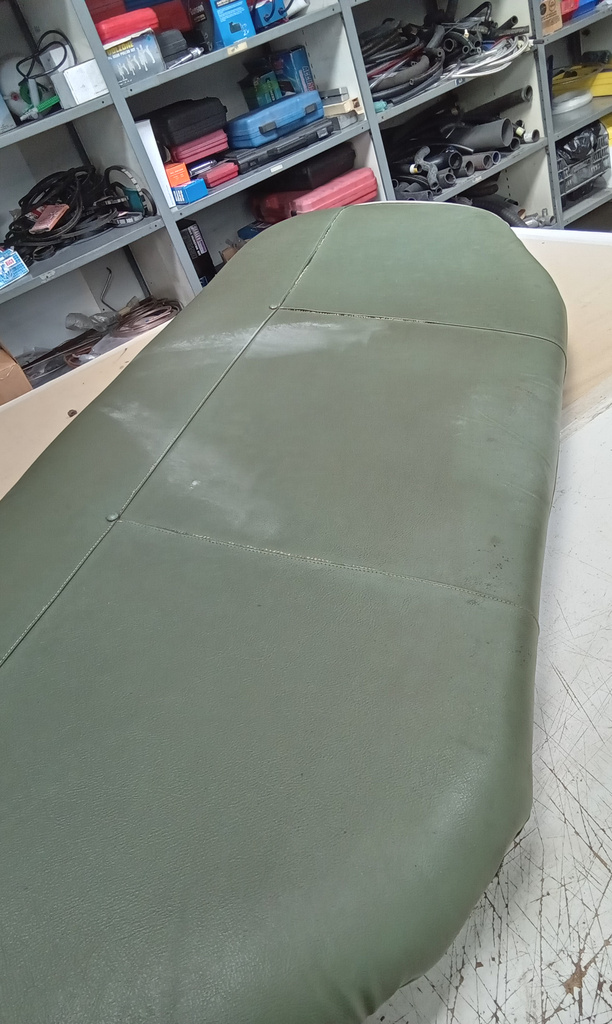
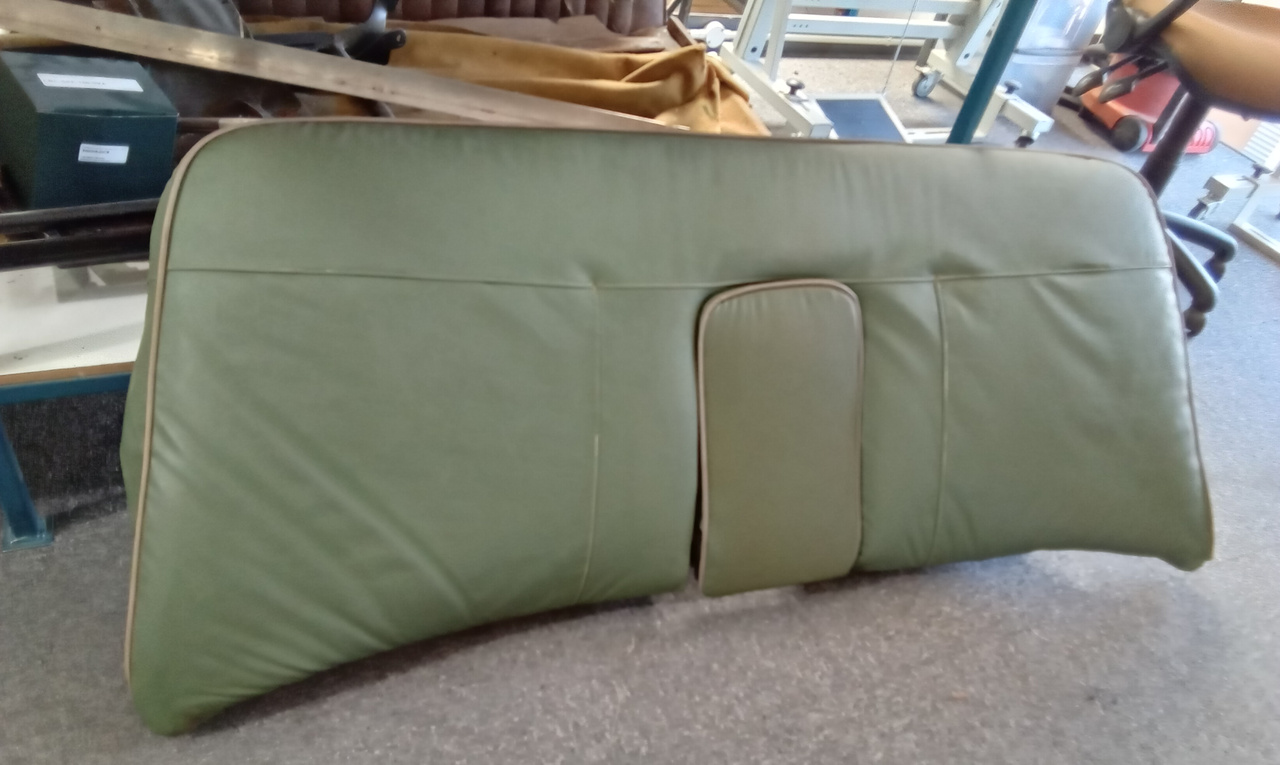
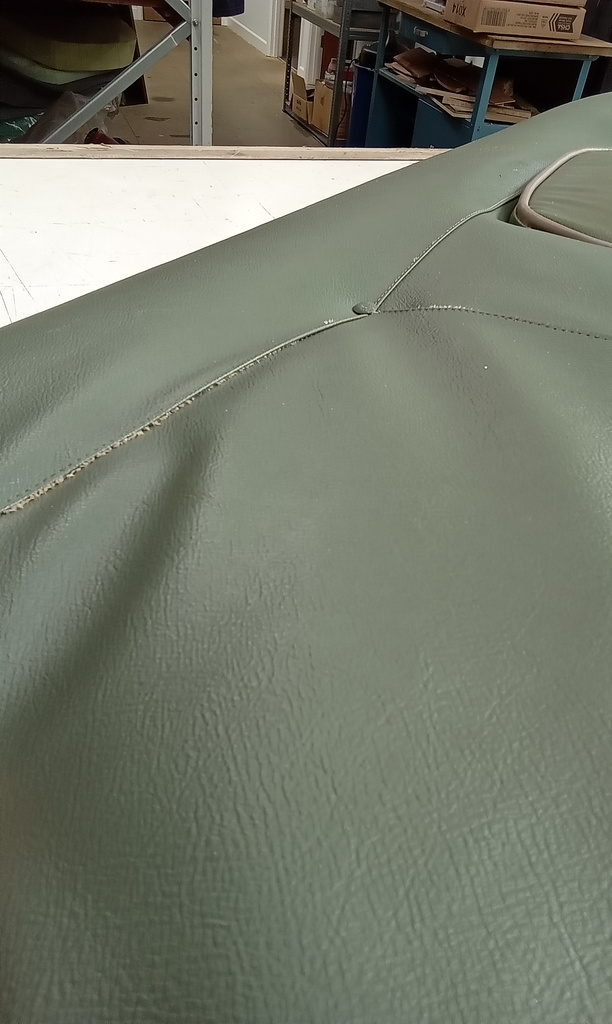
Our trim team have been hard at work on the 1952 Fiat 1900A which is in the finishing workshop at the Bridge Classic Cars HQ.
Our technician Steve has been working on the 1973 Dino 246GTS at our Pettistree workshop. At this point he is beginning to strip down the
Jon has also been working on a few upgrades to the 1973 Rover P5 Coupe whilst its in our workshops. This time, he’s been fitting
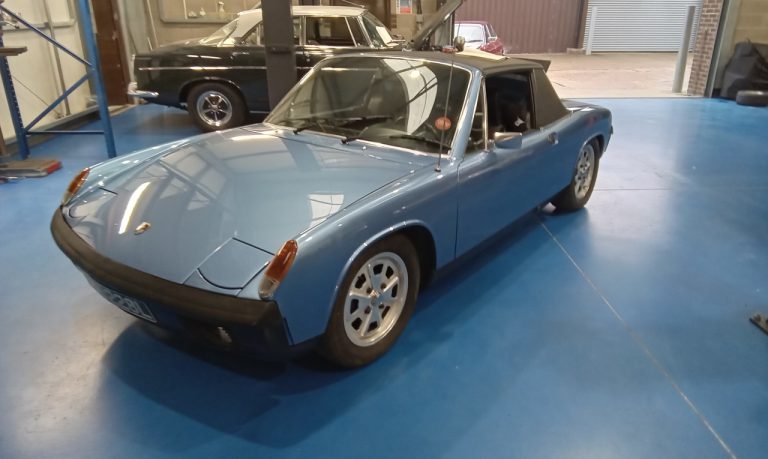
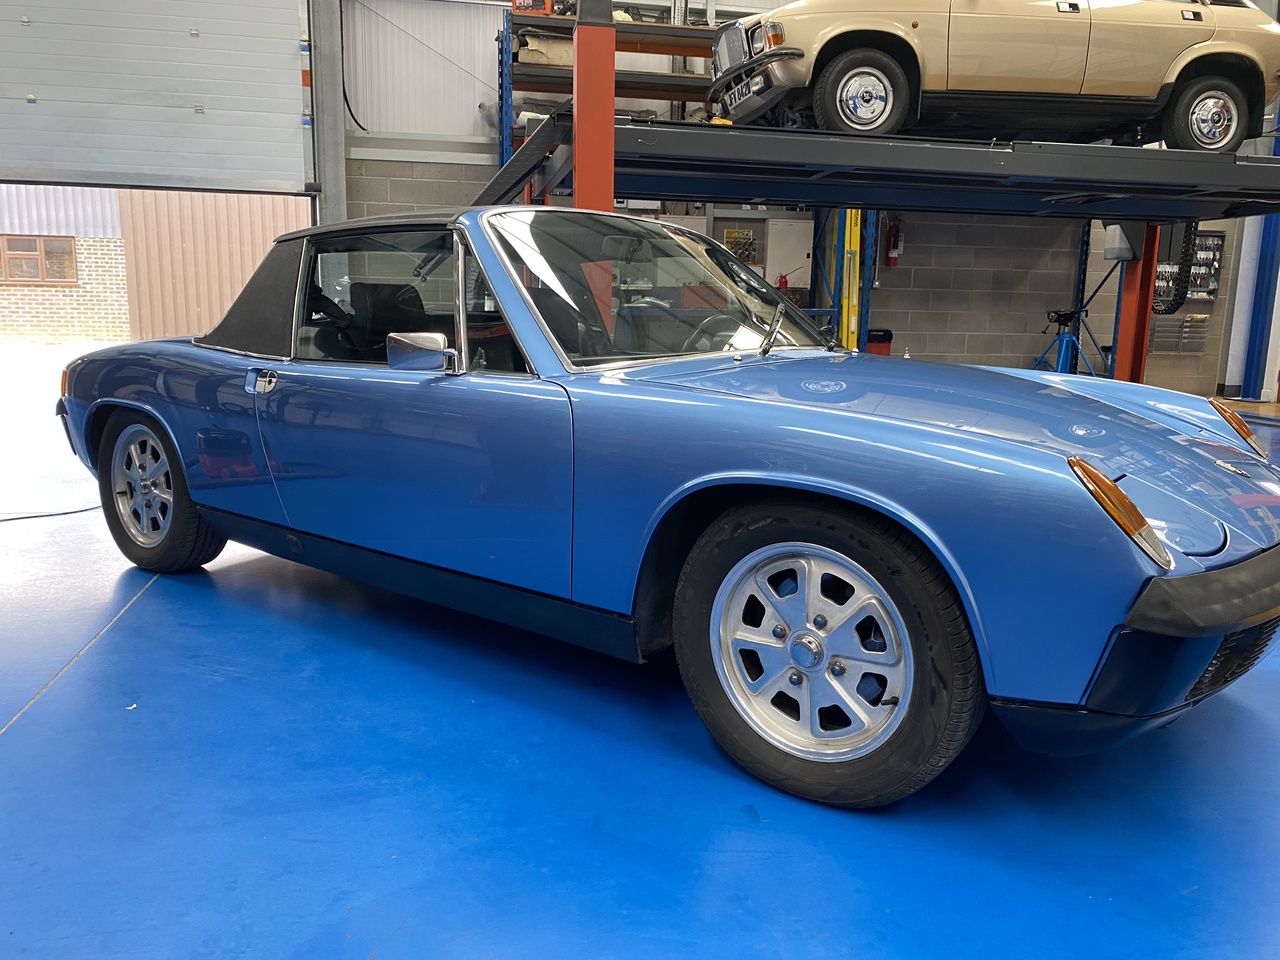
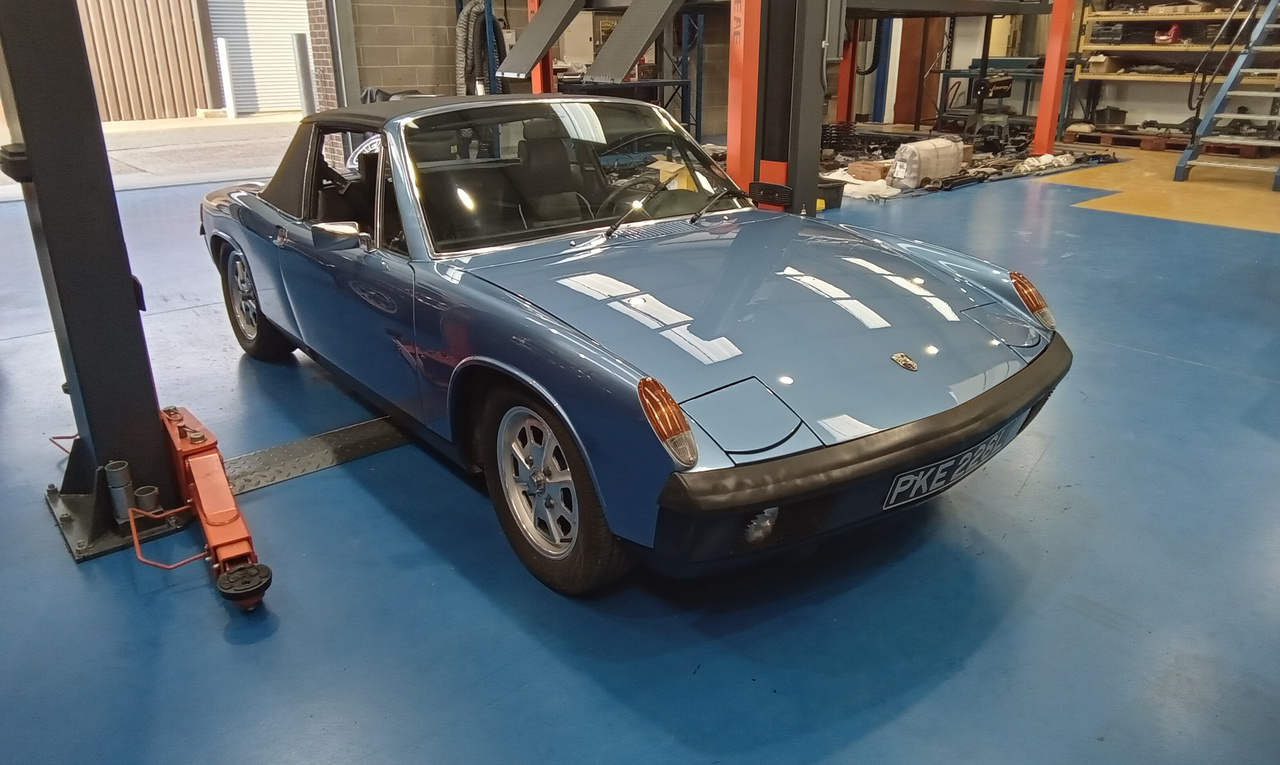
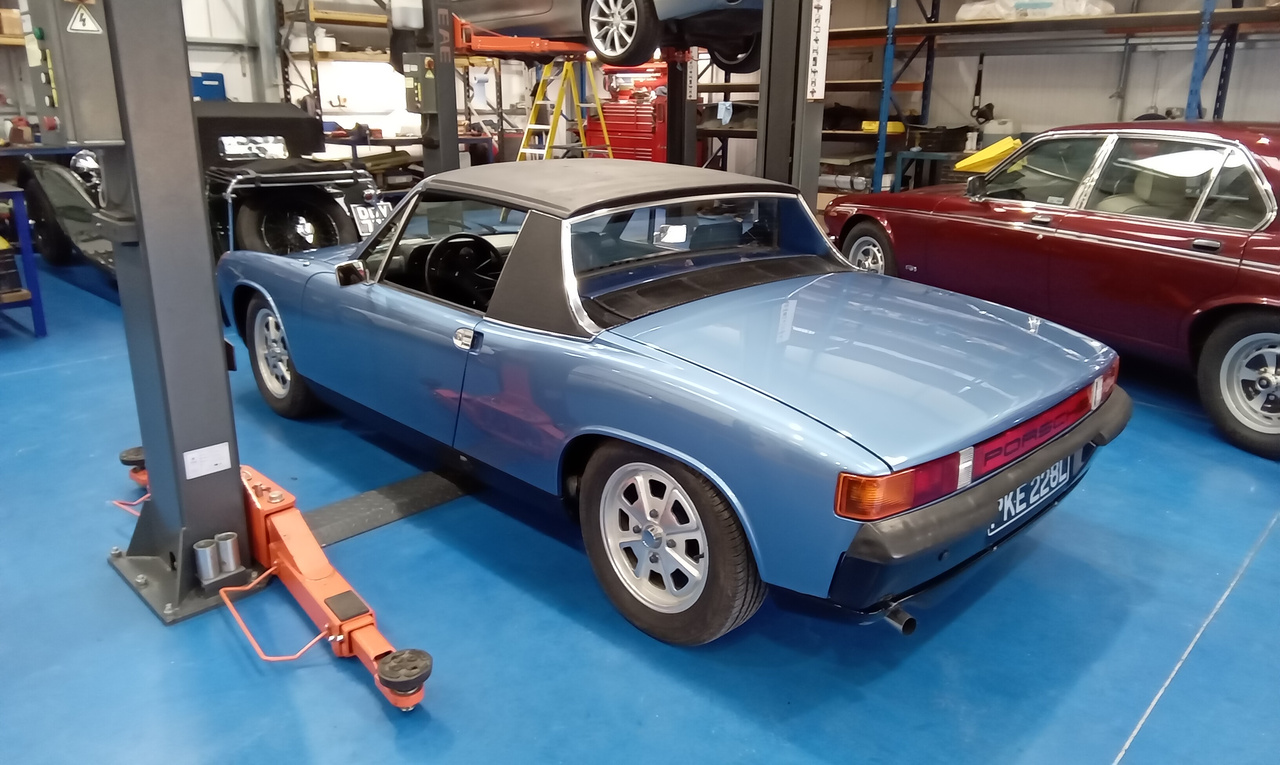
The workshop team at Bridge Classic Cars are continuing to get our 1973 Porsche 914 running as good as it looks. Jon has been tuning

Our technician Jon has been working his way through the list of jobs on the 1973 Rover P5 Coupe which is in the Bridge Classic
The 1955 Aston Martin DB2/4 Drophead Coupe has been making some incredible progress in the last couple of weeks at the Pettistree workshops. As part
Our technician Jon has been tasked with taking a look at our this beautiful 1963 Fiat 500 which has come in with a quite the
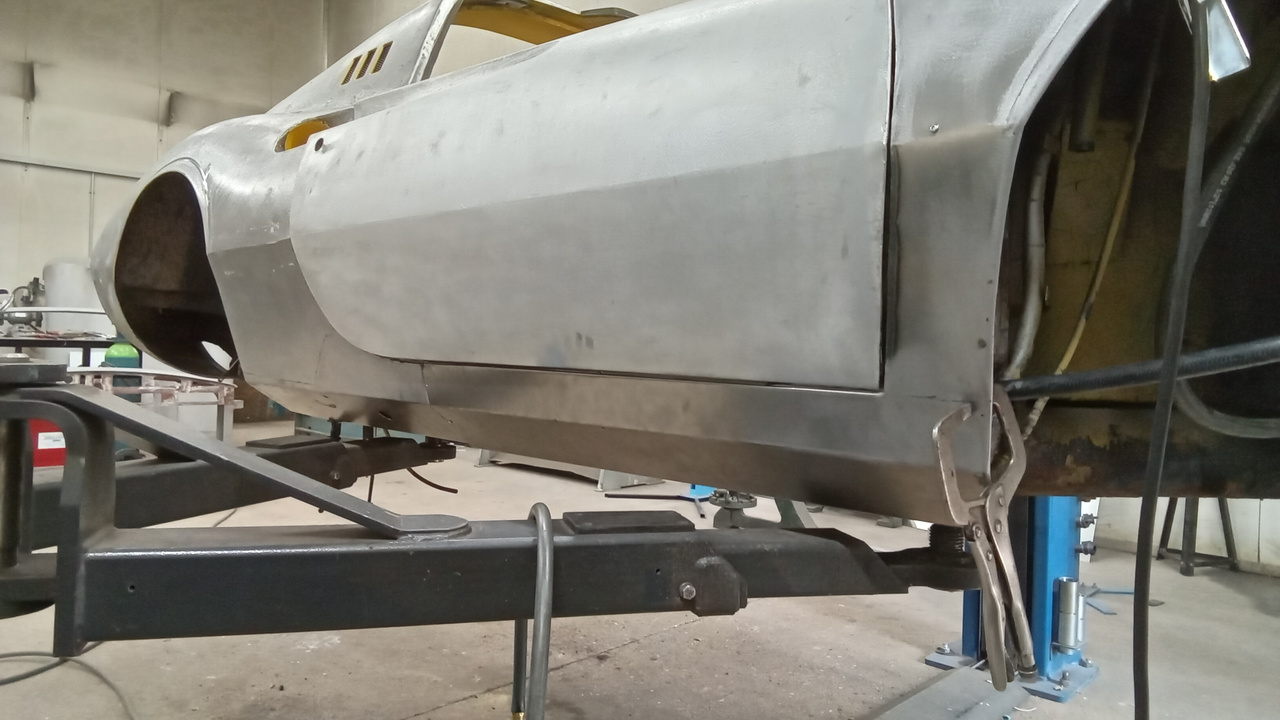
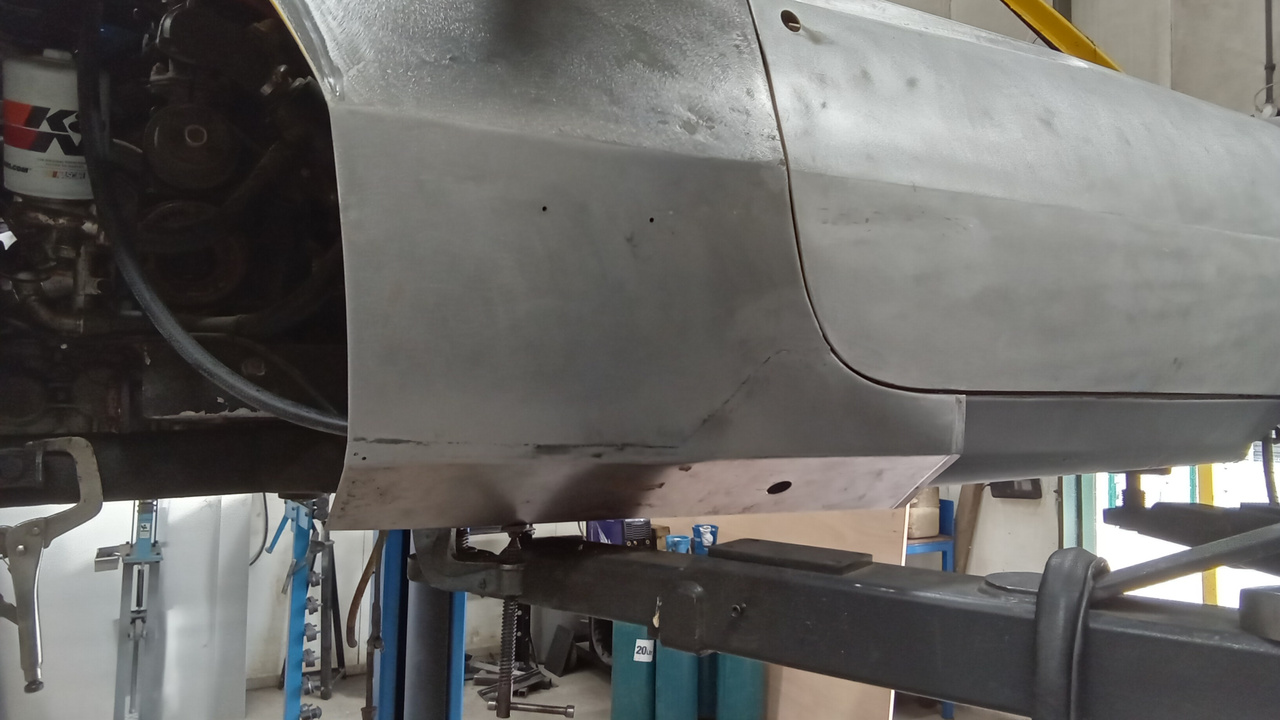
The beautiful 1973 Dino 246 GTS which is in the fabrication bay at our Pettistree workshops has been under the skilled knife of our fabrication
Our Carriage Green 1956 Jensen 541 is getting closer to the end of its restoration here at the Bridge Classic Cars Suffolk HQ. Paul, the
The 1973 Rover P5 Coupe which recently arrived at the Bridge Classic Cars workshop has been under the careful hands of Jon and John in
The workshop team at Bridge Classic Cars have been working on getting our 1973 Porsche 914 tuned and set up to run perfectly. The classic
The 1987 Mercedes 500SL is currently getting fitted out by the Bridge Classic Cars team at our Suffolk HQ. Jon, one of our restoration technicians,
Our workshop team have been working on fine tuning our 2022 Bridge C-Type as part of the cars sign off. The team at the Bridge

The team have started to work on the mechanical side of our 1973 Porsche 914. Our technician Jon put the mid-engined, air-cooled sports car up
Our technician Paul has been moving forward at an incredible rate on our 1956 Jensen 541. To begin with, he’s fitted up the fuse box

Loads has been happening this week on our 1954 Daimler Conquest as we continue to work through the recommissioning process. Some key activities include; securing
Our technician Jon has been hard at work getting our 1989 Daimler Double Six back into fully working order. Here’s what he’s currently been doing
Our 1958 Austin Healey has been back into the Bridge Classic Cars worshops at our Suffolk HQ to have a couple of jobs finished off

Our trim shop have been giving the task of repairing the seats on our incredible 1952 Fiat 1900A. The trim shop at Bridge Classic Cars
We recently welcomed a 1964 Jaguar Mk2 3.8 to the Bridge Classic Cars for our team to take a look at a few little issues
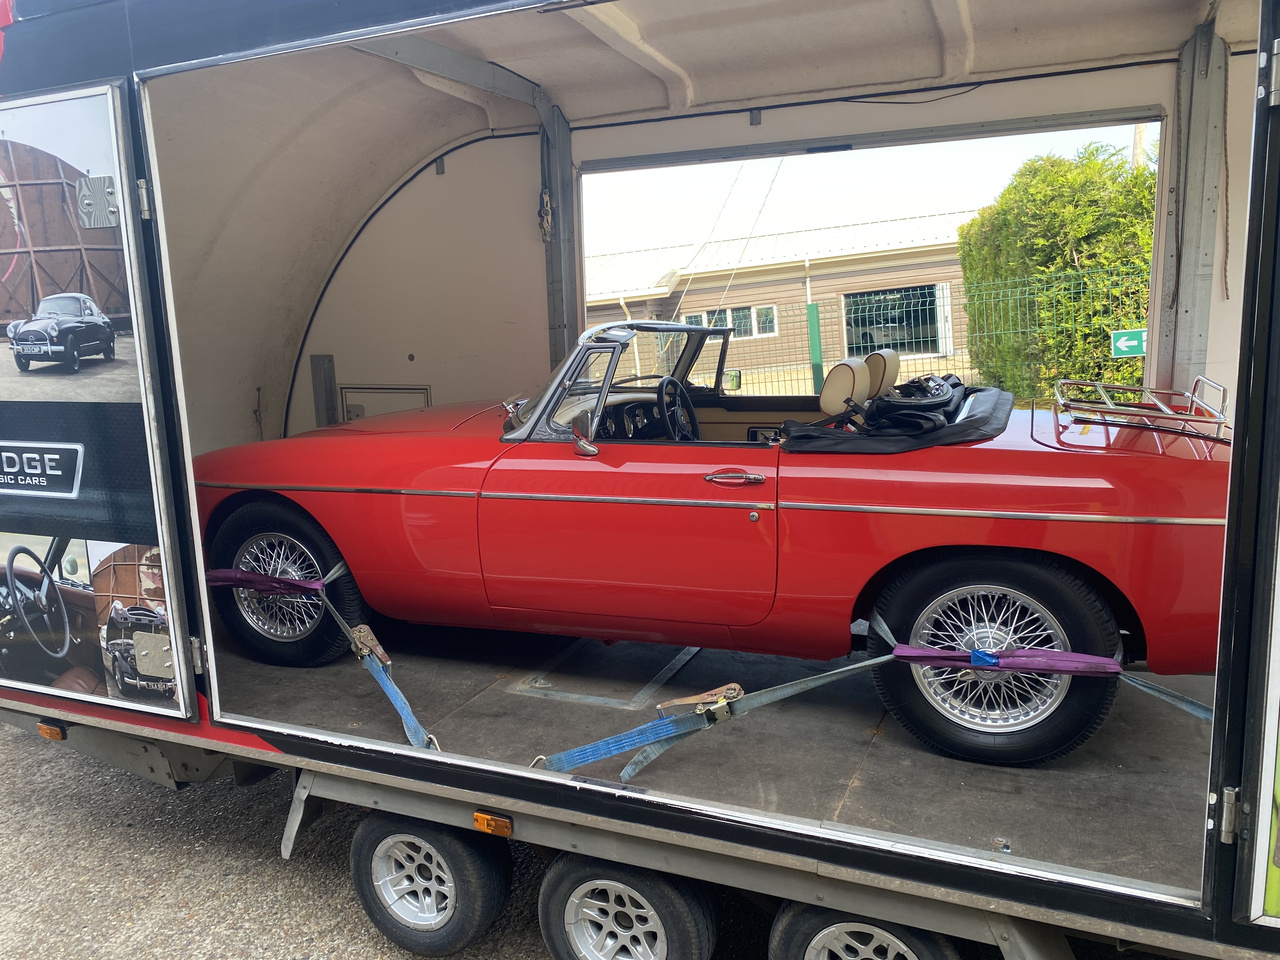
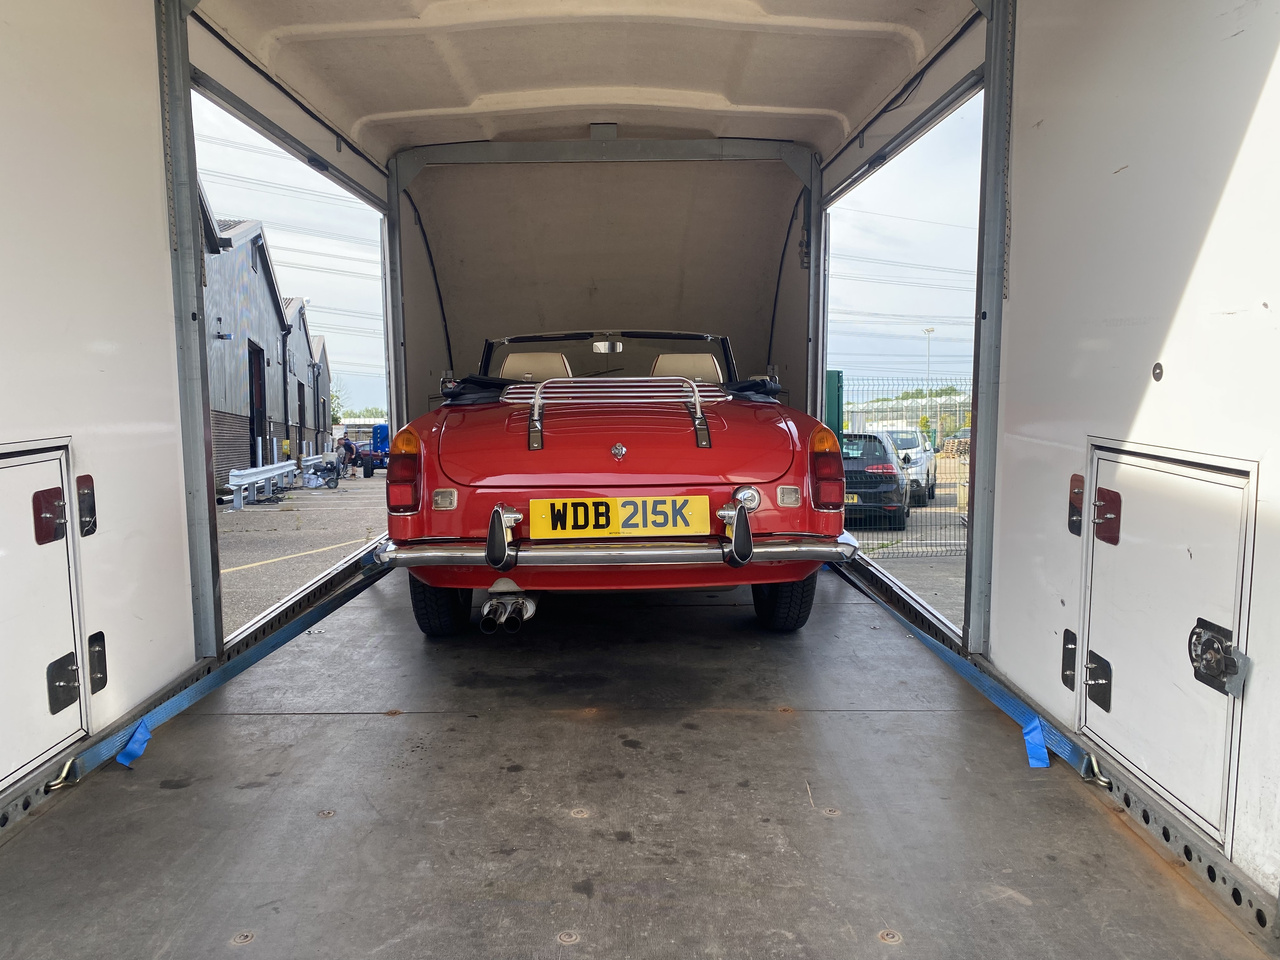
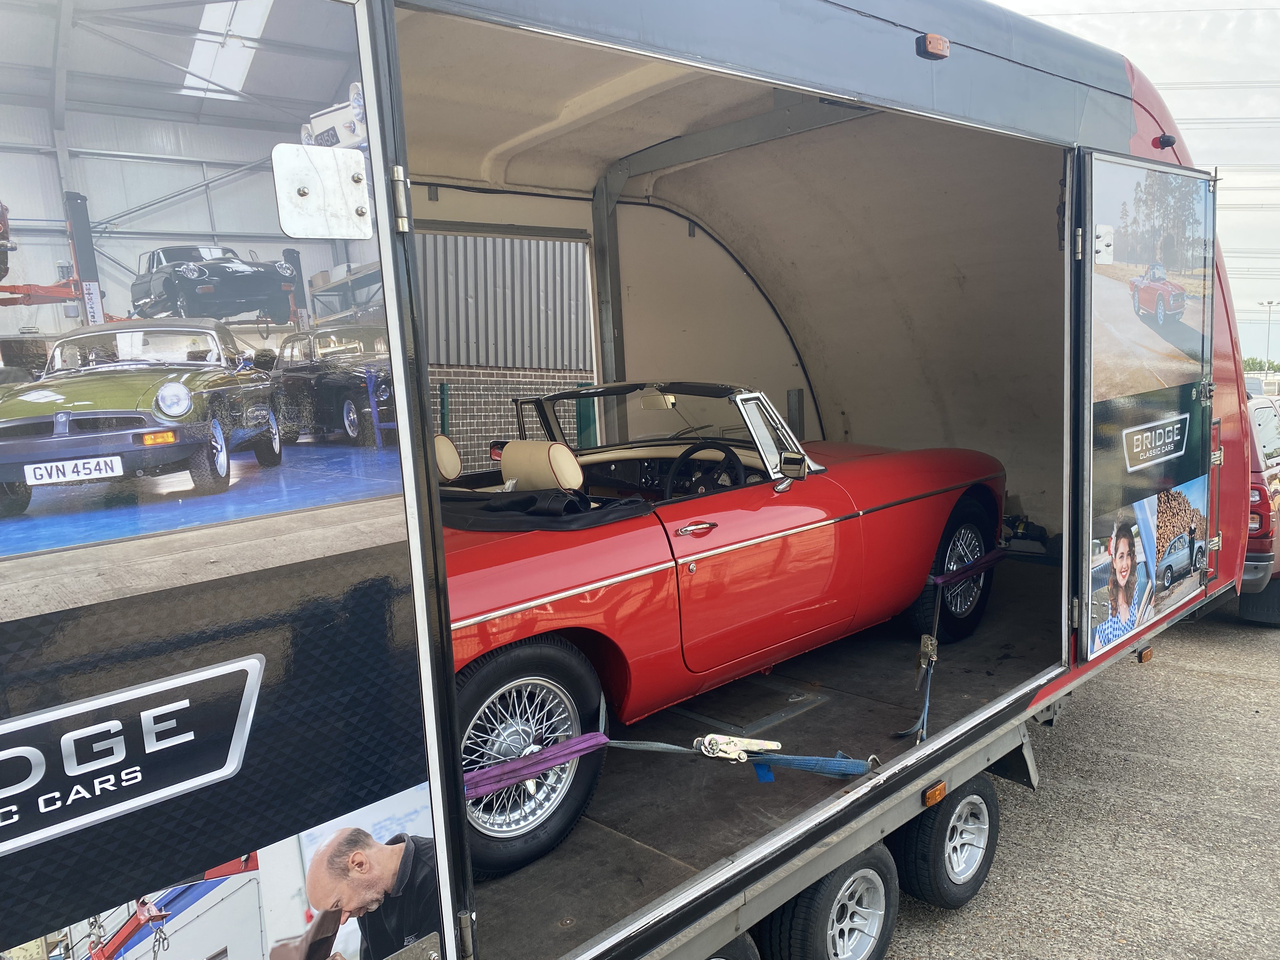
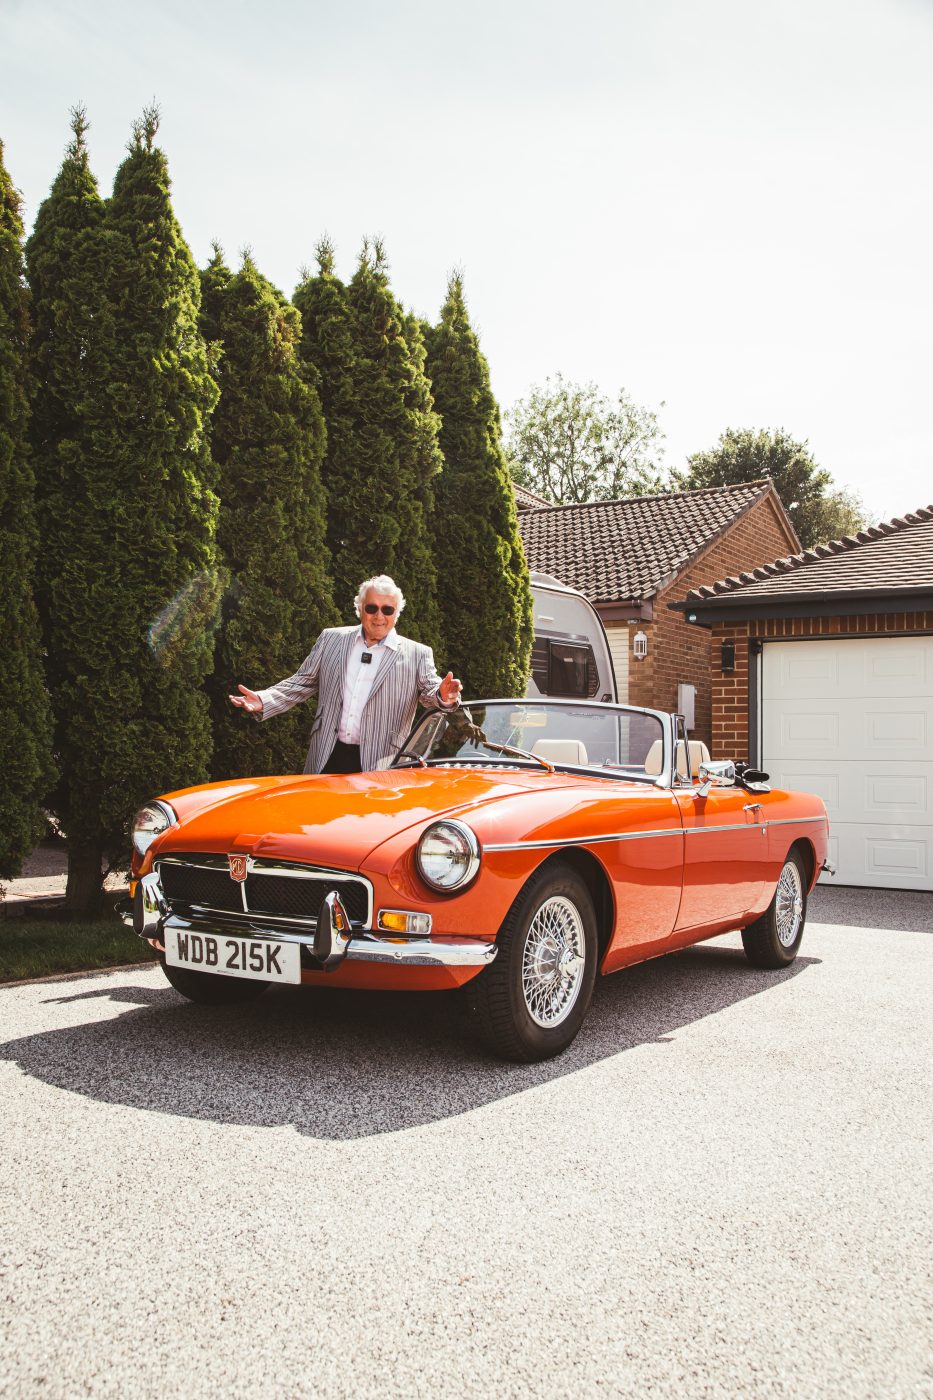
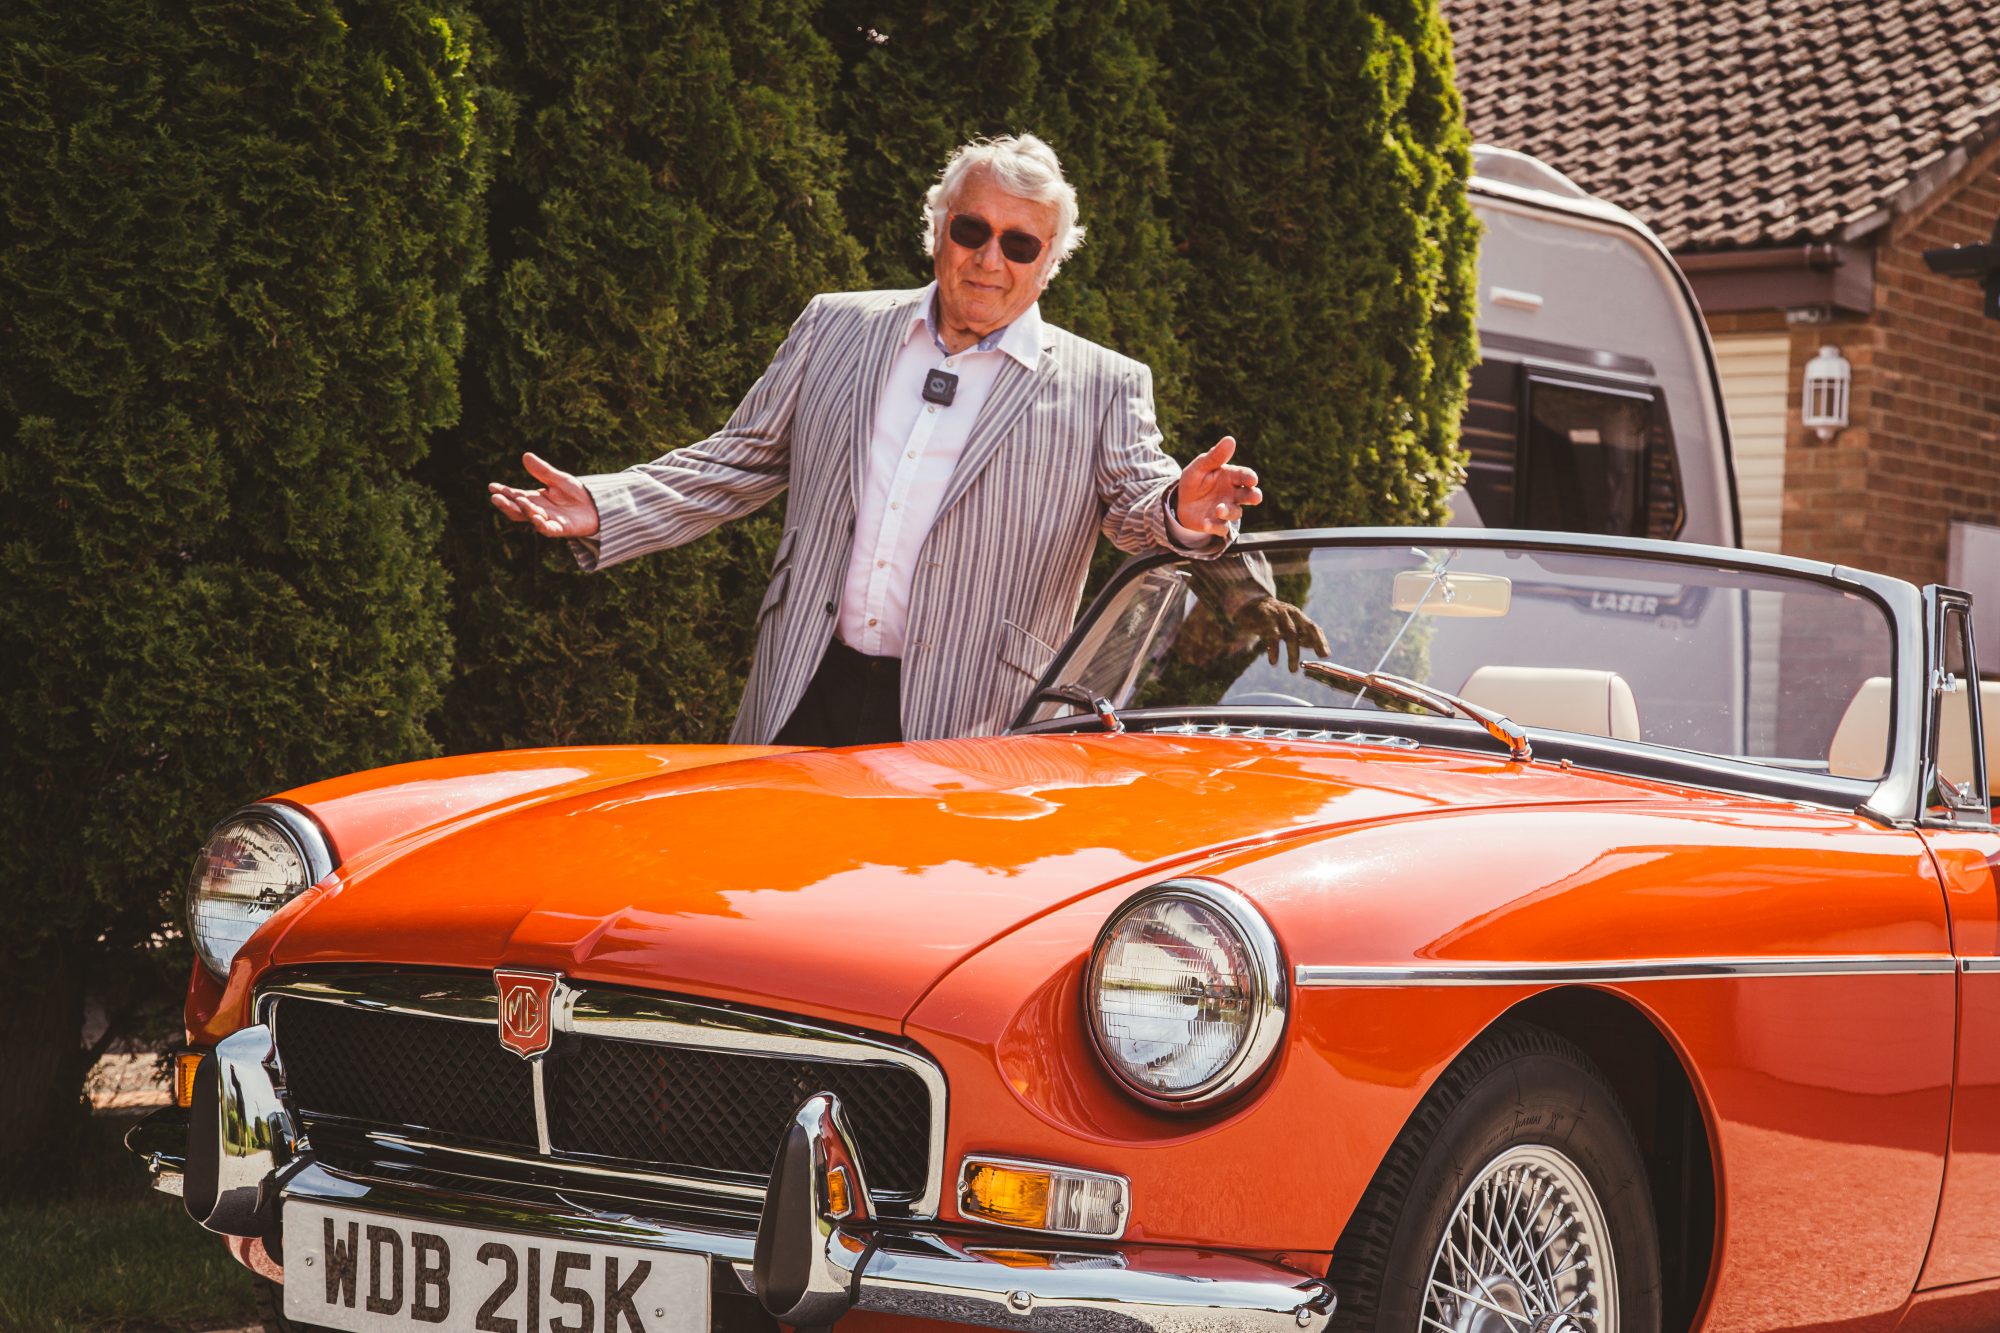
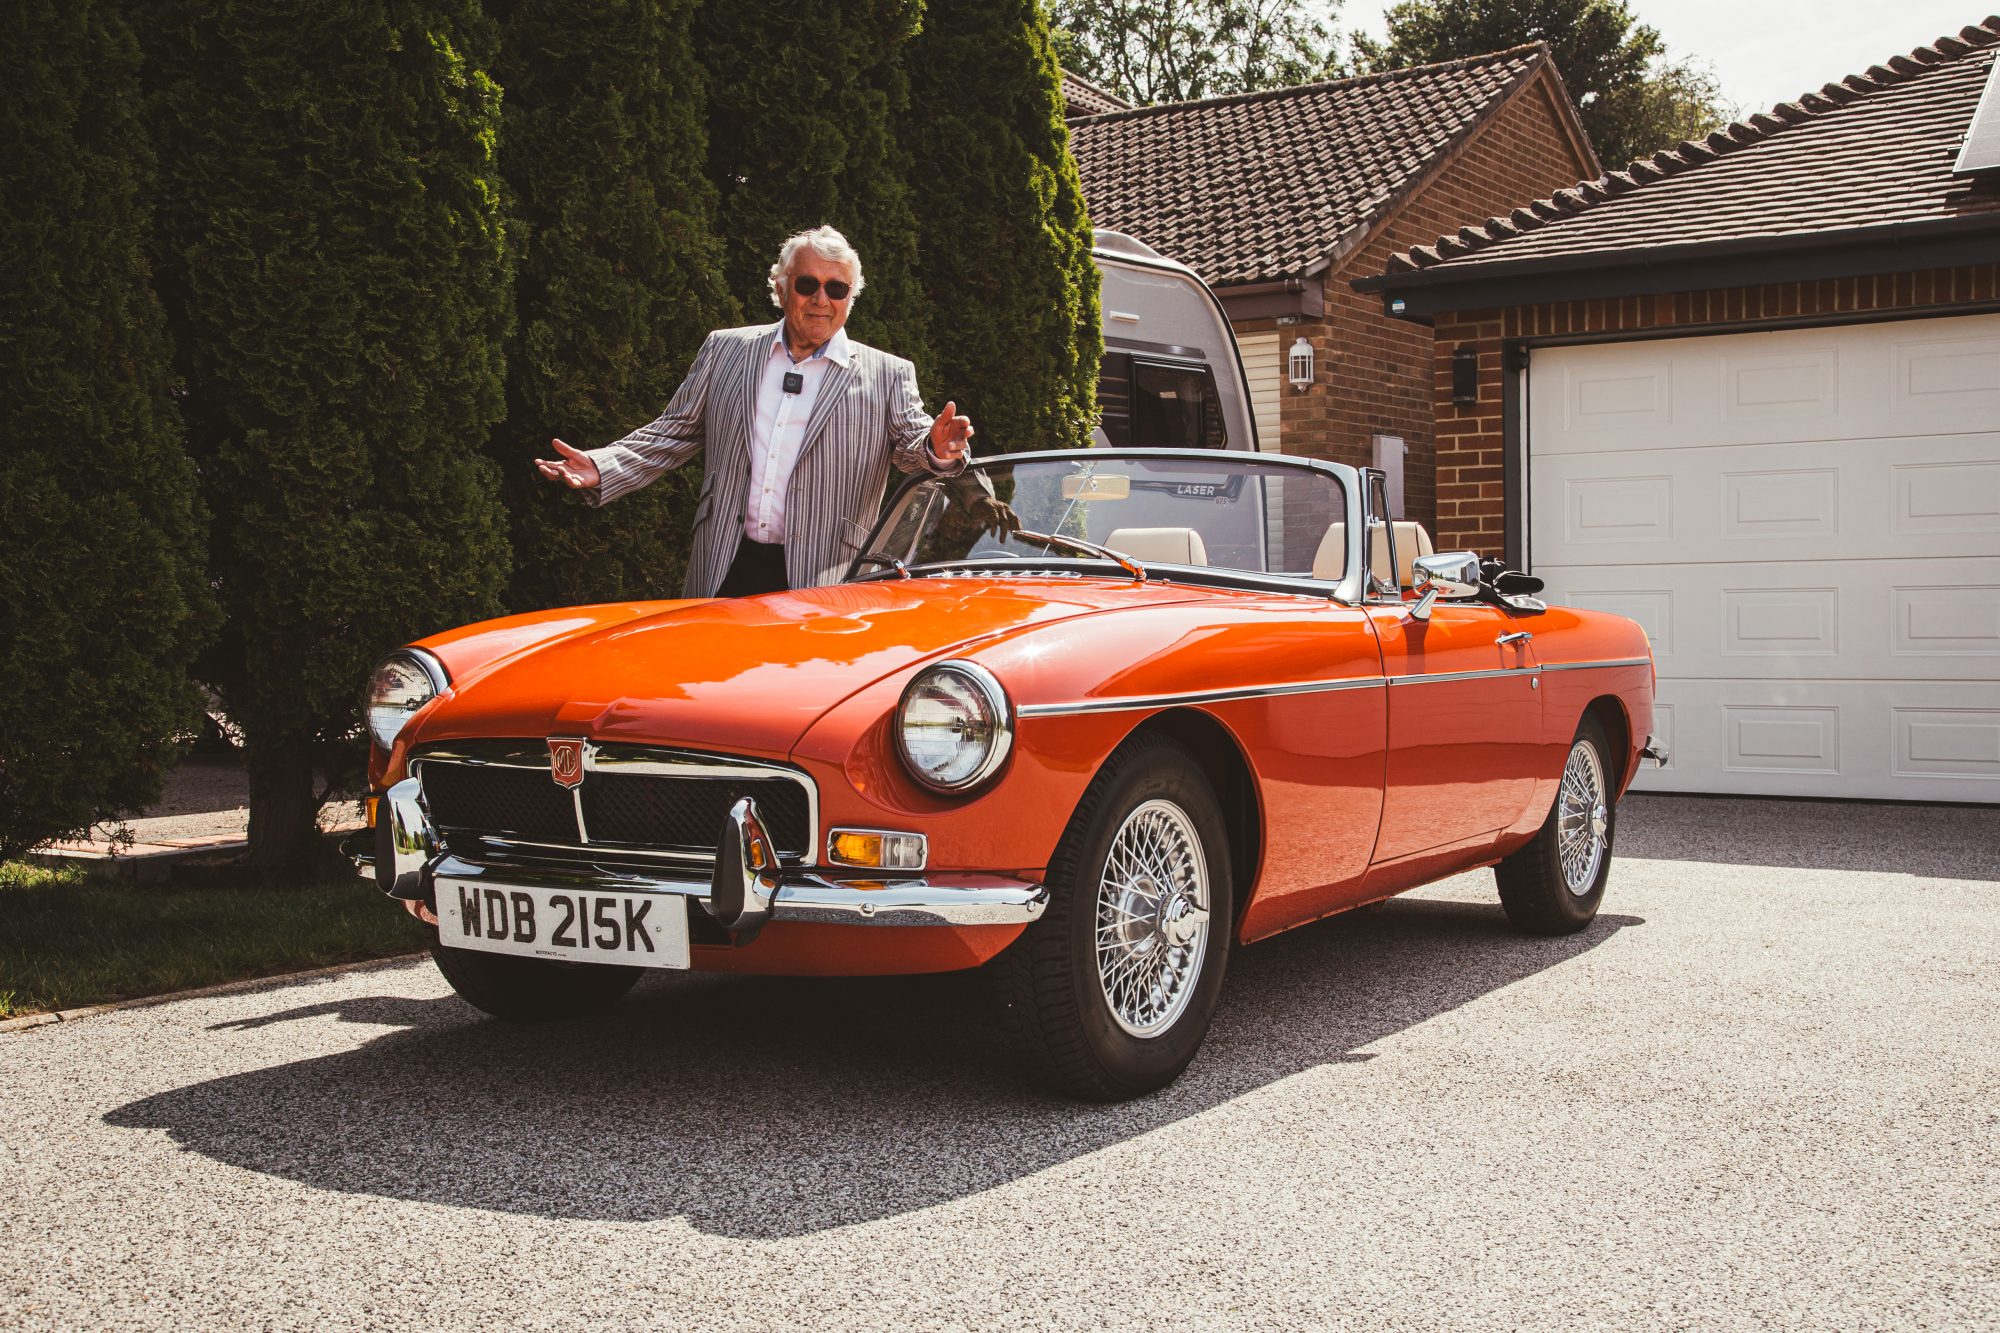
Recently, Peter won our 1972 MGB Roadster through Bridge Classic Cars Competitions. But before the team took the trip down to deliver the car to
There’s been some big changes recently at our Suffolk HQ with the installation of a new set of ramps. These ramps have been put in

Our 2010 Jaguar XKR, which recently around at our Pettistree workshops, has been under the car of our technician Jon. The alloy wheels of the
Our 1966 Daimler 250 V8 has been in the Bridge Classic Cars workshop at our Suffolk HQ for our restoration technician Julian to have a
Our 1959 Jensen 541R, which was delivered to its new owner a few weeks ago, has been collected by the Bridge Classic Cars transport team
The workshop team have been continuing on getting our 1962 Jaguar E-Type Series 1 Coupe back on the road after its decades long slumber. The

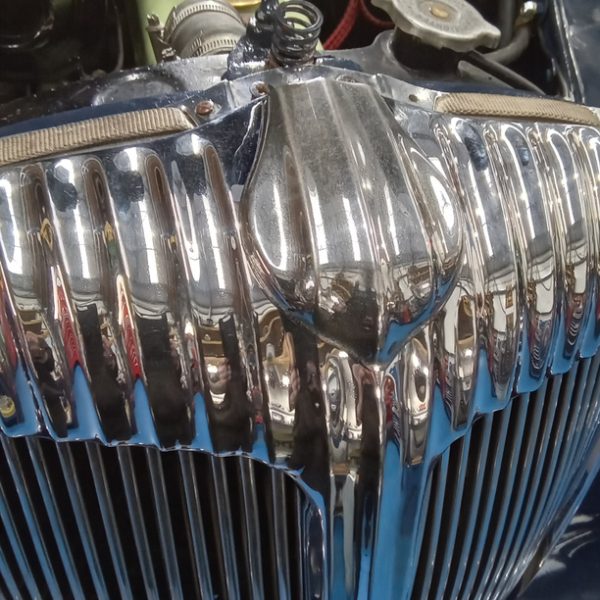
The bespoke head gasket for our 1955 Aston Martin DB2/4 has arrived at the Bridge Classic Cars HQ.
This means that the team can now begin getting everything back together, including its beautiful one-piece clamshell front end before it begins testing very soon and then delivered to its excited owner.
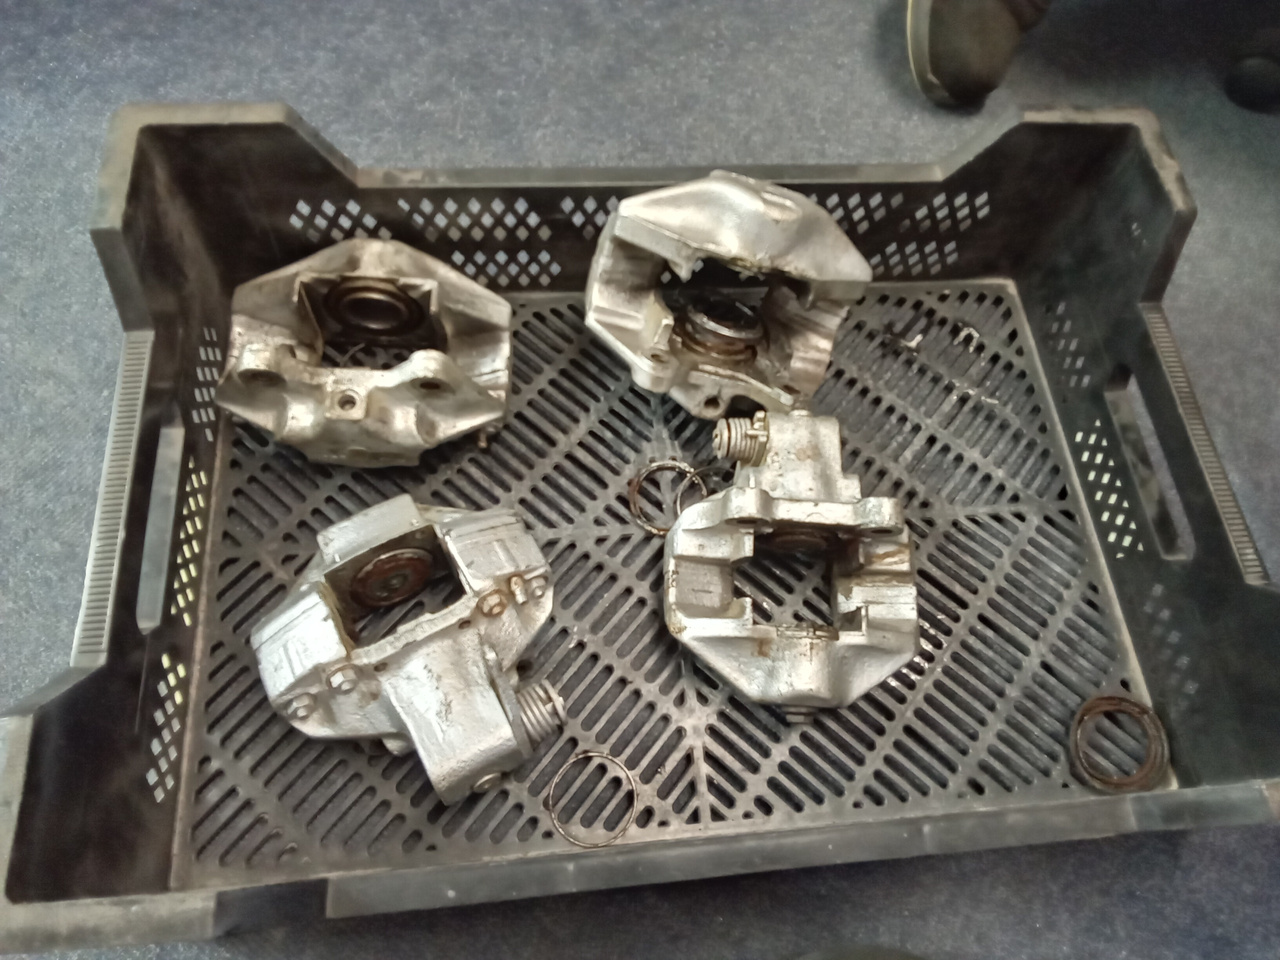
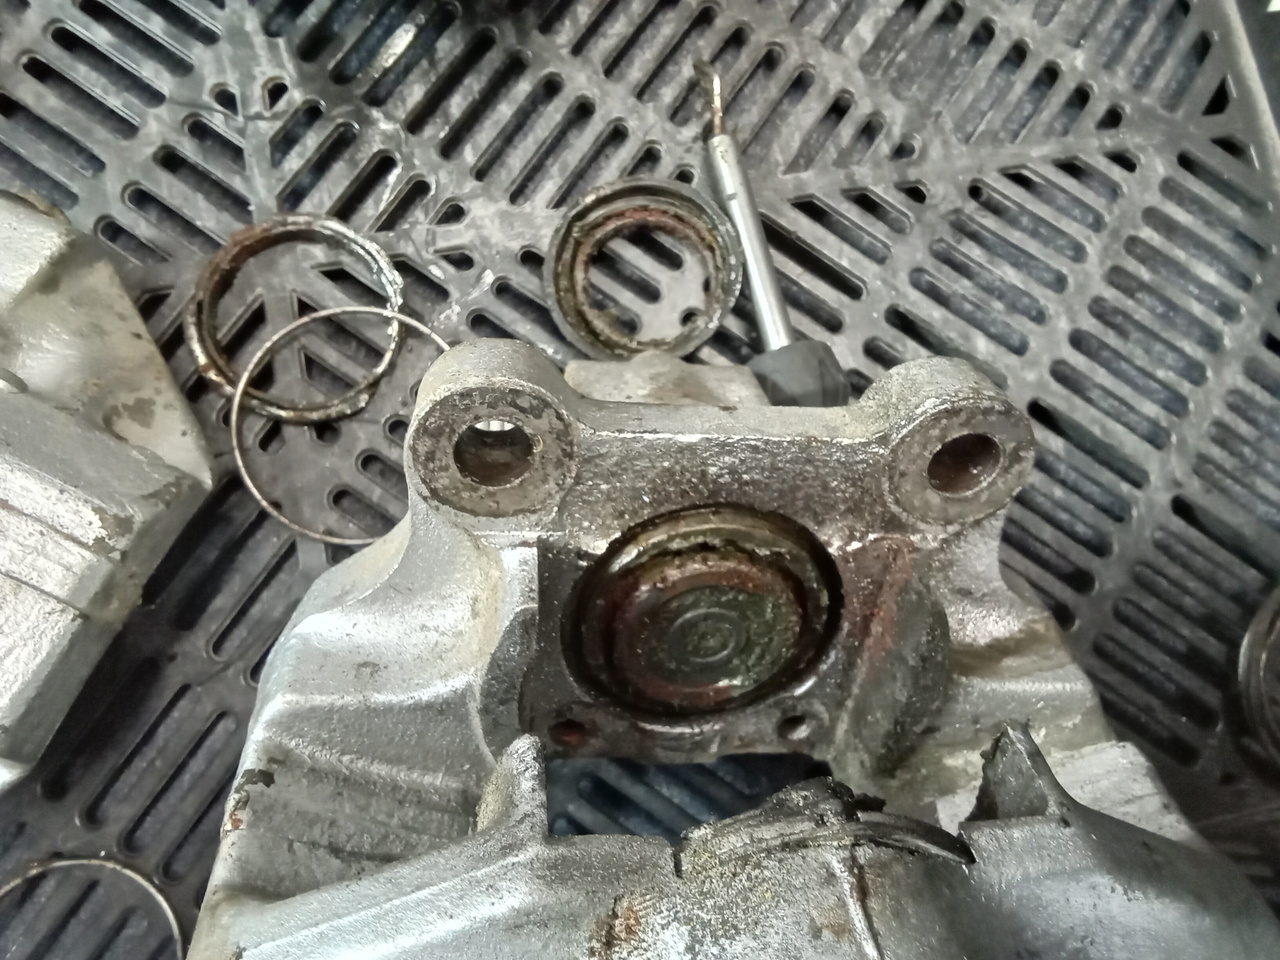
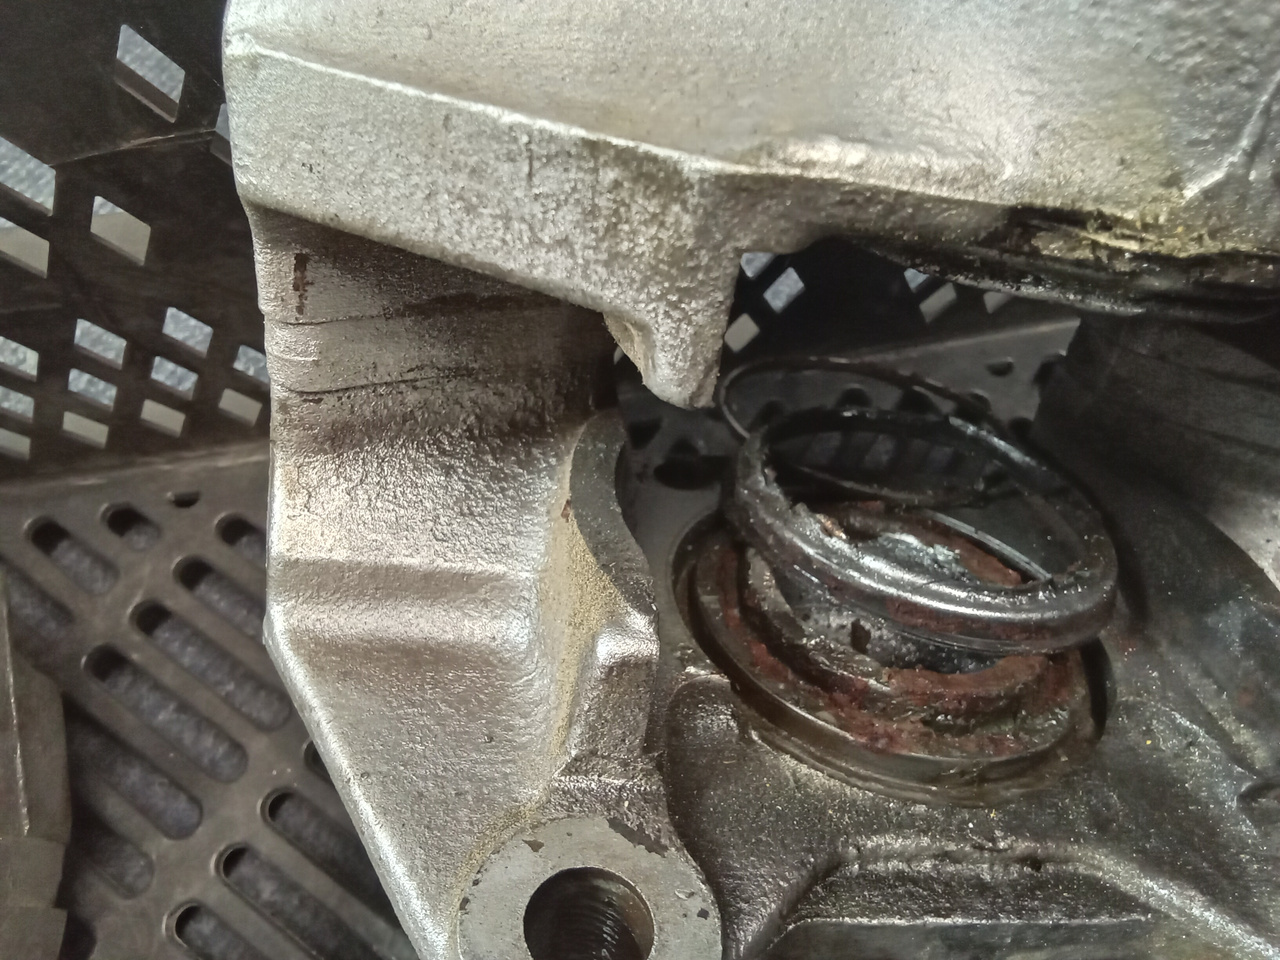
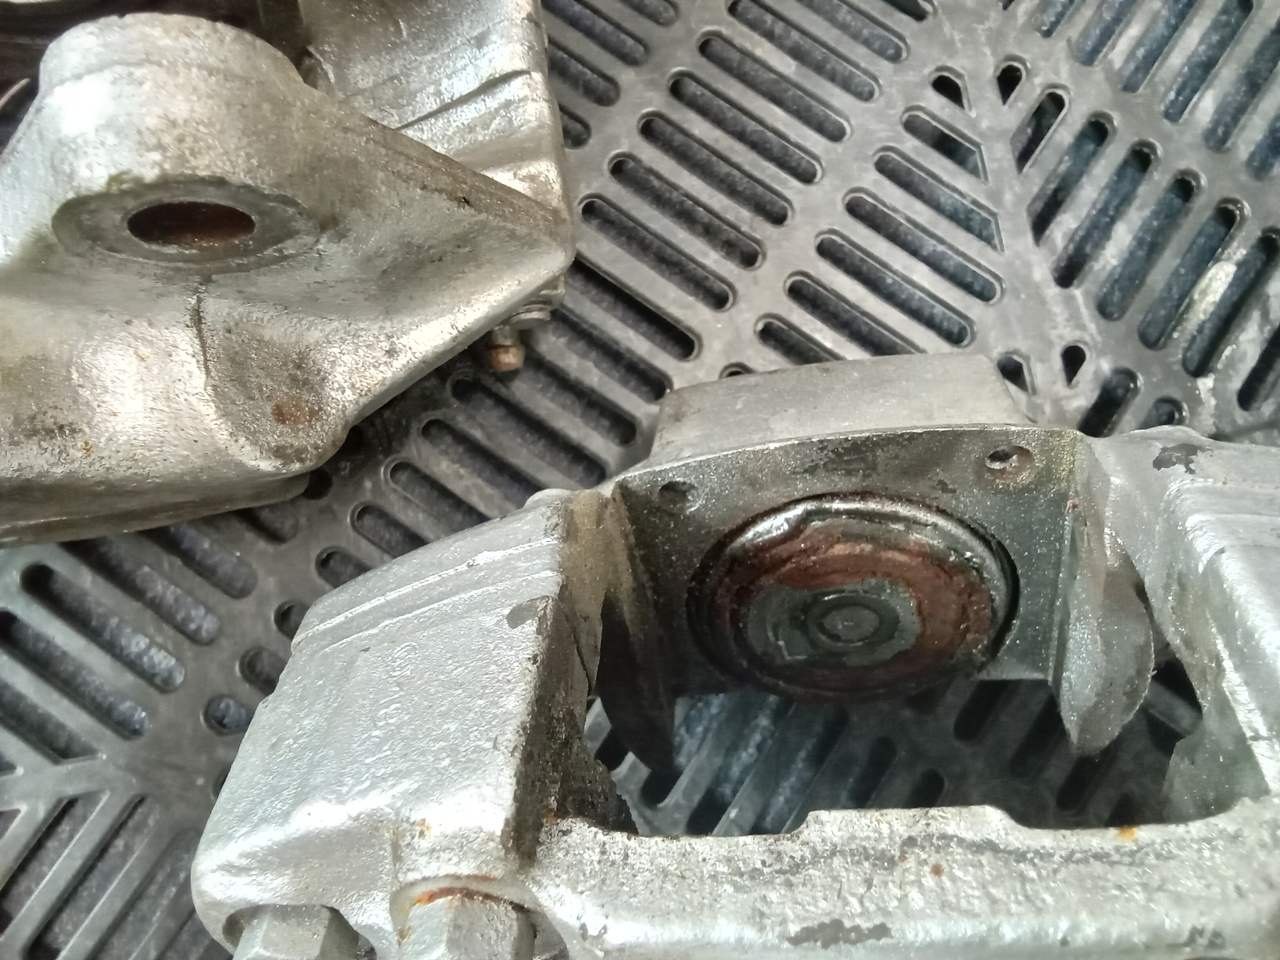
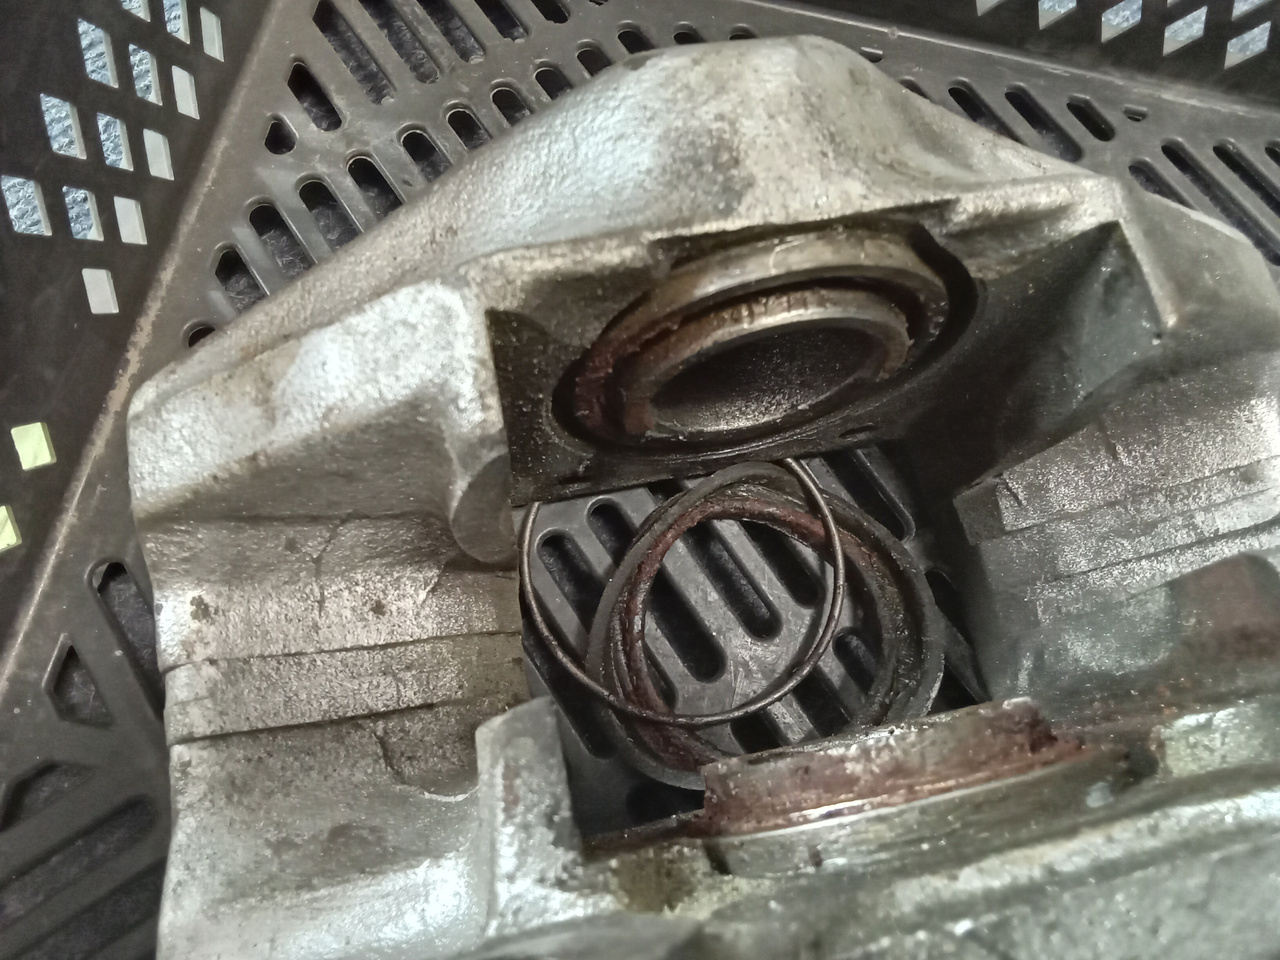
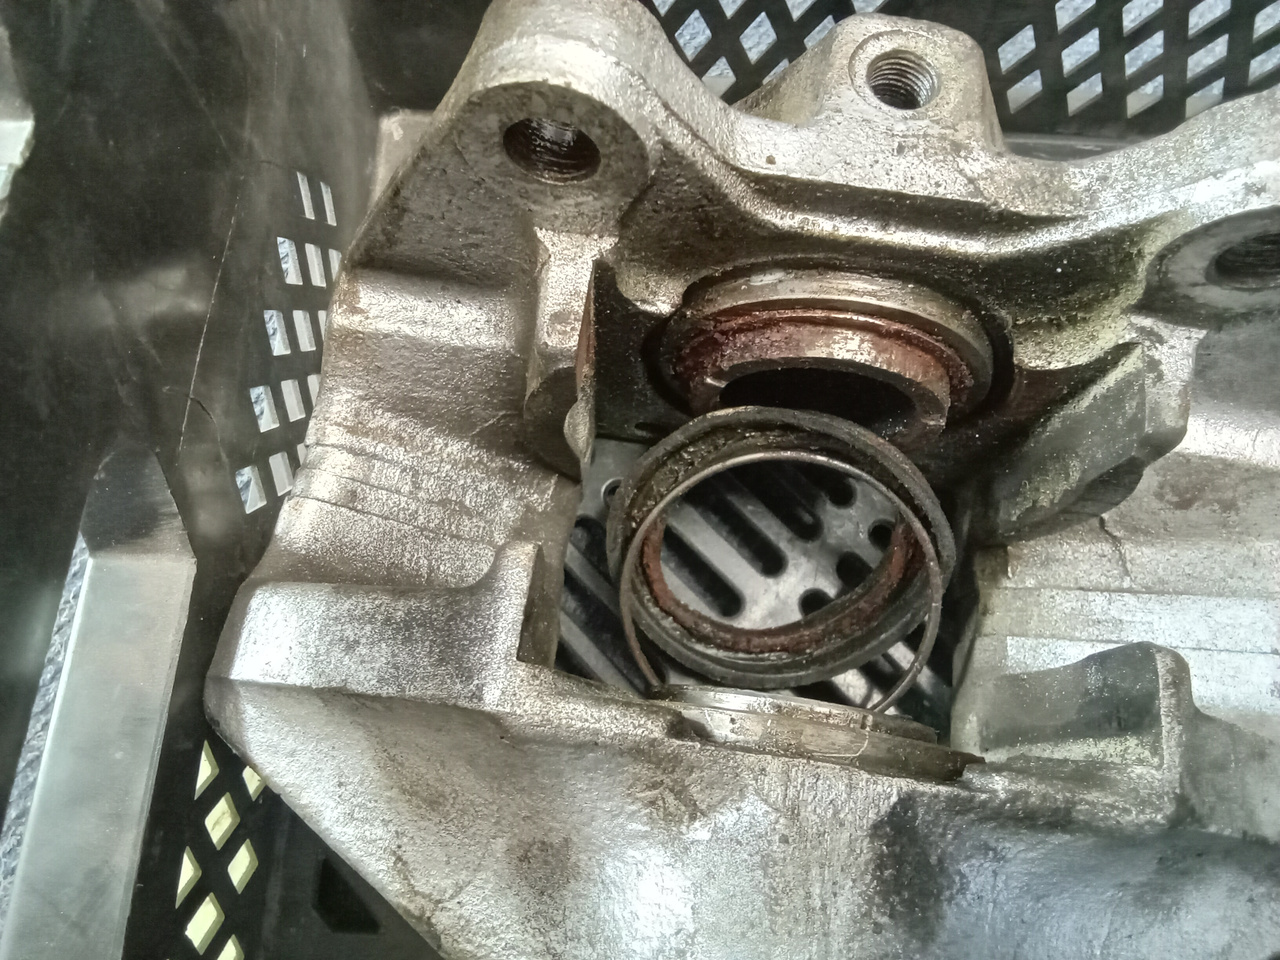
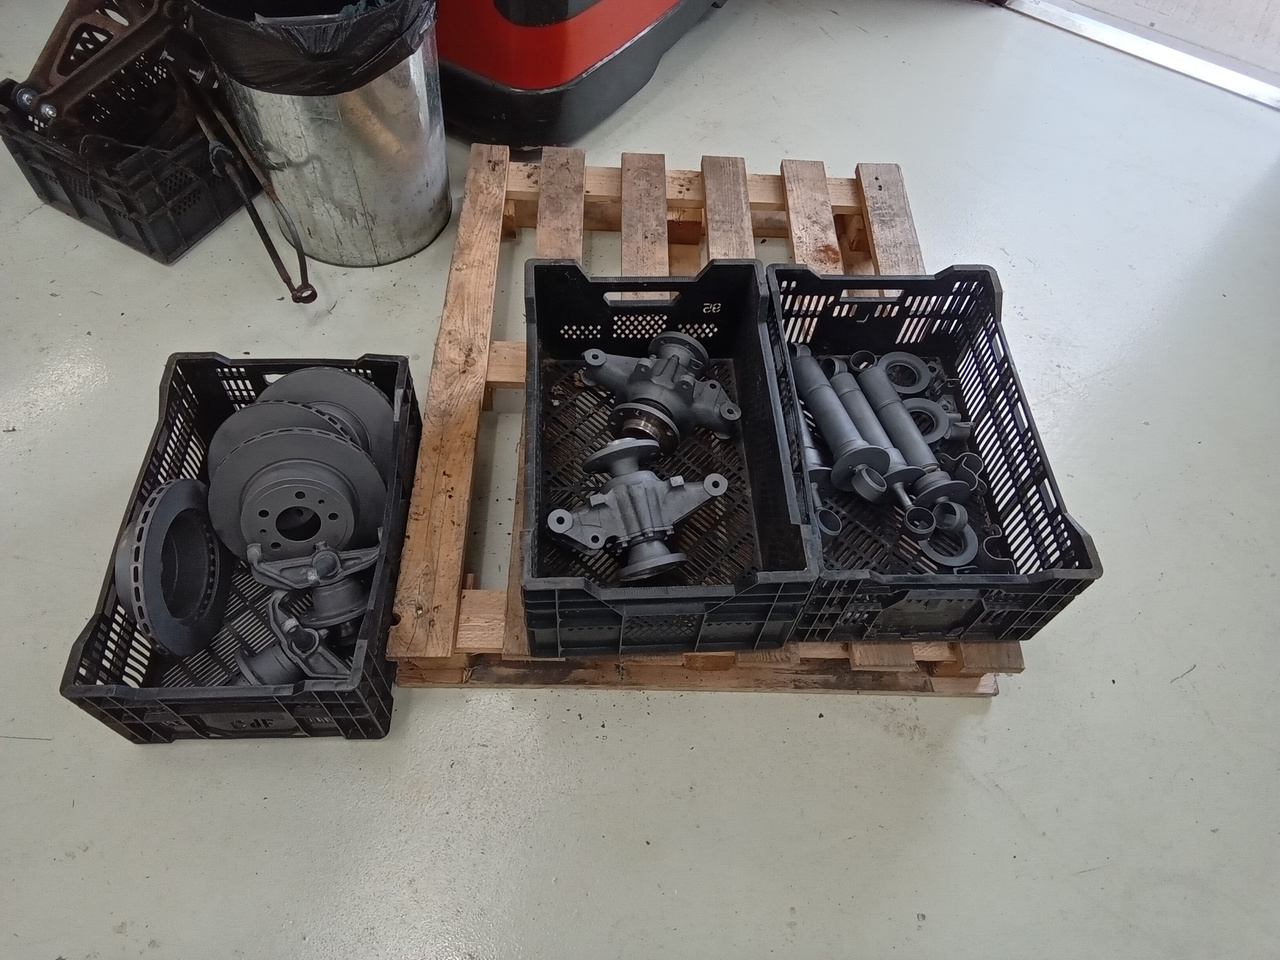
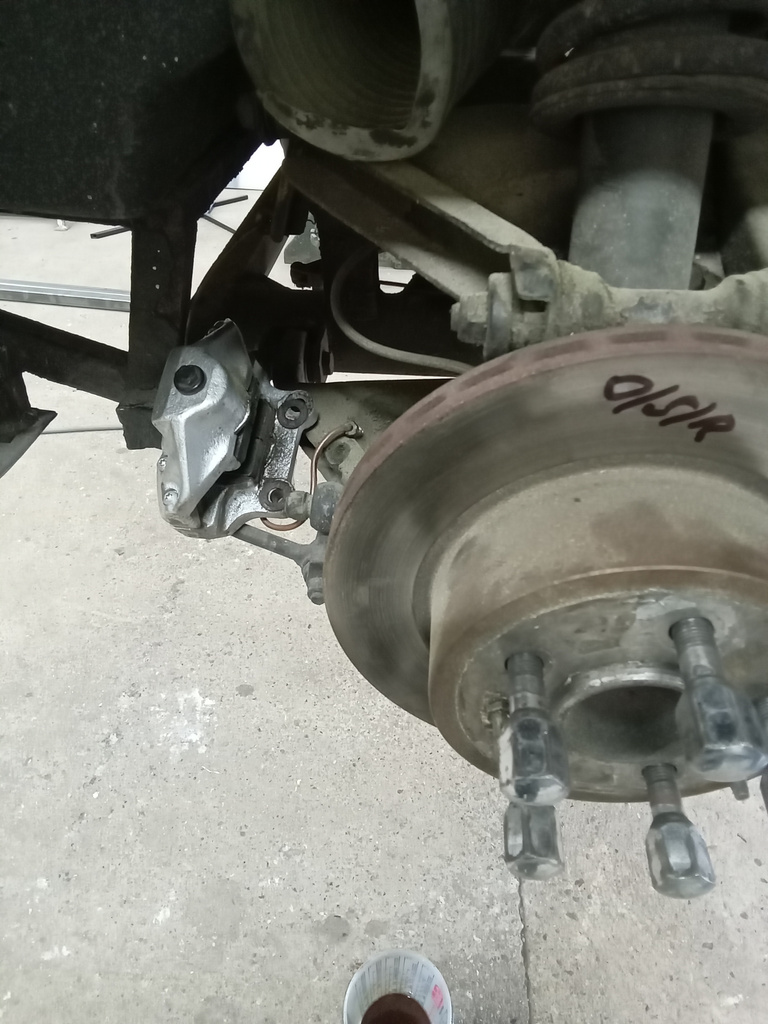
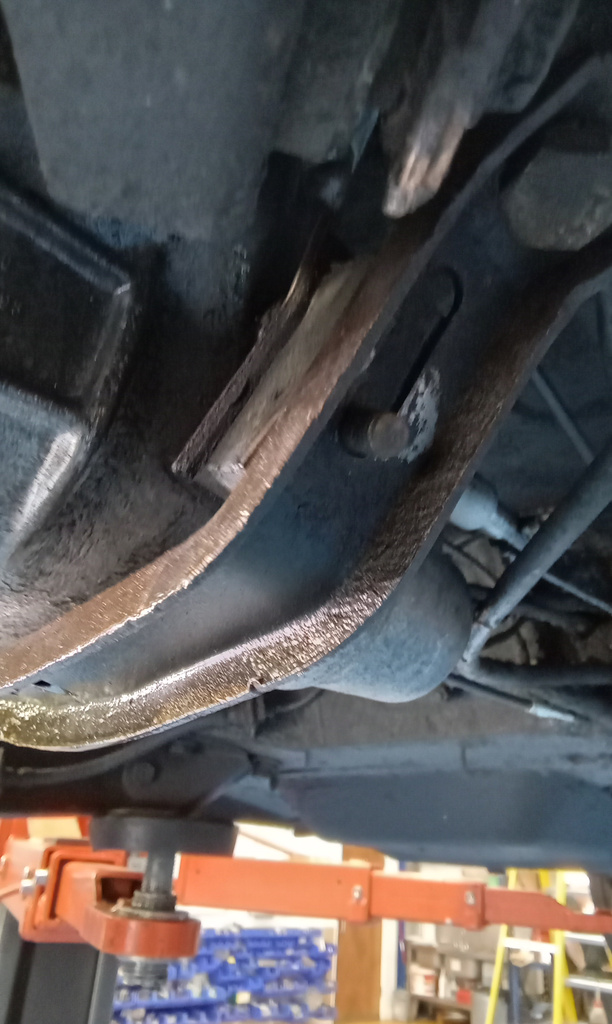
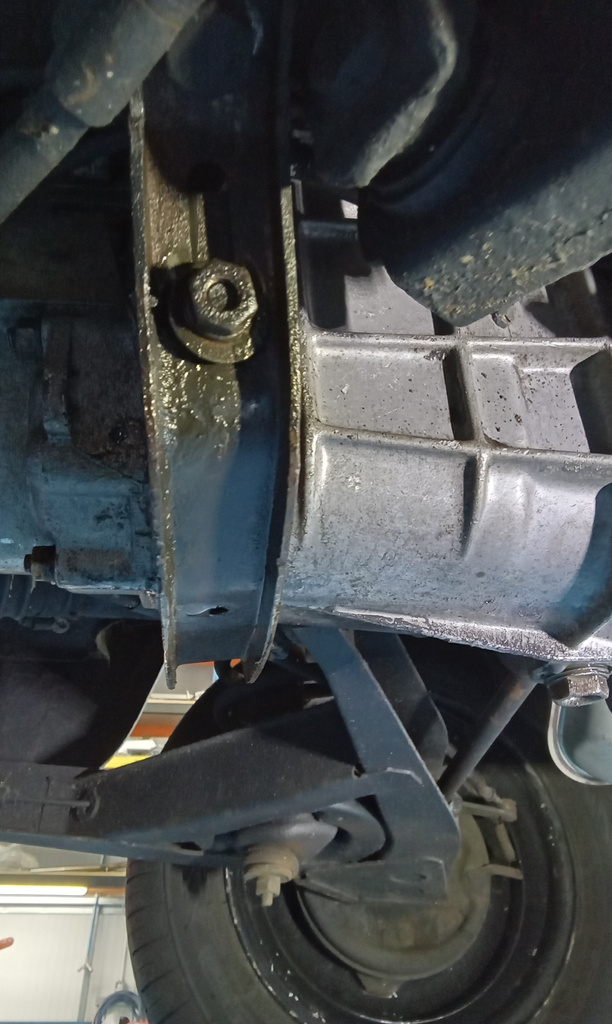
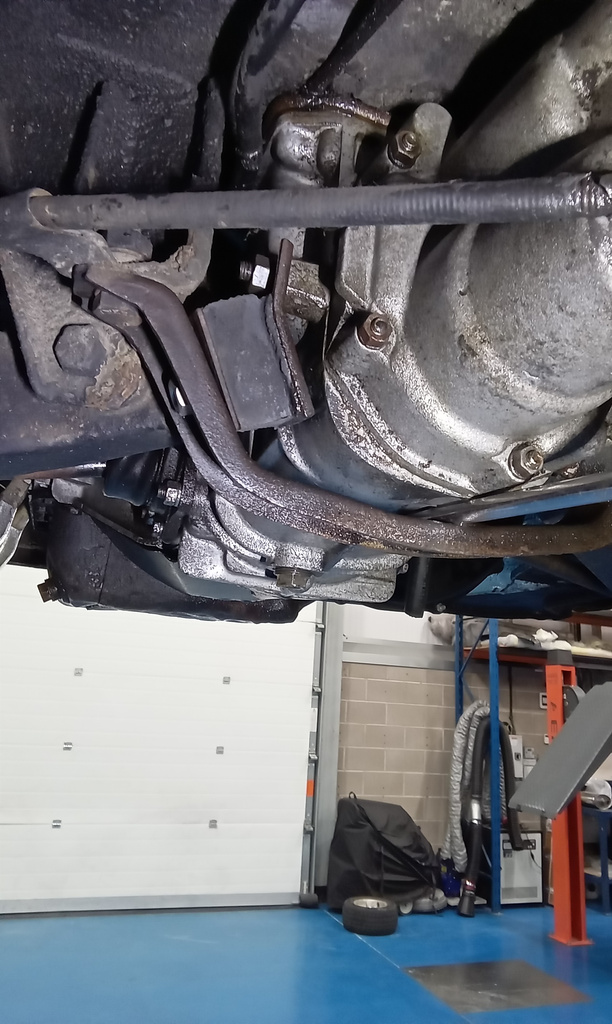
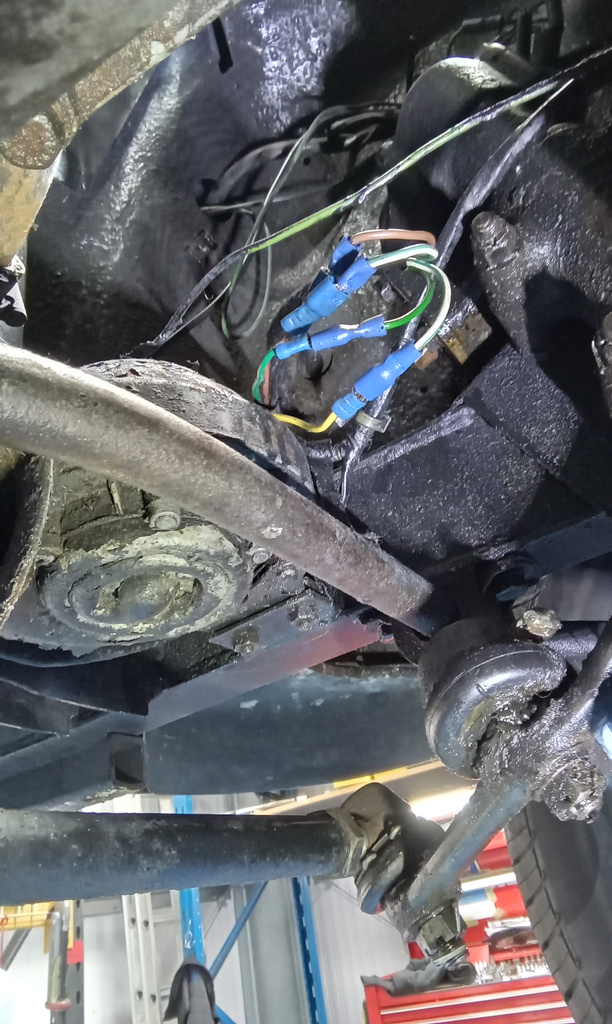
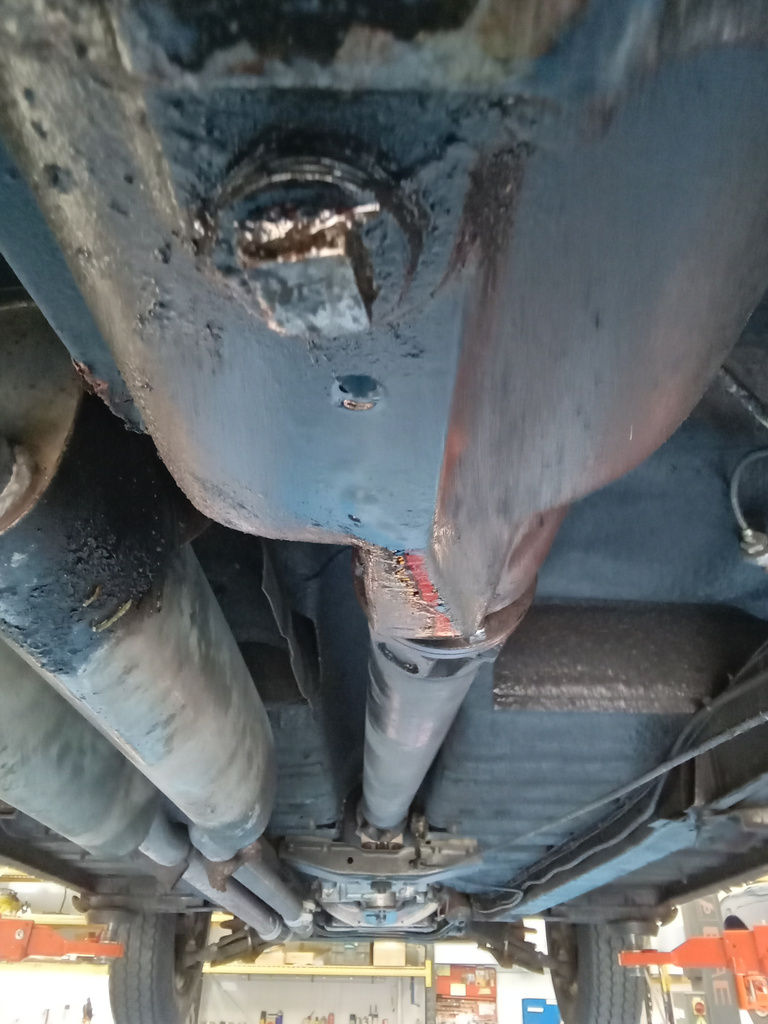
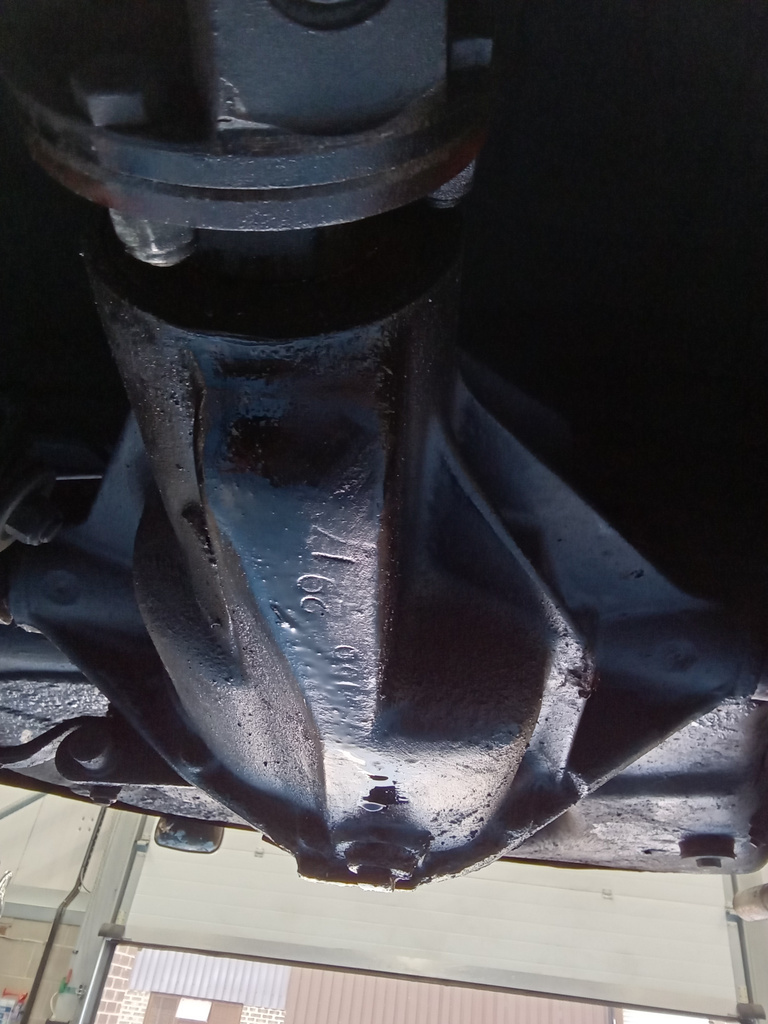
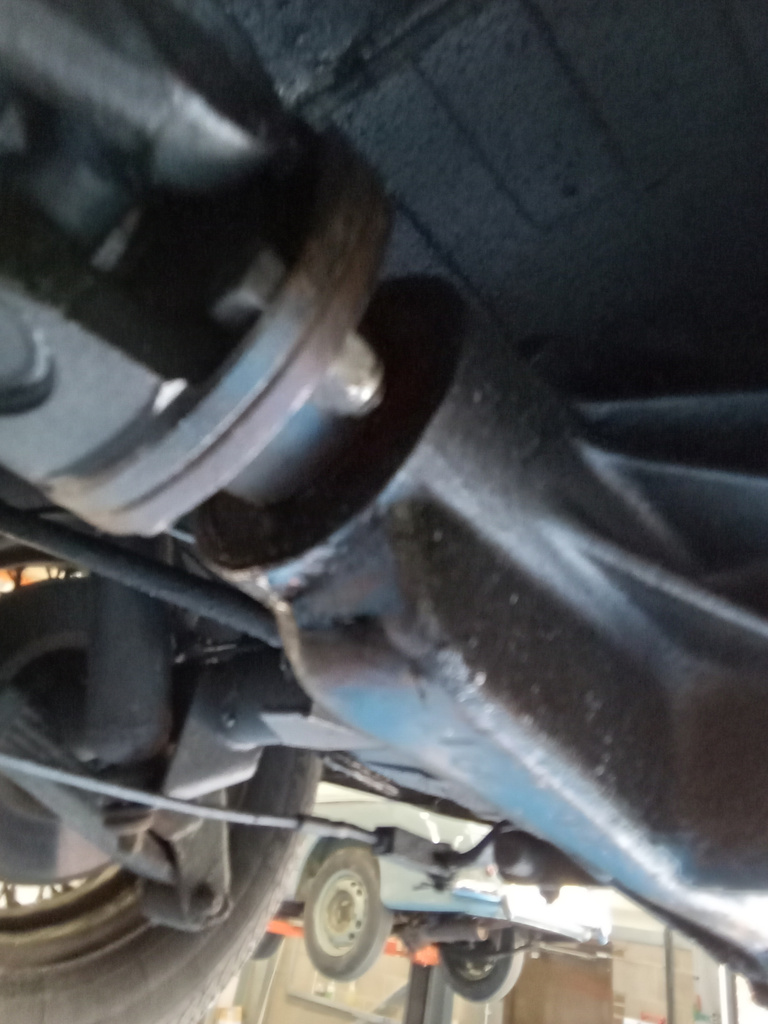
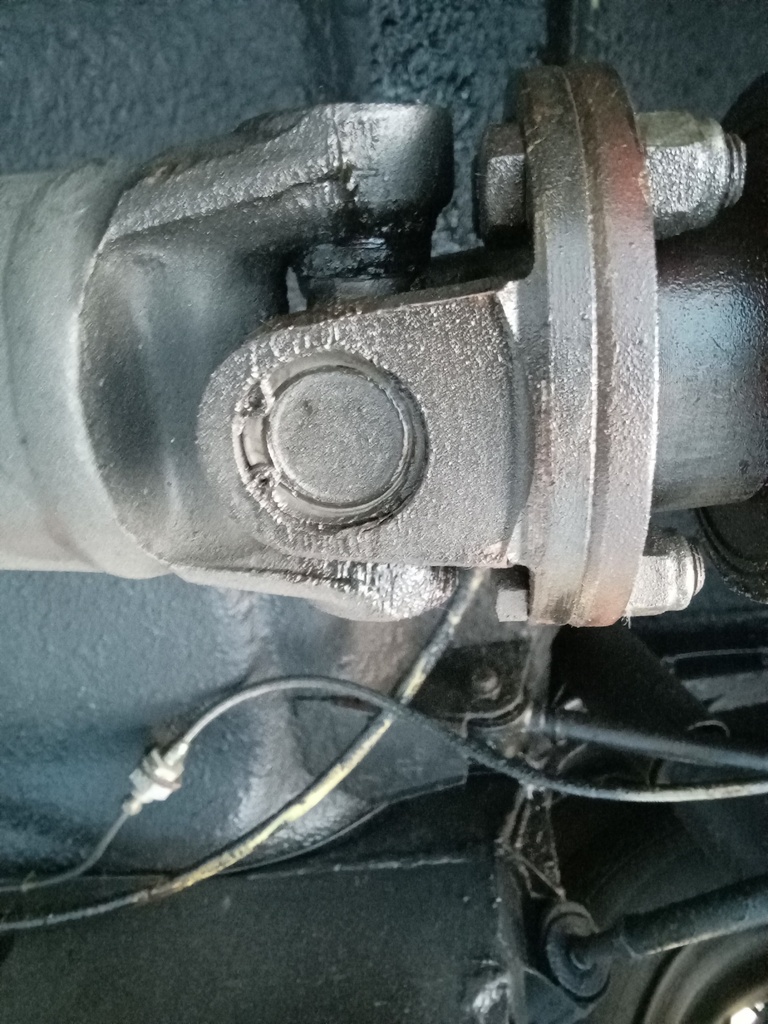
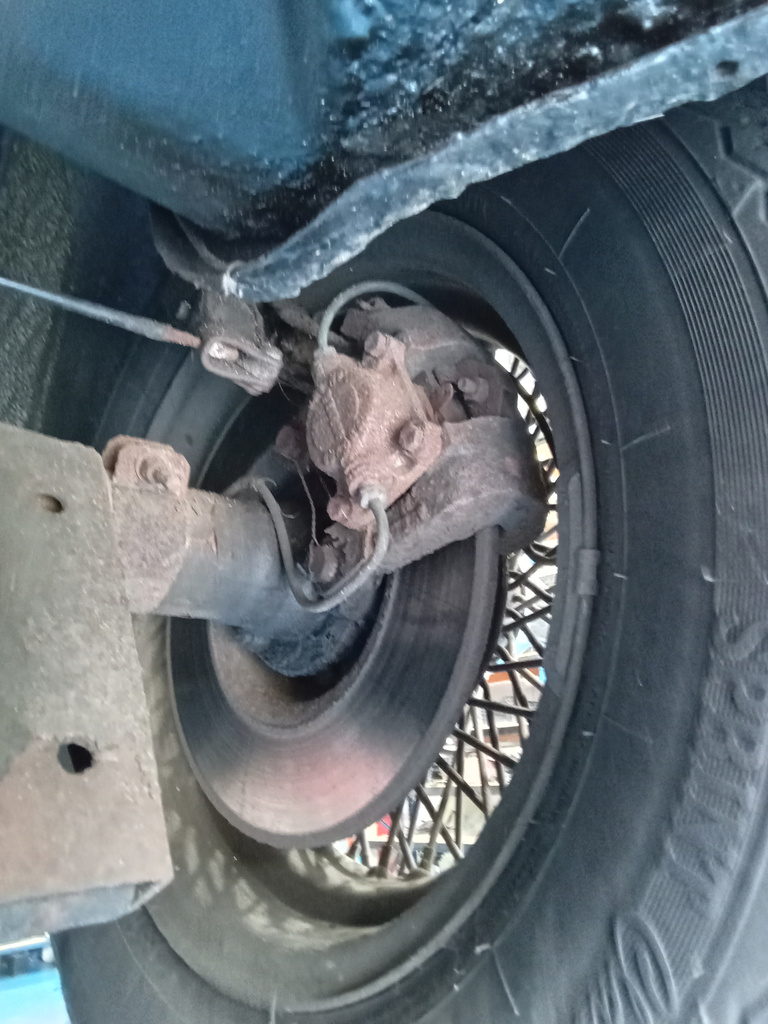
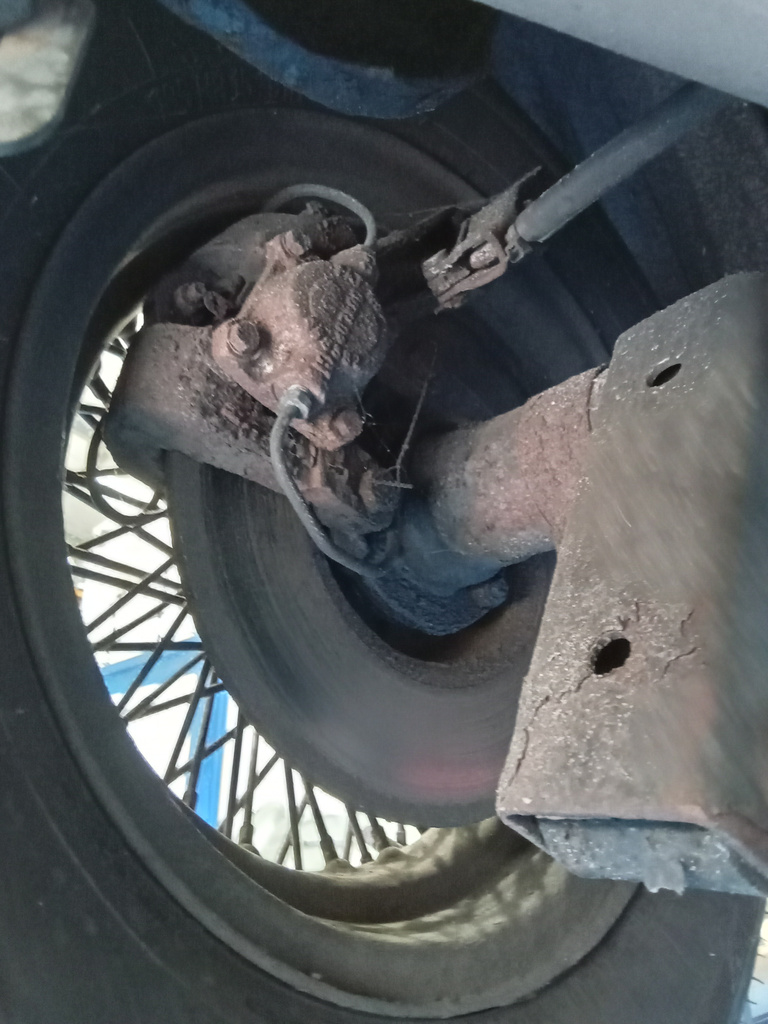
Steve has been working on the driveline of the 1973 Dino 246GTS while the car is in the fabrication bay at the Bridge Classic Cars workshops.
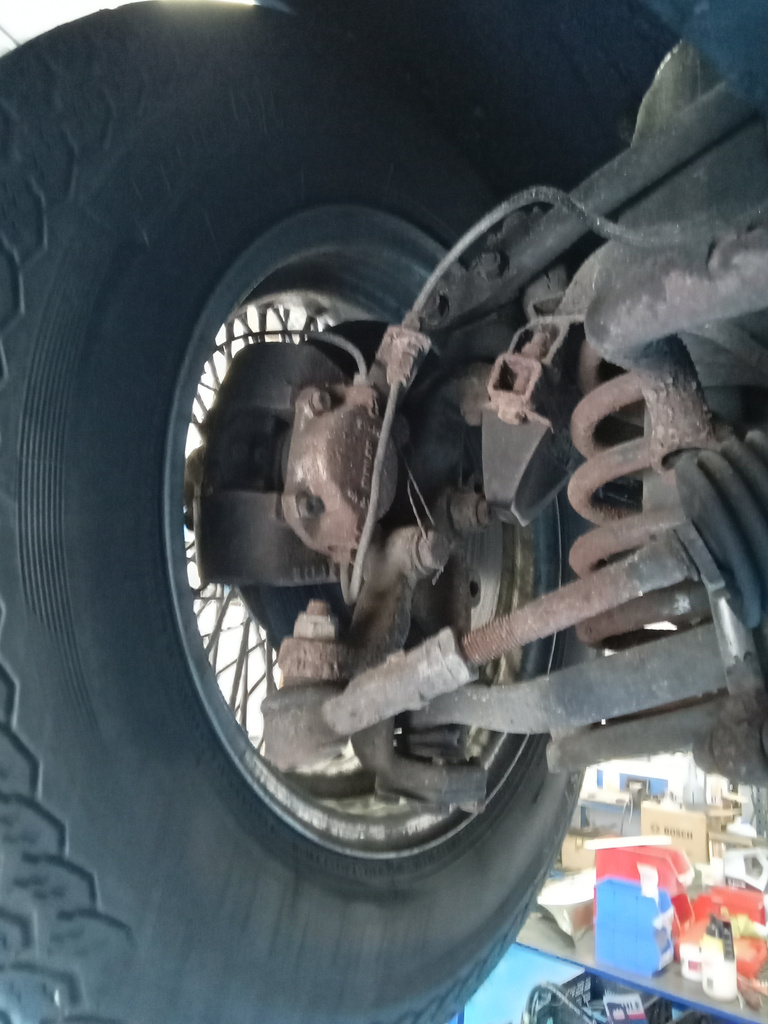
After pulling the calipers off the car, Steve began to inspect the units on the bench. Looking into them, he found that the piston seals had failed causing the internal pistons to corrode and become stuck in the body of the calipers. These will be sent off to be completely refurbished and looking as good as the rest of the car will along with some of the other driveline parts which have been sandblasted ahead of refinishing and refurbishment by the team.
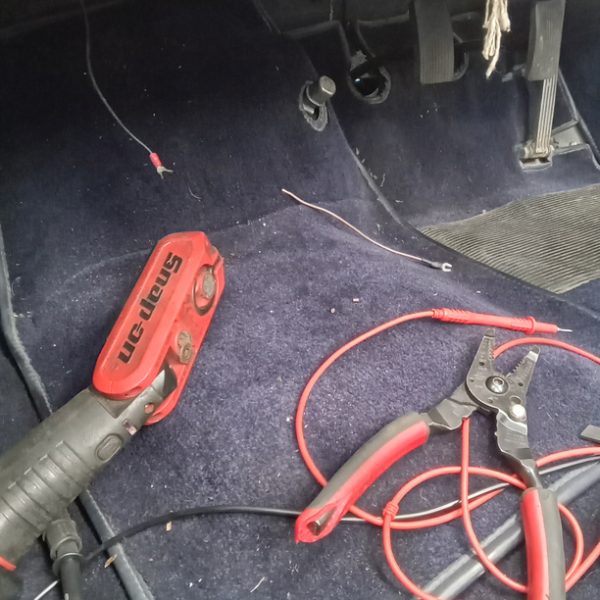
Jon has been working hard on the 1973 Rover P5 Coupe, this time he’s been working inside and underneath the classic 70’s coupe.
”Adjust nearside chassis seam to avoid exhaust flange hitting floor. Flange is fixed in position so unable to turn.investigate headlights not working. Eventually trace to faulty switch and also main beam dip switch faulty. Continue to wire in new fans. Route wiring and tape into loom. Find ignition live feed and fit connector so able to make connections when ready. Remove air filter assemble and inspect throttle linkage etc.”
”Finish wiring fans. Mount brake fluid reservoir with bracket supplied. Investigate horn not working. Check horns for power supply, ok. Remove steering wheel centre push. Short out wiring and horns worked once or twice and now they don’t. Check continuity from horns to steering wheel, none. Start looking at tracing horn wires.”

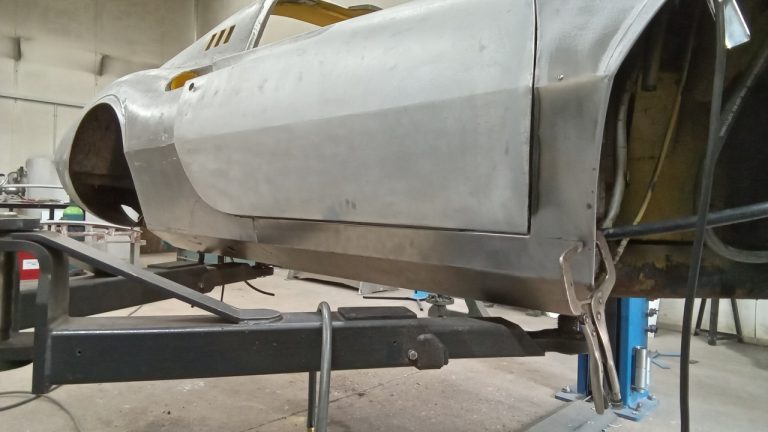
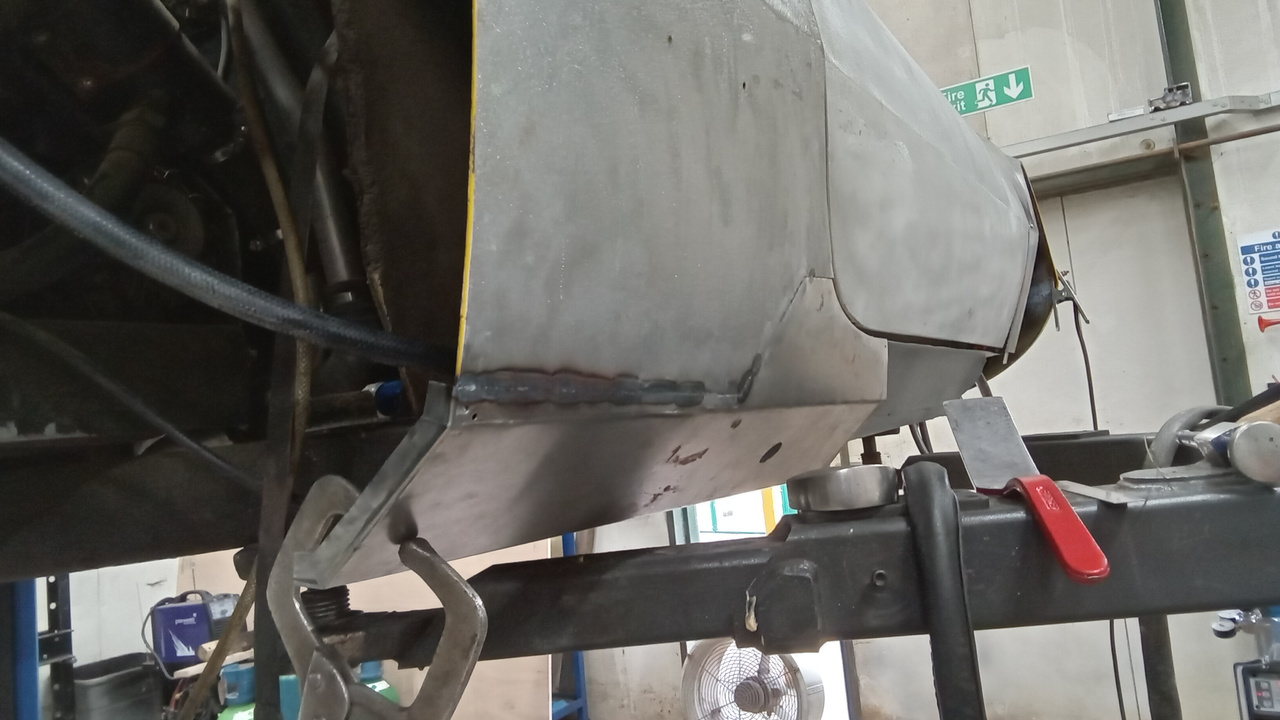
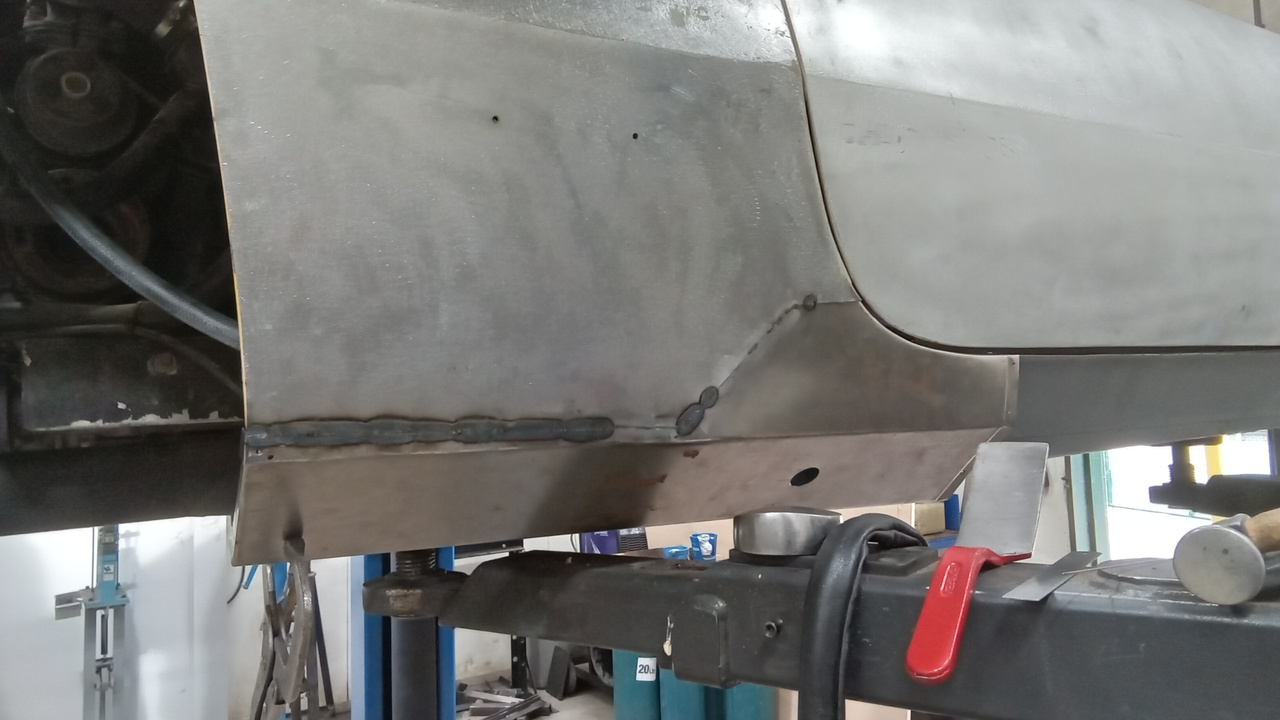
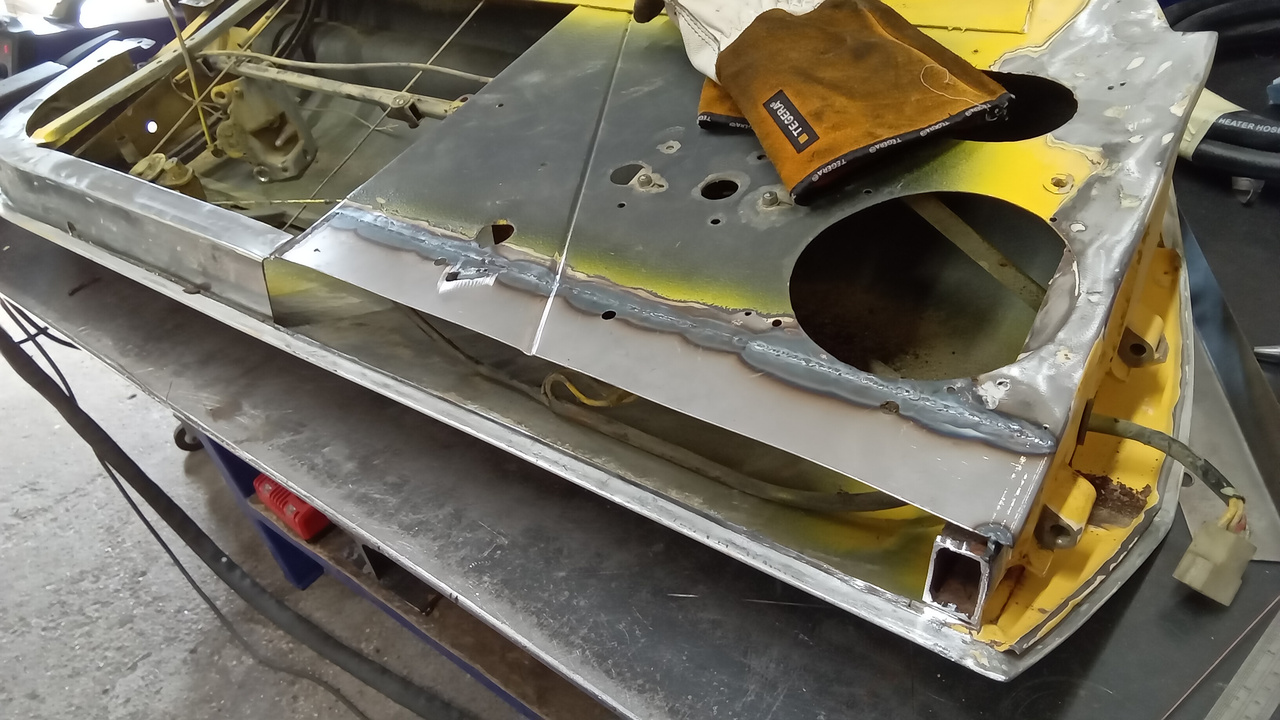
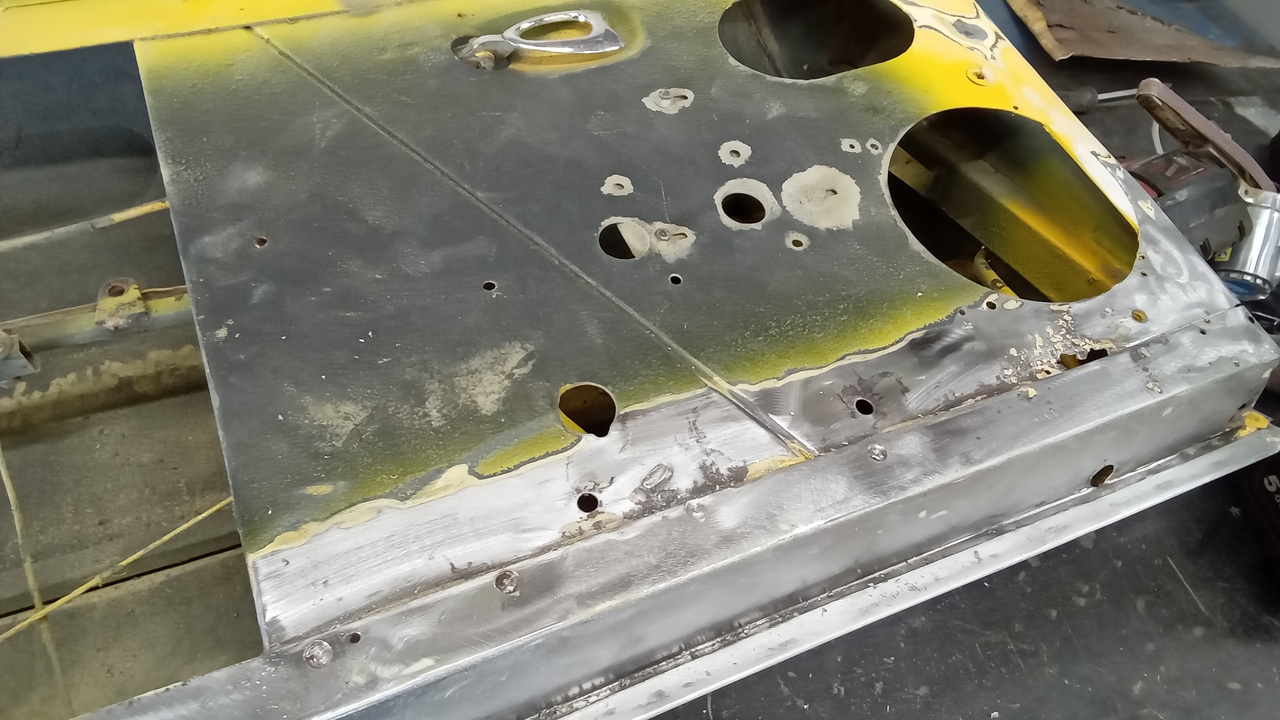
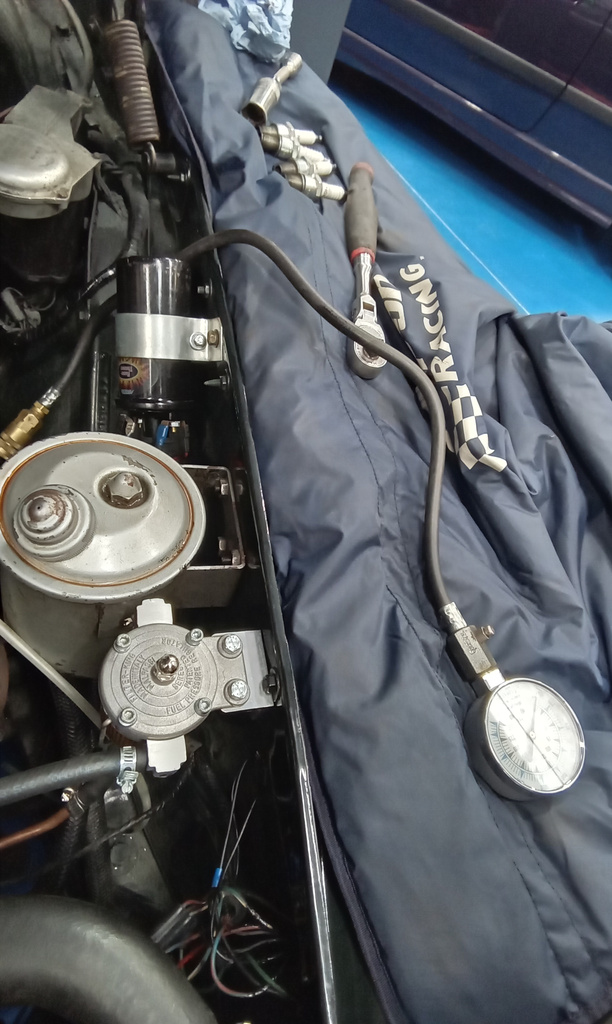
The Bridge Classic Cars fabrication team have finished up work on the drivers side of the gorgeous 1973 Dino 246GTS. Chris has been working incredibly hard to make all of these panels from scratch to make sure they all fit perfectly on the car as well as allow him to take his time blending them into the original bodywork.
With this side now complete, Chris can move on to getting the passenger side of the car into the same condition.
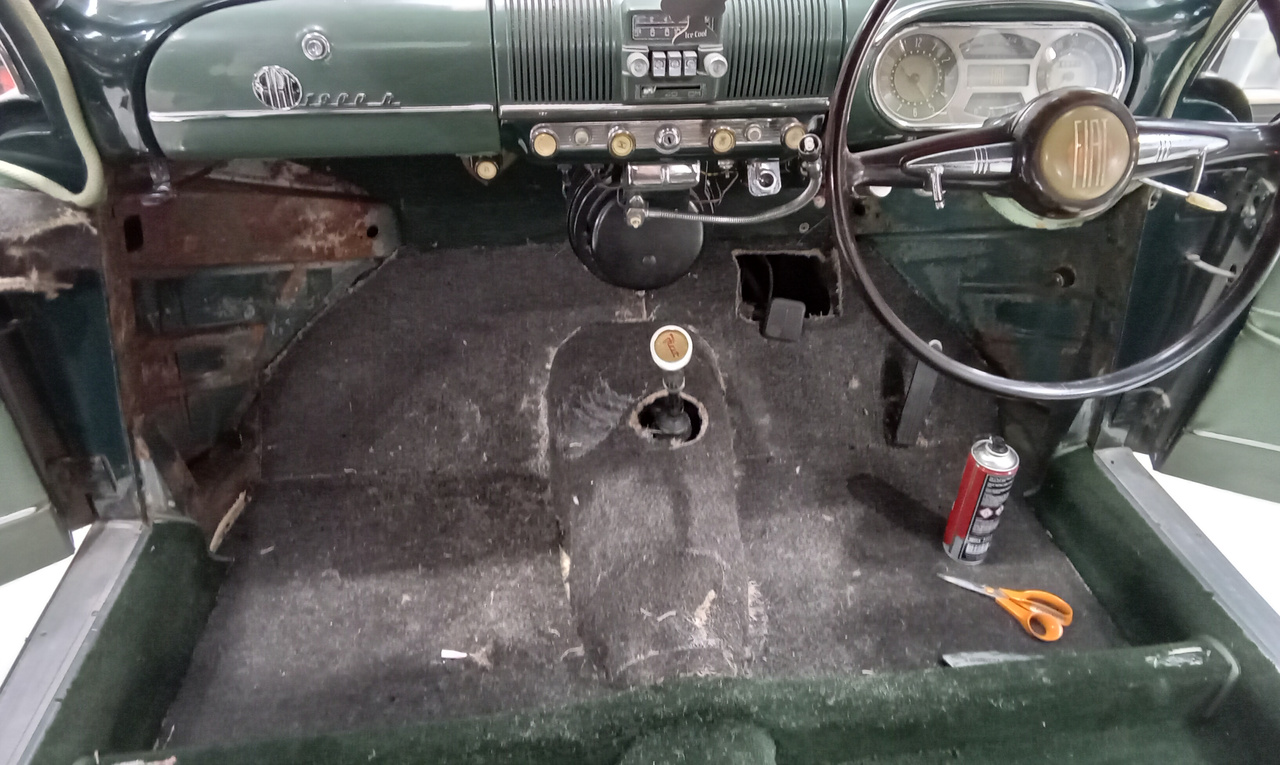
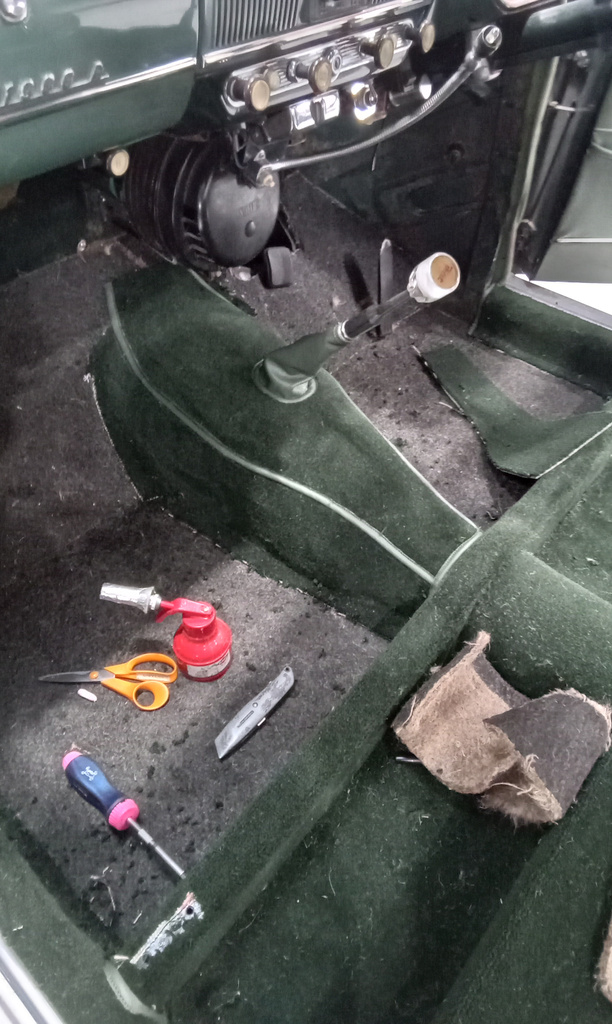
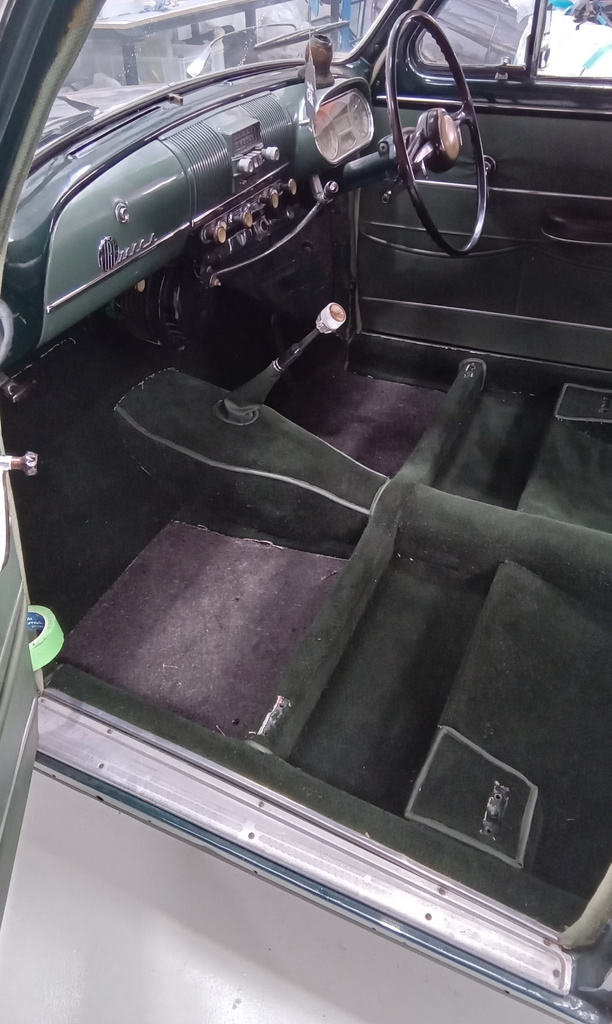
Our trim team have been hard at work on the 1952 Fiat 1900A which is in the finishing workshop at the Bridge Classic Cars HQ. Our trimmer Lydia has been making a whole new carpet set from scratch for this unique classic Fiat to fit perfectly inside the cabin and to replace the original which was very heavily worn and damaged.

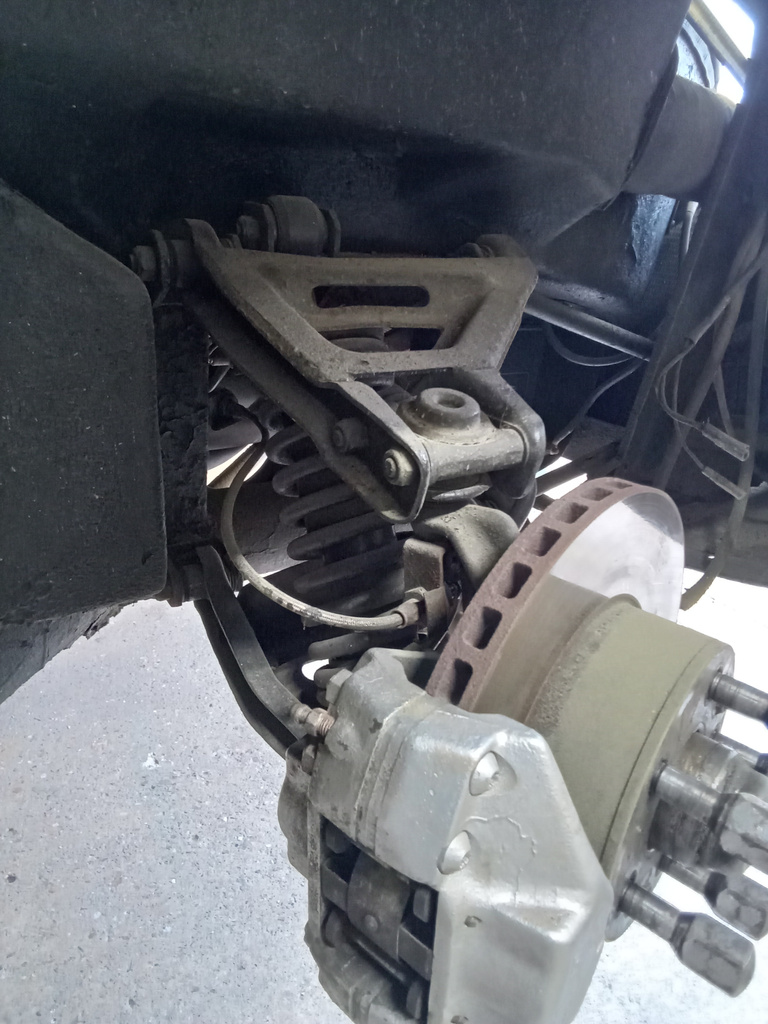
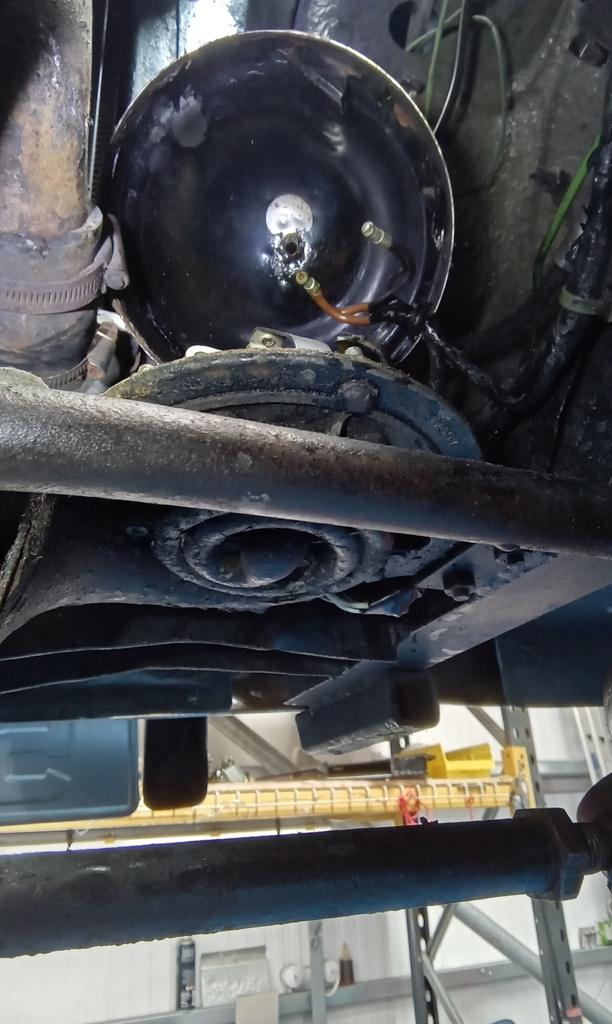
Our technician Steve has been working on the 1973 Dino 246GTS at our Pettistree workshop. At this point he is beginning to strip down the suspension of the car to be inspected, so with that he has taken many reference photos for the car when it goes into the finish room for reassembly.

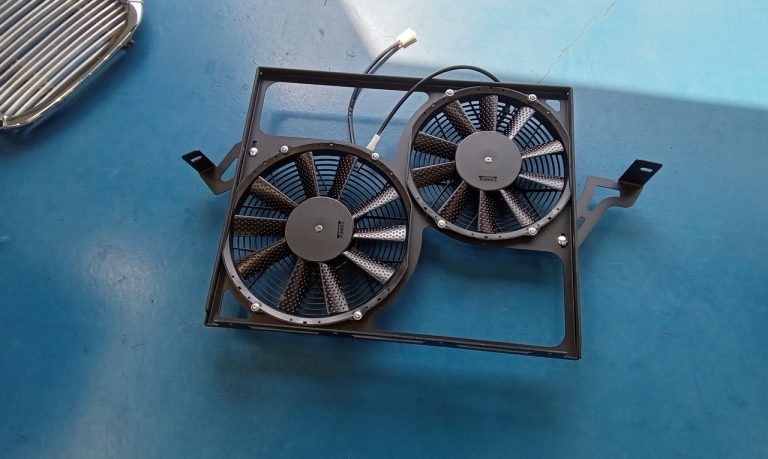
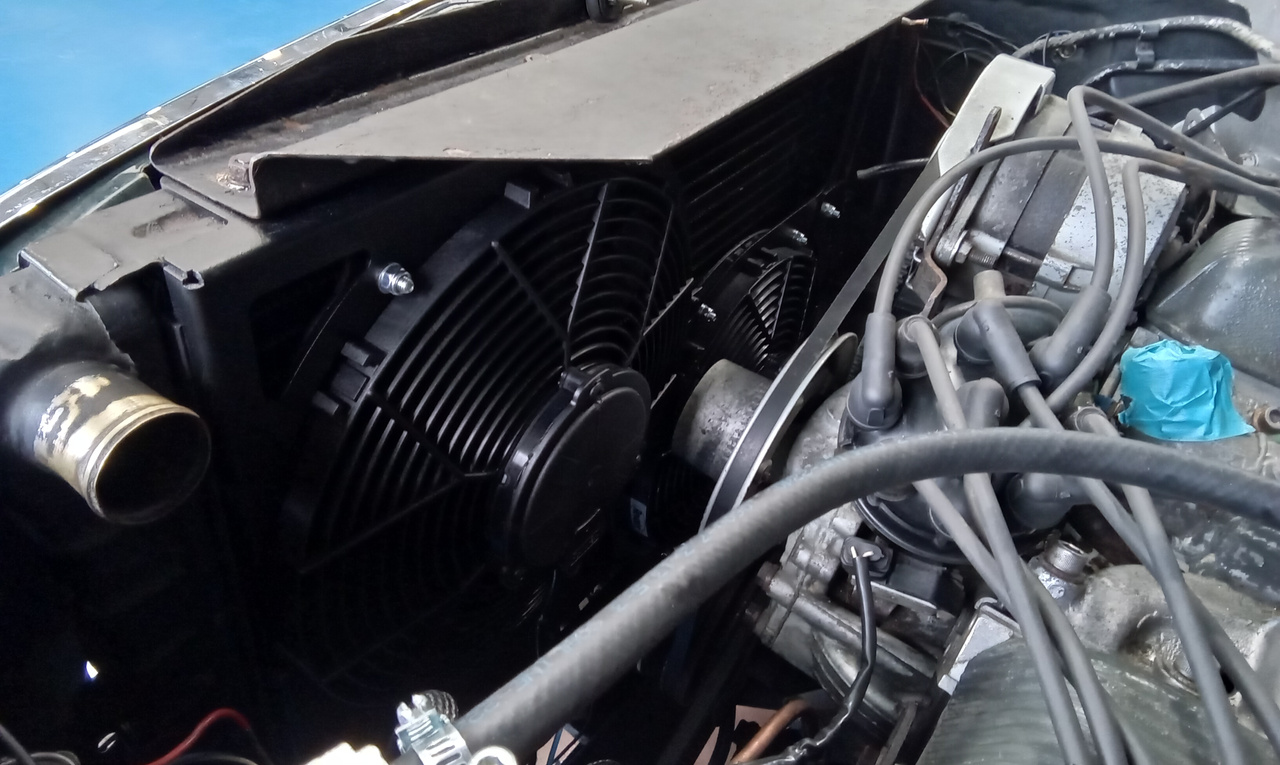
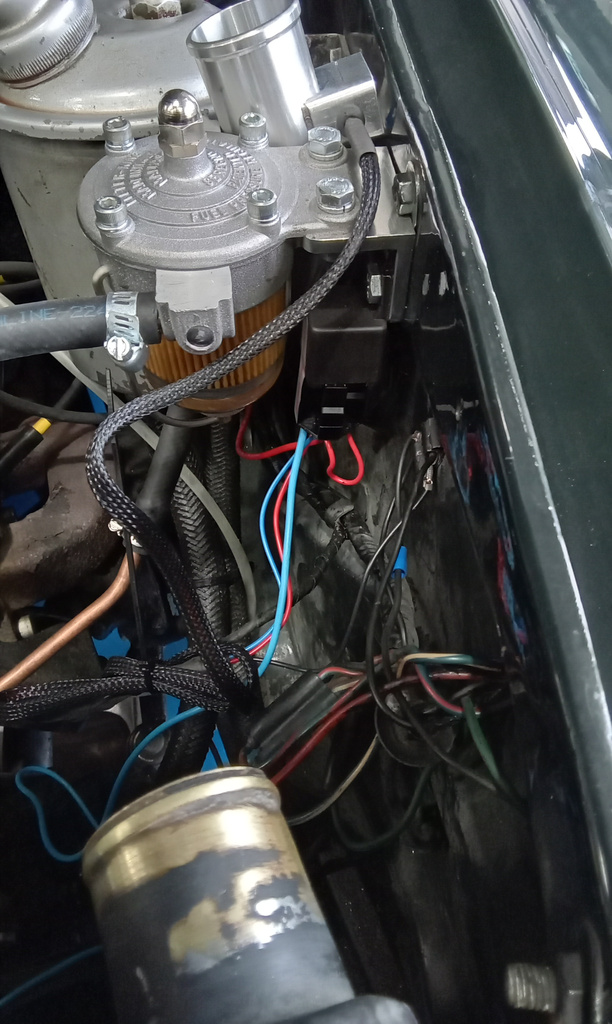
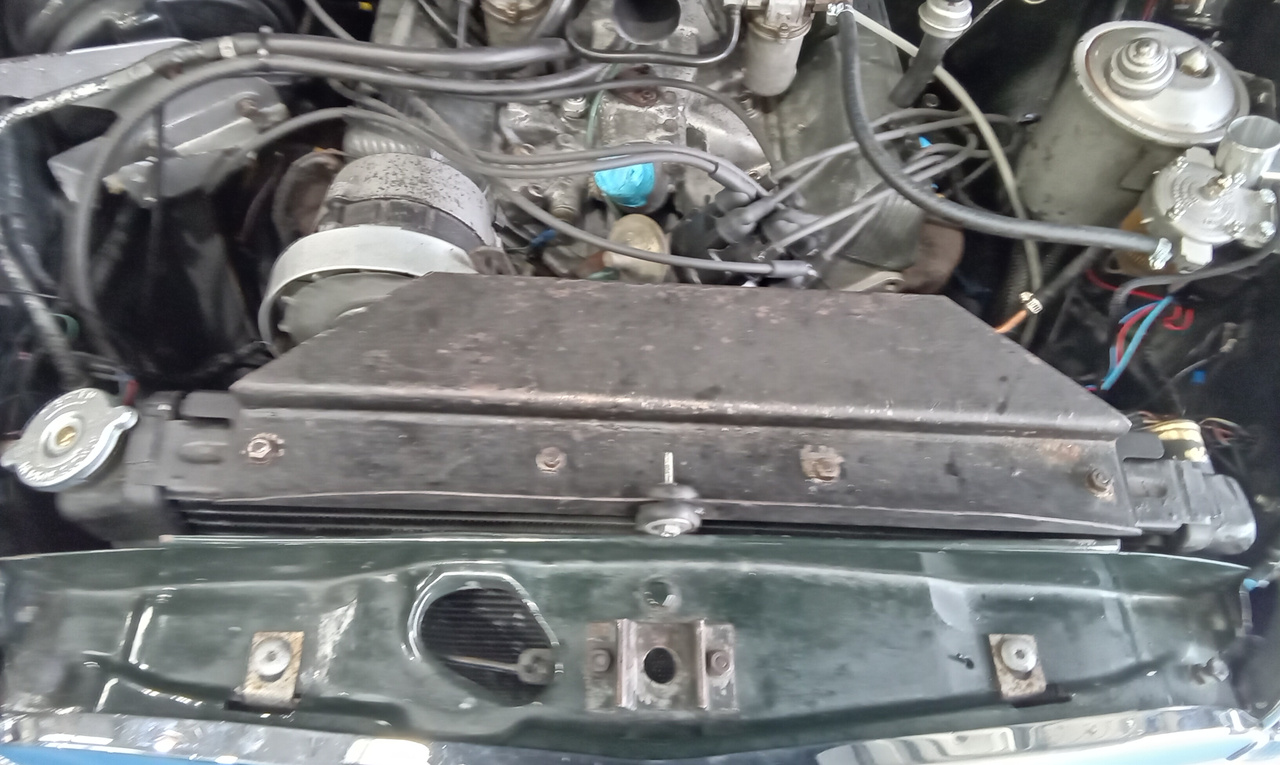
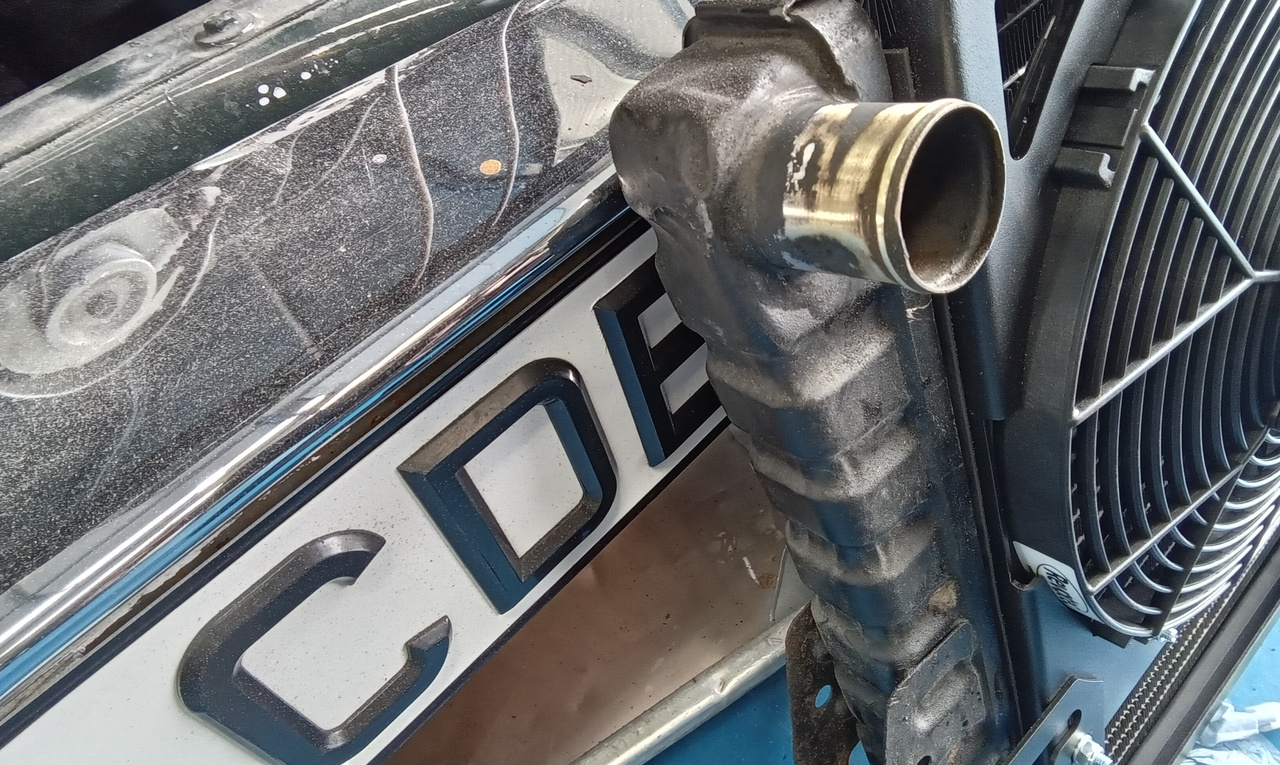
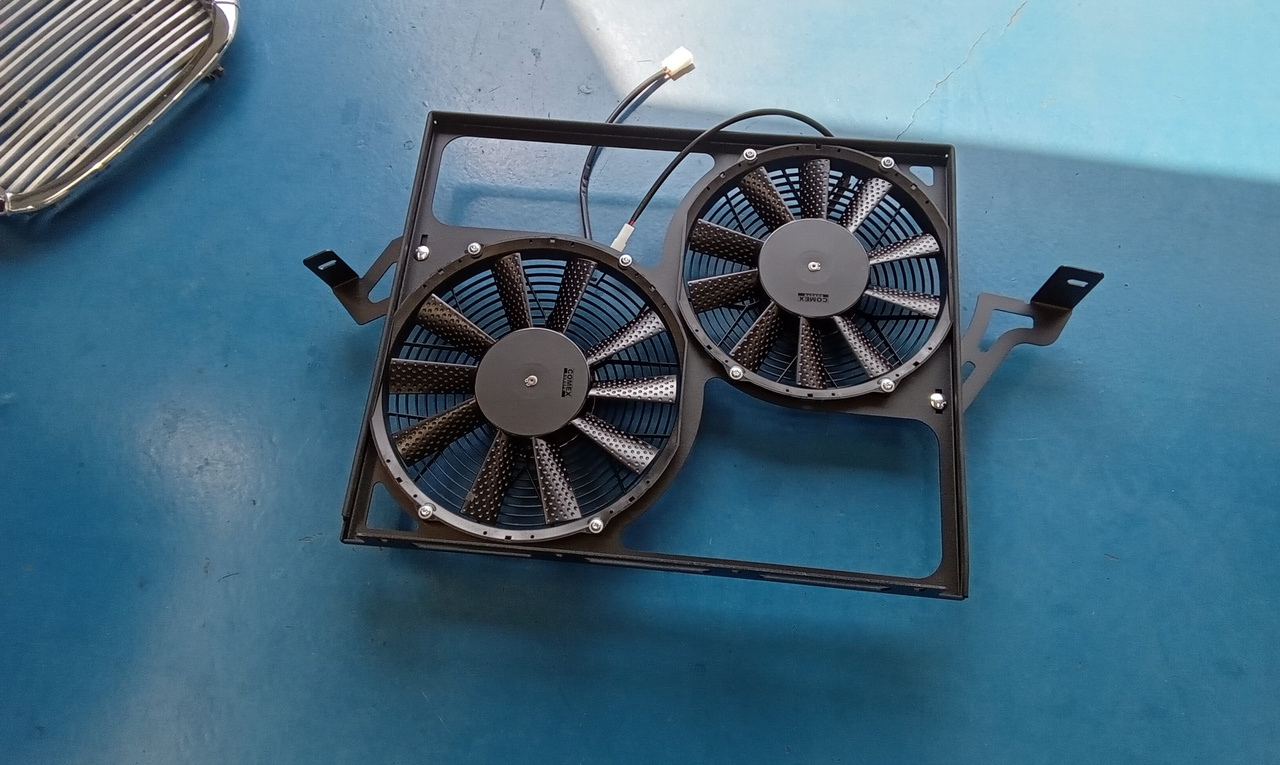
Jon has also been working on a few upgrades to the 1973 Rover P5 Coupe whilst its in our workshops.
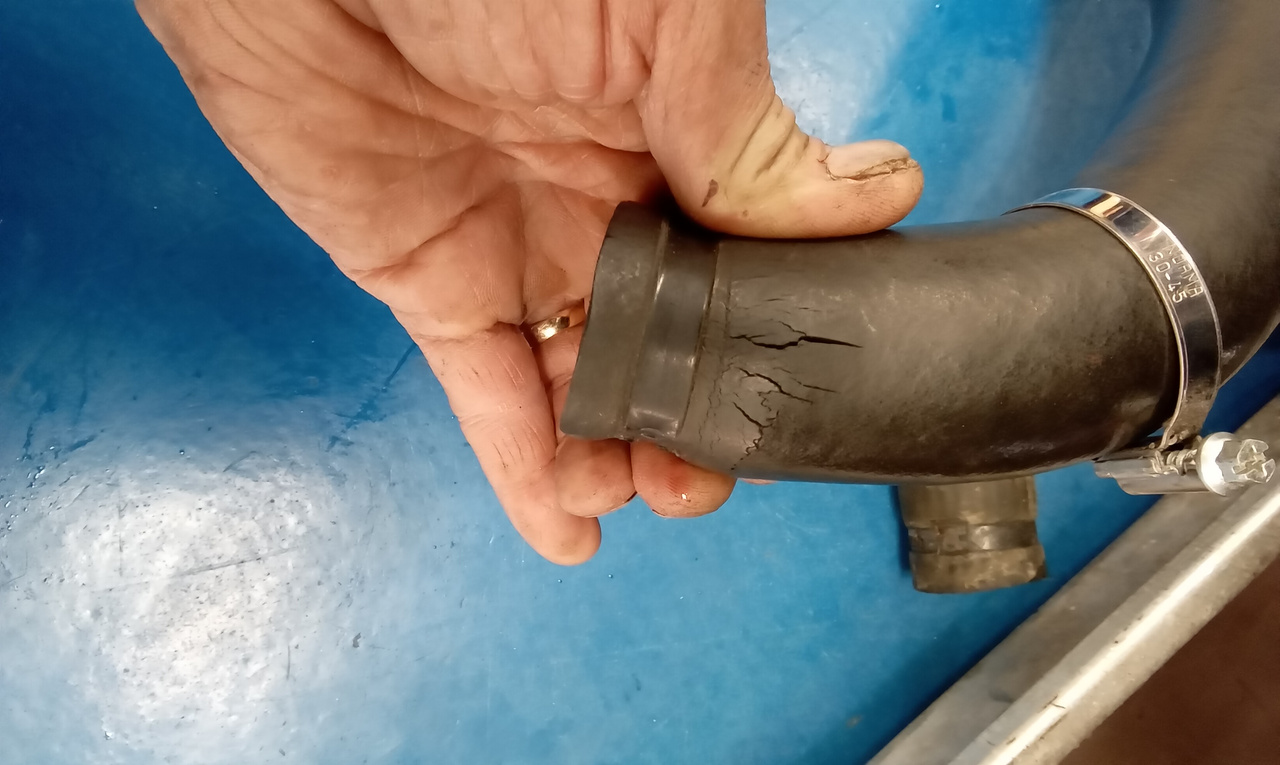
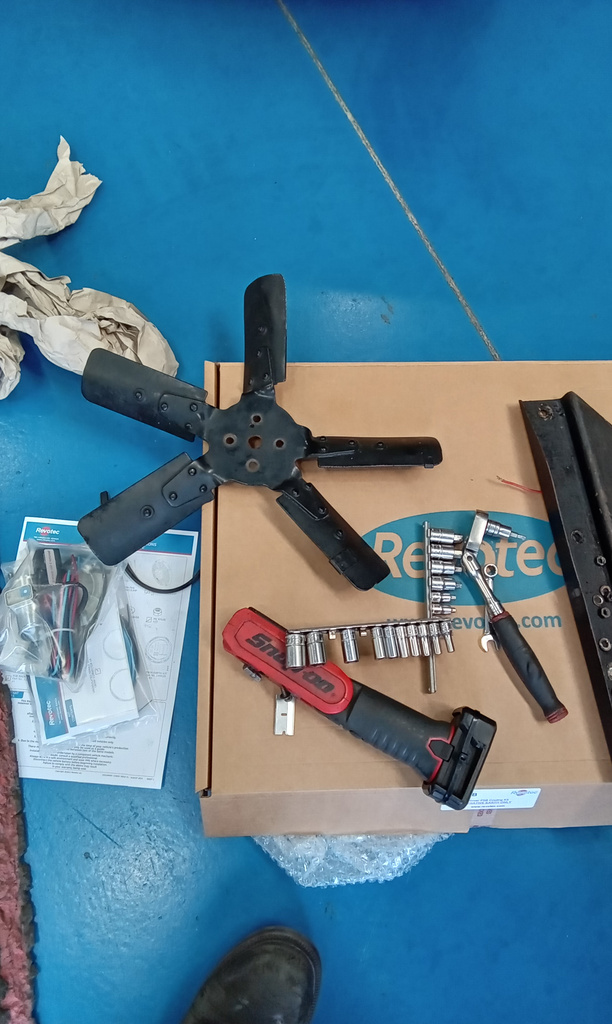
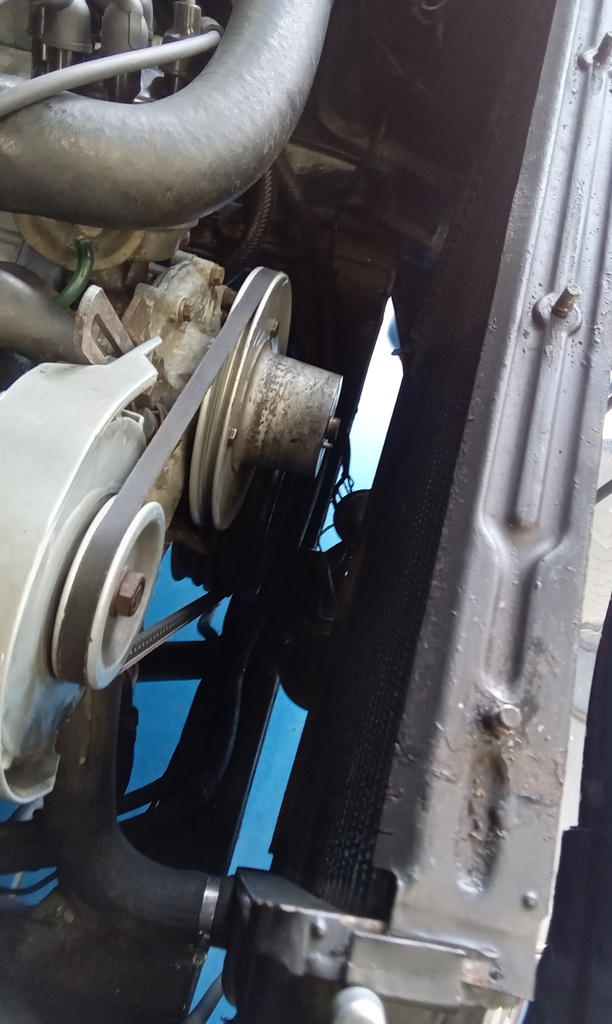
This time, he’s been fitting electric pull through fans to the radiator of the car to help with cooling that glorious 3.5-litre V8. Jon built up the new fans onto the cage to make sure that they fit correctly and there was no obstructions for wiring or the fans themselves. Then, he carefully removed the radiator which had previously been drained, with the hoses already being on the job sheet to be replaced he still took his time to make sure that everything was checked and inspected at every stage.
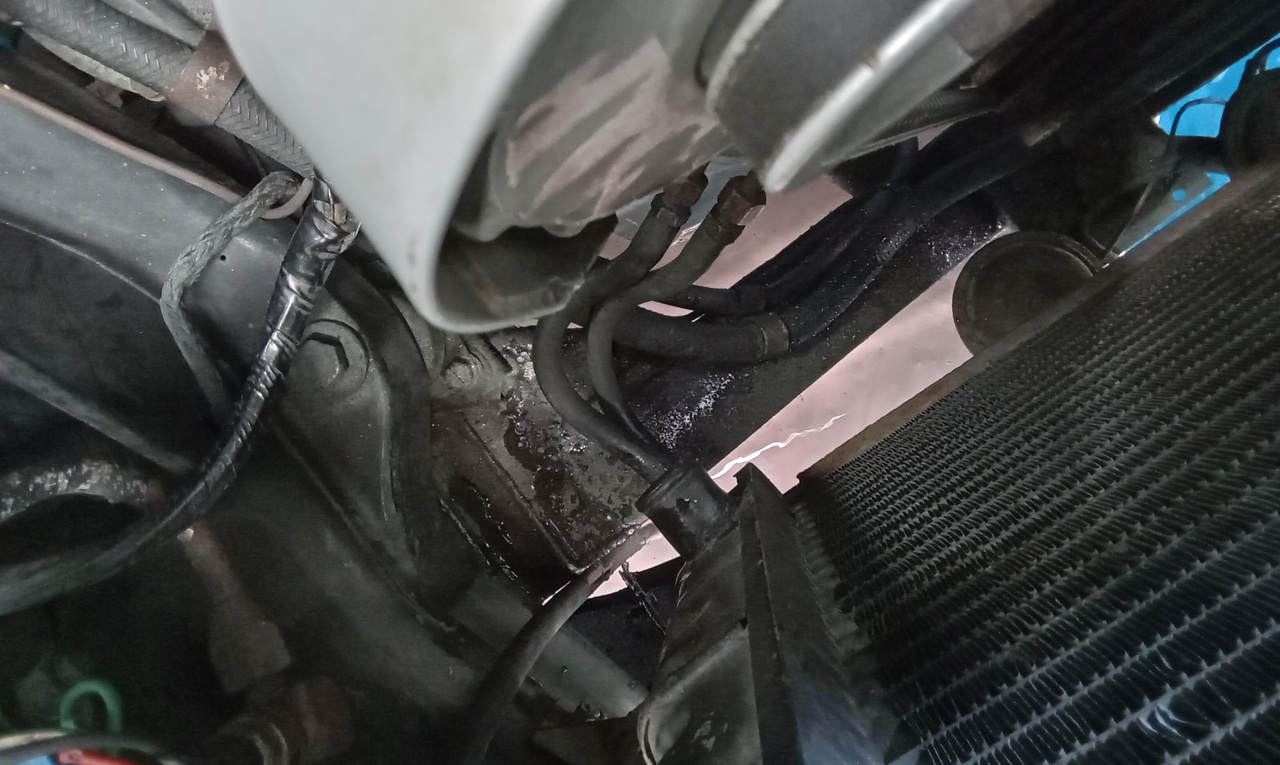
Whilst the radiator was out of the car, it also gave Jon access to look into why the horn on the car wasn’t working. Power to the unit was correct so Jon traced it back to an earthing issue on the steering wheel, which he fixed. Then, he mounted the new fan cage to the radiator before carefully putting the whole assembly back into the nose of the classic Rover. He soldered and secured the connectors for the fans in place before mounting the relay into the inner wing for easy access.

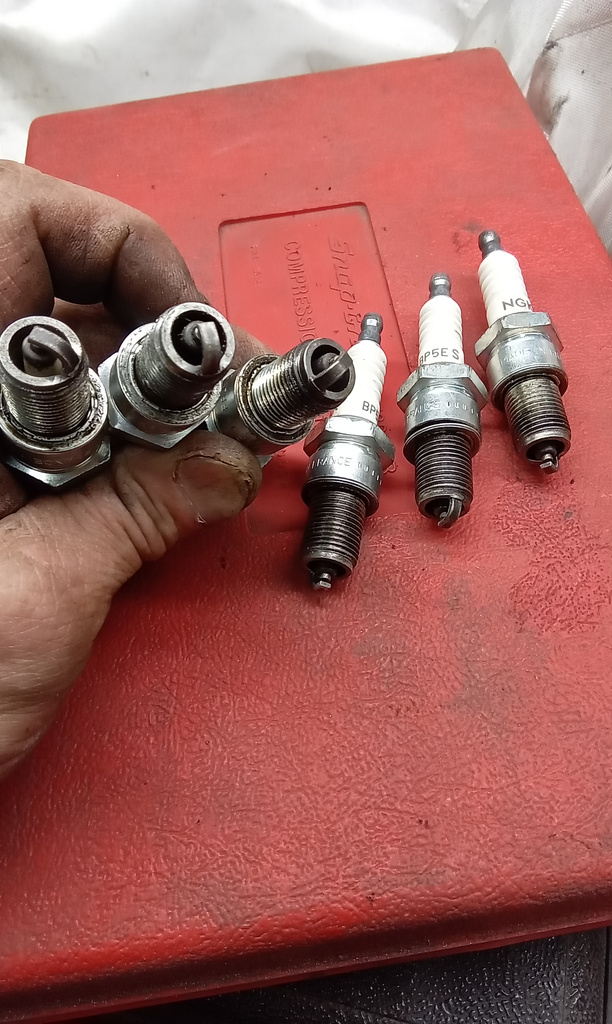
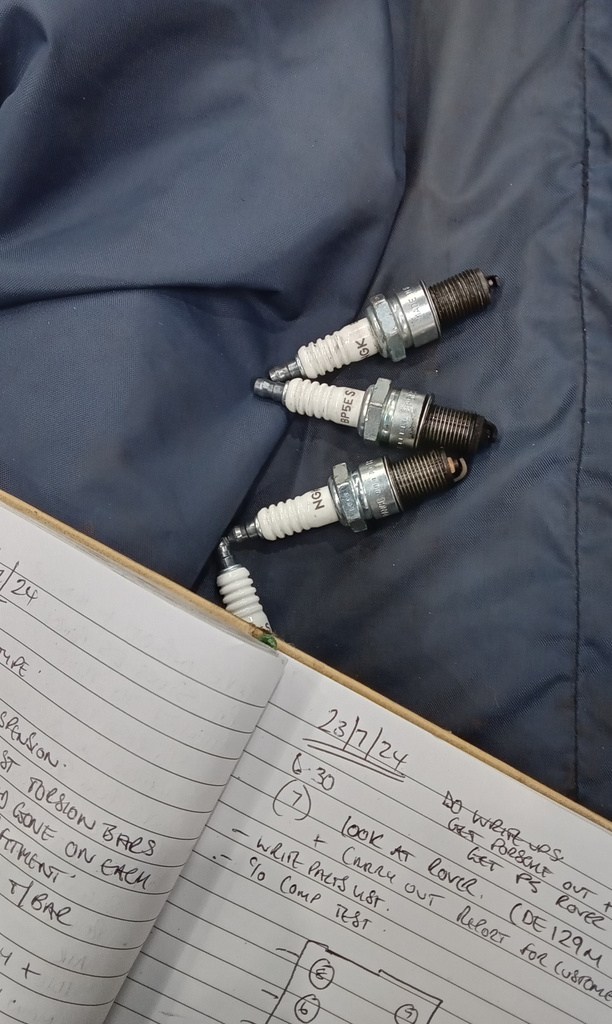
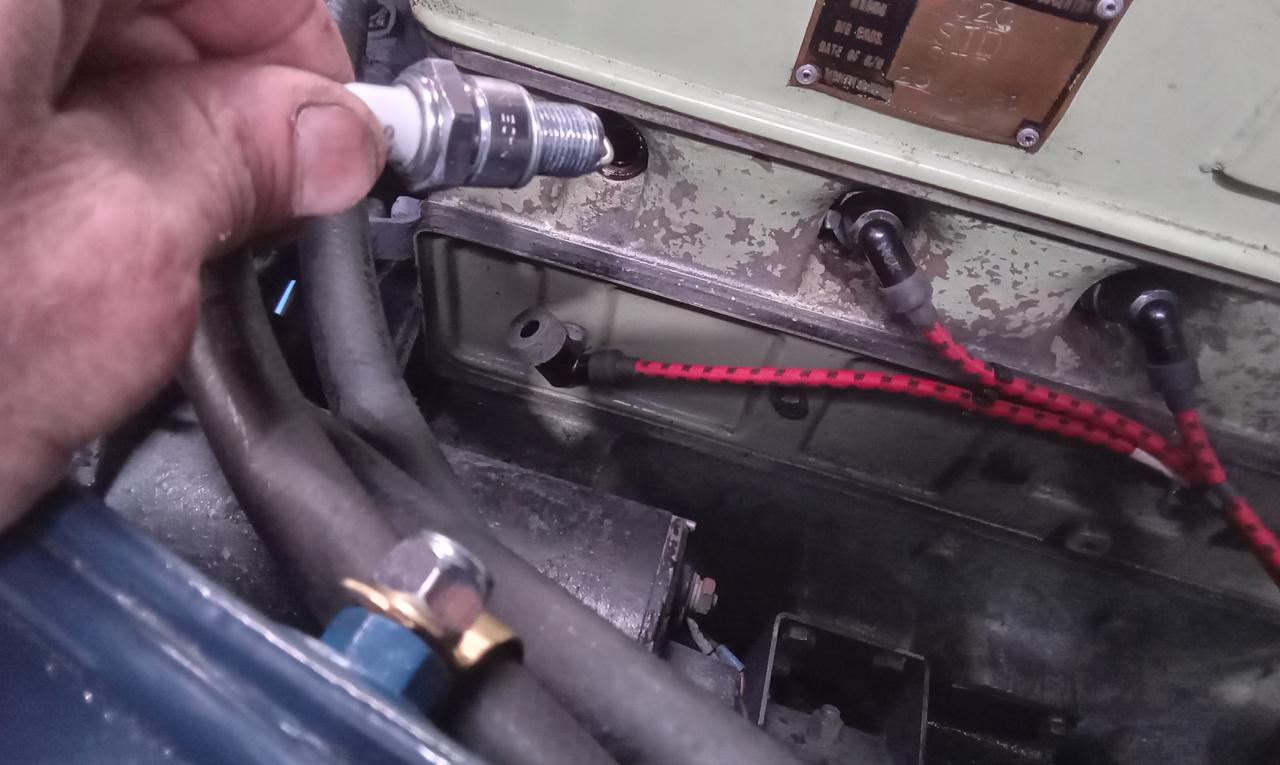
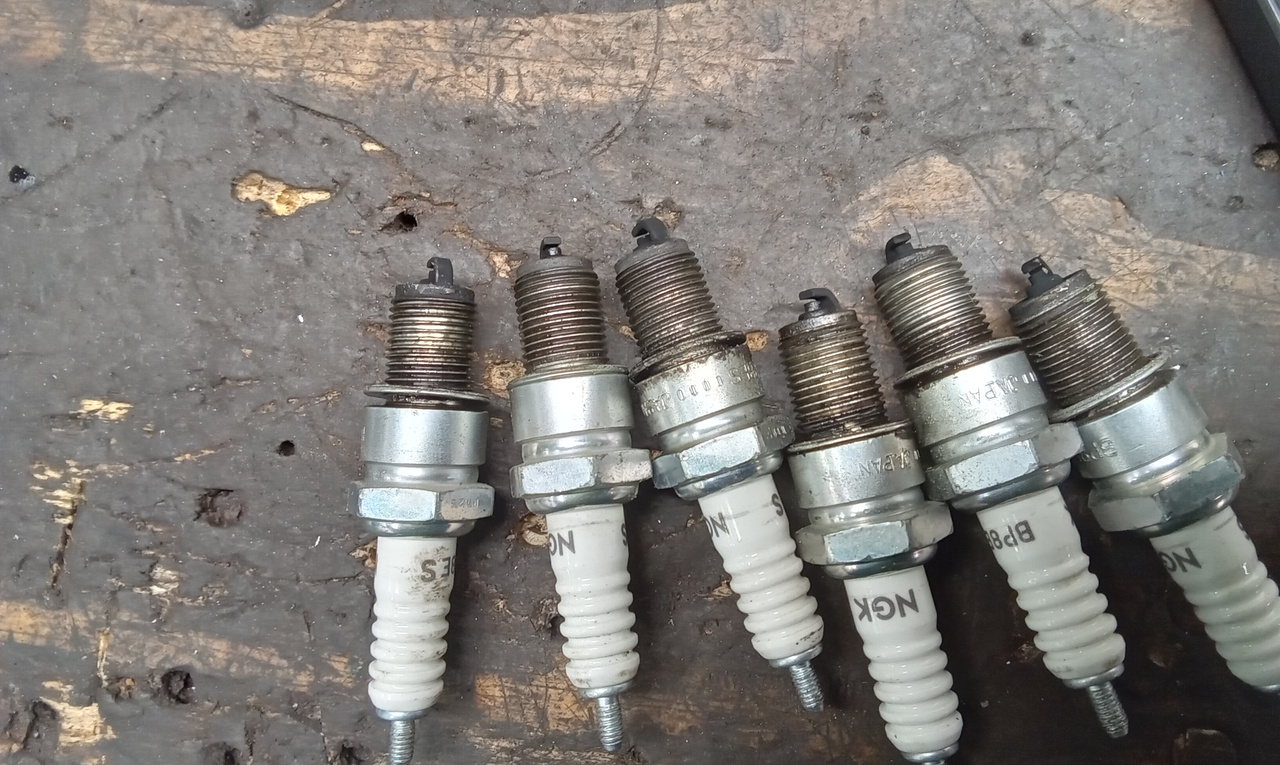
The workshop team at Bridge Classic Cars are continuing to get our 1973 Porsche 914 running as good as it looks. Jon has been tuning the car through multiple road tests to get it to behave correctly in all different conditions – after making some adjustments, he noticed the car had a slight misfire. He traced this back to cylinder 2 which was giving off a weak spark and narrowed it down further to a fouled plug. So, a whole new set has been ordered for the aircooled flat-four.

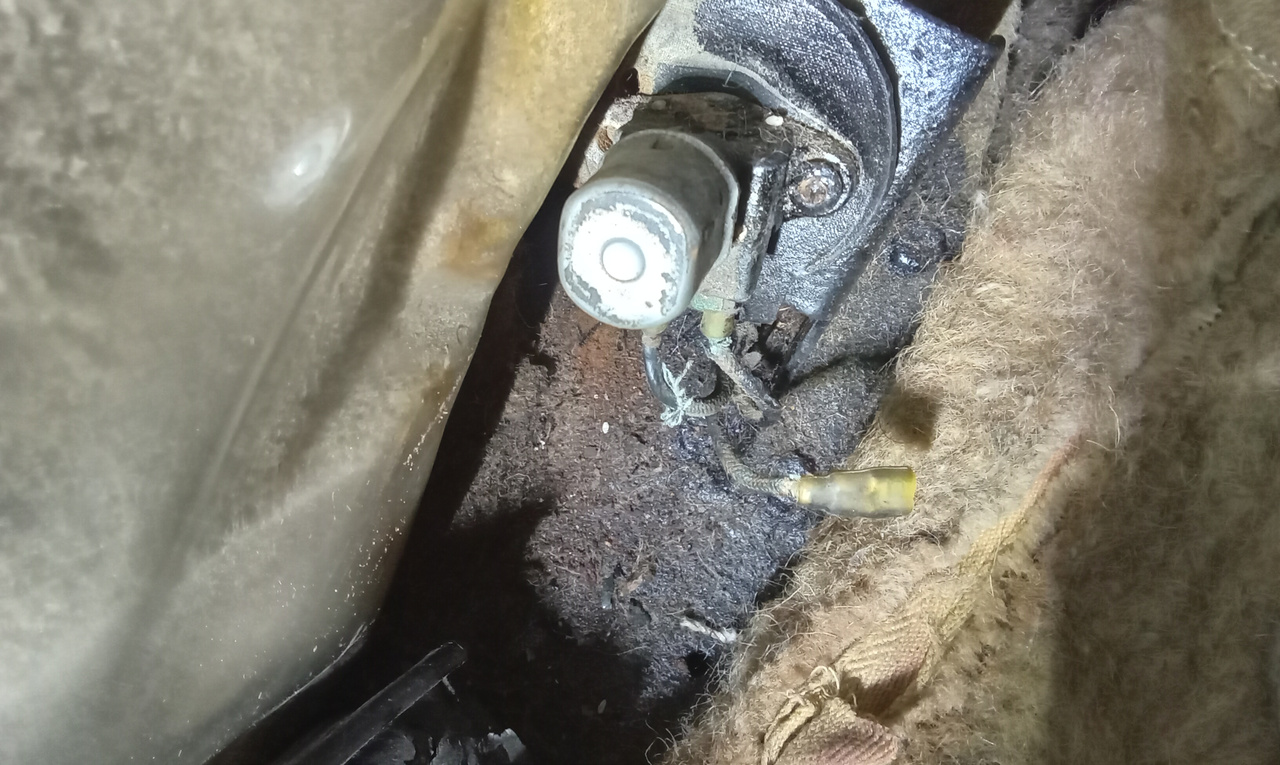
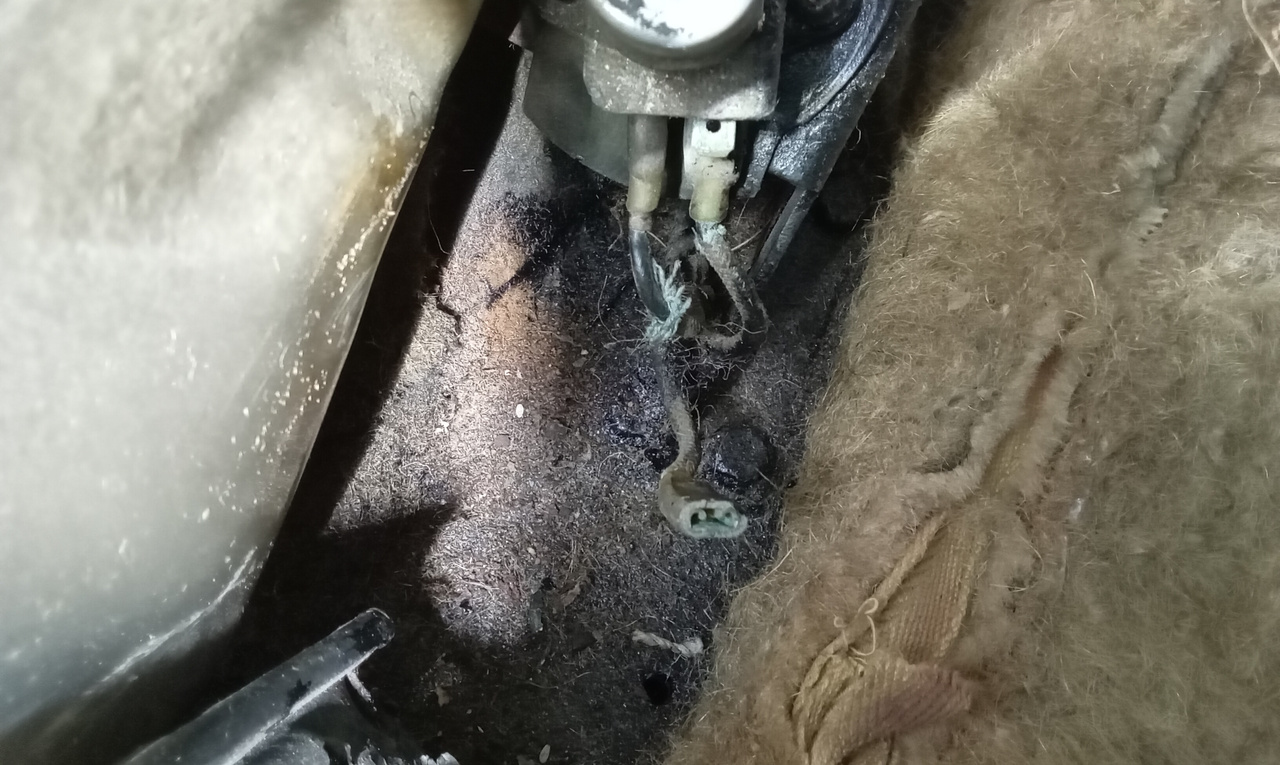
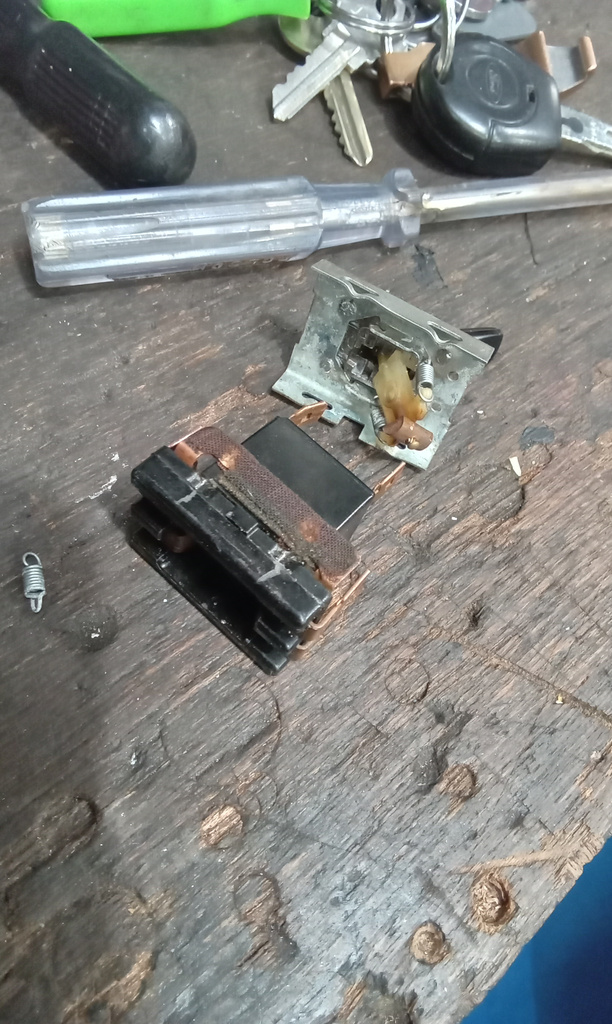
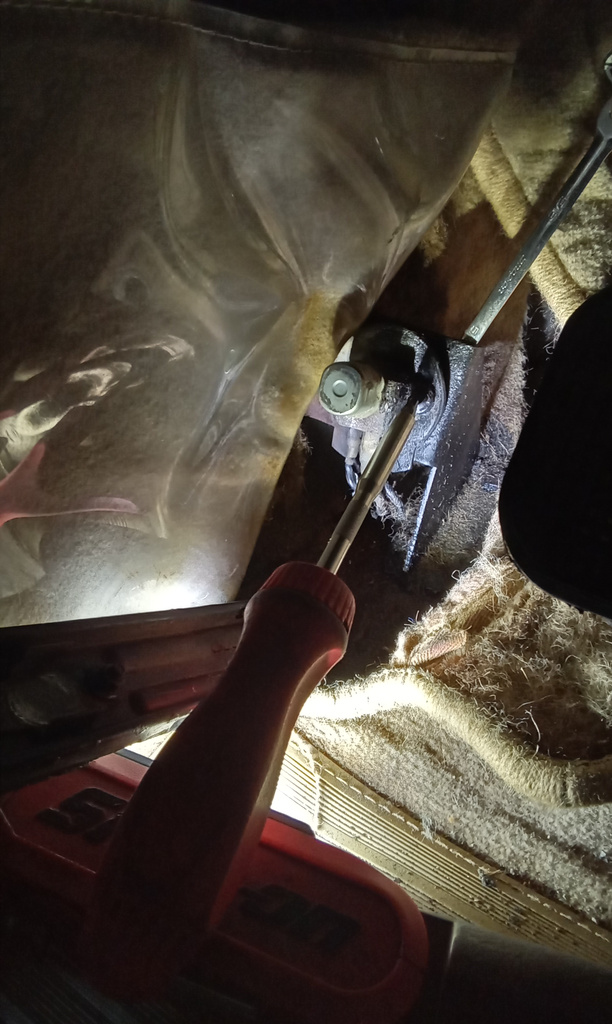
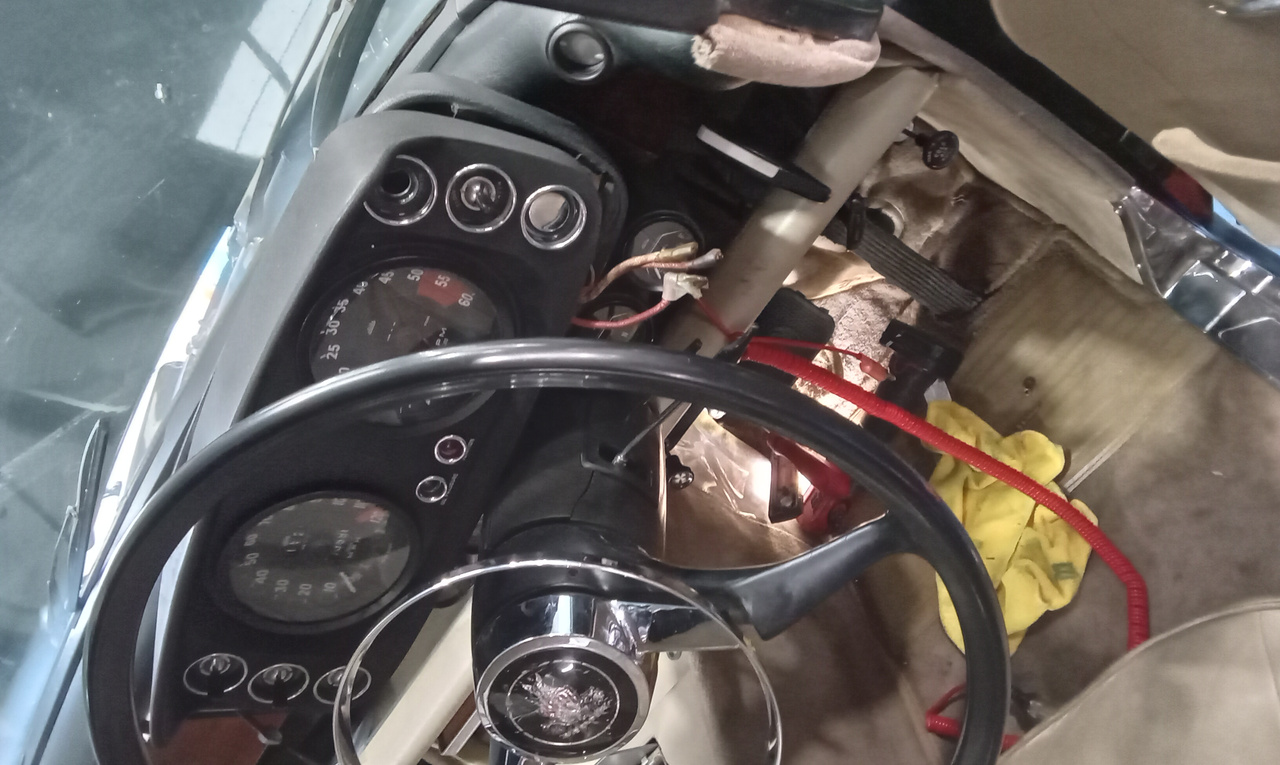
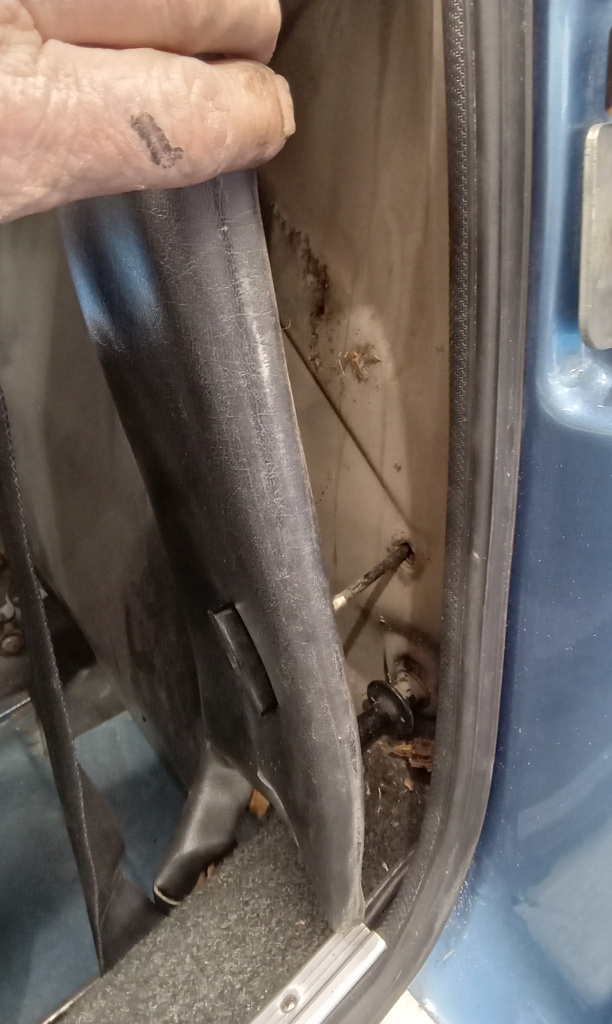
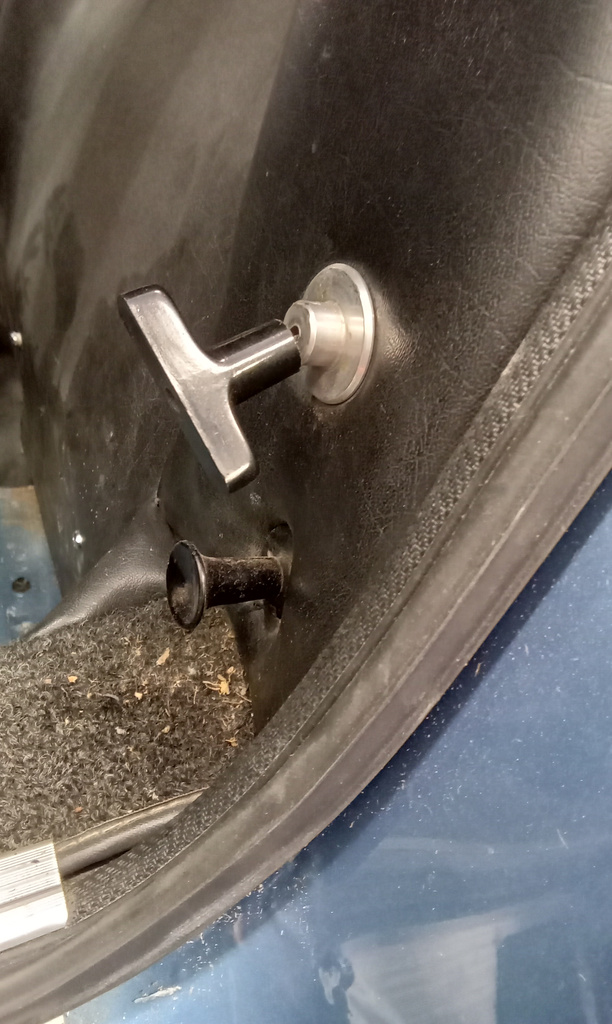
Our technician Jon has been working his way through the list of jobs on the 1973 Rover P5 Coupe which is in the Bridge Classic Cars workshop at our Pettistree site.
Here’s what Jon has been up to, ”Start repairs. Customer reported one rear door doesn’t lock. I found NSR door button doesn’t go down very far when locked but door is actually locked. Lift button and door opens, so leave for now. Lube all locks and handles. Adjust drivers door striker but door pins worn and door dropped slightly. Lights: Strip rear number plate and test bulbs. Replace 1 bulb. Check power supply ok and earth good. Clean contacts and test, ok, reassemble. Our indicator not working. Strip light and test bulb, ok. Trace wiring inside boot and found loom taped up and wires pulled out of connection. Strip loom. Reconnect indicator wire and swap side repeater wire from side light to indicator power and test both, ok. Reassemble. Repeat same process for NSR repeater. Swap wire from stop light feed and swap to indicator feed and test. Tape up looms. Investigate fuel gauge and temp gauges not working. Check fuel sender, short wiring and gauge still doesn’t work. Remove gauge and test, ok. Both gauges run through voltage stabiliser. Drain coolant and remove radiator.”

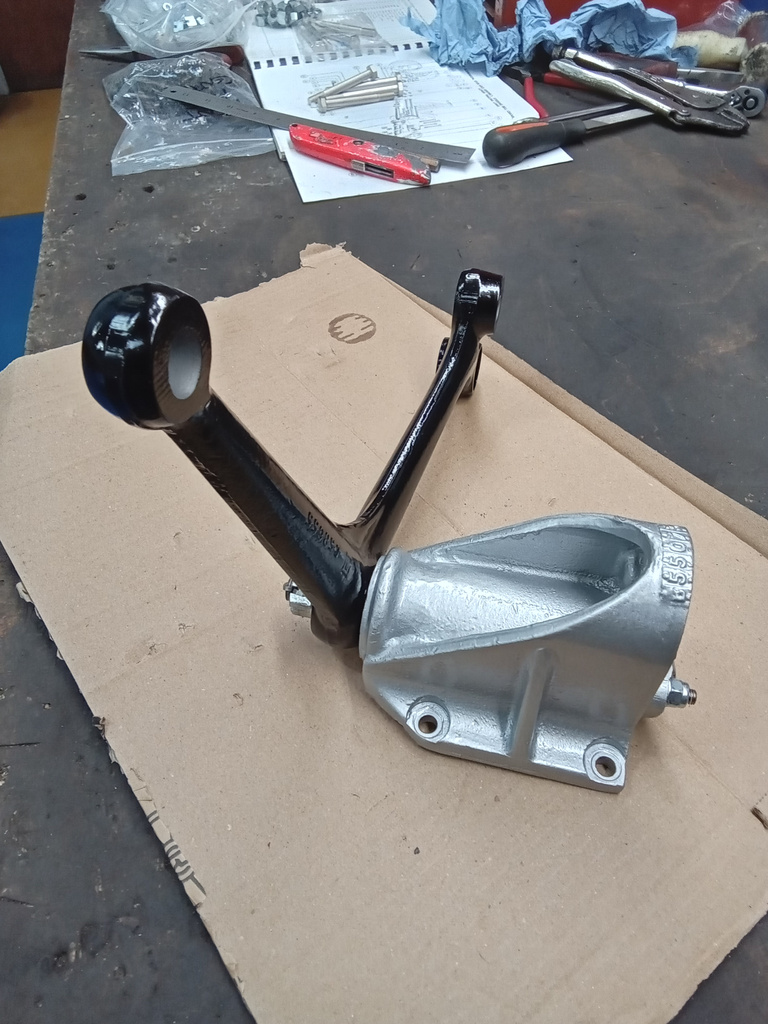
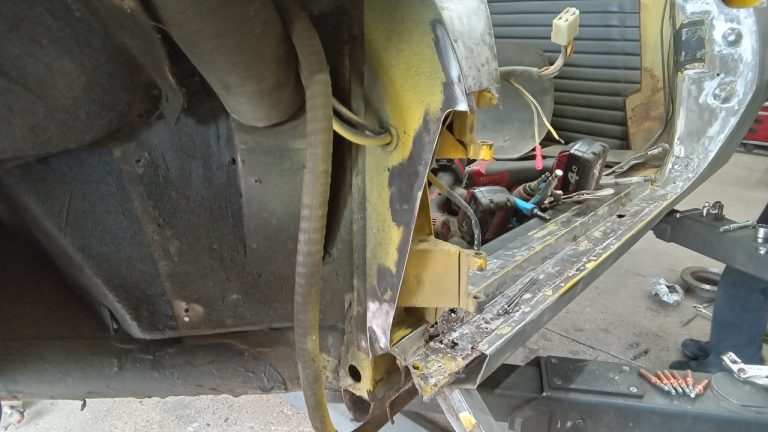
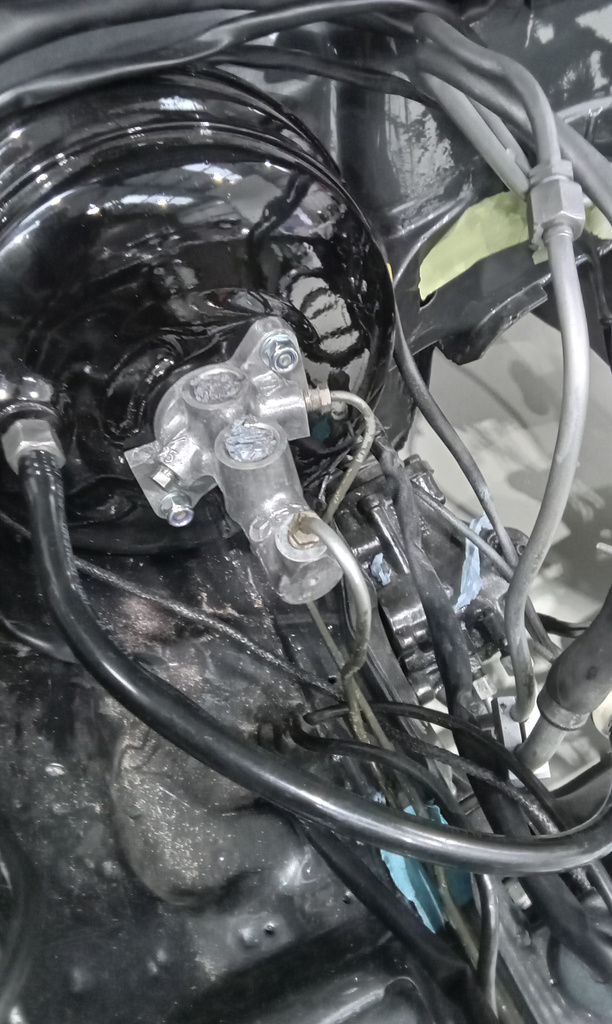
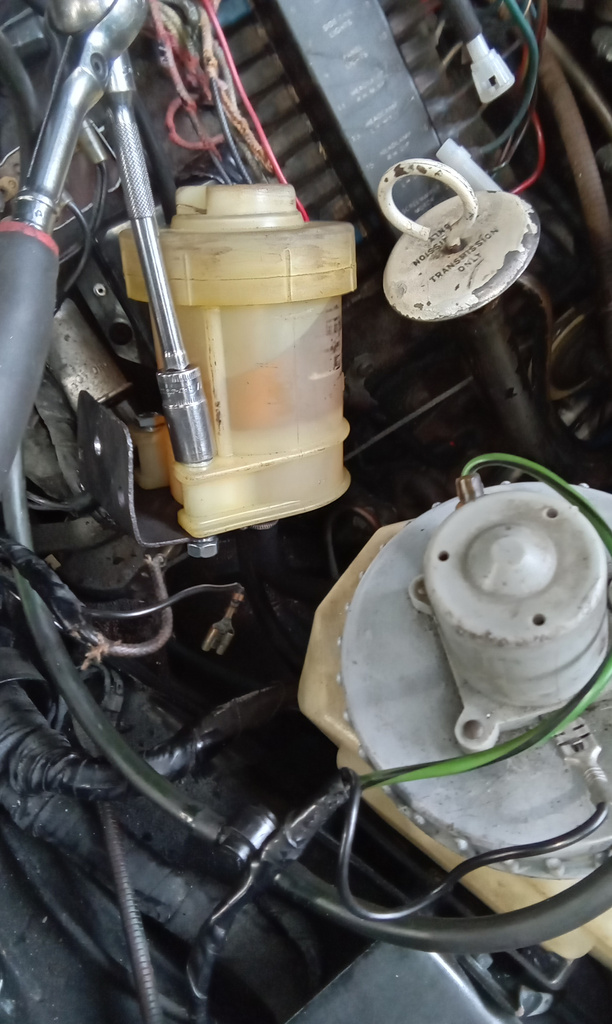
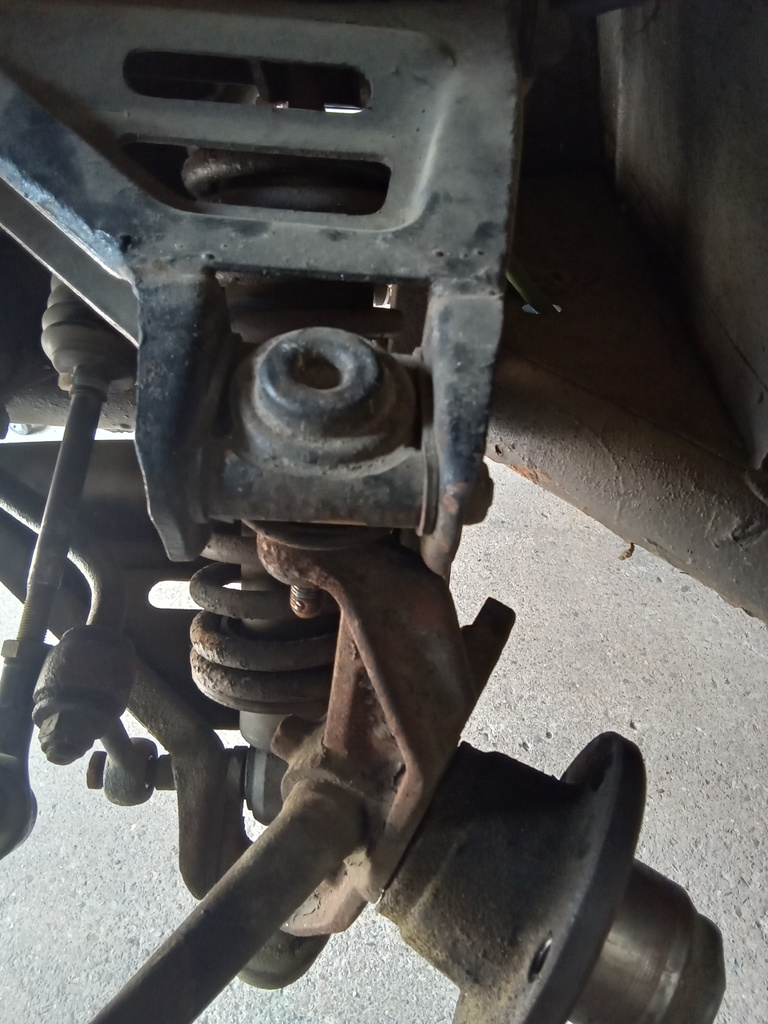
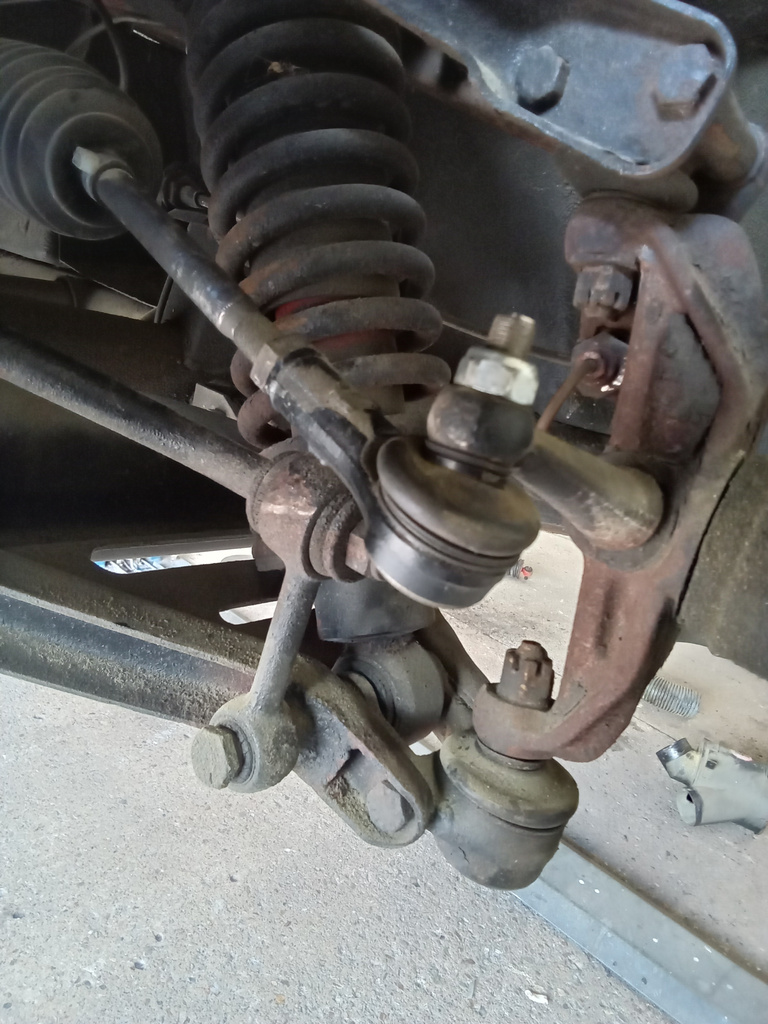
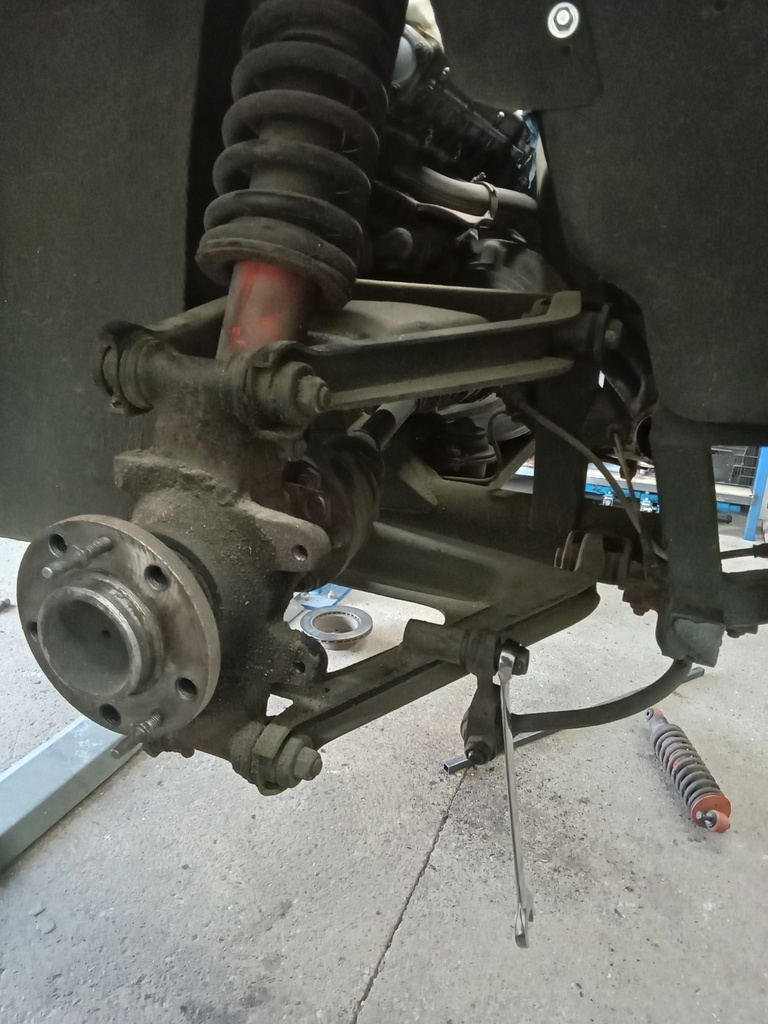
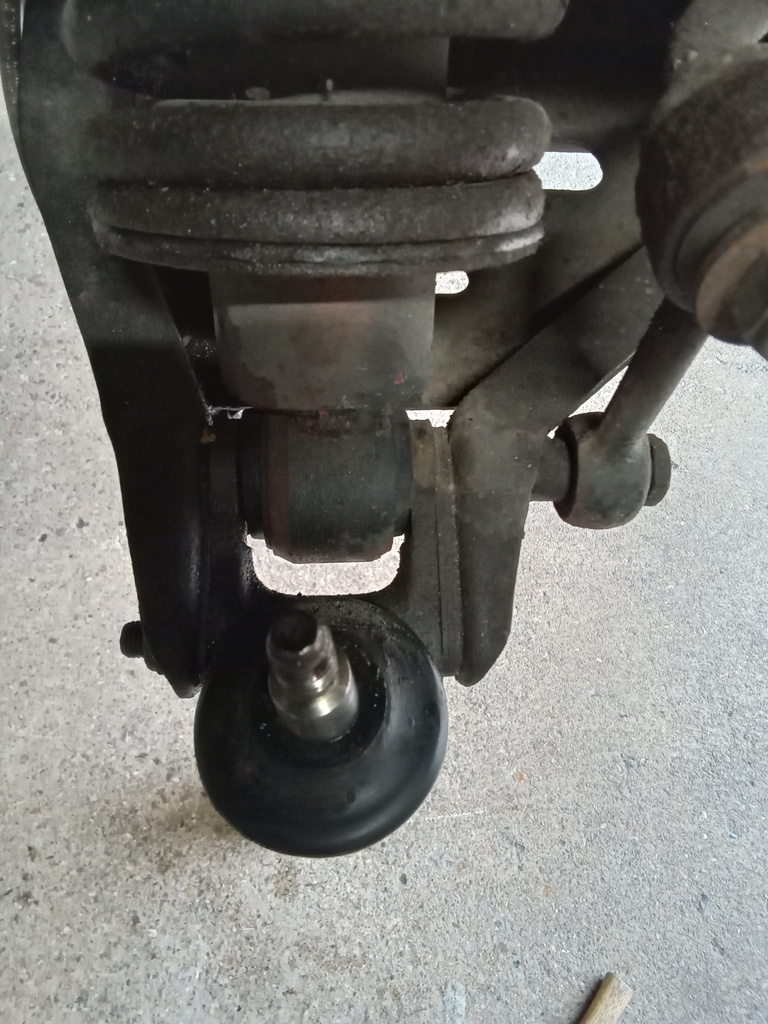
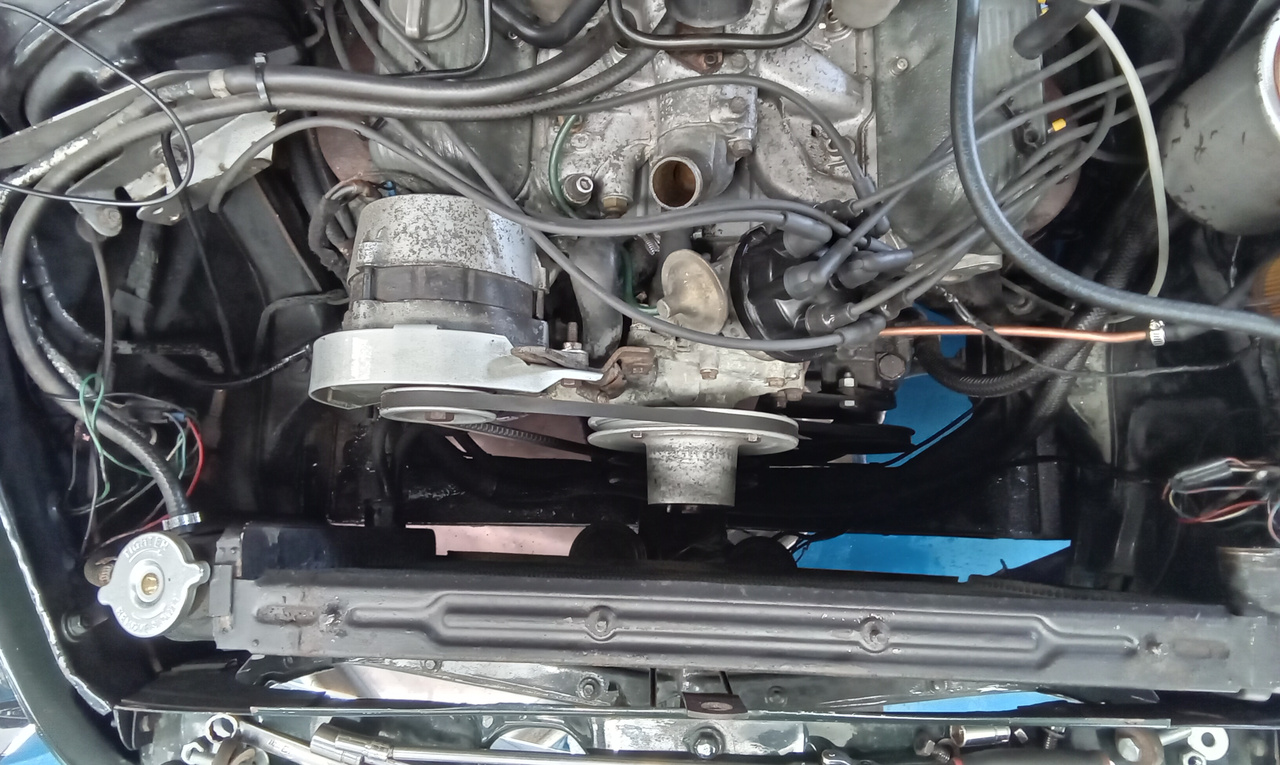
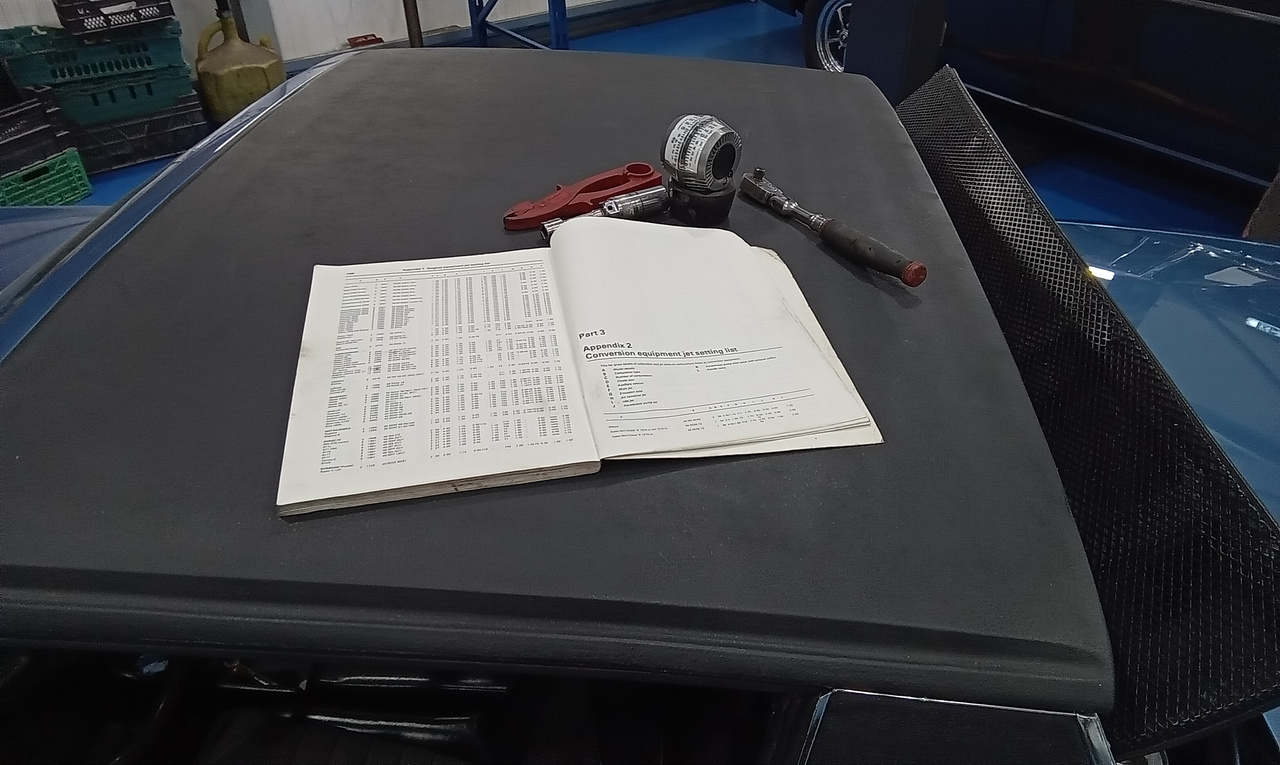
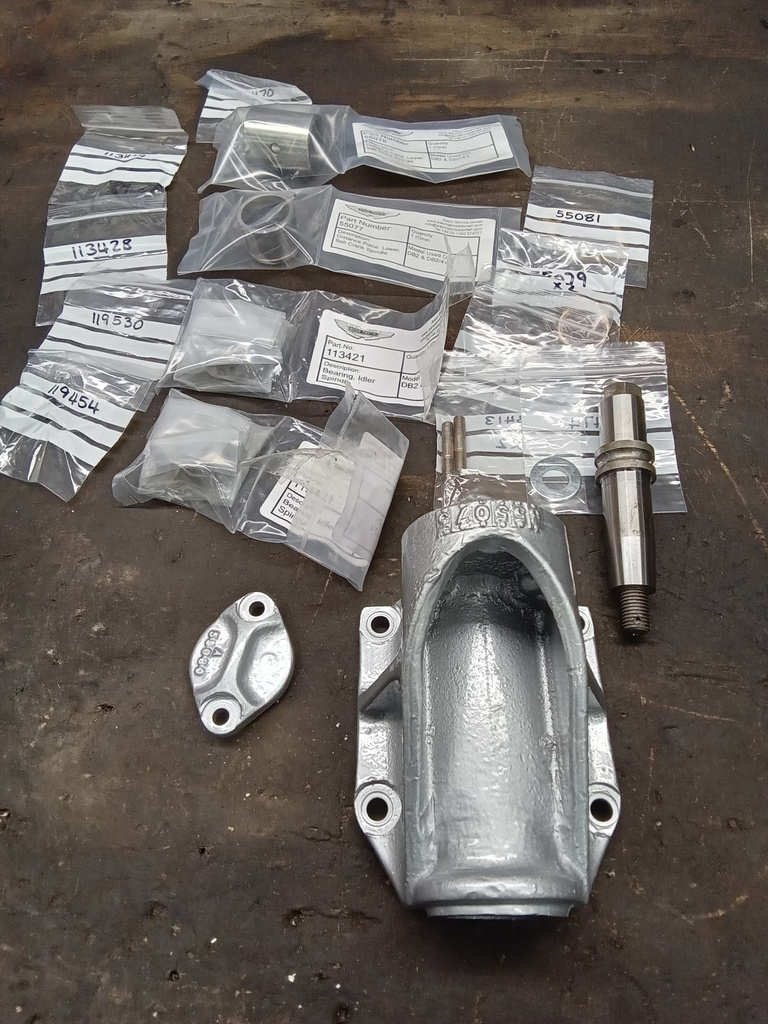
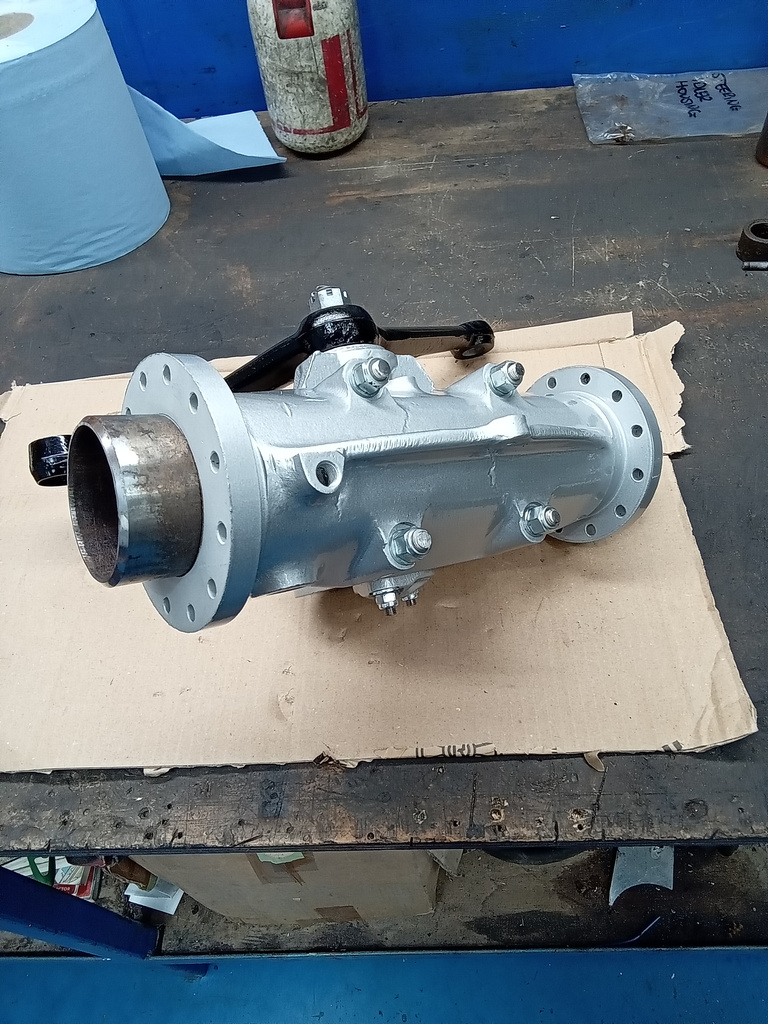
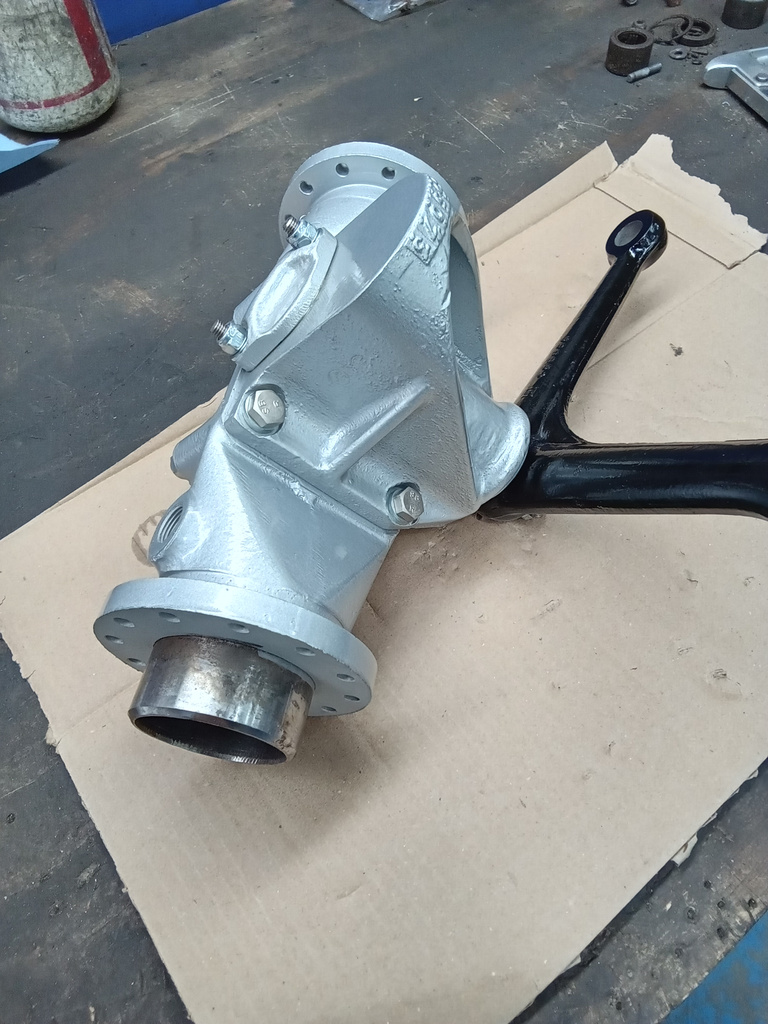
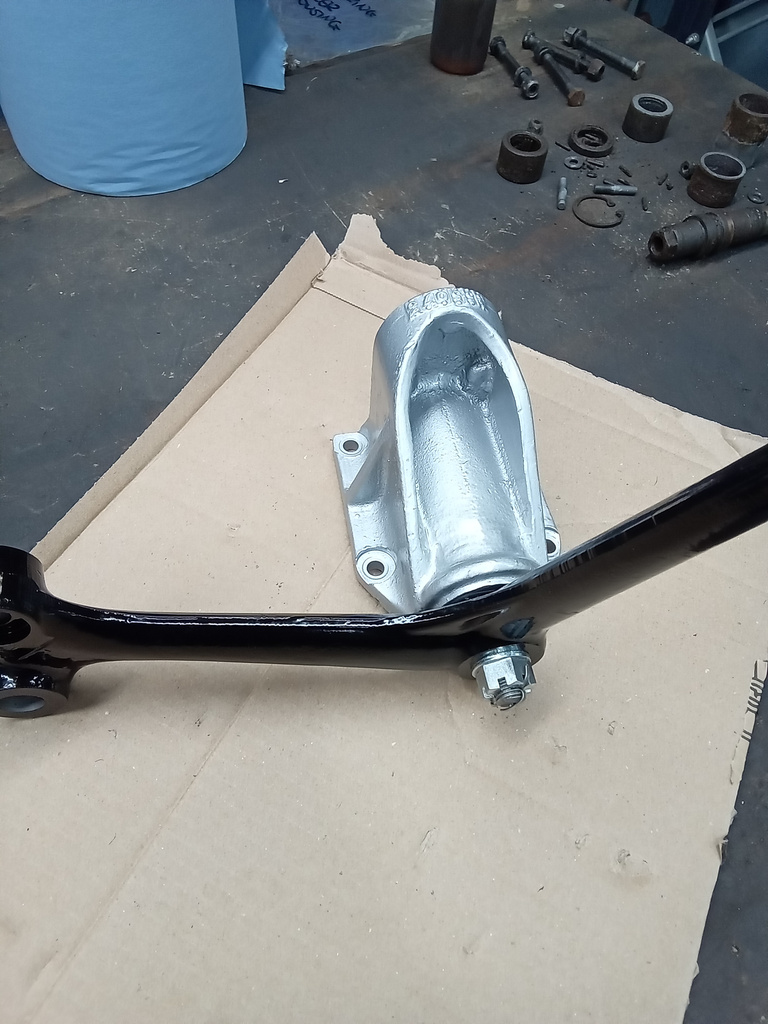
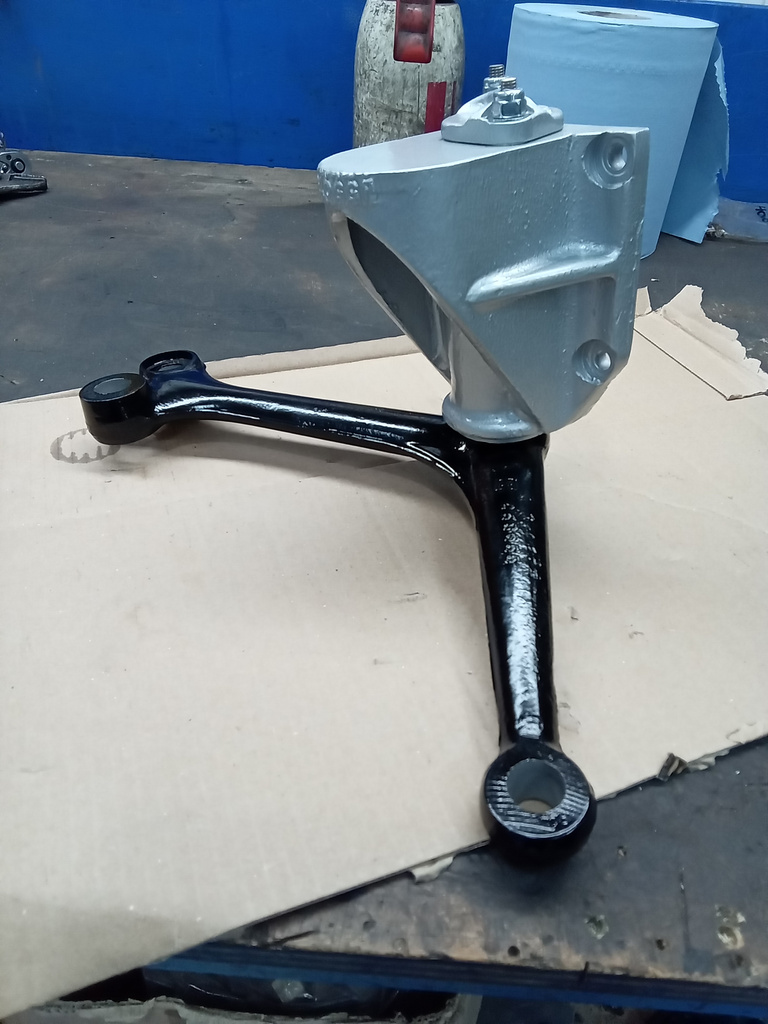
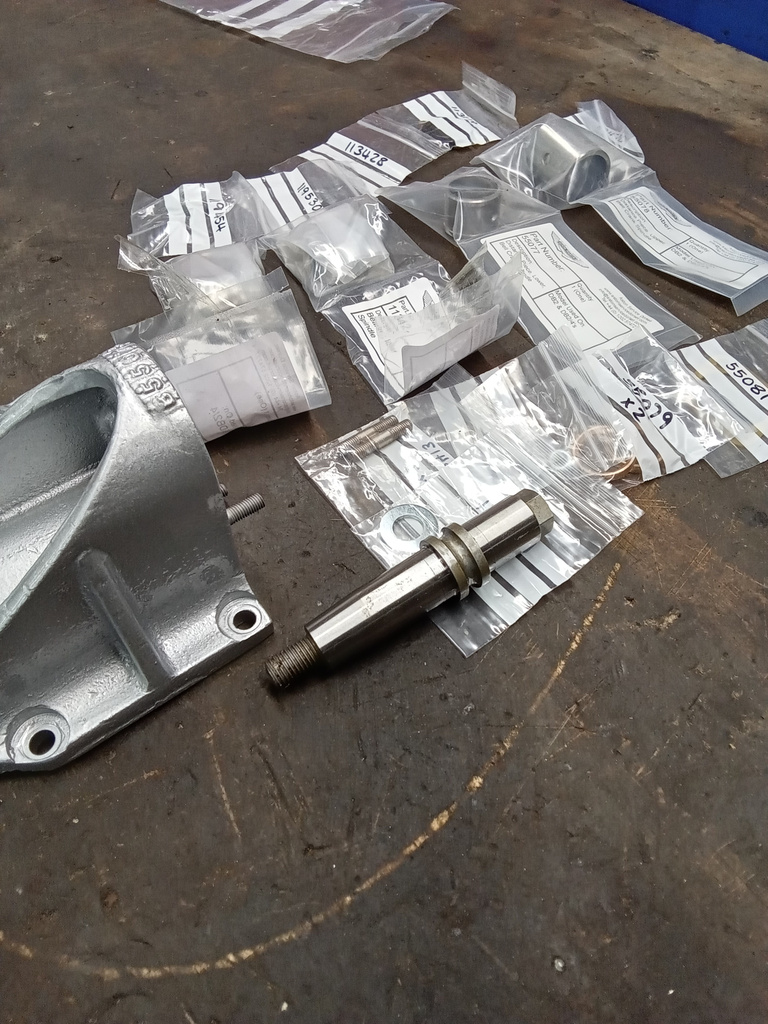
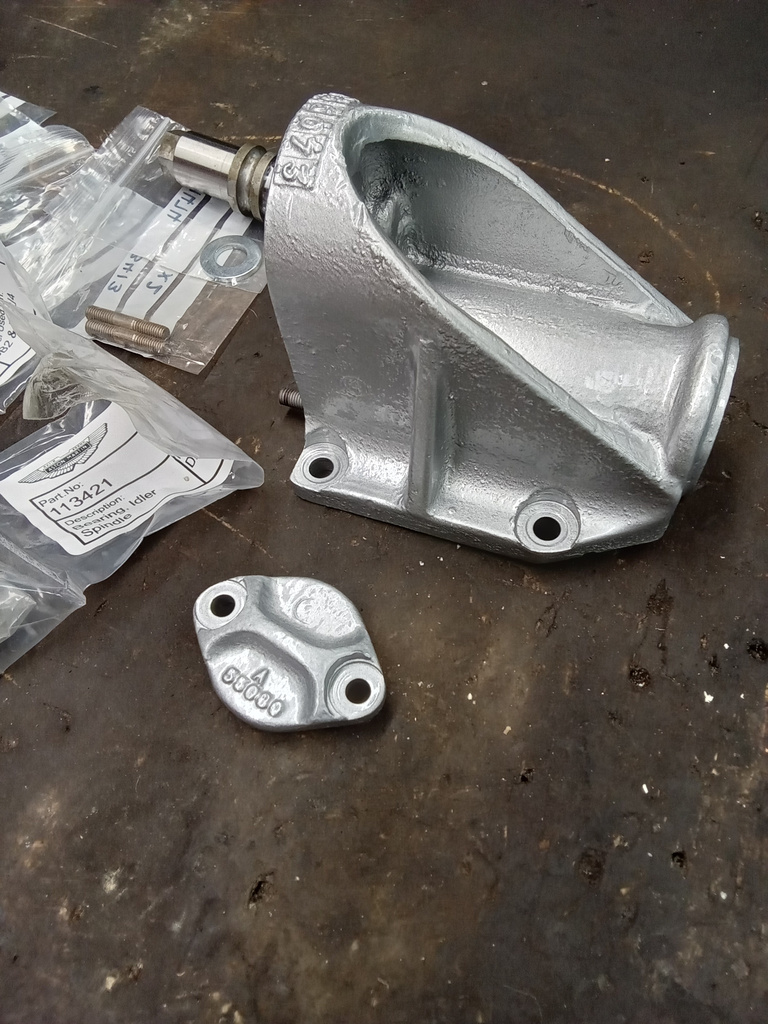
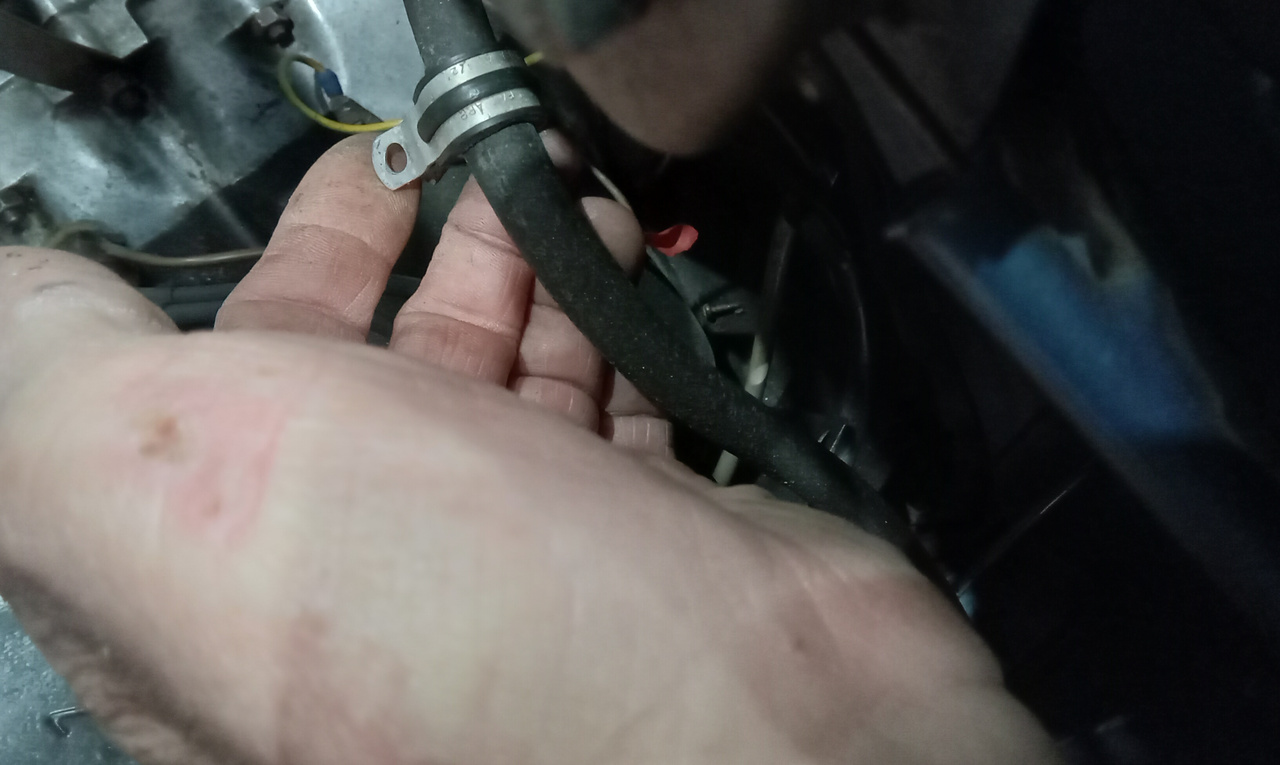
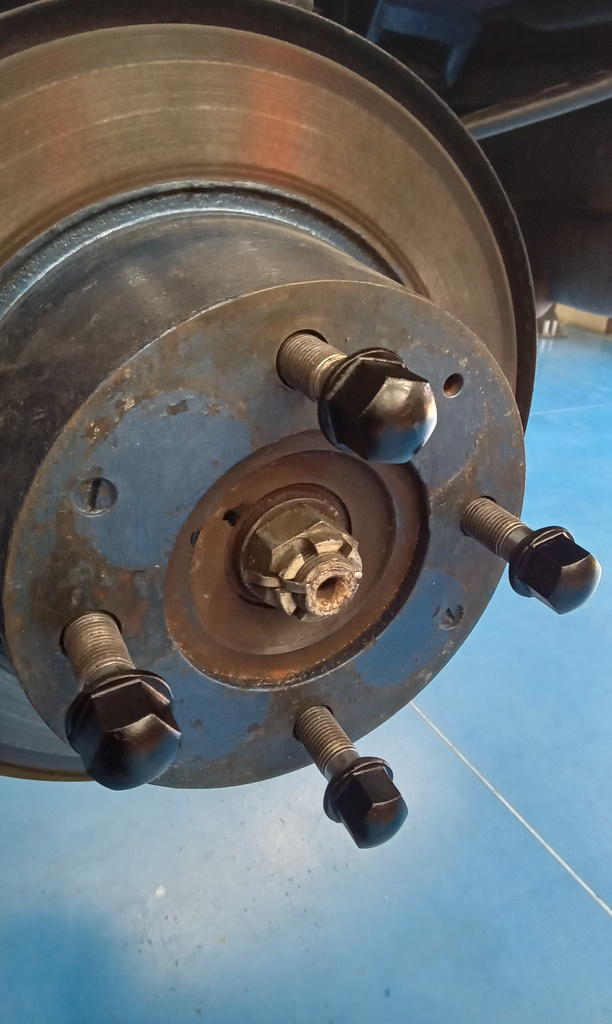
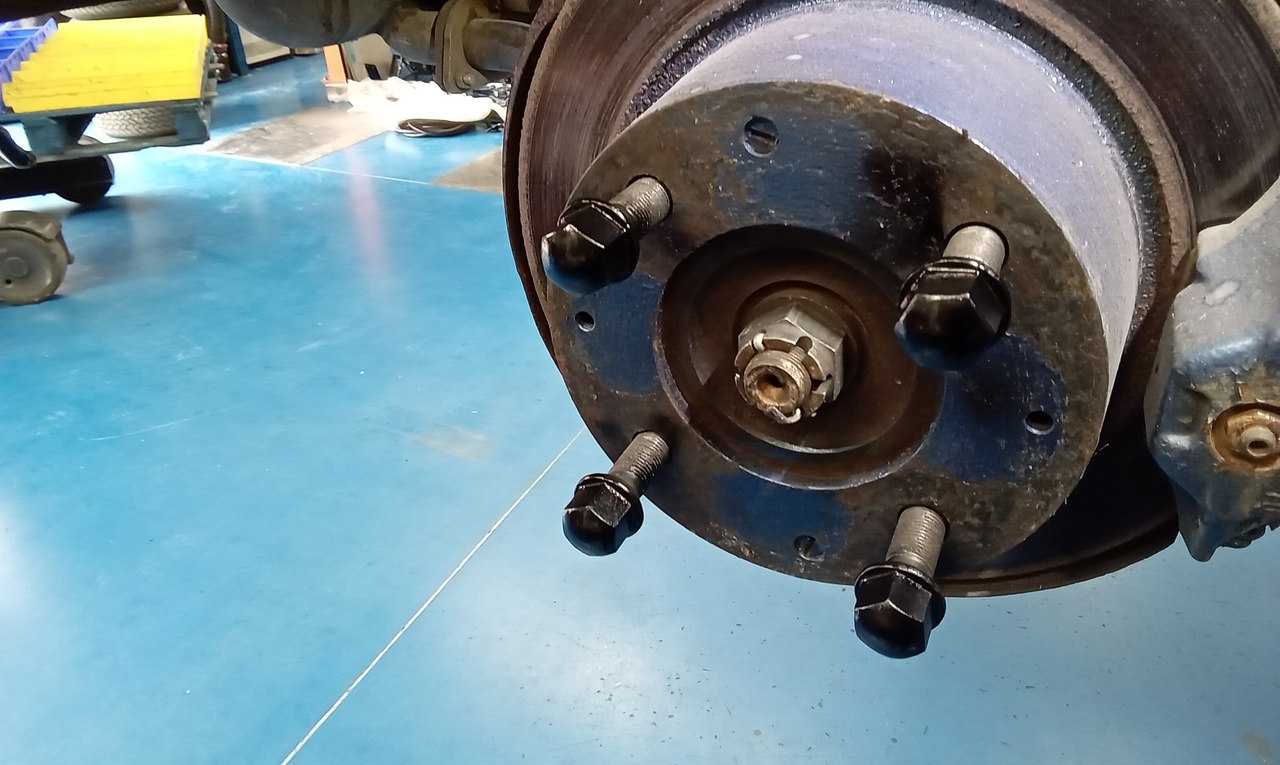
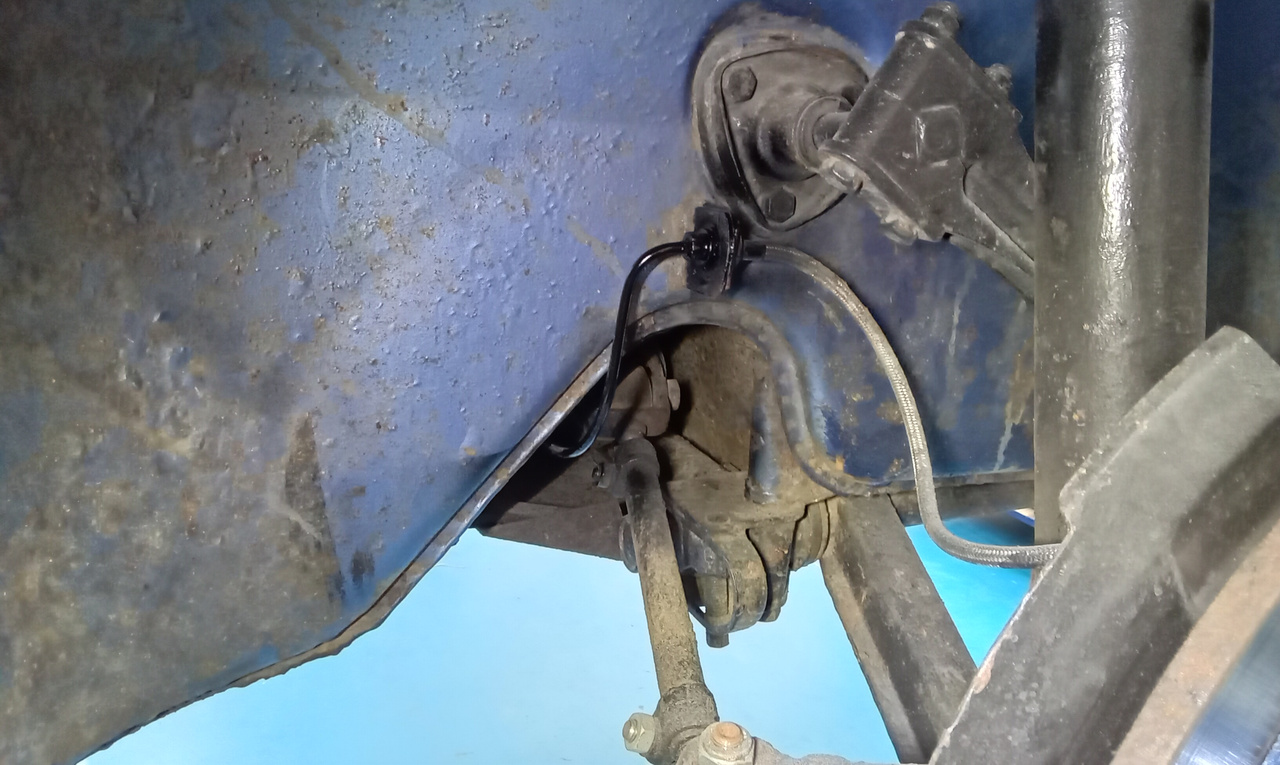
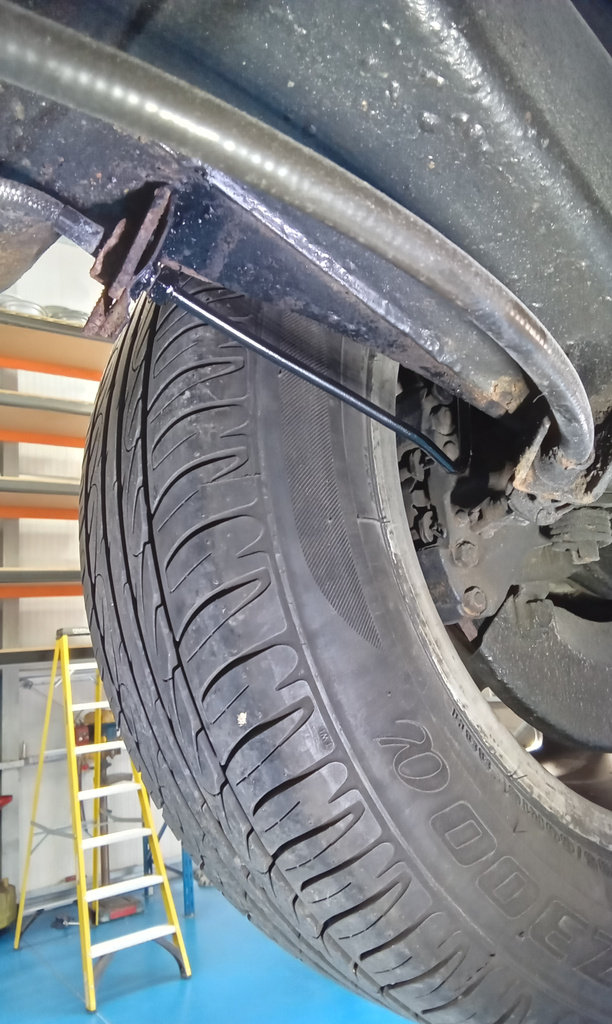
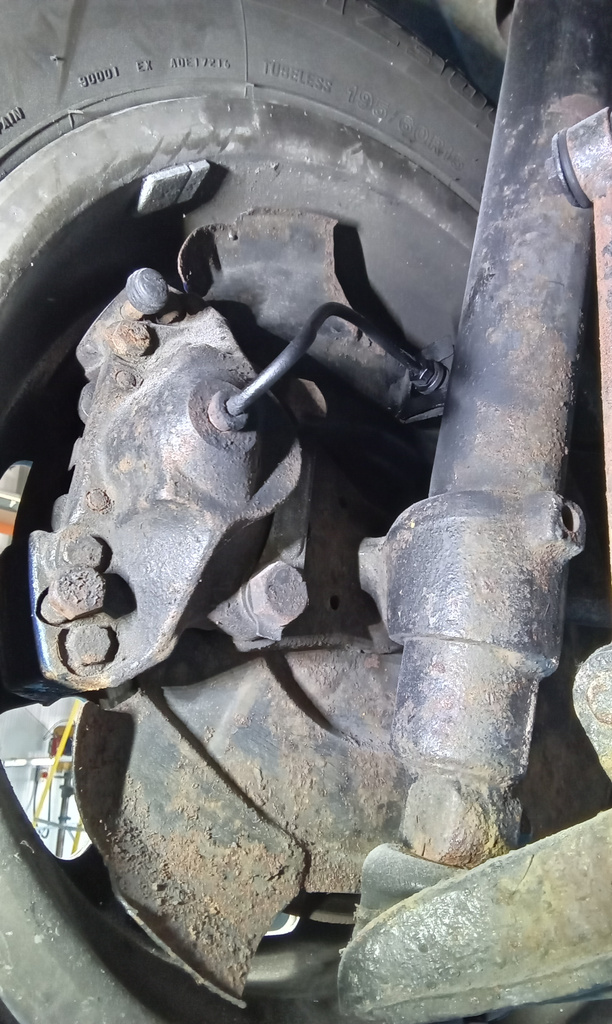
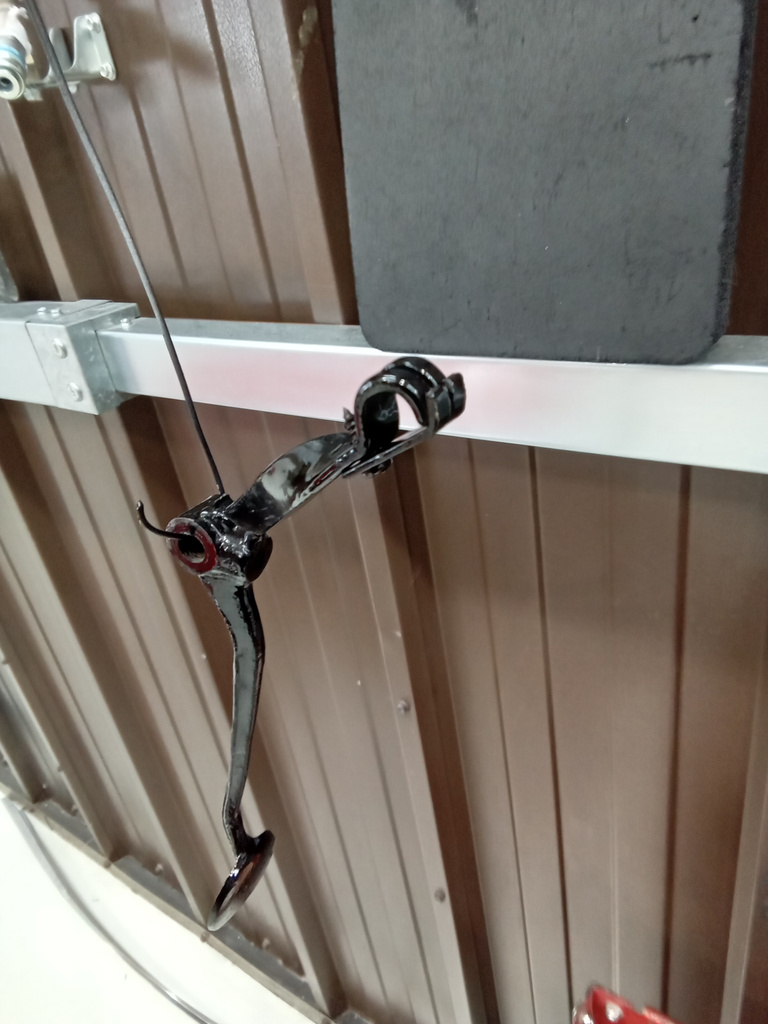
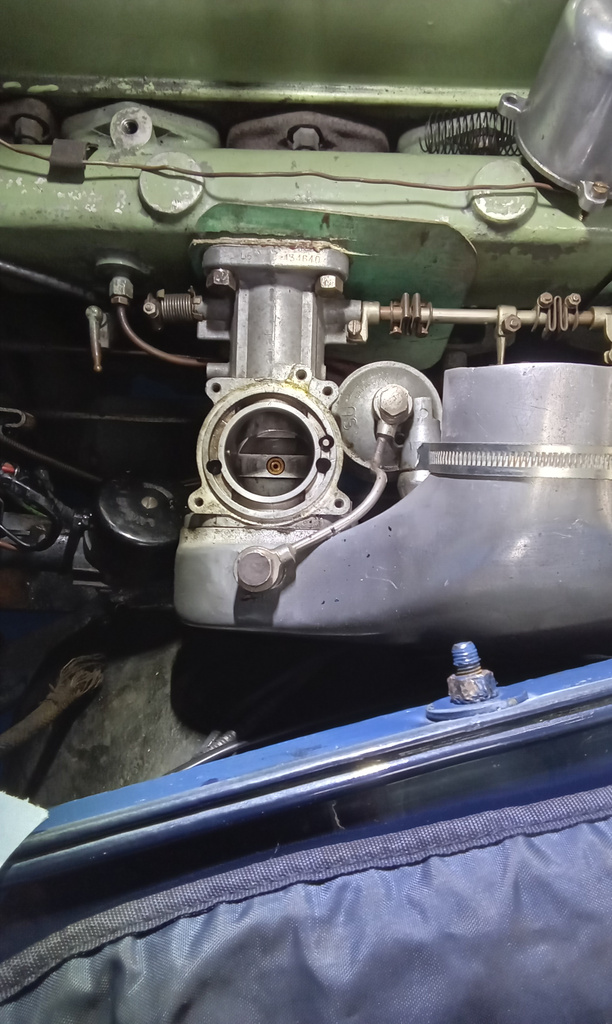
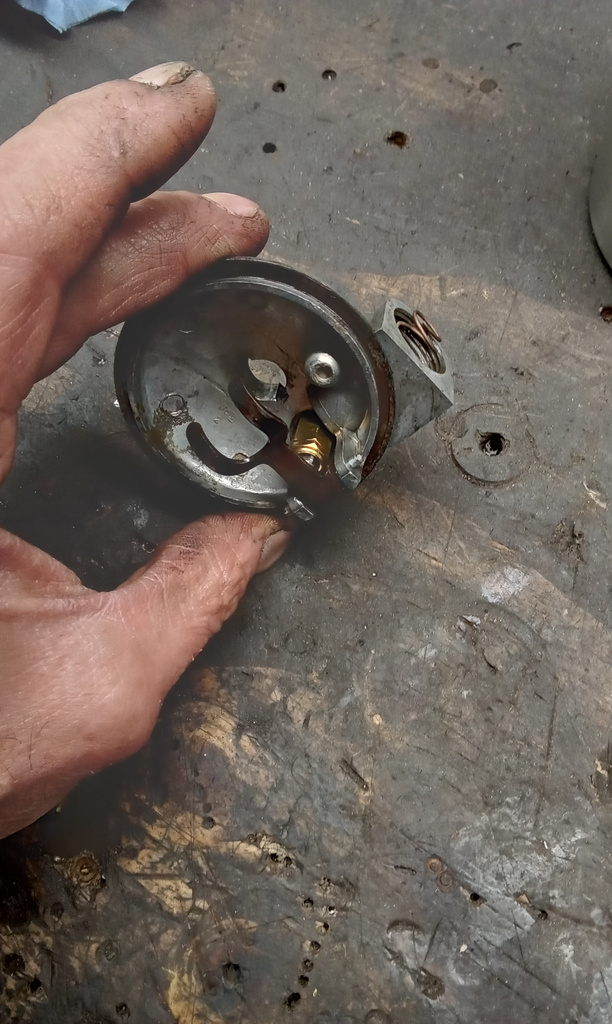
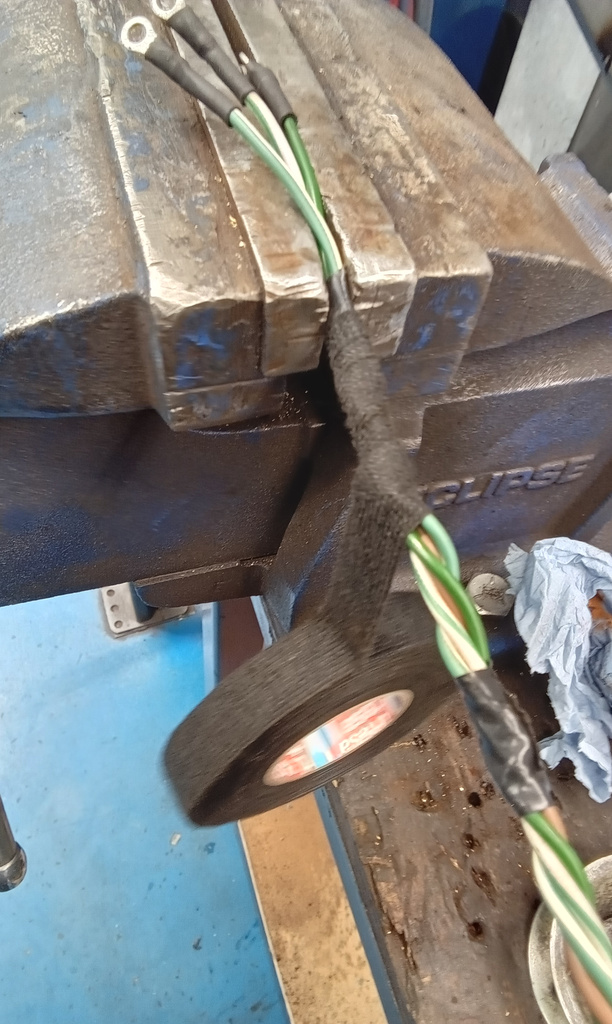
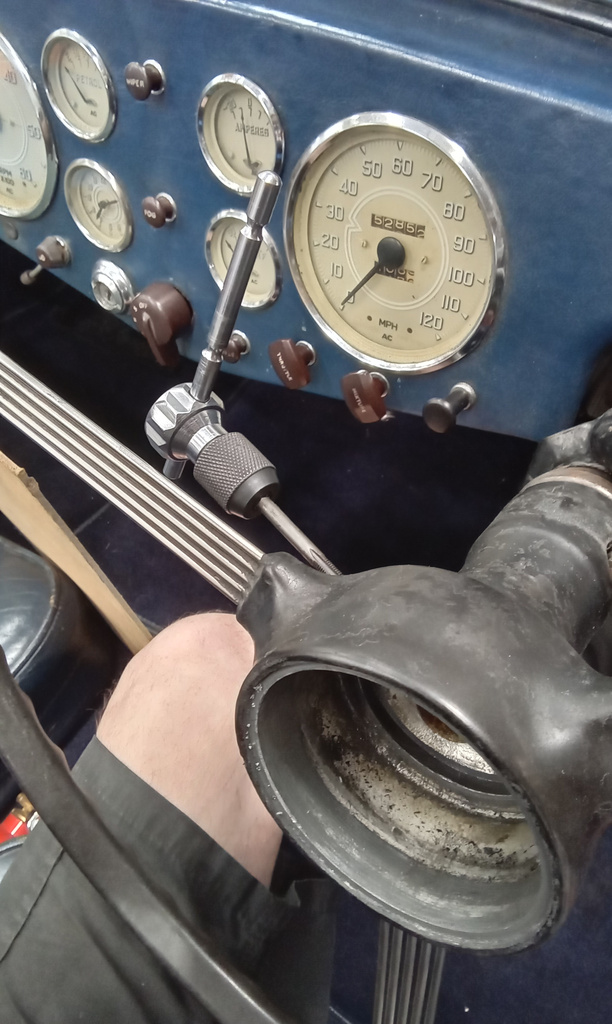
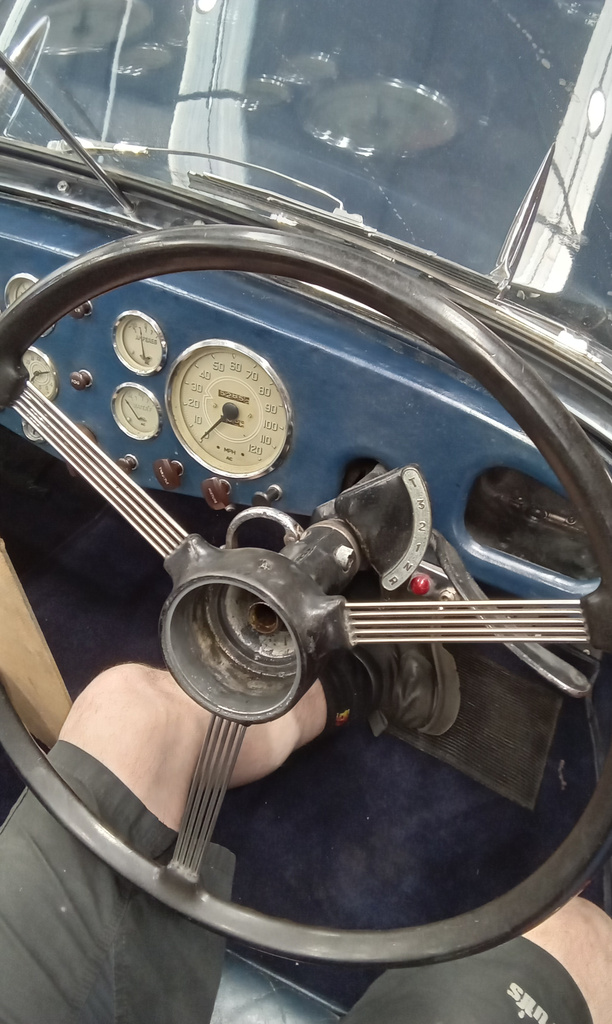
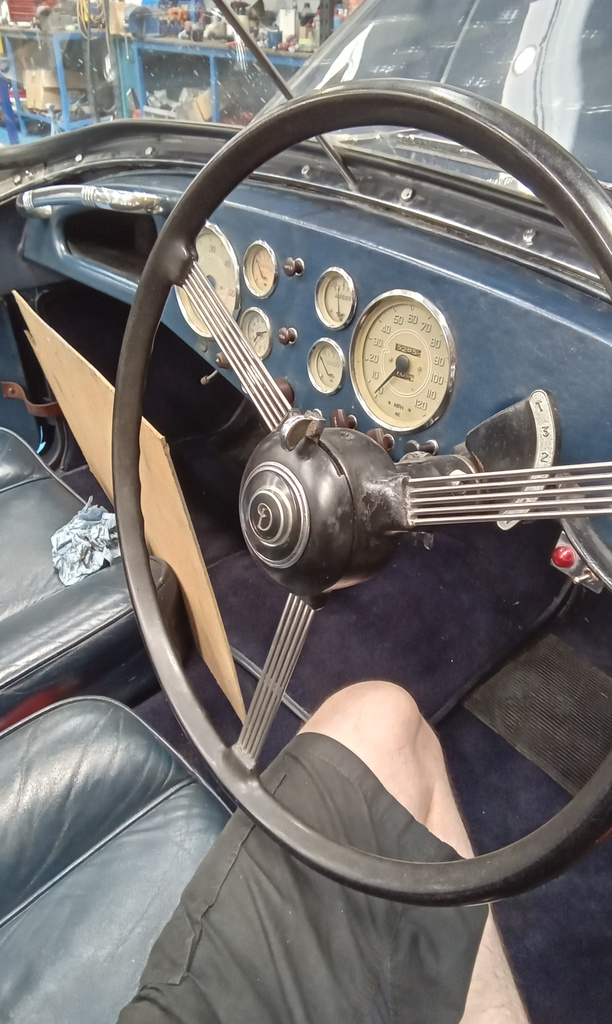
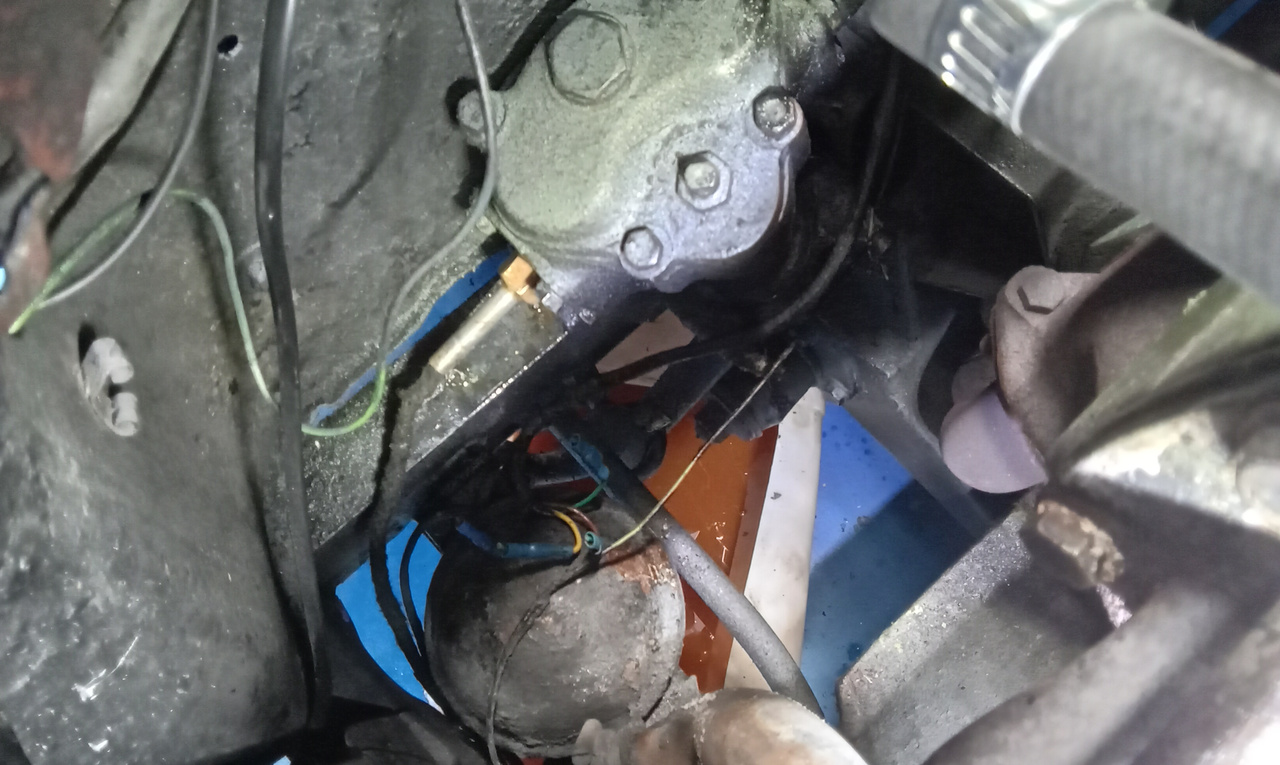
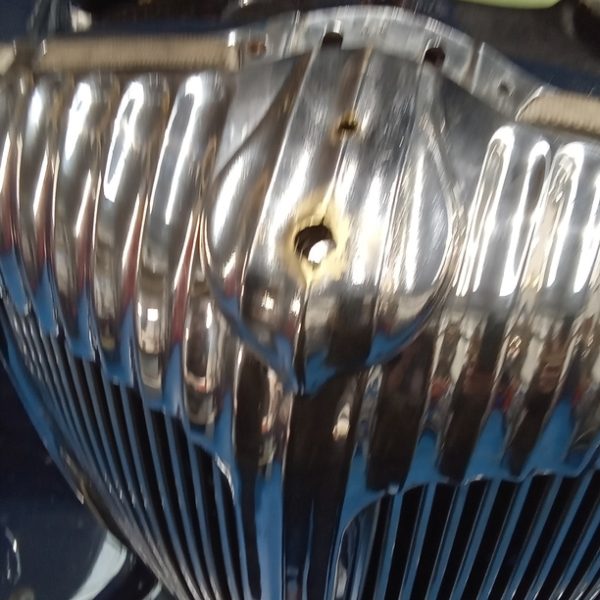
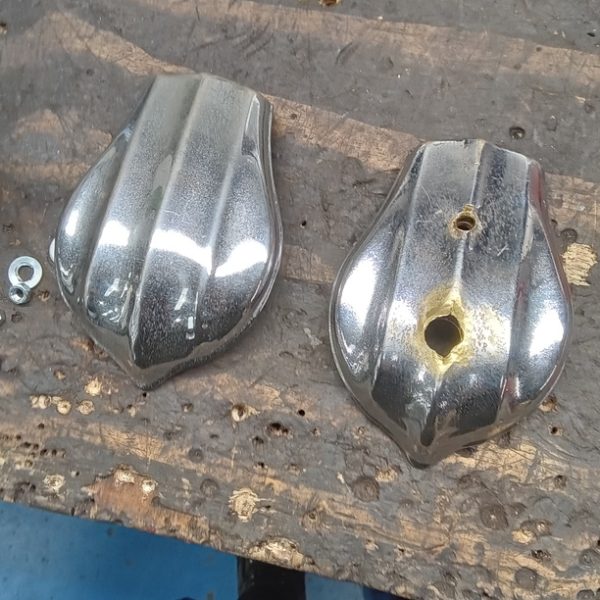
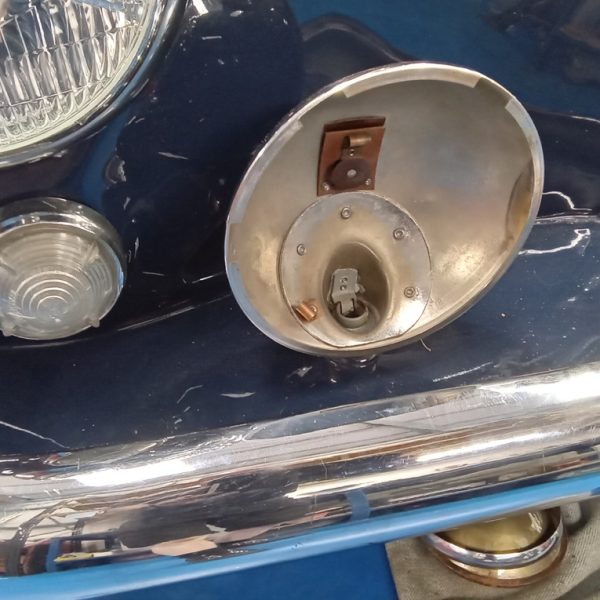
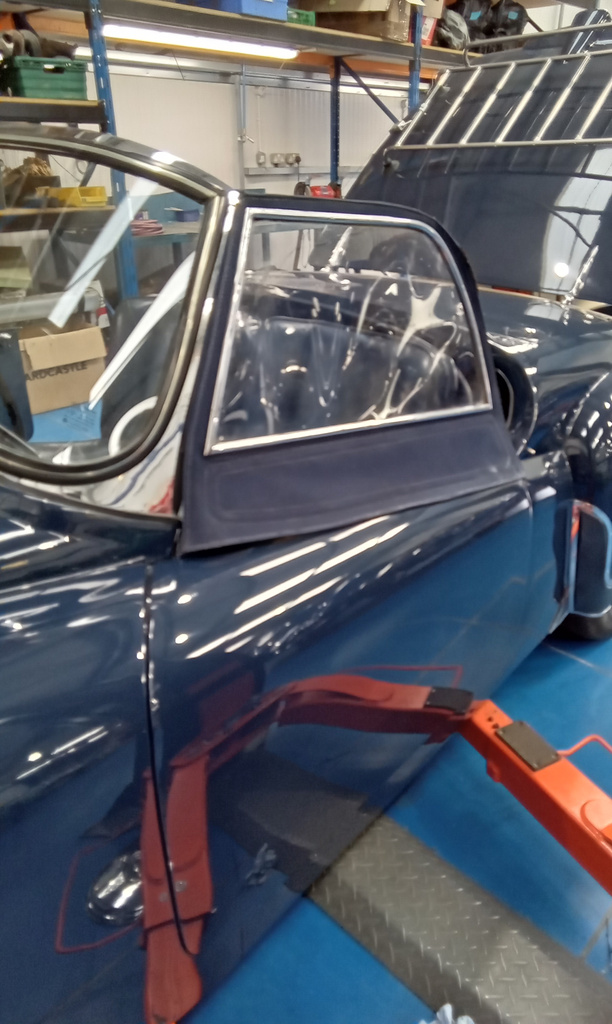
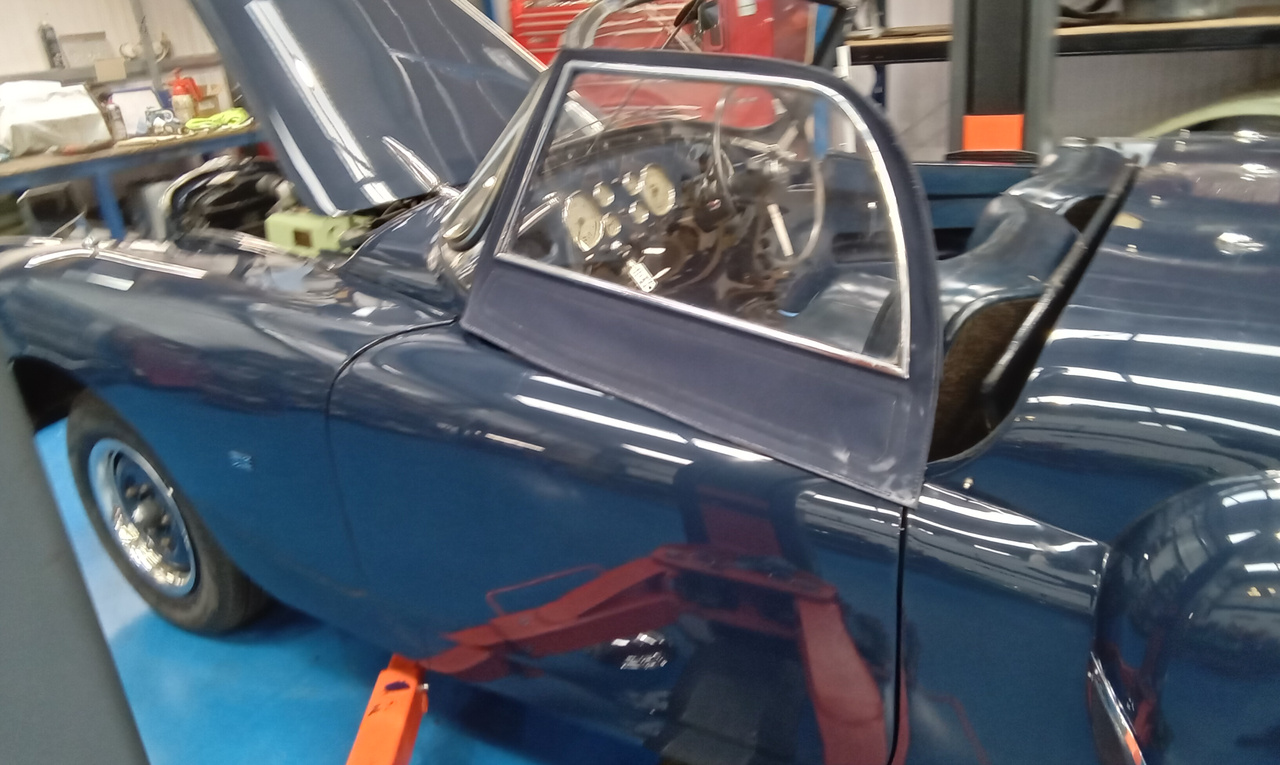
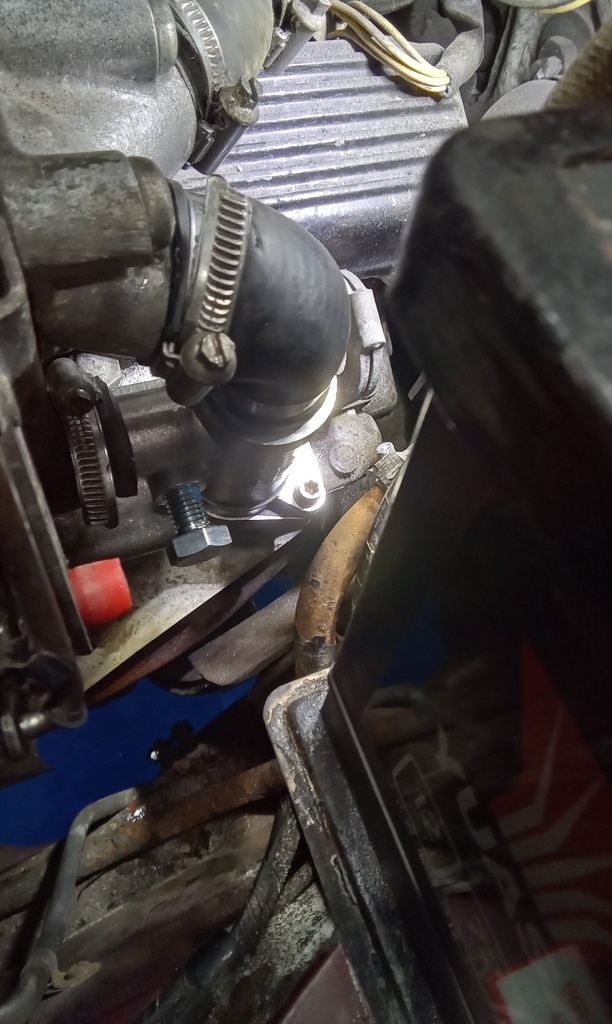
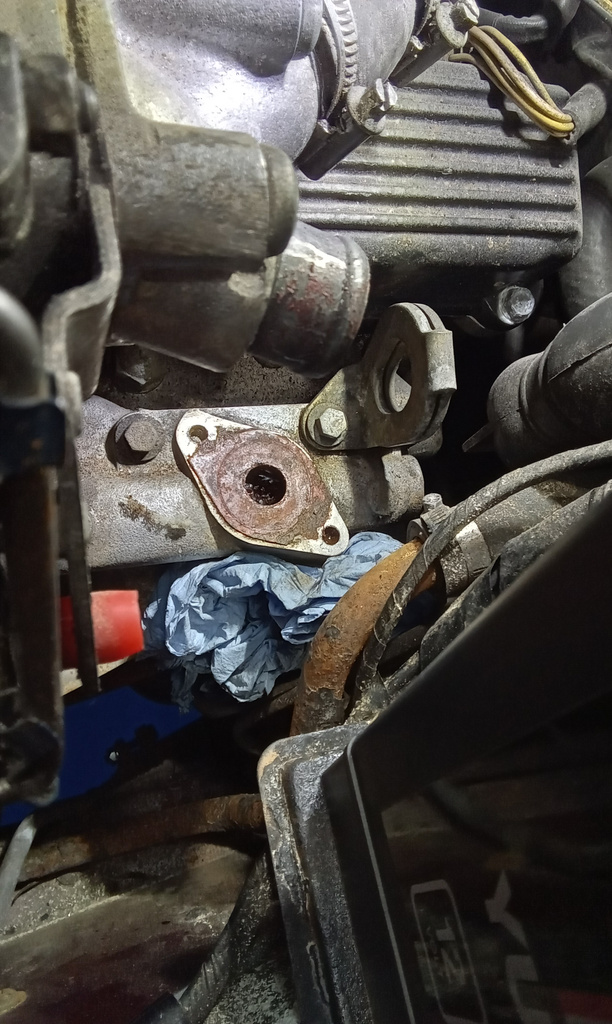
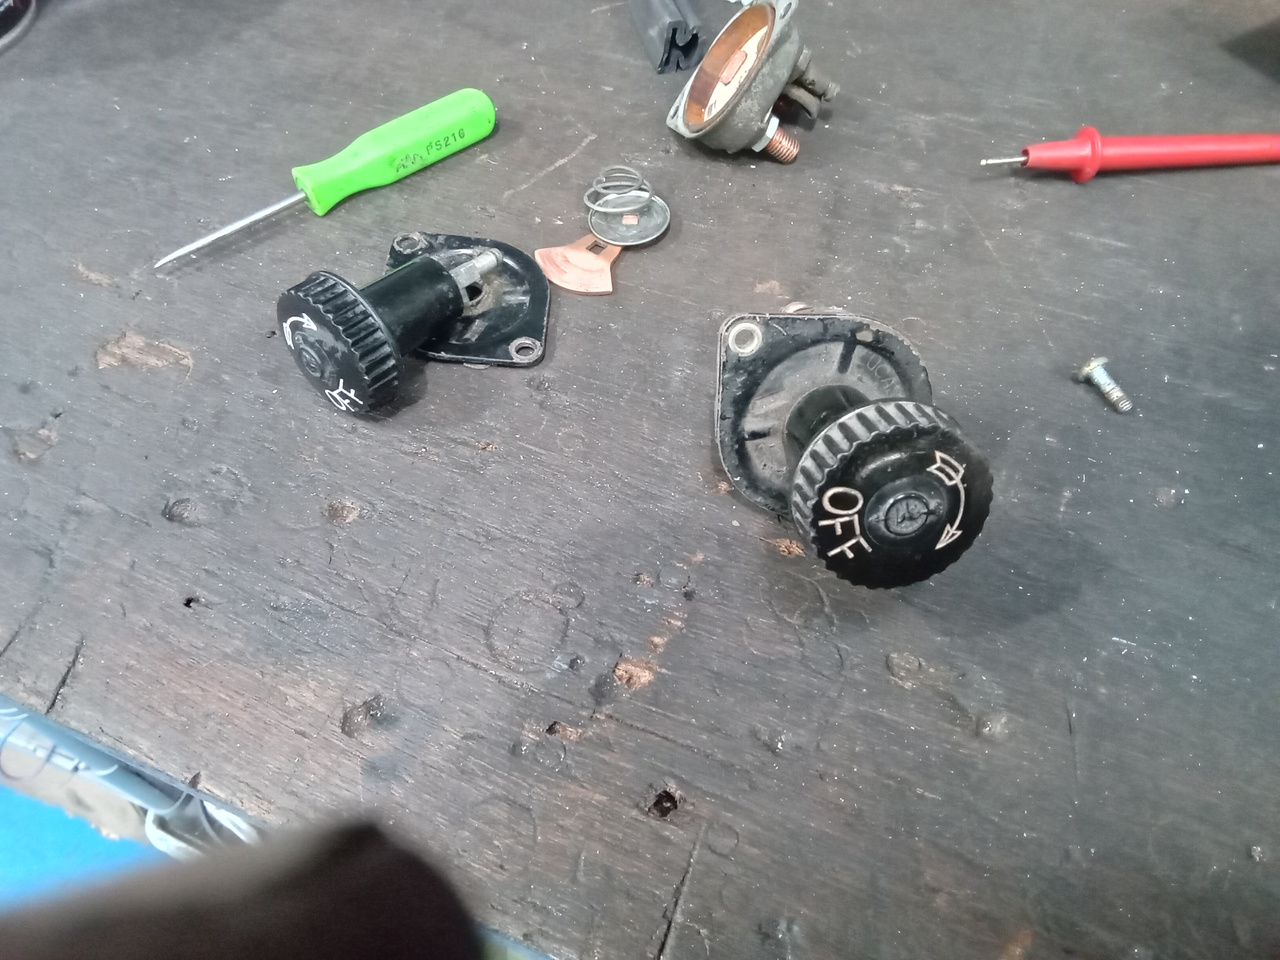
The 1955 Aston Martin DB2/4 Drophead Coupe has been making some incredible progress in the last couple of weeks at the Pettistree workshops. As part of the restoration of this vintage Aston Martin, our technician Rob (who is the technician in charge of the project) has been working on building up some of the suspension and steering components.
This time, he has been working on the idler arm for the steering of the car. With some new fittings and pieces, Rob has been fitting them back into the newly refurbished original housing.
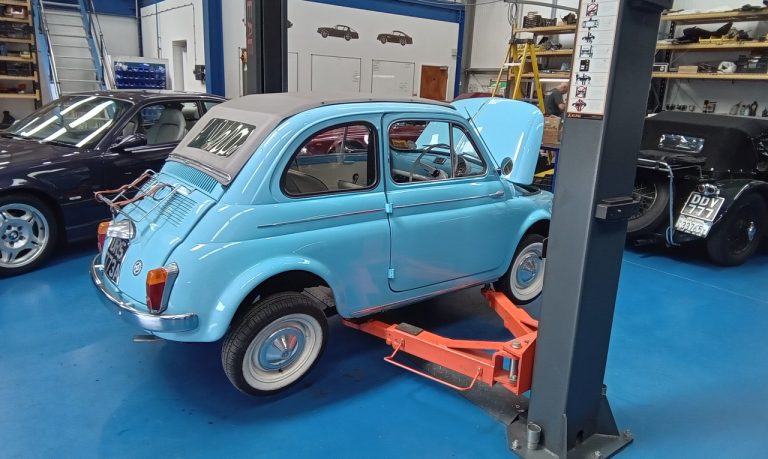
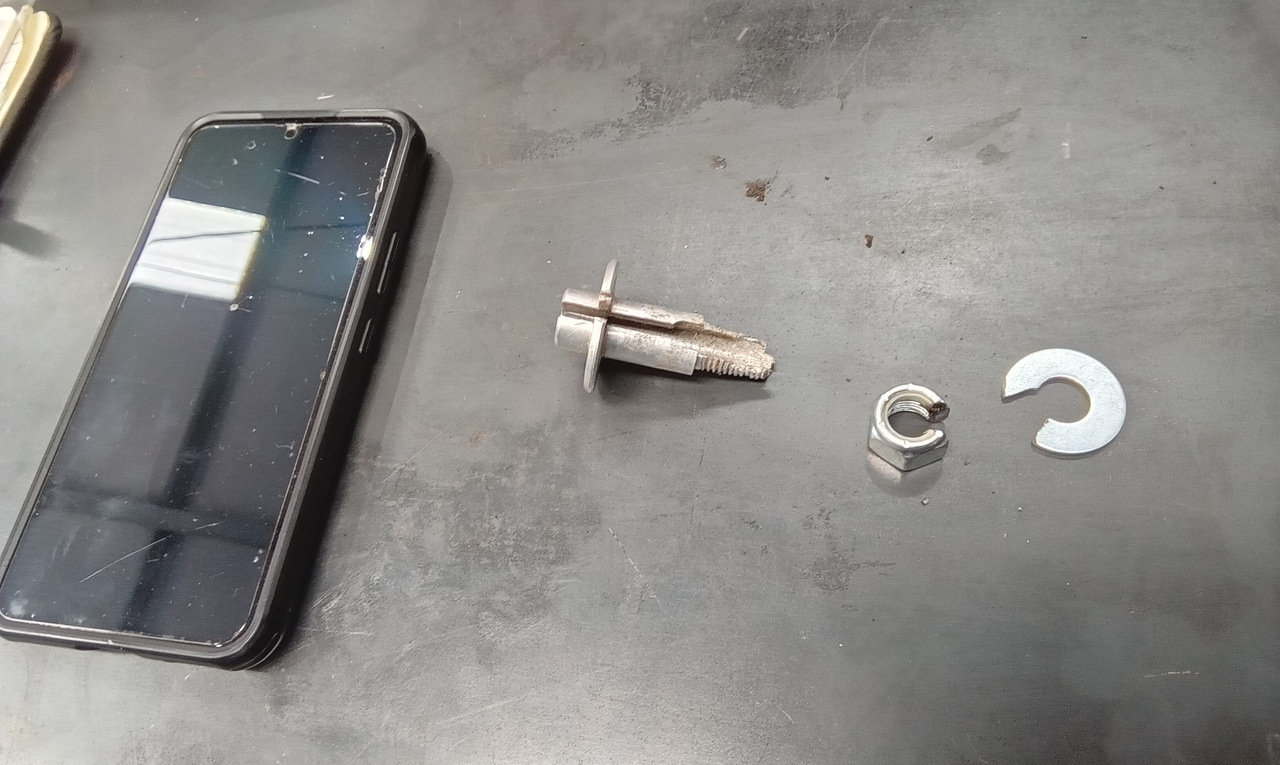
Our technician Jon has been tasked with taking a look at our this beautiful 1963 Fiat 500 which has come in with a quite the noise according to its owner. Here is Jon’s report:
”Raise car on ramp and go through customers list of issues. Fit small circlip to offside wiper linkage beneath scuttle panel and test. Investigate starter issues. Check start pull cable. Cable moves but doesn’t engage starter. Inspect starter and found 1 bolt missing and starter motor insecure in Bell housing. Disconnect battery and remove starter. Found starter gear badly worn and requires replacement. Find new bolt that fits bellhousing when new starter arrives. Whilst in the air inspect underneath. Found gearbox/engine mount is loose and nut fallen off offside mount.”
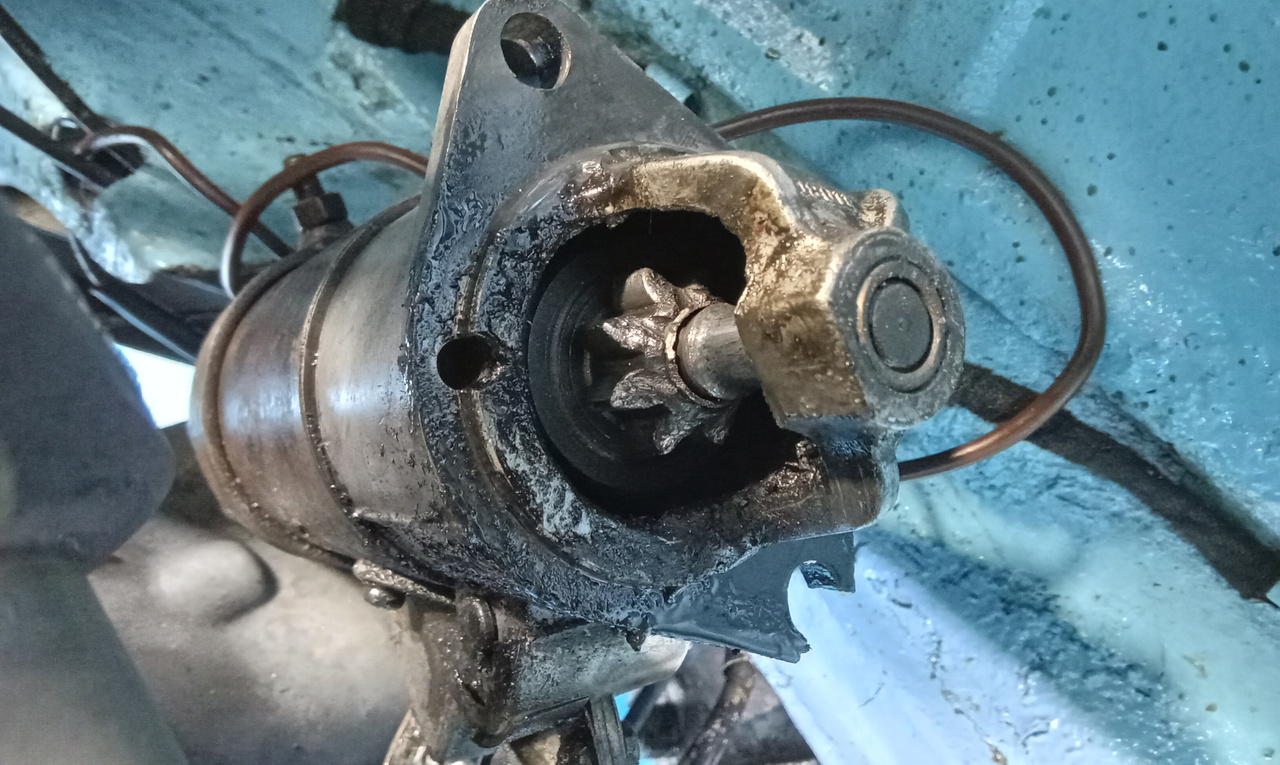
With that, Jon has begun to carry out more inspections with the tyres and running gear along with some small repairs such as fitting a new bolt to secure the gearbox mount and the checking and topping up gearbox oil to the correct level. He also reshuffled some of the fuel lines around so as to not have it kink while in the car.
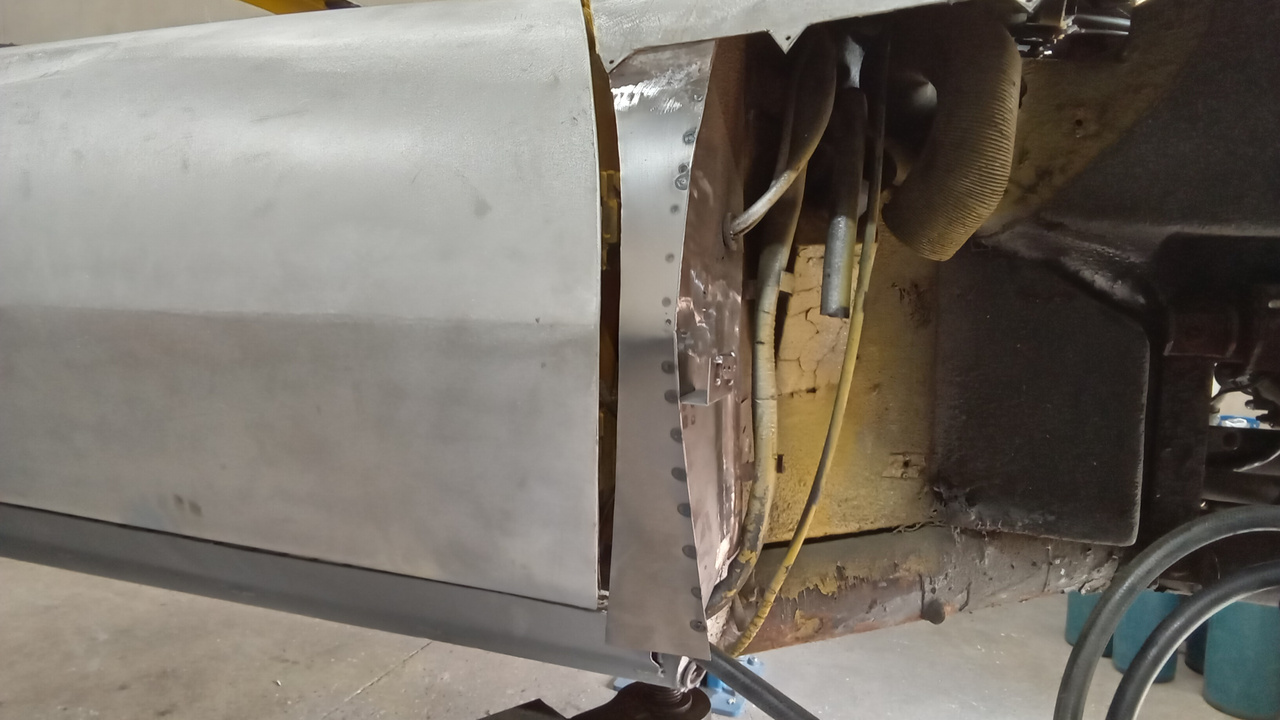
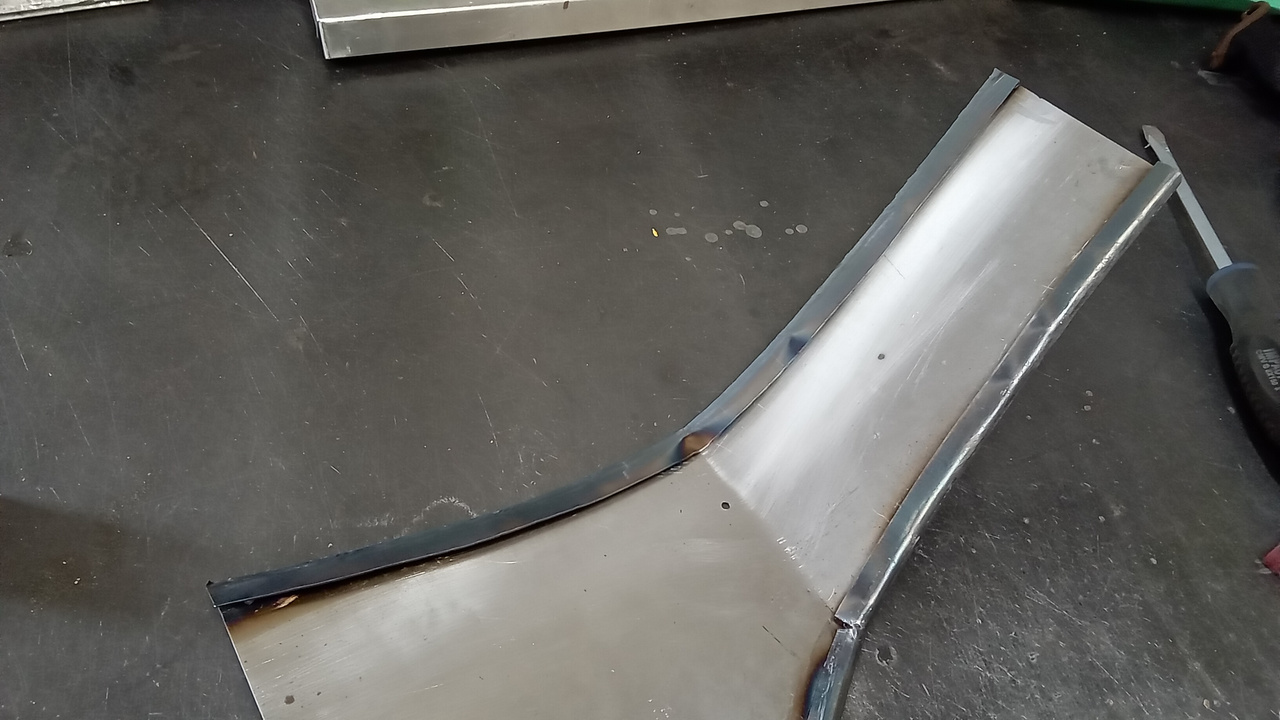
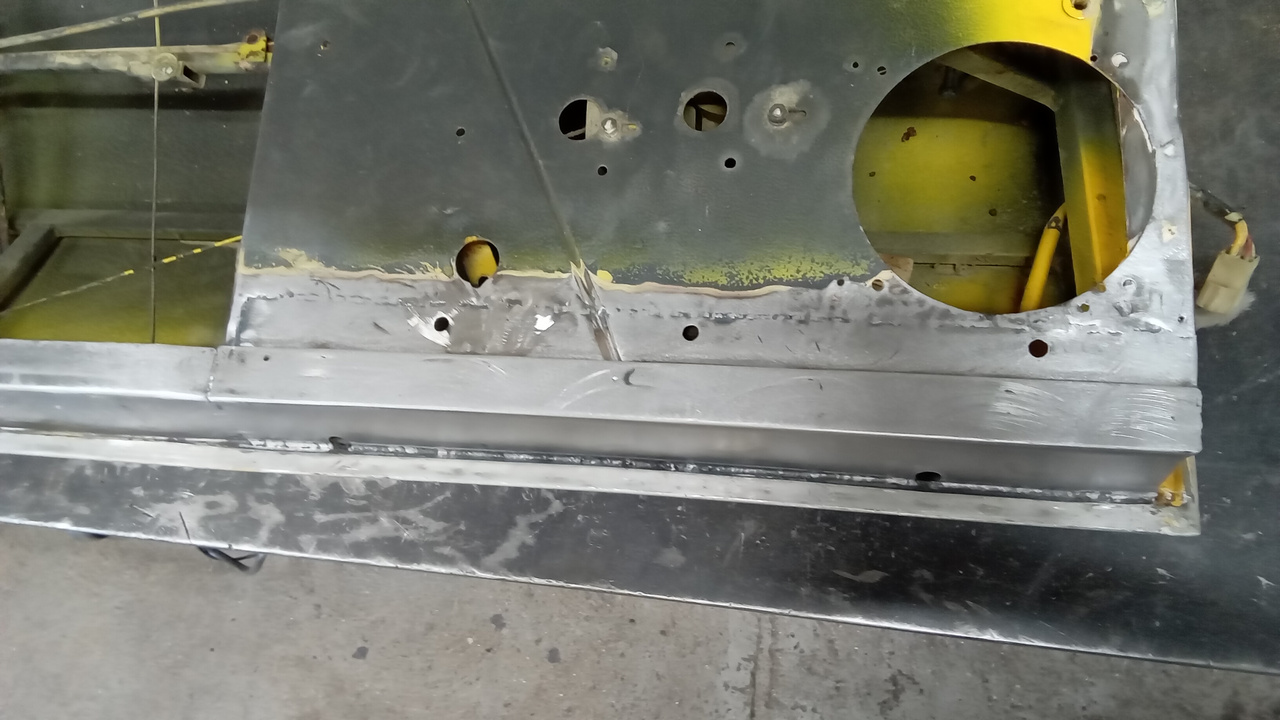
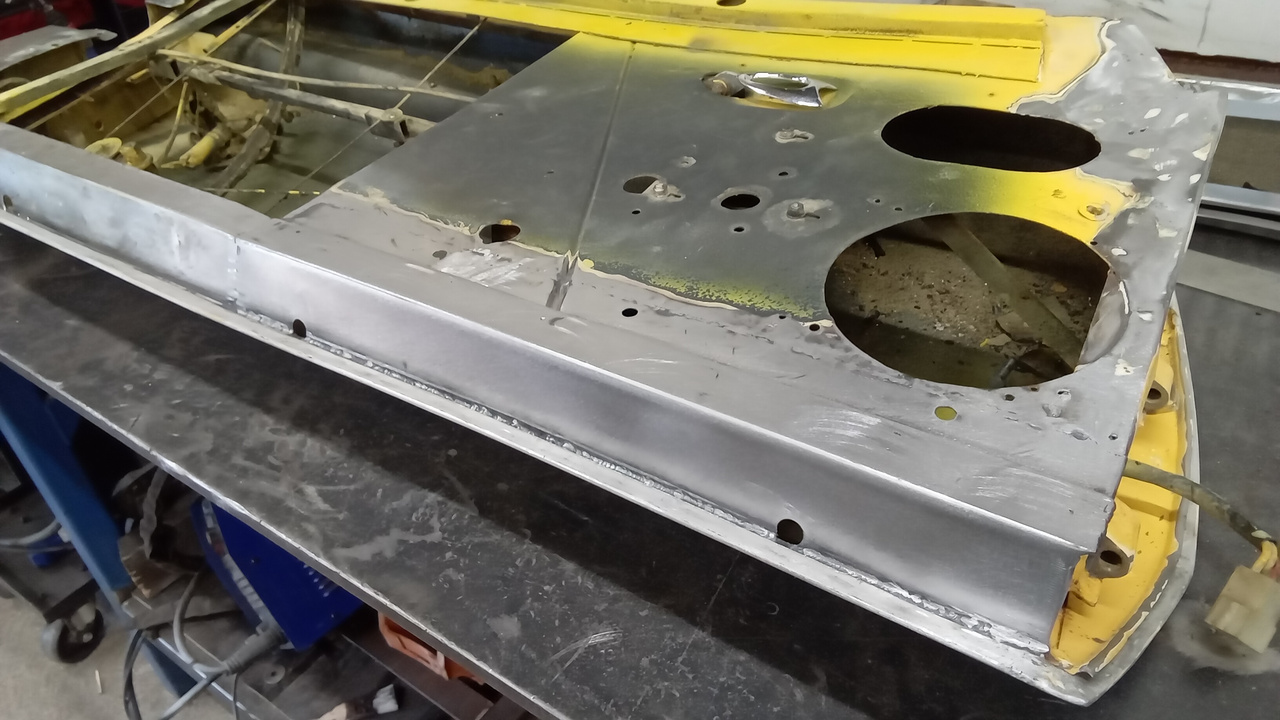
The beautiful 1973 Dino 246 GTS which is in the fabrication bay at our Pettistree workshops has been under the skilled knife of our fabrication Christian. For this stage of repairs to the 70’s sports car, Christian has been repairing the passenger side of the car.
To begin with, Christian has begun to repair the inner arch section. The original section was cut out of the car and used as a template for him to create a perfectly fitting replacement specifically for this area of the car. To do this area, Christian (along with the help of the technicians in the workshop) removed the passenger door from the car but this also gave him the opportunity to begin repairs to the bottom of the doors. Much like the inner arch, this area’s replacement panel has be specially made specifically to fit the Dino perfectly and give the best fit and finish for the car.

Our Carriage Green 1956 Jensen 541 is getting closer to the end of its restoration here at the Bridge Classic Cars Suffolk HQ. Paul, the technician heading up the project, has been making amazing progress in the past couple of weeks.
Today he’s been fitting up the washer jets into the car before plumbing them into the pump. Then he moved onto fitting the air filter to the airbox for the triple carburettor set up currently fitted onto the 541 and finishing it off with the fabricating the front grill vents to finish off the look of this incredible 1950’s GT car.

The 1973 Rover P5 Coupe which recently arrived at the Bridge Classic Cars workshop has been under the careful hands of Jon and John in our Pettistree workshops.
At this stage, Jon has performed a compression test on the car as part of the checks he’s been asked to do. For this, Jon removed all spark plugs from the legendary 3.5-litre V8 to check and gap them, whilst also removing the relay for the new electronic fuel pump. Then, he began to perform the compression test which was reported as ‘all ok’ meaning everything was within specification.

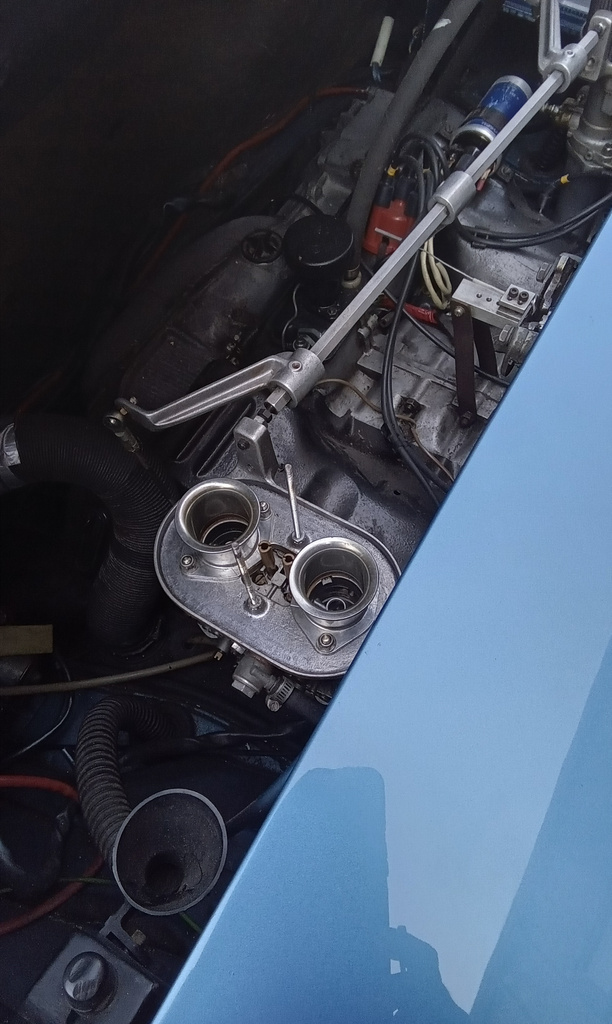
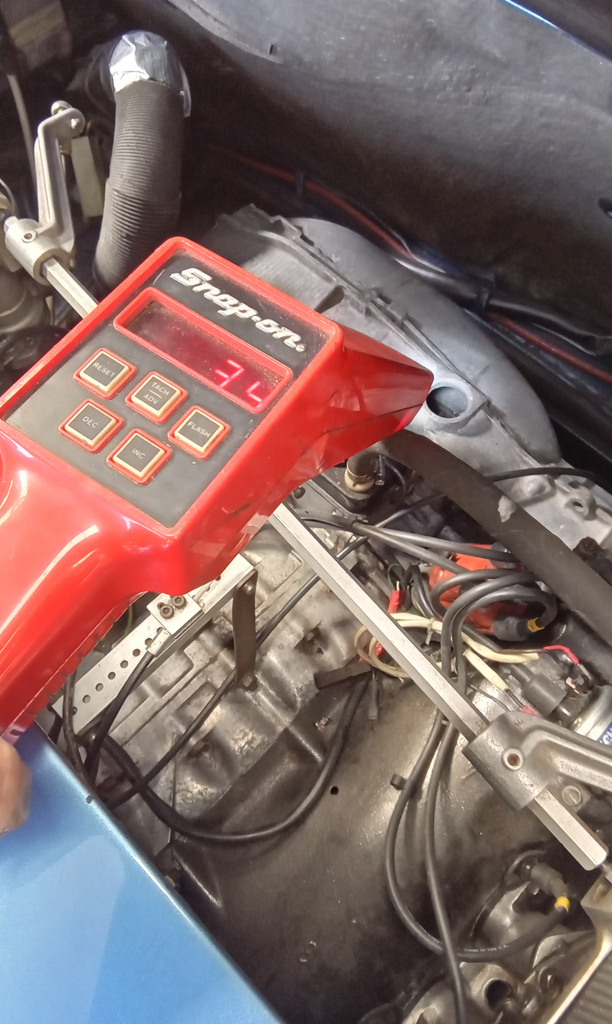
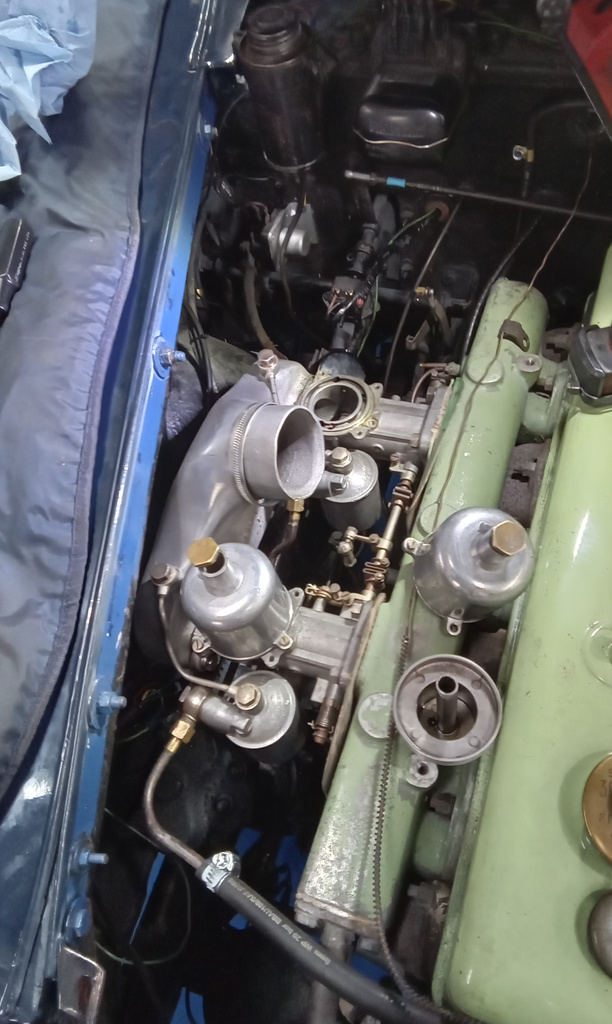
The workshop team at Bridge Classic Cars have been working on getting our 1973 Porsche 914 tuned and set up to run perfectly. The classic aircooled sports car was brought up to temperature by our technician Jon, to correctly set the timing of the car before taking the car out on road test.
On road test he noticed a positive improvement in the driveability of the car but the carburettors will require some adjustments made to them which the team will look into what the best combination is for this particular car.
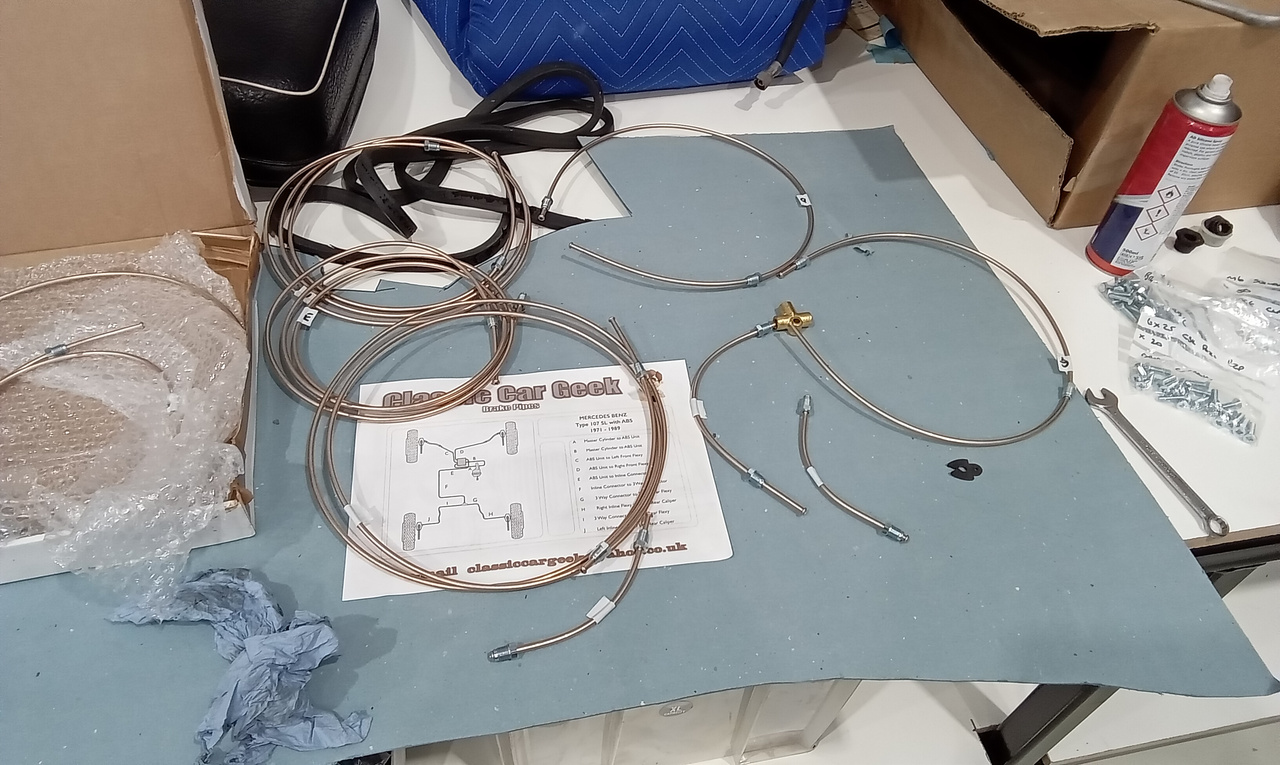
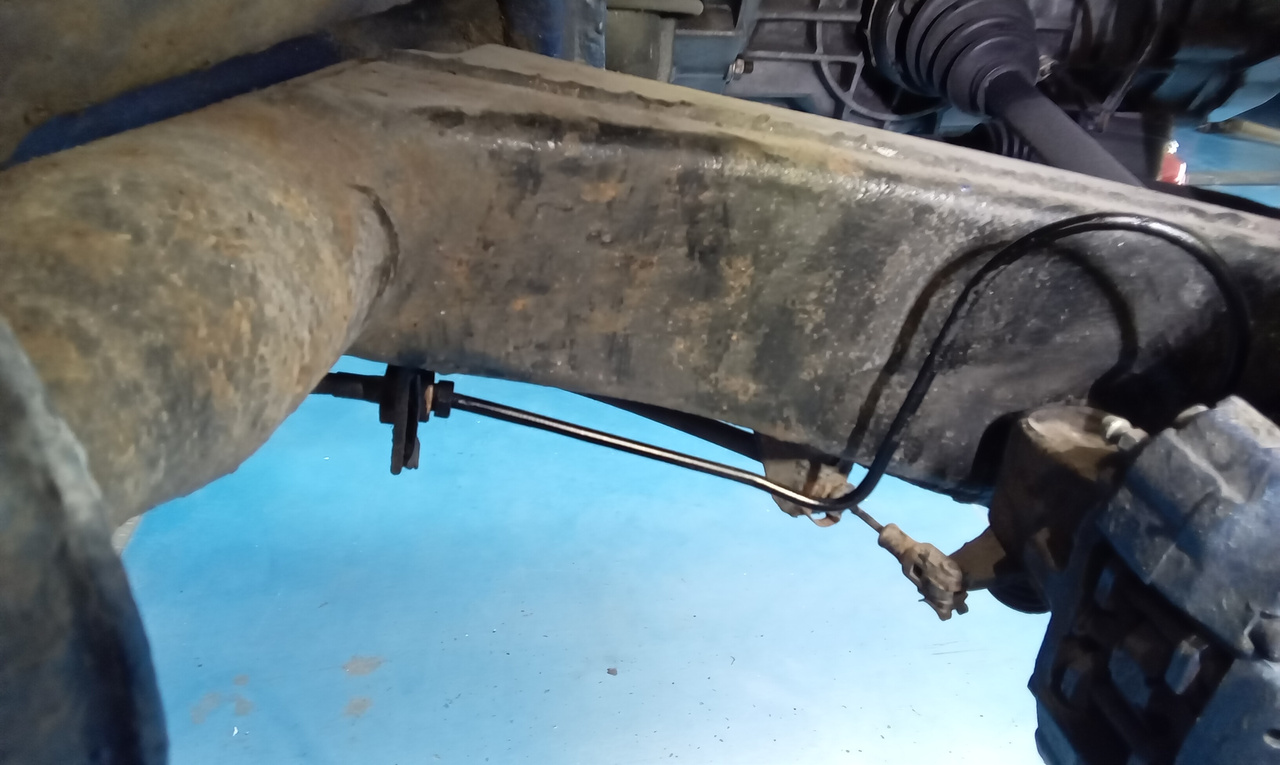
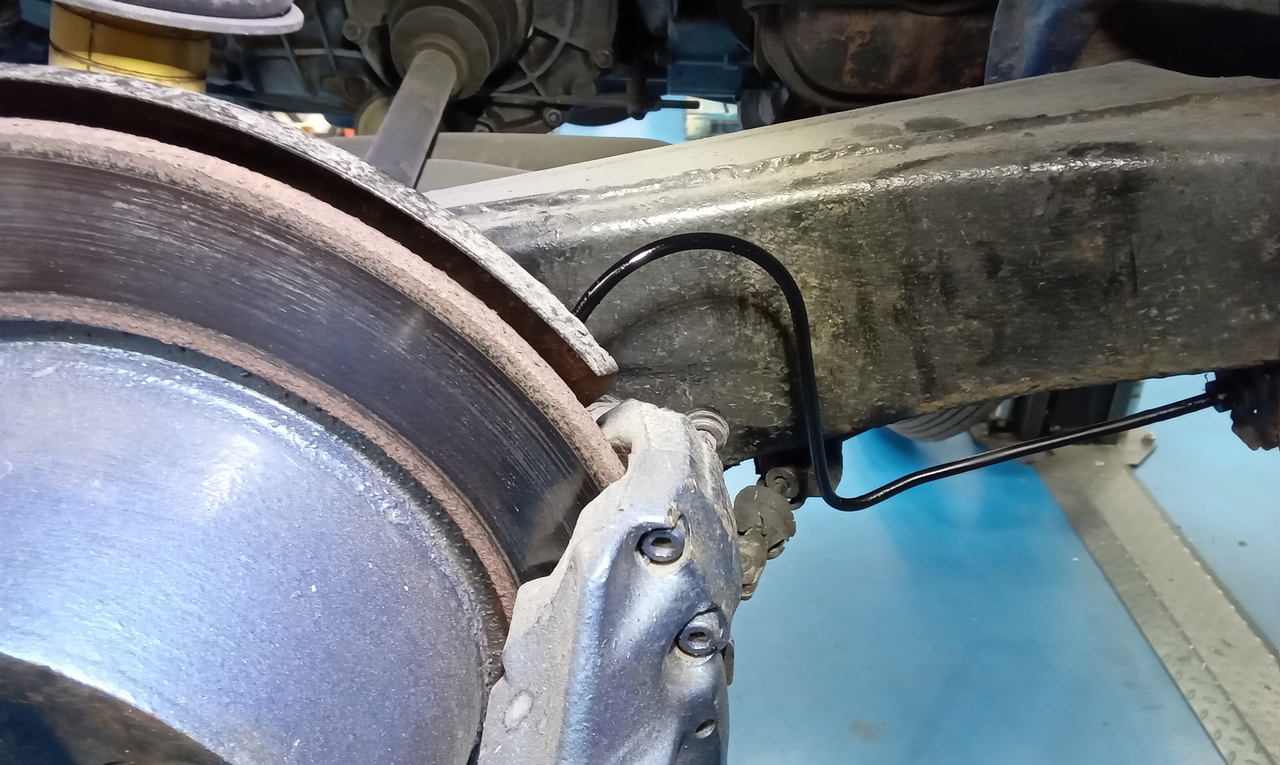
The 1987 Mercedes 500SL is currently getting fitted out by the Bridge Classic Cars team at our Suffolk HQ. Jon, one of our restoration technicians, has been working on beginning the braking system on the 1980s V8 roadster. To begin with, he’s been laying out the brake lines to make sure everything fits correctly around any existing components and up to the master cylinder which has also been installed on the firewall. Whilst doing that, he’s methodically cleaned up any parts which also needed installing onto the car.
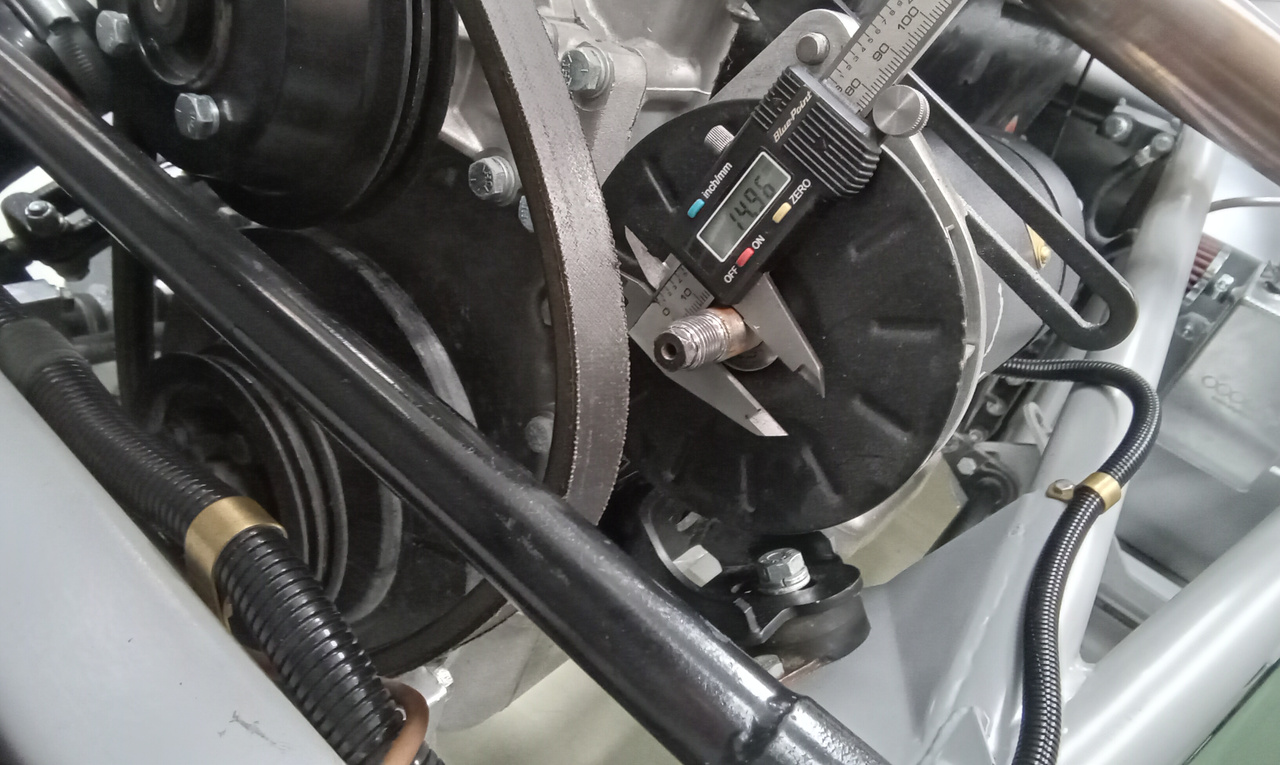
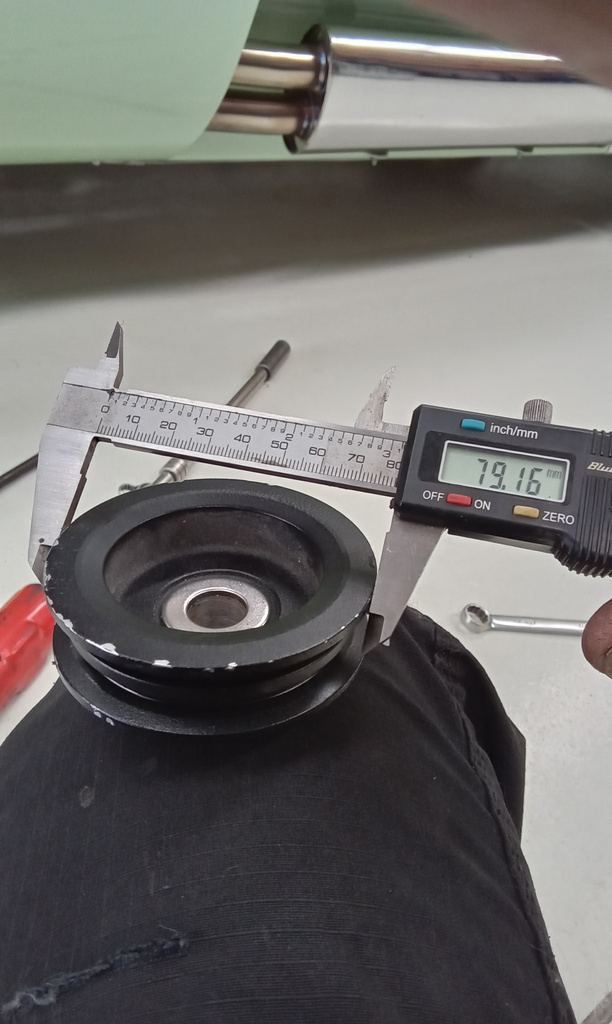
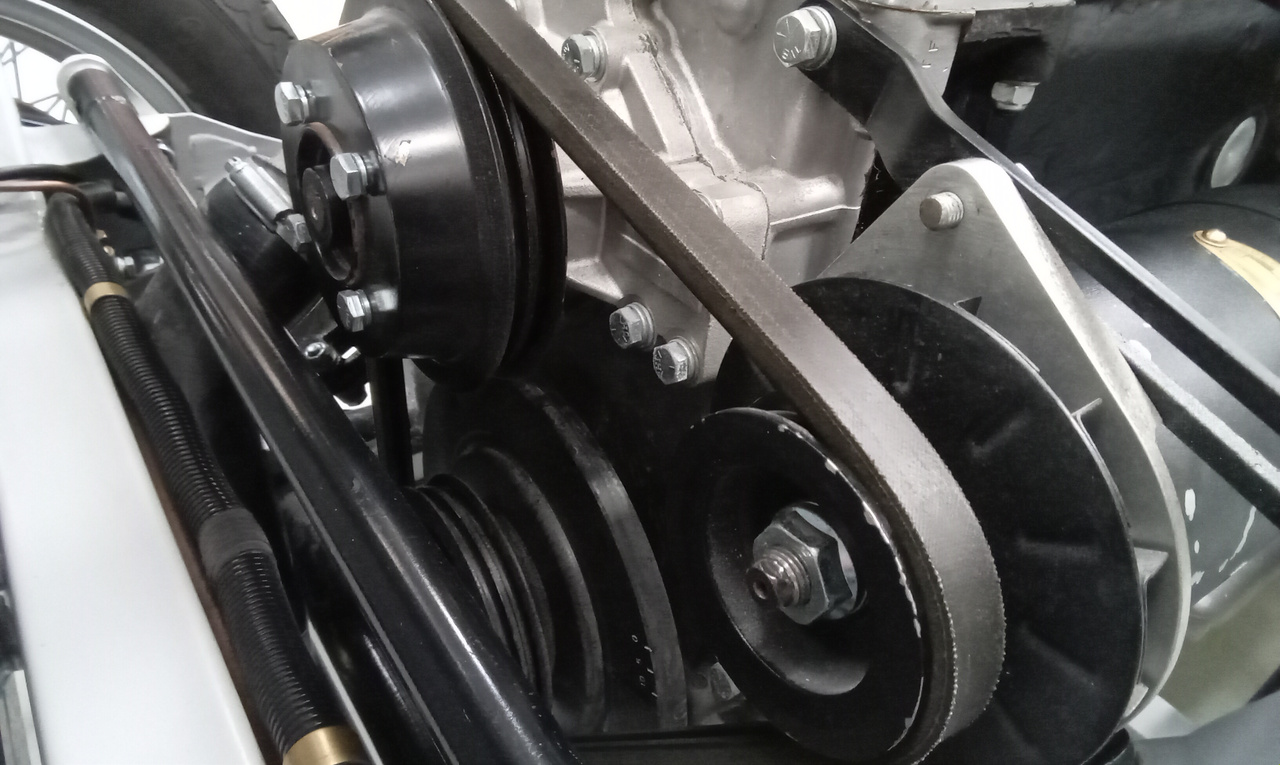
Our workshop team have been working on fine tuning our 2022 Bridge C-Type as part of the cars sign off. The team at the Bridge Classic Cars workshop, have taken the car out on test multiple times and worked on a list of revisions which need to be done to the car. Firstly, the suspension.
It was noted that the front suspension of the car sits too high, so during the process of lowering the ride height our technician, Jon, noted that the threads on the adjusters have become damaged and were very poor in their design and fitment. So, the units have been removed from the car in order for the team to engineer a new, improved solution.
At the same time, the team wanted to take a look at the Dynometer. For this, Jon slackened off the auxiliary belt to remove the pulley so it could be measured. After inspection, Jon found the issue was that the pulley size was too large and a new, smaller pulley is being sourced for the car.

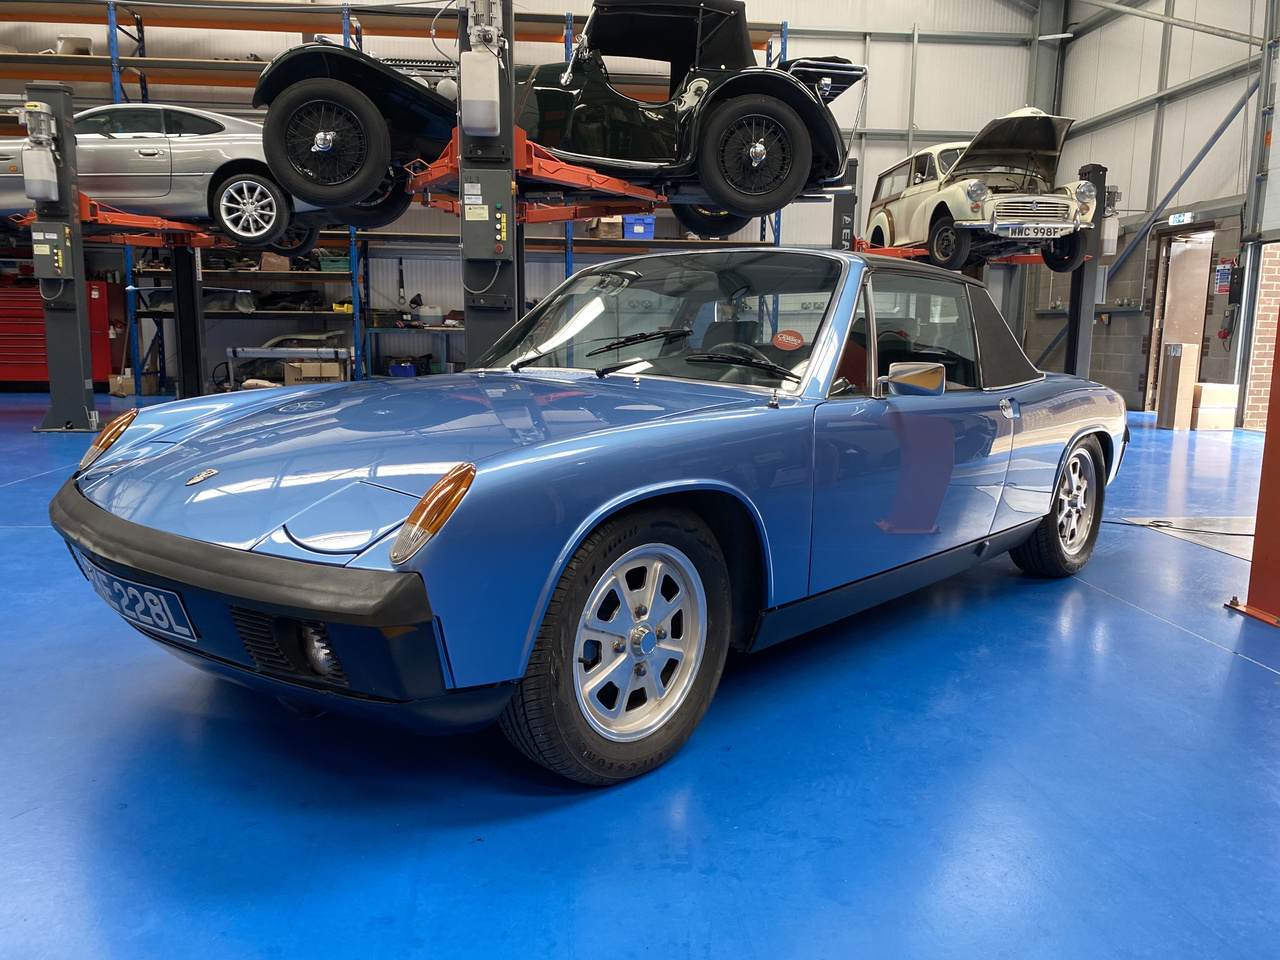
The team have started to work on the mechanical side of our 1973 Porsche 914. Our technician Jon put the mid-engined, air-cooled sports car up on the ramp to check it all over.

Here’s what Jon got up to: “Remove wheels and check brakes. Rub down brake pipes to each brake and pai t black. Paint all wheel bolts black also. Inflate tyres. Adjust both front wheel bearing. Secure wiring to reverse light. Refit wheels and torque up. Attend to boot release cable inside car. Remove rear trim behind seats. Cut and fit washers and nut and secure to trim. Refit trim and test, ok.”
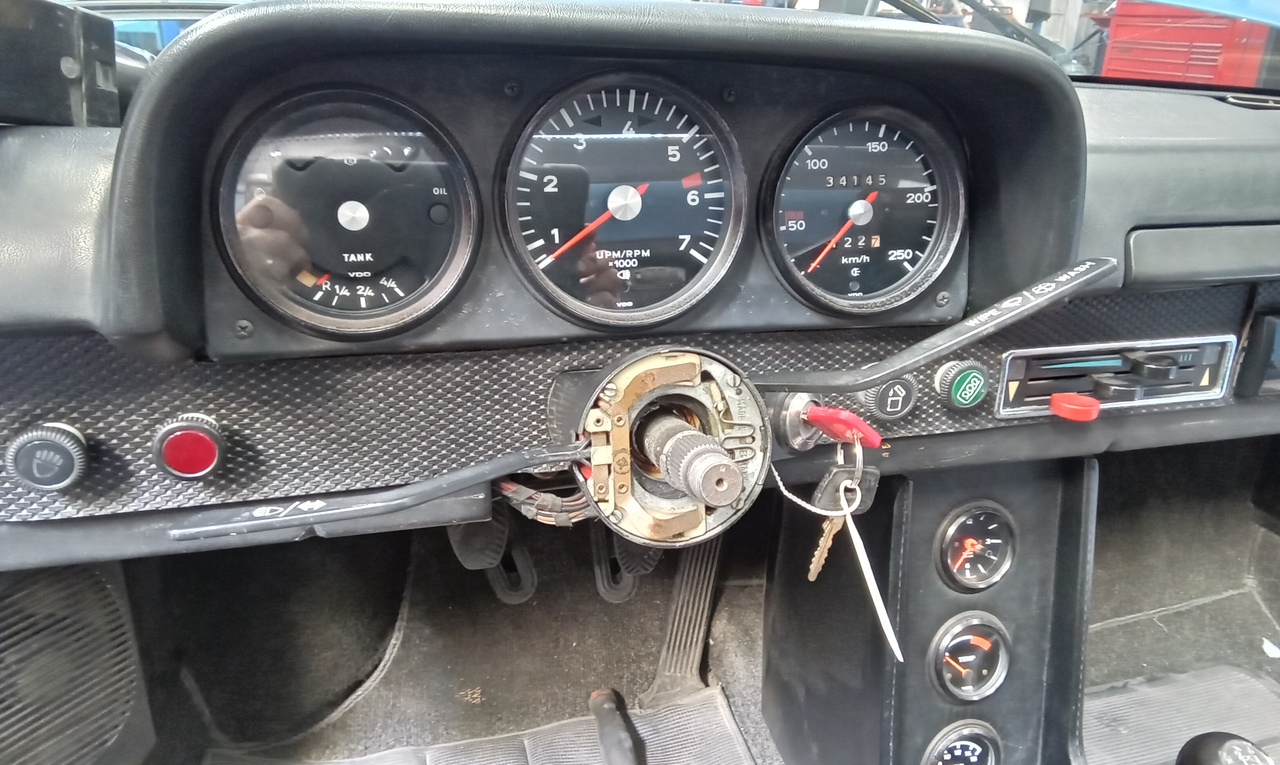
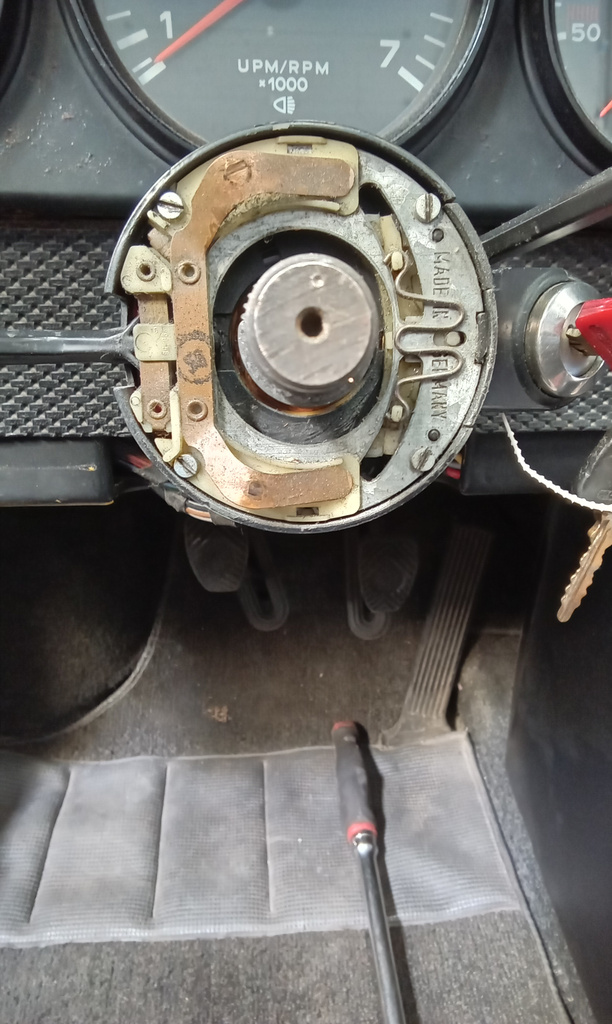
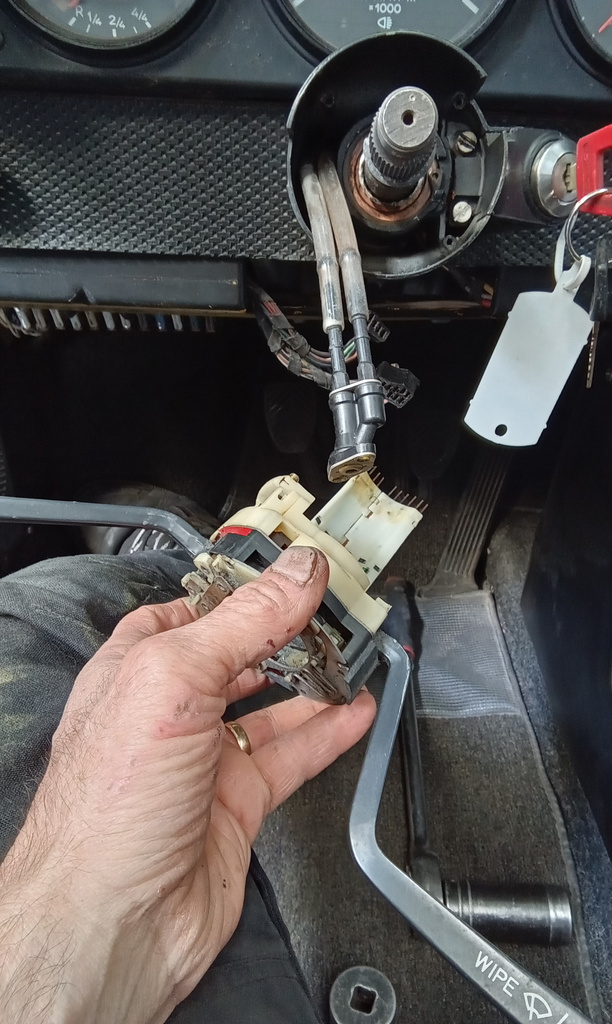
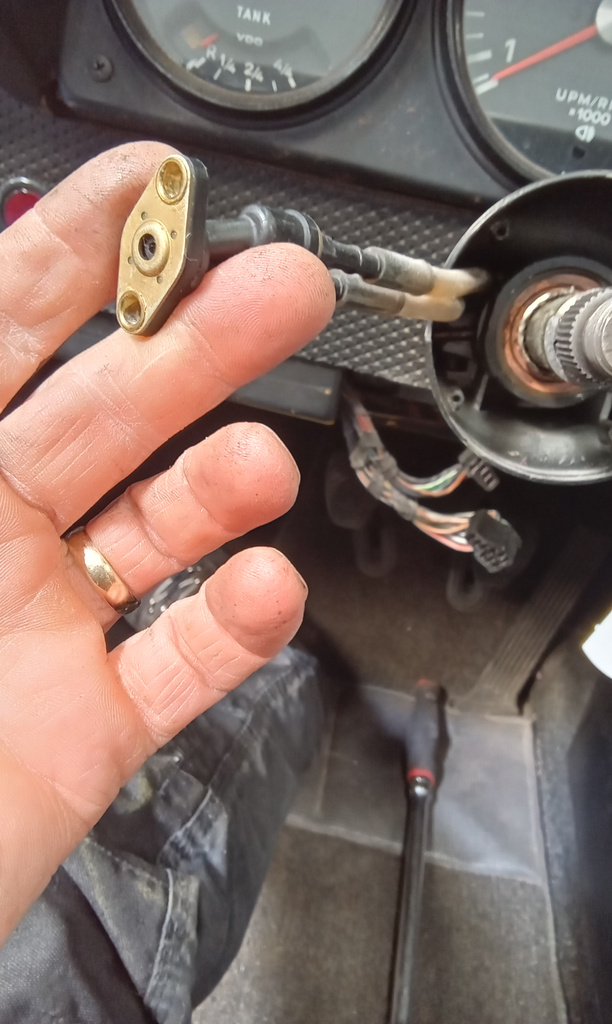
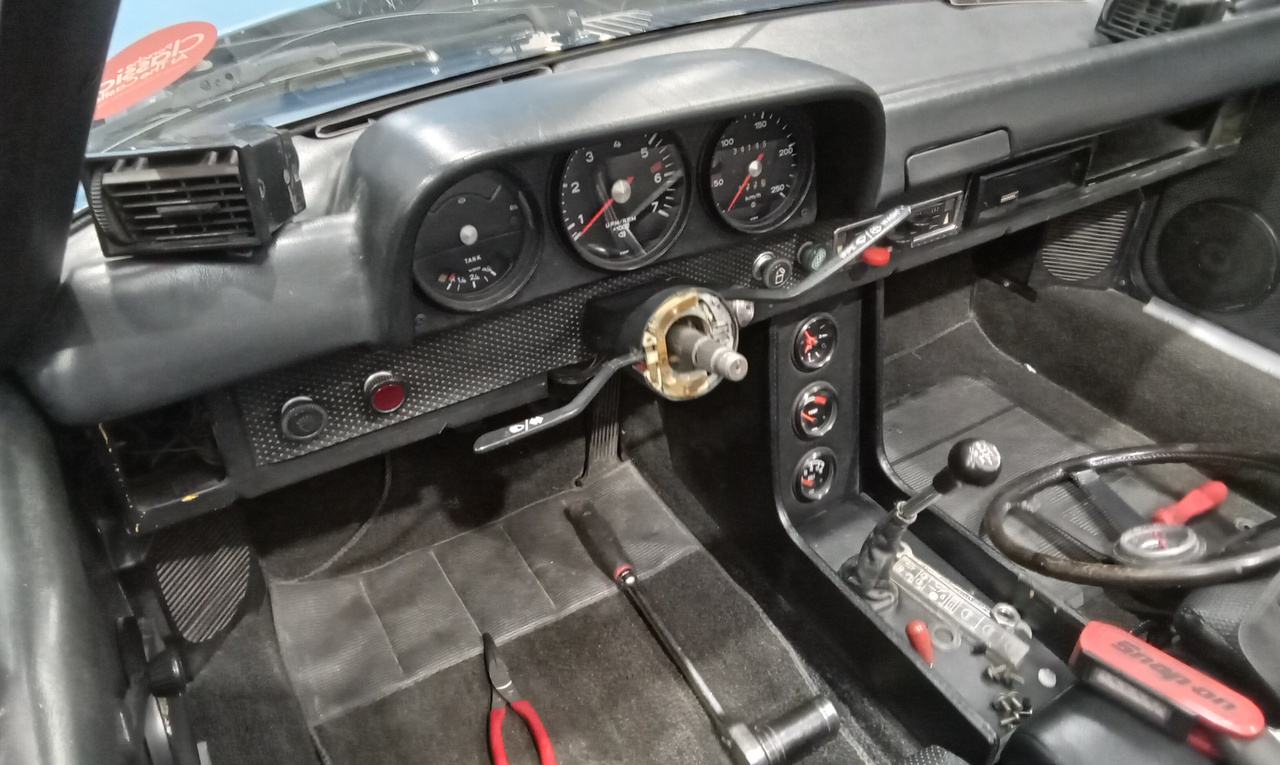
“Fit grommet to passengers door where lock barrel would go. Remove drivers seatbelt lower fixing to sill and untwist belt. Resecure. Remove roof and give to Lydia to restick lining. Strip washer system. Inflatespare tyre and connect pressure pipe to washer bottle. Washers still not working. Strip dash and column. Remove switch and mechanical washer activation. Remove pipes and unblock popes. Reconnect and test. Working now. Reassemble”

Our technician Paul has been moving forward at an incredible rate on our 1956 Jensen 541. To begin with, he’s fitted up the fuse box cover under the bonnet of the classic Jensen. He could also fit up the speedo cable into the car, refit the dashboard and secure the throttle pedal into place.
During its initial build up, Paul noticed that the high/low beam switch was faulty so had a new one placed on order. It has now arrived so he could install it into the car and then after removing the wheels (which have been sent away for refinishing) he could adjust the brake drums.
Loads has been happening this week on our 1954 Daimler Conquest as we continue to work through the recommissioning process.
Some key activities include; securing the ignition switch into the dash. Jon has remove the reserve tank cable and blanked hole with a grommet. He has remove the carburettor suction chambers and pistons.
We have removed the float bowl tops and cleaned all parts. Then moving on to adjusted the float arms and checking the needle valves before refit. The jet depths have then be reset.
The carbs have been rebuilt and we have refitted the air filter, new spark plugs. The coolant has been drained too.
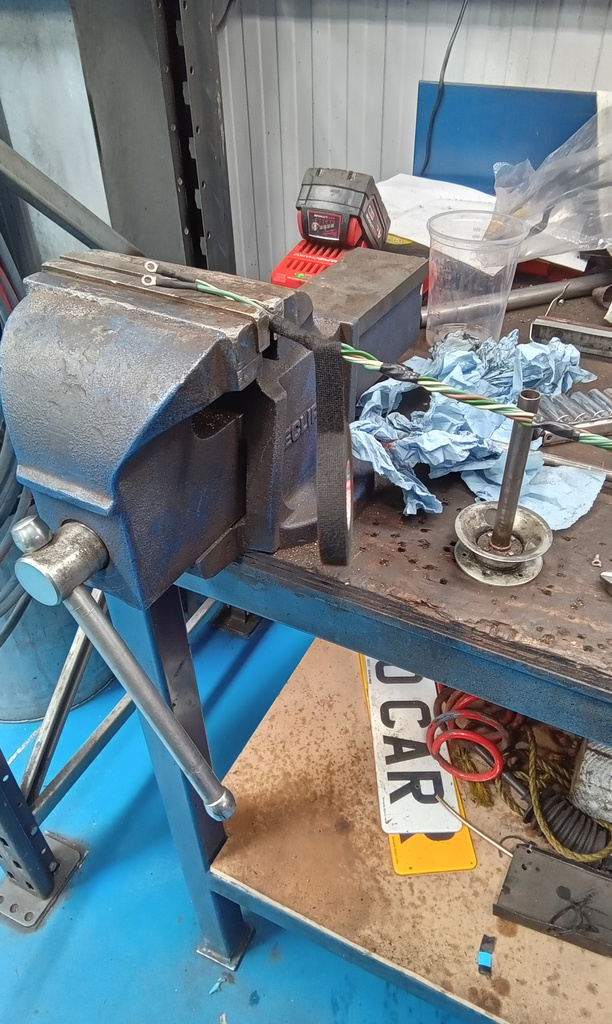
Jon has stripped the steering column centre and attended to a short circuit in the wiring loom inside the column.
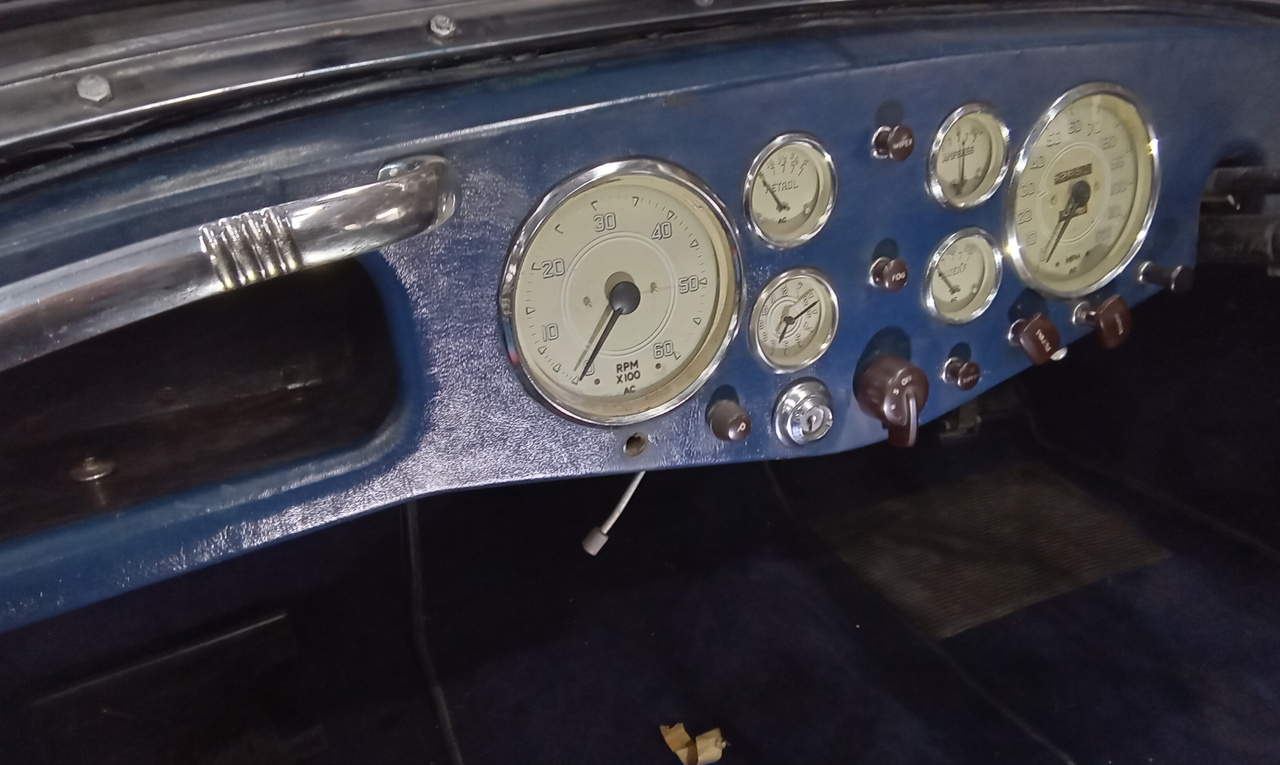


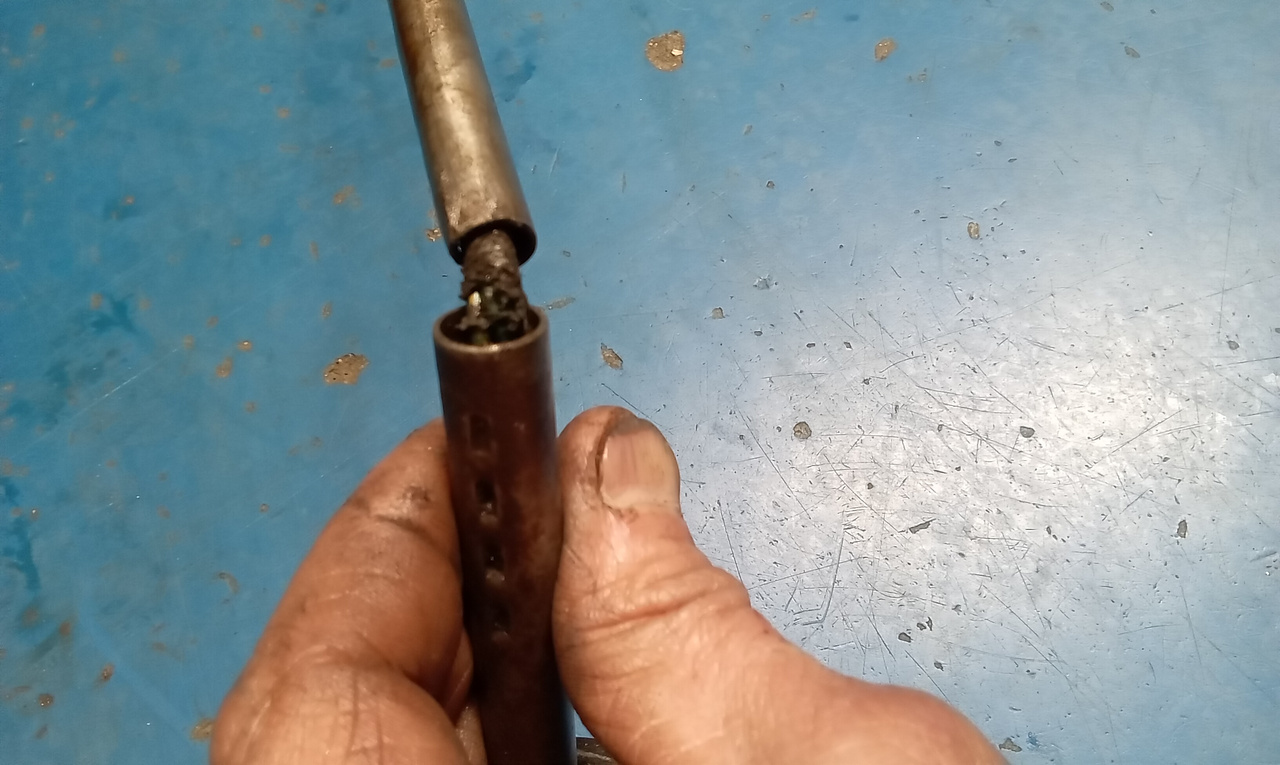
Work continues on the steering column as we cut the wires to length and make new loom for horn and indicators. Make connections at horn push/indicator switch in centre of steering wheel.
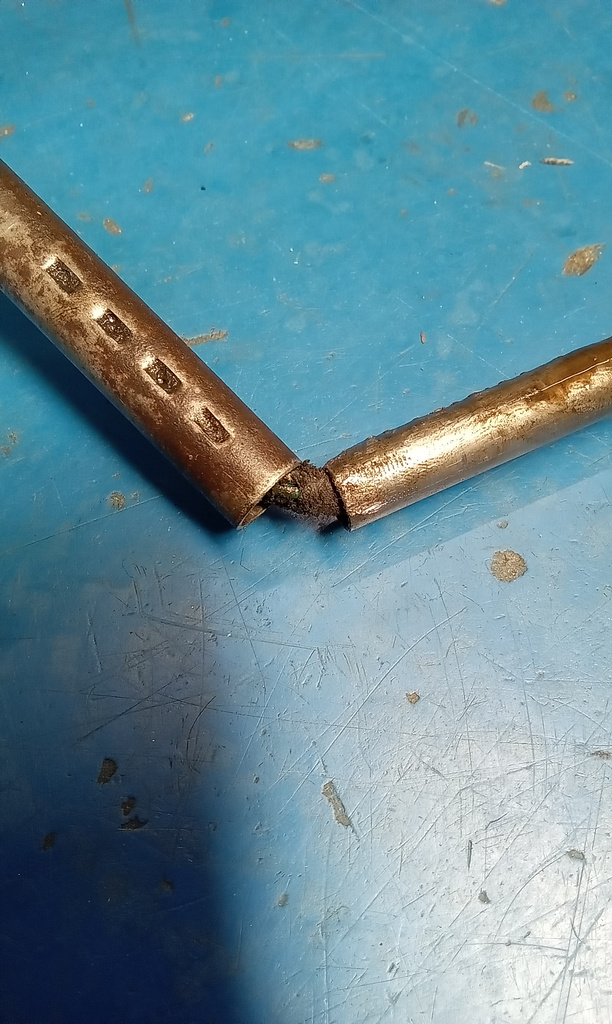
Jon and John have rebuilt the loom down the shaft whilst Clinton went off to repair the split in the column tube.


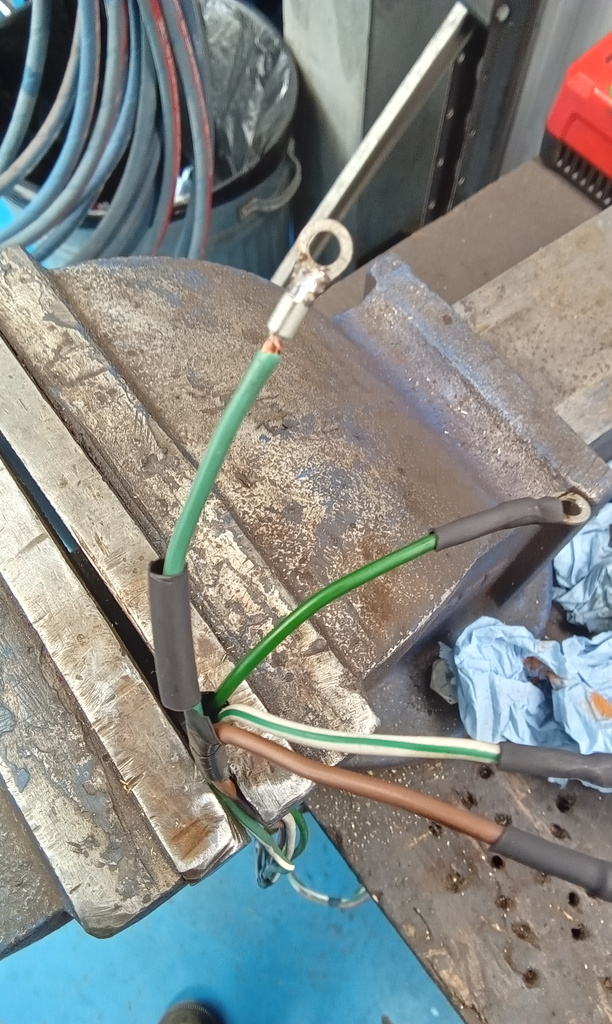
Adjust ring inside steering wheel for indicator cancel function. Tap out the thread in the ring to secure and tap out the grub screw hole for securing centre to wheel.
We have then fitted the column tube, olive and securing nut to lower column and tightened in the correct position so indicator the switch was at the top of the steering wheel. Next up was to connect the wiring and test but the horn remained temperamental. The fault has been traced to the horn itself. We’ve now remove the horn and ordered a new one.
Finish grille top plate replacement and re-secure the grille.
We have tightened the bonnet catches each side and lubricated.
Wire in front fog lights. We’ve measured the lengths and madee twin core looms to run from the switch on the dash to each fog light before remove the fog lights and testing the bulbs. Both ok.
Jon has run wires along the existing loom and into the car, connecting them at the fog light ends and reassembling. The loom has been tested by connecting to the live feed from ignition, all ok.
Connect to fog light switch.
Make small wire from sidelight feed on back of light switch and connect to other side of fog light switch.
Turn on sidelights and test. Ok.
Connect the earth wire for interior fan and test.
Tighten offside mirror.


External work next. We have inflated the tyres, torque up the wheels and refitted the wheel trims.
The nearside window have been refitted and we have elongated the holes as the window catches on the A pillar. A bit more fettling required on this one.

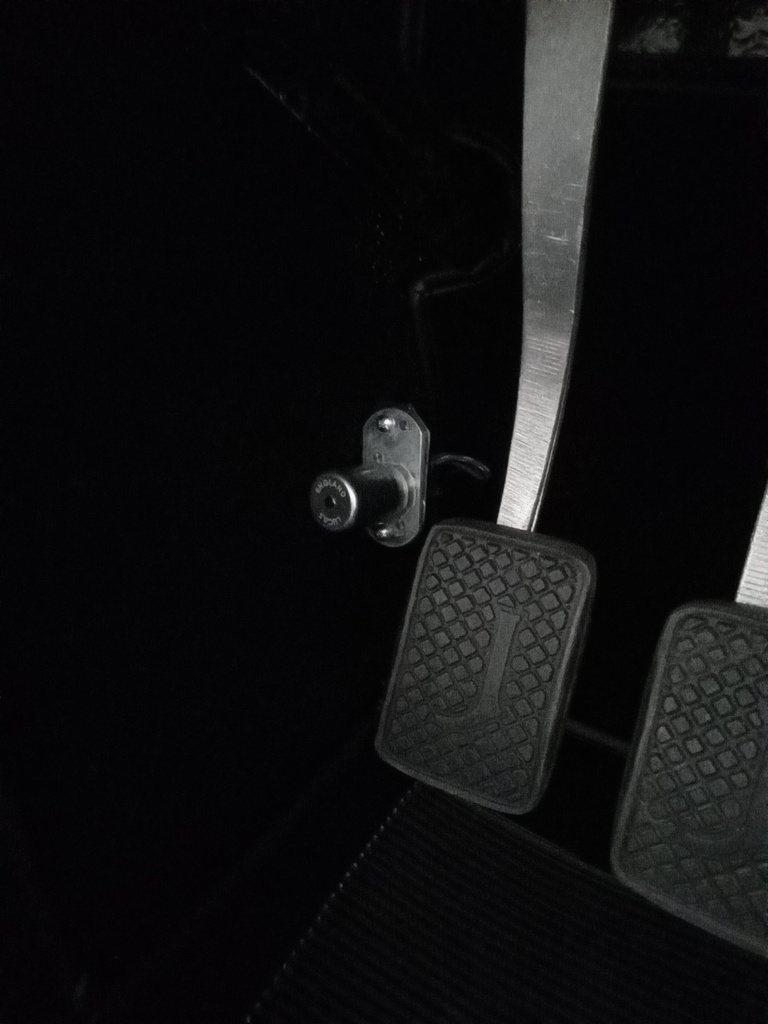
Our technician Jon has been hard at work getting our 1989 Daimler Double Six back into fully working order. Here’s what he’s currently been doing ”Remove rear wheels. Cut rear suspension bolts and replace with new bolts fitted the other way round. Drill out rivets in nearside rear arch and apply sealer. Re drill and re rivet. Trim off excess alloy front arch liner.seal boot to body area under fuel tank above rear axle. Refit wheels. Adjust and tighten mirrors. Drill and fit fire extinguisher between seats.”
”Take outside and disconnect heater pipes. Use hose to flush heater matrix. Clear water flowing after 2 mins. Reconnect and top up system. Run and test”
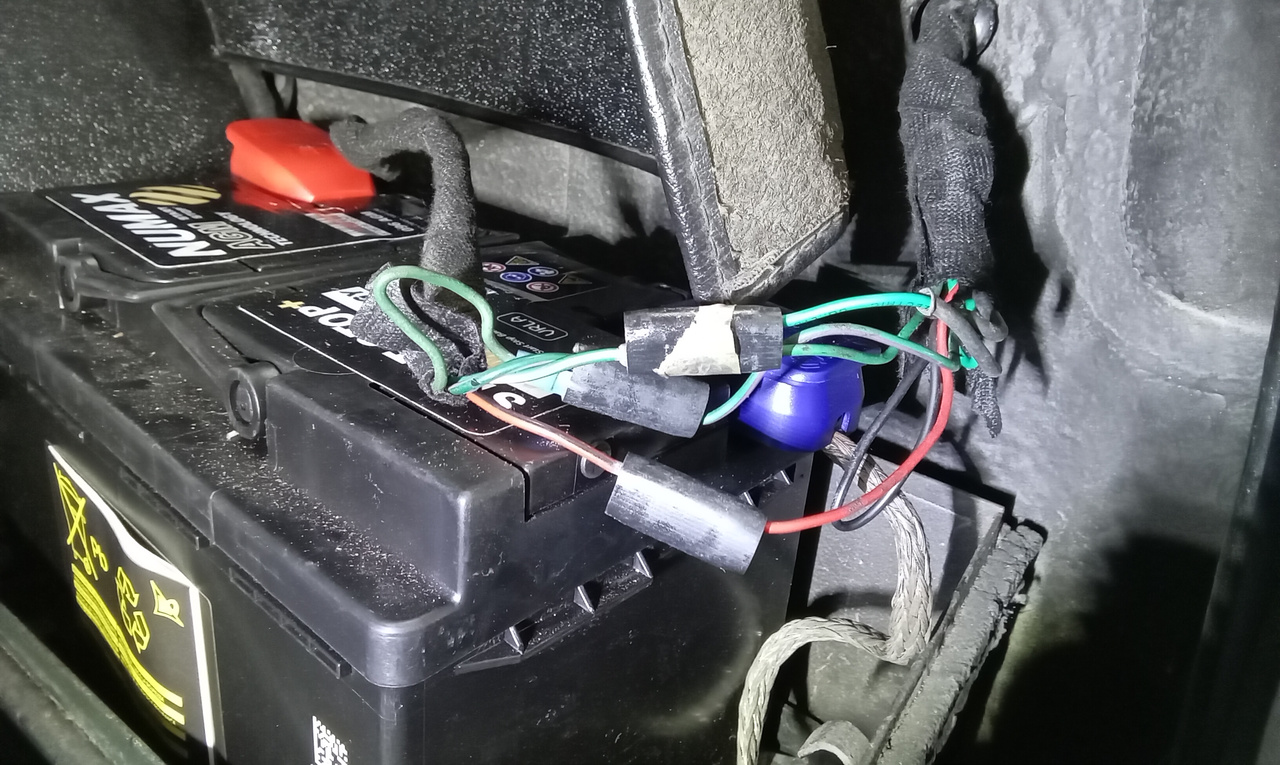
Our 1958 Austin Healey has been back into the Bridge Classic Cars worshops at our Suffolk HQ to have a couple of jobs finished off before it had a very special date.
The team found that the original kill switch in the car wasn’t working correctly anymore so replaced it with a new one before checking the car over for the transport team to deliver to a very special photoshoot with our marketing team. The results of which, you’re going to have to wait a little while longer to see.
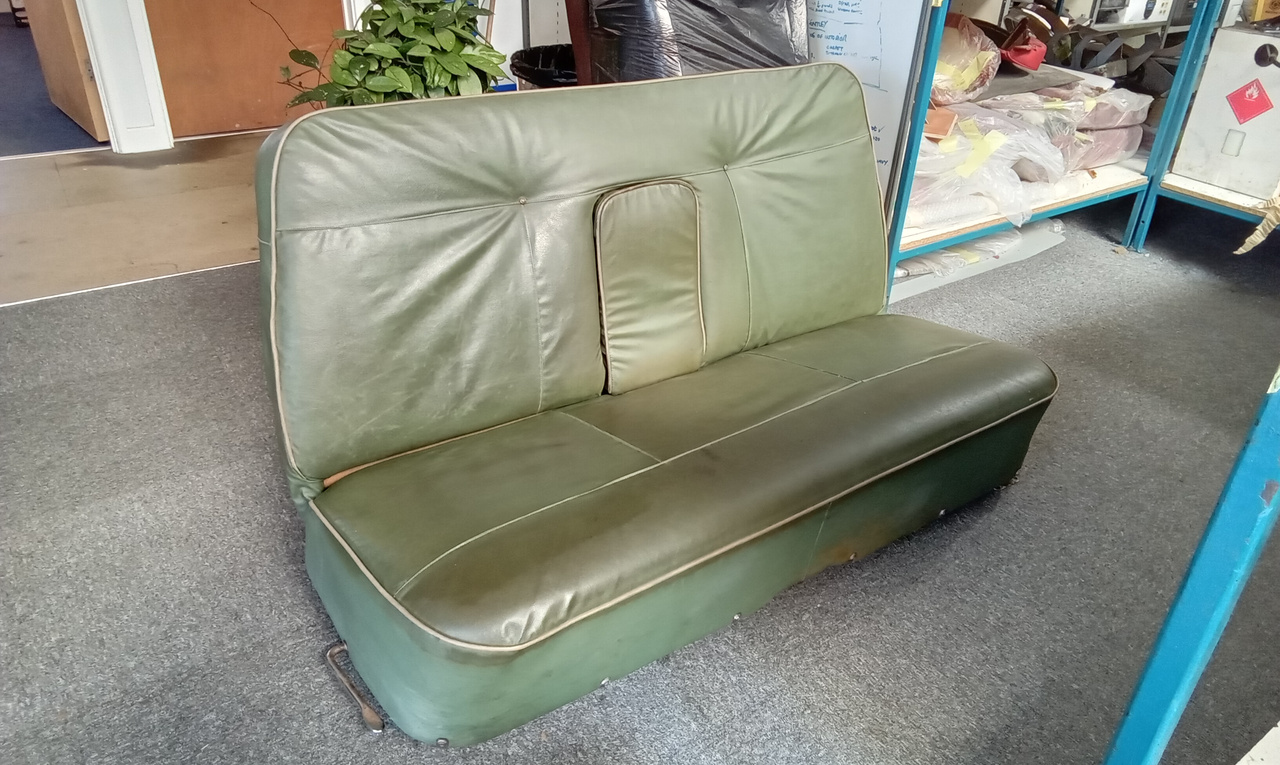
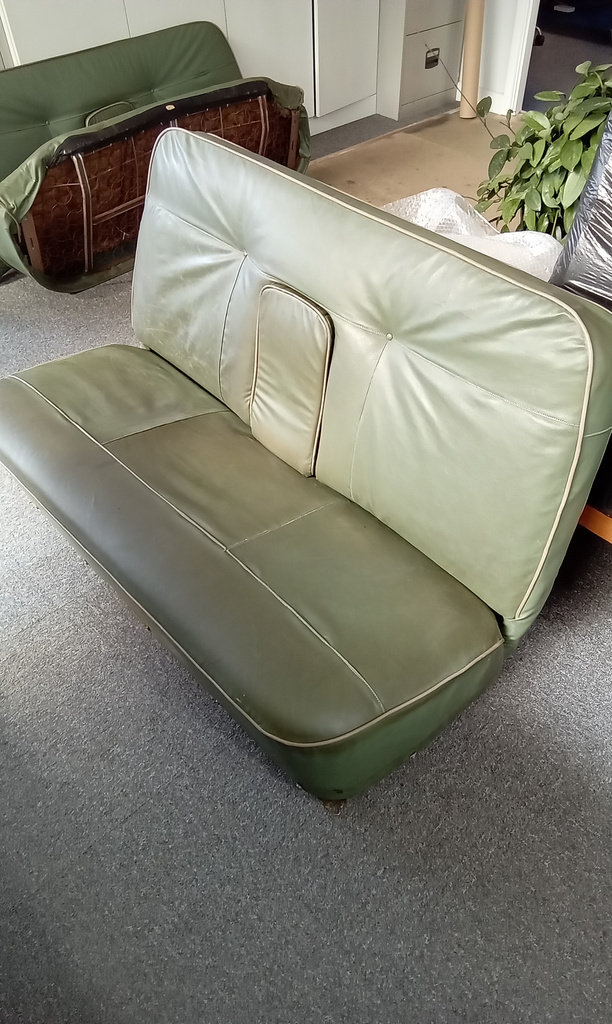
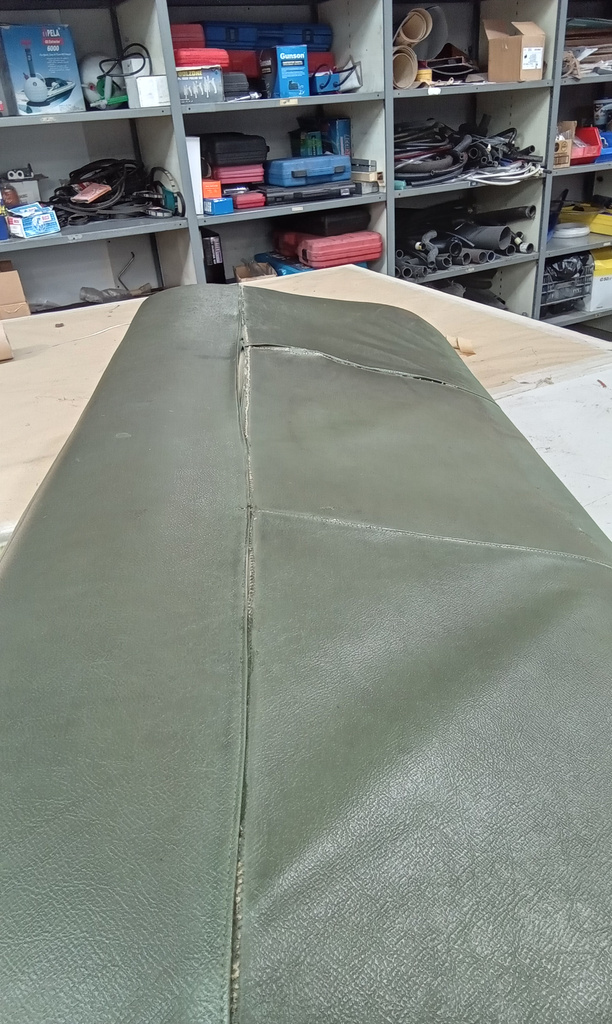
Our trim shop have been giving the task of repairing the seats on our incredible 1952 Fiat 1900A. The trim shop at Bridge Classic Cars is one of our busiest departments, but our trimmer Lydia has worked her magic on fixing up the seats of the classic Italian saloon.
The stitching on both seats had popped and somewhere in the cars passed, someone had attempted to fix this with superglue… So Lydia carefully unpicked each section which had been ‘repaired’ in order to fix it correctly. Then she could carefully stretch the covers back over the foam and frames.


We recently welcomed a 1964 Jaguar Mk2 3.8 to the Bridge Classic Cars for our team to take a look at a few little issues and also to service the classic Jaguar before taking back to its owner.
Here’s what our technician Julian has done ”Removed float bowls, found rear needle jet stuck on rear carburettor, replaced needle jet and cleaned float bowls etc. Replaced spark plugs, changed oil, checked all levels. Removed and resealed thermostat housing. Drained fuel from tank and filter housing and replaced with 2 gallons. Road test. Advisory notes, rear pinion seal leaking, gear stick linkage worn, rear propshaft UJ worn.”
After that, it was handed back over to our transport team to get the car safely back home.
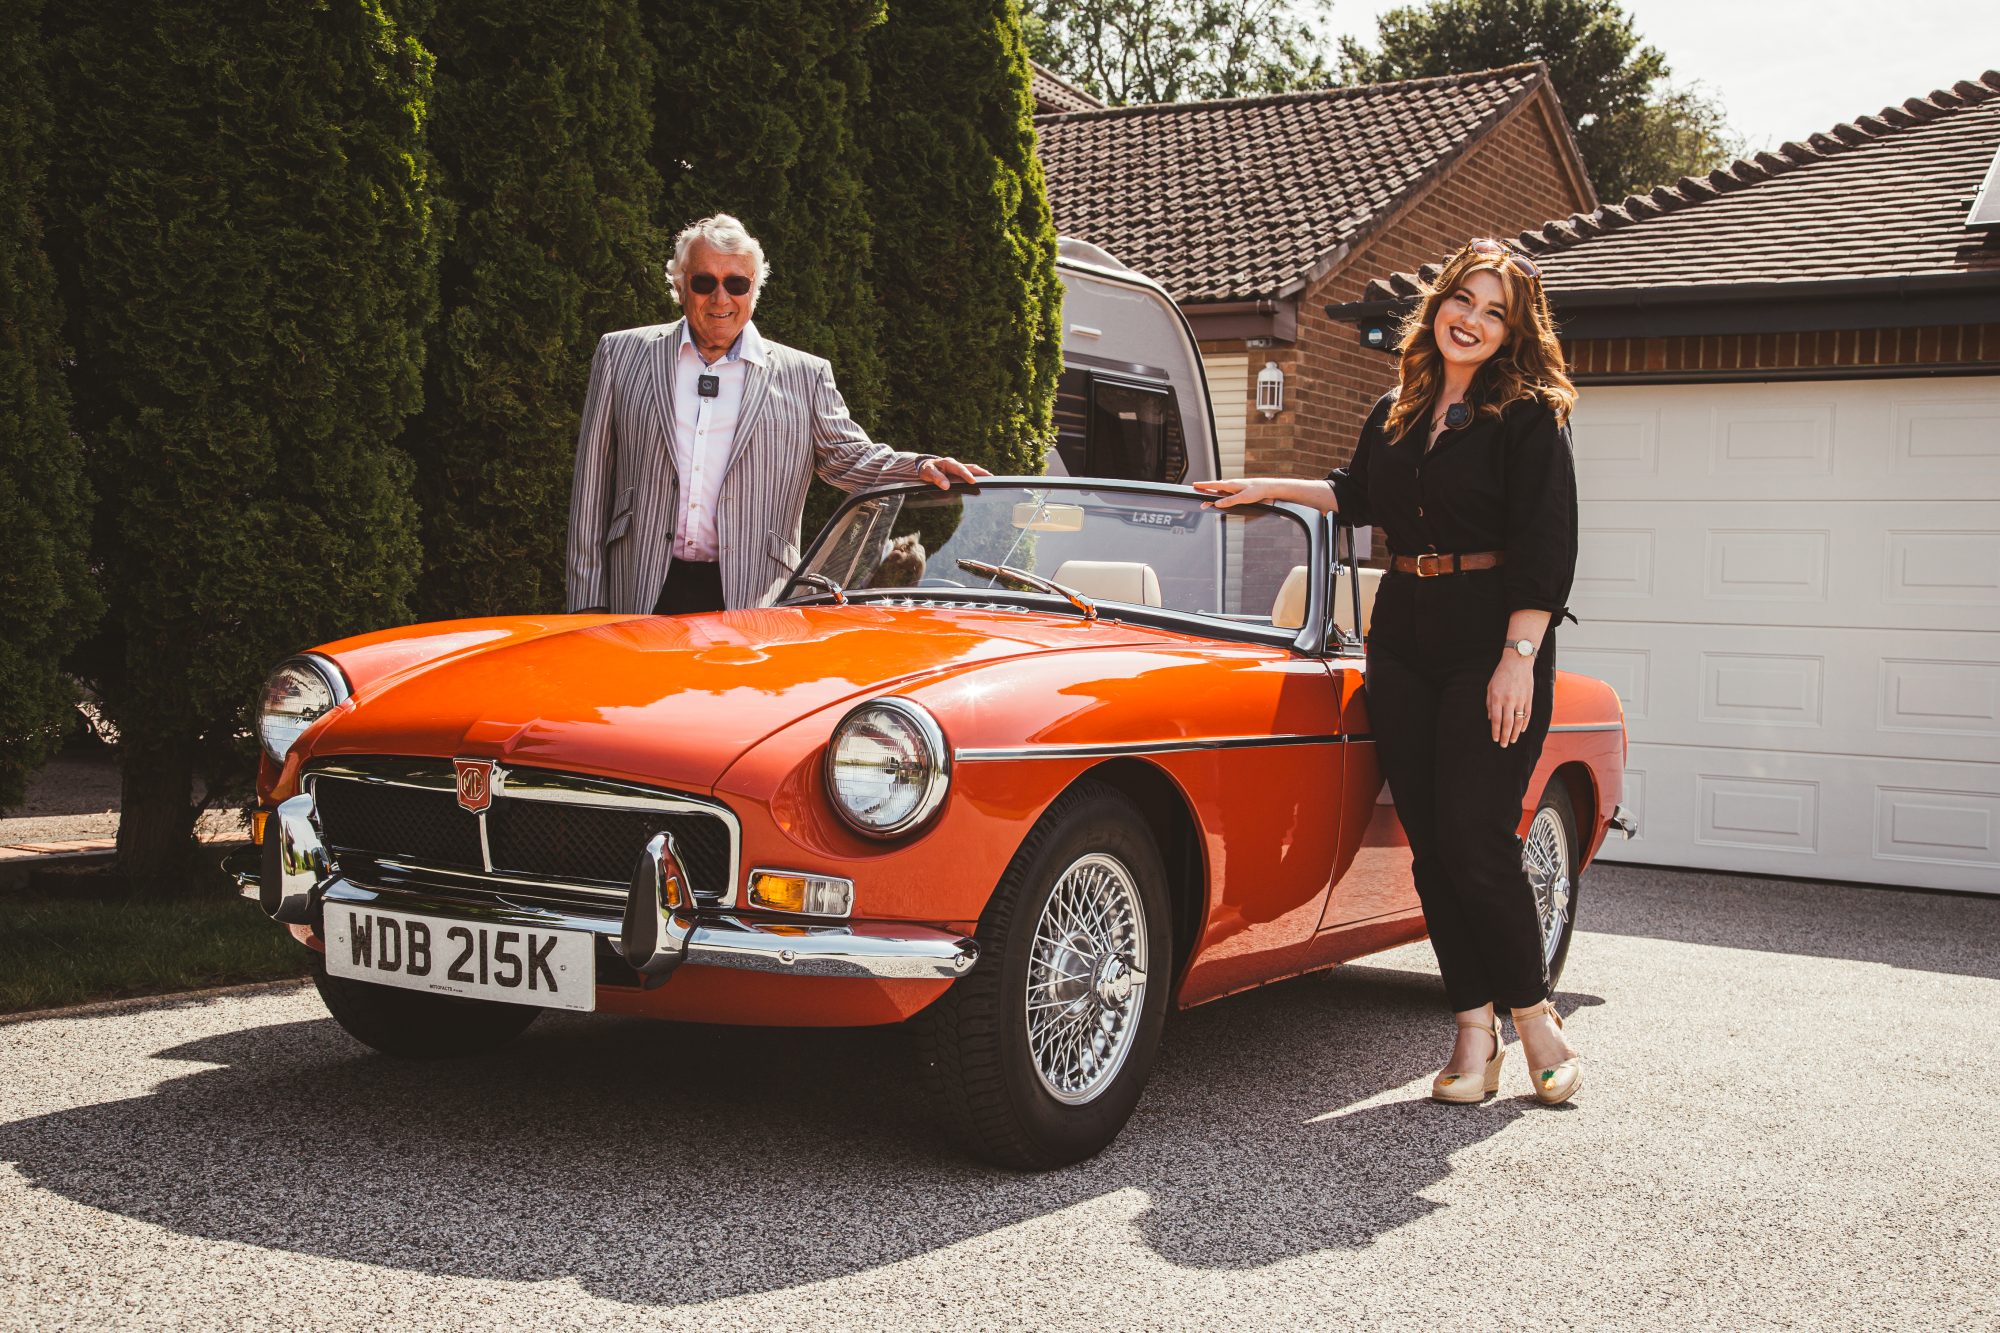
Recently, Peter won our 1972 MGB Roadster through Bridge Classic Cars Competitions. But before the team took the trip down to deliver the car to him personally, the workshop checked it all over and then it was handed over to our transport team to get loaded up safe and sound in our enclosed trailer for the journey to its new home.
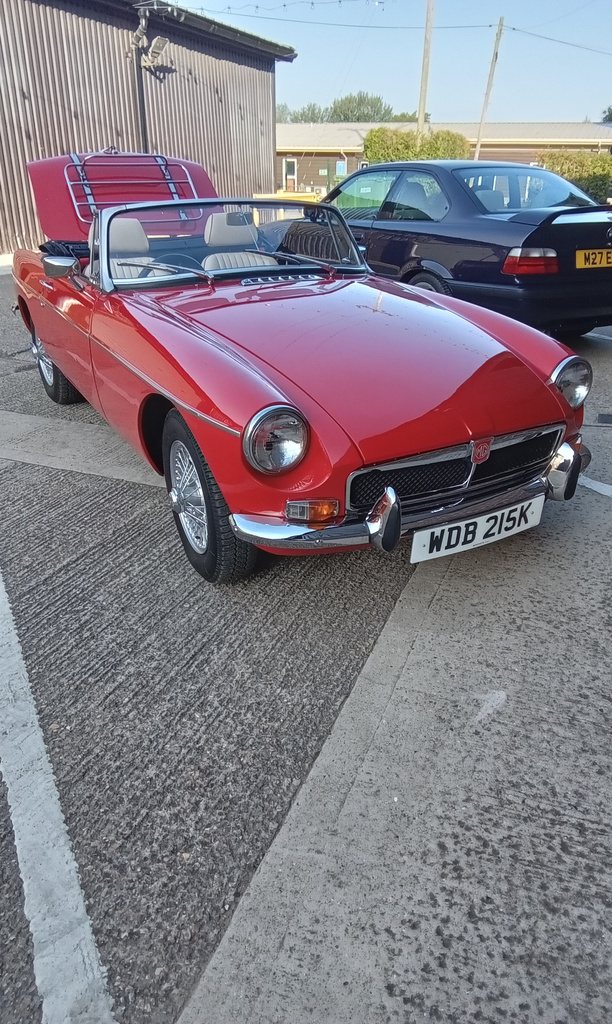
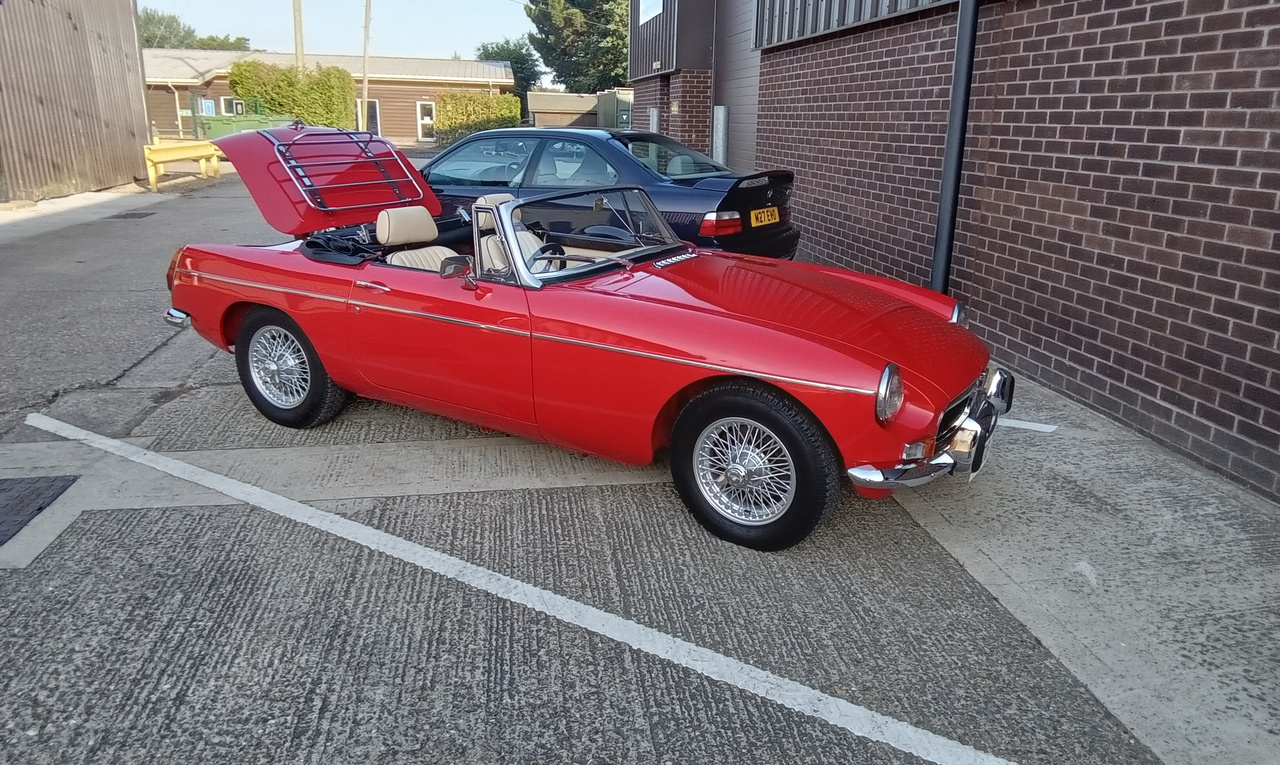
Once we arrived, Peter met us excited to meet his new pride and joy – and raring to go on the cars maiden voyage under his ownership. You’ll be able to see the video on this very soon over on our YouTube channel.

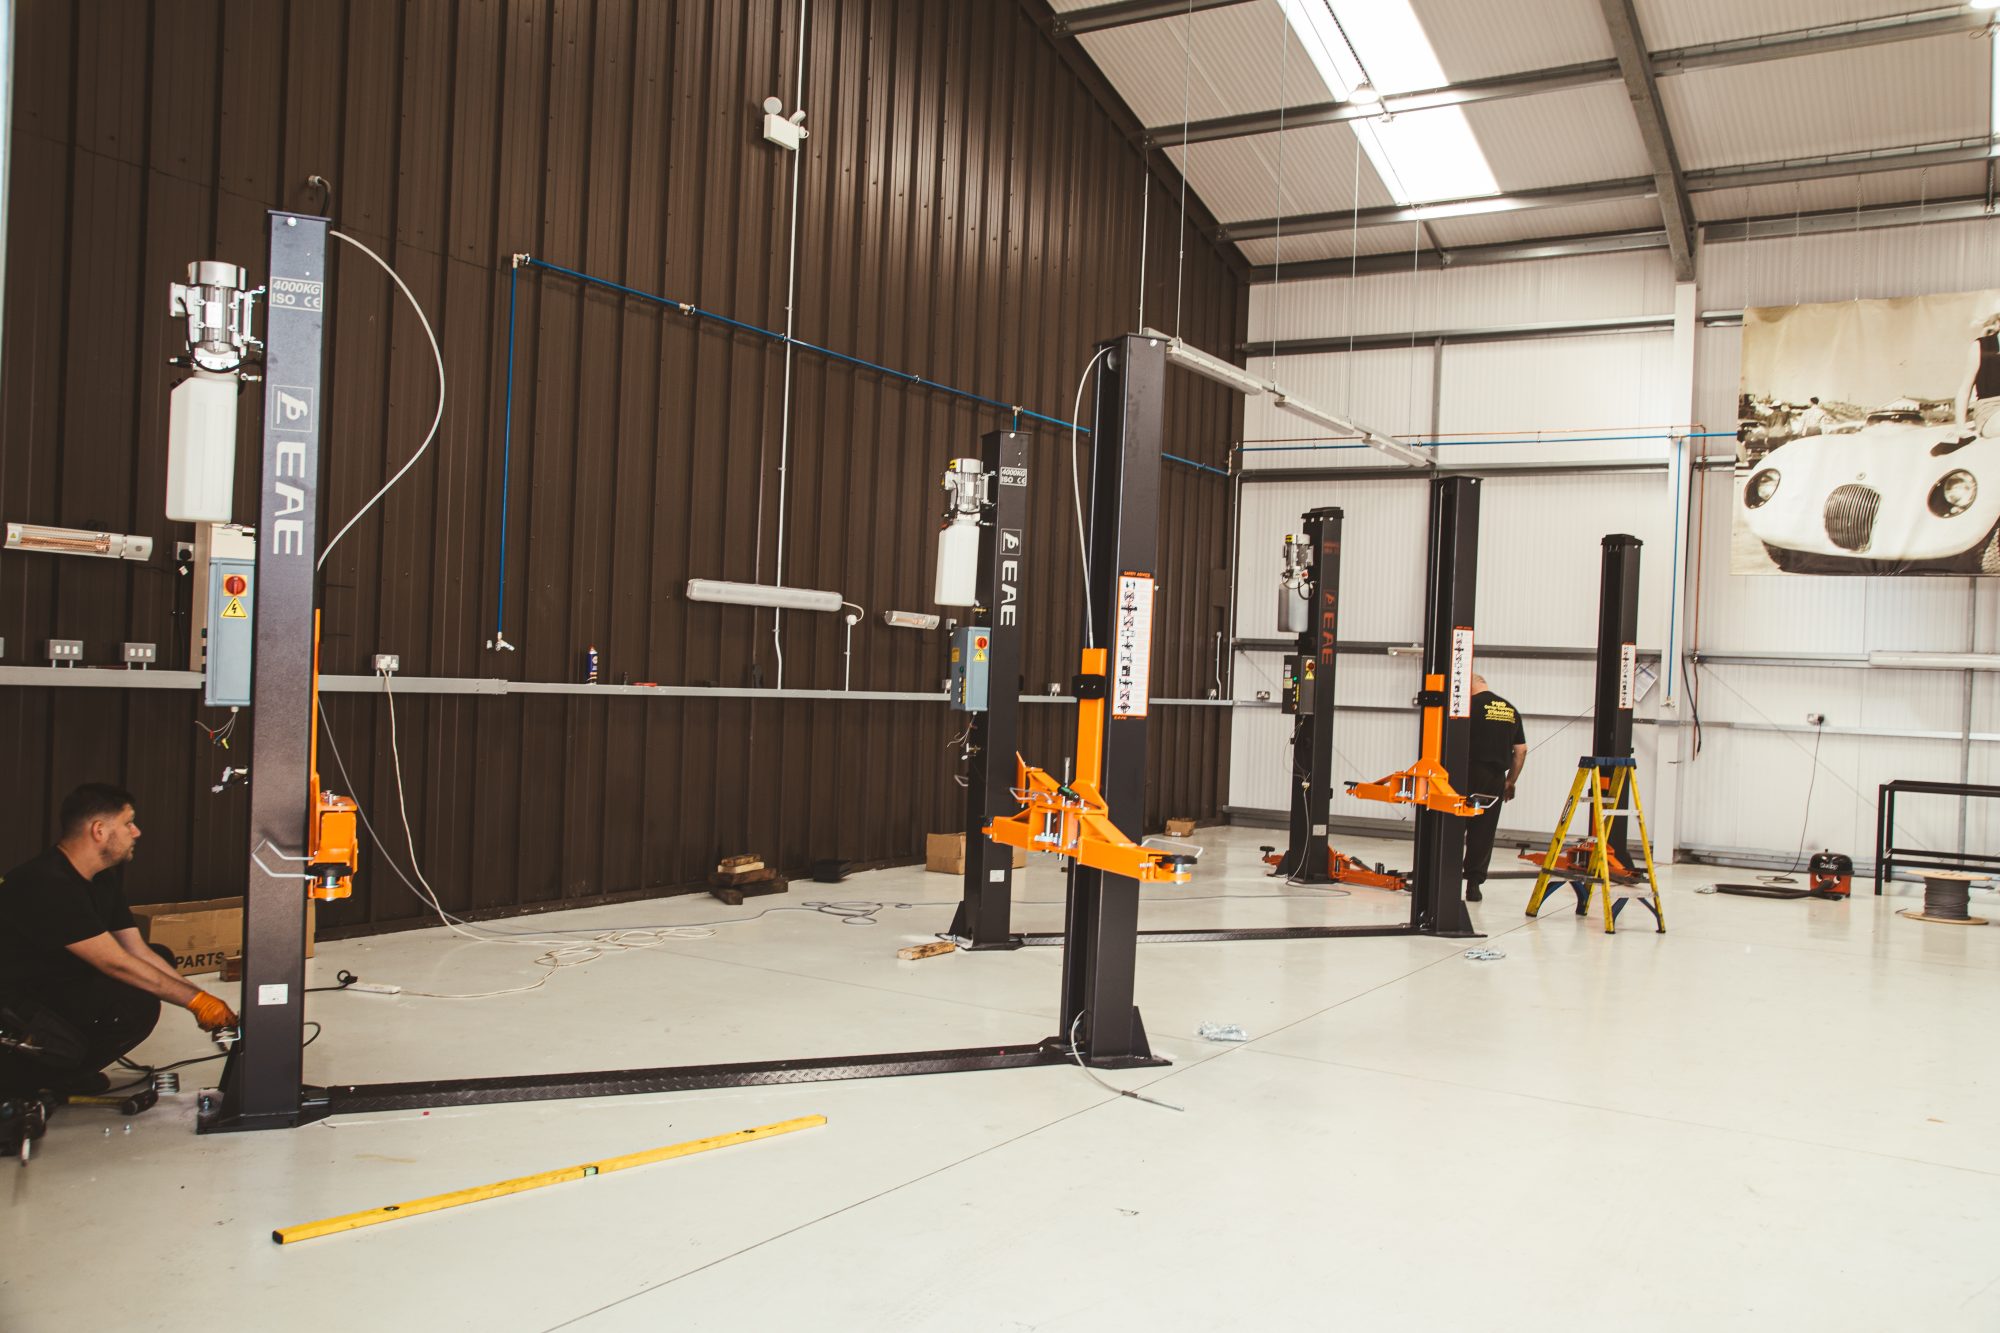
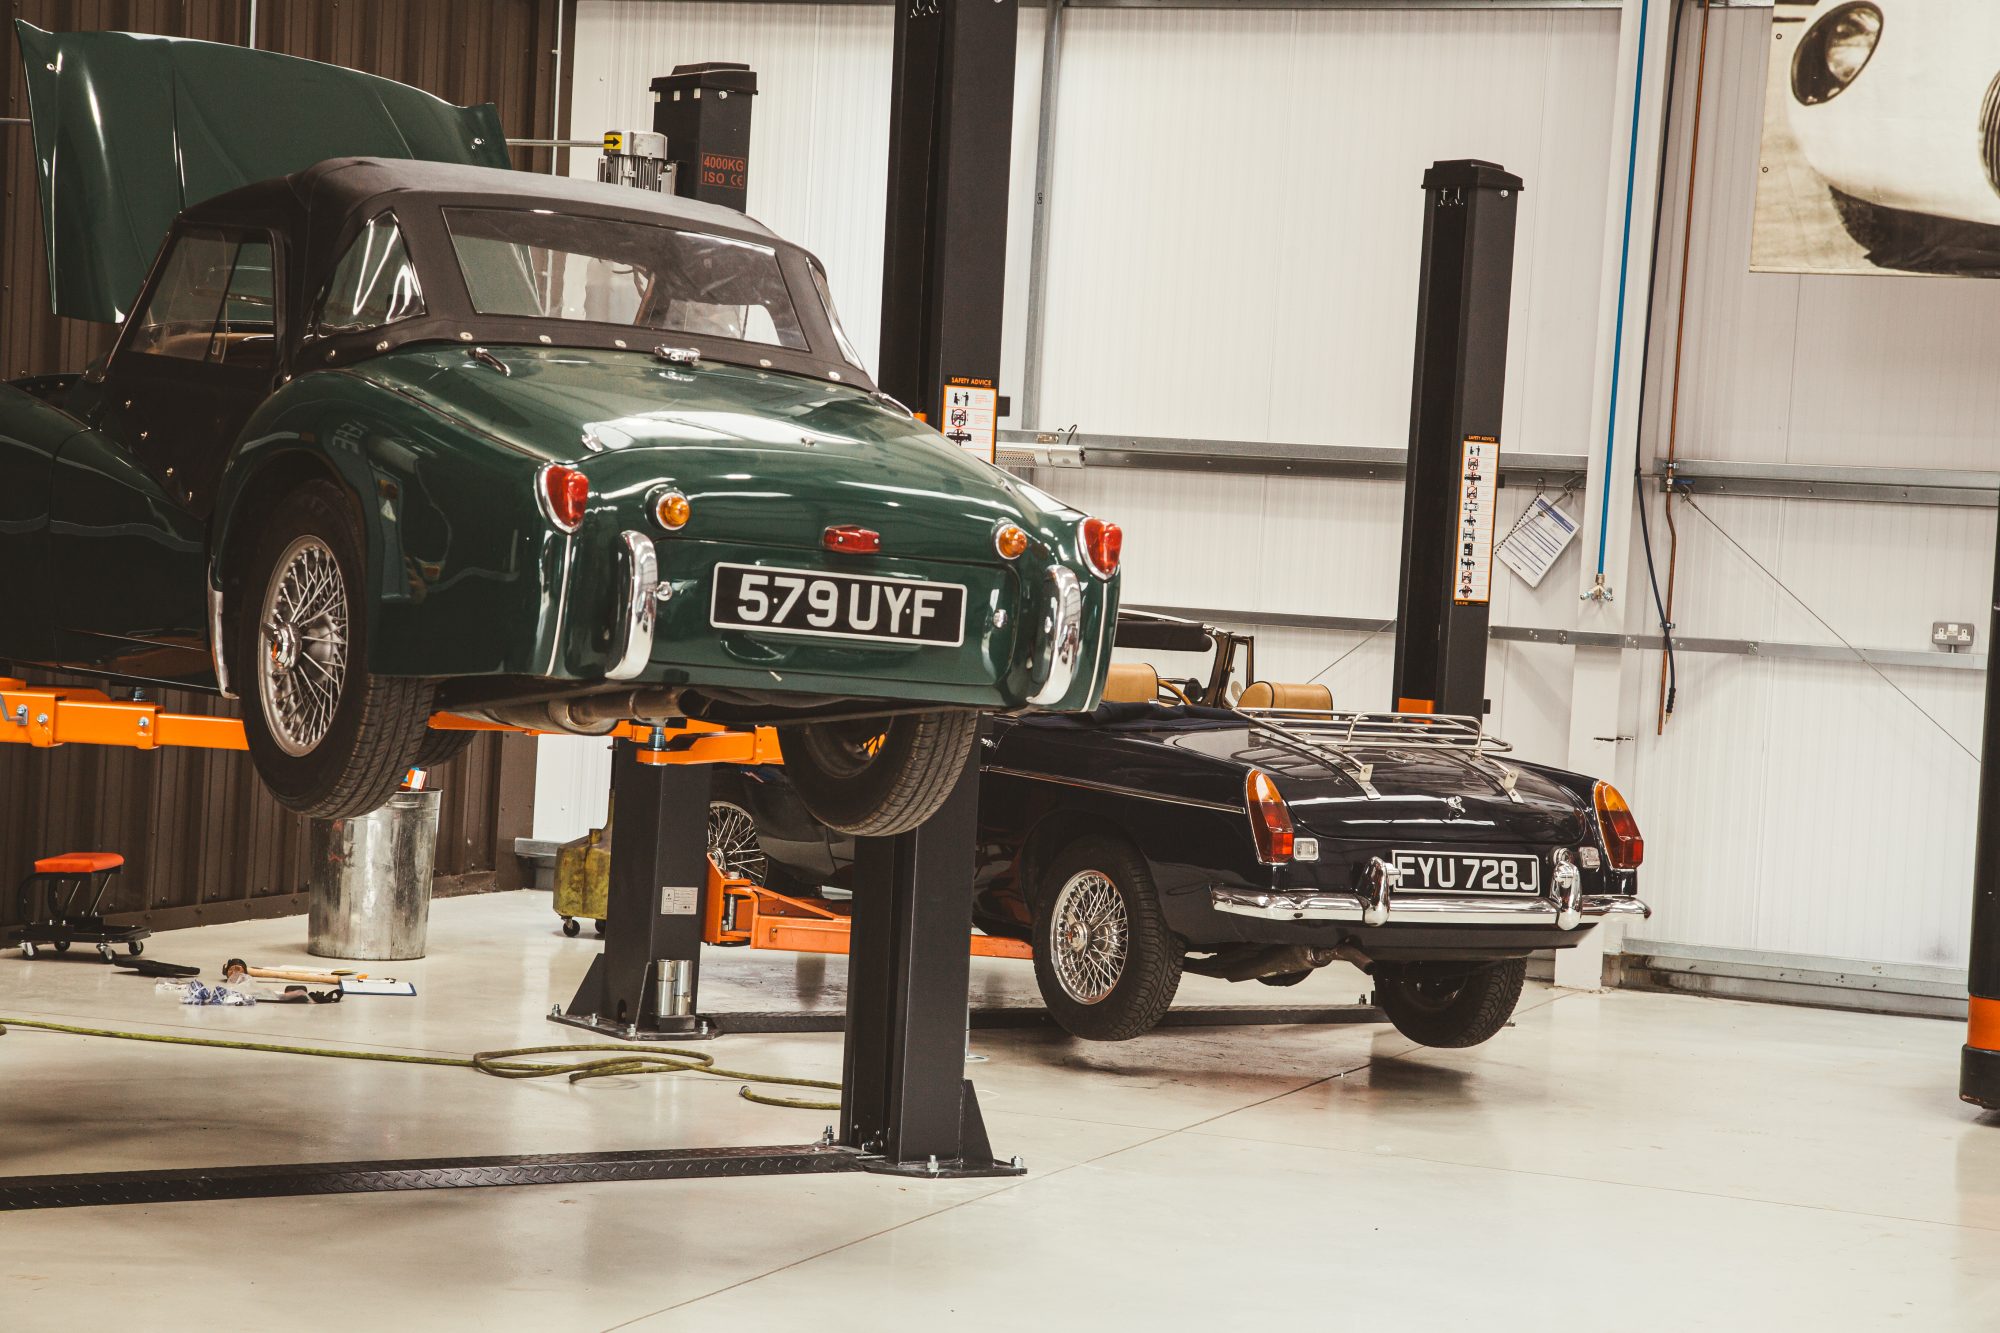
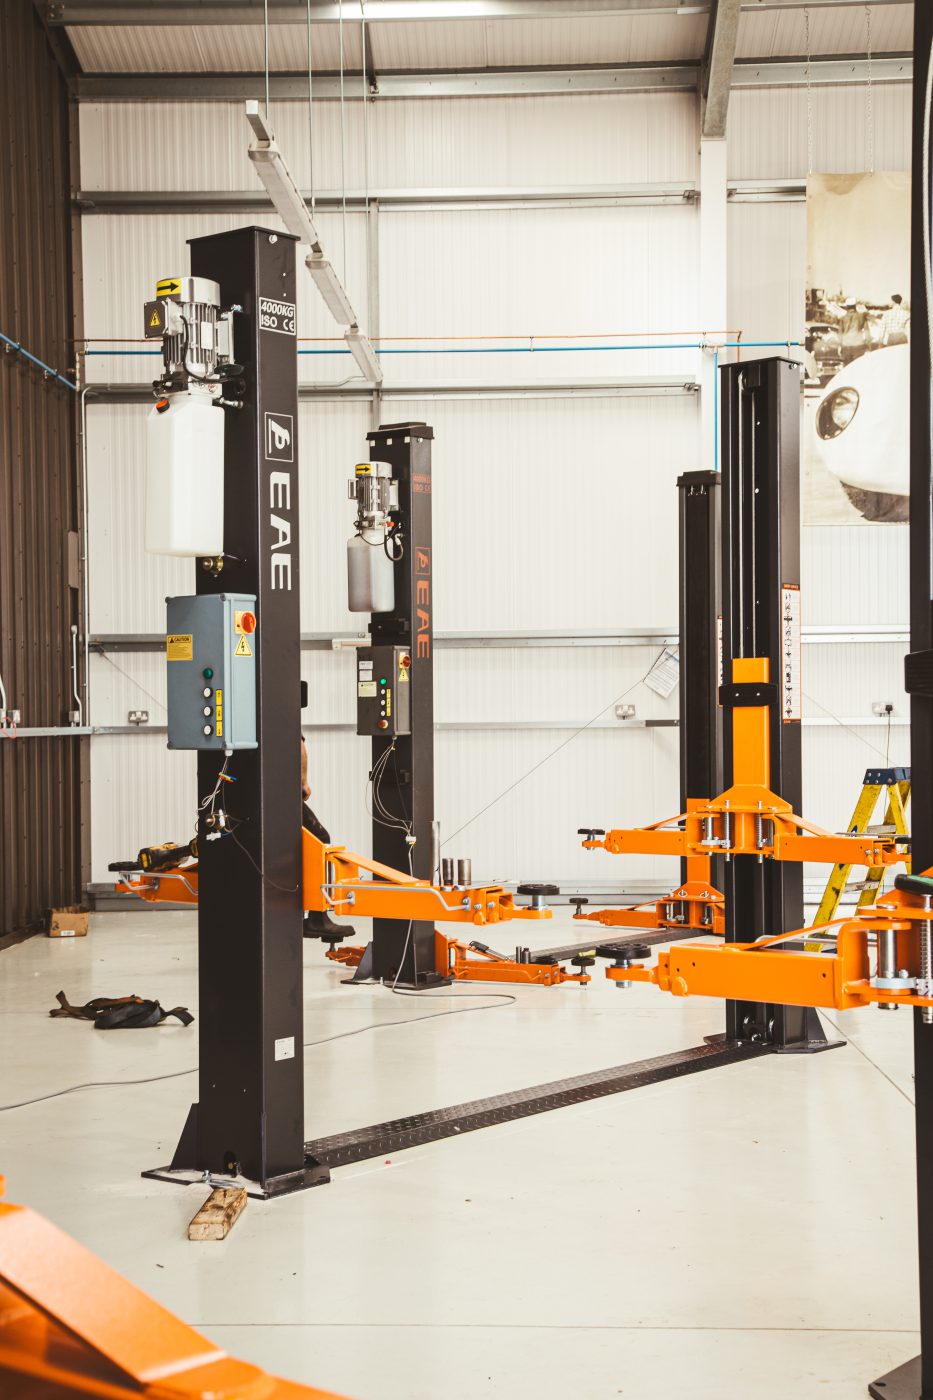
There’s been some big changes recently at our Suffolk HQ with the installation of a new set of ramps. These ramps have been put in place in what used to be the home of Bridge Classic Cars Competitions, the Atelier, but since its move into the newly launched Classics Lounge – the Atelier has now become the finishing room for our various restoration projects.
Each project will be built back up in this room before it is tested with a technician assigned to each individual car.
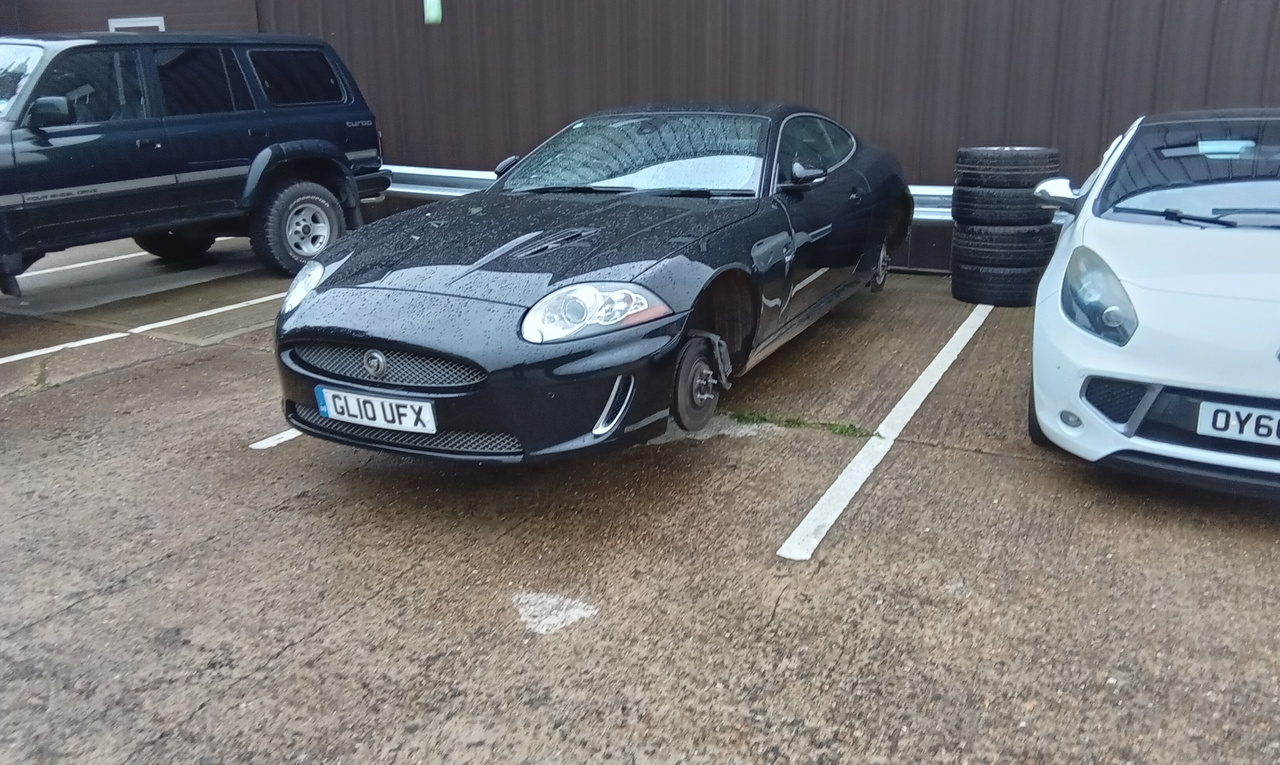
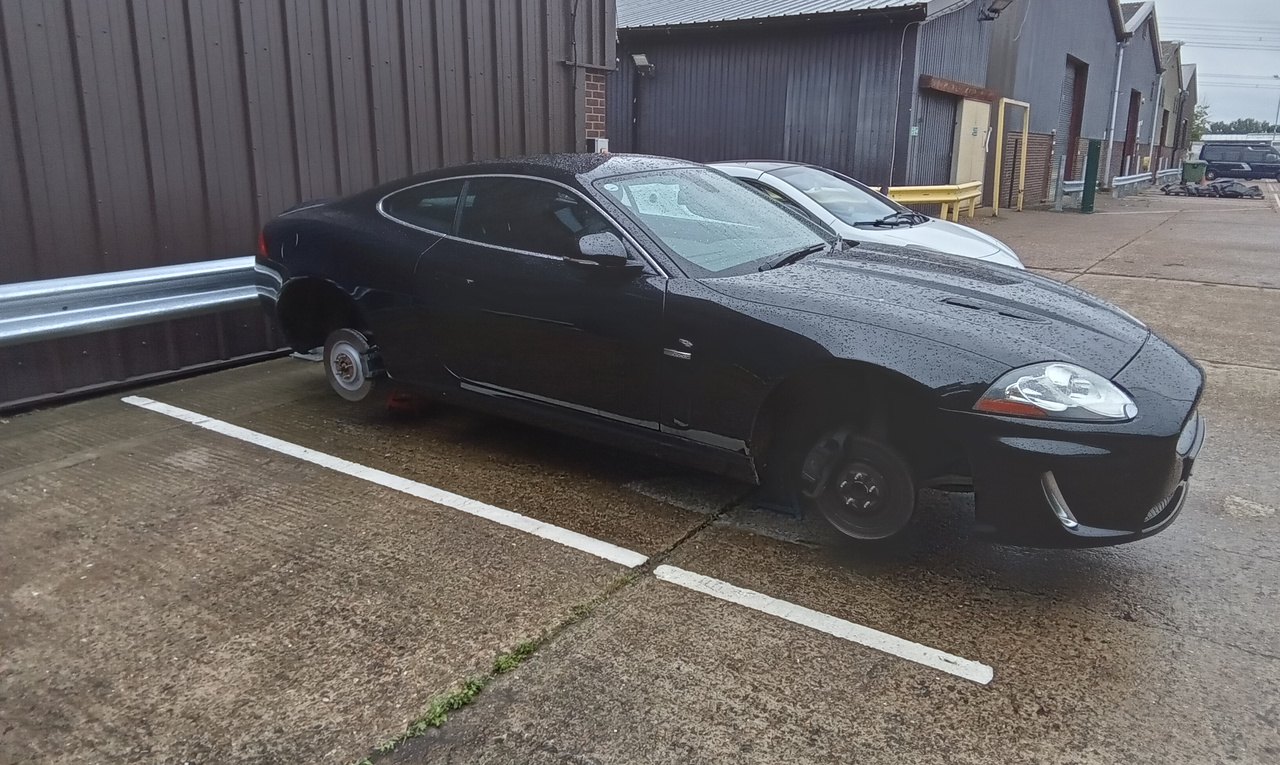
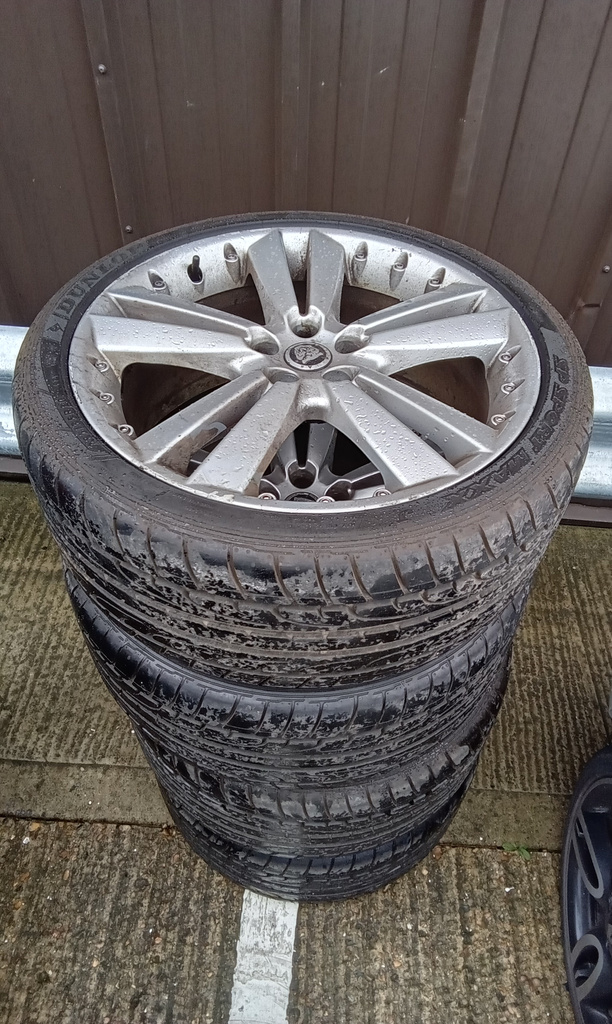
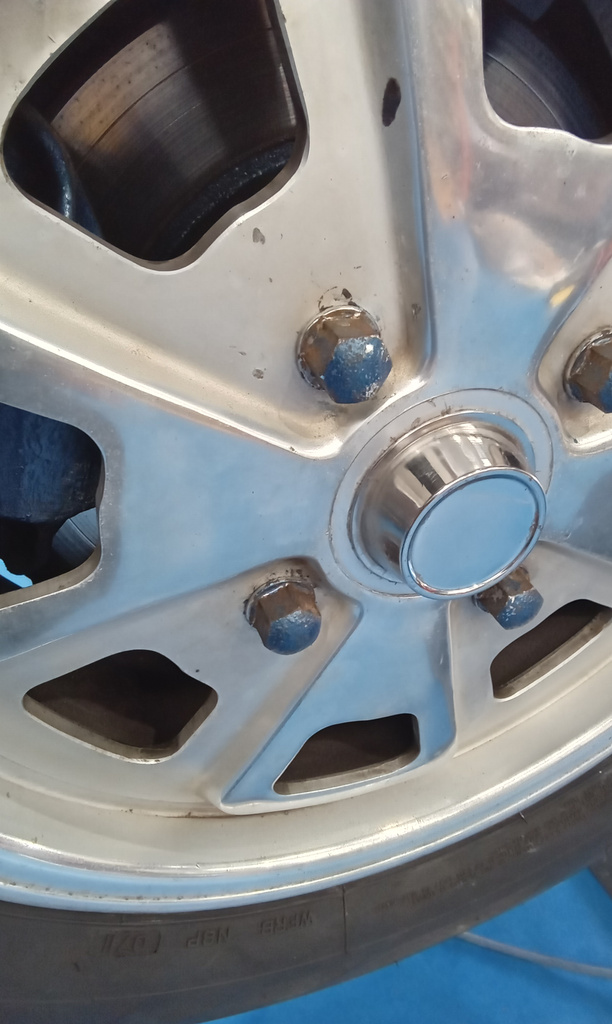
Our 2010 Jaguar XKR, which recently around at our Pettistree workshops, has been under the car of our technician Jon. The alloy wheels of the car have been removed to be taken off to a local specialist to be refurbished.

Our 1966 Daimler 250 V8 has been in the Bridge Classic Cars workshop at our Suffolk HQ for our restoration technician Julian to have a look over before it becomes a new dream classic on Bridge Classic Cars Competitions.
Julian noted a couple of items which needed his attention. Firstly, he had to replace a faulty brake light switch and also fitted new spade terminals before moving on to wiring up the horn. As part of his process, Julian pressurised the coolant system on the car and his words ” found every coolant hose leaking”. So, methodically he went round each one and resealed them tight before draining the system and replacing the cars antifreeze/coolant.
Next, he moved under the car to get more of the mechanicals in order. The car has been fitted with adjustable suspension by a previous owner, and these had been set to their absolute maximum in terms of stiffness. Julian set them all back to zero before testing the car and stiffening them until the ride quality of the car was just right. Then he could check all levels as well as service the grease points such as the ball joints and propshaft etc.
Our 1959 Jensen 541R, which was delivered to its new owner a few weeks ago, has been collected by the Bridge Classic Cars transport team to make its way back to our Suffolk HQ for a routine check up.
As with all of our ground-up builds, we like to see the cars back after completion to double check everything is as it should be. The car will make its way back to our Pettistree workshop for the team to take a look at the car.
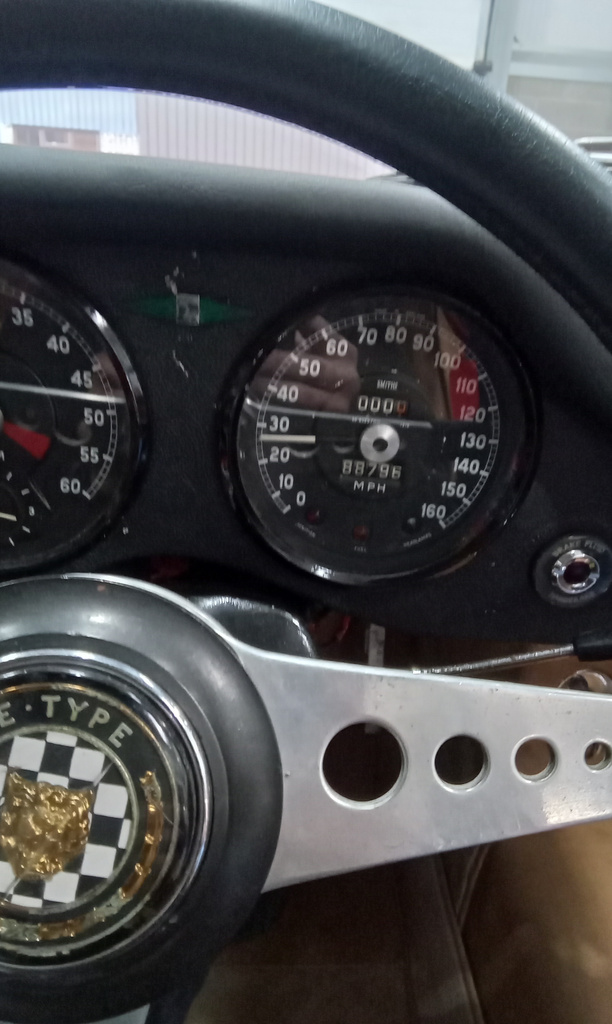
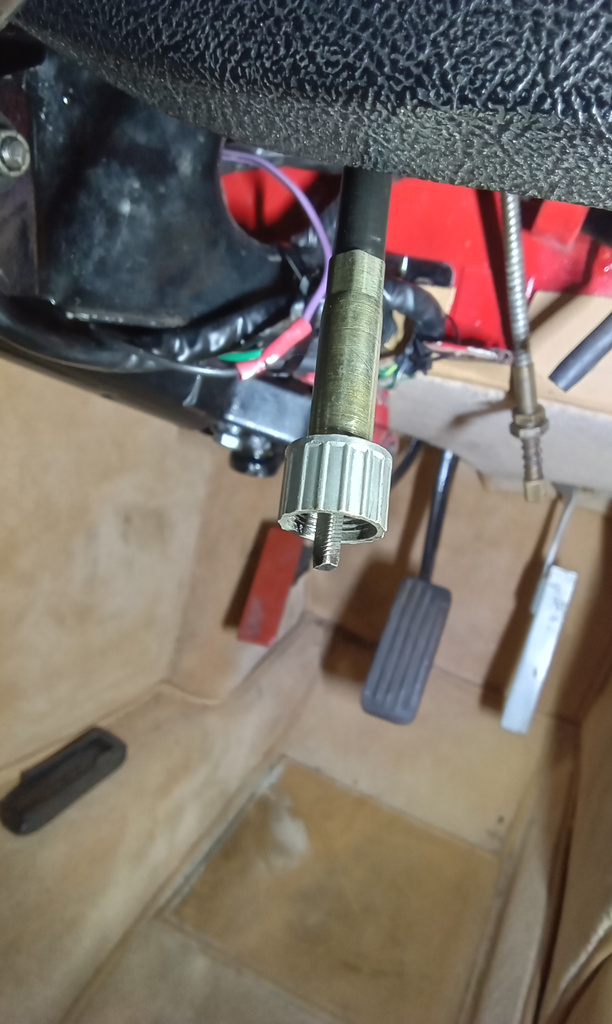
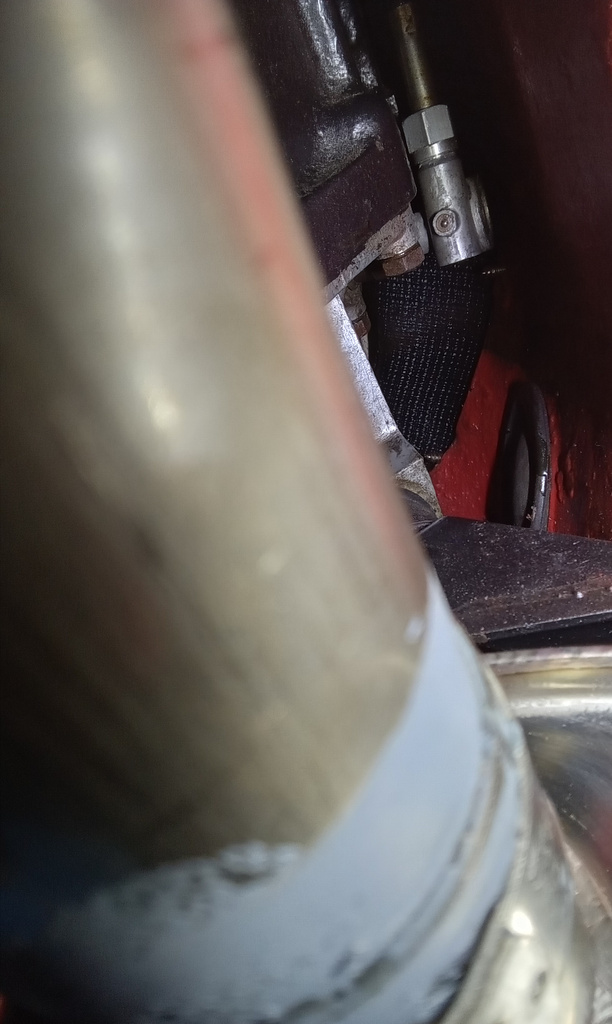
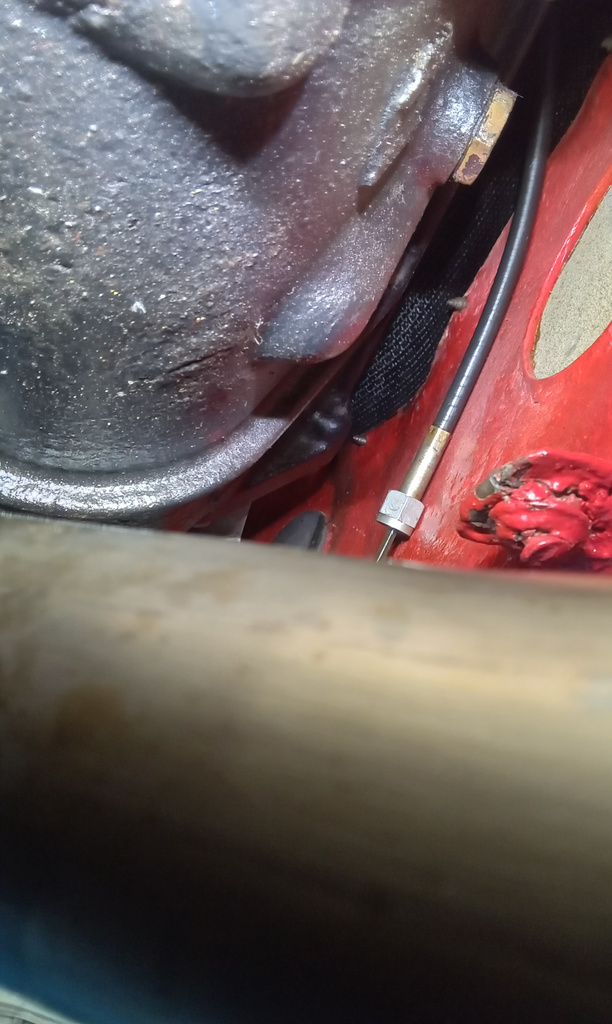
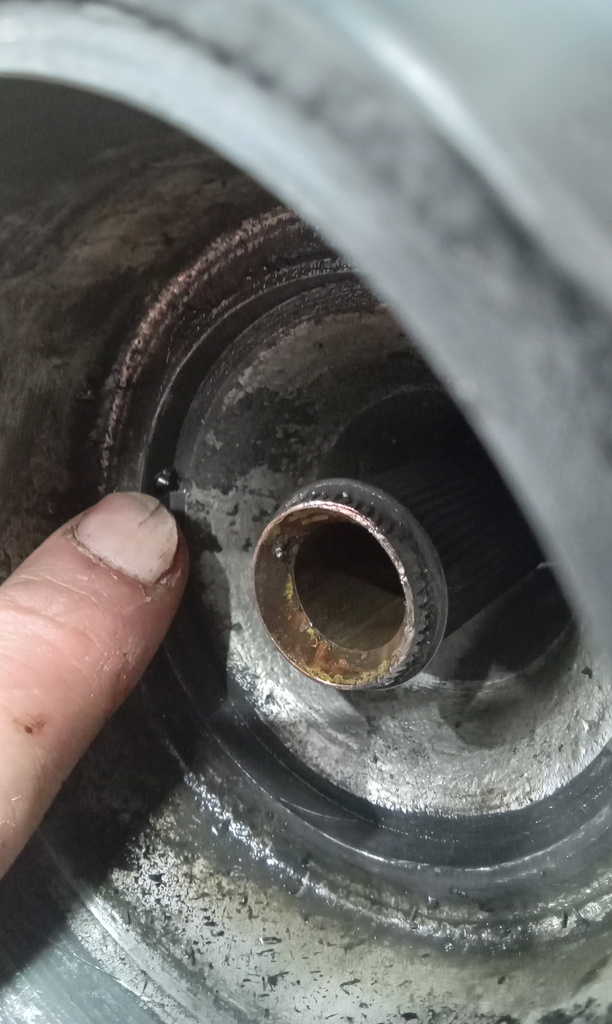
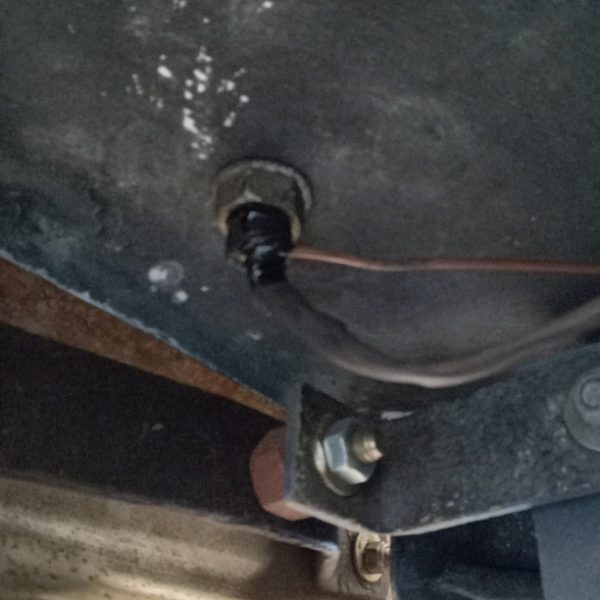
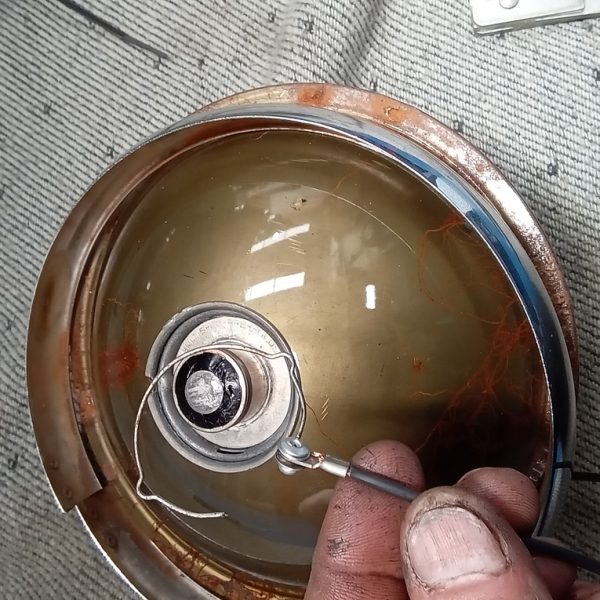
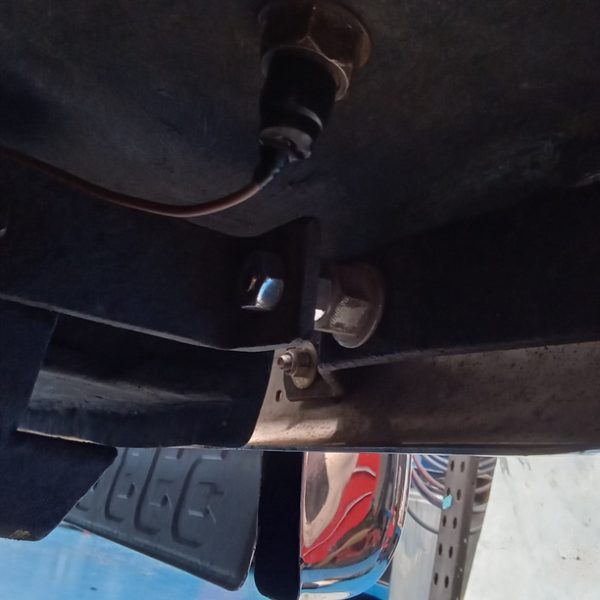
The workshop team have been continuing on getting our 1962 Jaguar E-Type Series 1 Coupe back on the road after its decades long slumber. The final piece of the puzzle was for Jon to diagnose and repair a fault with the speedo in the car.
Jon discovered that the drive from the gearbox (which goes through a 90 degree converter) was not spinning the cable. So Jon found another one we keep in stock and modified it to fit the car and tested the cable operation by hand, which began to work the clock inside of the speedometer. With that, he could get everything connected back up and test thoroughly before signing the car off.