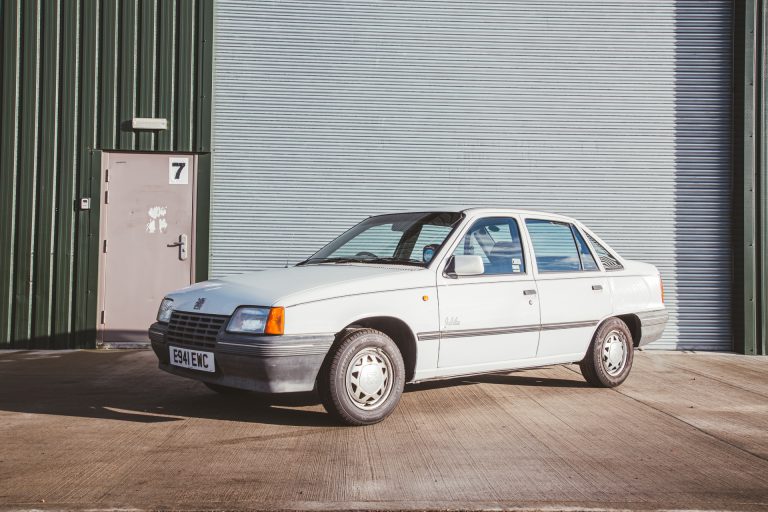
Fazza196 believes our Jubilee is the last!
Our 1988 Vauxhall Jubilee has had some great interest in eBay this week and with only 23hrs to go the car has bids which therefore

Managing Director – Bridge Classic Cars

Our 1988 Vauxhall Jubilee has had some great interest in eBay this week and with only 23hrs to go the car has bids which therefore
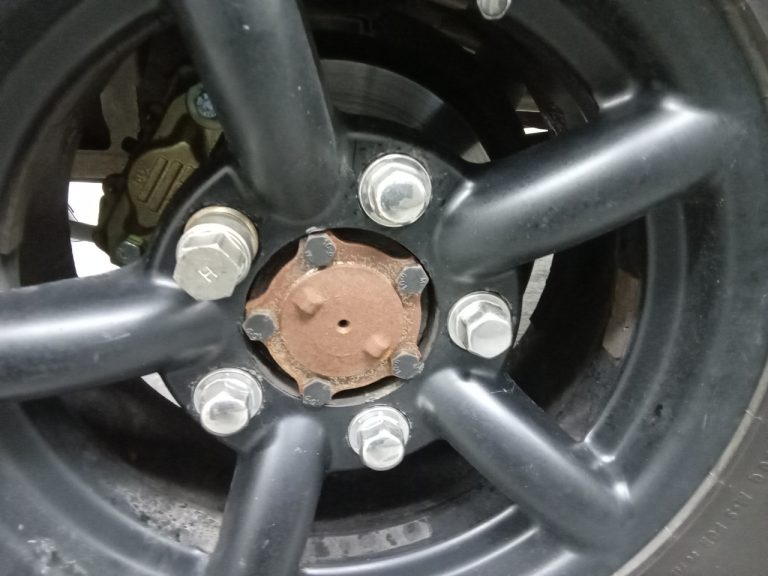
My Land Rover Defender is one of the best vehicles I have ever owned…at least that’s what I think right now. Yes it’s industrial, yes
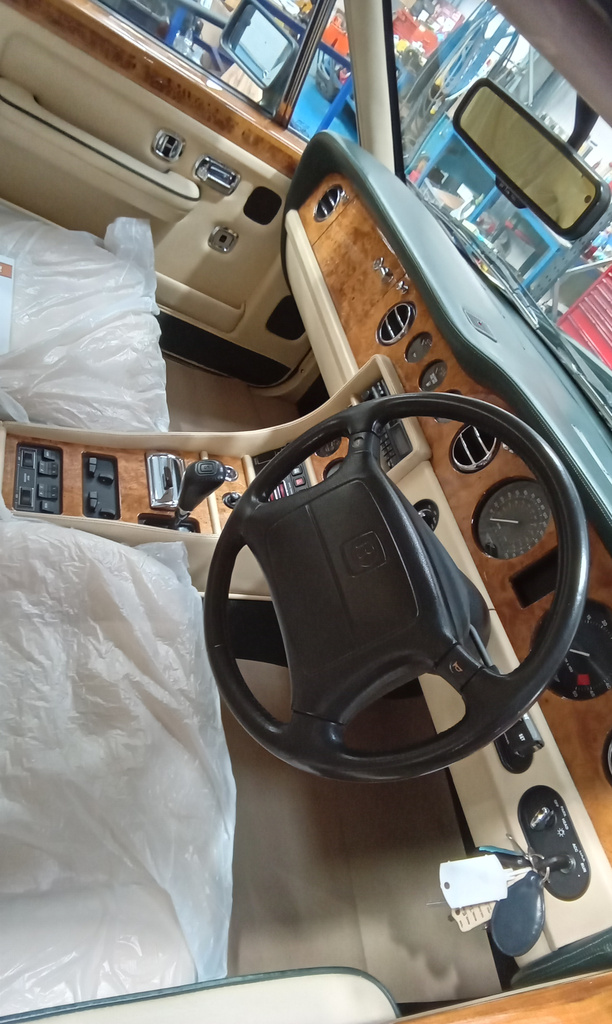
Jon has now completed the inspection on our 1993 Bentley Turbo R. He’s carried out the necessary repairs which included; sorting the connections on the
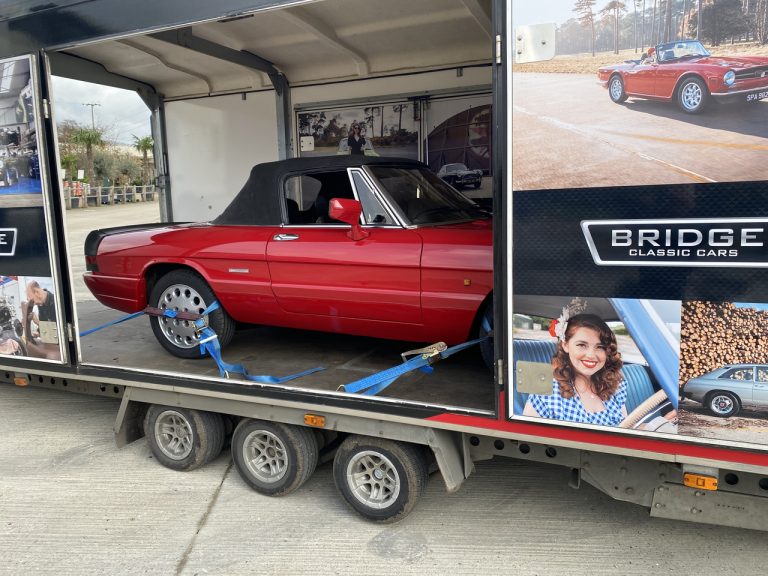
Tony’s had a busy week on the road this week. As I sit here writing this he is currently heading up the A65 on his
Back in July 2022 we surprised David with the amazing news that he had won our 1997 Rover Mini. Soon after, he visited our Suffolk
We seen a few cars added this week to our ‘free to buy, free to sell’ website MyClassics. First up, (and I do very much
Work is now complete on the hood of our Rover 216 so only one more job for Tony to complete, that’s returning the car back
As we continue to see the amazing progress being made on our 1905 Riley 9HP, meet Joby Carter, the incredible talent behind the colour transformation.
What a fantastic weekend we had at Manor Park Classics for their February 2024 classic auction. It’s the first time I’ve been and the second
We have now received hand delivery of the door surround brightwork, all wrapped and ready to be fitted later on in the restoration journey. For
Here is a full run down on the works carried out recently on our Ford Transit Mk2. Tony has collected a new/old stock prop shaft
…and it’s a beauty! Our 1000 mile 2011 Morgan 4/4 is now safely tucked away at our new storage facilities. As well as a larger
Probably to most people, this wouldn’t be considered the garage of dreams but to me, this is the start of exactly that. At the age
We’ve recently welcomed one of the most capable off-roaders into our Suffolk workshops – a 1994 Toyota Land Cruiser. This has come in for our
Last night, Gordon and I were invited to attend a dinner at the prestigious Ipswich and Suffolk Club organised by an exclusive group of local
Tony wore his transport hat this morning as he carried the stunning Clio 2.0 16v Sport from one side of Suffolk to another. Normally our
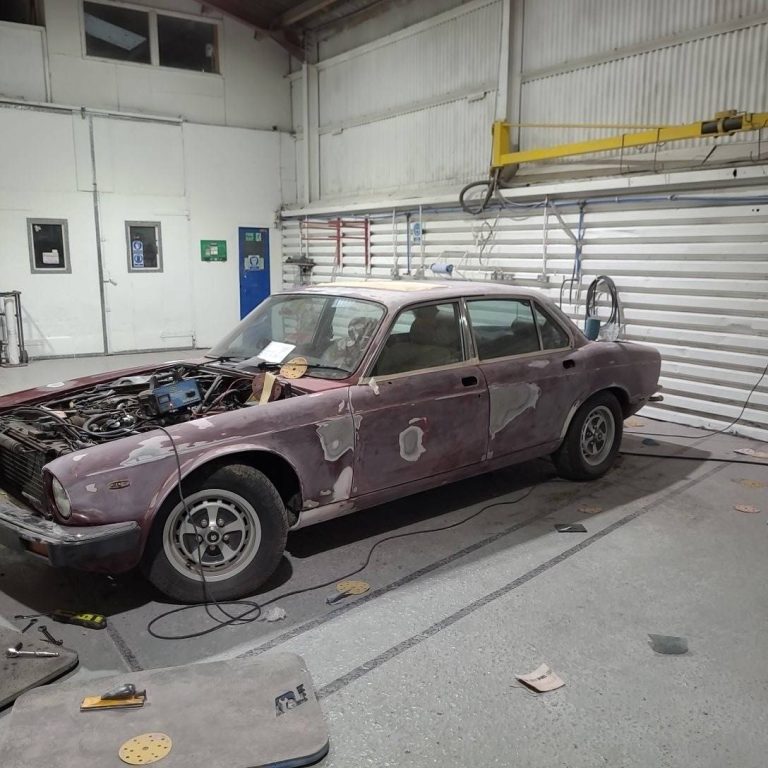
This may be the first time you have seen our 1989 Daimler Double Six. The car has in fact been with us, in storage, for
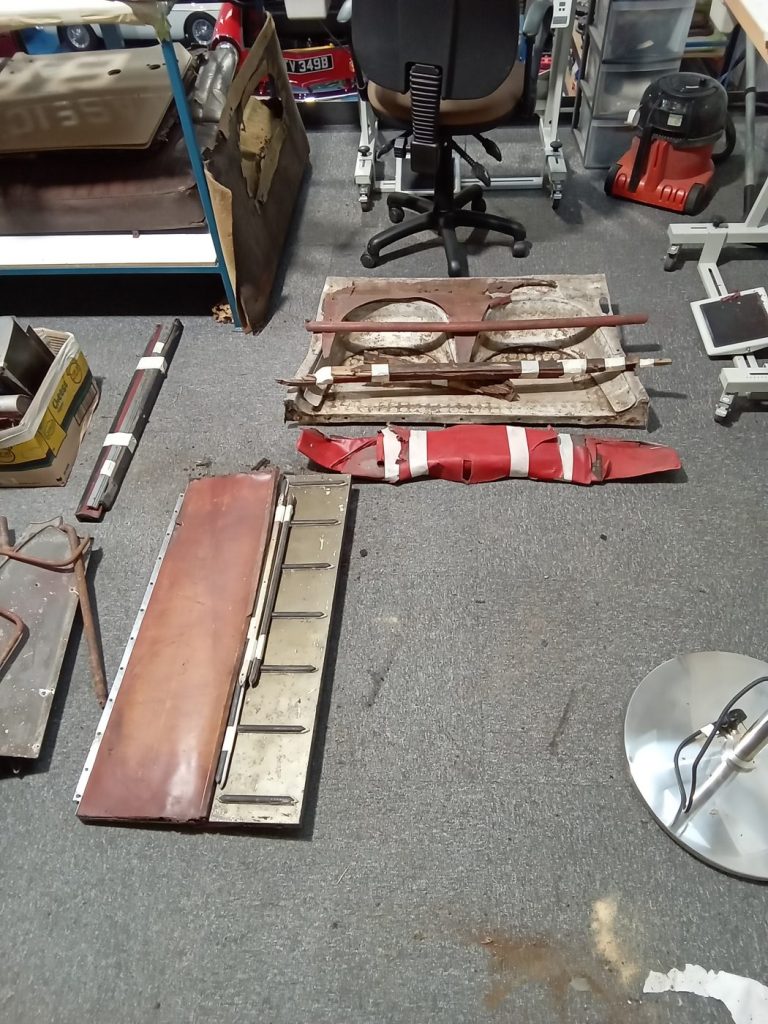
…and they say men can’t multitask! Brian’s day has been spent on 1953 Aston Martin’s today. He started off sorting out all interior parts, labelling
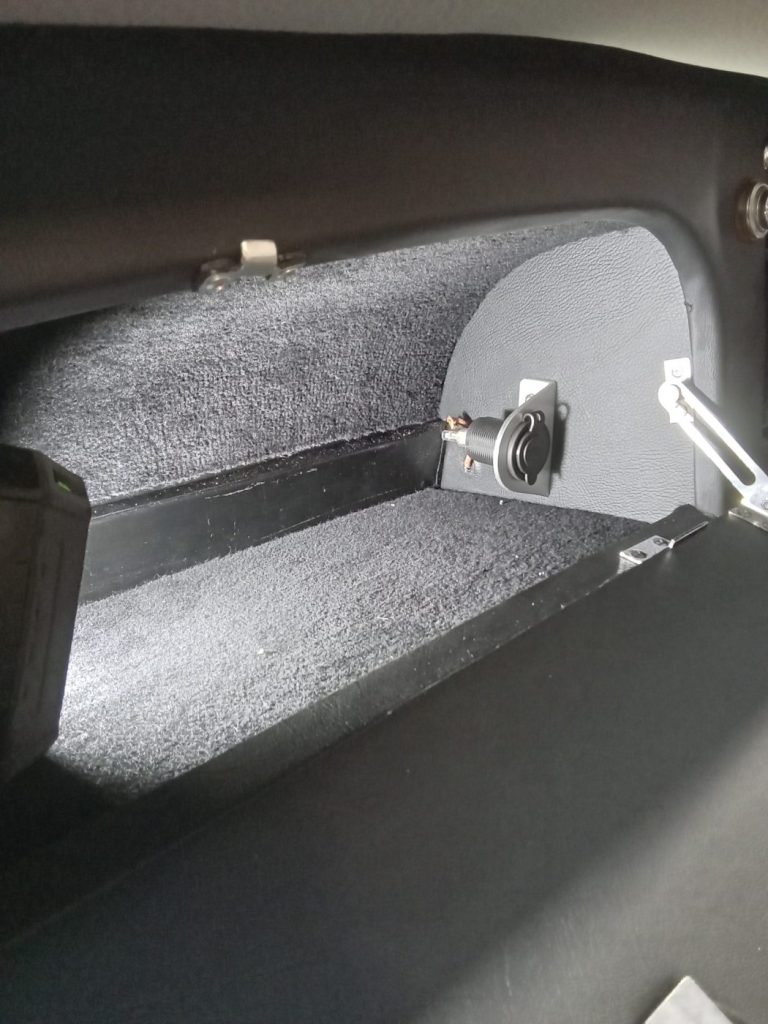
Rob is back into the swing of things now as he makes and fits an access plate to cover the fuel tank sender unit. He
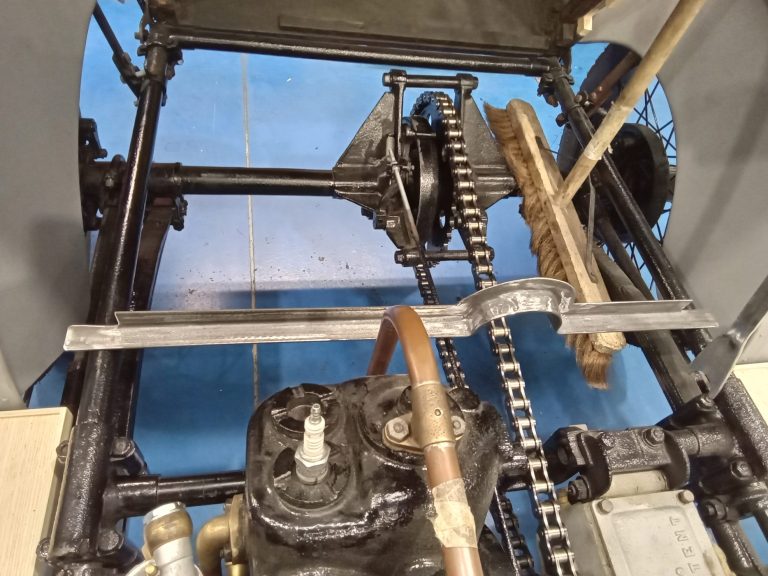
The battery box metal frame is almost complete and will eventually have an ash wood box for battery to sit in.
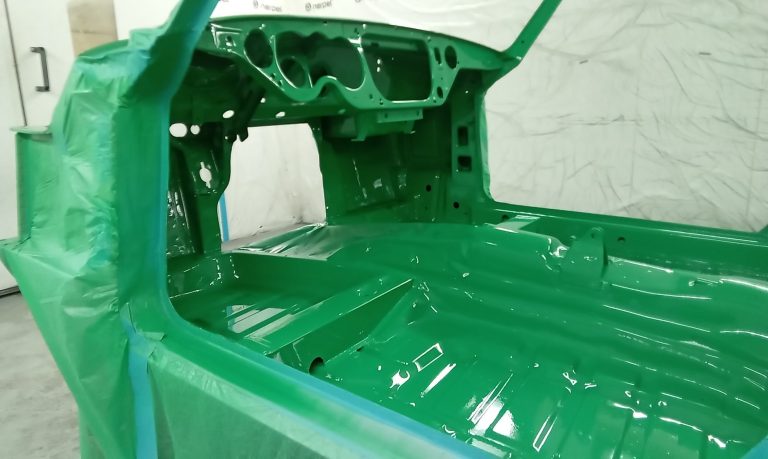
Alan is busy masking up the body of our Triumph Spitfire ready for the new Java green colour. Wet on wet primer to cover over
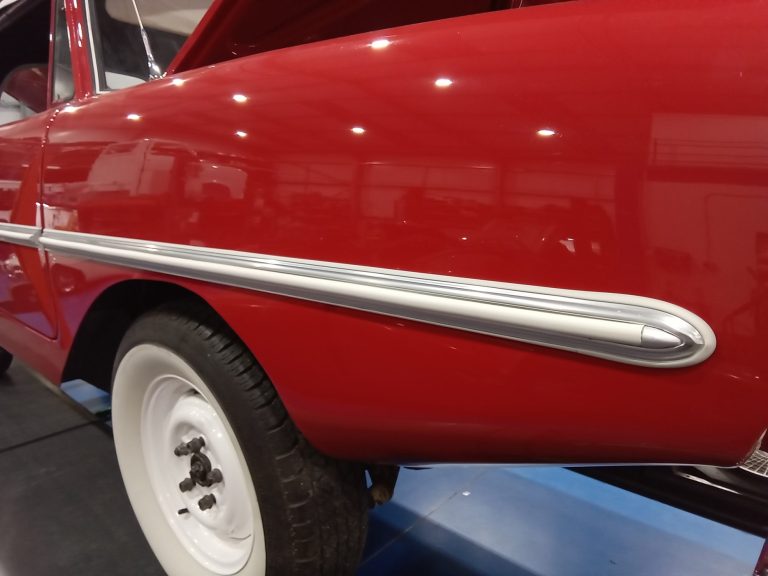
The side mouldings have now been fitted, this involved James making the tapered ends and ensuring they were a snug fit and secured in place
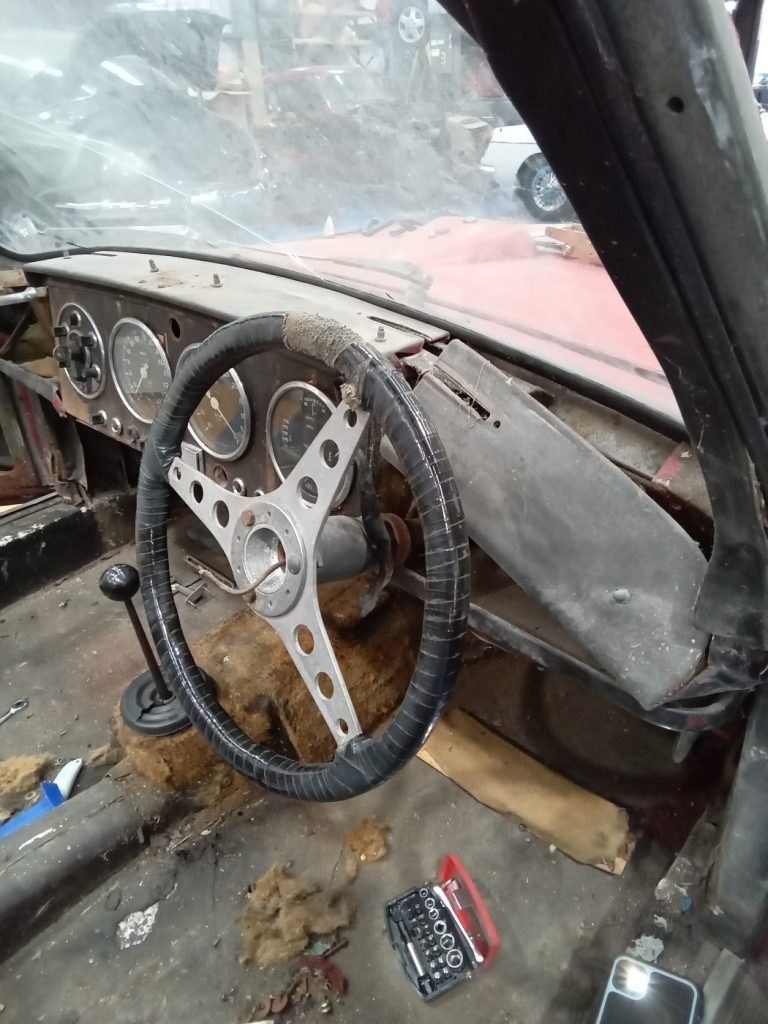
Brian has begun work on stripping down our 1955 Aston Martin Drophead Couple. He has removed the rear boot panels, the rear seat base and
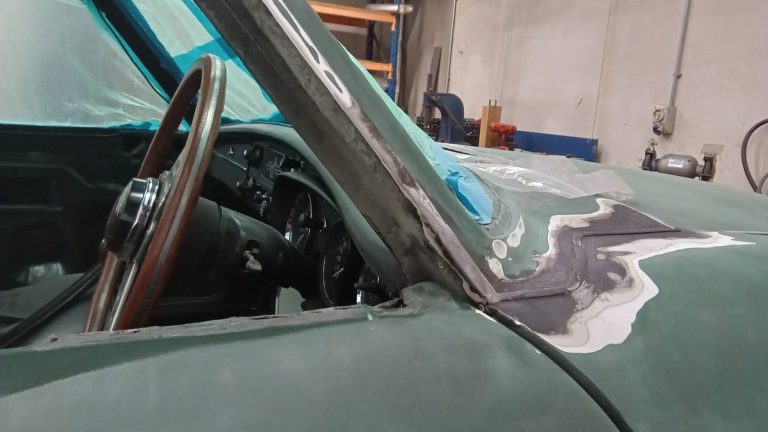
Christian is assessing the corroded areas and getting the car prepared for the repairs.
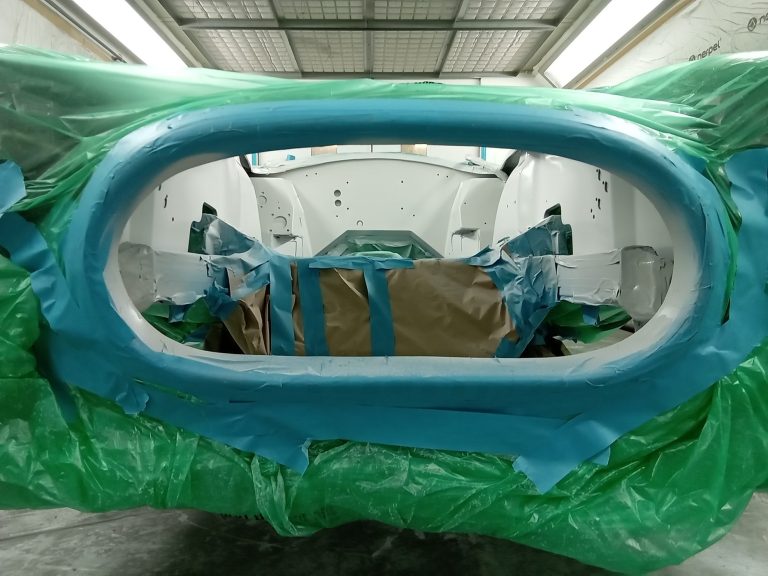
The Cobra body, chassis and engine bay are now all primed.
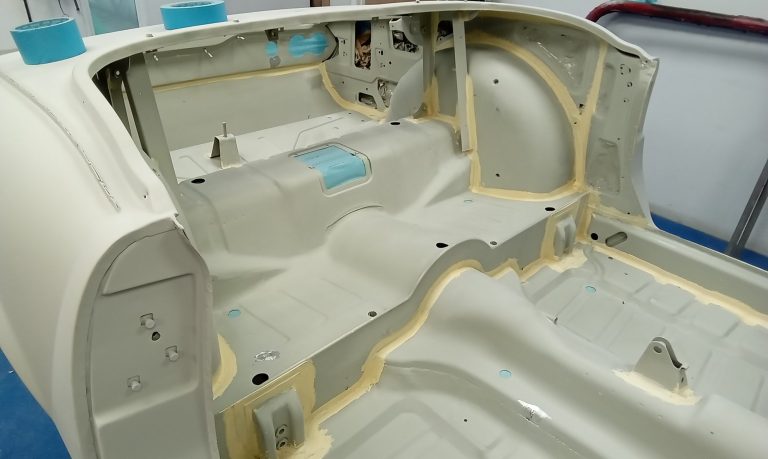
Alan has applied a DTM gloss black to some of the suspension parts. DTM or Direct To Metal paints are created to provide your metal
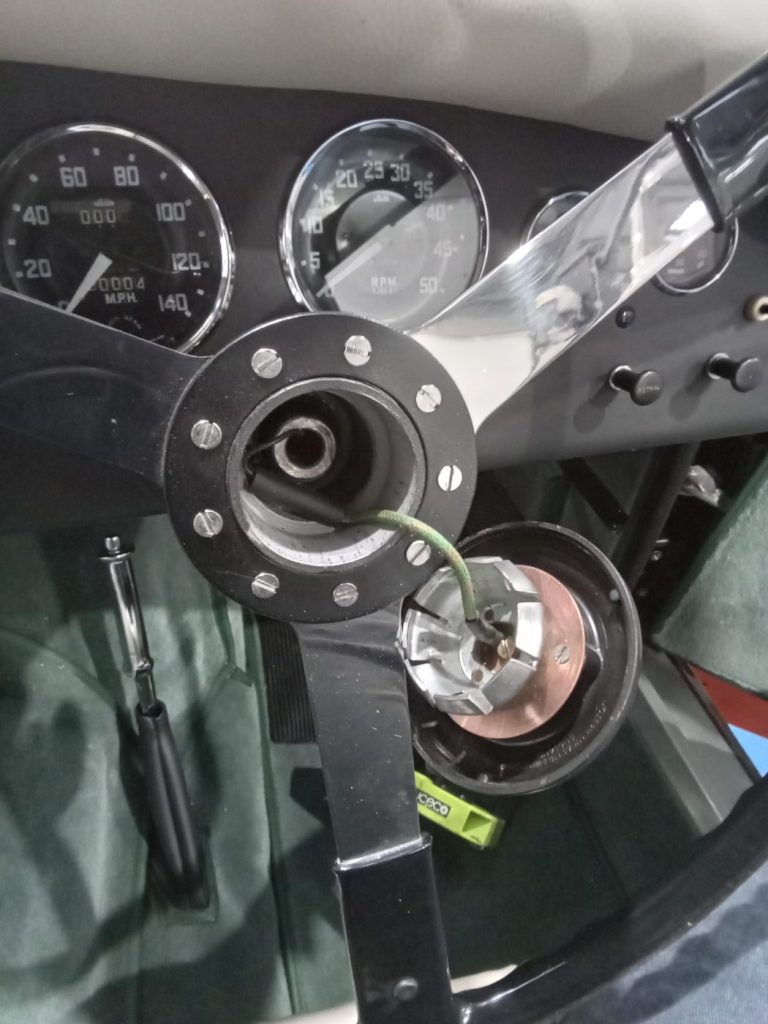
Rob returns to work this week, having taken a extended break to recover from some recent surgery. He gets straight back on to our Jensen
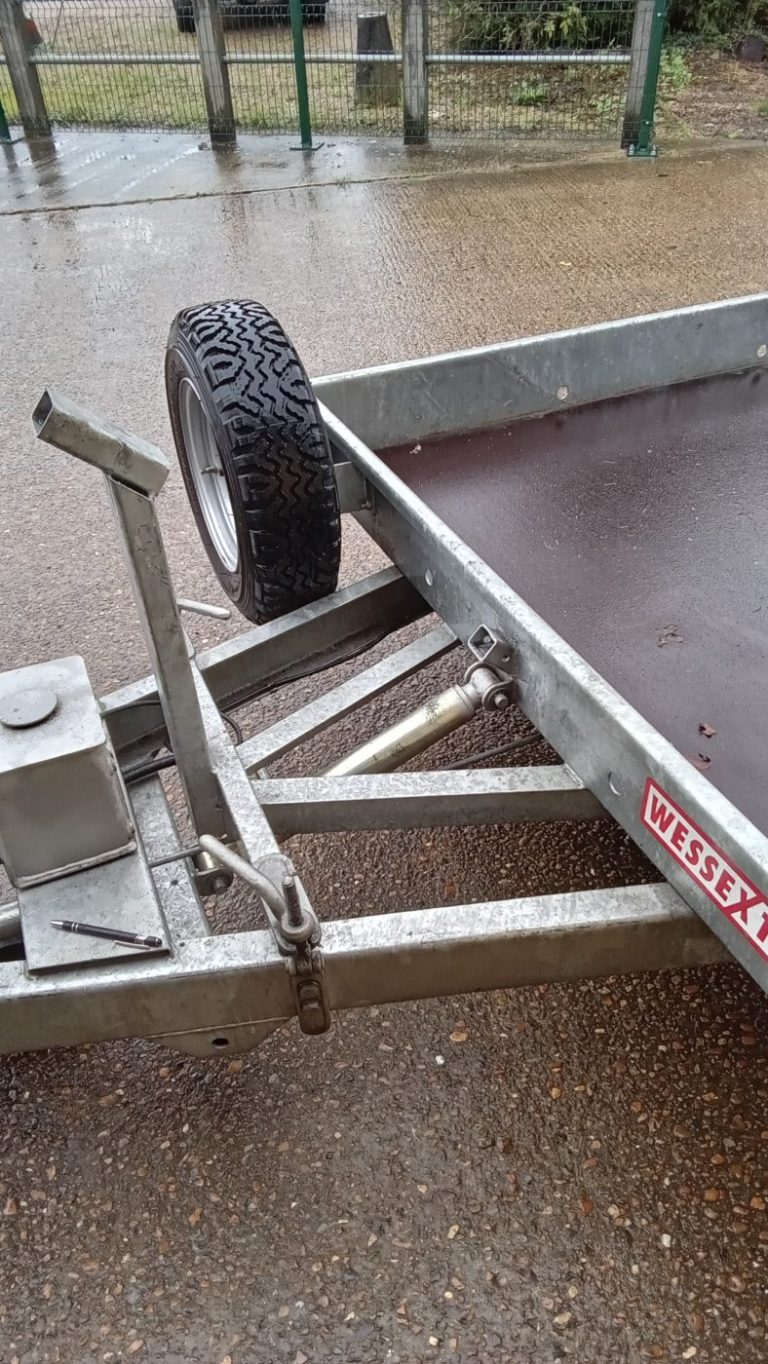
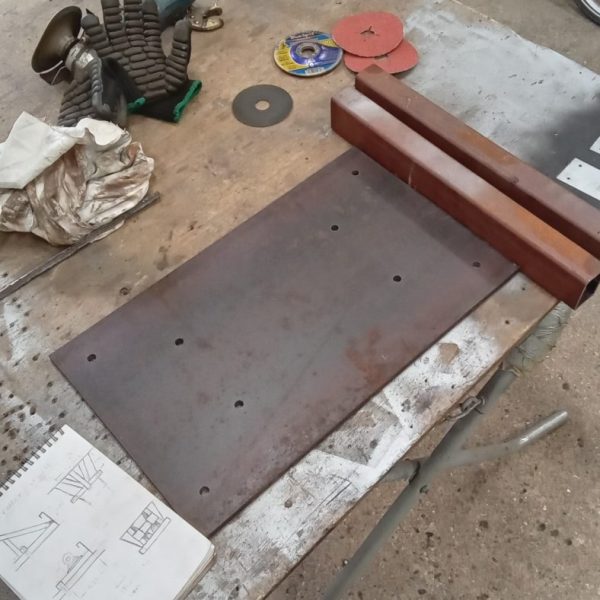
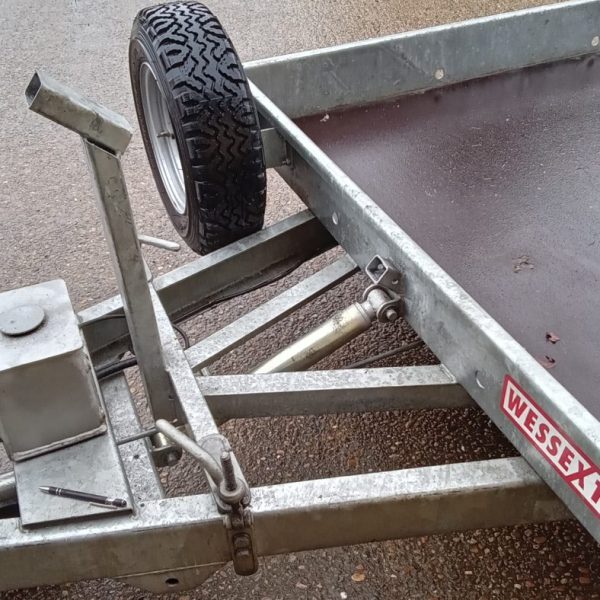
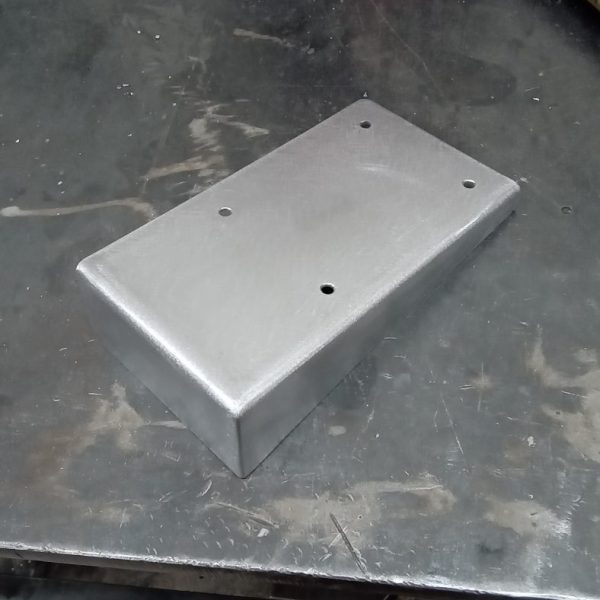
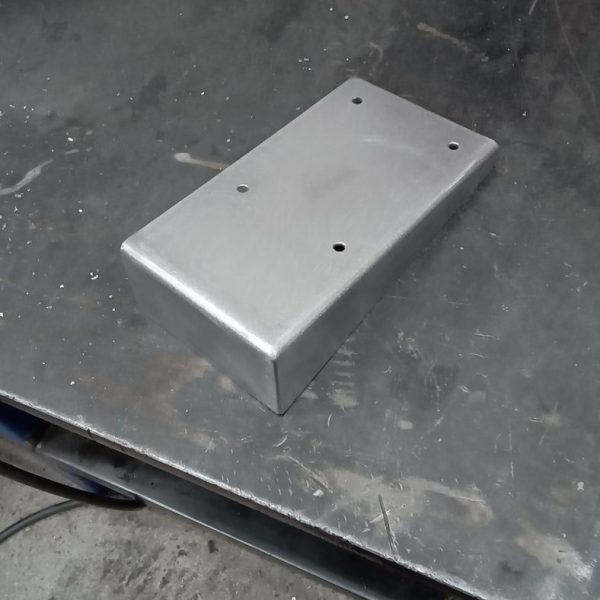
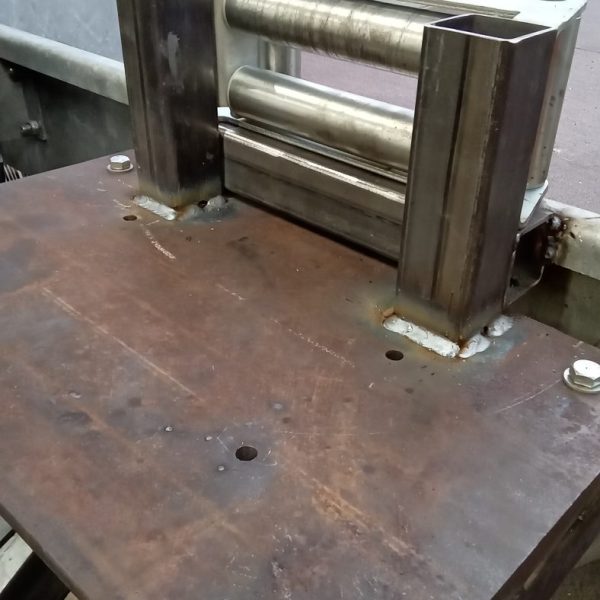
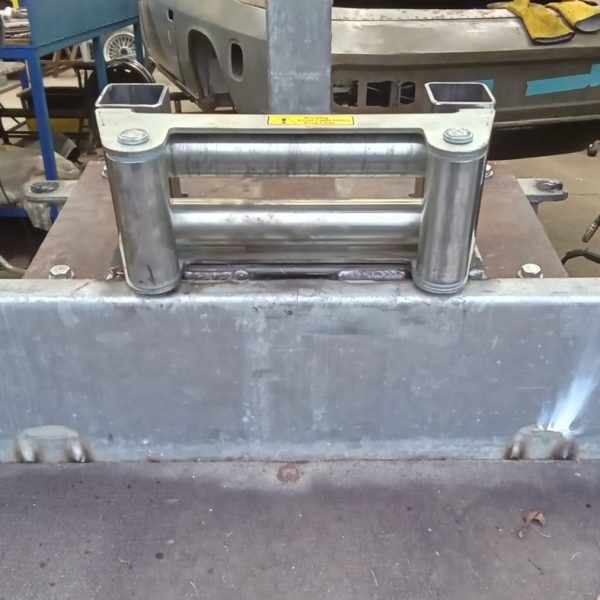
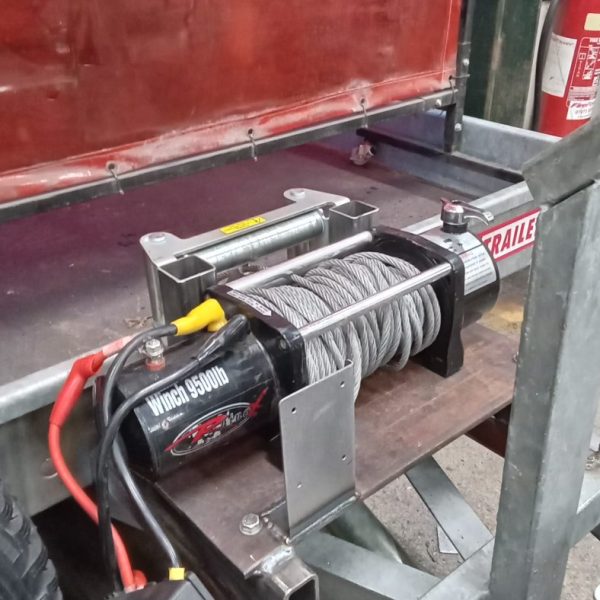
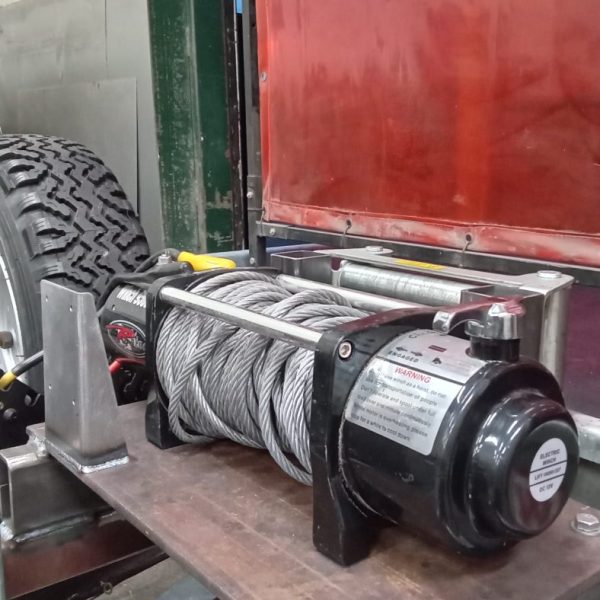
Monty is fitting a new electric winch to our Wessex open trailer. He is fabricating new bracketry to house our winch which will go over
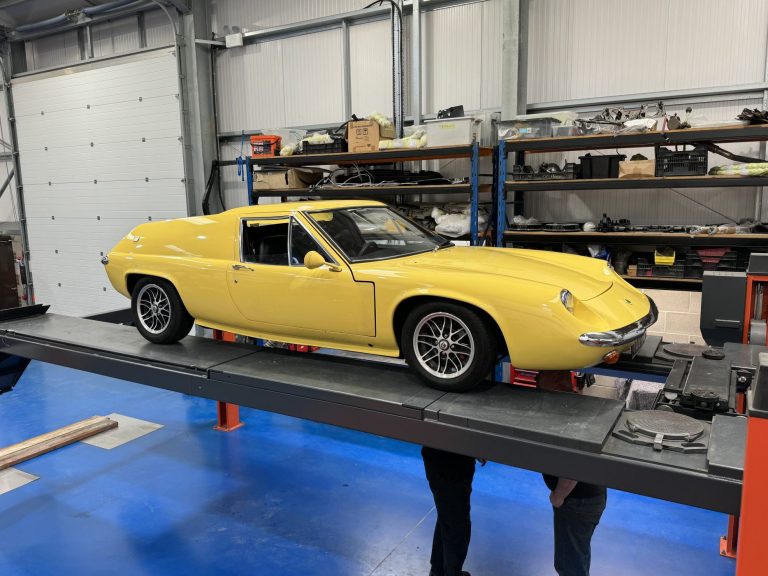
On, what we thought would be, our final drive of the Lotus Europa prior to it leaving us for its new home, John heard a
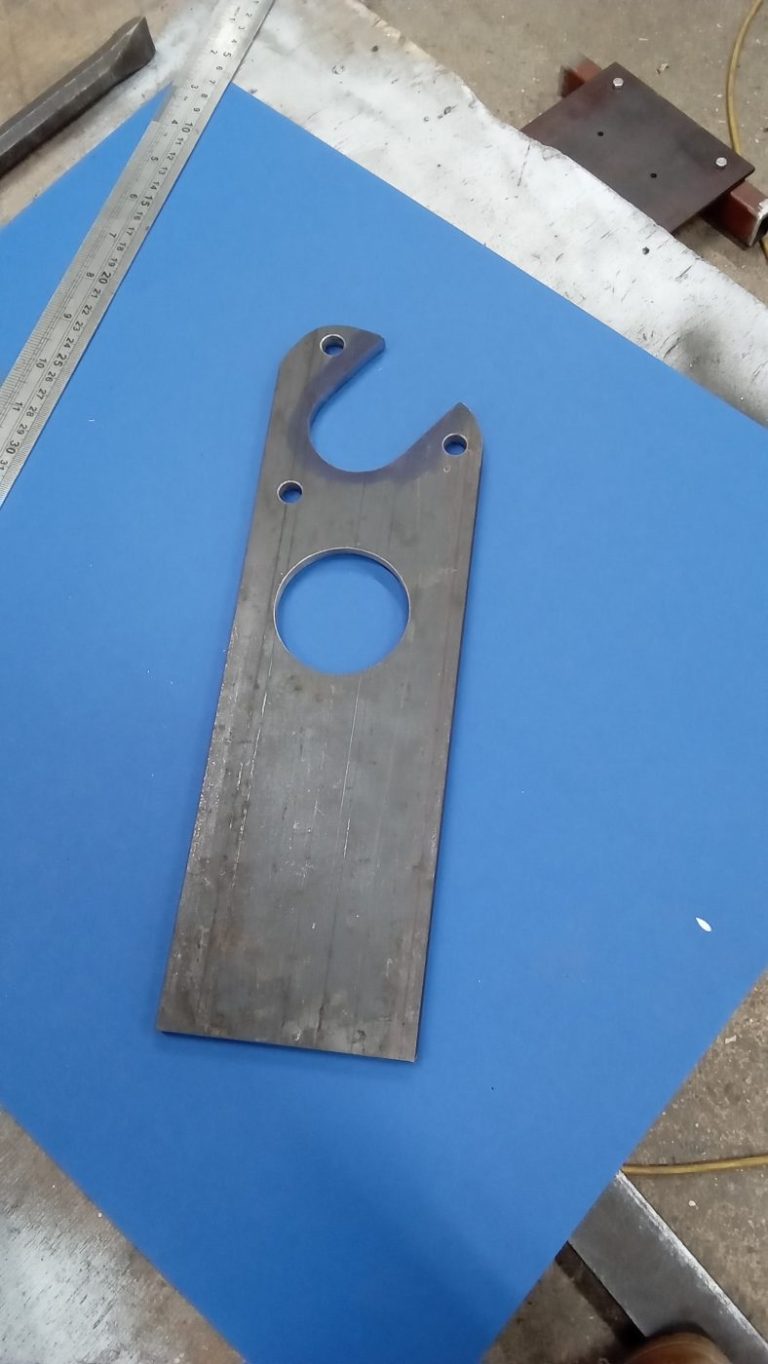
Monty has made up a new steering rack bracket to replace the existing one on our 1956 Jensen 541.
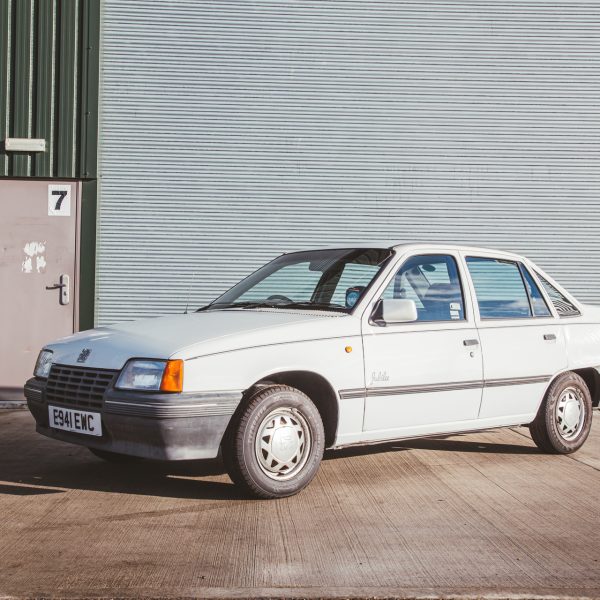
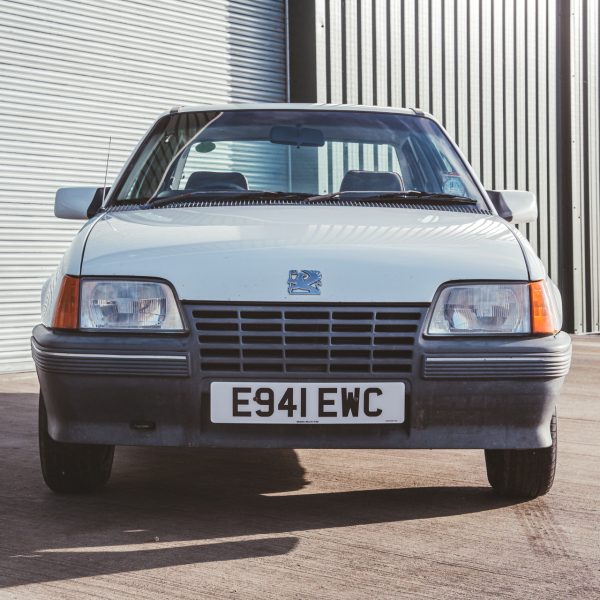
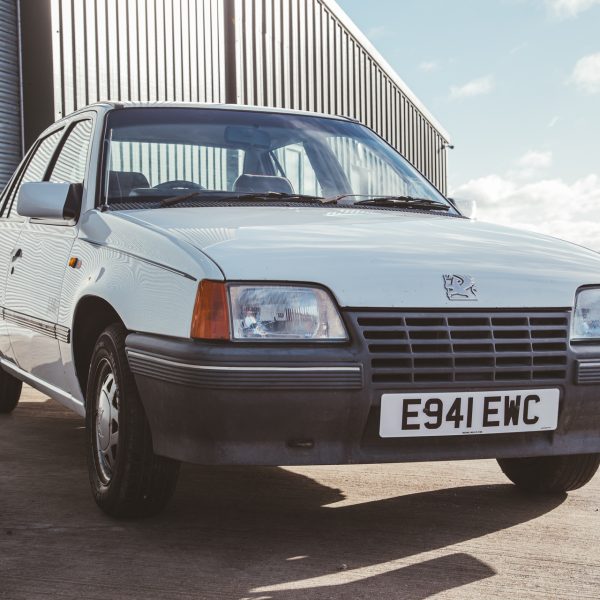
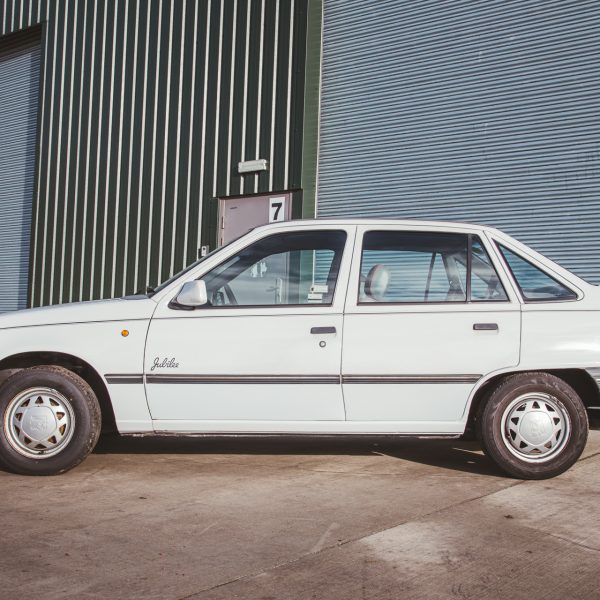
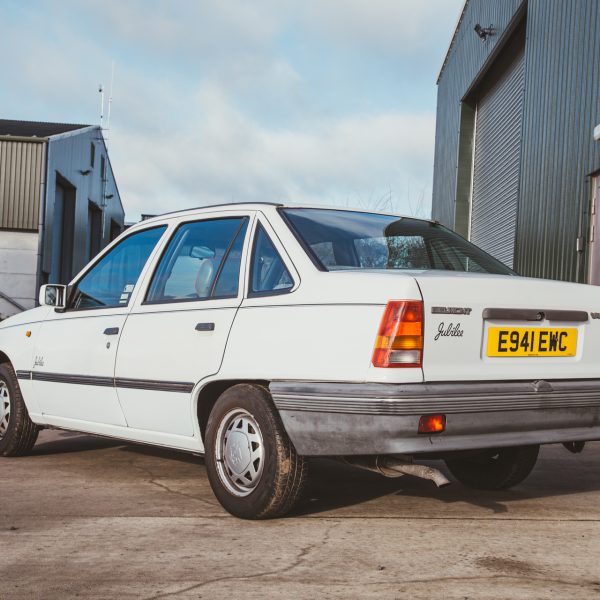
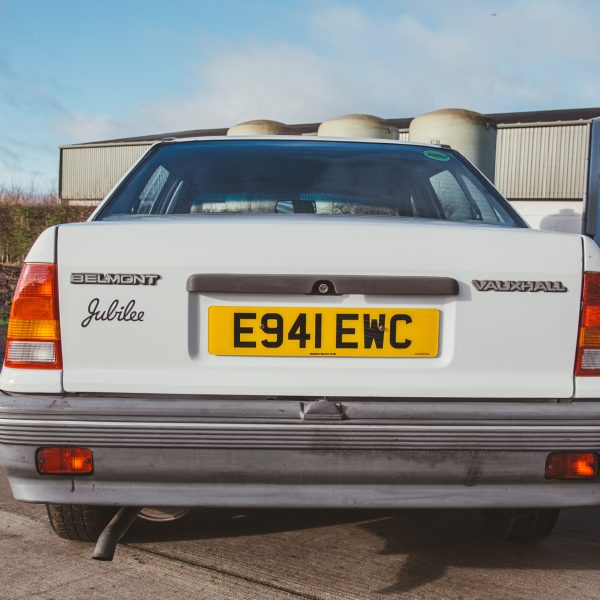
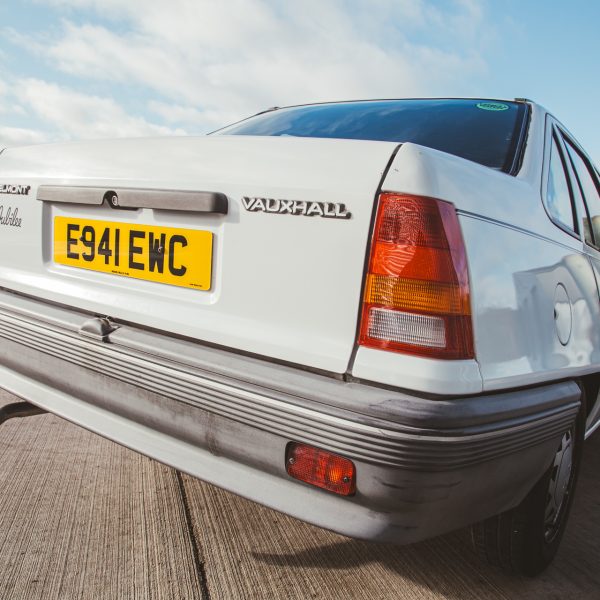
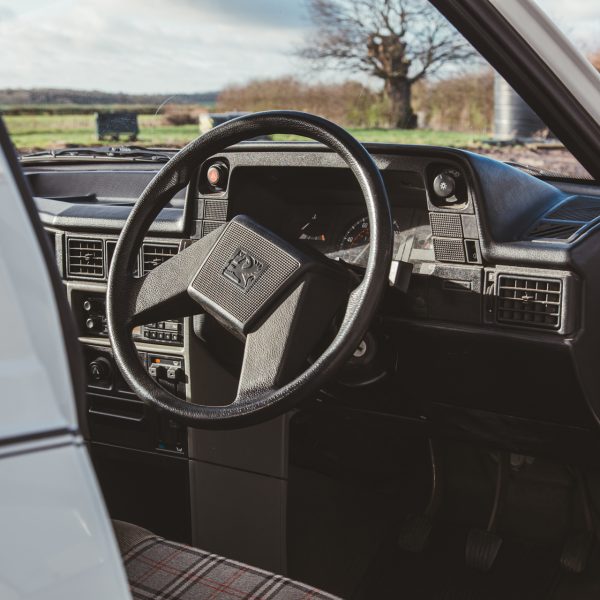
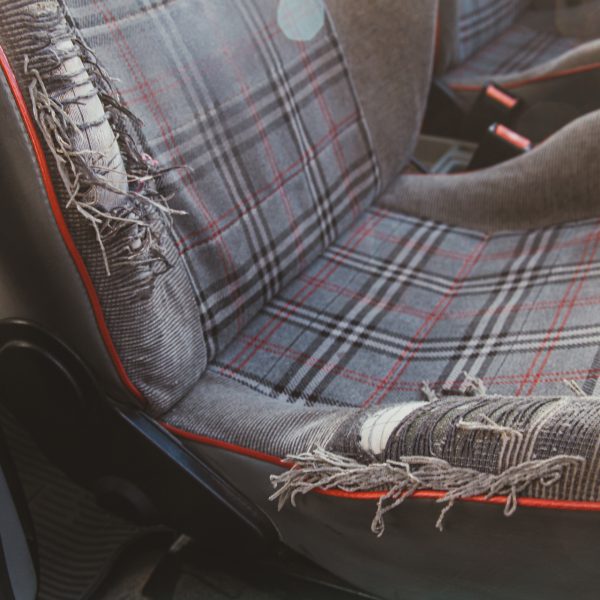
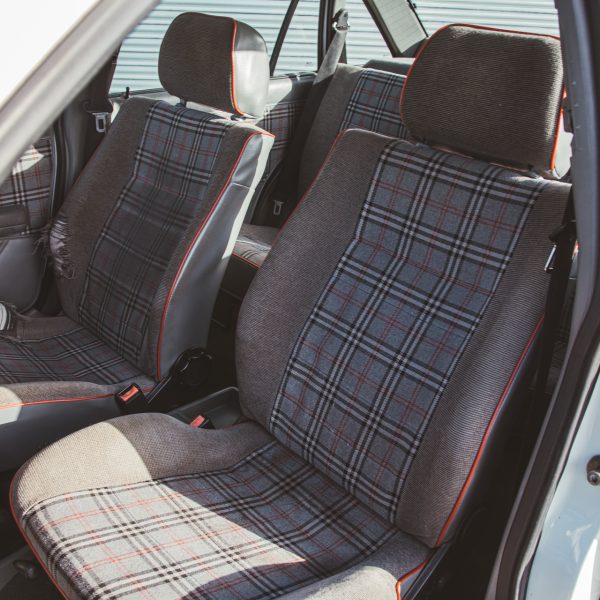
Our 1988 Vauxhall Jubilee has had some great interest in eBay this week and with only 23hrs to go the car has bids which therefore means it should be finding a new home soon.
We’ve had a great message from Fazza196 on eBay which I felt I needed to share. We often talk about the fact that every car has a story to tell and as our description says; we believe this to be the last Jubilee edition in existence but can’t be sure.
Fazza196 says: “Just so you’re aware, this is 100% the last remaining Jubilee, I banger raced the 2nd last one in November last year”
So there we go, another report suggesting that this could be the last Jubilee and if you’re quick, it could be yours.
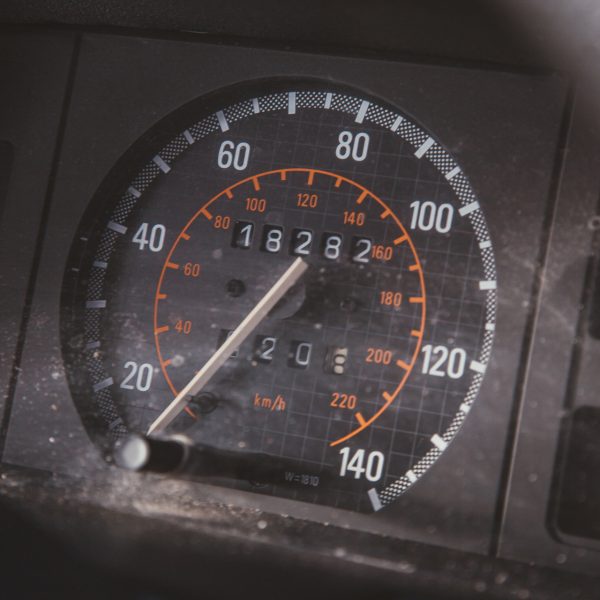
My Land Rover Defender is one of the best vehicles I have ever owned…at least that’s what I think right now.
Yes it’s industrial, yes it’s loud and bumpy but it’s great fun!
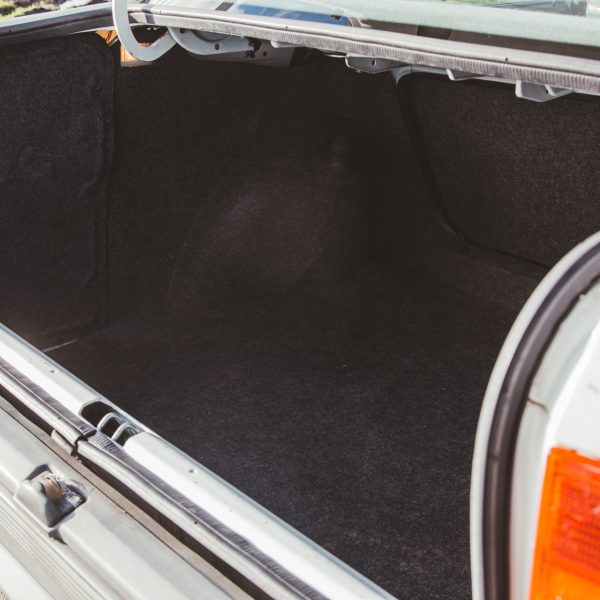
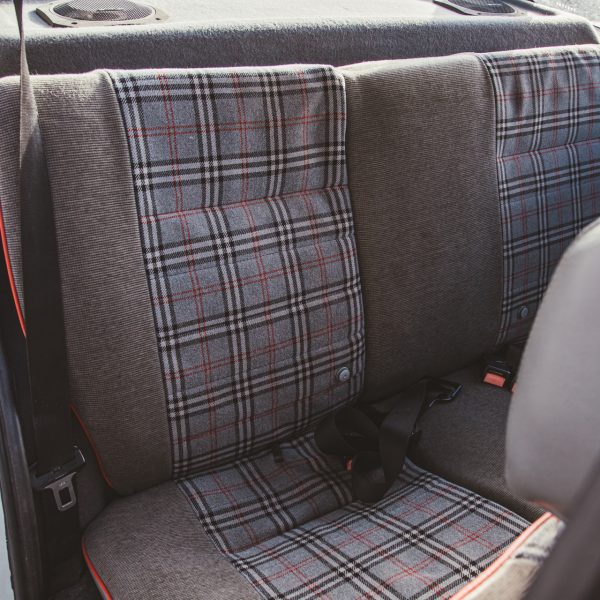
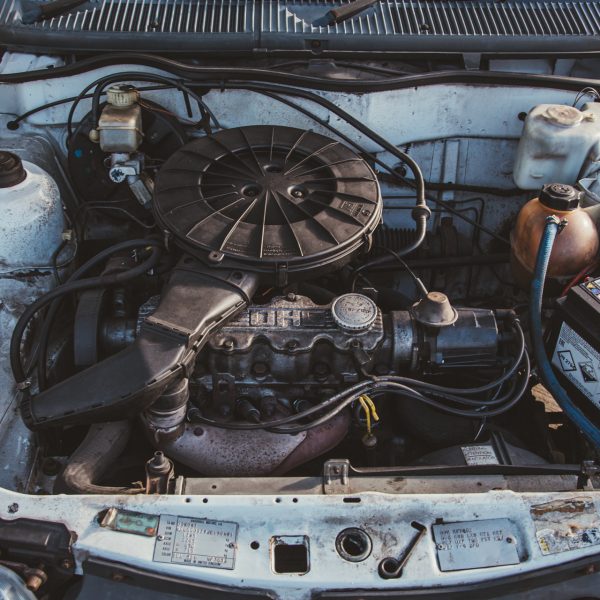
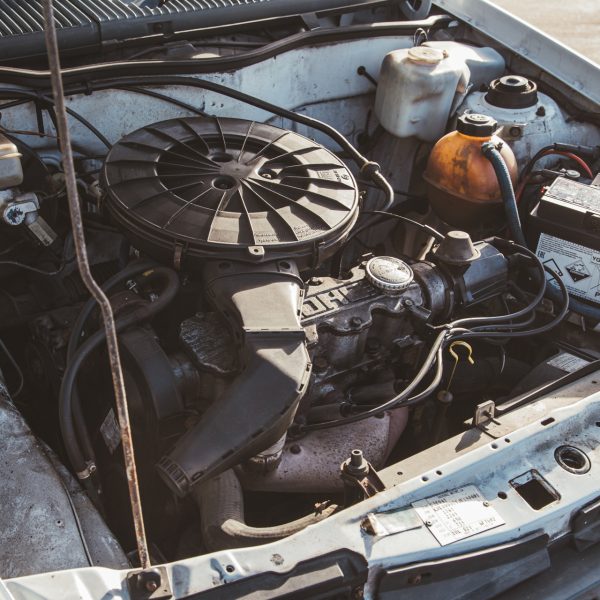
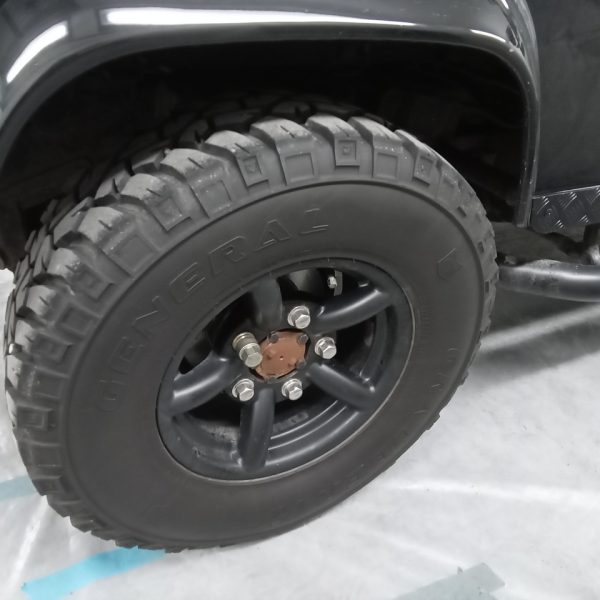
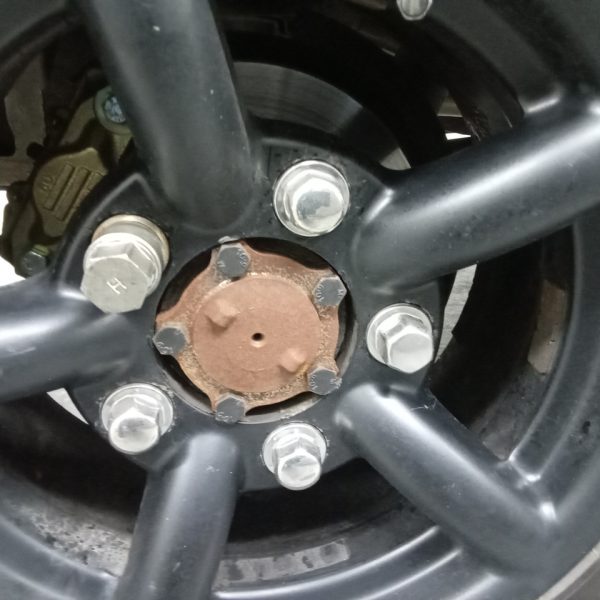
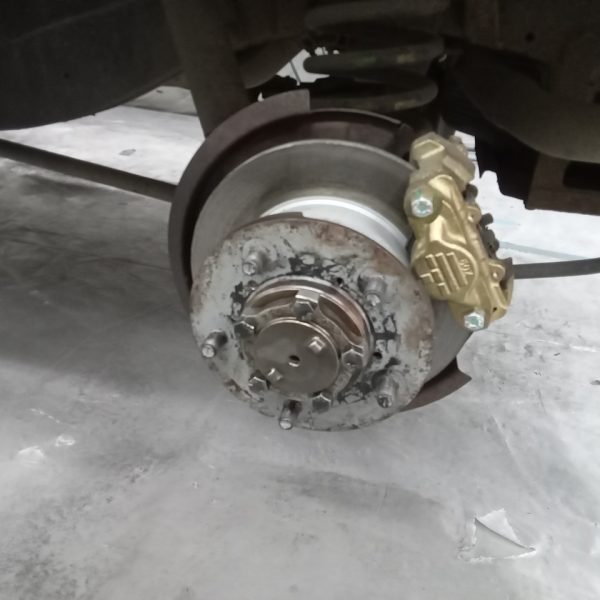
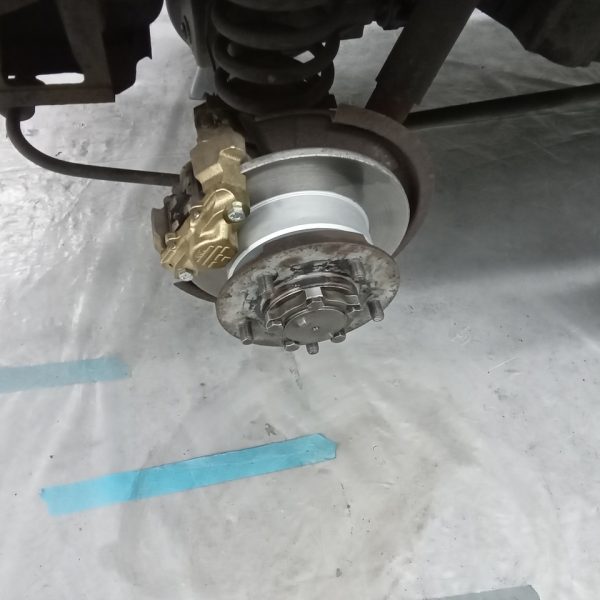
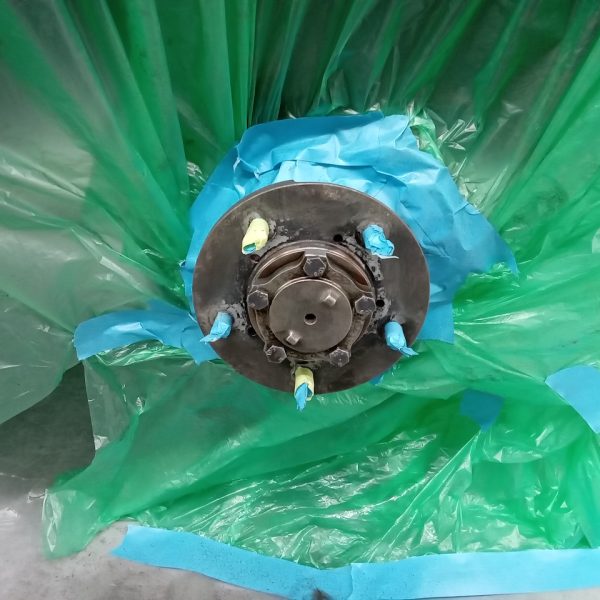
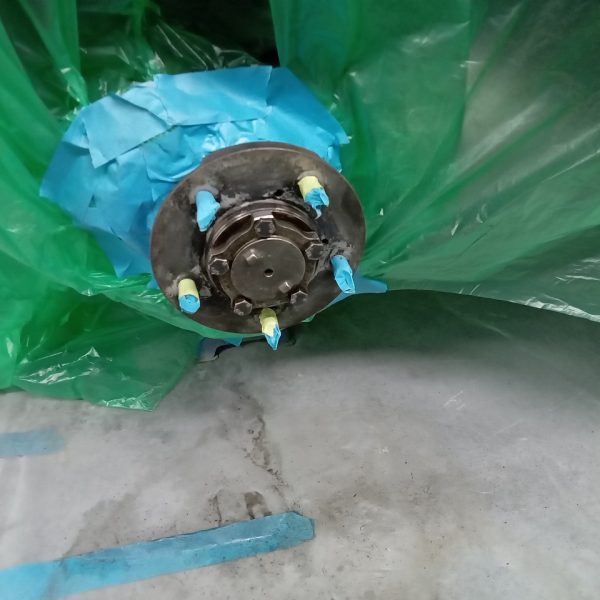
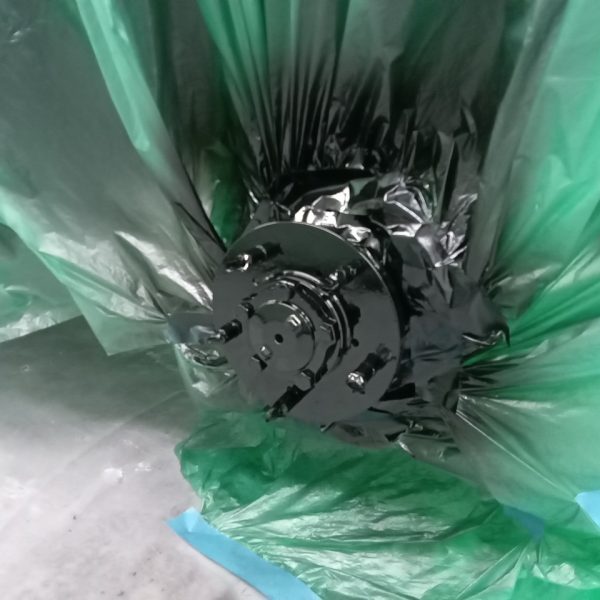
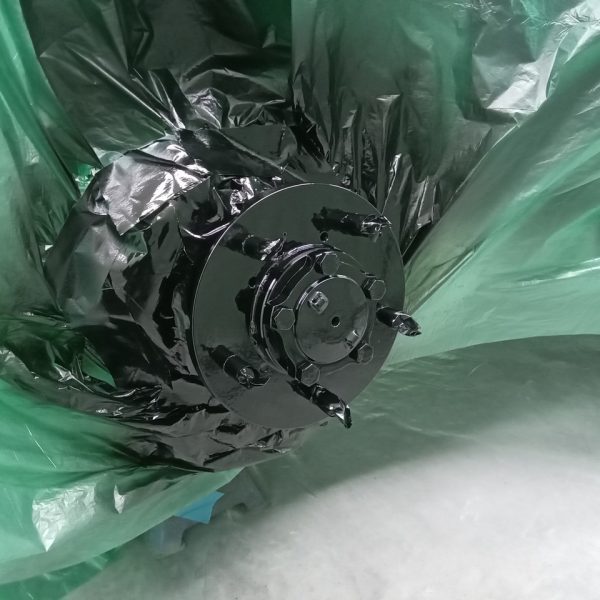
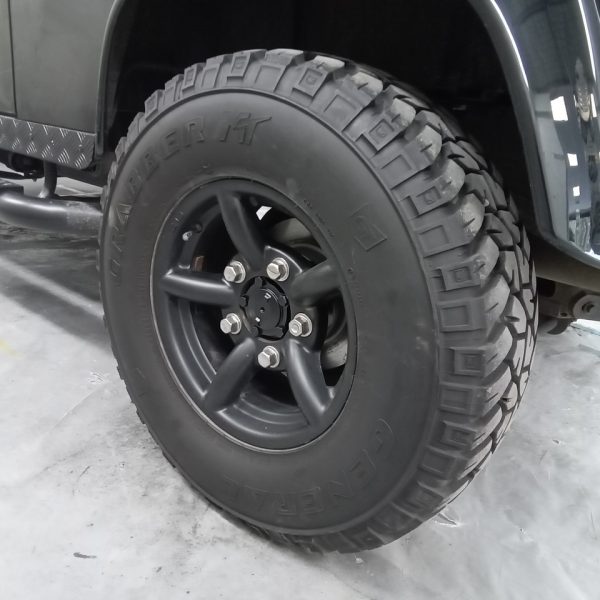
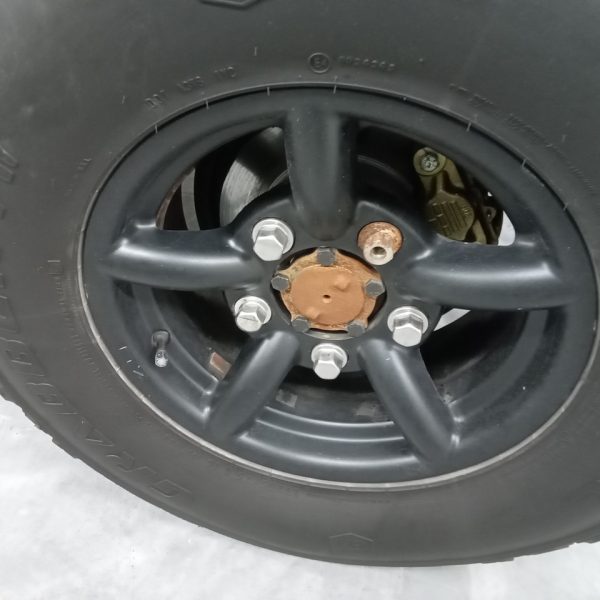
Having owned the car for a little while now I do my very best to keep on top of the general wear and tear that the Defender gets. I’ve sealed and treated the underside, I’ve corrected some paint imperfections, tidied a couple of areas in the rear compartment to make it more family friendly and less ‘workhorse’ and then recently I noticed that the centre hubs were starting to show signs of surface rust.
Not too big a job to fix and a huge difference to the overall kerb appeal. Great work from Mauro today, cleaning up the hubs and coating in a fresh layer of black DTM.
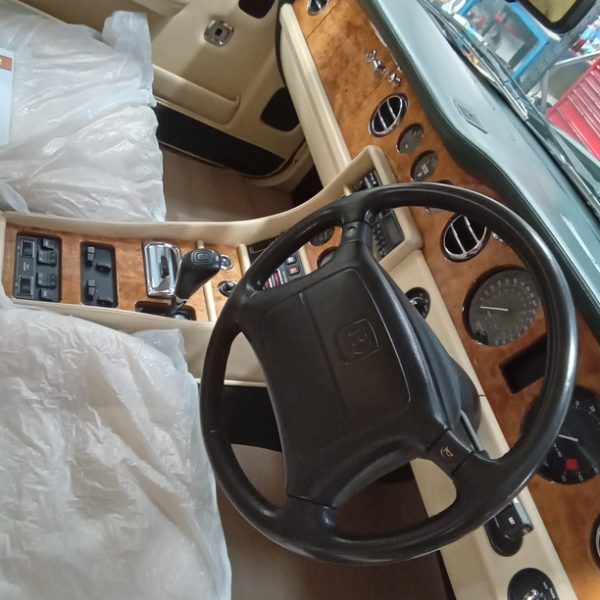
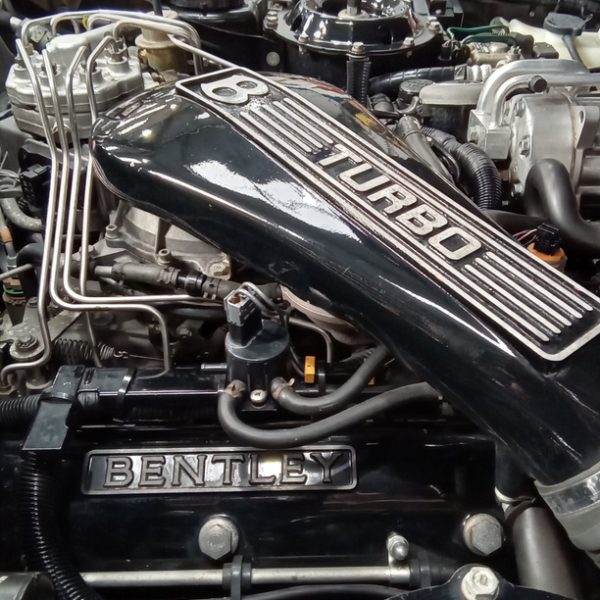
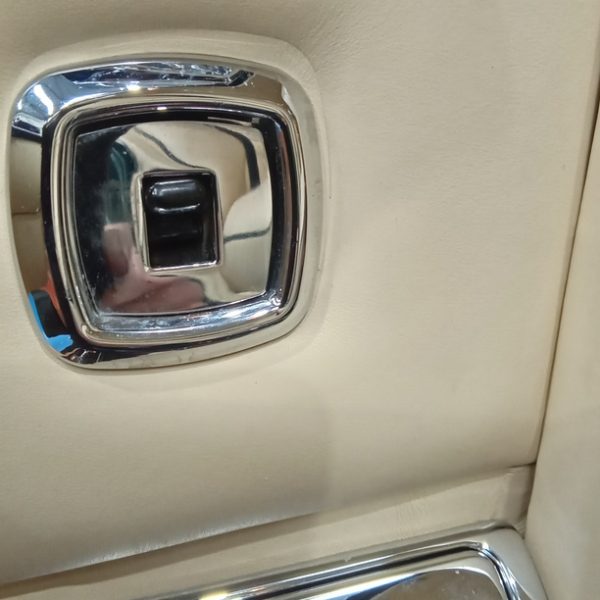
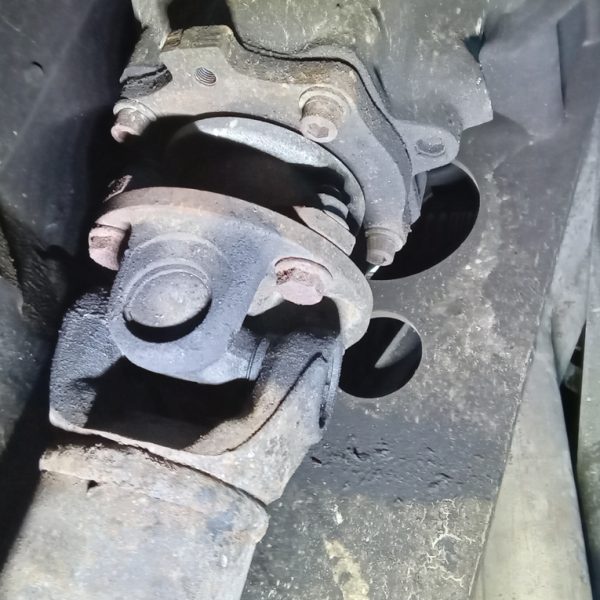
Jon has now completed the inspection on our 1993 Bentley Turbo R. He’s carried out the necessary repairs which included; sorting the connections on the nearside headlight and main beam. He’s stripped the nearside door panel and repositioned the electric window switch.
The car has been taken off the ramp and a road test has been carried out.
It returned to the workshop with a belt squeal and steering is out to the right.
We have tightened the alternator belt.
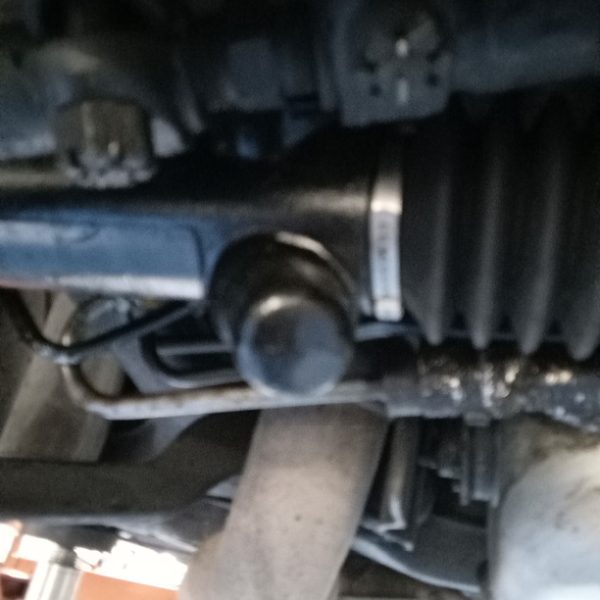
The steering has been adjust and we’ve inflate all tyres to the correct pressure.
Fuel has been added and now the car is ready for the draw!
Tony’s had a busy week on the road this week. As I sit here writing this he is currently heading up the A65 on his way to the north of Scotland for the weekend to collect 5 (potentially 6) classic motorcycles.
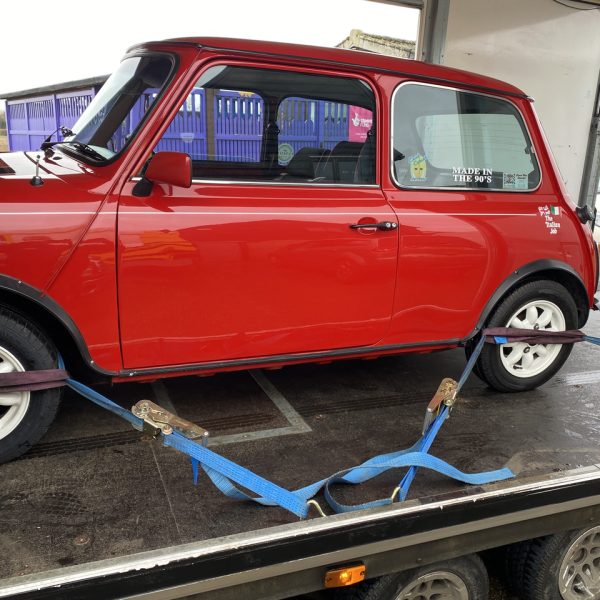
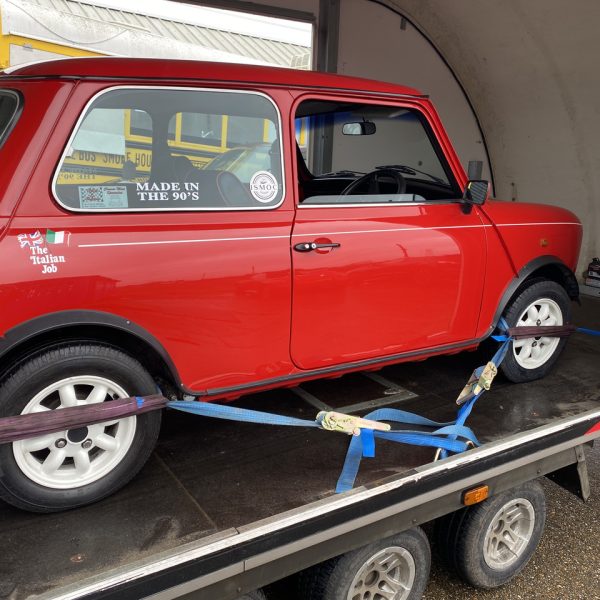
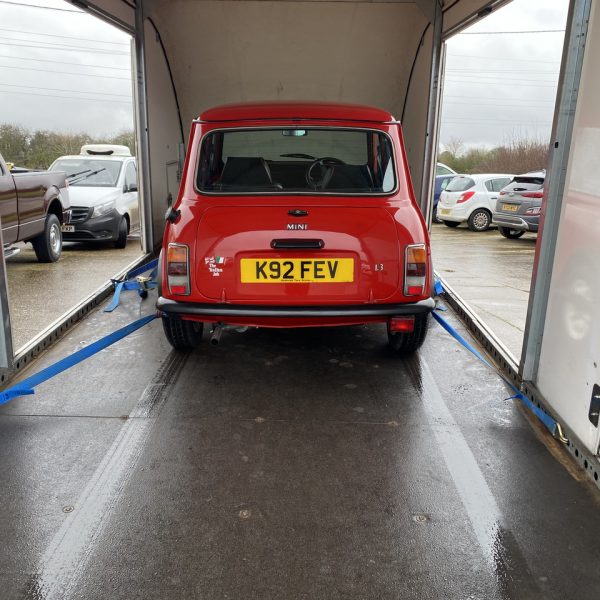
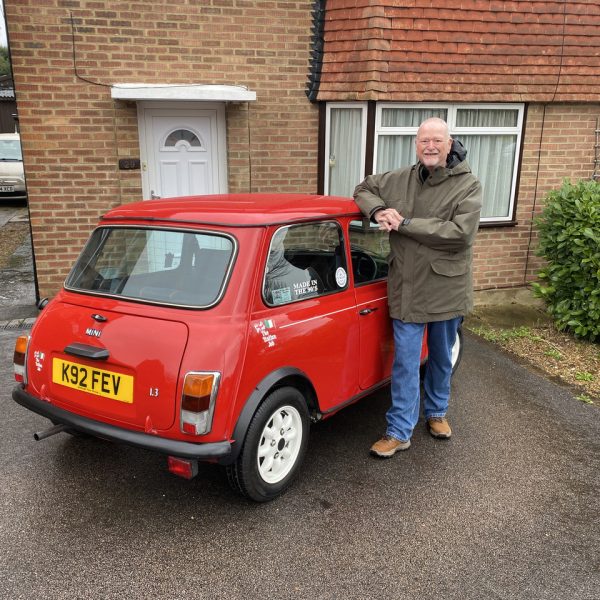
But earlier in the week he delivered the incredible 1992 Rover Mini Italian Job to one very happy Brian. Brian has been waiting patiently for the winning car as we discovered a slight vibration during the Pre Delivery Inspection and we did not want him to have the car until we had resolved the issue.
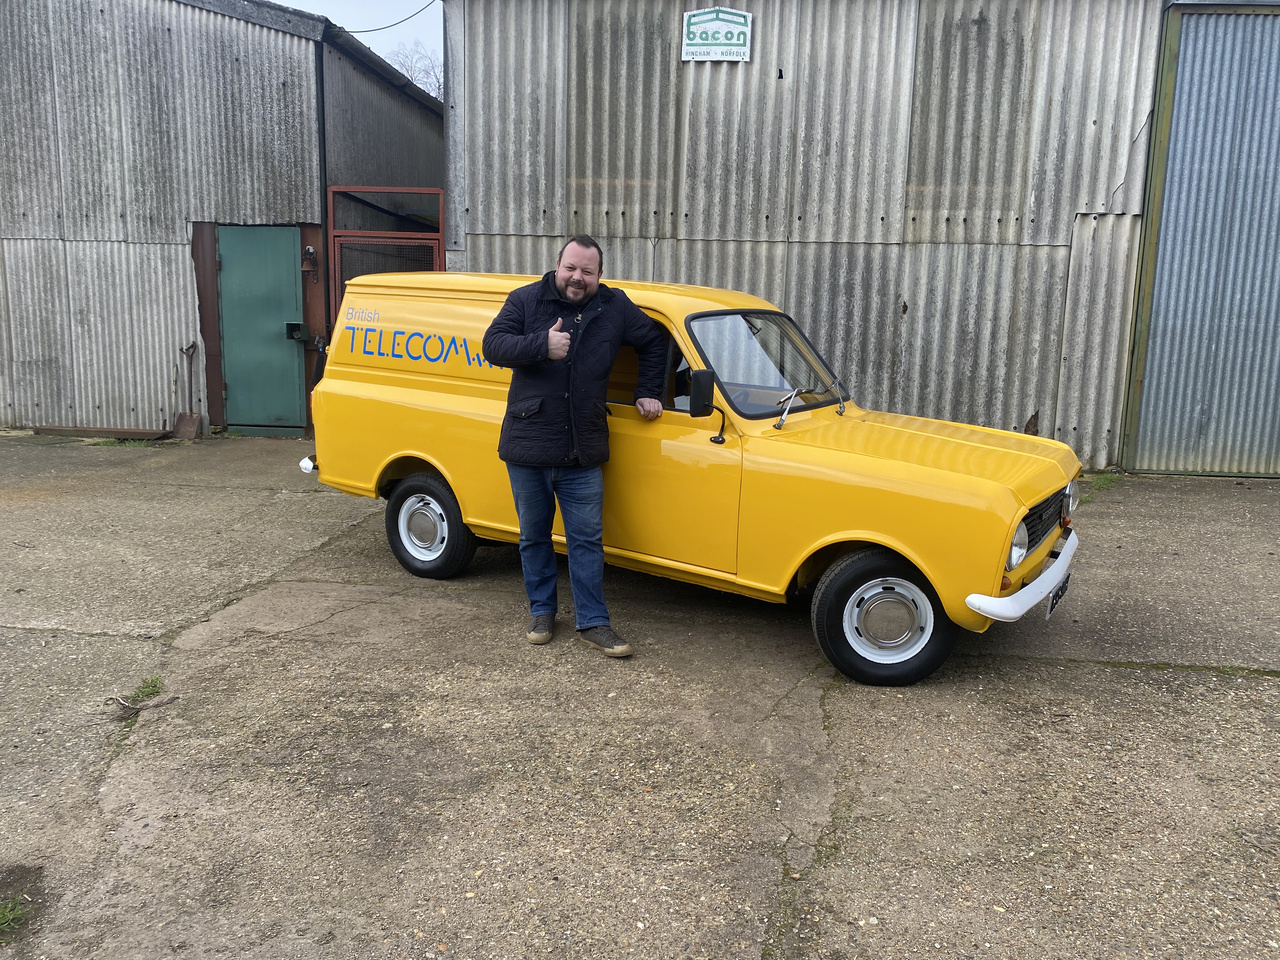
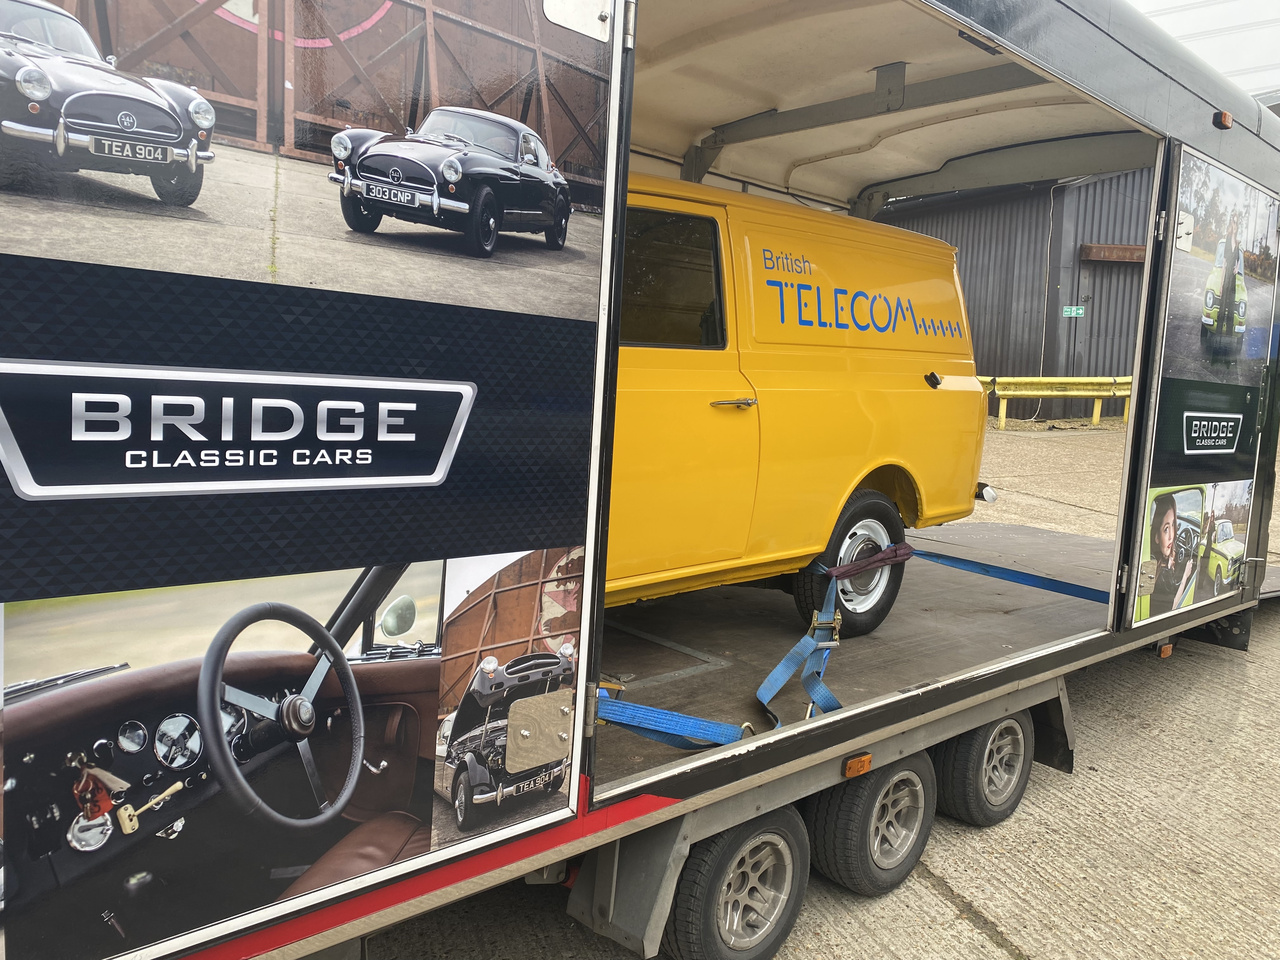
James accepted delivery of his 1982 Bedford HA van. Although James resides some distance from us here in Suffolk he has a vehicle storage facility close to our door so the journey we were expecting to have ended up a few hundred miles shorter. James is an avid collector of classic cars and we are lead to believe this win is the 16th classic he has in his collection. Enjoy the car James.
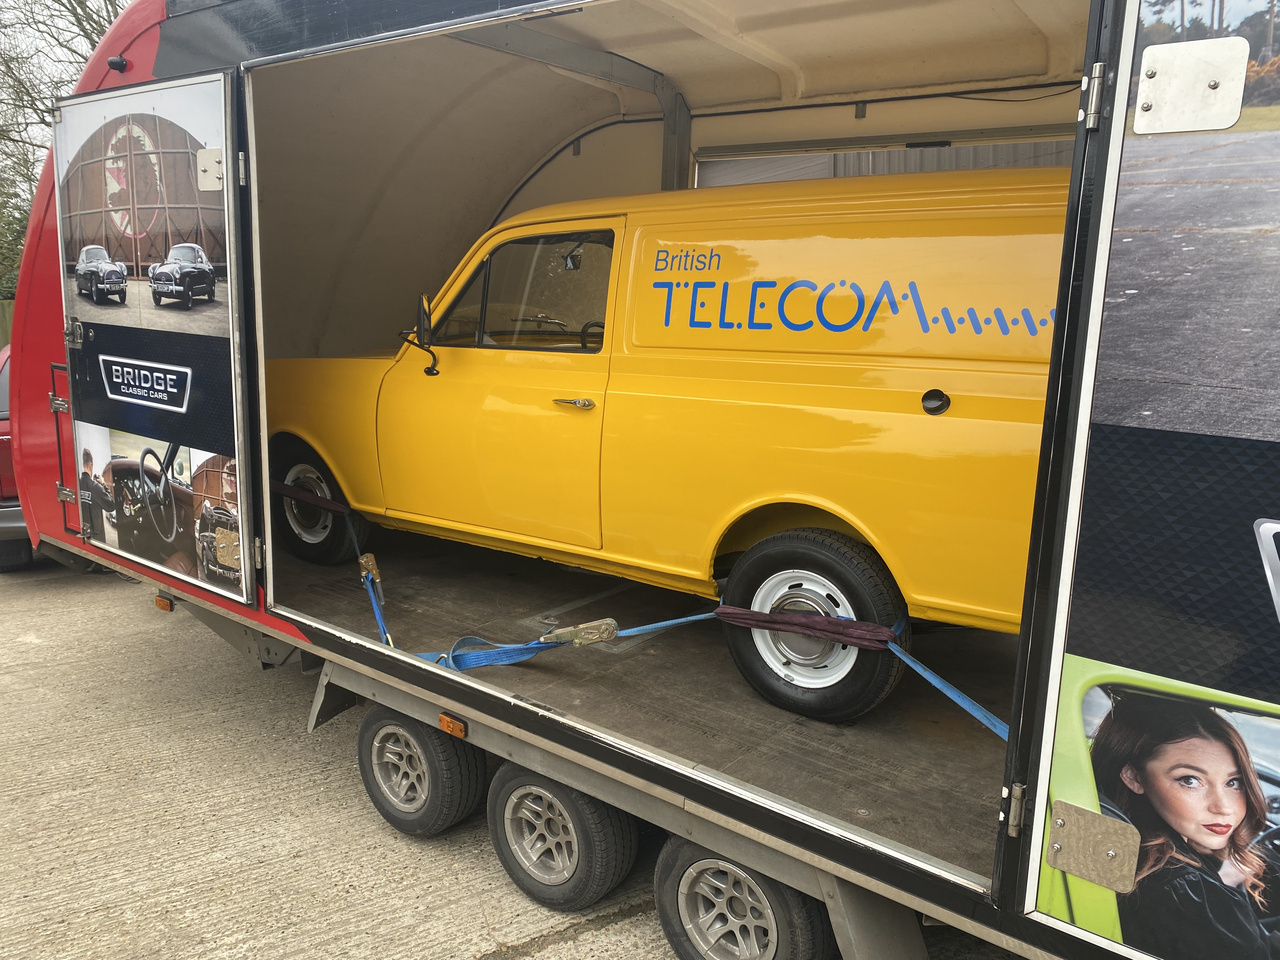
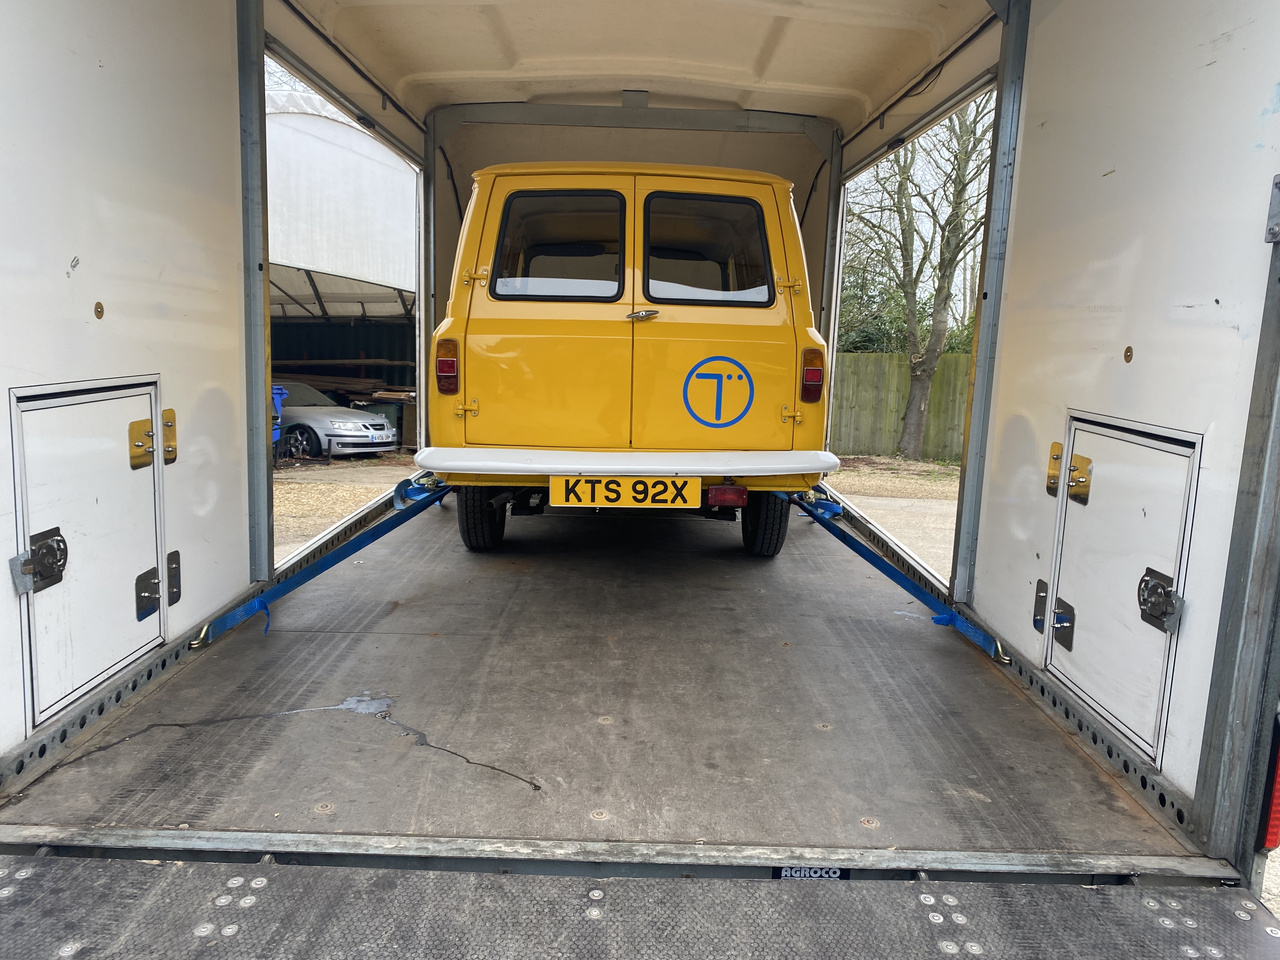
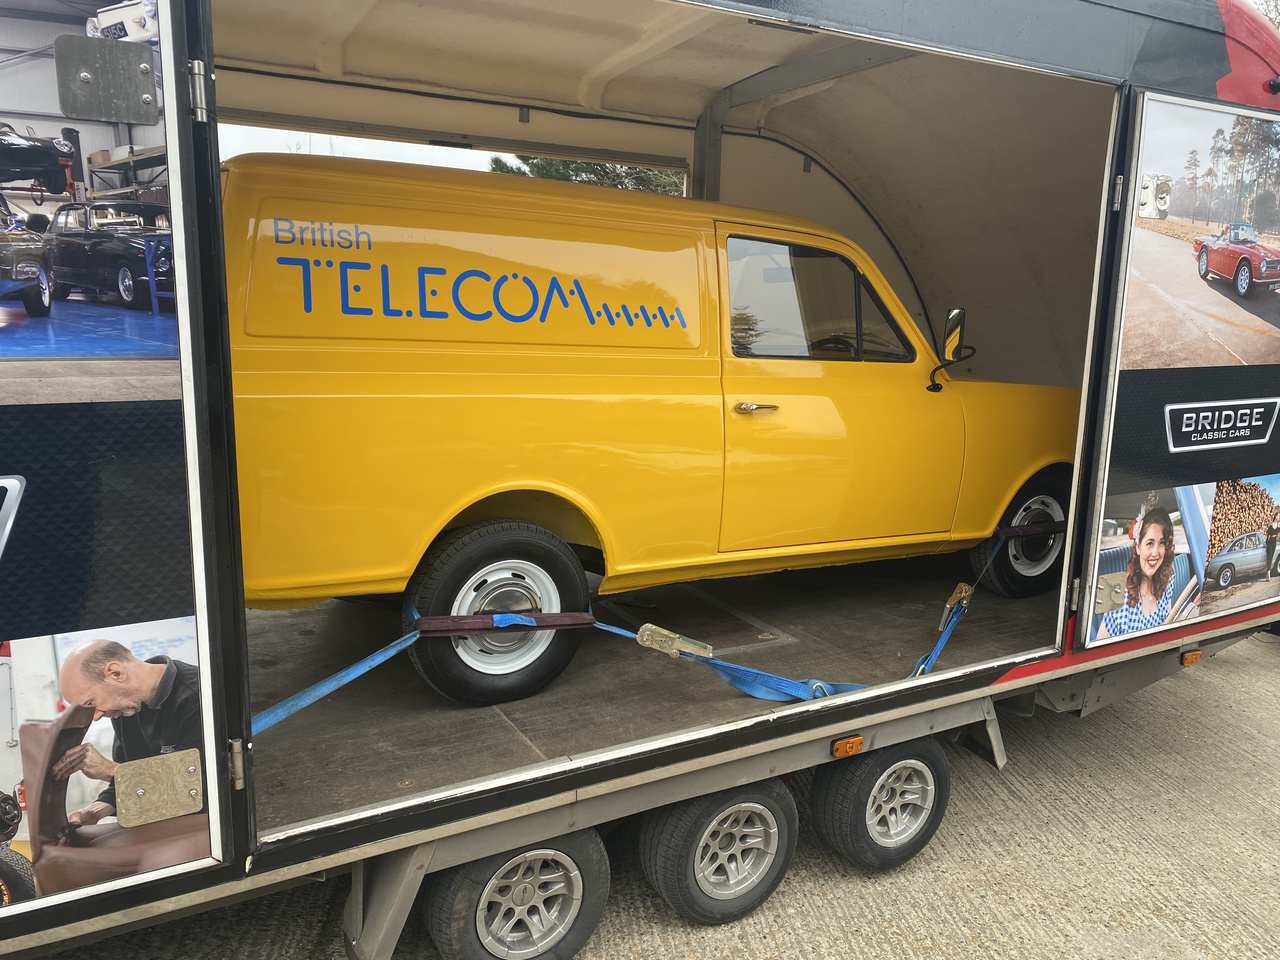
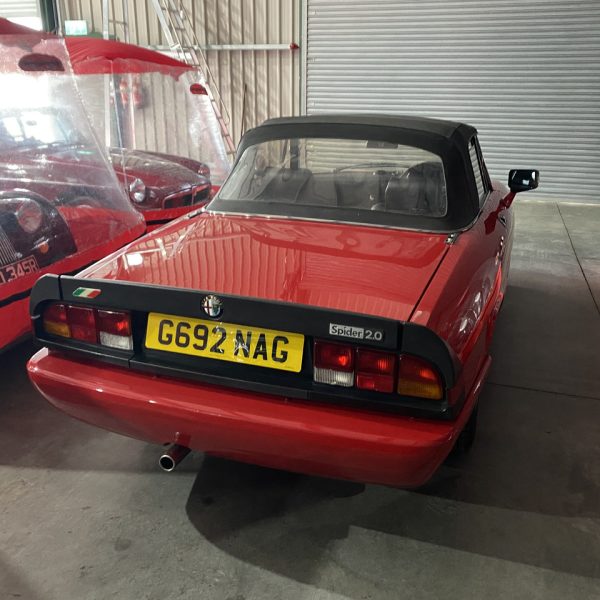
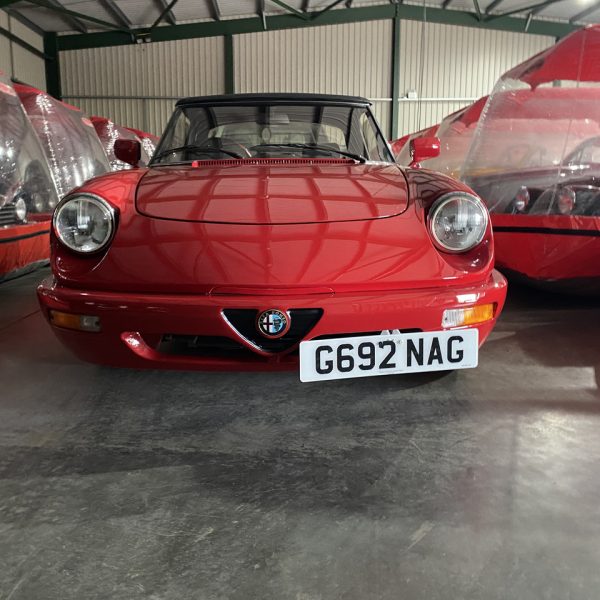
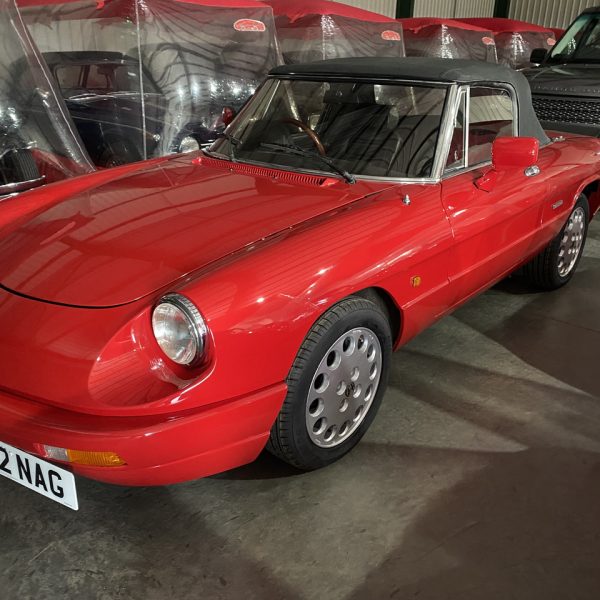
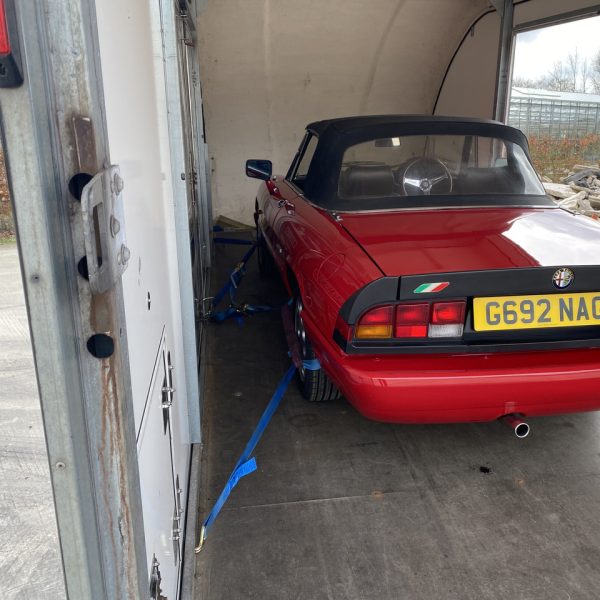
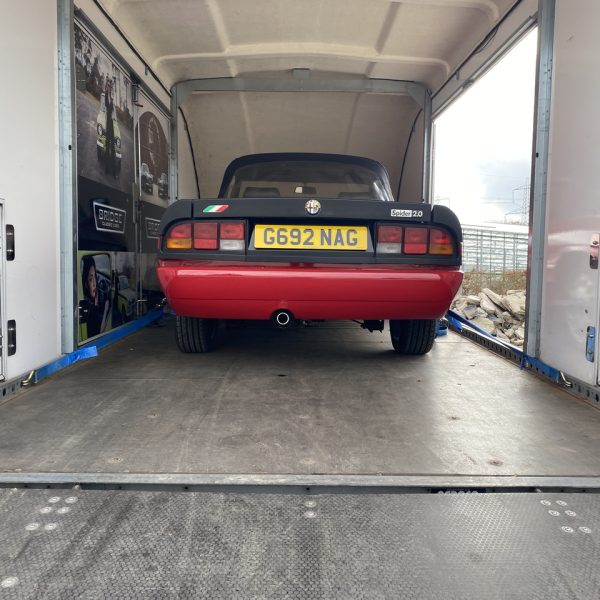
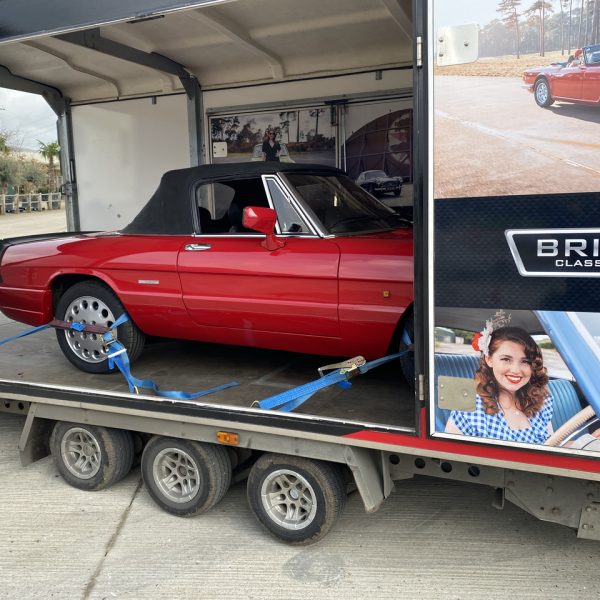
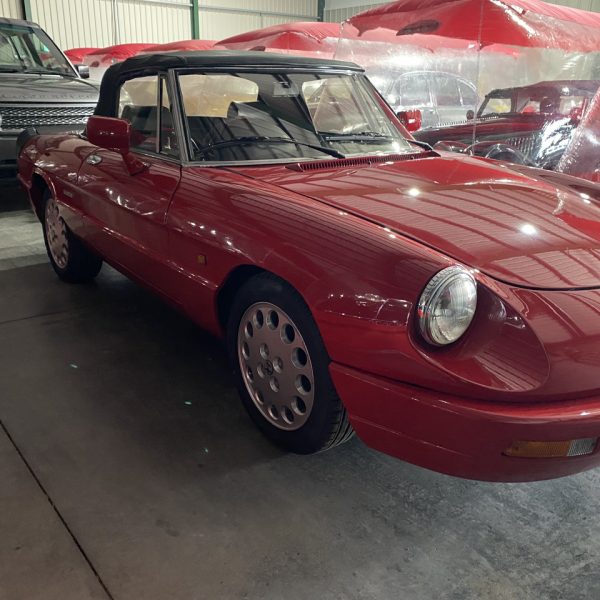
But the Alfa Romeo, recently won by double winner Lee is staying with us in our Hangar for a little while as Lee prepares his home for the new arrival. Lee would rather not see his Alfa sitting on the driveway whilst his building works continues so has instantly opted to have the vehicle dry stored with us and we expect to rearrange the delivery for early May.
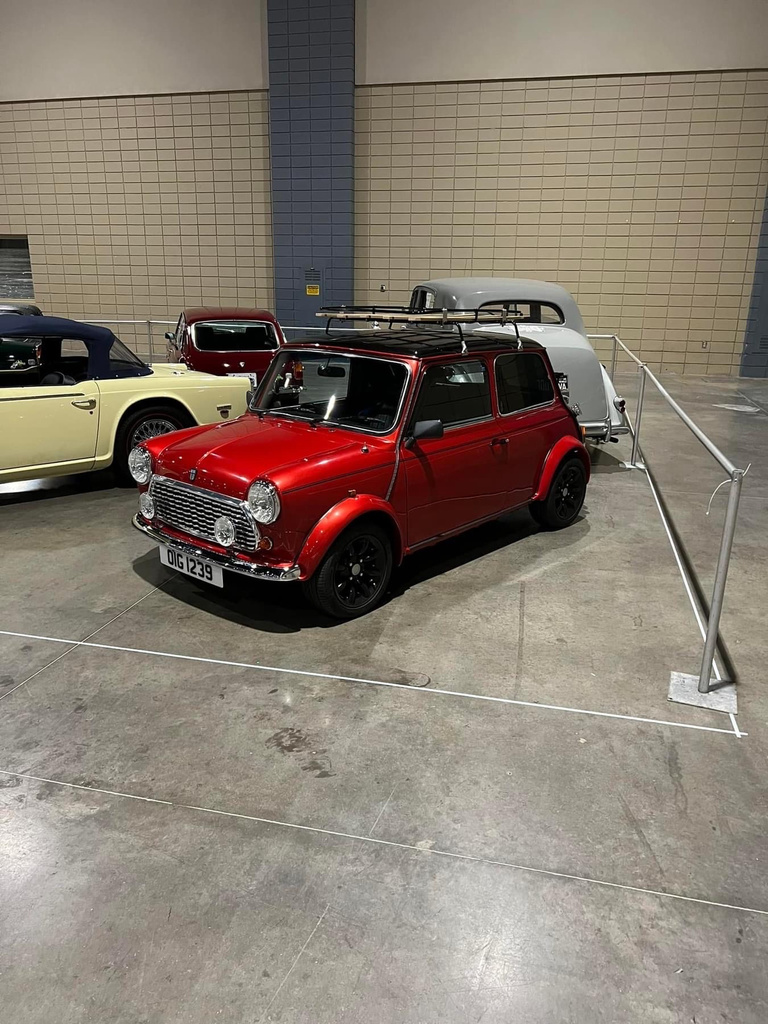
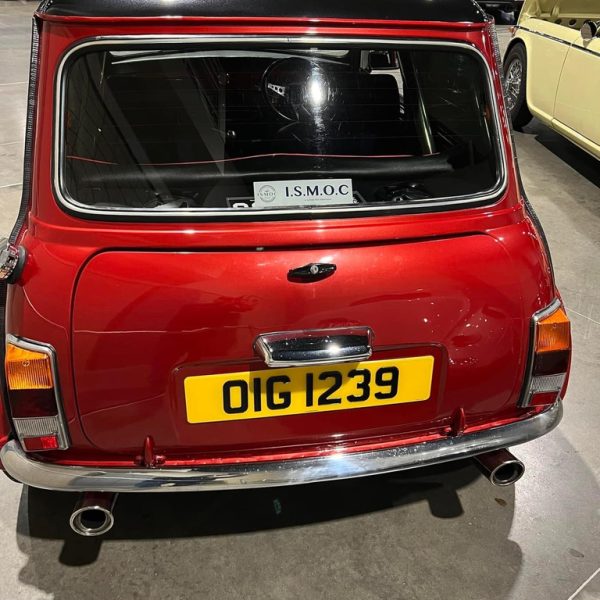
Back in July 2022 we surprised David with the amazing news that he had won our 1997 Rover Mini. Soon after, he visited our Suffolk workshops in person to see the car for himself.
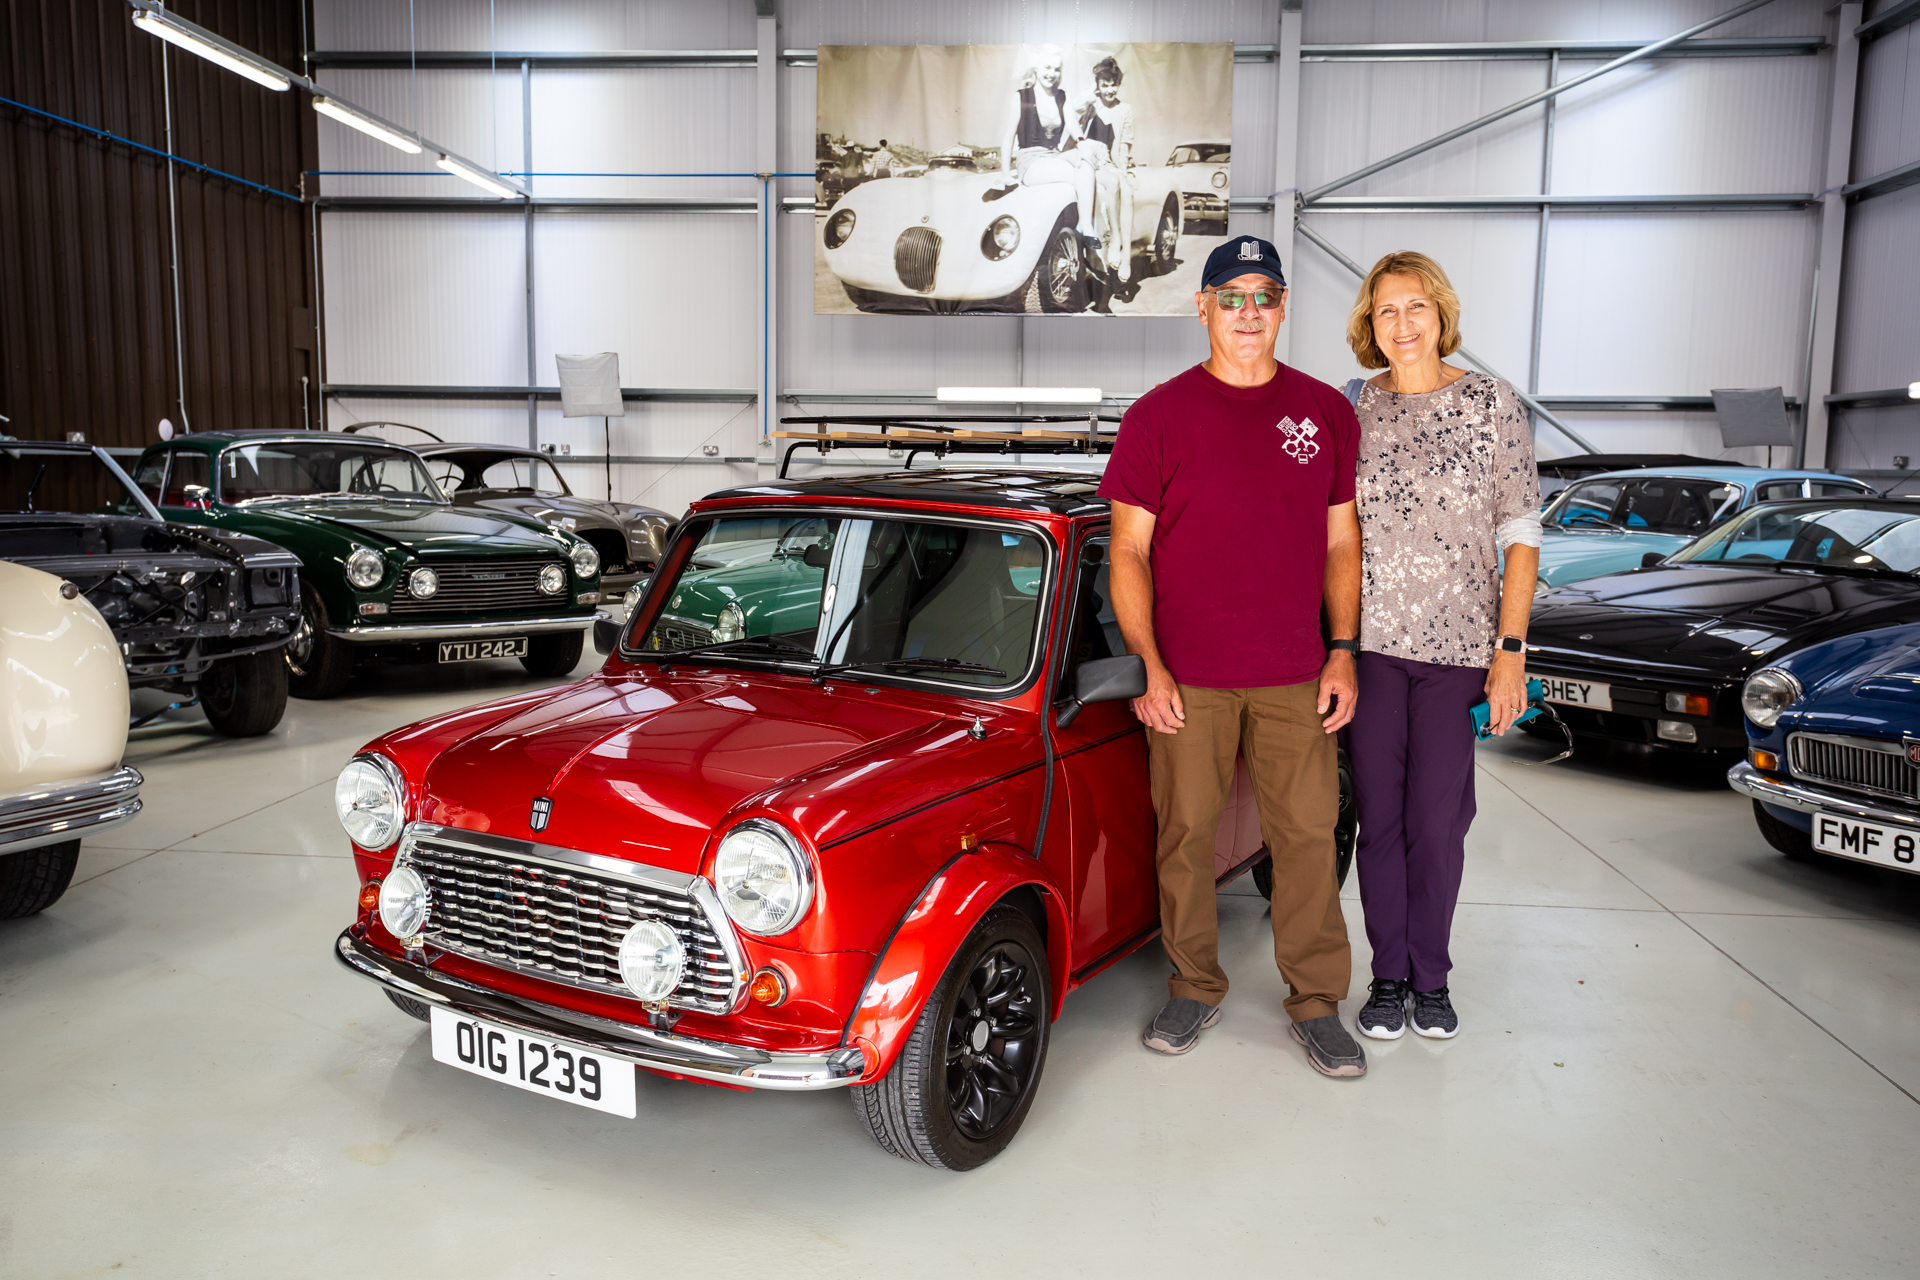
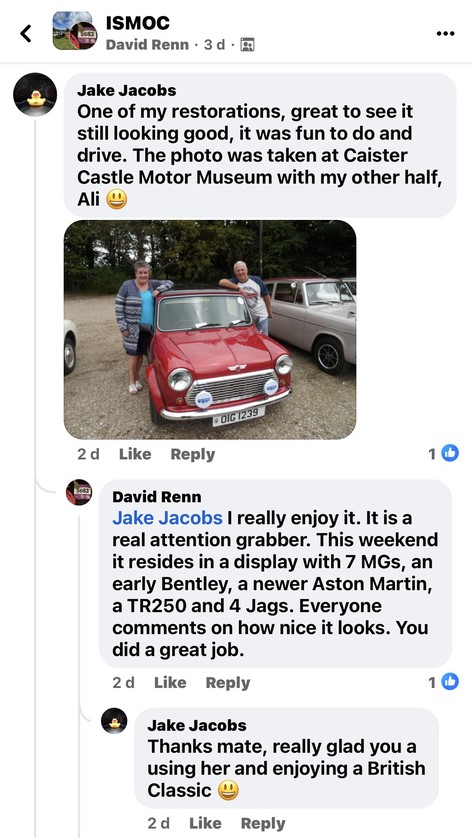
Almost 2 years on, as I scroll through my feed I recognised a familiar car pop up in a post on the ISMOC Facebook page. That’s our Mini…currently parked up on display at the 2024 Virginia Auto Show and the story has been posted by David! It’s always a joy to see or hear that our competition cars are being used, showed and enjoyed.
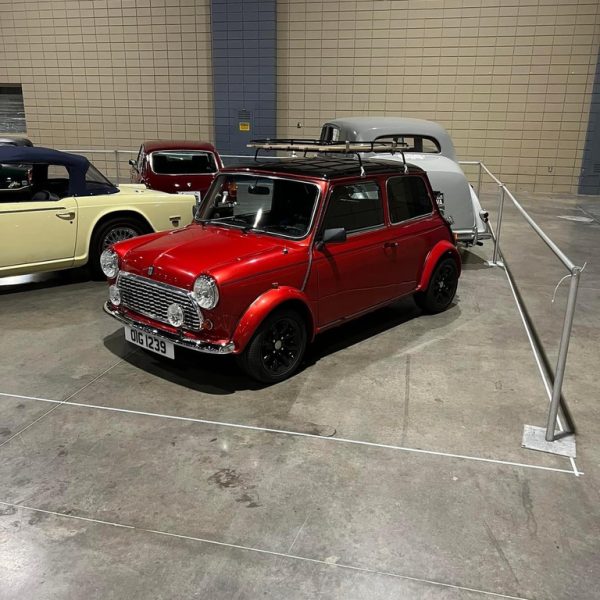
And even more lovely to see comments from admirers all over the world. Our competitions are being seen and enjoyed from all over the world, how amazing is that?
If you want to be our next winner, check out Bridge Classic Cars Competitions and maybe we’ll soon be calling you, just like we did for David.
We seen a few cars added this week to our ‘free to buy, free to sell’ website MyClassics.
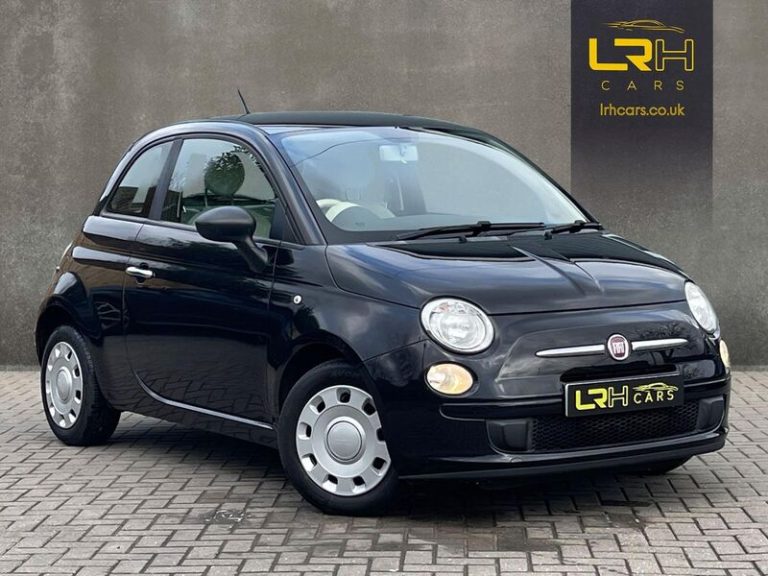
First up, (and I do very much have a soft spot for these), is a lovely 2010 Fiat 500 1.2 Pop currently available from LRH Cars in Hadleigh, Suffolk. The car comes with a comprehensive service history and has also had its timing/cambelt and water pump replaced at 43778 miles on 17/08/2016.
It also has many supporting invoices for servicing including some not stamped in the book and this would be a fantastic little starter car or daily runner with the Insurance Group being just 5U.
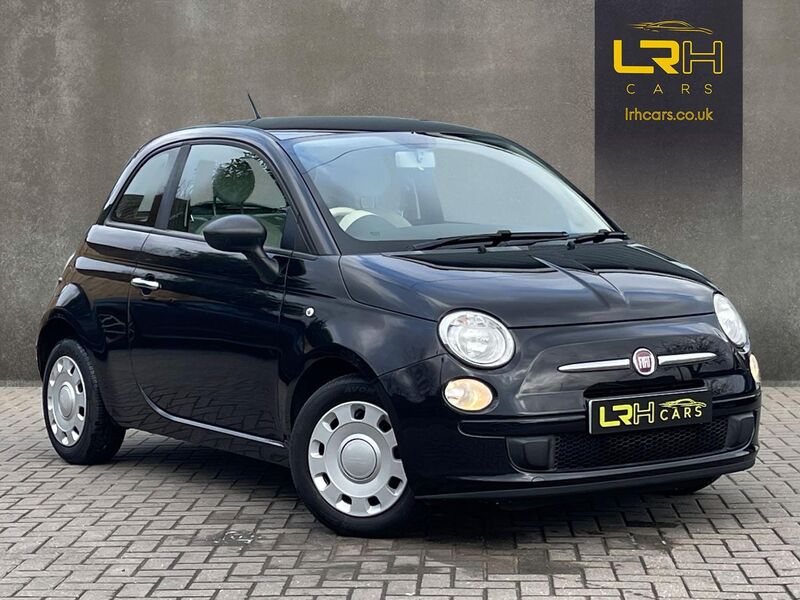
For more information on the Fiat 500 contact LRH Cars.
Next up, a ridiculously rare 1988 Vauxhall Belmont Jubilee Edition, believed to be the only one left in existence and one of only twenty three Belmont’s left on the road. Available now, having just gone through the MOT after a light recommission.
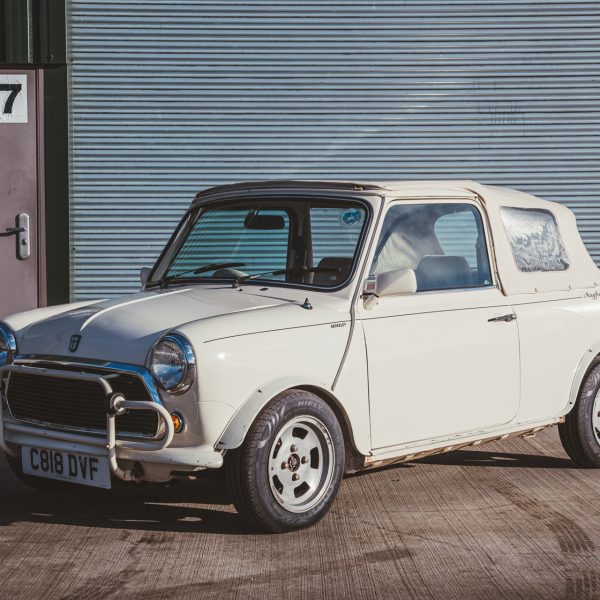

Also, listed on MyClassics is a 1985 Austin Mini Mayfair (Berkeley). The car is a very rare Wood & Pickett Mini Mayfair ‘Berkeley’. It has a soft-top, bull-bars, walnut dash, Mountney leather steering wheel and Wolfrace alloys to name a few of the conversion parts. Covering just 29500 miles it has spent most of the last 25 years under cover in storage.
Steve Burkinshaw, the Mini Cooper Register coachbuilt Mini expert, has helped confirm the provenance and rarity as well as confirming that all of my information fits with it being a genuine W&P.
Regarding provenance and the vehicle’s story, we believe that only 3 of these particular Minis were commissioned or still exist. Henlys of Berkeley Square, who owned W&P at the time, commissioned a small number of these vehicles. The service book confirms that it was sold by Henlys with the dealers stamp and the original number plate of C121 BYW was confirmed as a London Reg. Likewise the additions on the vehicle such as the Wolfrace alloys and bull-bars were typical of W&P conversions.
It singles itself out however, as instead of W&P on the detail line around the car, it says “Berkeley”. It also has this on the boot lid. Steve Burkinshaw had only heard of 3 of these mini’s being commissioned so there is a chance for someone to own a particularly rare mini.

If you have a car or number plate to sell, MyClassics is our gift to you. No buyer fees or seller fees involved in any of the cars on our website. If you are looking to buy, simply log on and if you find a car you like you can speck directly to the seller. Alternatively, if you have a car or plate to sell, list it via MyClassics and get it seen my thousands of car enthusiasts.
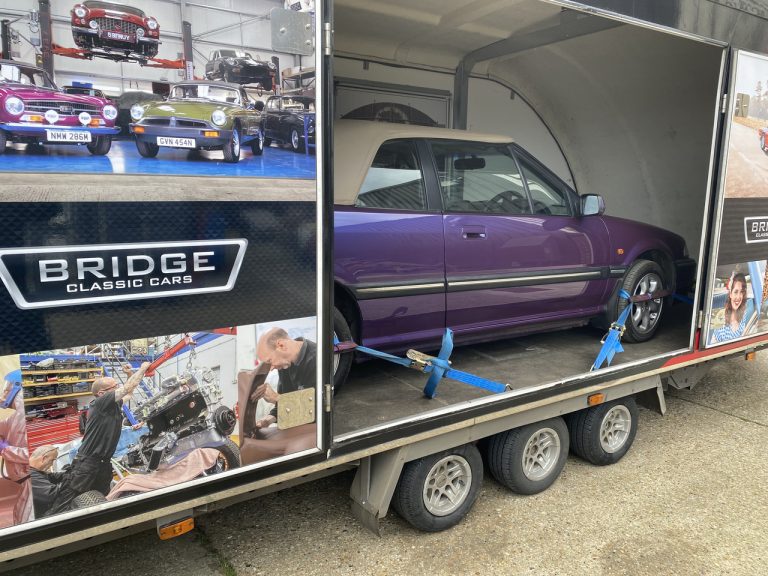
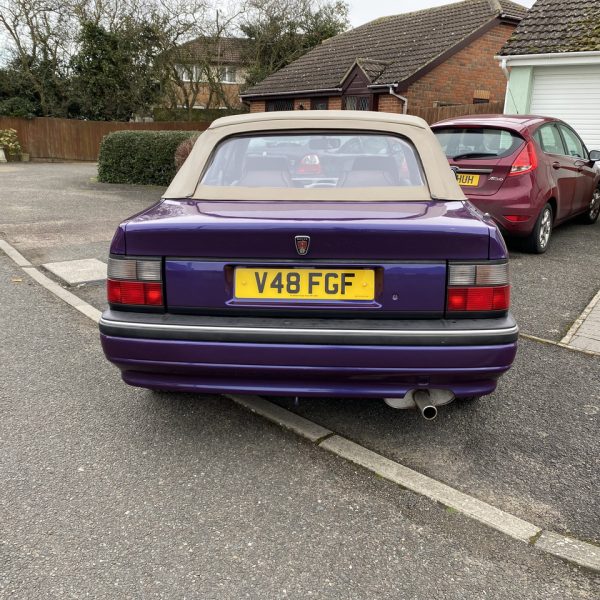
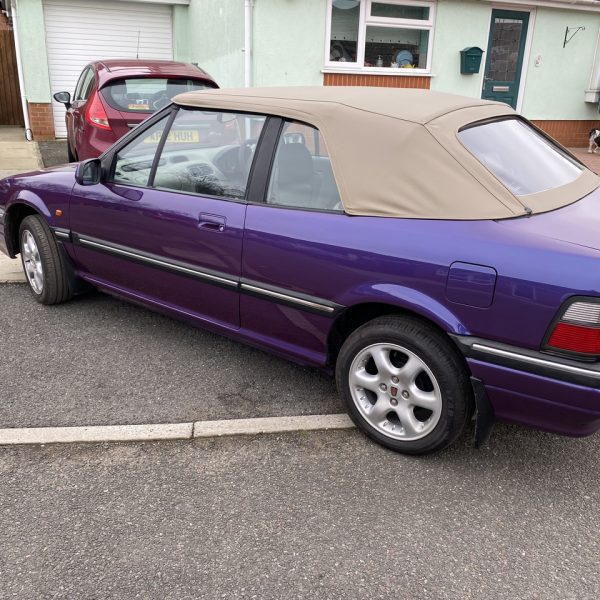
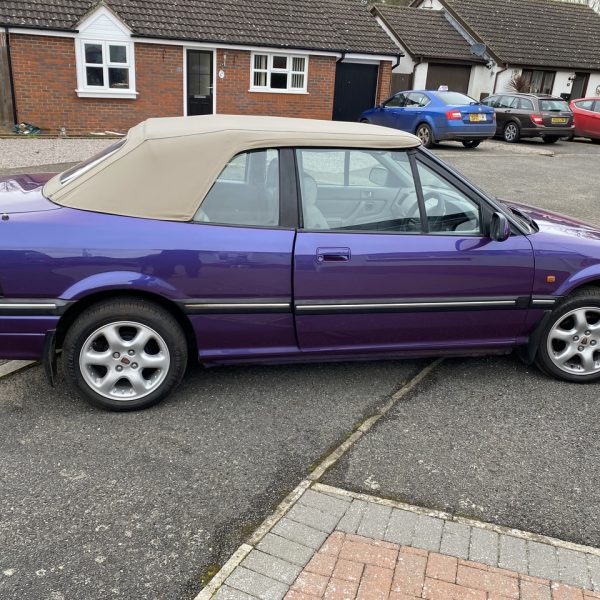
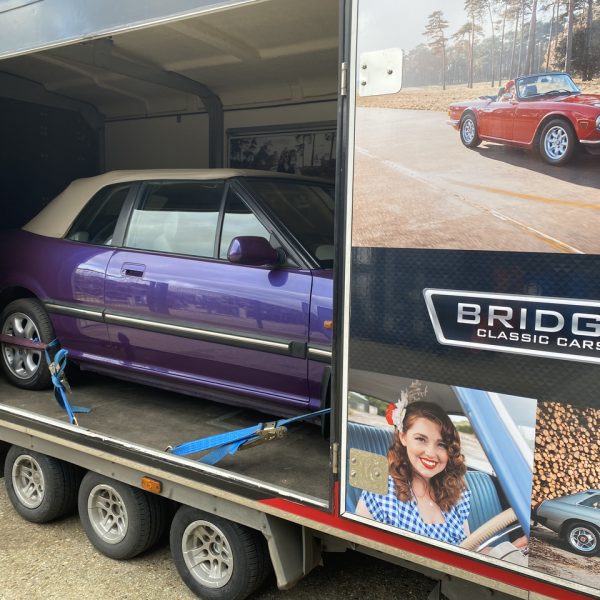
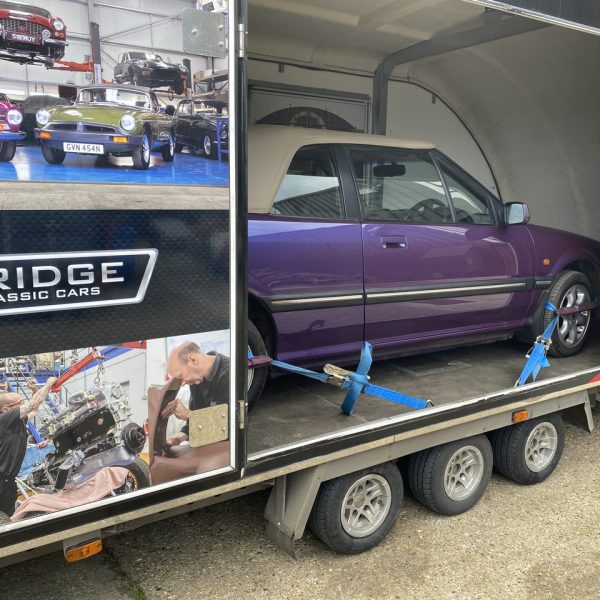
Work is now complete on the hood of our Rover 216 so only one more job for Tony to complete, that’s returning the car back home looking lovely in our covered transporter.
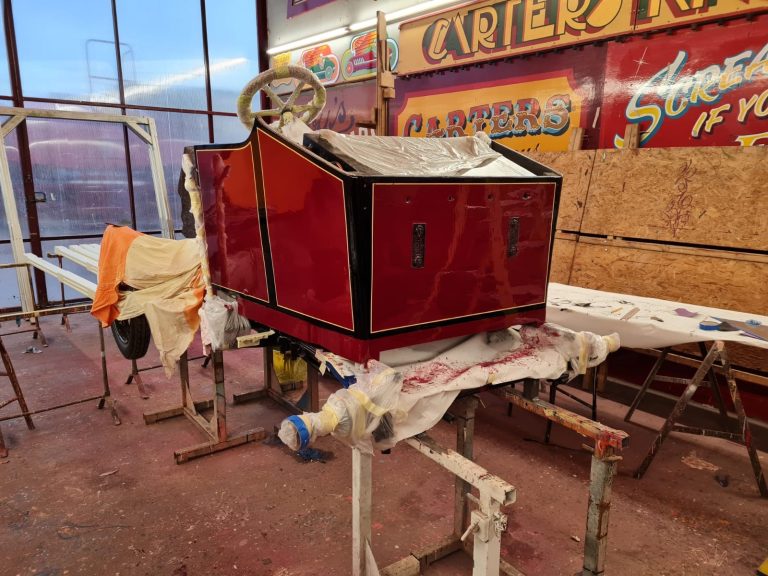
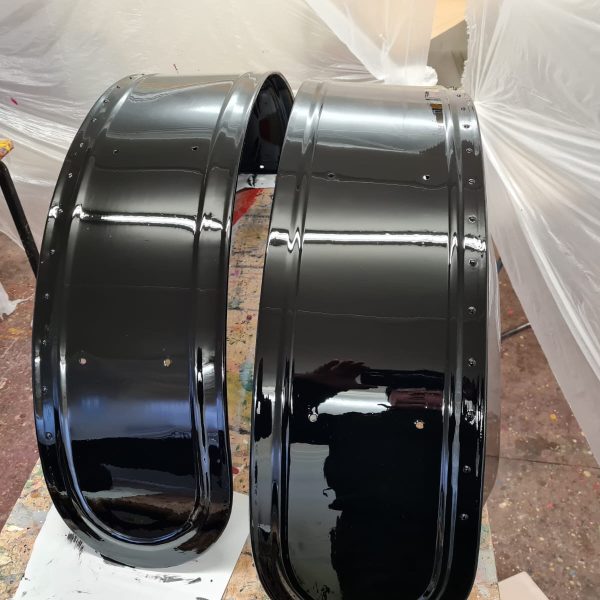
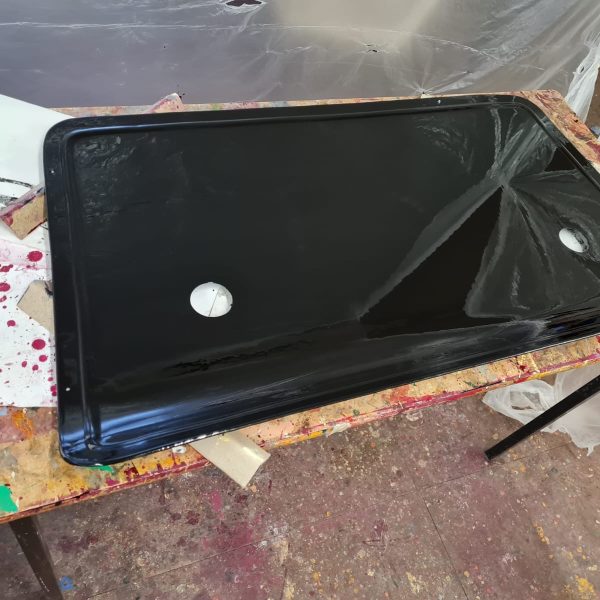
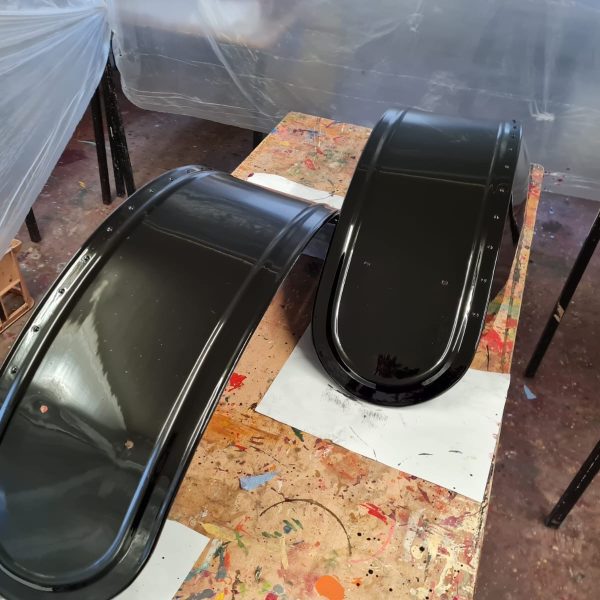
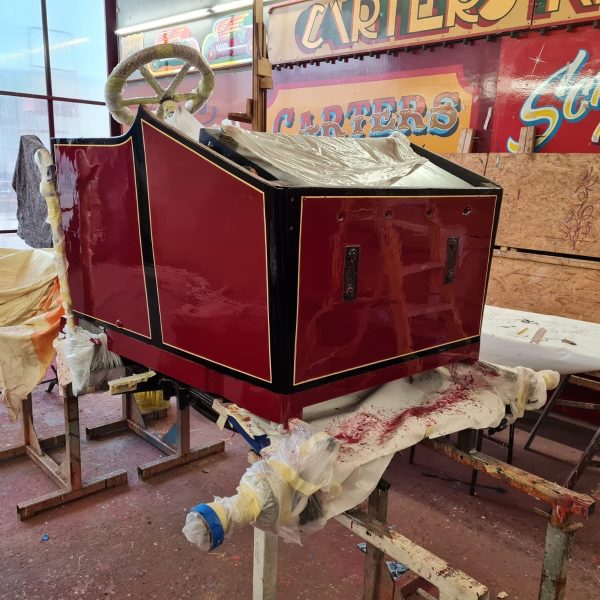
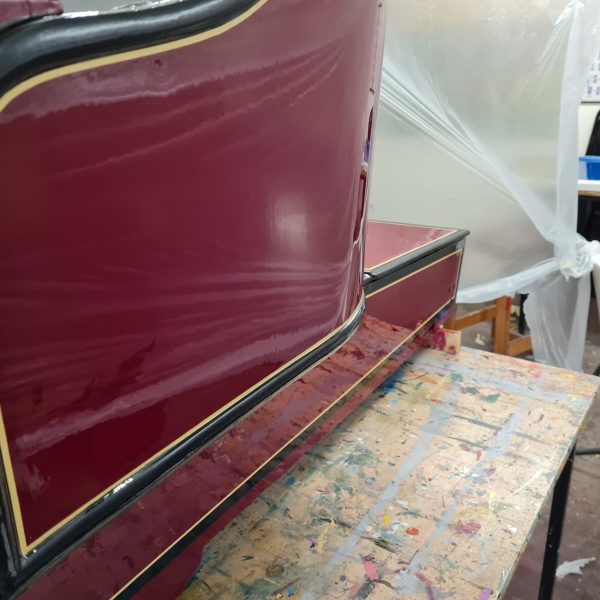
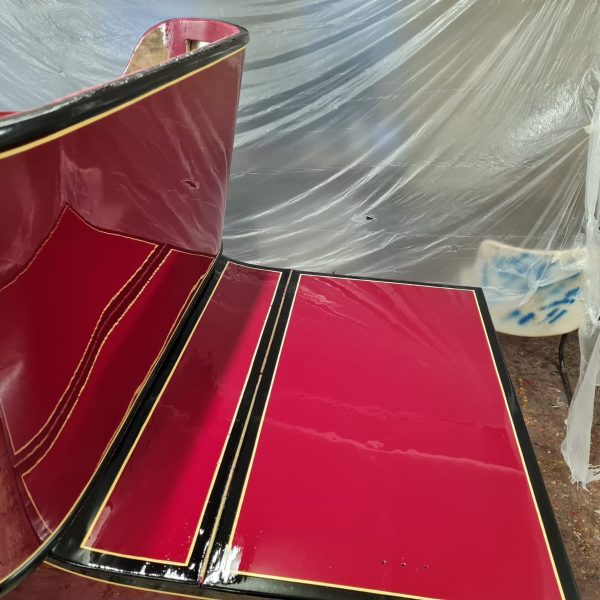
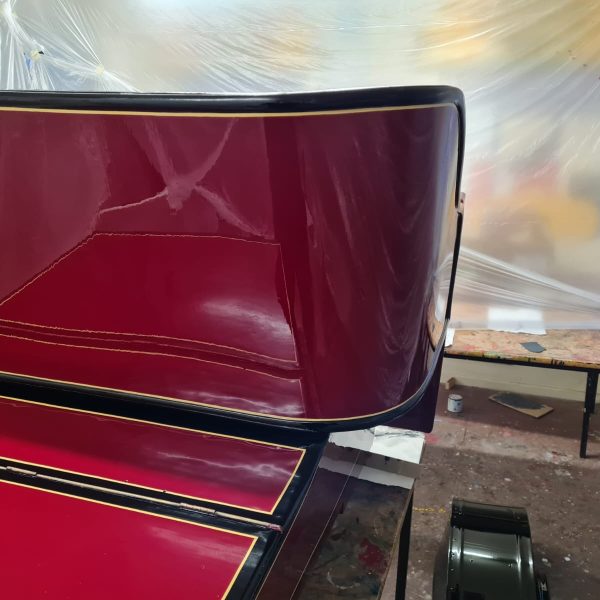
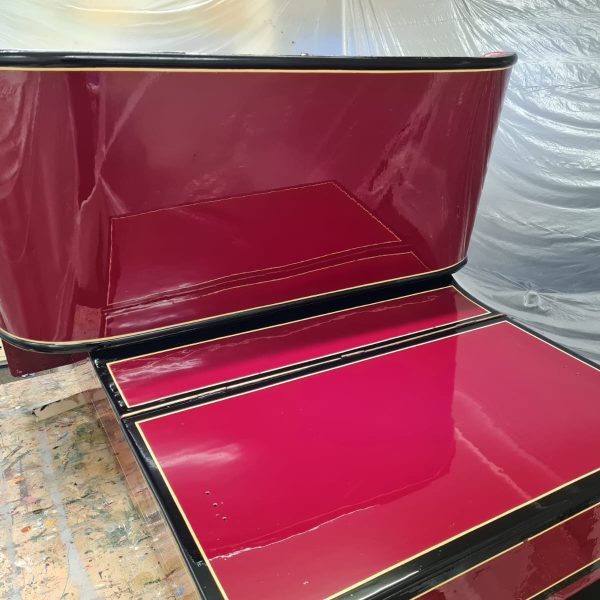
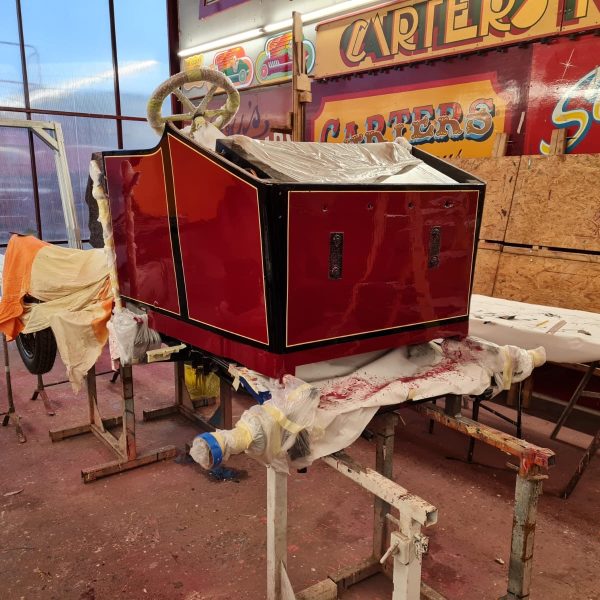
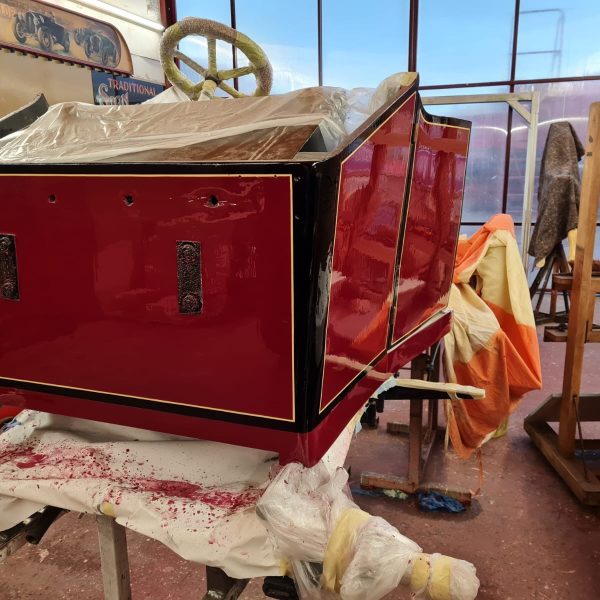
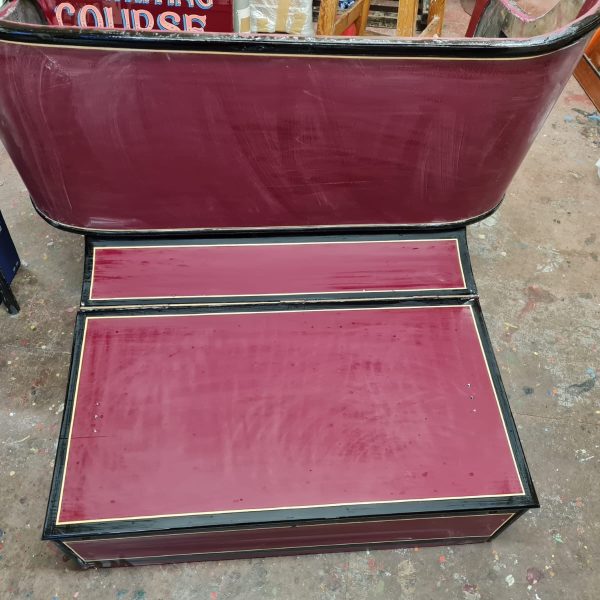
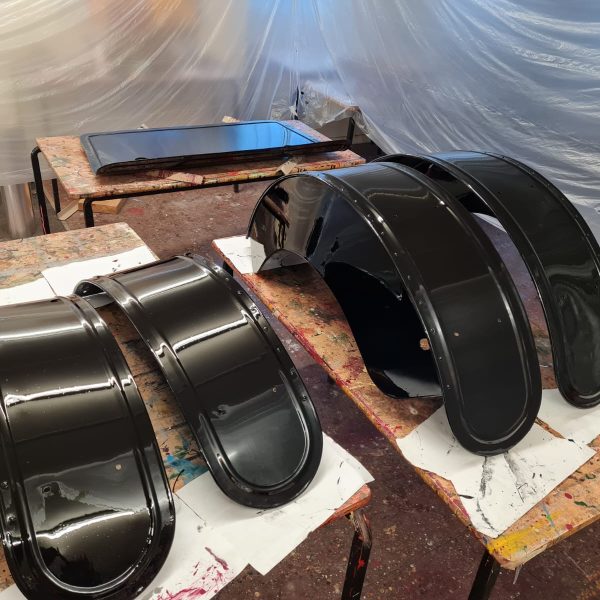
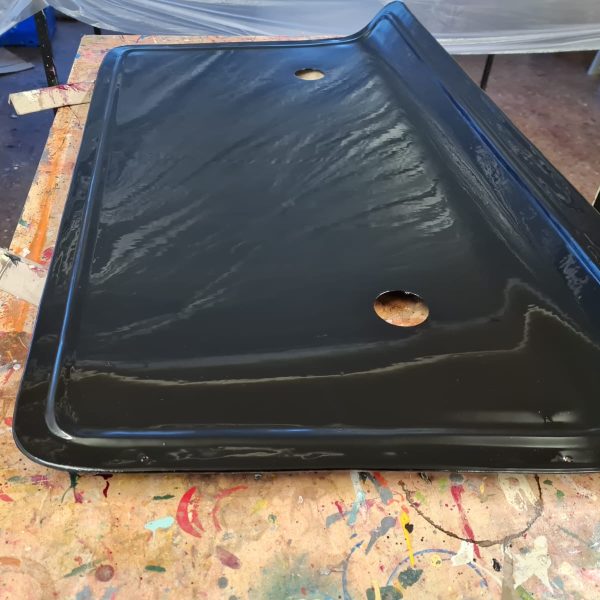
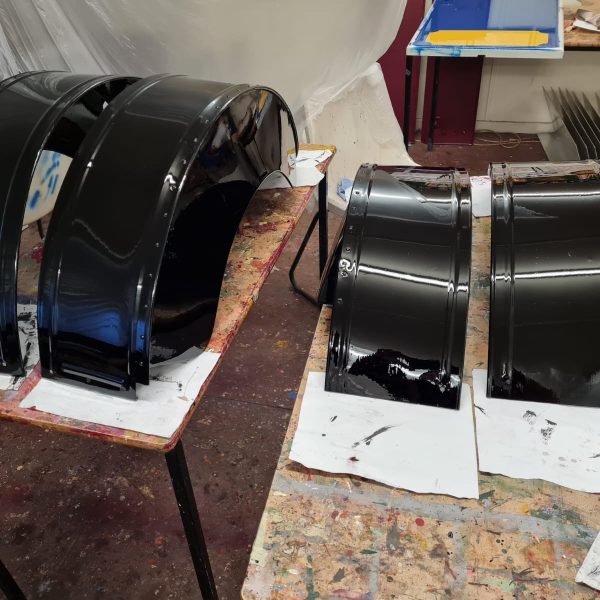
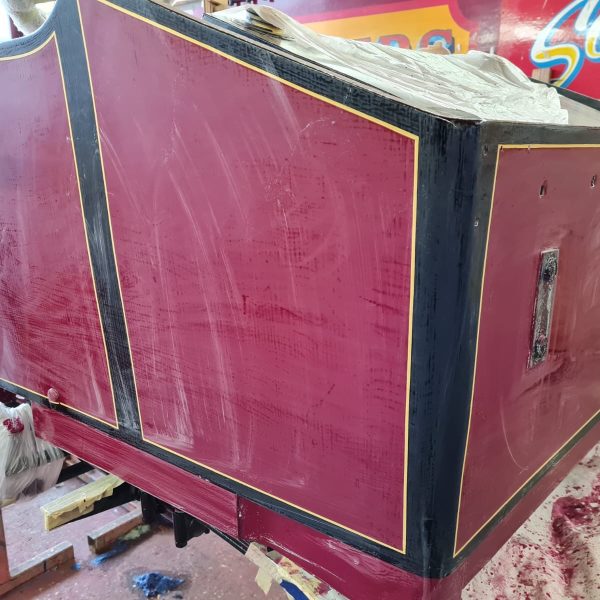
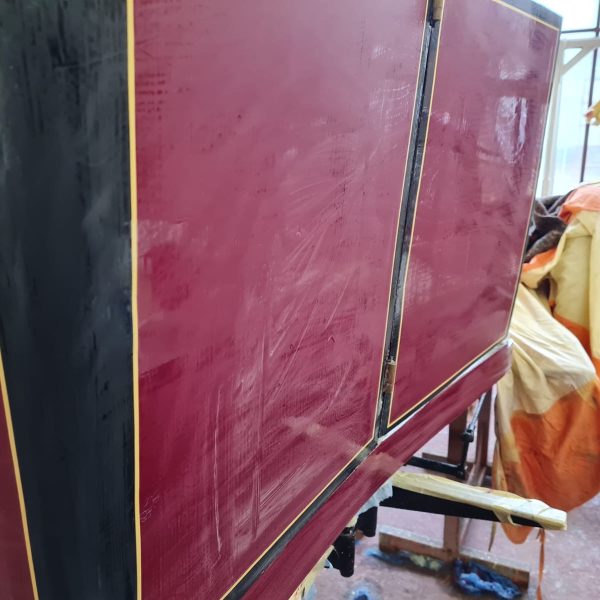
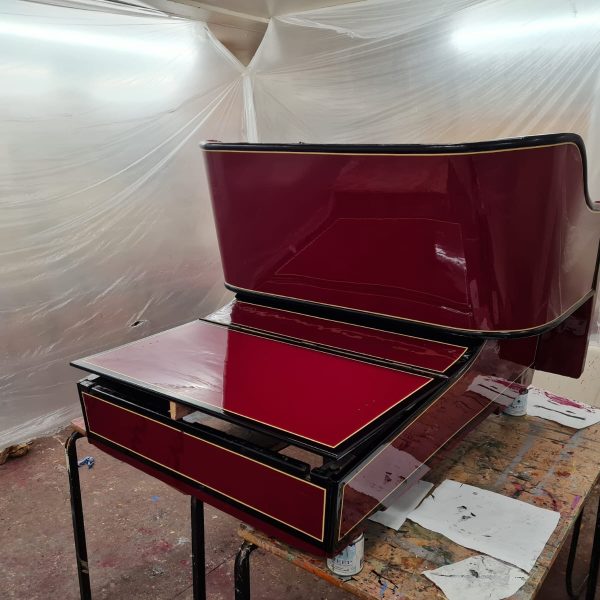
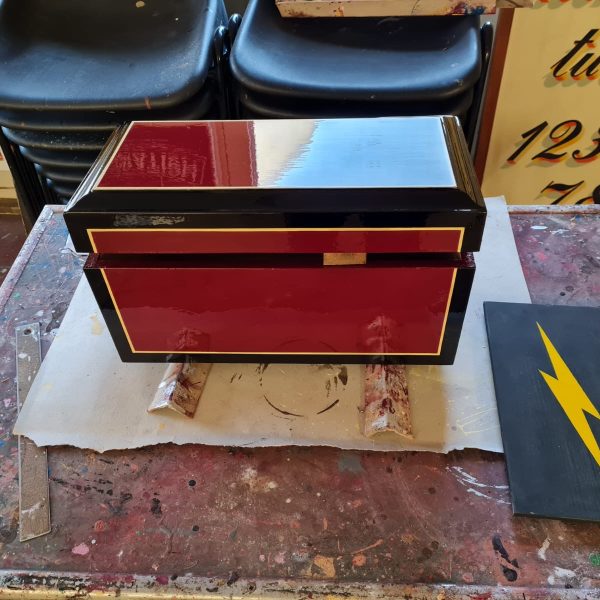
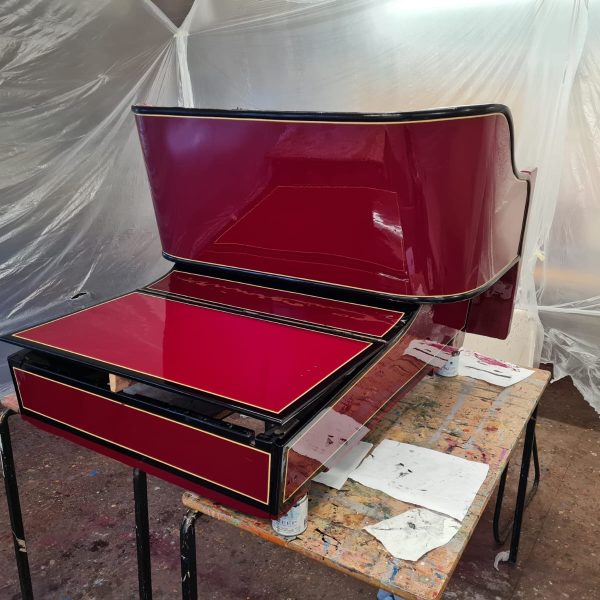
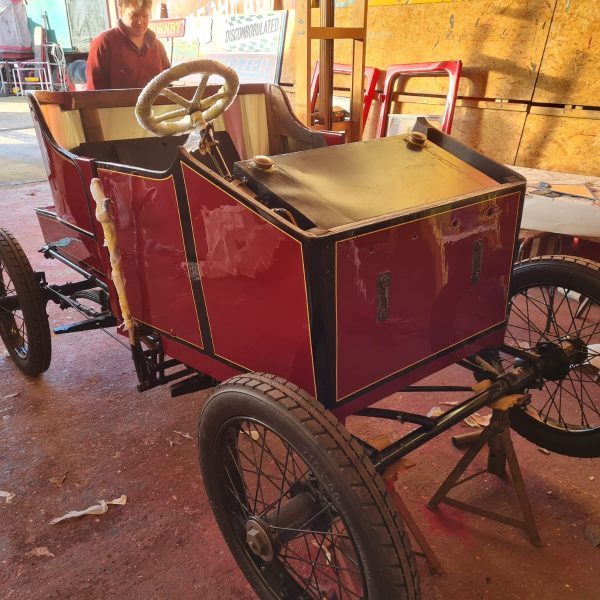
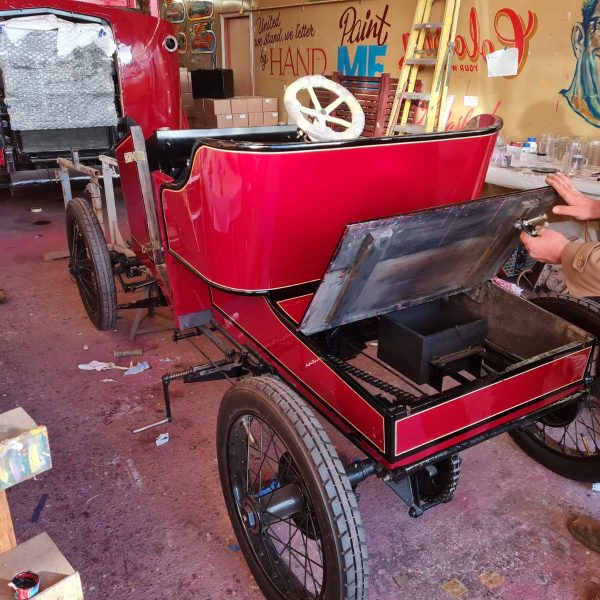
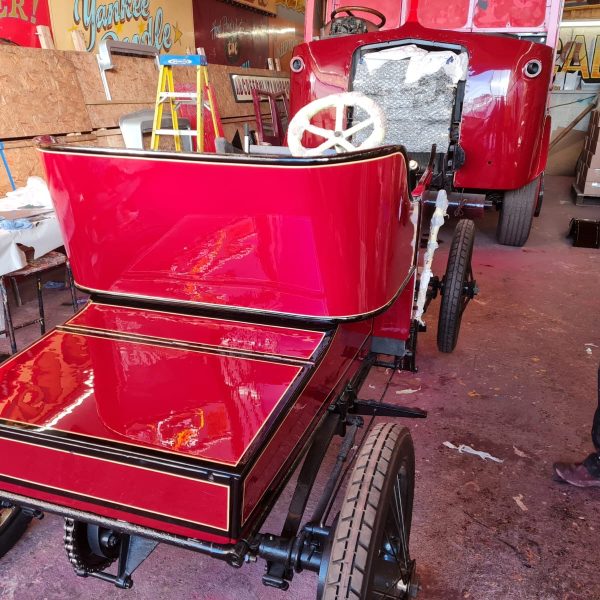
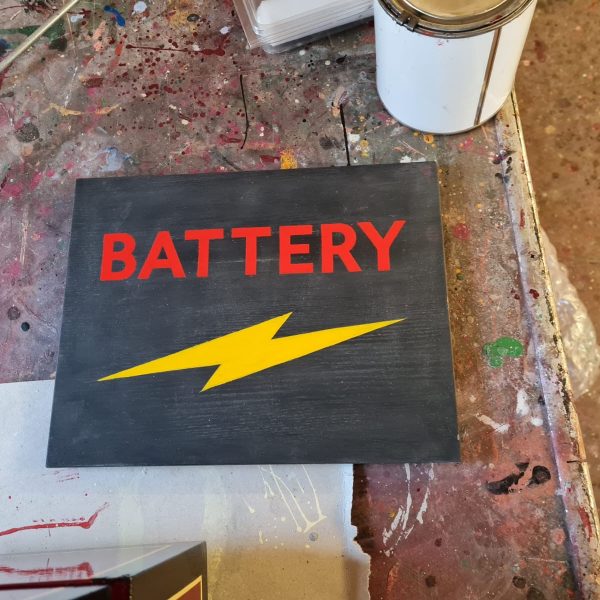
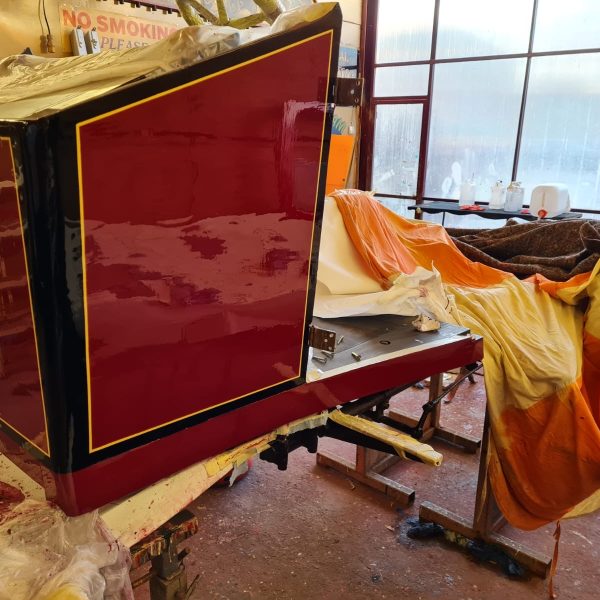
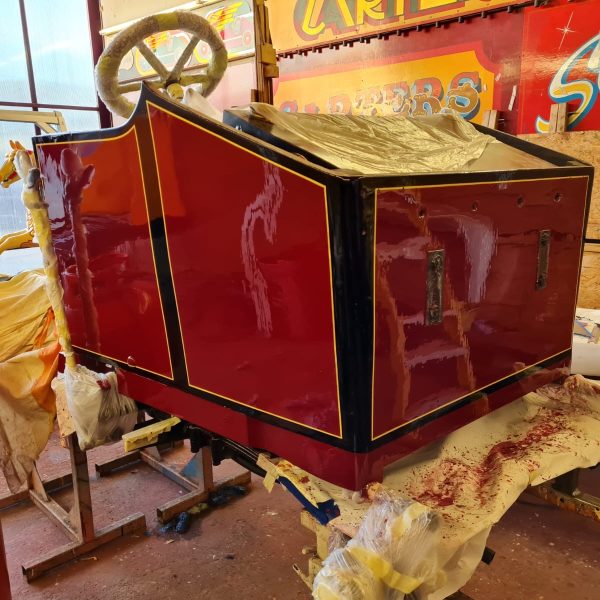
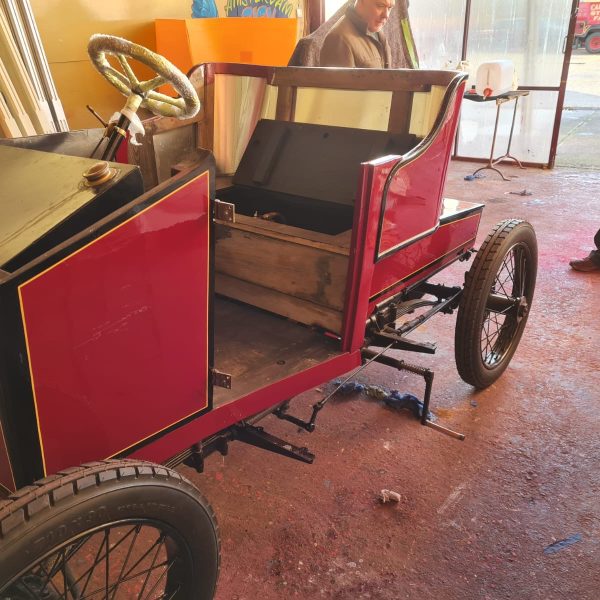
As we continue to see the amazing progress being made on our 1905 Riley 9HP, meet Joby Carter, the incredible talent behind the colour transformation.
Joby is a traditional sign-writer, decorative artist, restoration specialist, author and teacher. He’s a master craftsman with his heritage decorative art skills including signwriting and the endangered craft of fairground art. As well as hosting signwriting courses, Joby is an artist in his own right, having had signwriting commissions for the Brit Awards, the English National Opera and Jools Holland, amongst others. He was also involved as a guest curator for Peter Blake’s curation in the Museum of Everything.
Up until 2022 Joby was the proprietor of Carters Steam Fair, the world’s largest travelling vintage funfair which toured from 1977 to 2022. Our award-winning vintage funfair was famous for its beautifully restored, authentically decorated fairground rides which dated from the 1890s to the 1960s.
Our very own Lily is a huge fan of Joby Carter’s work having followed him on social media for some time.
Joby has kindly sent through some photos to keep us up to date on the progress being made on our iconic 1905 Riley 9HP.
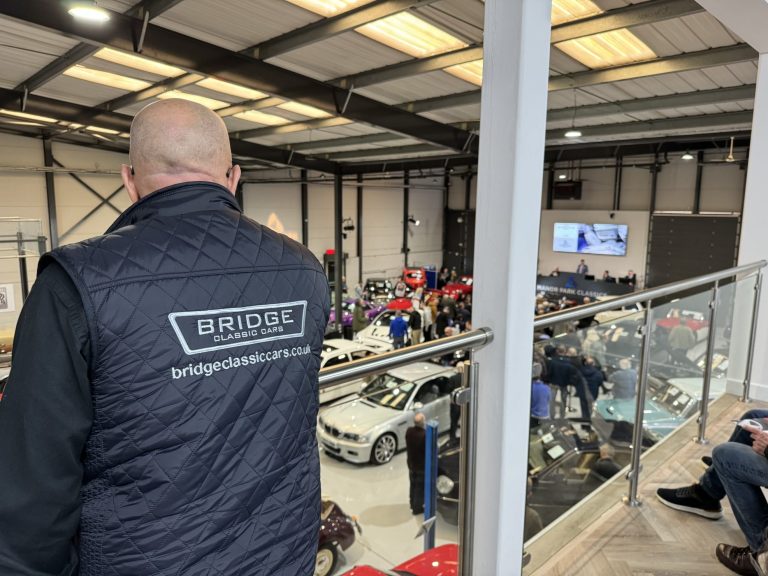
What a fantastic weekend we had at Manor Park Classics for their February 2024 classic auction. It’s the first time I’ve been and the second trip for Gordon and I must say, I’m super impressed with the venue and set up.
Being very interested in the media side of a business I was amazed, initially, on the broadcasting equipment and lighting they had set up in preparation for the live auction and the social media coverage going out throughout the two days. But let’s get down to business…the classic cars!
Check out the video of day 1 where I spent the afternoon having a look through the 3 halls of vehicles on display.
Then on the Saturday was big day itself, Auction Day.
We registered early doors to get our bidding card and whether the fact we were the first to register or the fact that we were mega important VIP’s, we got card number 1 which seemed to be the highlight of the weekend for Gordon.
We were greeted at the door by a very familiar face in the classic car world, Mr Paul Cowland from Salvage Hunters: Classic Cars who welcomed us with open arms and took us on a brief tour of the facilities.
We were here to buy and the 5hr trip was well worth it as the collection of cars on offer were very impressive. A total of 6 we had our eyes on…
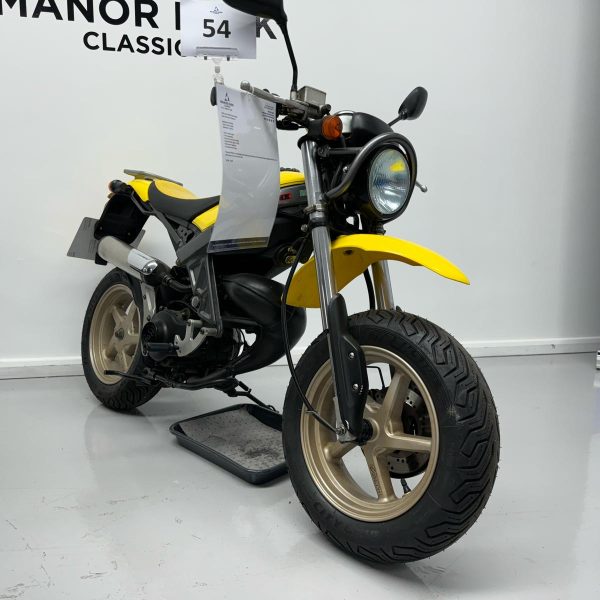
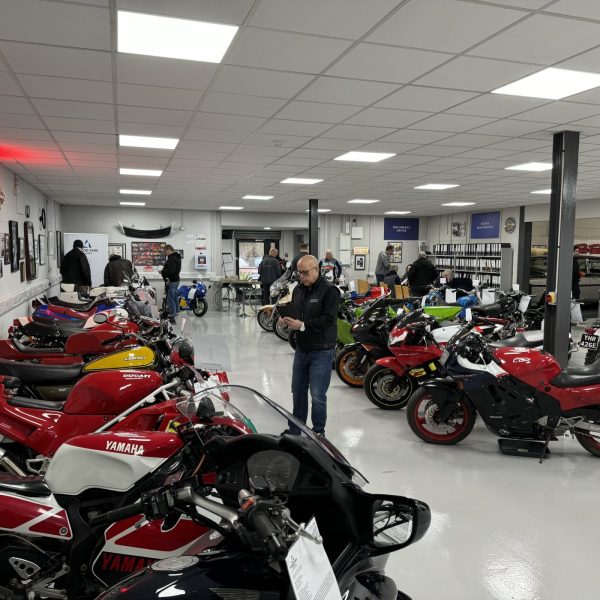
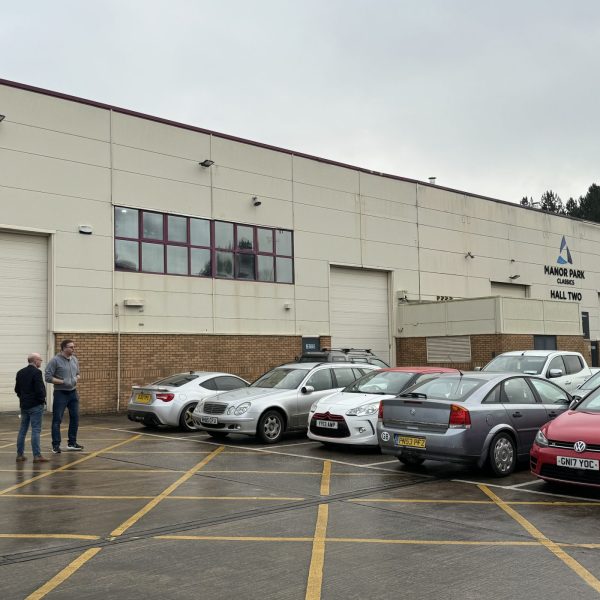
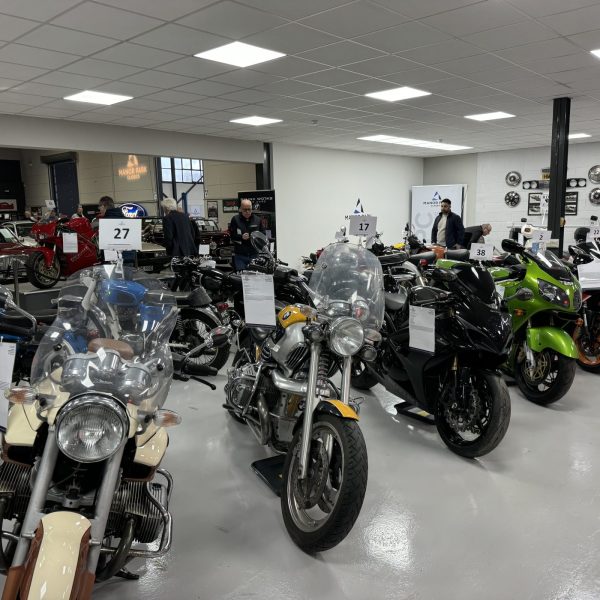

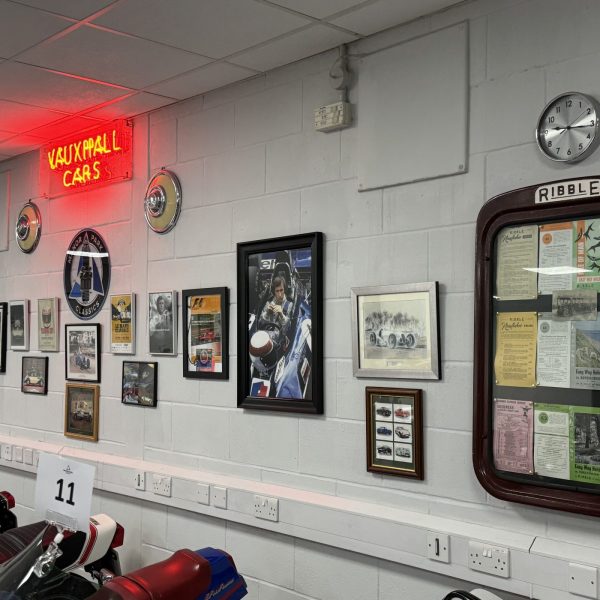
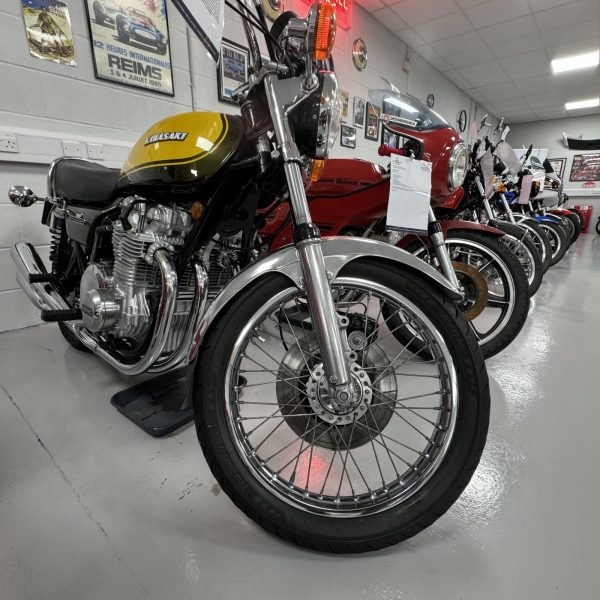
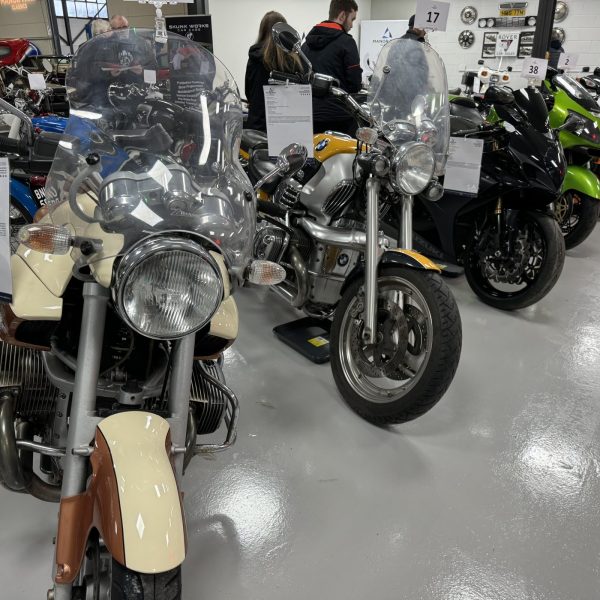
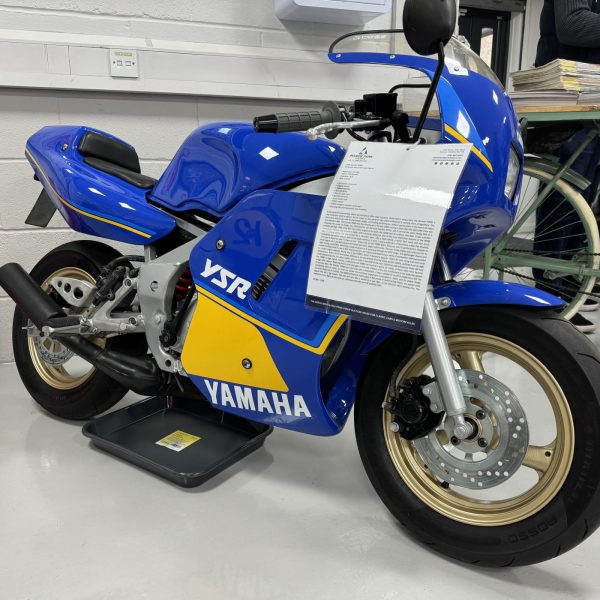
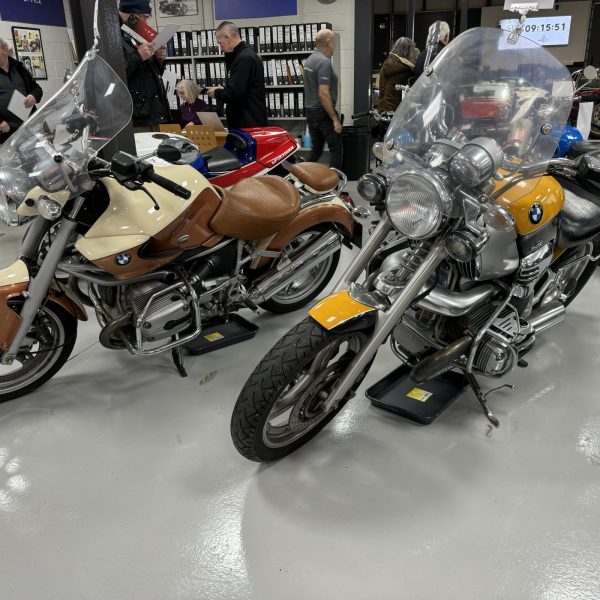
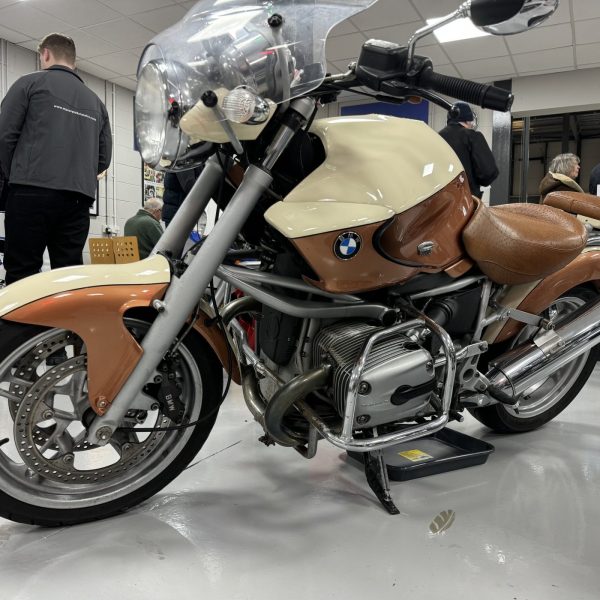
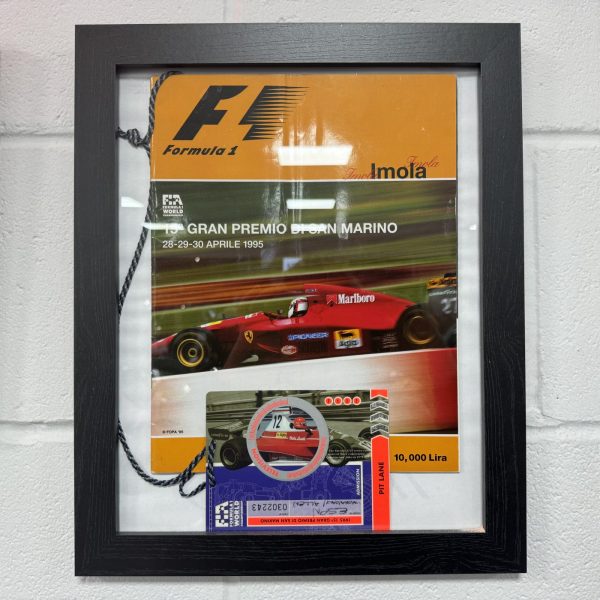
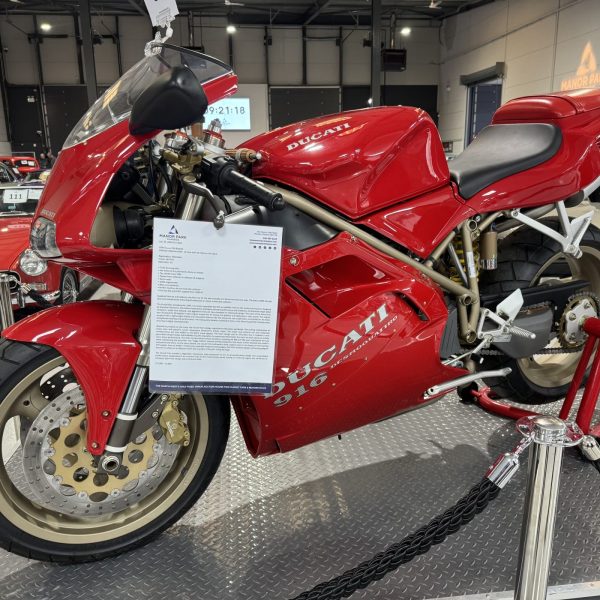
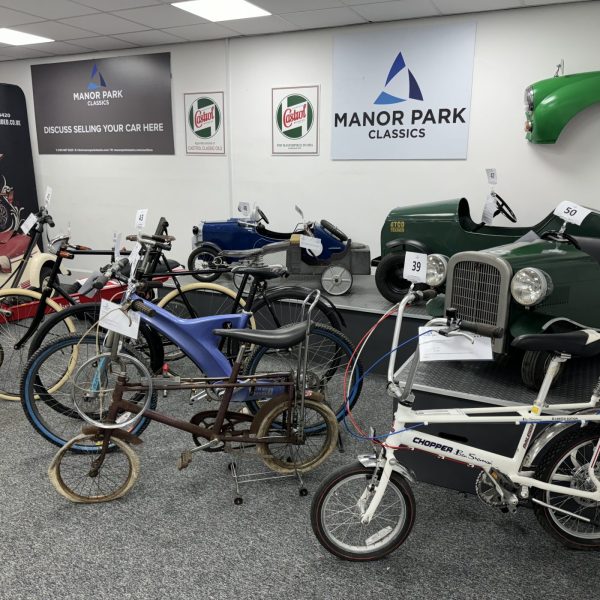
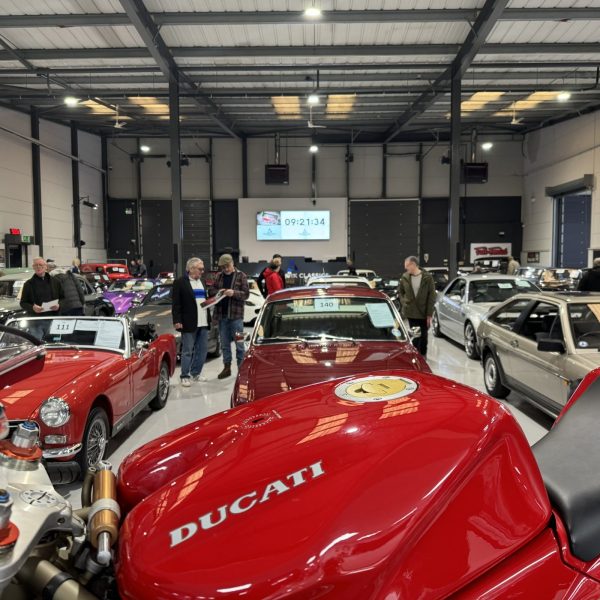
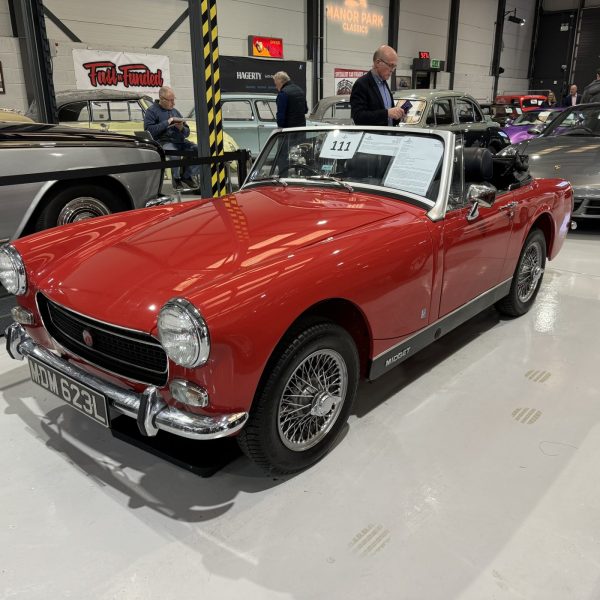
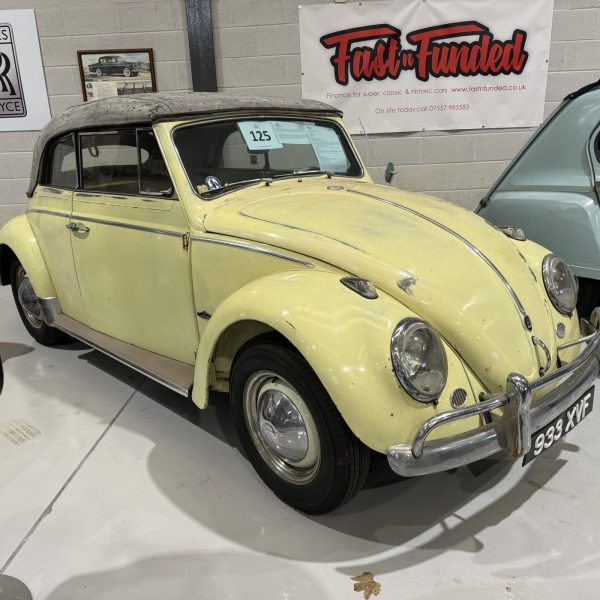
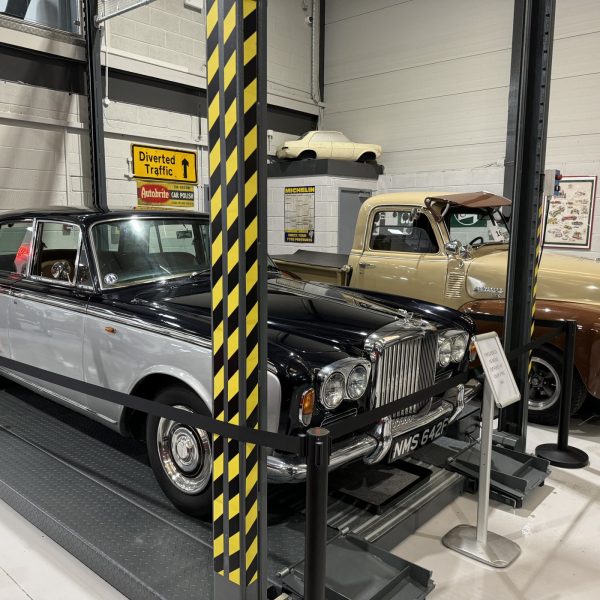
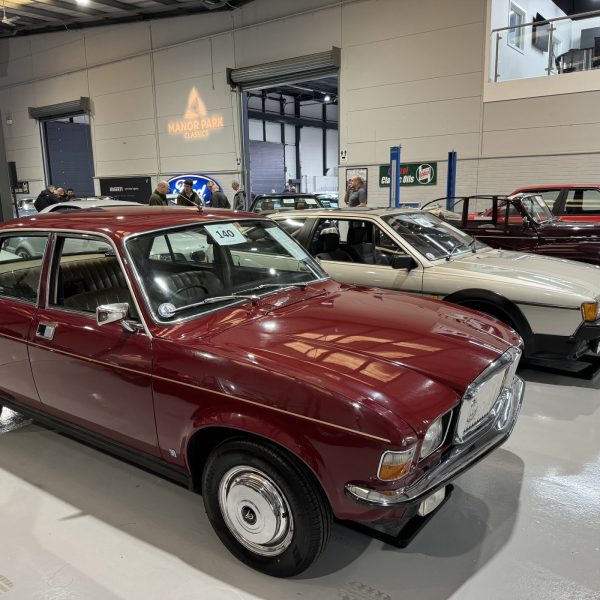
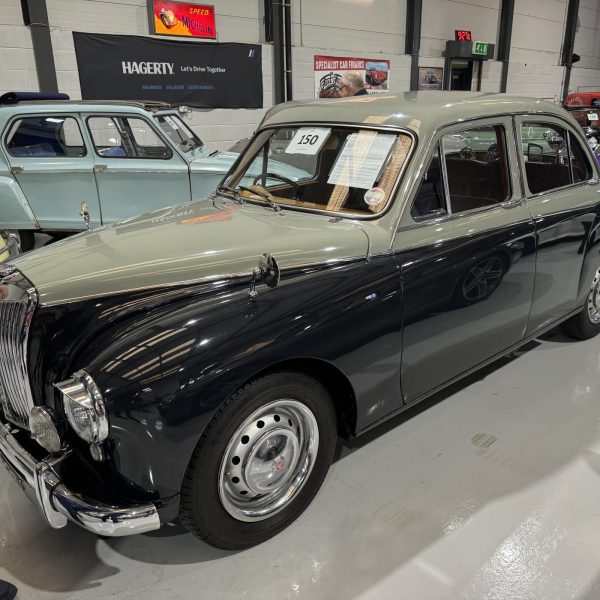
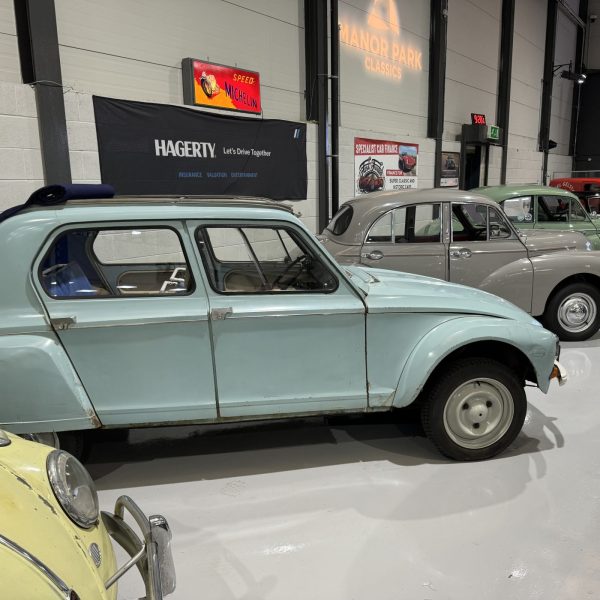
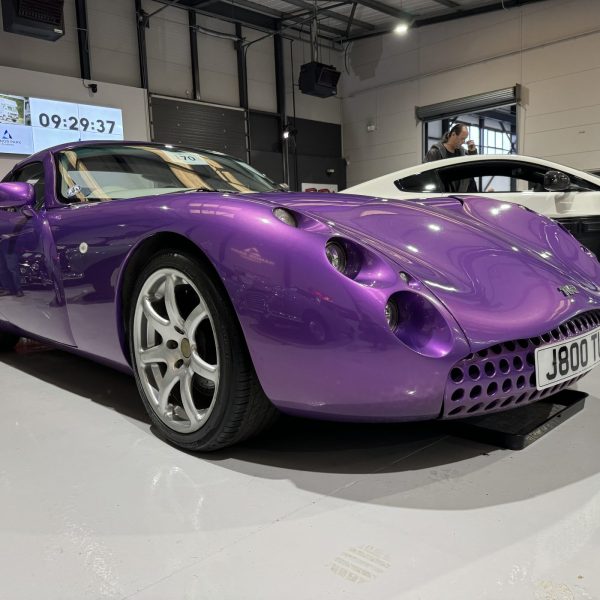
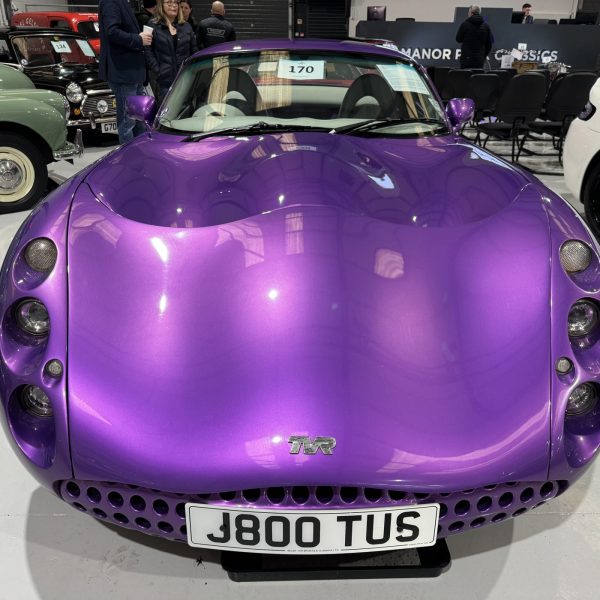
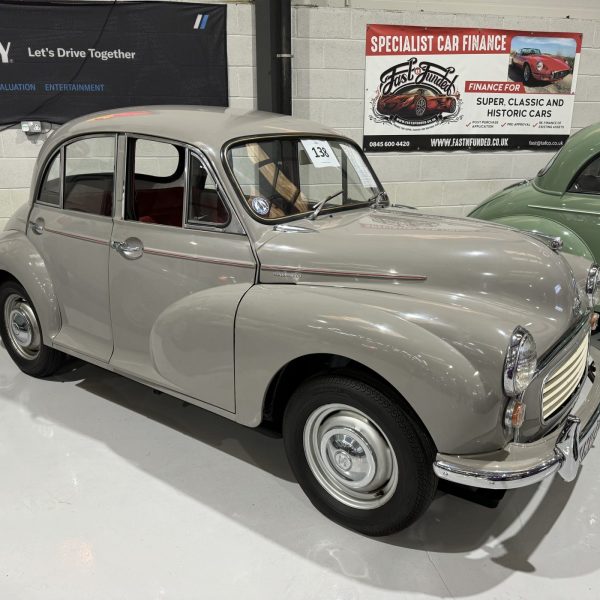
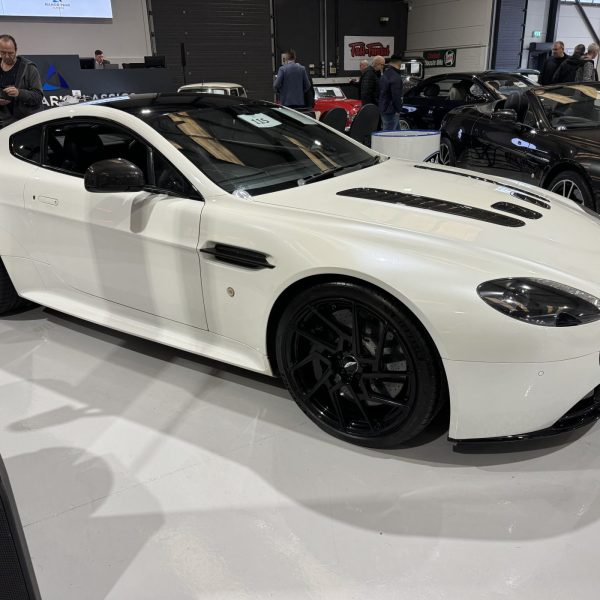
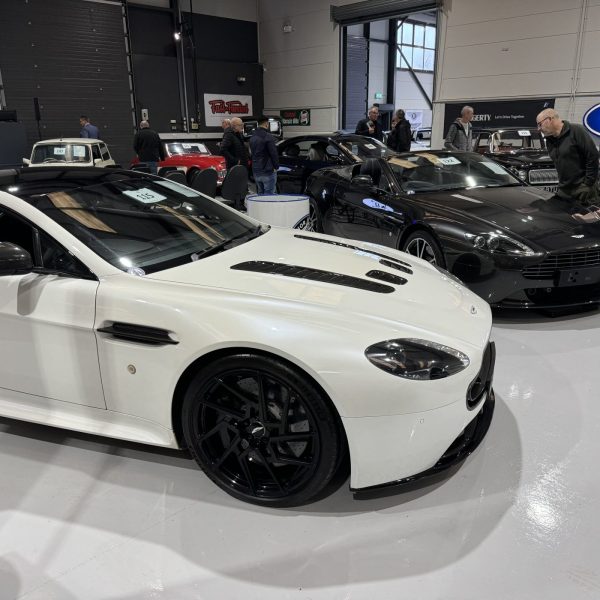
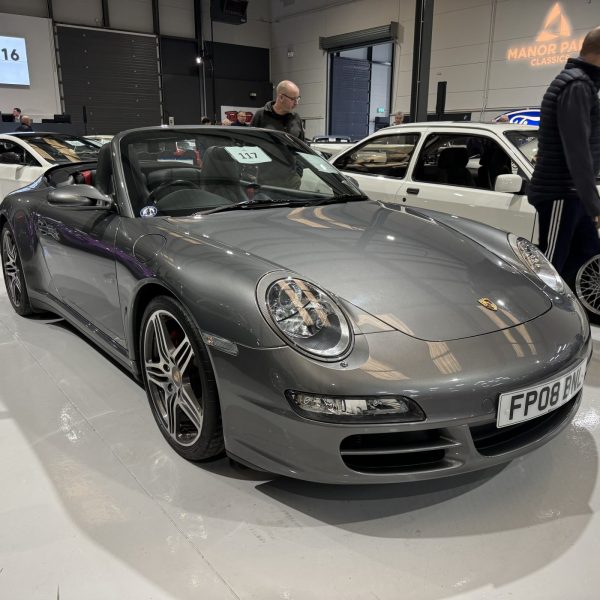
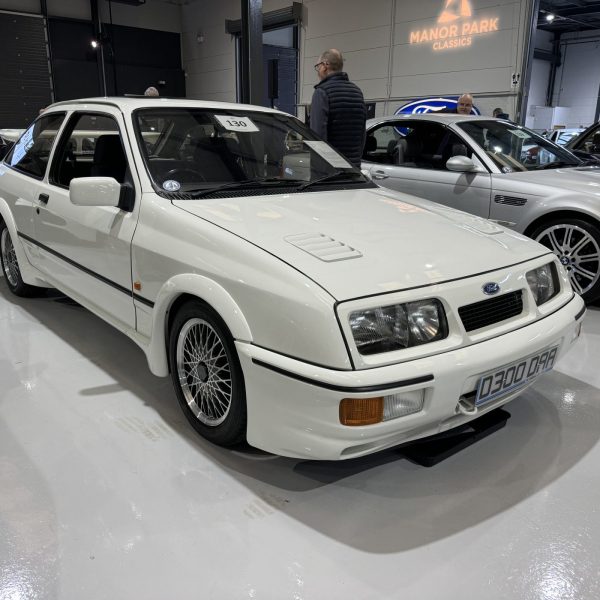
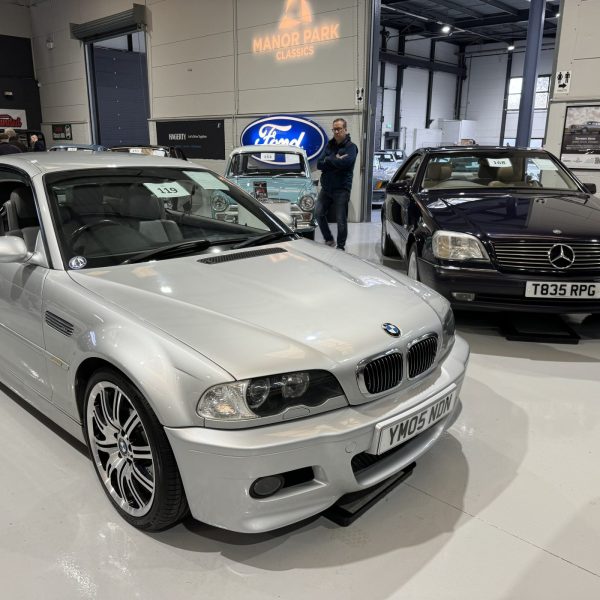
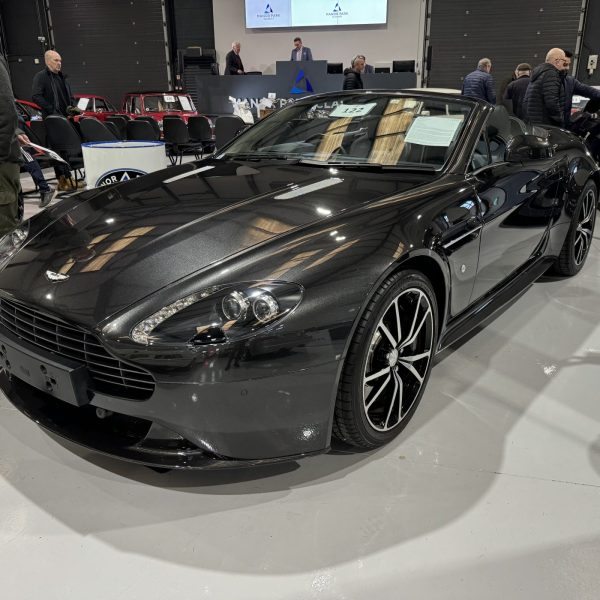
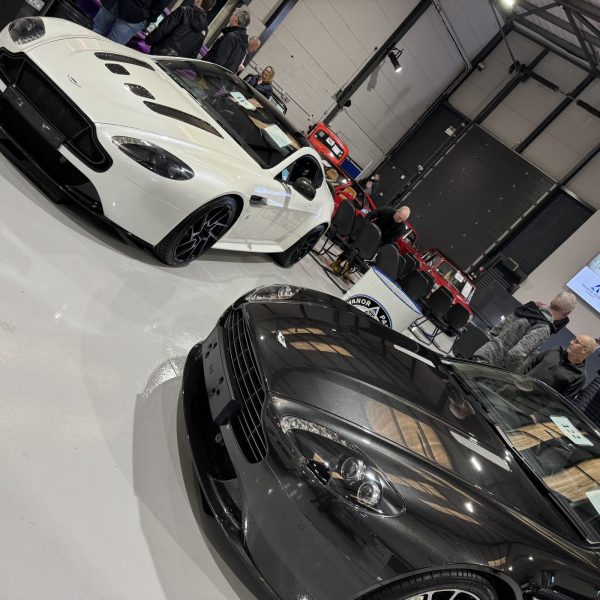
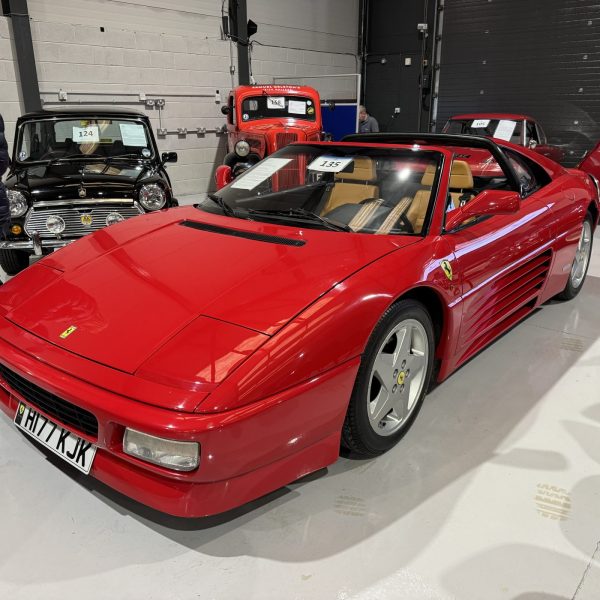
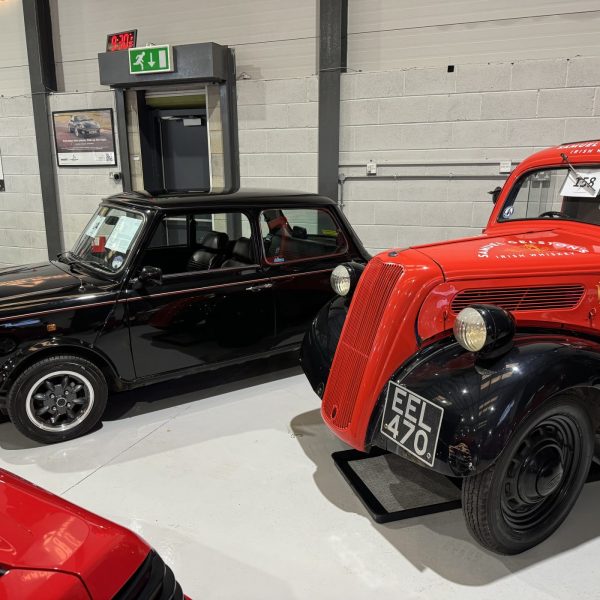
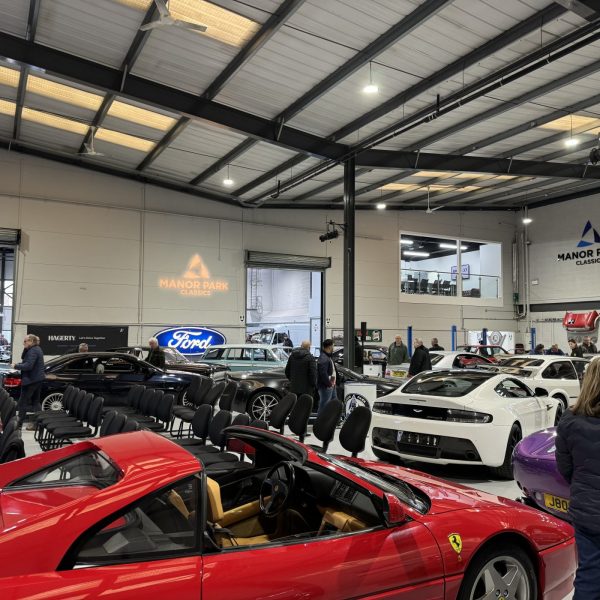

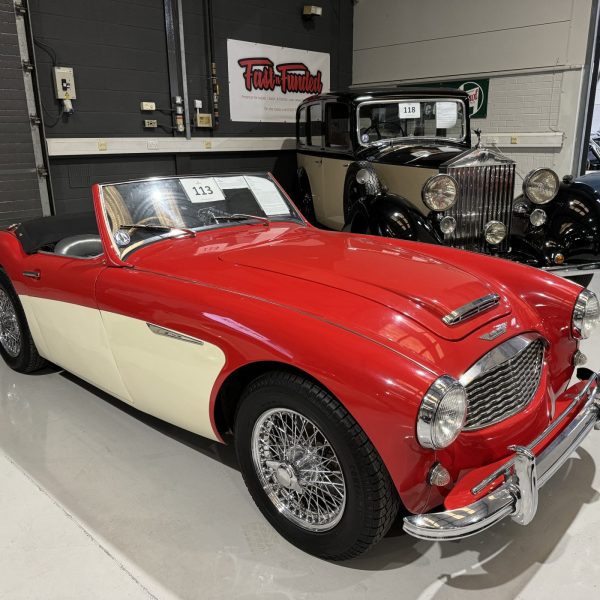
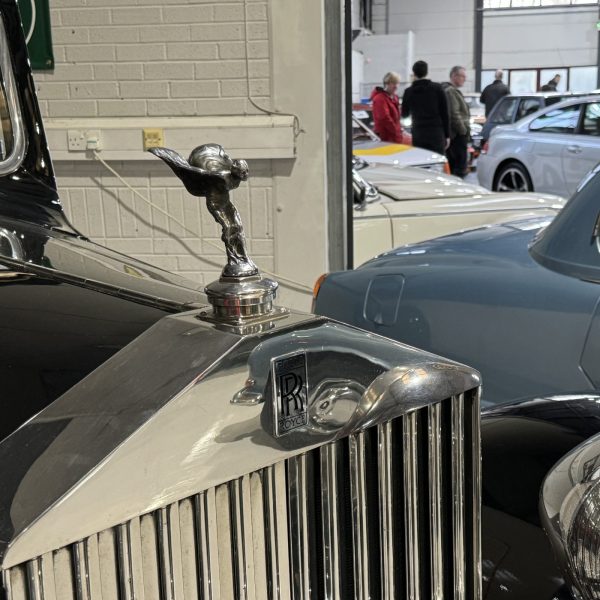
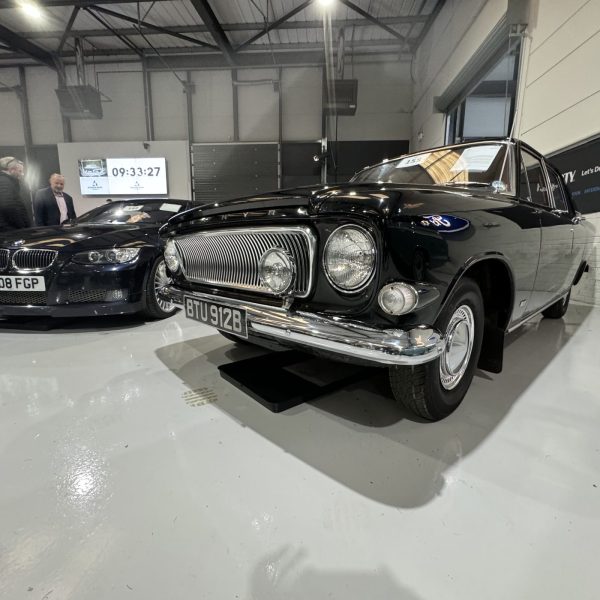
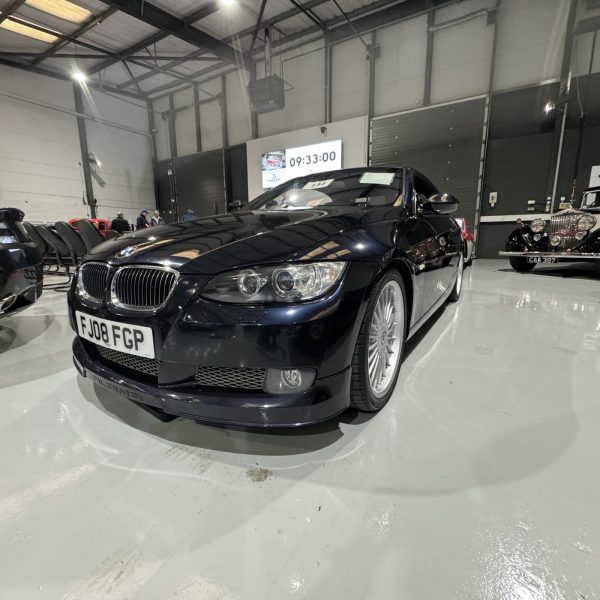
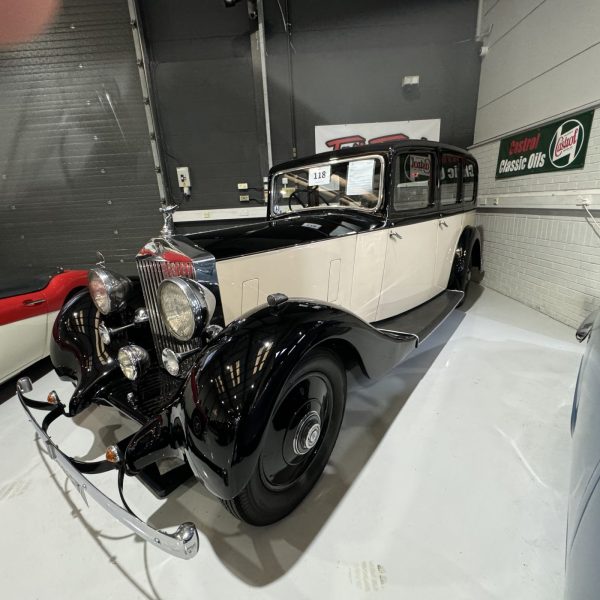
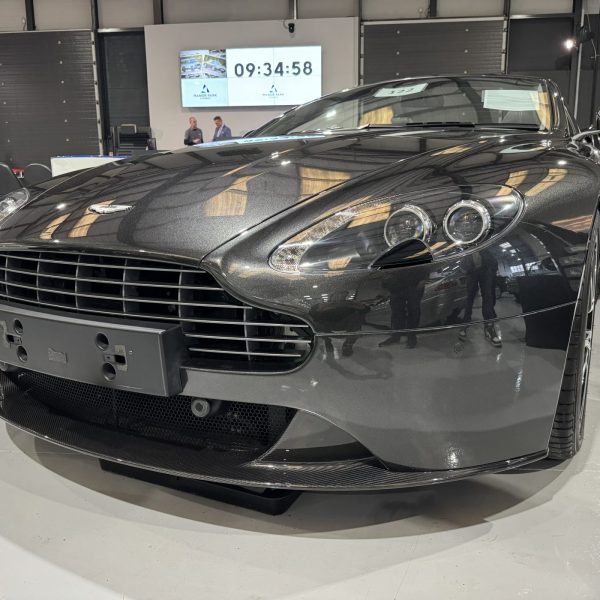
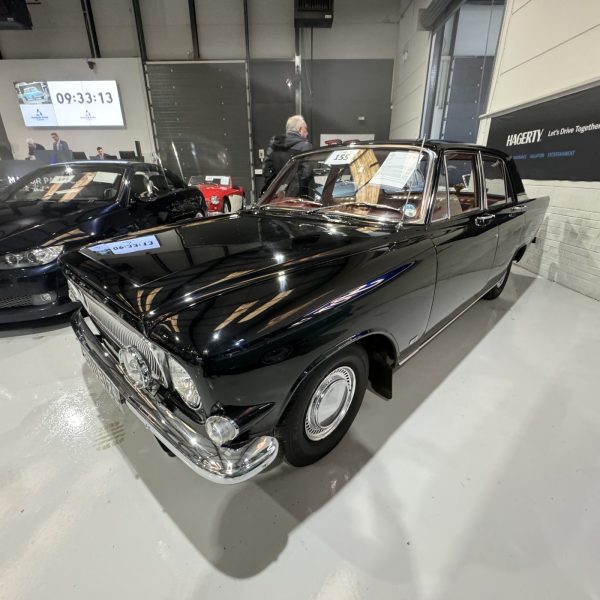
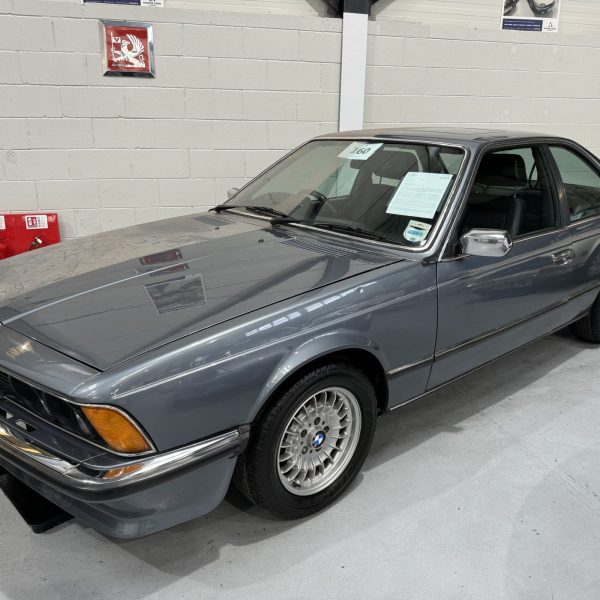
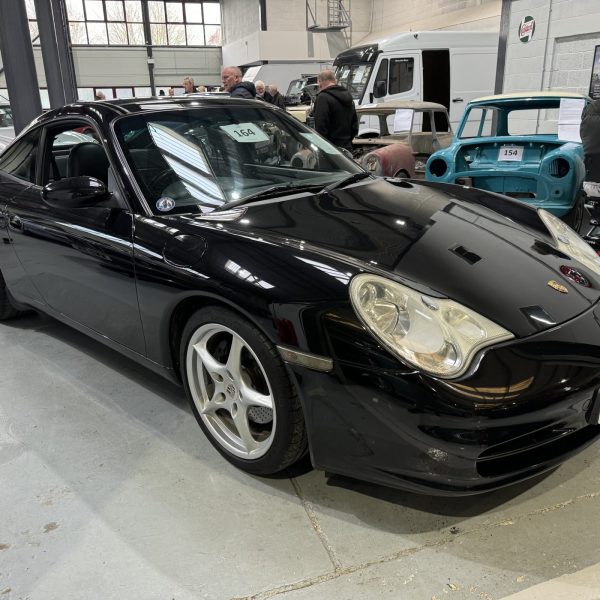
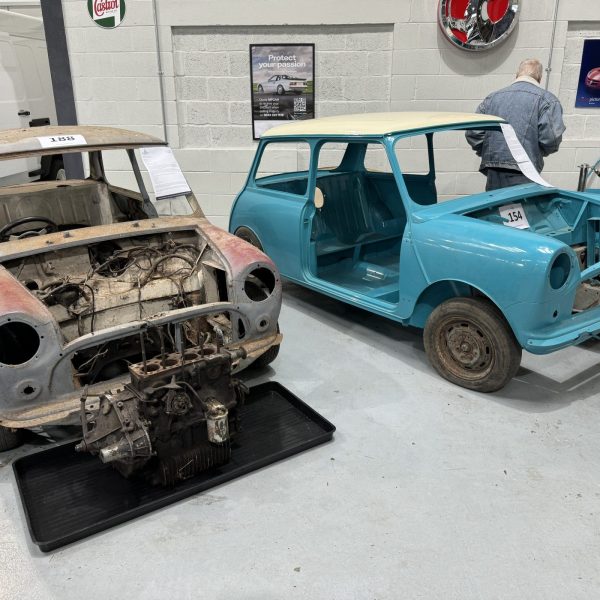
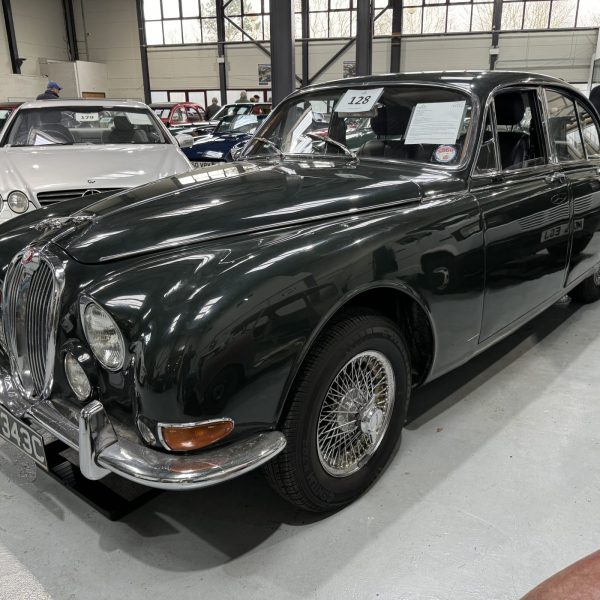
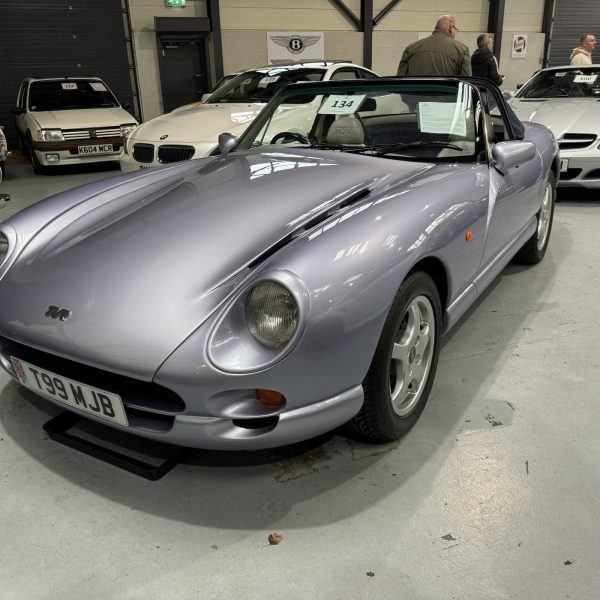
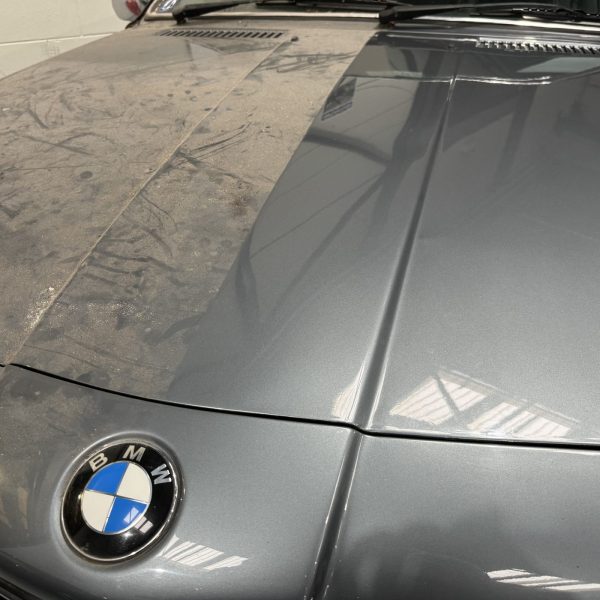


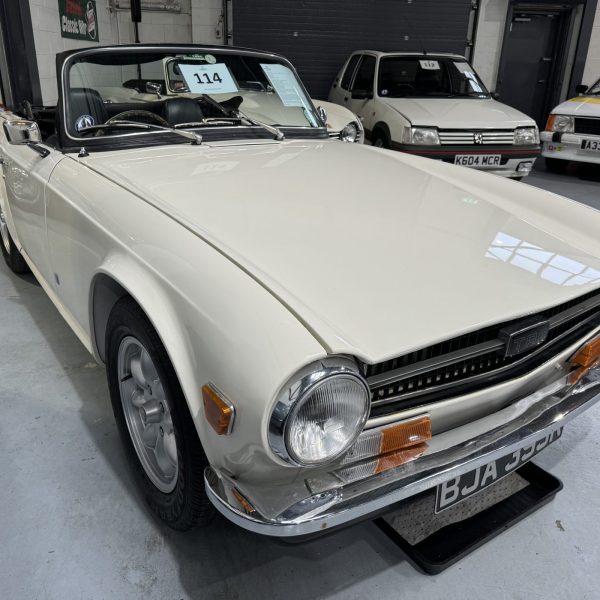
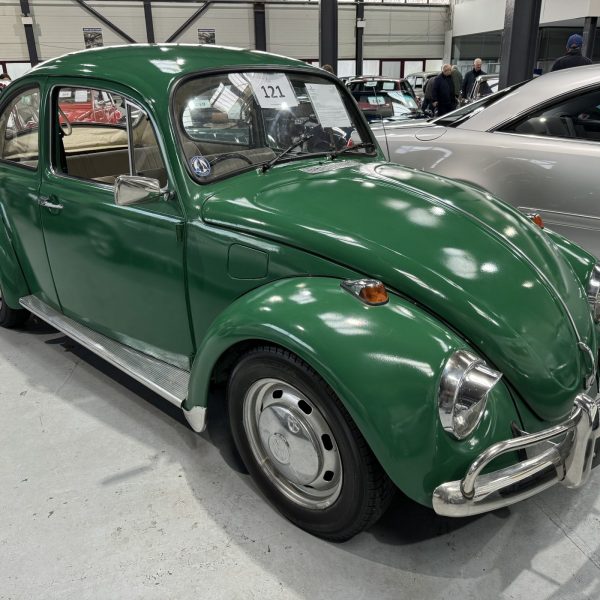
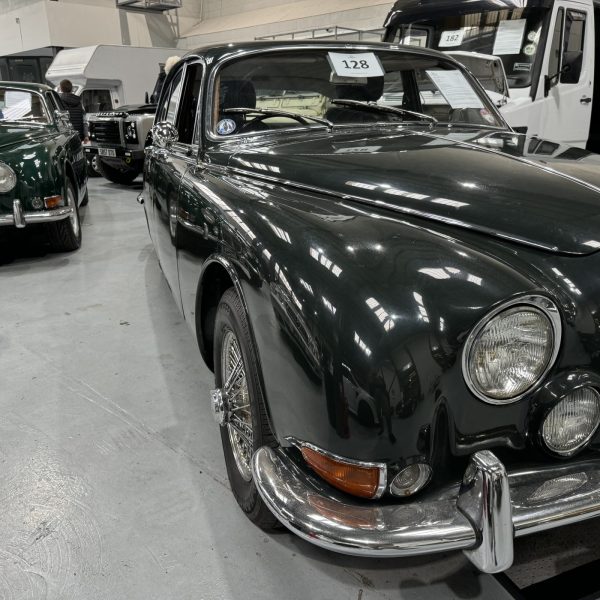
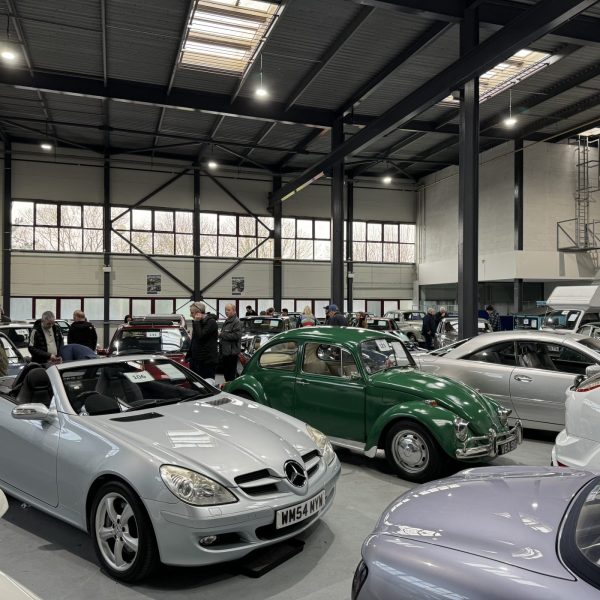
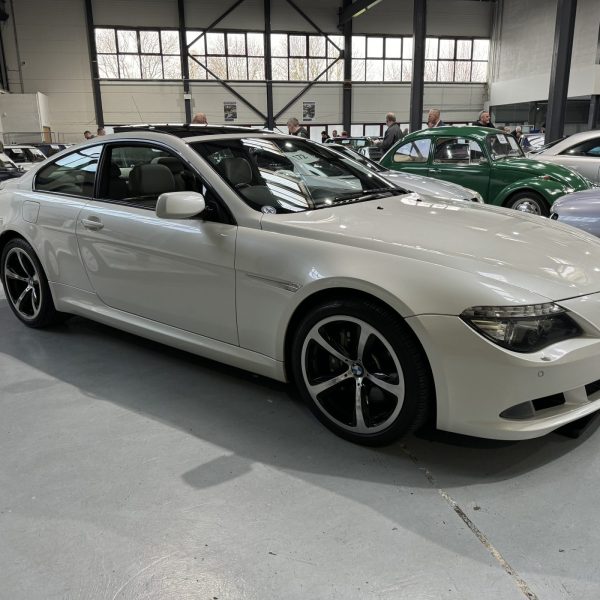

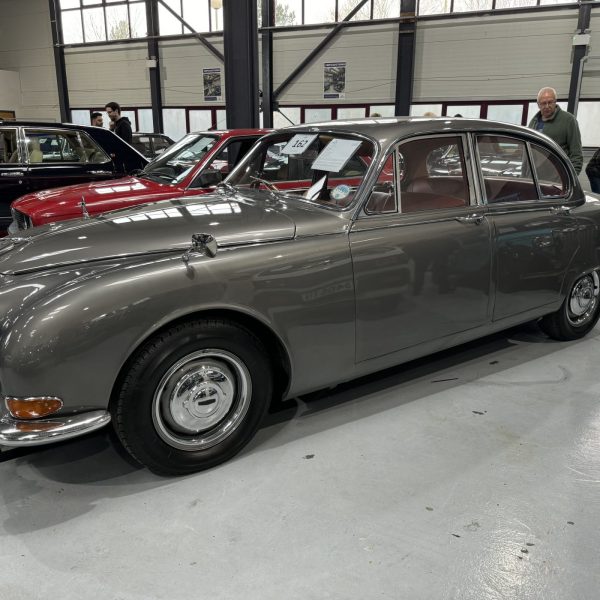
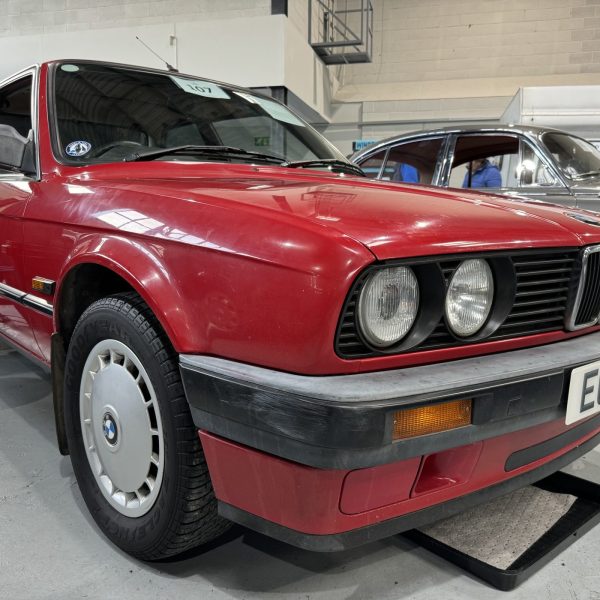
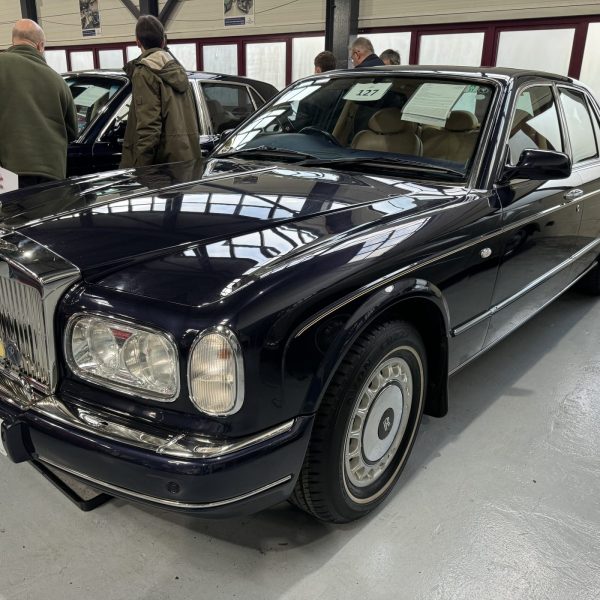
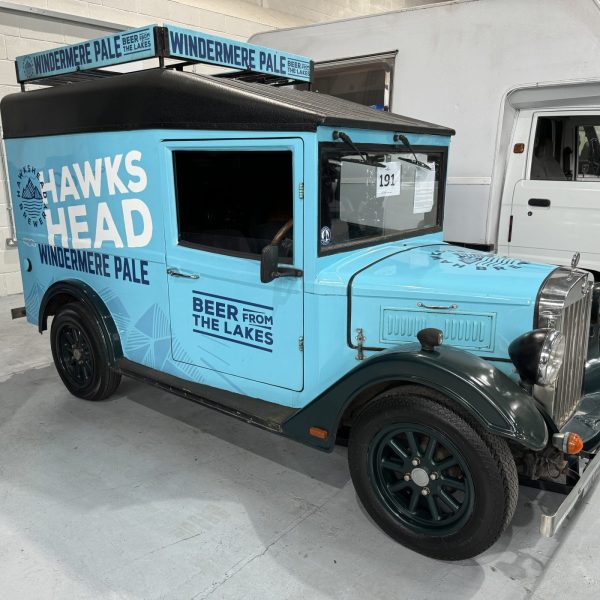
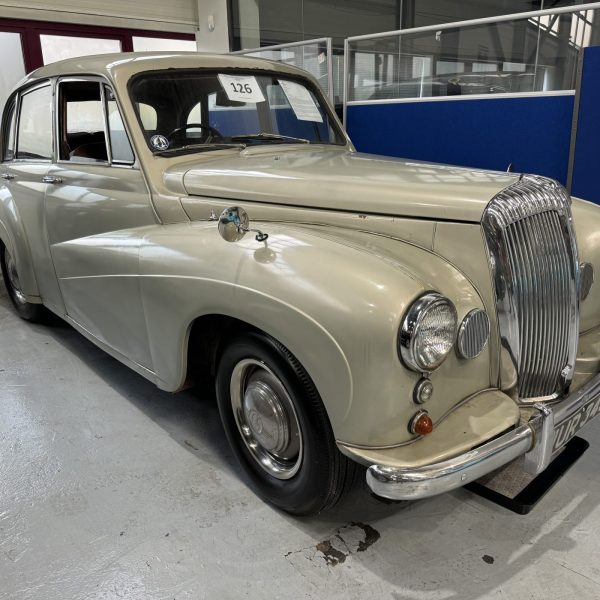
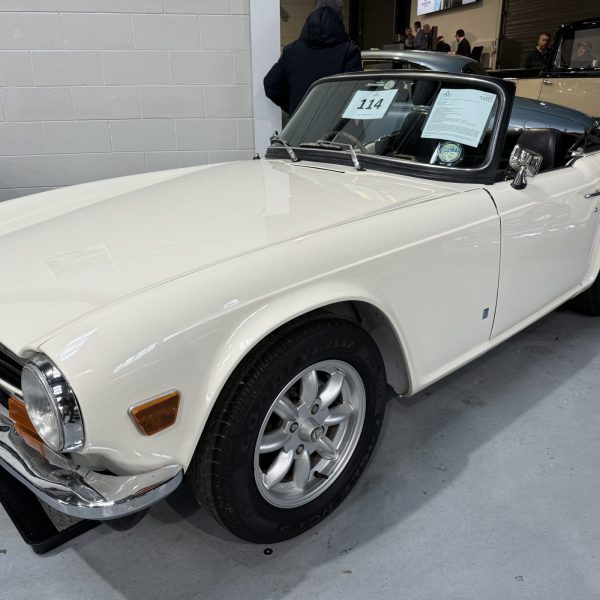
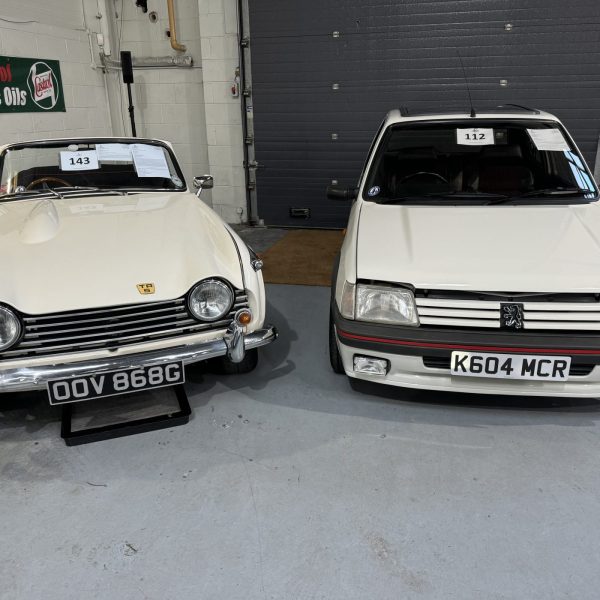
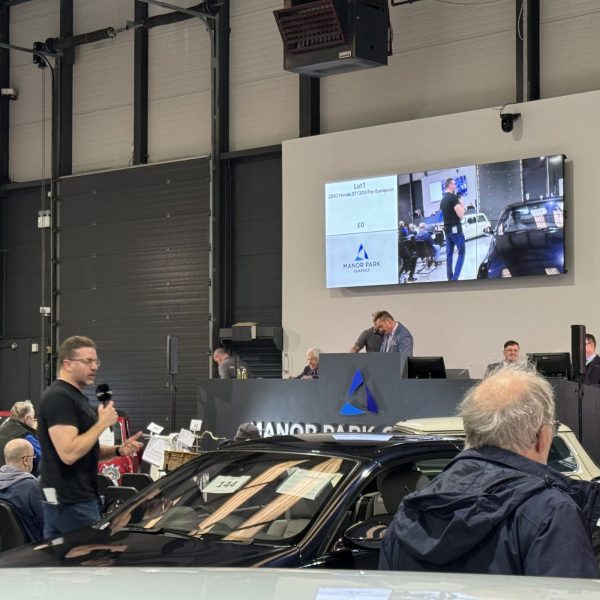
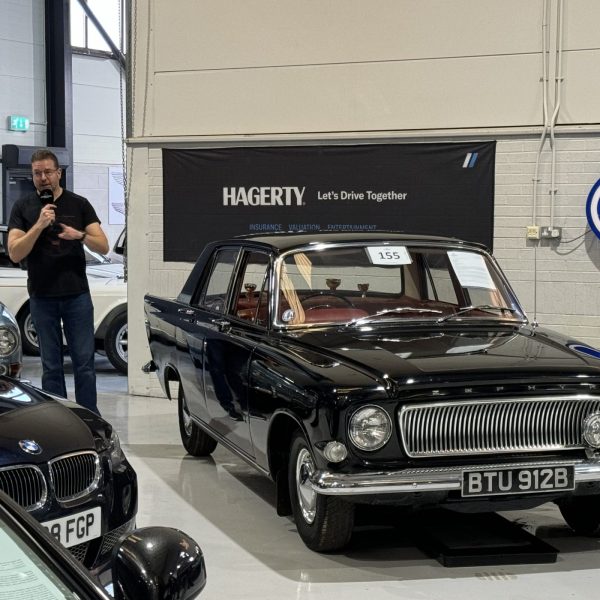
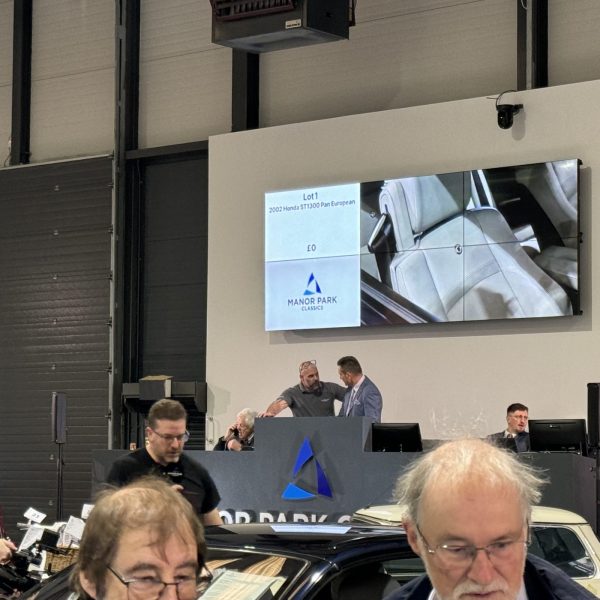
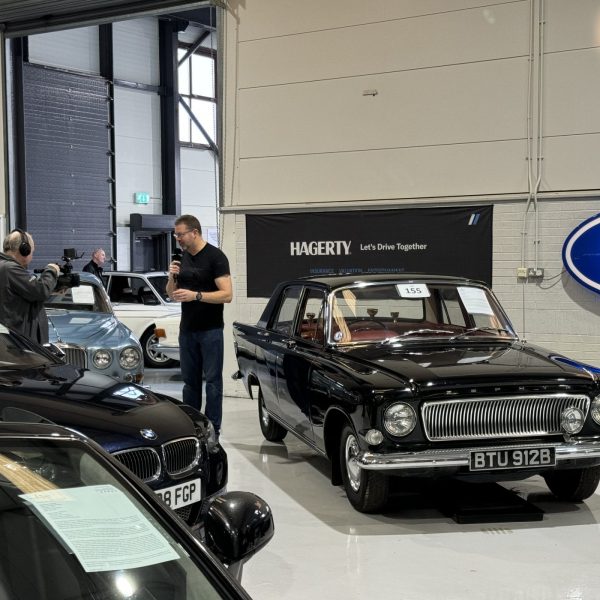
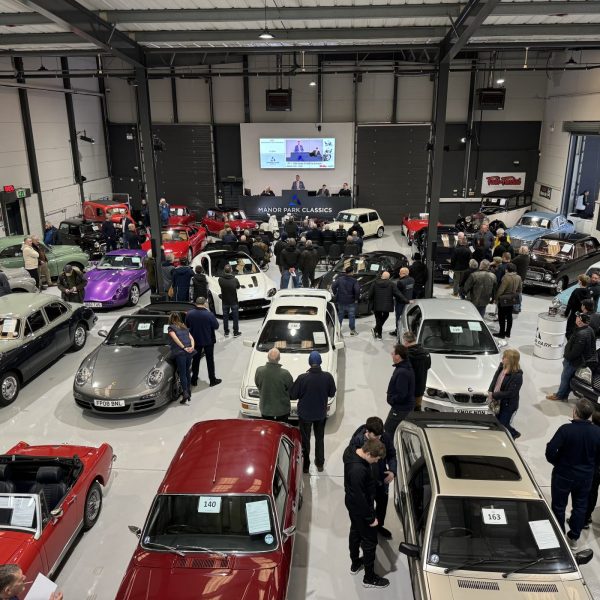
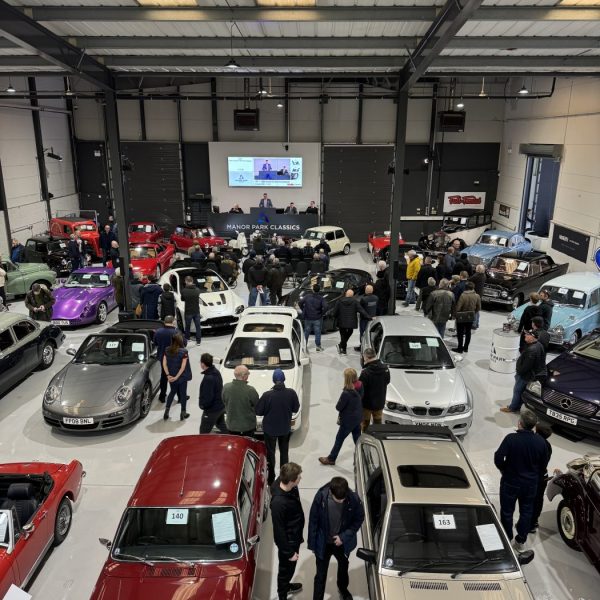
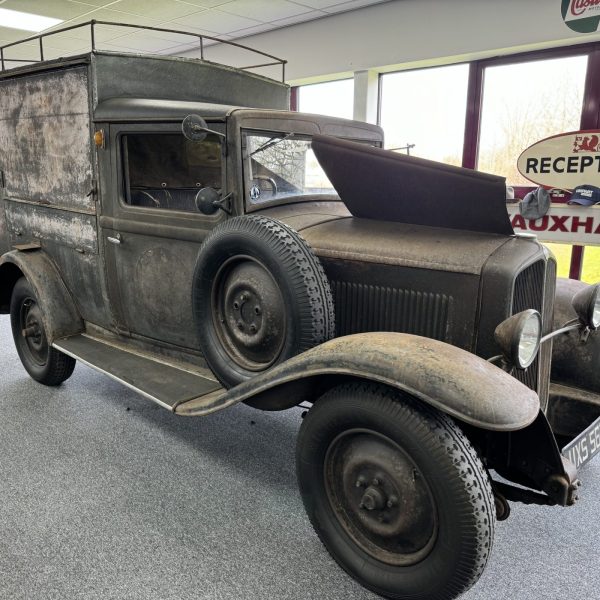
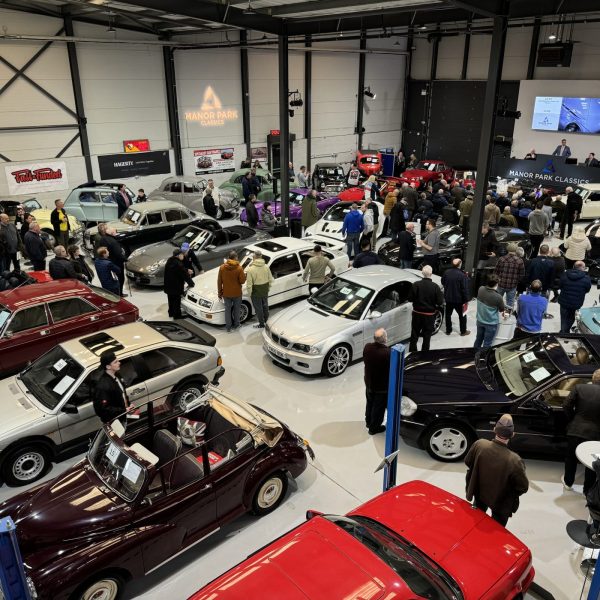
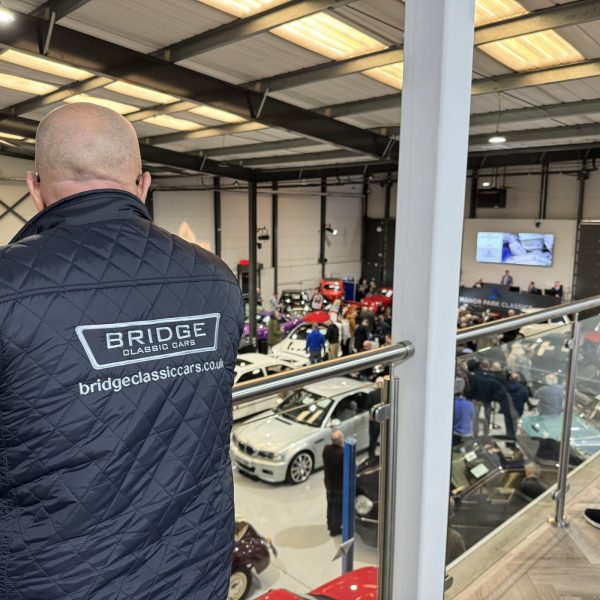
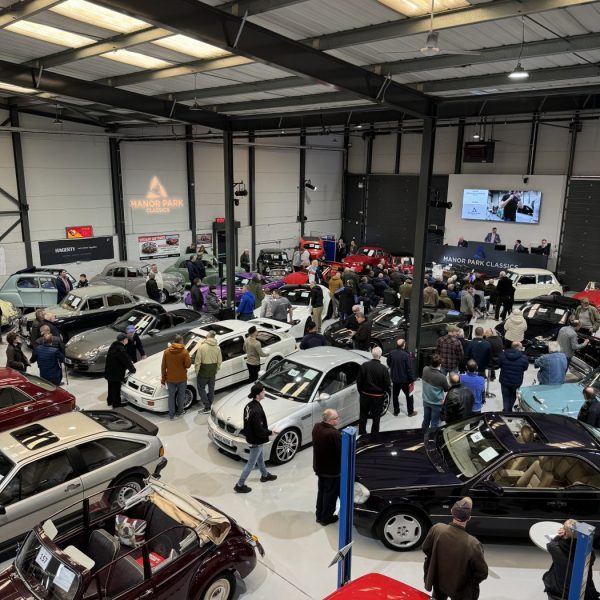
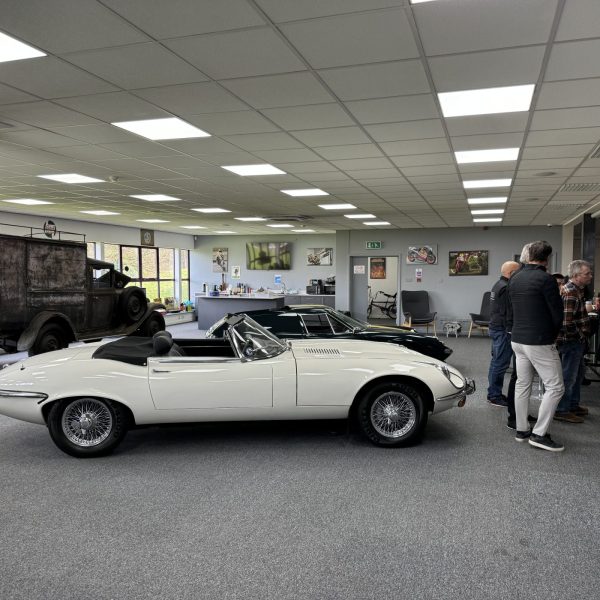
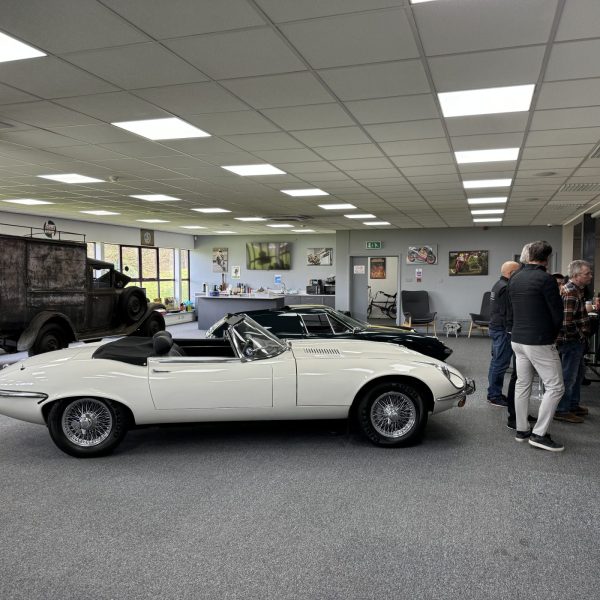
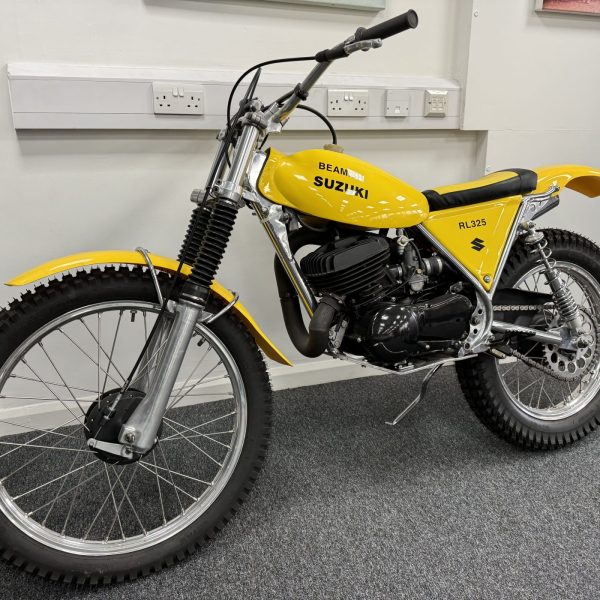
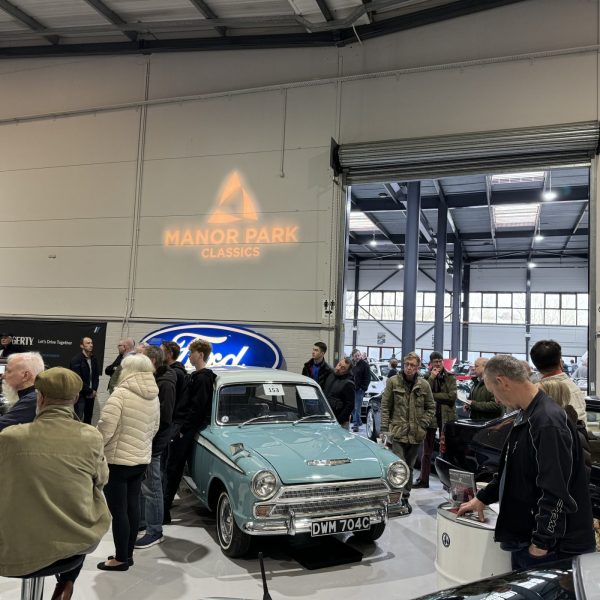
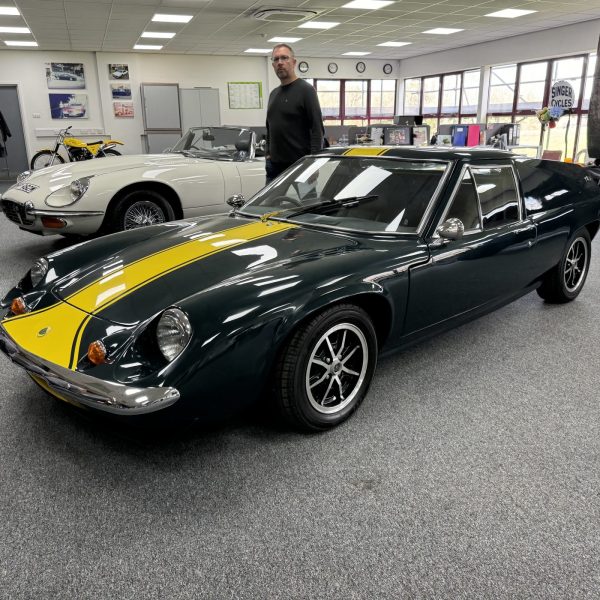
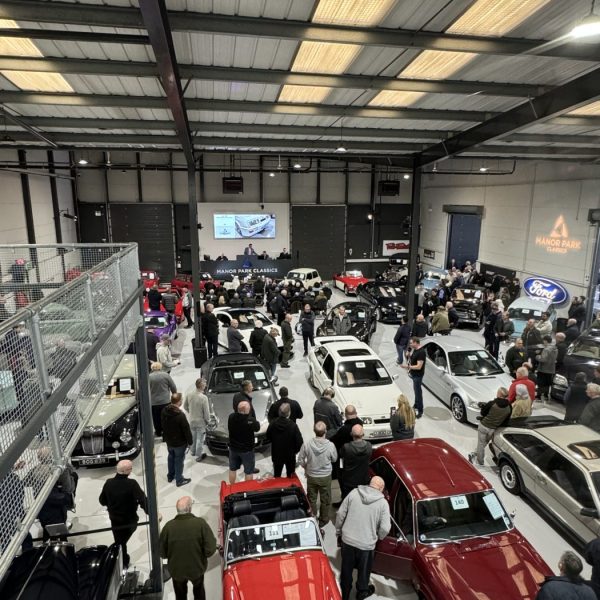
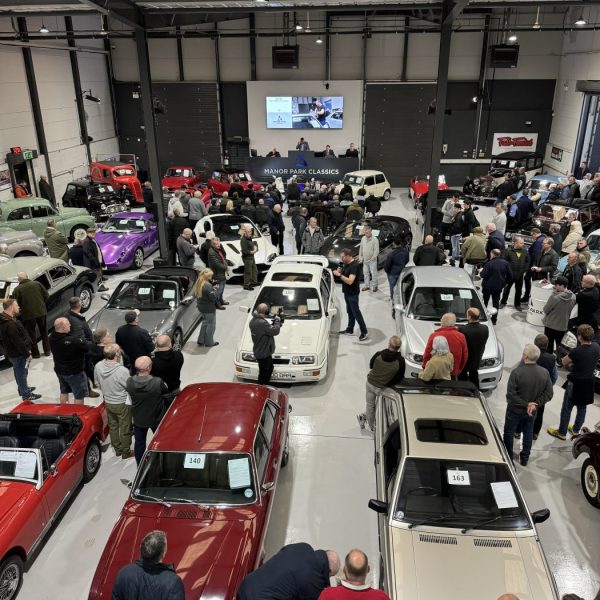
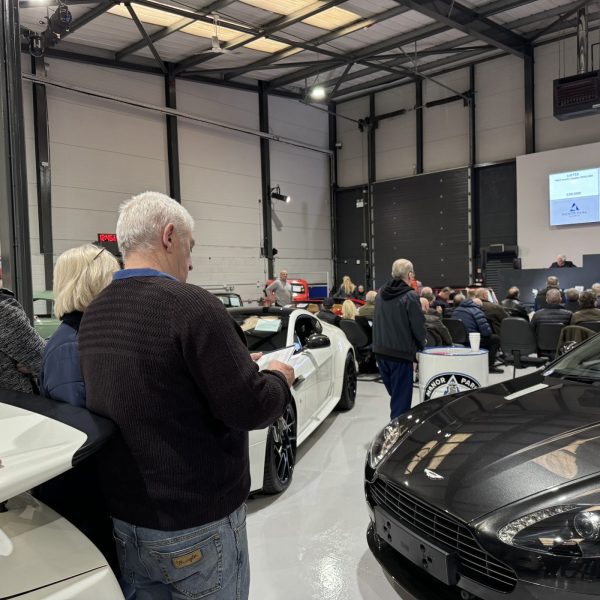
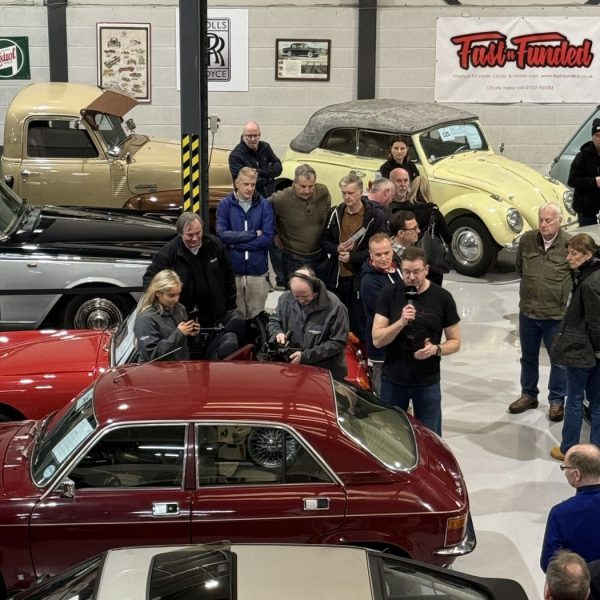

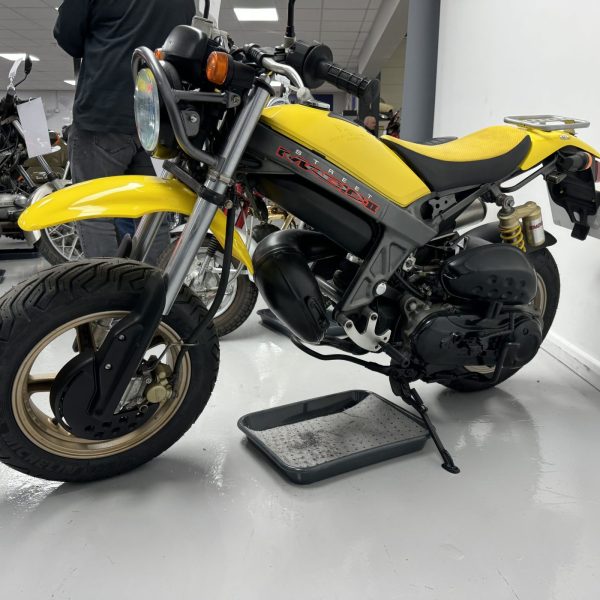
We weren’t lucky enough to buy all 6 but that did mean we came back a little richer than we expected so it wasn’t a failure as we managed to grab 4 fantastic vehicles, 3 of which will be coming to a competition near you very soon.
Lovely to meet the team at Manor Park Classics, a special thank you to Paul Cowland for a personal guided tour which happened to start out in the men’s toilet of all places! Also, great to meet and have a brief chat with another legend in the world of classic cars, Drew Pritchard. We missed out on successfully winning his Beetle but there’s always next time!
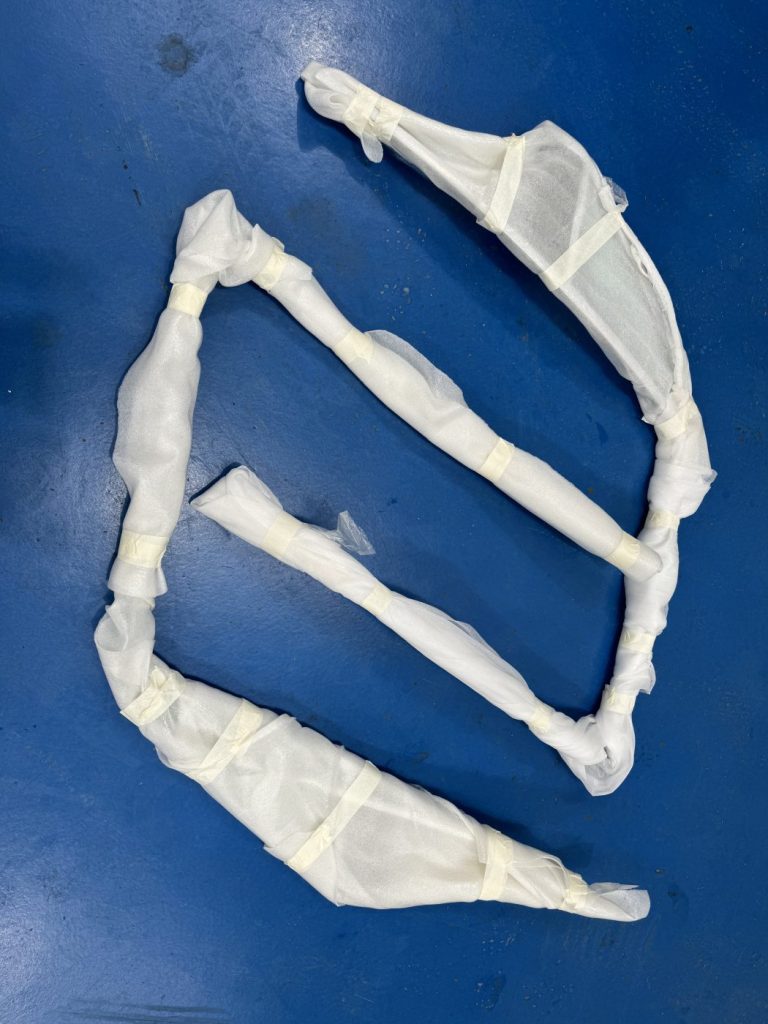
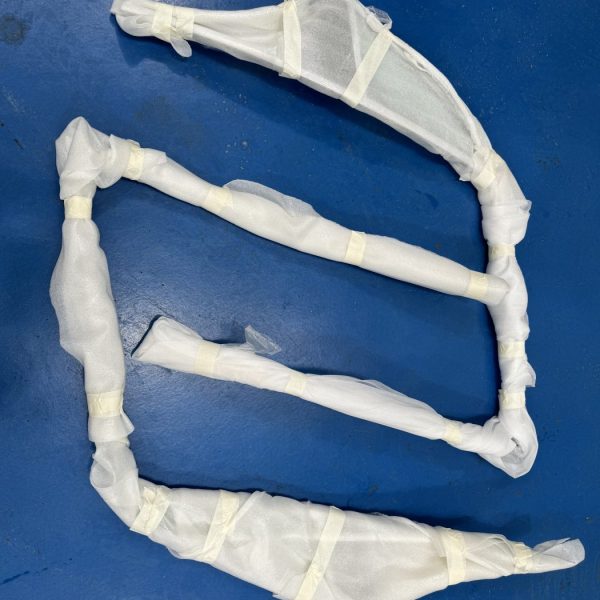
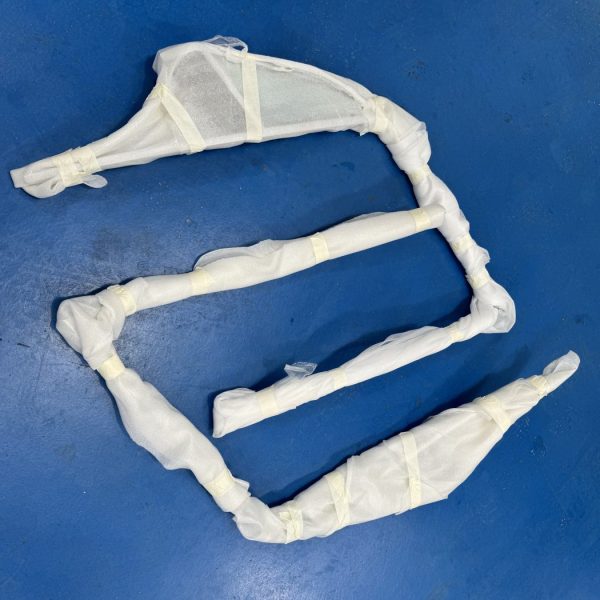
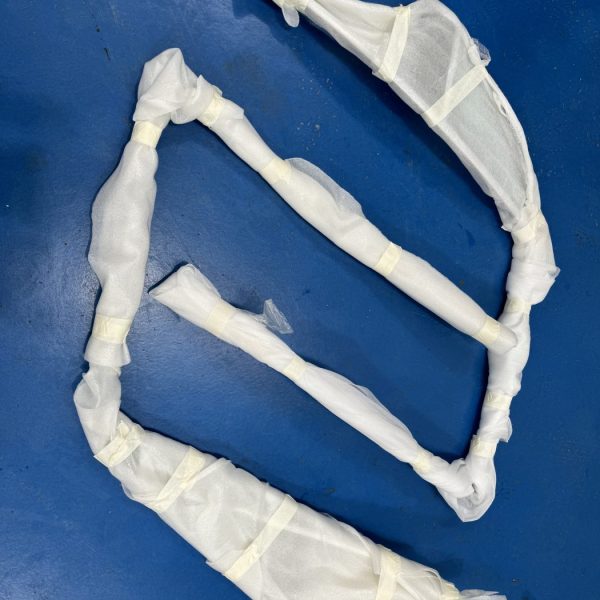
We have now received hand delivery of the door surround brightwork, all wrapped and ready to be fitted later on in the restoration journey.
For now, they will remain wrapped and will be stored away awaiting their time to shine!
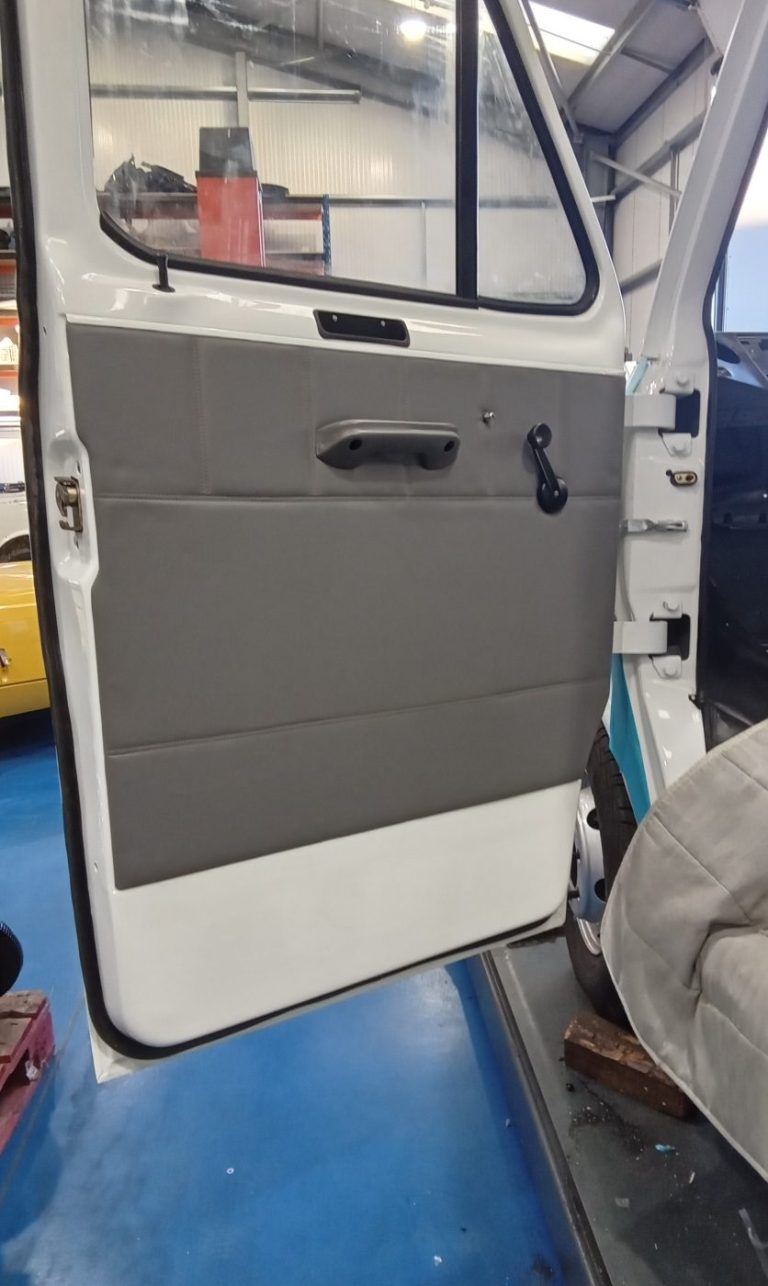
Here is a full run down on the works carried out recently on our Ford Transit Mk2.
Tony has collected a new/old stock prop shaft whilst on his travels and it is now safely back with us here at Bridge Classic Cars HQ.
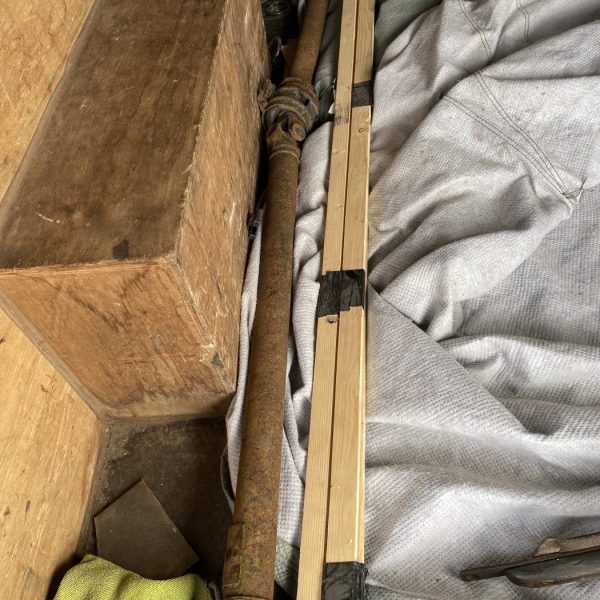
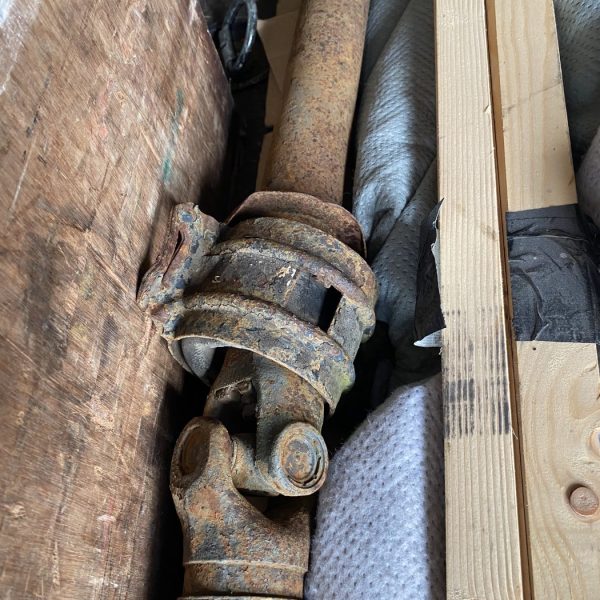
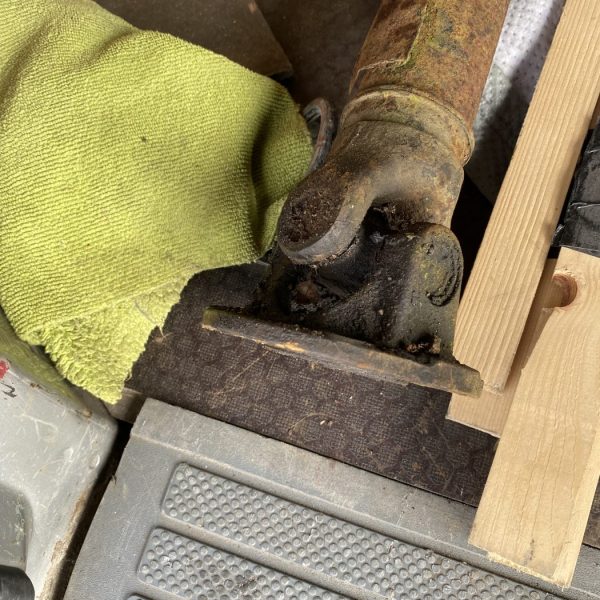
Mauro has been working on some of the smaller components to get them black up and ready for refit.
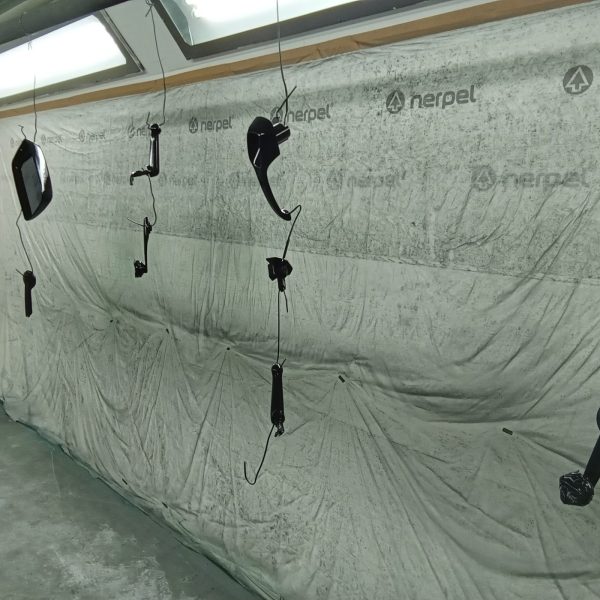
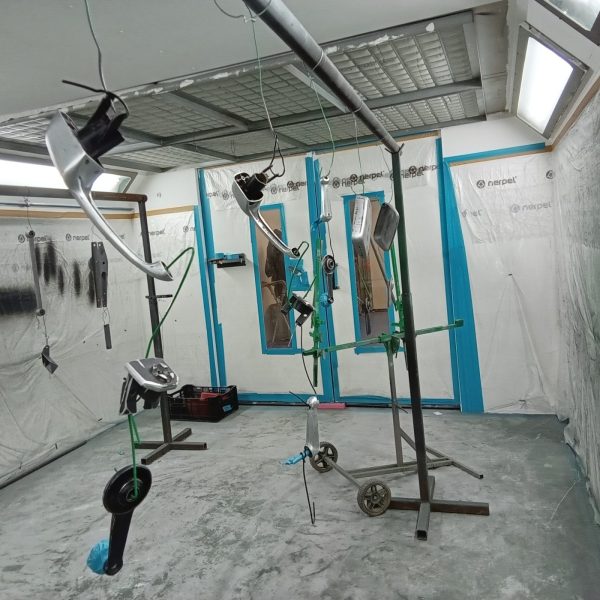
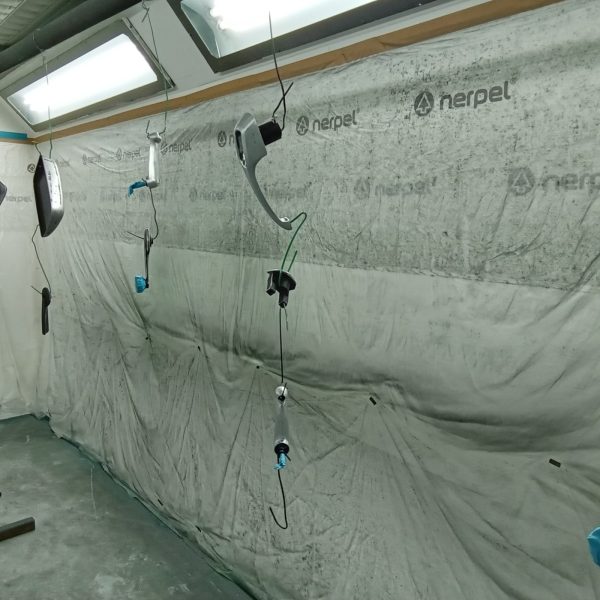
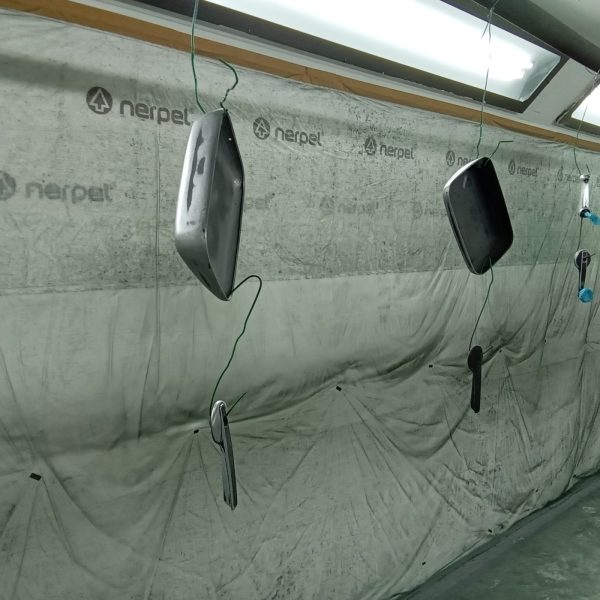
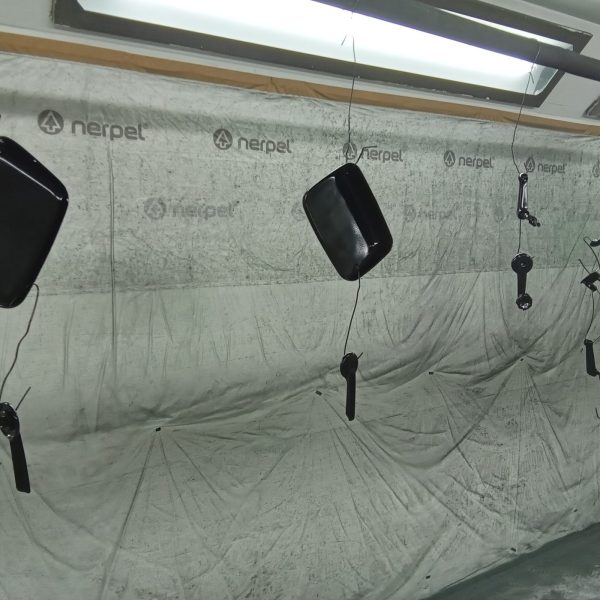
Steve has been fitting up the windows and quarter lights. We have replaced the lower mounting point for the offside quarter light frame. He has also blasted the mirror casings.
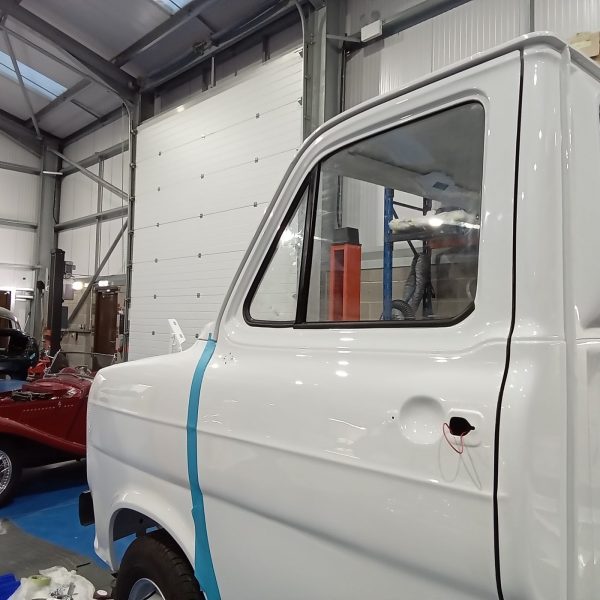
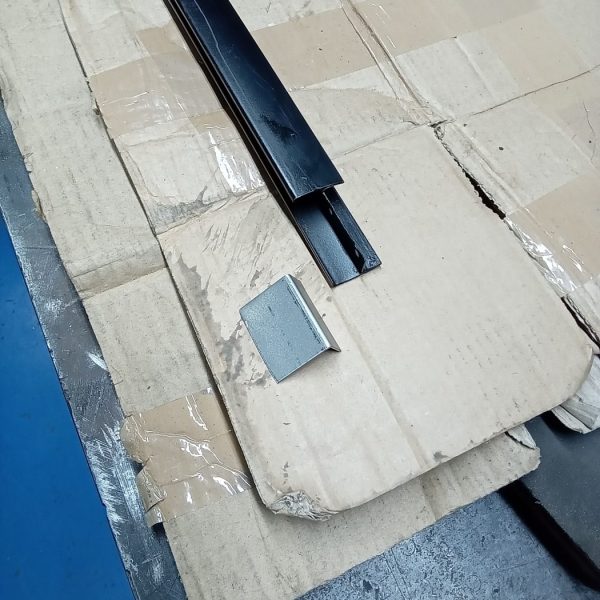
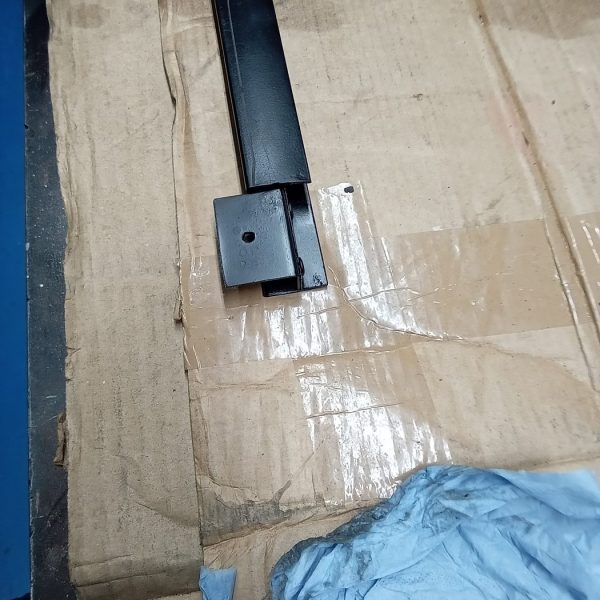
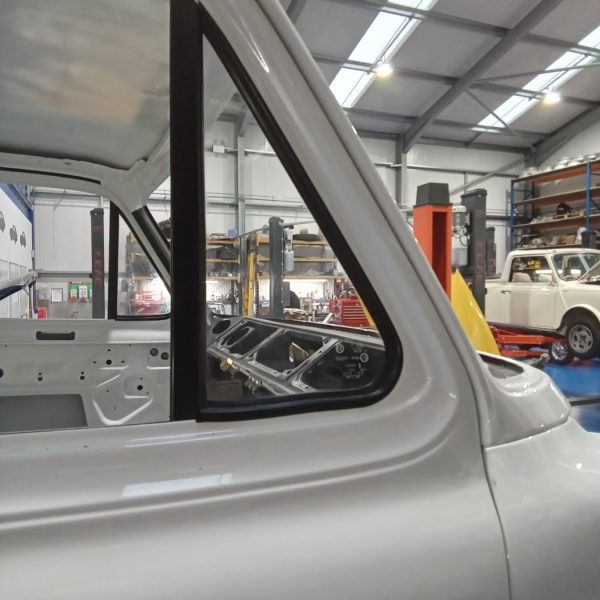
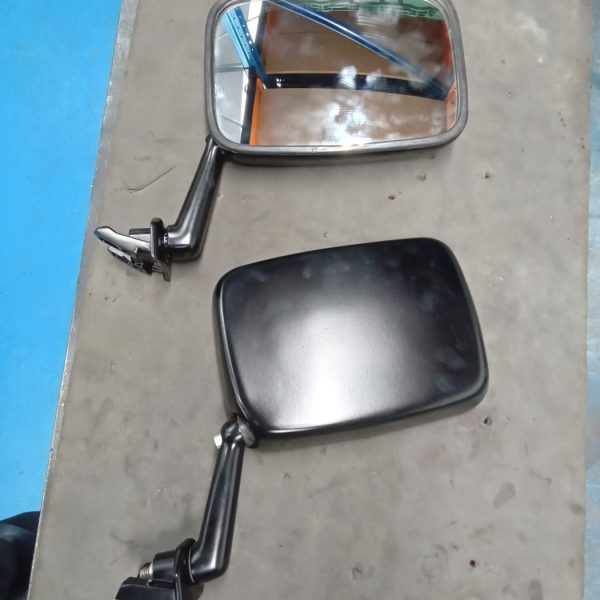
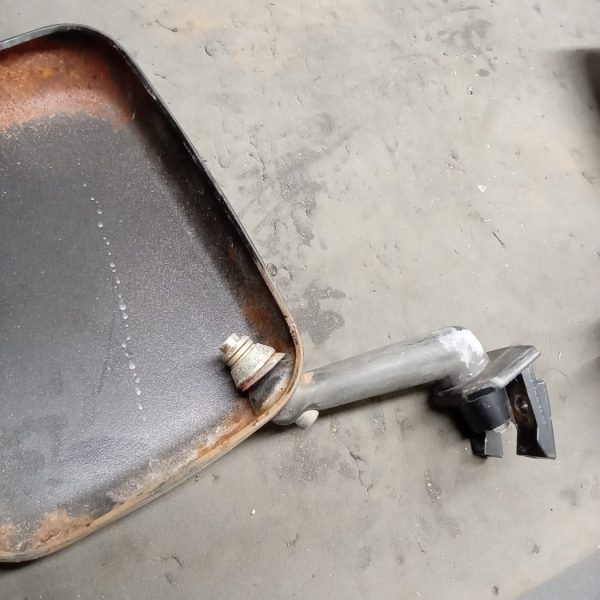
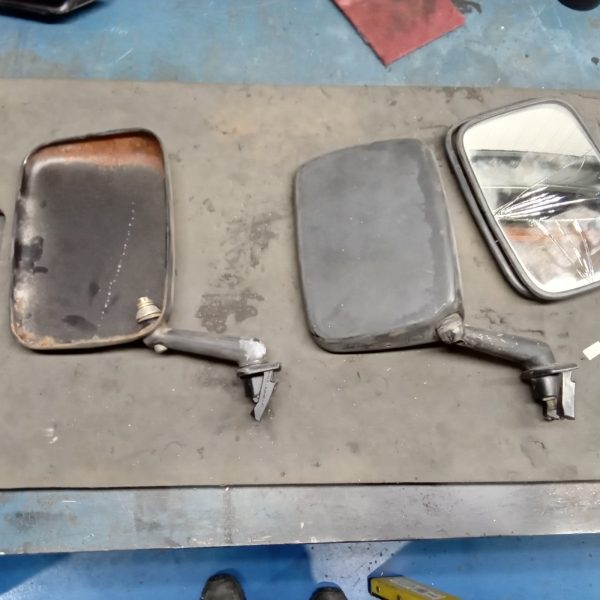
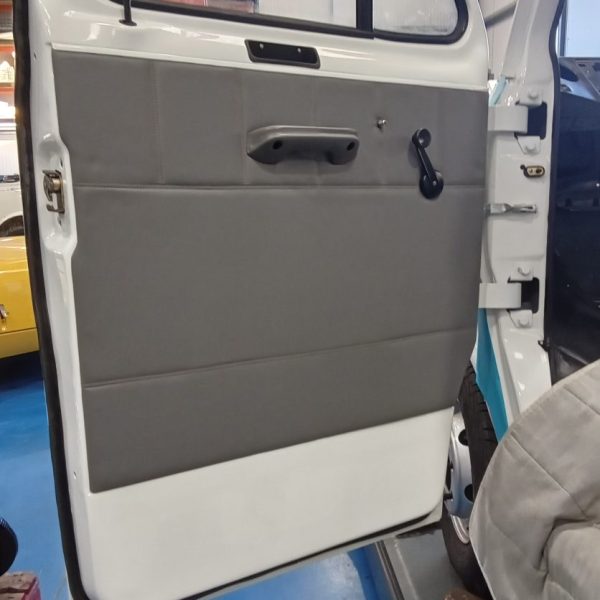
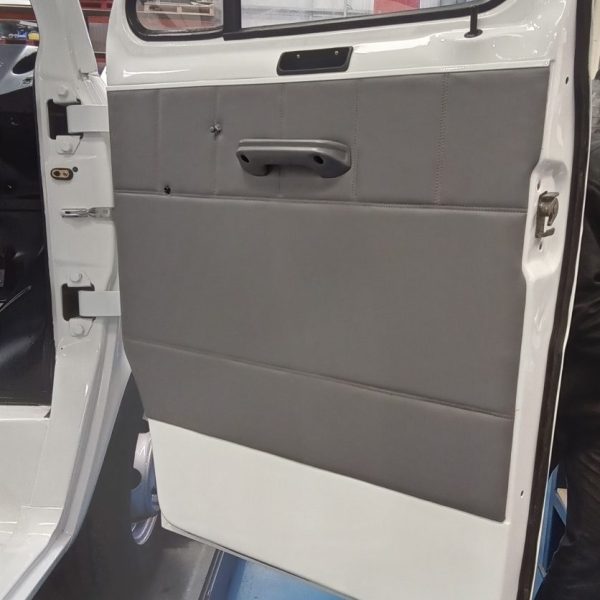
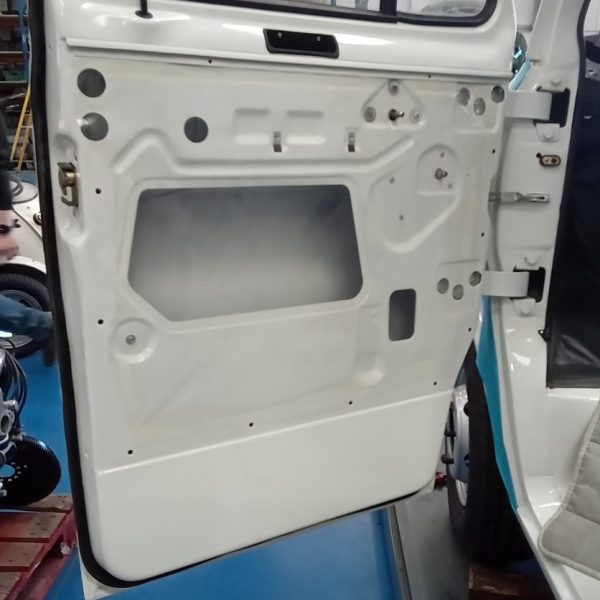
Meanwhile, Lydia in the trim-shop has cut out the plastic liner for the door cards and stuck this to the door. She has then made some minor adjustments to the door card to allow it to fit correctly under the top rail, and then put the door card clips in.
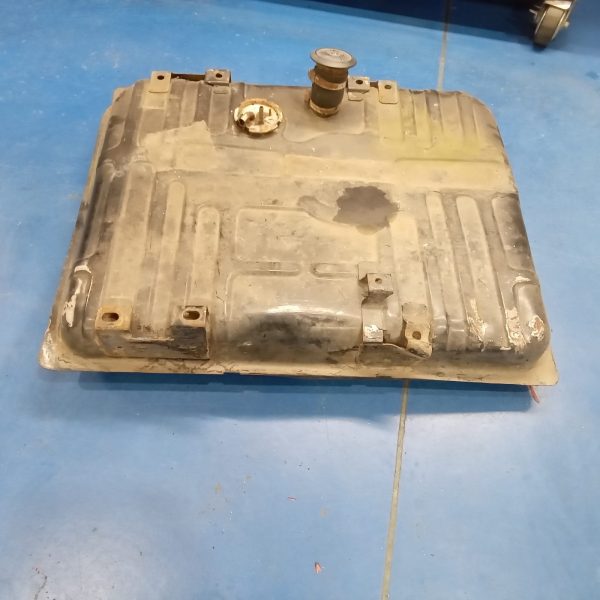
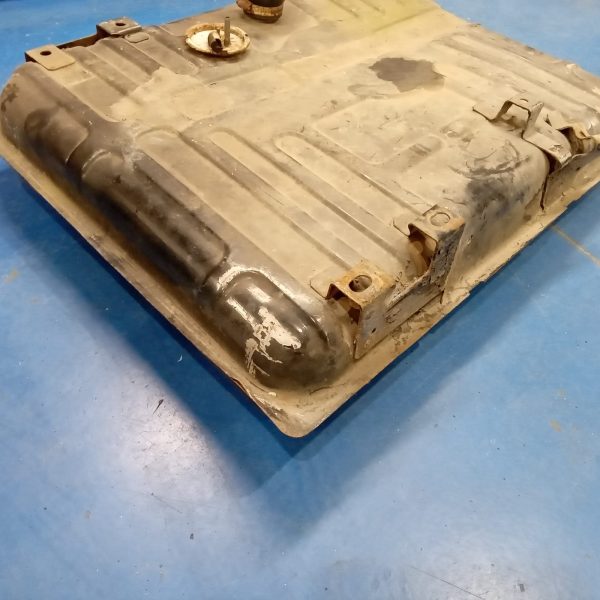
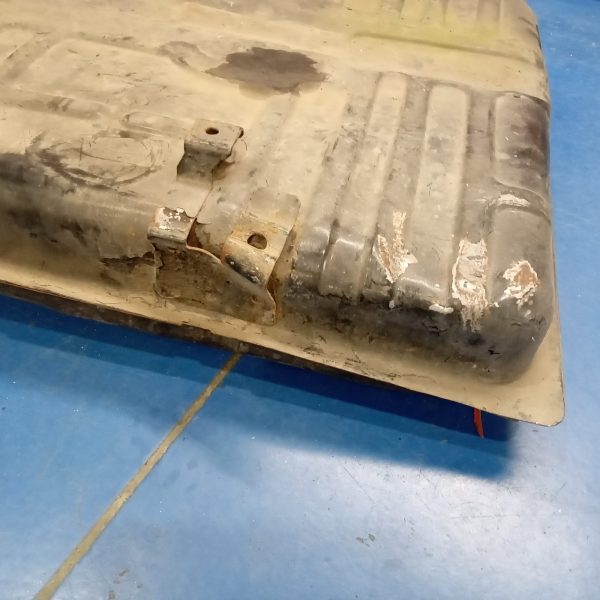
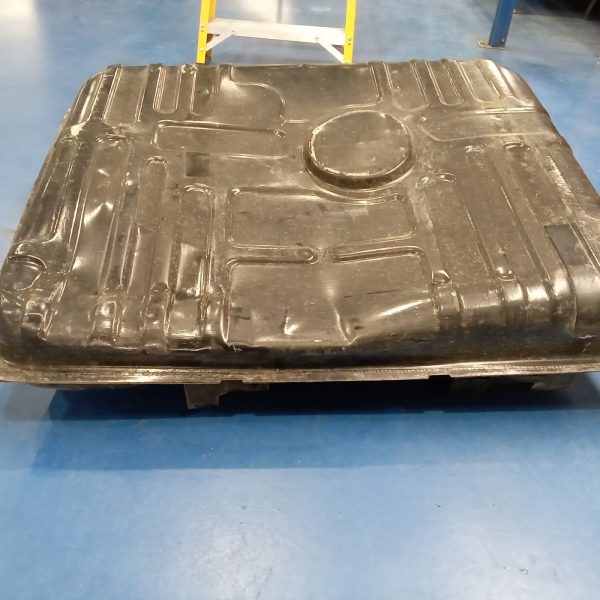
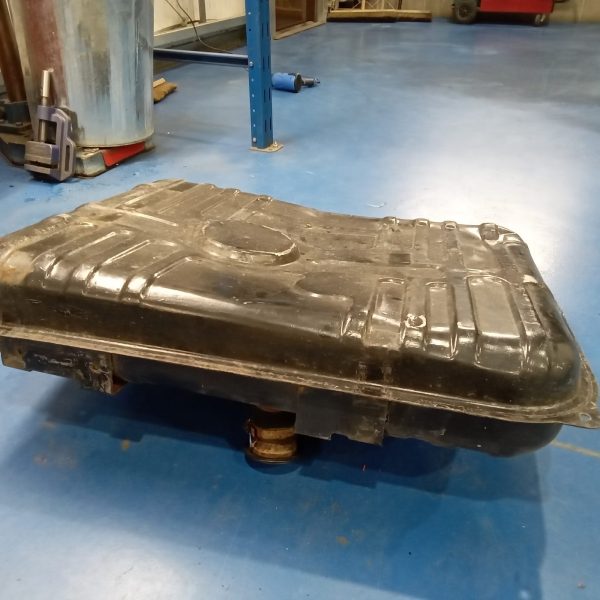
The fuel tank is in need of repair so Steve has photographed the unit to send over in preparation for the repairers.
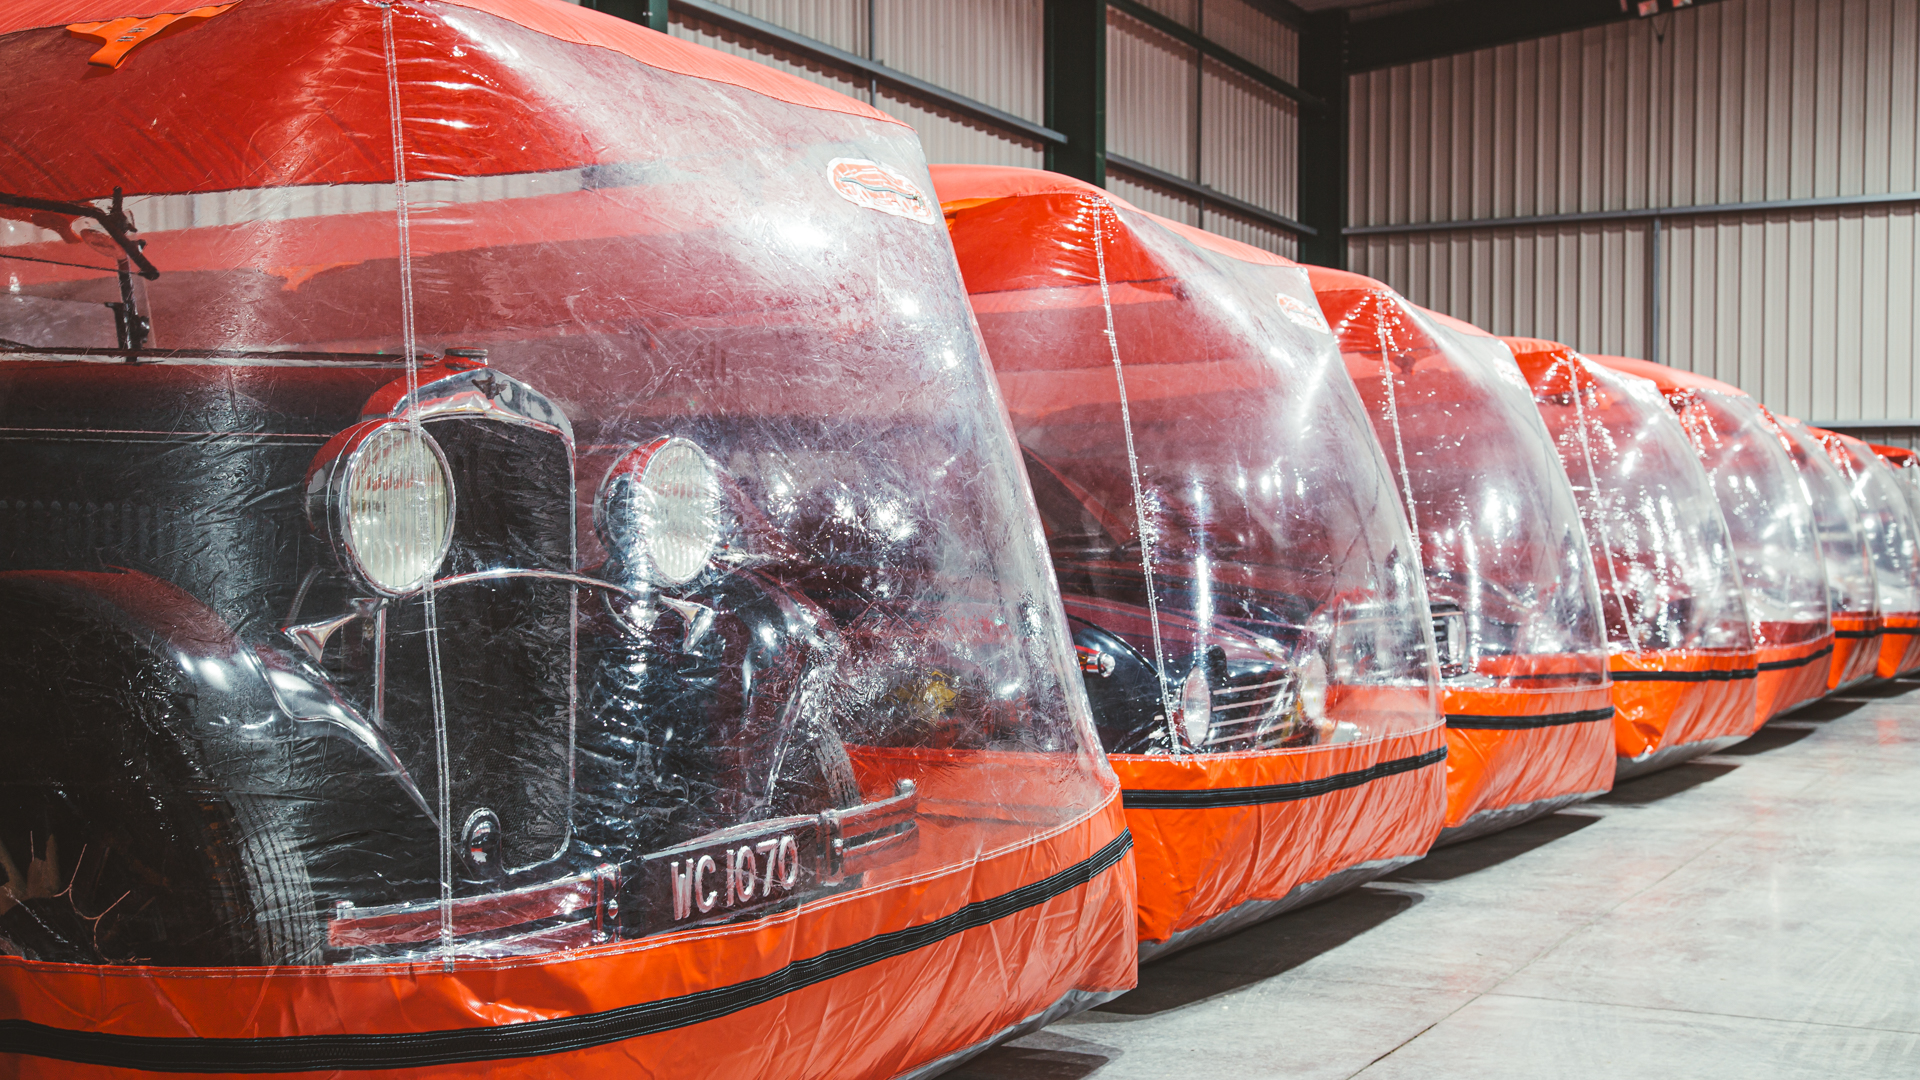
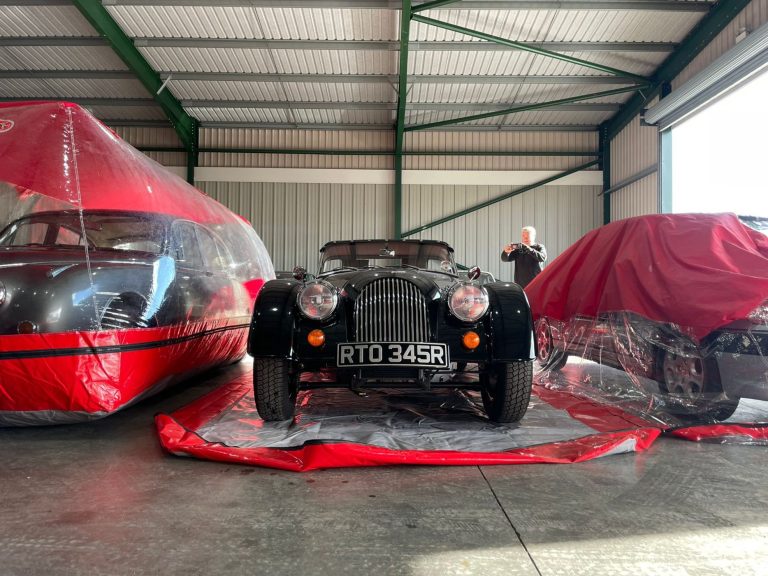
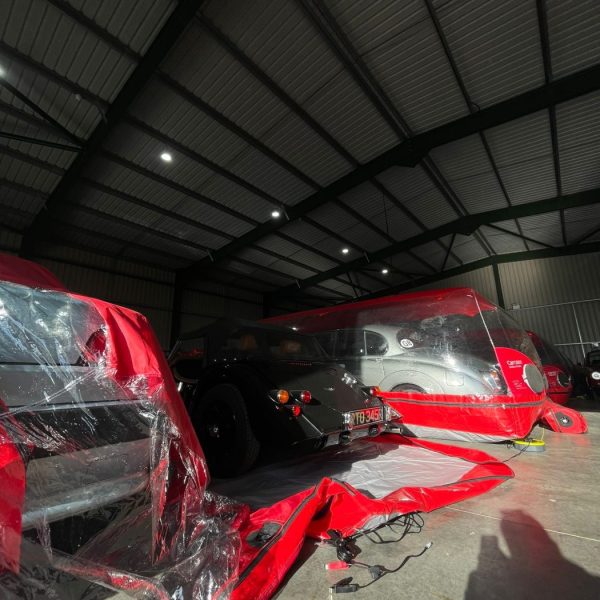
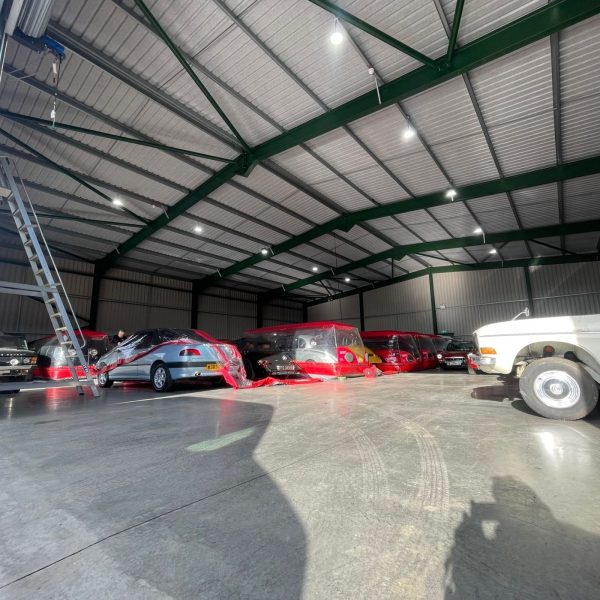
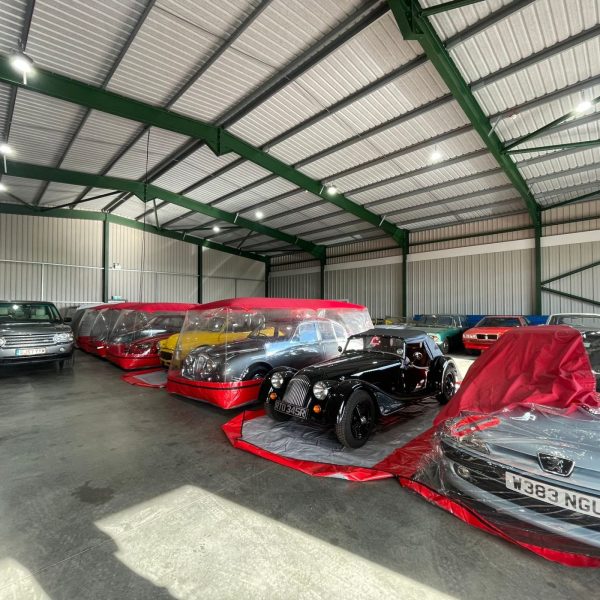
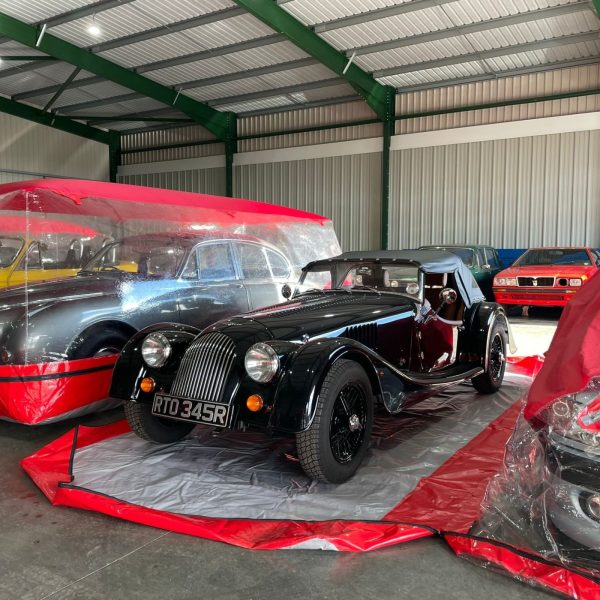
…and it’s a beauty! Our 1000 mile 2011 Morgan 4/4 is now safely tucked away at our new storage facilities. As well as a larger space for car storage we now have a room dedicated to the storage of motorcycles. Our secure location is based in the heart of the Suffolk countryside but transport to and from any UK location is available. If you wish to discuss your storage needs please feel free to get in touch.
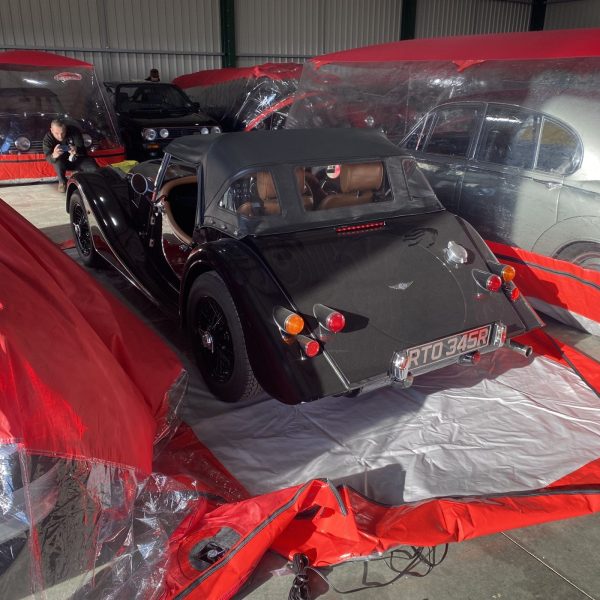
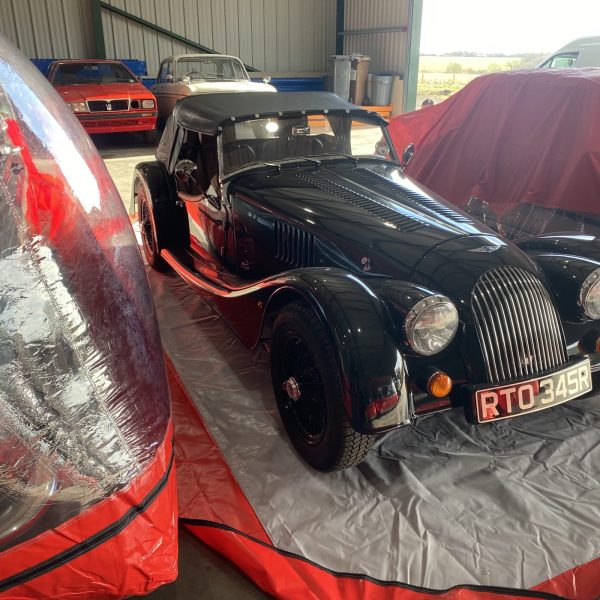
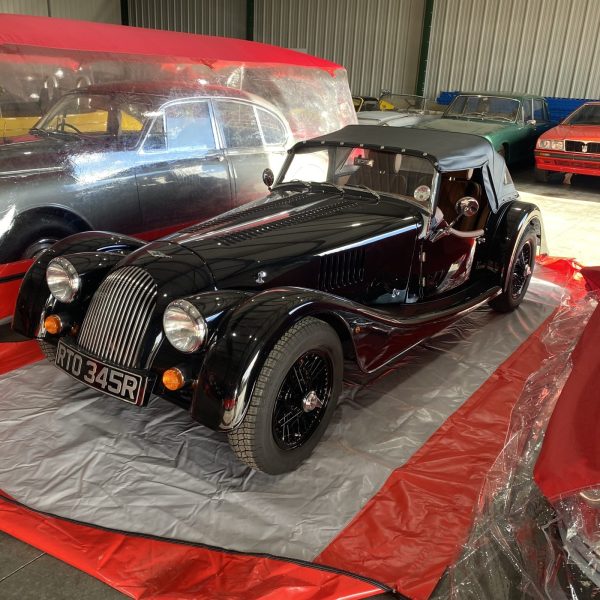
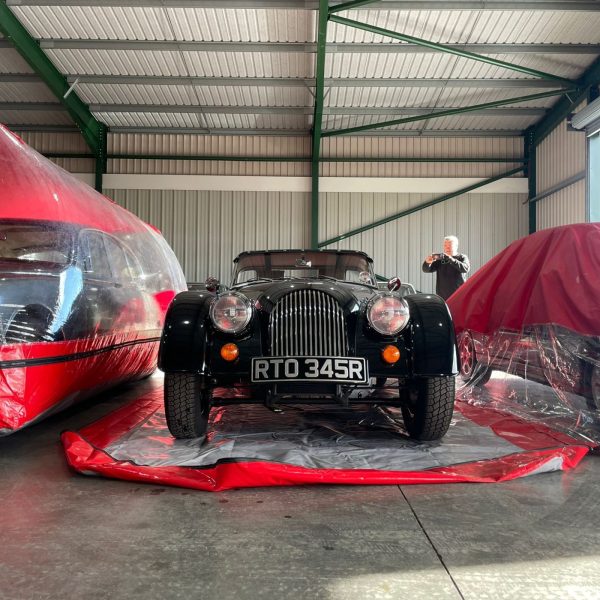
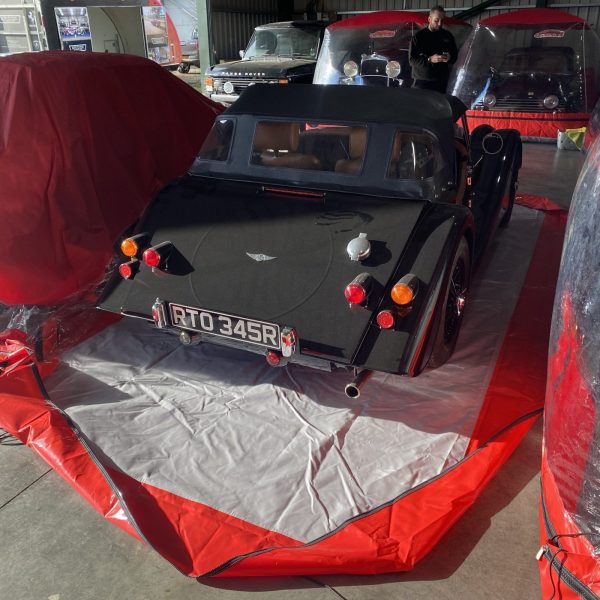
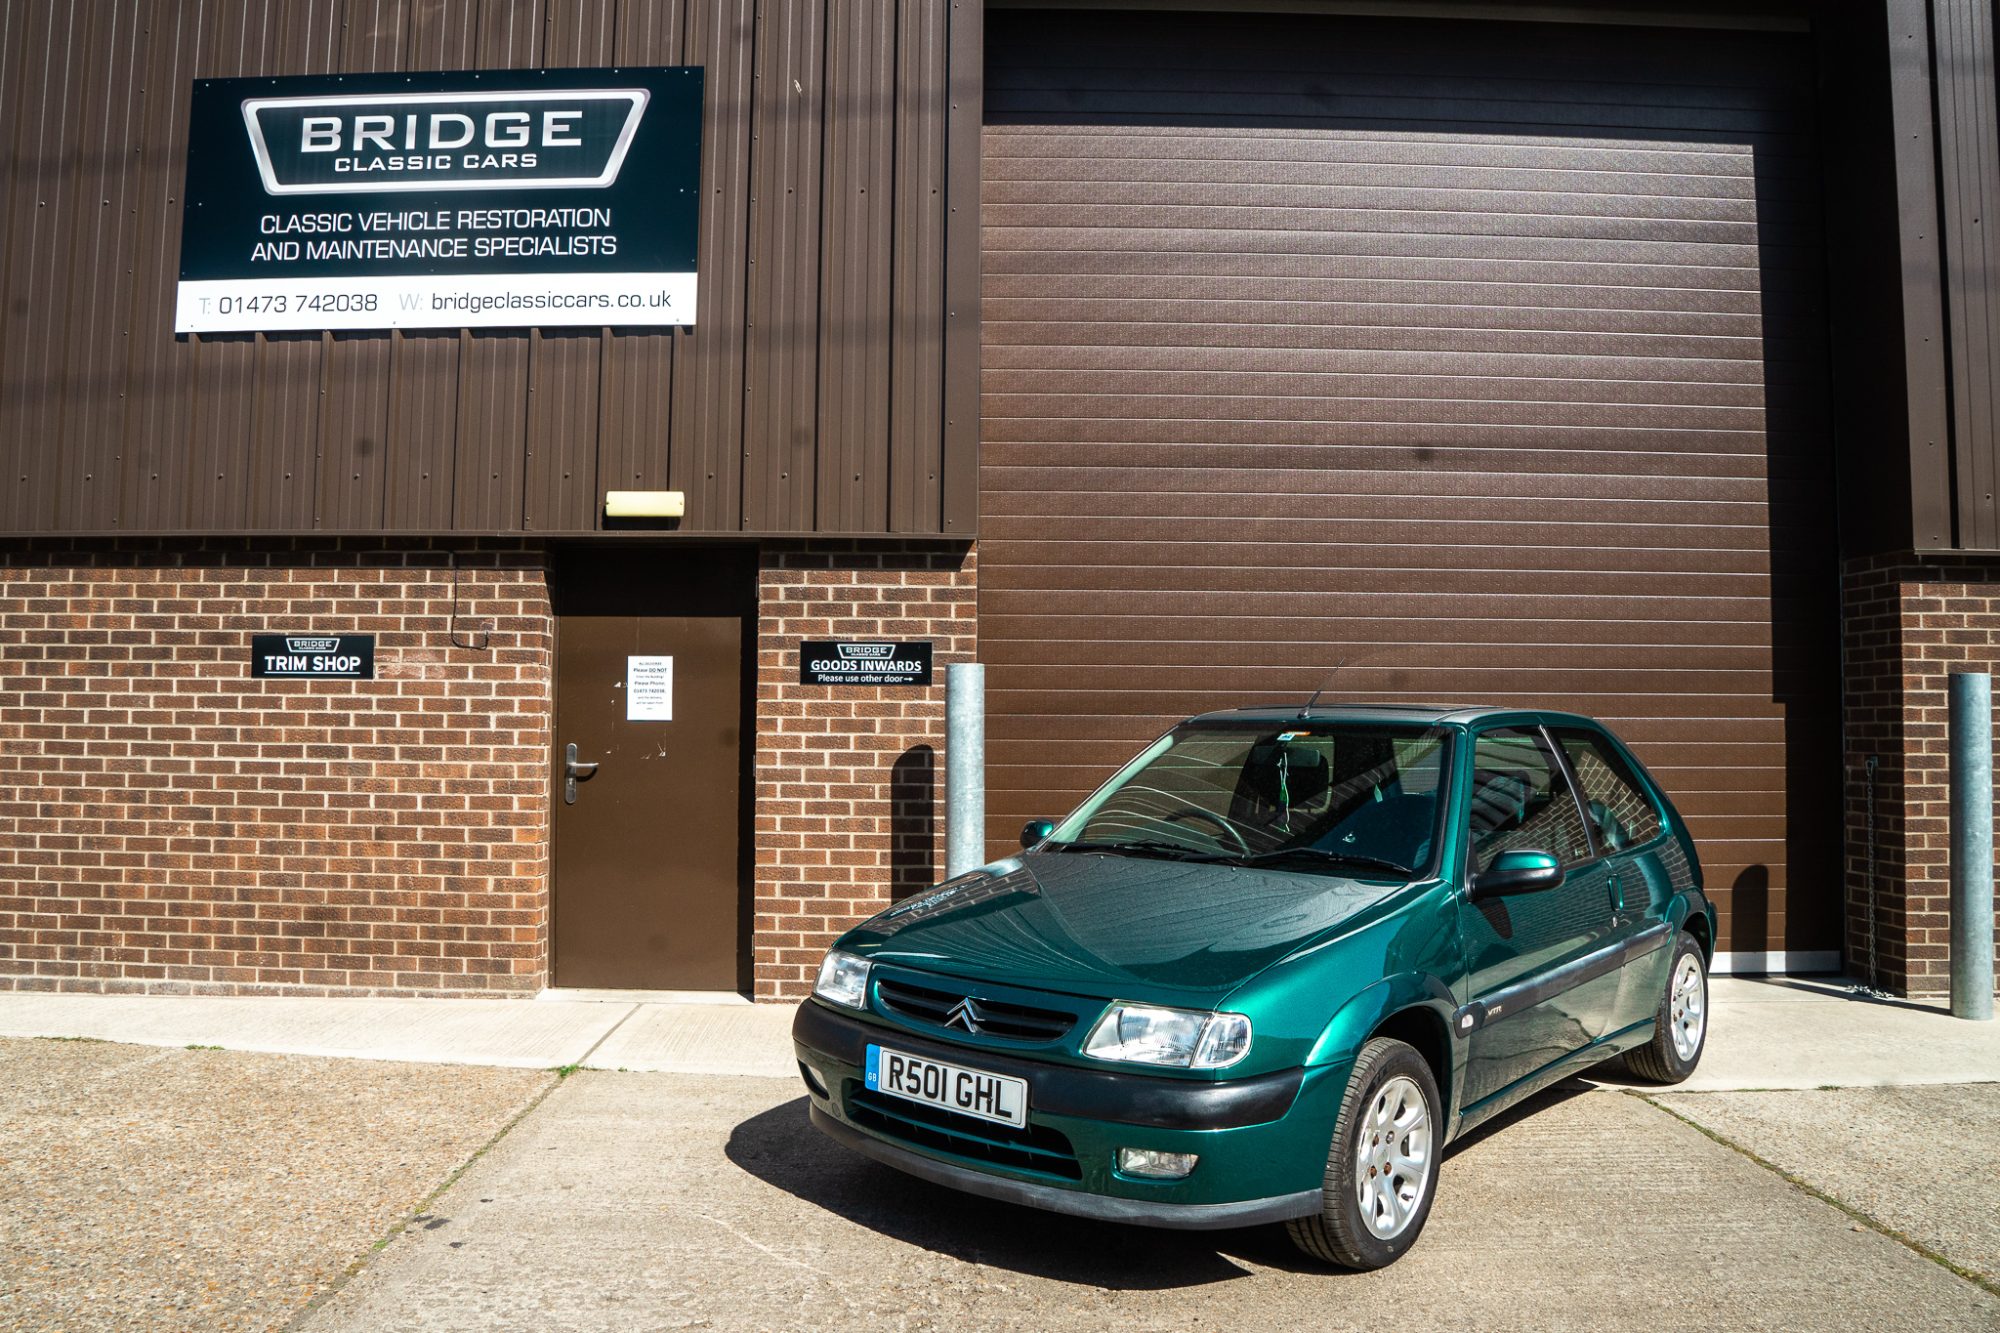
Probably to most people, this wouldn’t be considered the garage of dreams but to me, this is the start of exactly that.
At the age of 17 I passed my test, in just under 4 weeks. I had booked my theory for my birthday itself and then went on to book my practical for the next available time. That time was 4 weeks and as Ipswich was booked up well beyond 4 weeks the closest slot I could get was Clacton. With the help of my amazing instructor I passed my test 1st time.
Aside from the little Mini I had to drive around the fields in as a kid I bought my first actual car 6 months prior to my 17th birthday and although it never moved I would often spend my weekends pushing it in and out of the garage to give it a clean. That car was my 1998 Citroen Saxo VTR.
Fast forward now to 2021 and I took a call from my friend Luke who just so happened to see an advert for a matching Citroen Saxo VTR, same colour, same interior…even the same year! I took a trip up north to view this 20,000 mile, totally original example and it brought back so many amazing memories. Even smelt like my old car. There began the start of my small but sentimental car collection.
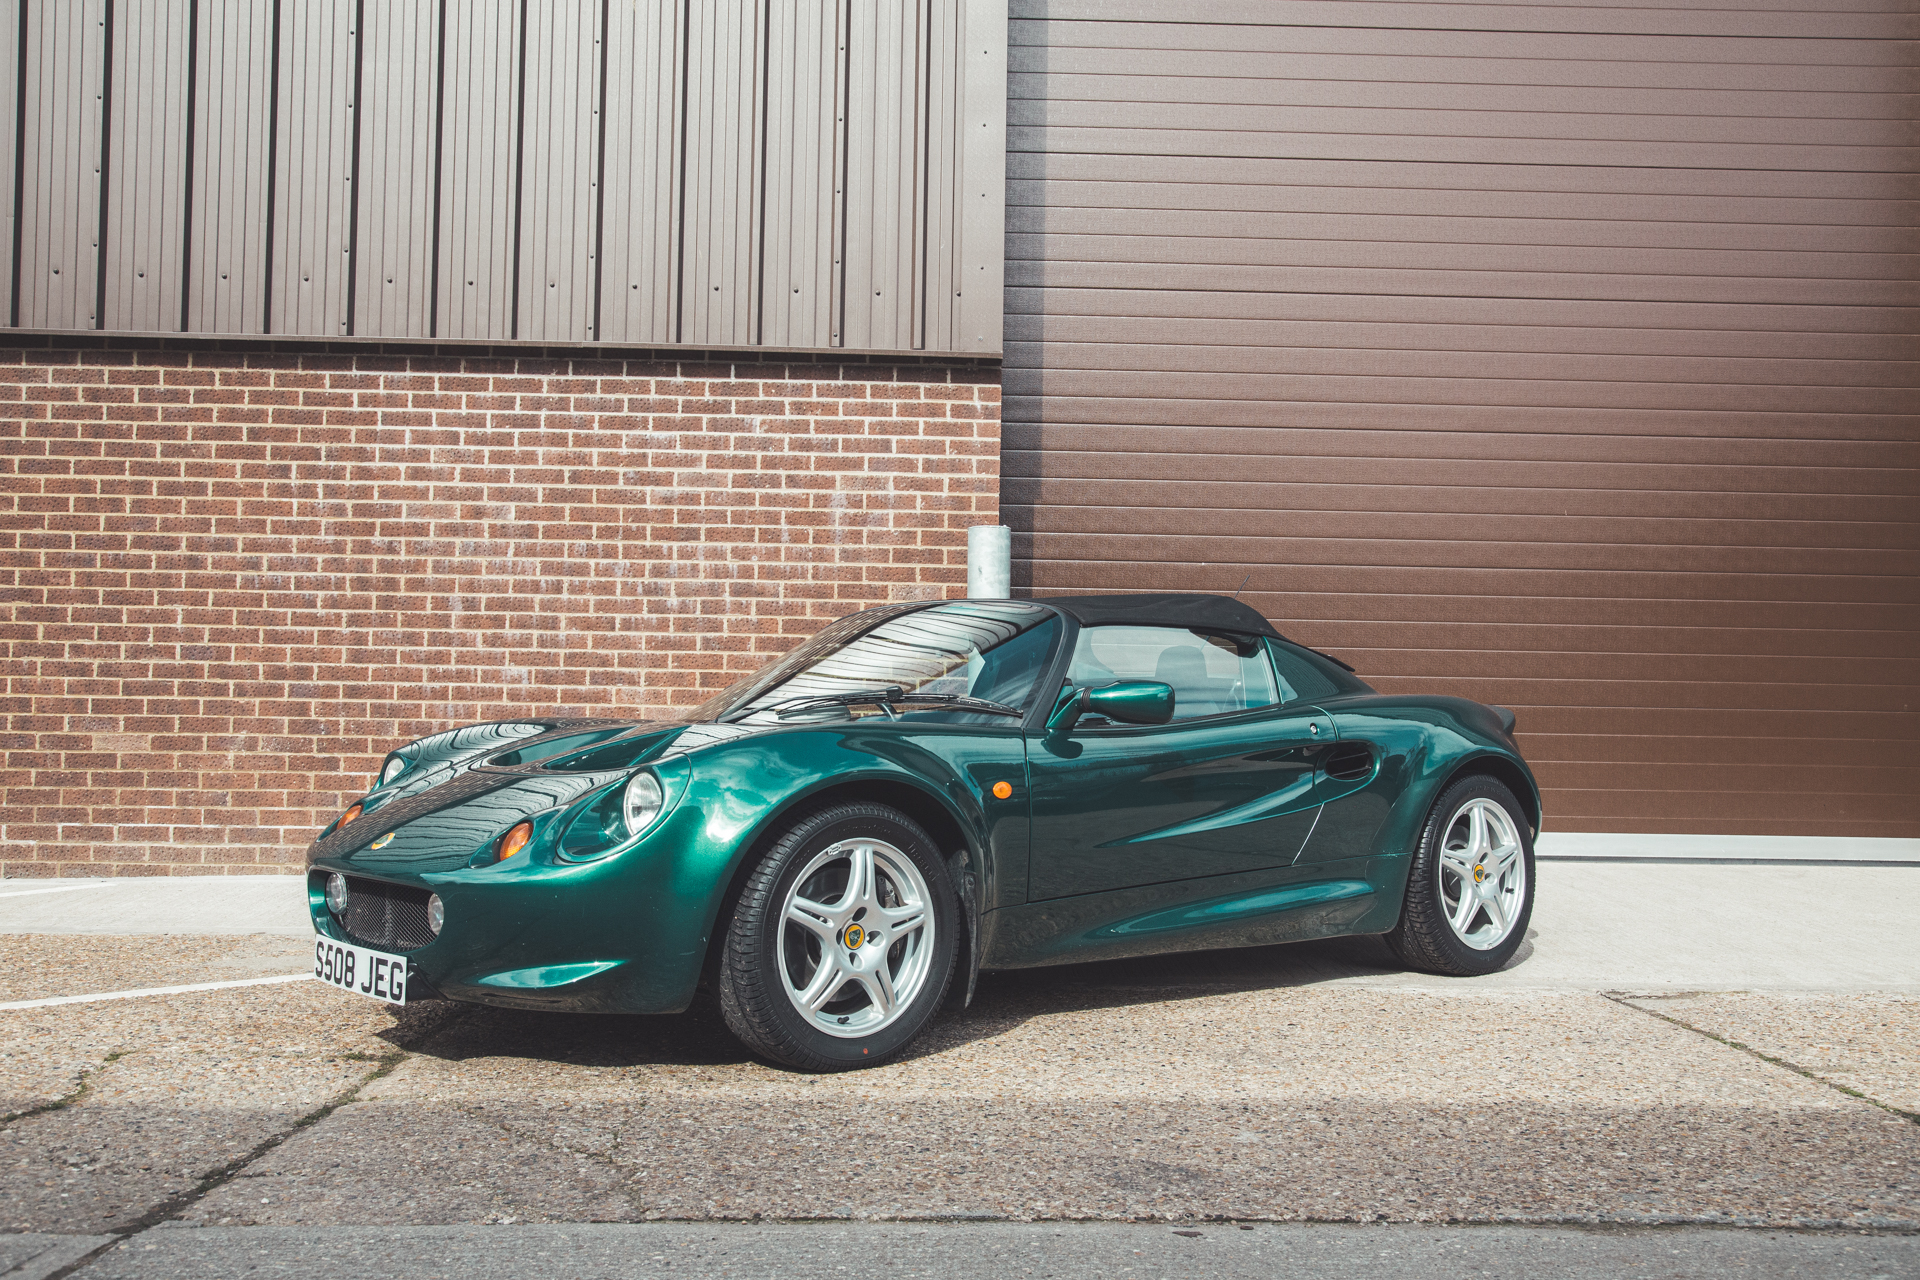
Then came the purchase of my 1998 Lotus Elise, the car that many 17 year olds dreamt of owning but extortionate insurance costs put a stop to that ever happening! I found my Lotus in H&H Auctions for sale as part of the race driver Jeff Ward collection.
Having covered just 11,000 miles from new and still boasting a 100% factory specification this little Lotus was just too good to be true.
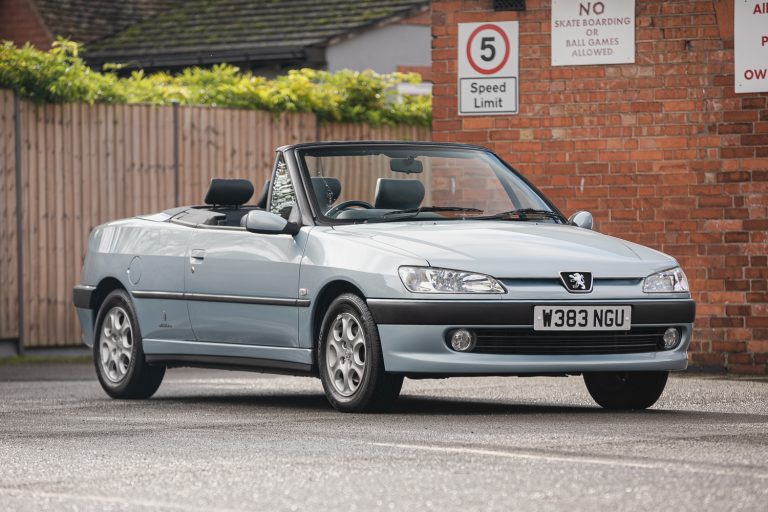
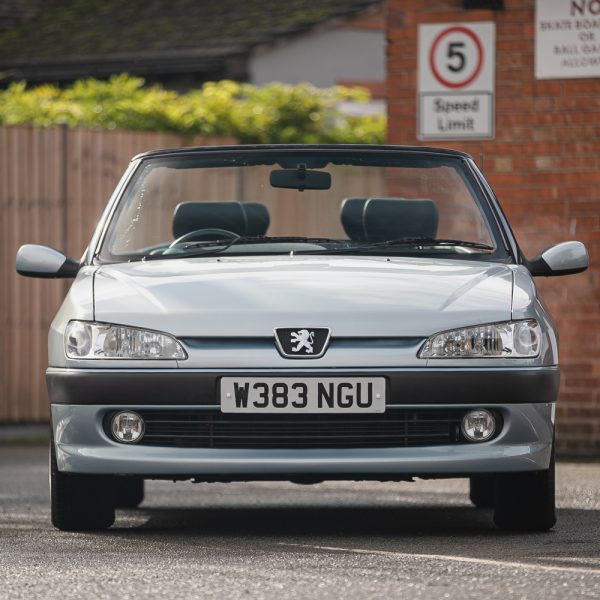
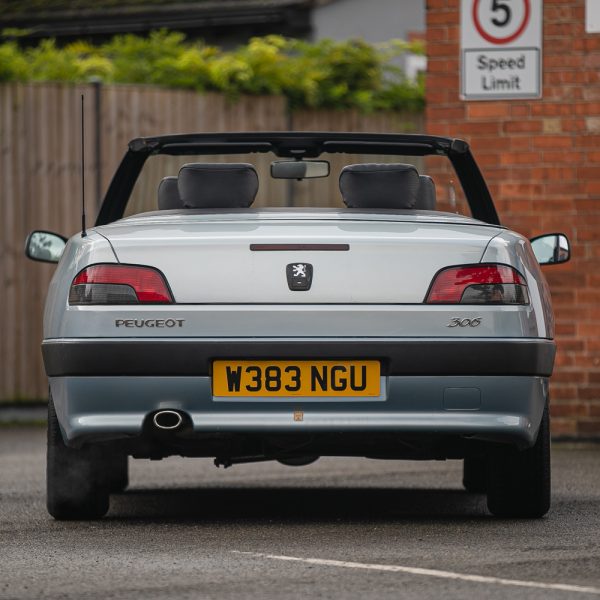
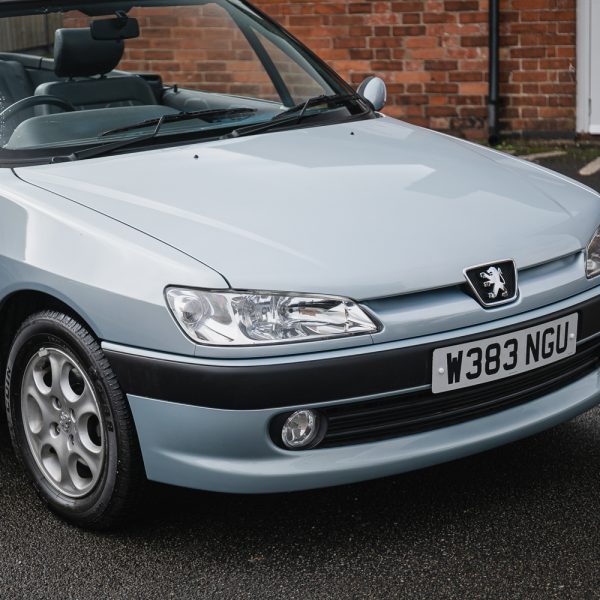
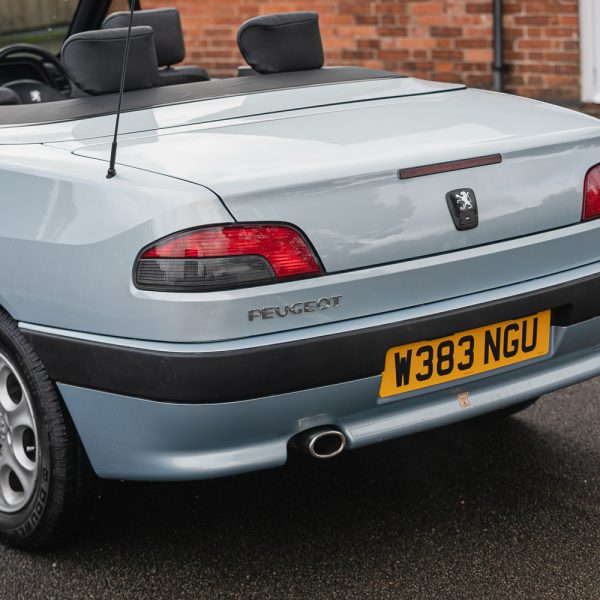
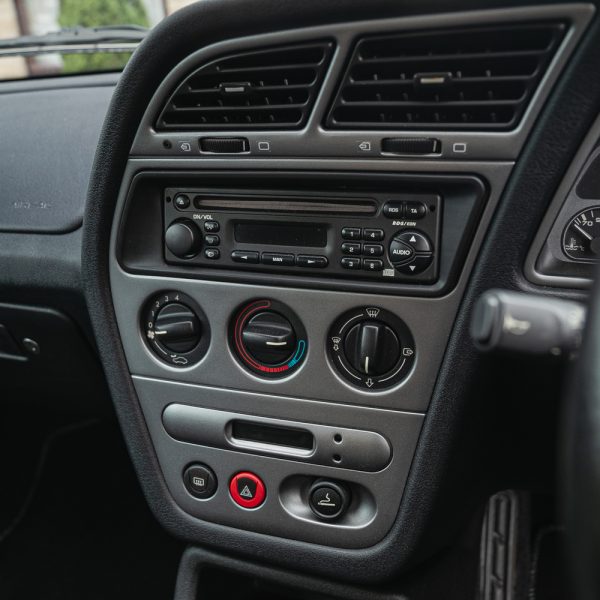
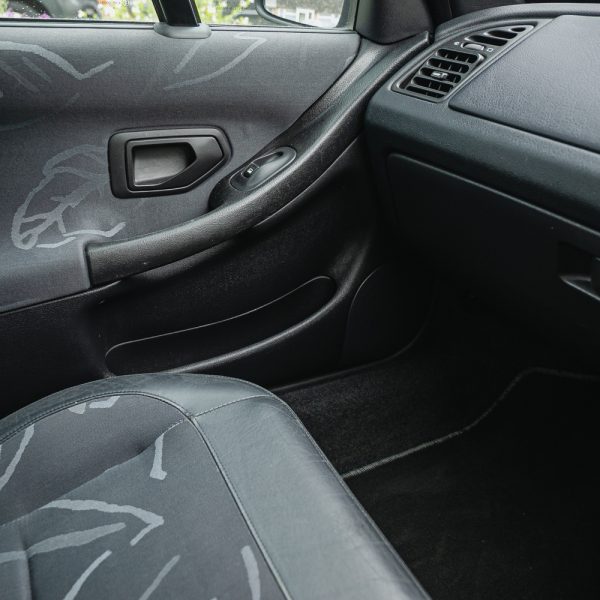
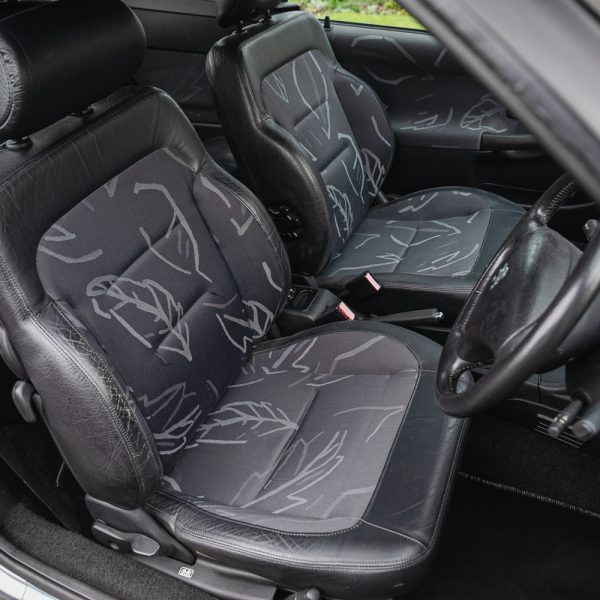
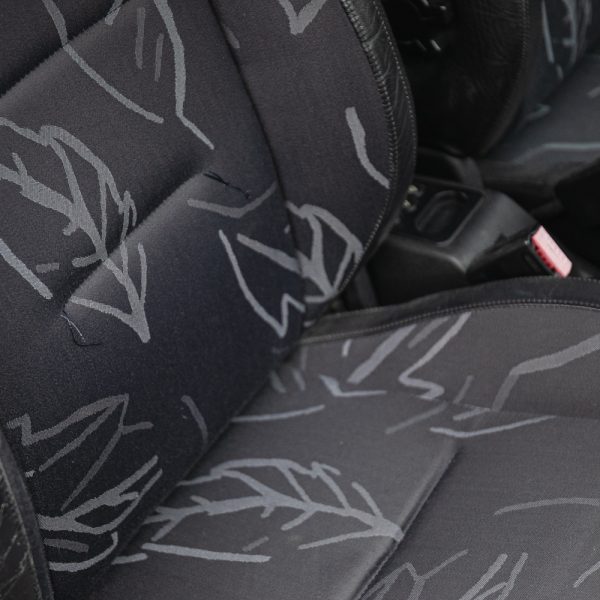
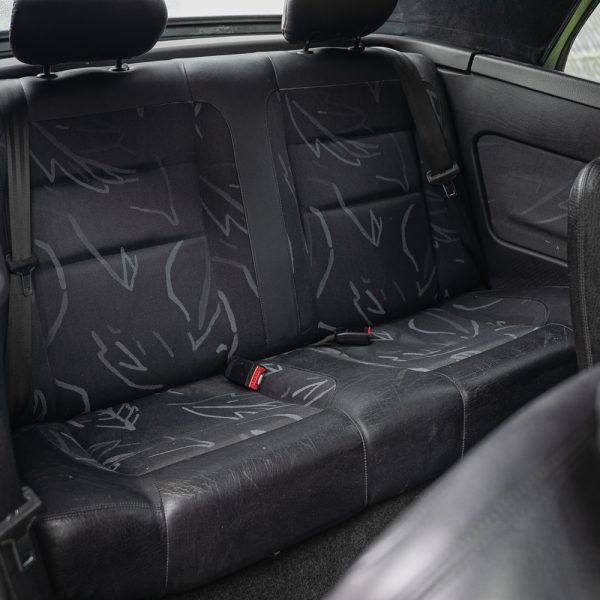
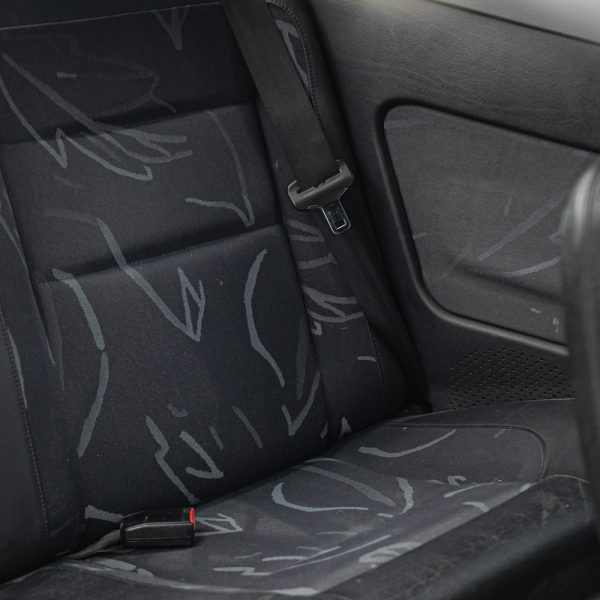
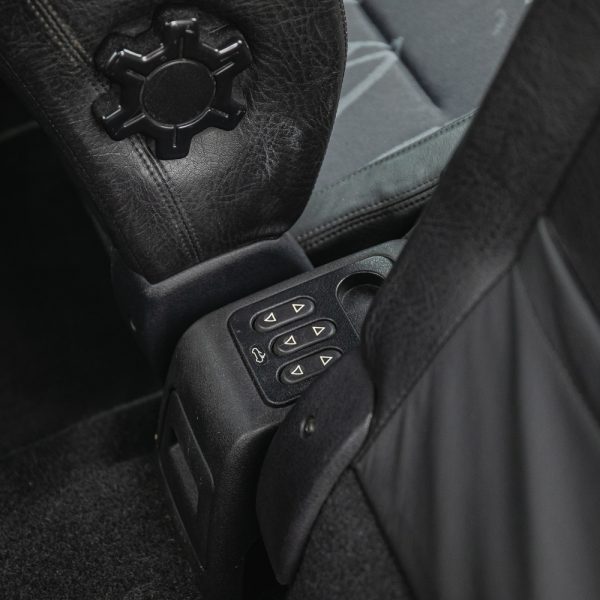
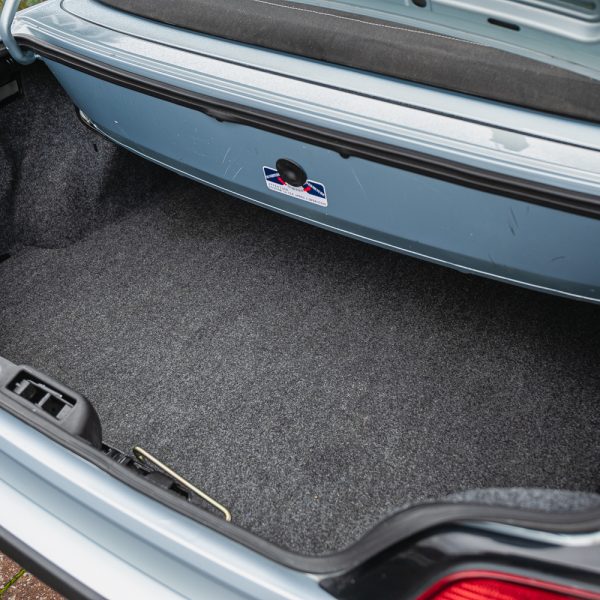
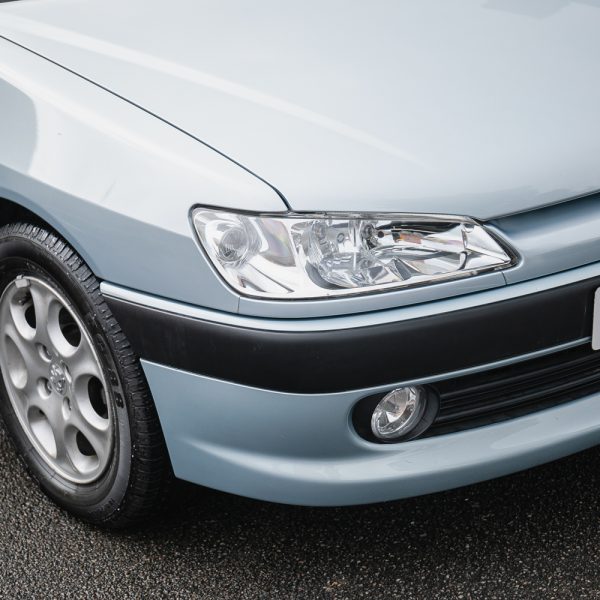
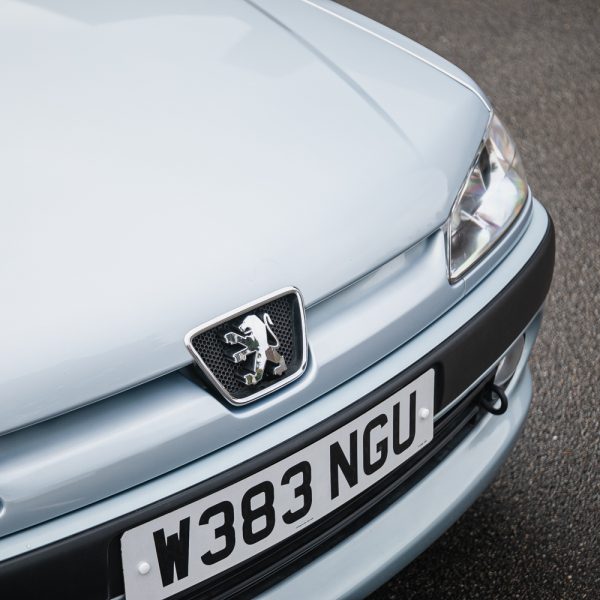
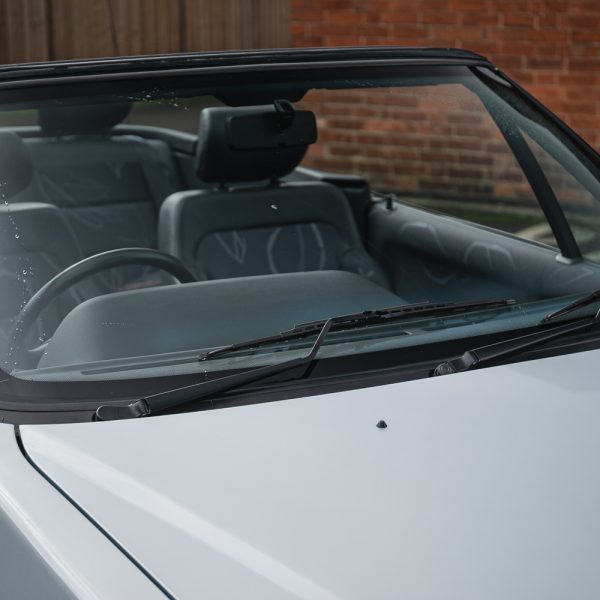
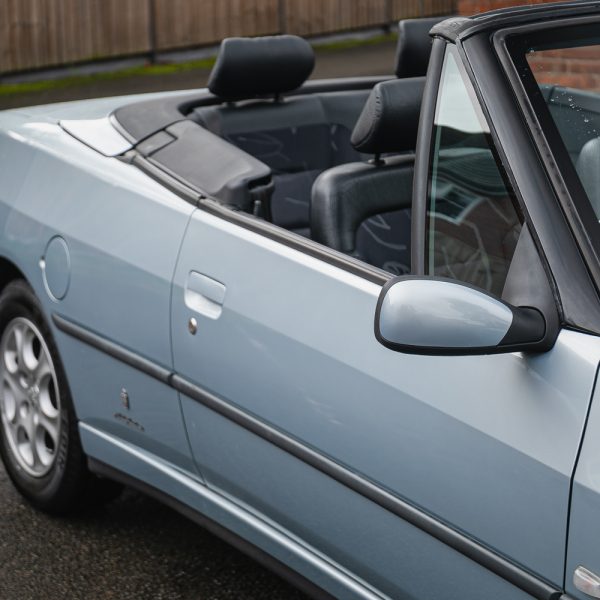
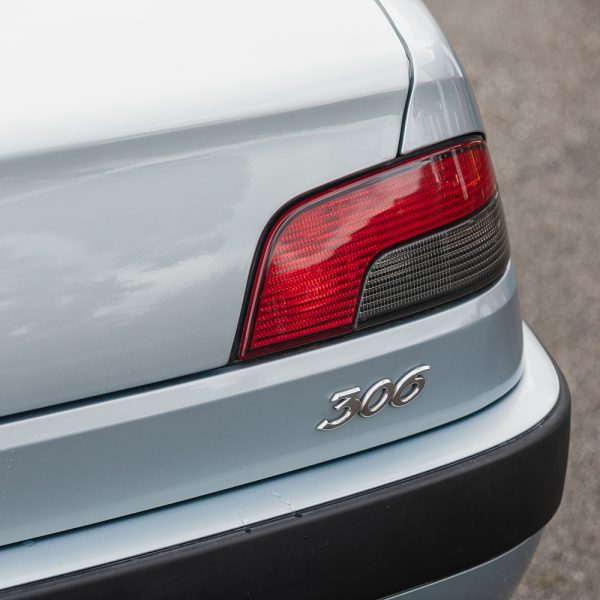
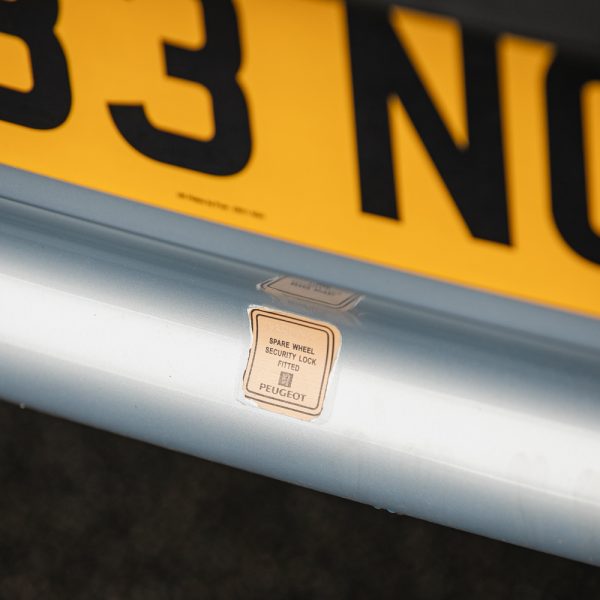
Finally, well I should I say ‘next up’ because hopefully this won’t be the final car is my 2000 Peugeot 306 Cabriolet.
Believe it or not, as a 17yr old the Peugeot 306 Cabriolet was the car I wanted to own but again, due to insurance and the cost of the car at the time, this was beyond my reach. 22 years on I see this incredible 13,000 mile example go through CCA (Classic Car Auctions) in Warwick and as we planned on a trip there for the auction I thought I’d give it a go and guess what…I won!
So now I’m the proud owner of 3 cars from my past and hopefully I’ll continue to find good examples of the cars I wished I’d have owned.
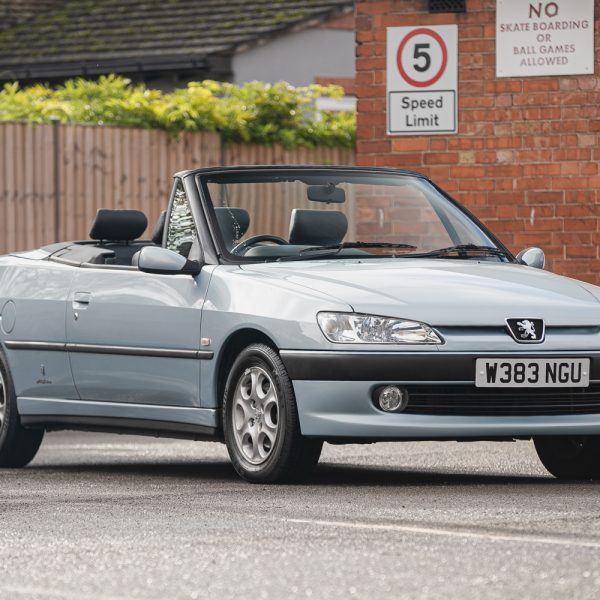
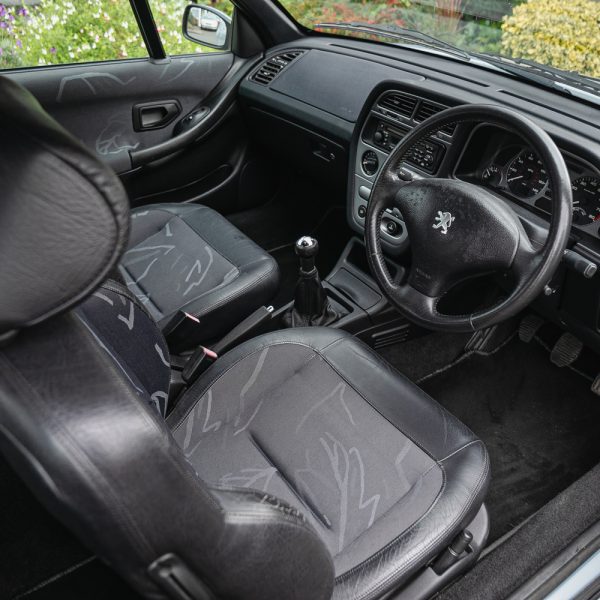
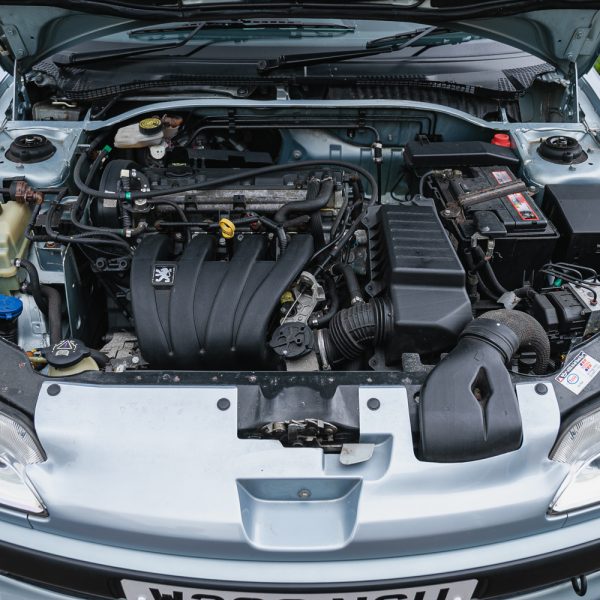
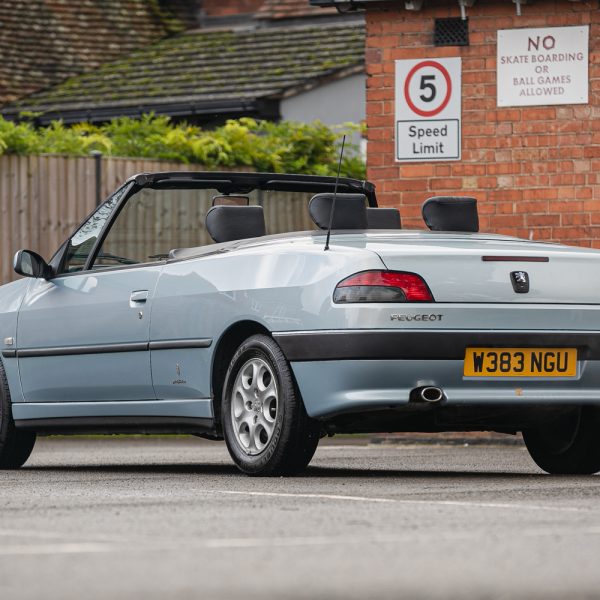
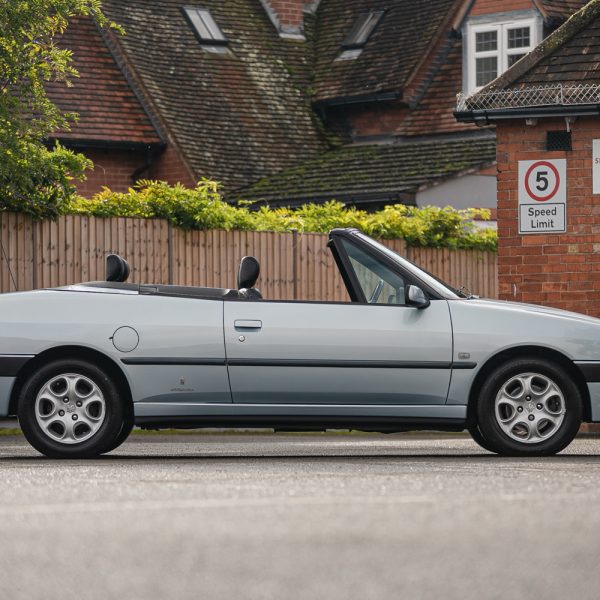
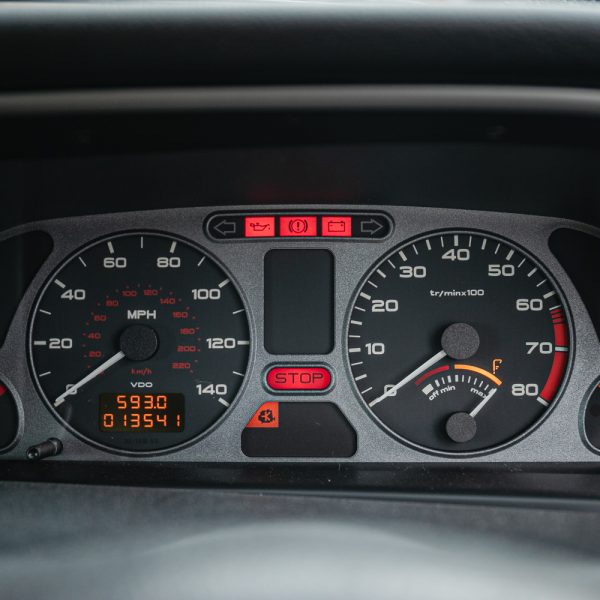
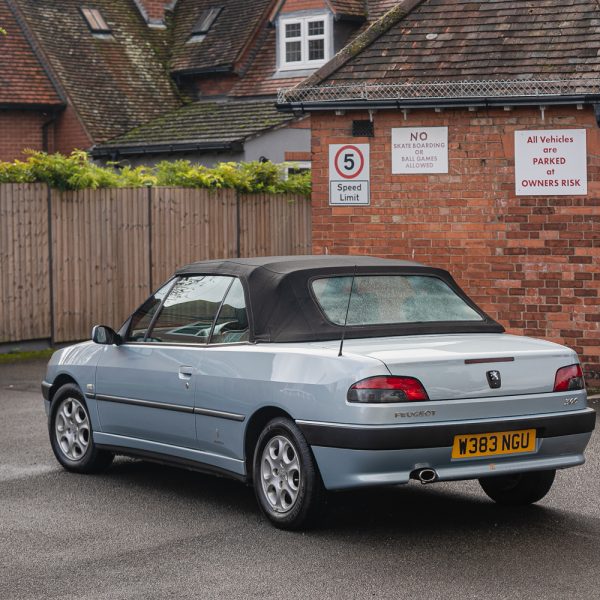
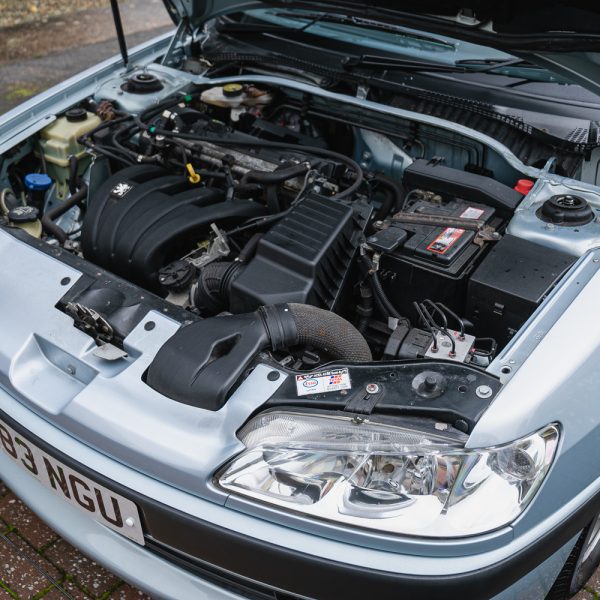
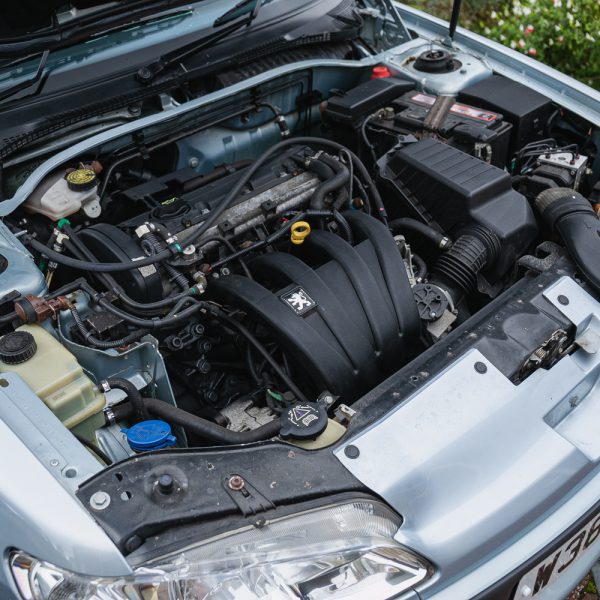
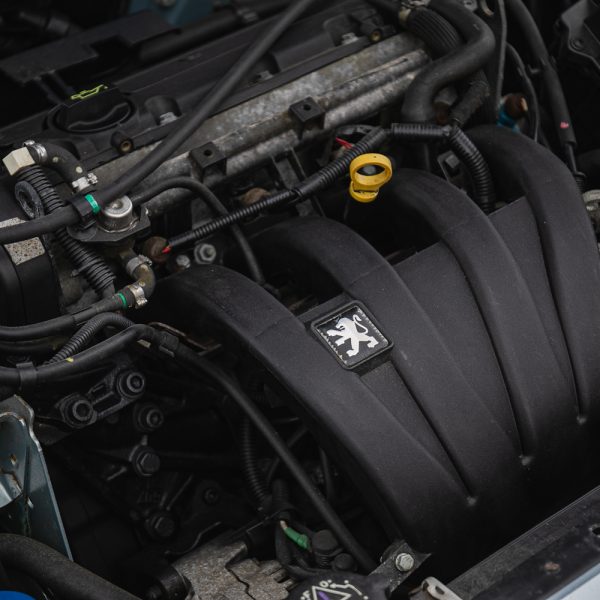
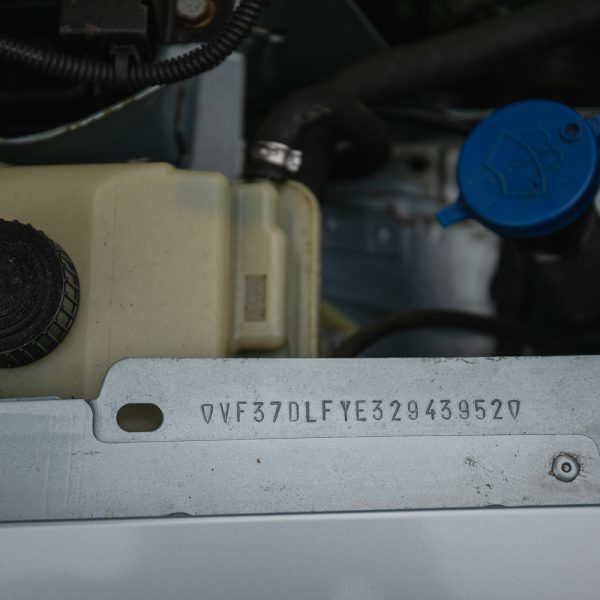
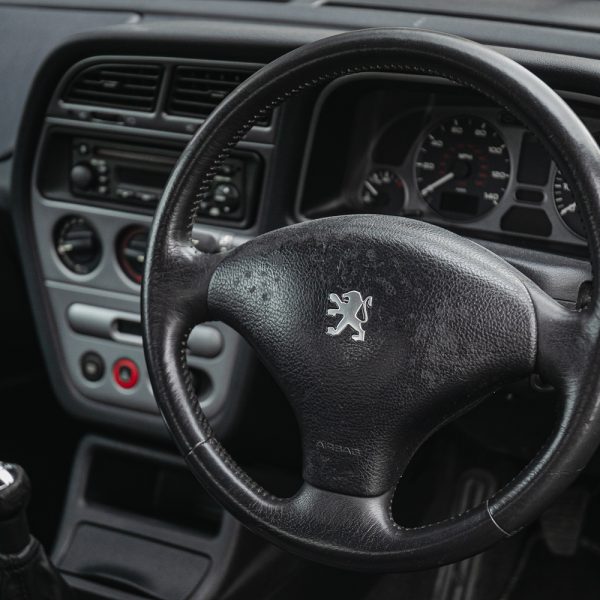
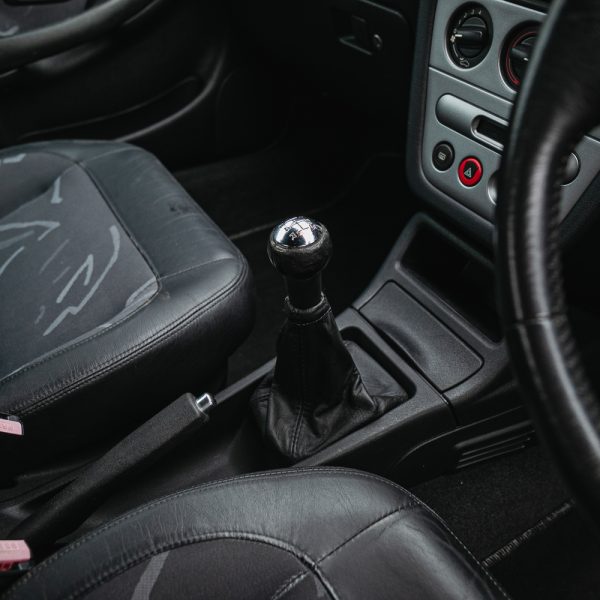
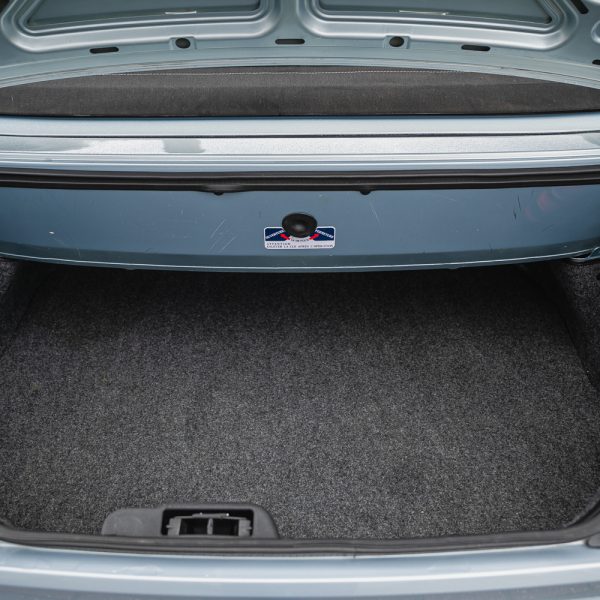
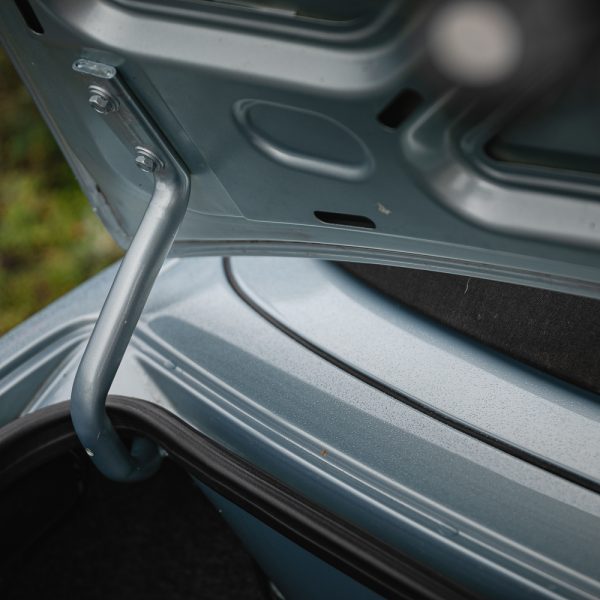
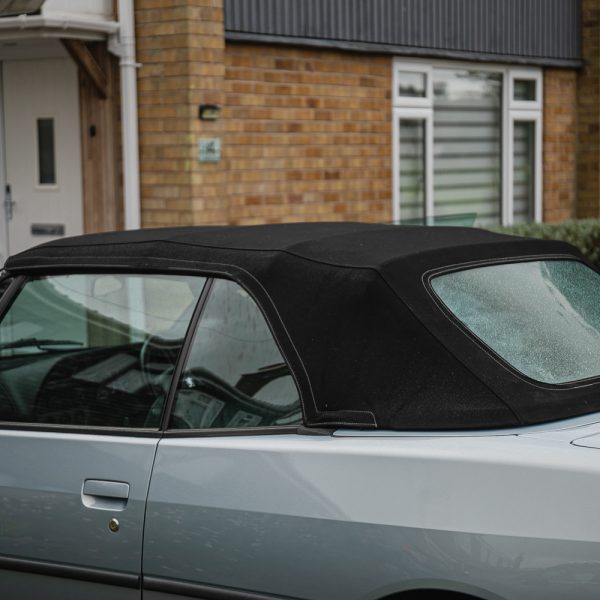
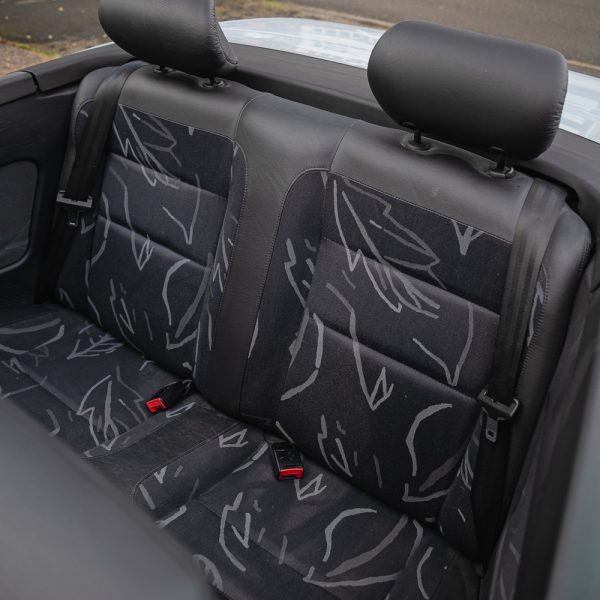
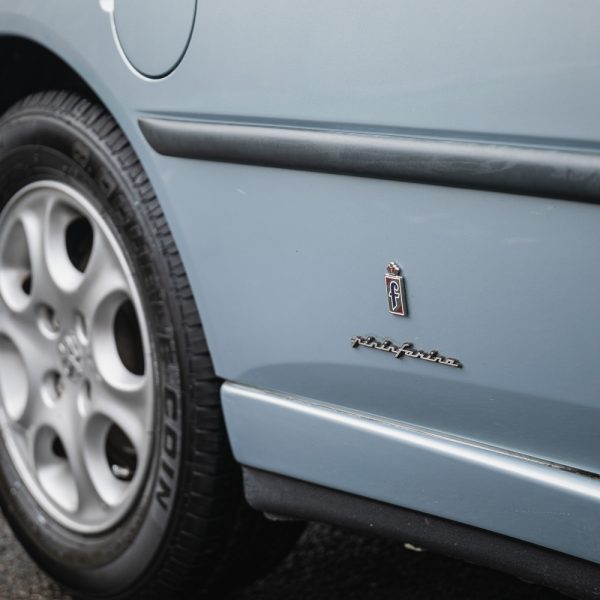
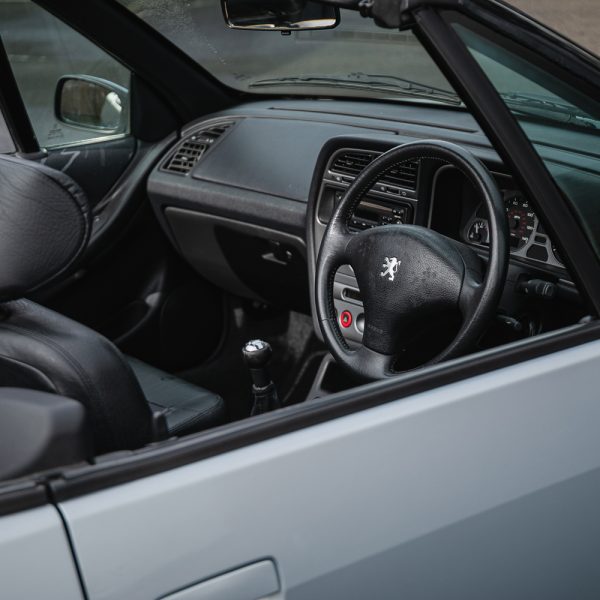
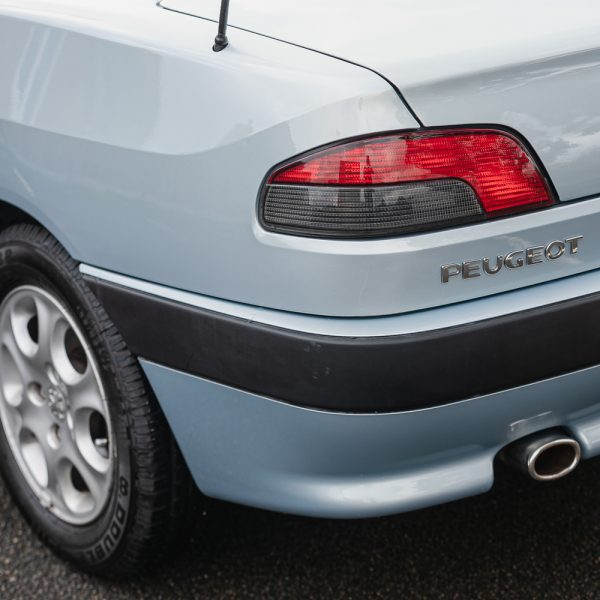
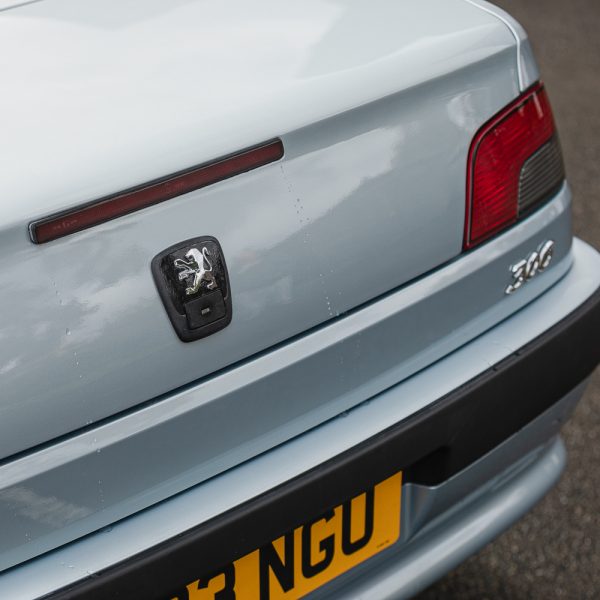
Thanks to our good friend Alan Kenny, the incredibly talented man behind the majority of the Silverstone, Iconic, CCA photographs for letting me have a copy of all of his images.
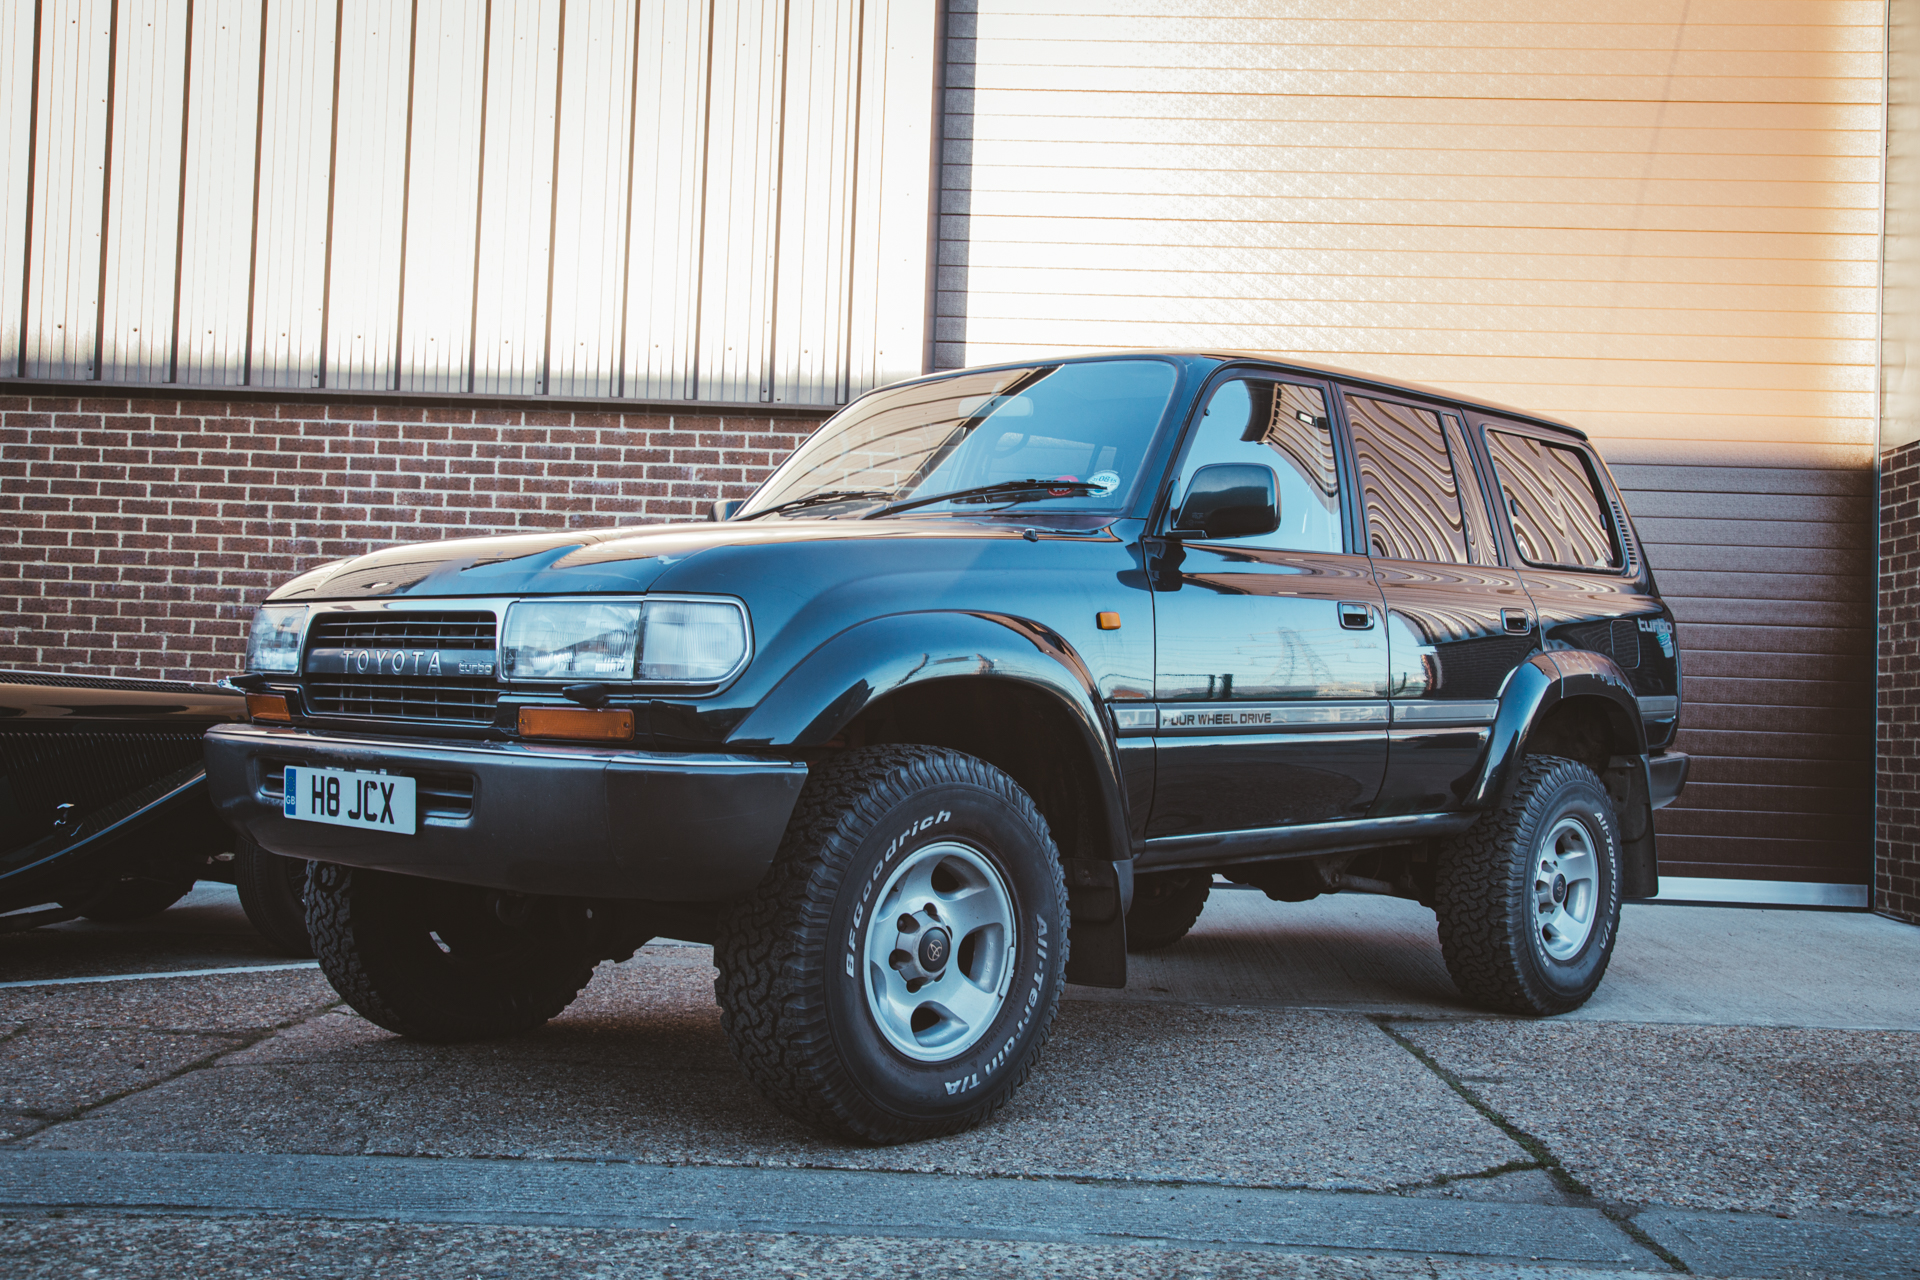
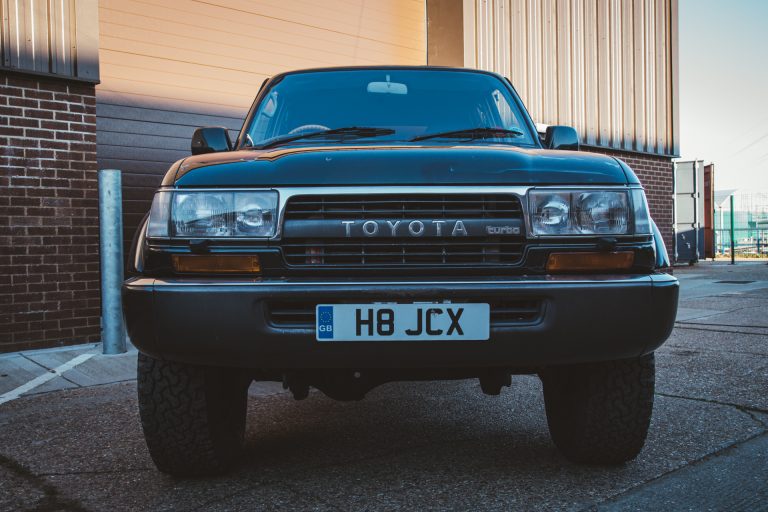
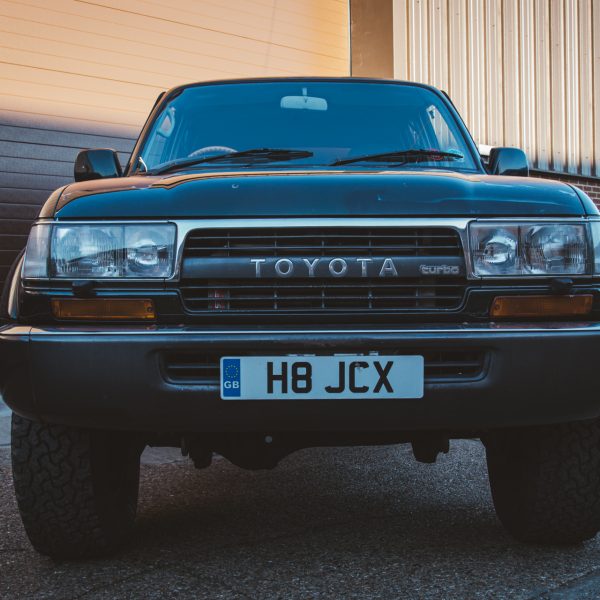
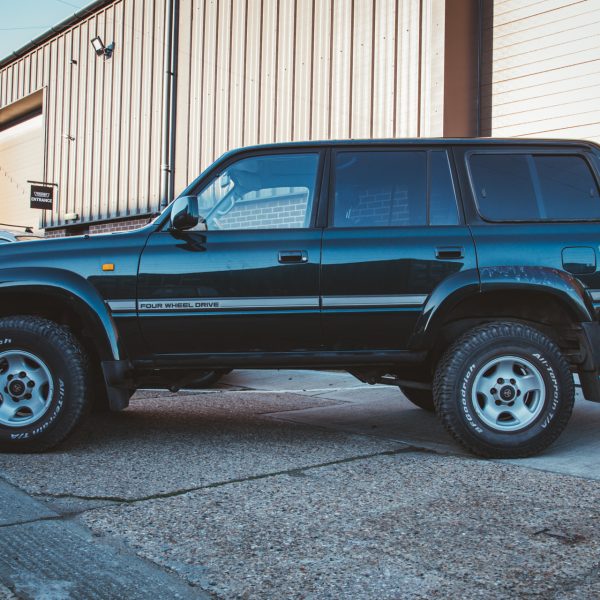
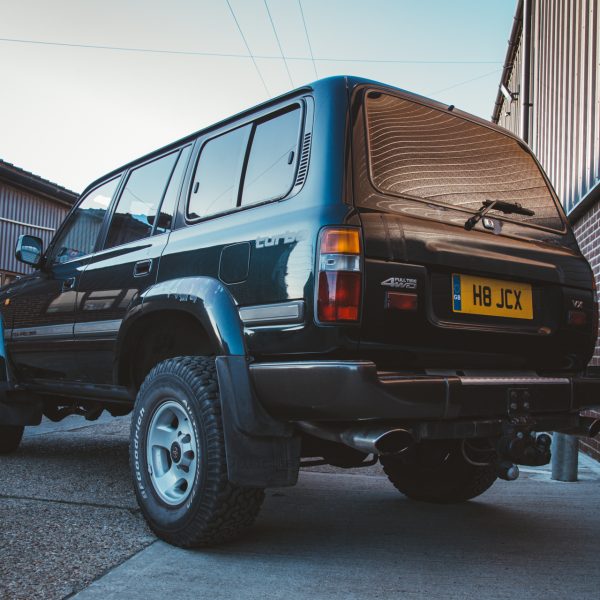
We’ve recently welcomed one of the most capable off-roaders into our Suffolk workshops – a 1994 Toyota Land Cruiser.
This has come in for our trusted engine specialists to take a look at the truck for a couple of issues raised by the owner.
Keep a look out on the Bridge Classic Cars news page for more updates on our 1994 Toyota Land Cruiser.

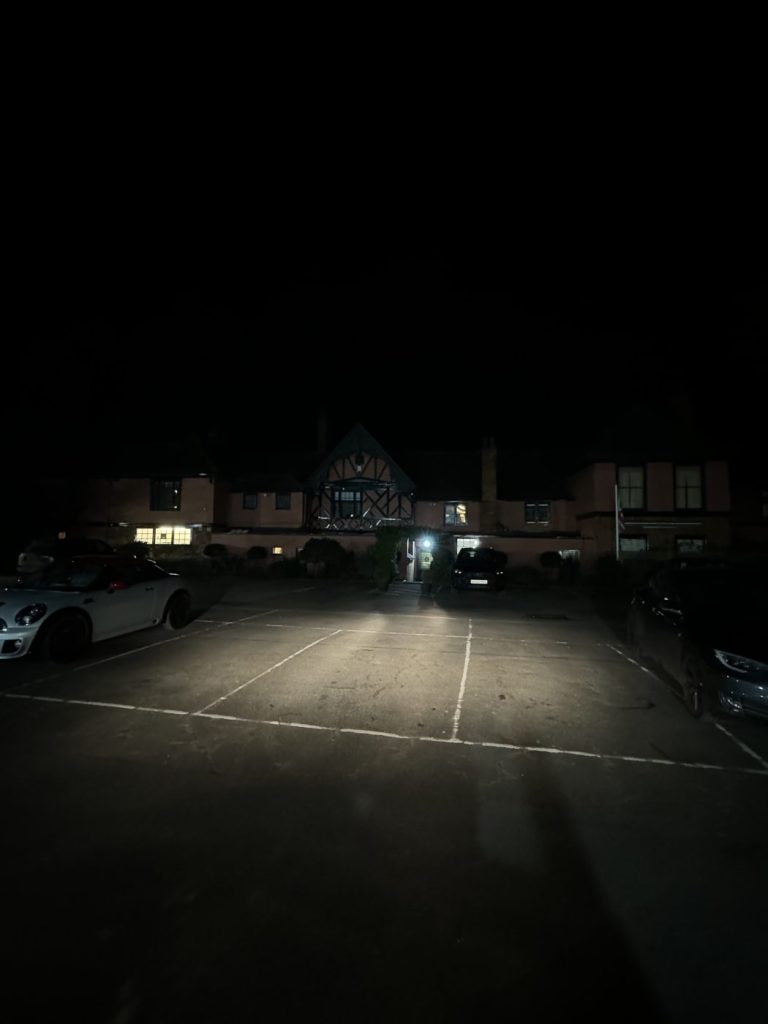
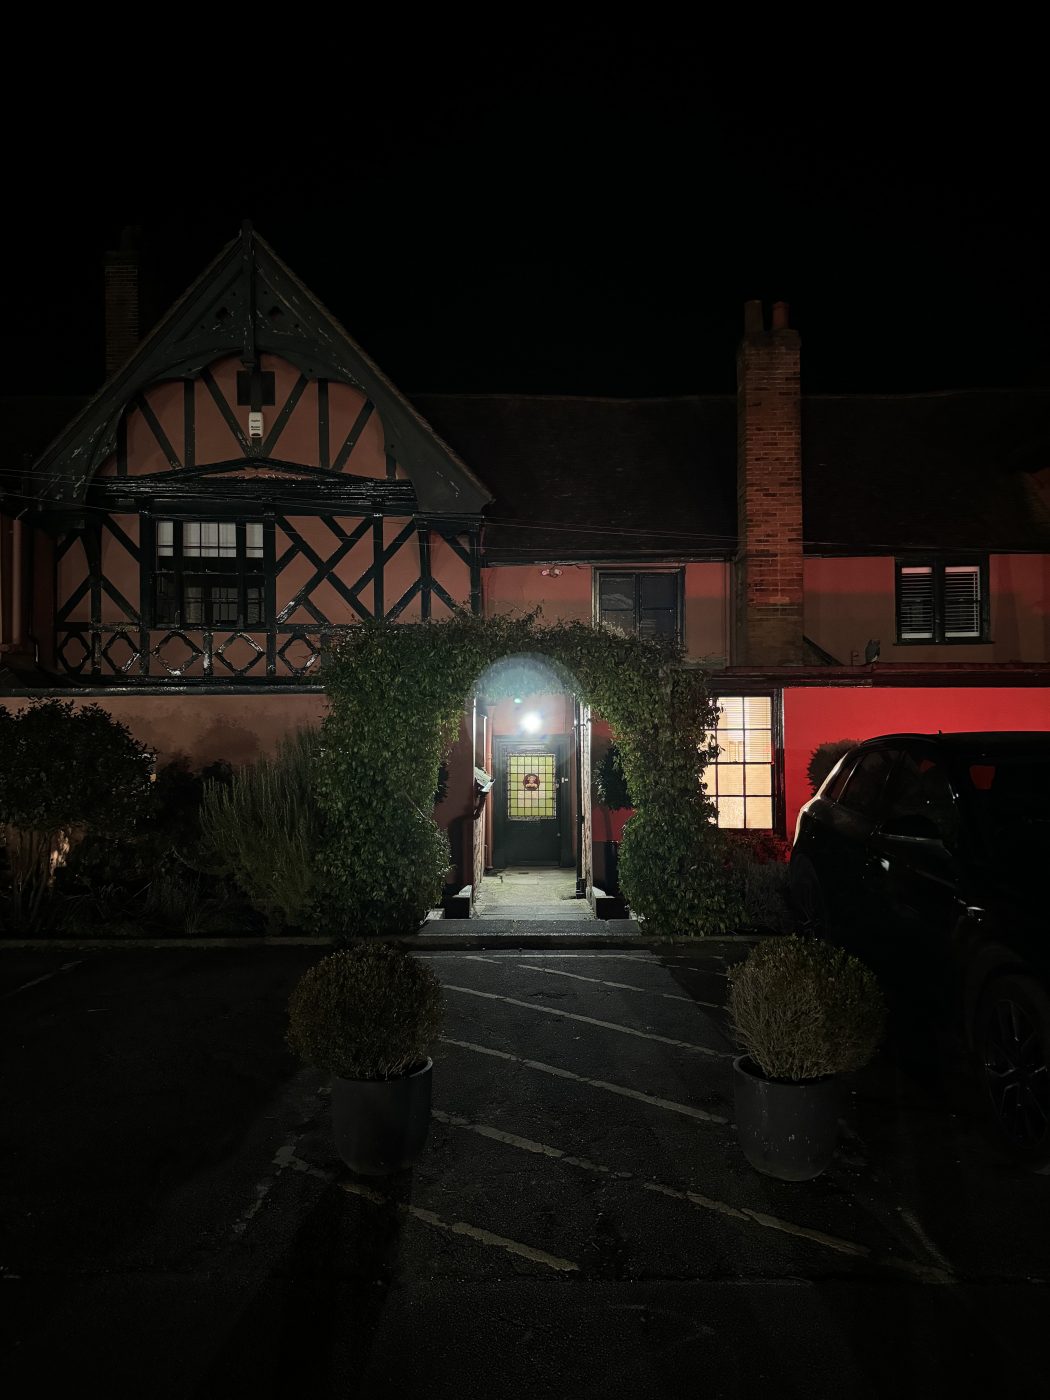
Last night, Gordon and I were invited to attend a dinner at the prestigious Ipswich and Suffolk Club organised by an exclusive group of local business investors. They get together to discuss opportunities over a meal and drinks and hear from different speakers specialising in all aspects of business and culture.
We were there to discuss the future of classic cars, to answer questions on Bridge Classic Cars and the market trends we are seeing in the classic car world and to talk about what we believe would be the right investment opportunities.
After dinner speaking does not come naturally to either myself nor Gordon but we both thoroughly enjoyed it. I guess what made it that little bit easier was that we both love what we do and classic cars are in our blood, it’s our passion.
Thank you for the opportunity and if you are reading this and were there on the evening, I hope you enjoyed what we had to say.
And if you want to add a touch of class to your event, forget me and Gordon, why not consider having Molly and the Bridge team come along.
Molly’s experience with classic cars and vintage lifestyle is extensive. As a seasoned presenter at Bridge Classic Cars, she has accumulated a wealth of knowledge in classic cars. Alongside this, she is a professional singer and actress who graduated with a BA(Hons) in Musical Theatre. Molly is part of The Three Chordettes, a female vocal harmony group, specialising in vintage swing and jazz hits from the 1940s and 1950s.
Her passion for these classic vehicles and all things vintage shines through in every word she speaks, captivating audiences with fascinating insights into the history, mechanics, and stories behind each classic car.
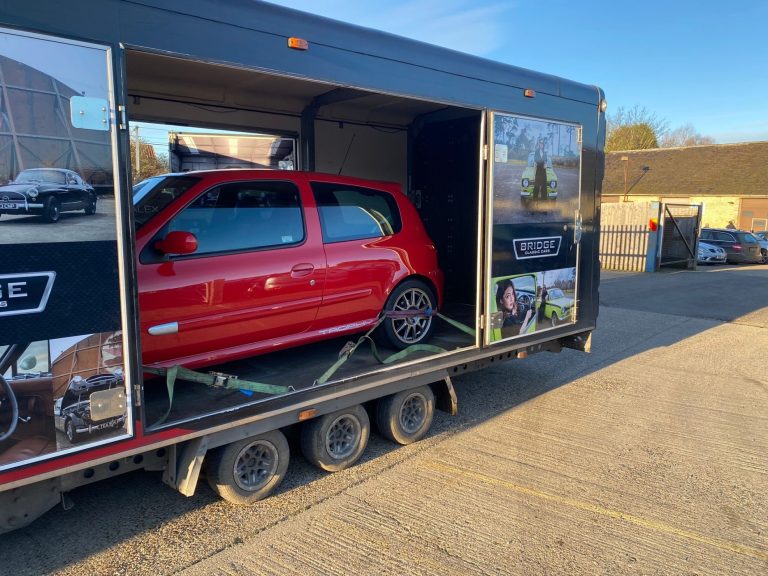
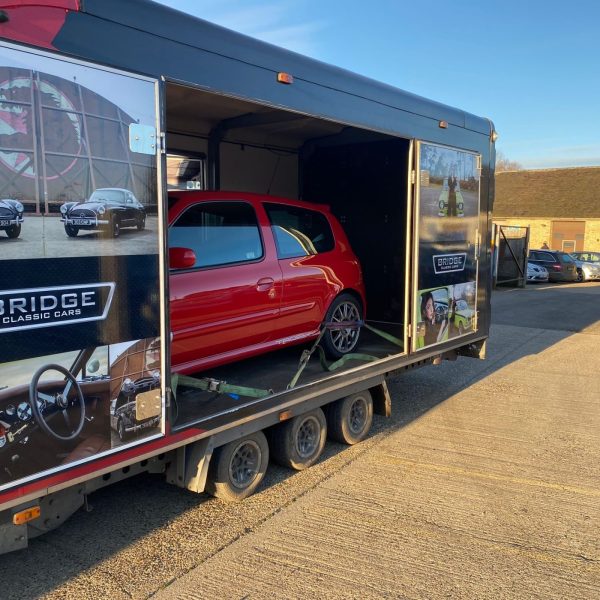
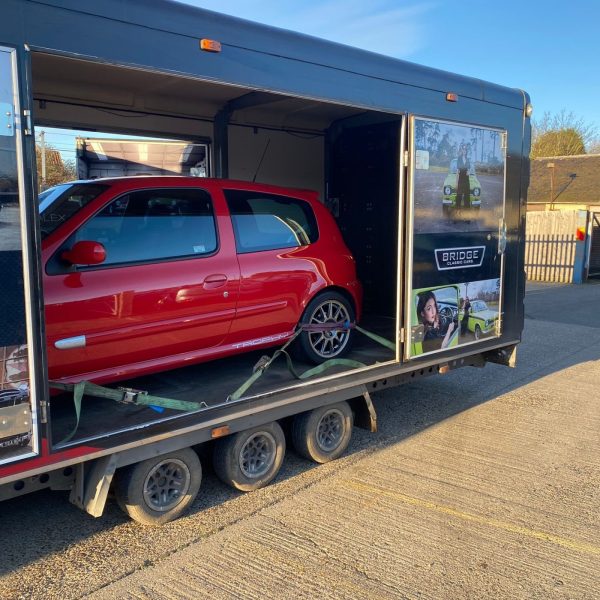
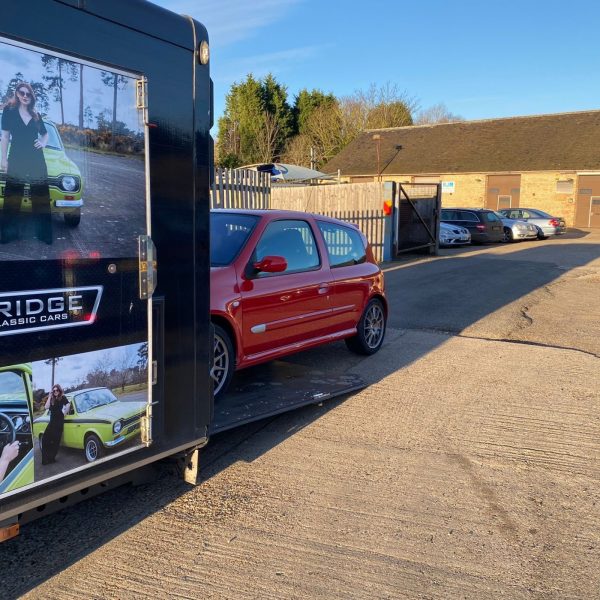
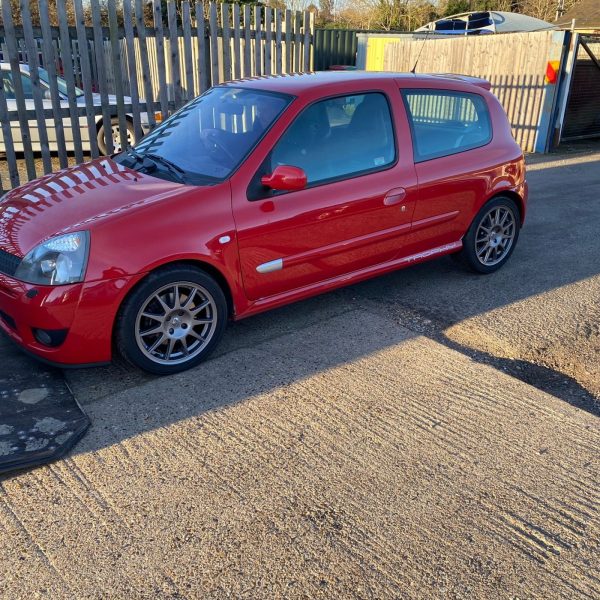
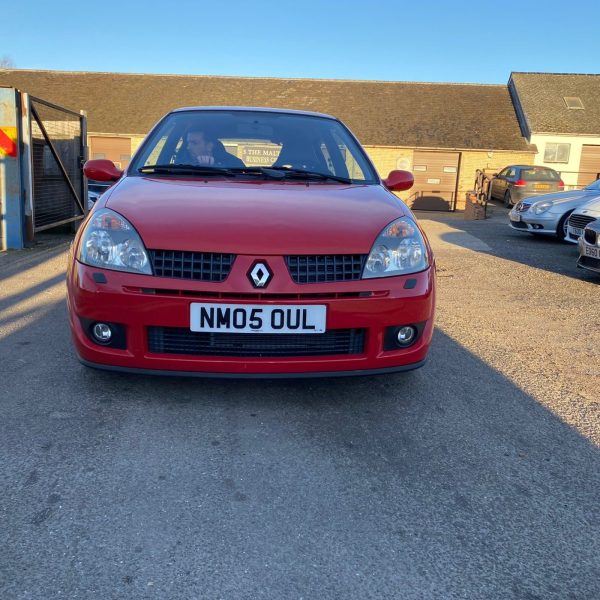
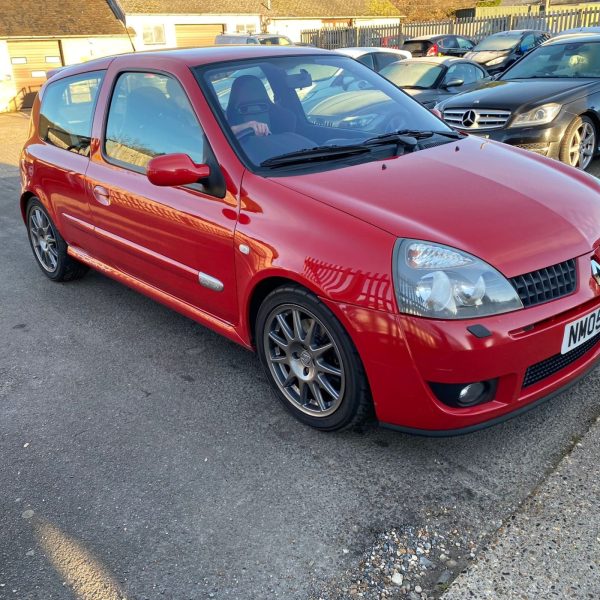
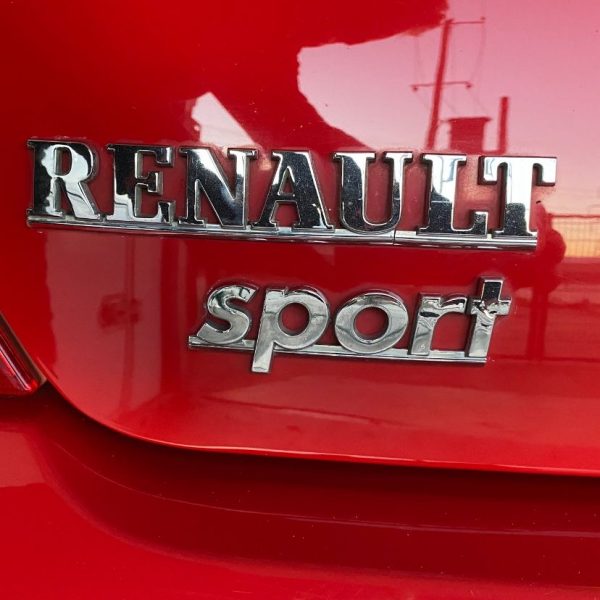
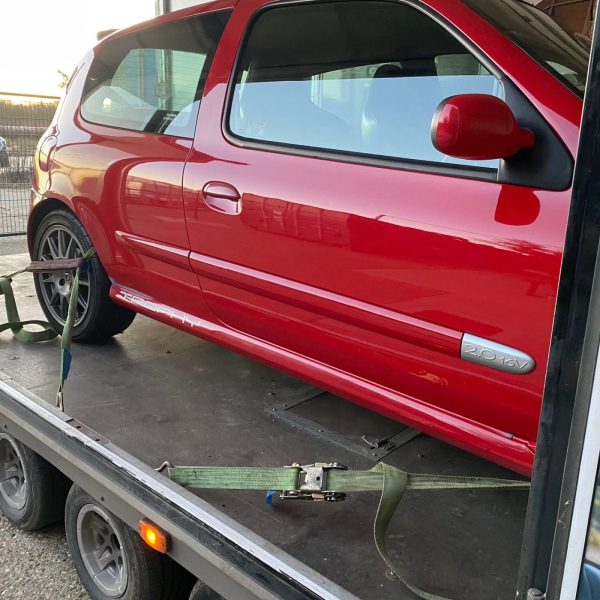
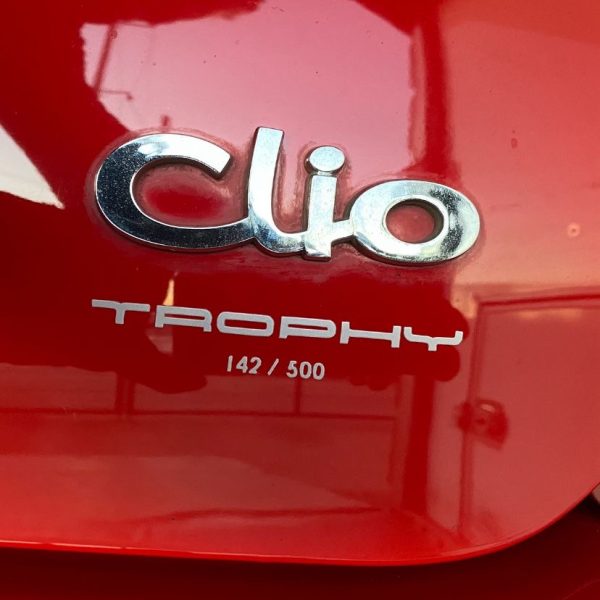
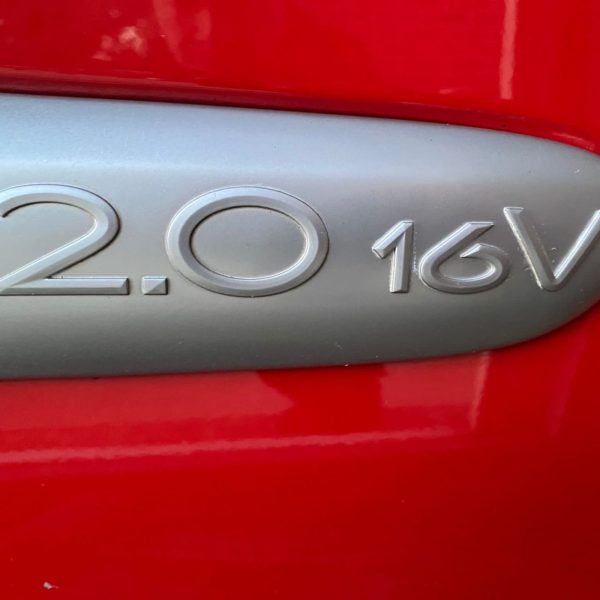
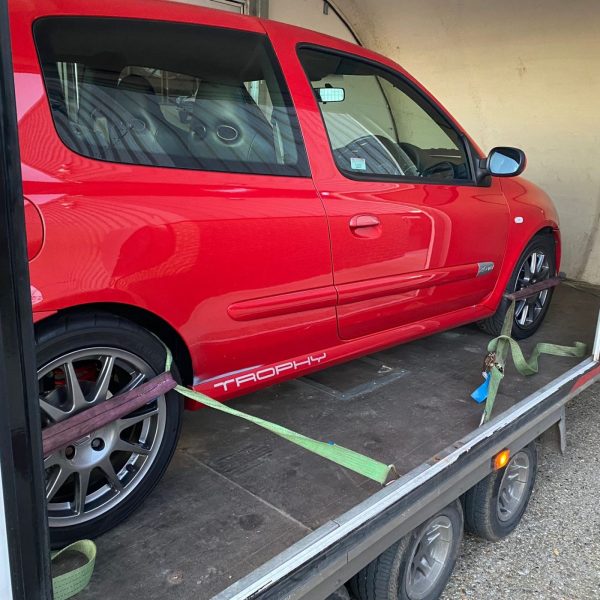
Tony wore his transport hat this morning as he carried the stunning Clio 2.0 16v Sport from one side of Suffolk to another. Normally our trailer is seen heading up and down the motorways travelling the length and breadth of the country so a local trip today made a nice change.
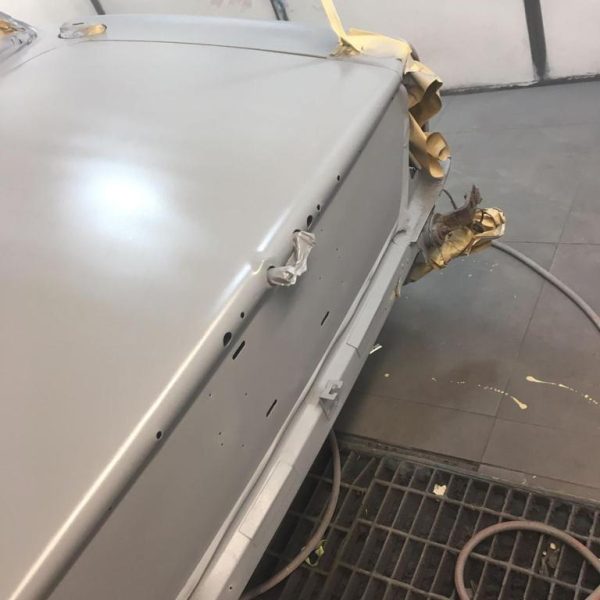
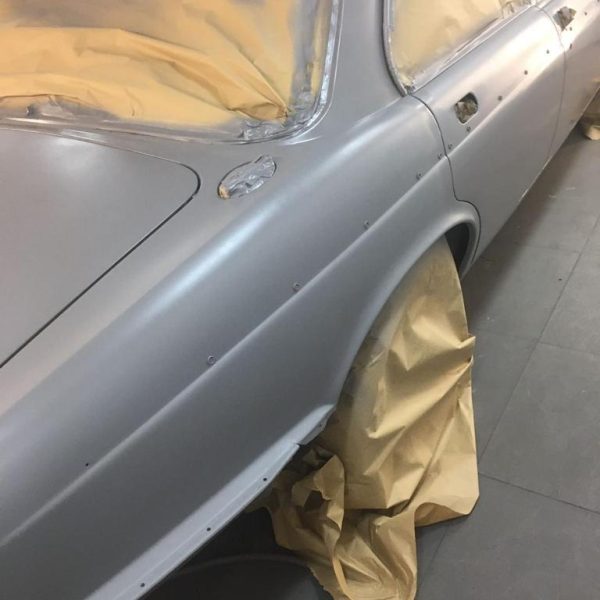
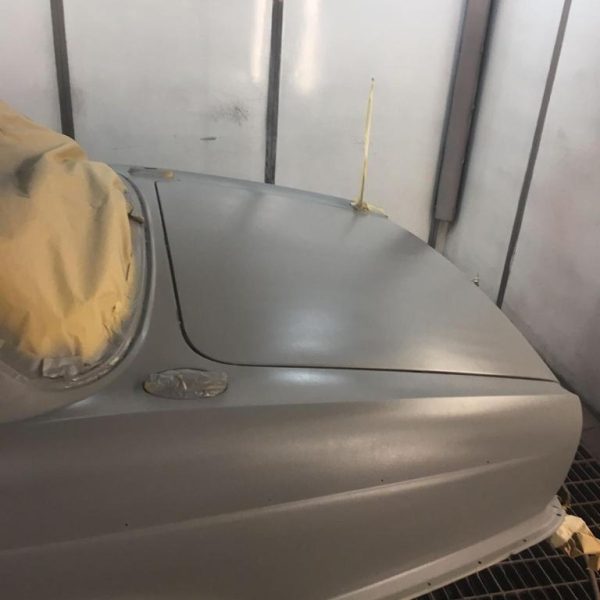
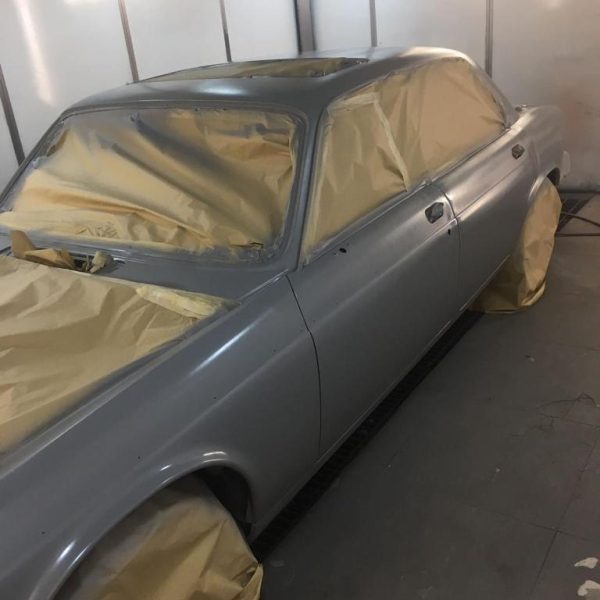
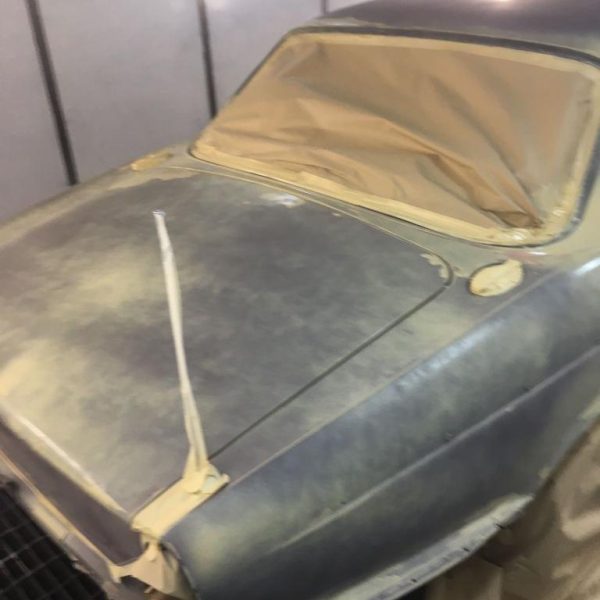
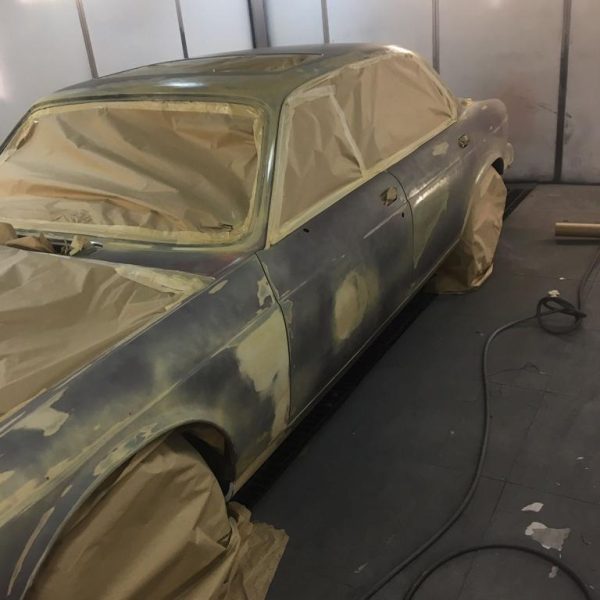
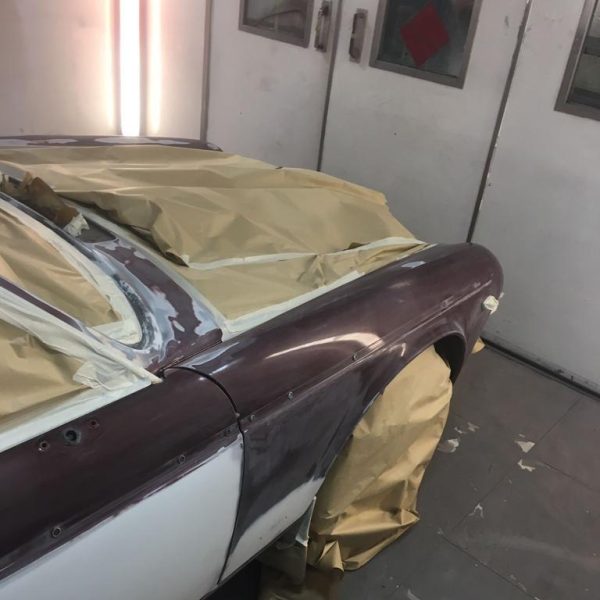
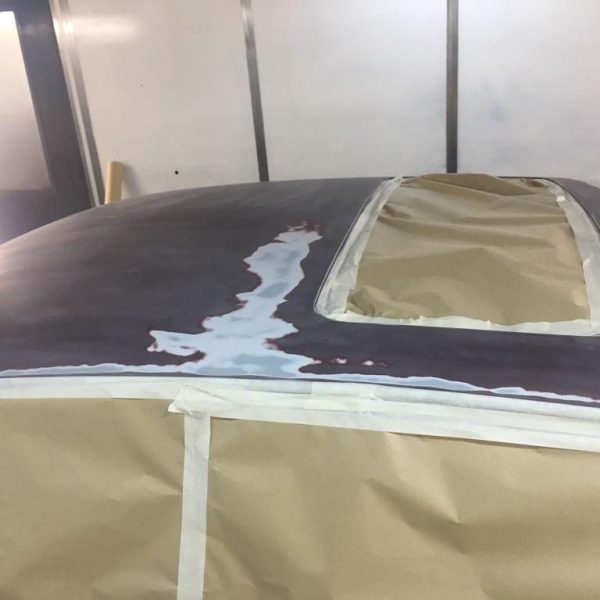
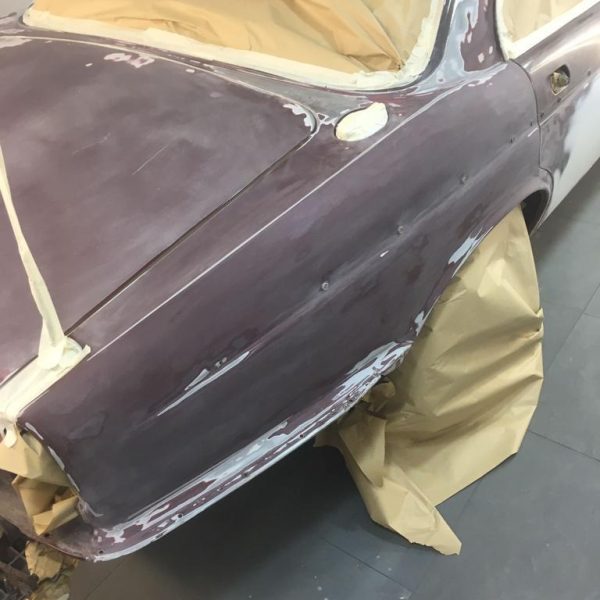
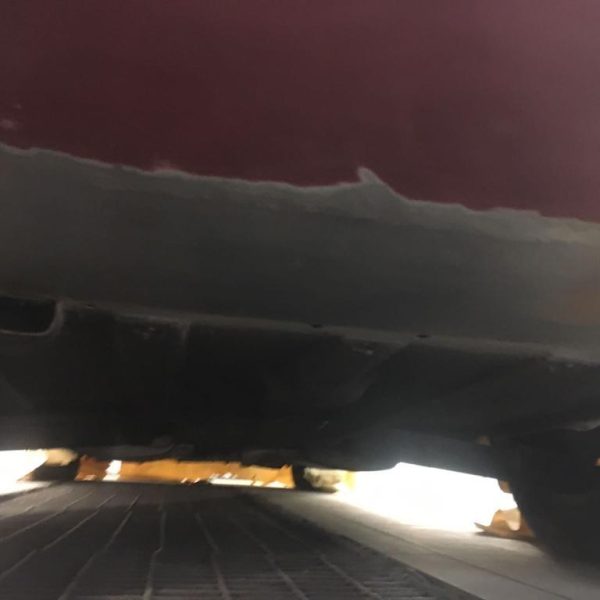
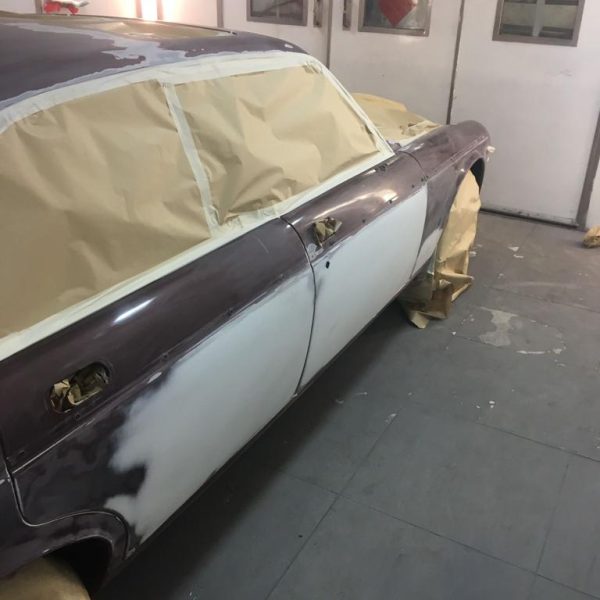
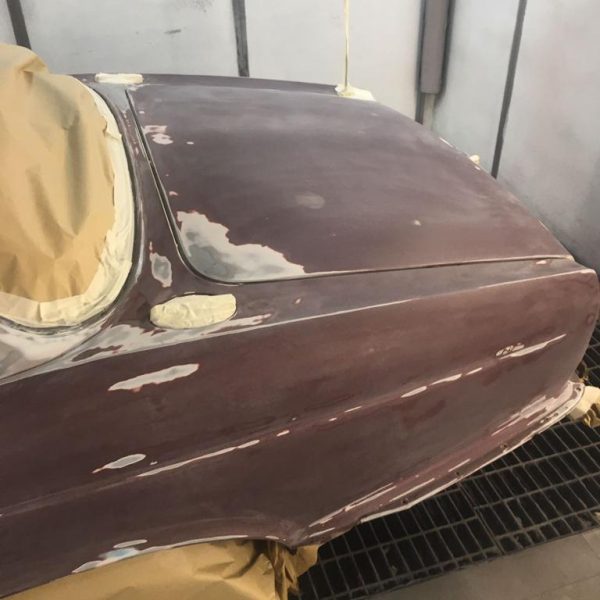
This may be the first time you have seen our 1989 Daimler Double Six. The car has in fact been with us, in storage, for a number of years now but recently we handed the car over to our good friends at Motts Body Repair in Colchester to push forward with the body restoration of this beautiful machine.
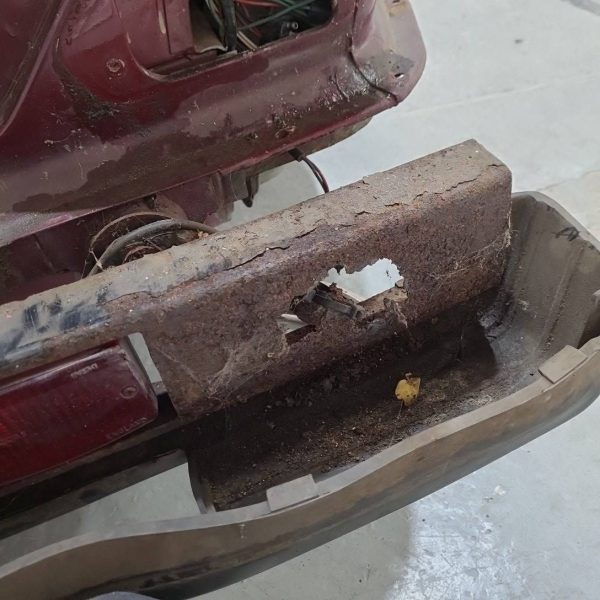
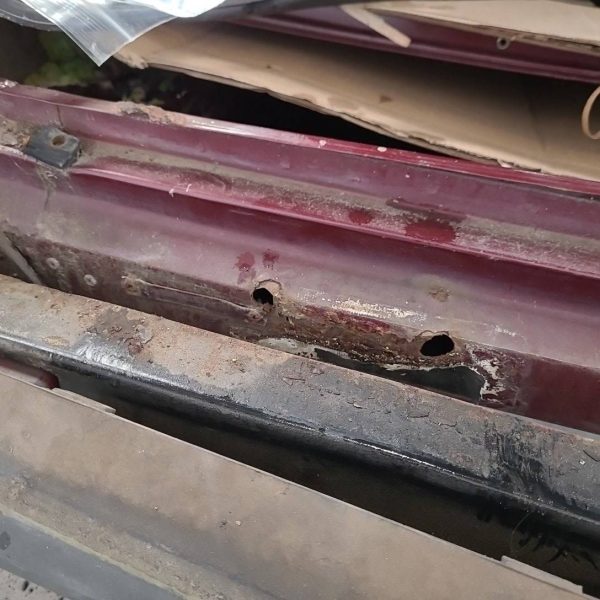
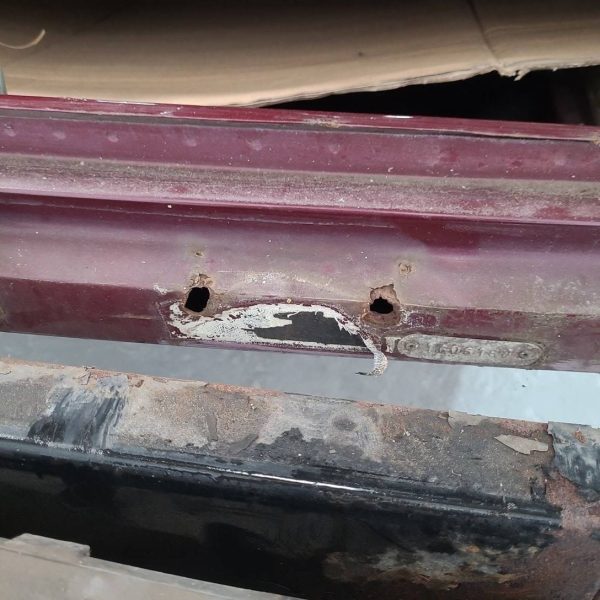
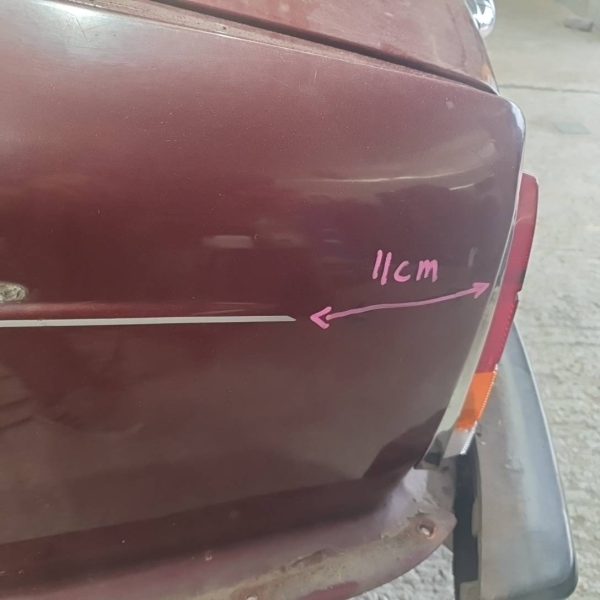

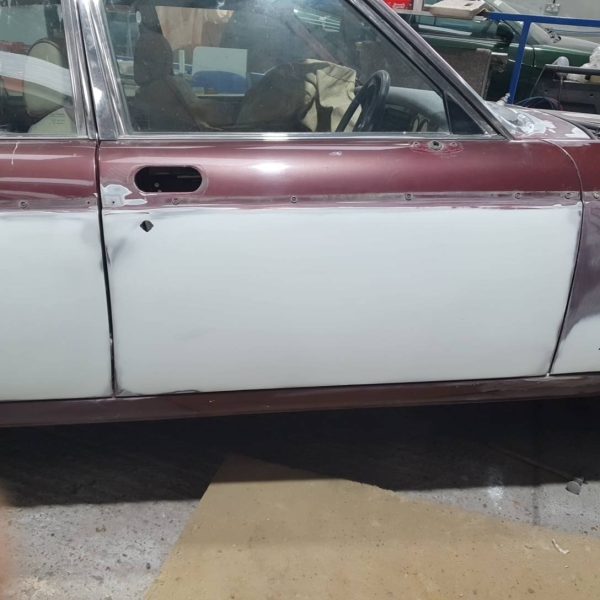
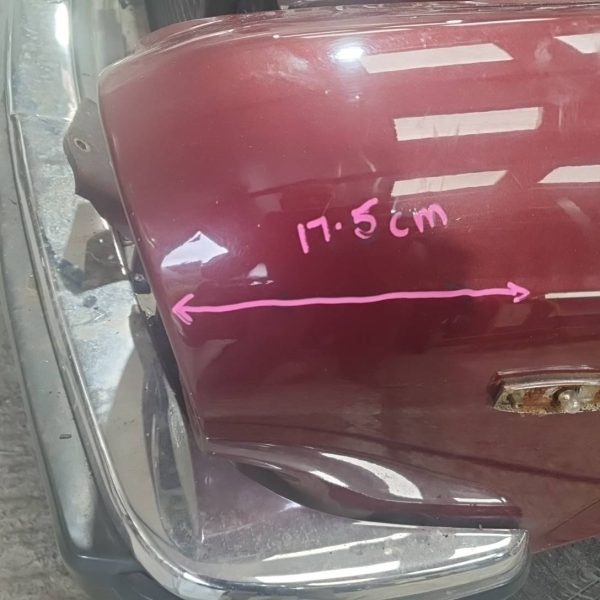
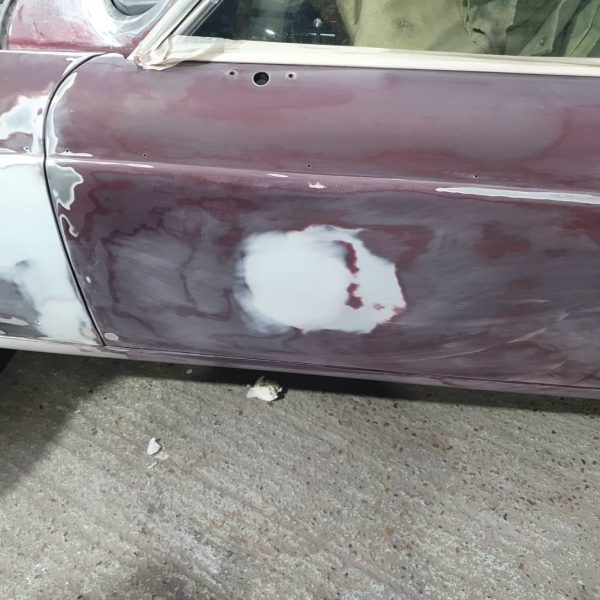
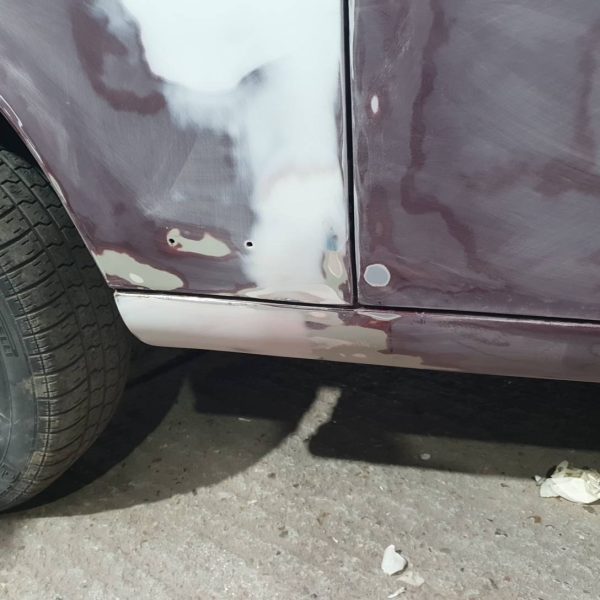
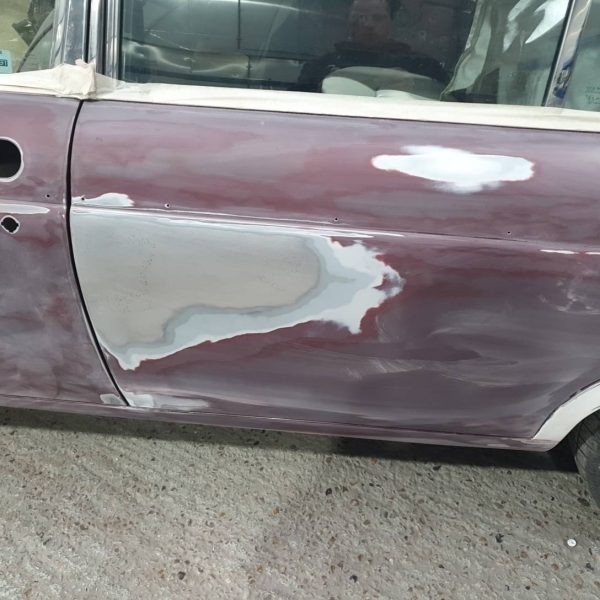
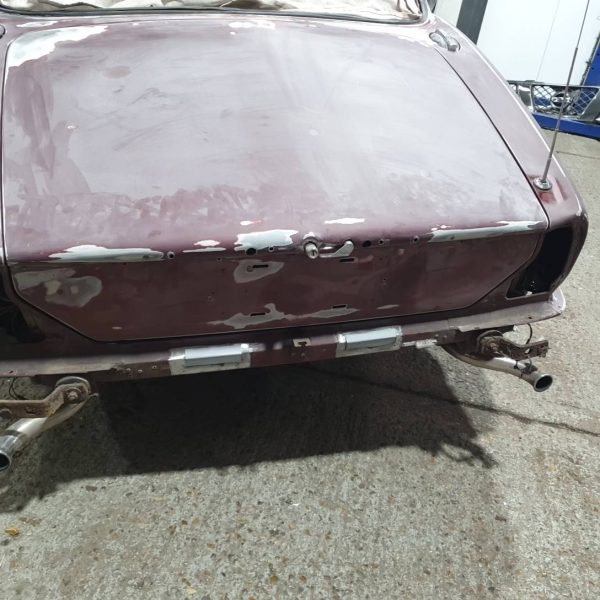
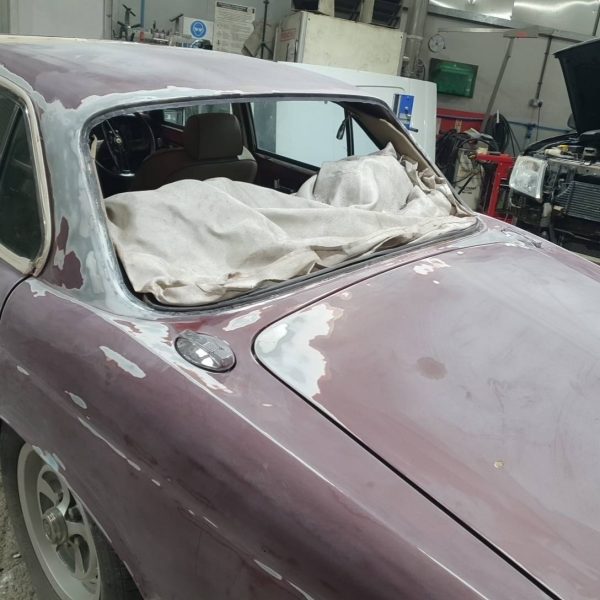
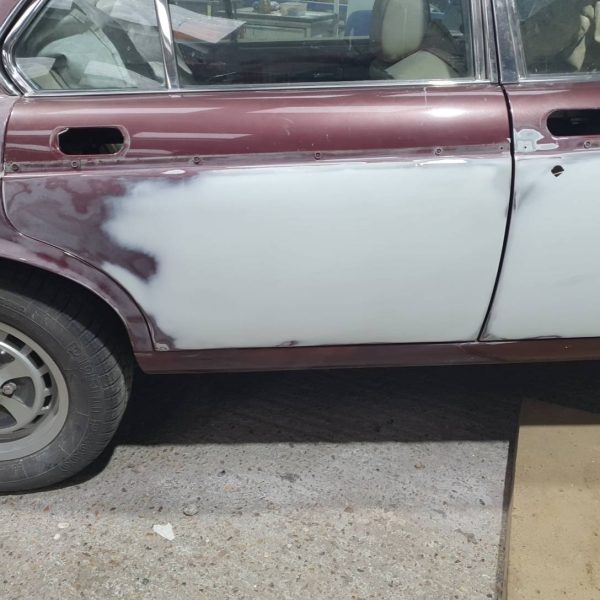

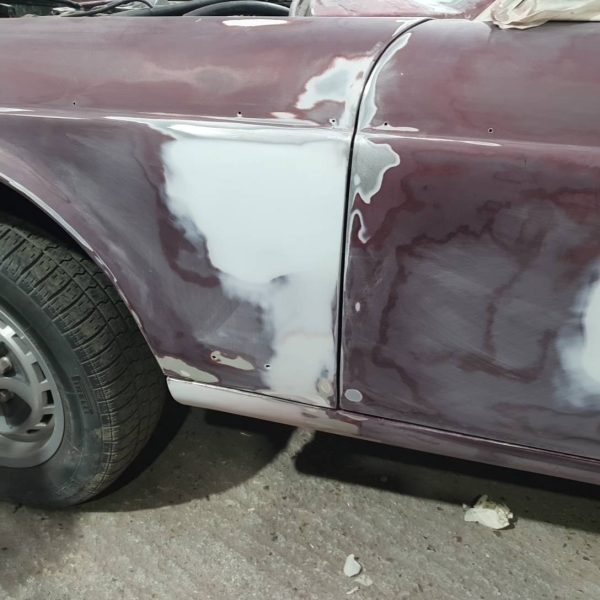

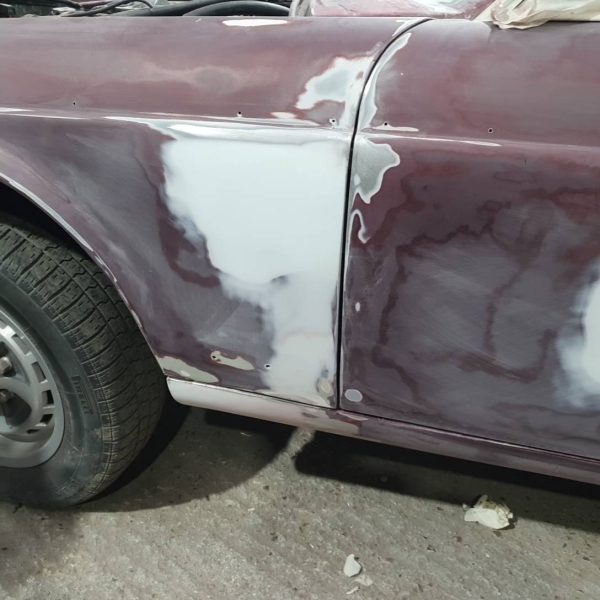

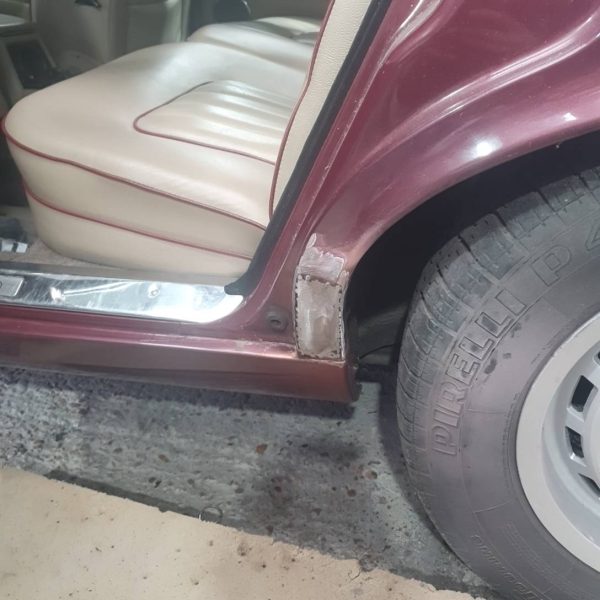
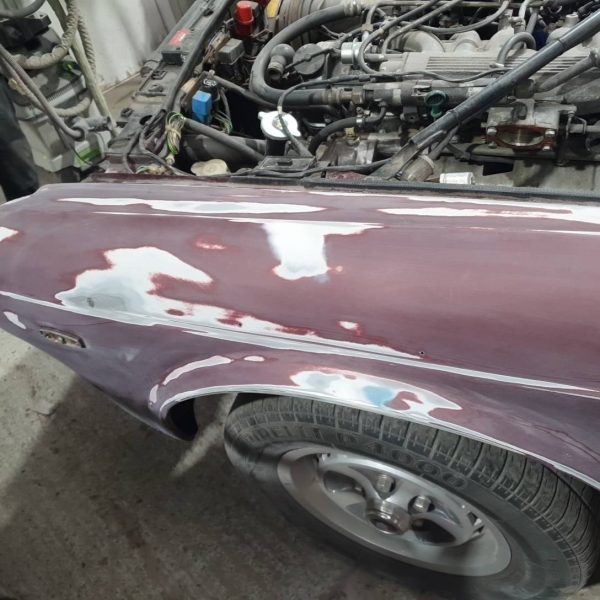
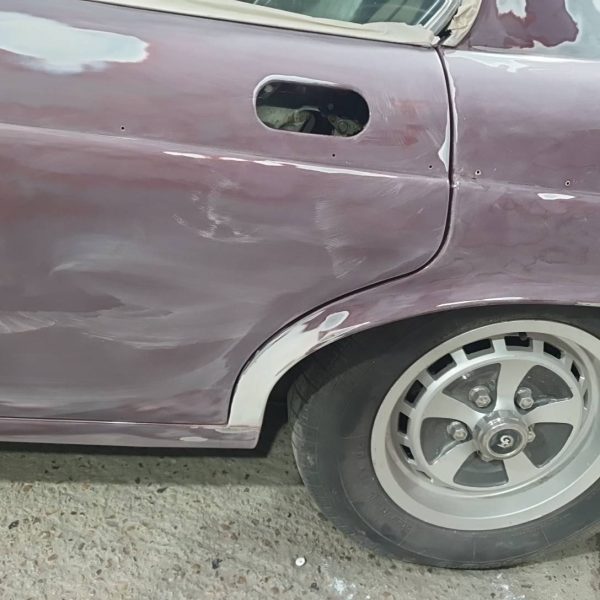
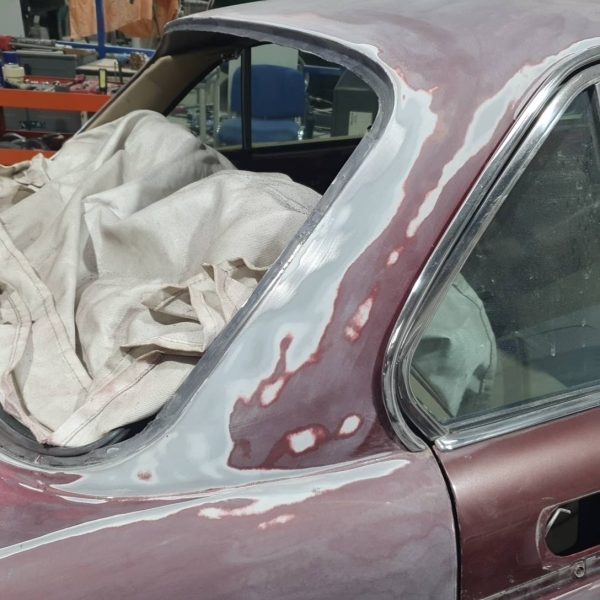
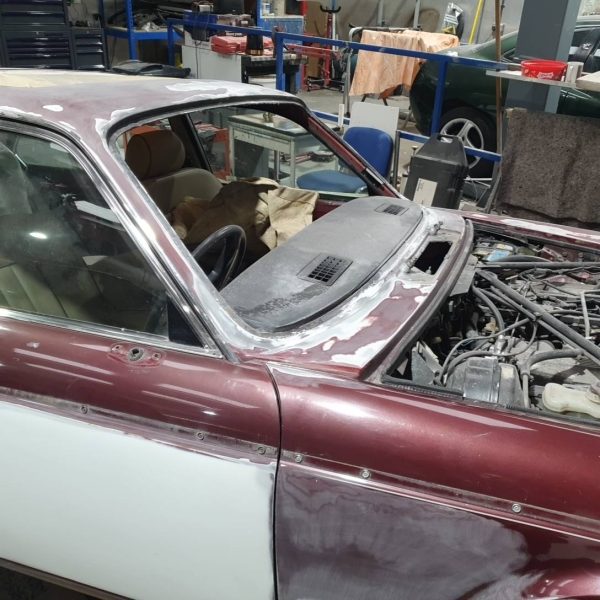
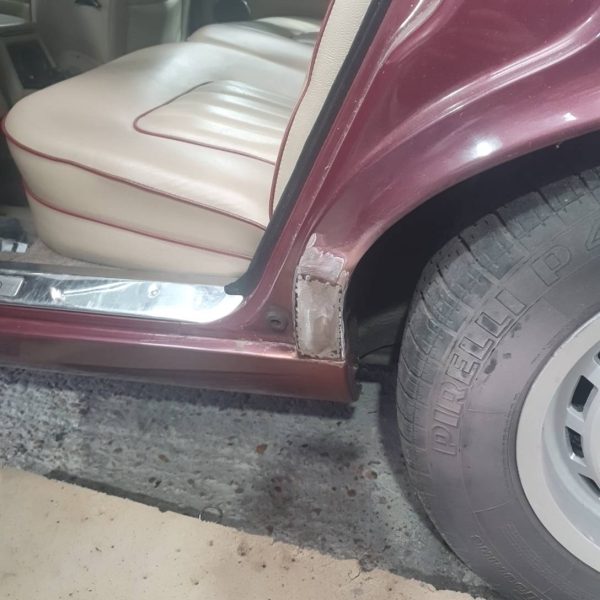
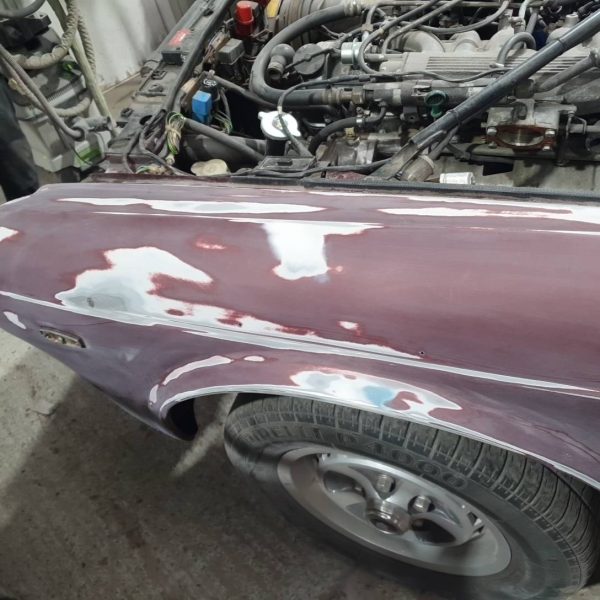
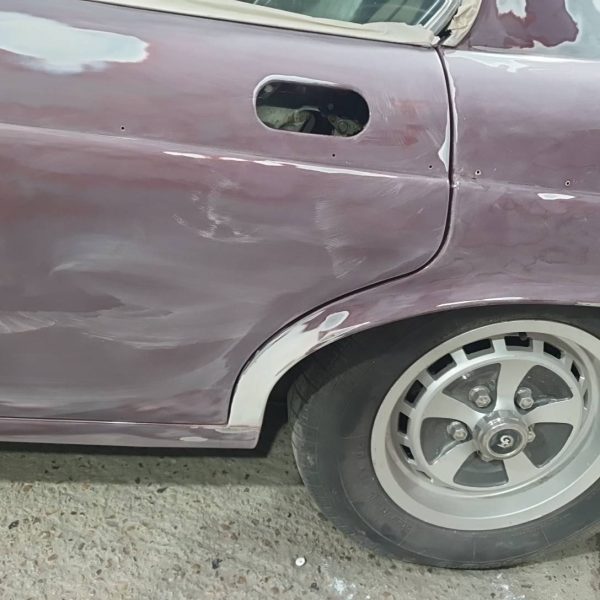

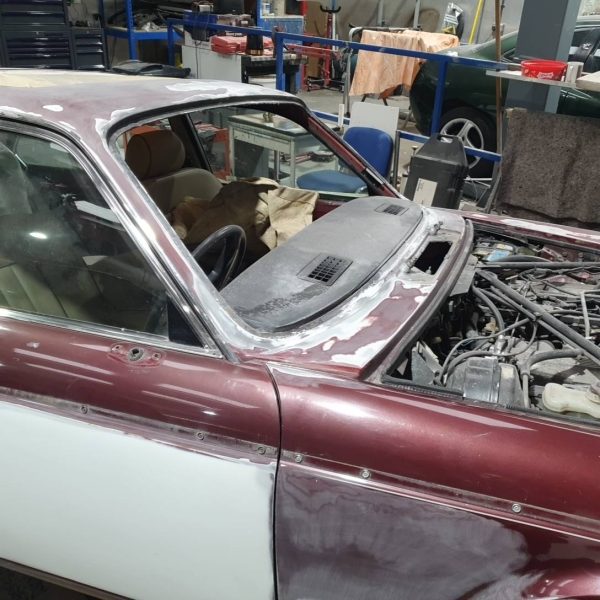
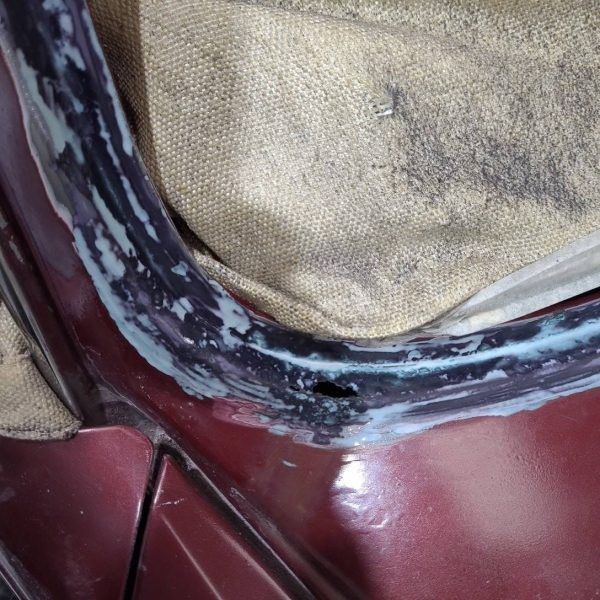
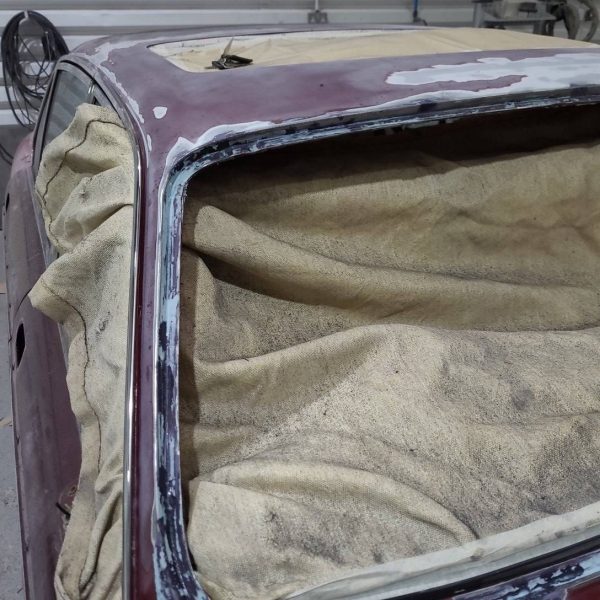
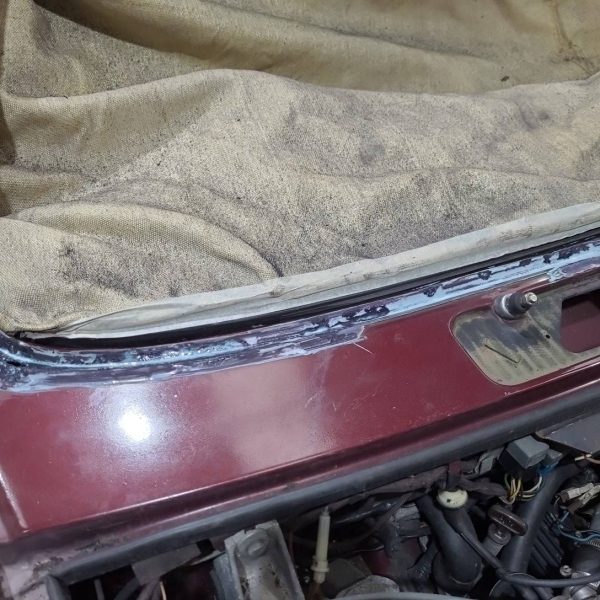
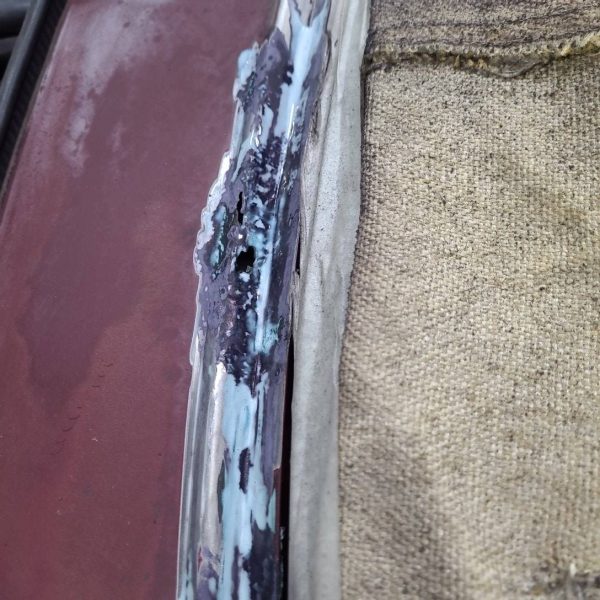
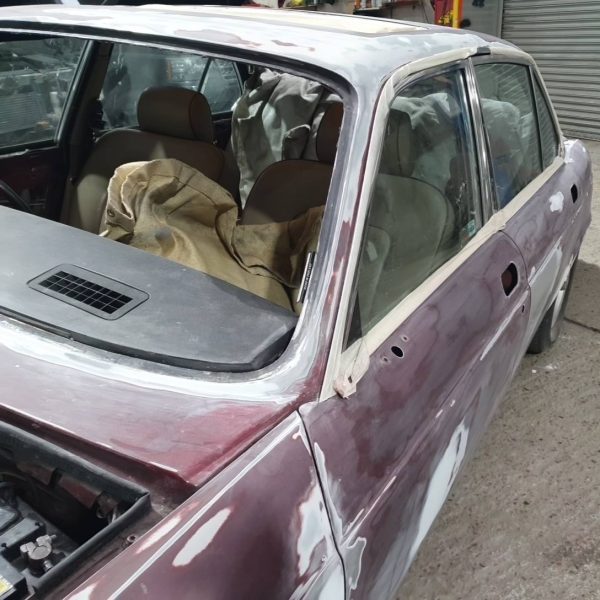
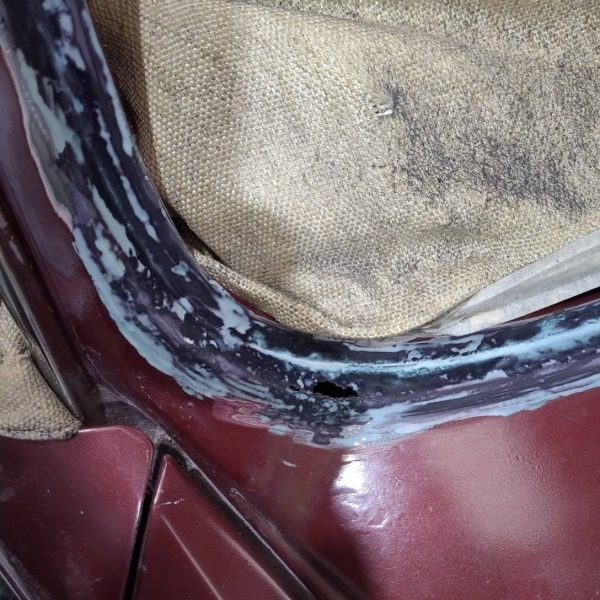
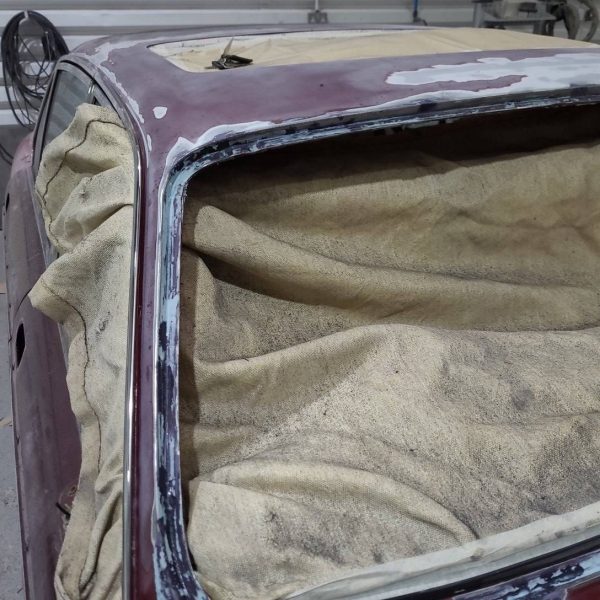
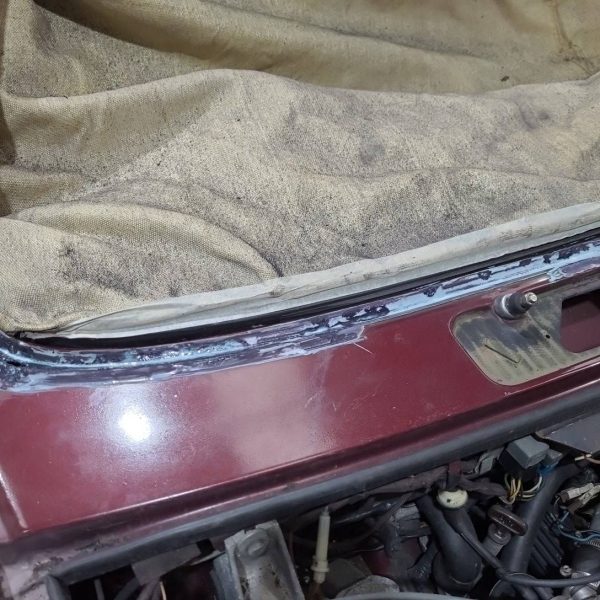
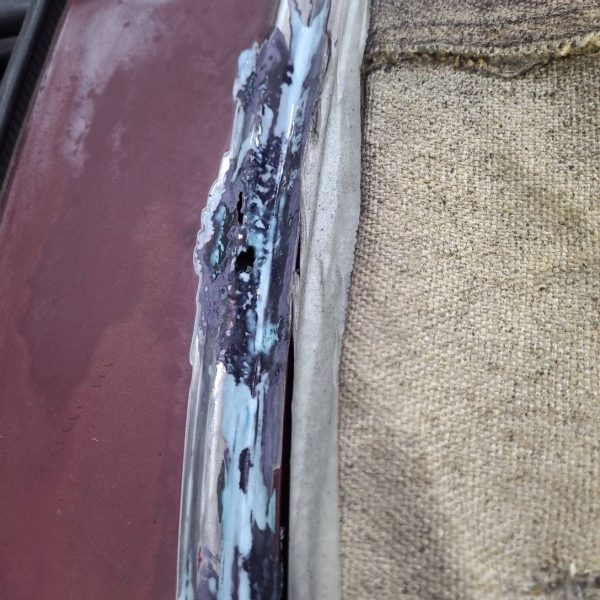
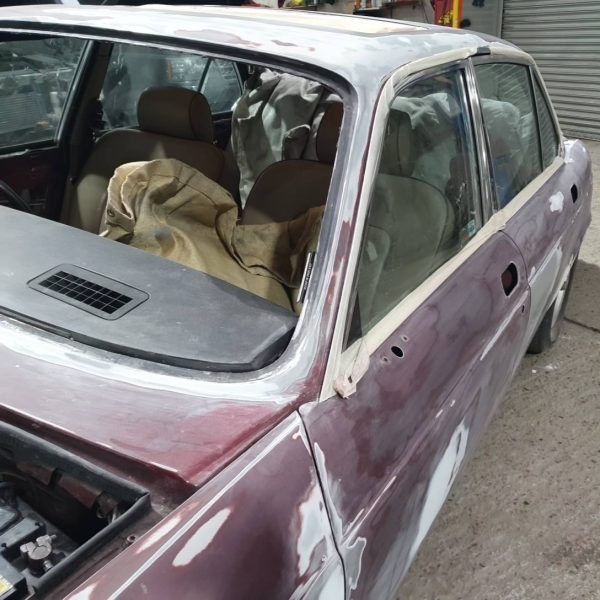
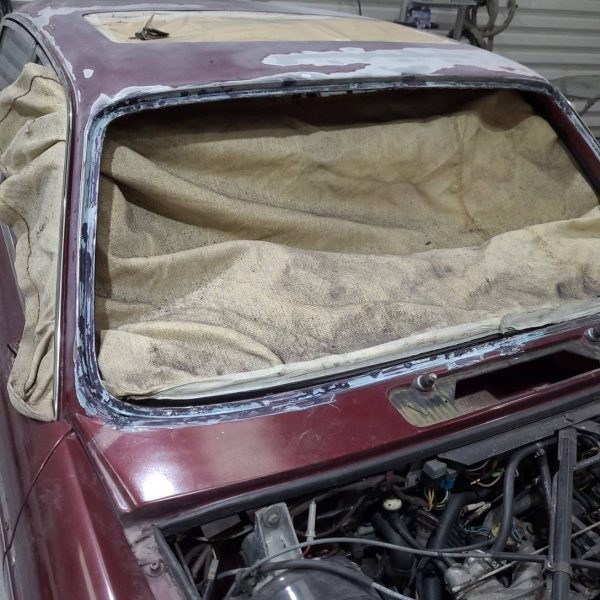

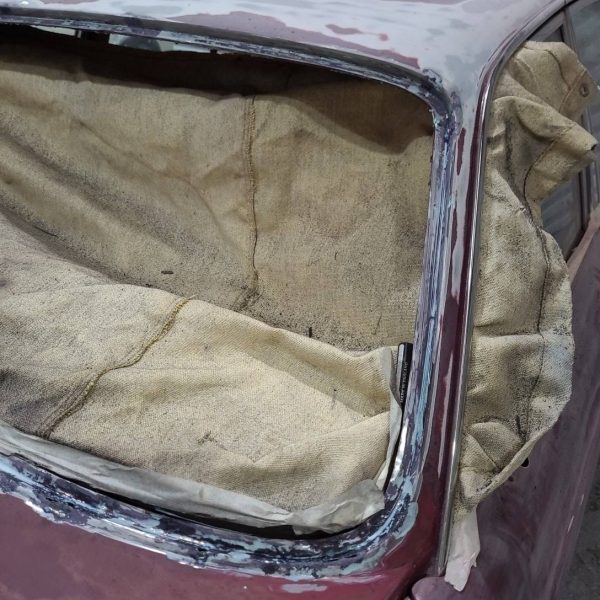
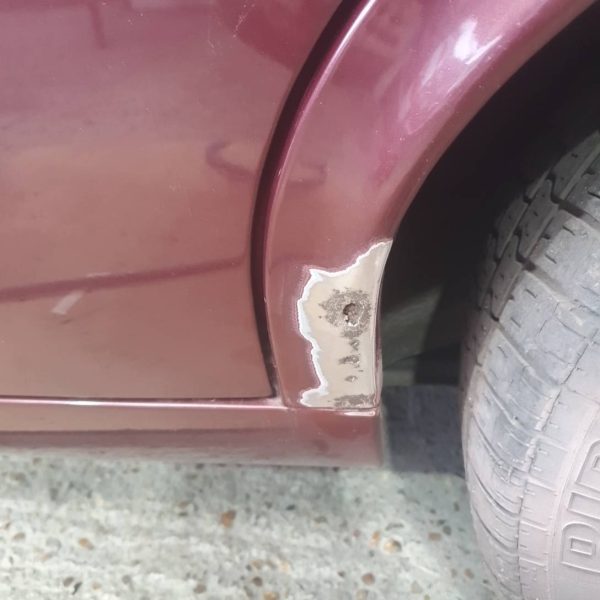
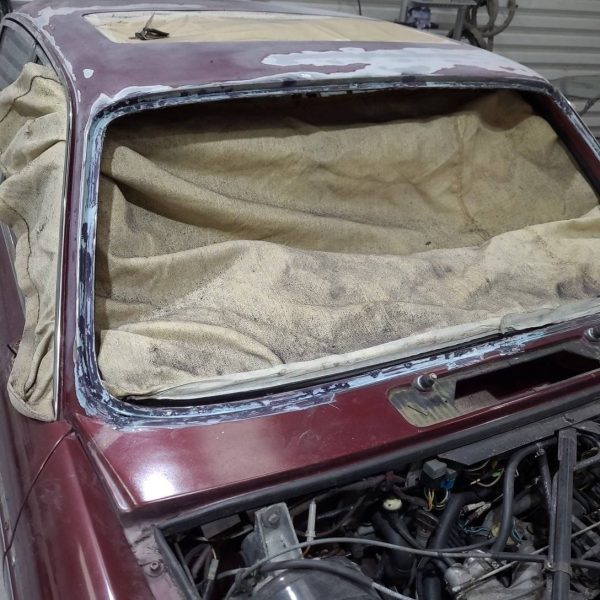
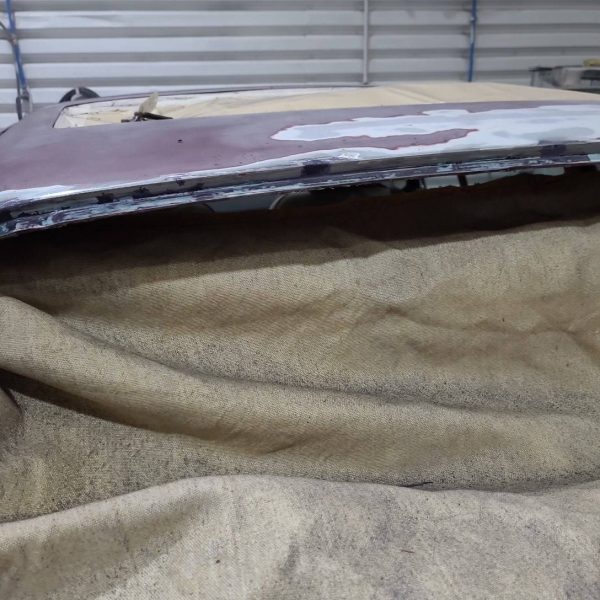
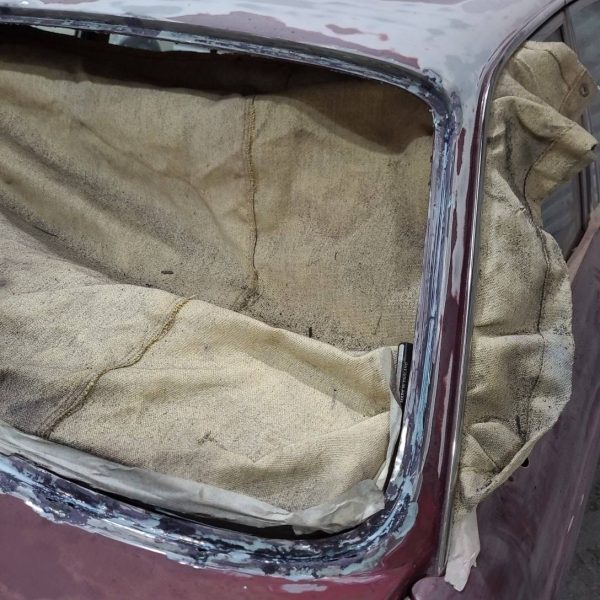
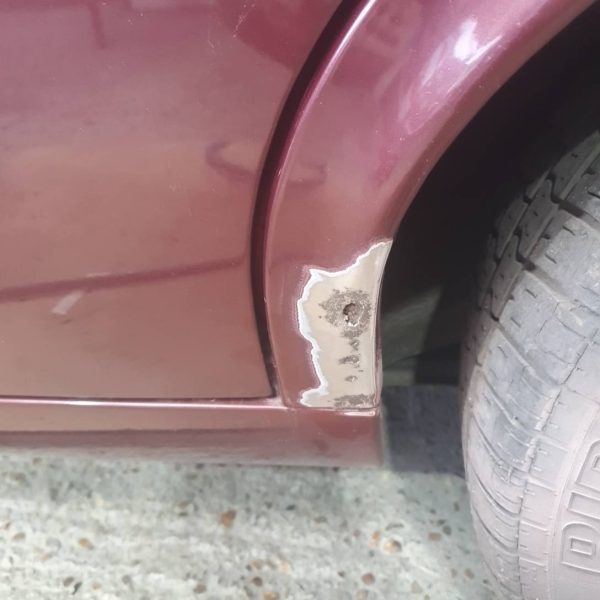
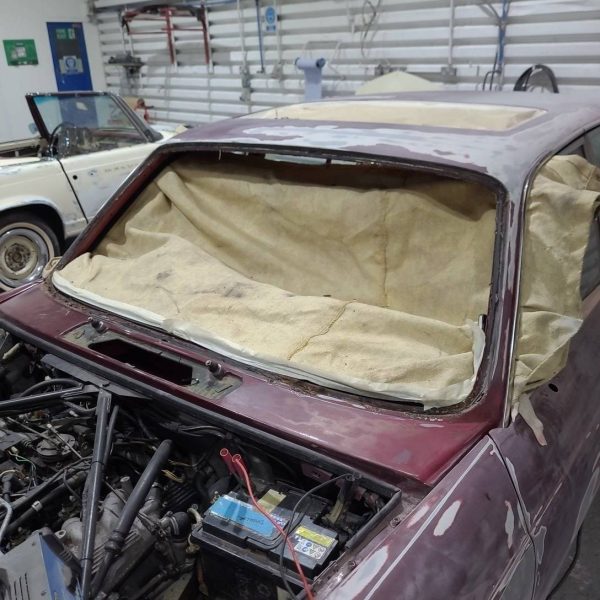
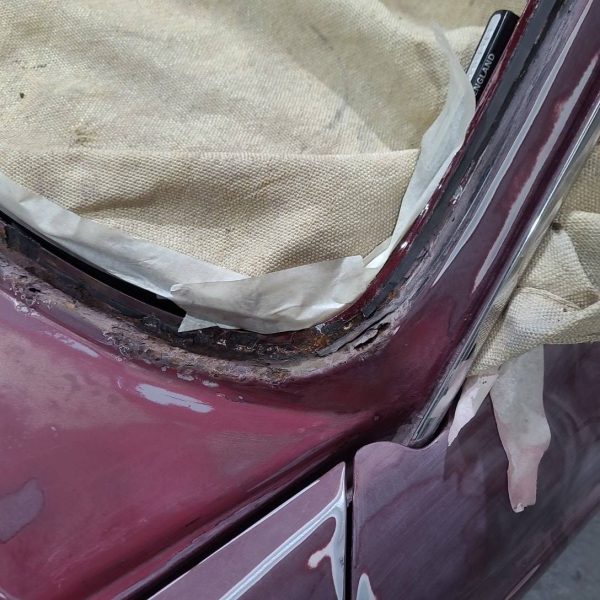
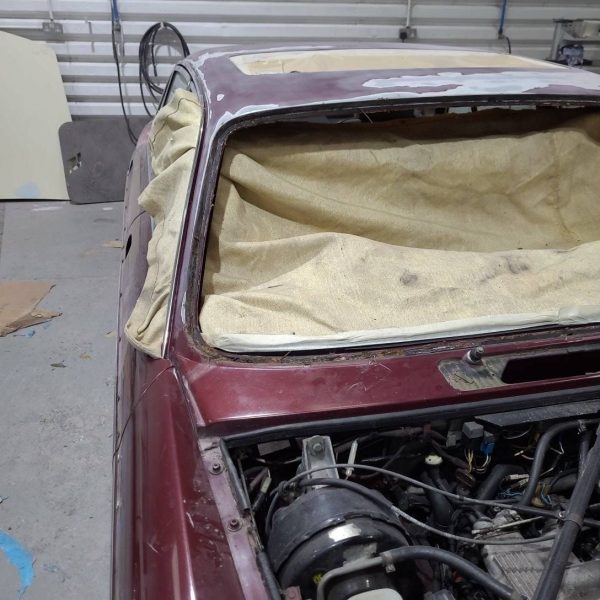
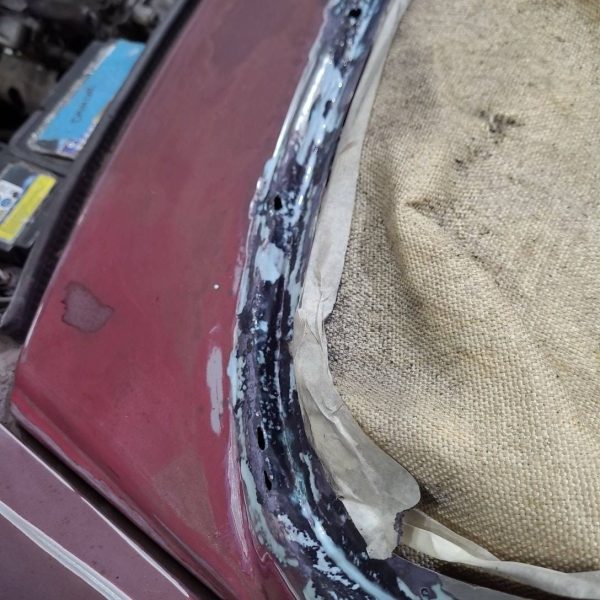
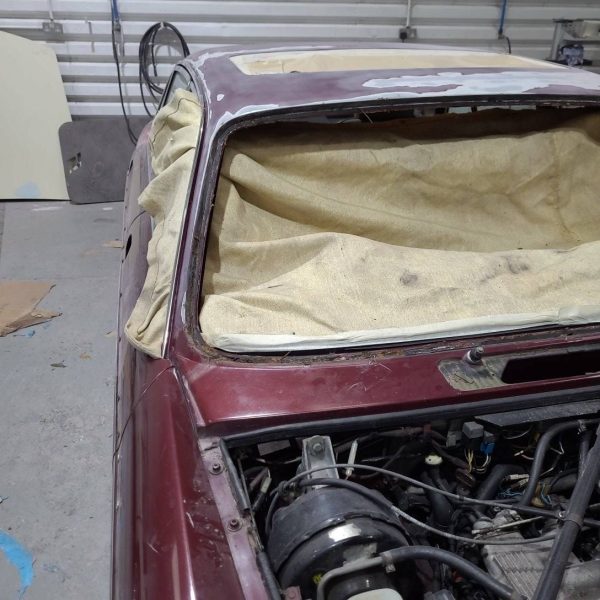
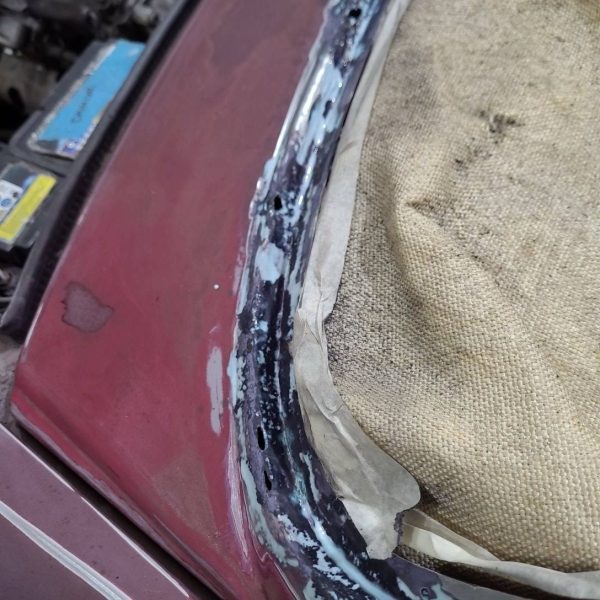
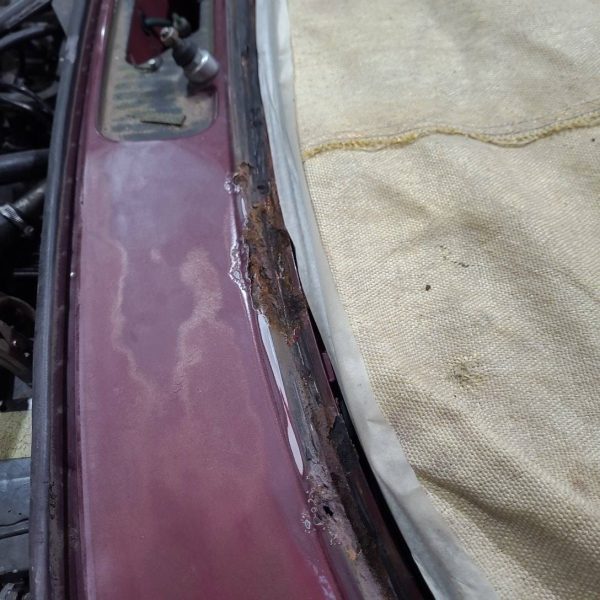
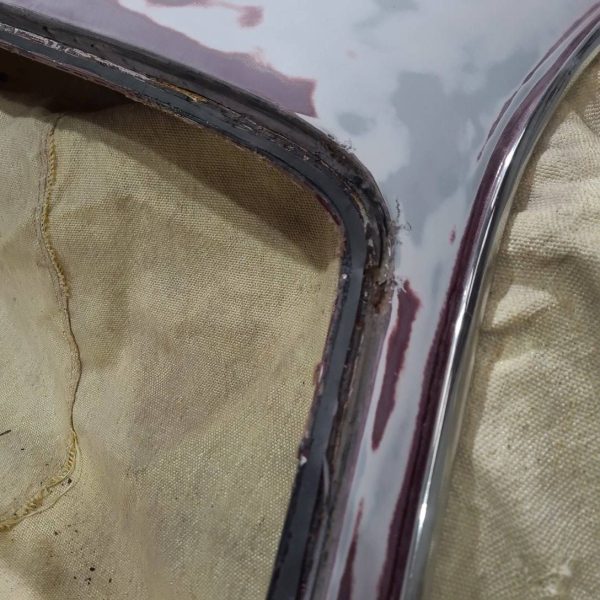
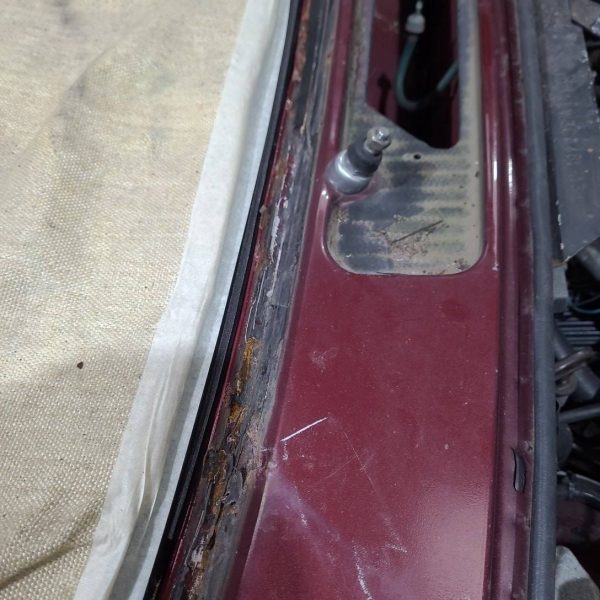
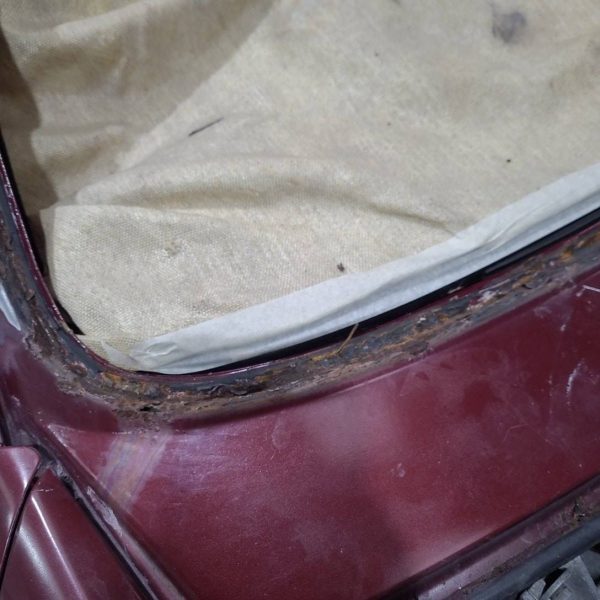
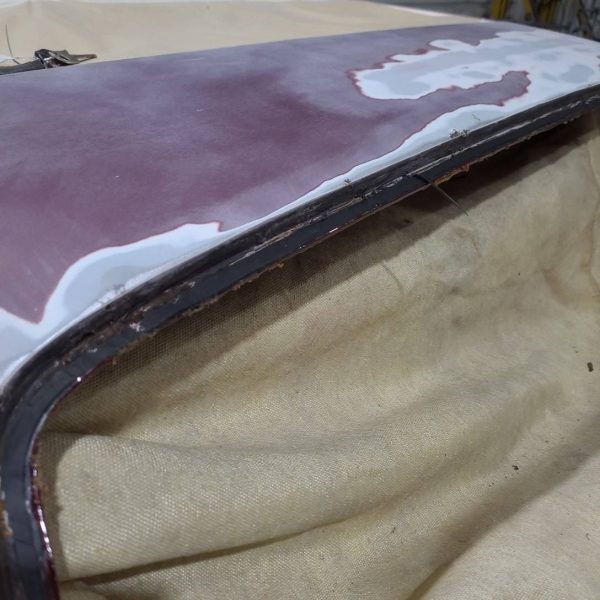
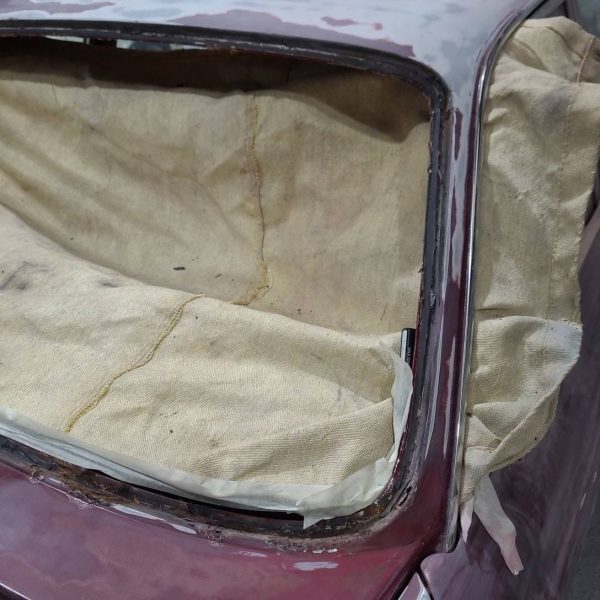
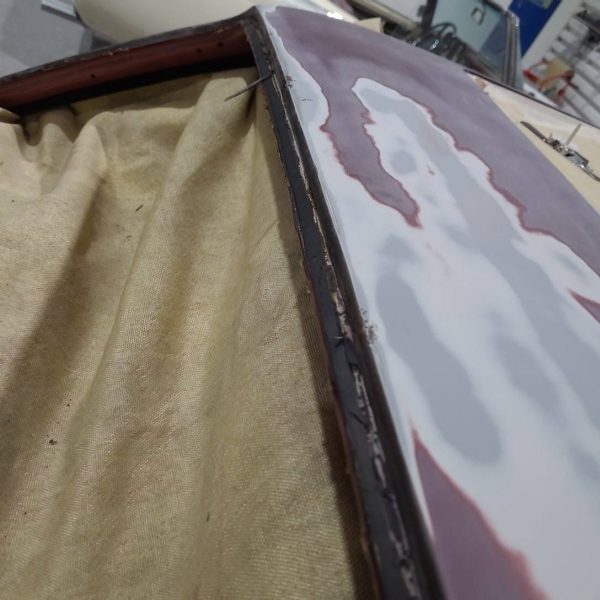
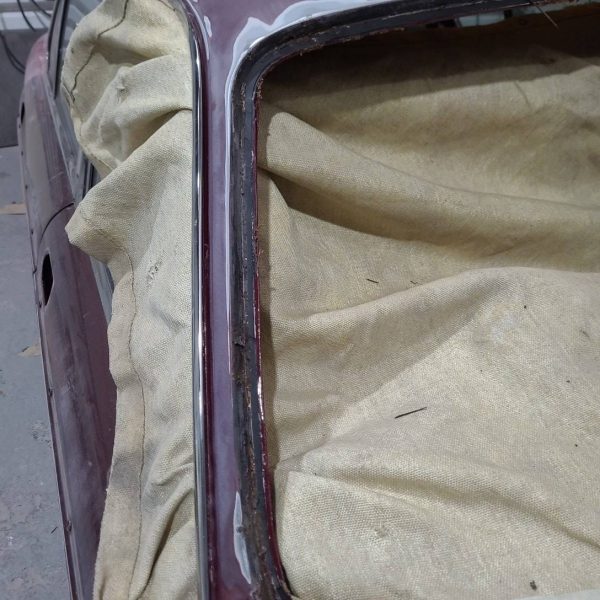
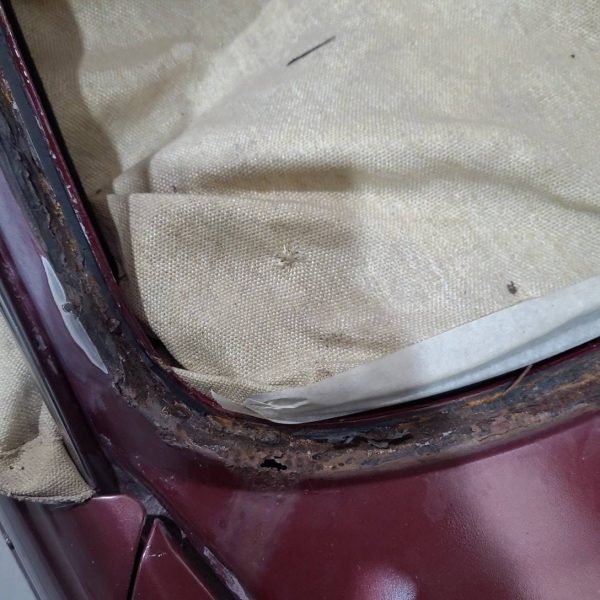
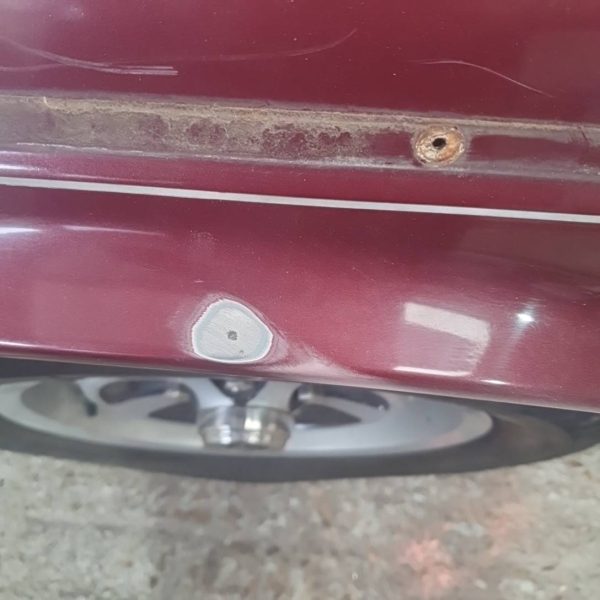
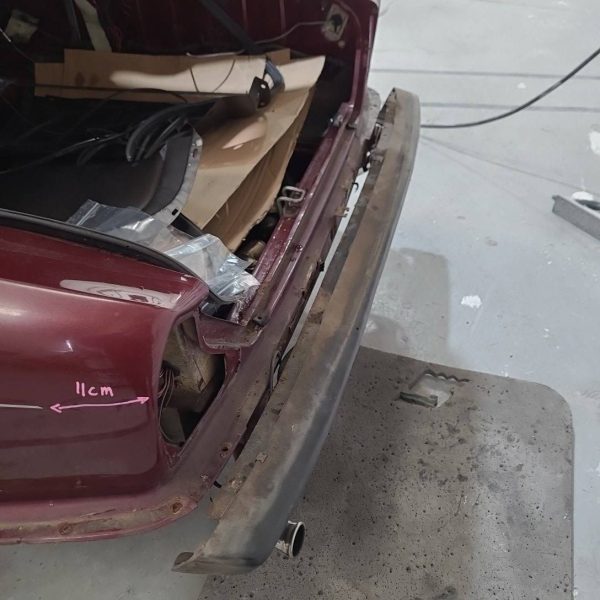
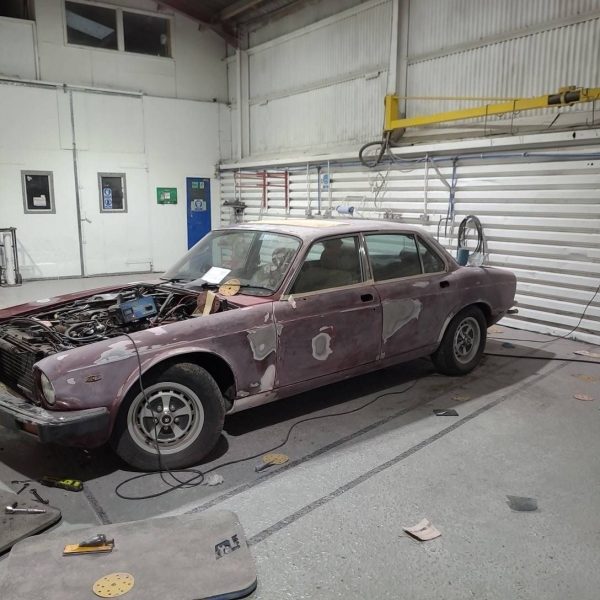
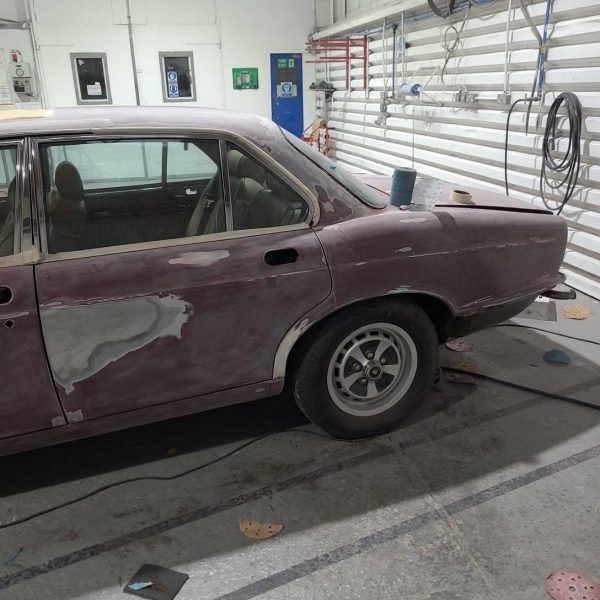

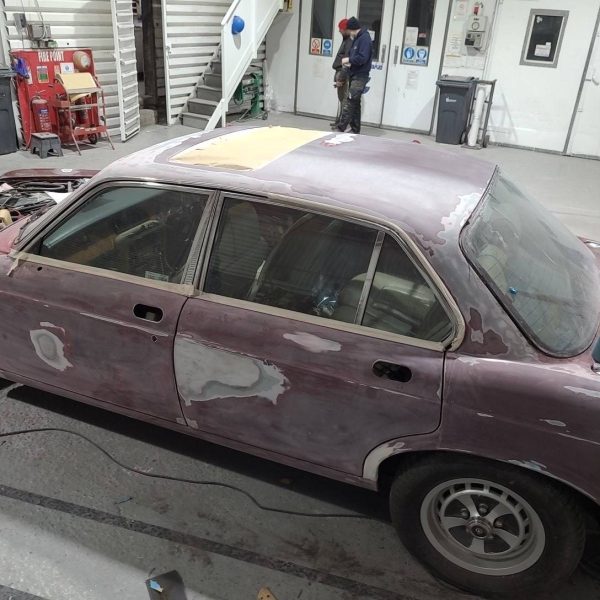
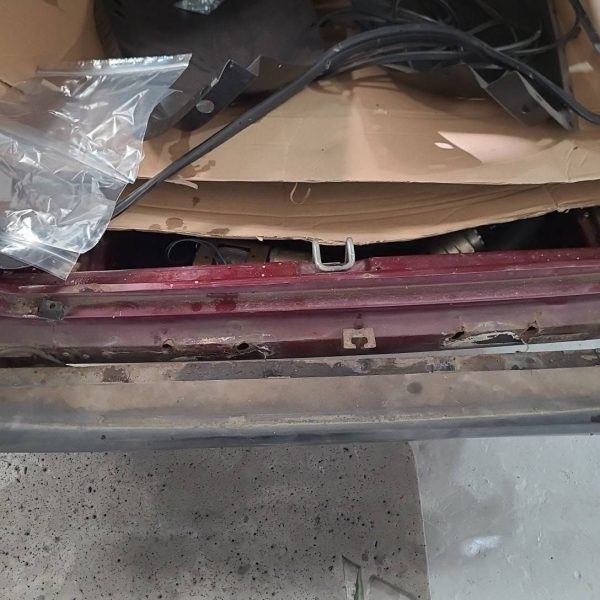
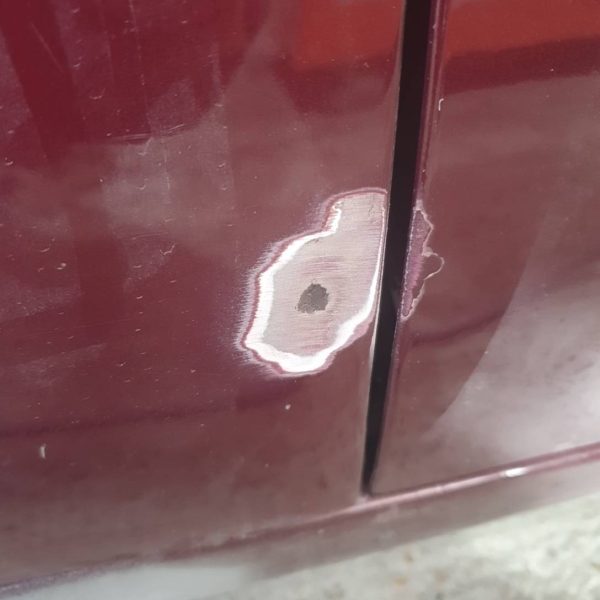
This will eventually return to us for a full recommission before we decide what we will do with the car.
If you would like to see our Double Six as a future competition car then do let us know.
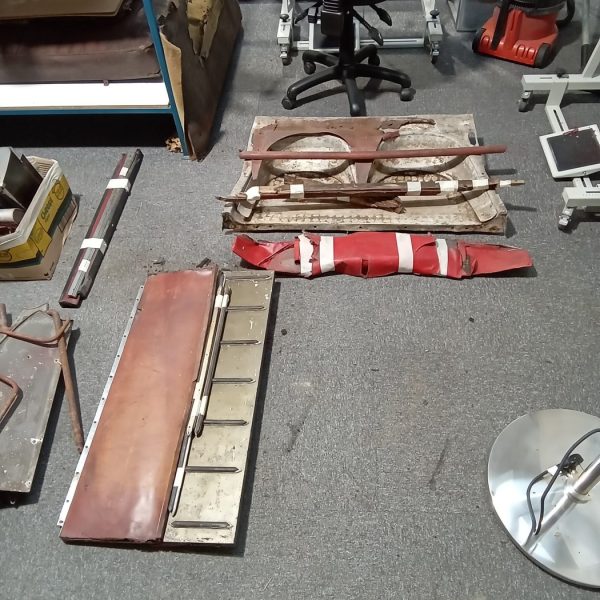
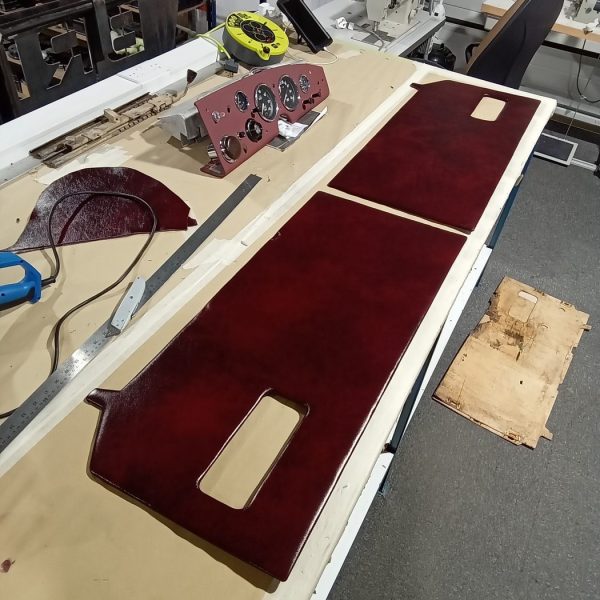
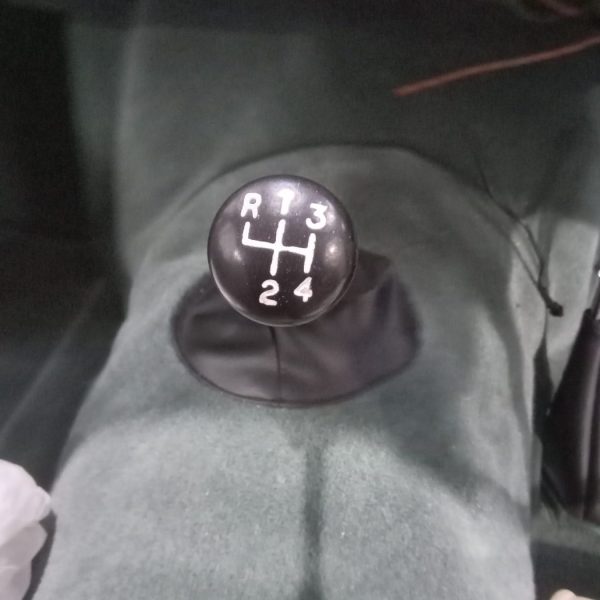
…and they say men can’t multitask! Brian’s day has been spent on 1953 Aston Martin’s today. He started off sorting out all interior parts, labelling up, bagging up all of the small parts of the Aston martin DB2/4 Drophead Coupe.
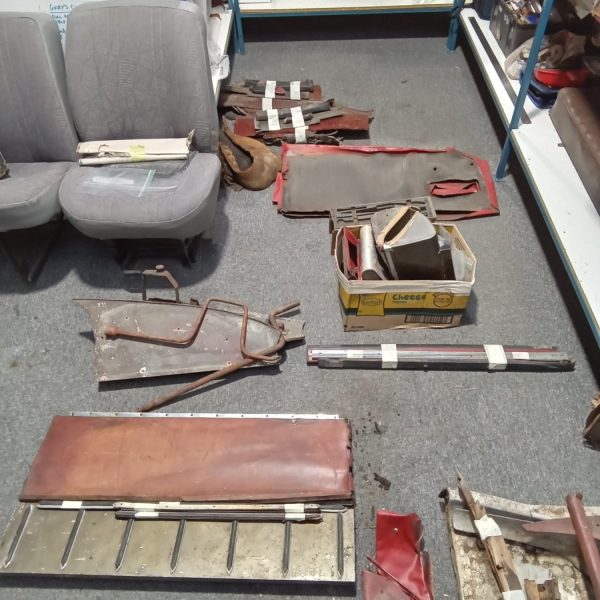
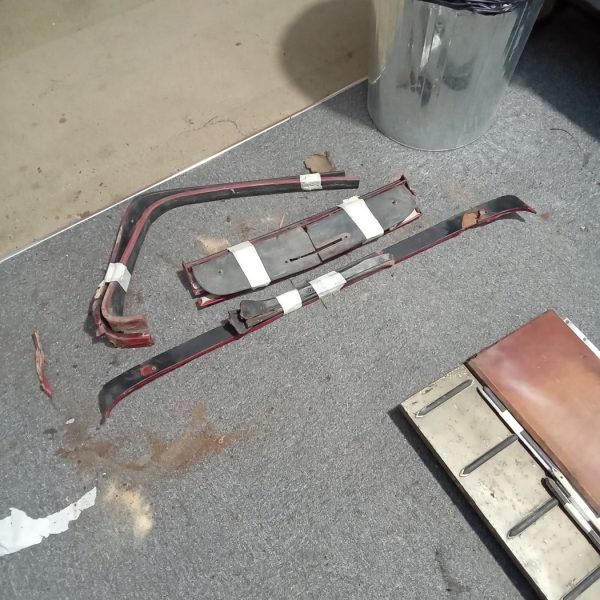
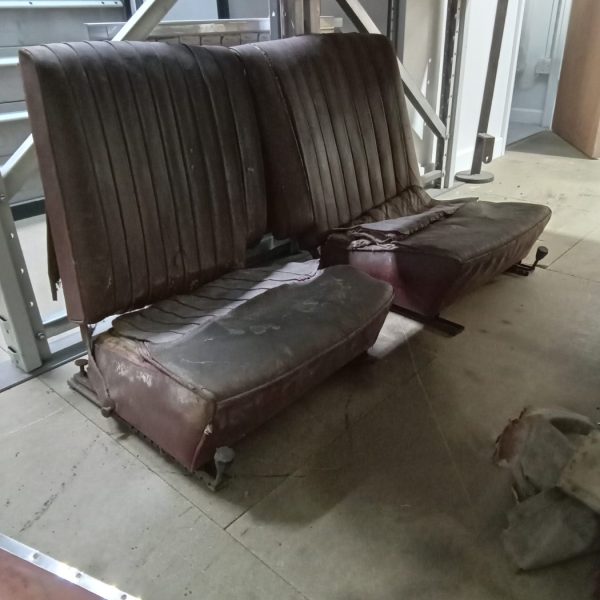
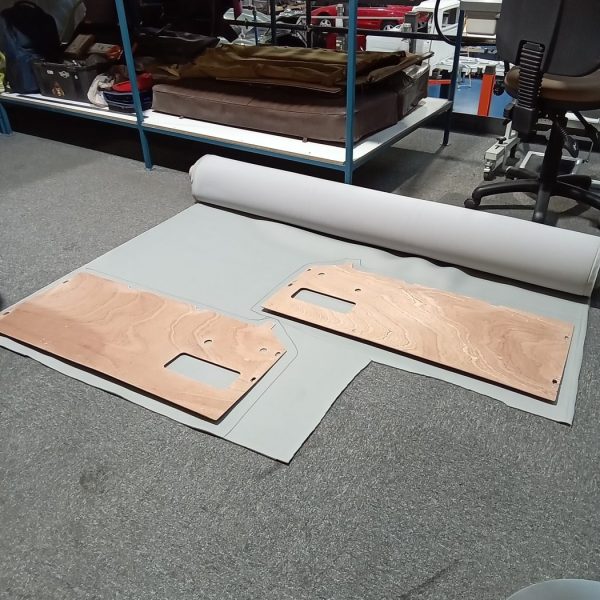
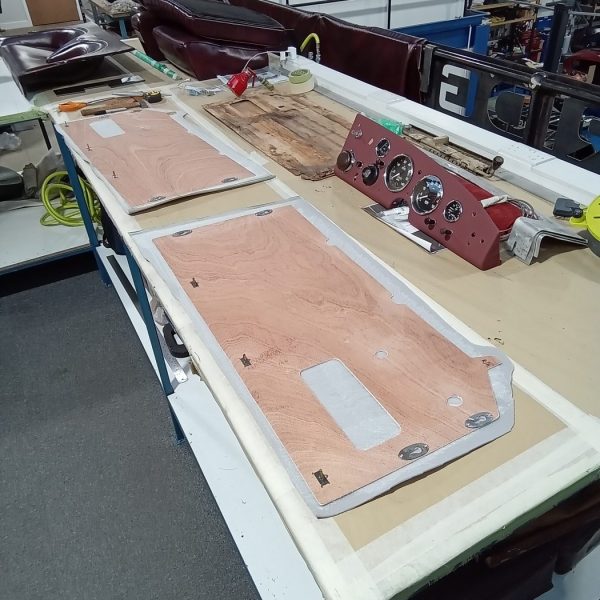
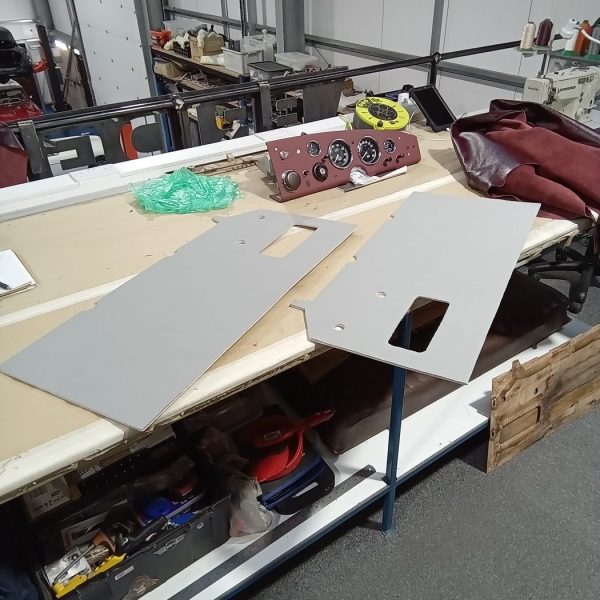
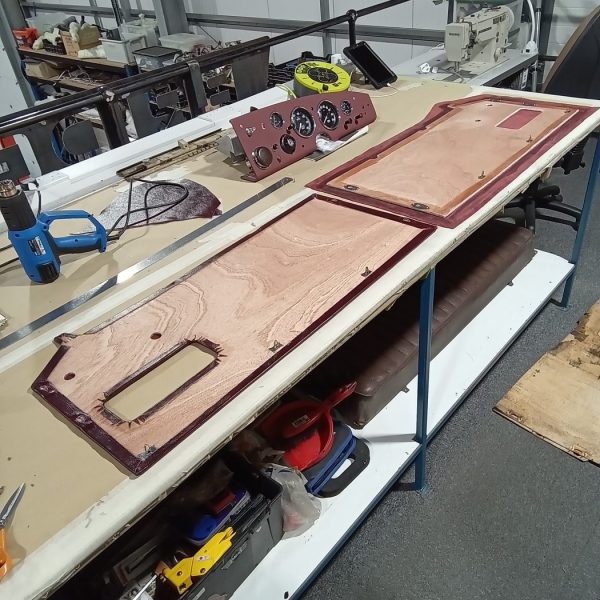
Swiftly followed by work on our other 1953 Aston Martin DB2/4. He’s a little further forward with the interior of this one as he fits new clips to the door panels, cutting out foam, gluing the foam to boards, trimming the foam to size, cutting and gluing the leather to the door panels, gluing and trimming onto the back of the boards as well as turning the leather around the pocket holes.
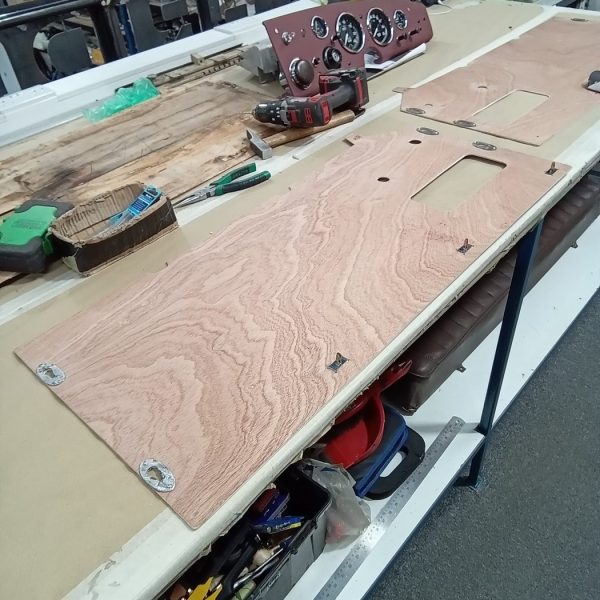
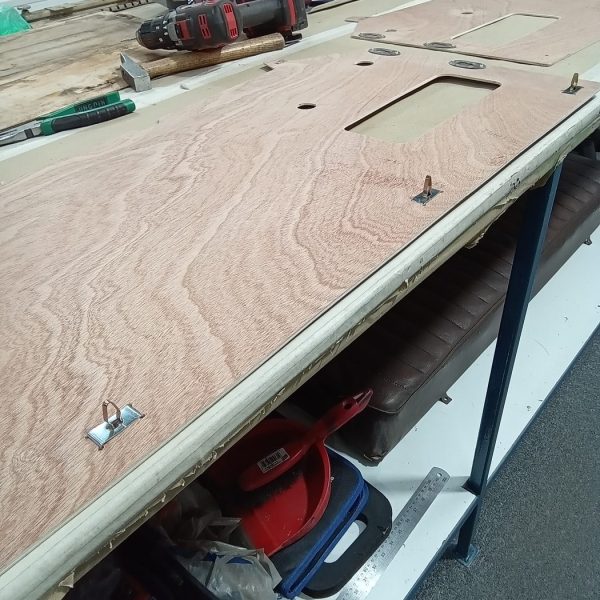
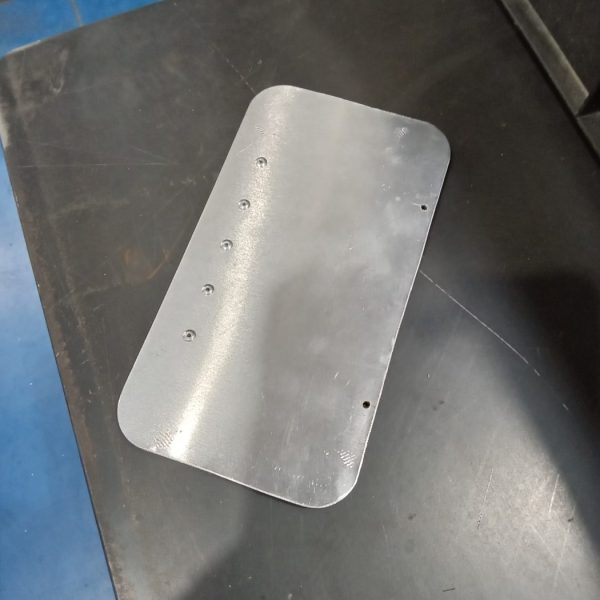
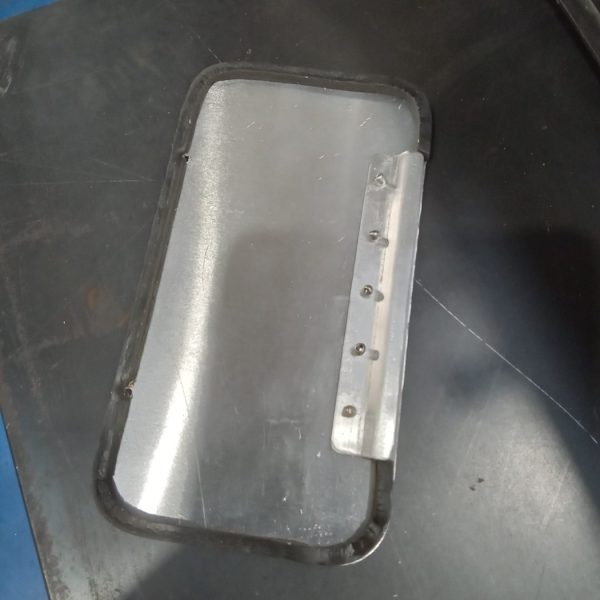
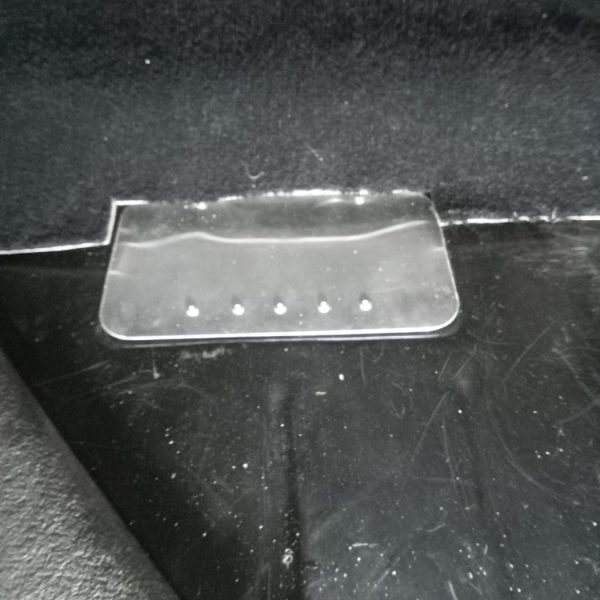
Rob is back into the swing of things now as he makes and fits an access plate to cover the fuel tank sender unit.
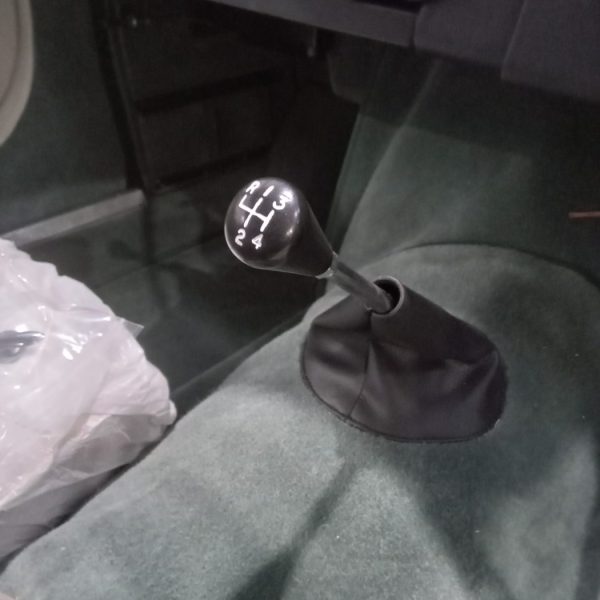
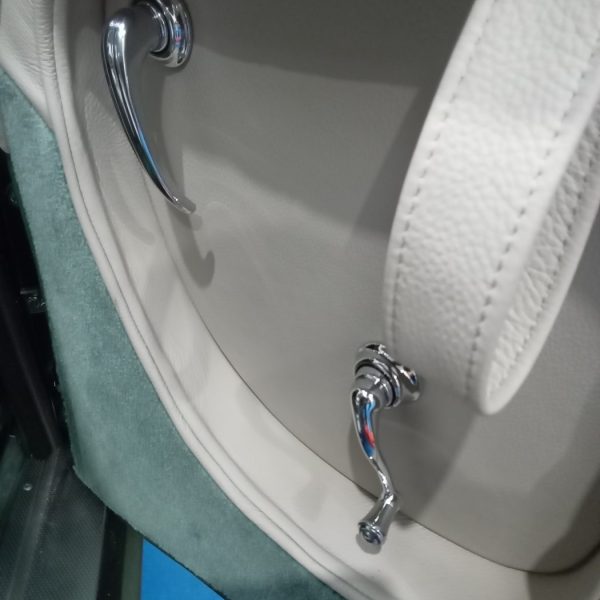
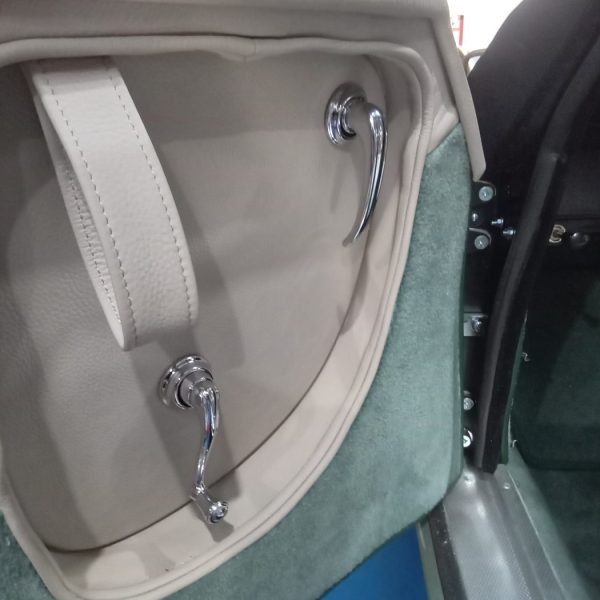
He has fitted up the interior door handles to both doors, repainted motif on gear knob and fitted to car.
The fuel tank breather pipe has been fitted to the tank and run out of boot floor.
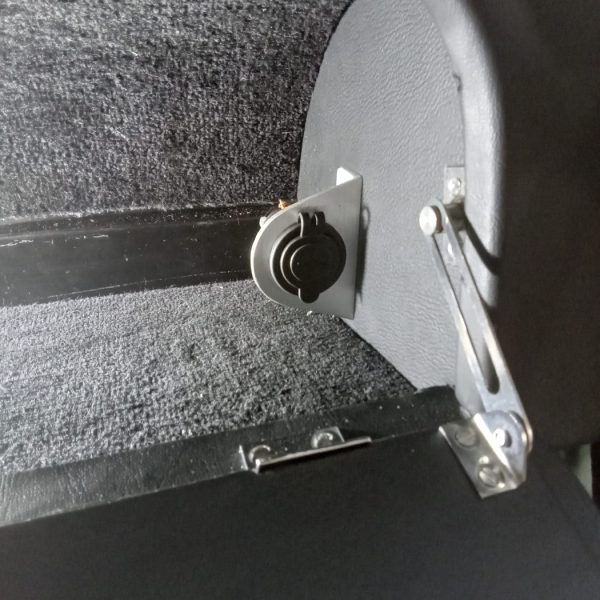
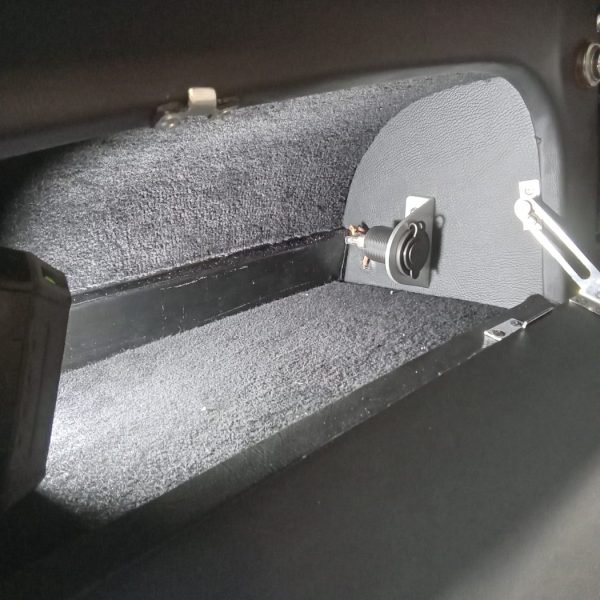
He’s made up and fitted an alloy bracket to hold a new charging socket. Wire up and fit inside glove box.


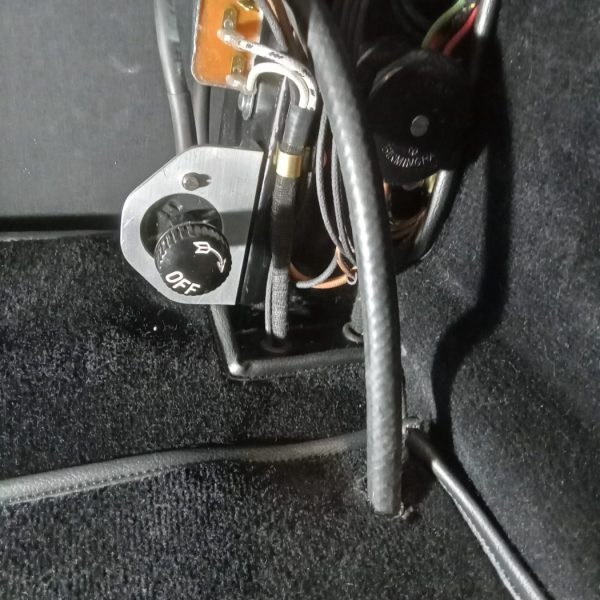
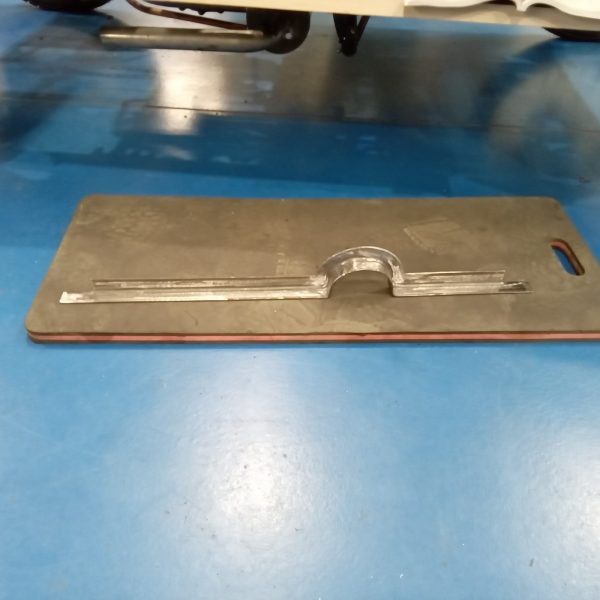
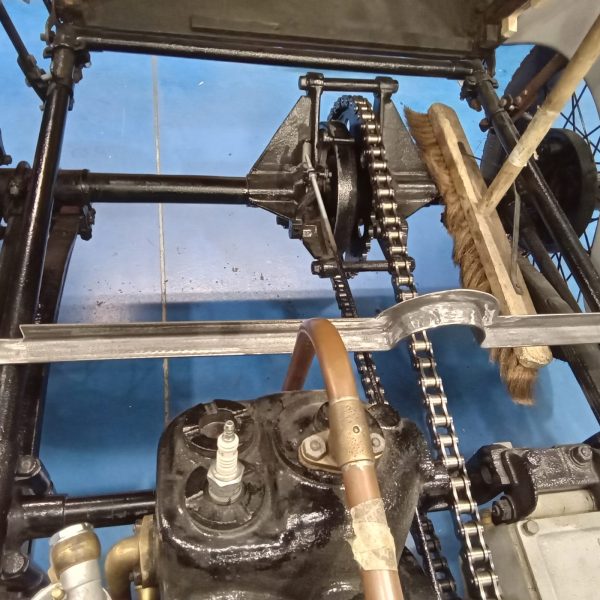
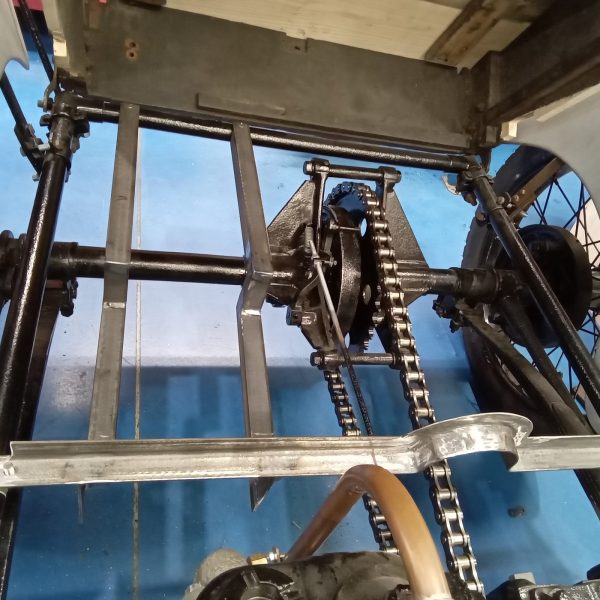
The battery box metal frame is almost complete and will eventually have an ash wood box for battery to sit in.
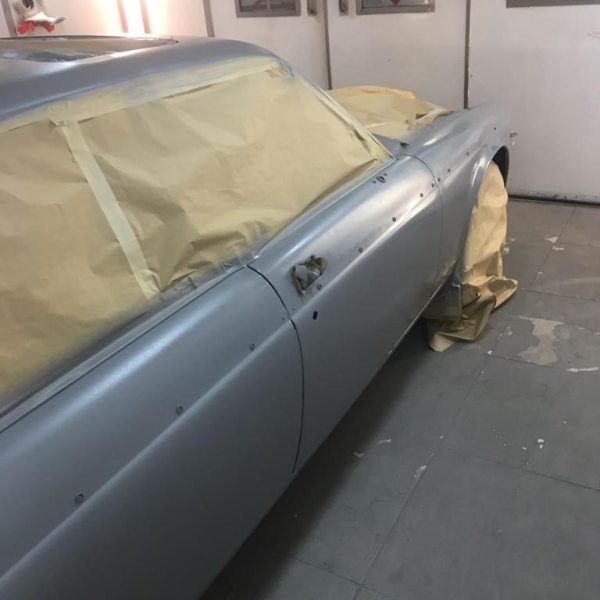
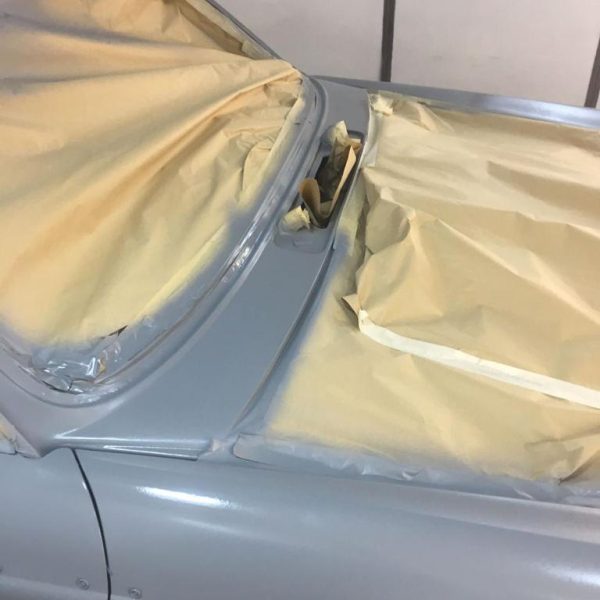
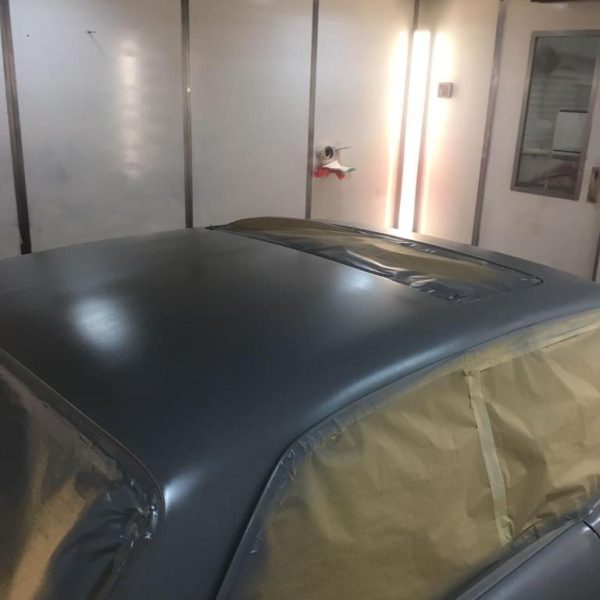
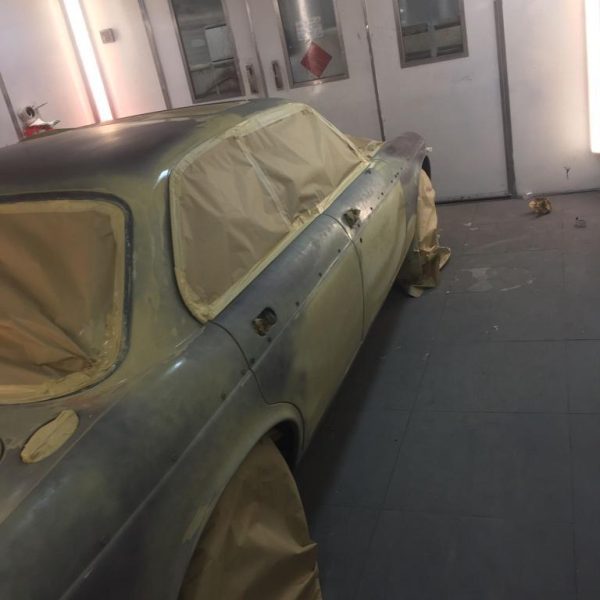
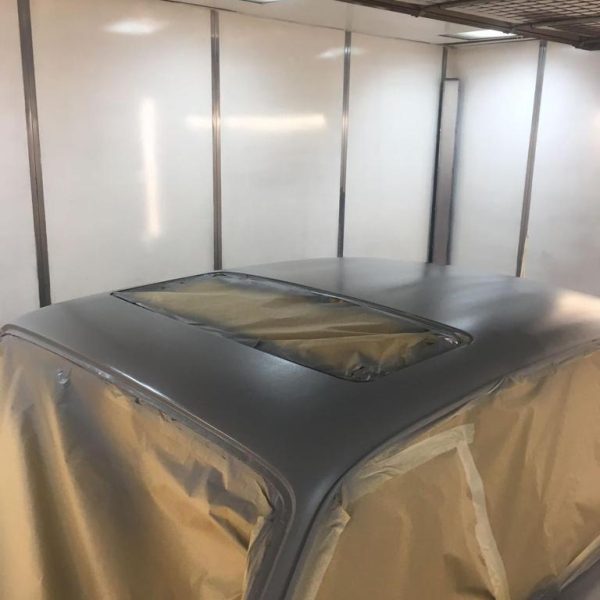
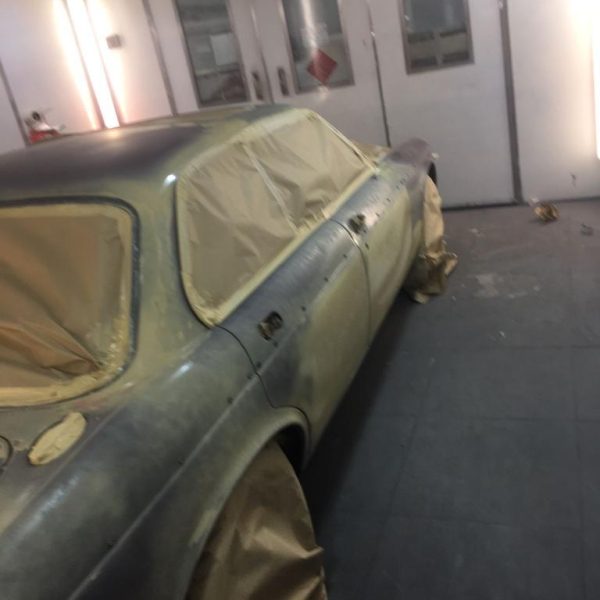
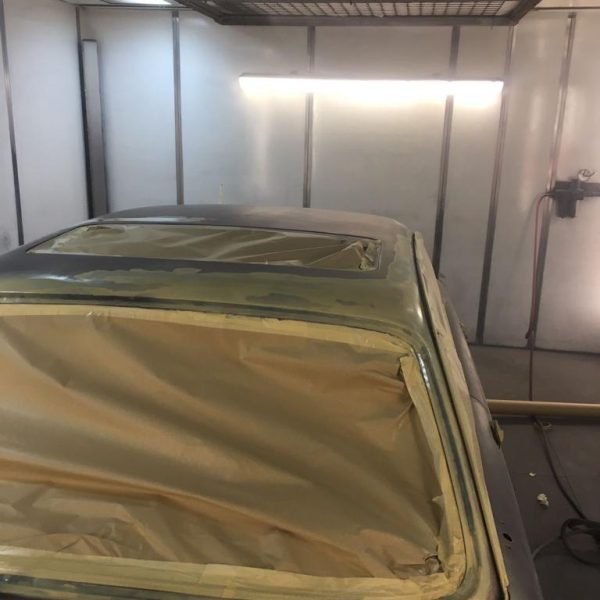
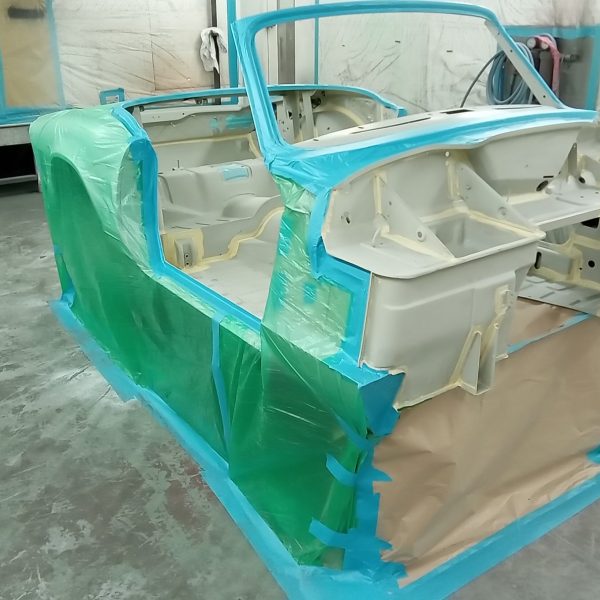
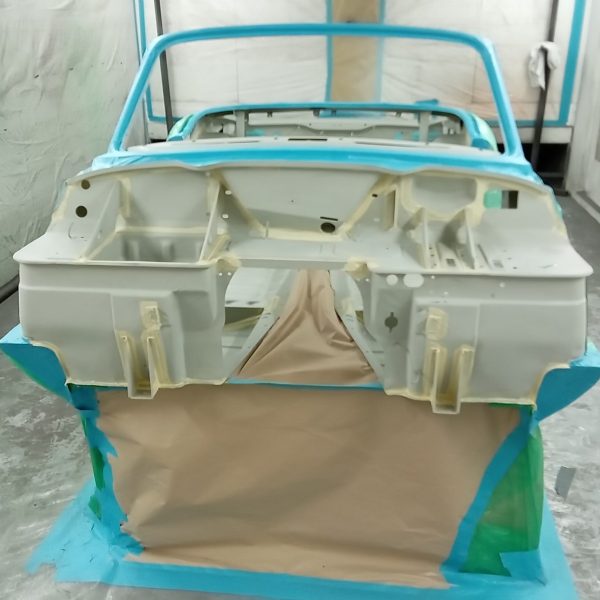
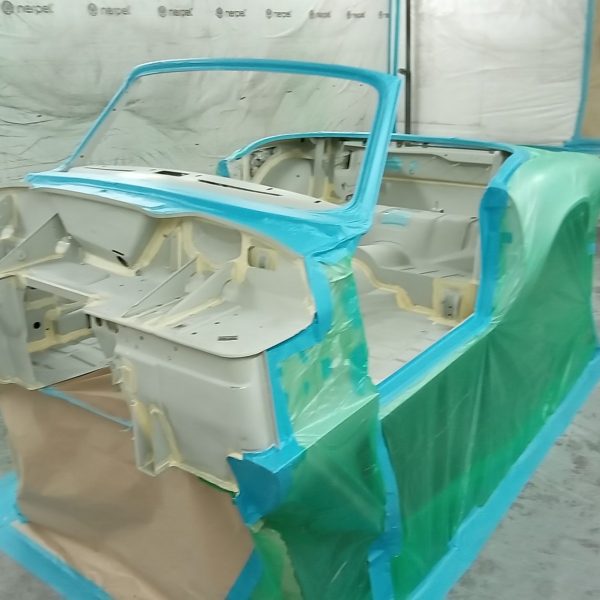
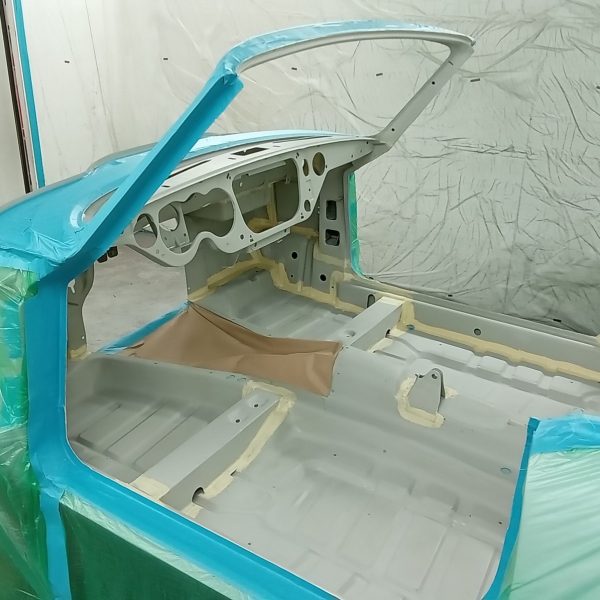
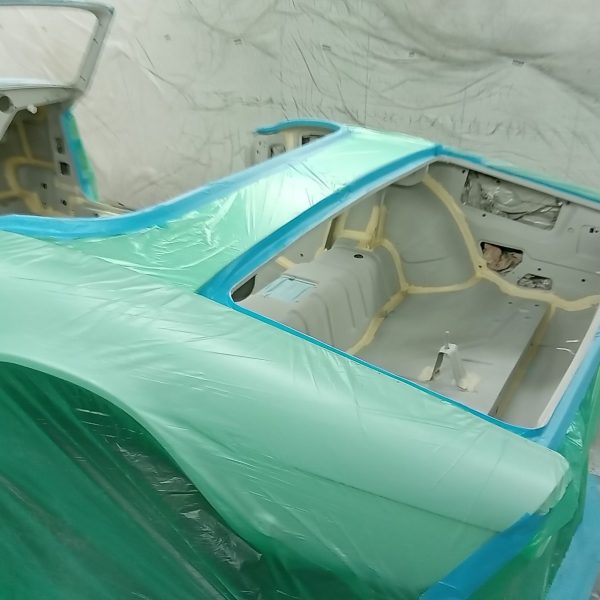
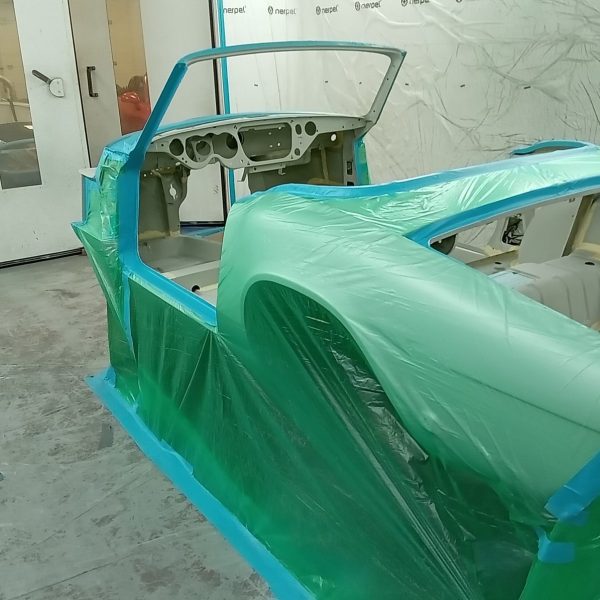
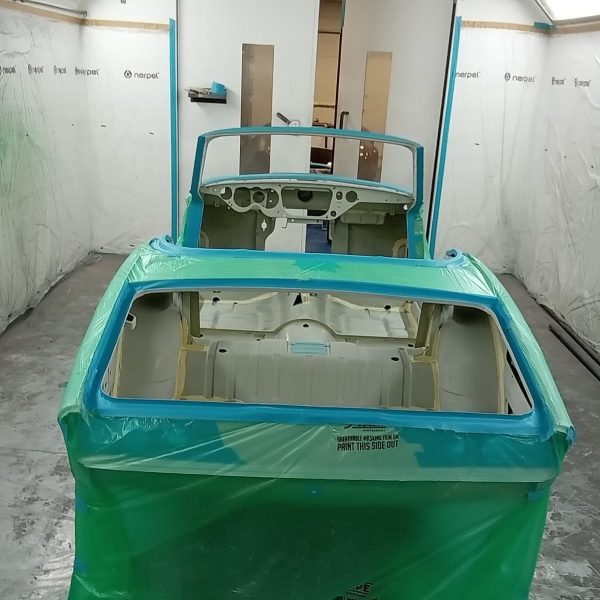
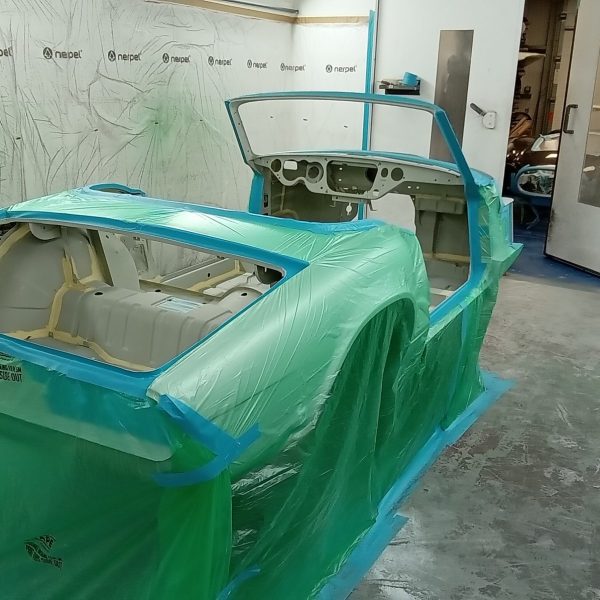
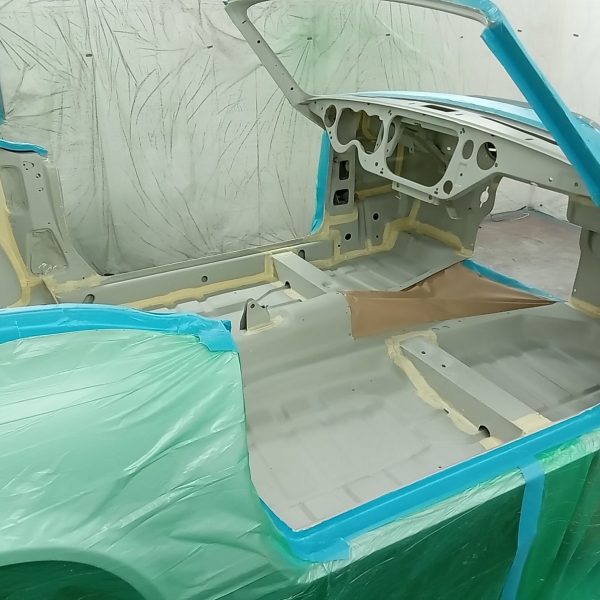
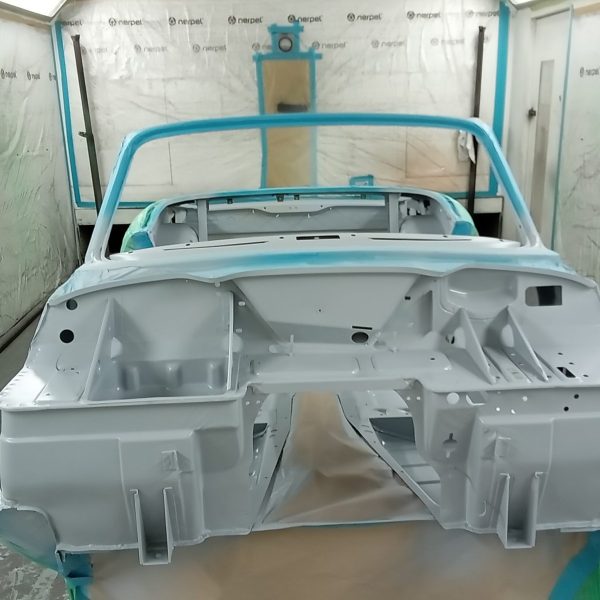
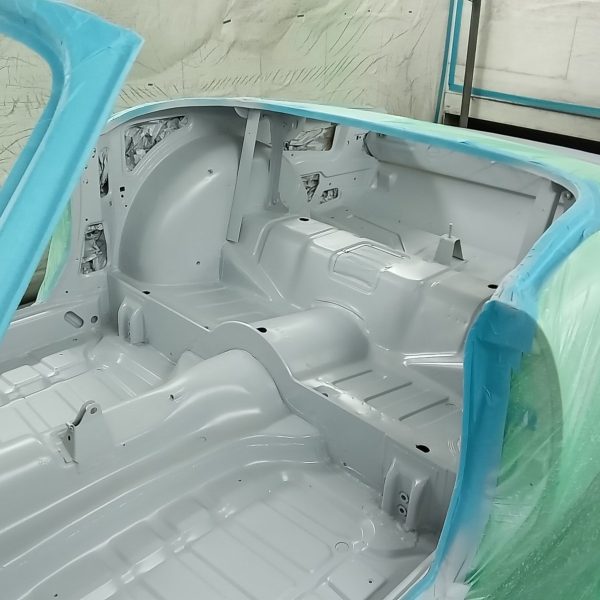
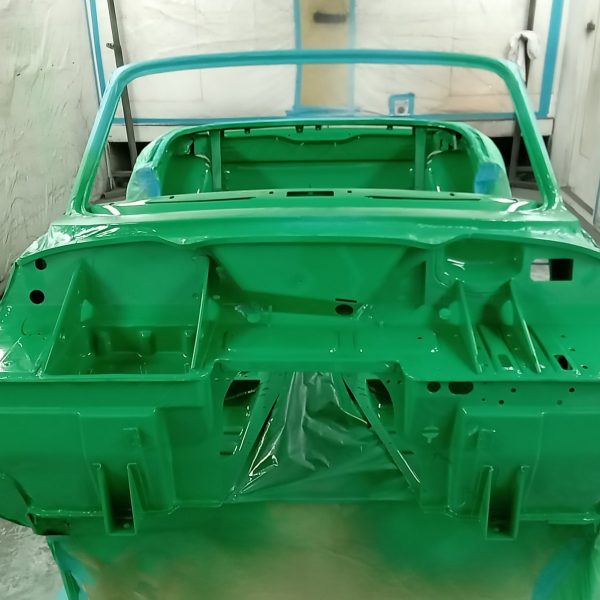
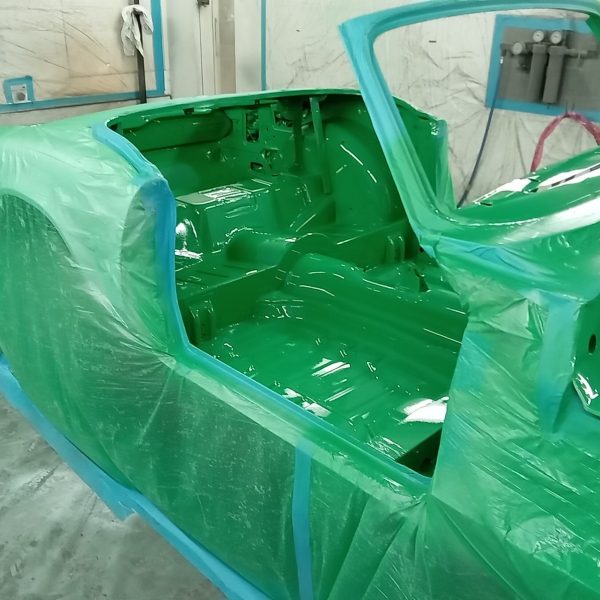
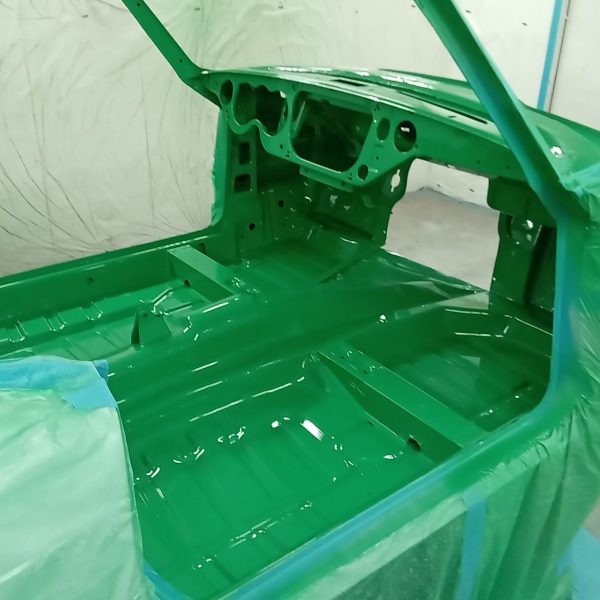
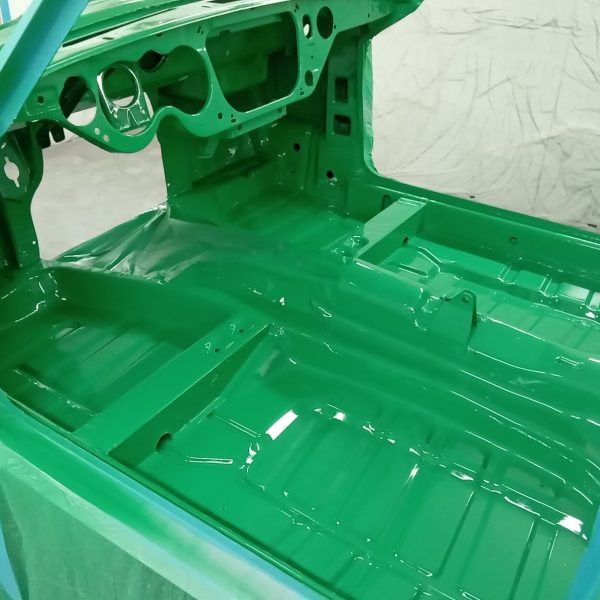
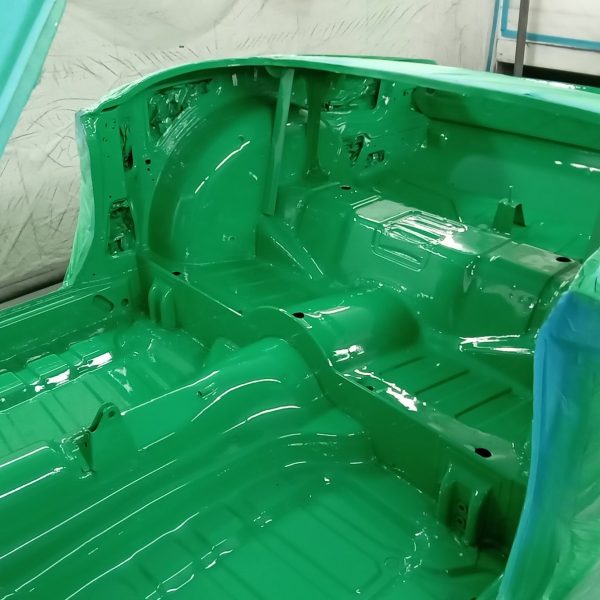
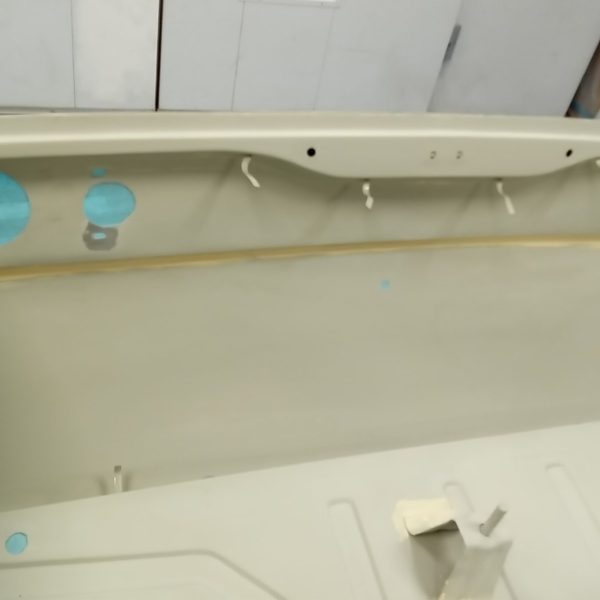
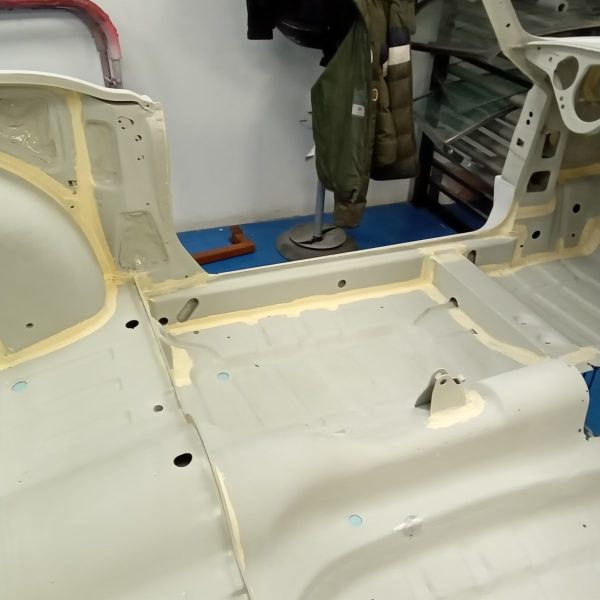
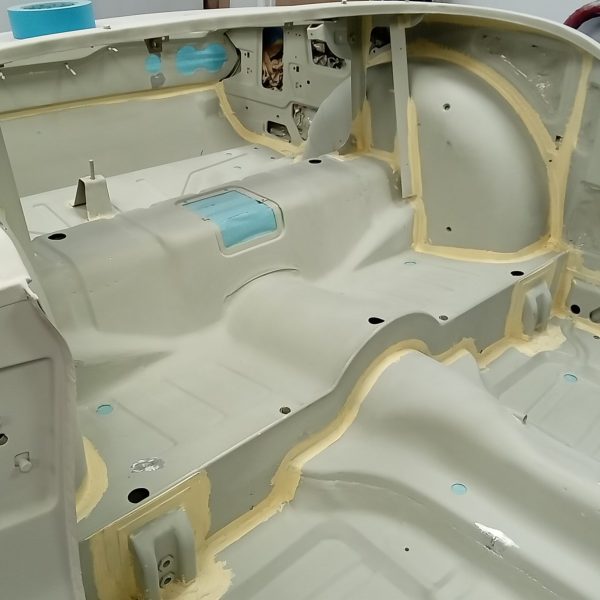
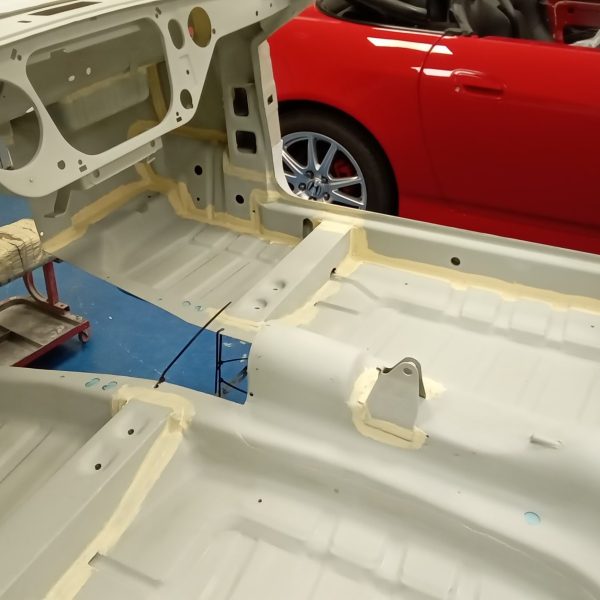
Alan is busy masking up the body of our Triumph Spitfire ready for the new Java green colour.
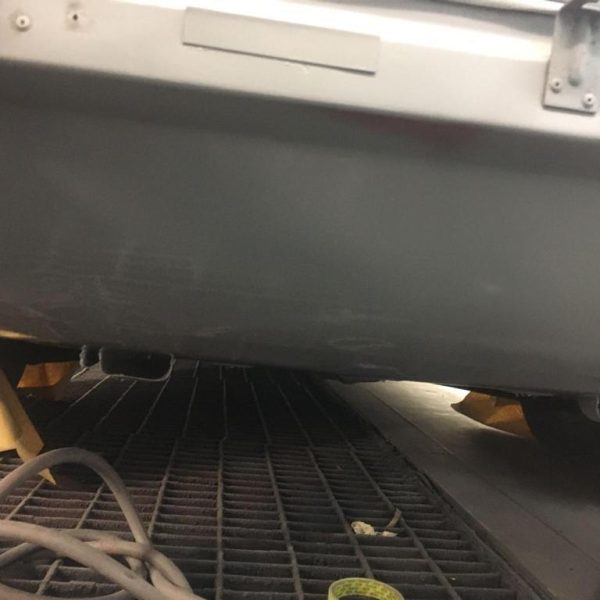
Wet on wet primer to cover over the seam sealer. He has painted inside the boot, cabin area and bulkhead.
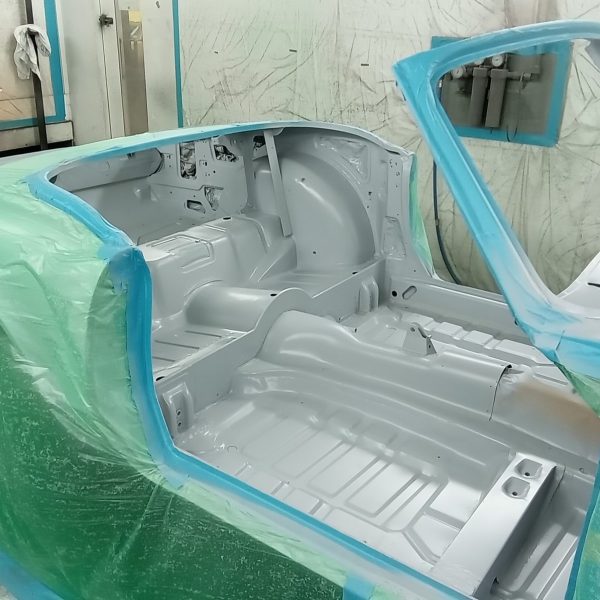
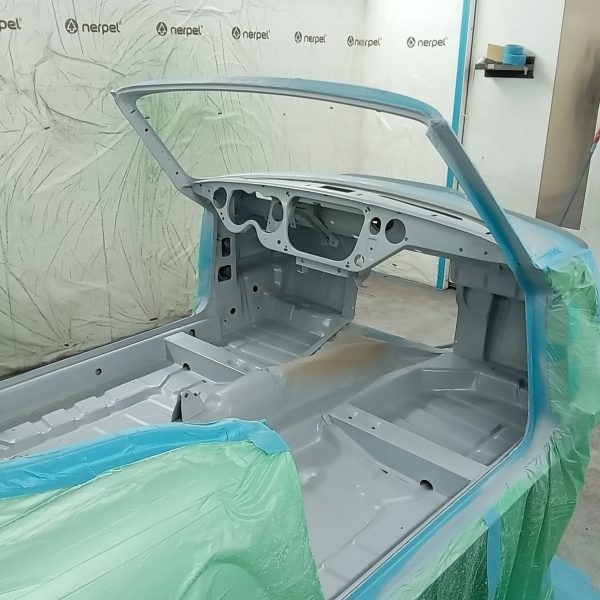
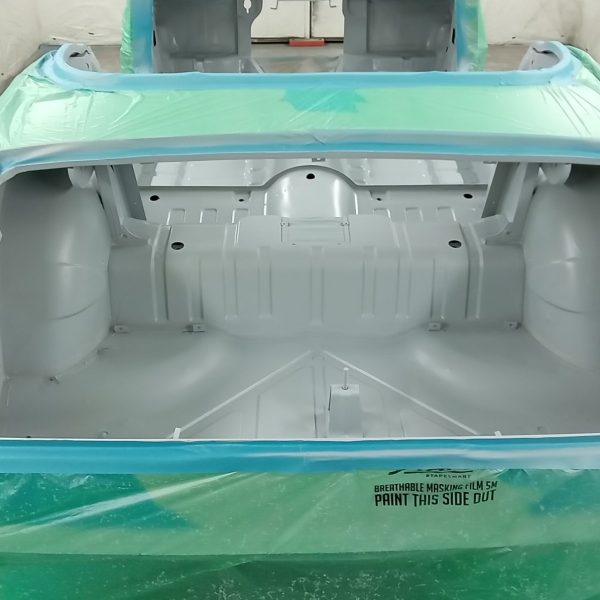
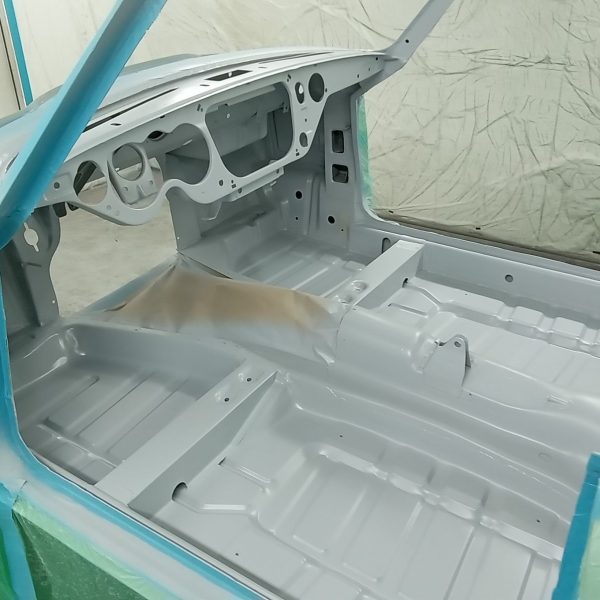
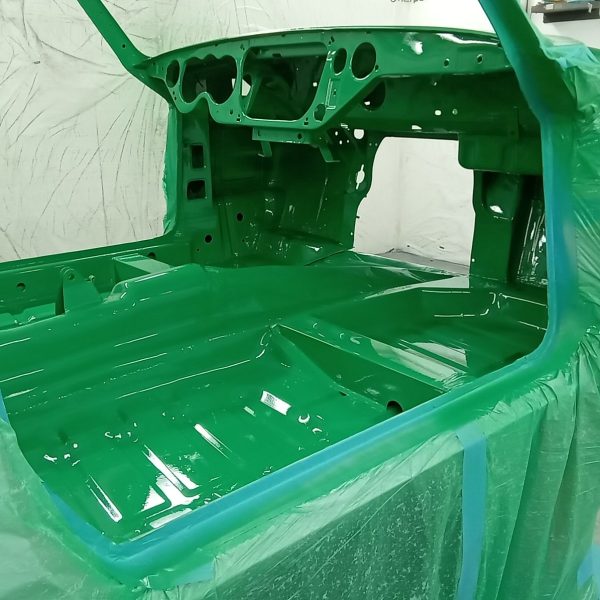
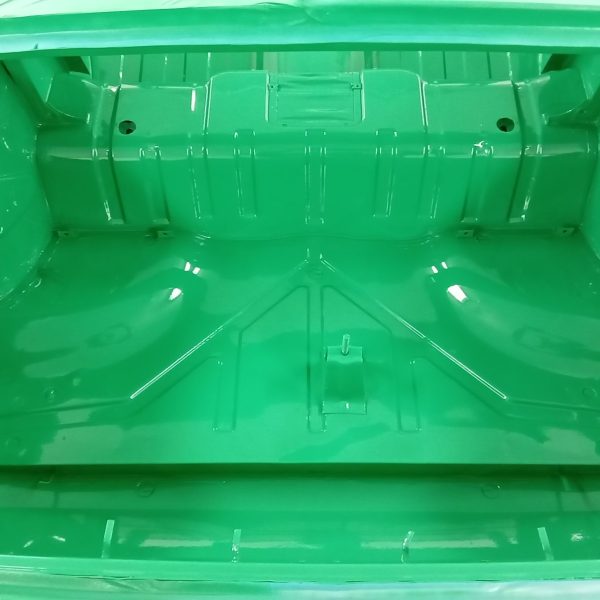
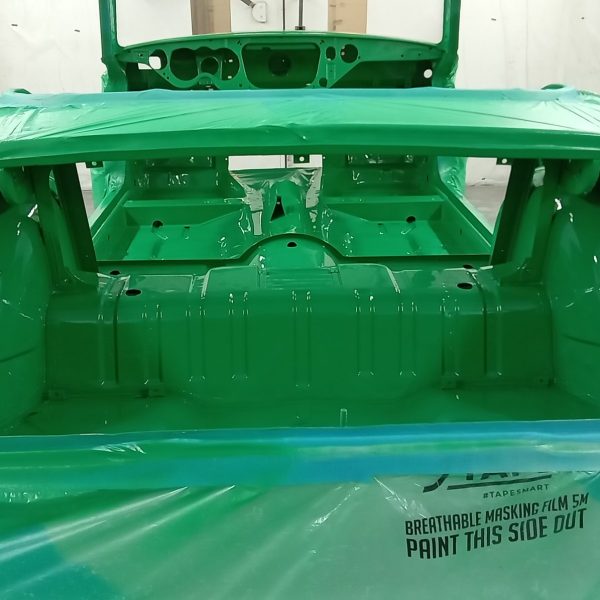
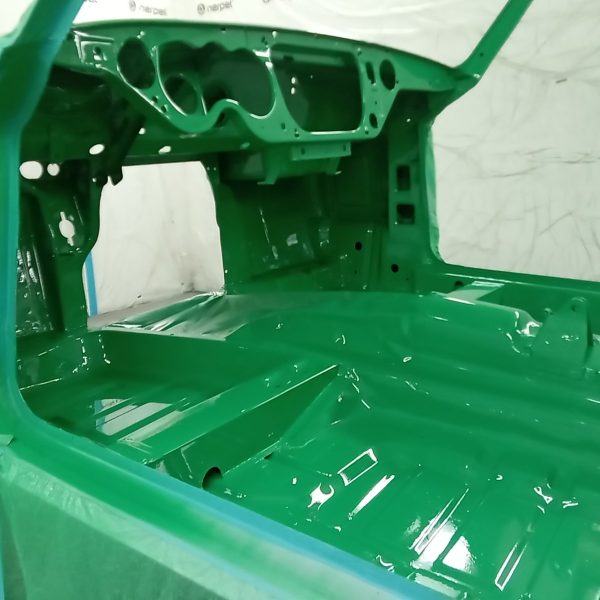
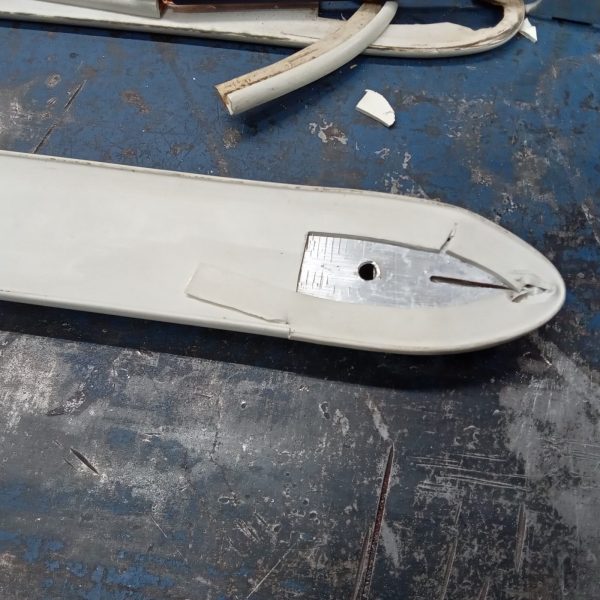
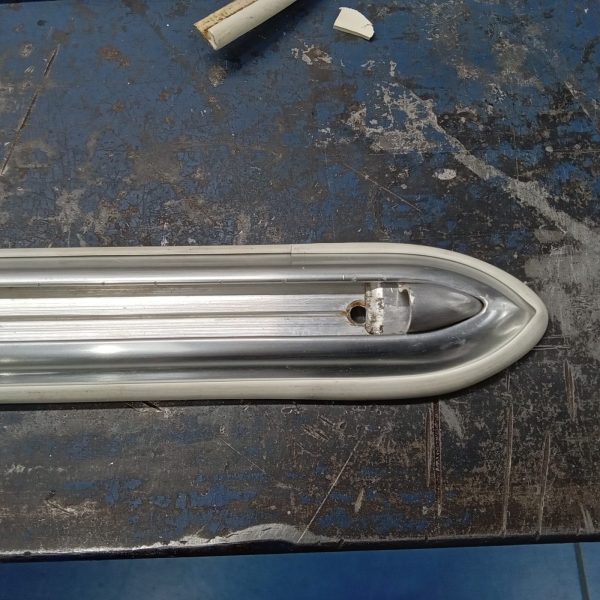
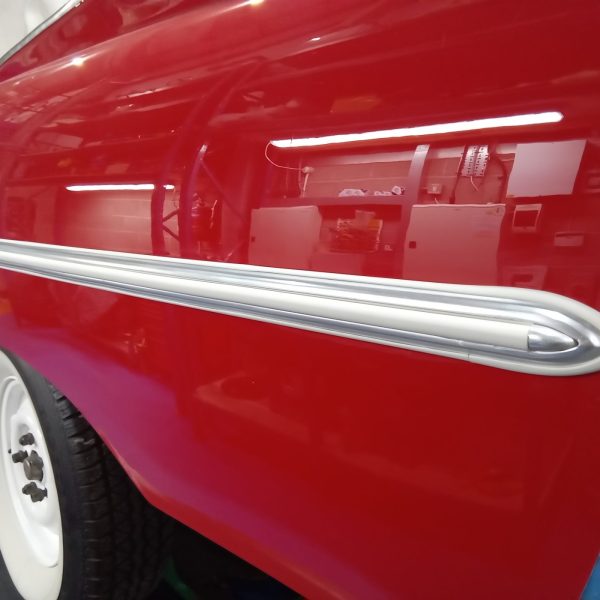
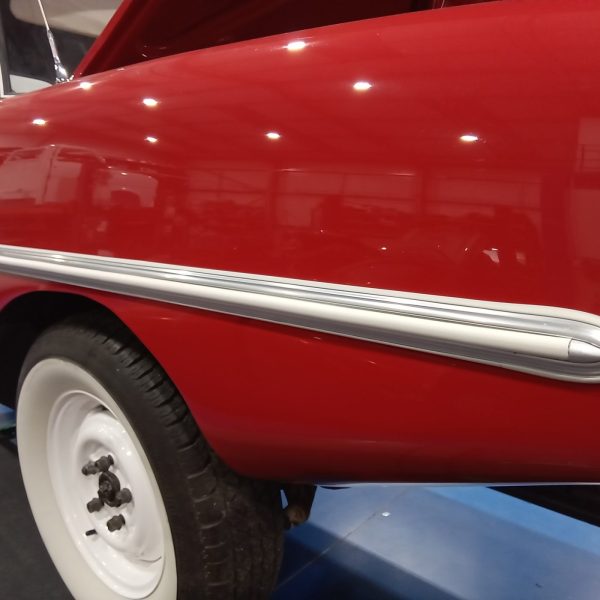
The side mouldings have now been fitted, this involved James making the tapered ends and ensuring they were a snug fit and secured in place to the back of the trims before being fitted to the car. Then the centre seats were cut to length and fitted after all the fixings were checked and sealed.
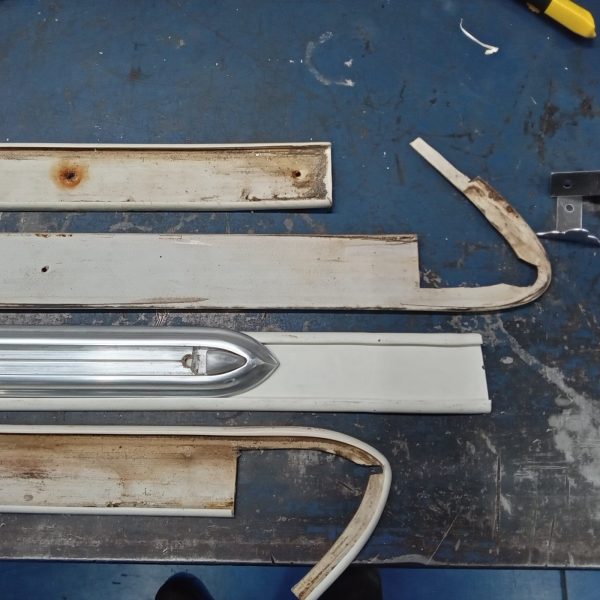

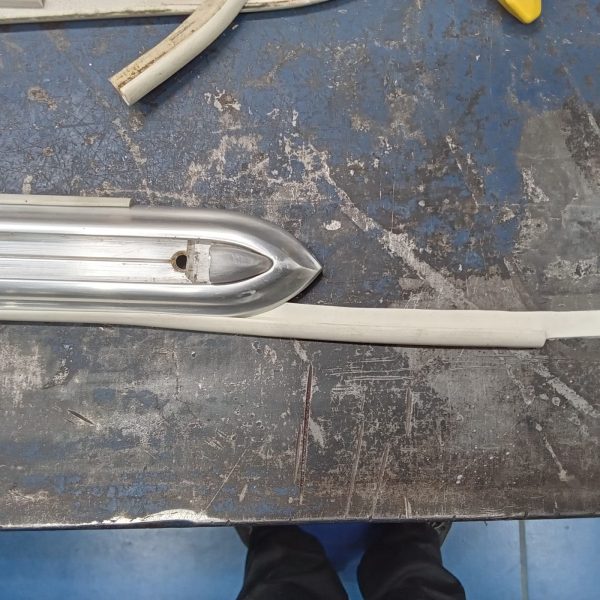
Brian has begun work on stripping down our 1955 Aston Martin Drophead Couple. He has removed the rear boot panels, the rear seat base and door panels. The cappings and door pockets have been taken out and the sill carpets. The carpets under the dash, the dash top panels and window surround panels are all now out.
The project will be a big part of our diary for 2024 but heading up to Christmas we have a few weeks to really get started on the strip down.
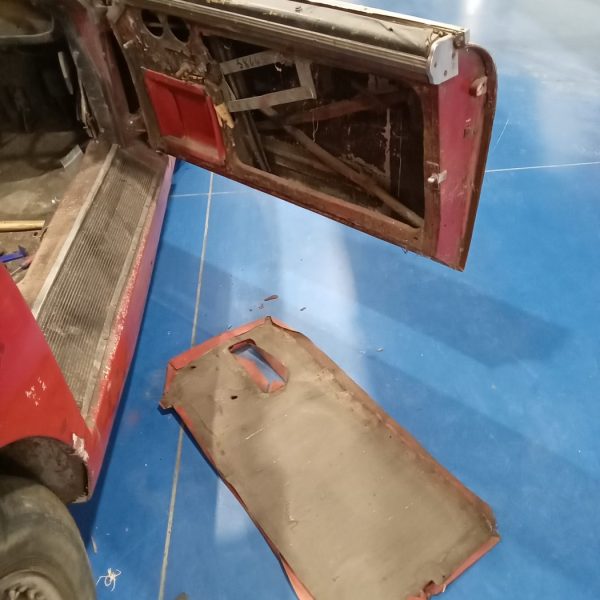
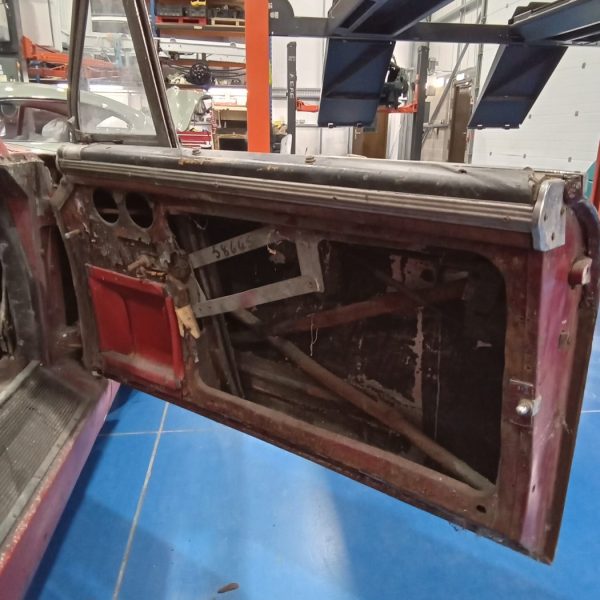
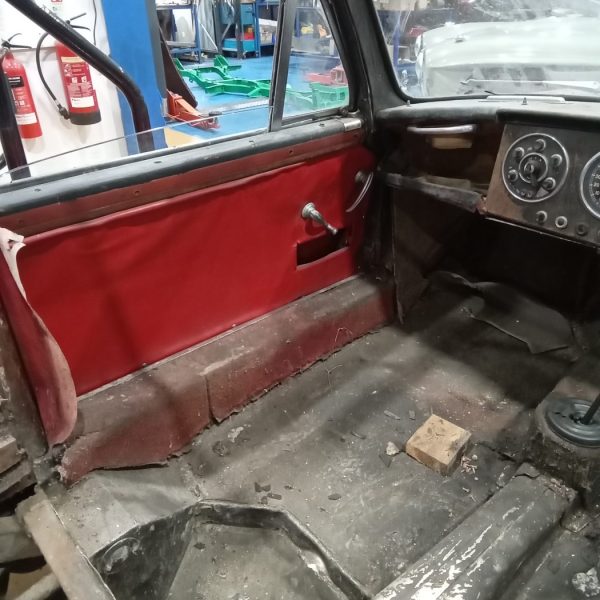
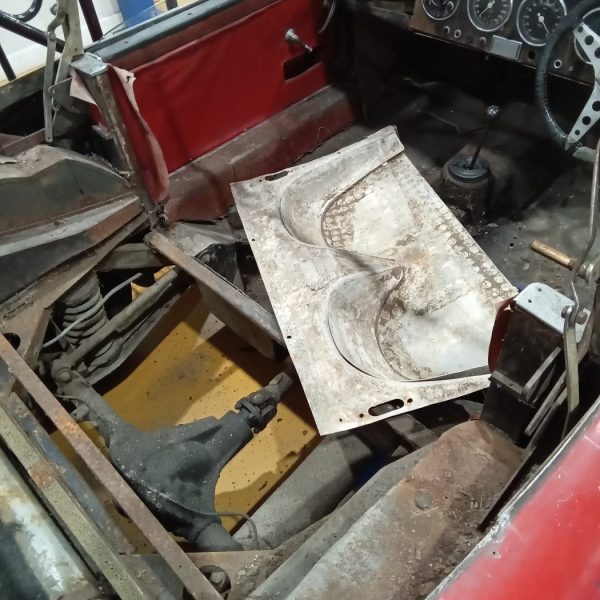
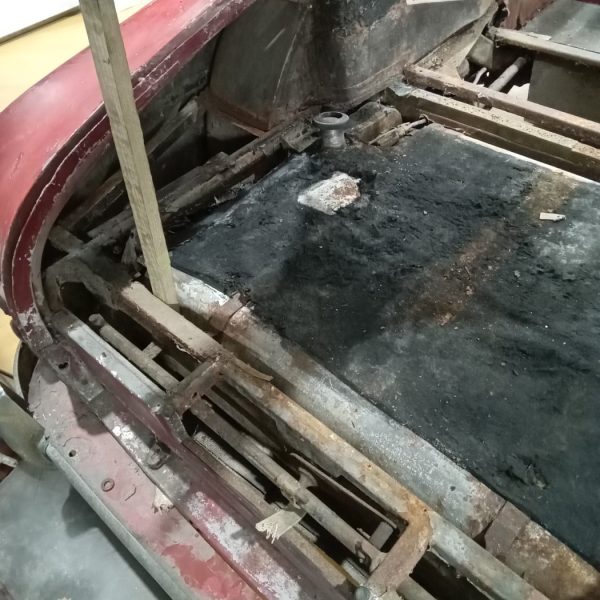
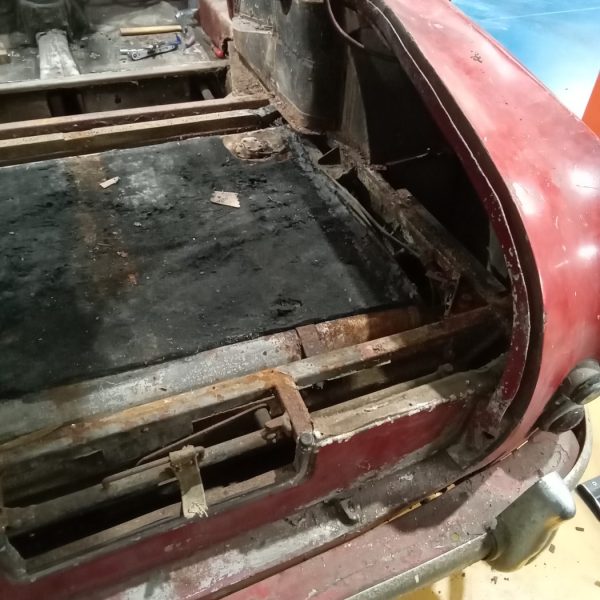
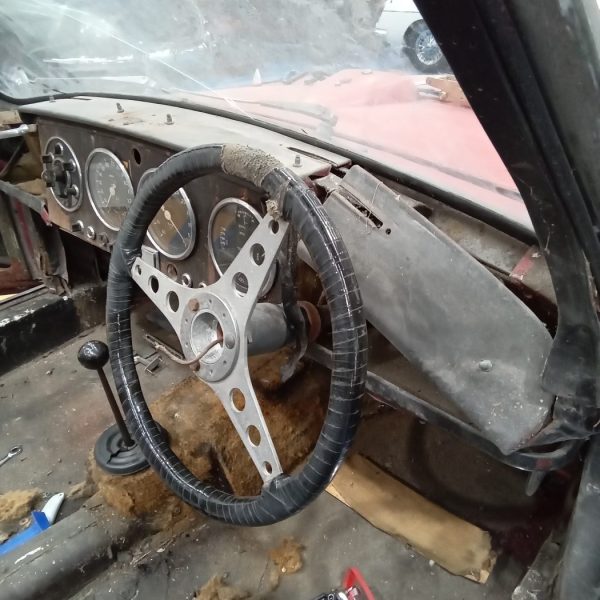
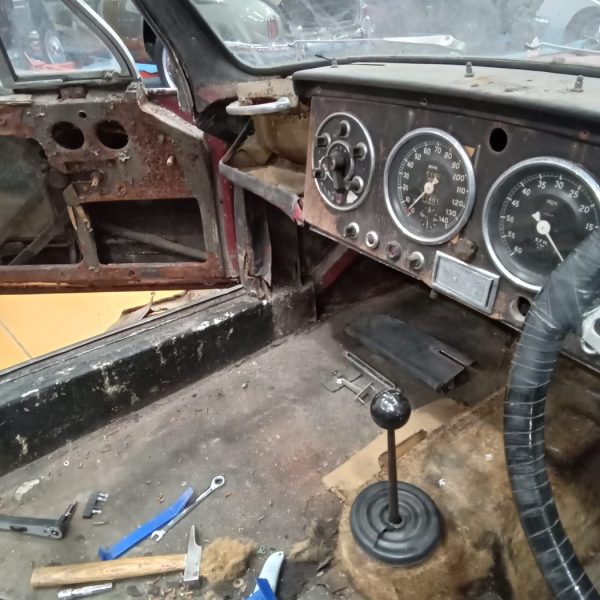
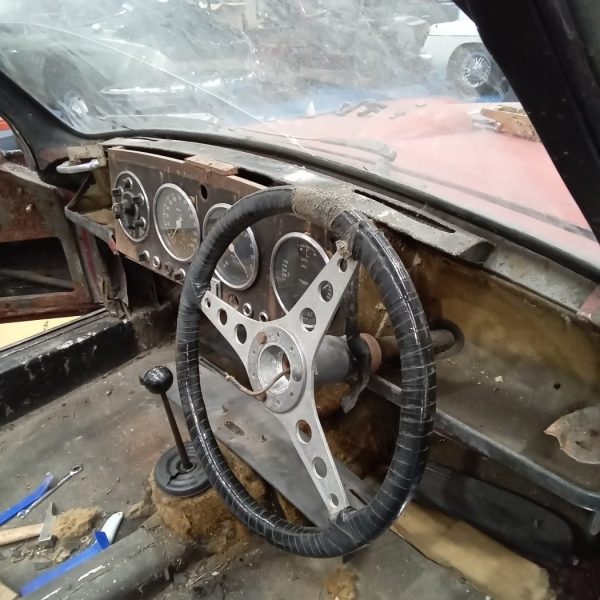
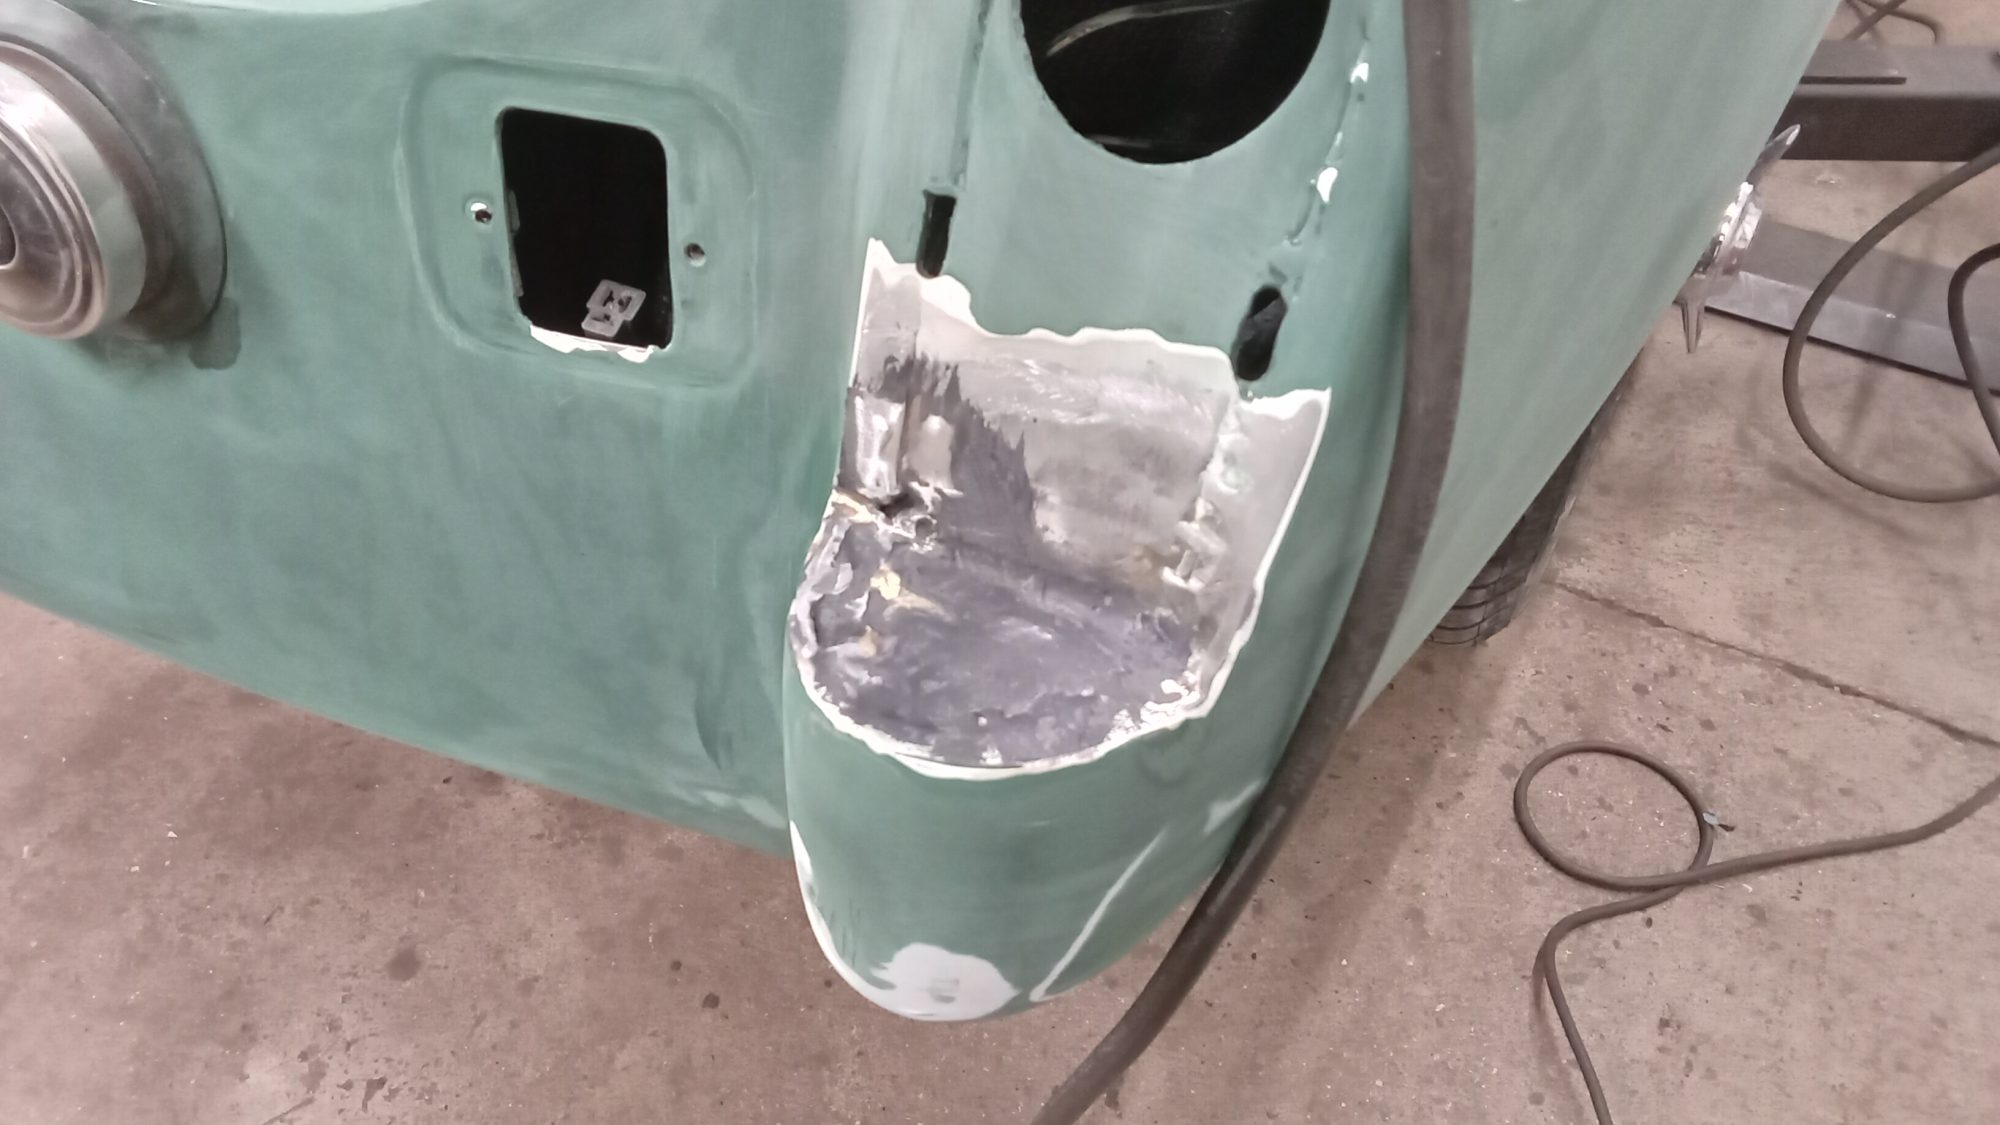
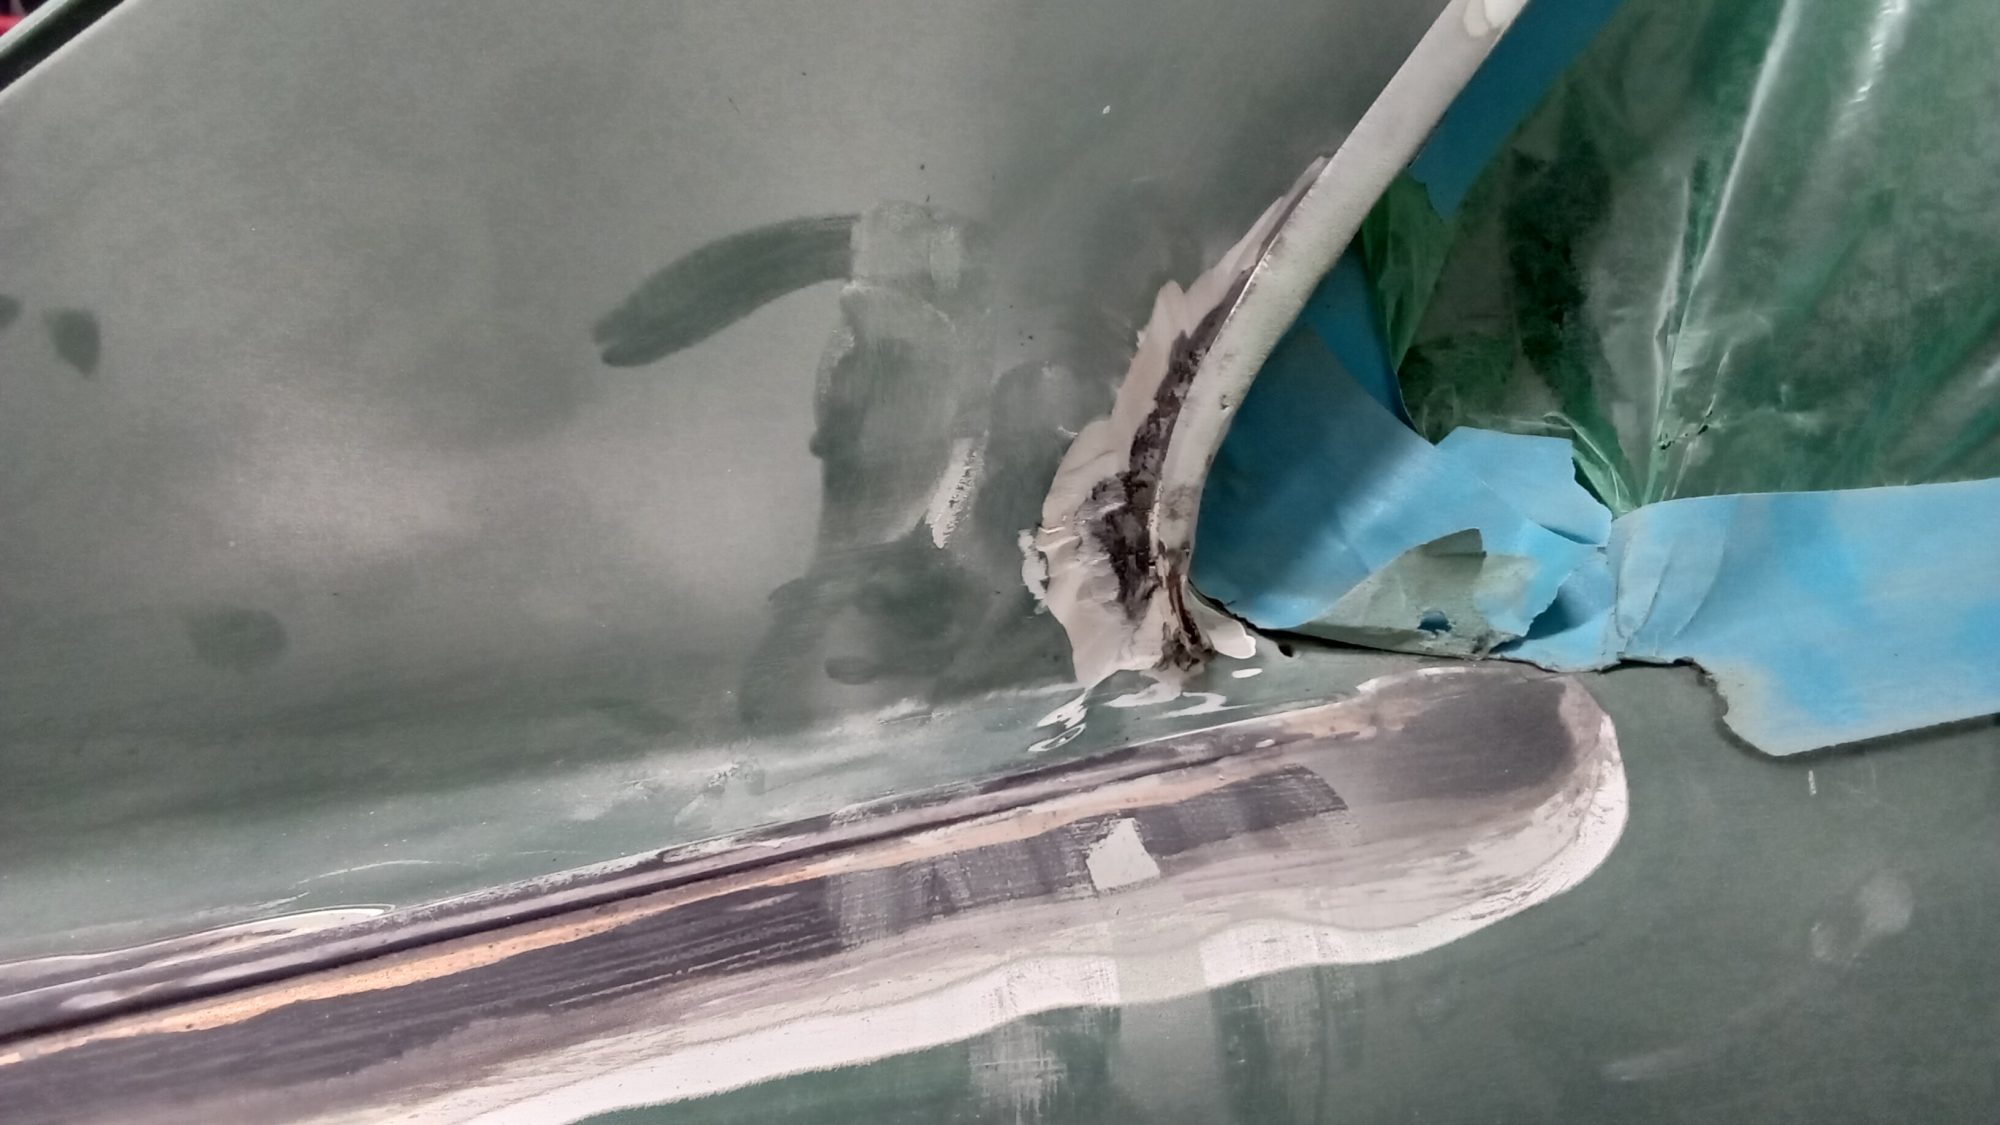
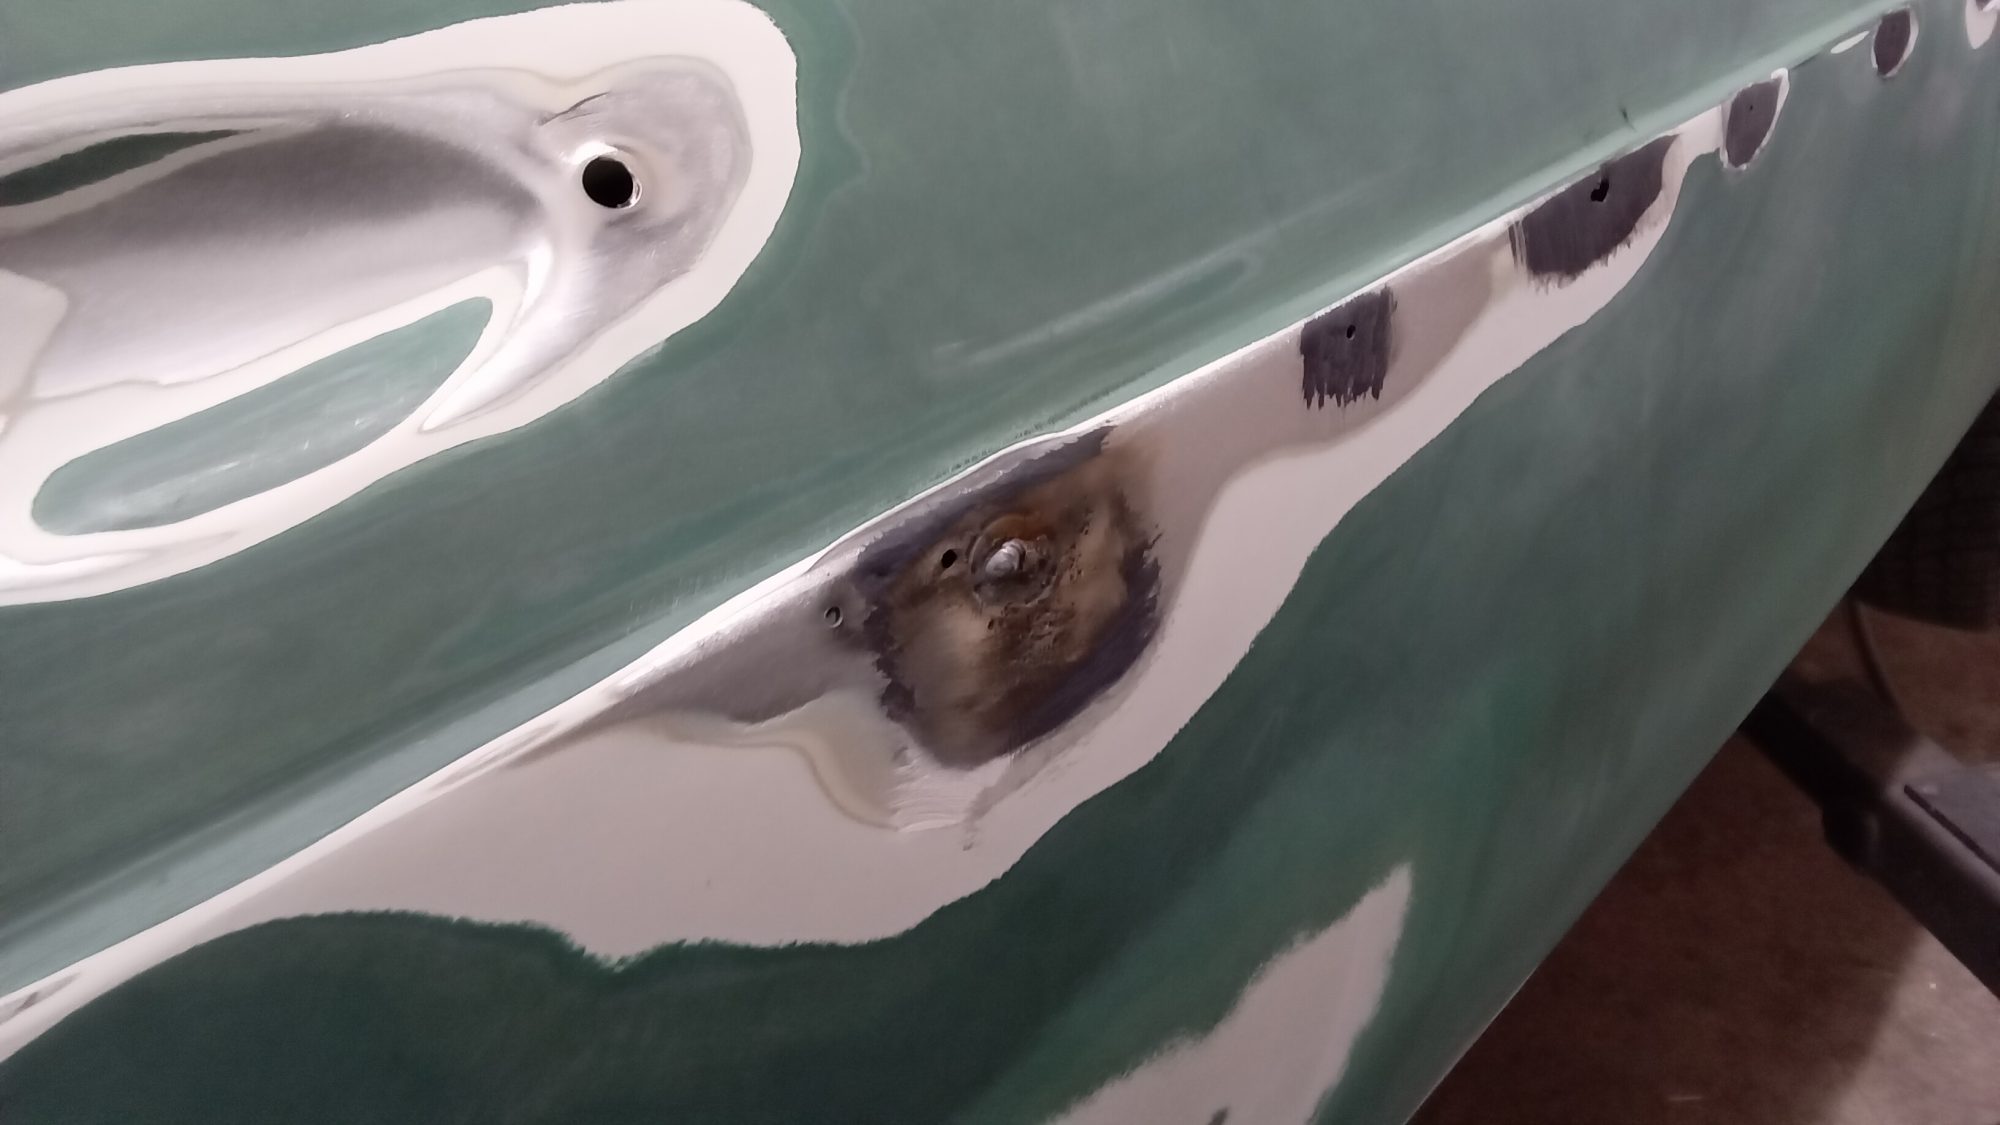

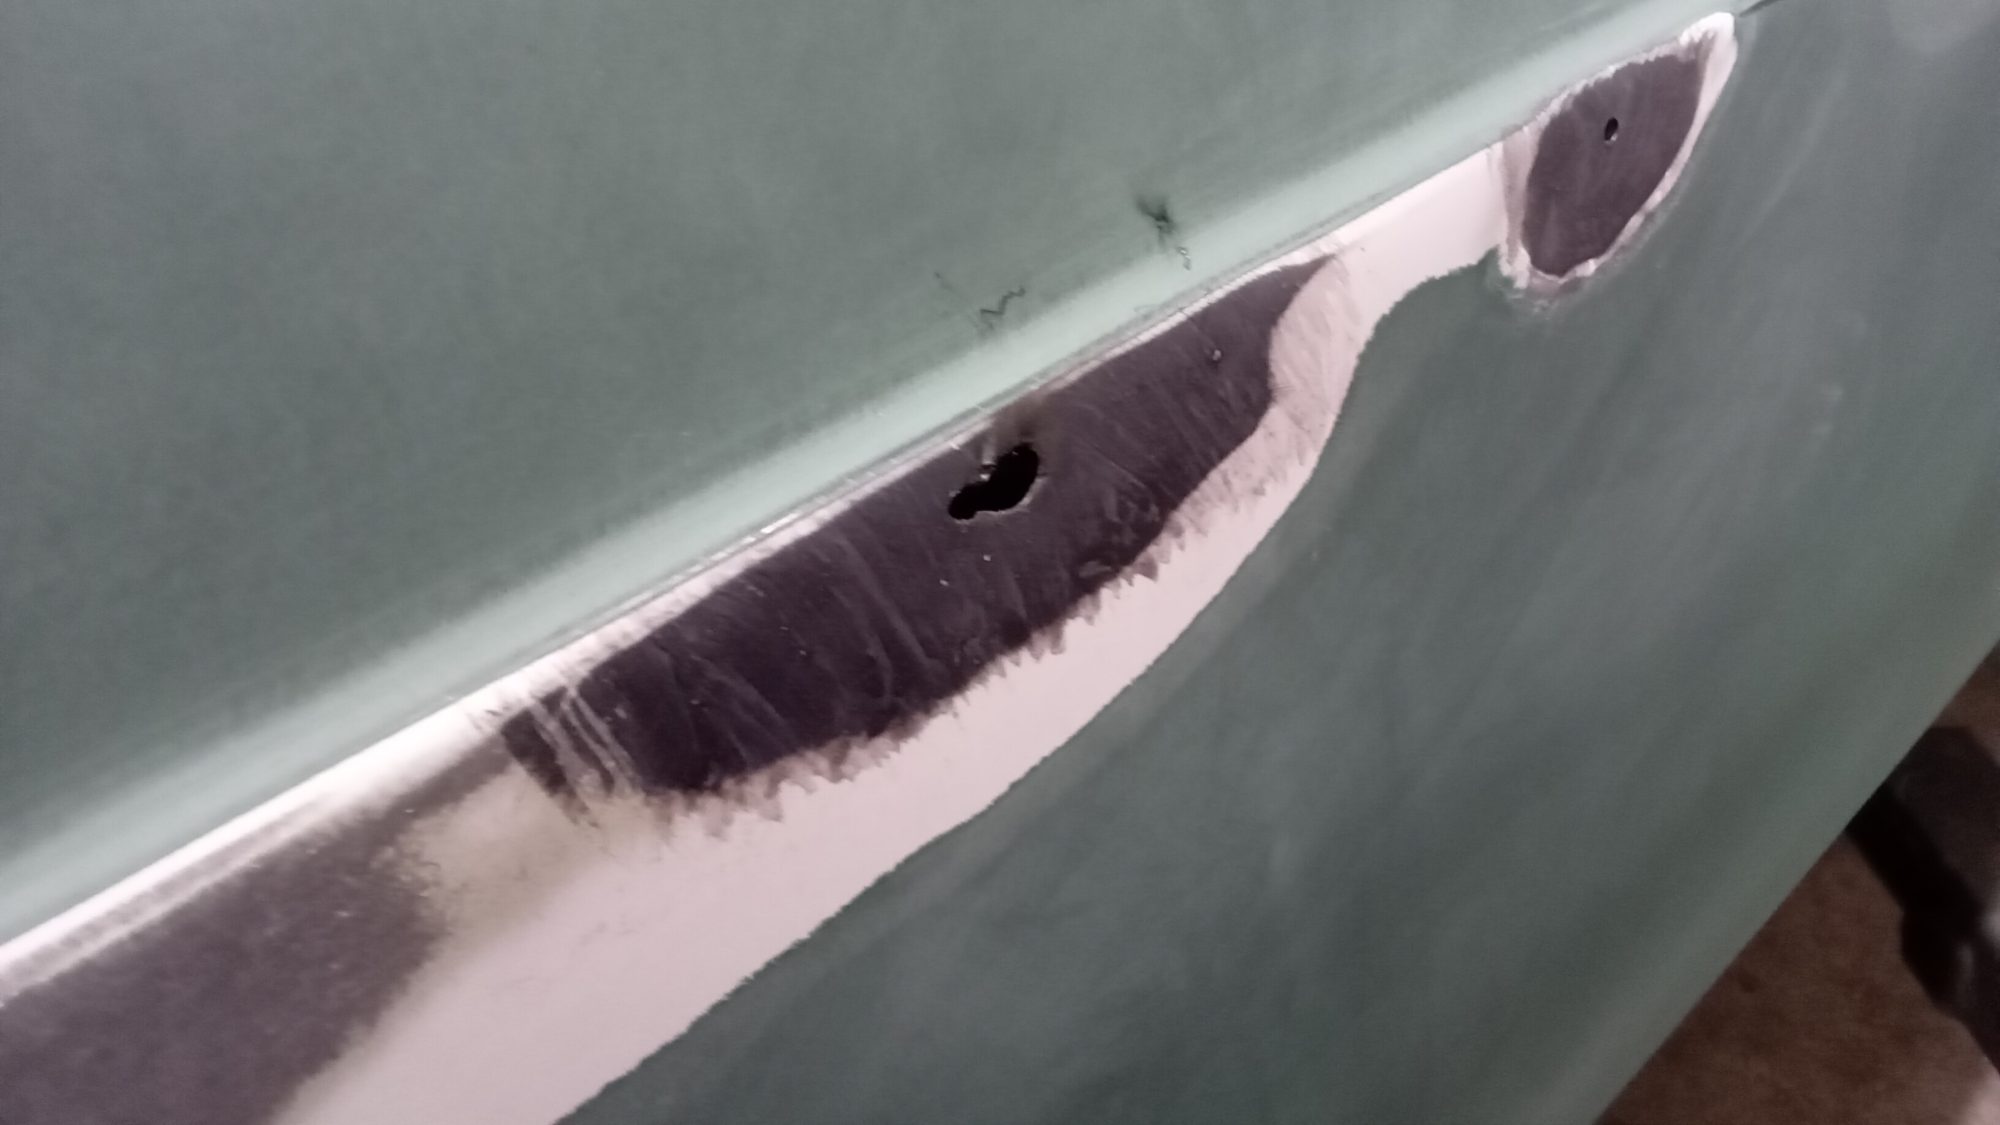
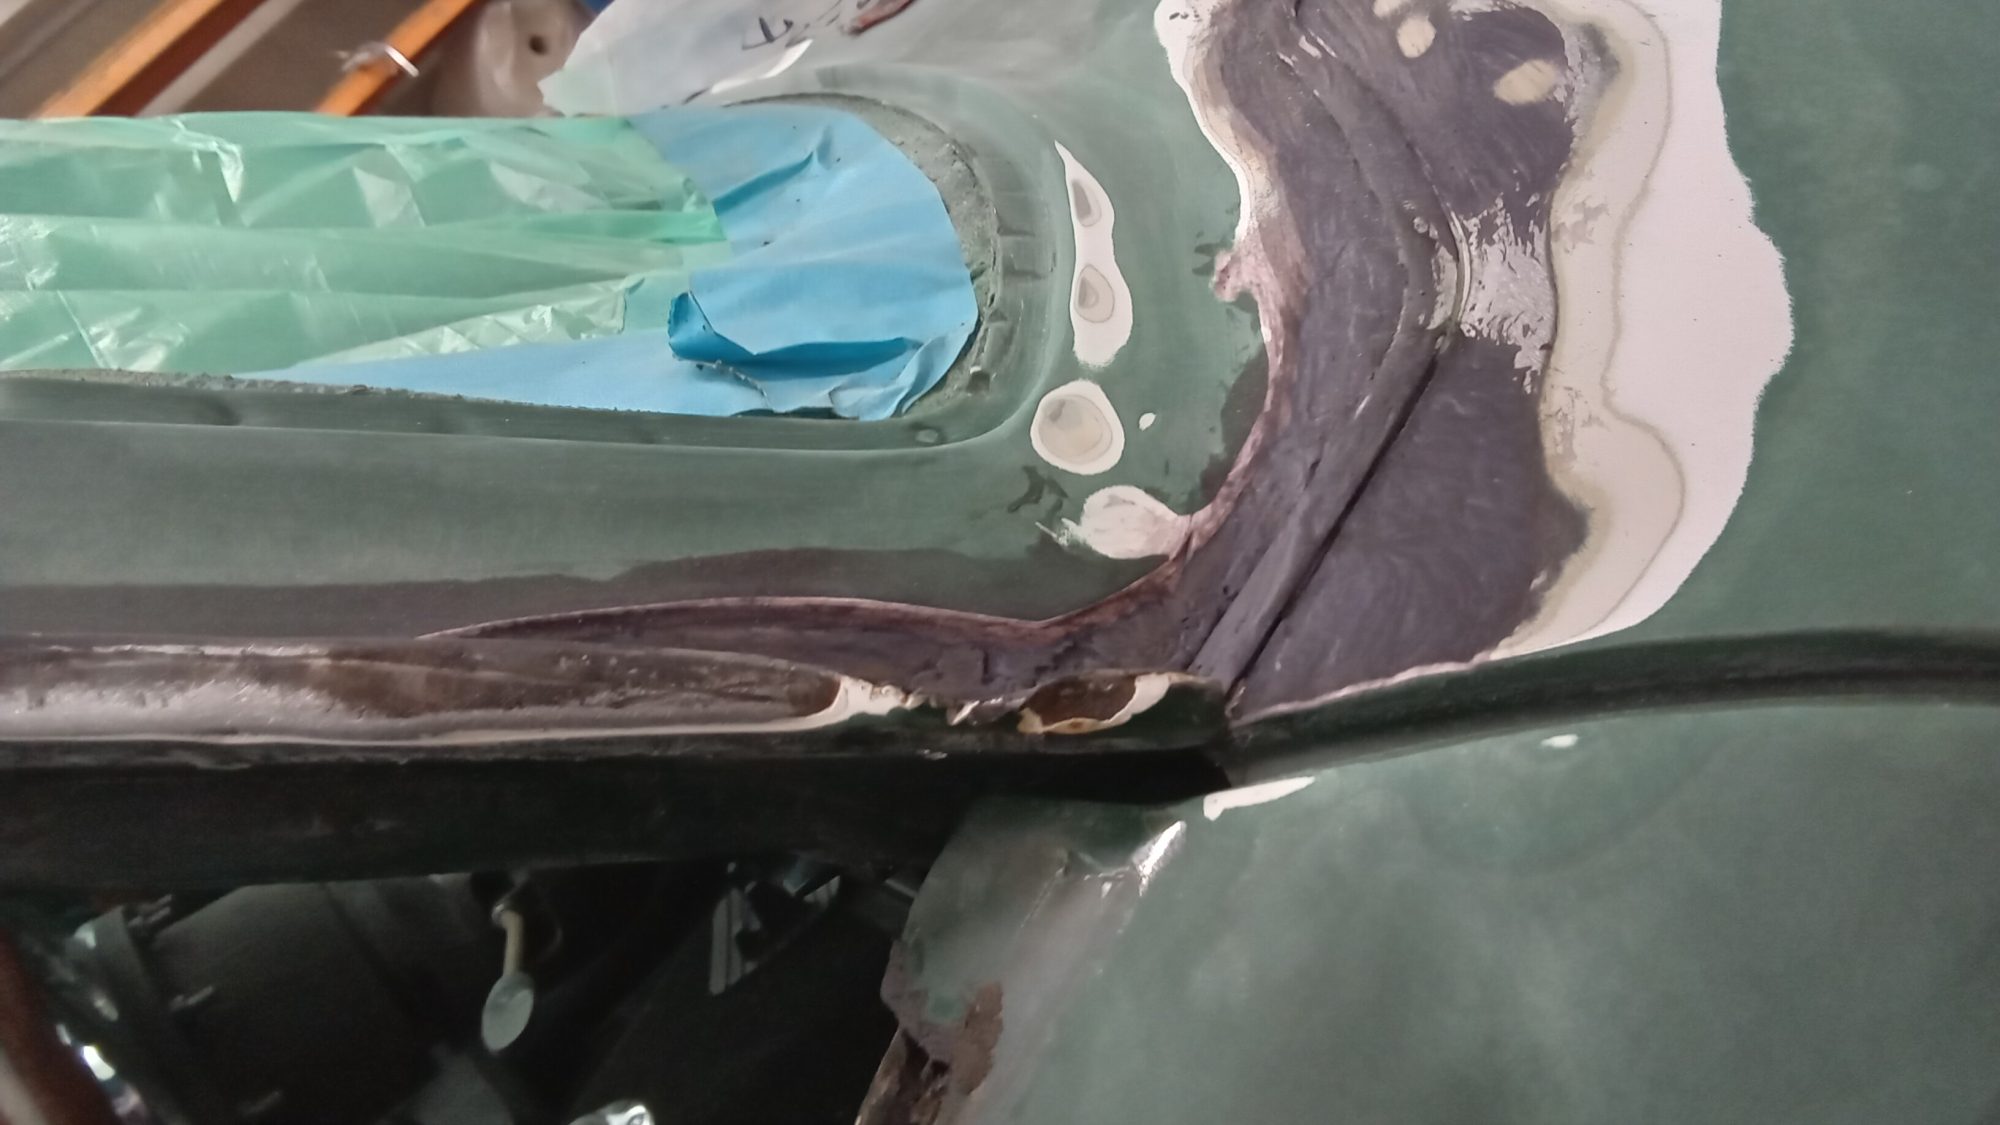
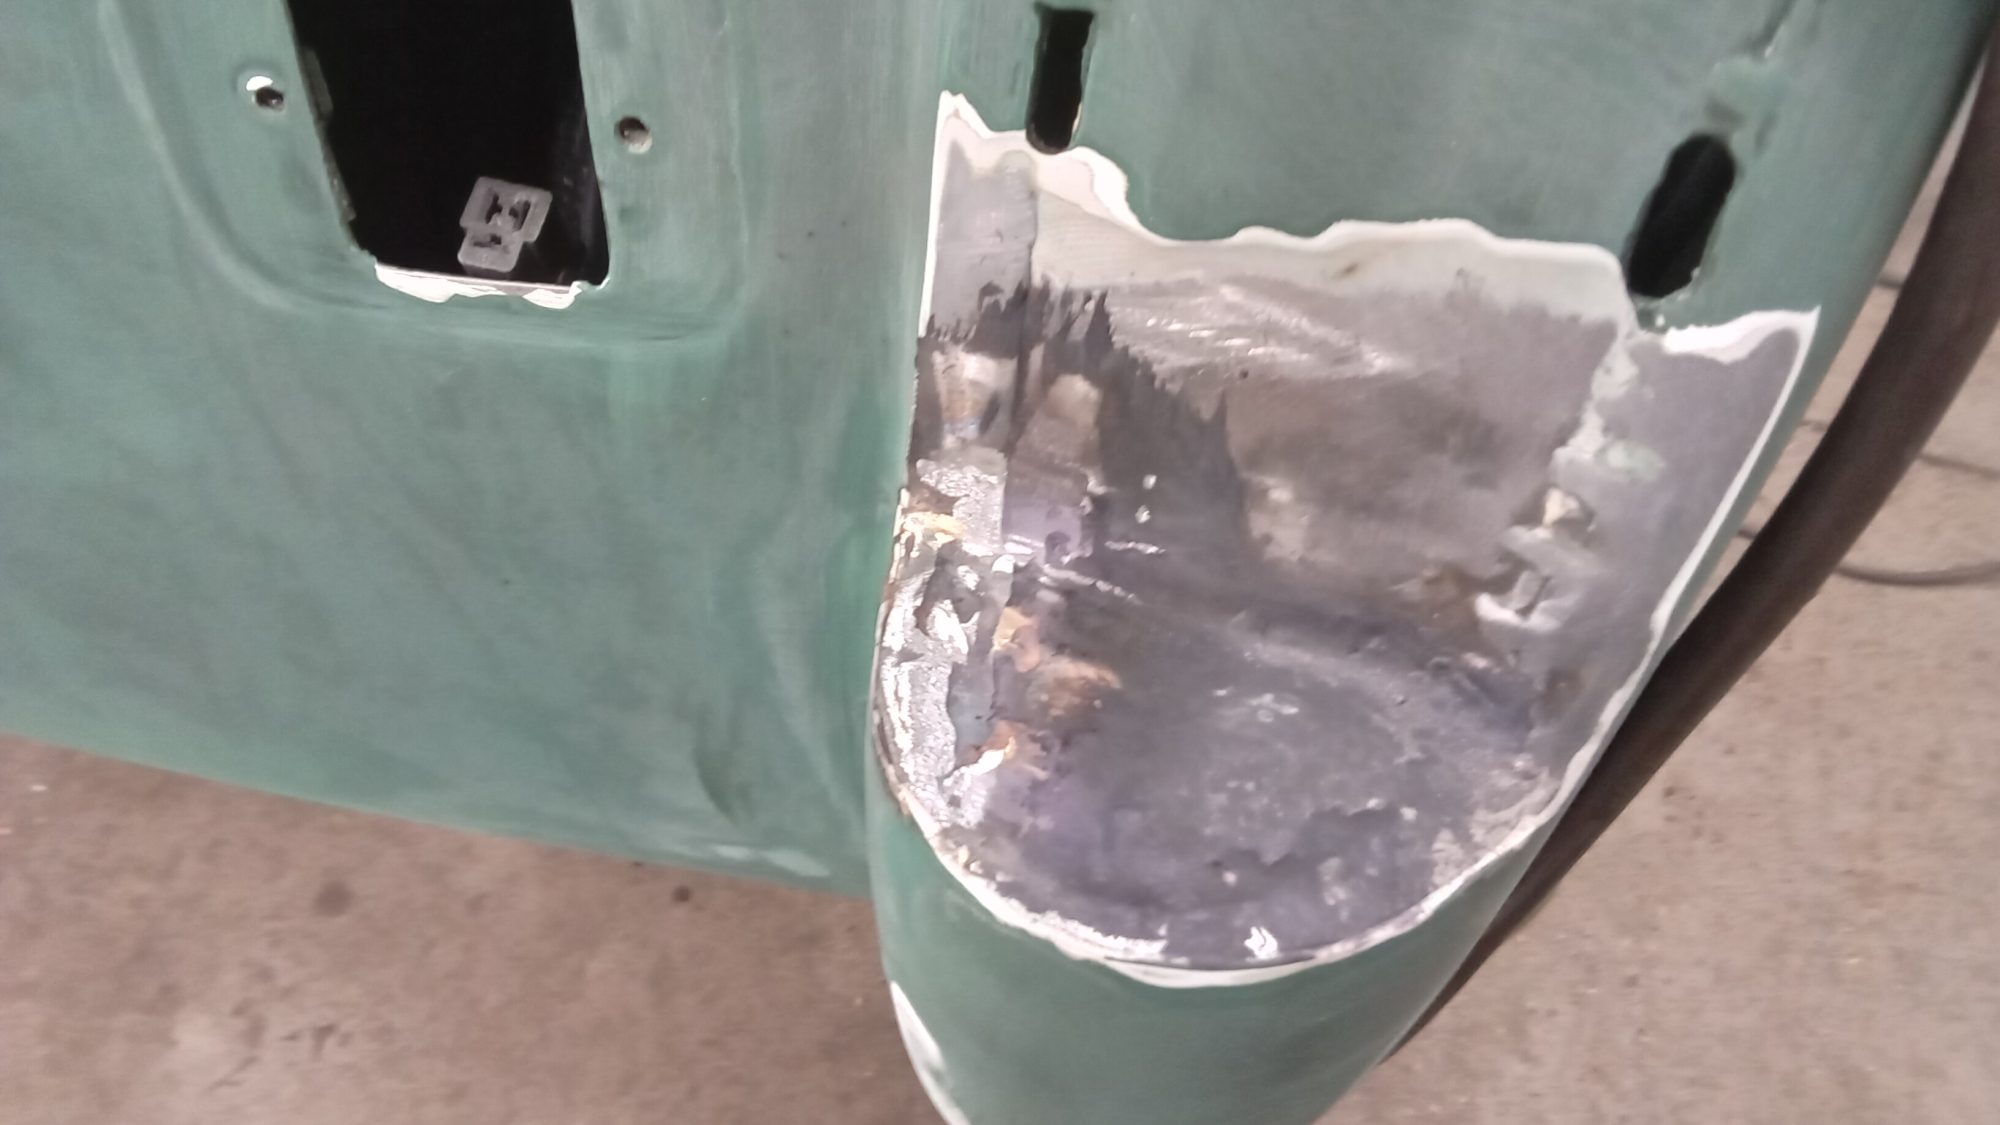

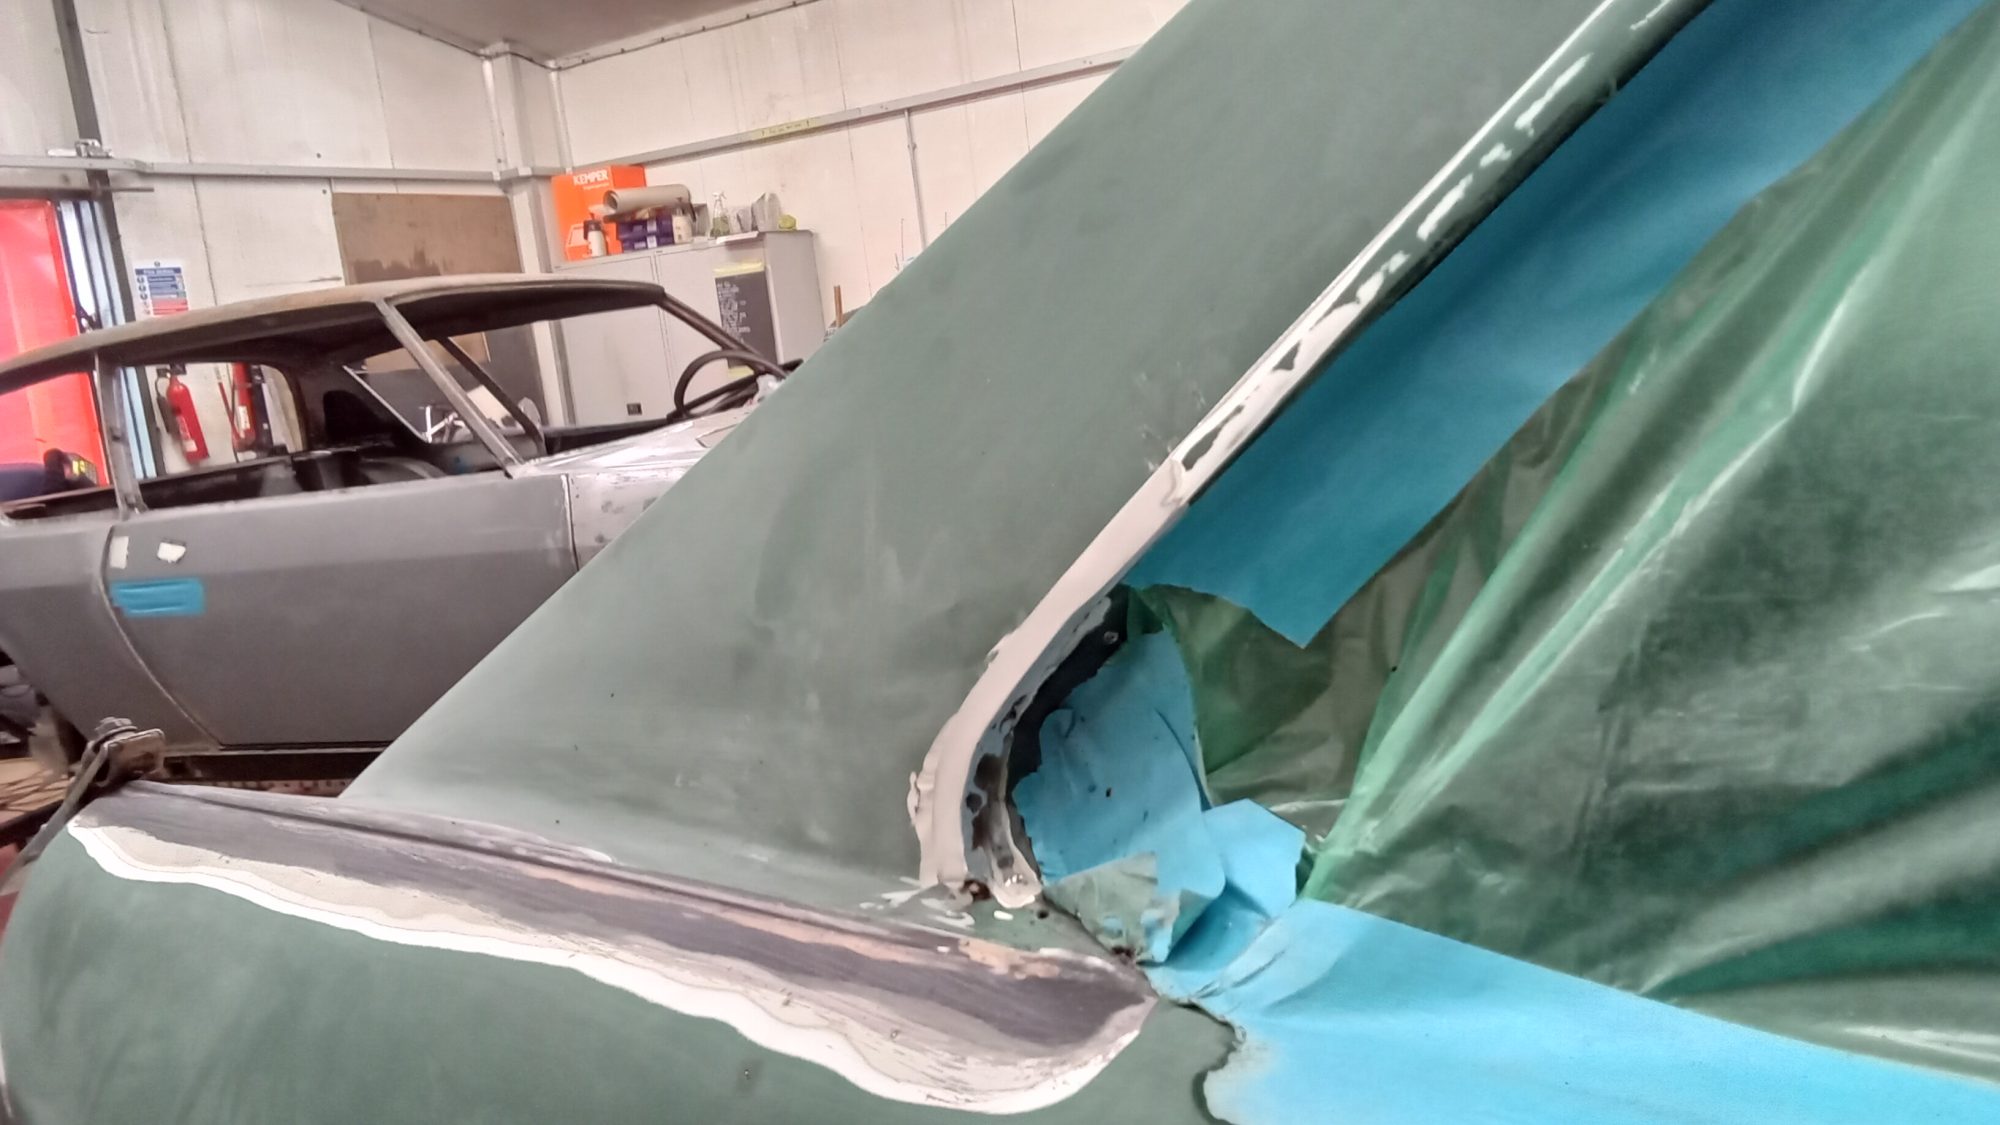
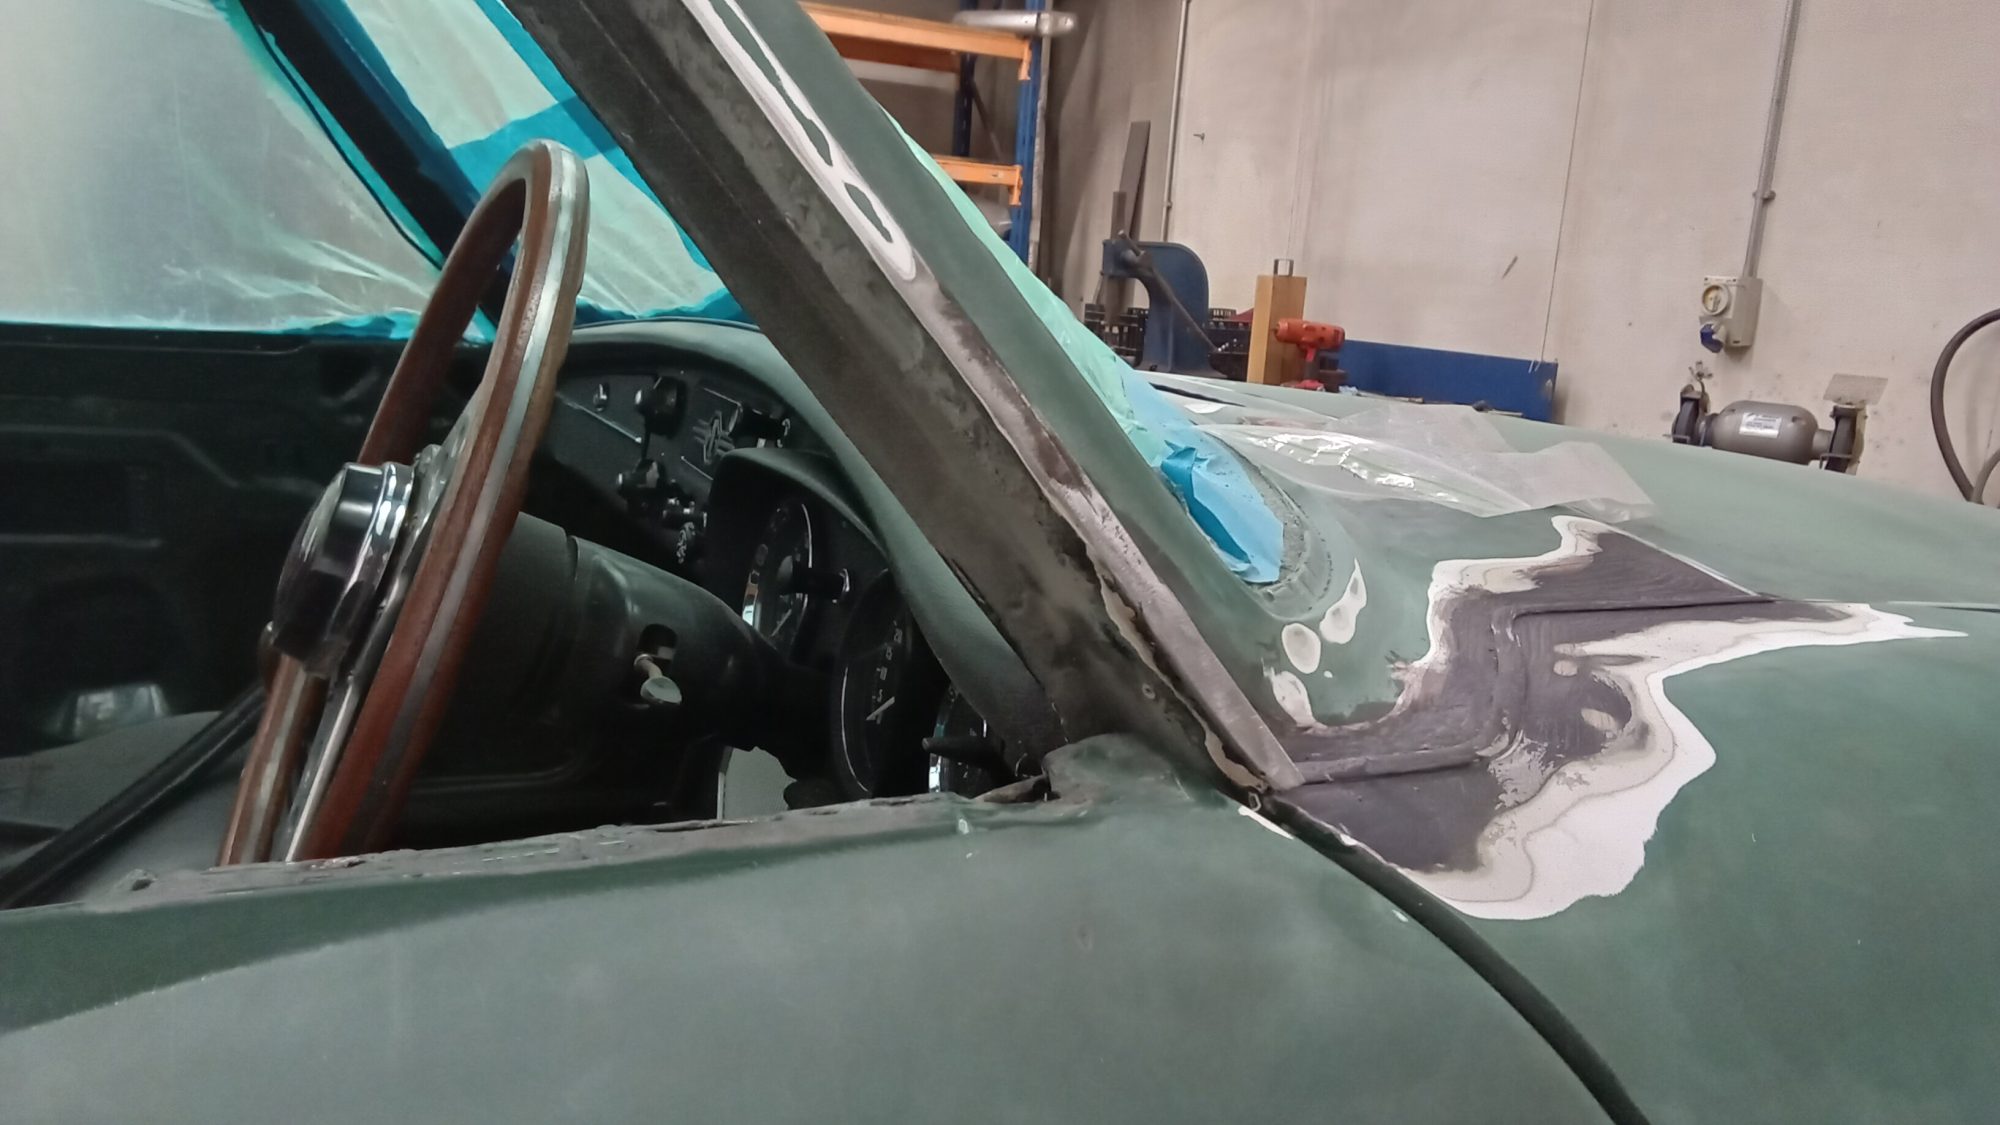
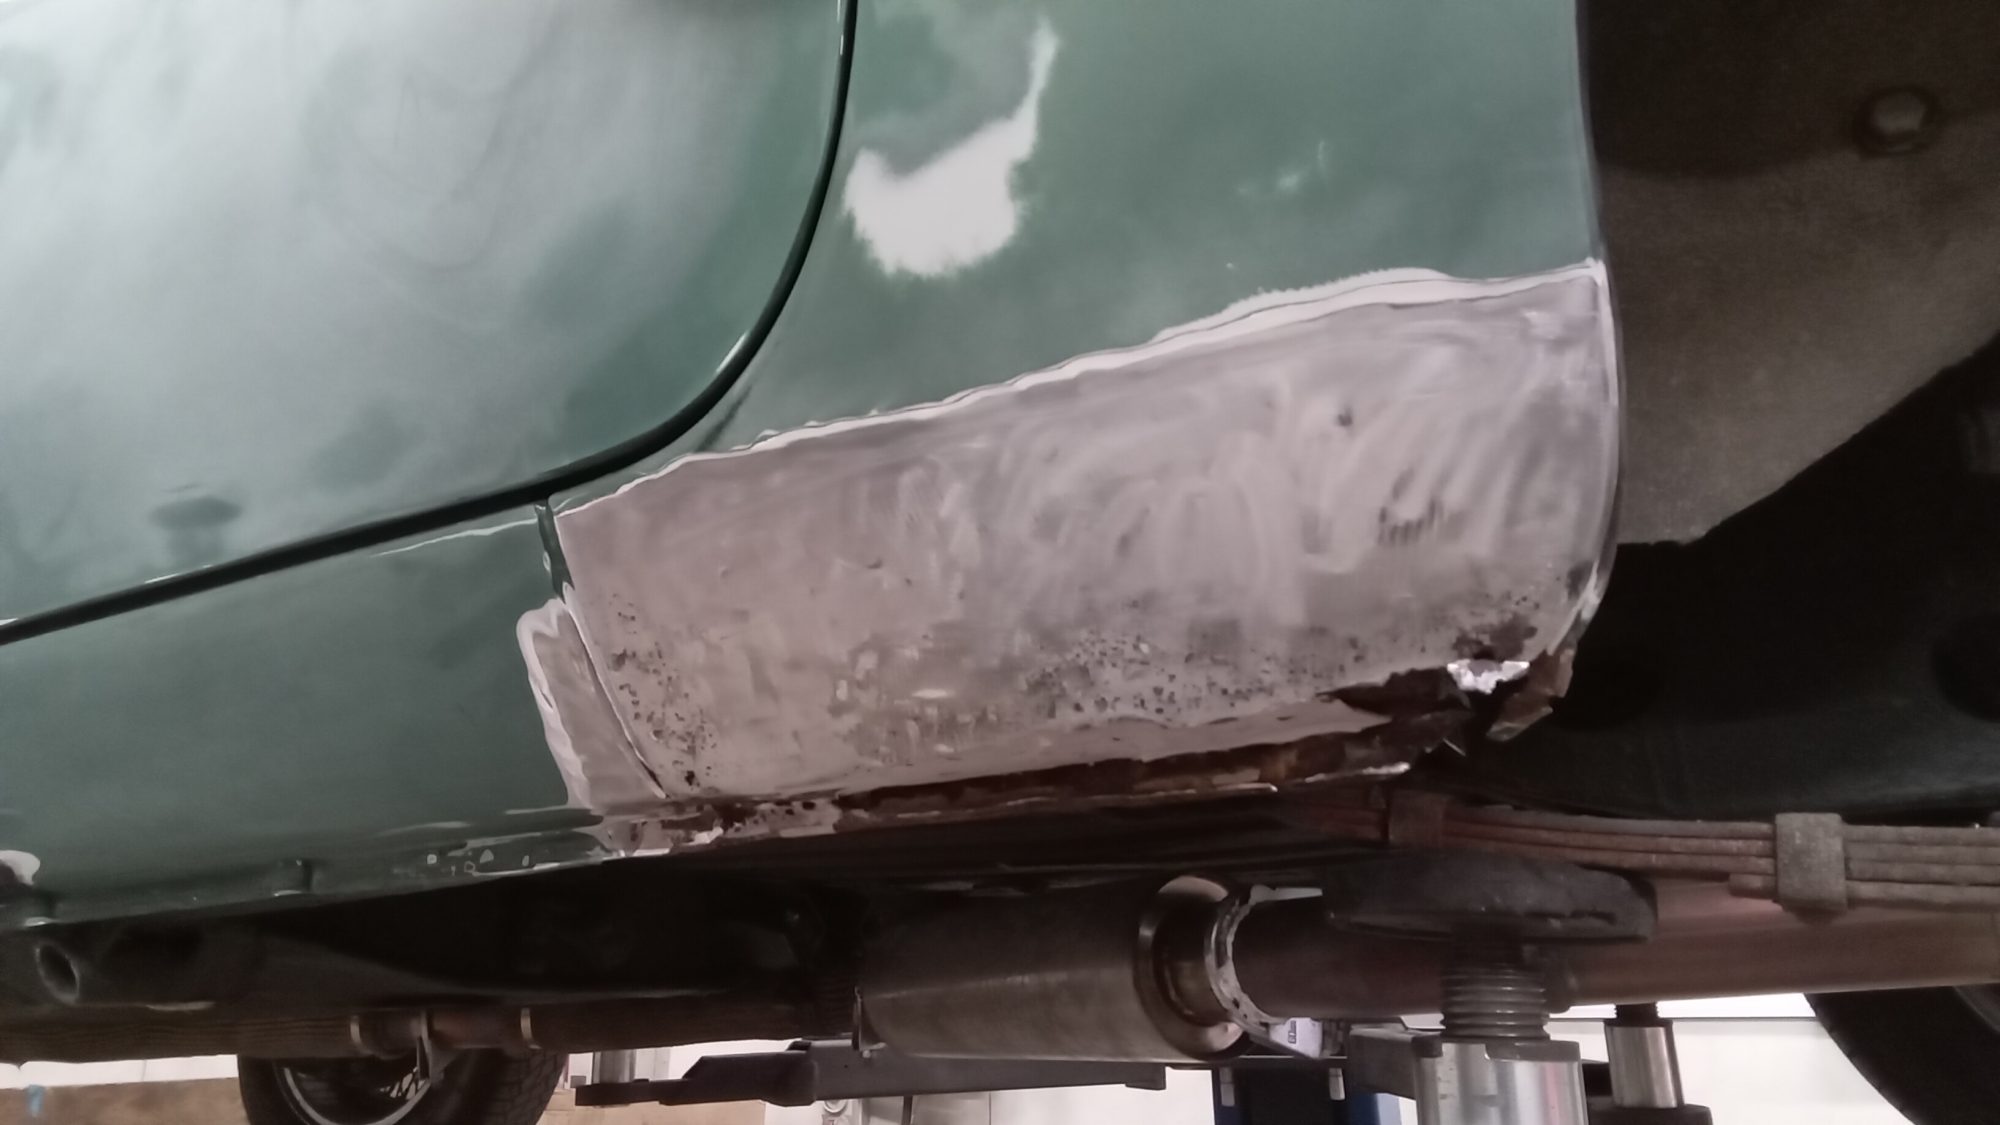
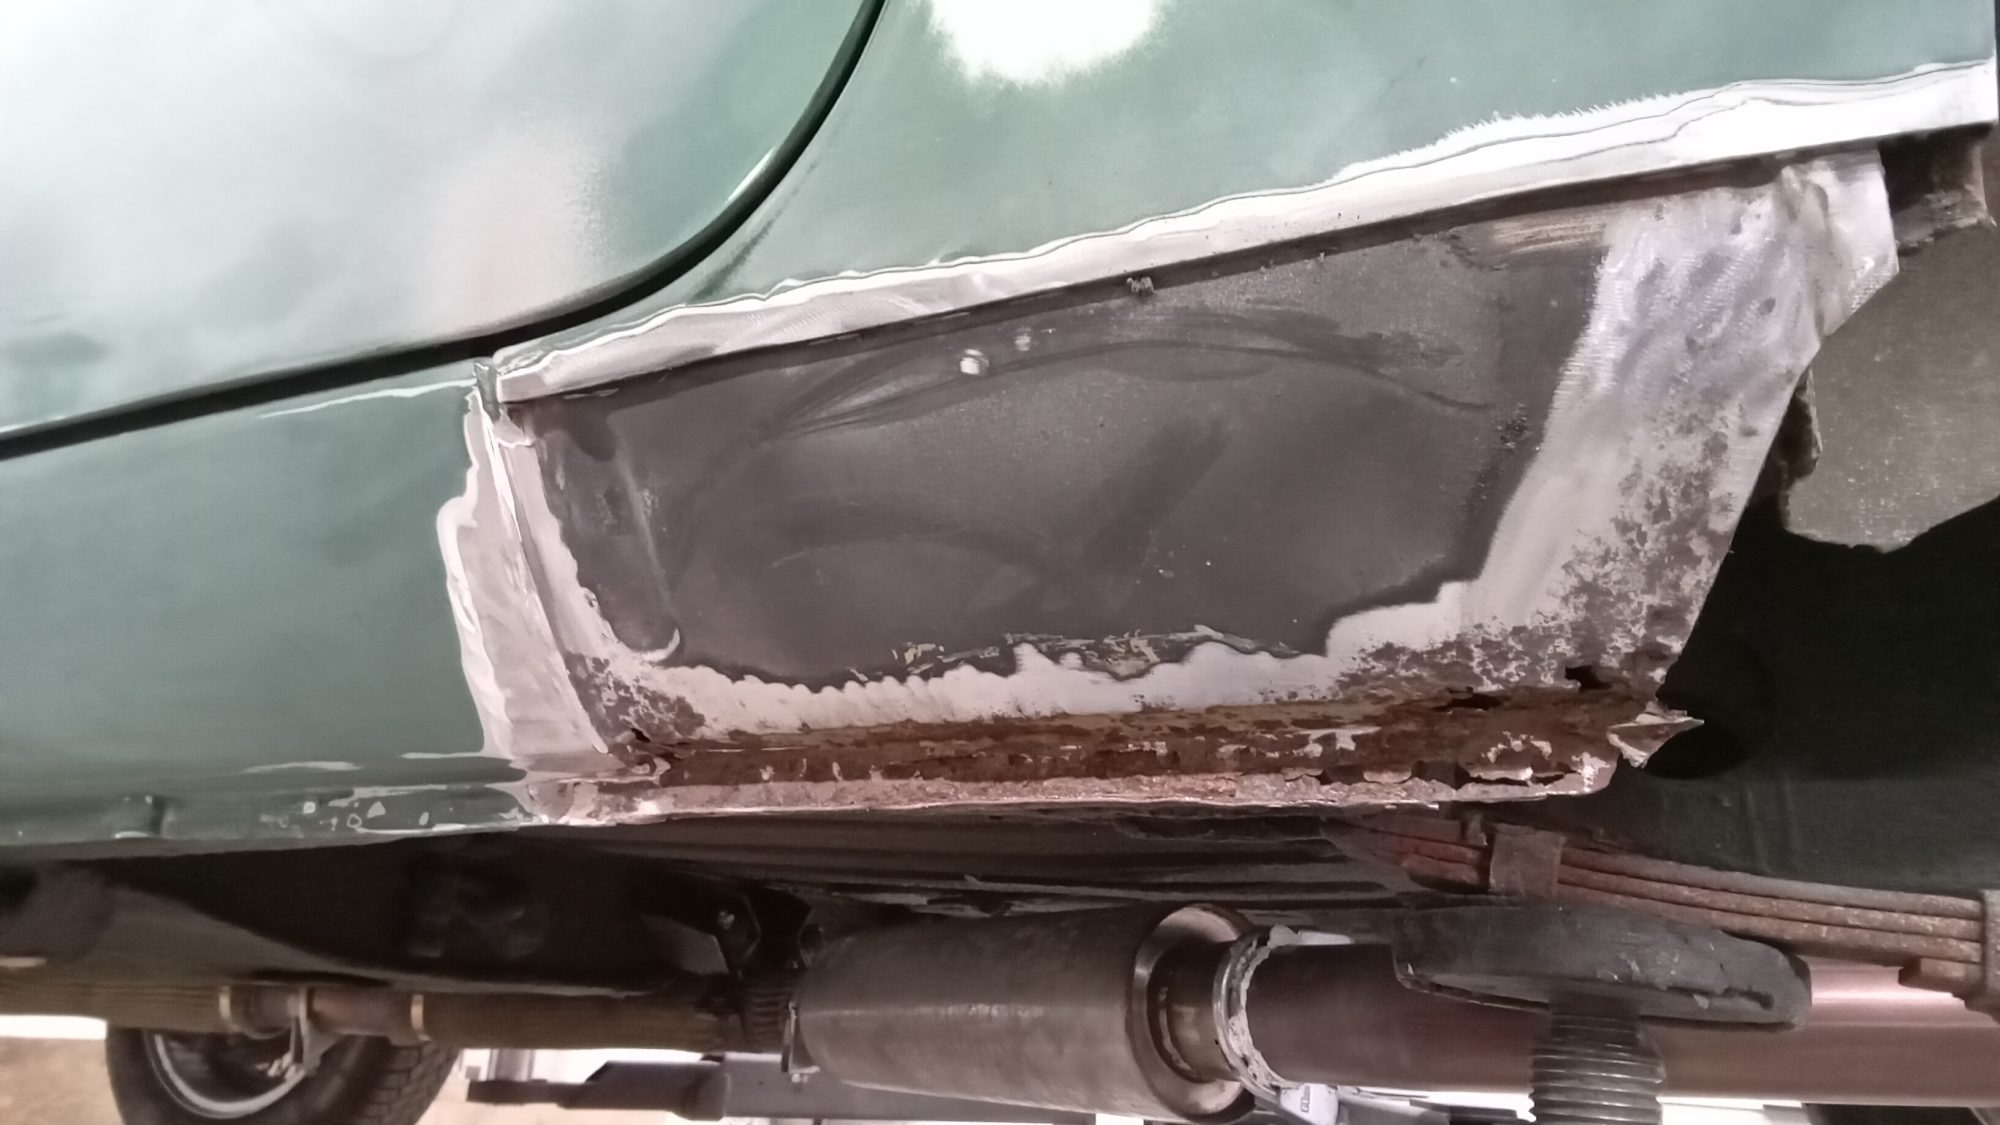

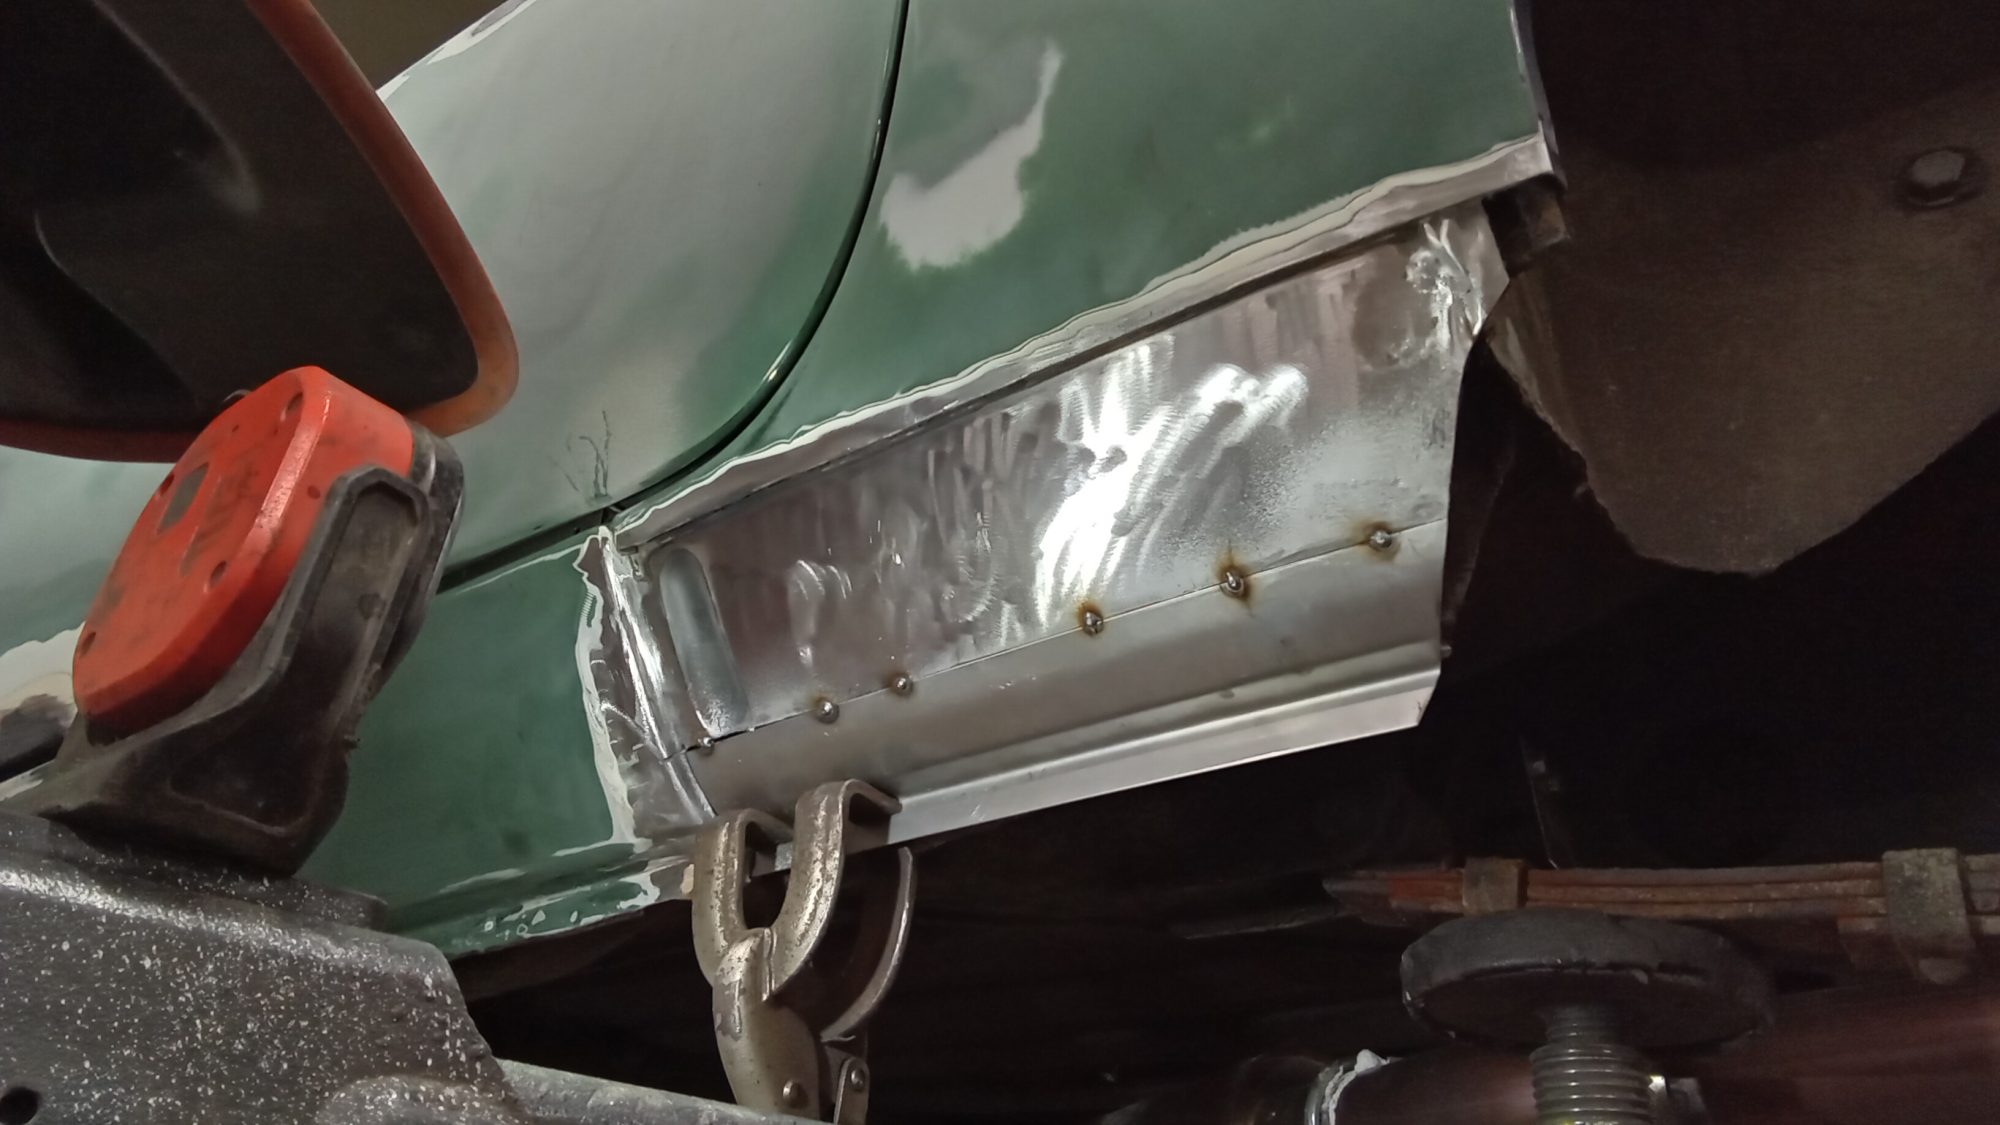
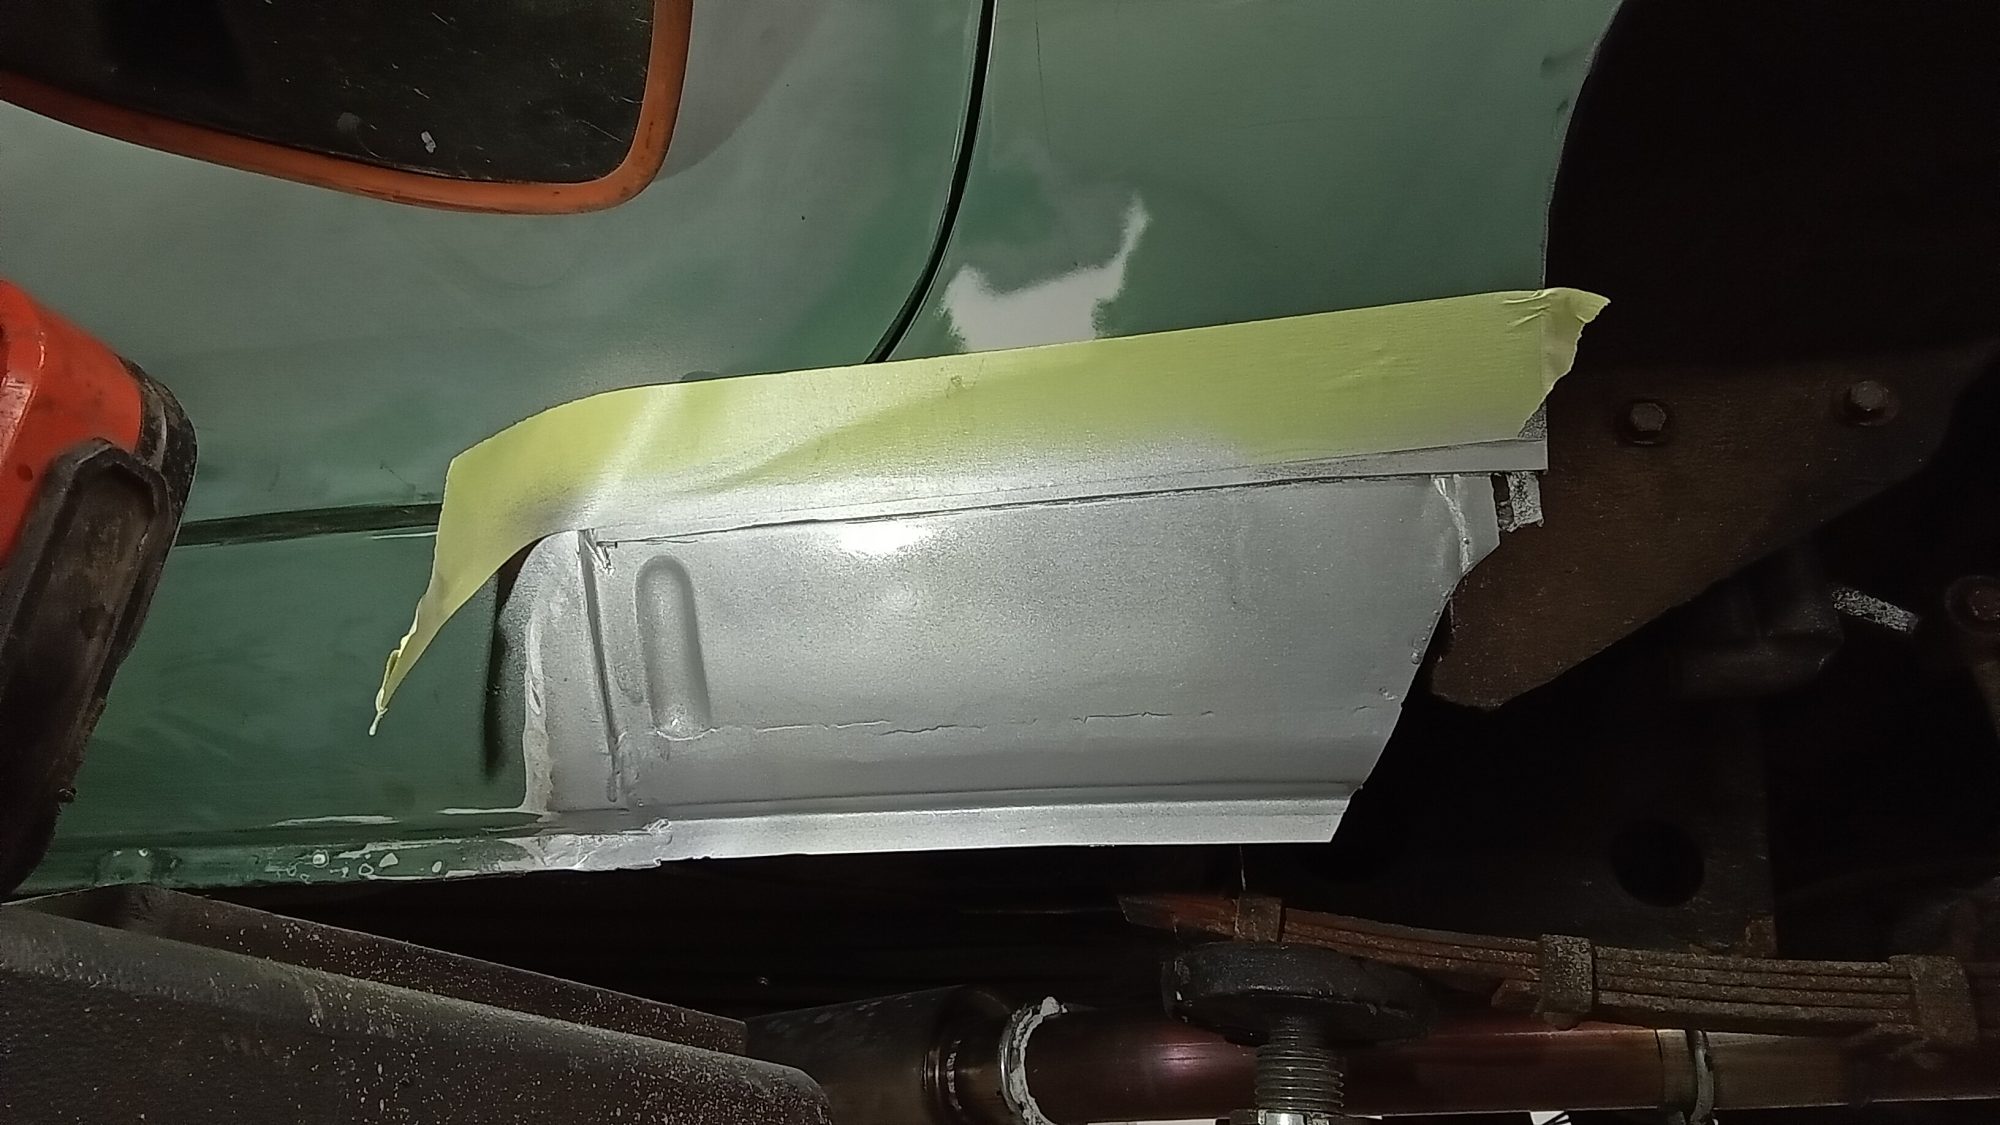
Christian is assessing the corroded areas and getting the car prepared for the repairs.
Alan has applied a DTM gloss black to some of the suspension parts. DTM or Direct To Metal paints are created to provide your metal substrate with protection from corrosion, yet provide a good cosmetic finish at the same time.
The internal joints have also been seam sealed and are now ready for colour.
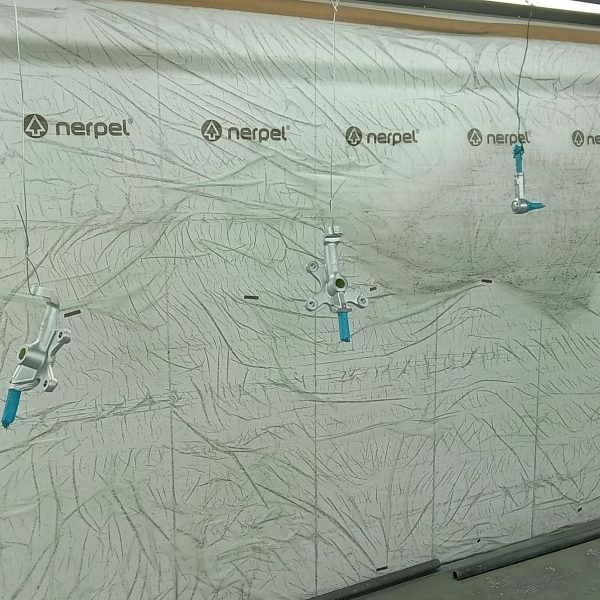

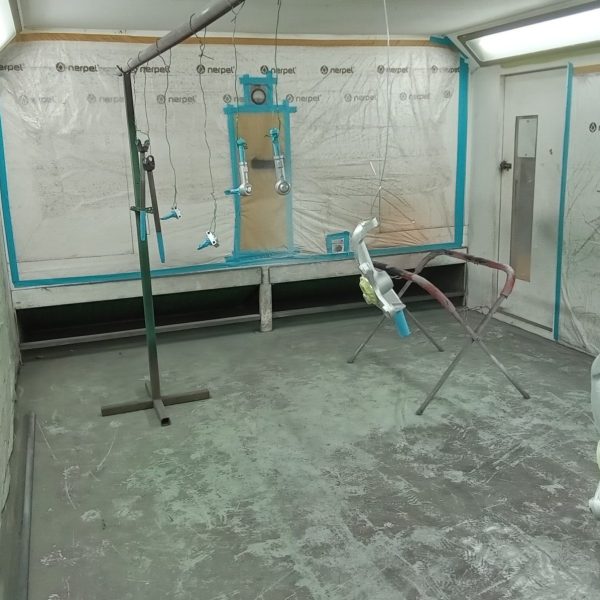
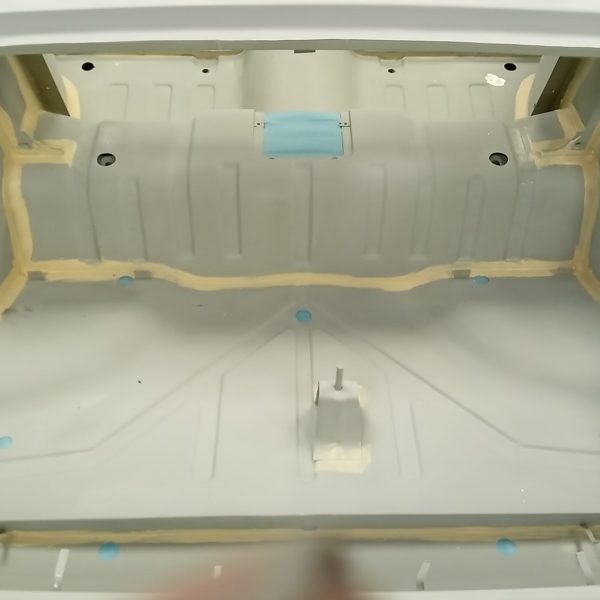

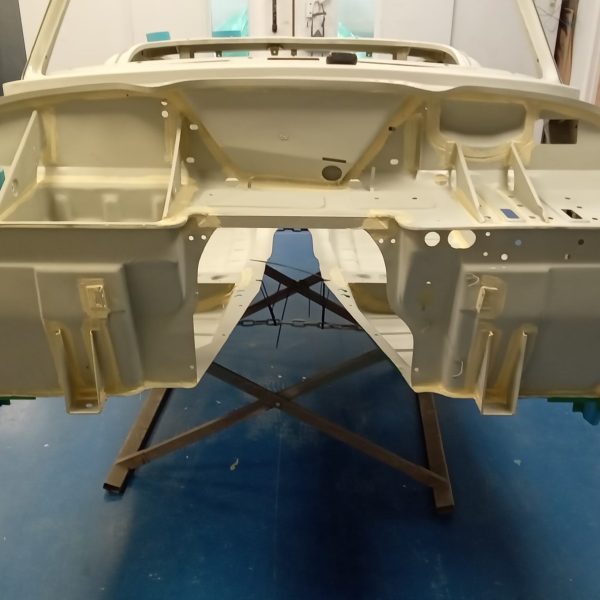
Rob returns to work this week, having taken a extended break to recover from some recent surgery.
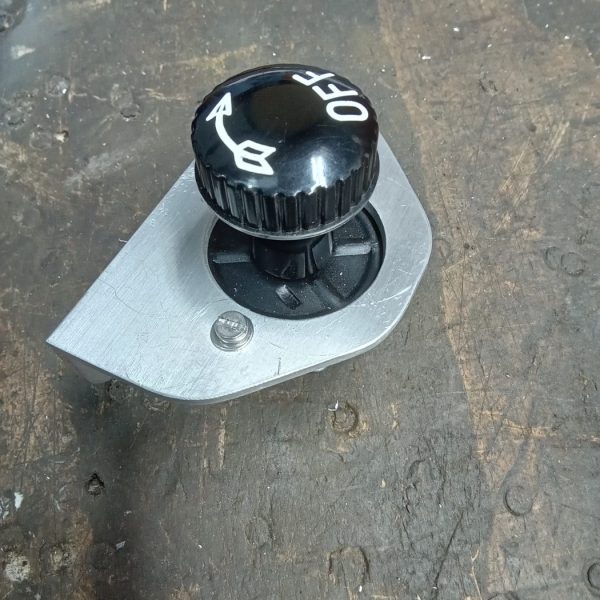
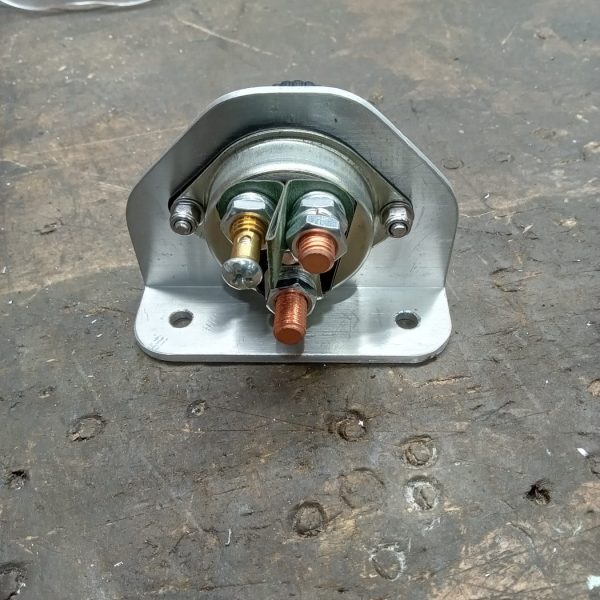
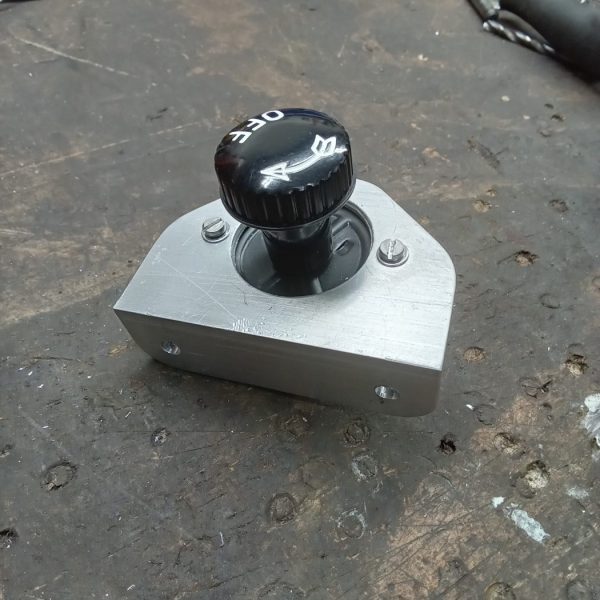
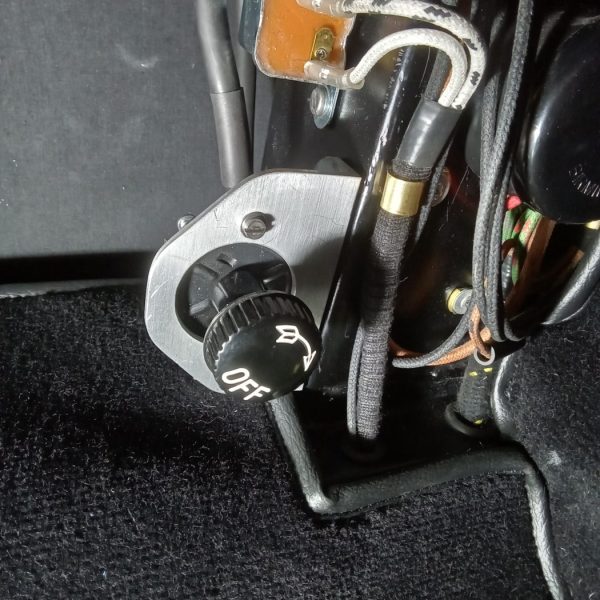
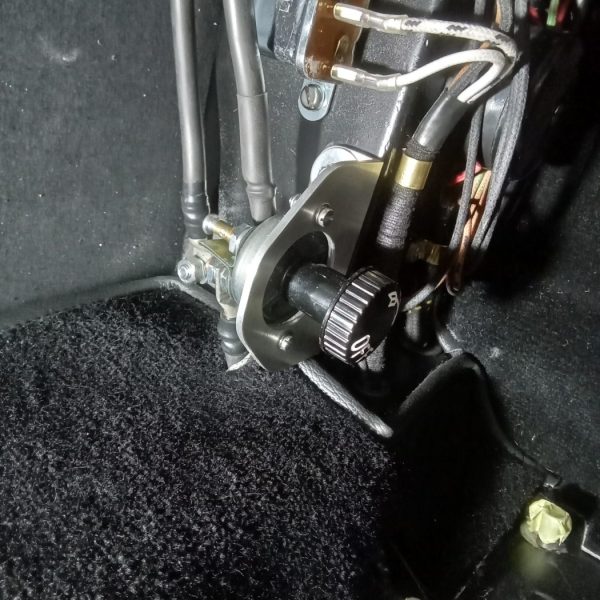
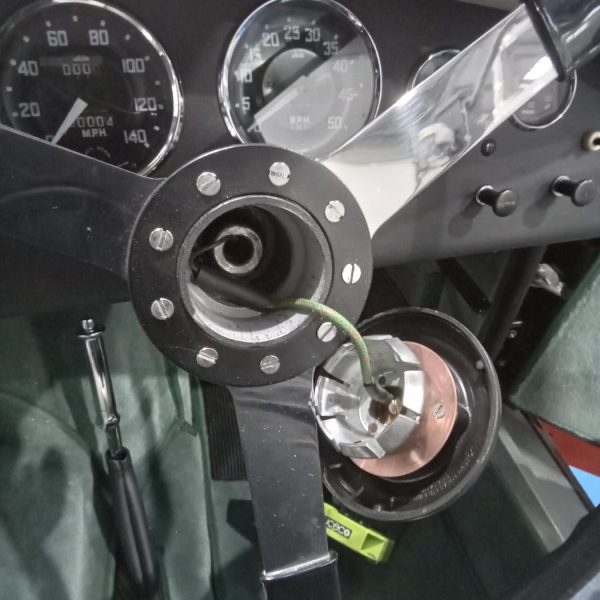
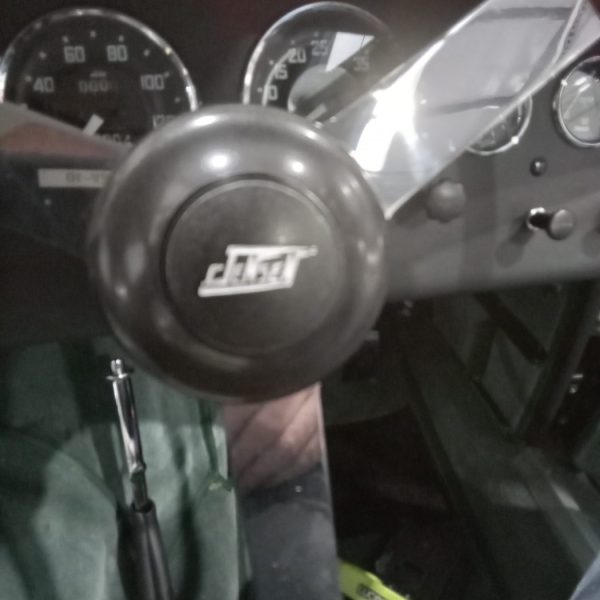
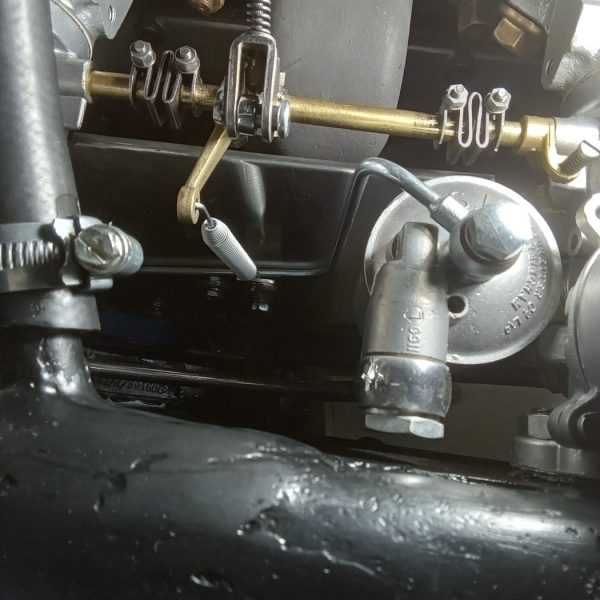
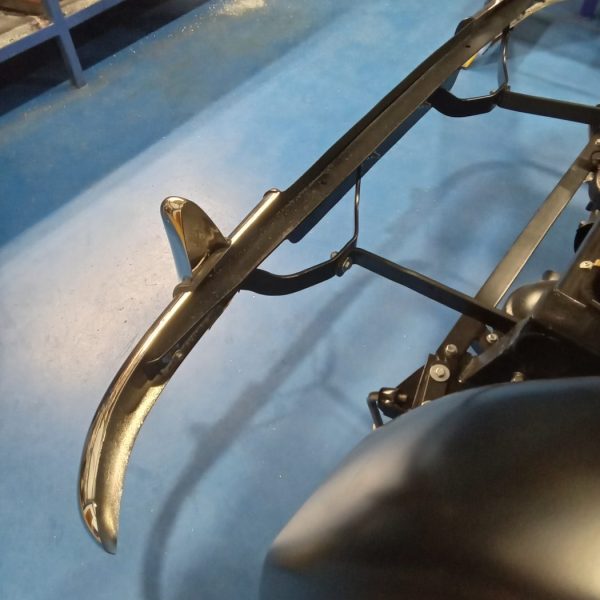
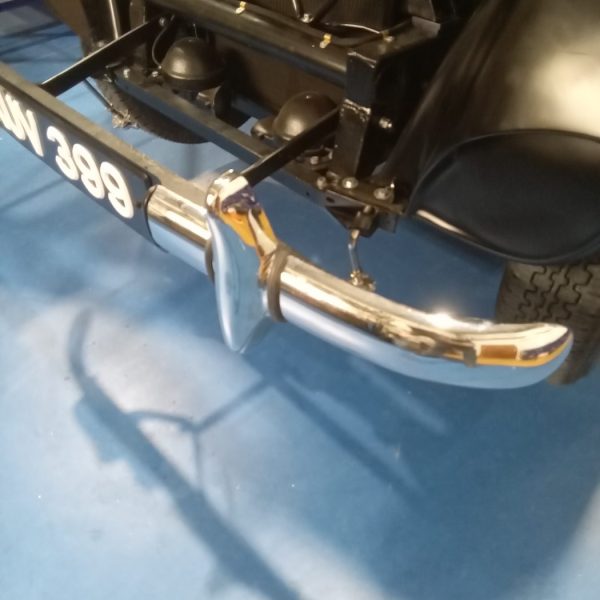
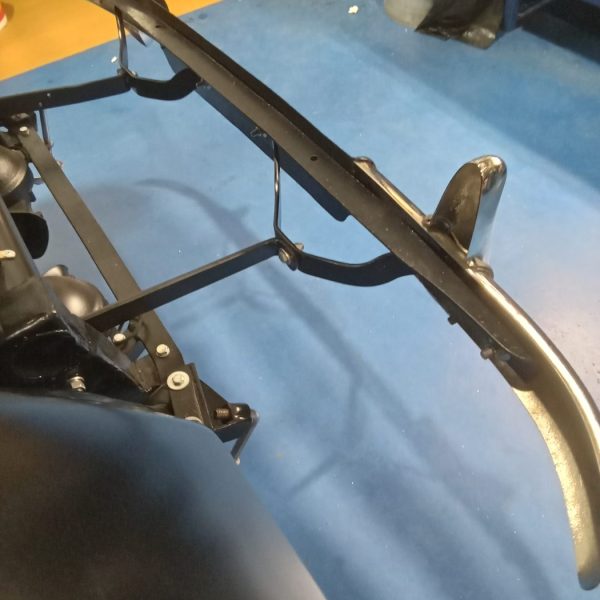
He gets straight back on to our Jensen 541R as we finish off this fantastic restoration. He has fabricated a bracket for mounting a battery cut off switch in the boot. Fitted a bracket and switch to car. Made new earth leads to run from the battery to the switch and the switch to the chassis. Make up a wire to connect the horn button to the steering column. Fit steering wheel and horn push and test. Fit an extra throttle return spring and make and fit a bracket to attach the spring to the engine.

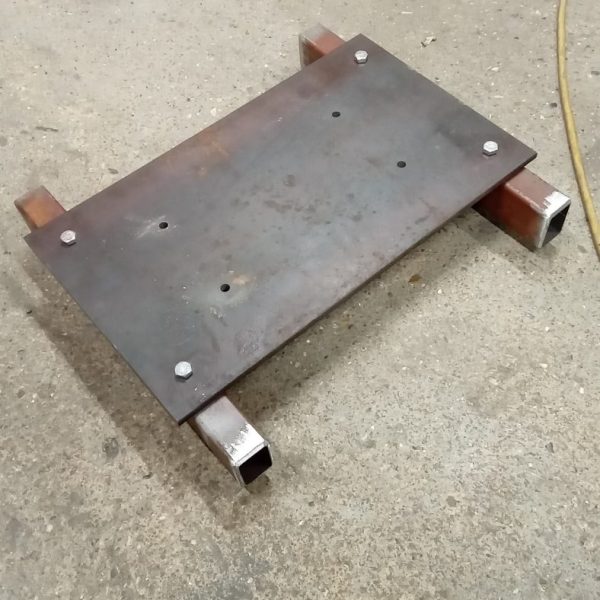
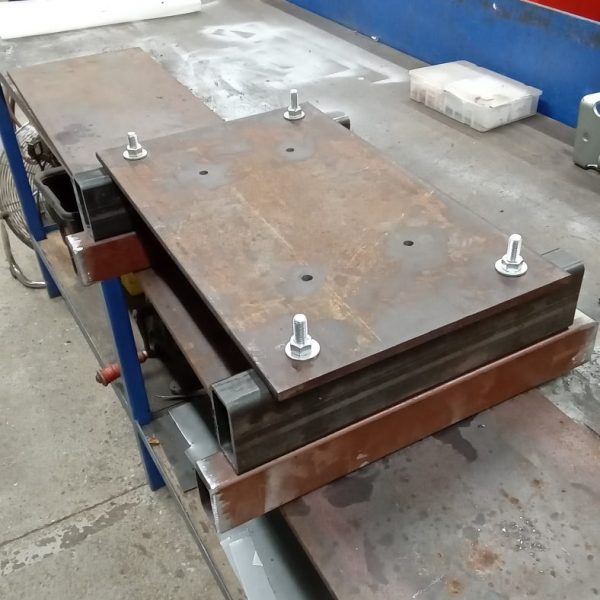
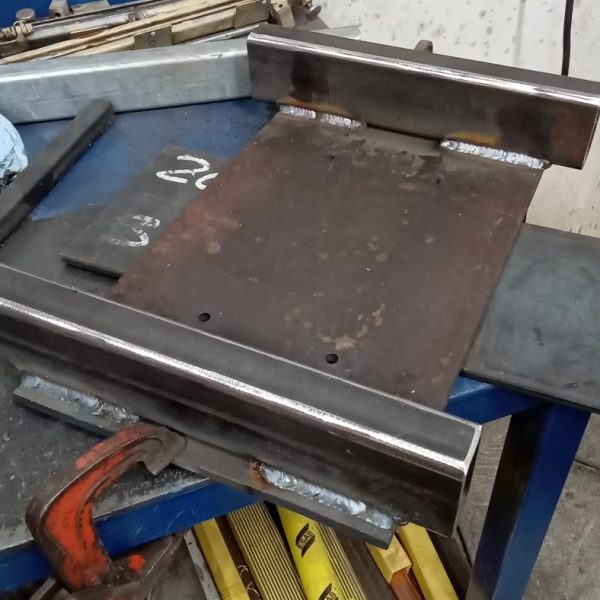
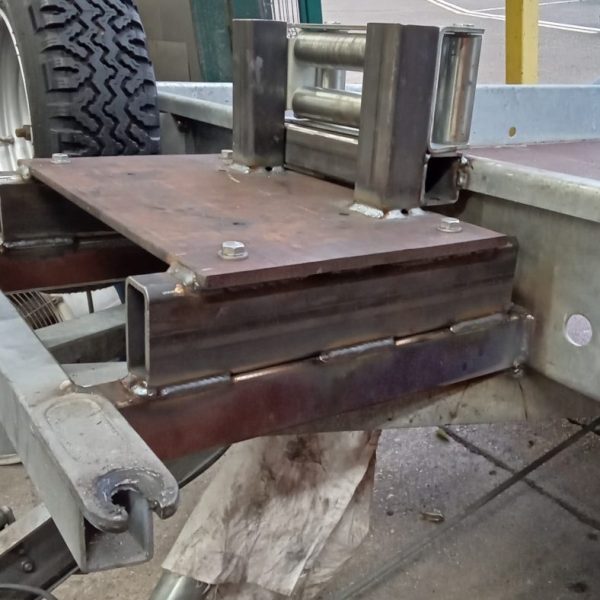
Monty is fitting a new electric winch to our Wessex open trailer. He is fabricating new bracketry to house our winch which will go over to the paint shop for painting up prior to installation.

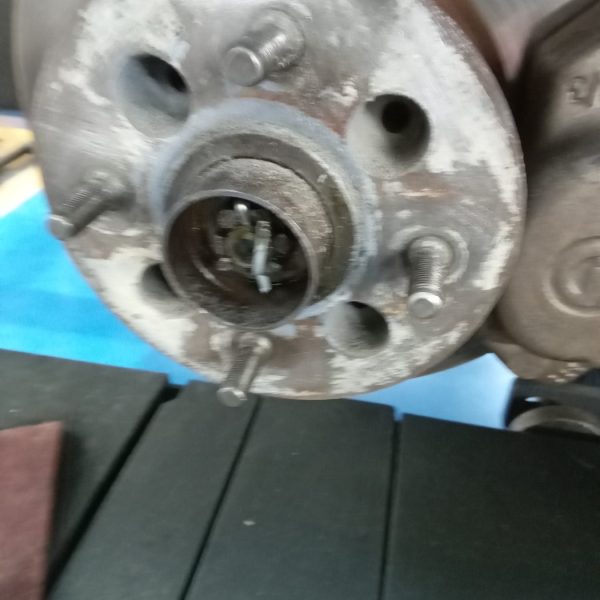
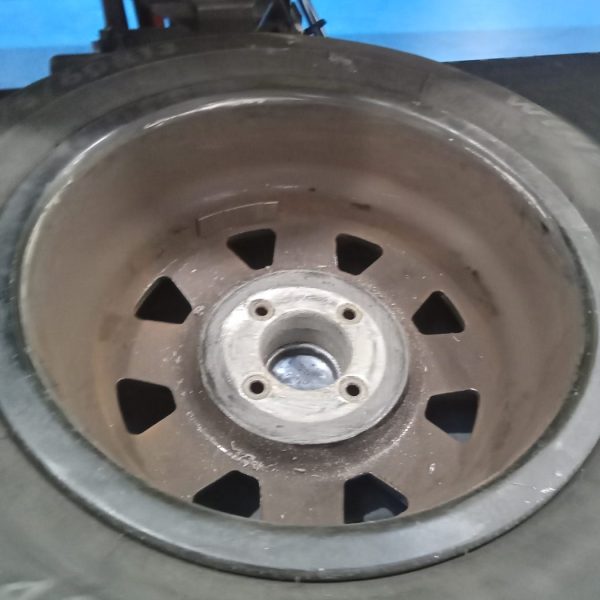
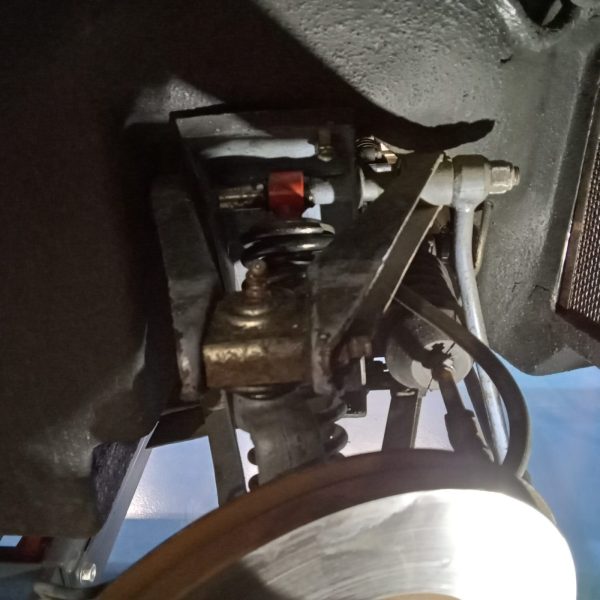
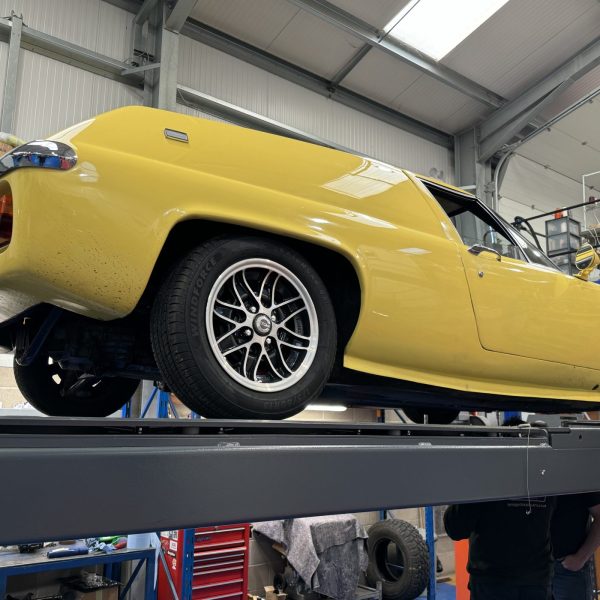
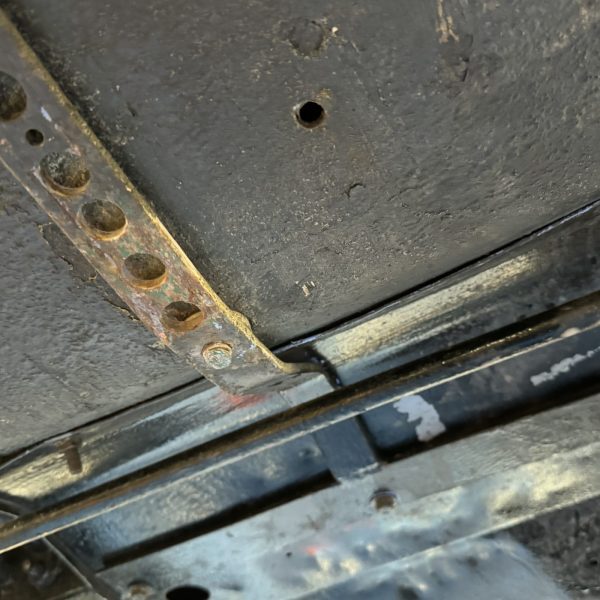
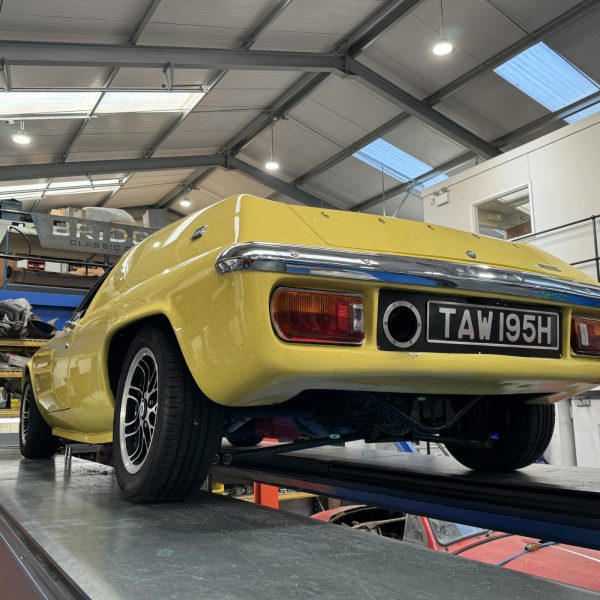
On, what we thought would be, our final drive of the Lotus Europa prior to it leaving us for its new home, John heard a slight knocking noise coming from the front so he now needs to do some further investigations to diagnose and repair what is creating this noise.

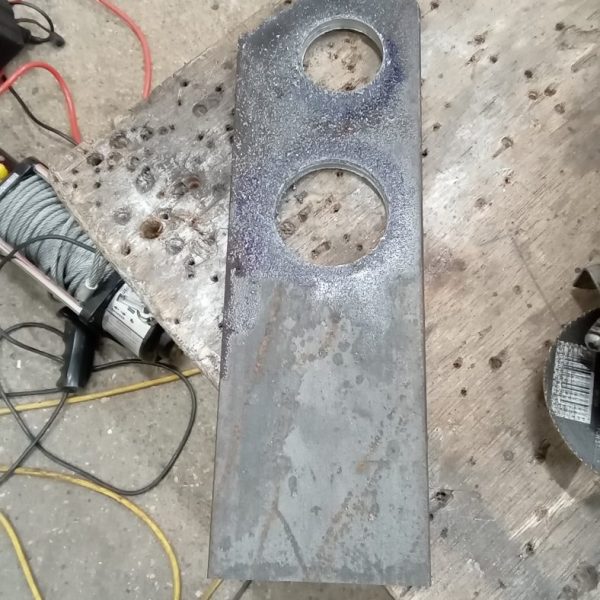
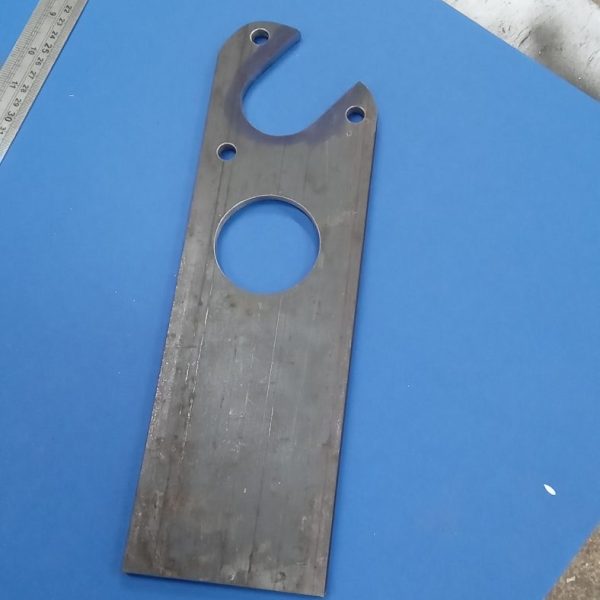
Monty has made up a new steering rack bracket to replace the existing one on our 1956 Jensen 541.
We use cookies to deliver the best possible experience whilst visiting our website. By clicking "Accept All", you consent to our use of cookies, or you can manage your preferences by clicking the link below. You can manage your preferences at any time from out Cookie Policy page.