
Piece by Piece – Body Panels for 1977 MGB Roadster Ready for Paint
Our Bridge Classic Cars in-house paint and body technician Alan has been working on getting more of the 1977 MGB Roadster panels in primer ready


Our Bridge Classic Cars in-house paint and body technician Alan has been working on getting more of the 1977 MGB Roadster panels in primer ready
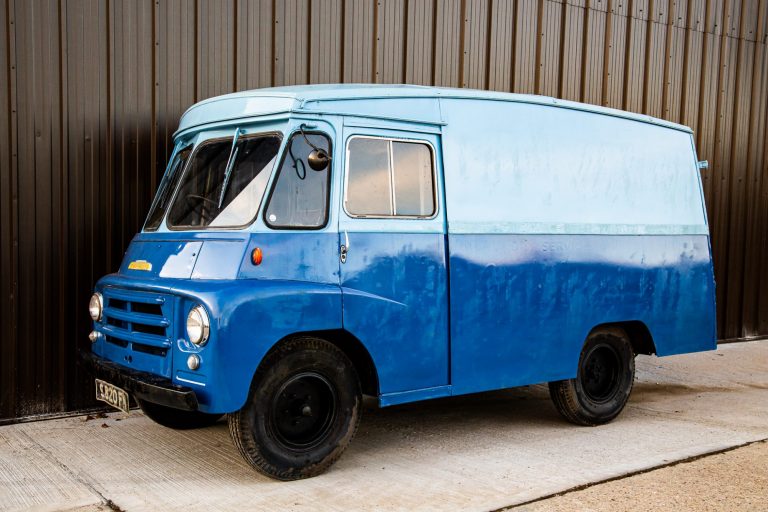
Bridge Classic Cars in Pettistree, Suffolk have welcomed this amazing 1963 Morris LD Van into our workshop recently. The van, which is local to us,

Soon Bridge Classic Cars will be welcoming this amazing 1995 Dodge Viper R/T10 to our workshop in Pettistree, Suffolk. This rare and unique muscle car
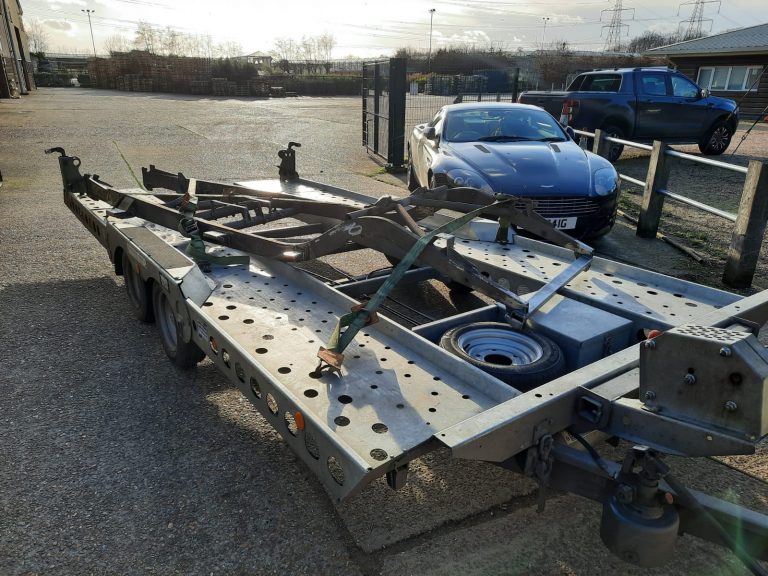
Since finishing the repairs on the chassis of the 1951 Riley RMB by our fabrication team, the whole chassis has been loaded up to head

The Bridge Classic Cars in-house restoration technicians are not new to the world of Jensen 541’s, after restoring several of the 541, 541S and 541R’s

The 1930 Packard 740 Waterfield Convertible has been in with Bridge Classic Cars recently for several jobs to be completed on the stunning prewar tourer.

The Bridge Classic Cars in-house have been finishing the final pieces for the interior of Fern Grey, the 1973 Jaguar E Type Series III Roadster
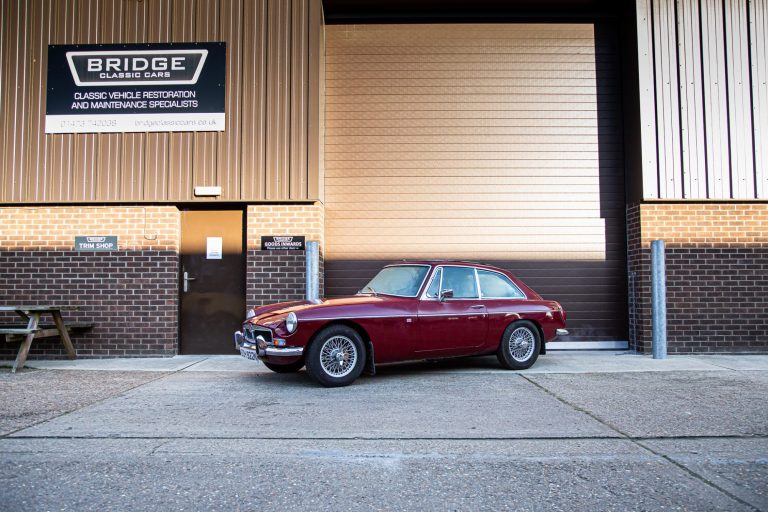
Just arrived at the Bridge Classic Cars workshop in Pettistree, Suffolk is this beautiful 1974 MGB GT. This particular car has been owned by the
This 1934 Riley Lynx we have in at Bridge Classic Cars has got a few issues. Mainly electrical and involving the lights. So, our restoration
Our restoration technician Paul has been working on inspecting and assessing the running of the 1970 Land Rover Series IIA that is at Bridge Classic

Monty, one of our incredible in-house bodywork experts here at Bridge Classic Cars, has begun the process of repairing any rust on the 1987 Daimler

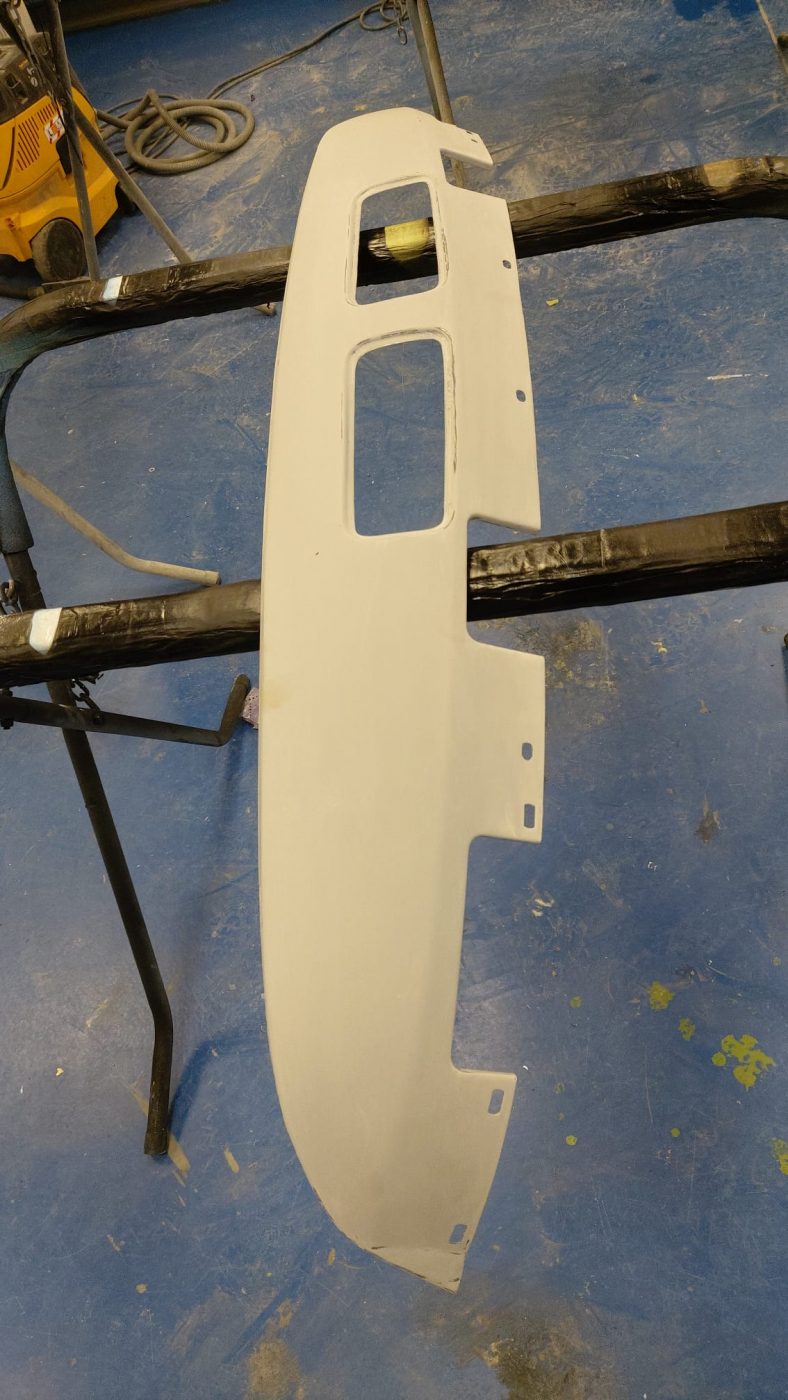
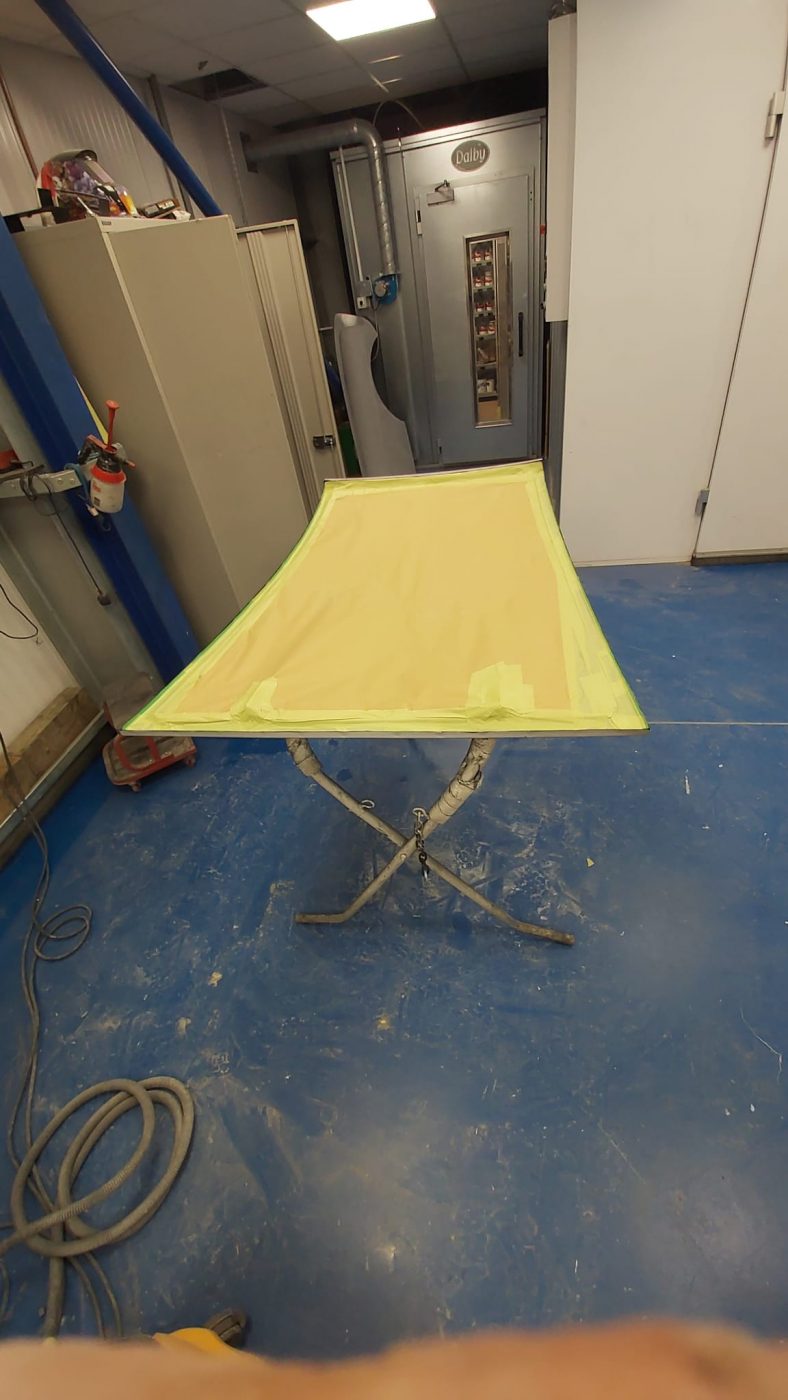
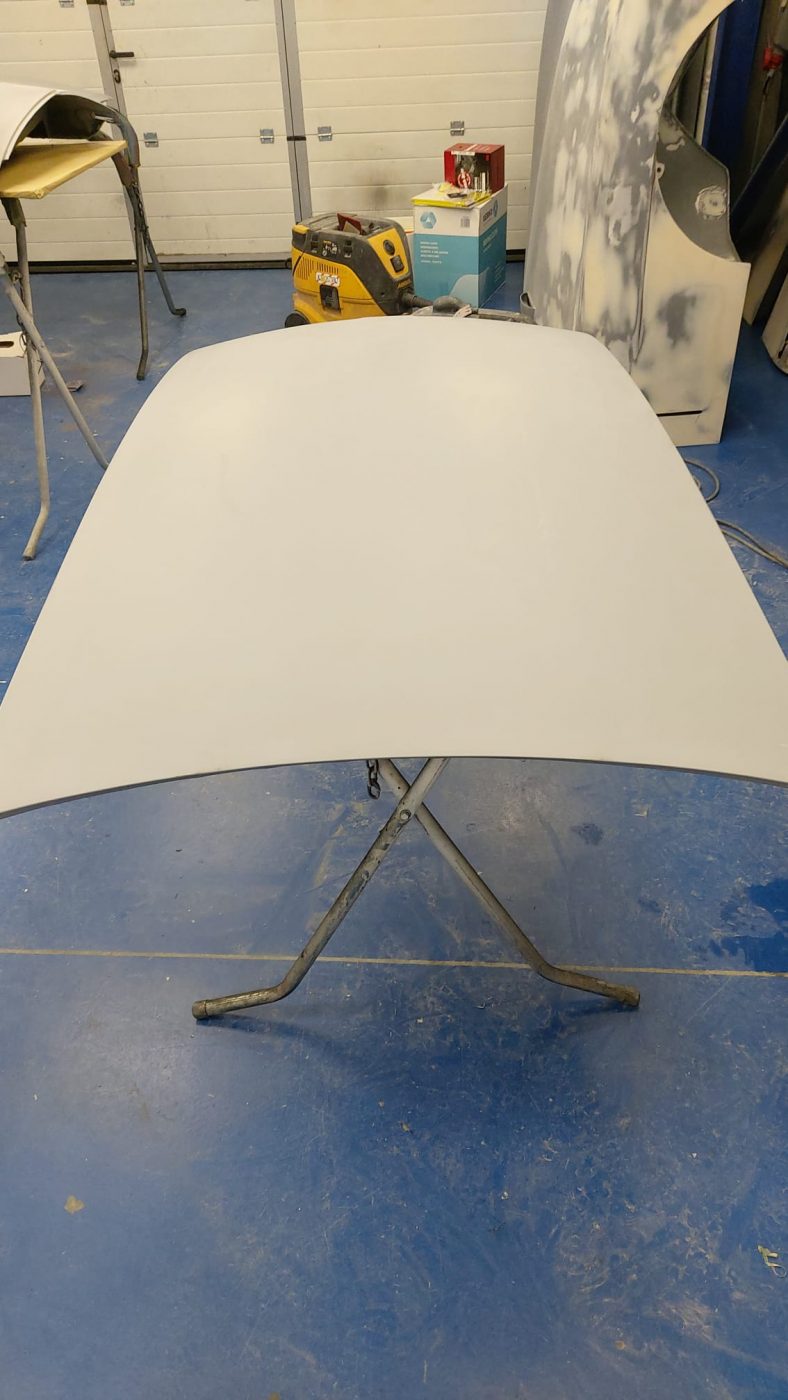
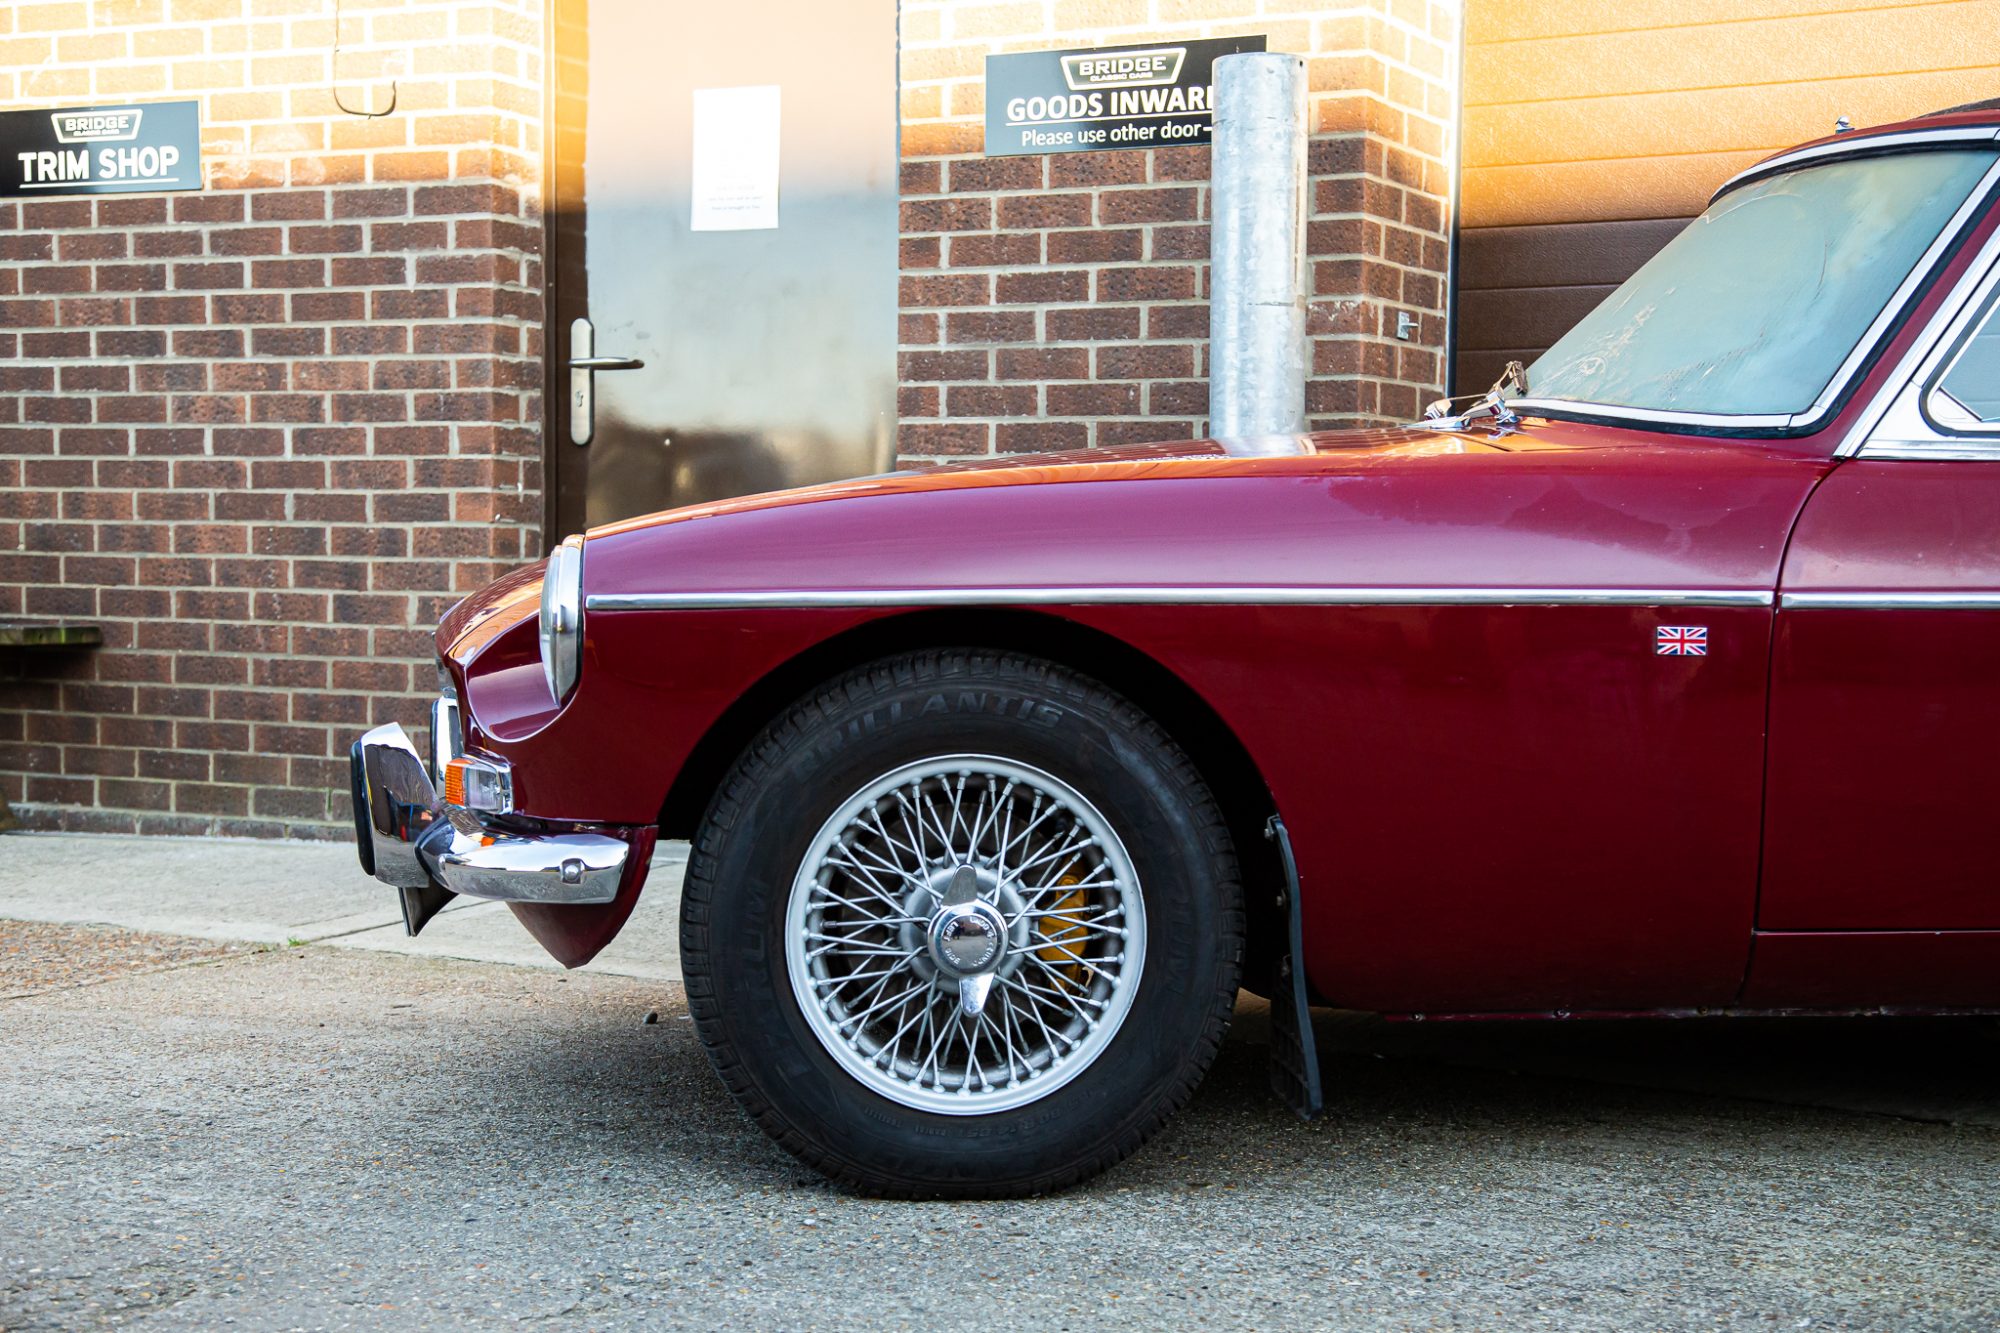
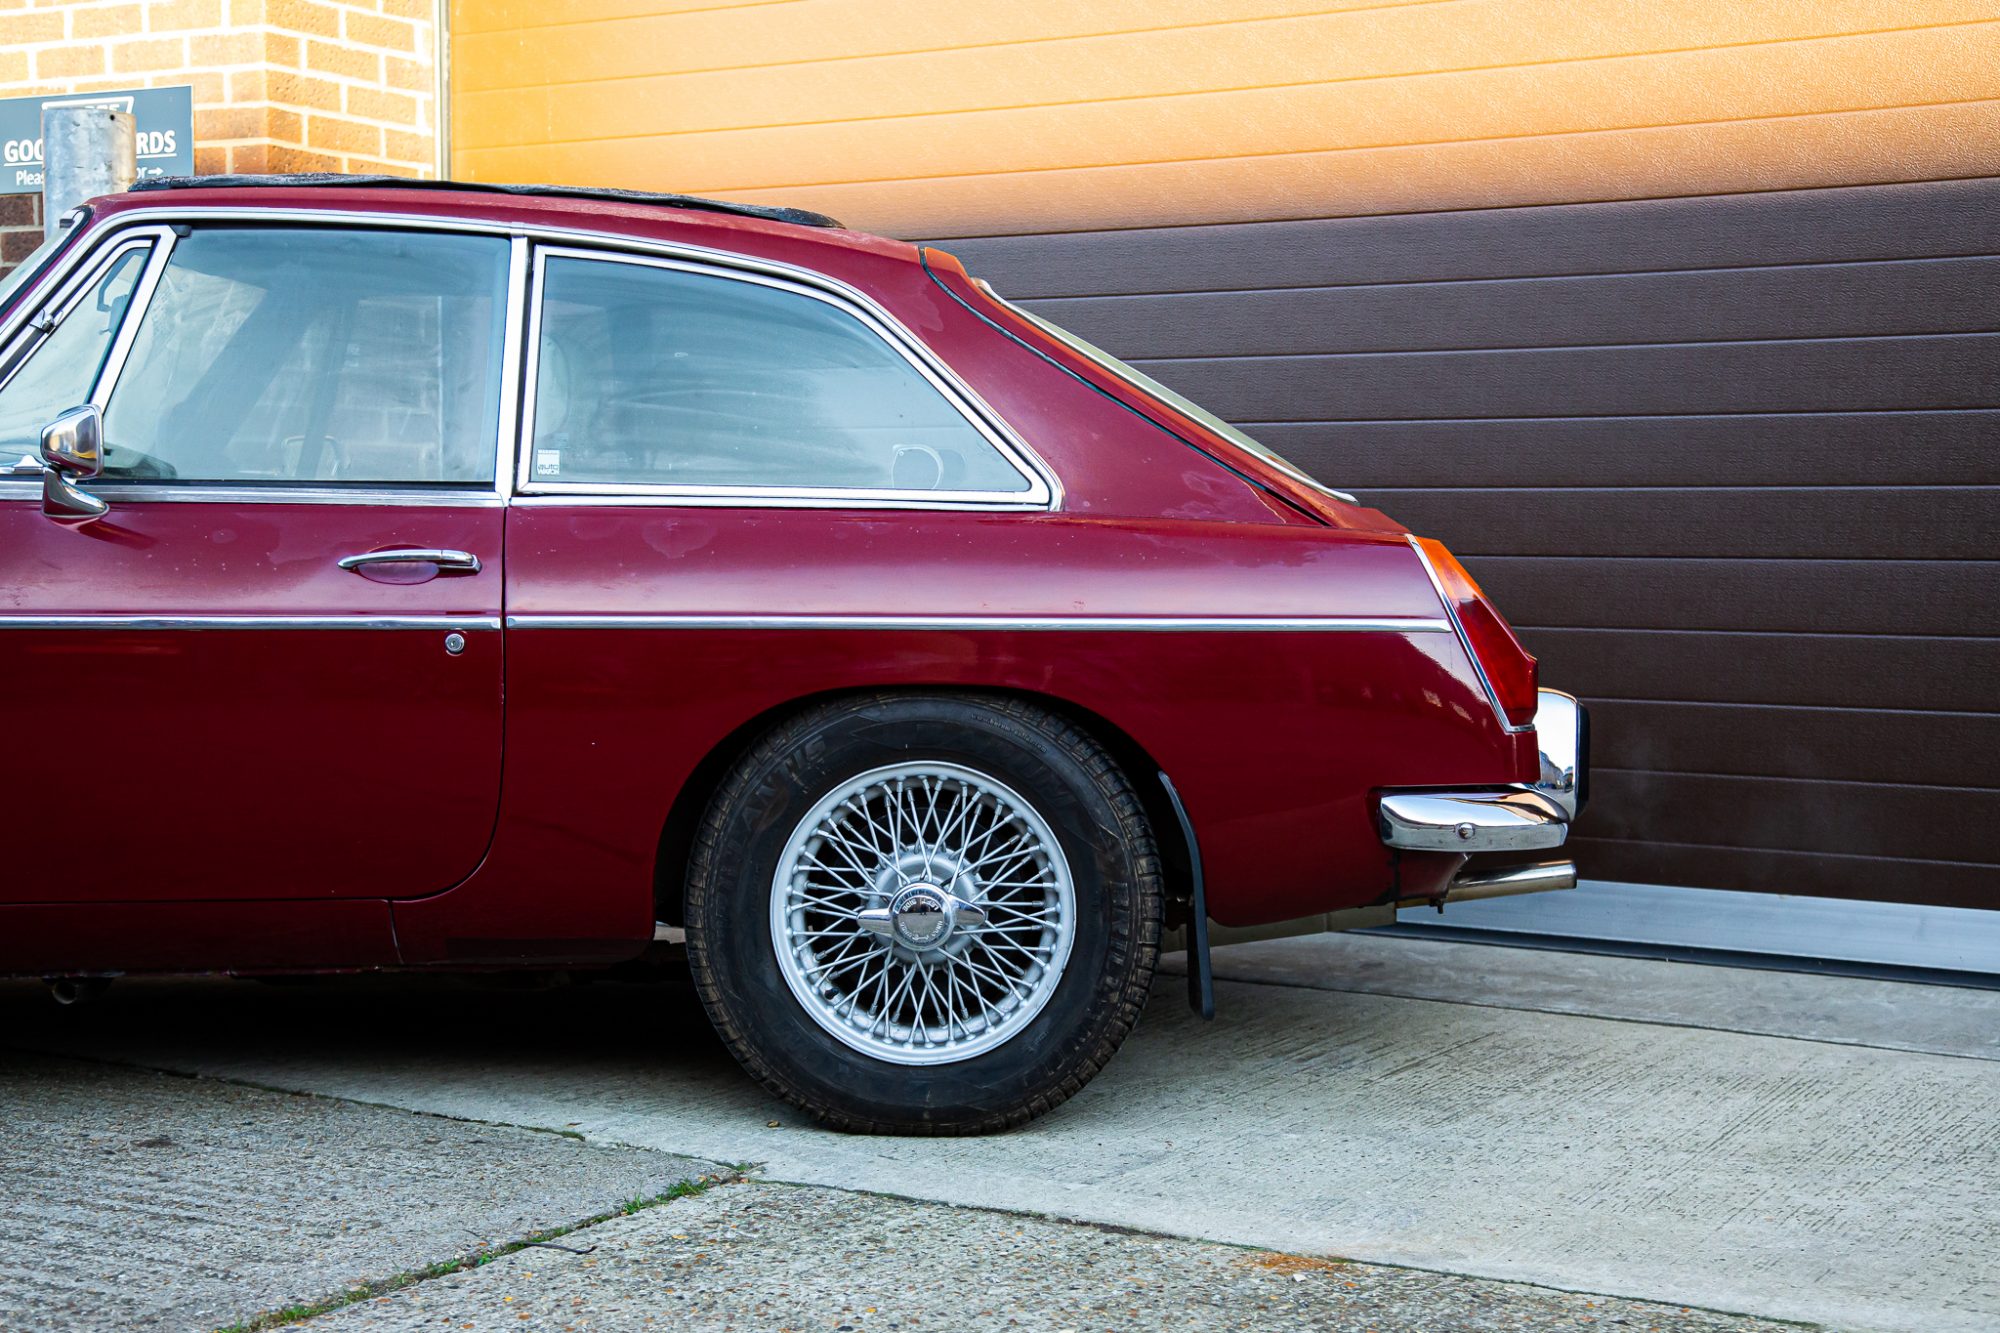
Our Bridge Classic Cars in-house paint and body technician Alan has been working on getting more of the 1977 MGB Roadster panels in primer ready for the first coats of colour to go on very soon.
Alan has been carefully preparing each of the panels to make sure they are perfect before the first coat of primer was applied. Then, after prepping and checking he shot each one with several coats of epoxy primer to build up a good base for the eventual colour to adhere to and have the best finish possible.

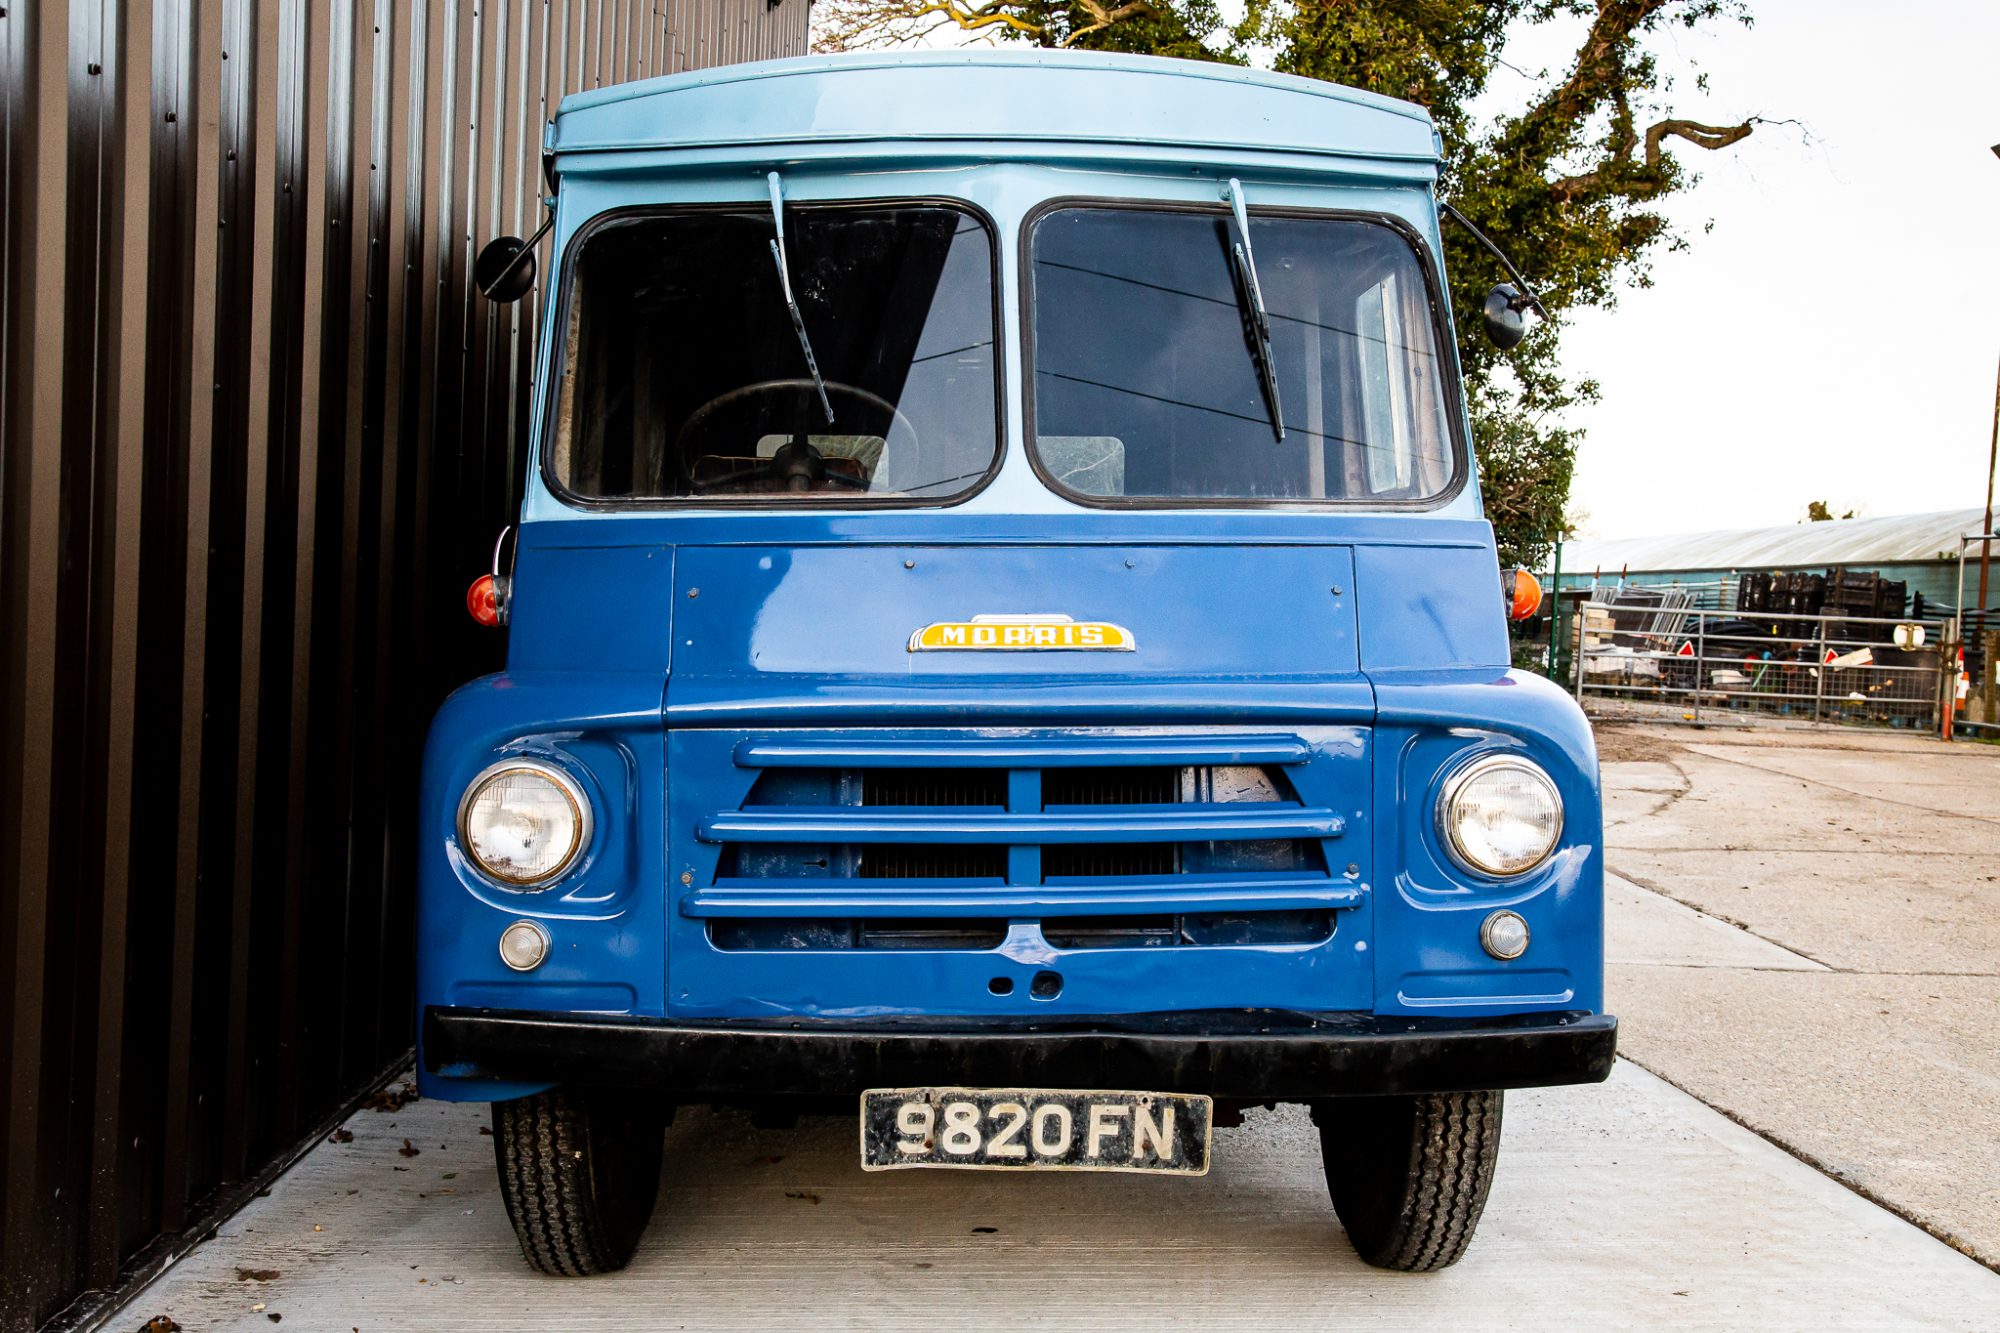
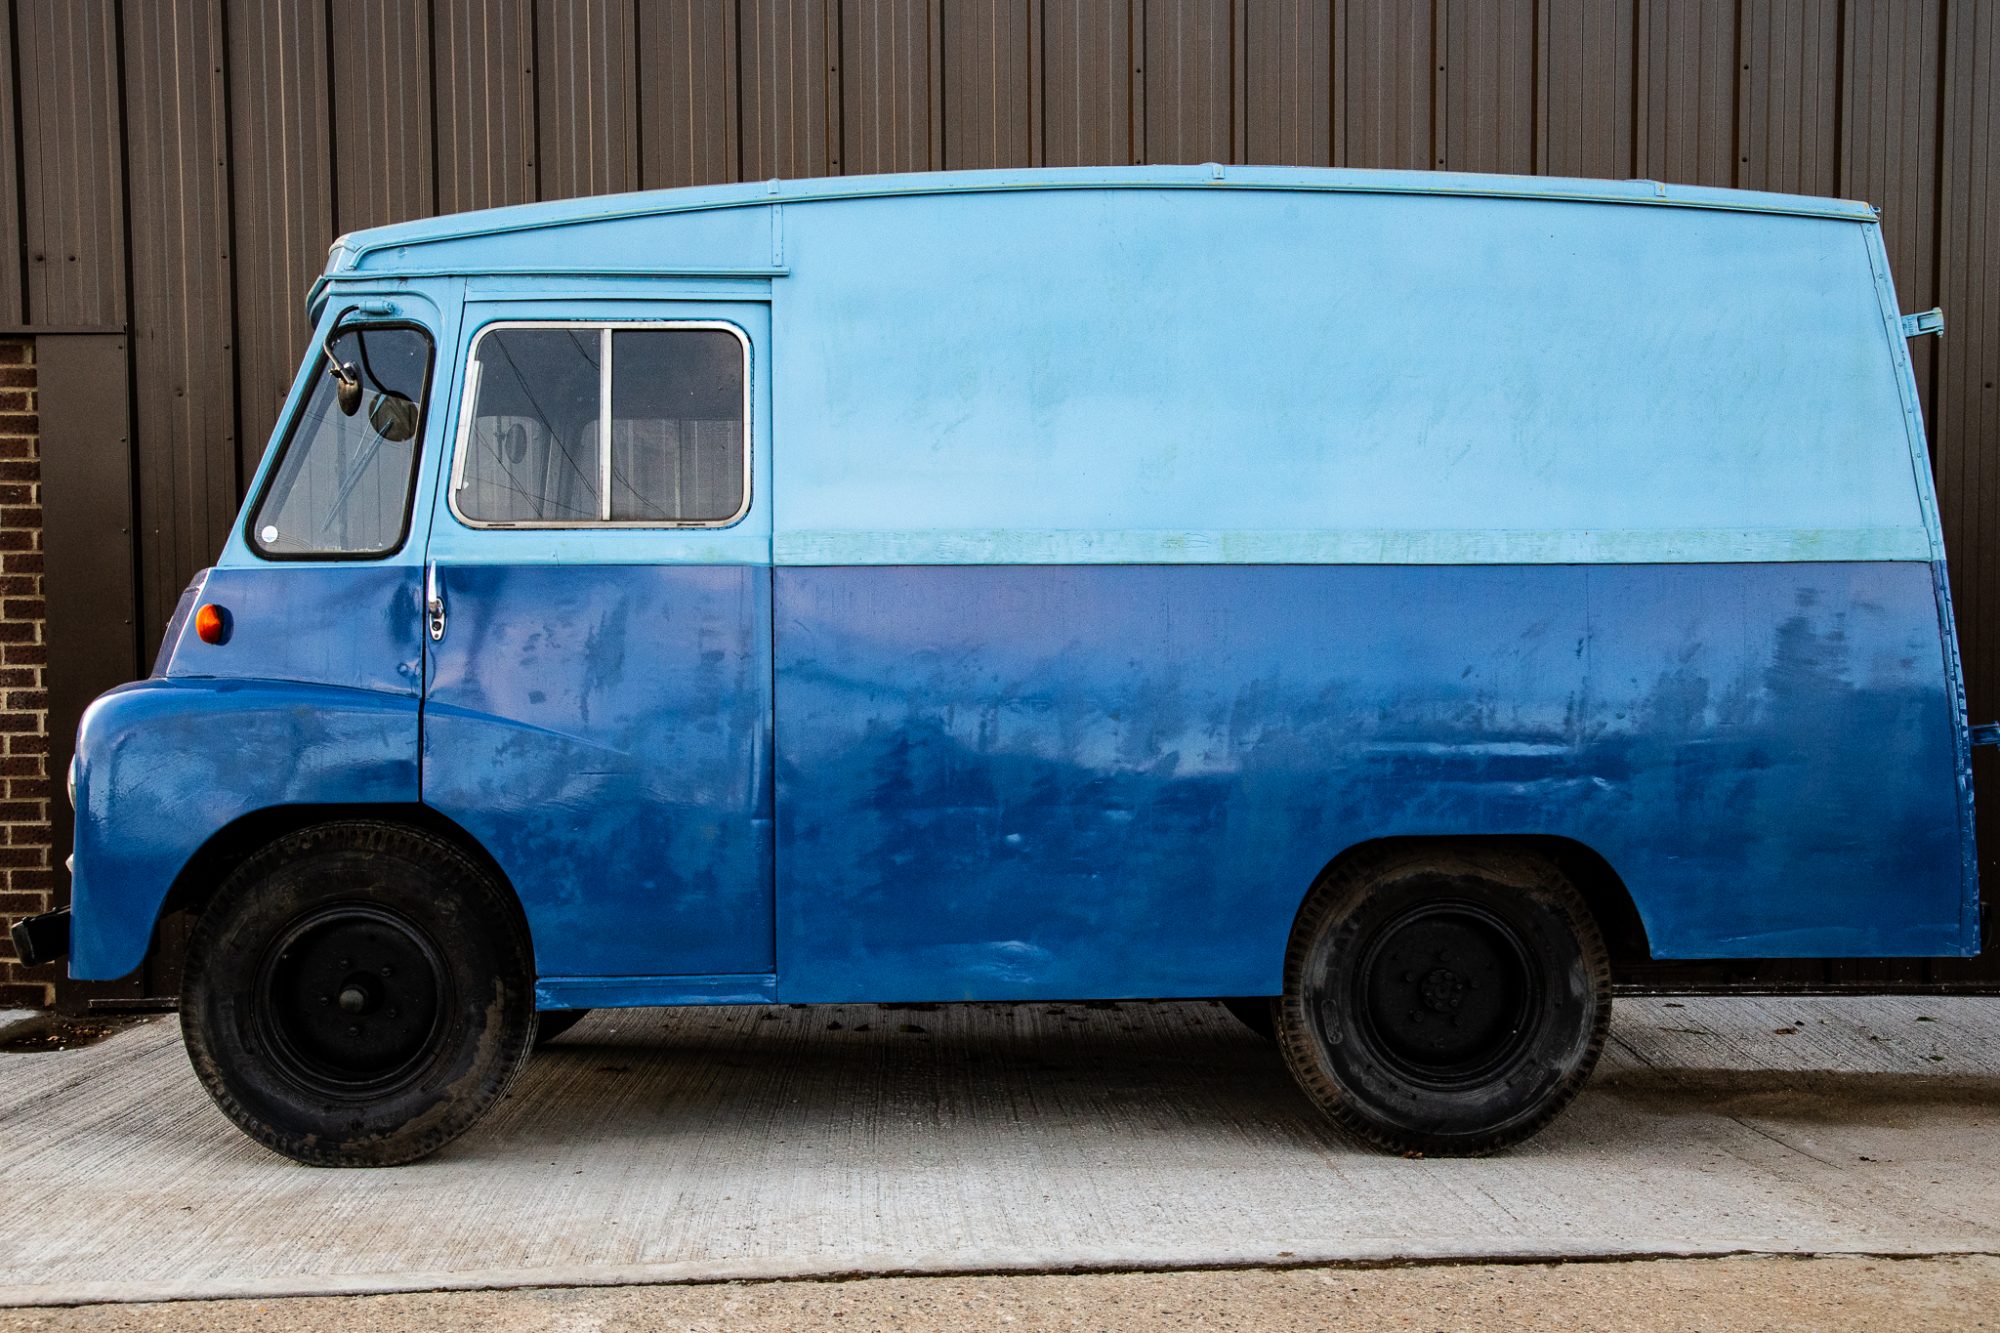
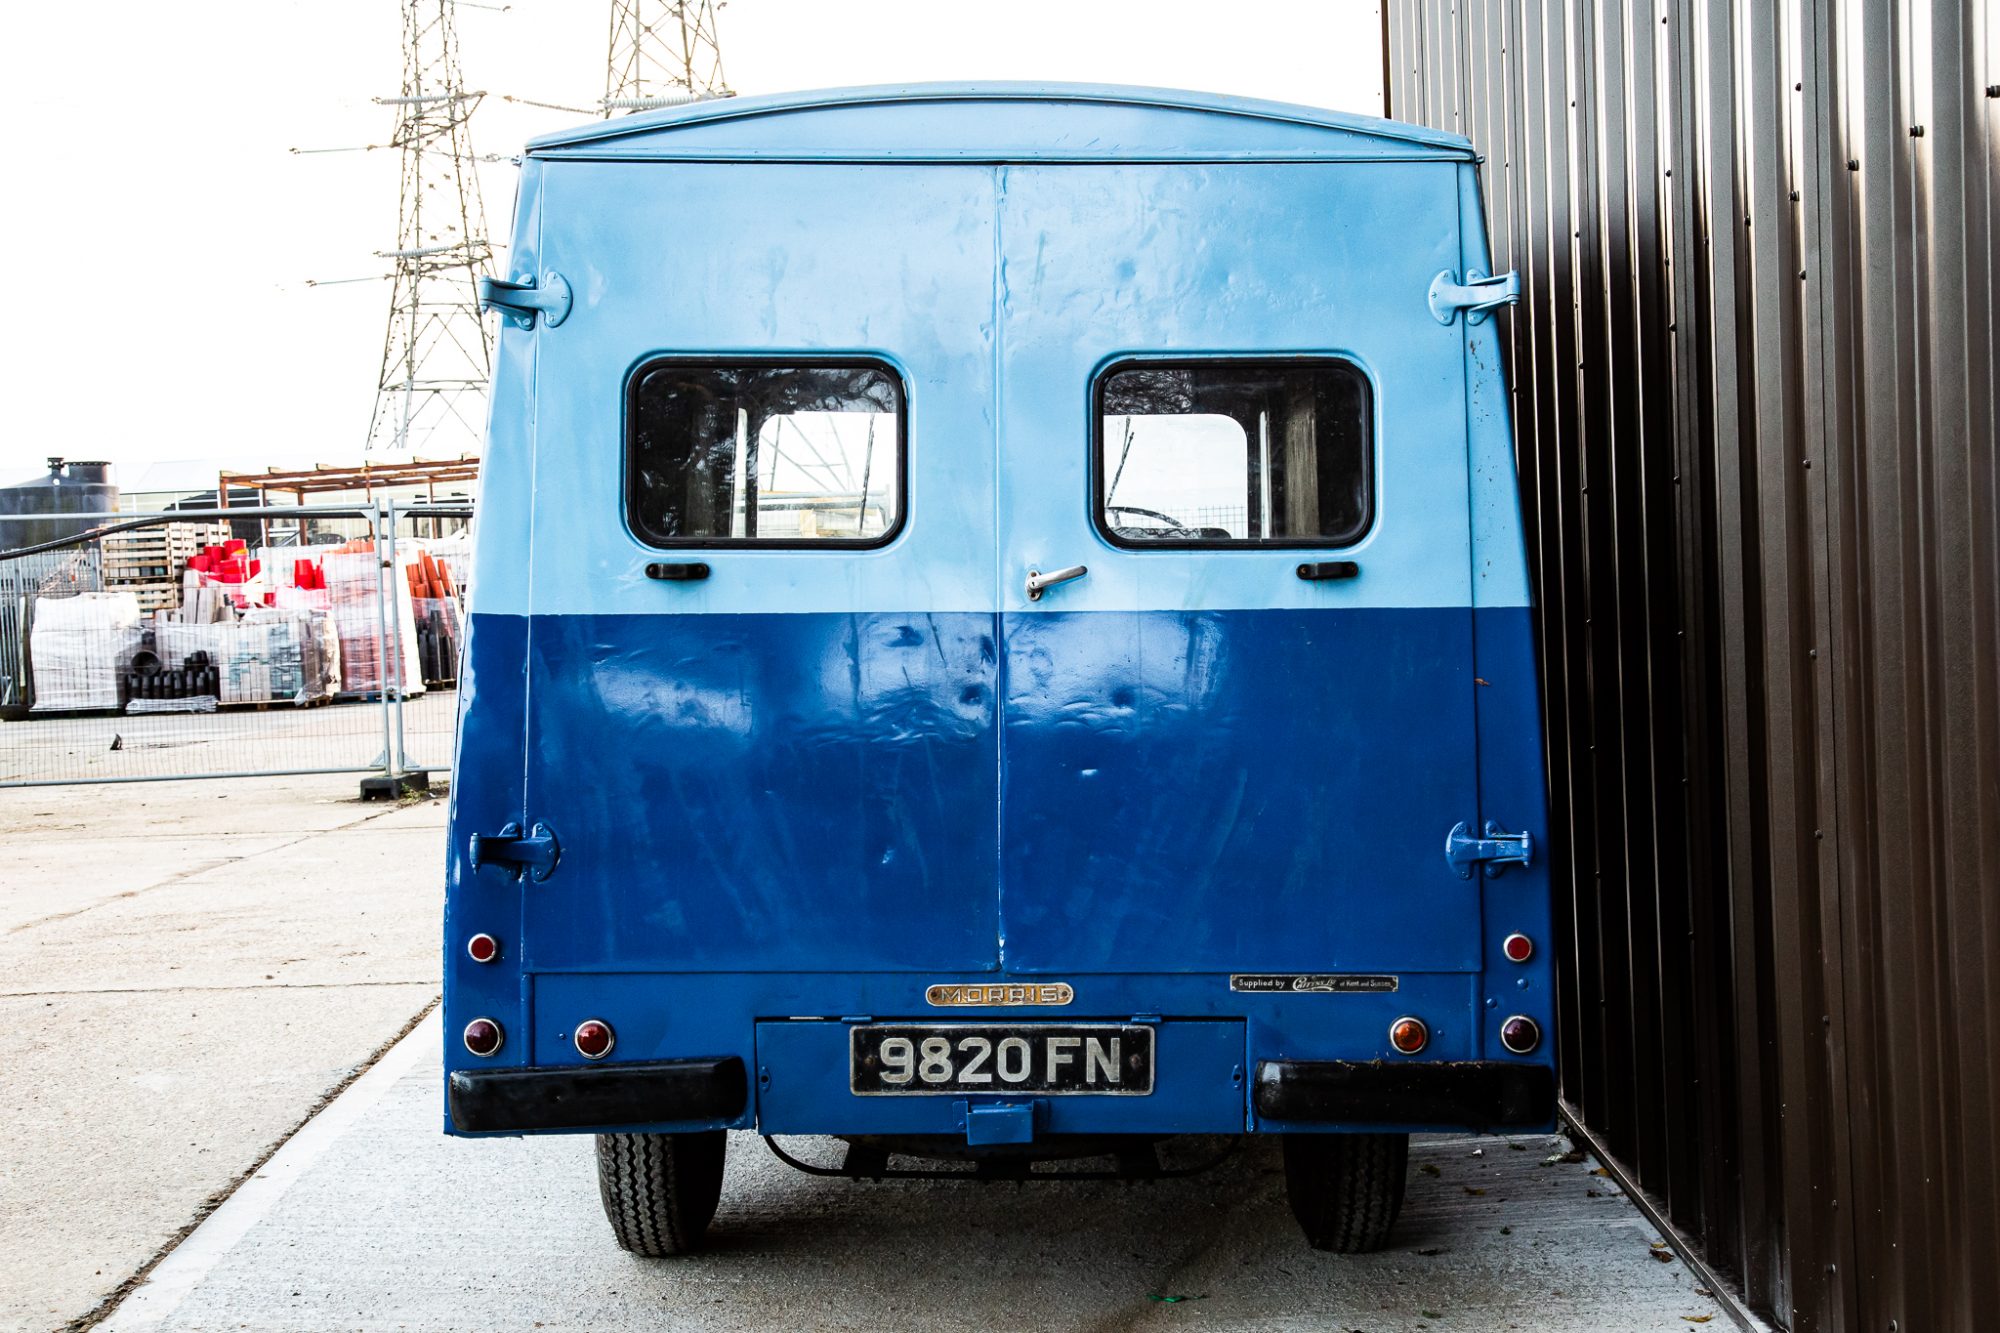
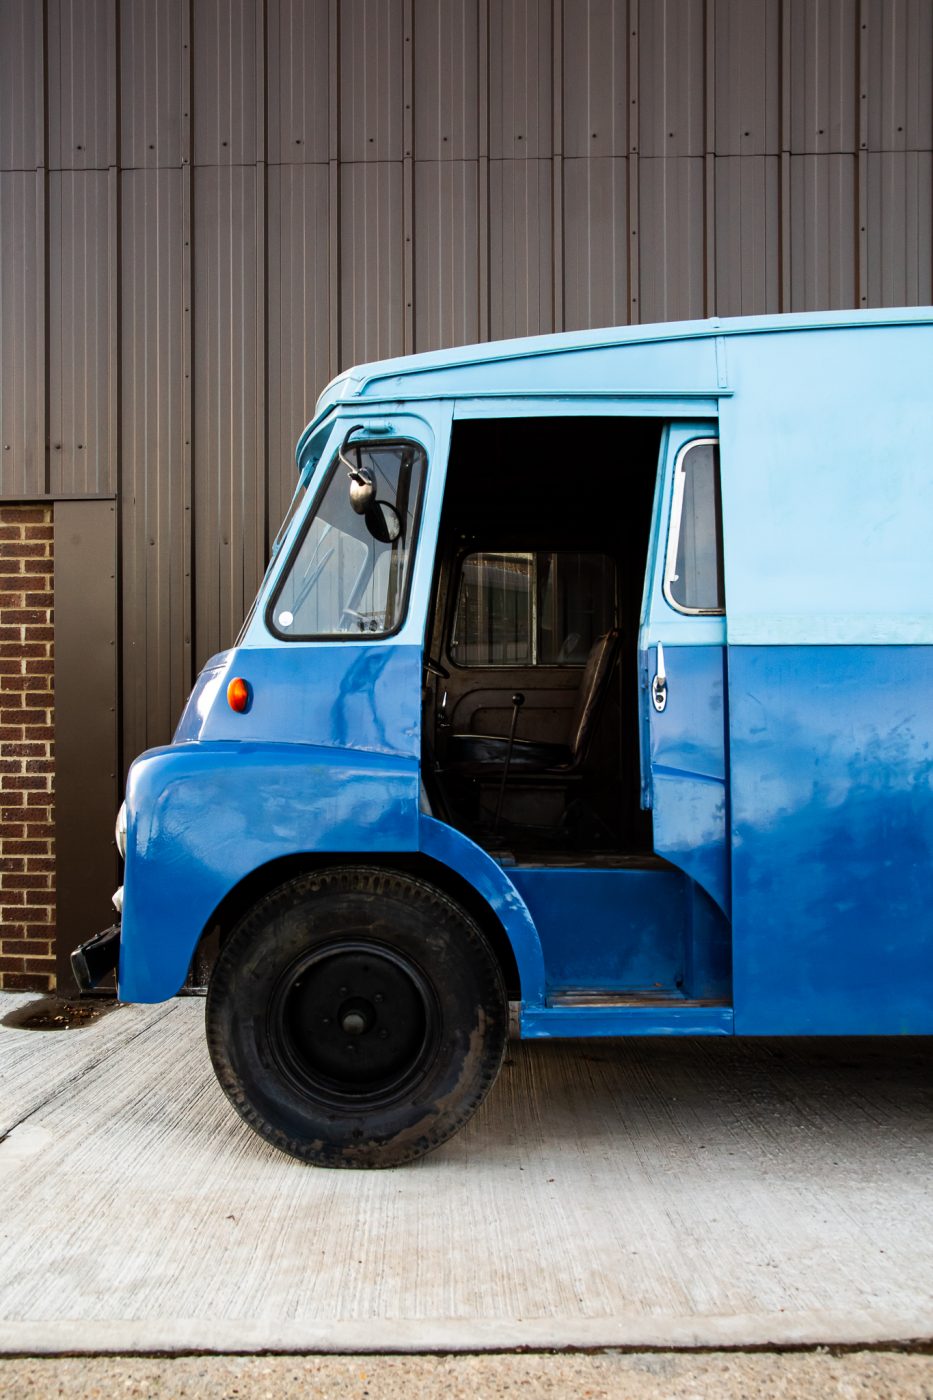

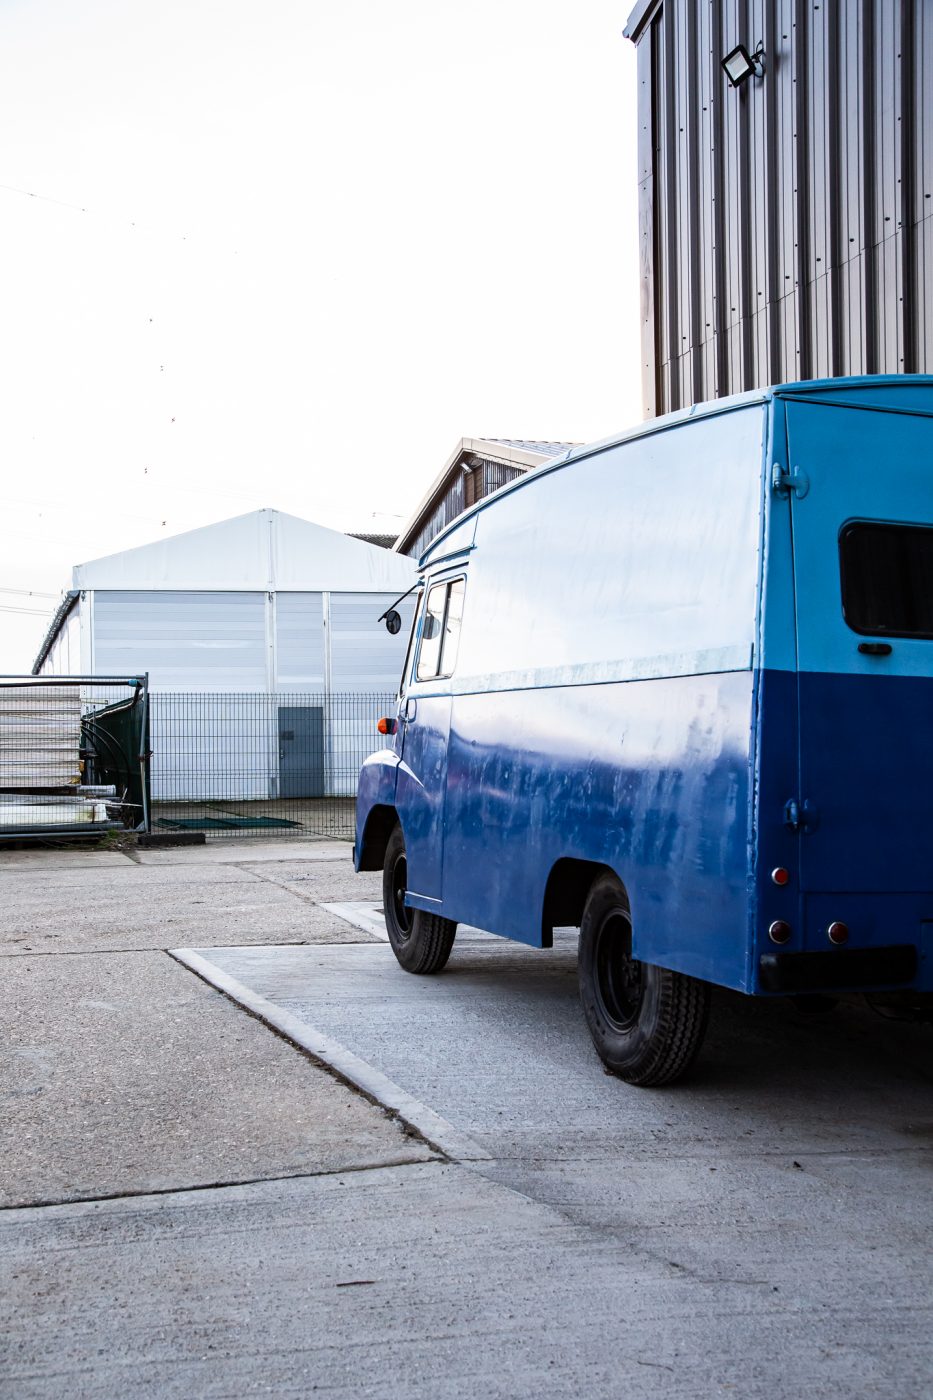
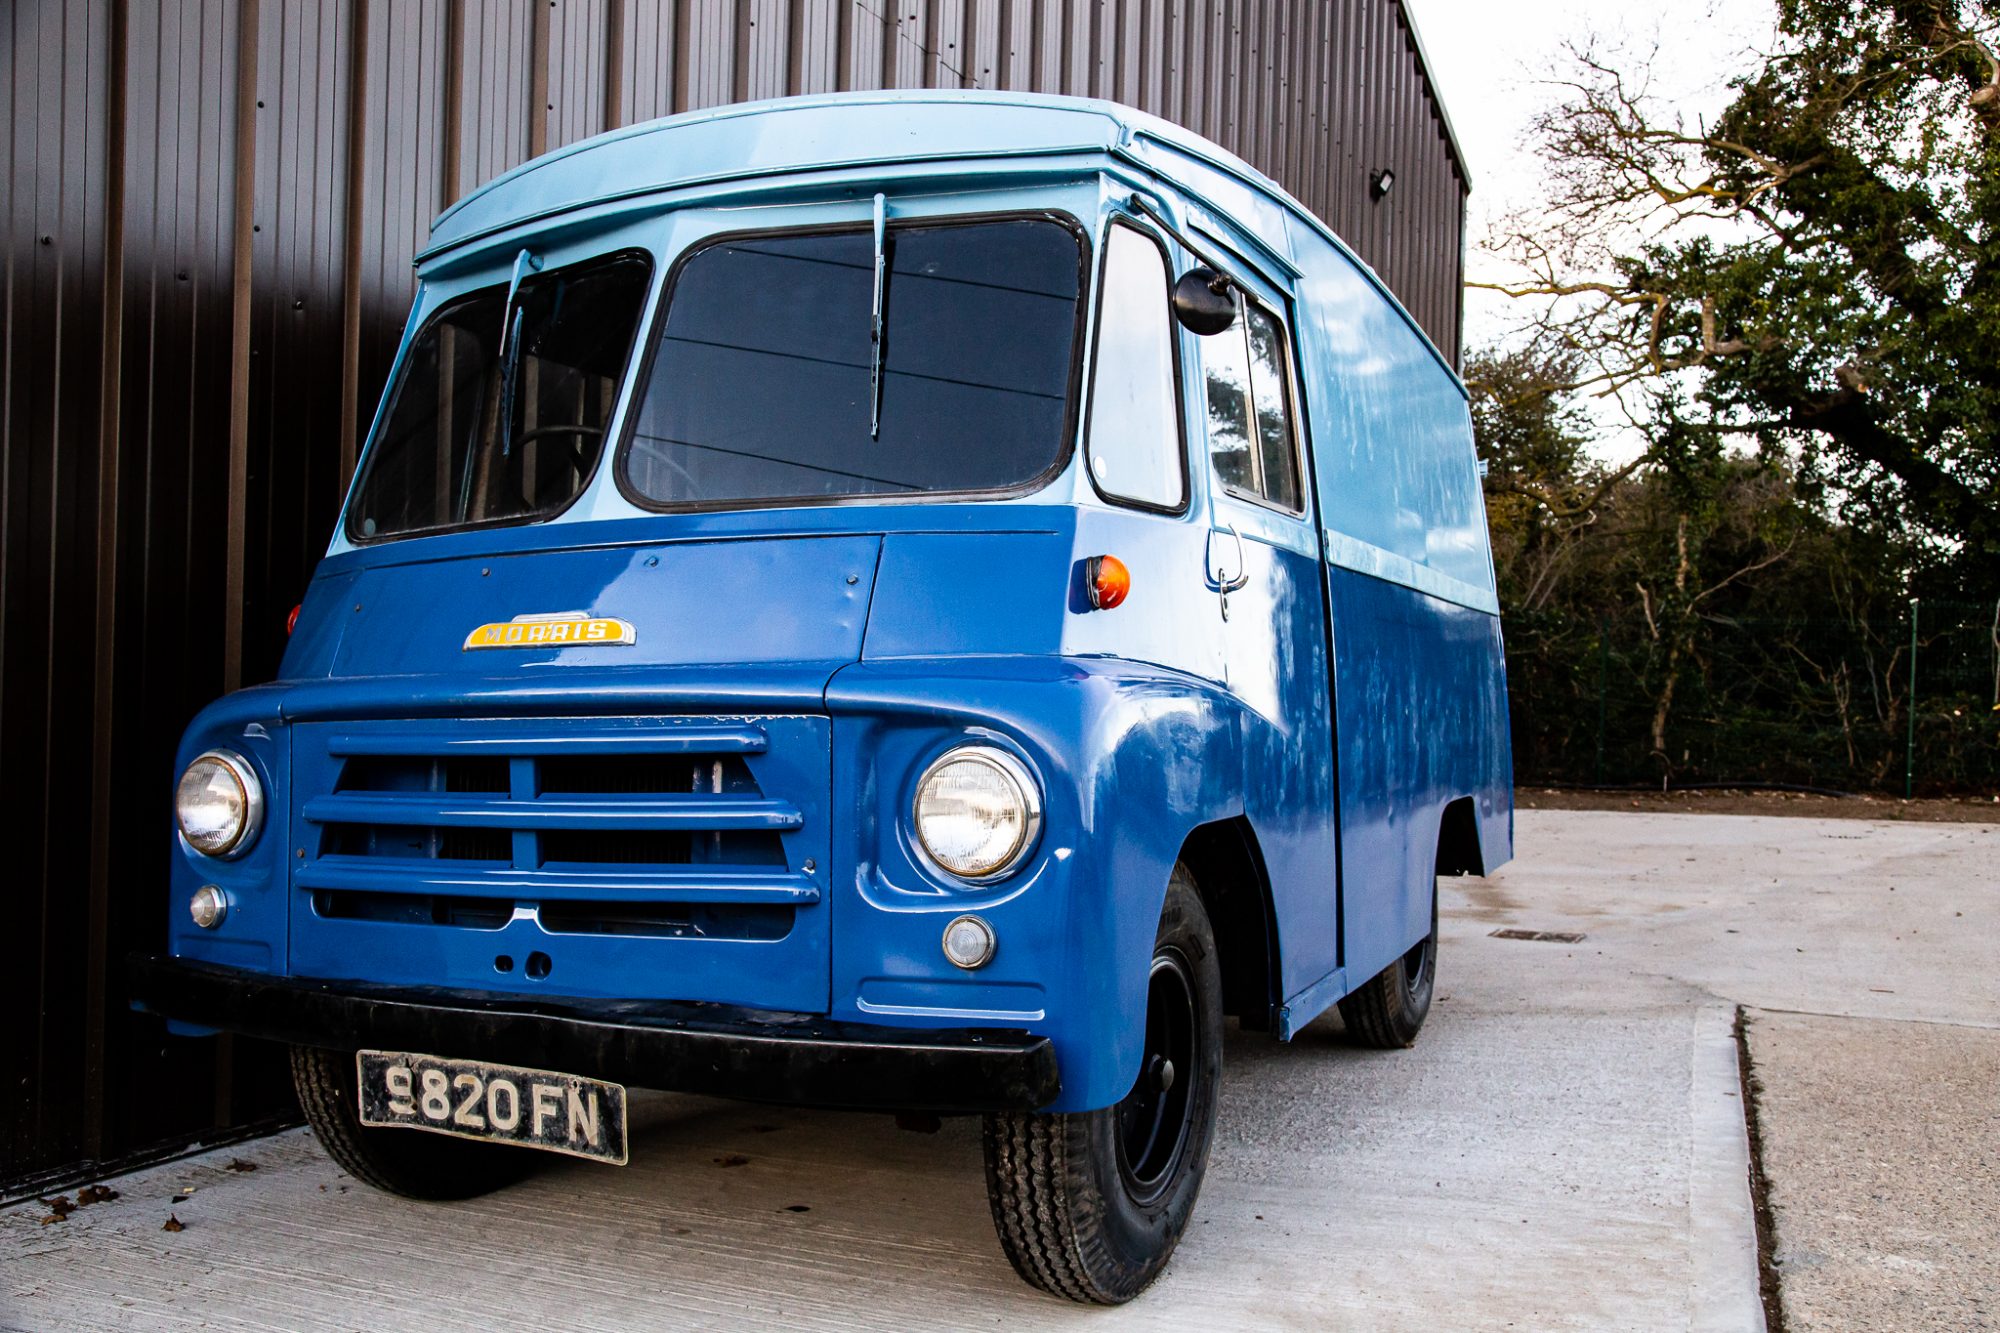
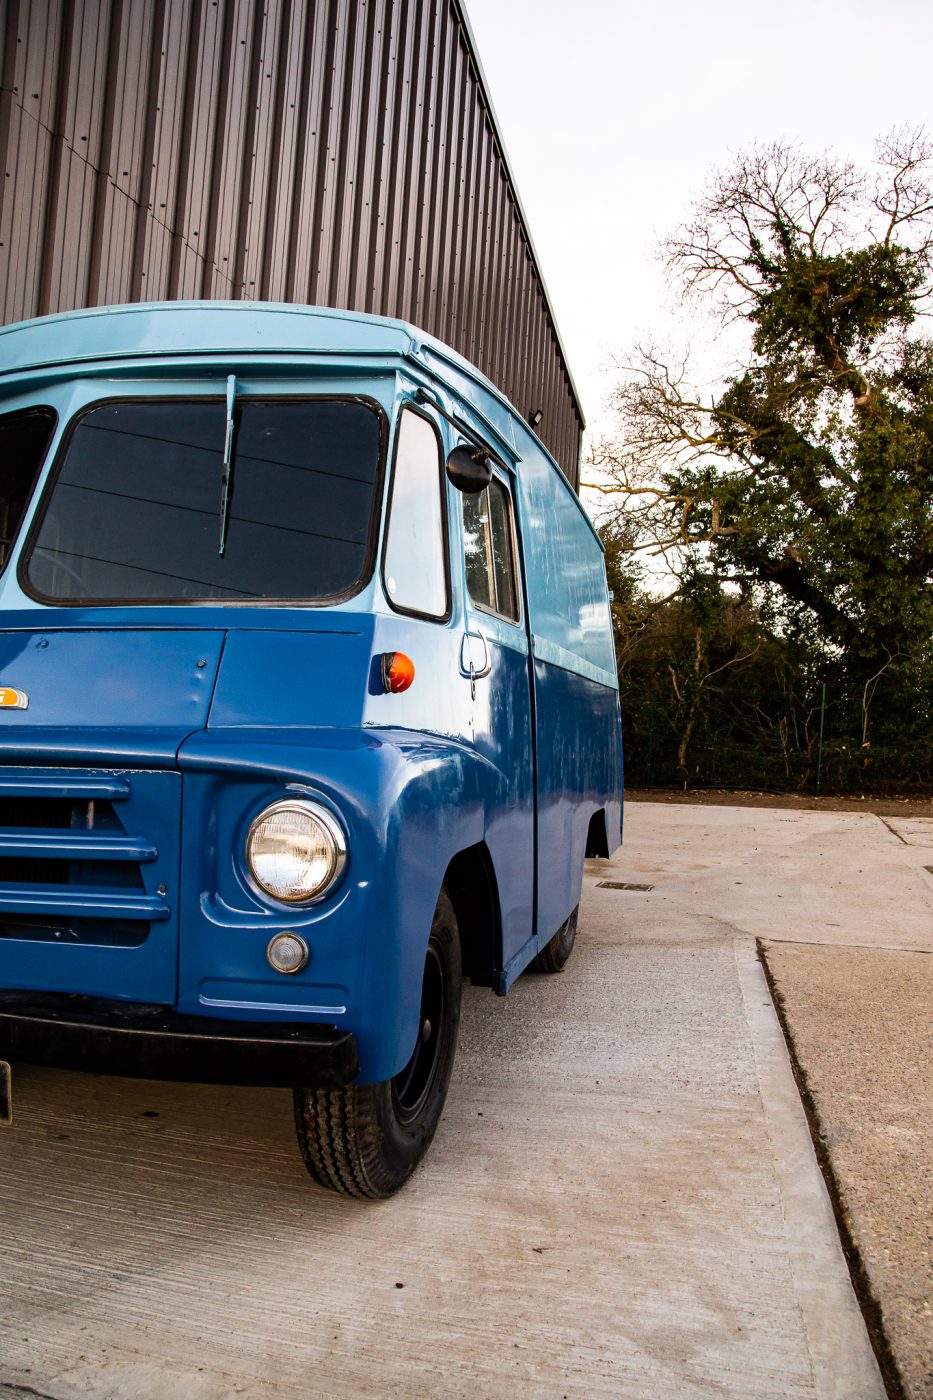
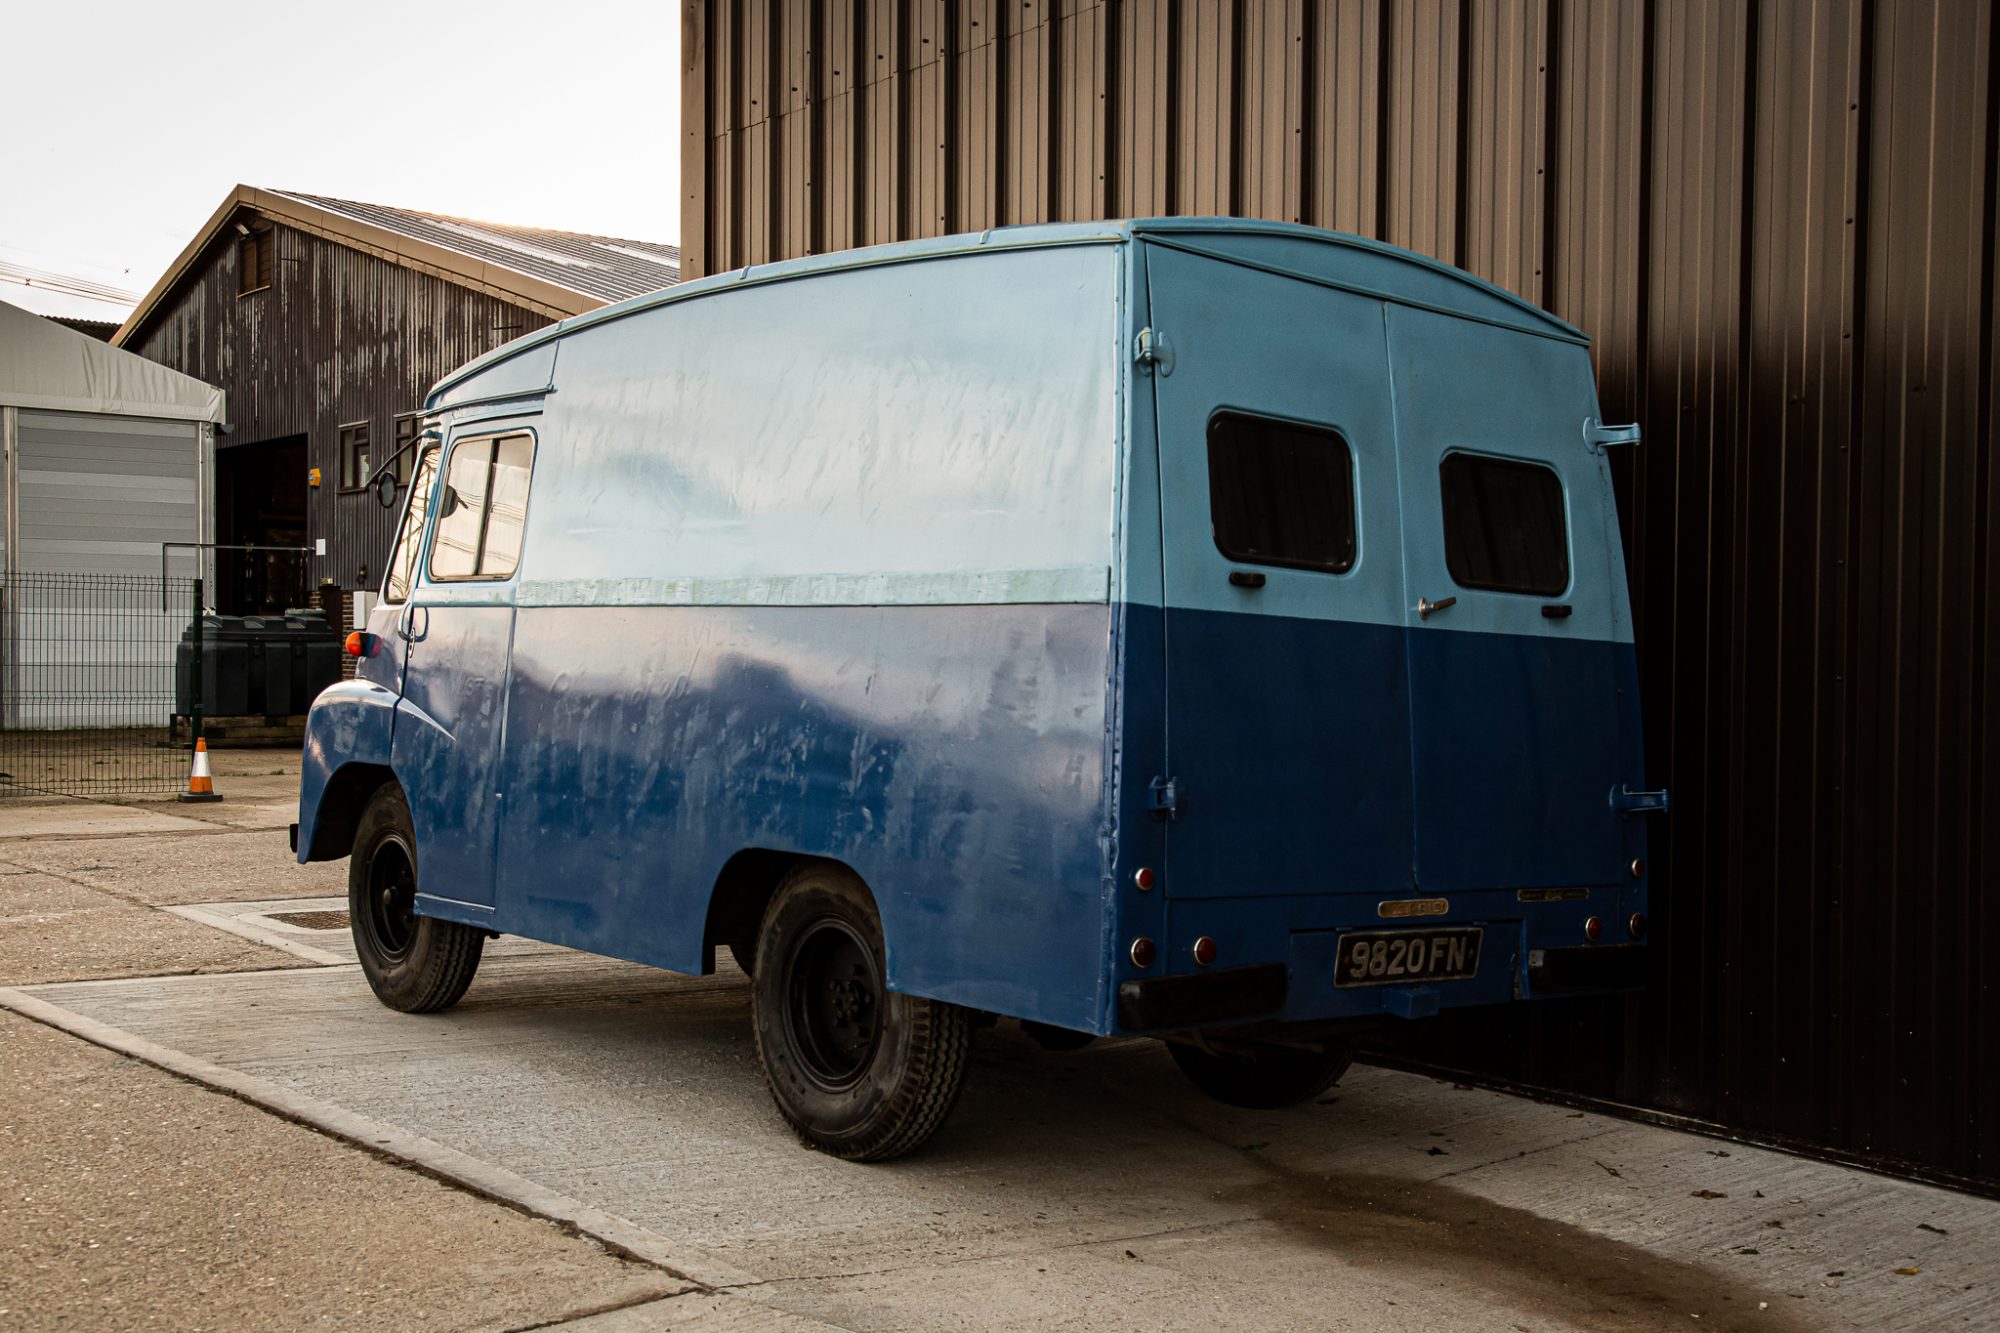
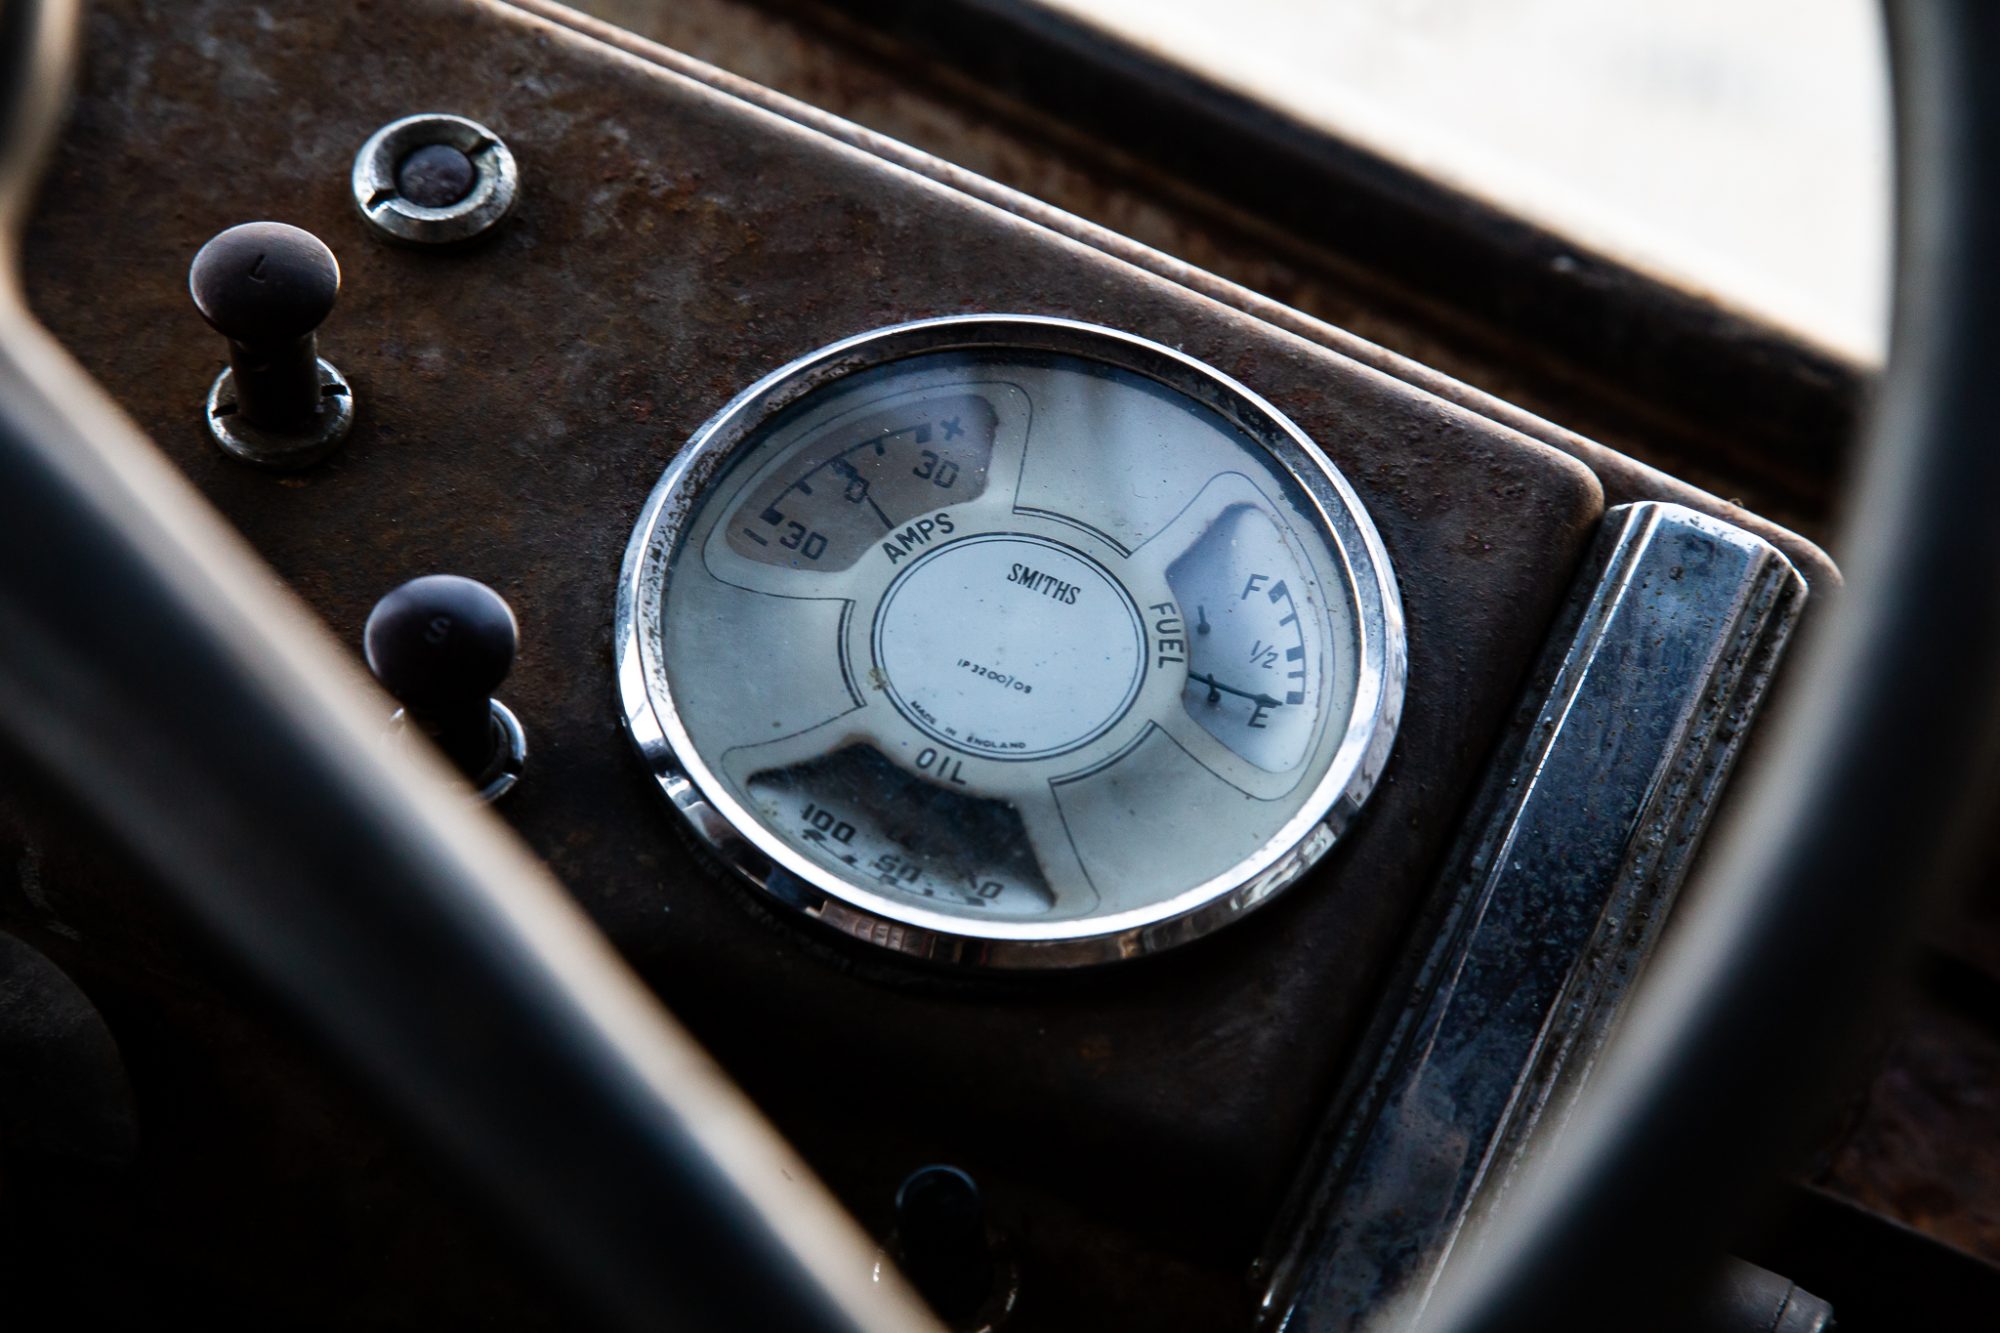
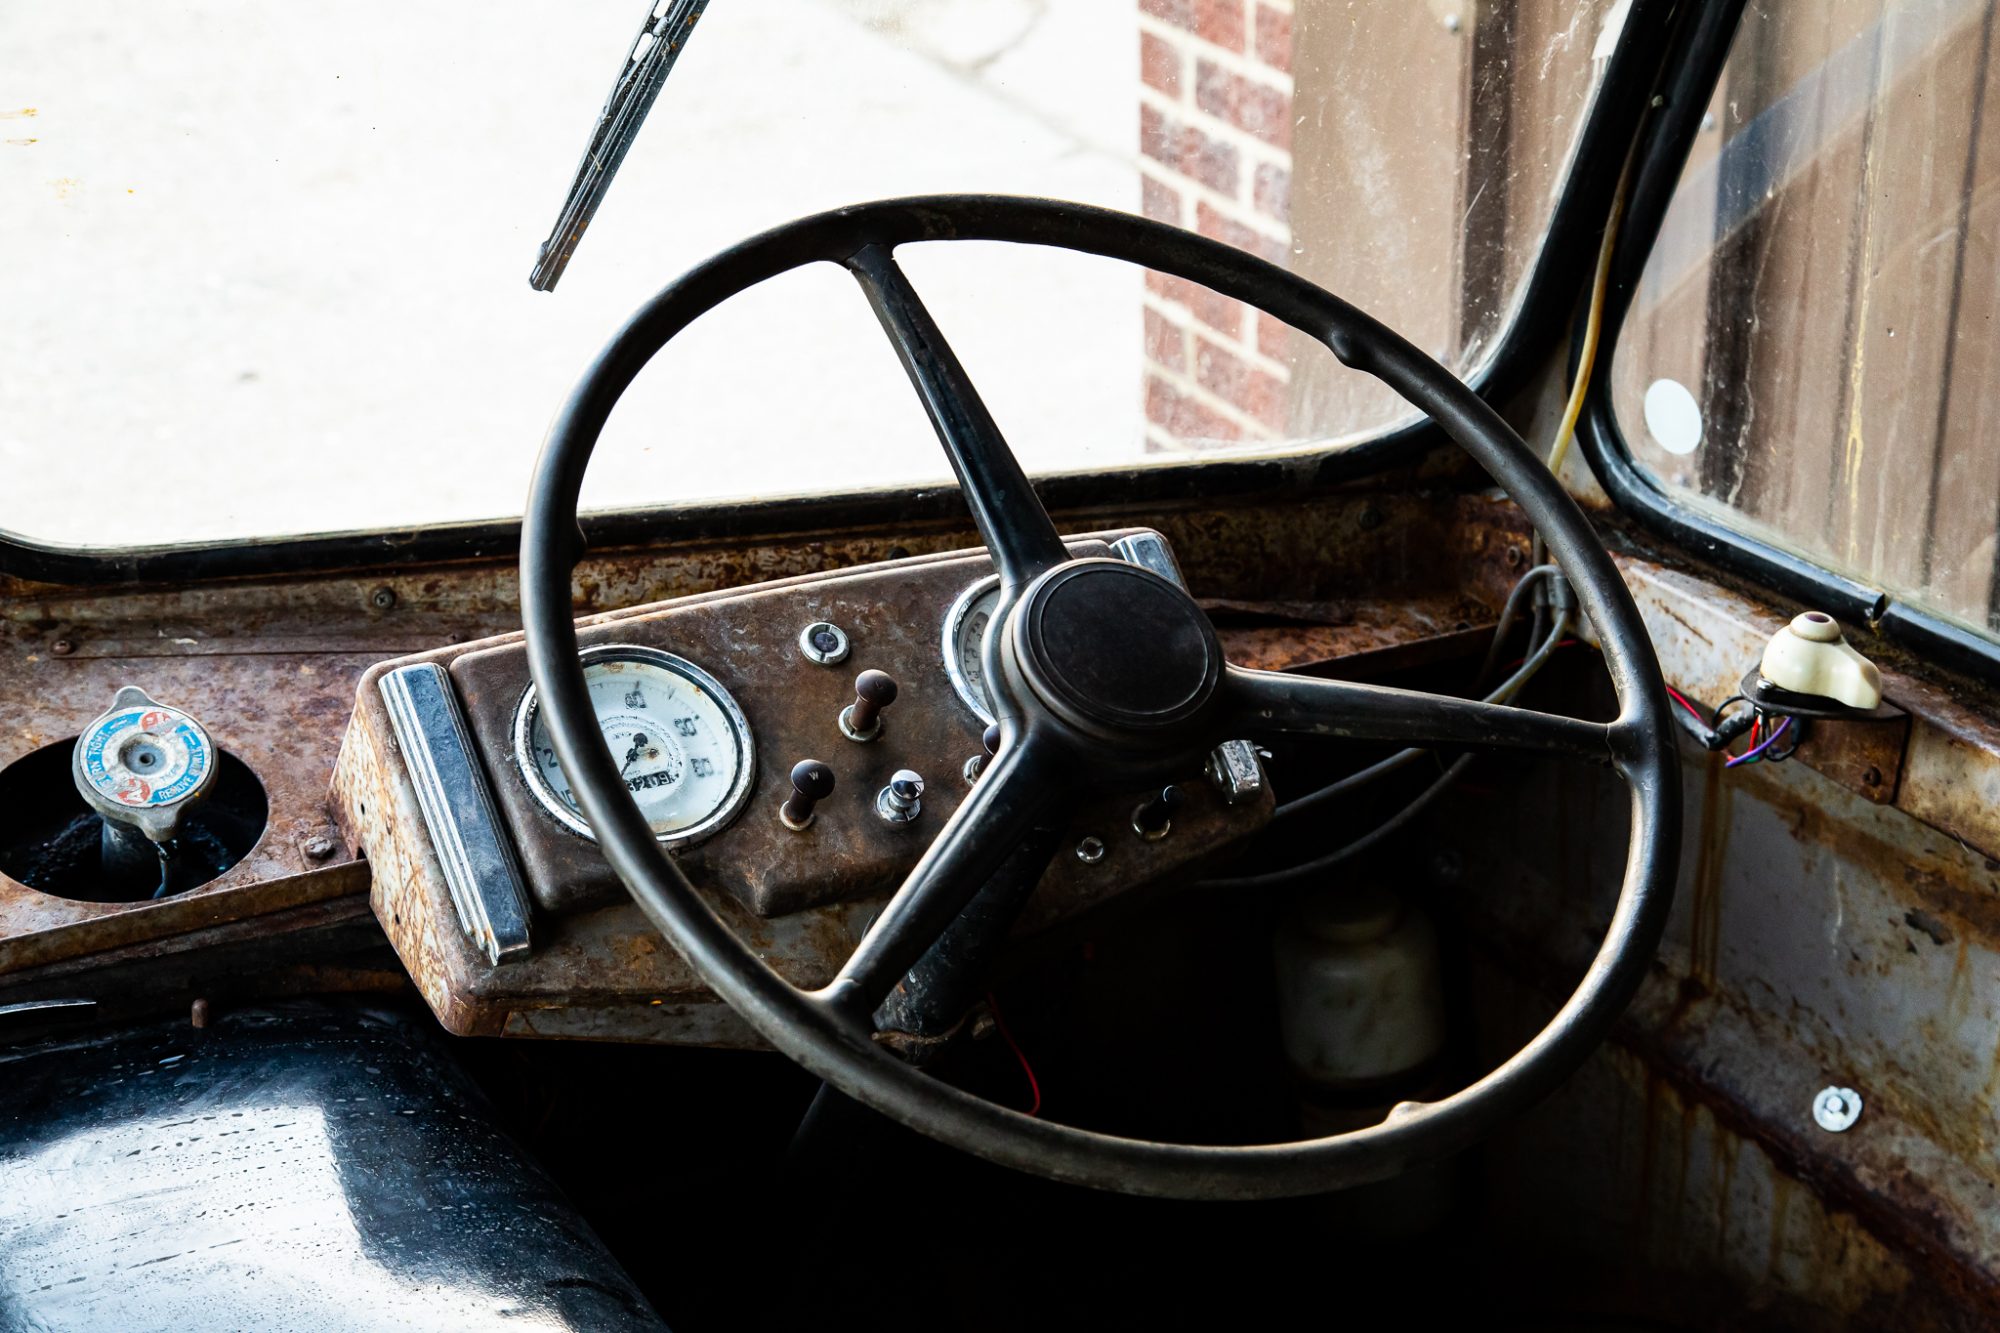
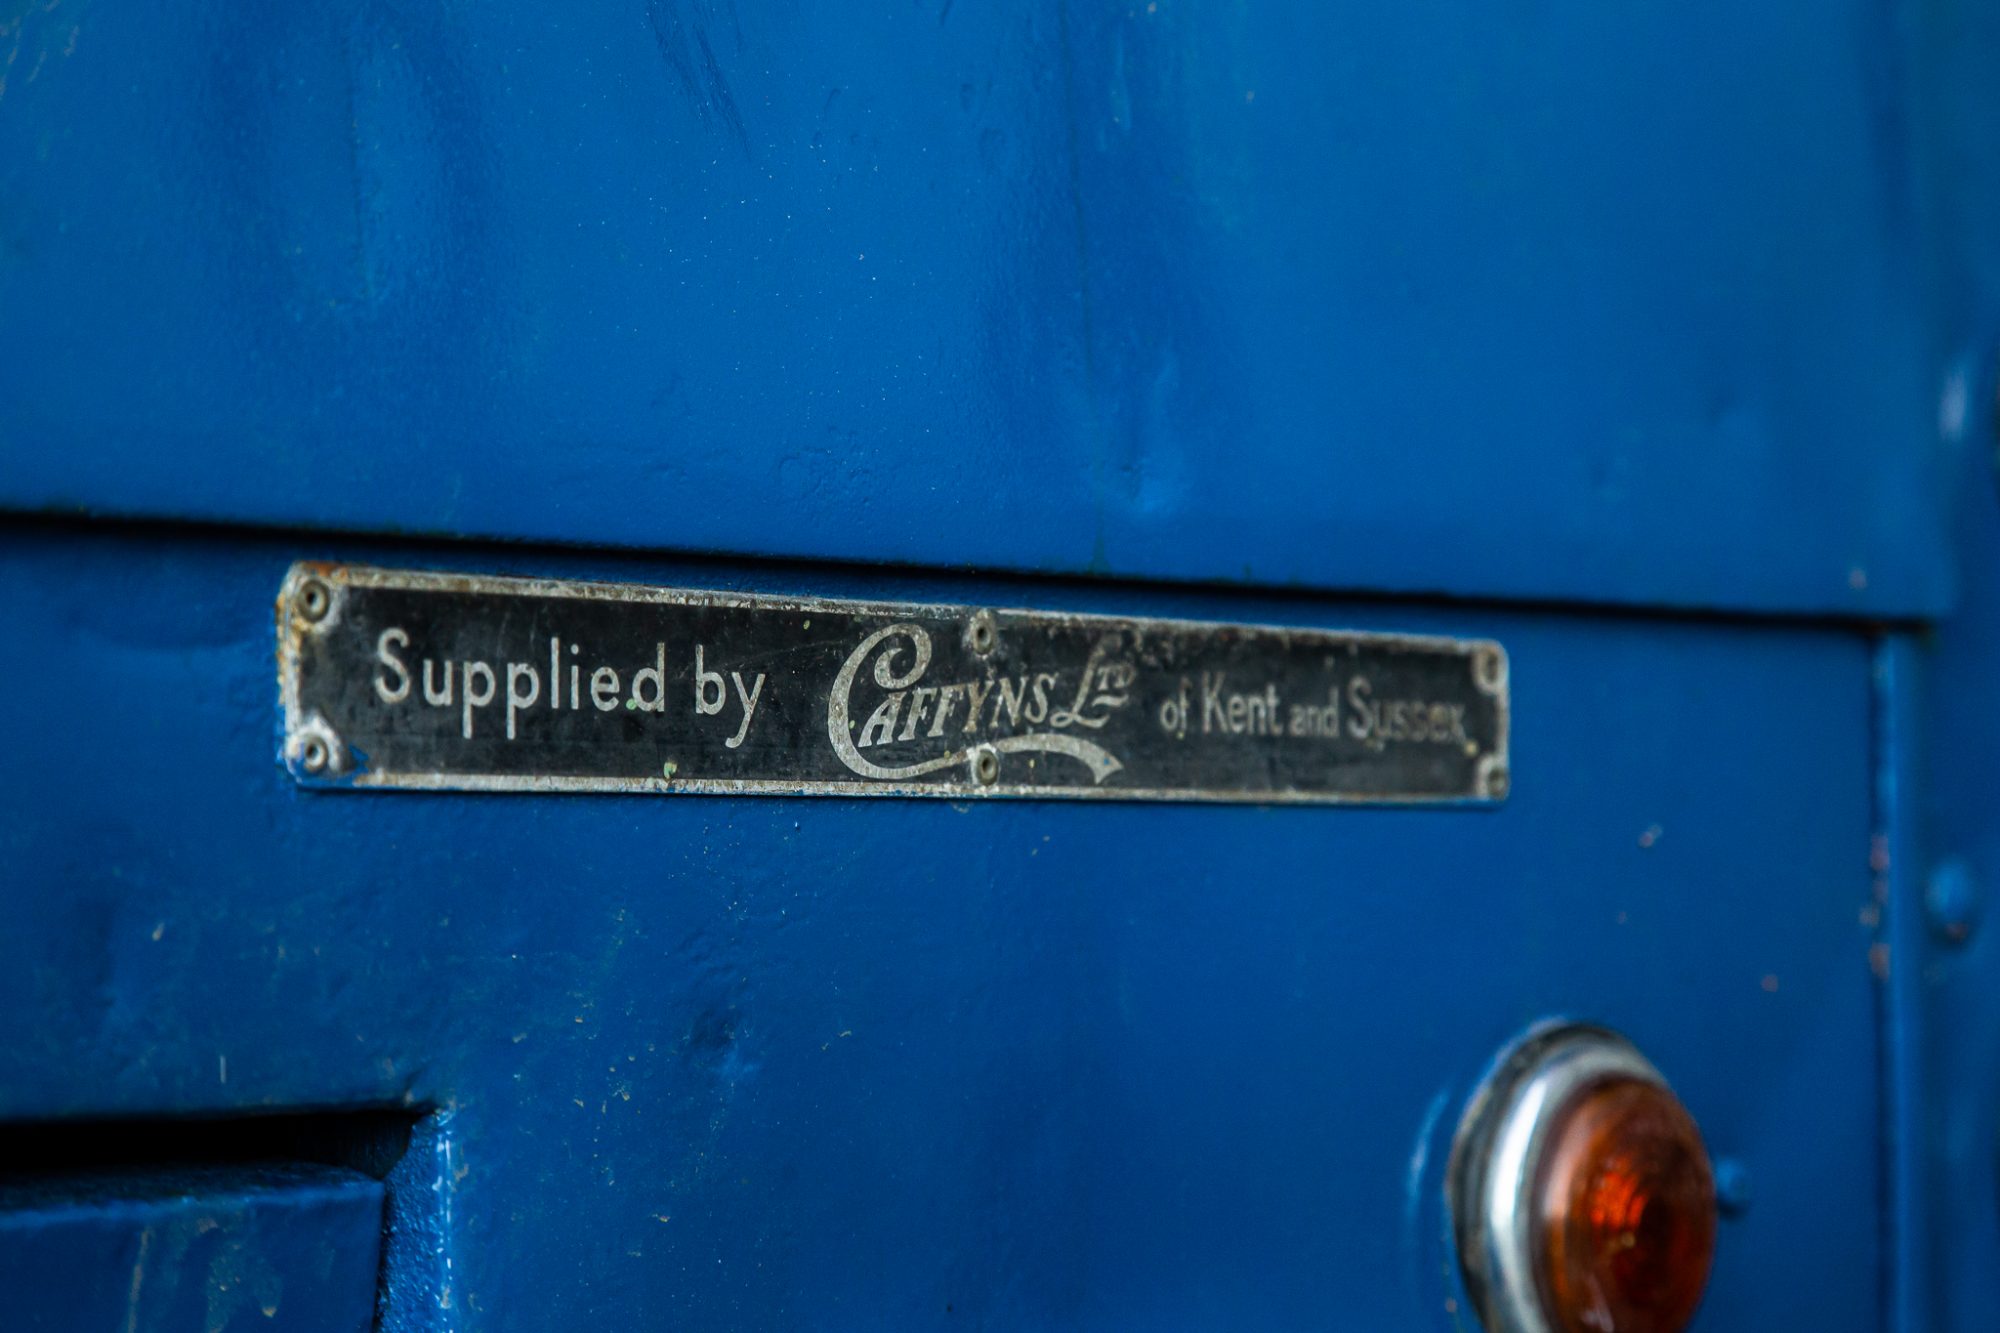
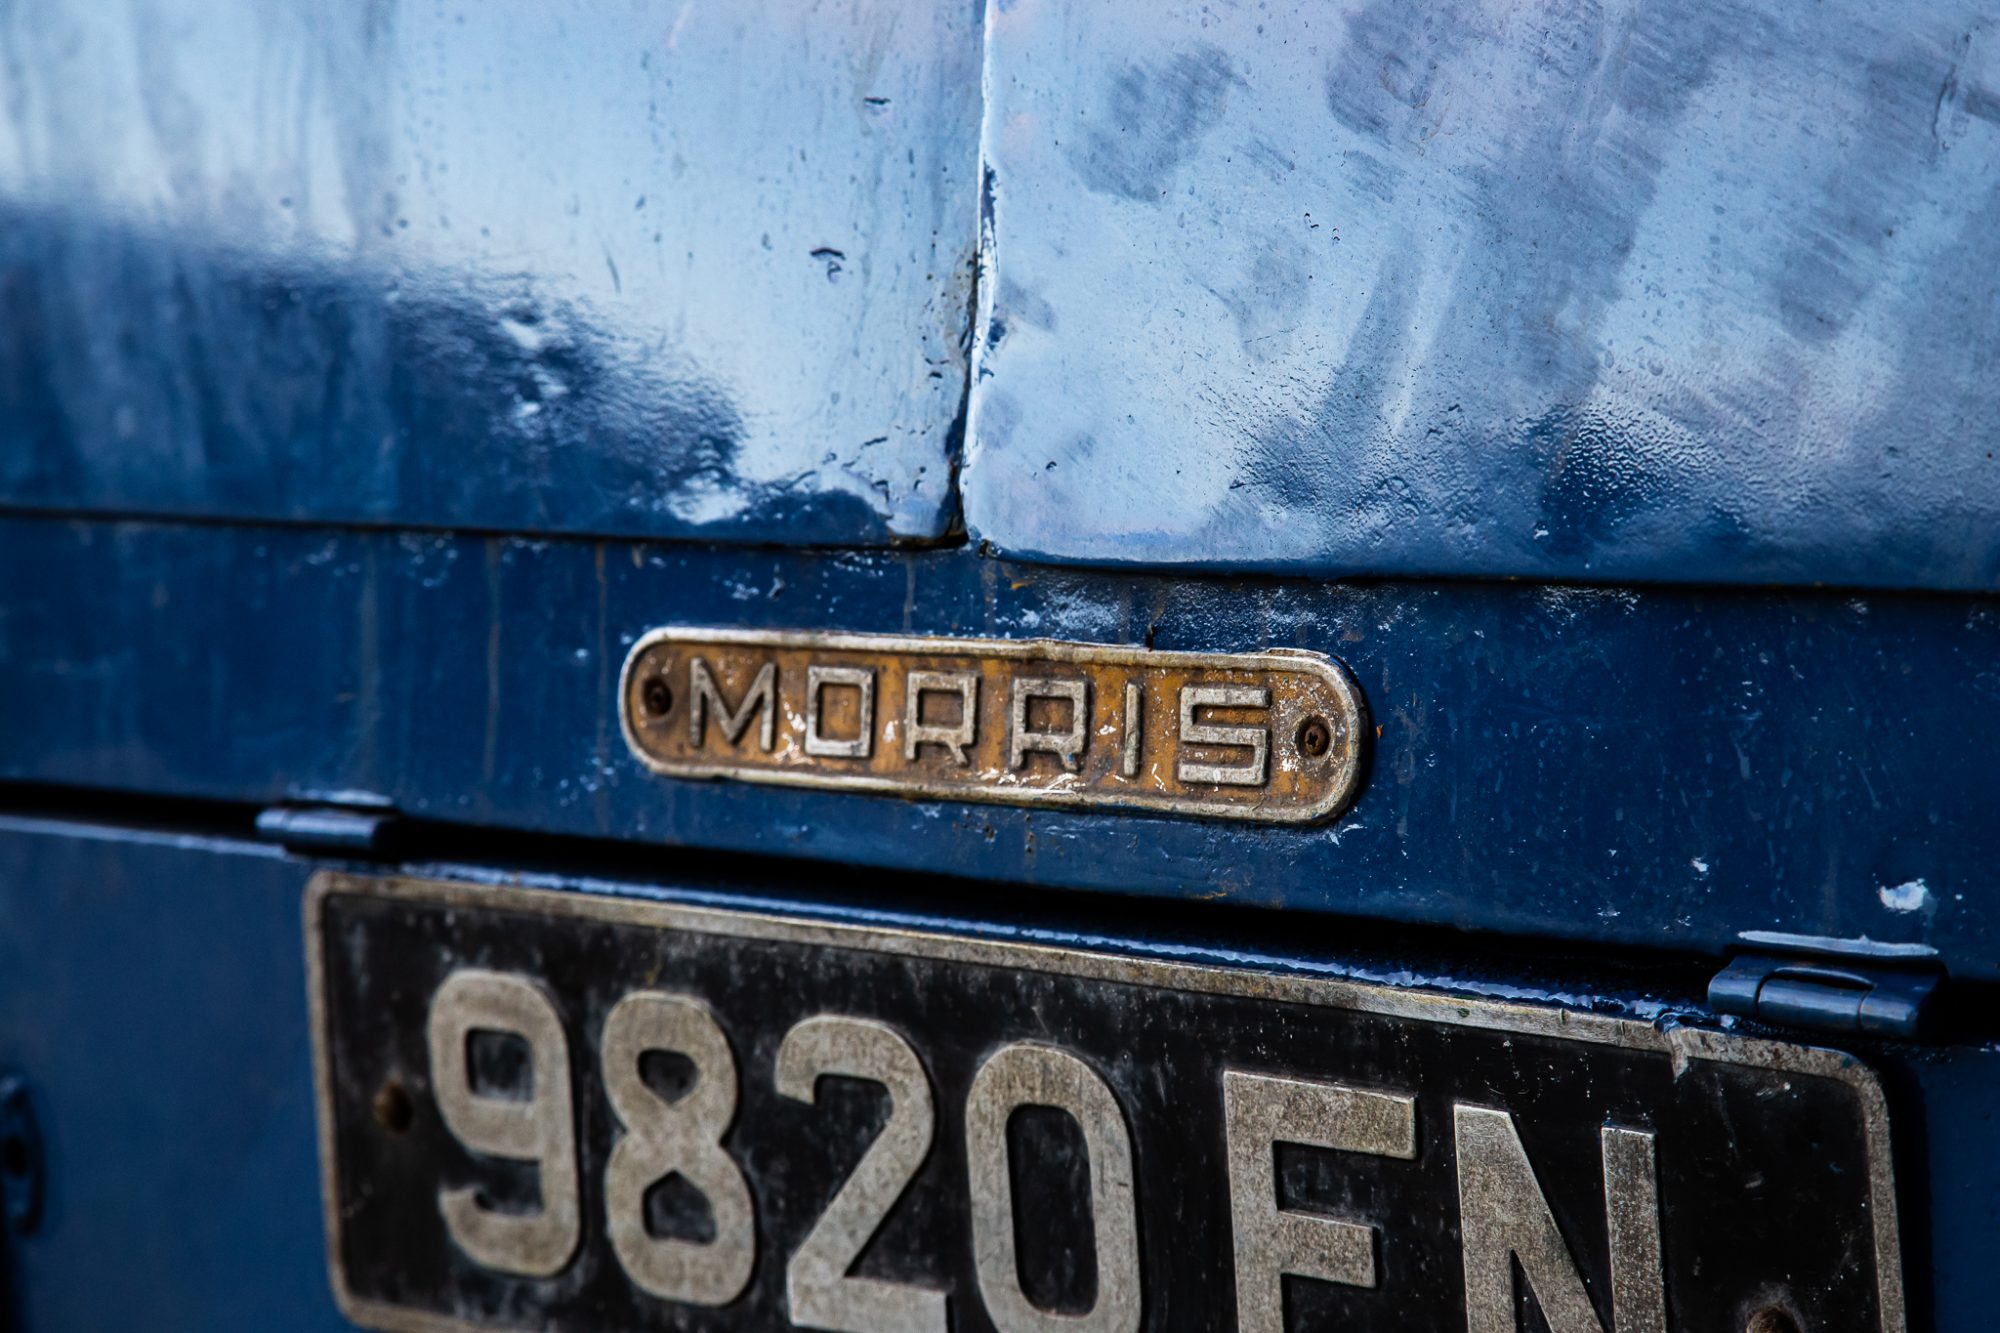
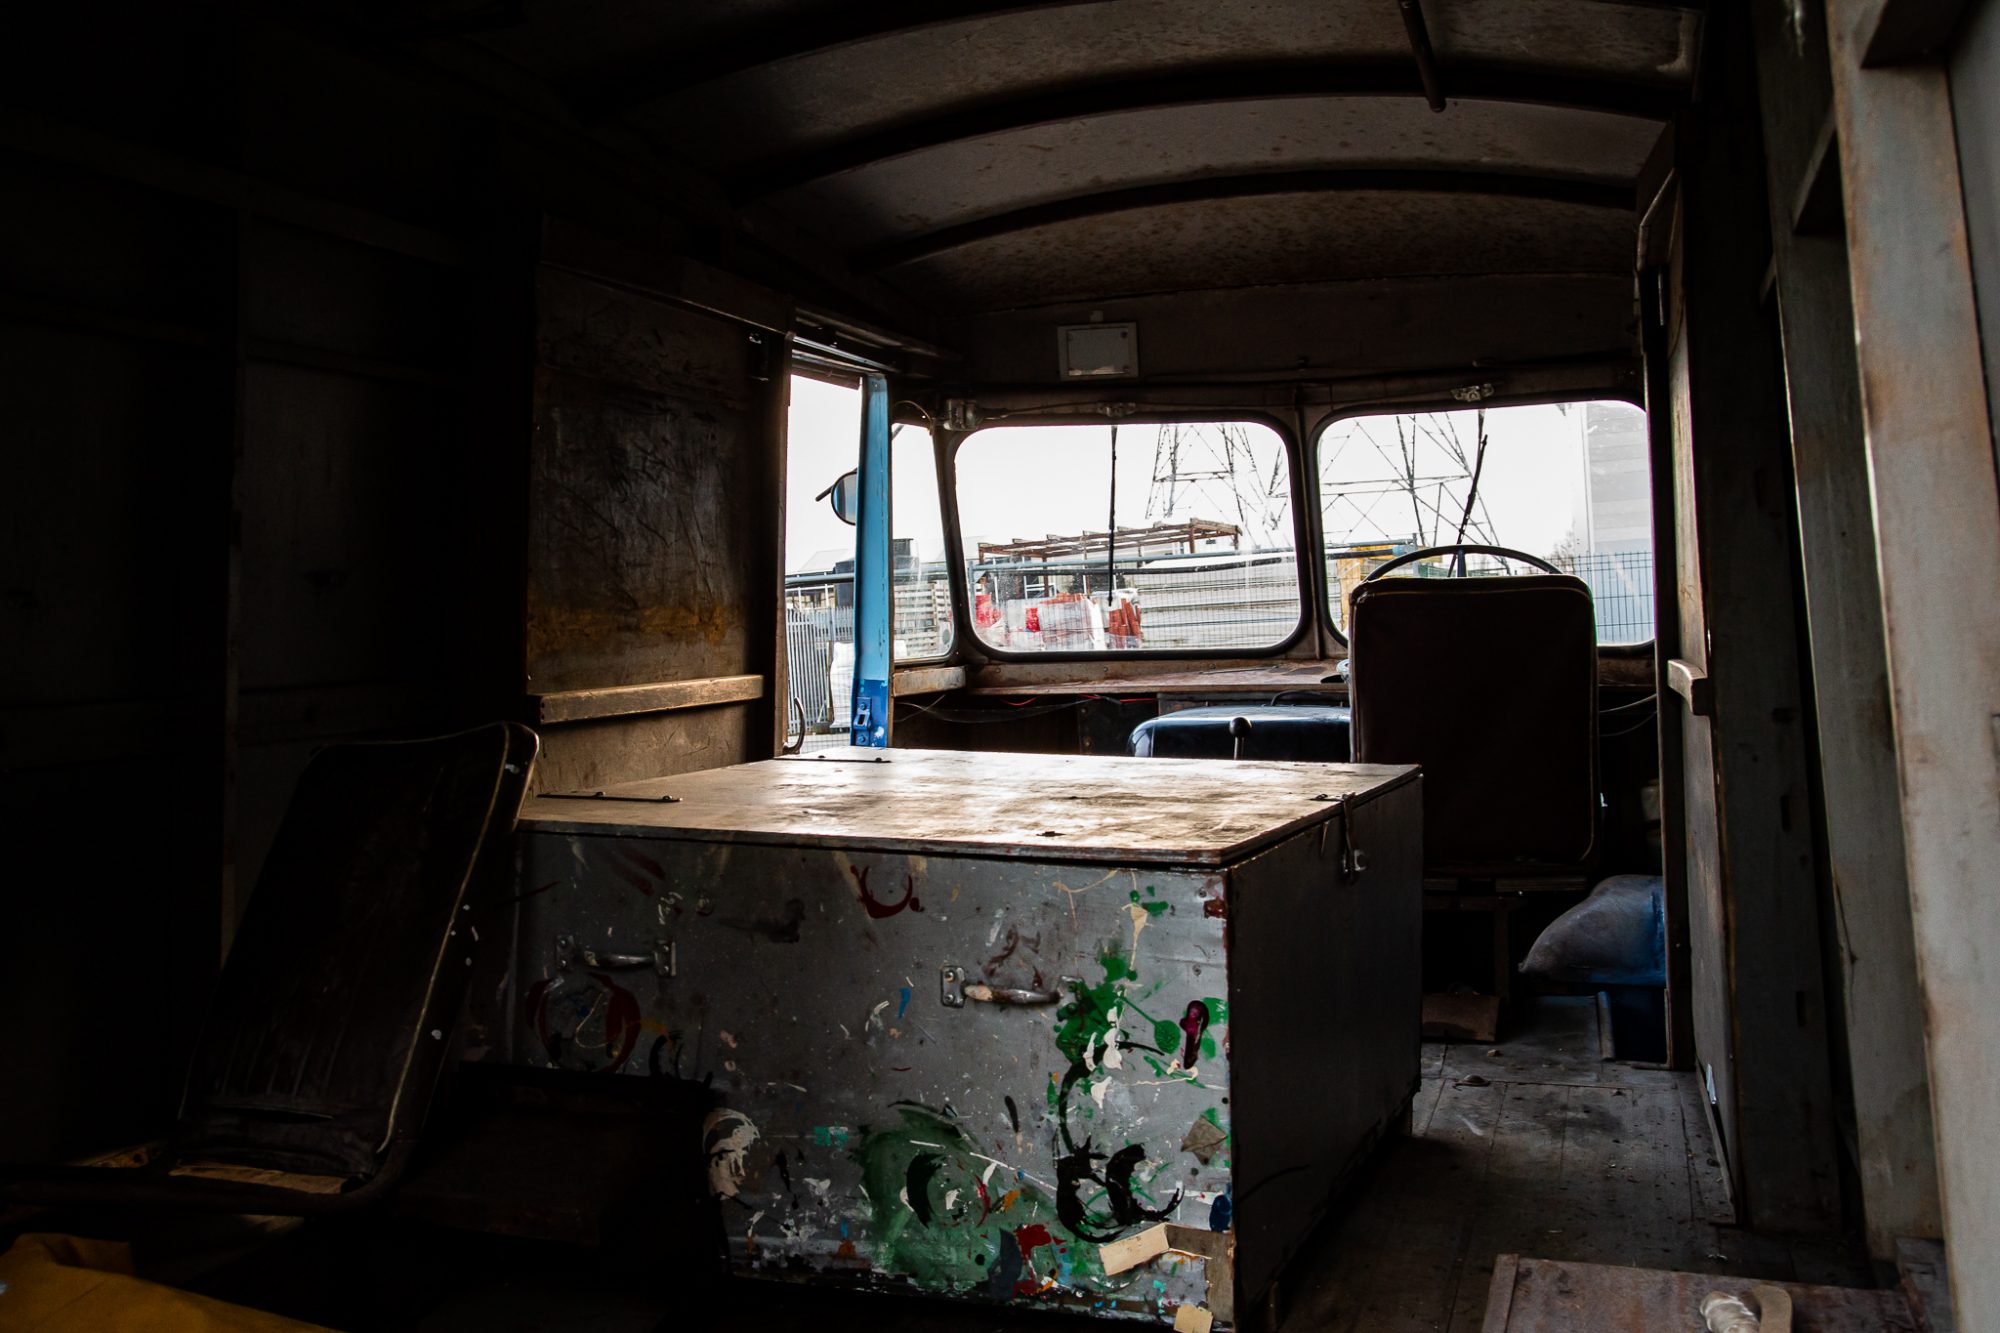
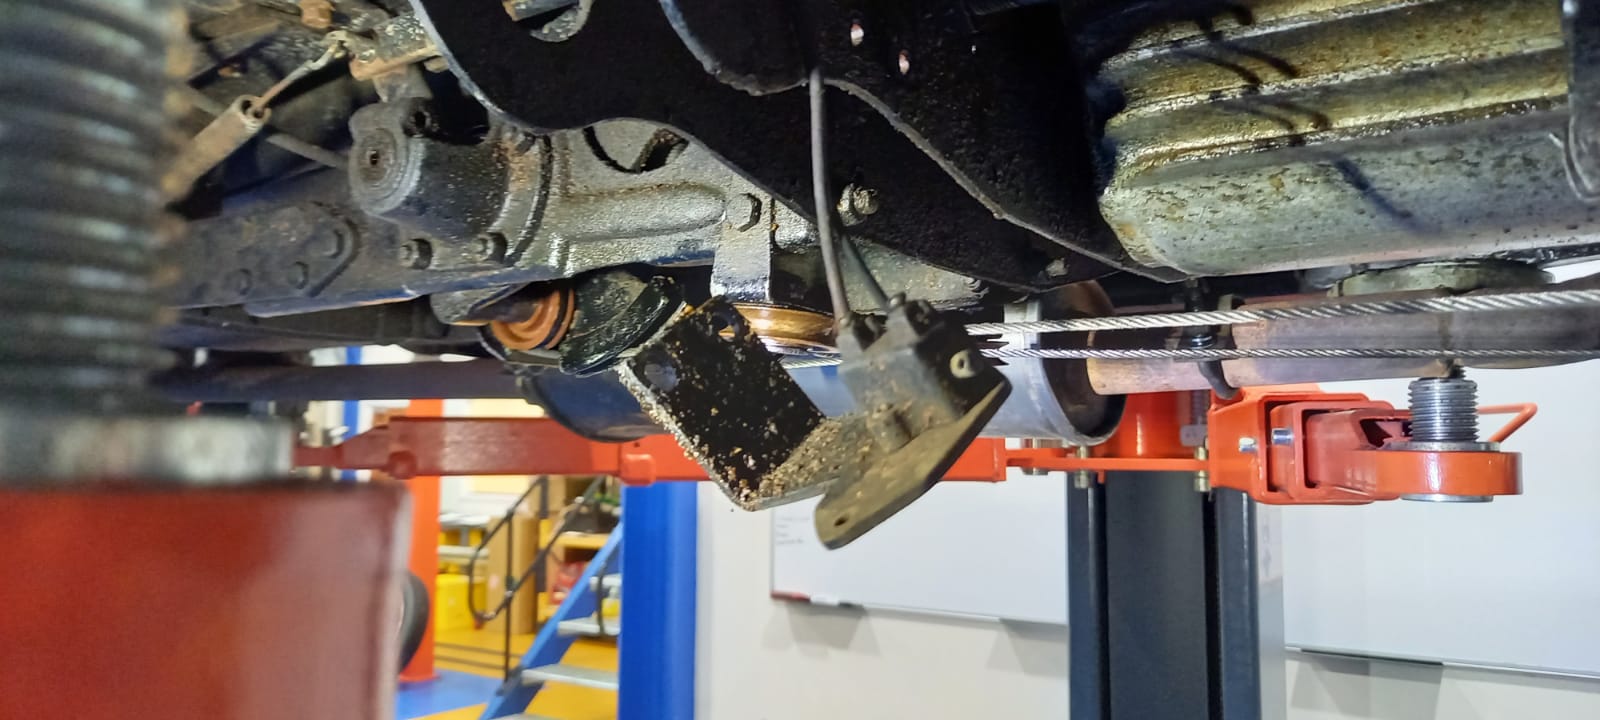
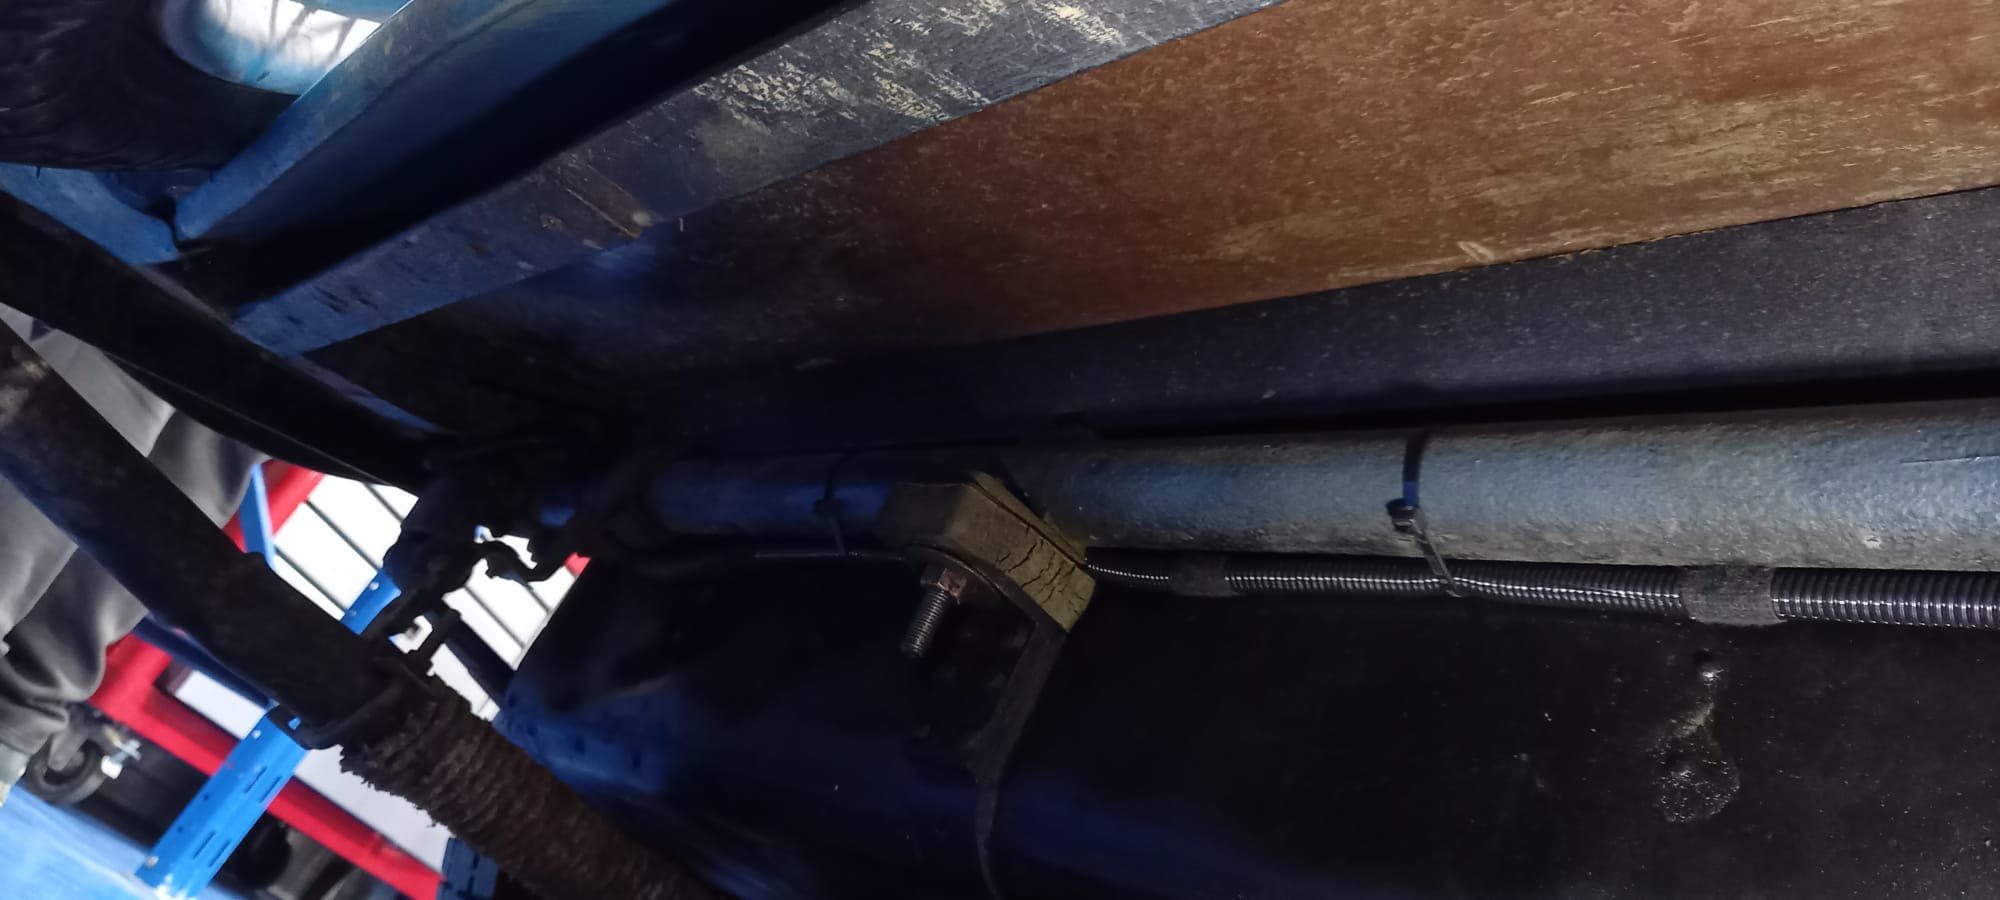
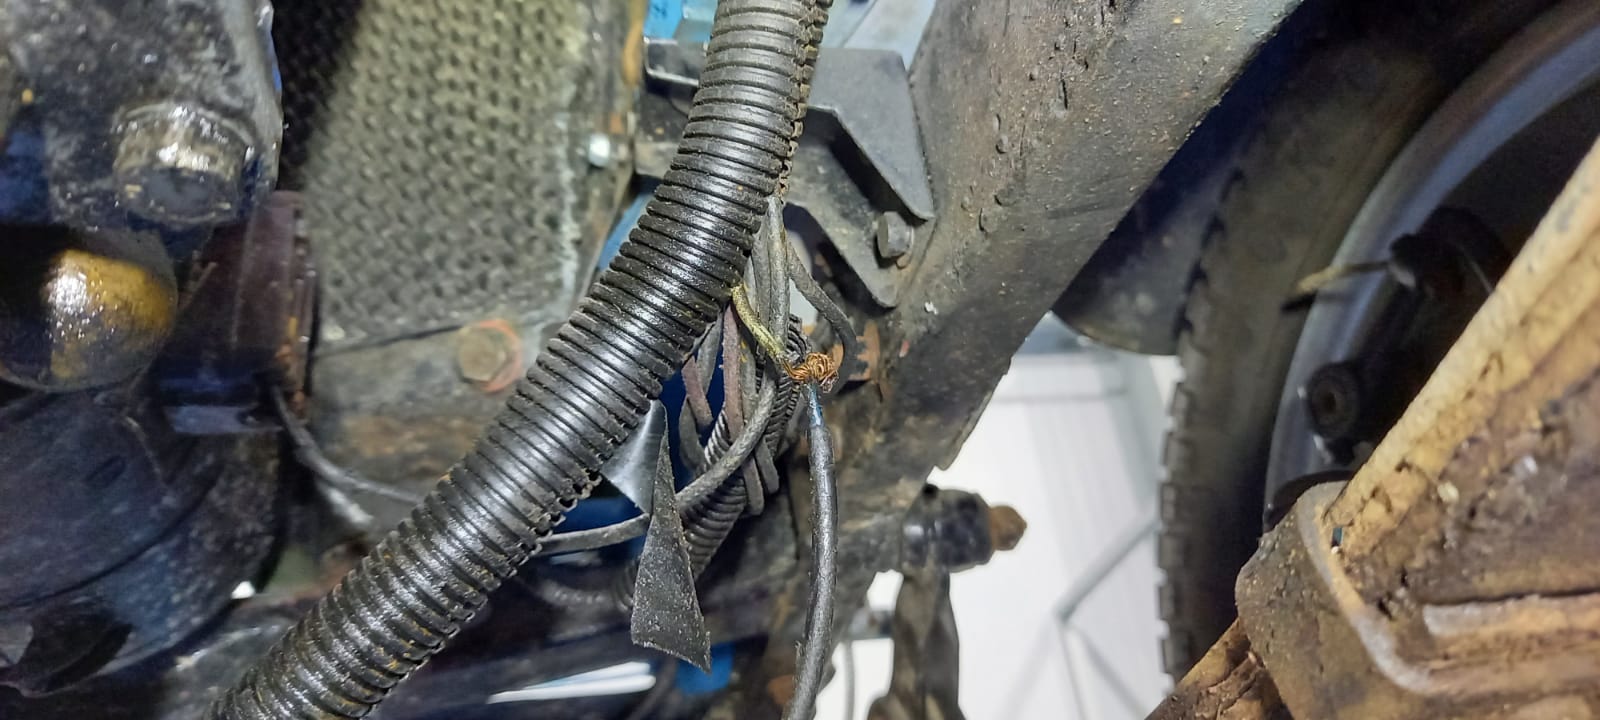
Bridge Classic Cars in Pettistree, Suffolk have welcomed this amazing 1963 Morris LD Van into our workshop recently.
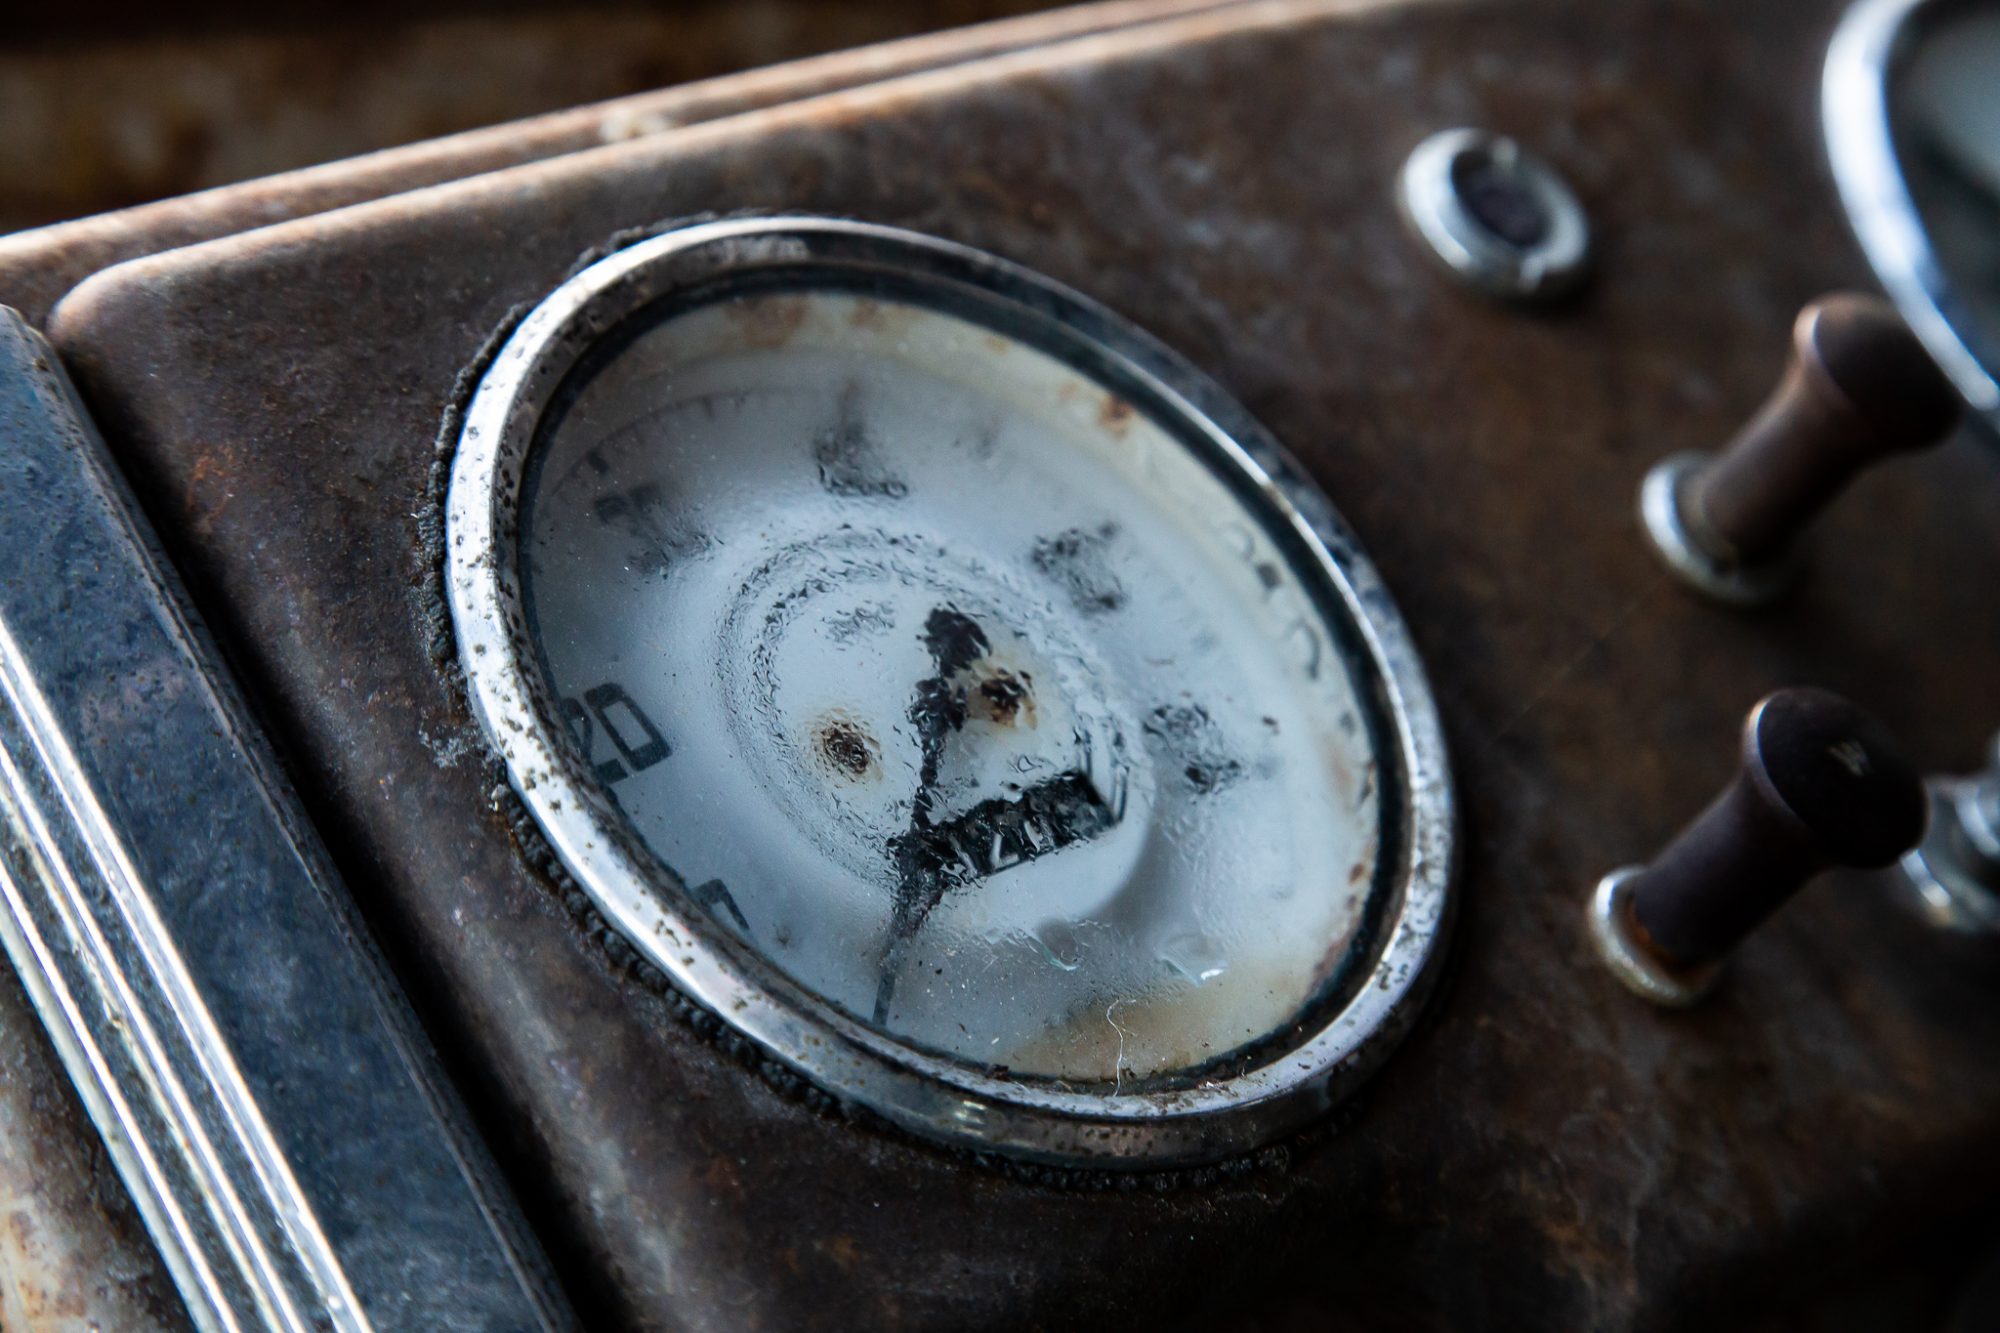
The van, which is local to us, belongs to a heritage builder who wants an authentic vintage van to go along with his up and coming business. We have been asked to do a full inspection on the vehicle which has been noted as having brake drag and having an issue with the clutch.
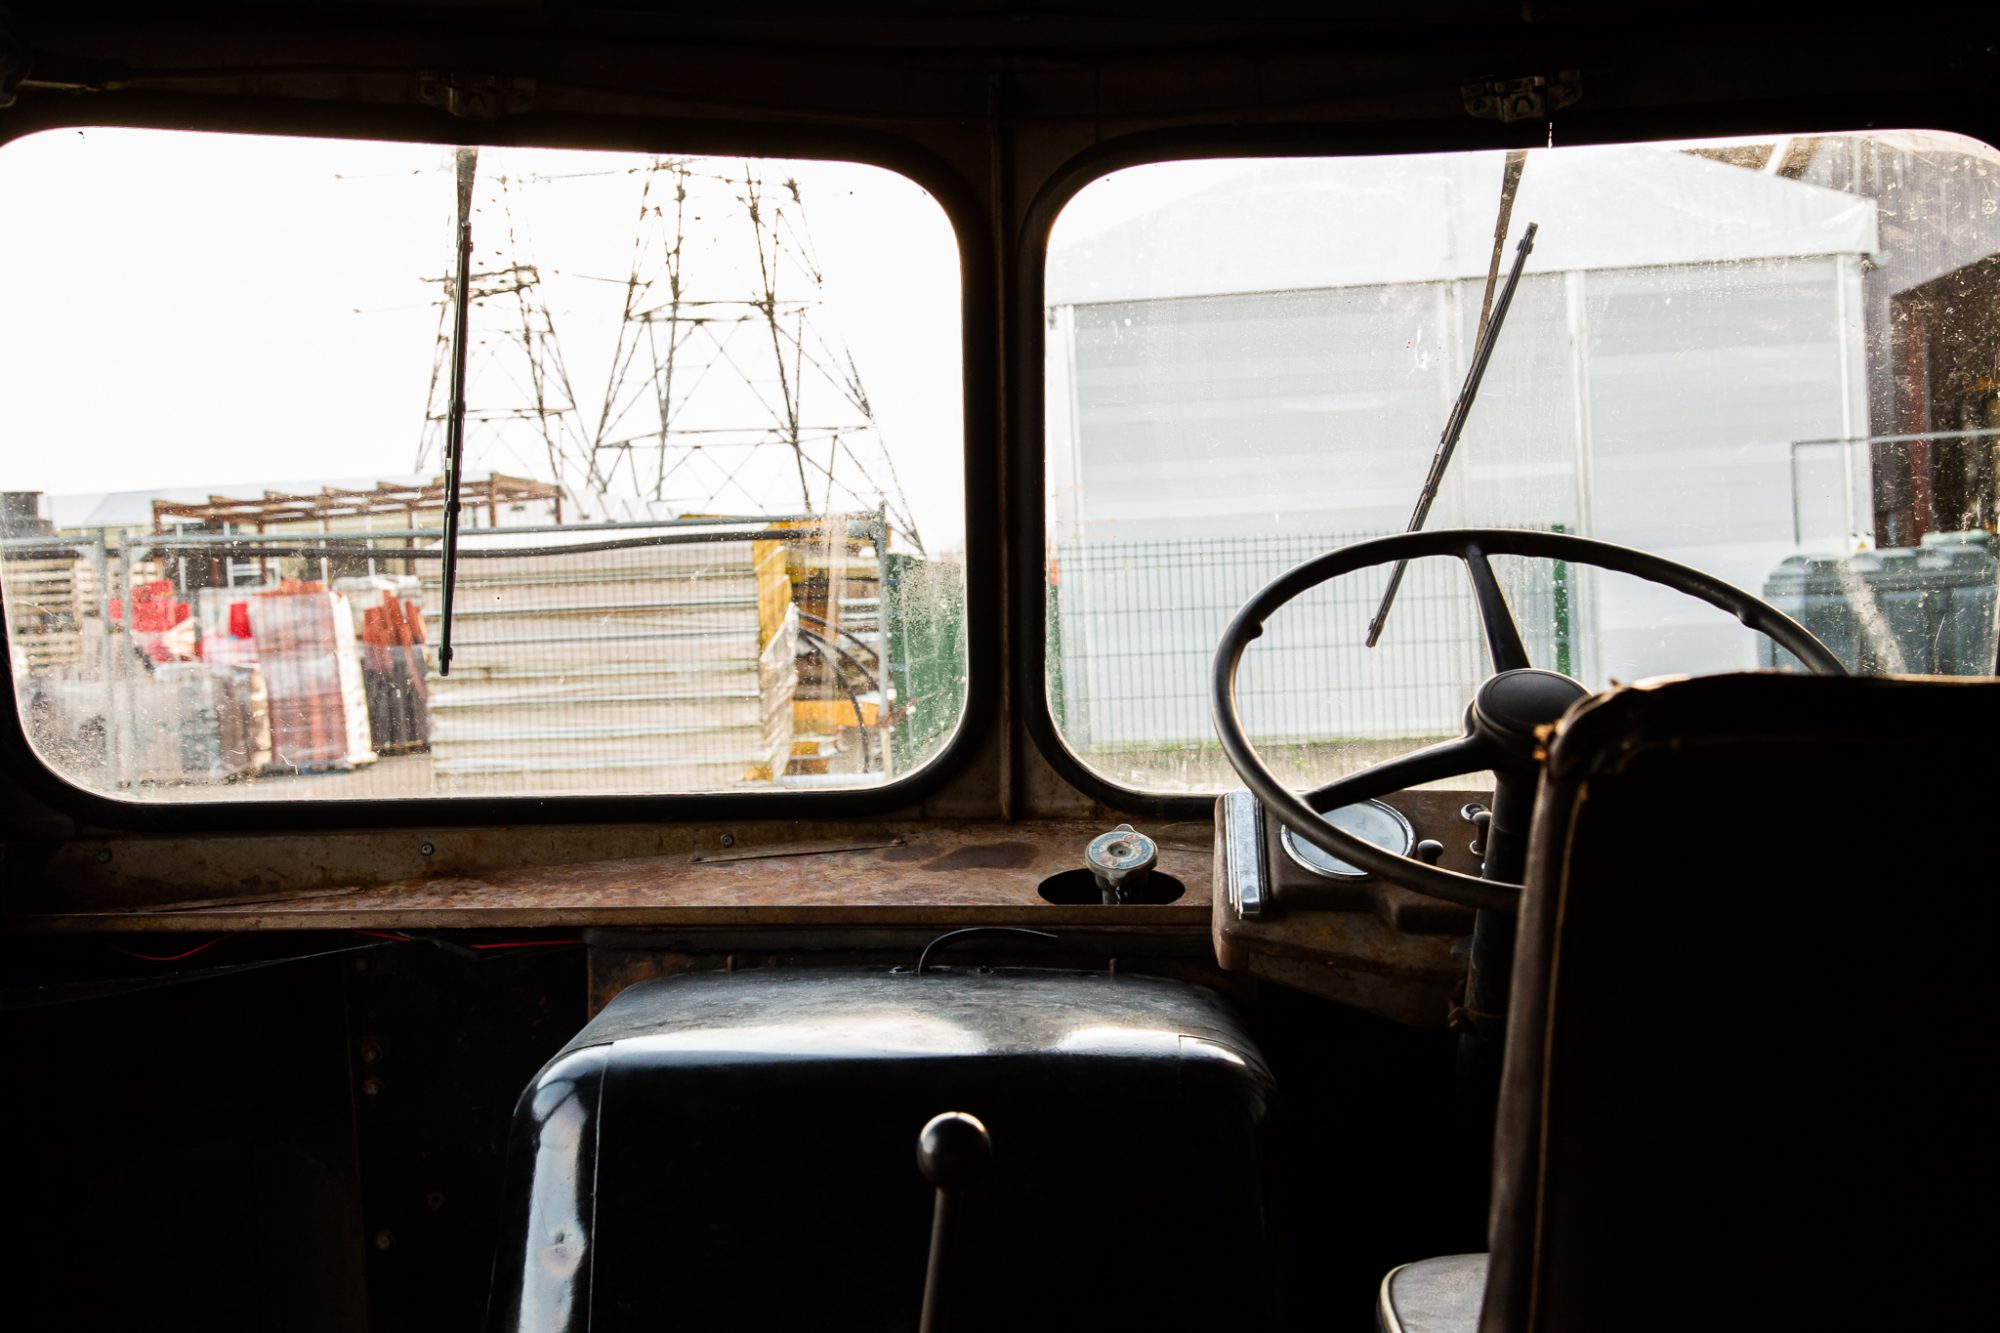
Our in-house restoration teams will also check all the chassis and body for safety and all other components as well throughout the van including the lighting and wiring systems.
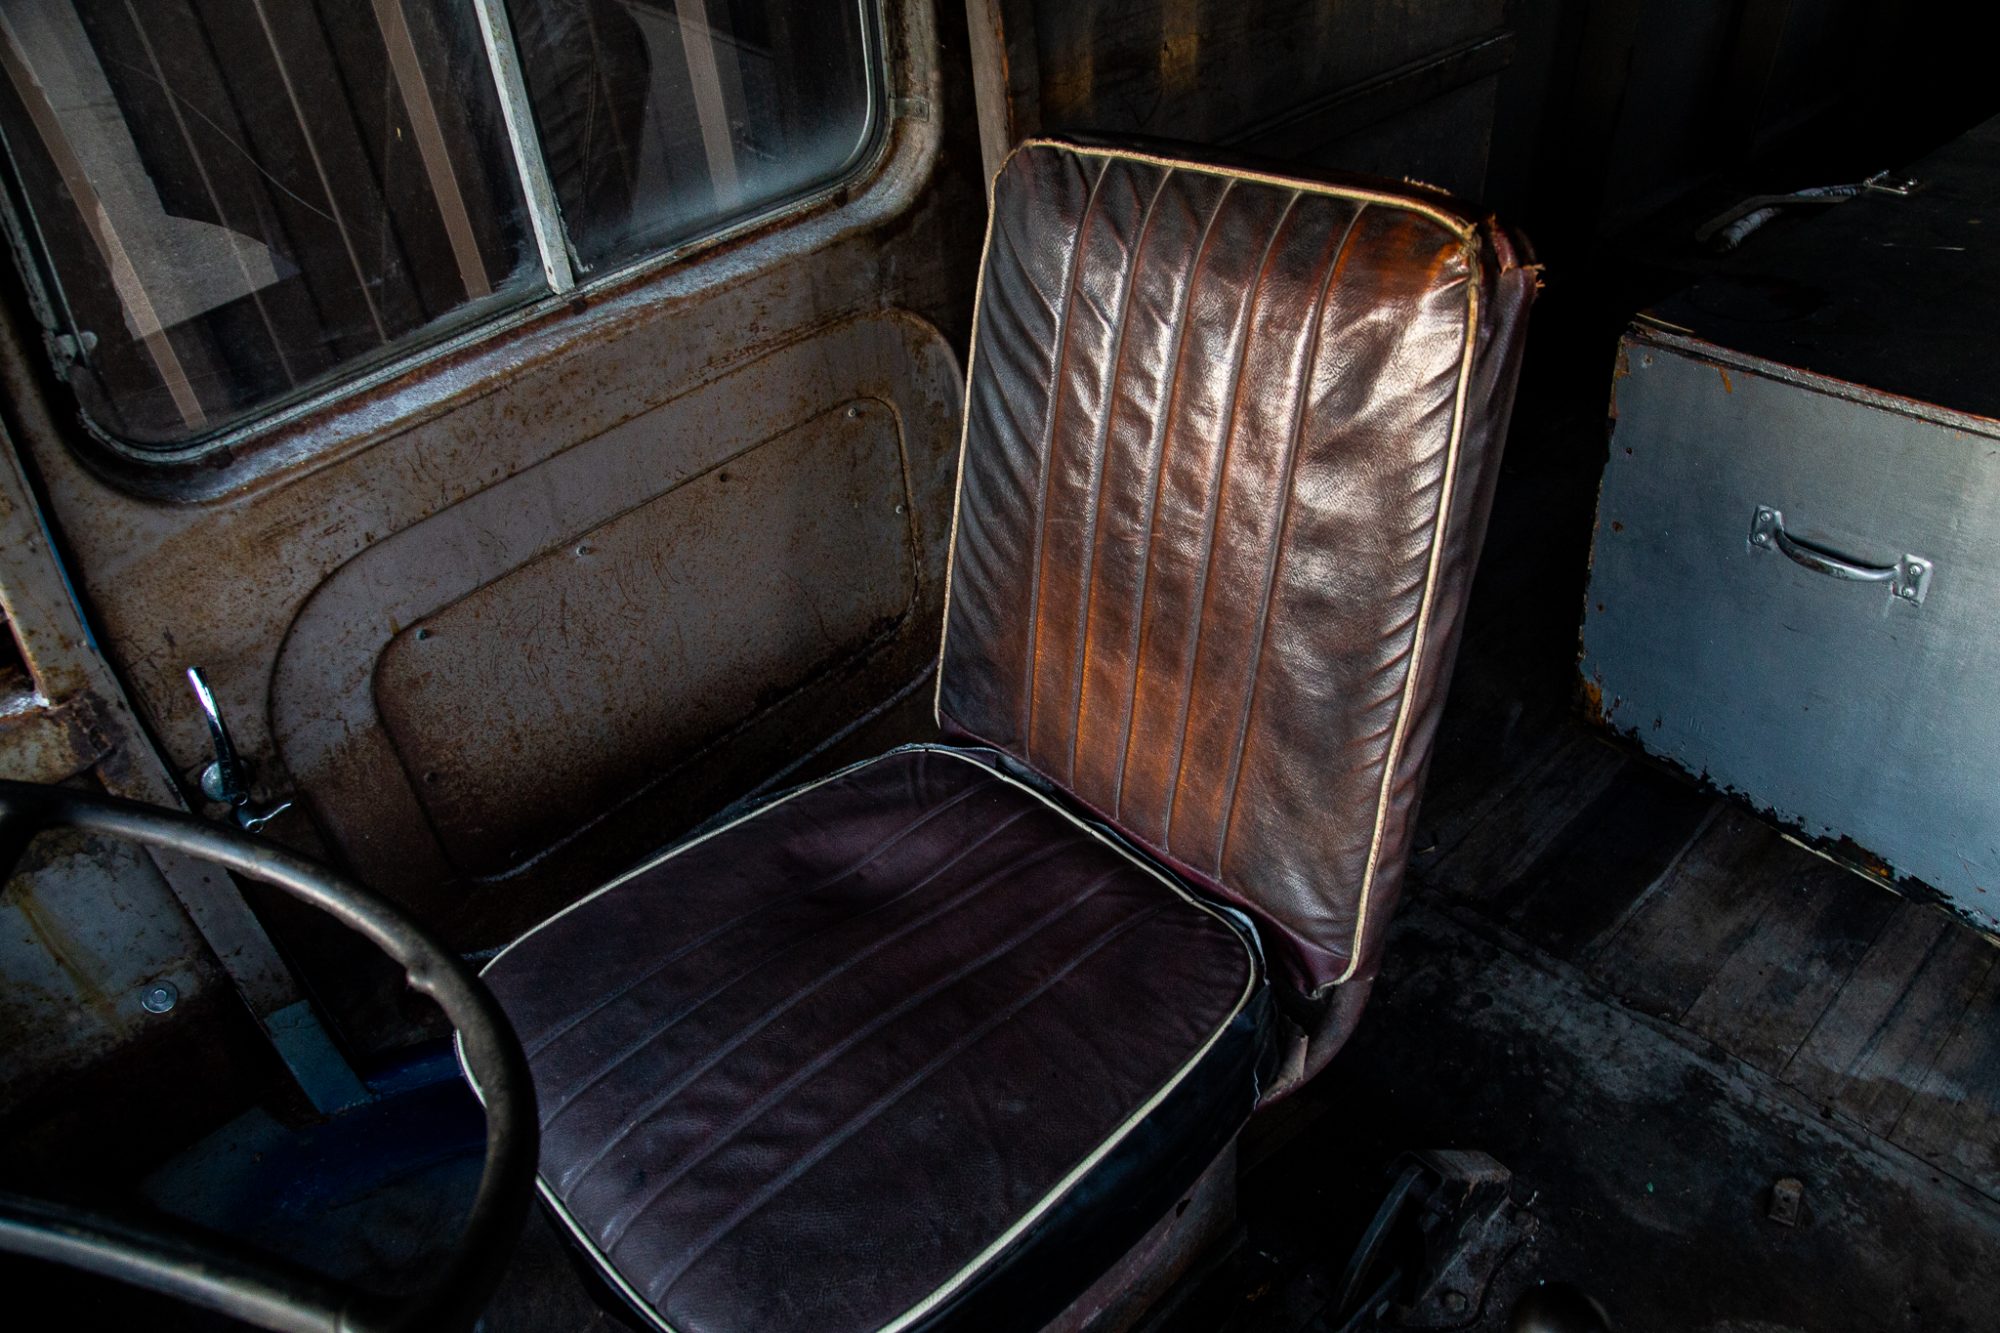
This is going to be a very exciting experience on such a unique and interesting project!
Make sure to check in on the Bridge Classic Cars news page for more updates very soon on the 1963 Morris LD.
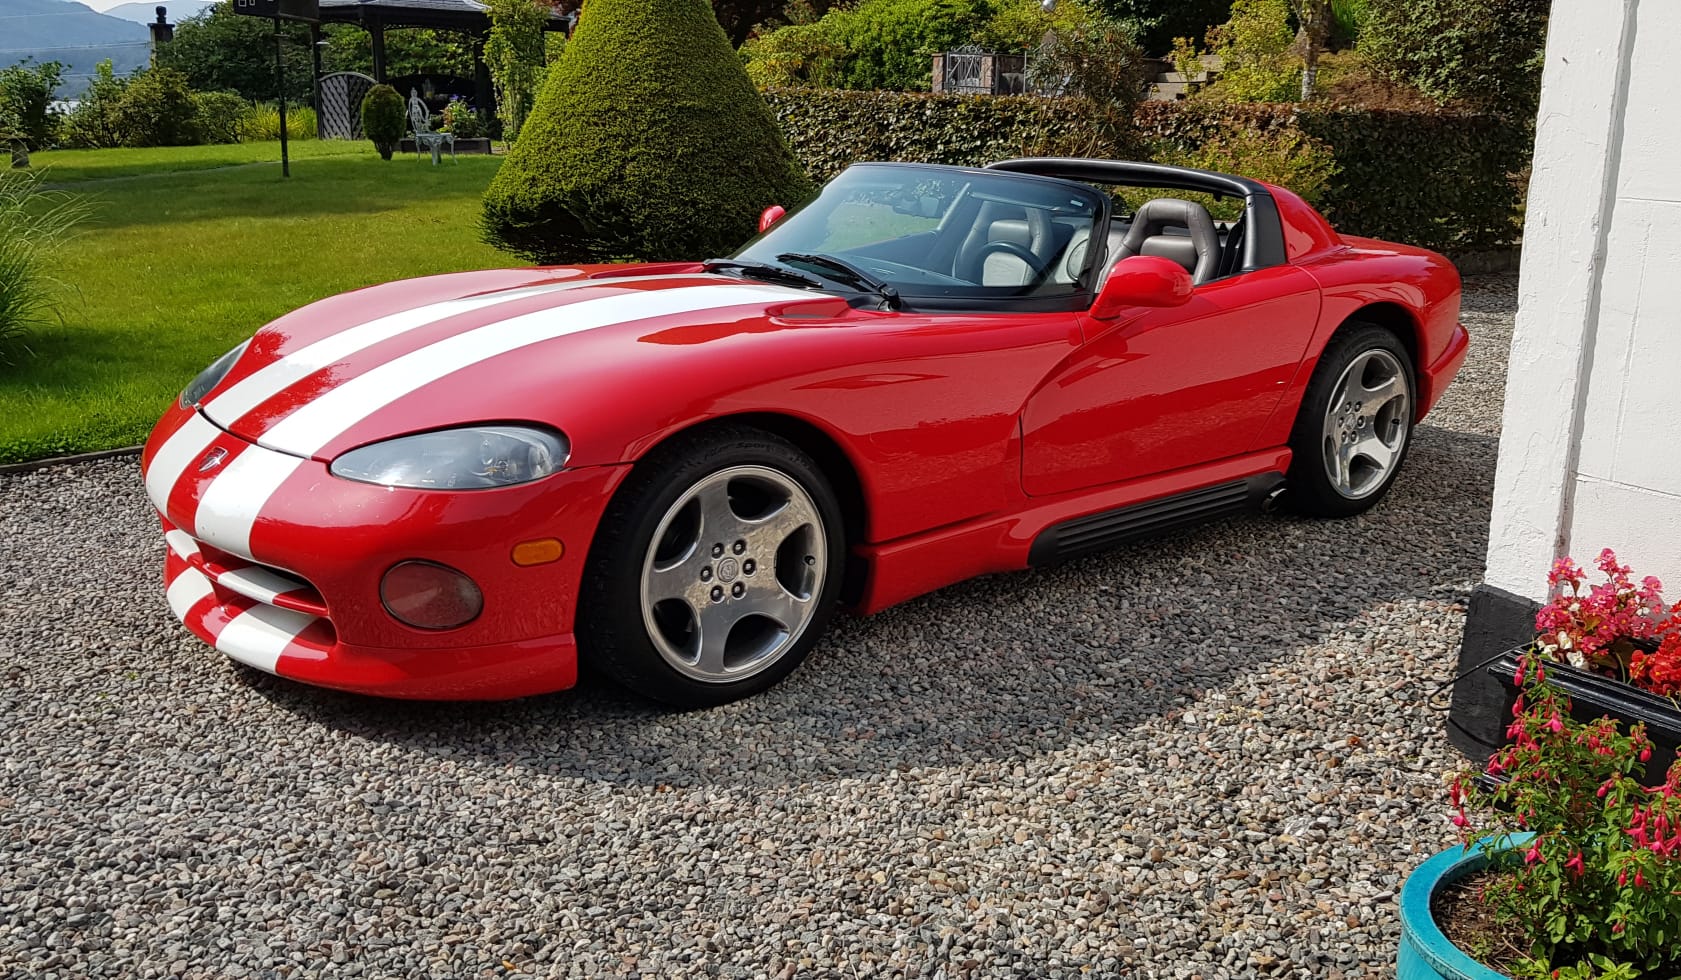

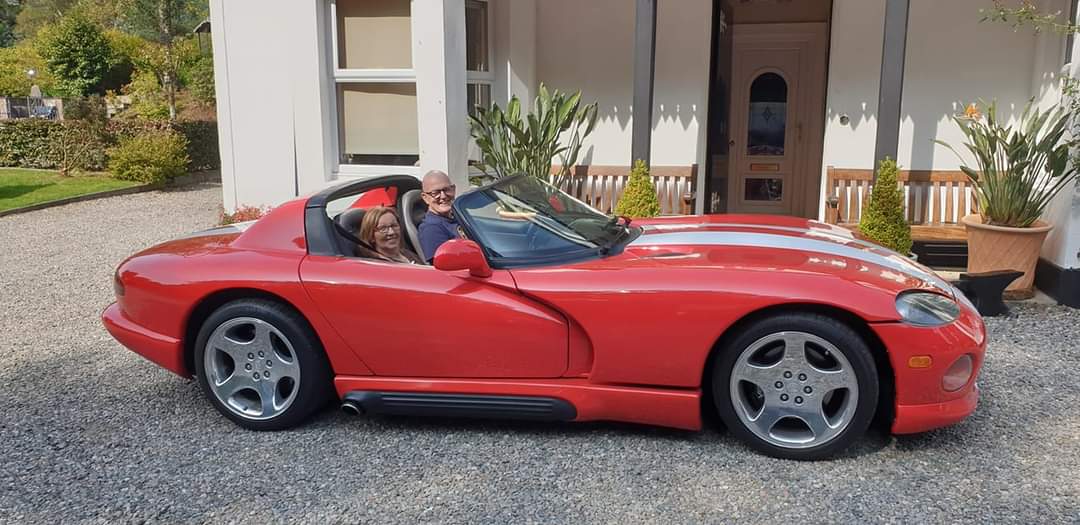
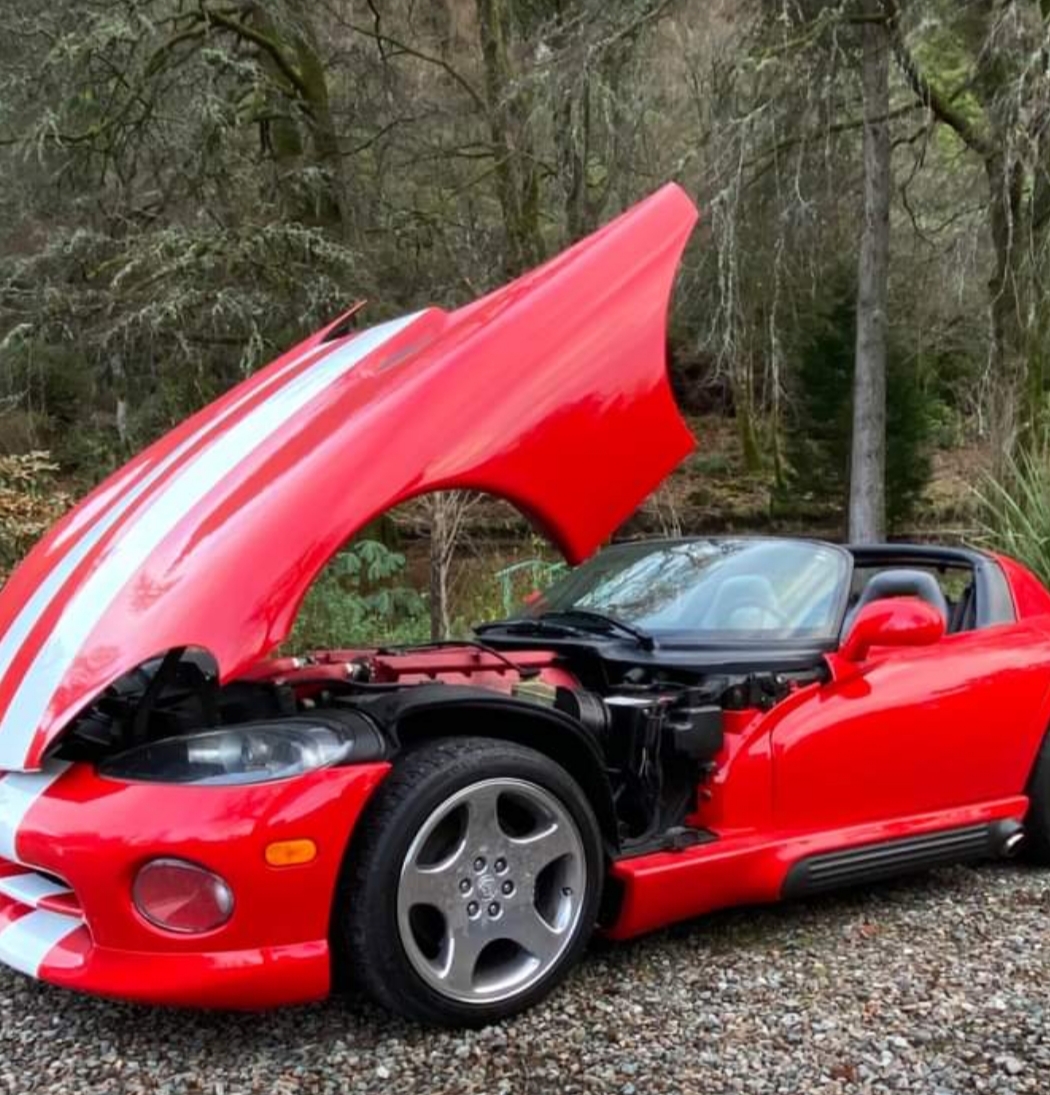

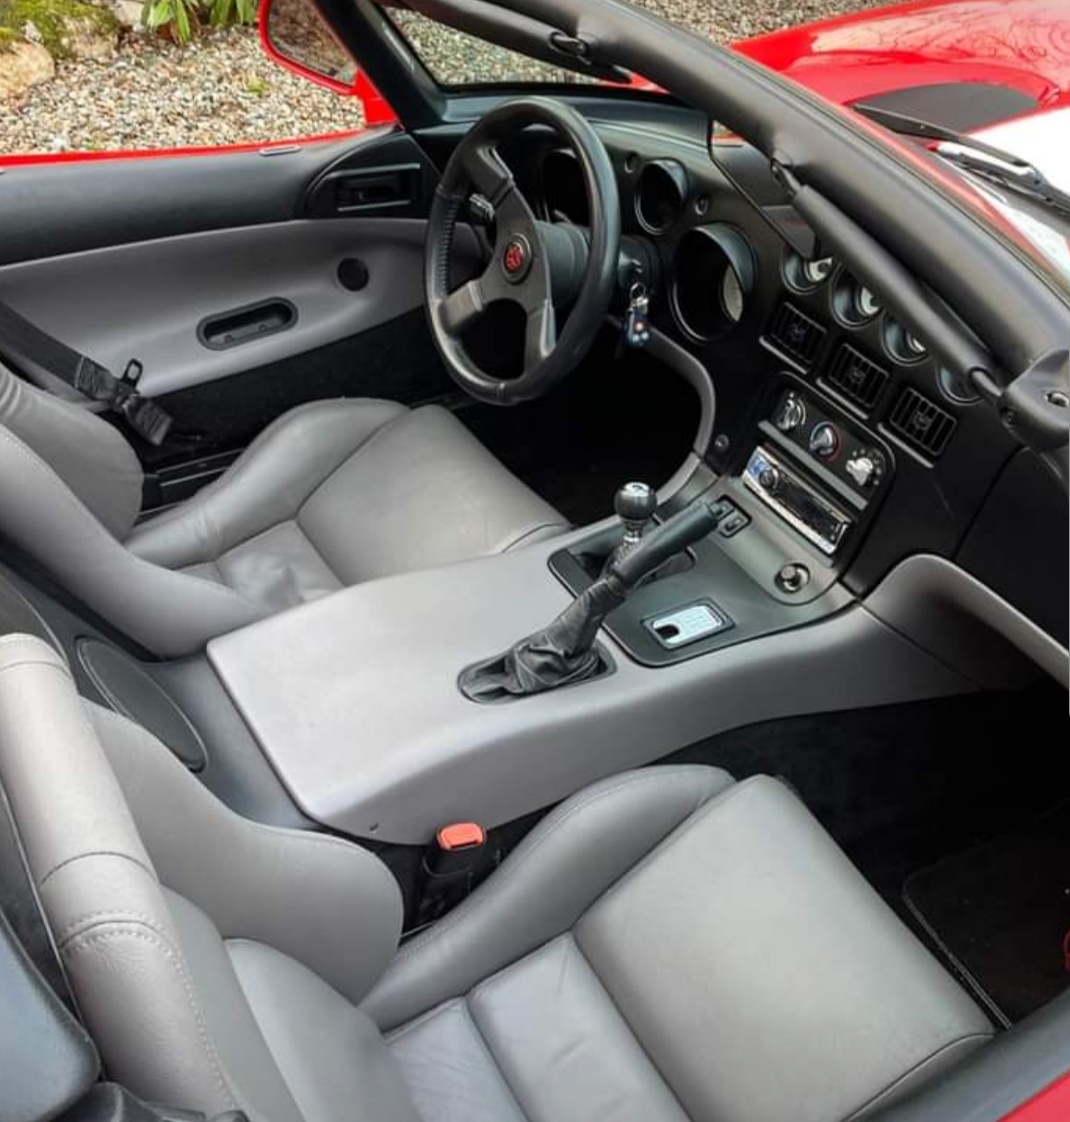

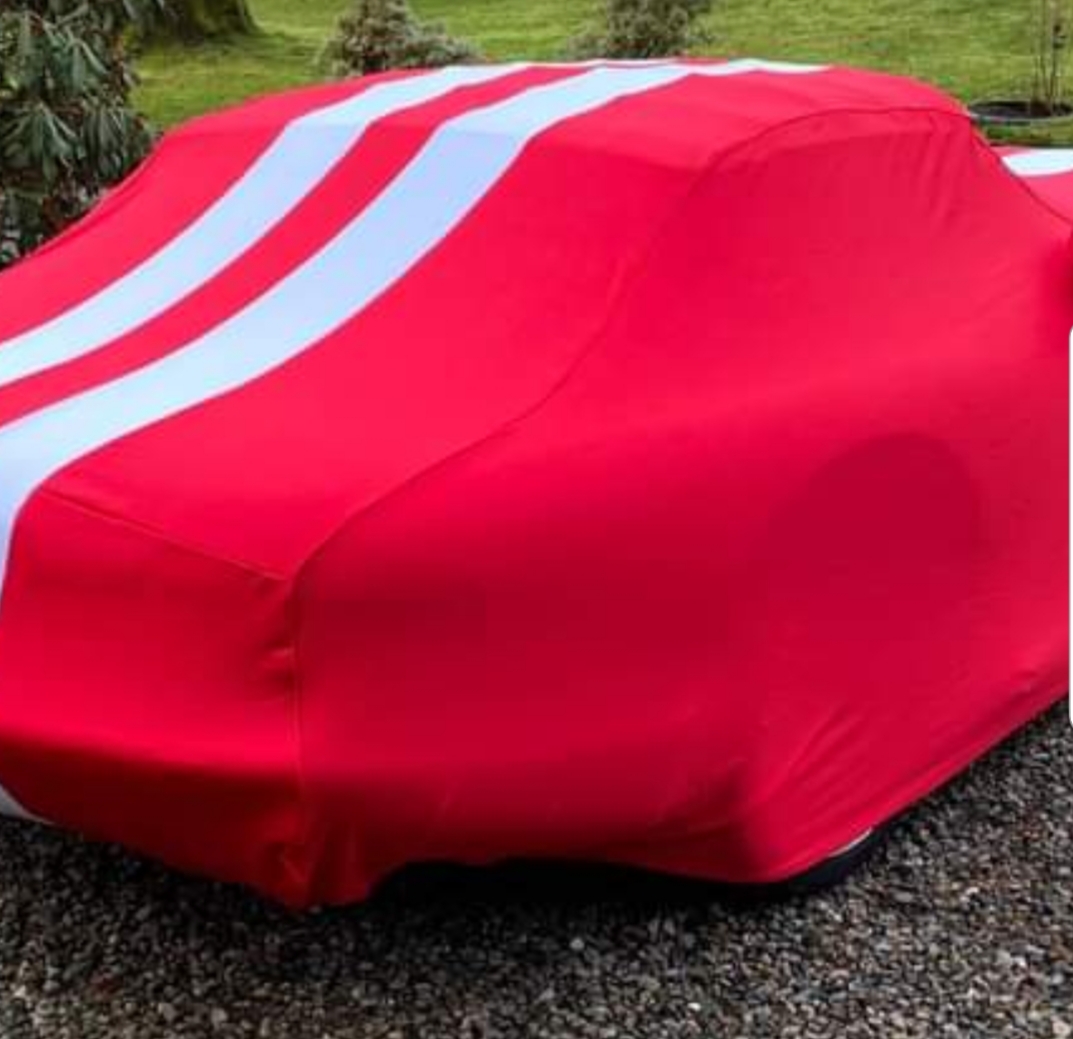
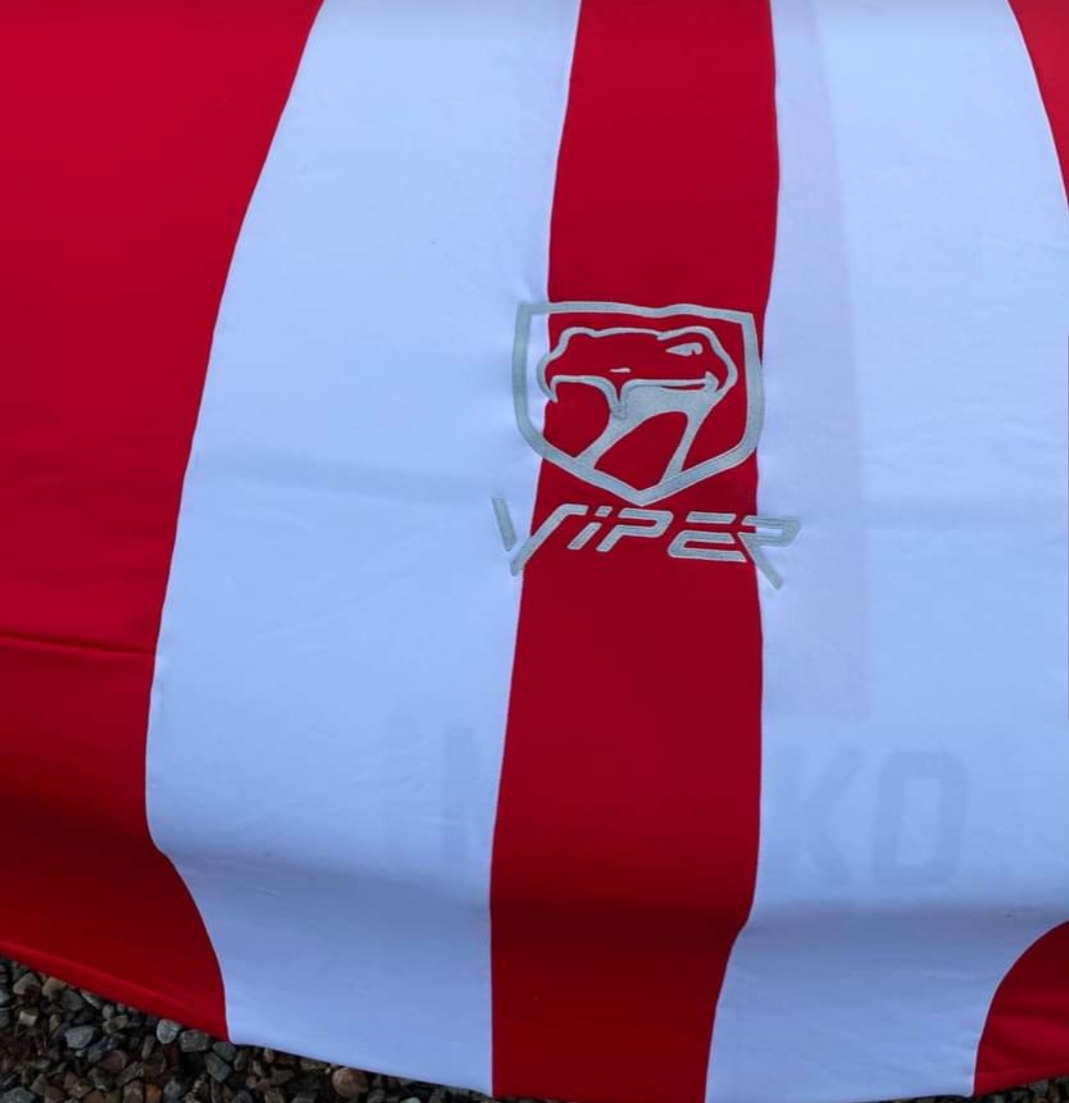
Soon Bridge Classic Cars will be welcoming this amazing 1995 Dodge Viper R/T10 to our workshop in Pettistree, Suffolk.
This rare and unique muscle car will be inspected and assessed by our in-house restoration teams over the coming weeks to check over the entire car. The V10 powered Viper is one of the most iconic supercars of the early 1990s and a rare sight in England so we’re excited to see it in our workshop.
Keep checking in on the Bridge Classic Cars news page for more updates on the Viper in the near future.
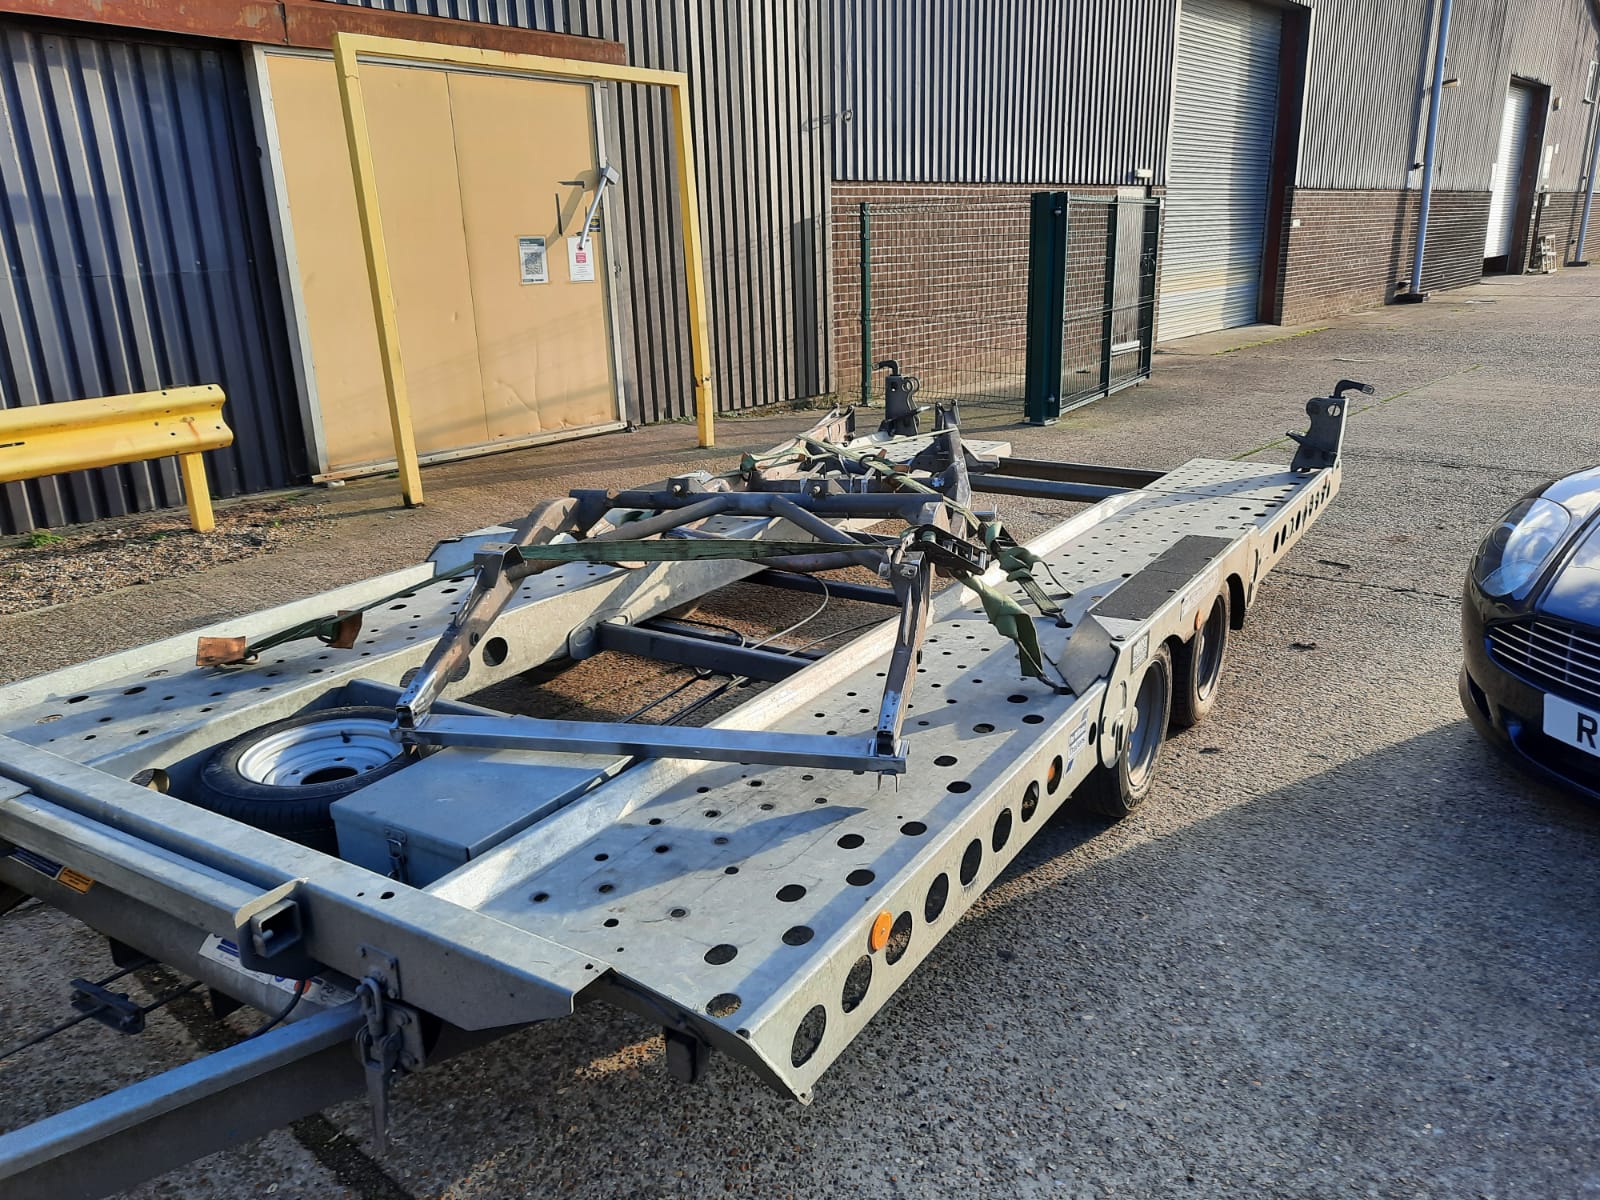

Since finishing the repairs on the chassis of the 1951 Riley RMB by our fabrication team, the whole chassis has been loaded up to head off to a local specialist to be media blasted in preparation for the whole frame being powerdercoated.
The frame is being media blasted to remove any surface rust that has built up during its time with us. Since coming back from the chemical treatment, any form of rust prevention has been stripped away from the piece so rust will build up on the surface. The best way to ensure it is all gotten rid of is to send it away for media blasting.
After this, the frame will be powdercoated to protect the piece for many years to come as it is hard wearing and durable, perfect for a classic car so loved by its owner.
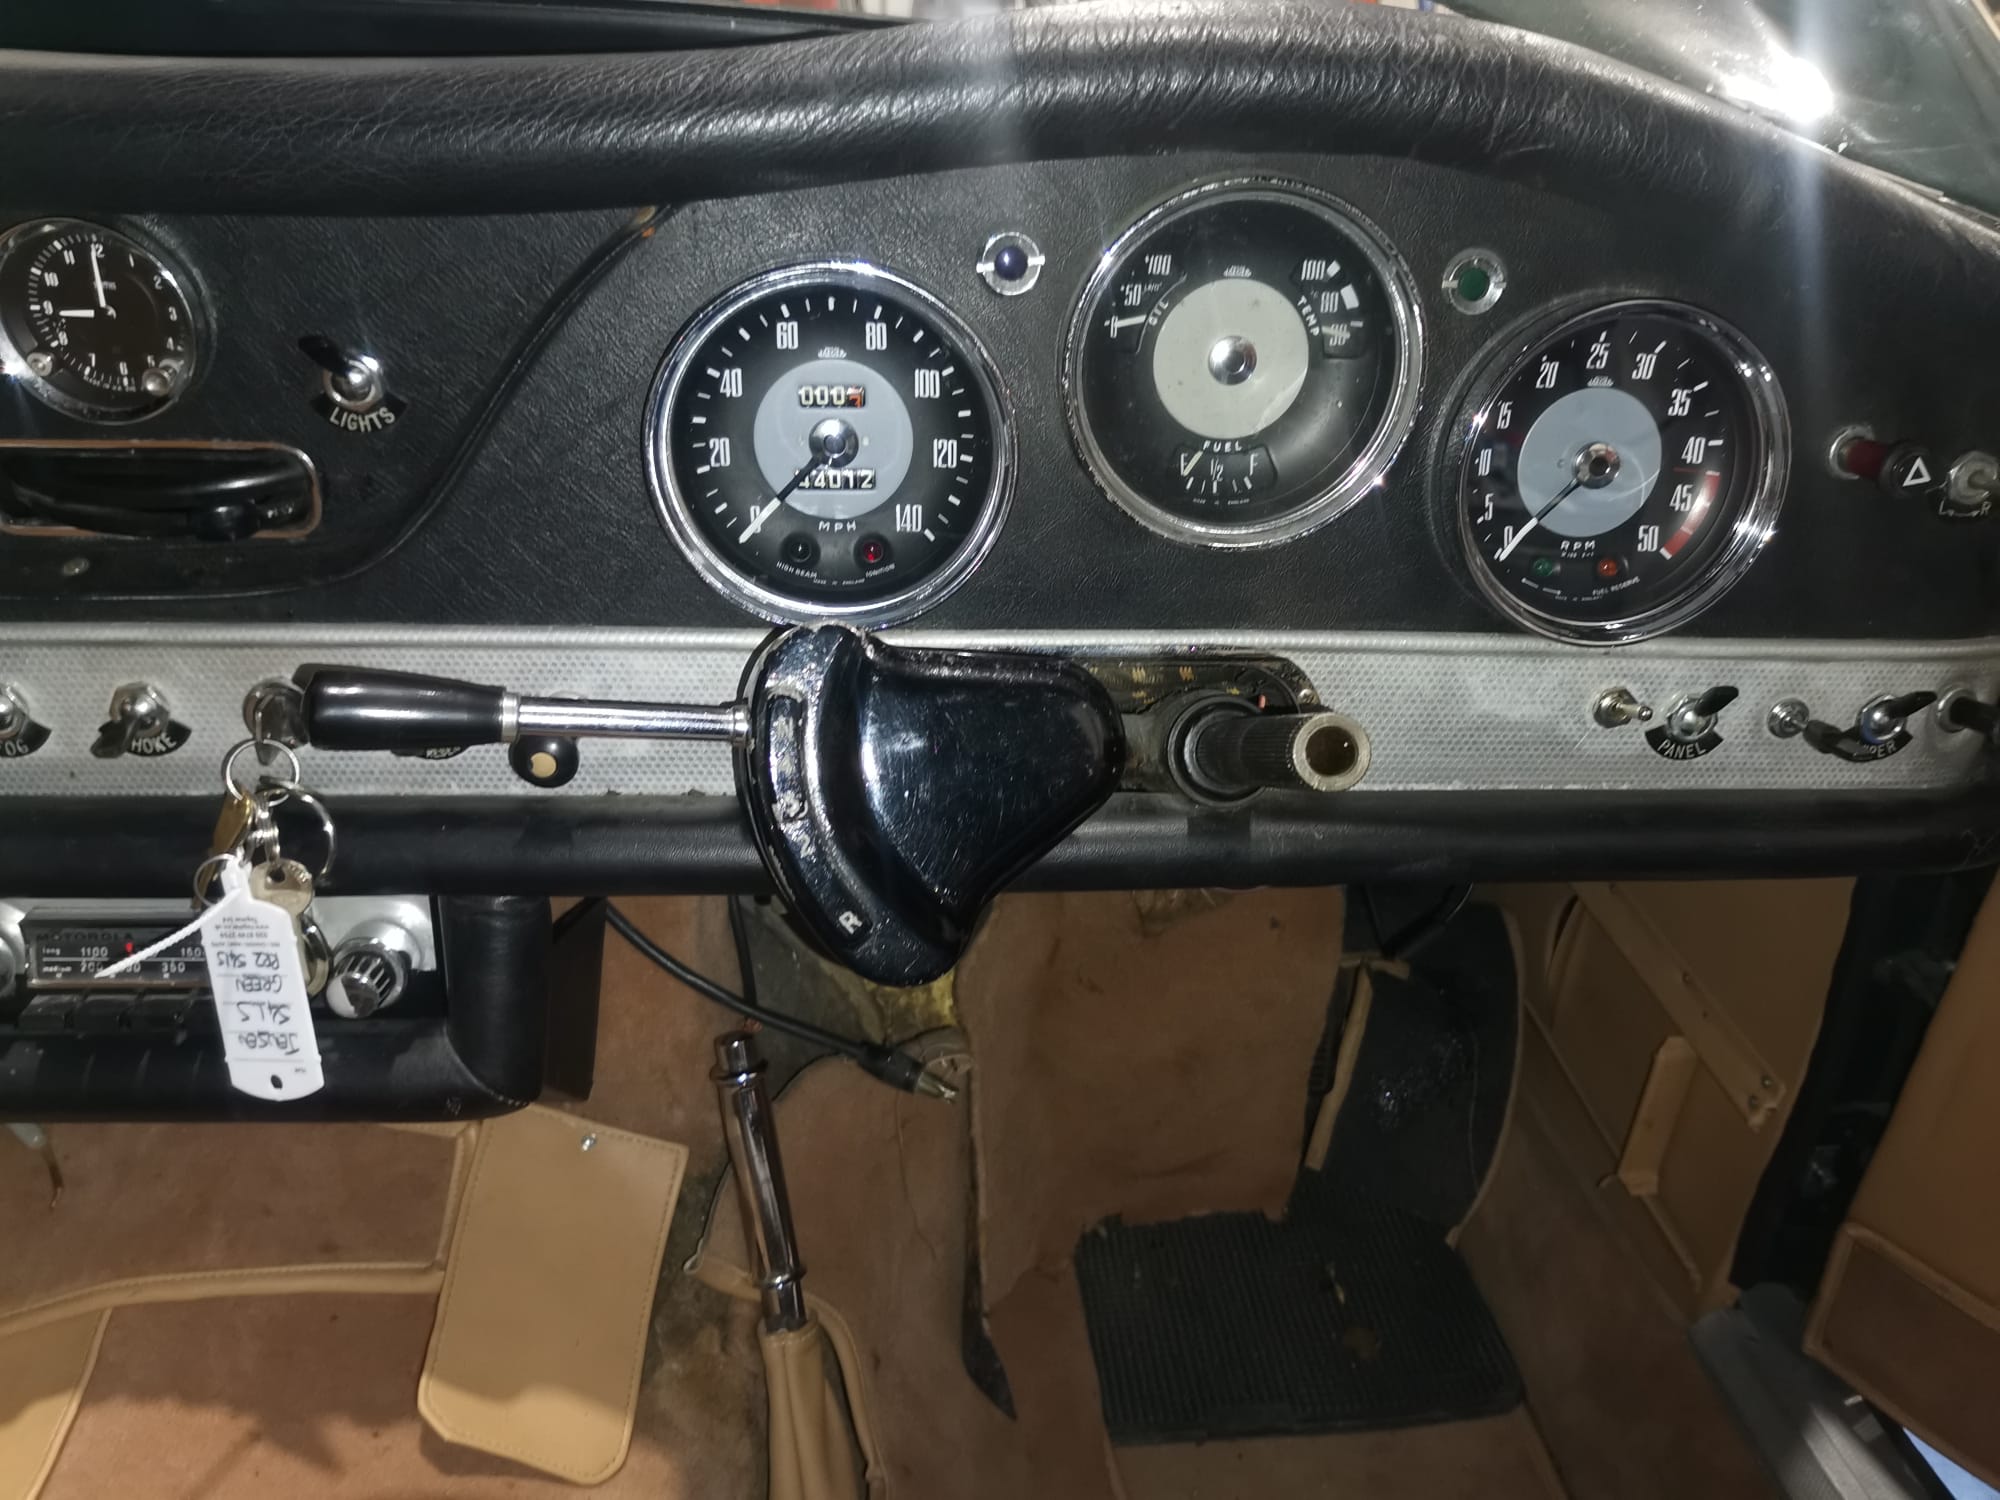
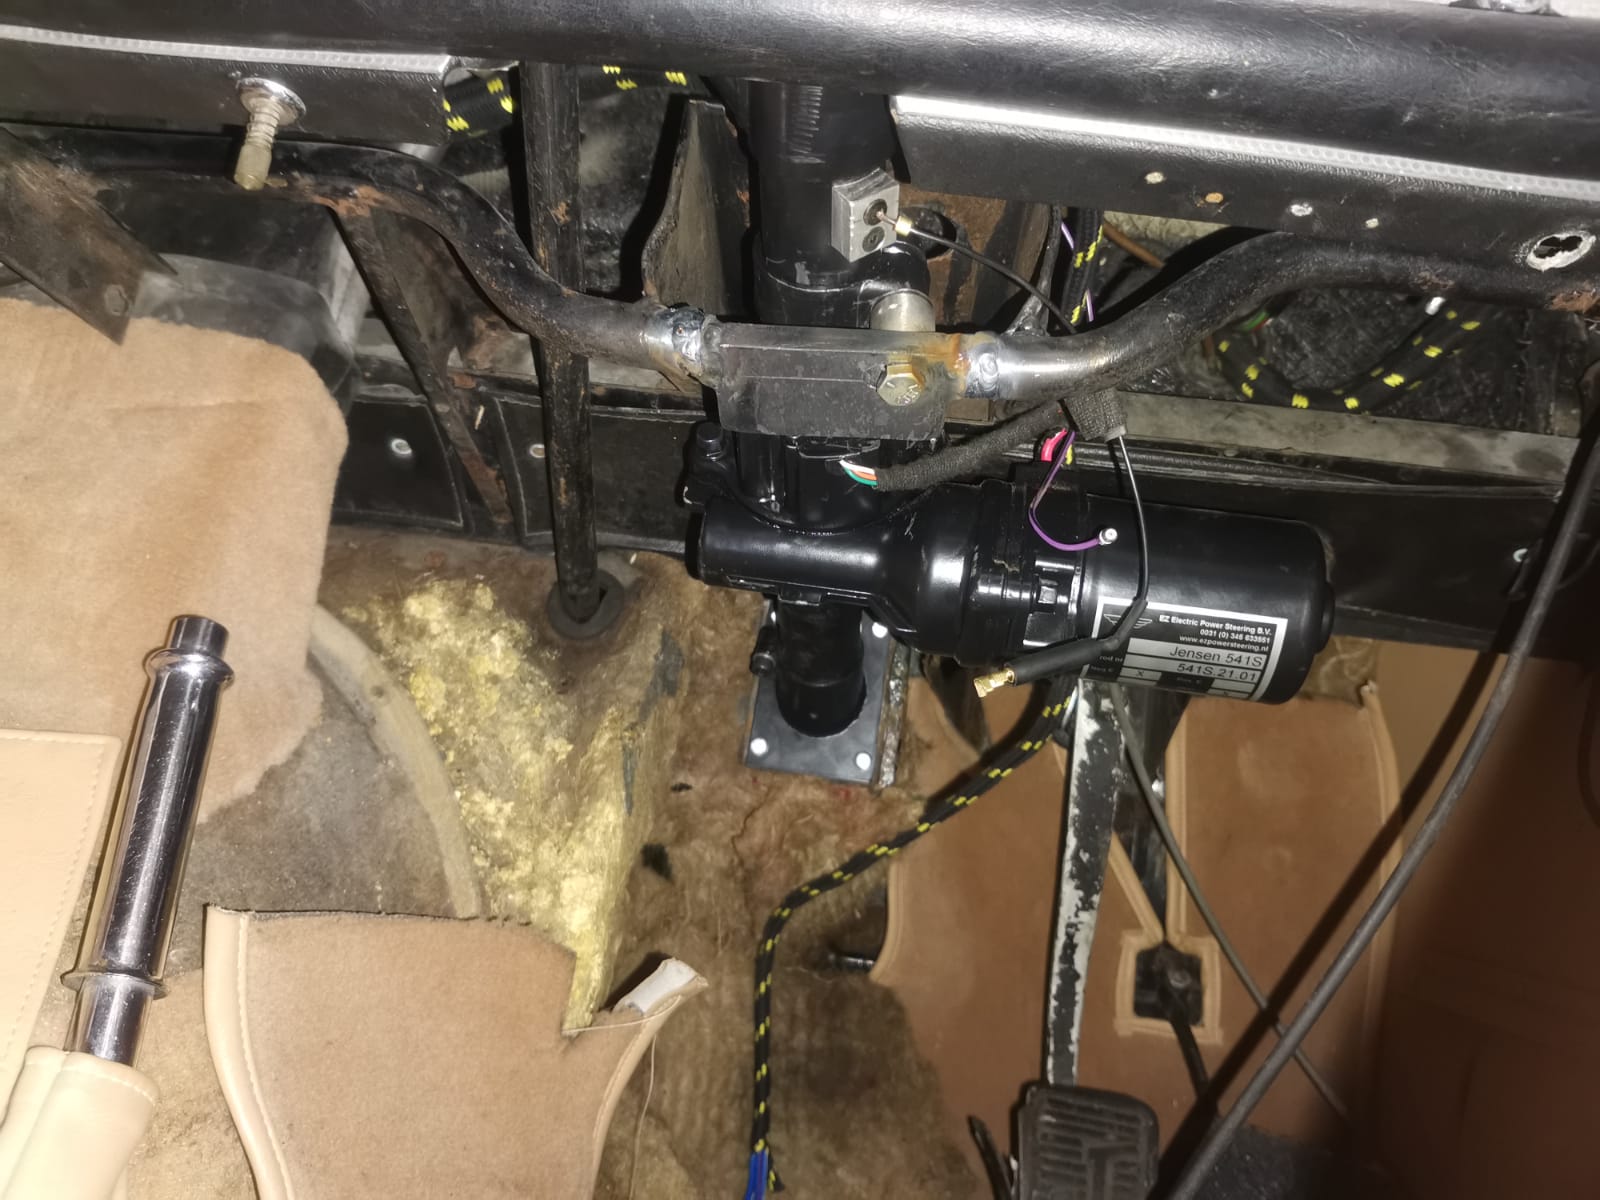
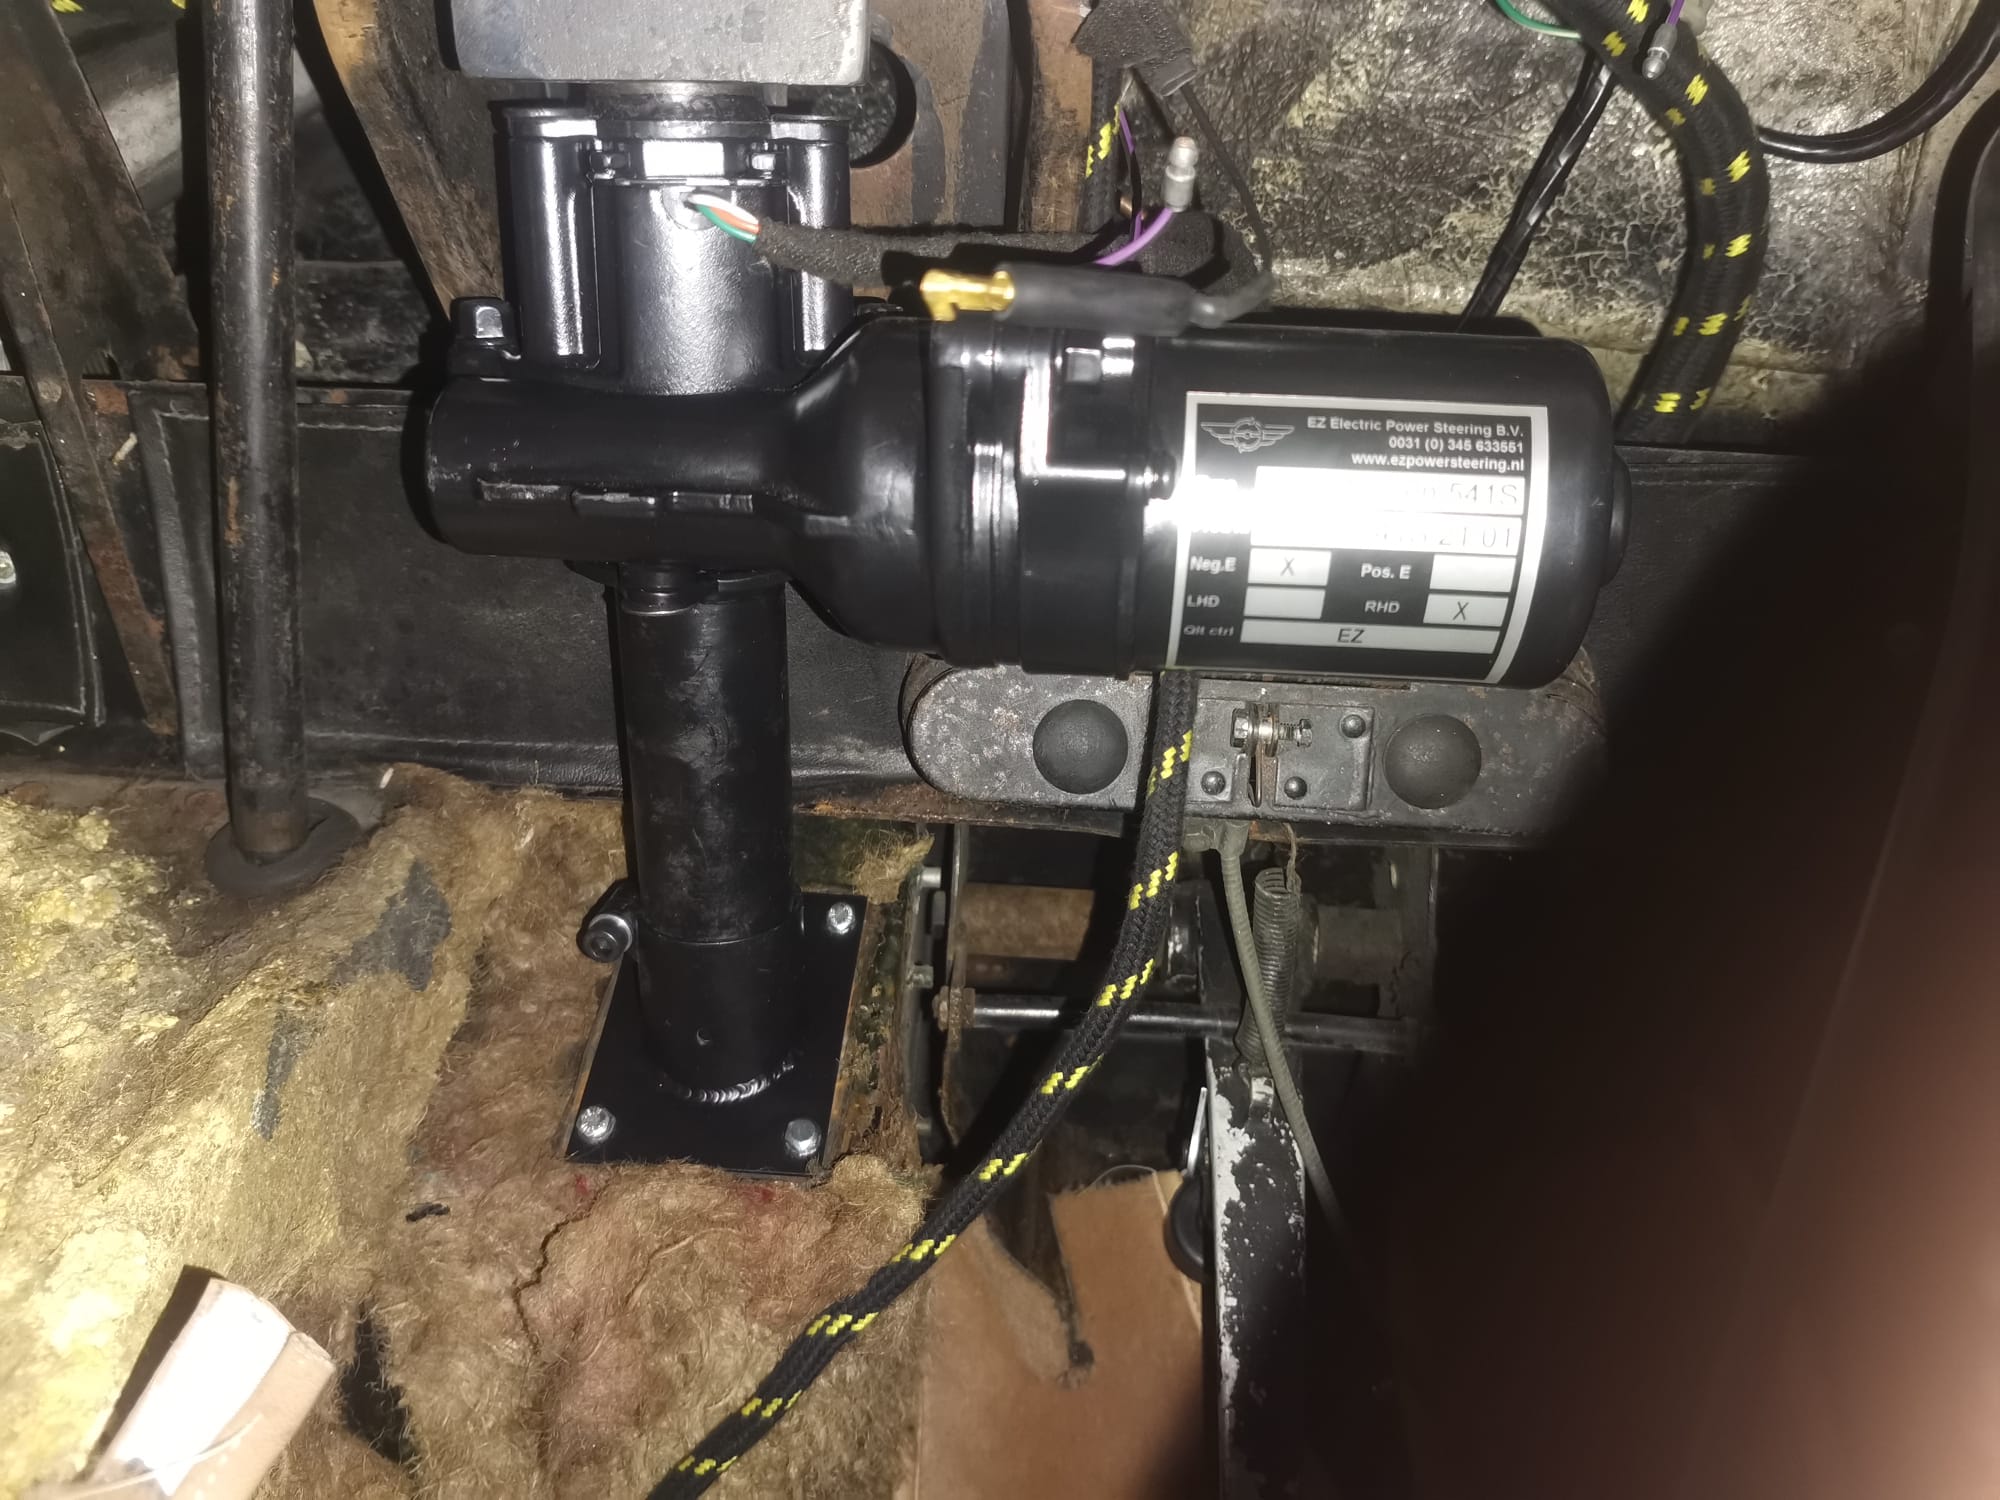
The Bridge Classic Cars in-house restoration technicians are not new to the world of Jensen 541’s, after restoring several of the 541, 541S and 541R’s we have some experience in doing jobs on them.
This particular 1962 Jensen 541S came into us to have a few jobs carried out on it.
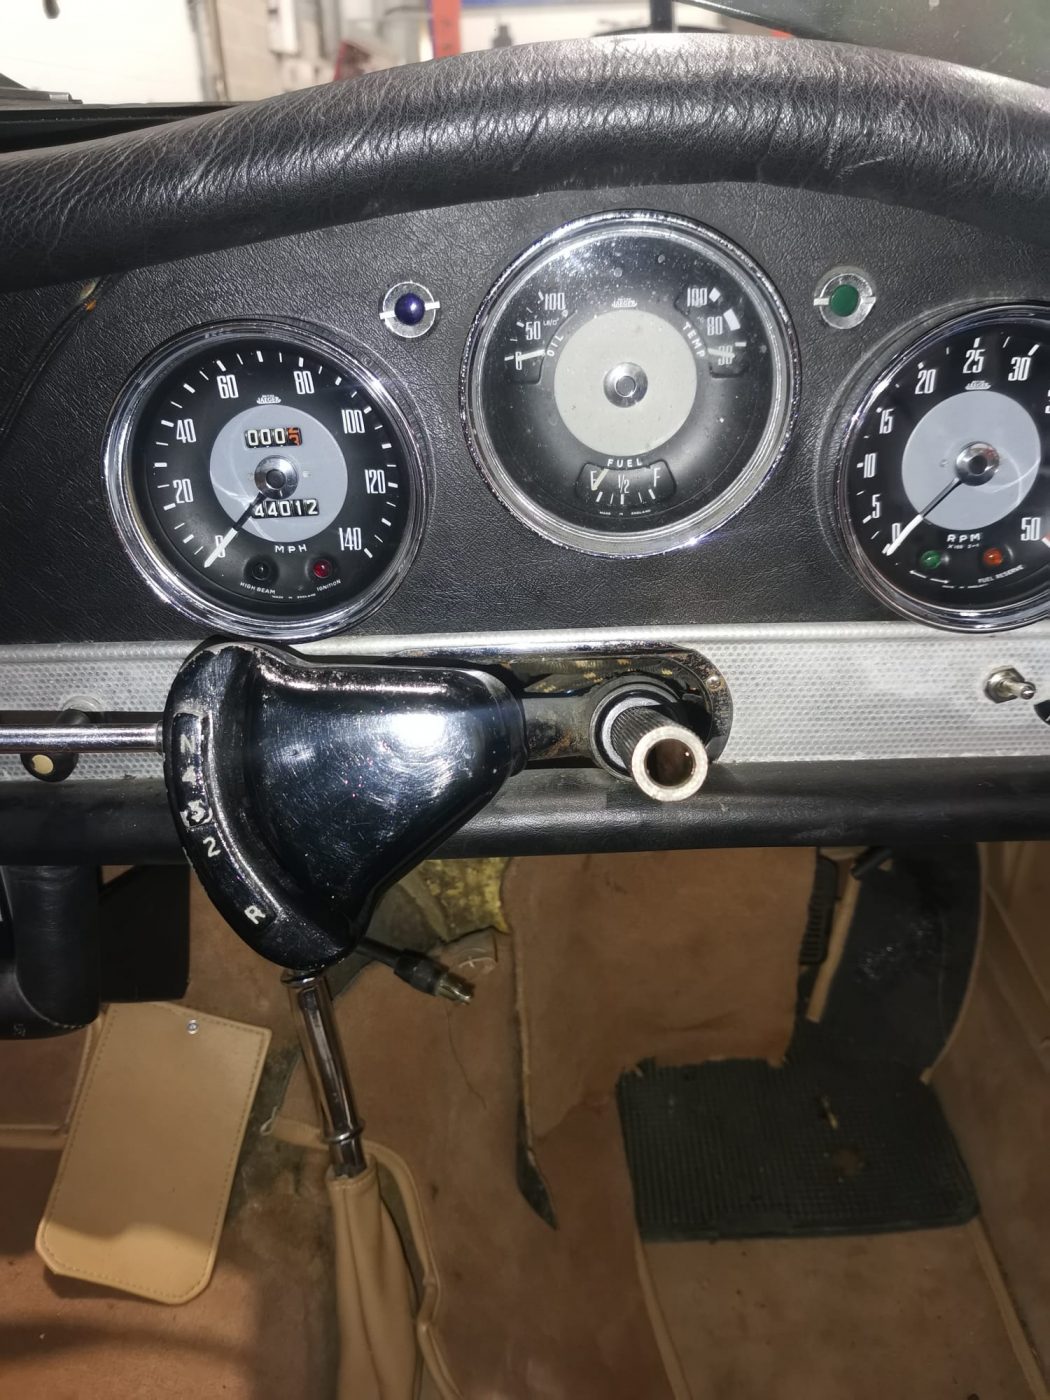
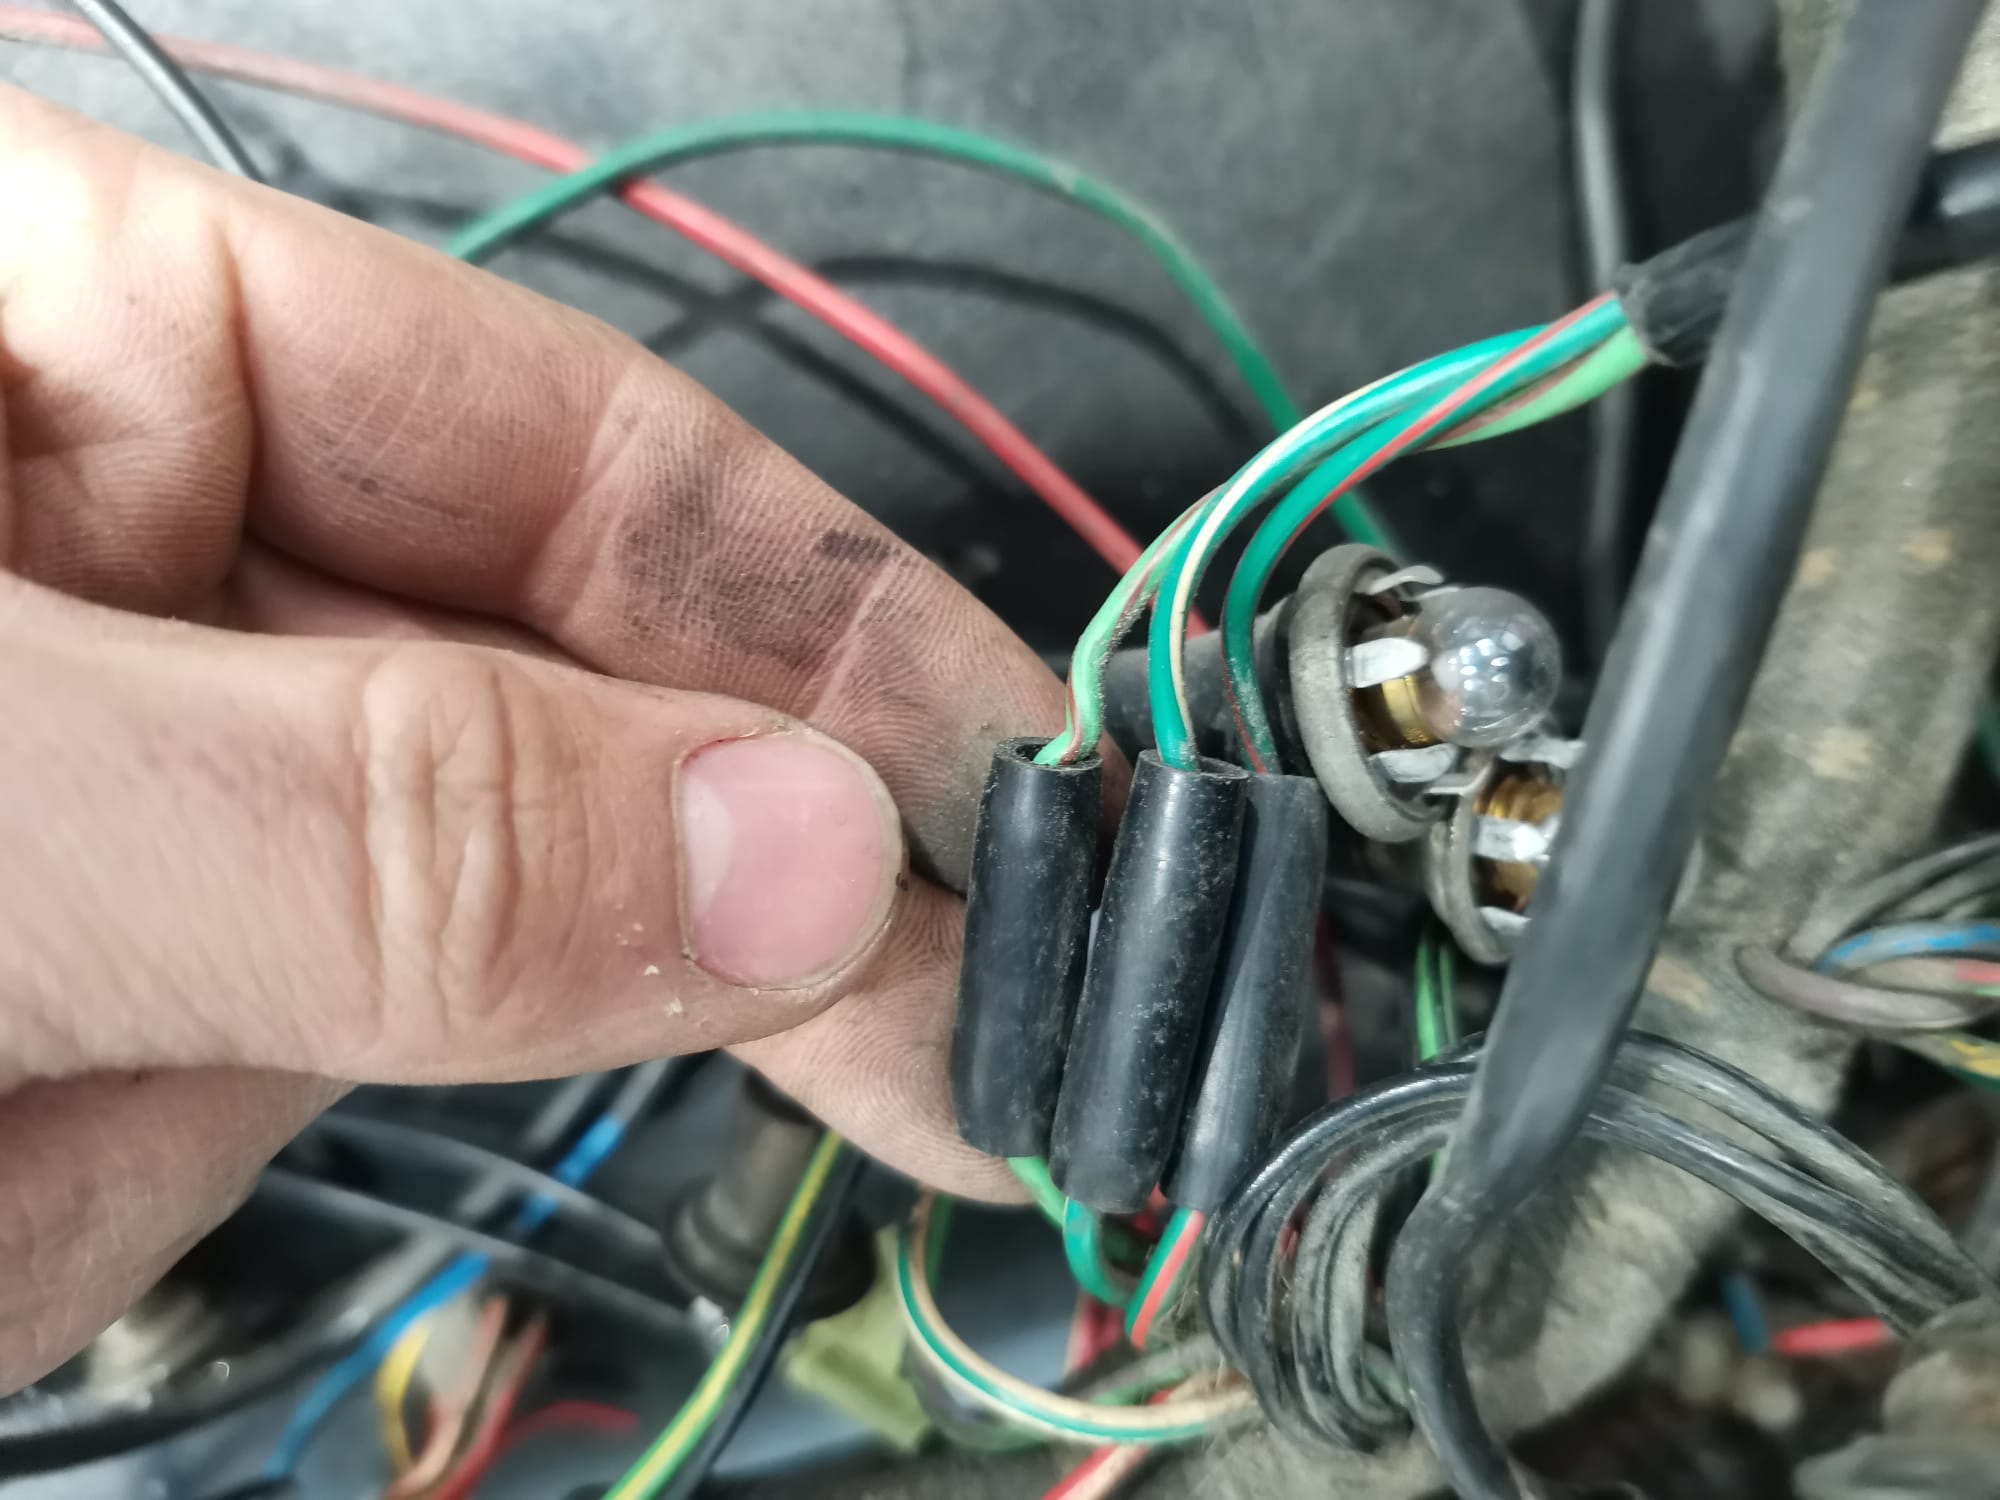
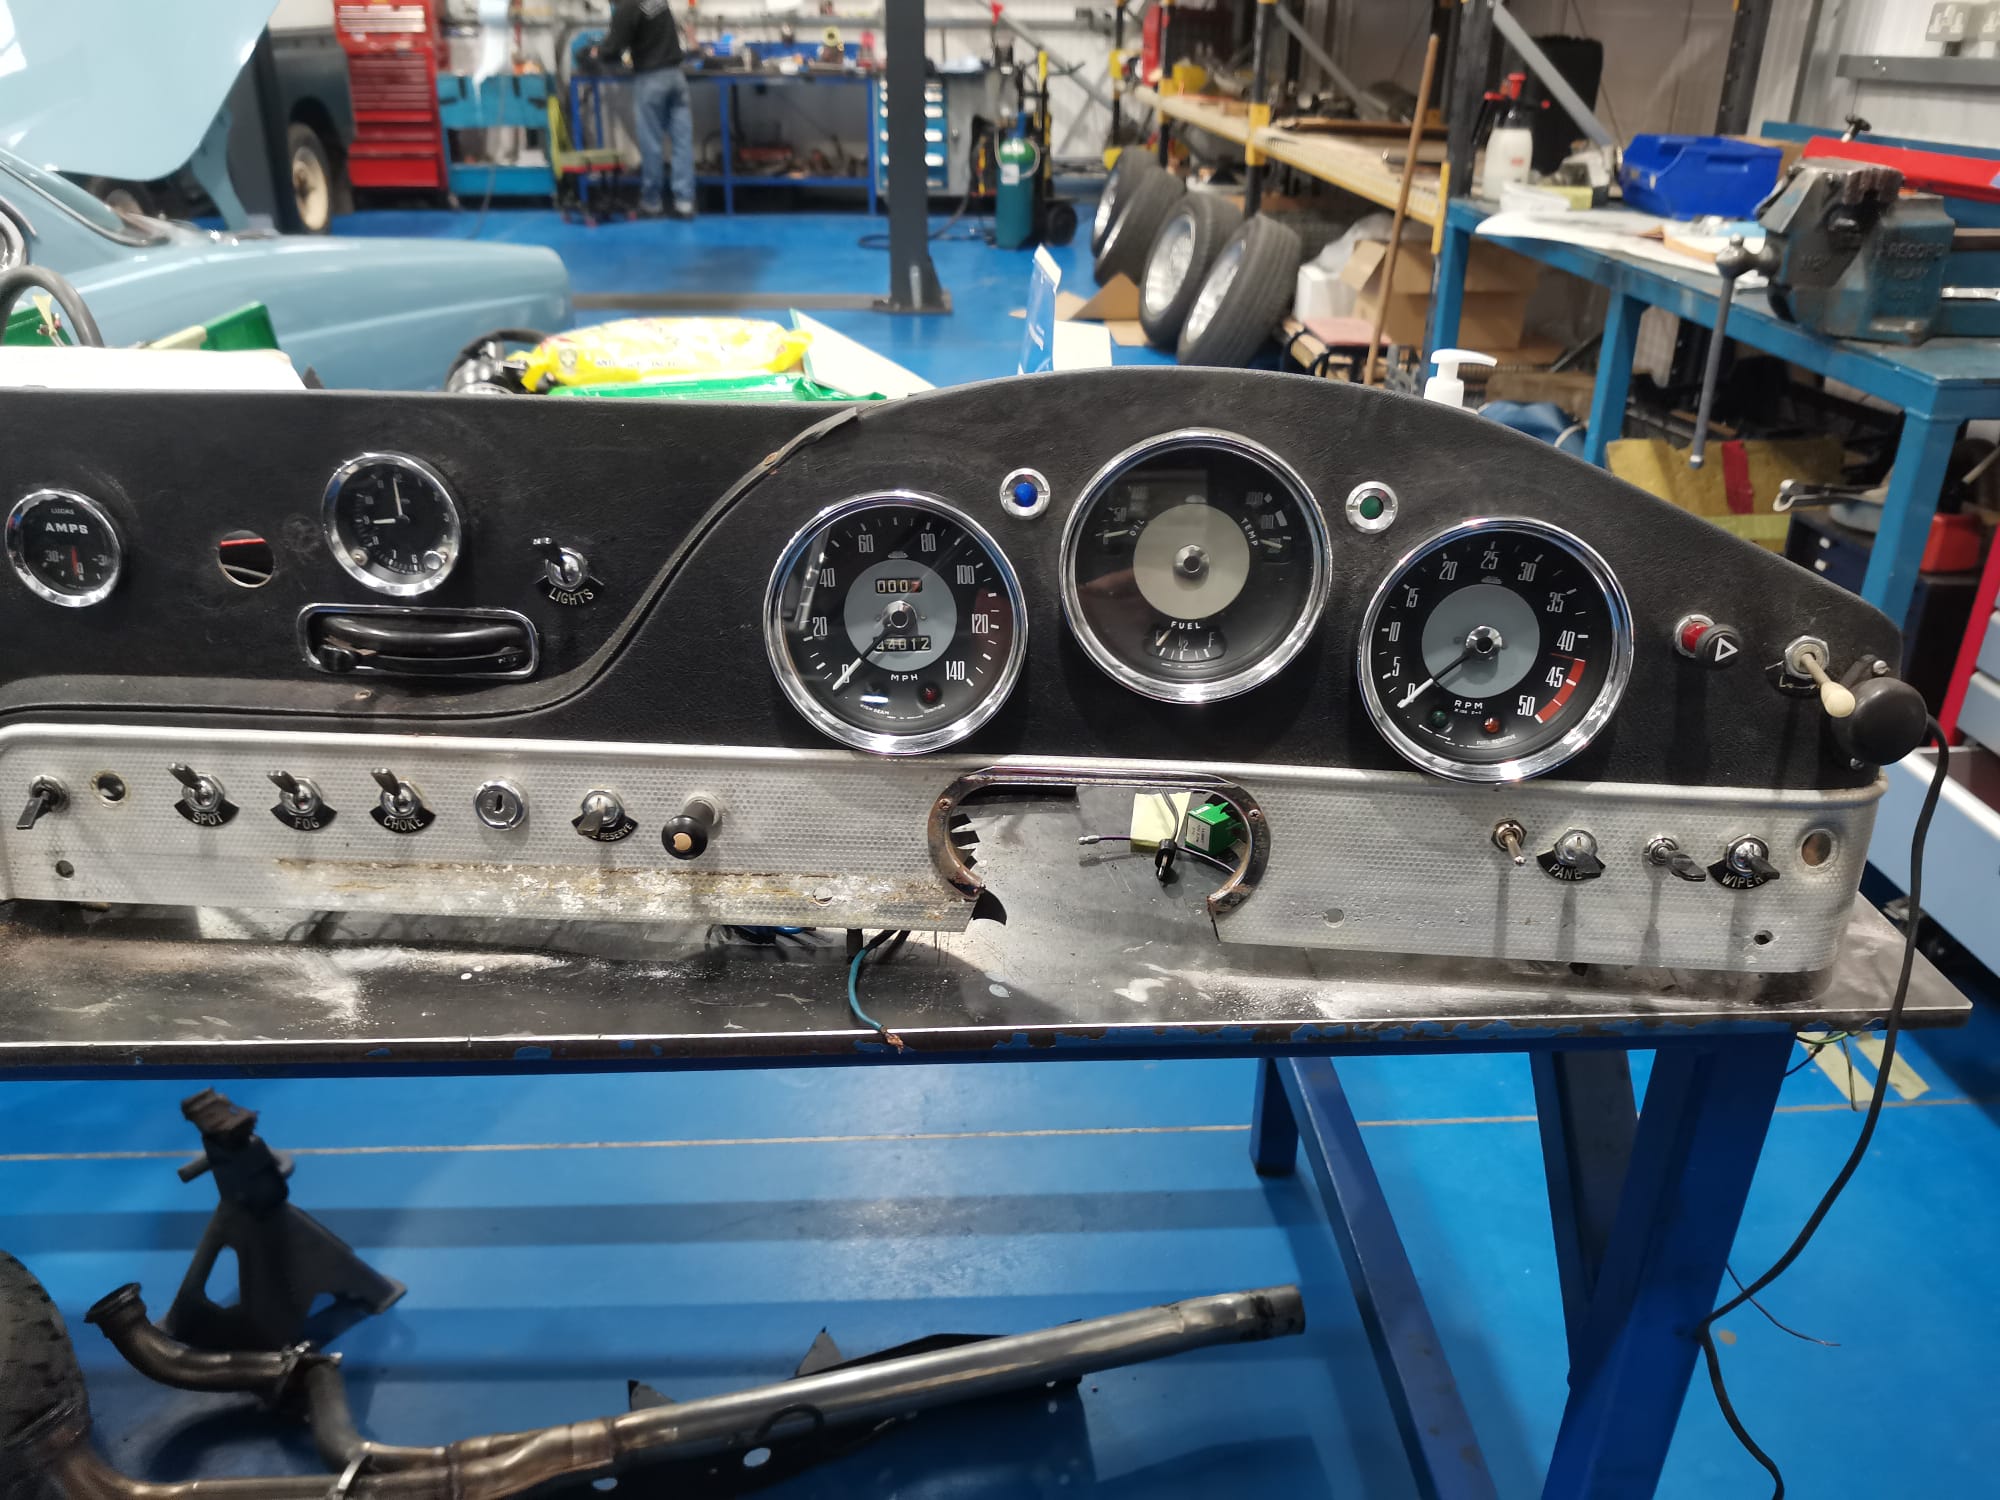
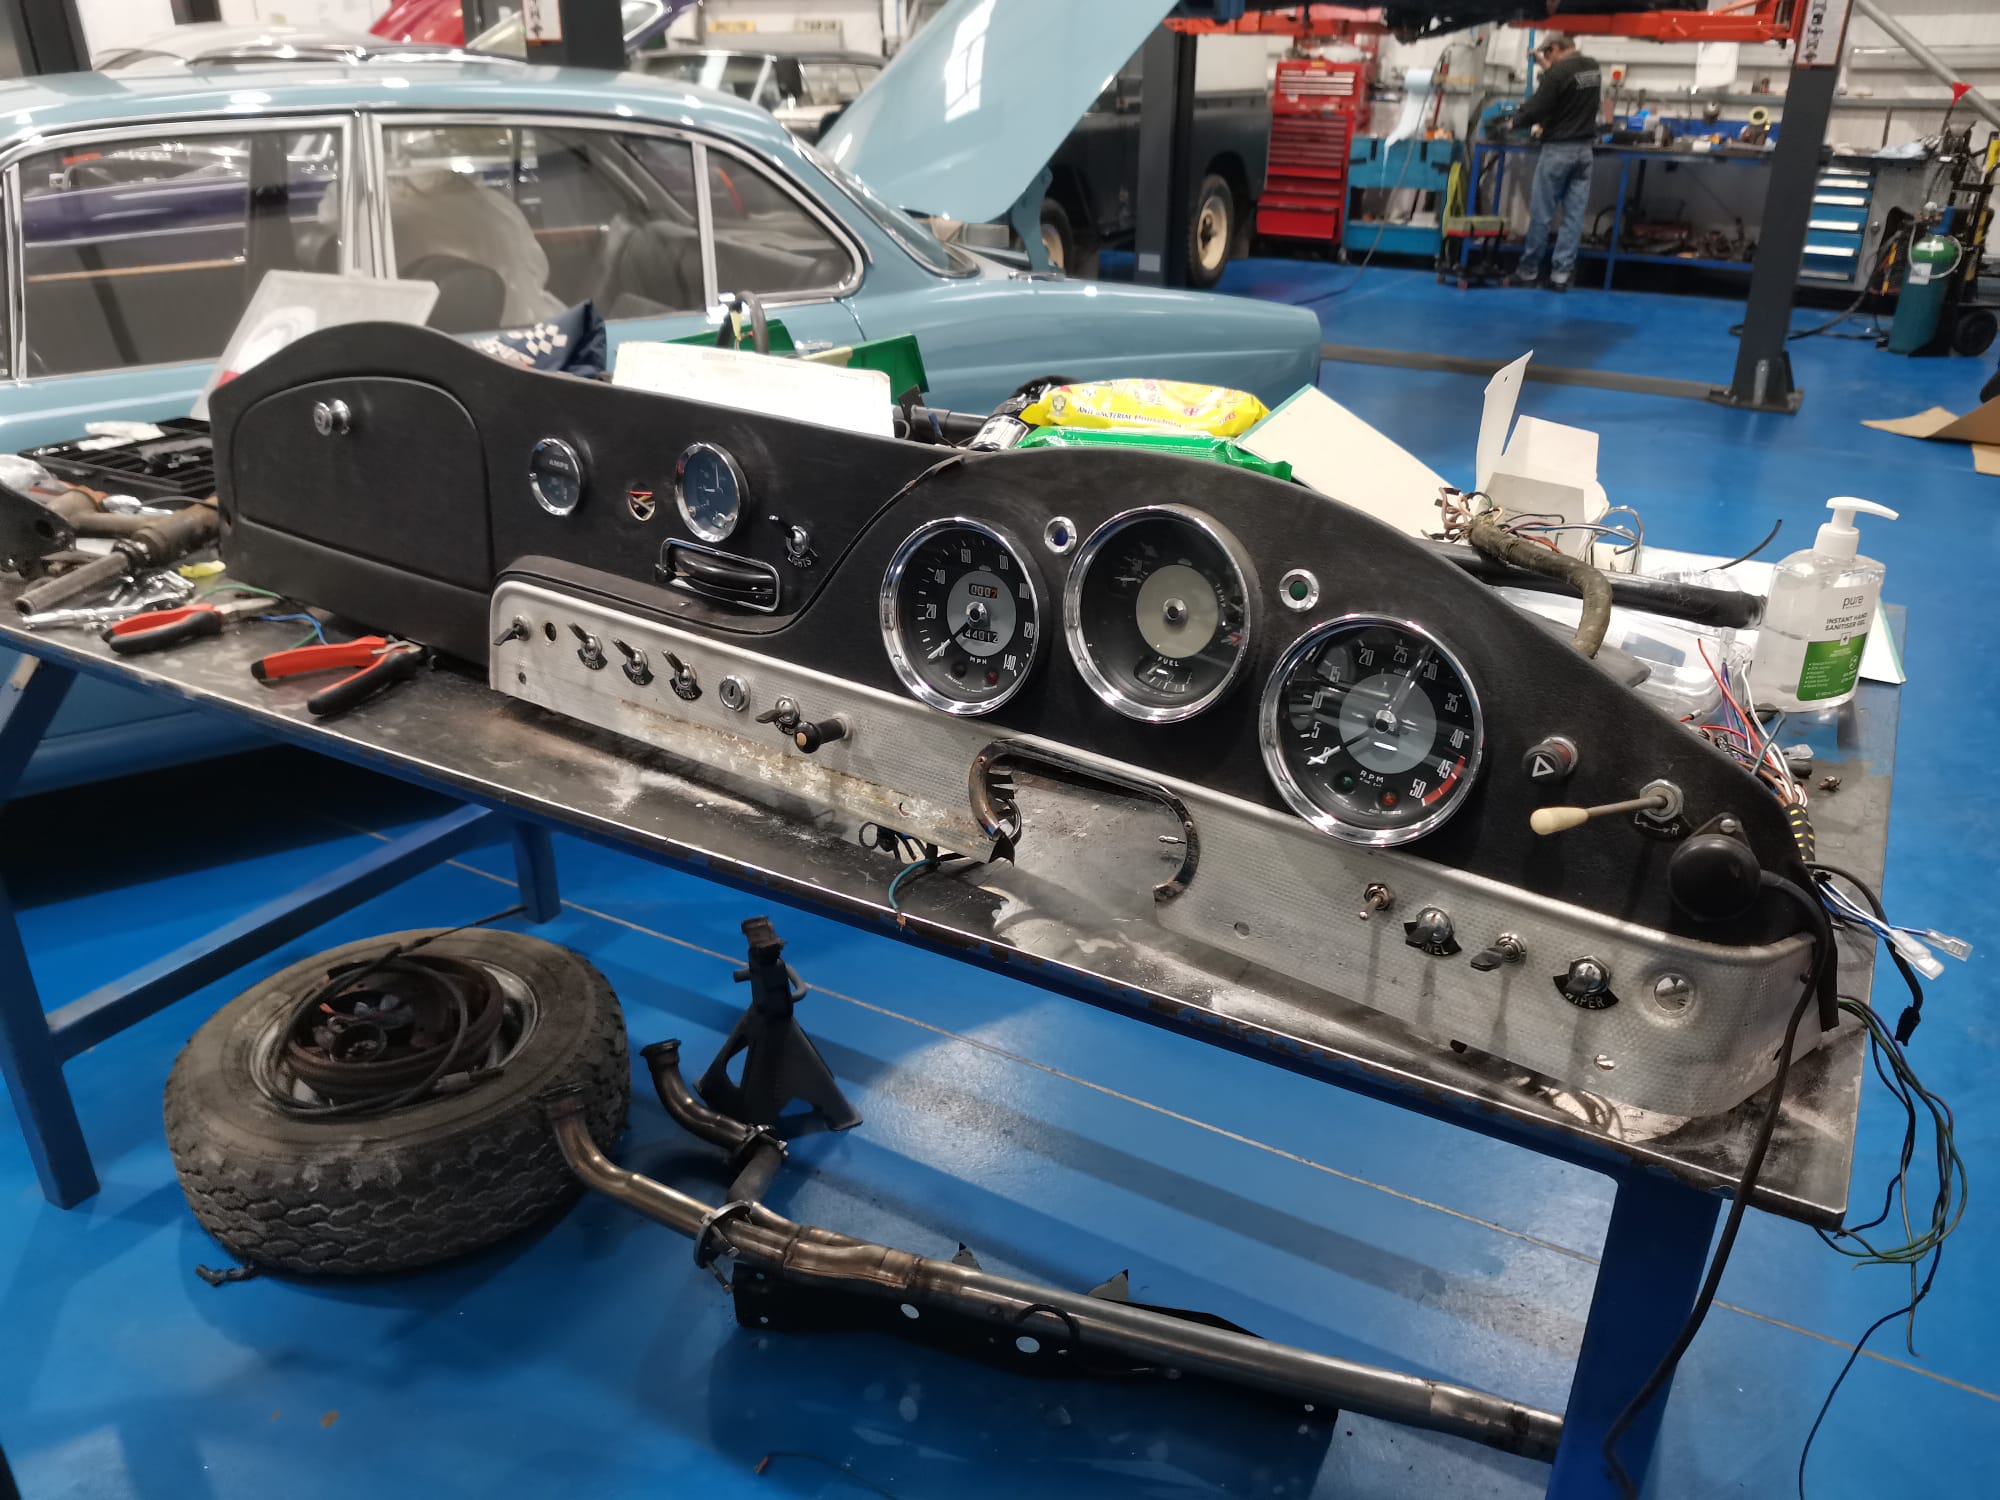
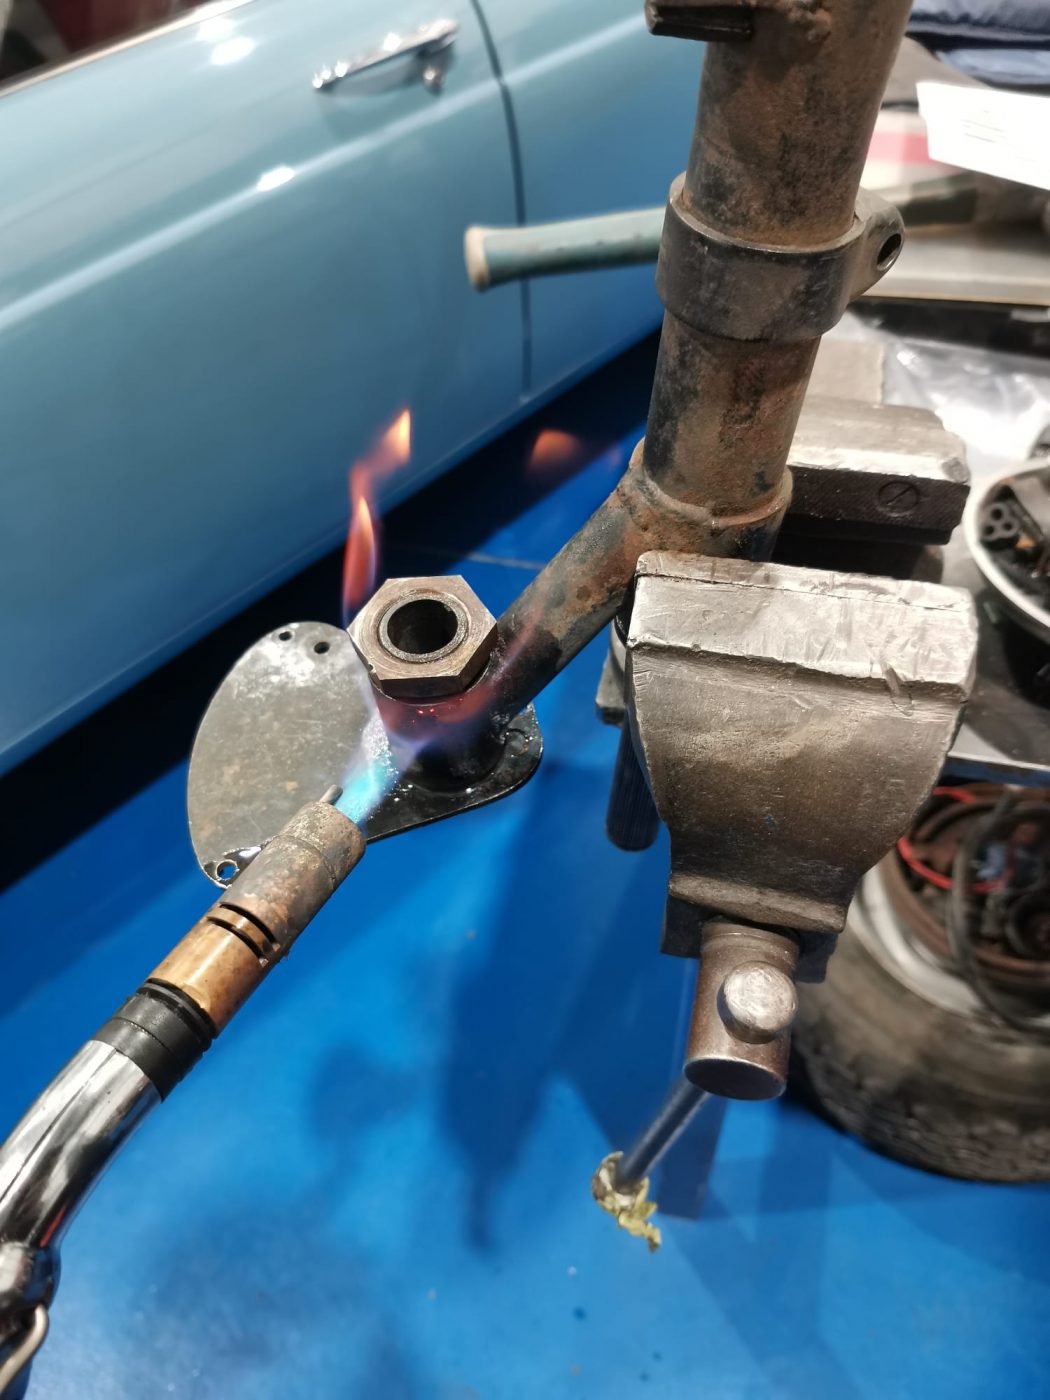
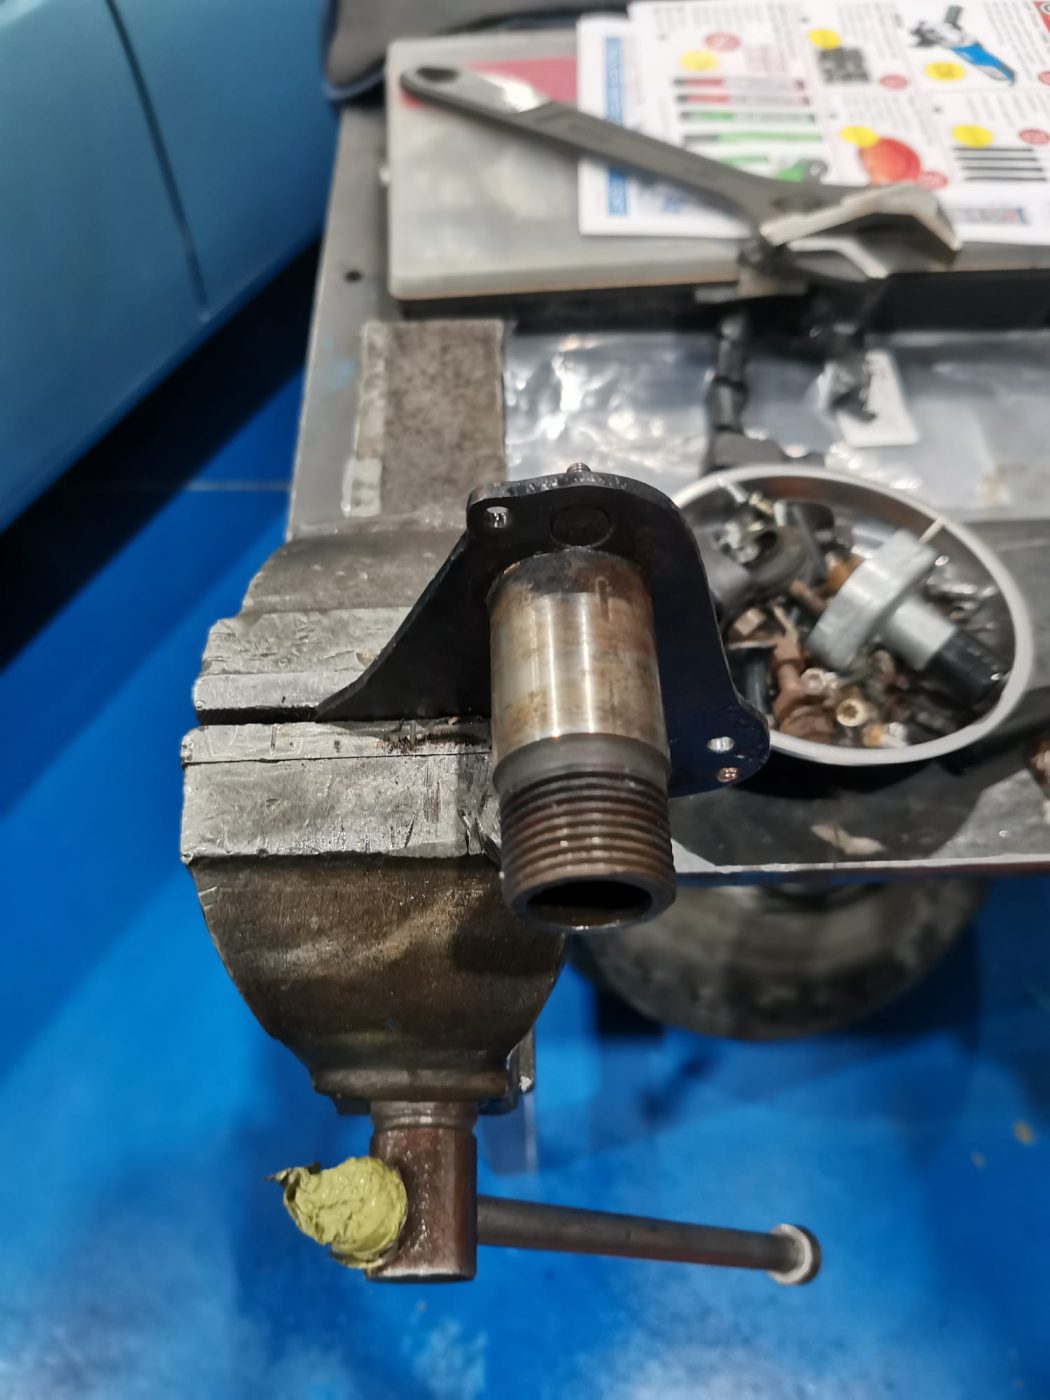
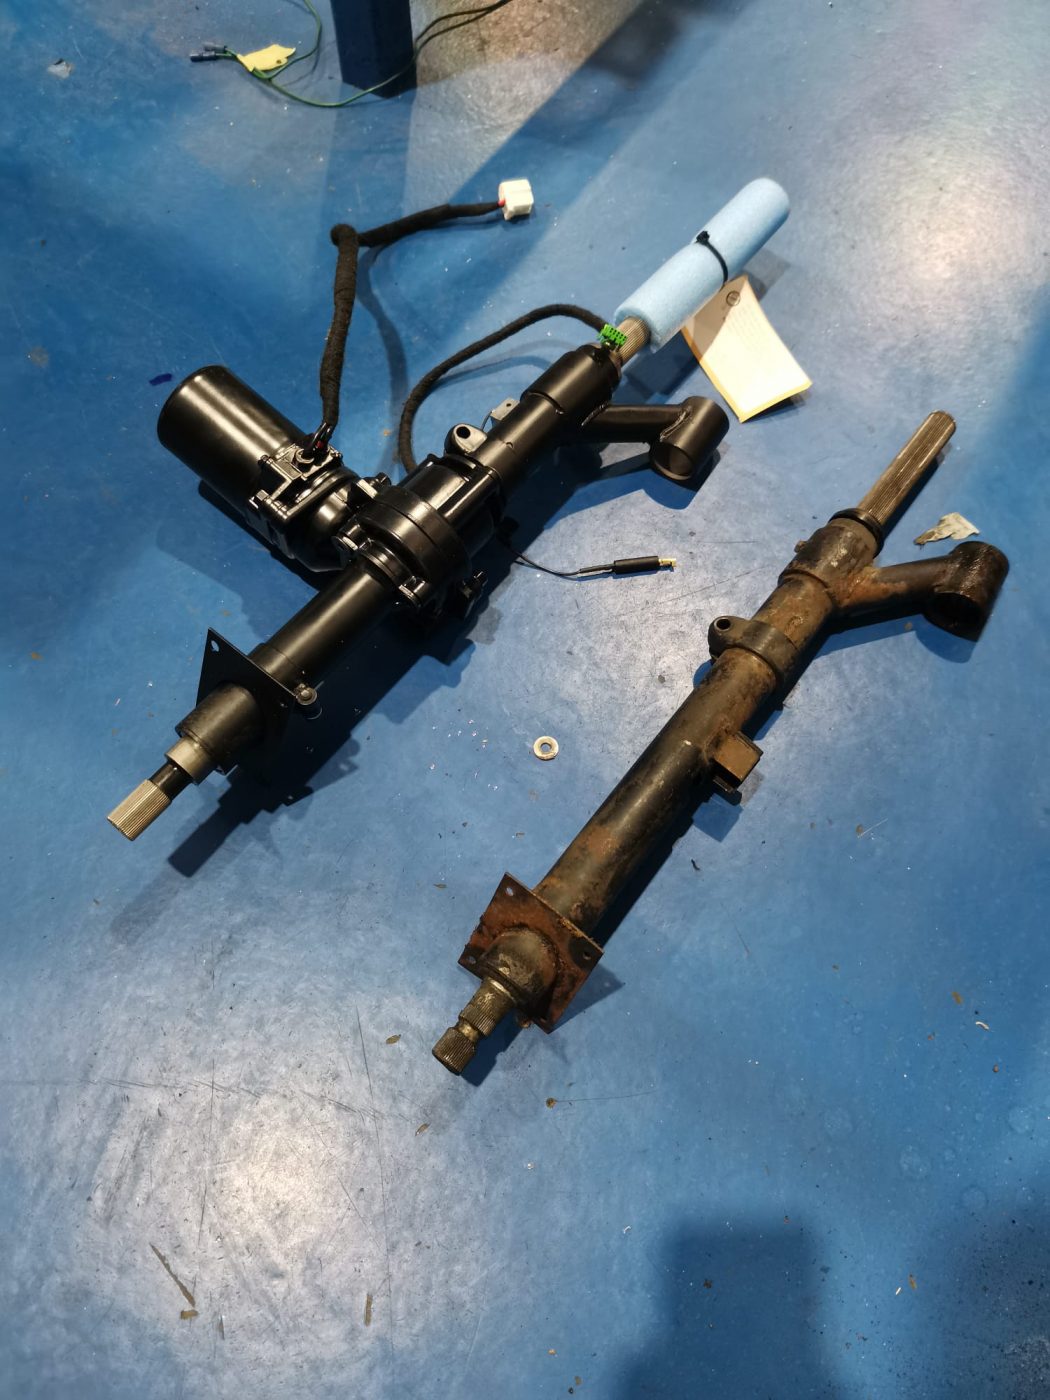
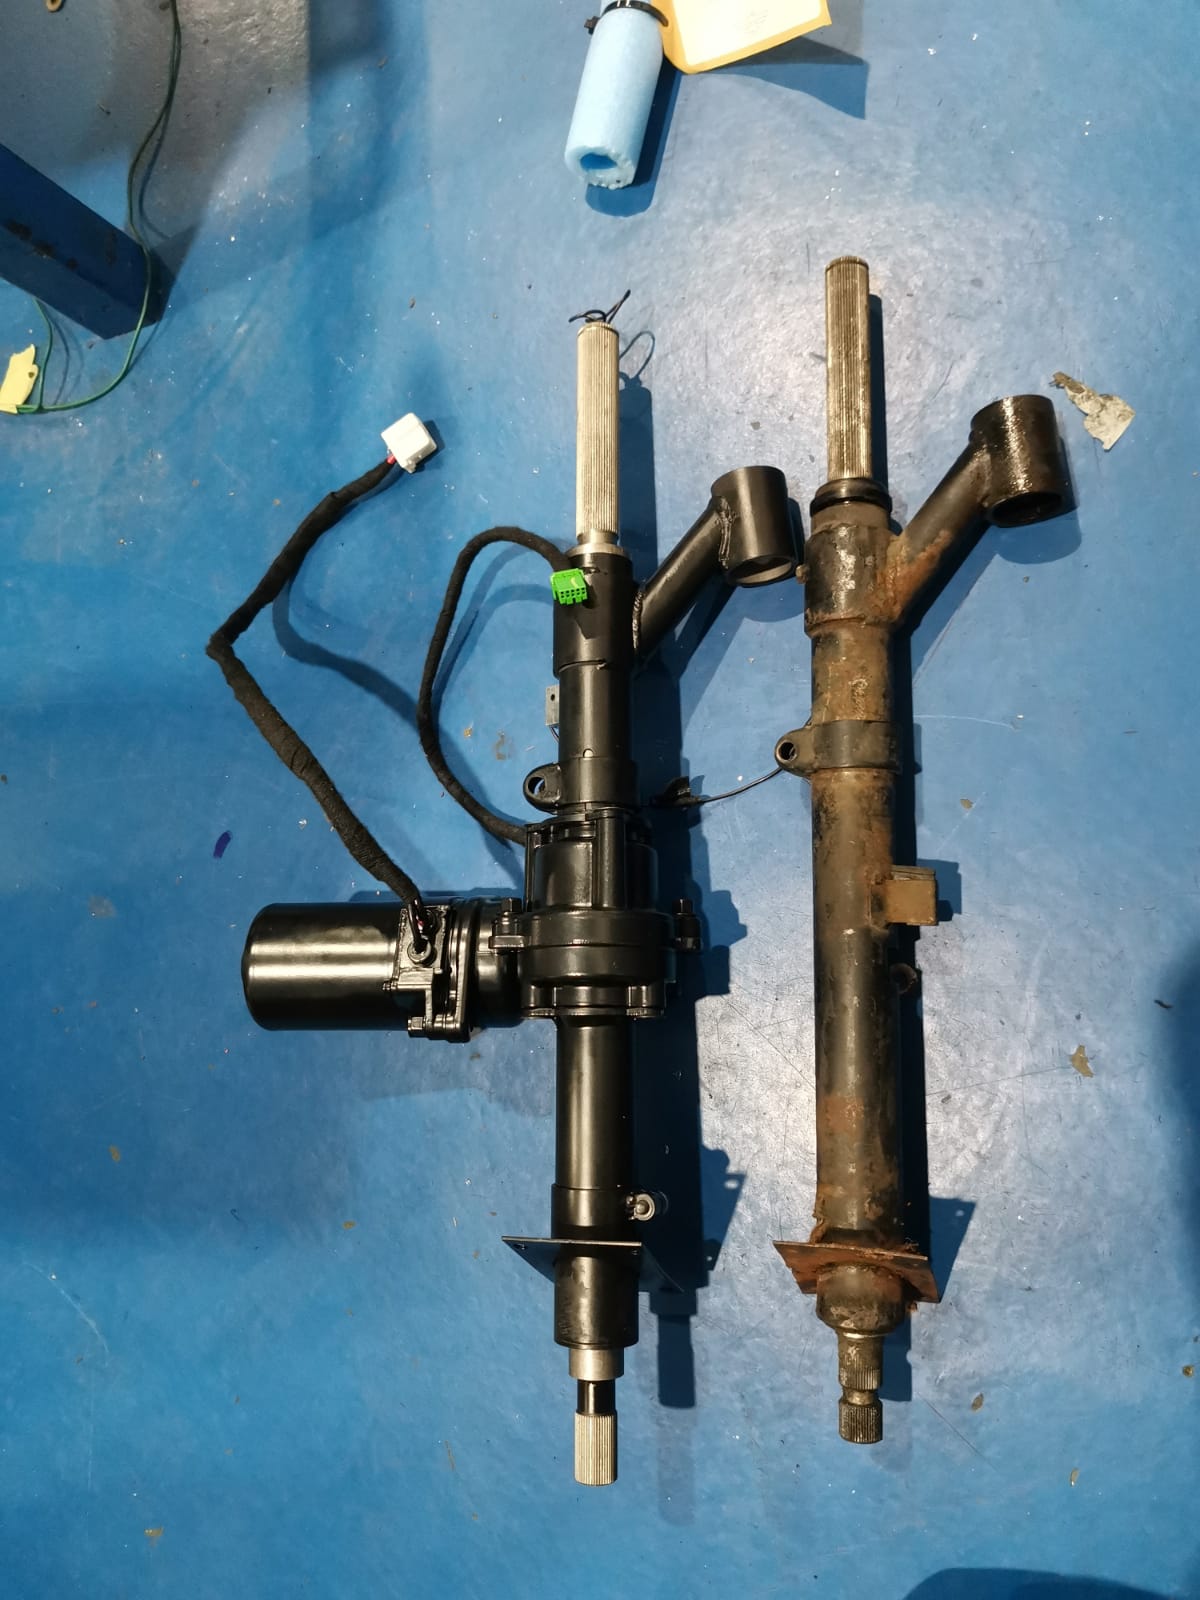
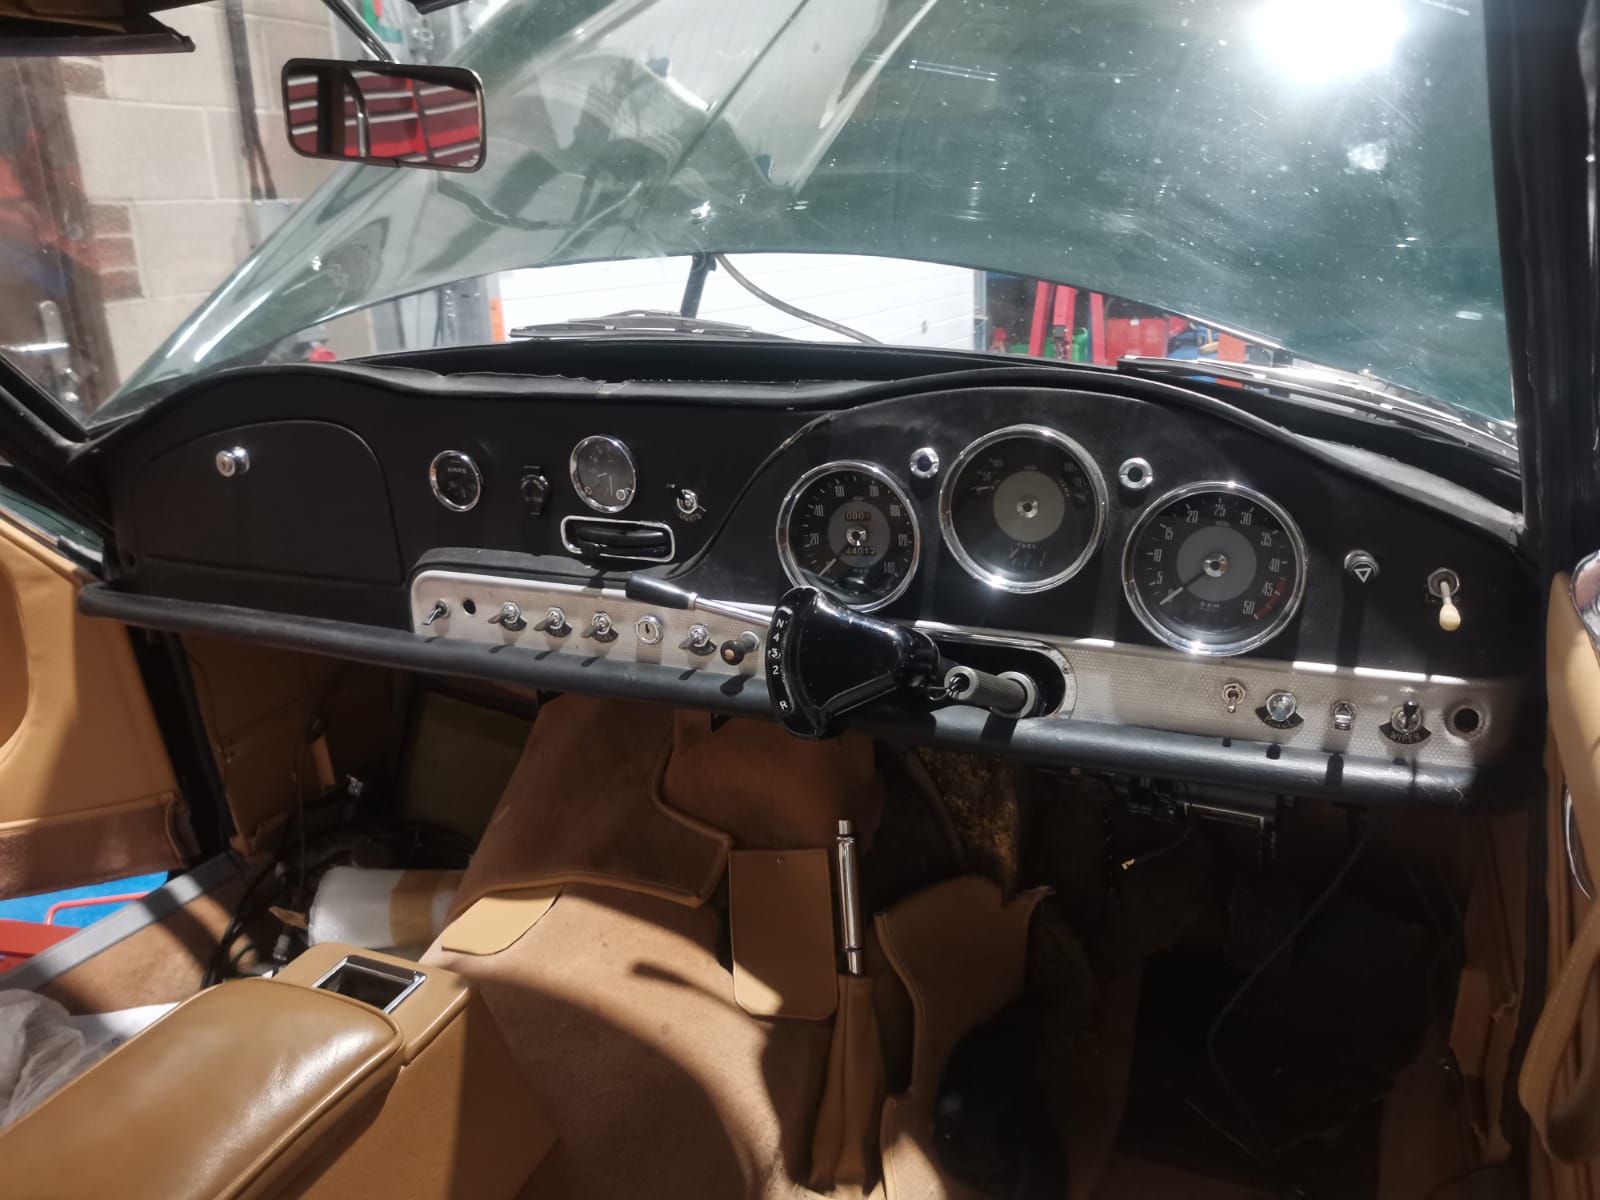
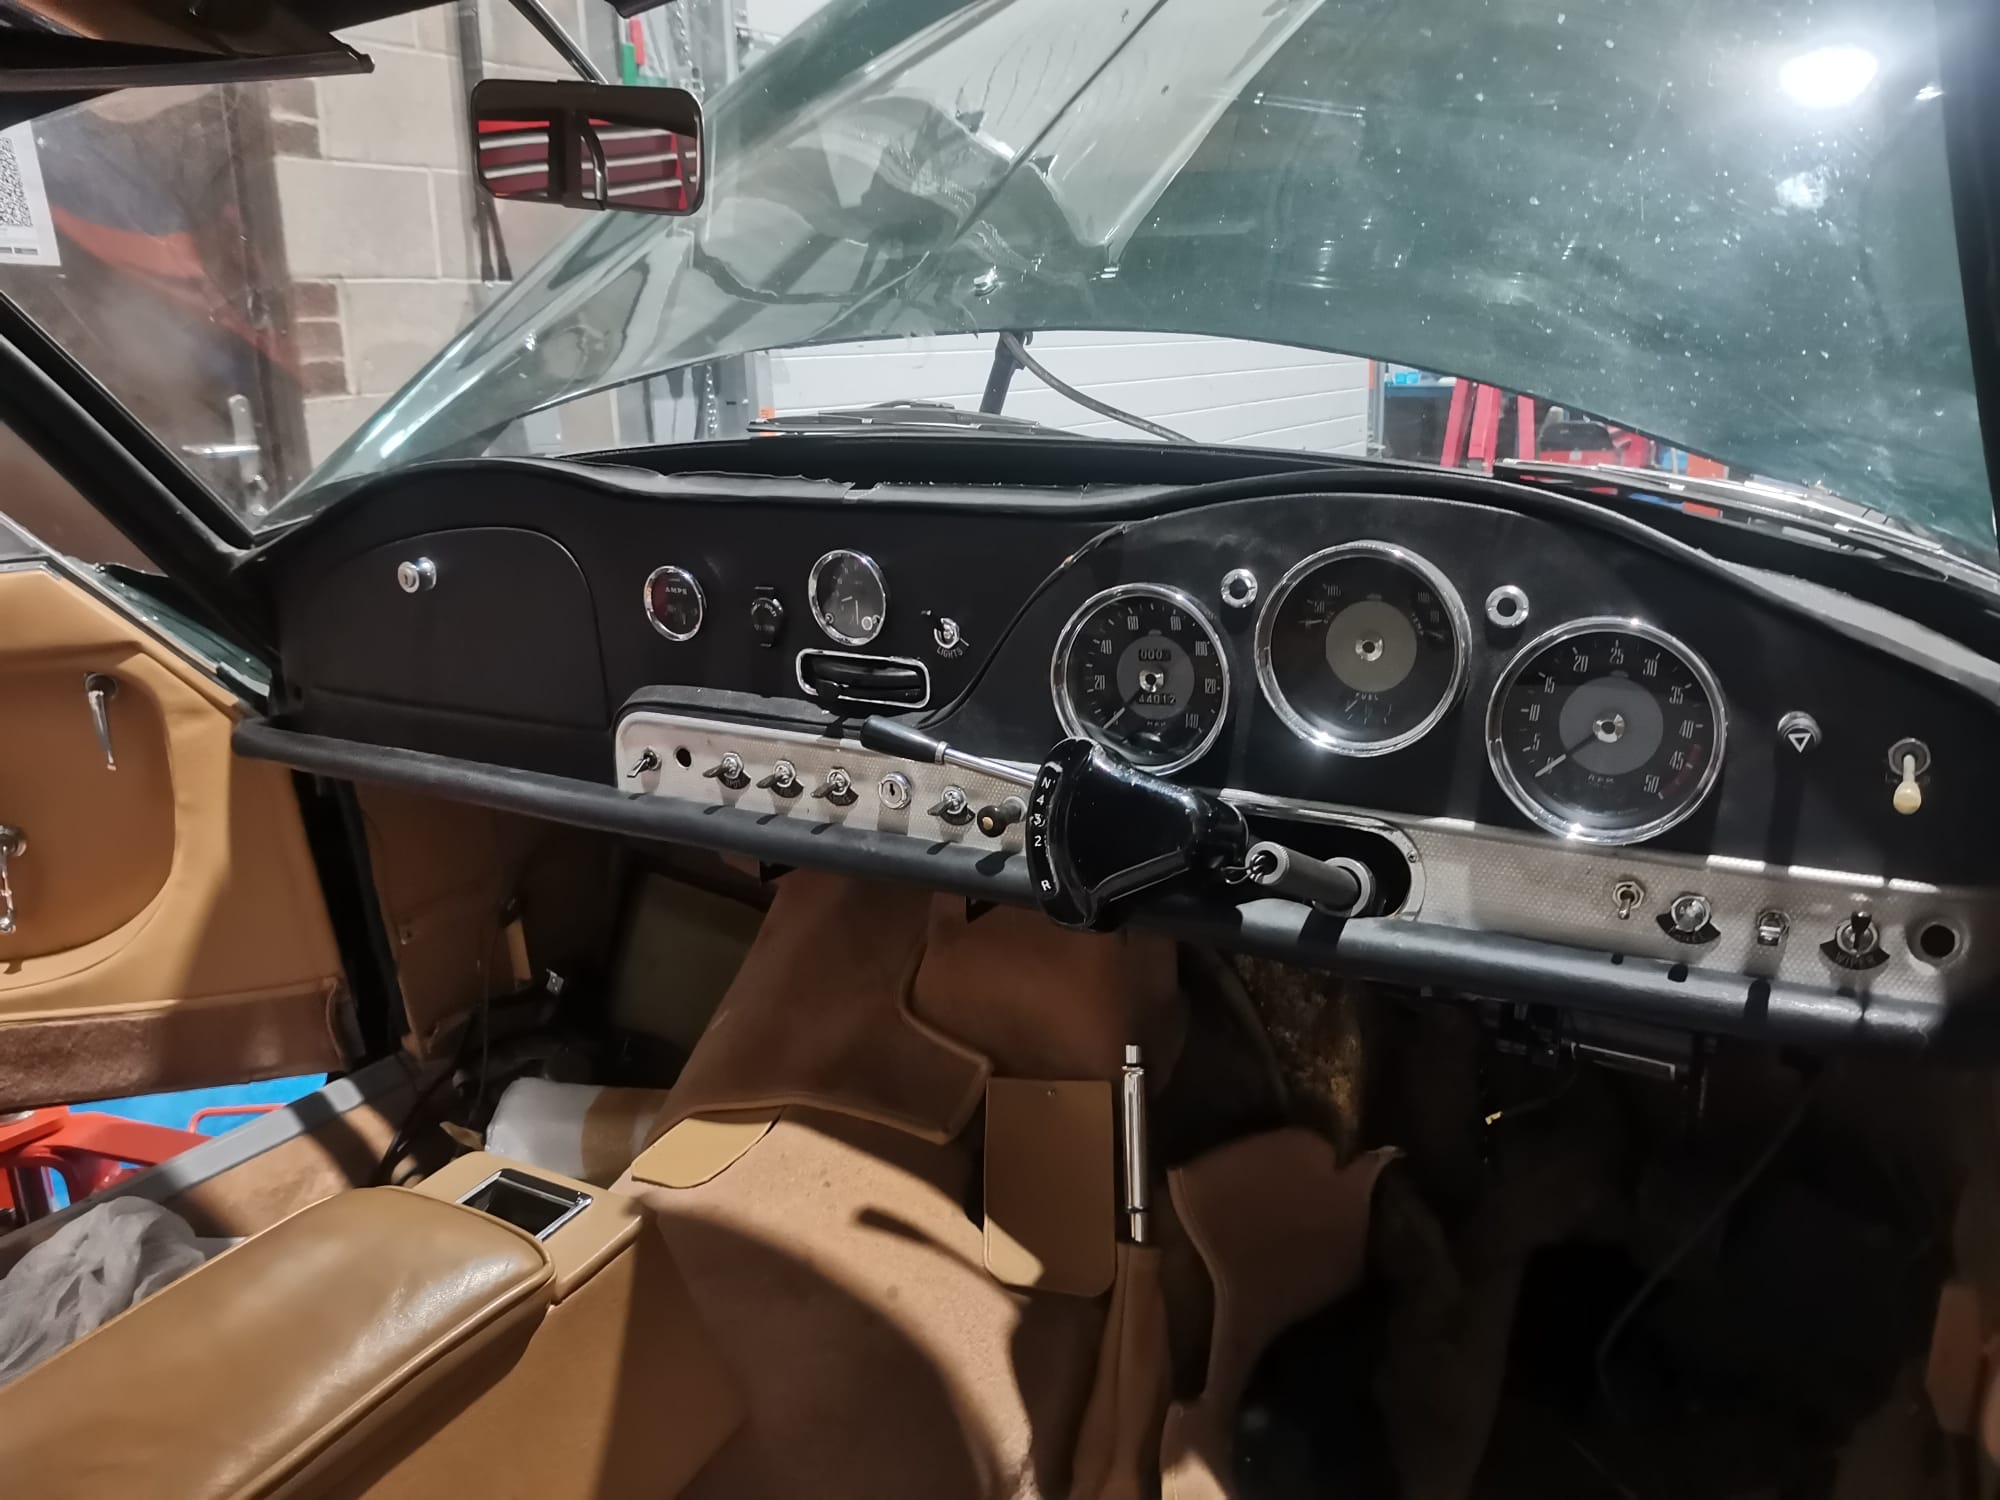
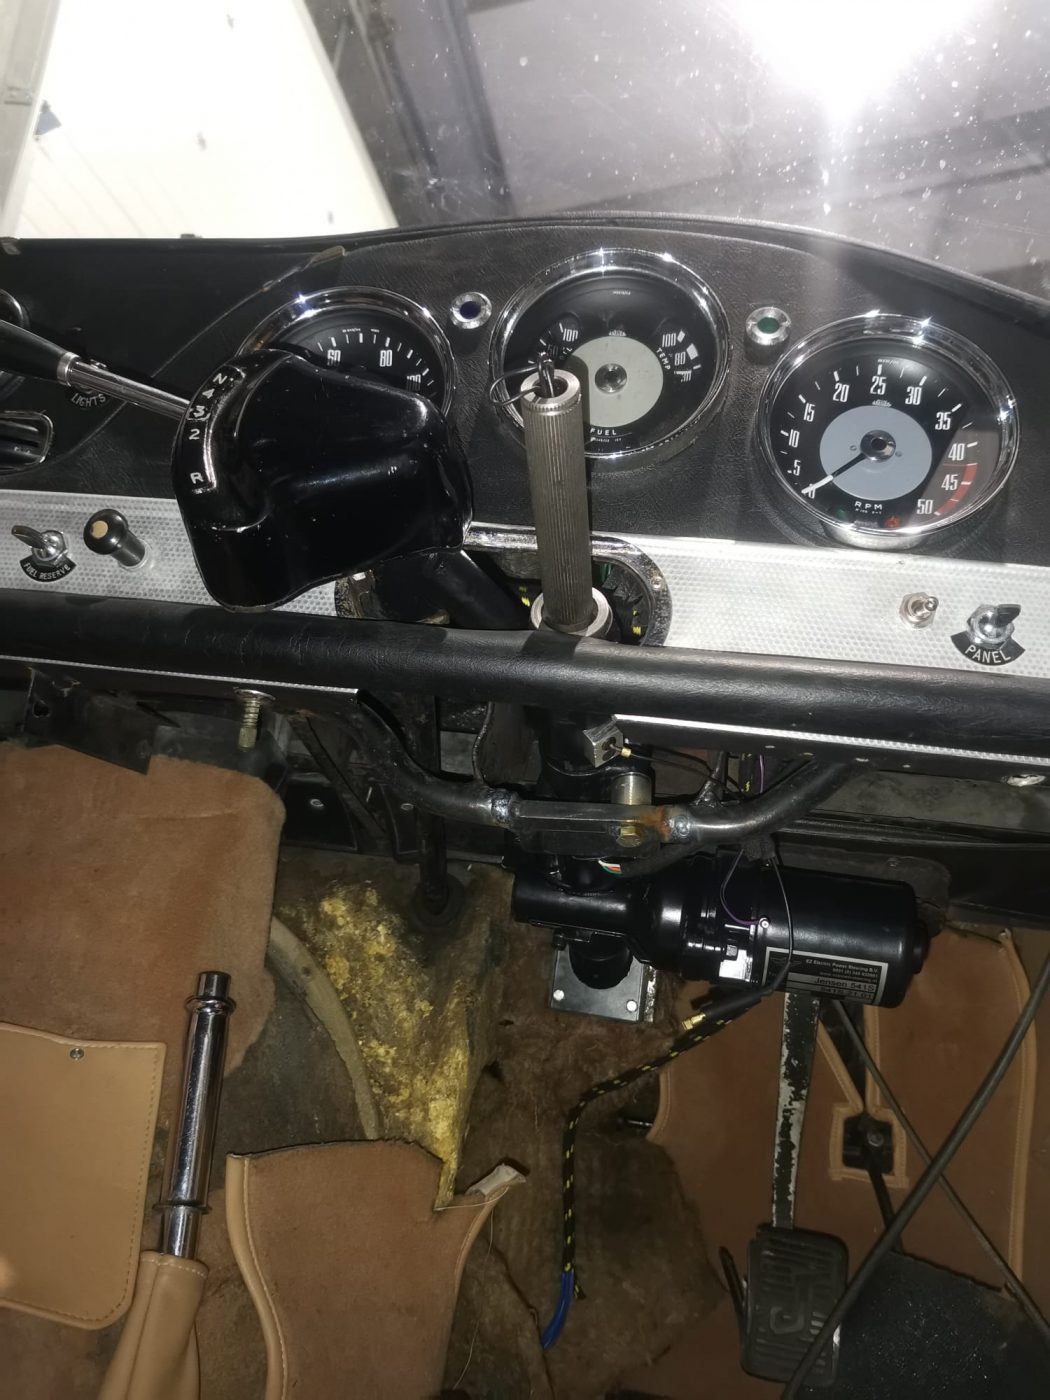
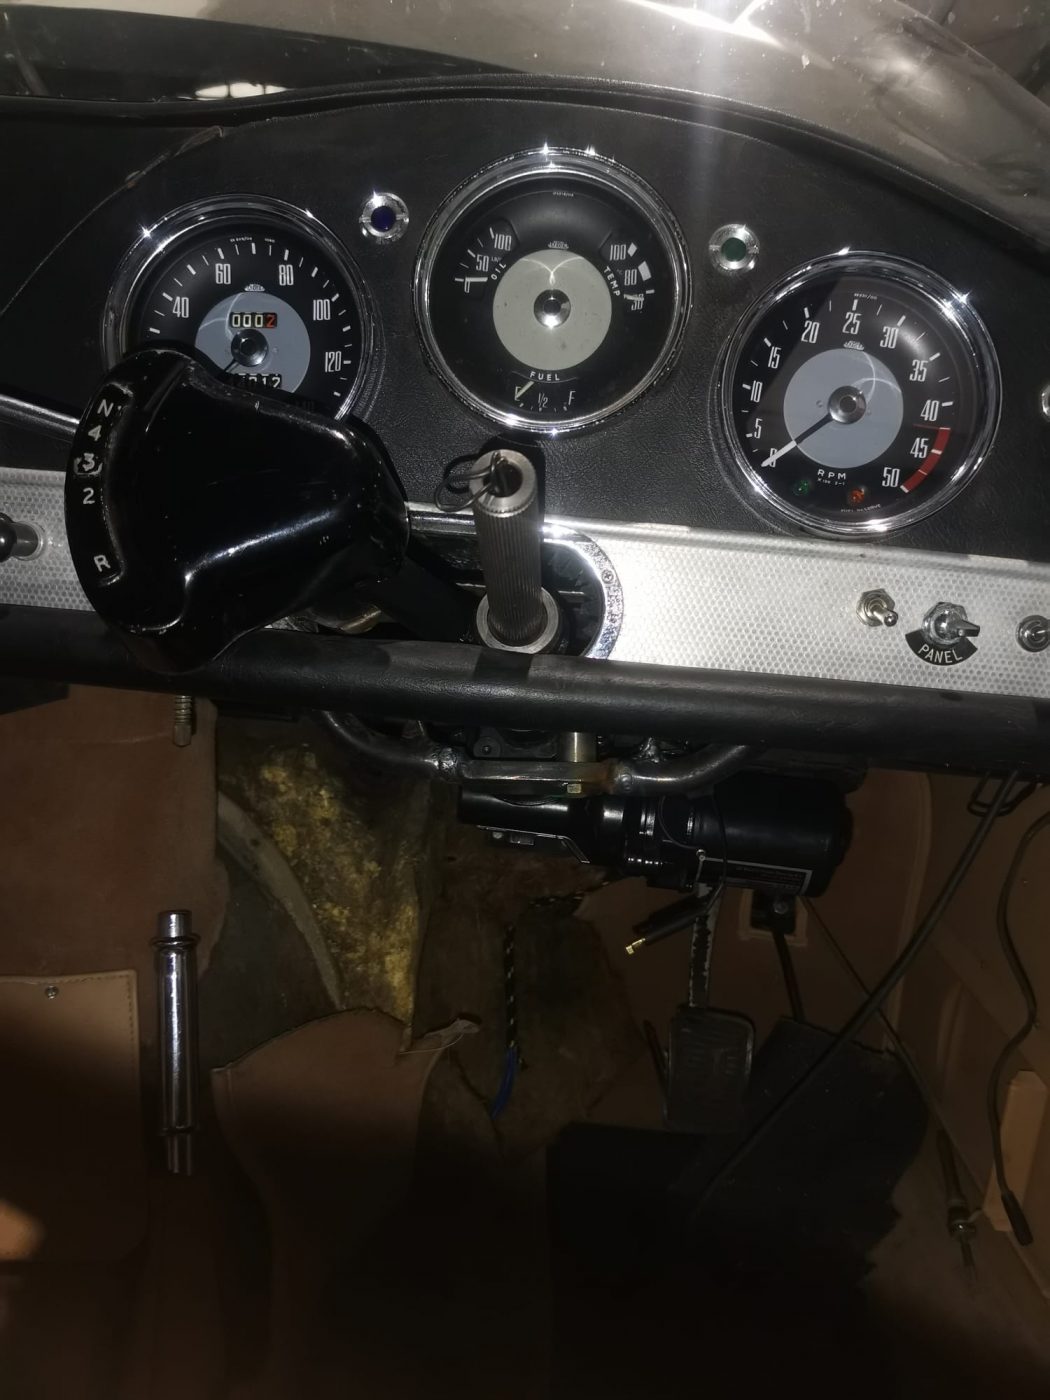
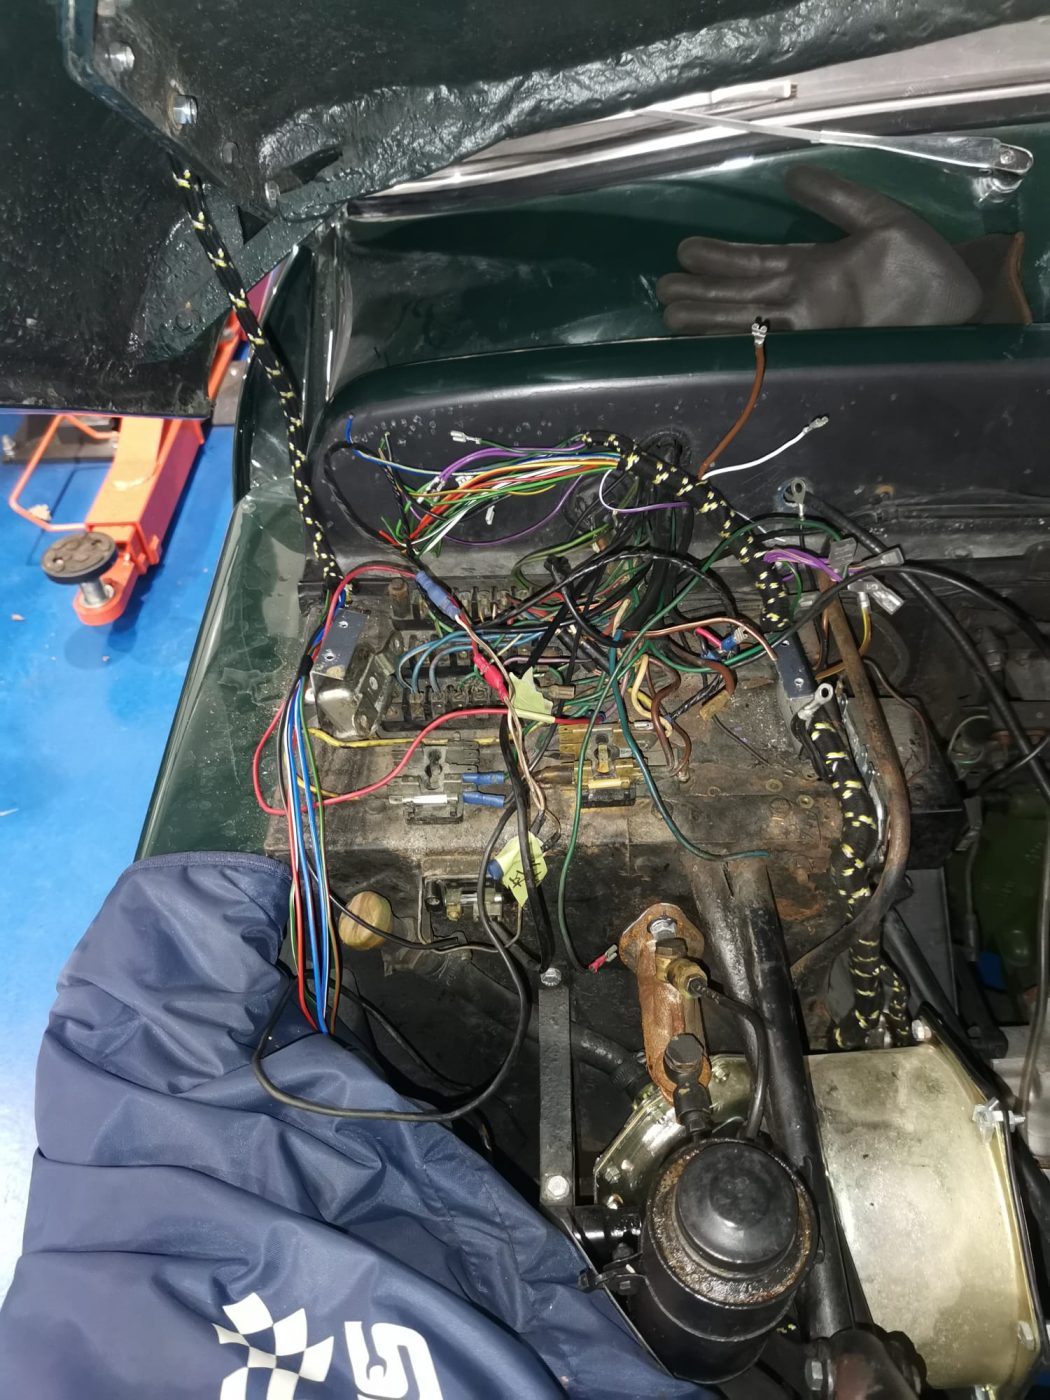
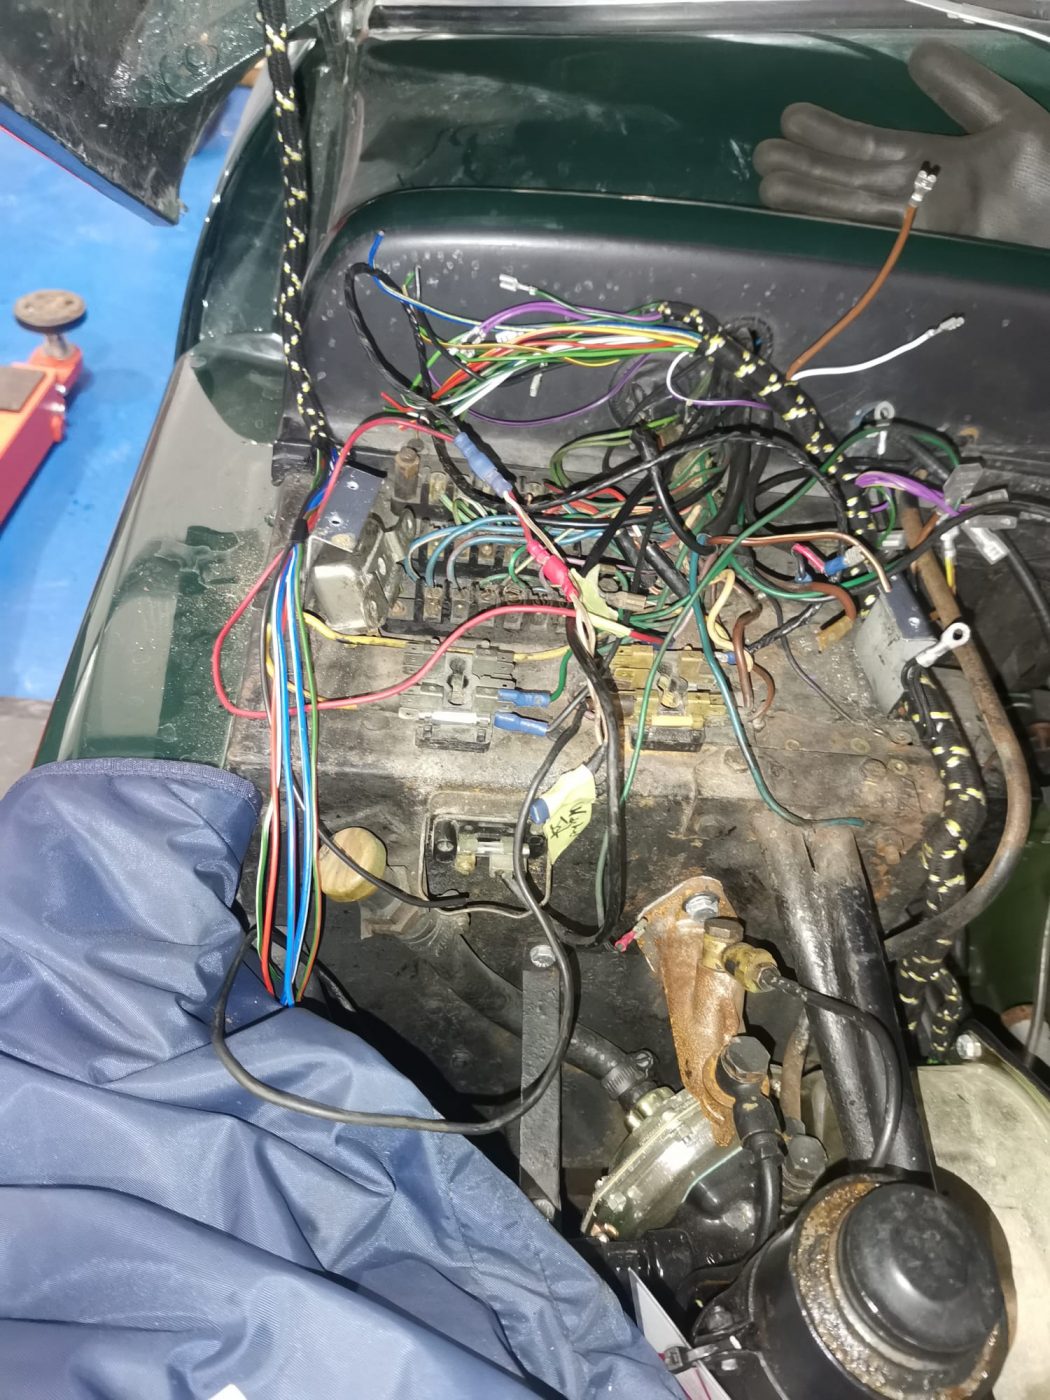
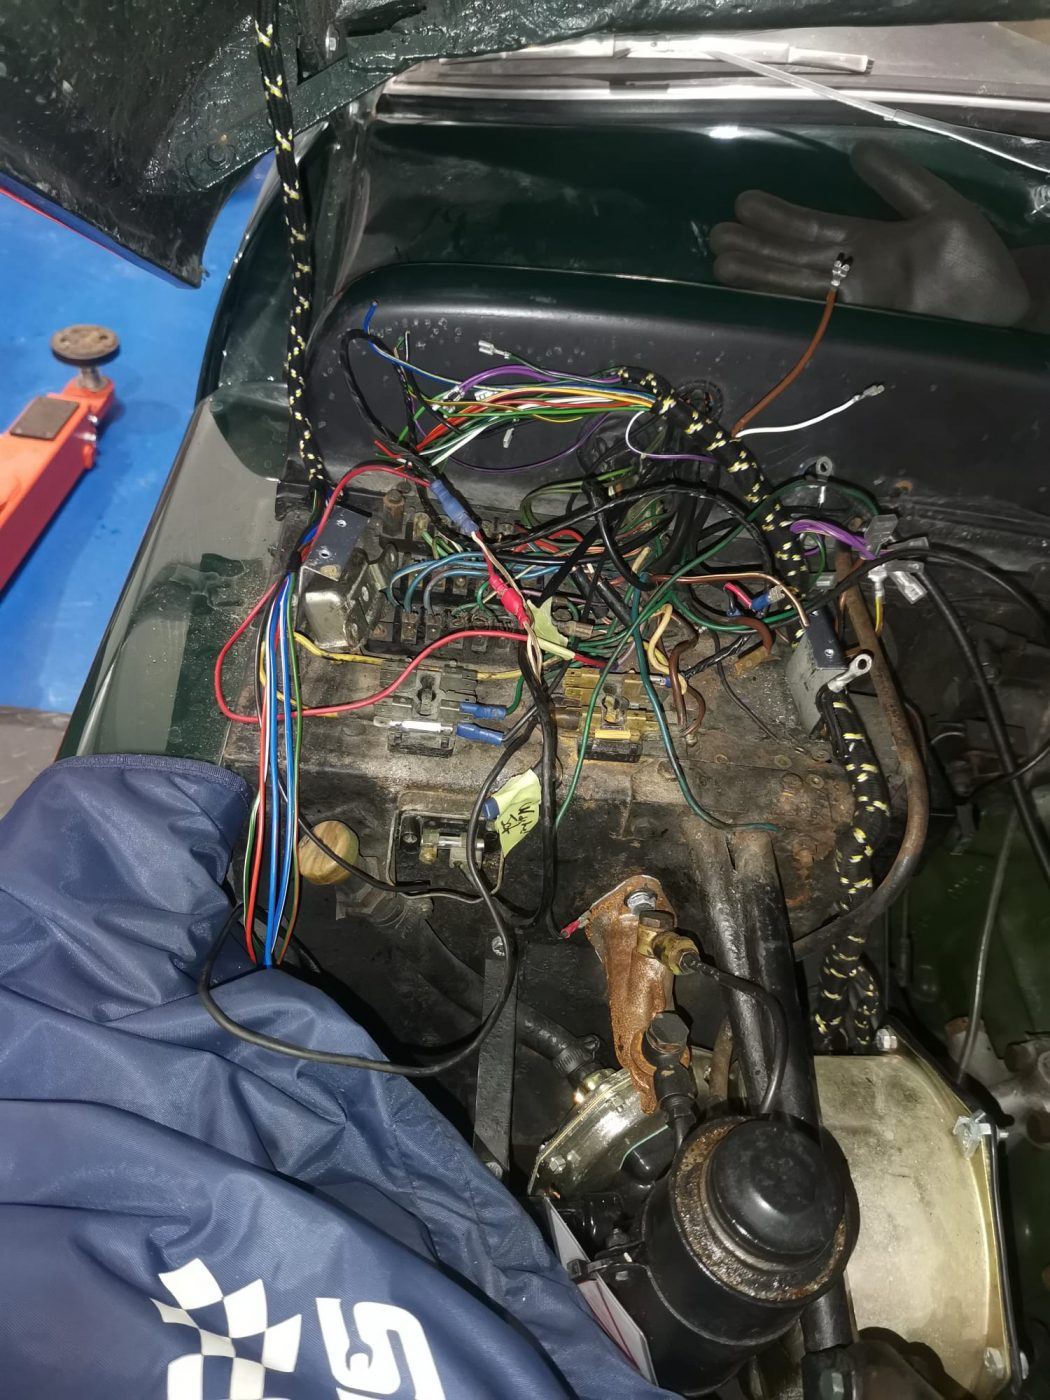
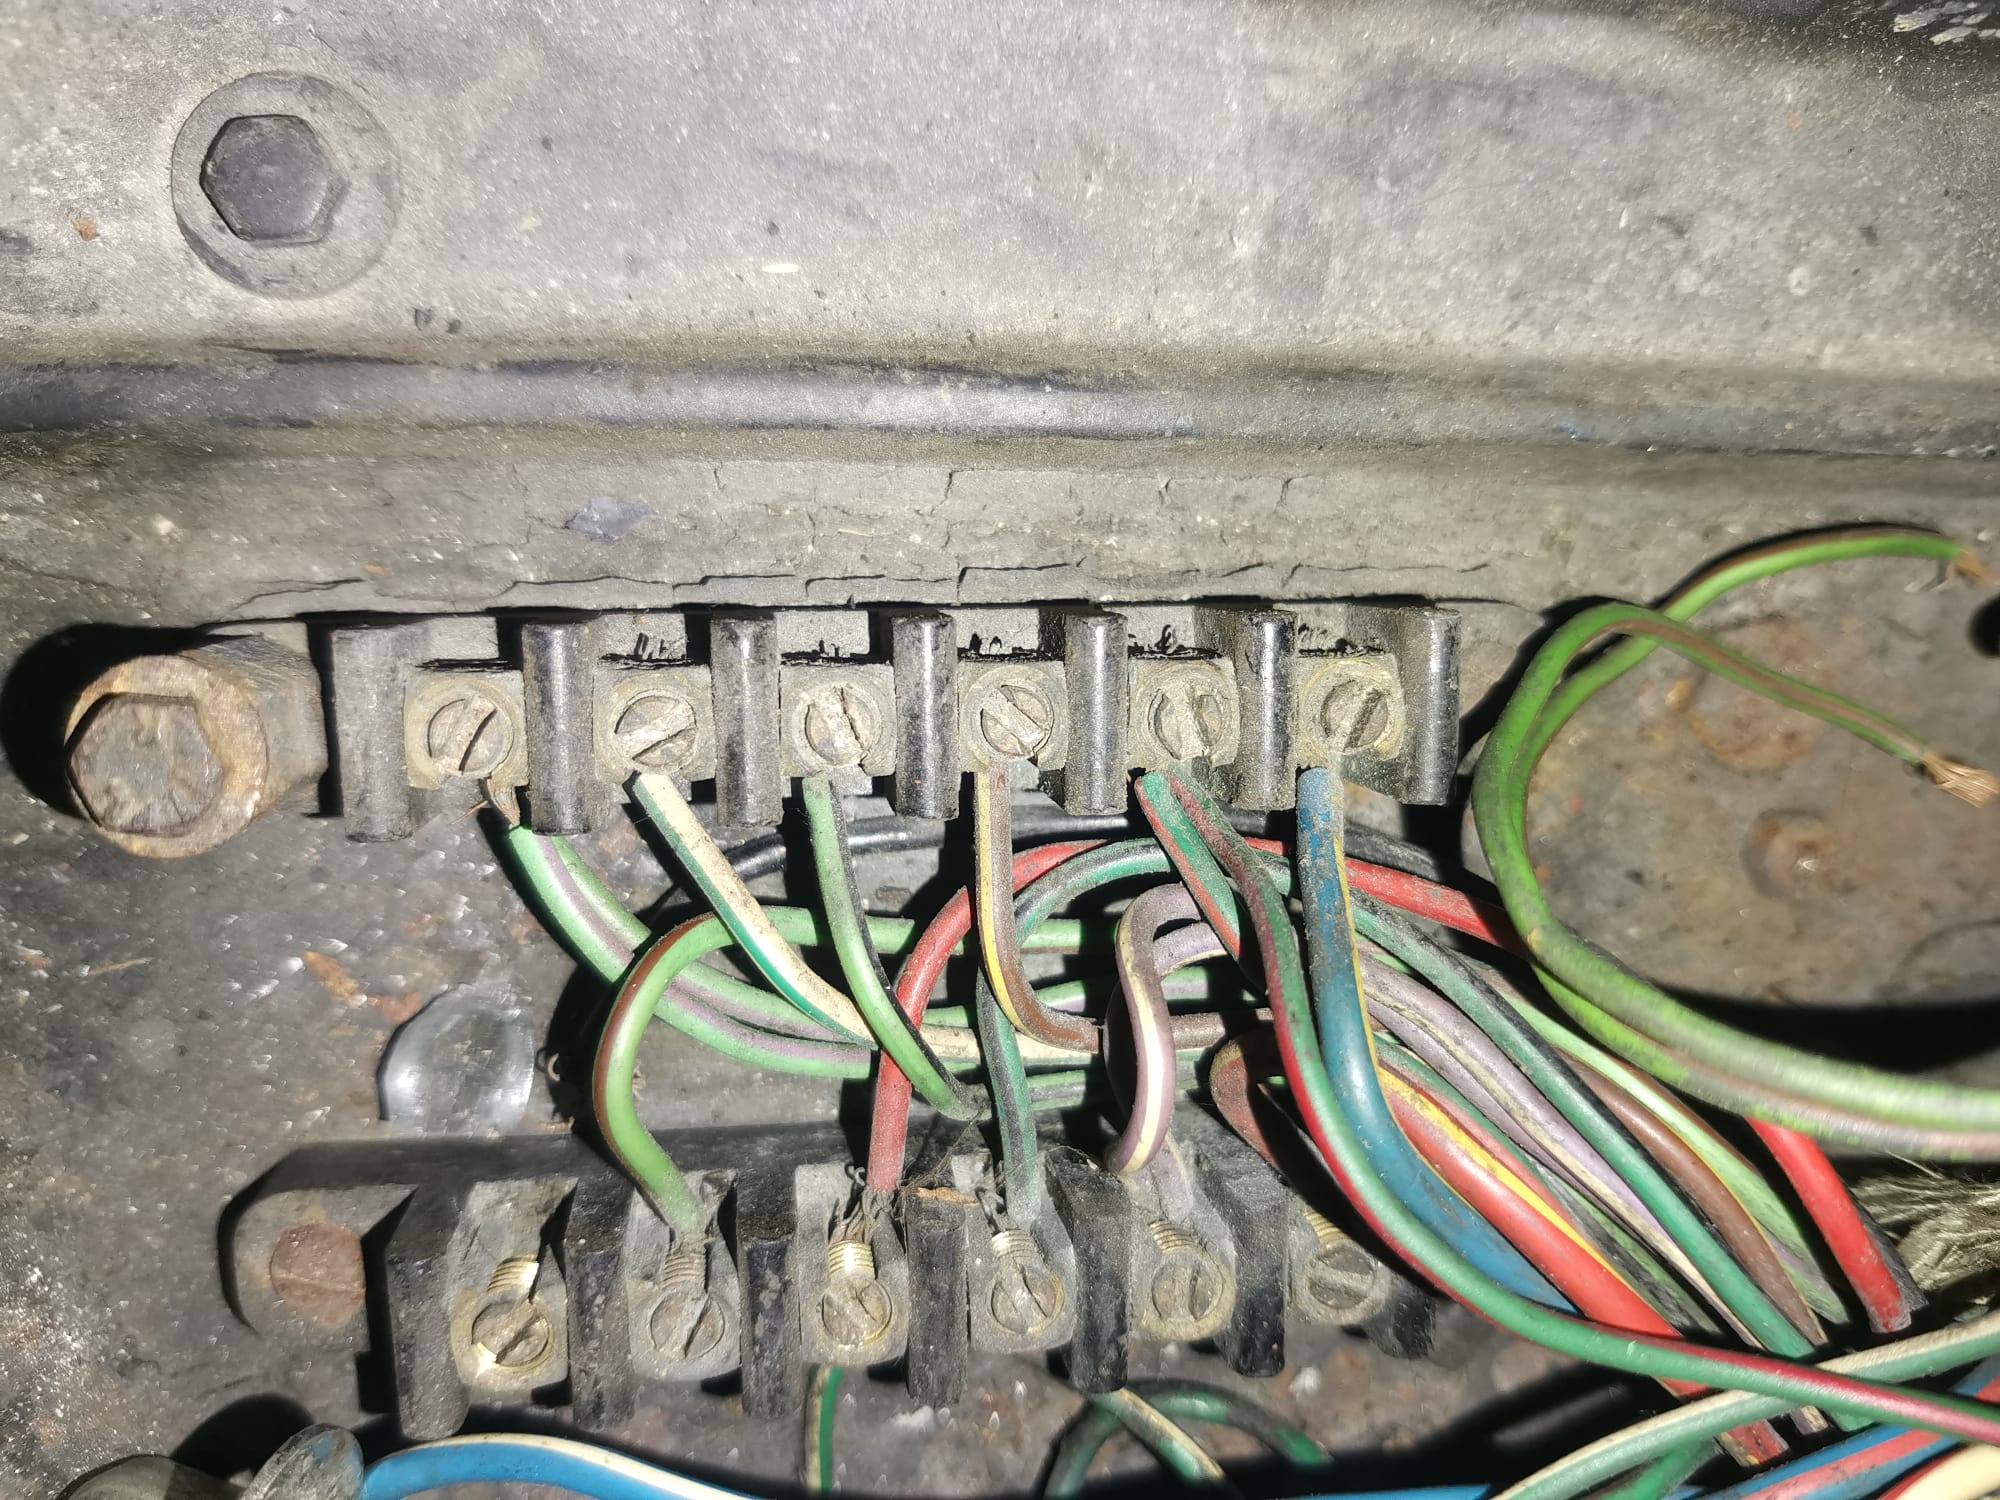
Firstly it was the job of our technician Tamas to remove the old steering column from the car as the customer had requested it be replaced in favour of a new power steering unit. Carefully and with the old wiring harness out of the way, Tamas worked on getting the new unit fitted up to the dark green, luxury GT. After that, Tamas made sure that everything fit up to the car with the new harness in place to ensure nothing caught or bound up on the new column and also to check the column-mounted shifter all worked seamlessly.
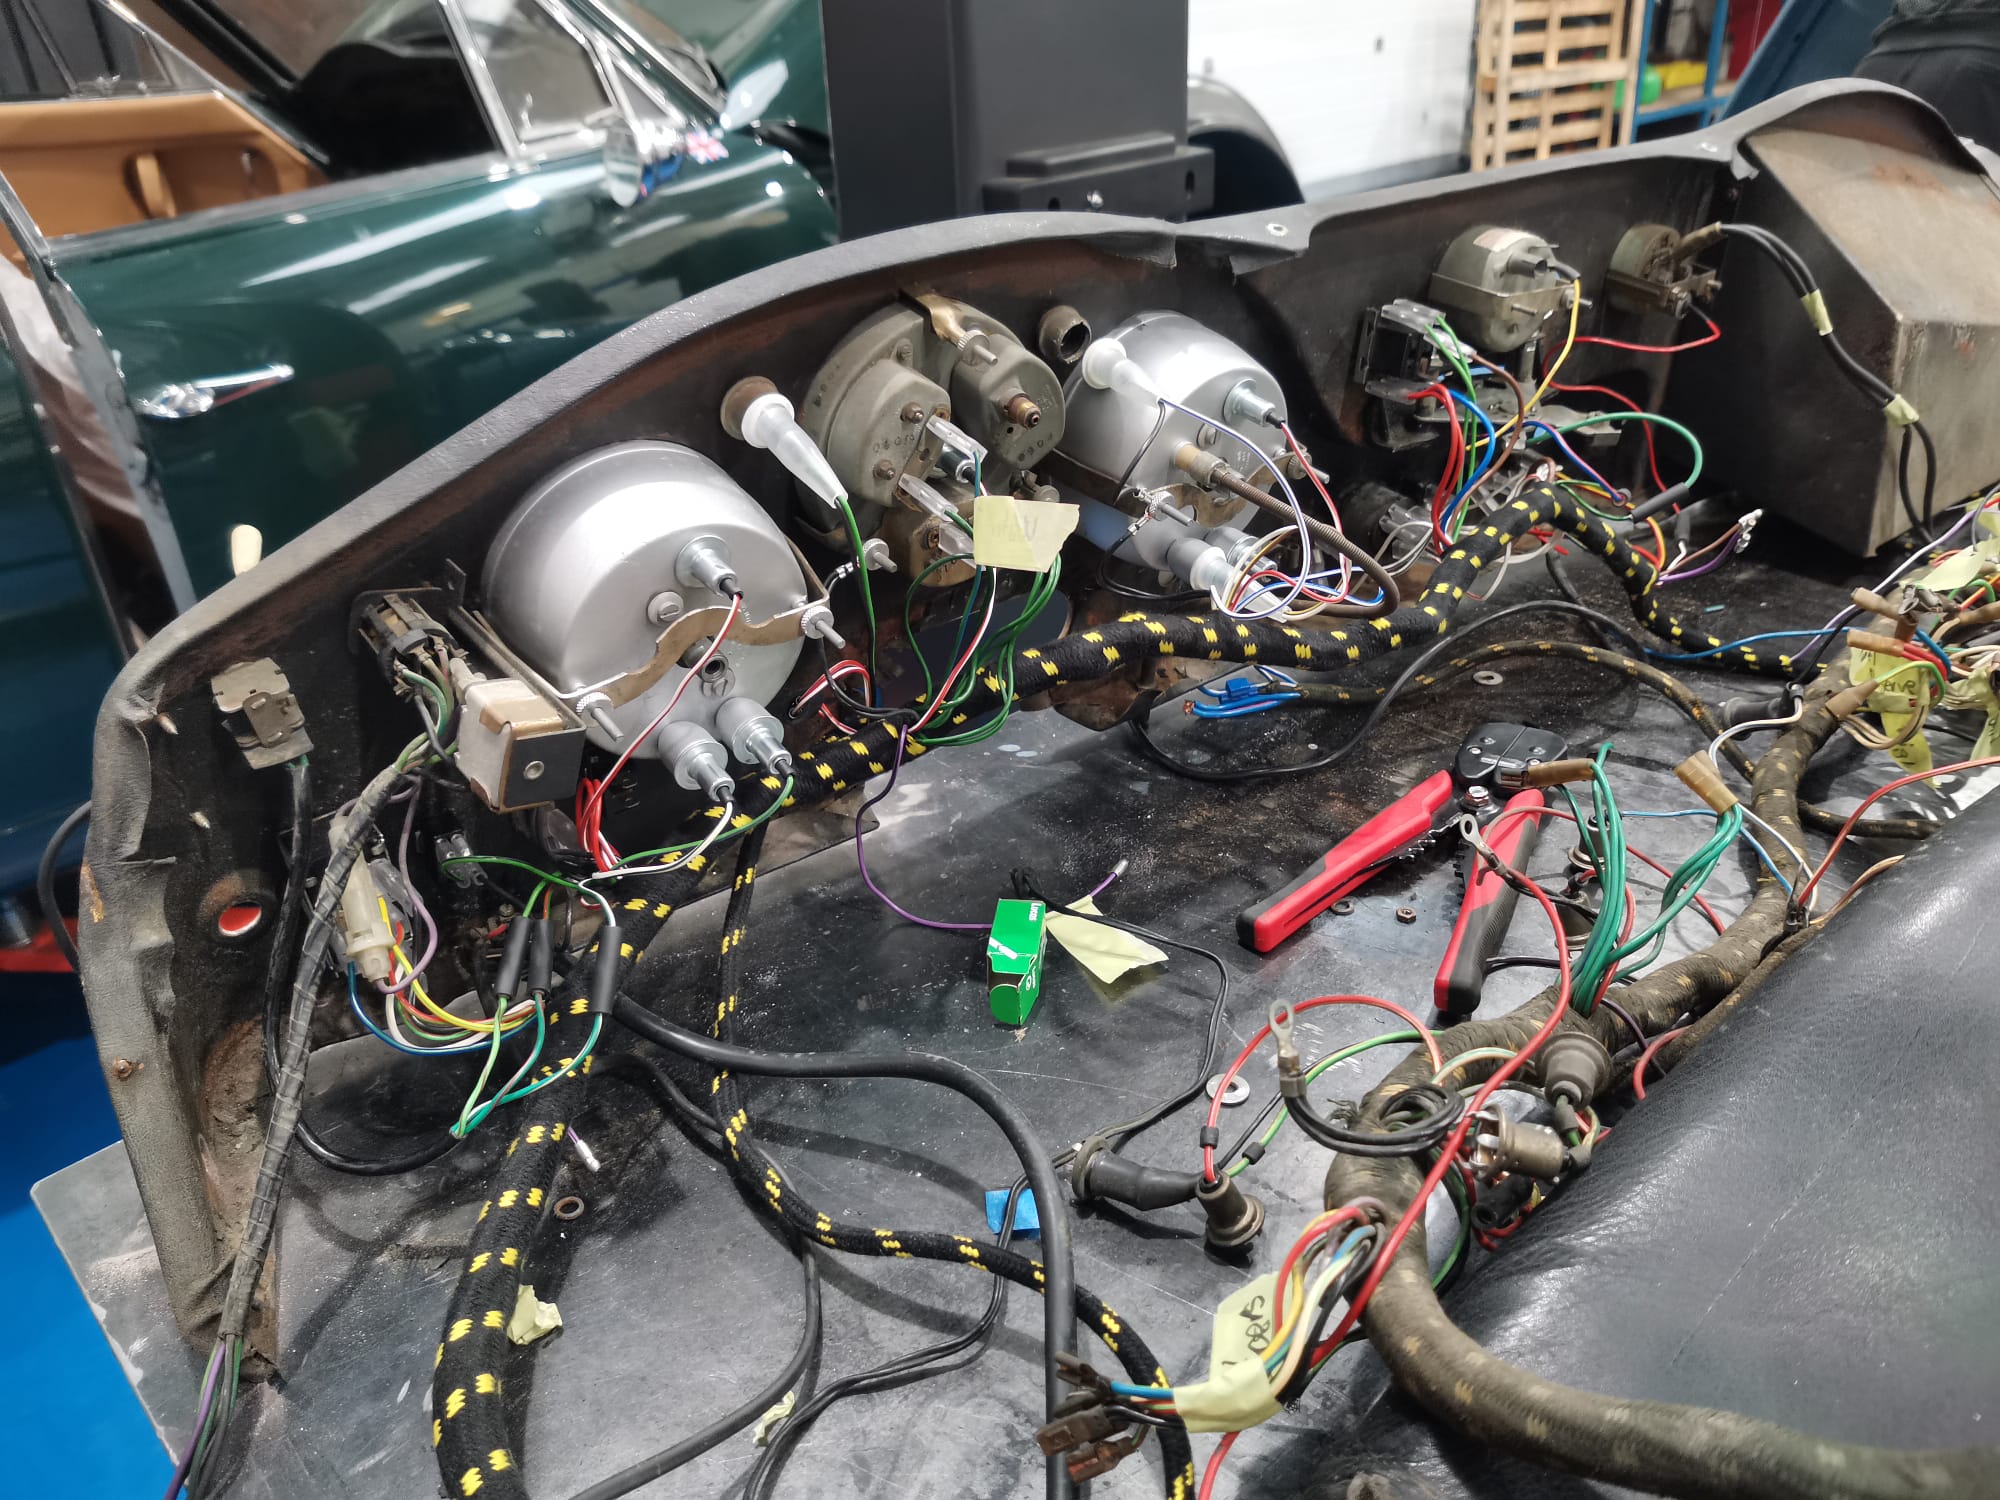
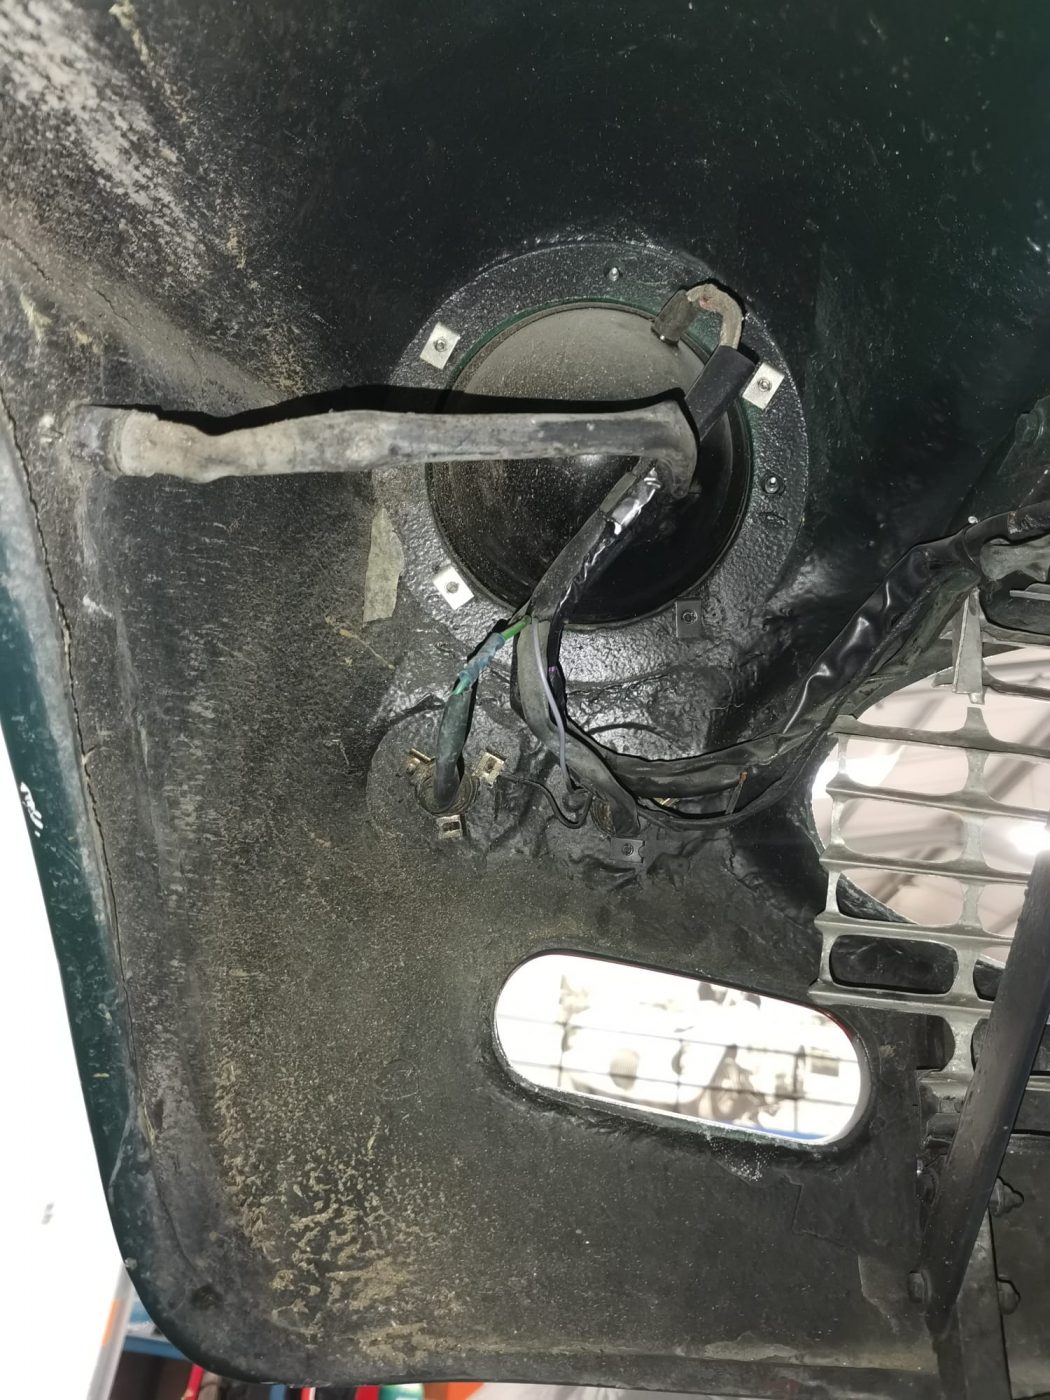
Then it was time to get the new wiring harness fitted to the car. Our workshop manager John, began with completely removing the old harness from the car and preparing each piece for the brand new harness to be put into the car. Then, it was the turn of our restoration technician Tamas to get the new harness entirely installed into the car. He began by wiring up the new harness into the back of the dashboard and gauges whilst on the work bench. Then with this, he carefully refit the original dash back into the making sure to drape the specific wires through the dash structure to keep them all neat and organised. Then, he systematically went through the harness to connect it into the relevant systems of the car and began testing. Everything worked perfectly!
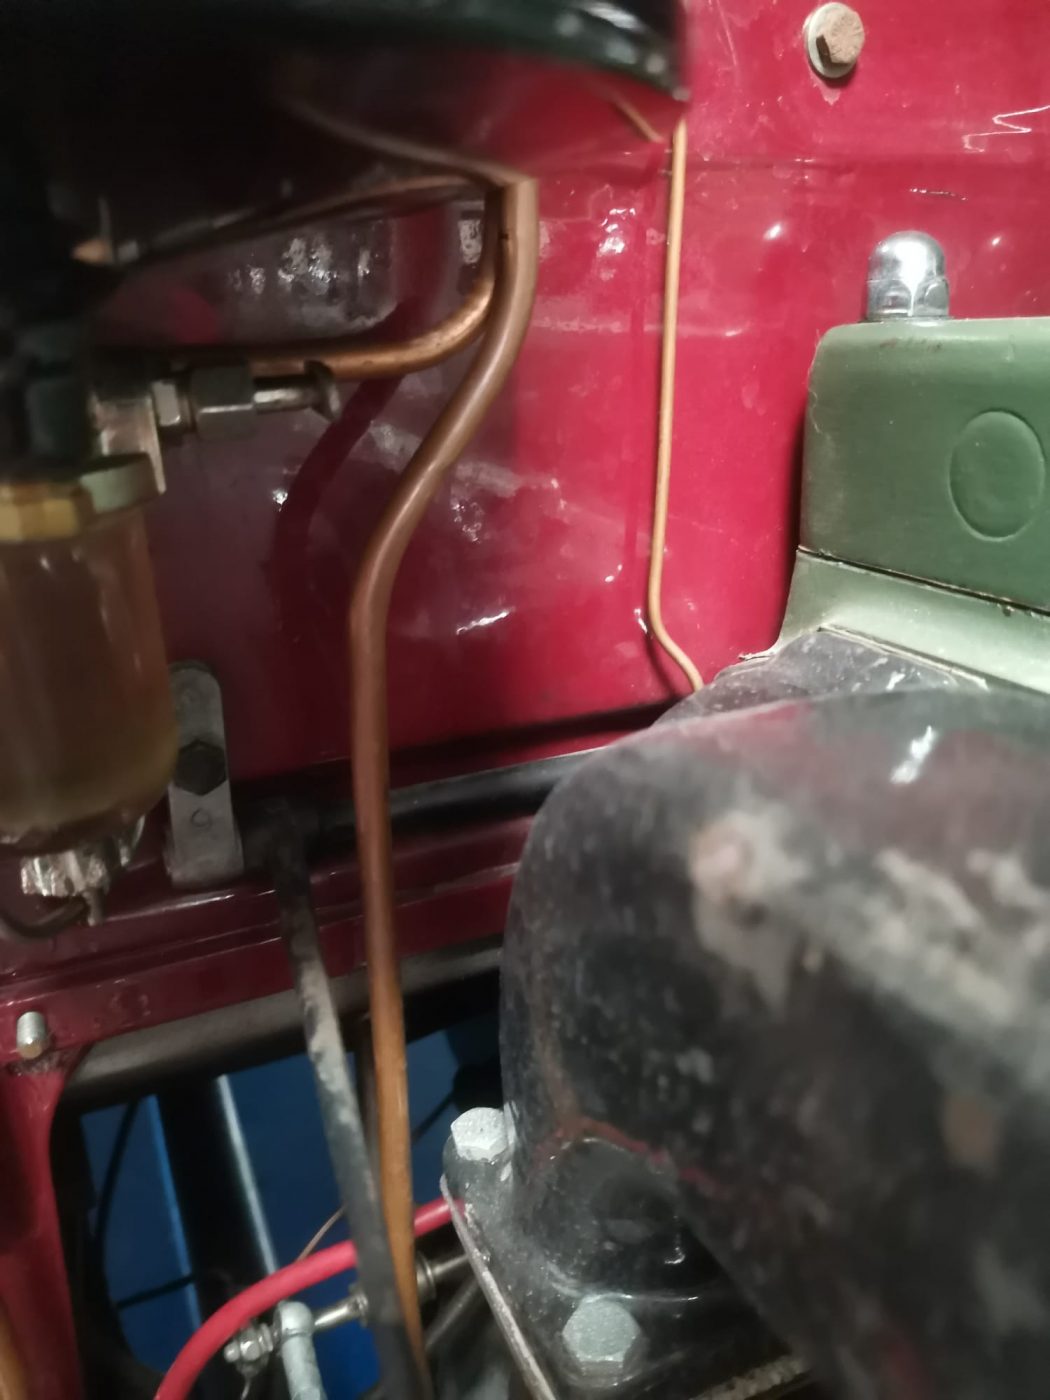
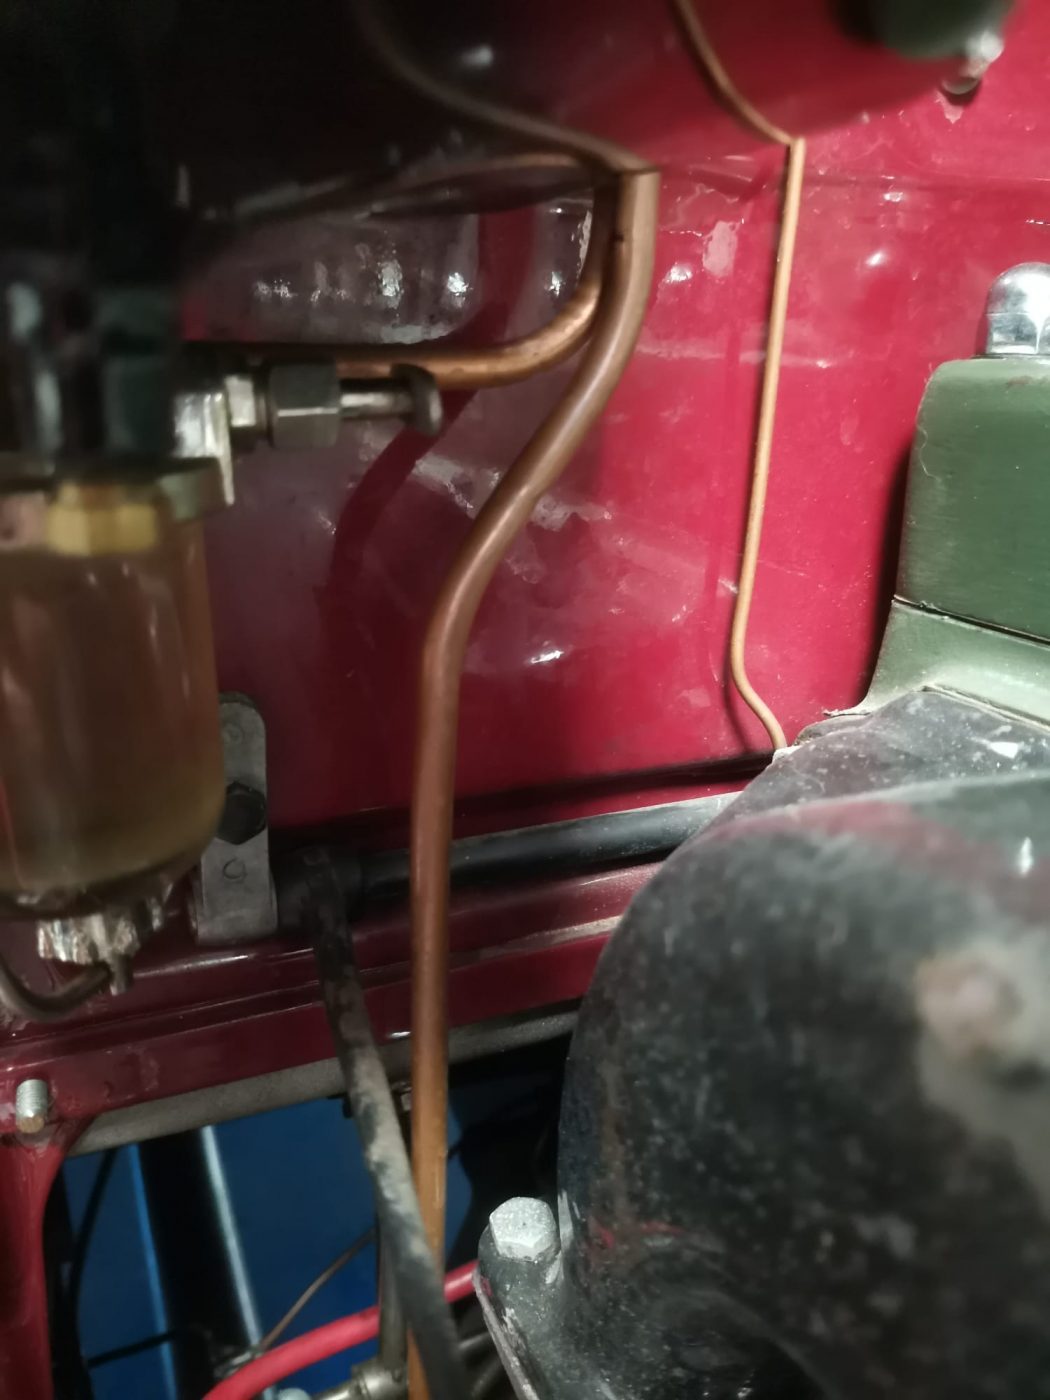
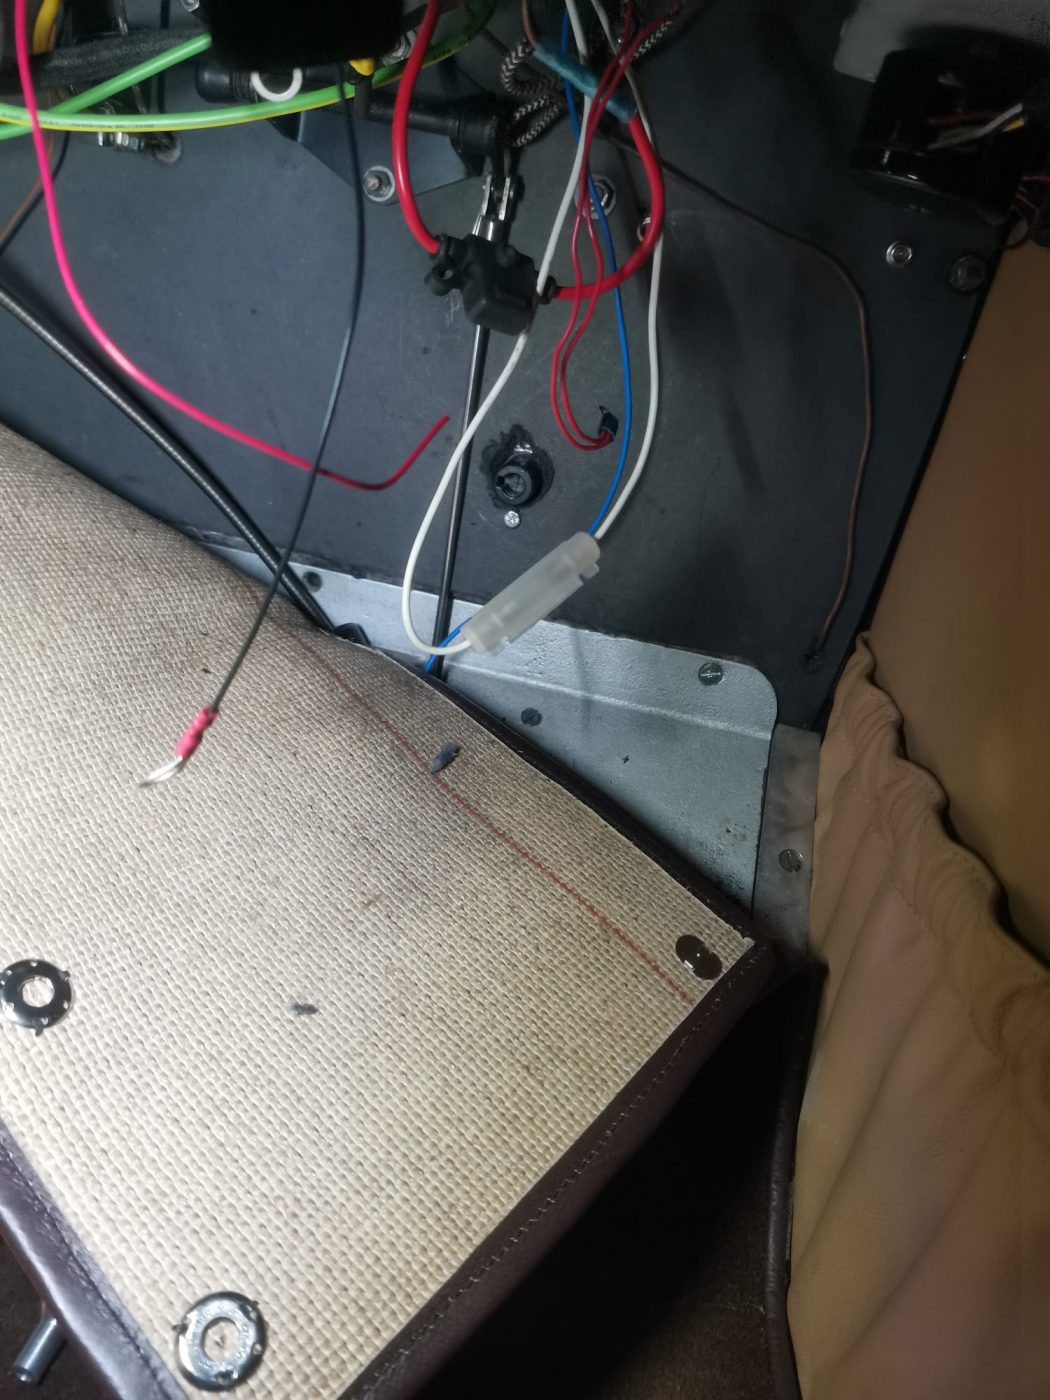
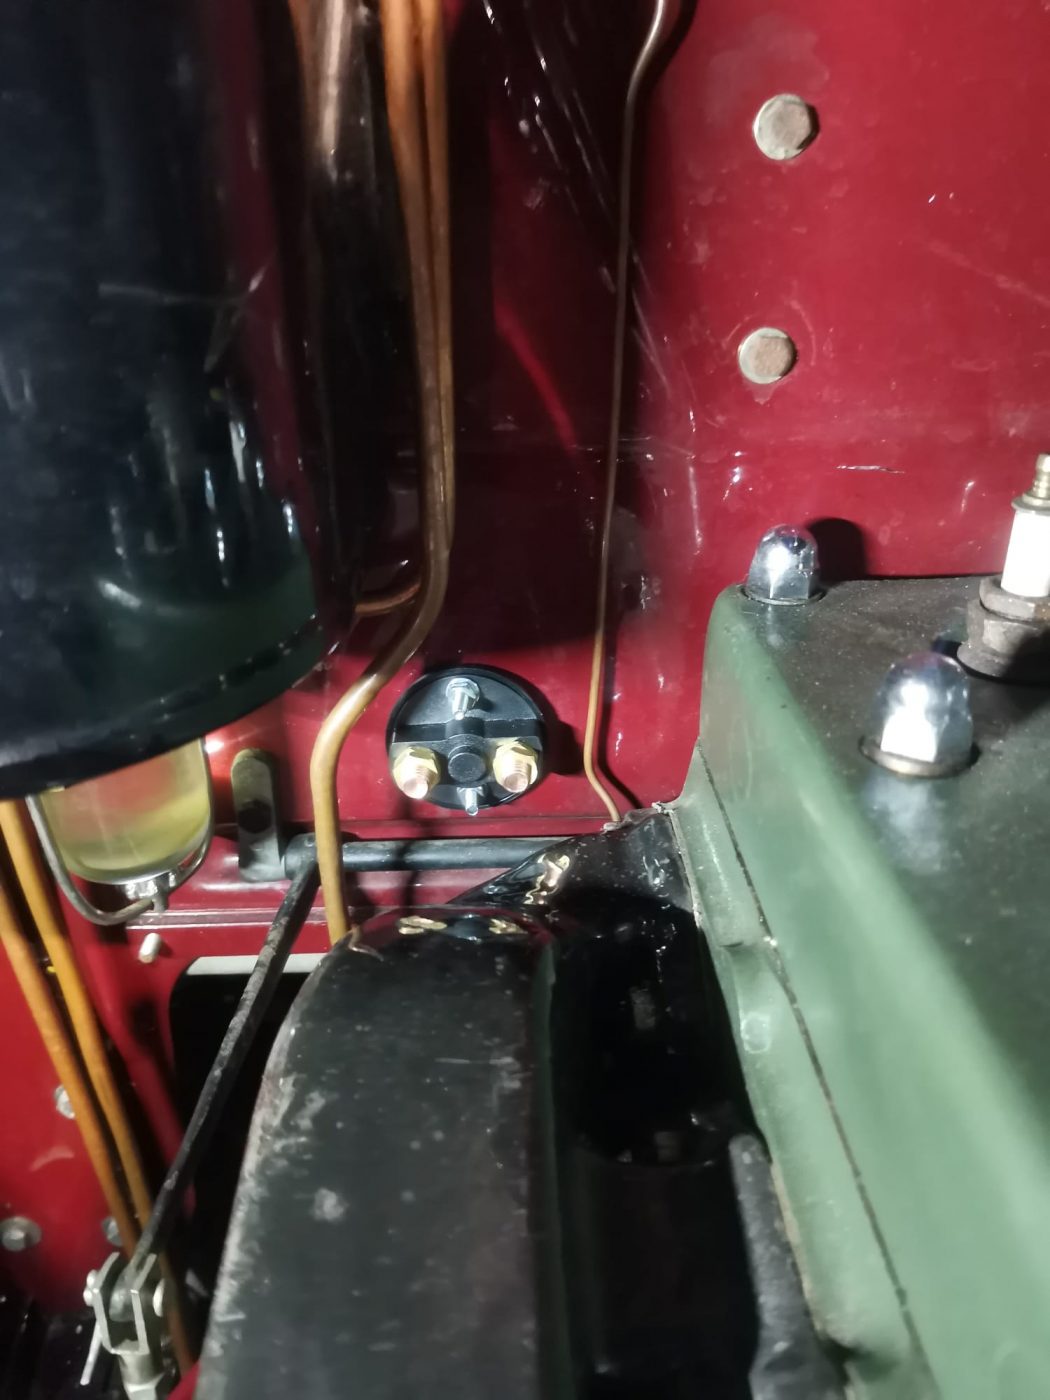
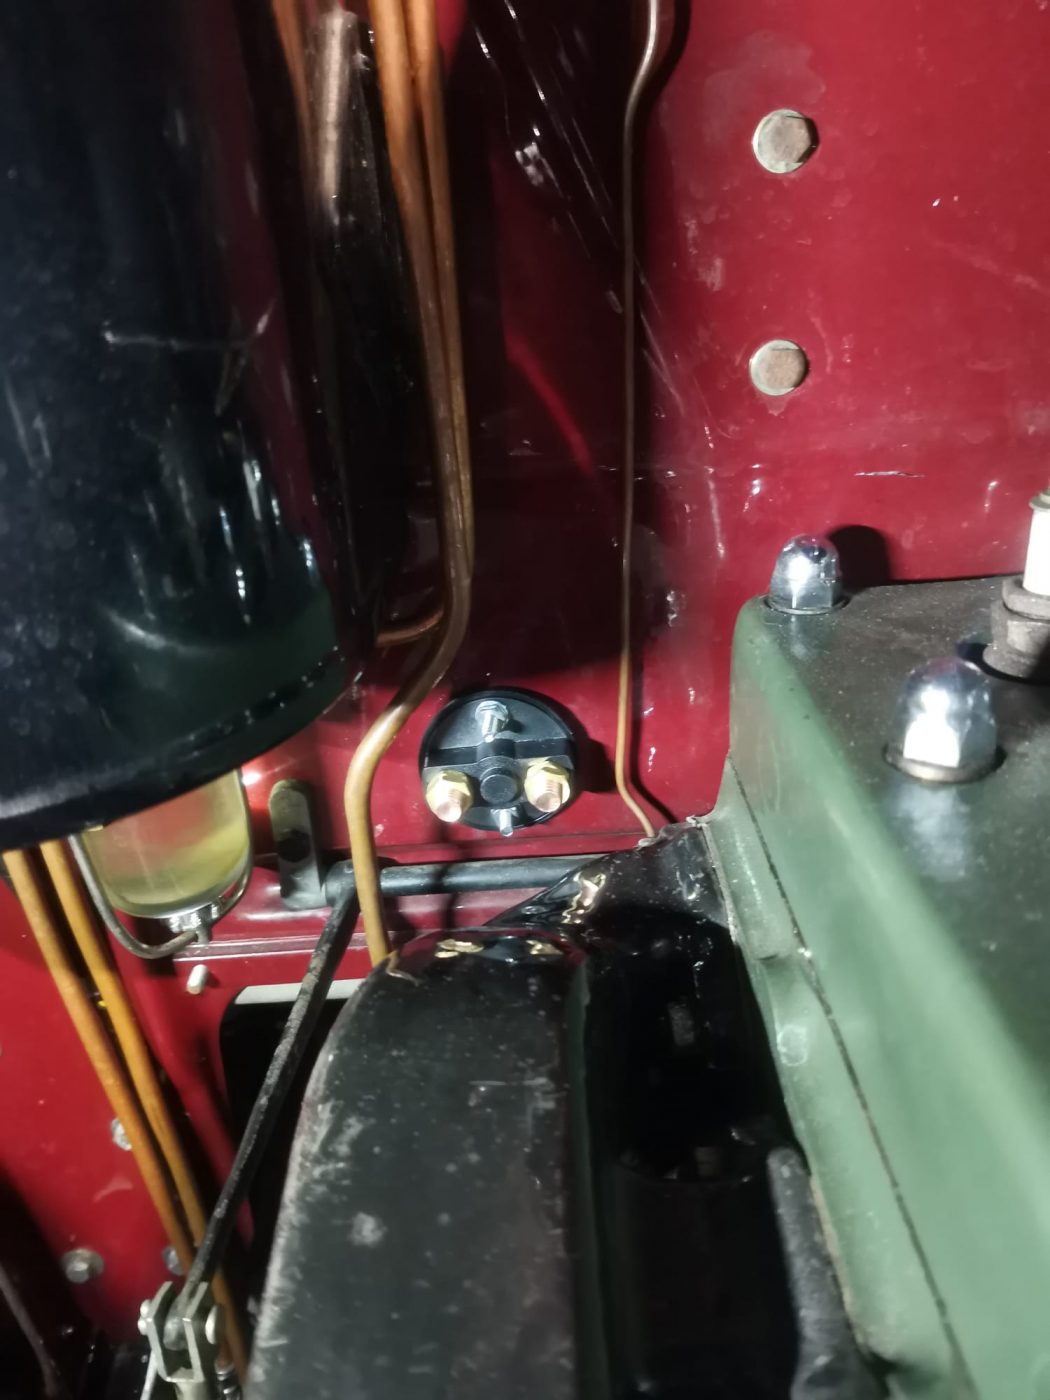


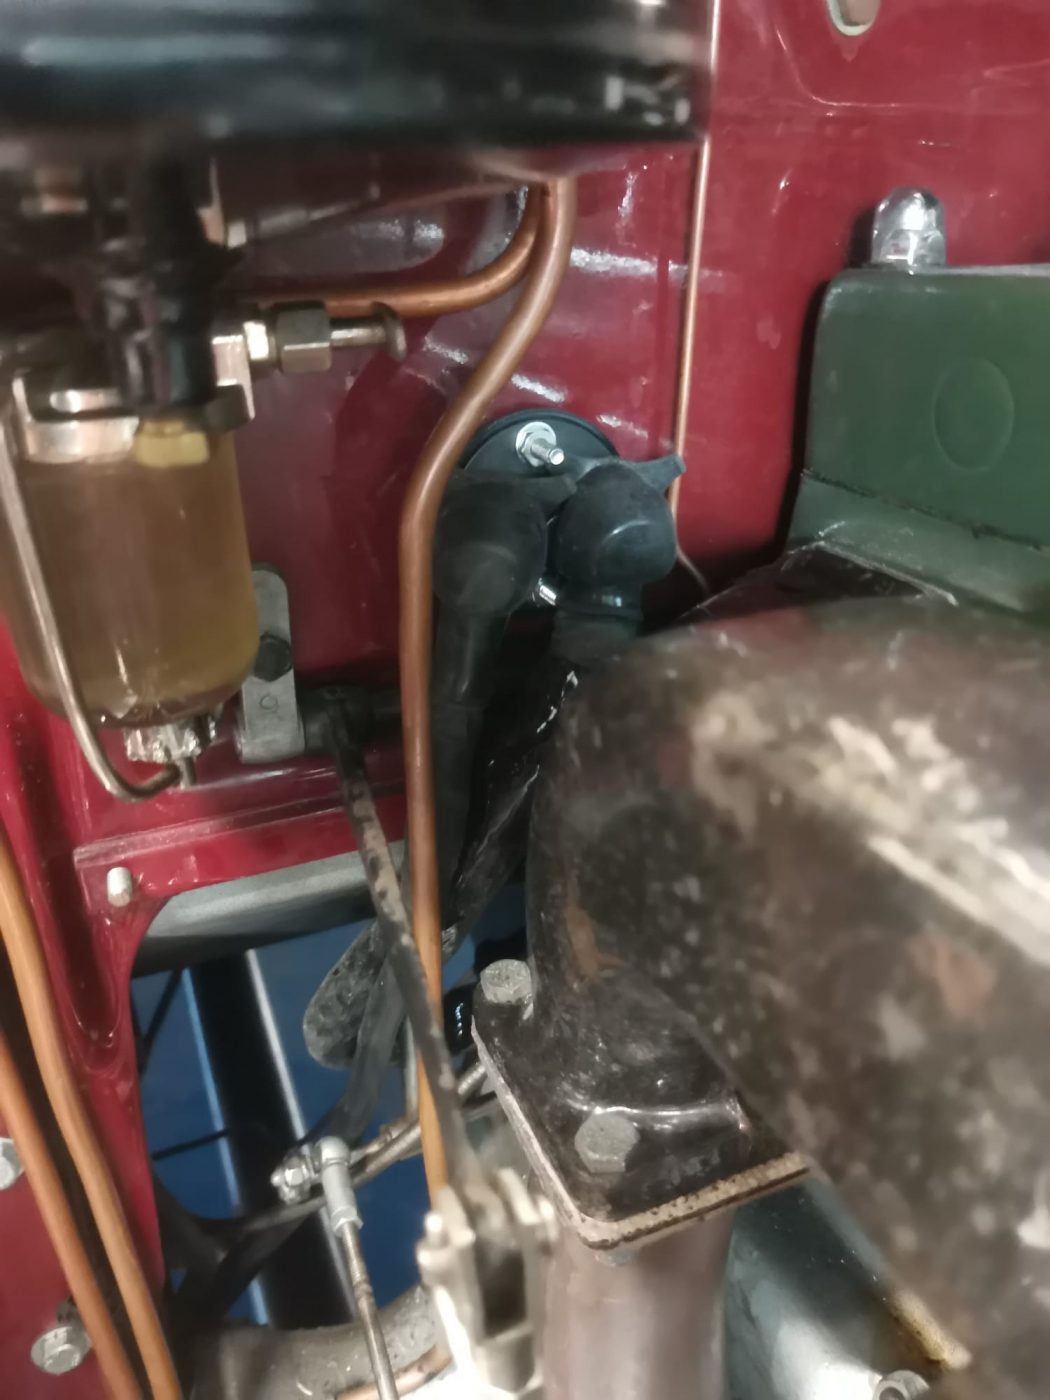
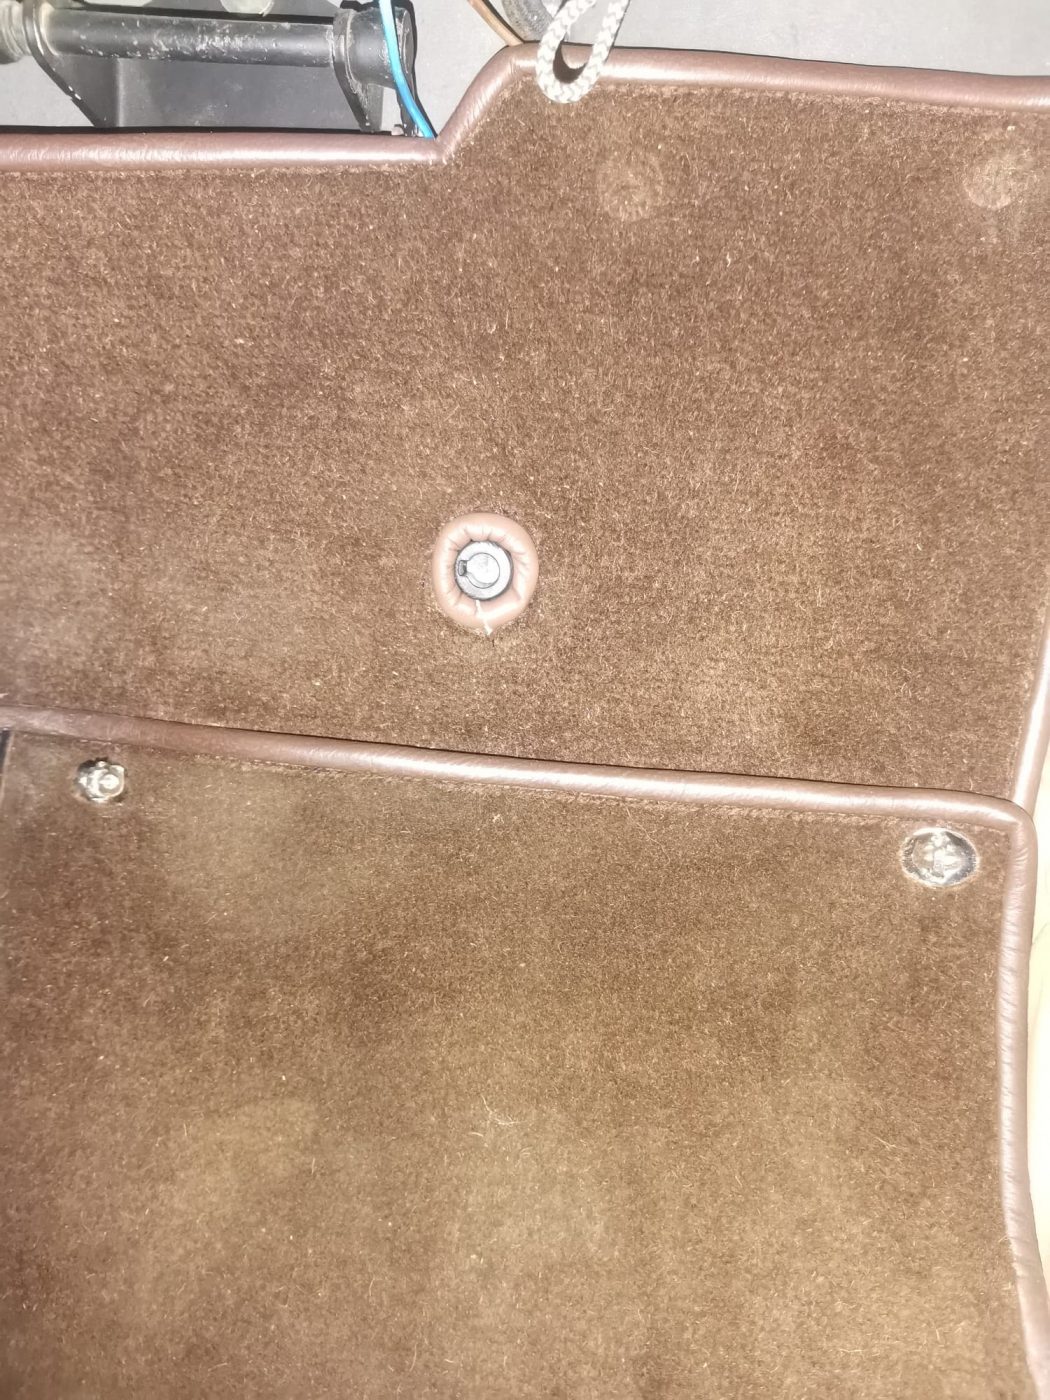
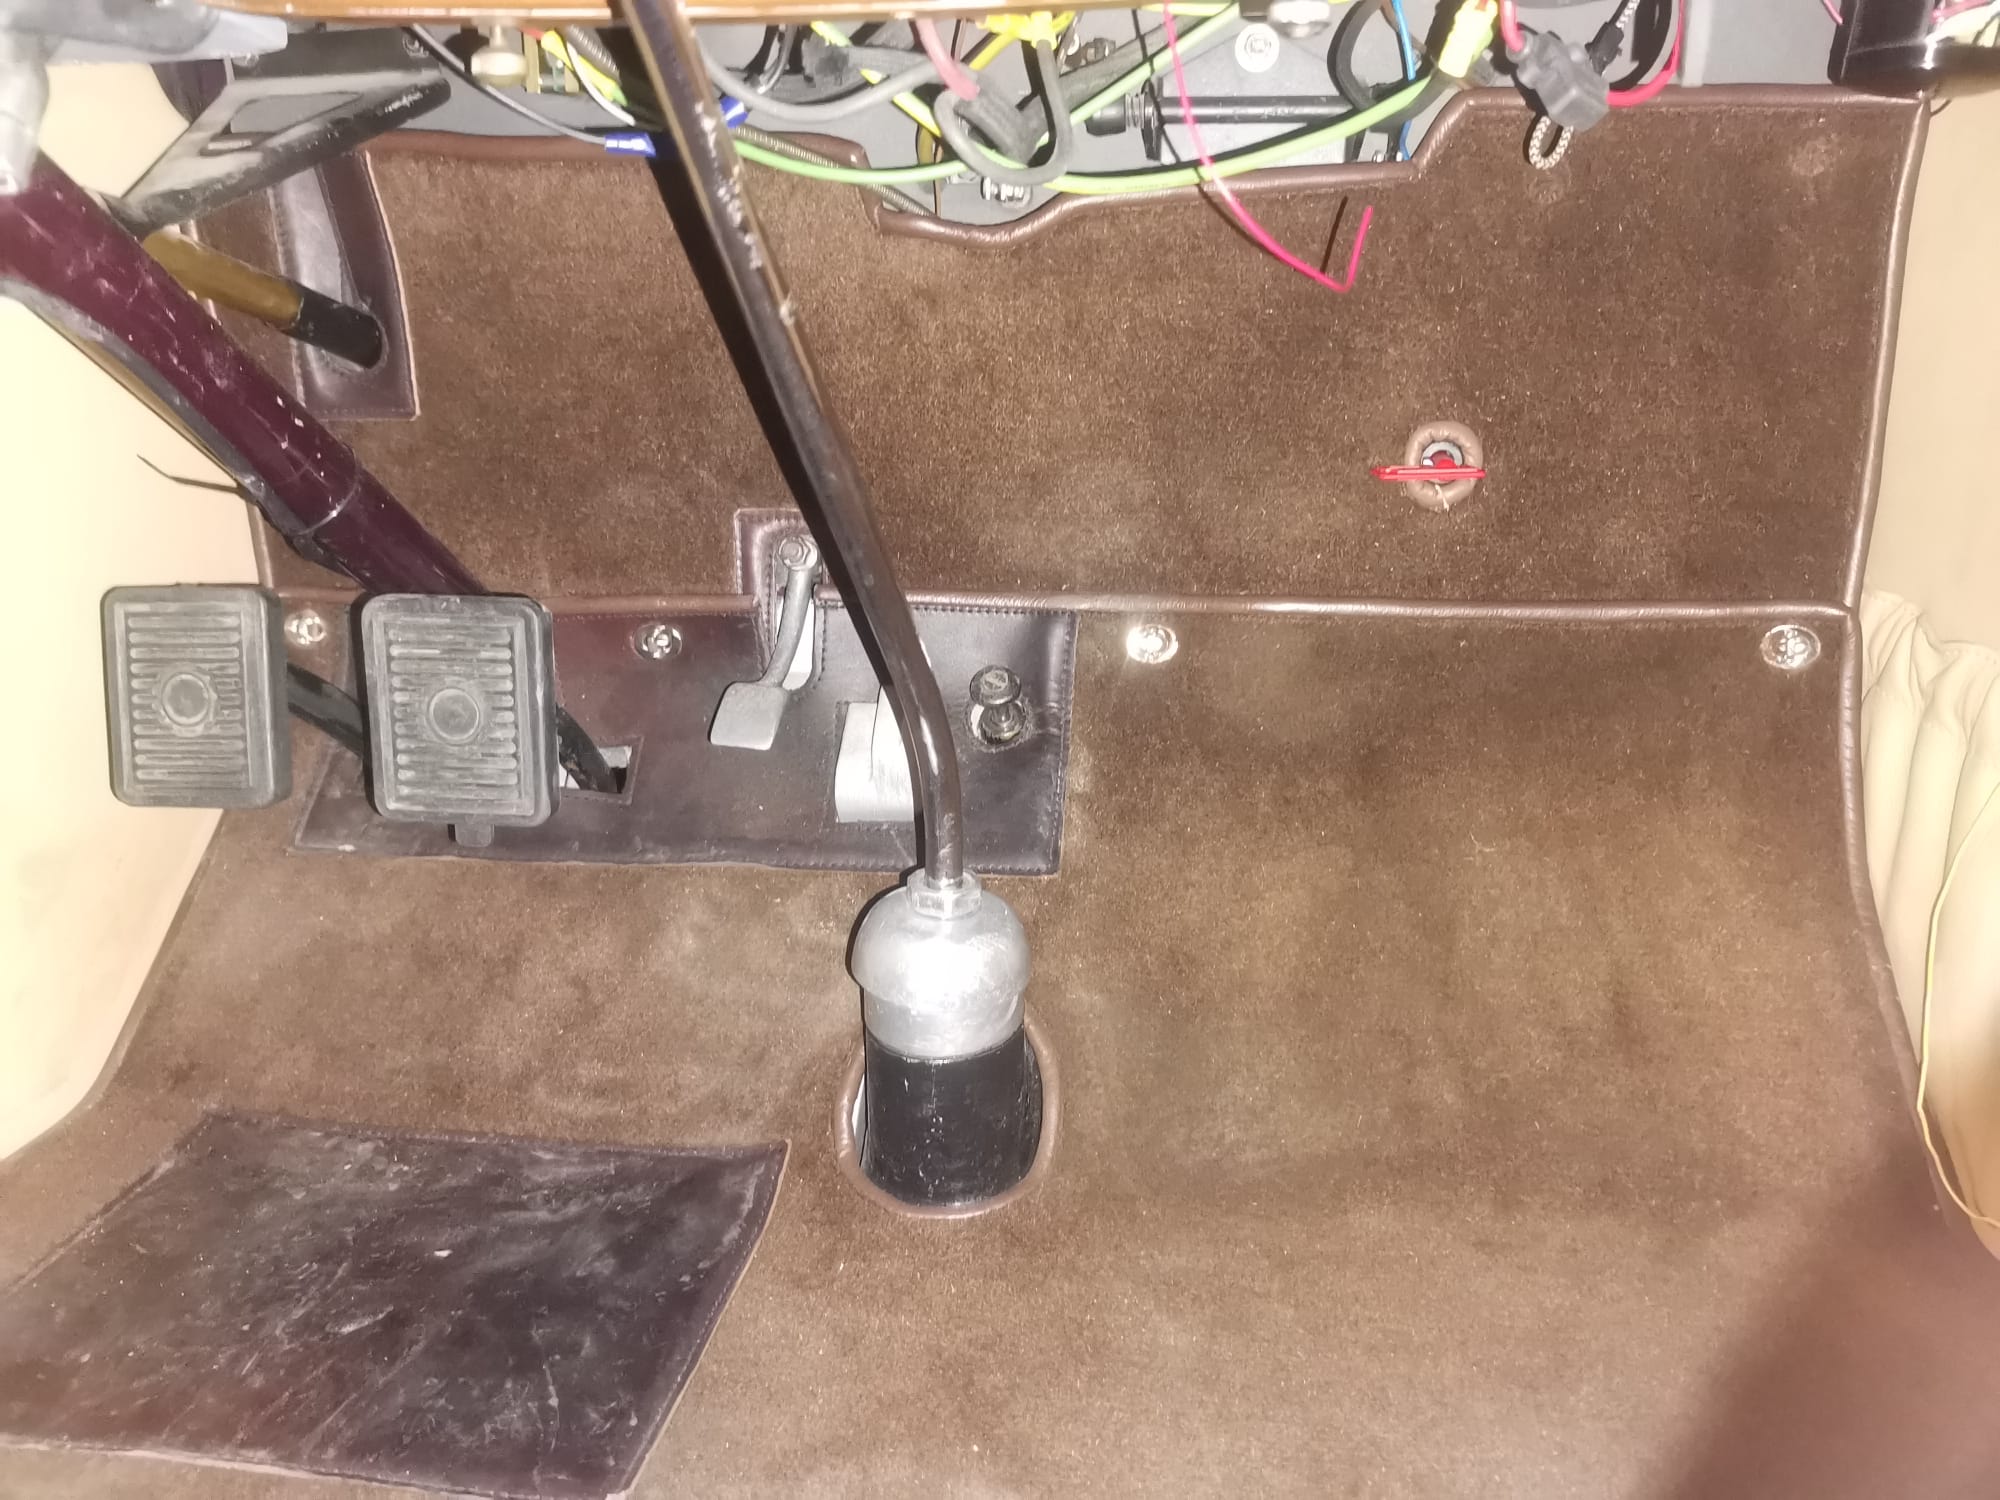
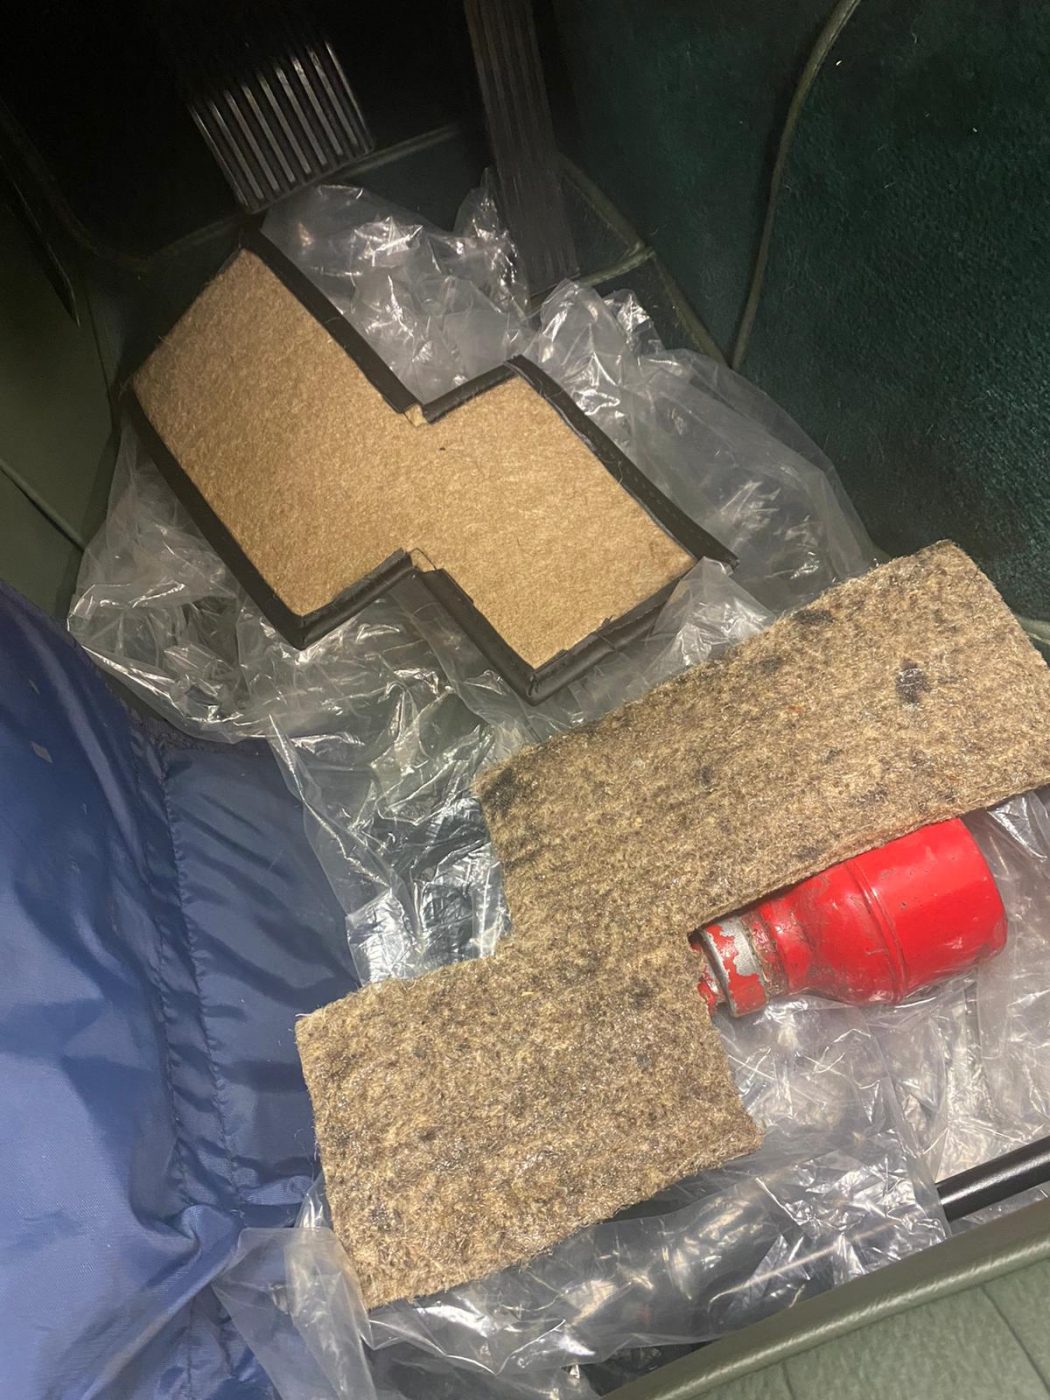
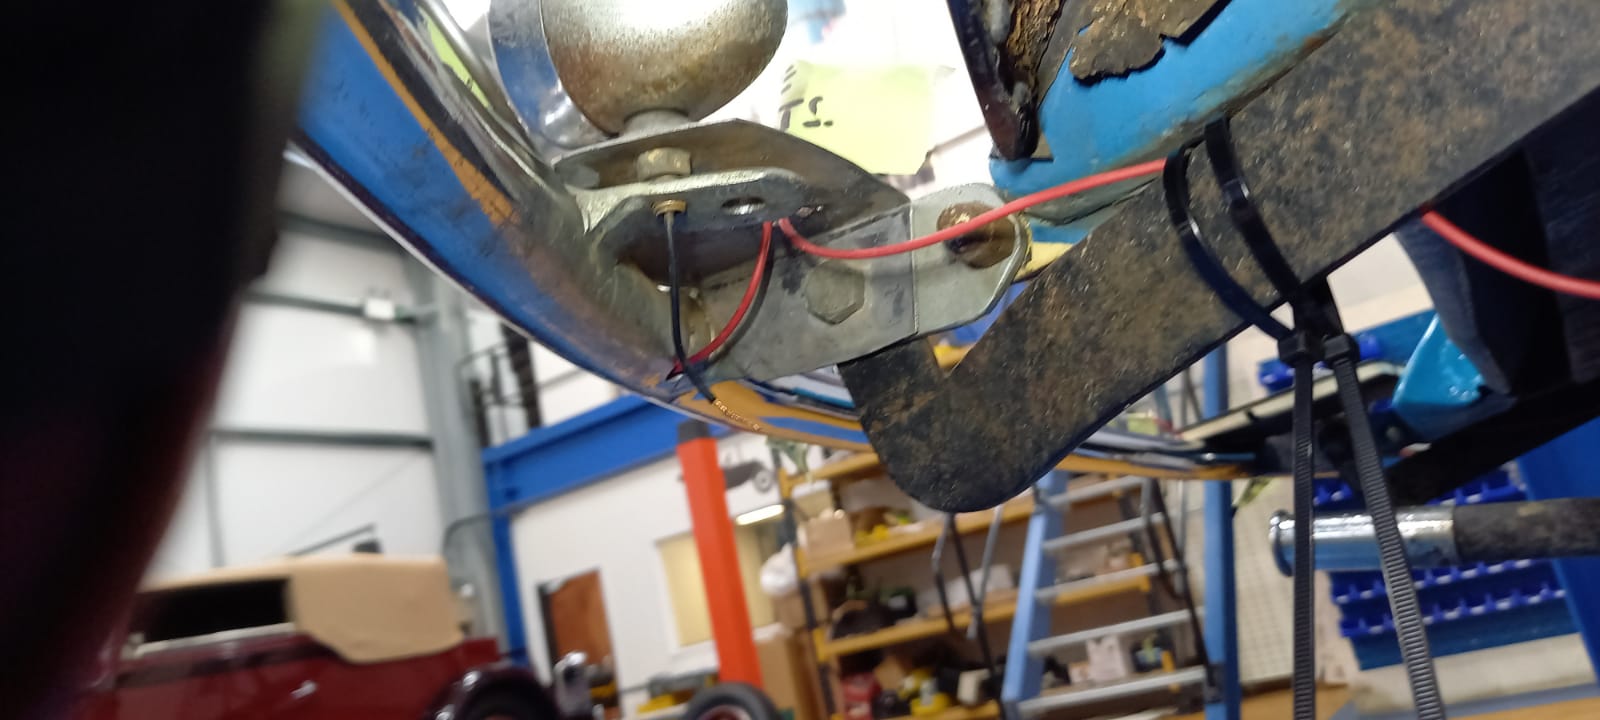
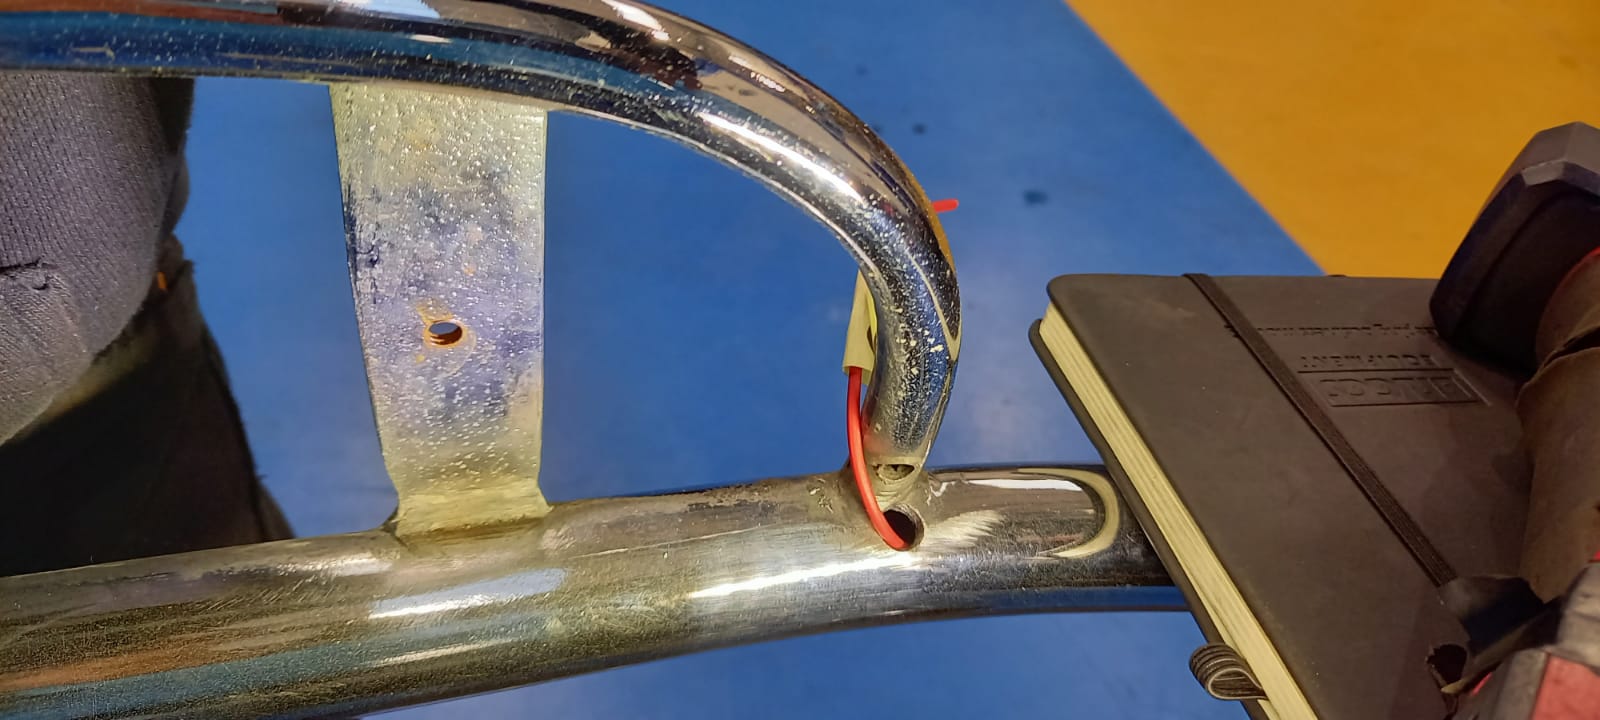
The 1930 Packard 740 Waterfield Convertible has been in with Bridge Classic Cars recently for several jobs to be completed on the stunning prewar tourer. One of those jobs was to fit a battery cut off switch to the car which is exactly what our in-house restoration experts have done.
Our technician Tamas worked on getting the killswitch into the right place where it is easily accessible but also somewhere it isn’t easily knocked or damaged. This was going to be under the dashboard between the dash and the floorboards.
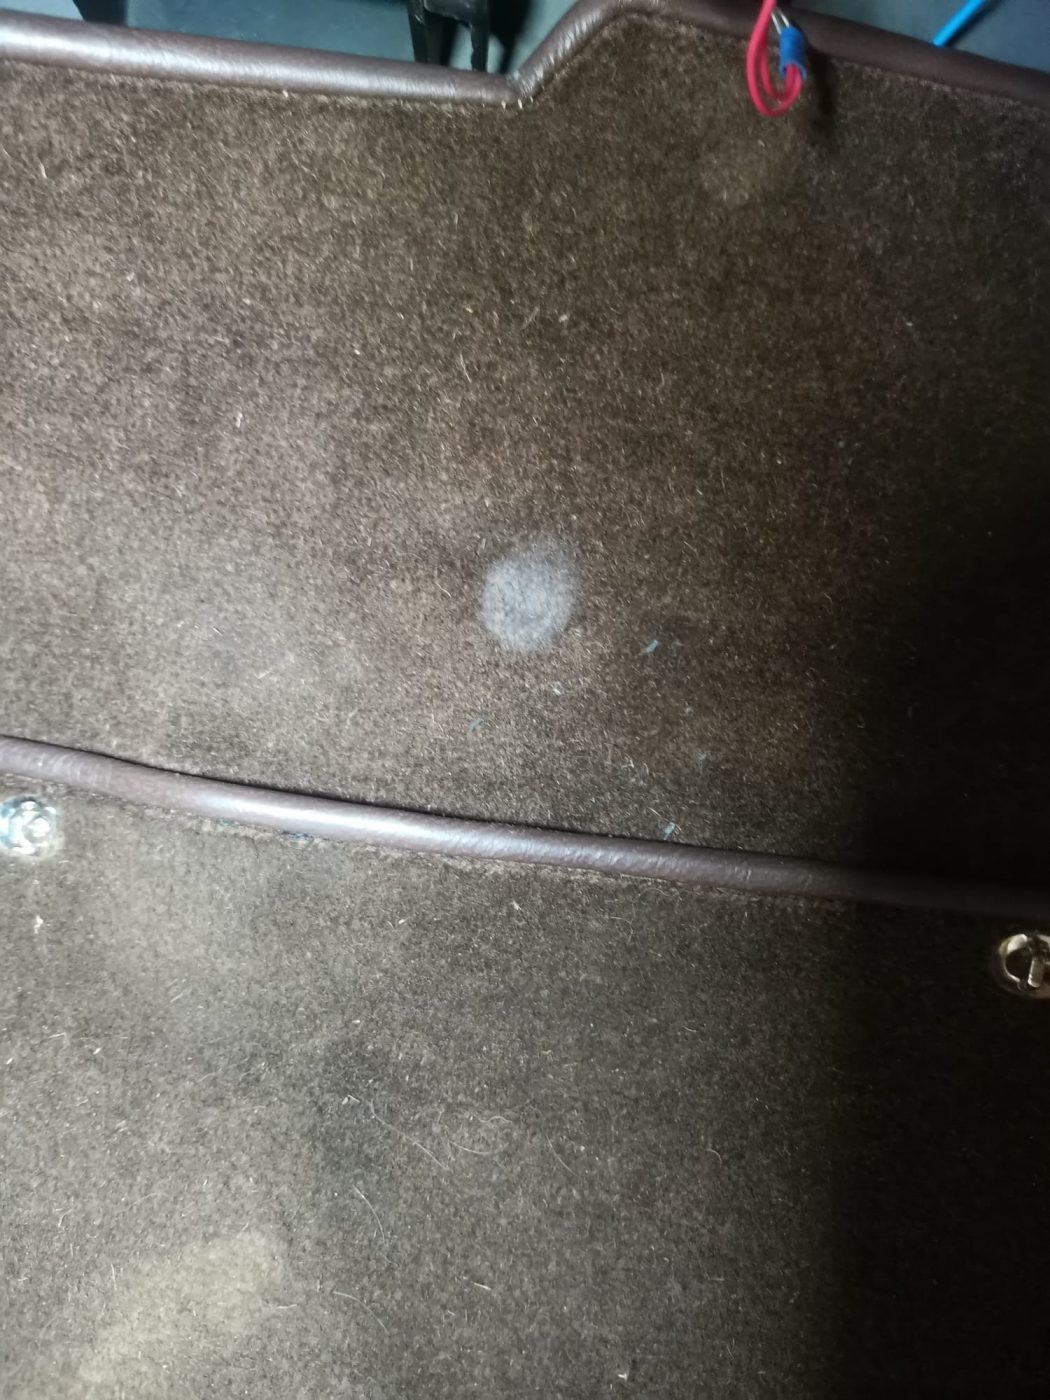
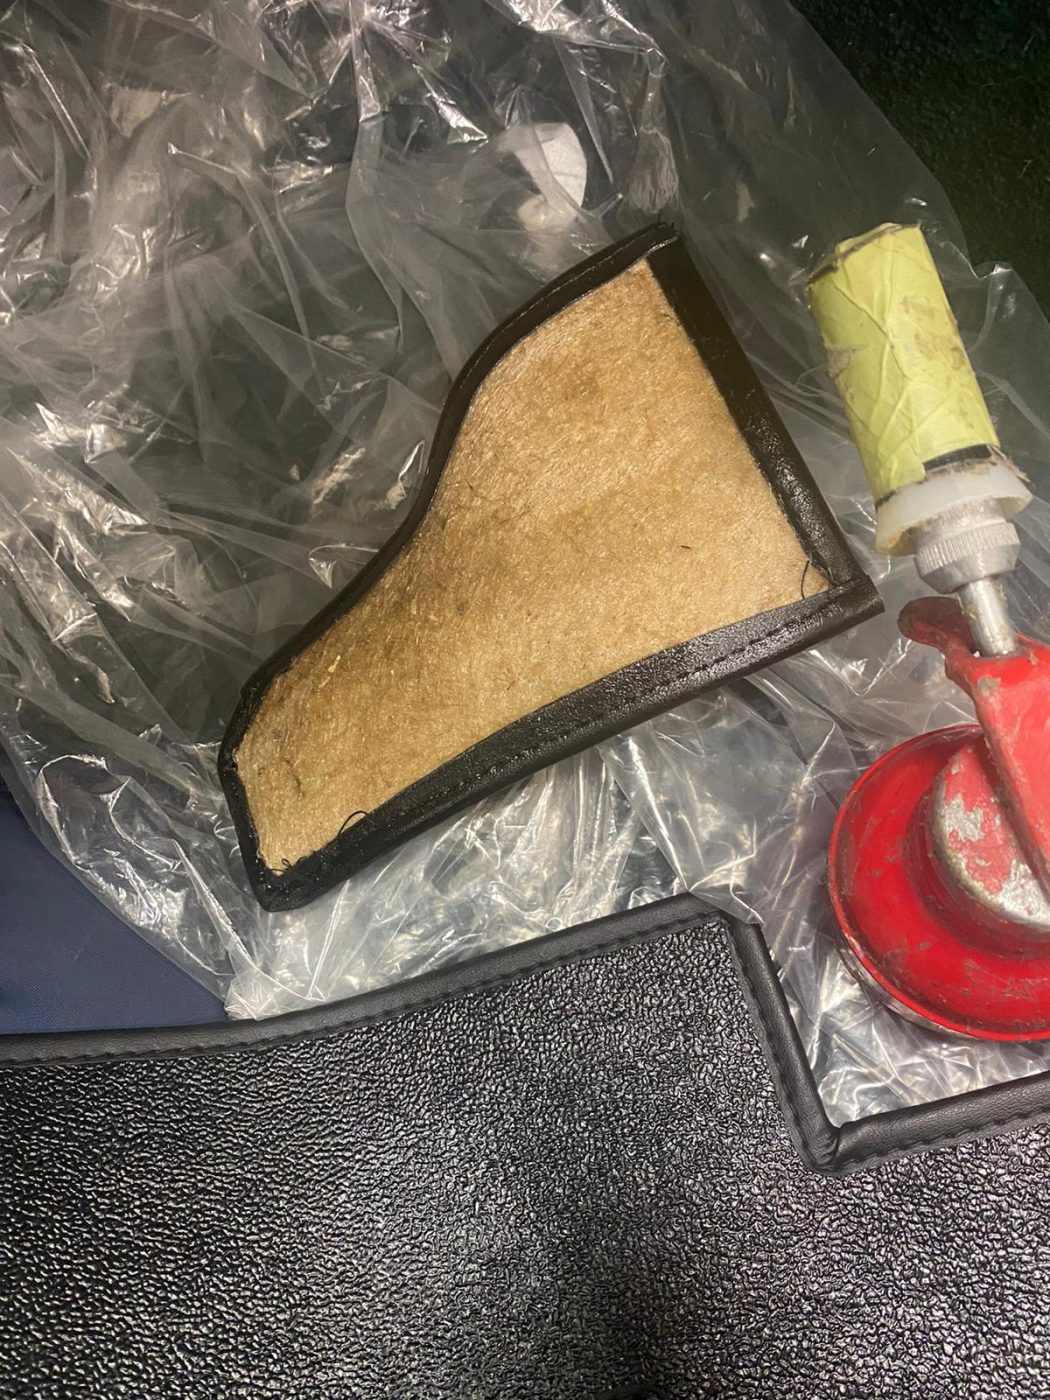
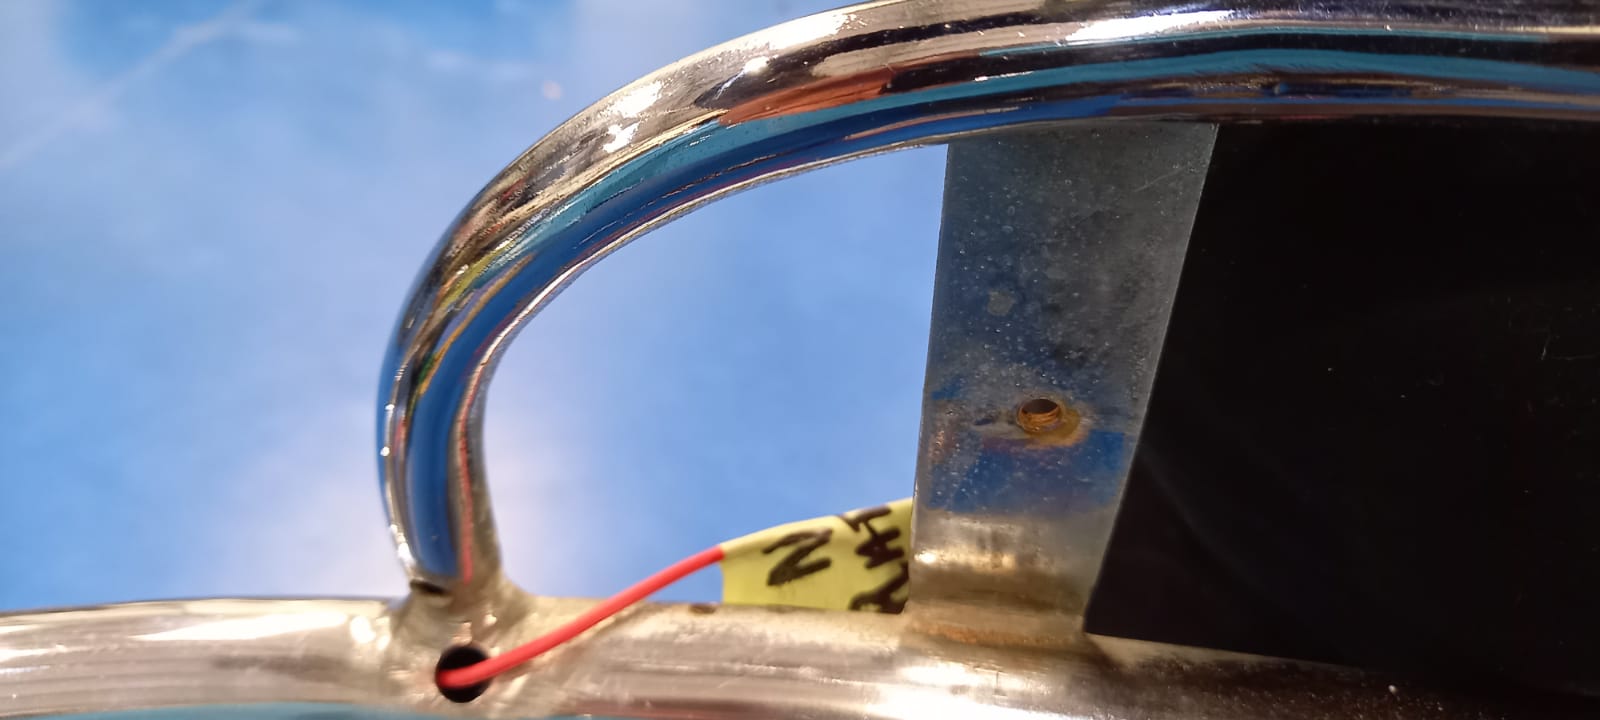
Carefully, Tamas moved the carpet to get access to the firewall where the switch would be mounted. Then, using a template he carefully made a tight-fitting hole in the firewall. After firing the component through the firewall and secured in place, Tamas then began wiring up the killswitch to the battery and then onto the ignition switch. The wiring for this component is crucial, so Tamas used high-quality wire and connectors with the appropriate shielding as it came near the exhaust manifold.
Once in place, Tamas checked that the cut off switch was working correctly and all fit nicely on the inside of the car. Another level of security and safety on this icon of pre-war American engineering and design.
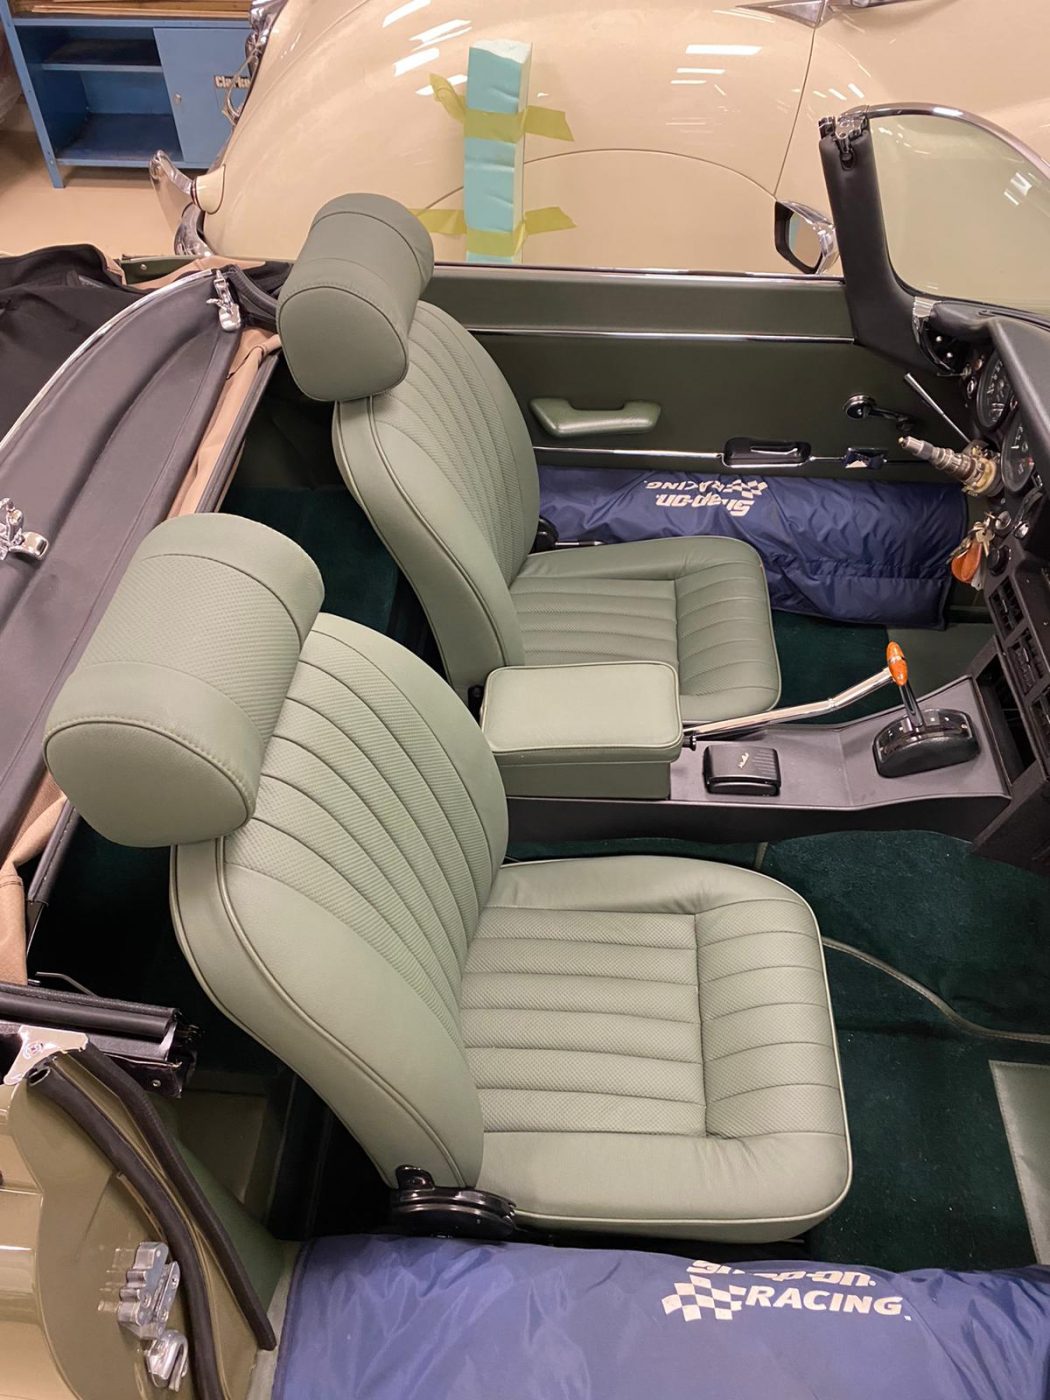
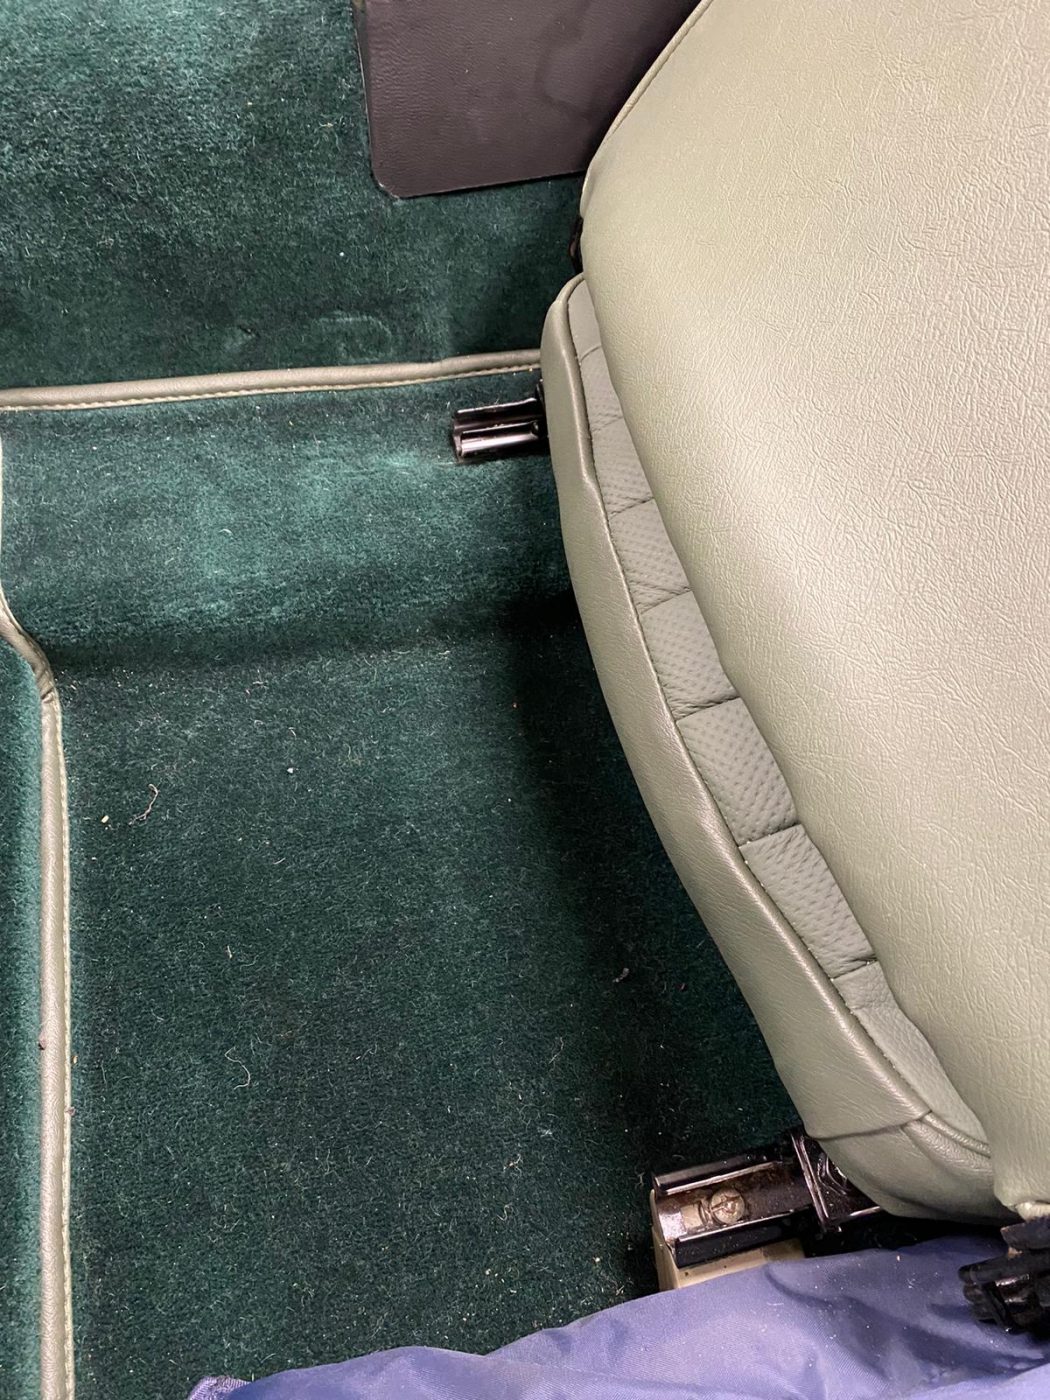
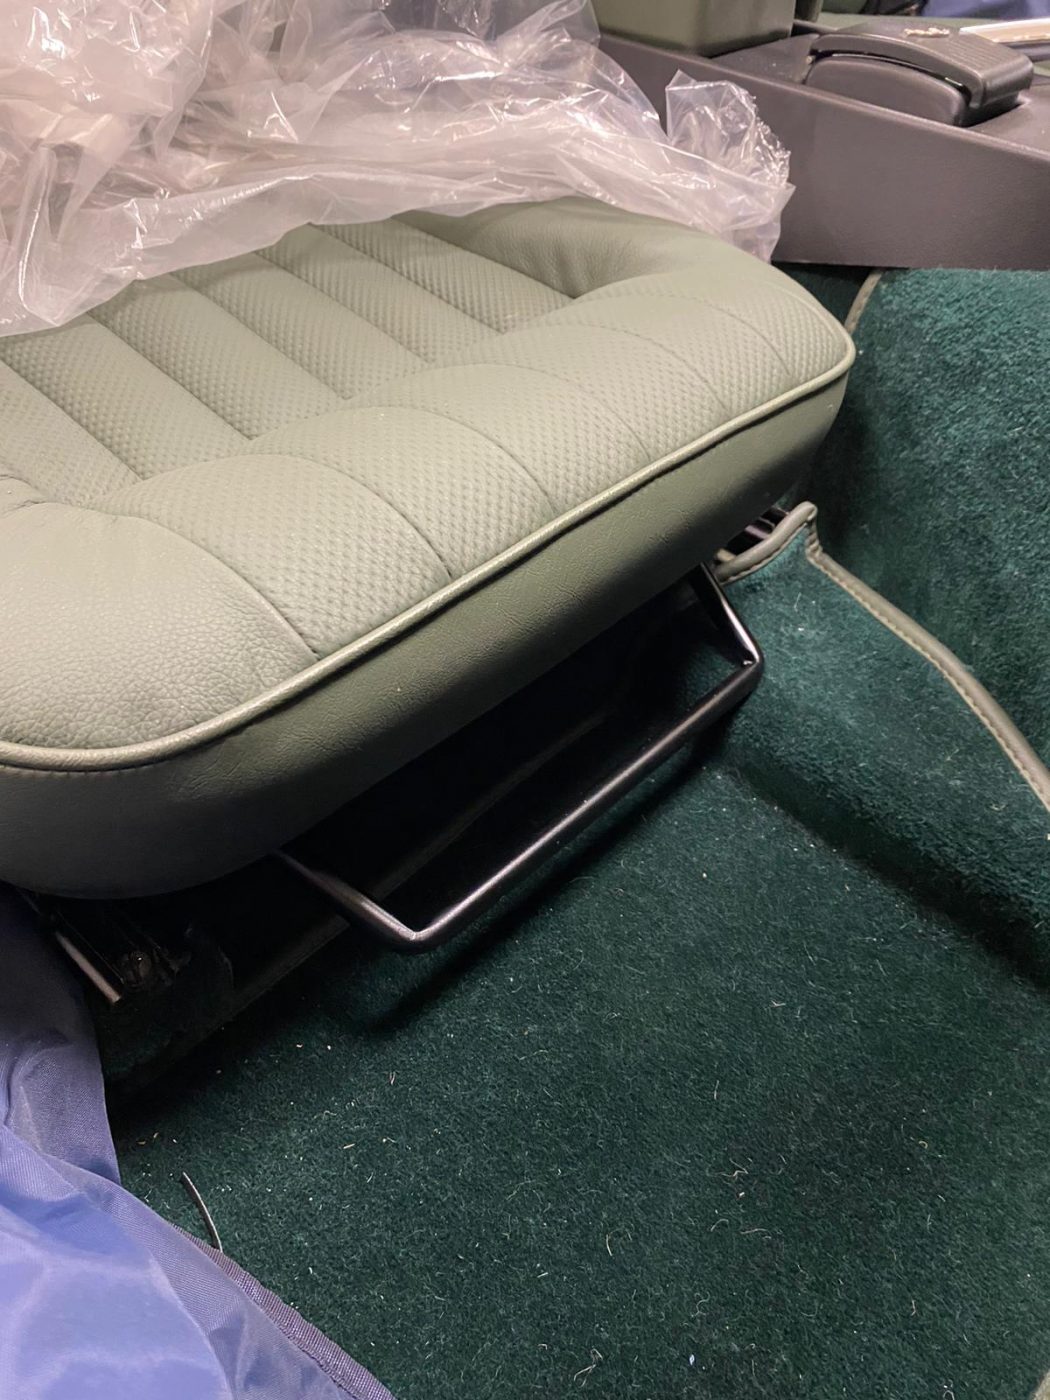
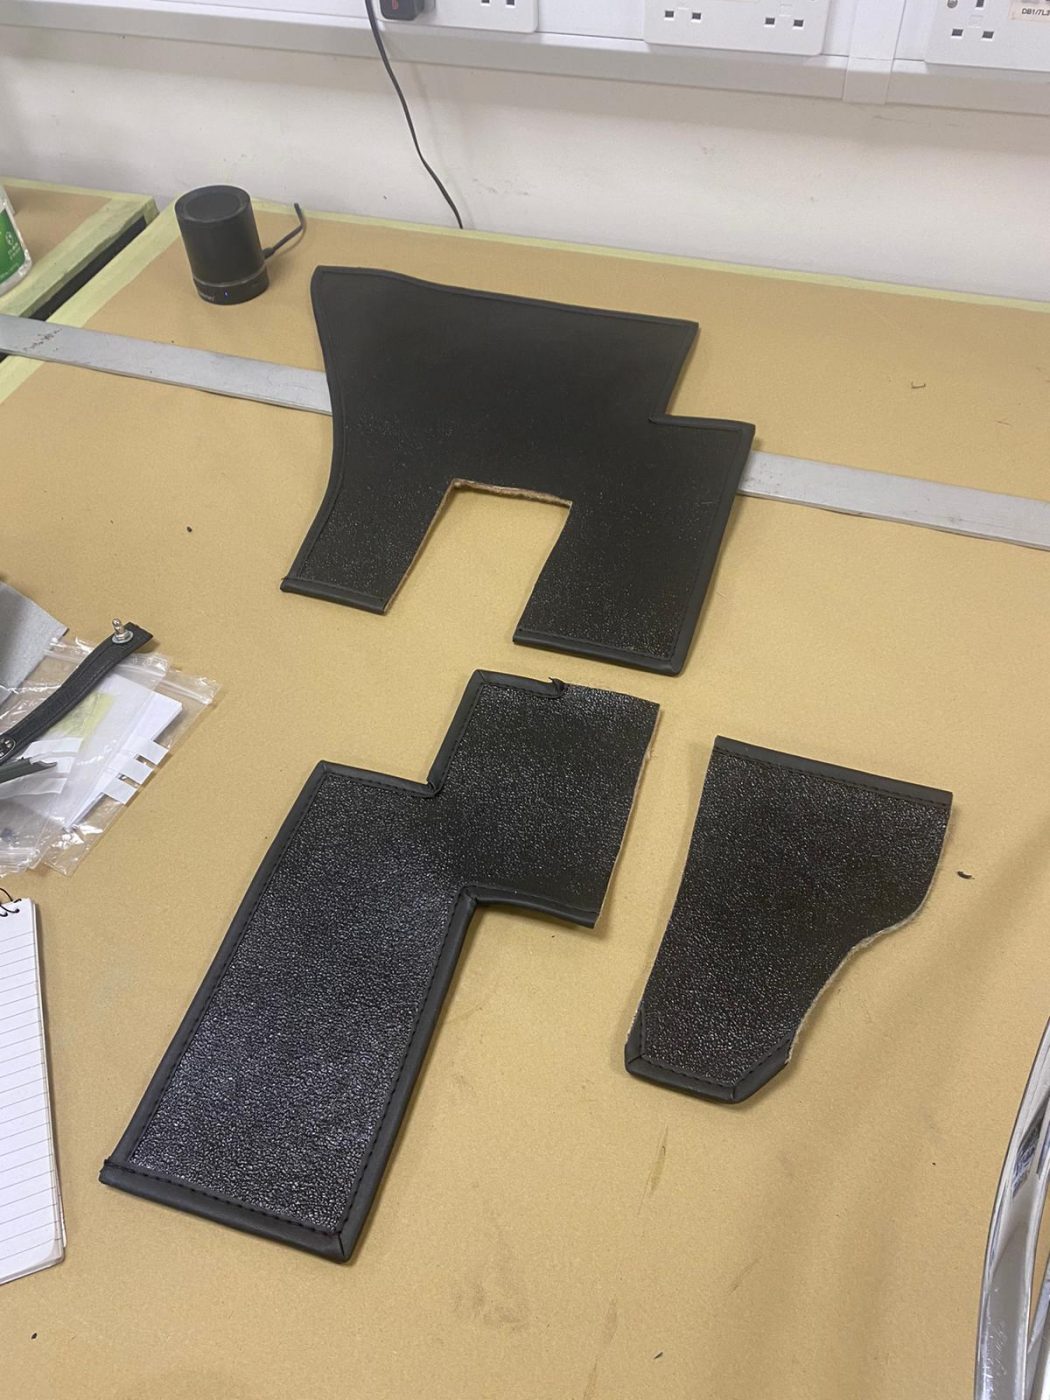

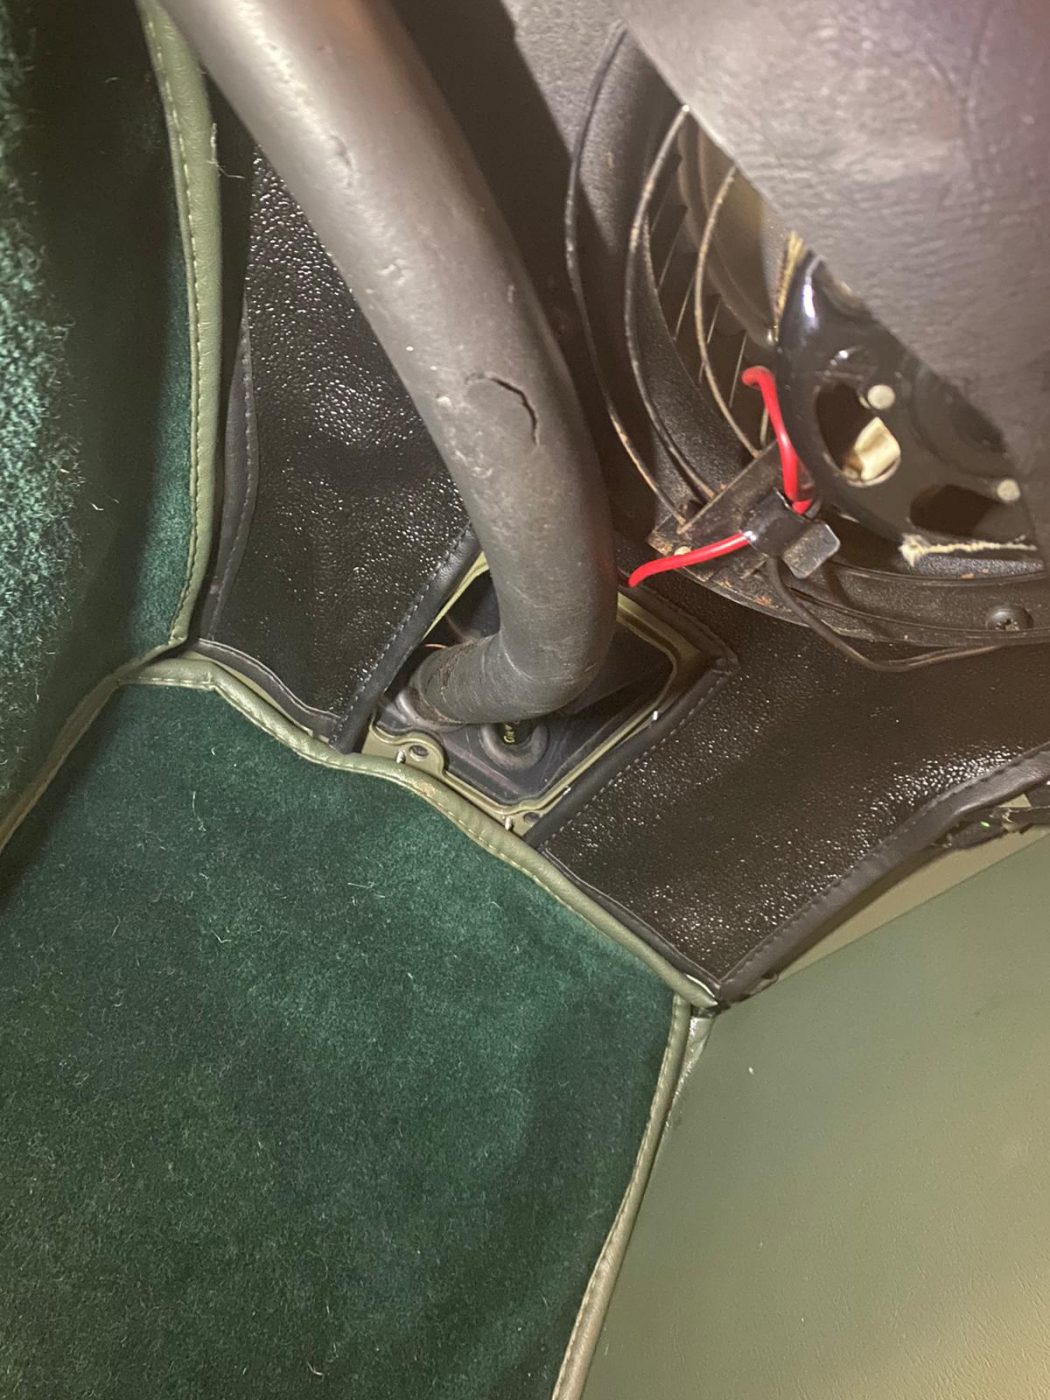
The Bridge Classic Cars in-house have been finishing the final pieces for the interior of Fern Grey, the 1973 Jaguar E Type Series III Roadster before it goes into the main workshop for final assembly.
Brian, our head trimmer, has got the cars handmade seats back into the car to complete that part of the interior and they look absolutely fantastic. This car is intended to be a true GT car so they are comfortable and well-padded to add to that sense of comfort while covering huge distances.
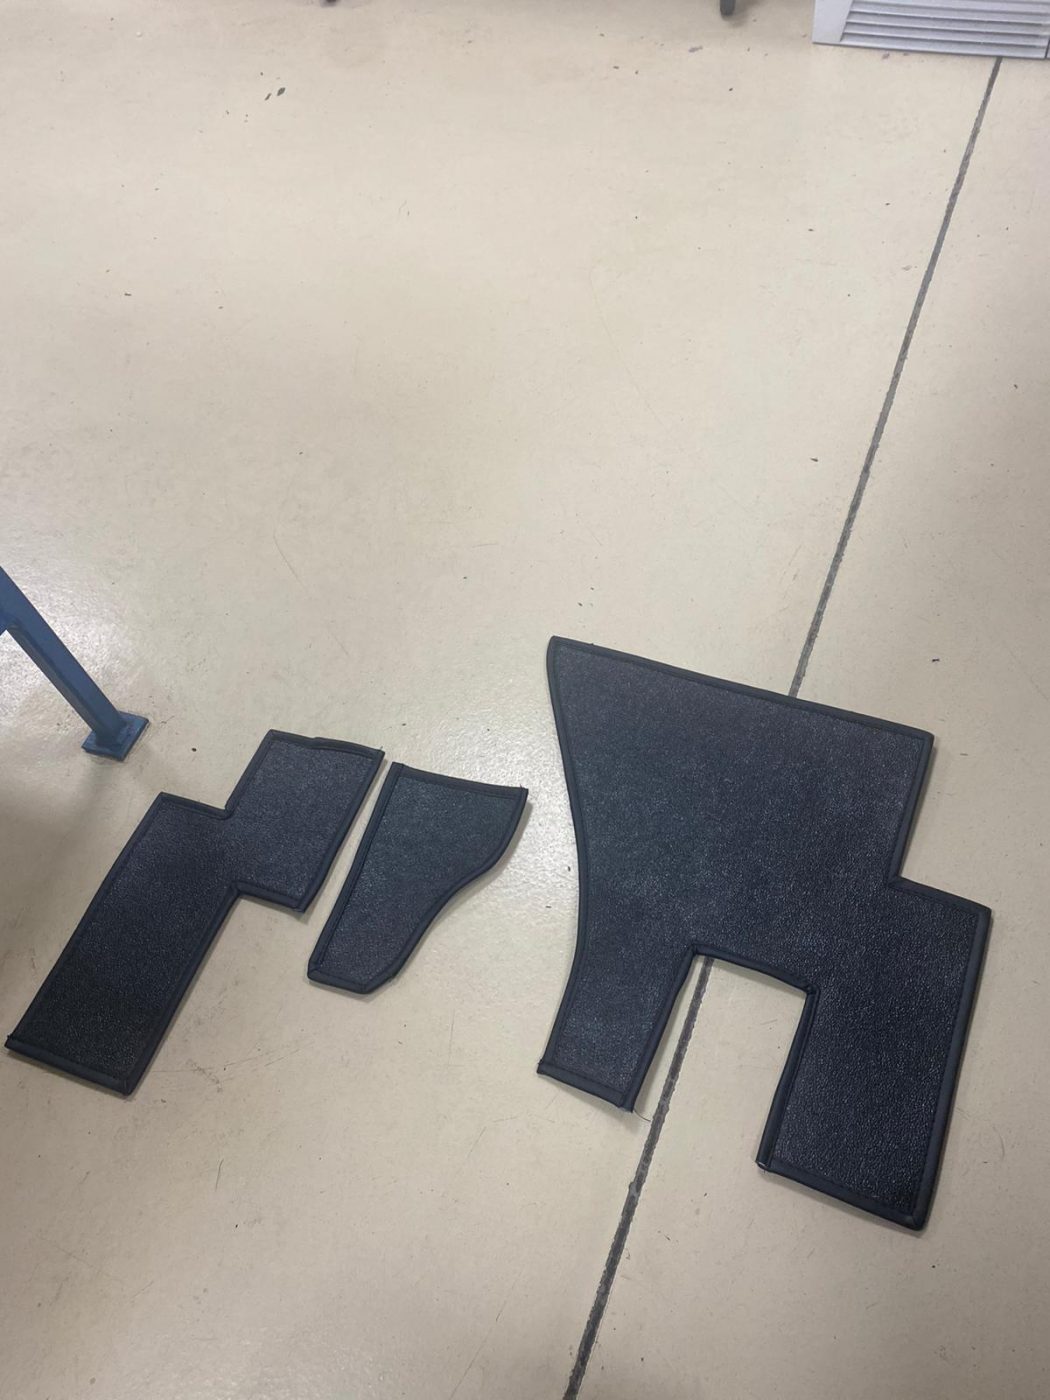
Next, Brian began fitting up the Hardura padding underneath the dashboard. Hardura is a vinyl wrapped sound deadening material used in place where it is remained exposed and is also close to the original style material used on the car.
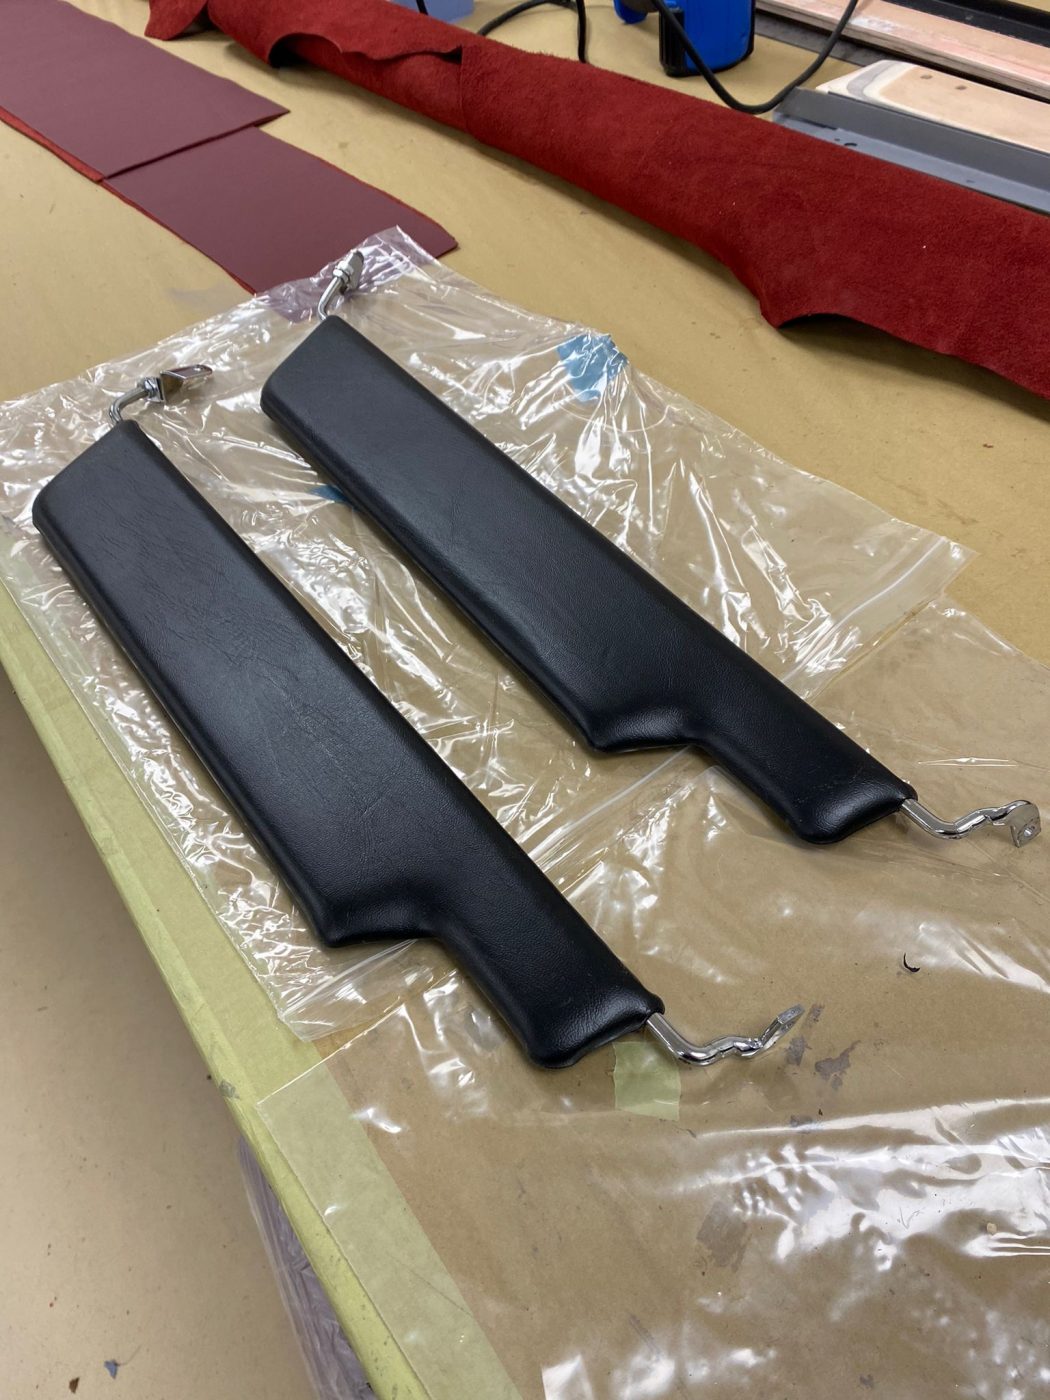
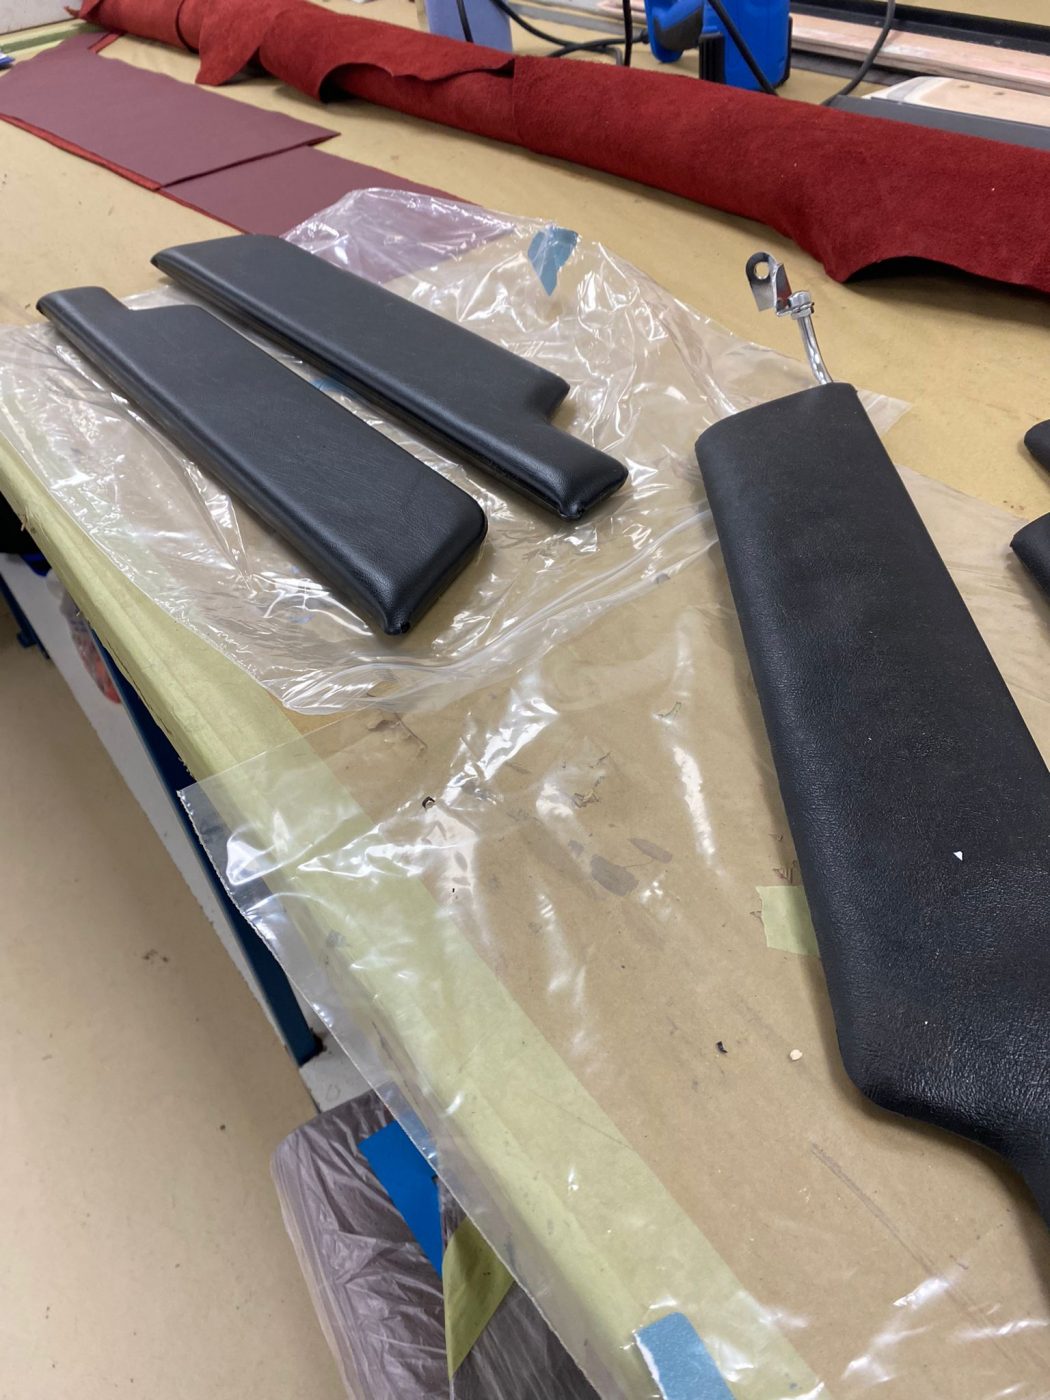
Then, for the final piece Brian fitted the chrome stalks from the old sun visors onto the new pieces. These were then fitted up into the car and really finish of the dash and windshield surround.
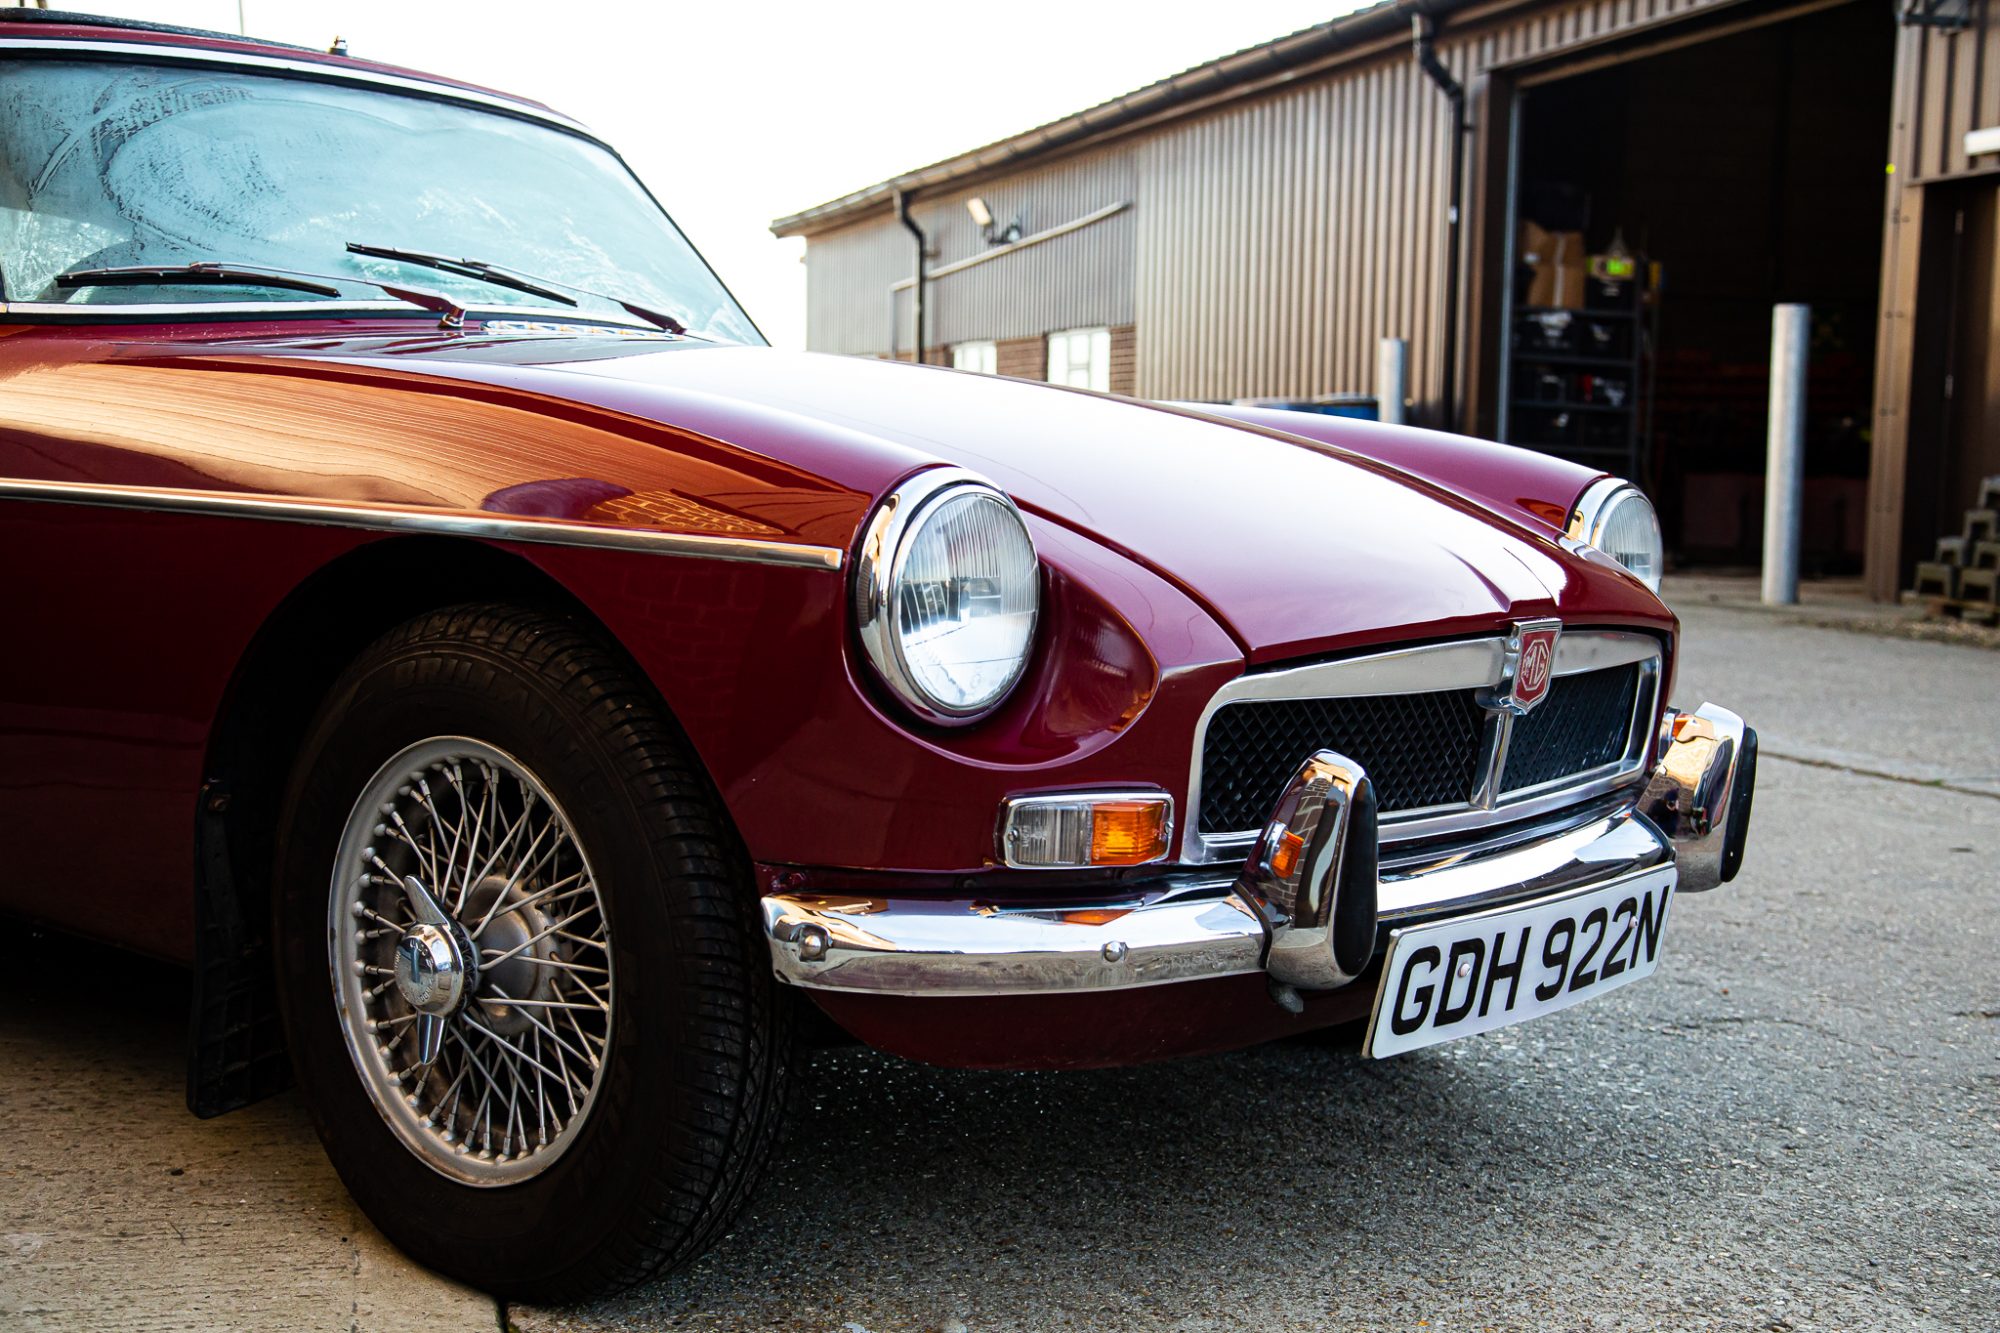
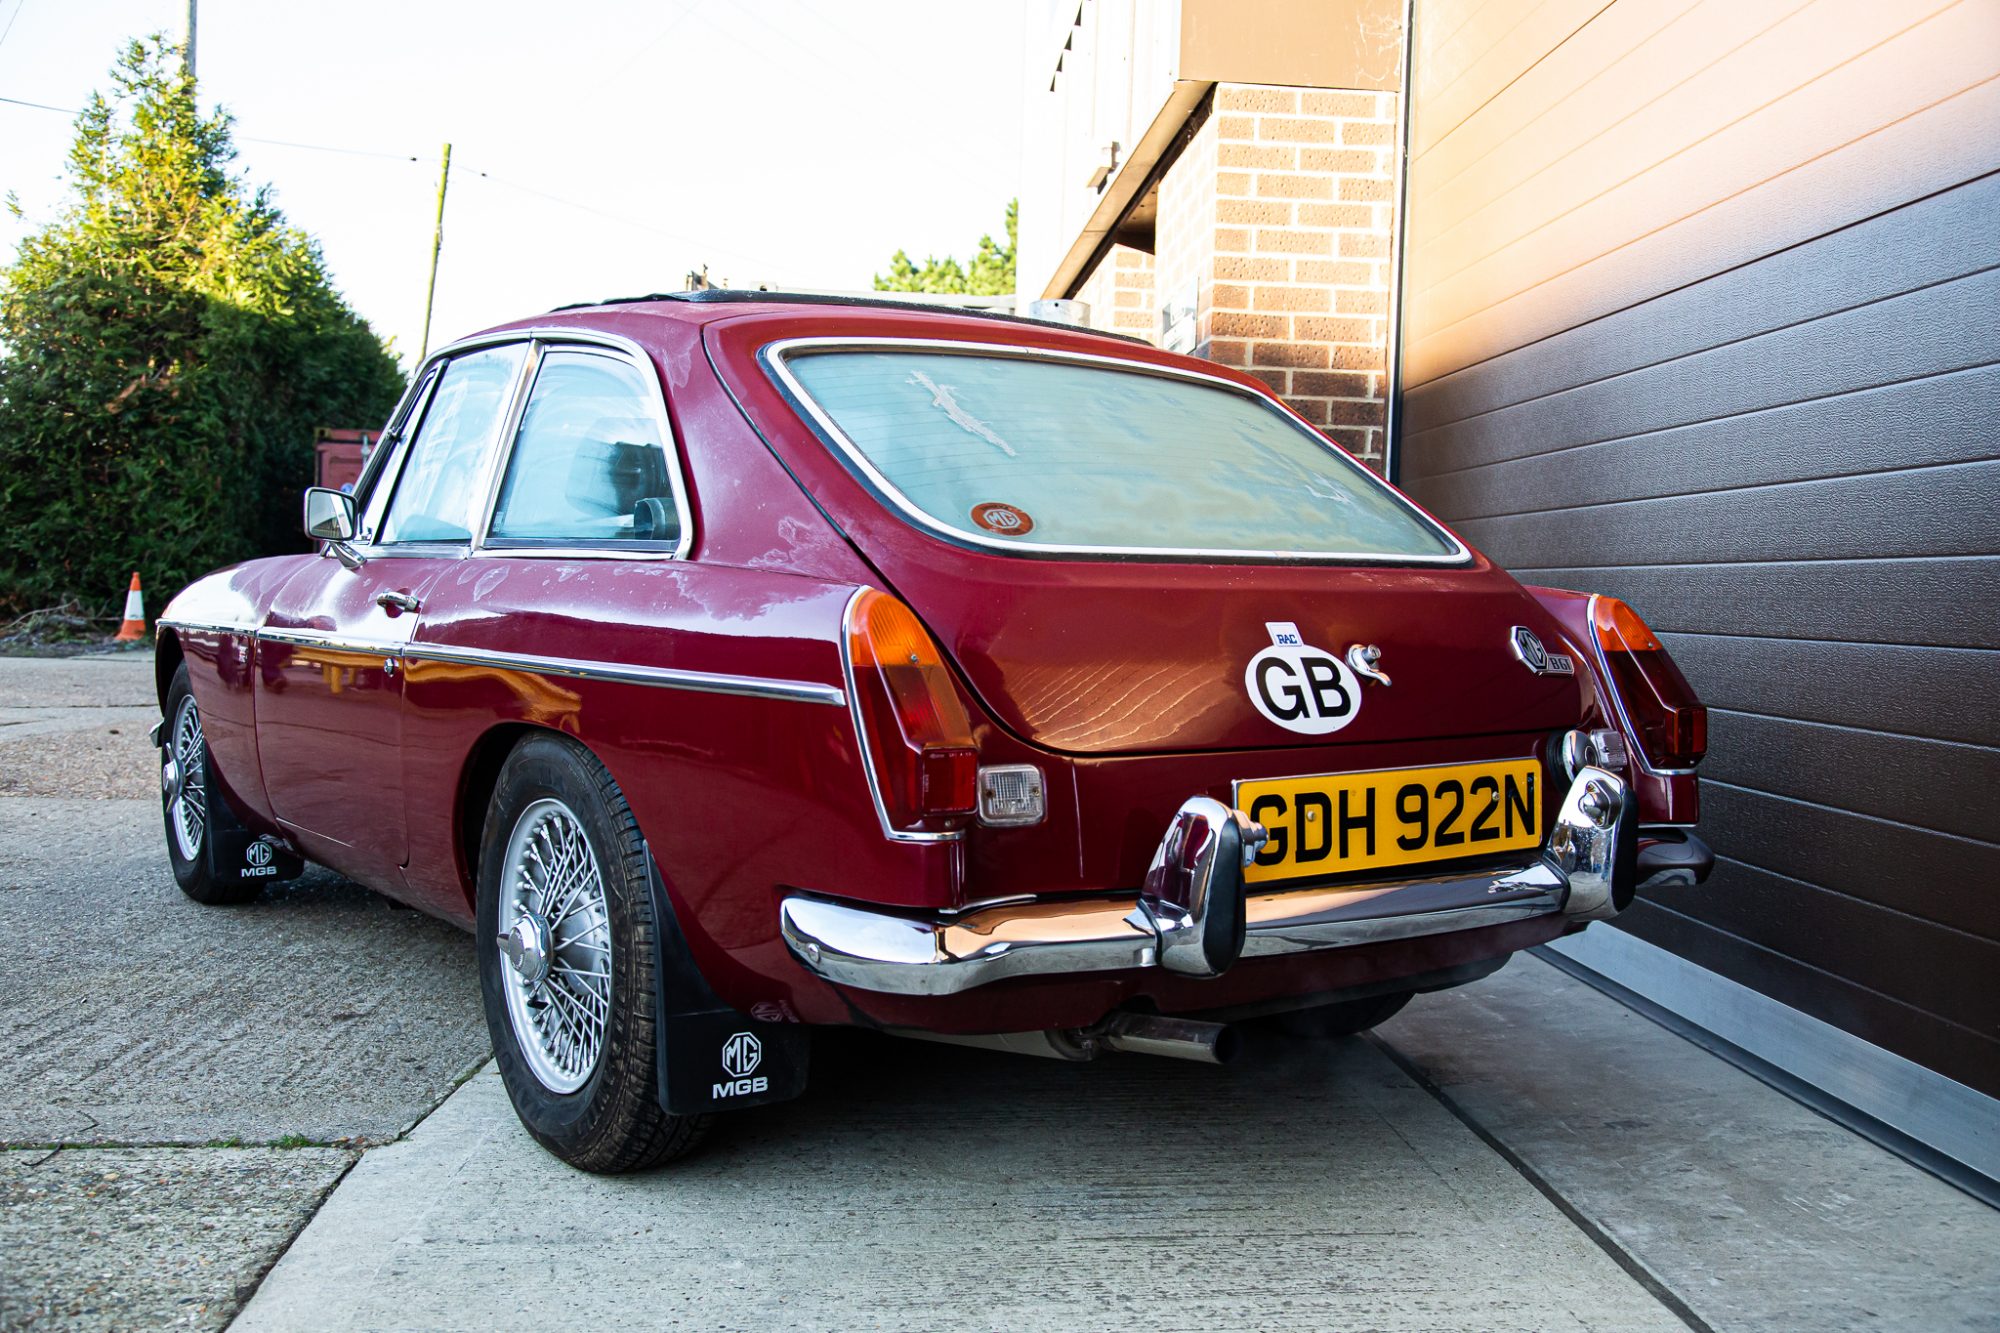
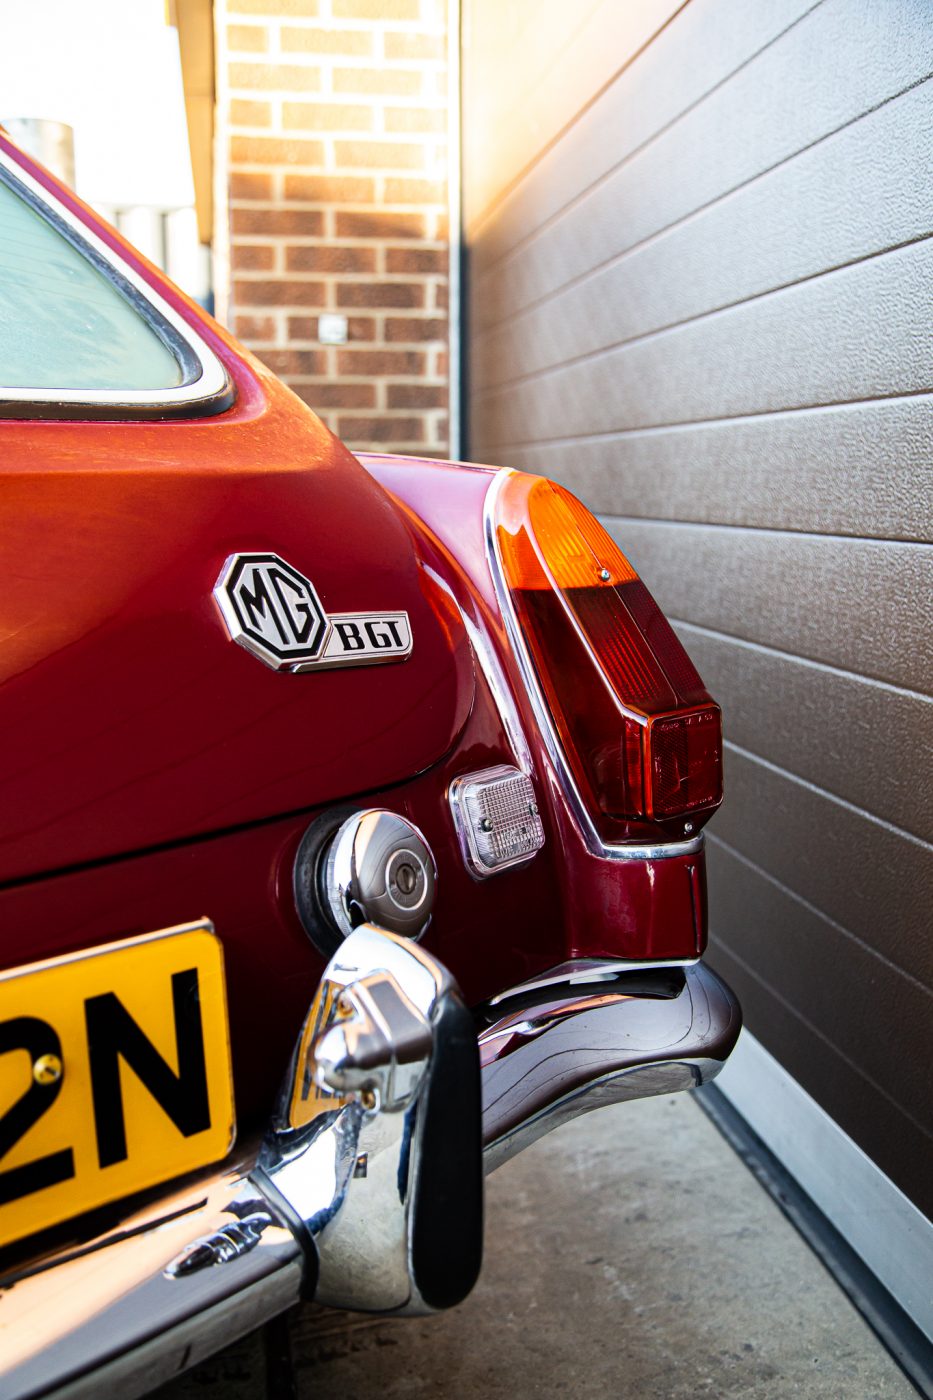
Just arrived at the Bridge Classic Cars workshop in Pettistree, Suffolk is this beautiful 1974 MGB GT.
This particular car has been owned by the same gentleman for the last 25 years and every single day the car has been enjoyed by its loving owner. This wonderful classic sportscar will be going into our workshop where it will be assessed and inspected by our in-house restoration teams.
Keep an eye out on the Bridge Classic Cars news page for more updates on this particular 1974 MGB GT.
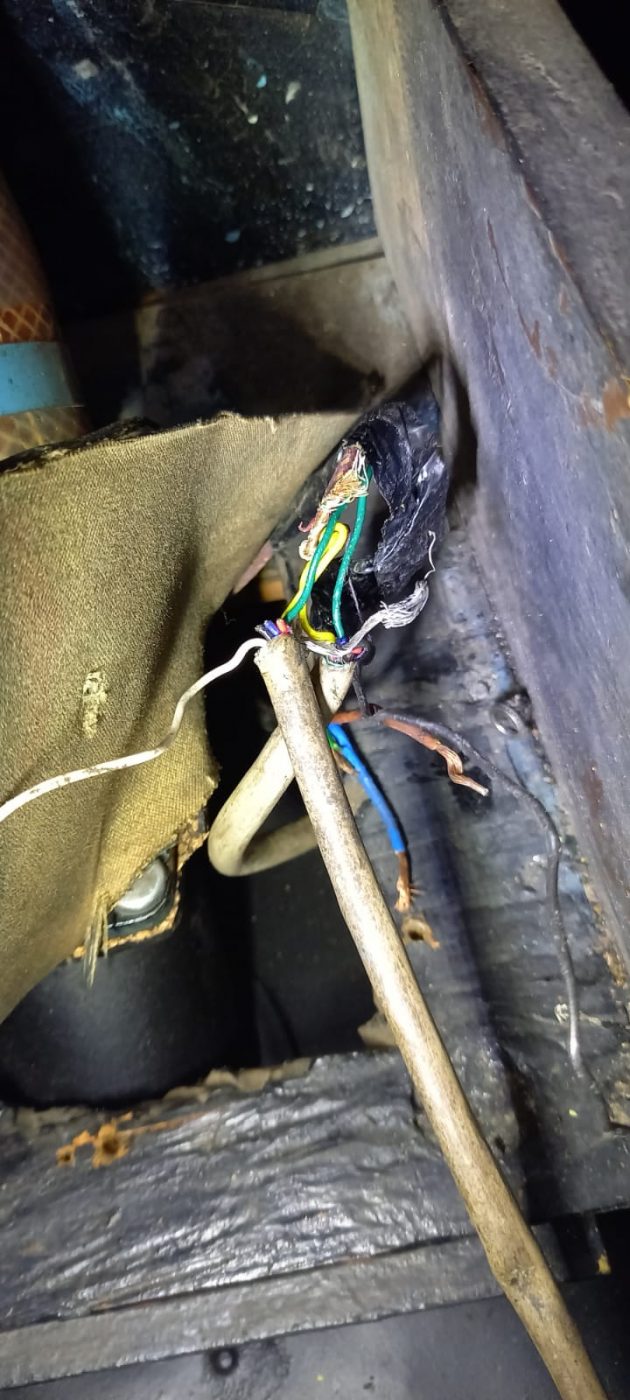
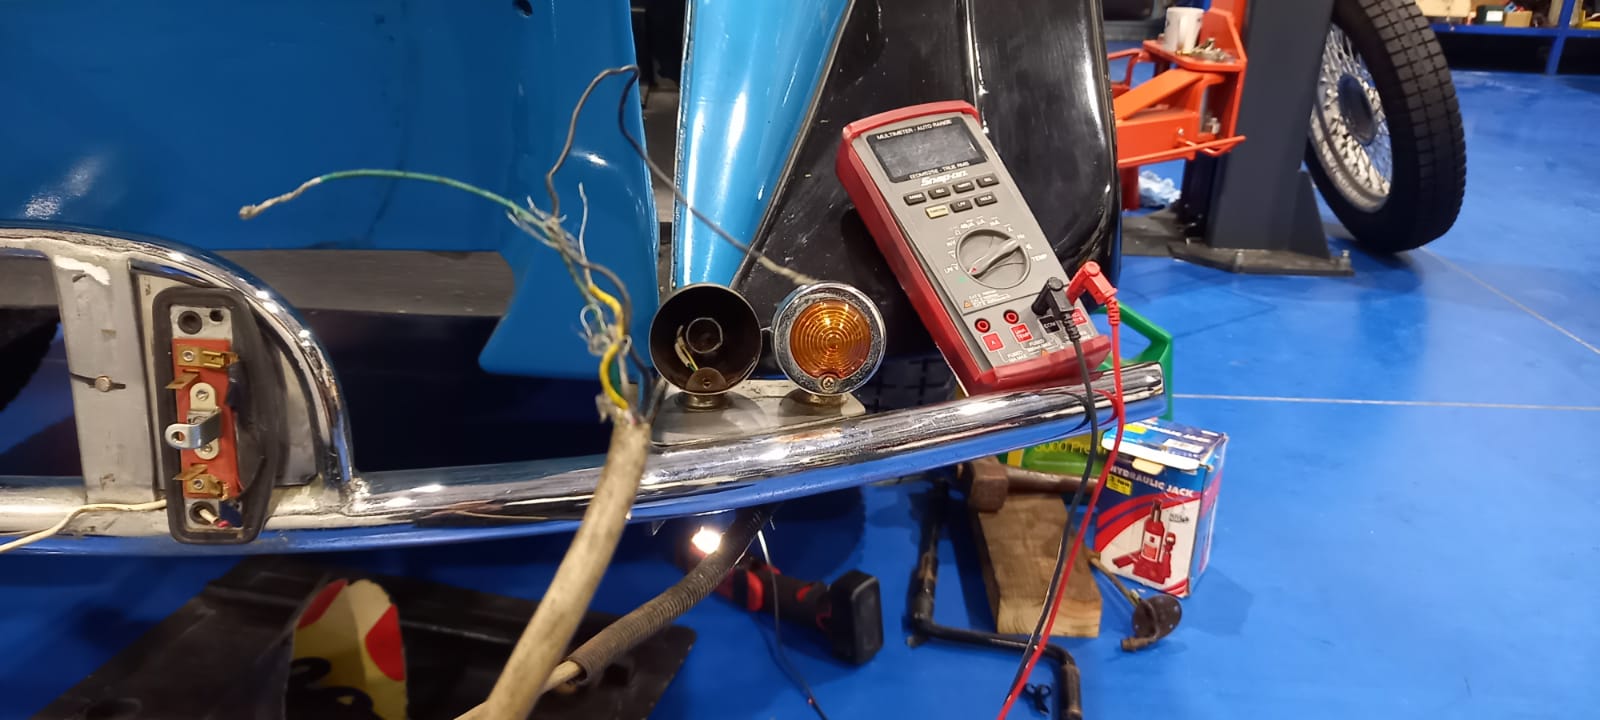
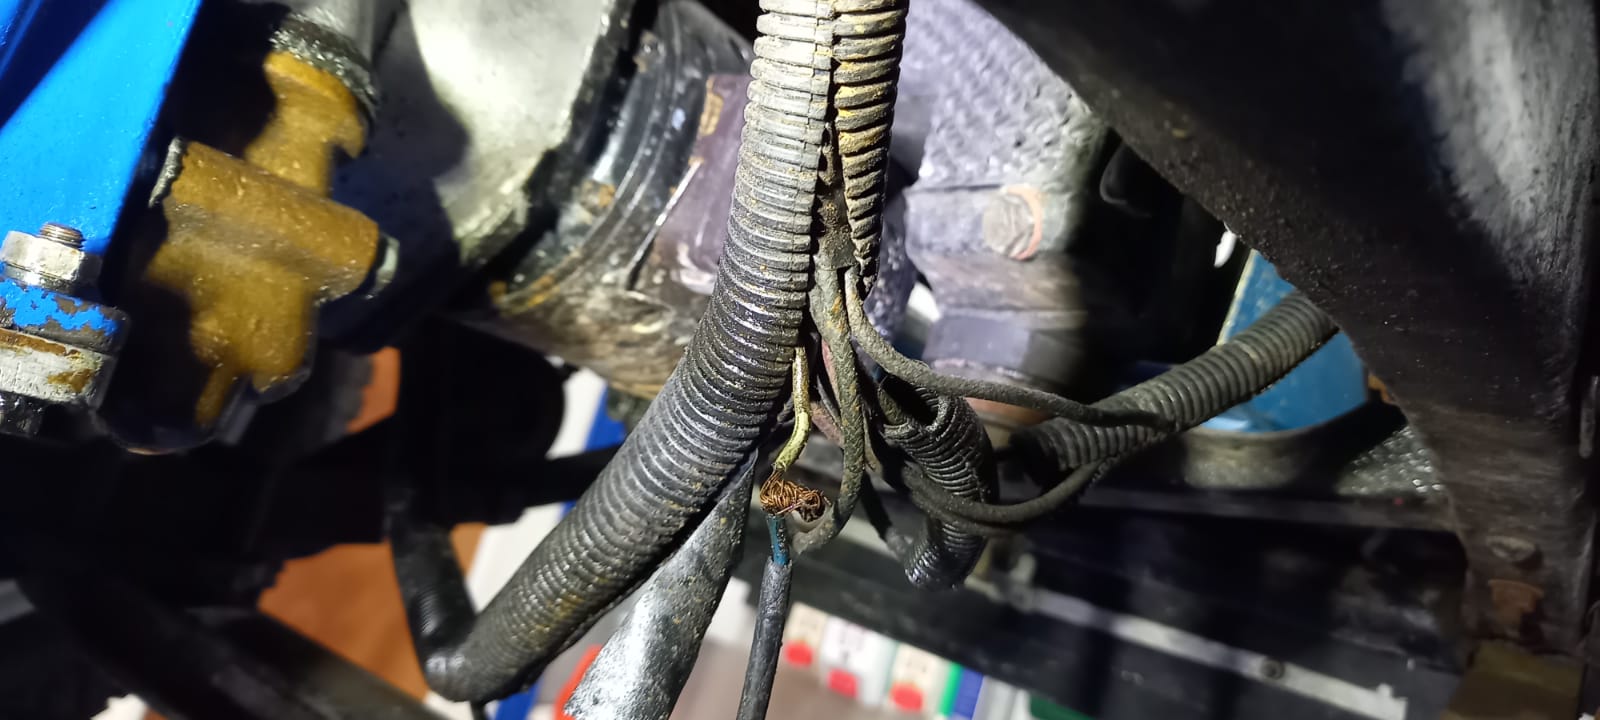
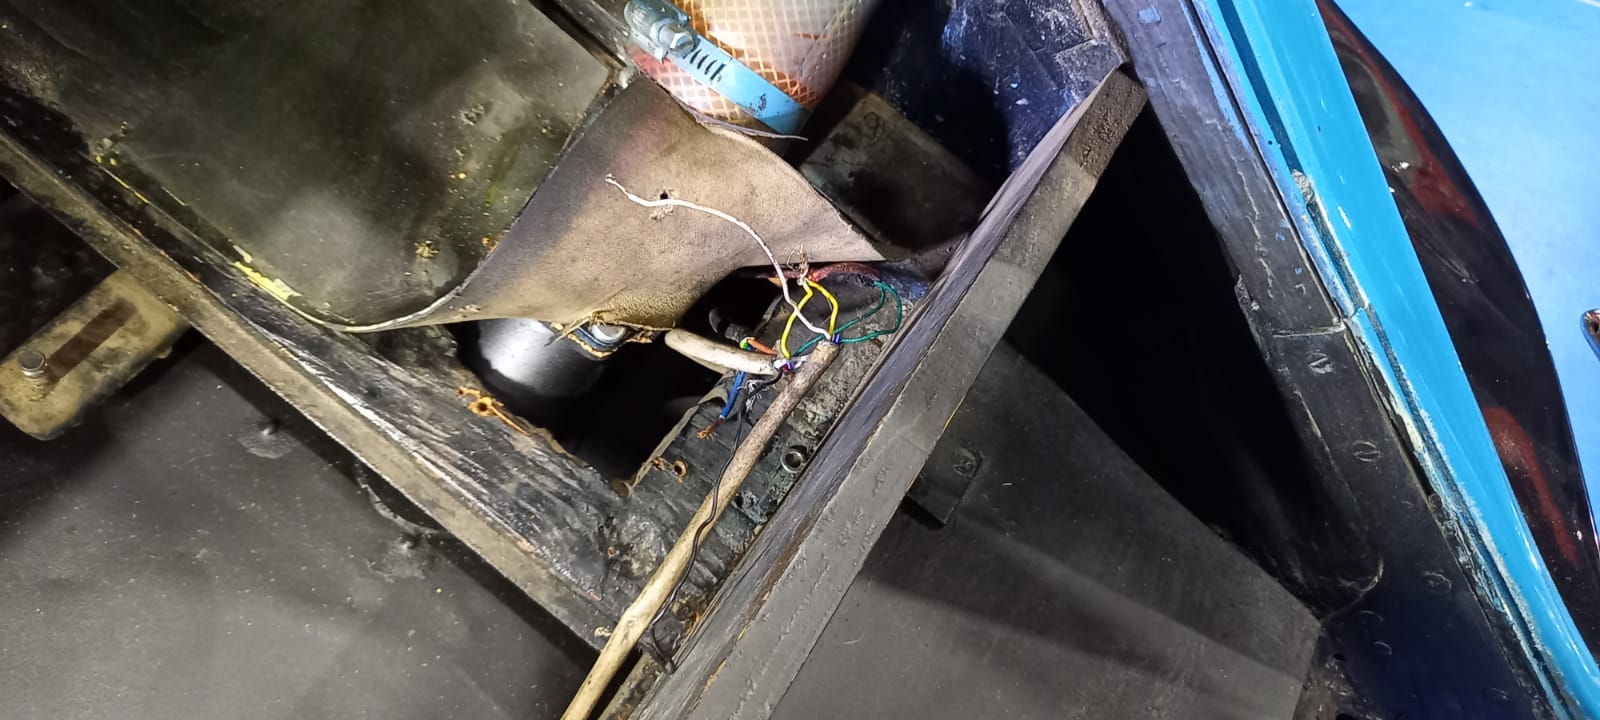
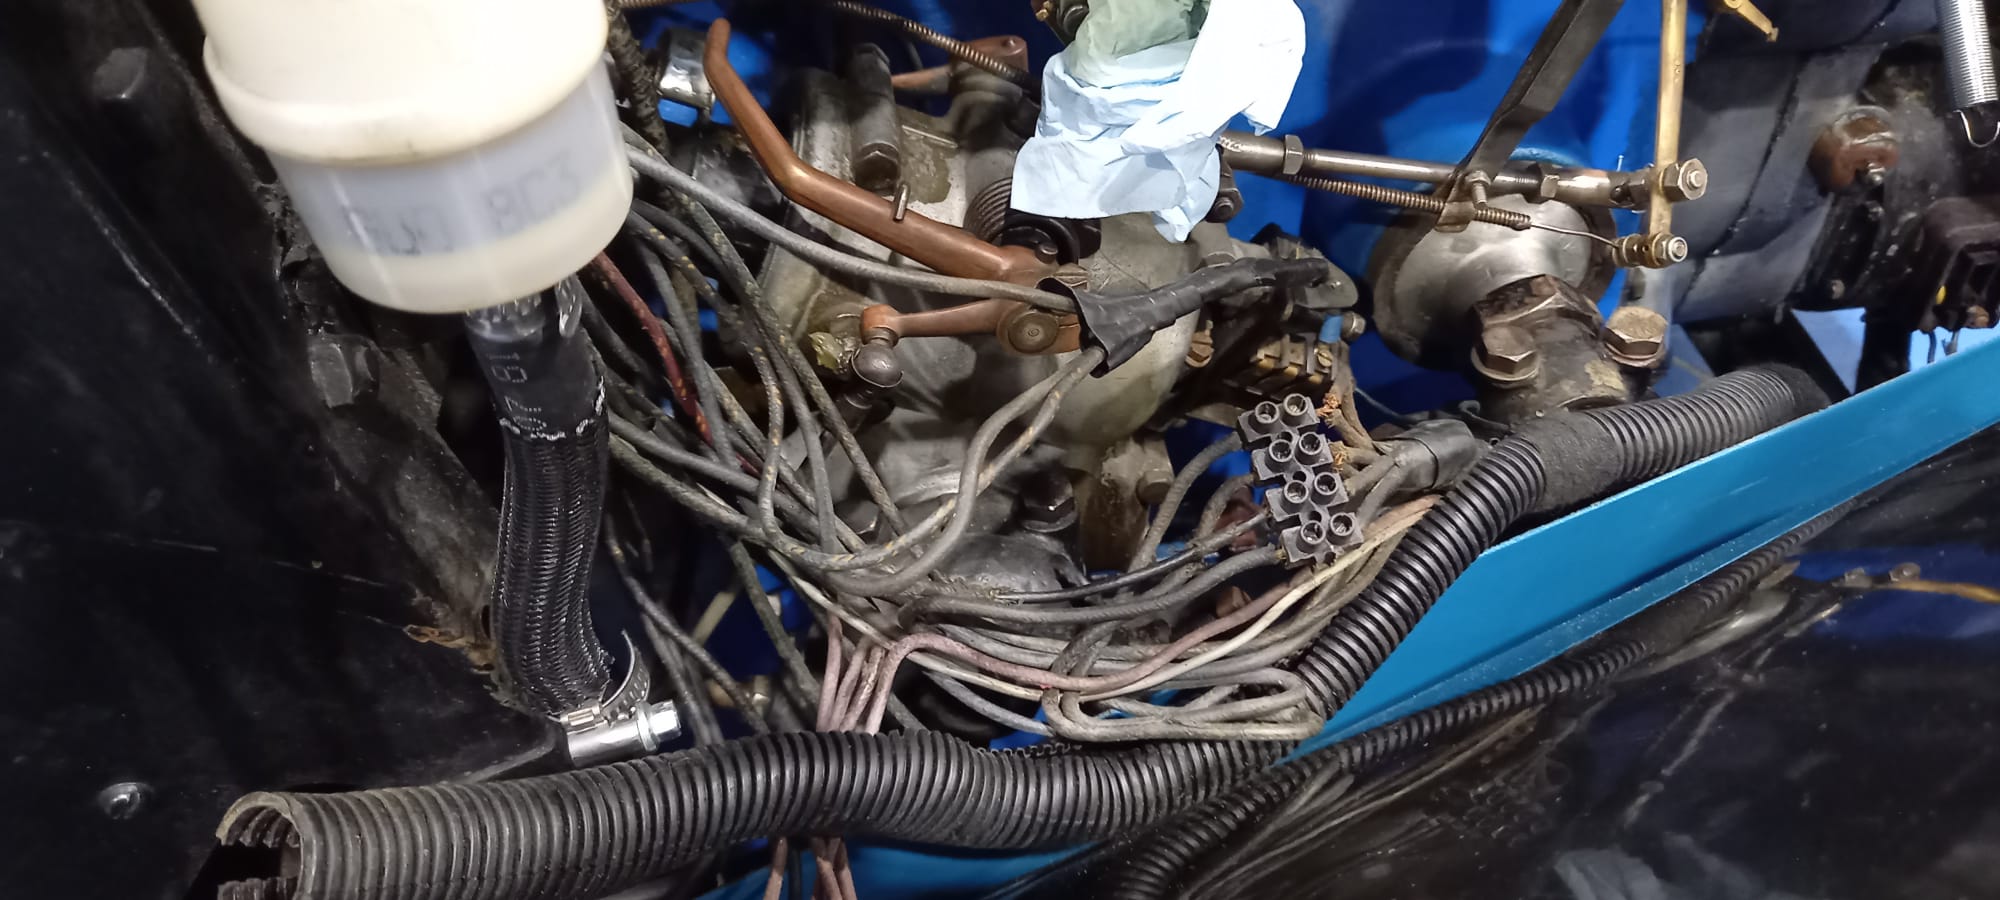
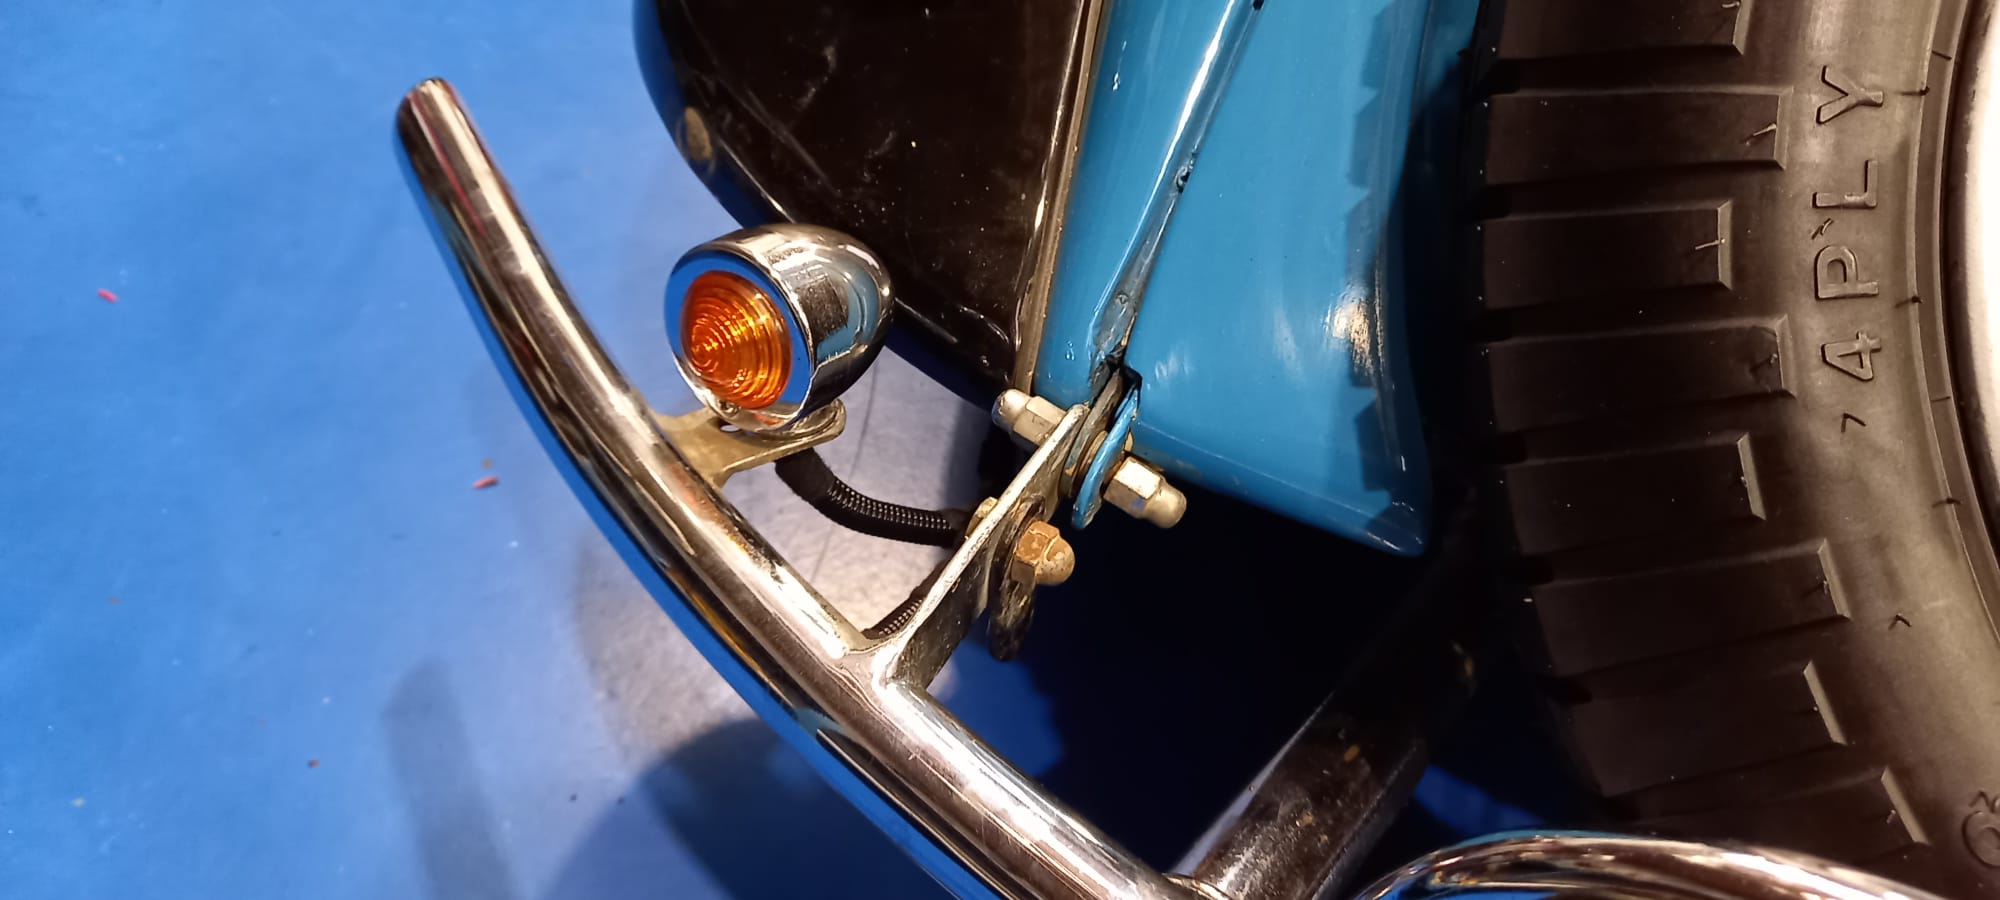
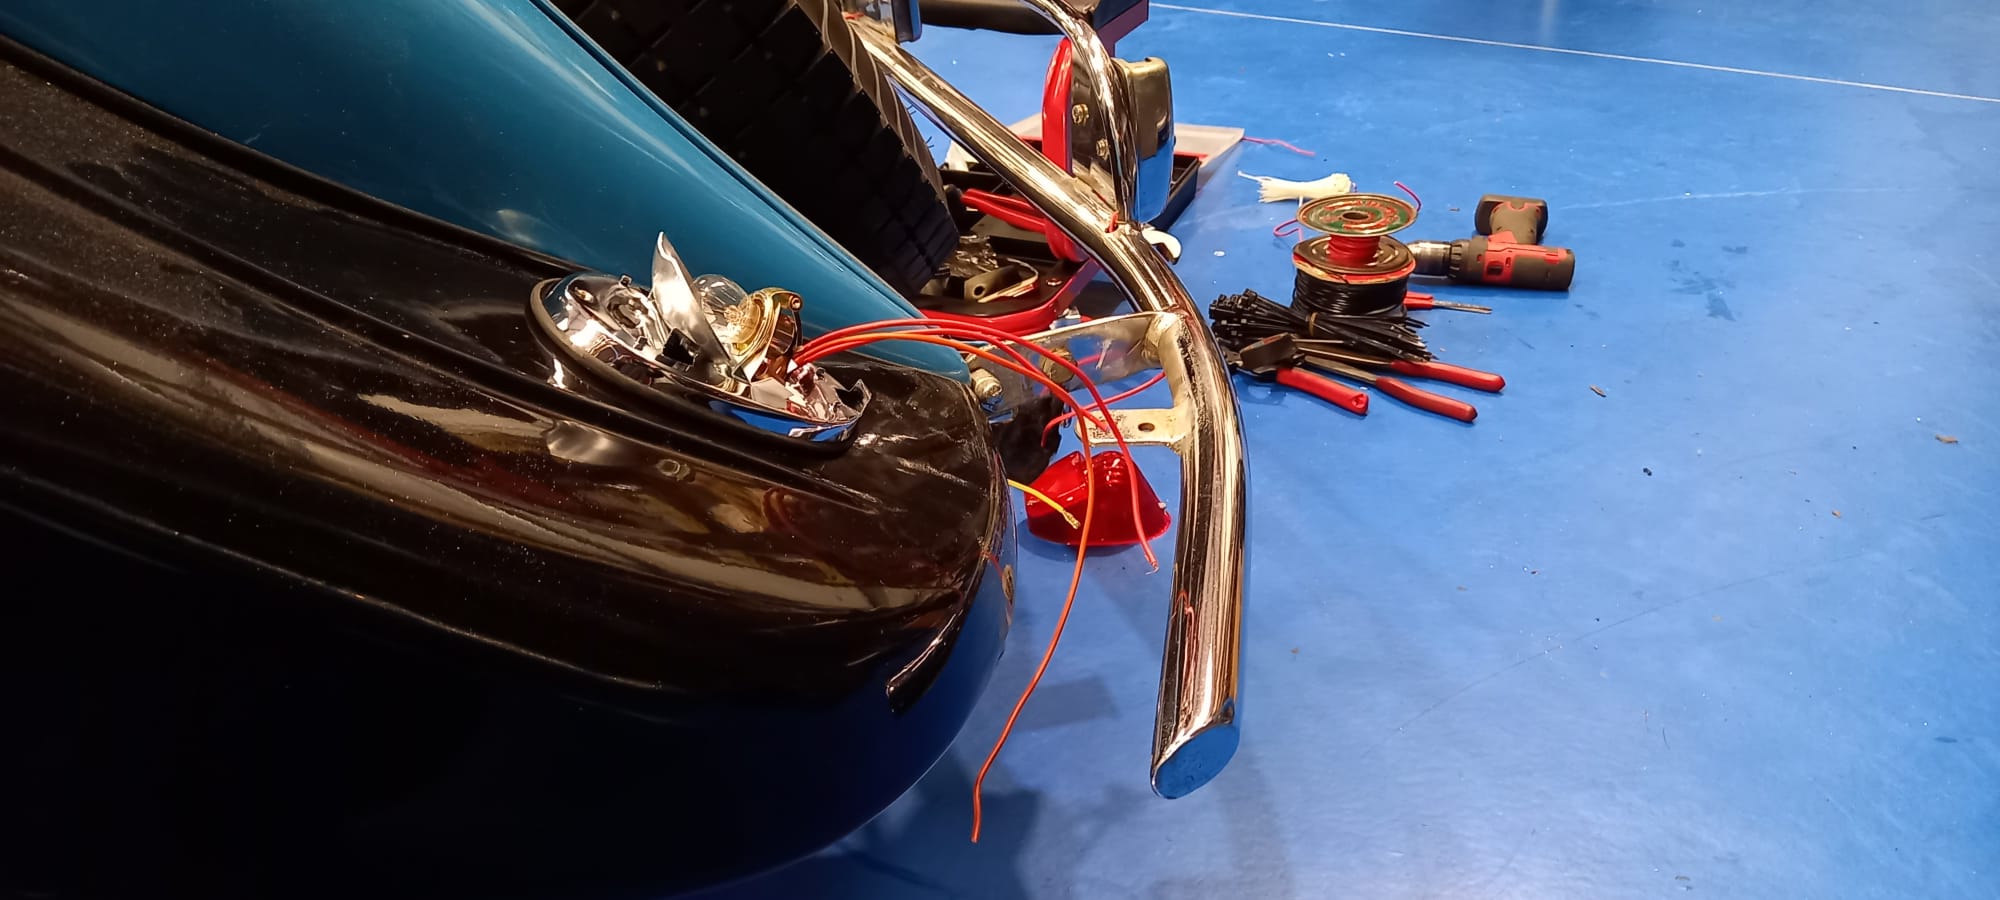
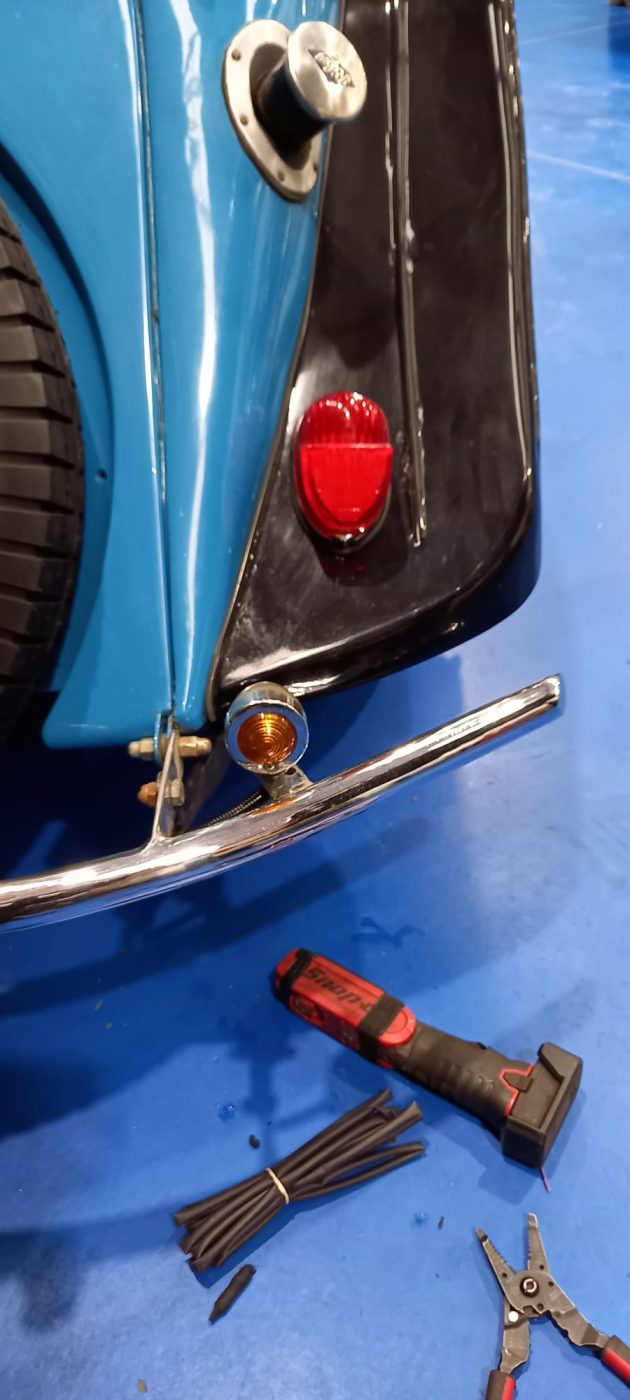

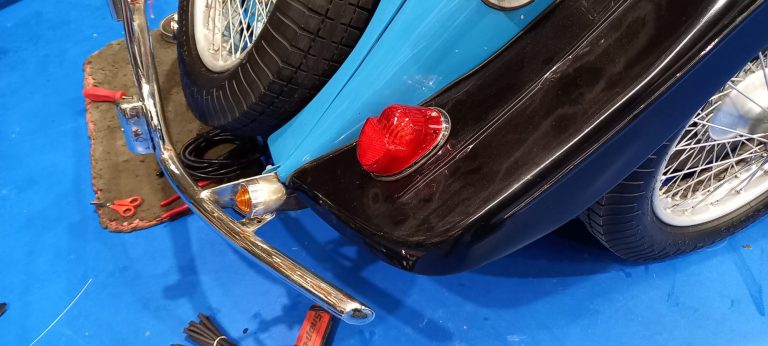
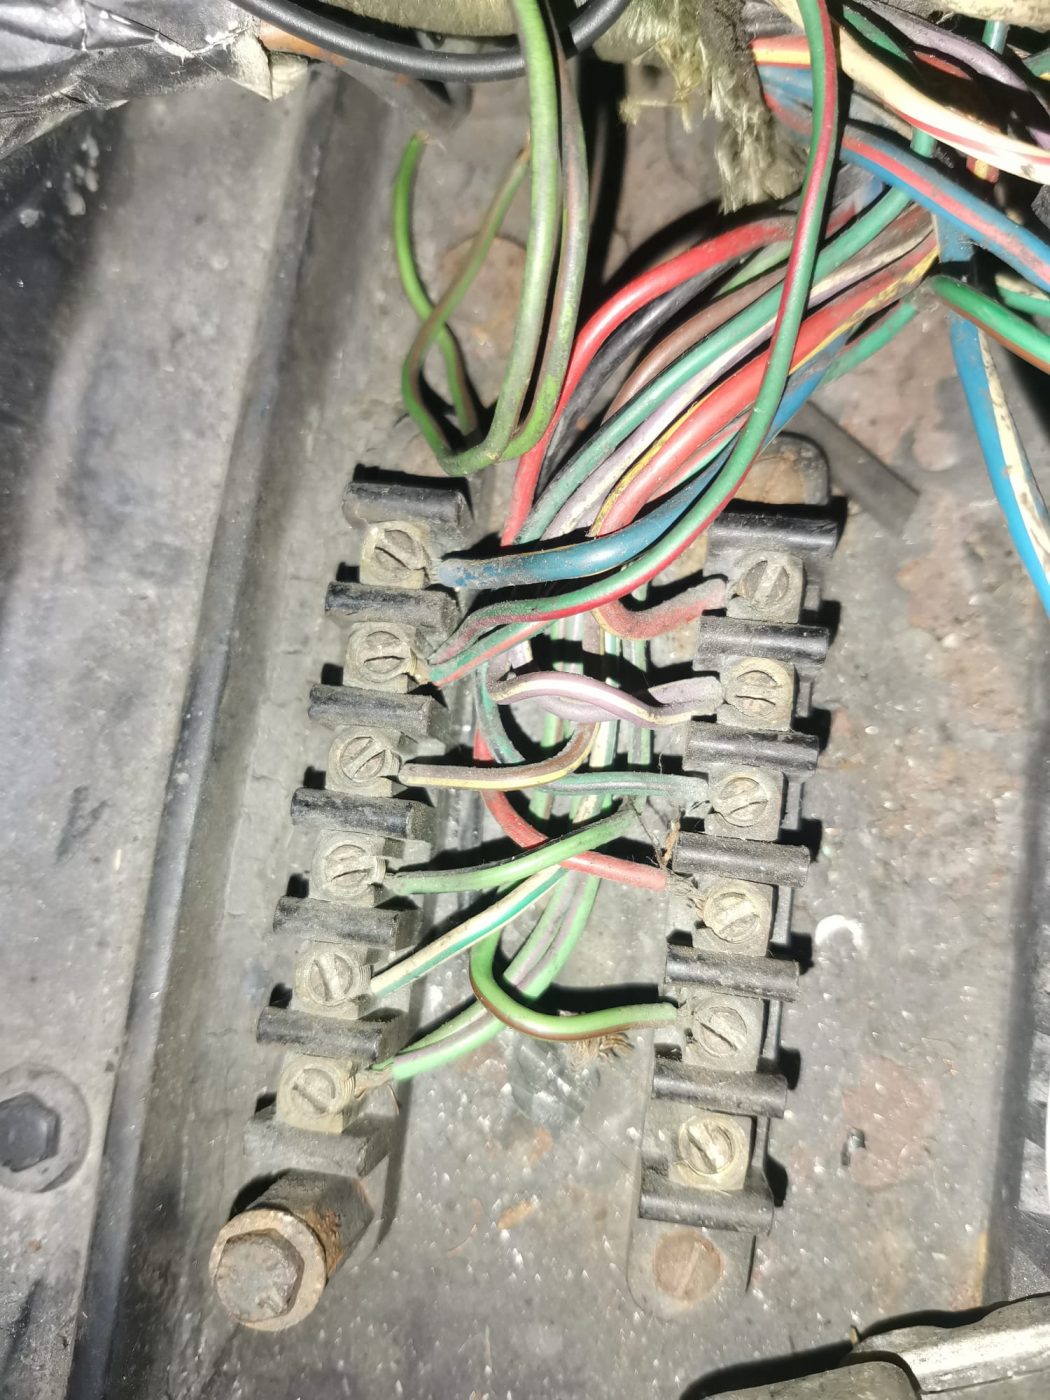
This 1934 Riley Lynx we have in at Bridge Classic Cars has got a few issues. Mainly electrical and involving the lights. So, our restoration technician Jonn has started to dig a bit deeper into it.
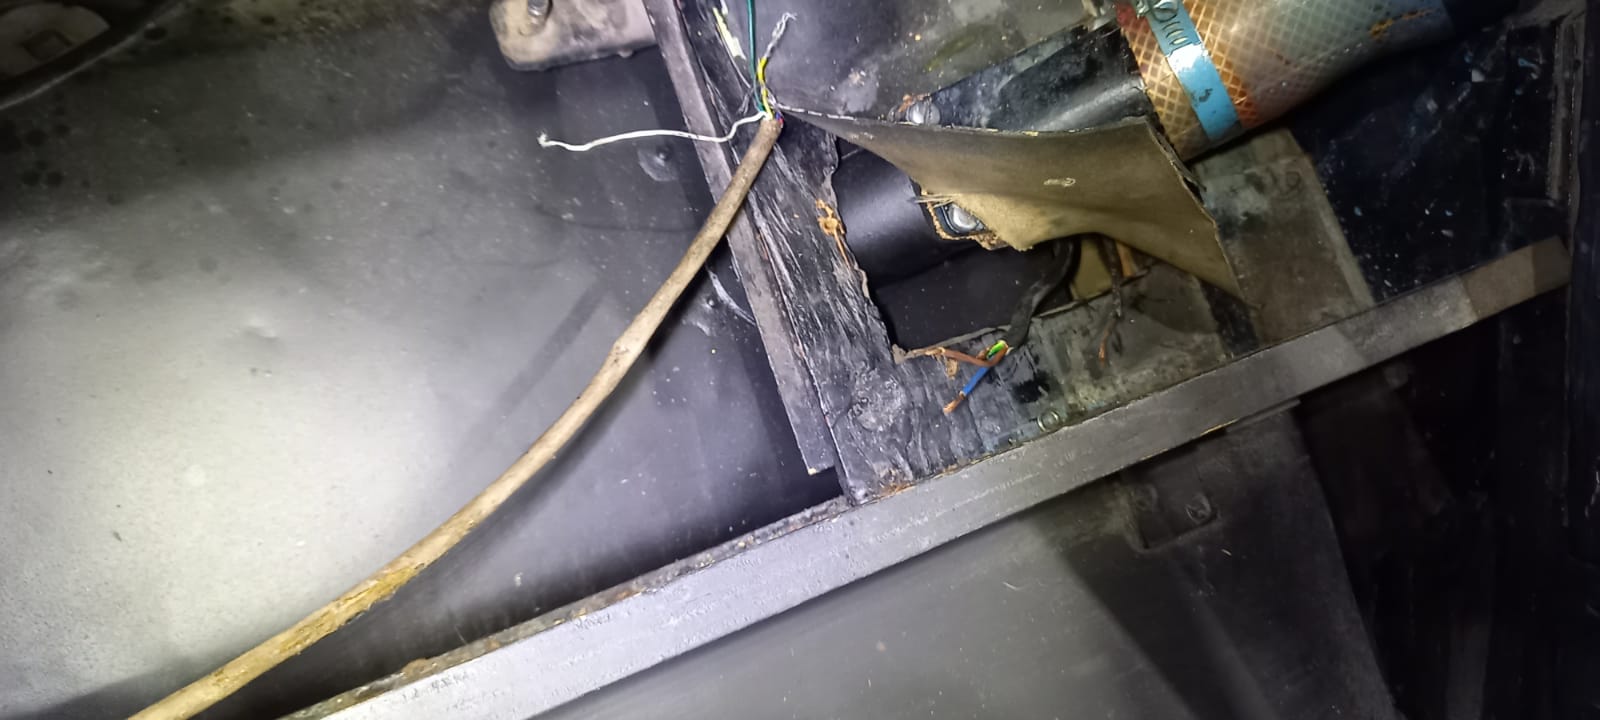
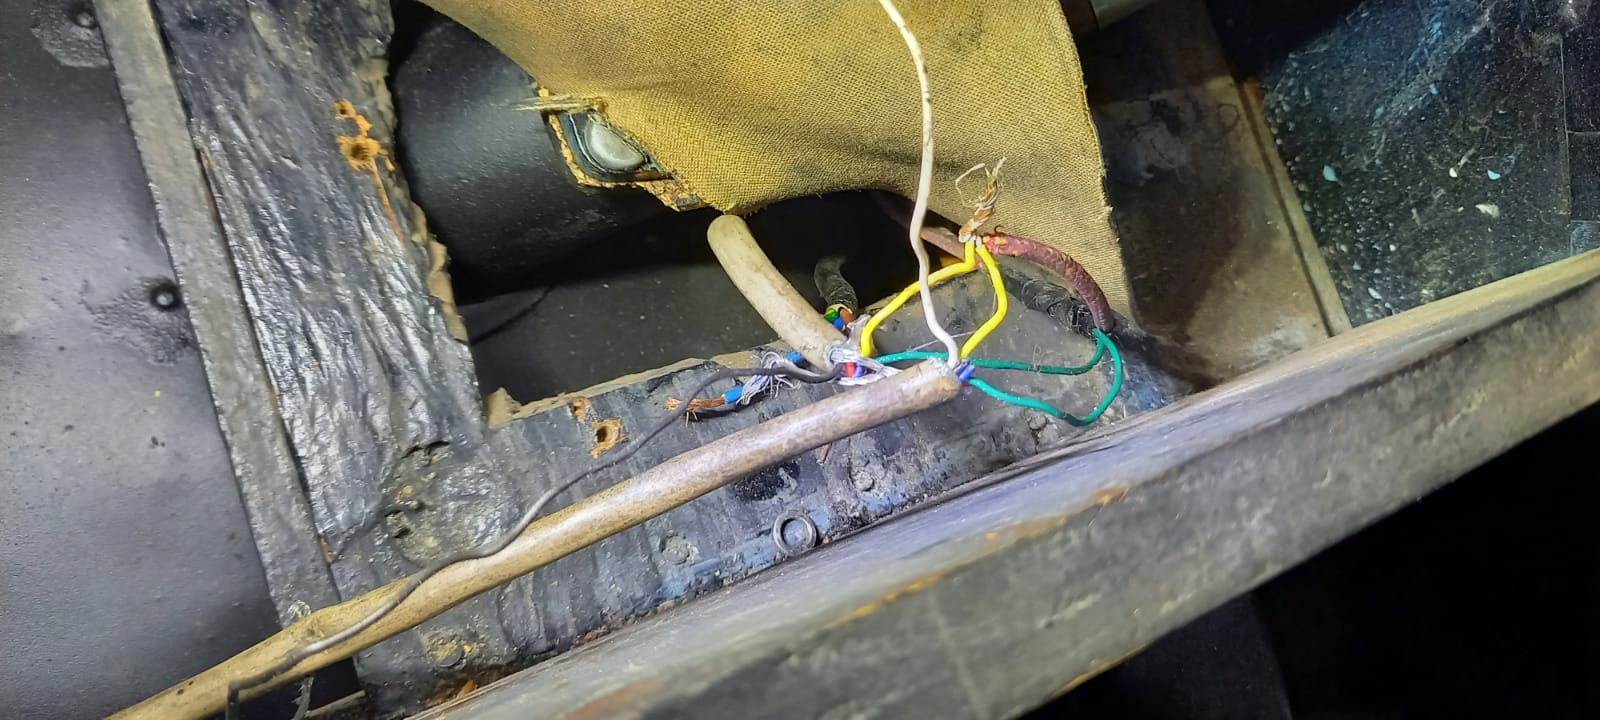
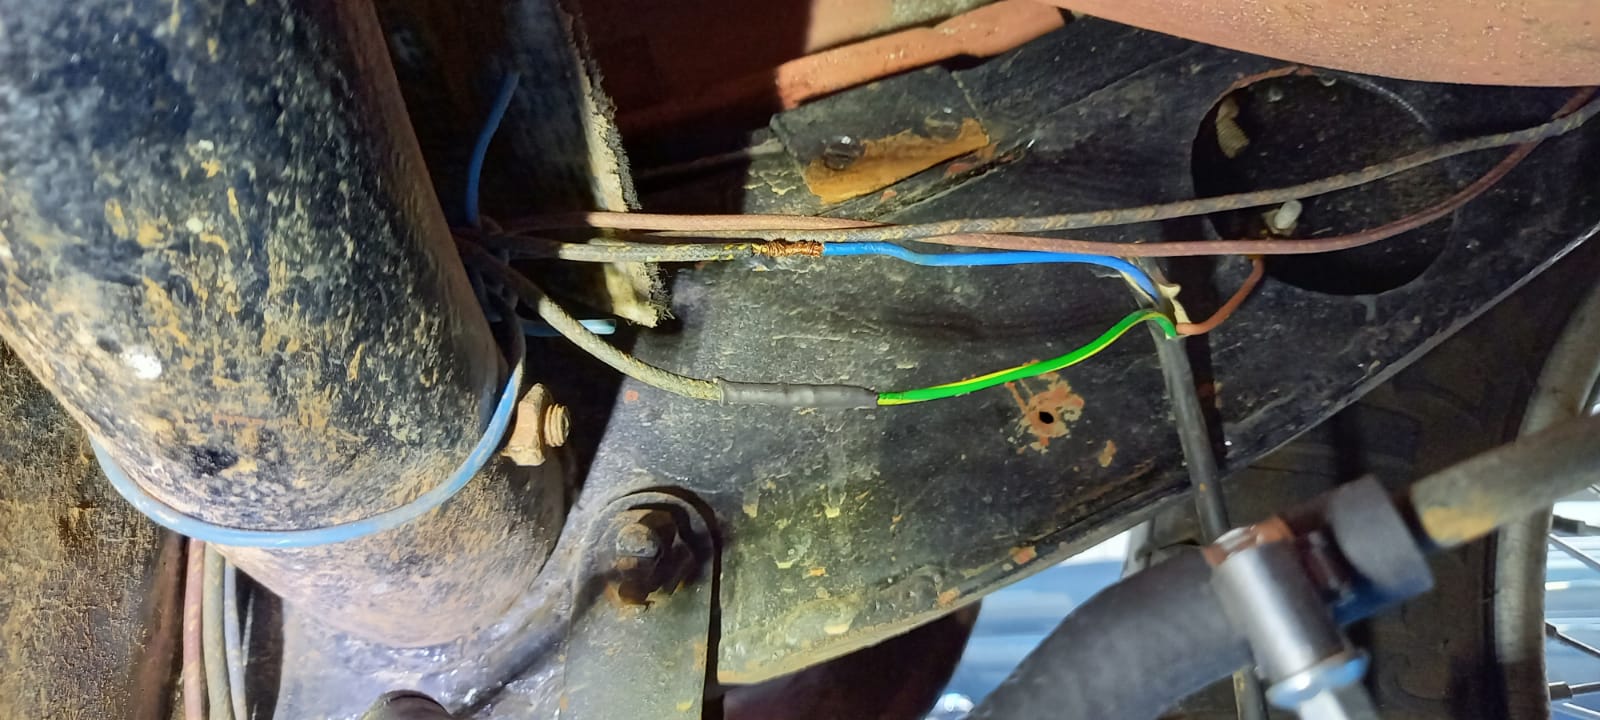
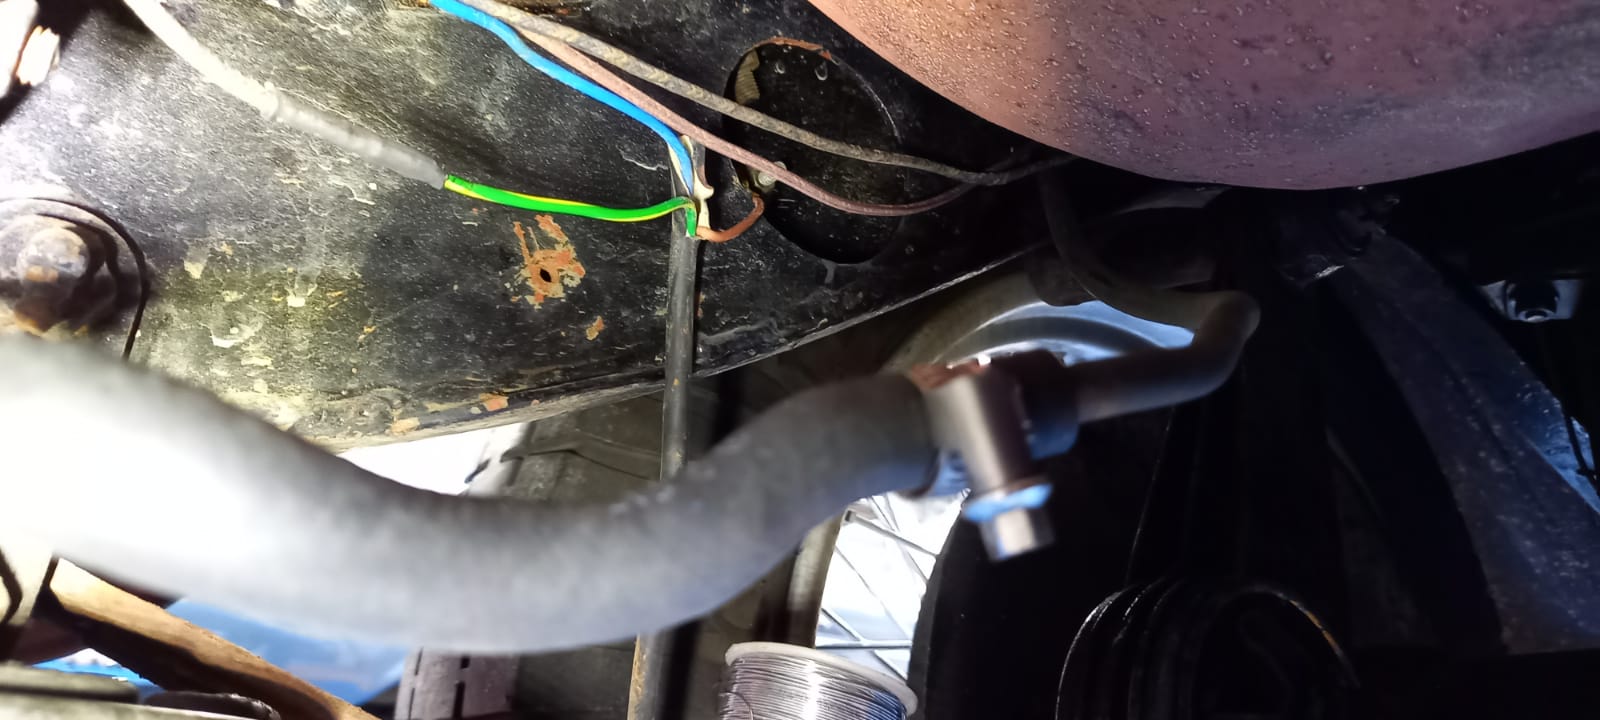
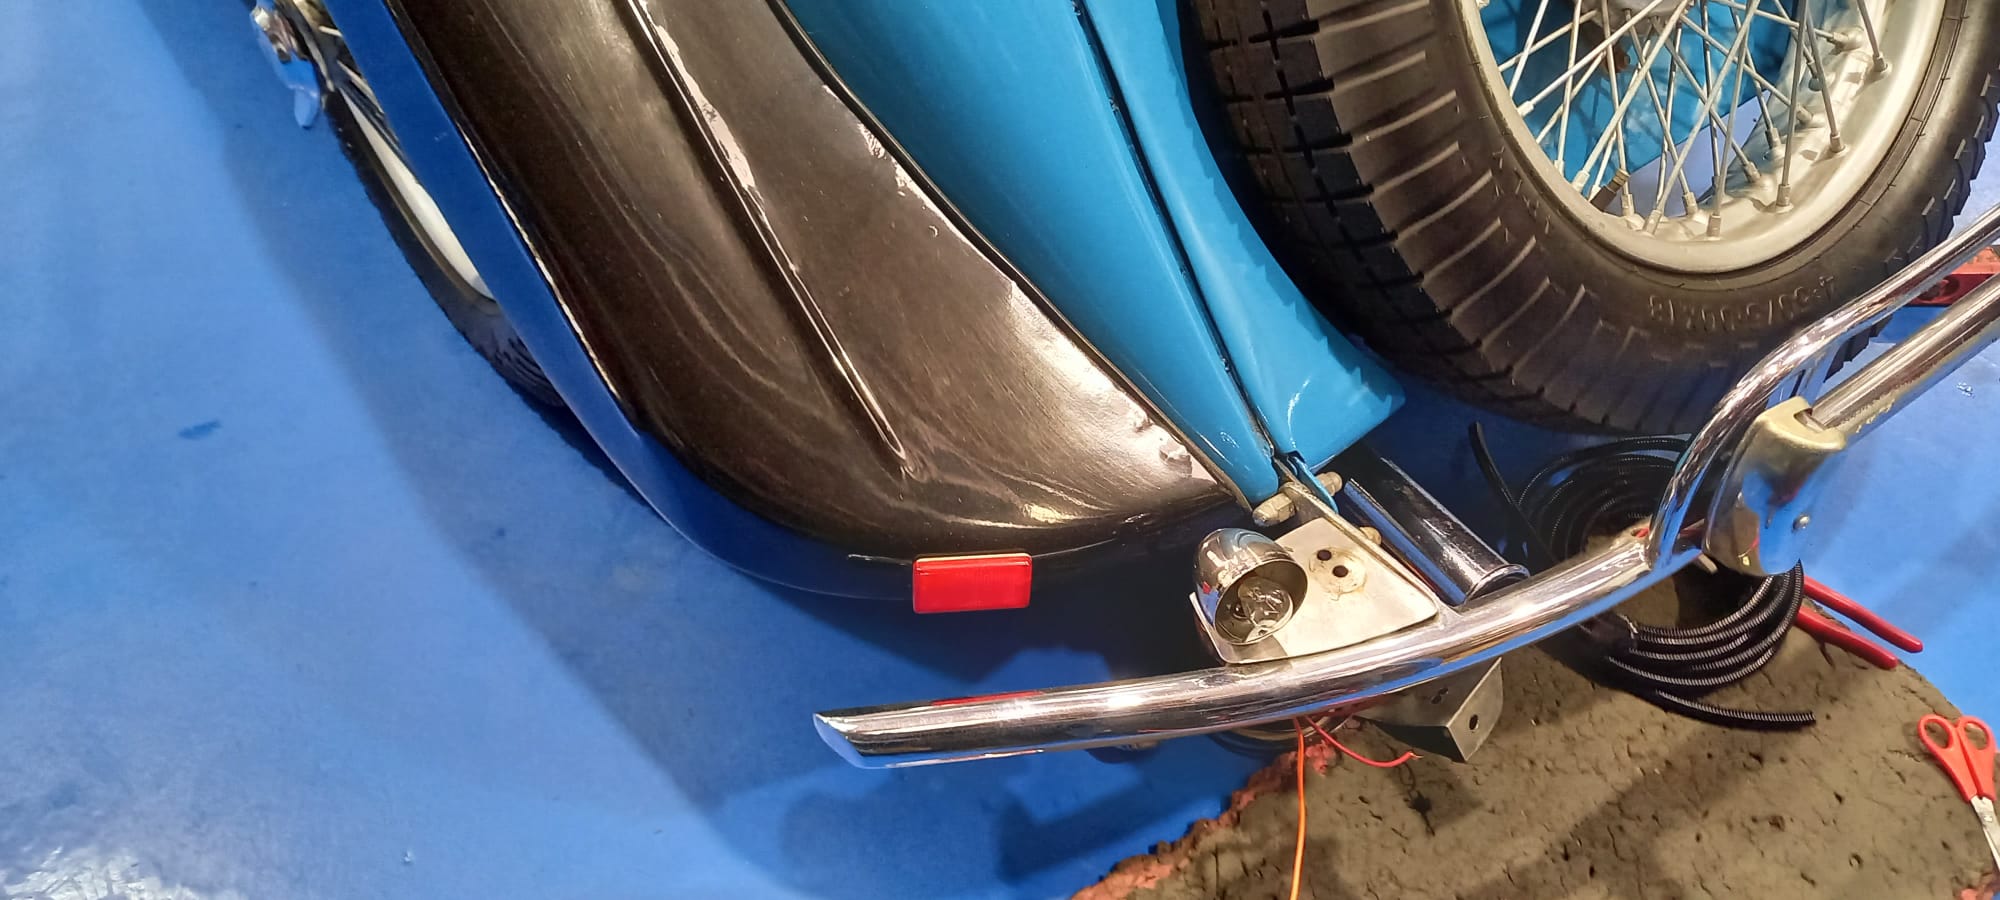
Upon inspection, Jonn found that the rear lights in the car had been wired in using what appeared to be an old household cable. Not the correct way of doing things. Jonn inspected all of the wiring for the Riley and found that a lot of it would need to be replaced in order for the car to be safe and to find out why the rear lights had not been working.
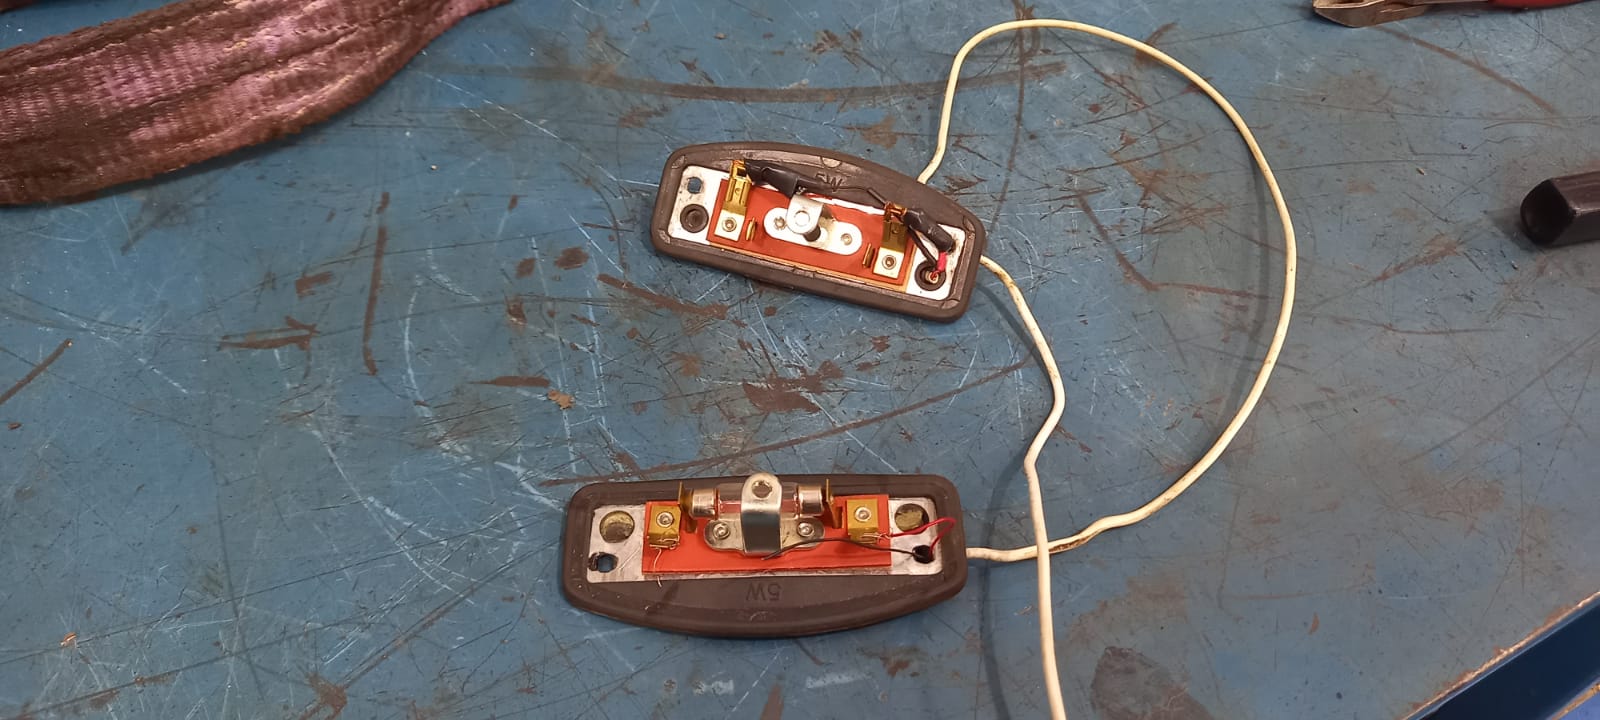
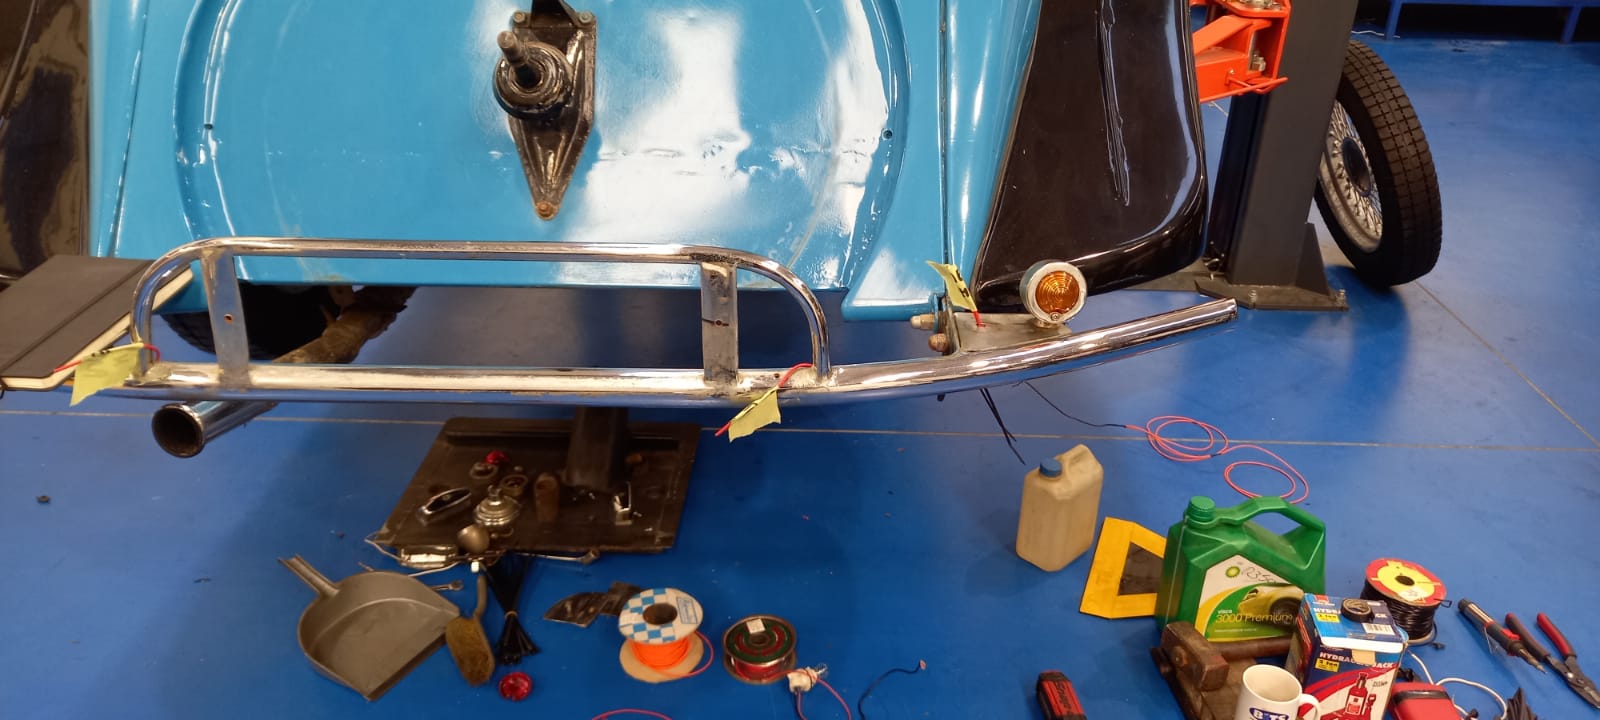
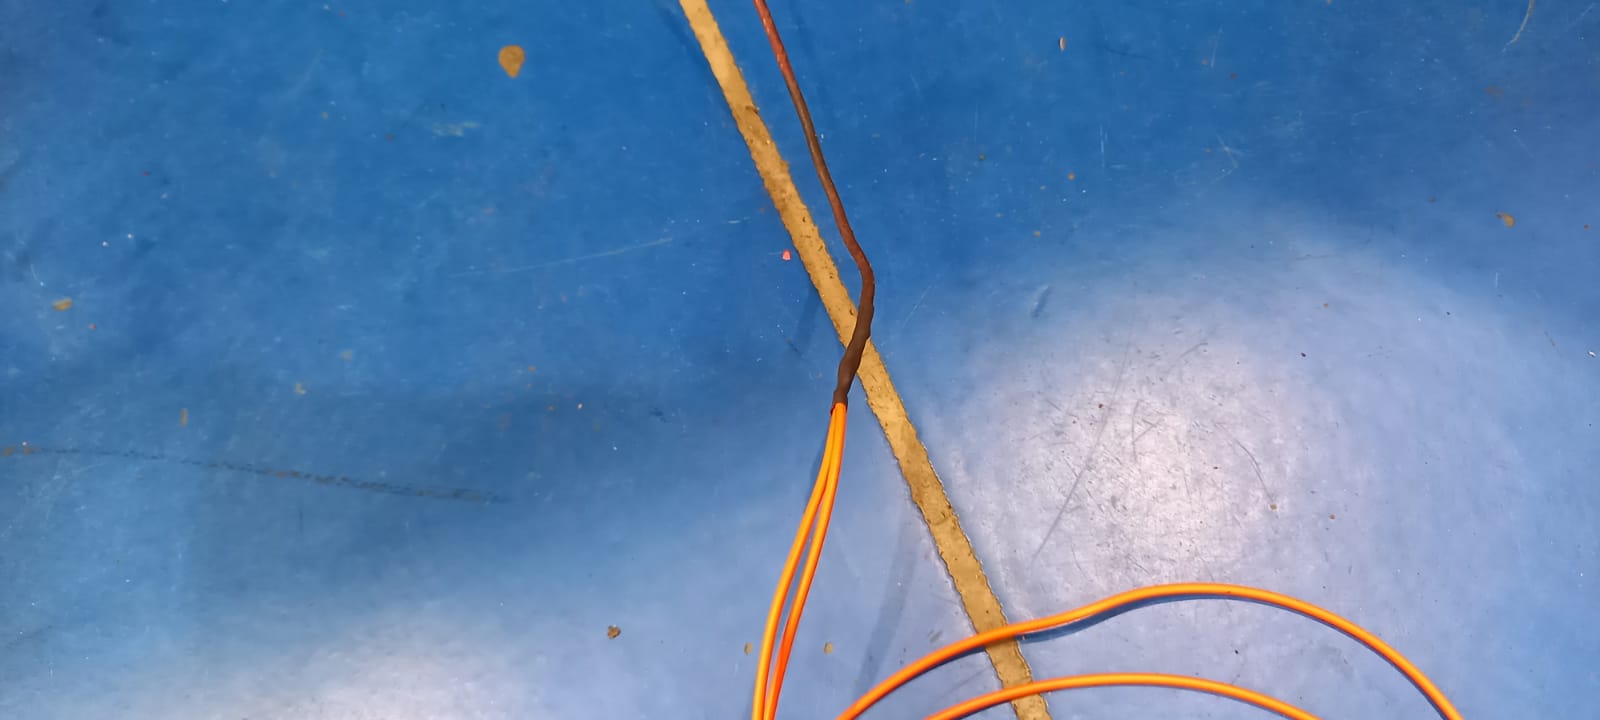
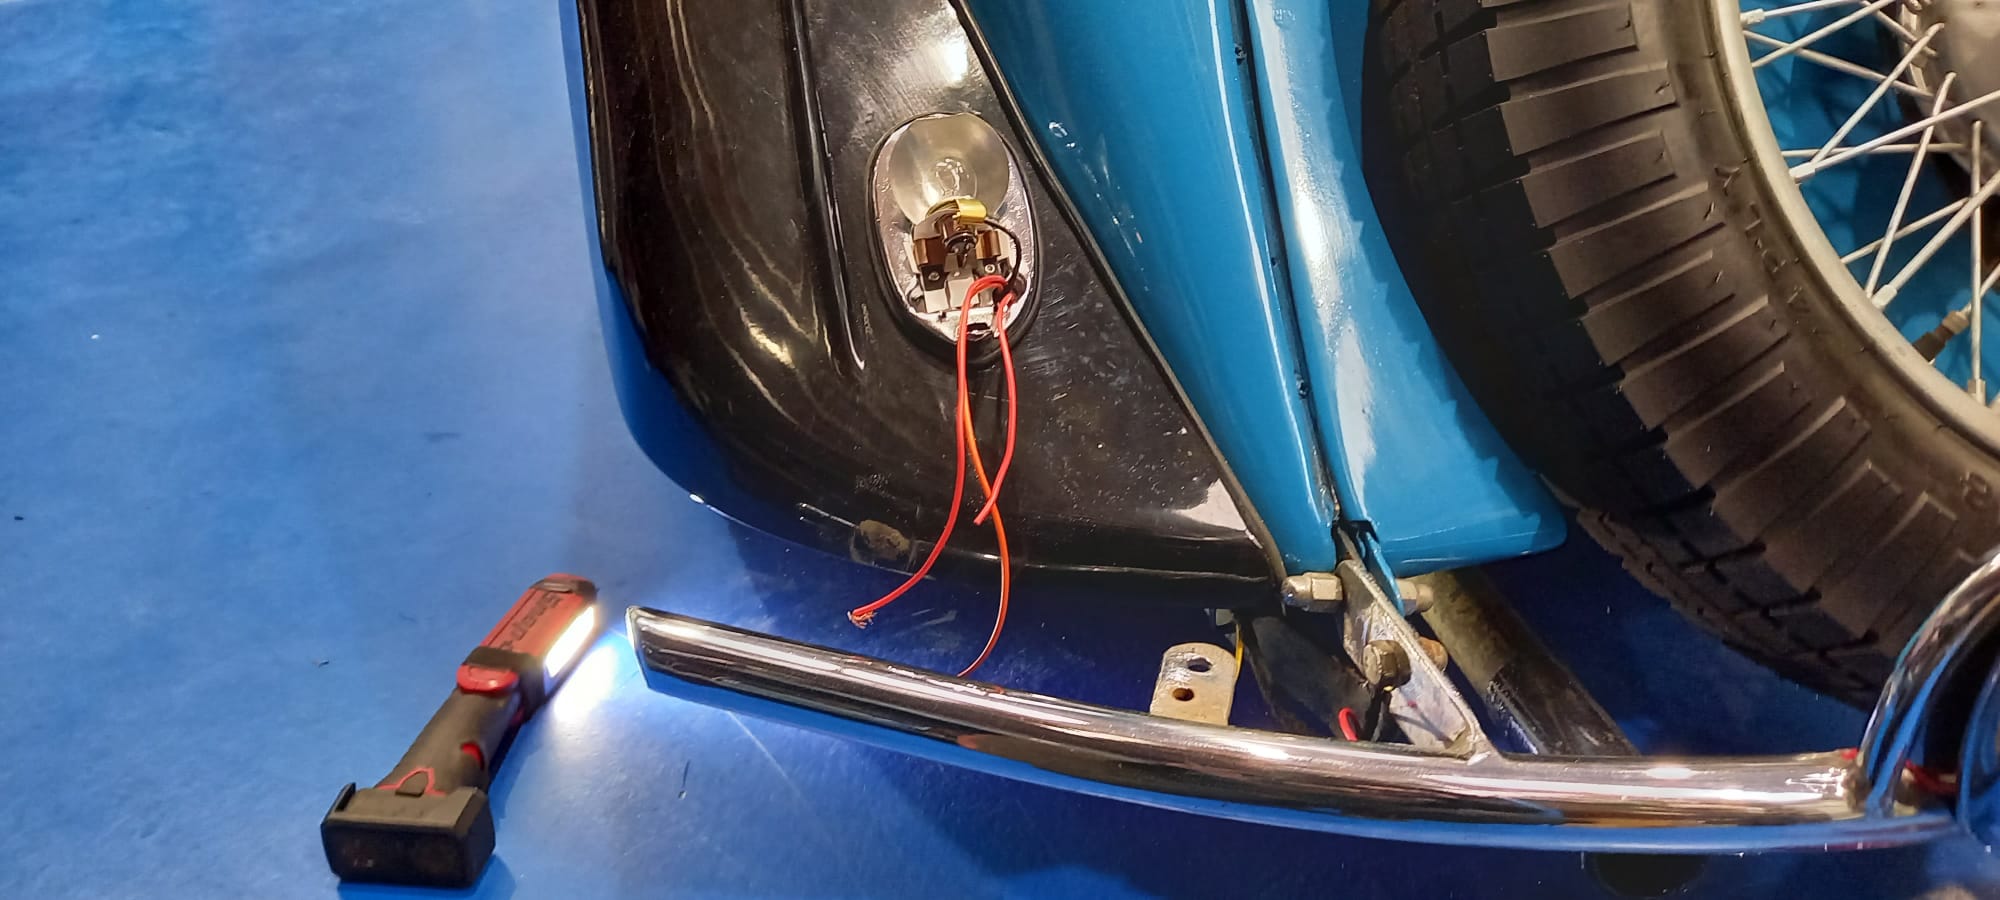
Jonn began by replacing the wires individually and testing their continuity as he want. Wire by wire he remade the harness for the rear lights in the proper way and ensured they were all safe and secure, once he began testing the lights he found that the rear lights that were fitted still did not work. Replacement ones were ordered and once they have arrived, Jonn fitted them to the car.
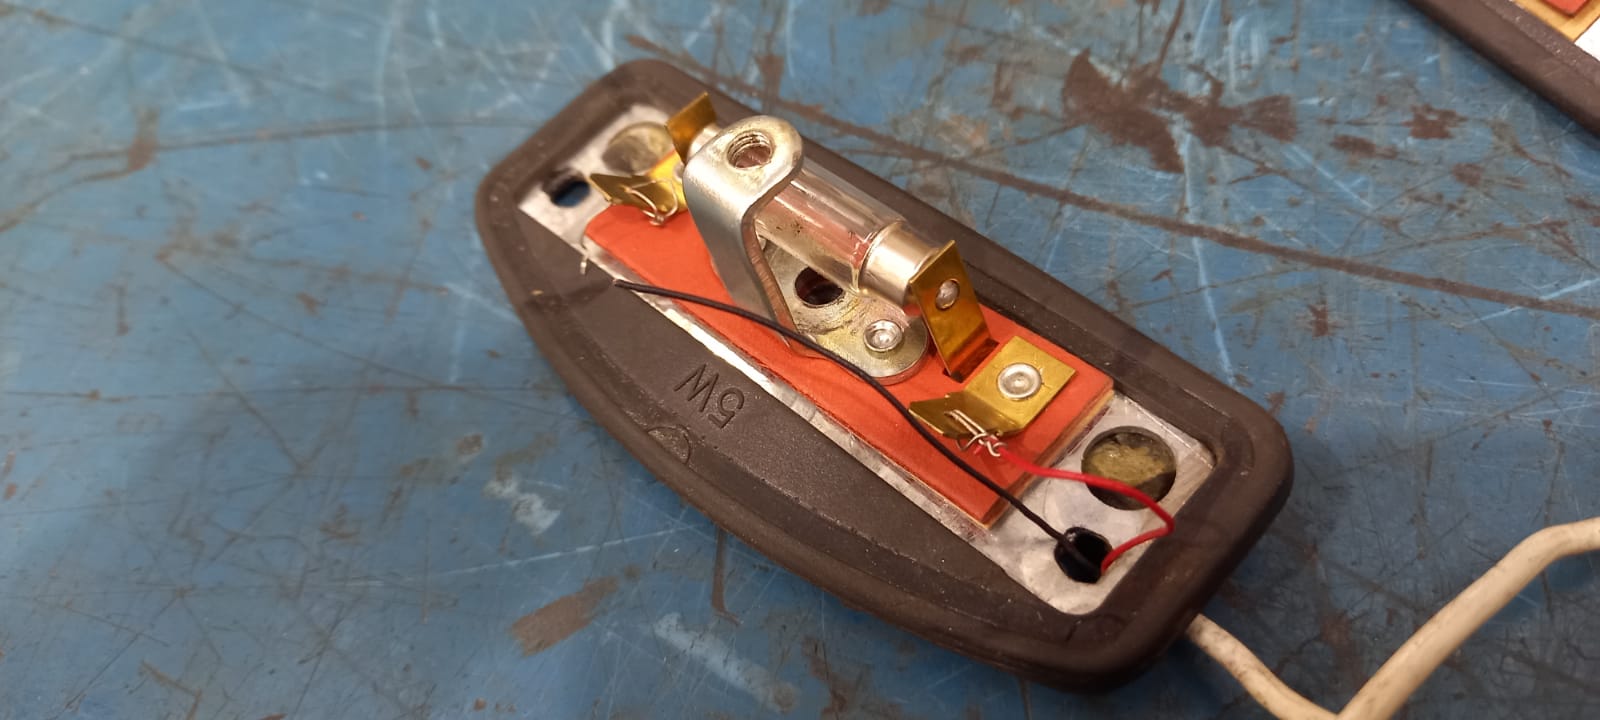
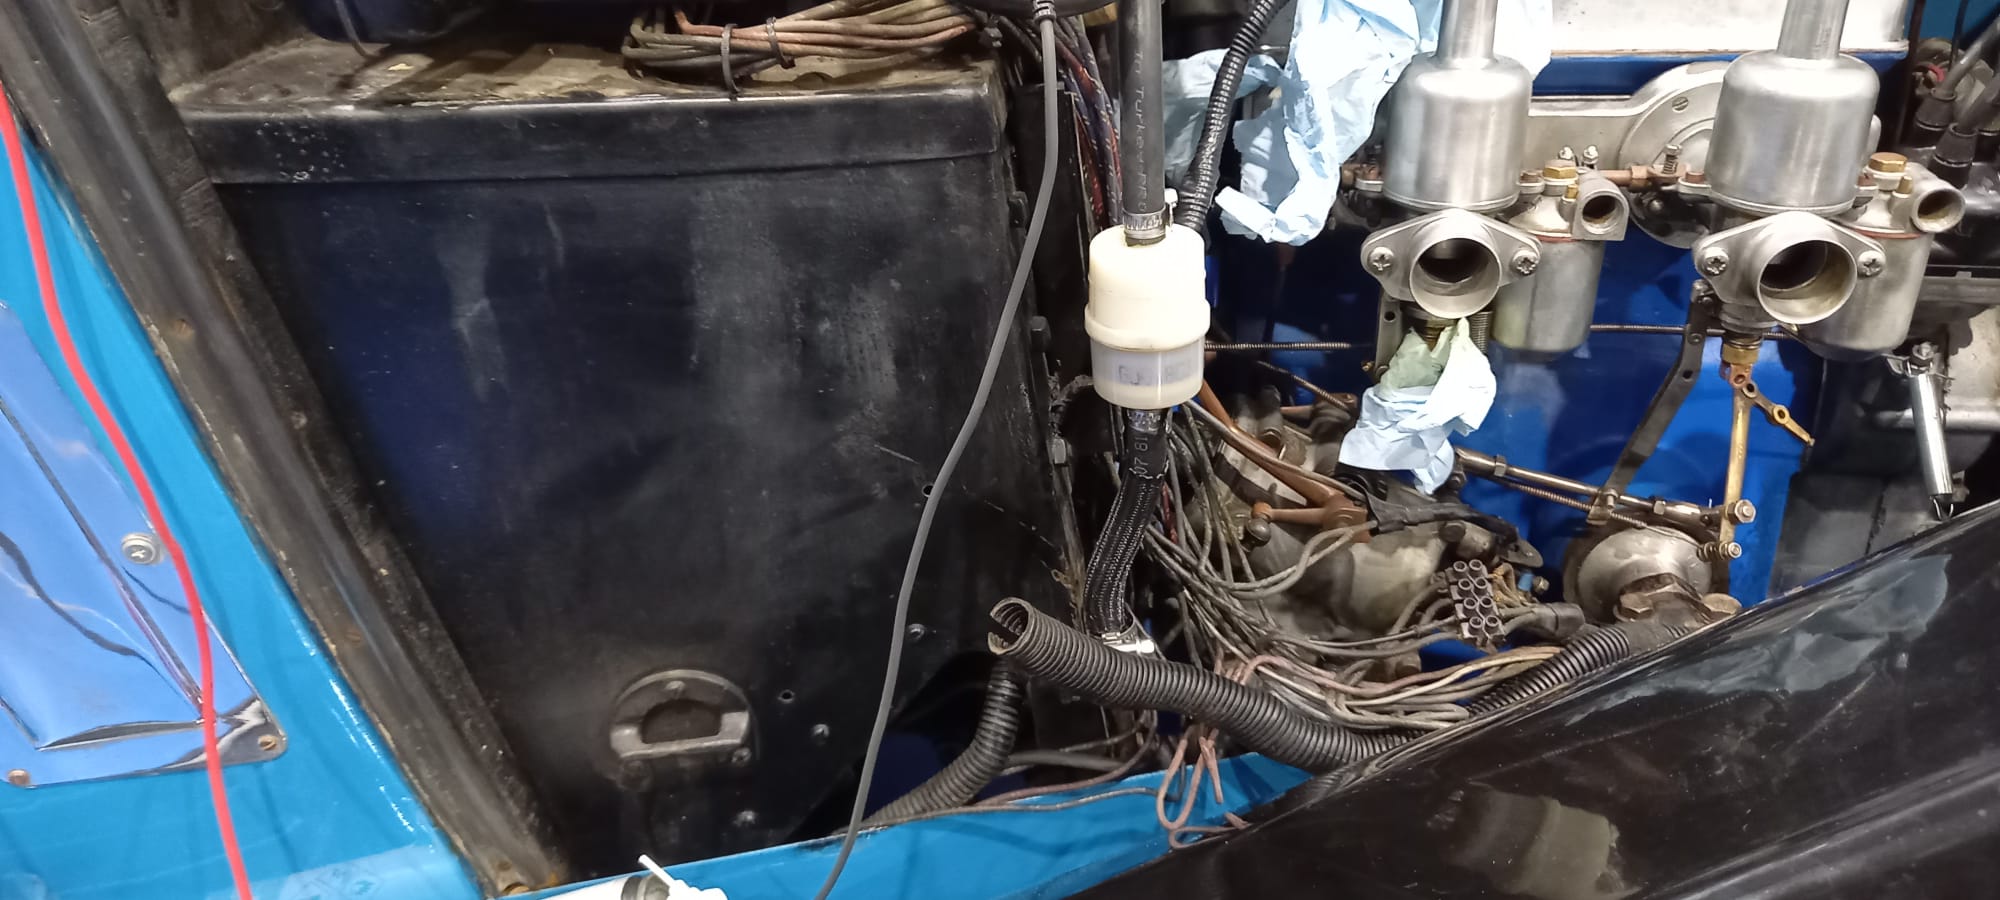
Once he tested the new lights, he found they had a dead short inside and kept blowing fuses in the car. So, Jonn took the new units apart and fixed the problem easily. Then, once they were working we noted they only intermittently worked. Jonn traced the issue back to some wiring issues at the front of the car and a faulty switch.
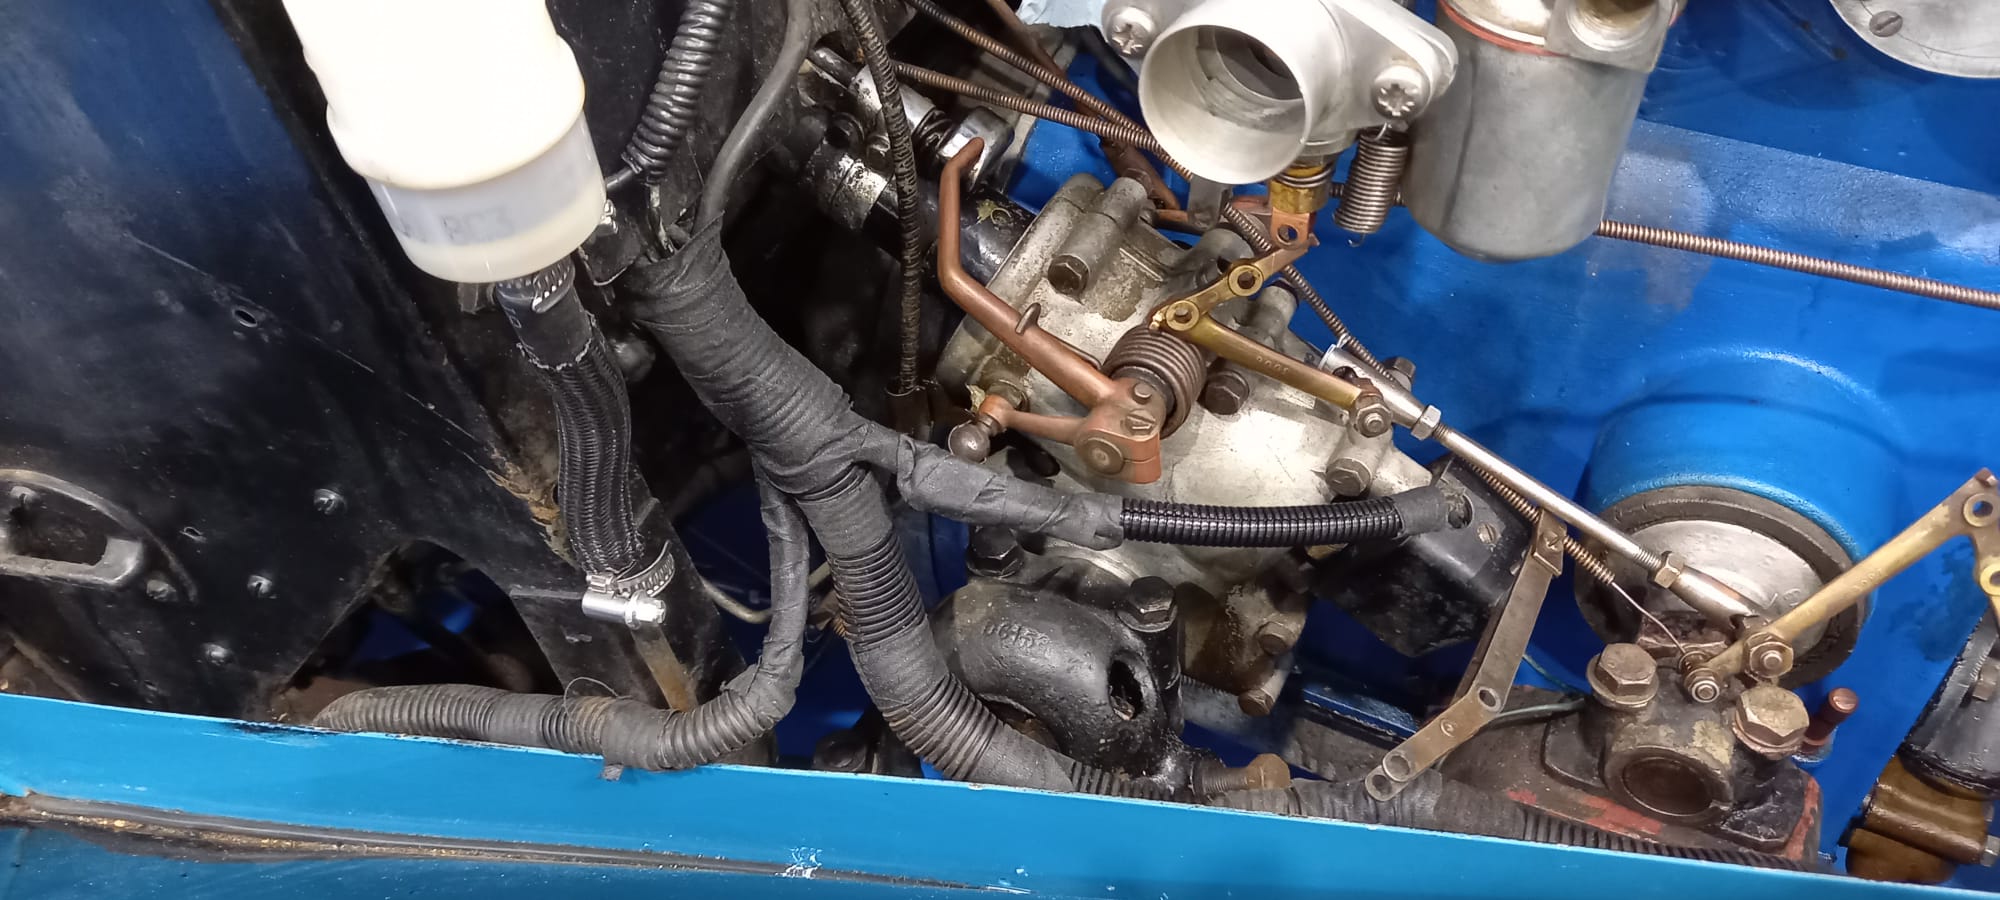
After the wiring at the front and the switch had been replaced and resolved, everything worked! now, it was time for Jonn to have a look into the leak carburettors.
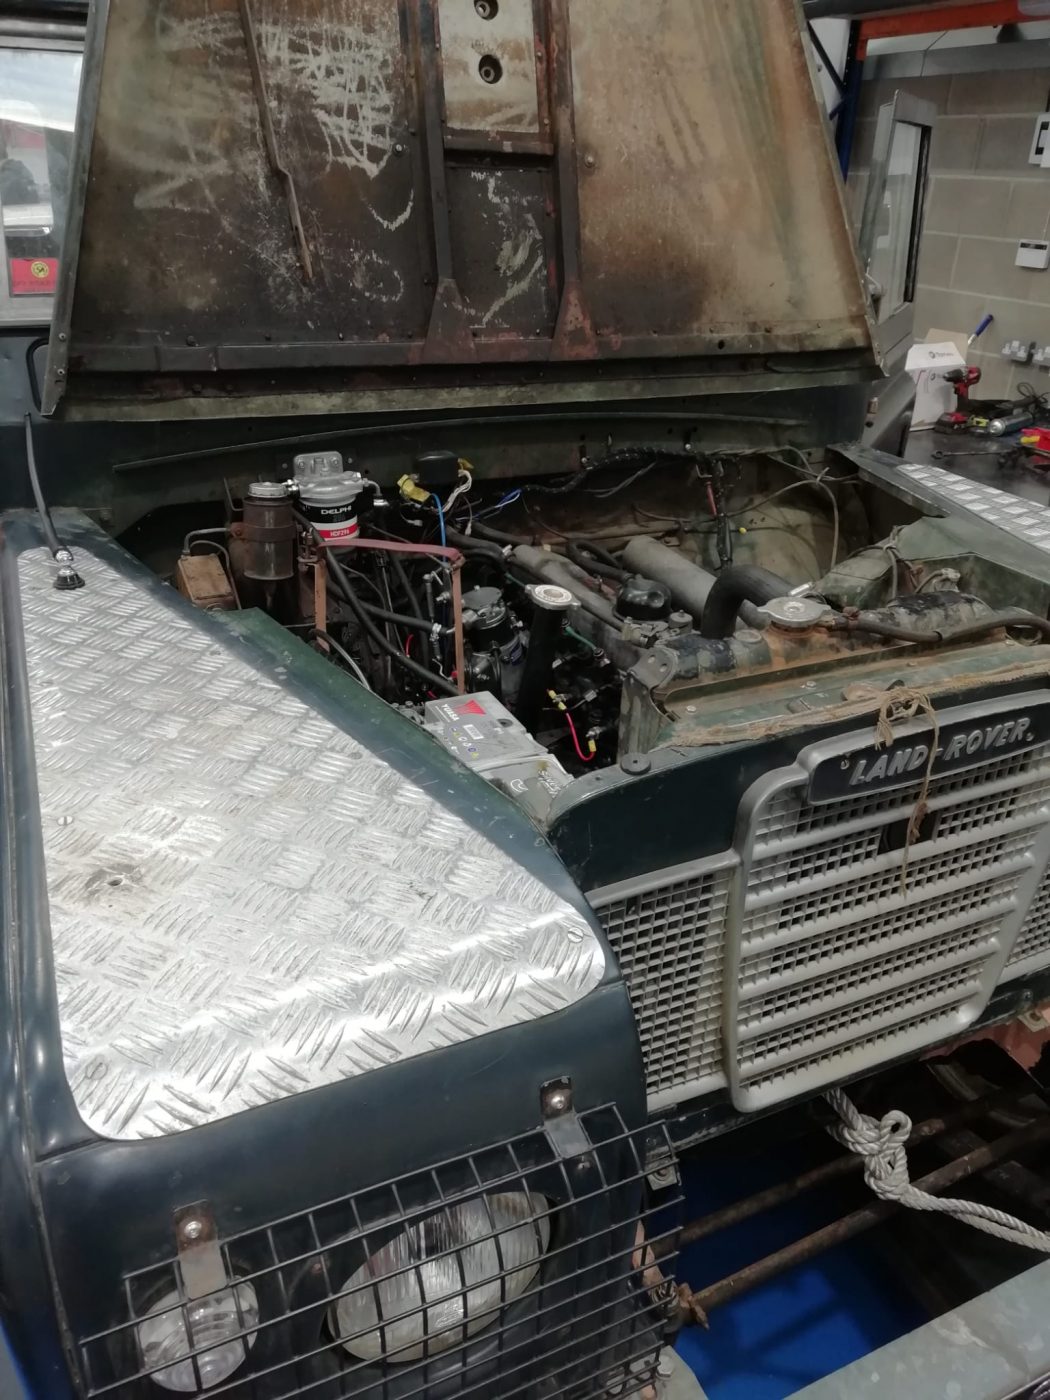
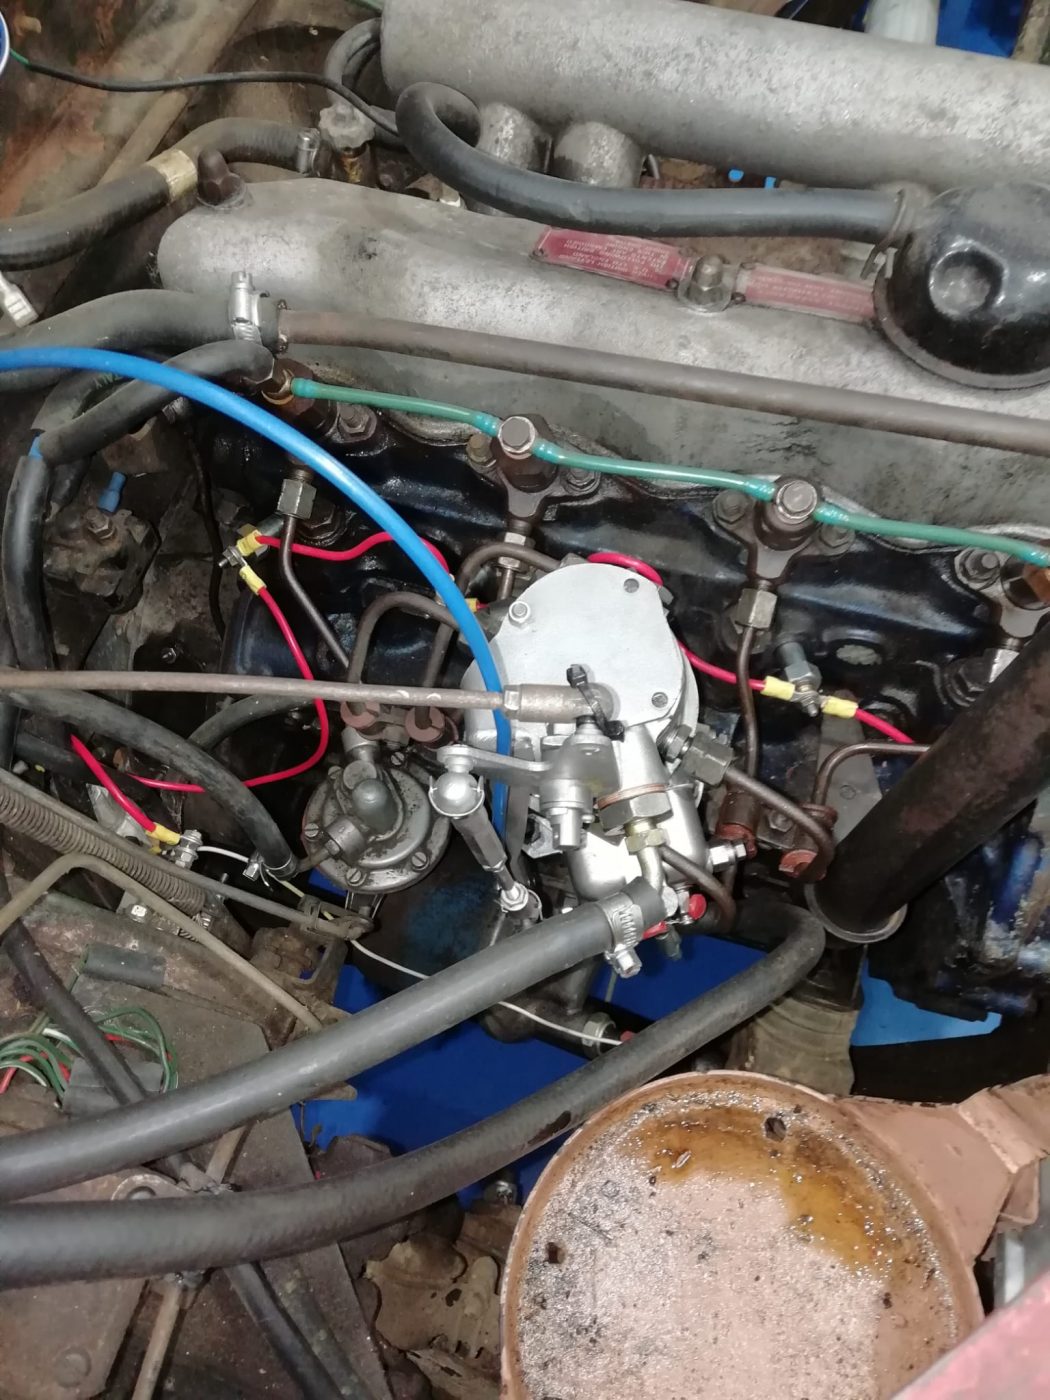
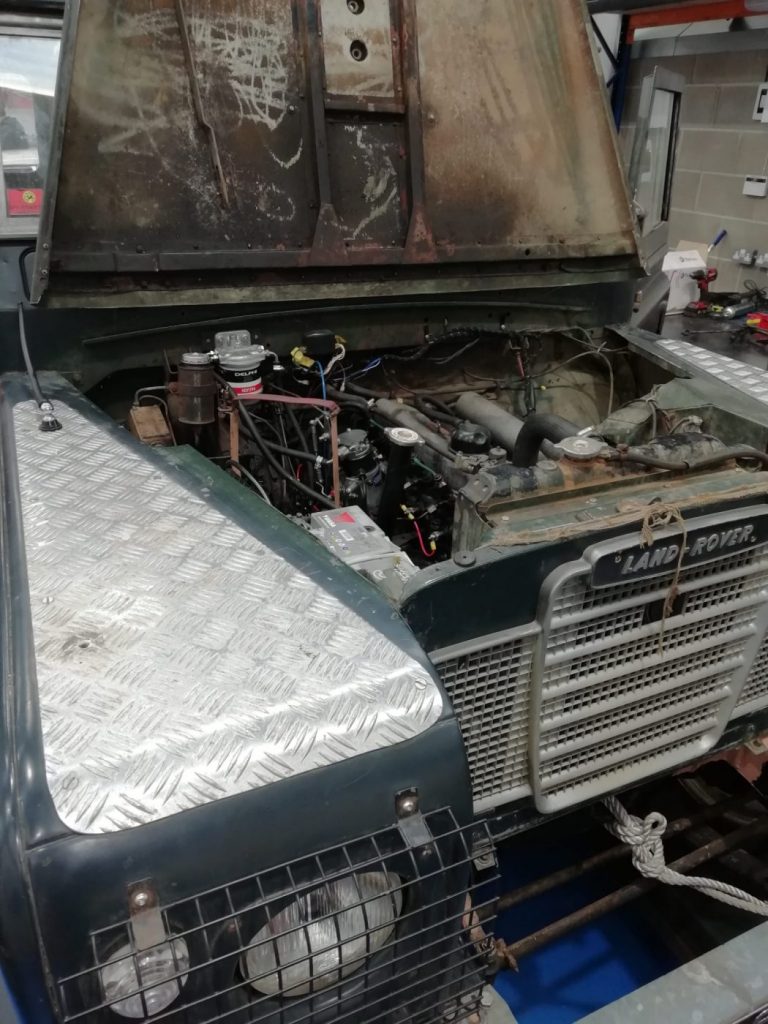
Our restoration technician Paul has been working on inspecting and assessing the running of the 1970 Land Rover Series IIA that is at Bridge Classic Cars for restoration.
Before any further work is carried out, Paul wanted to check and see whether the diesel engine that has been fitted is running properly and safely. We have previously replaced the injector pump, so following on from that Paul checked the glow plugs located in the engine block.
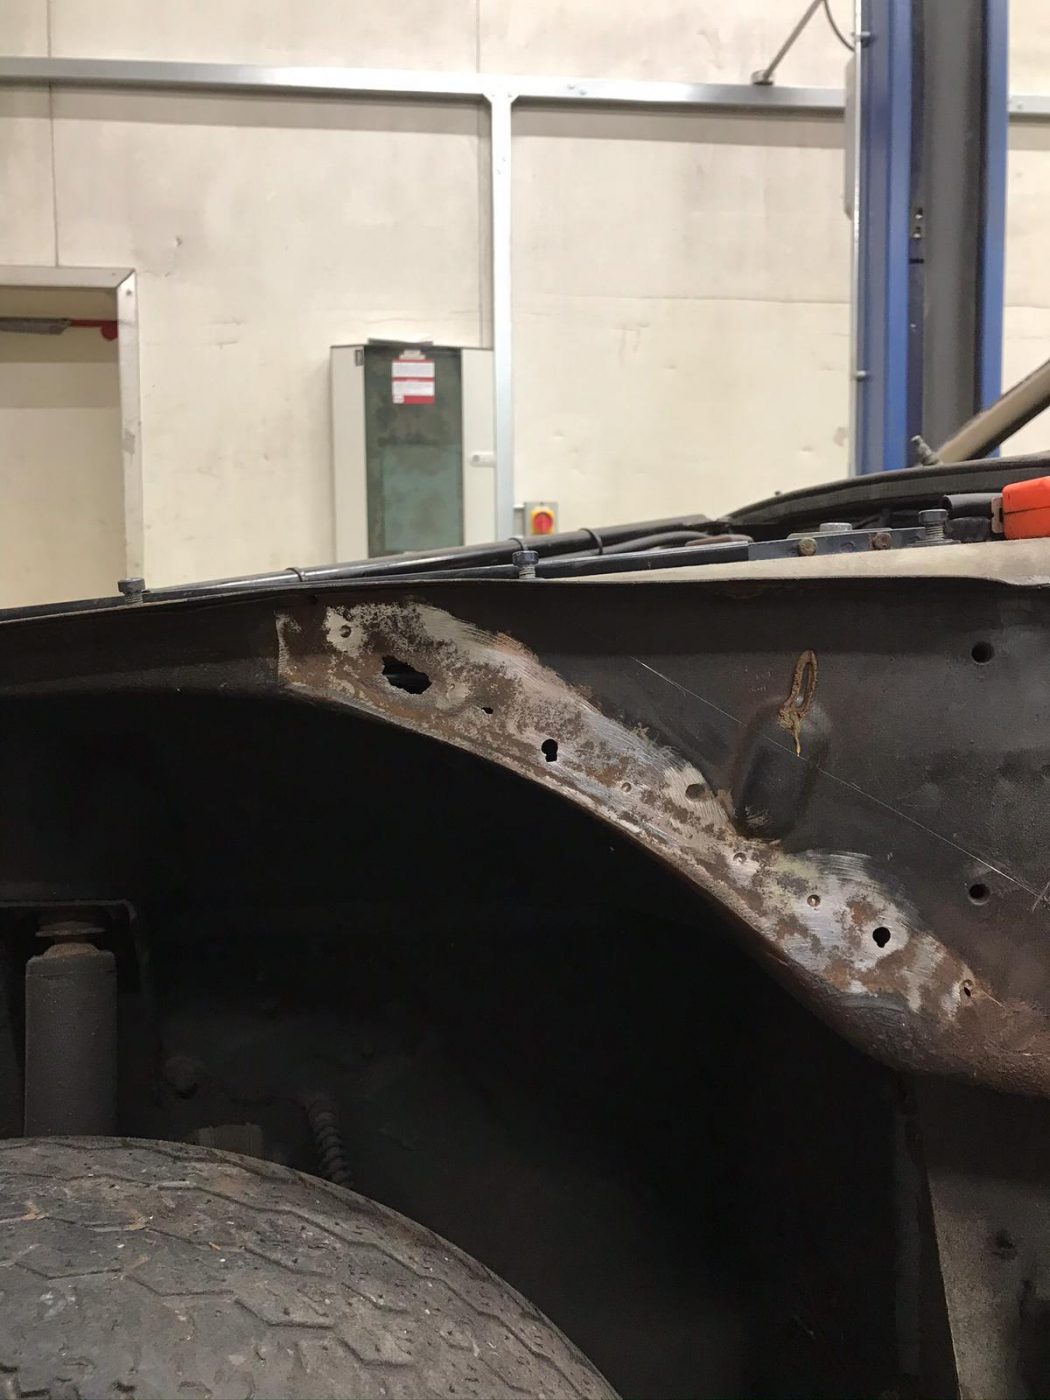
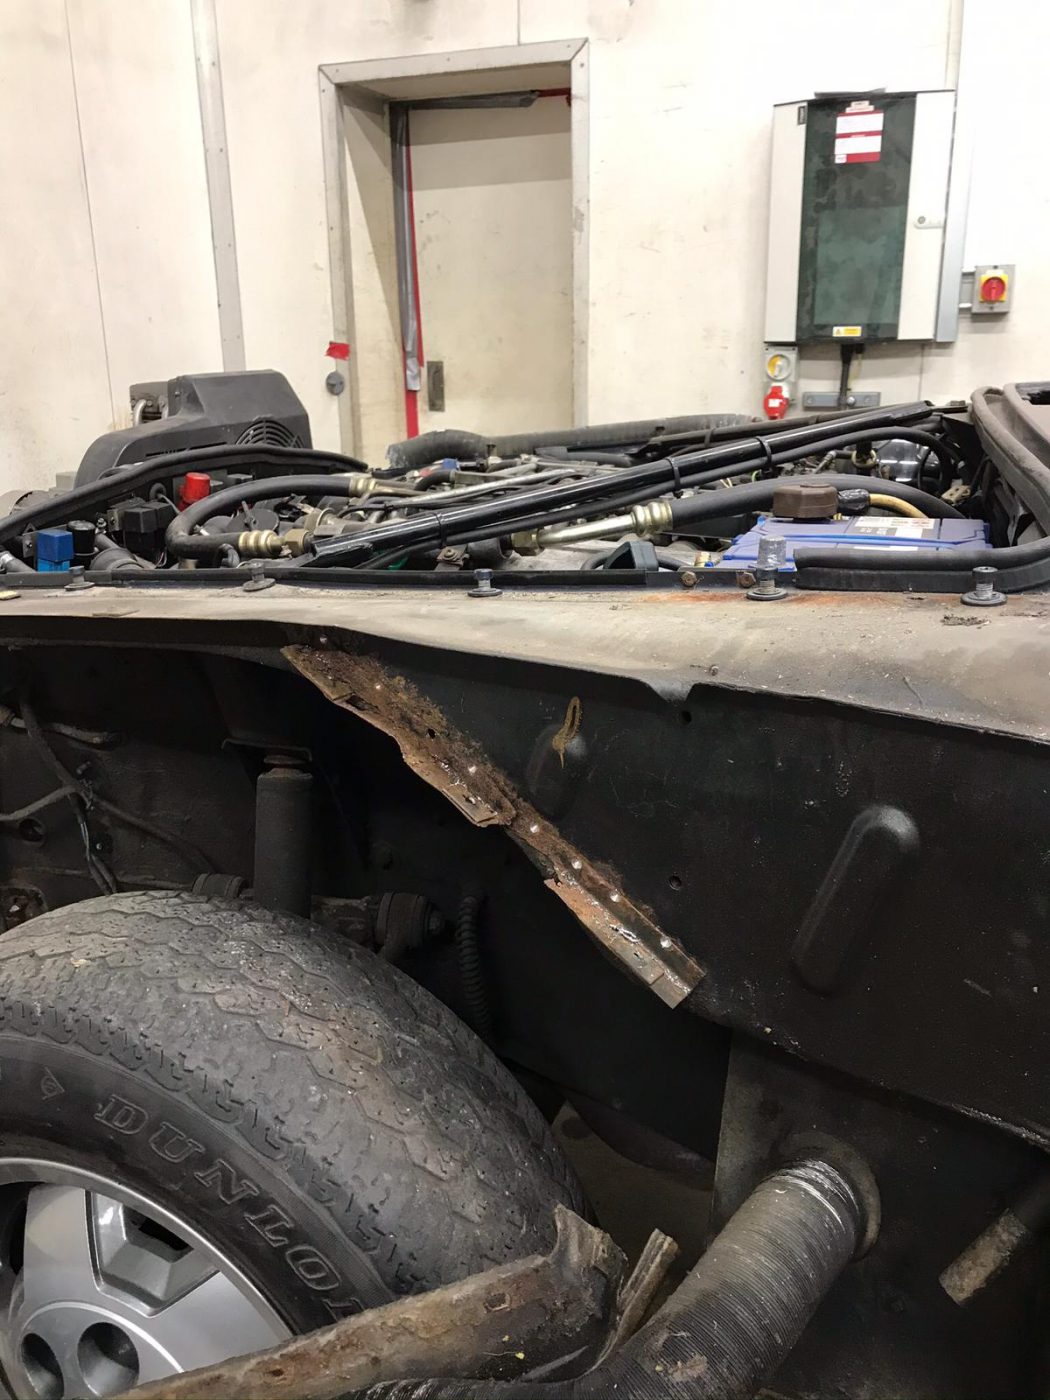
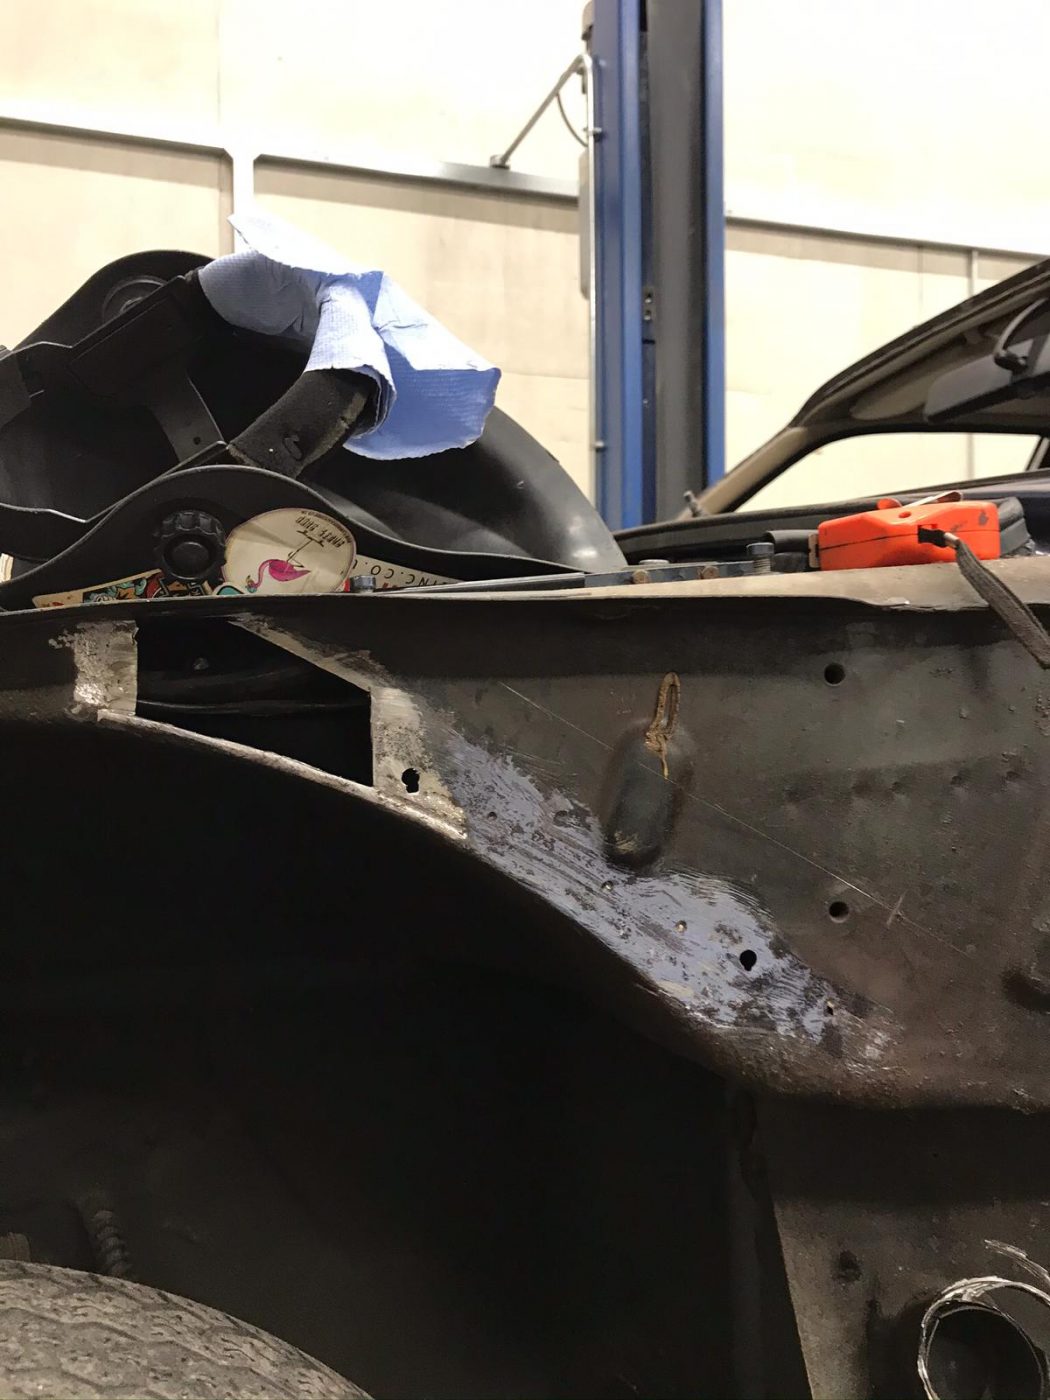
Monty, one of our incredible in-house bodywork experts here at Bridge Classic Cars, has begun the process of repairing any rust on the 1987 Daimler Double Six that is currently in our Bodyshop.
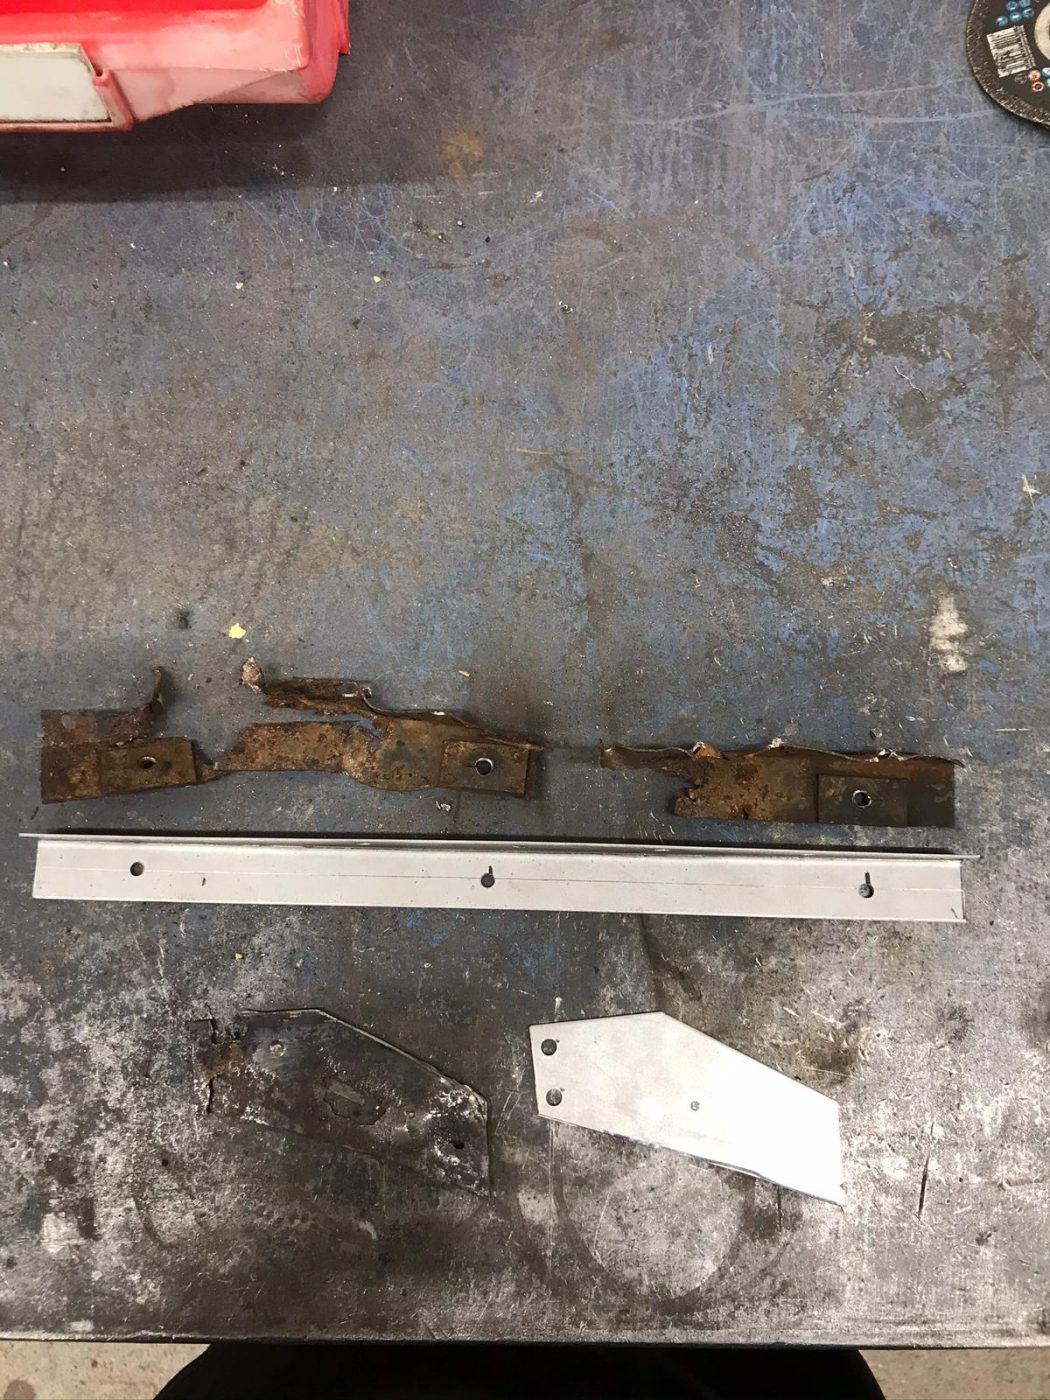
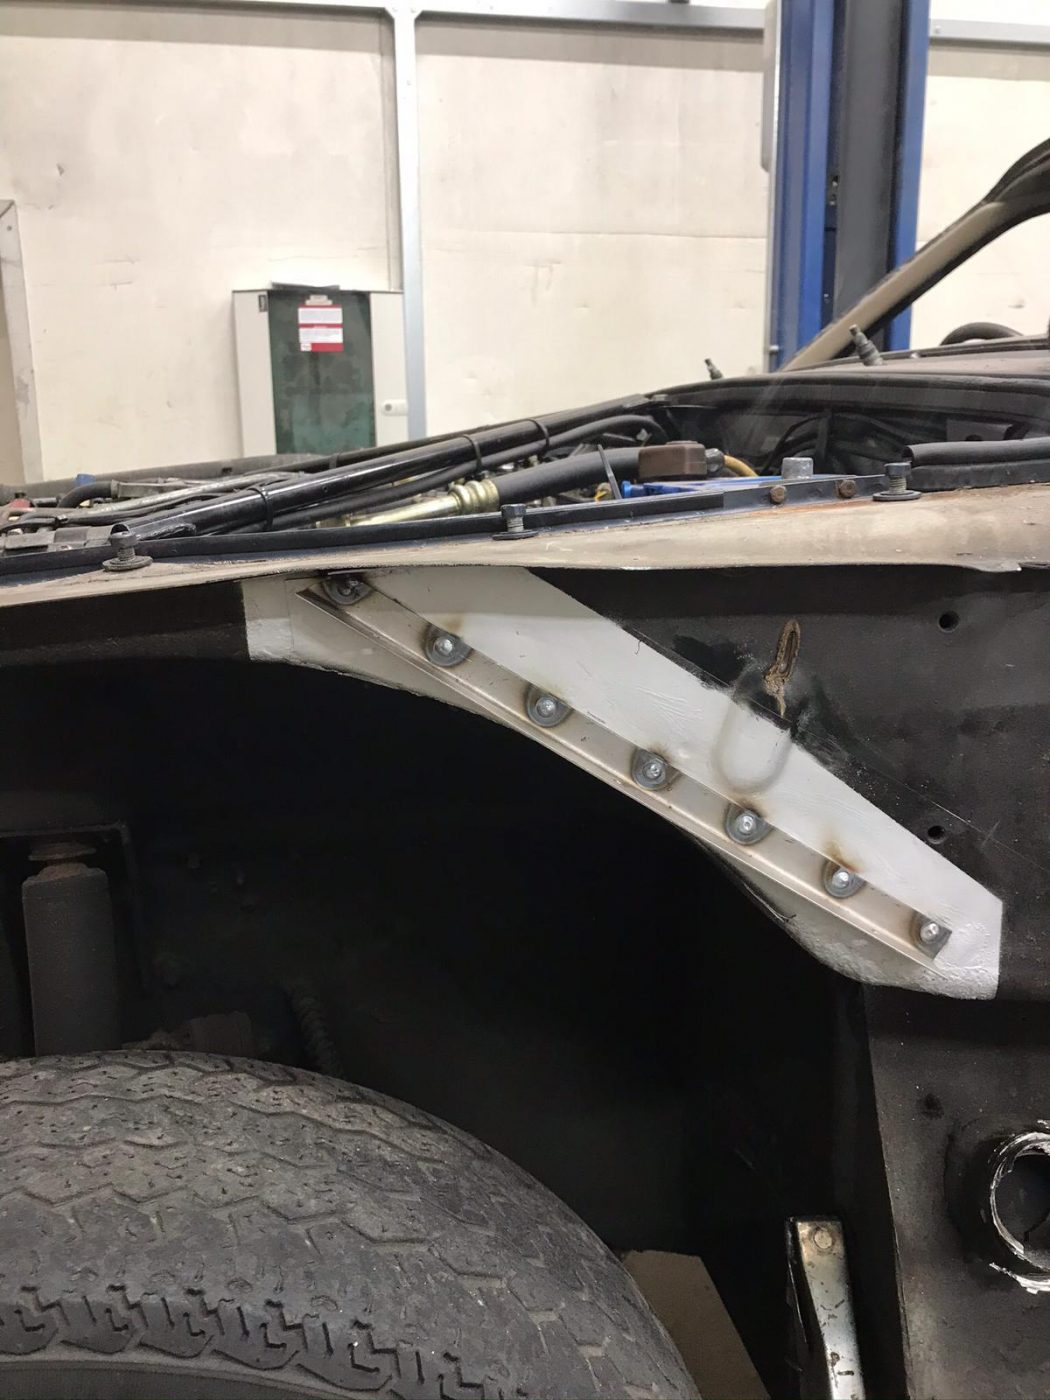
Beginning with the inner arches, Monty has carefully cut out only the affected area, leaving as much of the original, solid metal as possible. All of the area was then rust treated before Monty began making a template for a new piece to be grafted into the 1980s super saloon. Using the template, Monty rough cut a new piece of metal of the same thickness and began to work on refining the shape and the fitment for the best fit and ultimately the best result for the client.
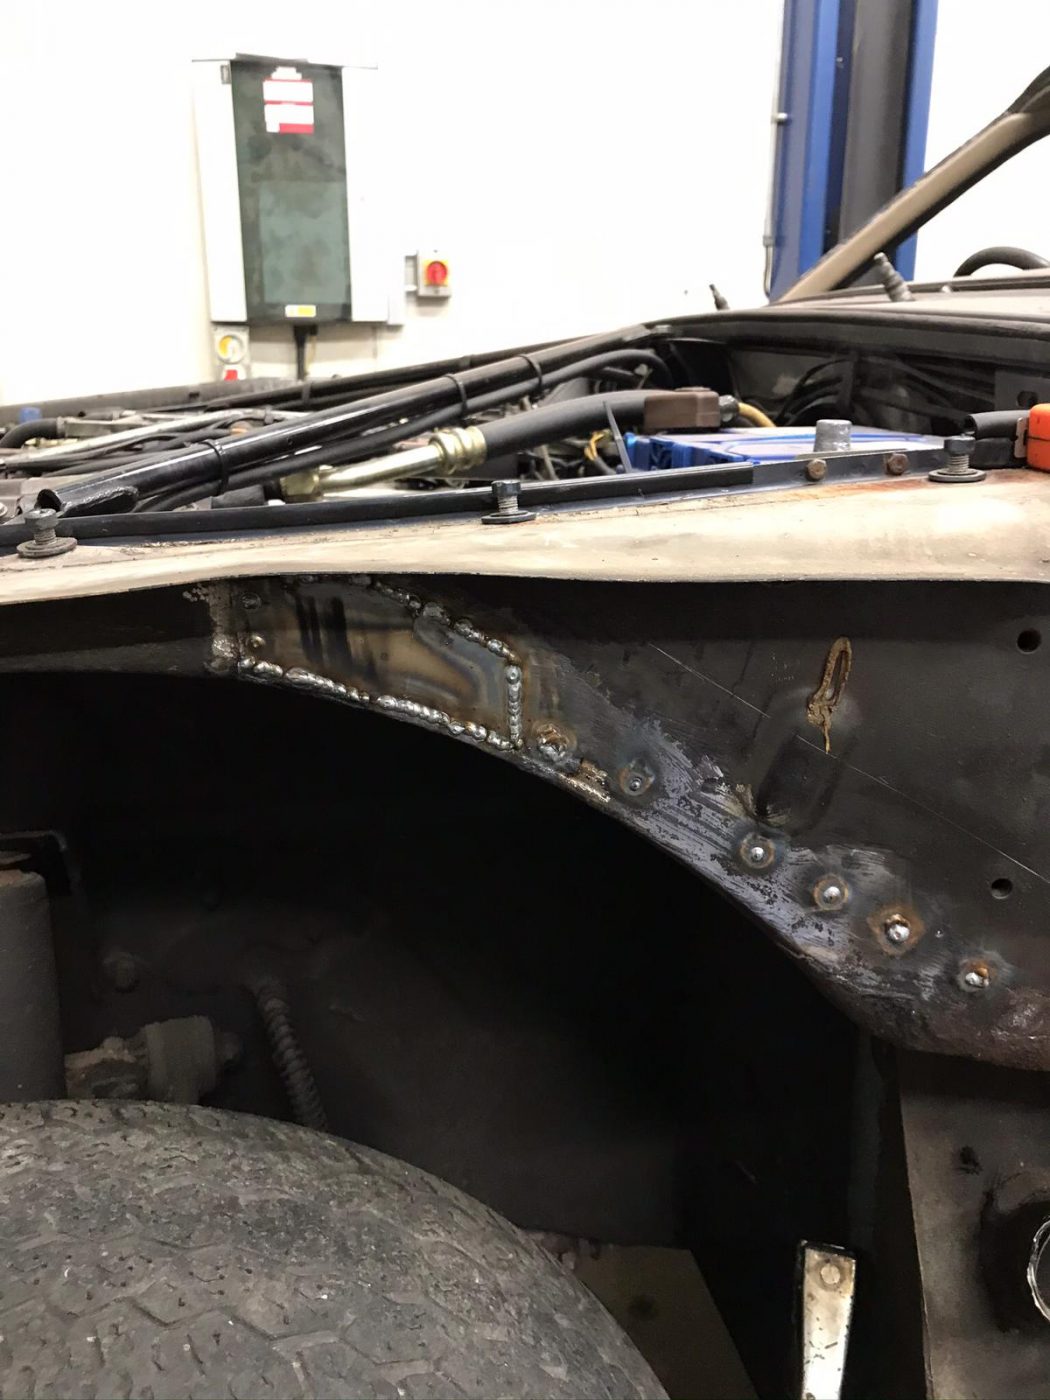
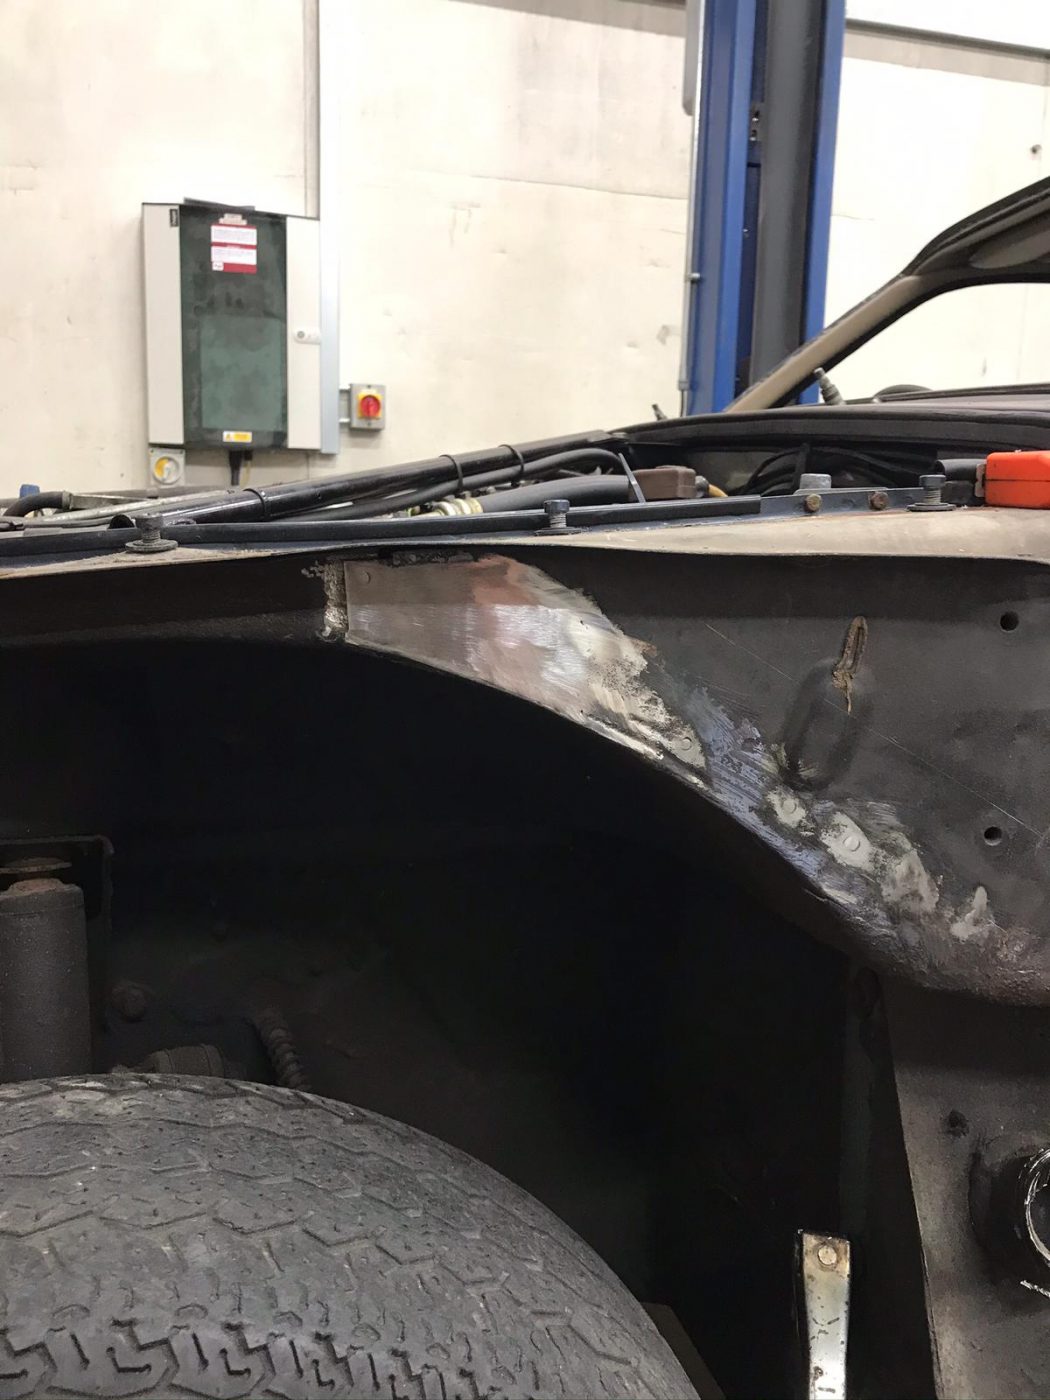
Once happy with the fitment of the new piece, Monty began to carefully weld it into the car. Ensuring the piece has enough time to cool evenly for the best finish. Although this is for the inner wheel arch, it’s the attention to detail our body shop and all of our restoration teams give to each project that we believe sets us apart. After the new patch piece had been fully welded, Monty carefully smoothed down the welds so that when the area has its paint/treatment, you will never even know it’s there.
