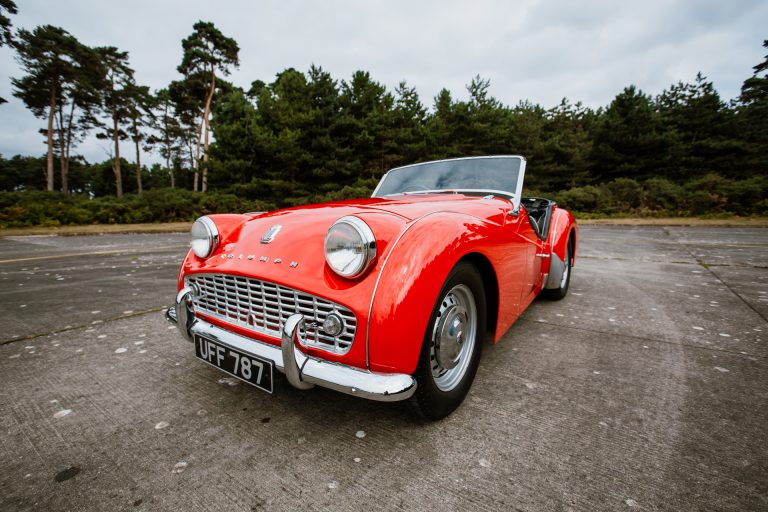
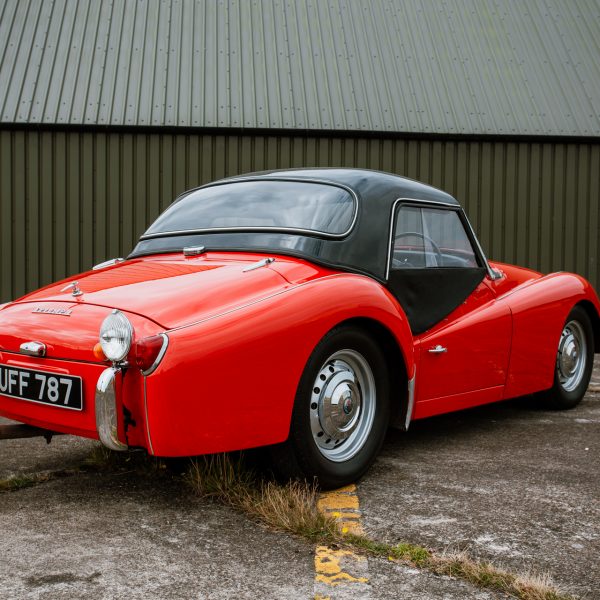
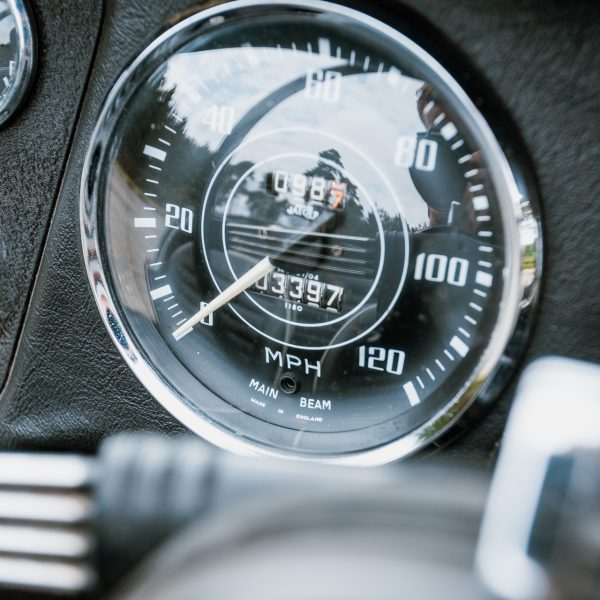
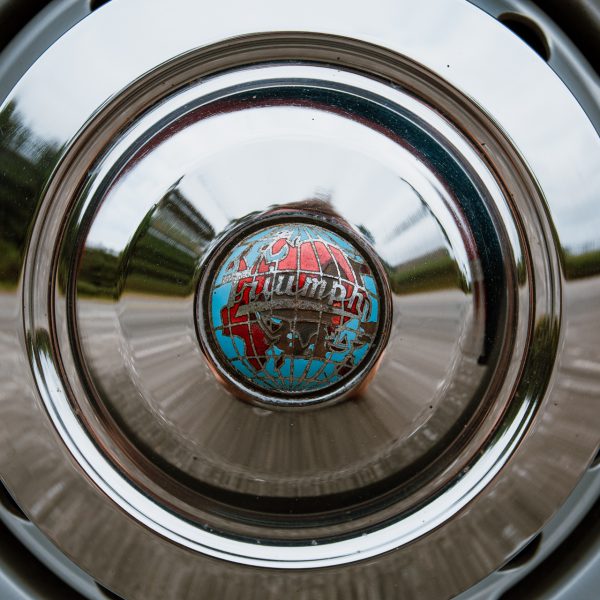
Do you like TR3s?
Just launched! Our competition to win this bright red 1958 Triumph TR3! If you follow this link here, it will take you straight to the


Just launched! Our competition to win this bright red 1958 Triumph TR3! If you follow this link here, it will take you straight to the
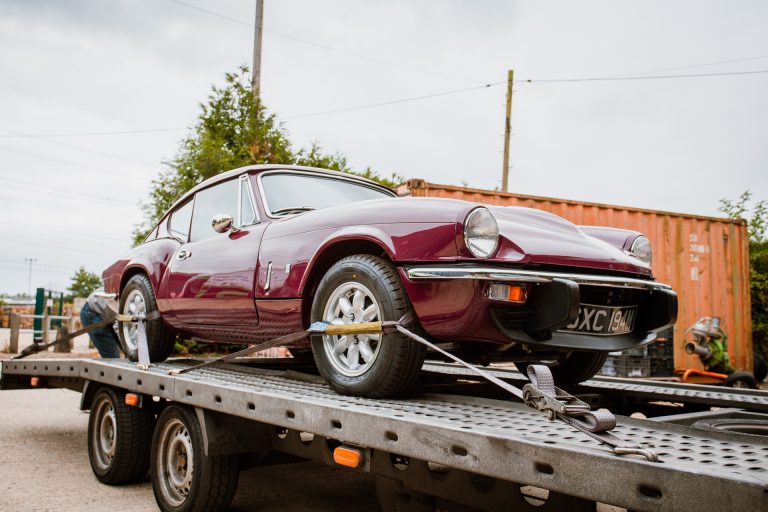
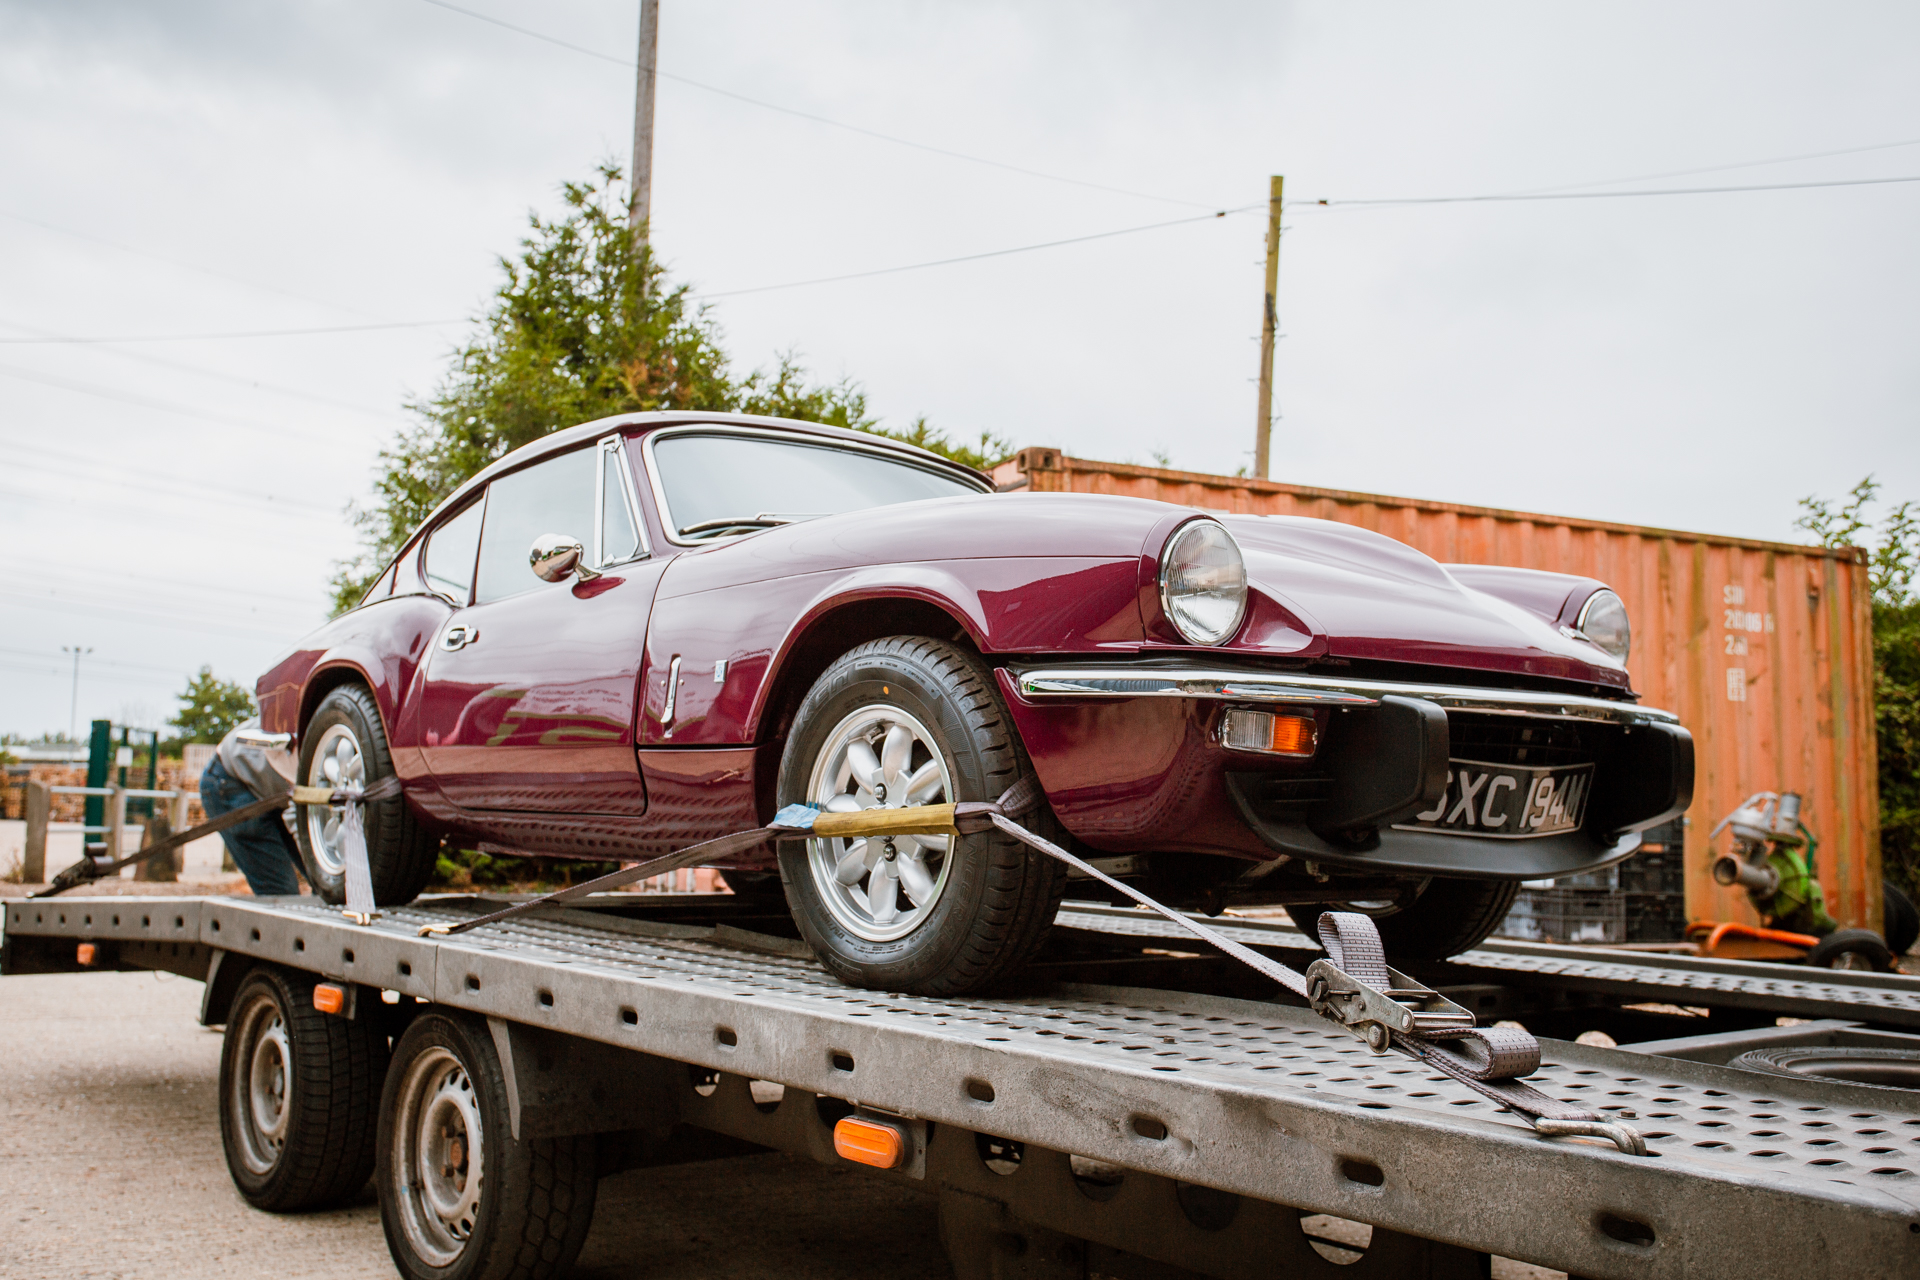
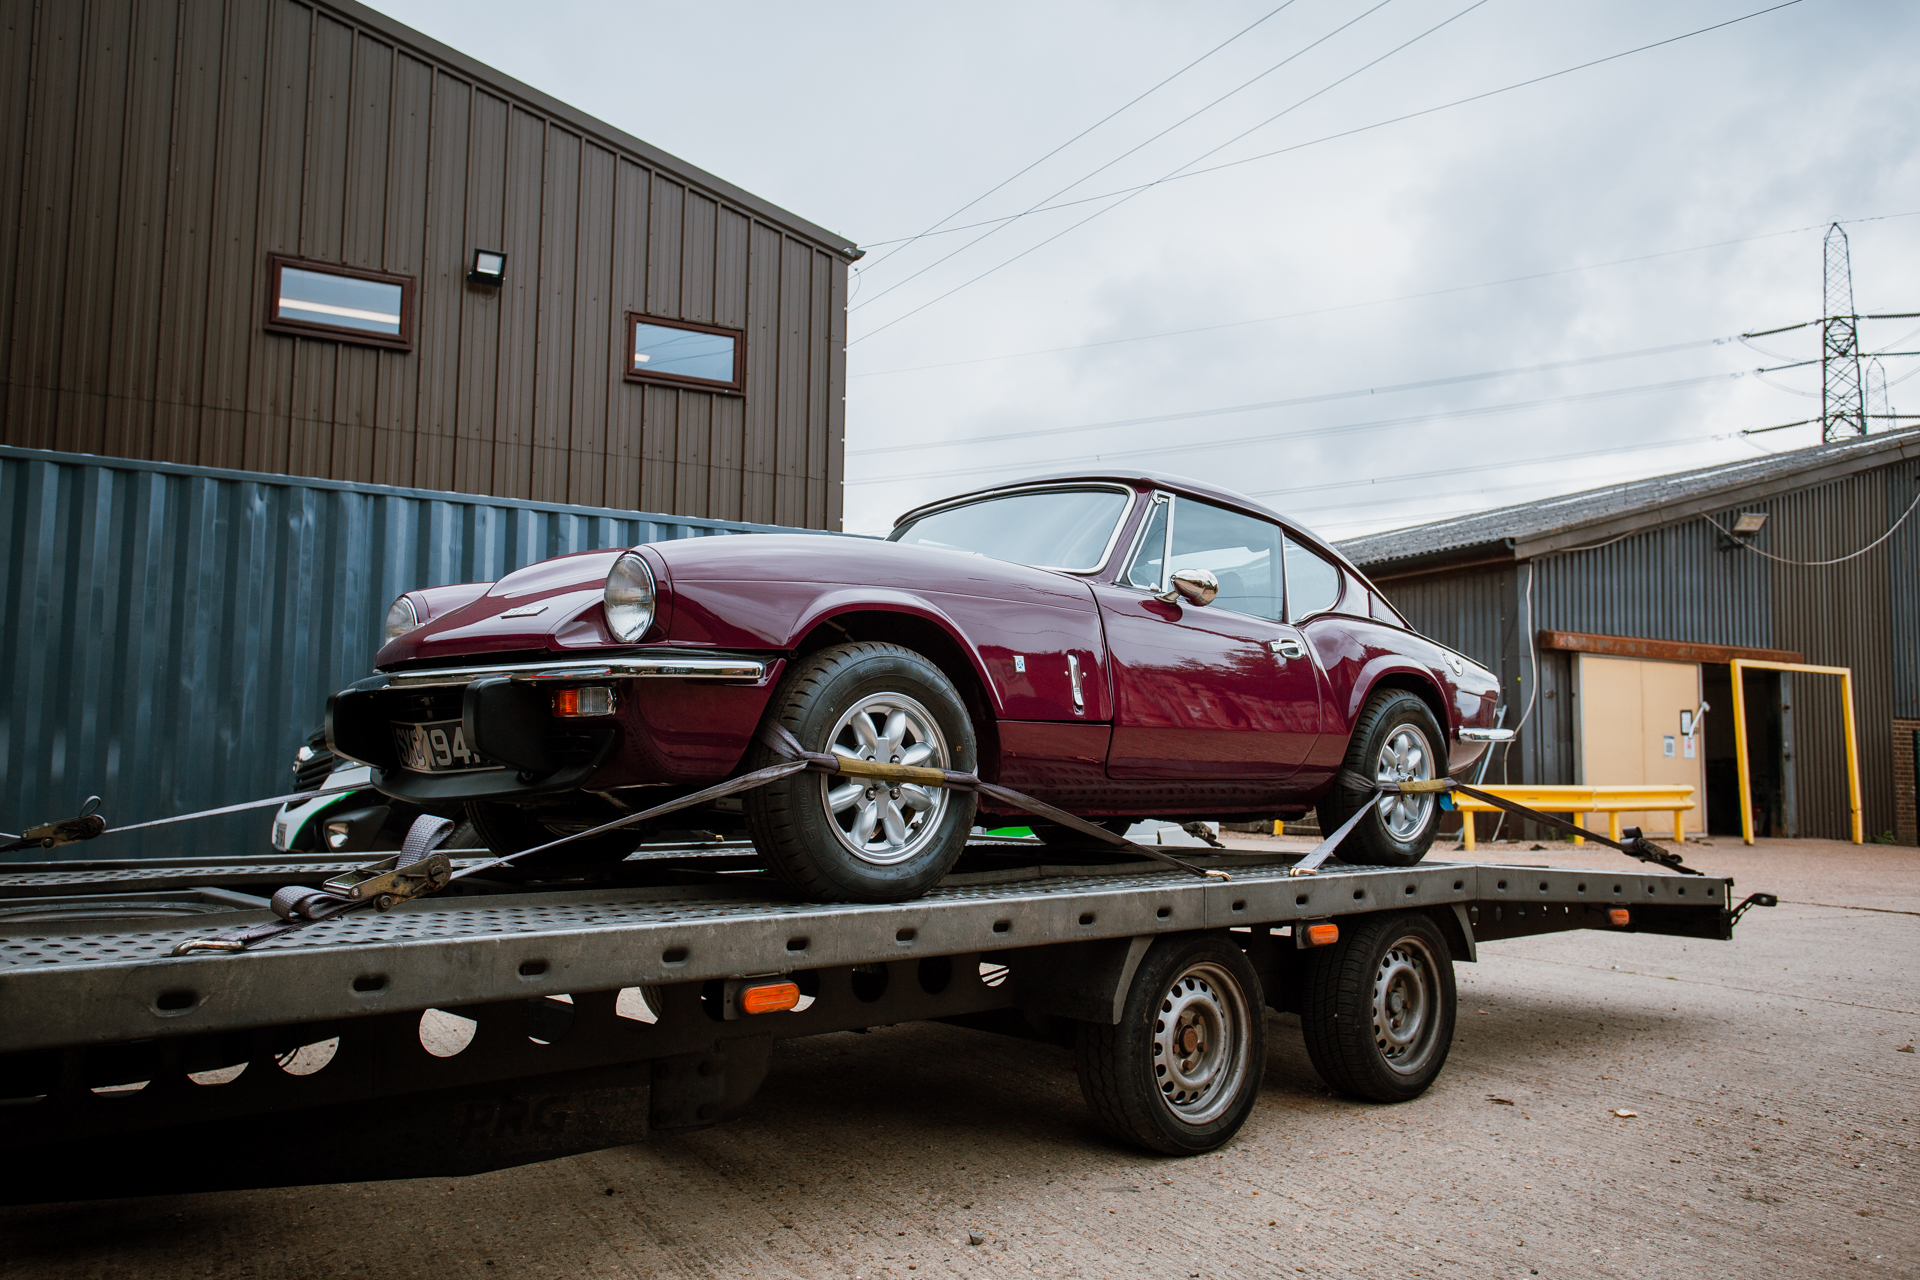
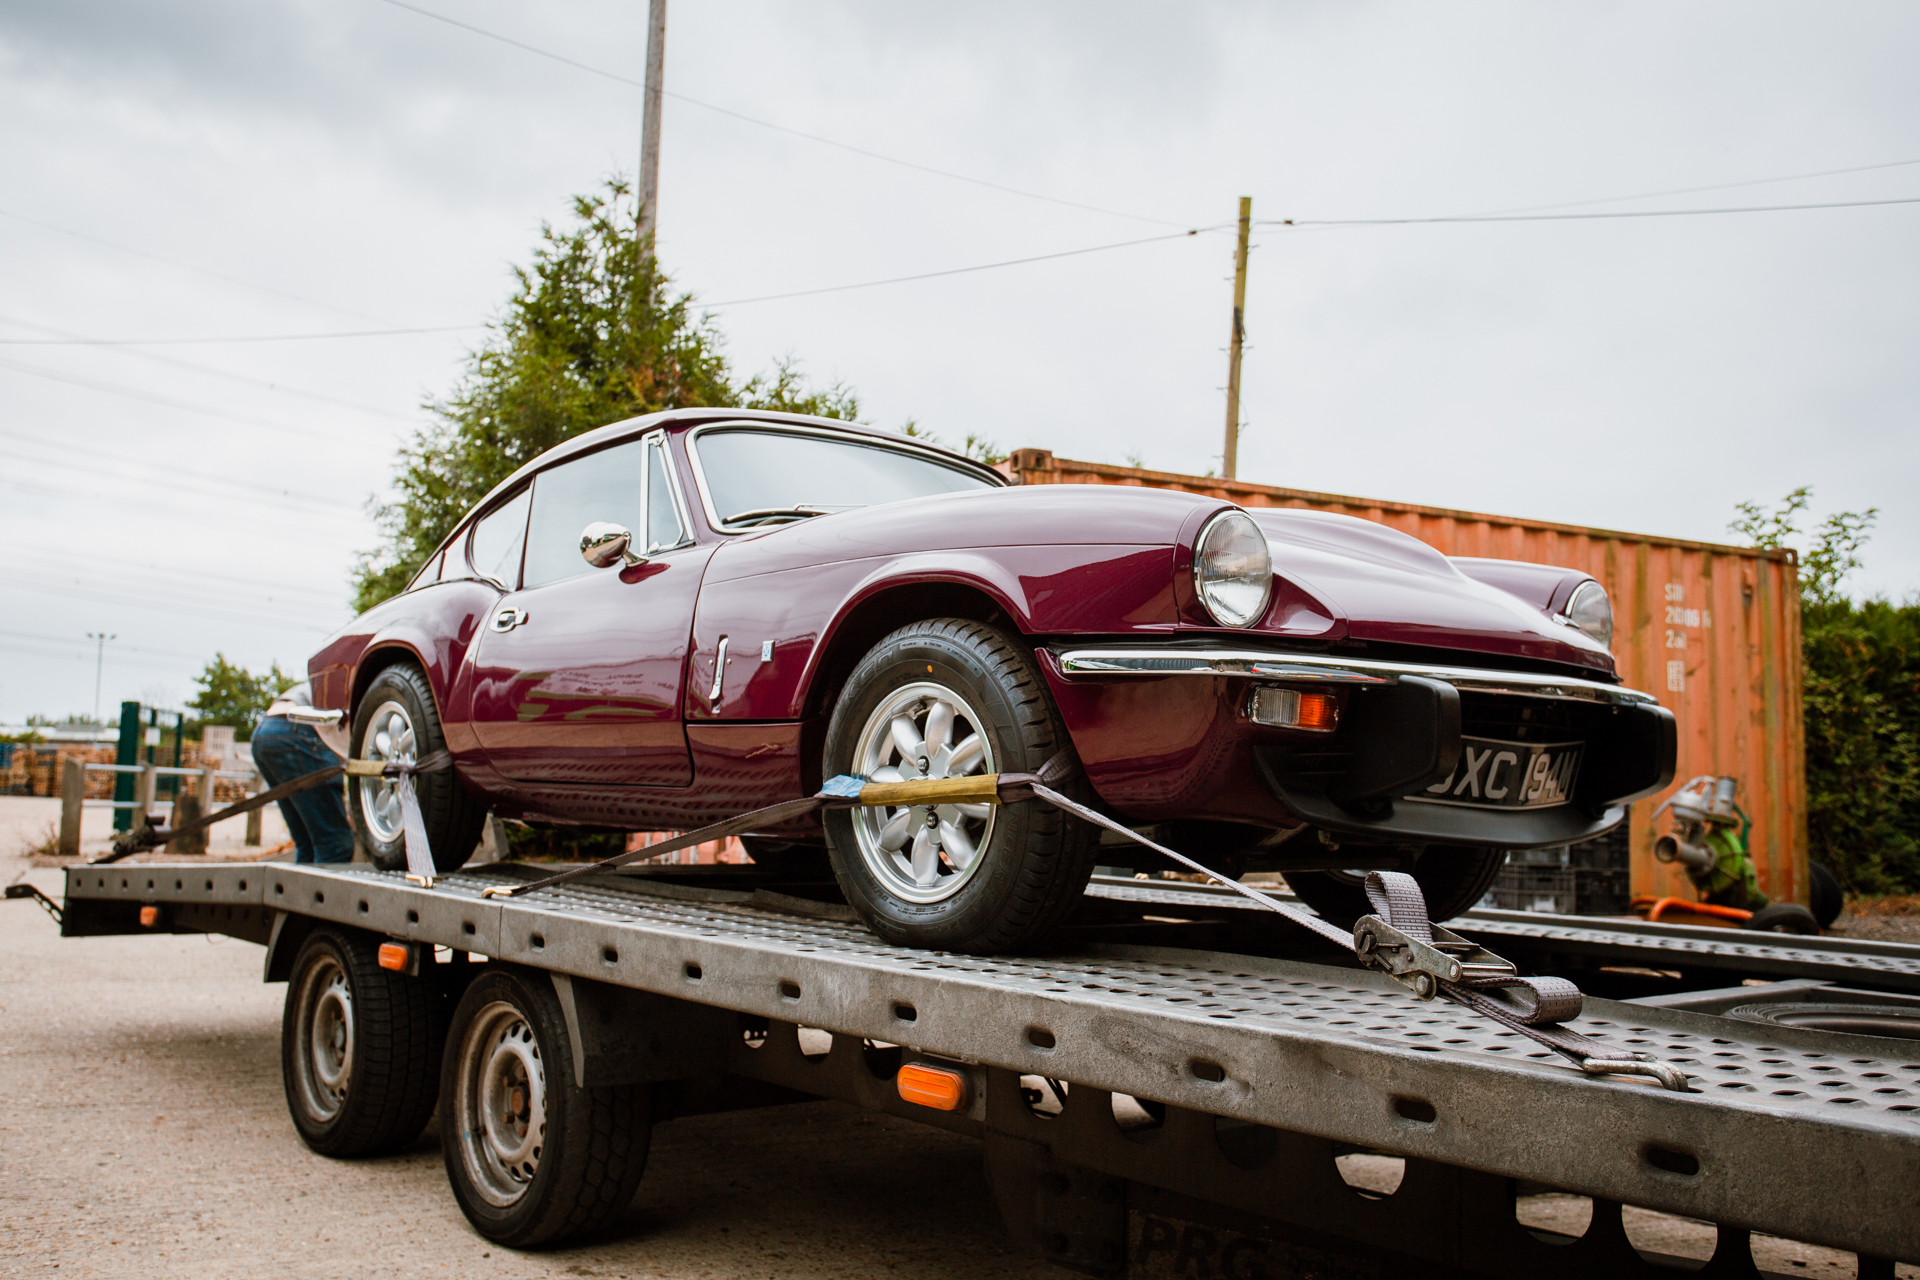
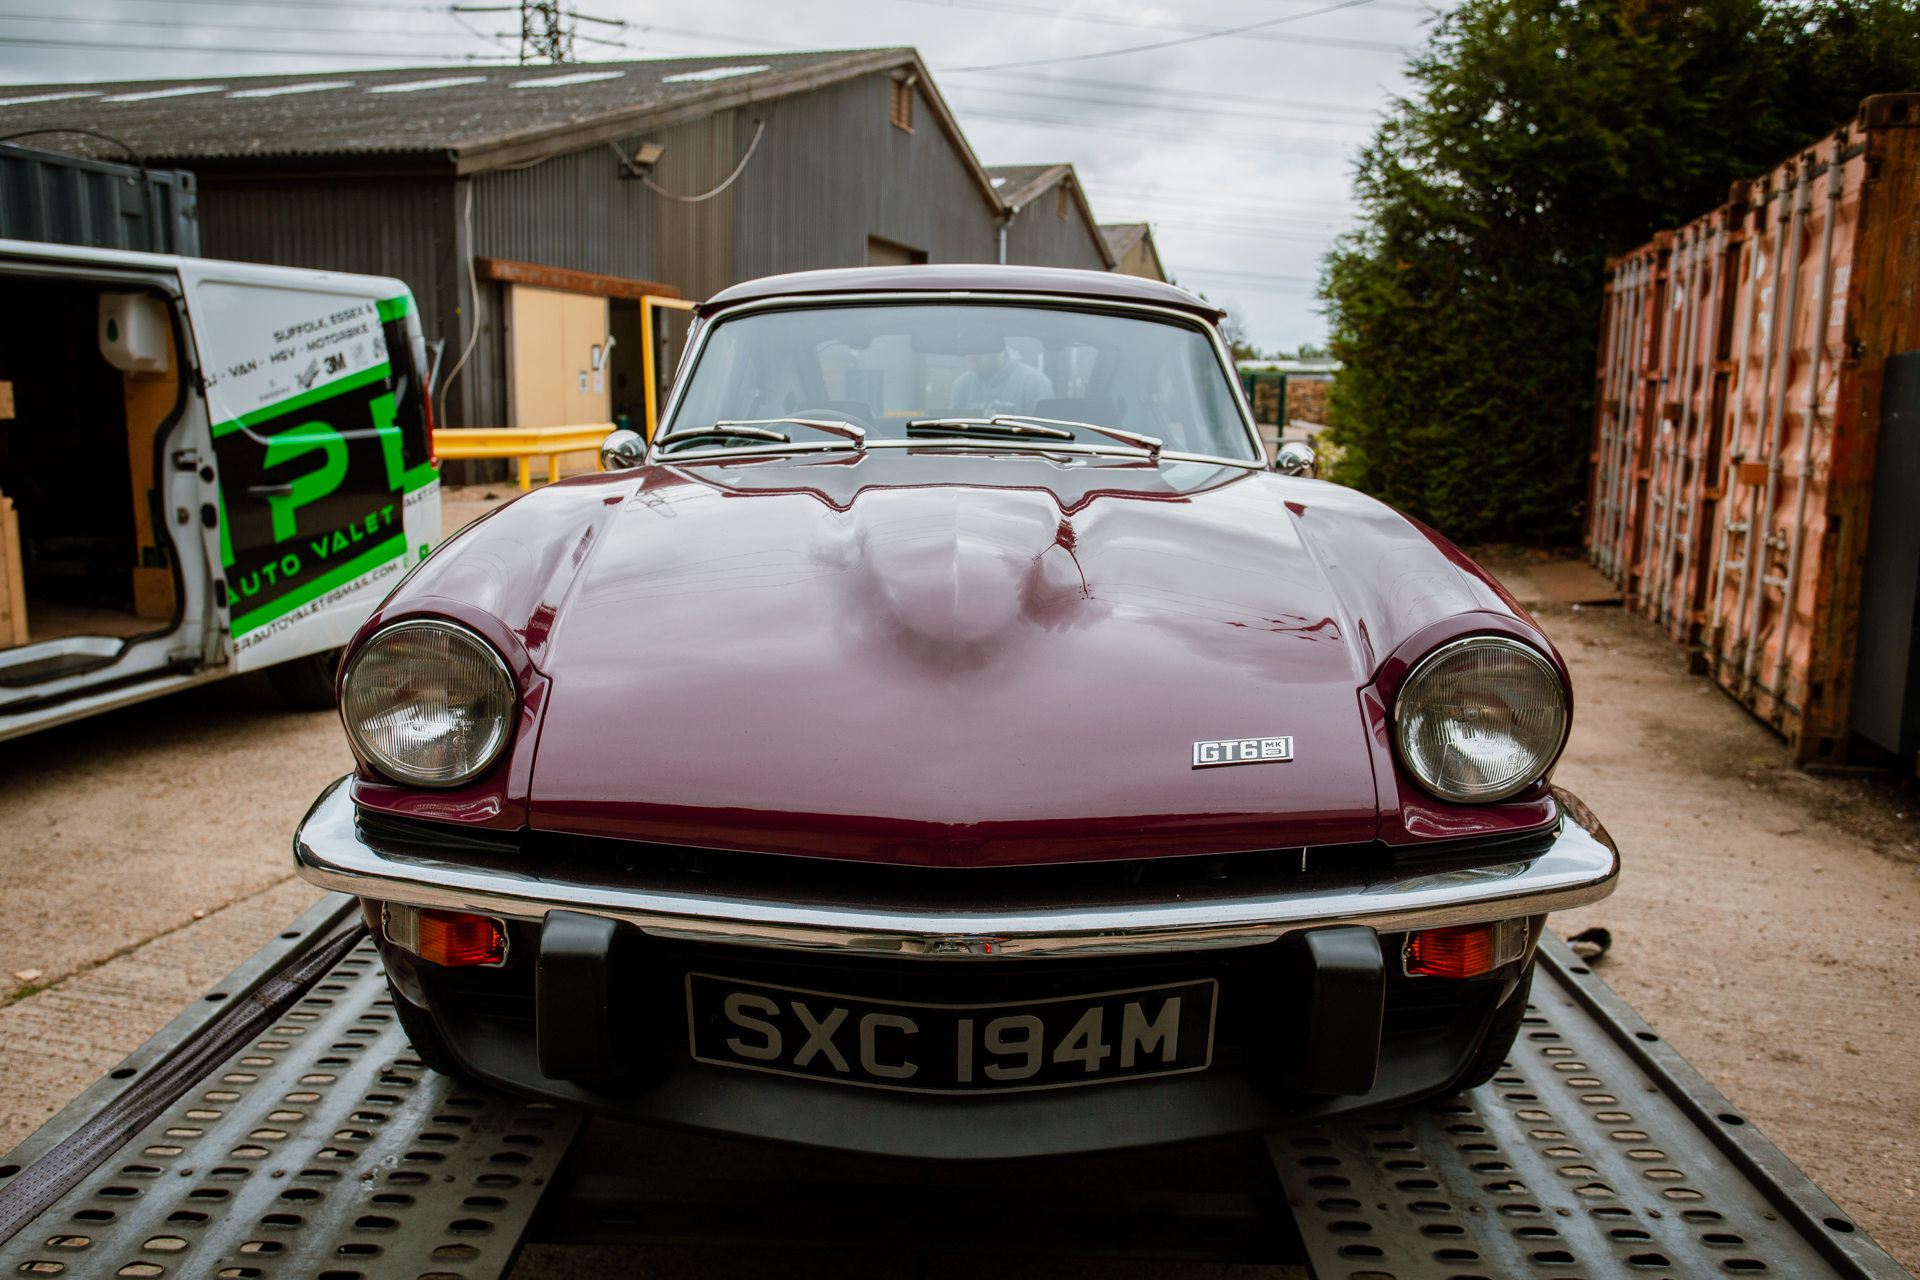
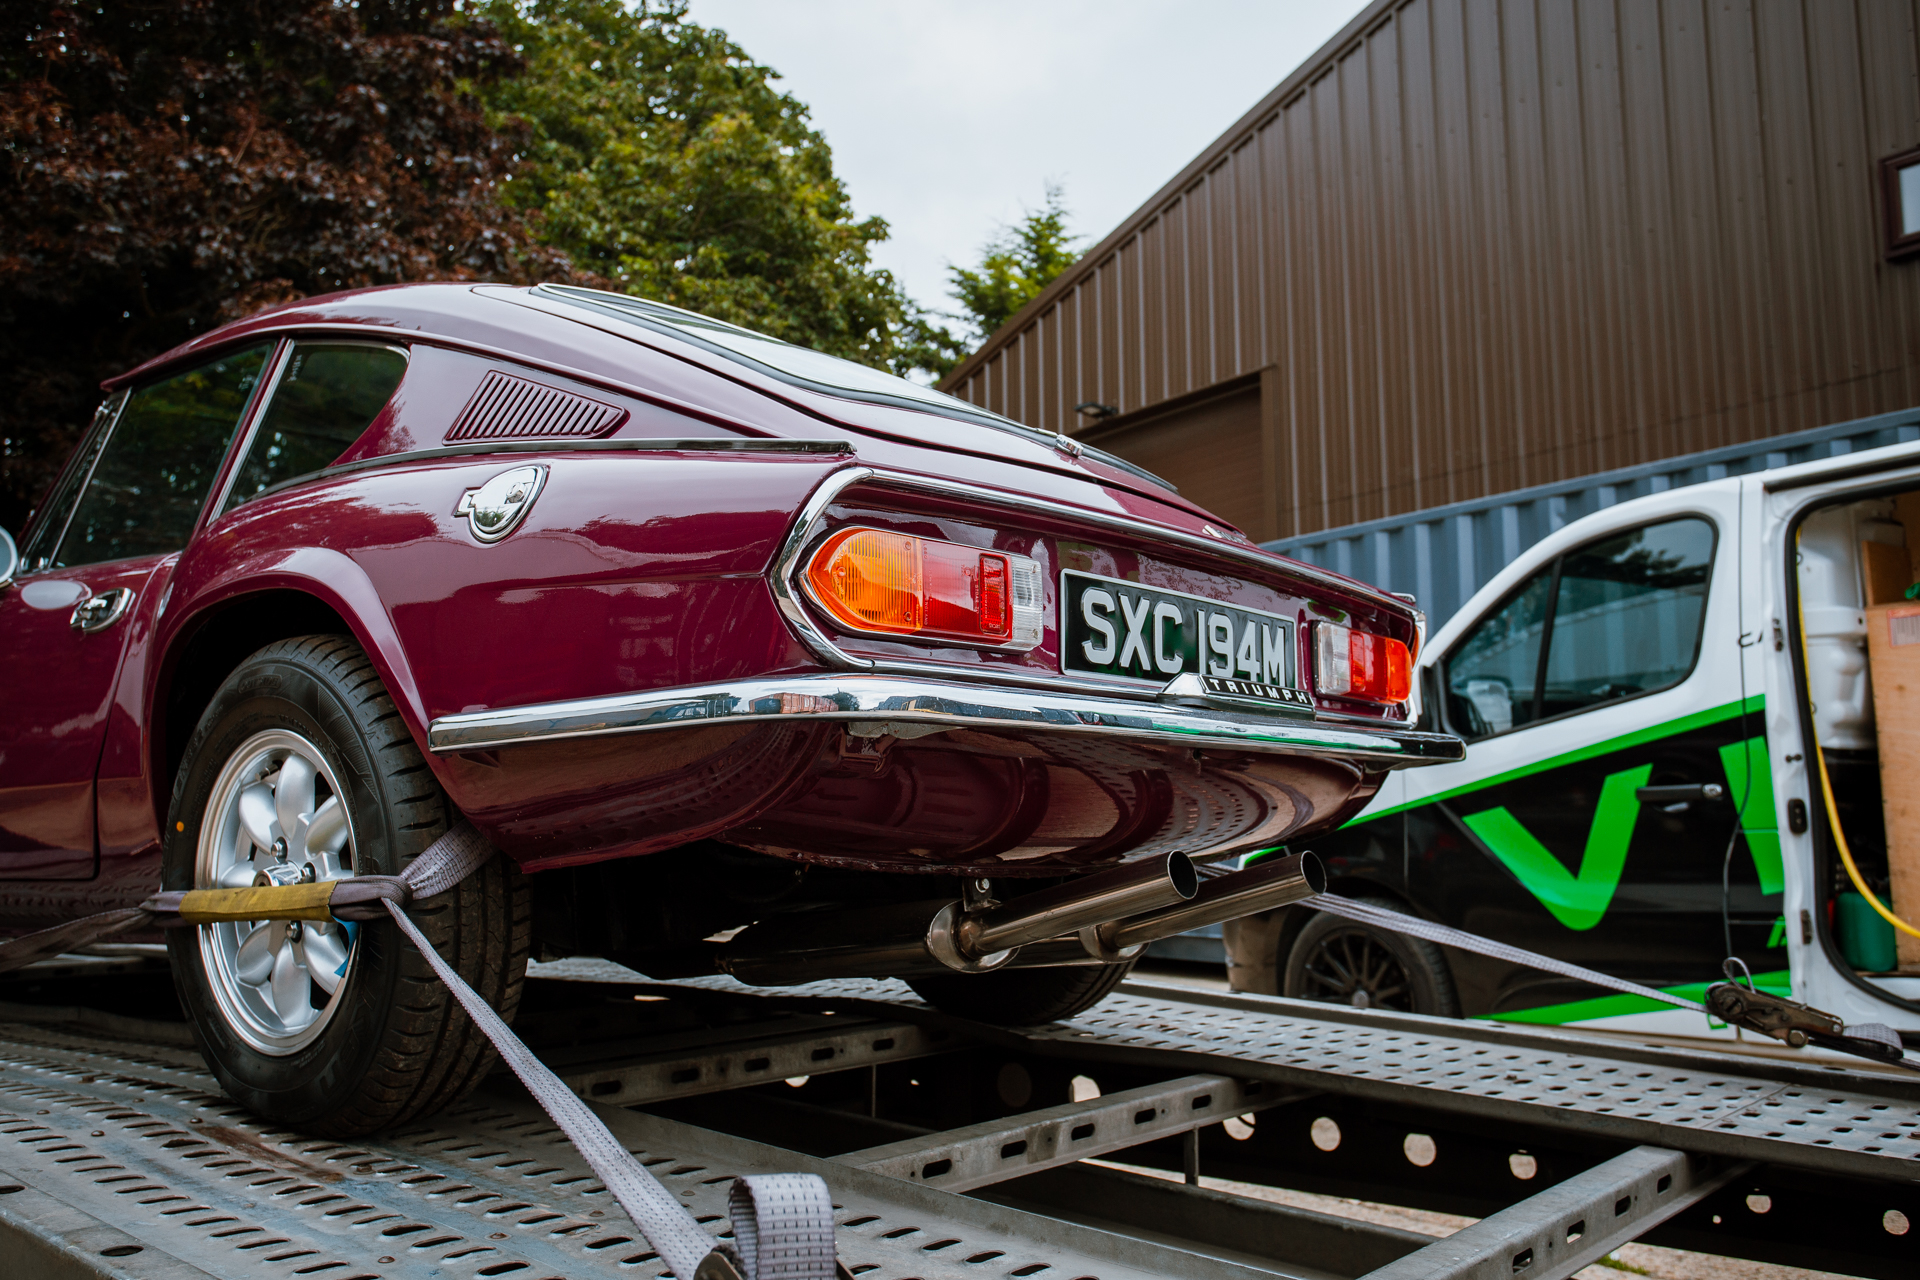
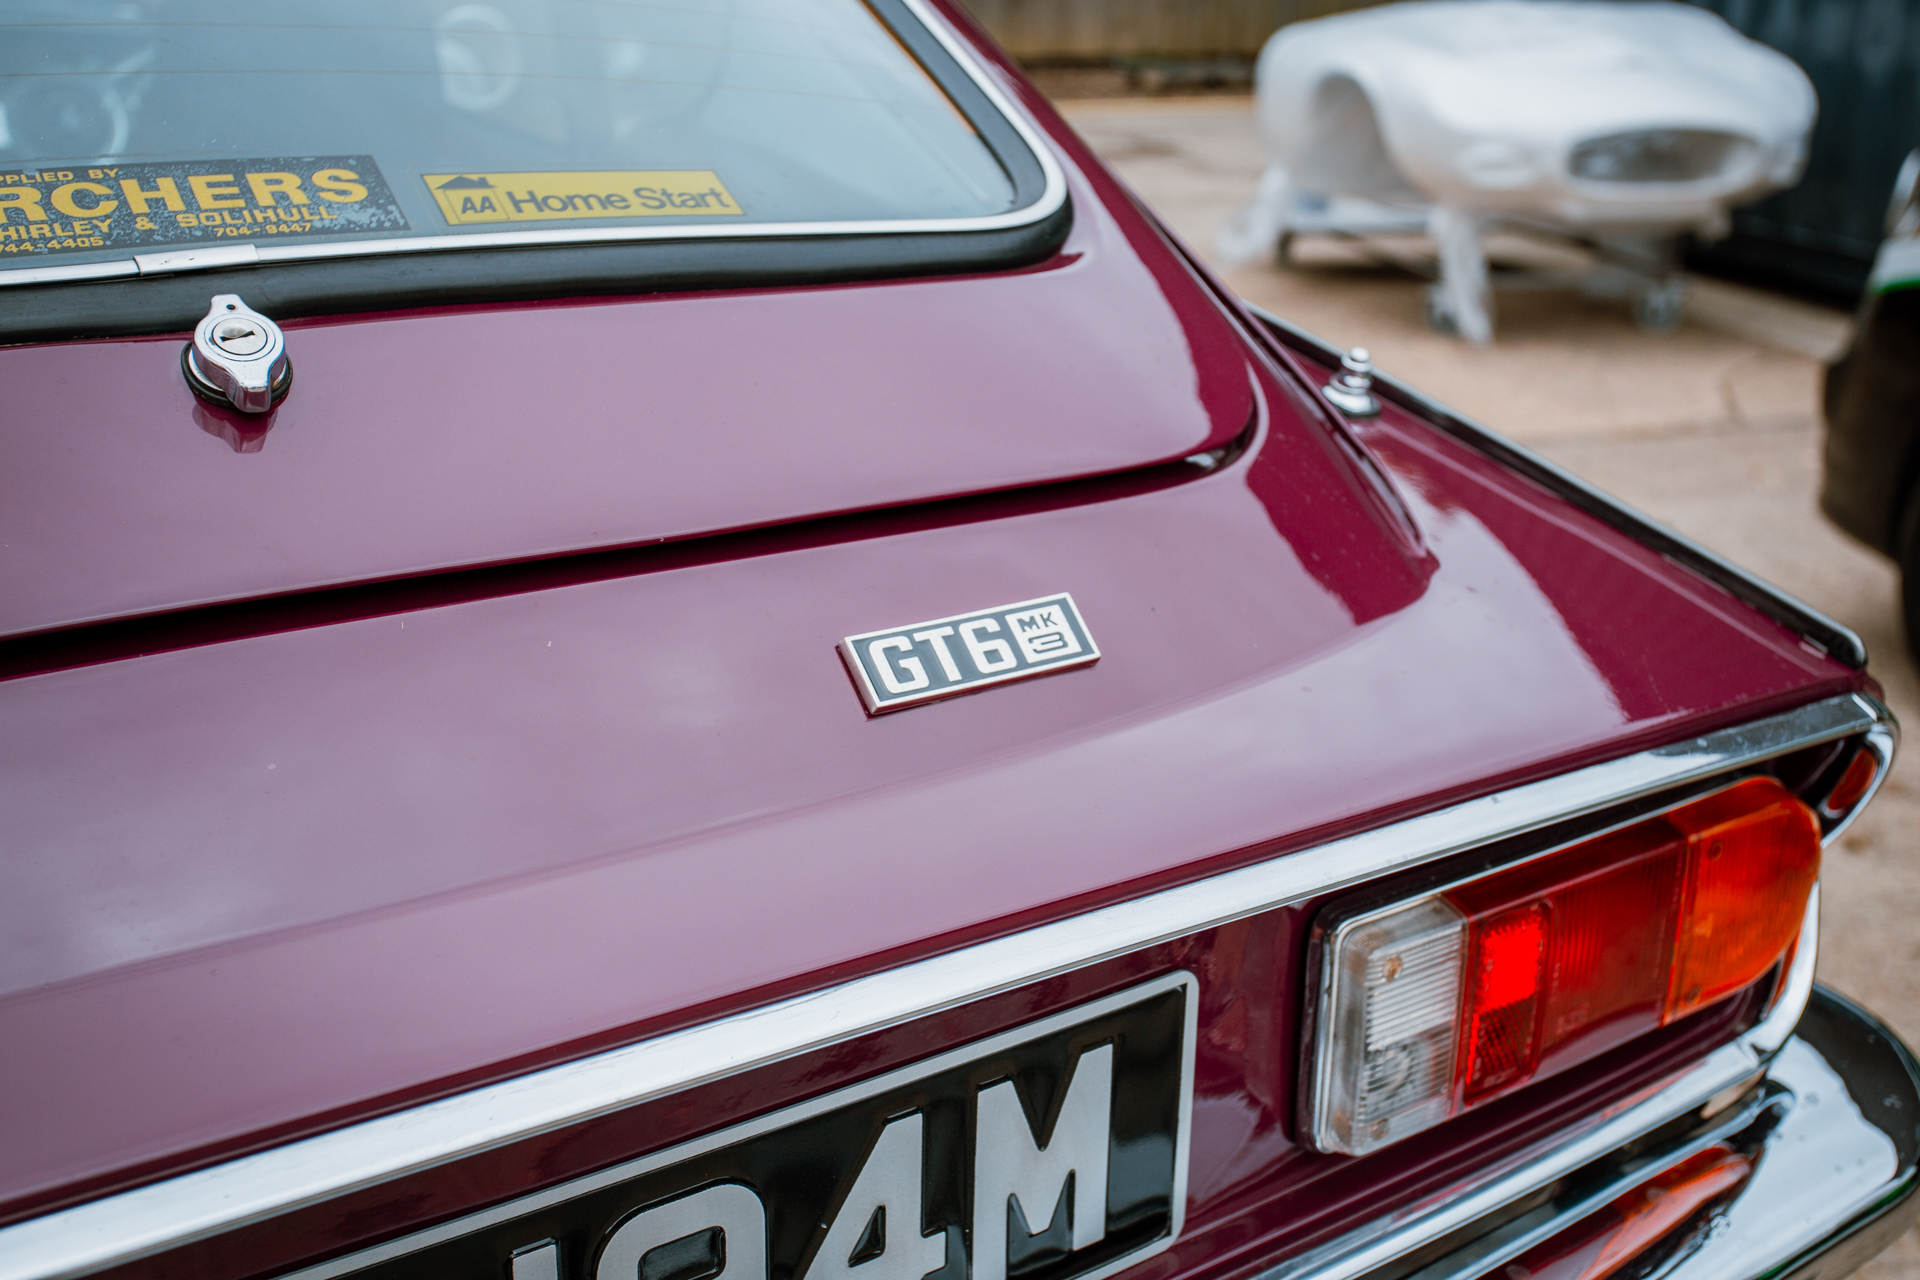
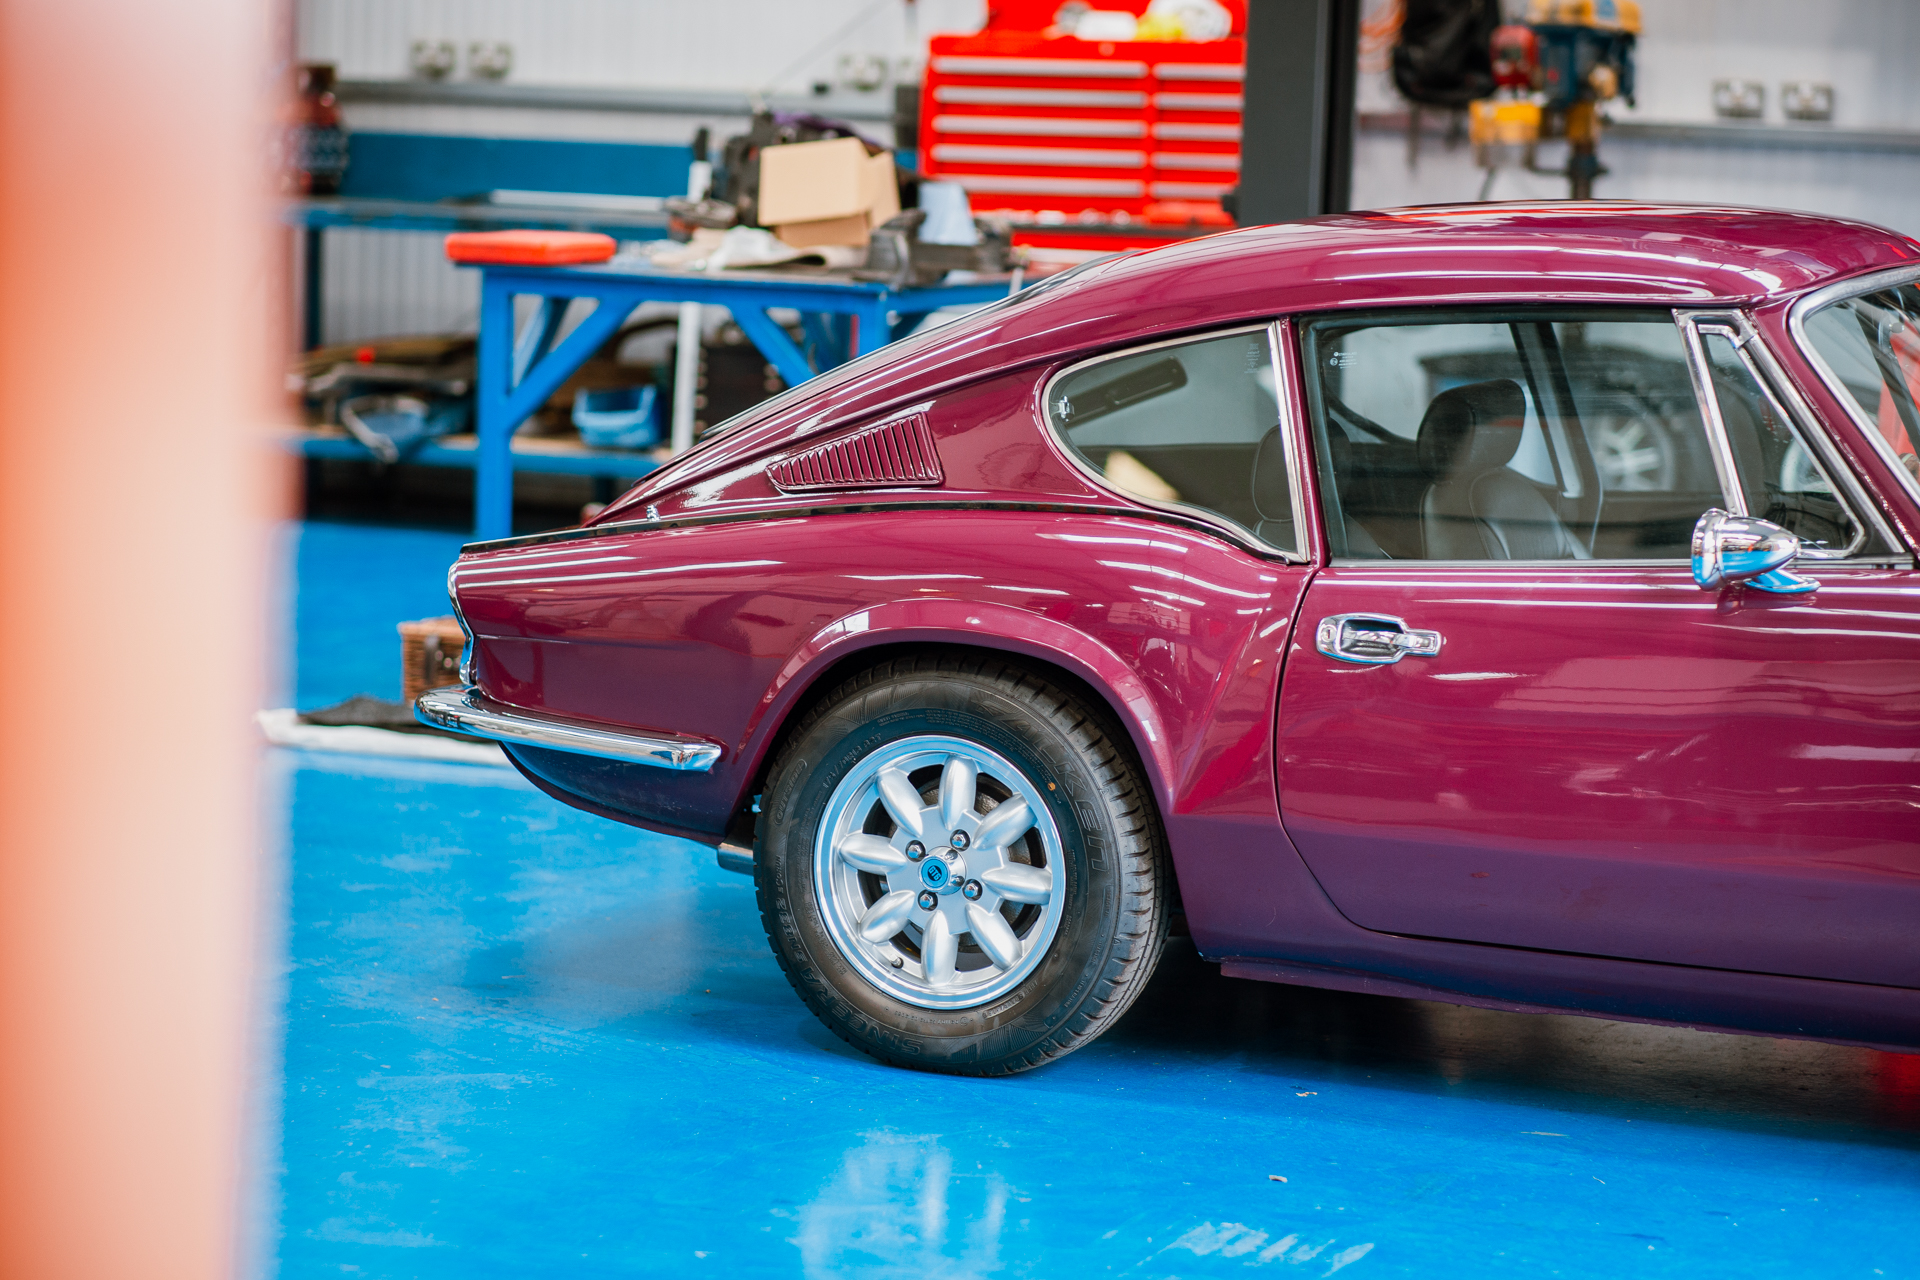
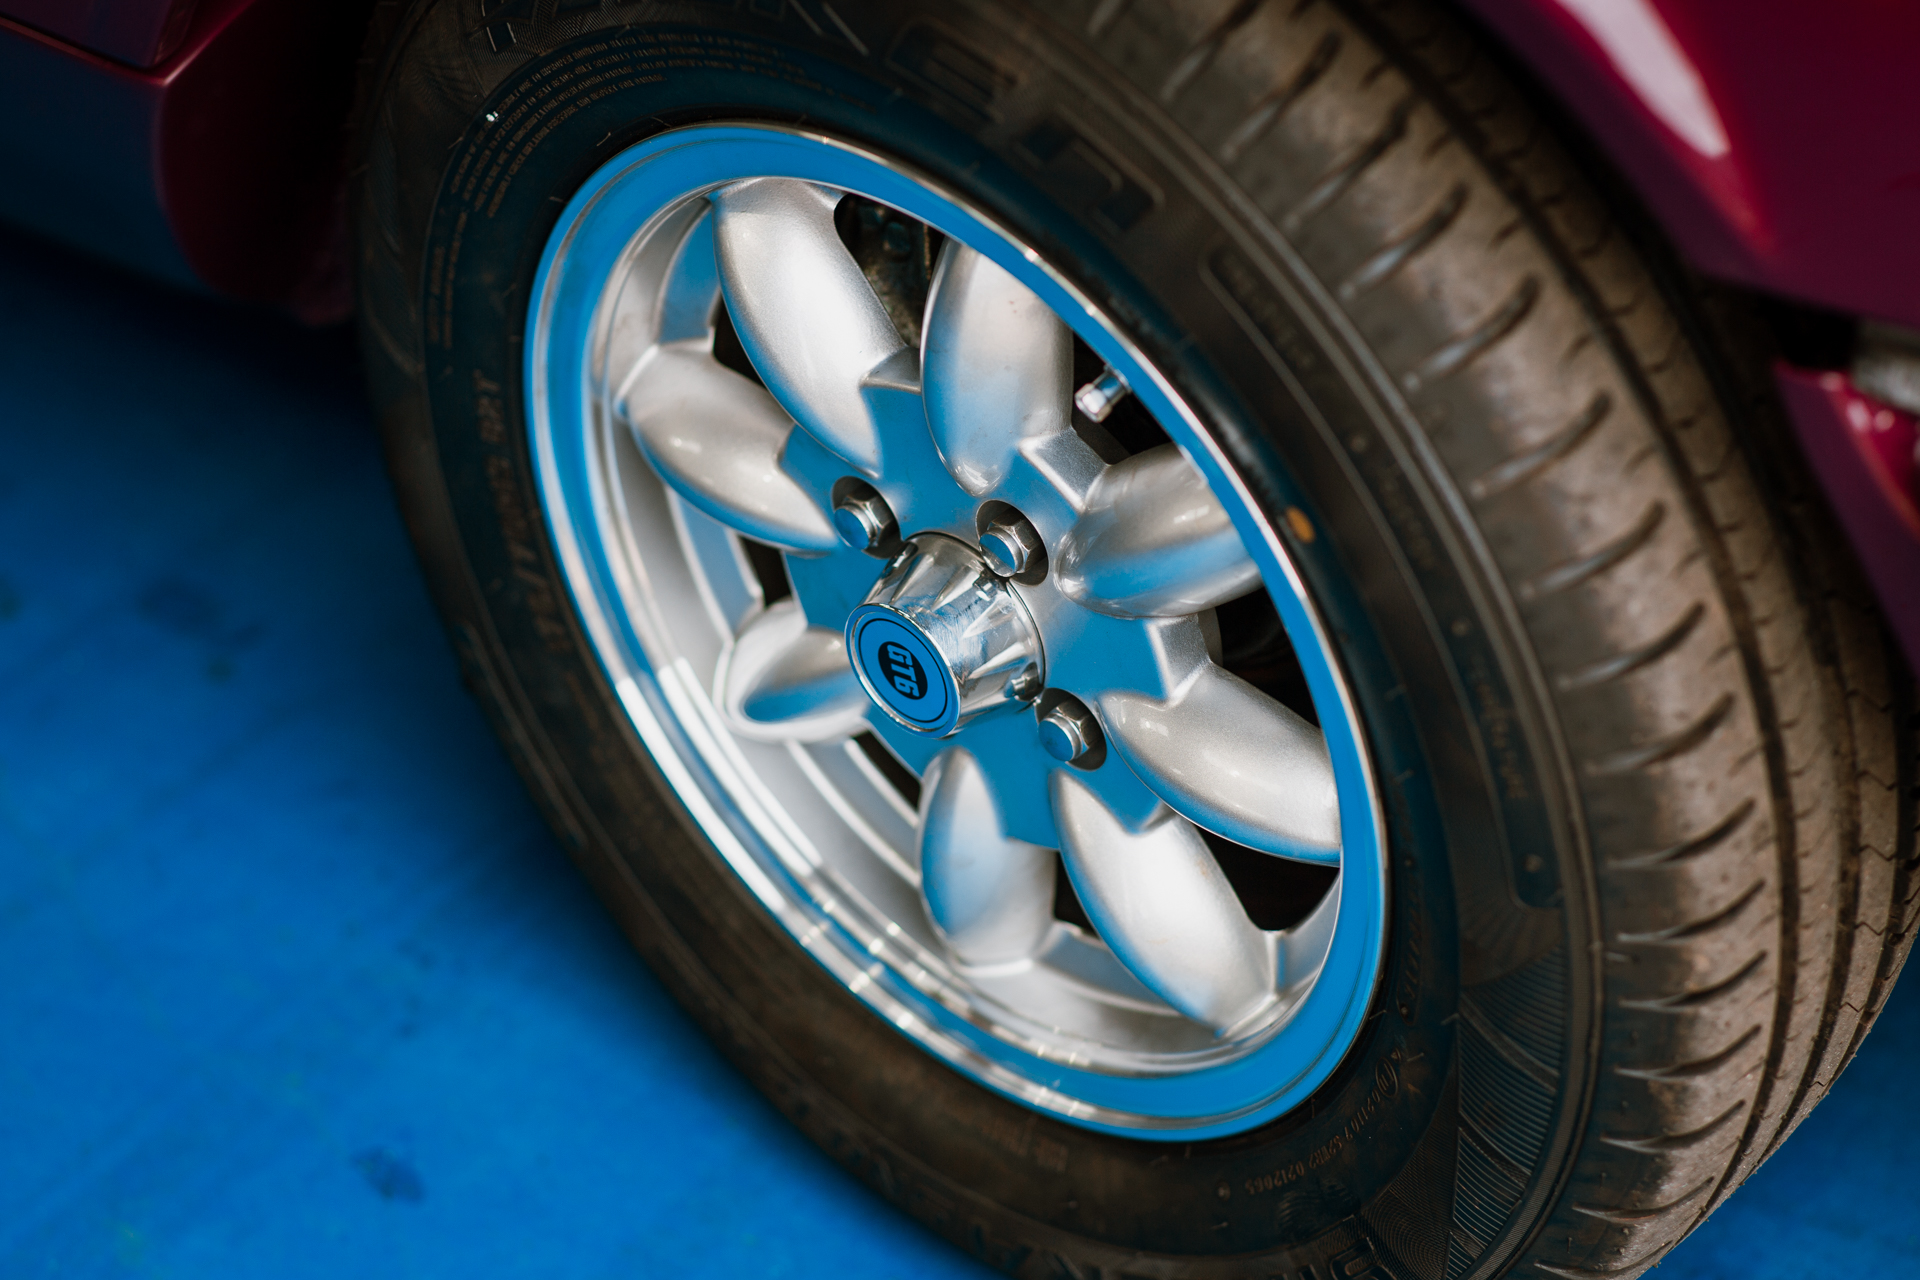
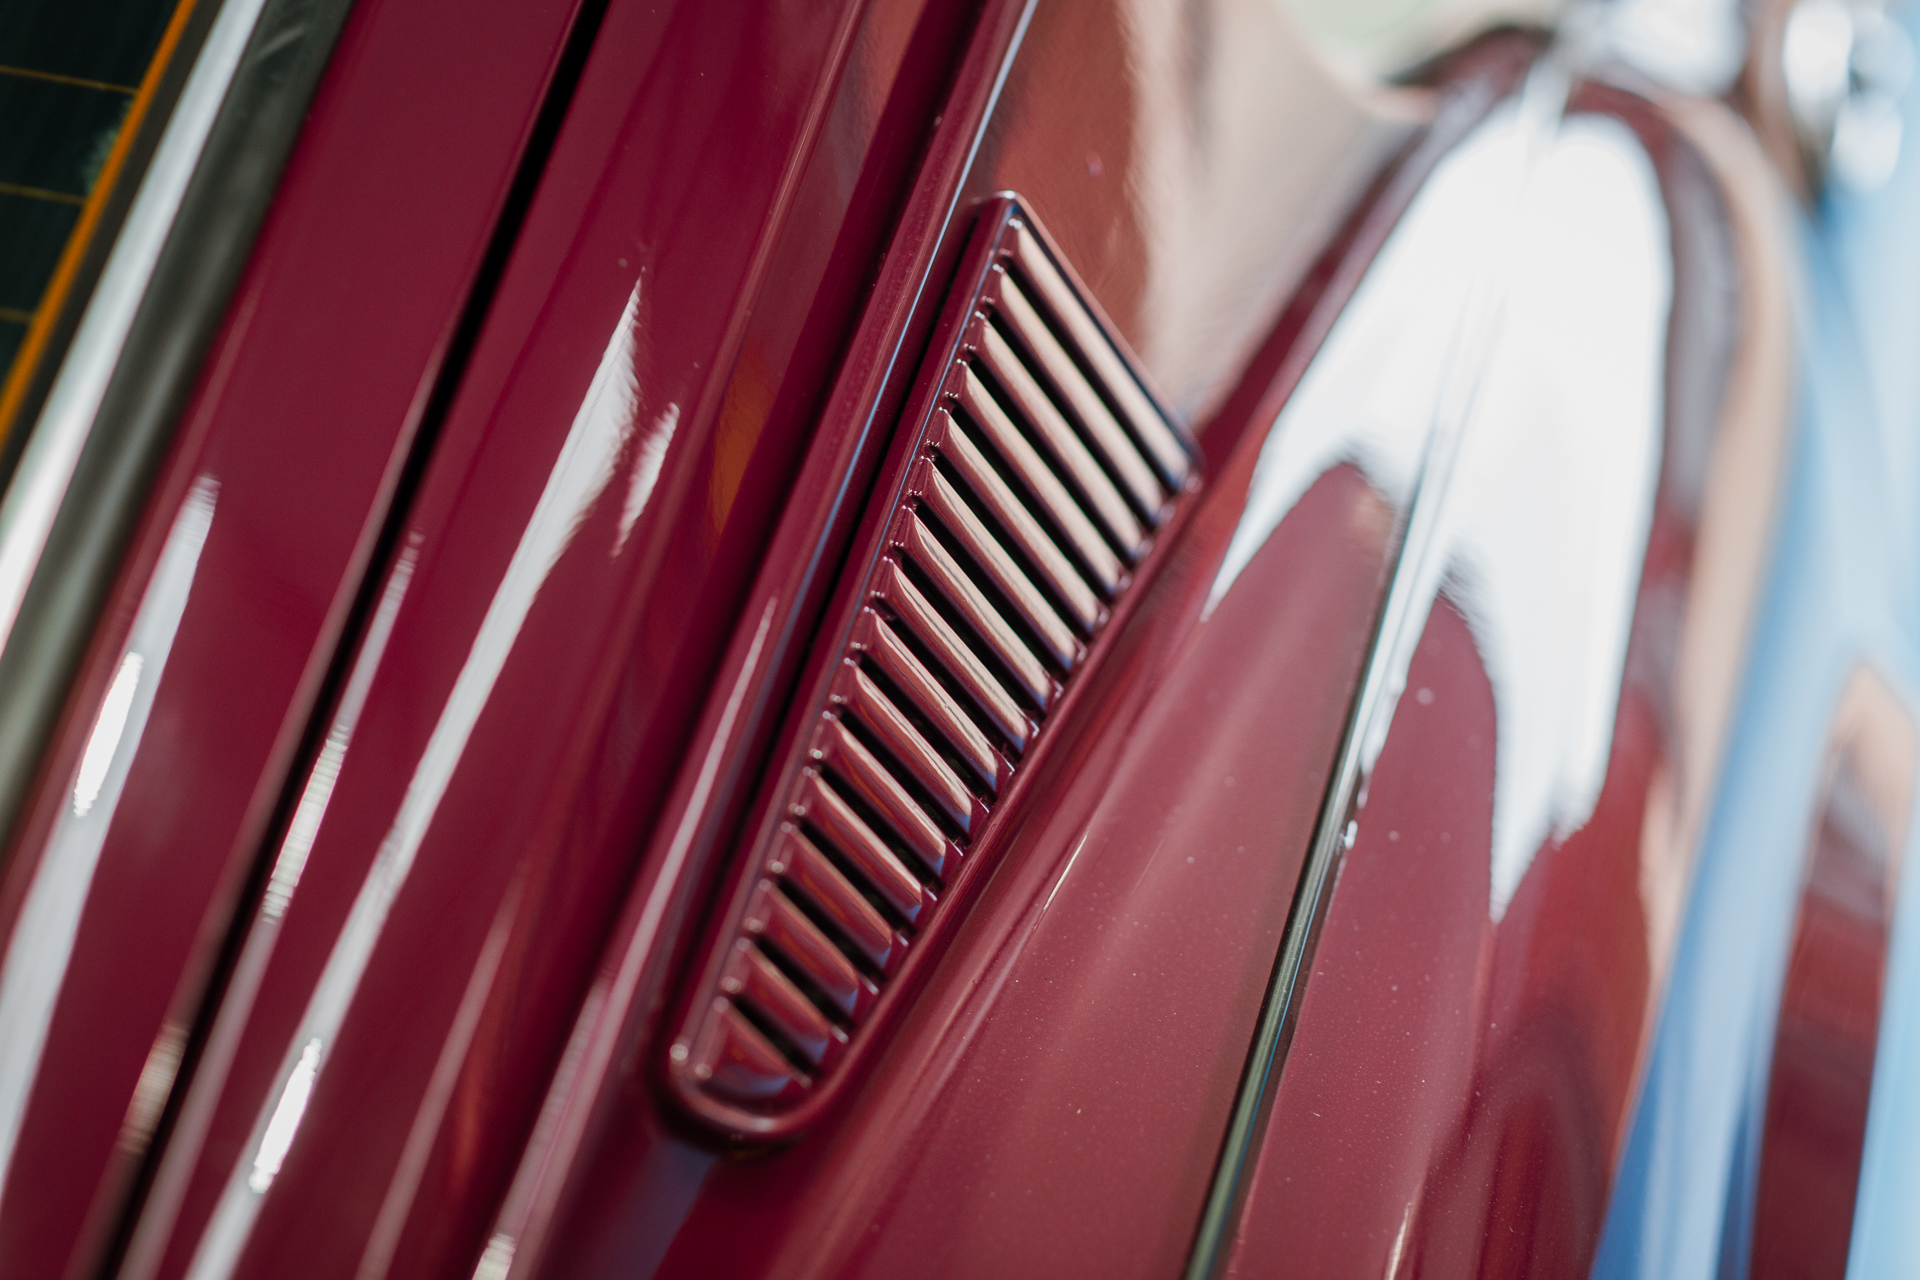
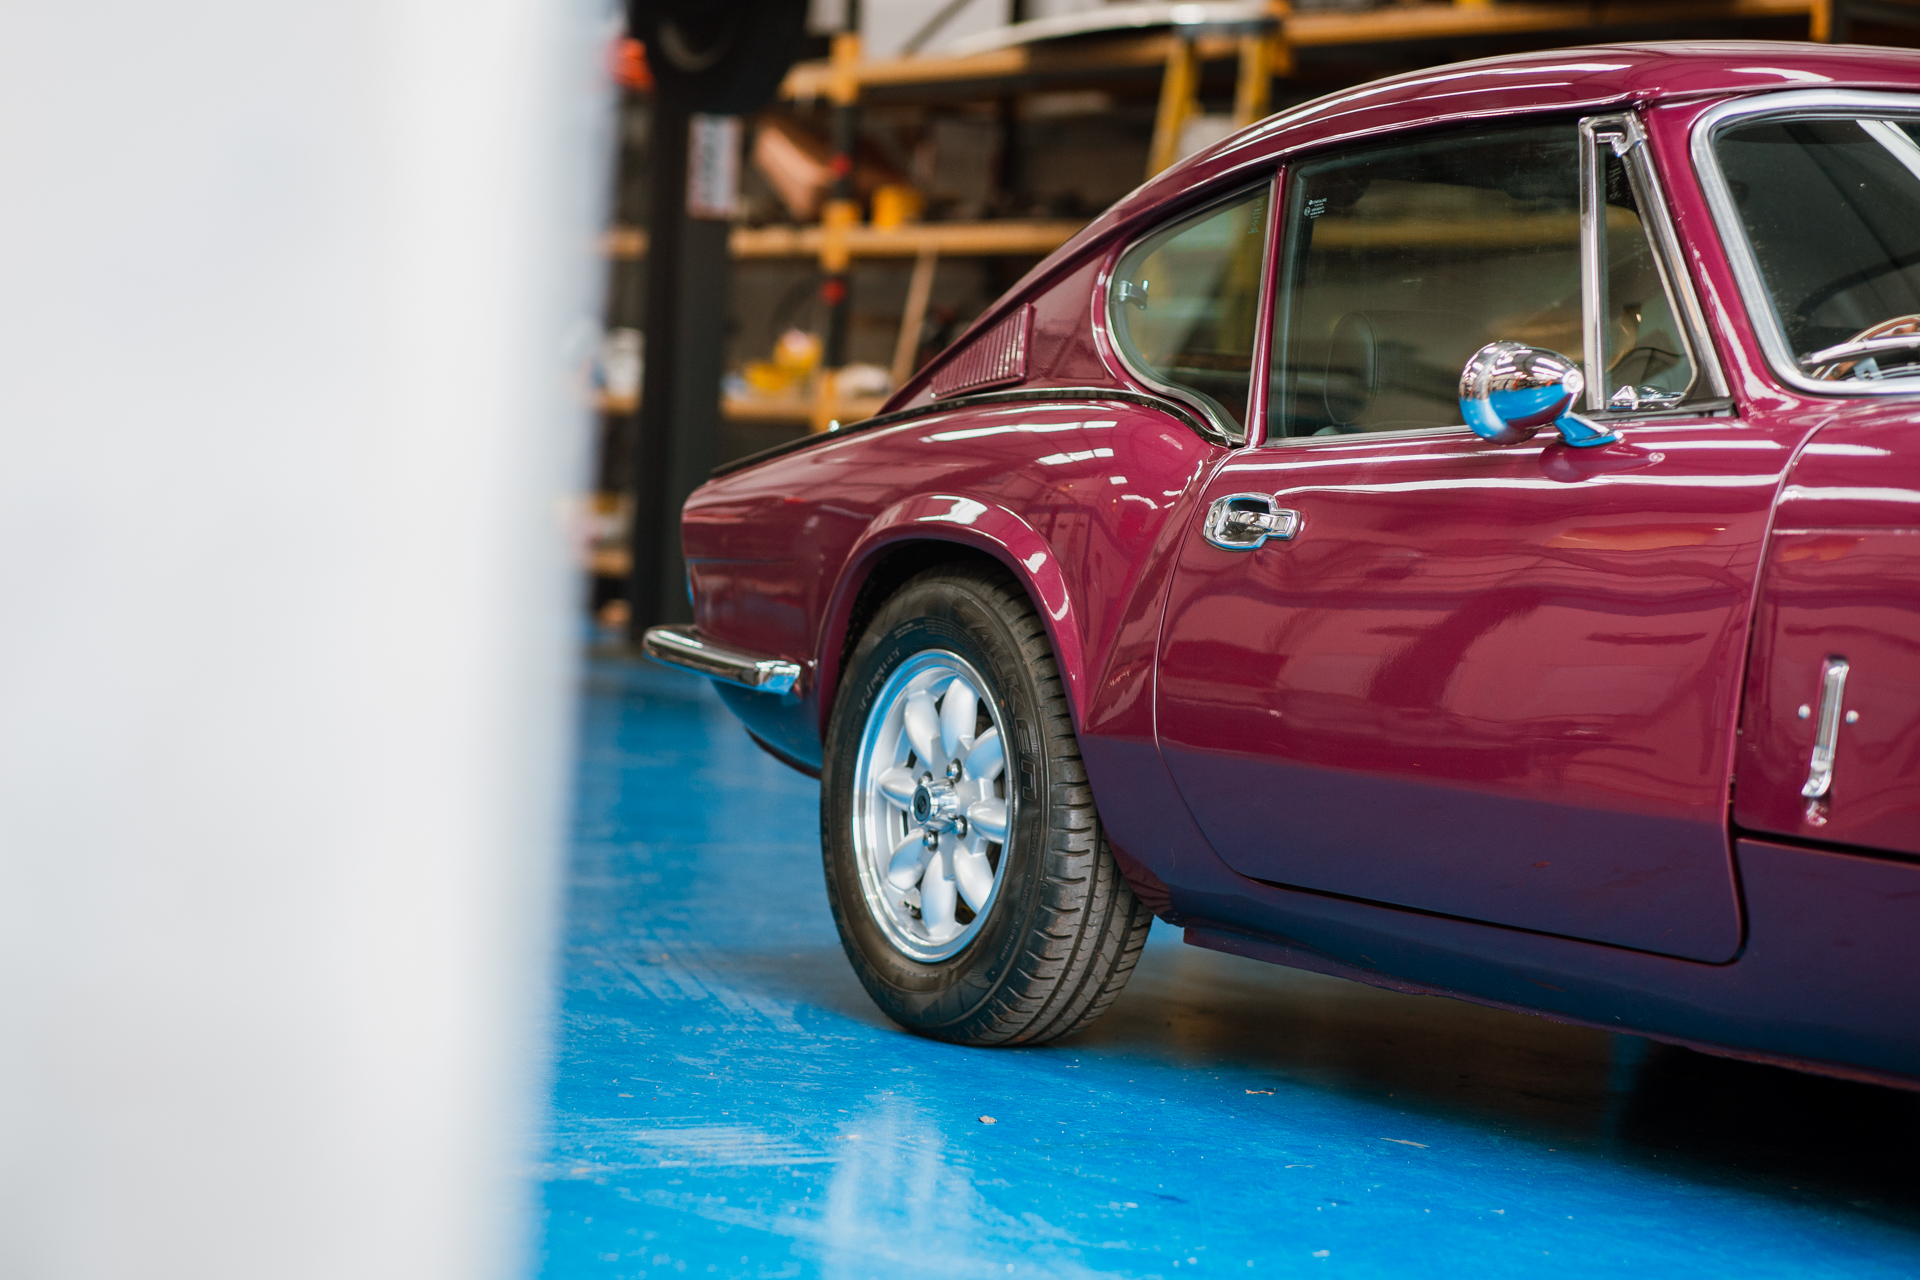
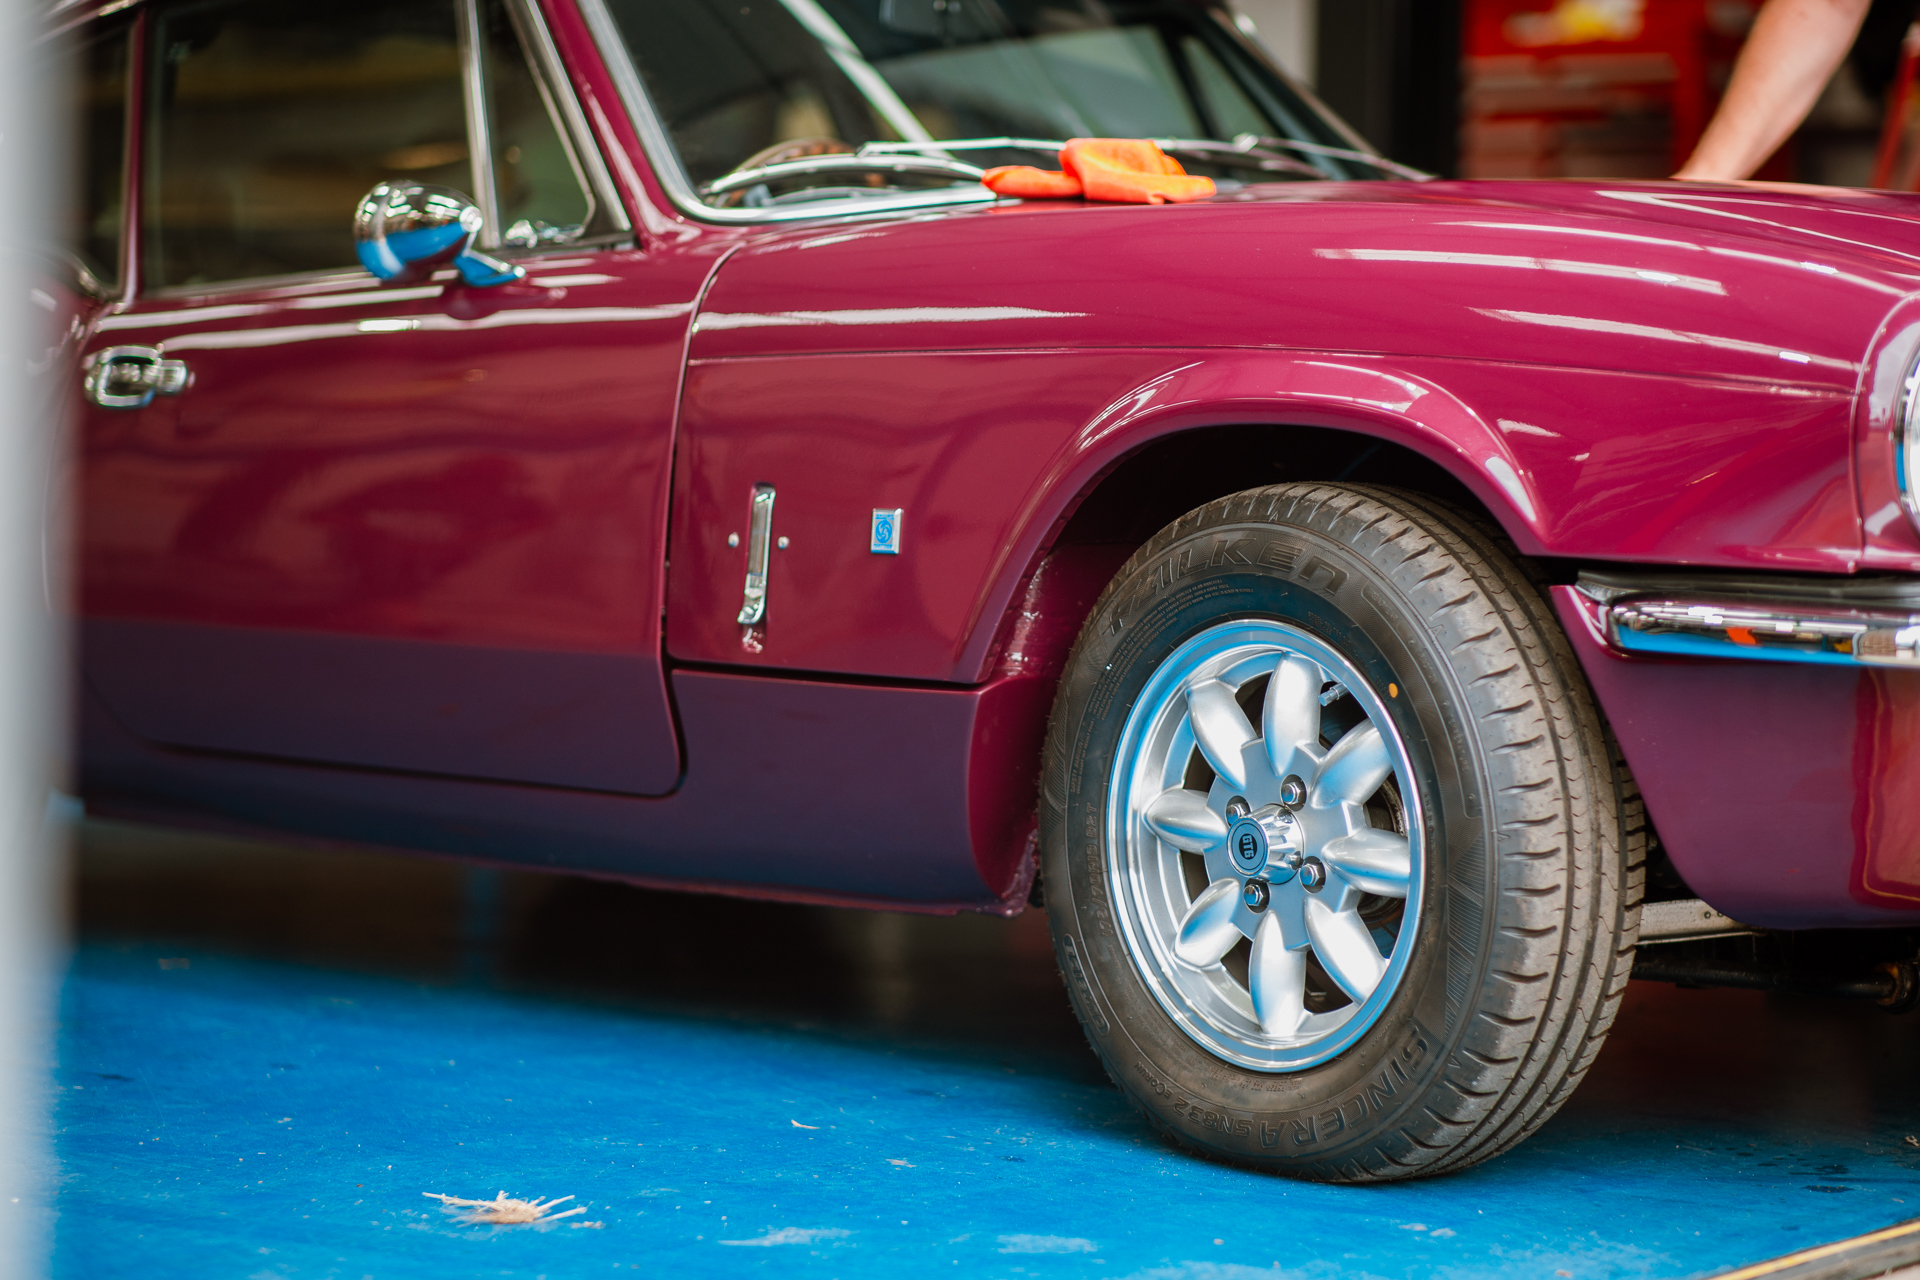
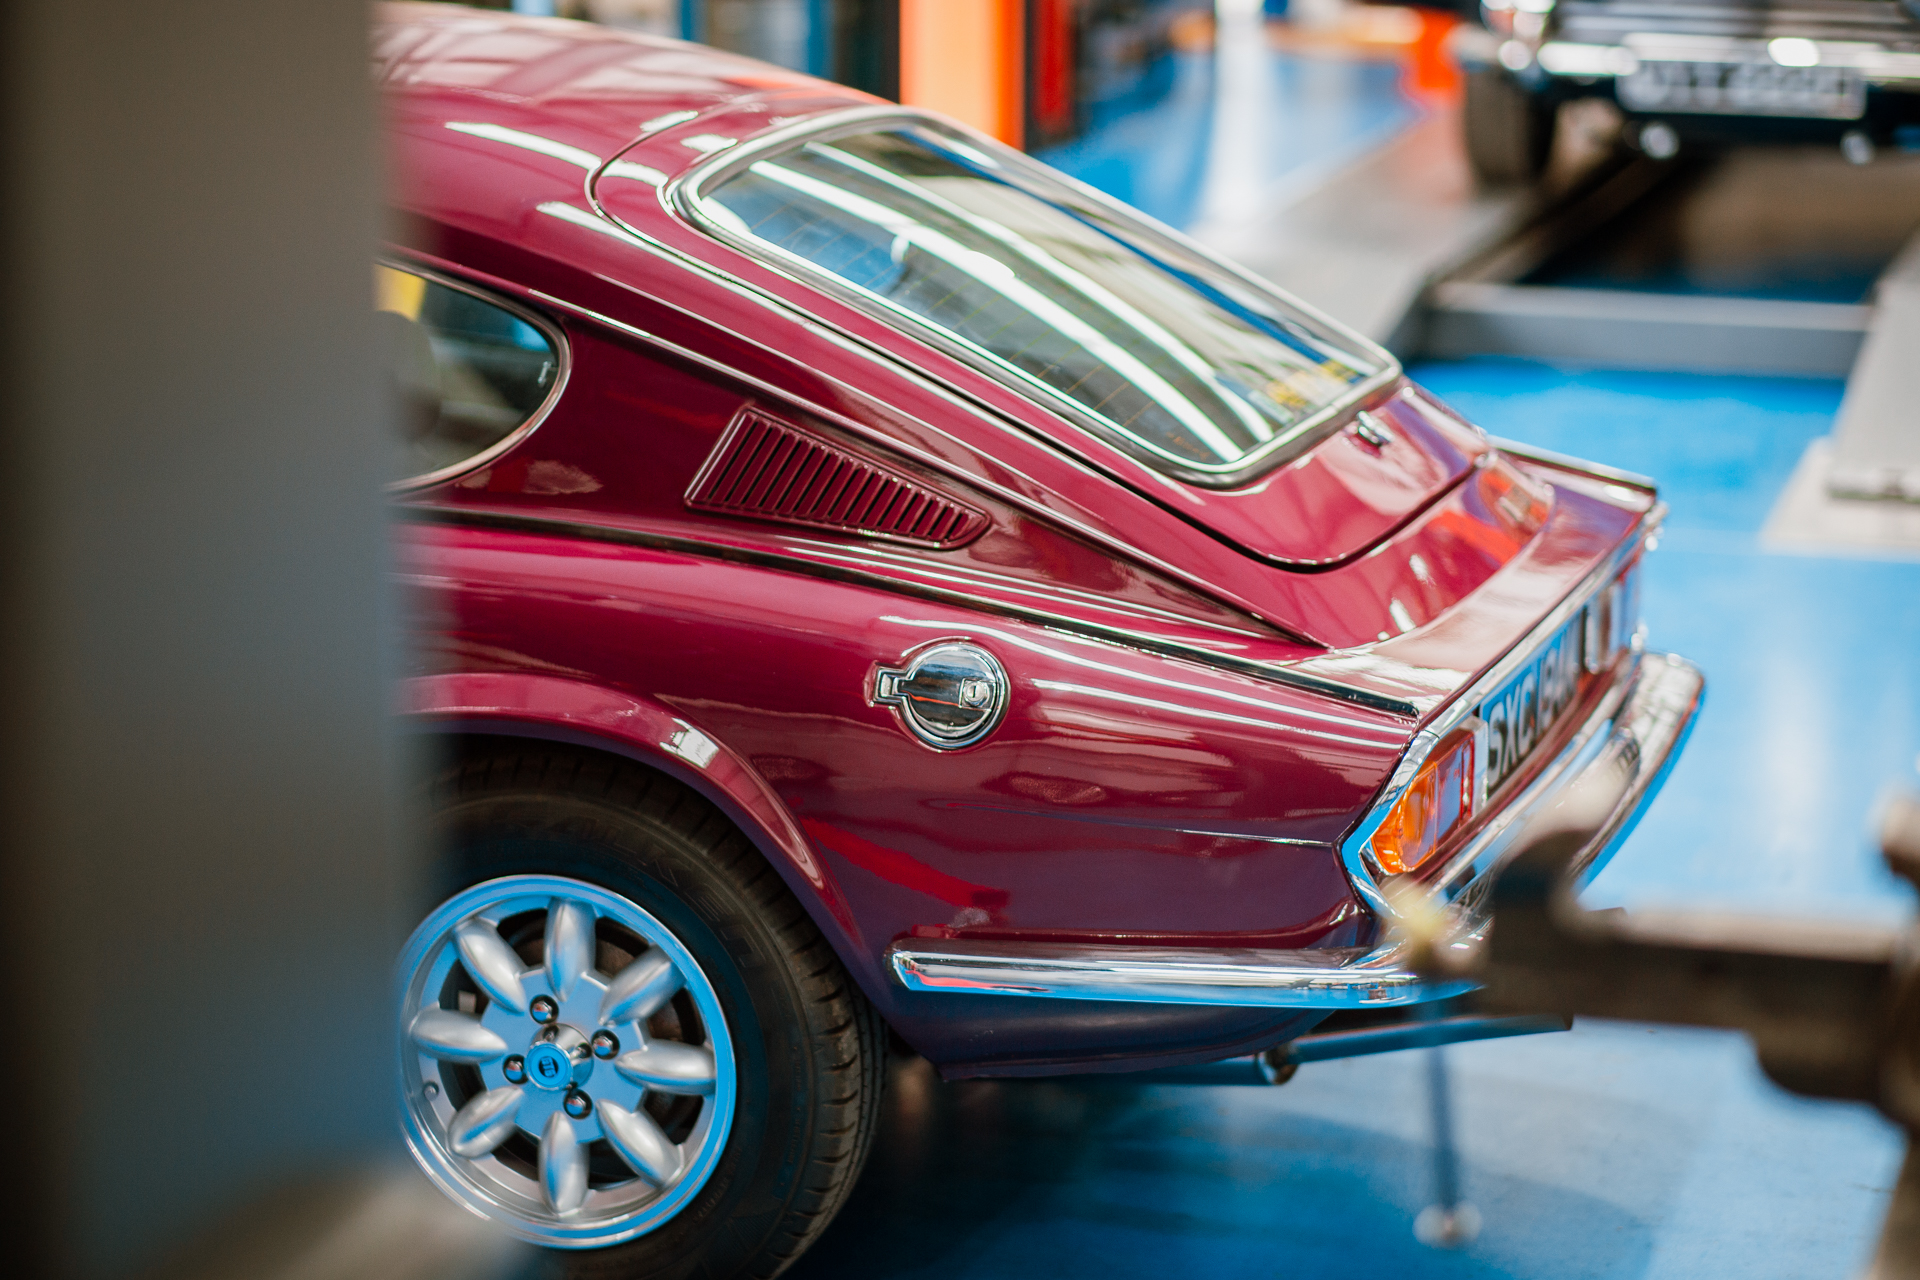
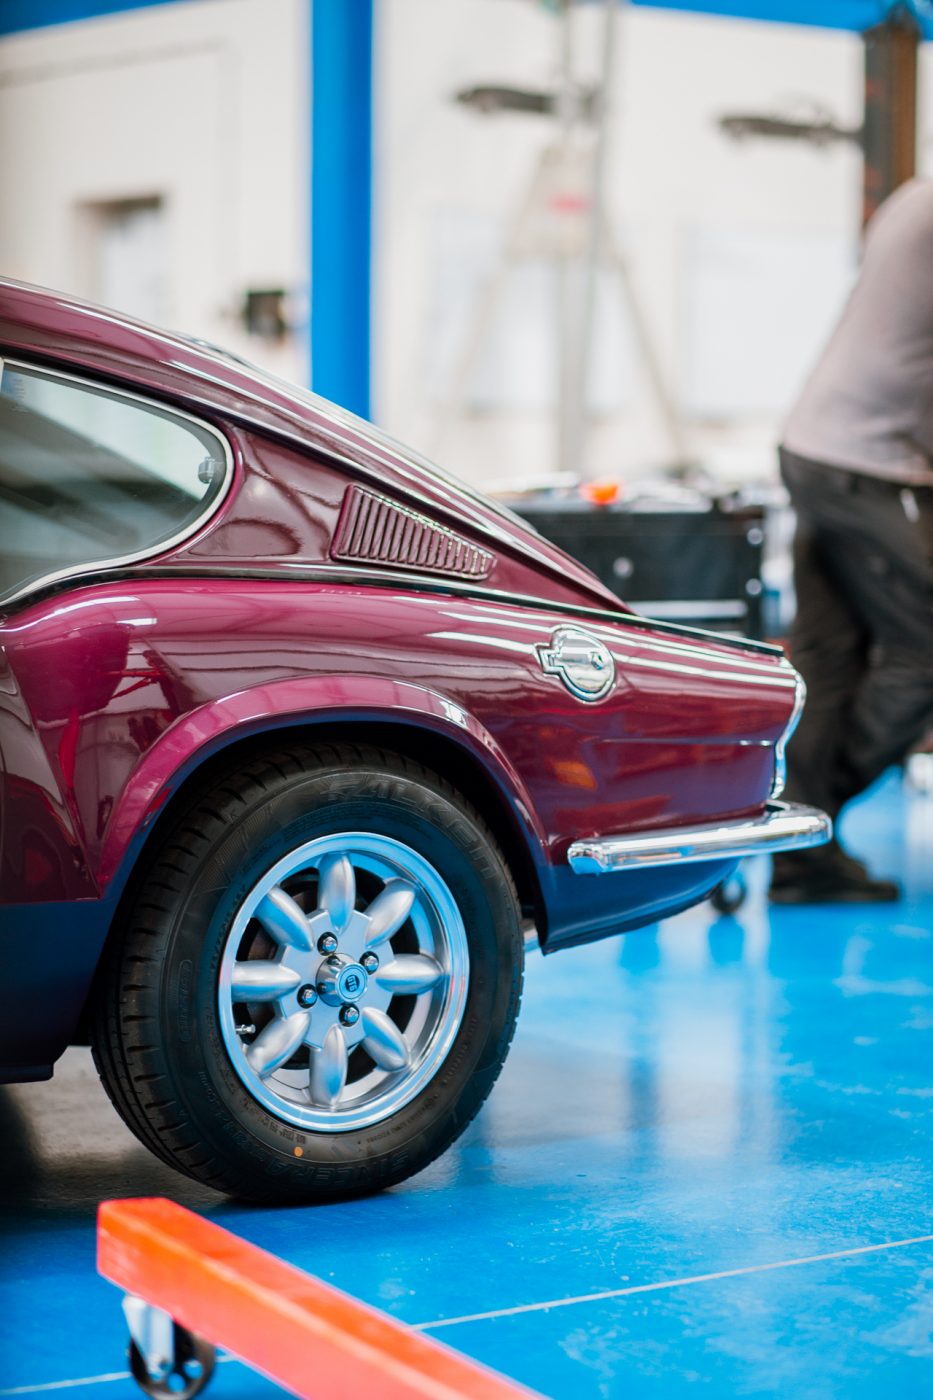
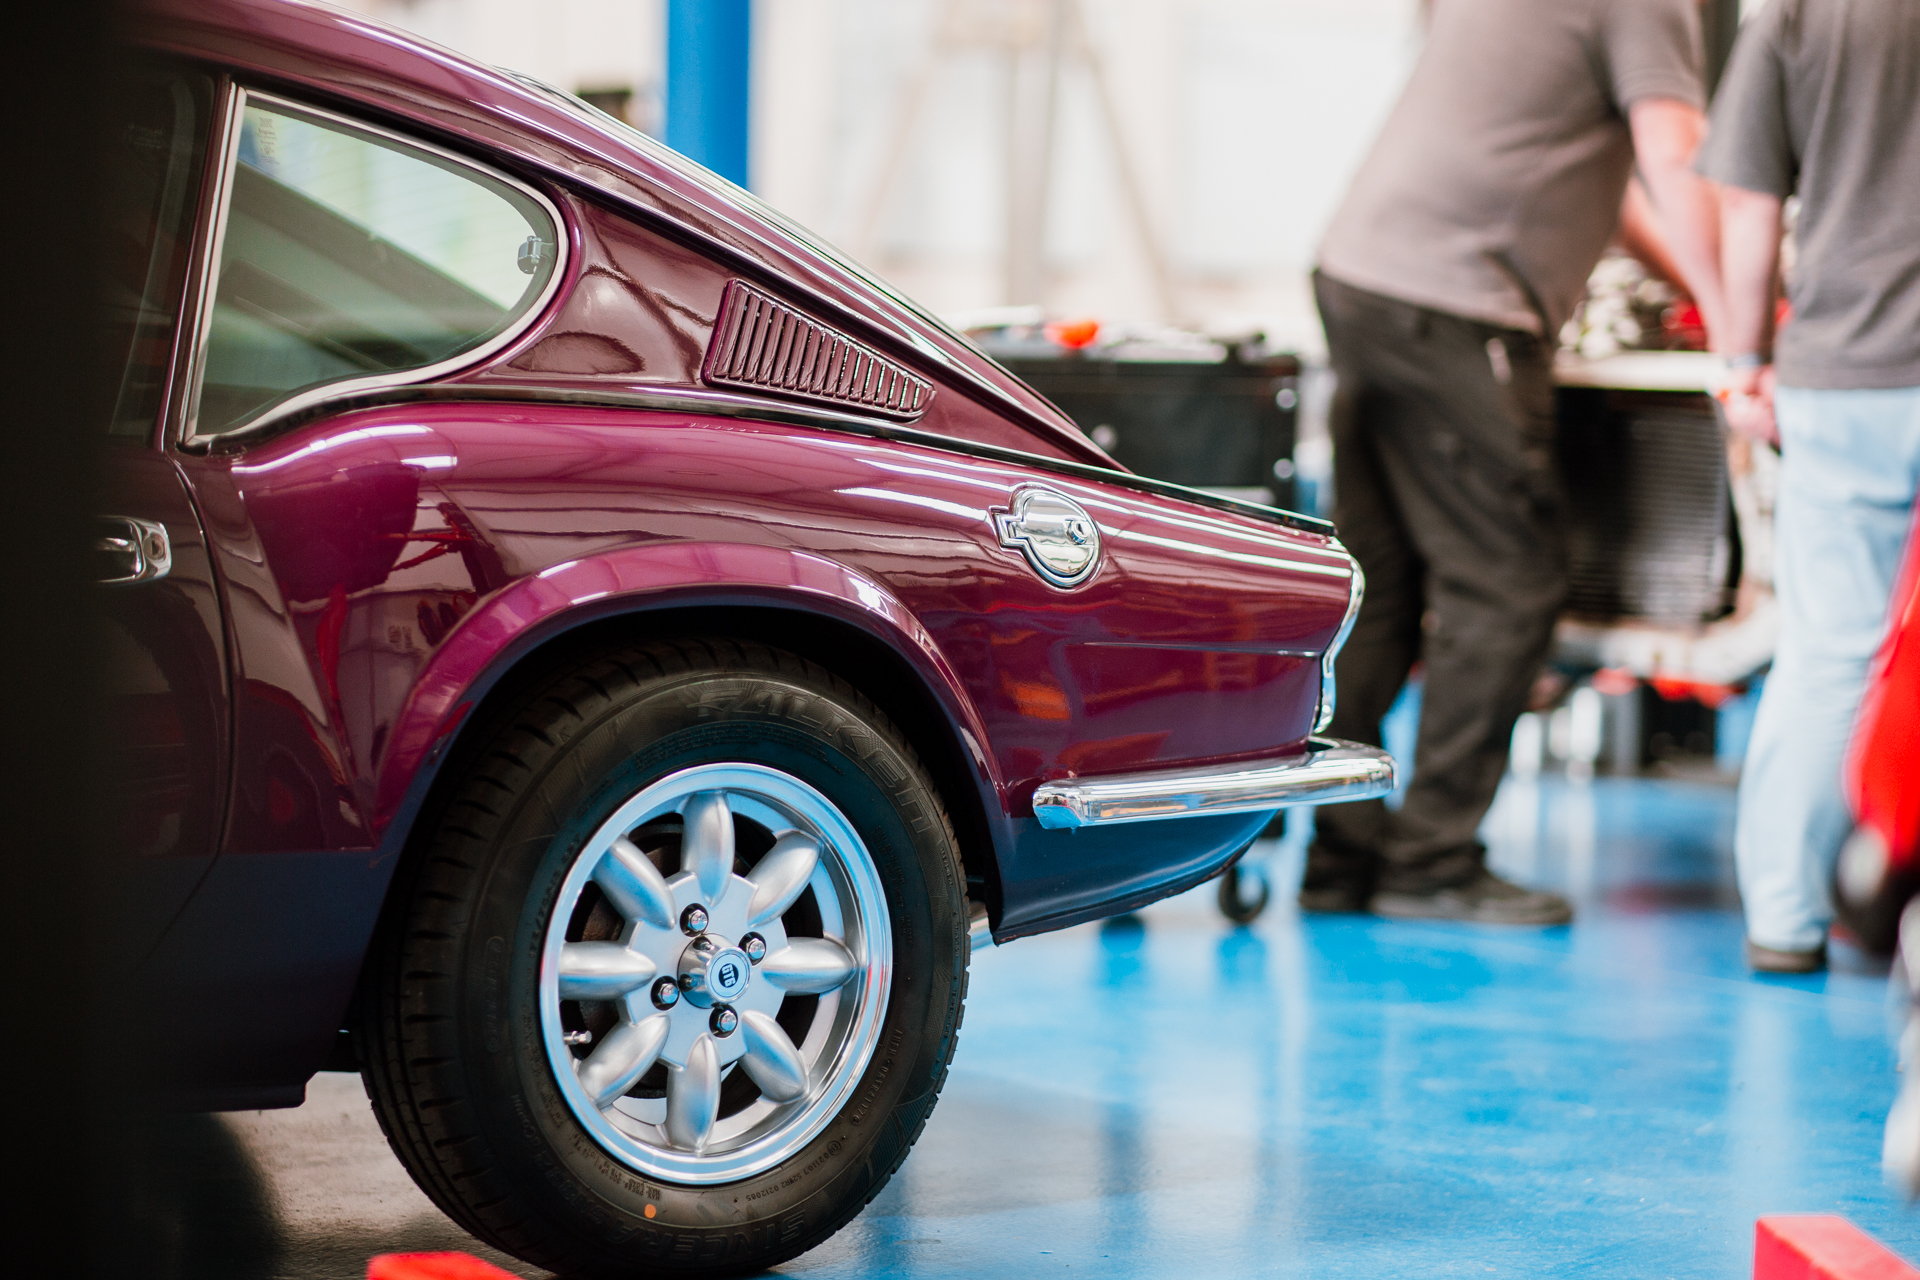
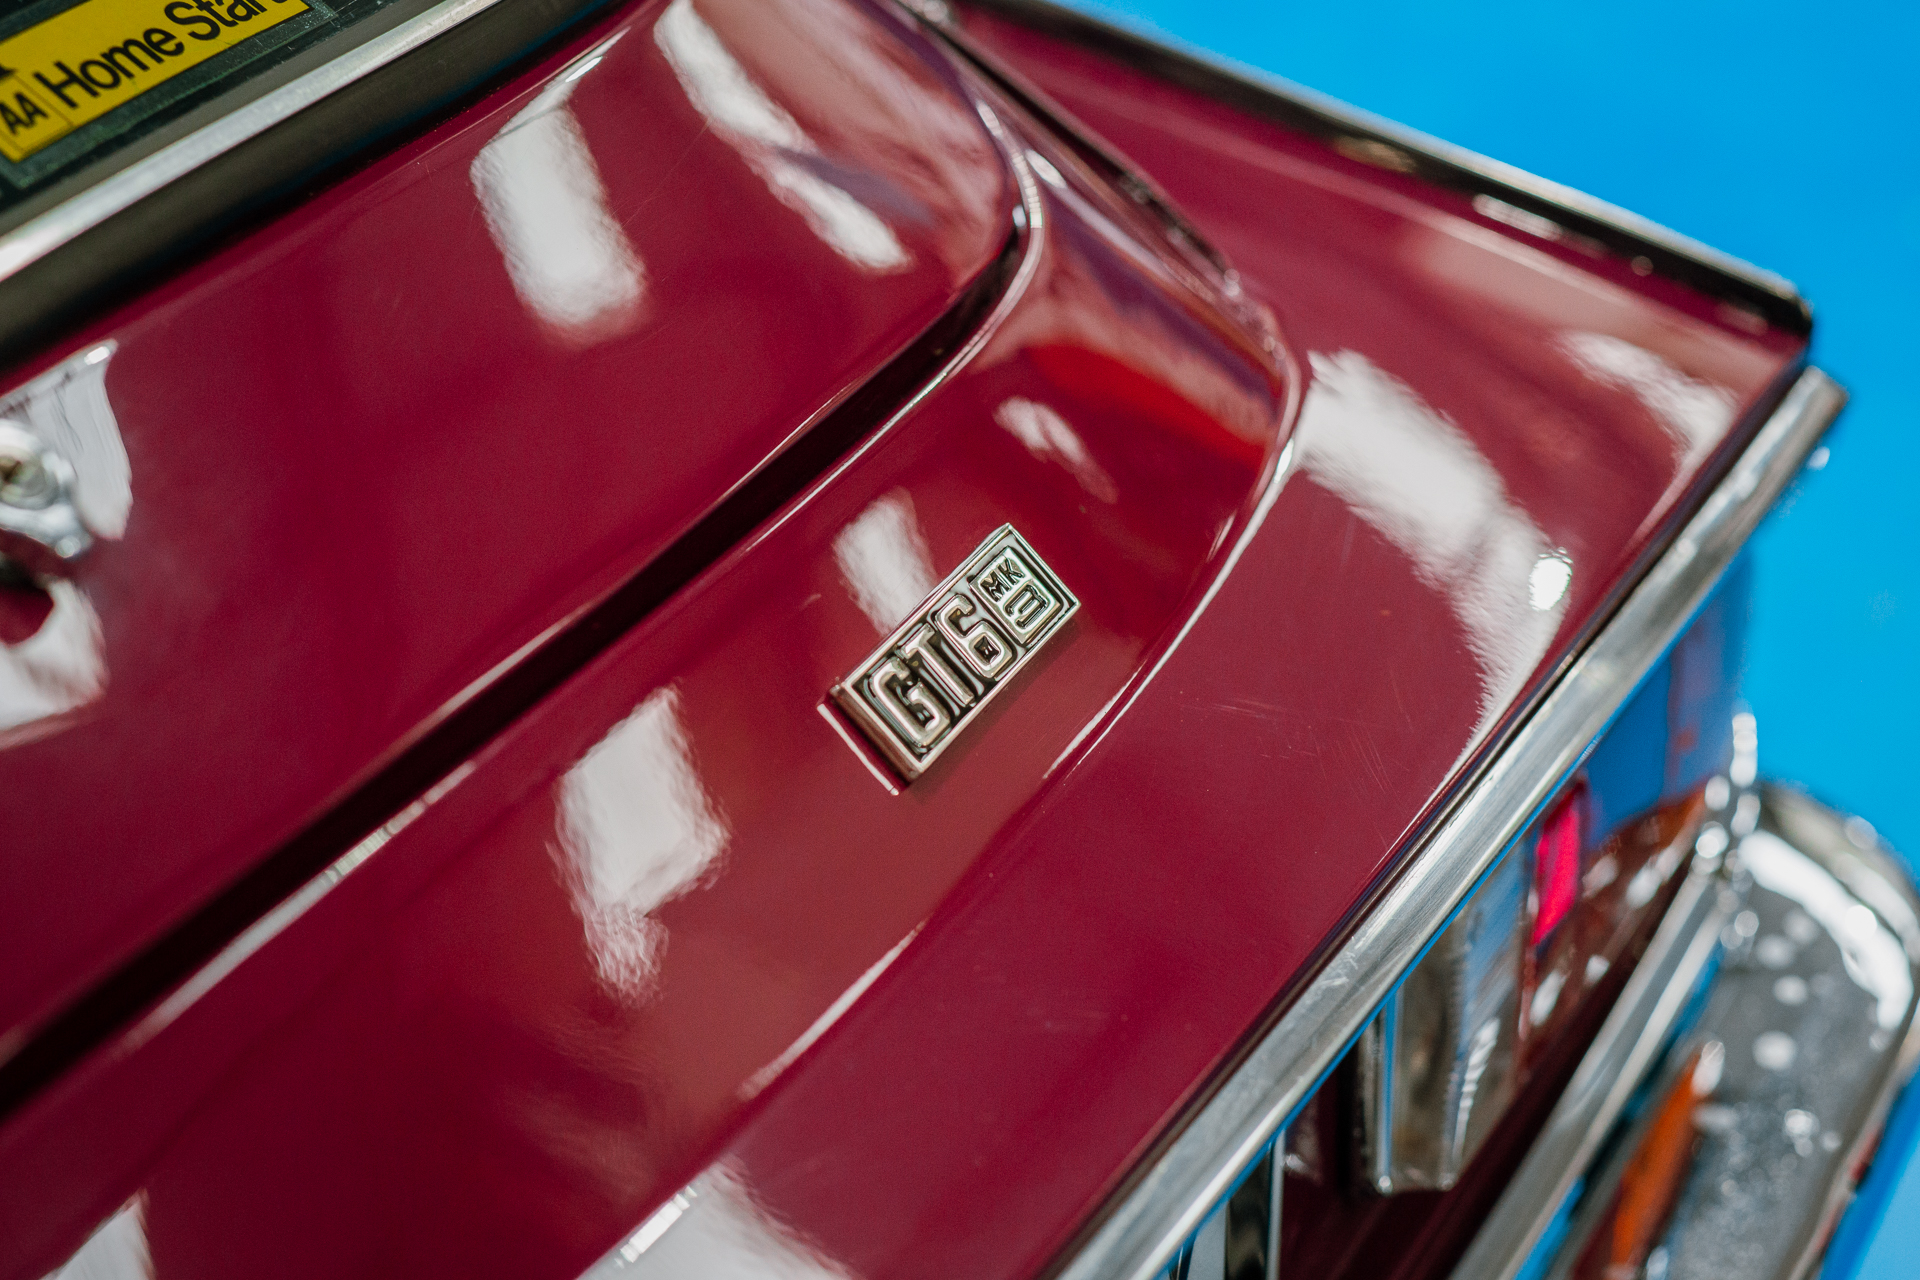
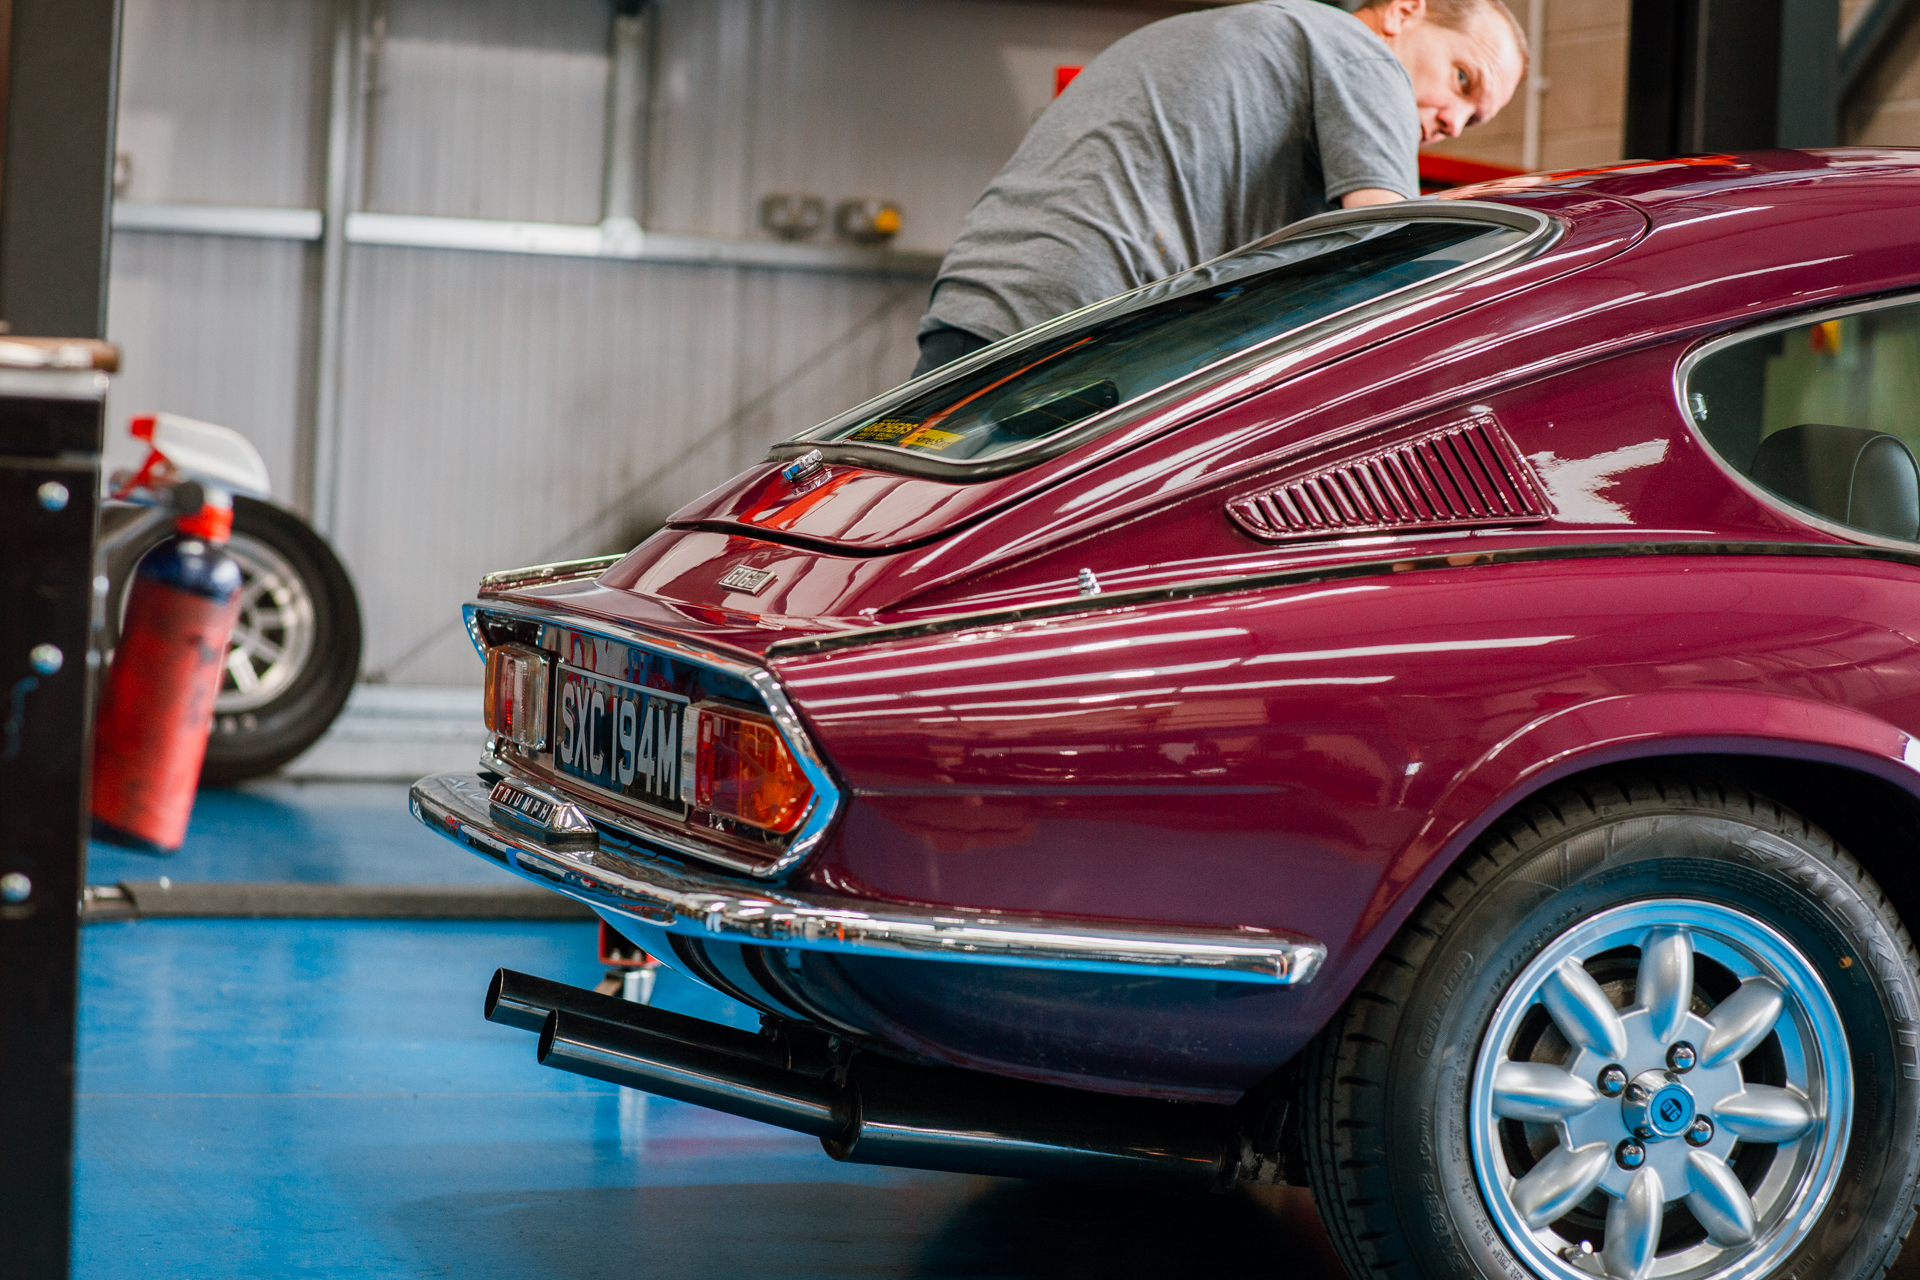
The much-awaited arrival of the magenta 1974 Triumph GT6 is here! It left Scotland yesterday for its long journey to us here in Suffolk. Thankfully,

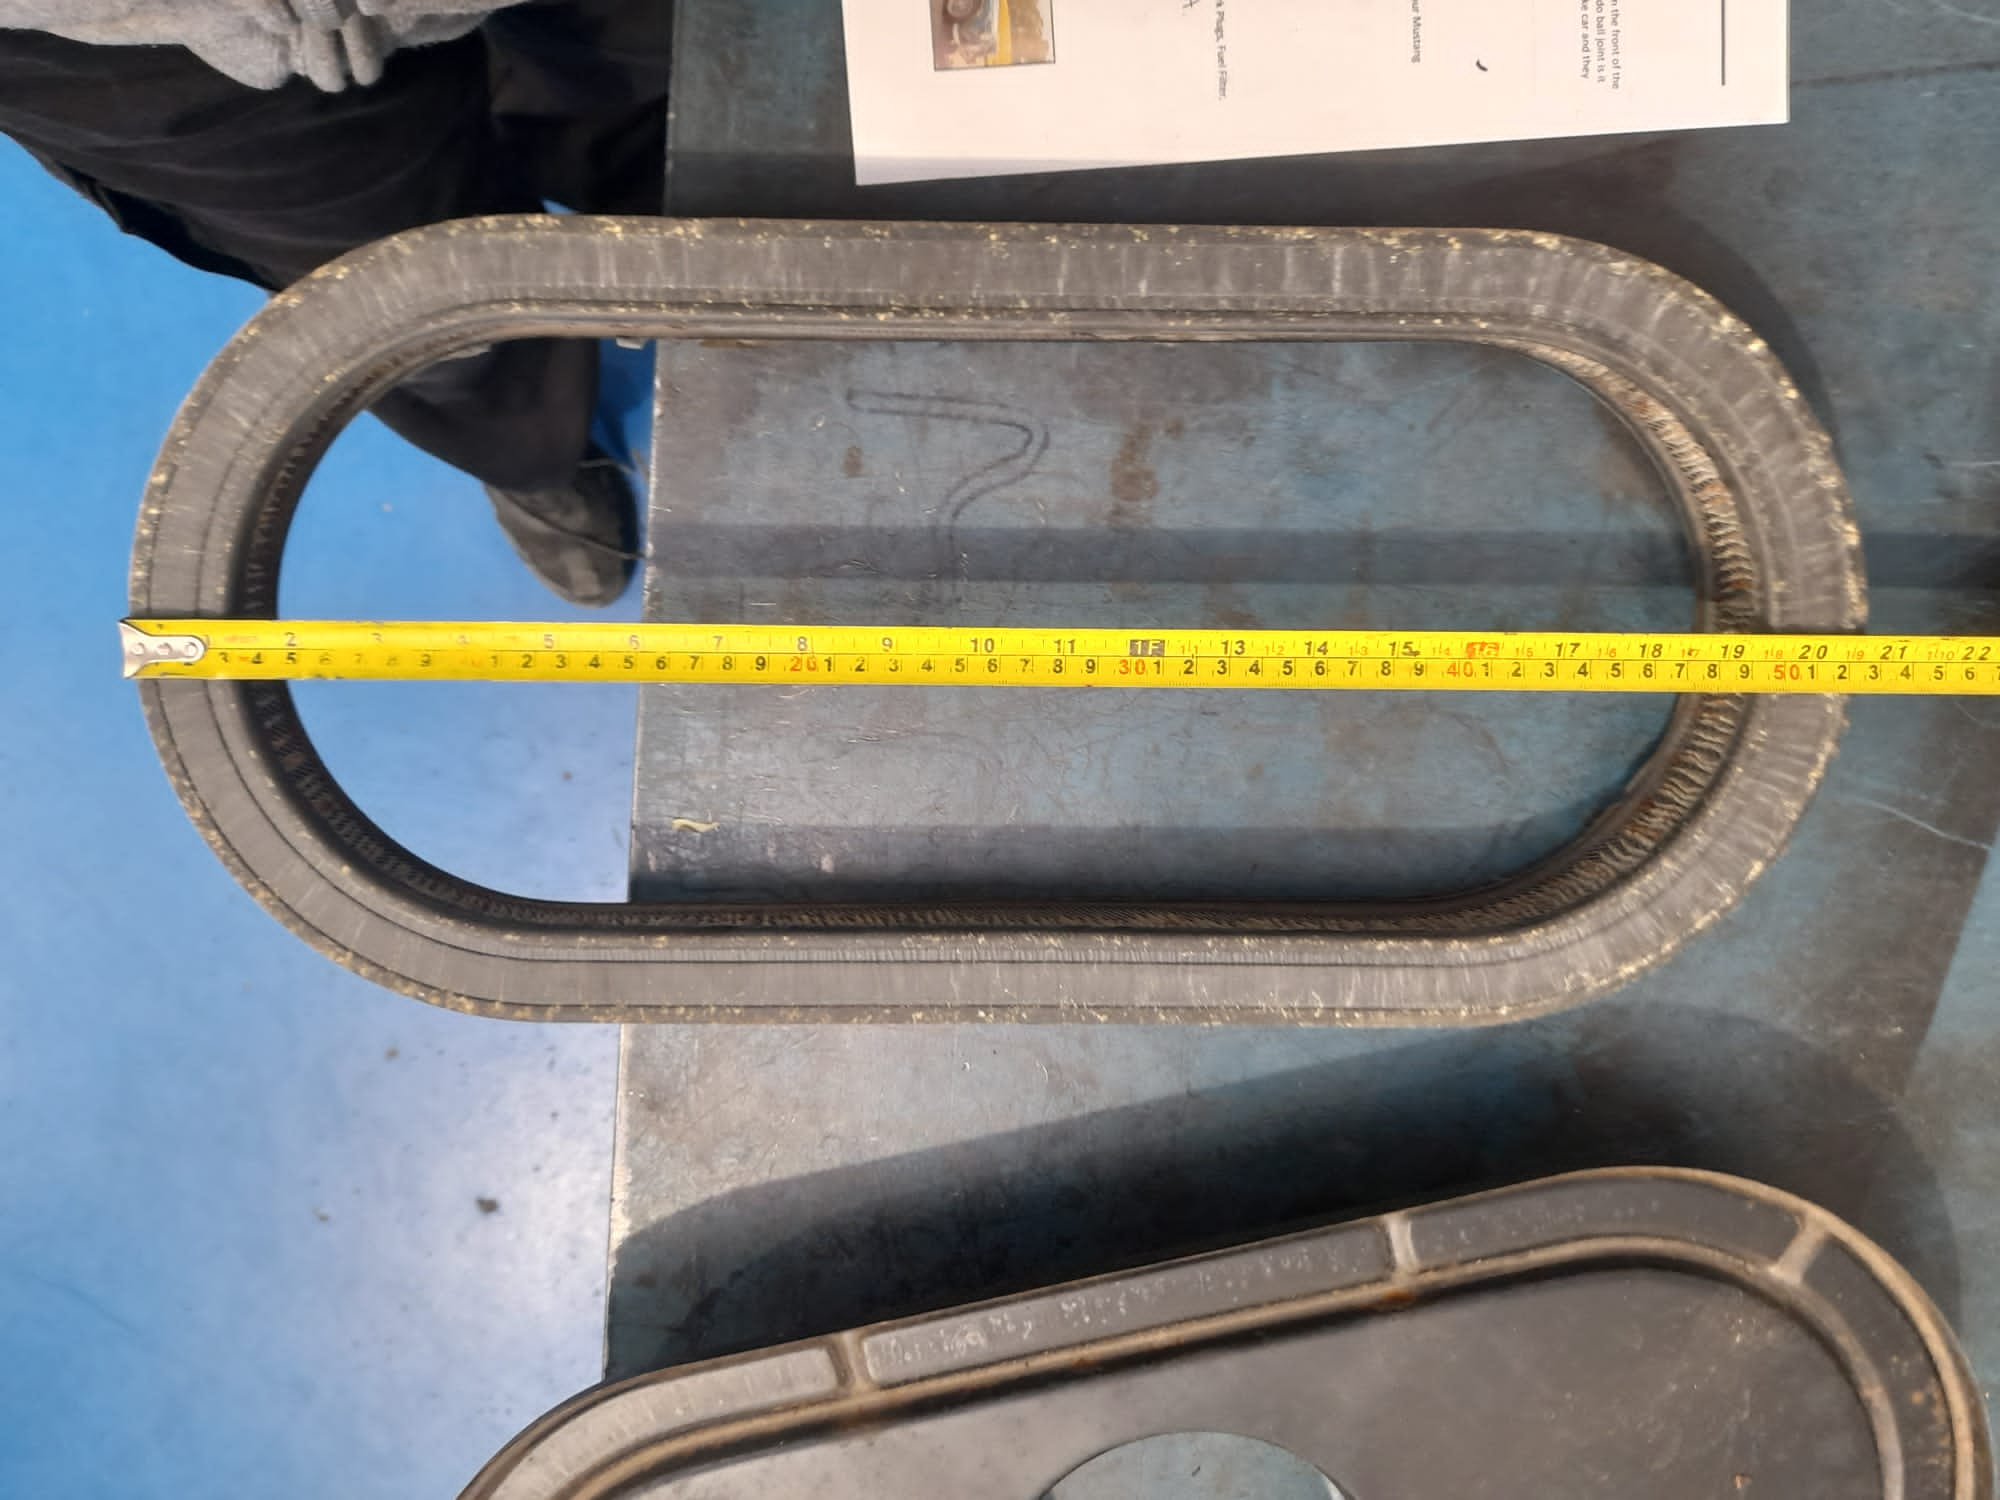
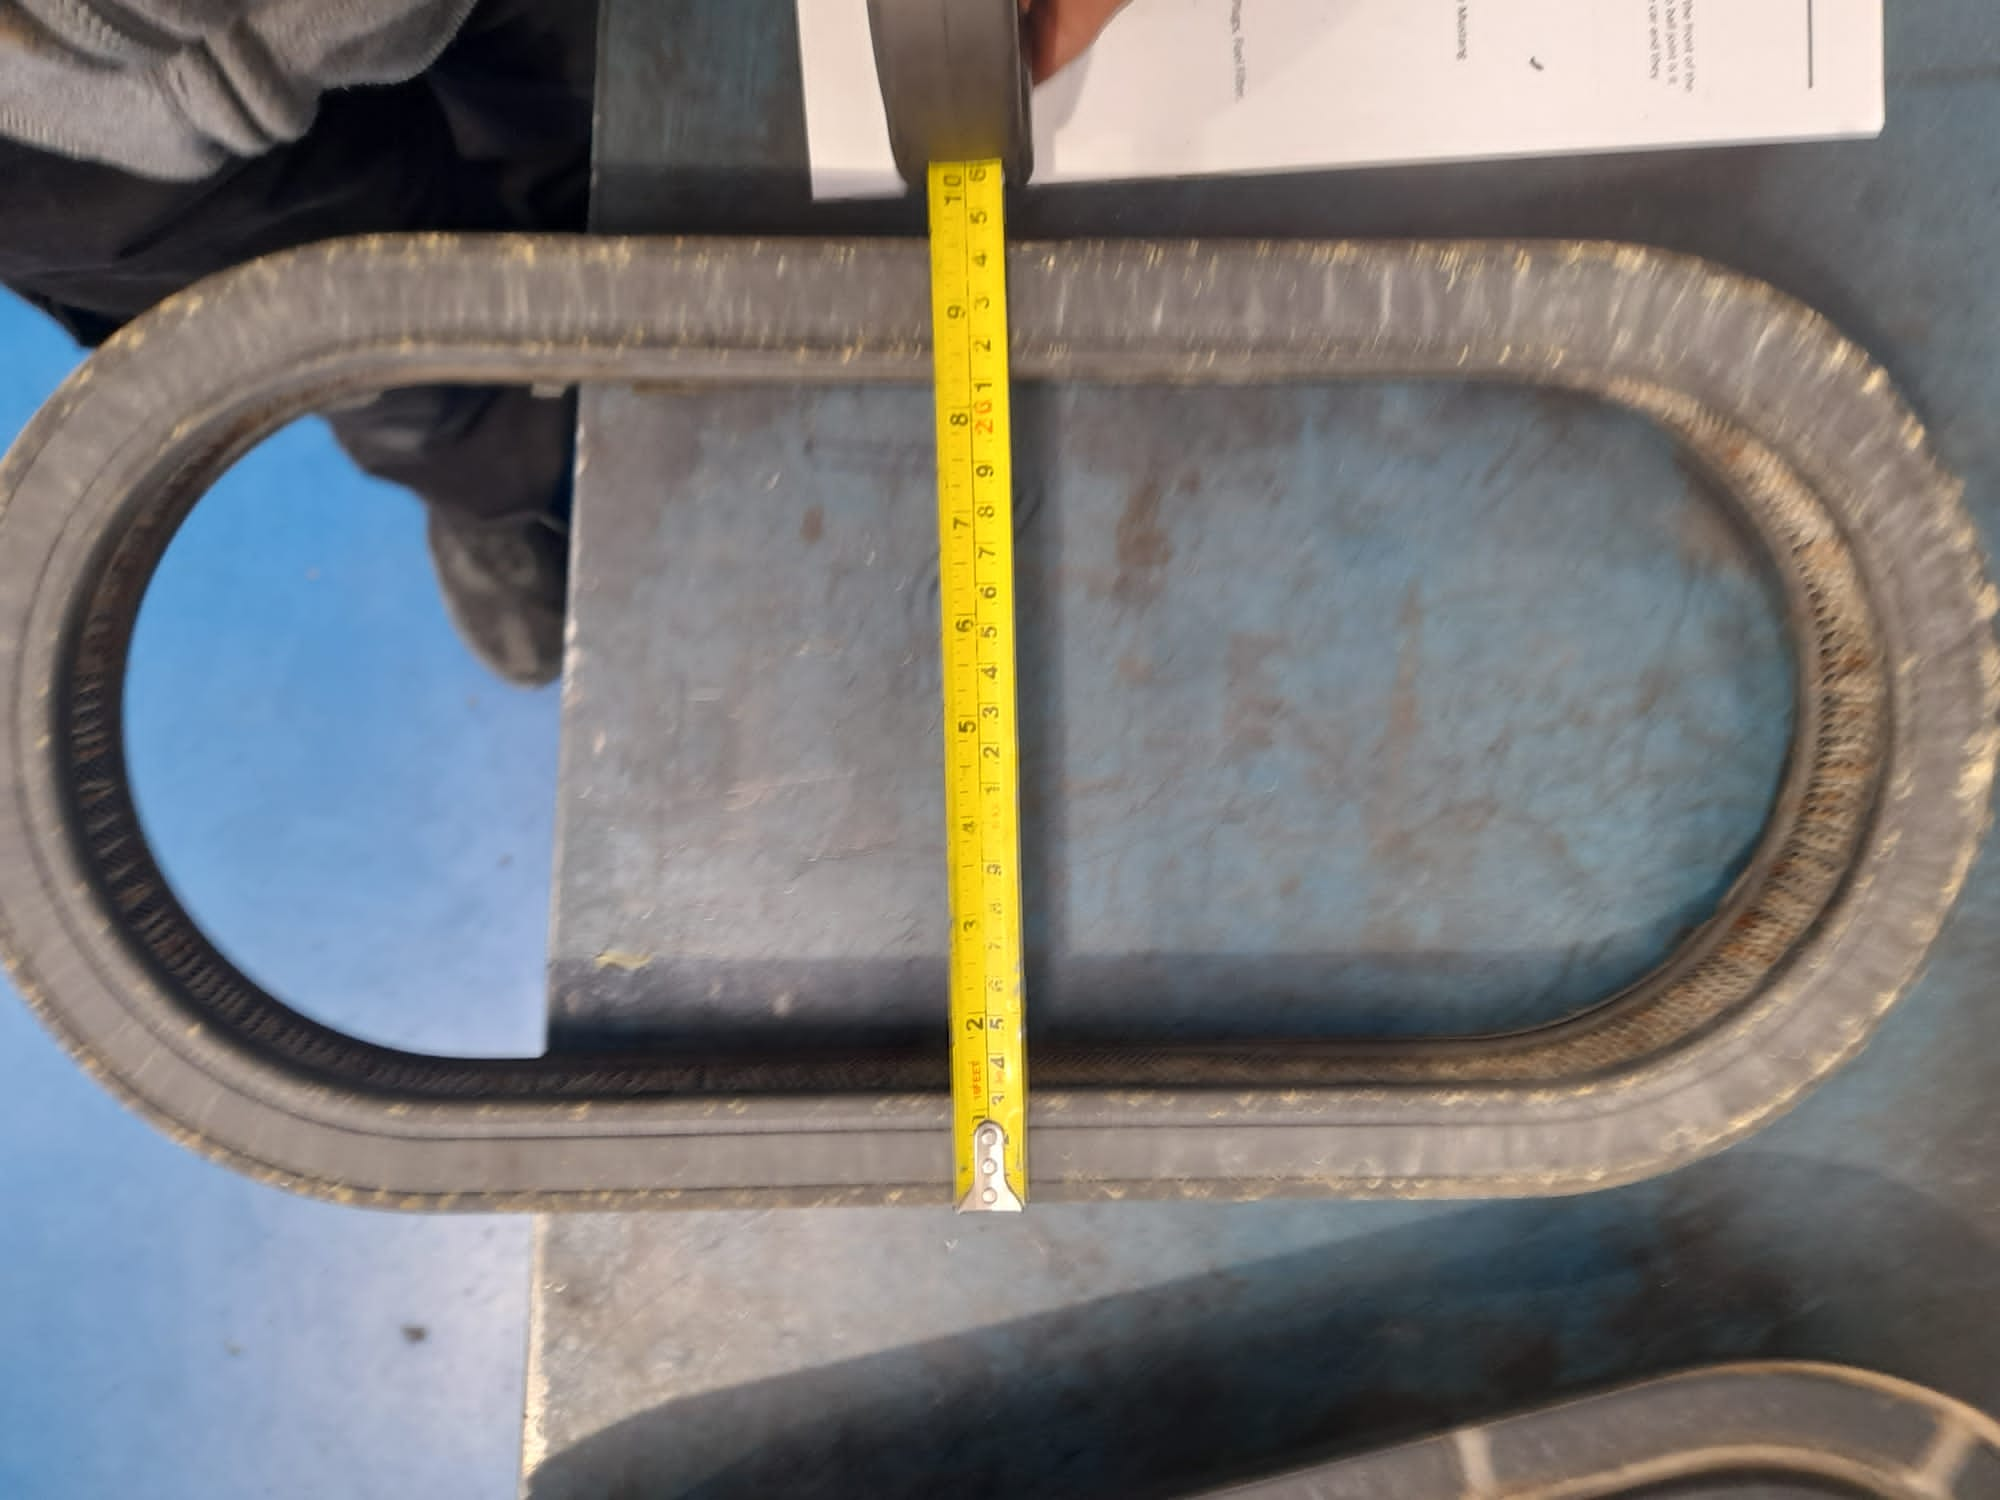
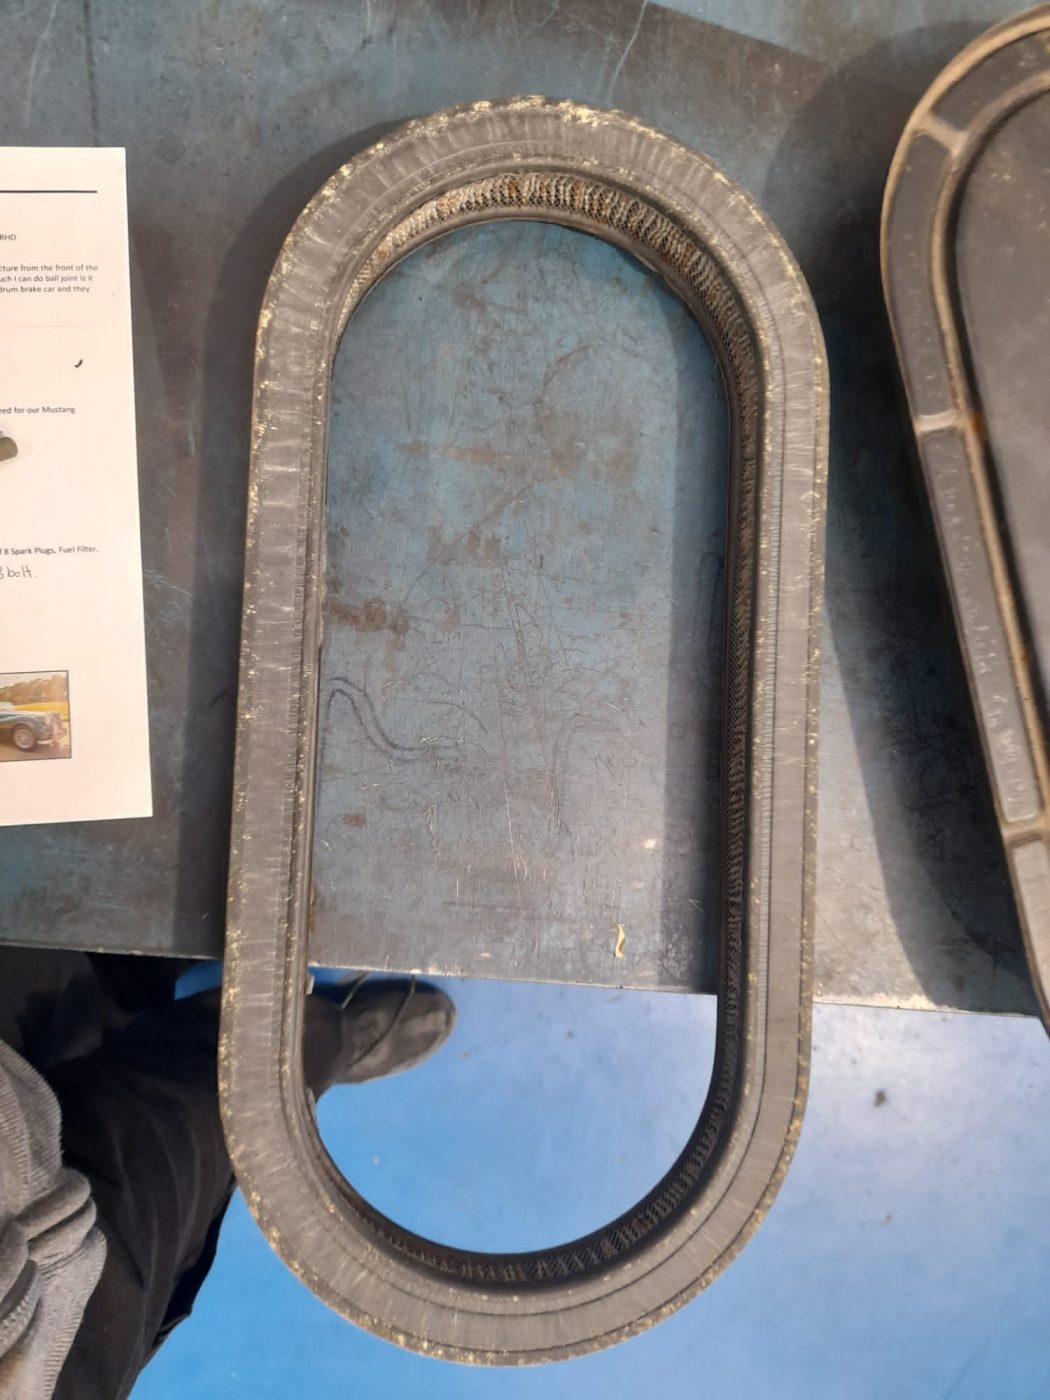
It’s proving a bit of a challenge sourcing parts for our 1967 Ford Mustang right hand drive converted classic. Many suppliers across the UK are
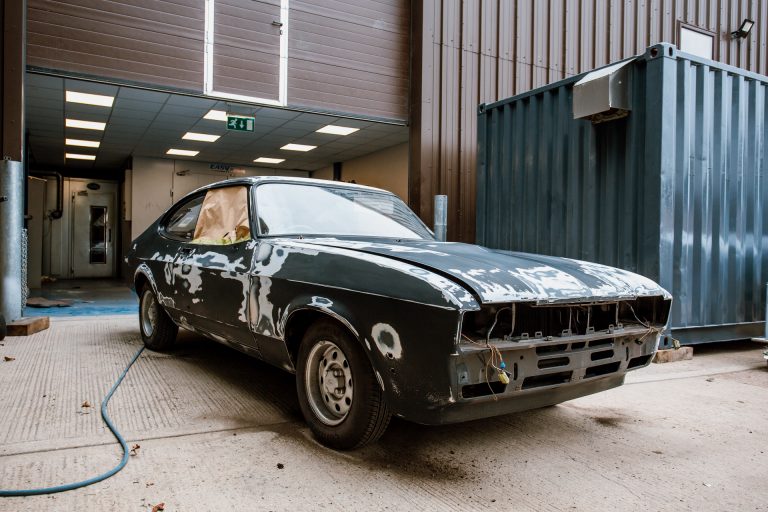
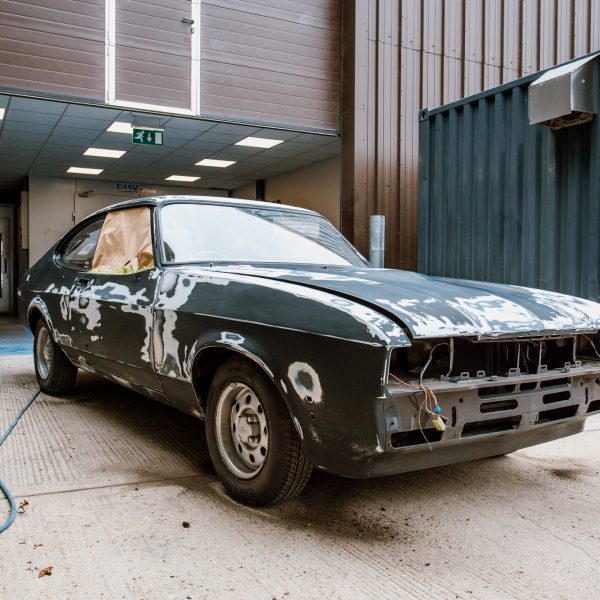
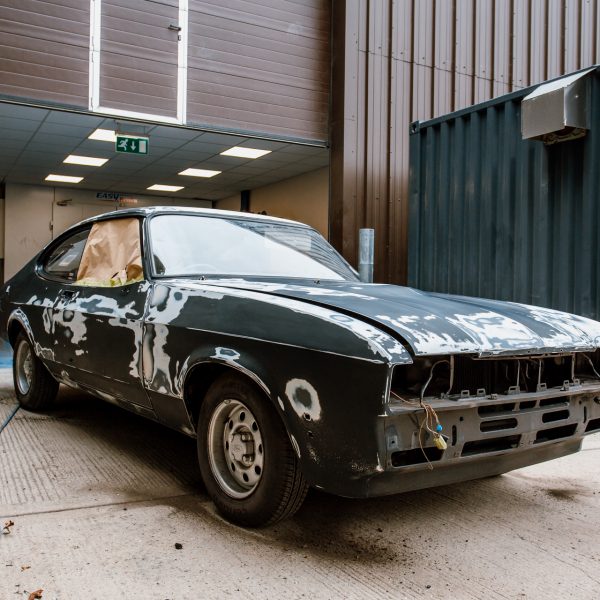
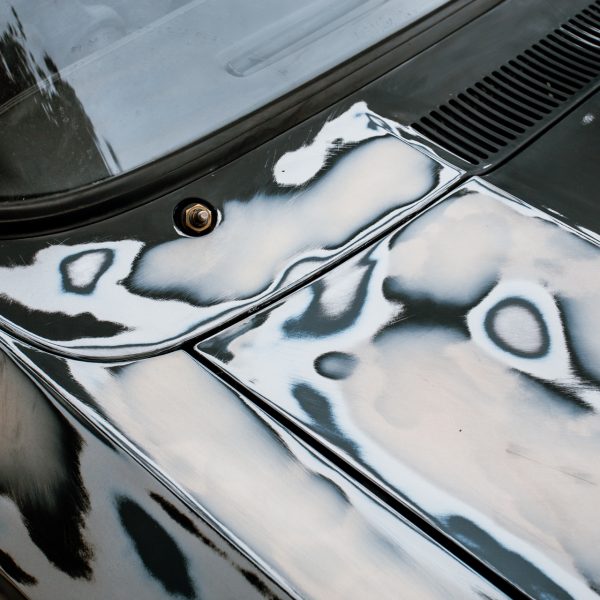
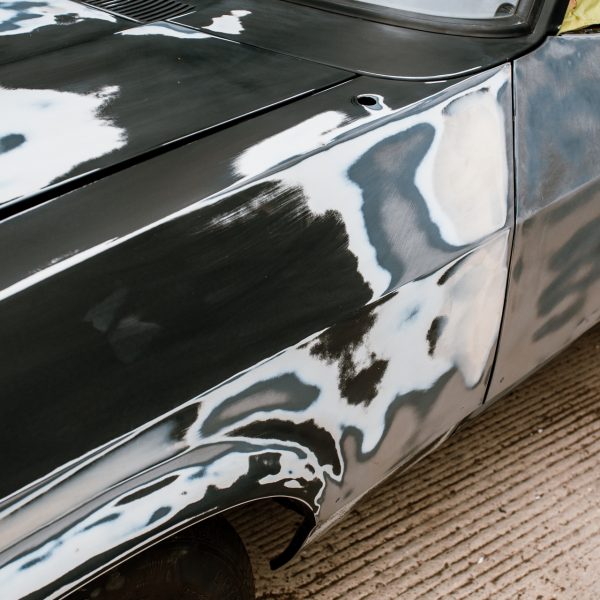
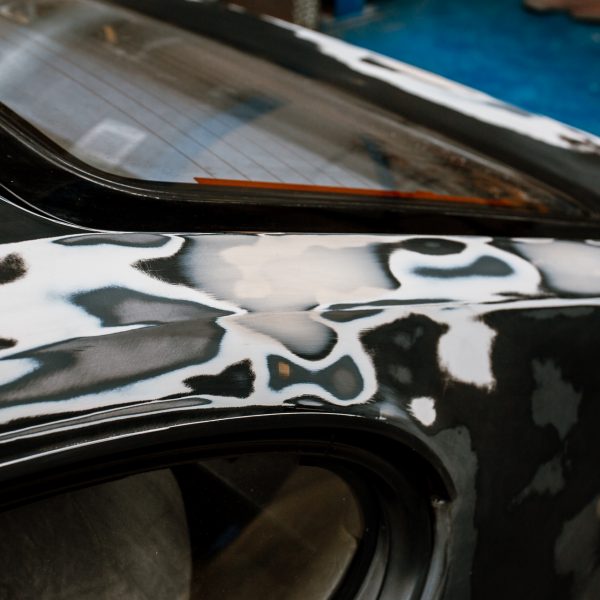
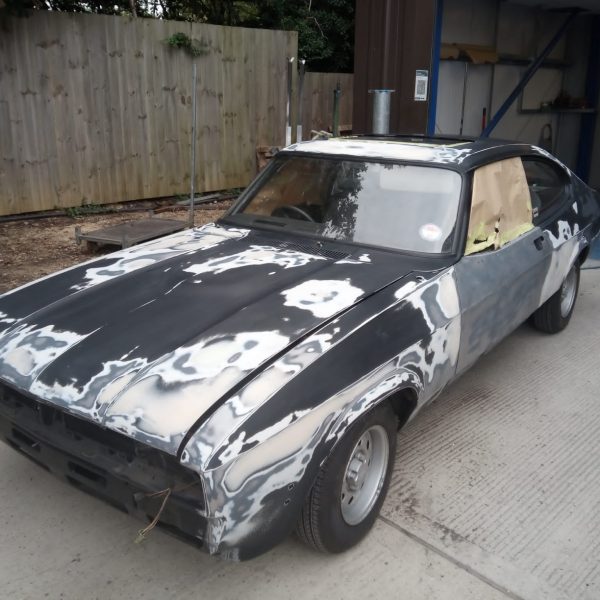
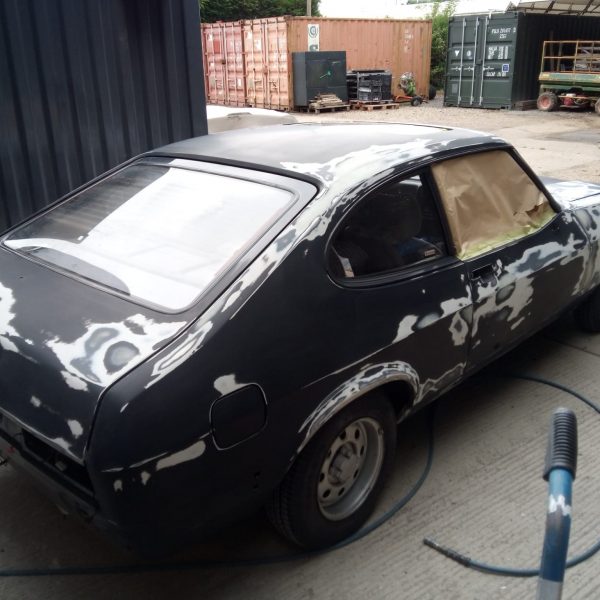
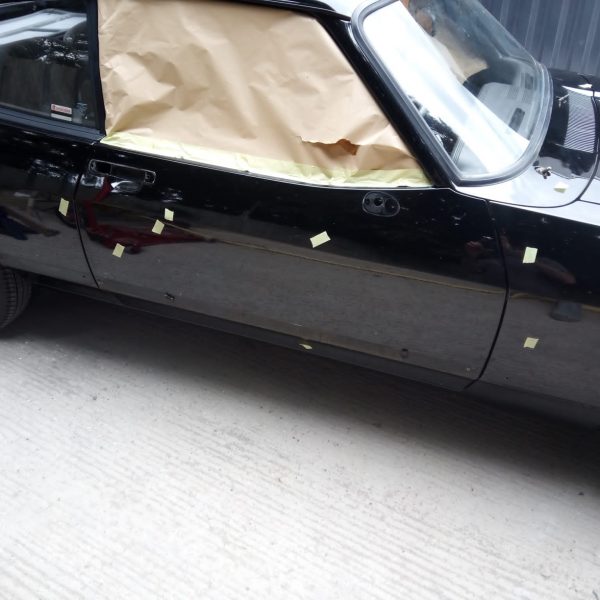
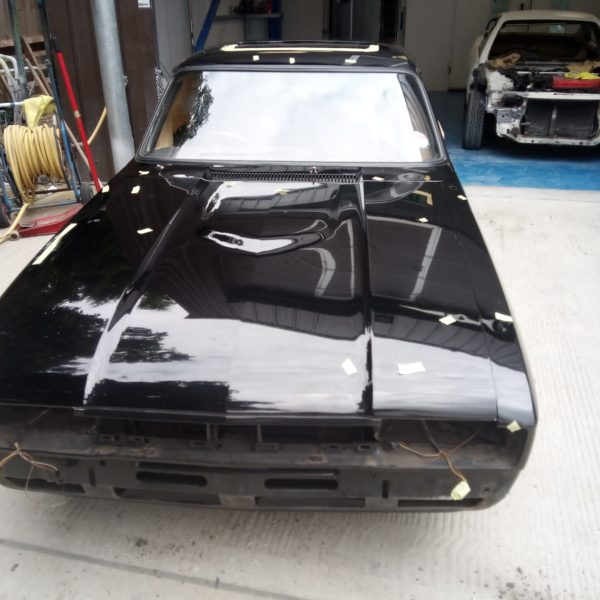
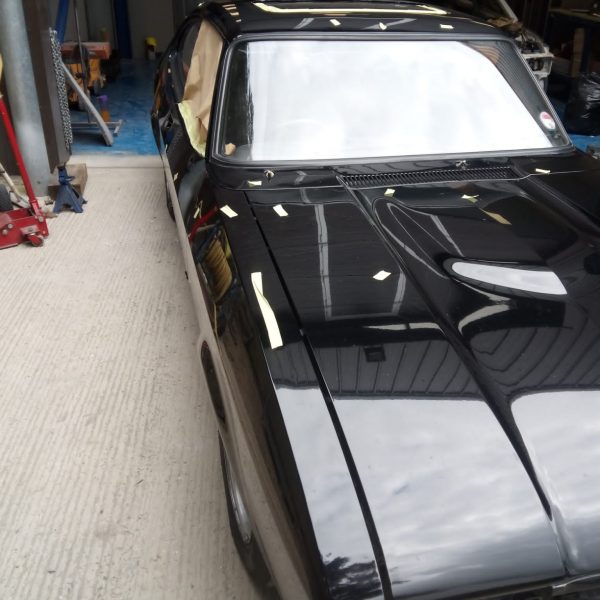
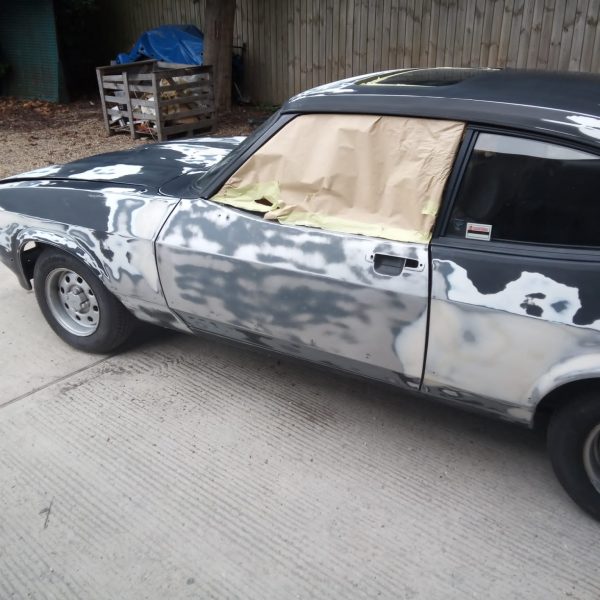
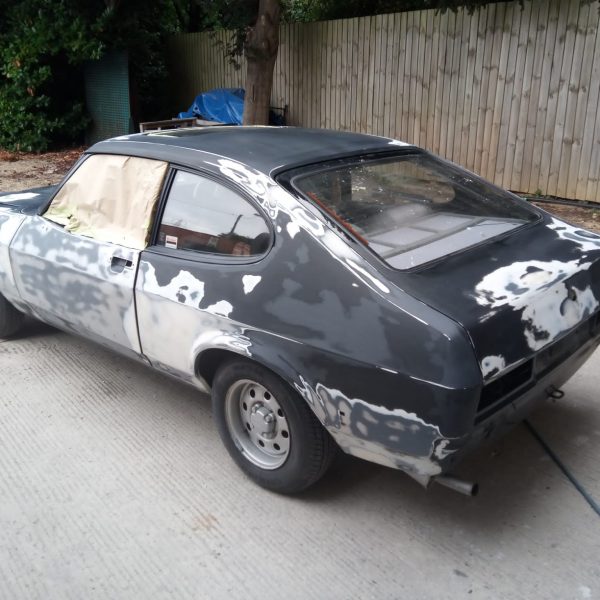
It’s priming day for the 1983 Ford Capri 1.6 LS! But let’s go back to the end of last week for this blog post, when
Scott has been repairing the exhaust manifolds for the 1979 Arrow Ferrari Daytona. They’re made of stainless steel and were cleaned up before being painted

Ady has been investigating the engine on the 1976 Mercedes 350SL. Initially we were lead to believe this to be a running car but unfortunately

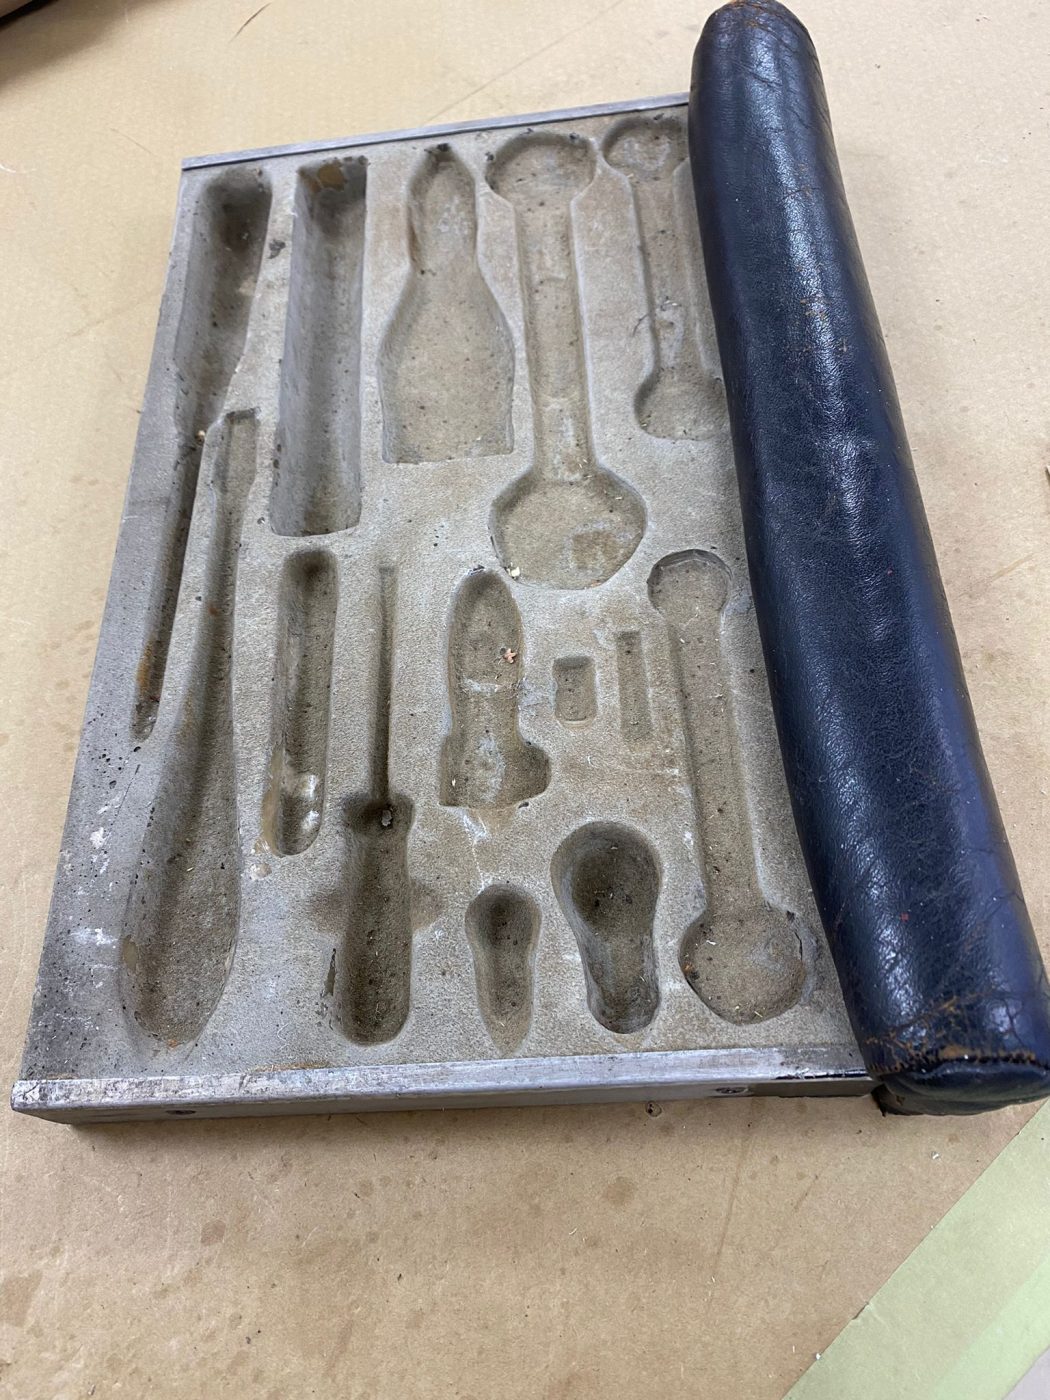
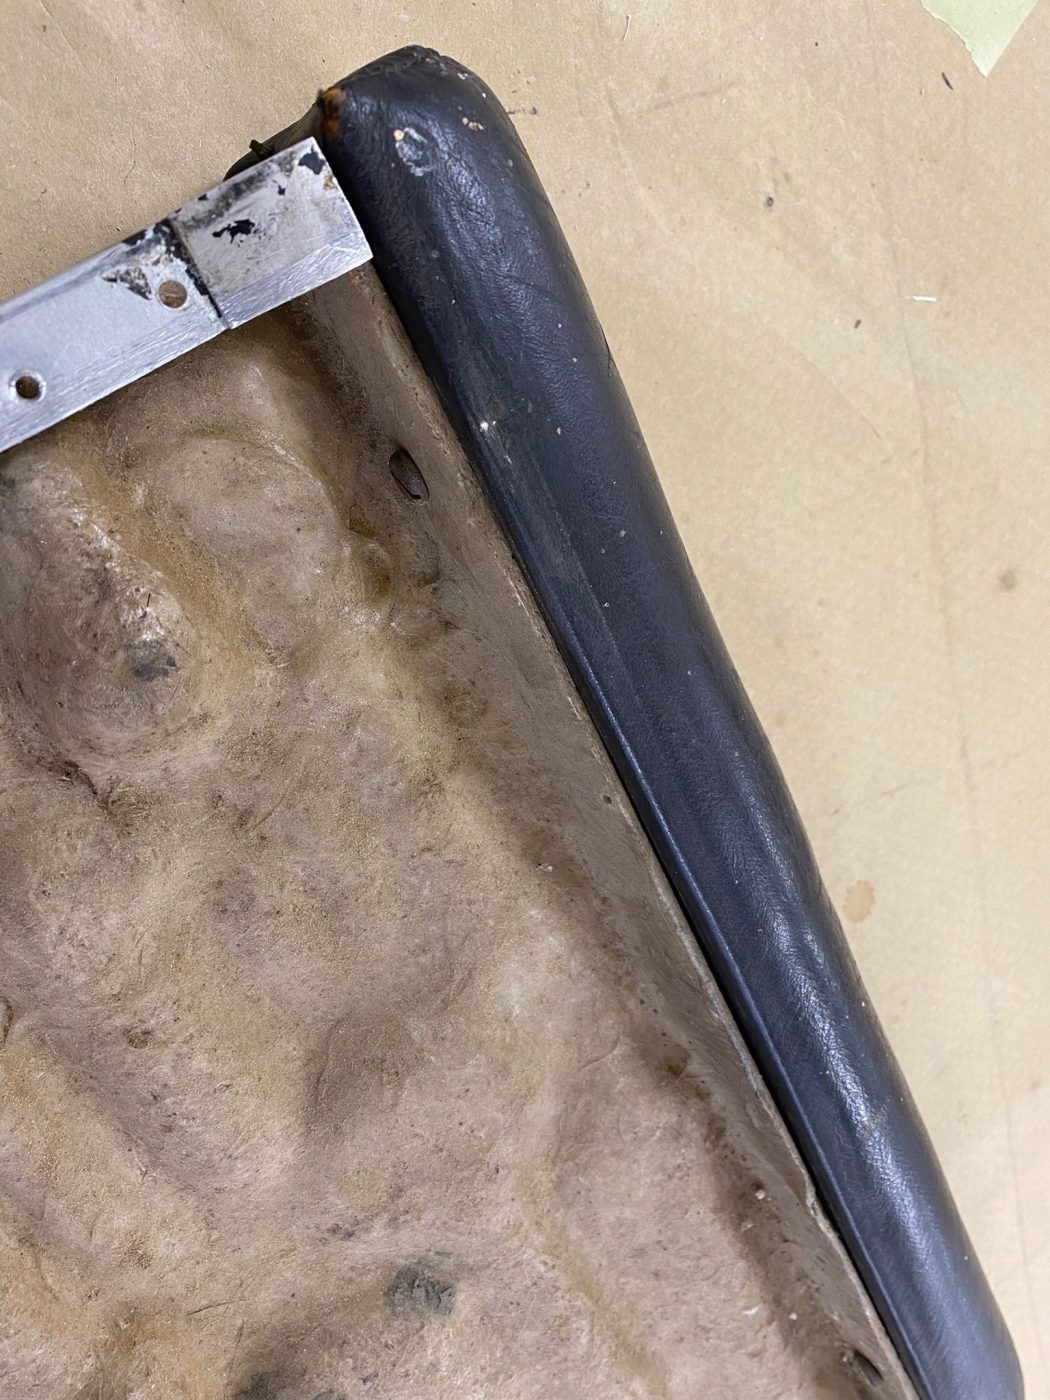
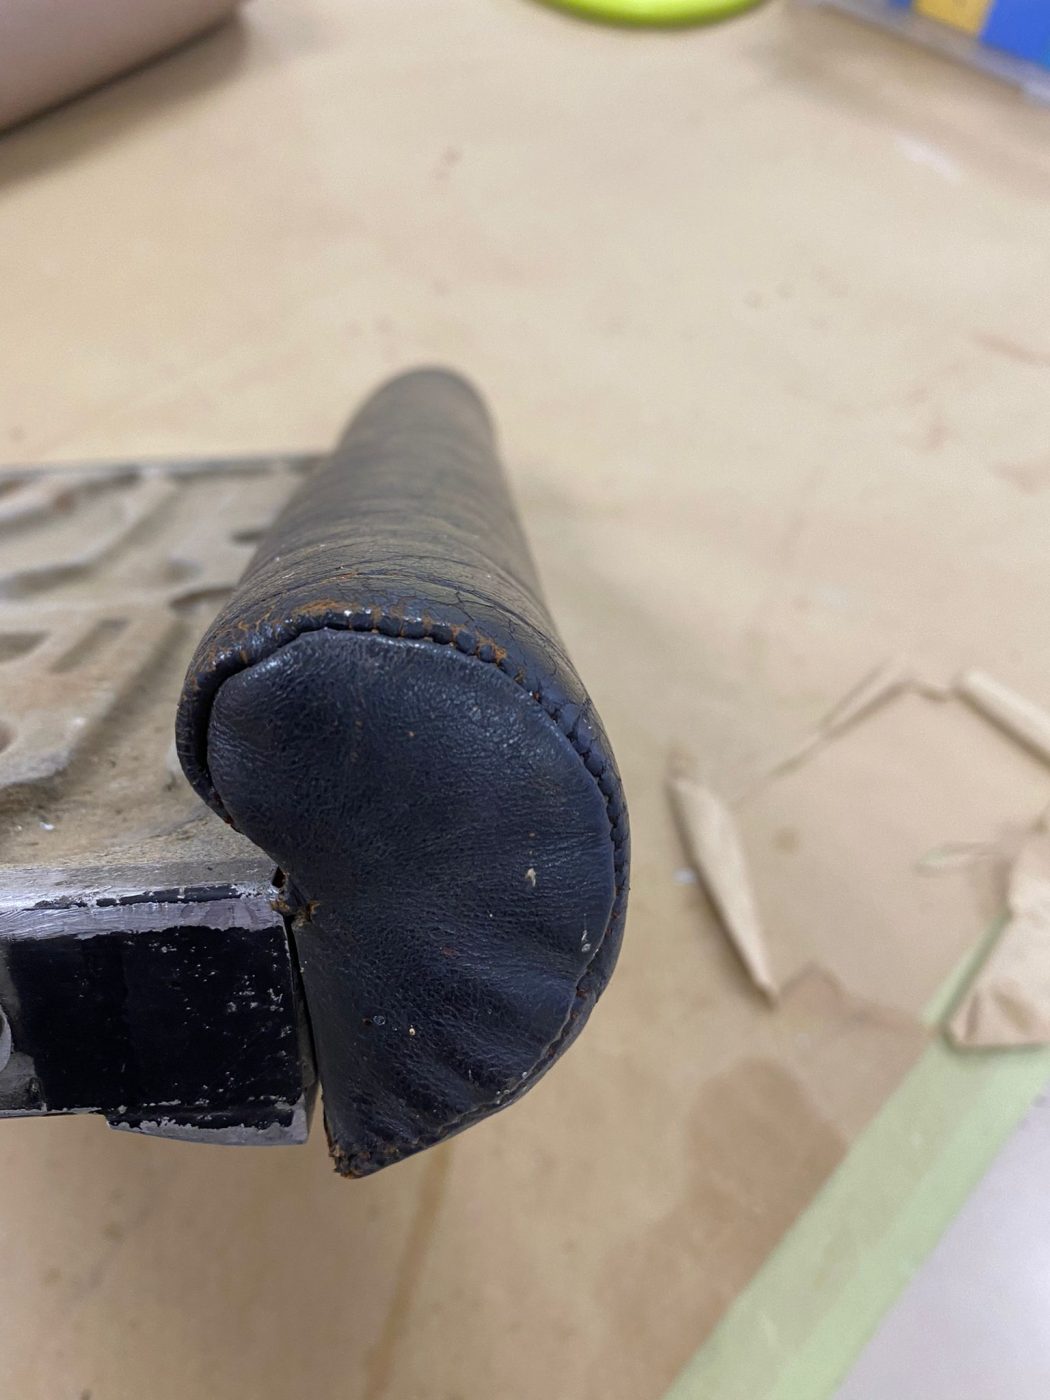
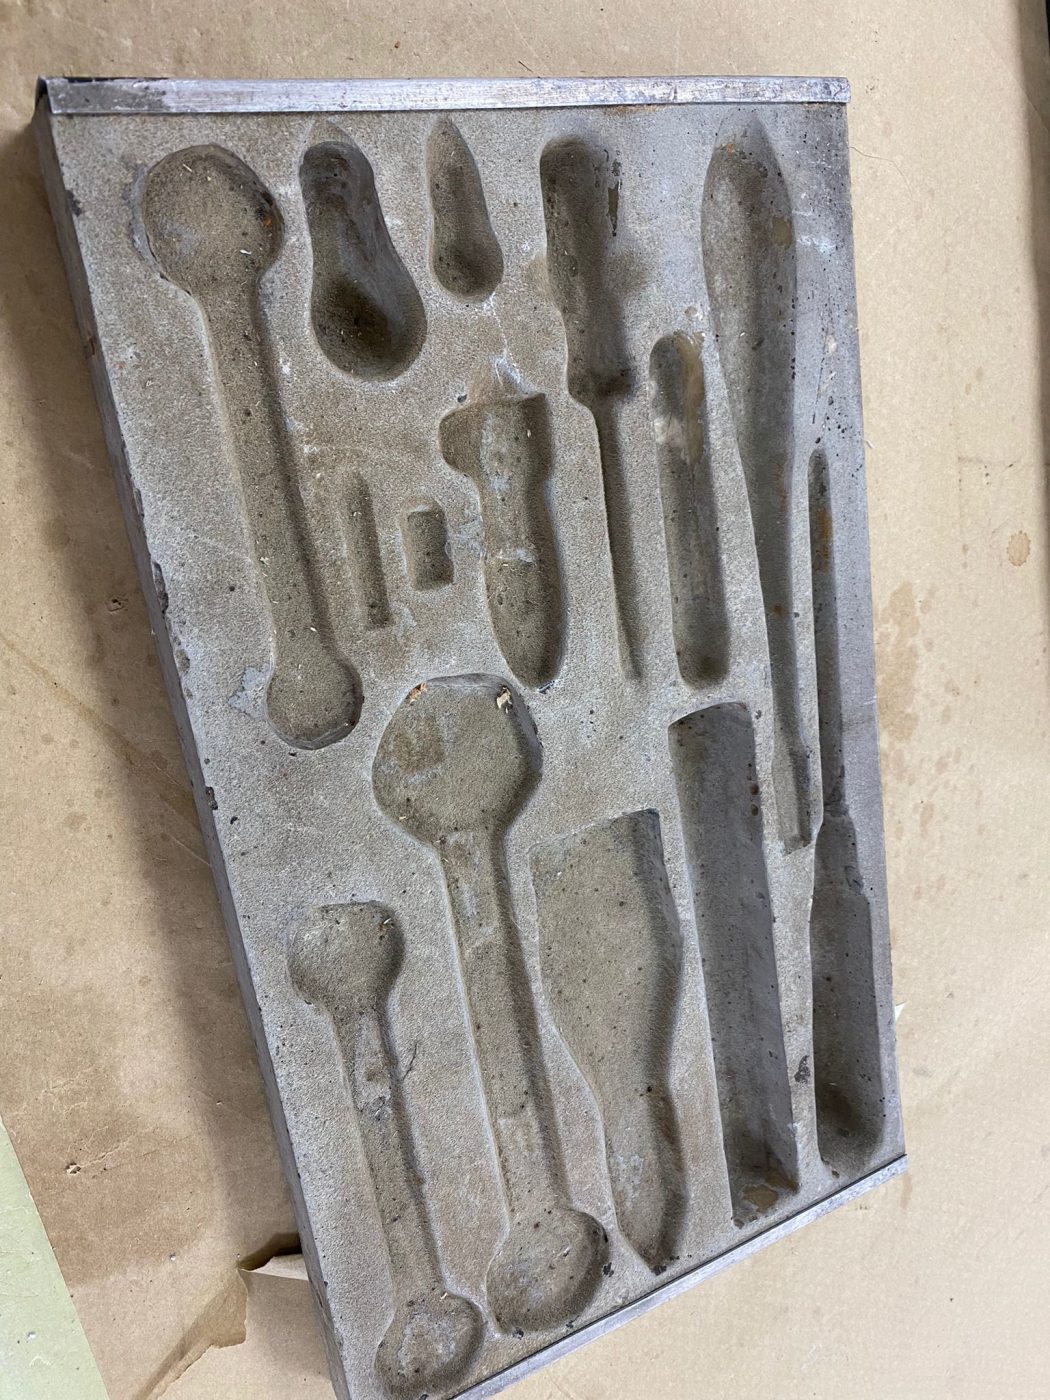
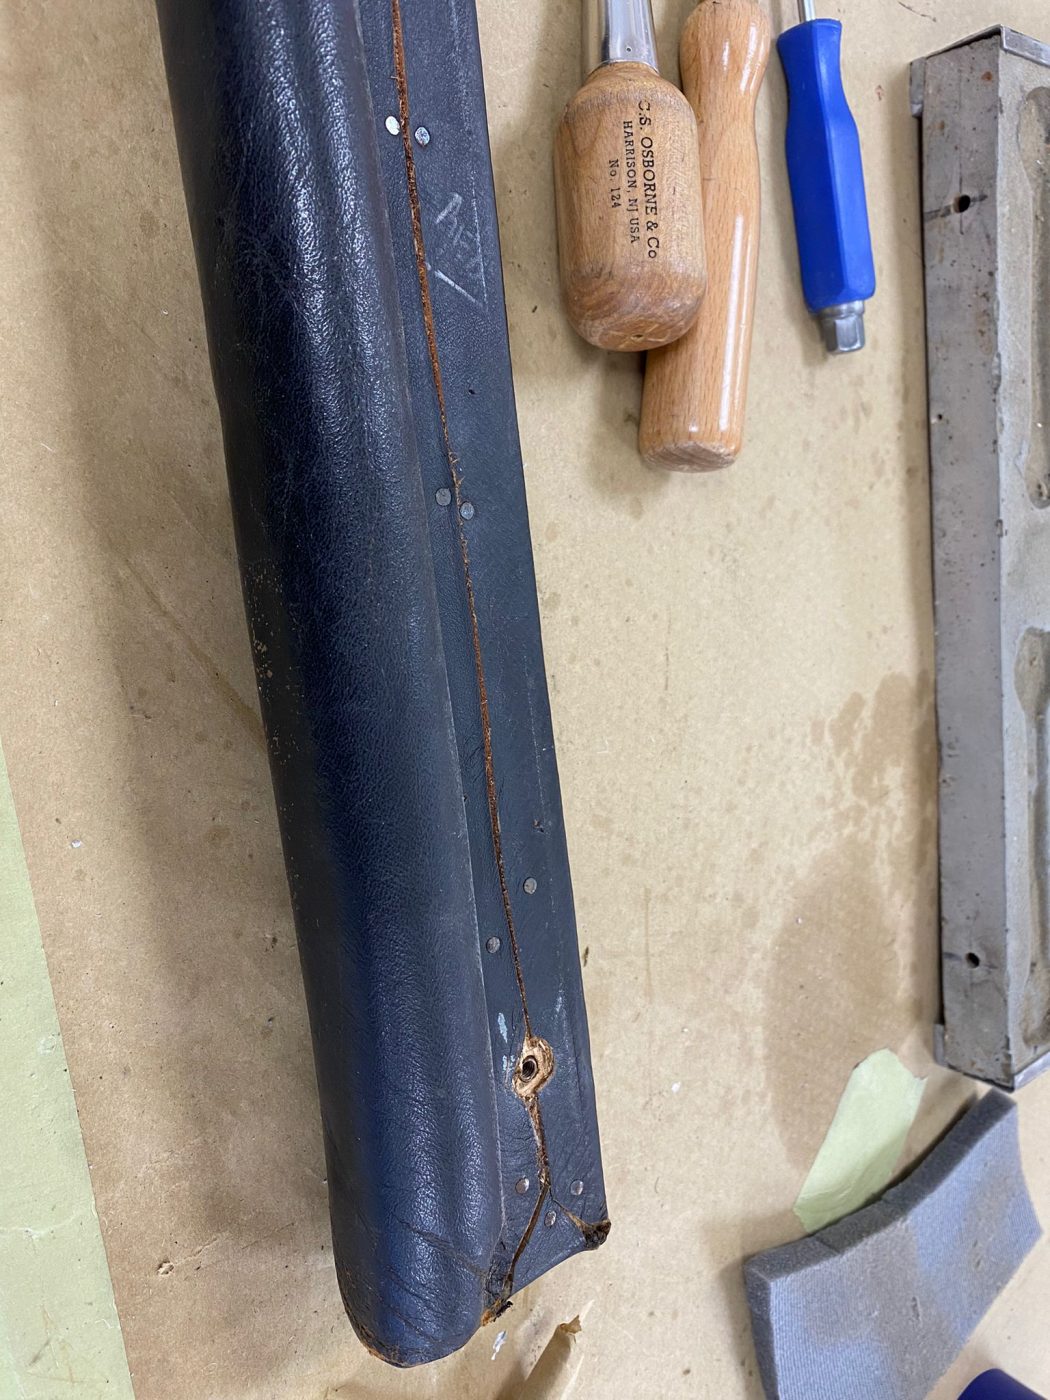
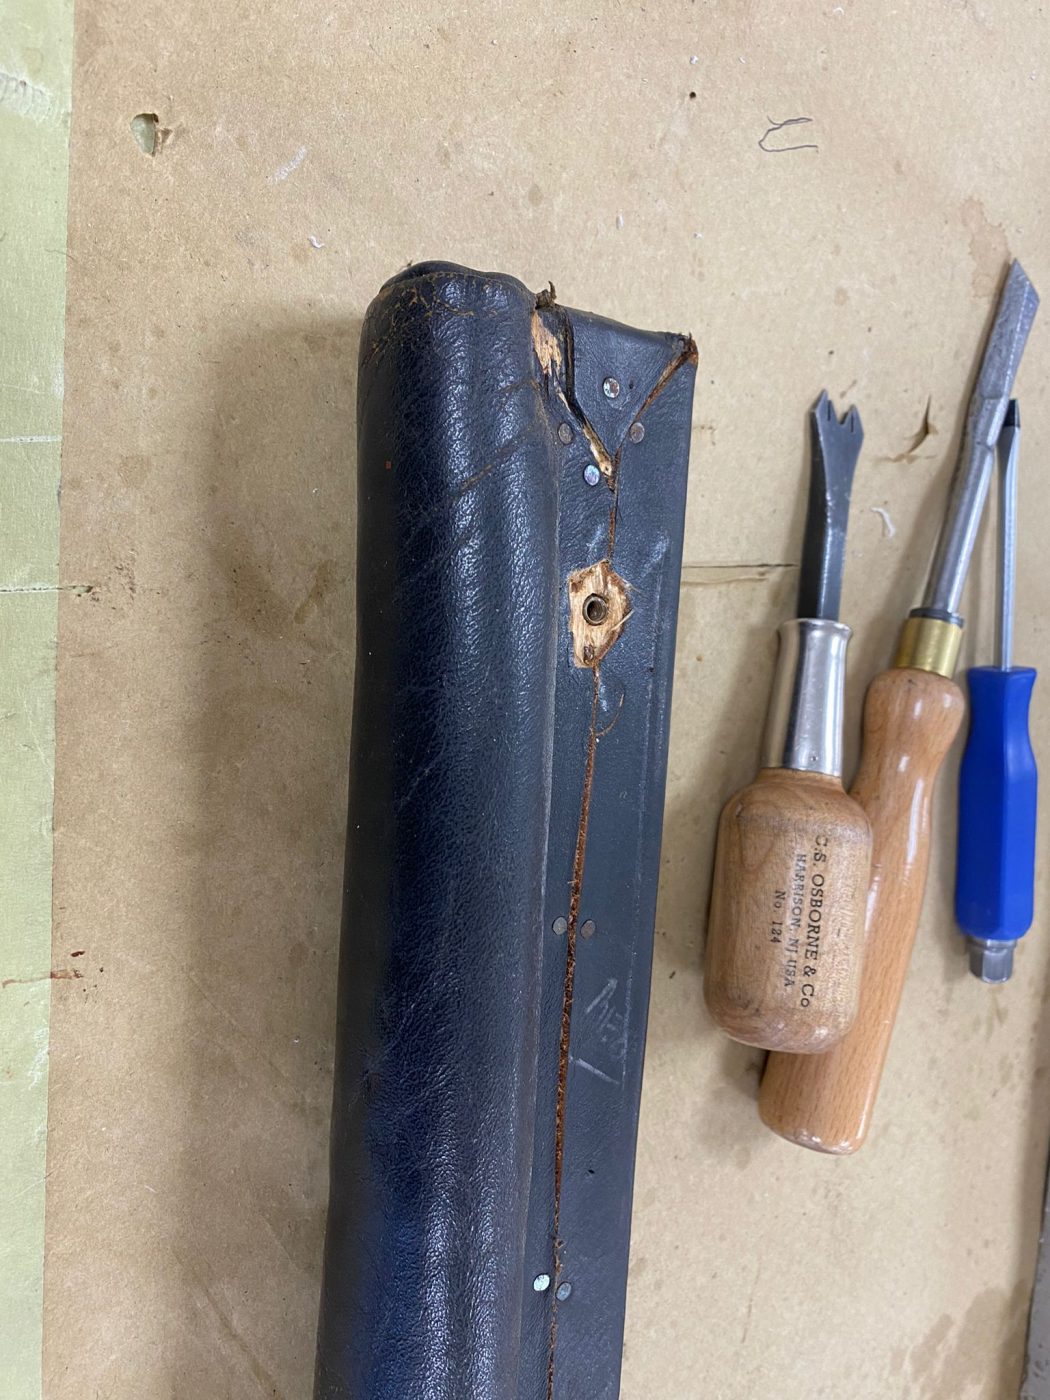
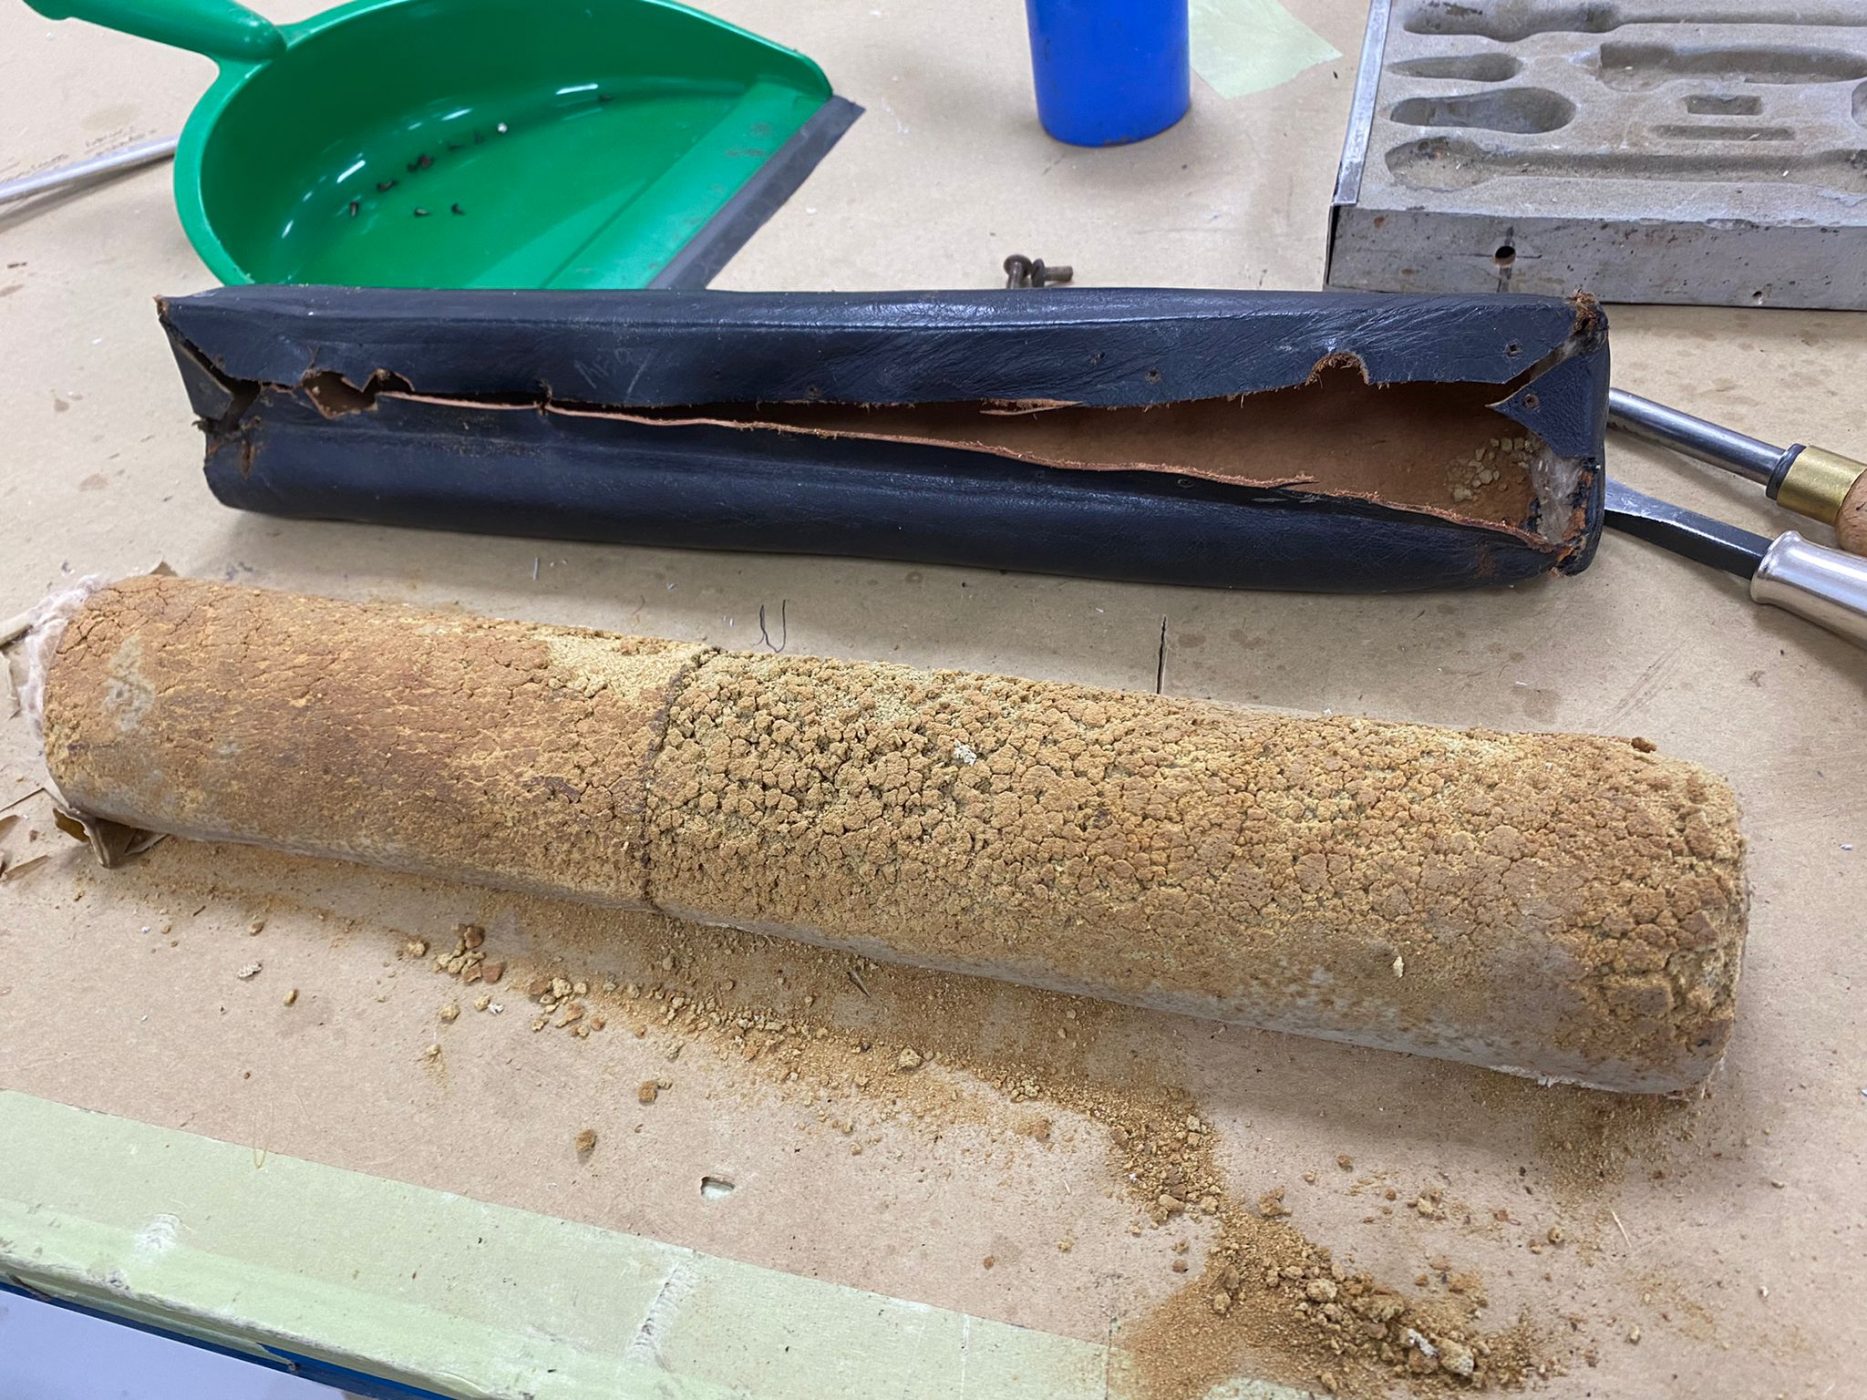
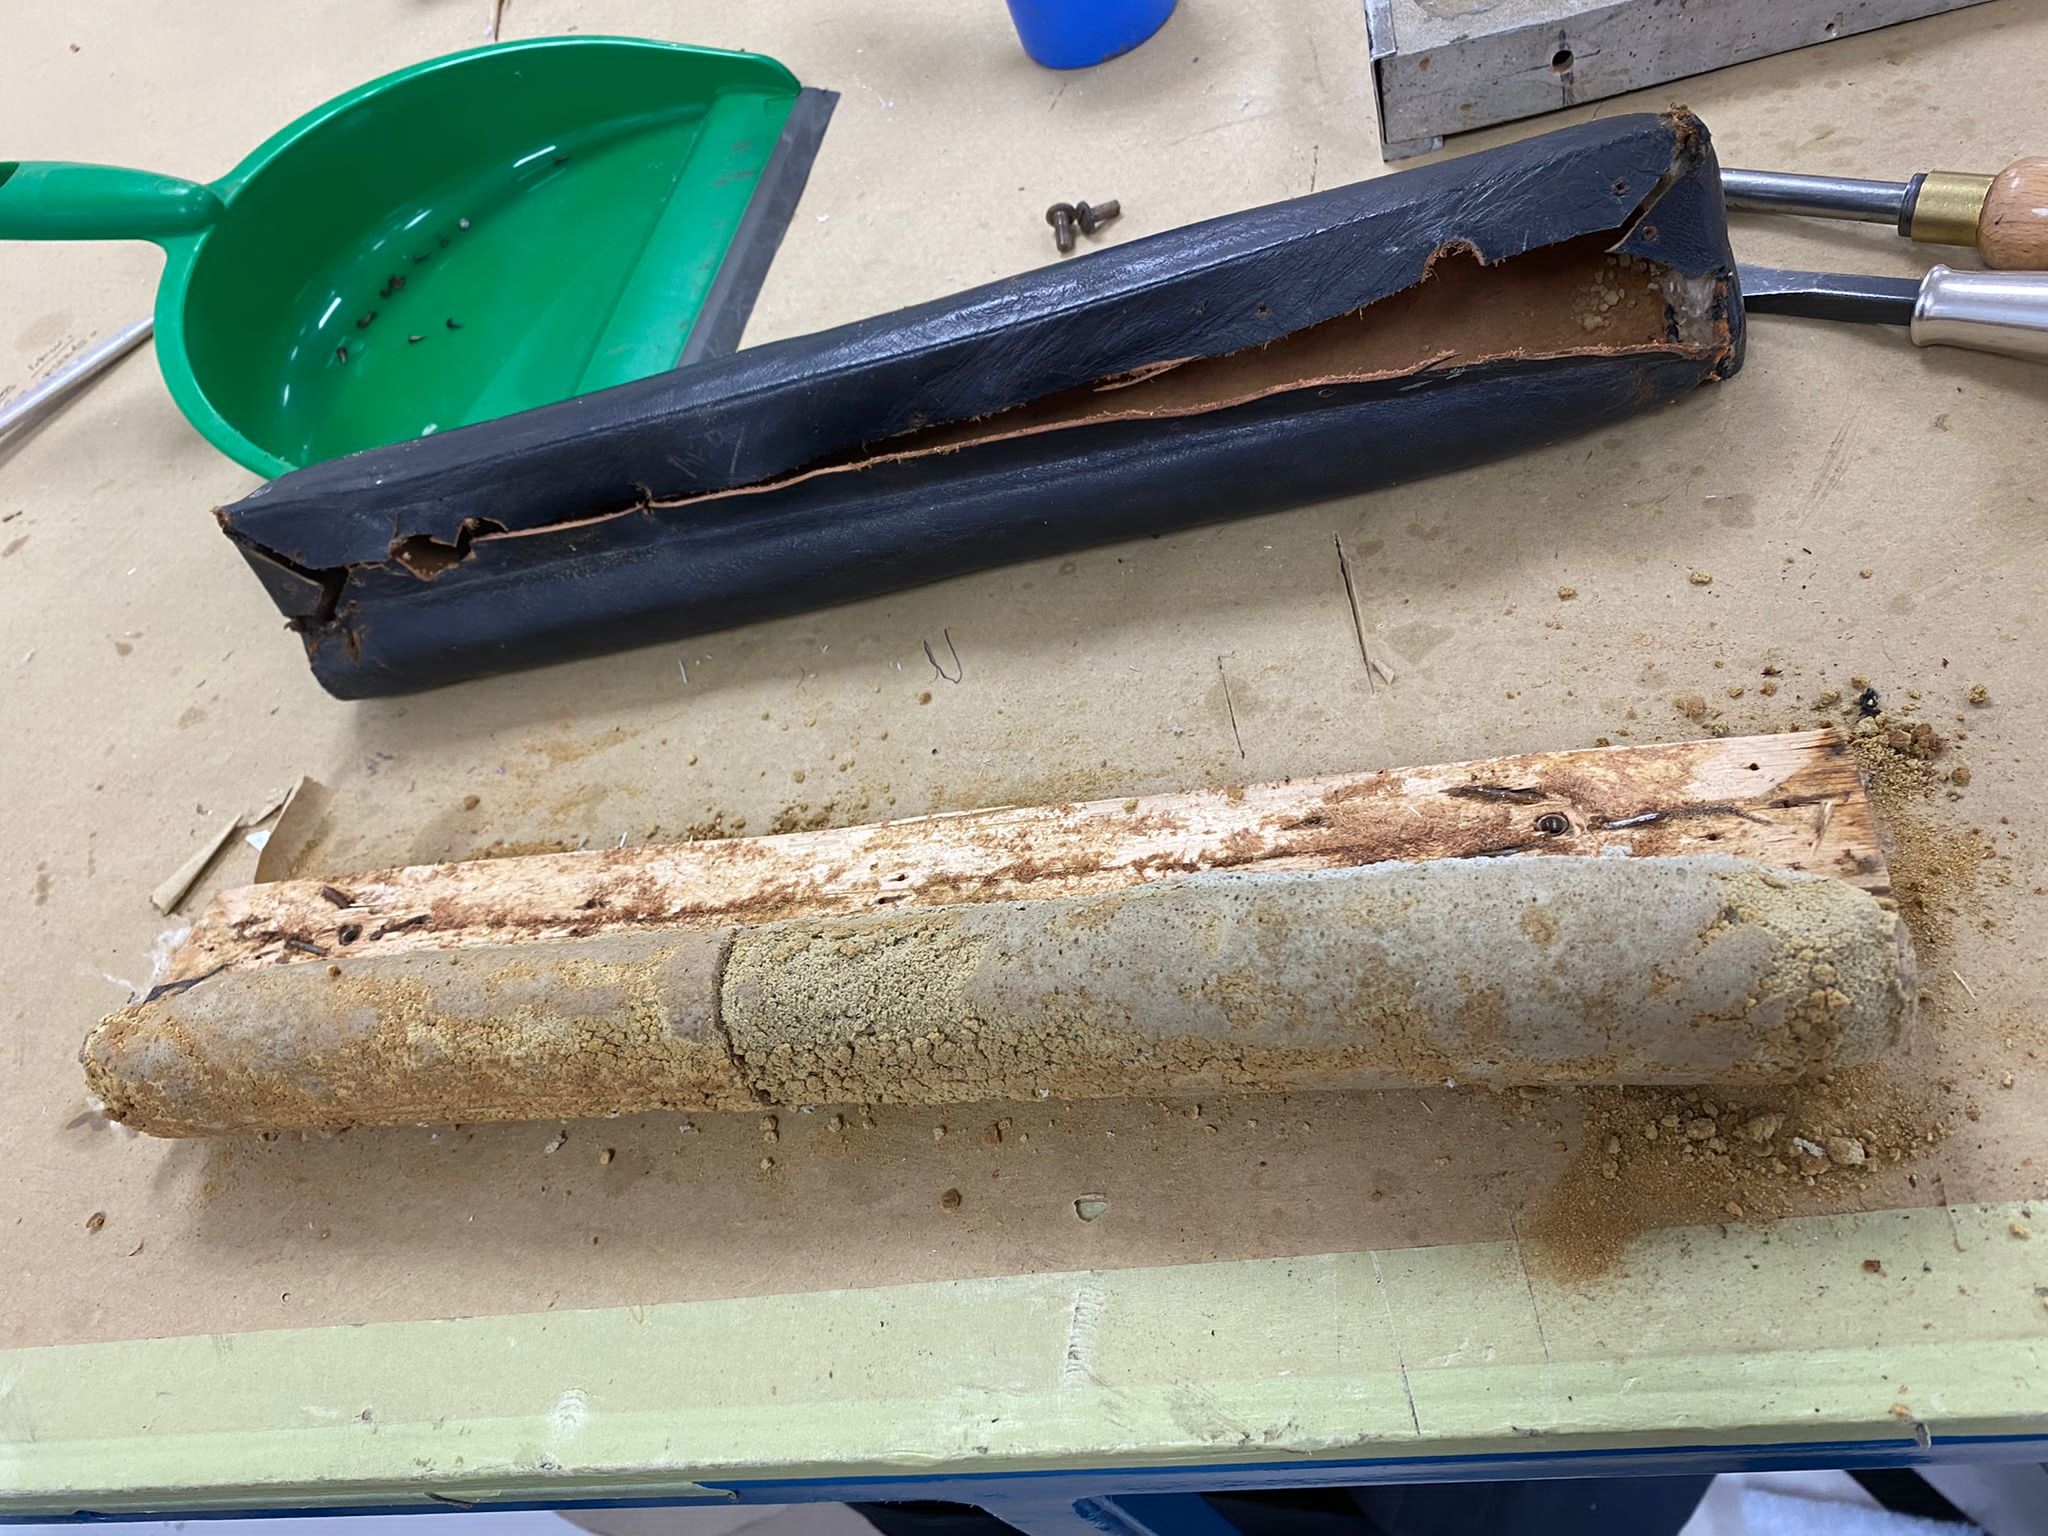
This tool tray is from the Peony Red 1960 Jensen 541S. It hasn’t got any tools that were in it, so the customer is going

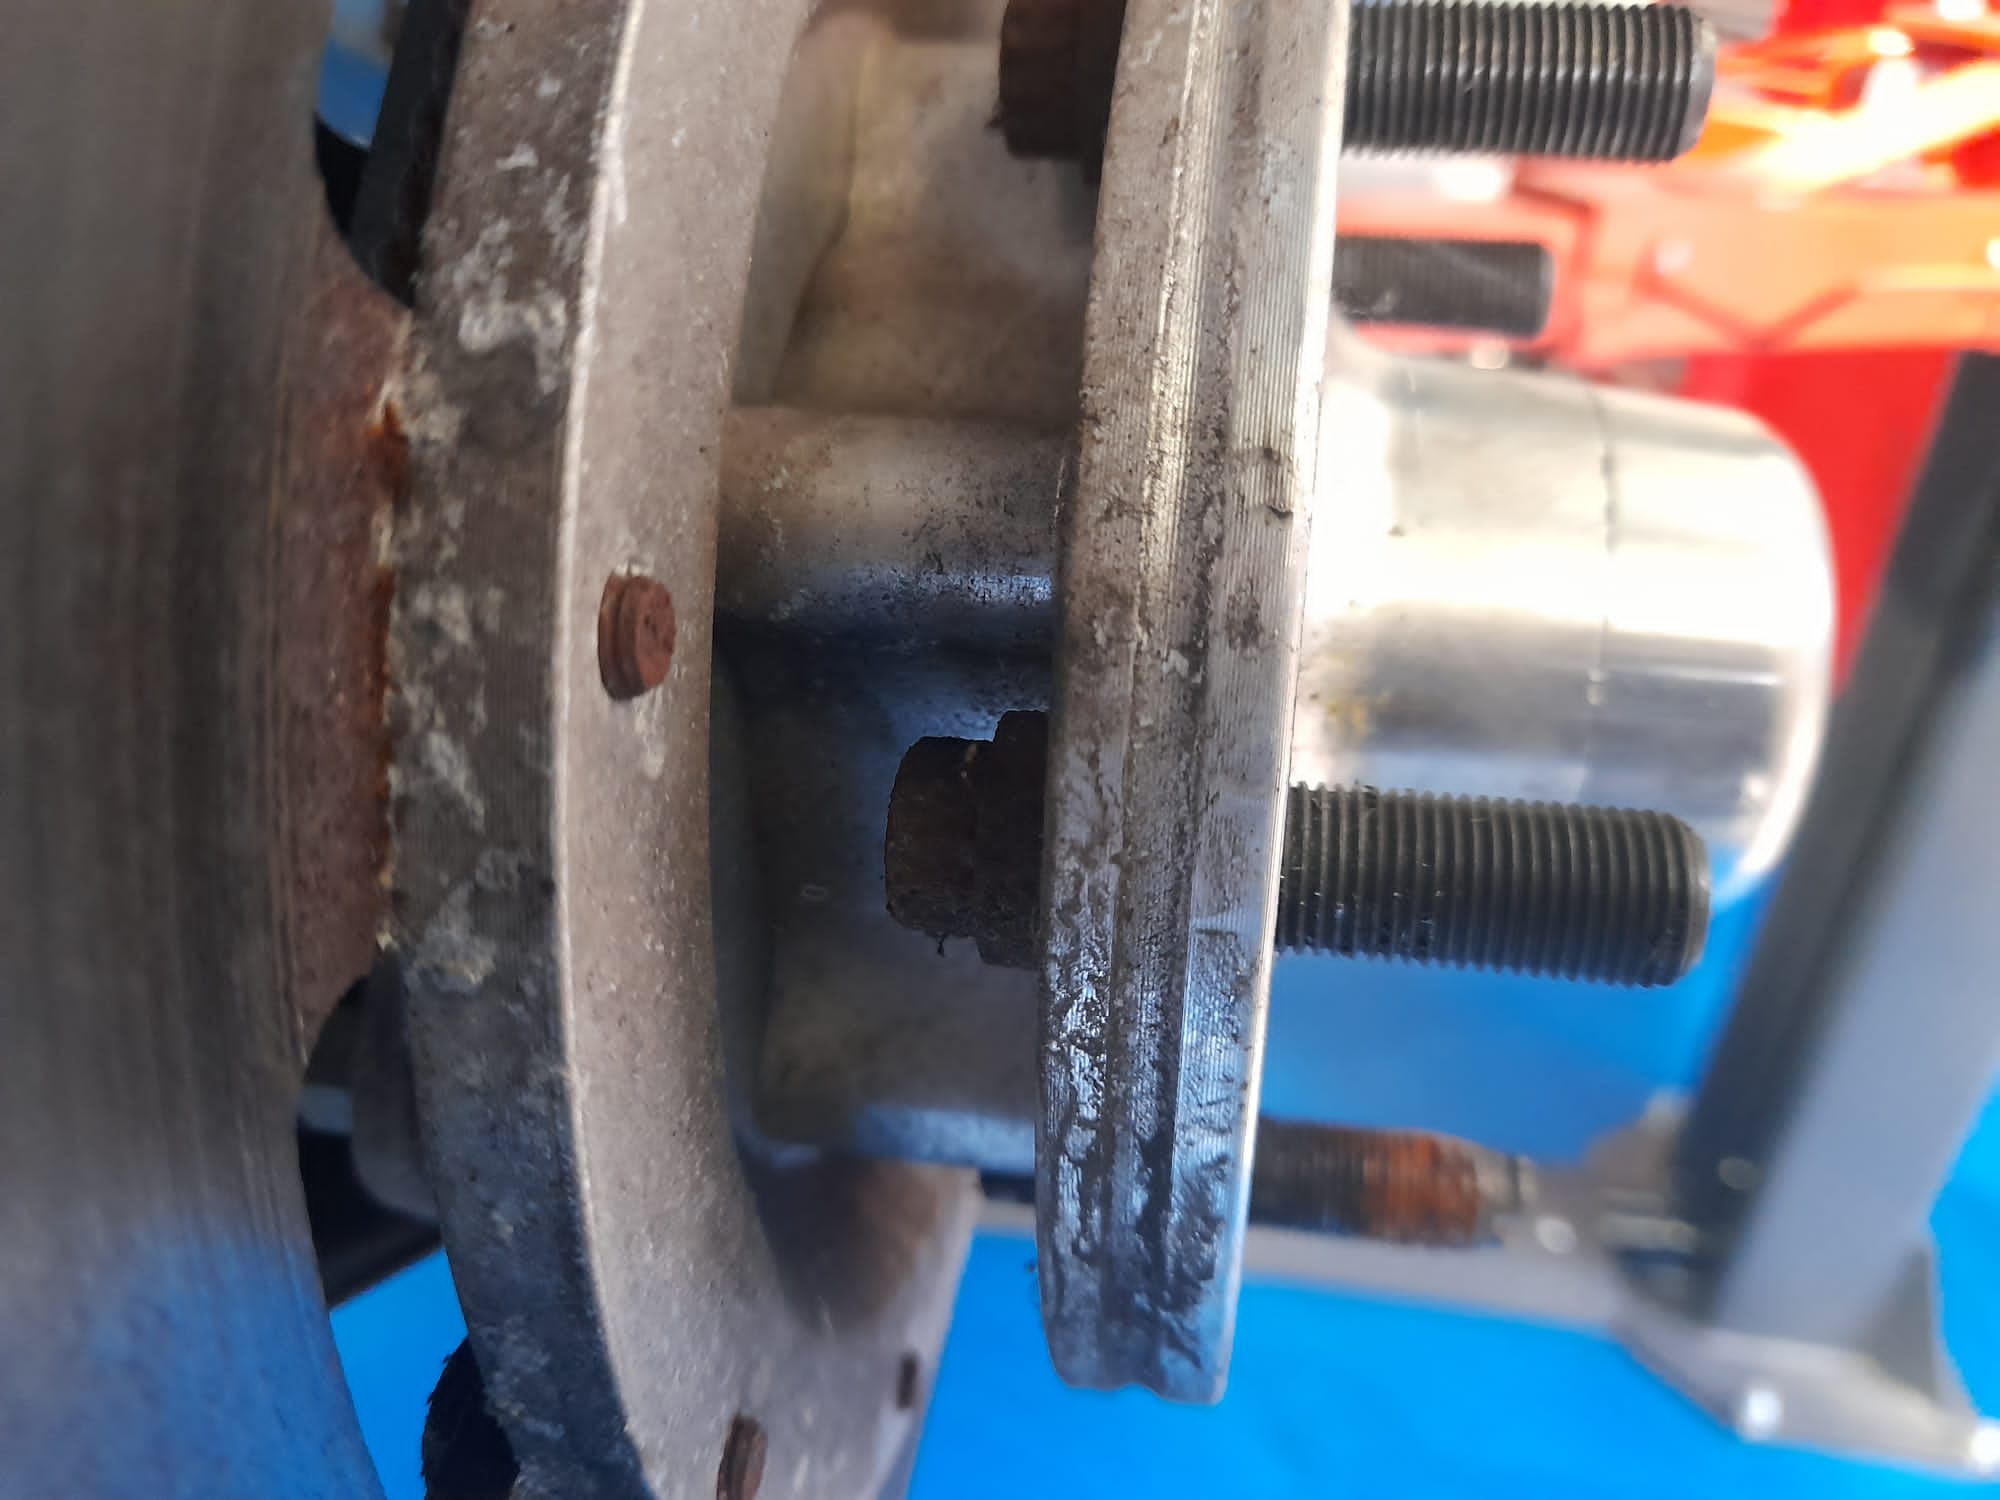
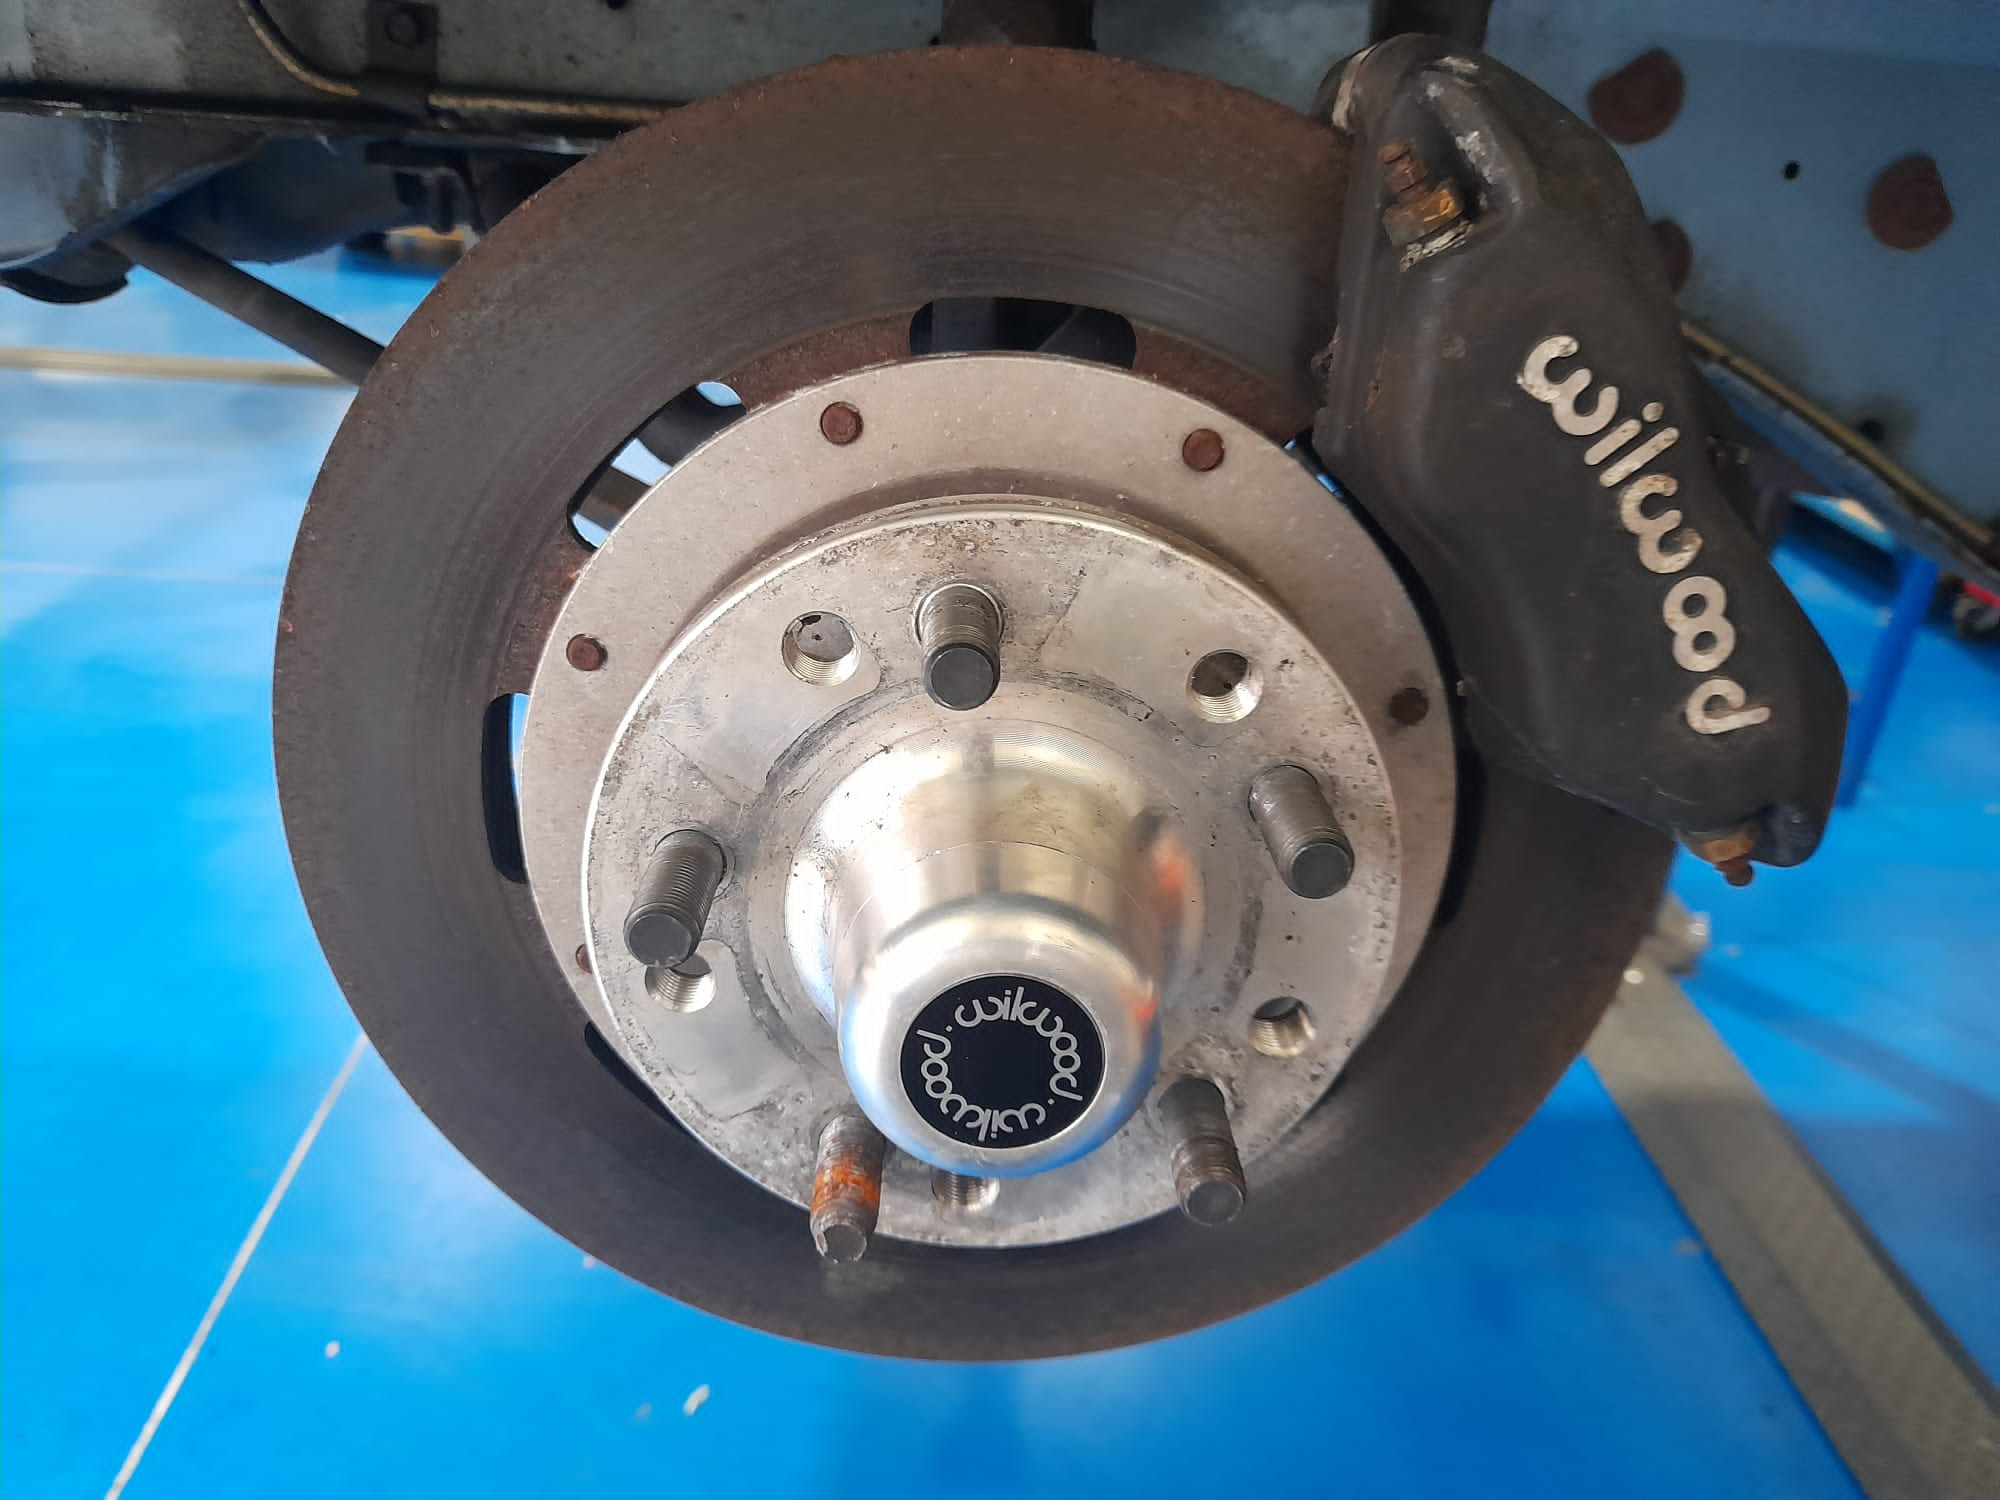
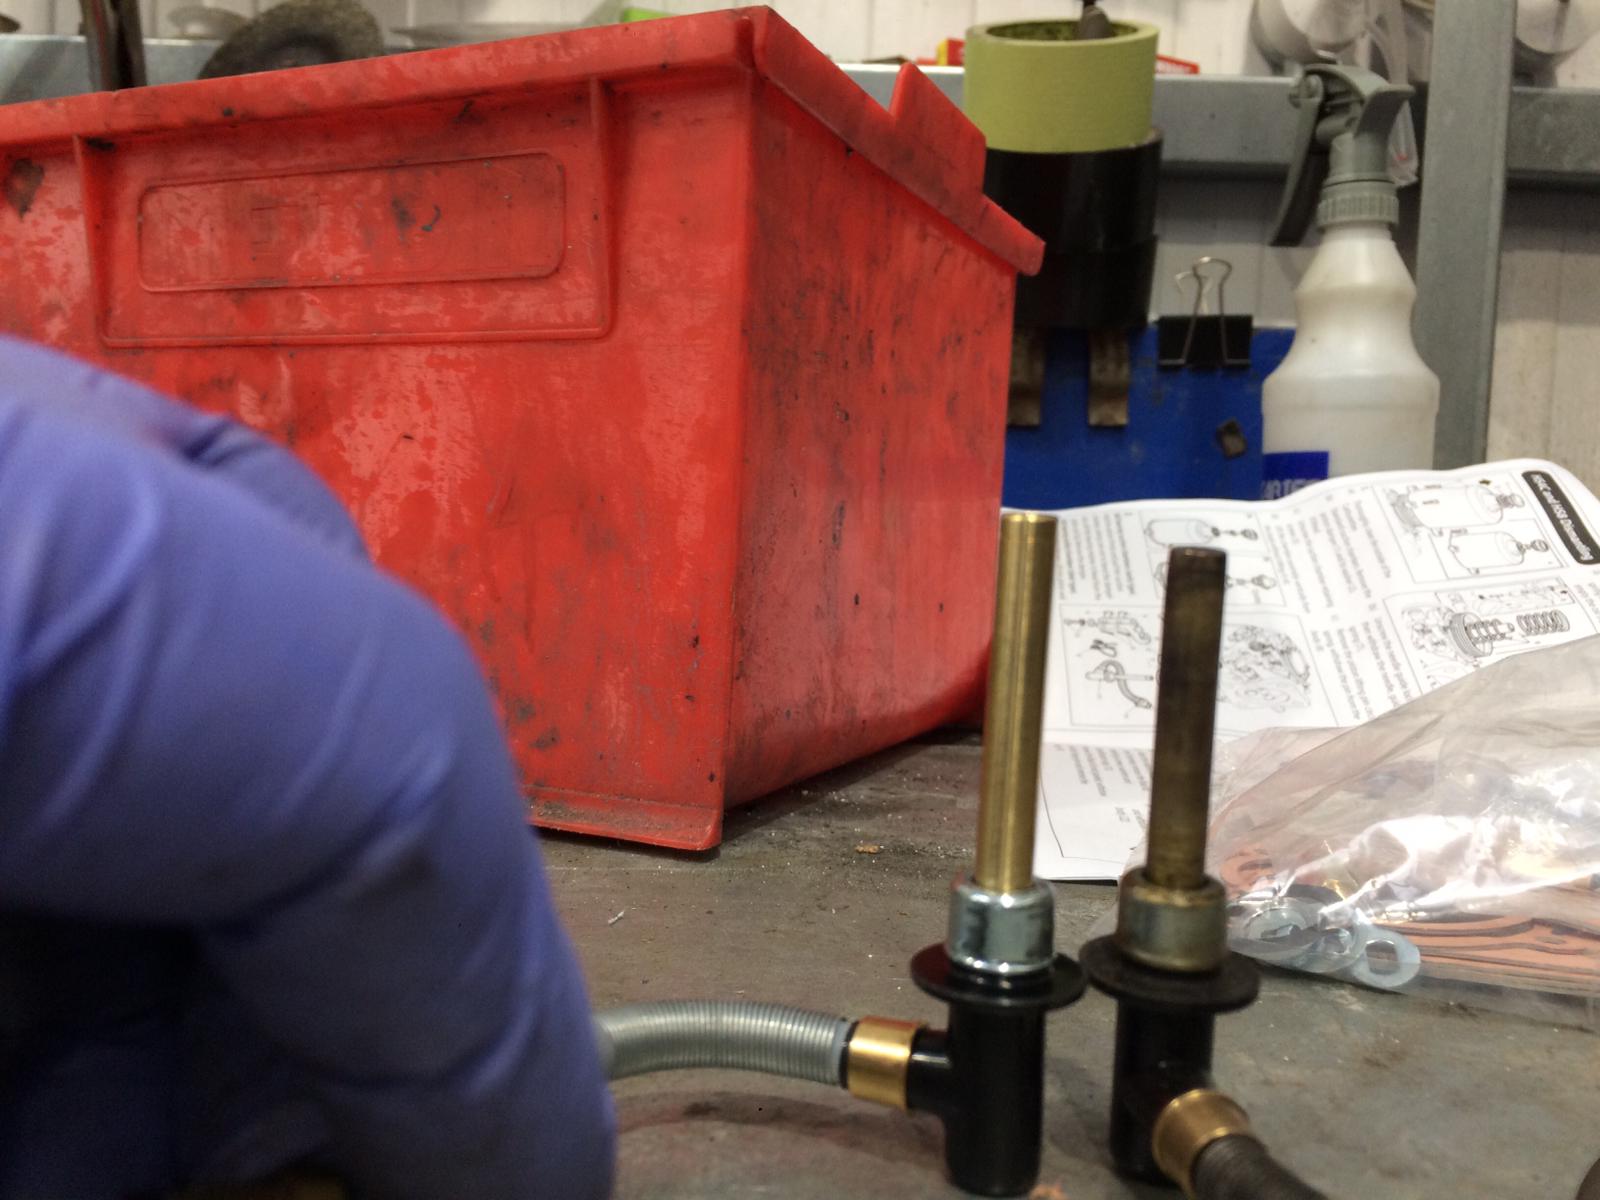
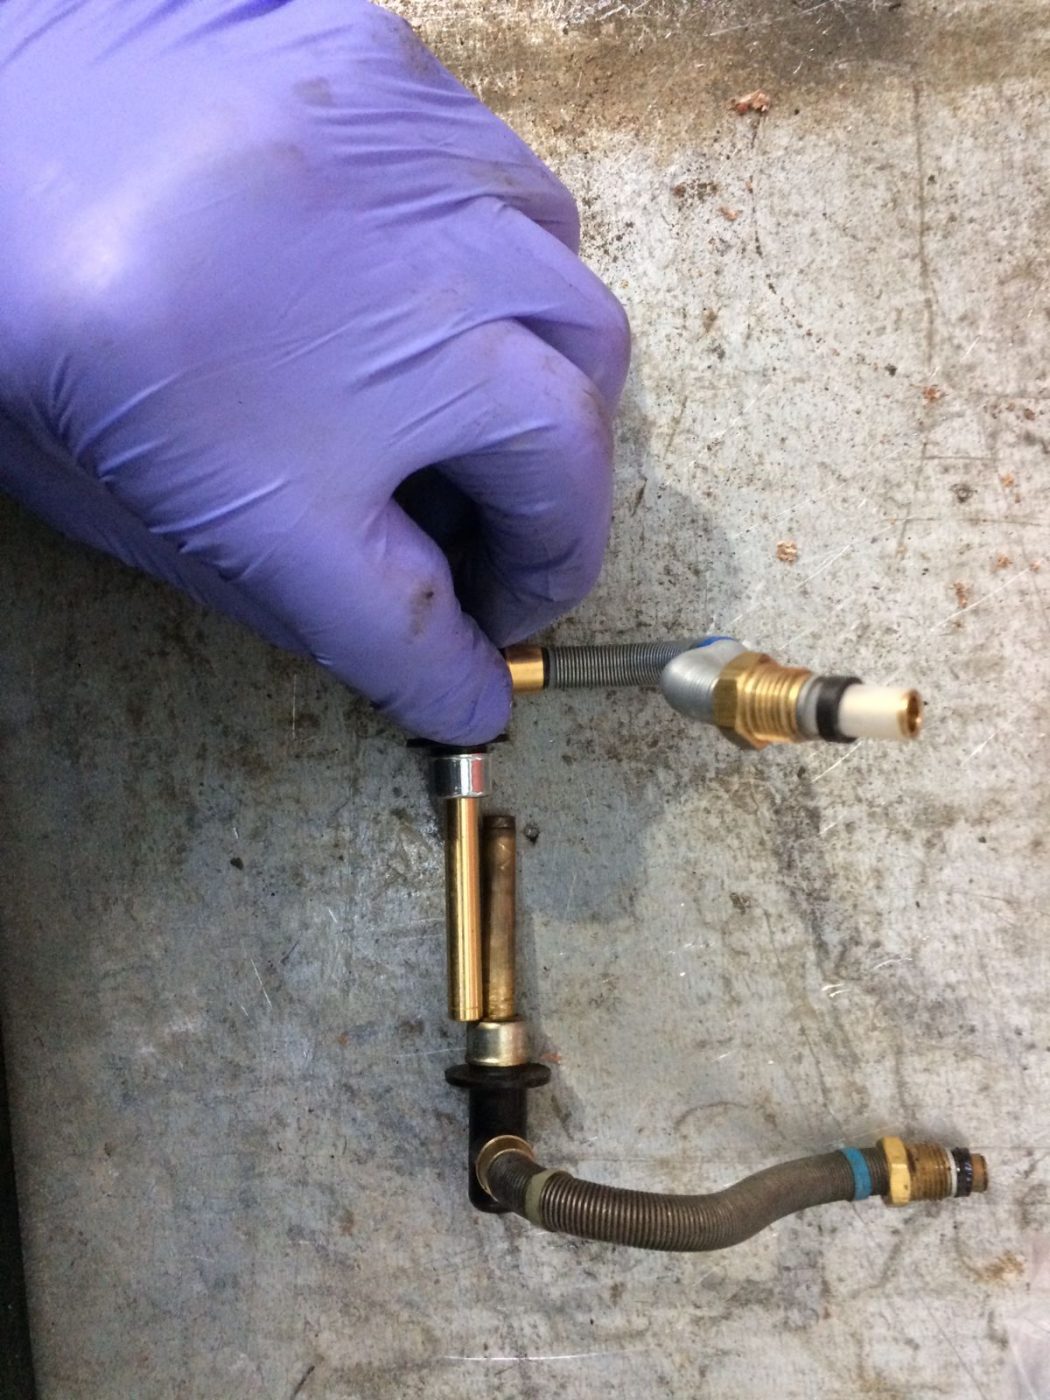
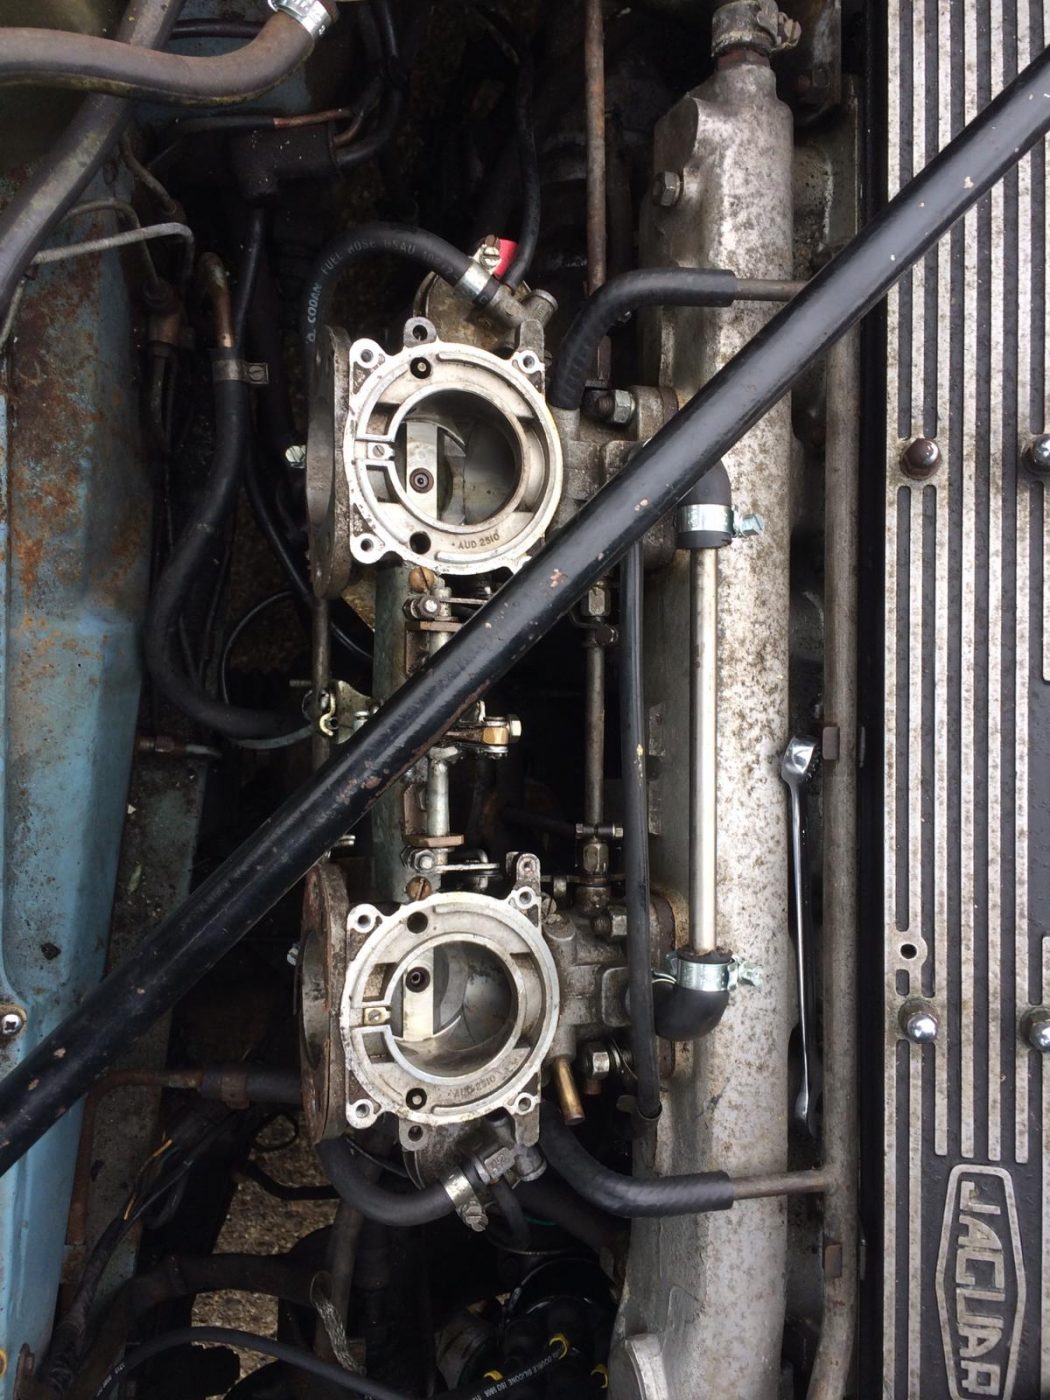
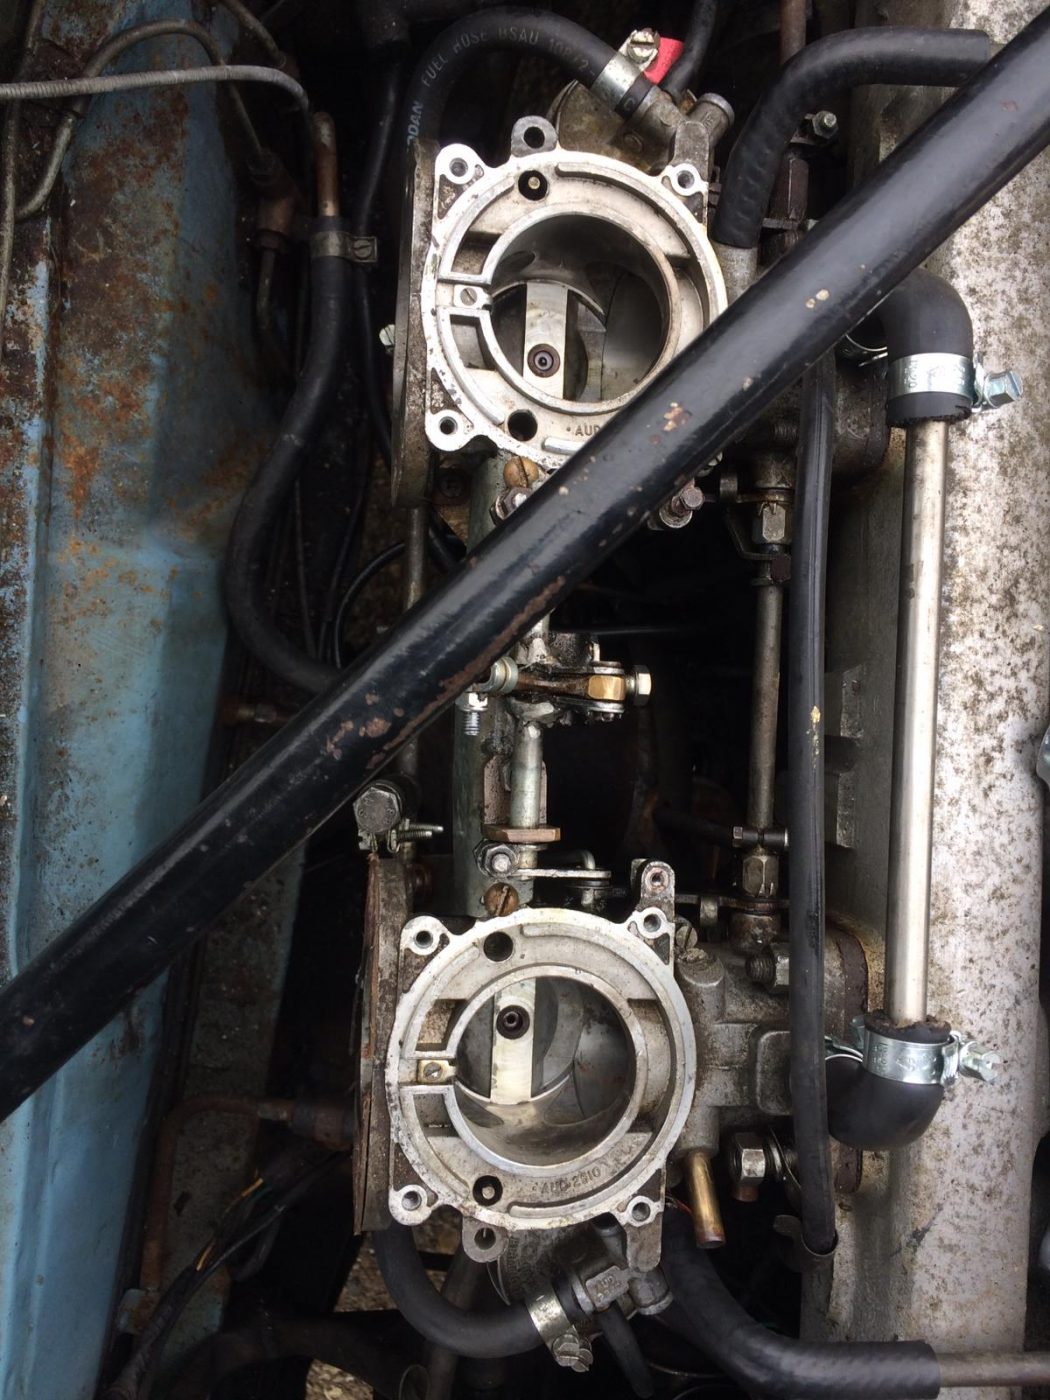
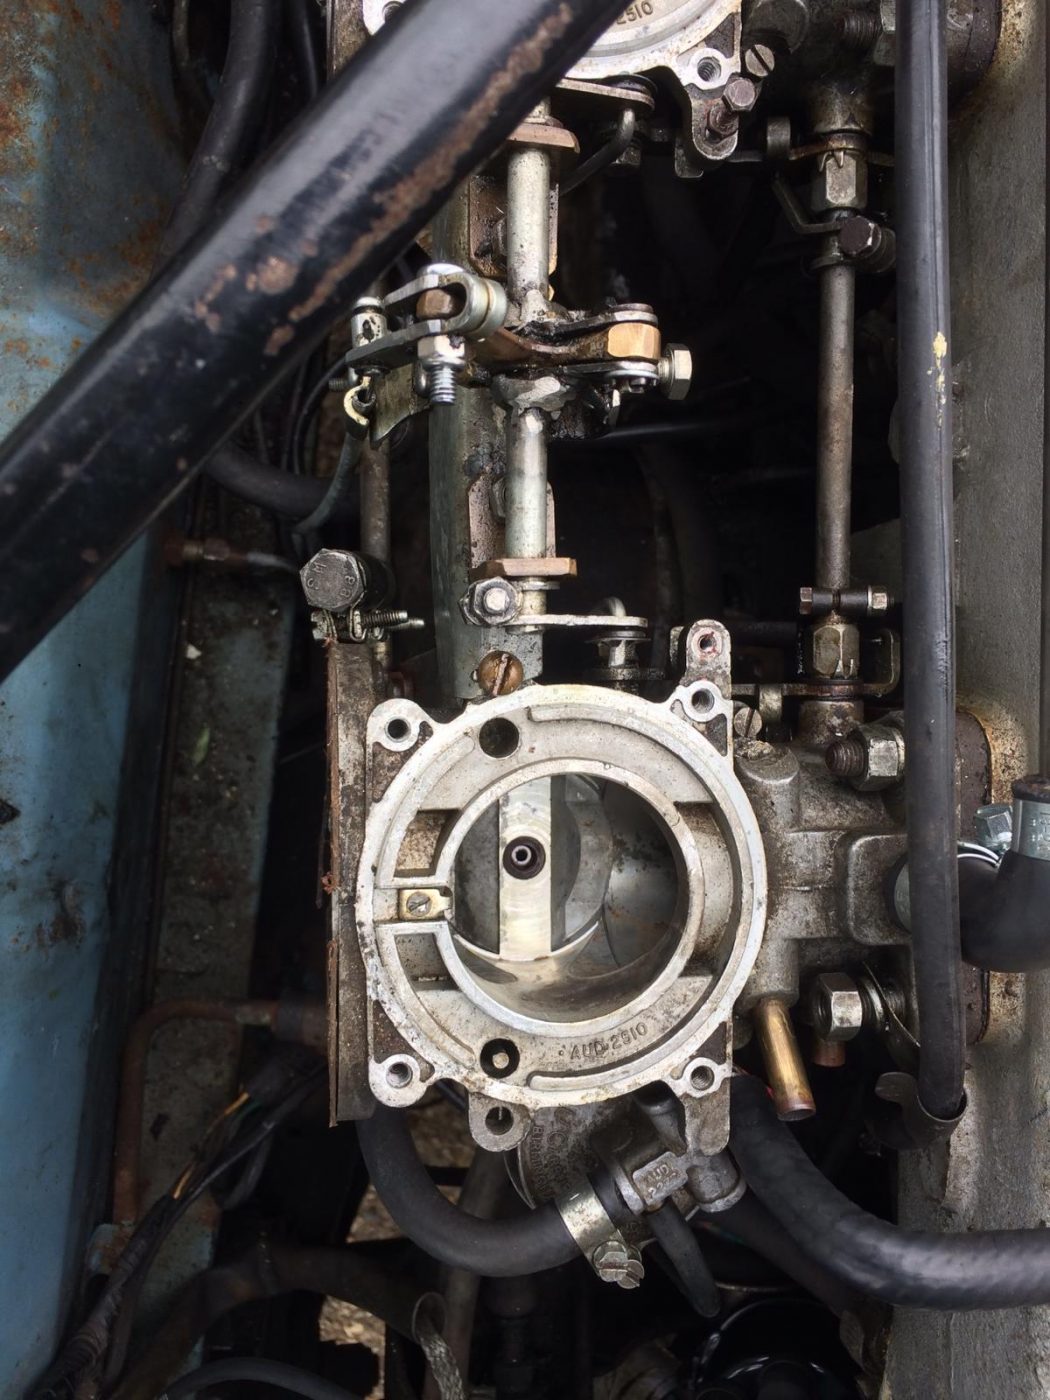
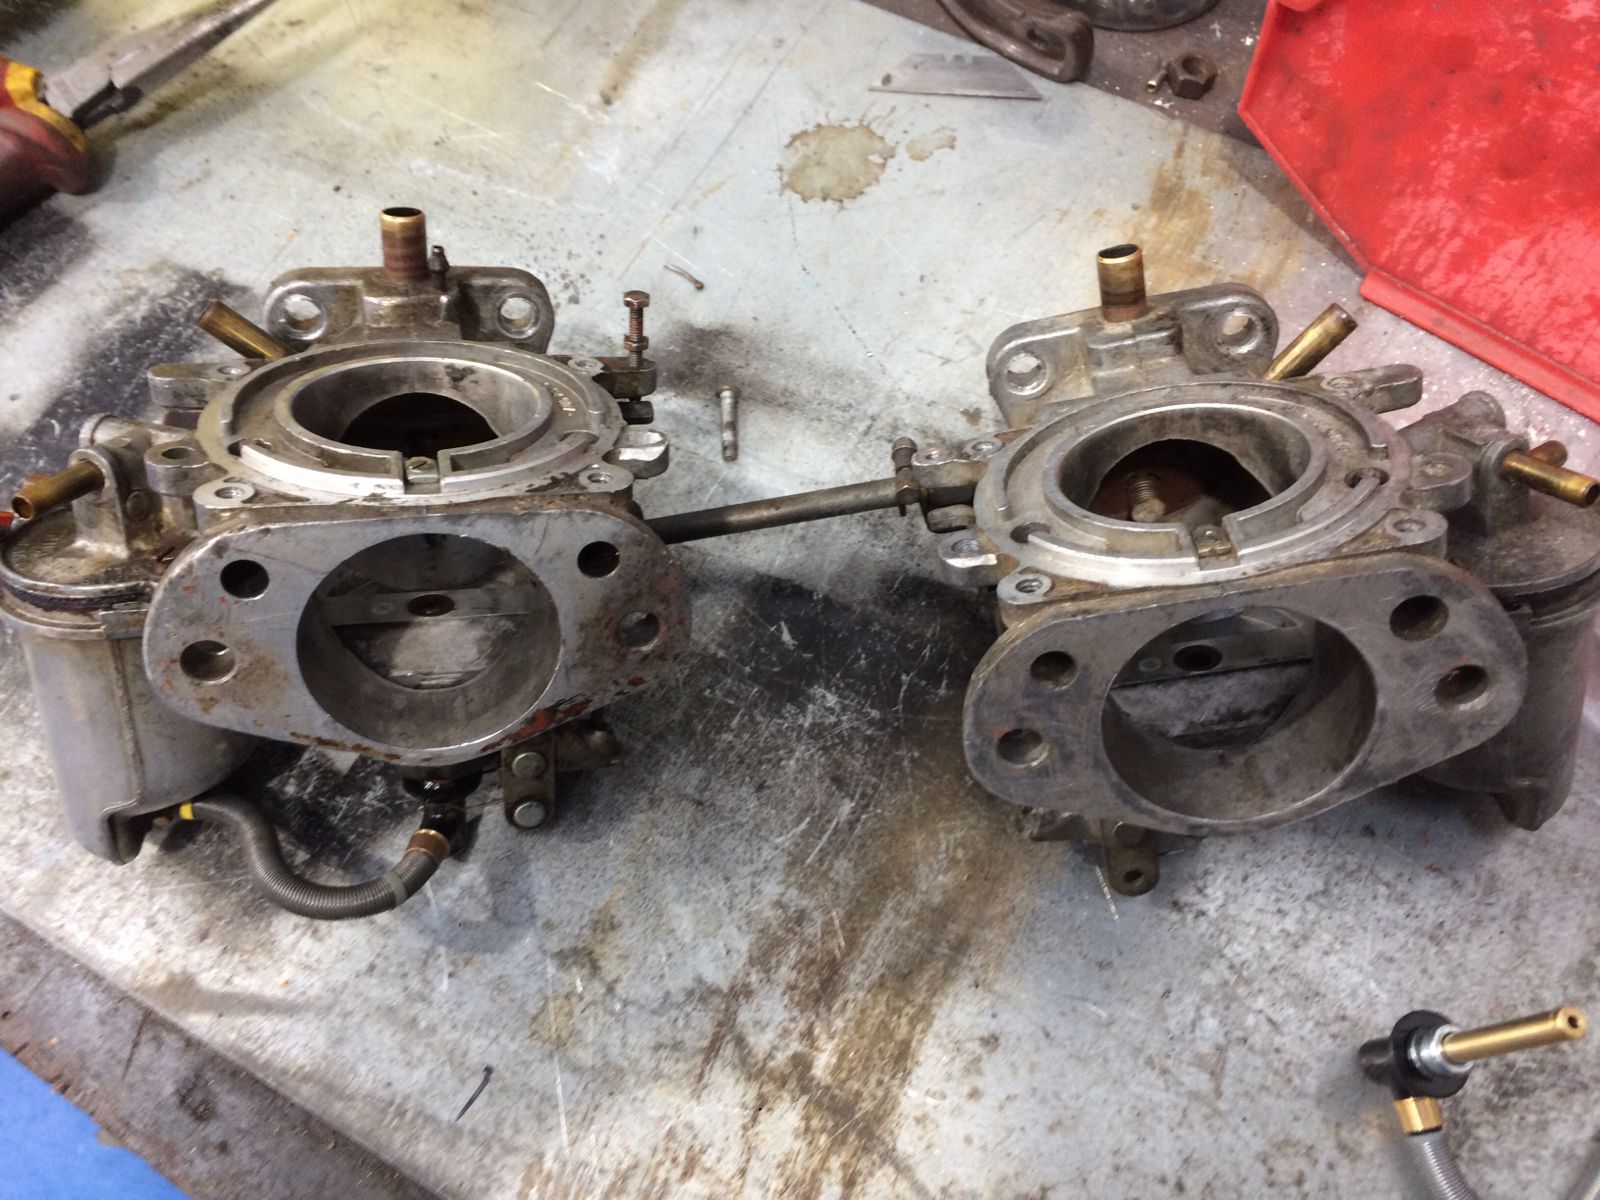
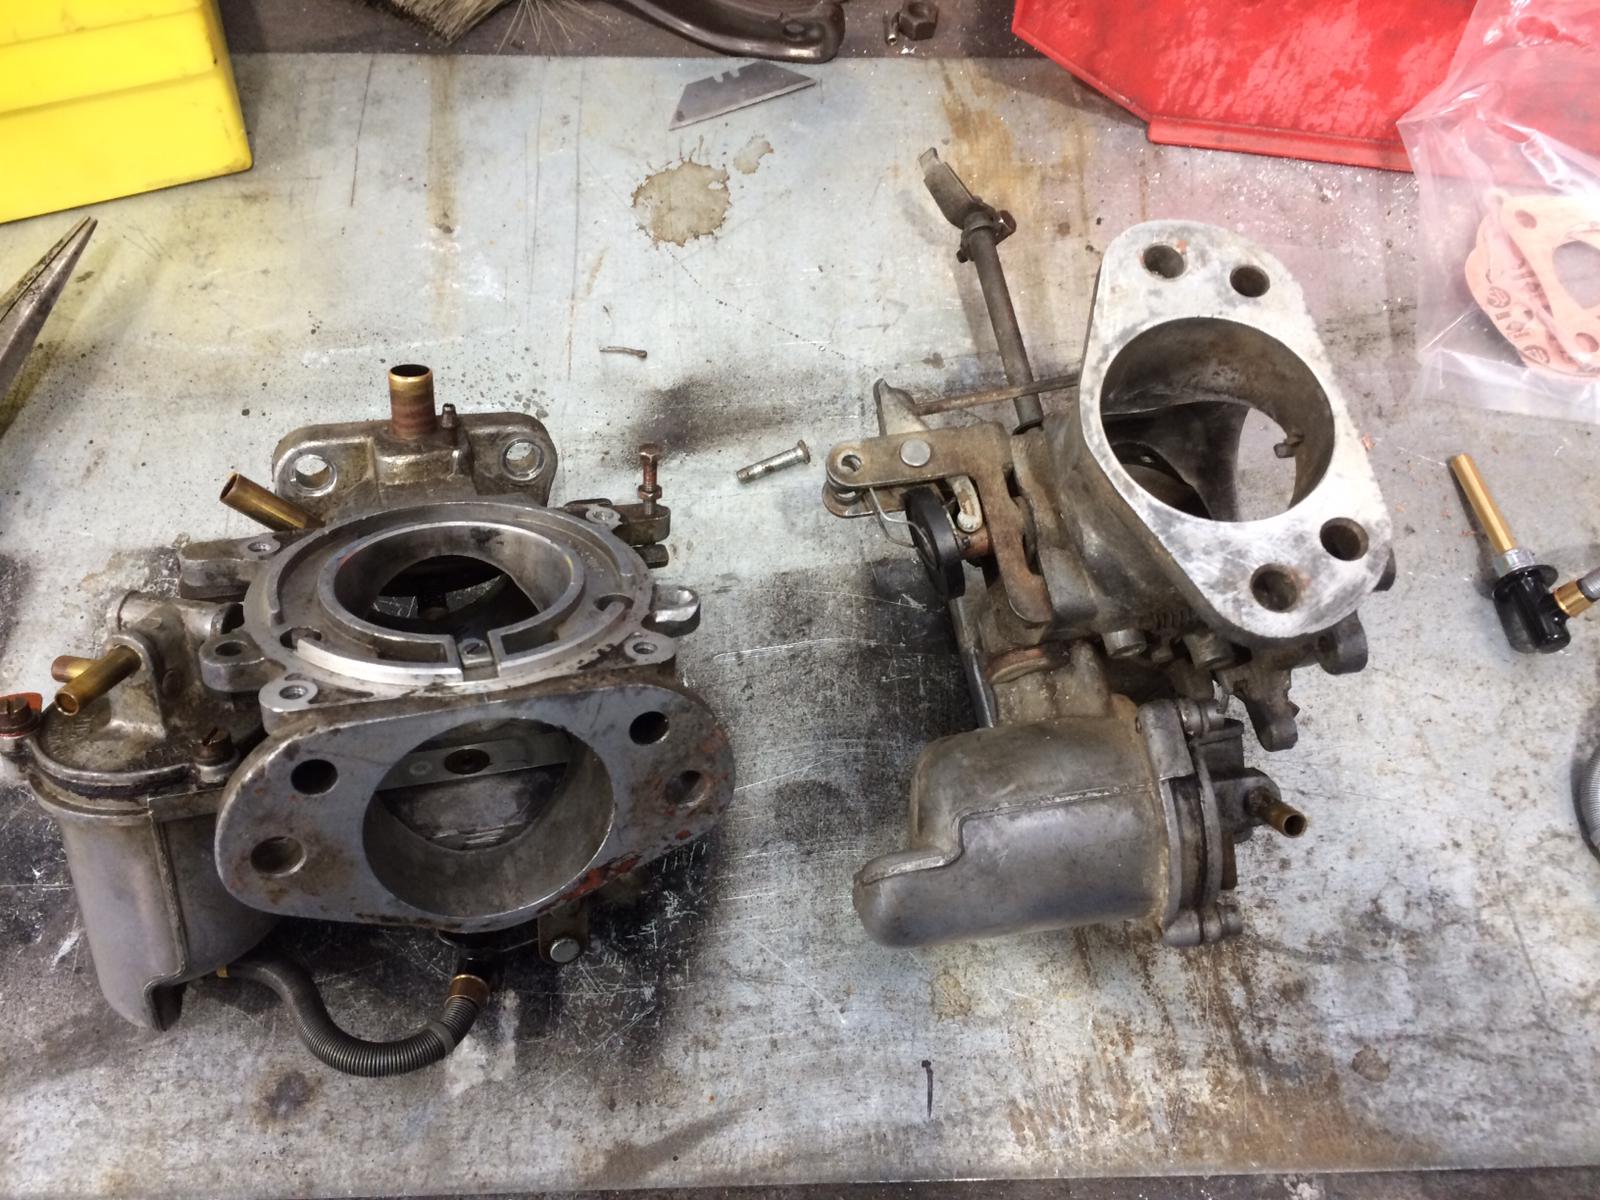
Dave has been investigating the 1971 Jaguar XJ6 because it wasn’t running very well. He found that the carburettor tubes weren’t the same height as
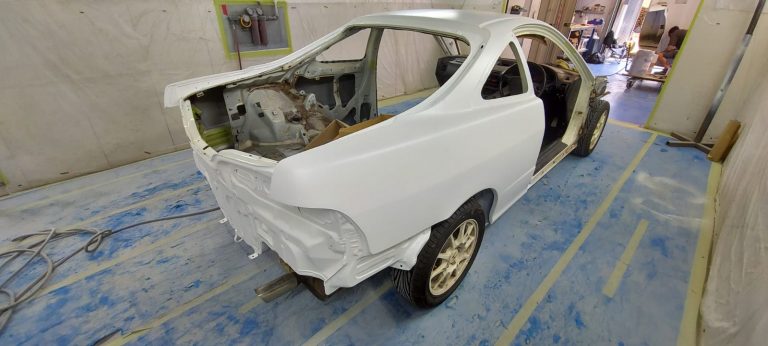
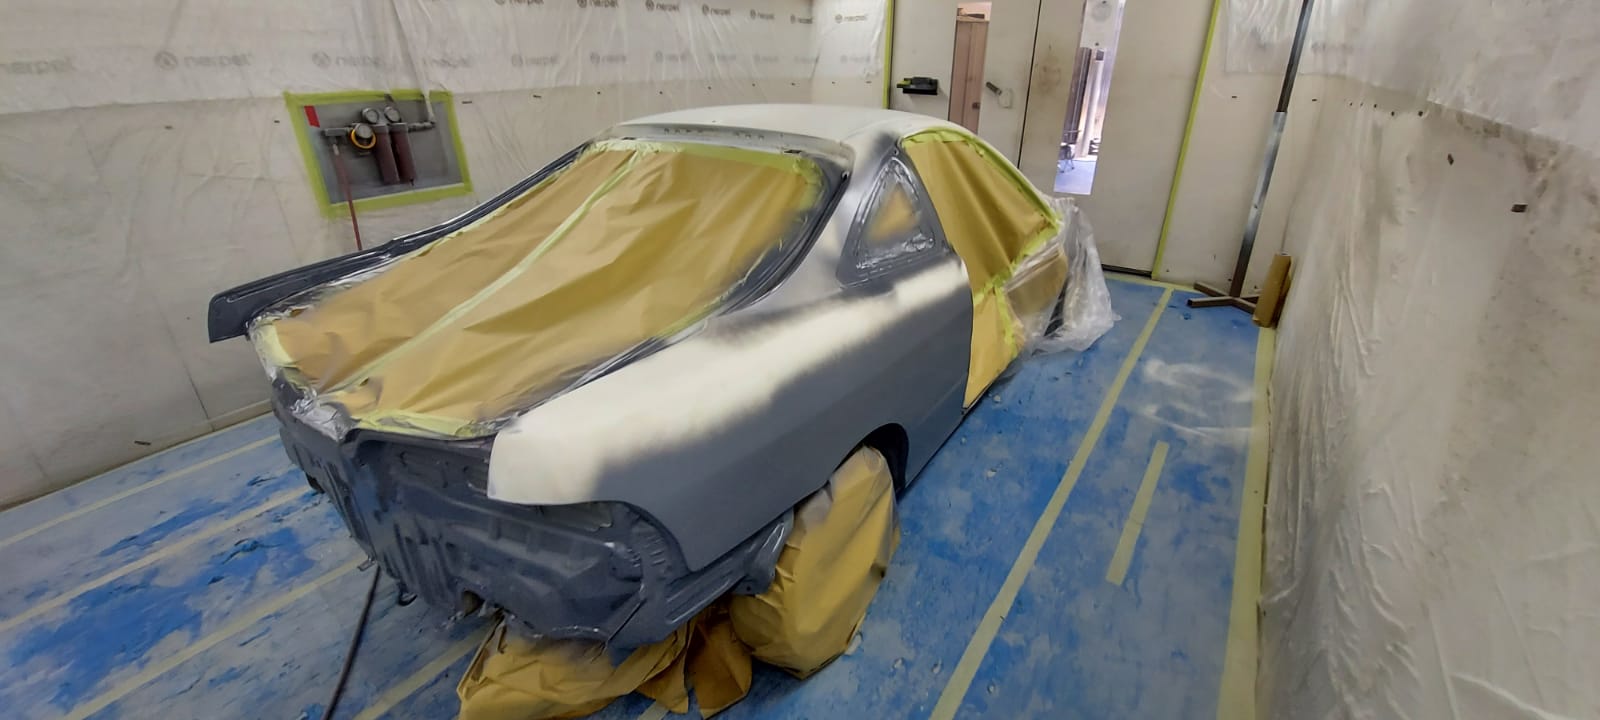
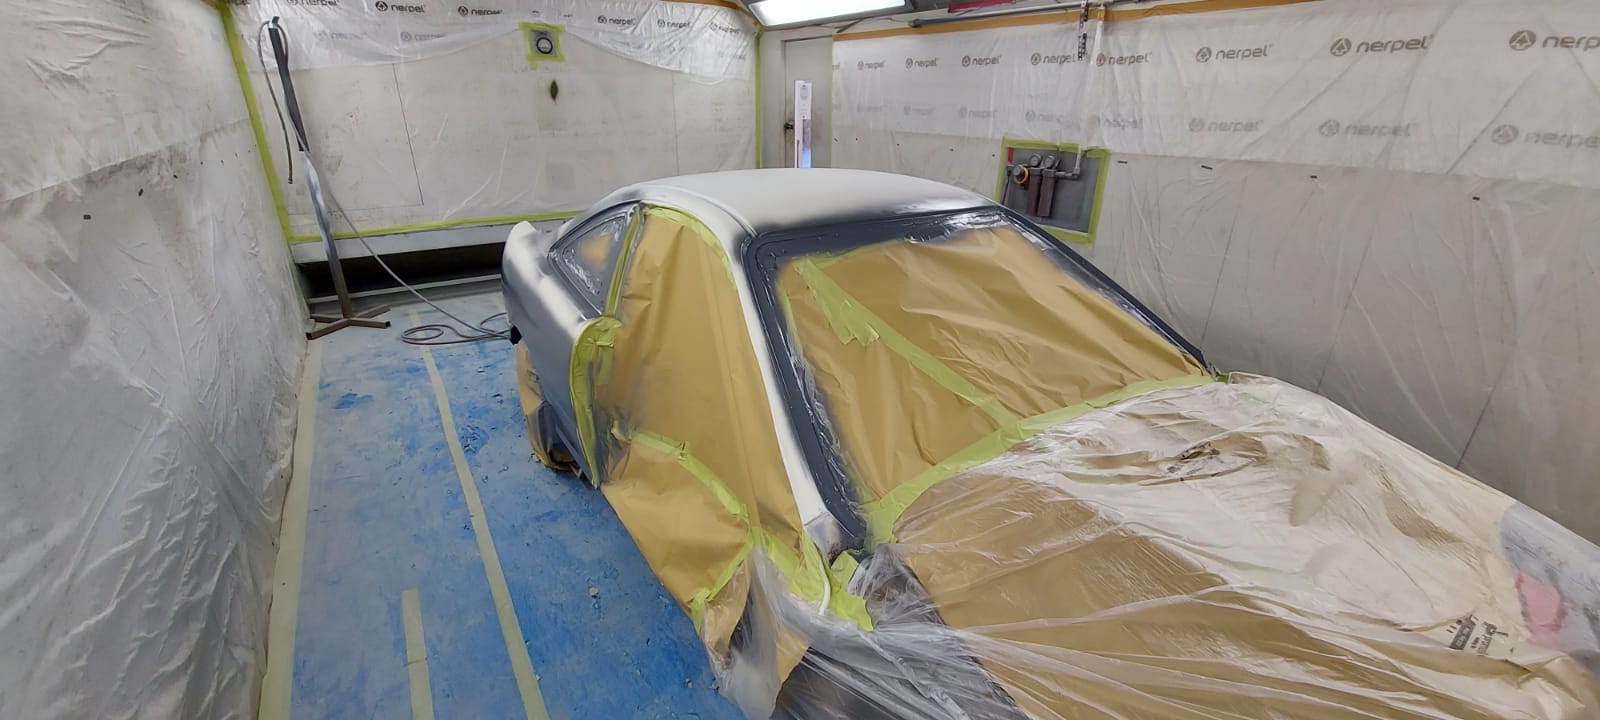
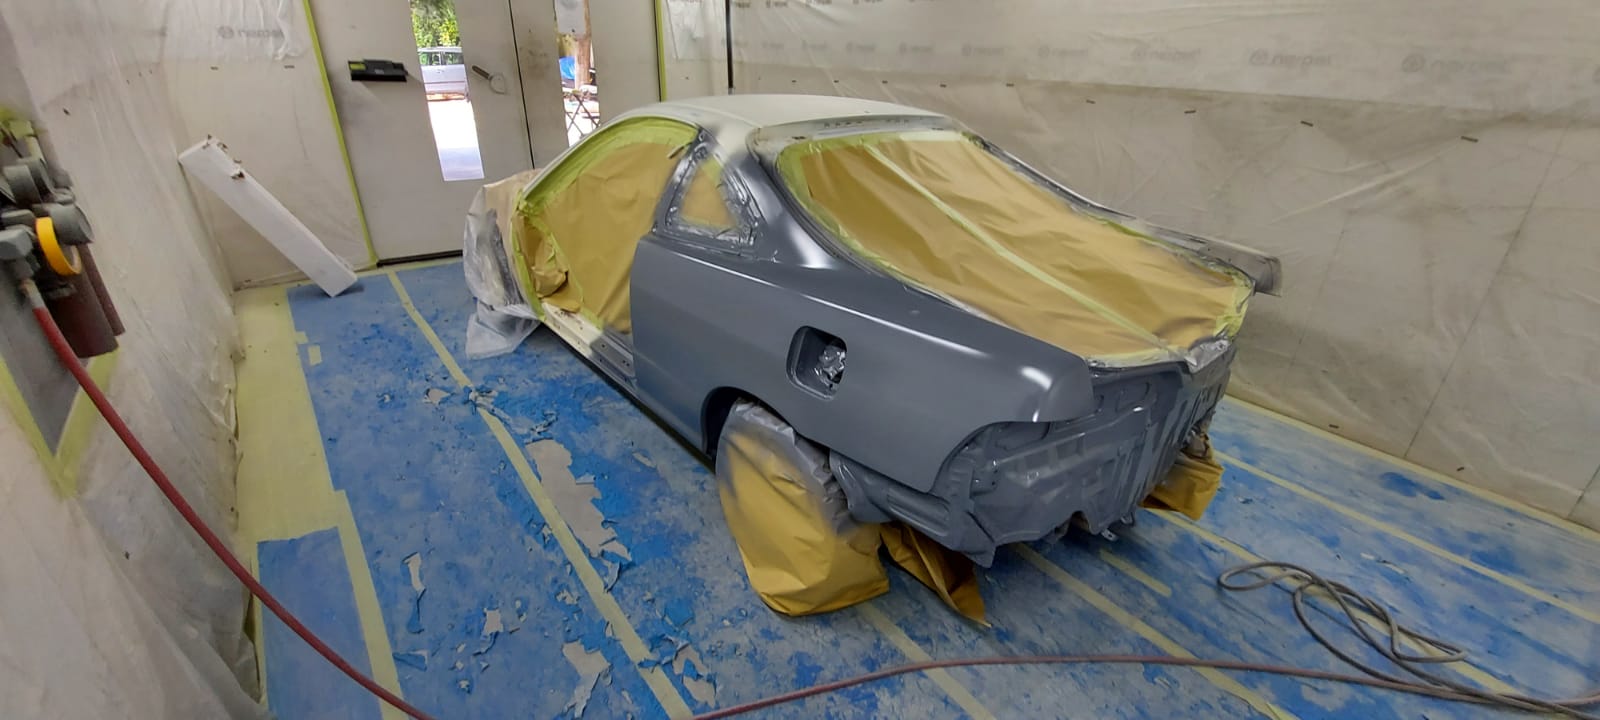
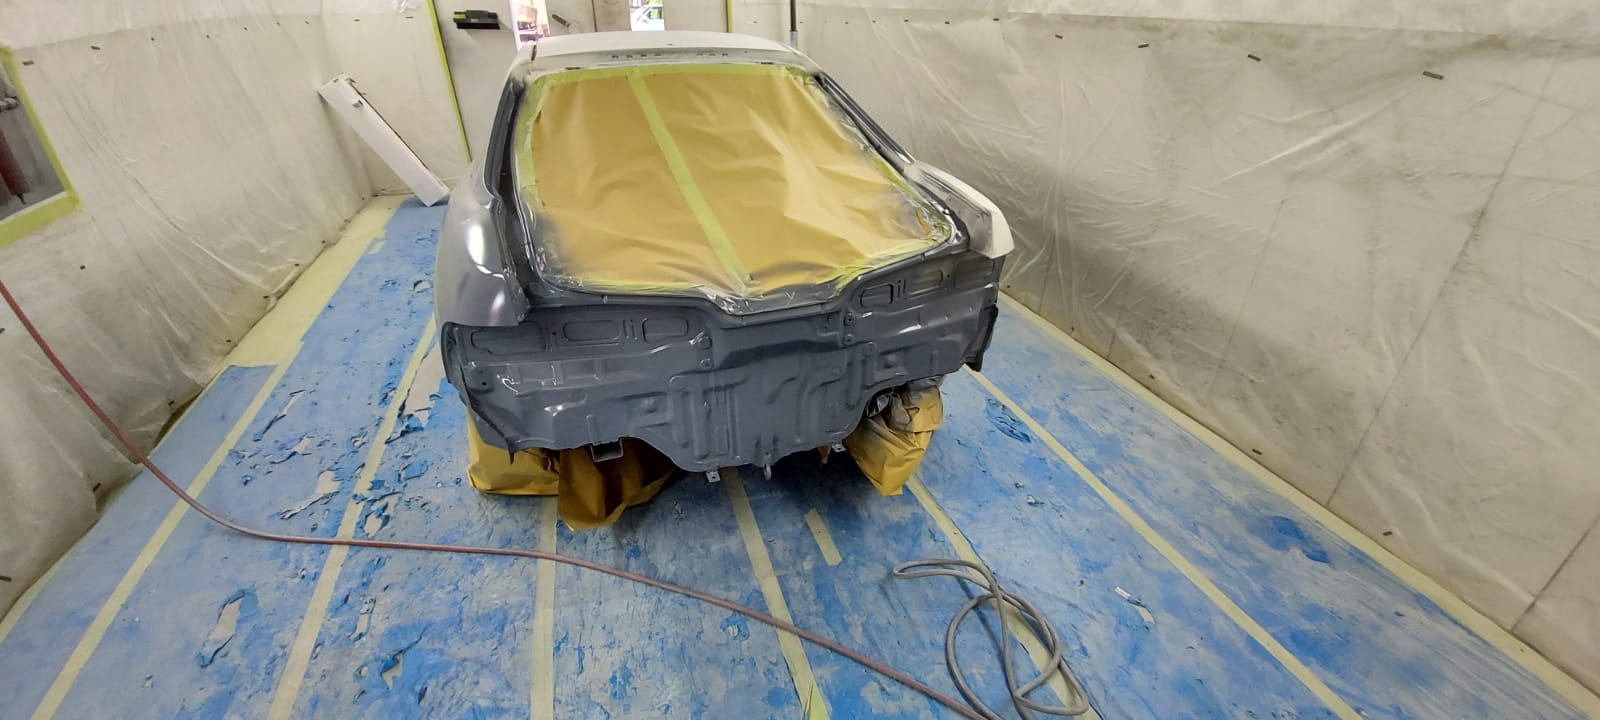
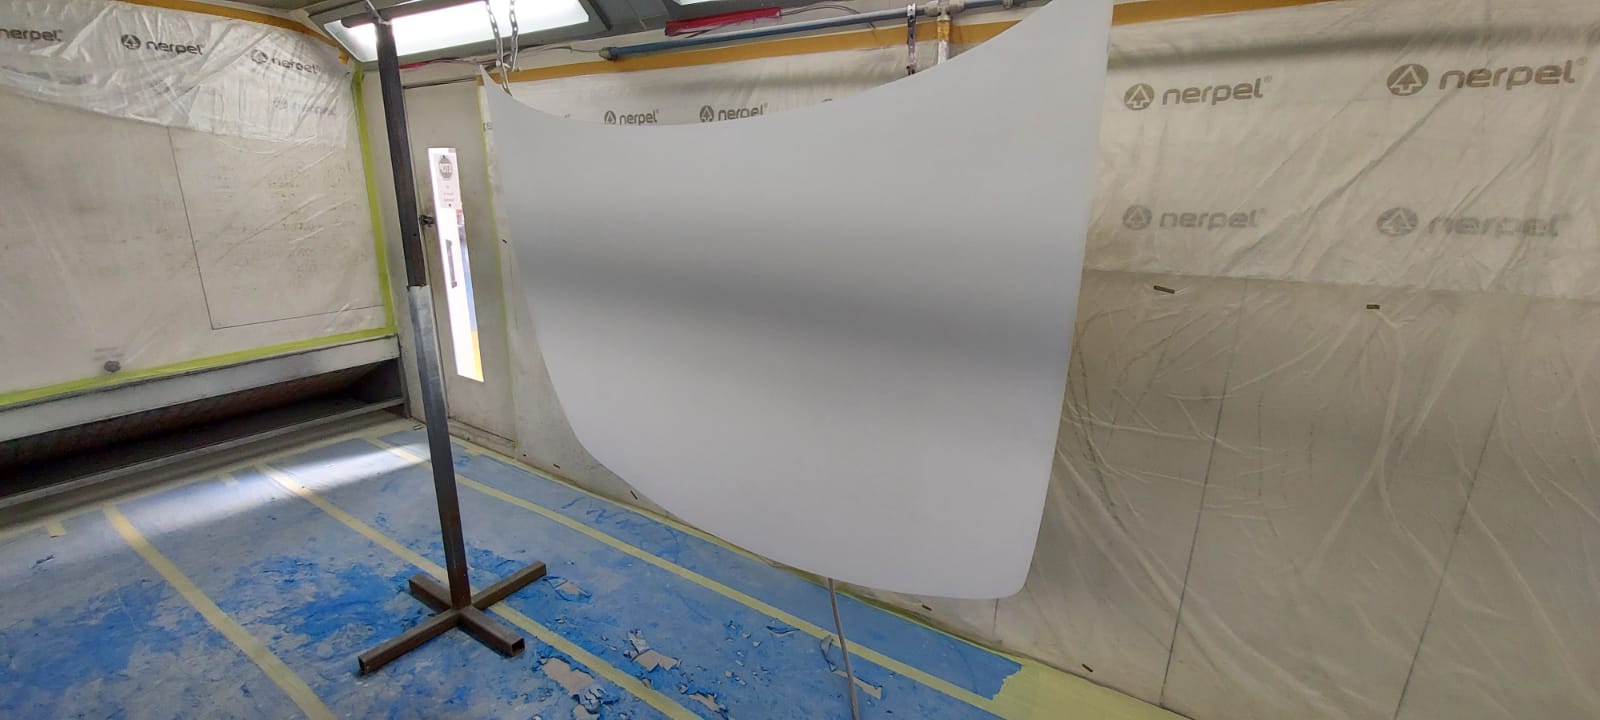
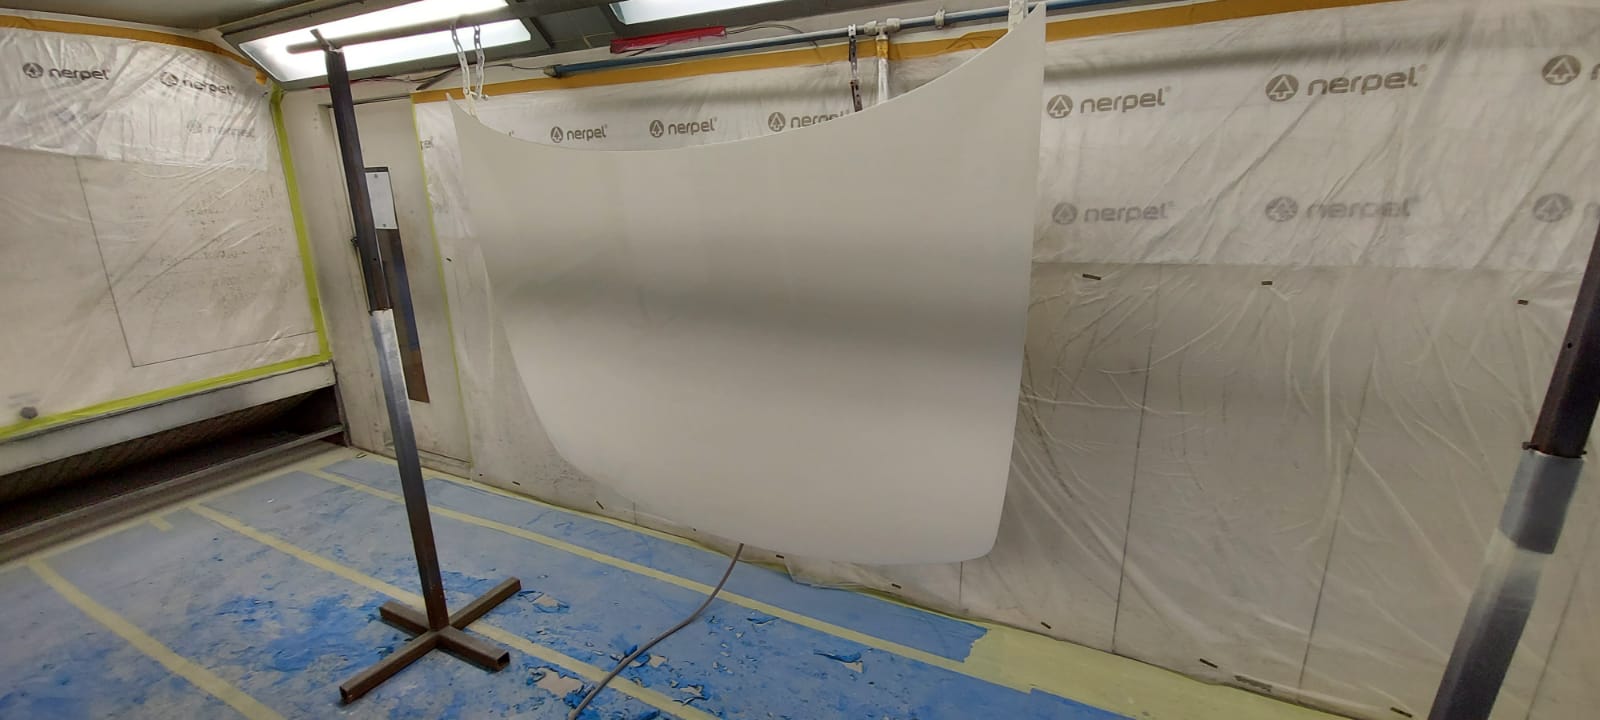
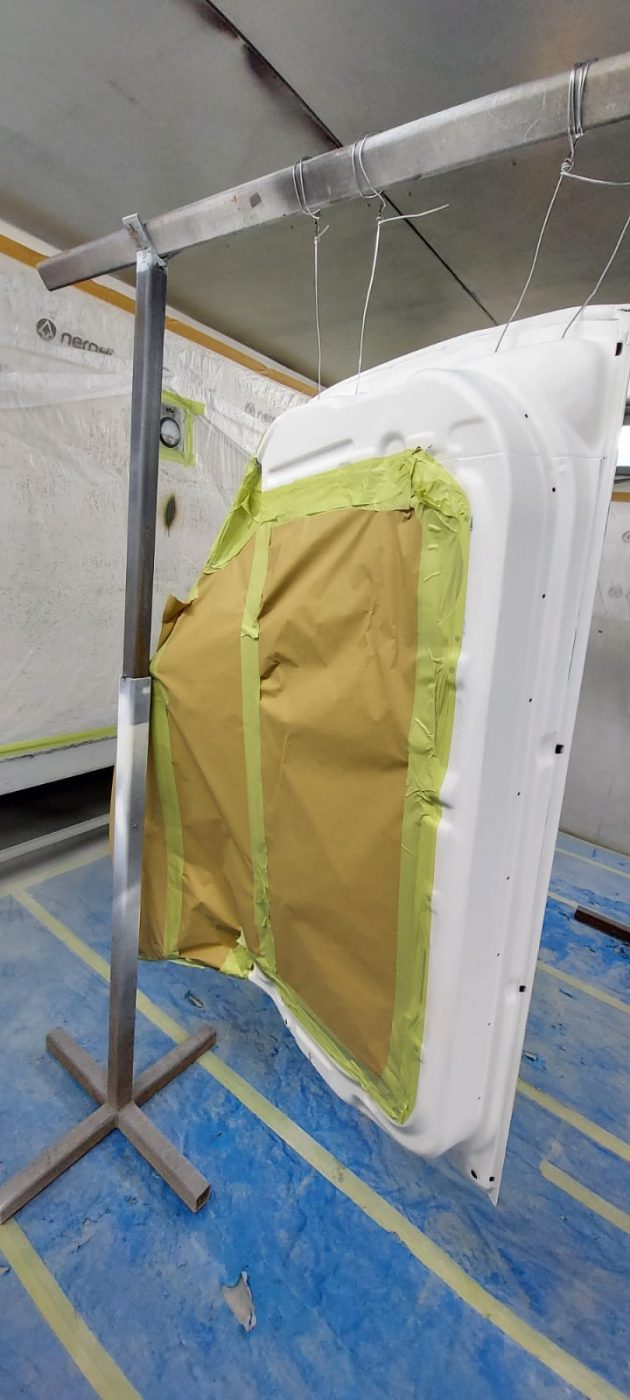
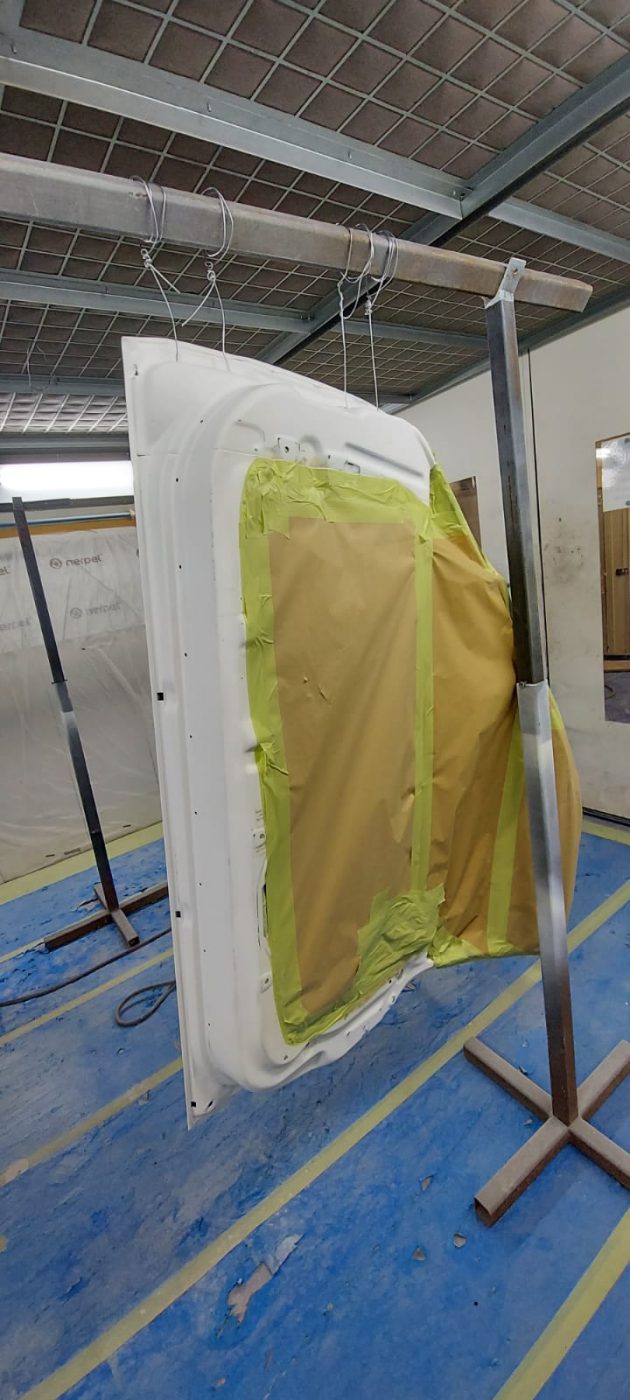
The 1998 Honda Integra went into the paint bay at the end of last week. The body shell and bonnet have been primed and the
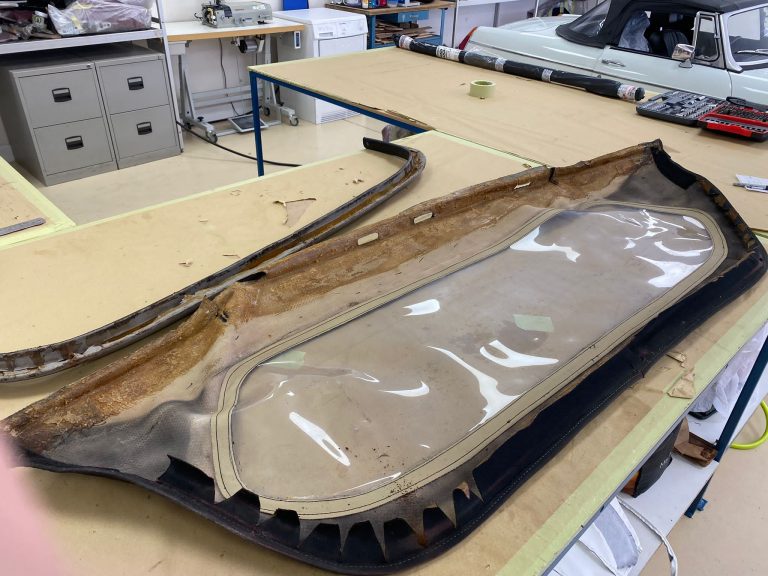
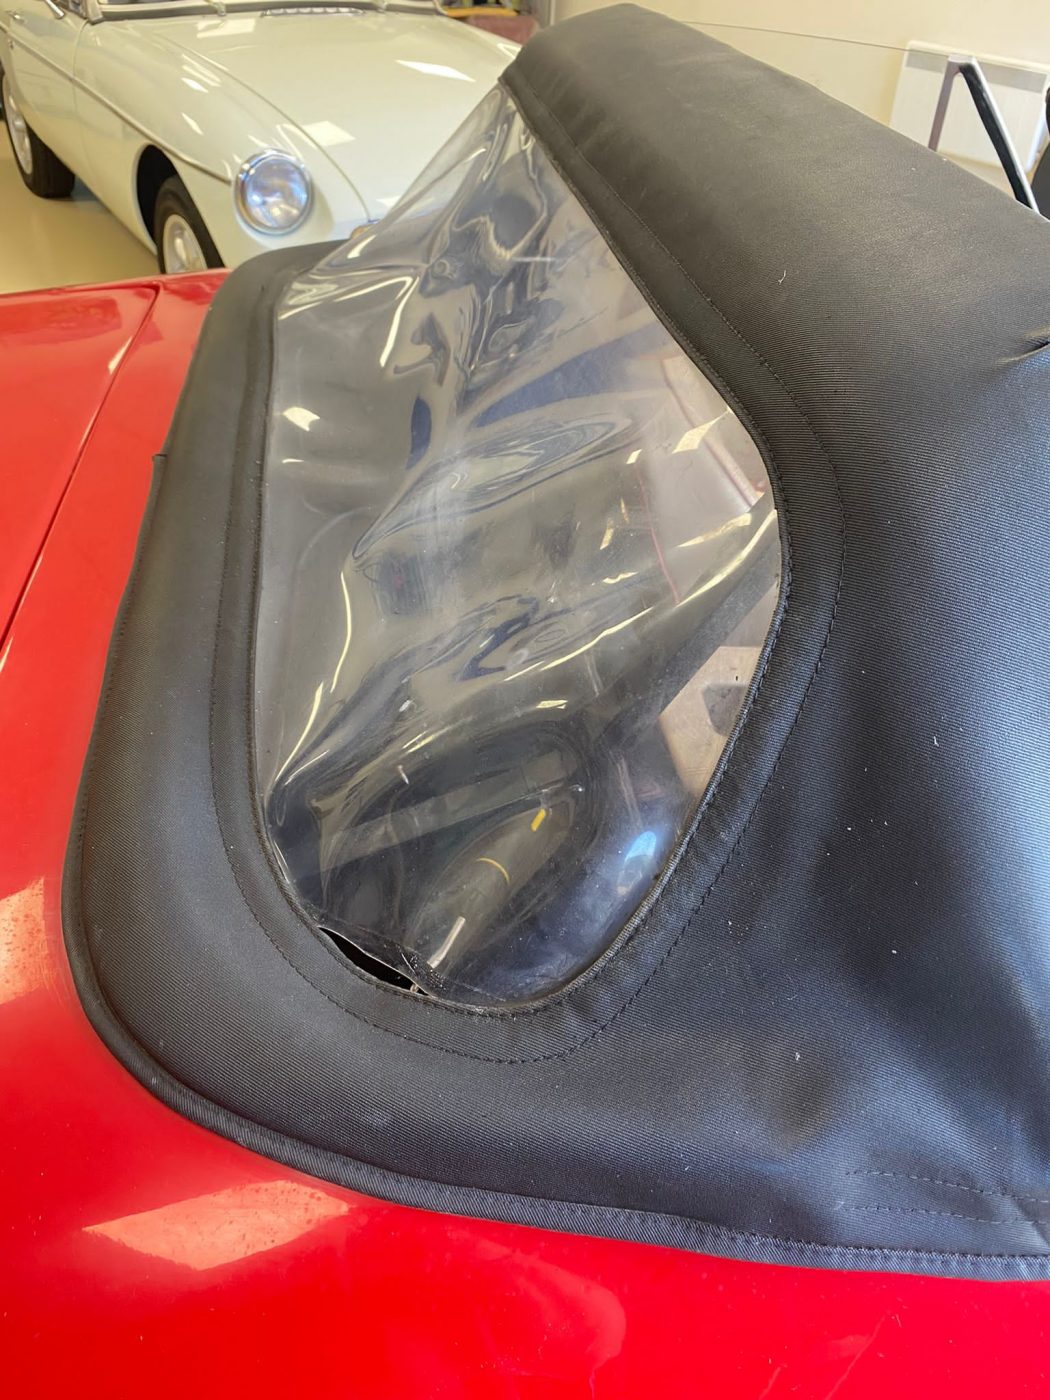
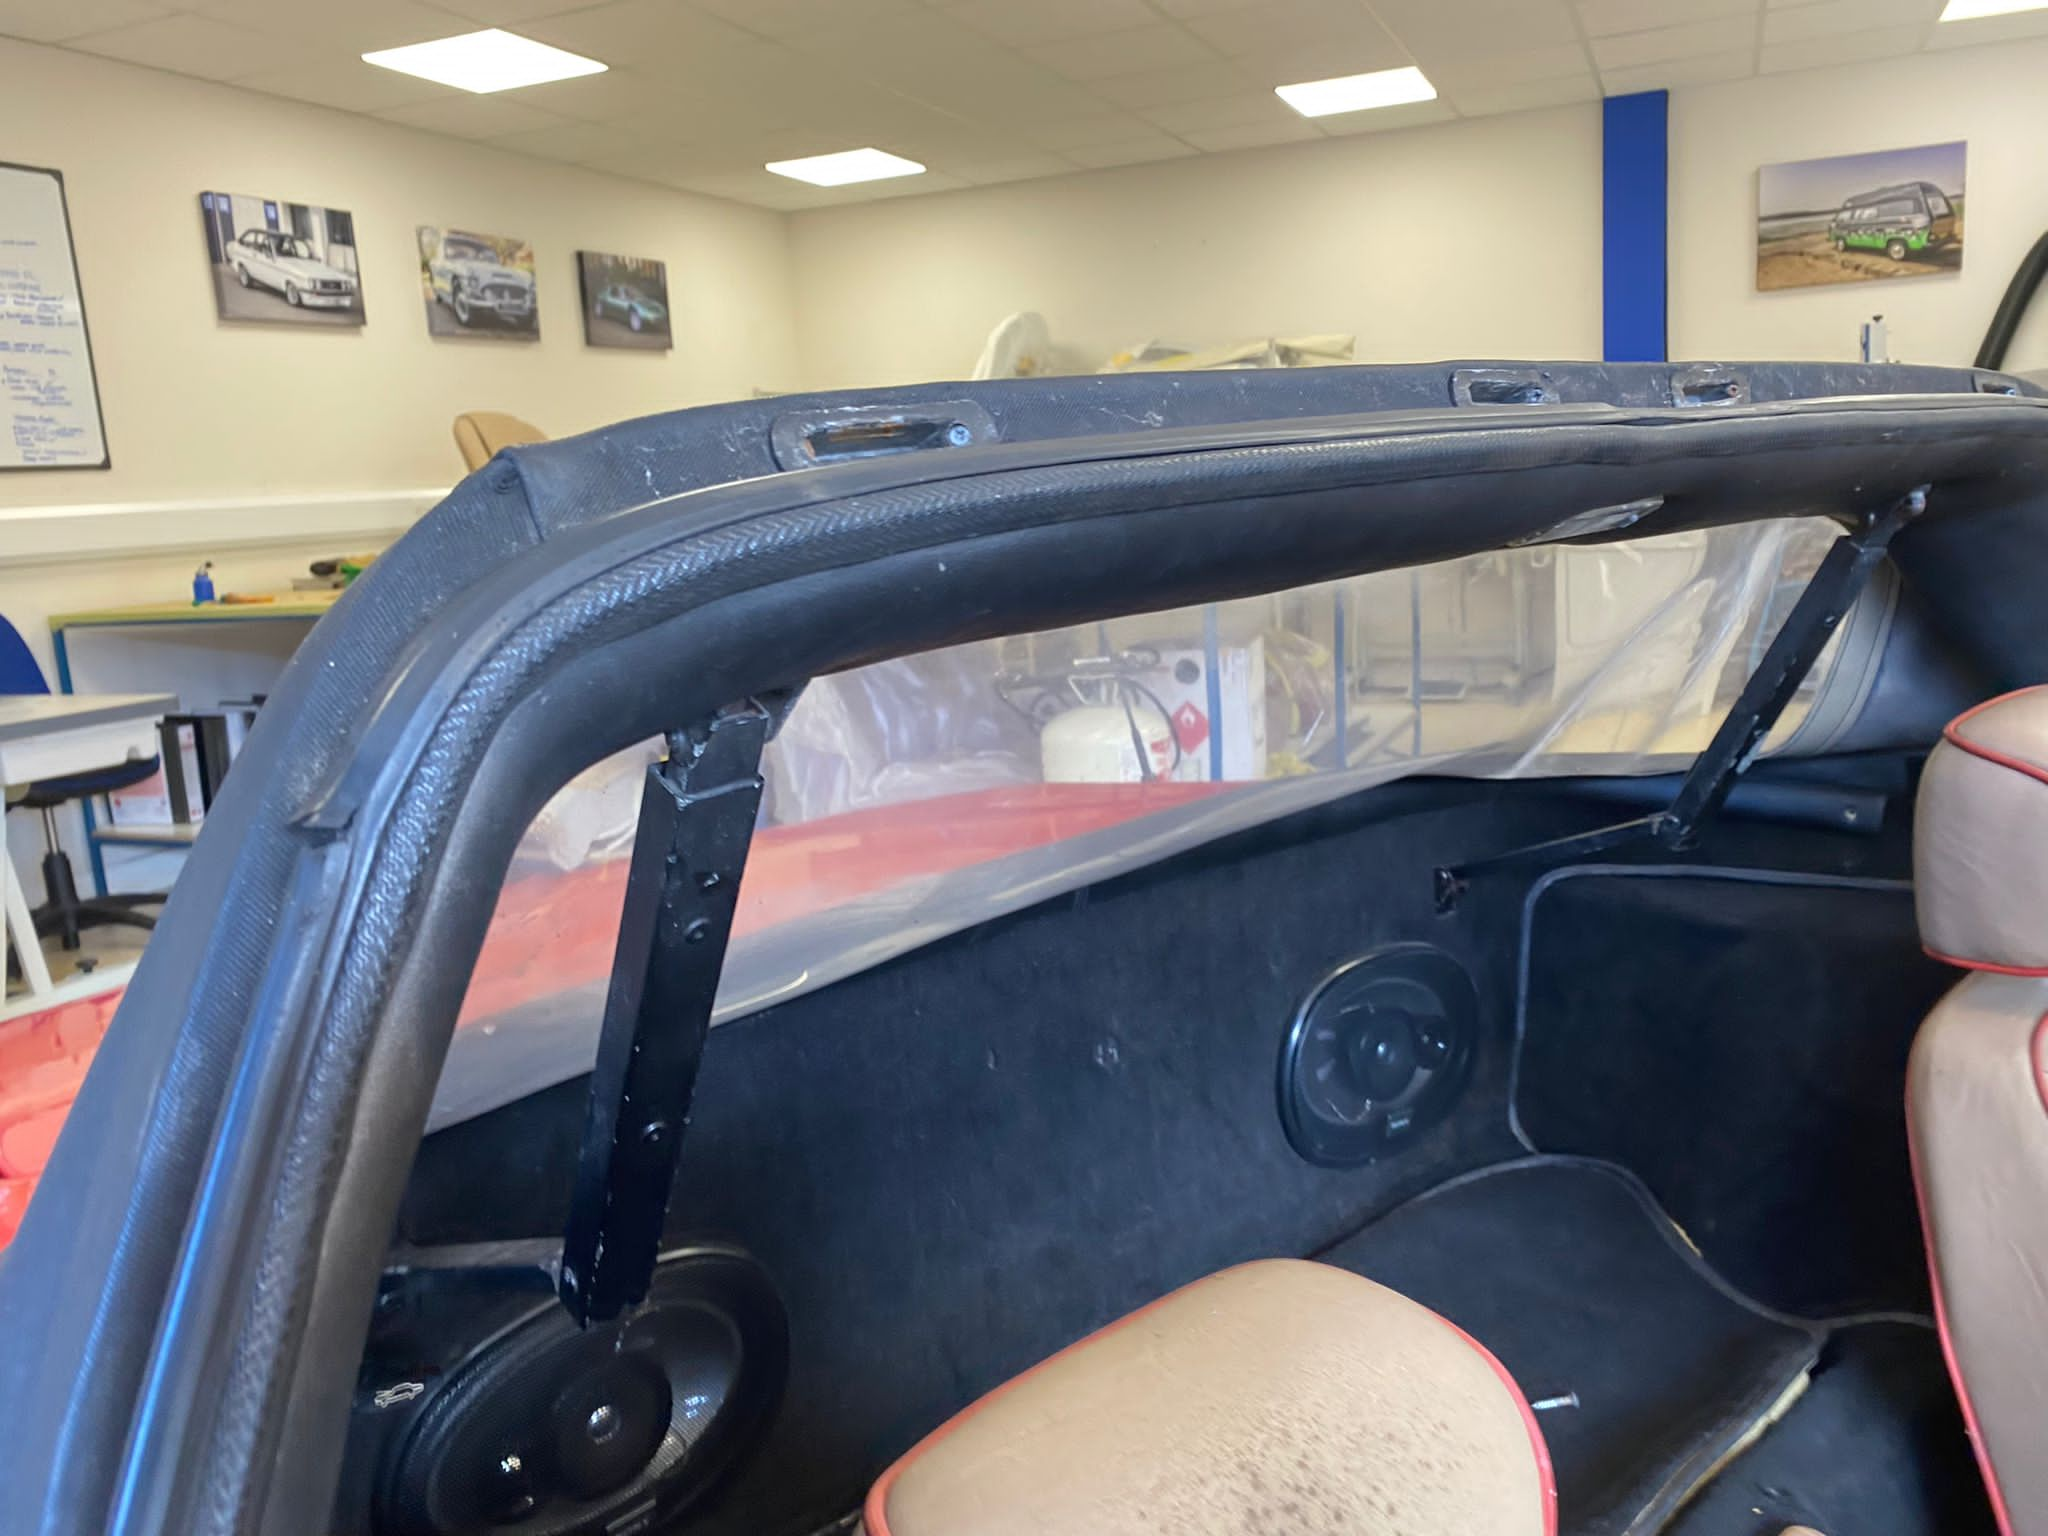
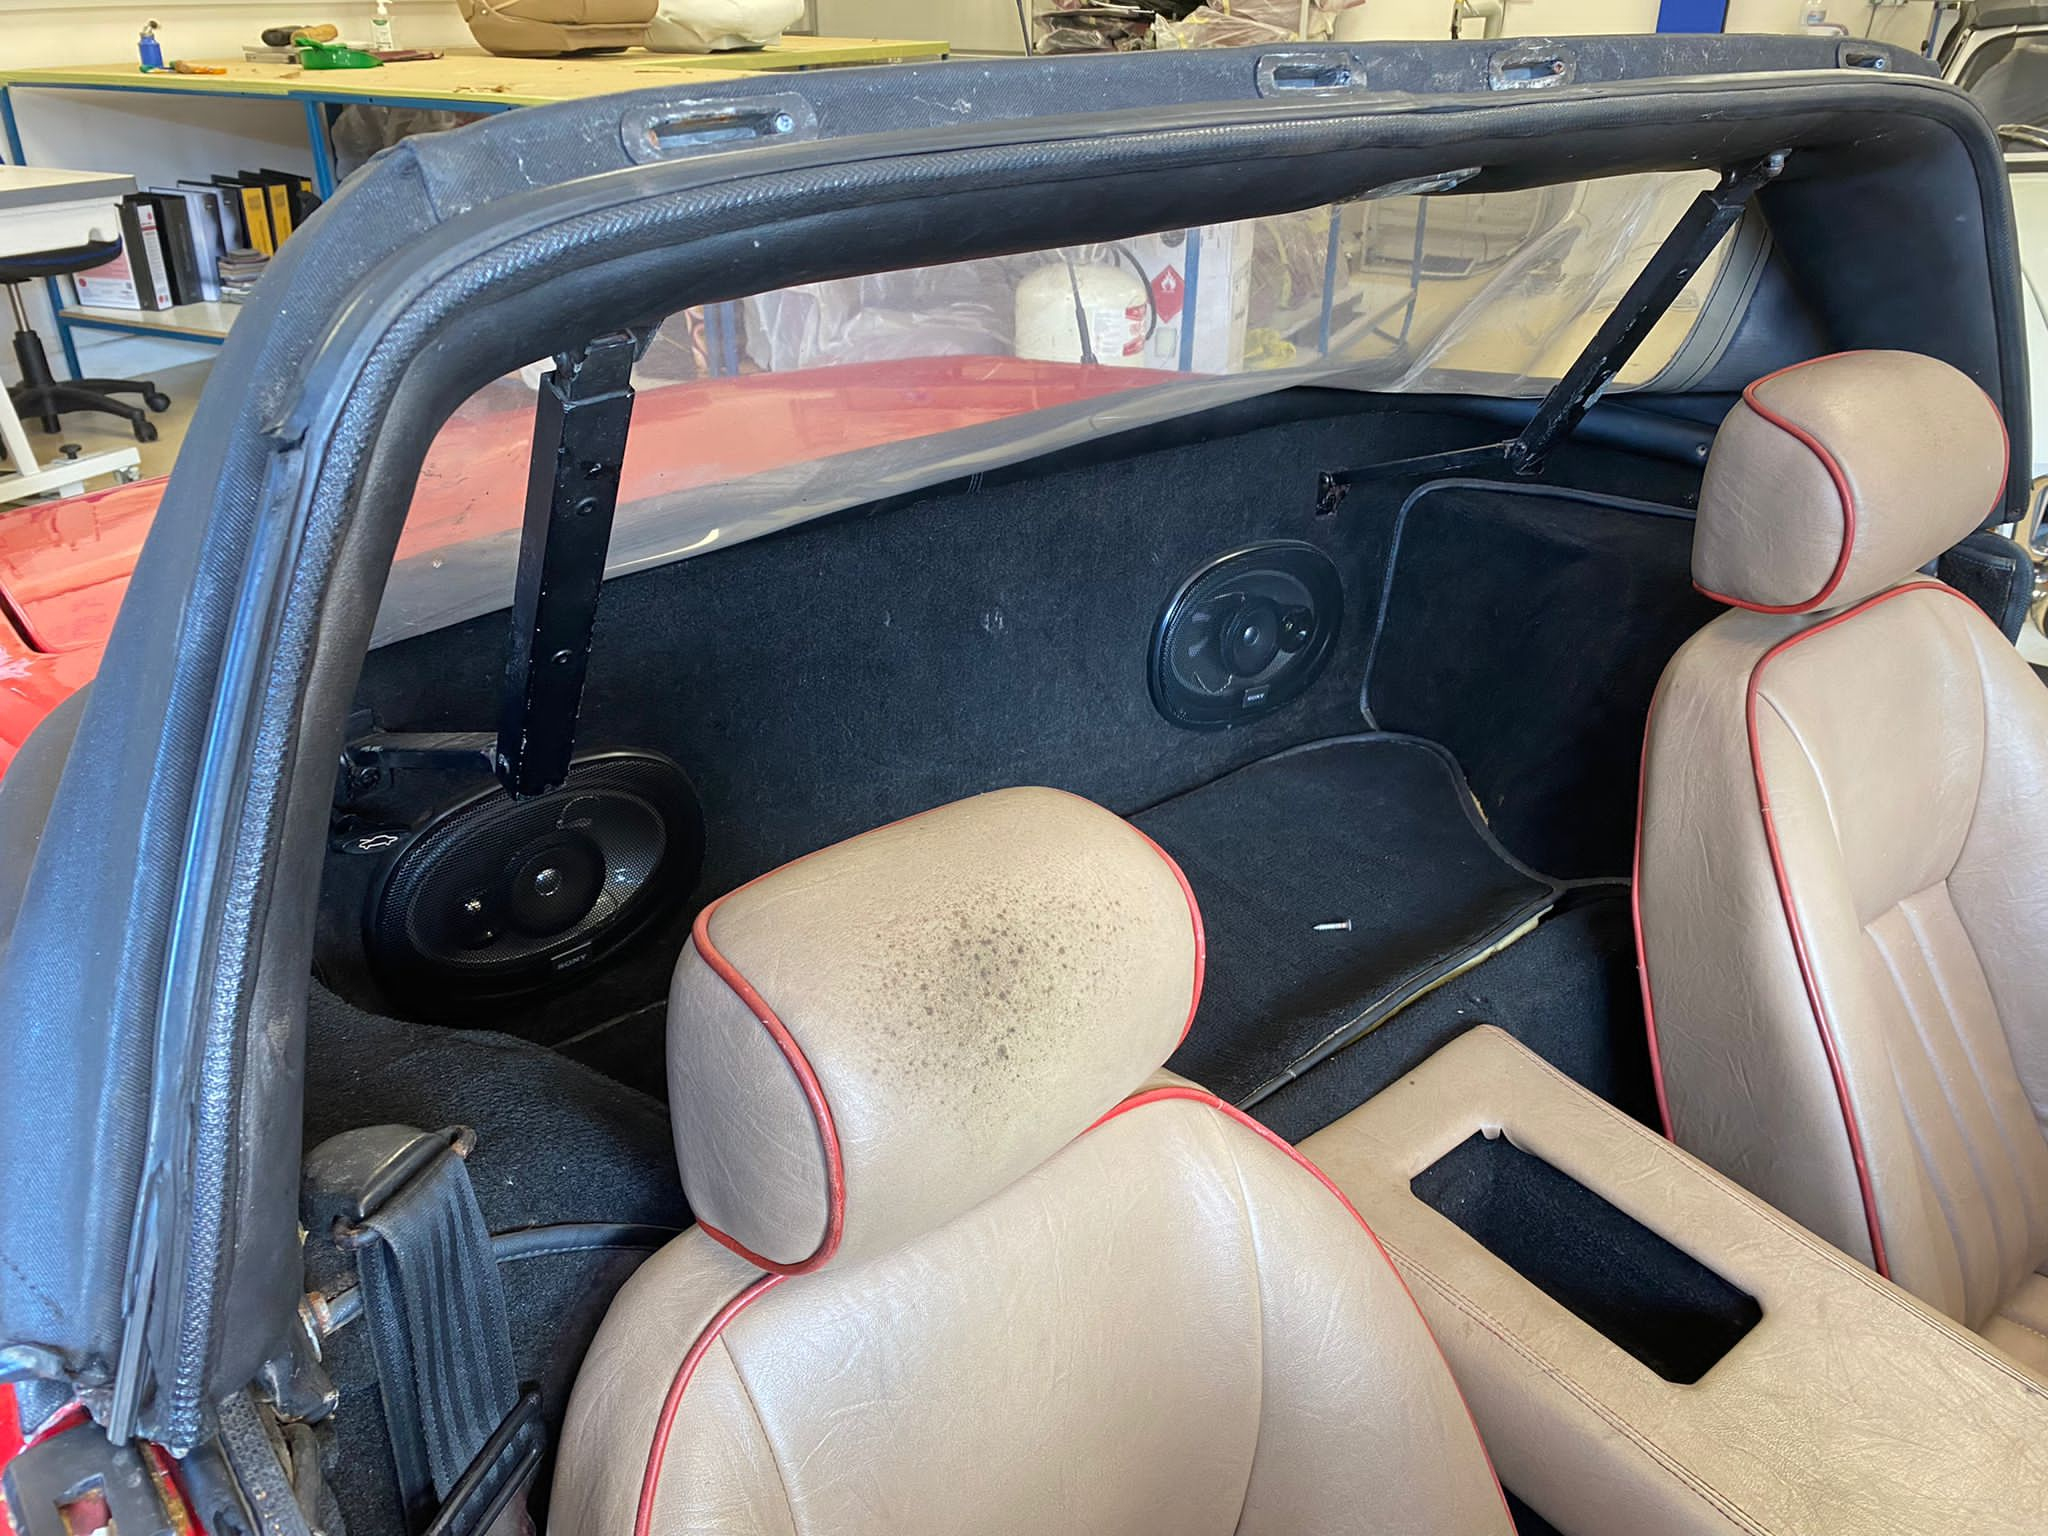
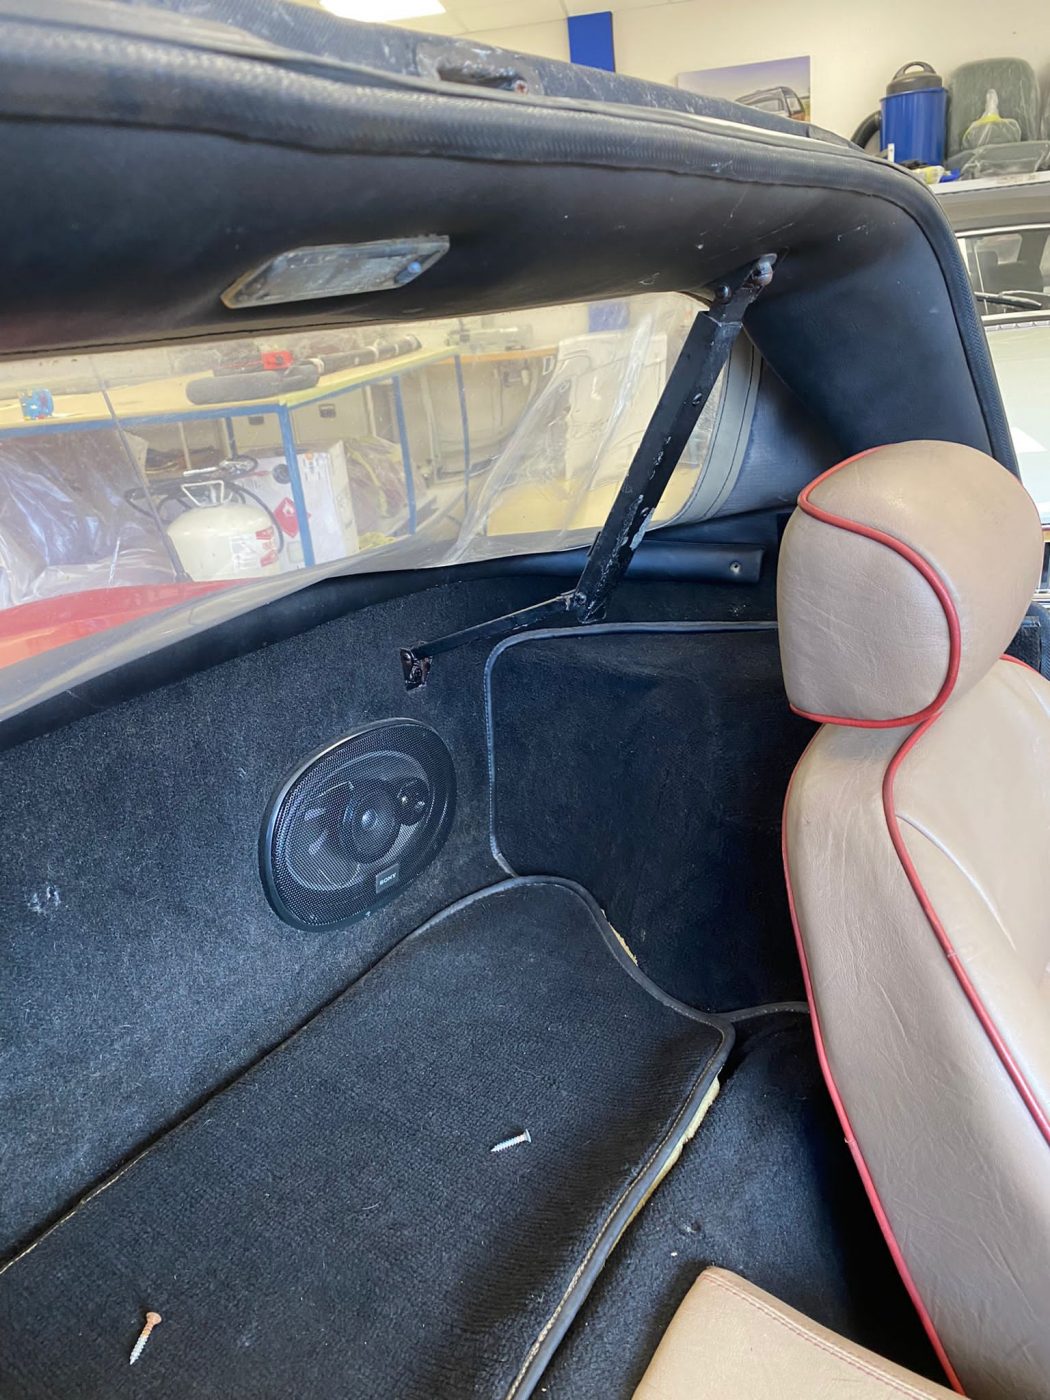
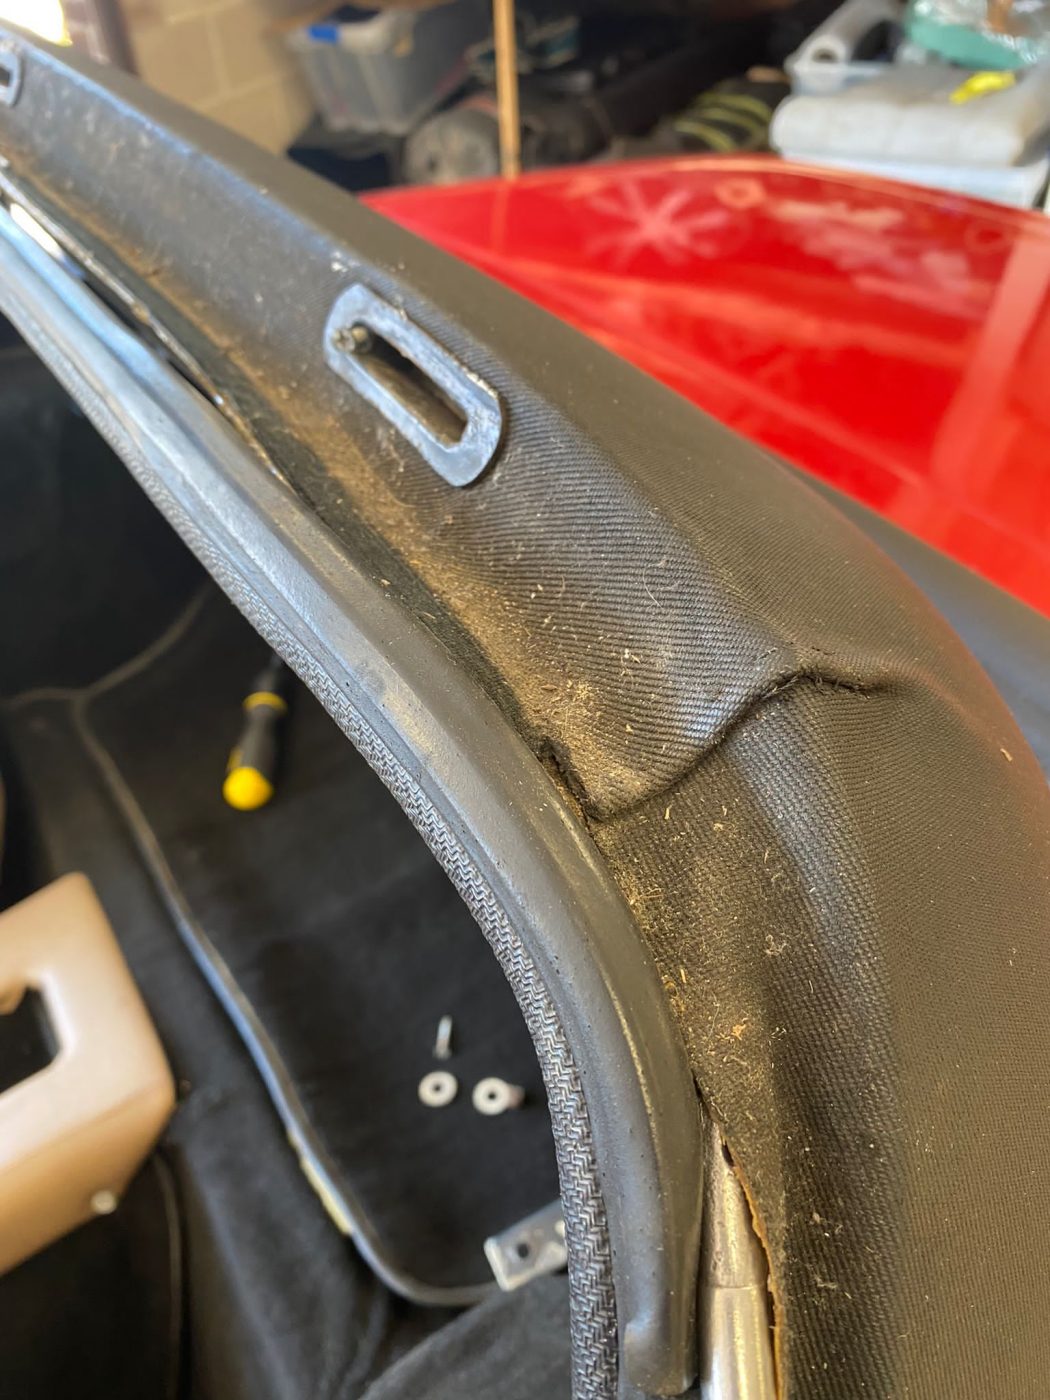
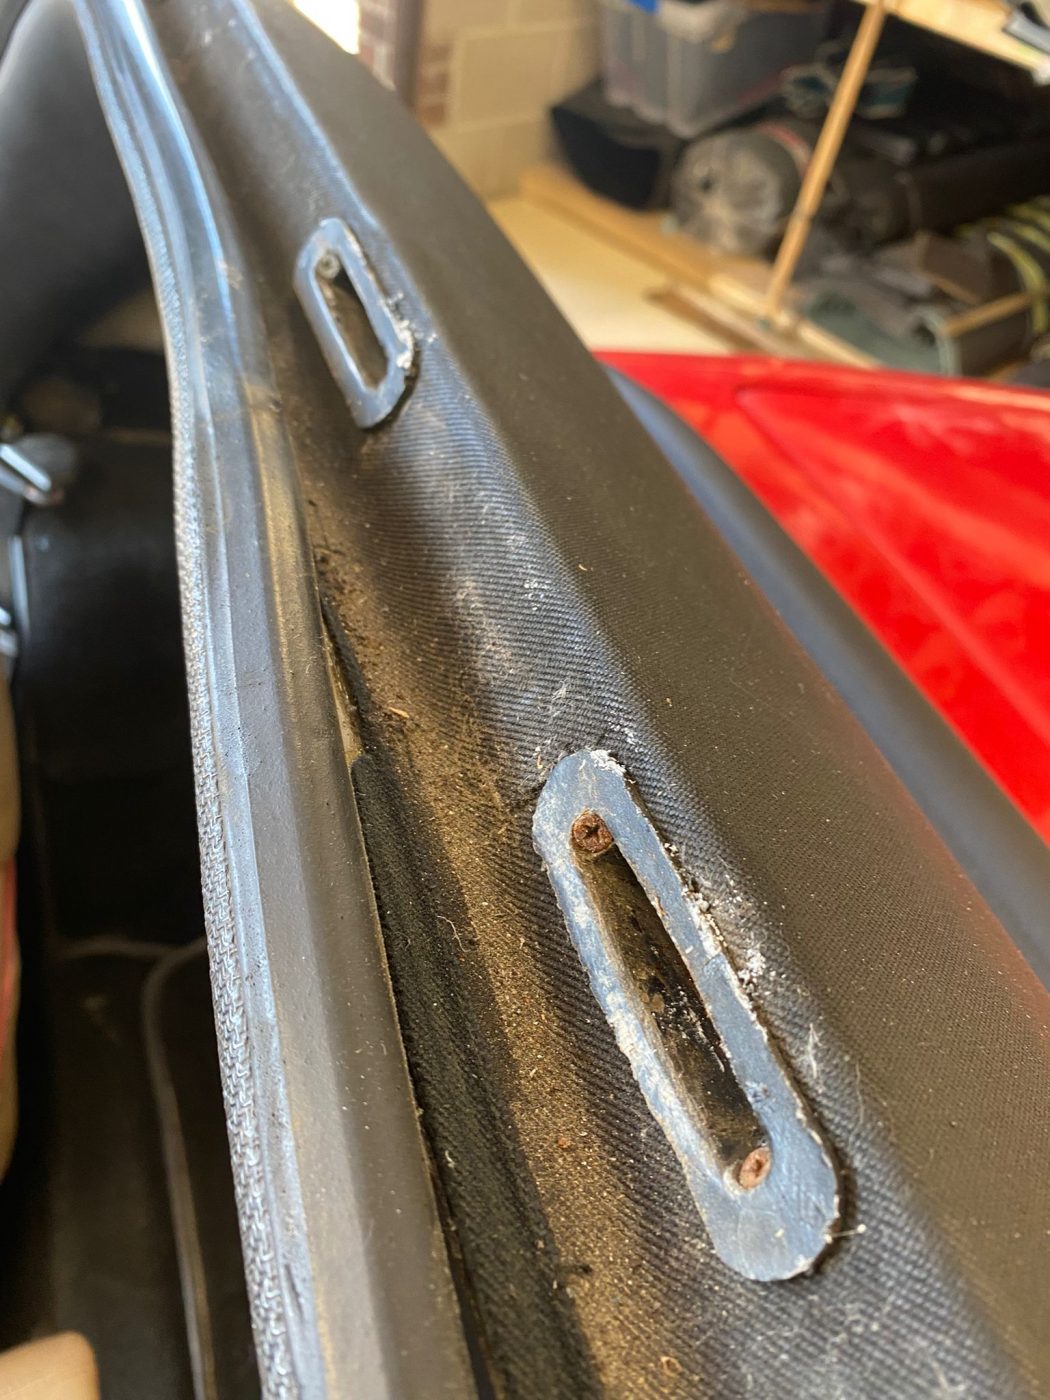
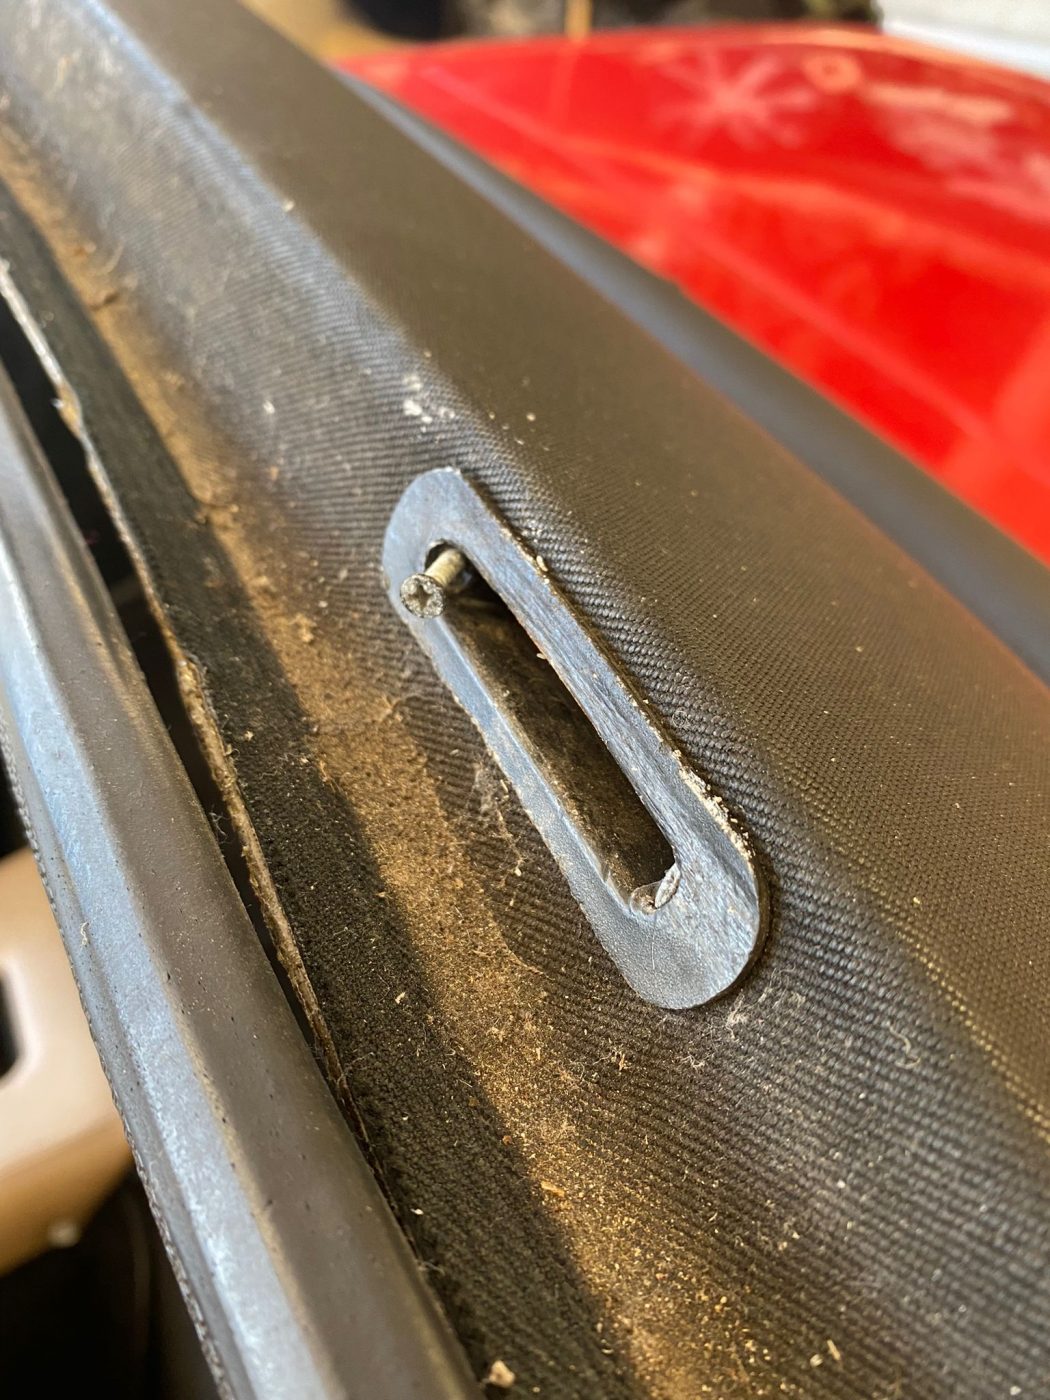
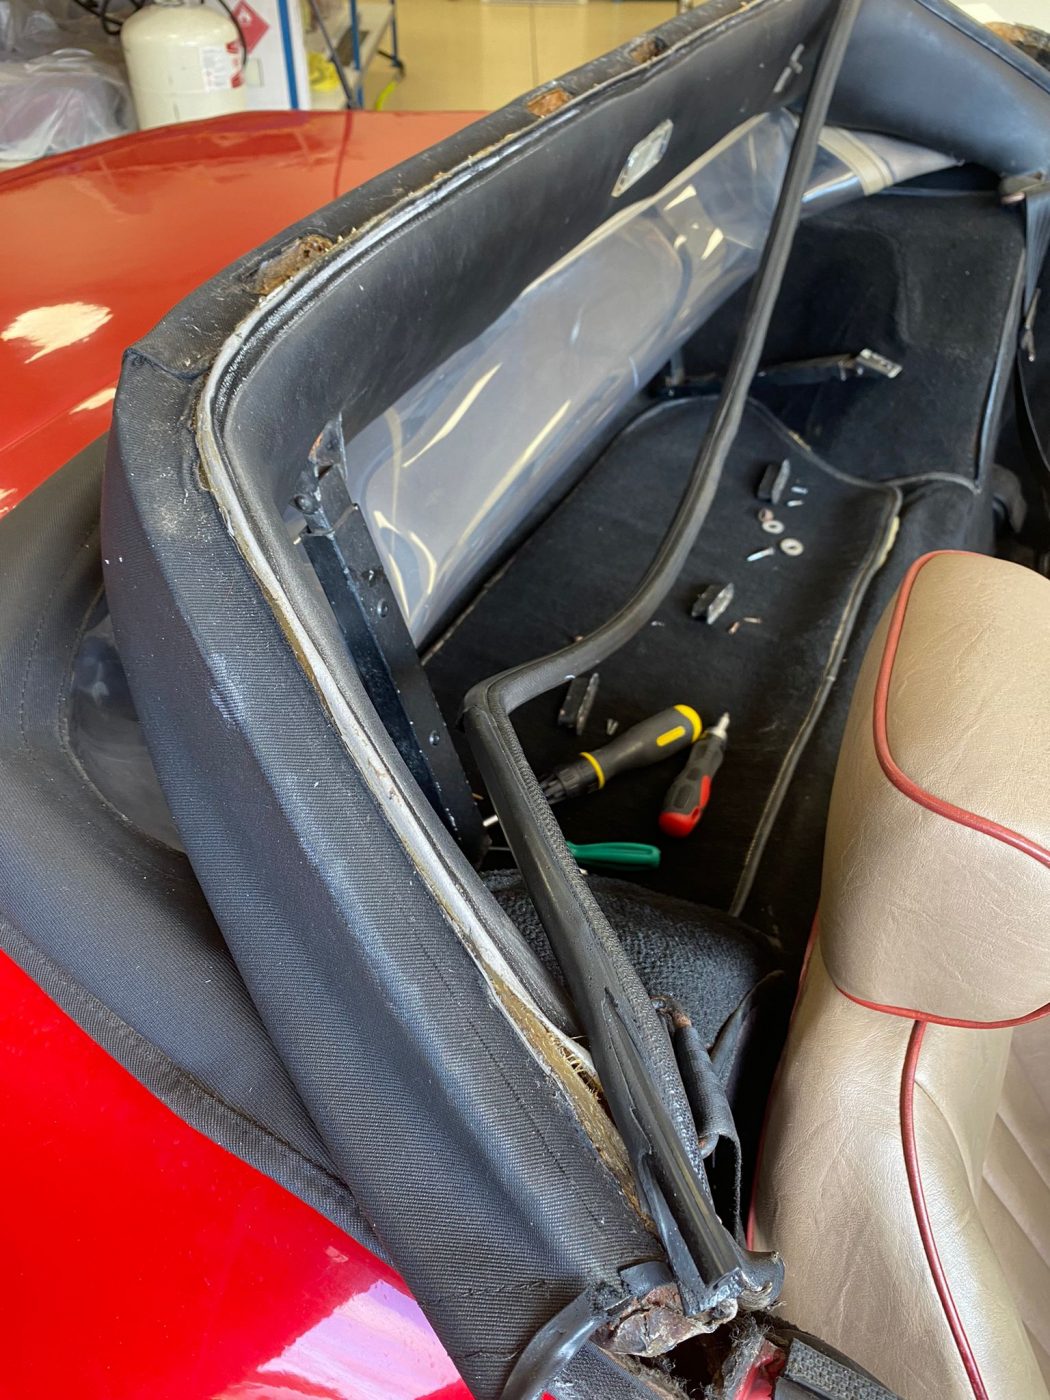
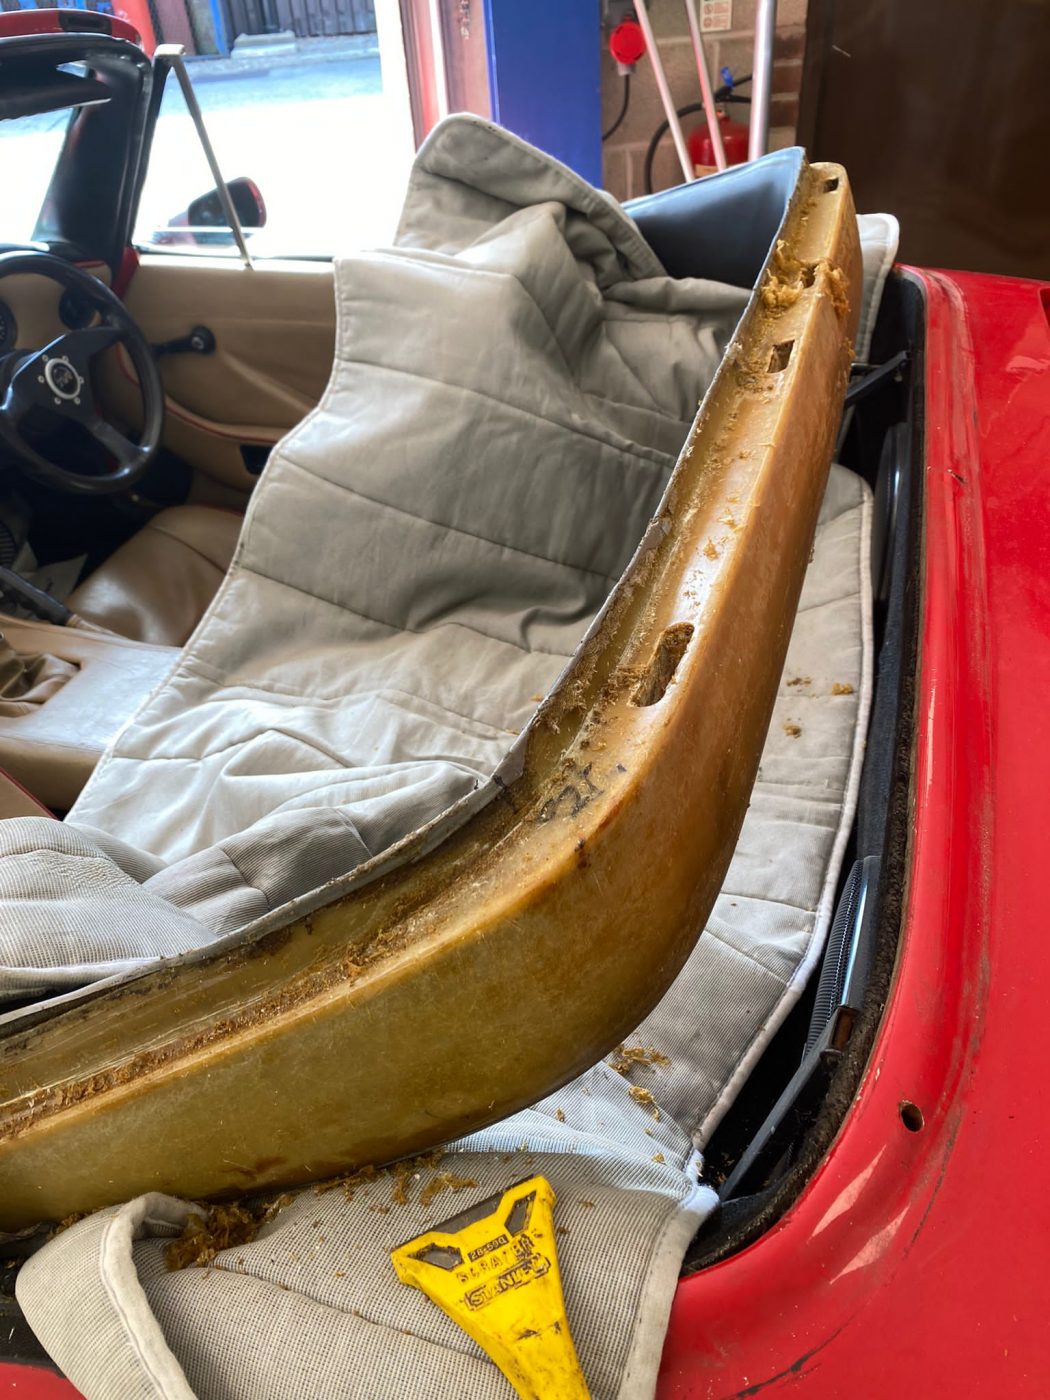
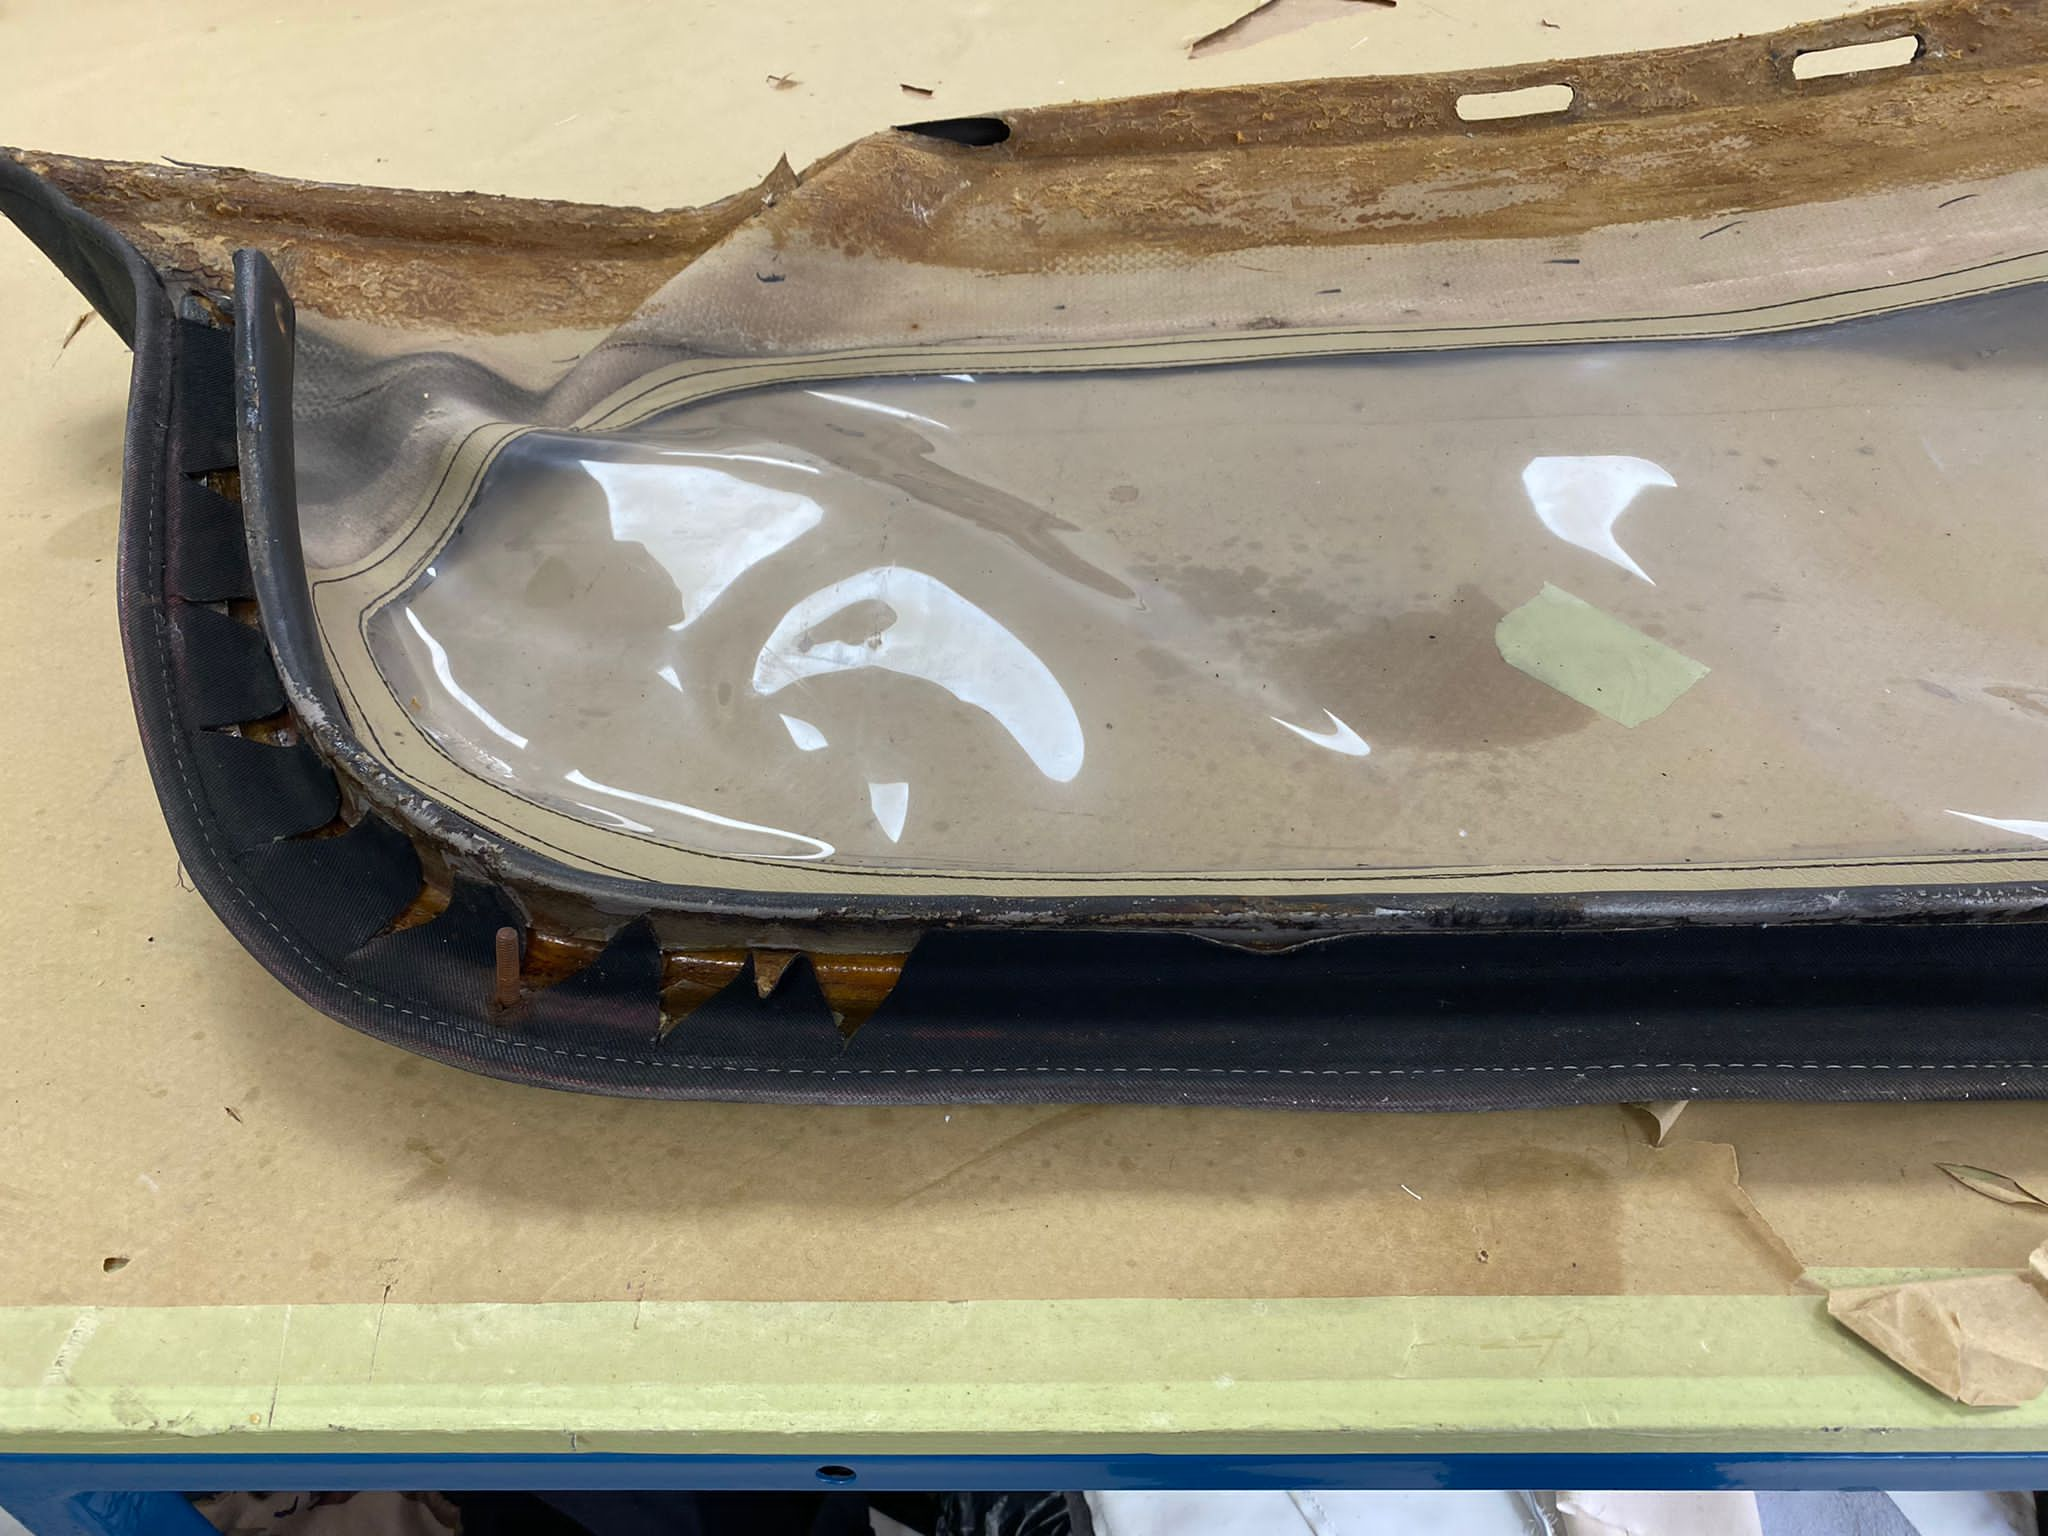
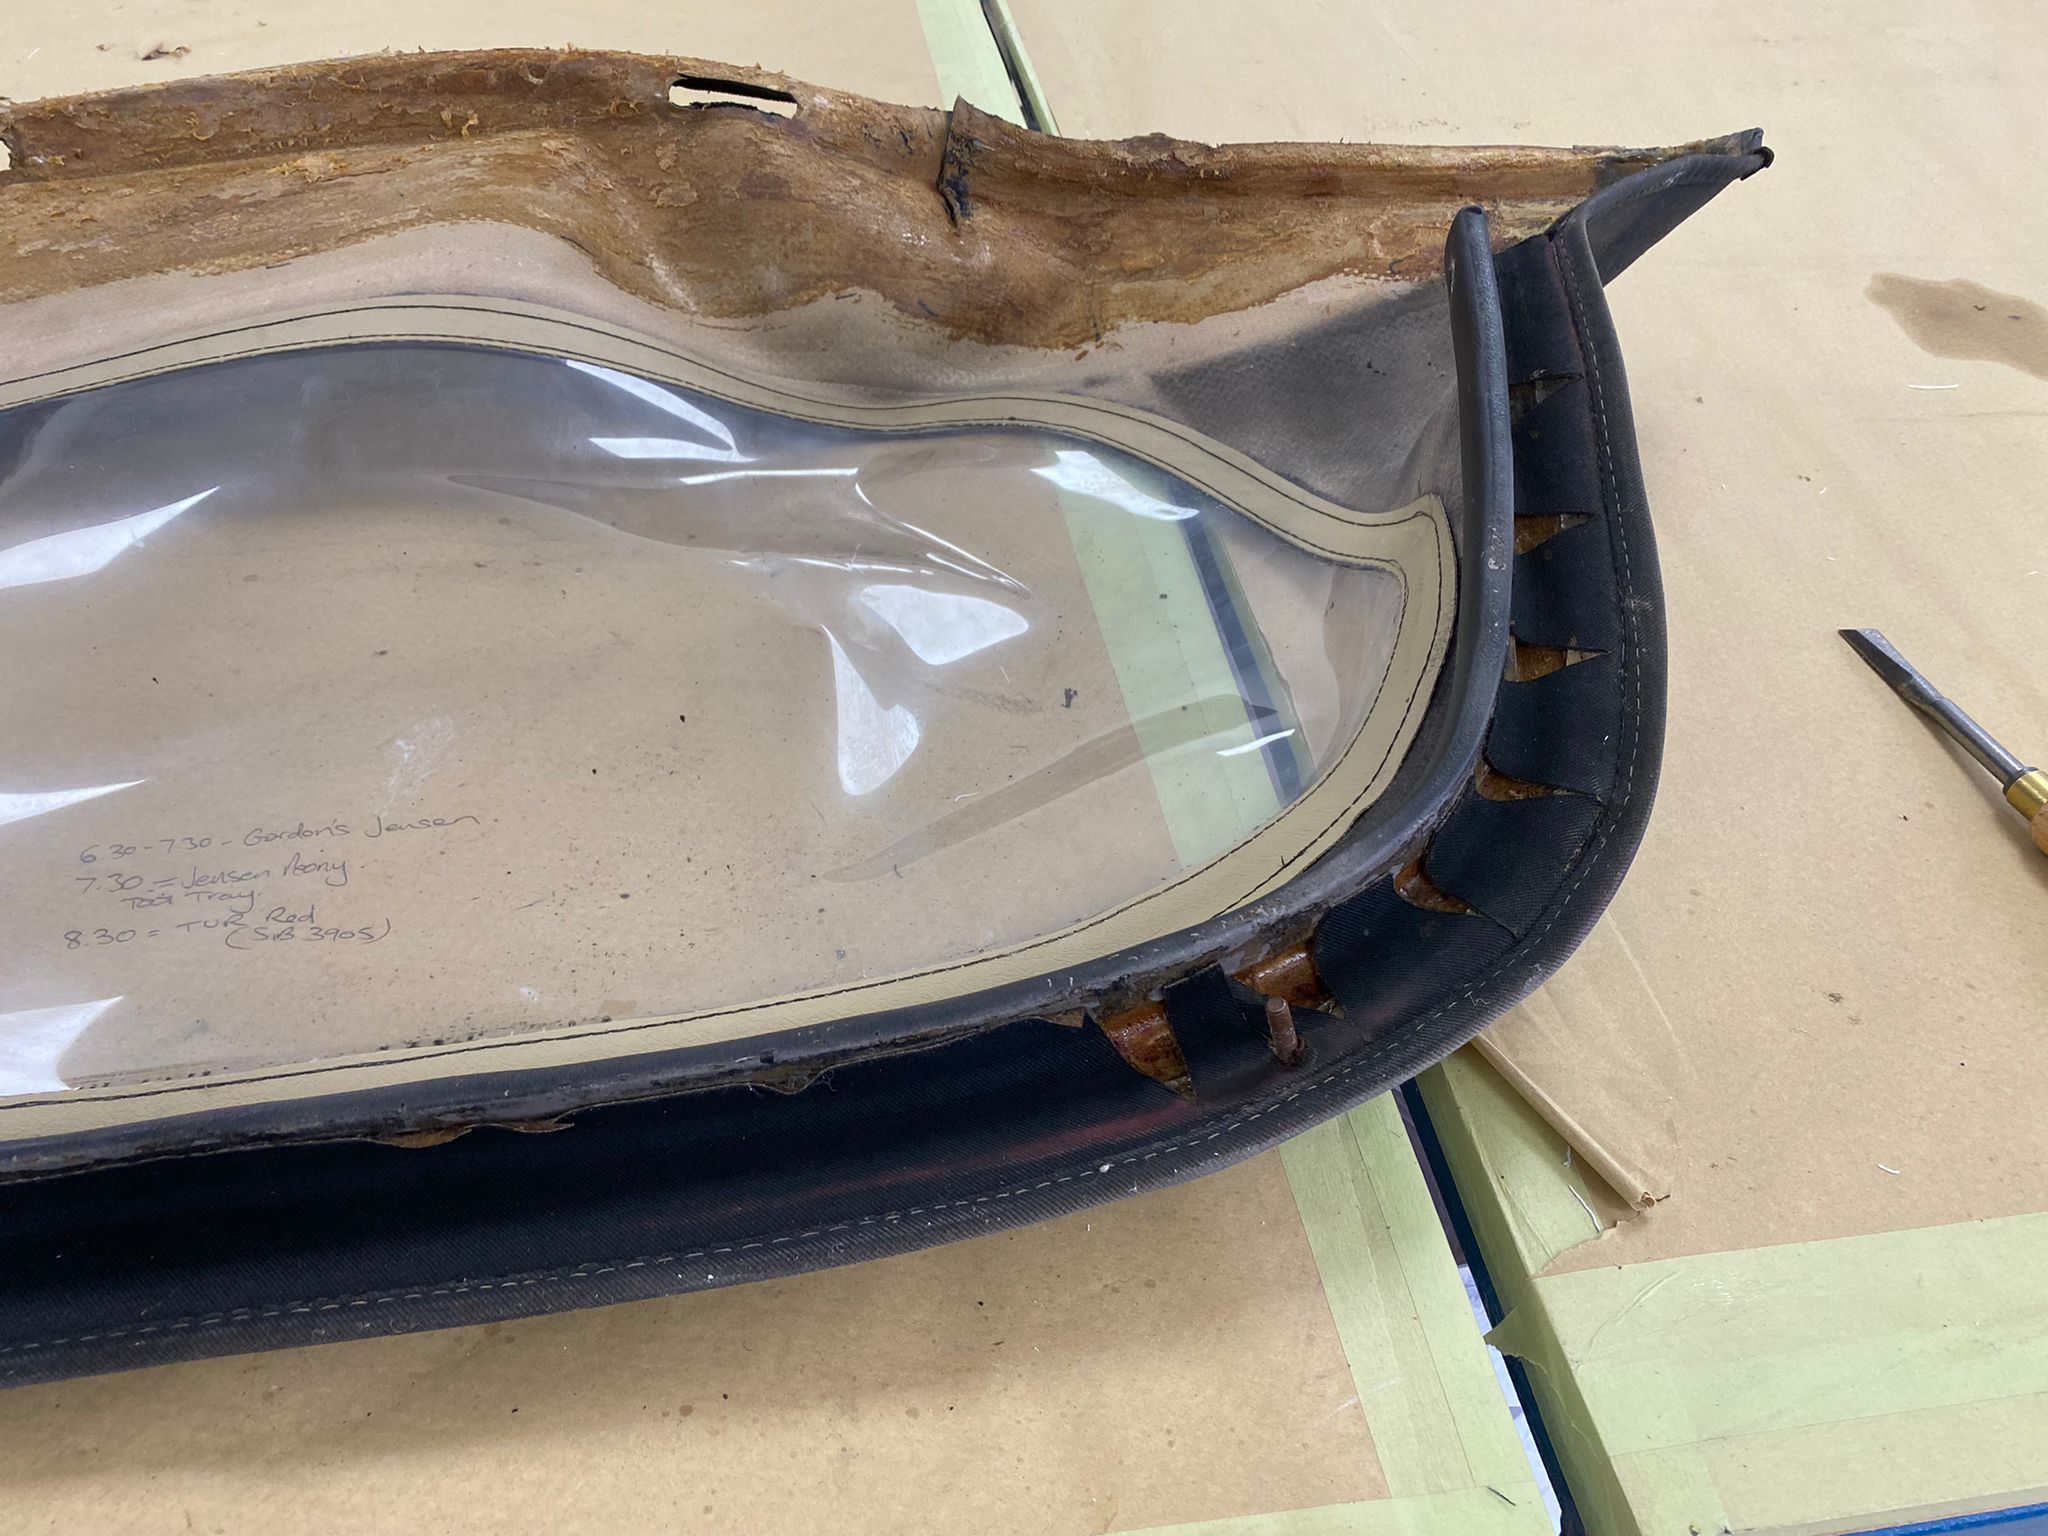
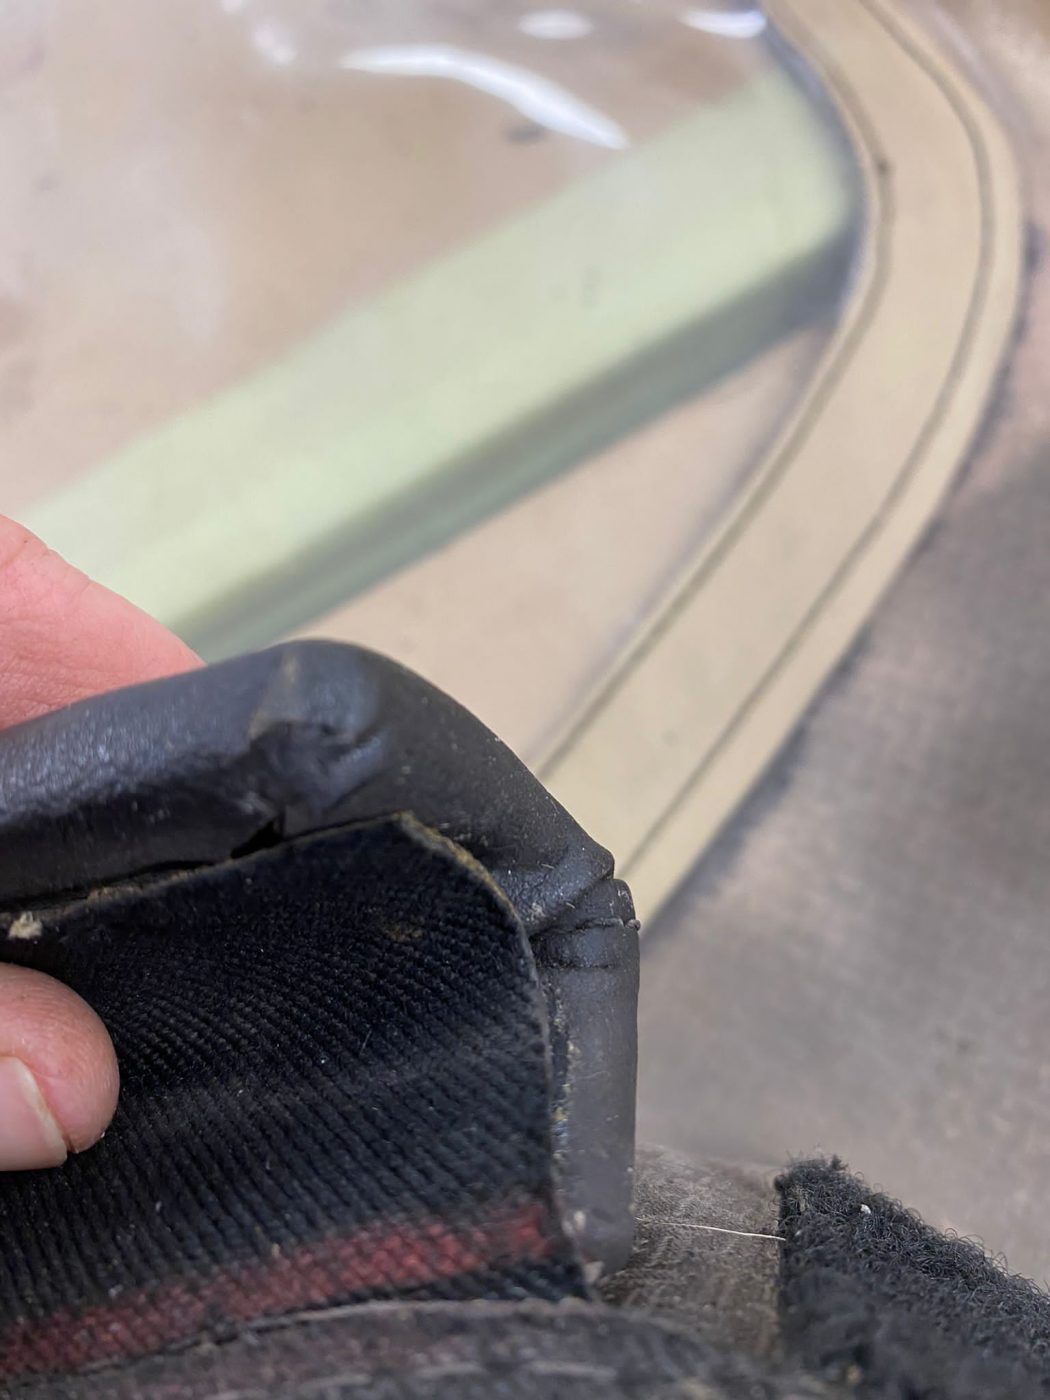
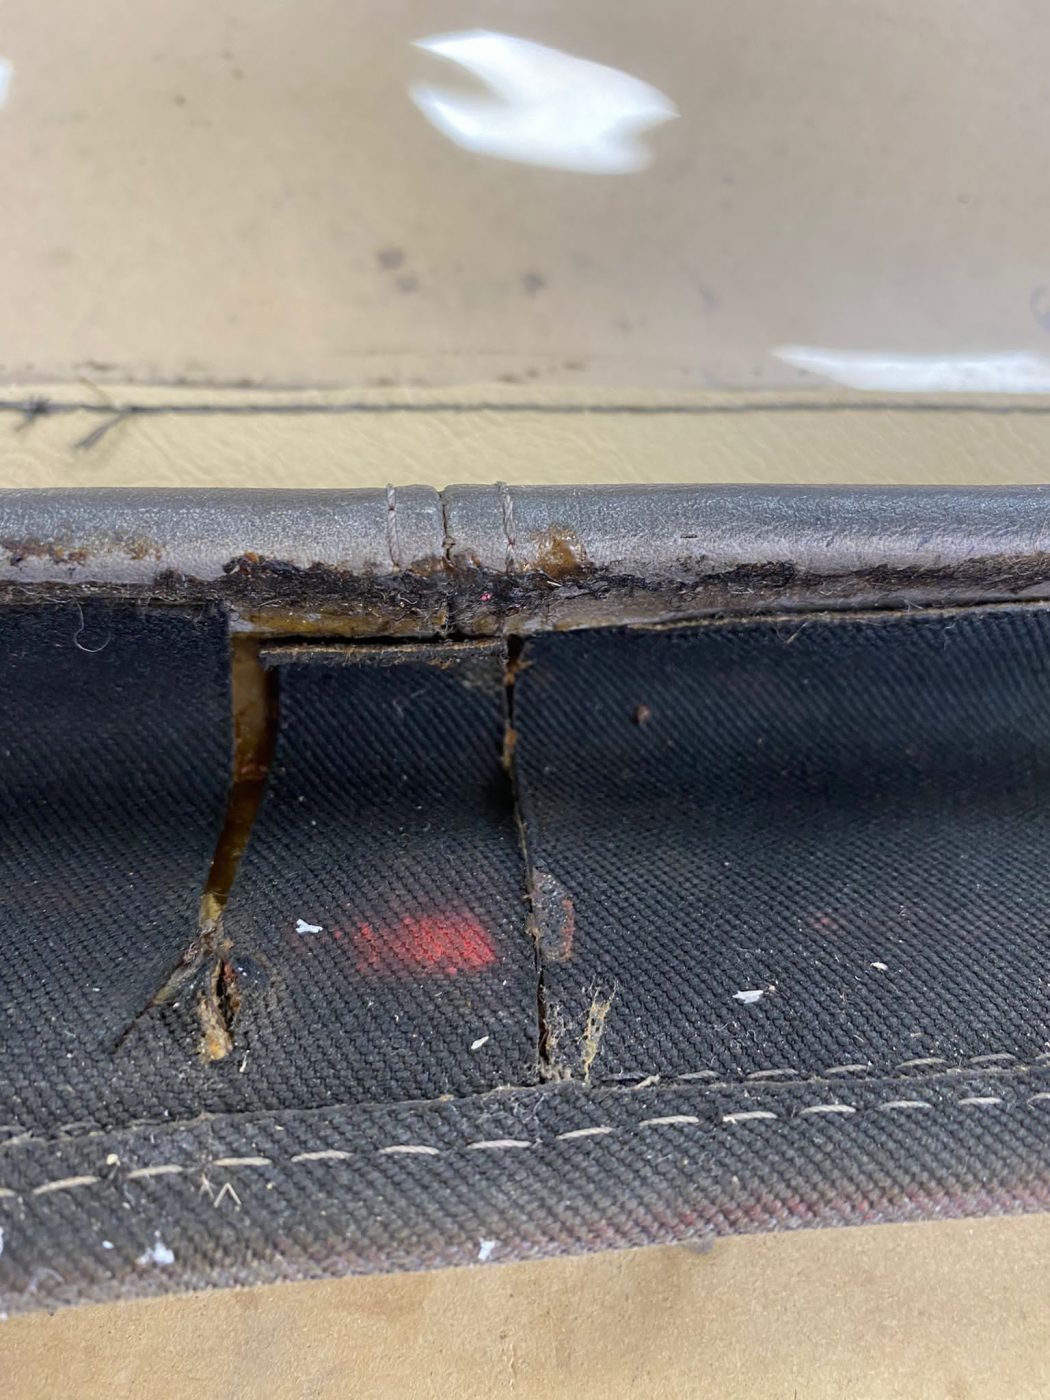
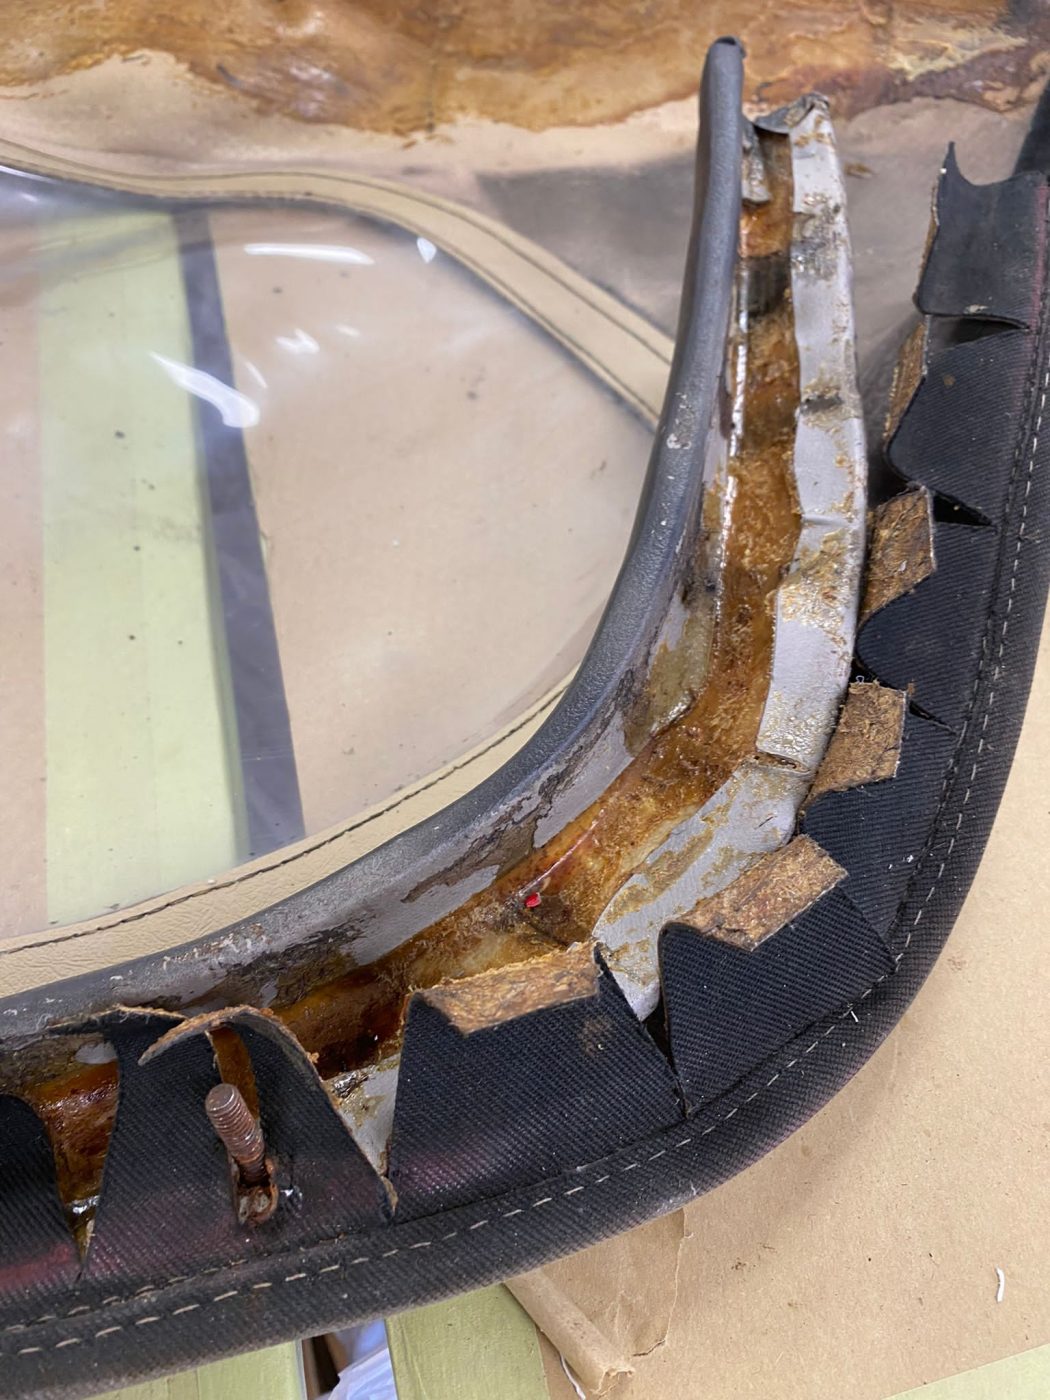
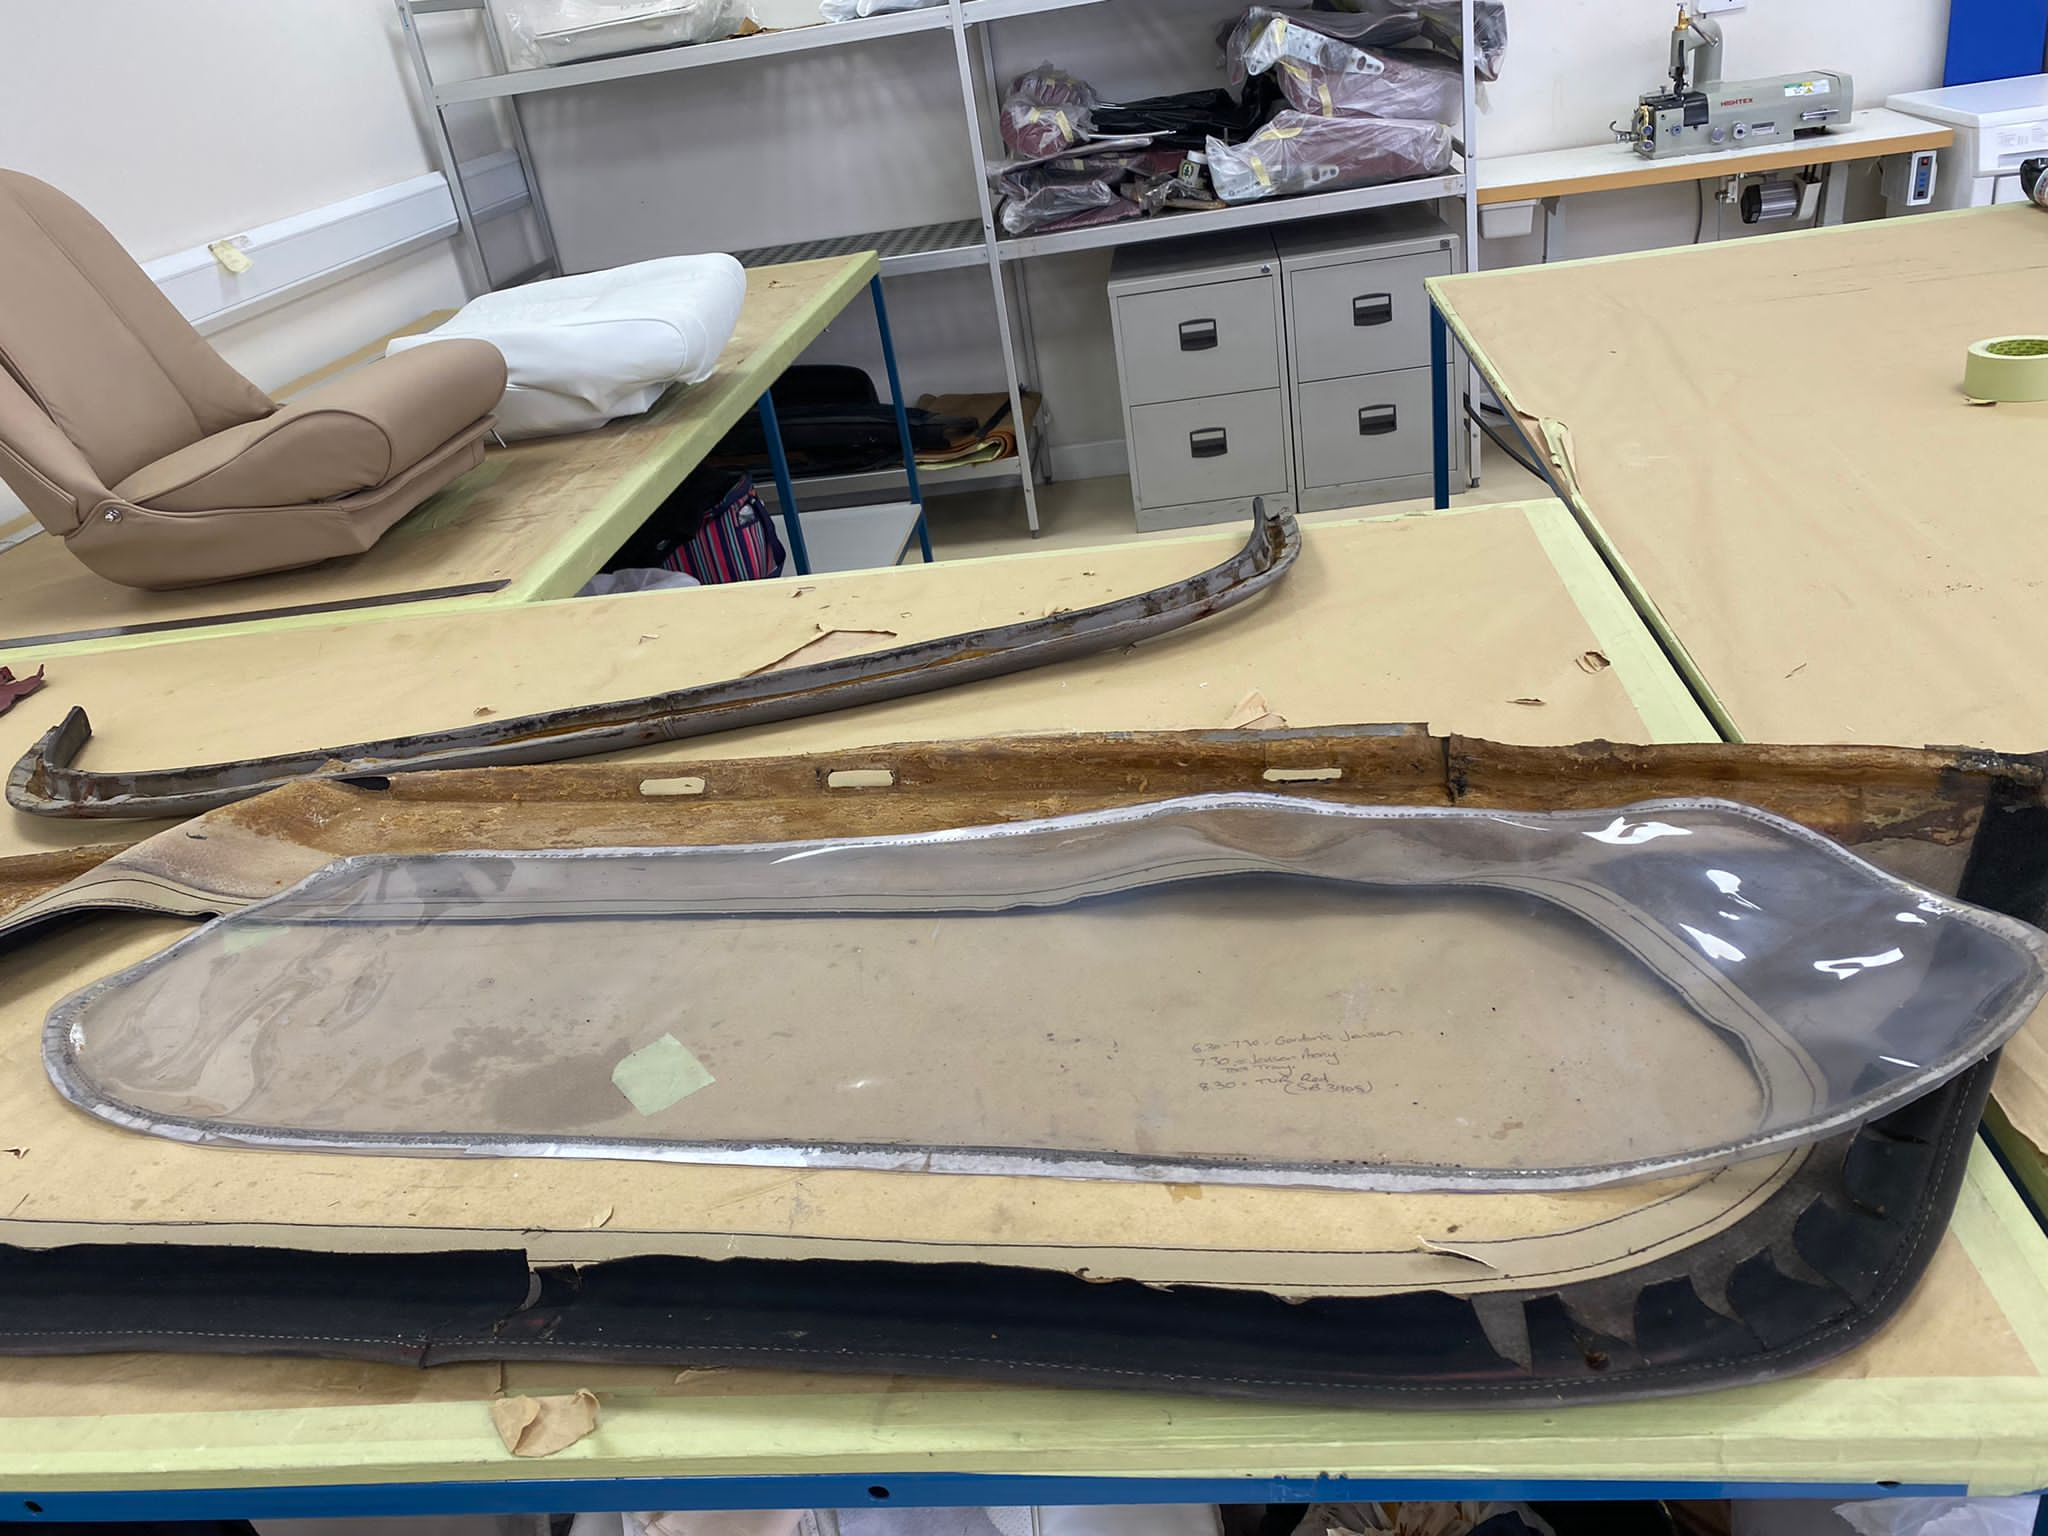
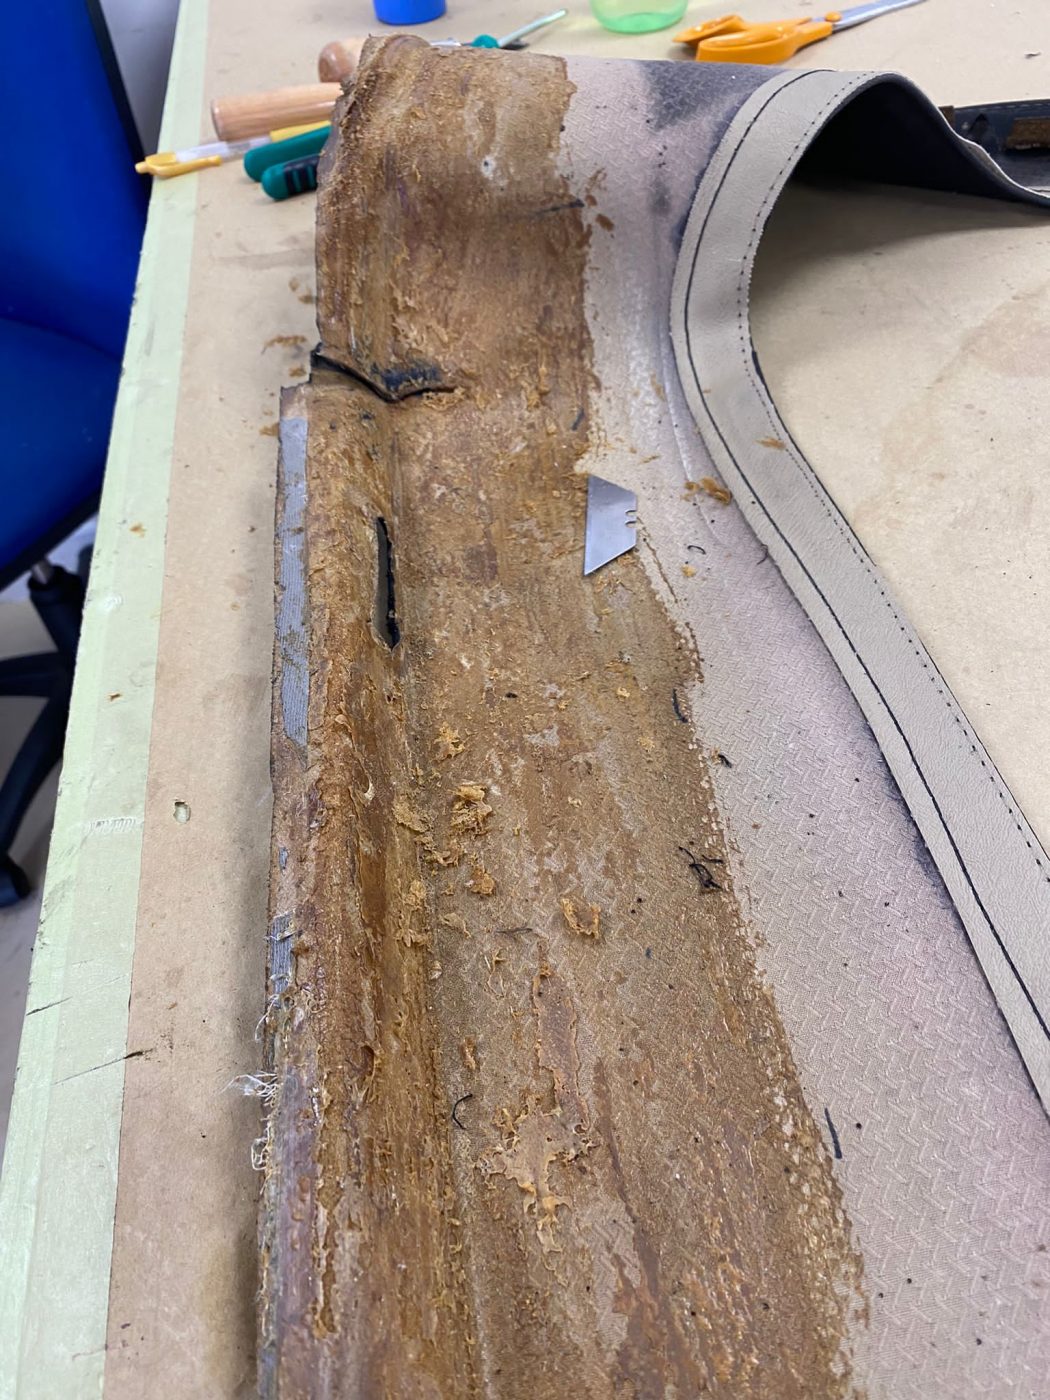
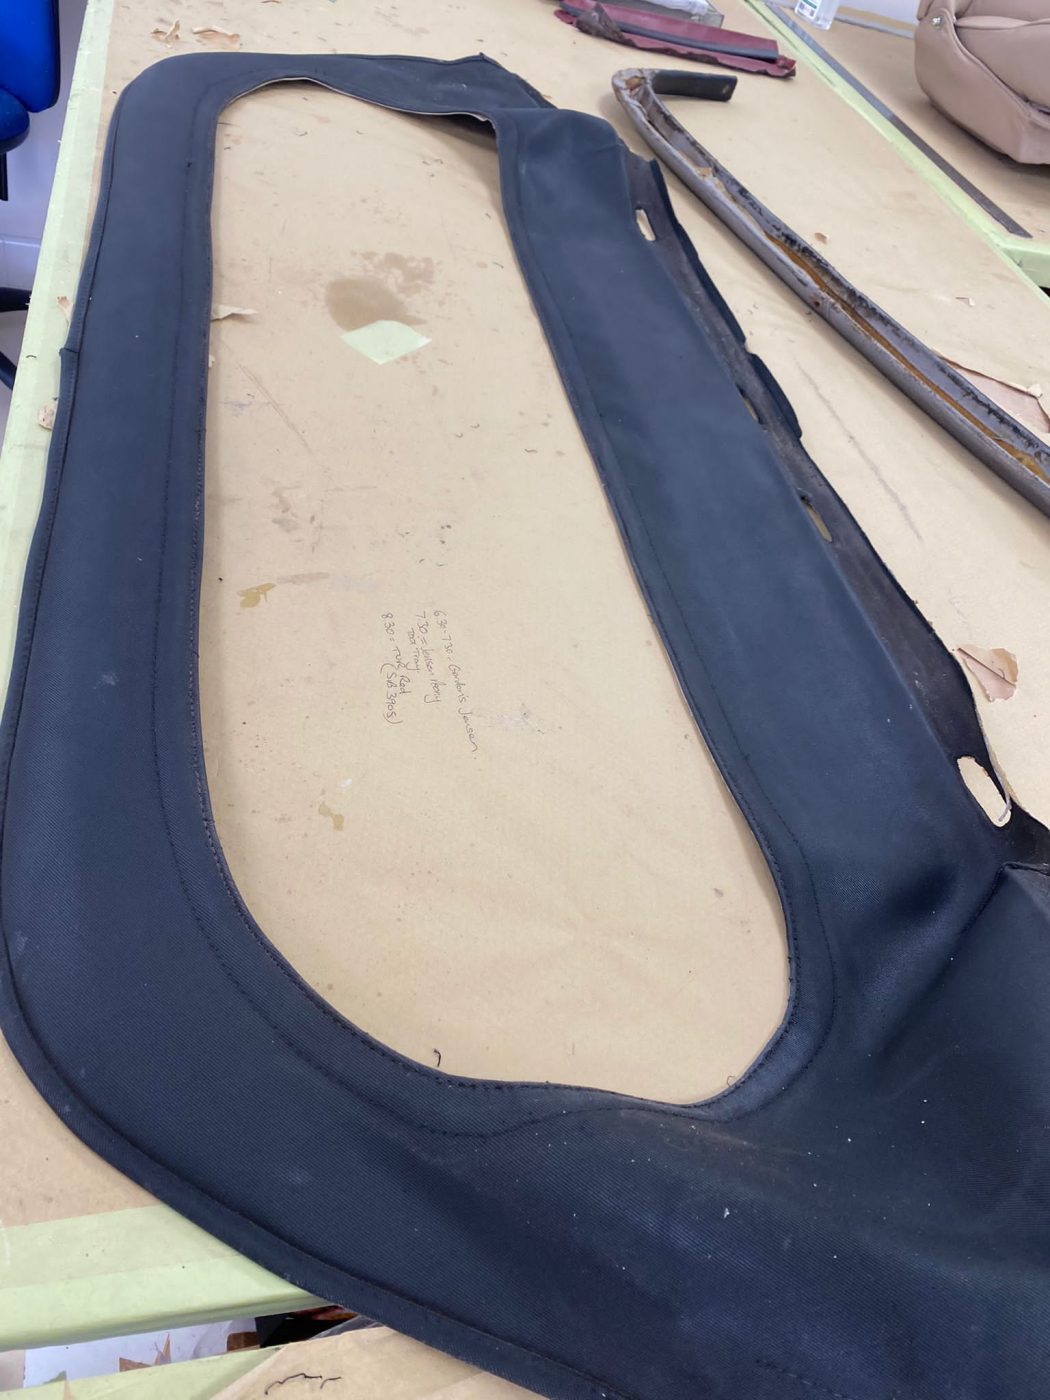
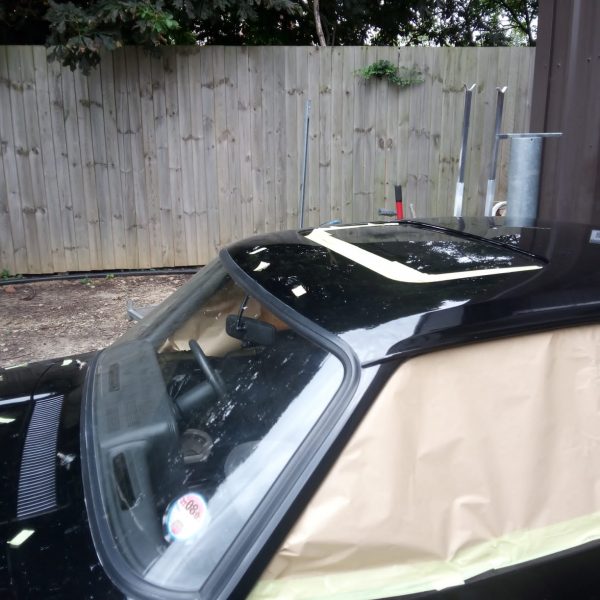
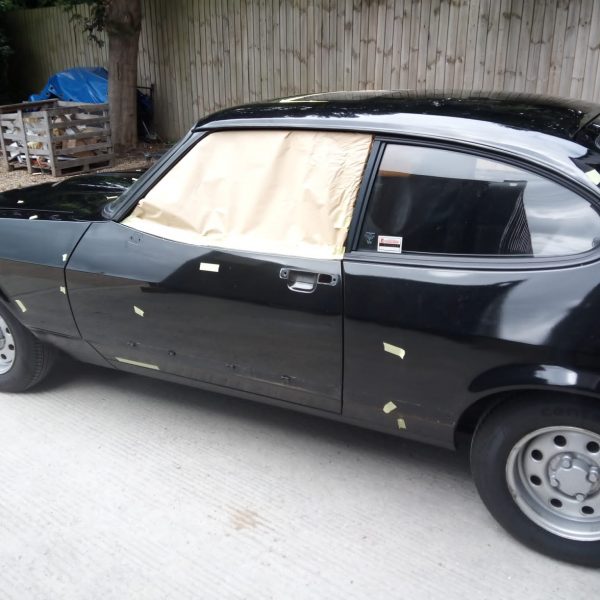
Kath has been starting the work on the 1989 TVR S2 rear window replacement on the soft top. Yesterday she removed the hood from the
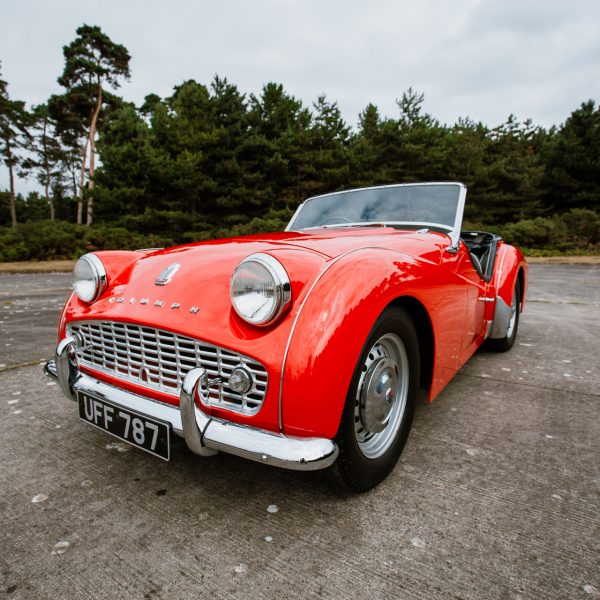
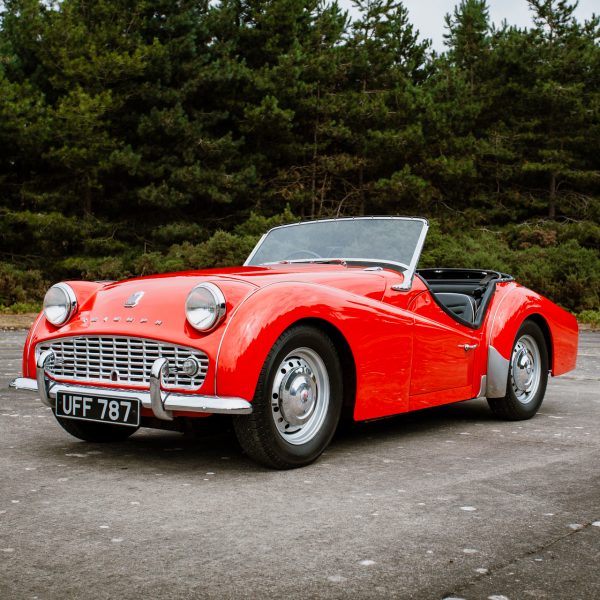
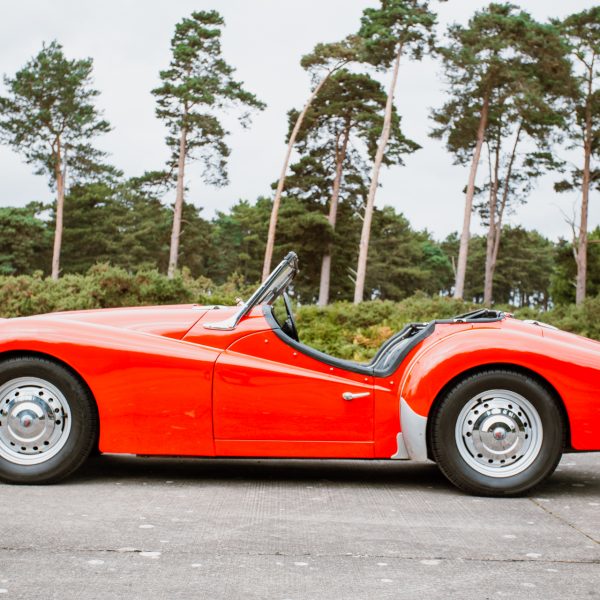
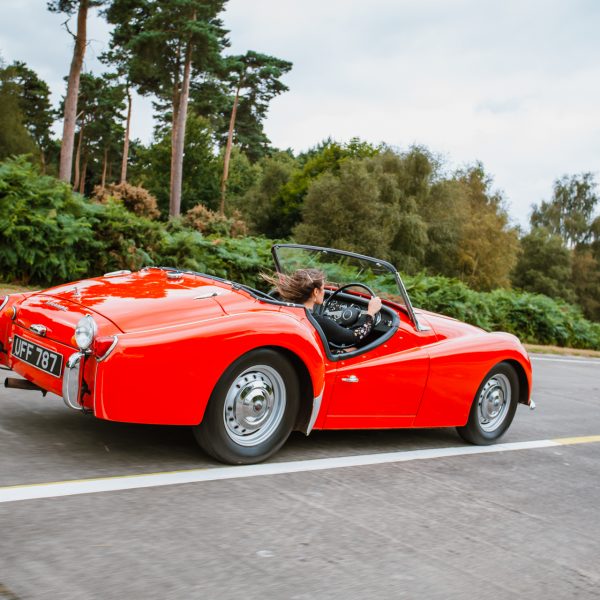
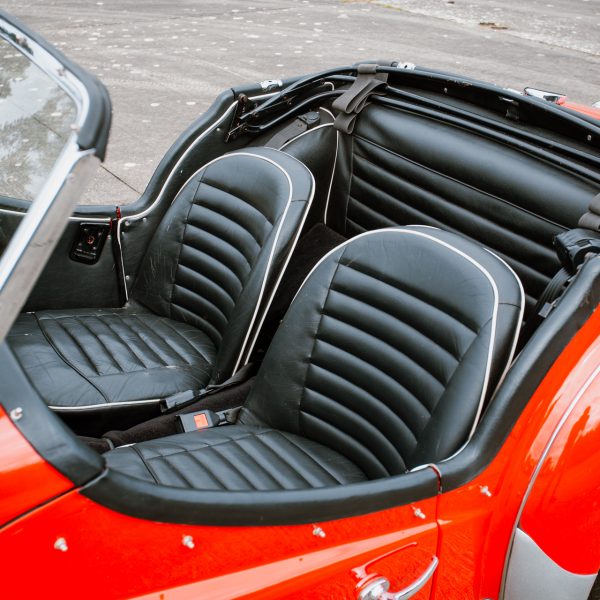
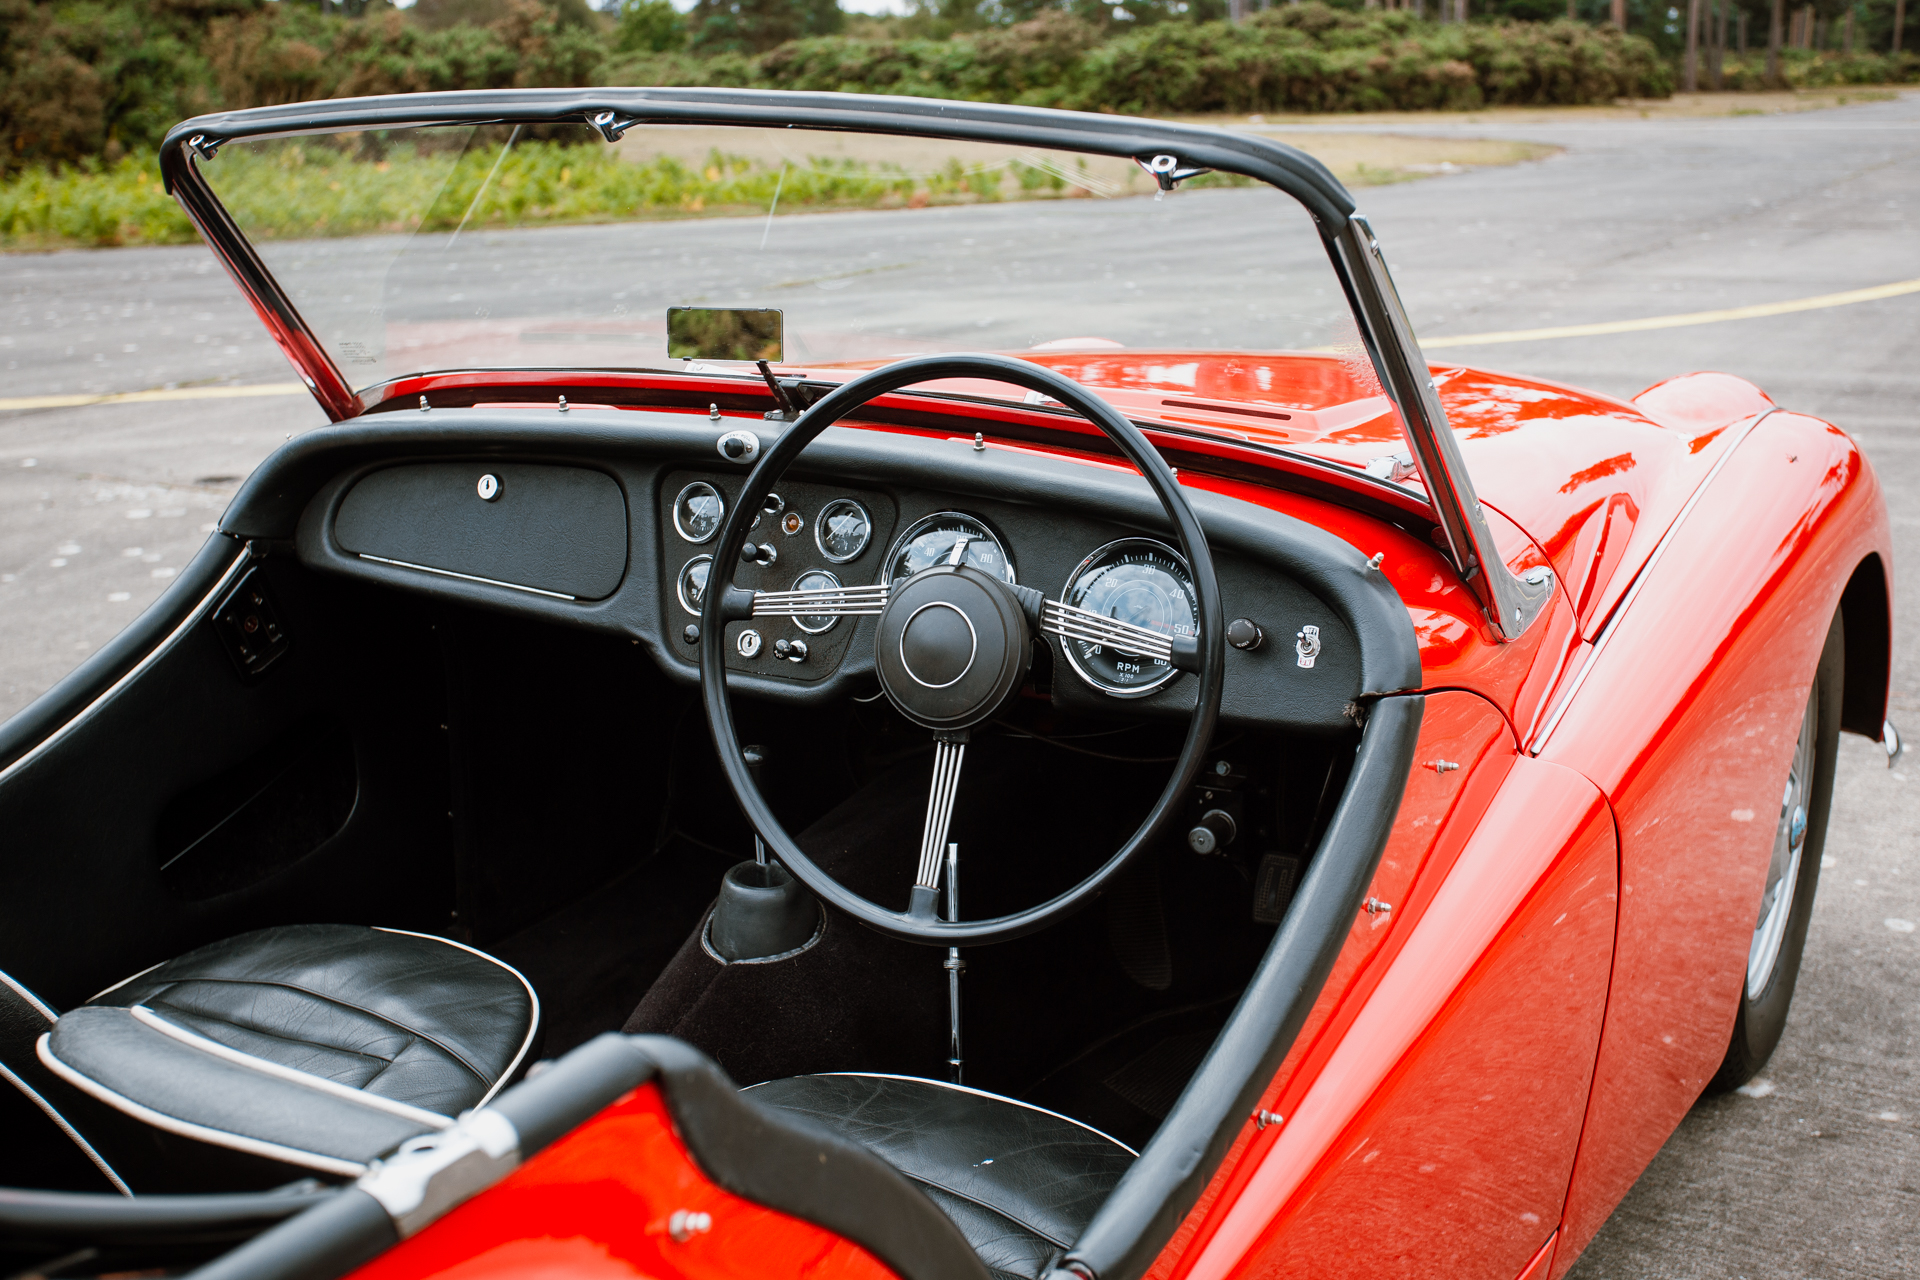
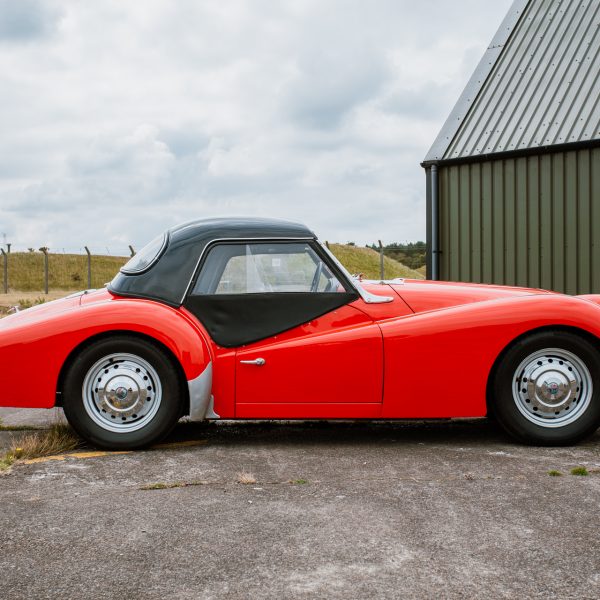
Just launched! Our competition to win this bright red 1958 Triumph TR3! If you follow this link here, it will take you straight to the page where you can find out more information about the car, see more photos and a video and buy tickets for your chance to win! So what are you waiting for?…


The much-awaited arrival of the magenta 1974 Triumph GT6 is here! It left Scotland yesterday for its long journey to us here in Suffolk. Thankfully, it’s turned up looking and sounding great! We’re going to get it detailed by our trusty Viper Auto Valet man, Colin, just to give it a little spruce up.


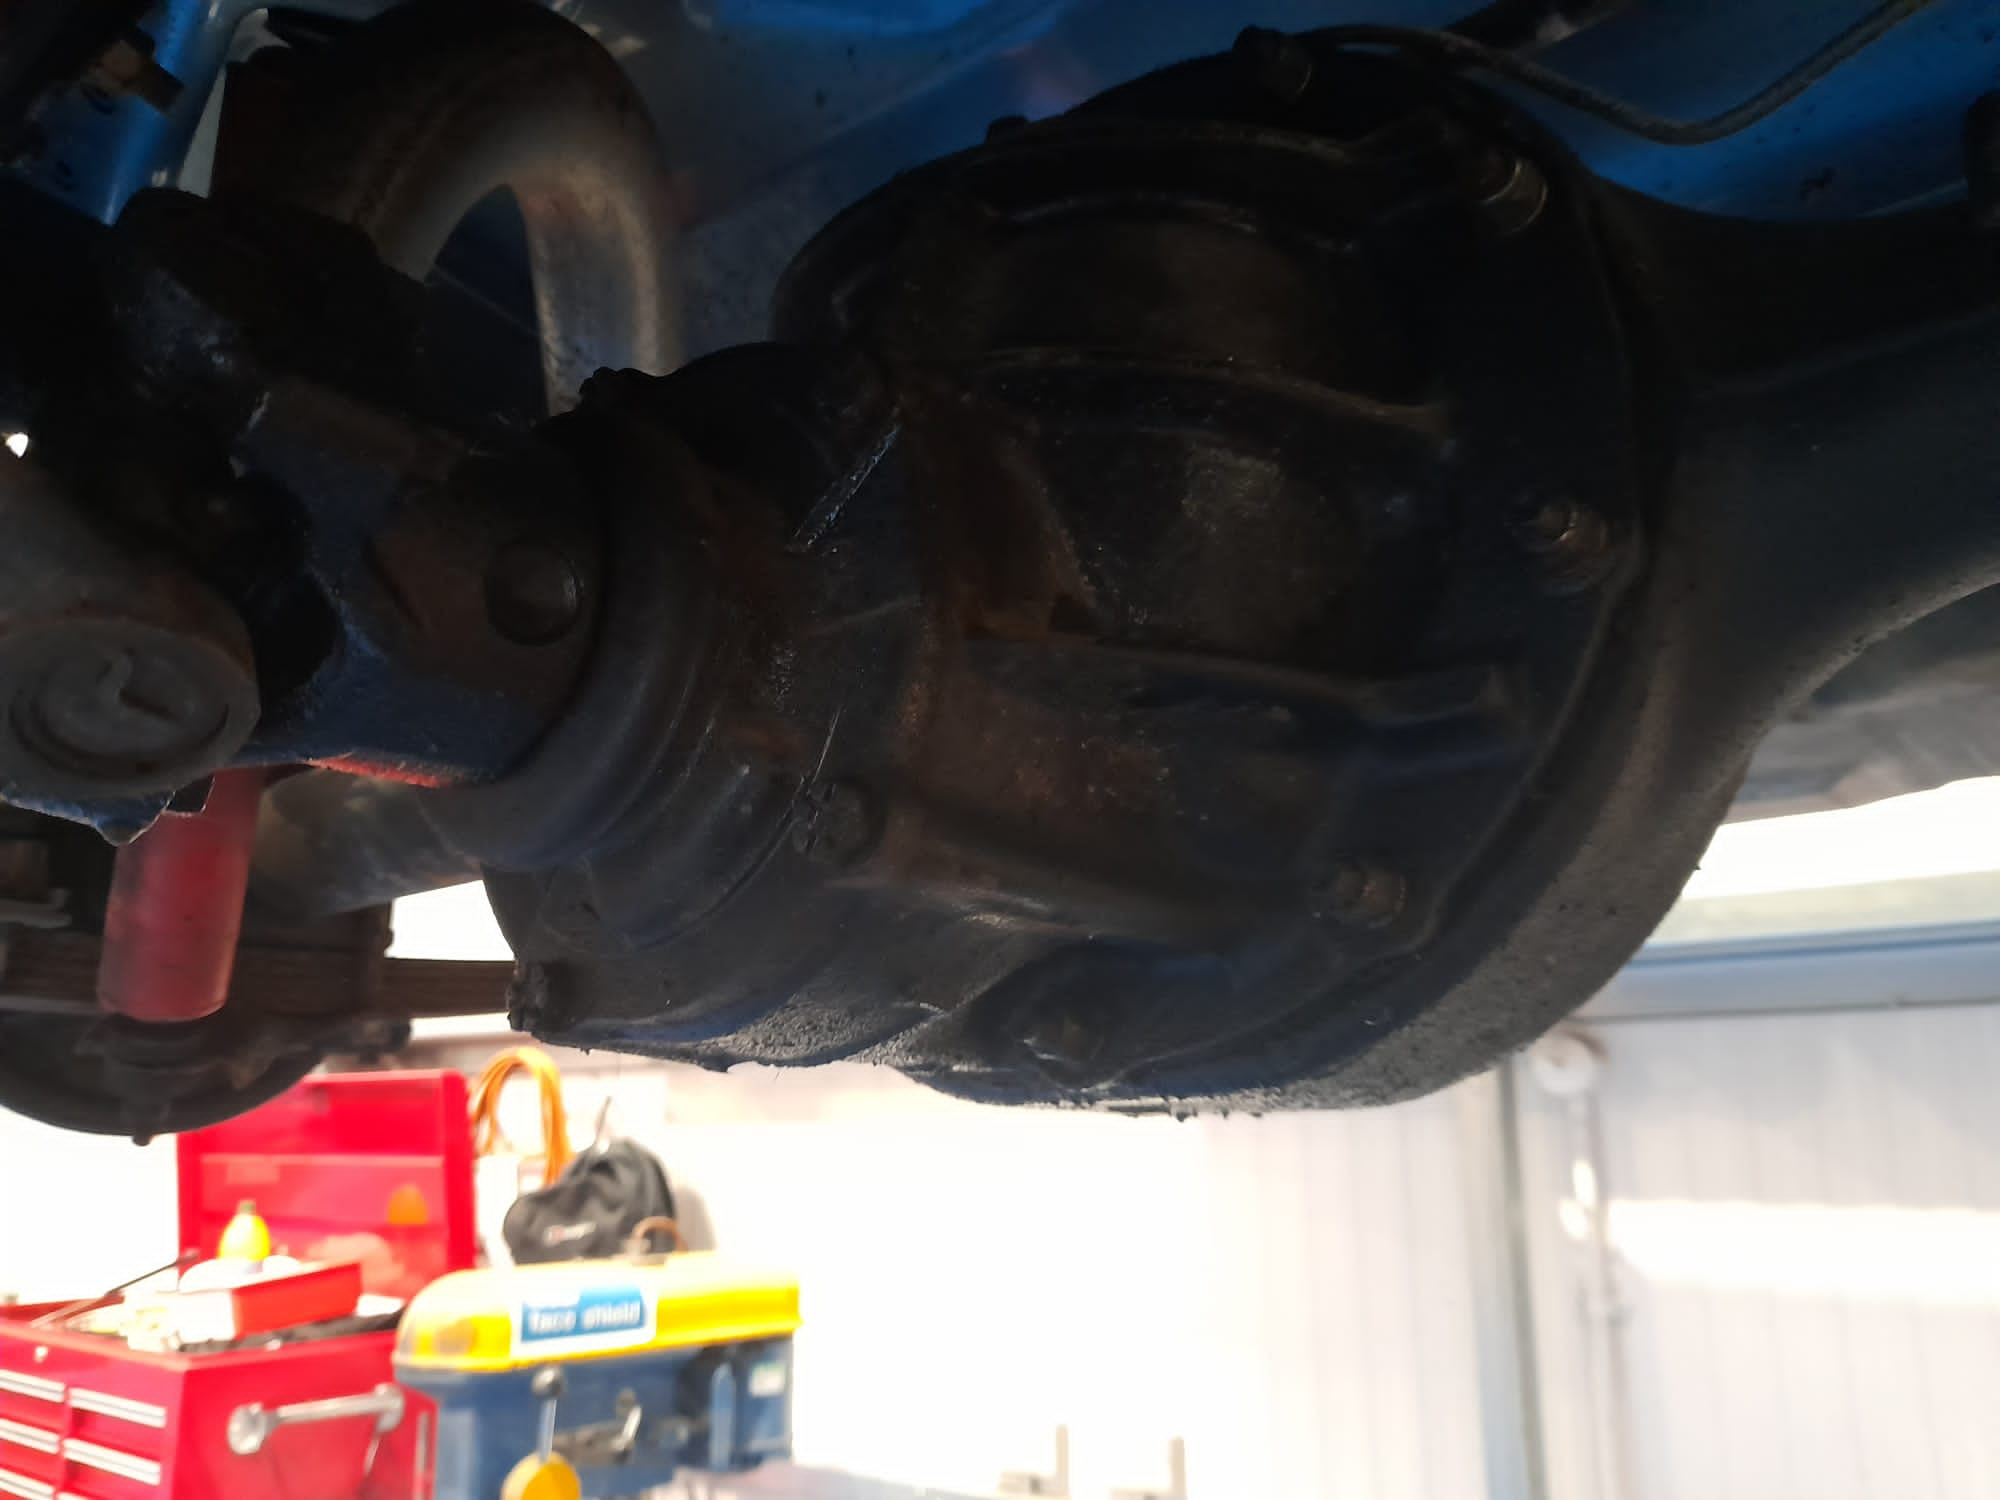
It’s proving a bit of a challenge sourcing parts for our 1967 Ford Mustang right hand drive converted classic. Many suppliers across the UK are eager and willing to help us find replacement parts but as you would imagine, a lot of original components have had to change as part of the conversion. Parts begged, stolen and borrow from other vehicles…like the Vauxhall Cavalier steering rack.
Through a good friend and colleague of ours, John from Norfolk Brake and Clutch Specialists, we have a guy able to overhaul the steering rack. Fantastic news as this was our first major obstacle.
Now we are speaking with Mustang specialists from all over the UK to help us on our recommission journey.
Who would’ve thought a classic Mustang would be so challenging!

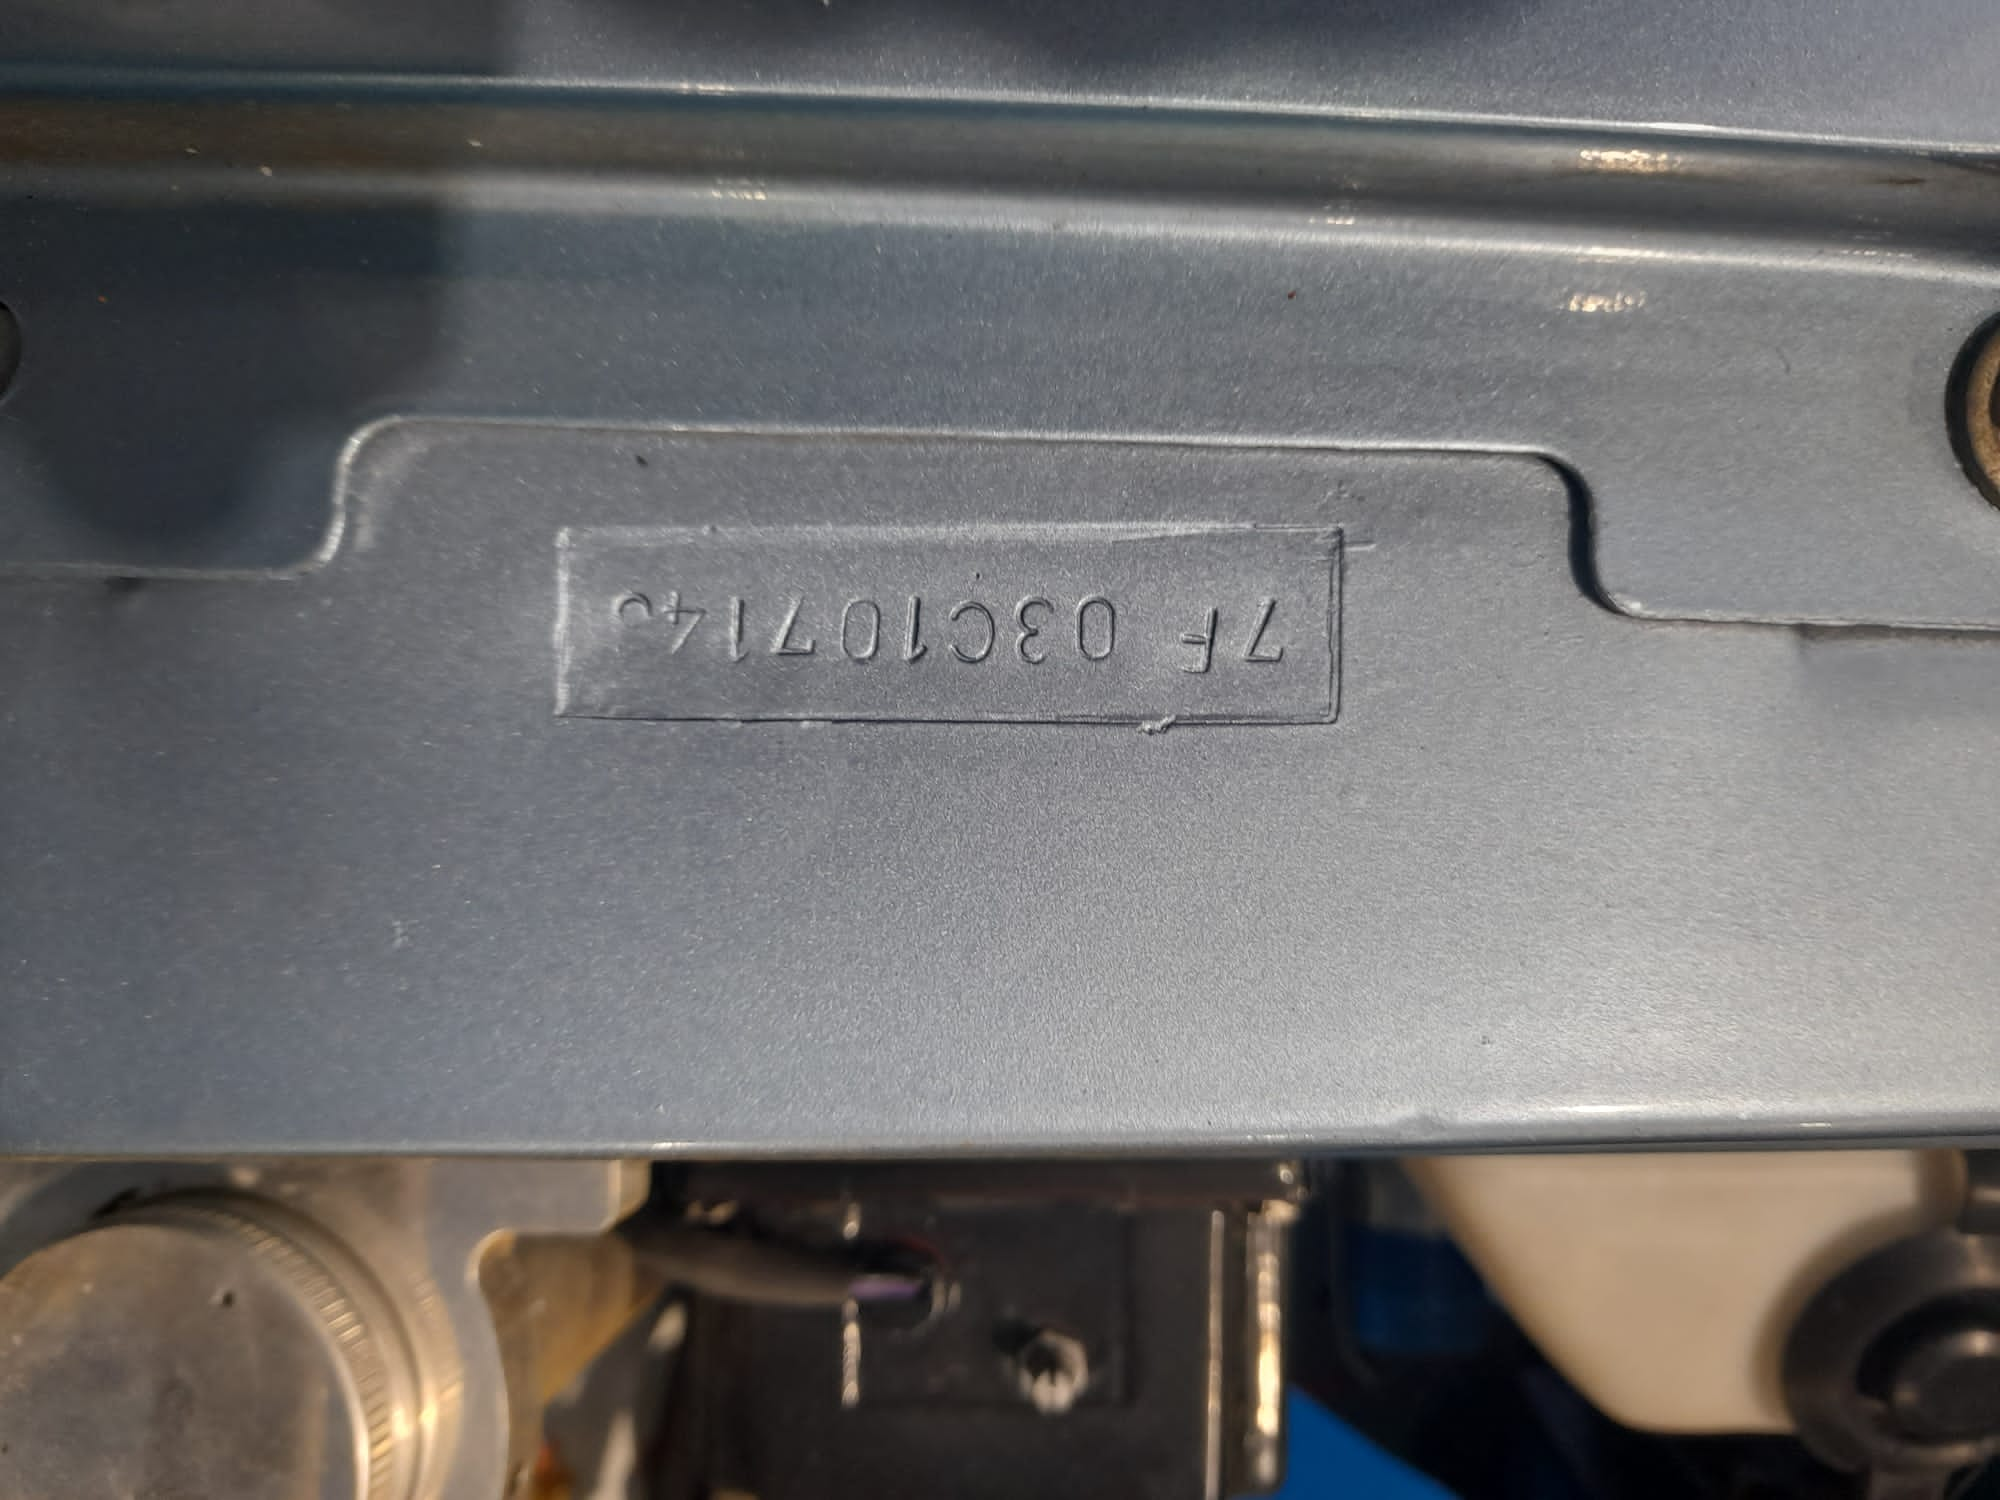

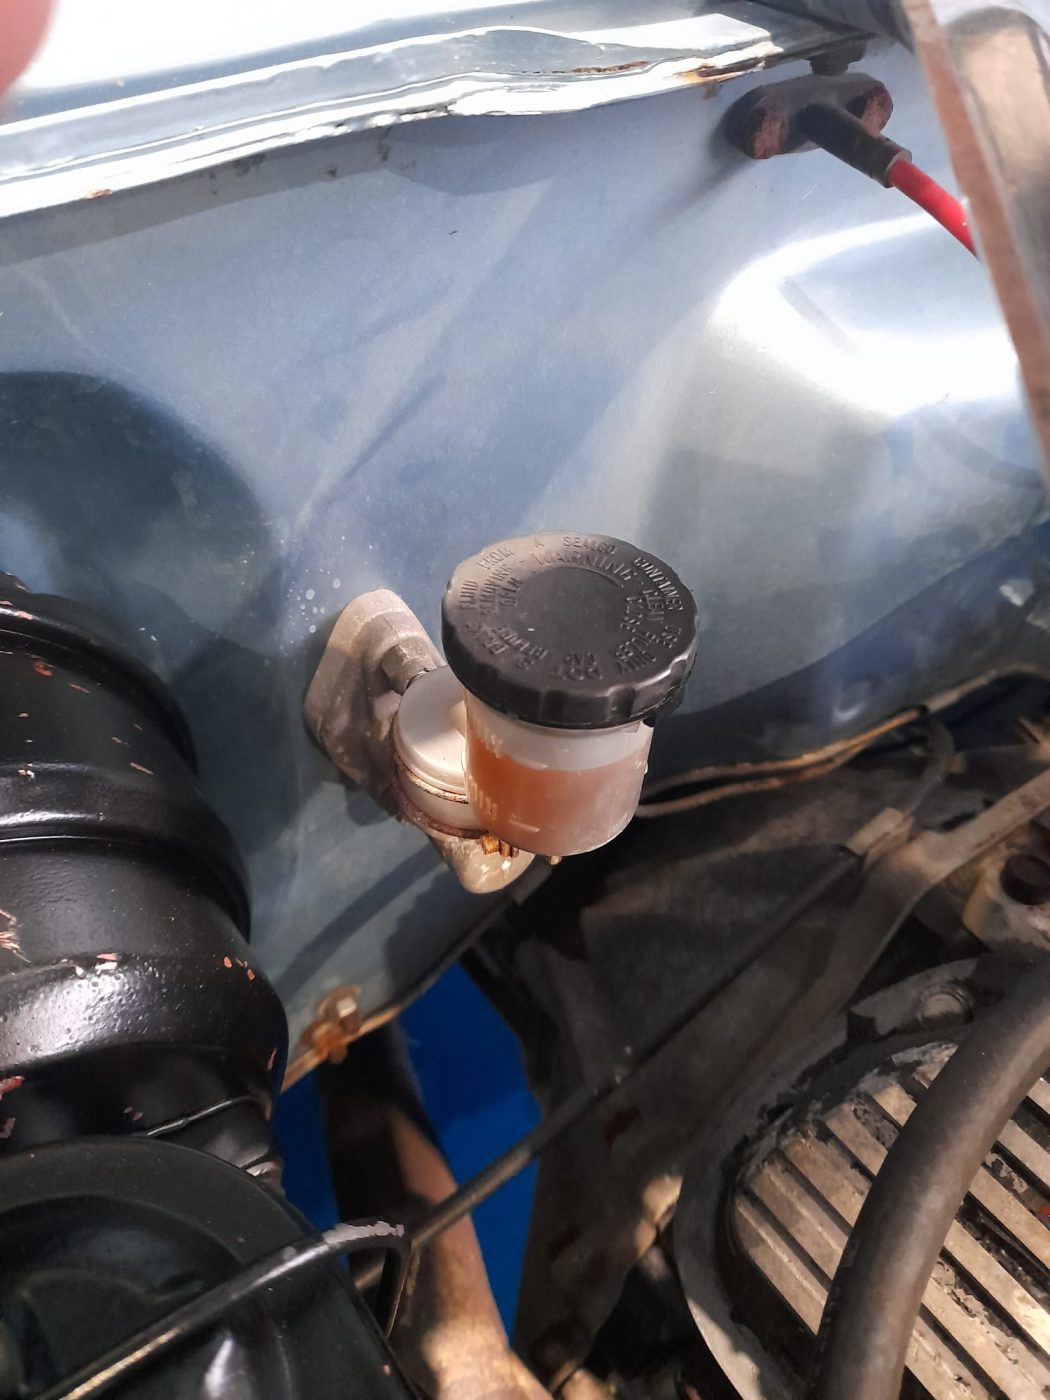

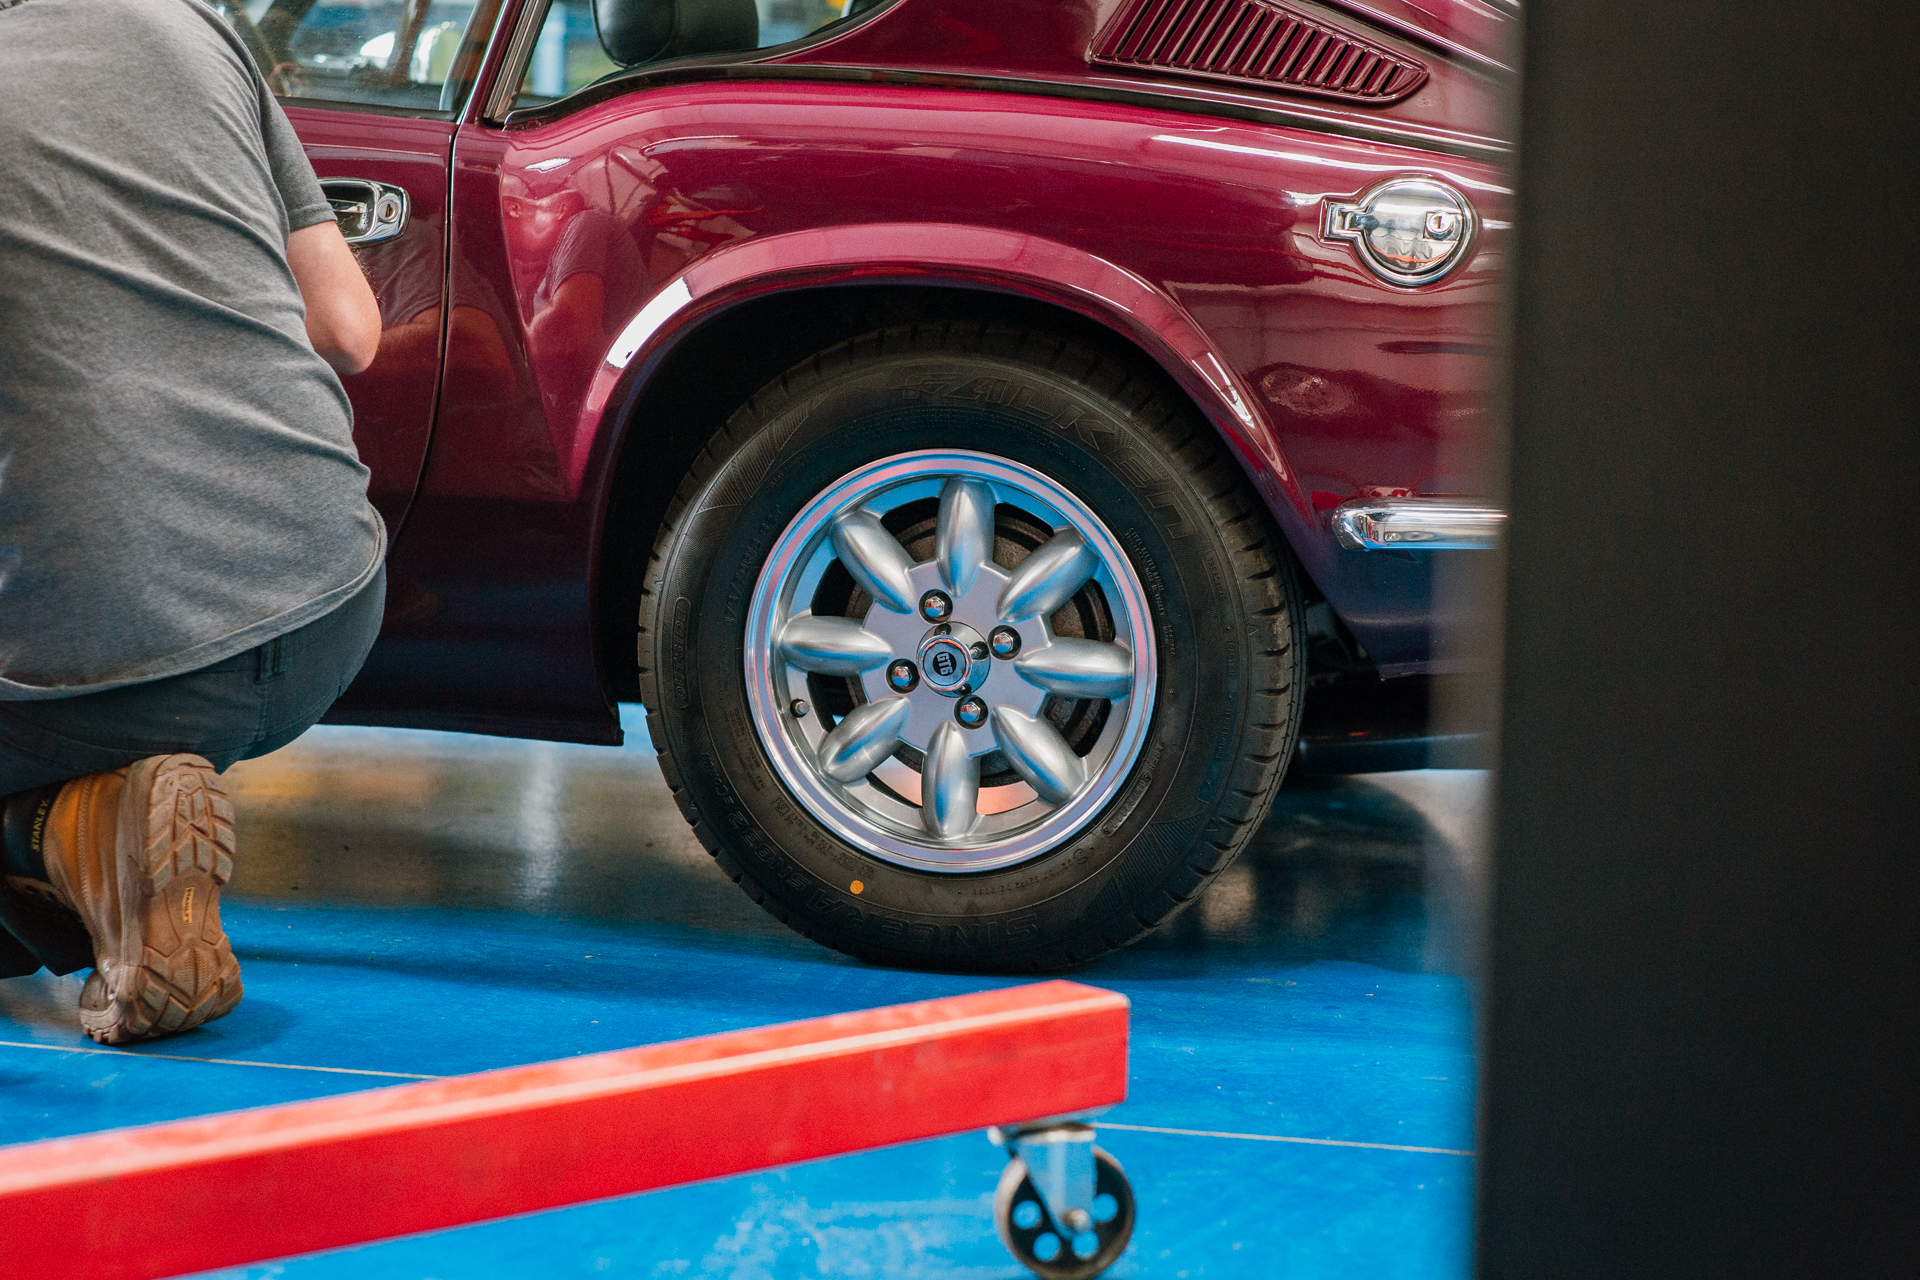
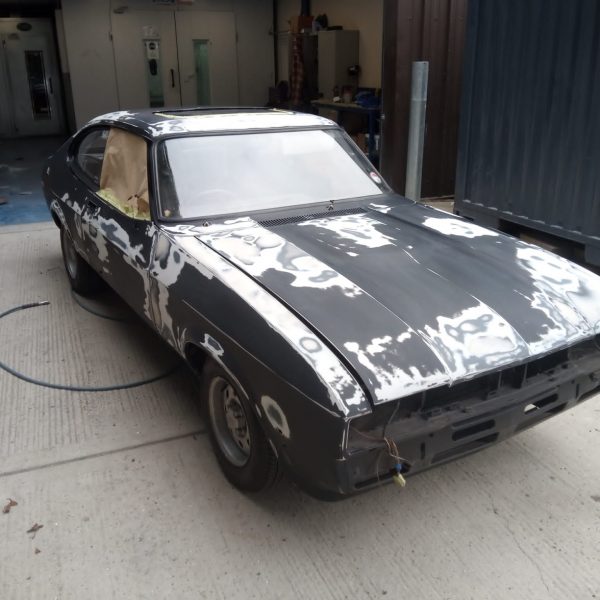
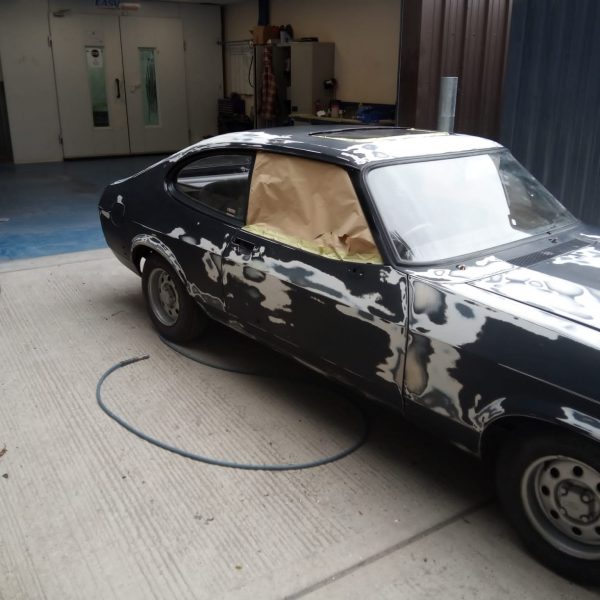
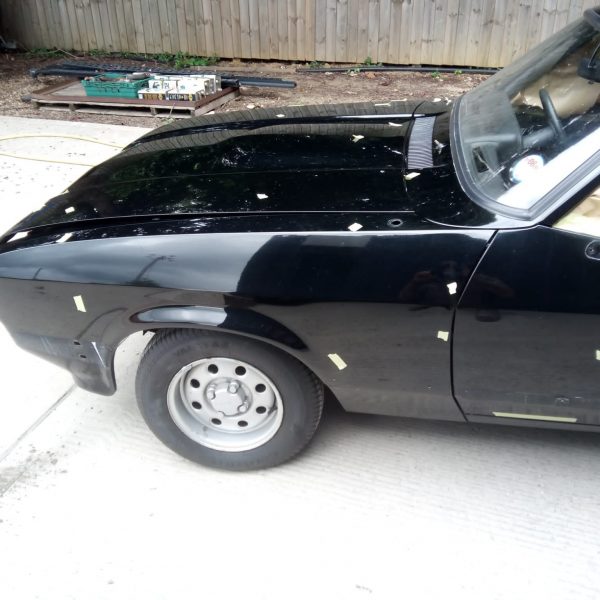
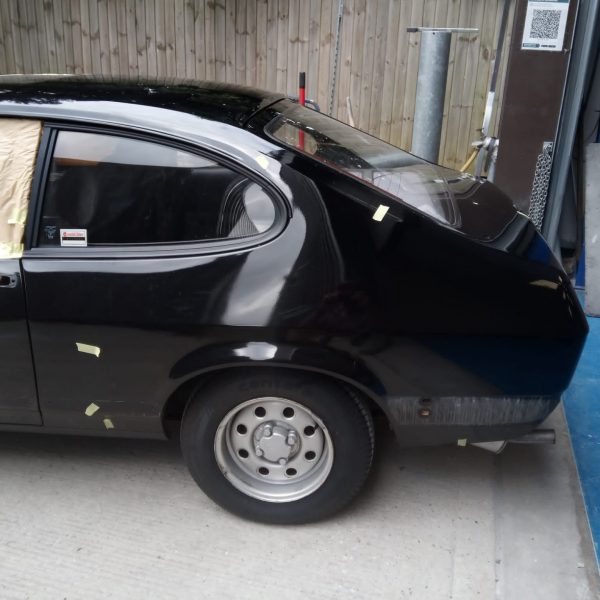
It’s priming day for the 1983 Ford Capri 1.6 LS! But let’s go back to the end of last week for this blog post, when Matt was marking out with masking tape where he could spot dents were on the exterior of the car. He then masked up the front windows and sun-roof to avoid any damage, and began the process of sanding, filling and sanding again all over the car, using both a DA and block sander for the large areas and then using red scotch to go over the shiny bits lefts behind. The work has continued this week. It’s going to be a sympathetic paint job because we’re not taking the windscreen out, so can’t go all-out on it. Thankfully, Matt has found very little corrosion in the process.
Scott has been repairing the exhaust manifolds for the 1979 Arrow Ferrari Daytona. They’re made of stainless steel and were cleaned up before being painted in black high-temperature paint to make them look like genuine Ferrari.
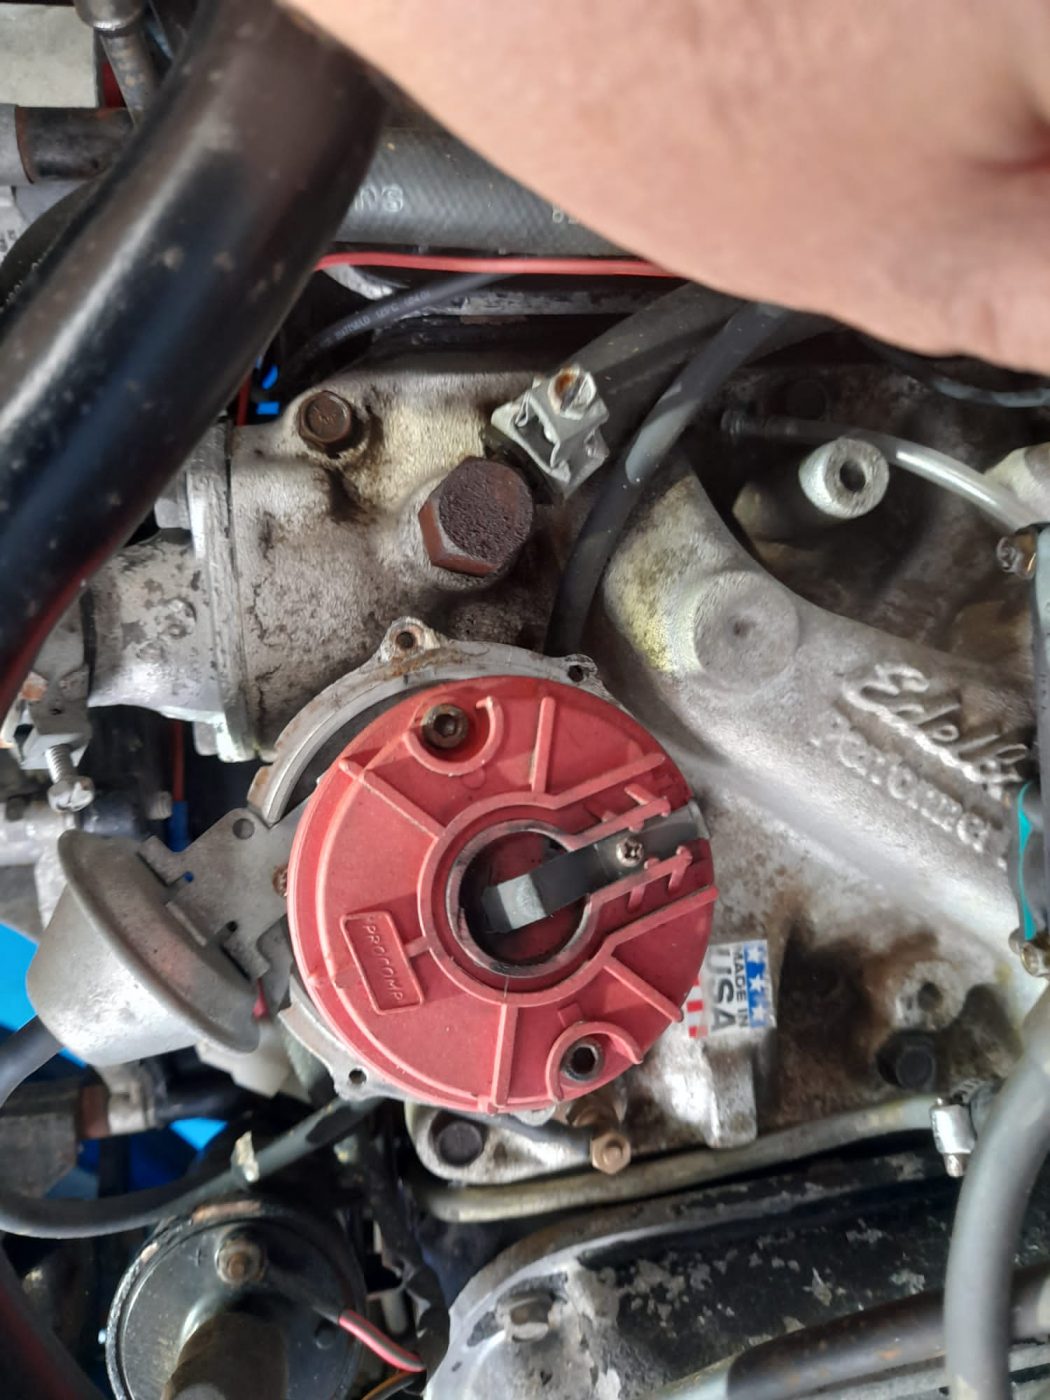
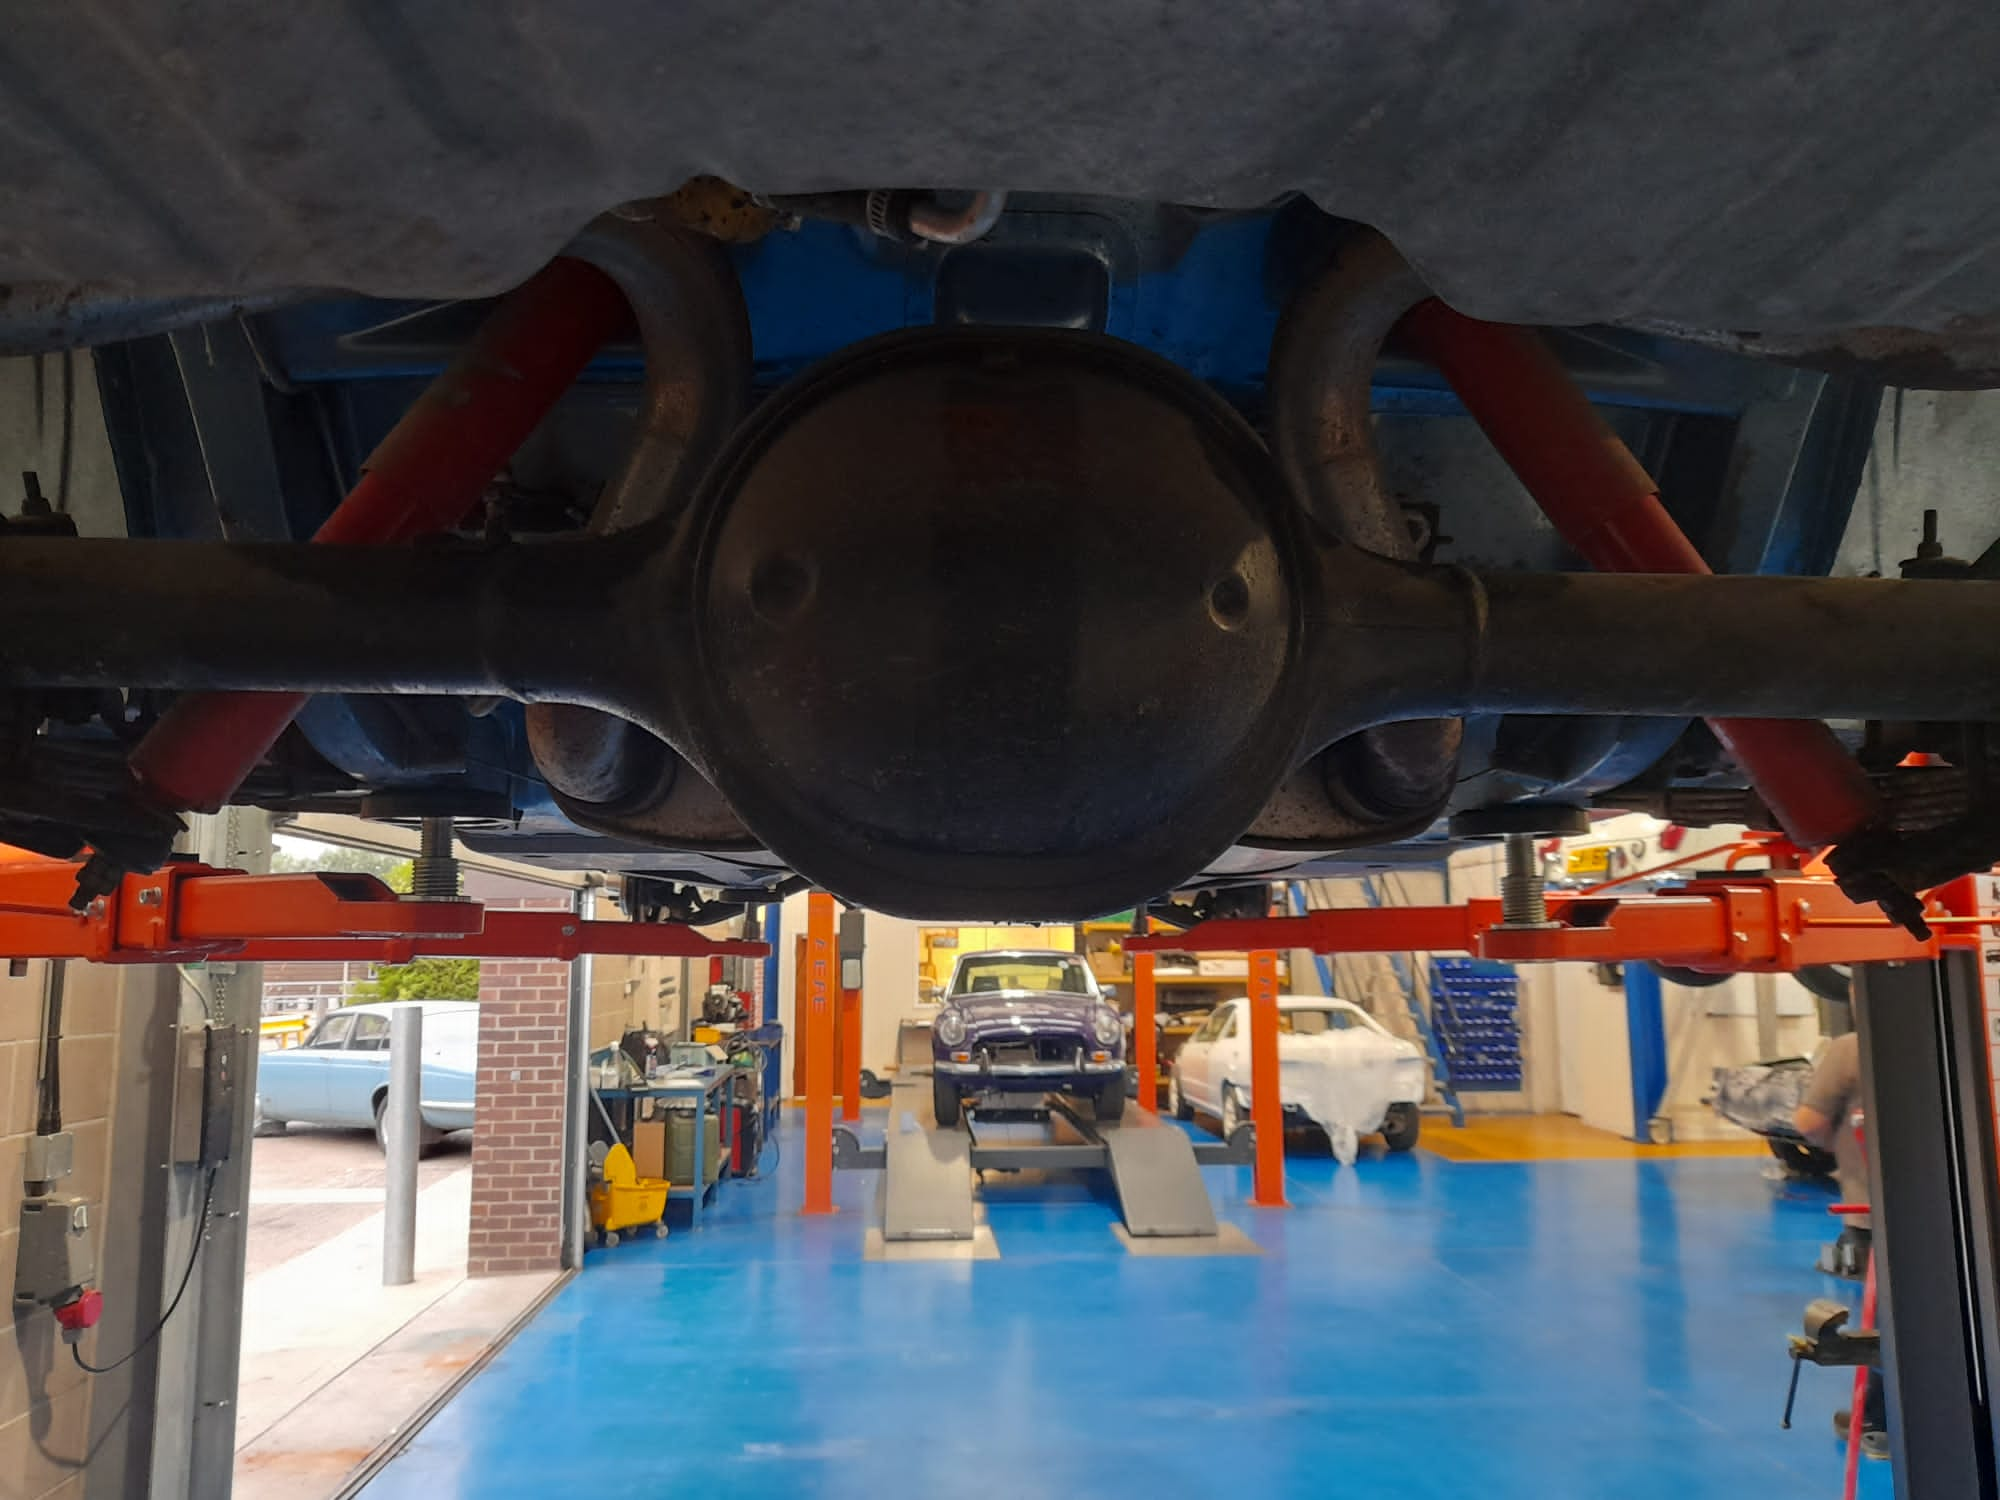
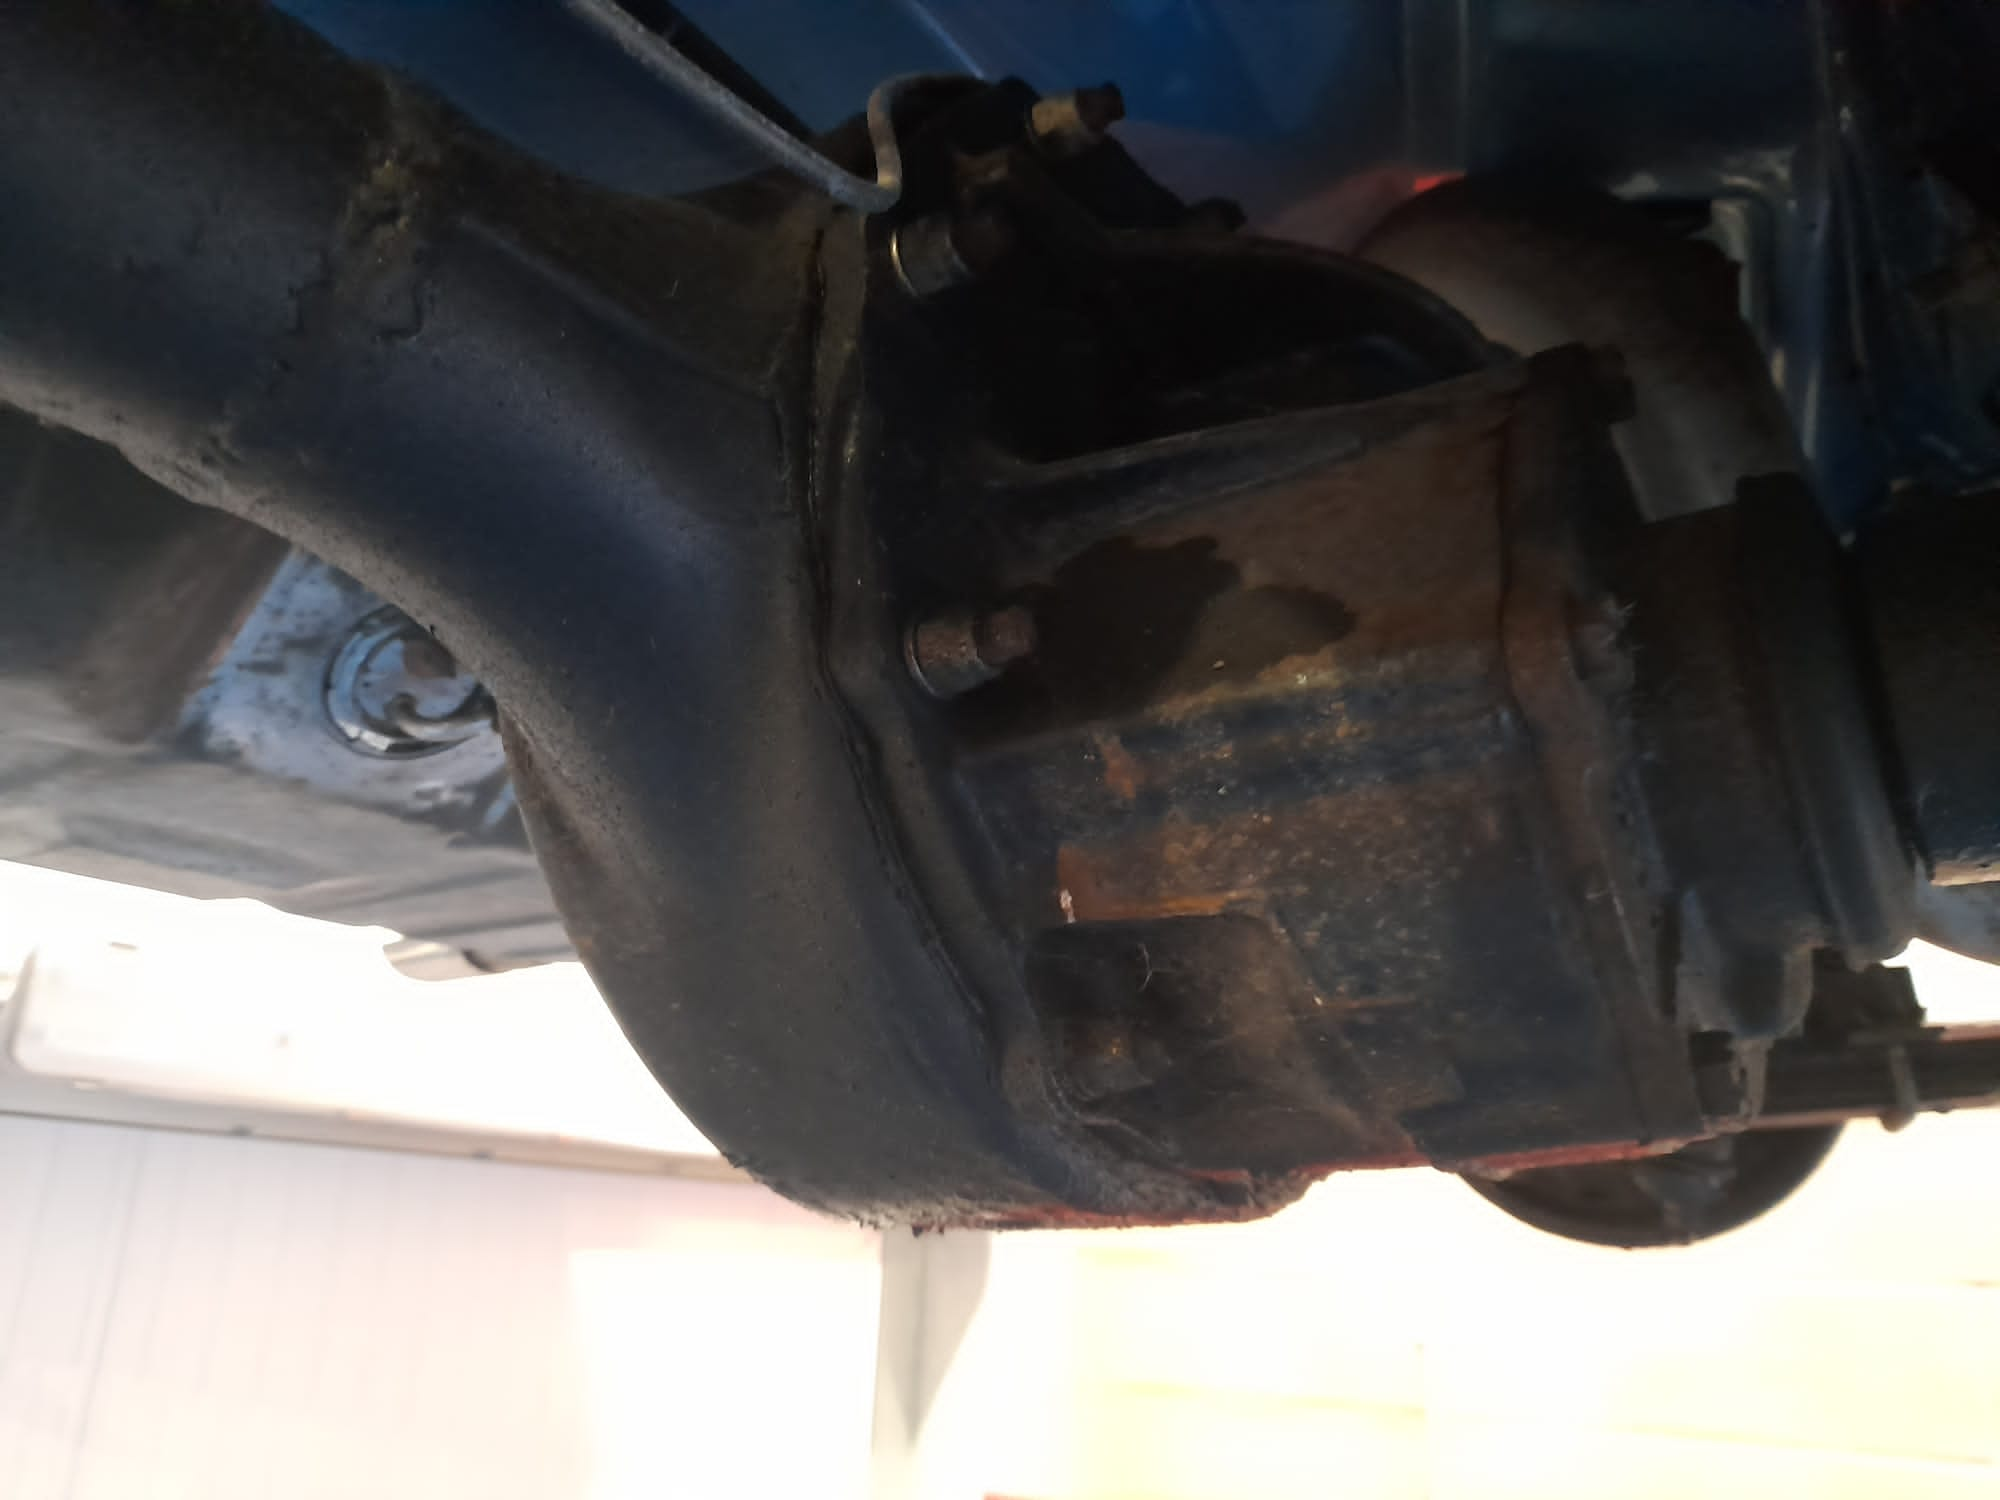
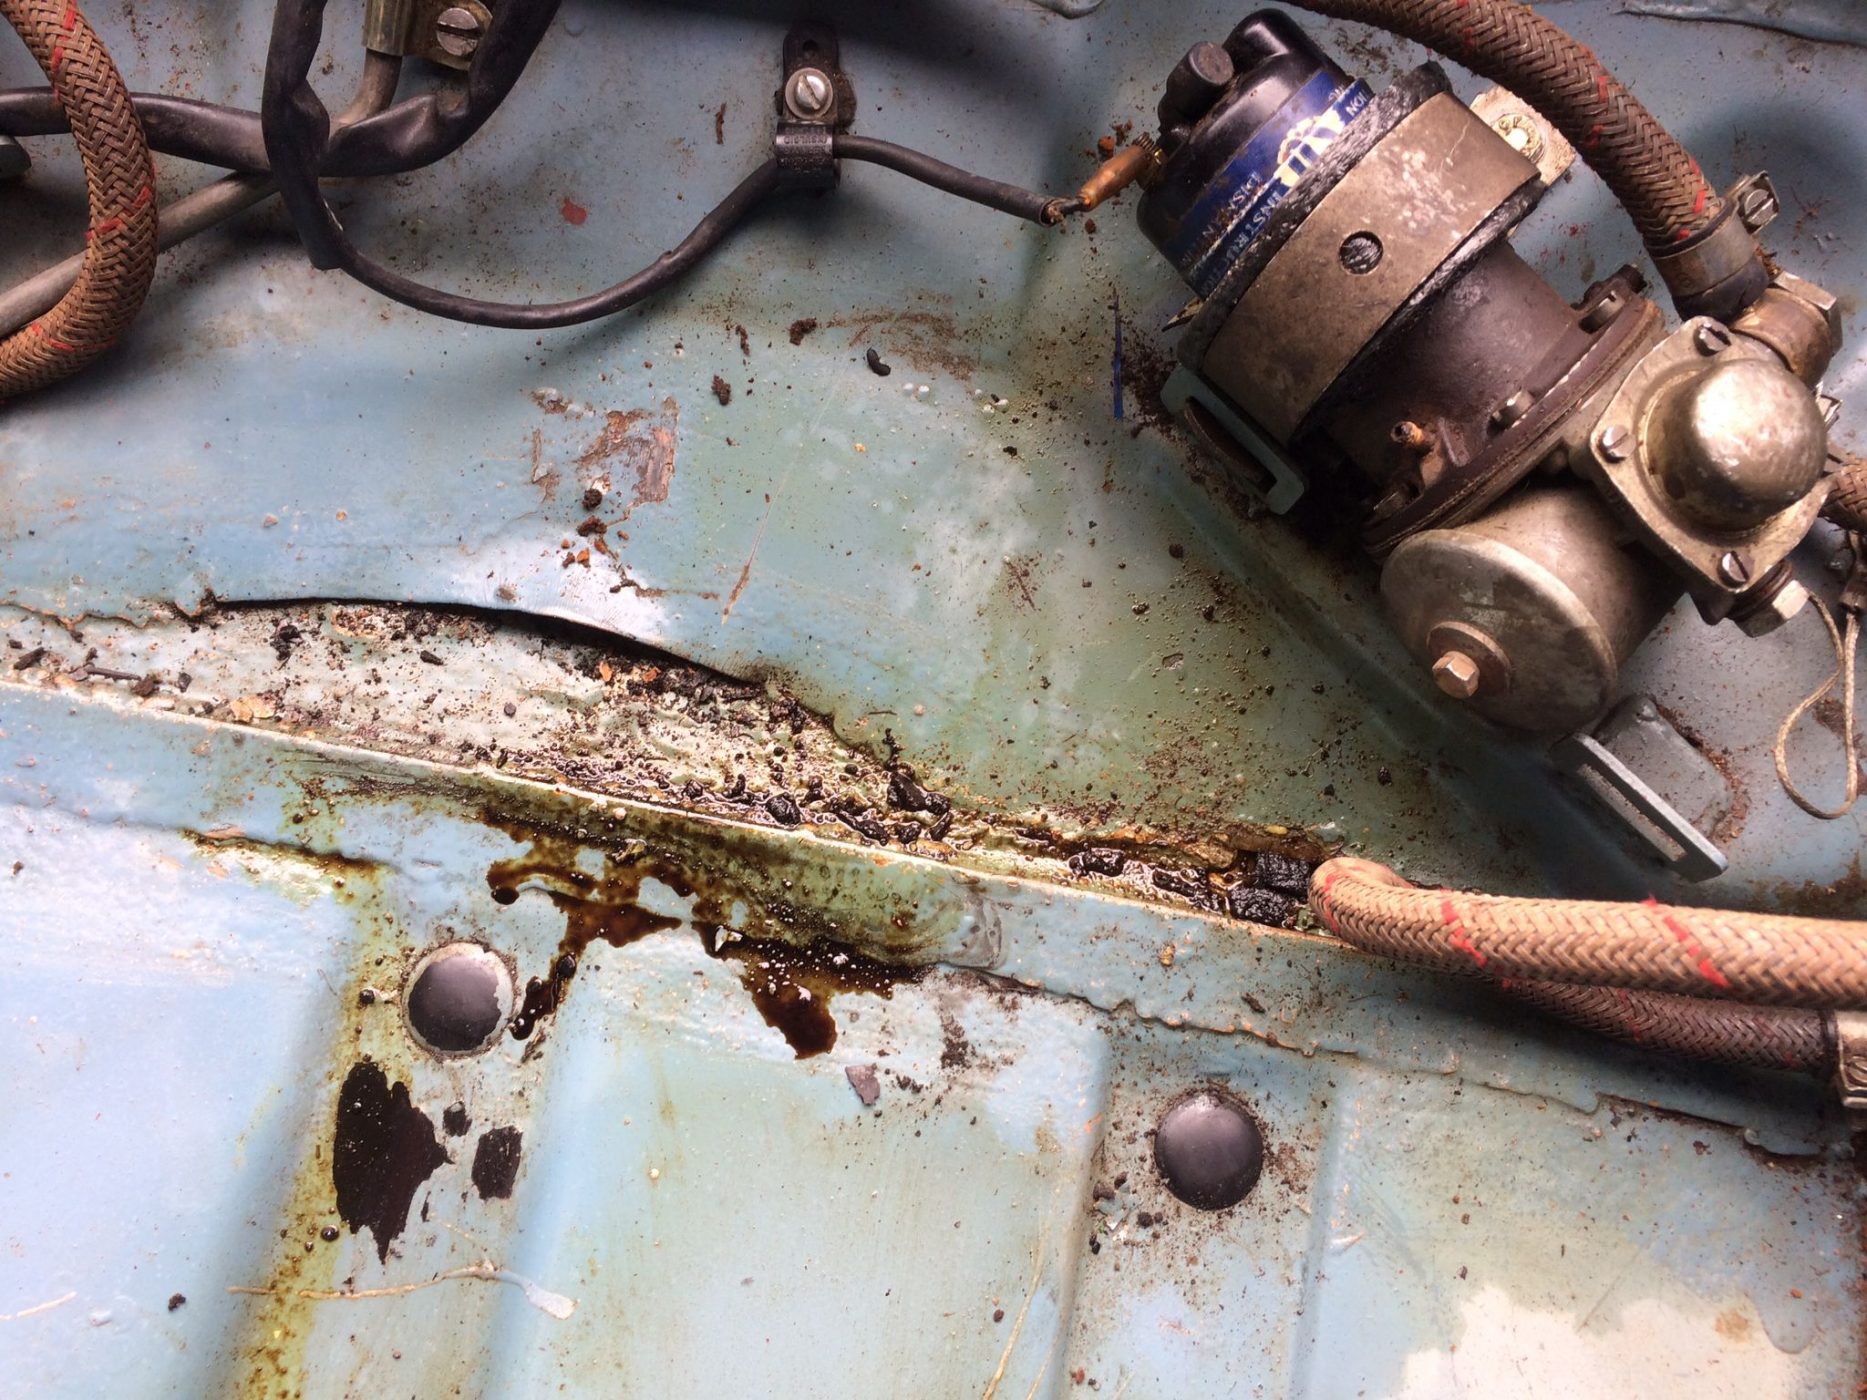
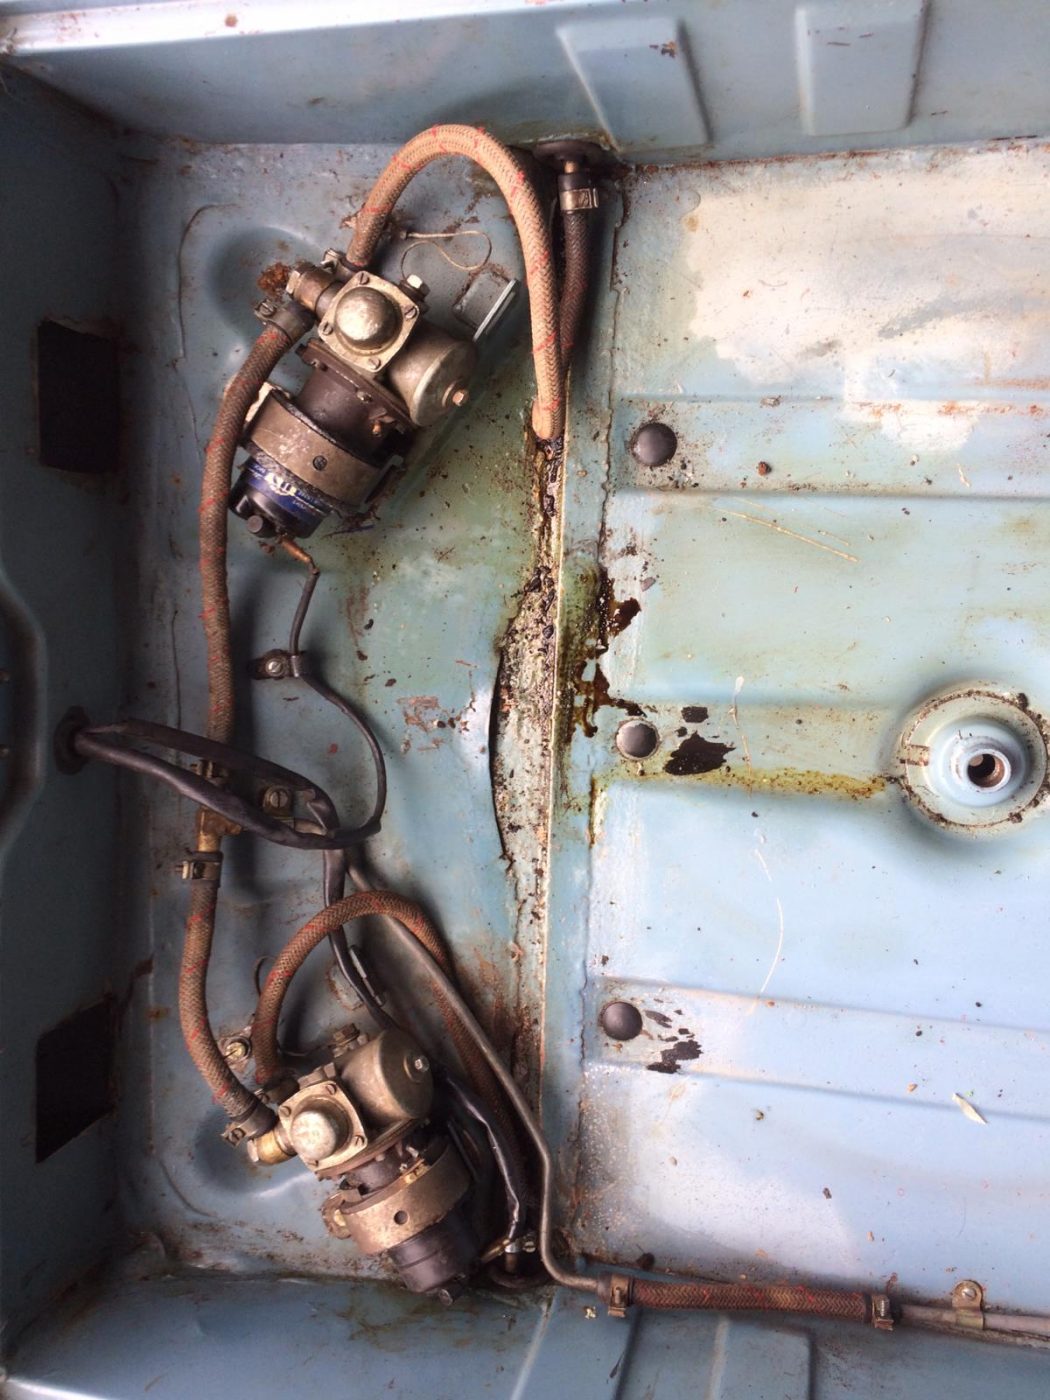
Ady has been investigating the engine on the 1976 Mercedes 350SL. Initially we were lead to believe this to be a running car but unfortunately it has arrived with us as a non-runner, and he’s found that this is probably due to an electrical fault.
There are two sides to the V8 engine and only one bank works. the right hand bank looks to have been tampered with.
The wiring to the injectors on that bank have been cut and rewired to earth. We don’t understand why someone has done this unless they are trying to cover up something more. There would be no other obvious reasoning. Rewiring to earth could possibly mean the engine can still run, albeit on 4 cylinders as it will hopefully not be sending any fuel into the ‘dead’ side. If it has then we have a problem.
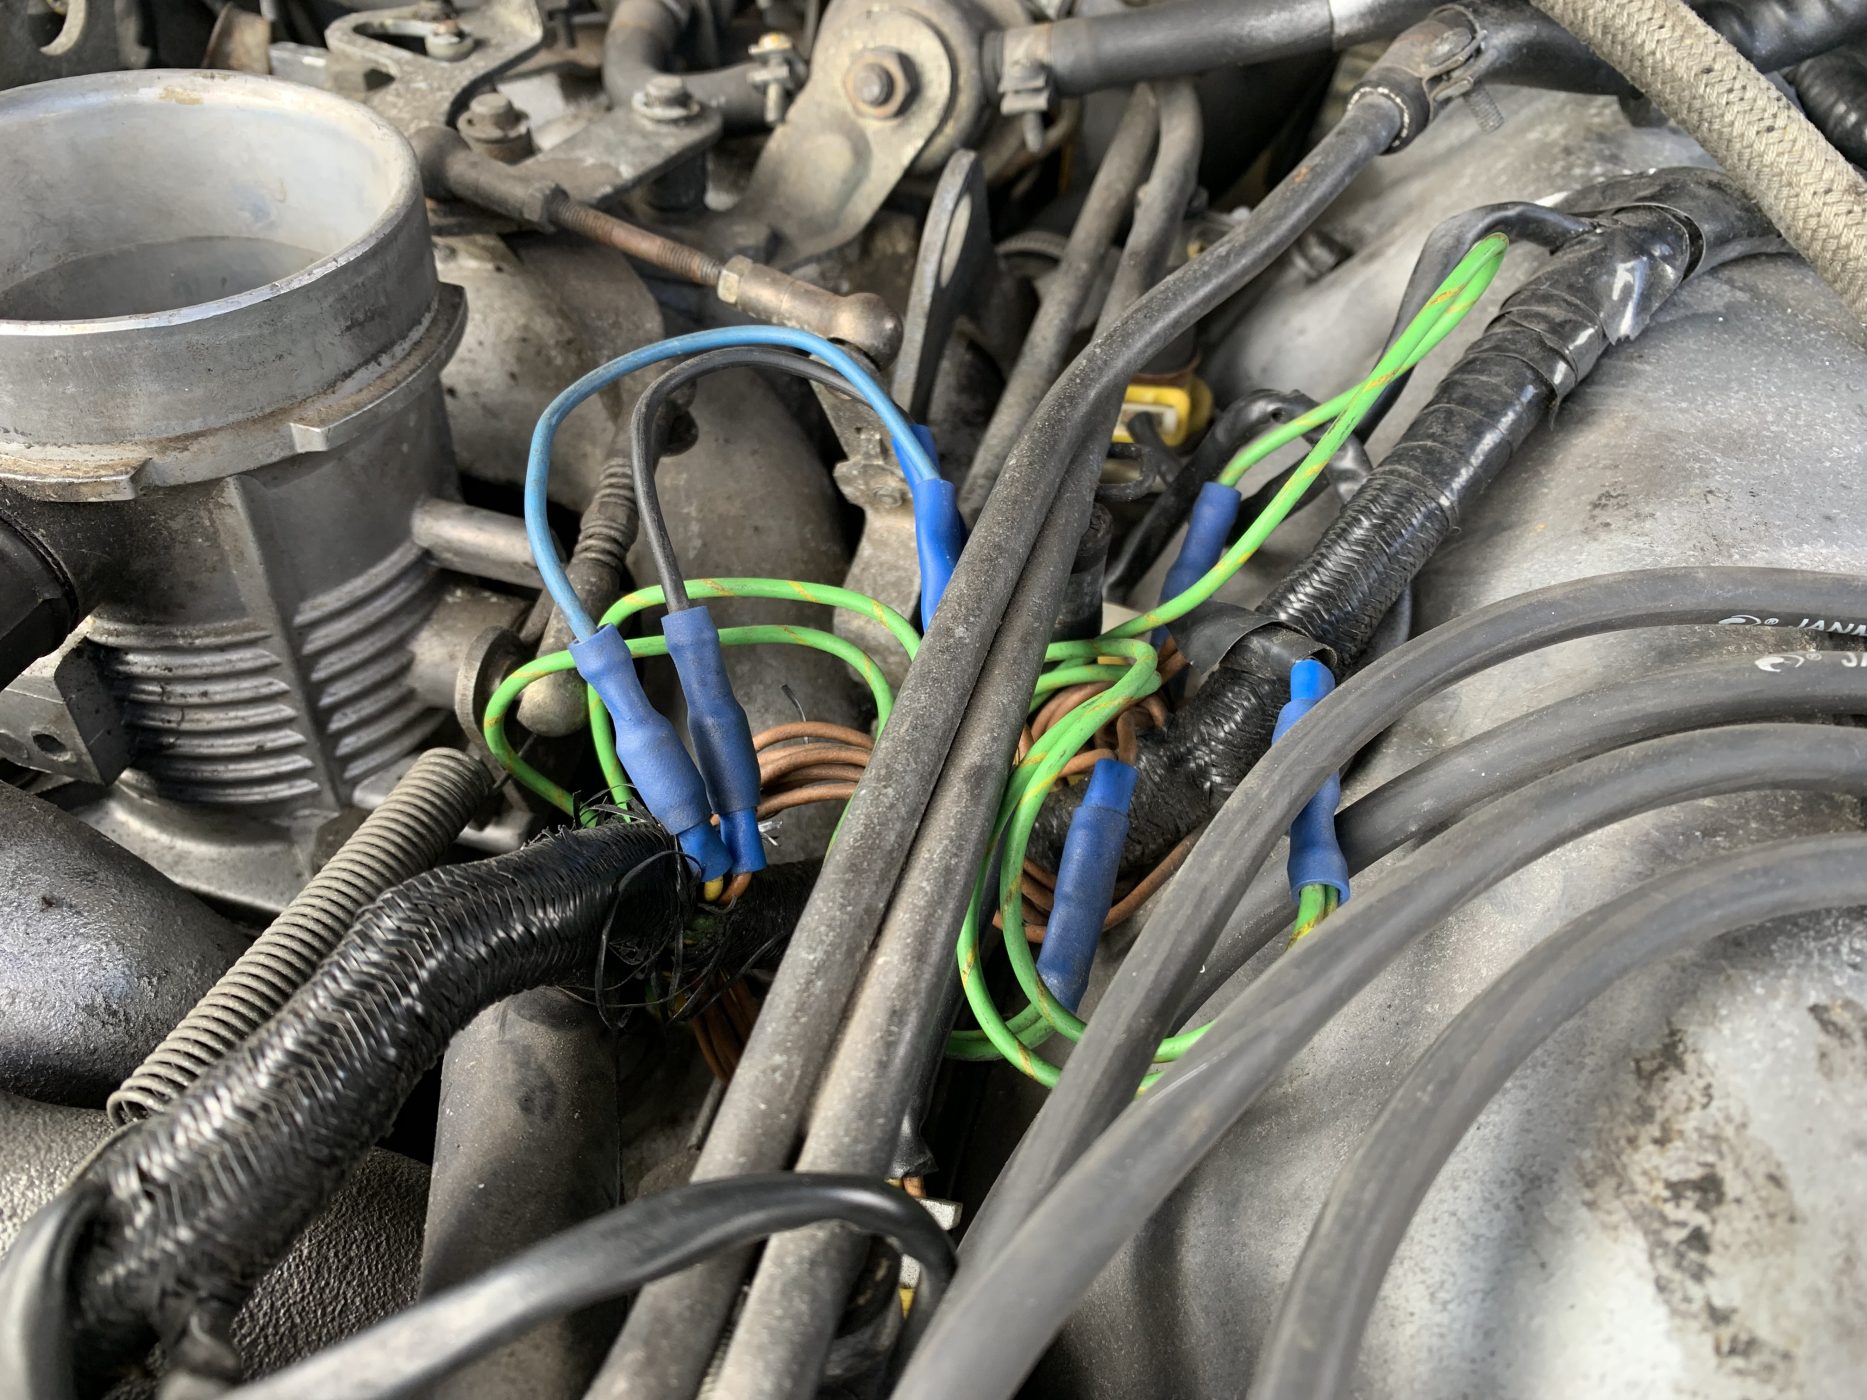

We have replaced the points and adjusted the timing but the car remains on 4 cylinders.
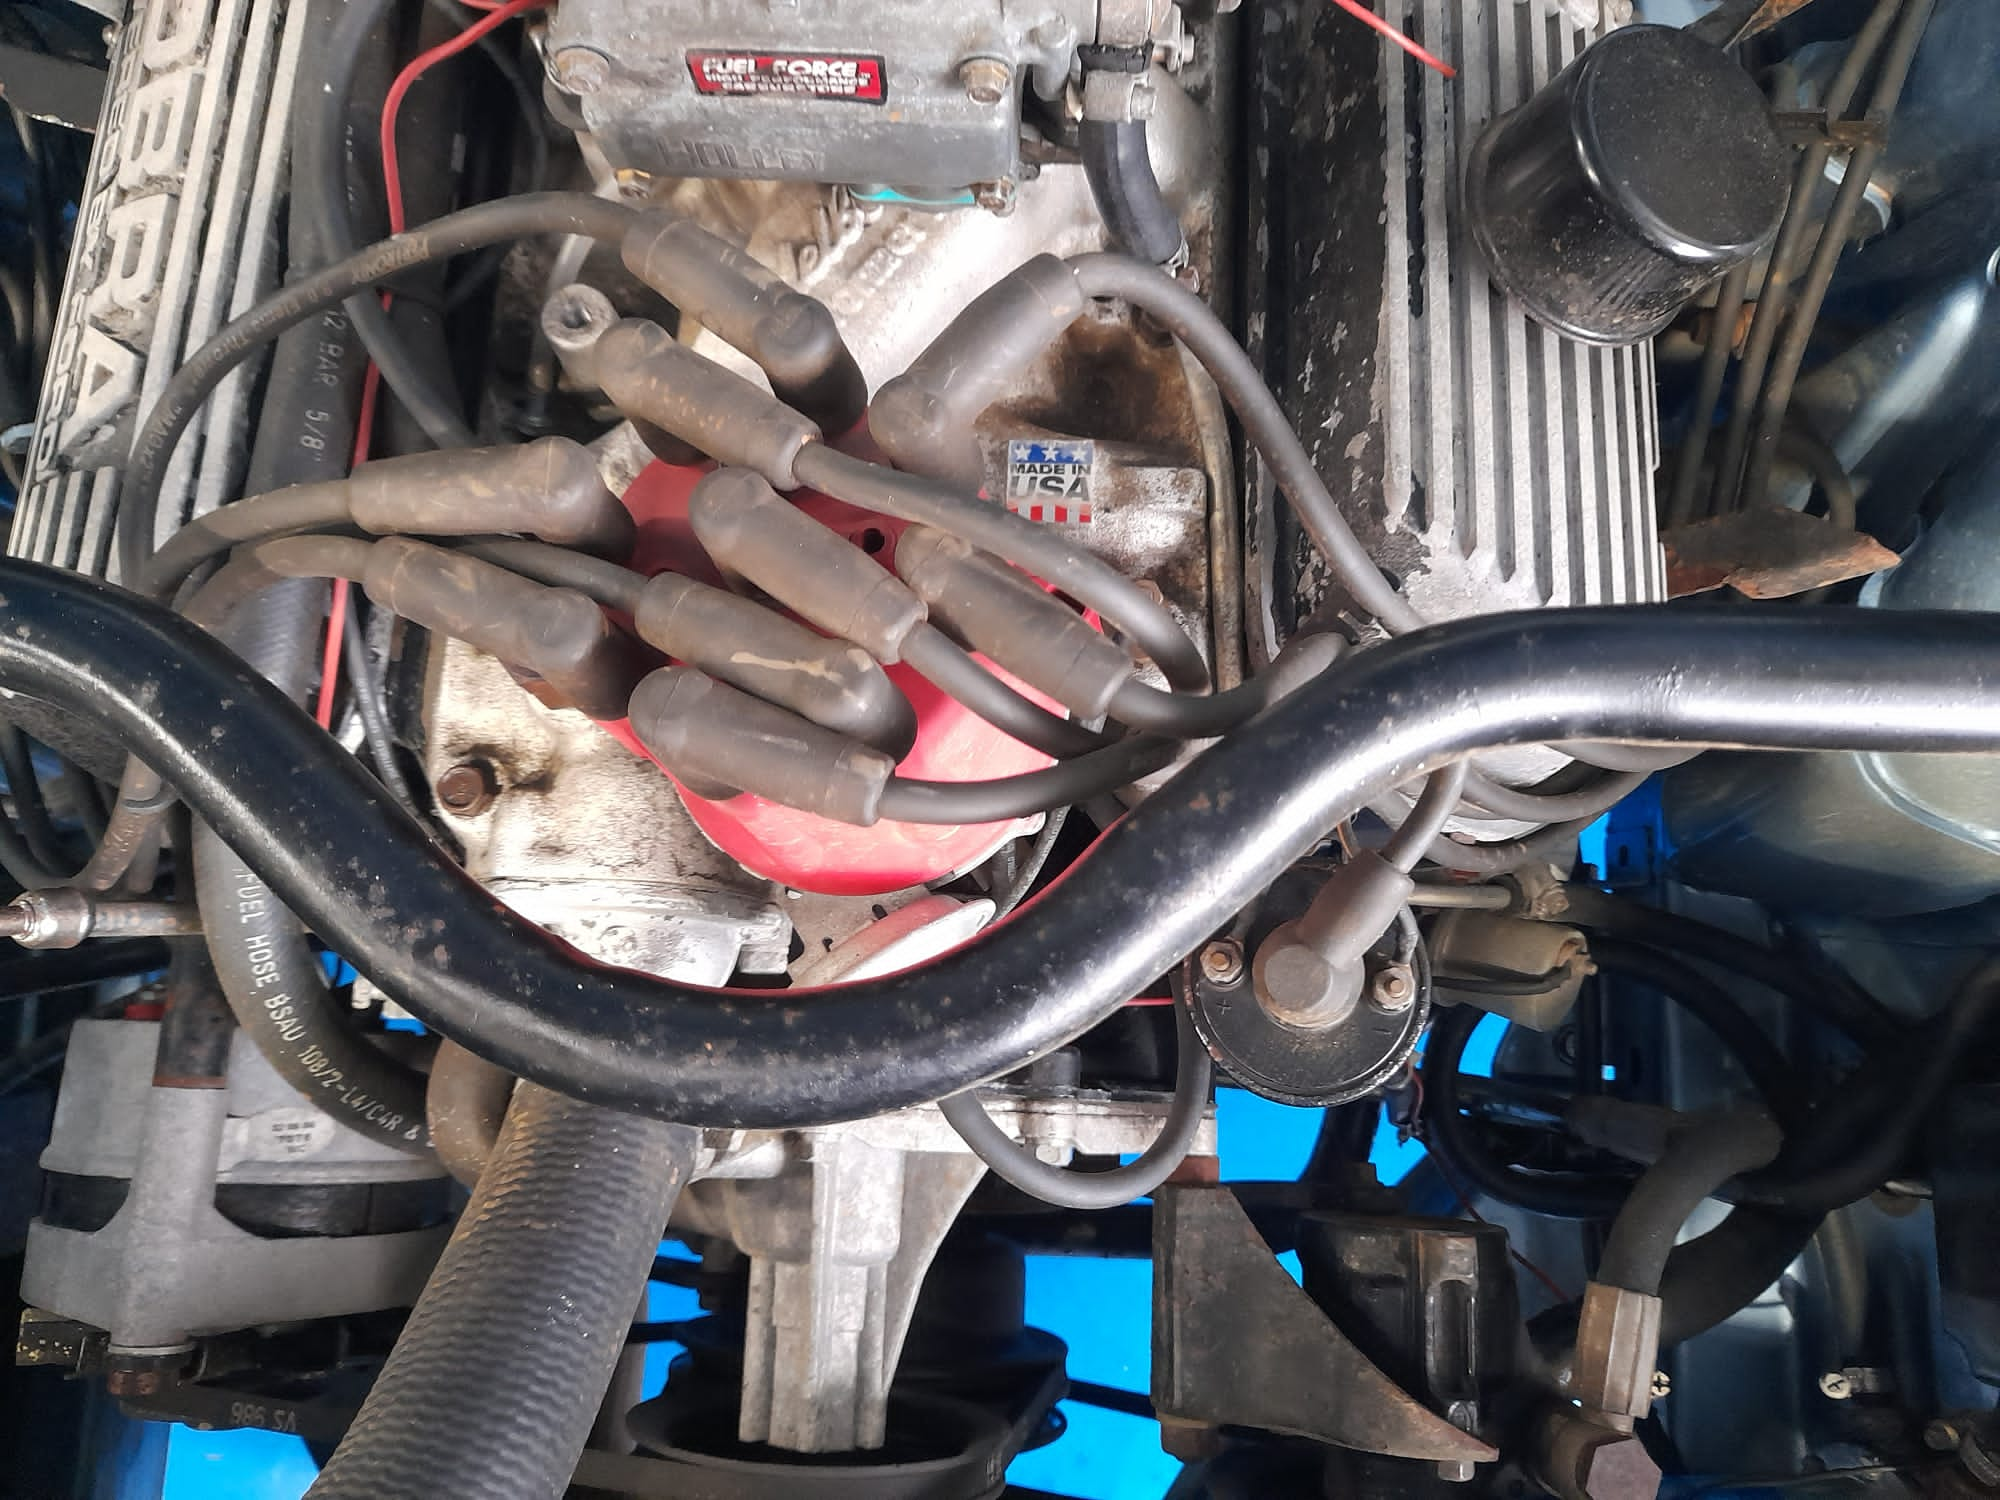
We have then removed the plugs and checked the condition of the number 6 plug which looks to have a carbon build up. We have checked easy access compressions on all cylinders.
We have refuelled the vehicle but as before, the engine can only run on 4 cylinders and is therefore running dangerously rich.
This tool tray is from the Peony Red 1960 Jensen 541S. It hasn’t got any tools that were in it, so the customer is going to source those separately. Kath is going to shape a new piece of foam and cover it in black vinyl to match the dash. This piece of foam is the handle part, and the piece you see while sitting in the car. The tool tray sits underneath the dash, on the passenger side, and slots in like a draw into a metal frame.


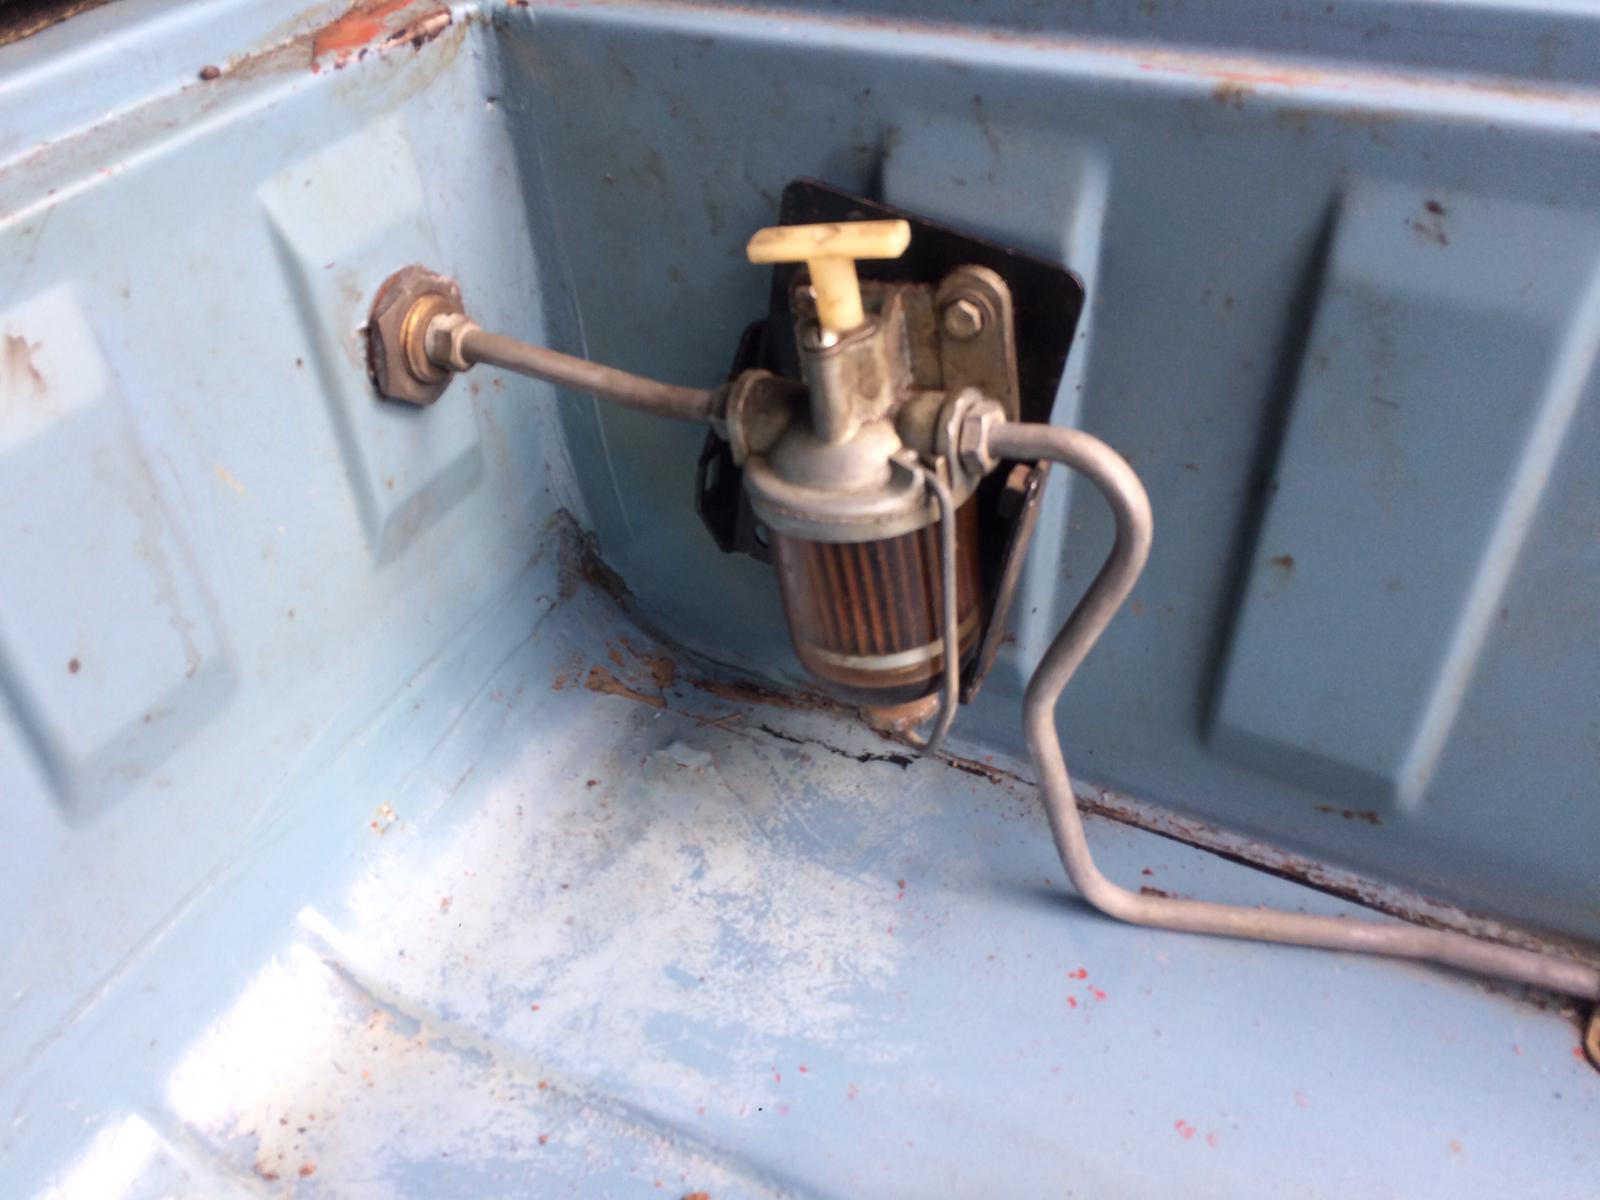
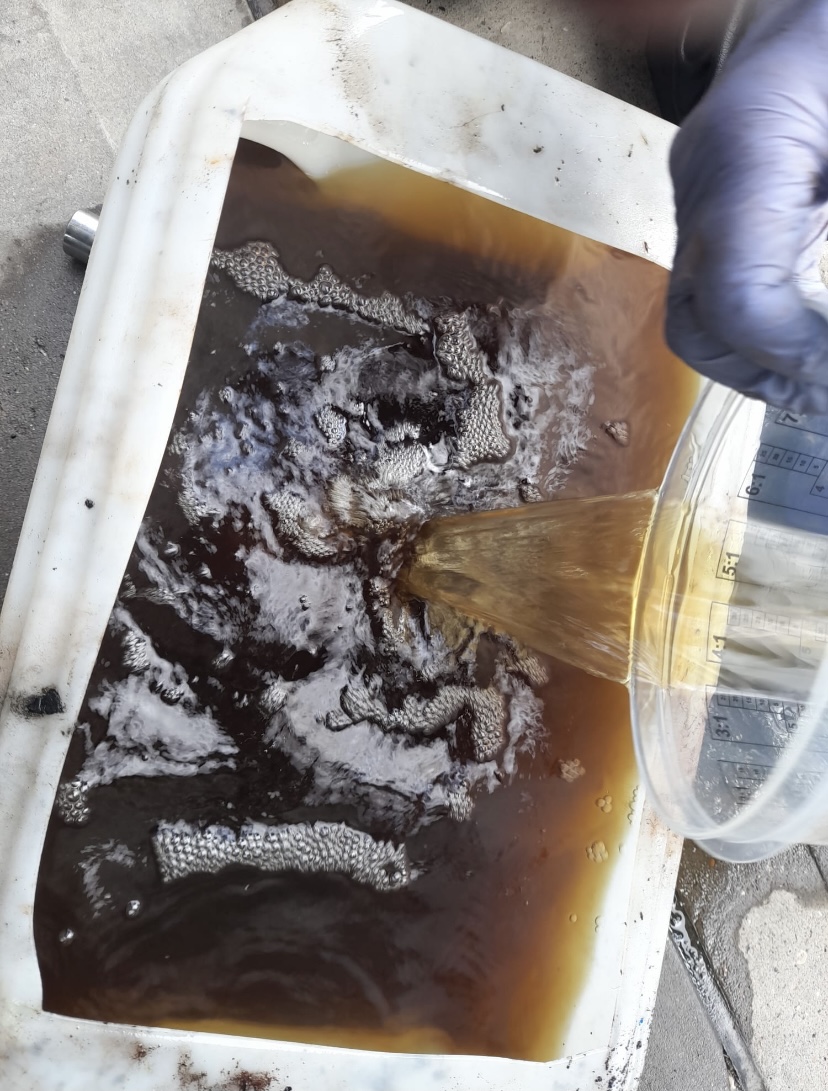
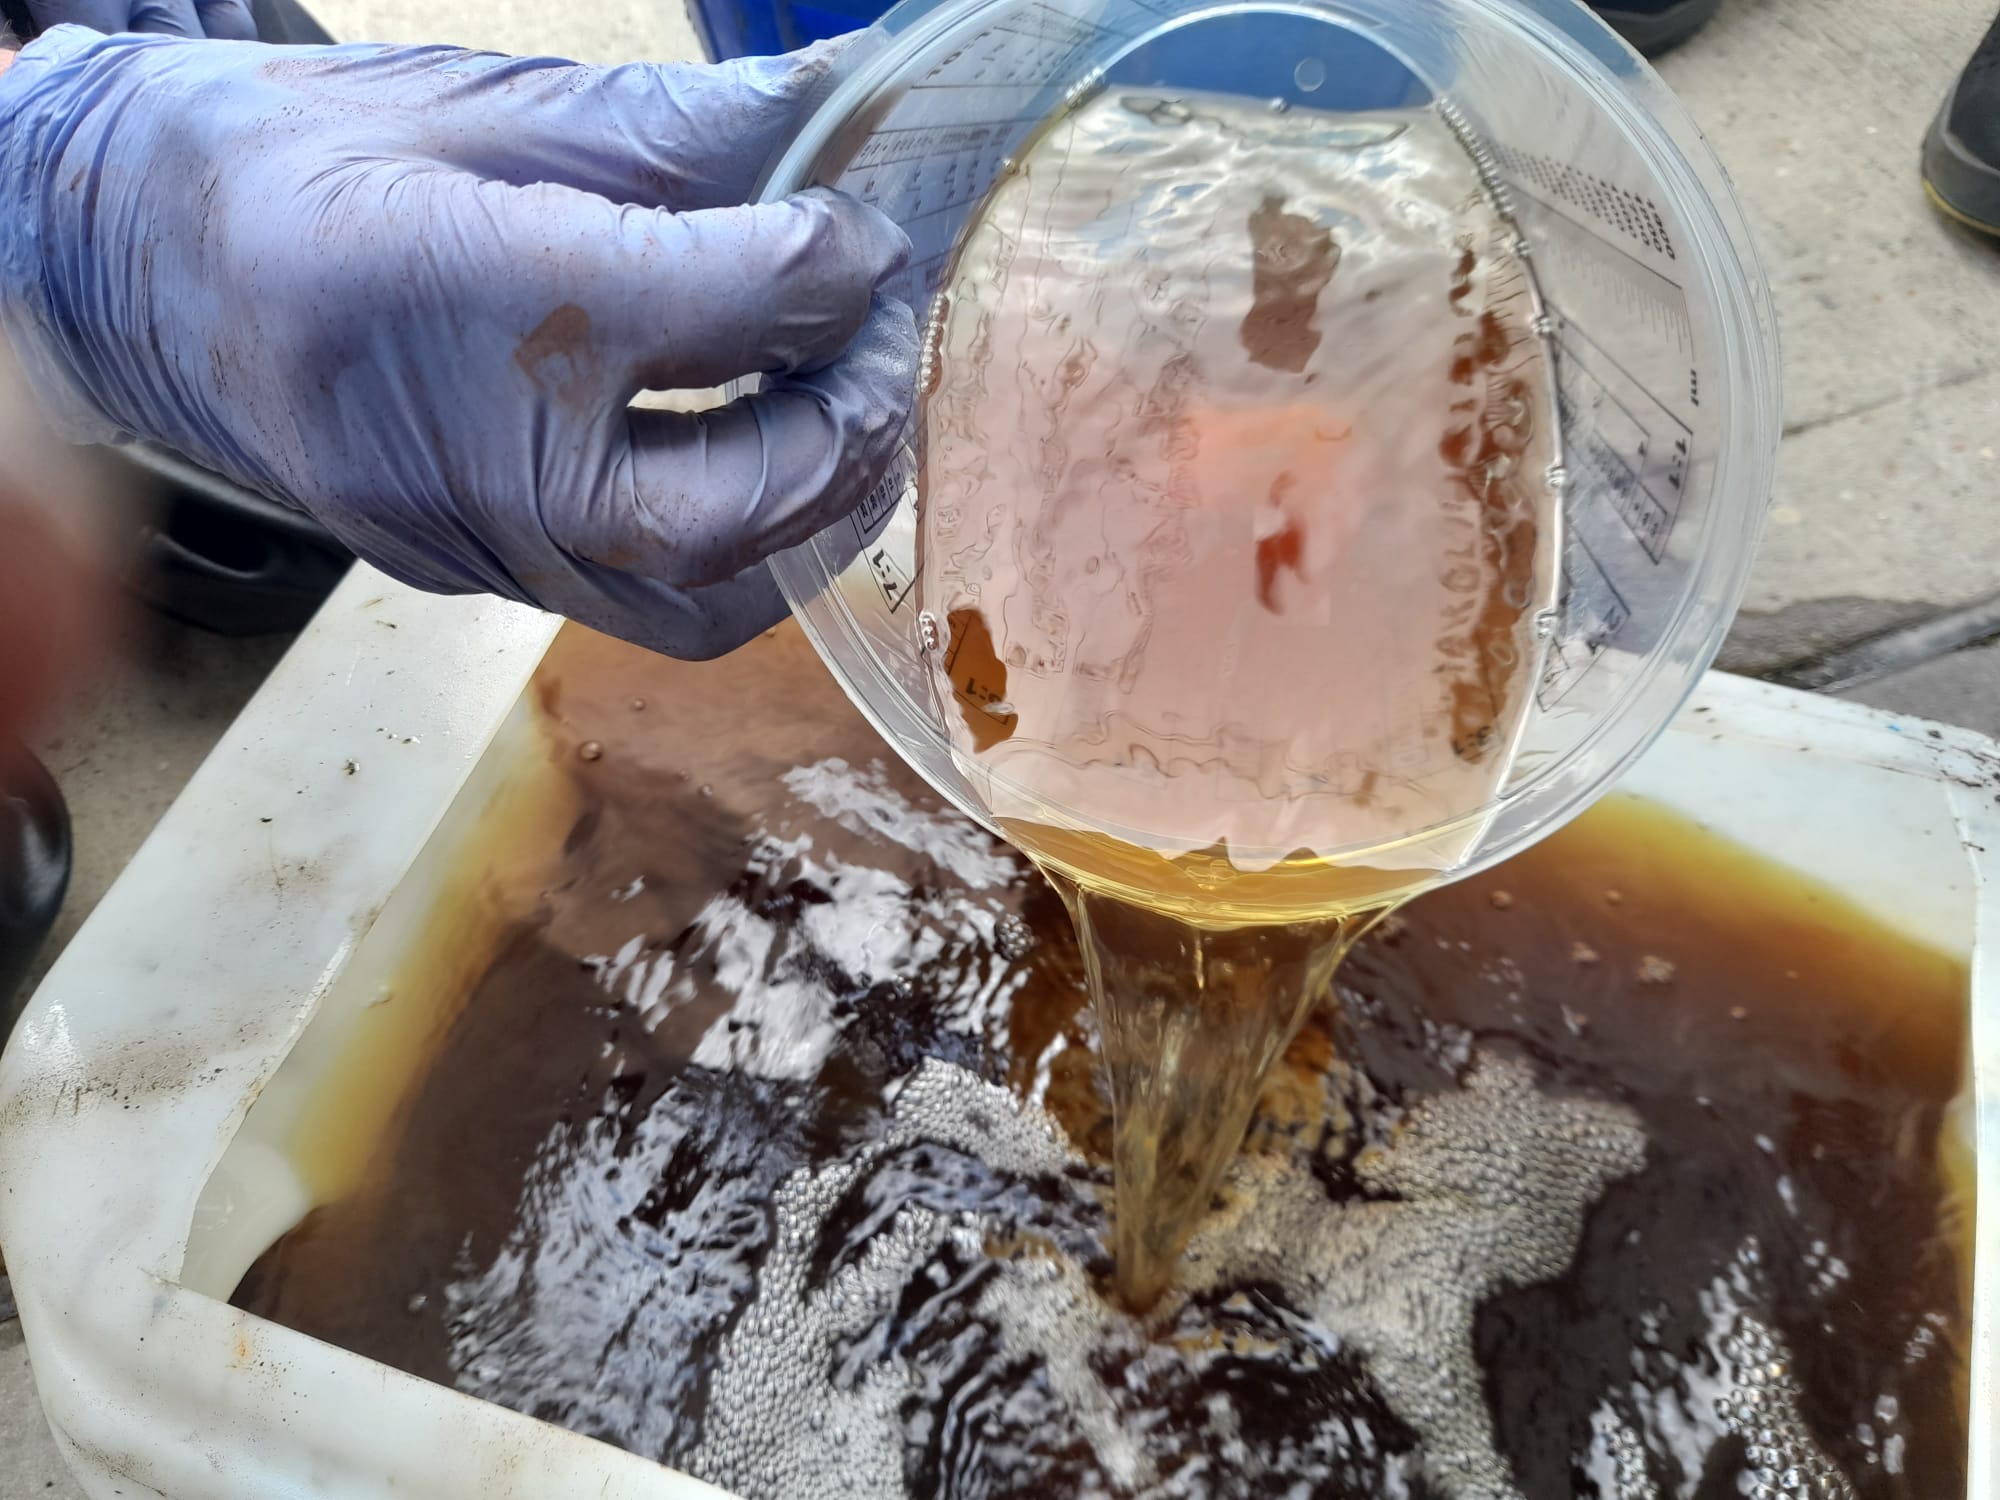
Dave has been investigating the 1971 Jaguar XJ6 because it wasn’t running very well. He found that the carburettor tubes weren’t the same height as each other, and there was a new one and an old one. This is all why the carburettors couldn’t be set up. So a kit was purchased with all new ones in, the same height as each other. The choke had to be modified because the car had been changed to a manual choke in the past, whereas it’s meant to be an automatic one. Dave installed a better return spring for this. He put the car back together but the car still wasn’t right… It would only run for a limited time and it started to run badly again. After another investigation, he found that it wasn’t getting enough fuel in fast enough. It was soon realised that there was dirt in the offside fuel tank, which could be found without even getting into it properly. This car has got twin fuel tanks and both were the same. Dave has drained the fuel out of both of them, remarking that it smelt like rum! Not quite right then… There’s a video at the end of this post showing him at the start of draining the offside fuel tank.


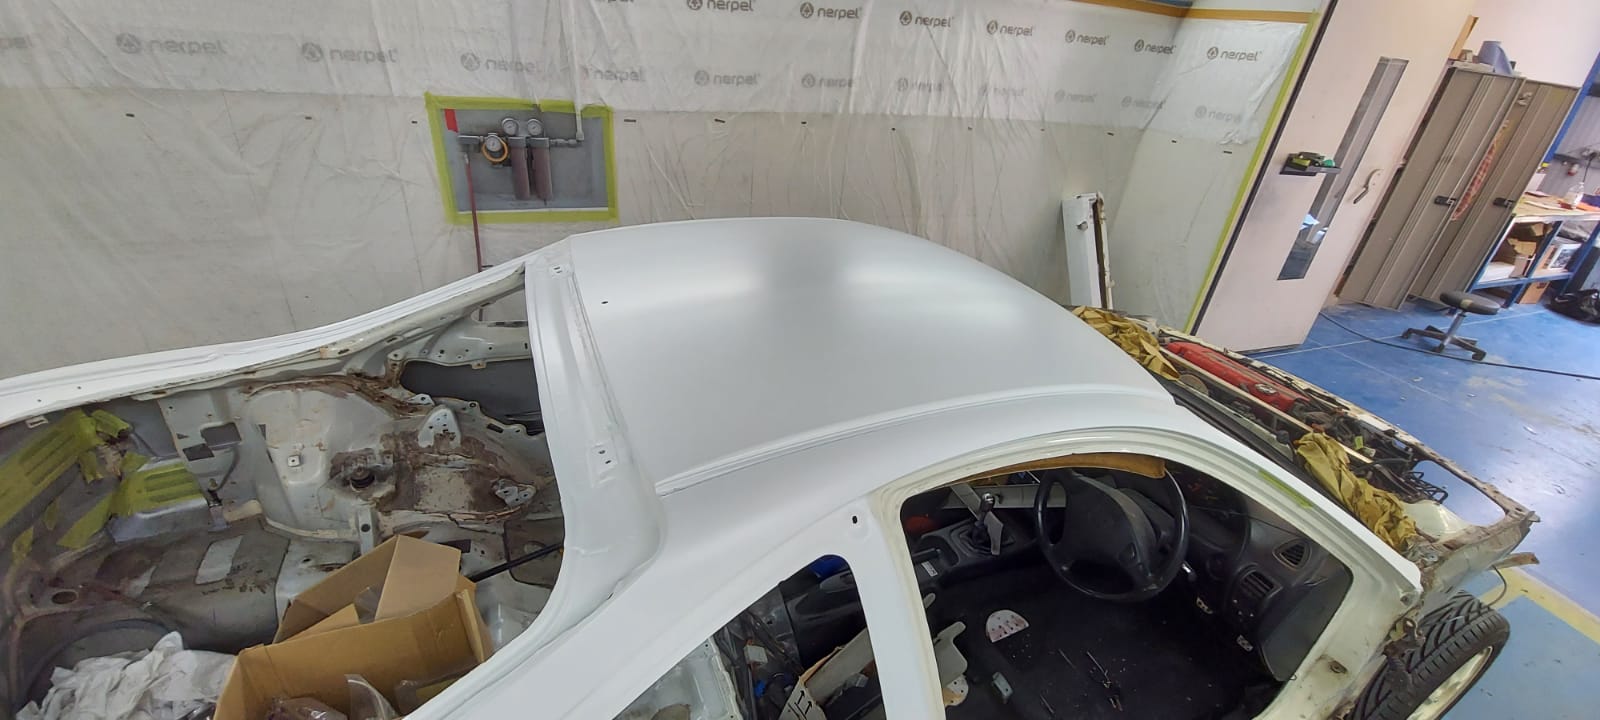
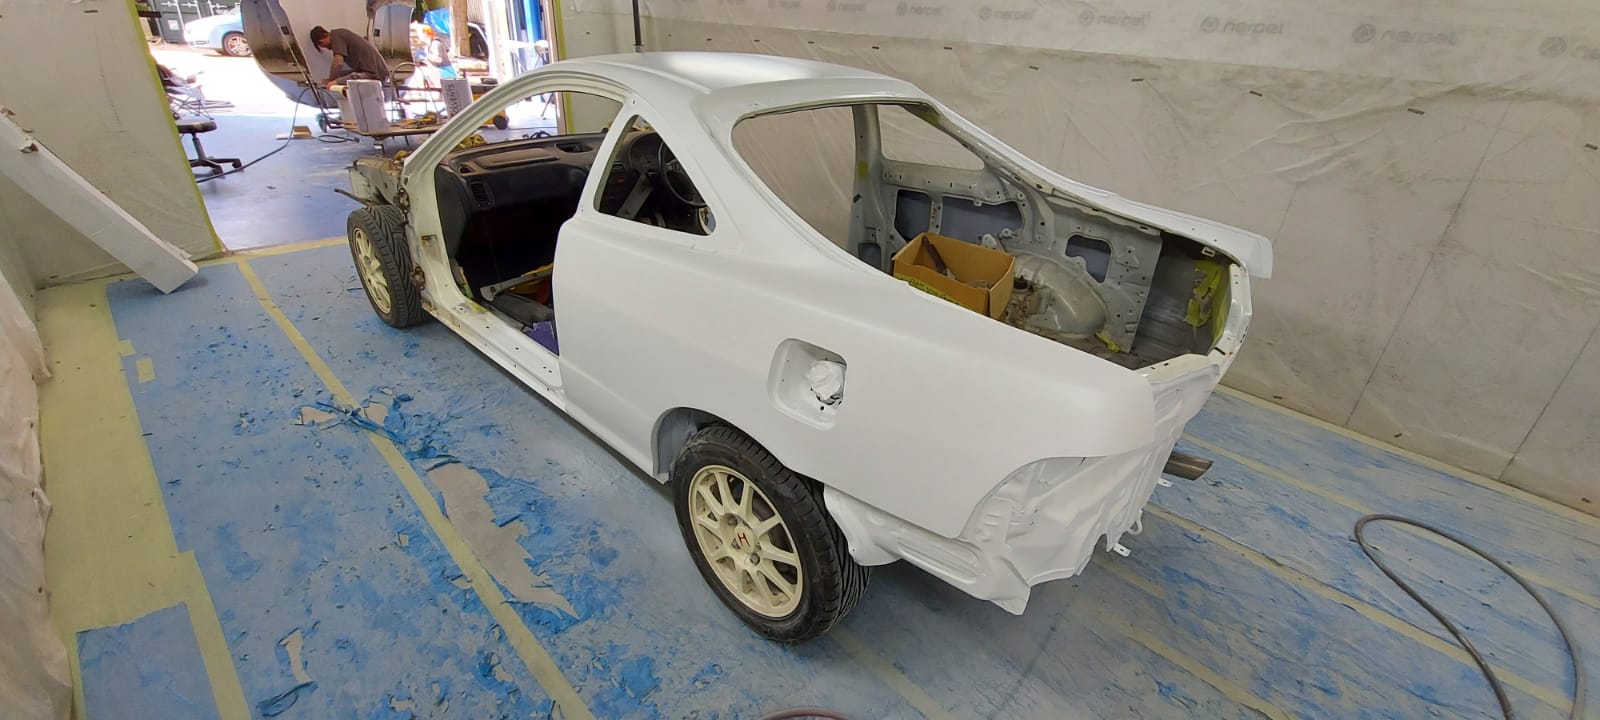
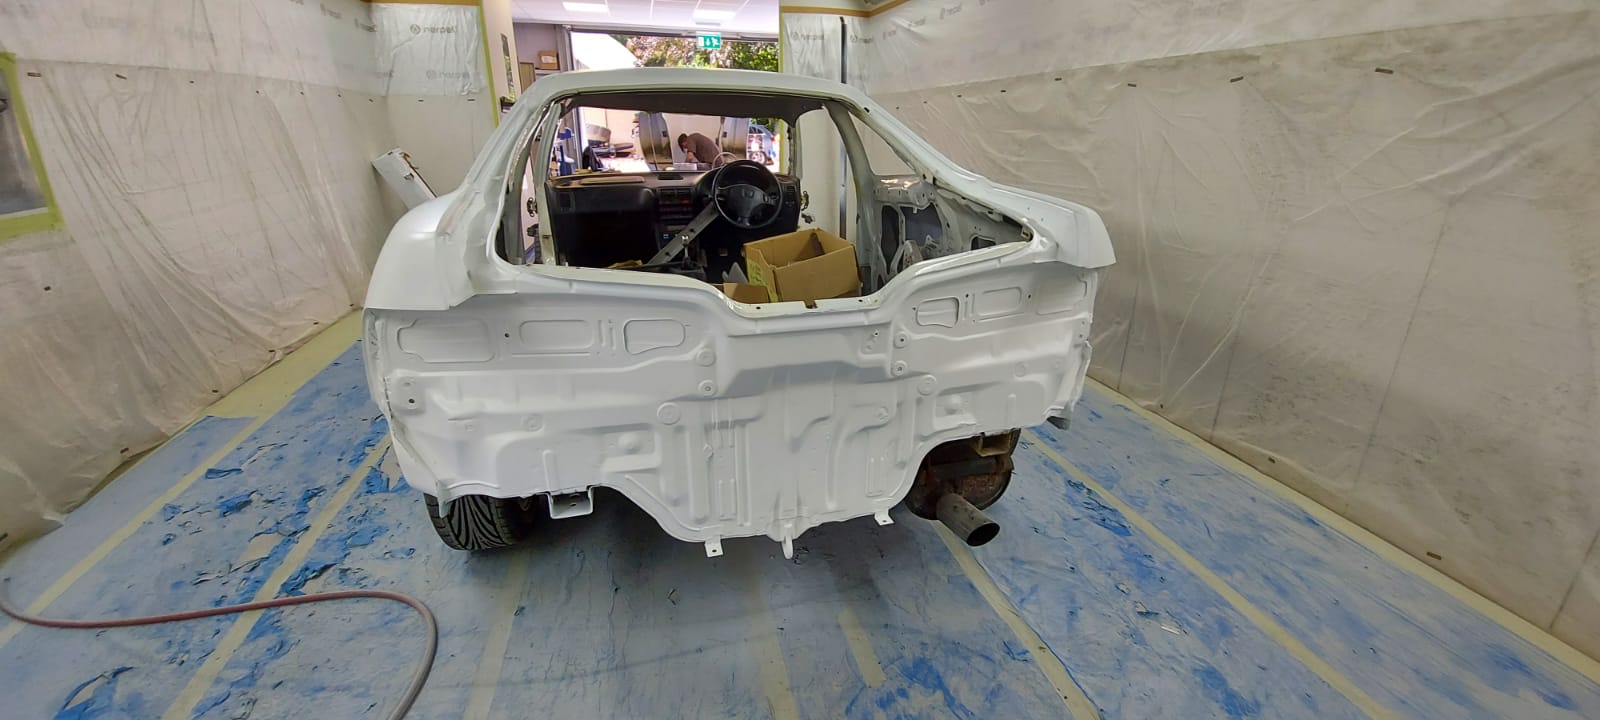
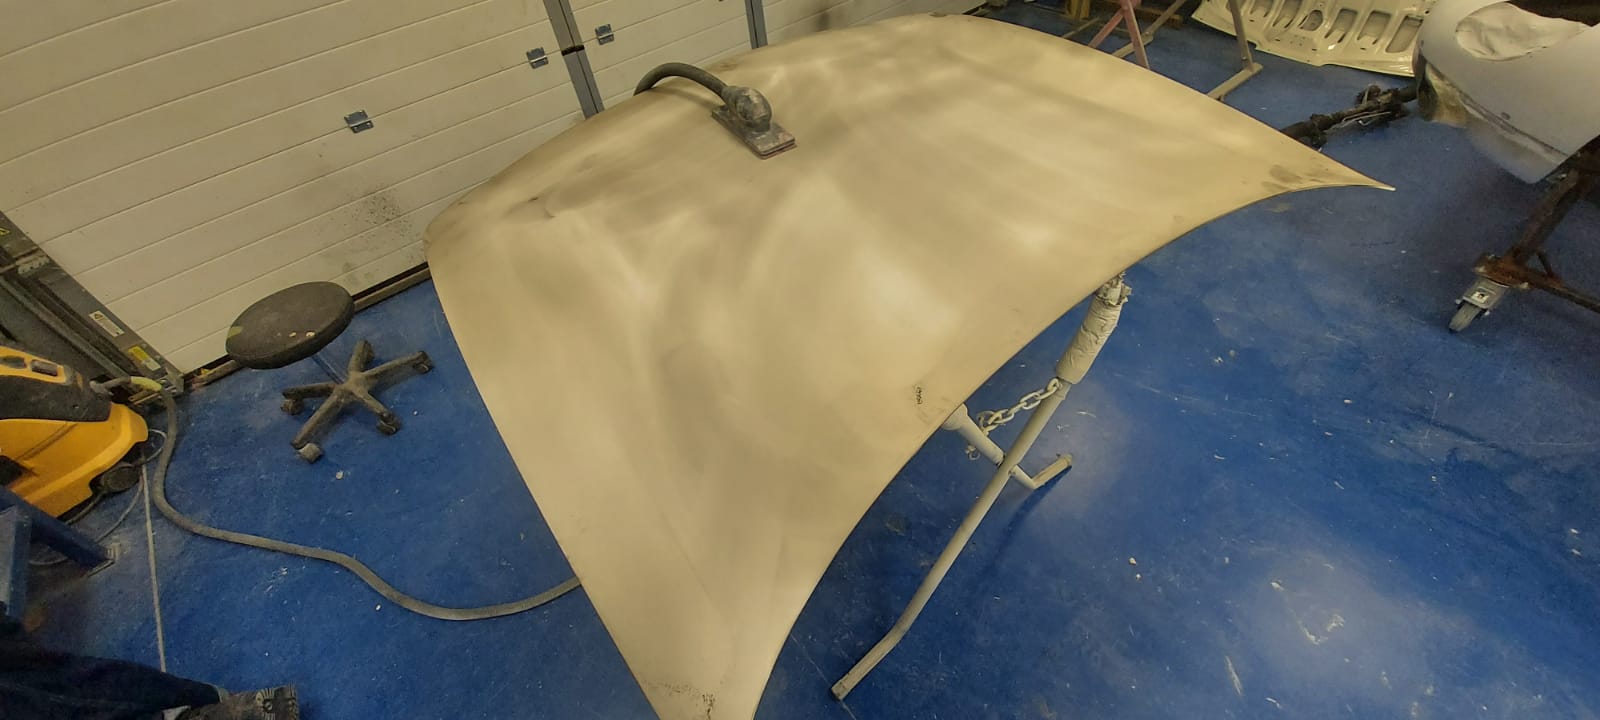
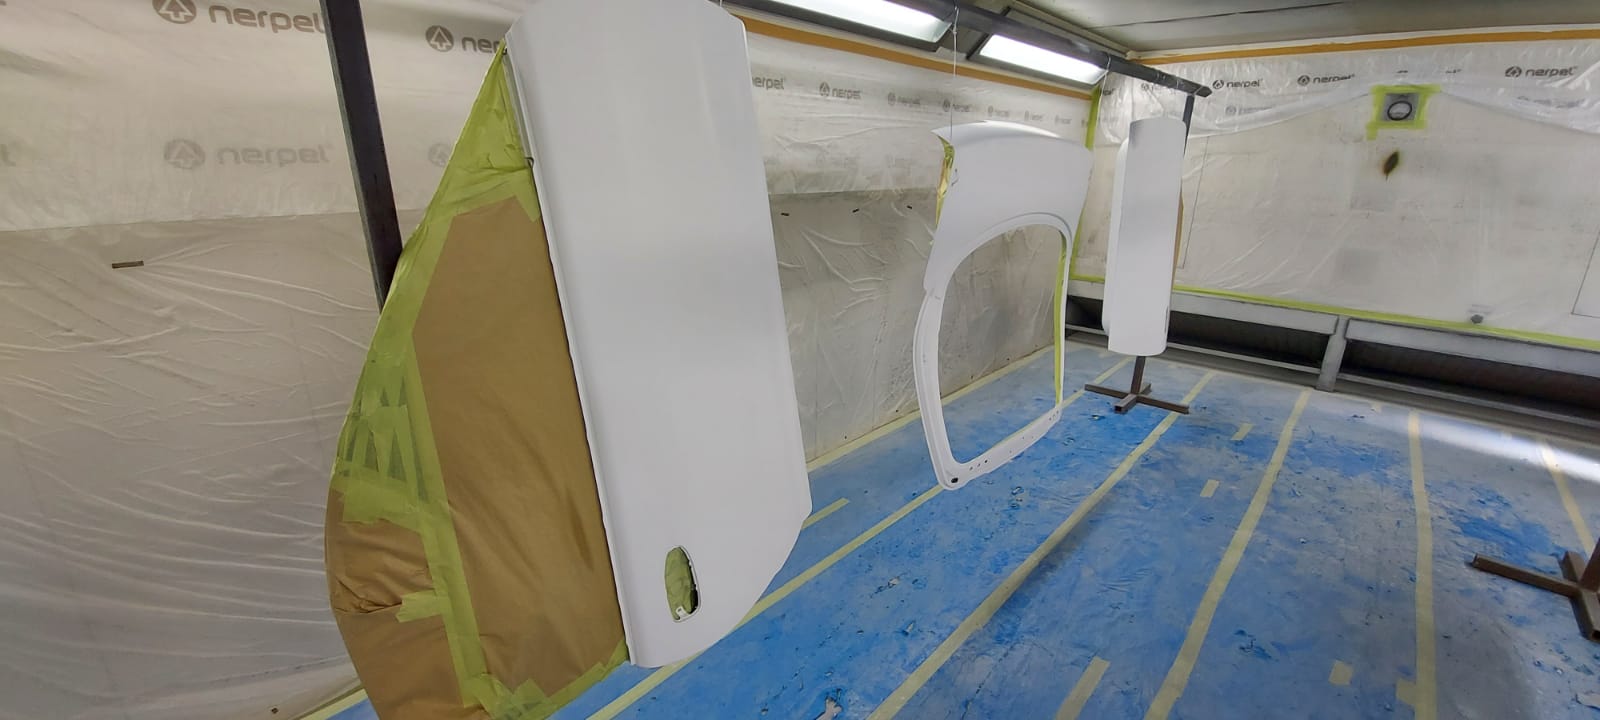
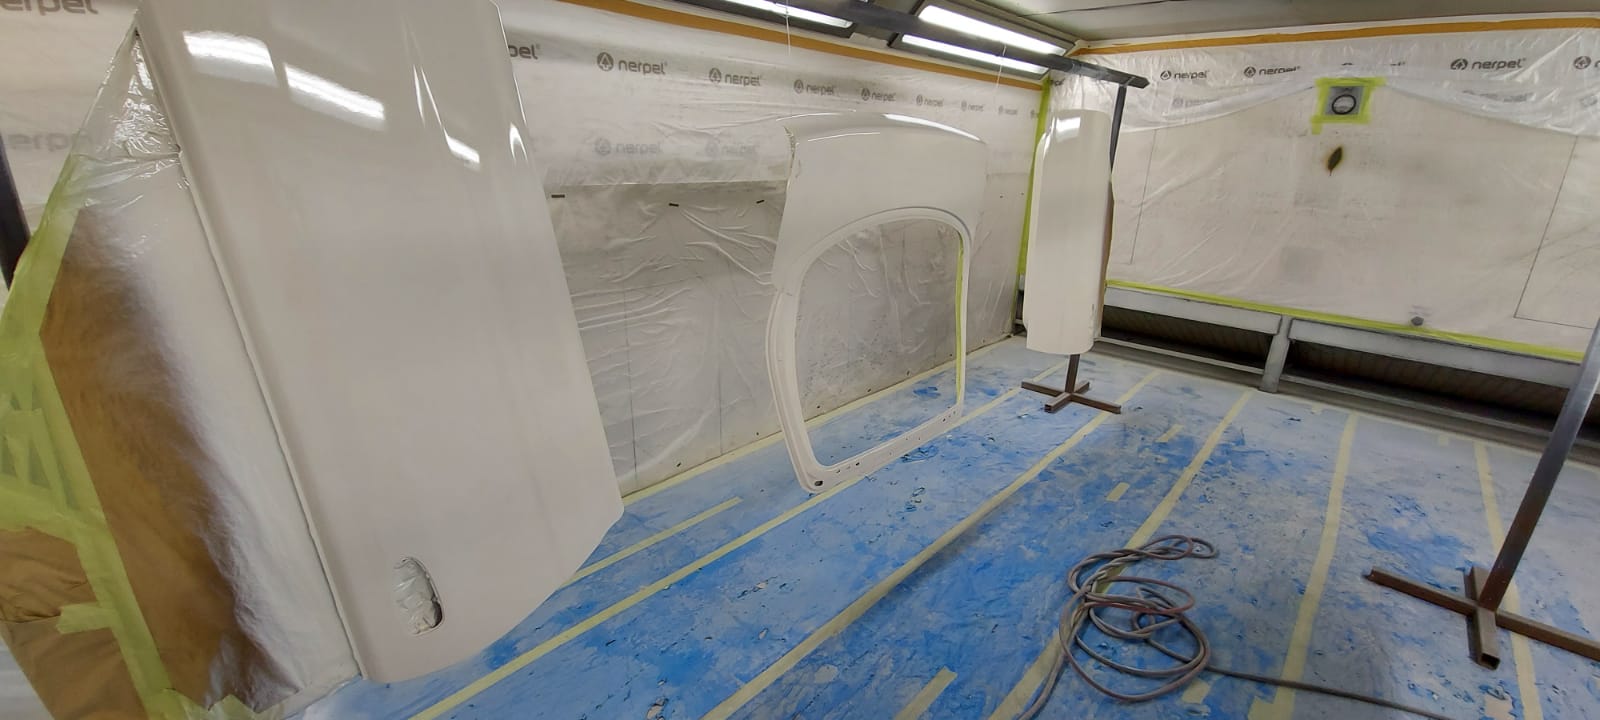
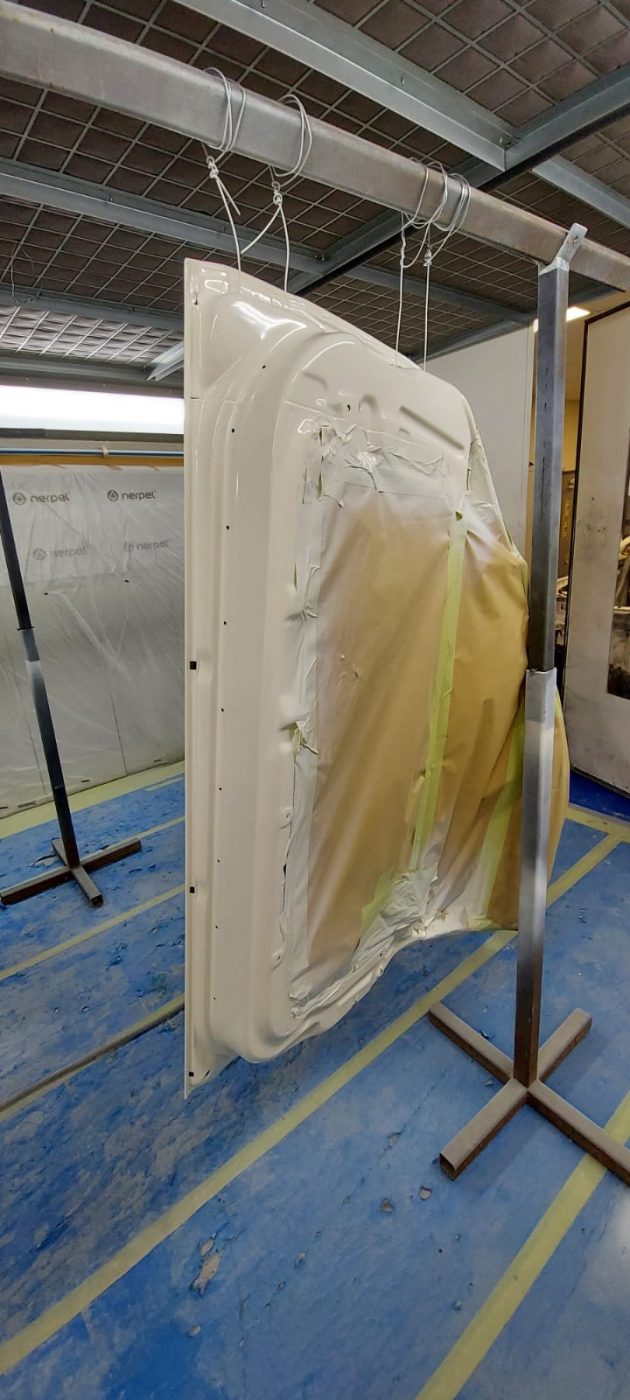
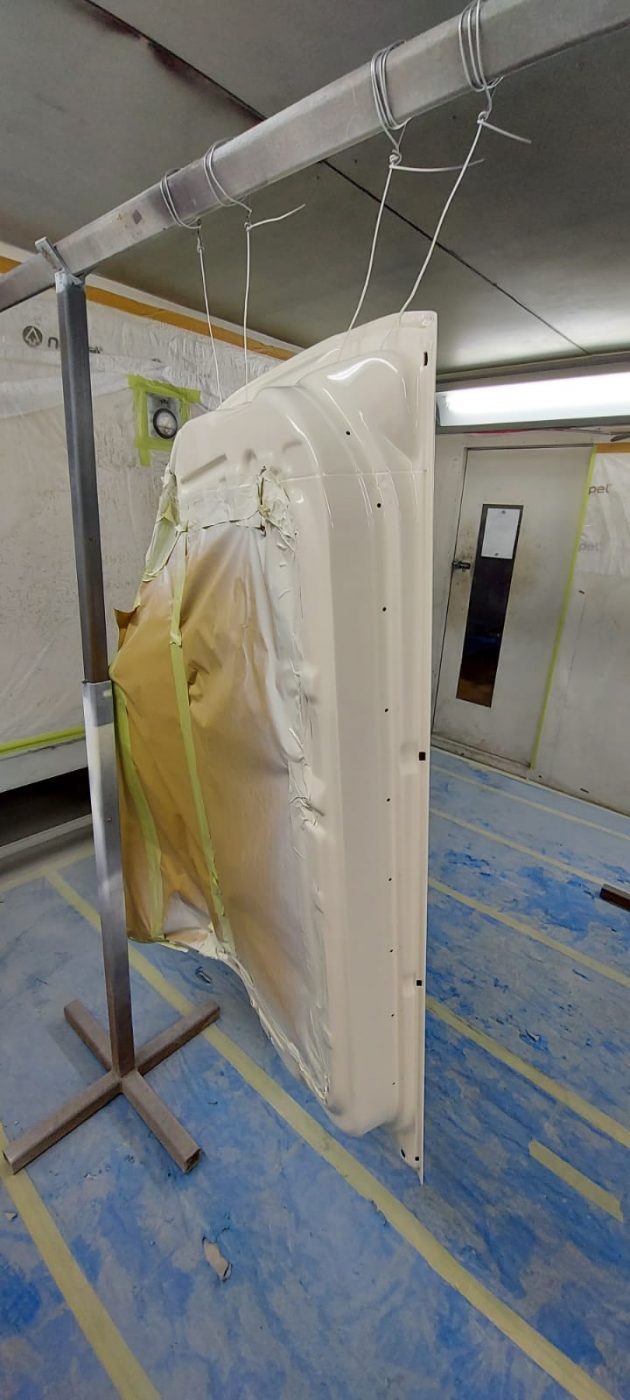
The 1998 Honda Integra went into the paint bay at the end of last week. The body shell and bonnet have been primed and the doors and boot panel have been coated in the final coat of new white paint.

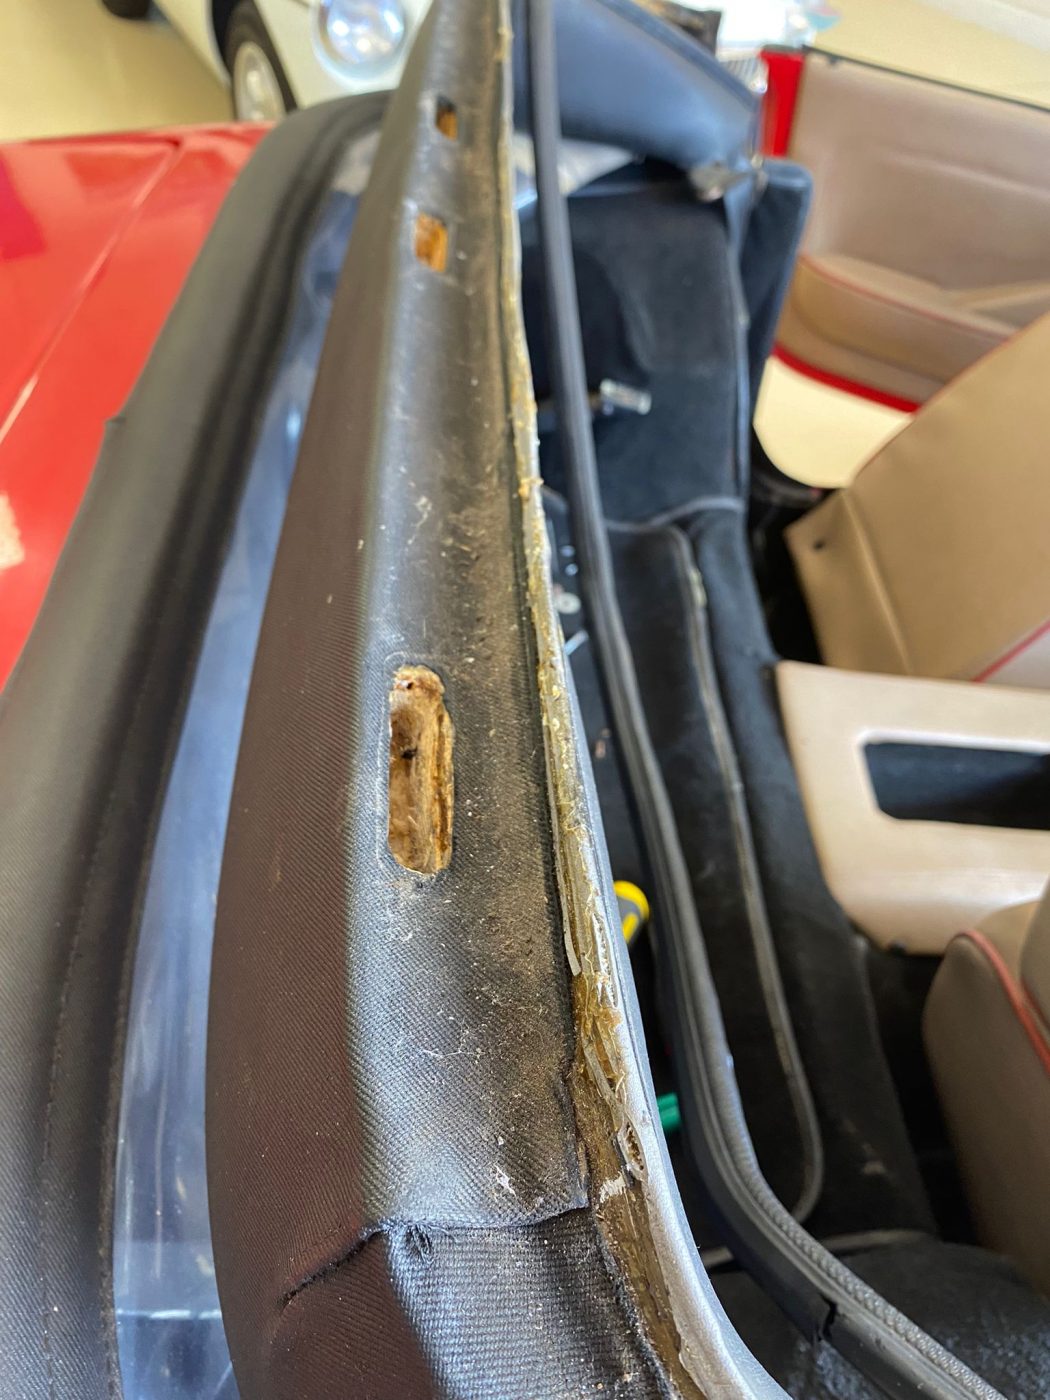
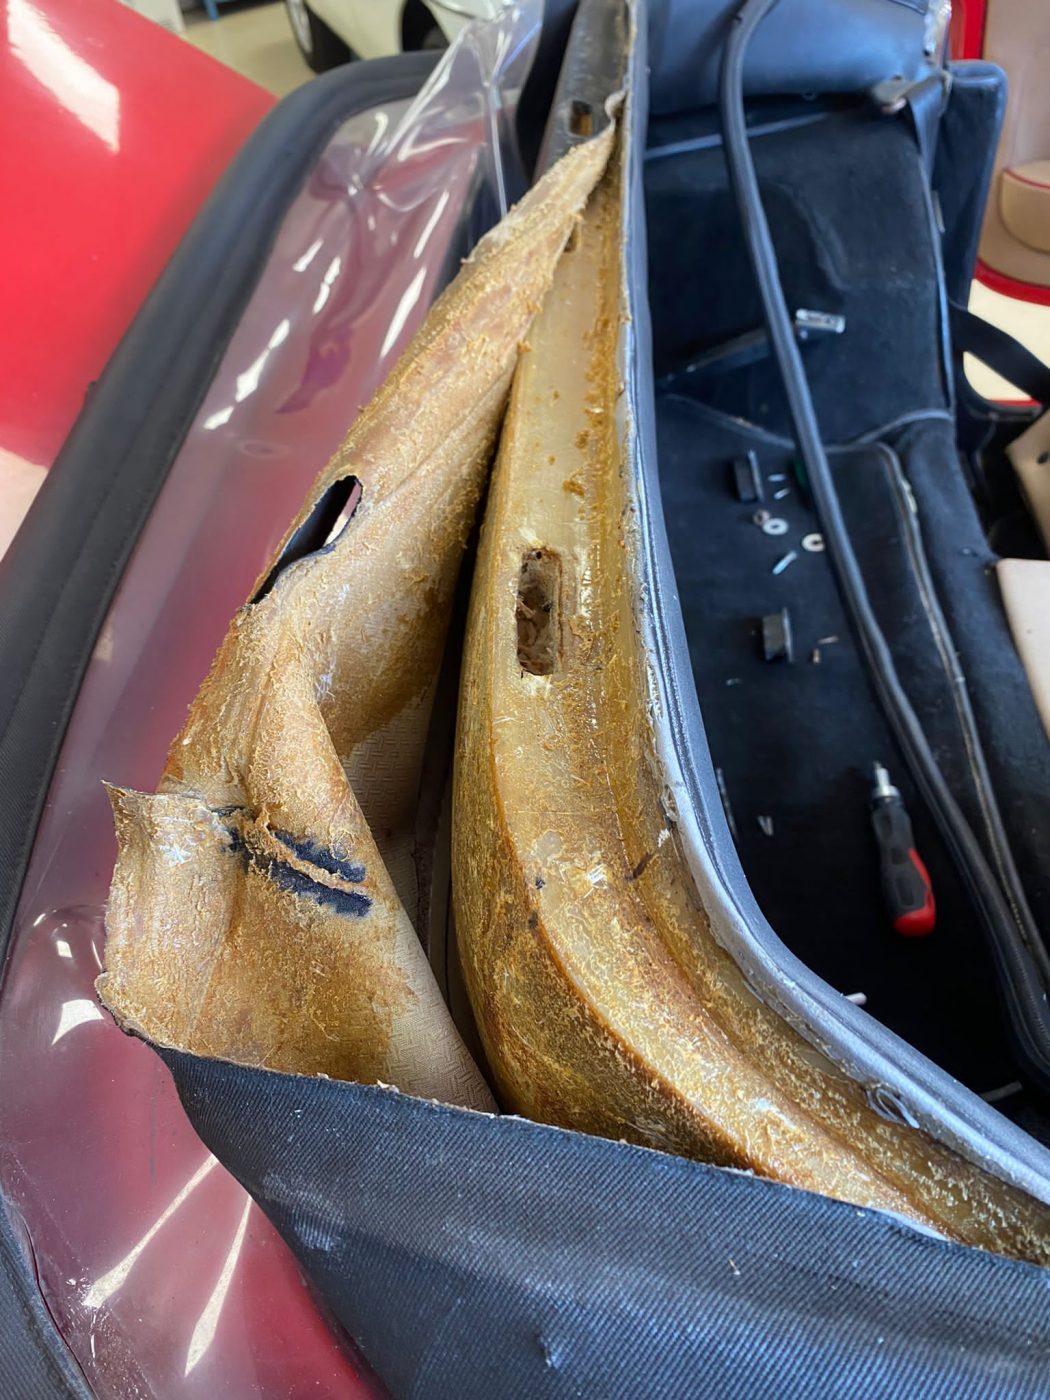
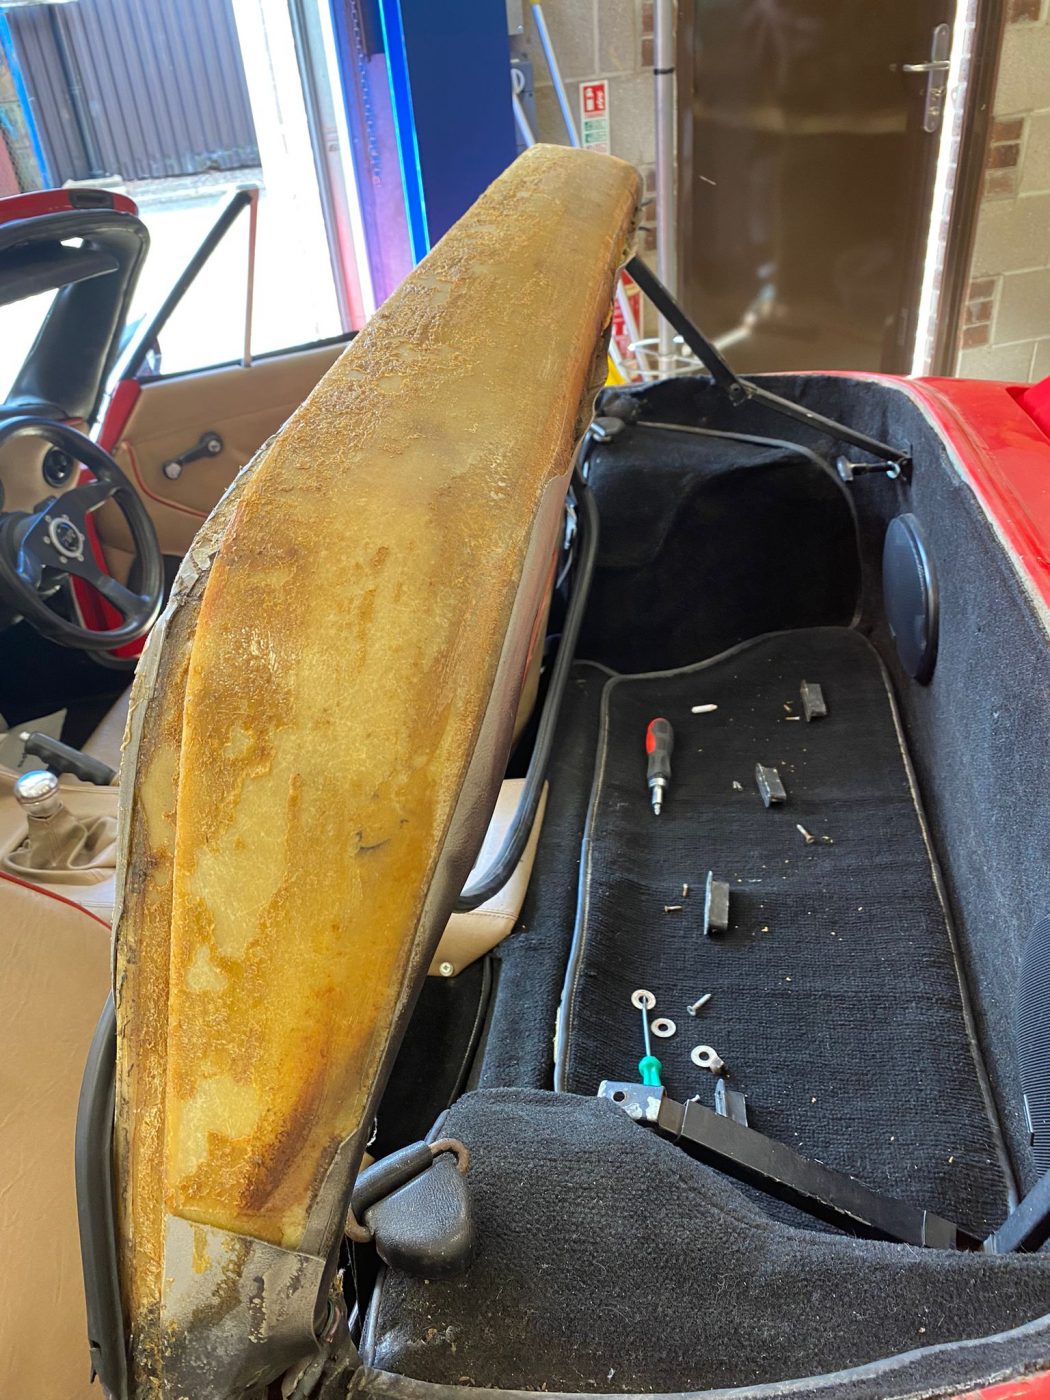
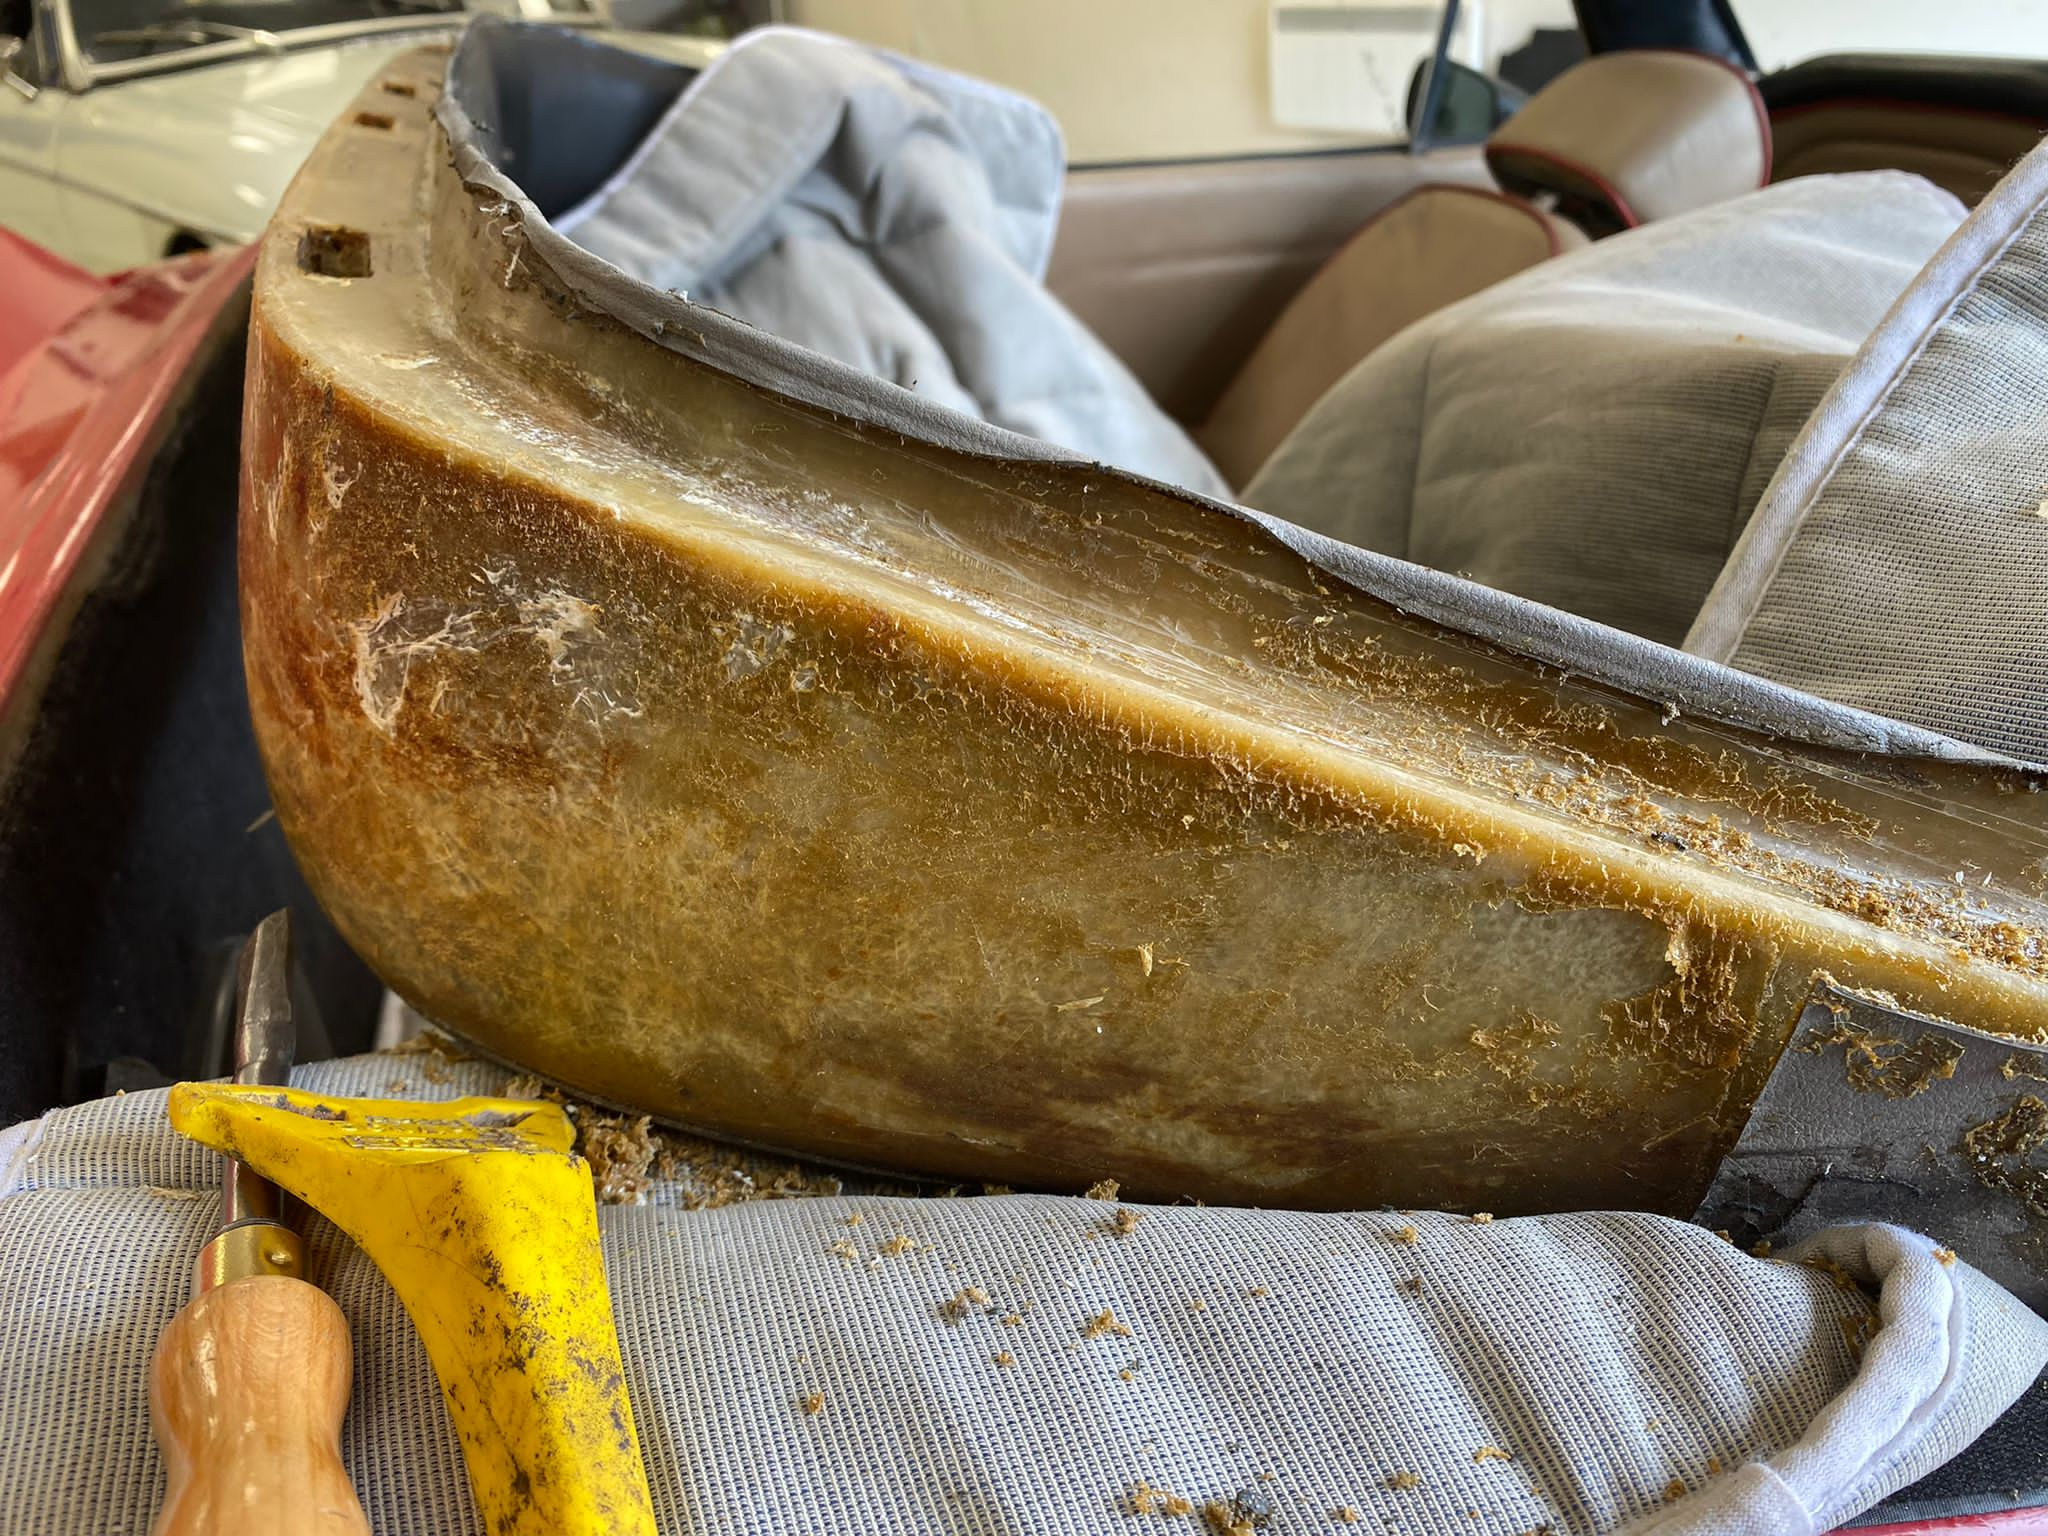
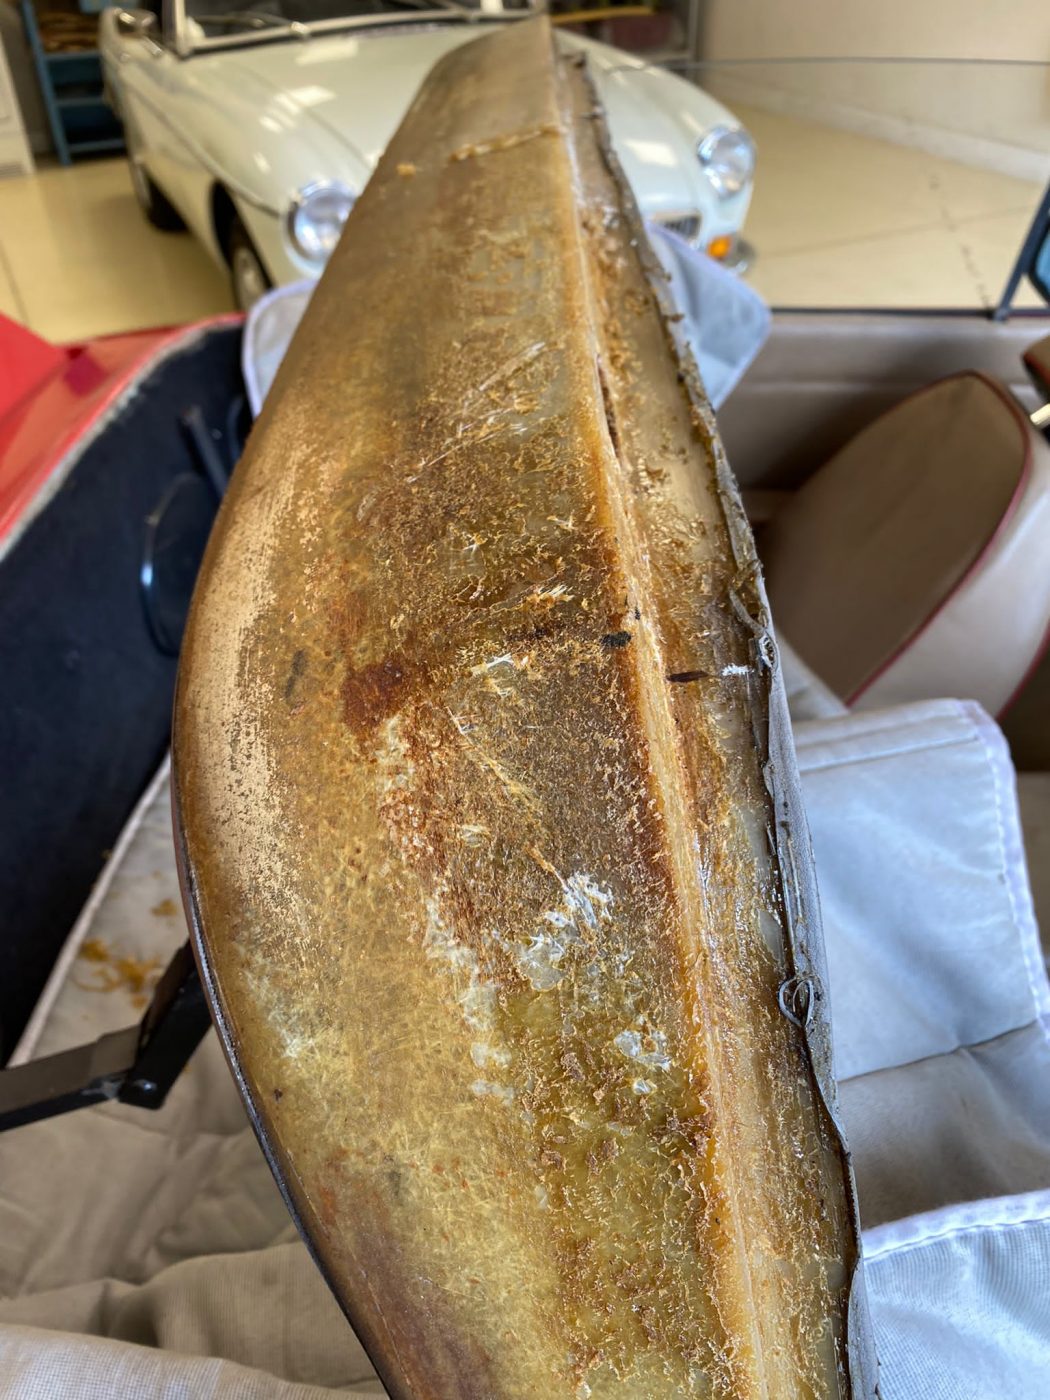
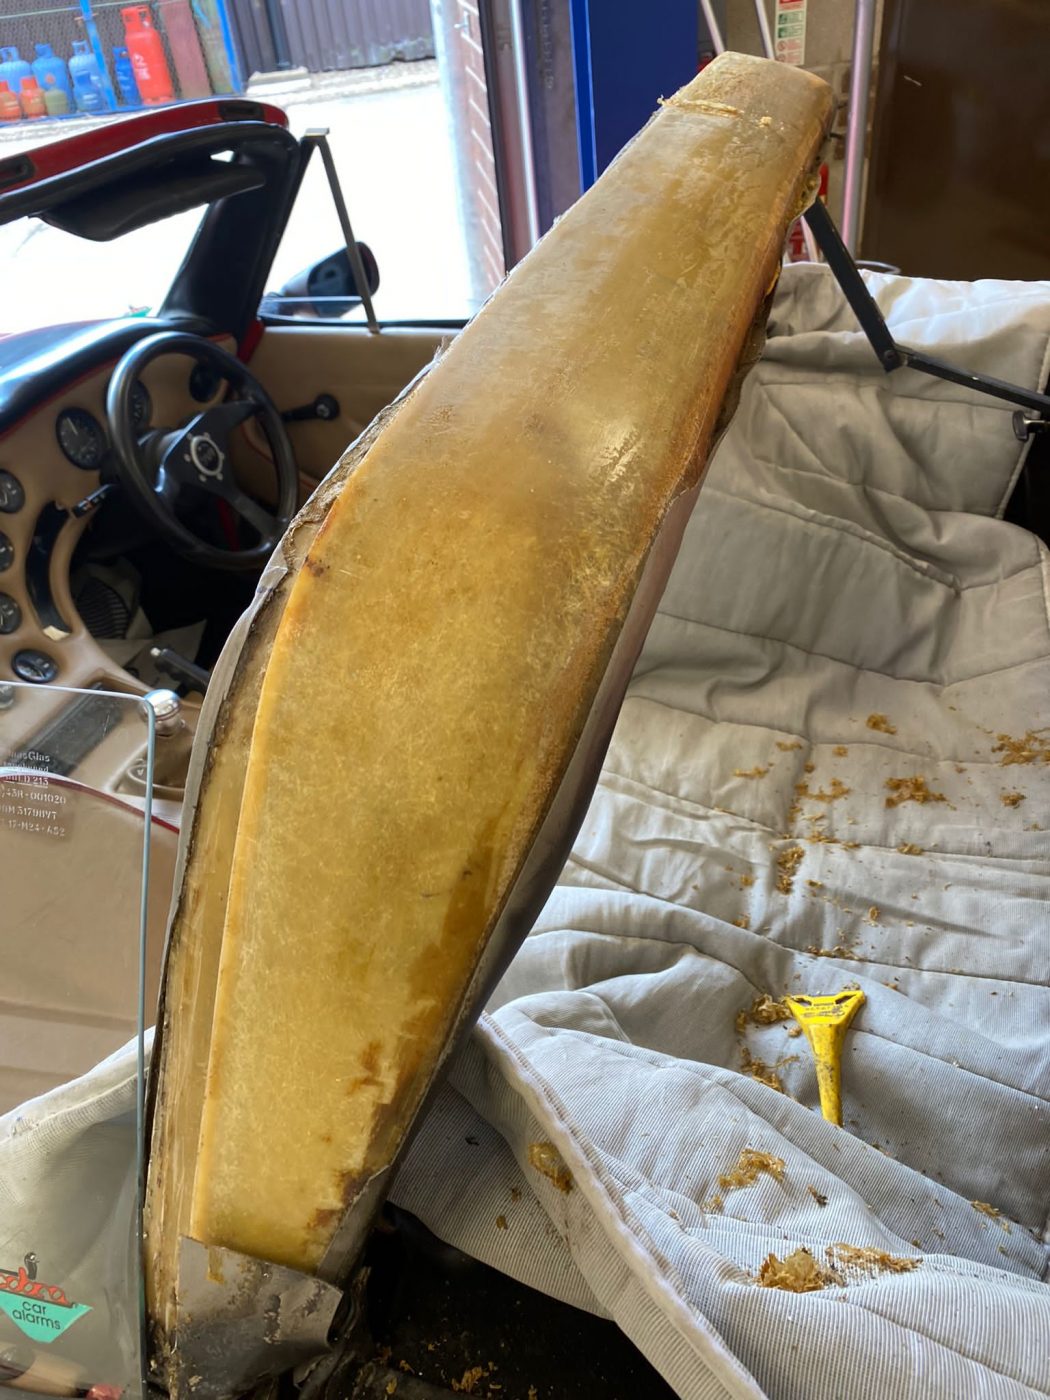
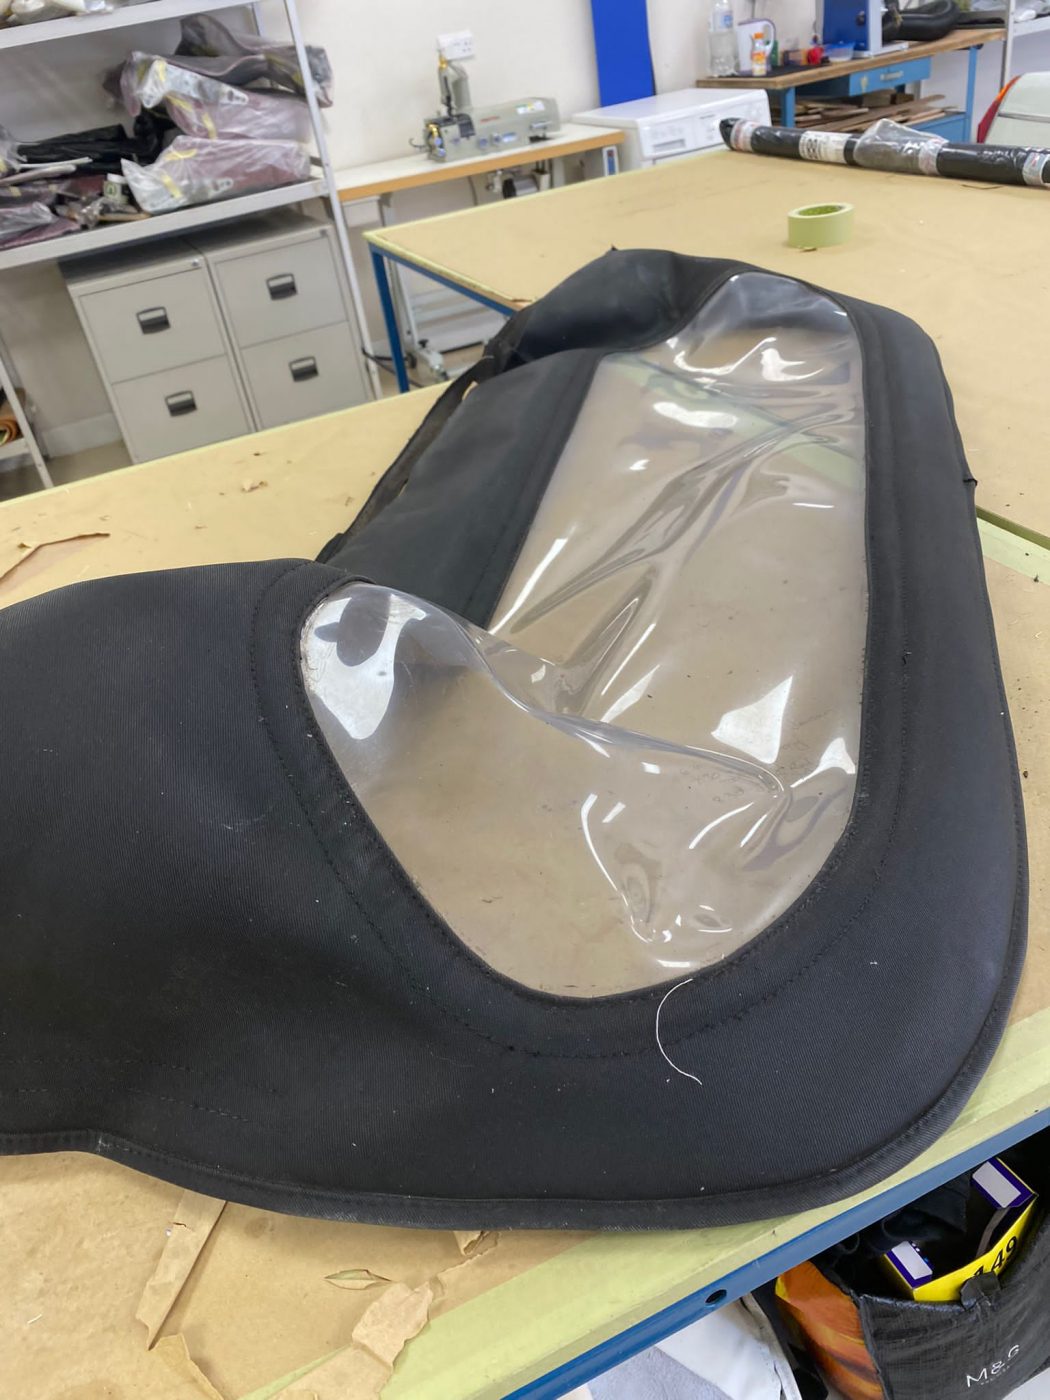
Kath has been starting the work on the 1989 TVR S2 rear window replacement on the soft top. Yesterday she removed the hood from the roof frame. This involved taking out the metal plates that are on the front, and slot it into place when it’s up. The rubber seal was removed next, in order to start taking the fabric of the hood off the foam on the middle bar of the frame. Kath scraped the old glue off the foam. The removed hood was placed on a table and another bar was removed from it, before unpicking the old PVC window from the surrounding fabric. The old foam and glue that was left on the fabric was then scraped off. Tomorrow, Kath will be cutting out the new window from clear PVC and stitching into place, making sure to go through the same original stitch holes.