TR5 completion!
You can read about the full story of this car here! At the start of November 2019, this 1968 Triumph TR5 came into our workshop


You can read about the full story of this car here! At the start of November 2019, this 1968 Triumph TR5 came into our workshop
The 1973 Triumph Stag has now come to its completion stage! It’s had quite the journey! You can read in full detail about all the

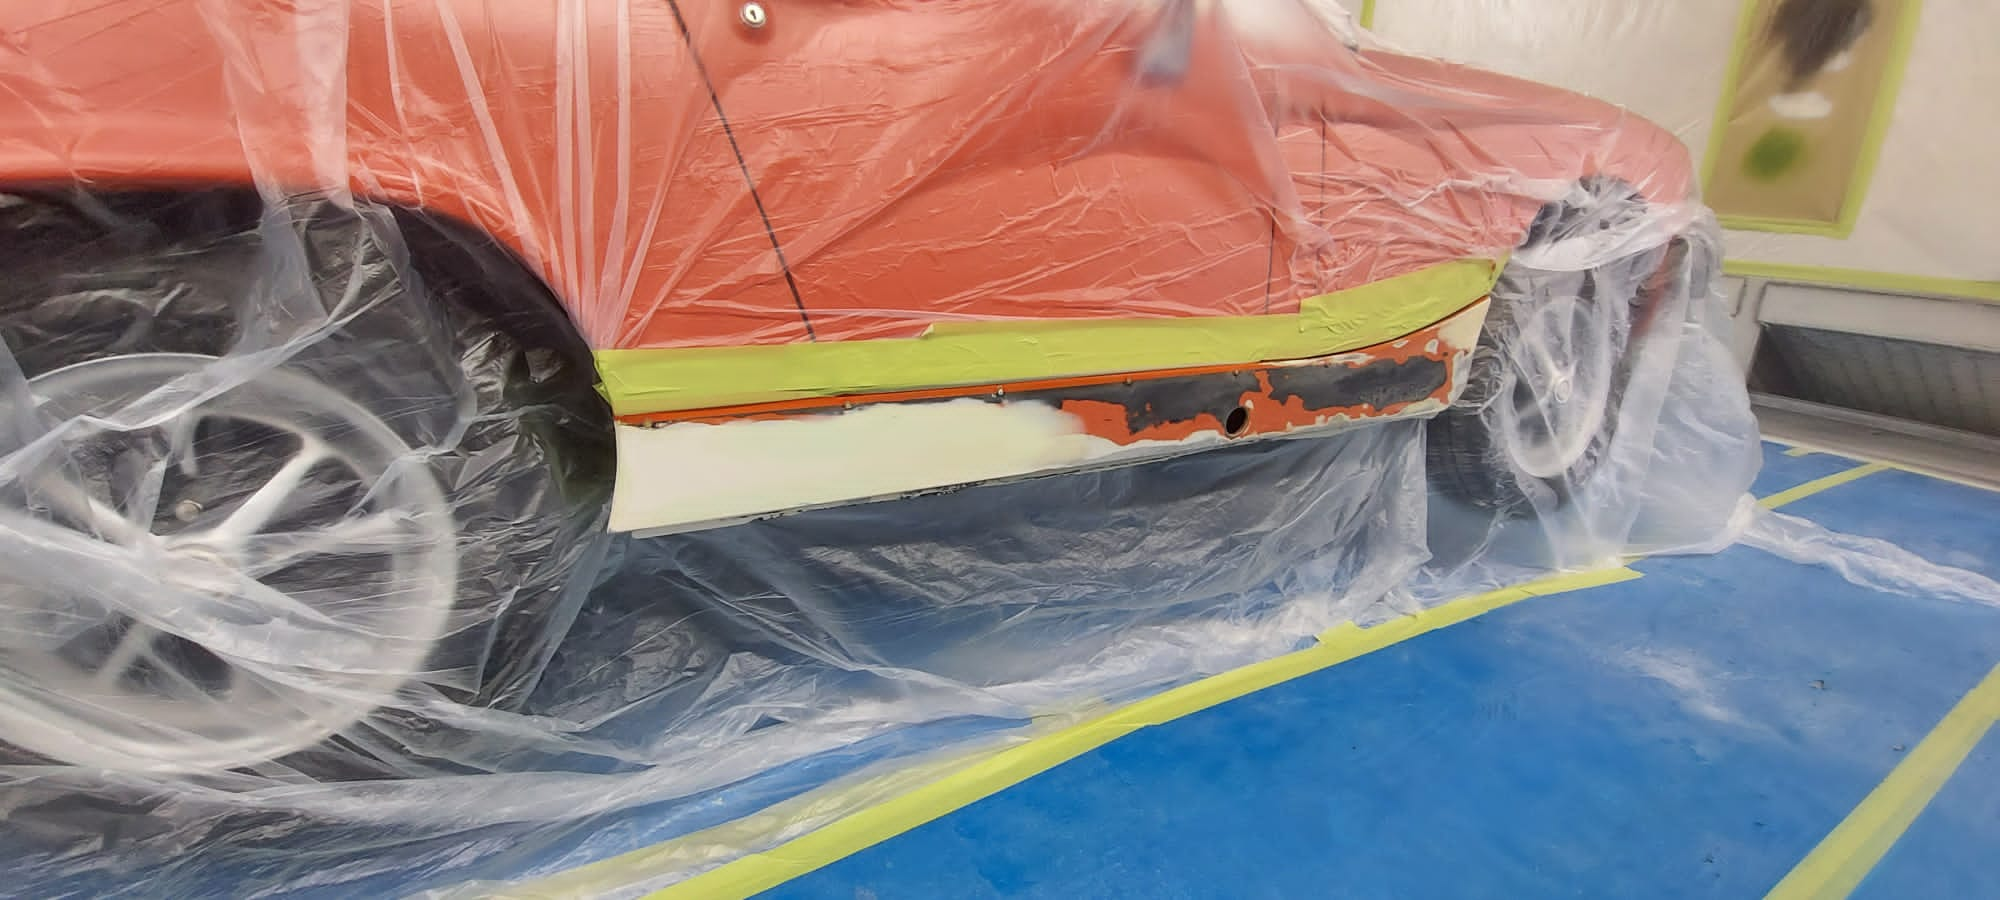
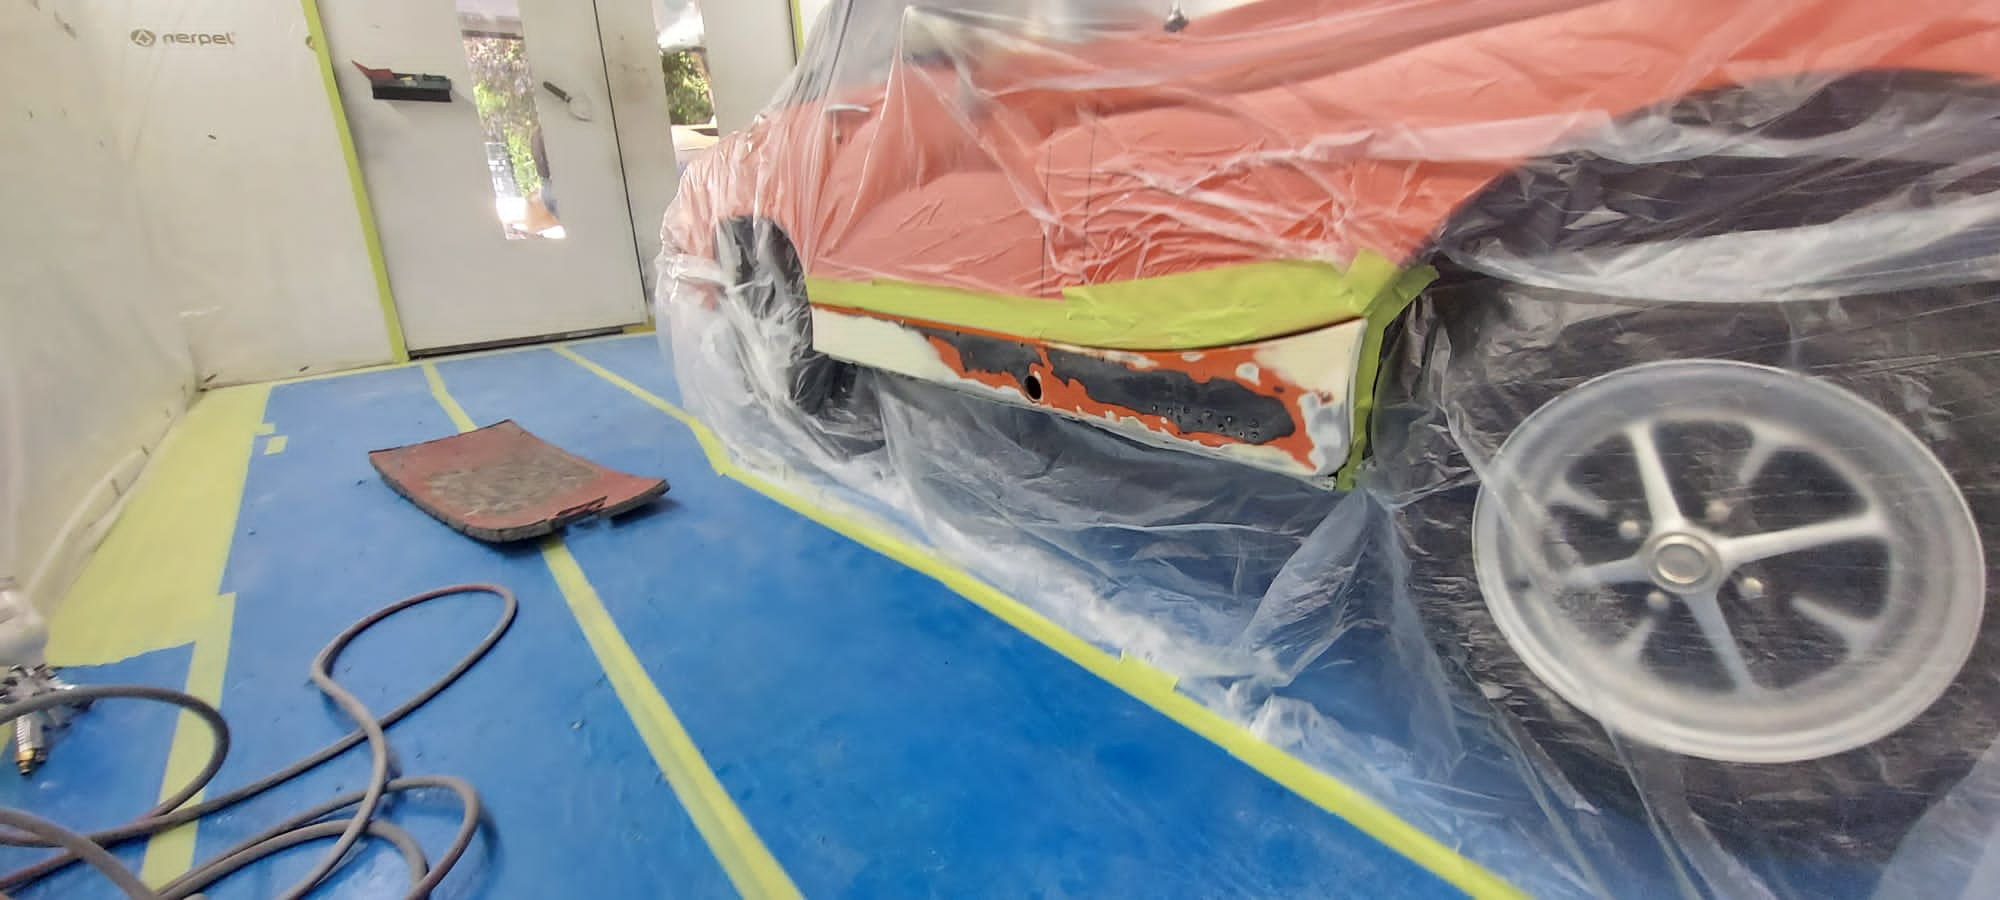
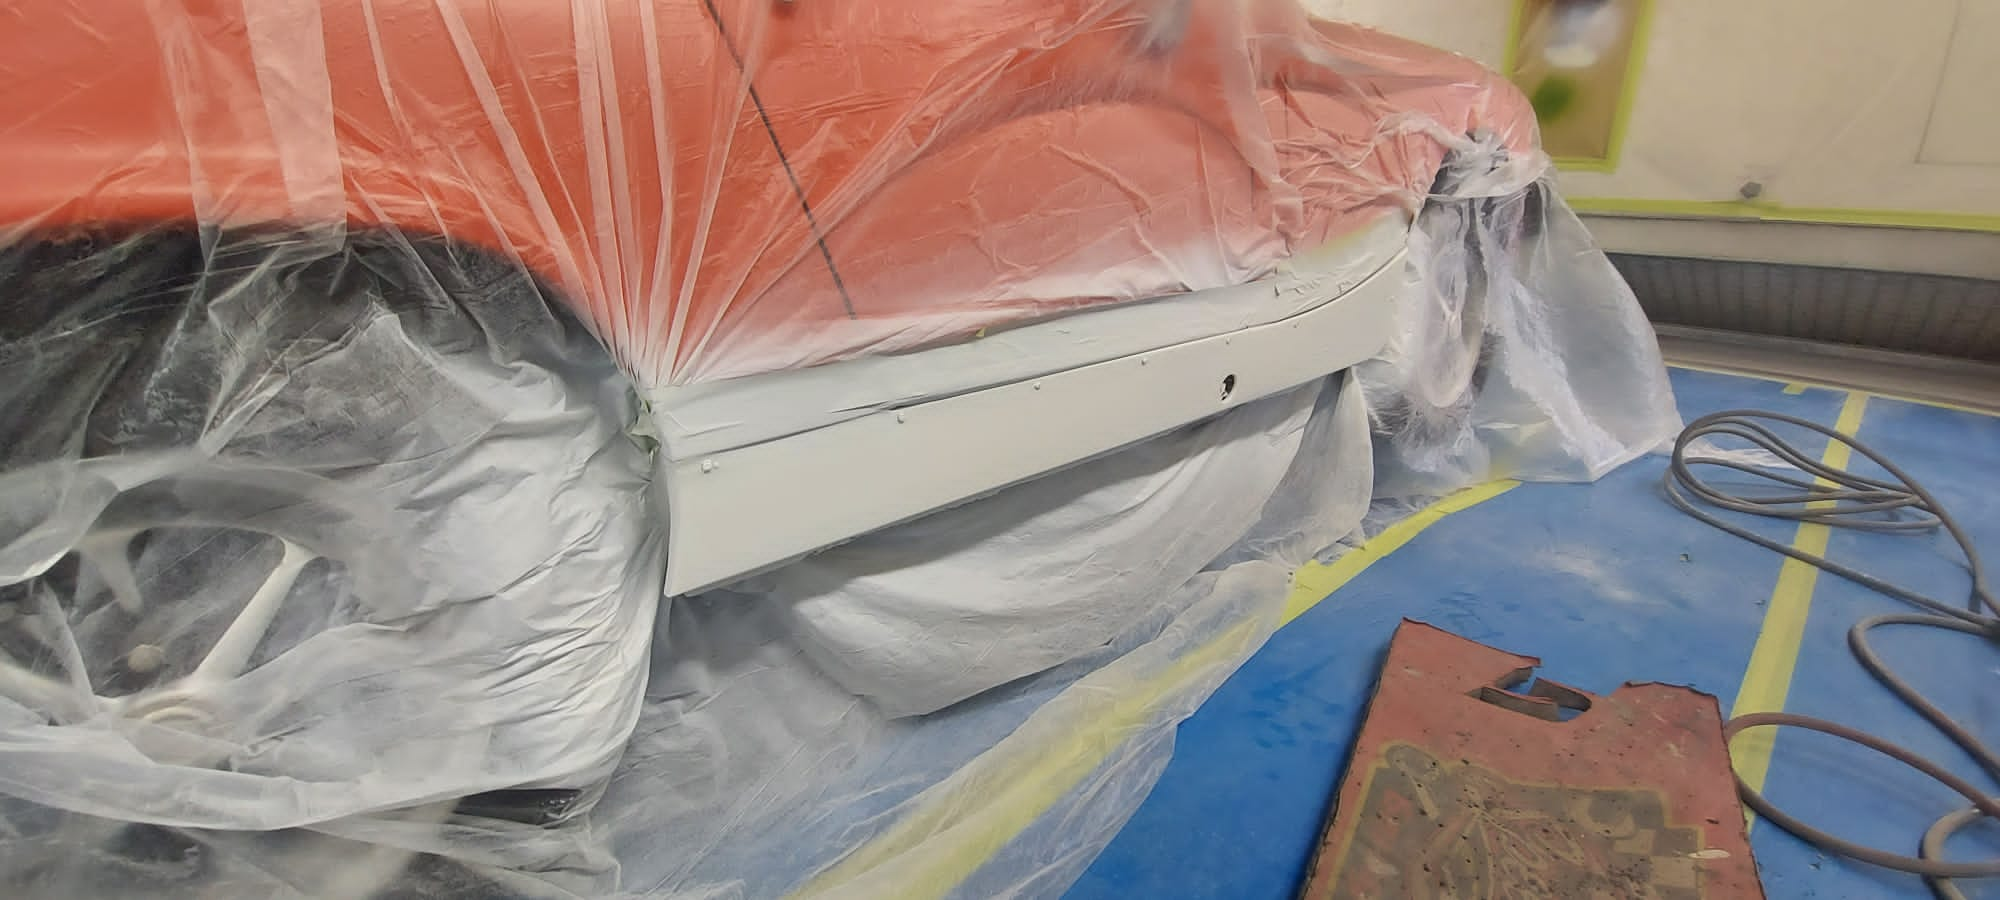
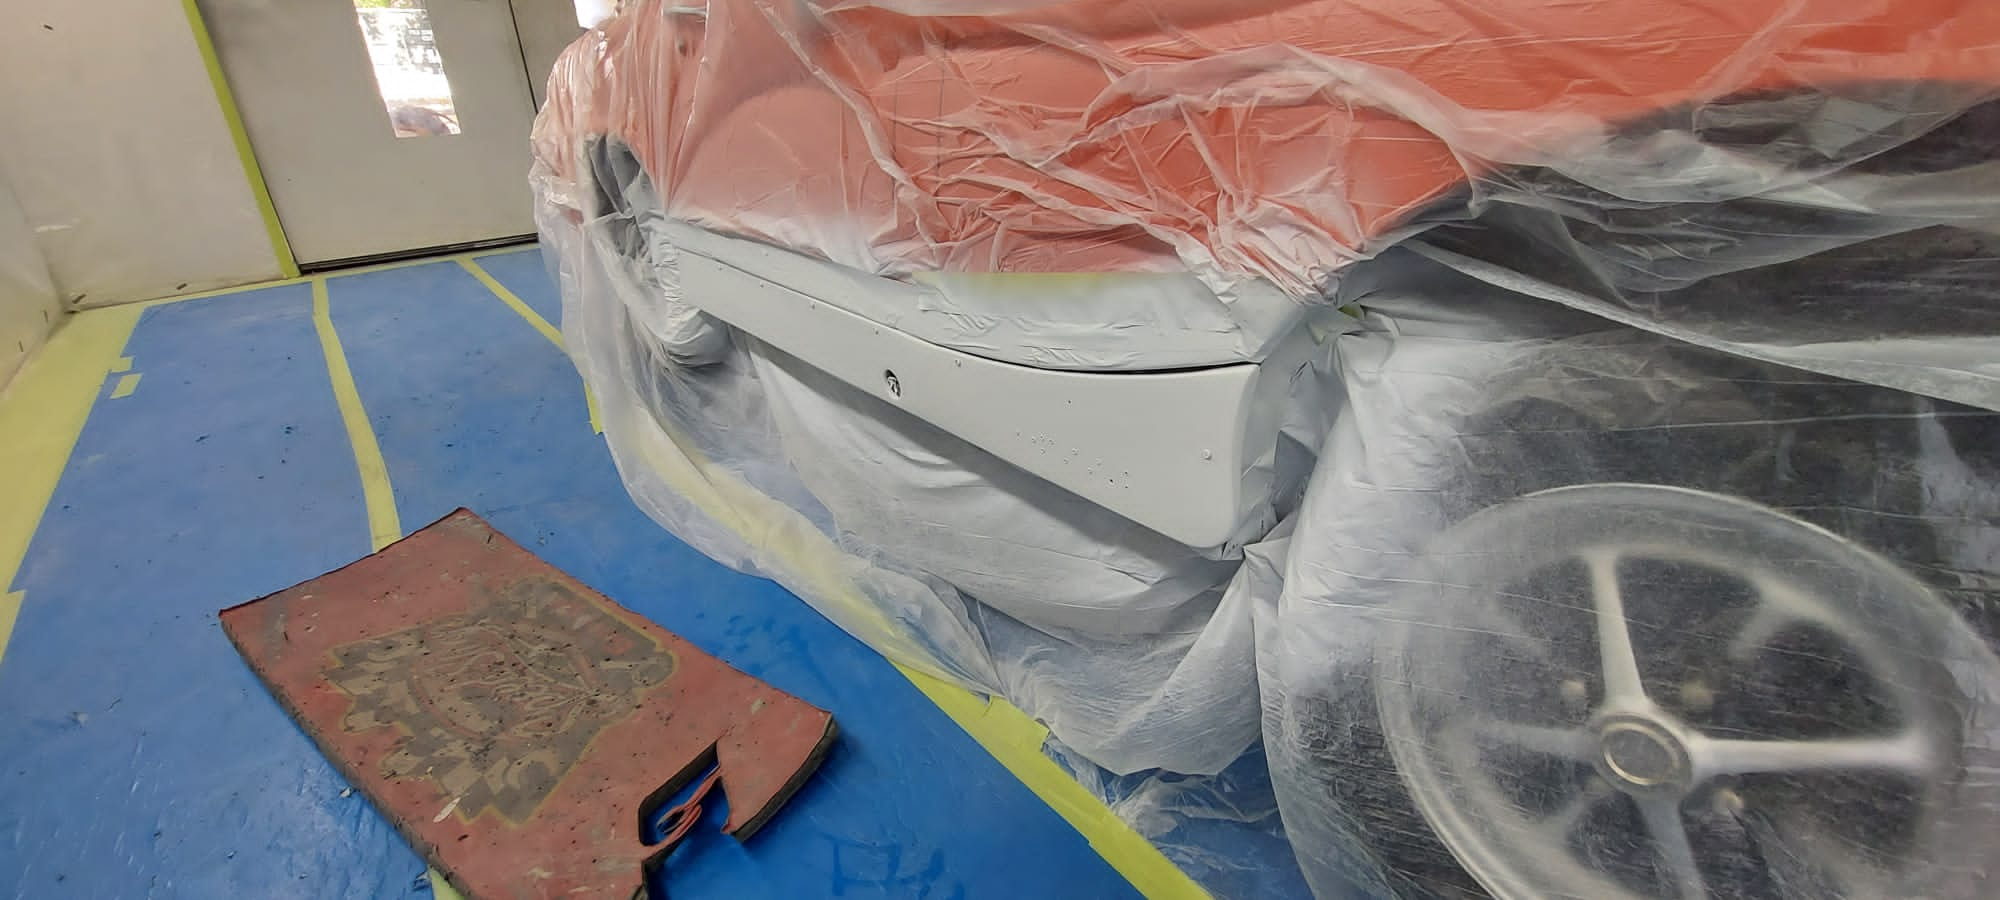
After Scott’s repair work on the offside sill of the blaze orange 1979 MG Midget, the car has since been taken into the paint shop

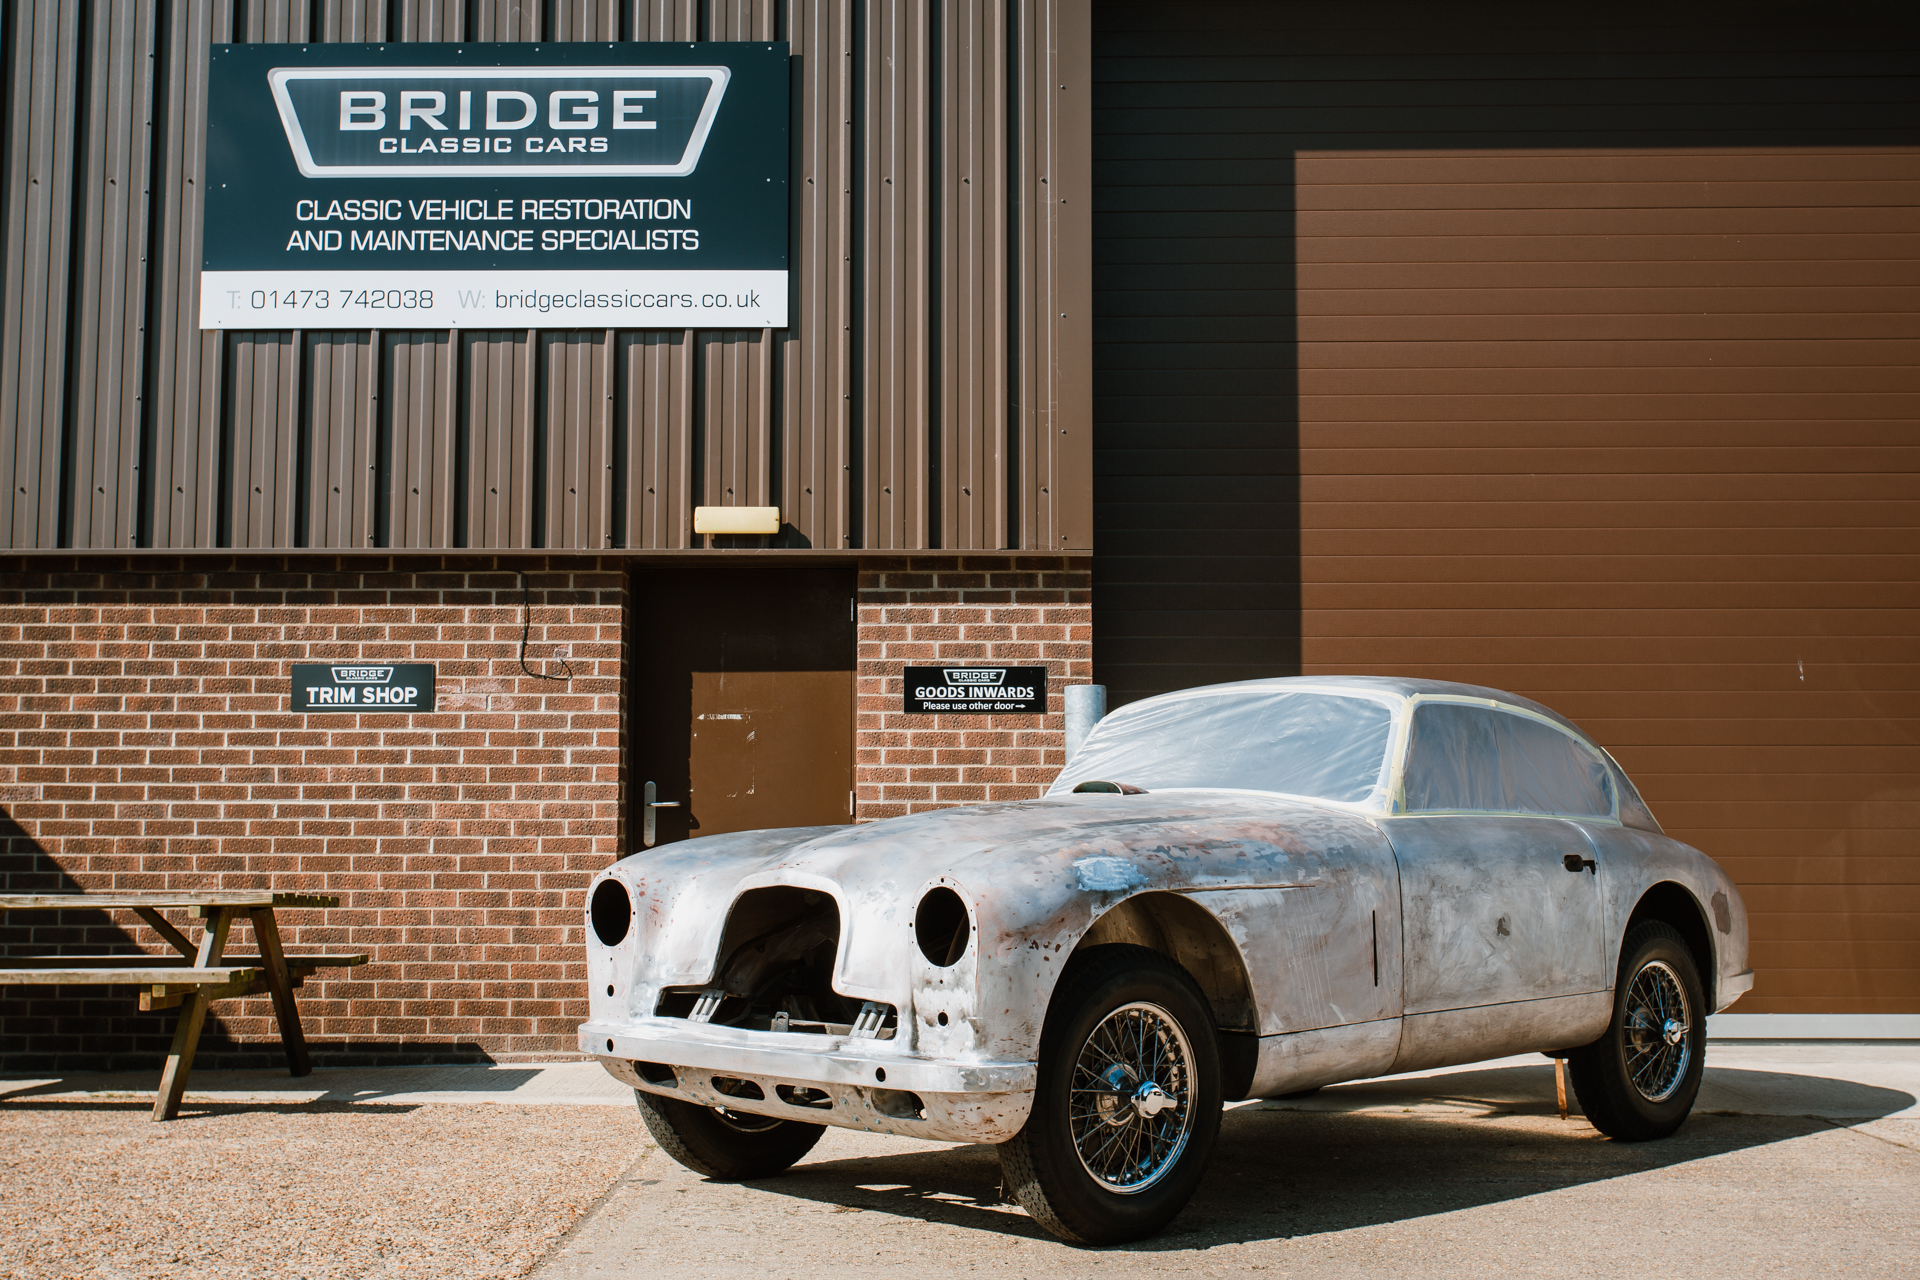
We check in to our DB2/4 restoration as Clinton is finalising the bonnet fabrication. Clinton has fabricated brand new hinges and completely reshaped the lower
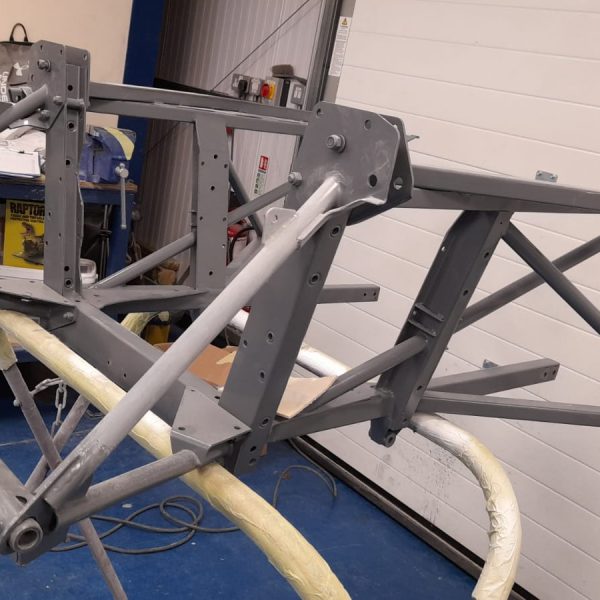
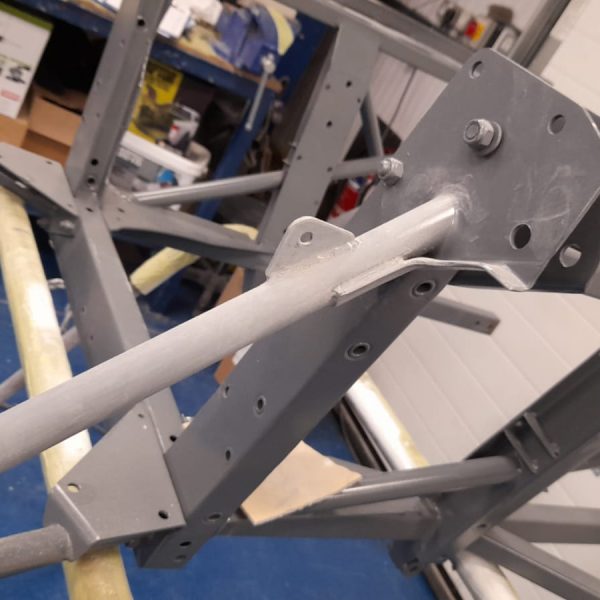
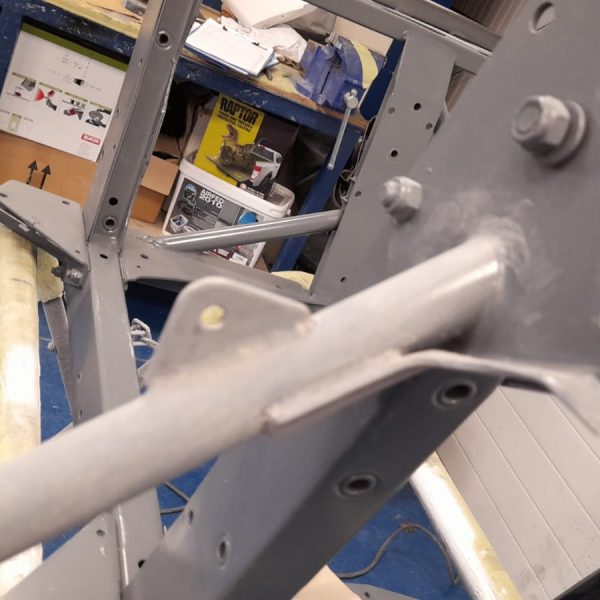
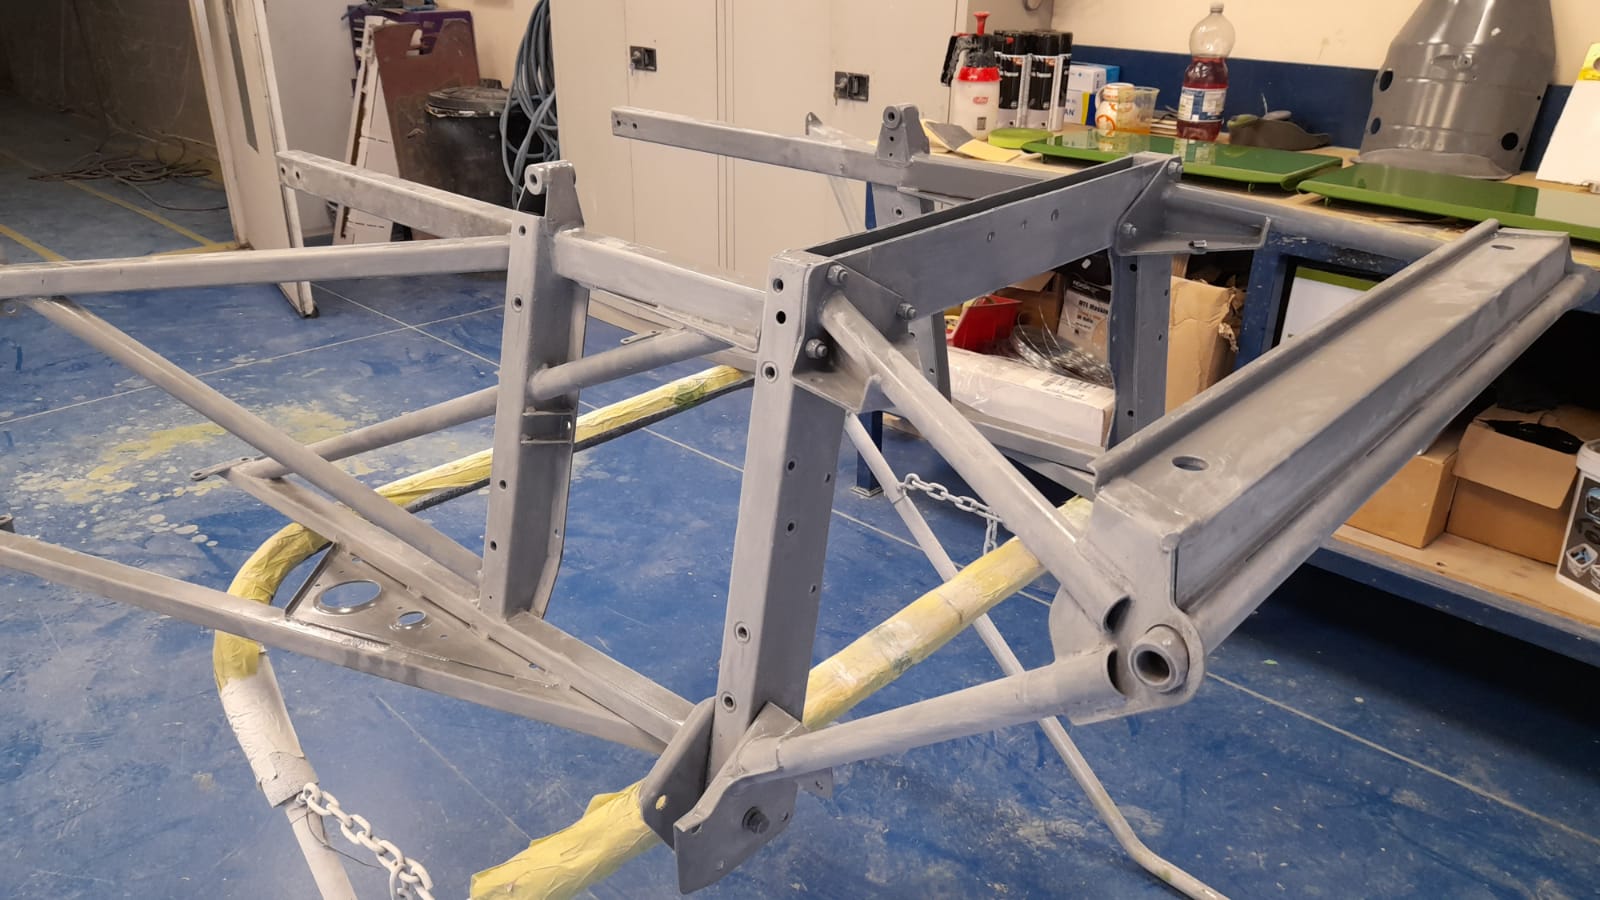
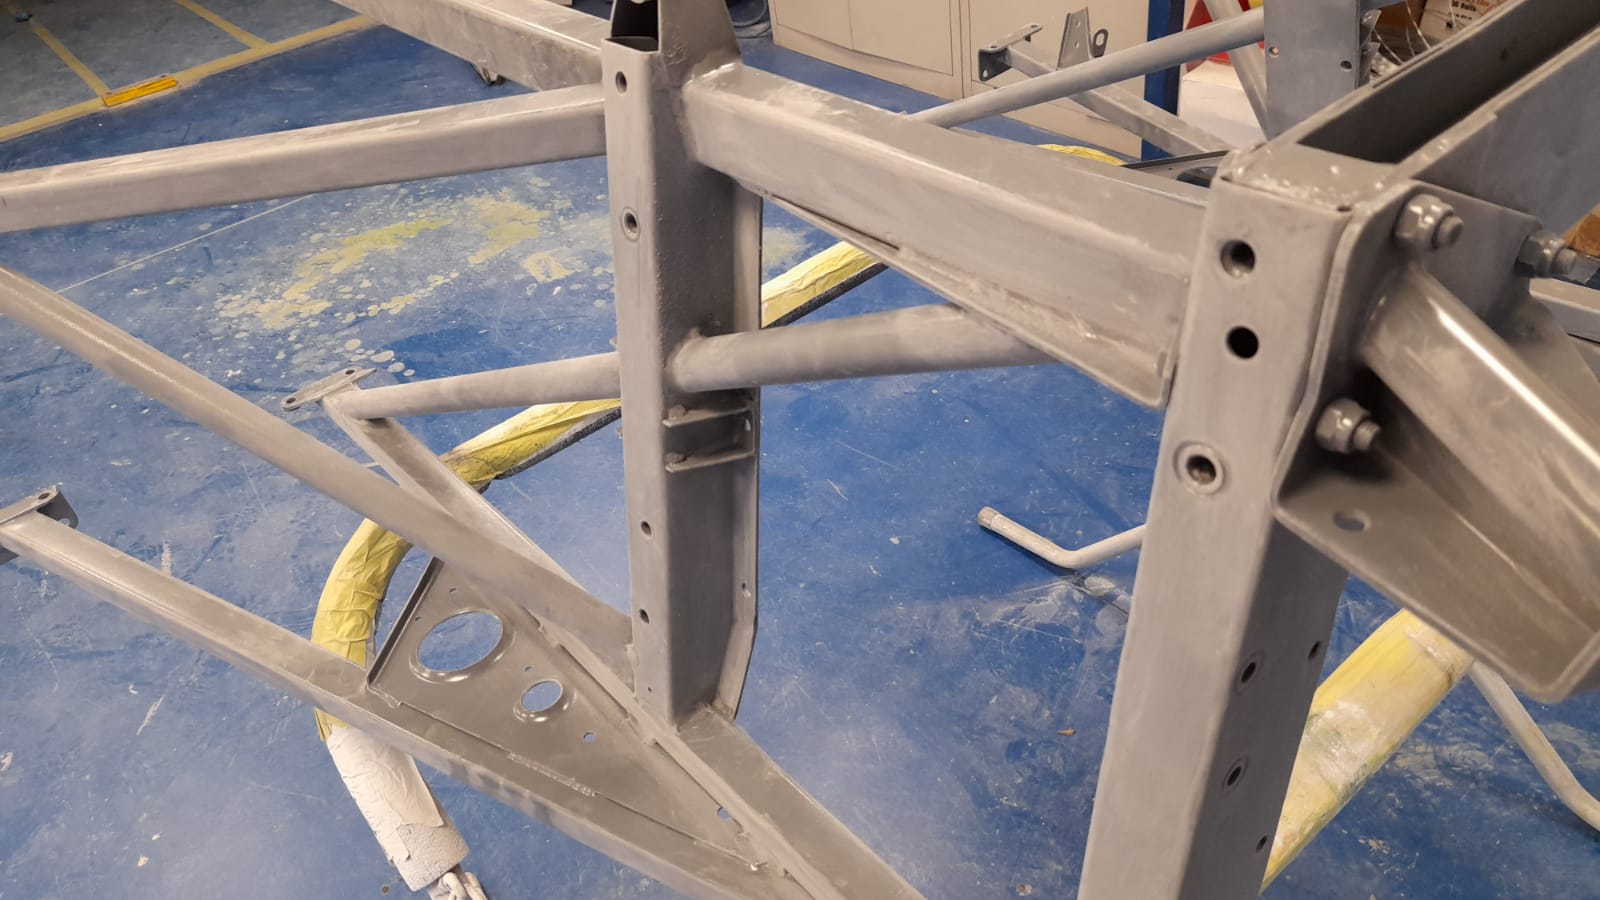
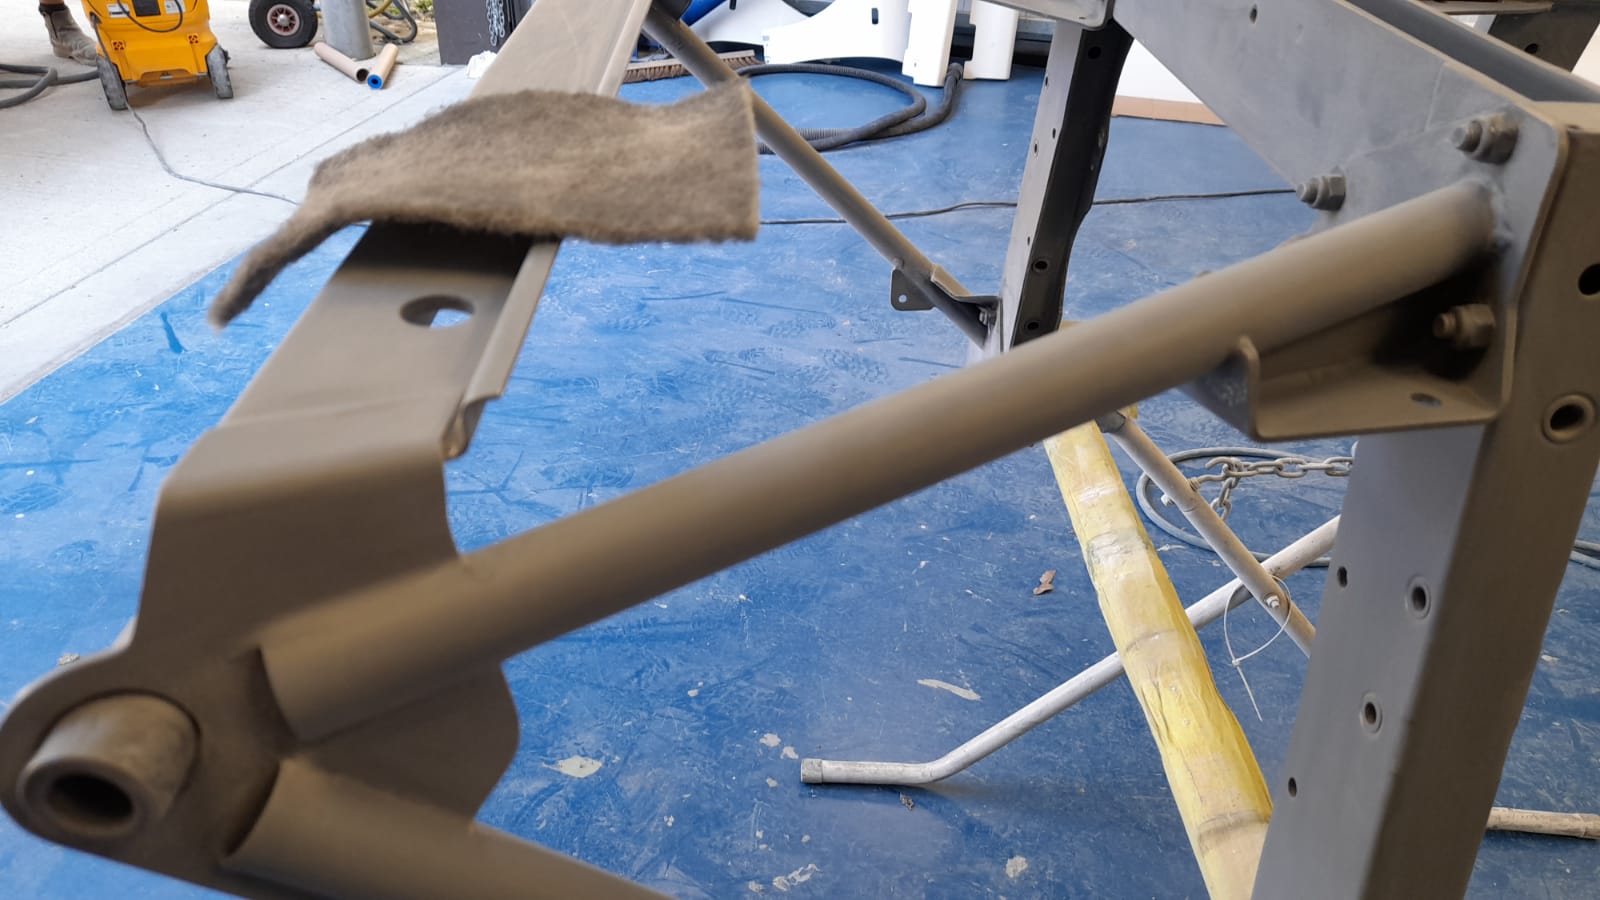
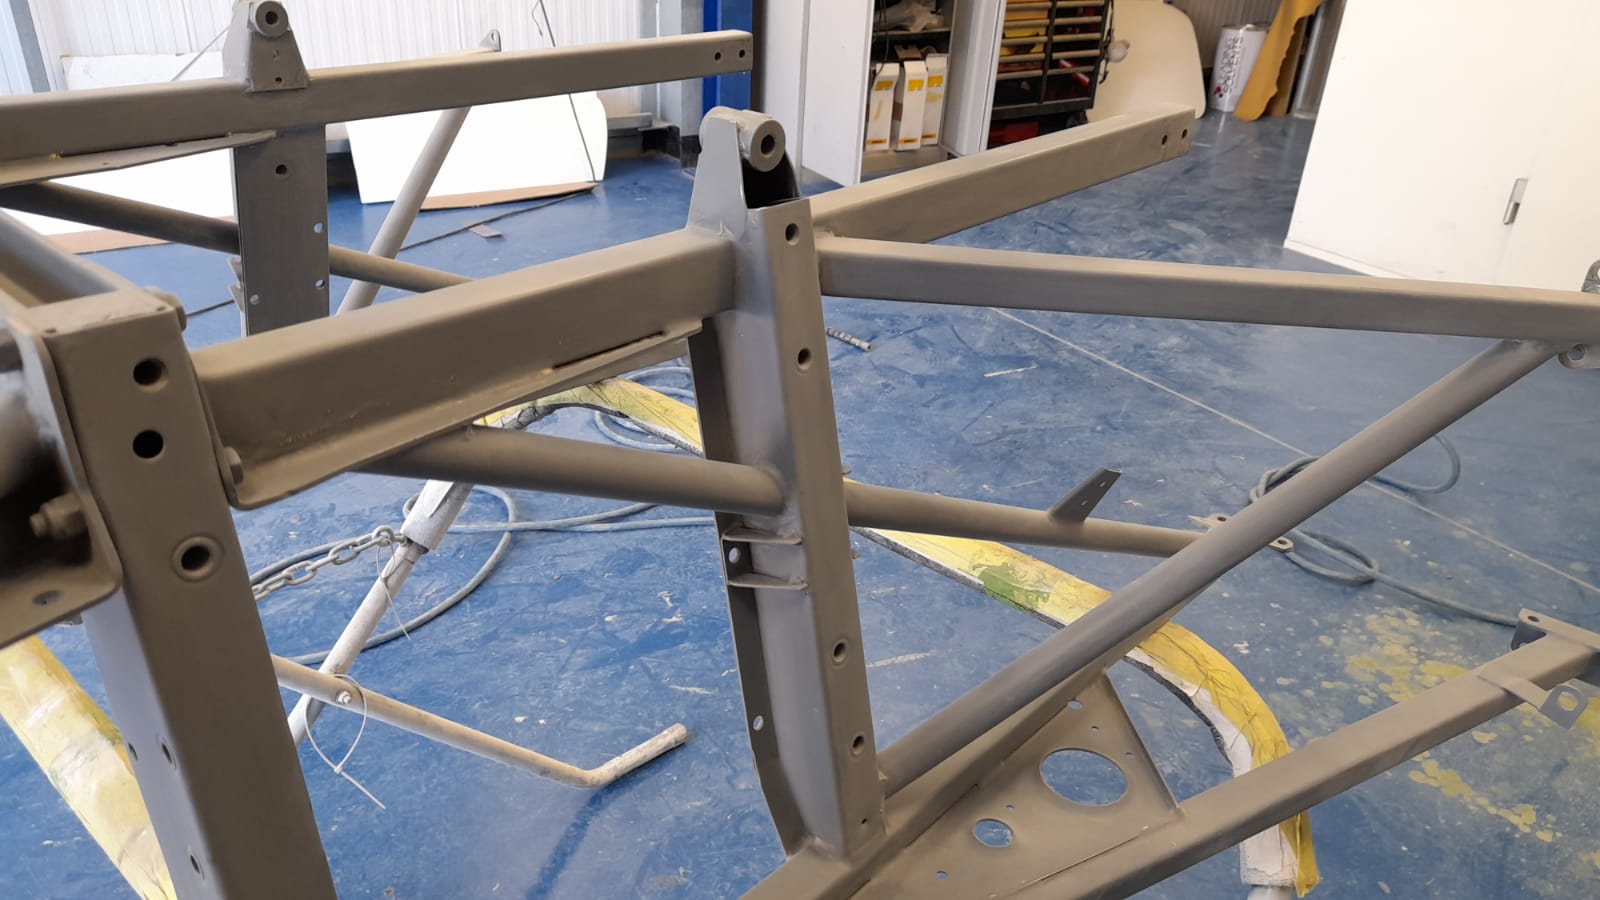
Lydia has been sanding down the primer on the front frame for the 1973 Jaguar E-Type Series 3. This was simply done with 500-grade soft
This Friday, the 6th of August, is the draw for our competition to win a gold 1981 Rover 3500 SD1 Vanden Plas! For your chance
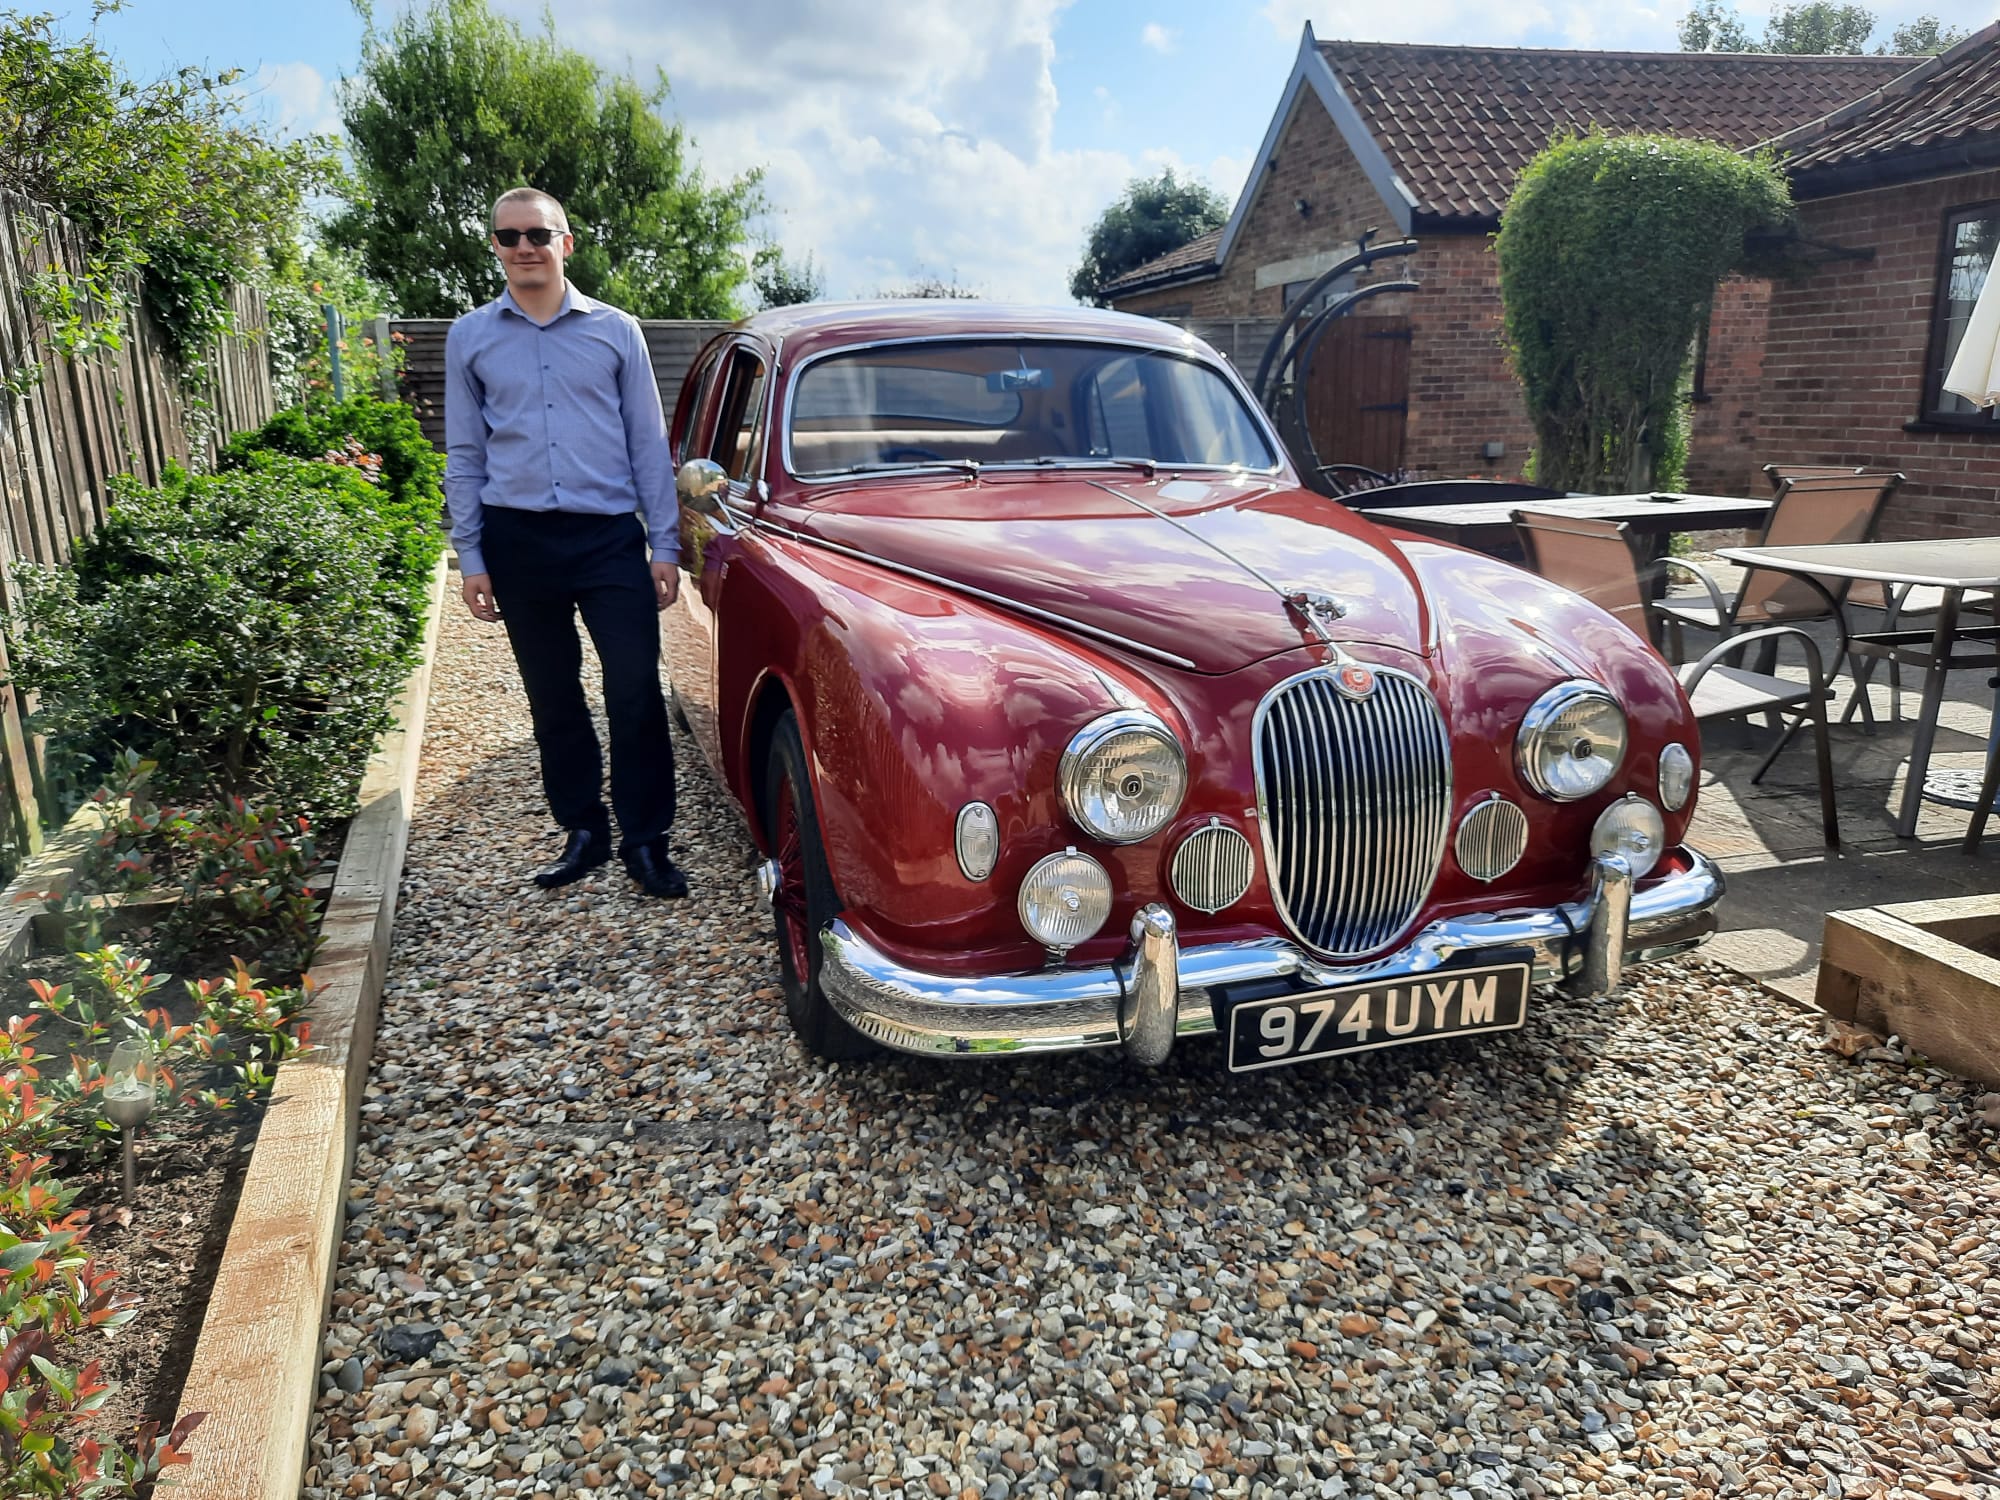
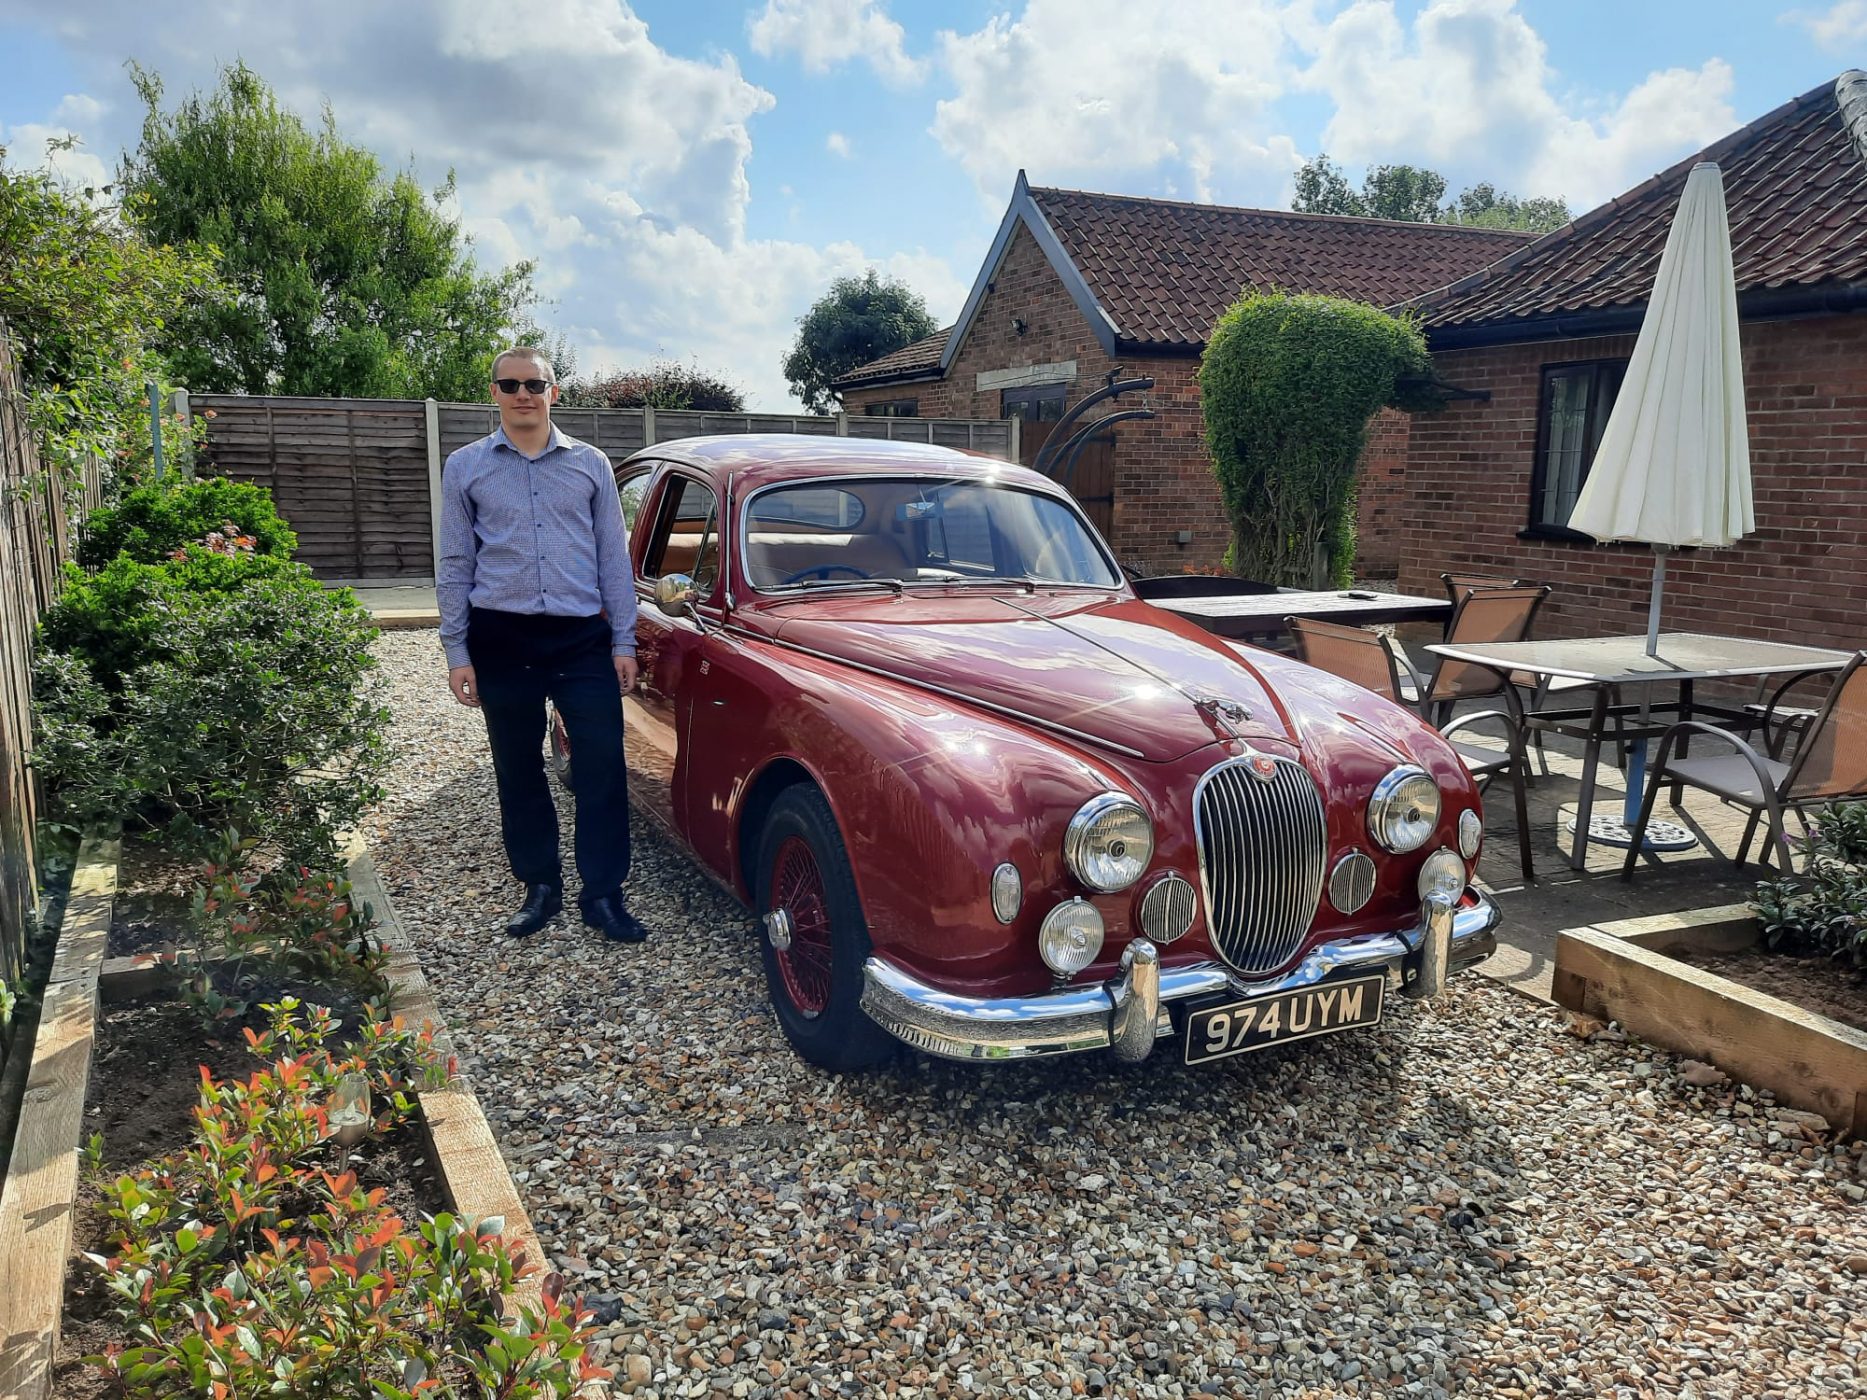
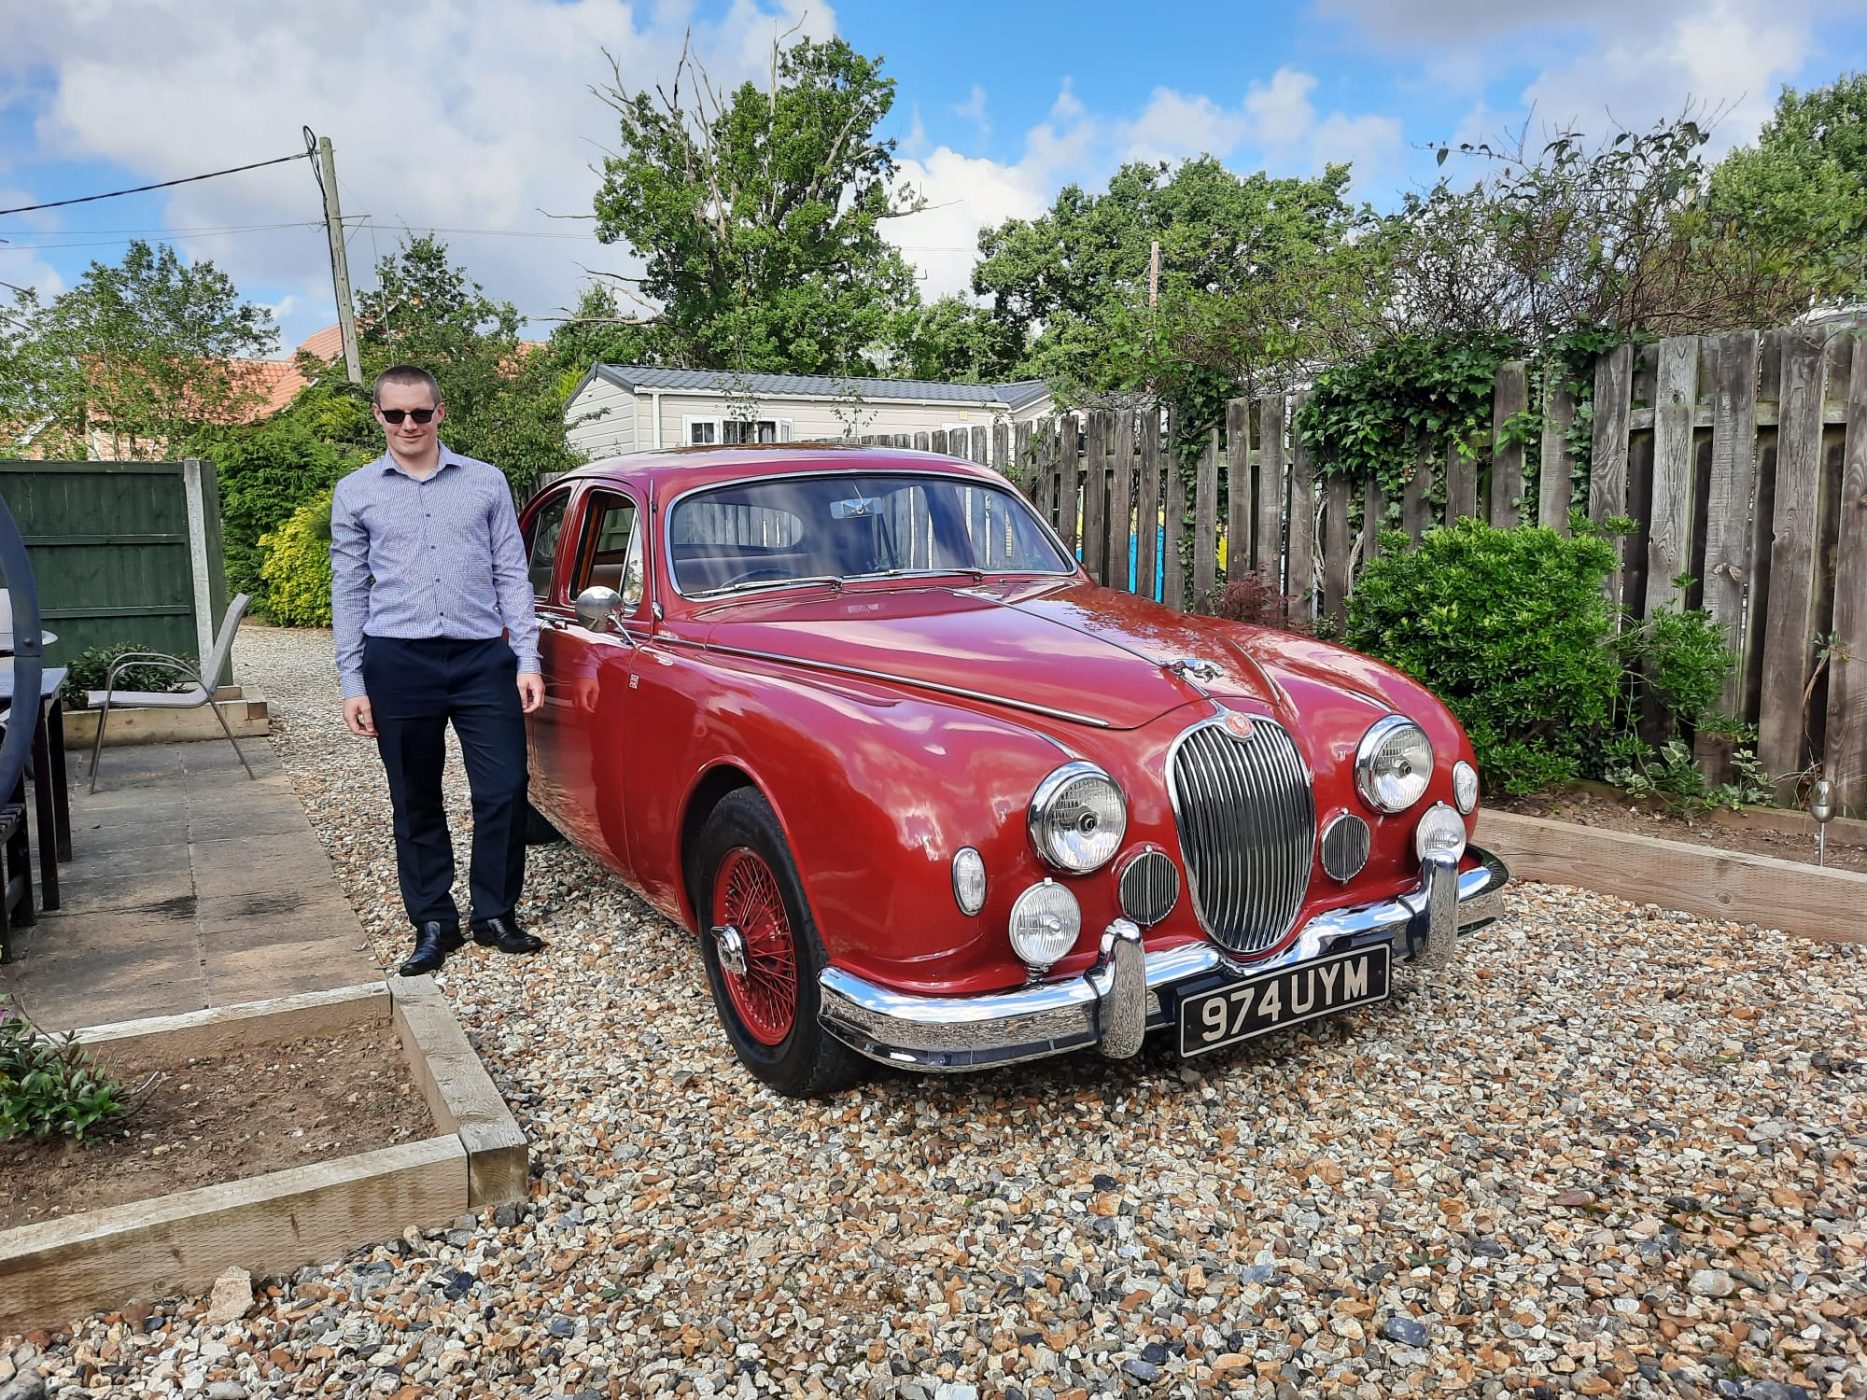
Today we delivered this maroon 1959 Jaguar Mk I to its rightful winner! The draw for this car was held last Sunday at the annual
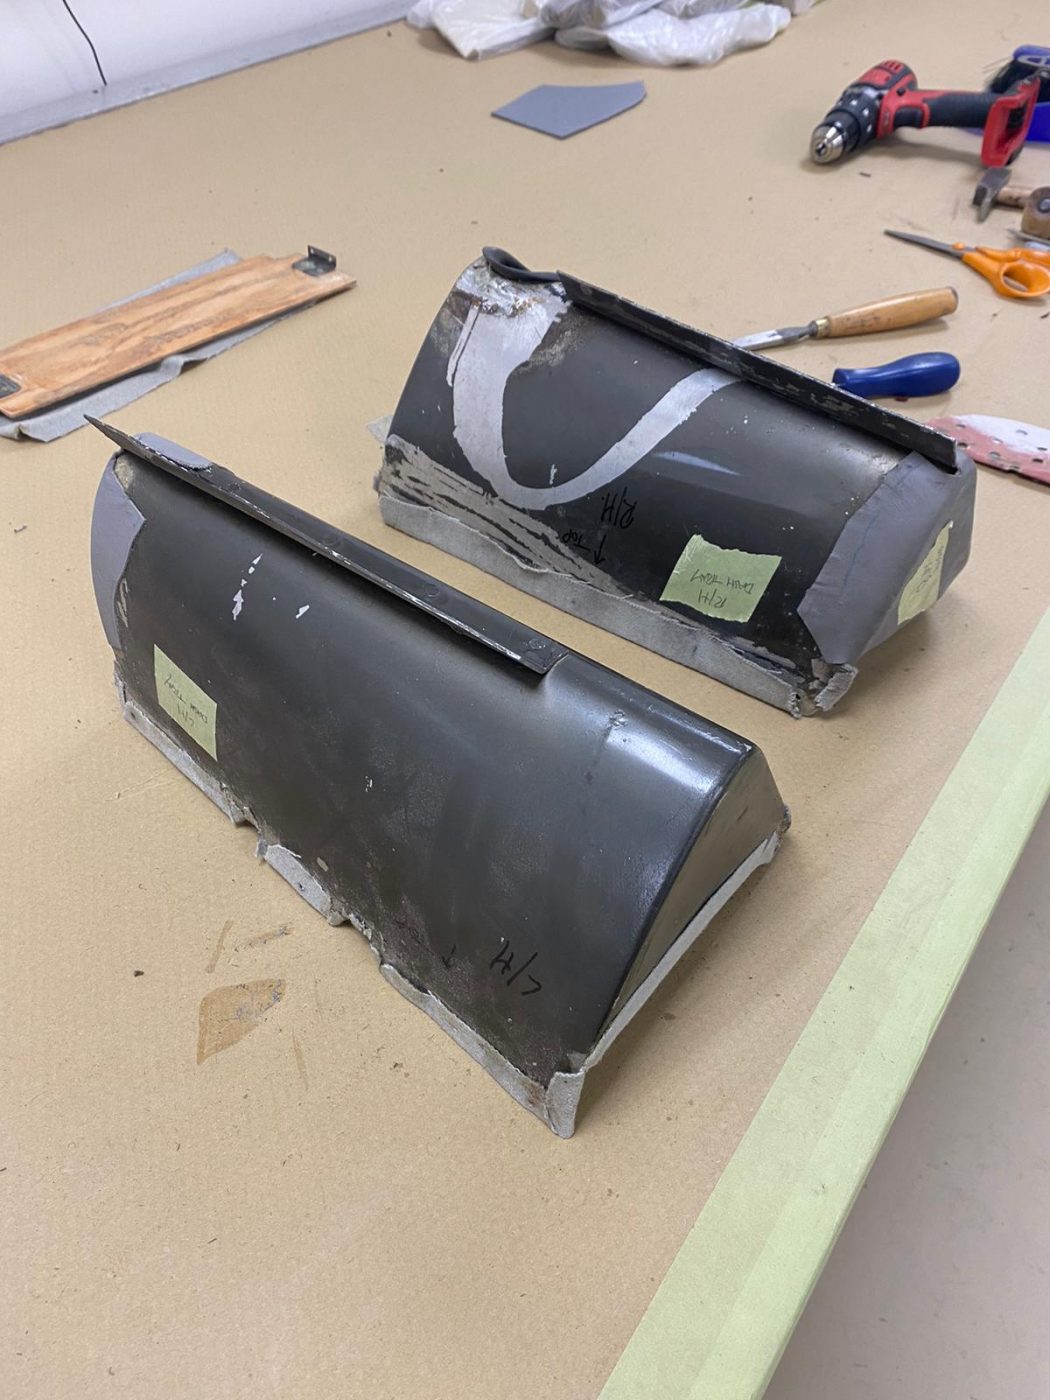
Brian has been continuing the interior trim work for the 1955 Aston Martin DB 2/4. This time, he’s been working on a pair of dash
Ady has taken a trip up the road to Coltec Racing to pressure test the Jaguar Mk VII engine. During pressure testing all-bar-one of the
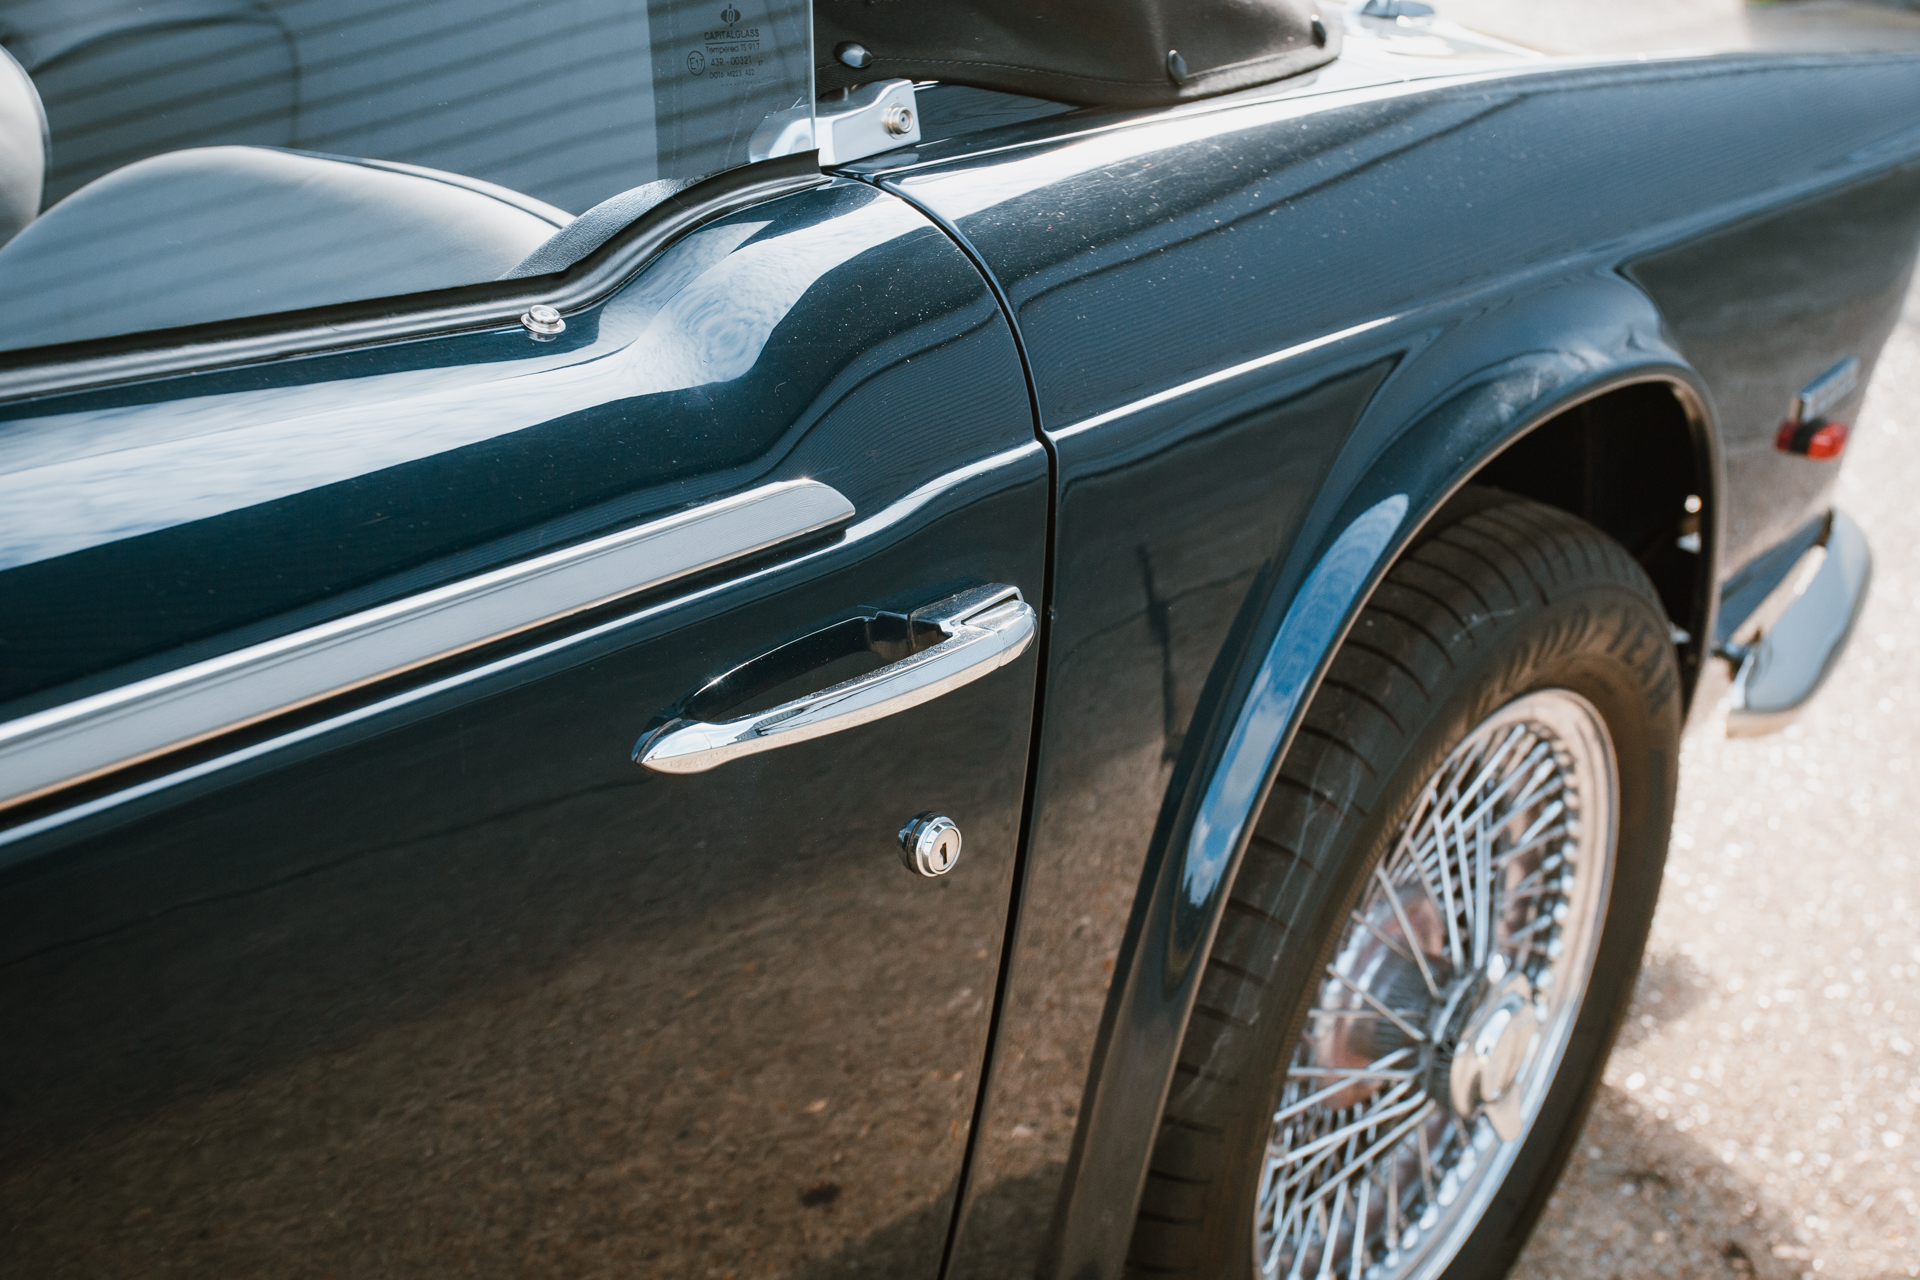
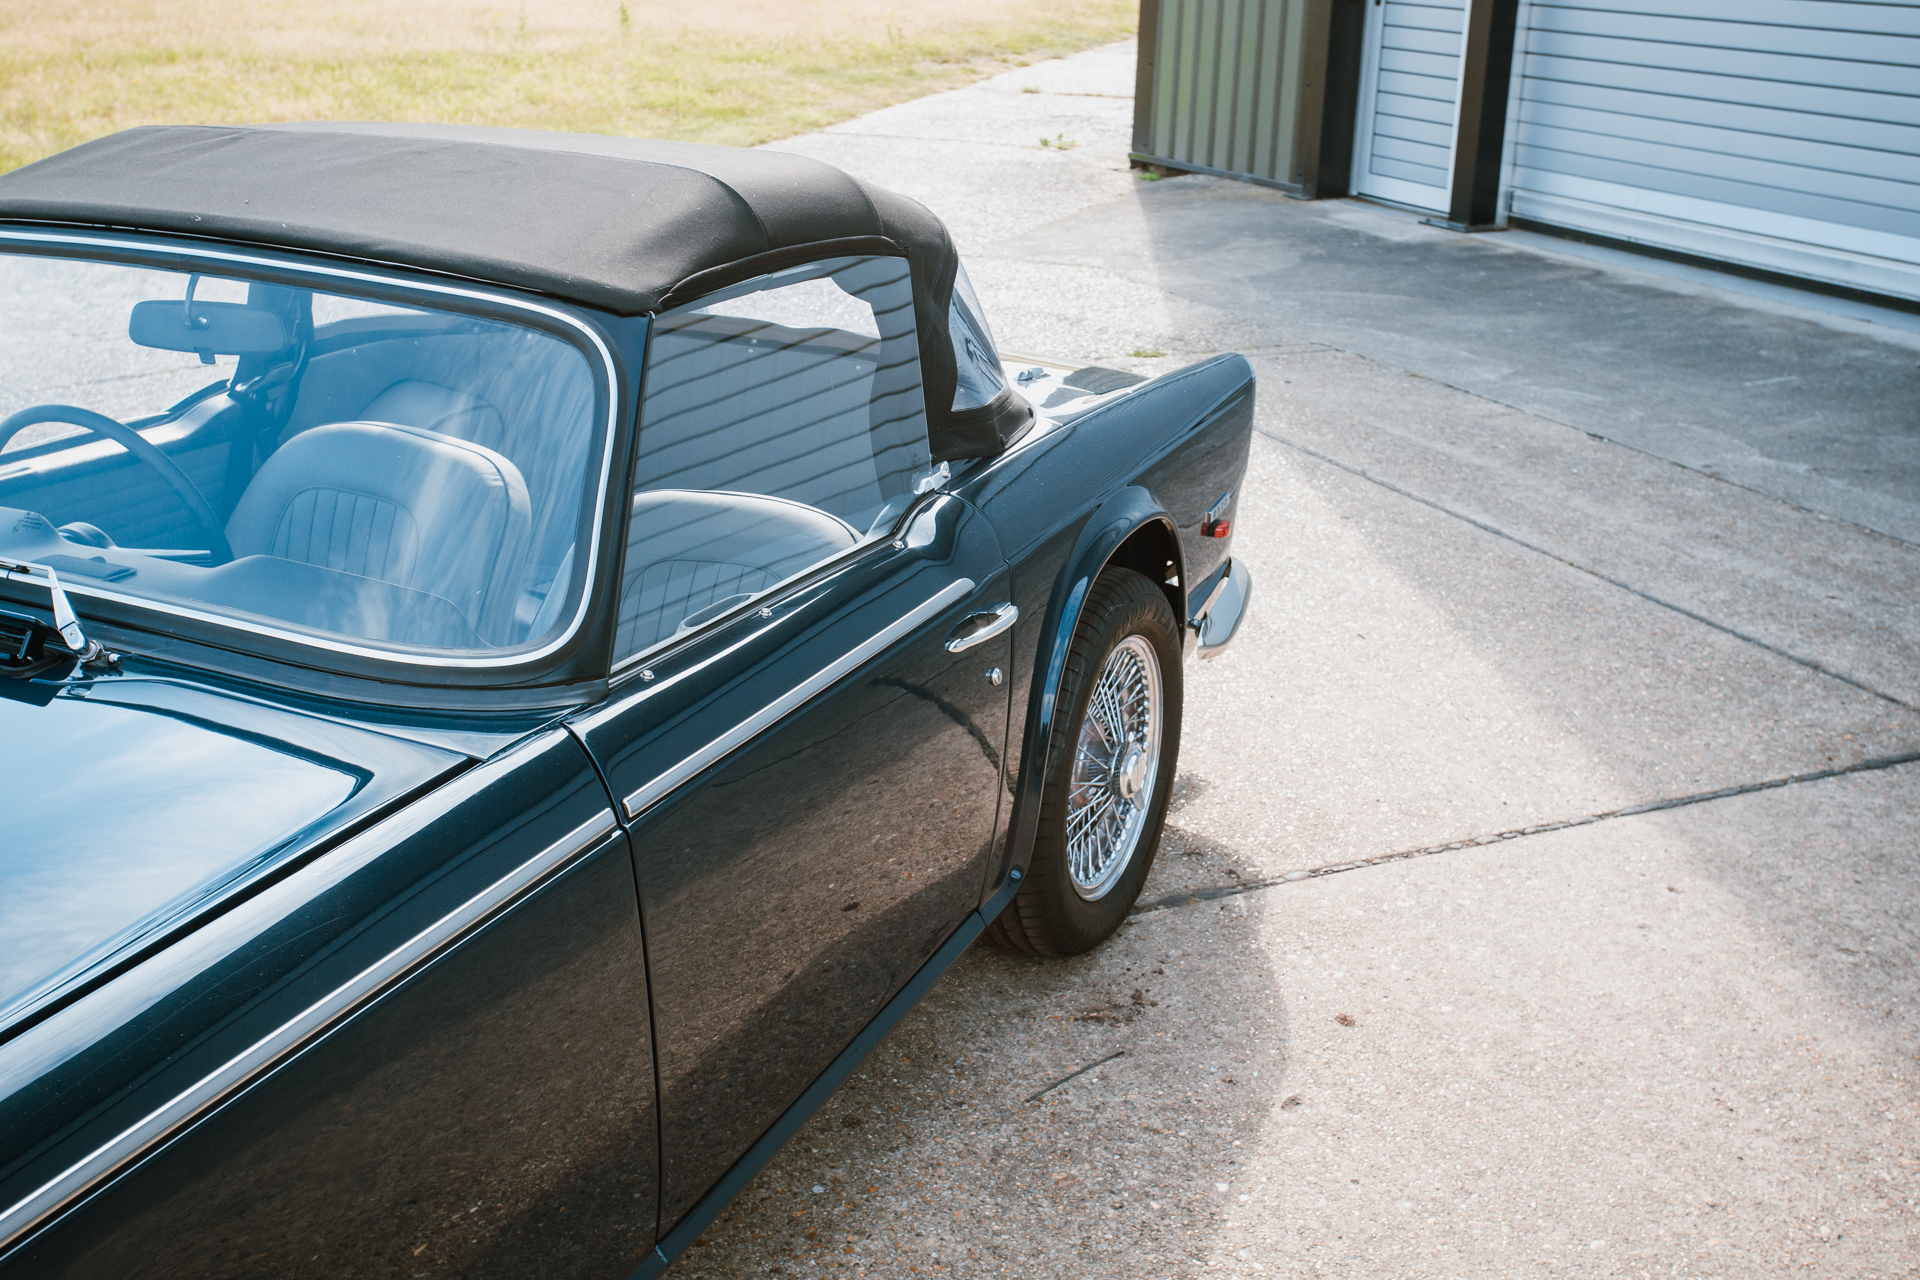
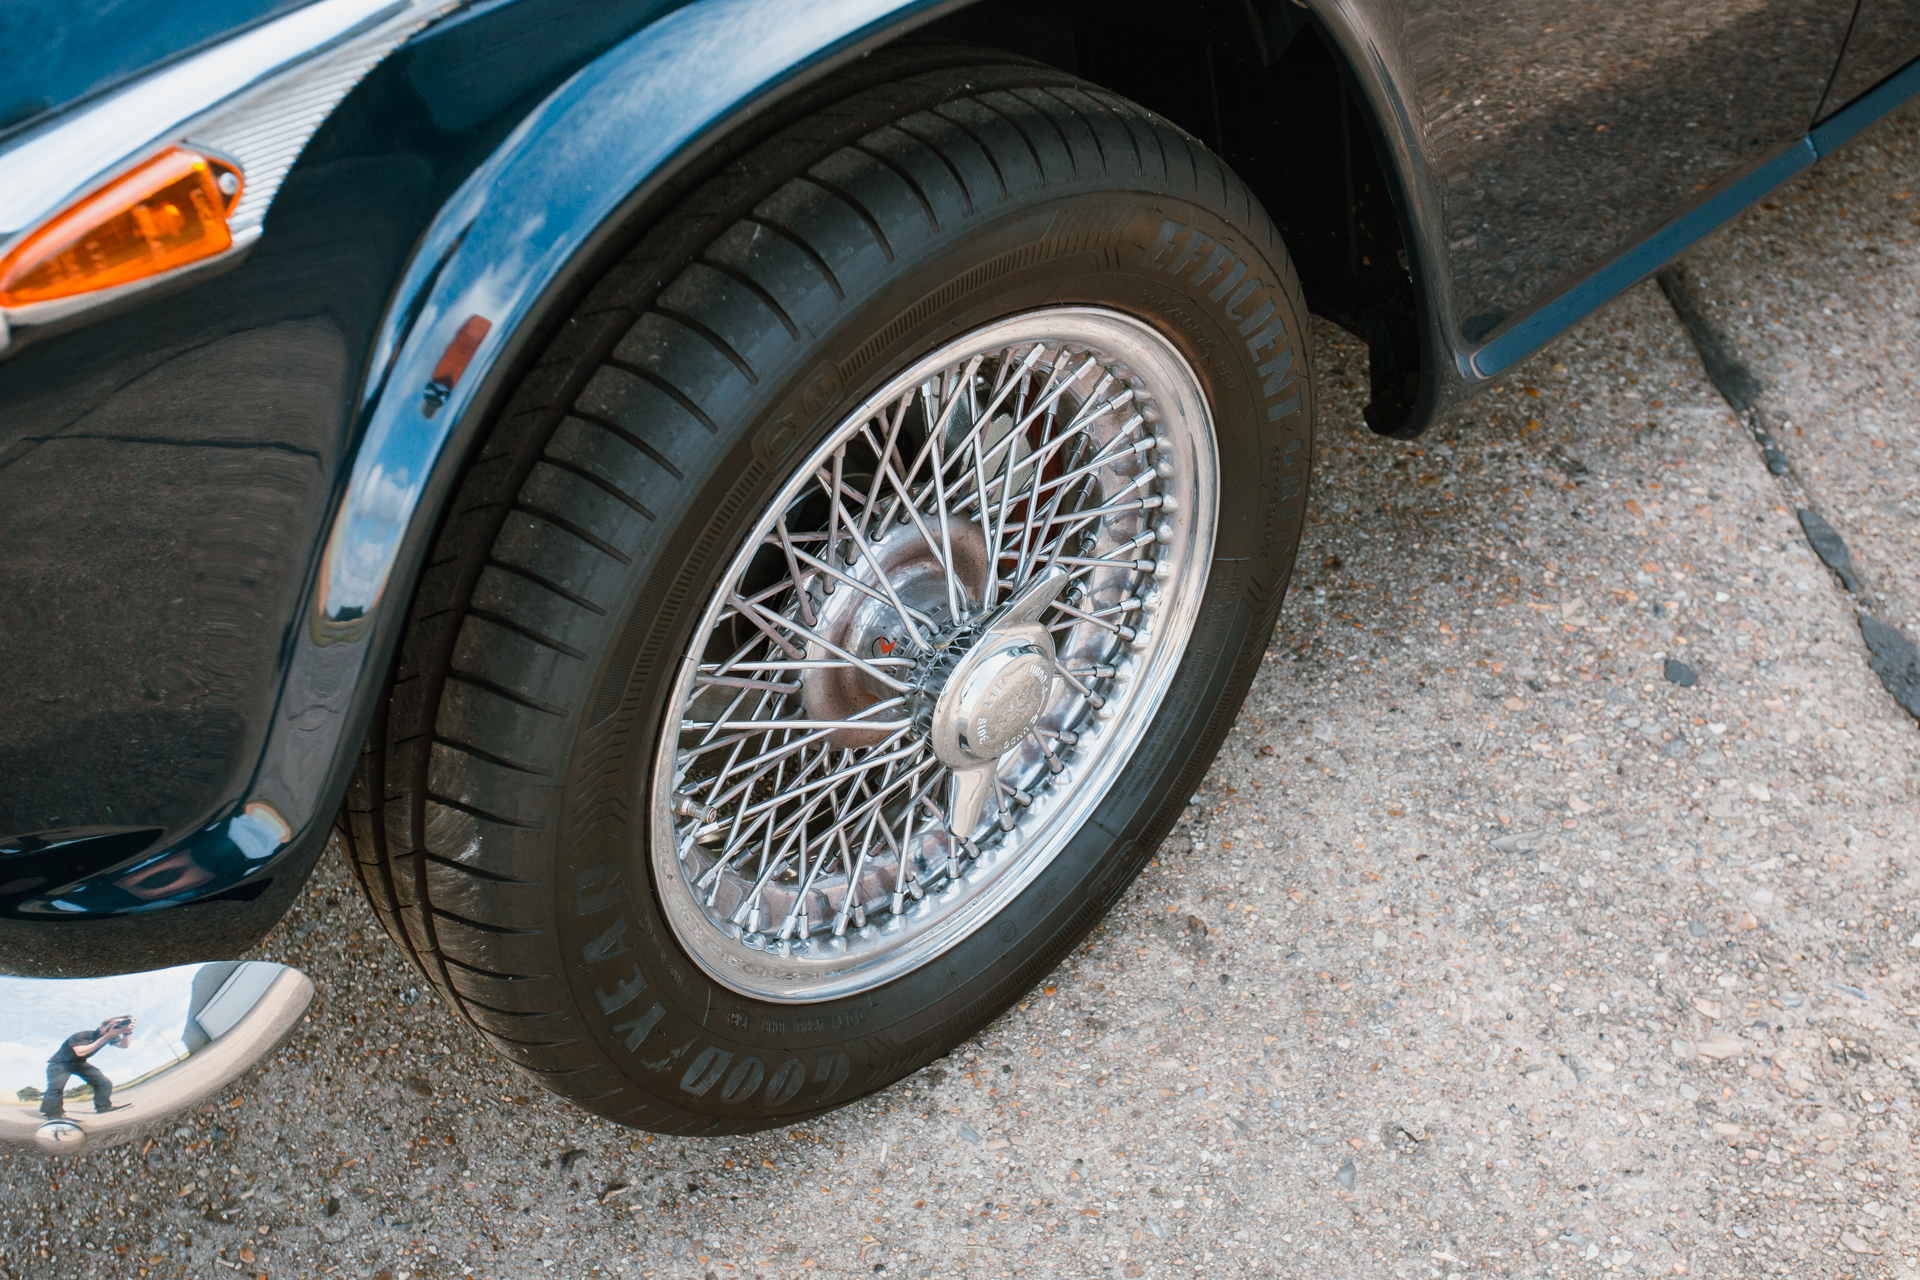
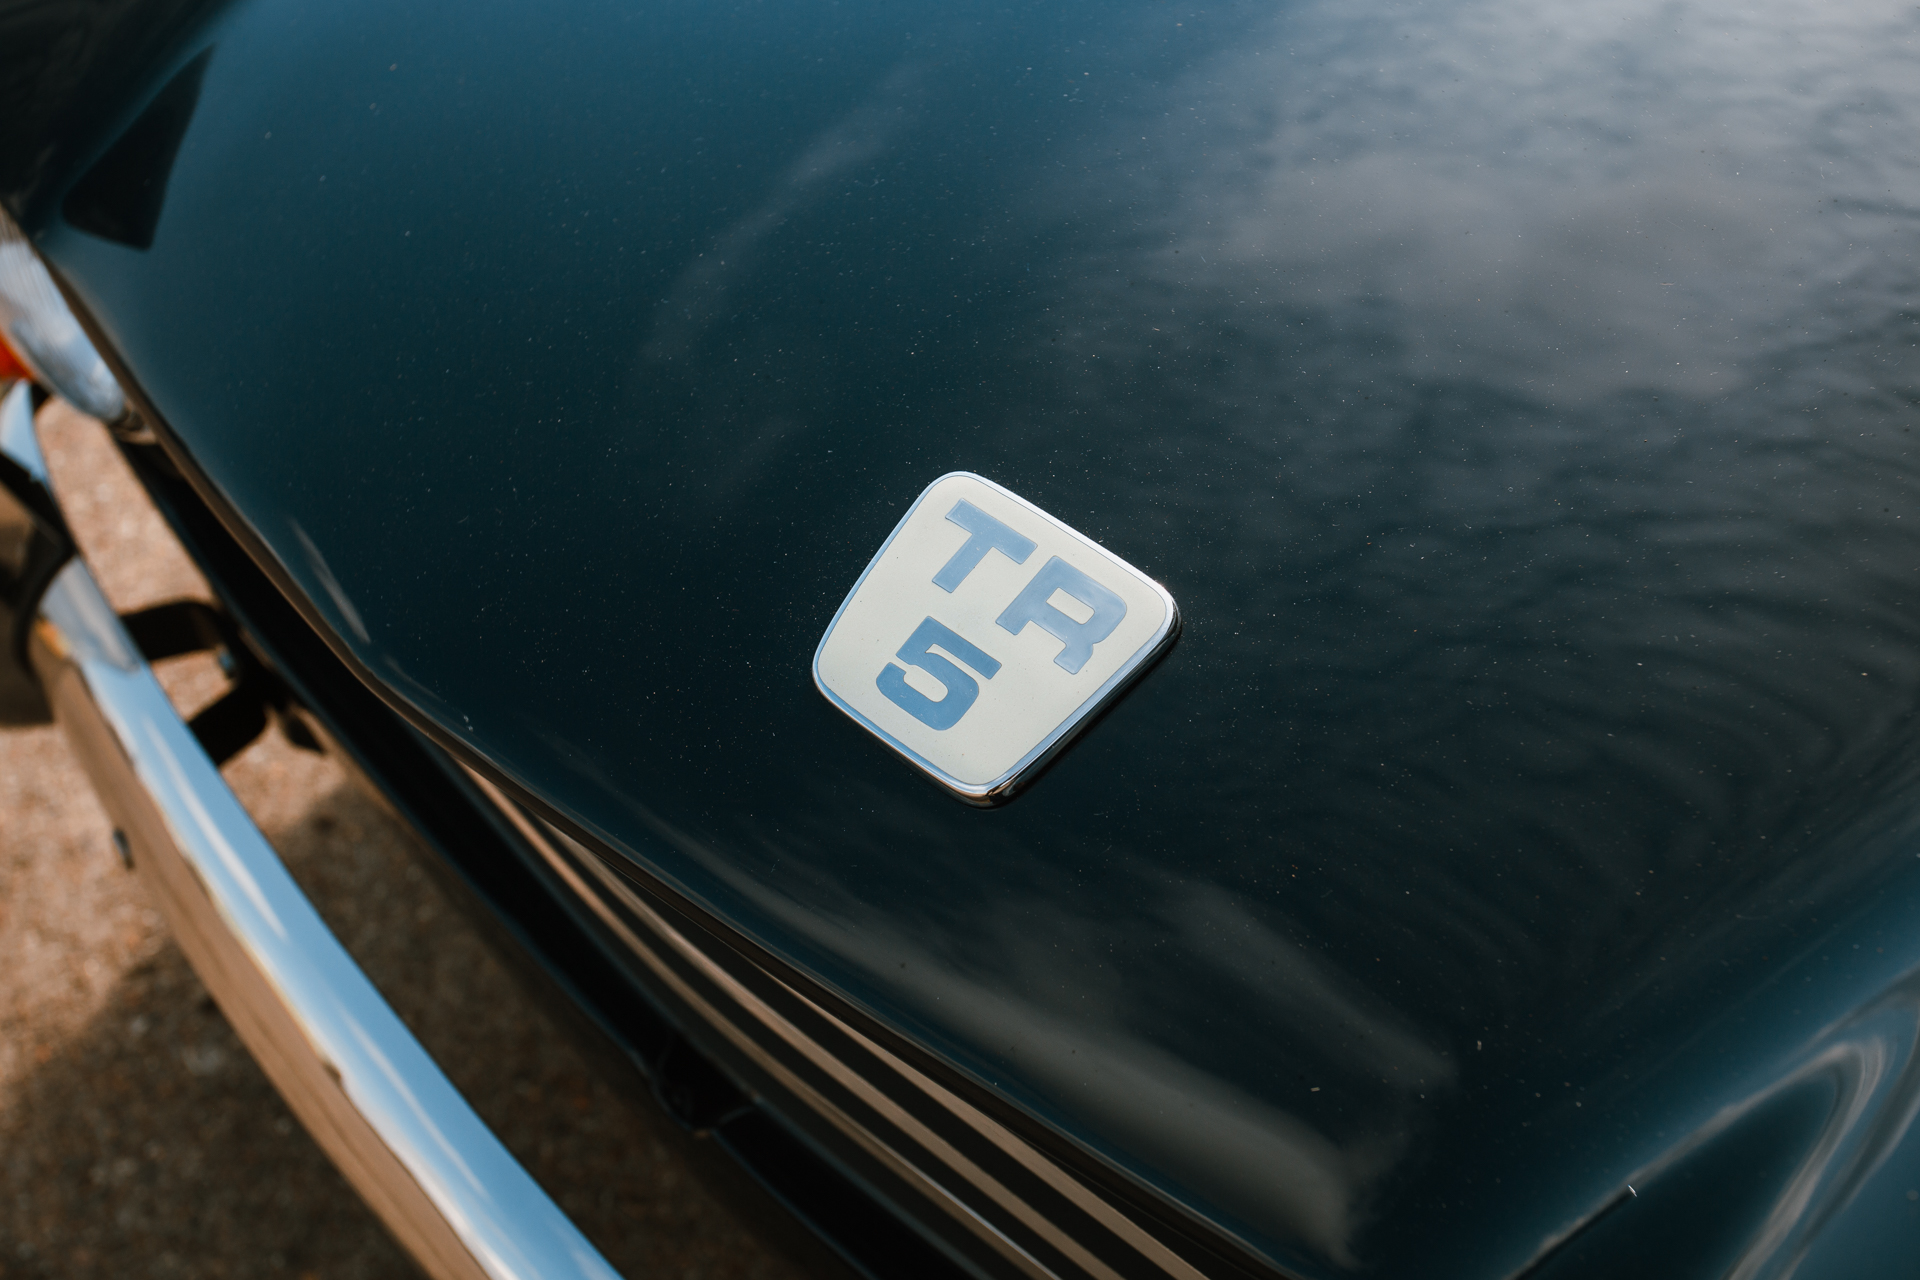
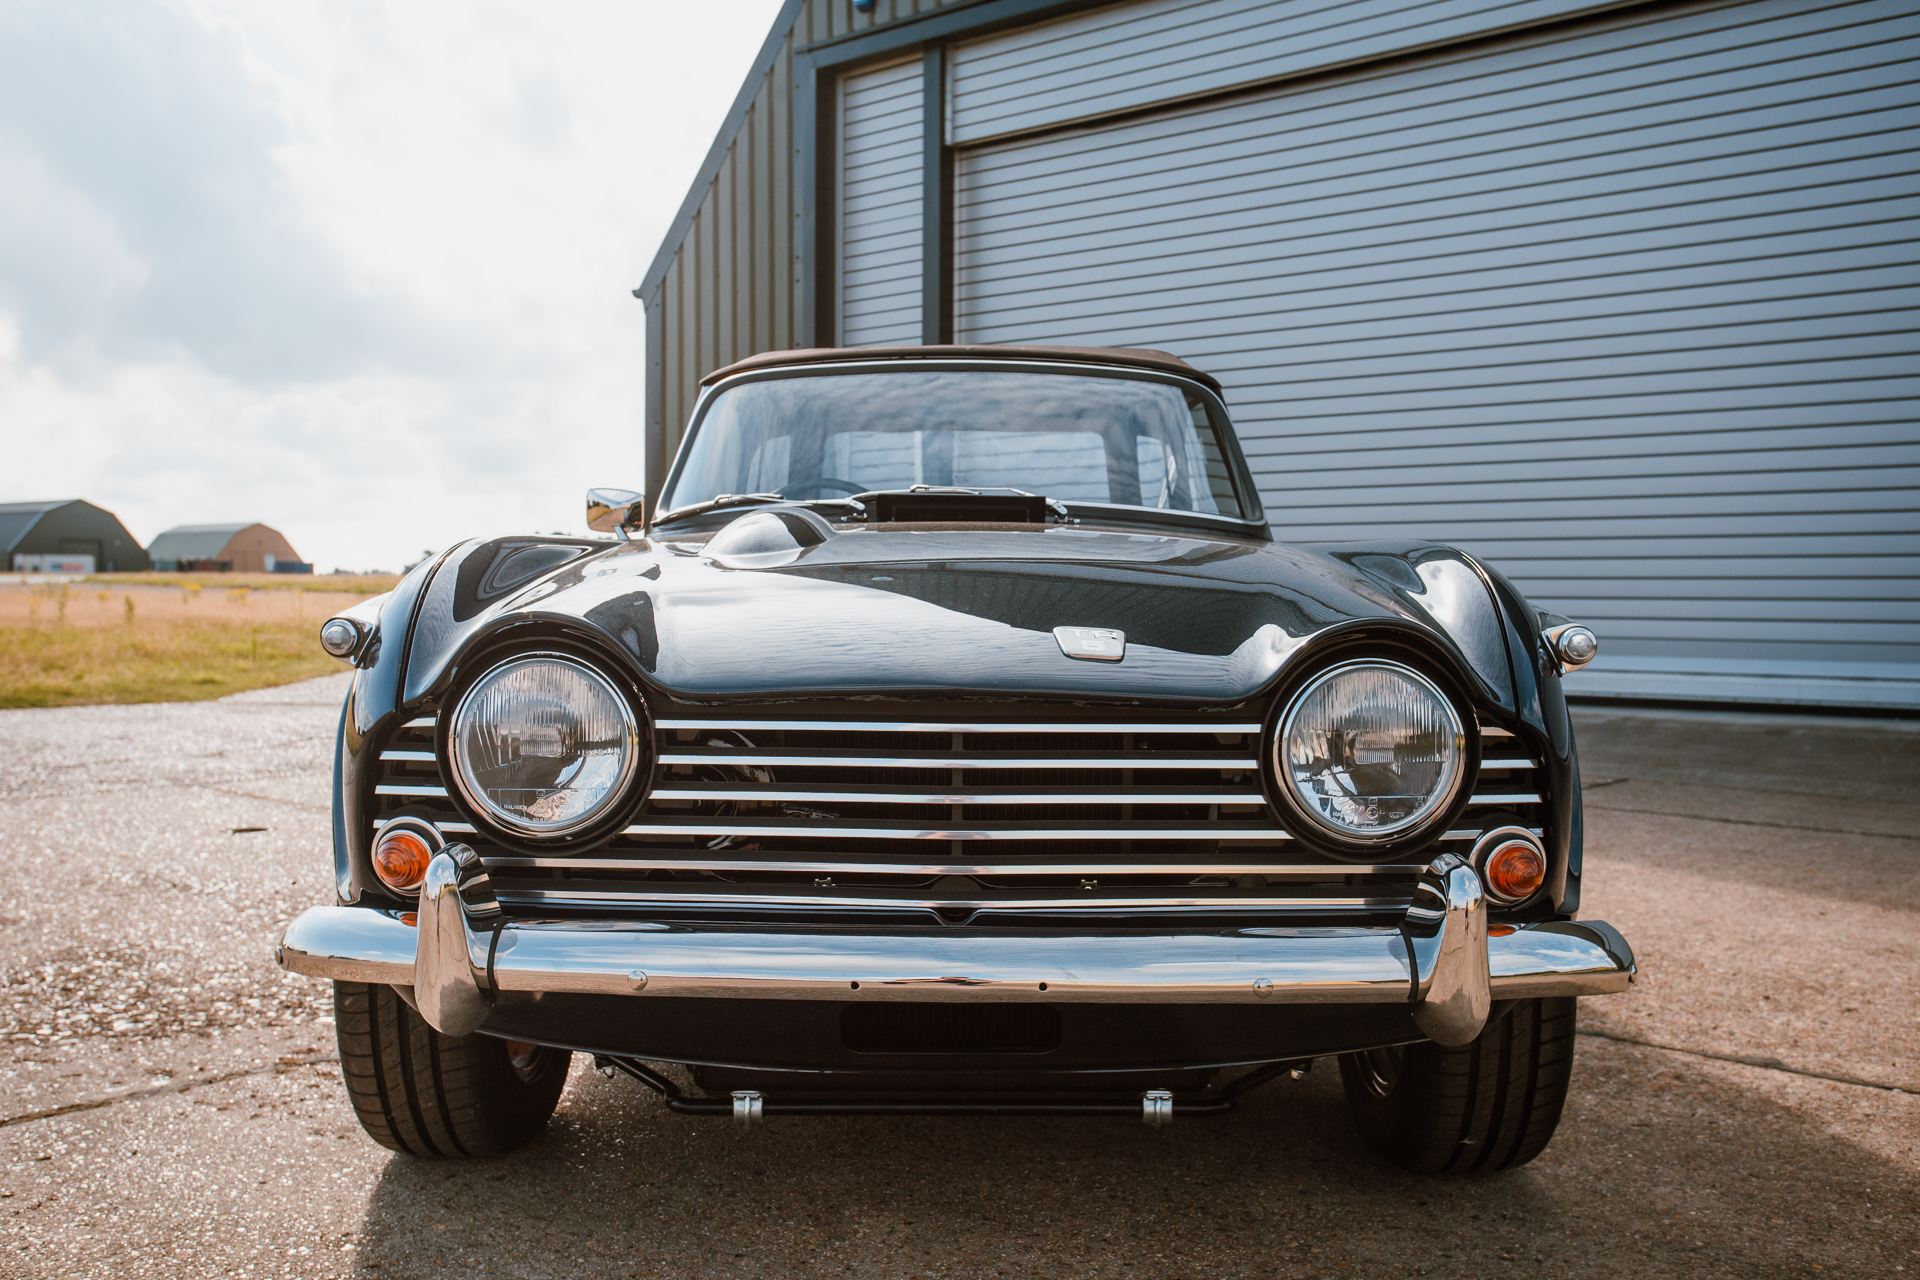
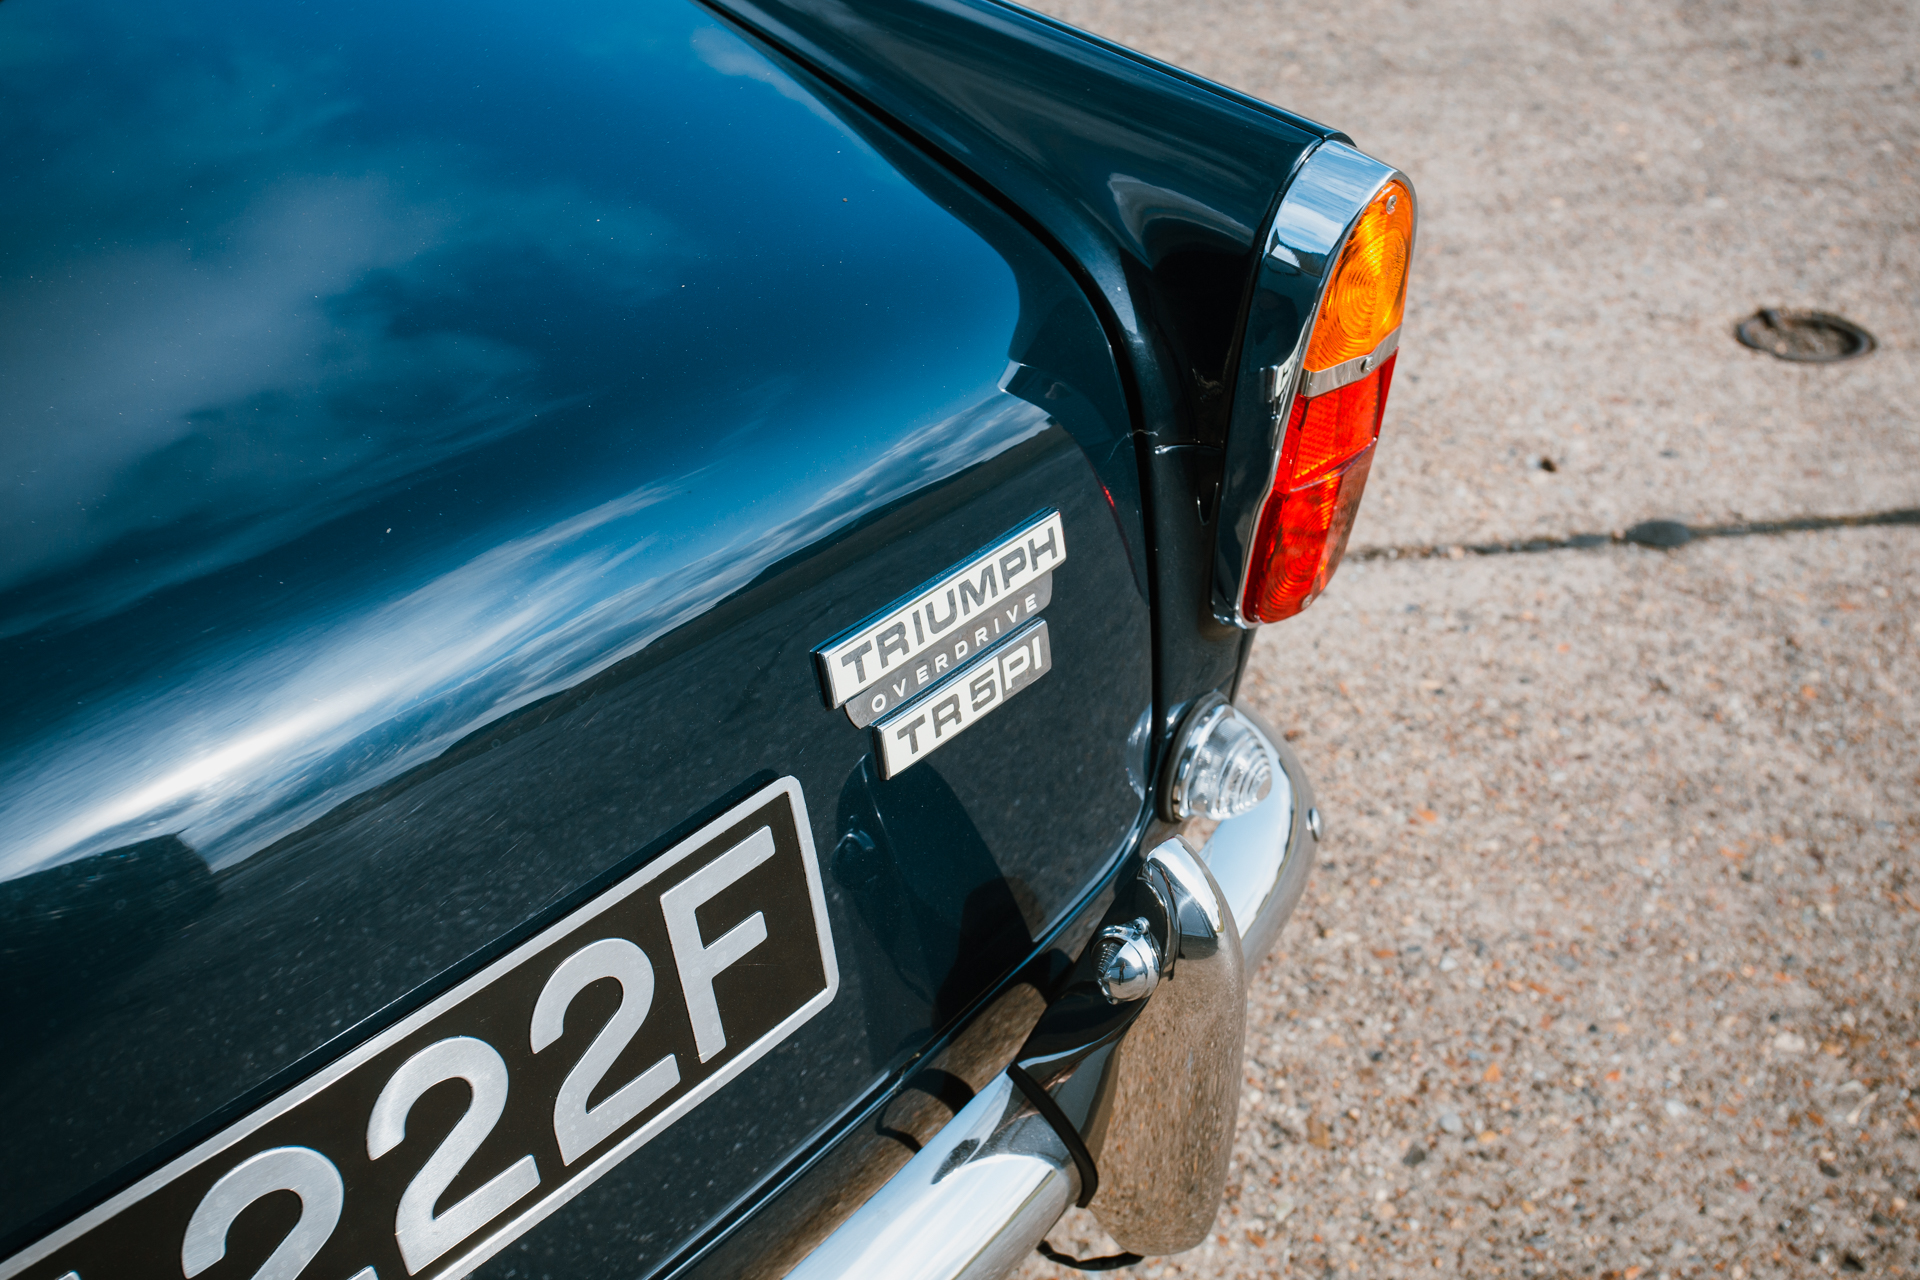
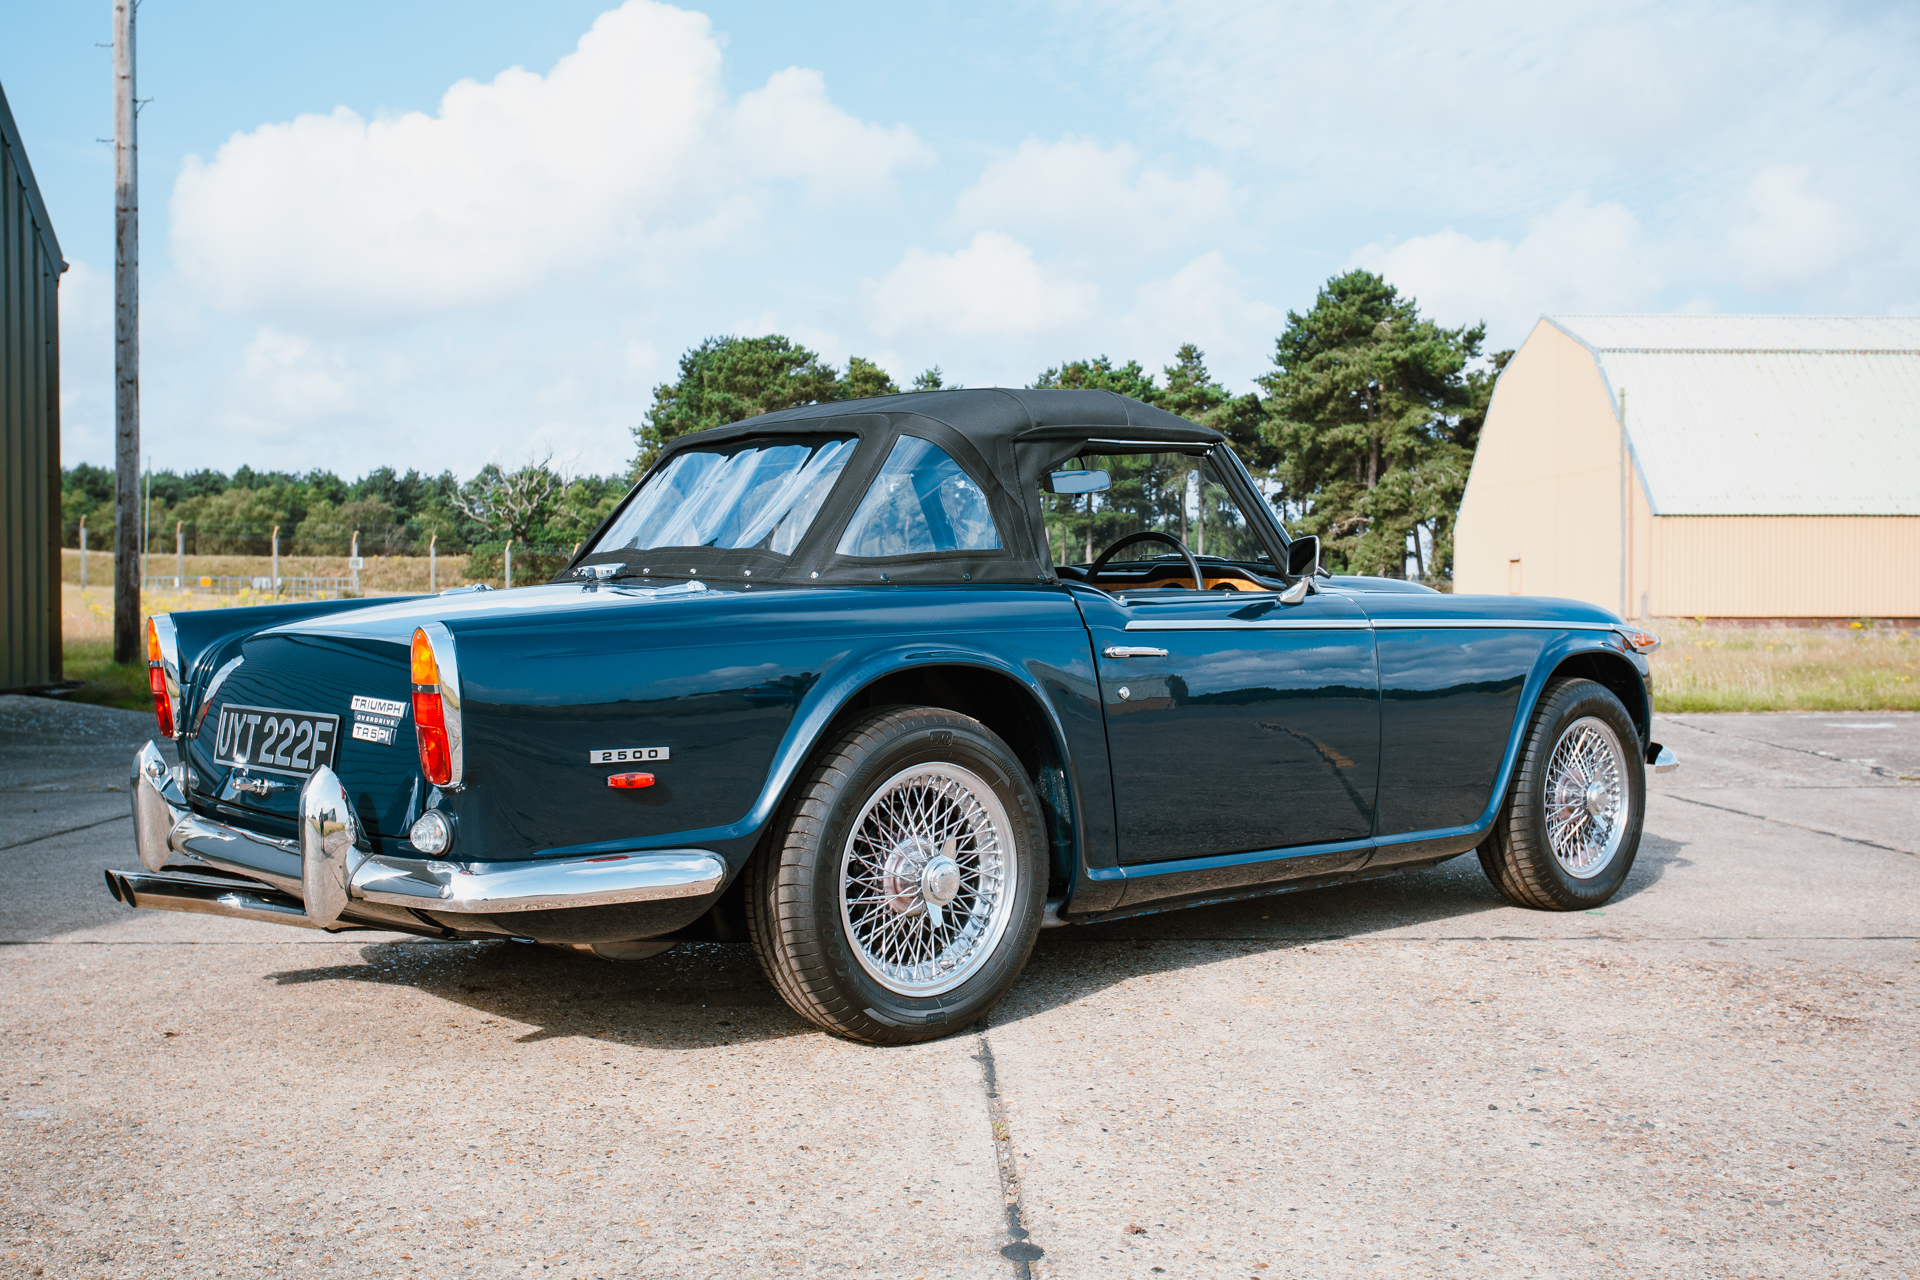
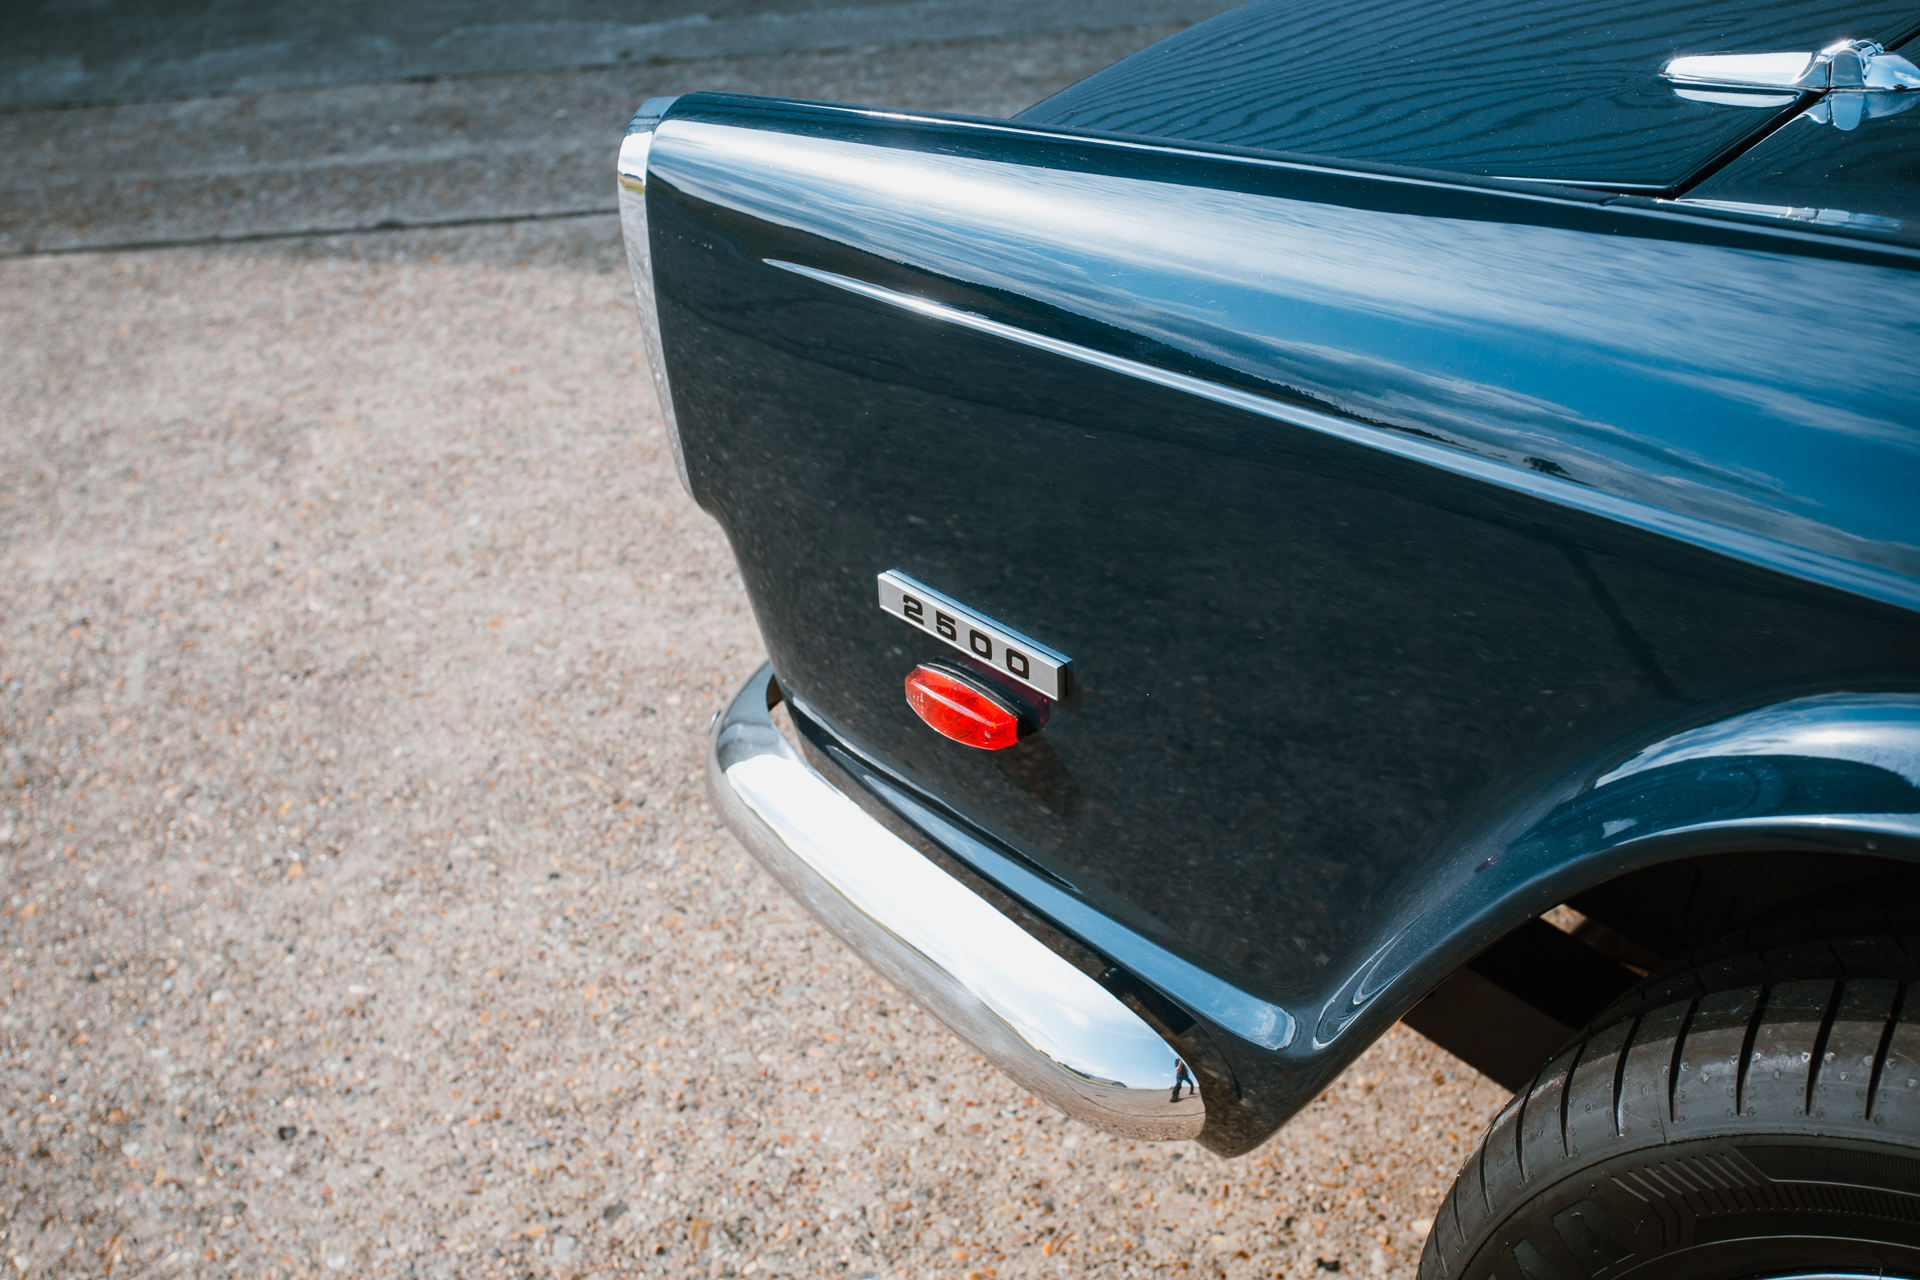
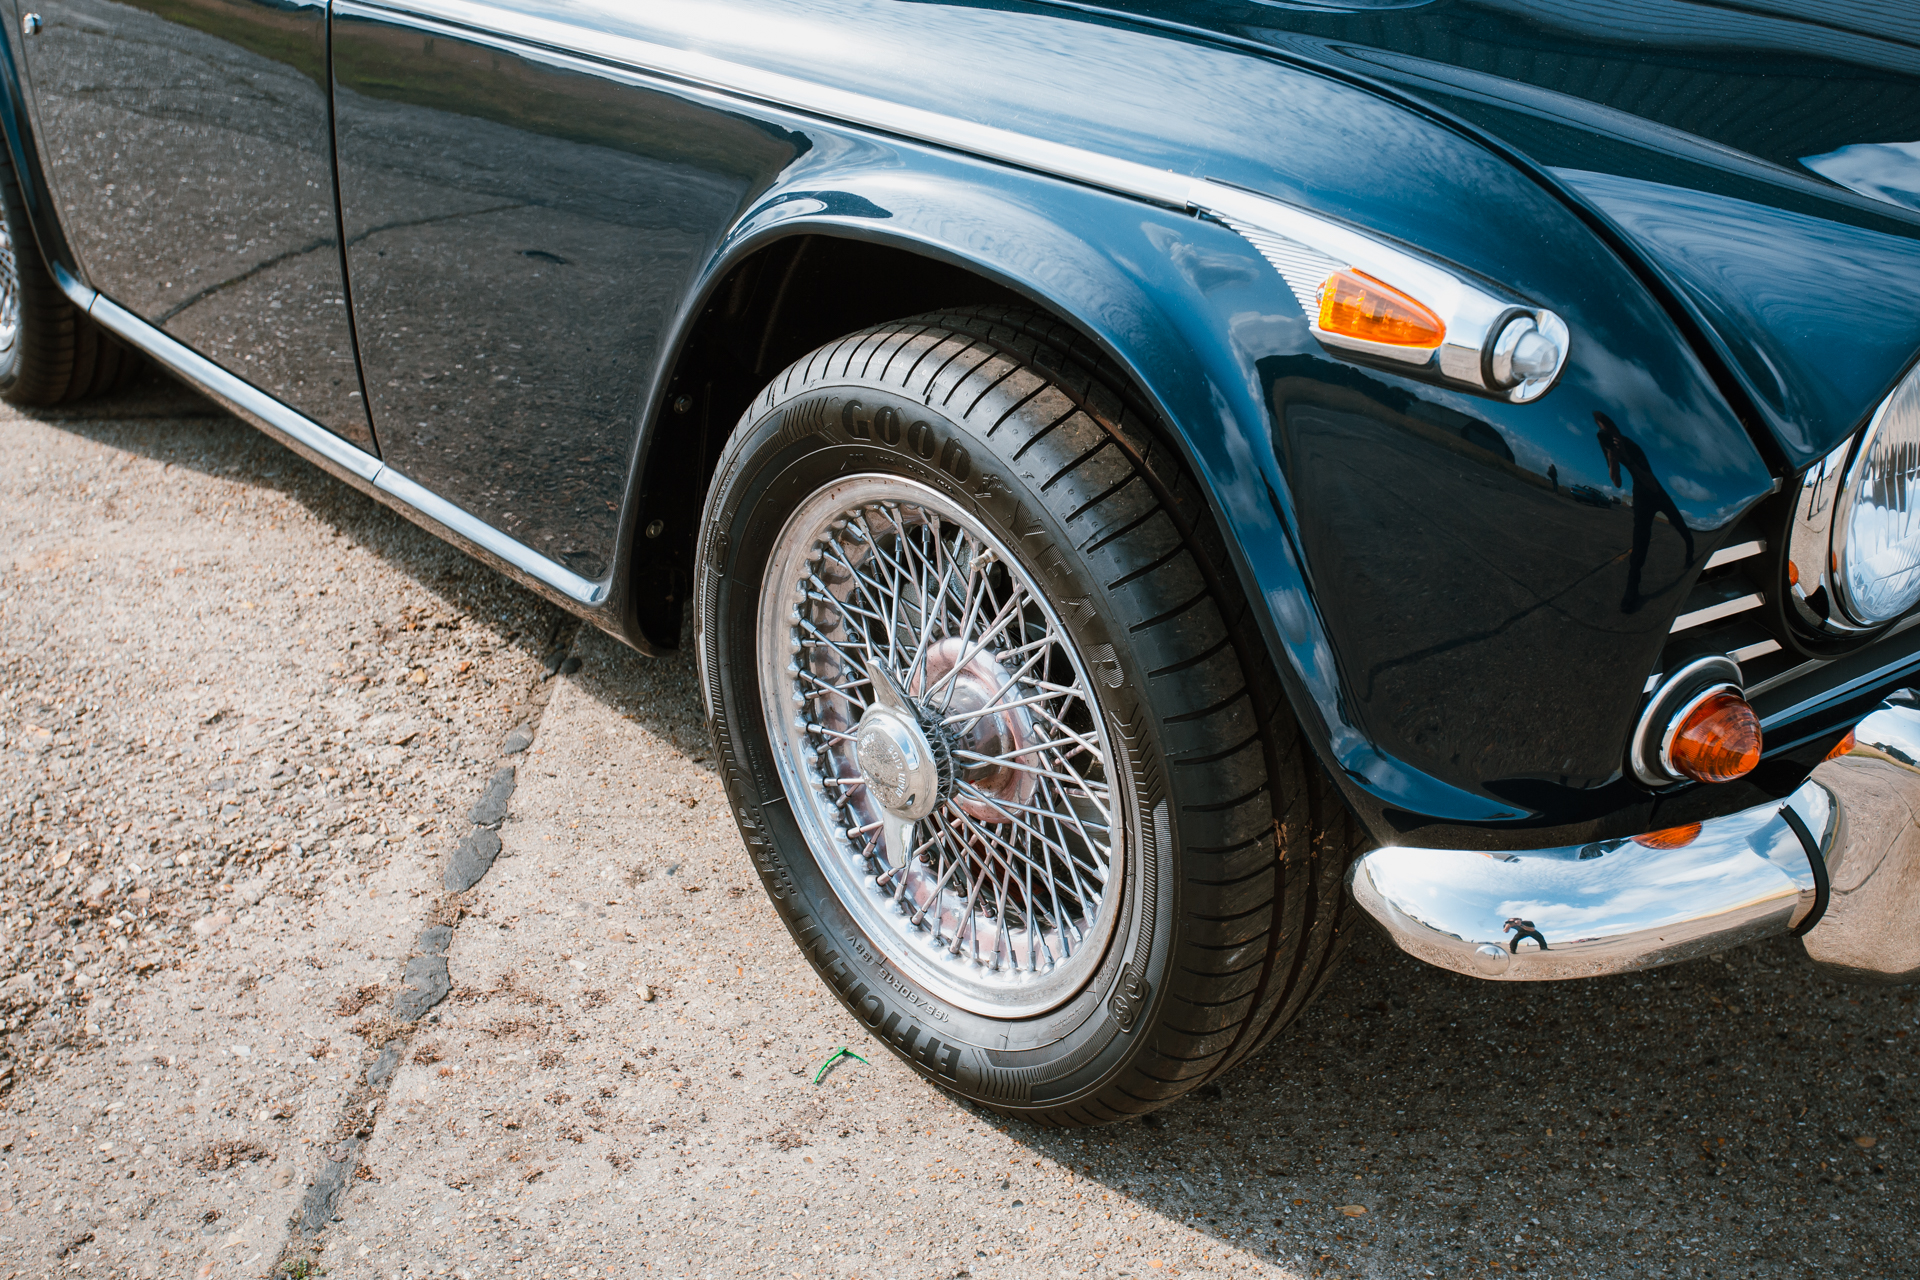
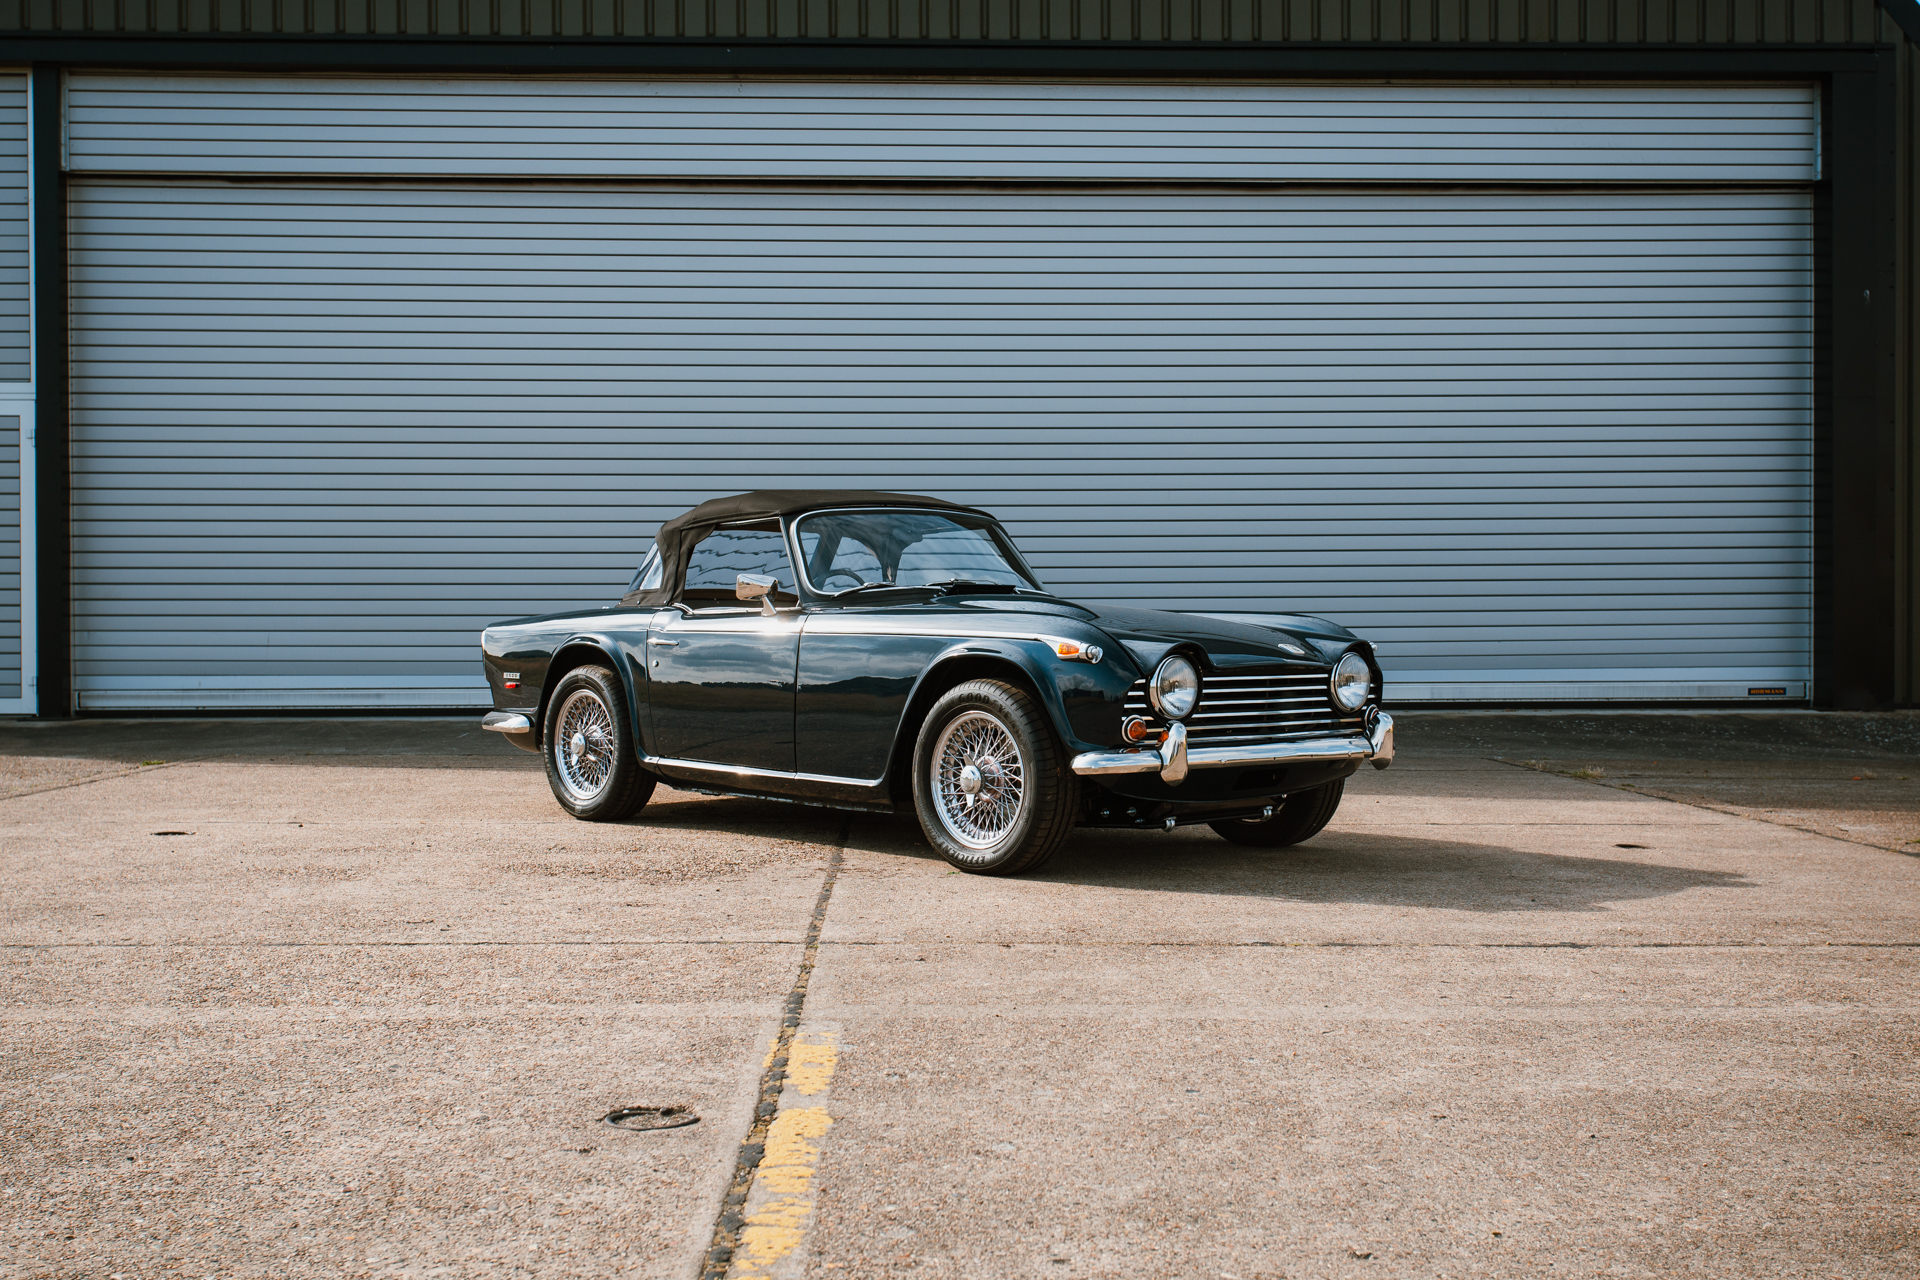
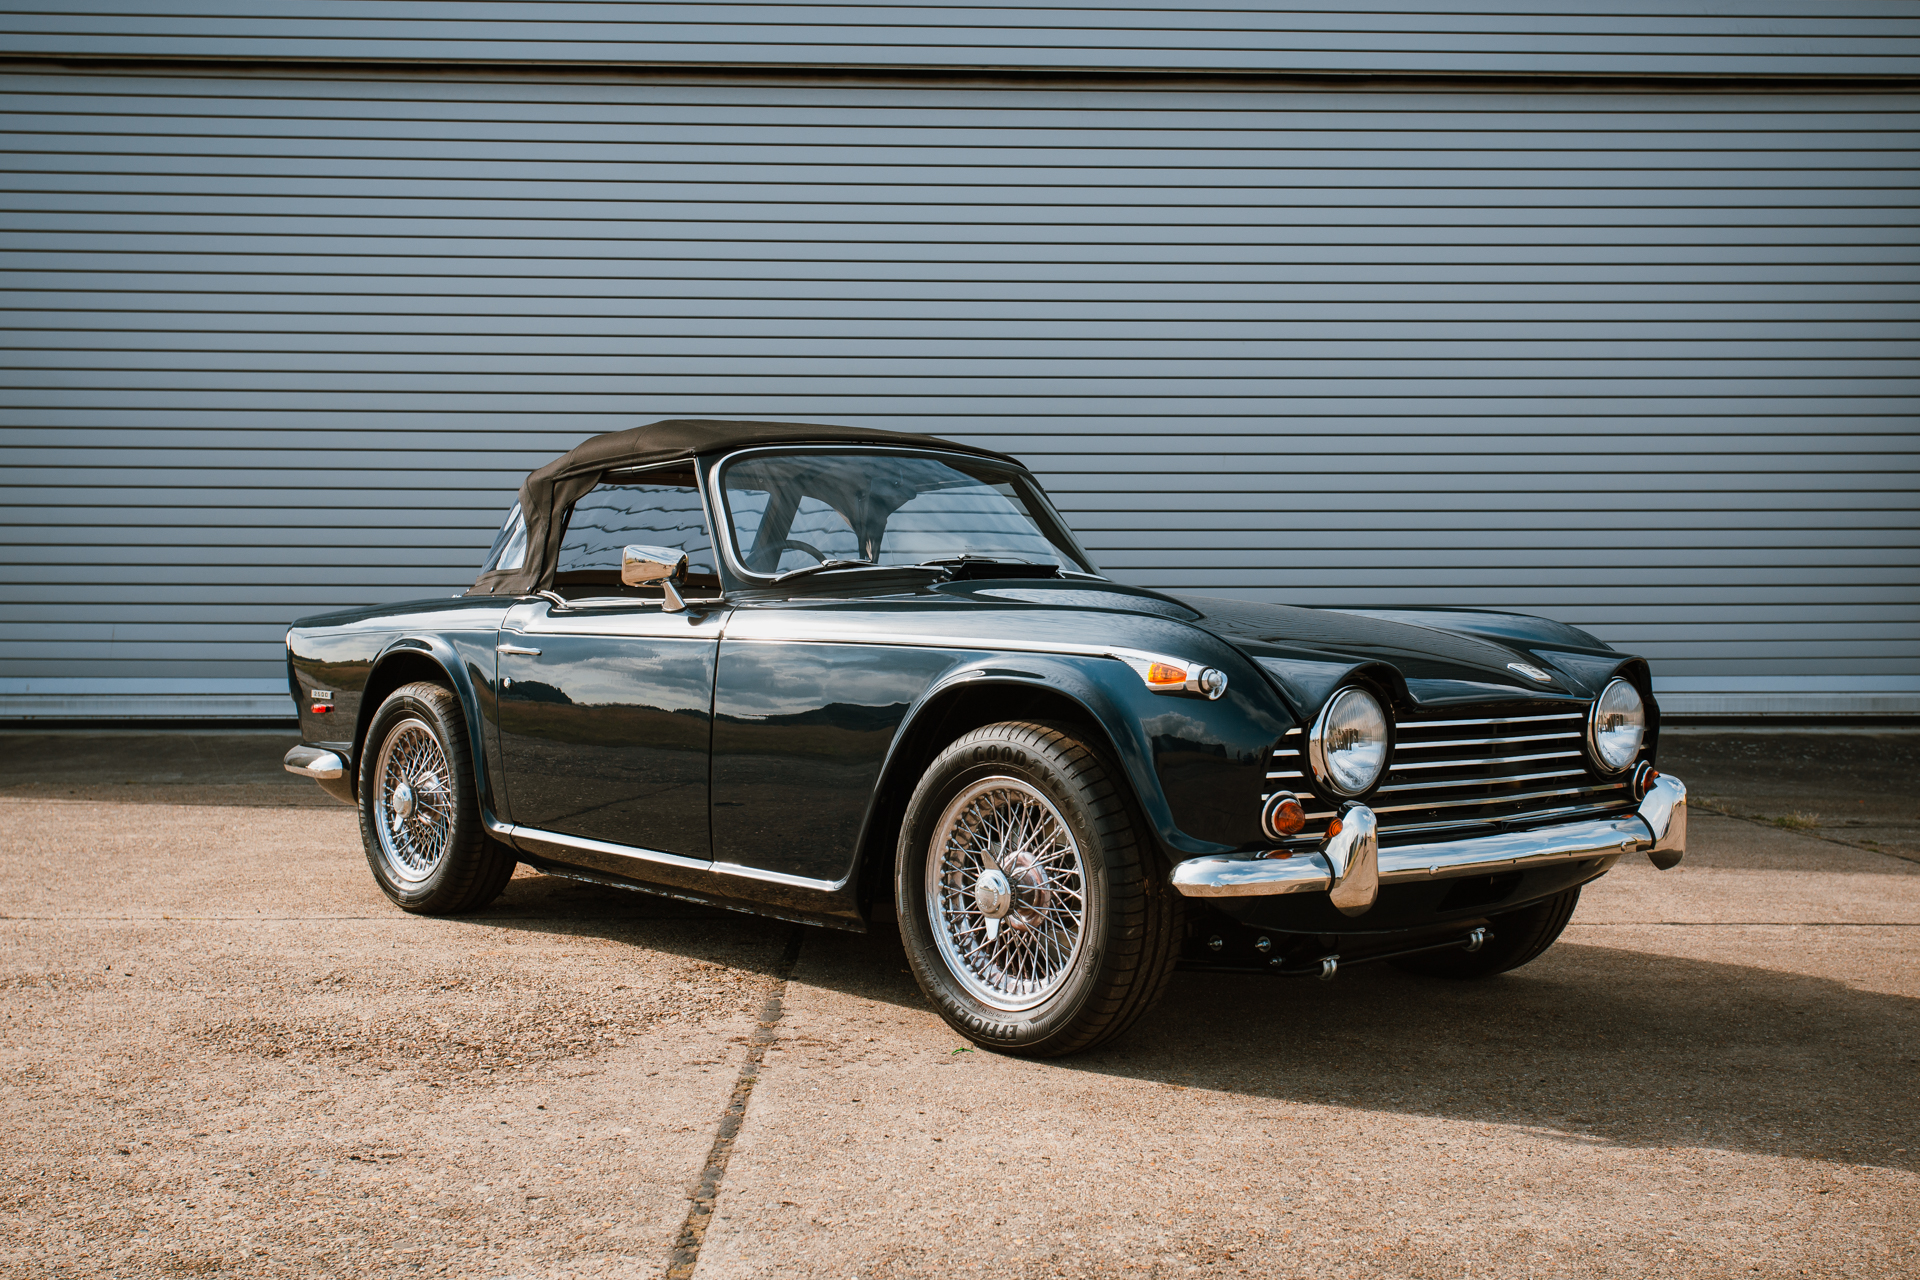
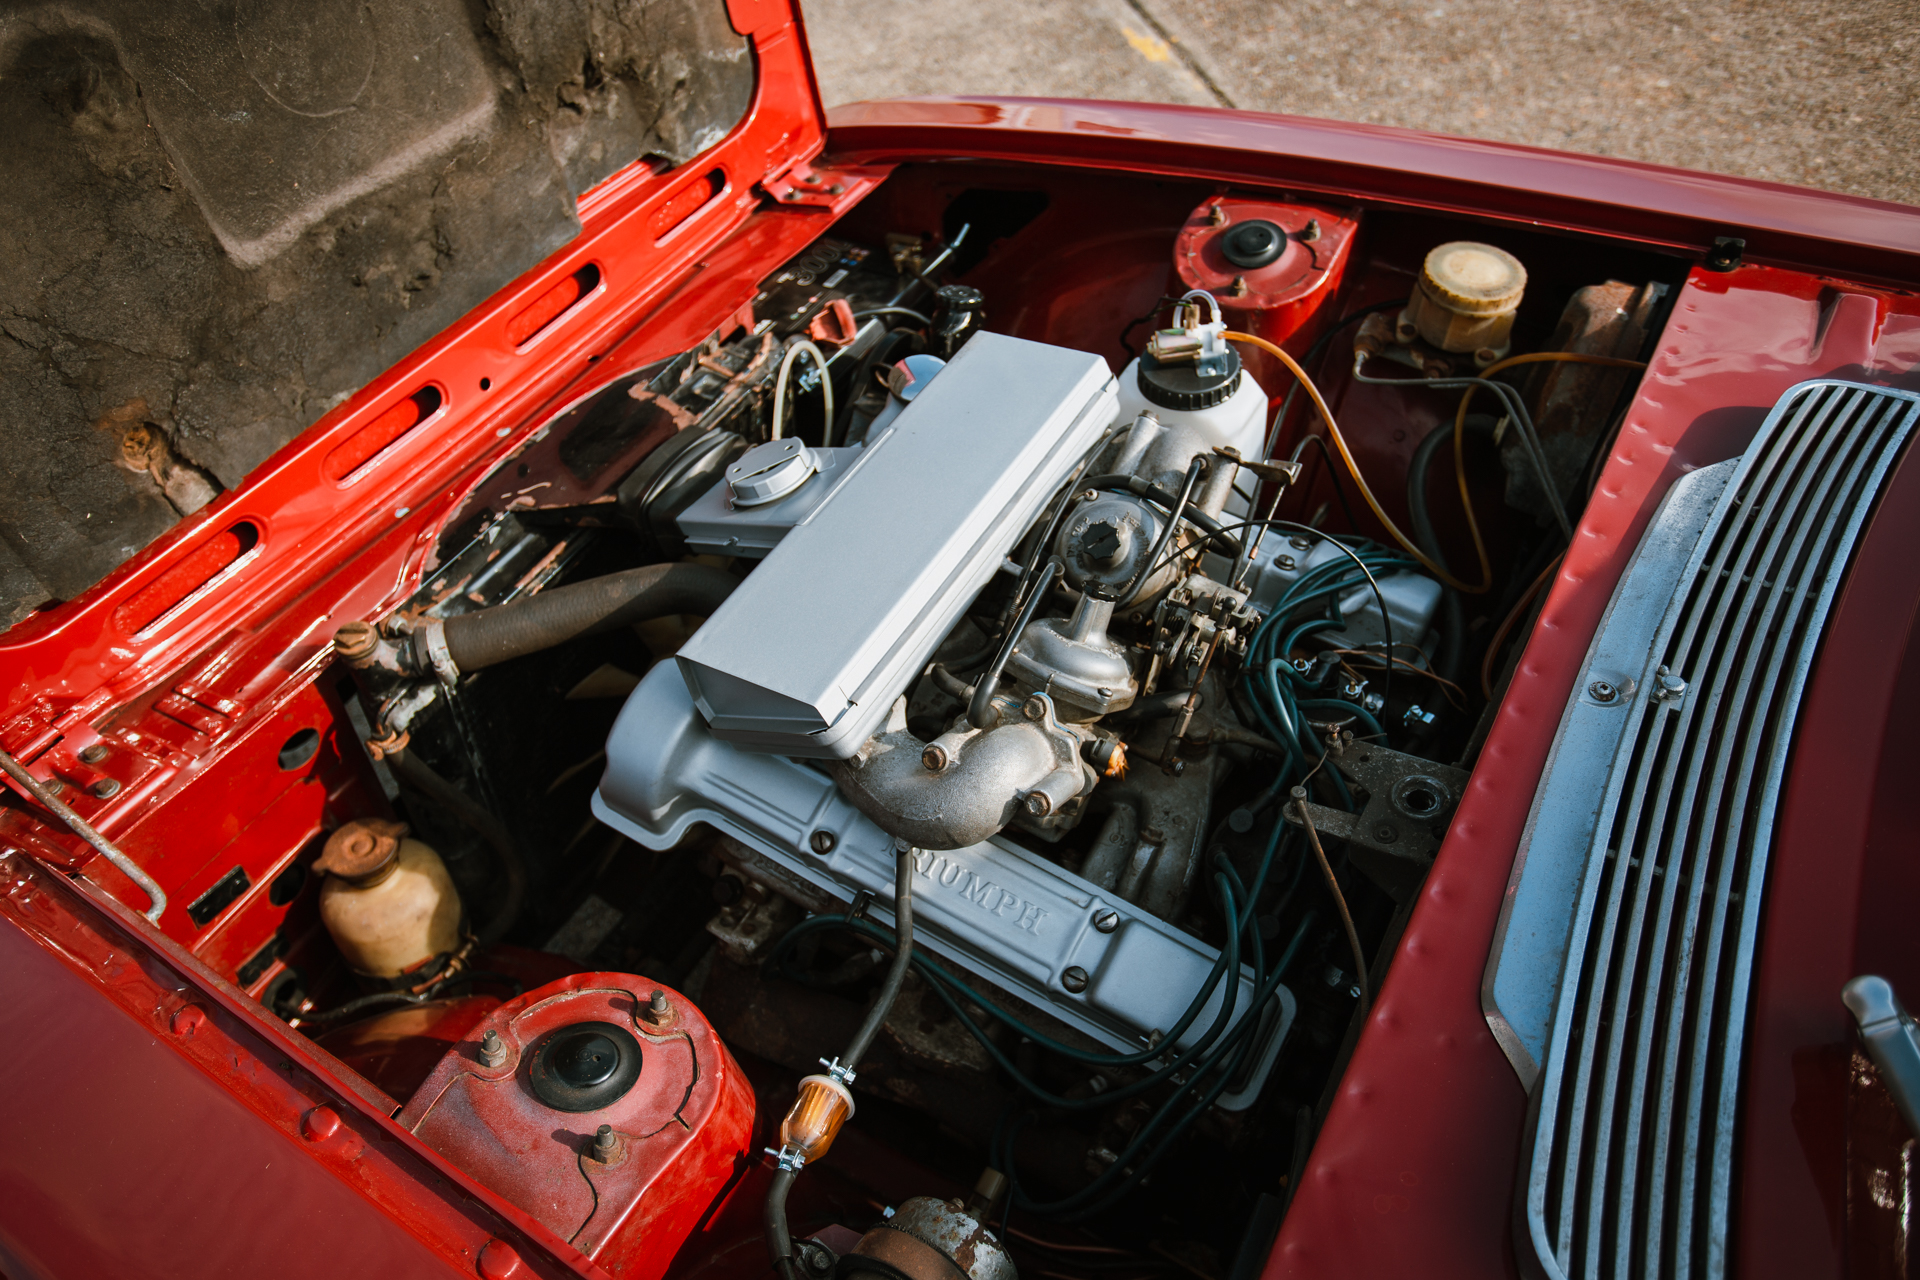
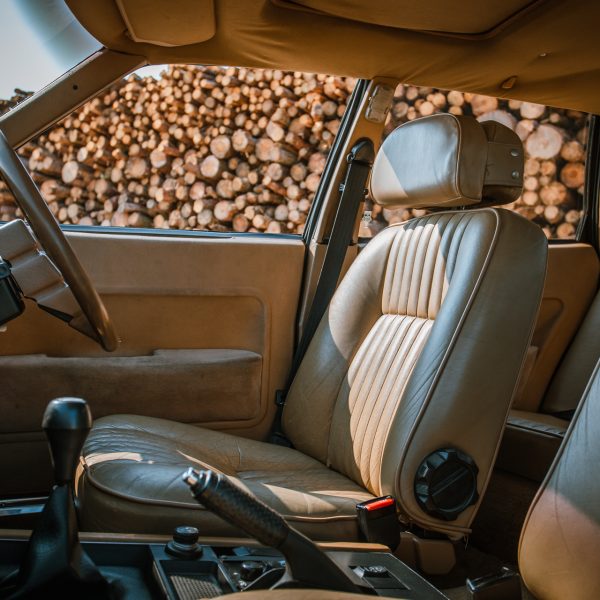
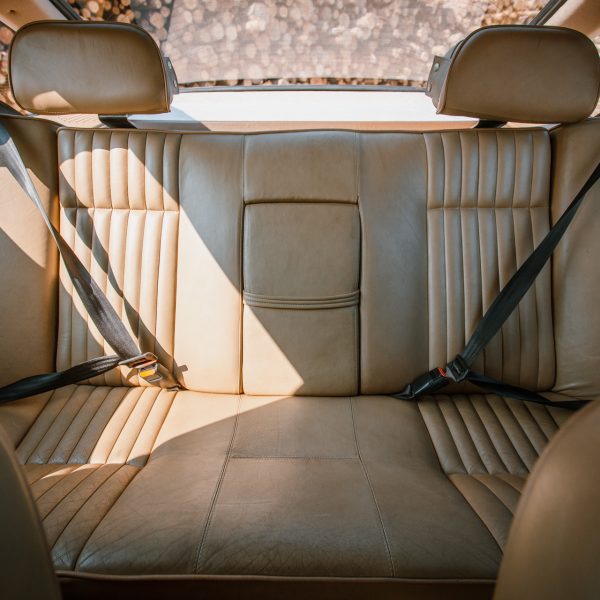
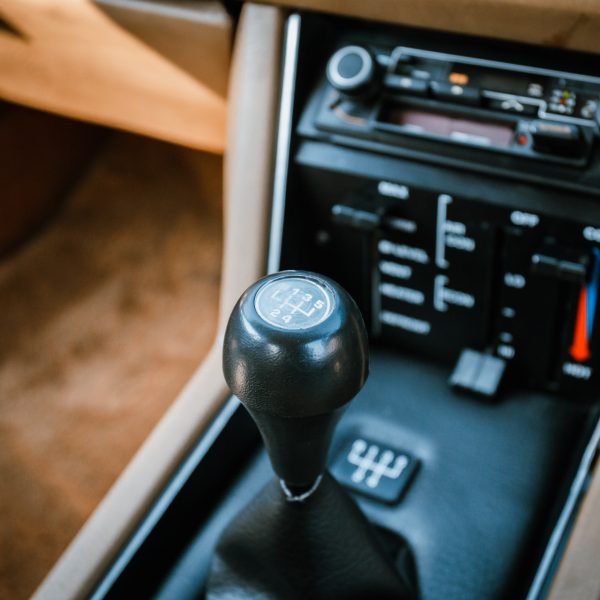
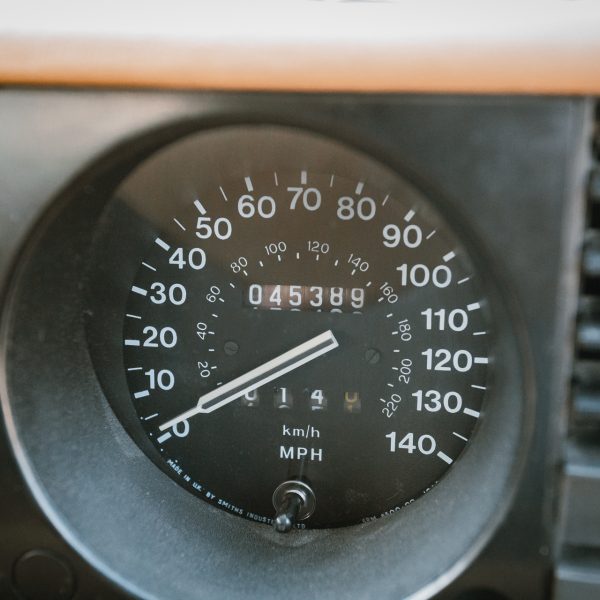
You can read about the full story of this car here!
At the start of November 2019, this 1968 Triumph TR5 came into our workshop as a part restoration. In January 2020, the components were stripped to assess which parts could be refurbished and which parts needed to be replaced. In February 2020, the interior work began and the chassis was built up. In March 2020 the seats were finished, the body shell was repaired and we welcomed in a delivery of parts. In April 2020 more body shell repair work was carried out. In October 2020 the body was mounted onto the chassis and electronics were carried out. In November 2020 heat resistant paint was applied to areas. In January 2021 engine bay work was carried out, work on corrosion was carried out, colour matching to the paintwork was done and windows were fitted. And from then to June this year, the finishing touches were put into place.
Fast forward to today, where the car is now complete and ready to go!

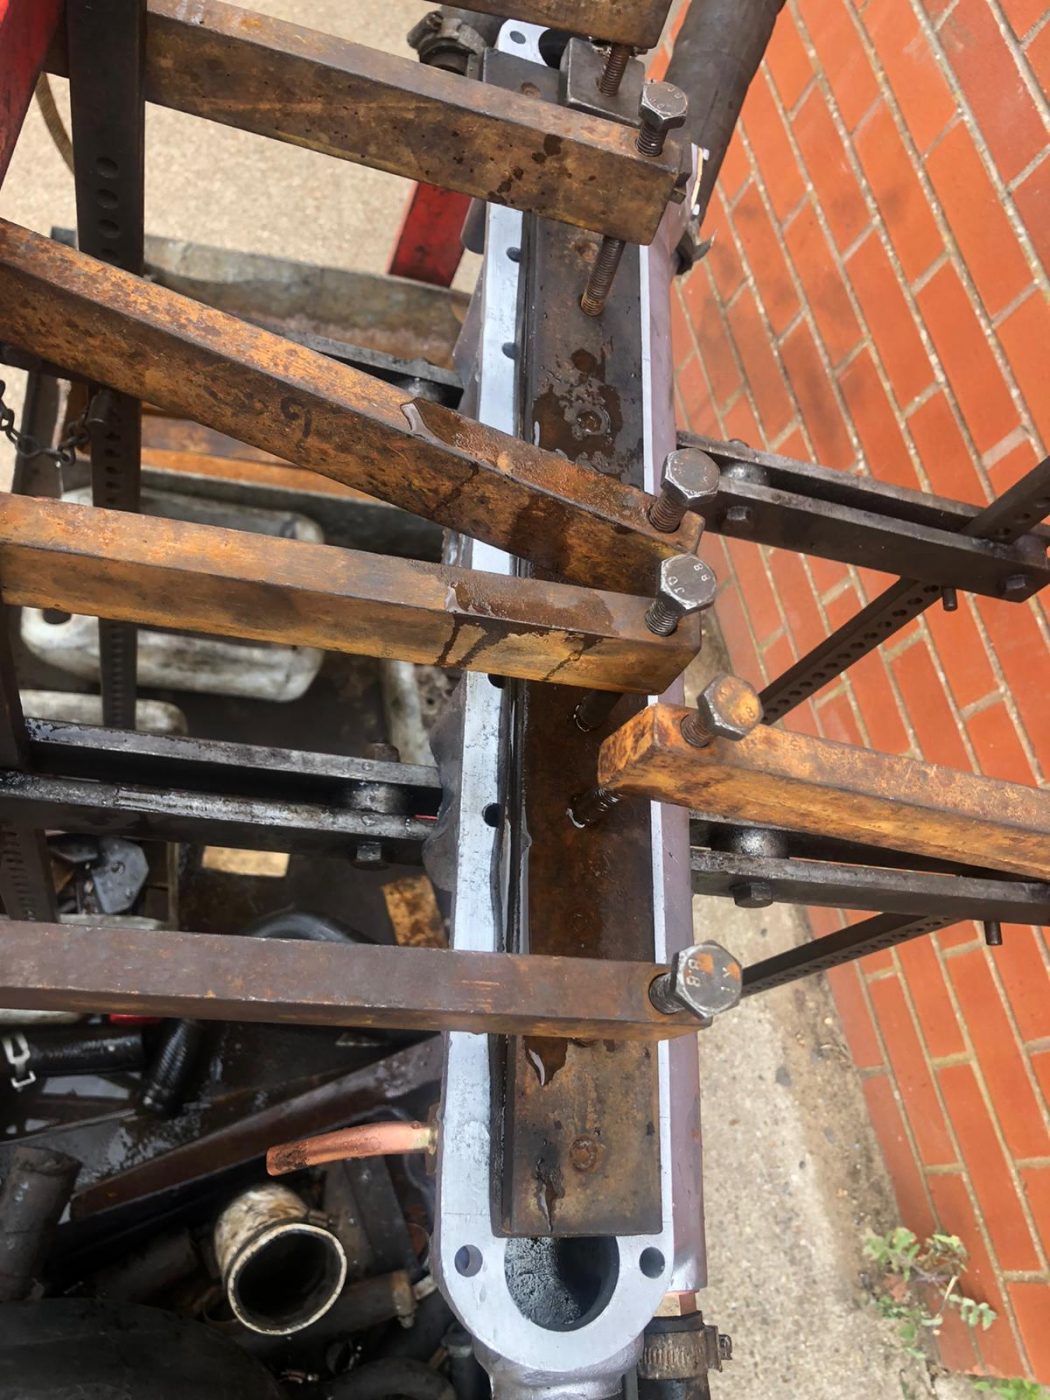
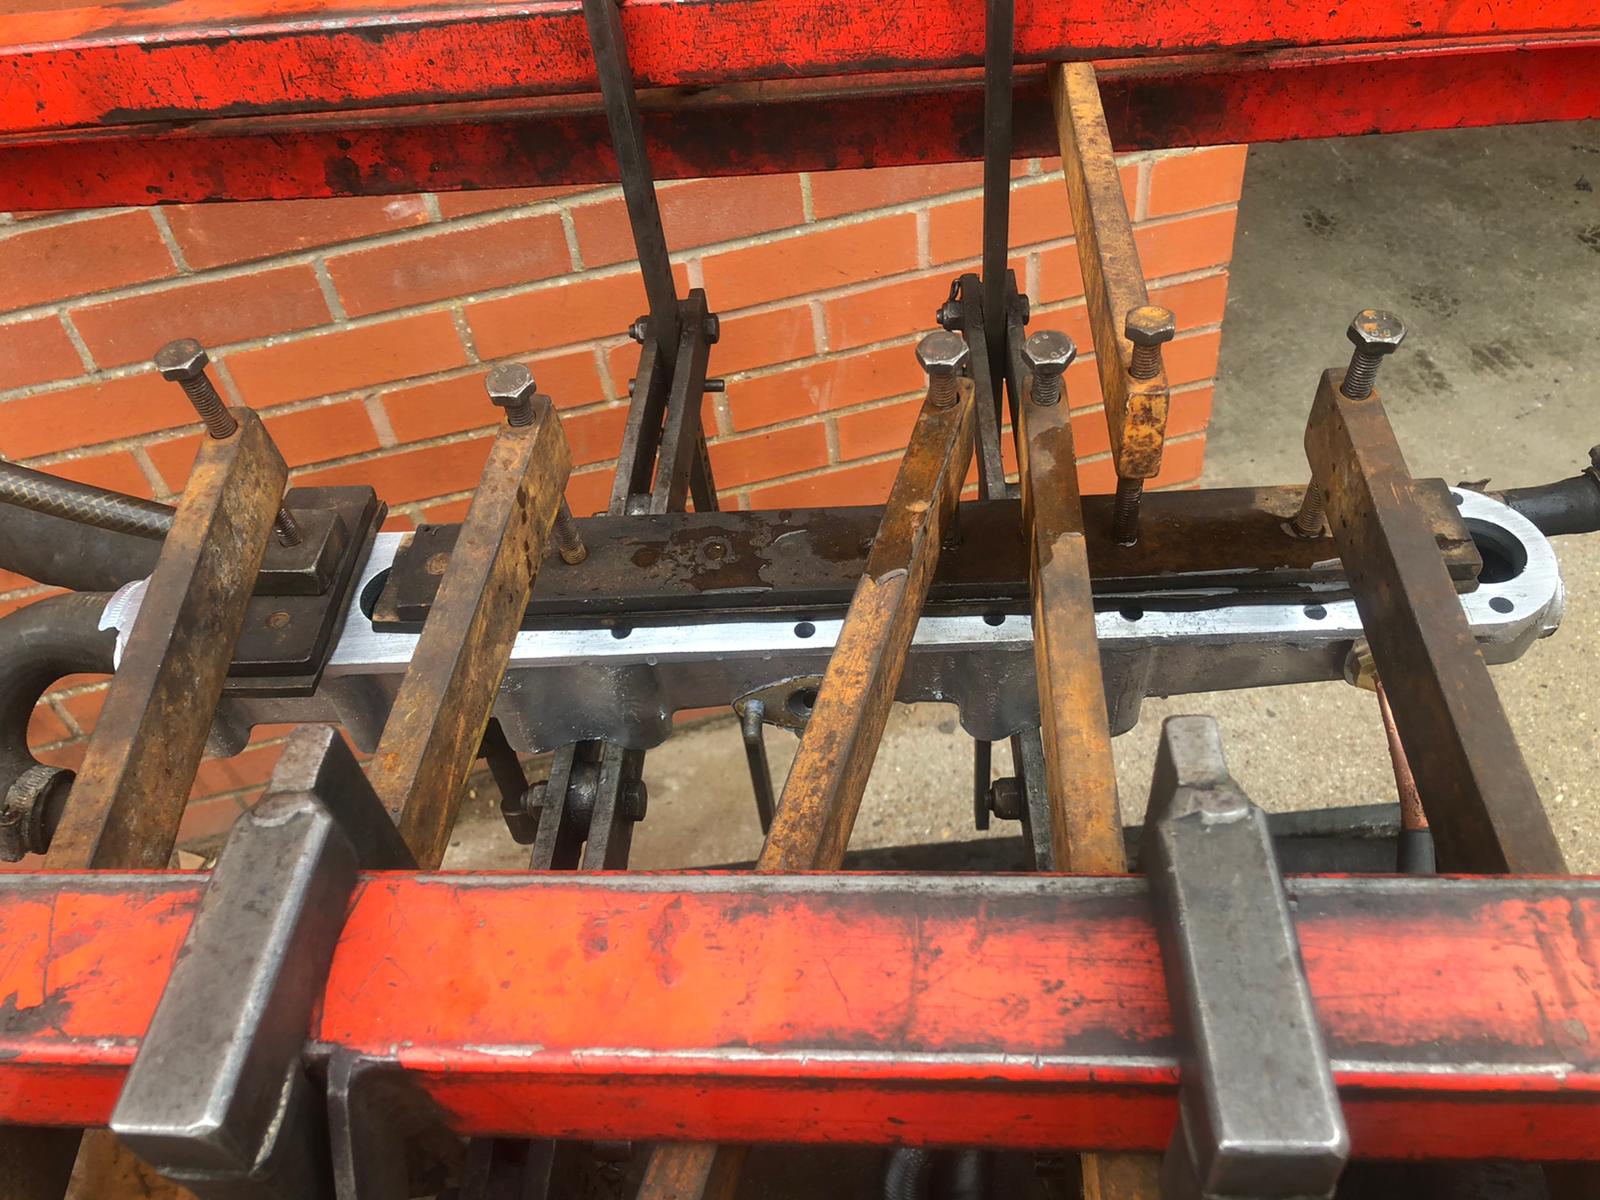
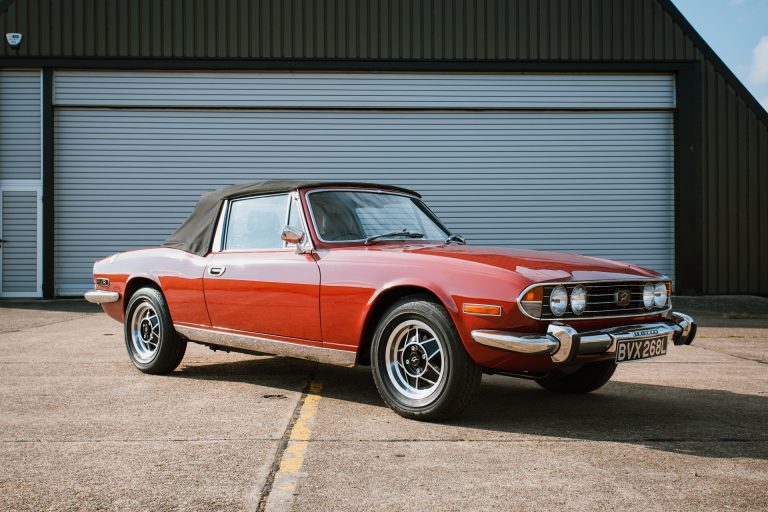
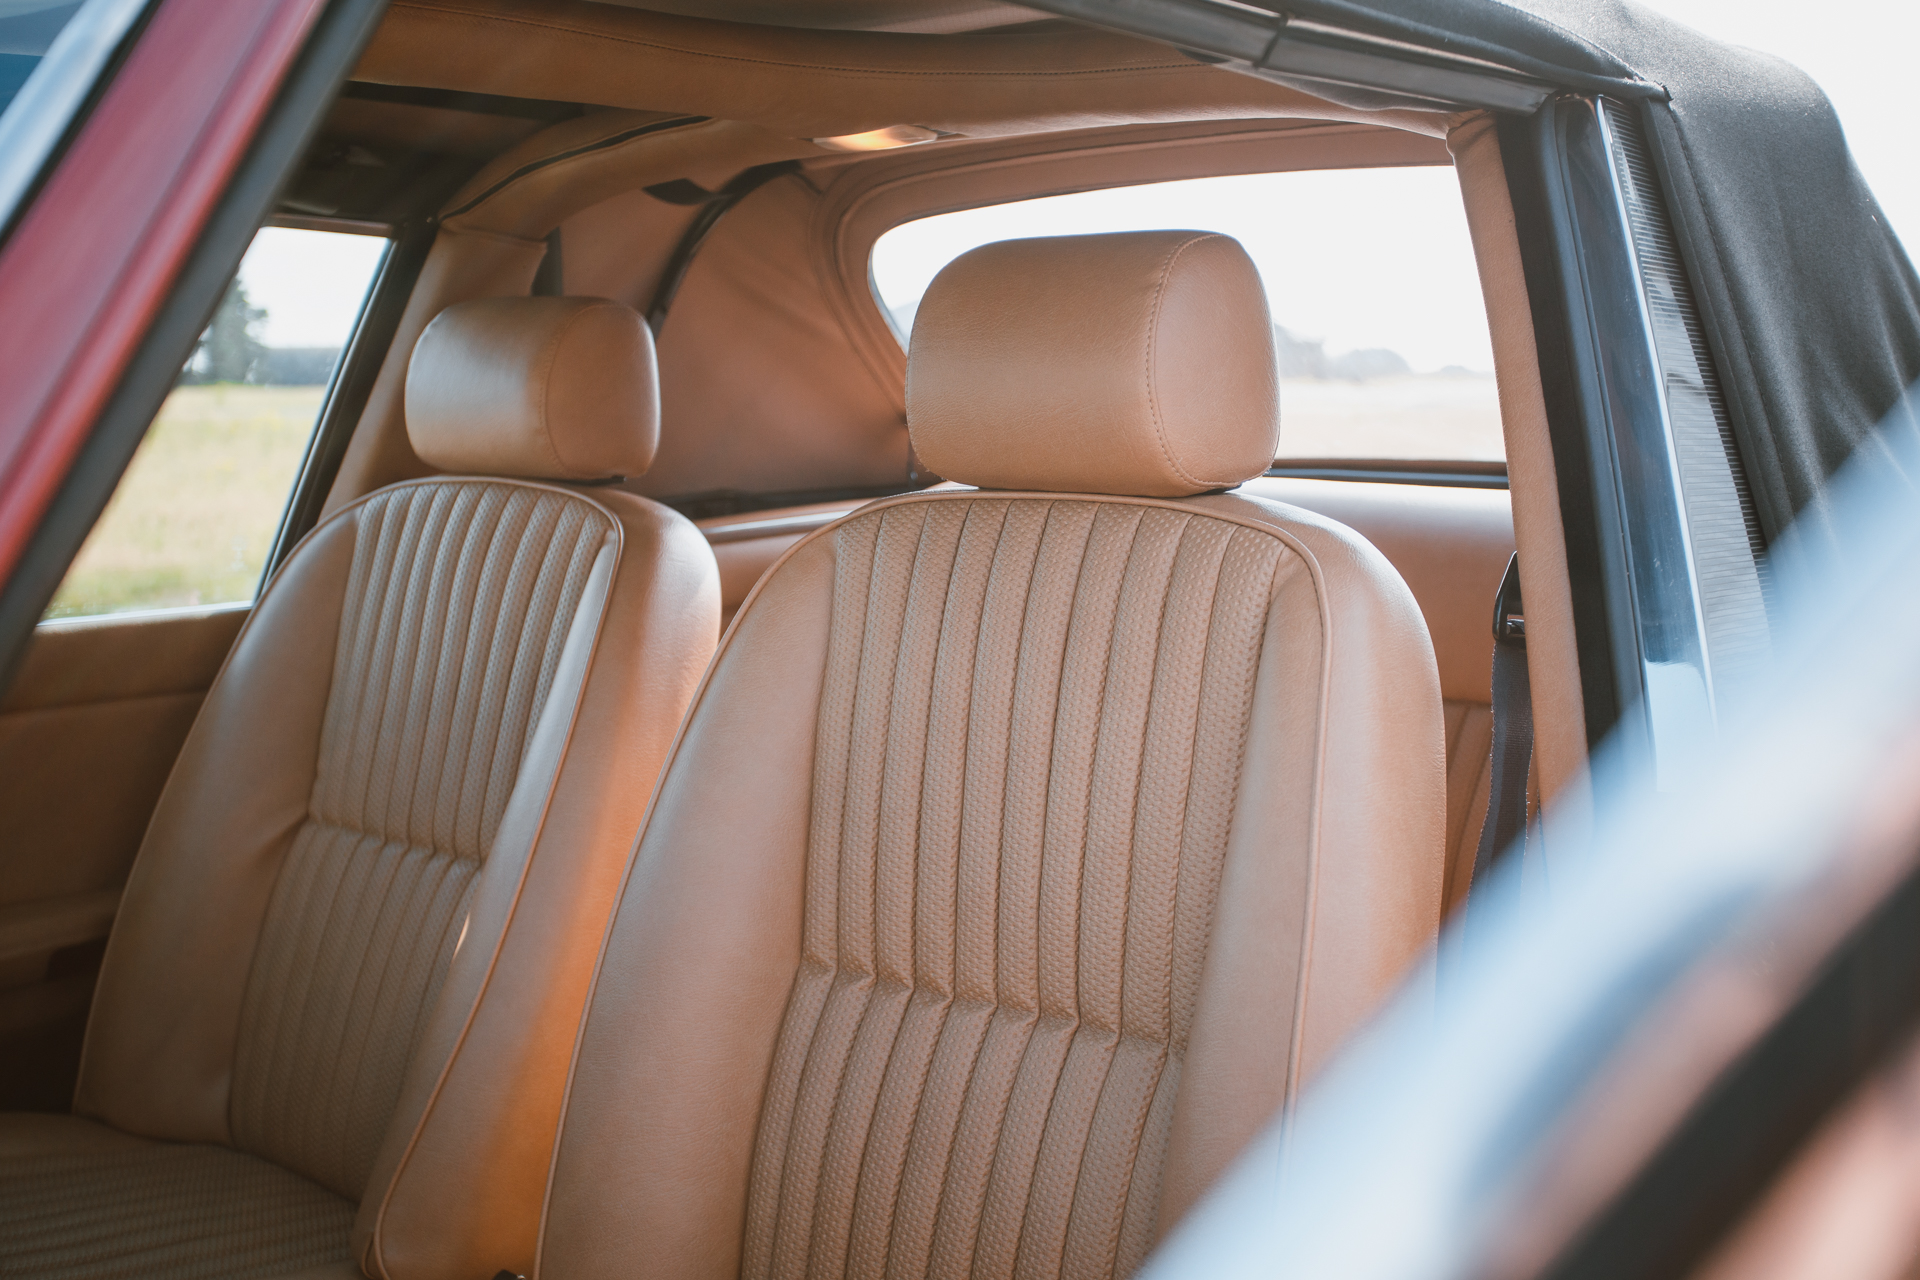
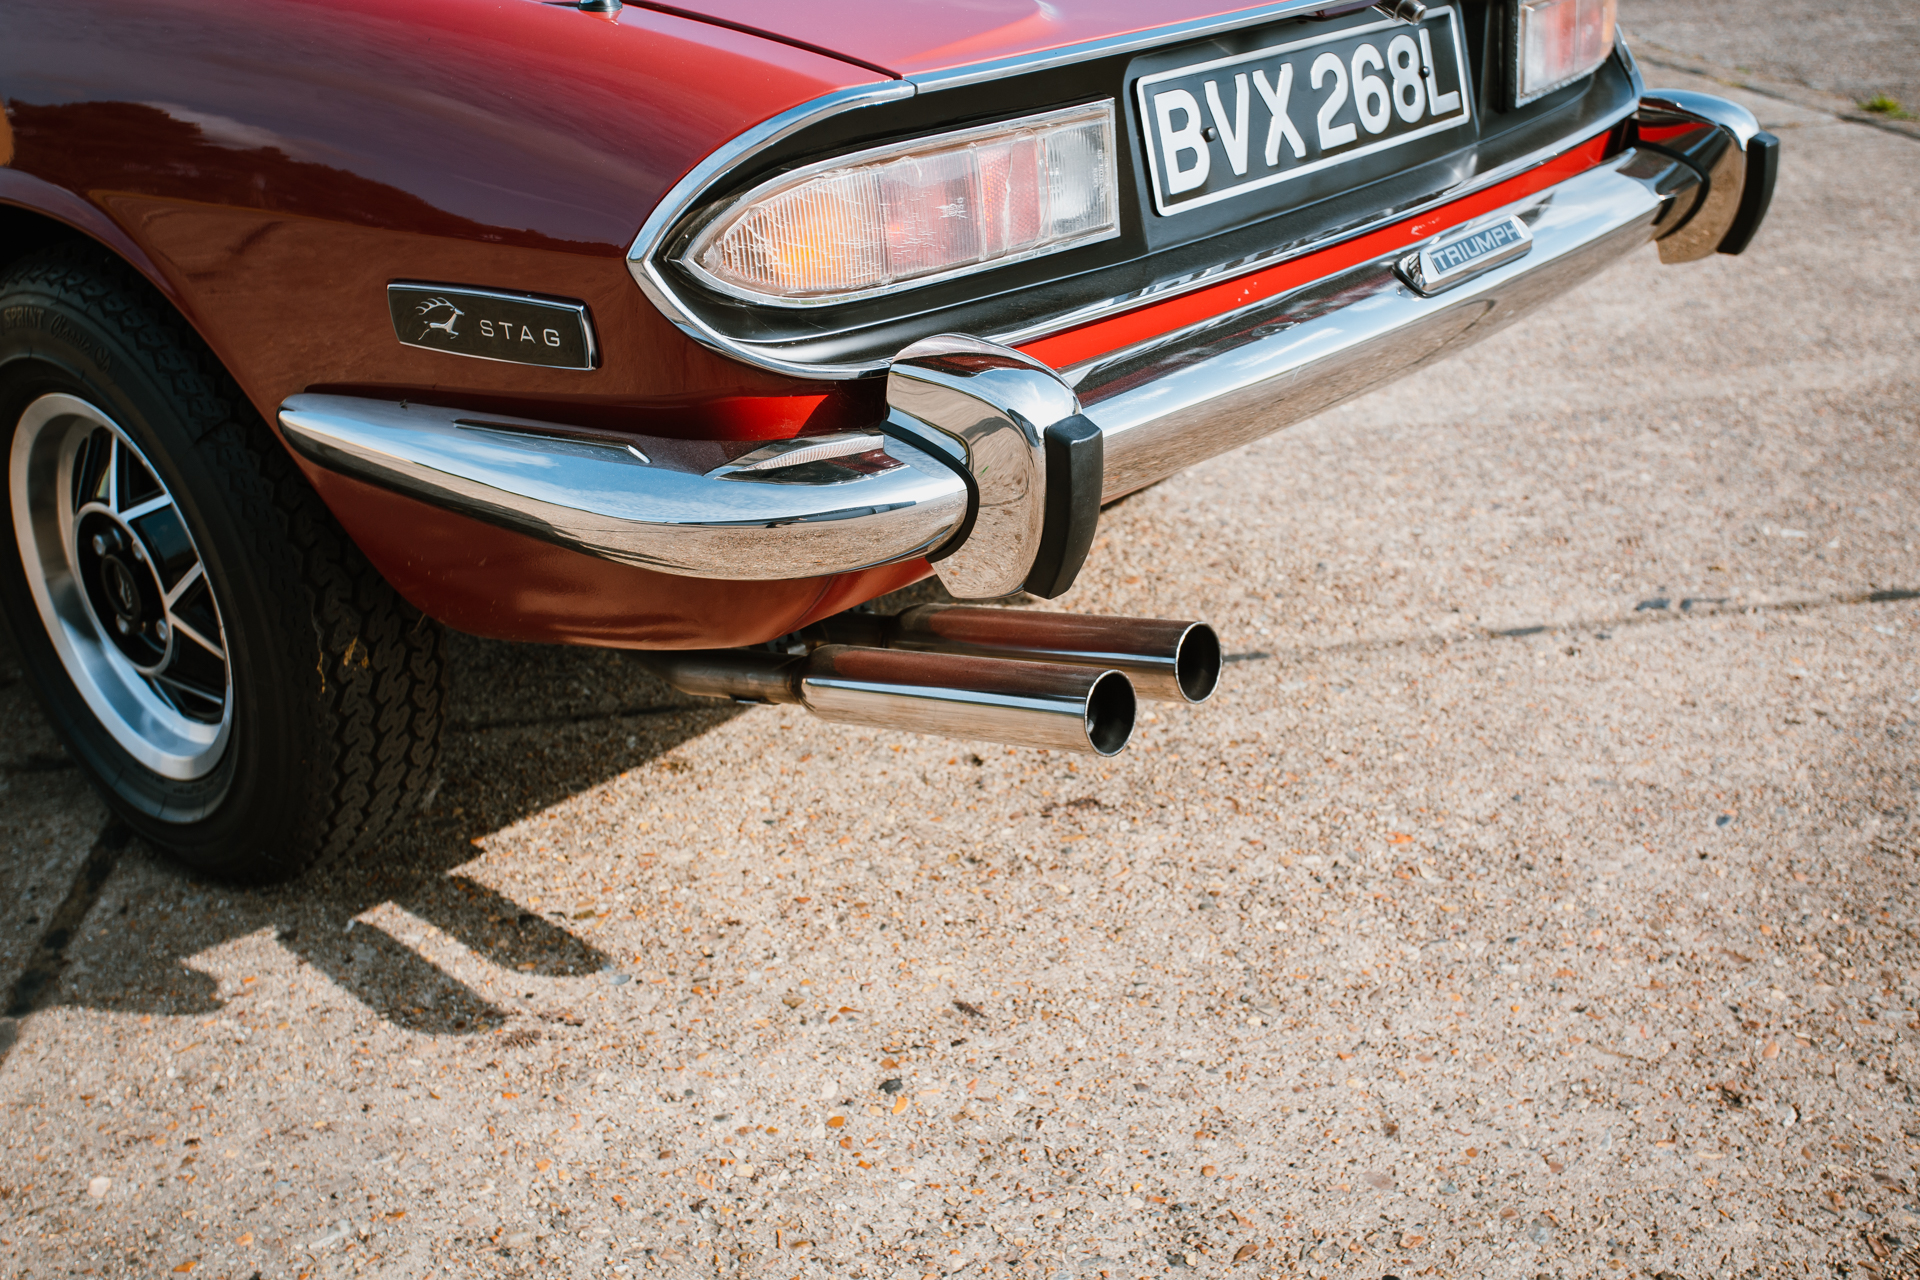
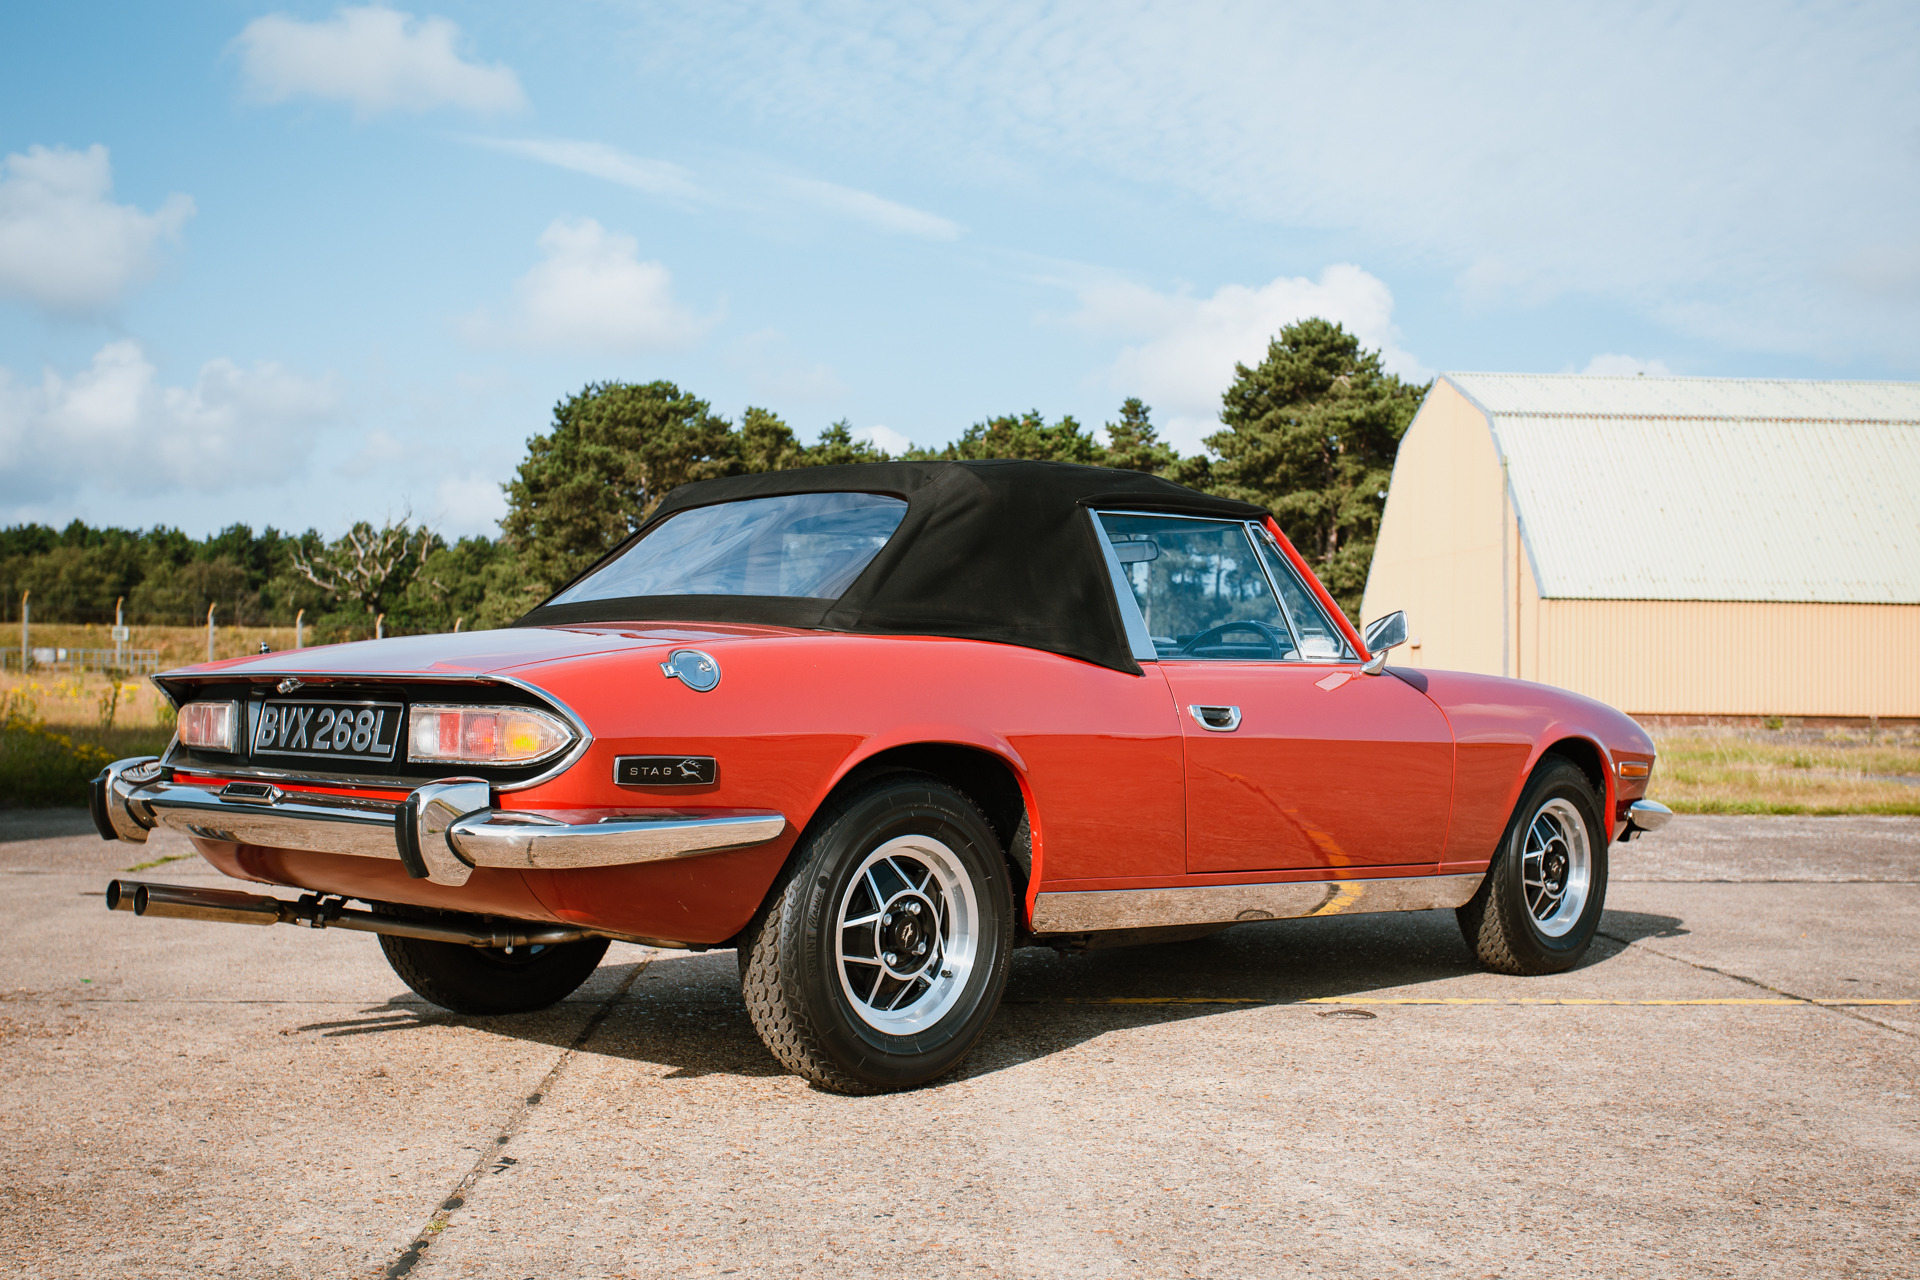
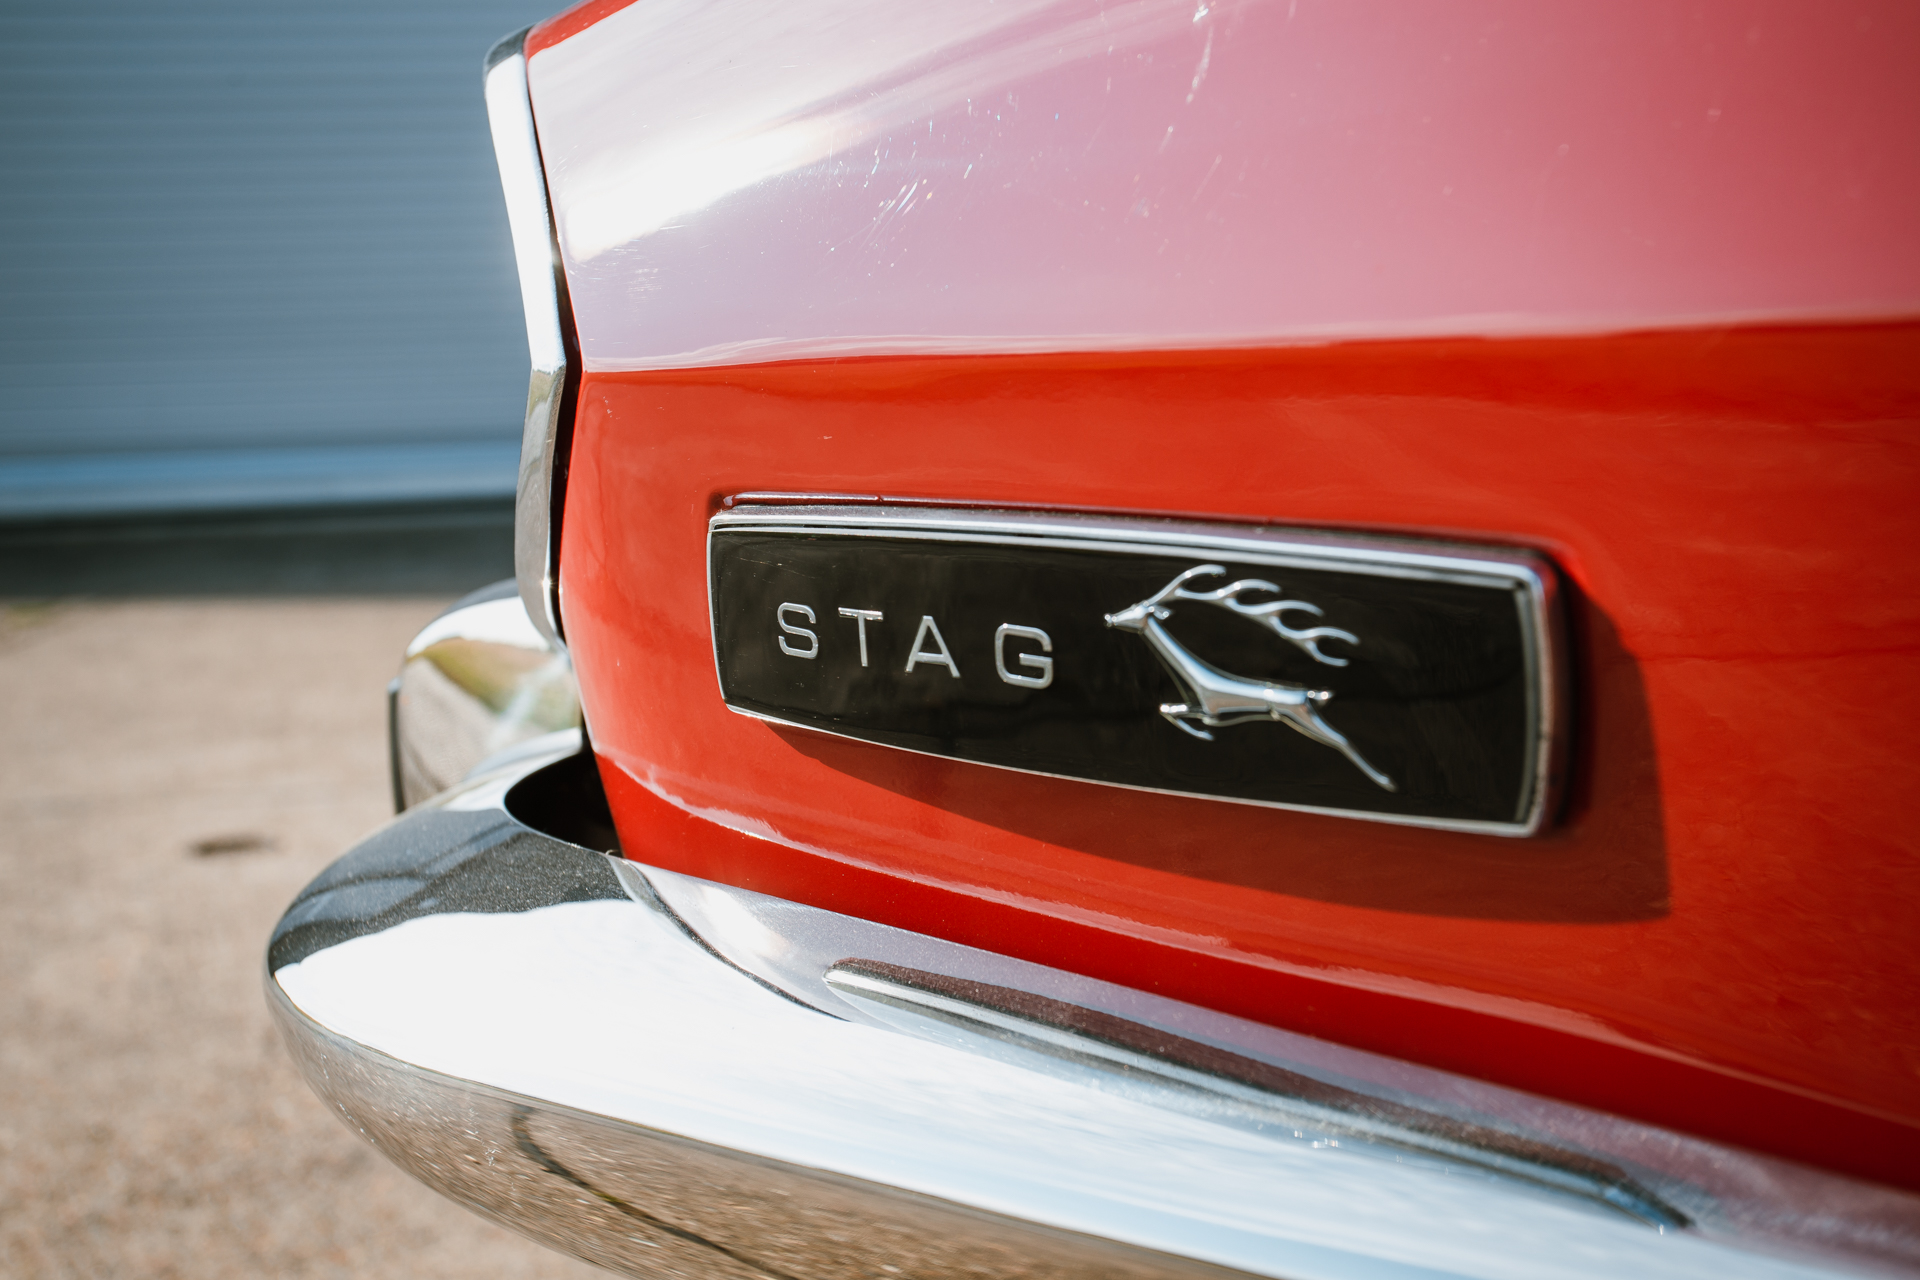
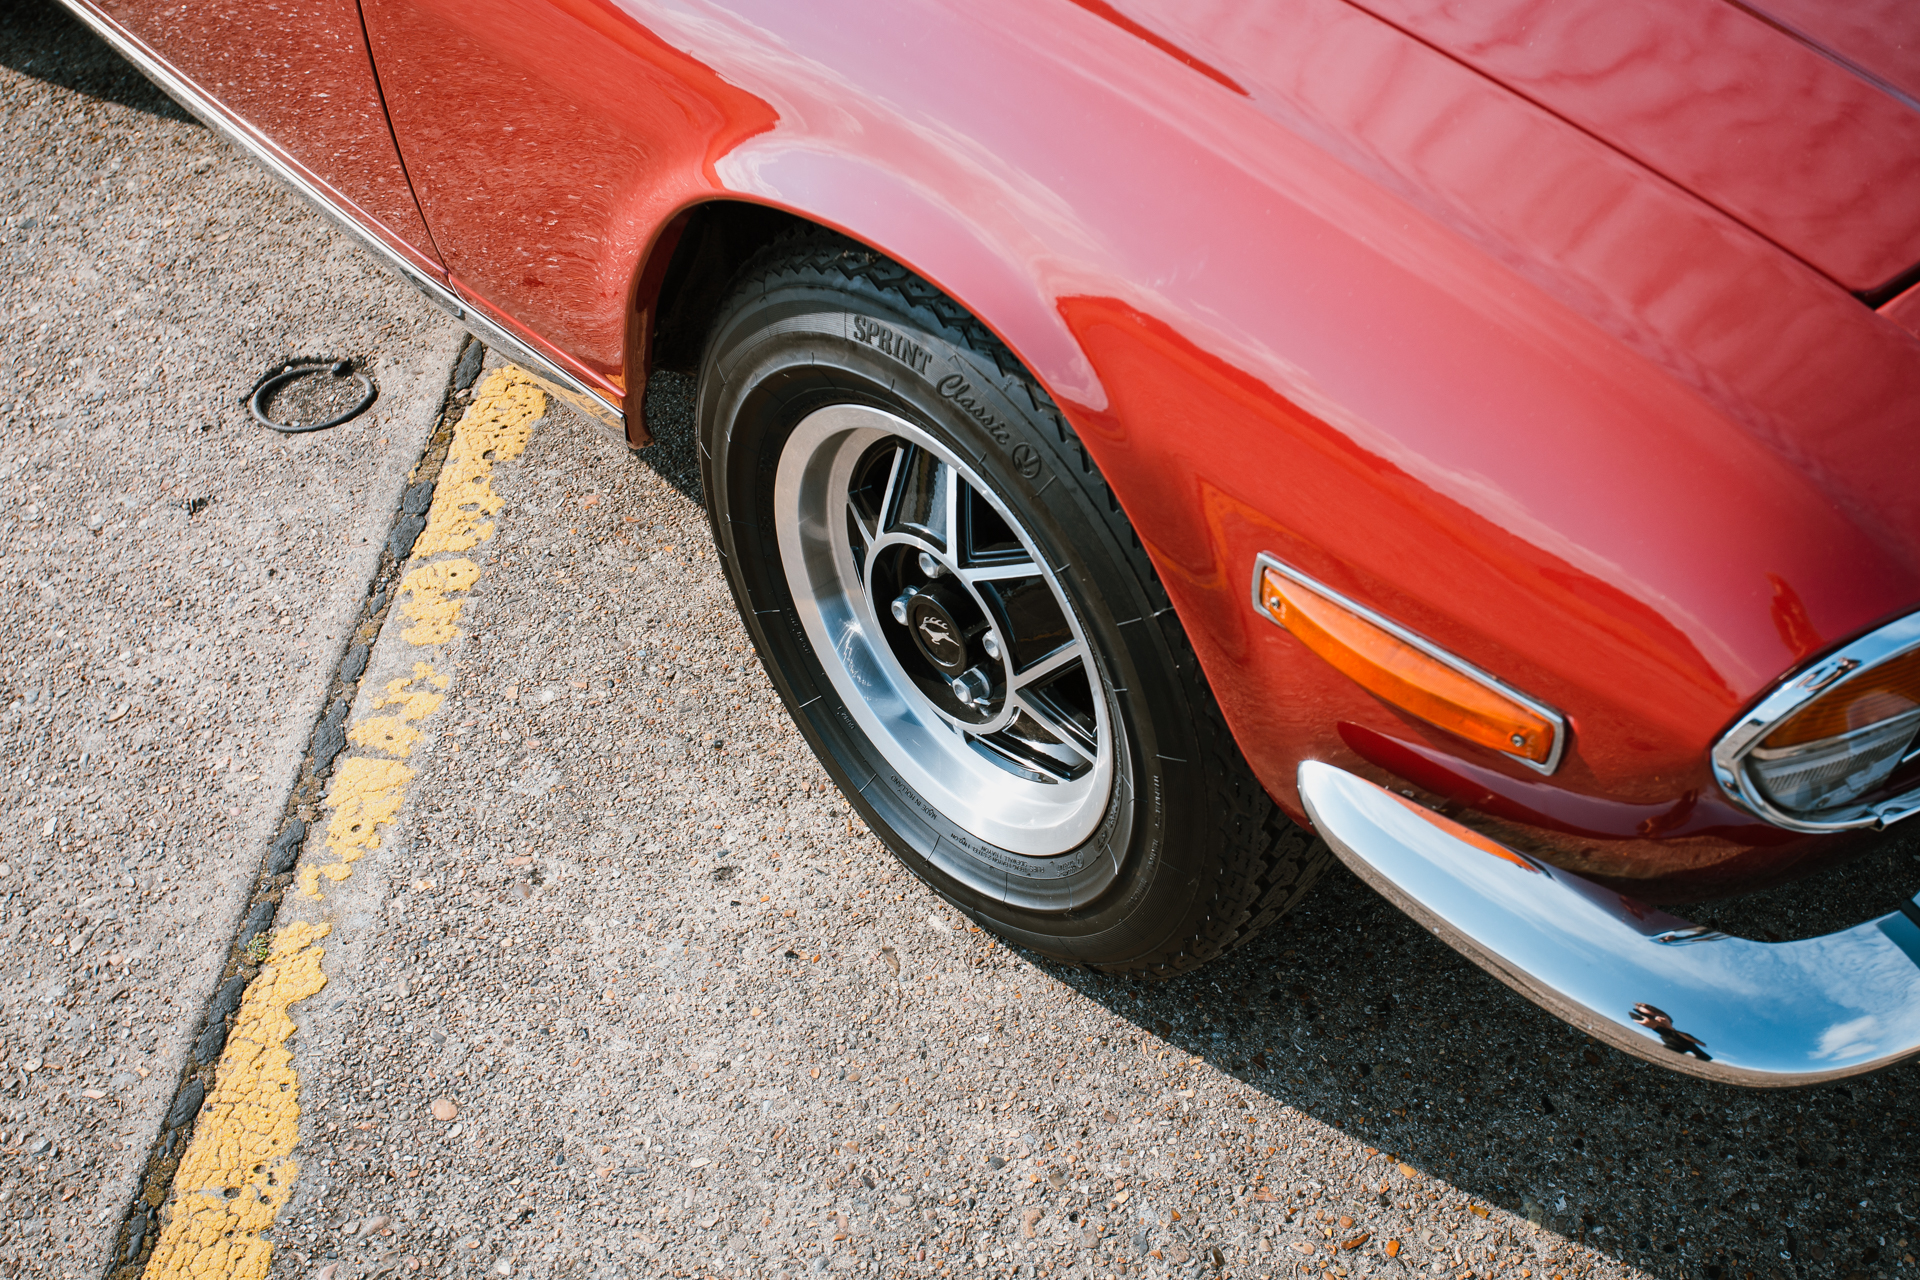
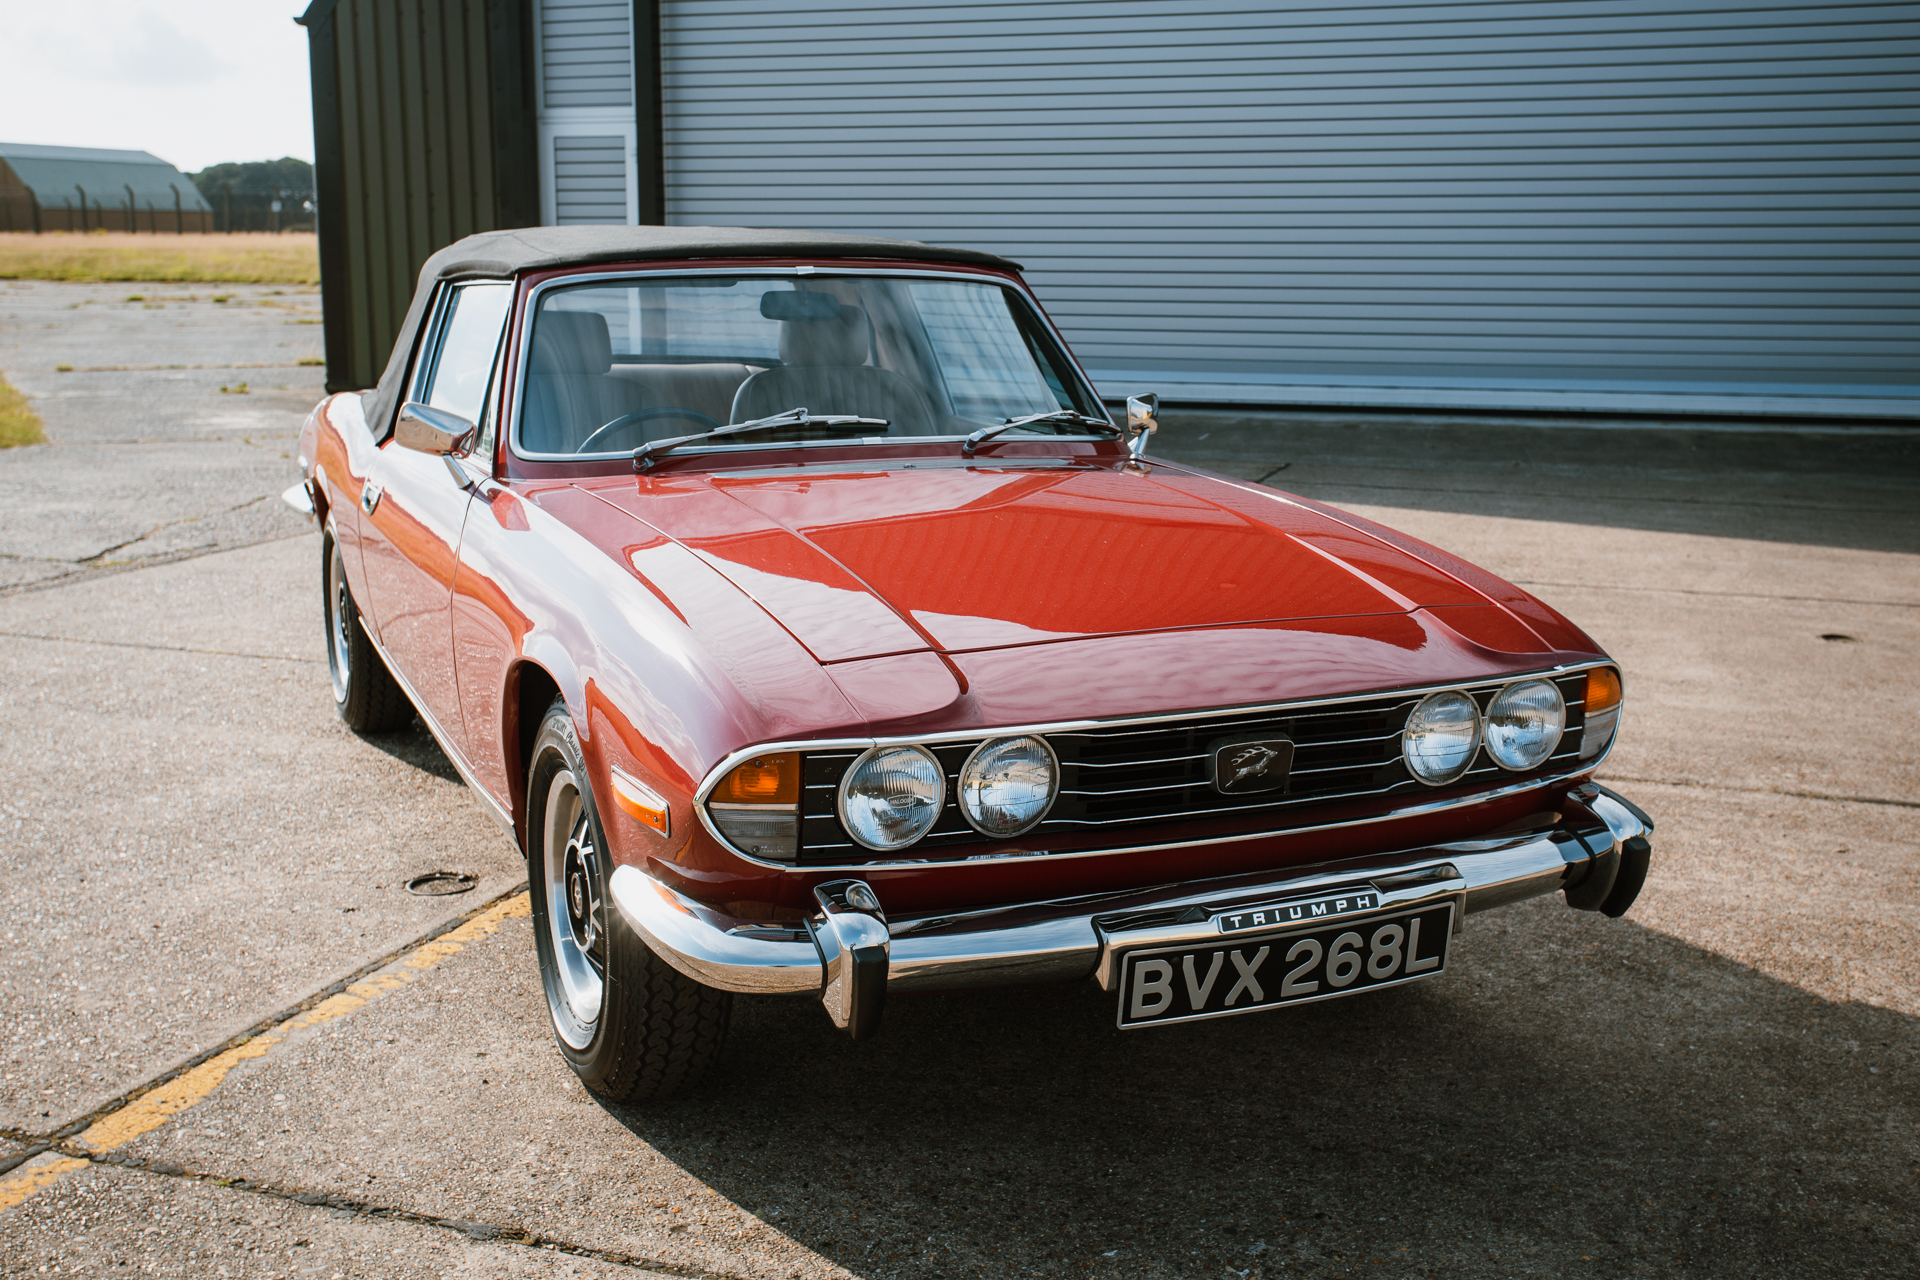
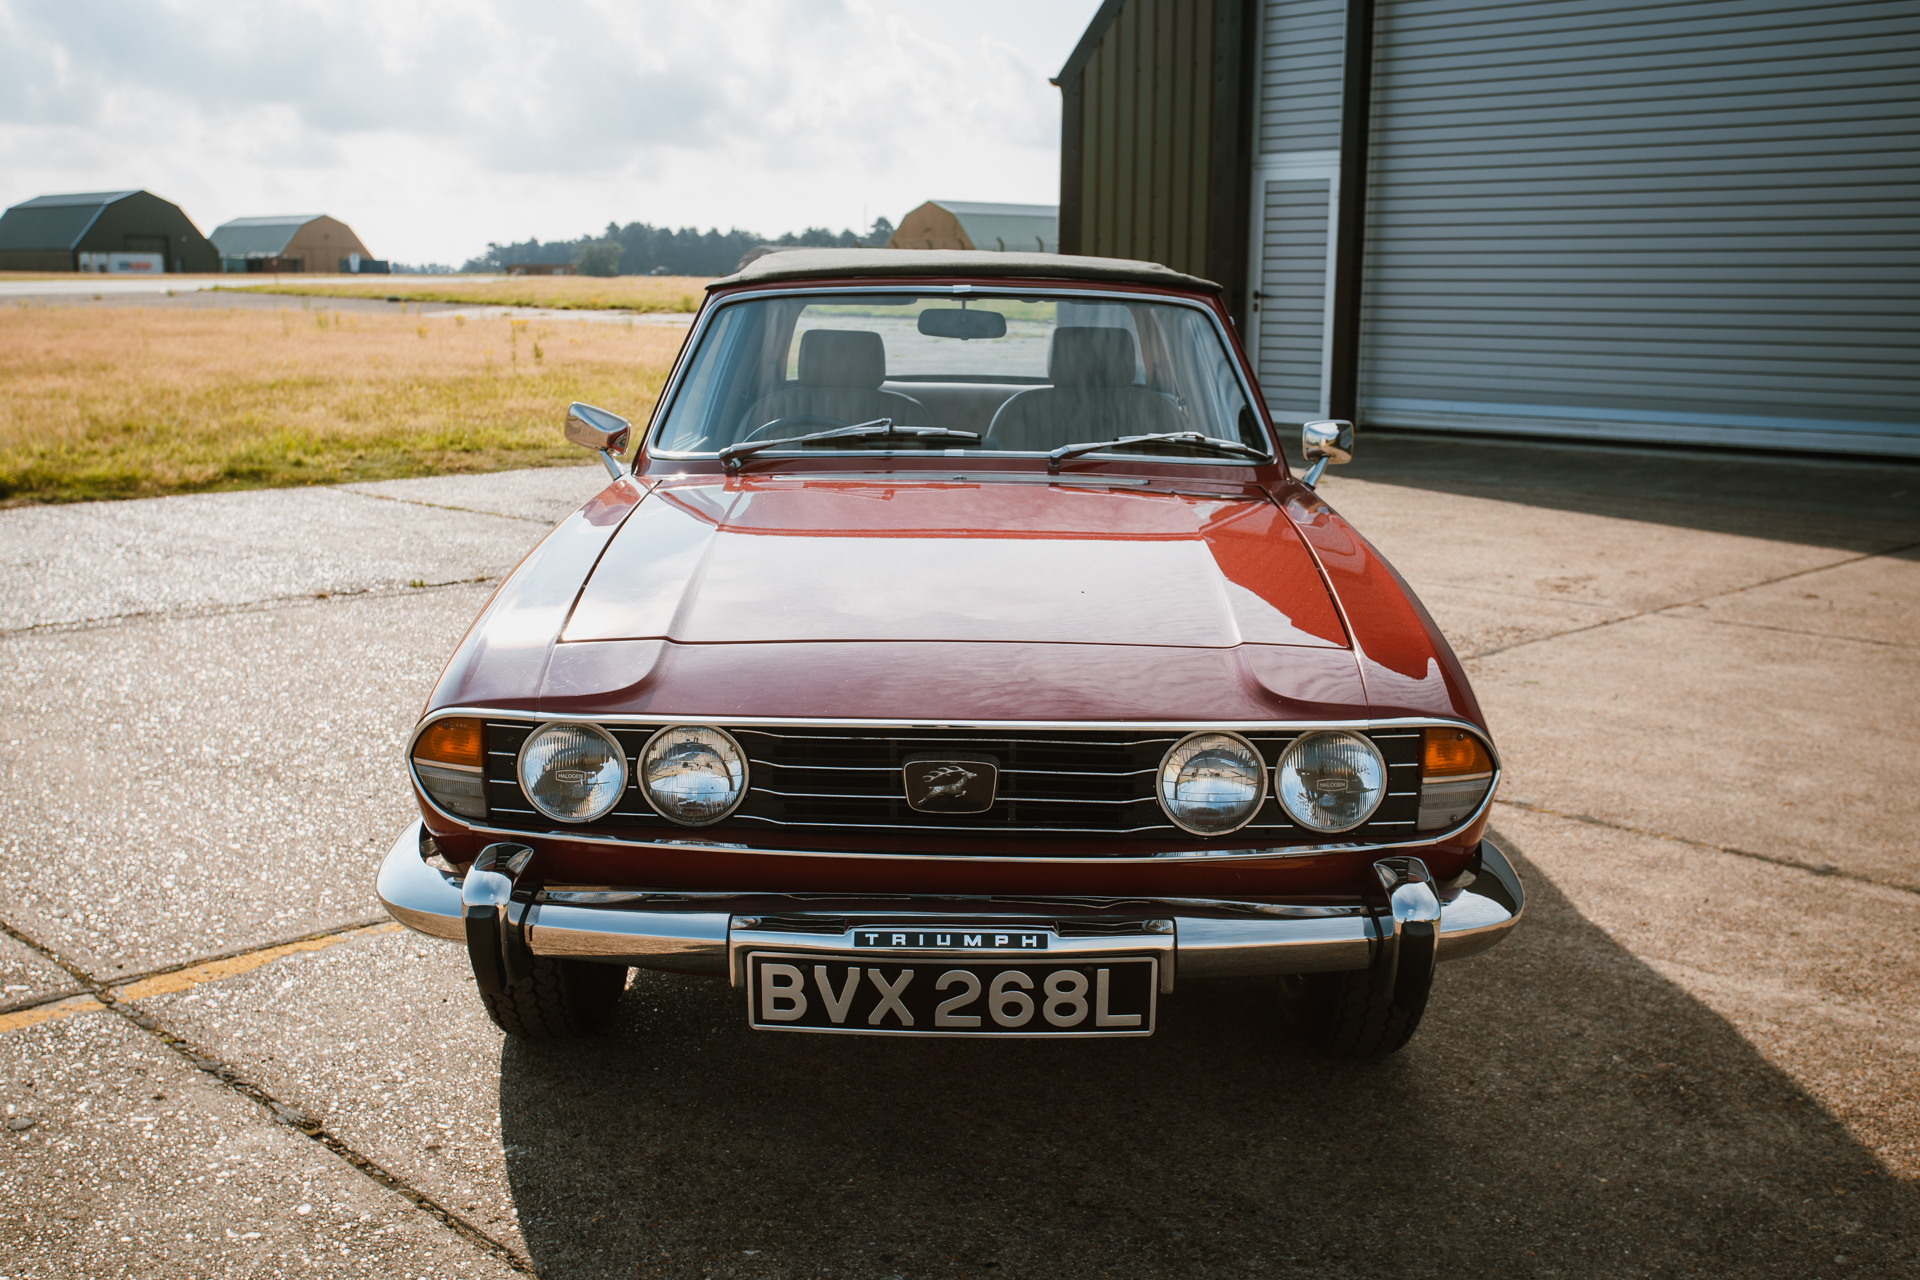
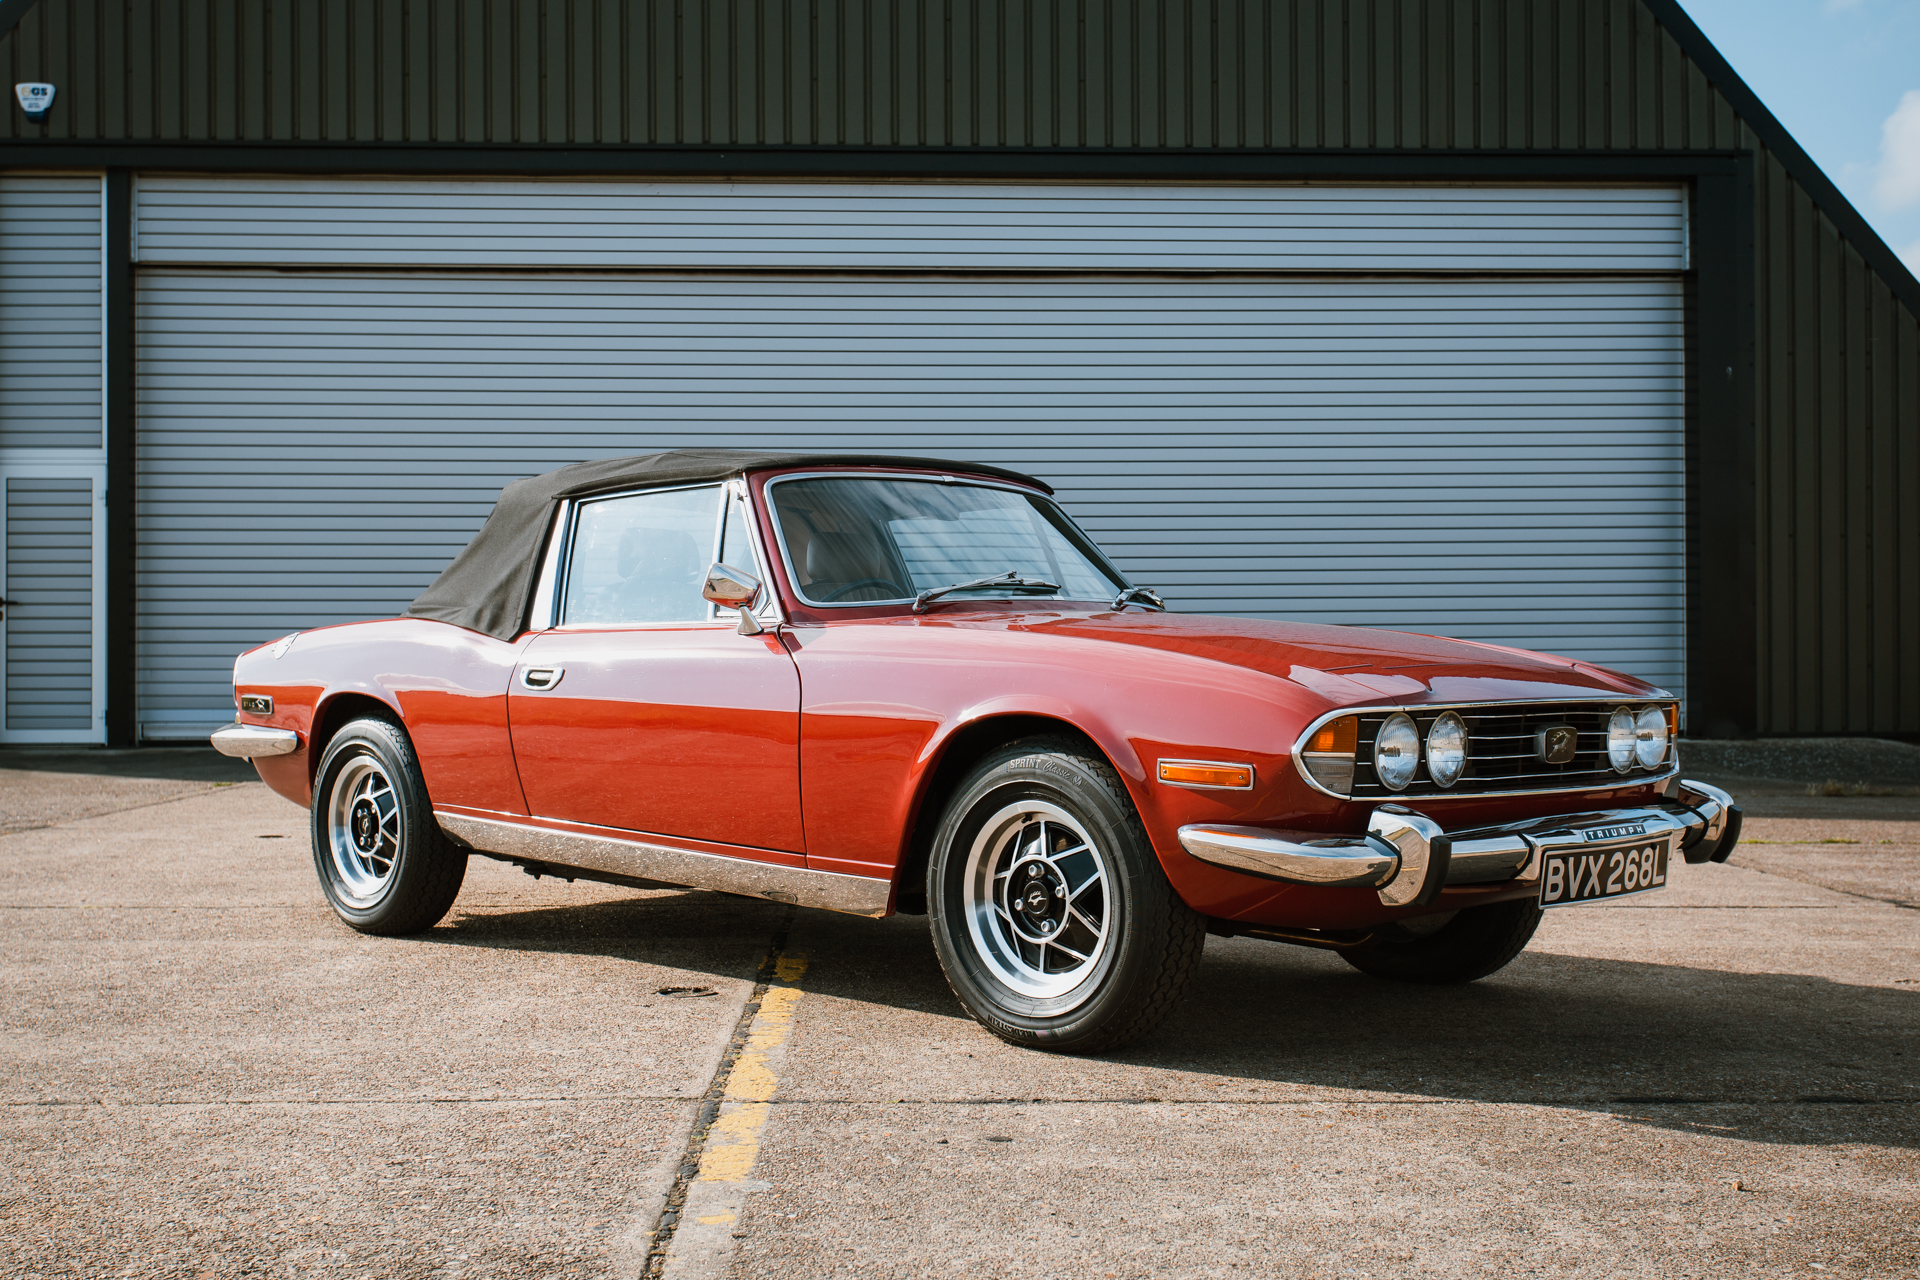
The 1973 Triumph Stag has now come to its completion stage! It’s had quite the journey! You can read in full detail about all the work that was done to it here.
In March this year, the journey began with the interior restoration. The seats were all stripped apart and the frames were given a spruce up. In April, the hood frame was given a clean, inspection and repaired. Also in April, the kits arrived for the new interior and Kath and Brian began the process of fitting it all. In May more of the new interior was put in, including the door cards, carpet and tonneau cover. Also in May paintwork was done, oil leaks were inspected, carburettor work was carried out and the steering rack was overhauled. In June a new ball point was installed, we waited for wipers and a bumper to turn up and the heater and gearbox were given some attention!
So after all that work, it’s now good to go!
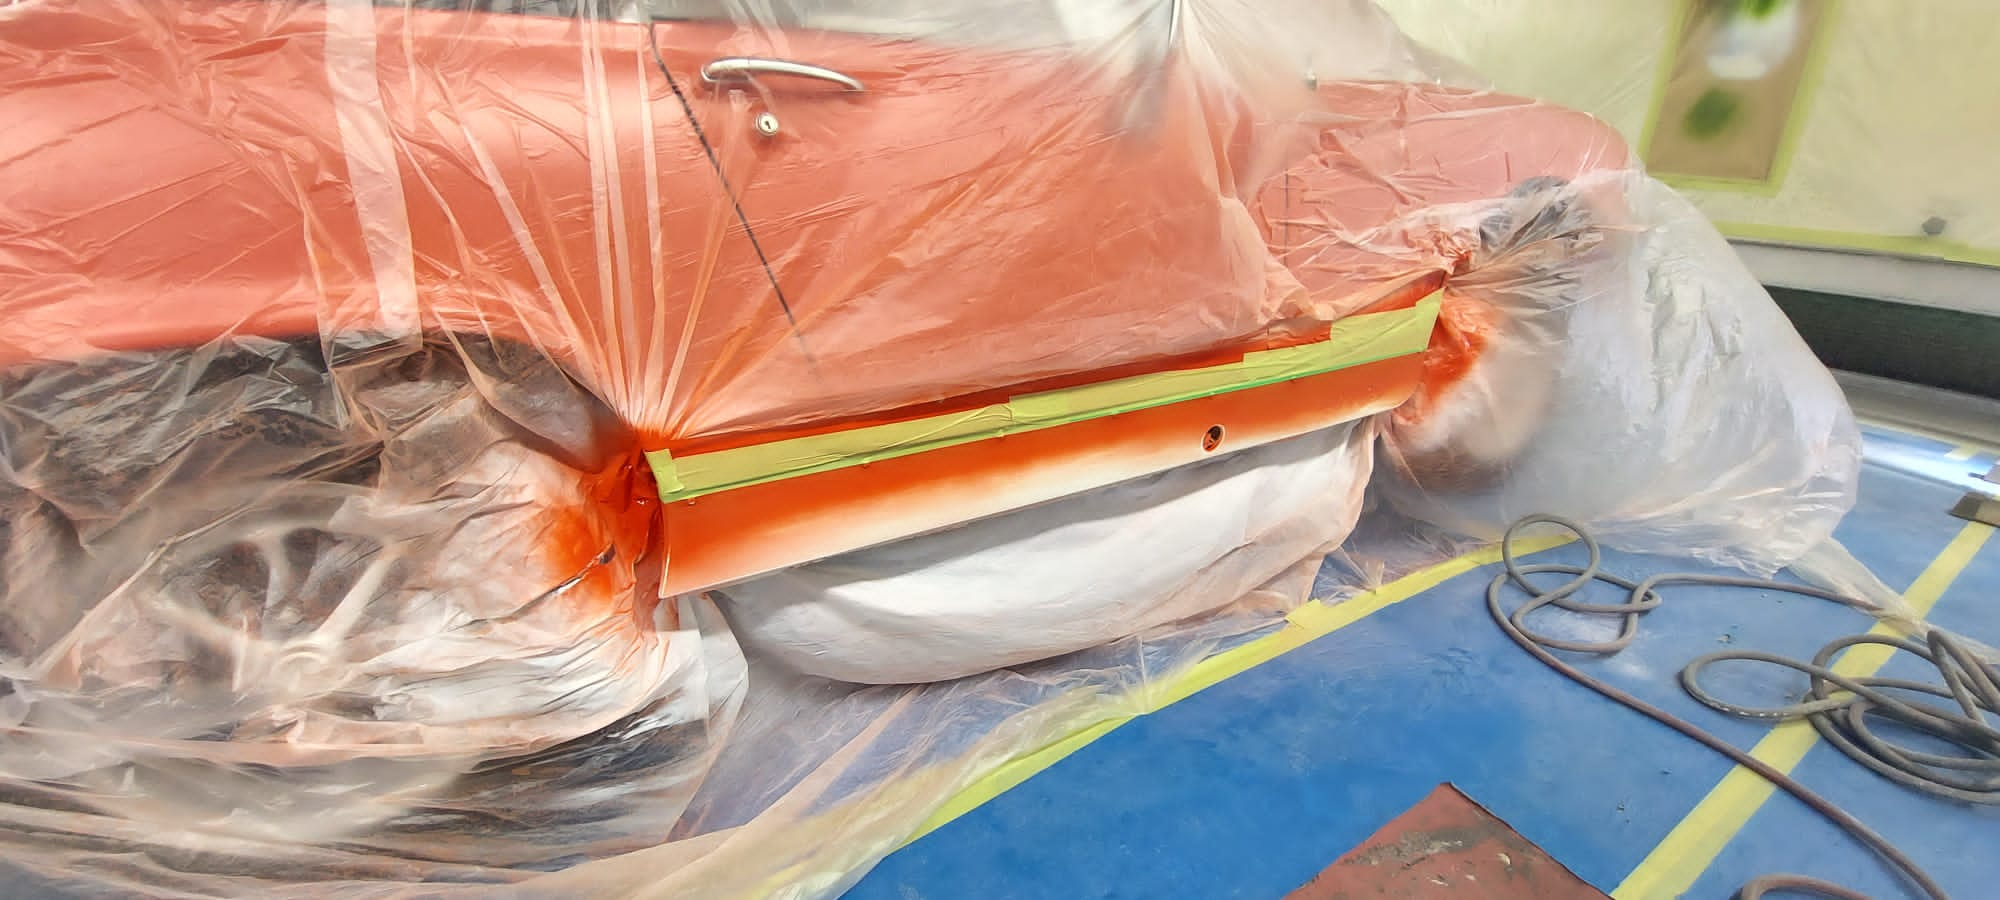
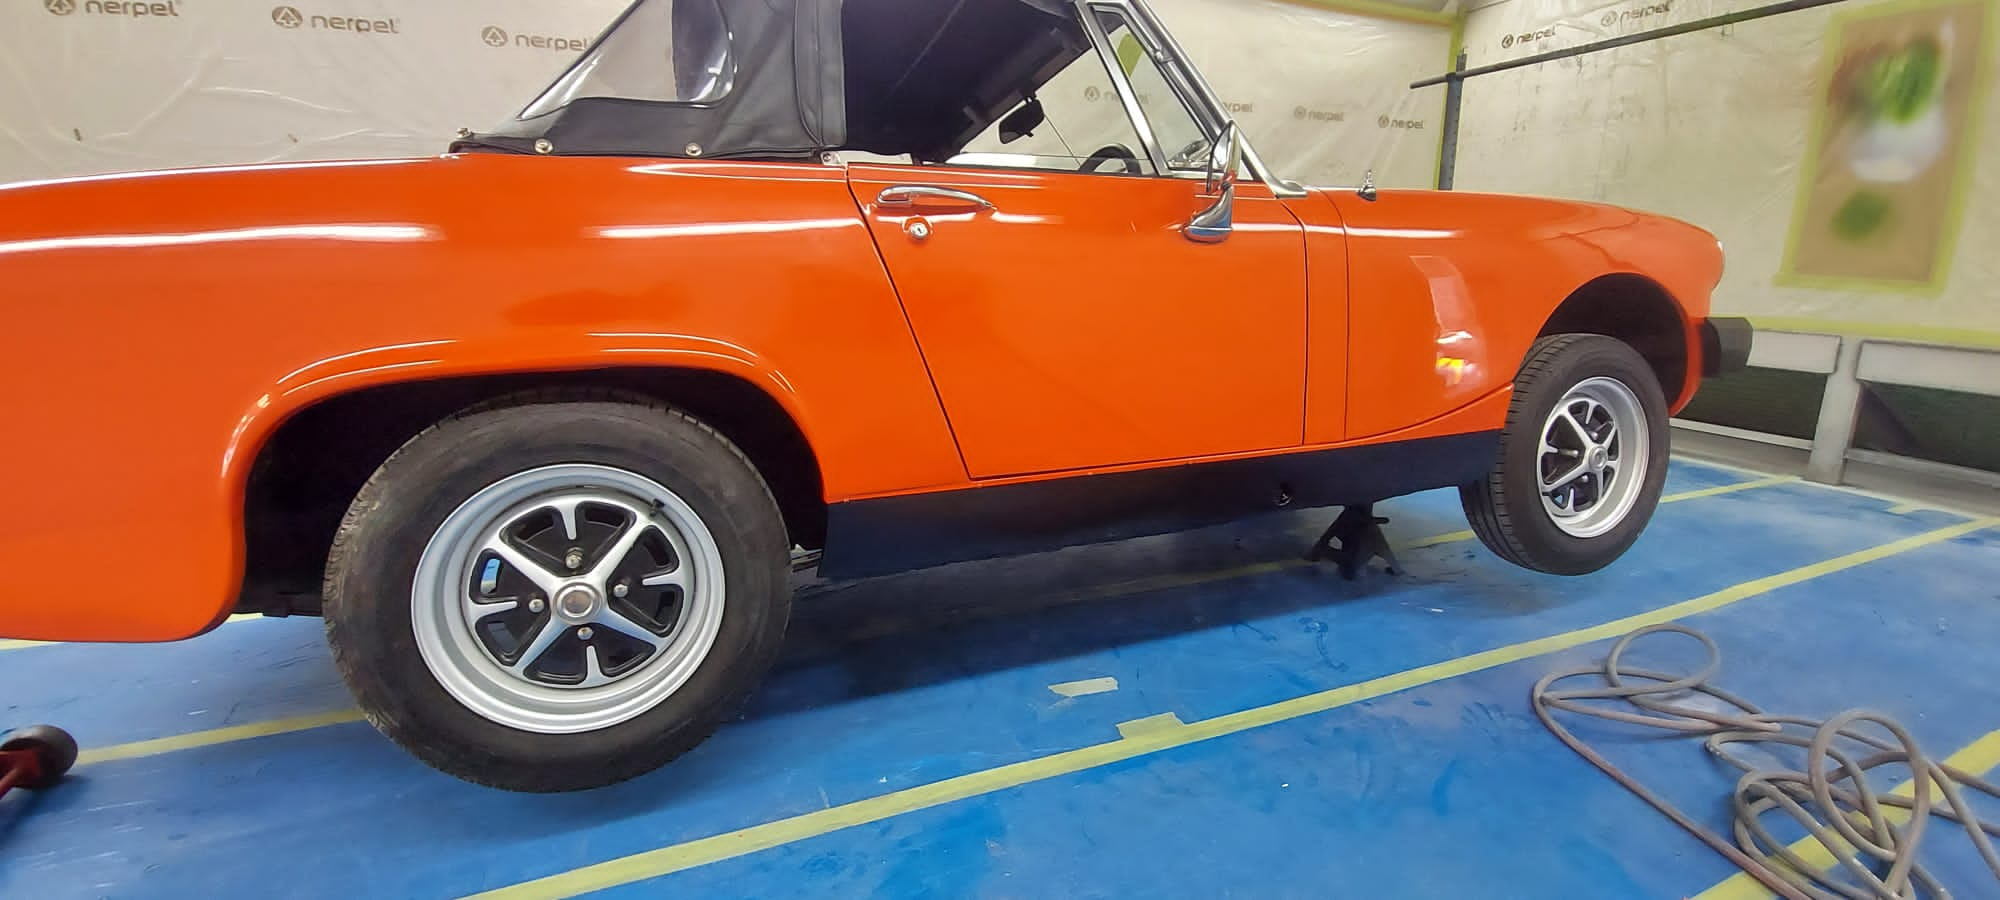
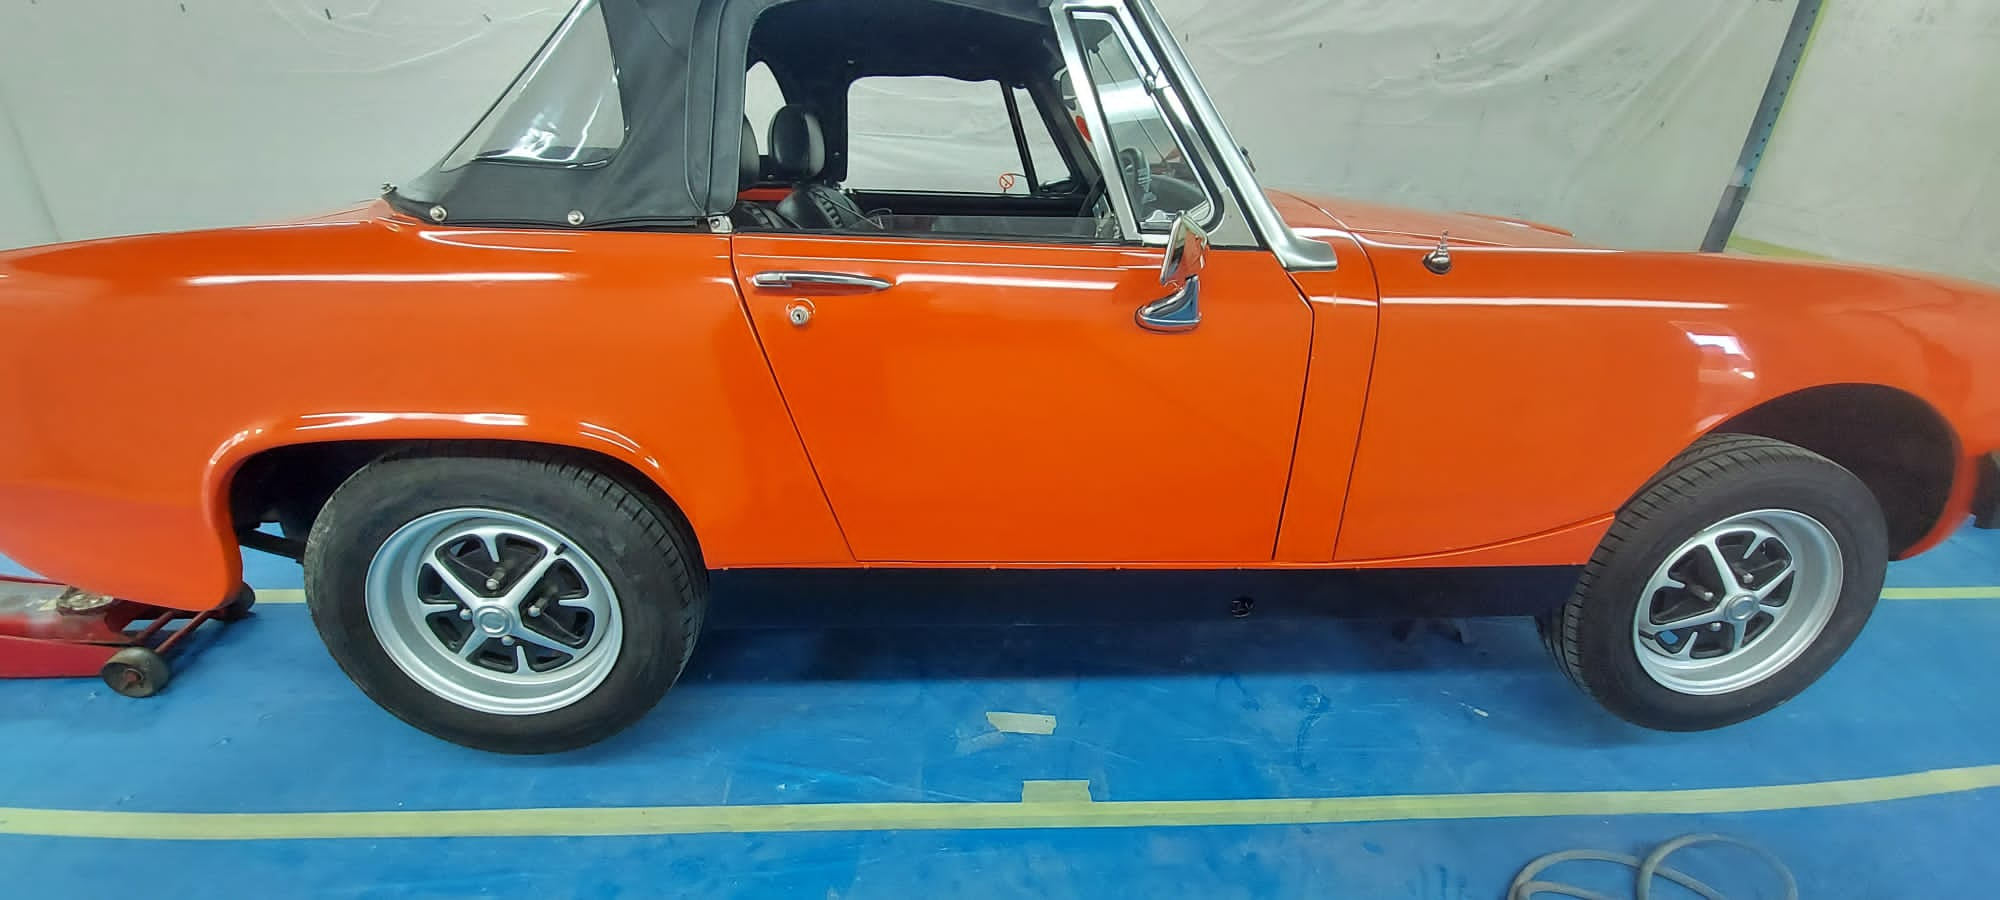
After Scott’s repair work on the offside sill of the blaze orange 1979 MG Midget, the car has since been taken into the paint shop where it had the sills re-painted and the underneath was sealed.
This car was a competition car, back on the 26th of July, and we’ll be delivering it to its rightful winner tomorrow!
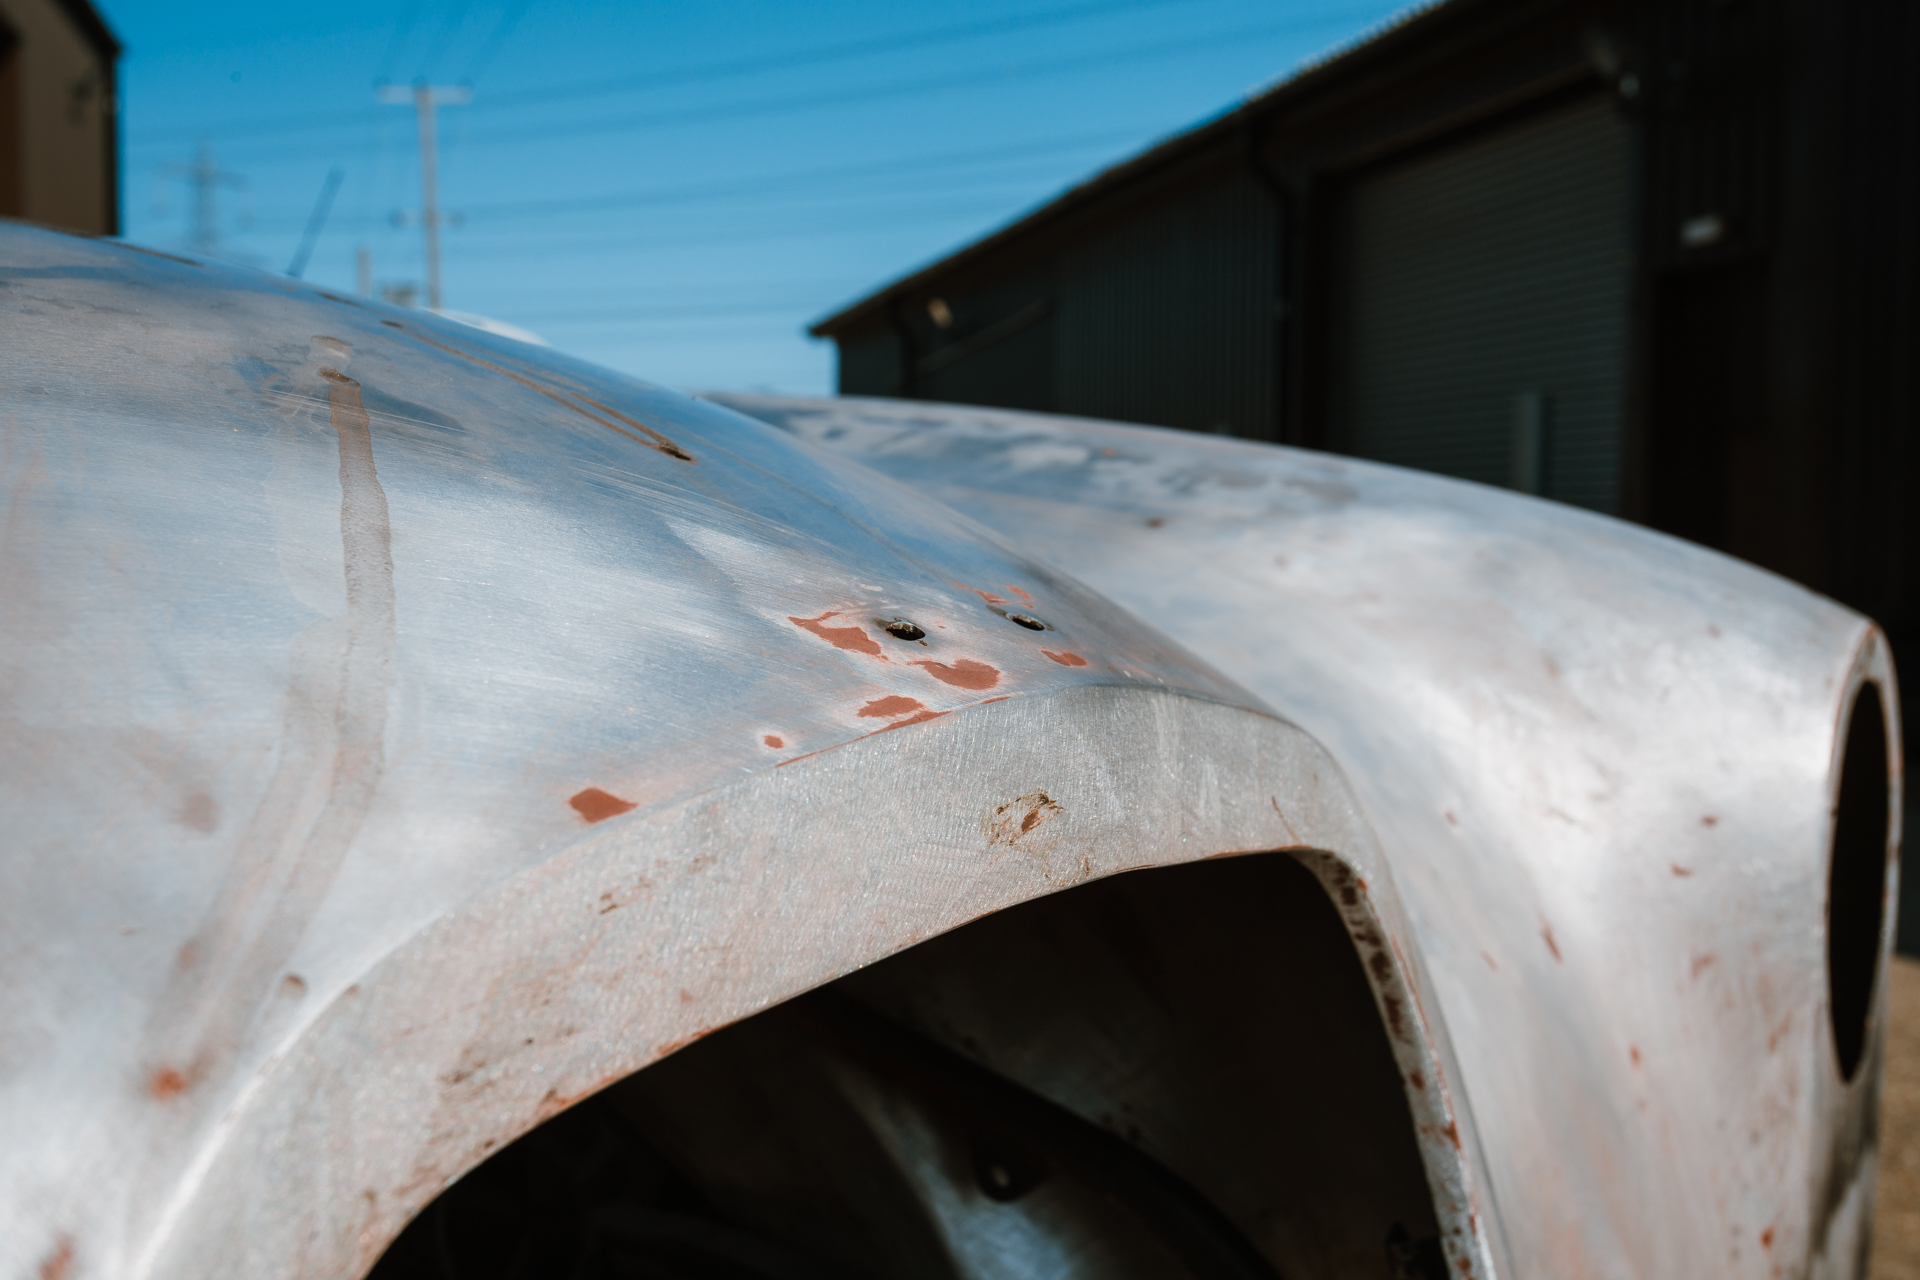
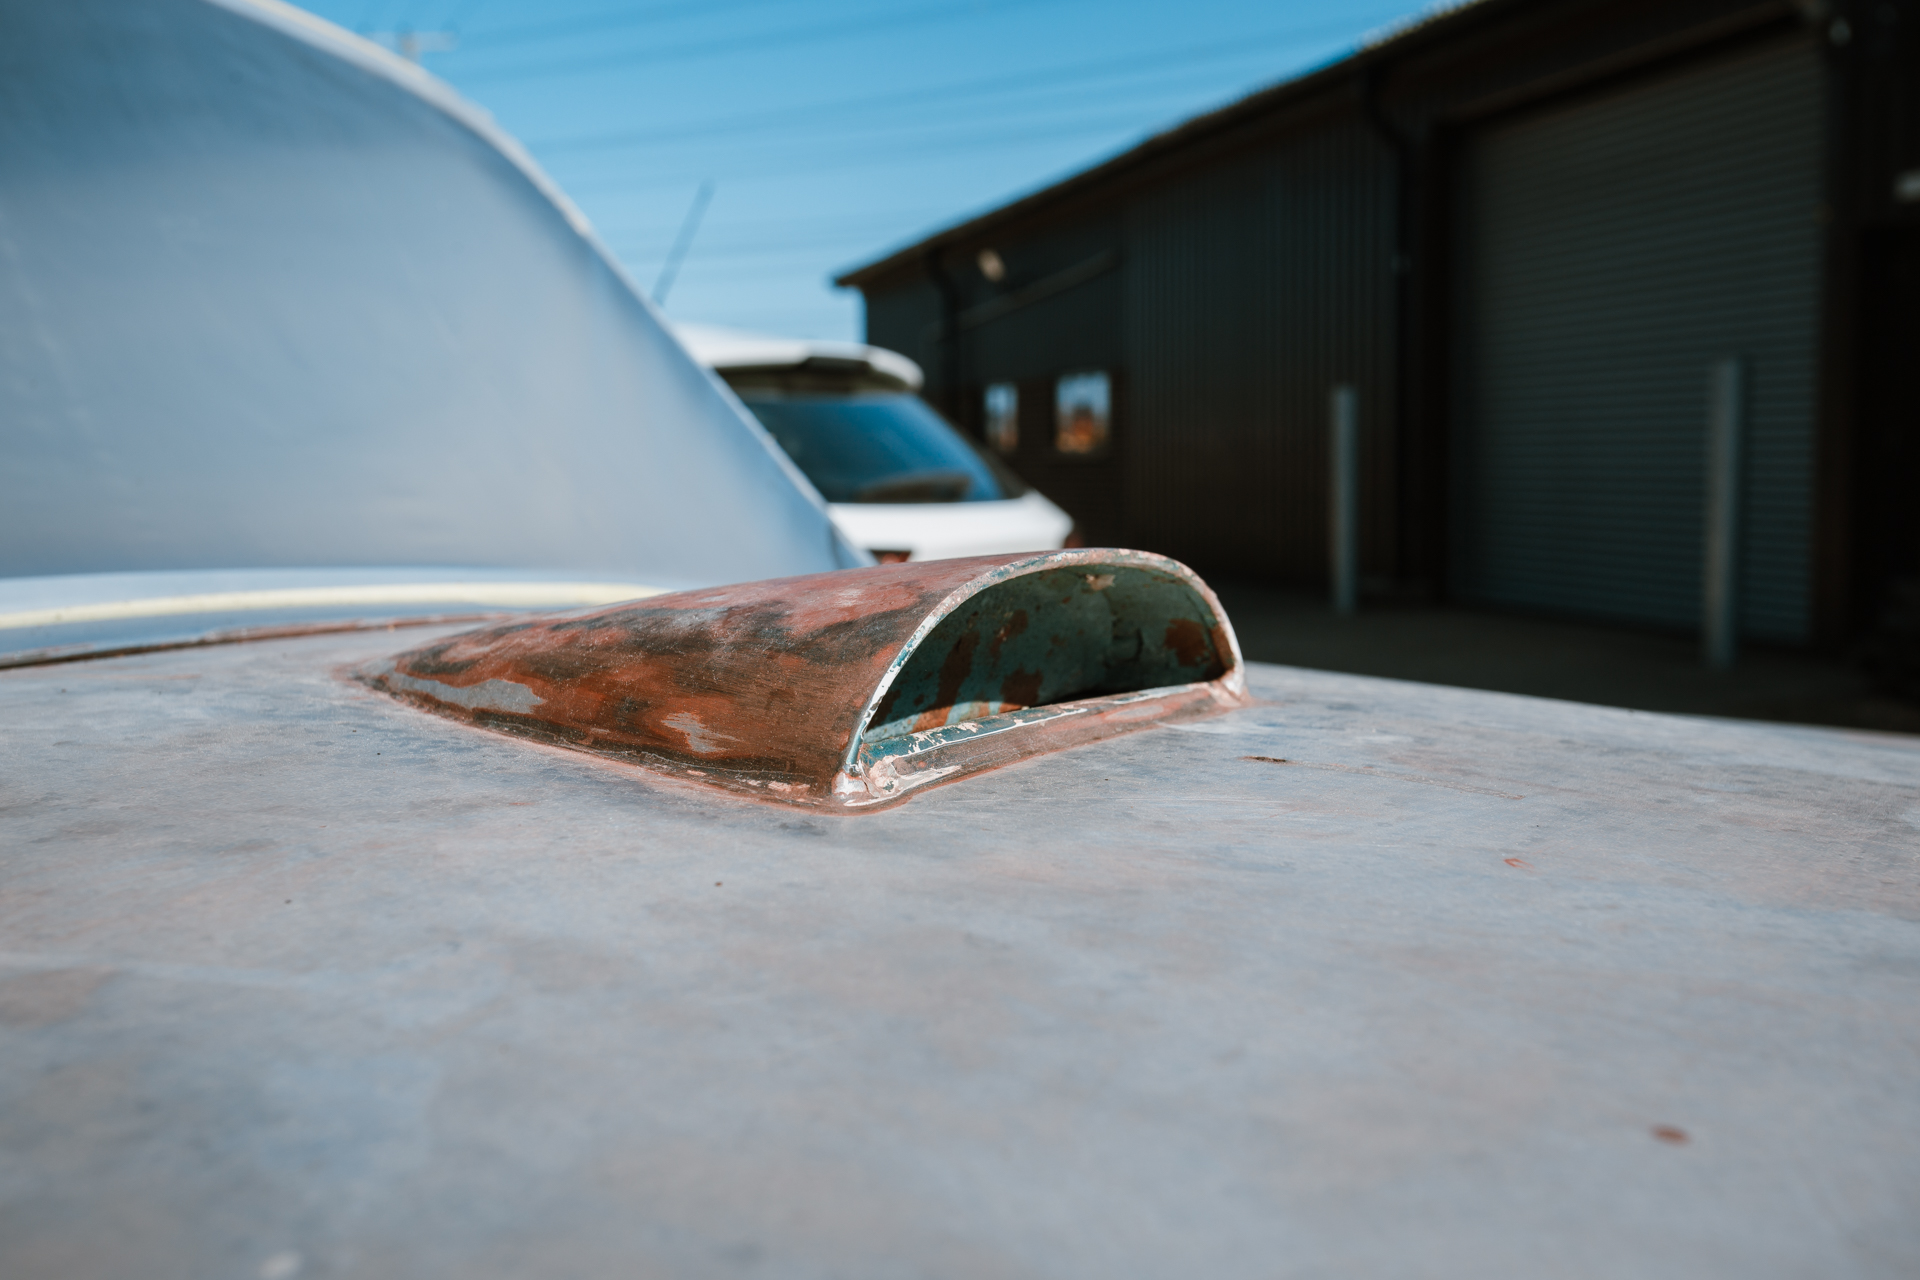
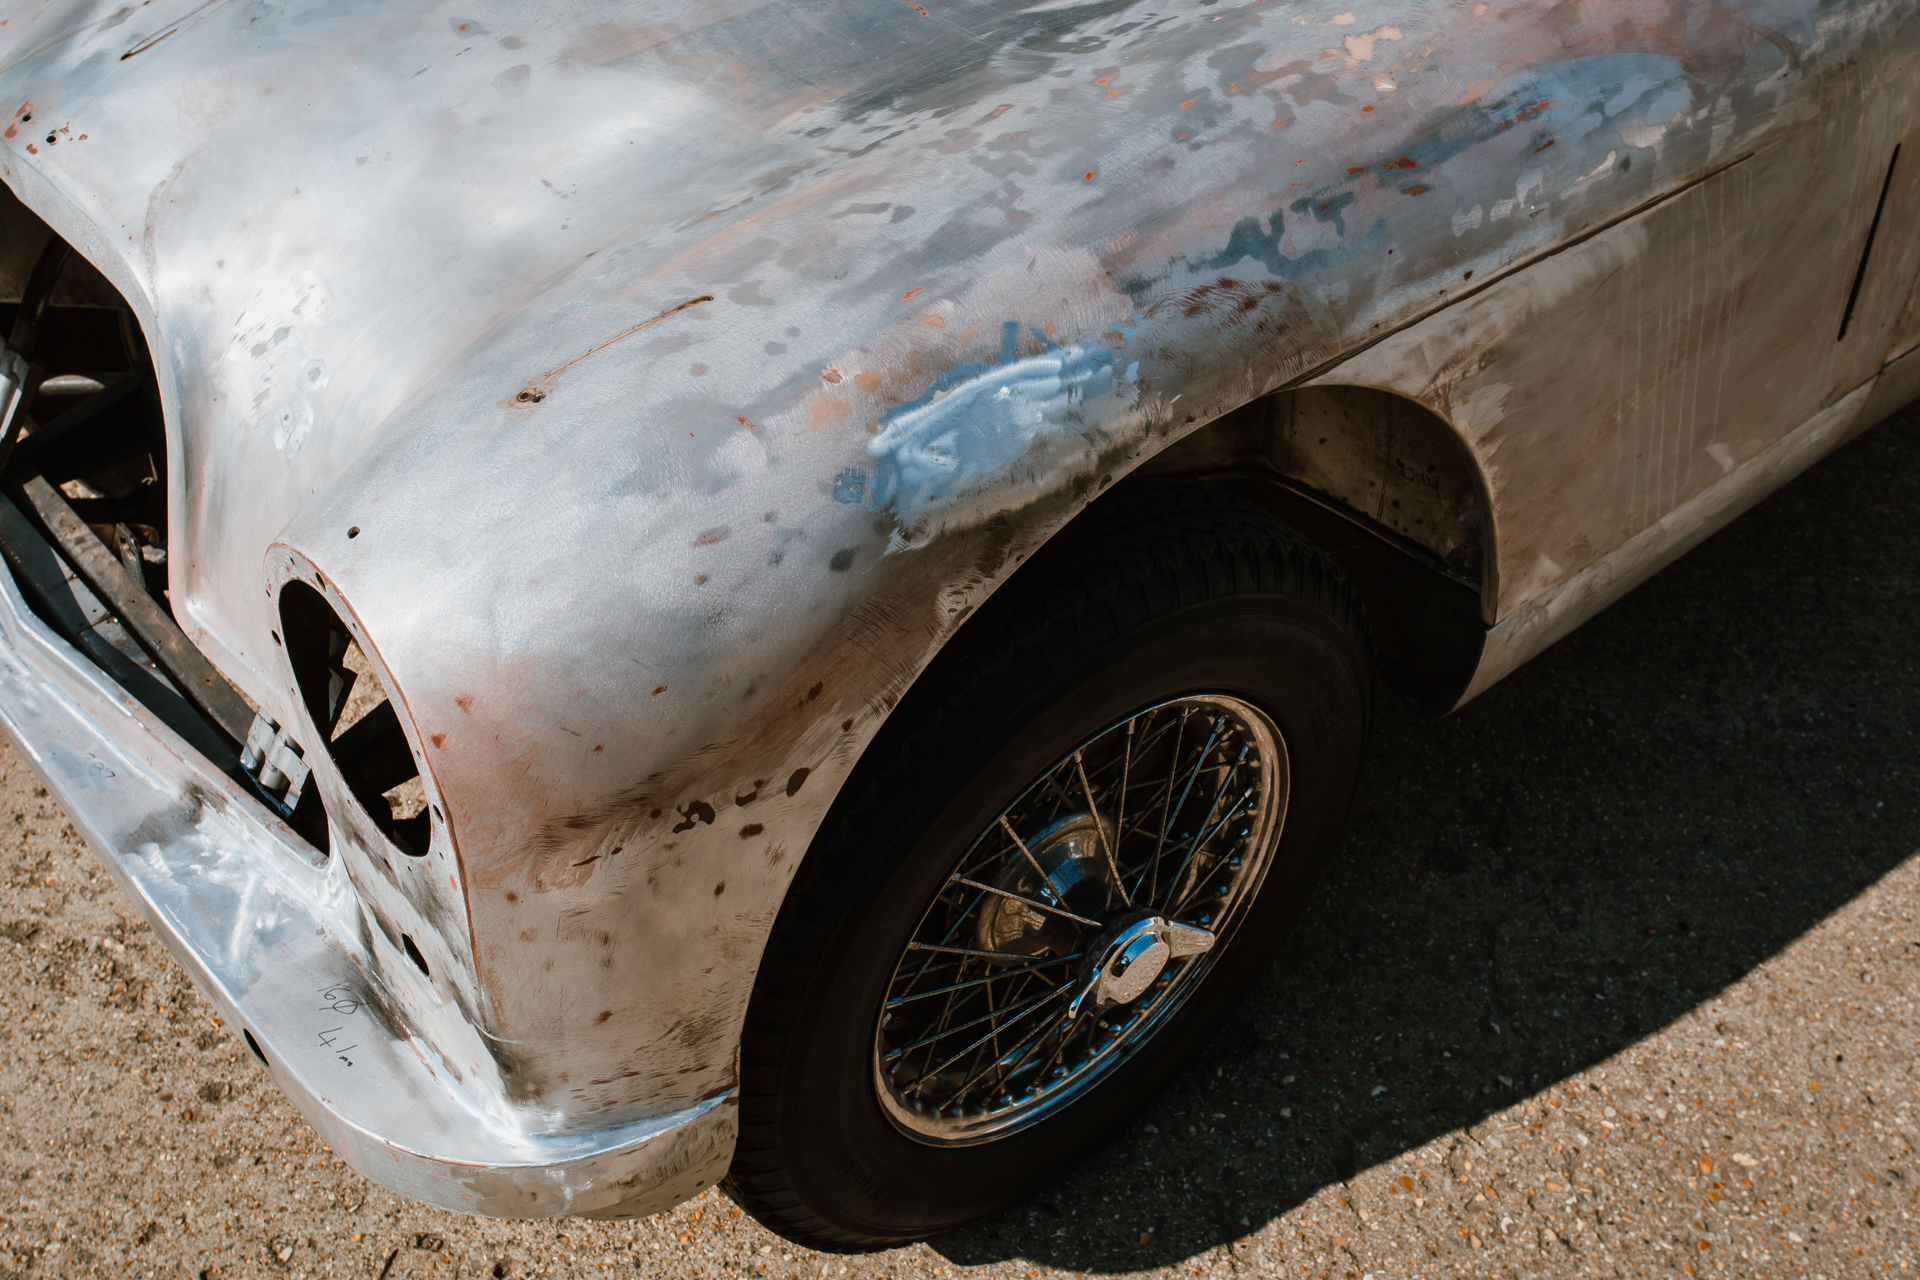
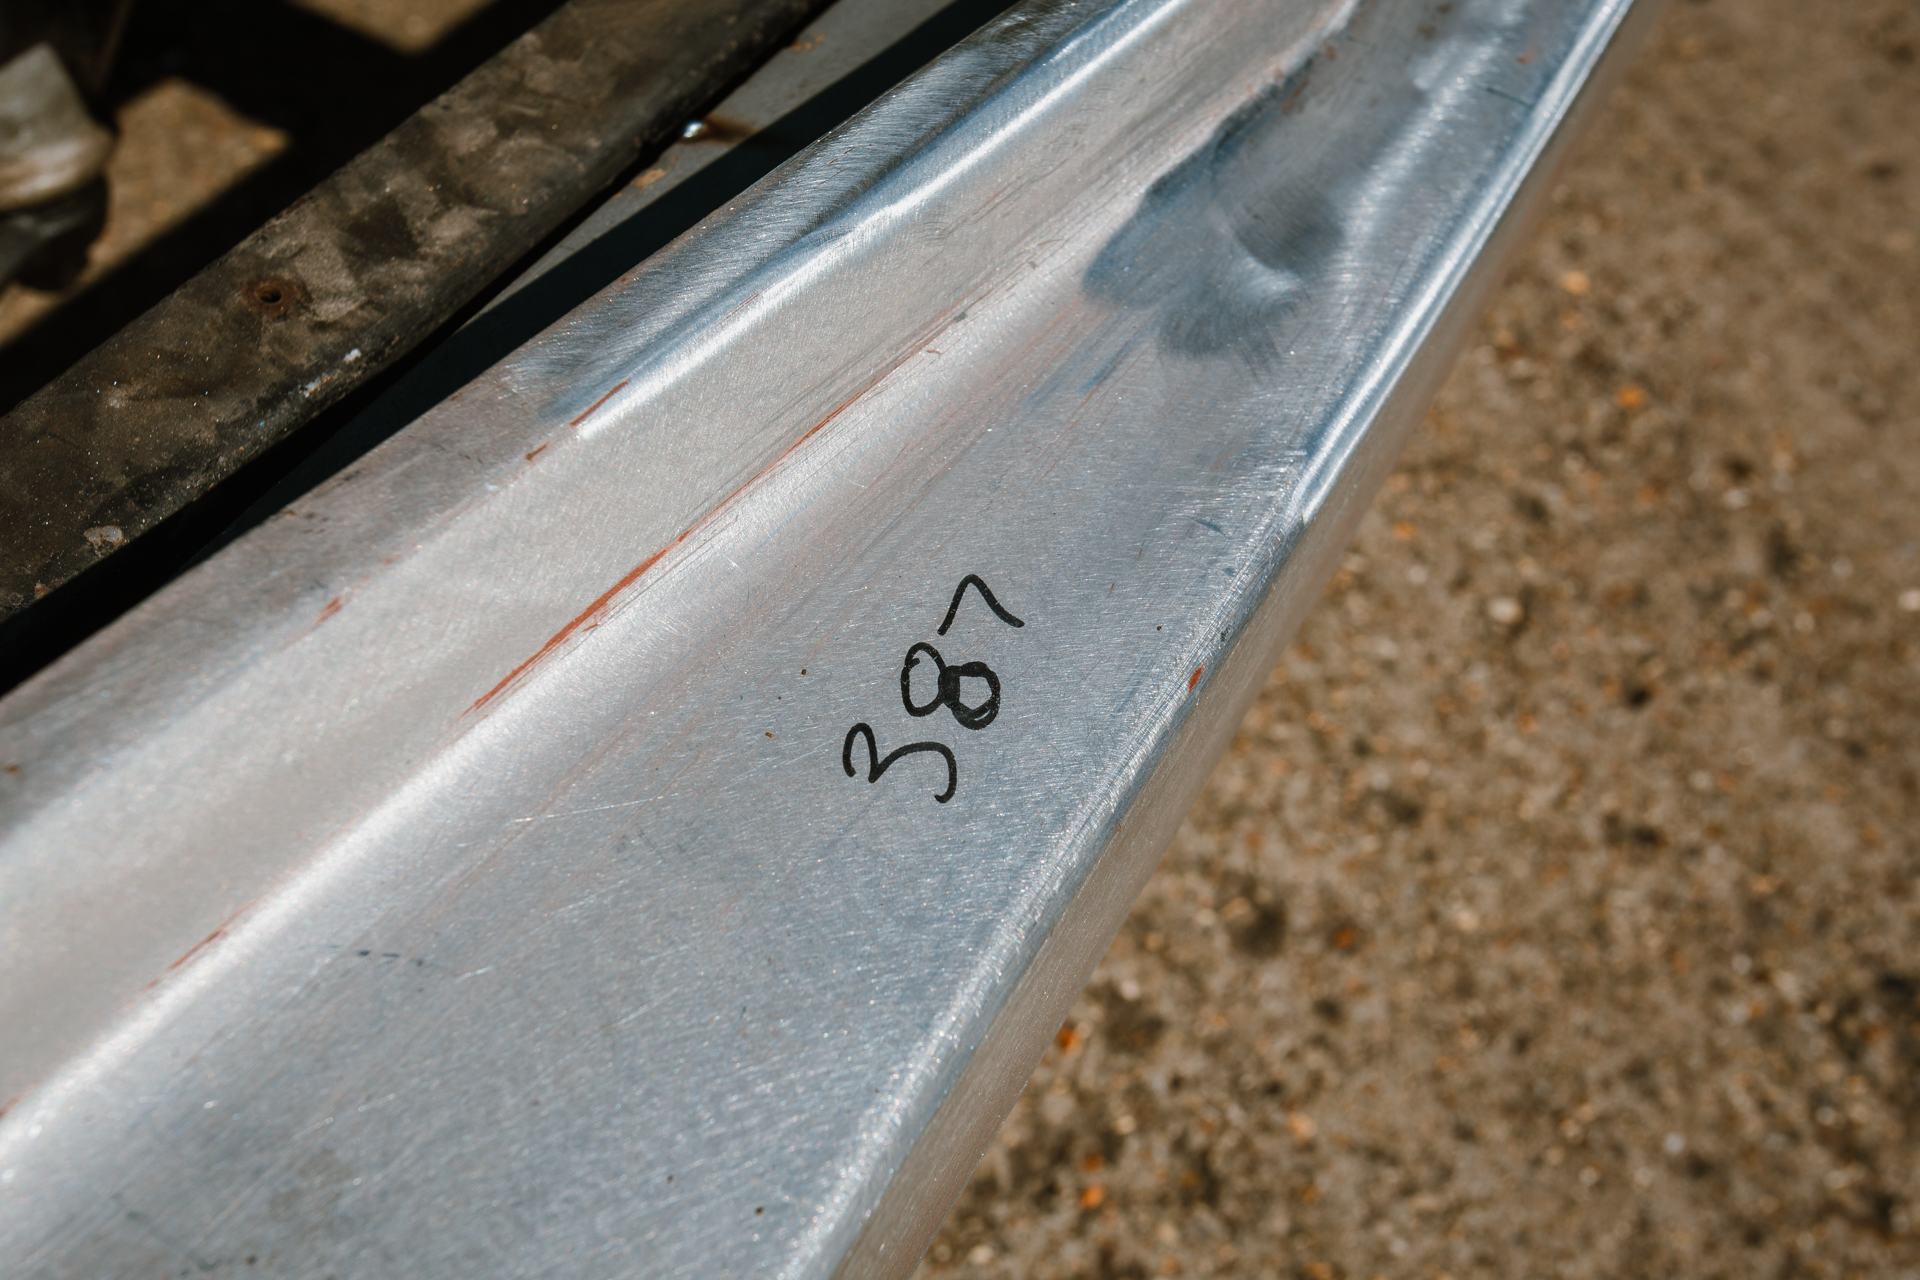
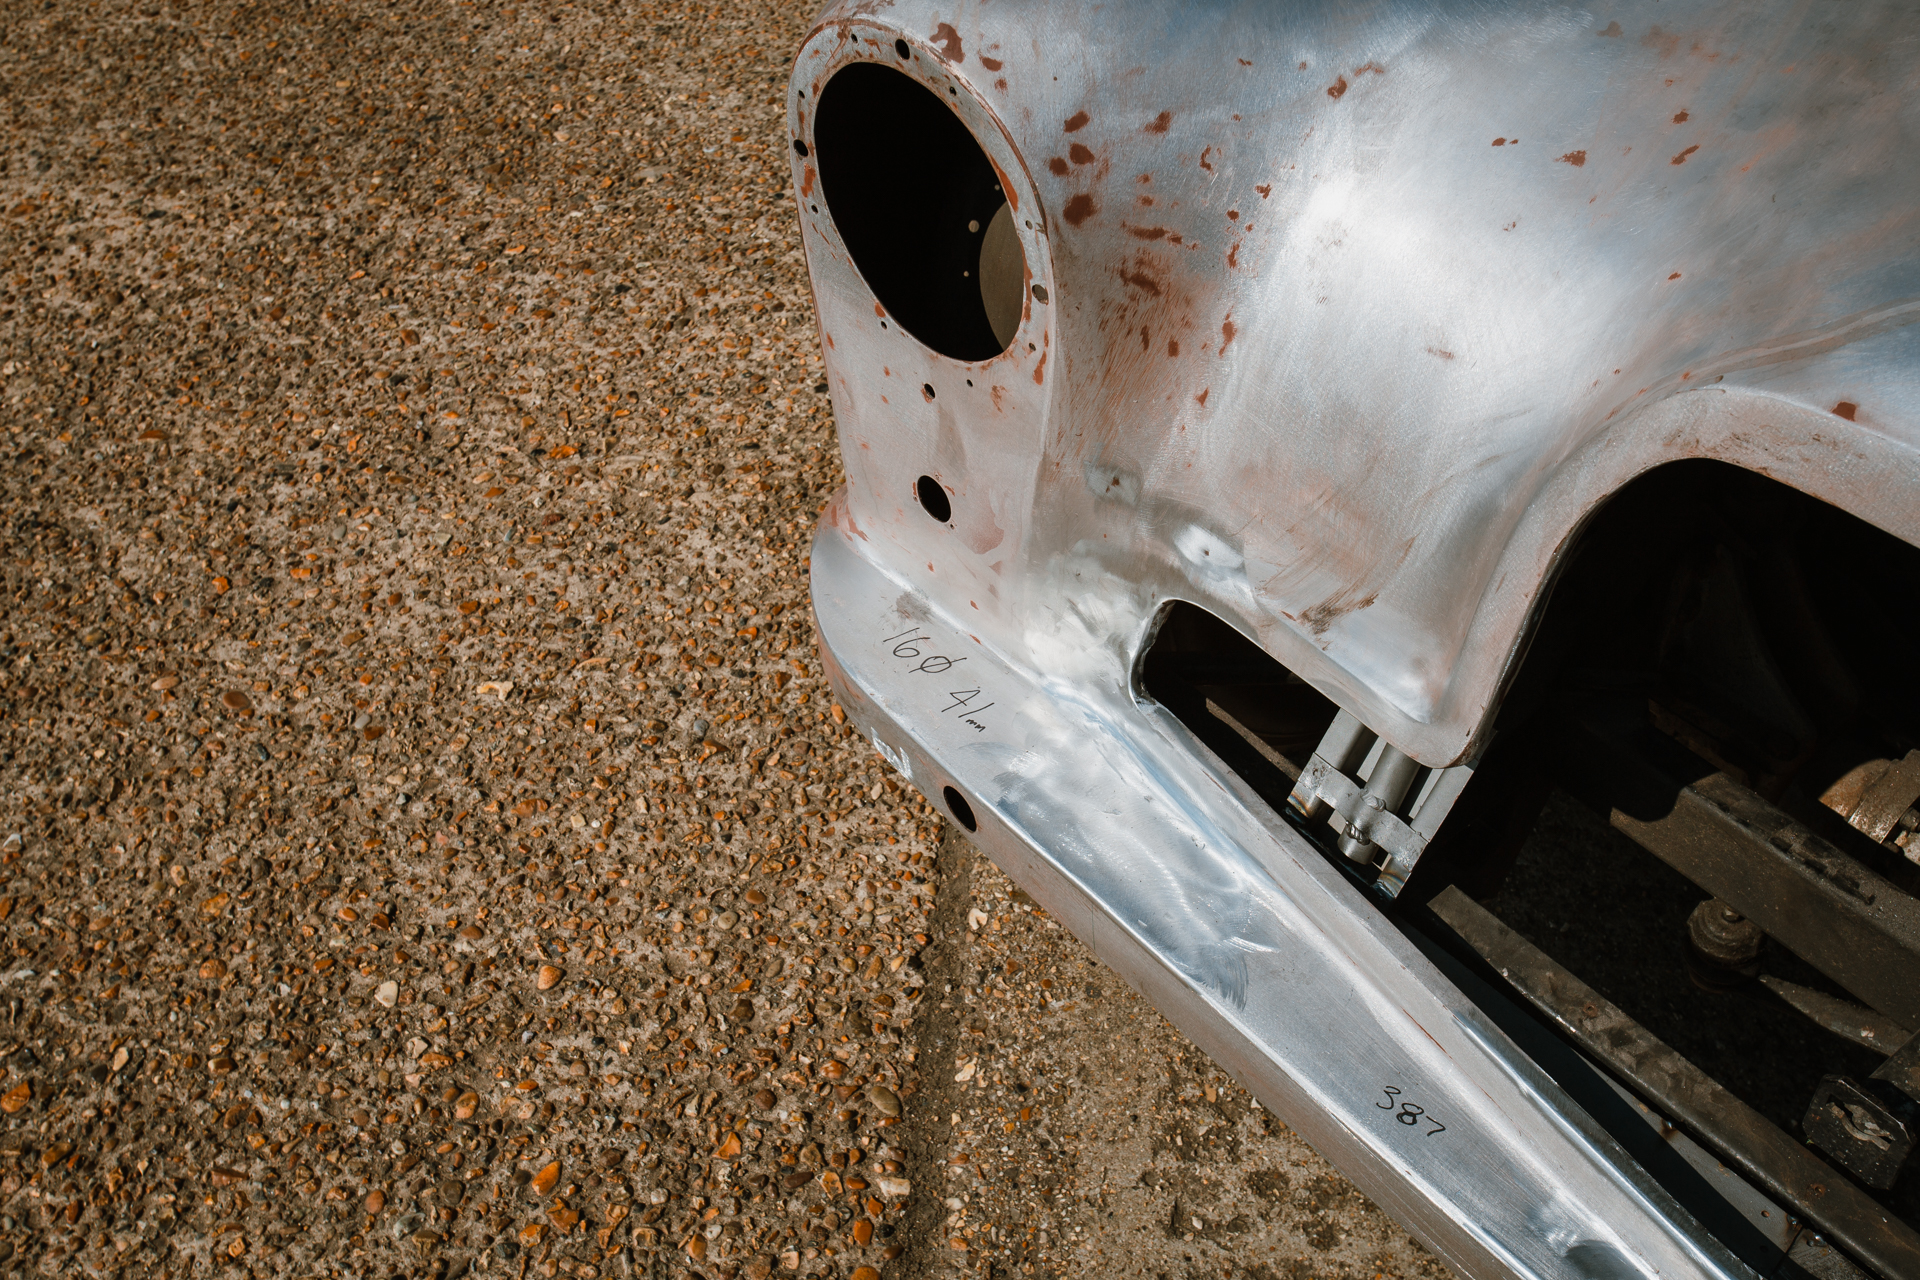
We check in to our DB2/4 restoration as Clinton is finalising the bonnet fabrication. Clinton has fabricated brand new hinges and completely reshaped the lower bumper moulding, letting in fresh metal when neccaasary. ‘The car can warp over time, so what may be a very small warpage has a knock-on effect and can result in panels sitting out of alignment across the entire car’ Clinton explains. The only way to ensure we achieve the best possible restoration is by going to the extent Clinton has with the fabrication and preparation of the bodywork.
The next step will be to make sure all of the panels are correctly aligned, ensuring the gaps are all uniform and tidy.
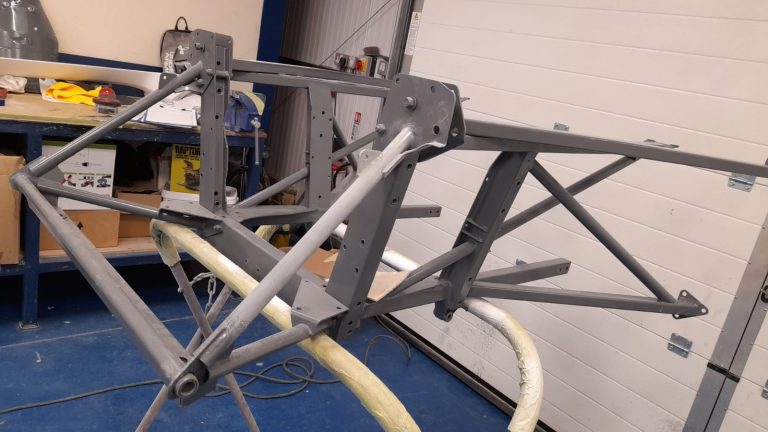
Lydia has been sanding down the primer on the front frame for the 1973 Jaguar E-Type Series 3. This was simply done with 500-grade soft sanding pads all over. This is all prep for the final coat of paint!
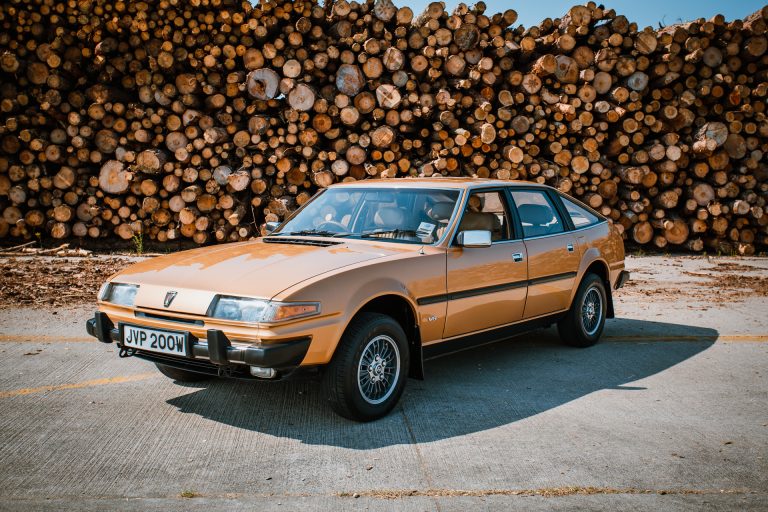
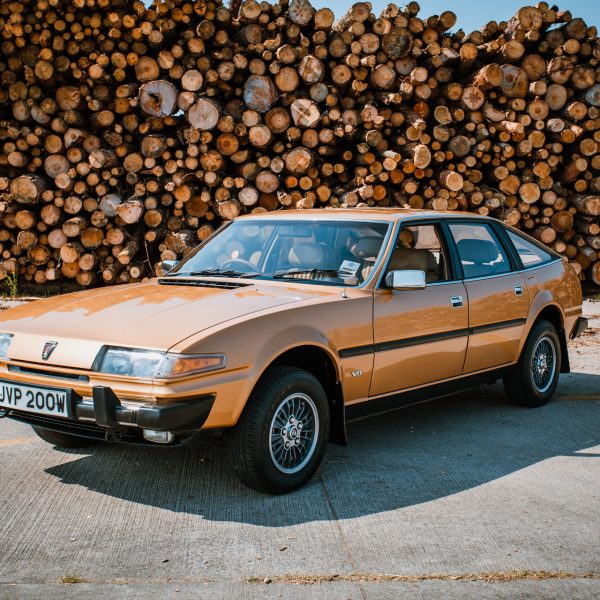
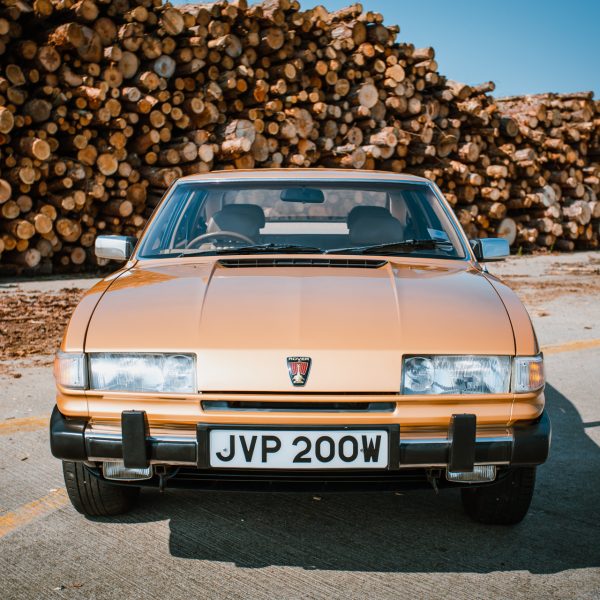
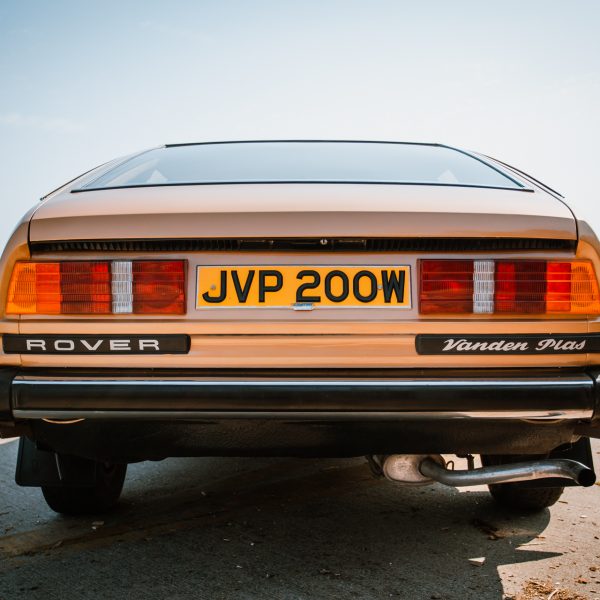
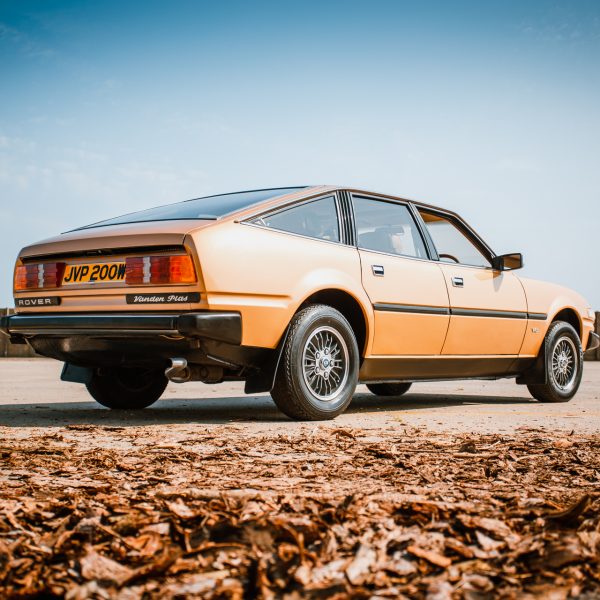
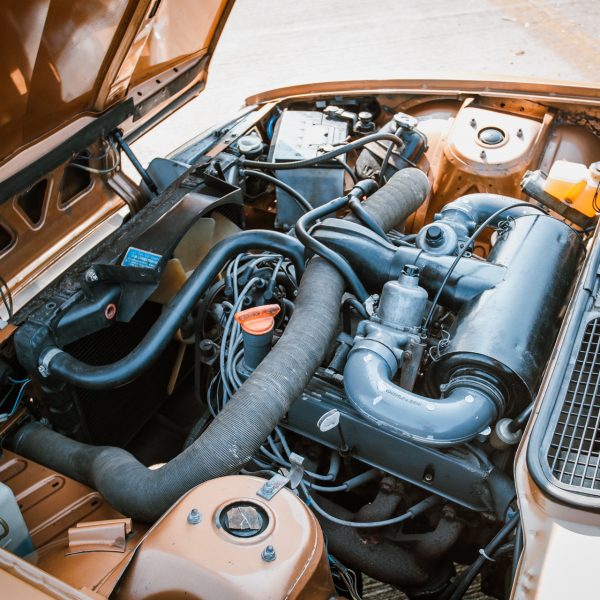
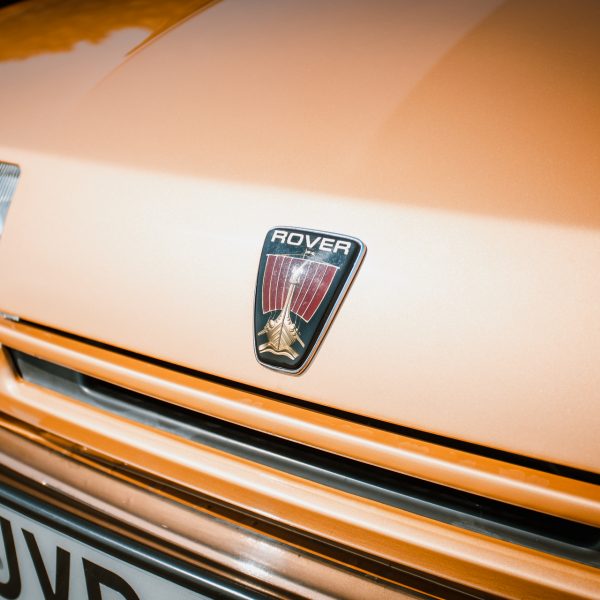
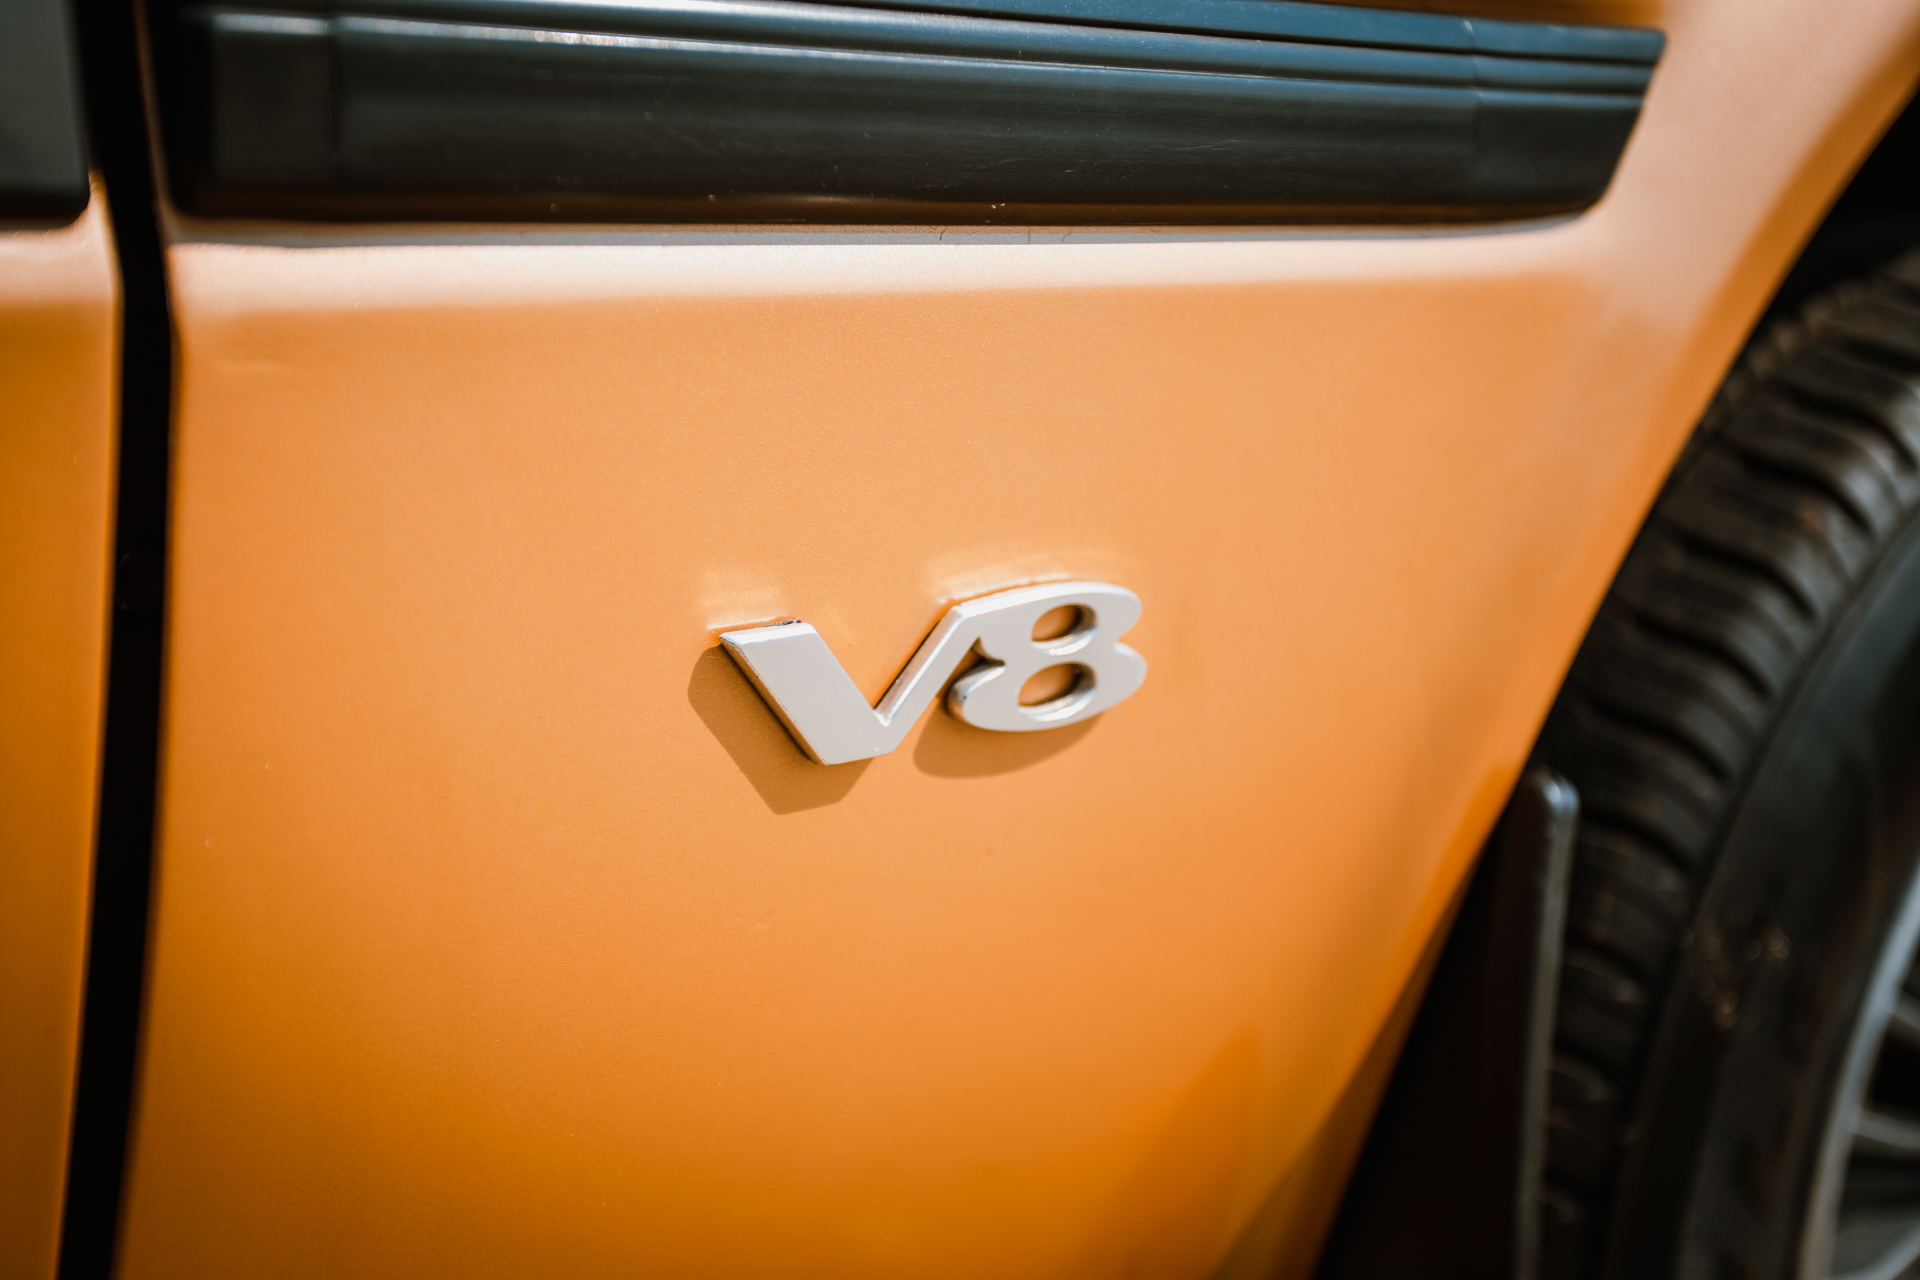
This Friday, the 6th of August, is the draw for our competition to win a gold 1981 Rover 3500 SD1 Vanden Plas! For your chance to enter, simply click here! Where you’ll also be able to find out more information about the car.

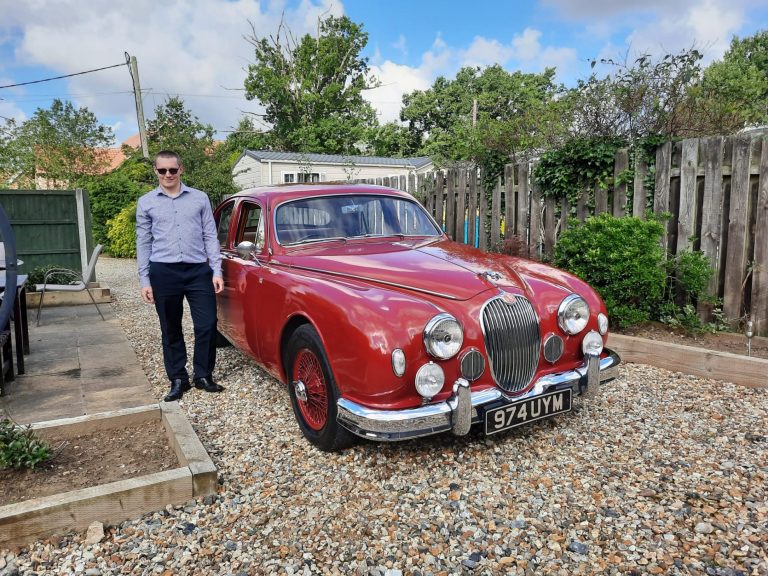
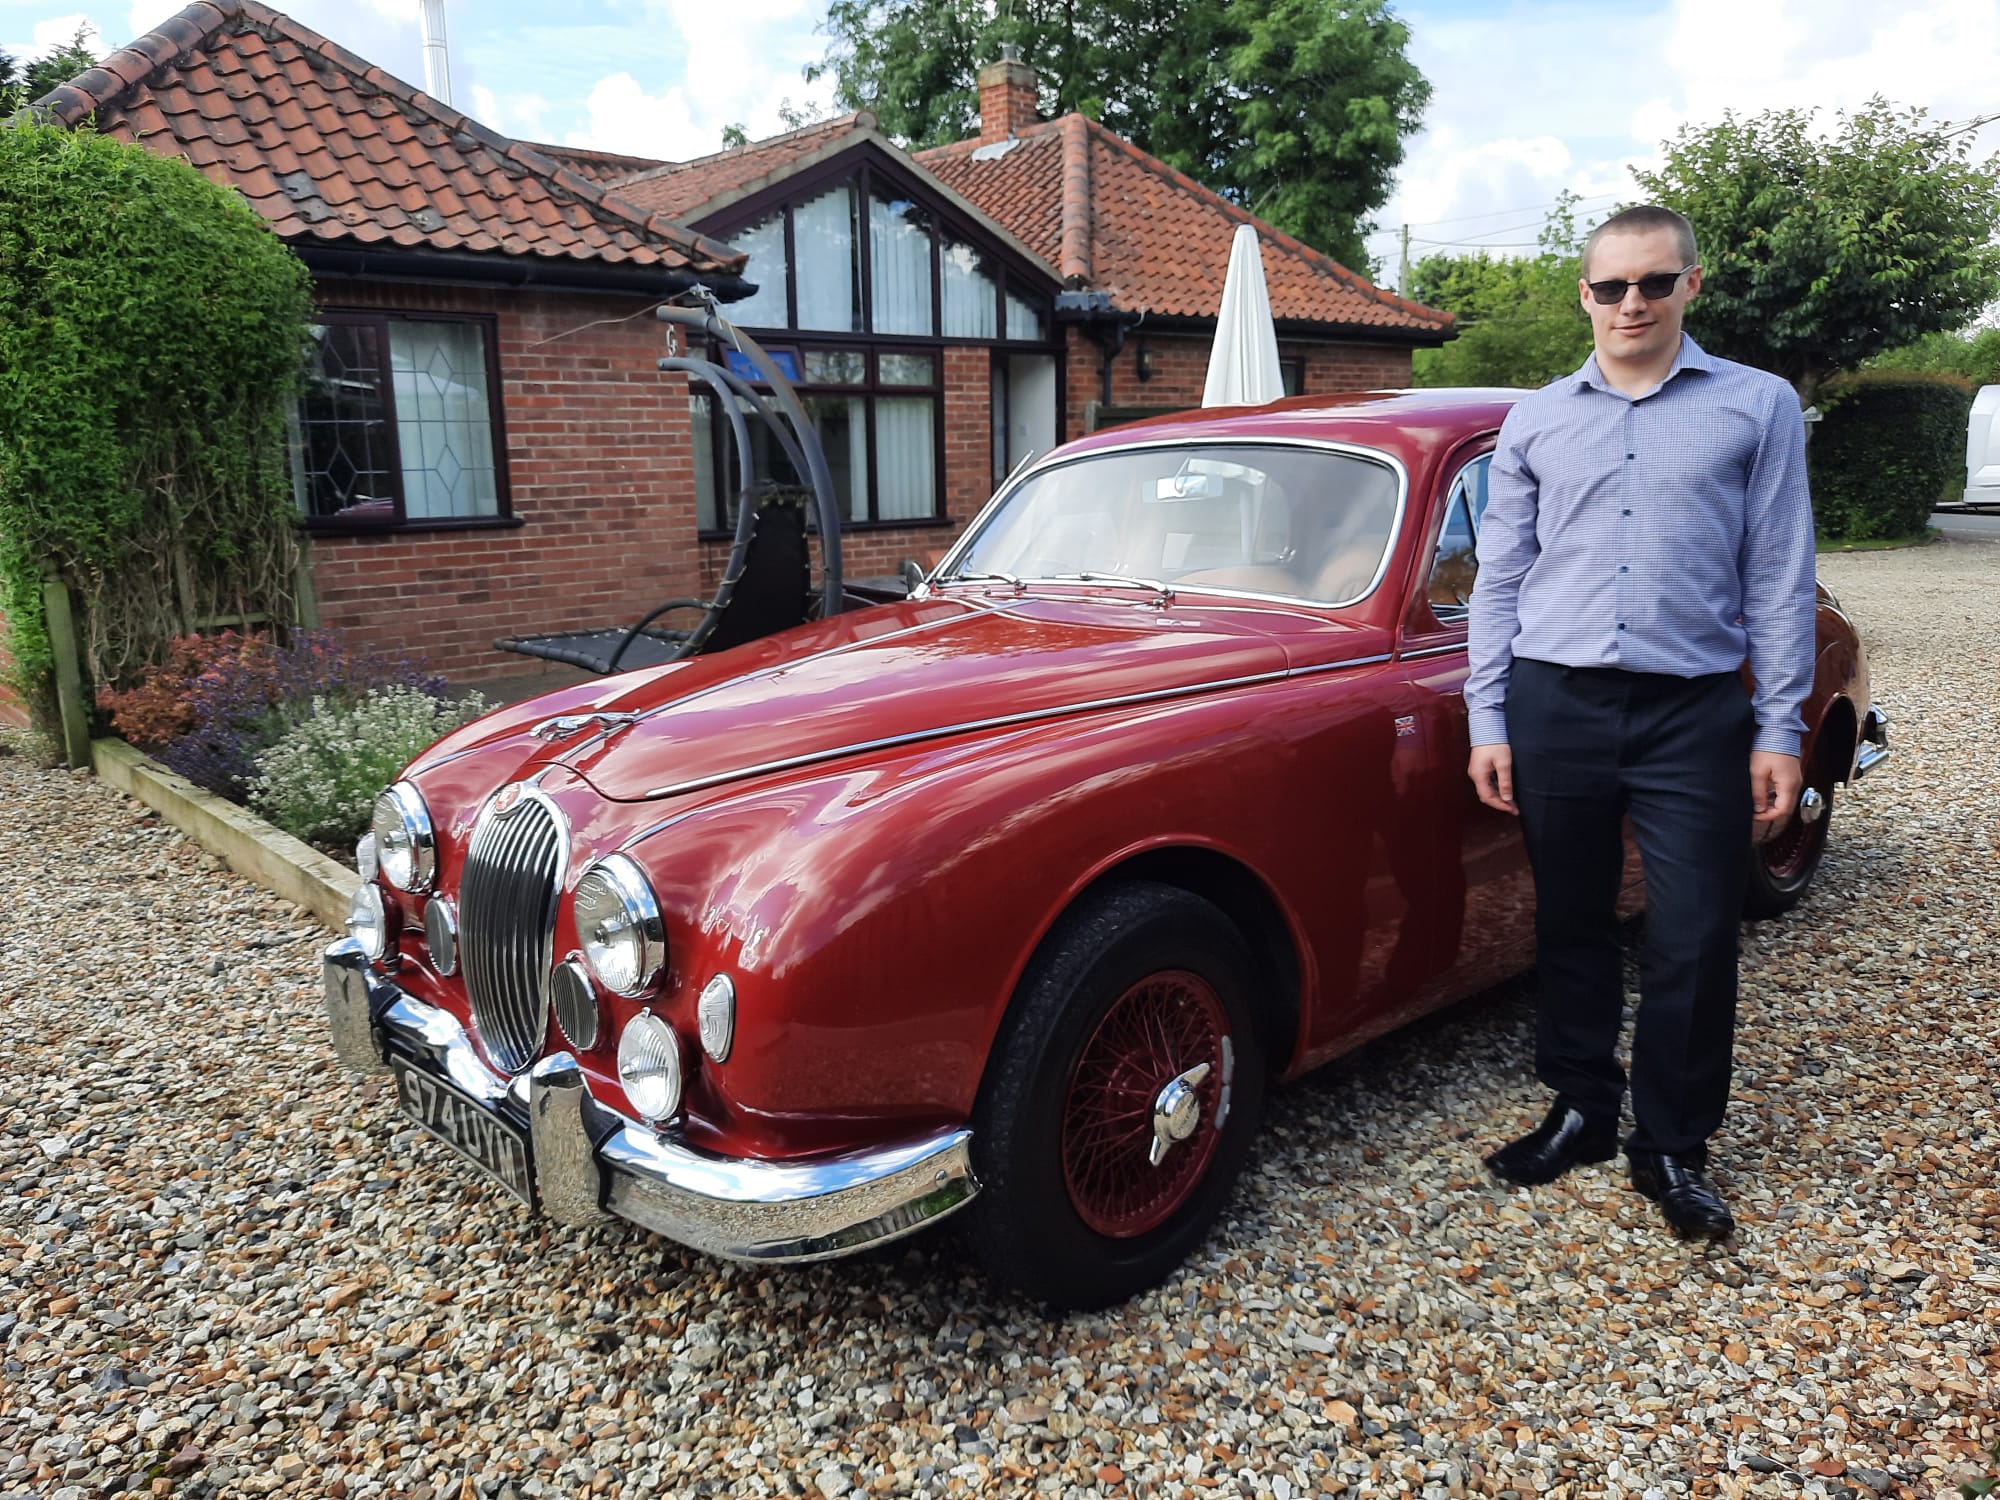
Today we delivered this maroon 1959 Jaguar Mk I to its rightful winner! The draw for this car was held last Sunday at the annual Helmingham Hall Festival of Classic and Sports Cars. This has a bit of story that goes with it! The winner was actually at the event but we couldn’t track him down! In the end, we put a post out on Facebook quoting the winner’s name asking for help from the public to contact him, and it got over 30,000 views! Hours later, we got hold of him and he’s now received his prize.

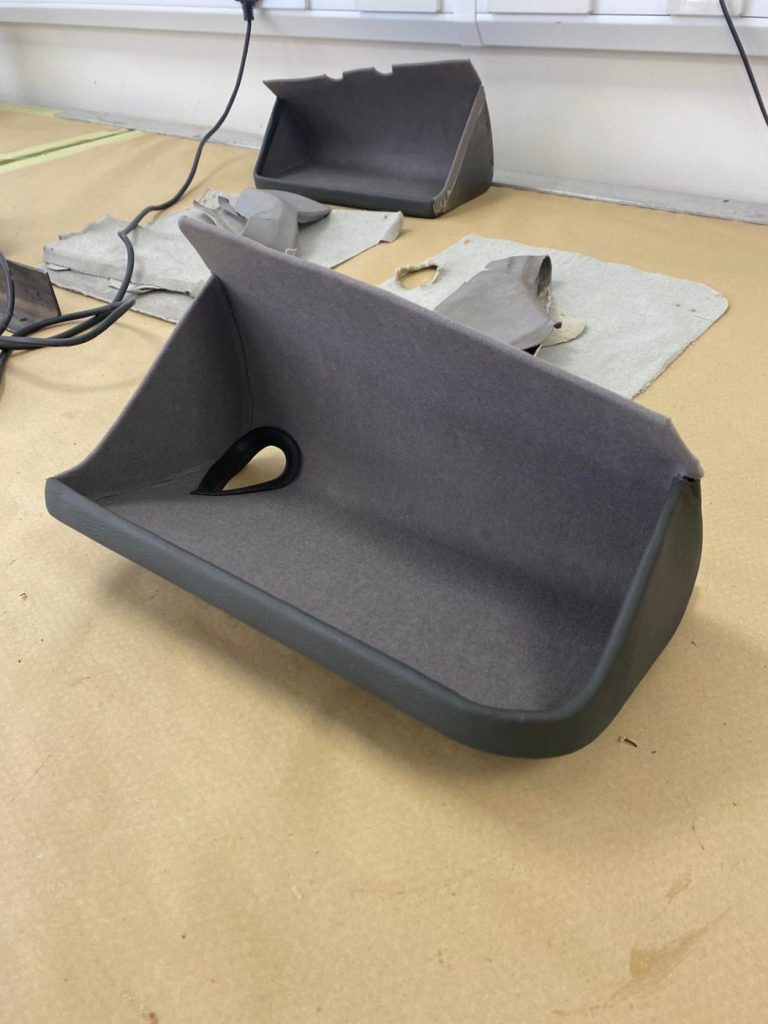
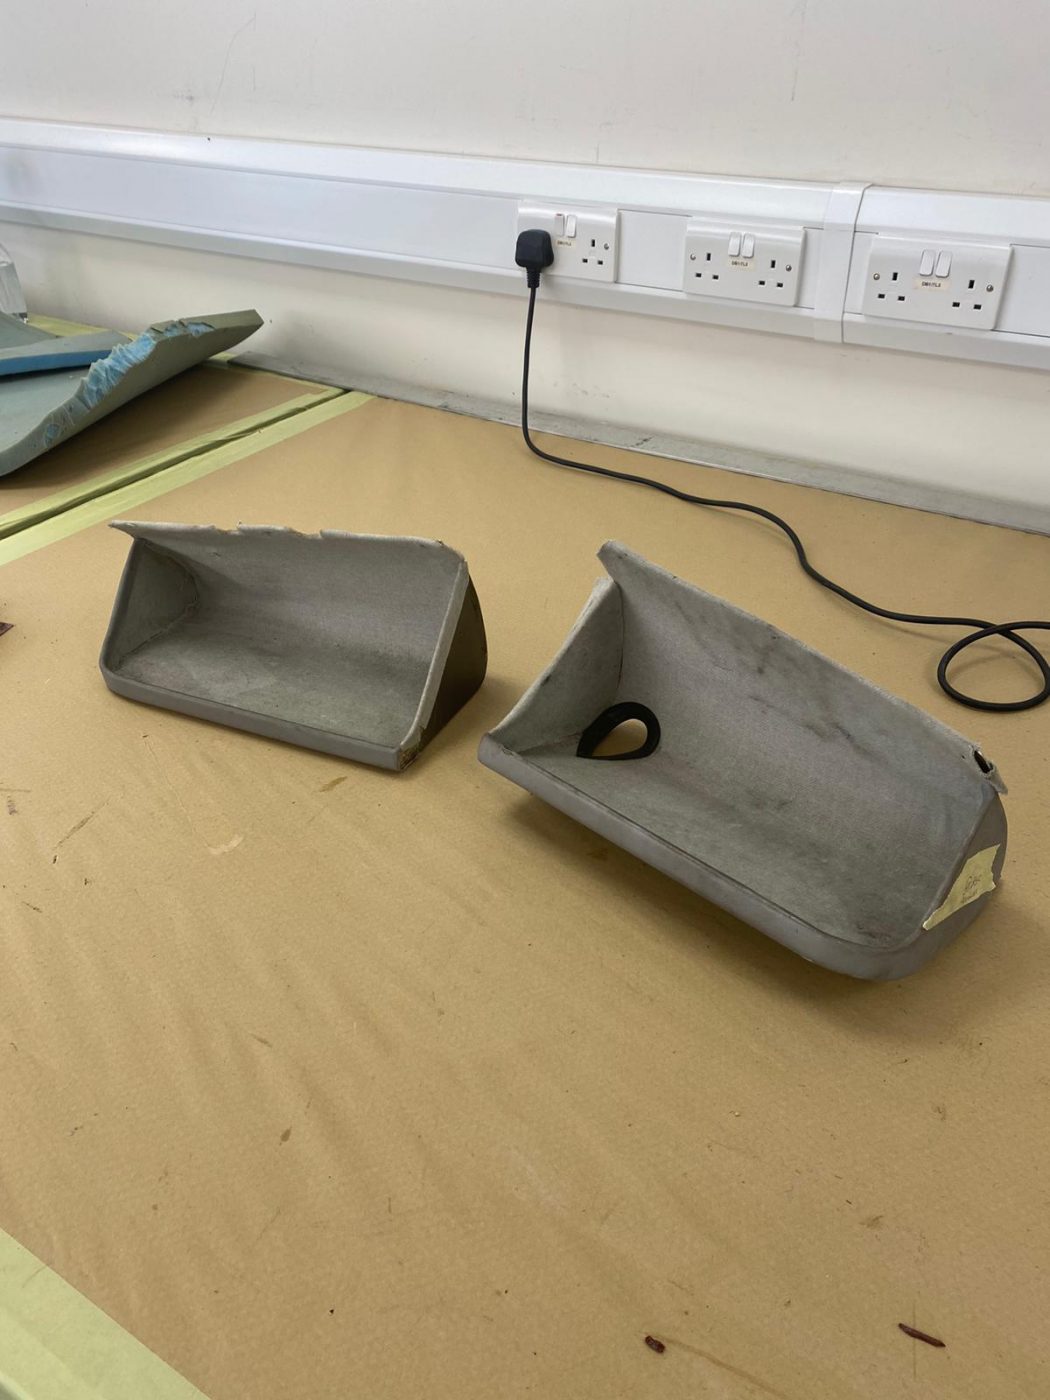
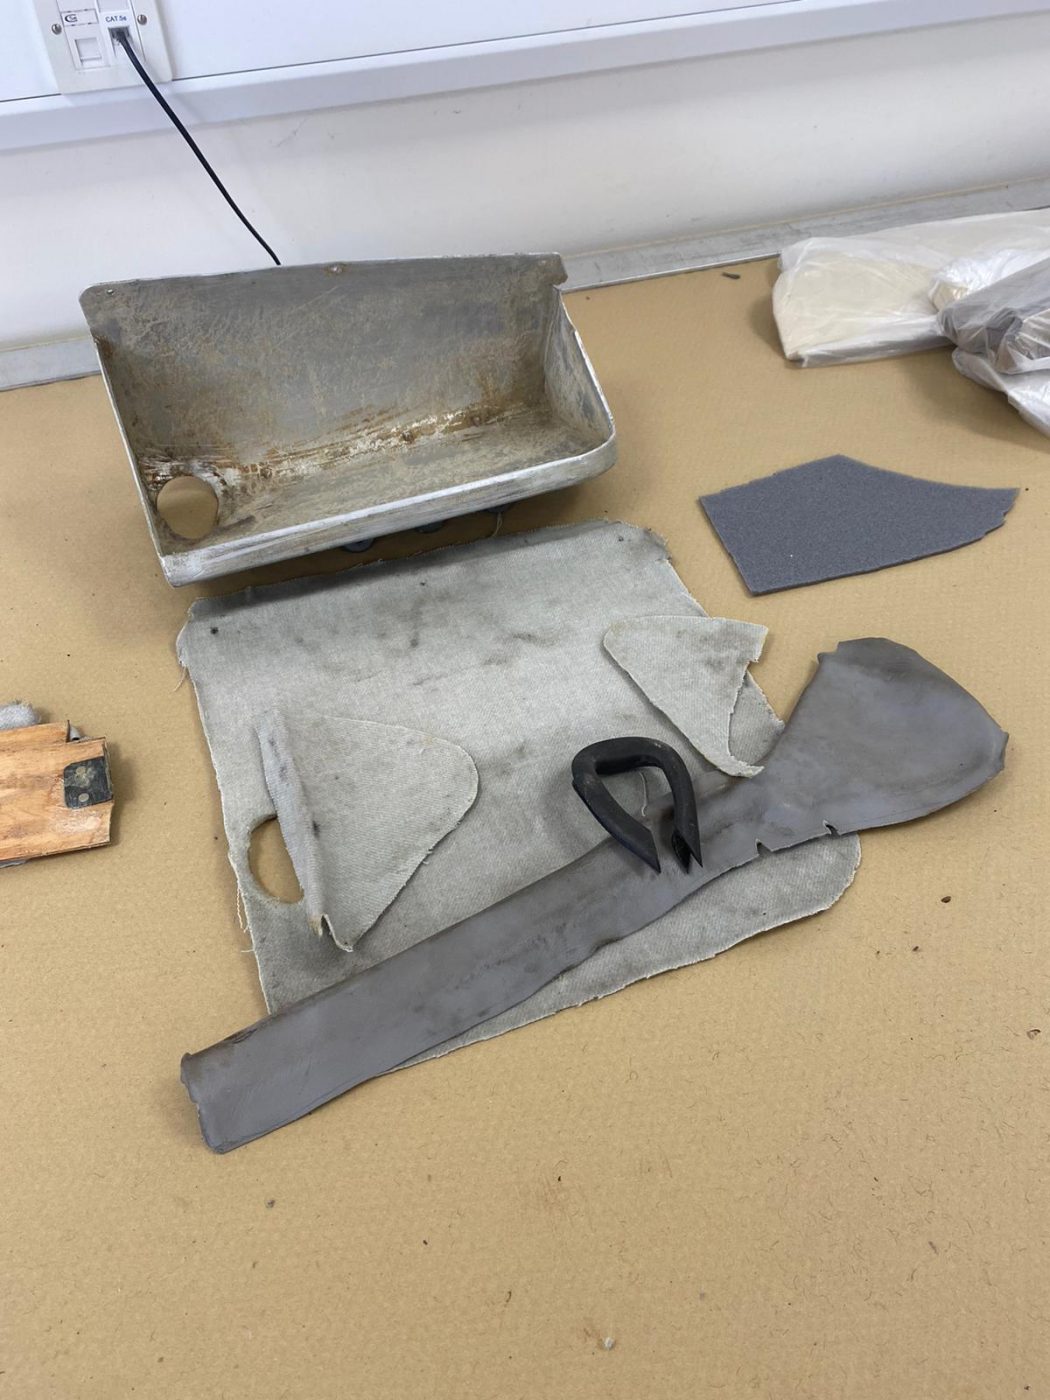
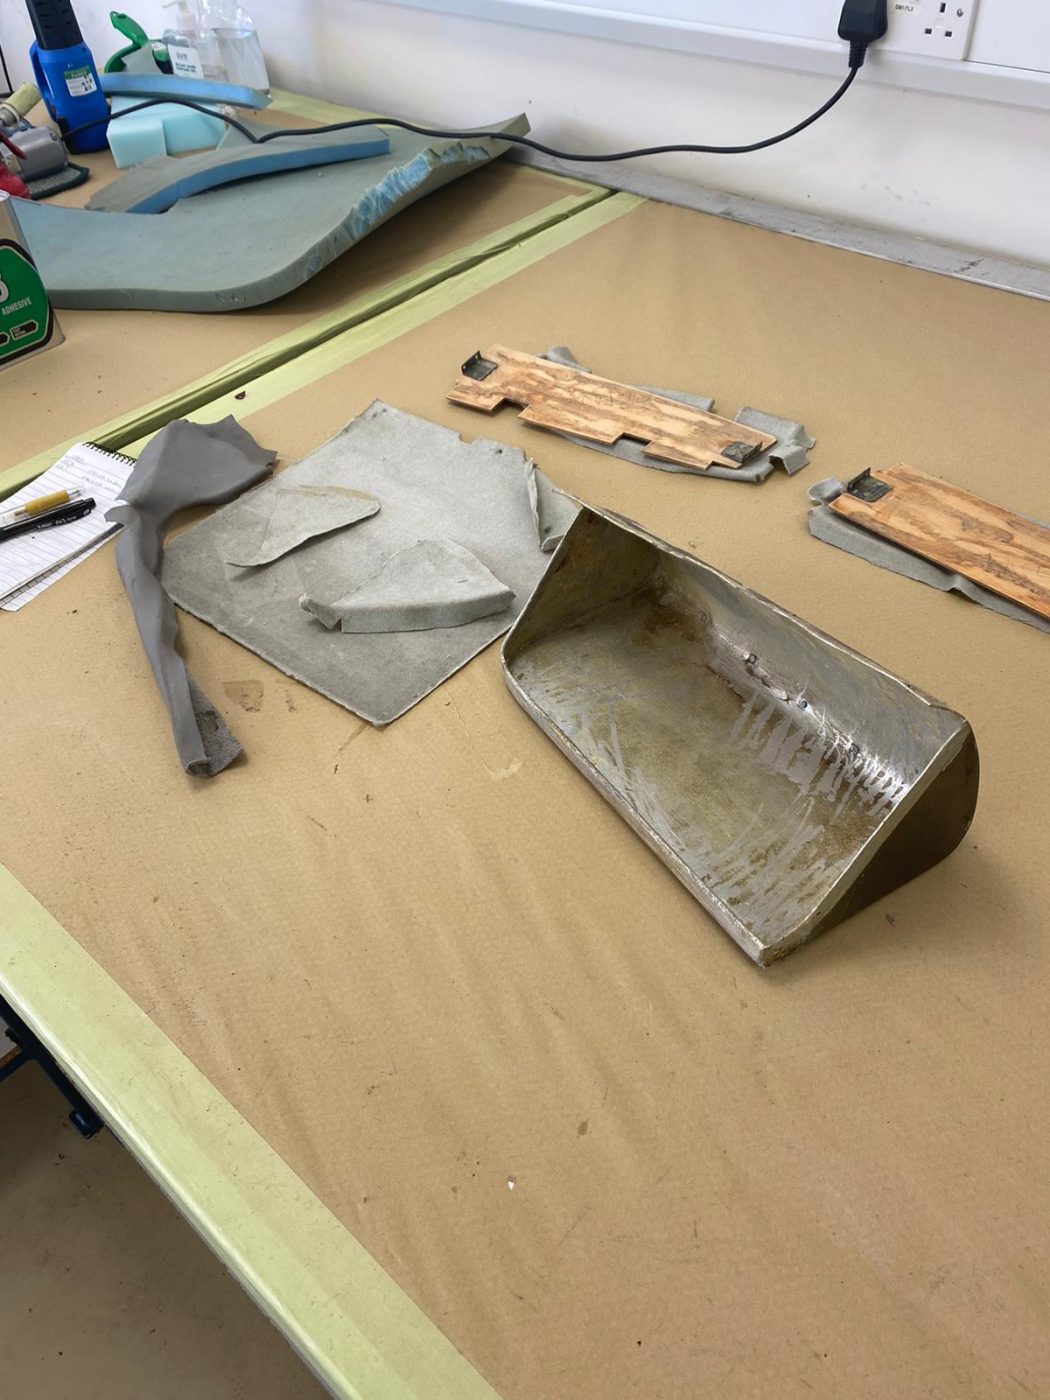
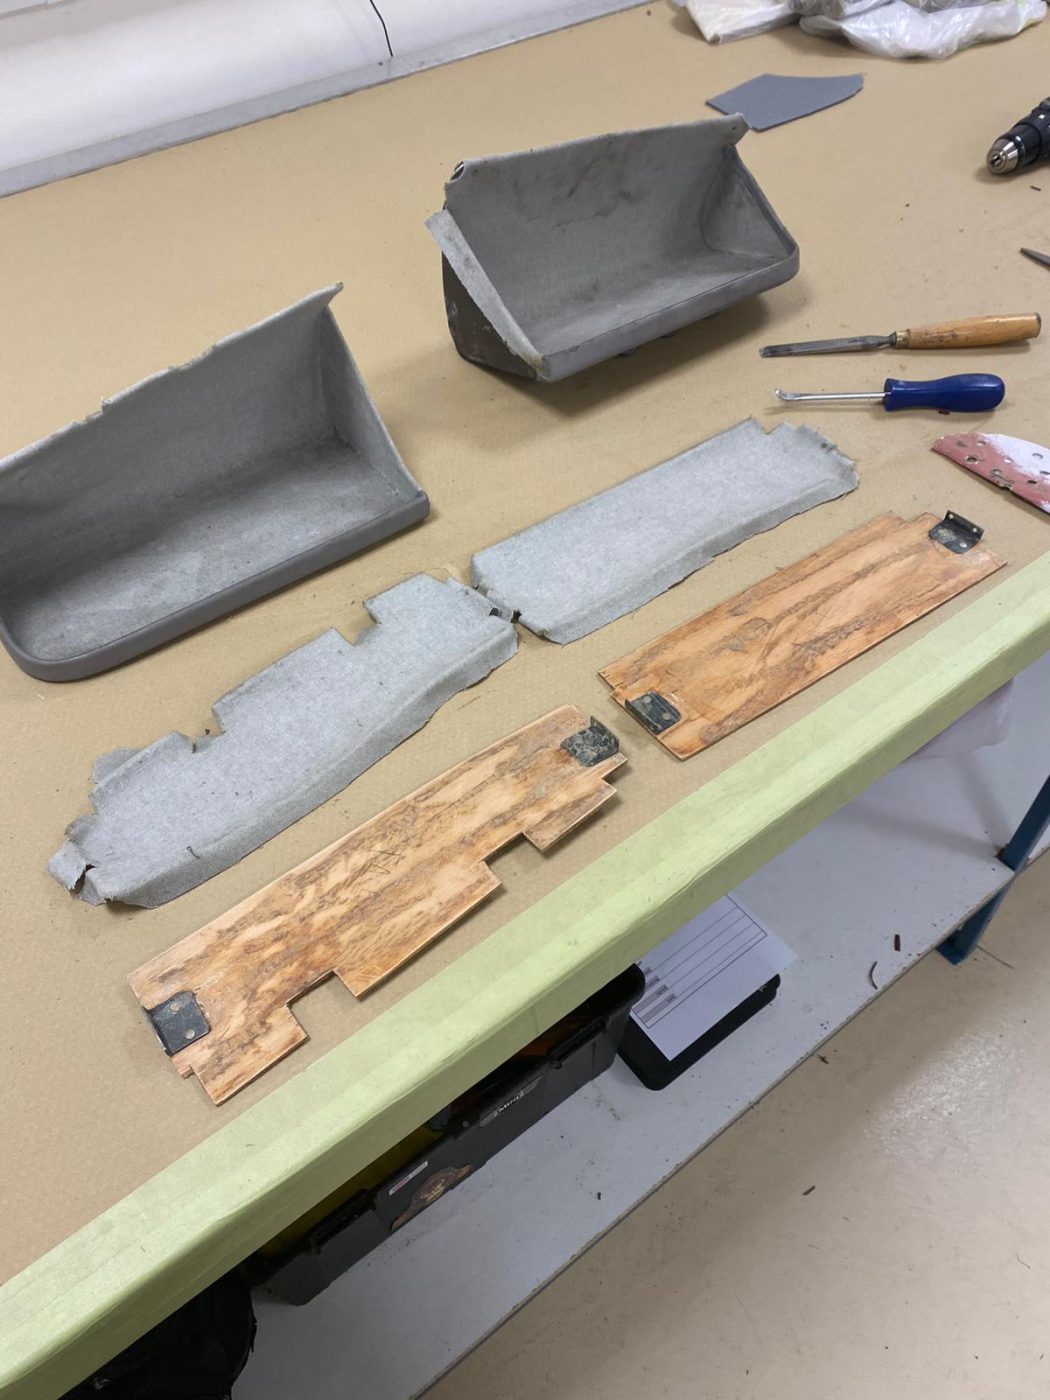
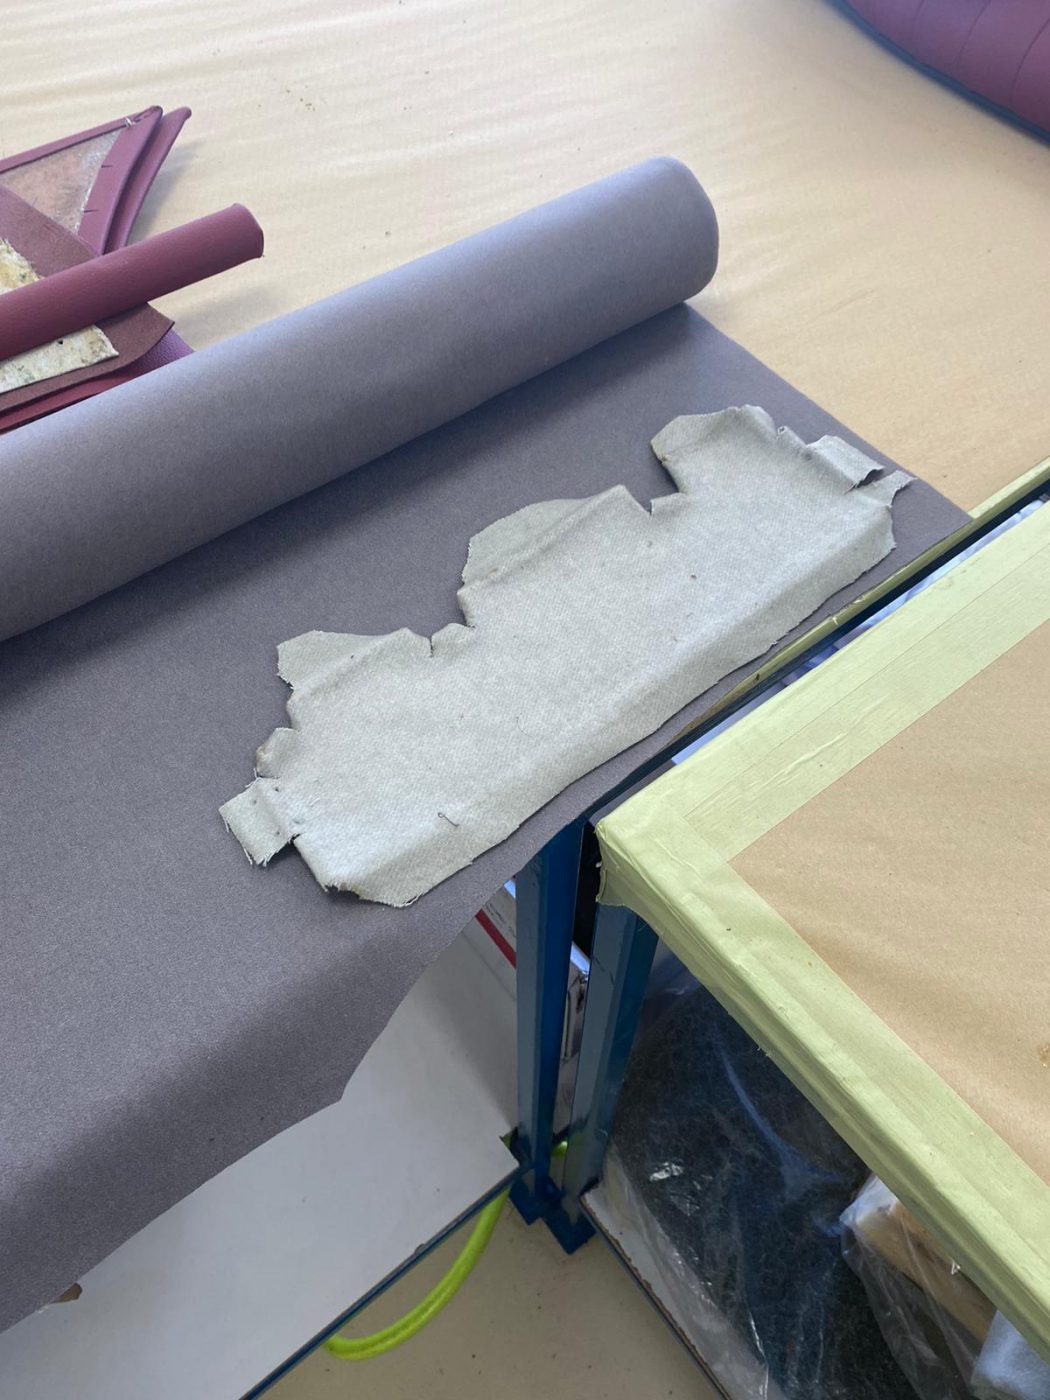
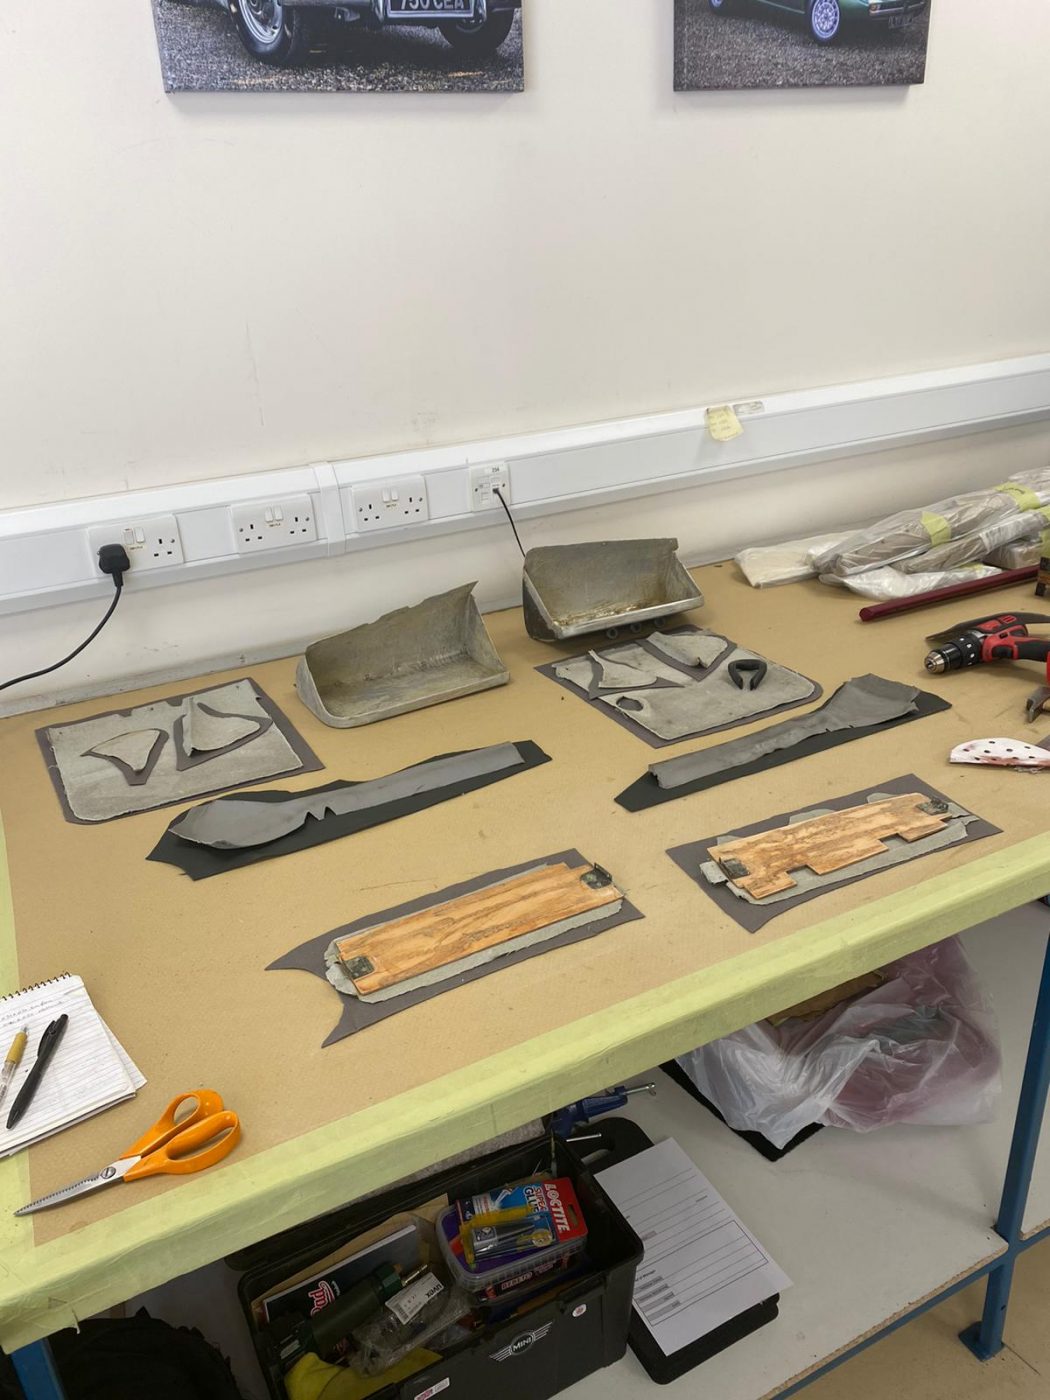
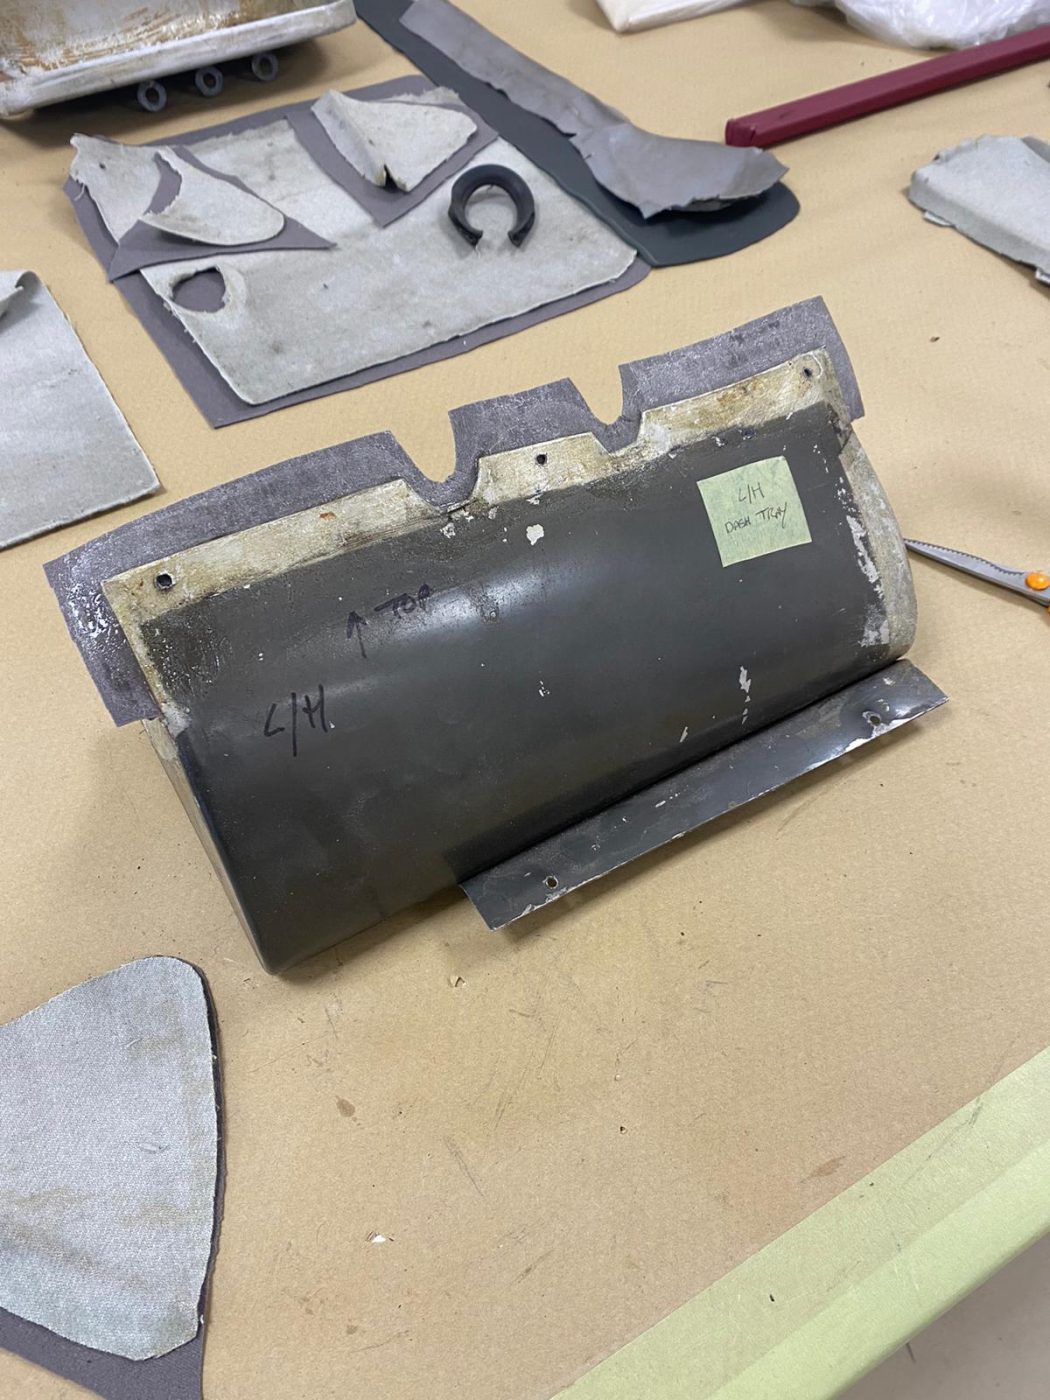
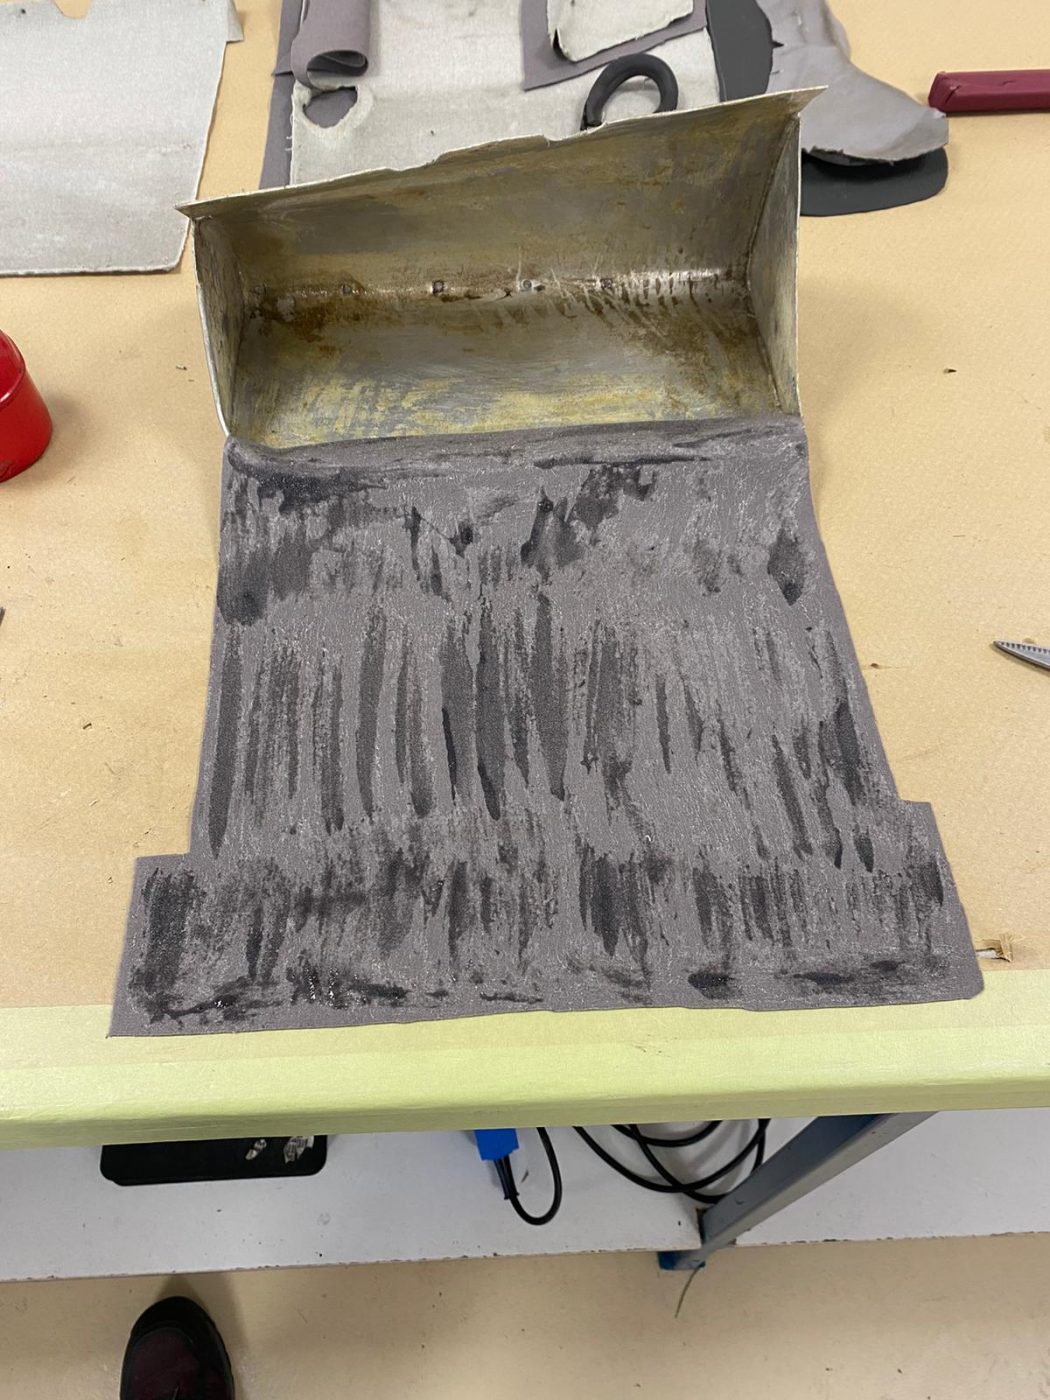
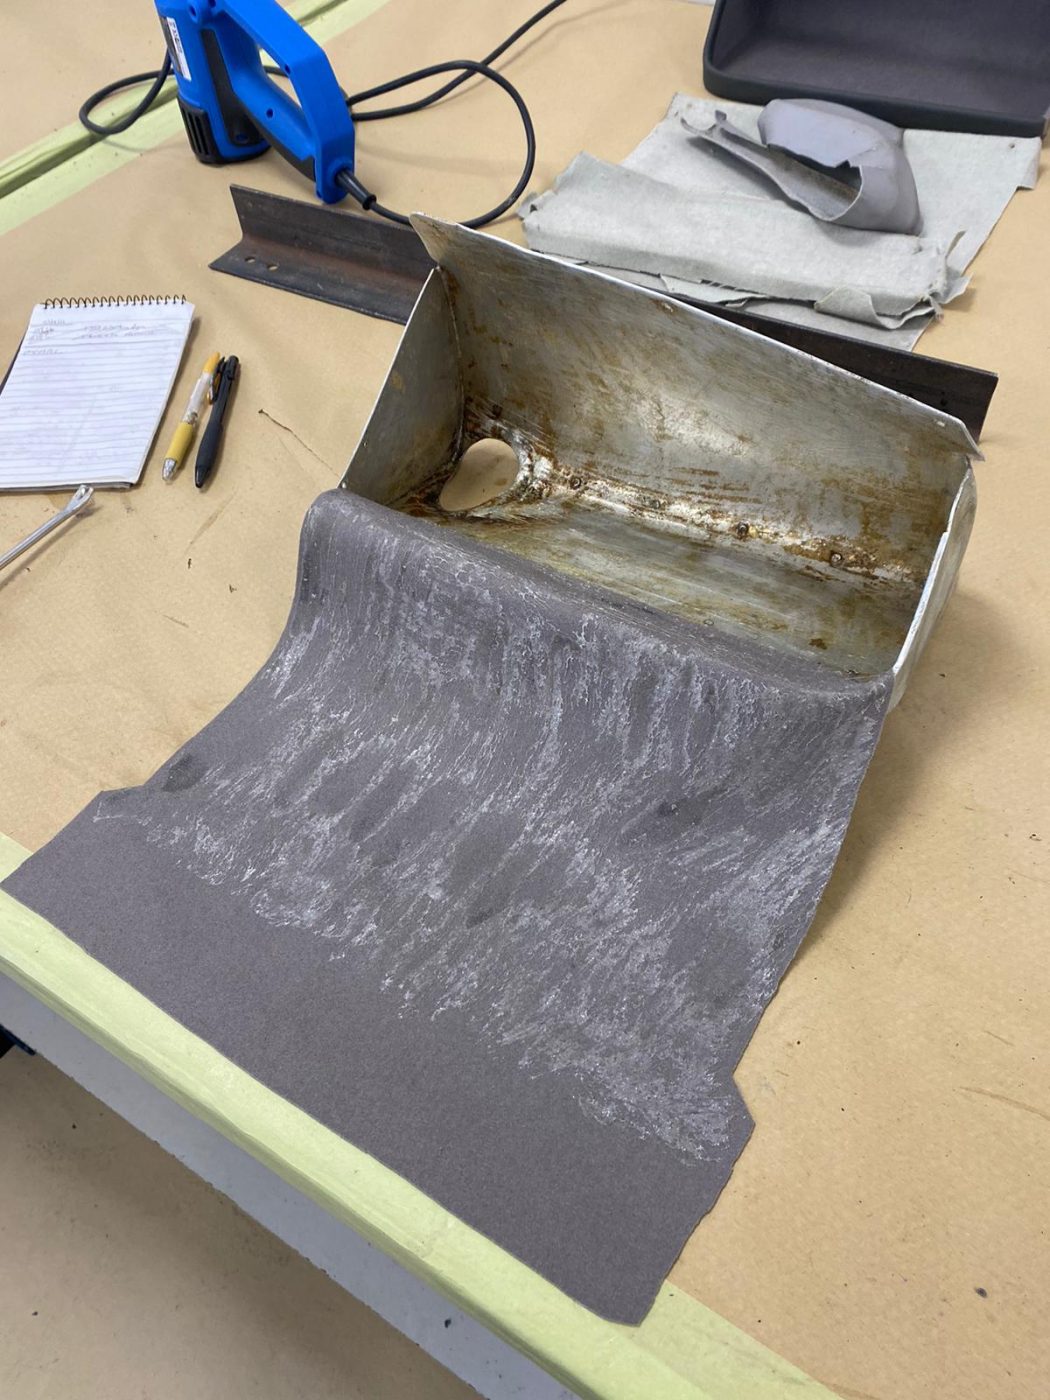
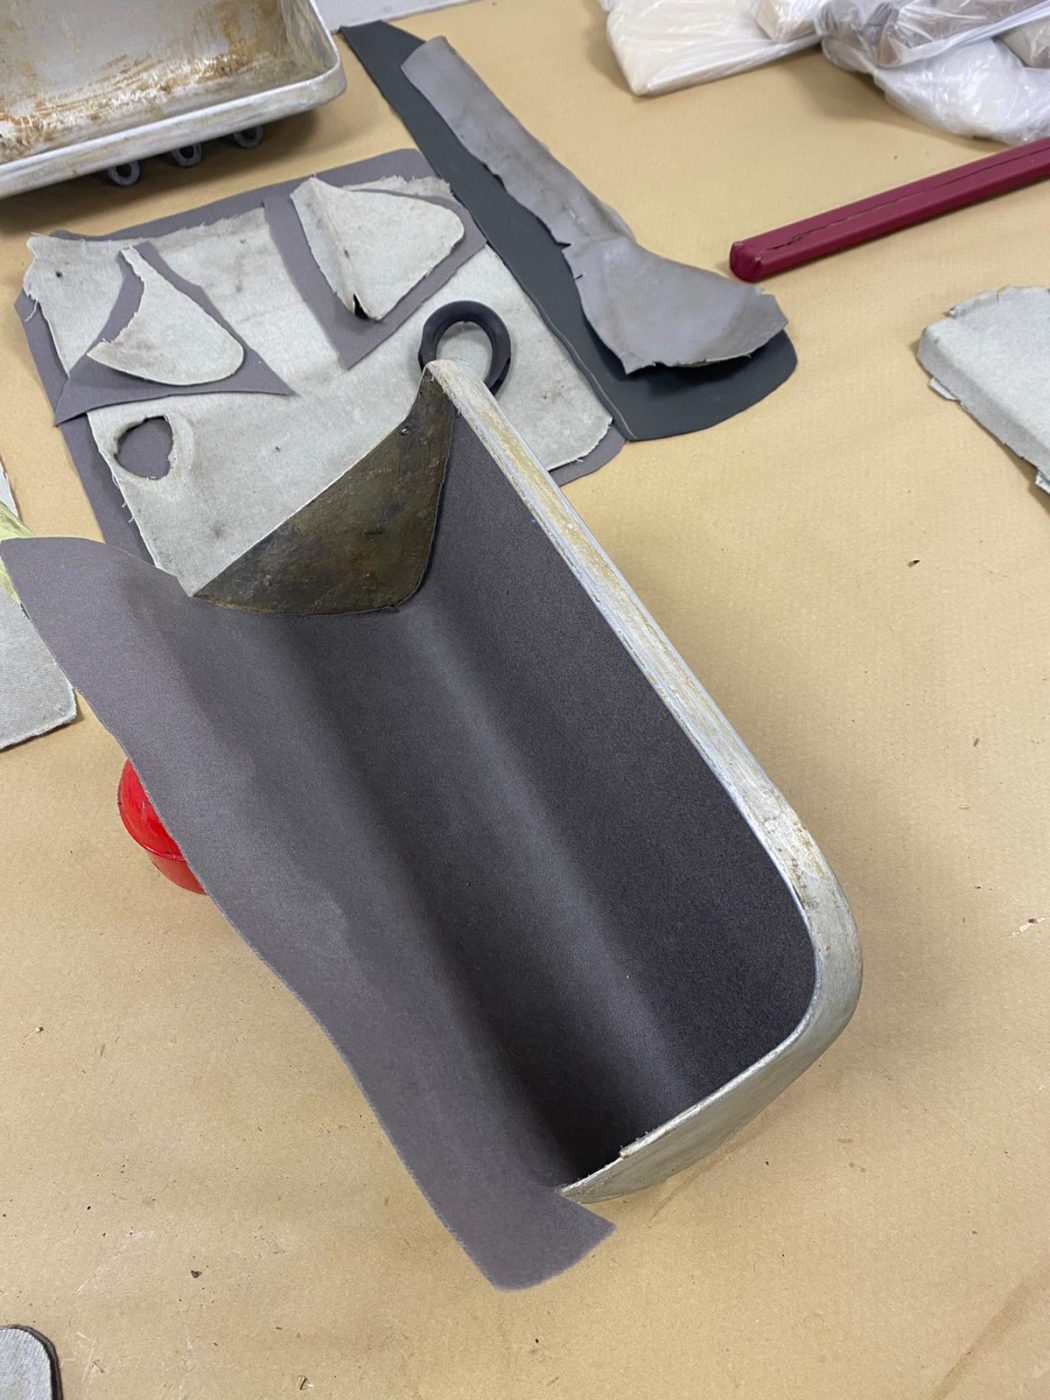
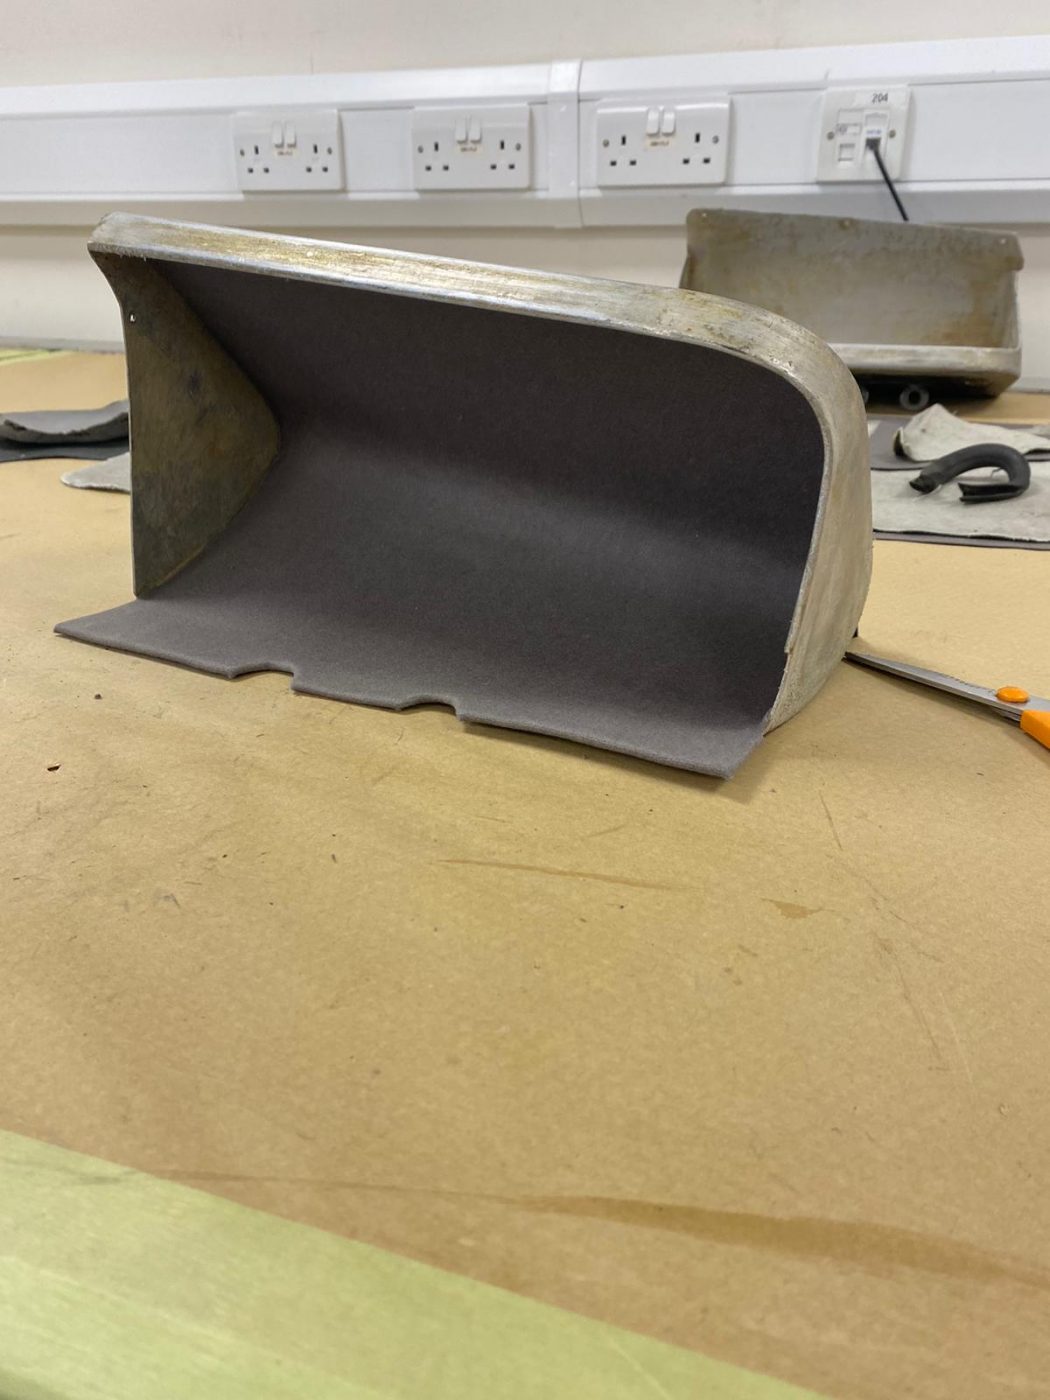
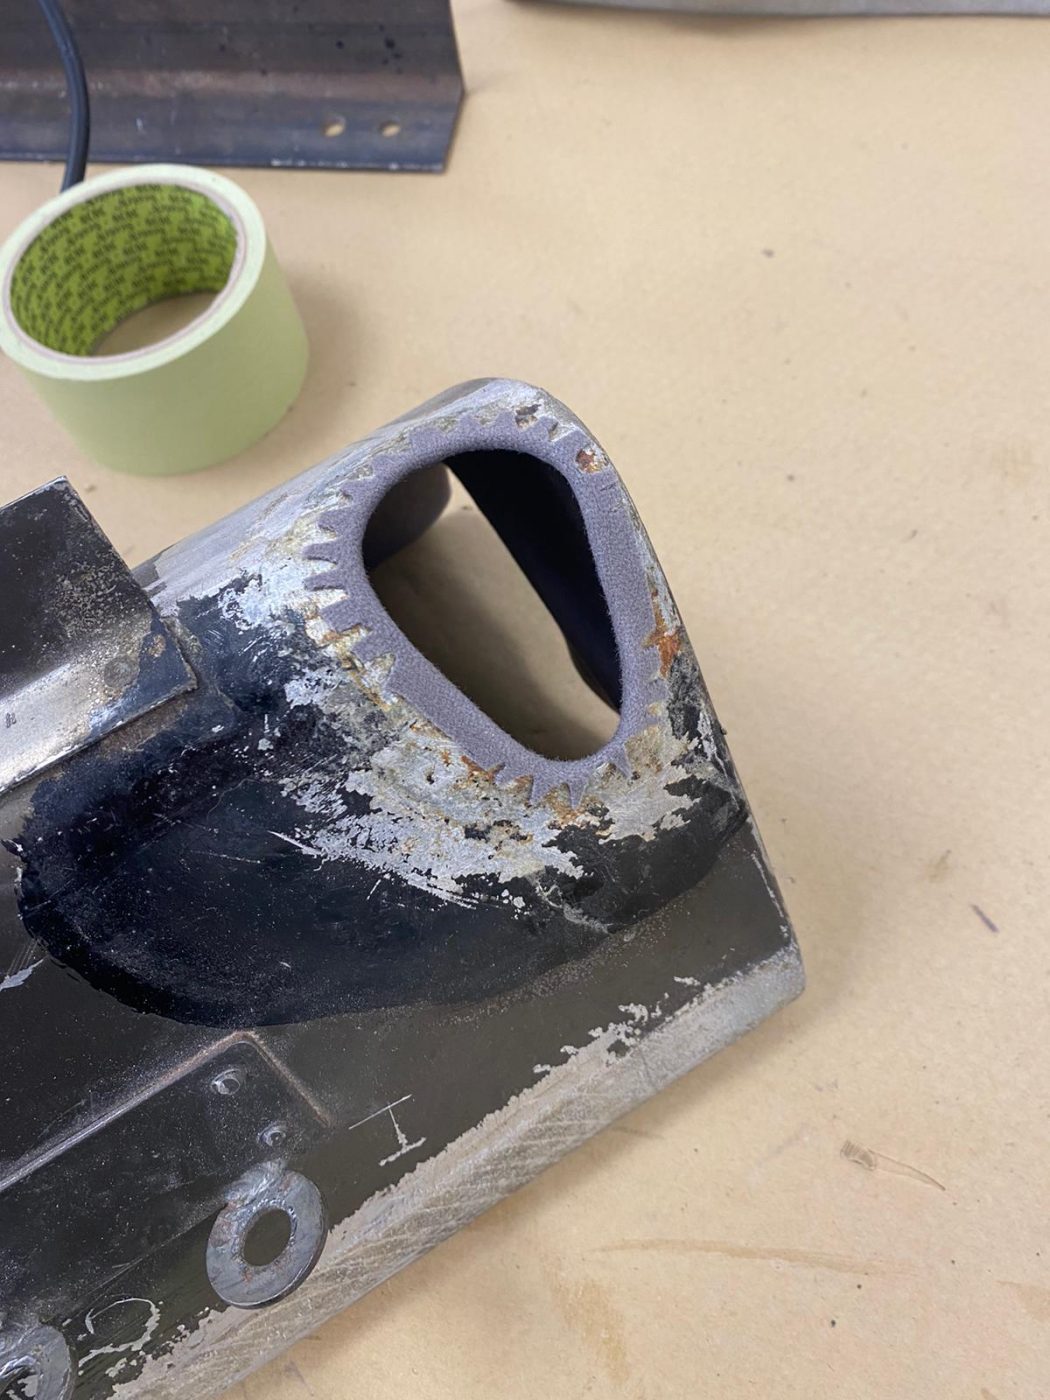
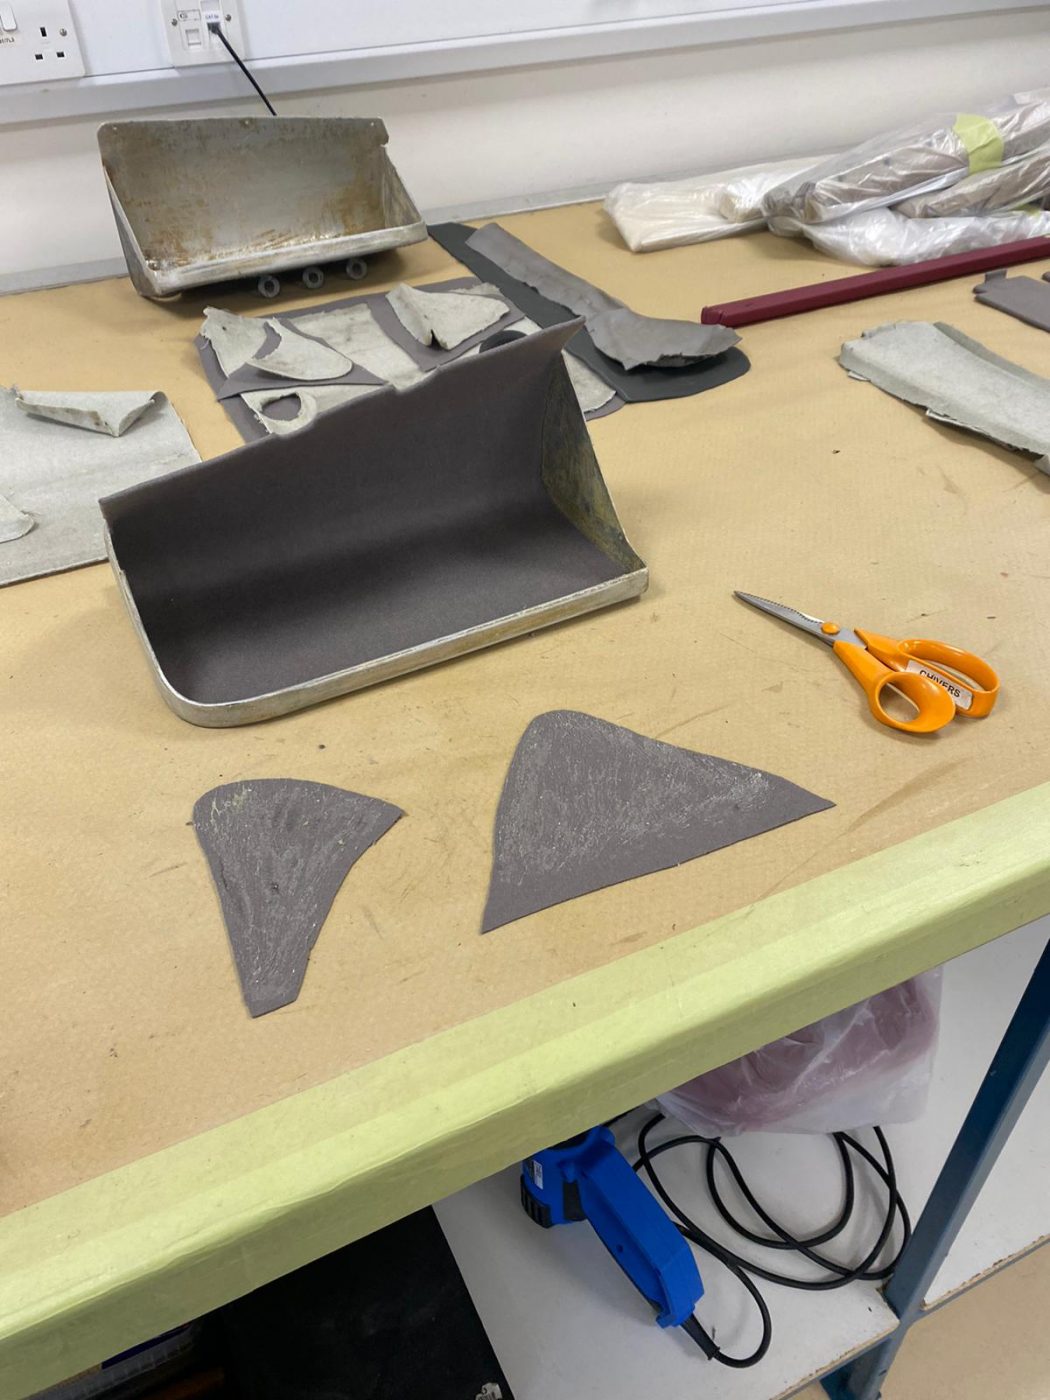
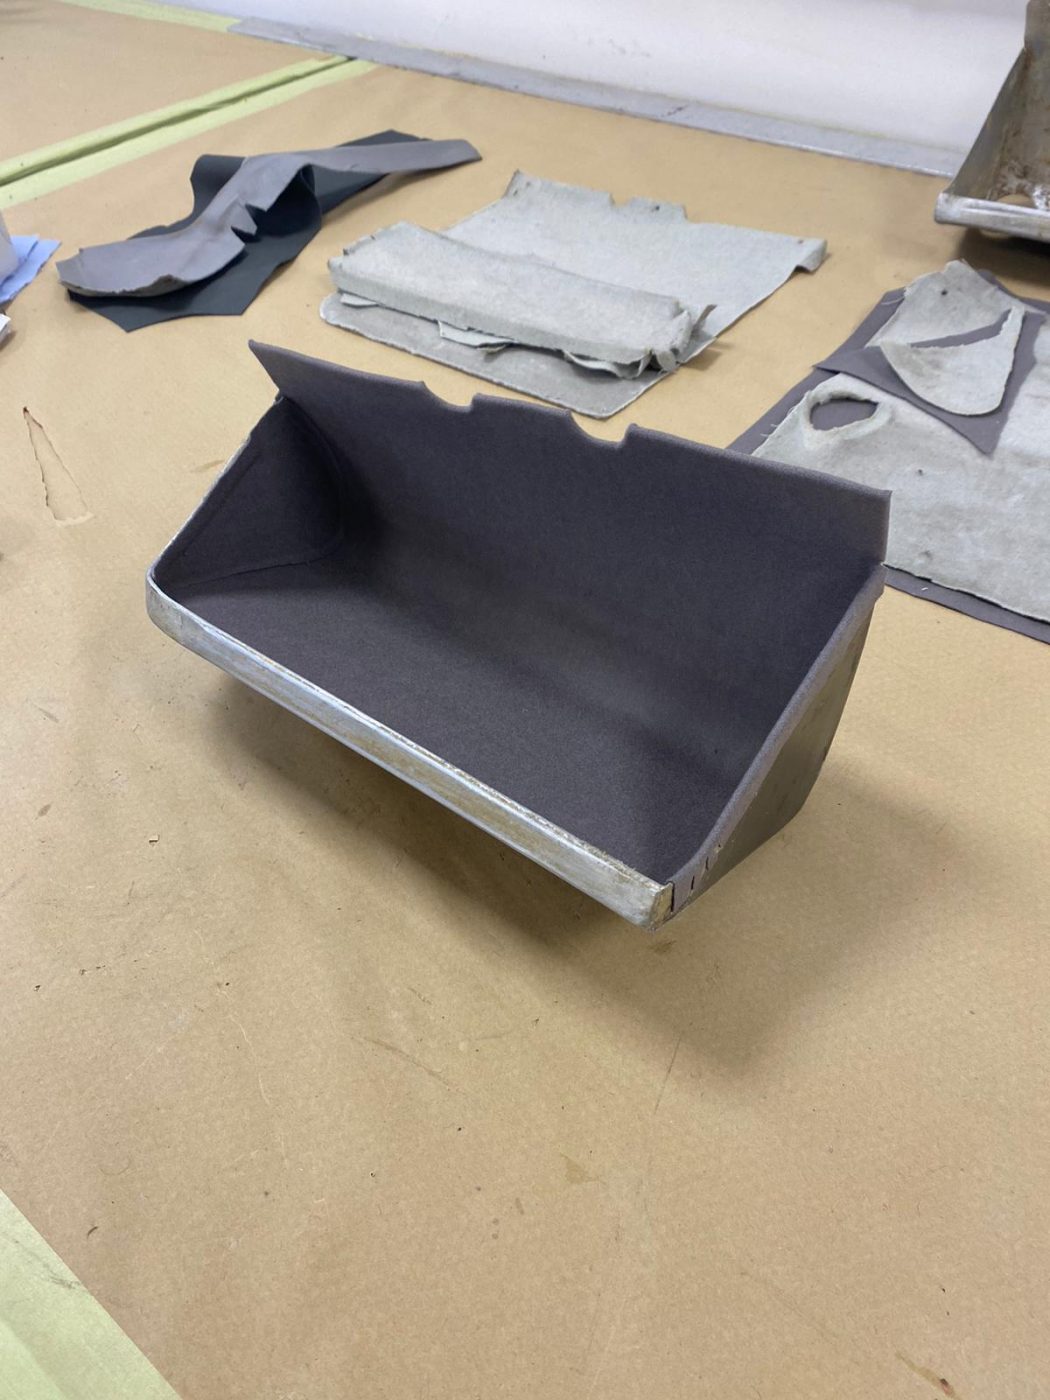
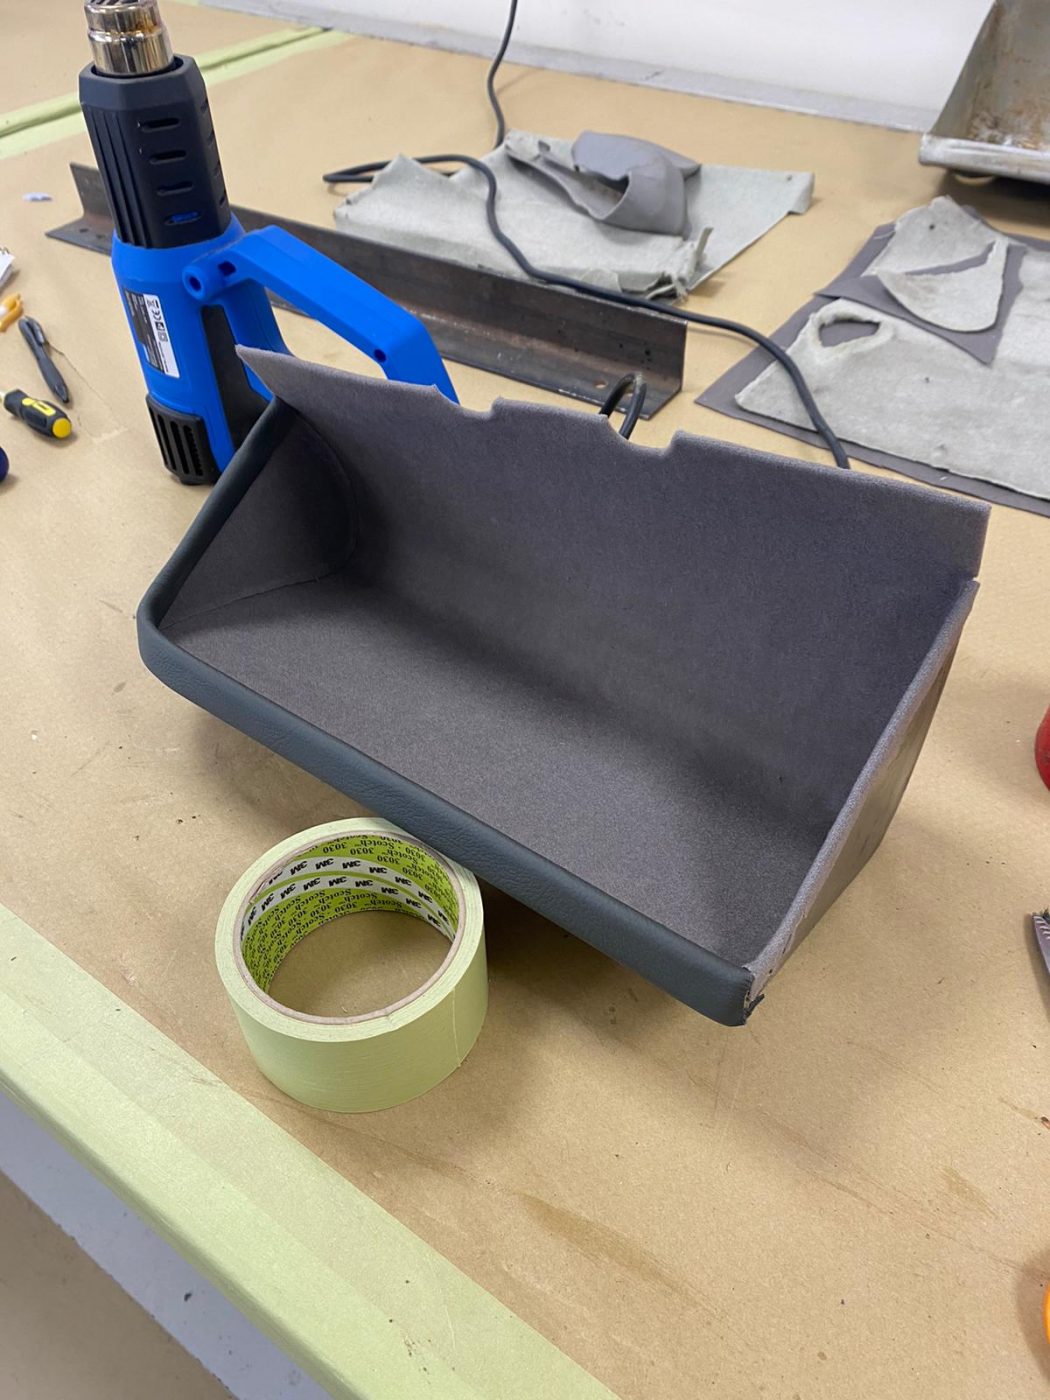
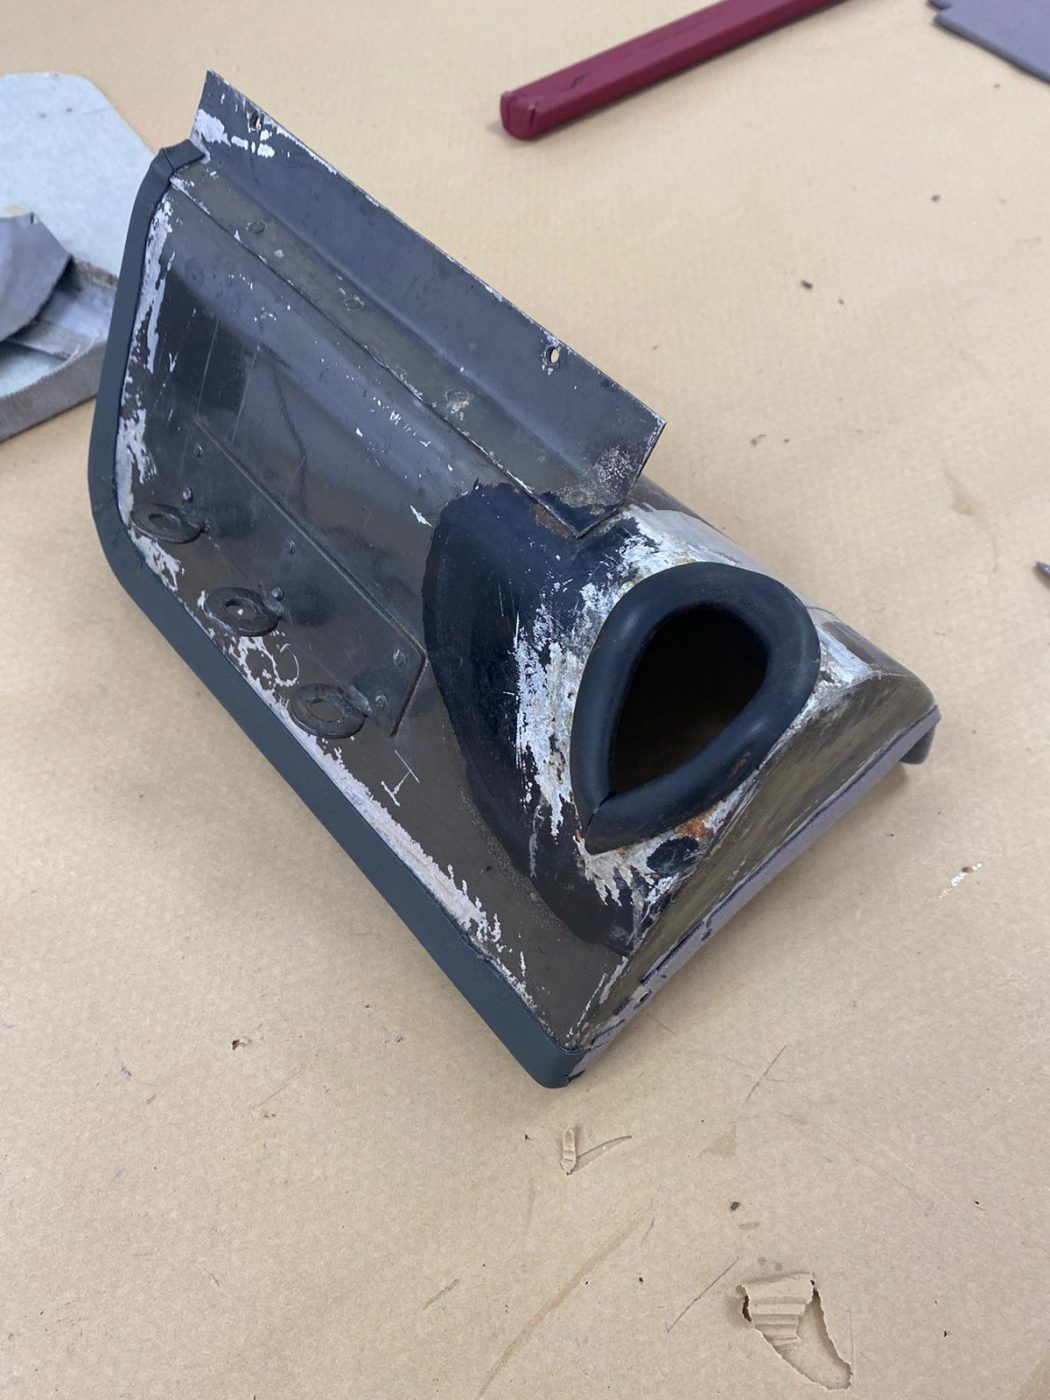
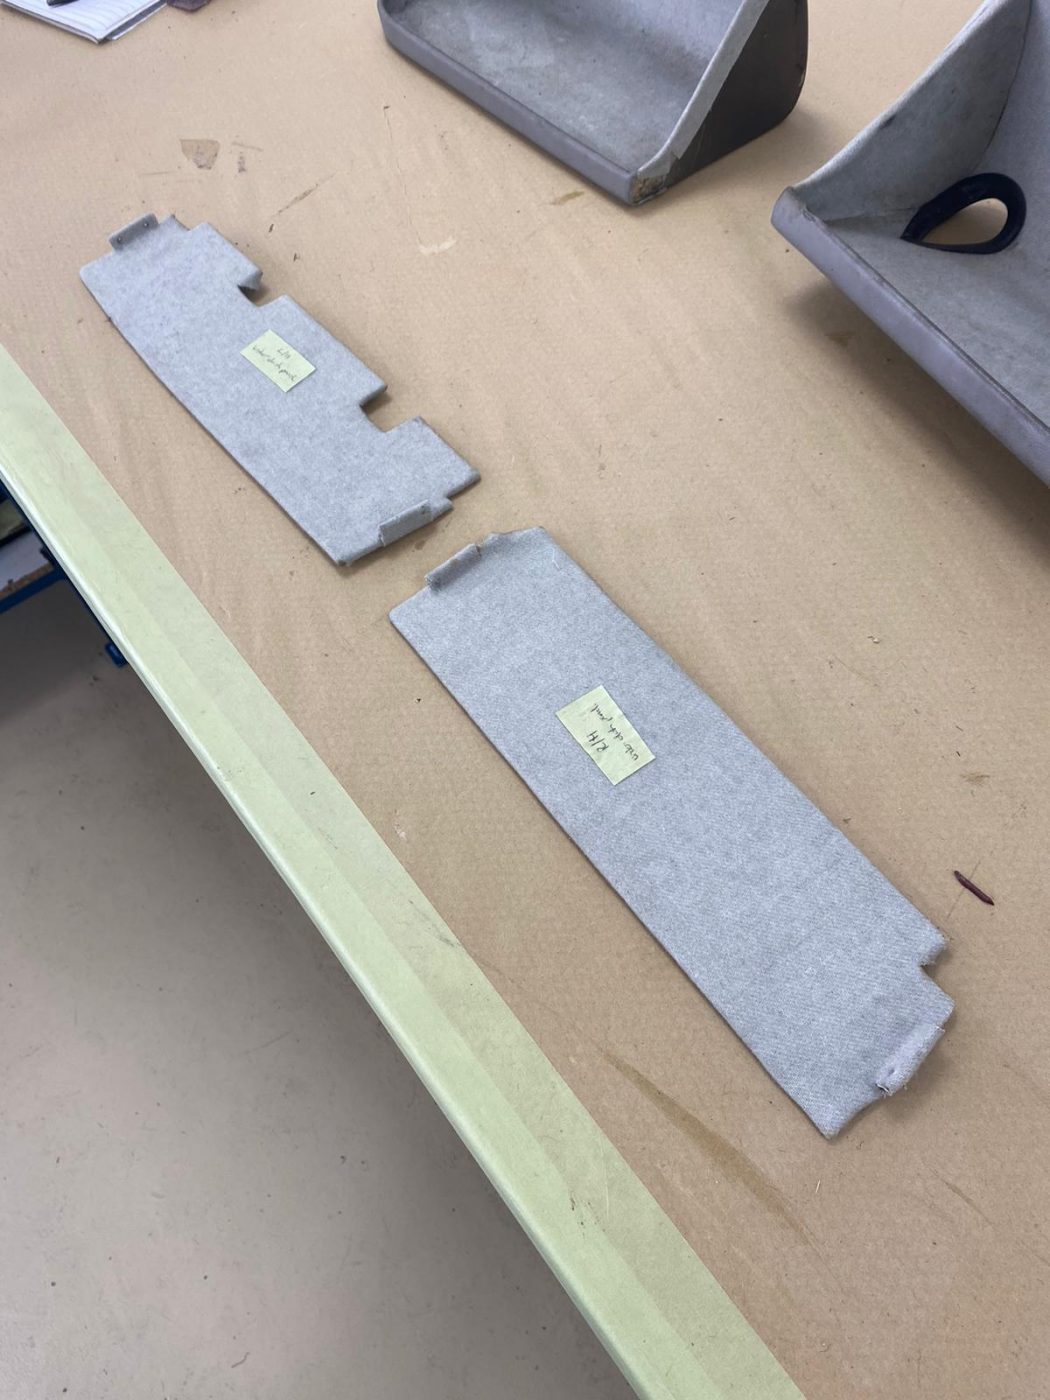
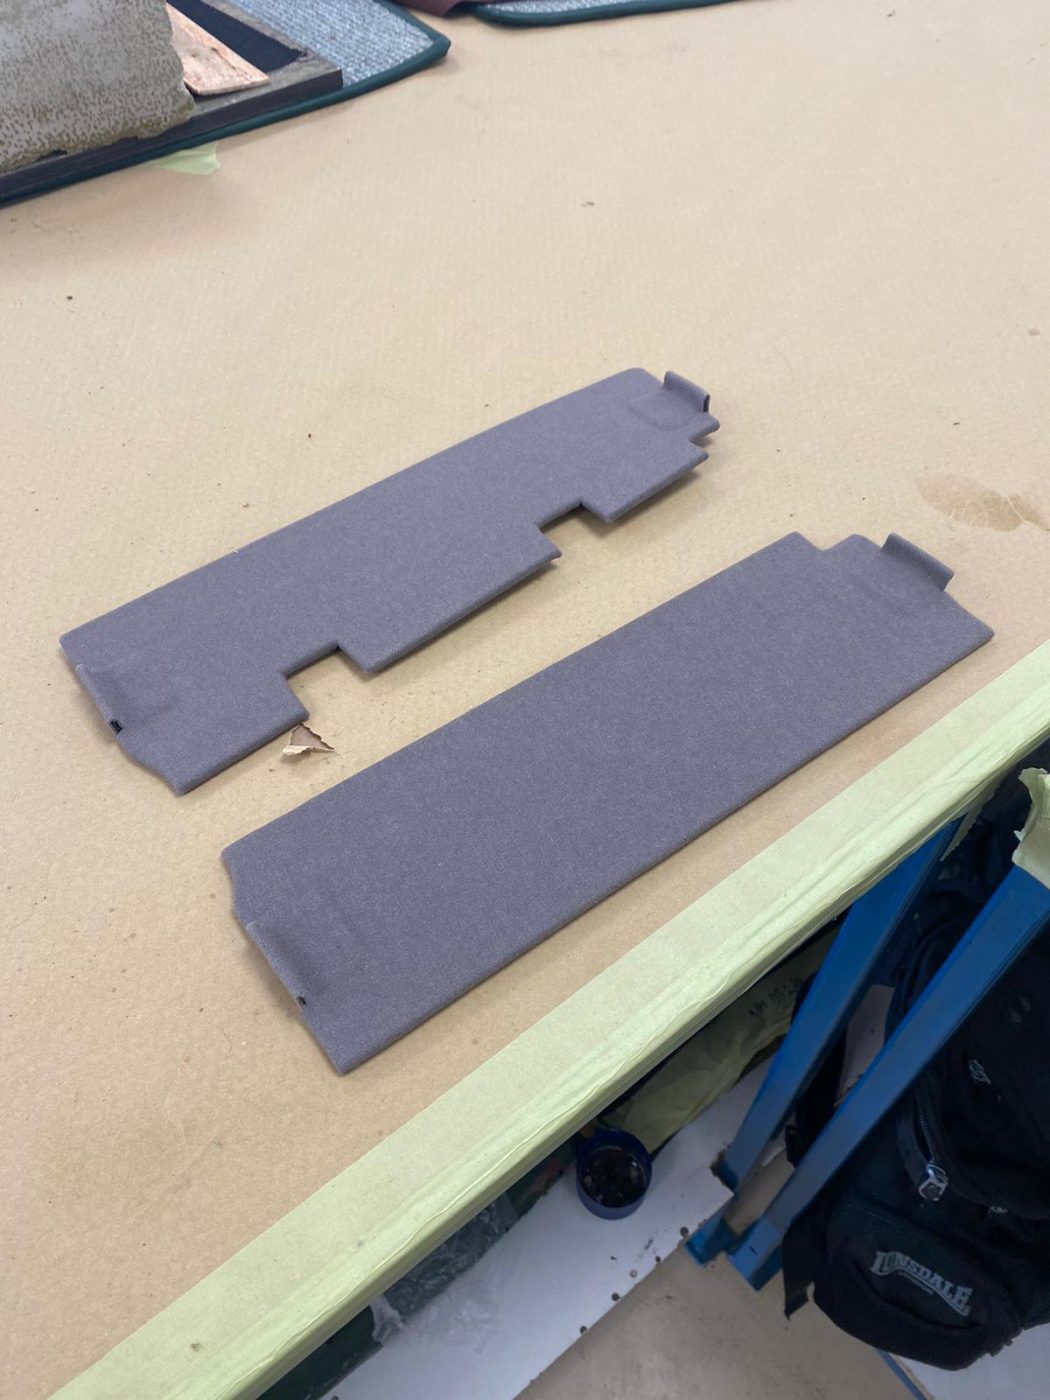
Brian has been continuing the interior trim work for the 1955 Aston Martin DB 2/4.
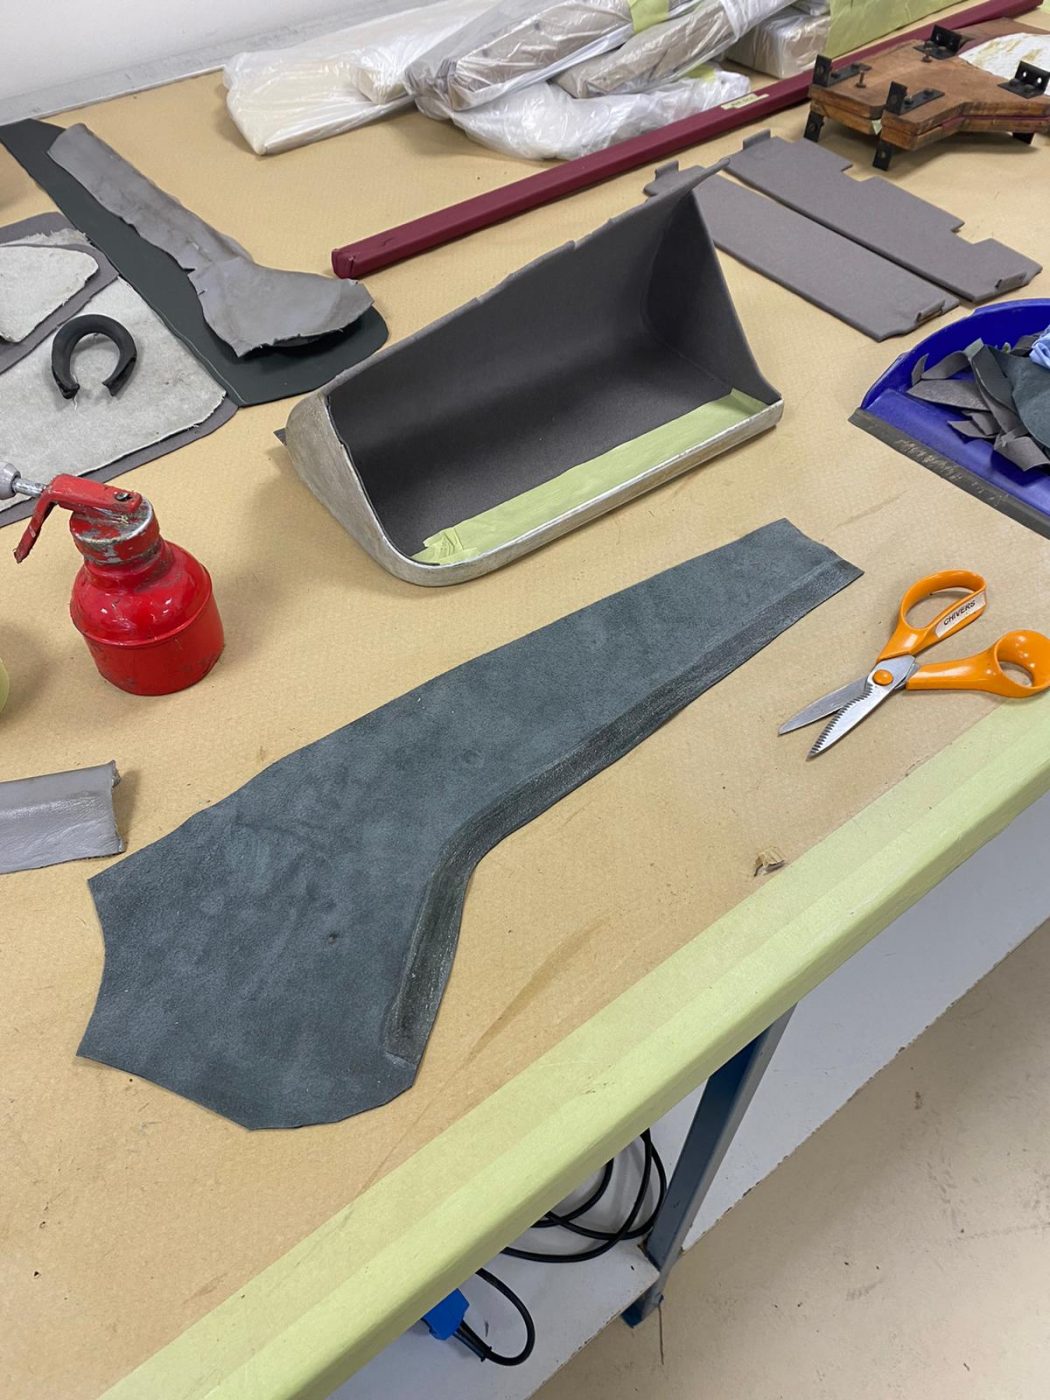
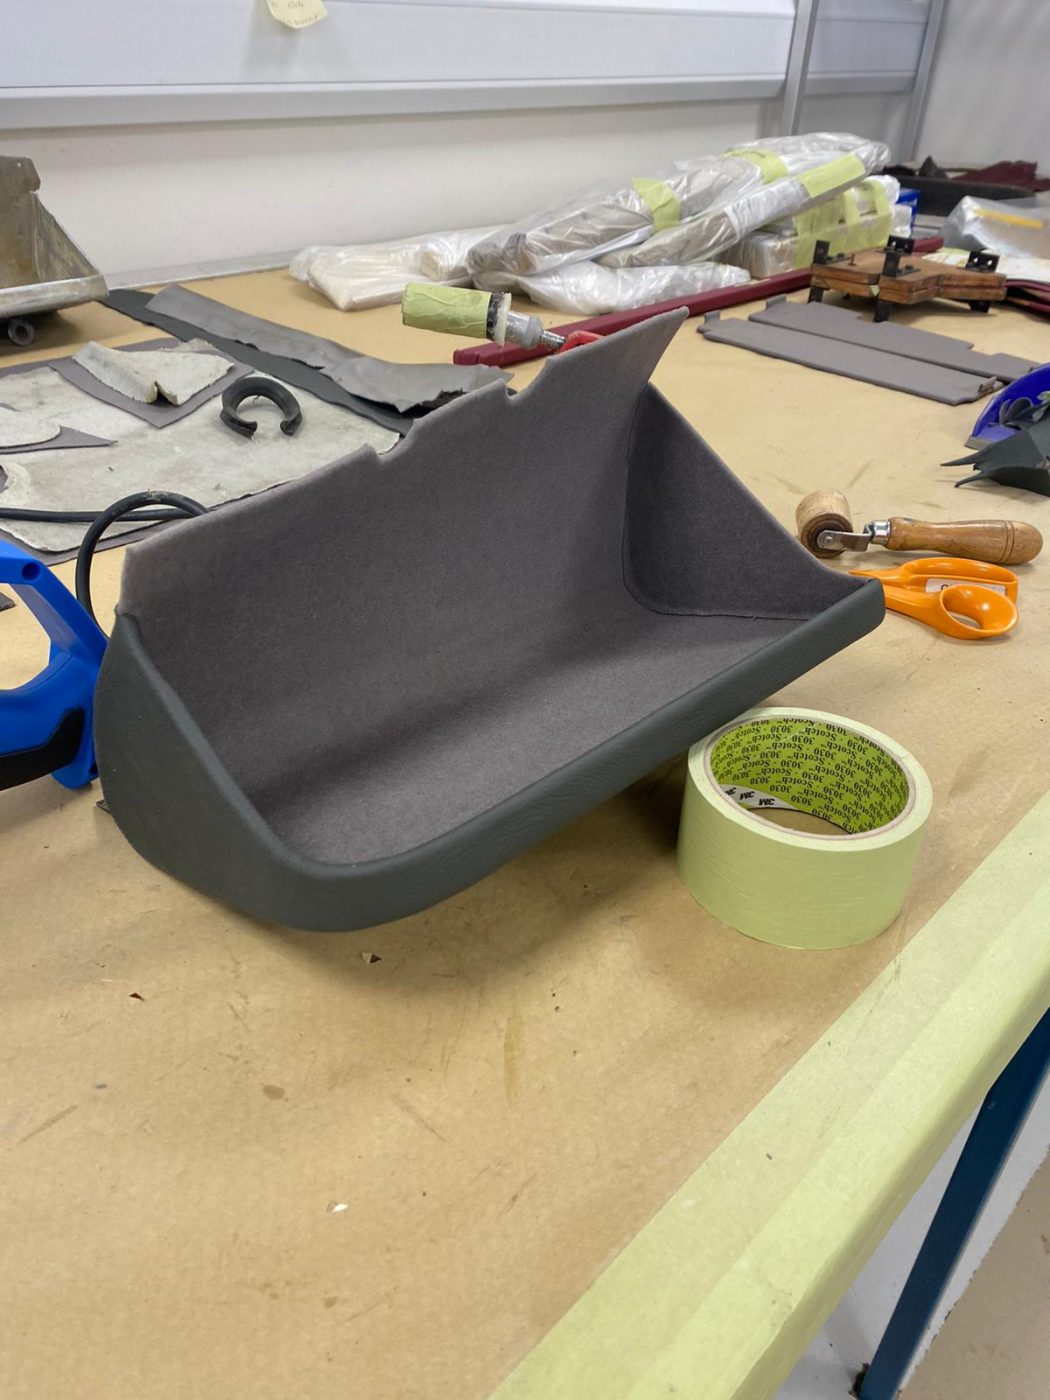
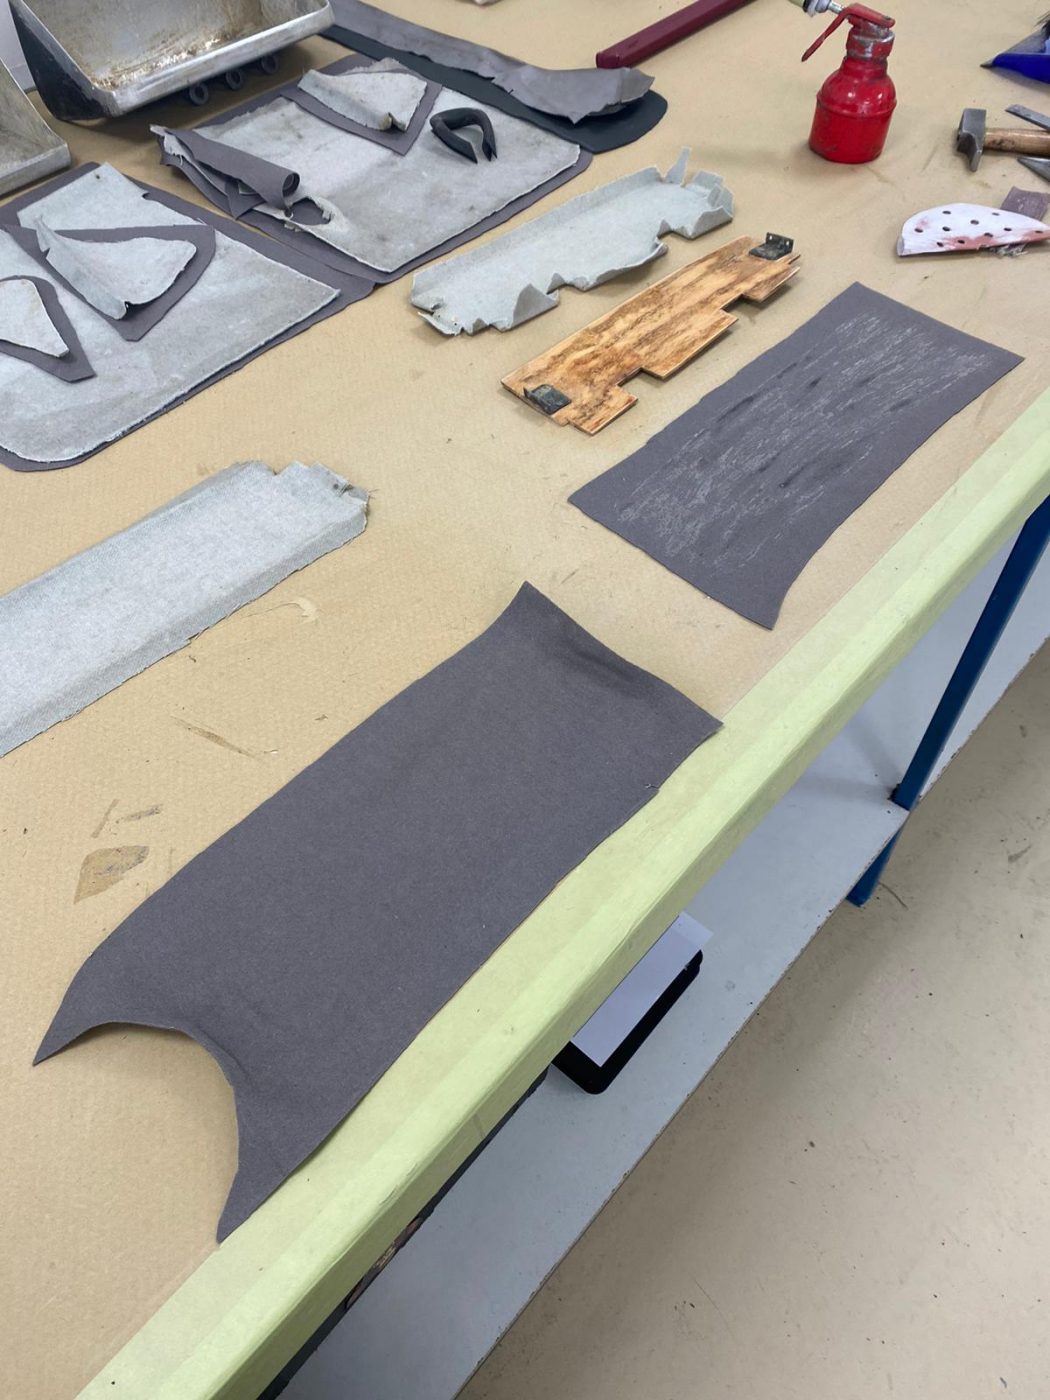
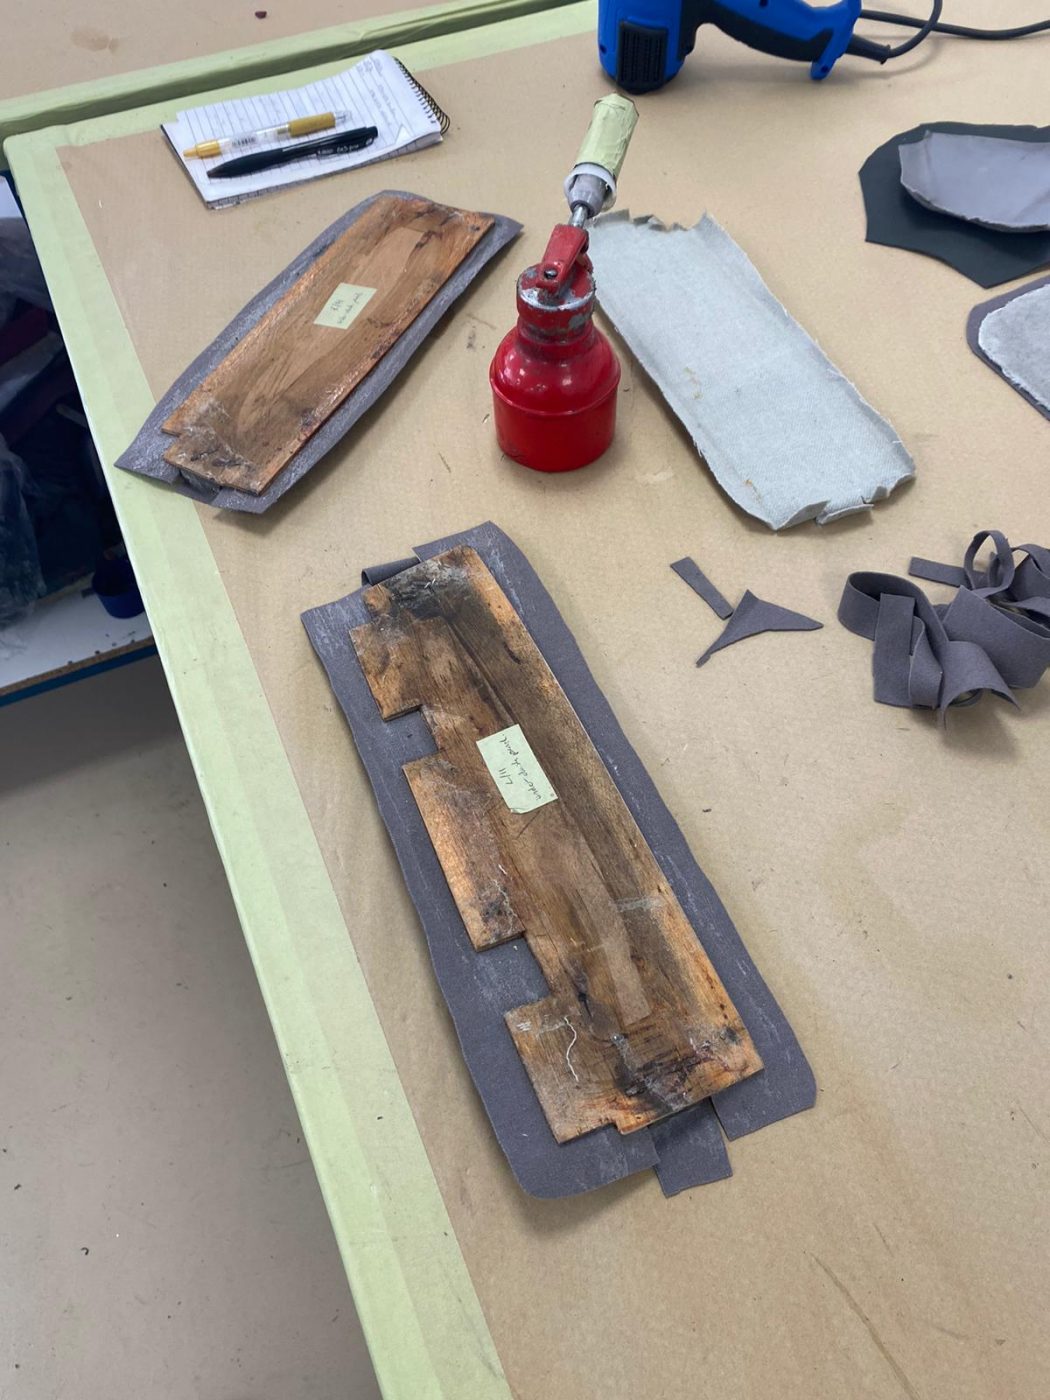
This time, he’s been working on a pair of dash trays and a pair of under dash panels. For the dash trays, Brian started the process by taking off the rubber lip that went around the hole, then took off the original fabric pieces. He cleaned off as much original glue from the metal frame of the under dash panels. He then lay out the new headlining fabric chosen for the car, and placed the original fabric pieces on top of it, using them as patterns. Once marked out around, Brian cut out the new fabric and the first piece to glue onto the metal was the centrepiece. Glue was applied to the back of the fabric and to the metal and then Brian slowly attached the fabric to it, after the glue had gone tacky, making neat cuts around the hole so the material sat nicely. The inside sides were also covered in headlining fabric. Brian then cut out grey leather for the outside of the under dash panels. These pieces were glued on, then the finishing touch was to place the rubber lip back on.
For the under dash panels, Brian simply took the original headlining fabric off them, sanded down the excess old glue, used the original fabric pieces as patterns on the new headlining fabric, cut out, and glued the new material onto them.


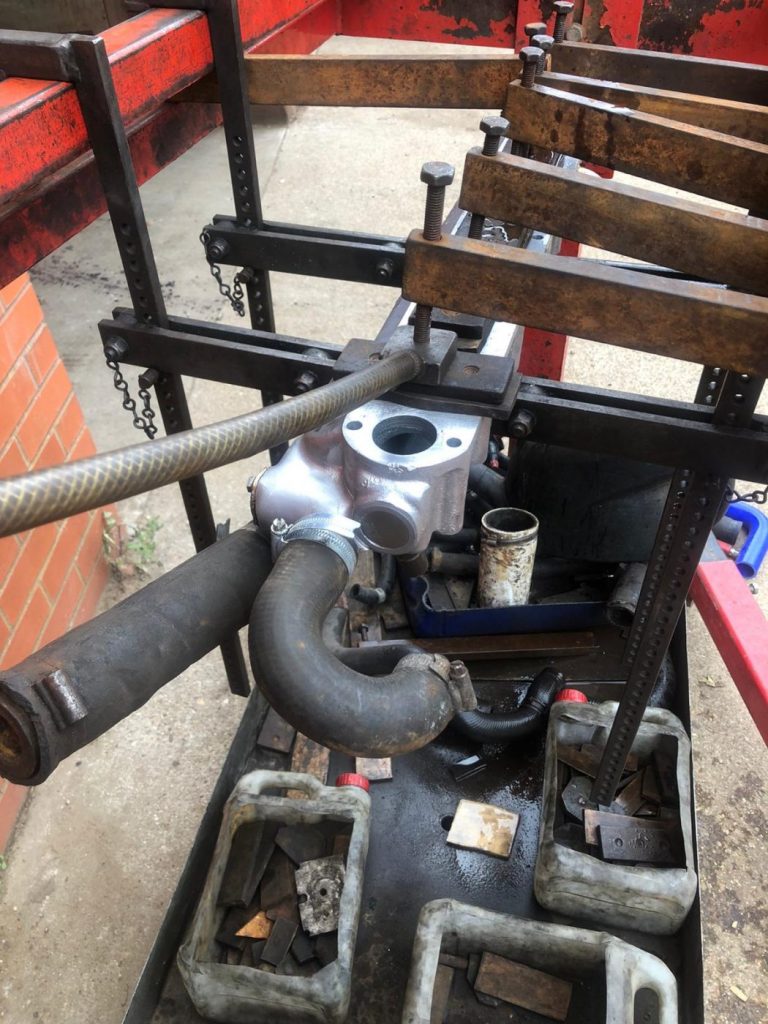
Ady has taken a trip up the road to Coltec Racing to pressure test the Jaguar Mk VII engine.
During pressure testing all-bar-one of the outlets are blanked off and then compressed air is fed into the open port on the inlet manifold, this way we can find if the cylinder head is leaking.
It is always worth getting a pressure test because if anything is cracked internally, it will not be visible, however by using our methods we can easily check if any cracks within your components, before repairing and putting your vehicle back to its best condition.