Couple Builds Snow Ferarri
We all remember building snowmen and making snow angels as children in the snow but few of us can claim we’ve built a snow car.


We all remember building snowmen and making snow angels as children in the snow but few of us can claim we’ve built a snow car.
Our newly finished Triumph TR6 and its friend, the Tundra 1975 MGB have been stored up in Bentwaters whilst we work on the third in
Kath has been working on the Daytona seats again. The face of one of the seats wasn’t sewn straight originally, so Kath found that all
One of our technicians, Pauls, has made and fit a heat shield for our 1960 Peony Red Jensen 541R. Paul has cut out, measured up
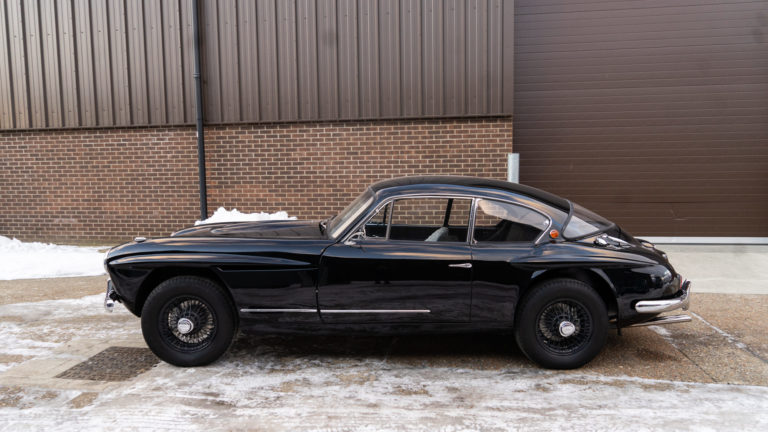
our 1960 Jensen 541R has had its rolling road test from Hangar 111. The test has come back incredibly positive. Often these rolling road tests

On Monday, Mauro and Ellie took the lorry and our 1958 Jensen 541R over to Glevering Mill to shoot it for our website. This stunning
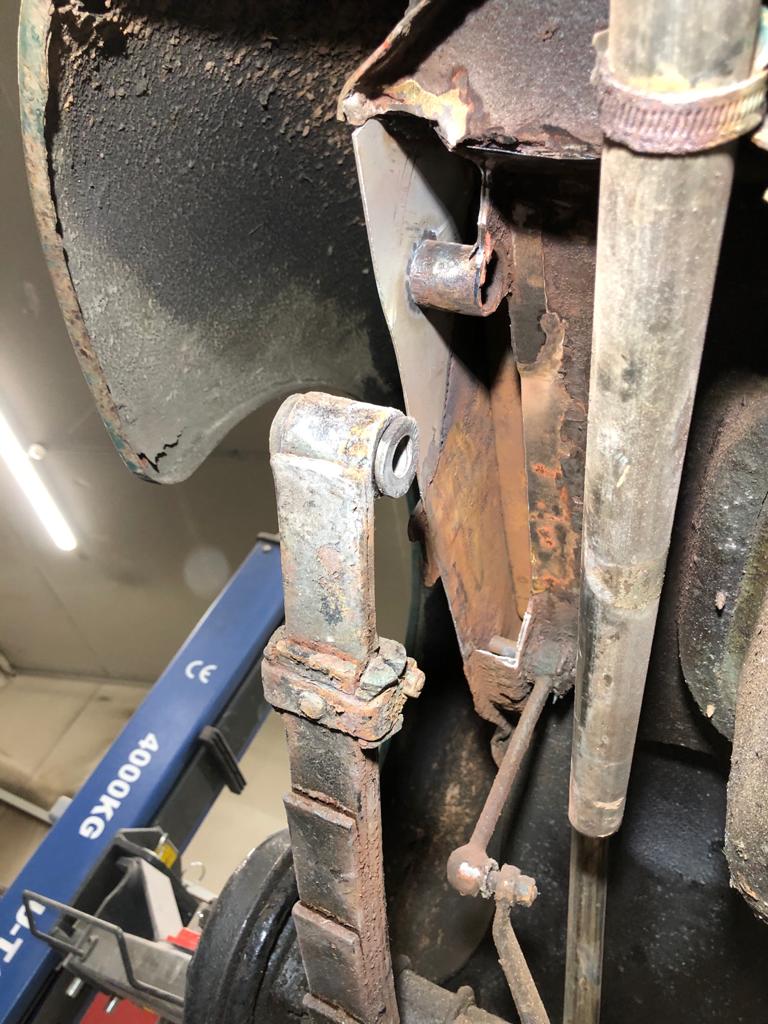
James has continued with correct the rust and corrosion on the chassis of the 1949 Morris Minor Lowlight. James made a template and then cut

We are delighted to announce that we’ve teamed up with Car and Classic to share our Bridge Classic Cars’ services and competitions across their website.
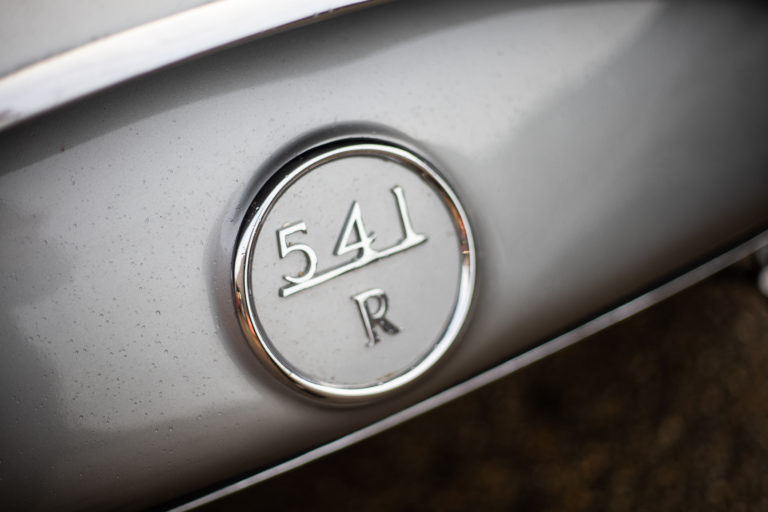
Pictured below is the Silver 1959 Jensen 541R recent wiring ammends. John had found that when wiring up, the overdrive didn’t engage. After an investigation,
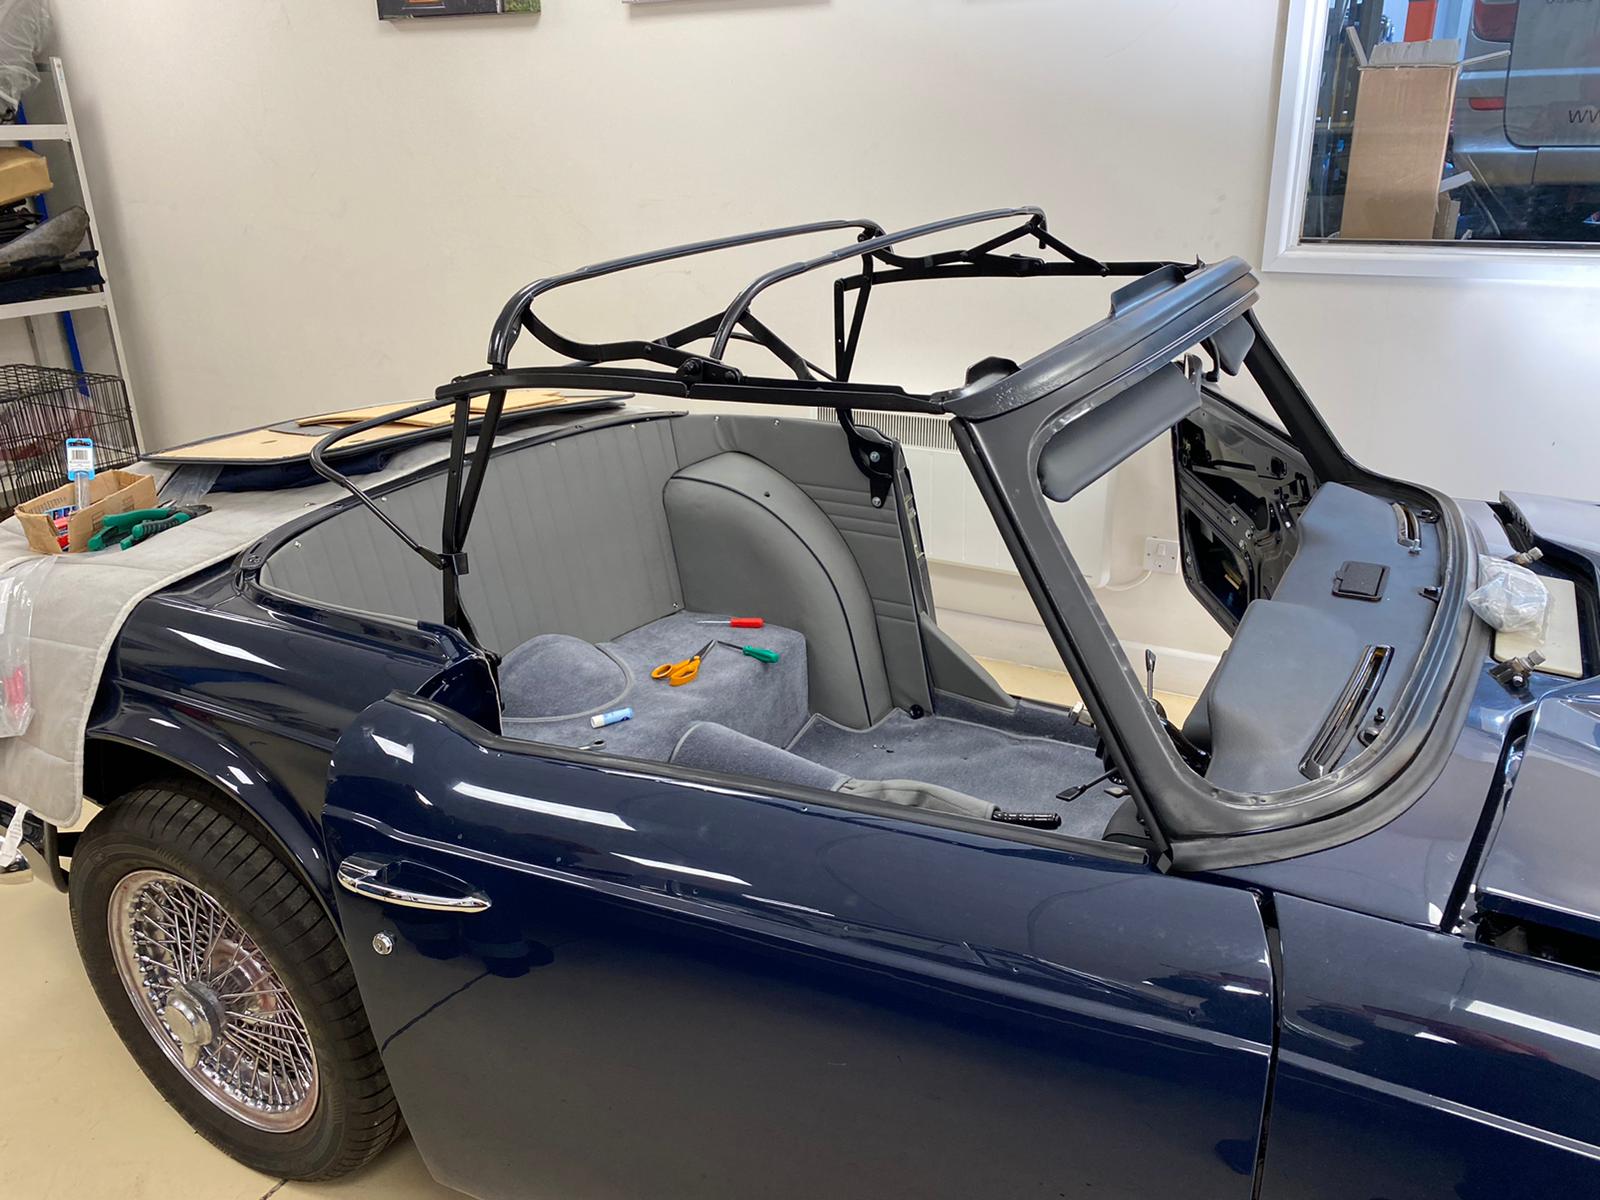
Kath and Brian have continued their work with the 1968 Triumph TR5 and are now tackling the rear quarter. Kath has added foam over the
We all remember building snowmen and making snow angels as children in the snow but few of us can claim we’ve built a snow car.
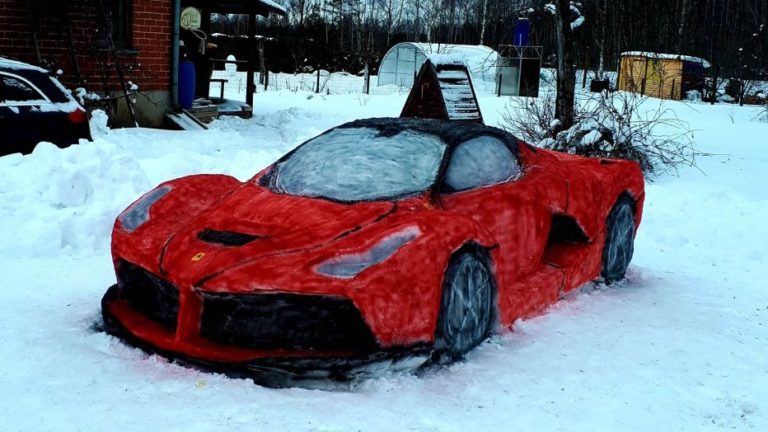
A husband and wife from Lithuania decided to re-create a Ferrari LaFerrari out of snow. Every detail was covered from the colour (done in an environmentally friendly paint) to the aerodynamic shape. It took two days of dedicated craftmanship from the couple to create the iconic red beast. At the end of the masterpiece, the wife, Donata Bugiene, said “Now no one can deny that there is a Ferrari in our yard.”
The Ferrari is a real size, made to the dimensions of the original Ferrari LaFerrari,” said Bugiene.
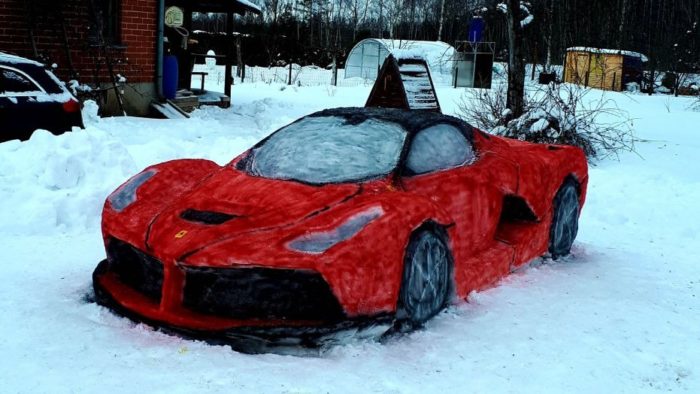
The life-size replica of Ferrari’s LaFerrari supercar (image taken Jan. 31, 2021. (Photo credit: Donata Bugiene)
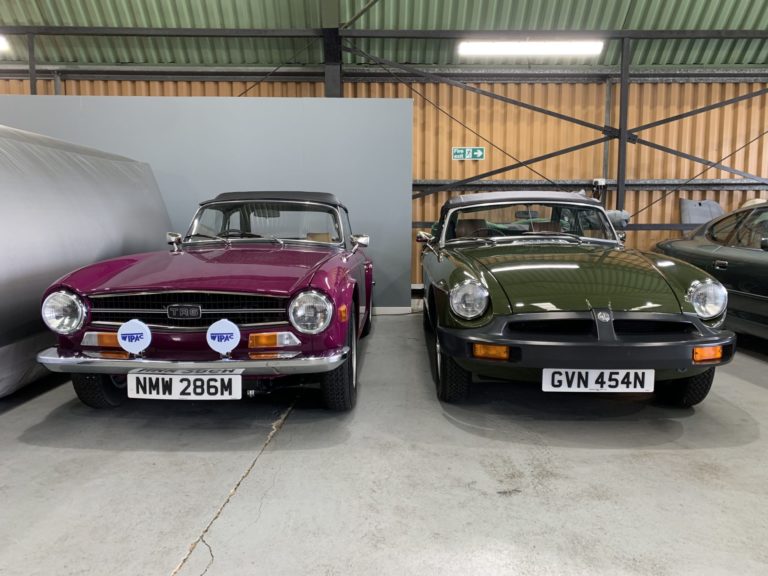
Our newly finished Triumph TR6 and its friend, the Tundra 1975 MGB have been stored up in Bentwaters whilst we work on the third in this trio, a Beverly Hills Jaguar E-Type that’s in for a full 180 transformation. All three cars are owned by the same clients, making it an exciting set of projects. With these two tucked away in our Hanger at Bentwaters, we can get cracking on the Jaguar.
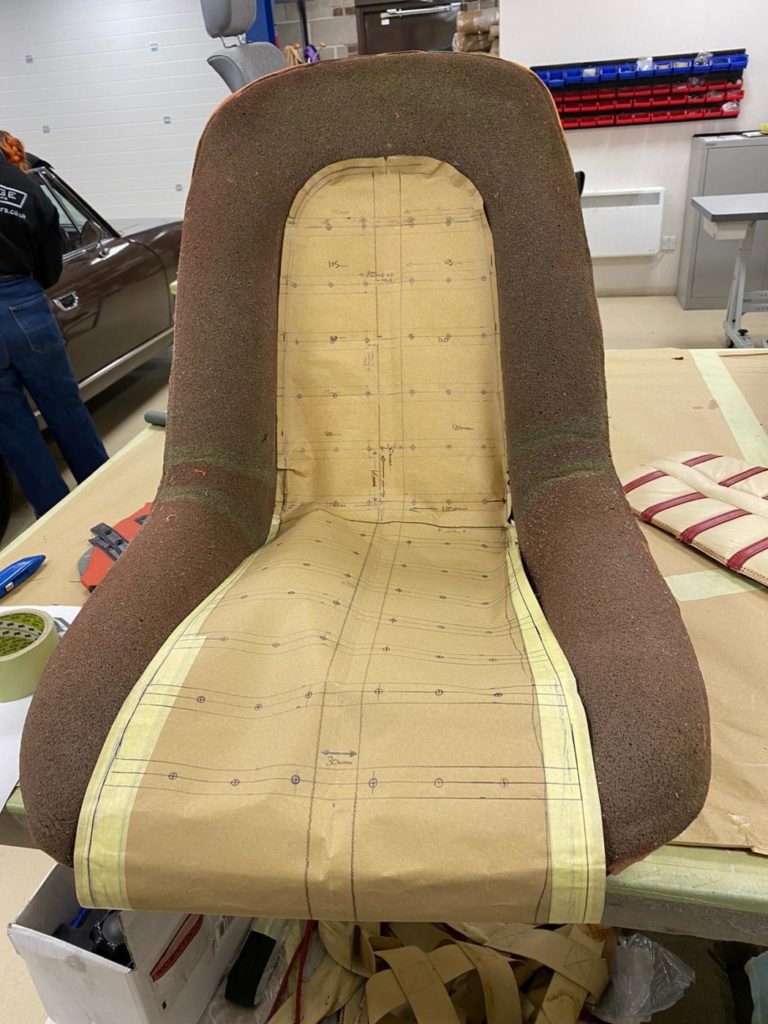
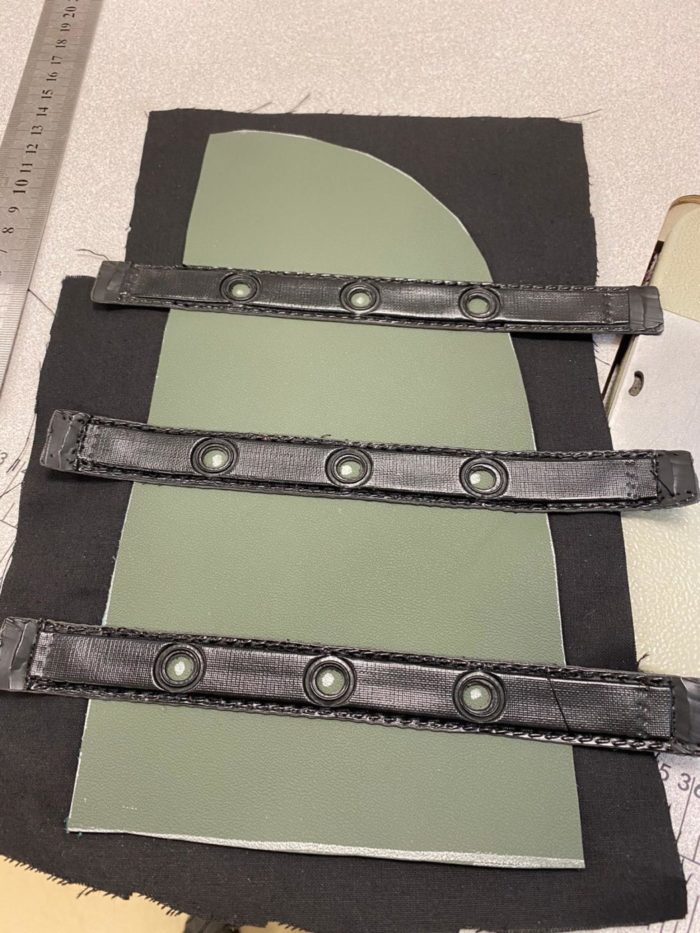
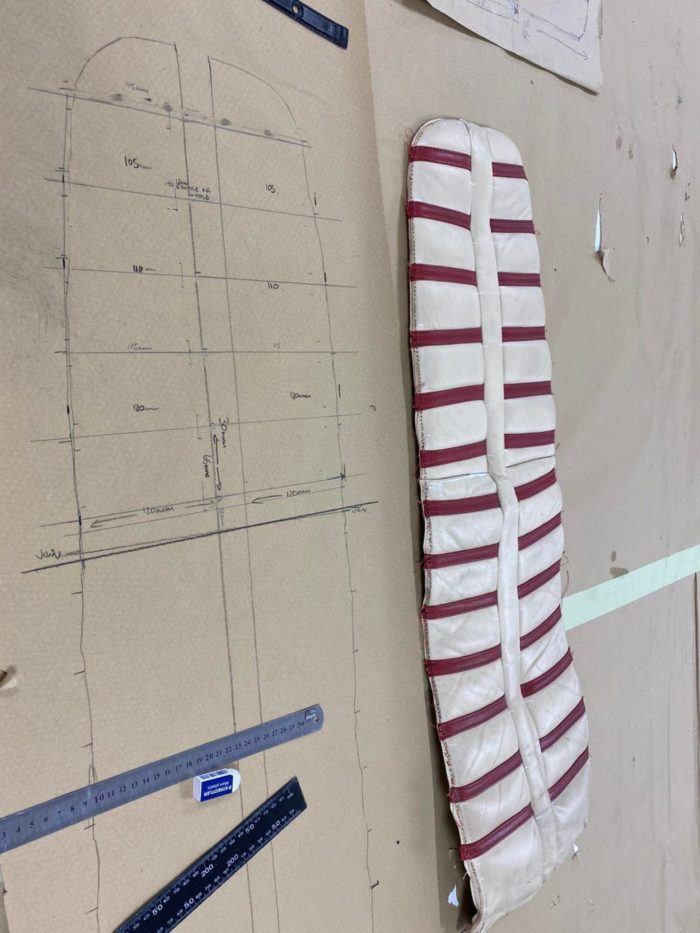
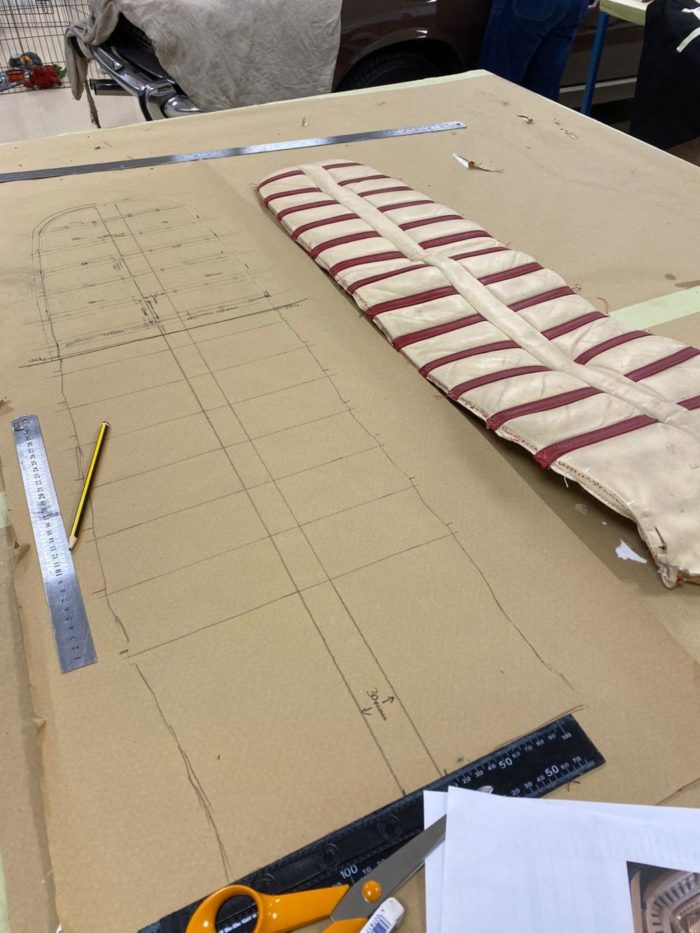
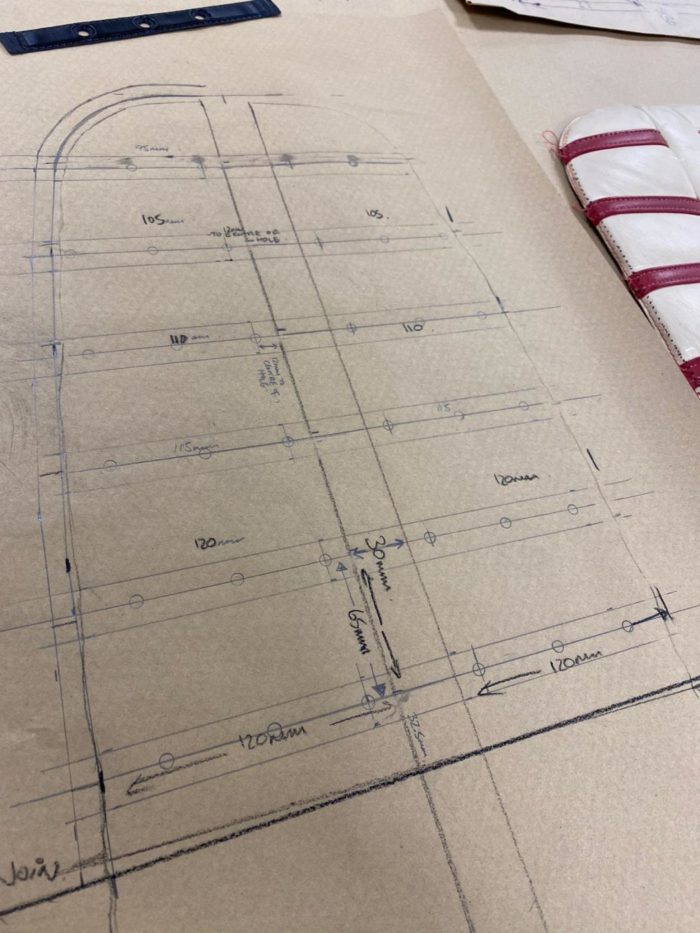
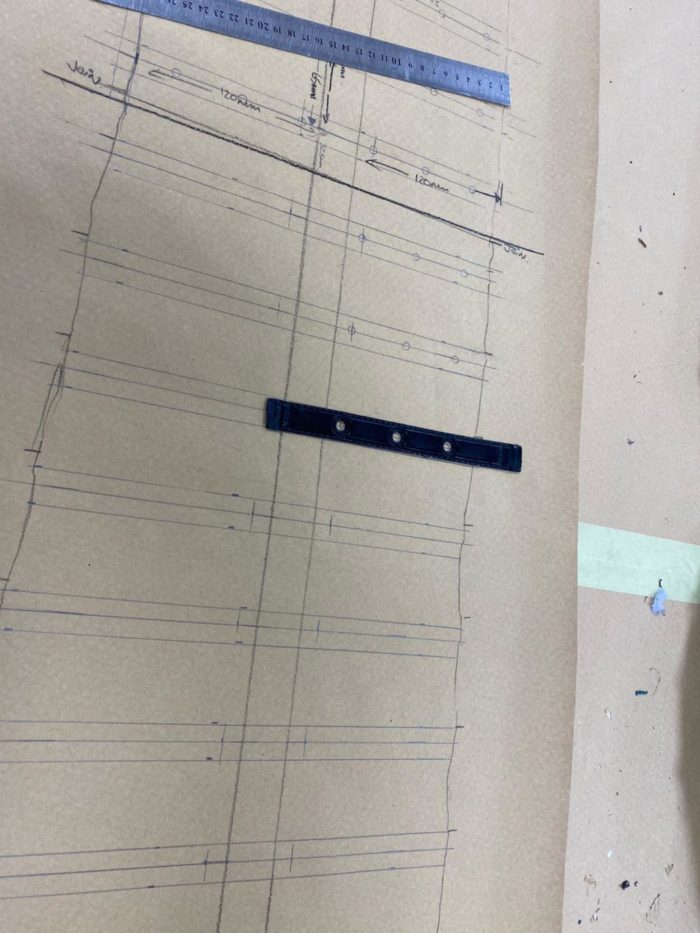
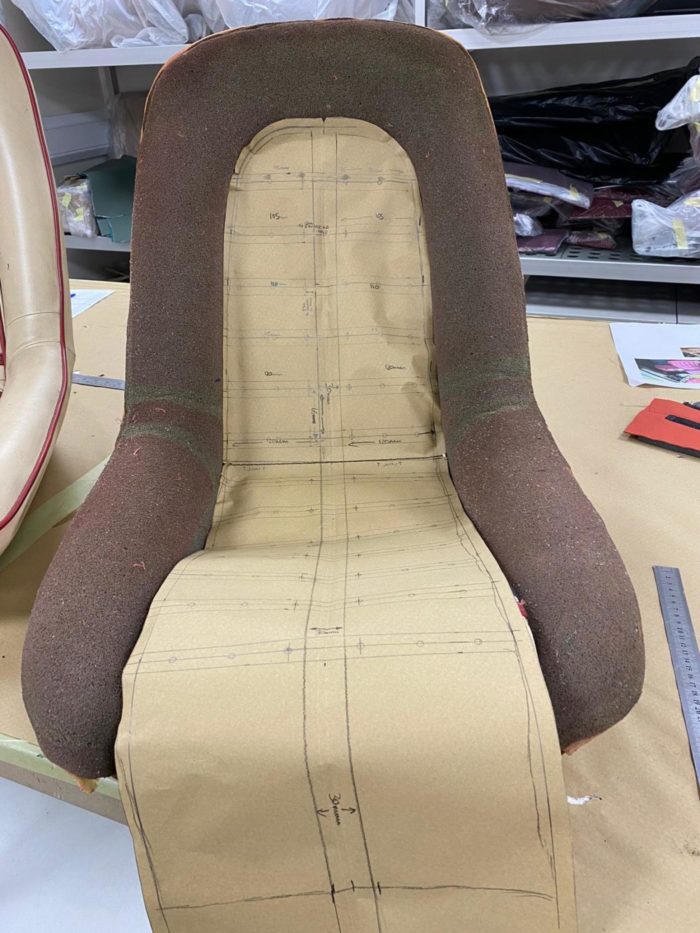
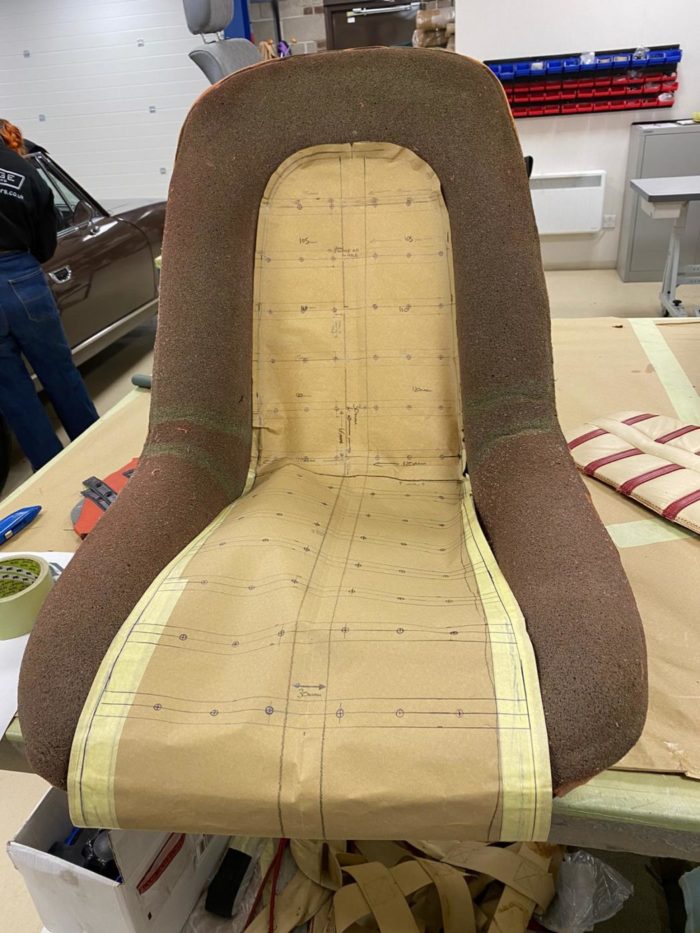
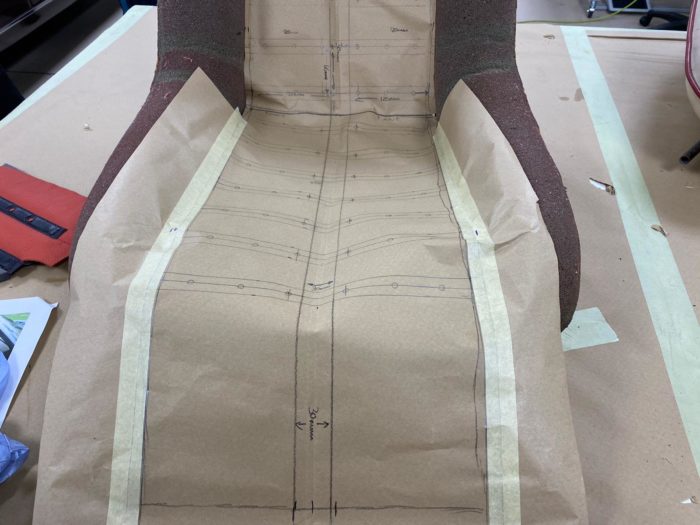
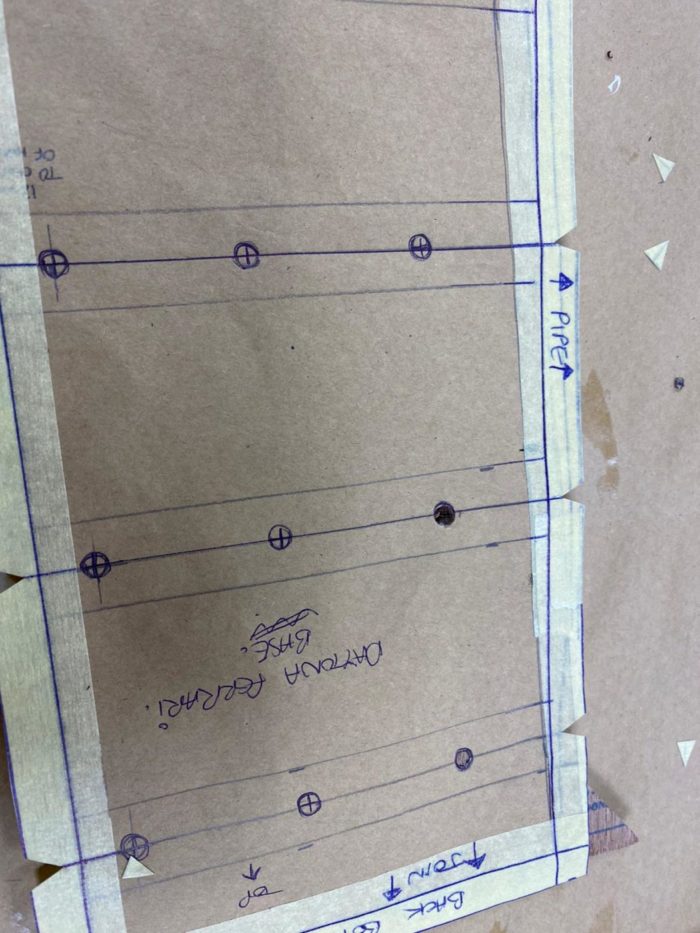
Kath has been working on the Daytona seats again. The face of one of the seats wasn’t sewn straight originally, so Kath found that all of the red strips were uneven, and the centre strip wasn’t centralised either. With this in mind, Kath roughly drew around the original to get a basic shape before then making a template. Kath had to work out the distance between the black strips to make sure all the holes in the strips are even all the way down each strip.
Once Kath had worked out the correct measurements, she cut out the template and laid it into the seat. She found that the sides needed more as the frame came out, so she amended it to run along the seat frame in a nicer fashion.
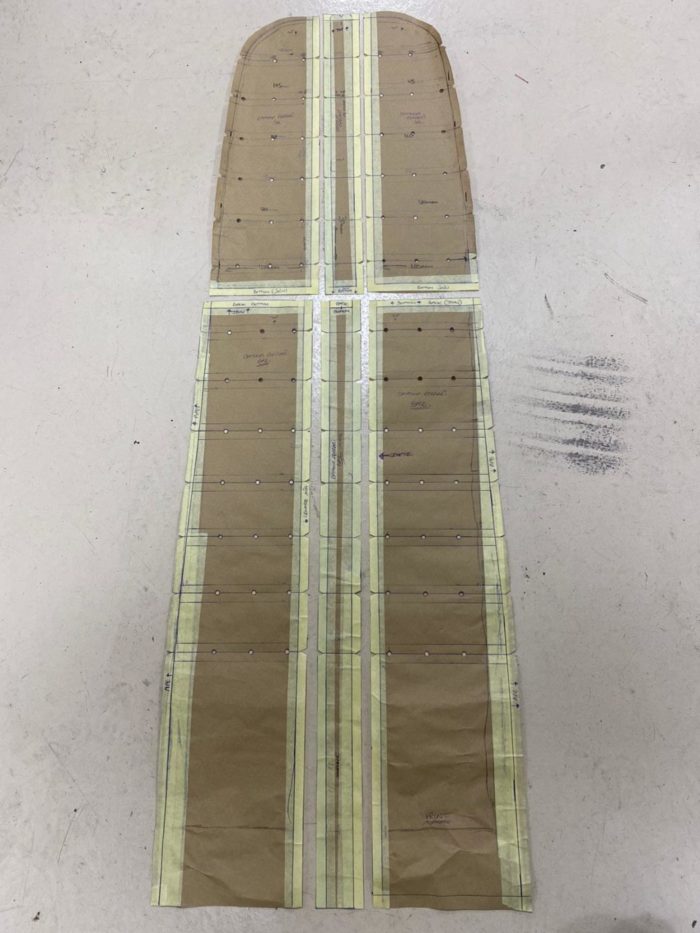
Once Kath was happy with it, she cut the template up to make individual parts, and worked out the seam allowance around the frame and punched holes.
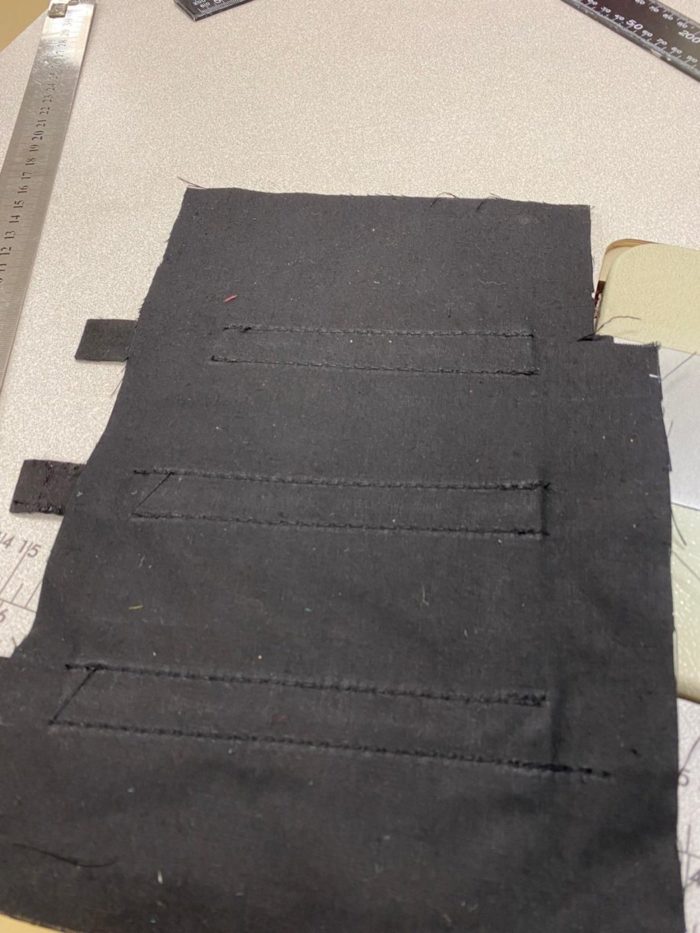
The pattern was then ready with all the parts to be marked out now for the final trim. Lydia is up next to make the cover.
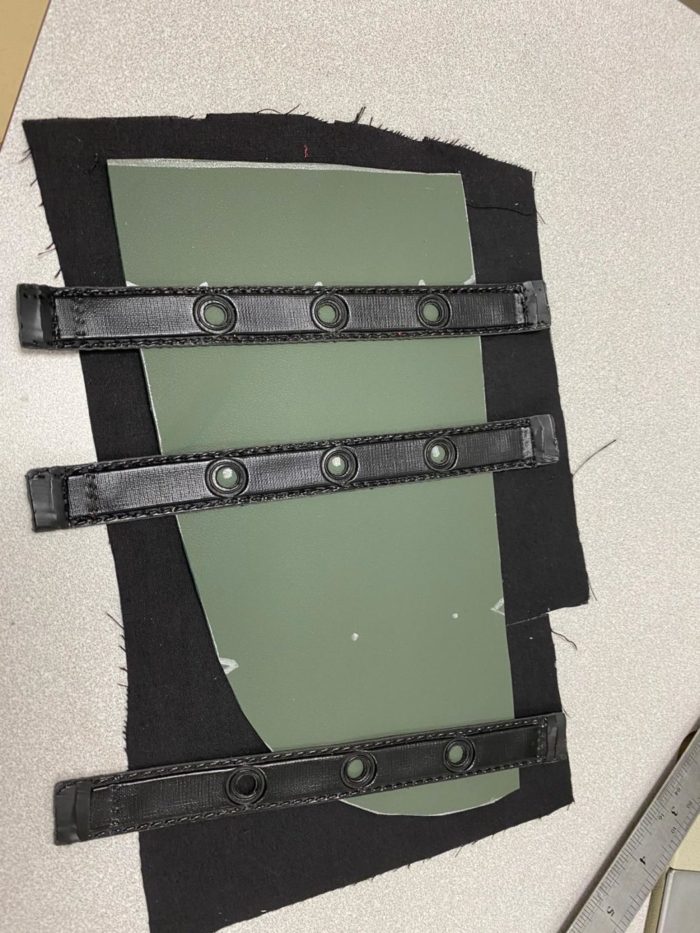
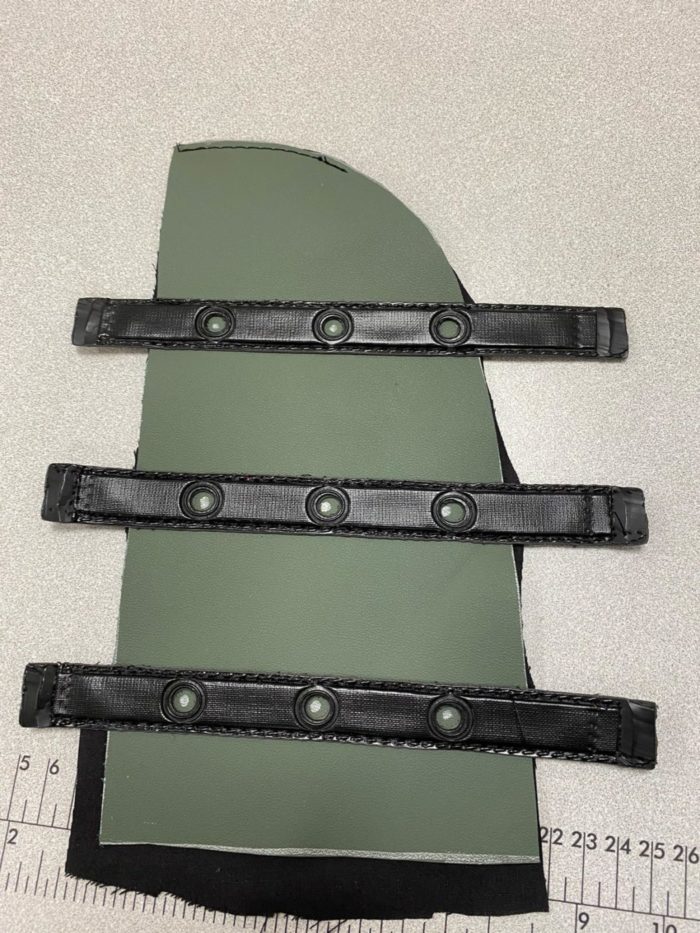
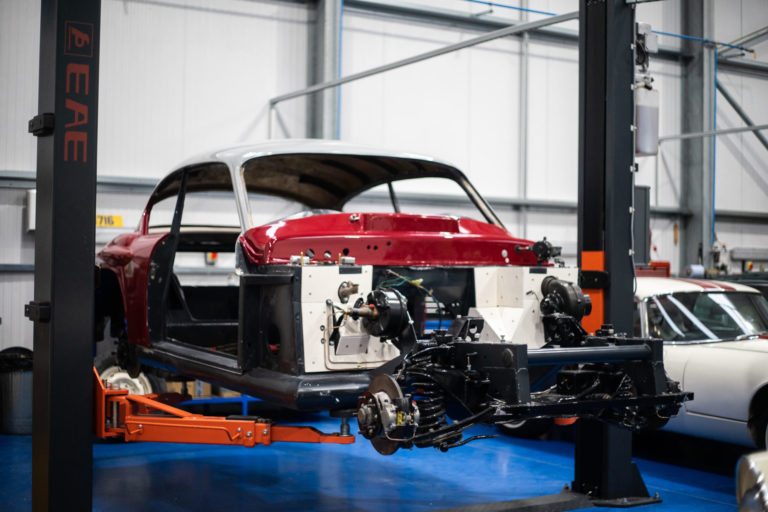
One of our technicians, Pauls, has made and fit a heat shield for our 1960 Peony Red Jensen 541R. Paul has cut out, measured up and fitted the panels which are made up of Asbestolux.
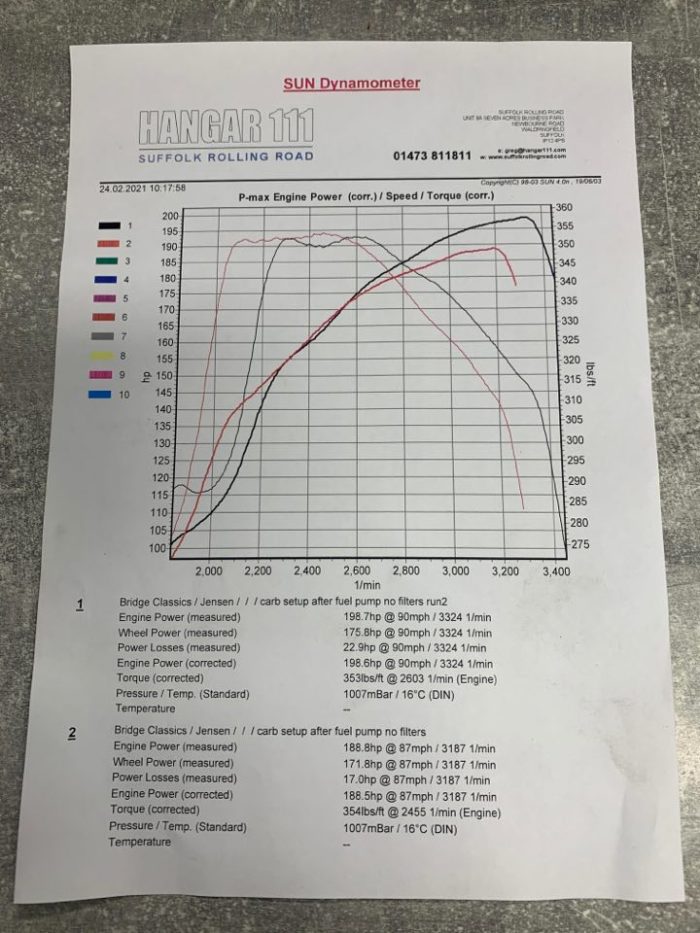
our 1960 Jensen 541R has had its rolling road test from Hangar 111. The test has come back incredibly positive. Often these rolling road tests flag more issues however on this occasion its come back perfect, and we’re delighted!
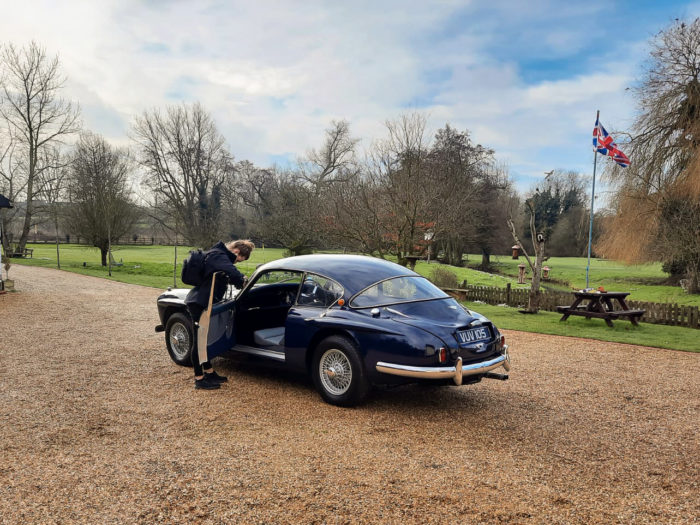
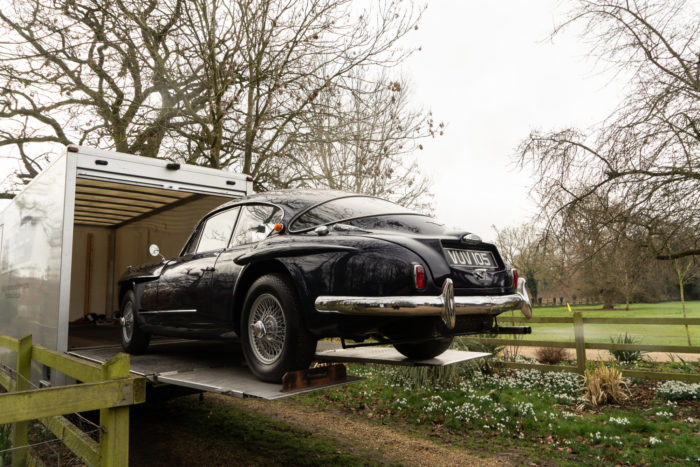
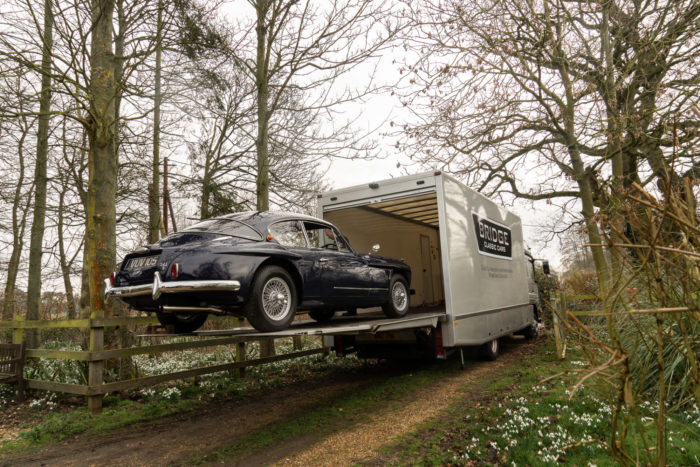
On Monday, Mauro and Ellie took the lorry and our 1958 Jensen 541R over to Glevering Mill to shoot it for our website. This stunning British classic is up for sale with us on our website, eBay, Car and Classic and Classic Car and Camper. In great condition, our Jensen is a stunning example of British engineering.
Monday turned from an overcast morning into rain and the shoot was halted early, however we were lucky enough to be able to come back the next day to continue to shoot. Denise and Allan, who live at Glevering Mill were enthusiastic and accommodating, working with us to help get the shoot done. Tuesday brought about blue skies and sunshine, making the paintwork really shine.
You can see this Jensen’s restoration story here.
Here’s some behind the scenes of Ellie shooting the Jensen on the sunnier second shoot.
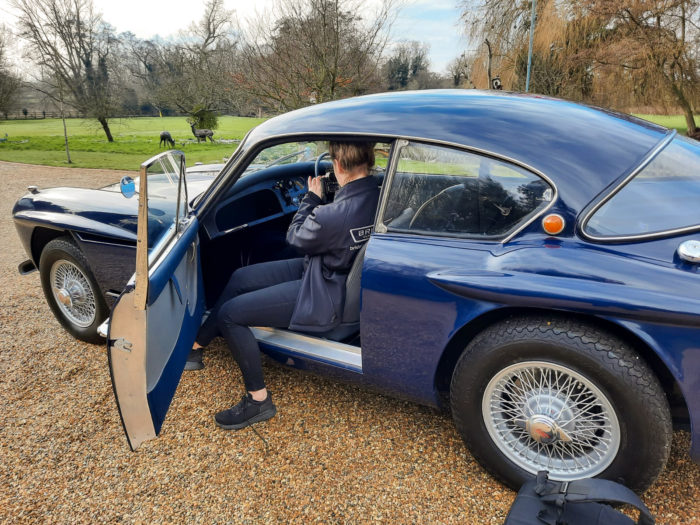
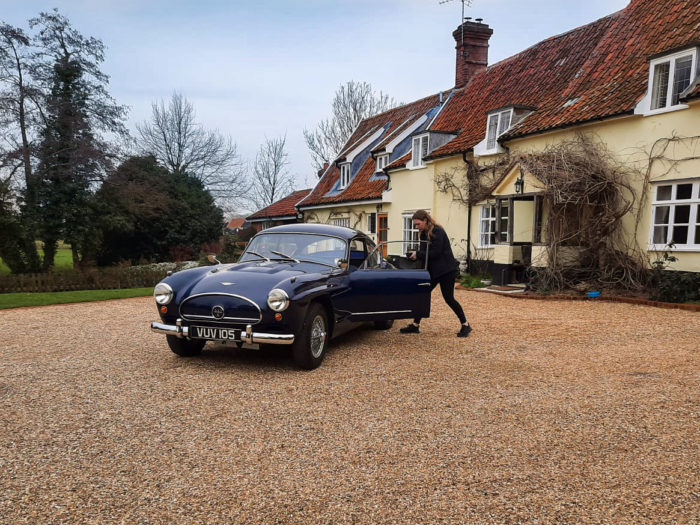
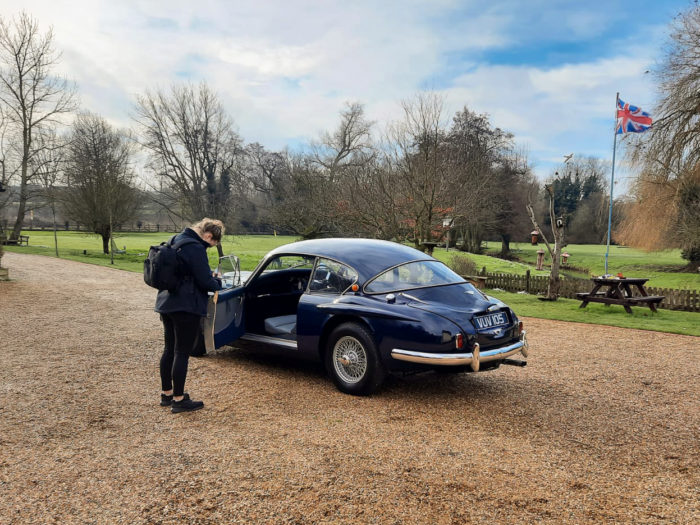
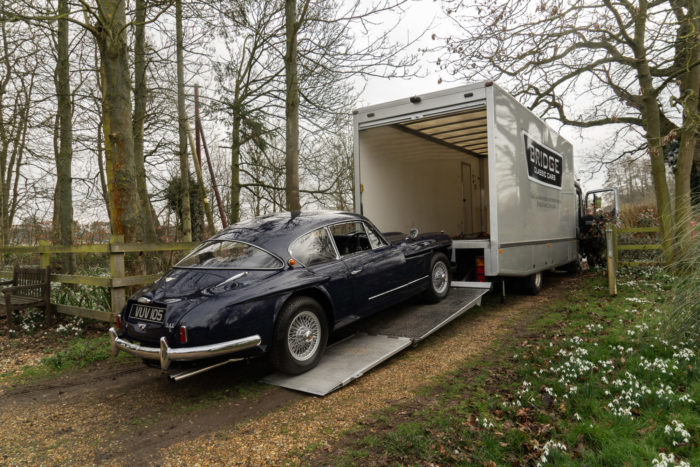
The Jensen also happened to be one of the first cars transported in the lorry with its new designs that were applied over the weekend!
James has continued with correct the rust and corrosion on the chassis of the 1949 Morris Minor Lowlight. James made a template and then cut With the chassis now welded up, it has left the fabrication bay and made its way over to our hanger.
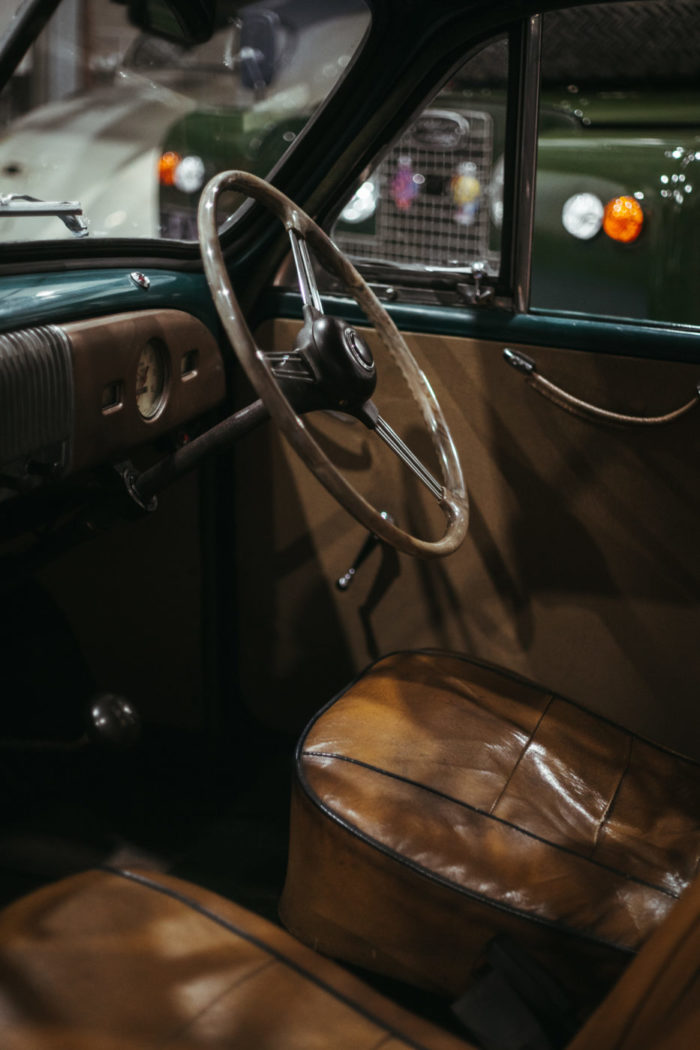
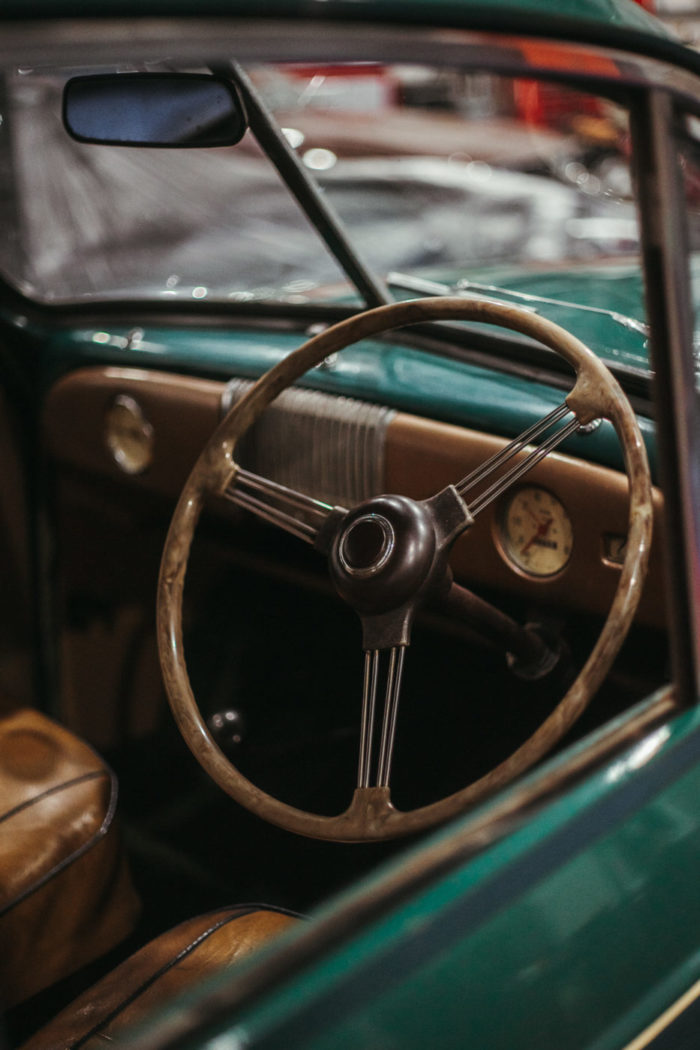
We managed to snap a few teaser photos of the Morris as it sat in our work shop before it went down to be stored at Bentwaters for the photoshoot. The interior is just stunning!
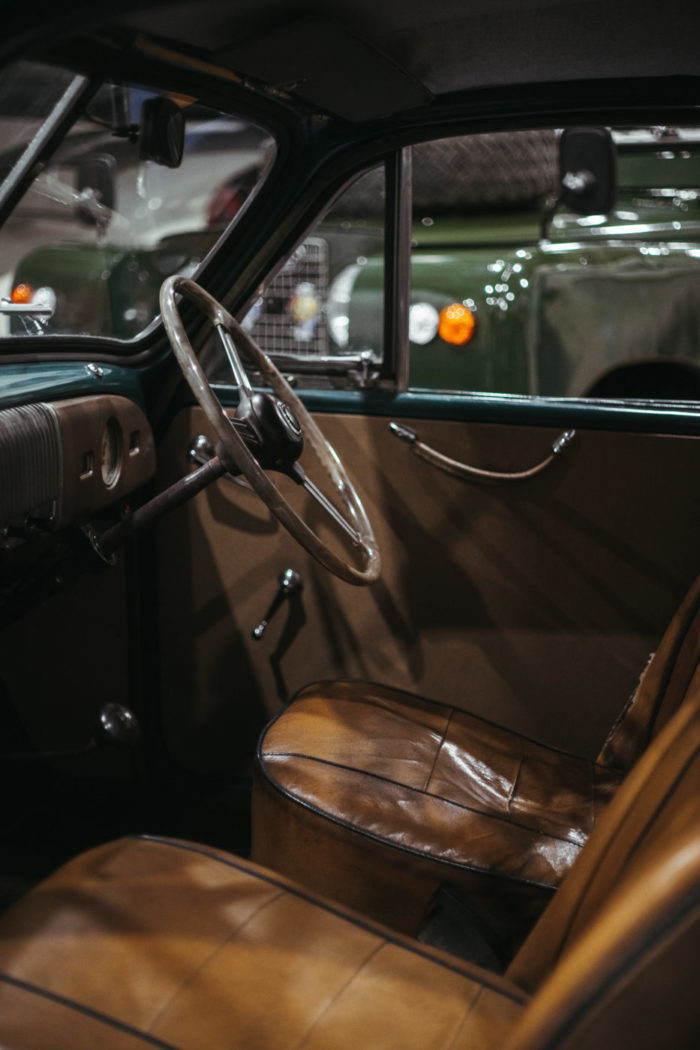
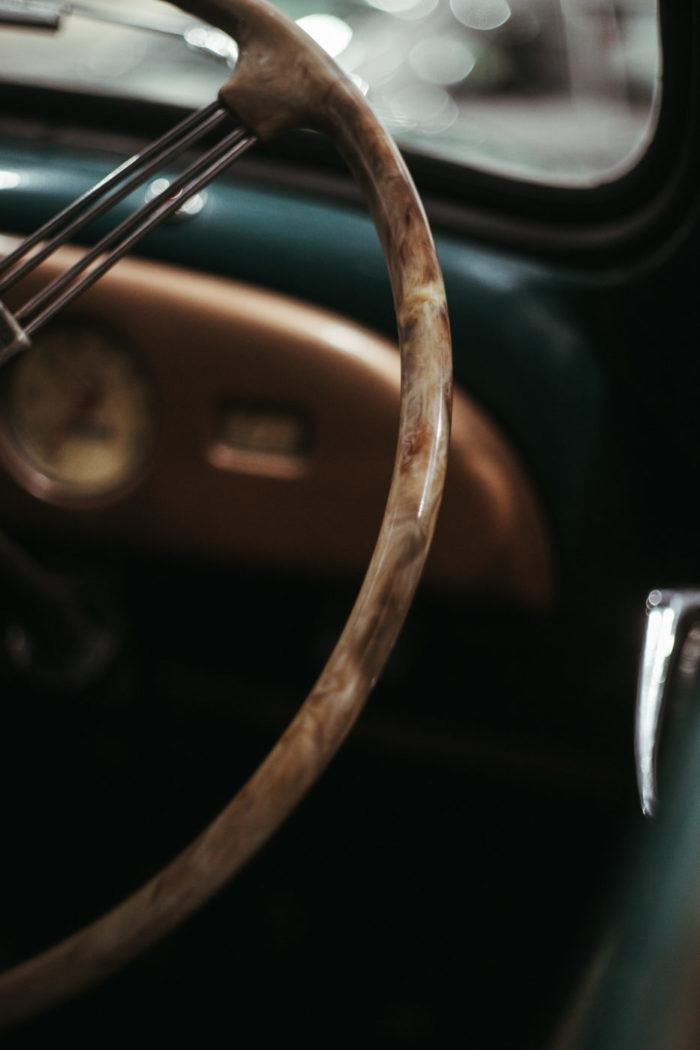
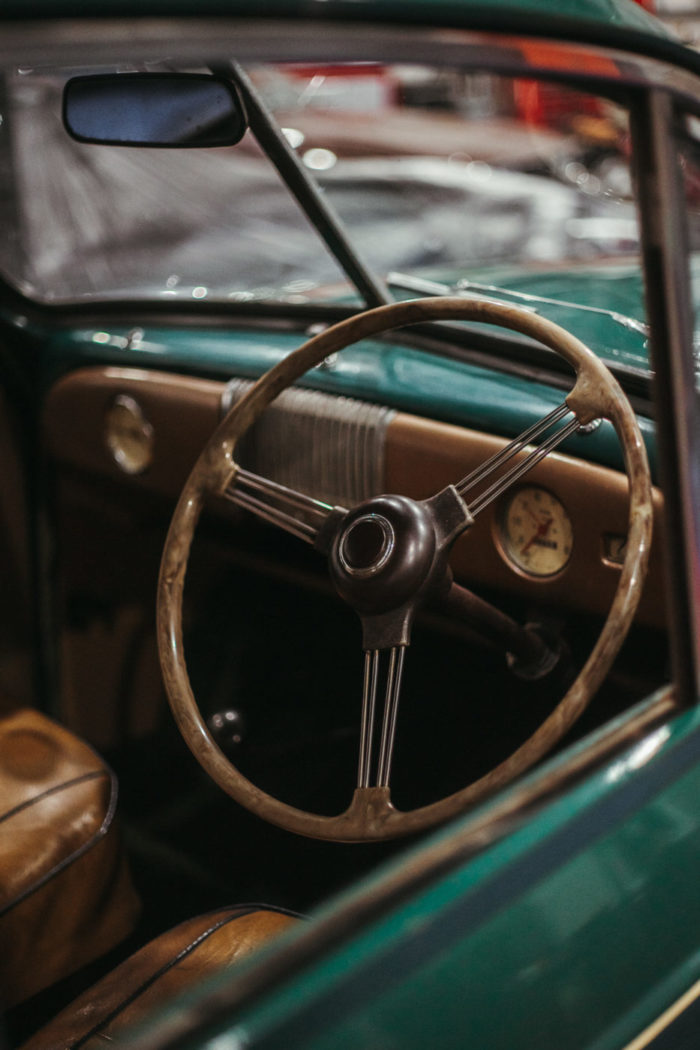
We are delighted to announce that we’ve teamed up with Car and Classic to share our Bridge Classic Cars’ services and competitions across their website. If you’re used to perusing the classifieds of Car and Classic, you’ll start to see our adverts popping up.
We’ve featured several times in Car and Classic’s Magazine. Most recently, our E-Type Racecar received a beautiful write up from Head of Editorial, Chris Pollitt. You can read Chris’ article here: https://www.carandclassic.co.uk/magazine/e-type-racer-built-for-the-thrill
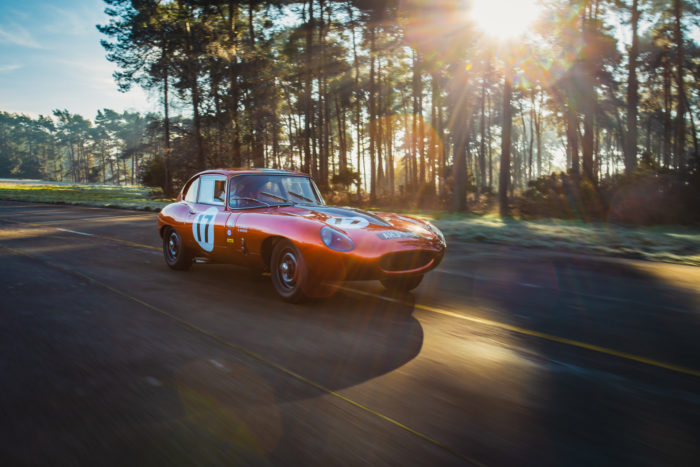
We’re excited by this partnership and cannot wait to reveal more of our exciting plans with Car and Classic.

Pictured below is the Silver 1959 Jensen 541R recent wiring ammends. John had found that when wiring up, the overdrive didn’t engage. After an investigation, John found it was because the solenoid had overheated and melted the terminals, meaning a new solenoid was fitted.
A new stoplight switch has also been fitted because the old stoplight had seized and wouldn’t turn off.
Kath and Brian have continued their work with the 1968 Triumph TR5 and are now tackling the rear quarter.
Kath has added foam over the raised section in the boot and positioned the carpet over the foam to get an idea of how it would fit. Once happy, Kath could then glue the foam sections down and pack it out around the fuel tank. Once the foam is stuck down, Kath could then lay in and glue down the carpet in sections, pulling the carpet over the edge and down into footwell so that it fits tight. Once in place, Kath could trim around the corners, and get started on the hand brake gaiter section.
The hand brake gaiter section needed to have foam packed around the hand brake with an 11mm scrim foam piece so that the get carpet fits nicely. Once in position, the carpet can be glued down, making sure the fabric is pulled taught to ensure a fitted finish.
The next step was to fit the rear quarter panels and the door panel which clips onto a board. Kath found that she needed to adjust the panel around the wheel arch and the bottom section for seat belt eyelet first before fitting the sections. Once she had fitted the drivers side rear, Kath could then fit the passenger side and attach the carpet fasteers to footwells so that the mats don’t move about.
Finally, Kath could secure the carpet down in the upper foot well around the pedals and focus on the rear cockpit panel which needed to be screwed into place. Kath cut holes out for the hood mechanism and fit the hood mechanism in place so that it’s ready for the hood.
Brian started on the seats and their frames. He began by fitting the rubber diaphragm to the base seat and added foam around the front edge. He then glued the base cover to the upper foam and secured the lower foam in place underneath. The next step was to glue the base foam and cover to the seat frame and add extra foam around the front edge. By pulling the cover tight around the frame and clipping it in place, Brian could then glue the rear flap to the frame.
We use cookies to deliver the best possible experience whilst visiting our website. By clicking "Accept All", you consent to our use of cookies, or you can manage your preferences by clicking the link below. You can manage your preferences at any time from out Cookie Policy page.