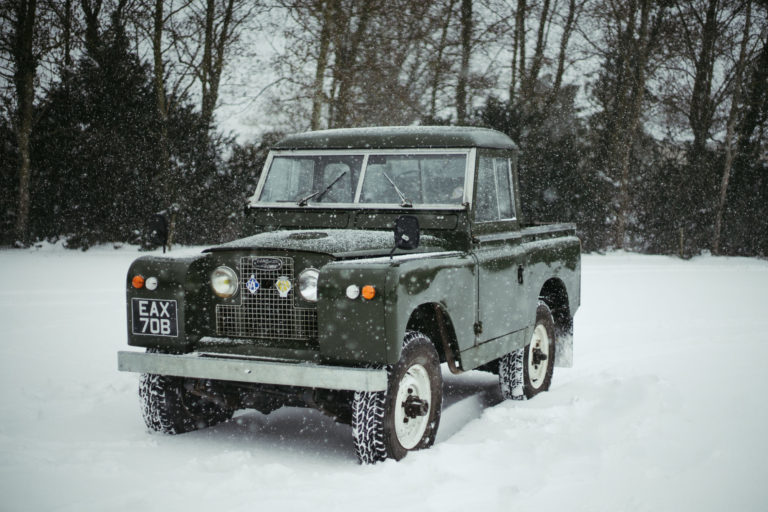
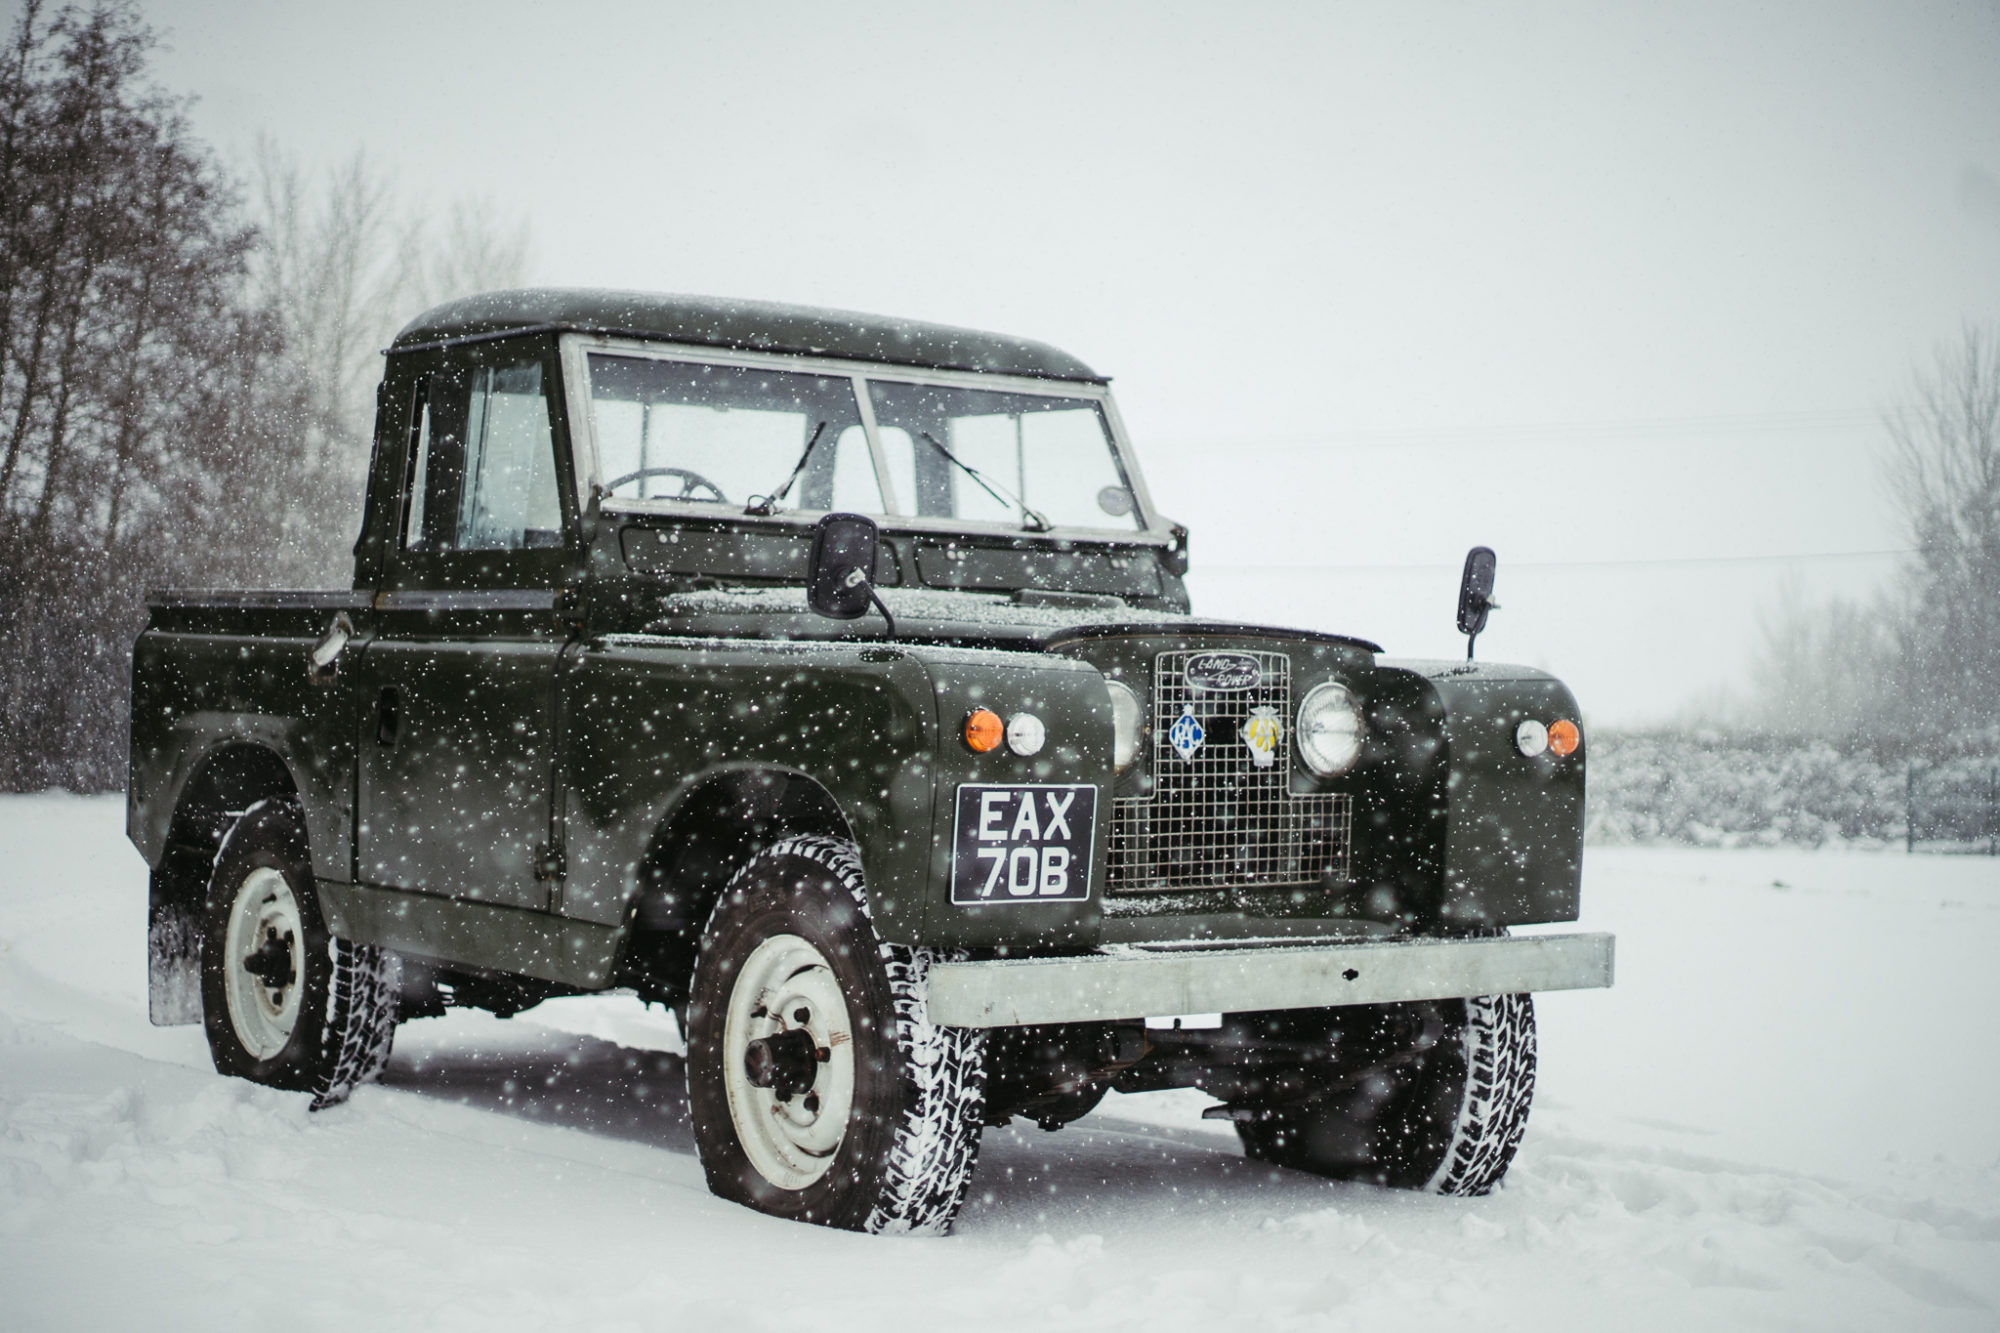
Introducing The Original Adventure-mobile: The Land Rover Series IIa
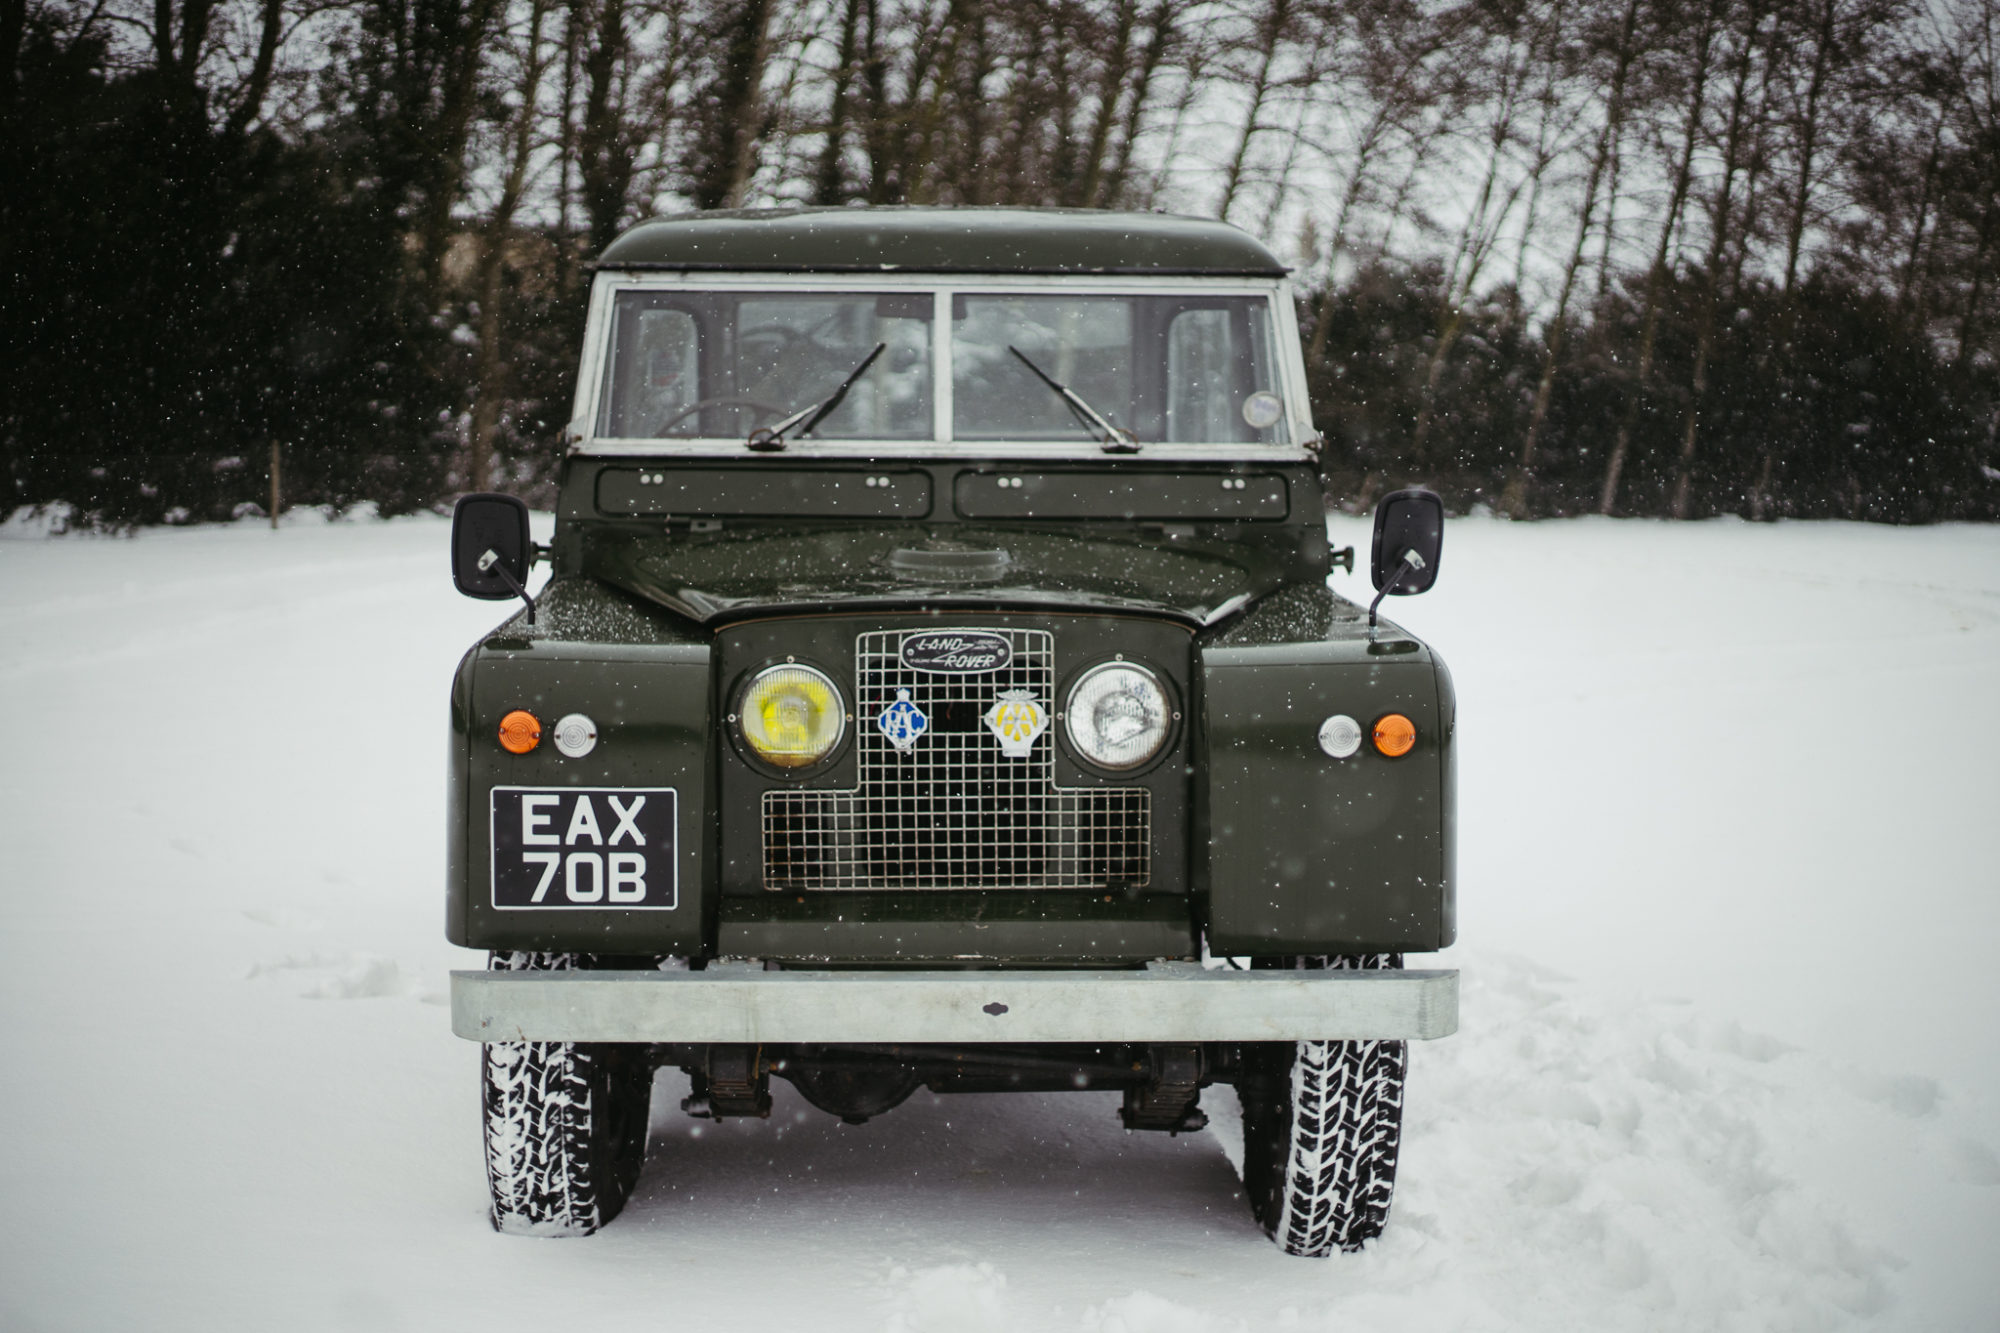
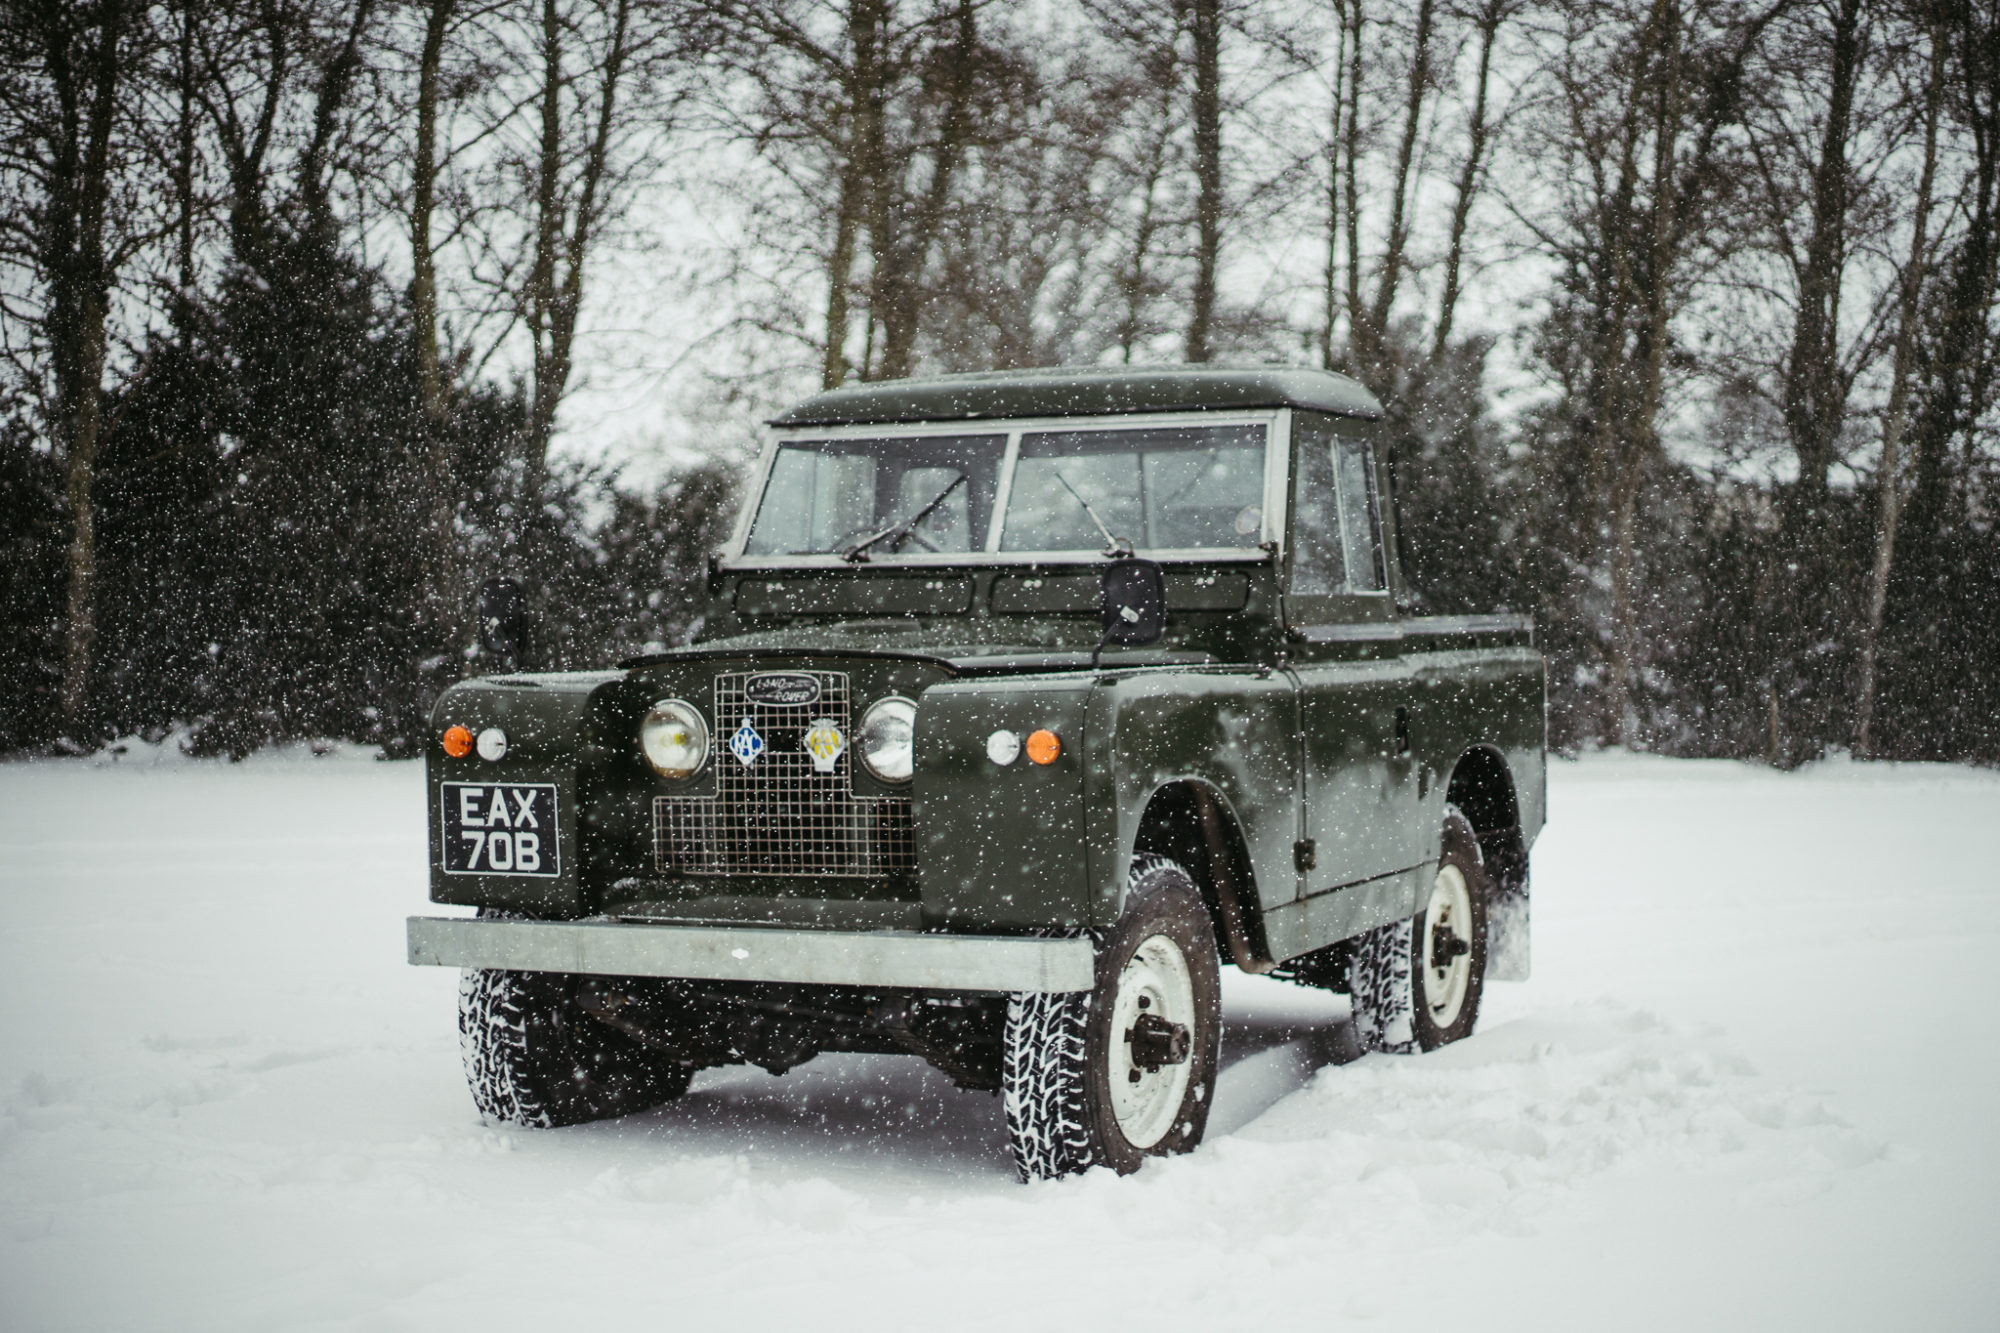
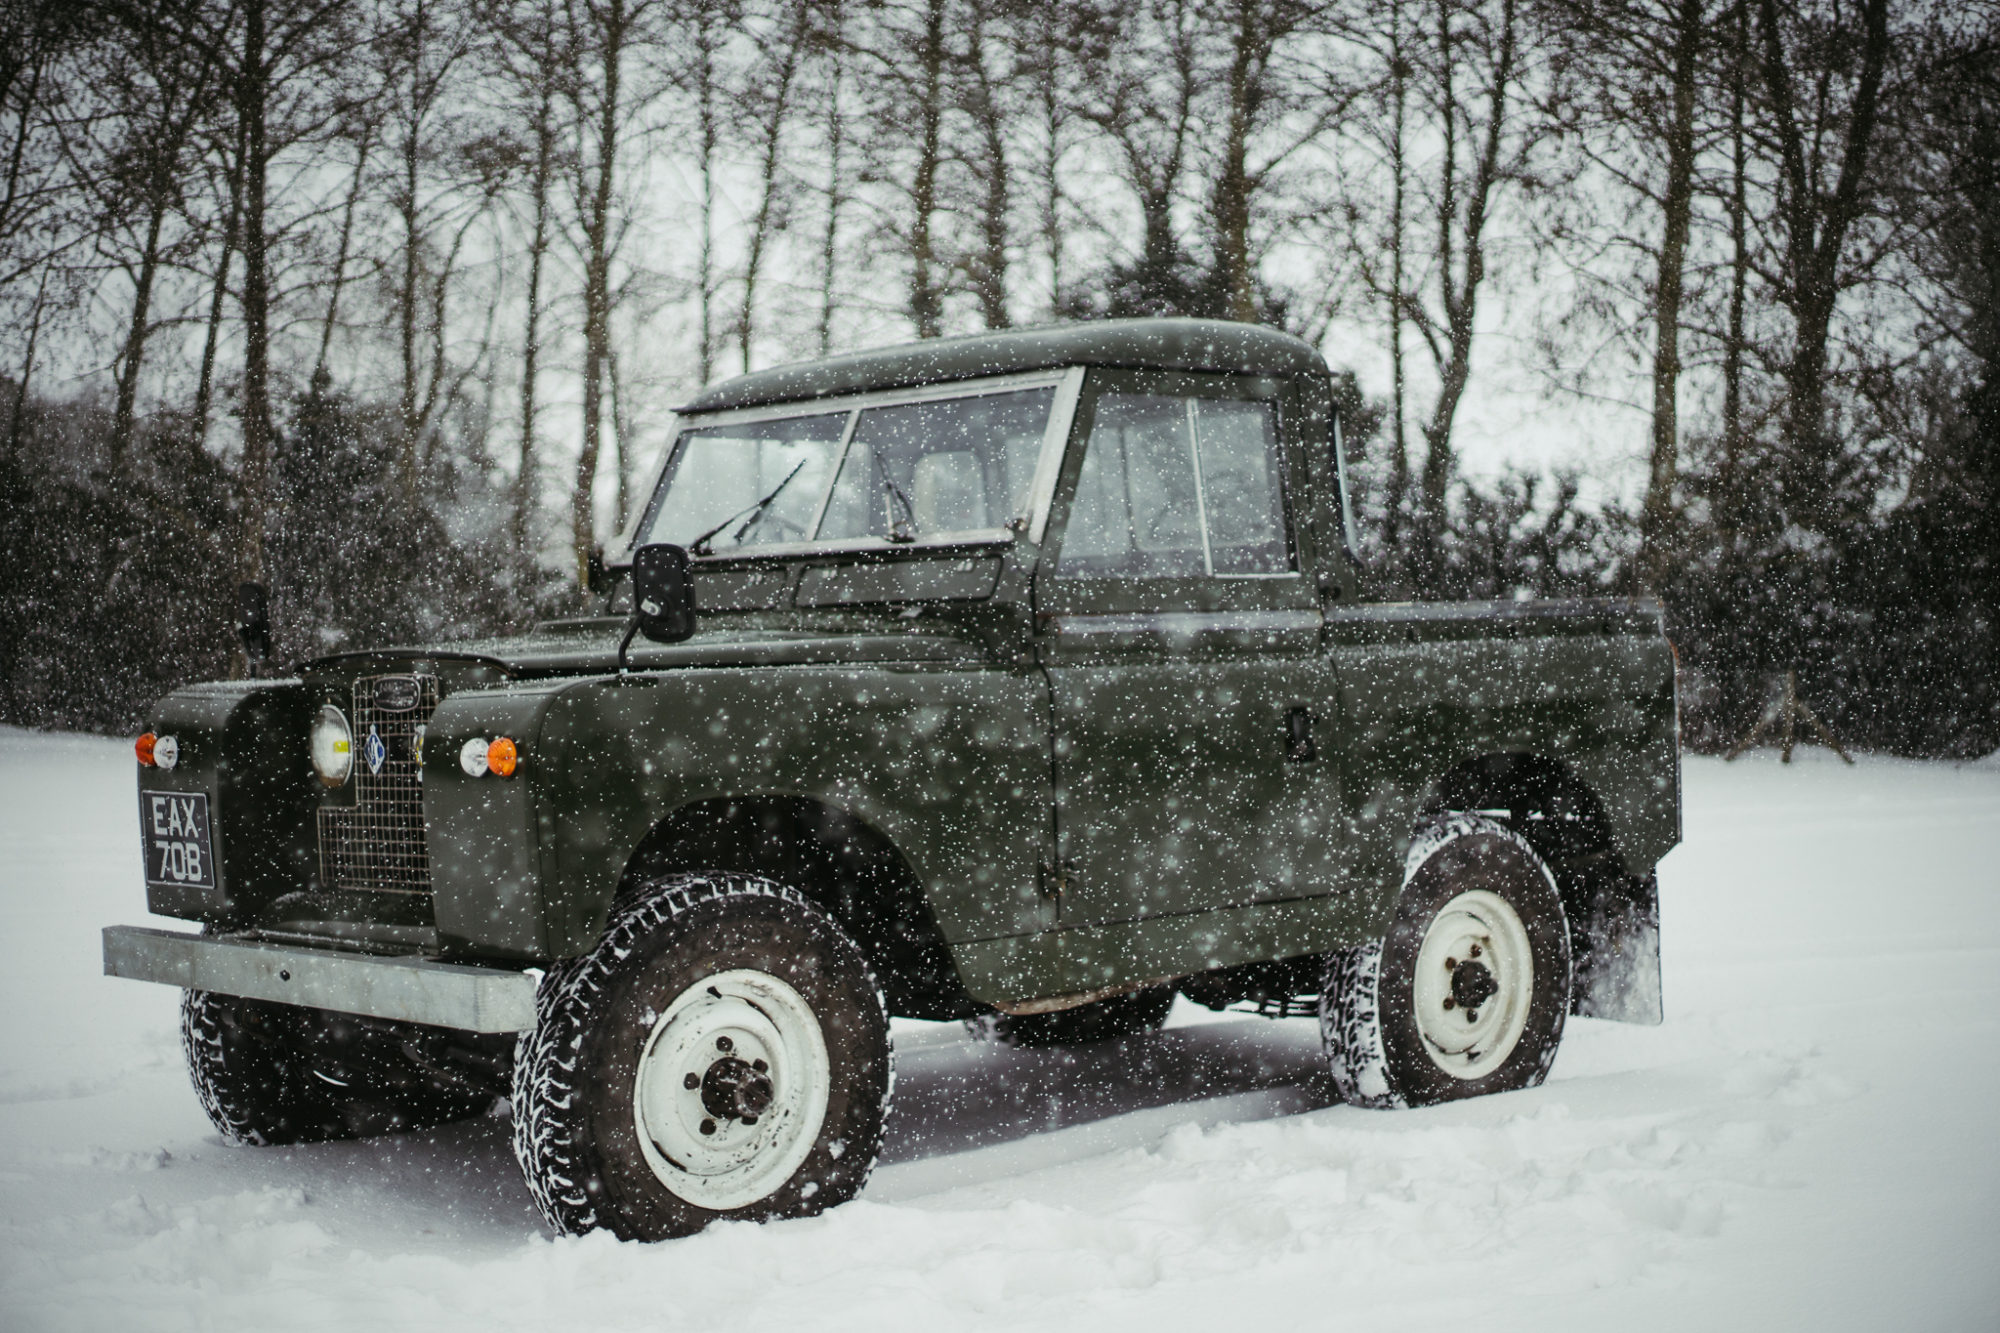
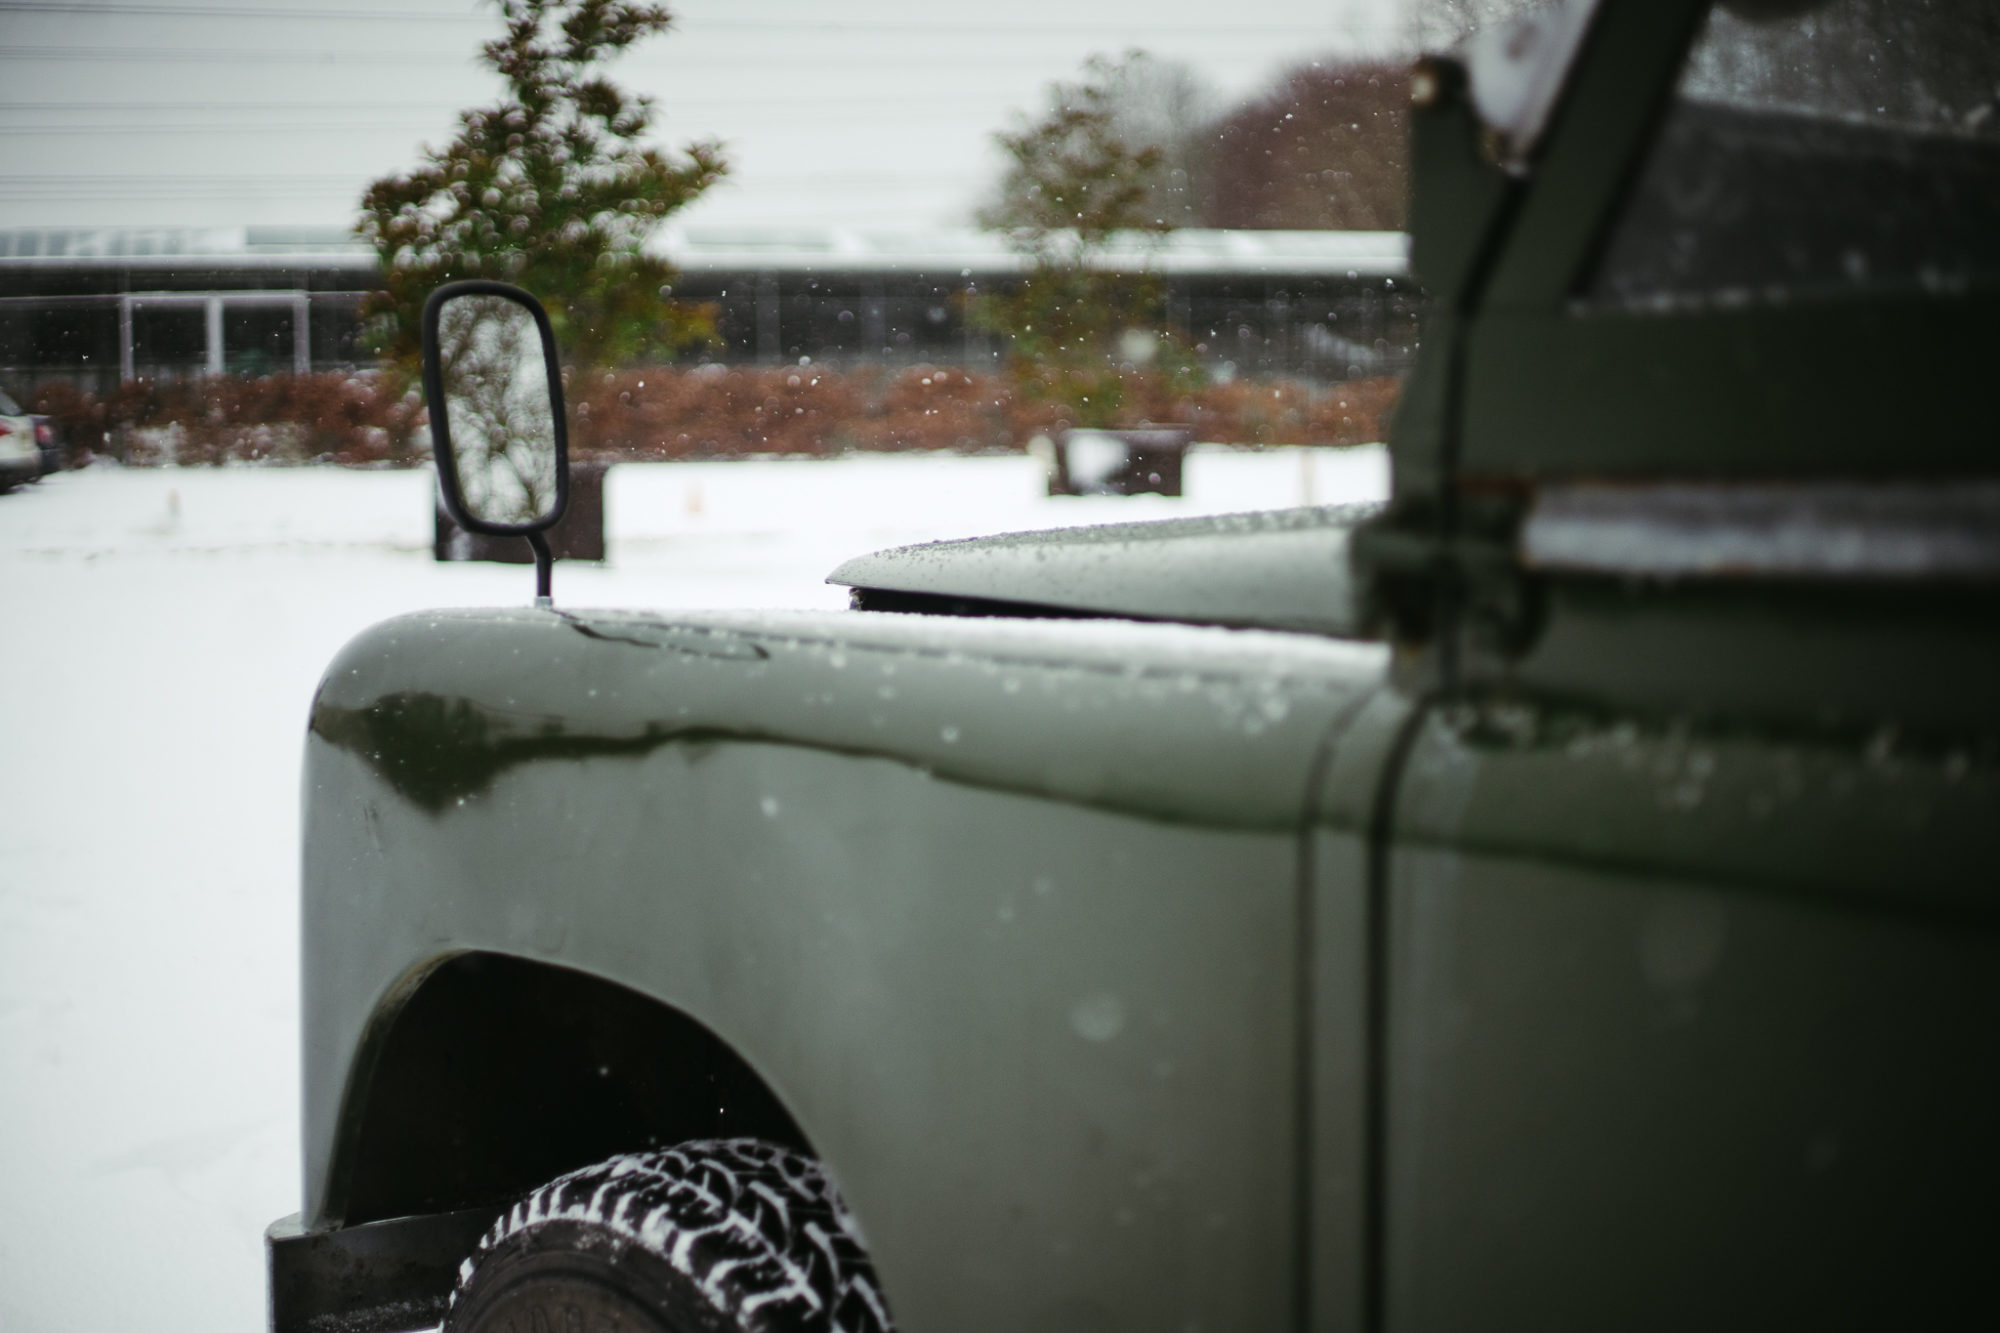
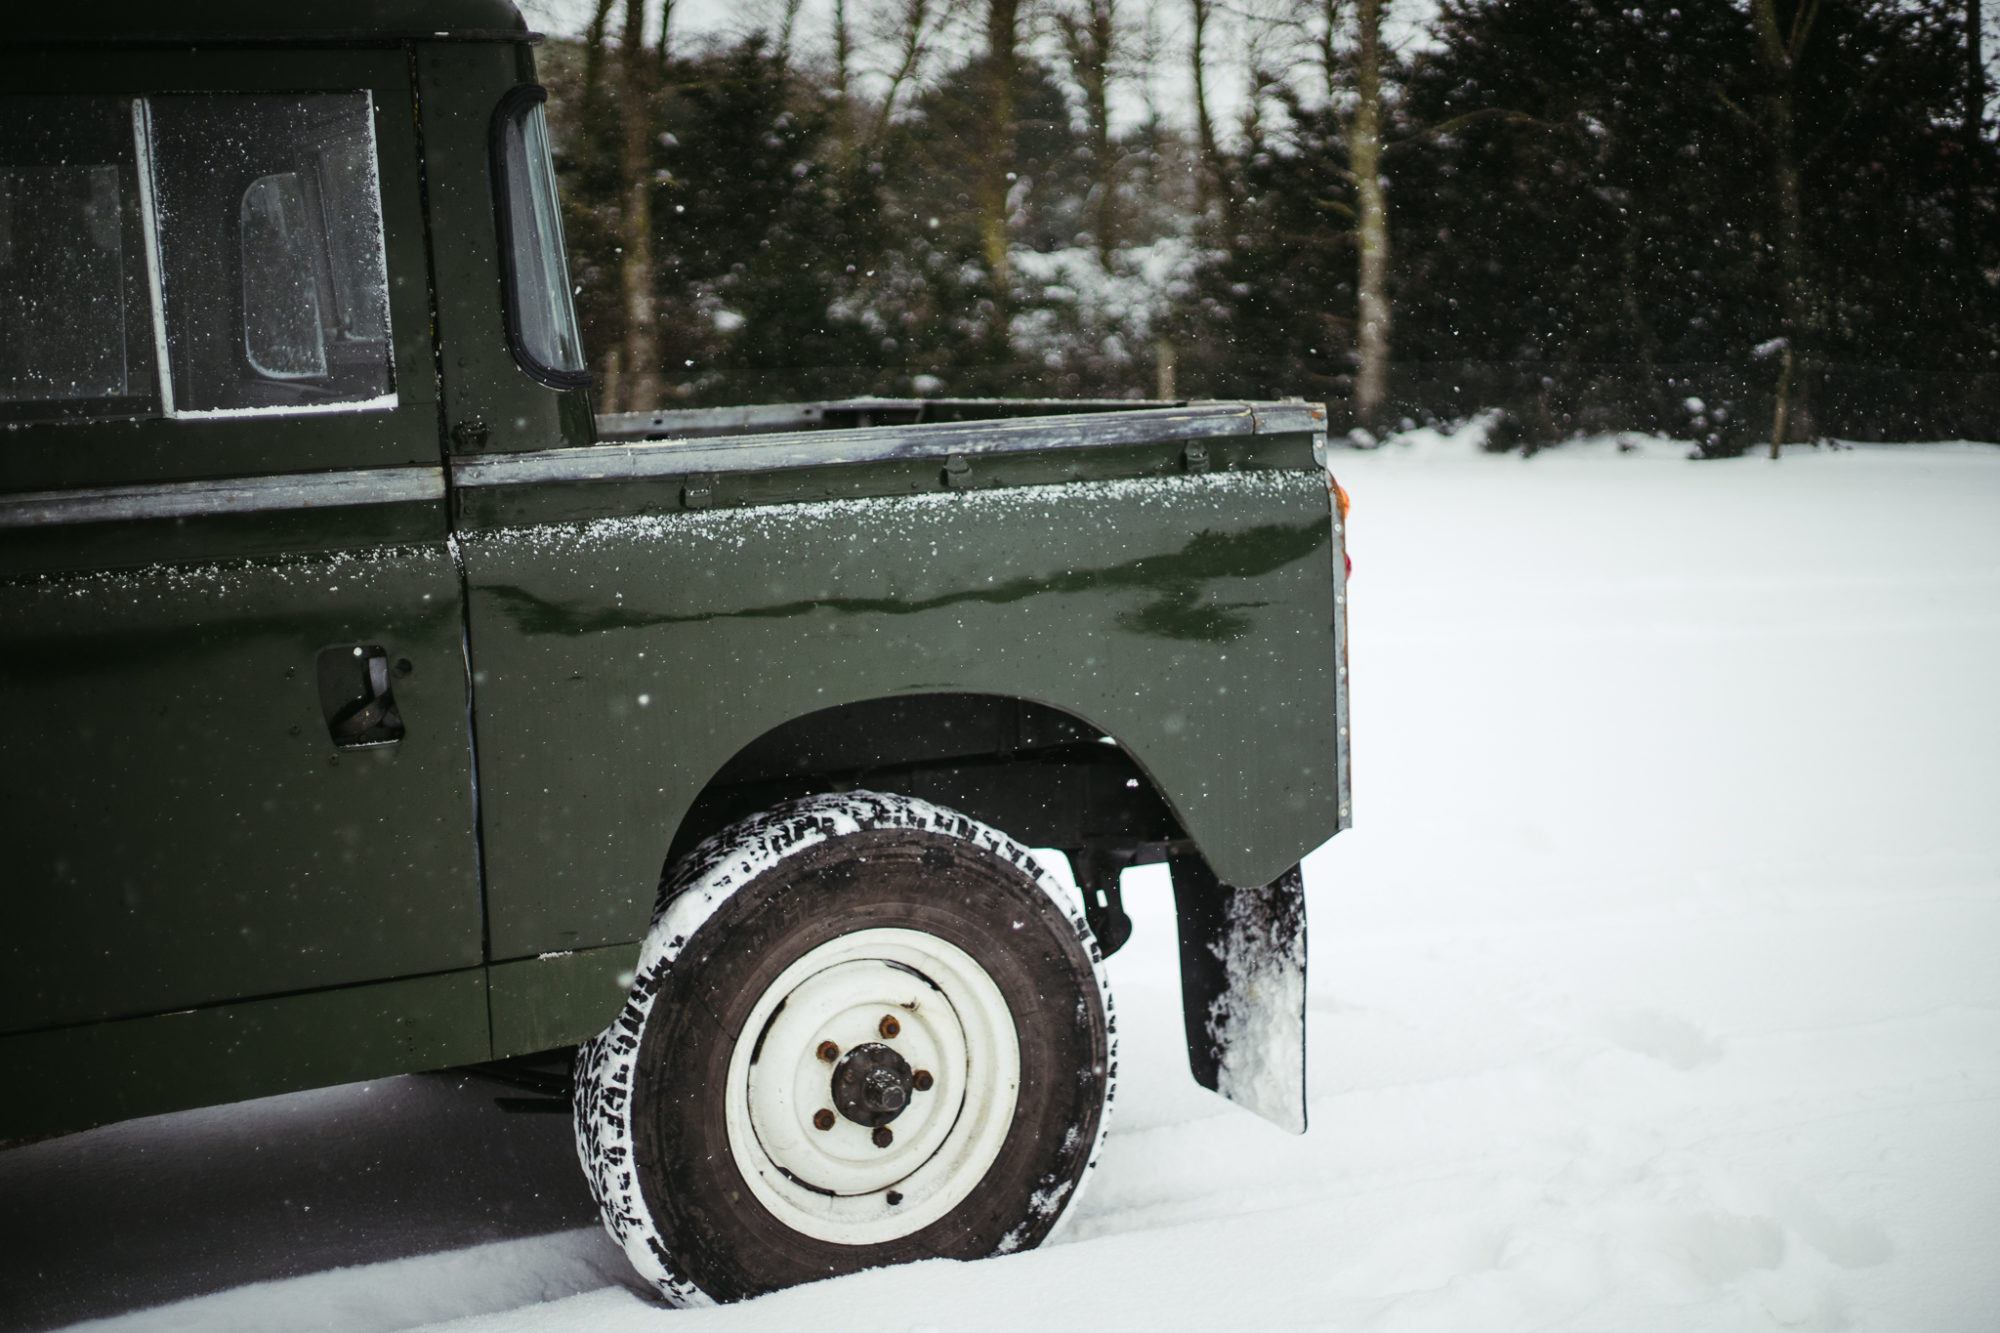
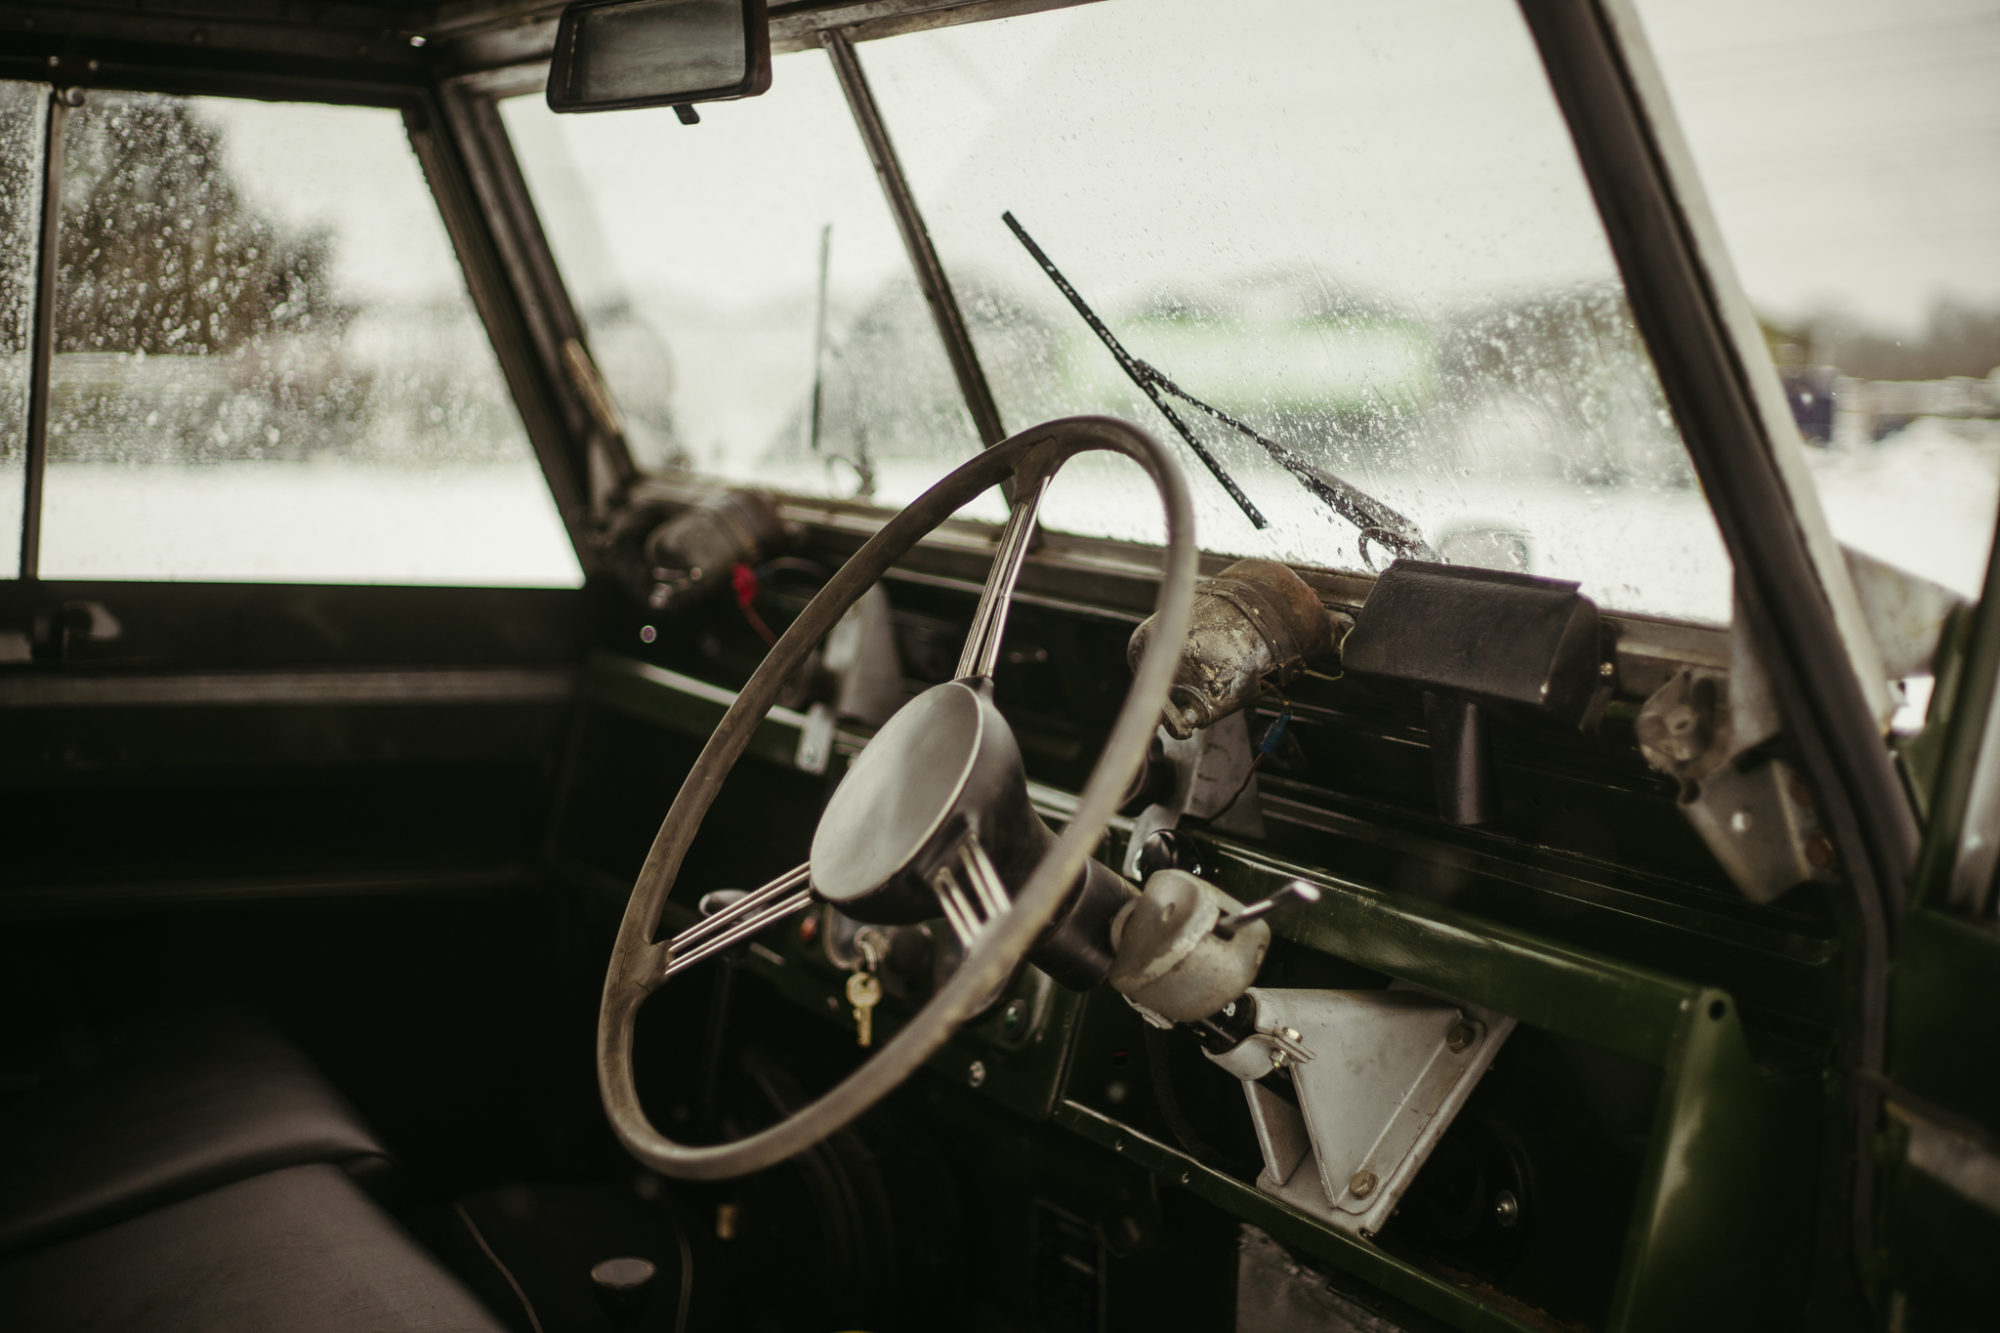
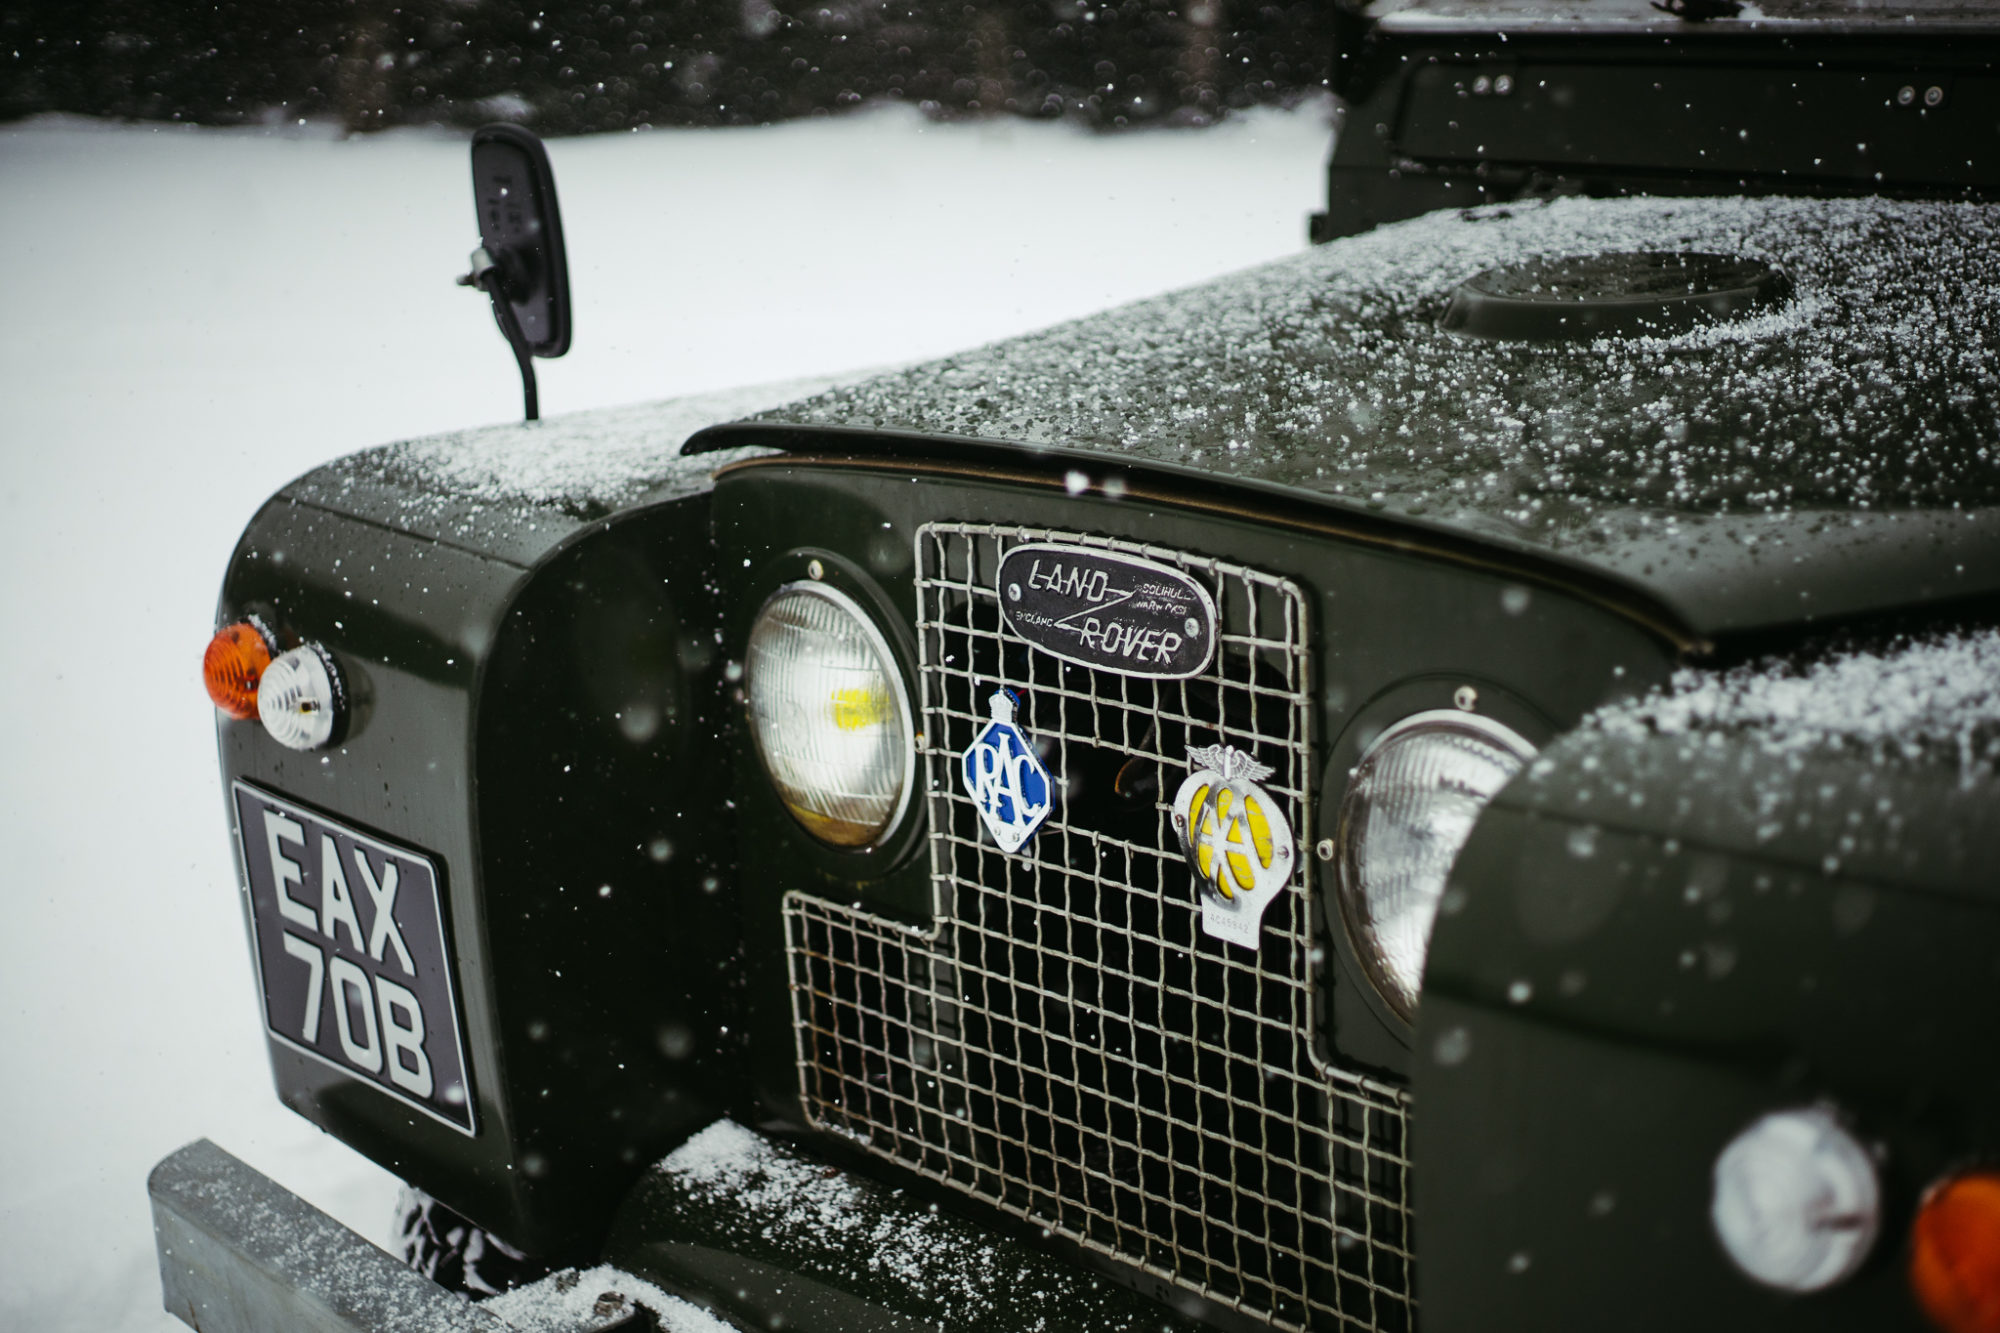
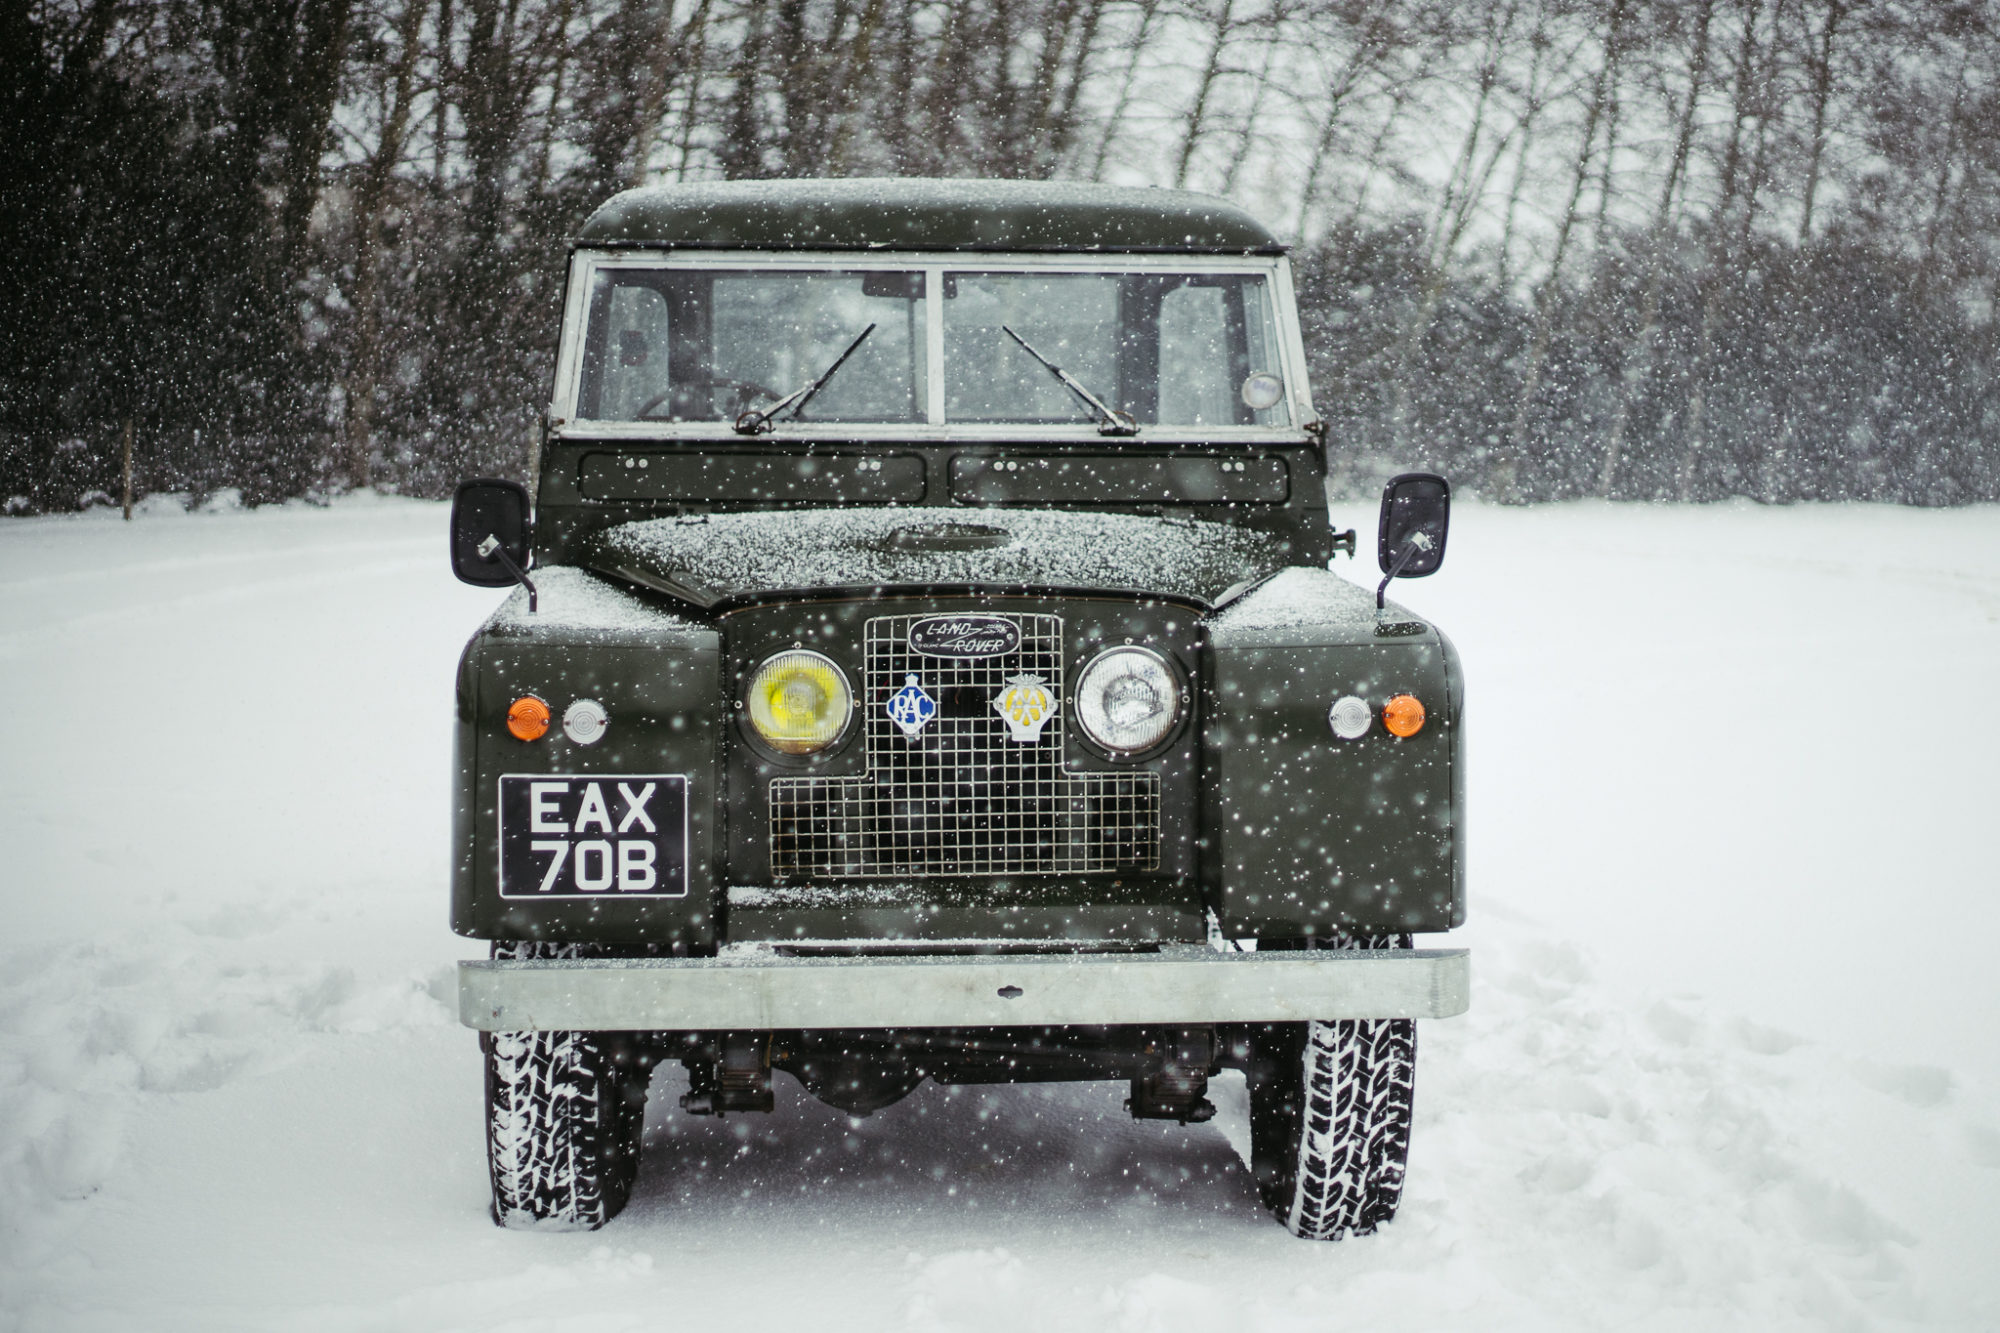
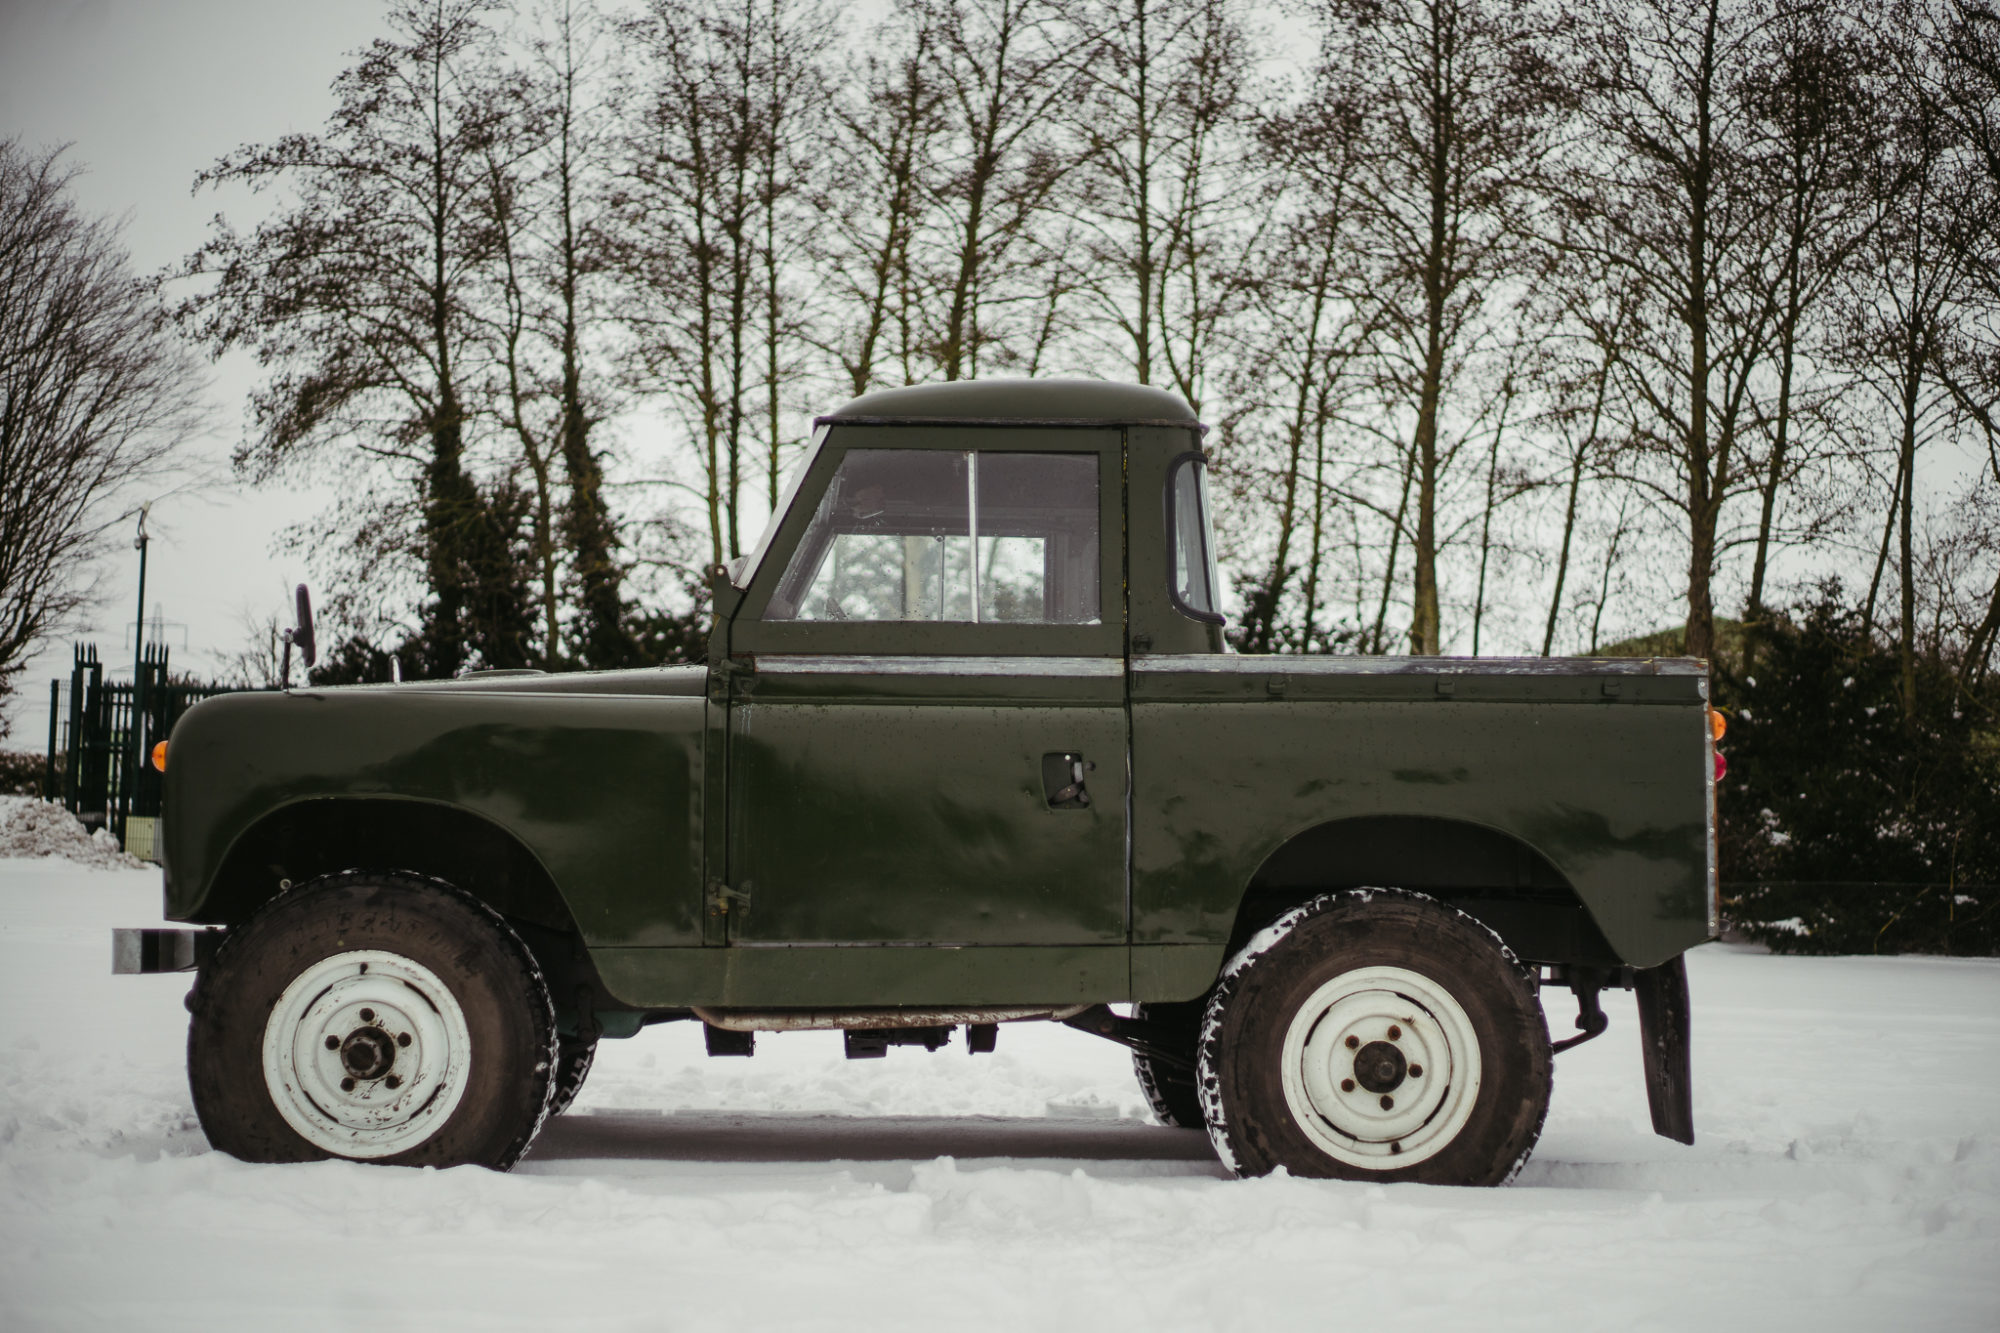
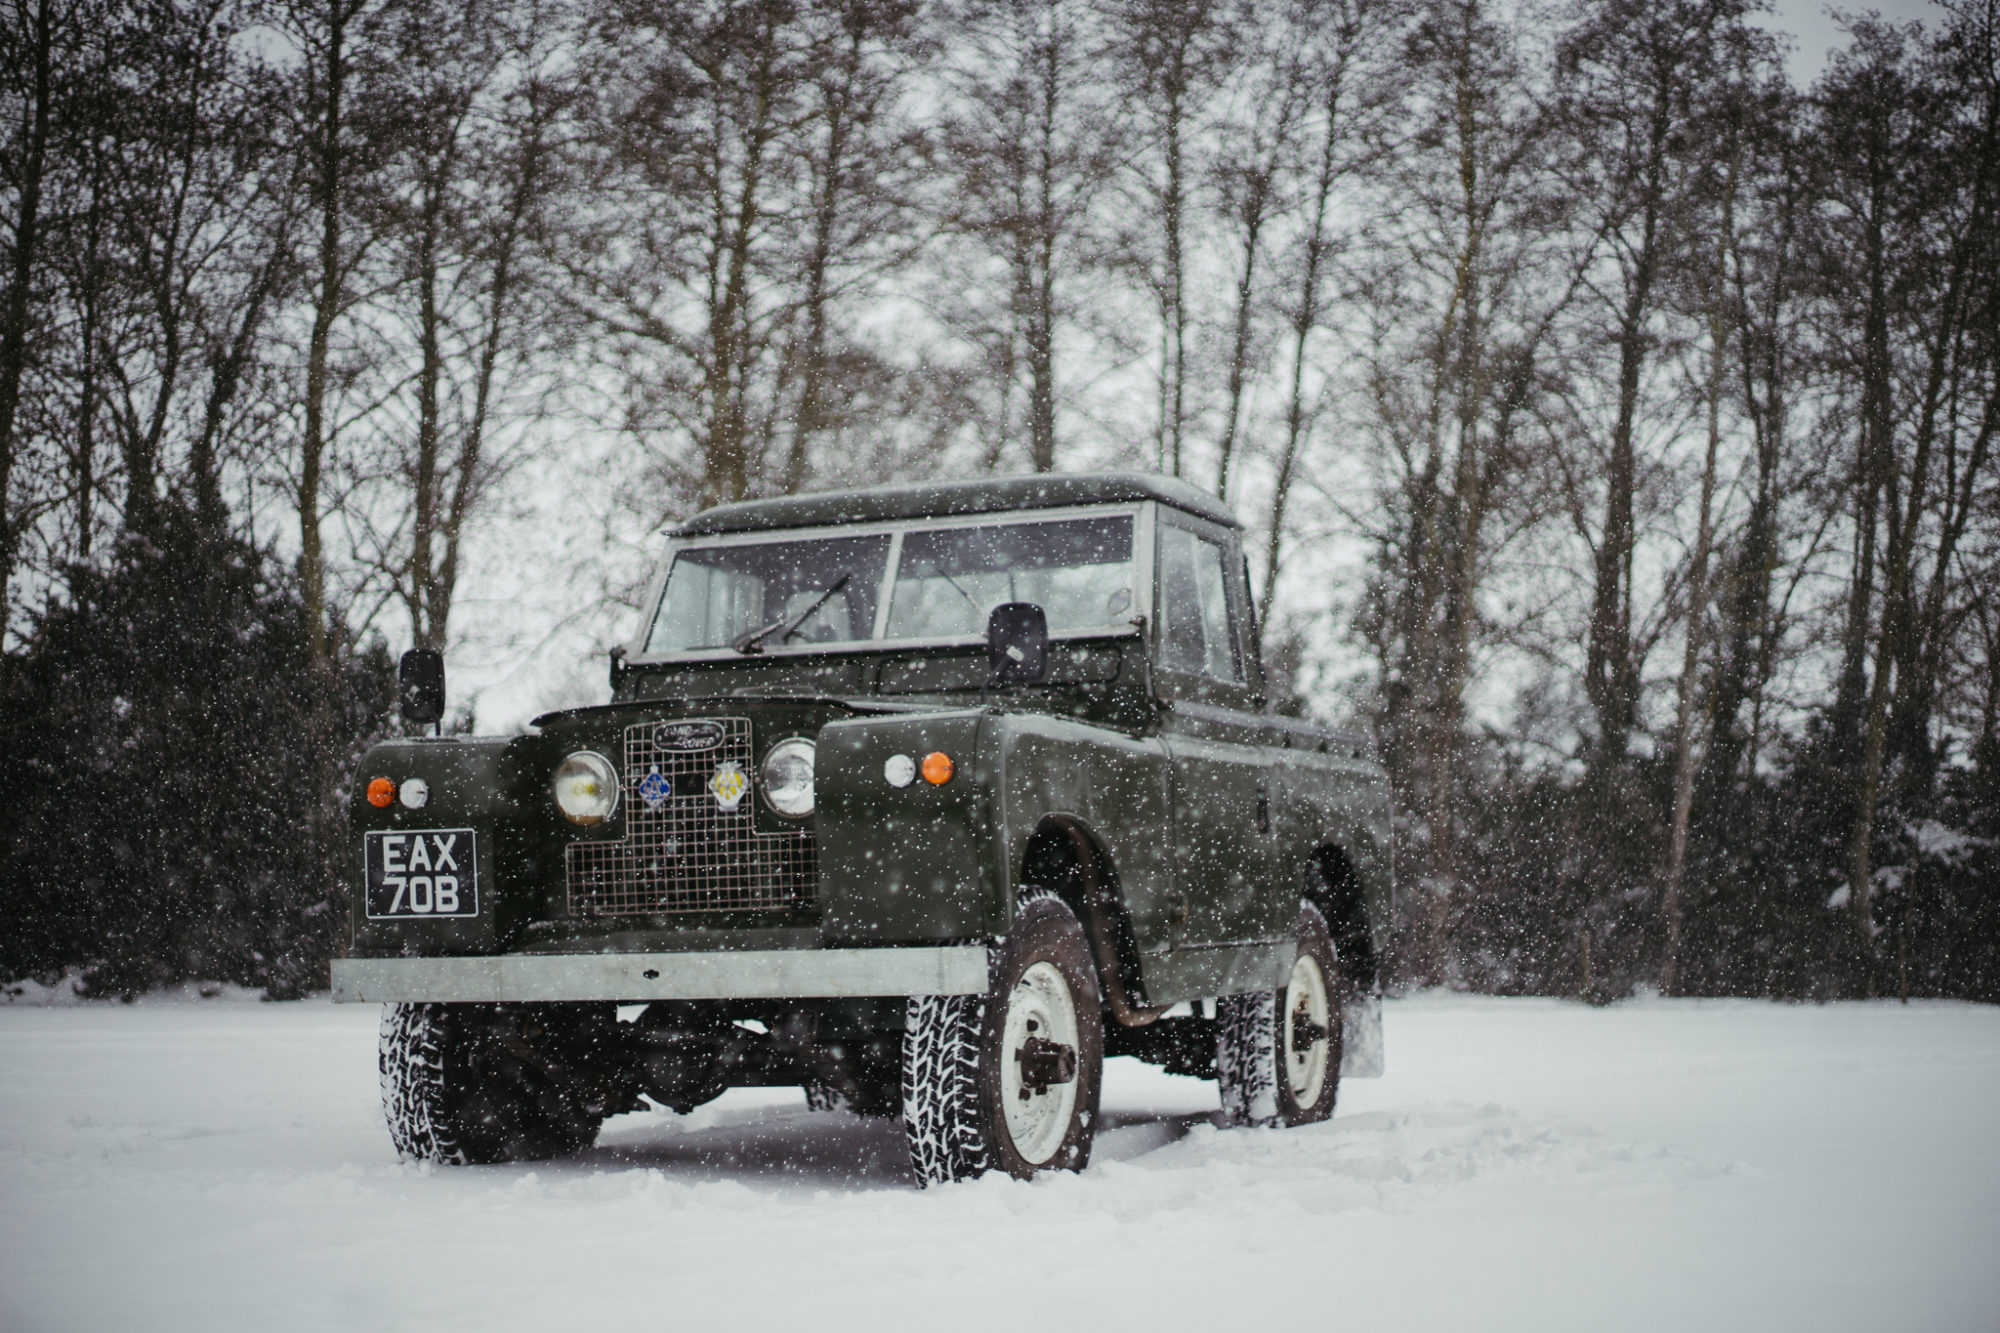
We couldn’t resist taking the Land Rover out into the snow to get some arrival photos. Since we’re aiming to give this iconic adventure-mobile a


We couldn’t resist taking the Land Rover out into the snow to get some arrival photos. Since we’re aiming to give this iconic adventure-mobile a

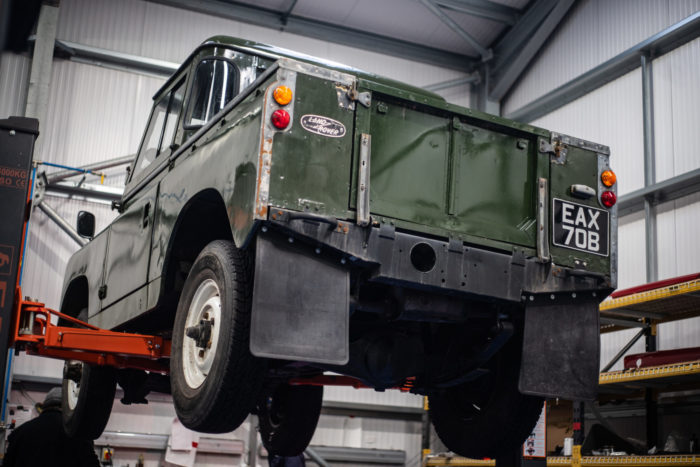
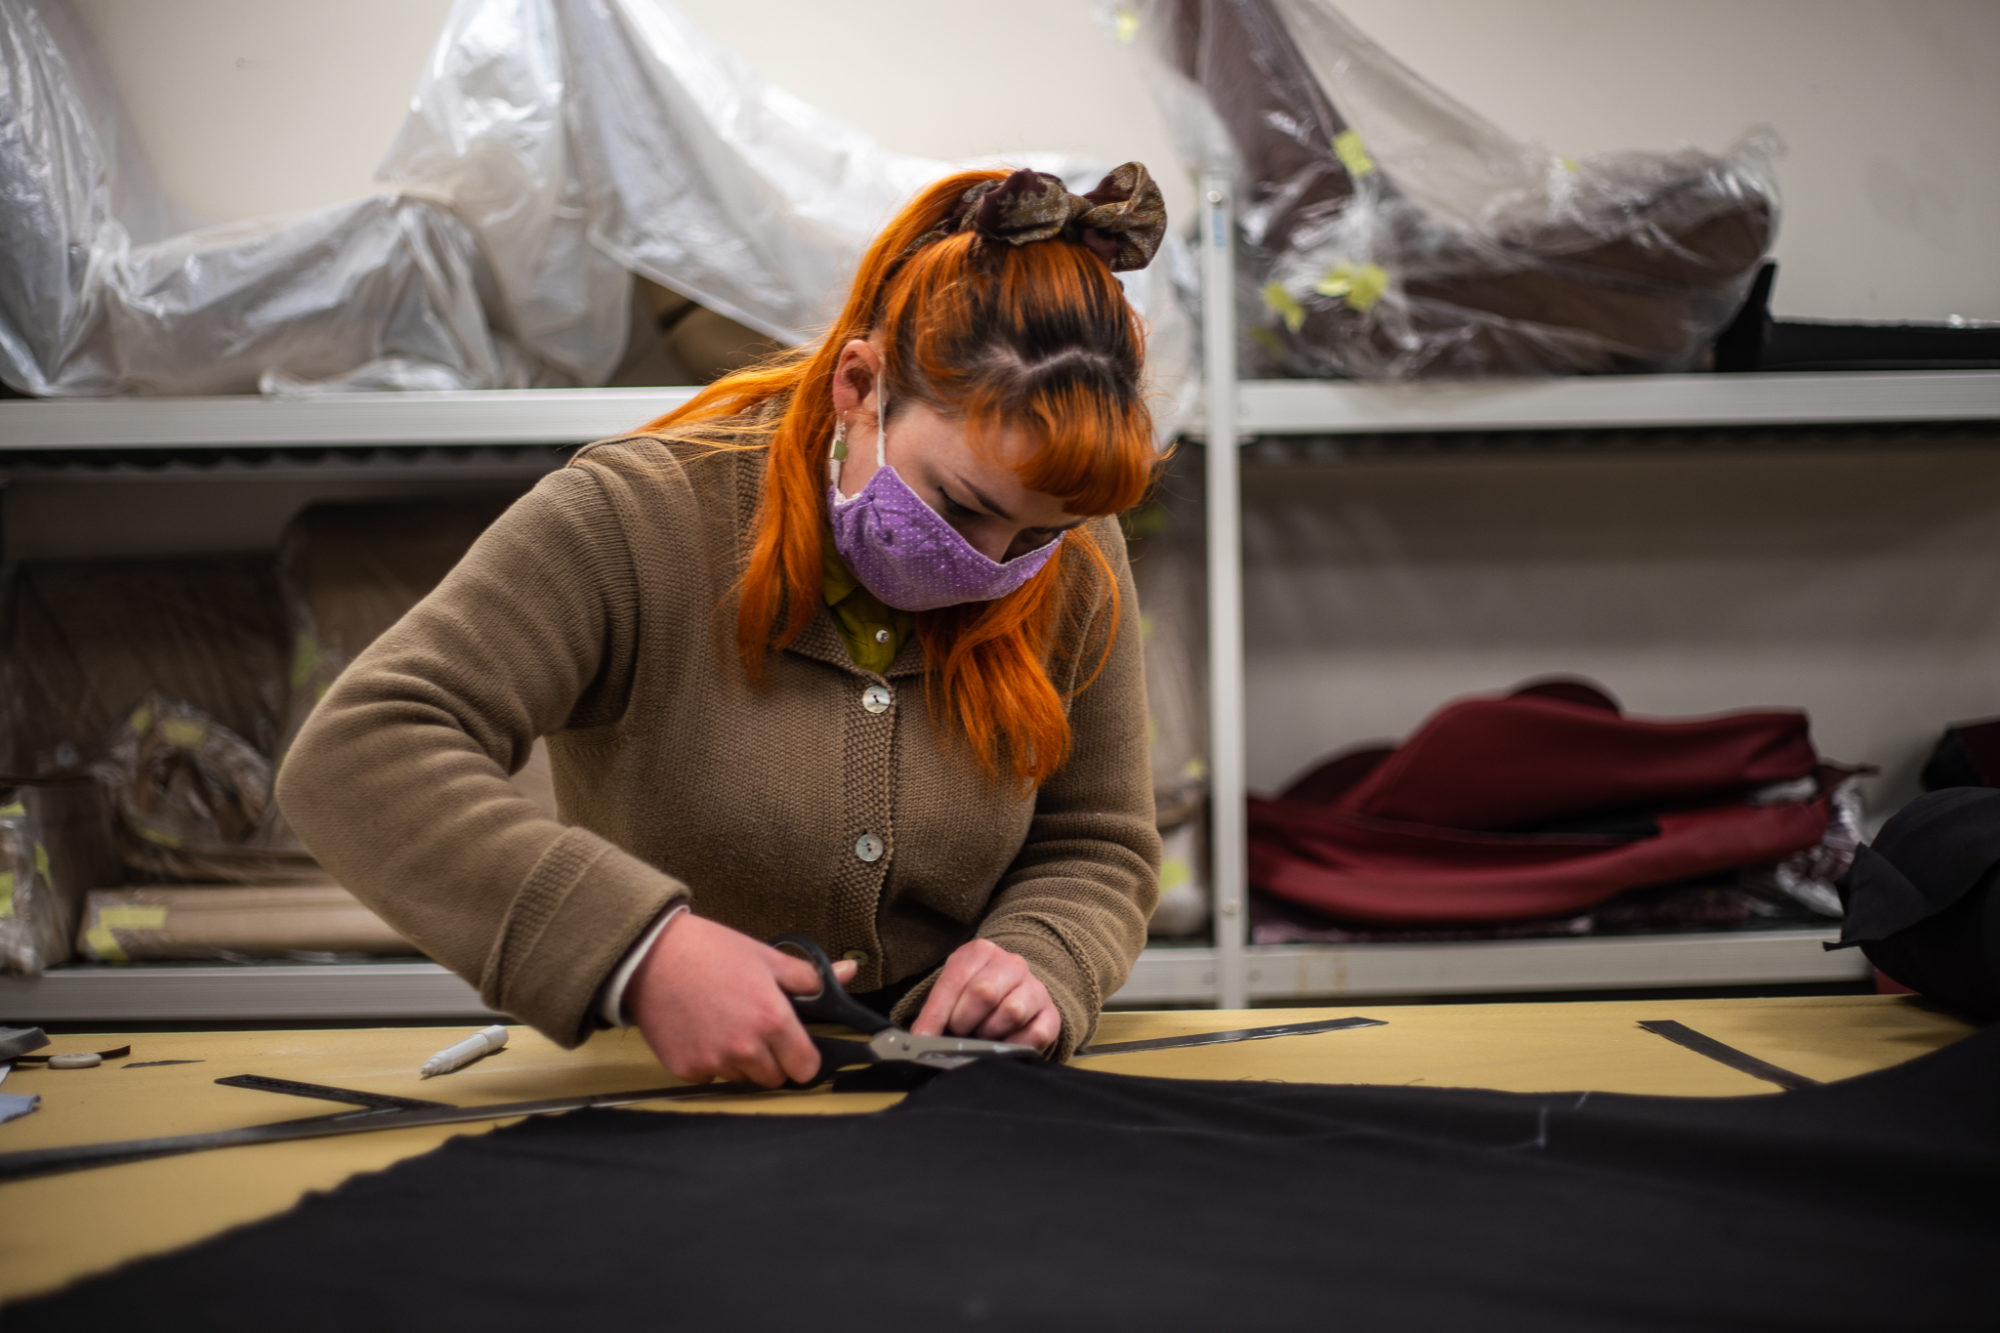
We’ve recently welcomed this iconic 1964 Series IIa Land Rover into the workshop, however before its ready to be photographed and released for the competition,
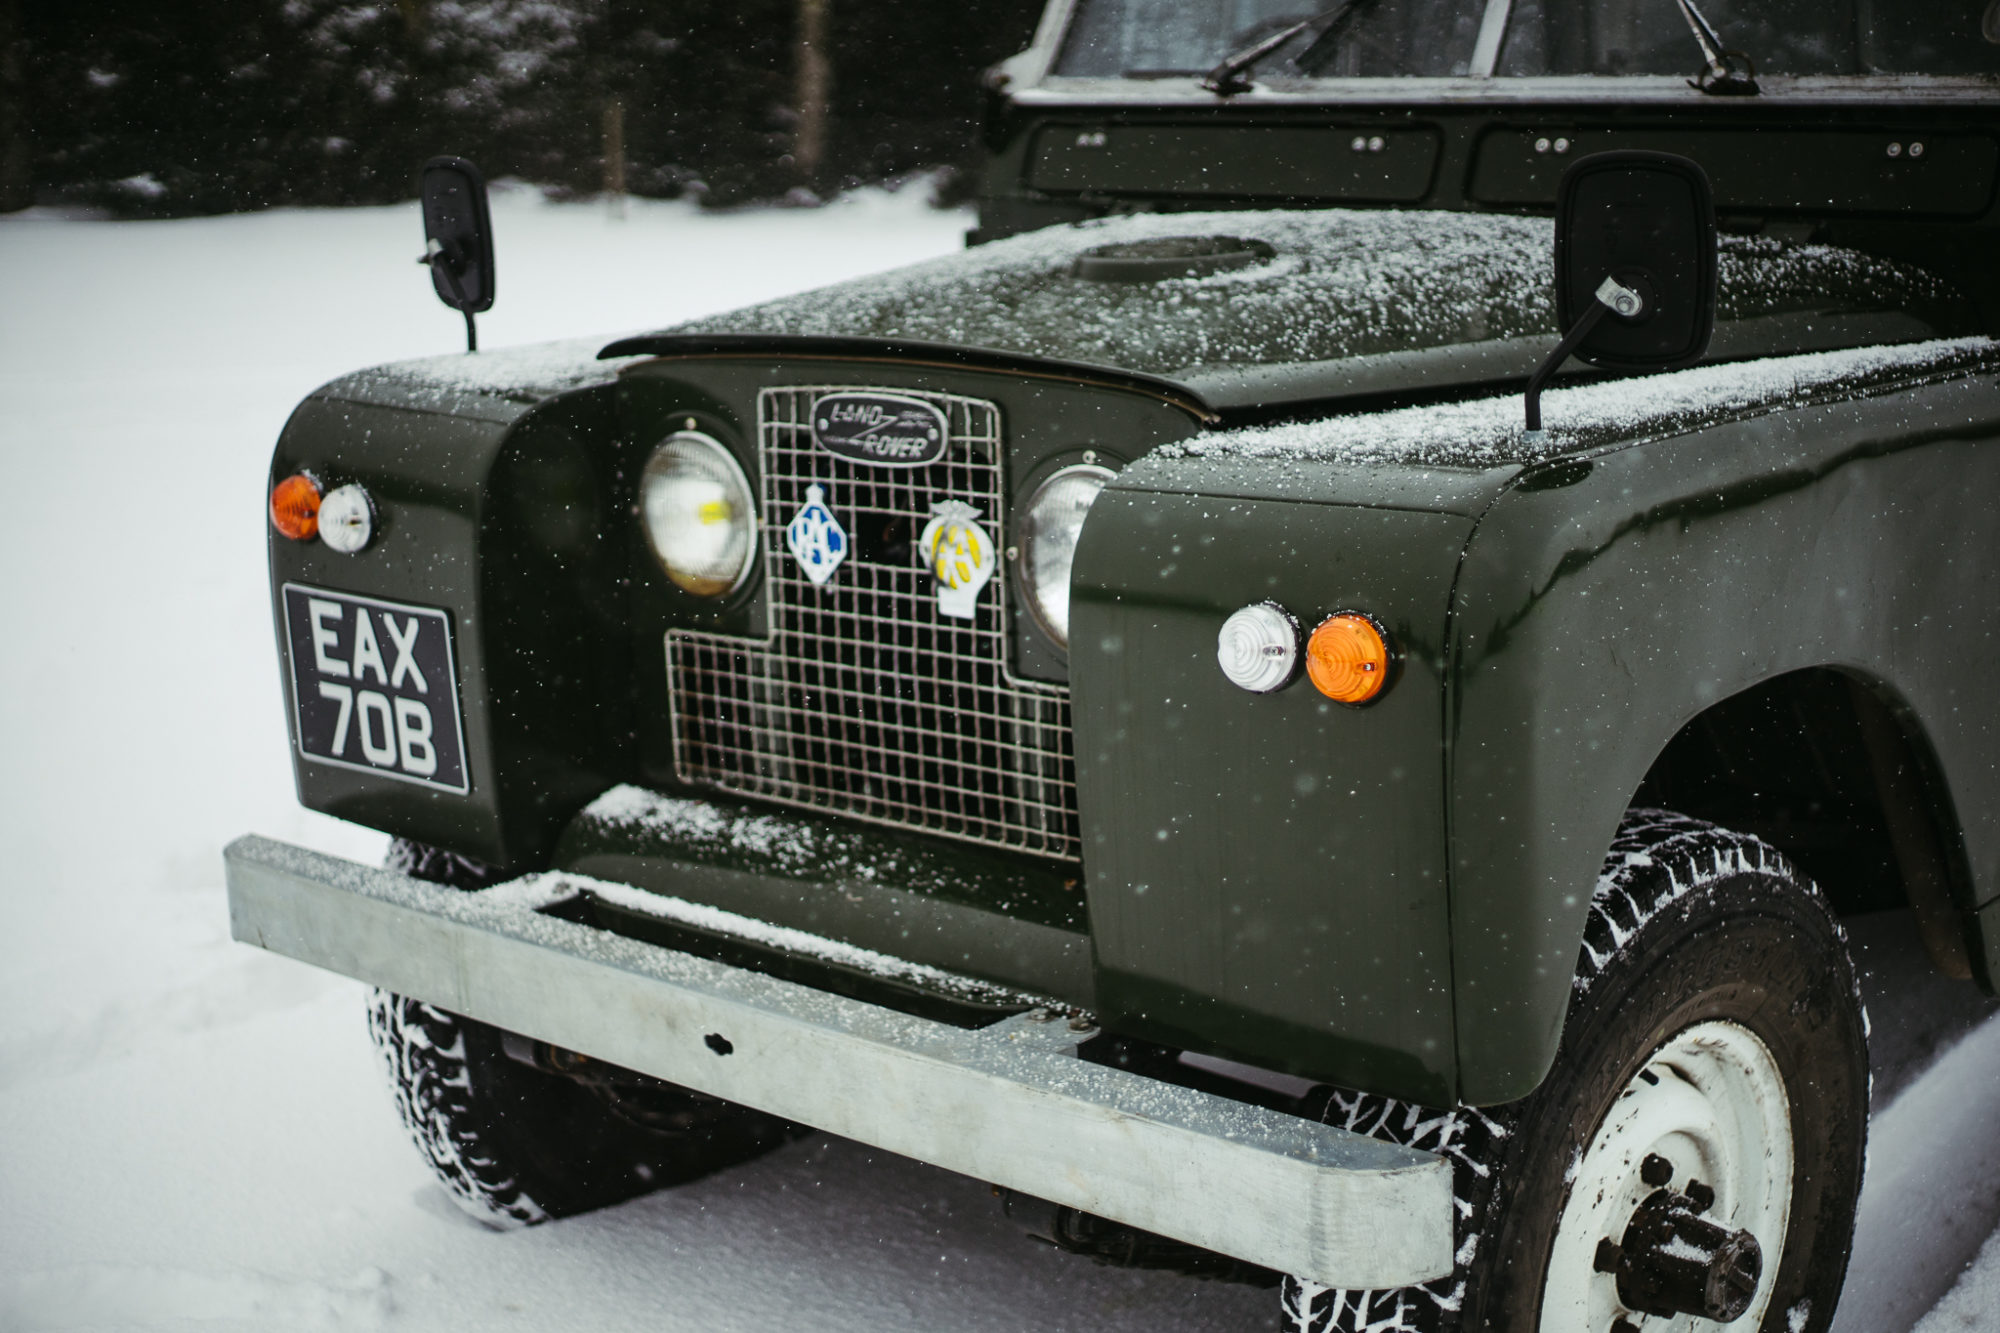
We’ve recently re-fitted and lowered the side lights as pictured below. This was a cosmetic change that the customer requested. The pulley mechanism for the
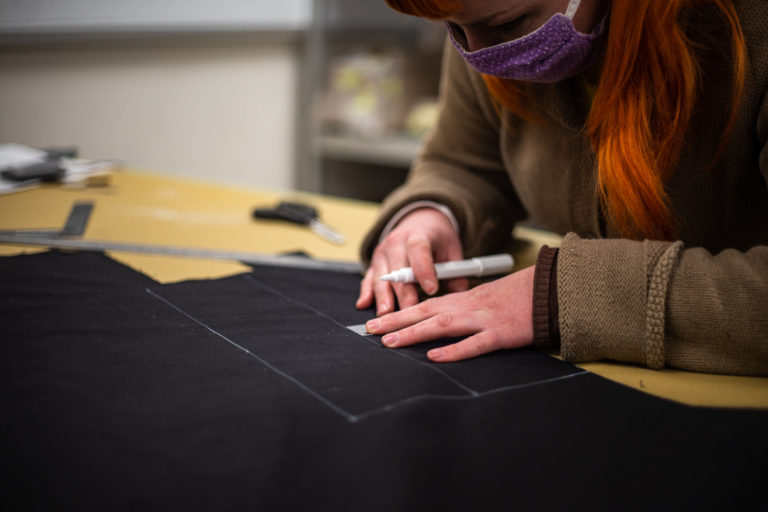
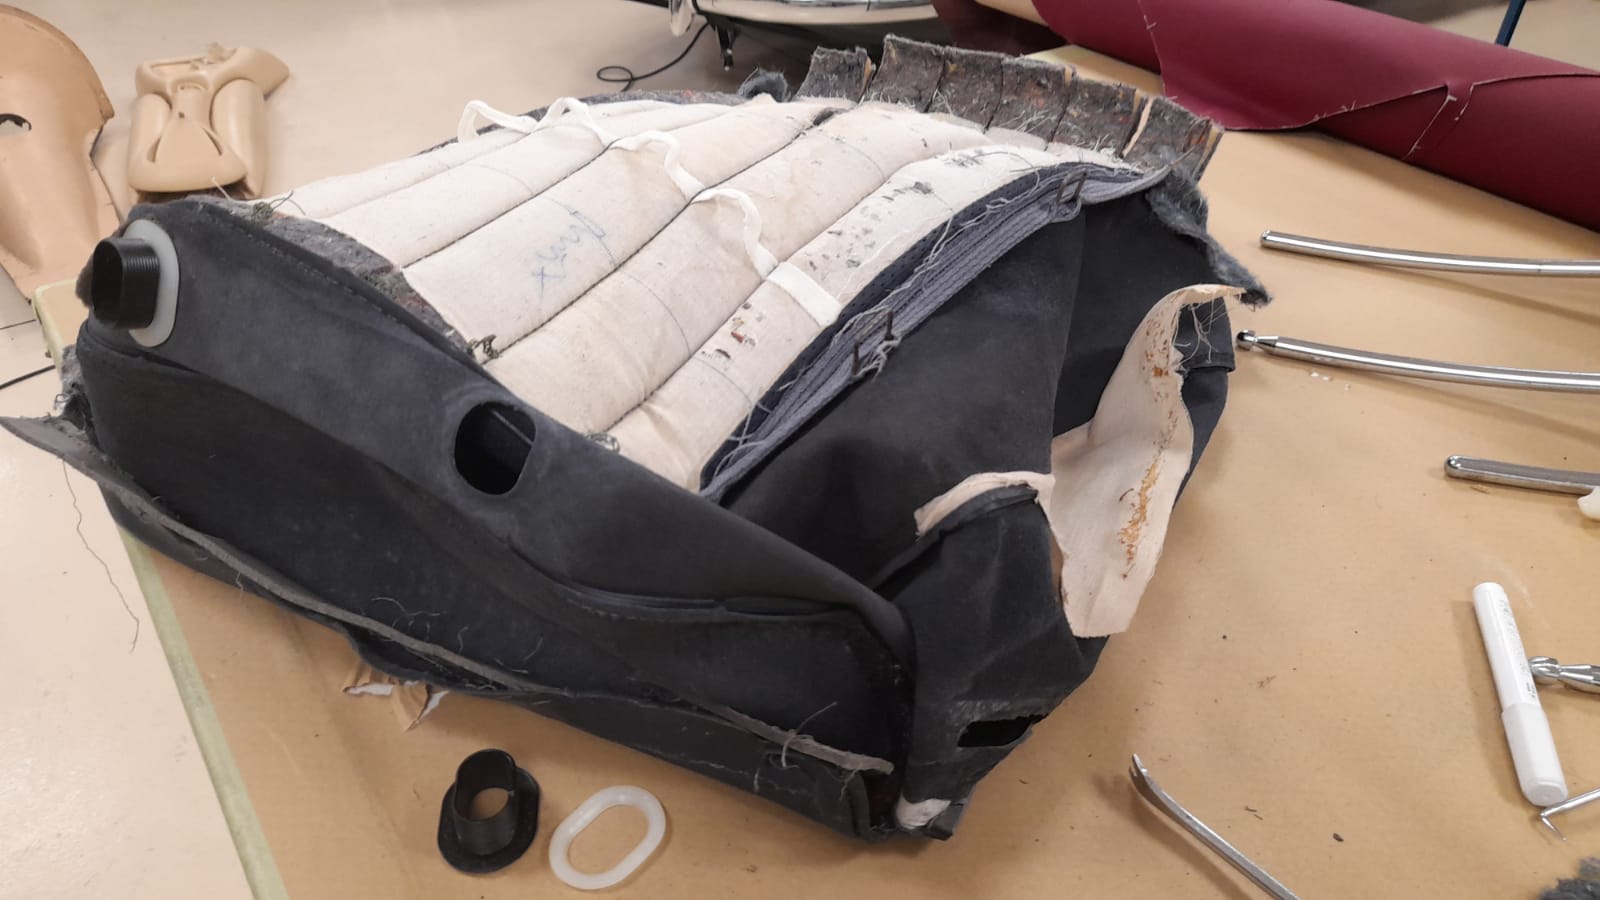
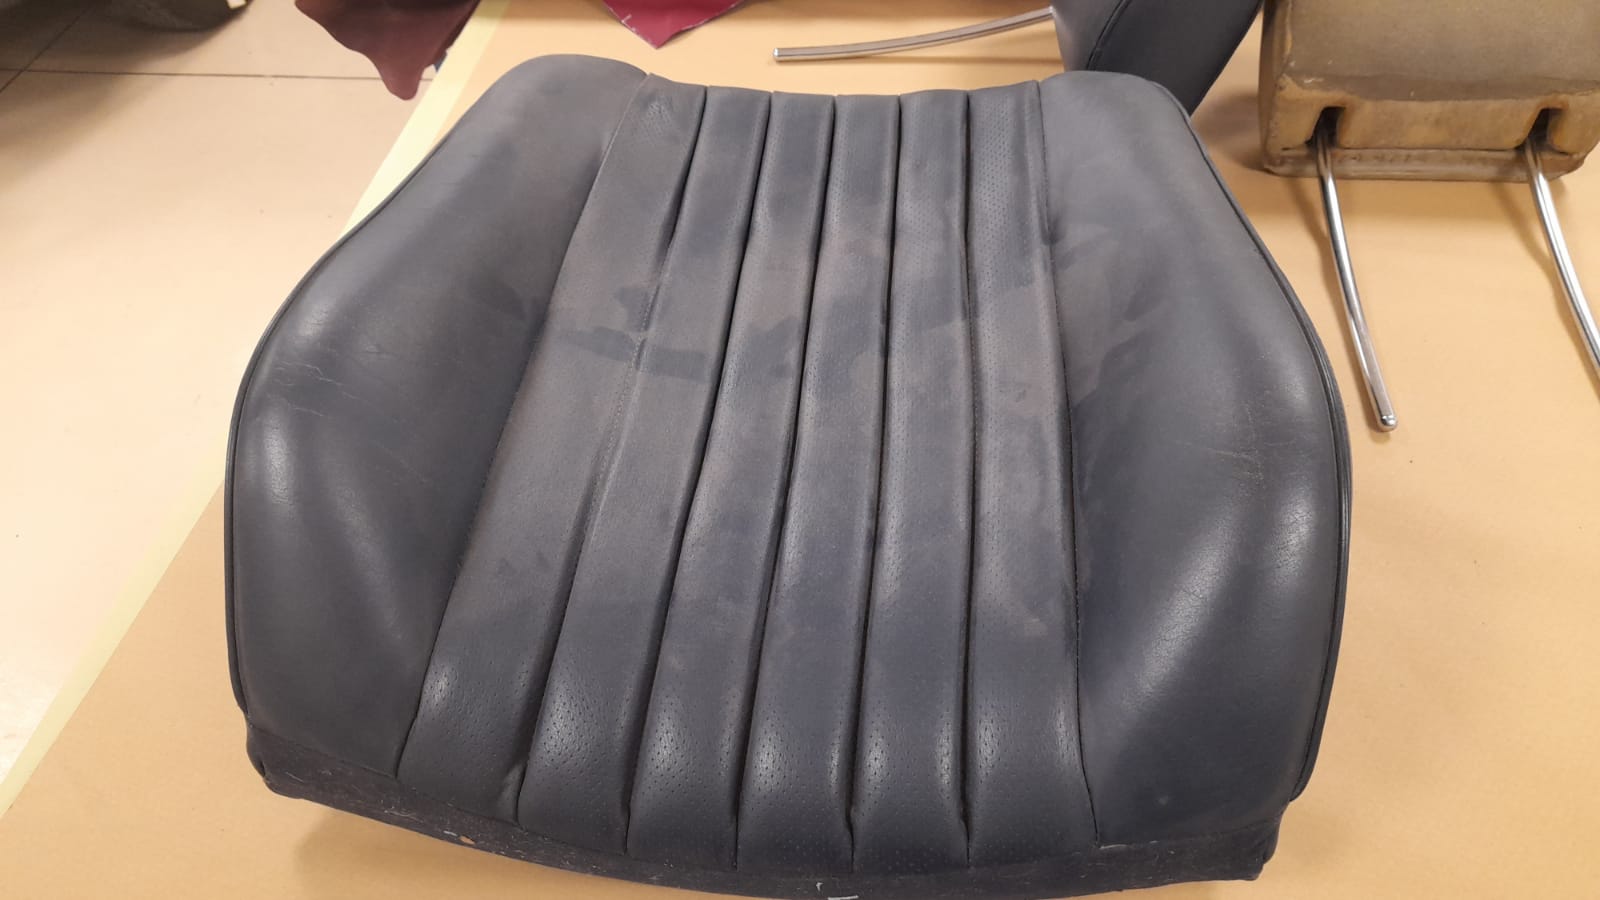
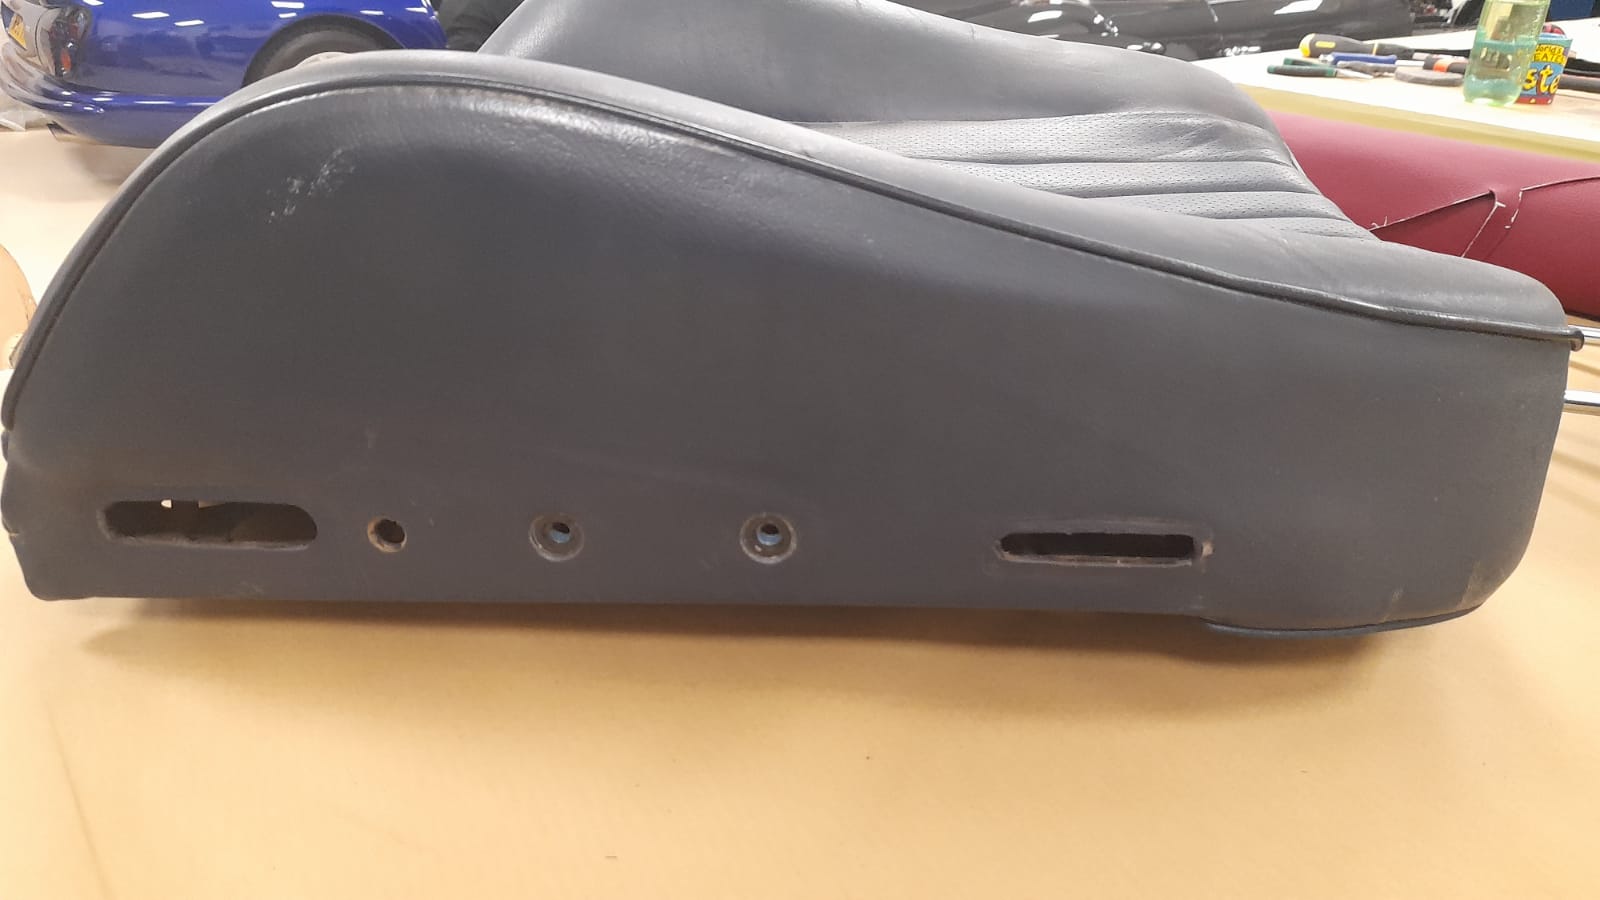
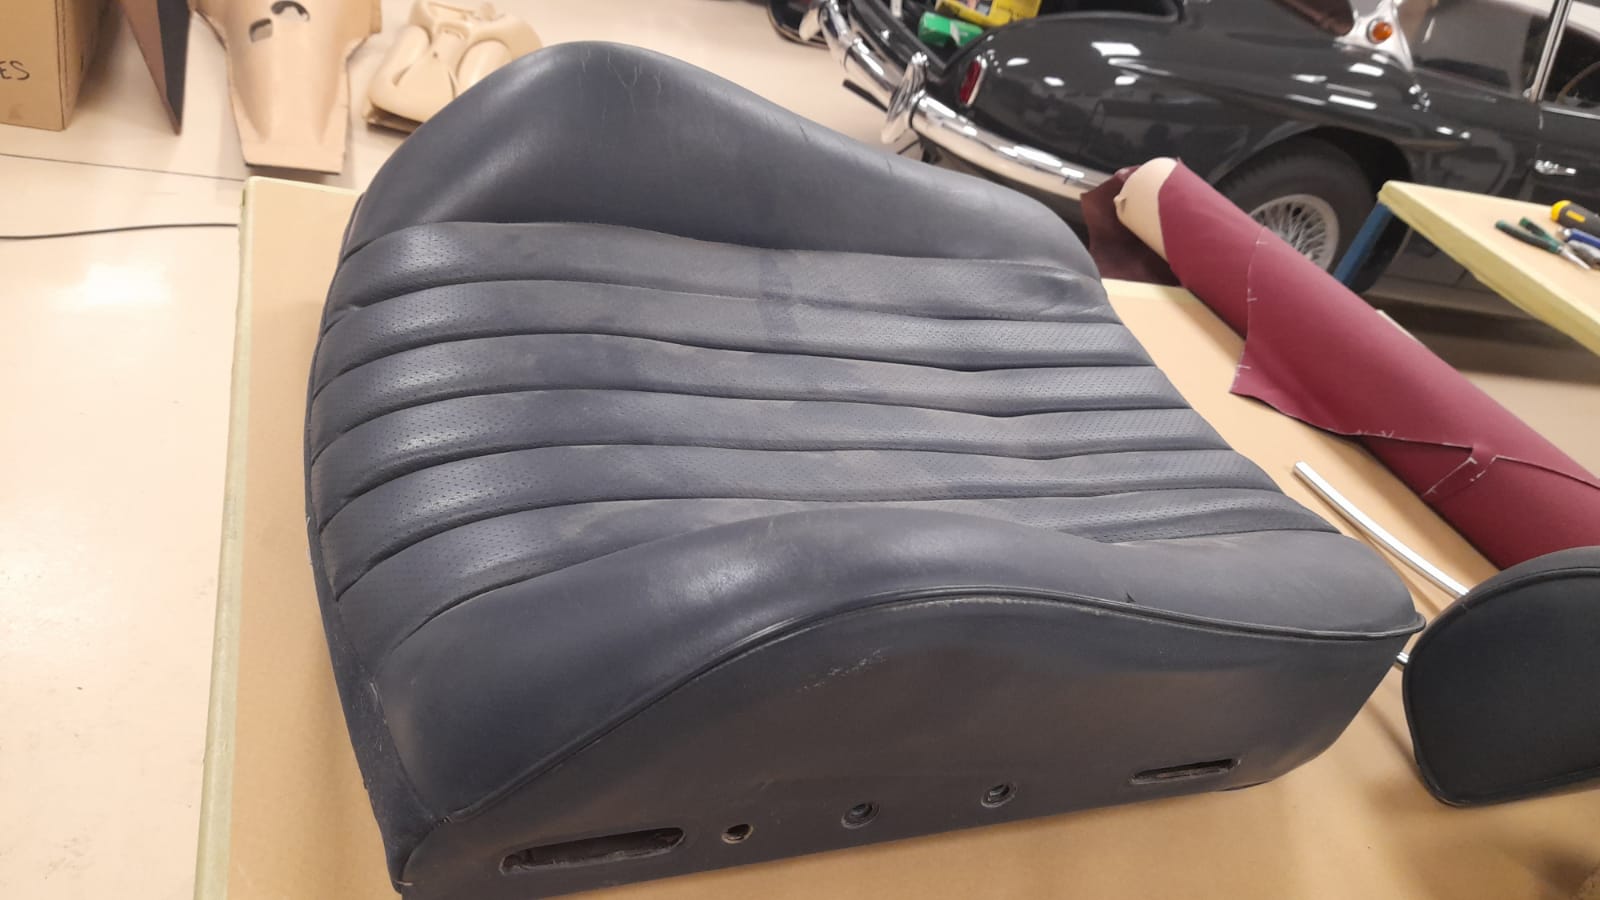
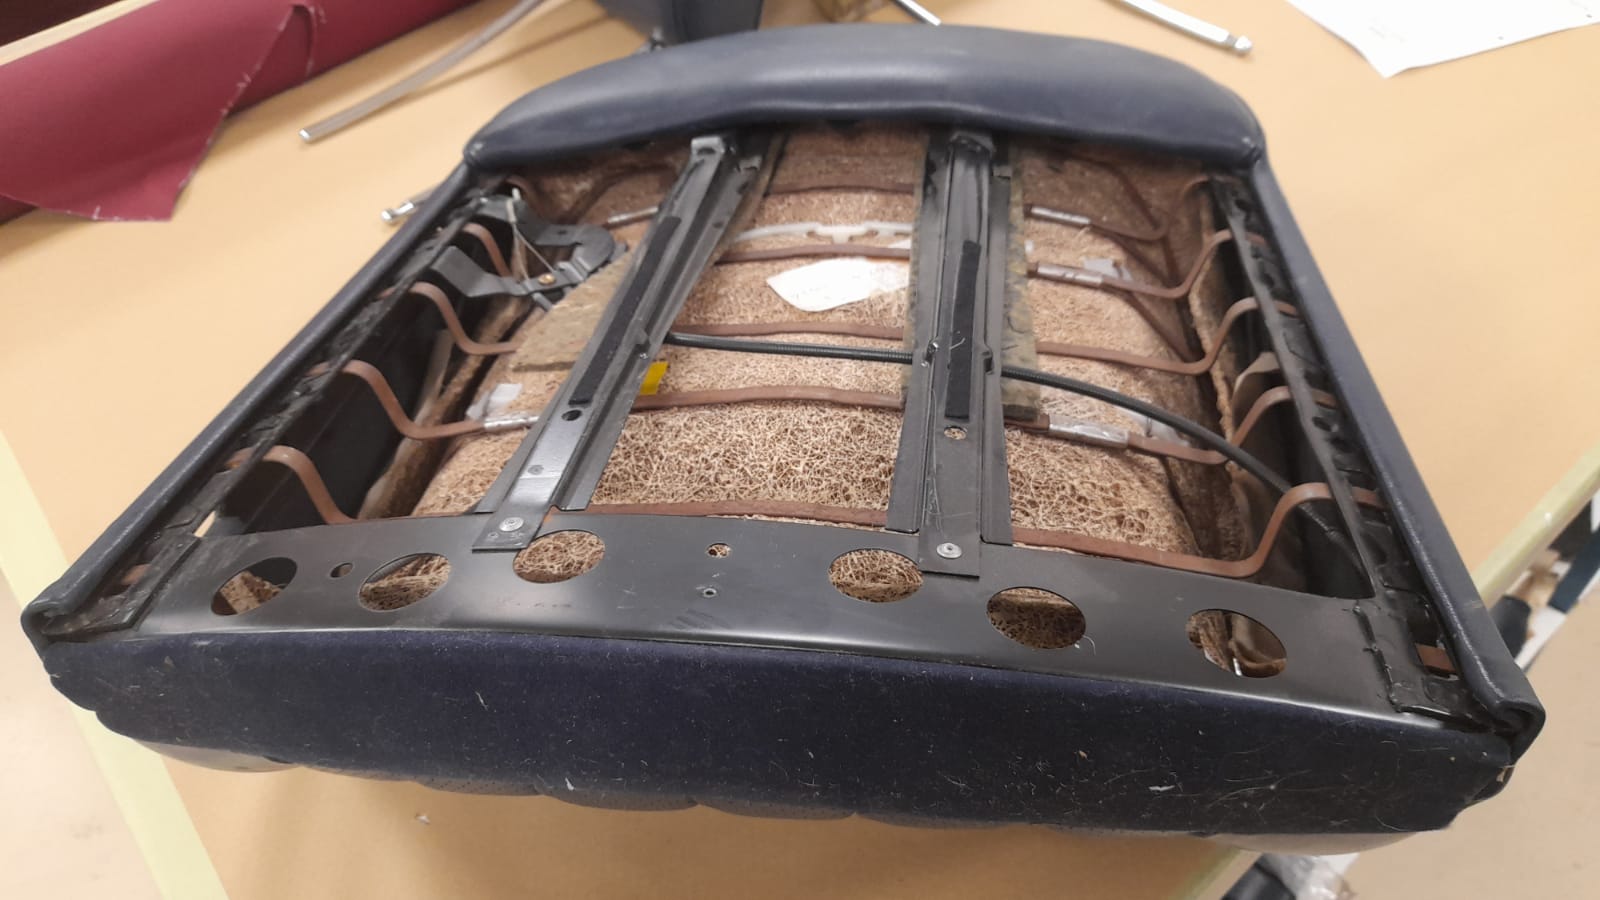
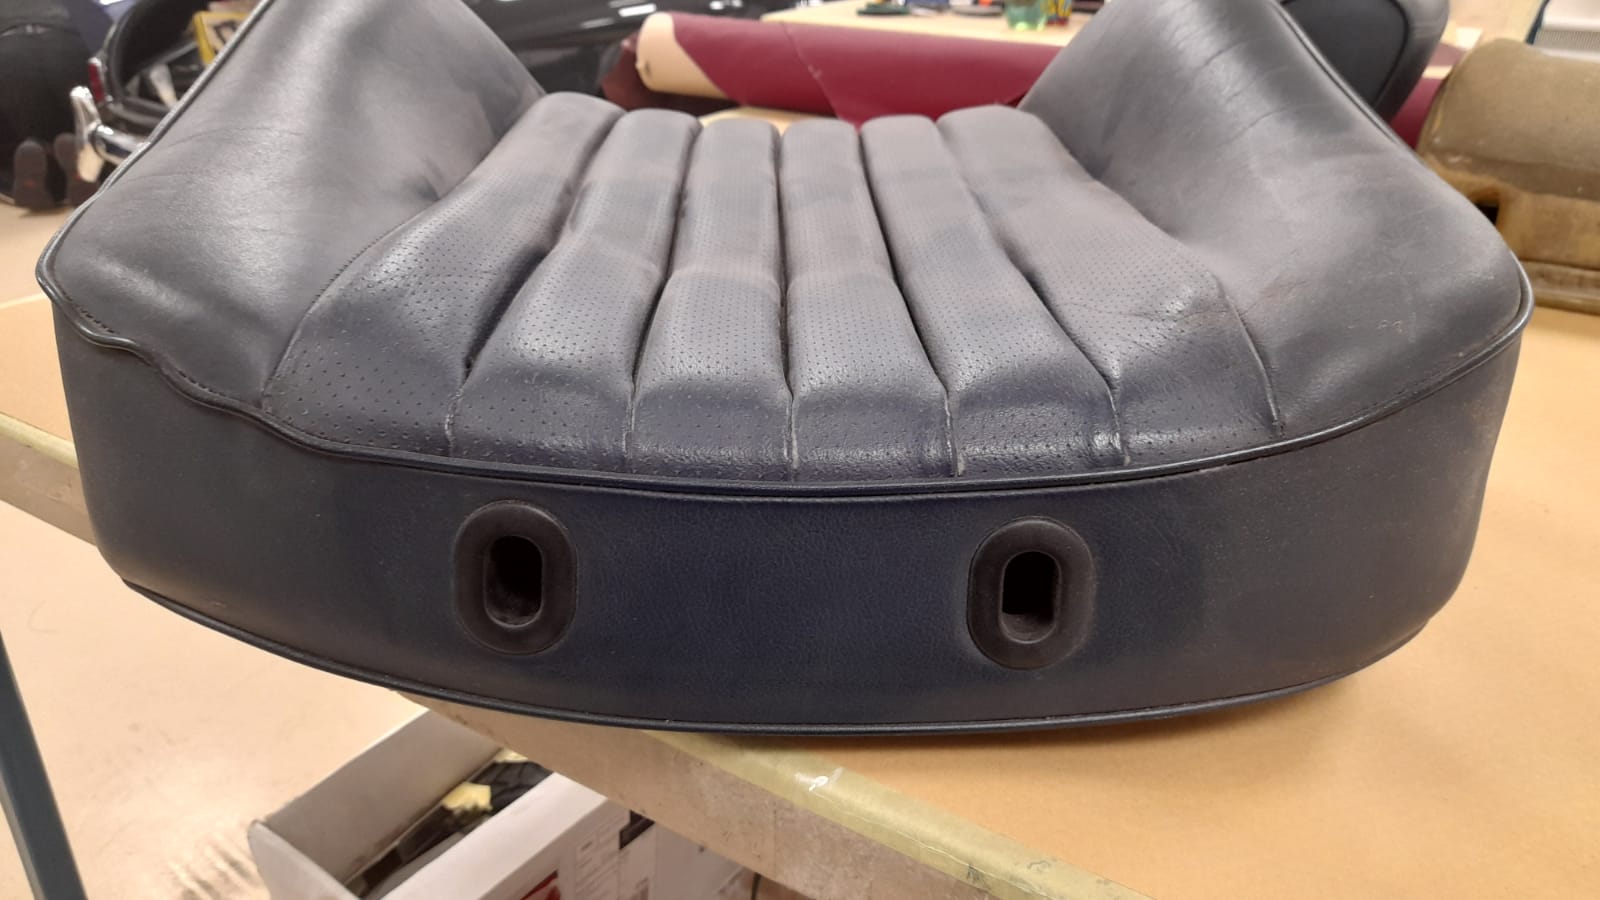
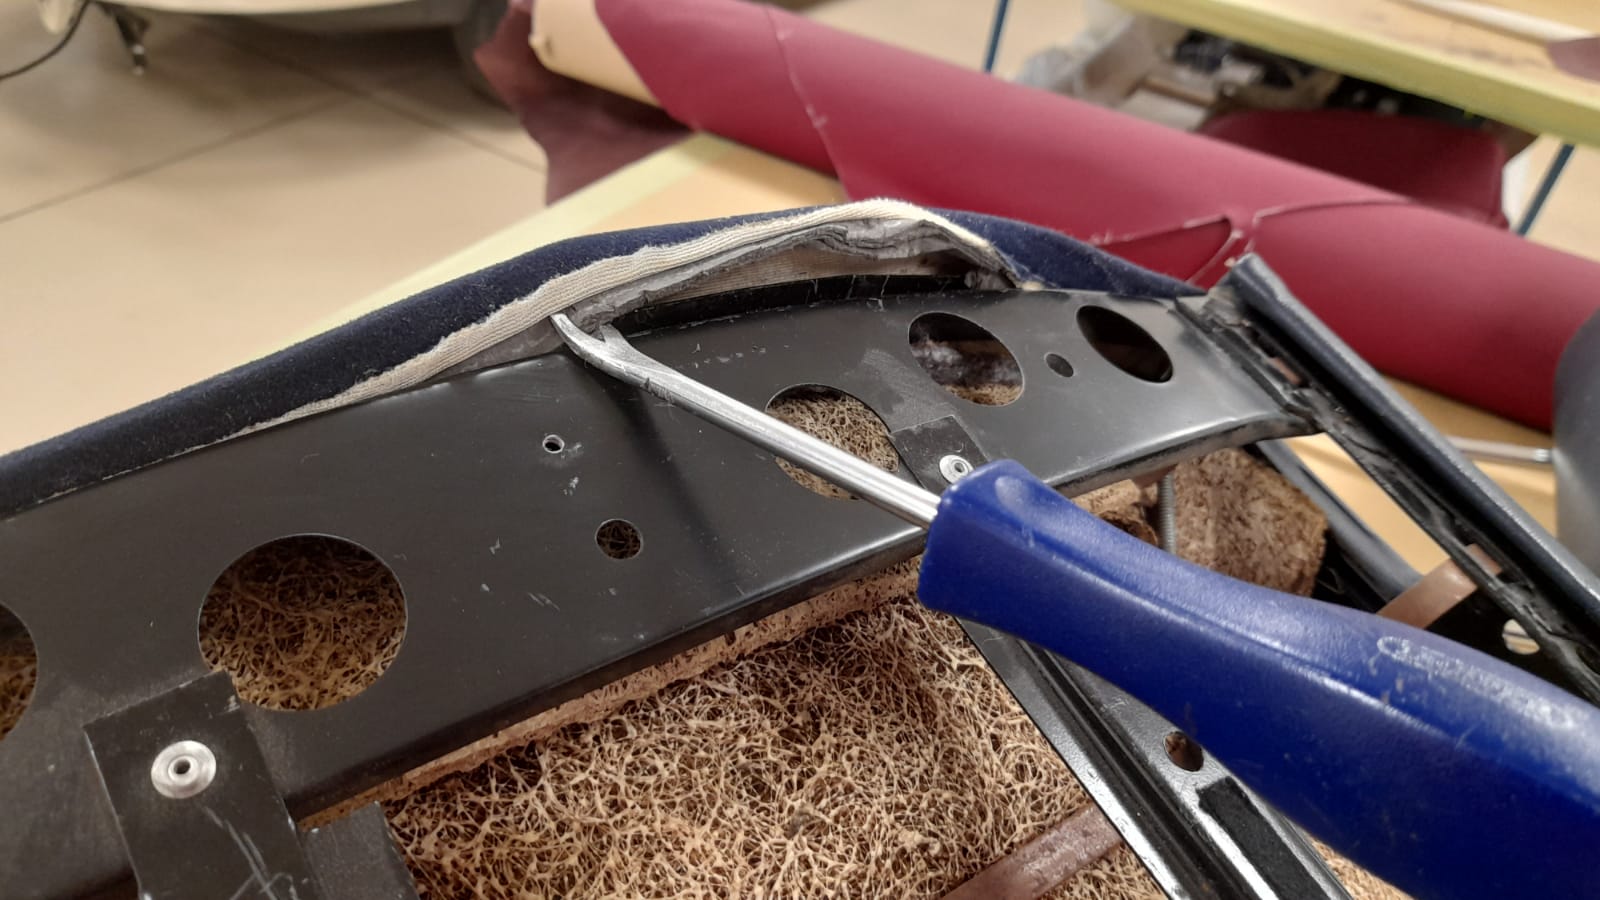
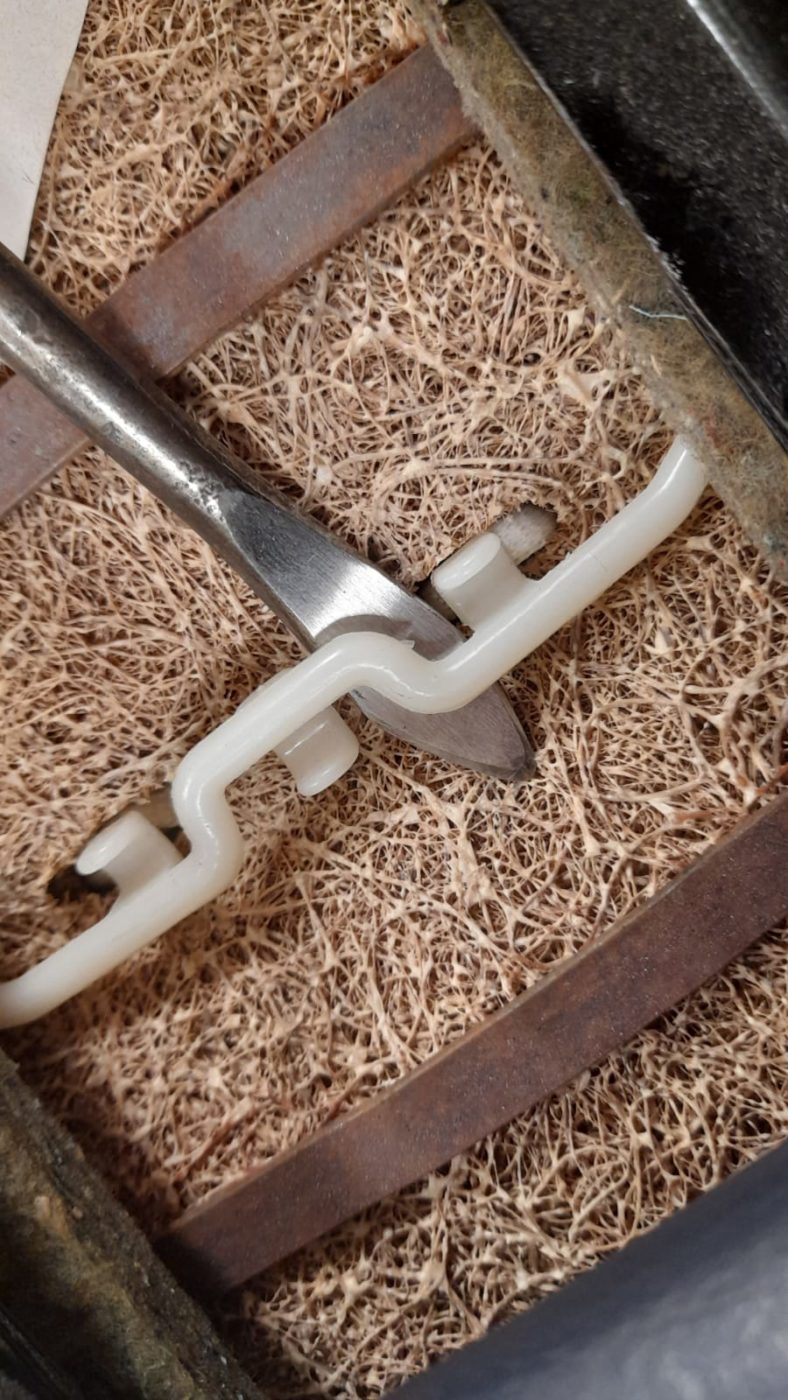
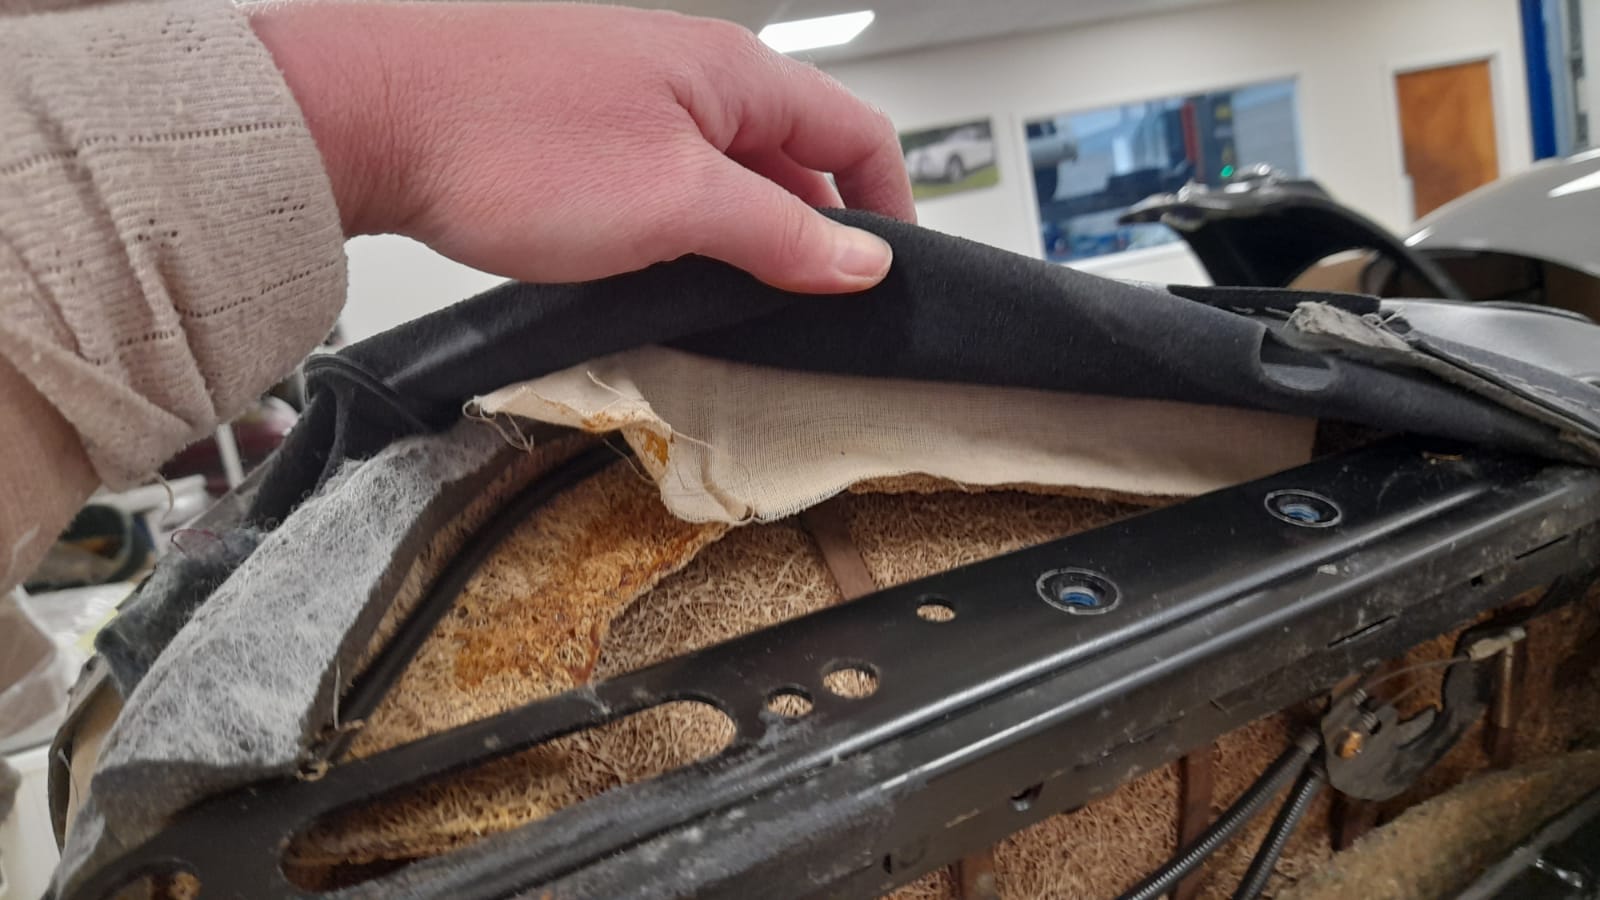
Lydia has been making the second front squab seat cover for our 1987 Mercedes 500SL. This included taking the cover off the frame which is
We couldn’t resist taking the Land Rover out into the snow to get some arrival photos. Since we’re aiming to give this iconic adventure-mobile a makeover, these shots serve as a good ‘before’ look. Stay tuned to see what it’ll look like afterwards…
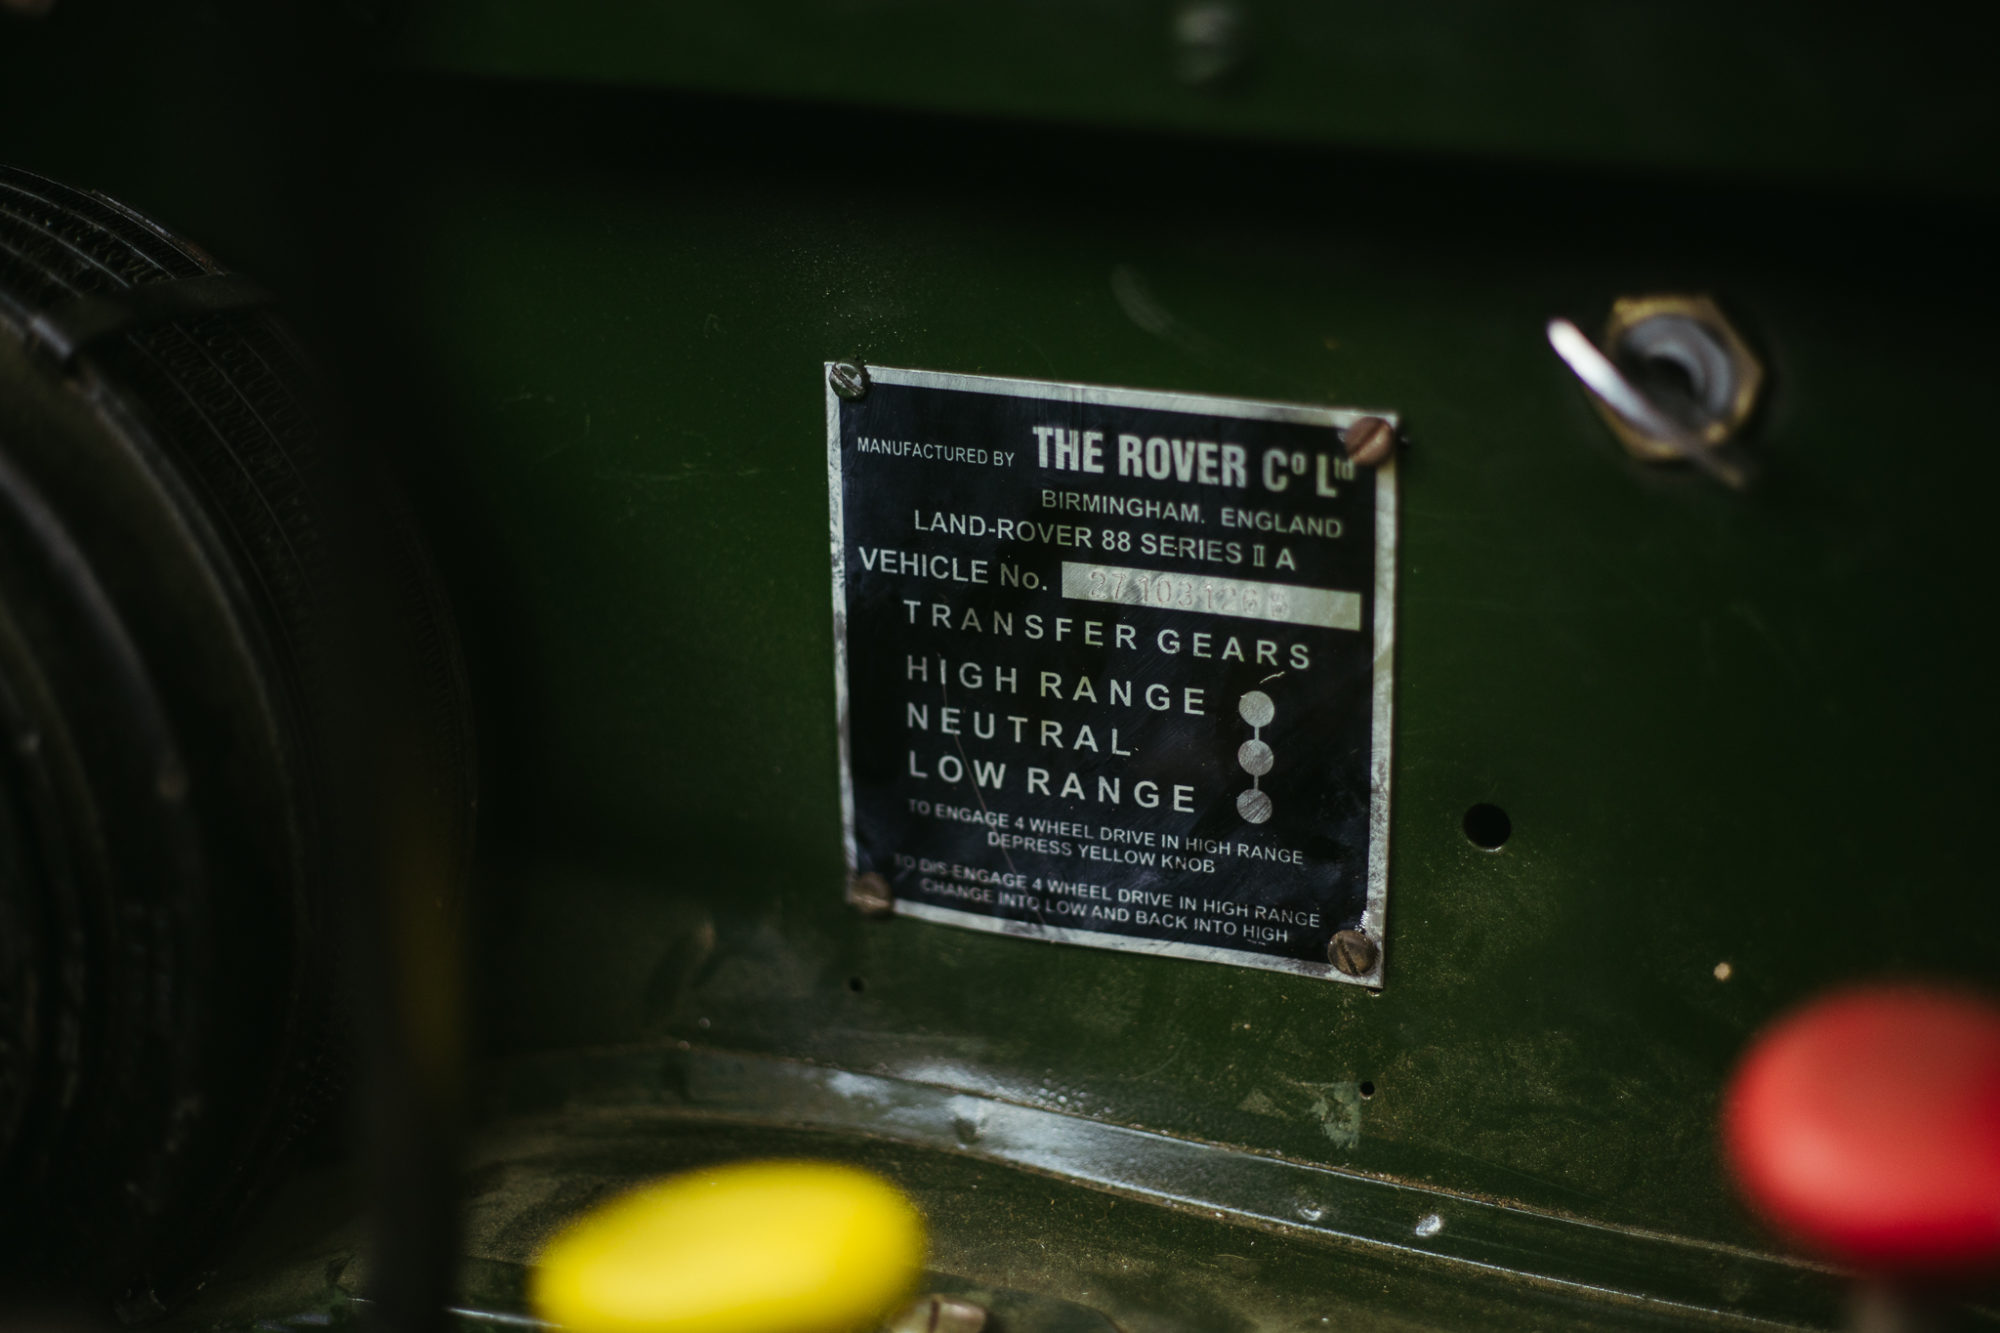
Its been exactly 60 years since the Series 2a was released and it still has its original power and authenticity in-tact. Whilst these vehicles are known for being glamorised tractors, nothing beats them in terms of authentic adventure. The Series IIa retained the civilian simplicity of the Series I whilst fine-tuning the styling, updating the suspension and adding a larger 2.3-litre four-cylinder. Our Series 2a comes with desirable overdrive and free wheeling hubs which makes it unique for motors from the time.
Land Rovers have now come synonymous with adventure, camping and an outdoors lifestyle, however, they were originally designed as agriculture work-horses. Over the decades, they’ve gained a duality between agriculture and adventure.
This iconic vehicle its reminiscent of the golden era of exploration and was often seen leading the charge on the silver screen. With America’s Jeeps taking the 4×4 lead across the pond the post-war era, Land Rover Series and Range Rover Defenders stood for the UK’s iconic off-roading vehicle. You might recognise a similar green series IIa that featured in the Italian Job alongside a fleet of mini coopers.
There’s a series of complicated but nifty modes on vintage Land Rover so it can seem overwhelming to the novice driver or those experiencing vintage Land Rovers for the first time. The blog below clearly explains what each mode does:
You can expect to see this Land Rover up for grabs in the coming weeks, stay tuned…
We’ve recently welcomed this iconic 1964 Series IIa Land Rover into the workshop, however before its ready to be photographed and released for the competition, there’s a handful of works to be done on it.
A variety of parts need to be ordered including new wiper blades, new headlamps, and door rubbers.
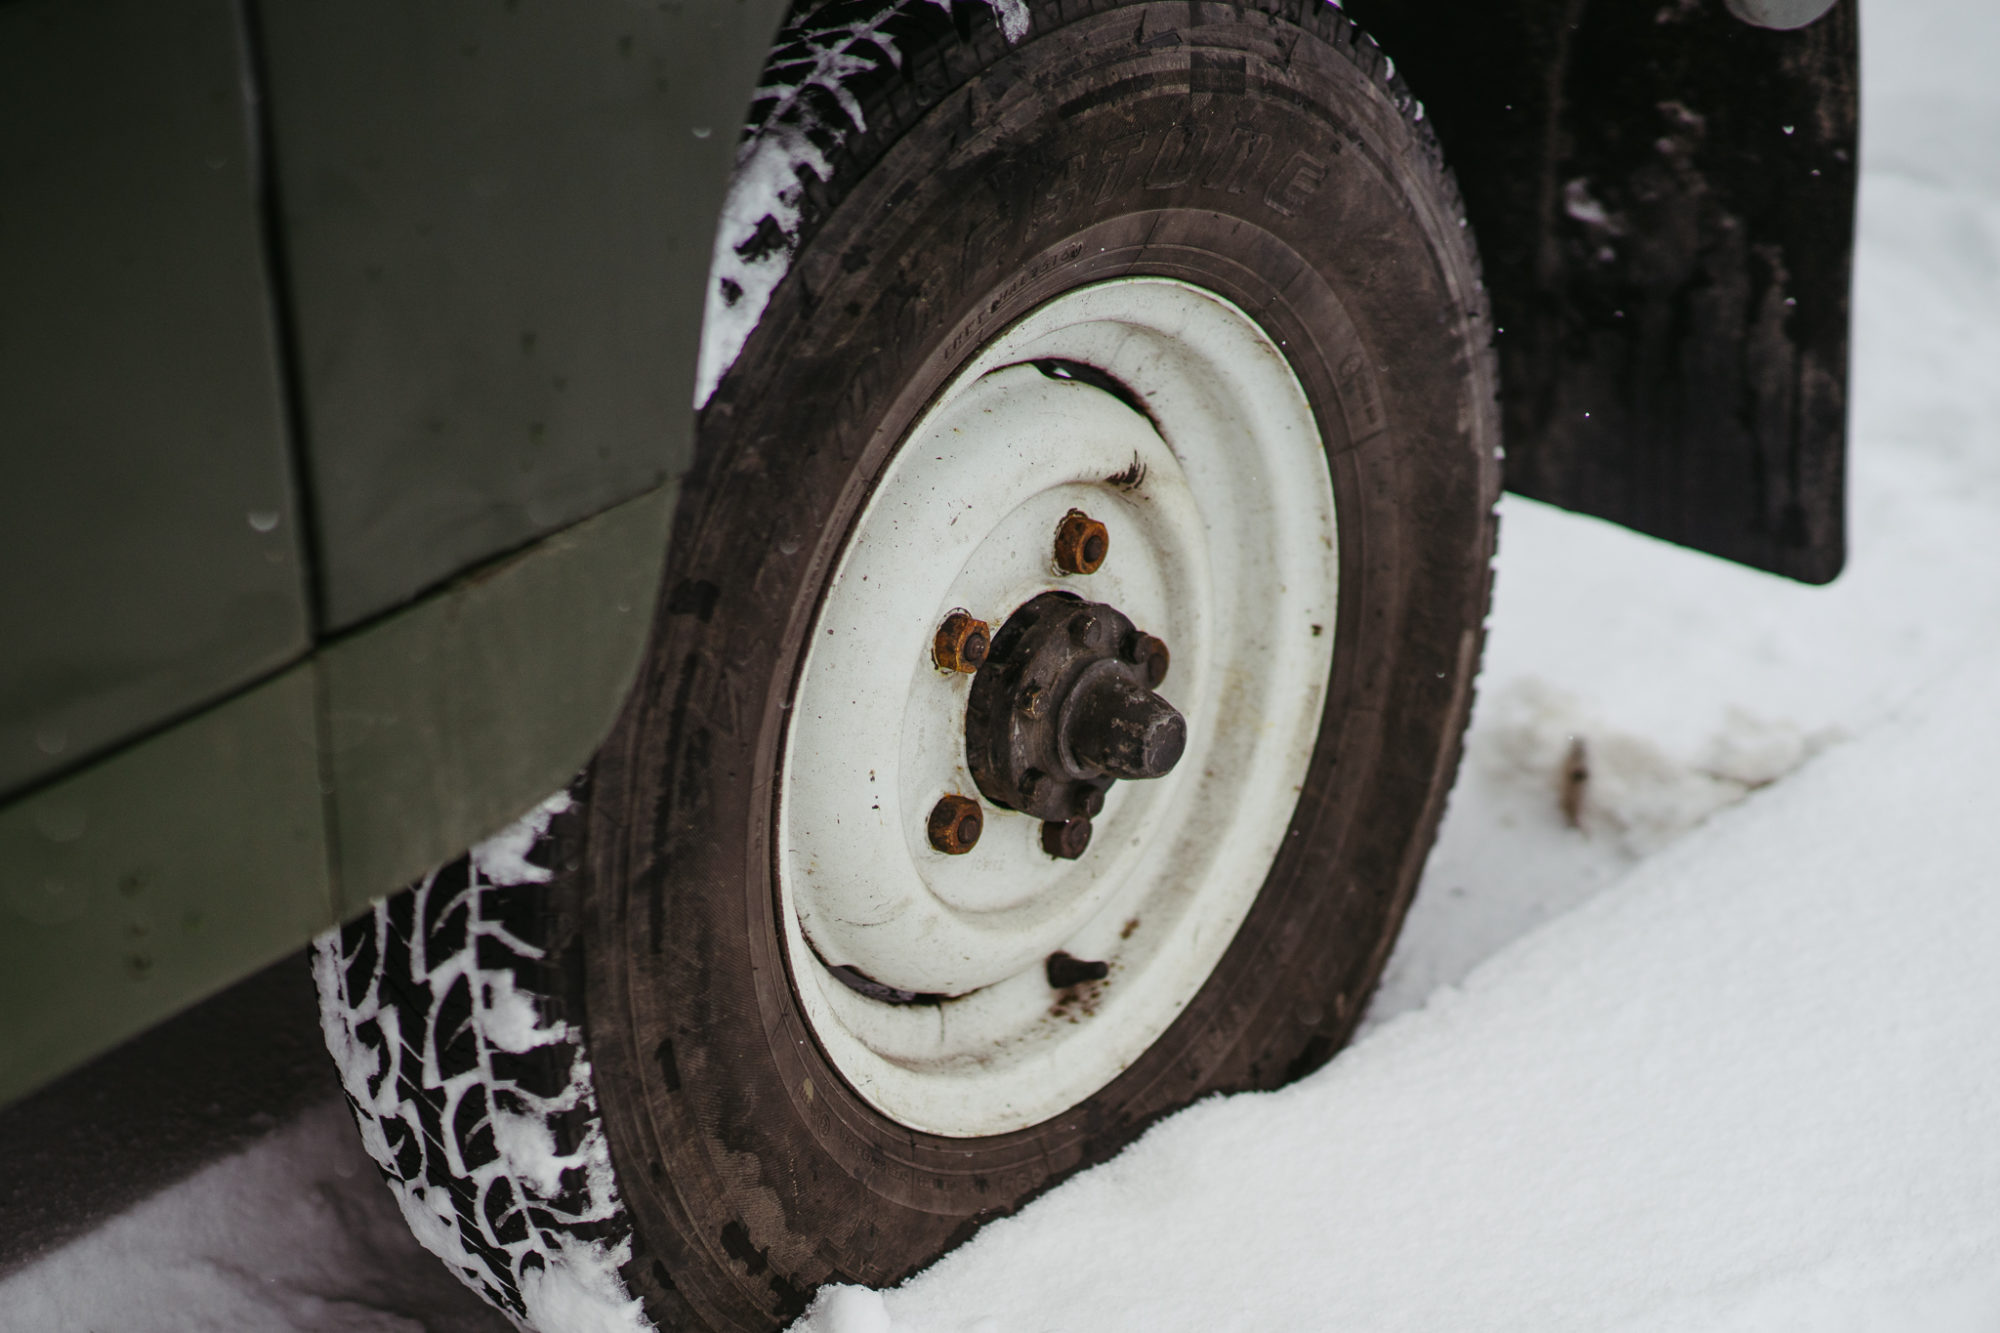
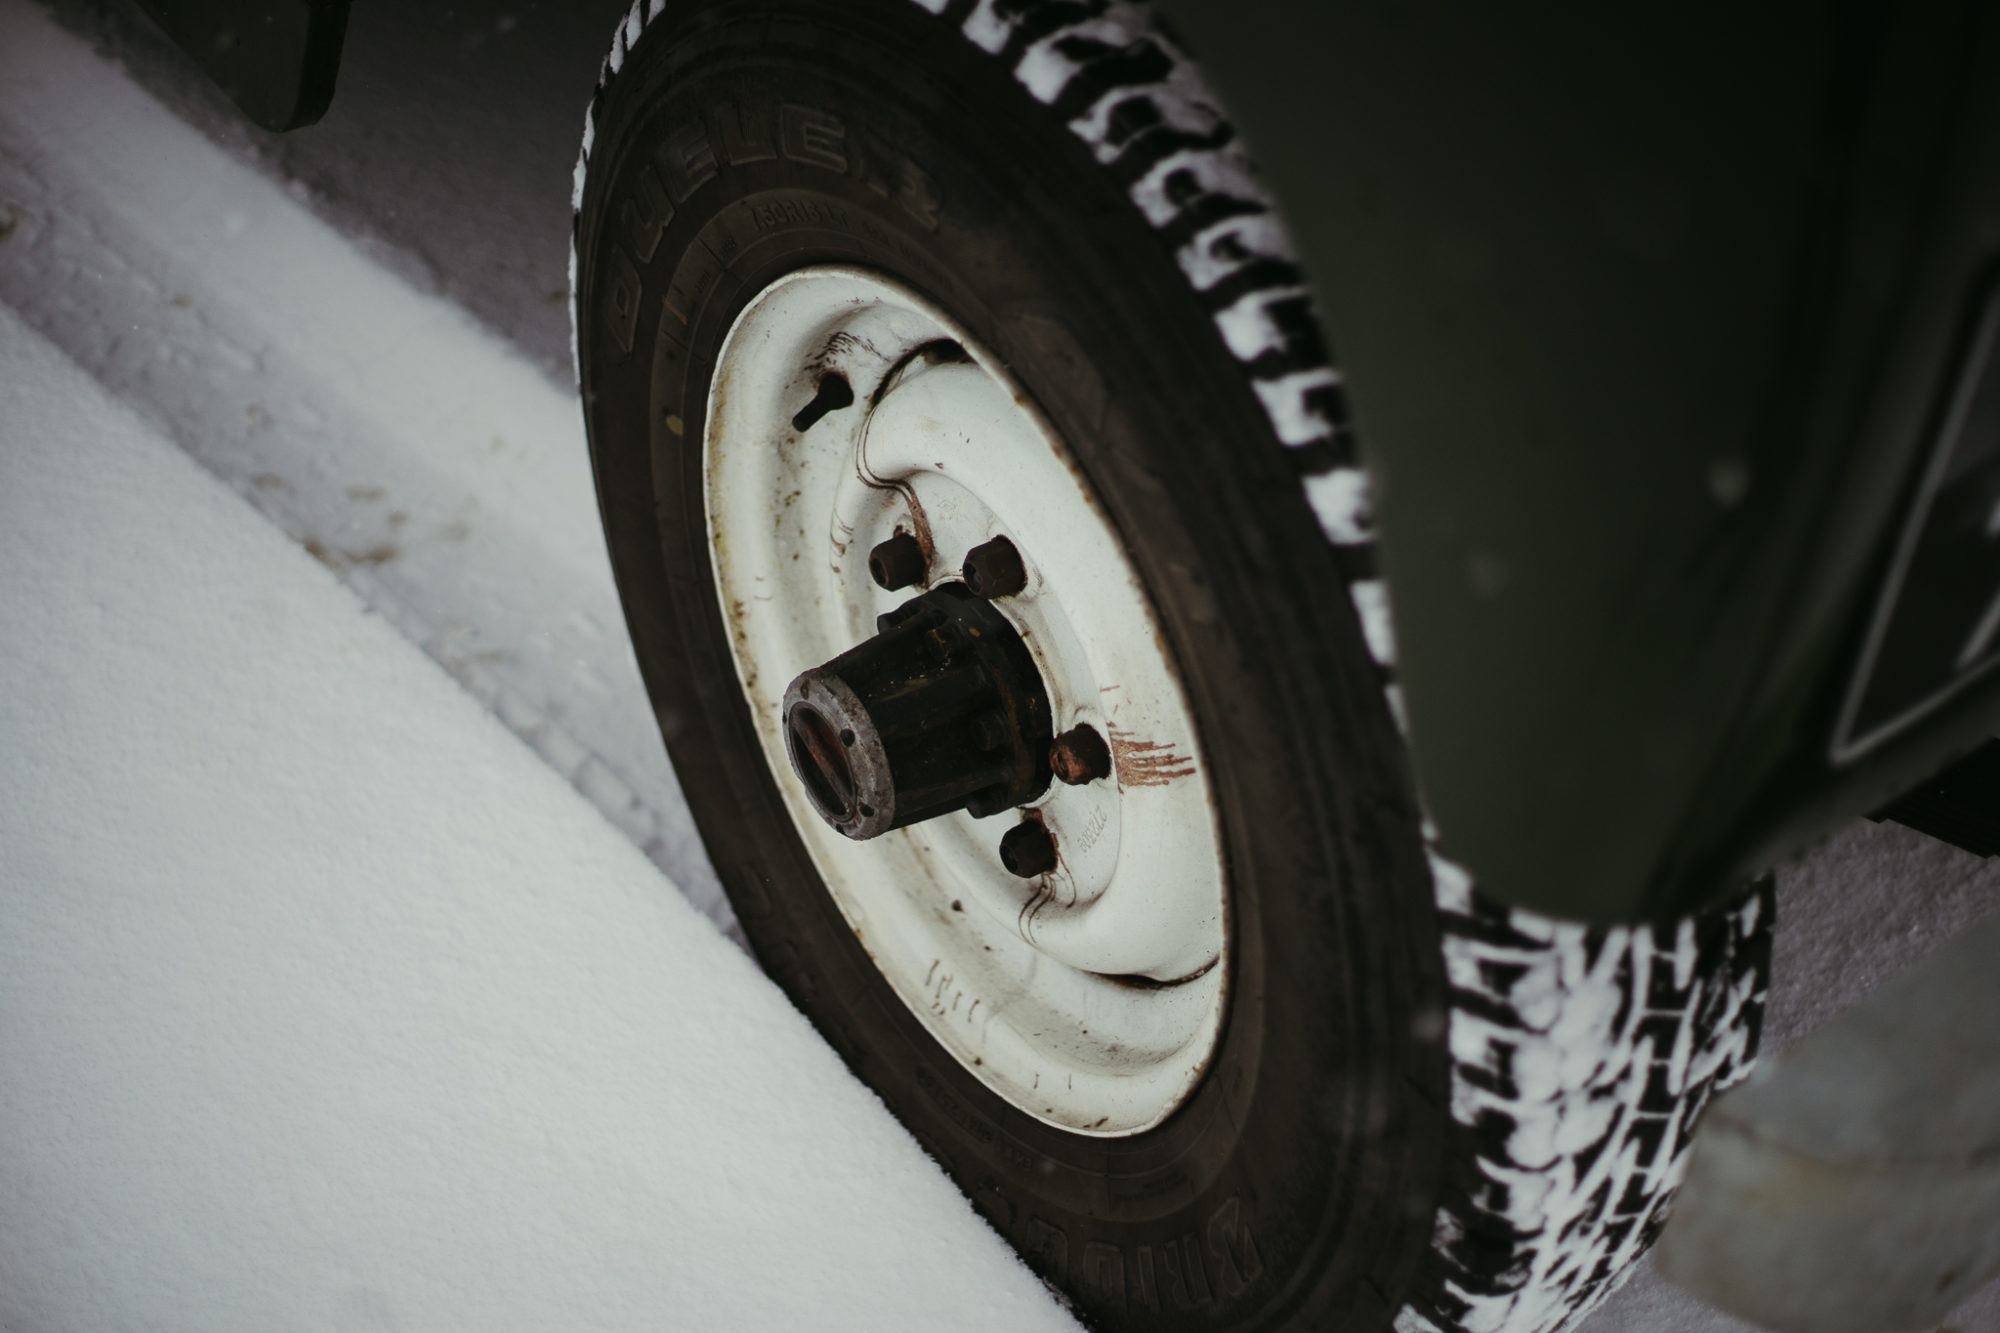
The list of work needing to be carried out includes a variety of small jobs such as rewiring the wiper motors, re-fitting the seats, fixing a diesel leak from the injector pump, modifying the battery mount, replacing the number plate lamp, replacing rusty bolts, painting the rear body mounting plates to match either side, overspray various bolts and components, fix near side rear hub leak, remove trailer wiring and paint where the outer-side engine mounts have been welded in.
Once all these parts and some other small jobs have been completed, we can hand it over to the marketing team to shoot and present!
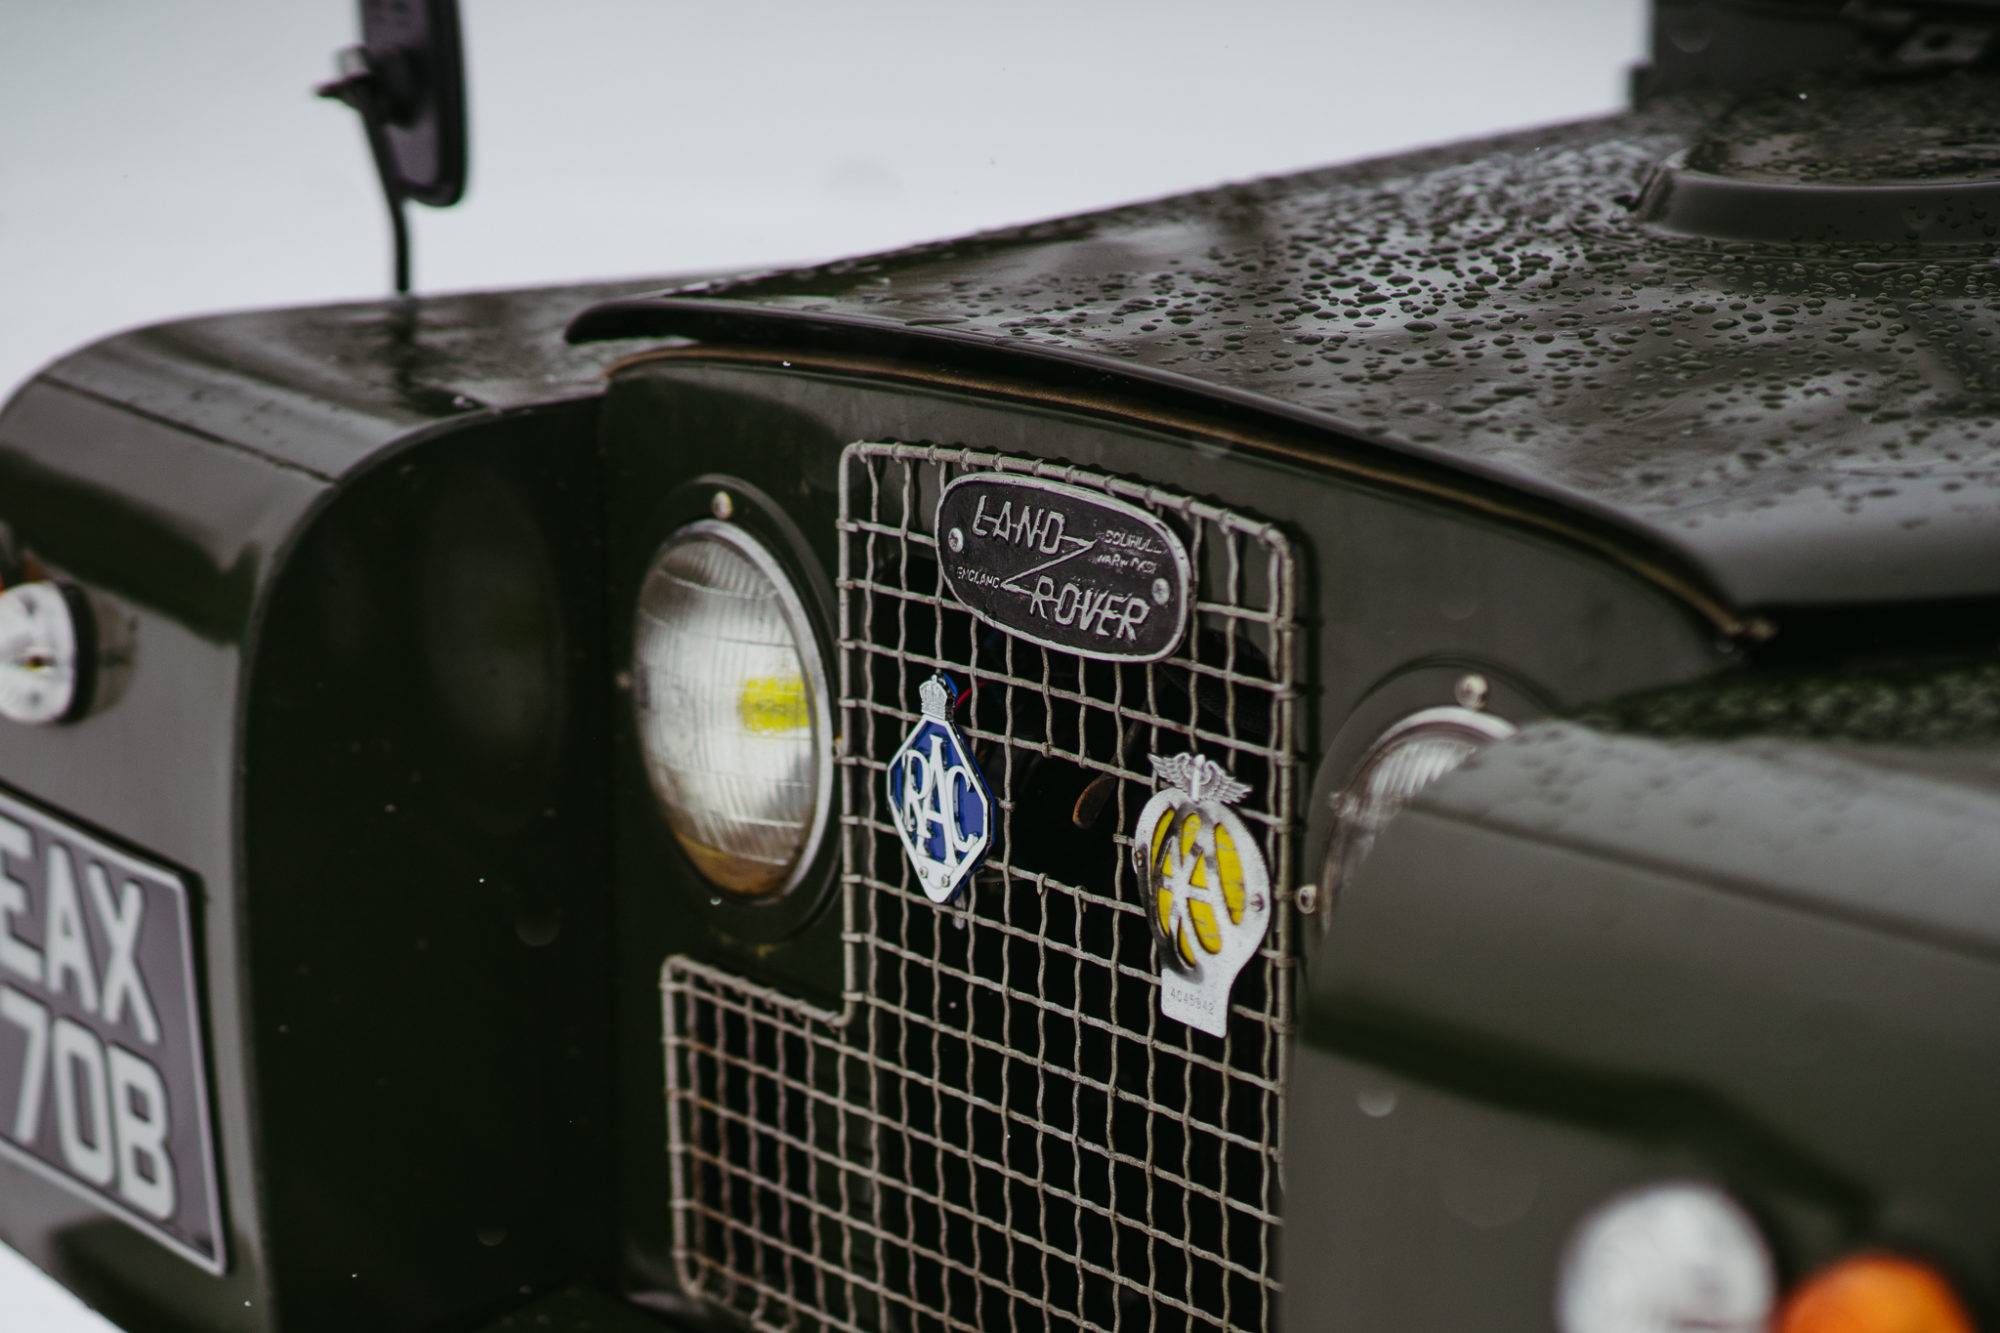
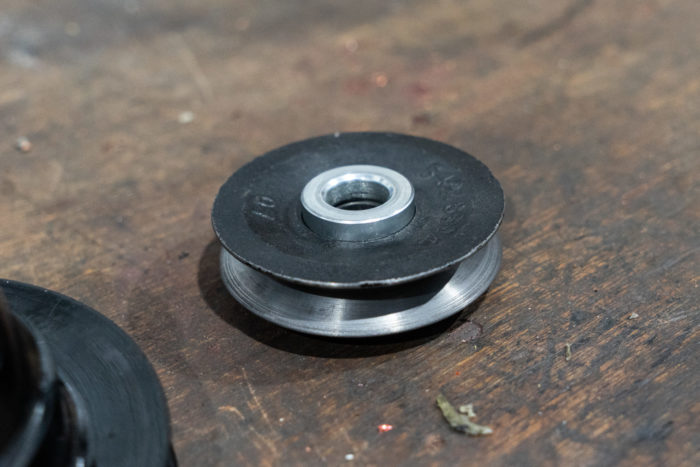
We’ve recently re-fitted and lowered the side lights as pictured below. This was a cosmetic change that the customer requested.
The pulley mechanism for the dynamometer wasn’t running at the correct speed and therefore was not charging the battery. We sent the pulley away to be modified at Coltec. We’ve now received it back so they can be fitted. The pulley has been made smaller to allow it to spin faster and charge the dynamometer. We hope this will have solved the charging issue!
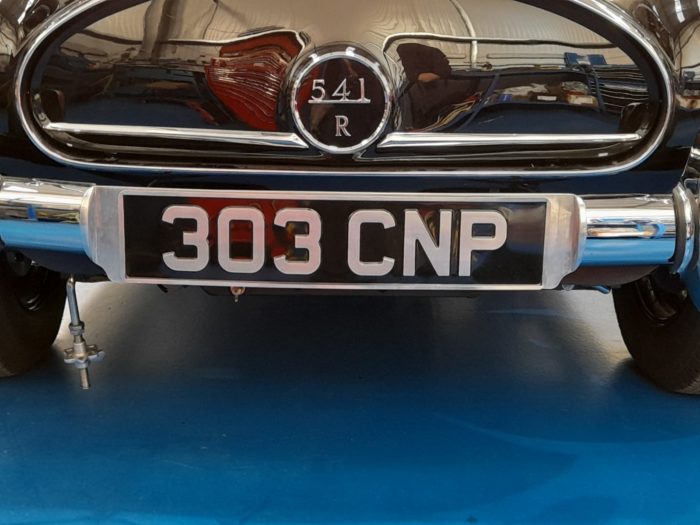
We’ve also modified the number plate plate upon the clients request. Originally the metal chrome frame that the number plate sat on was wider than the number plate, which is the original design, however our client decided he’d like the width to be shorter, therefore we modified it to his bespoke request.
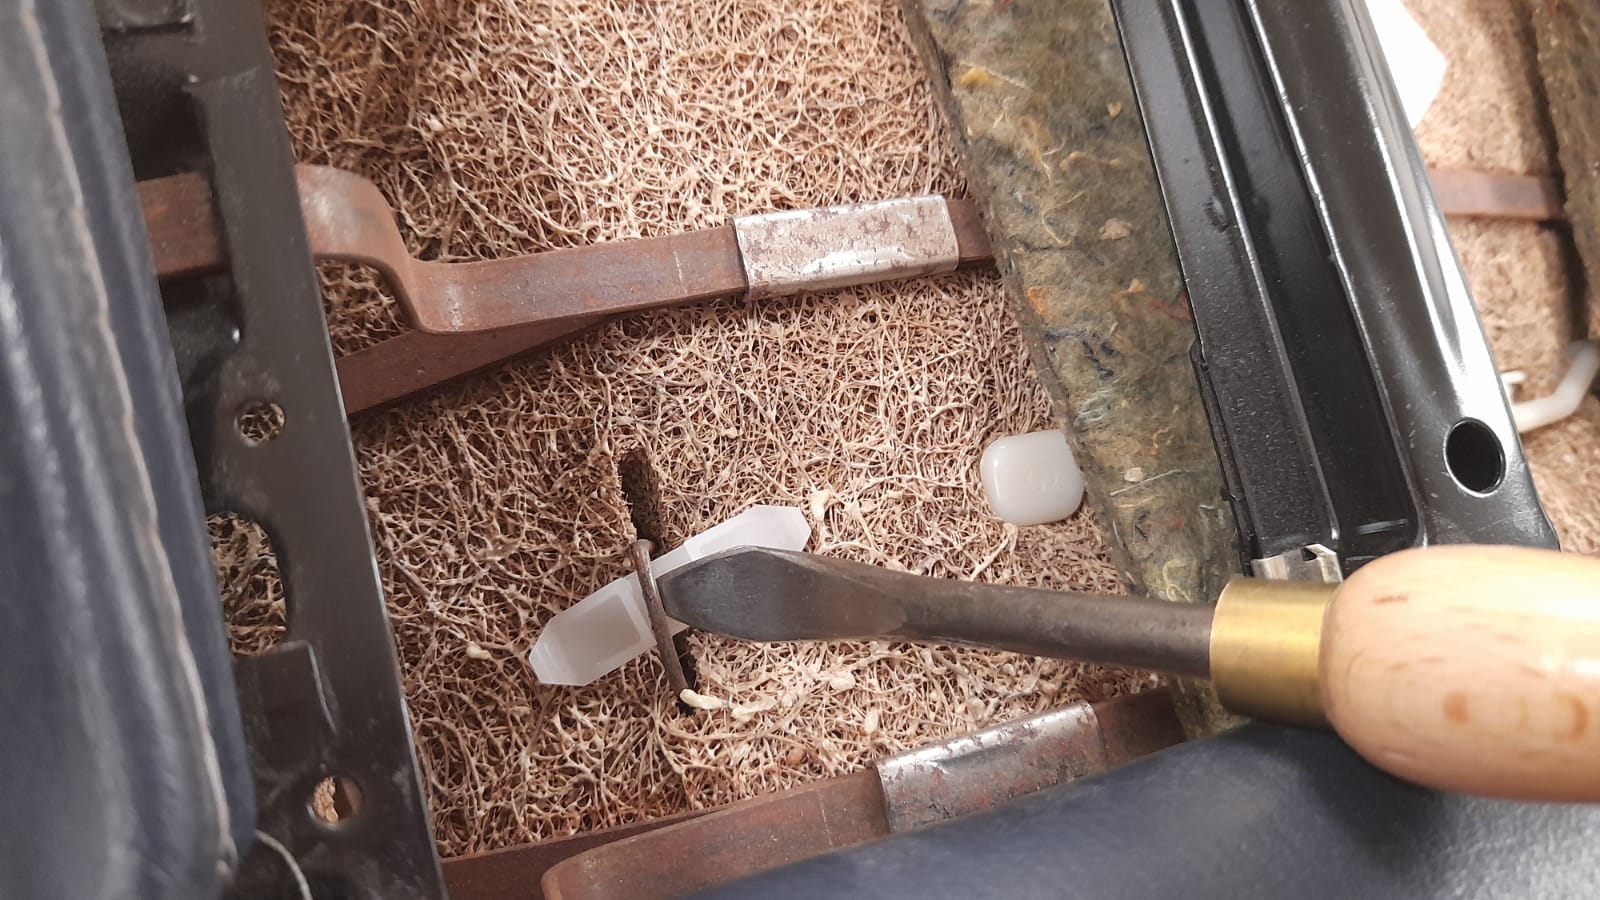
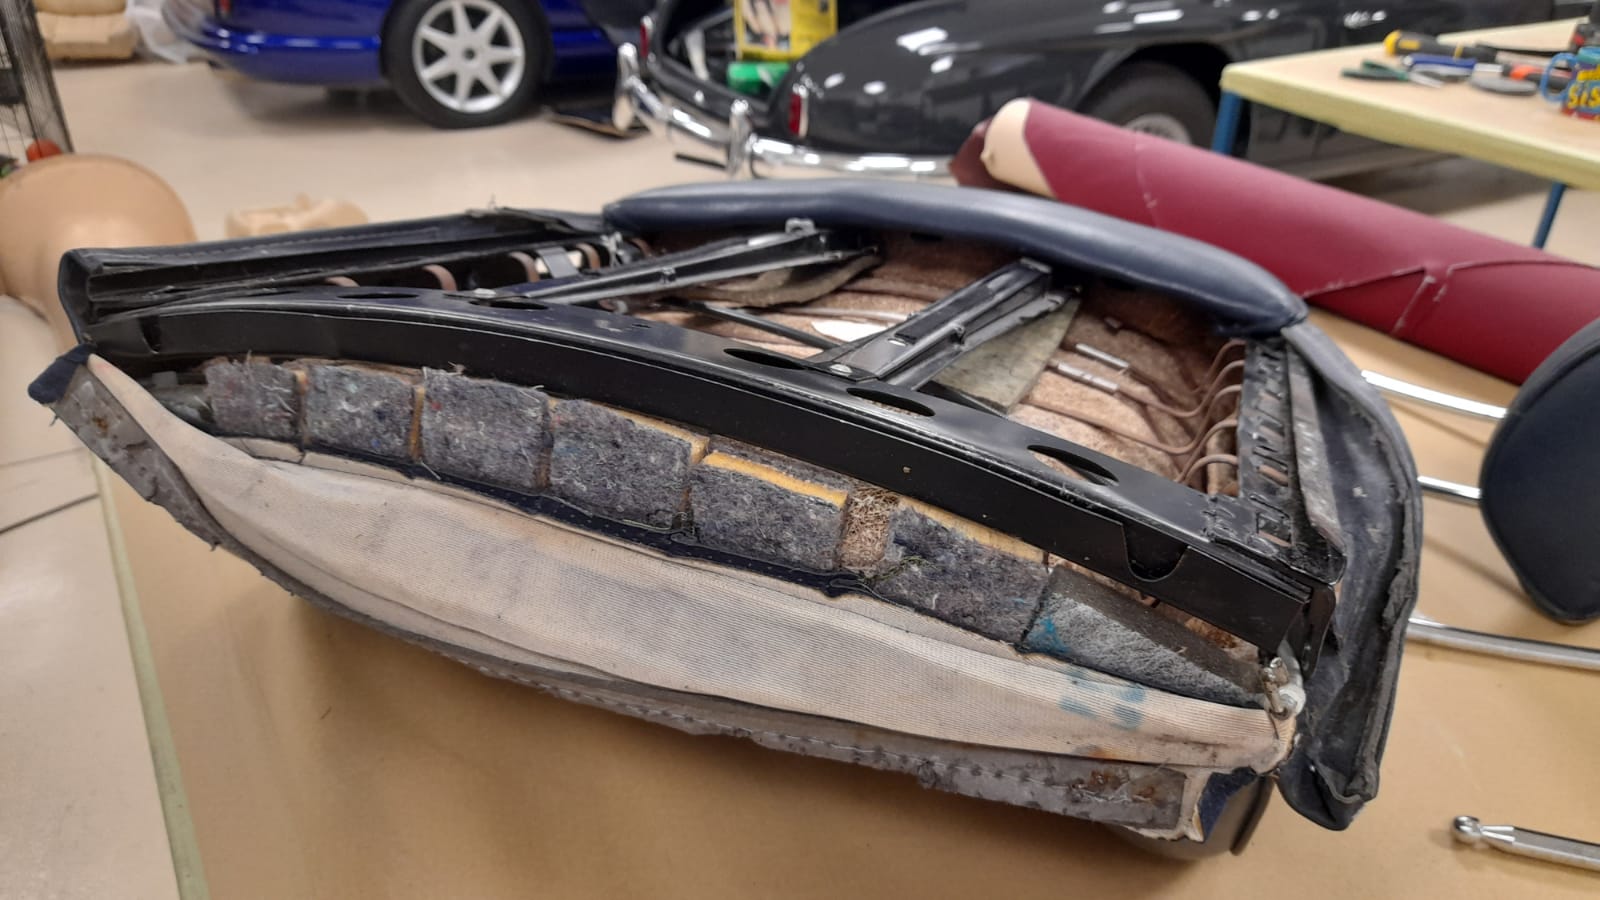
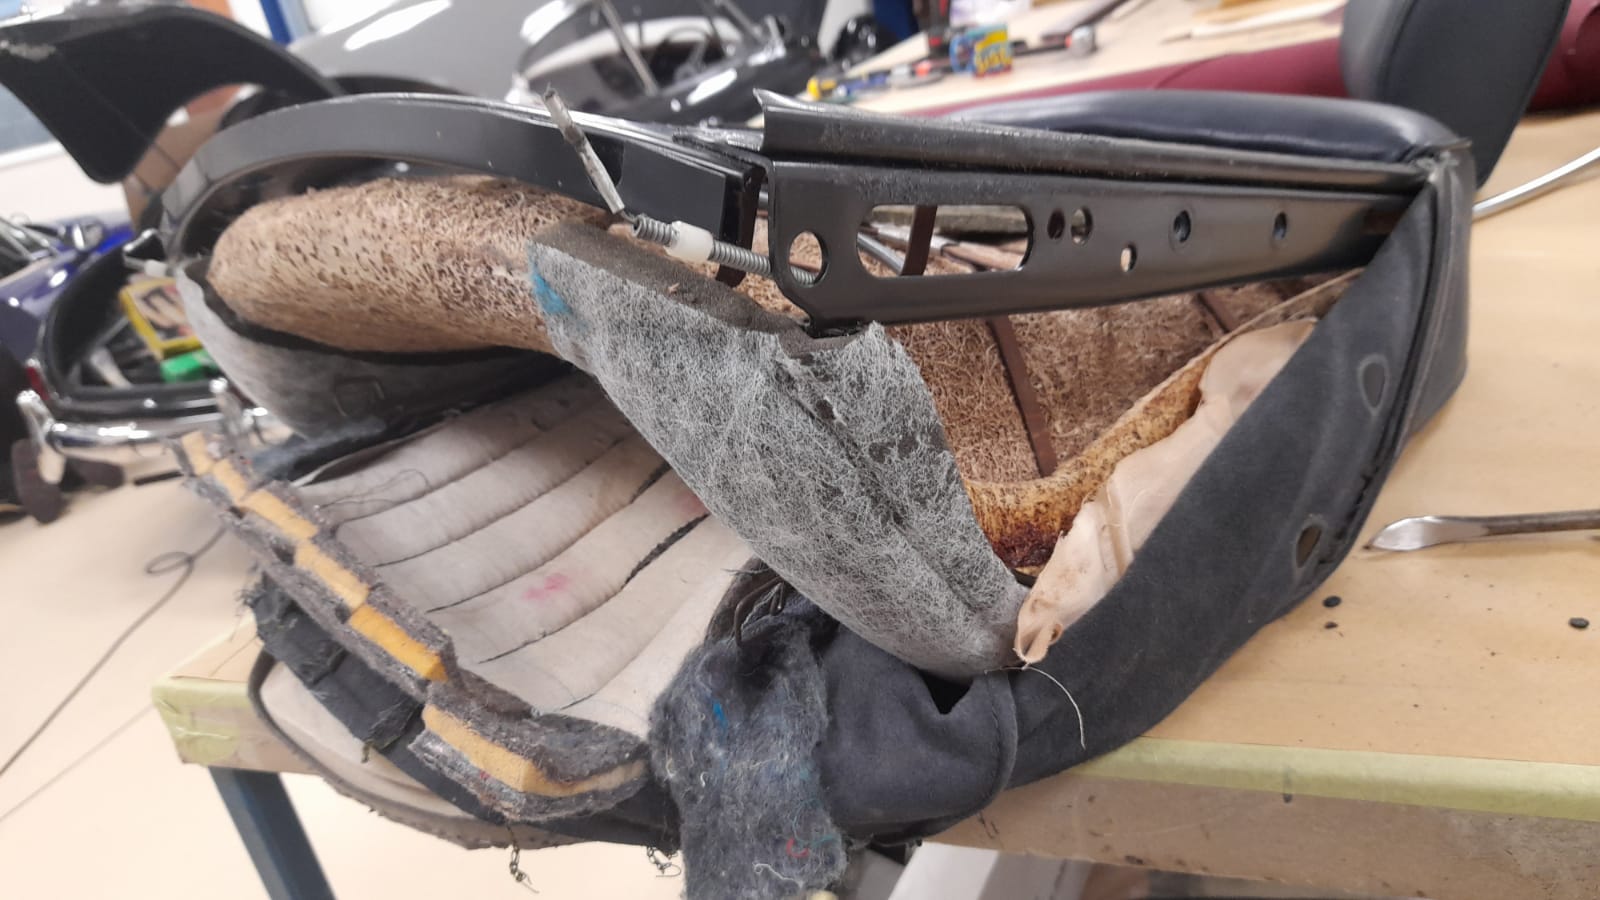
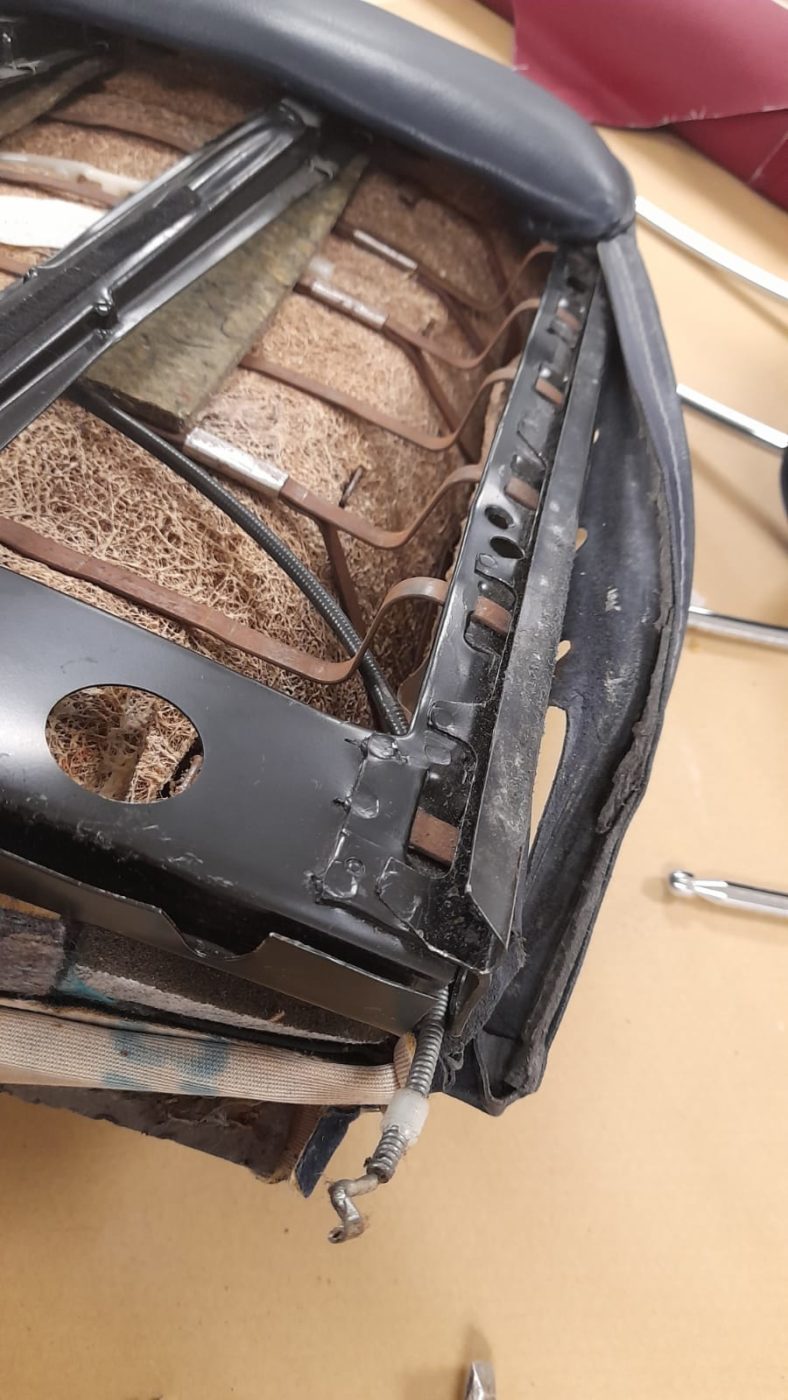
Lydia has been making the second front squab seat cover for our 1987 Mercedes 500SL. This included taking the cover off the frame which is something.
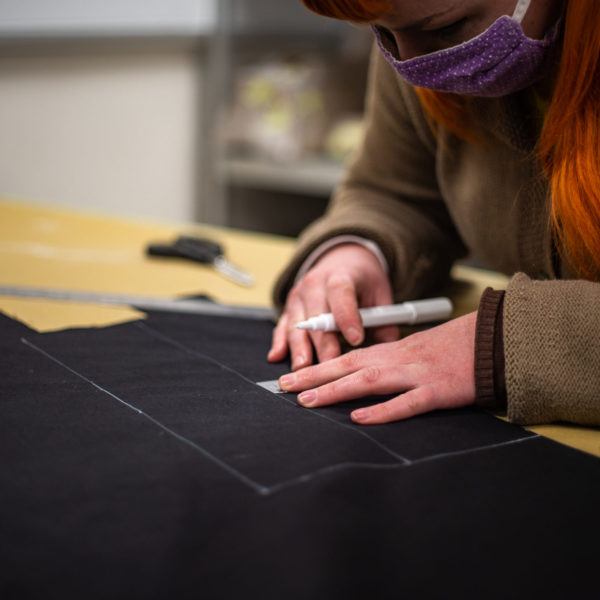
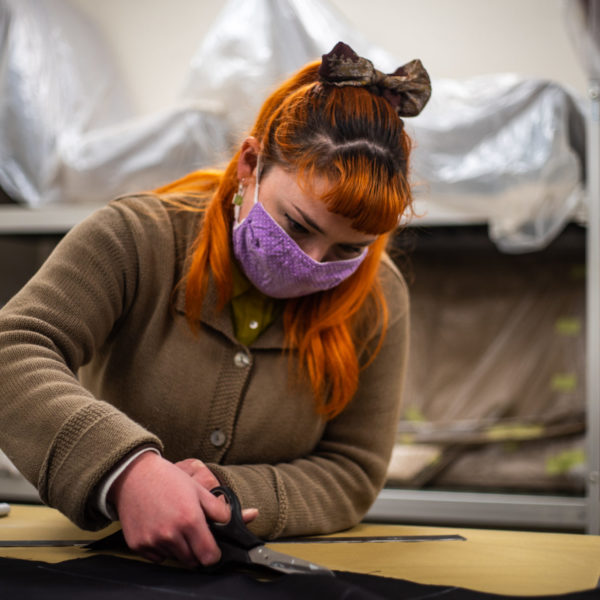
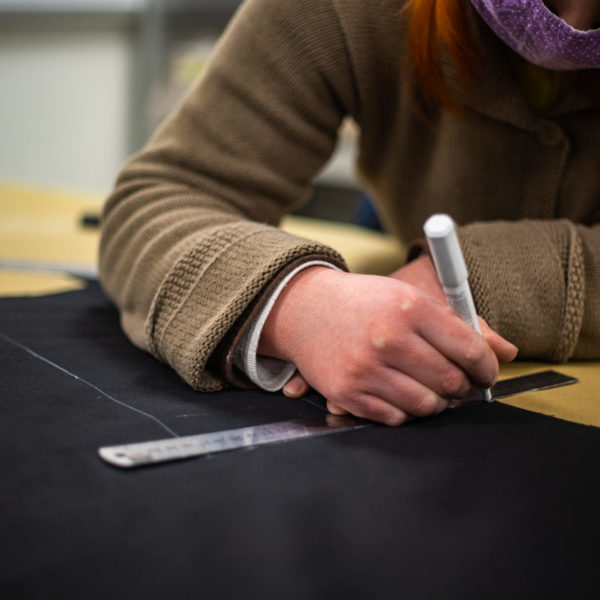
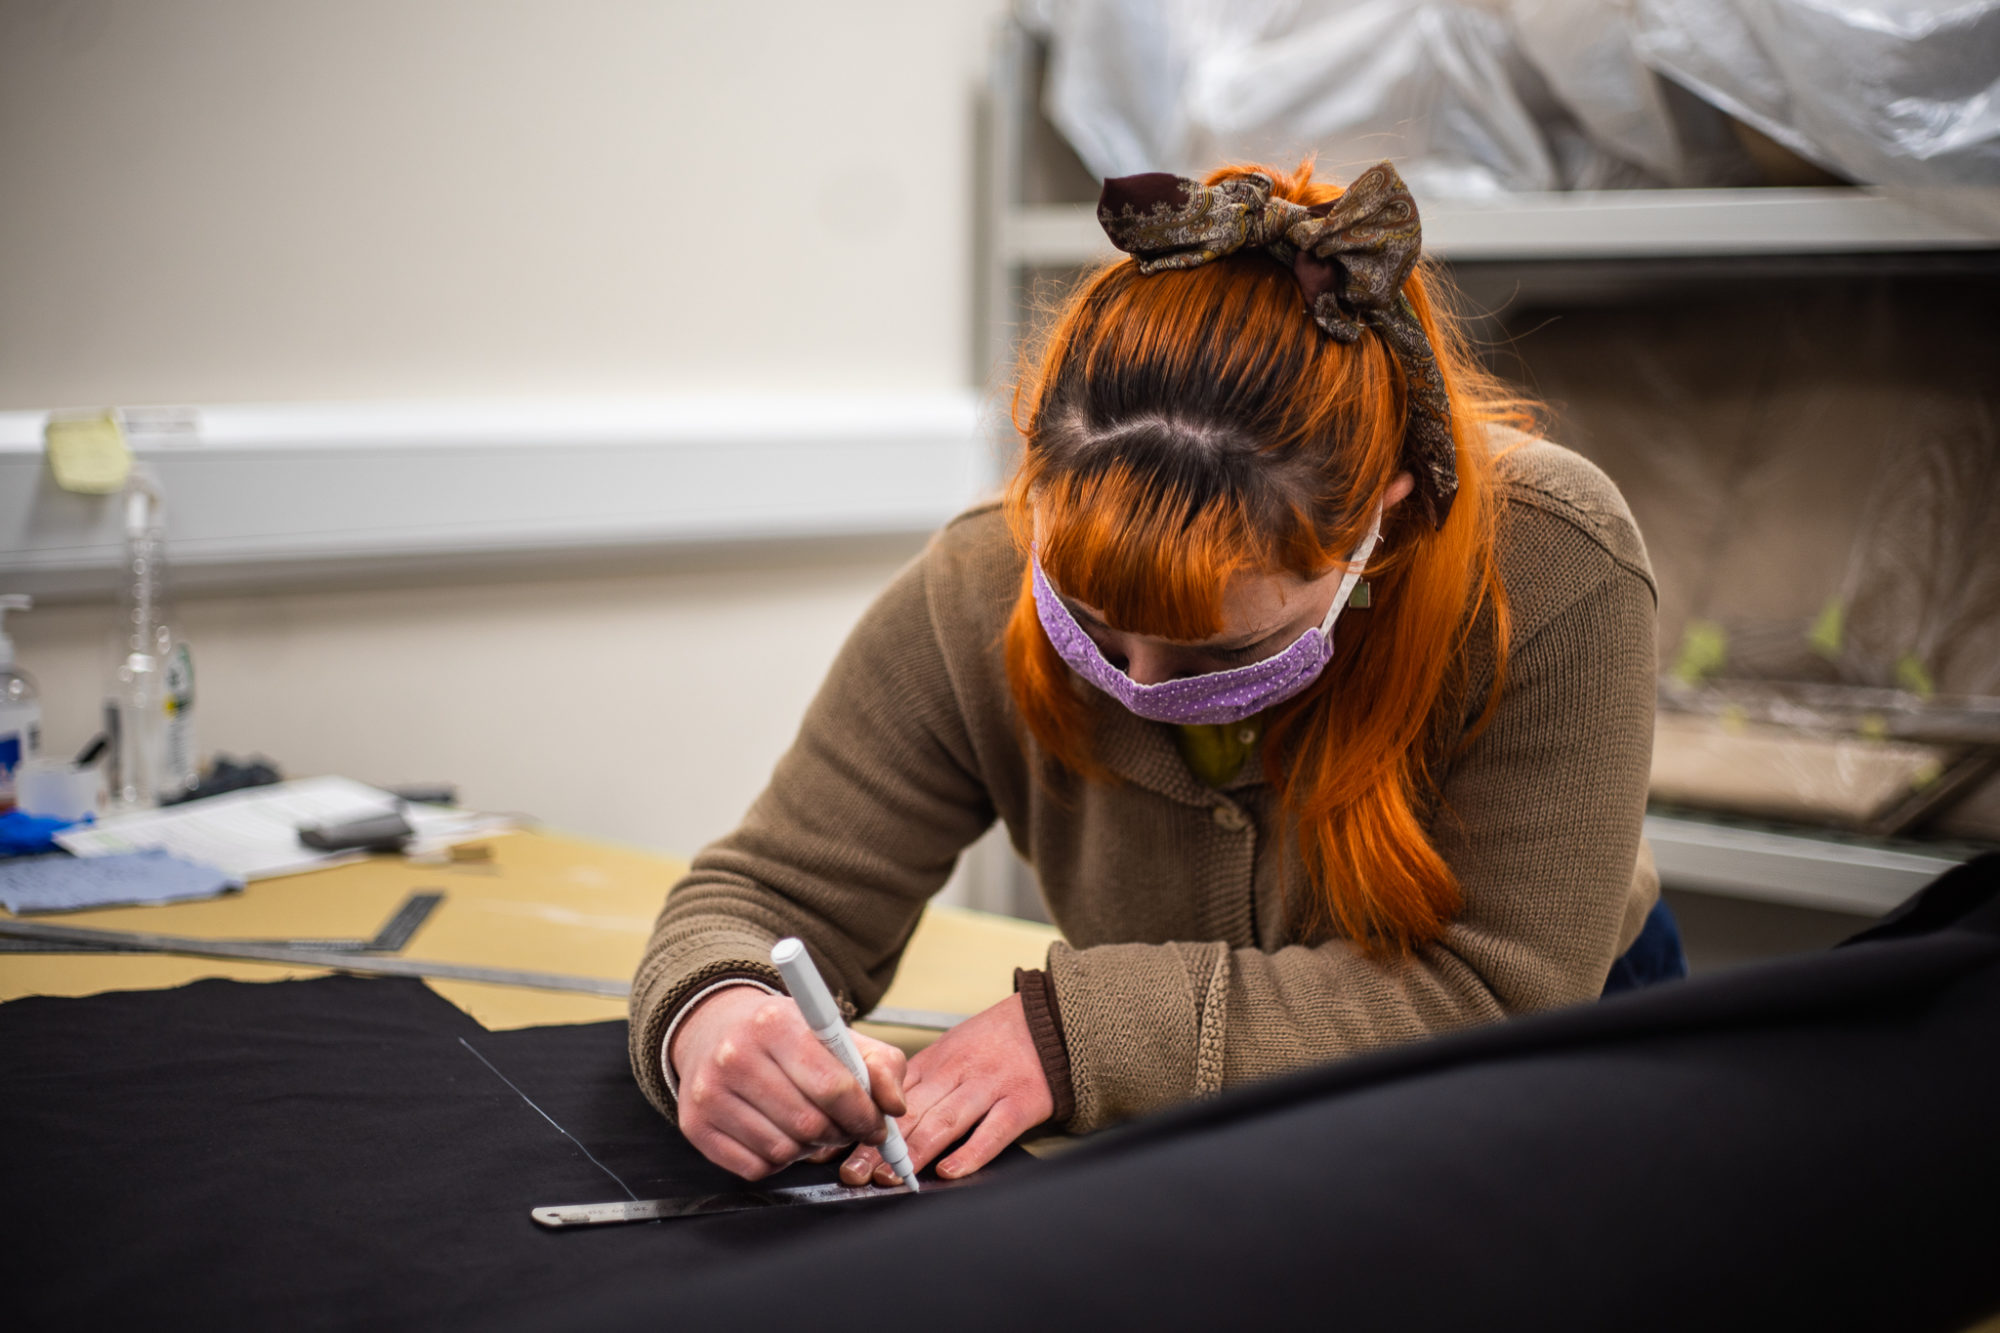
Lydia had to start with loosening the sides from the frame by levering the cover off. The next step was to remove the plastic parts by holding the cover down in the centre and shimming the components out. Lydia could then start peeling the cover off the frame completely and take off the plastic rings for the headrest at the top of the squab. The next step is to remove the leather cover and rework that.