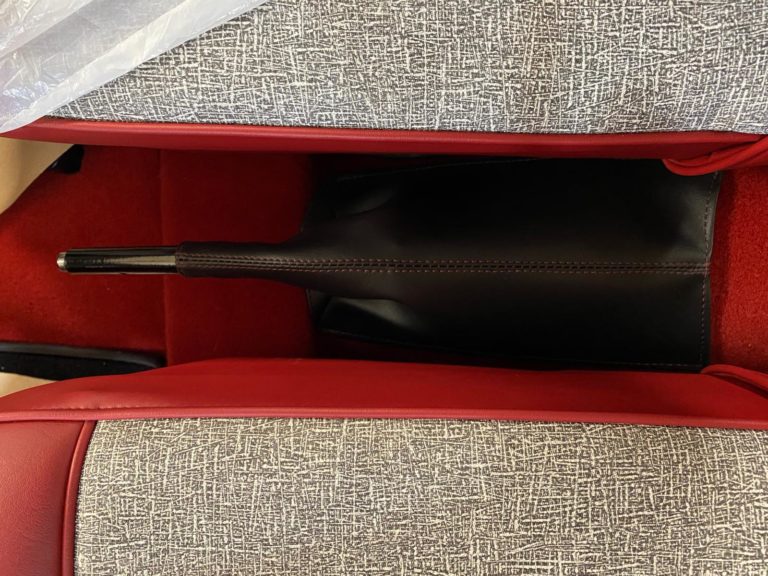
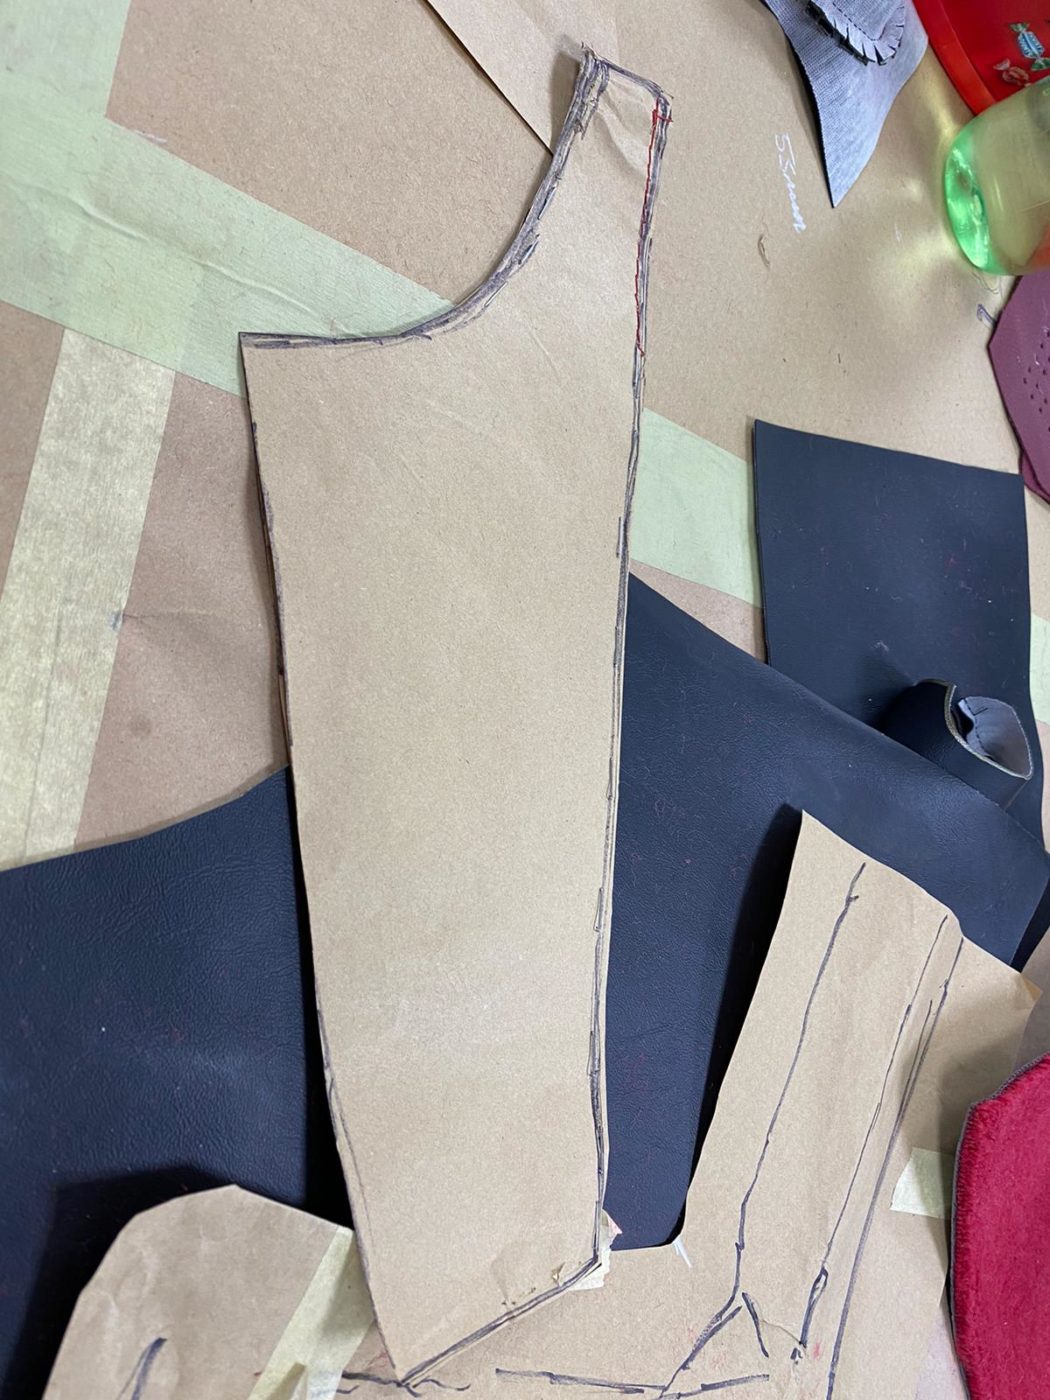
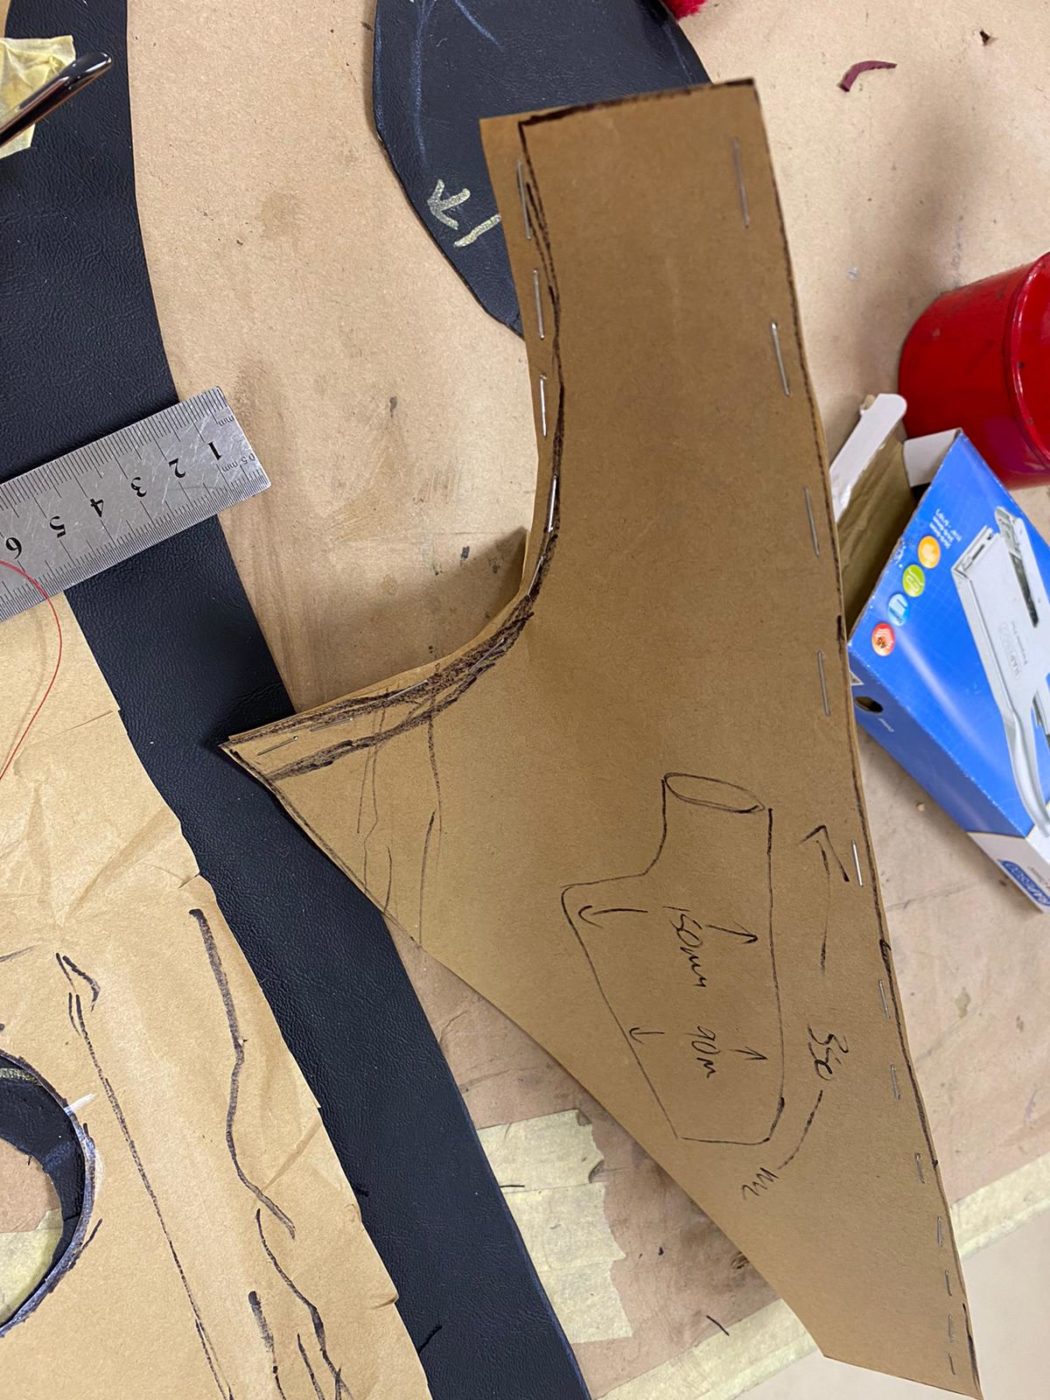
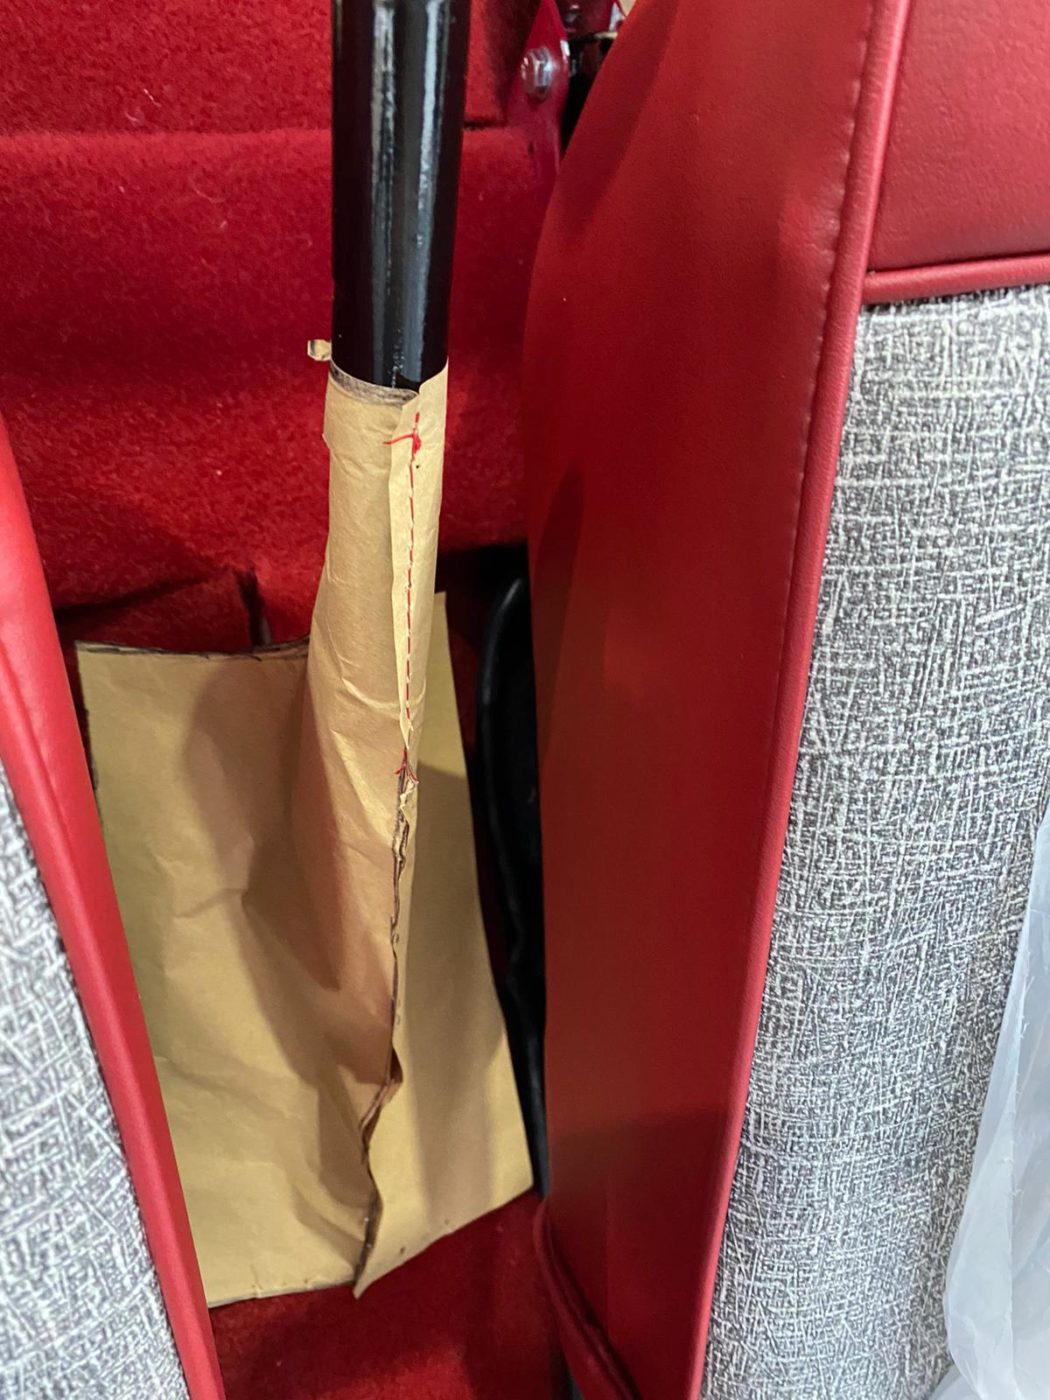
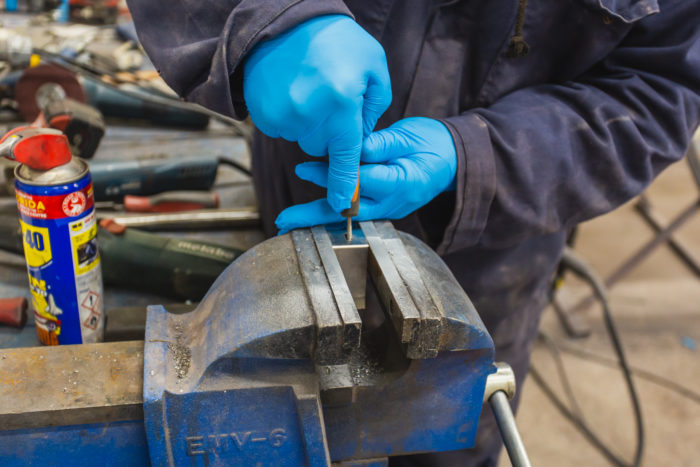
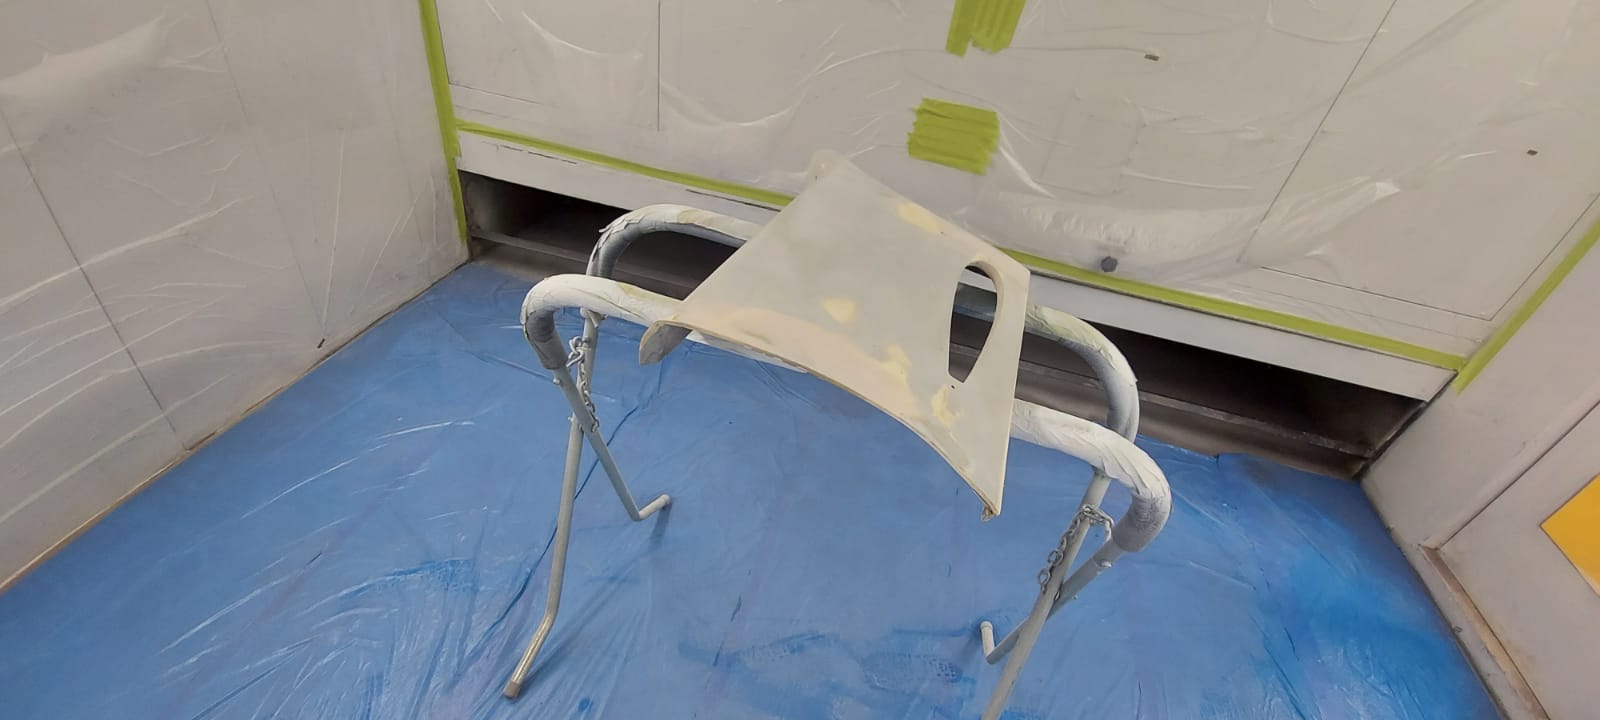
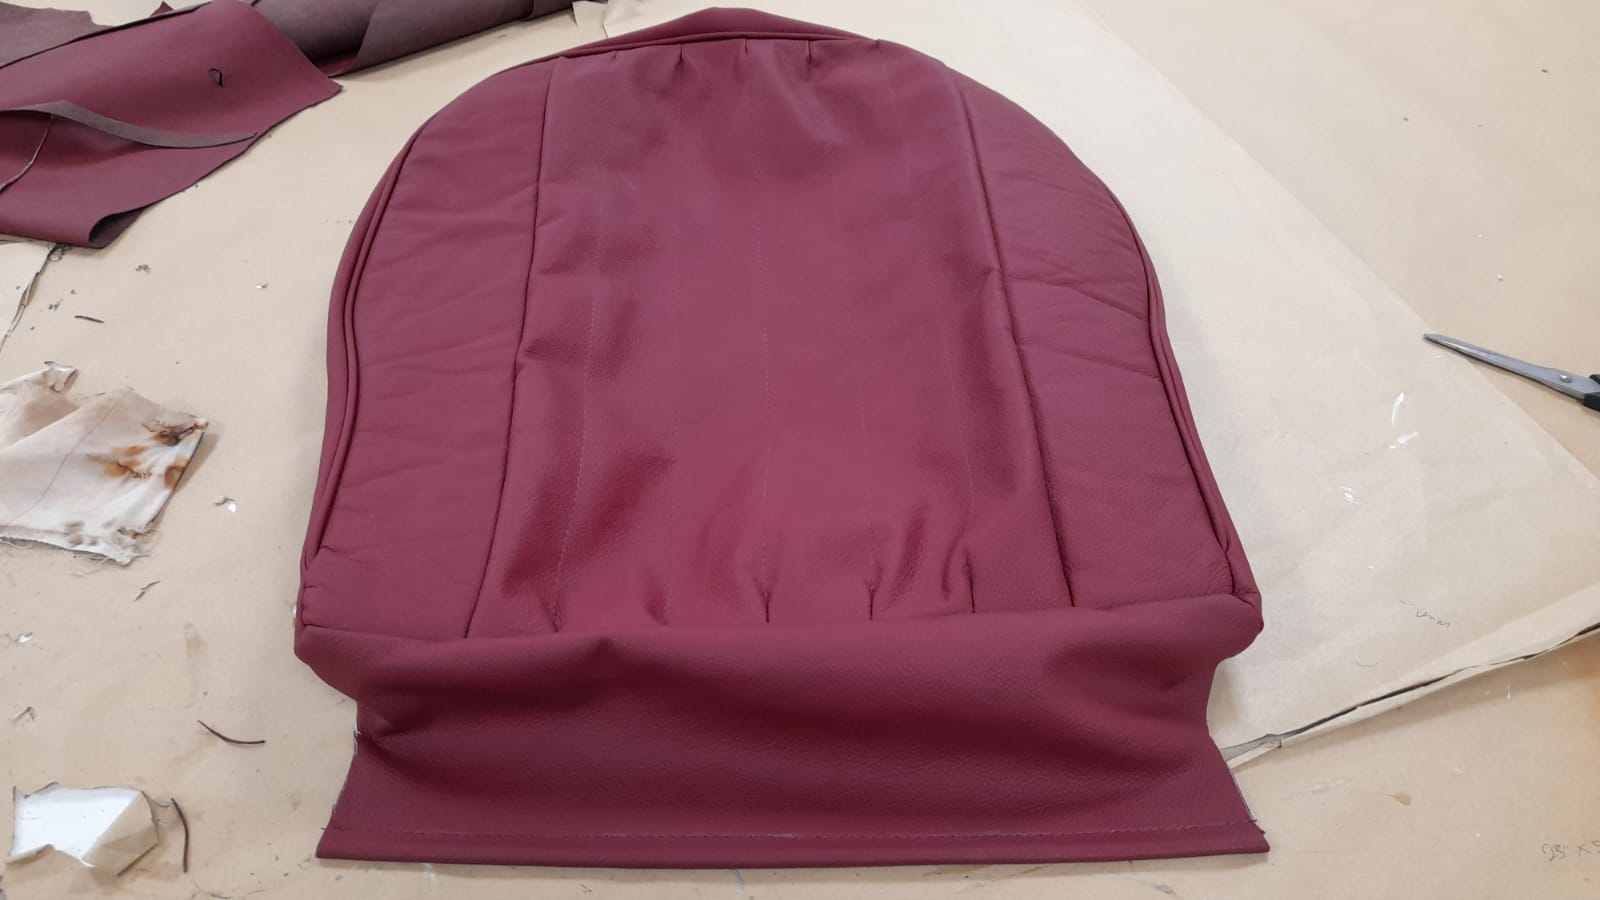
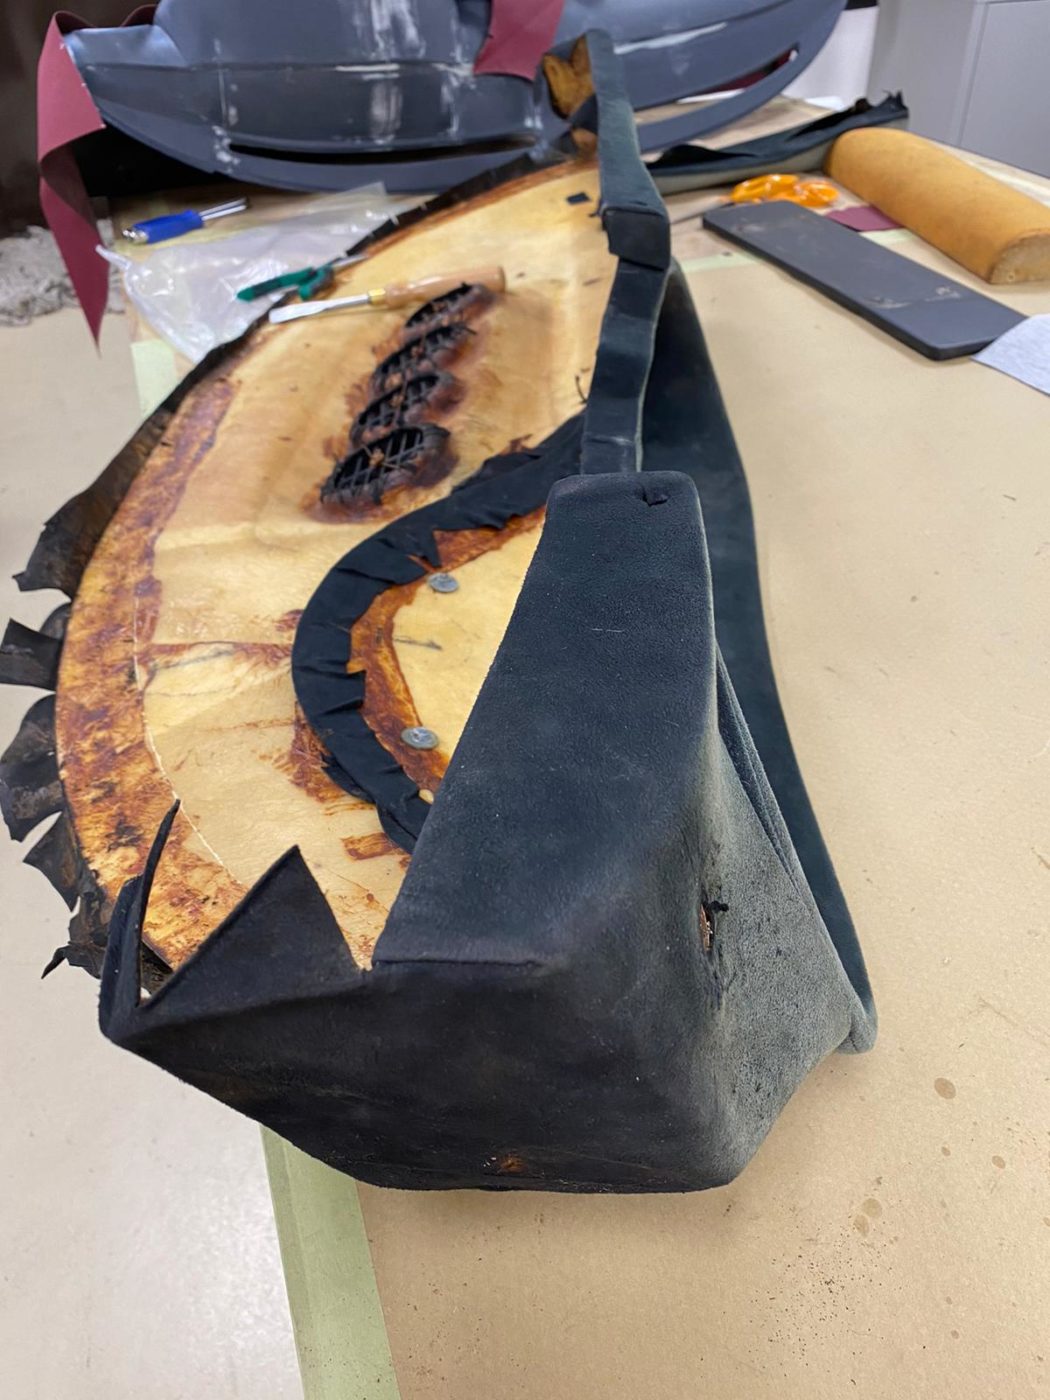
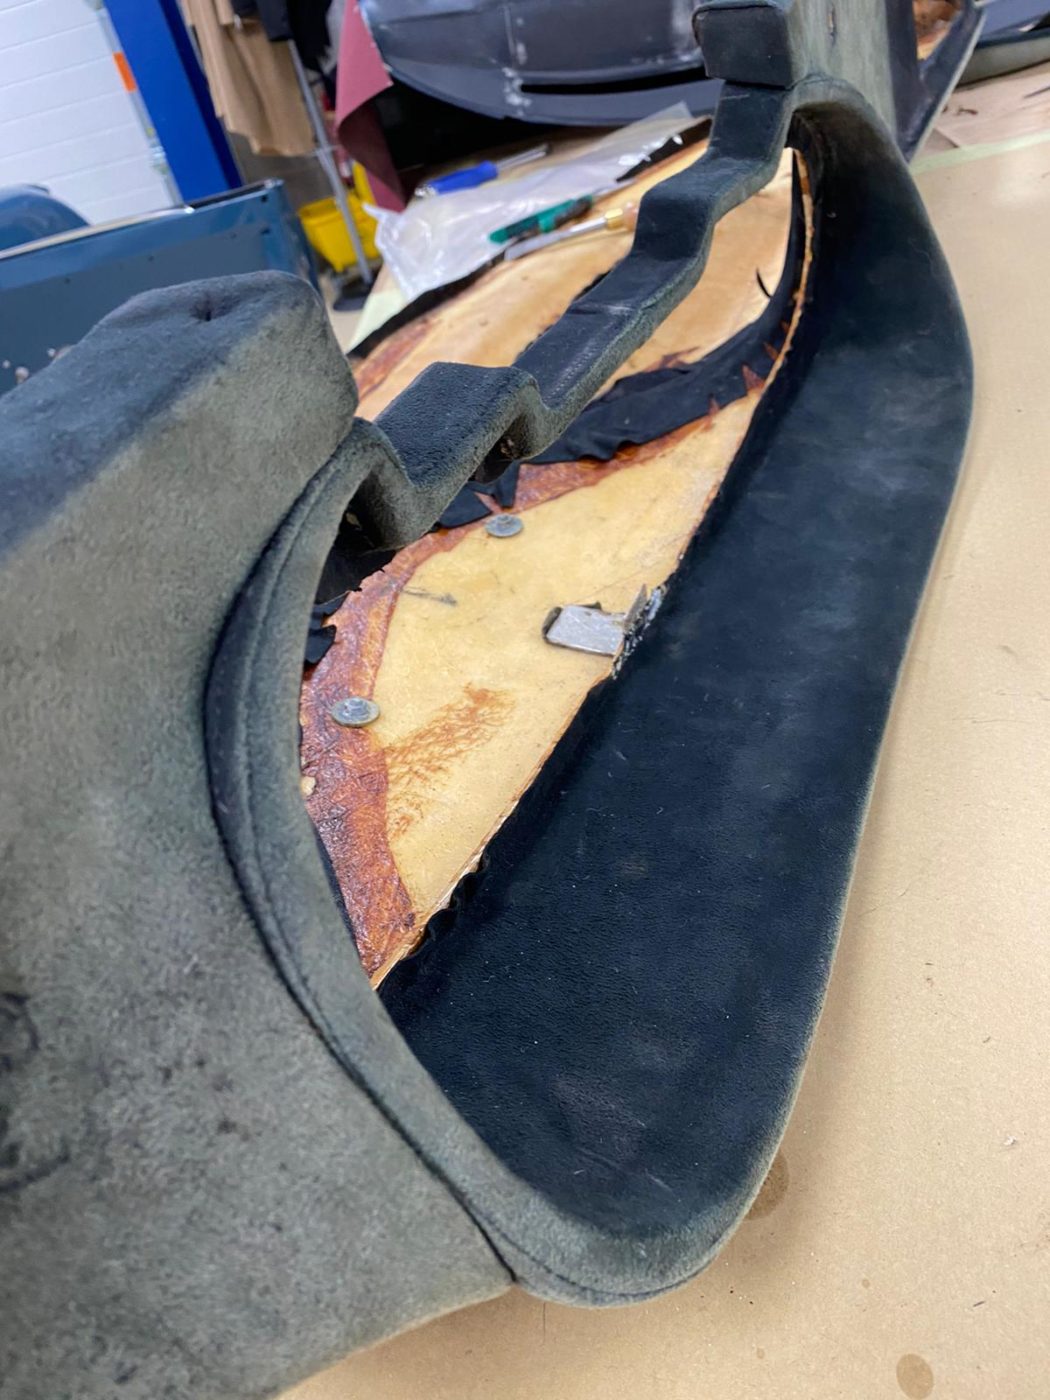
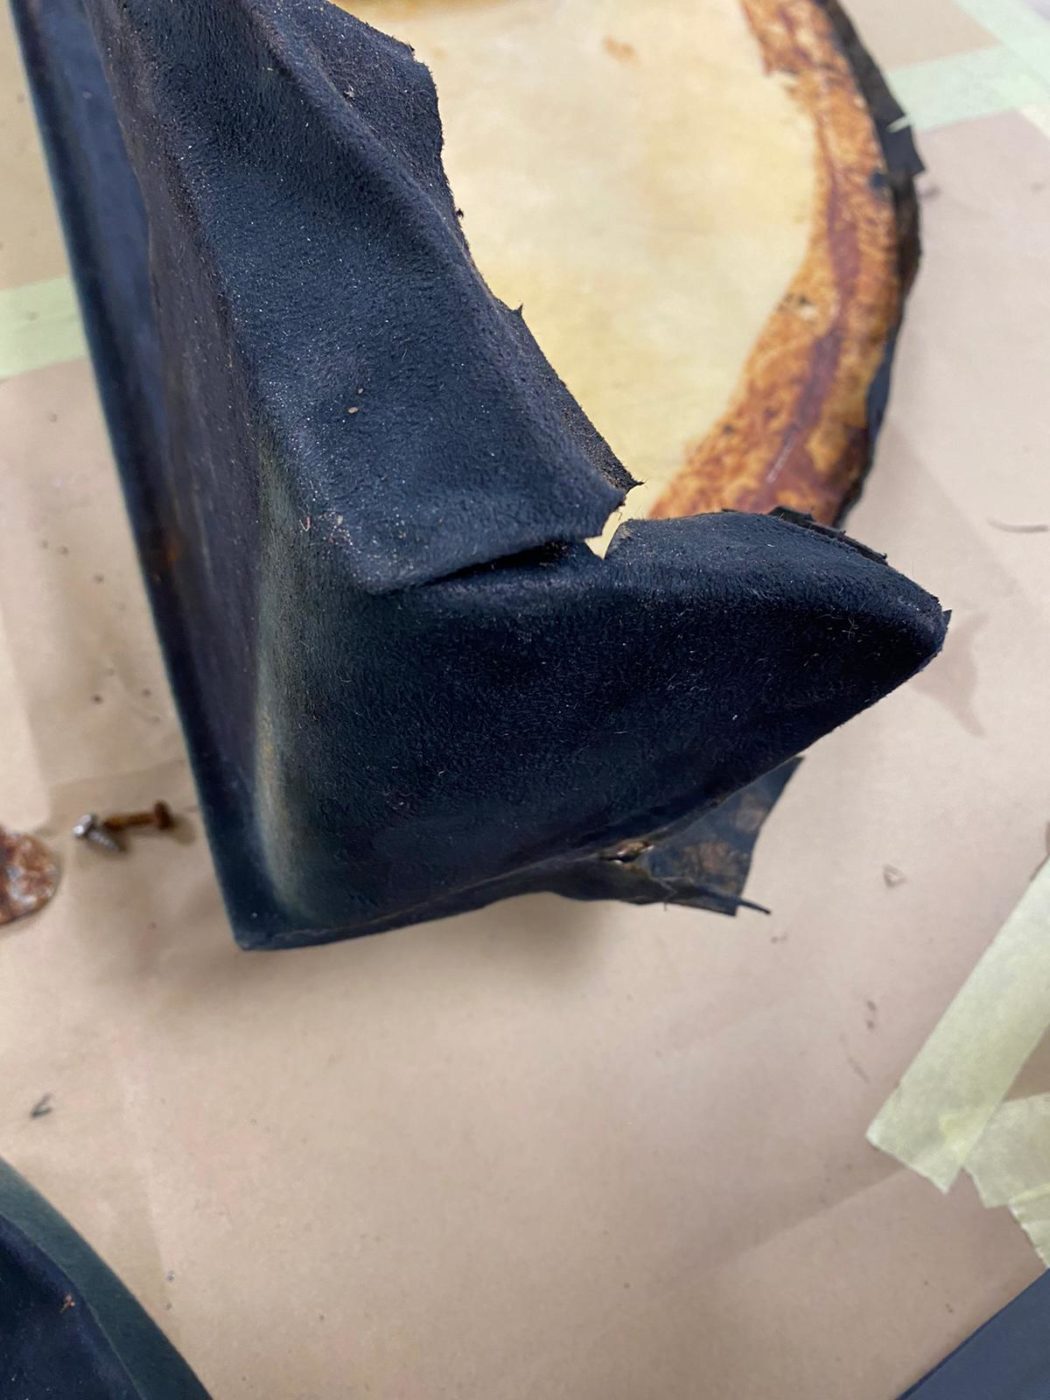
Eva’s Handbrake Gaiter
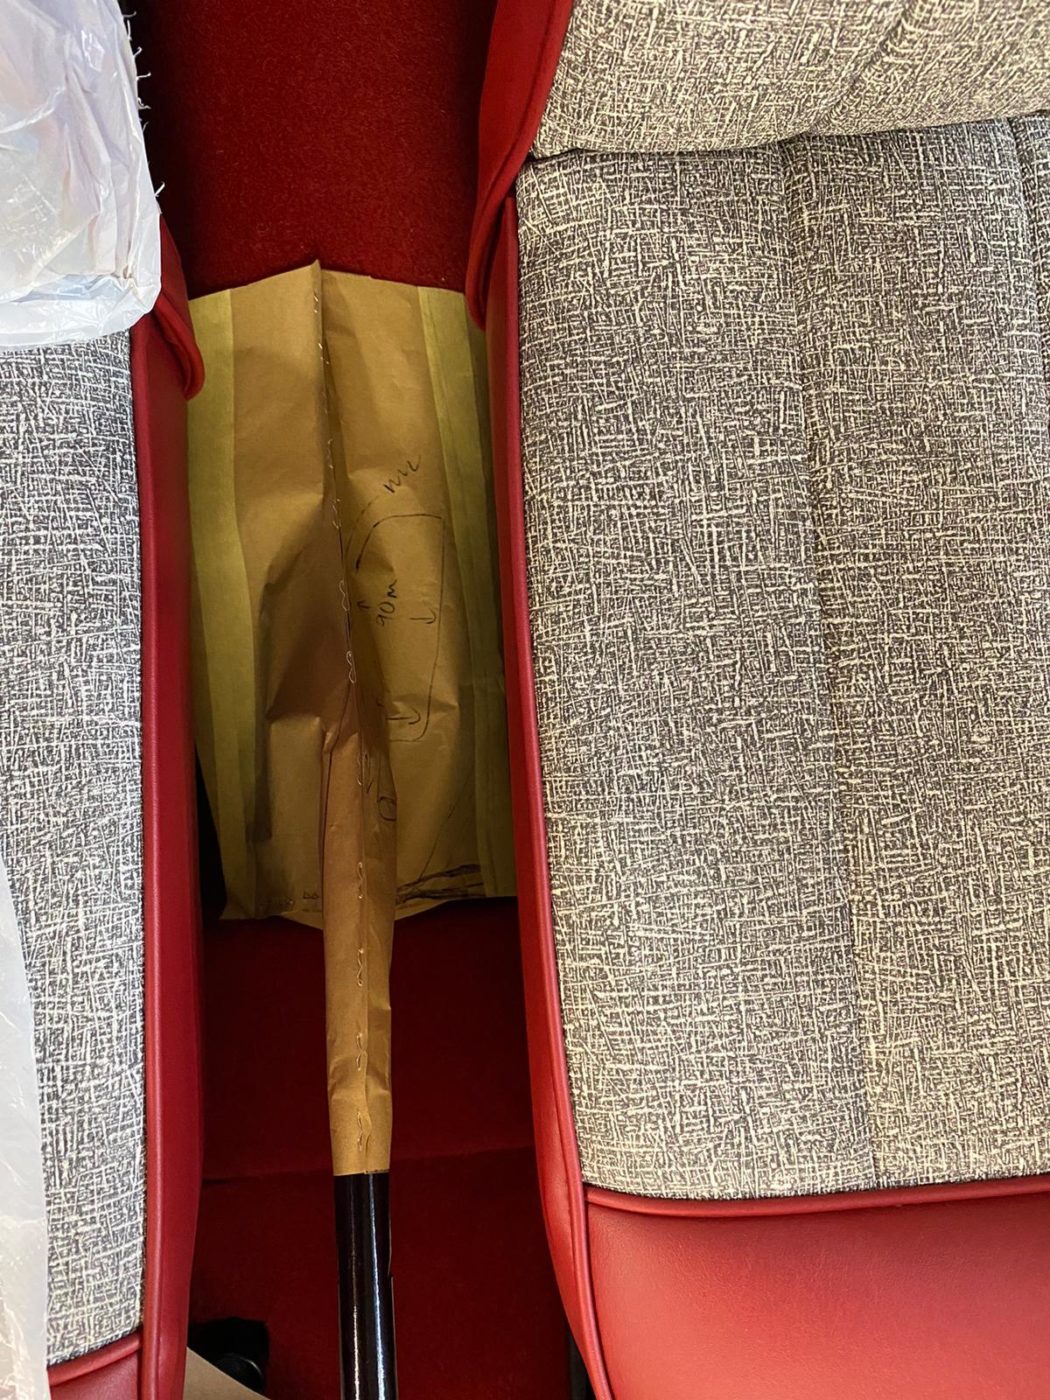
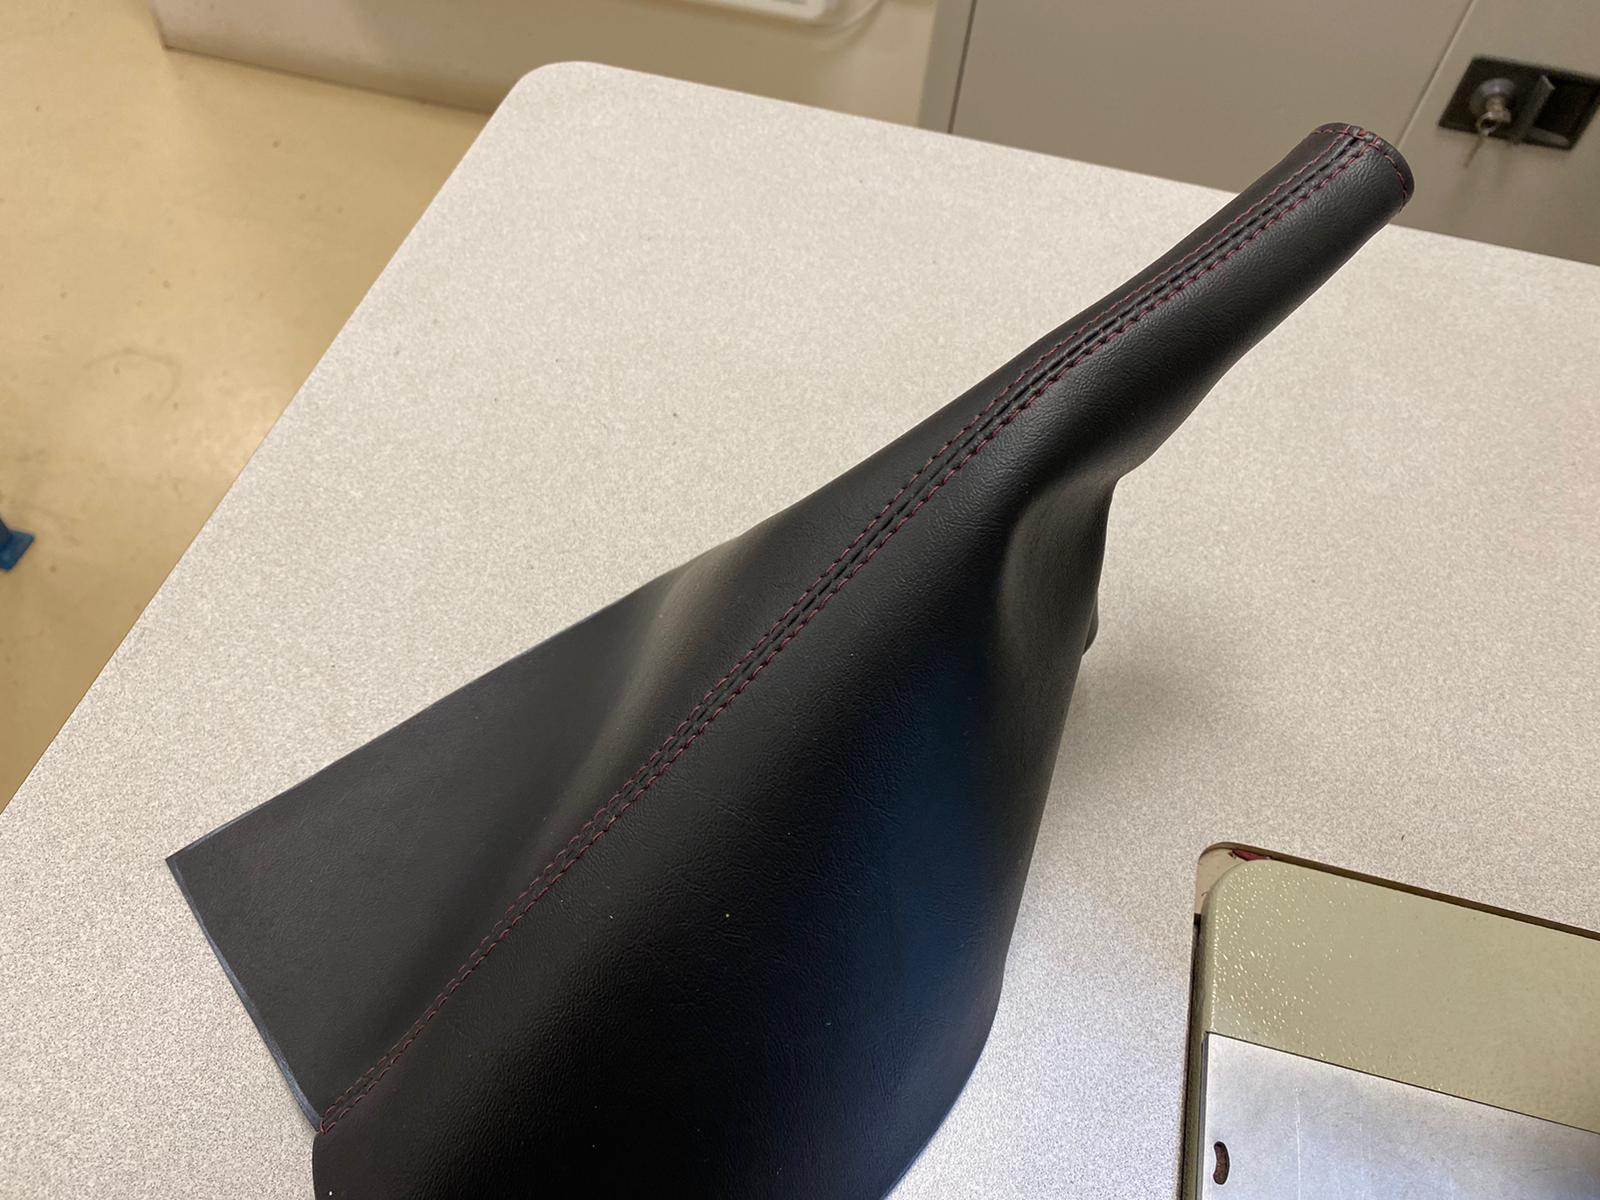
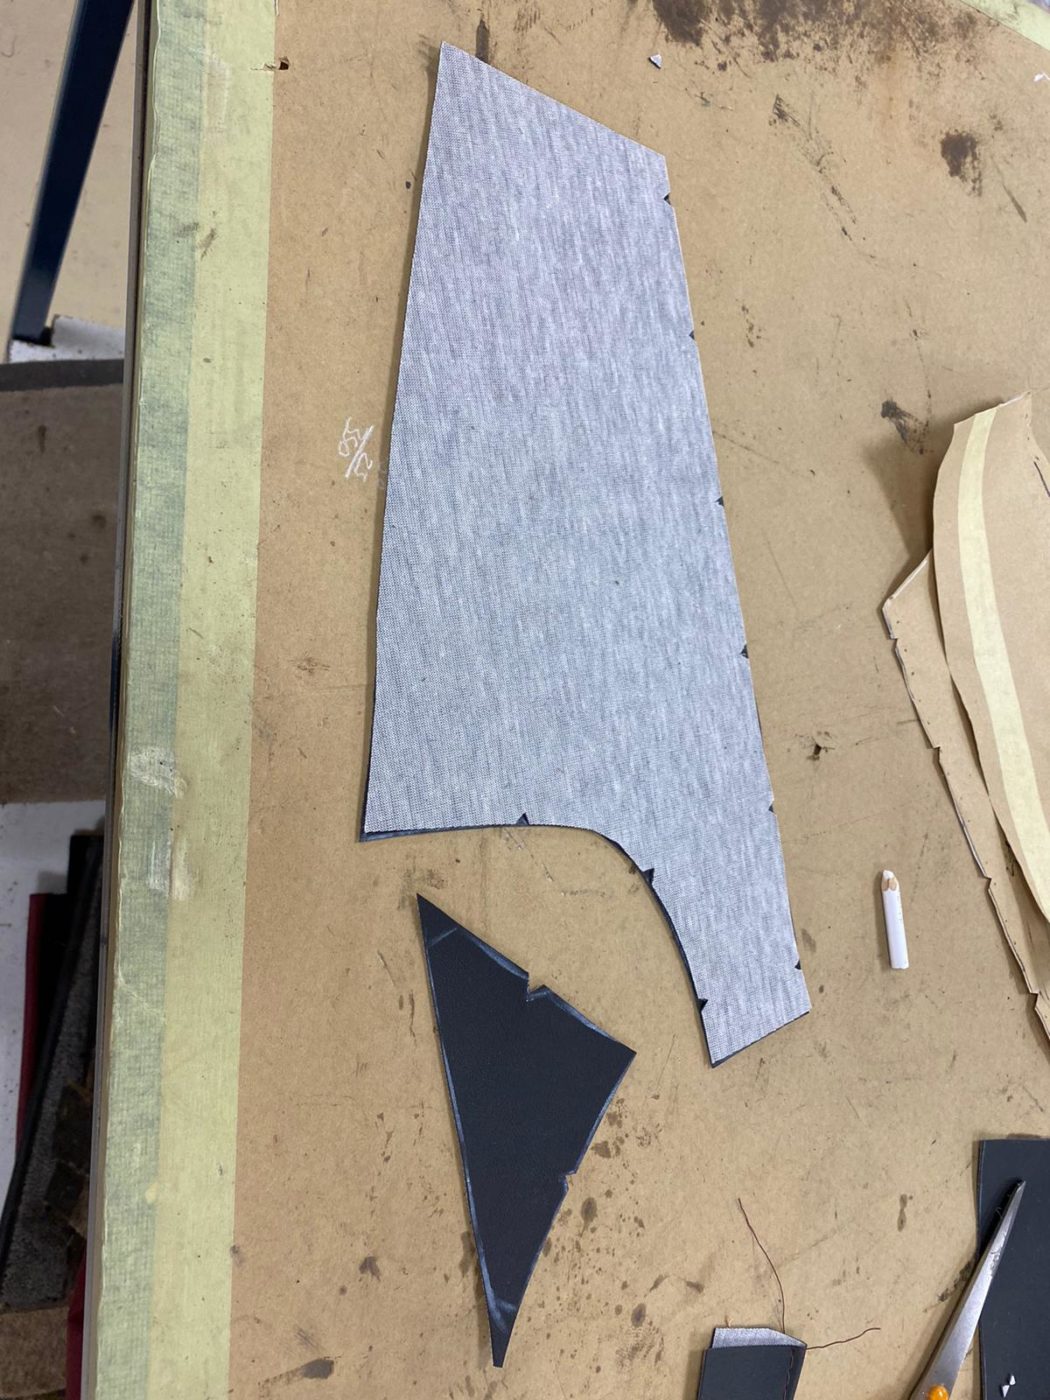
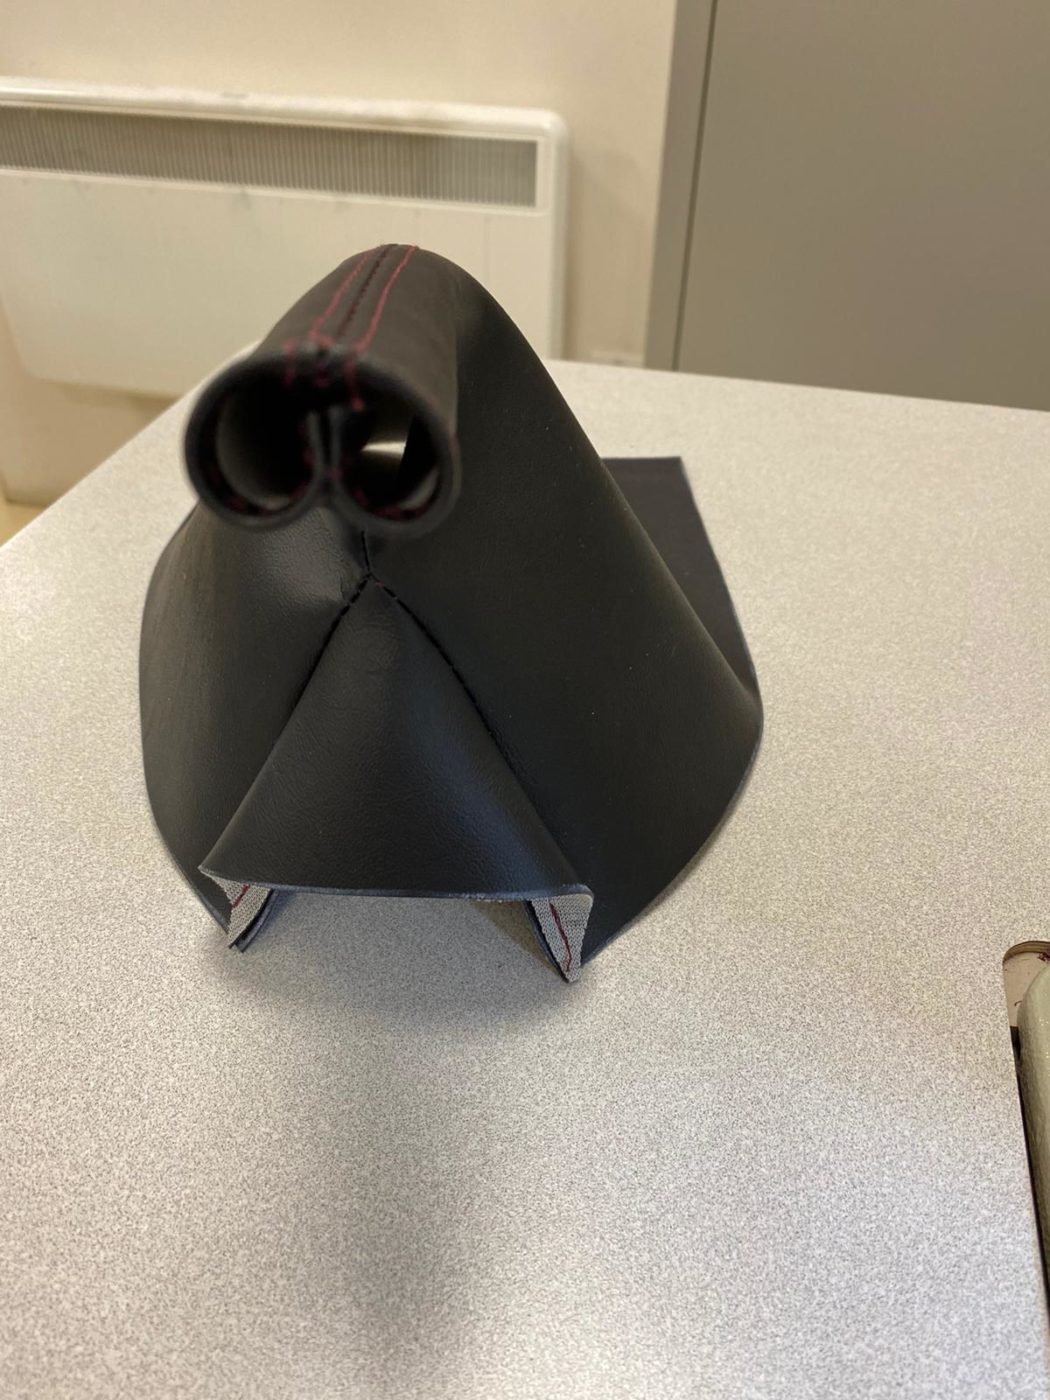
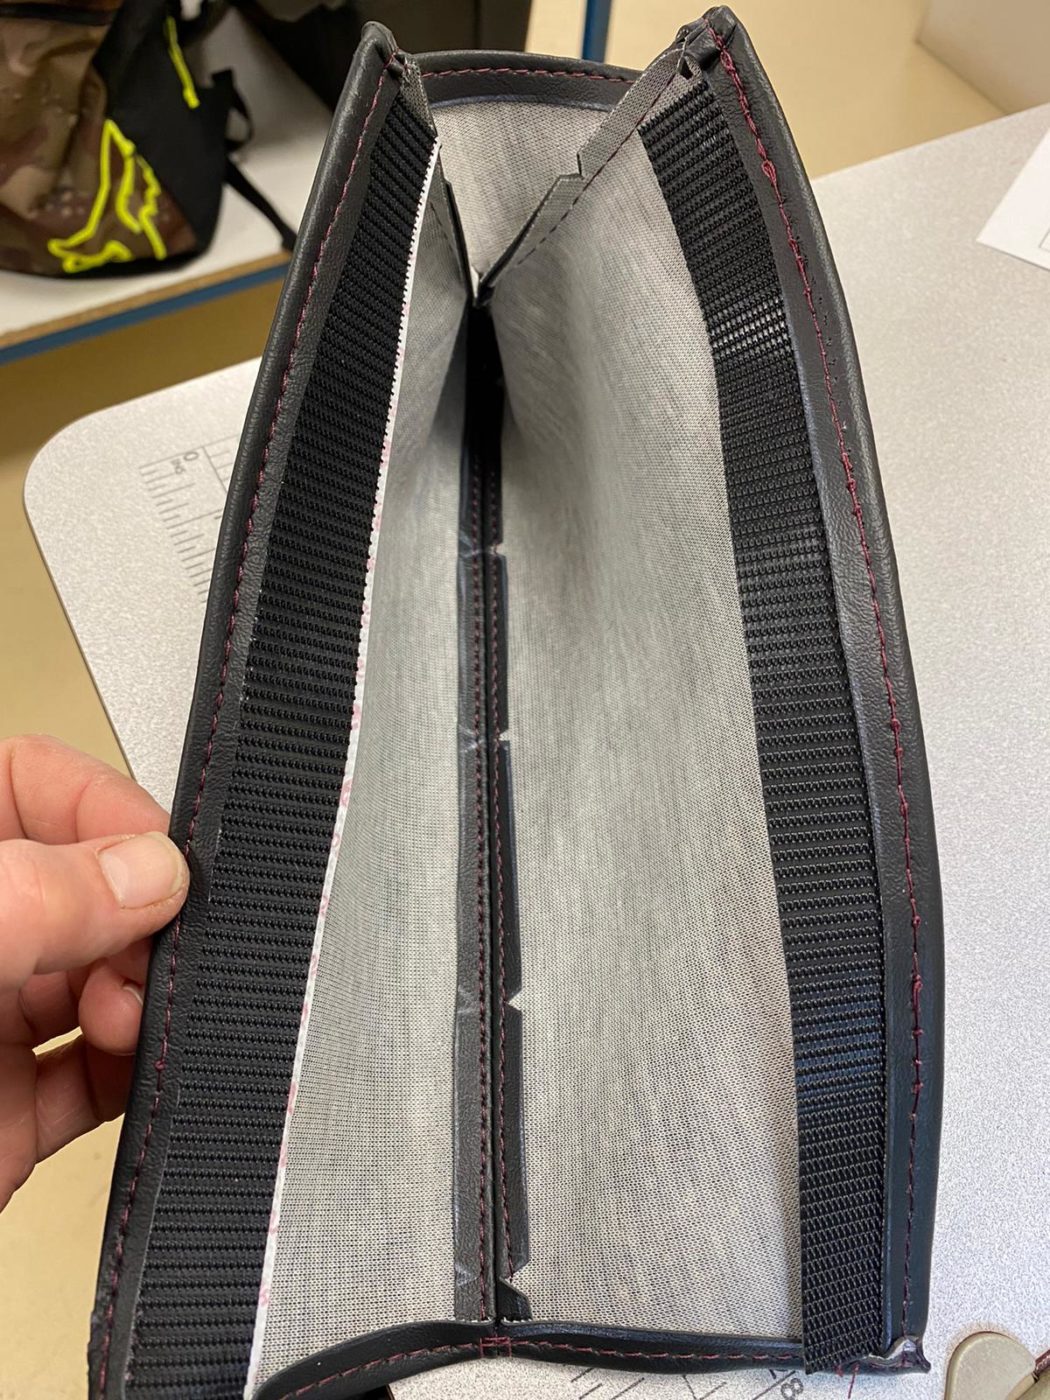
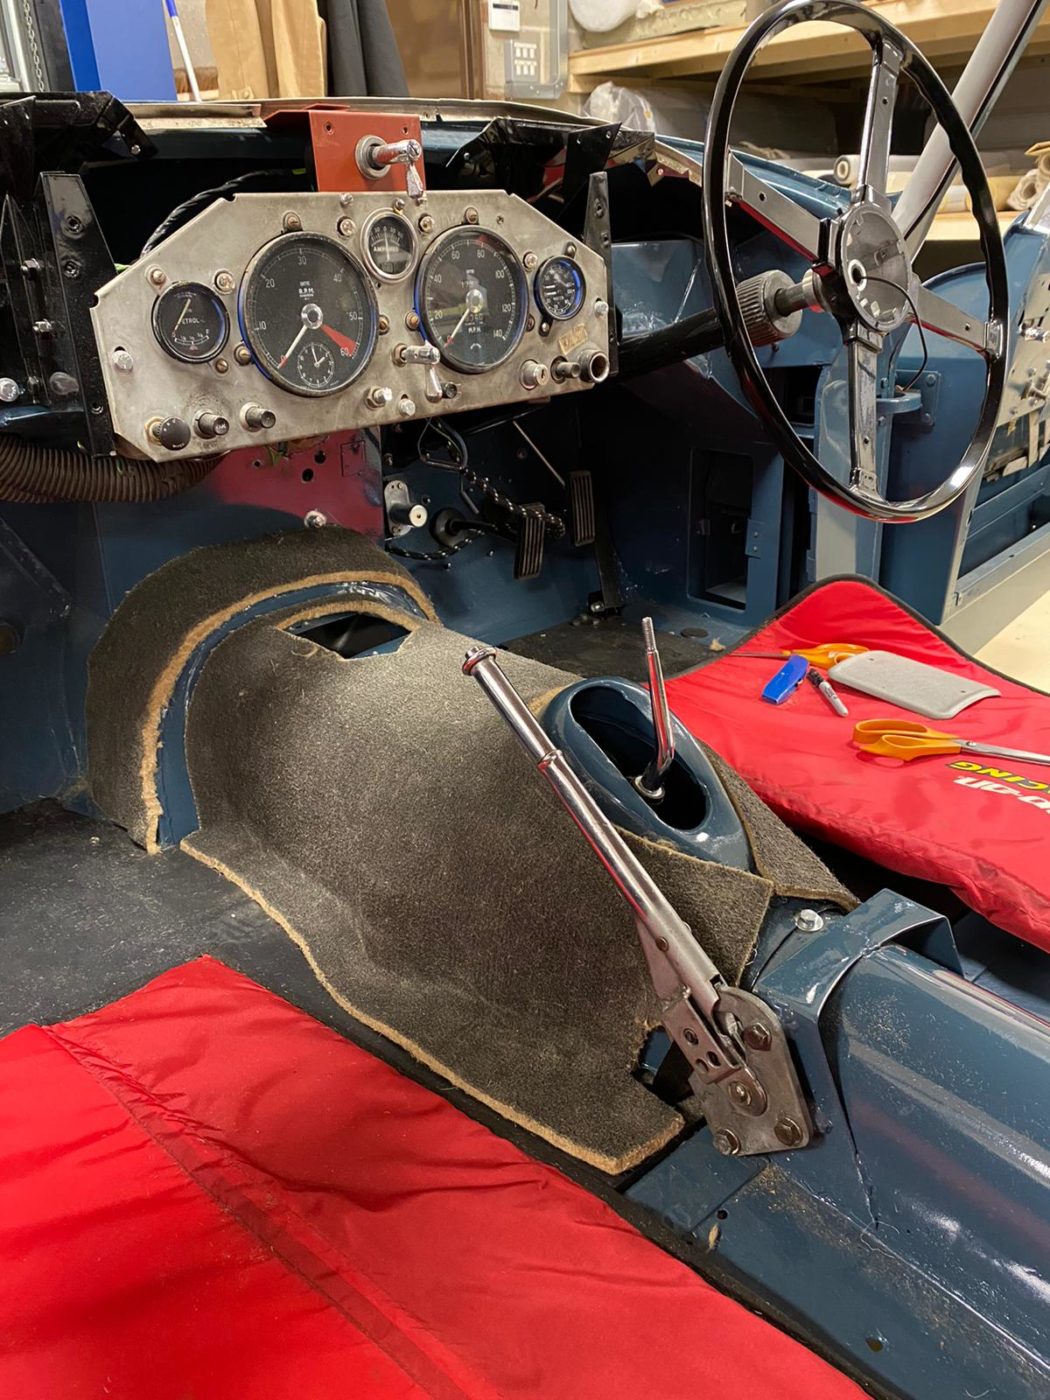
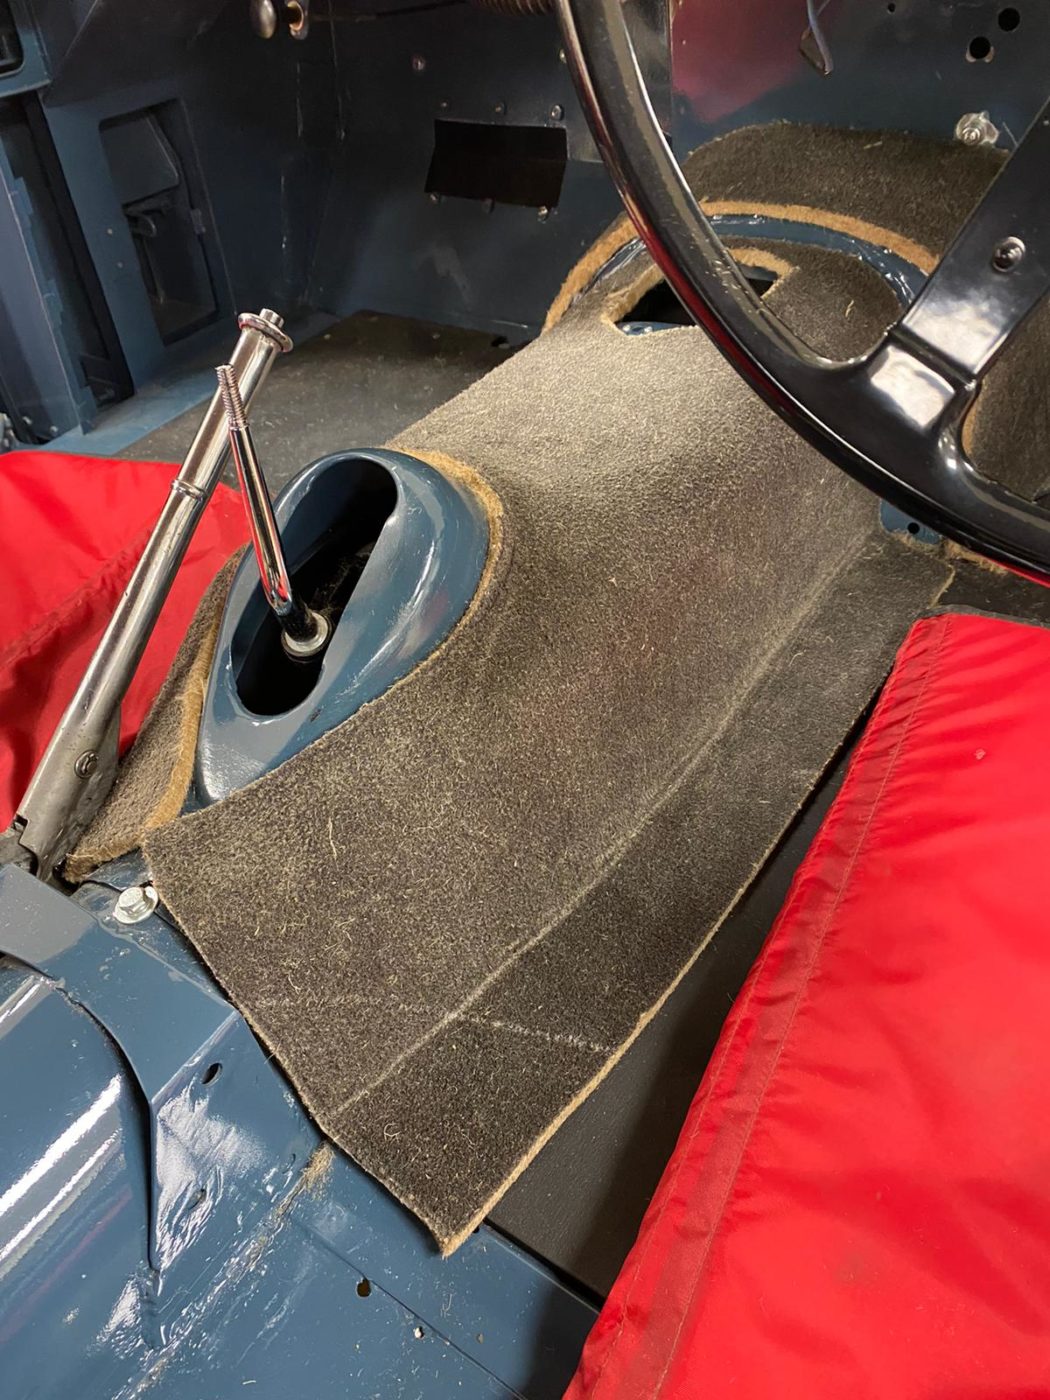
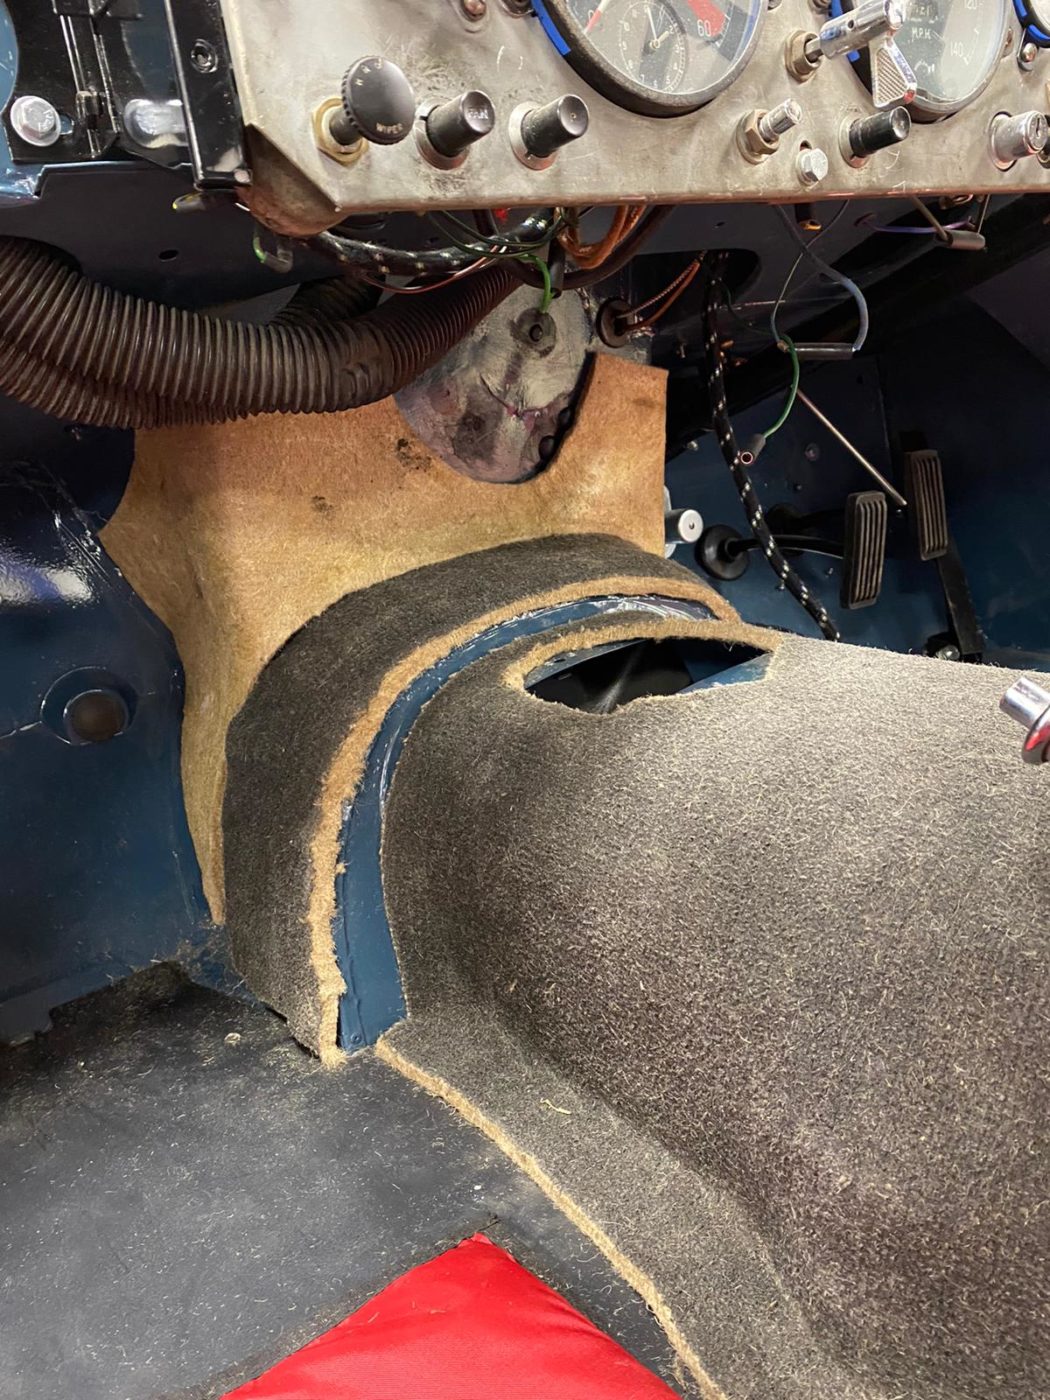
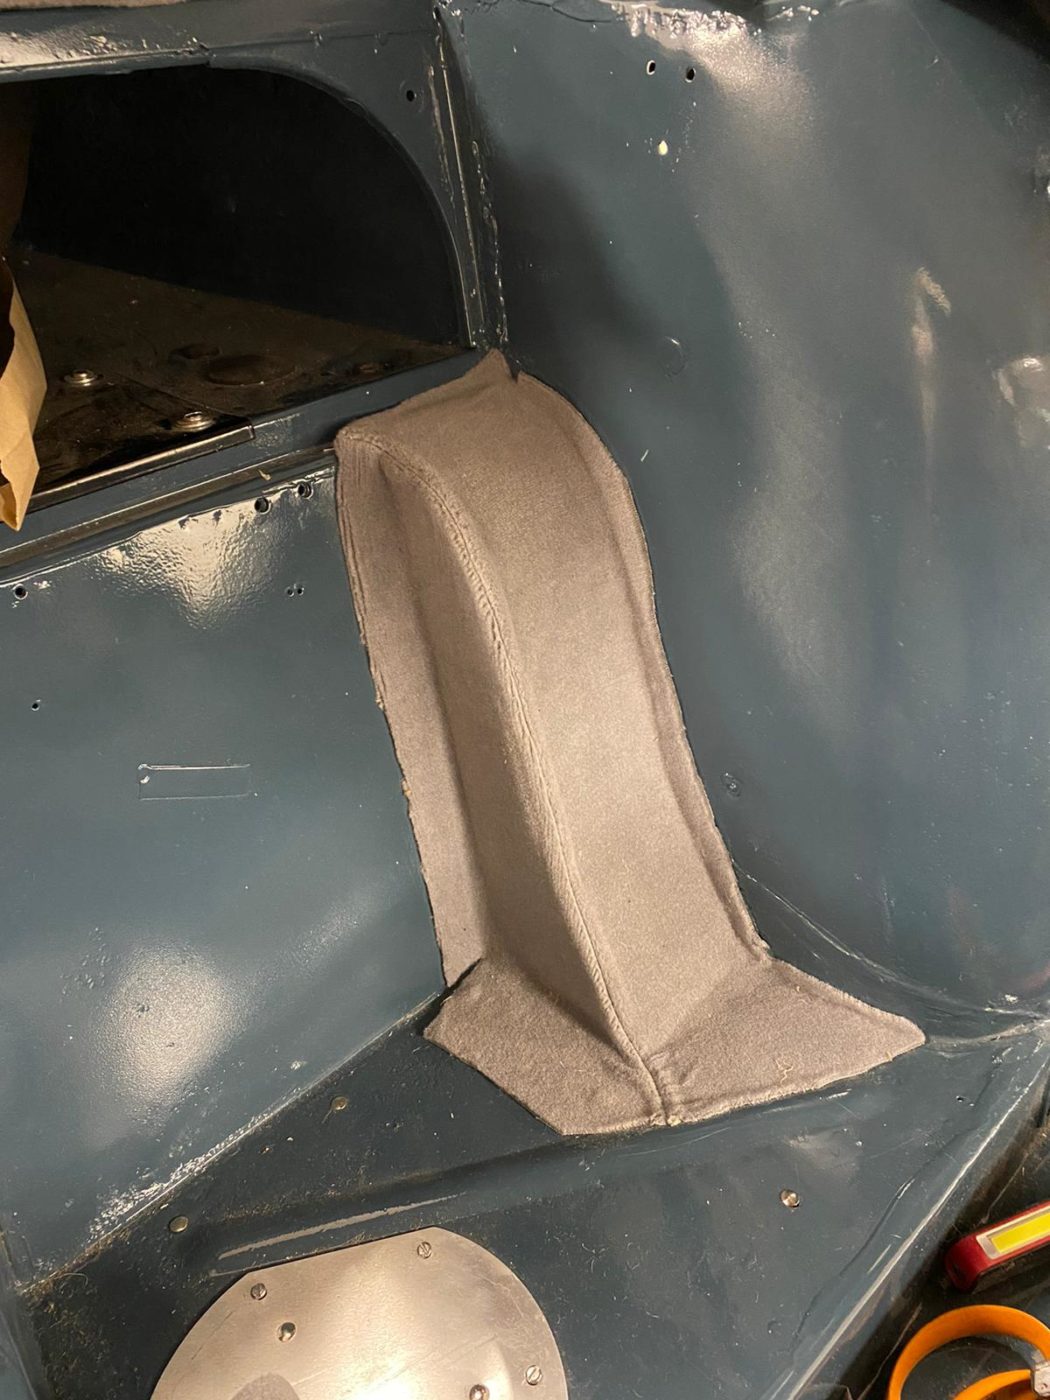
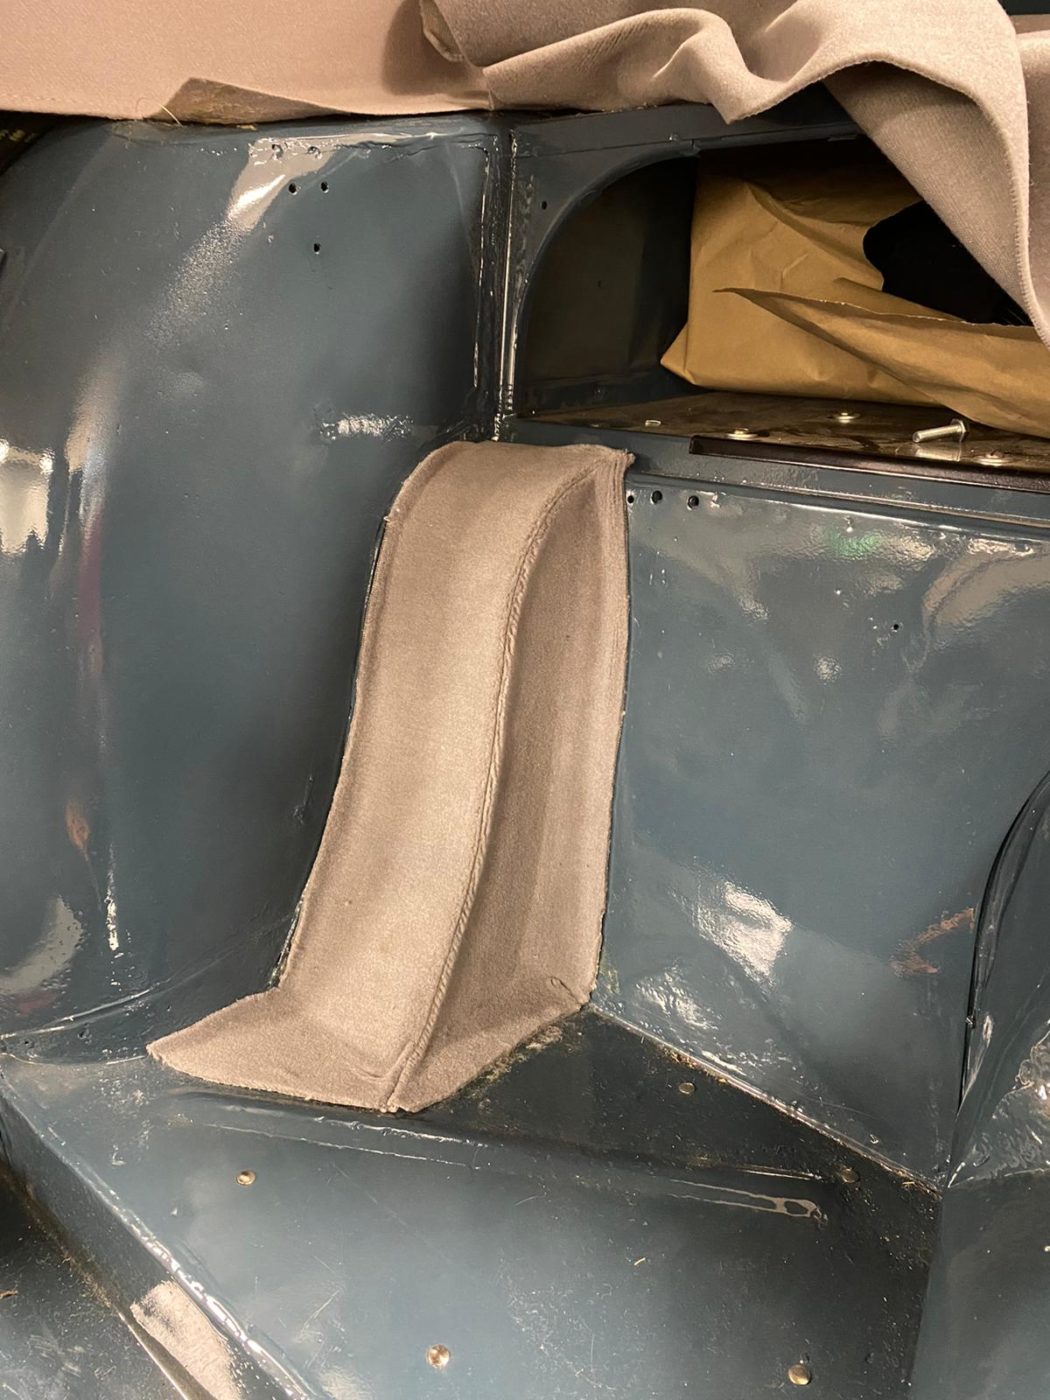
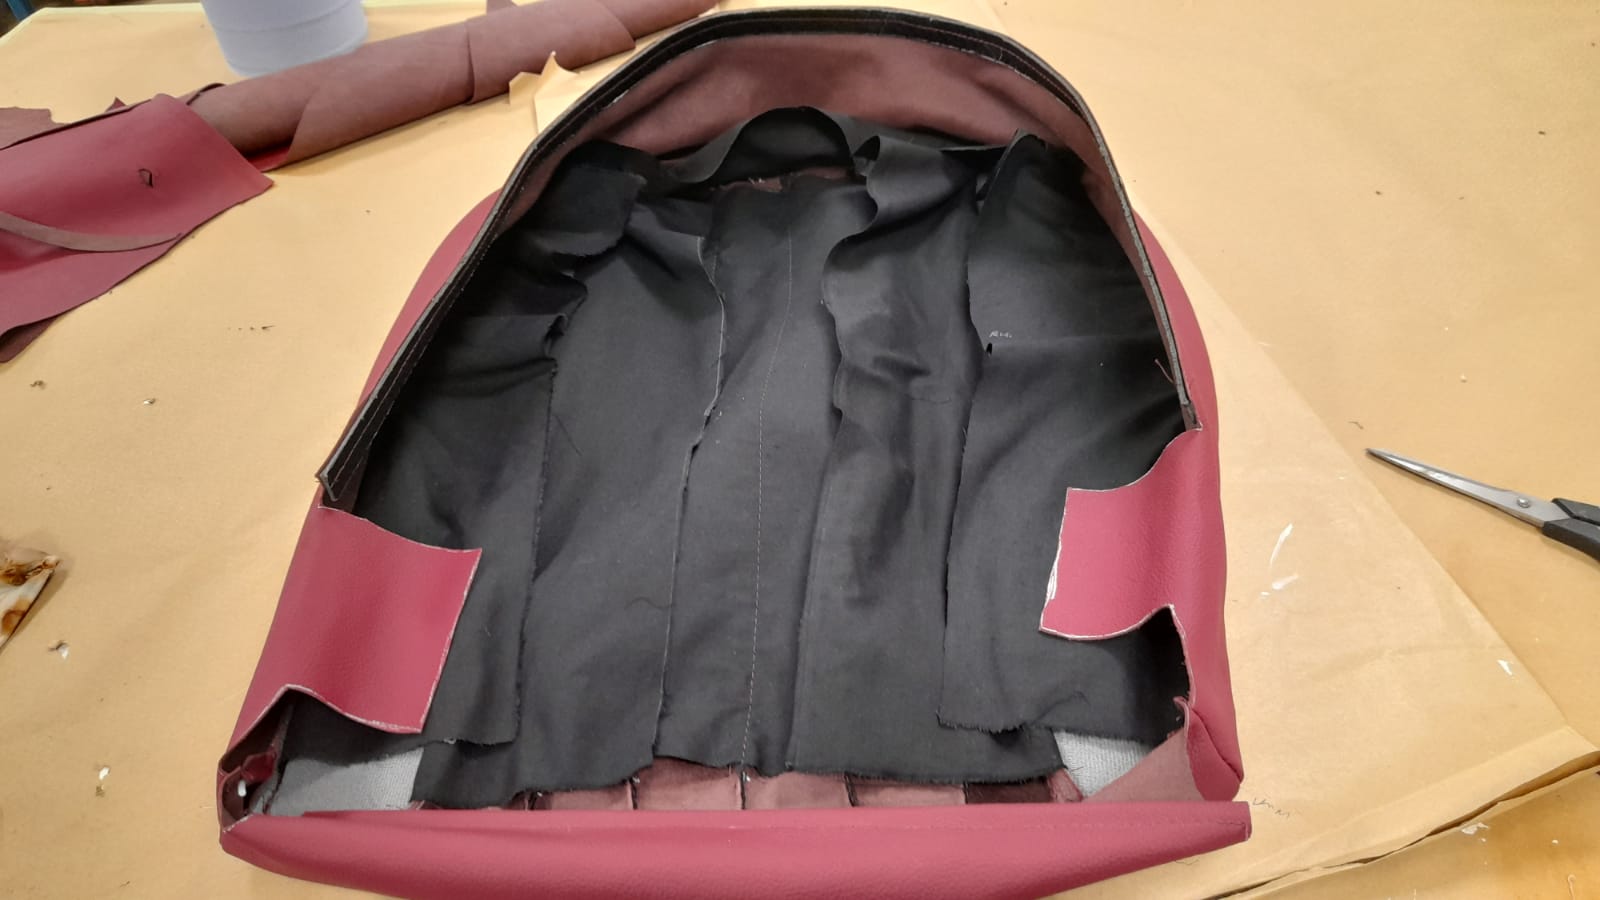
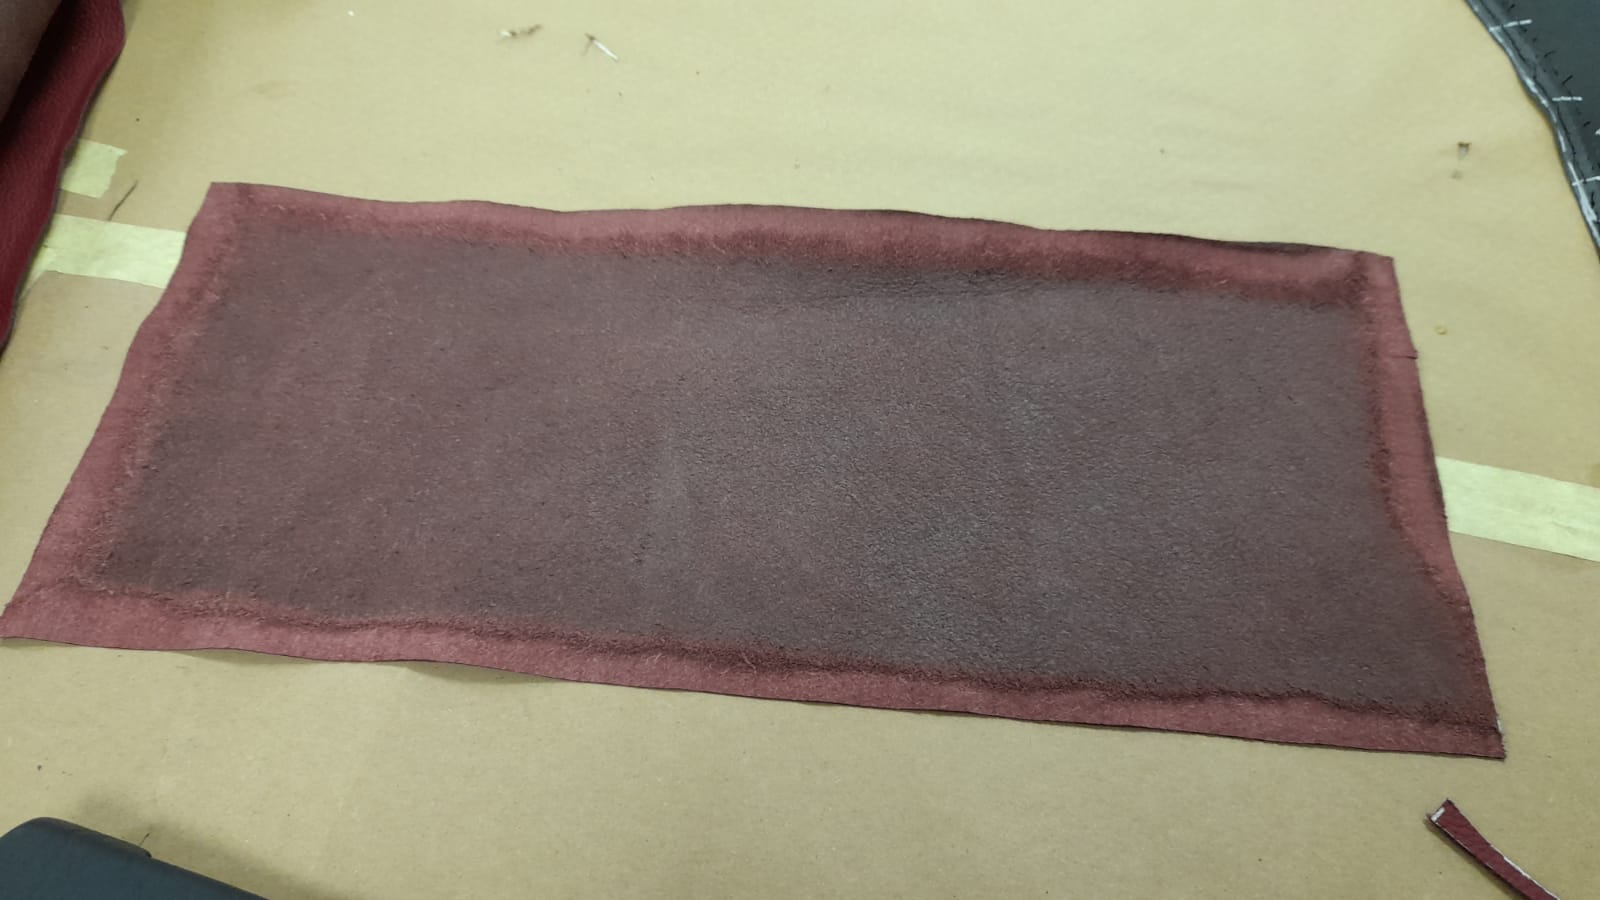
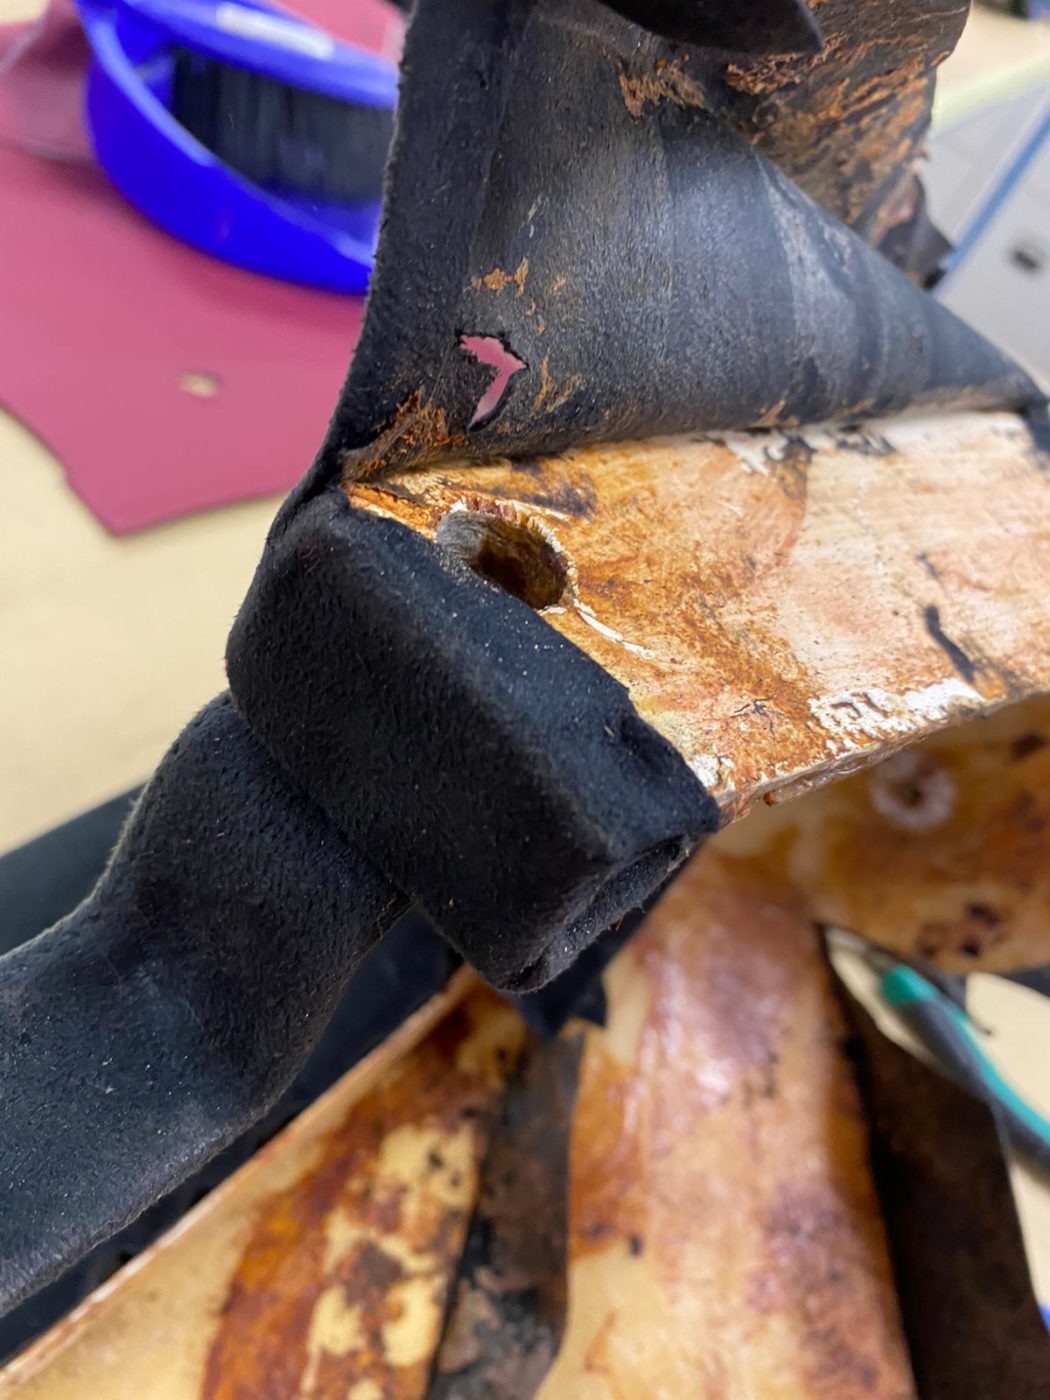
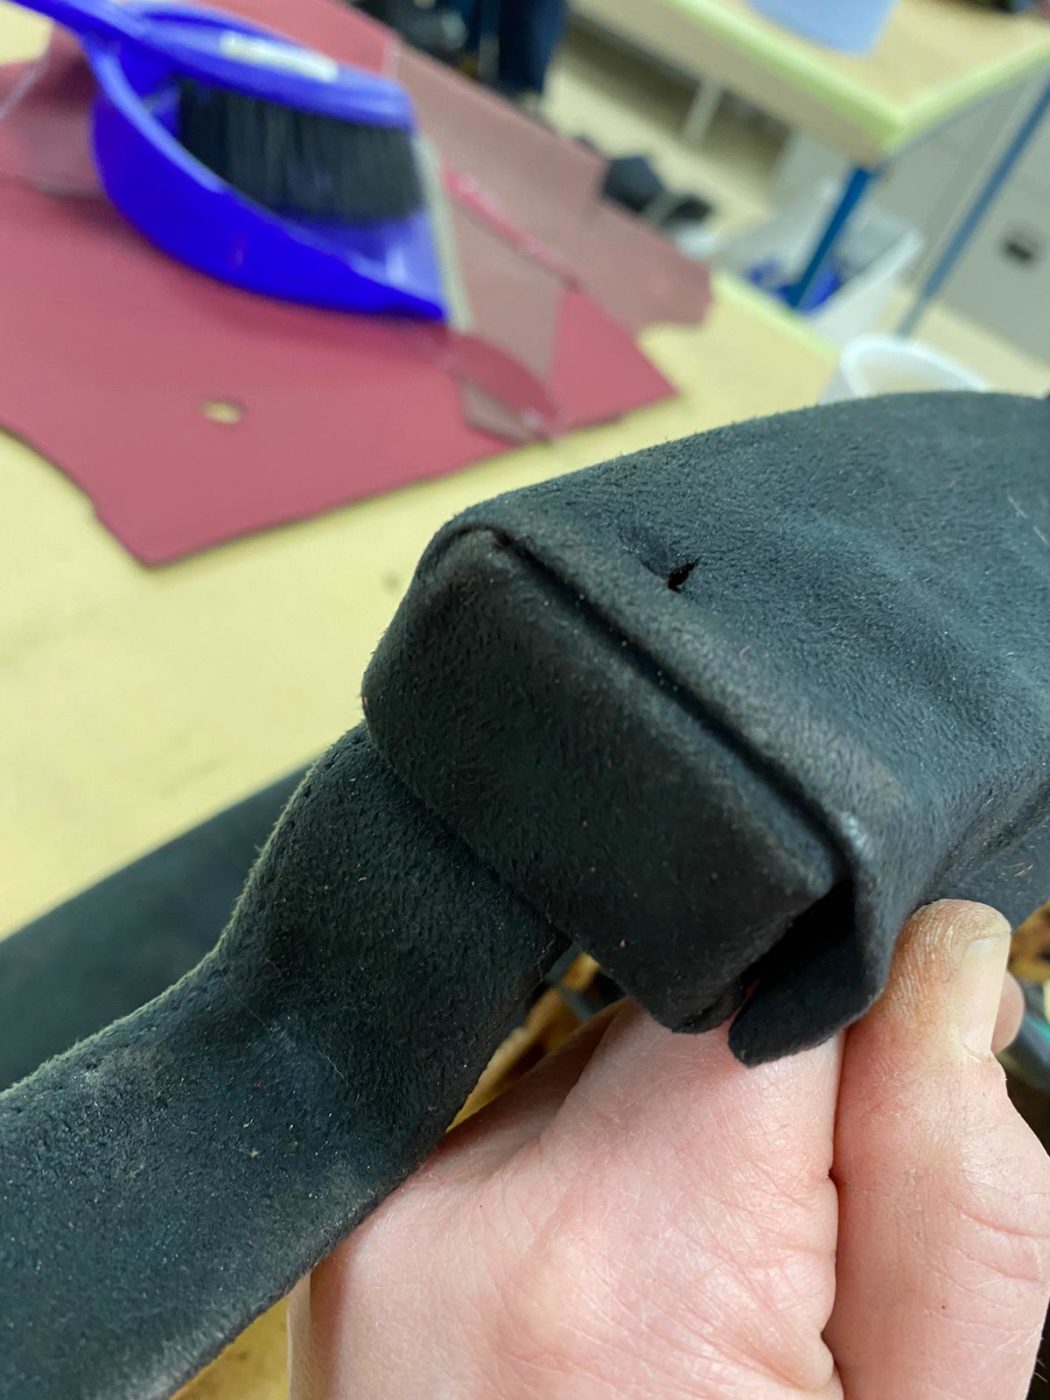
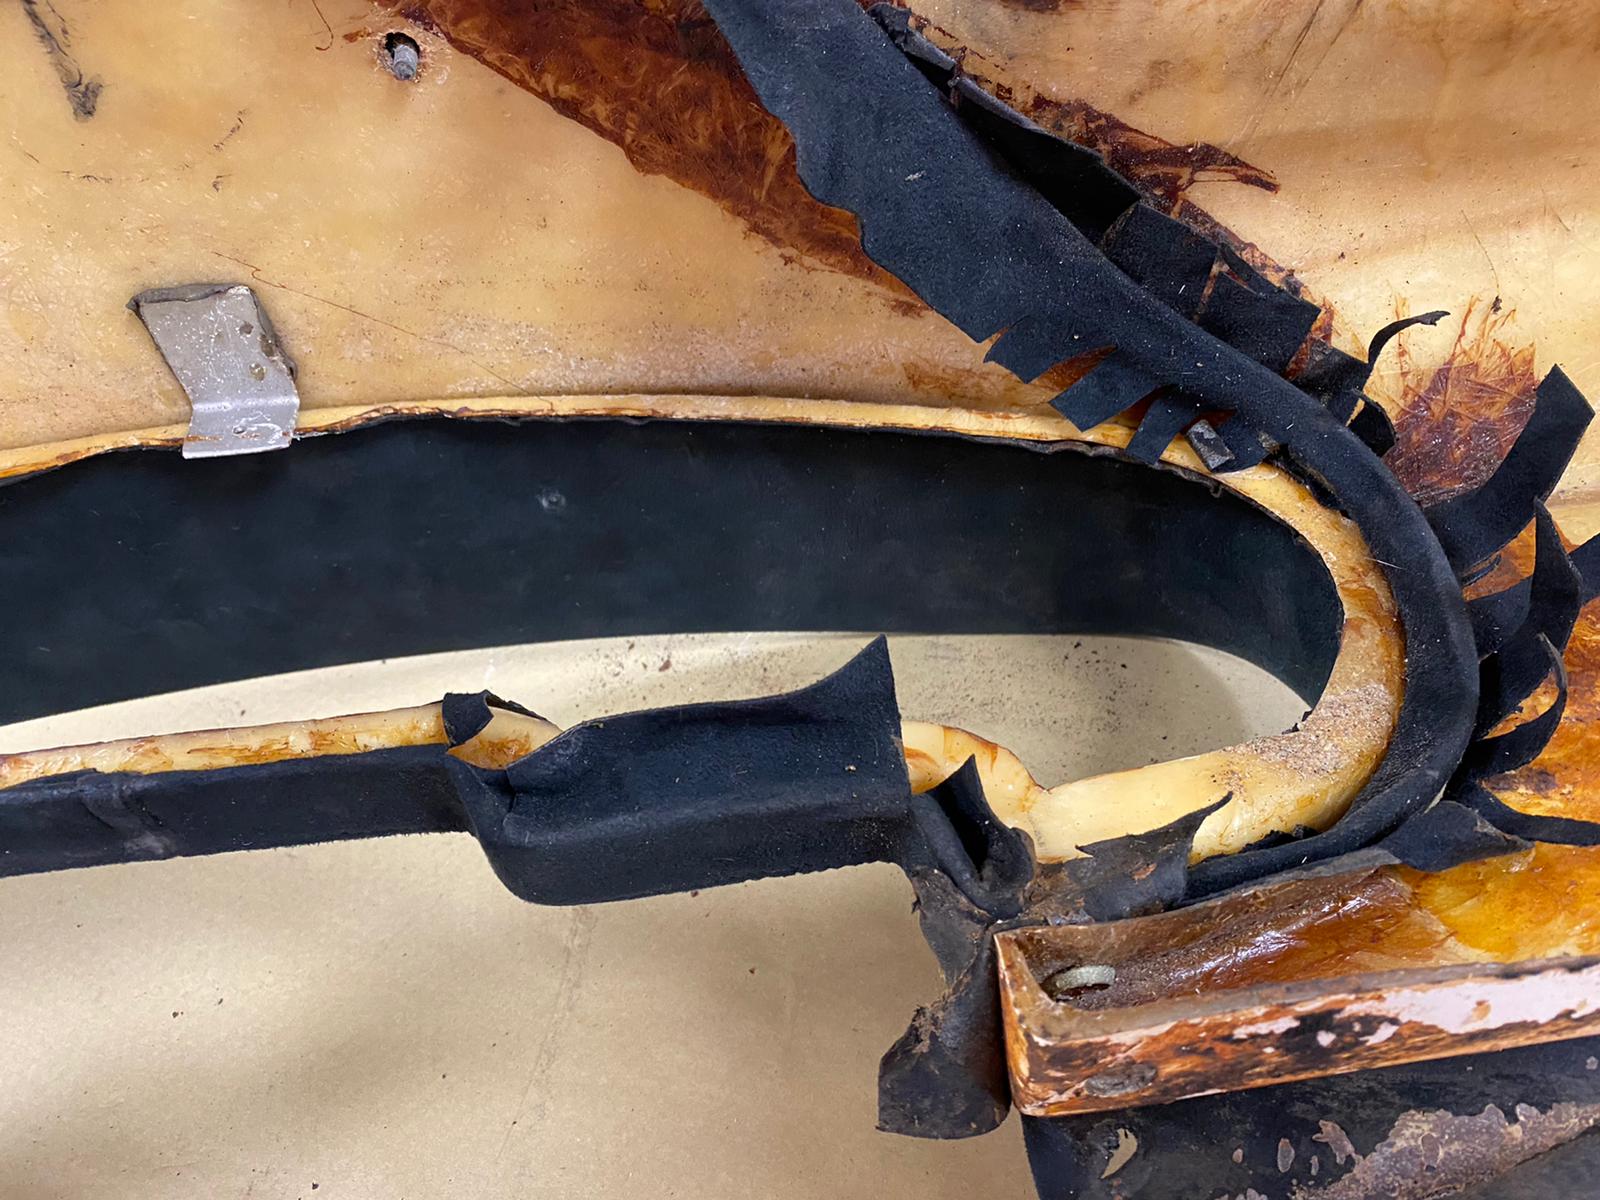
Kath has been making the handbrake gaiter for our 1961 Morris Mini Deluxe, ‘Eva’. Kath made this by measuring out a pattern against the old


Kath has been making the handbrake gaiter for our 1961 Morris Mini Deluxe, ‘Eva’. Kath made this by measuring out a pattern against the old
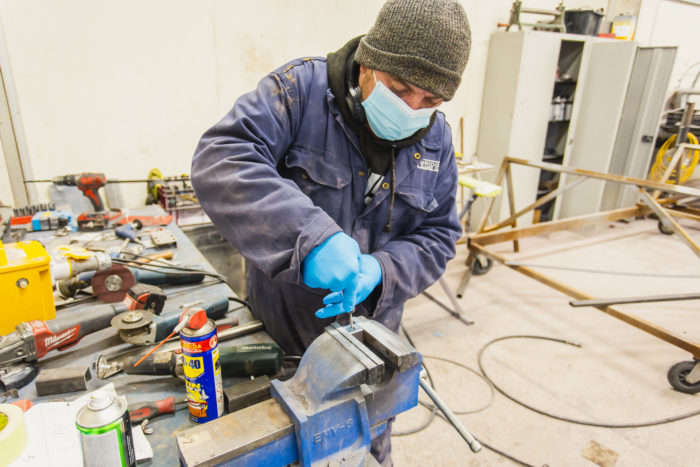
This iconic modern classic has come in for some TLC. As a 1991 VW Transporter T4, this model is often used as a camper conversion,

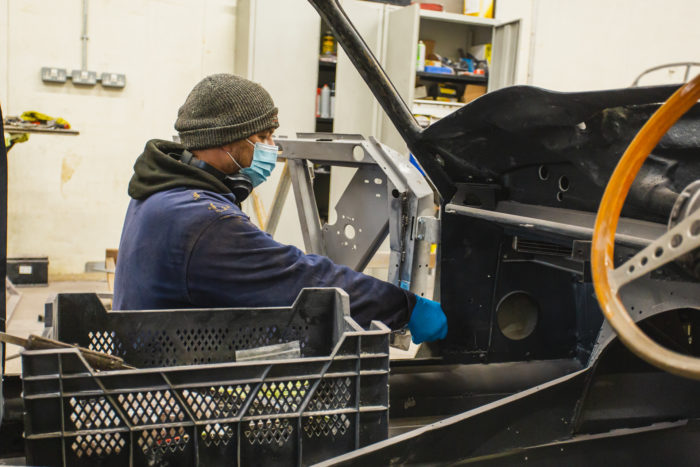
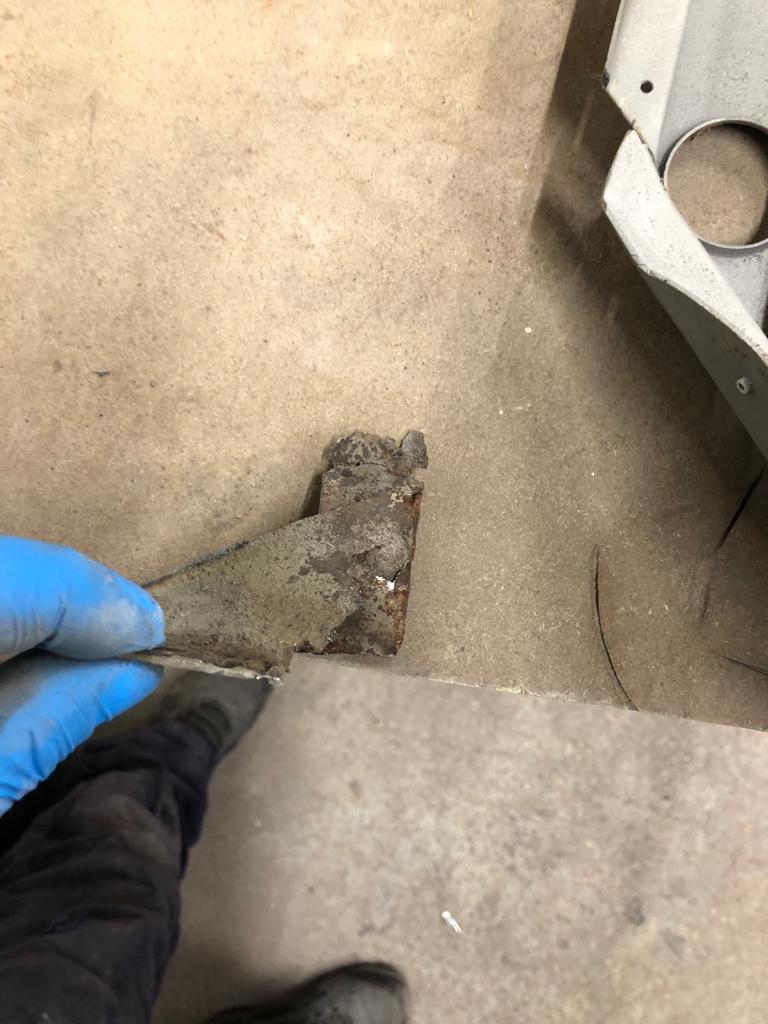
Our Peony Red Jensen is getting closer to actually be Peony Red. This classic Jensen has been sat in parts for a while as we
This iconic motor recently came in with us and is here for a partial re-trim. The carpets that are being fitted have been bought from

Lydia has continued the work with Craig’s 1987 Mercedes 500SL. Here we can see her sewing the piping on to the skirt for the seat.
Chris has been working to fit a new door strap into our lovely 1996 320SL Mercedes as the old one was broken, which you can
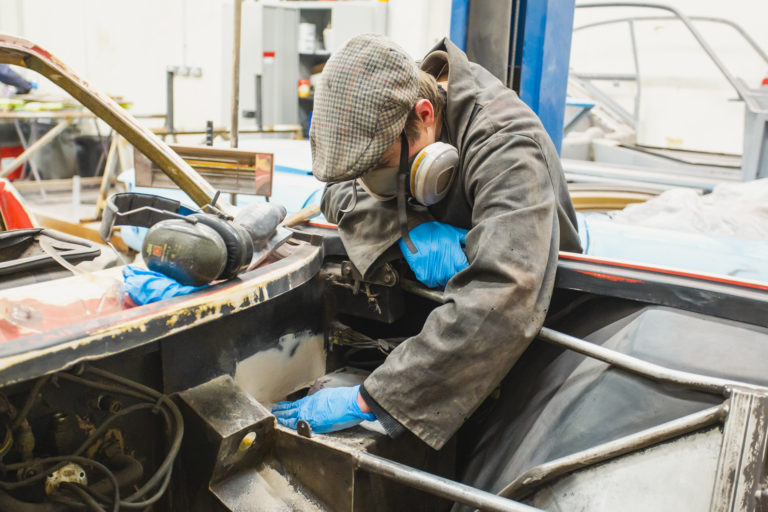
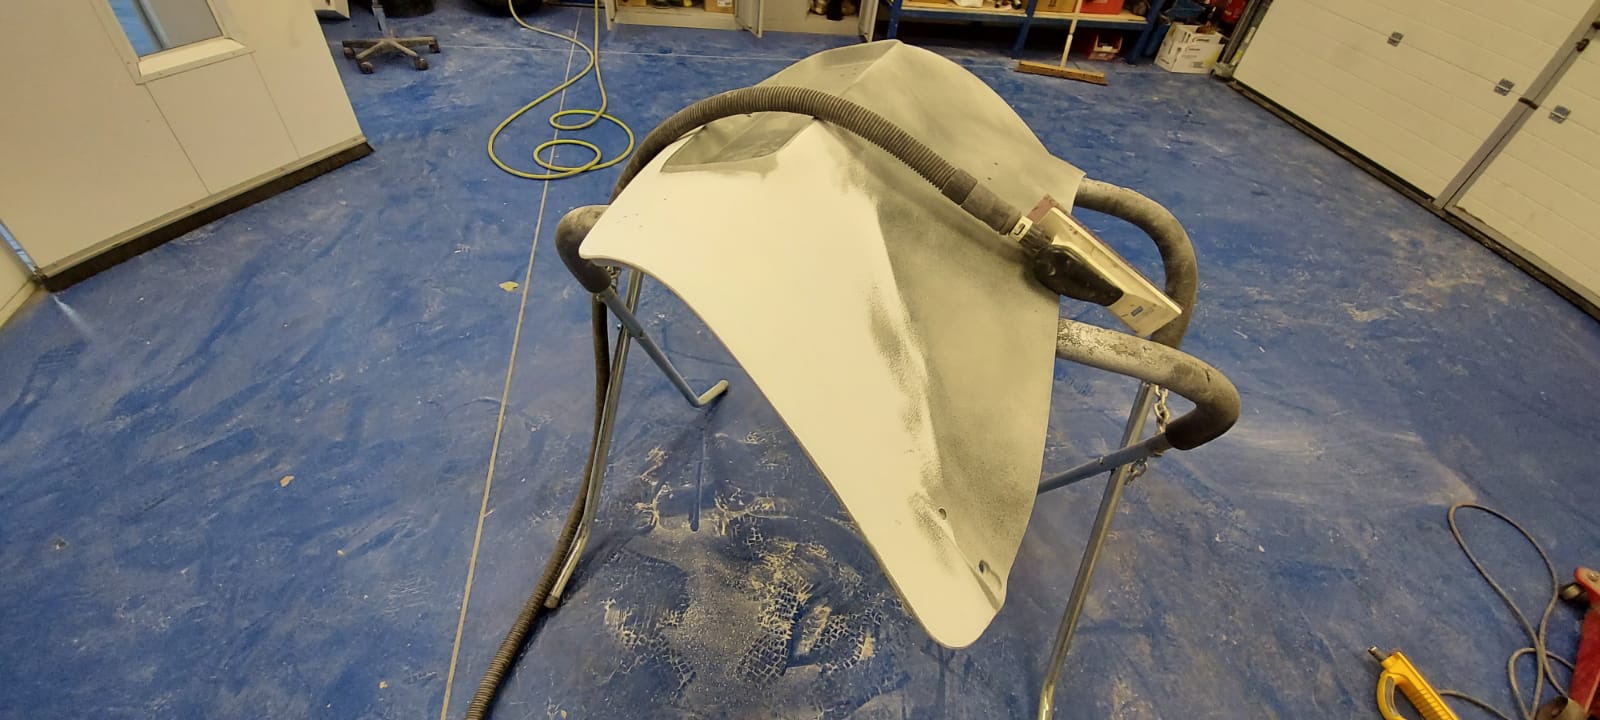
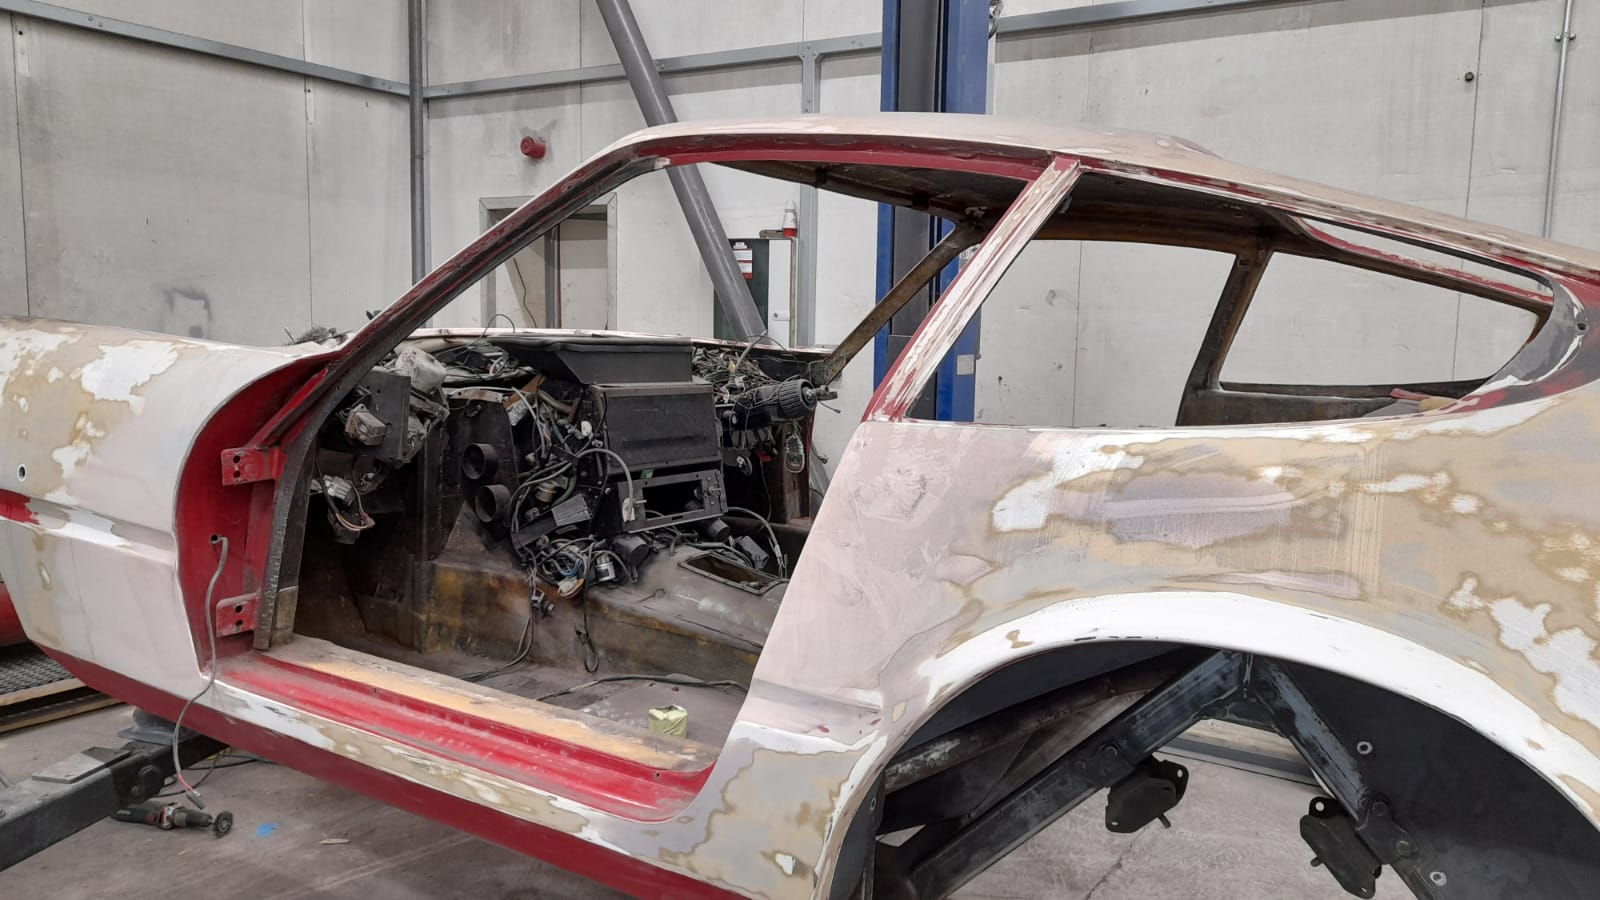
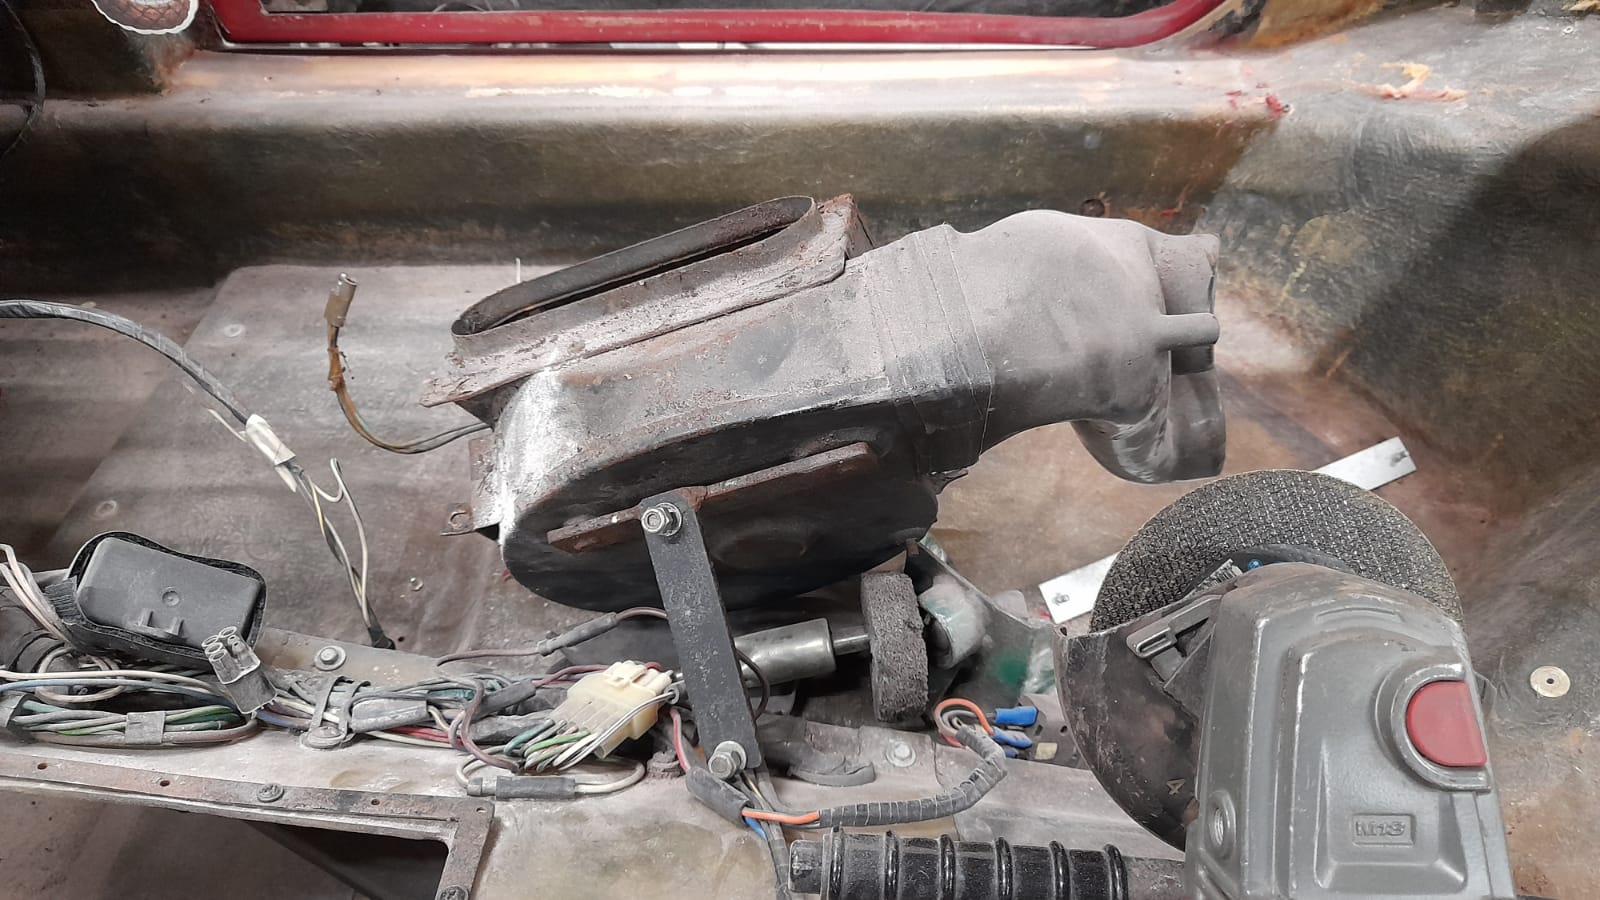
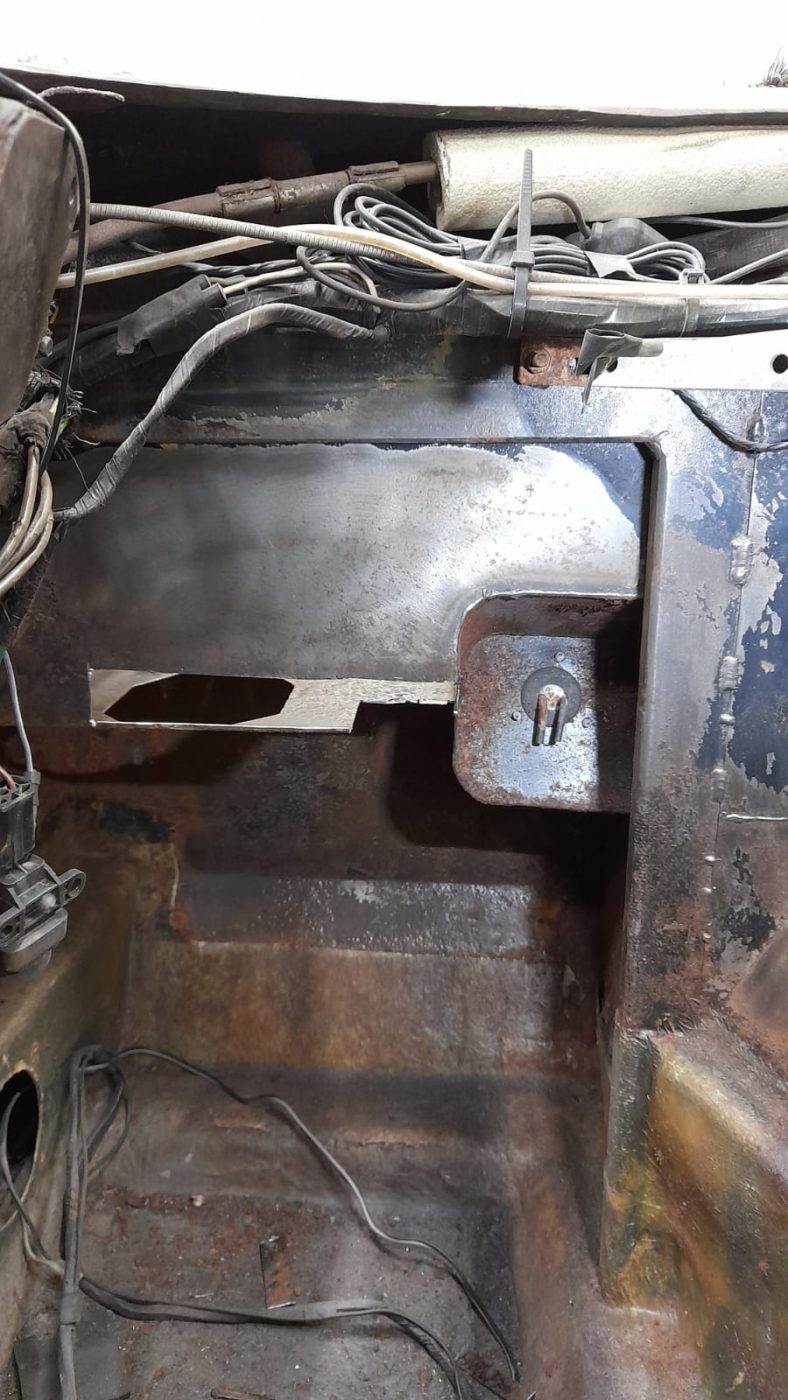
Scott has continued to prep the body of the Daytona by preparing the chassis and engine bay for paint. Scott has removed the heater blower
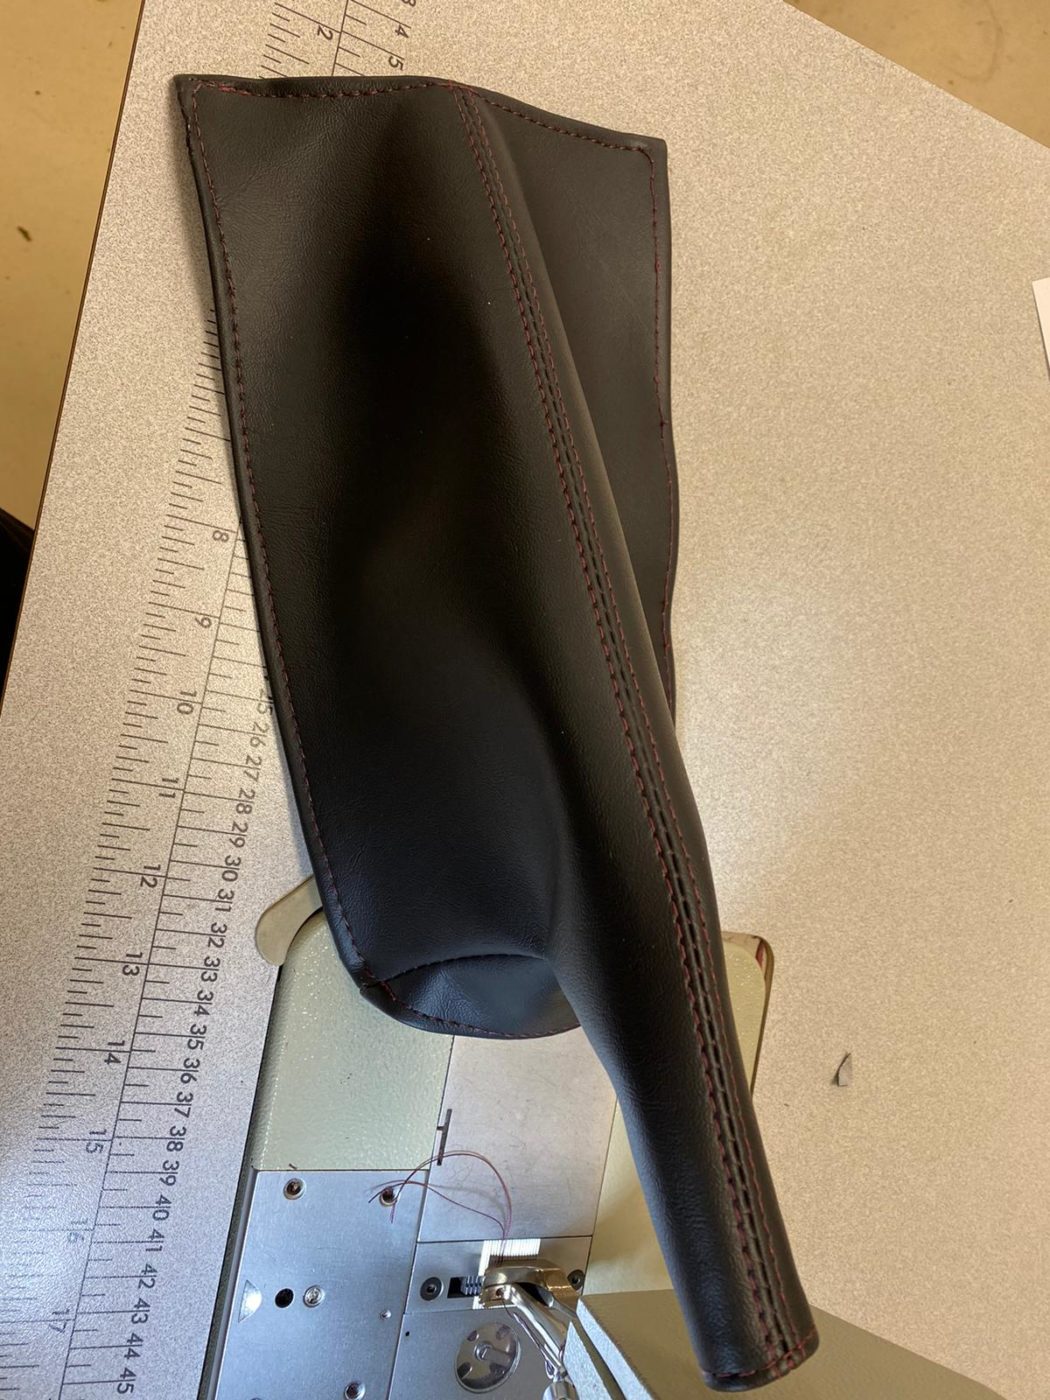
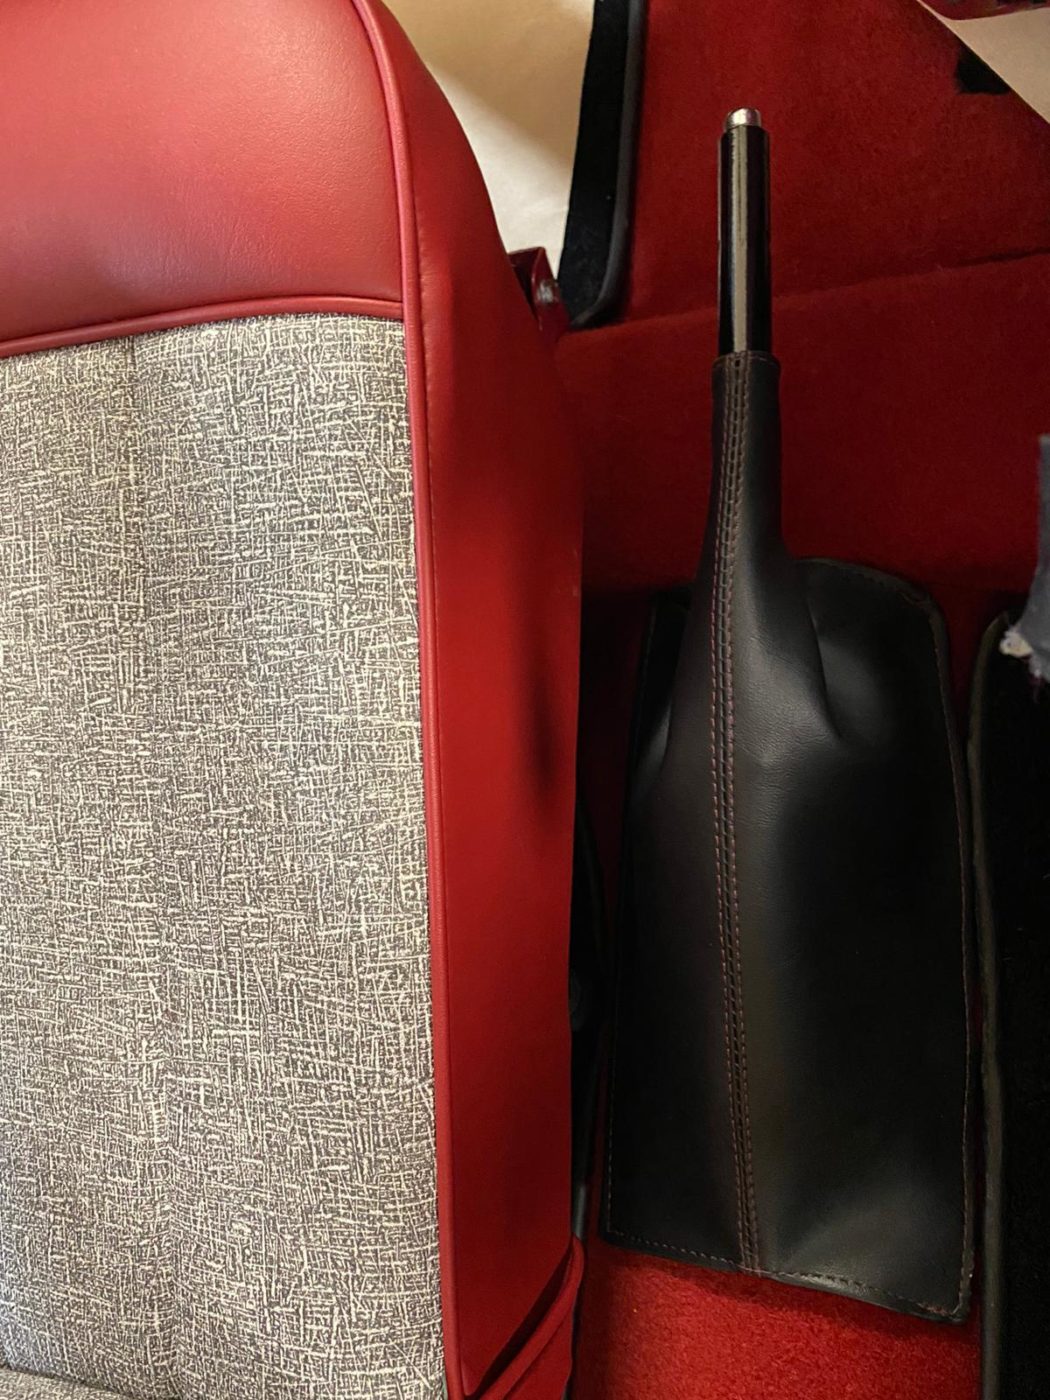
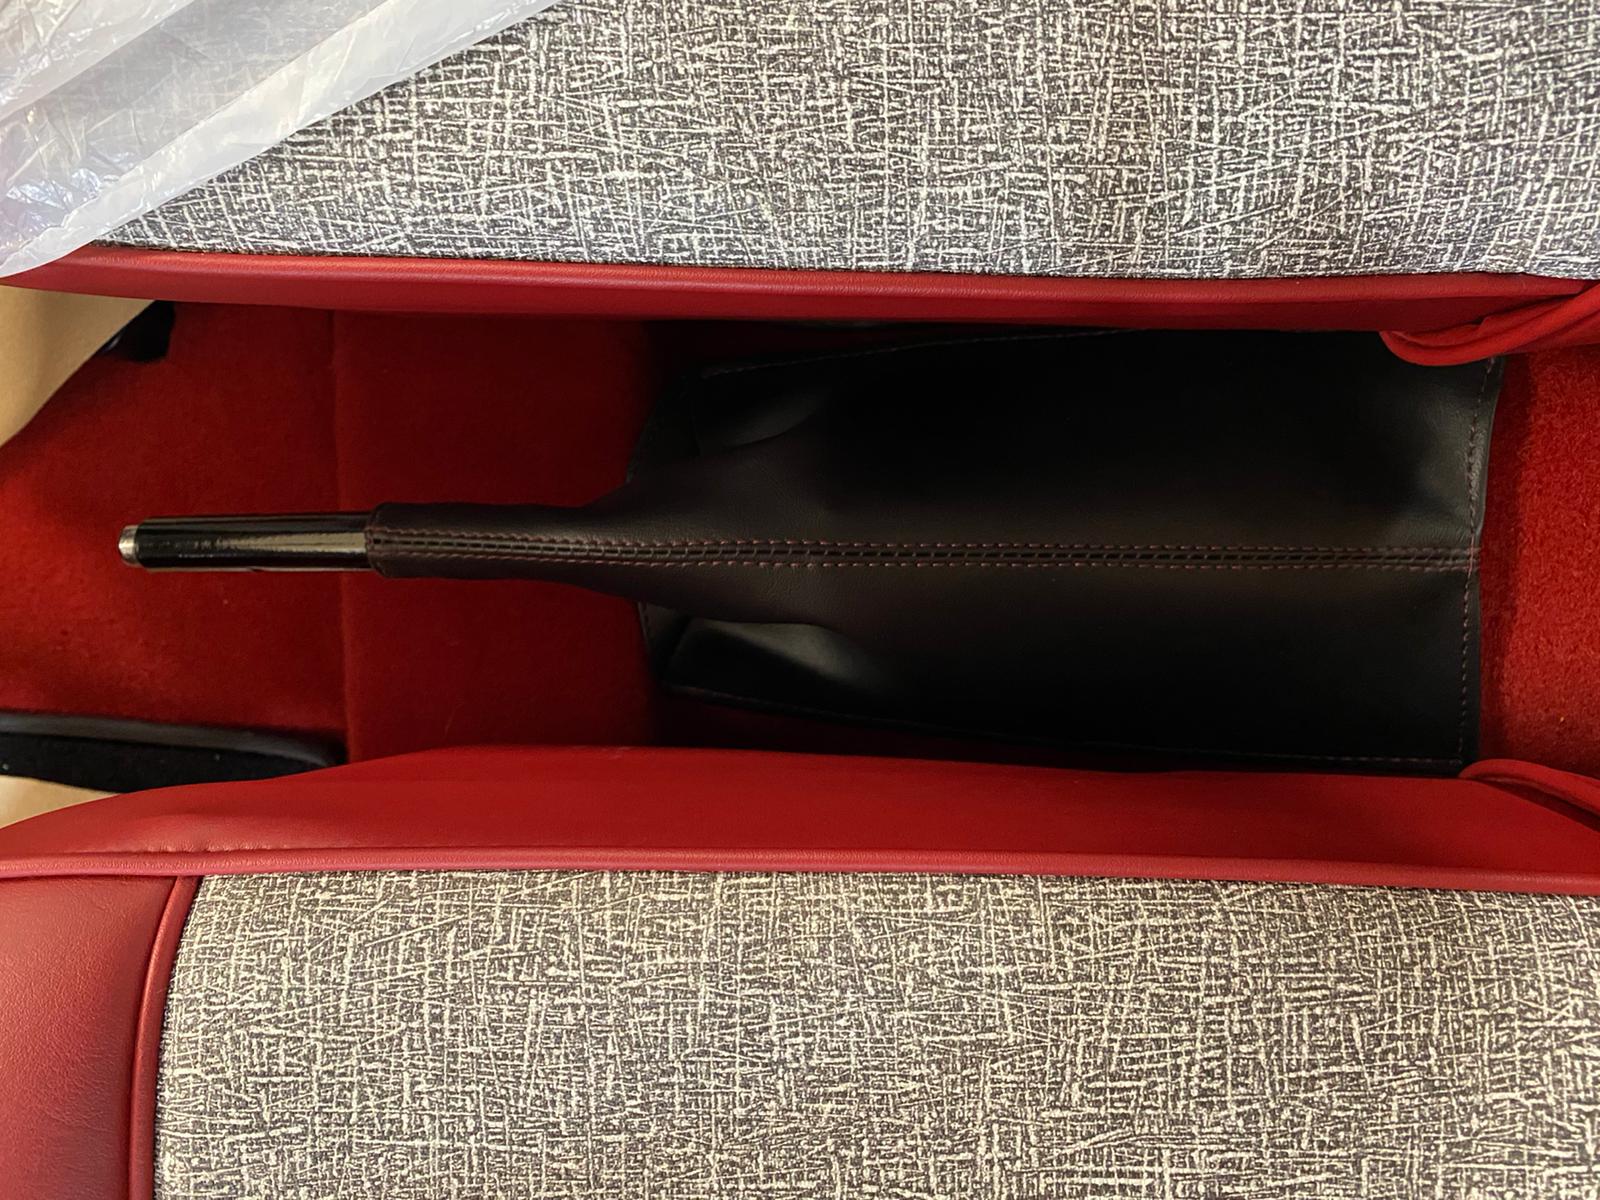
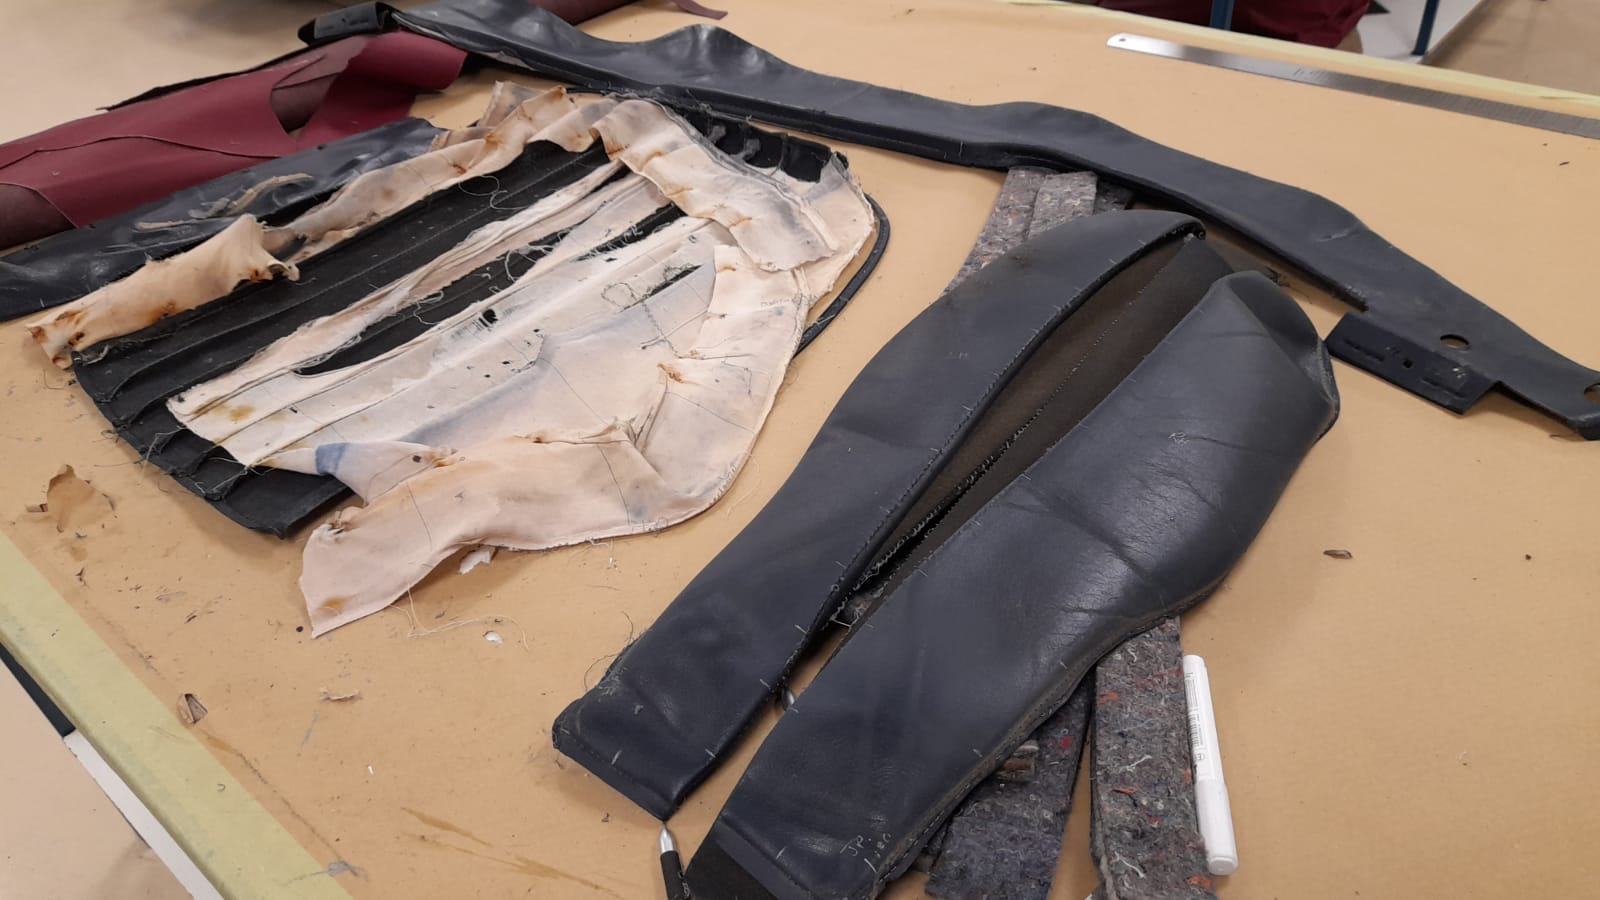
Kath has been making the handbrake gaiter for our 1961 Morris Mini Deluxe, ‘Eva’. Kath made this by measuring out a pattern against the old on and working new leather into a gaiter to mimic the old version.


This iconic modern classic has come in for some TLC. As a 1991 VW Transporter T4, this model is often used as a camper conversion, which is exactly what ours is. Using some innovative spatial design, this T4 makes the perfect portable camper whilst still being small enough to navigate those smaller roads. However, much like any well-loved classic, it needs some maintenance to its paintwork.
We’re aiming to correct the rust damage on the lower half as despite having been painted elsewhere recently, the corrosion has already returned. The wheel arch, sills and wings are also showing signs of rust, so it’s our job to correct this! We’ll be taking every measure to make sure the rust is kept away for years, not just 6 months. We’re going to be stripping the bodywork back, remove the rust and then paint the body in a dual-tone with white on top and grey covering the bottom half.
Our Peony Red Jensen is getting closer to actually be Peony Red. This classic Jensen has been sat in parts for a while as we work through the rust but is now on the final steps before it can be painted.
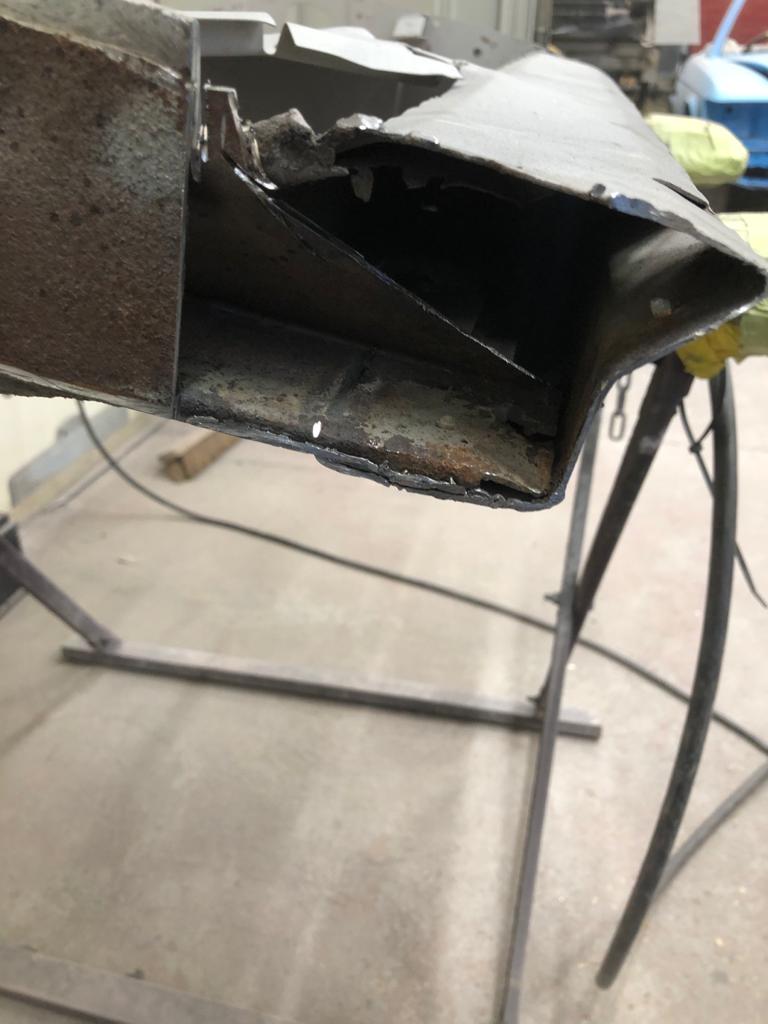
James has been working on creating a door spring mechanism that allows the window glass to sit safely inside the panel.


Below are some process photos of James preparing the door and fitting the elements. He’s been working on the left-hand door to remove old rust metal and tidy up repairs as well as fabricate new sections to weld in place.

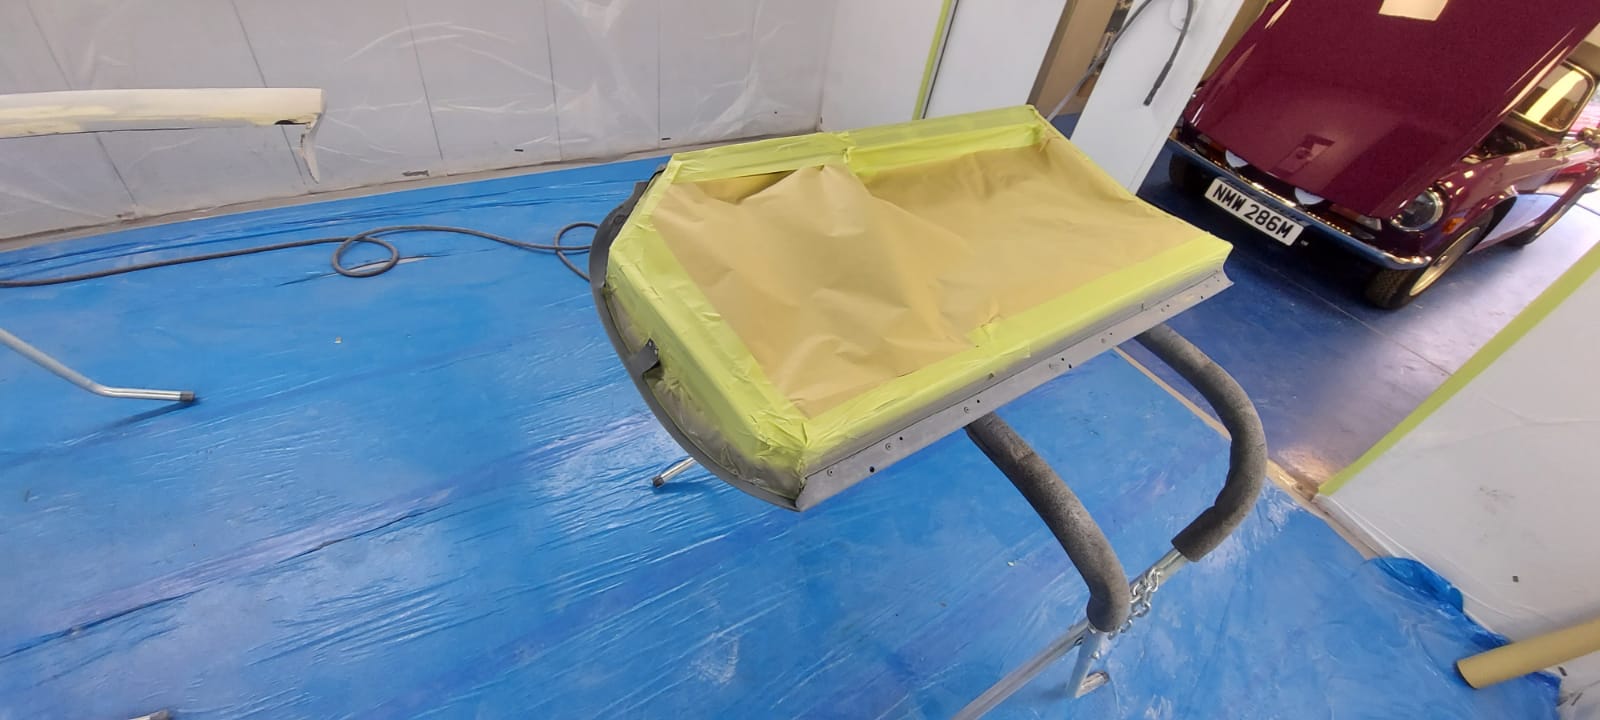
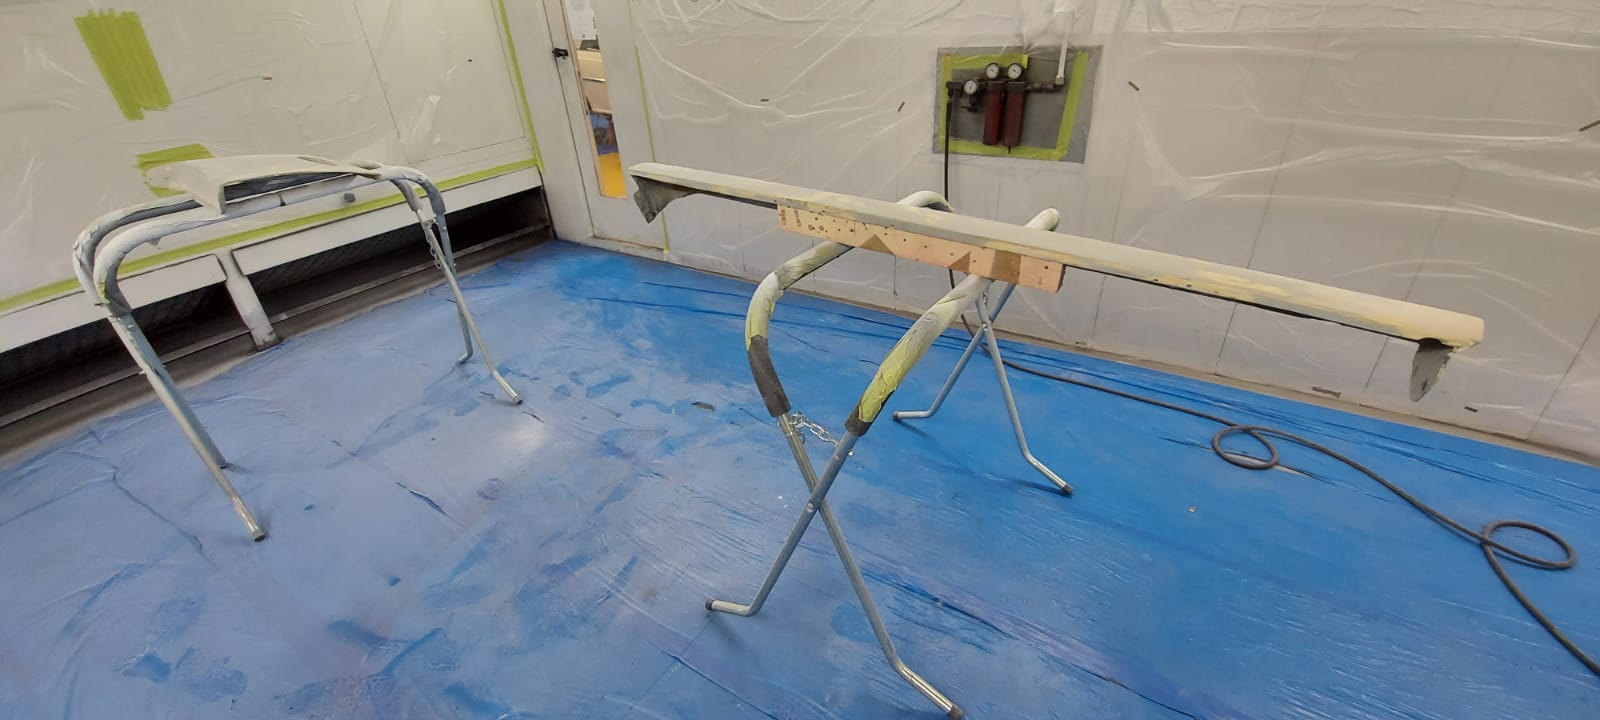
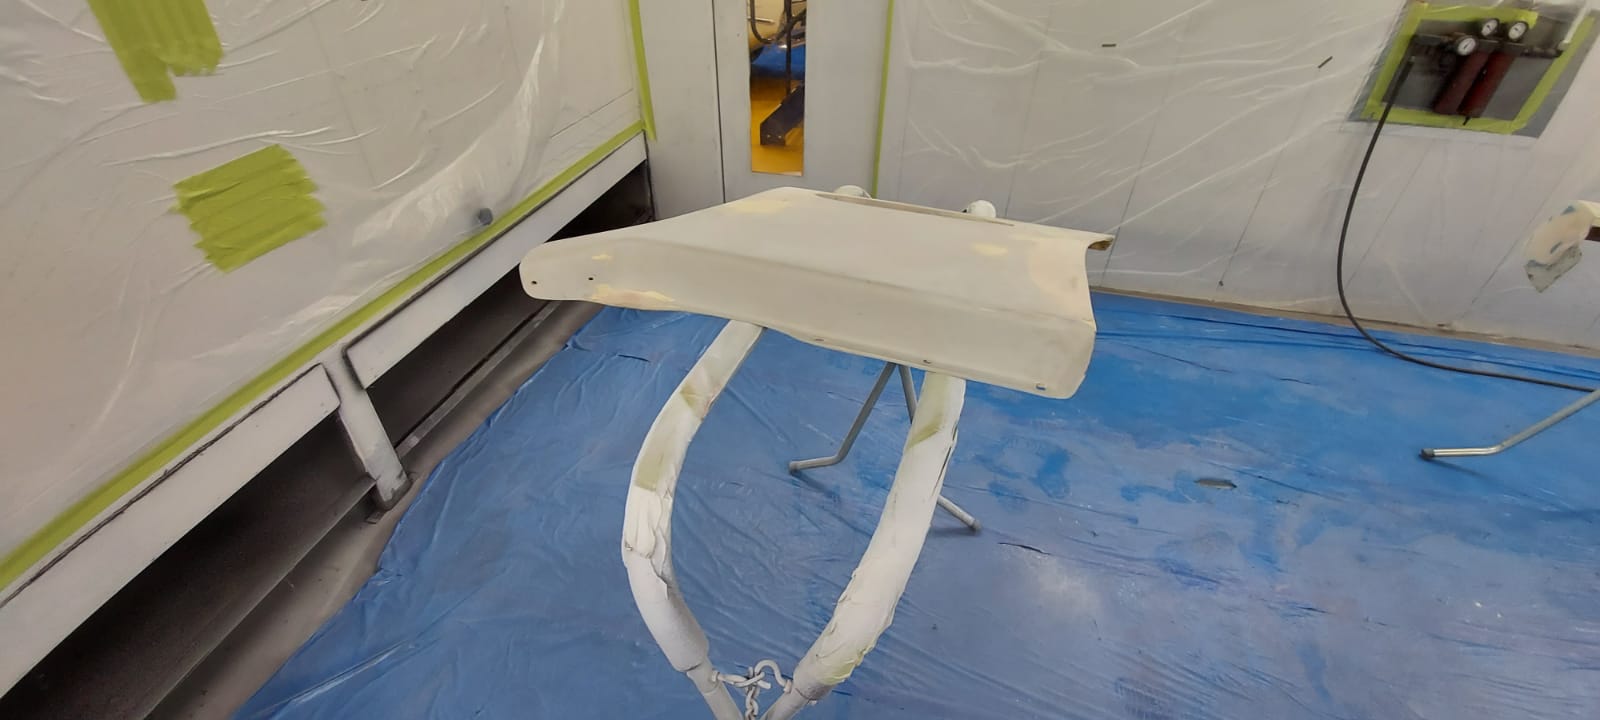
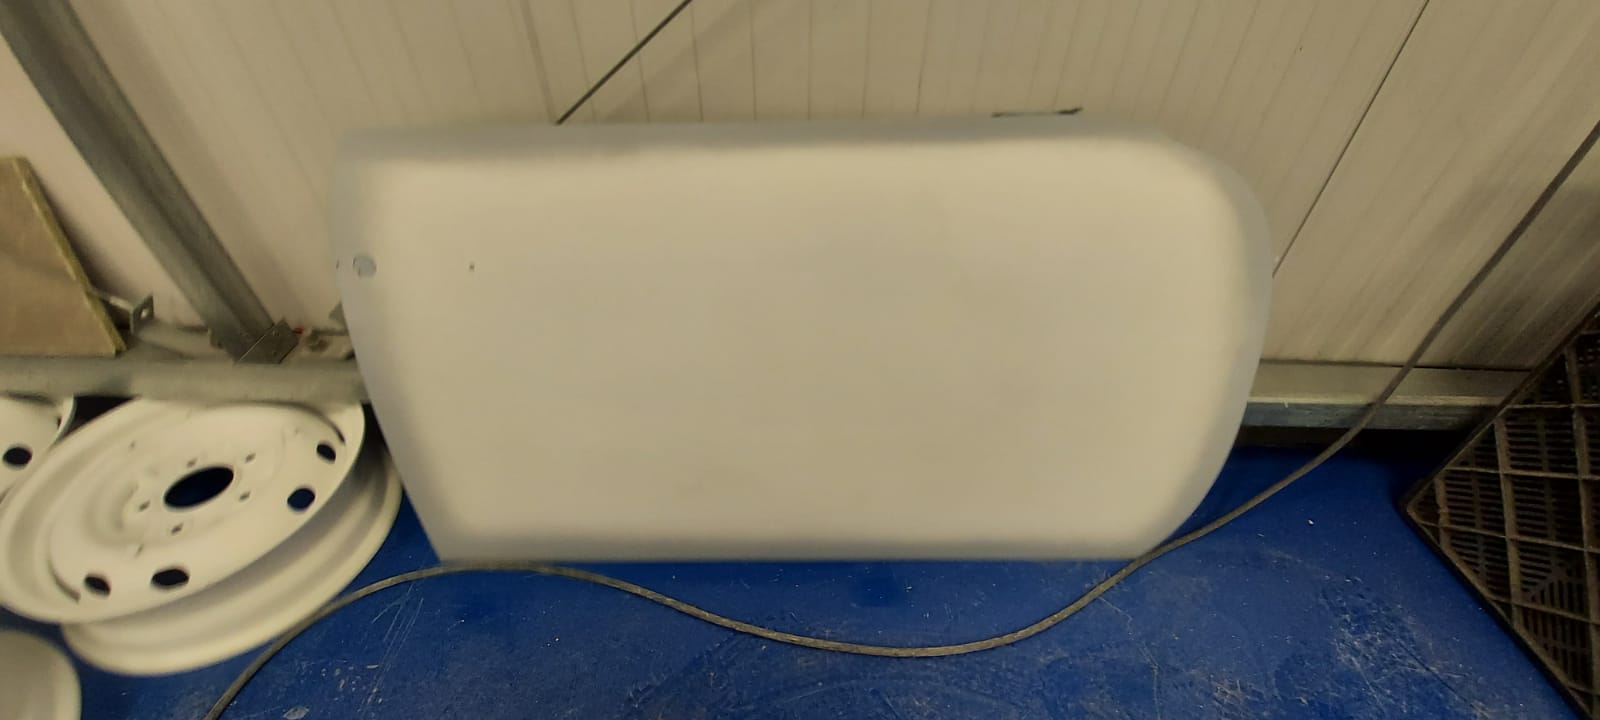
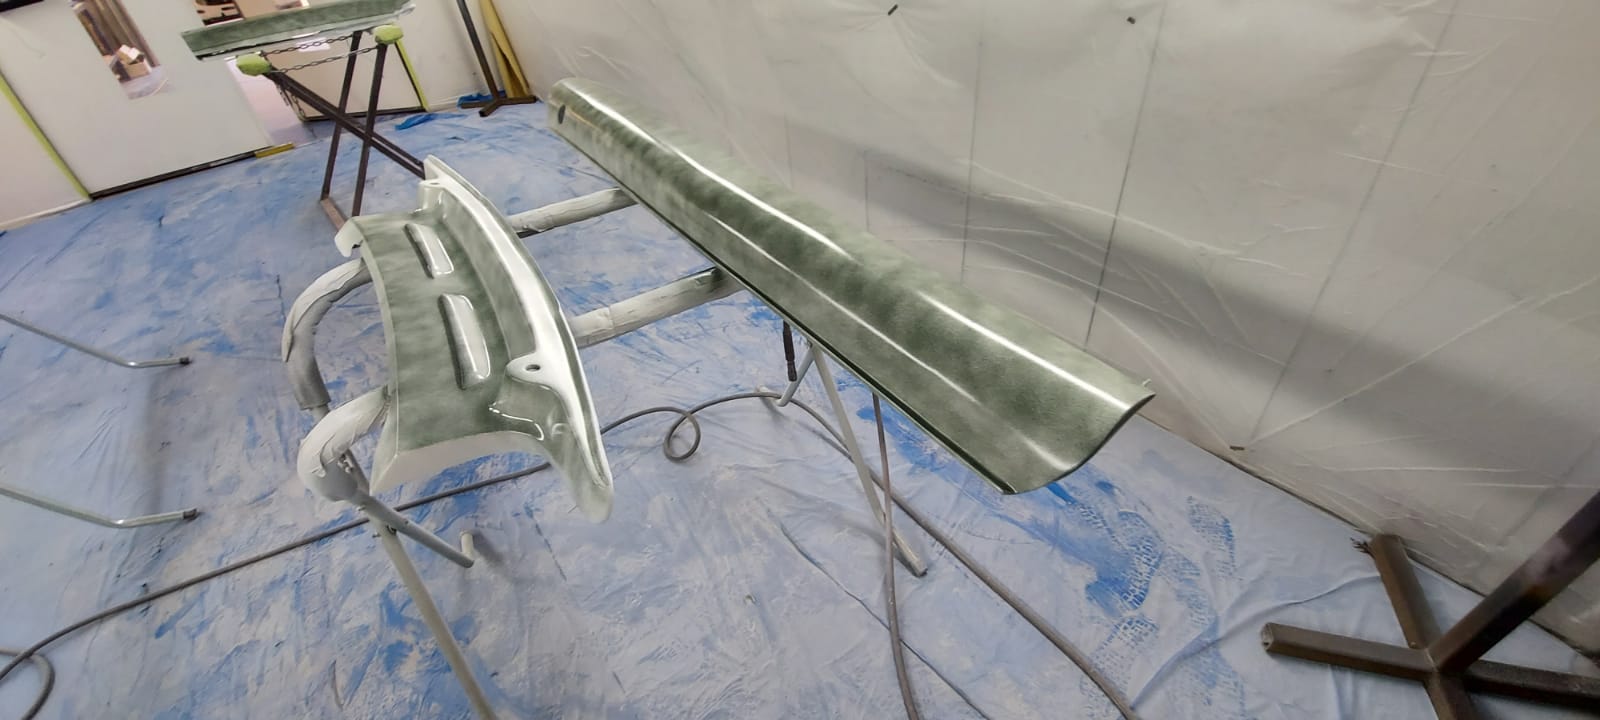
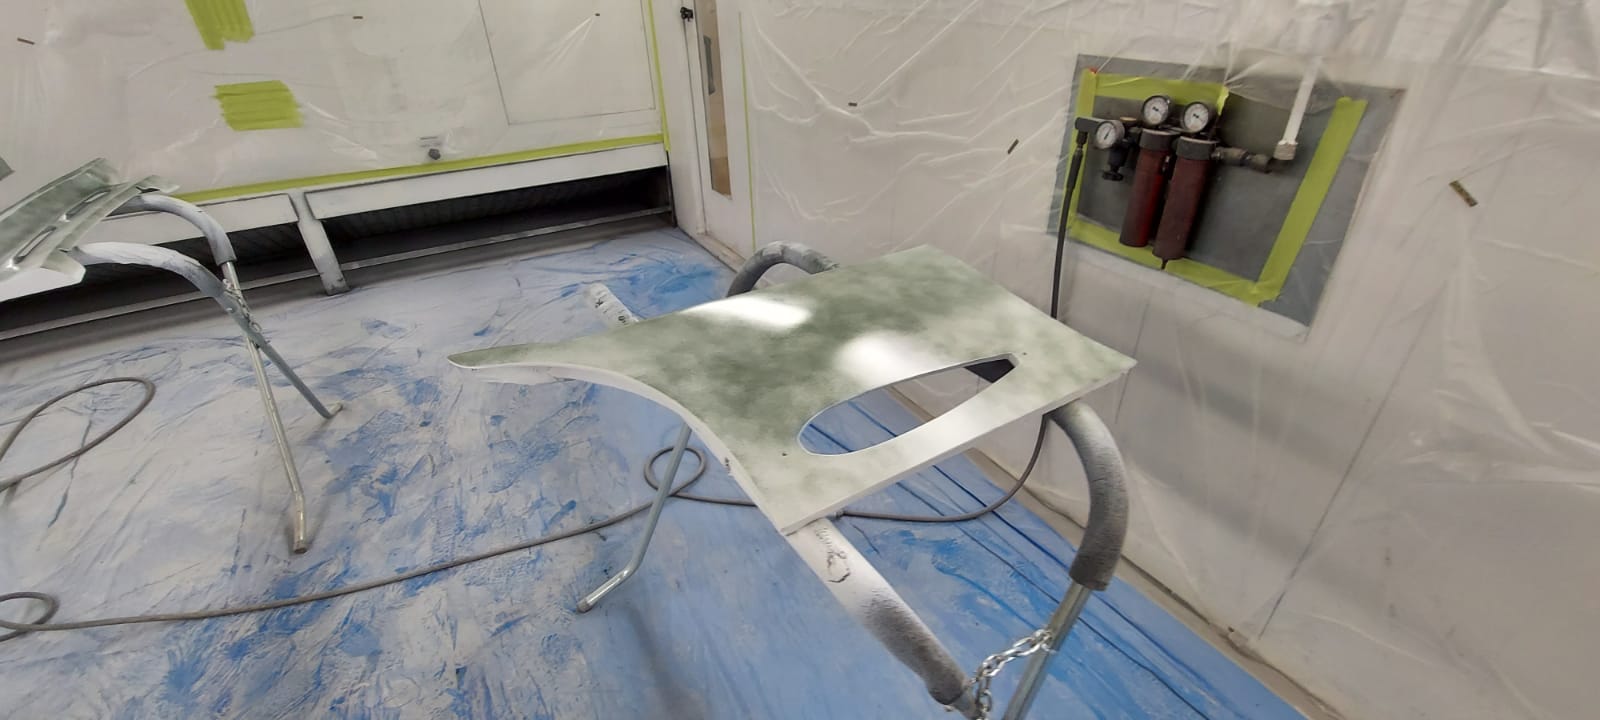
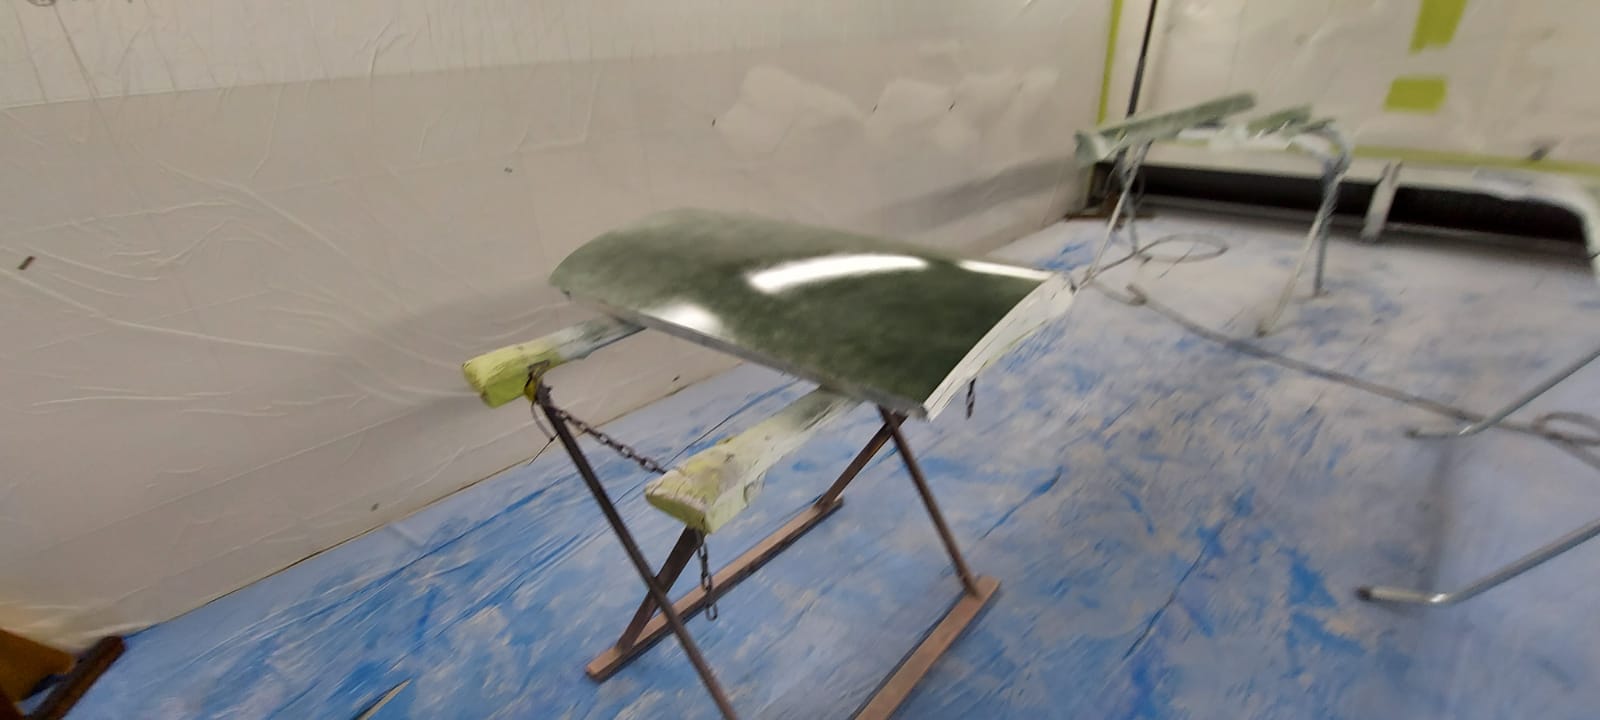
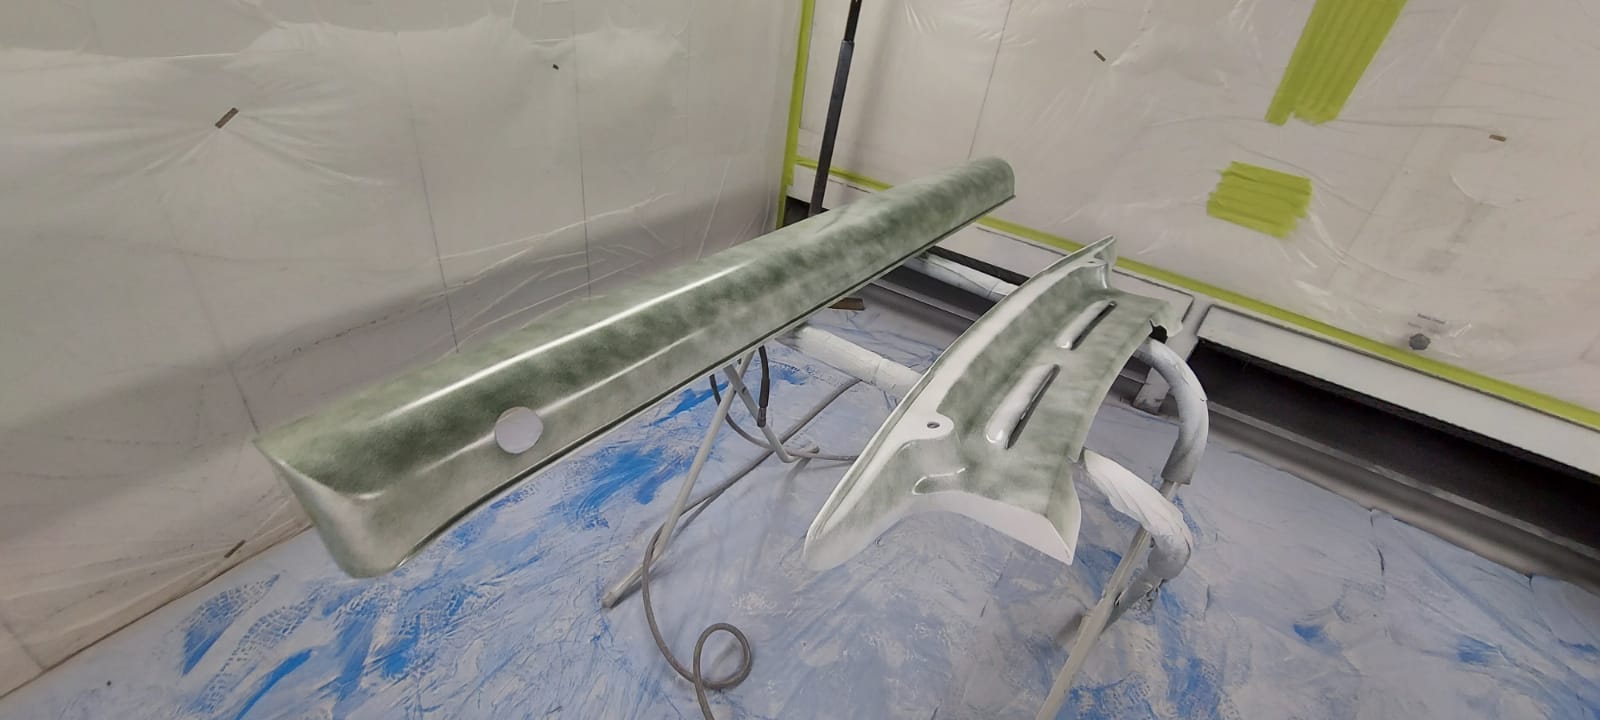
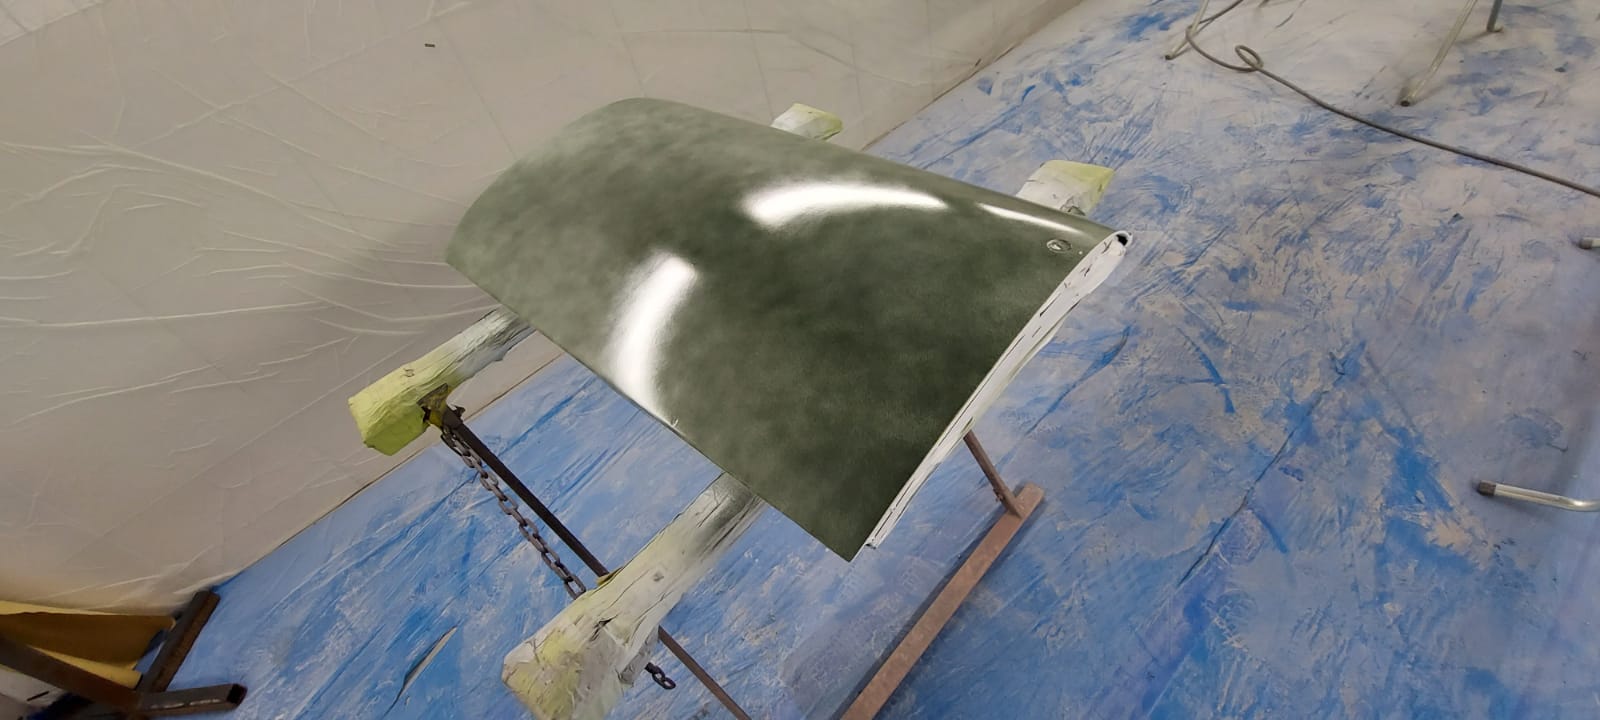
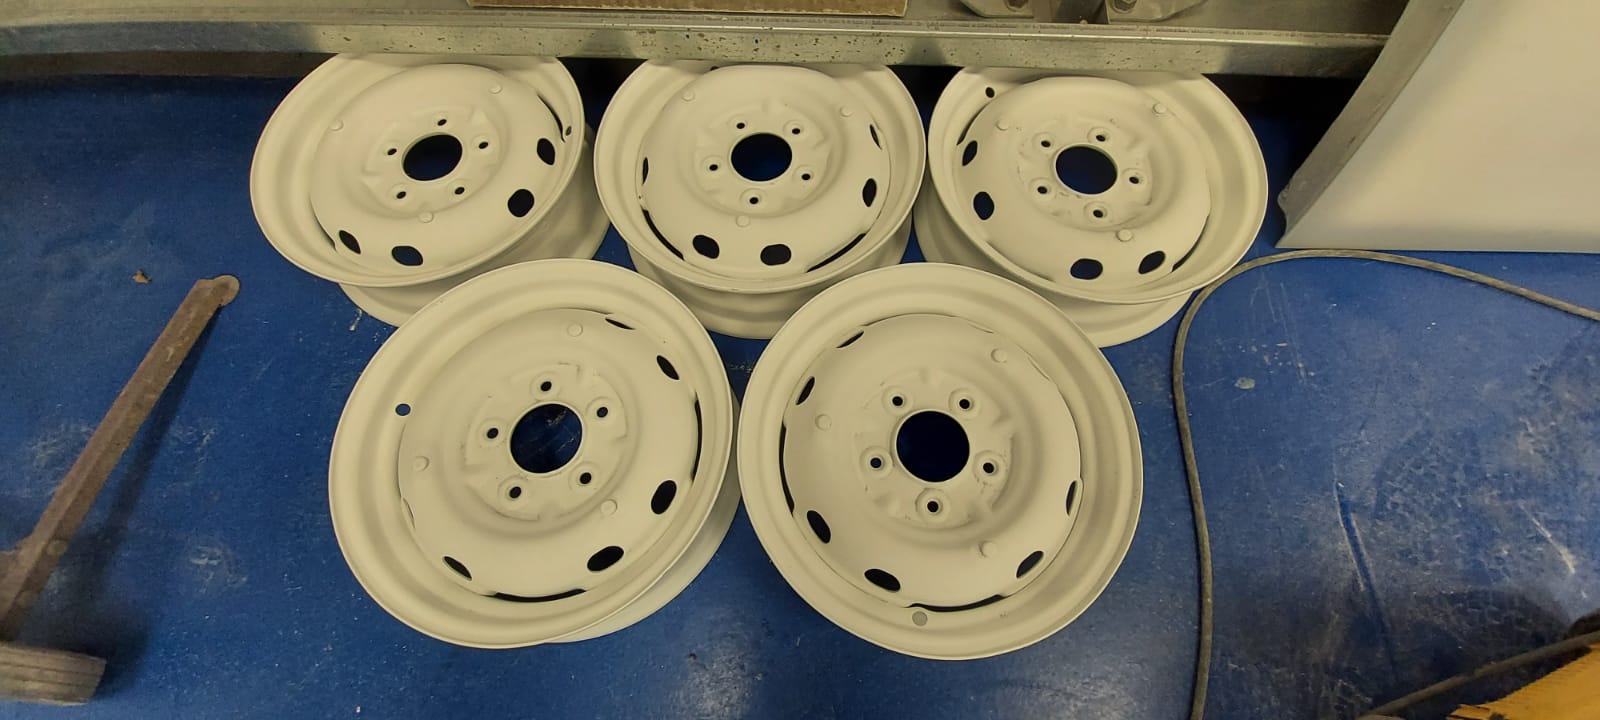
Chris, our painter, has been preparing some of the individual elements for paint as the door wing and sill is now ready for primer. Several parts have been primed in a guide coat well as the wheels having been rubbed down ready for paint


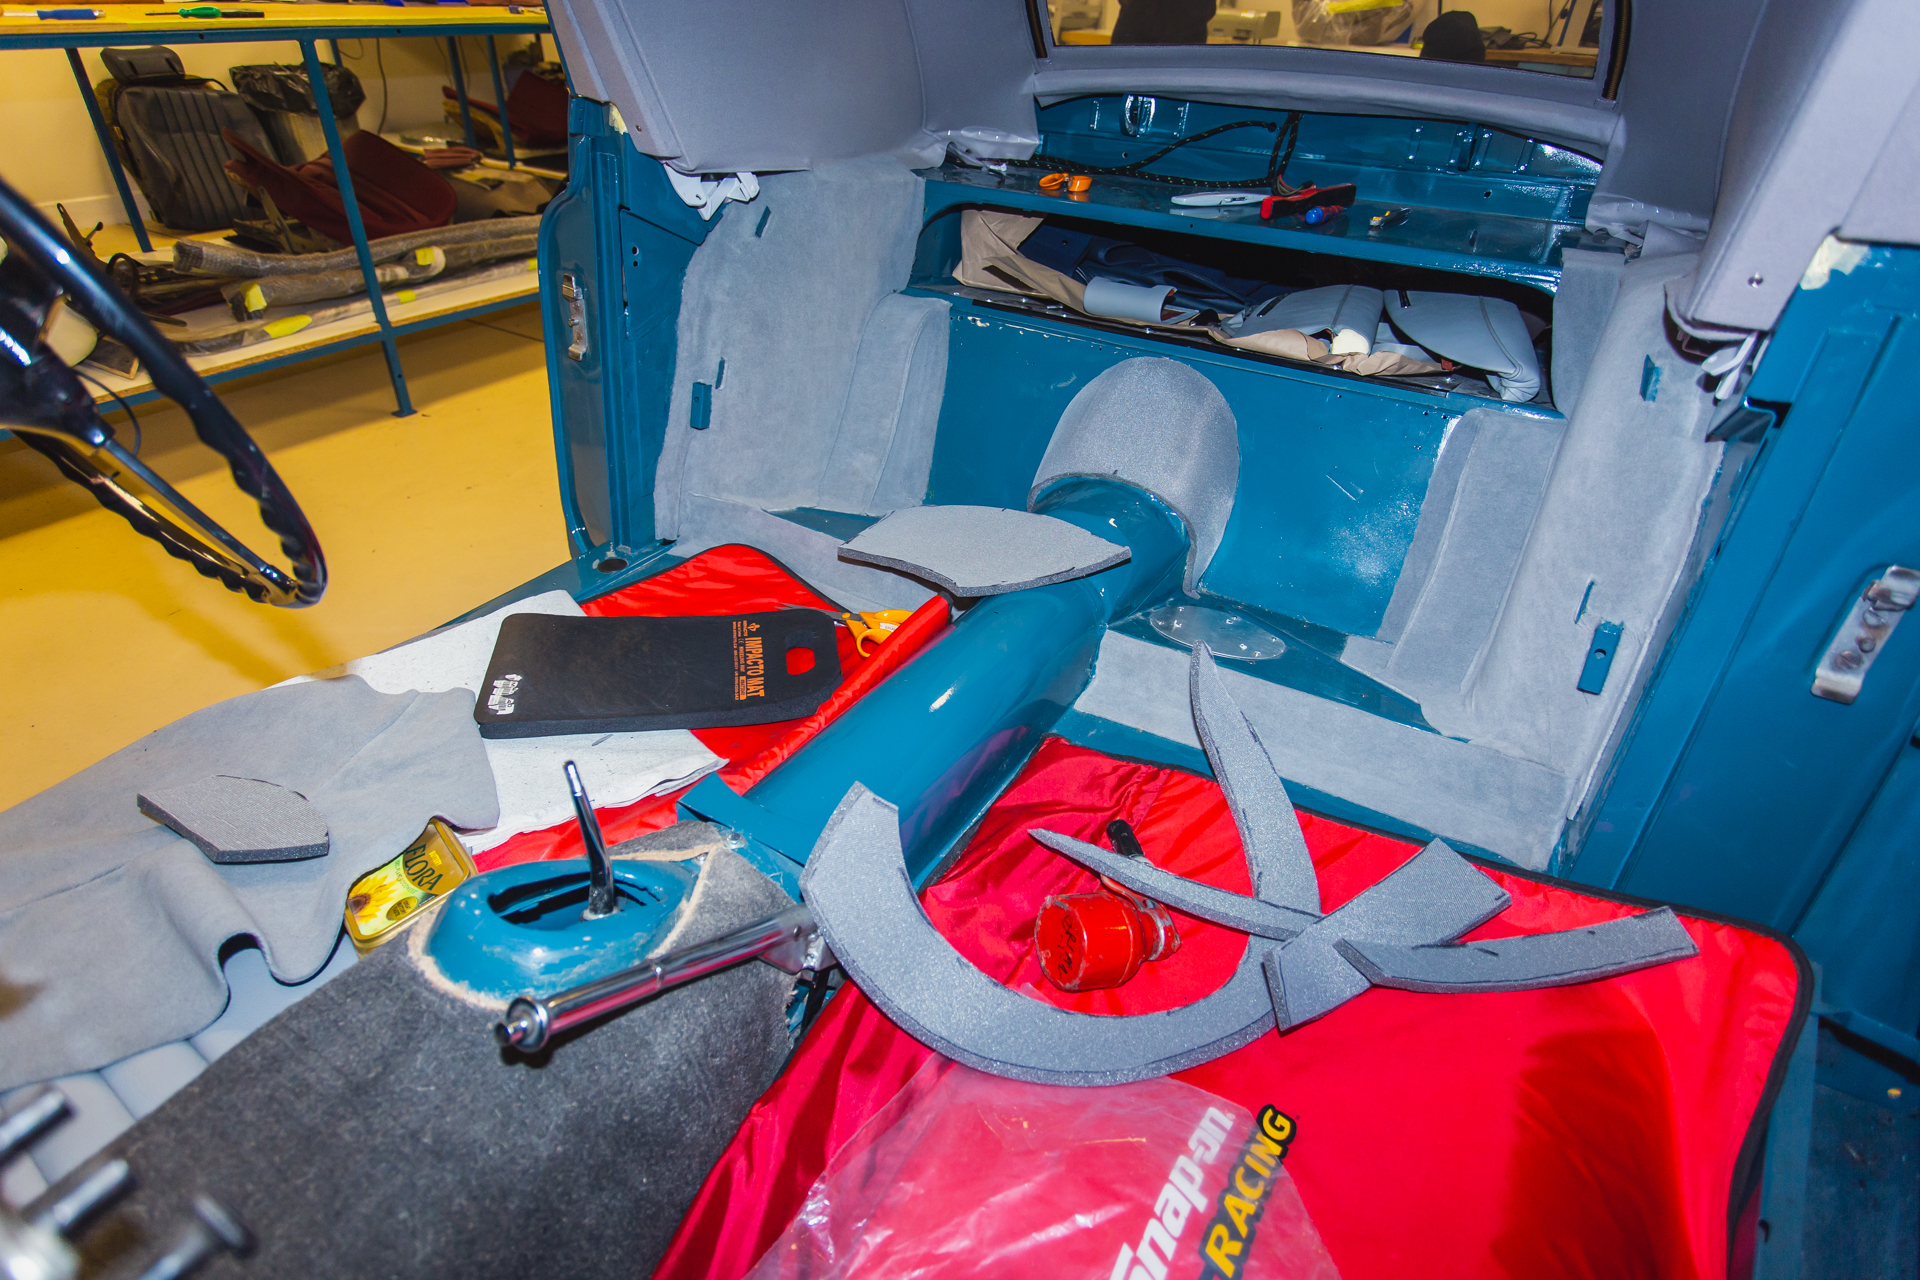
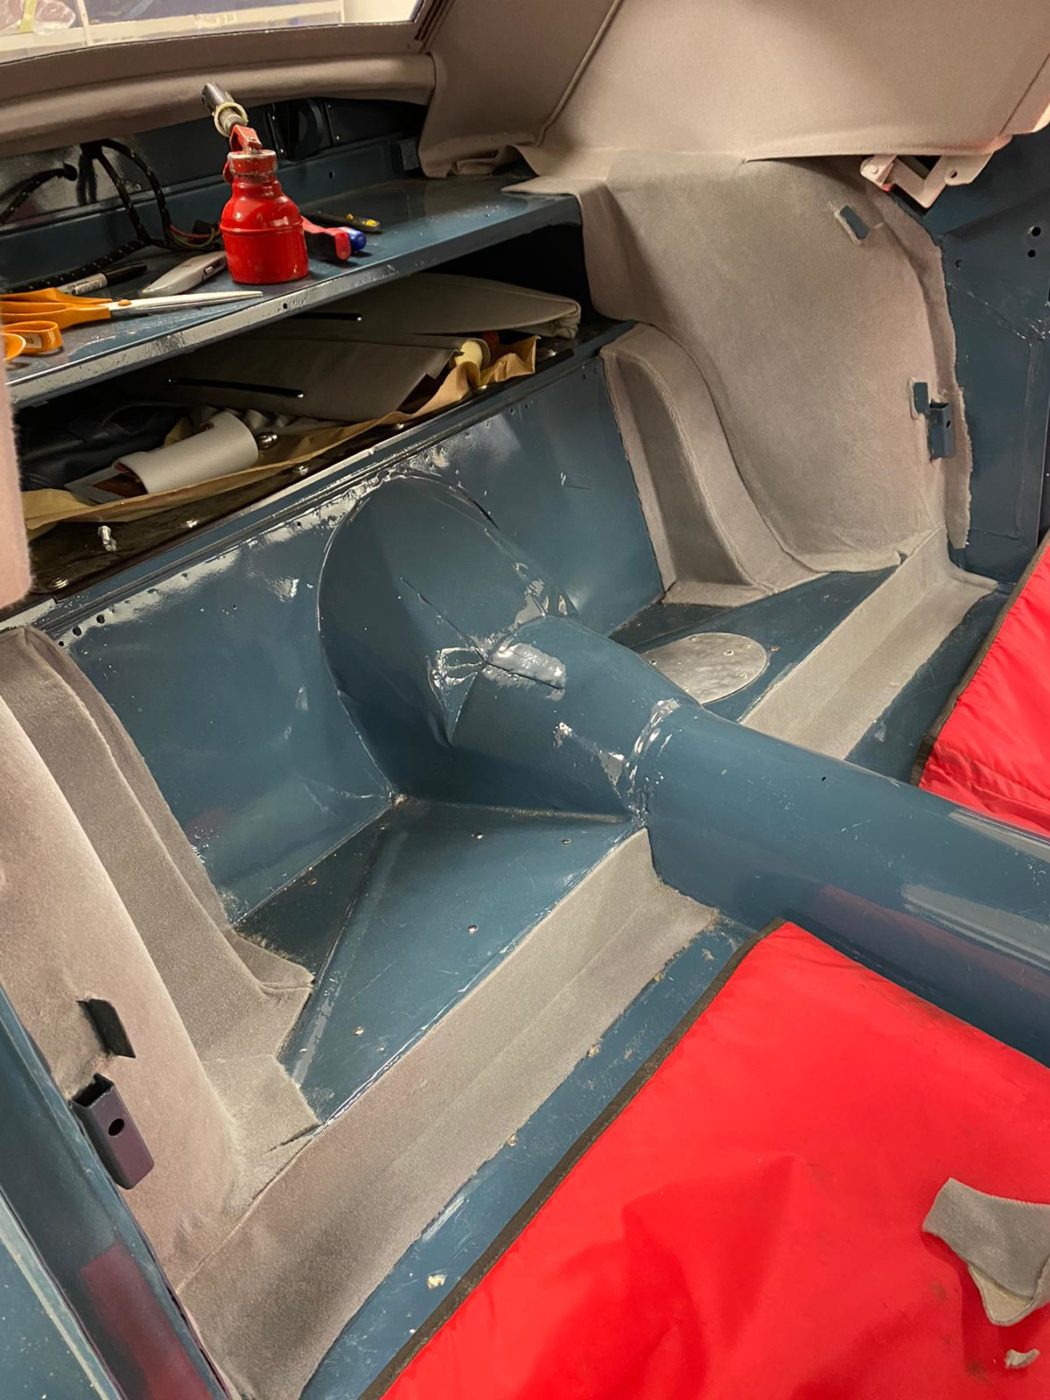
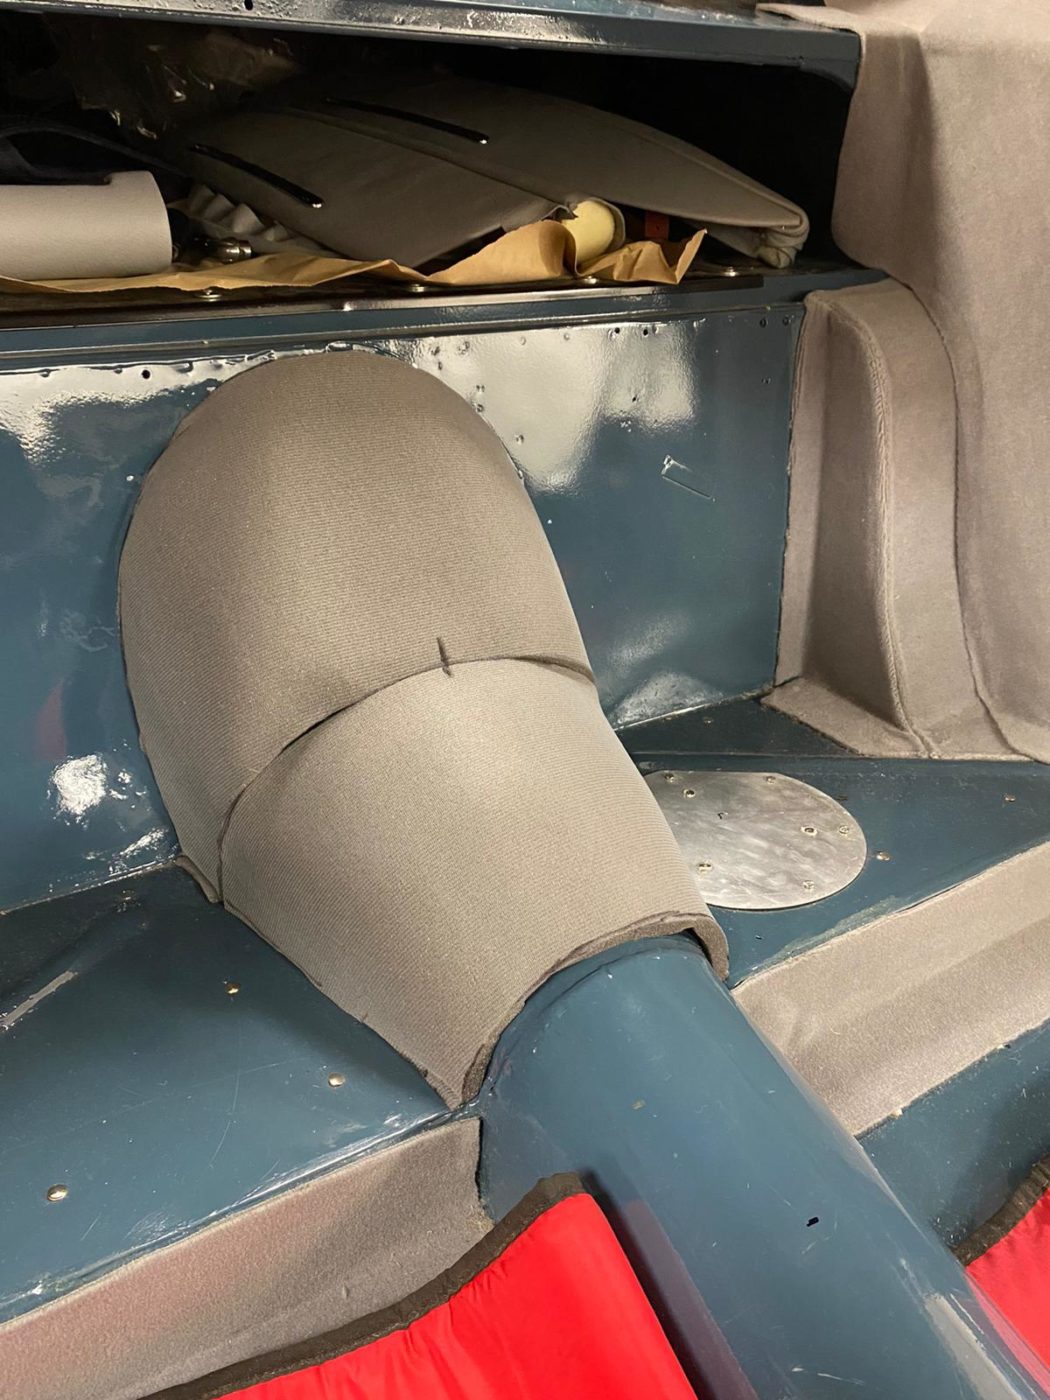
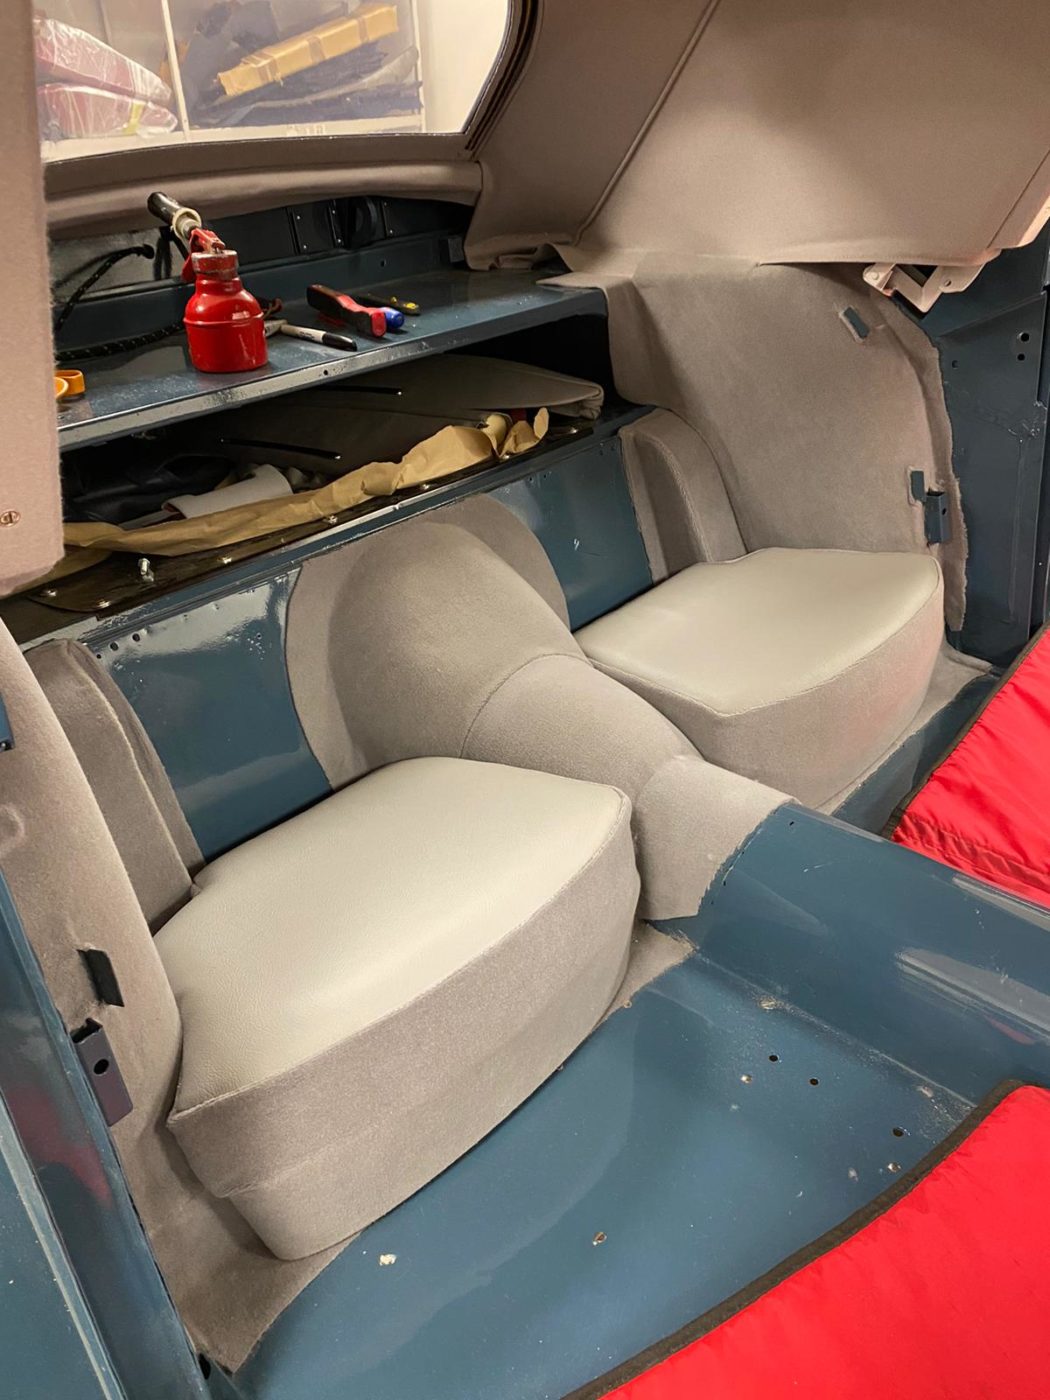
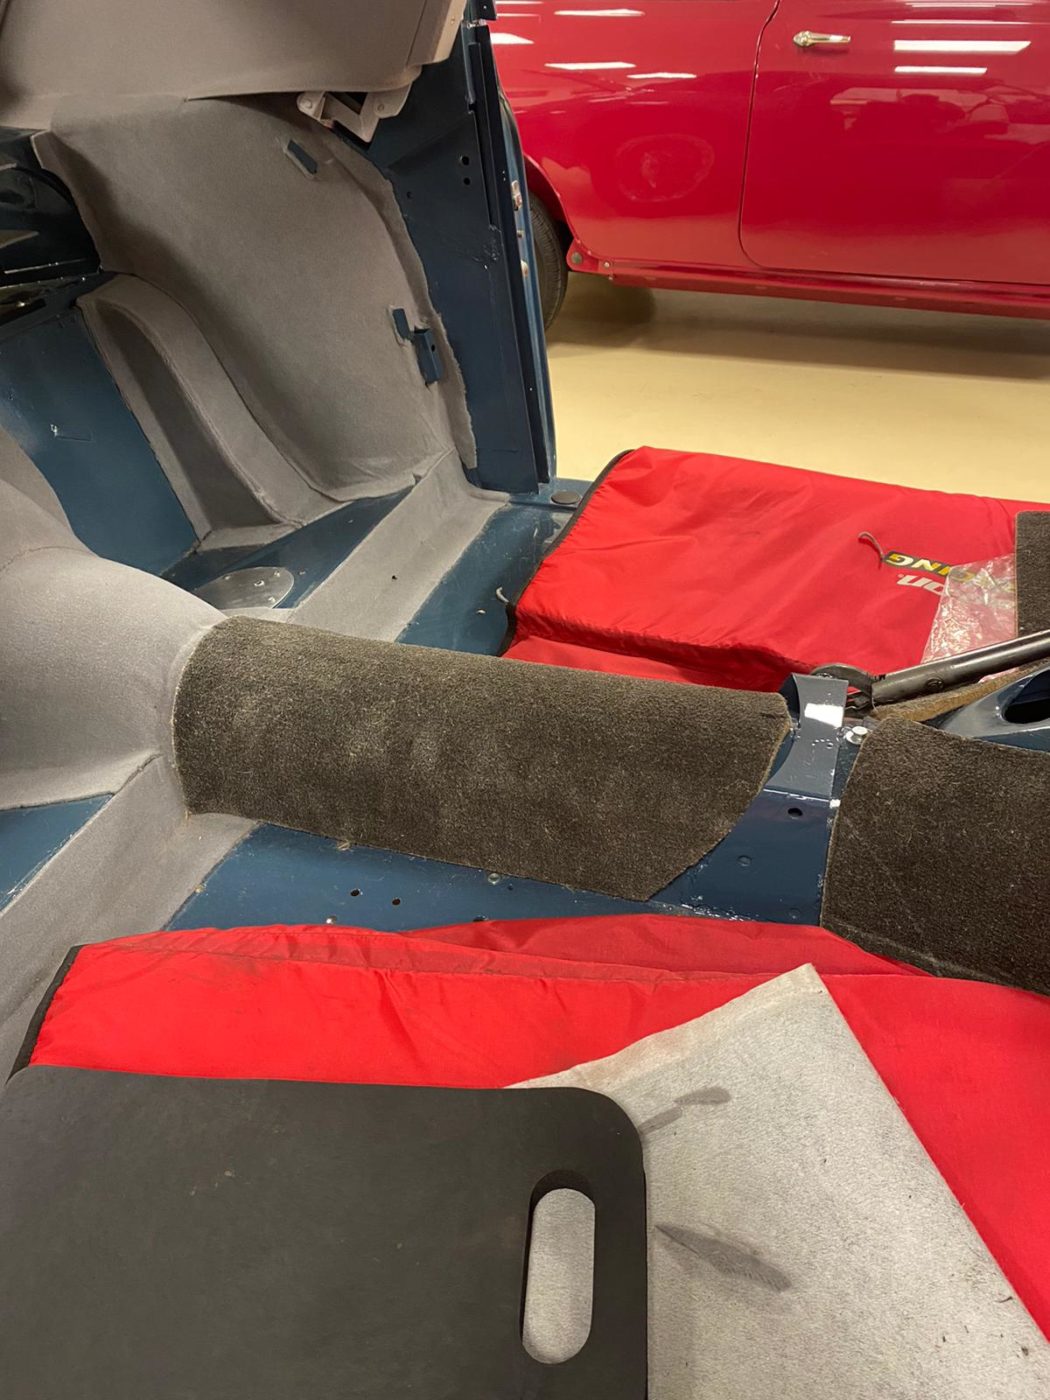
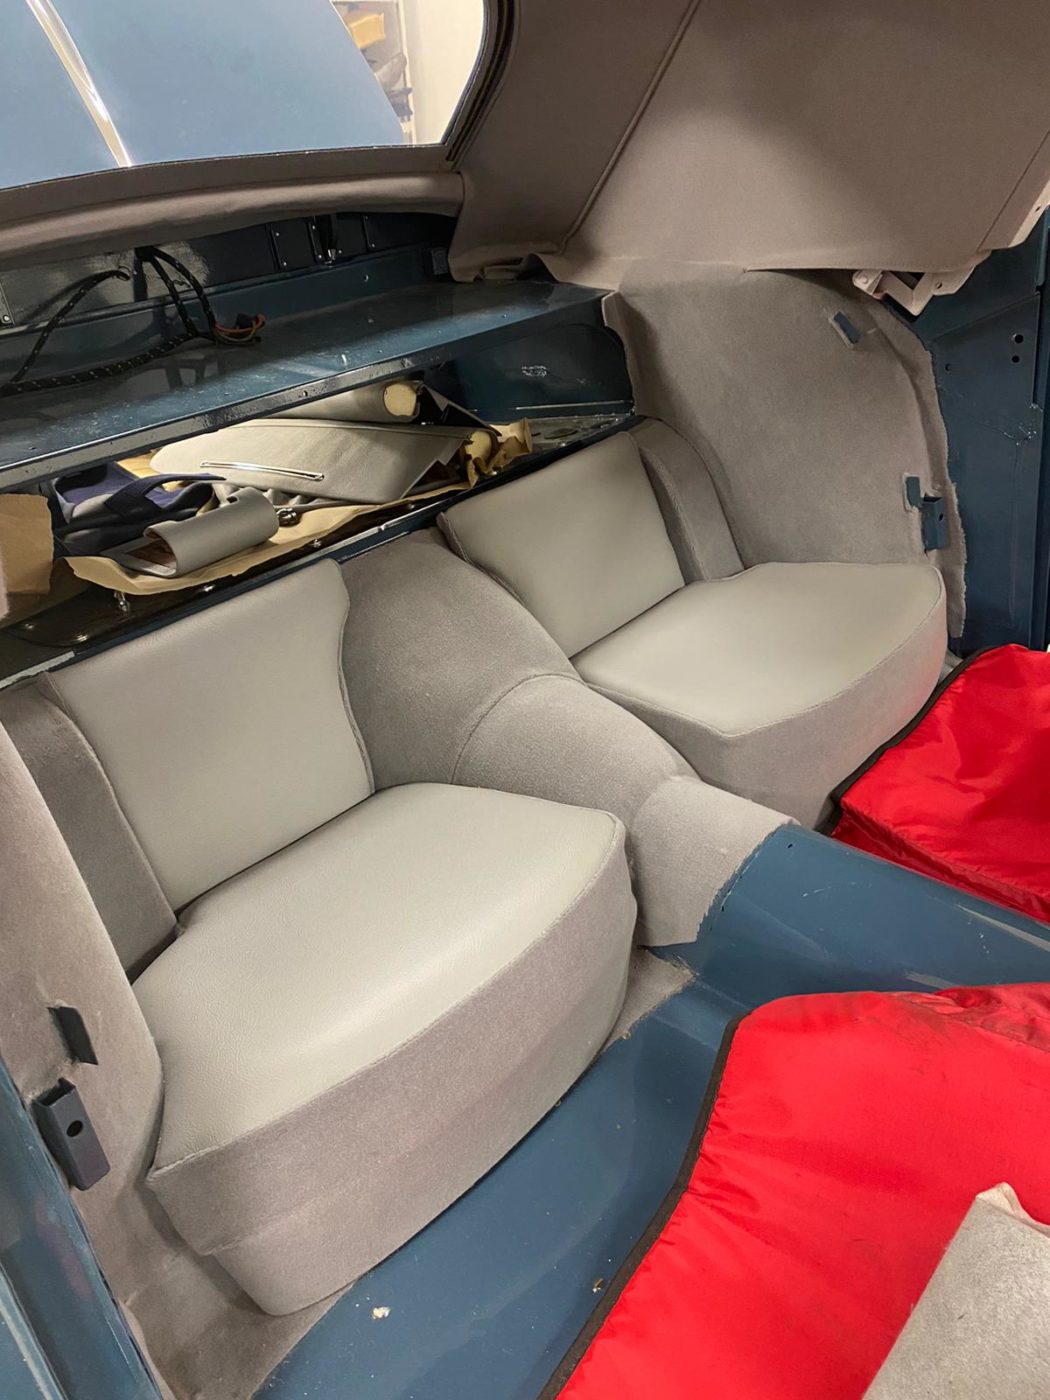
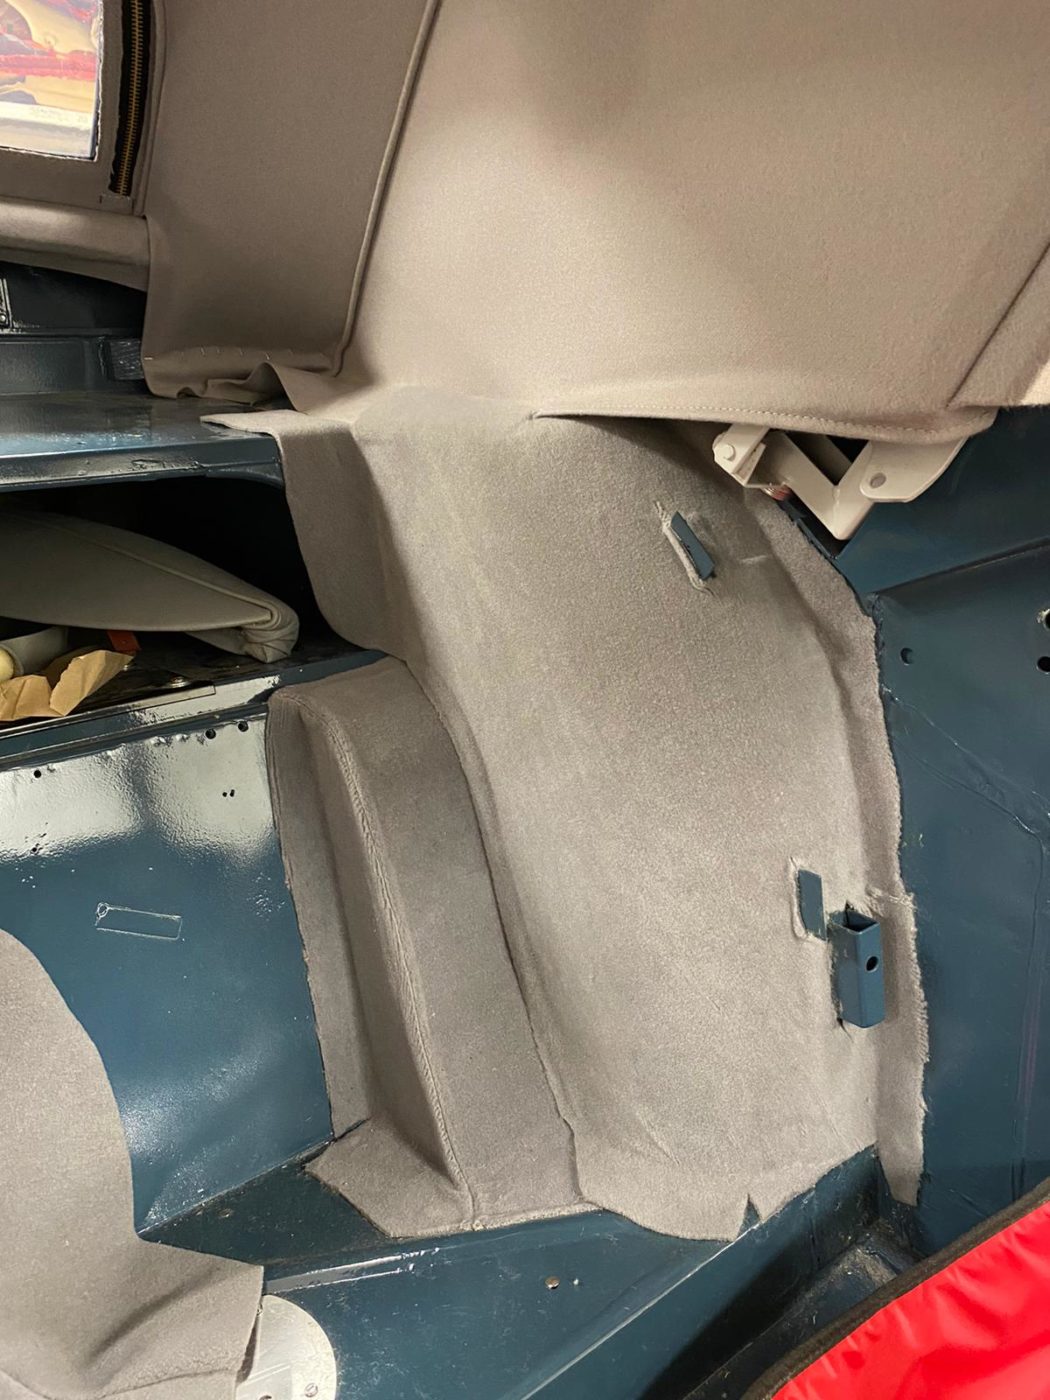
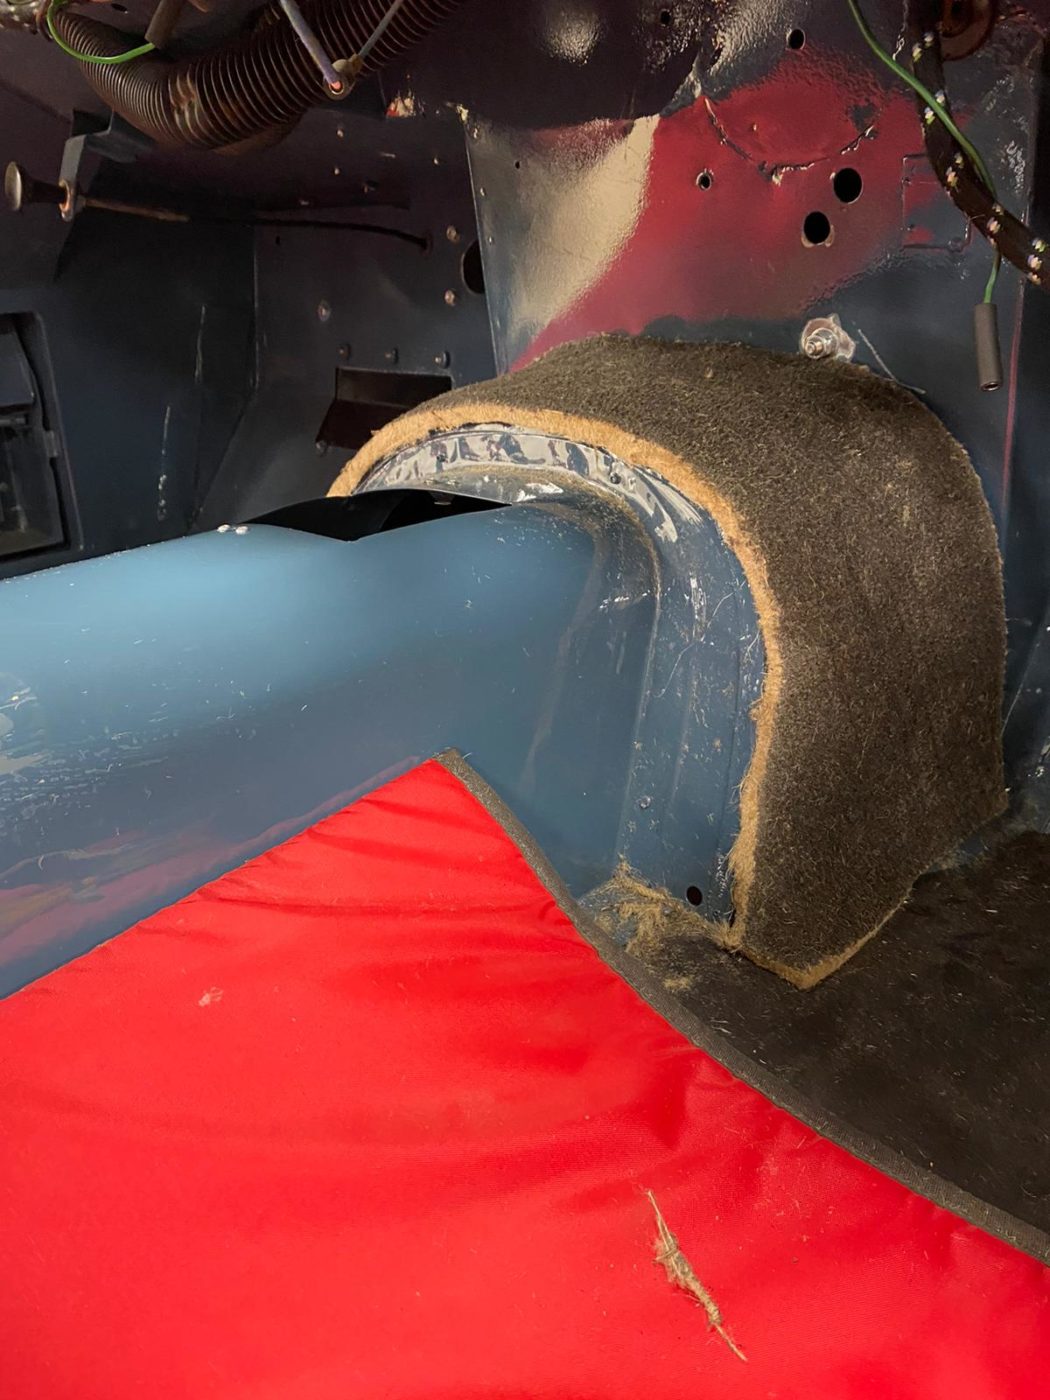
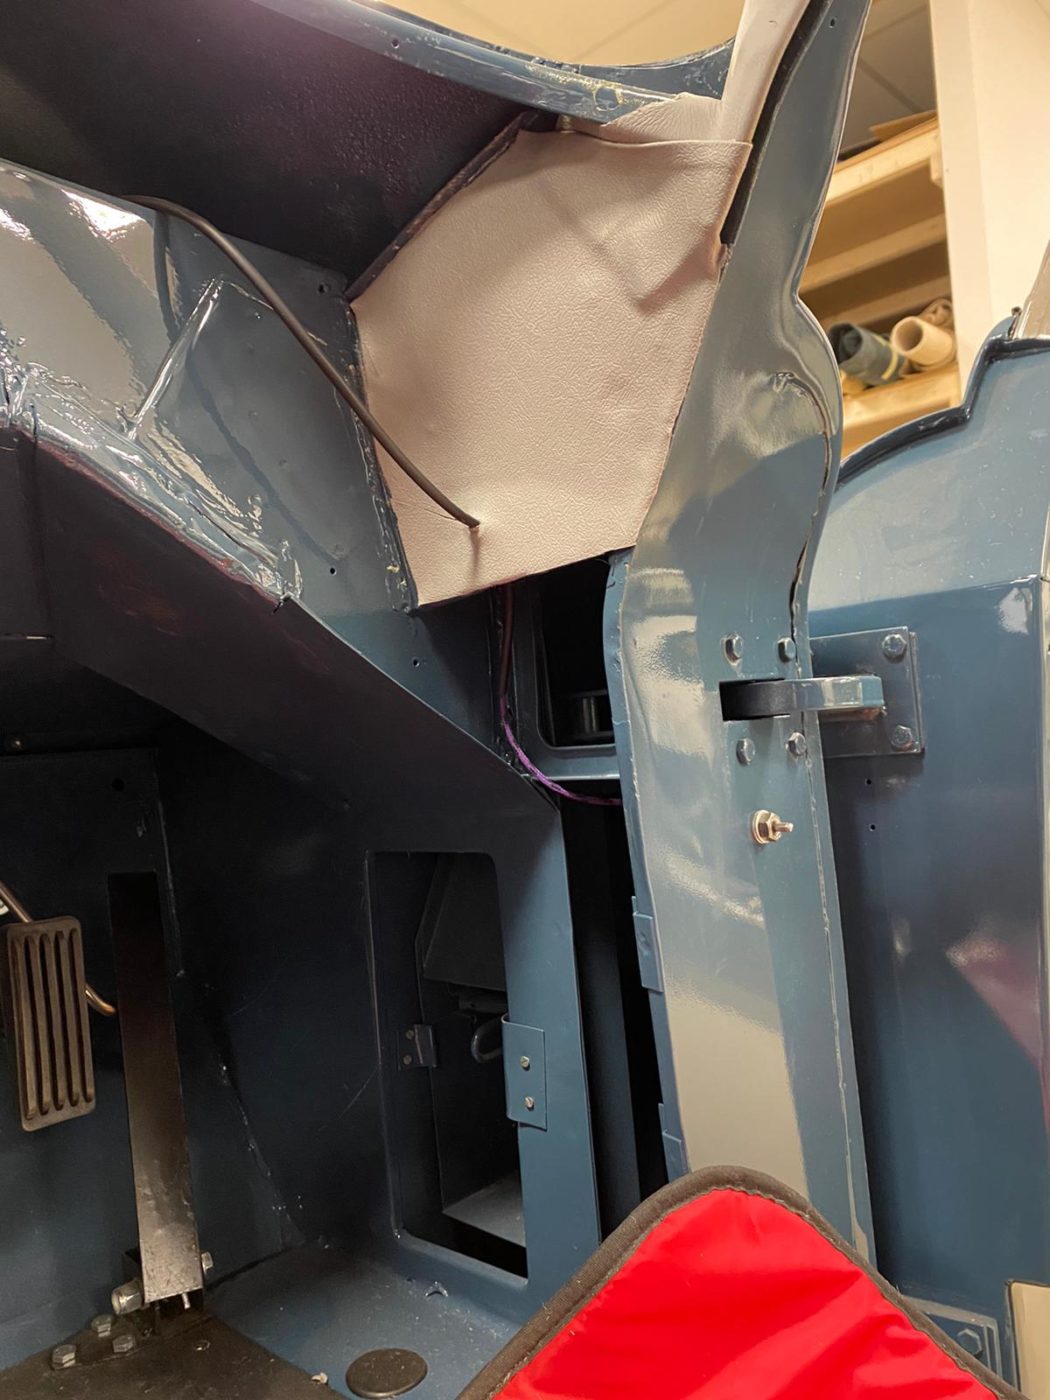
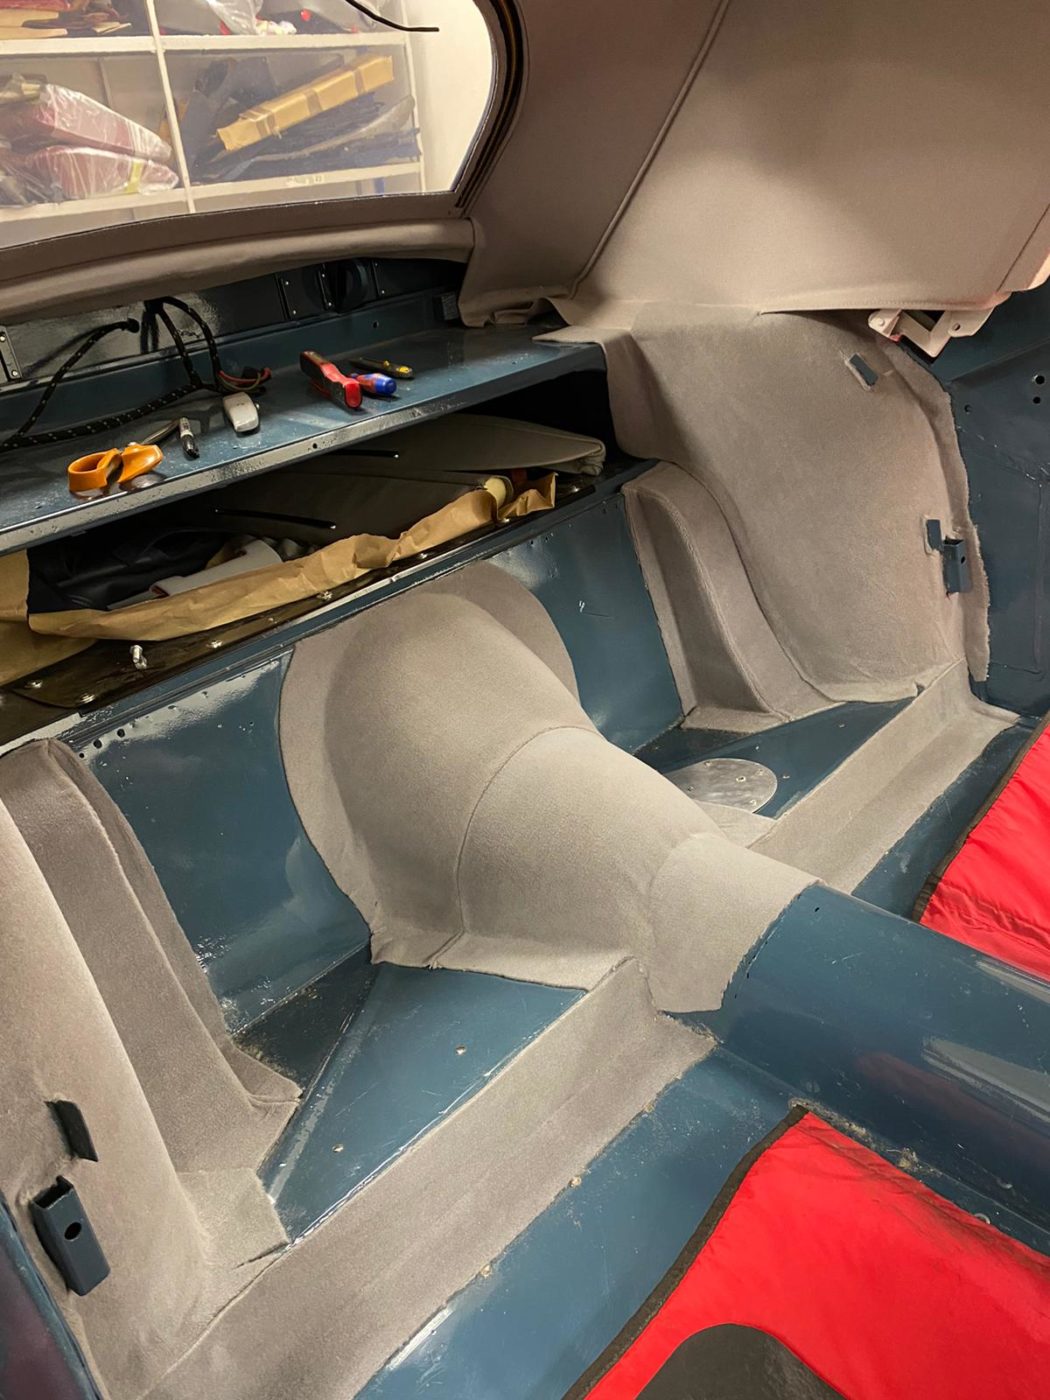
This iconic motor recently came in with us and is here for a partial re-trim. The carpets that are being fitted have been bought from elsewhere but are being fitted by our specialist trim shop team. Brian is currently taking a lead with the work and fitting the carpets into the vehicle.
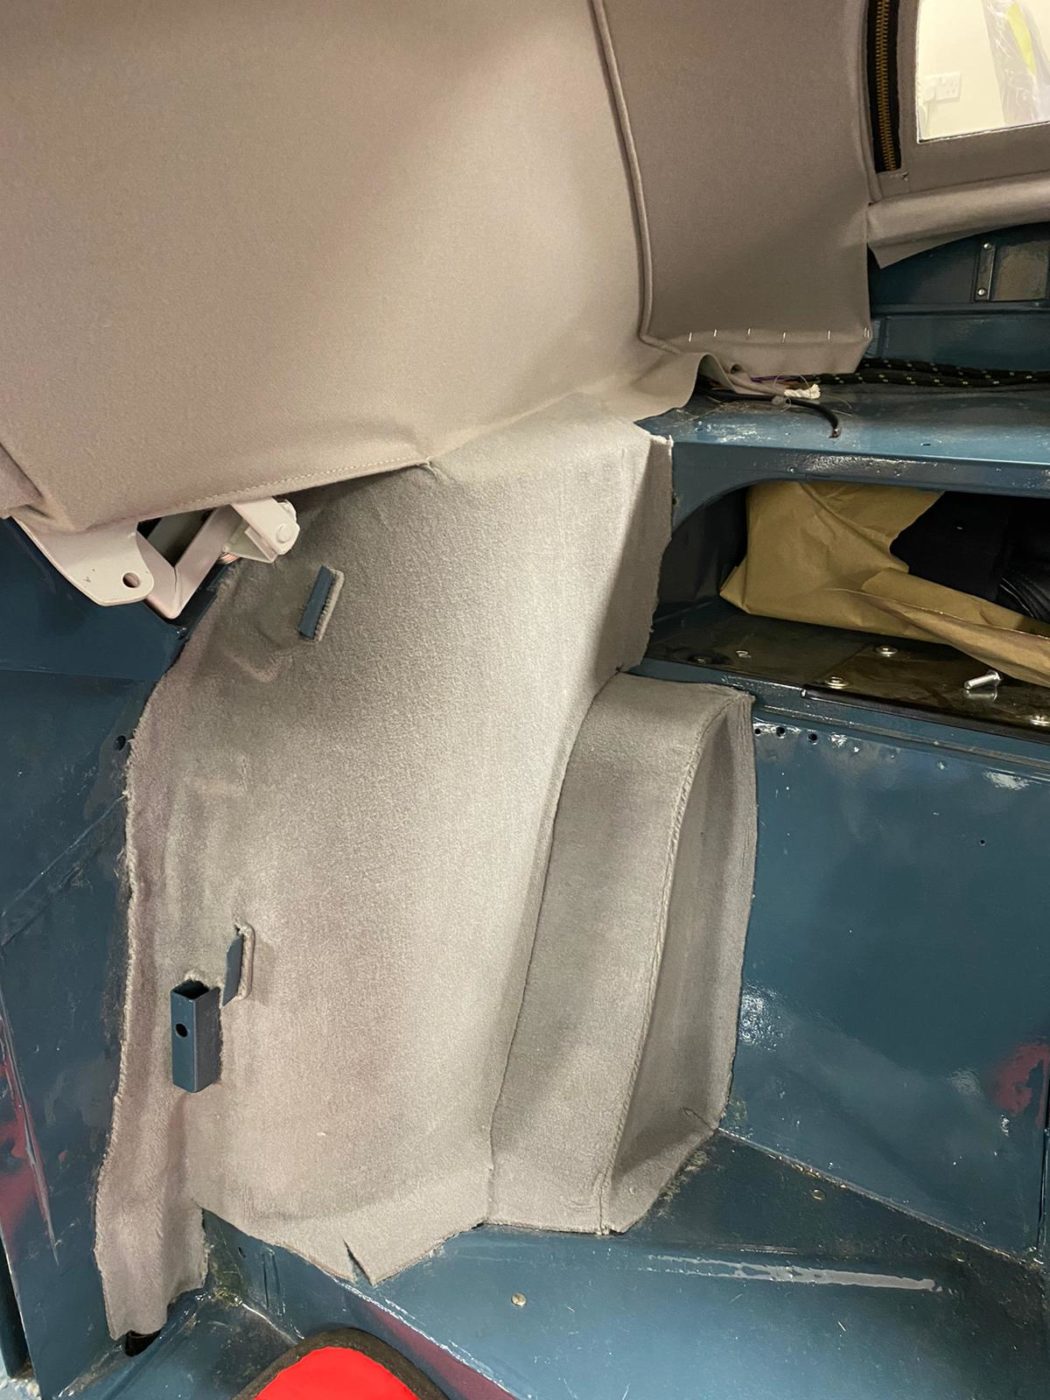
Brian has been glueing the sound deadening into the gearbox tunnel section and glueing vinyl to sides of the dash. He’s also been glueing the moquette material to the rear wheel arch section and front of the rear seat section. The foam has been glued to the rear ‘diff’ tunnel and fitted rear seat bases as well.
He’s then cutting the rear seat back boards into shape, glued the foam to the boards and then stapled covers to the boards. The rear seat pads have been fitted in place as well. Once Brian had glued the sound deadening to the tunnel, he could then glue the carpet section on top.


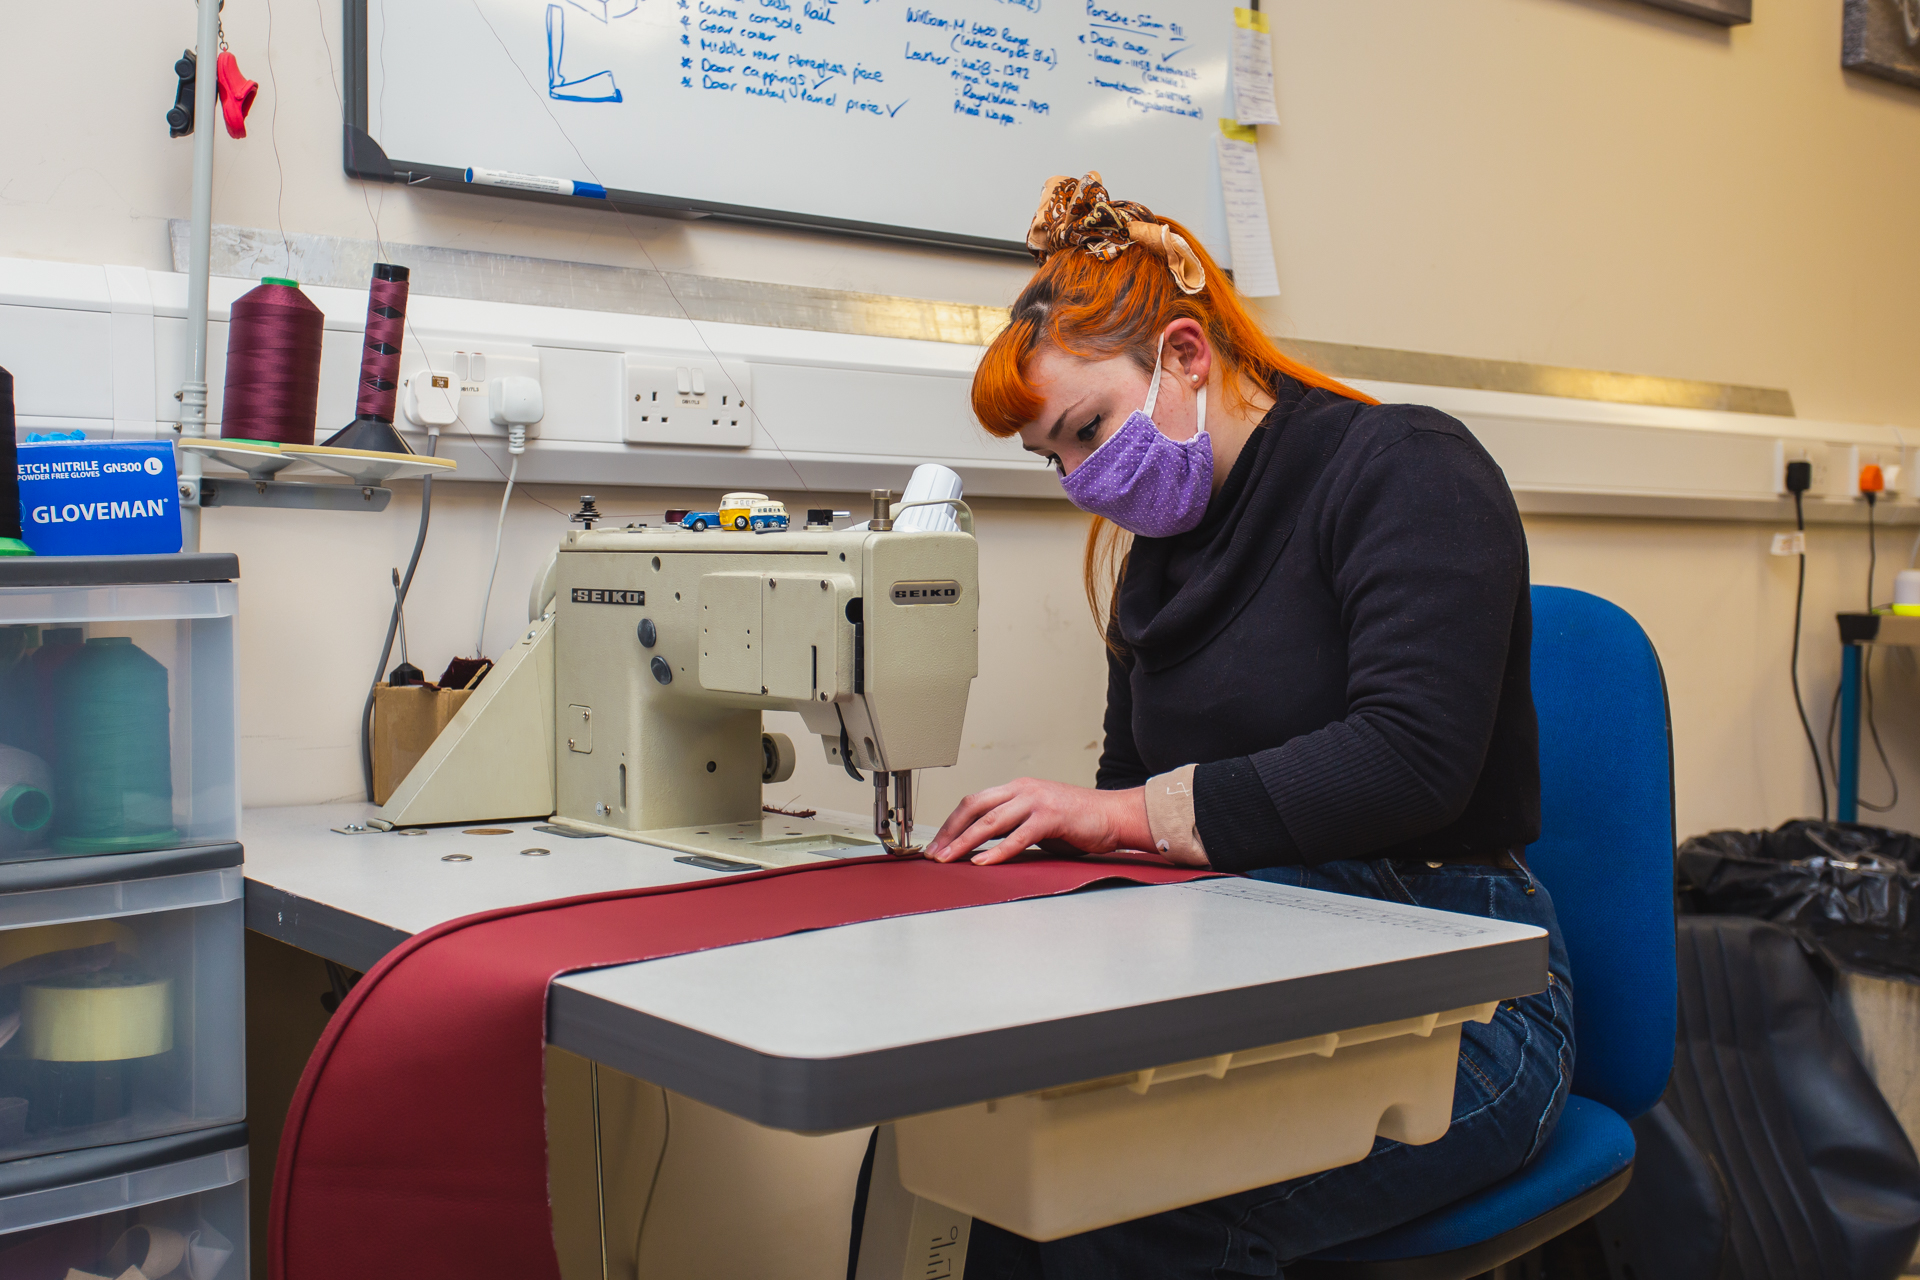
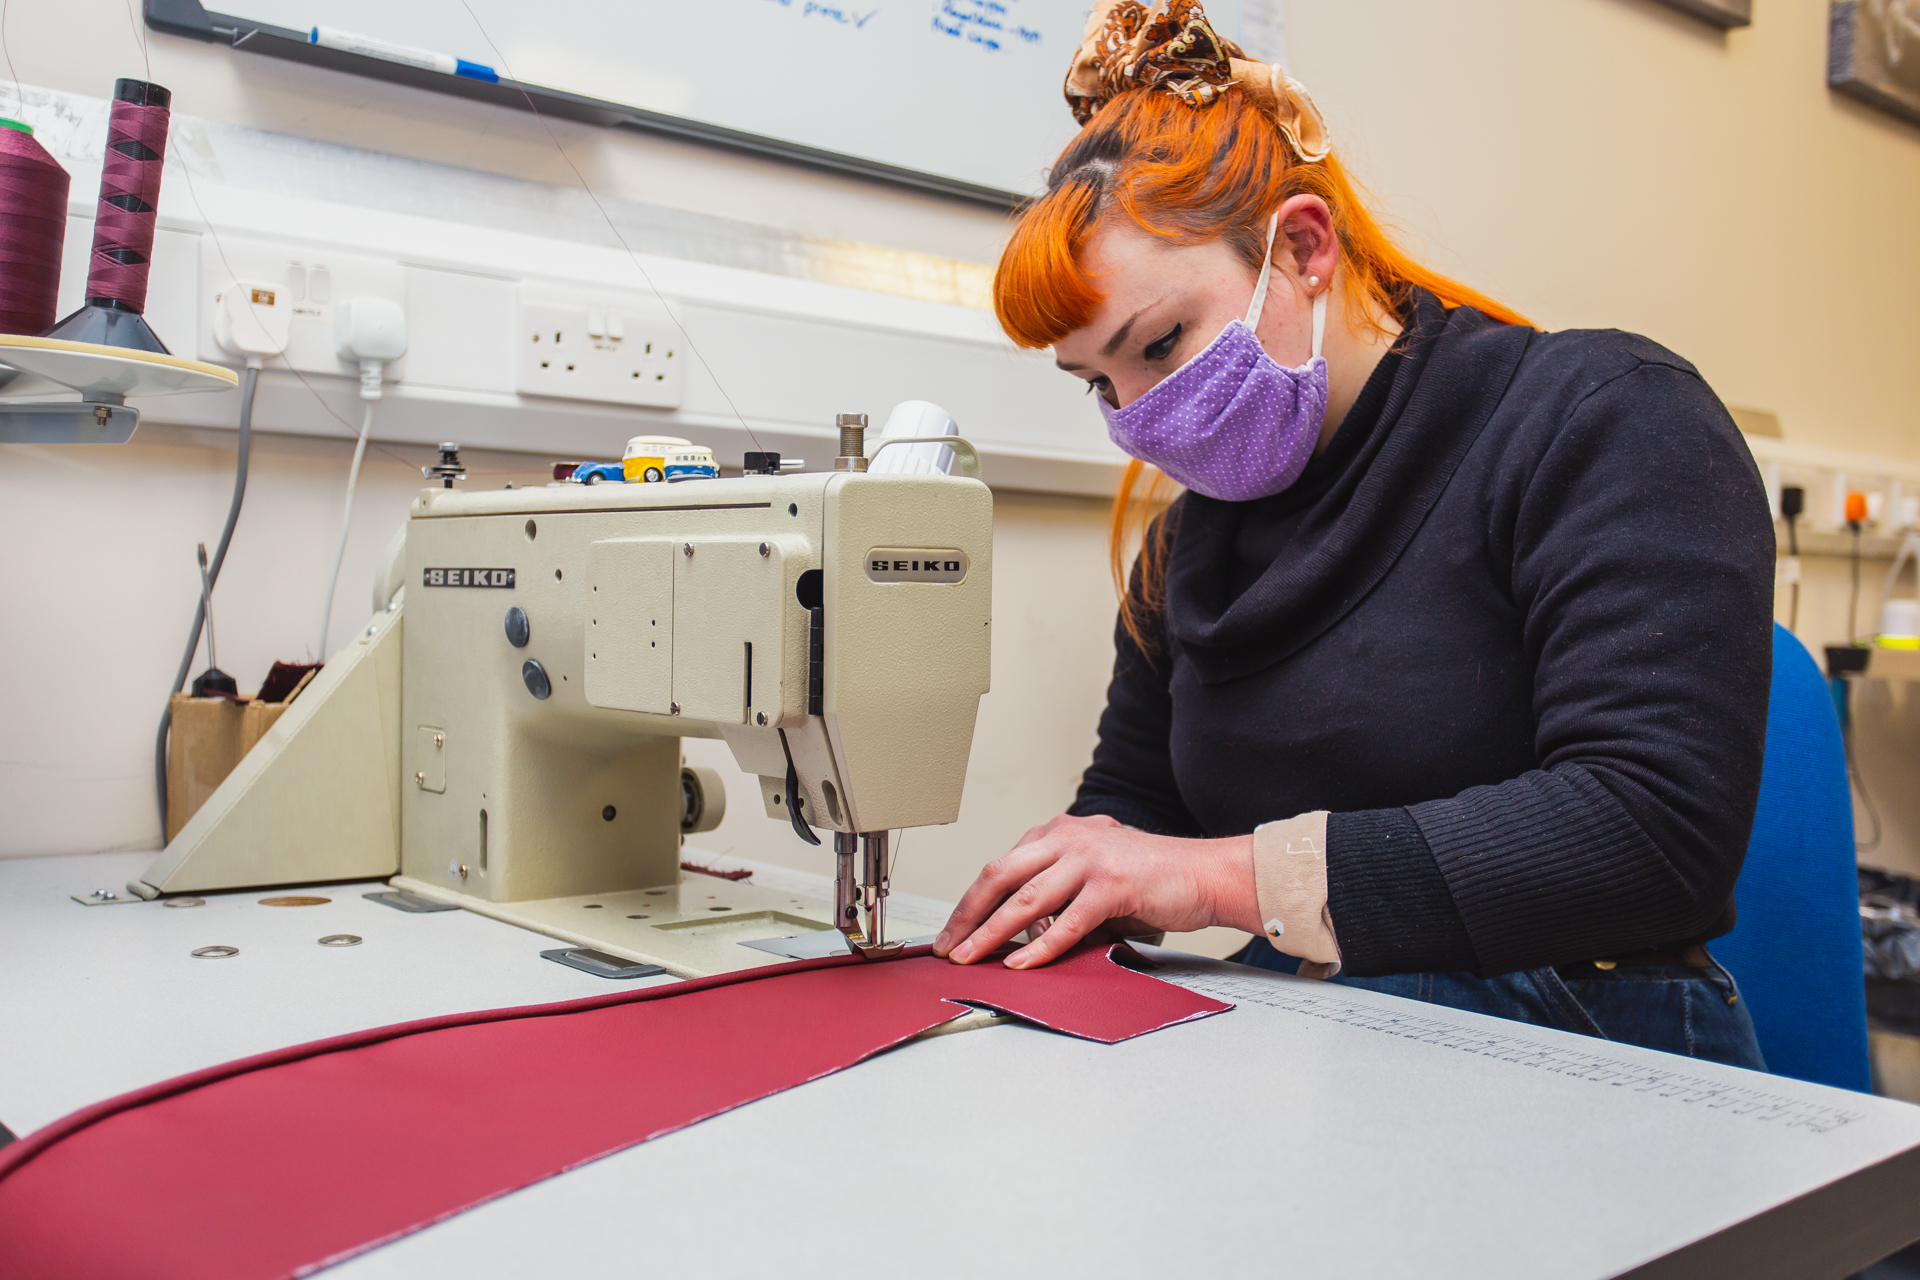
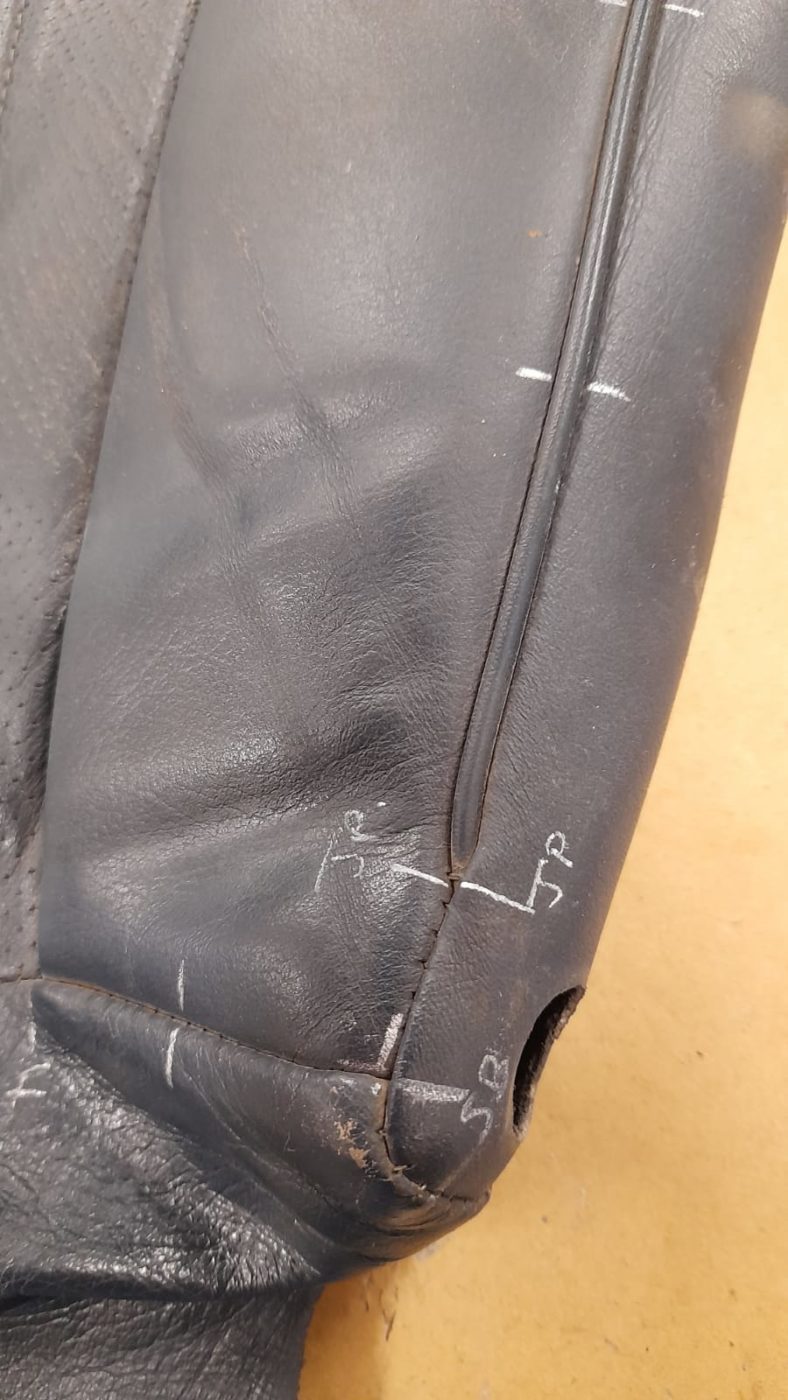
Lydia has continued the work with Craig’s 1987 Mercedes 500SL. Here we can see her sewing the piping on to the skirt for the seat. Each detail and design is thoroughly thought through and done by hand.
Lydia has recently completed the glove compartment for the door of the Mercedes 500 SL. This process included skiving the edges of the leather that’s going to recover it, which makes it easier to fold over the edges. The next step was to sand down the vinyl to be recovered in leather.
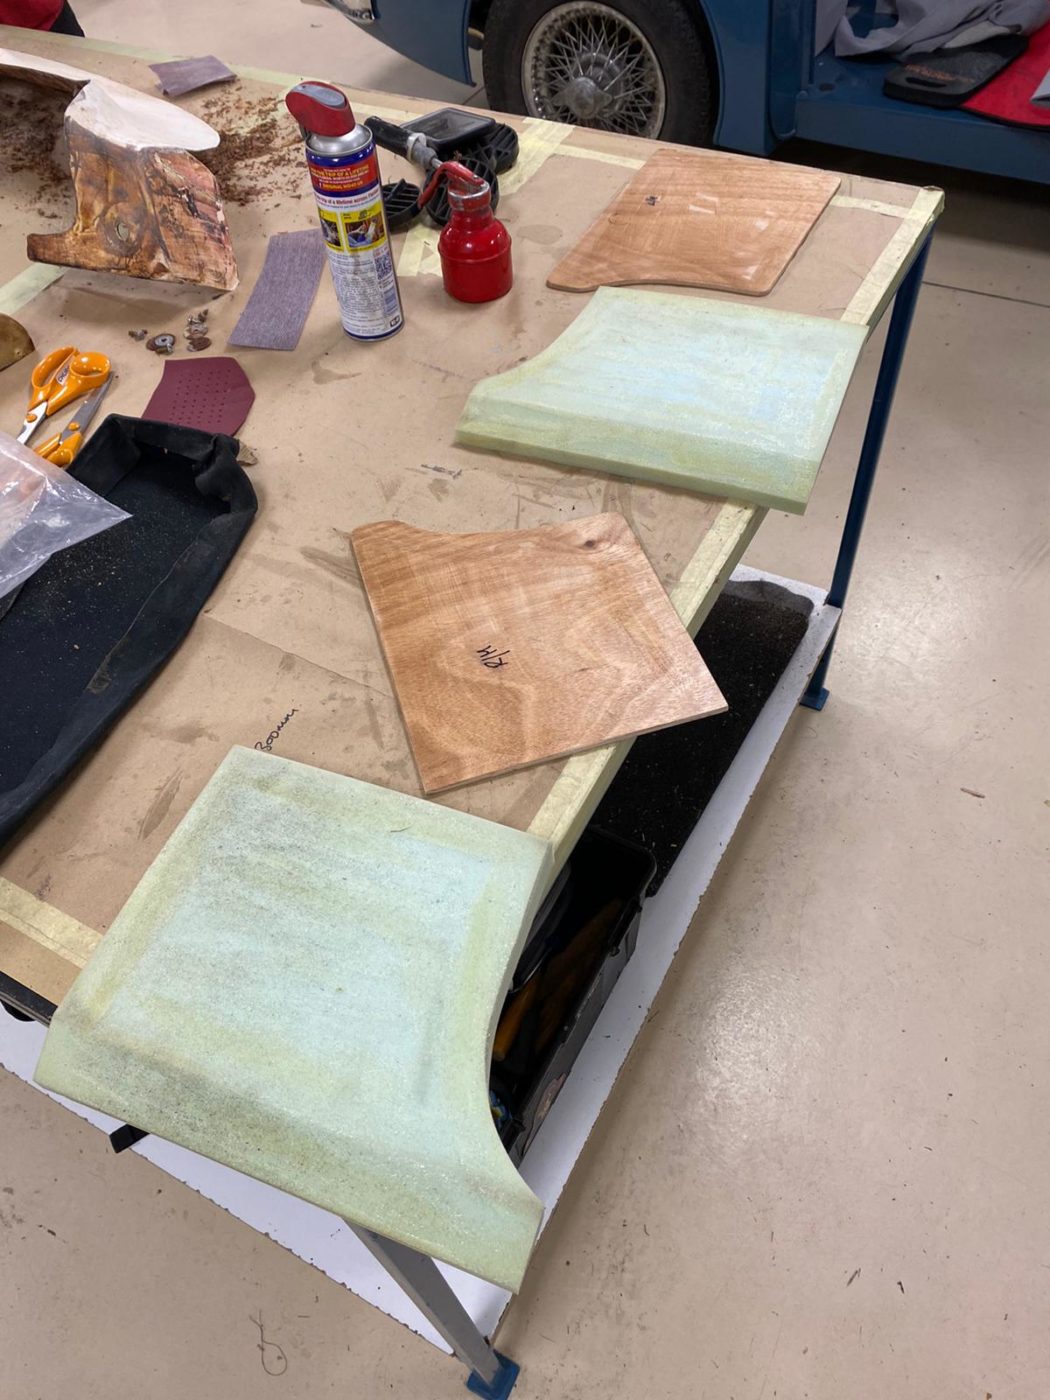
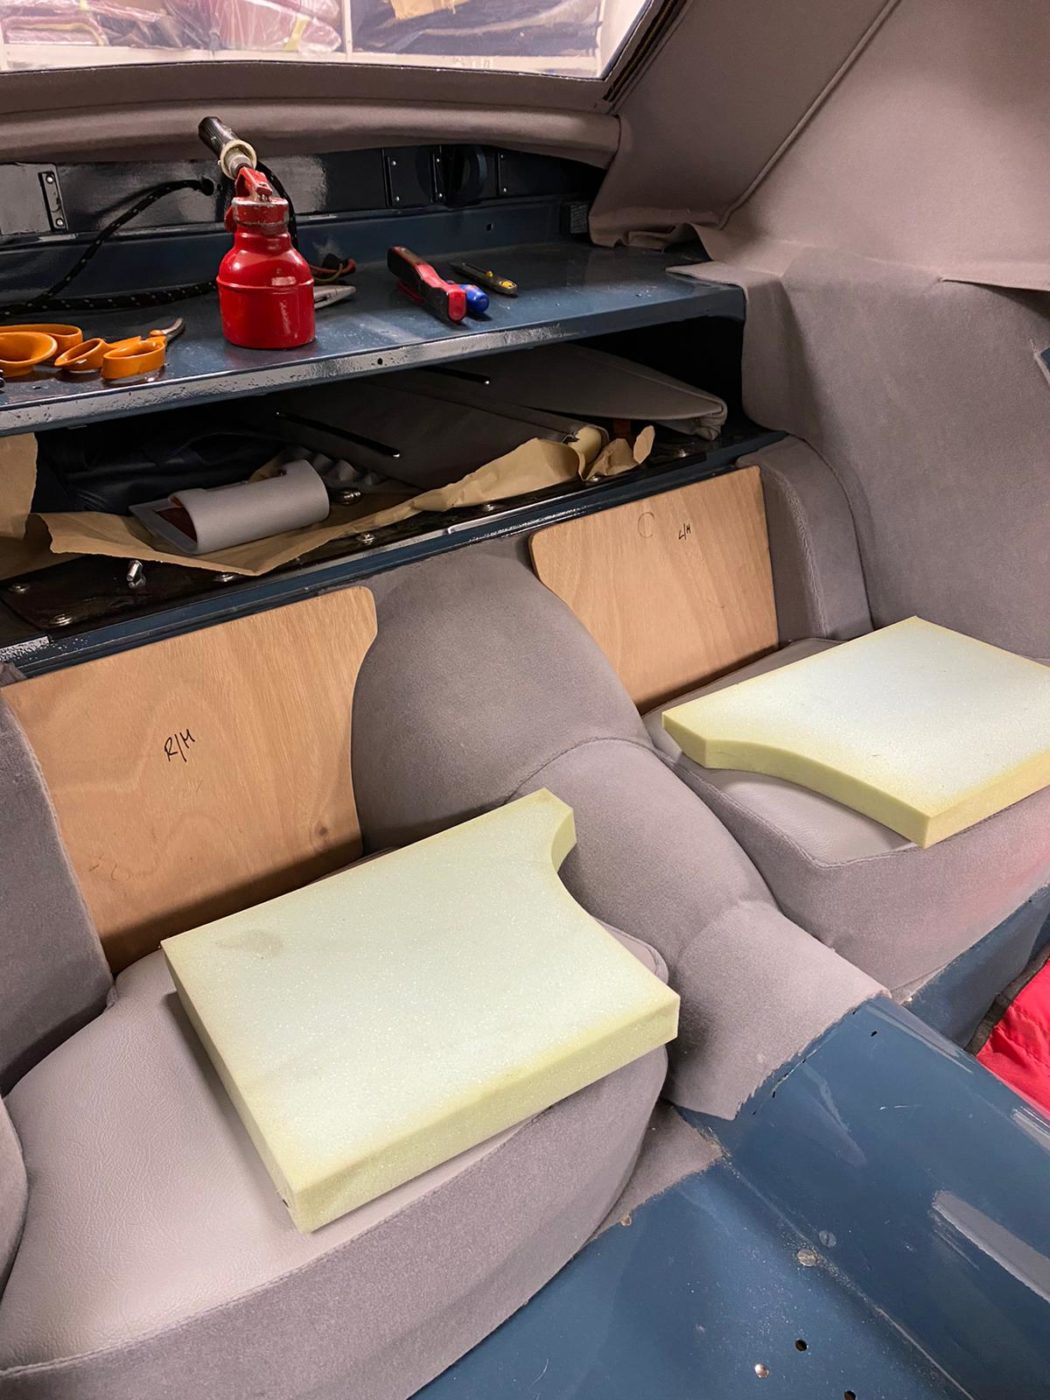
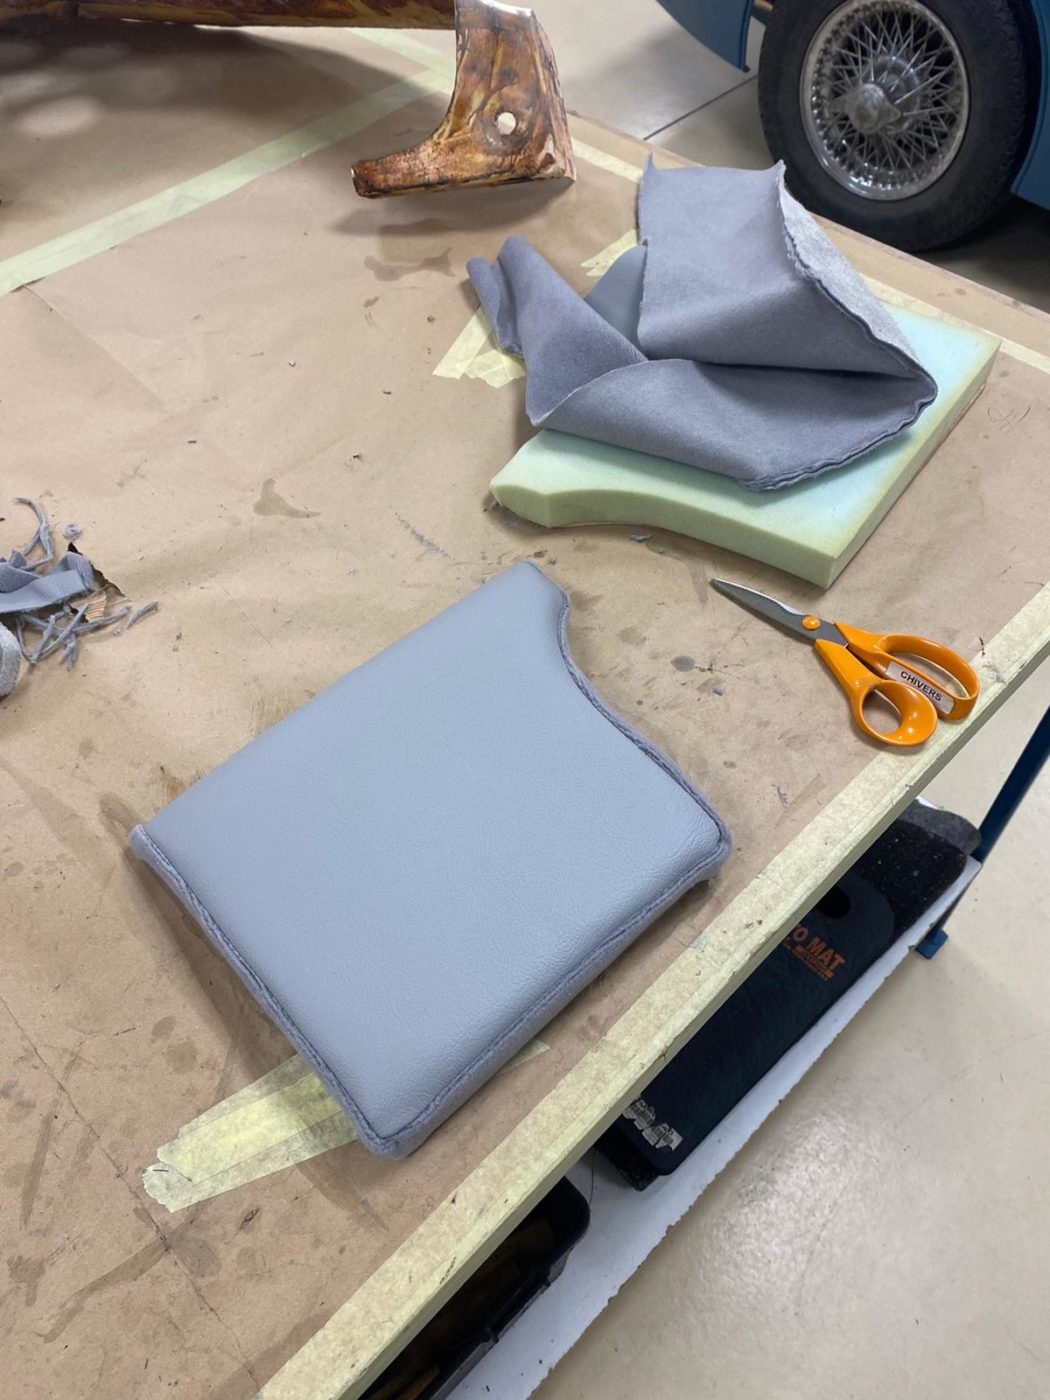
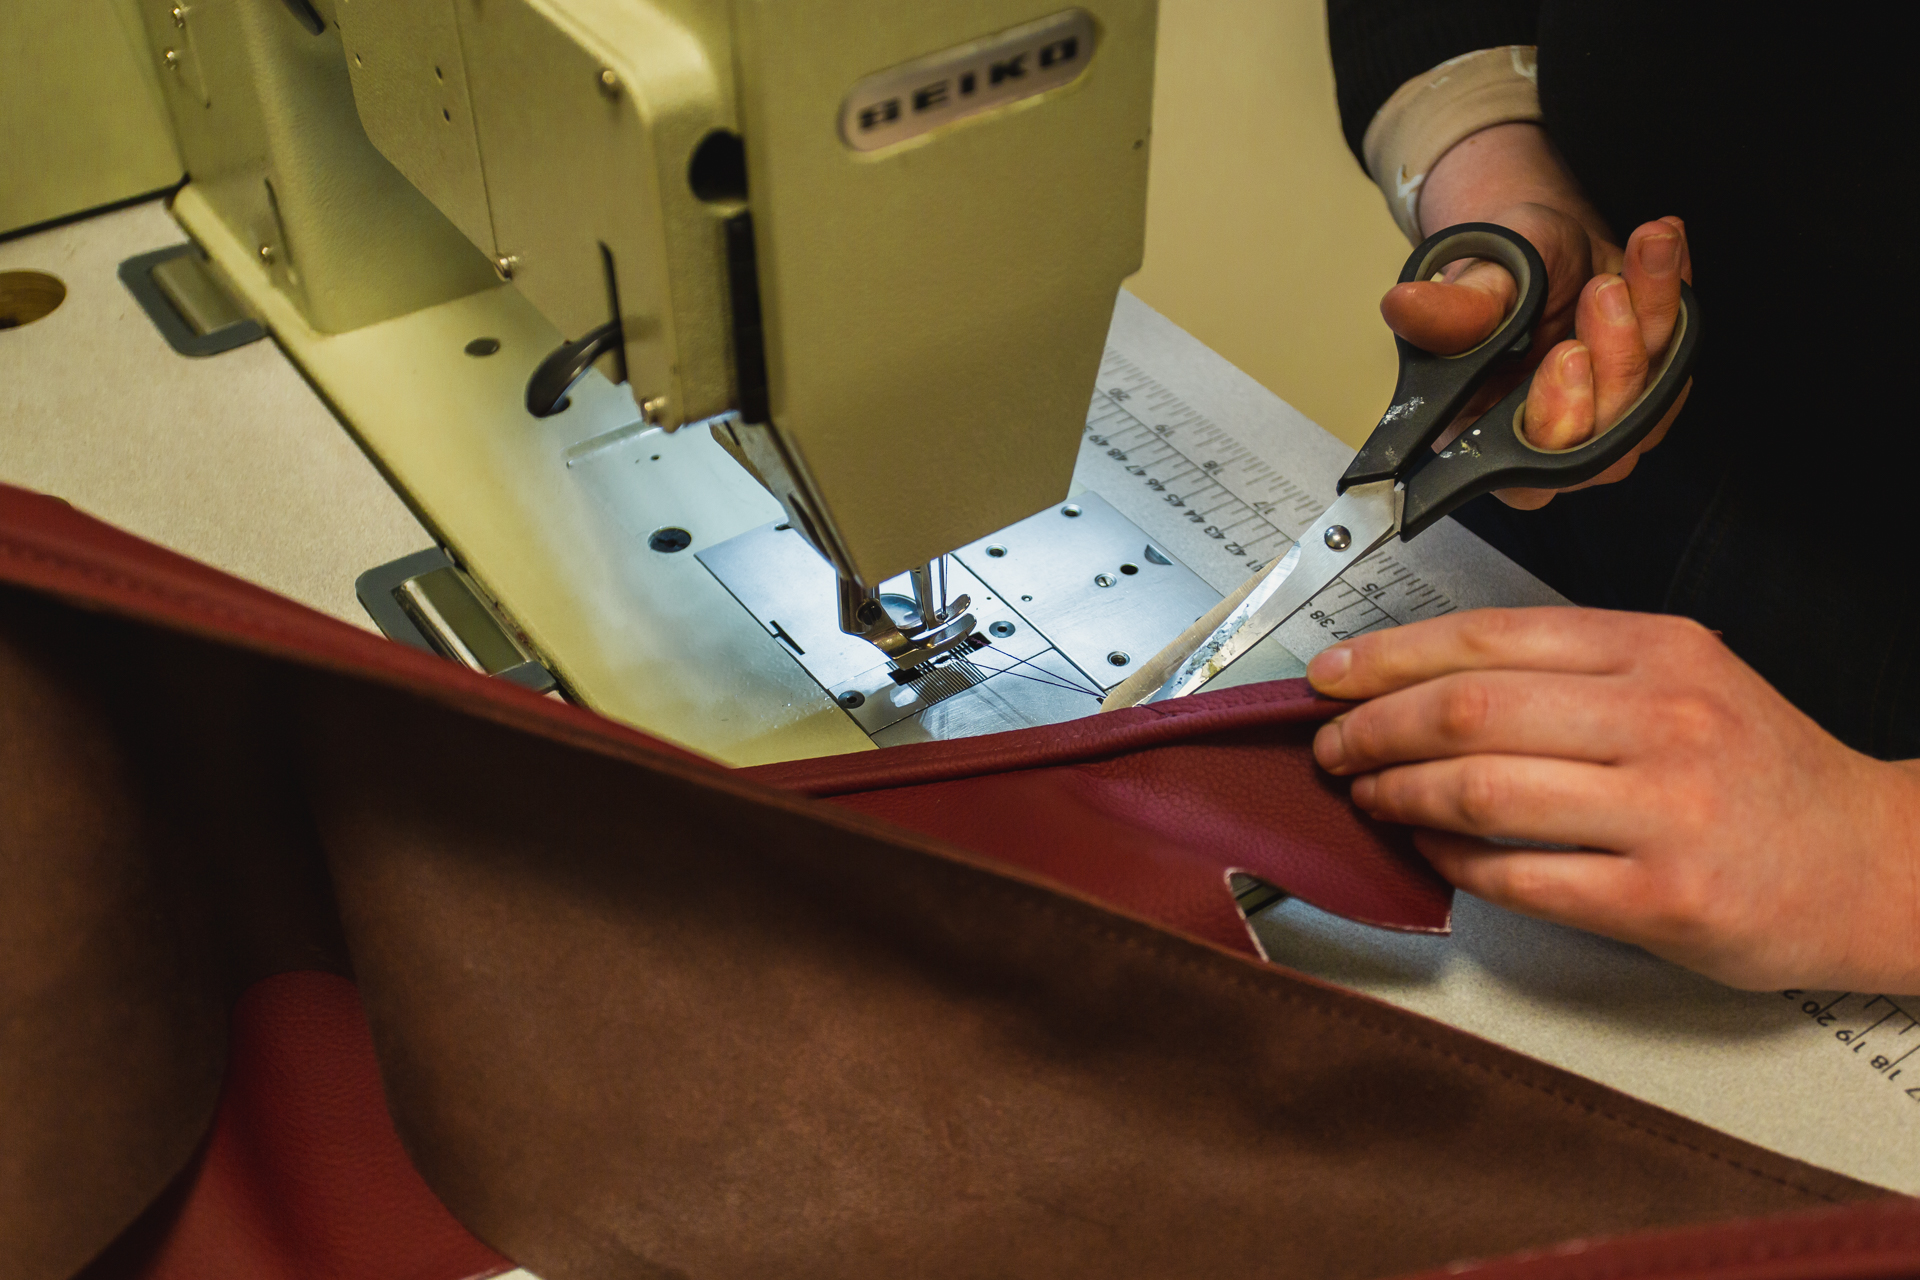
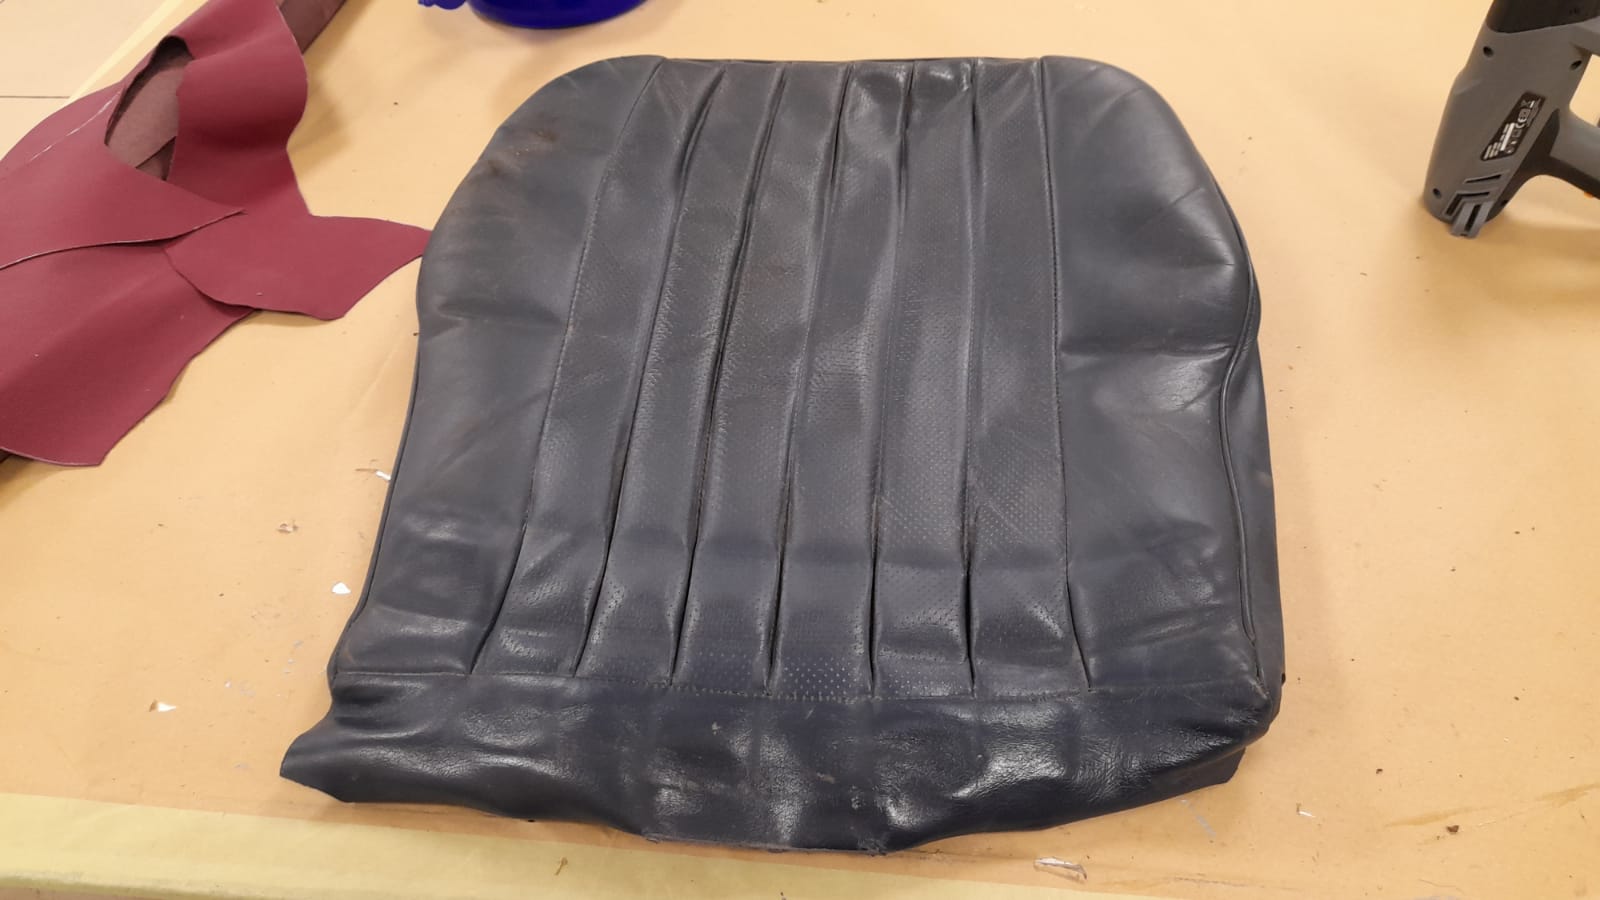
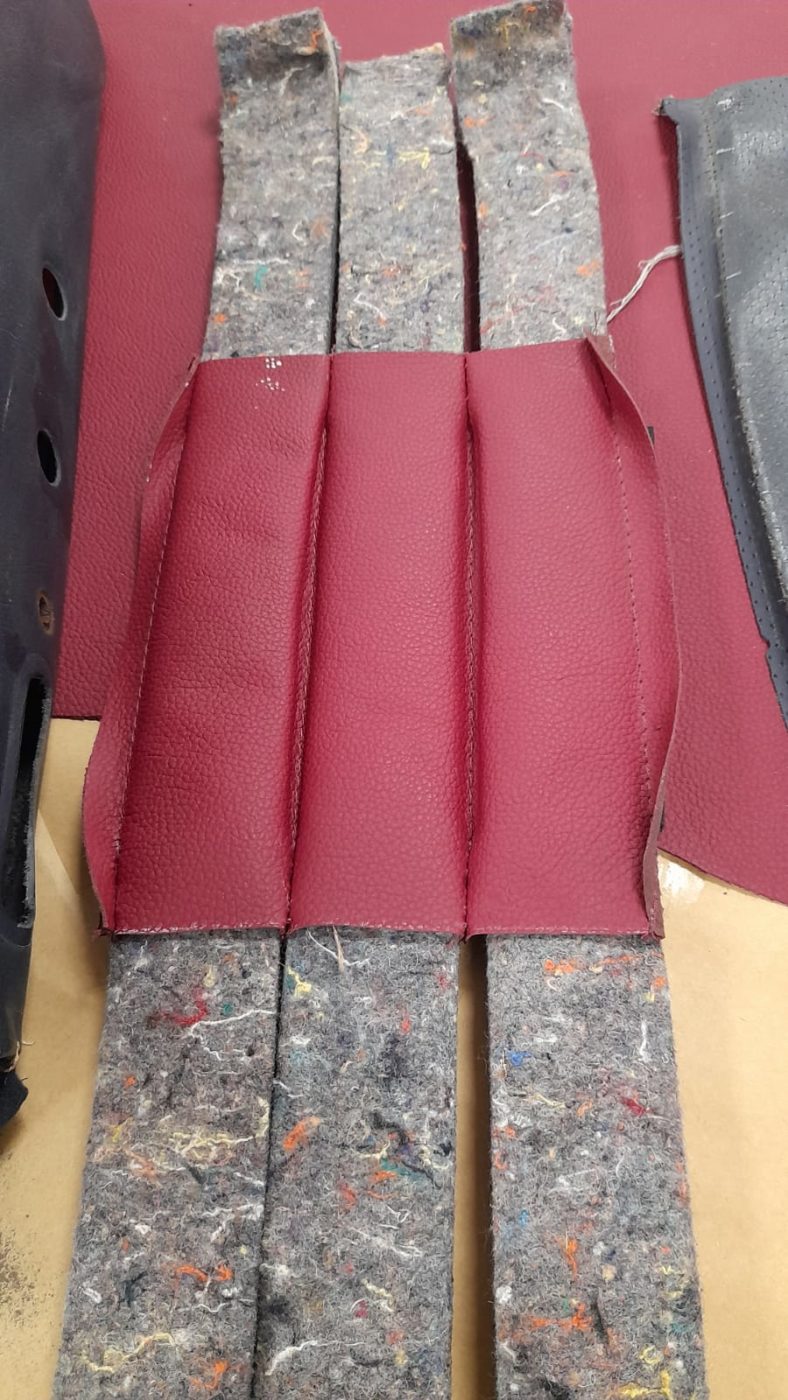
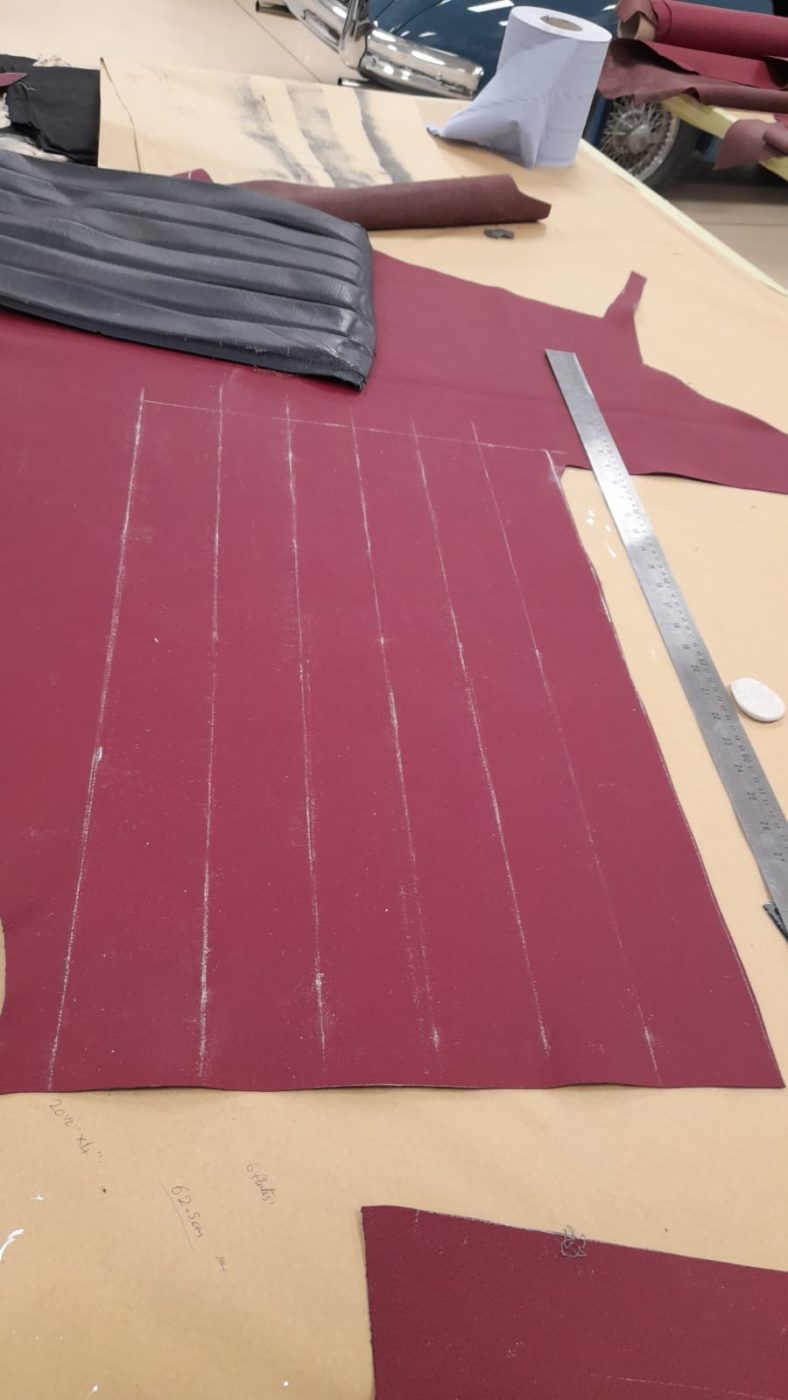
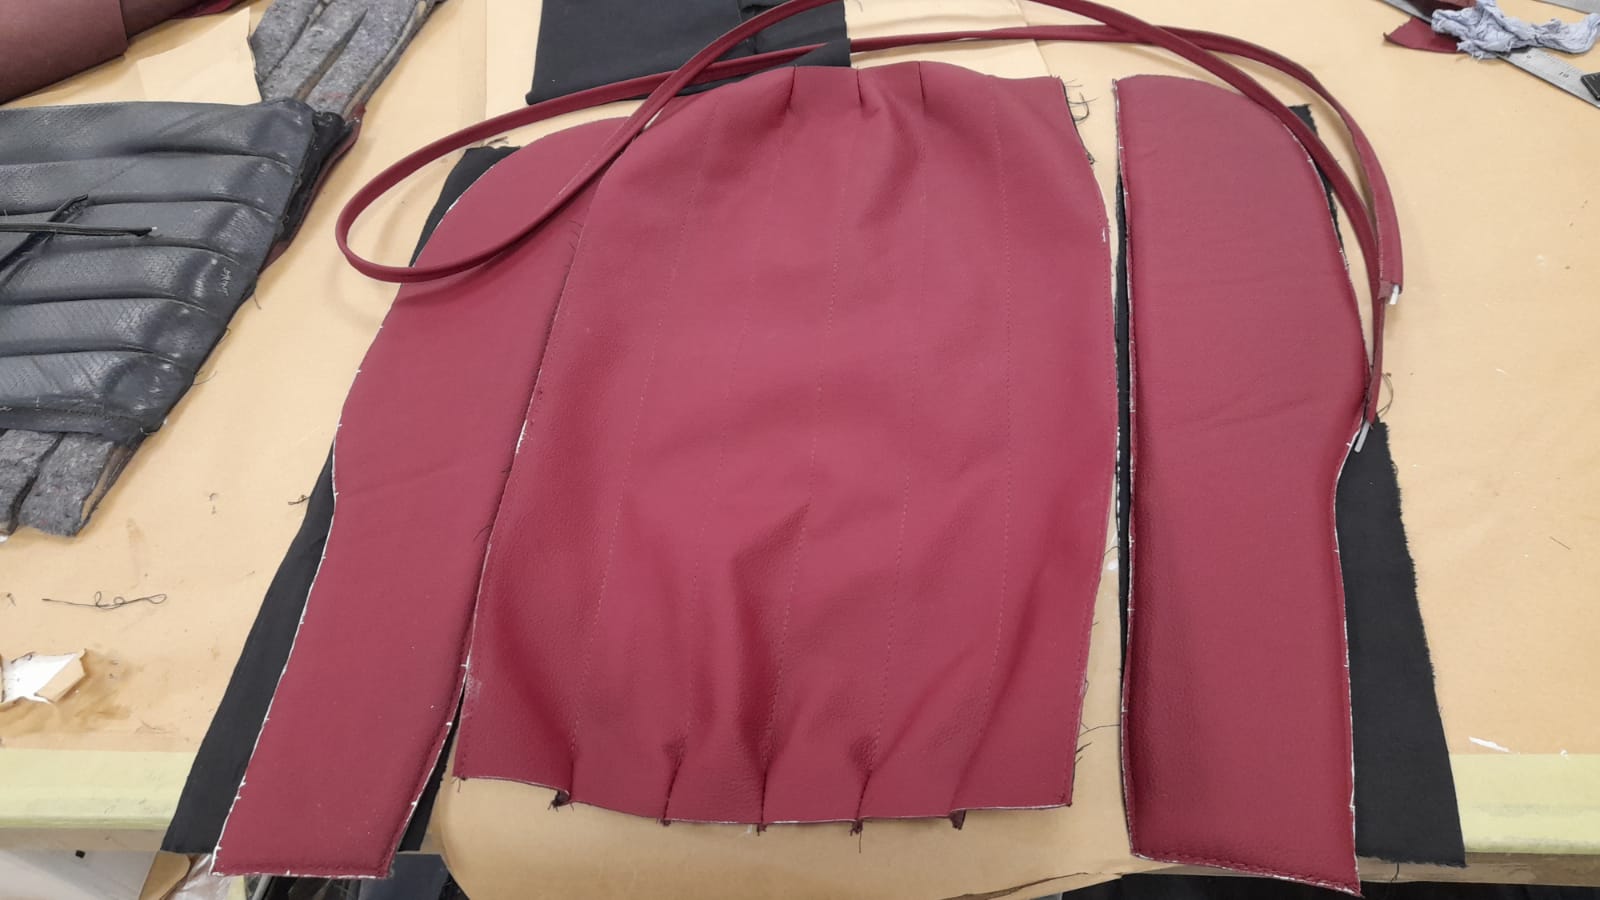
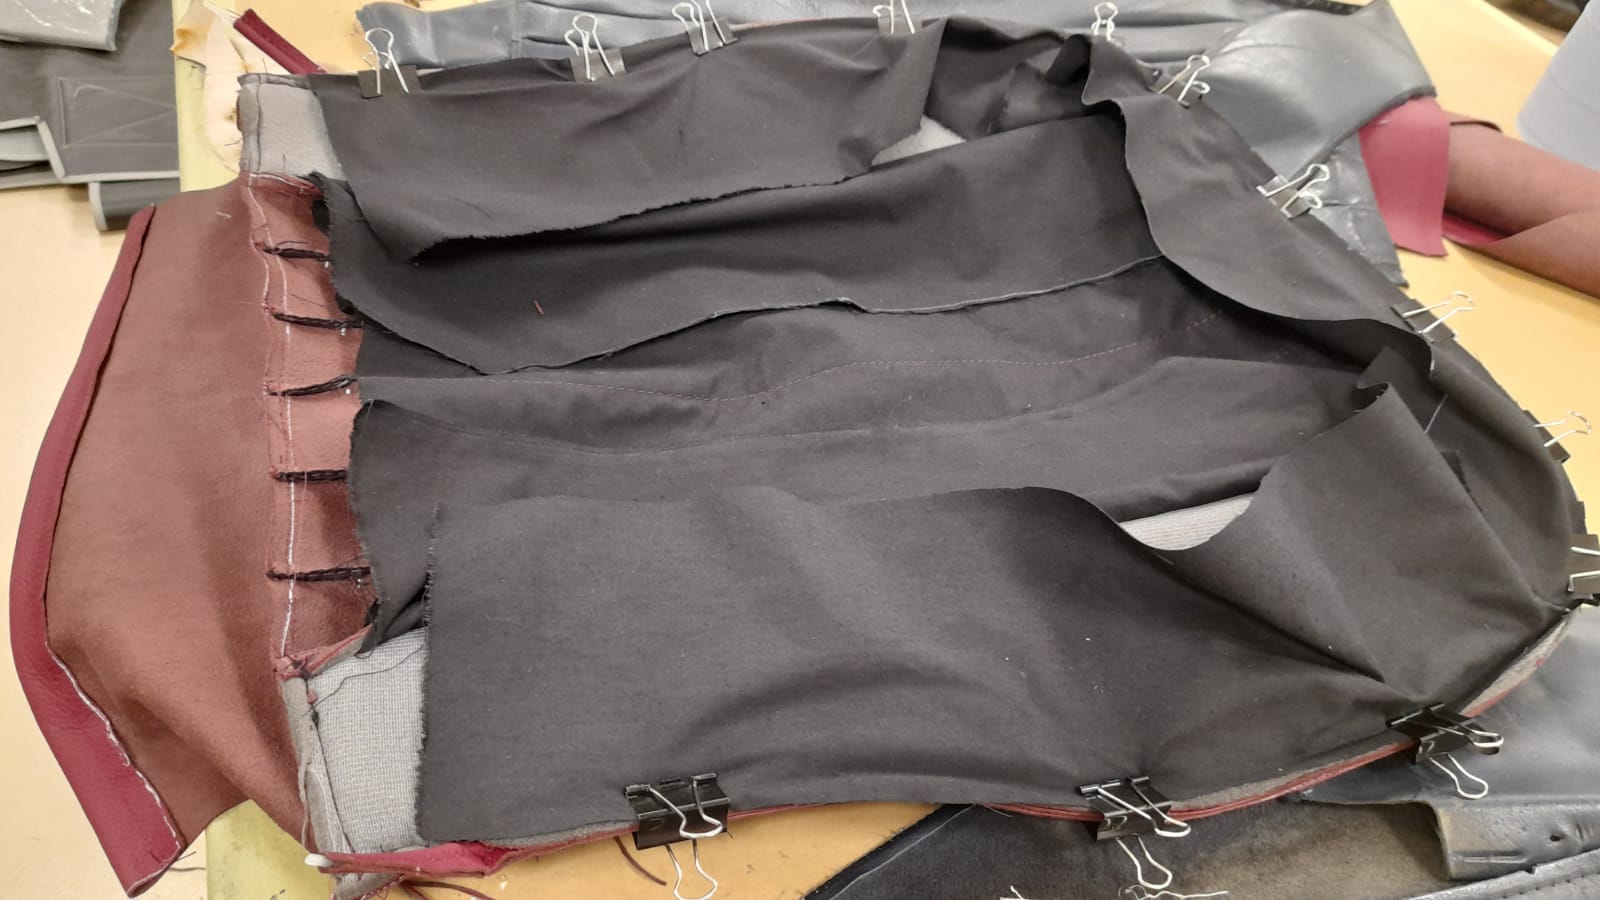
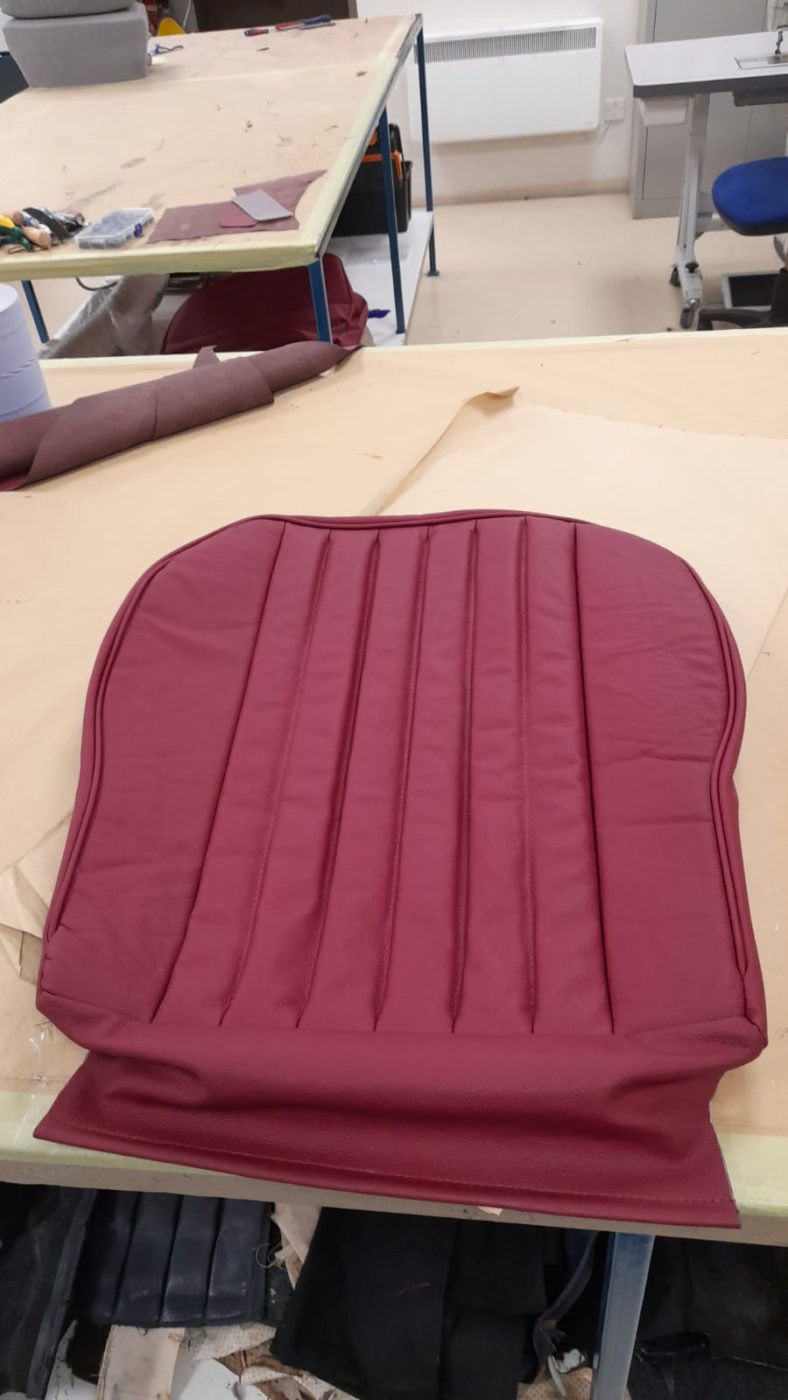
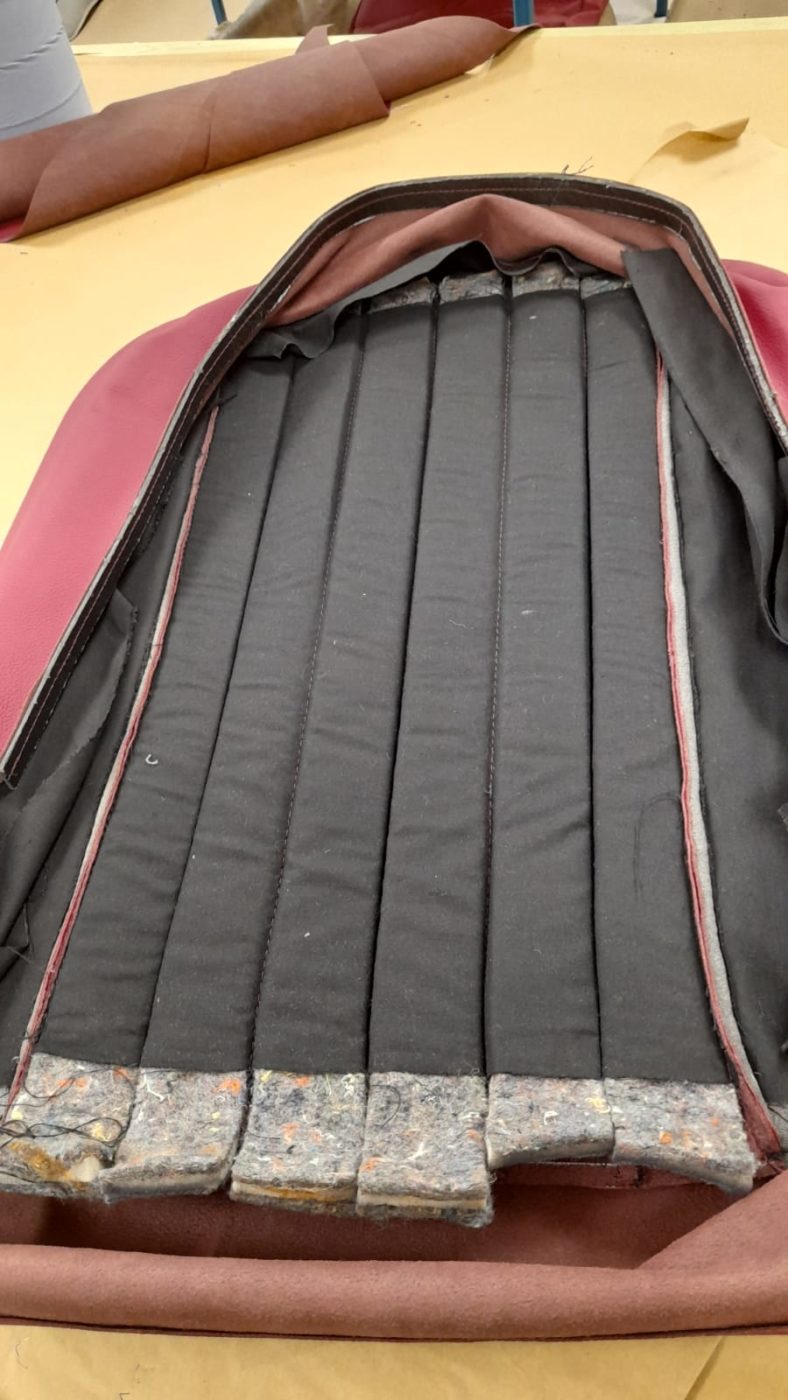
Lydia has also marked the leather for the seat. It’s her first seat cover that she’s made from scratch and it is looking great so far! The first step was to take off the current base front seat cover and use them as patterns to make the new ones. She’s then cut out the new sidebands and mounted them onto the foam.
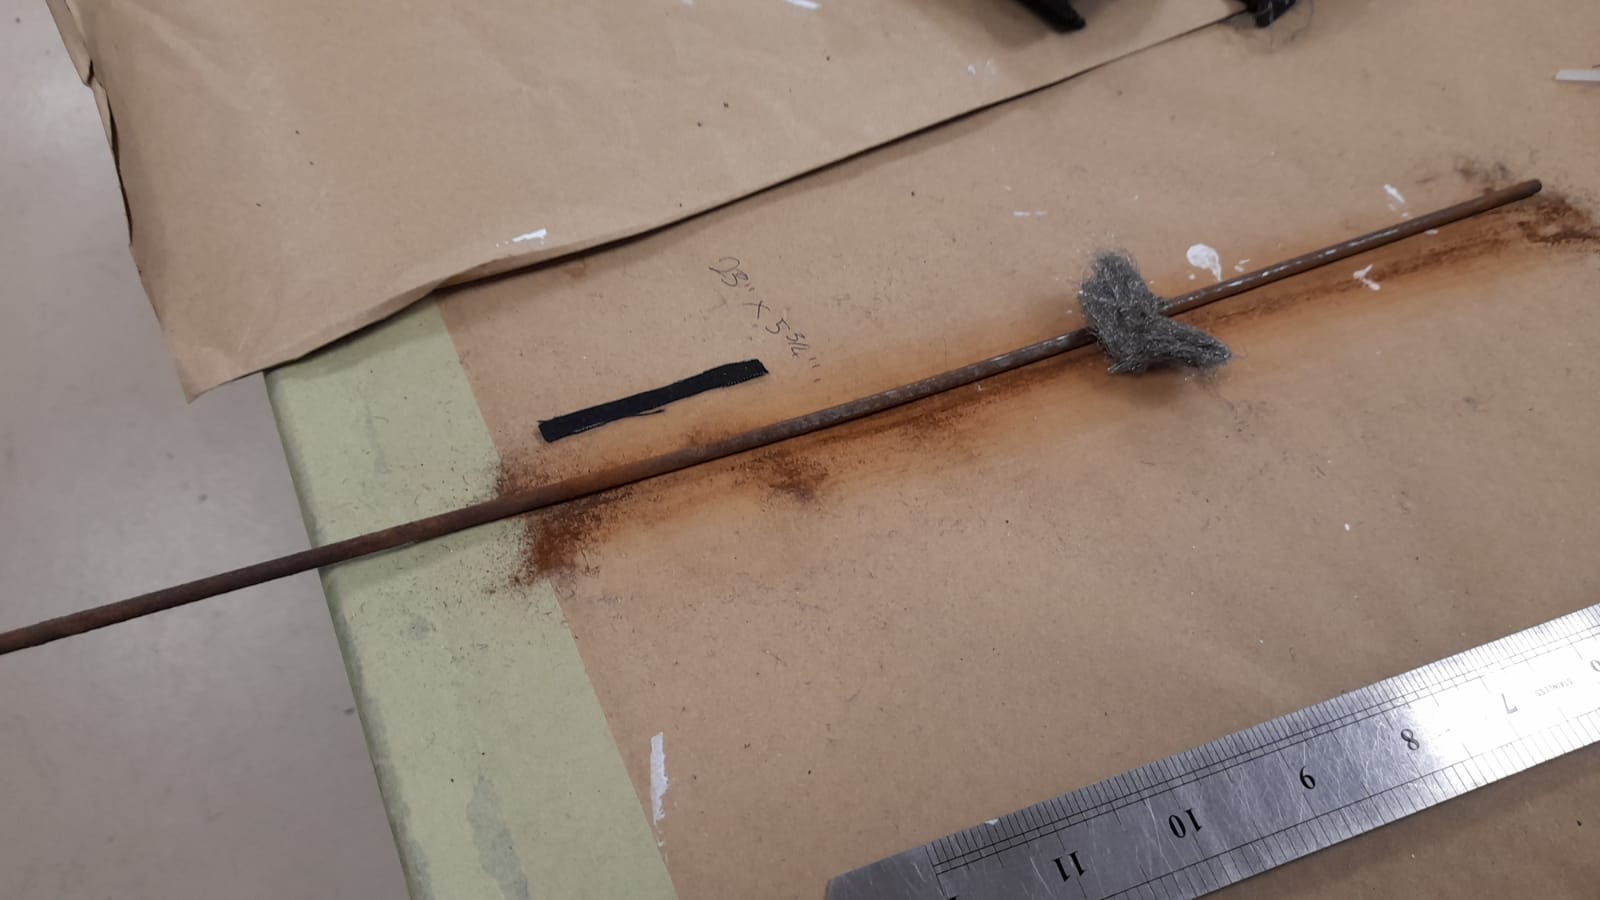
Lydia made a mock-up of the fluted design to make sure that the measurements are correct before making the final version. She then measured and marked out the real fluted face once the mock-up was correct. The fluted face was sewn on, the sidebands mounted and cut out, and the piping made up. Lydia then cleaned up the rod that goes inside the flap with wire wool. Once this was all done, she clipped everything together.


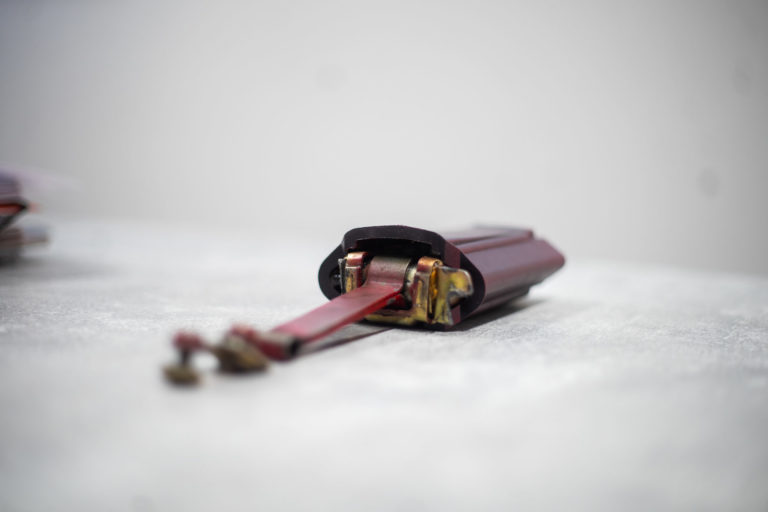
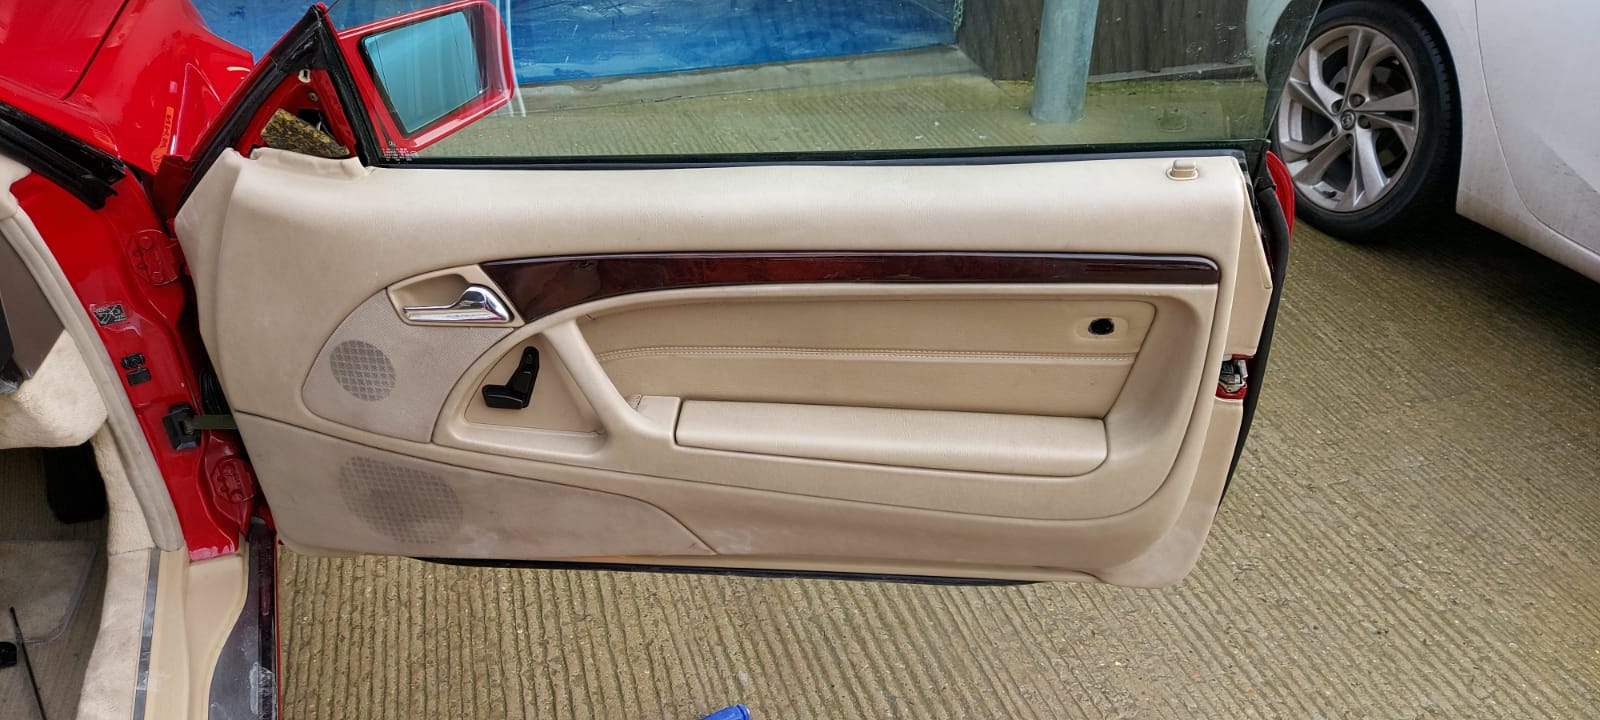
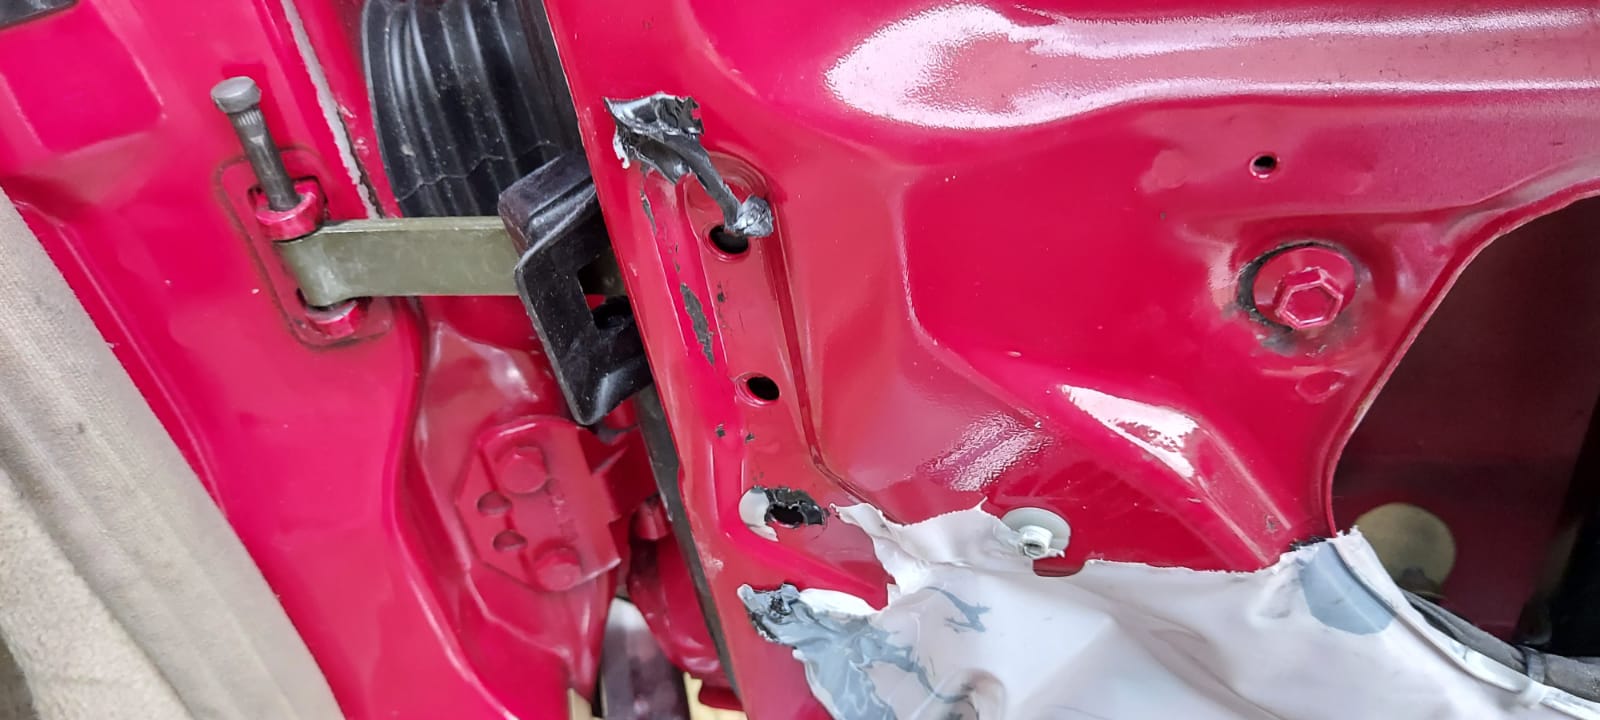
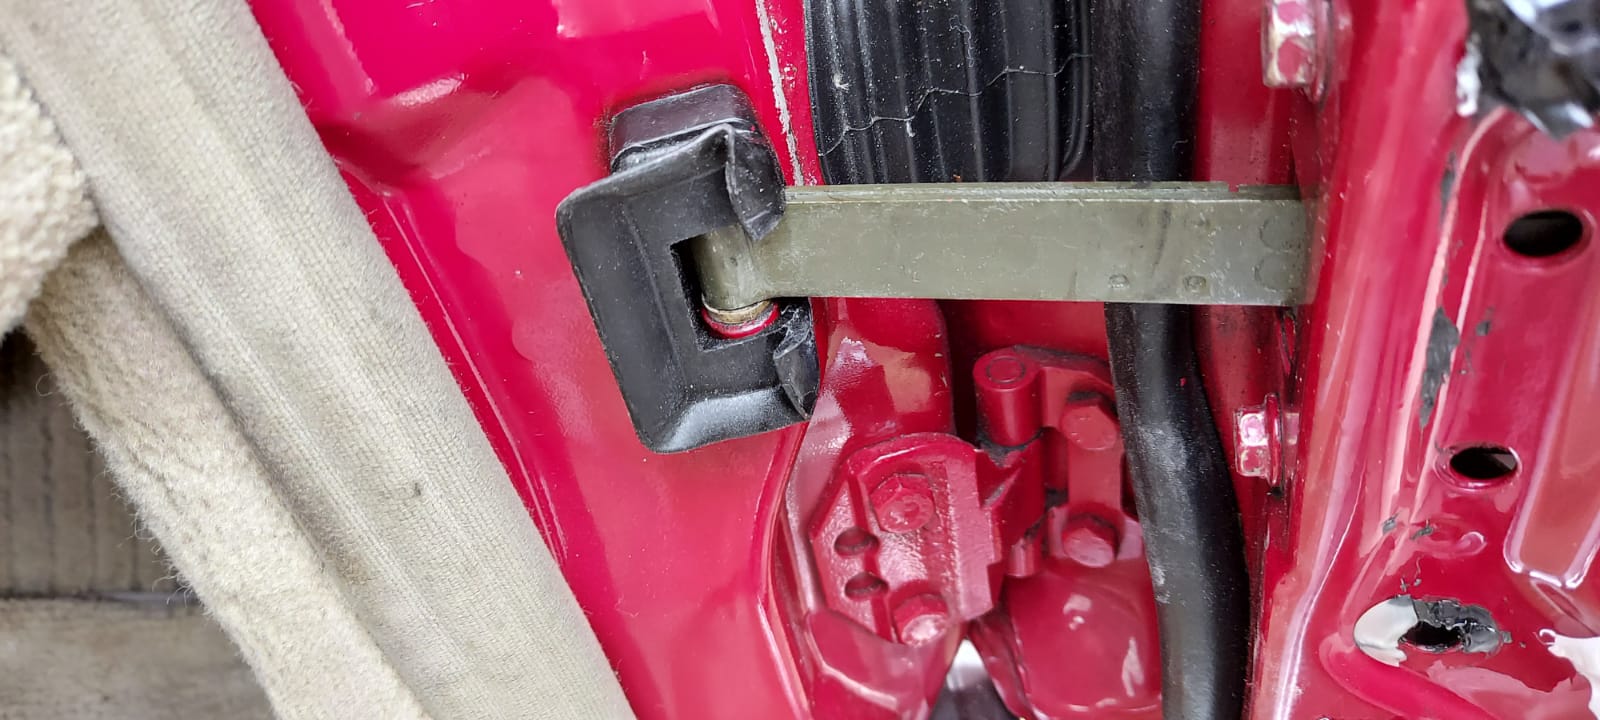
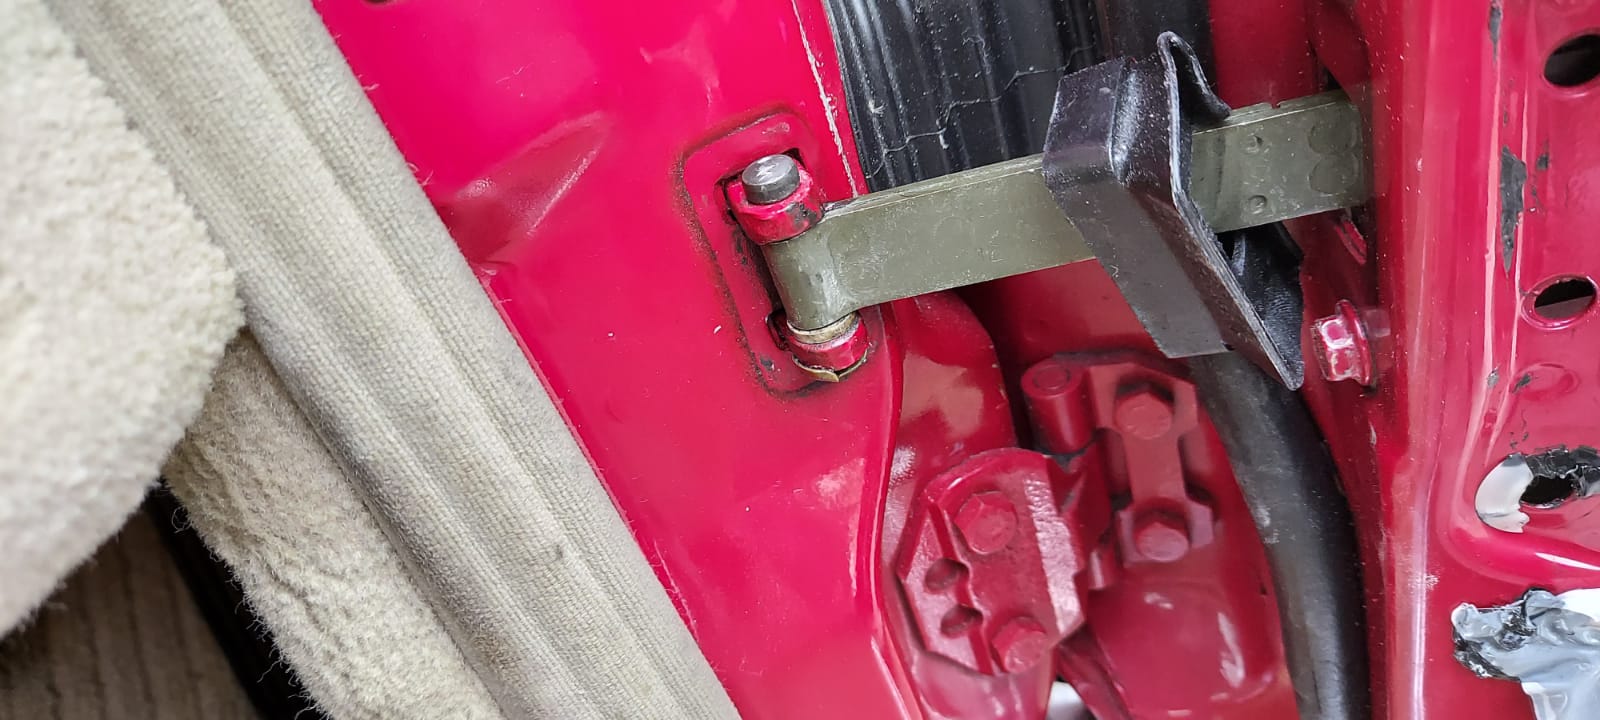
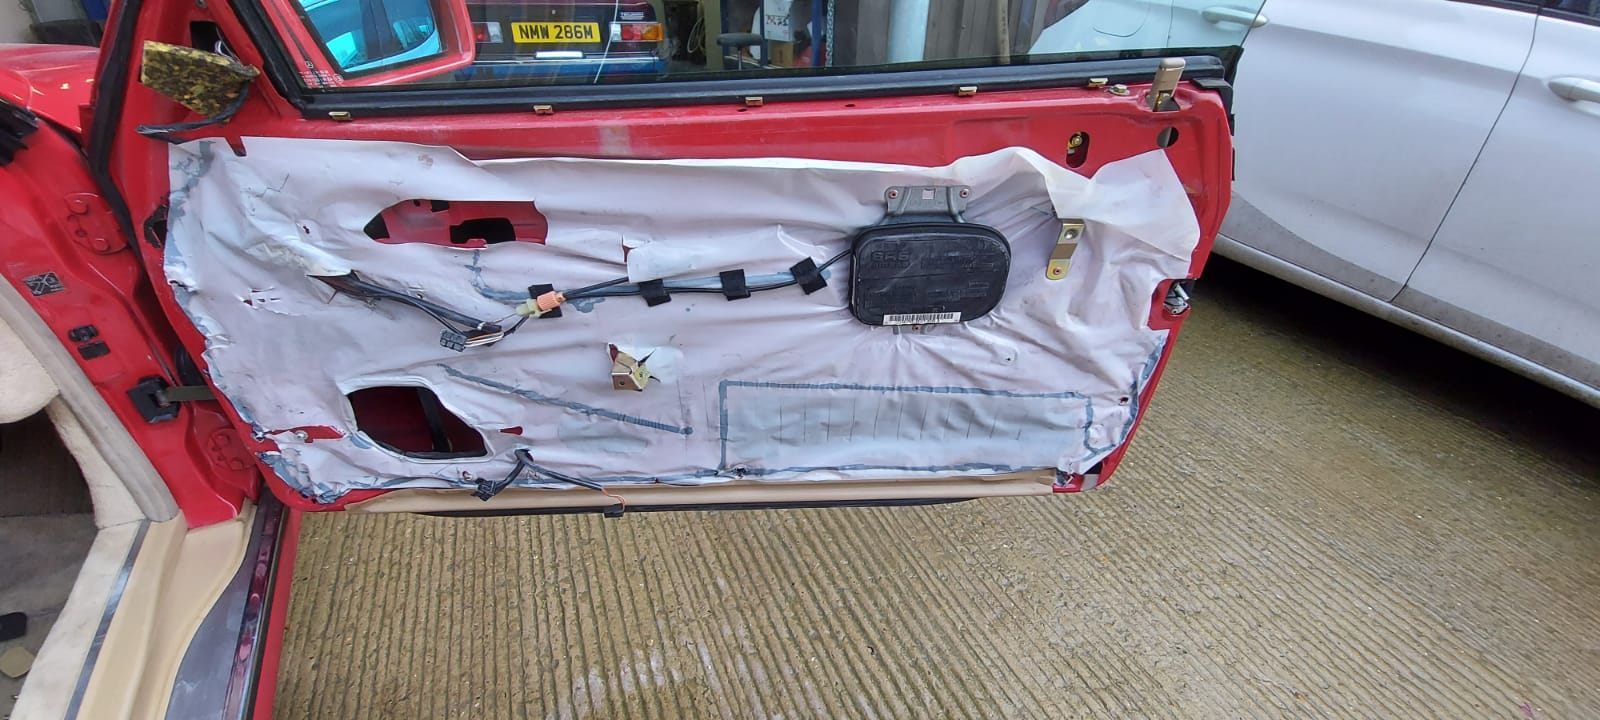
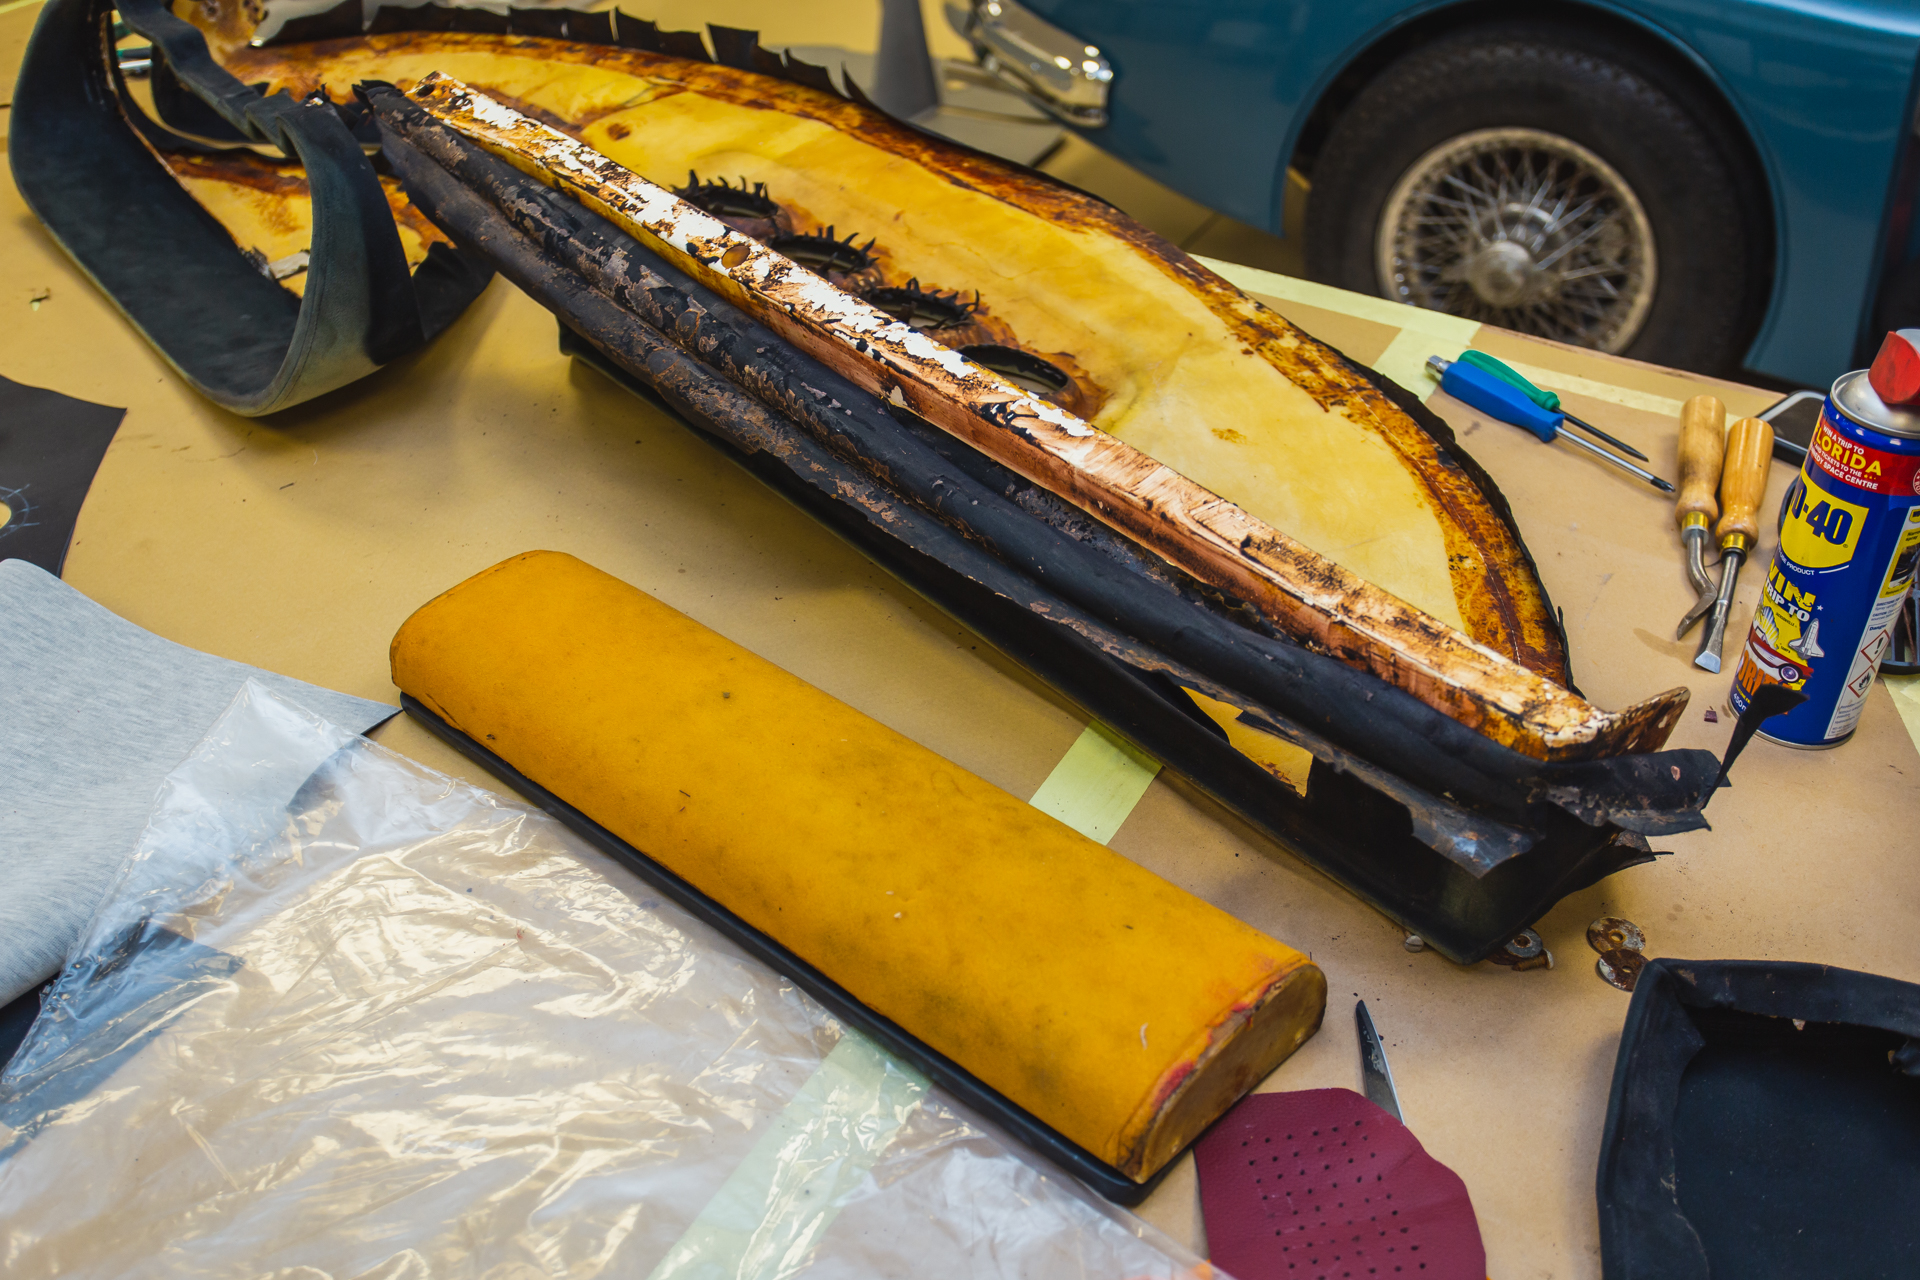
Chris has been working to fit a new door strap into our lovely 1996 320SL Mercedes as the old one was broken, which you can see below. The door check strap mechanism limits how far the door can open and close and stops it from swinging too violently and damaging the body.
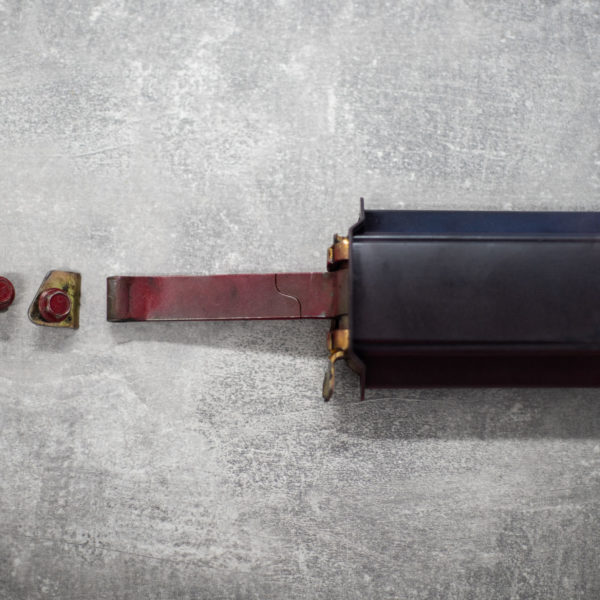
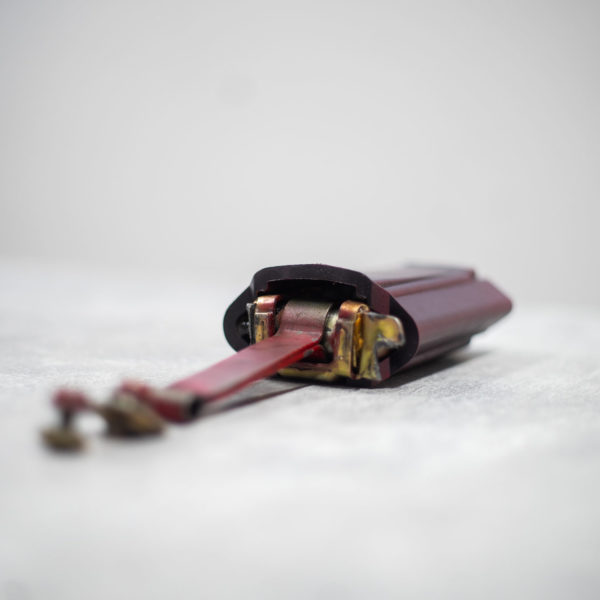
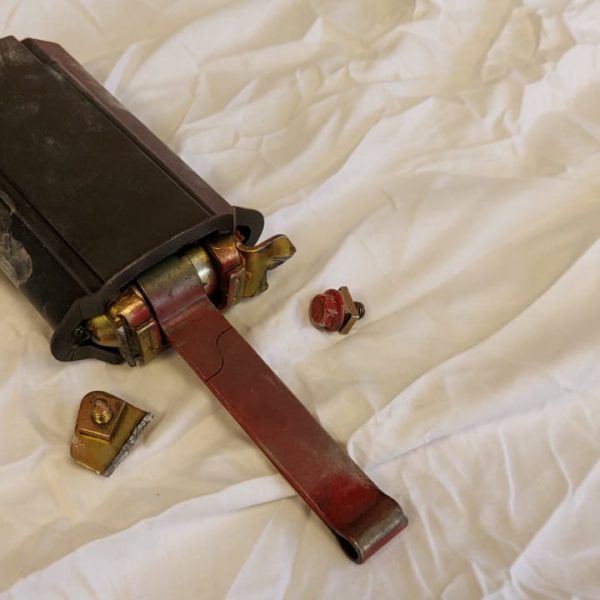
We ordered a new one to fit in. You can see the two in comparison here, with the one on the left showing the broken components.
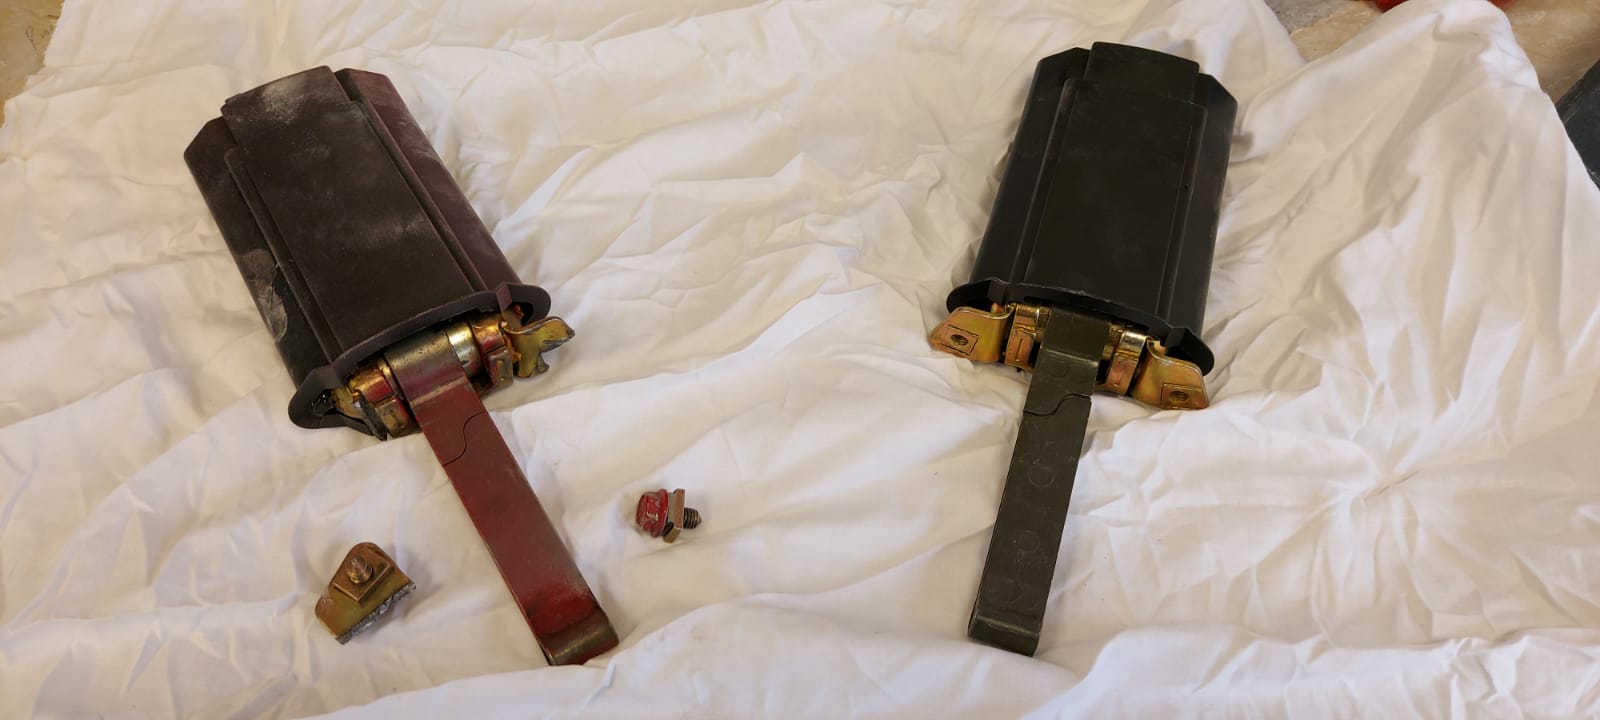
Chris then fit the new door check strap back into the door and fixed the panel back on. Although you could technically go without this element in your own car, you risk damaging the bodywork of your own or others if you do not get a new one replaced. If you’re struggling with your doors swinging, get in touch!
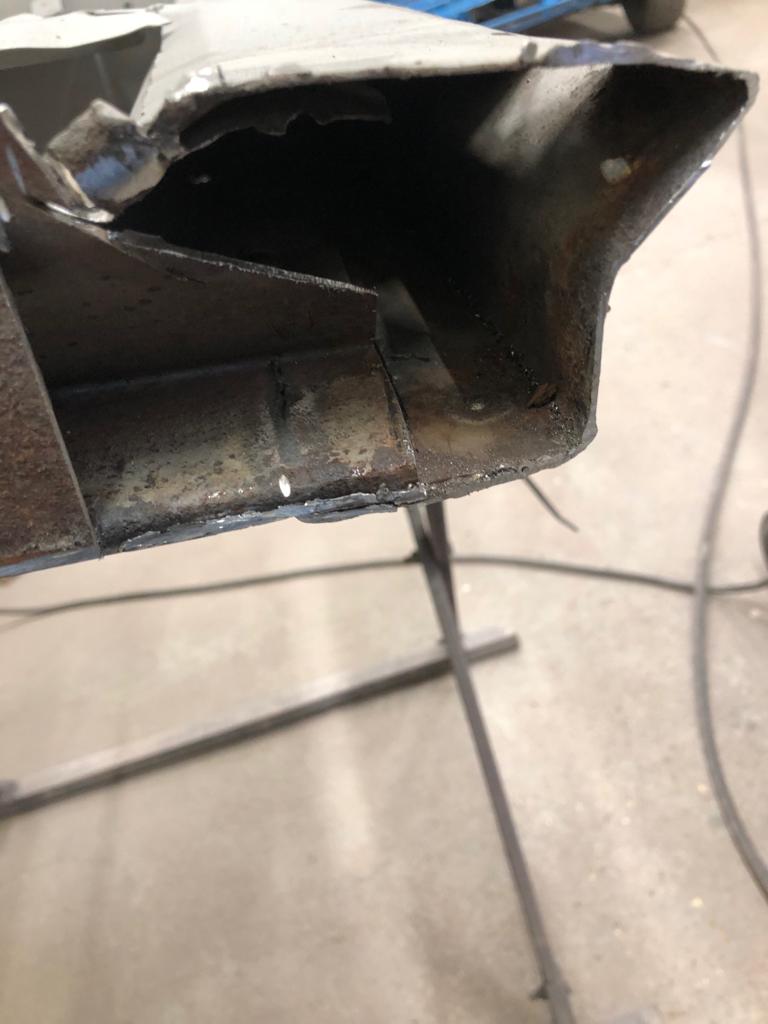
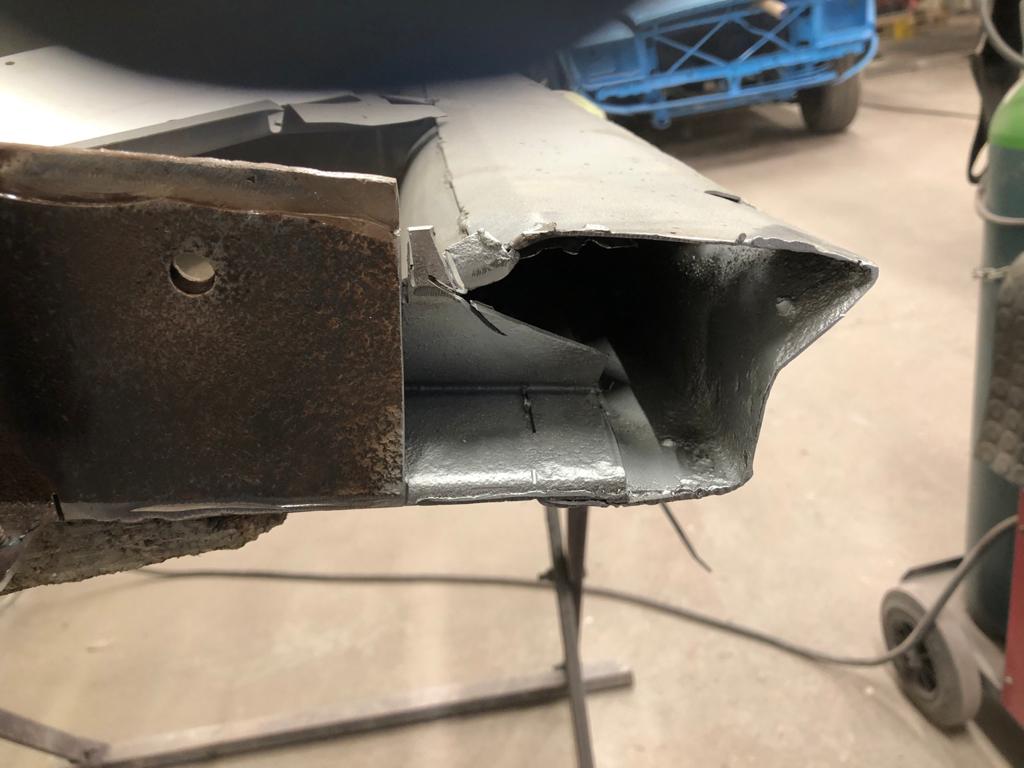
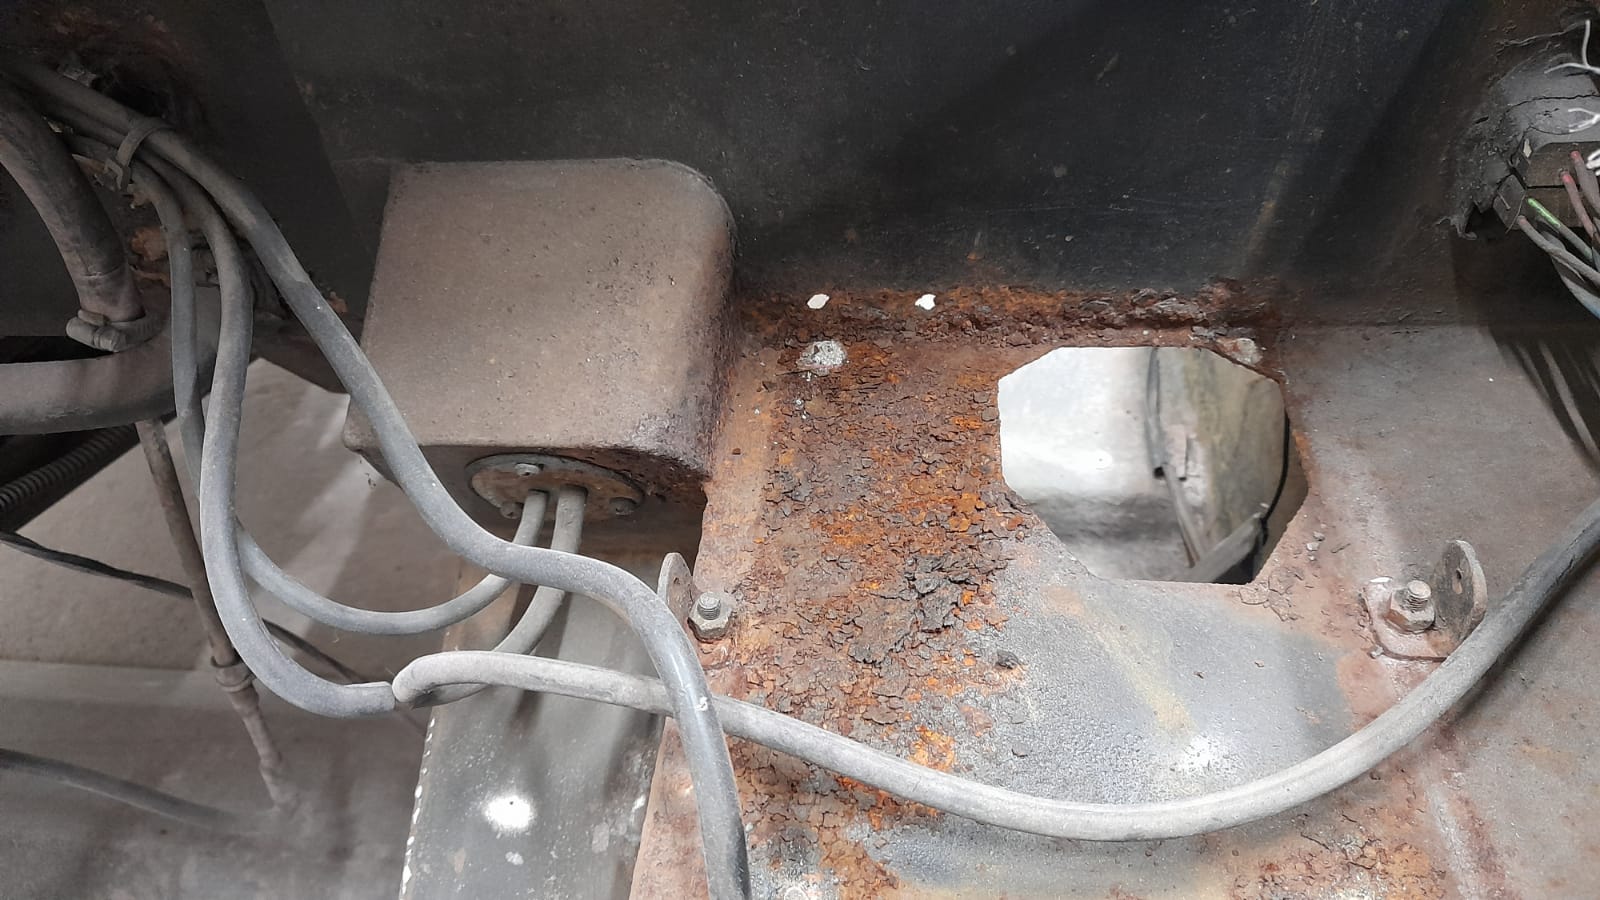
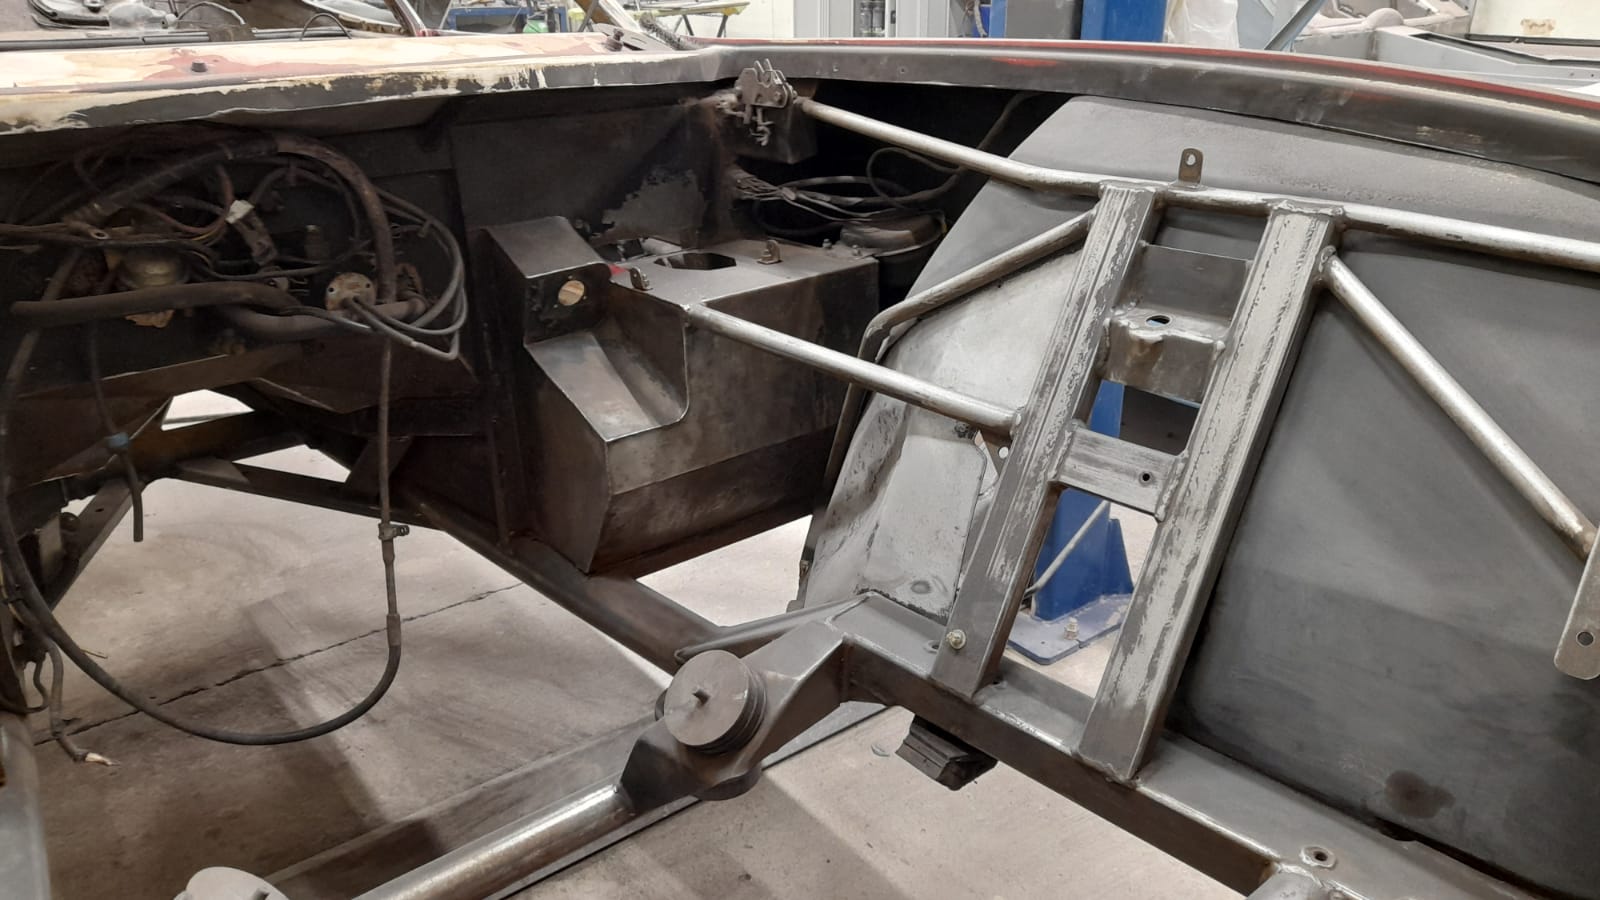
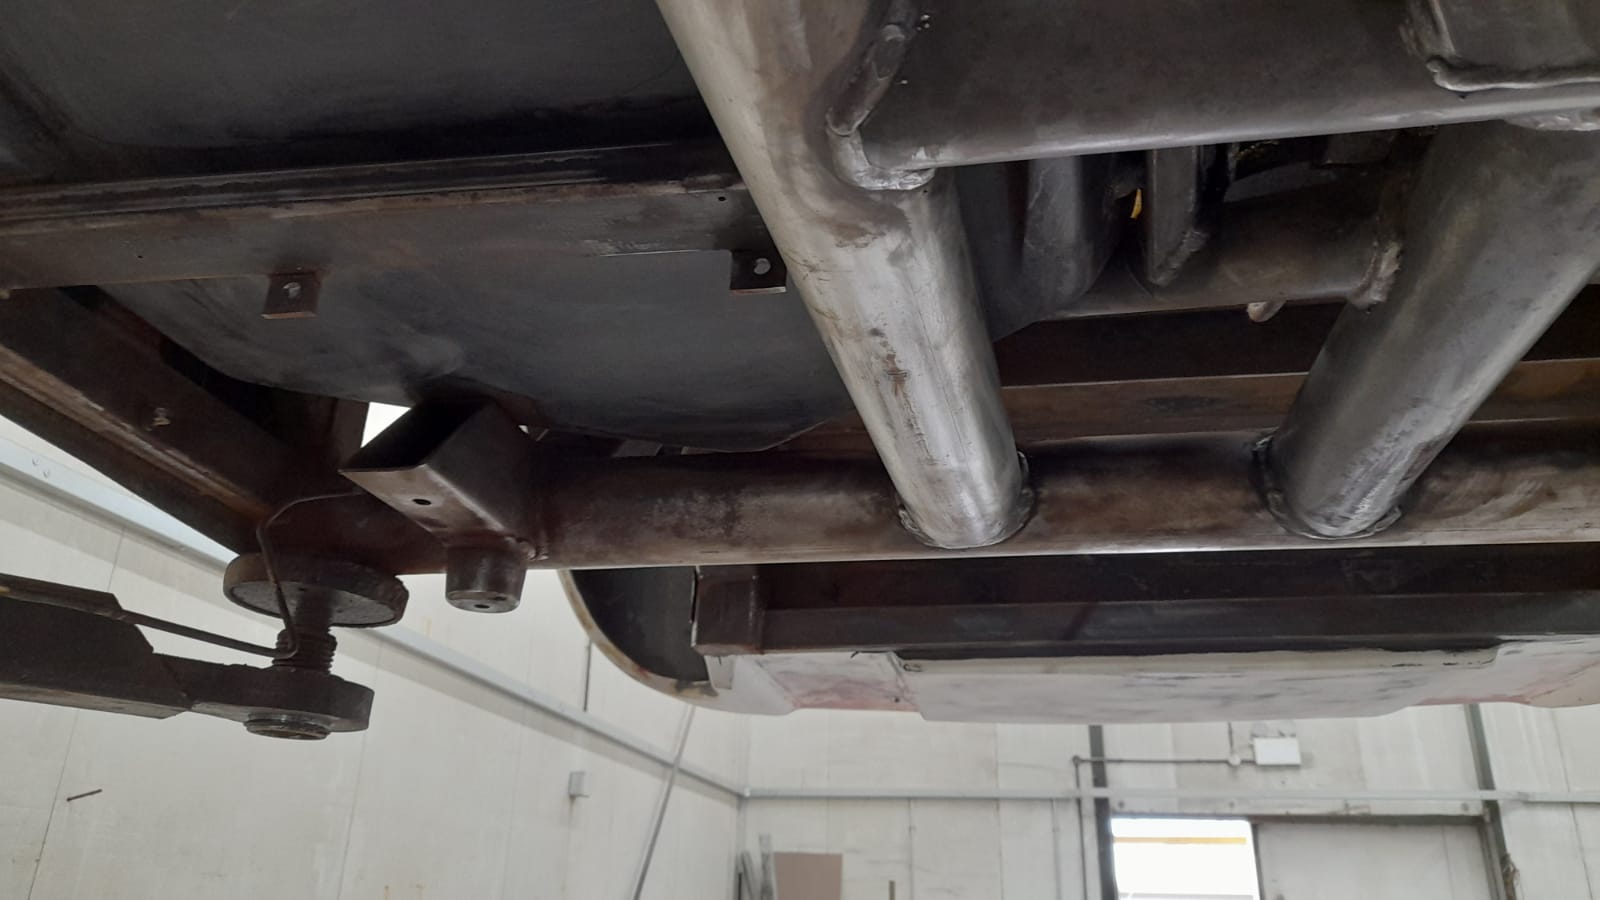
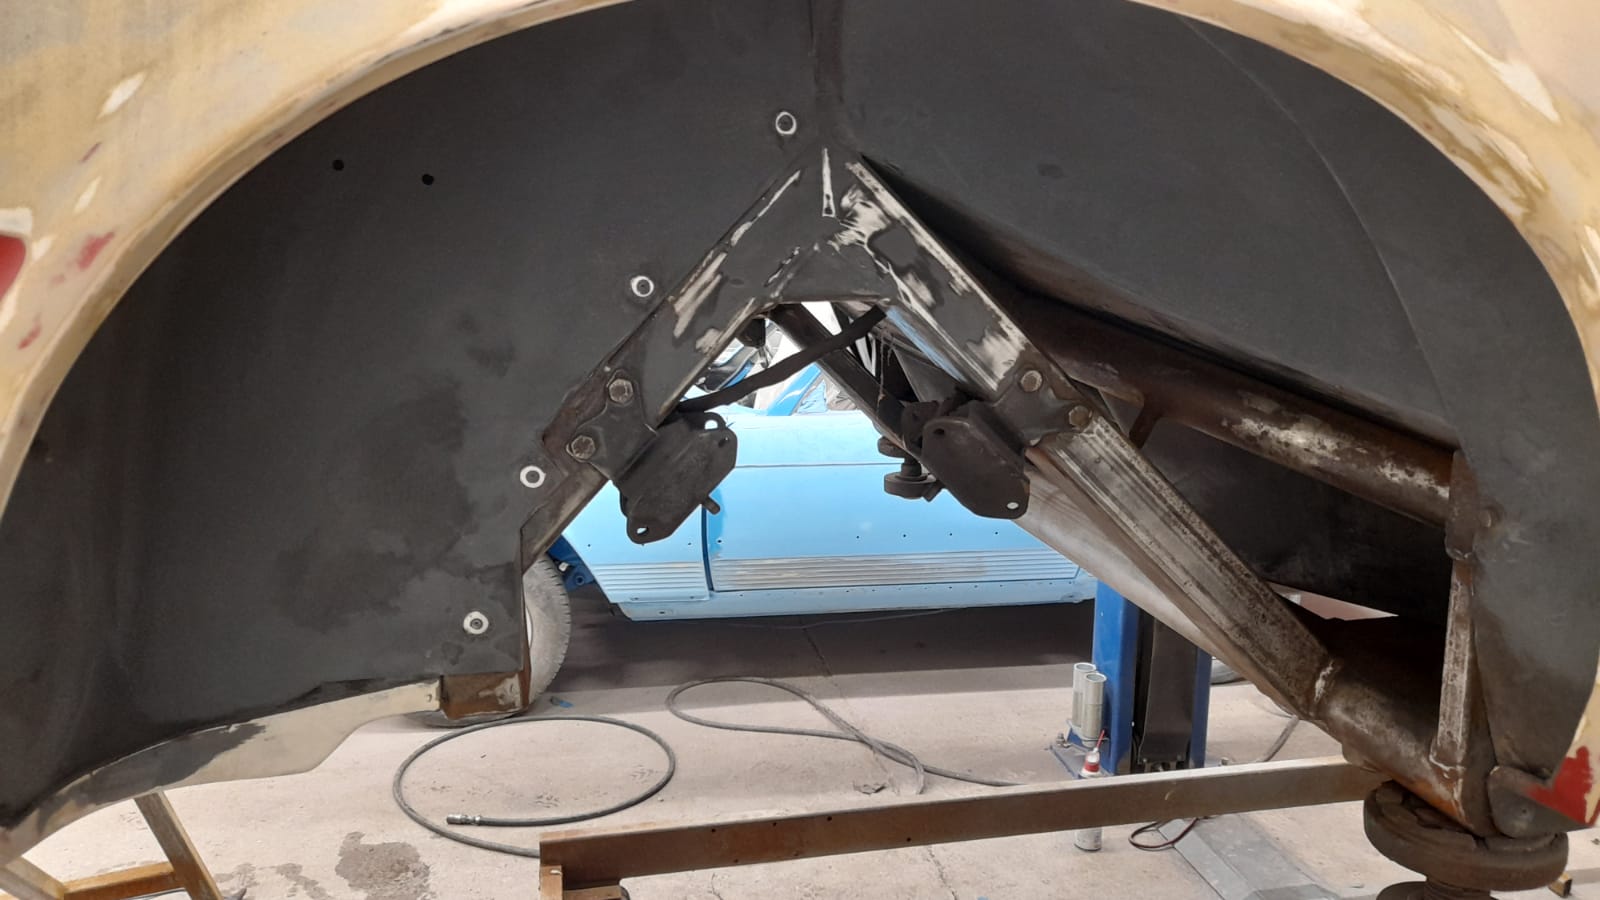
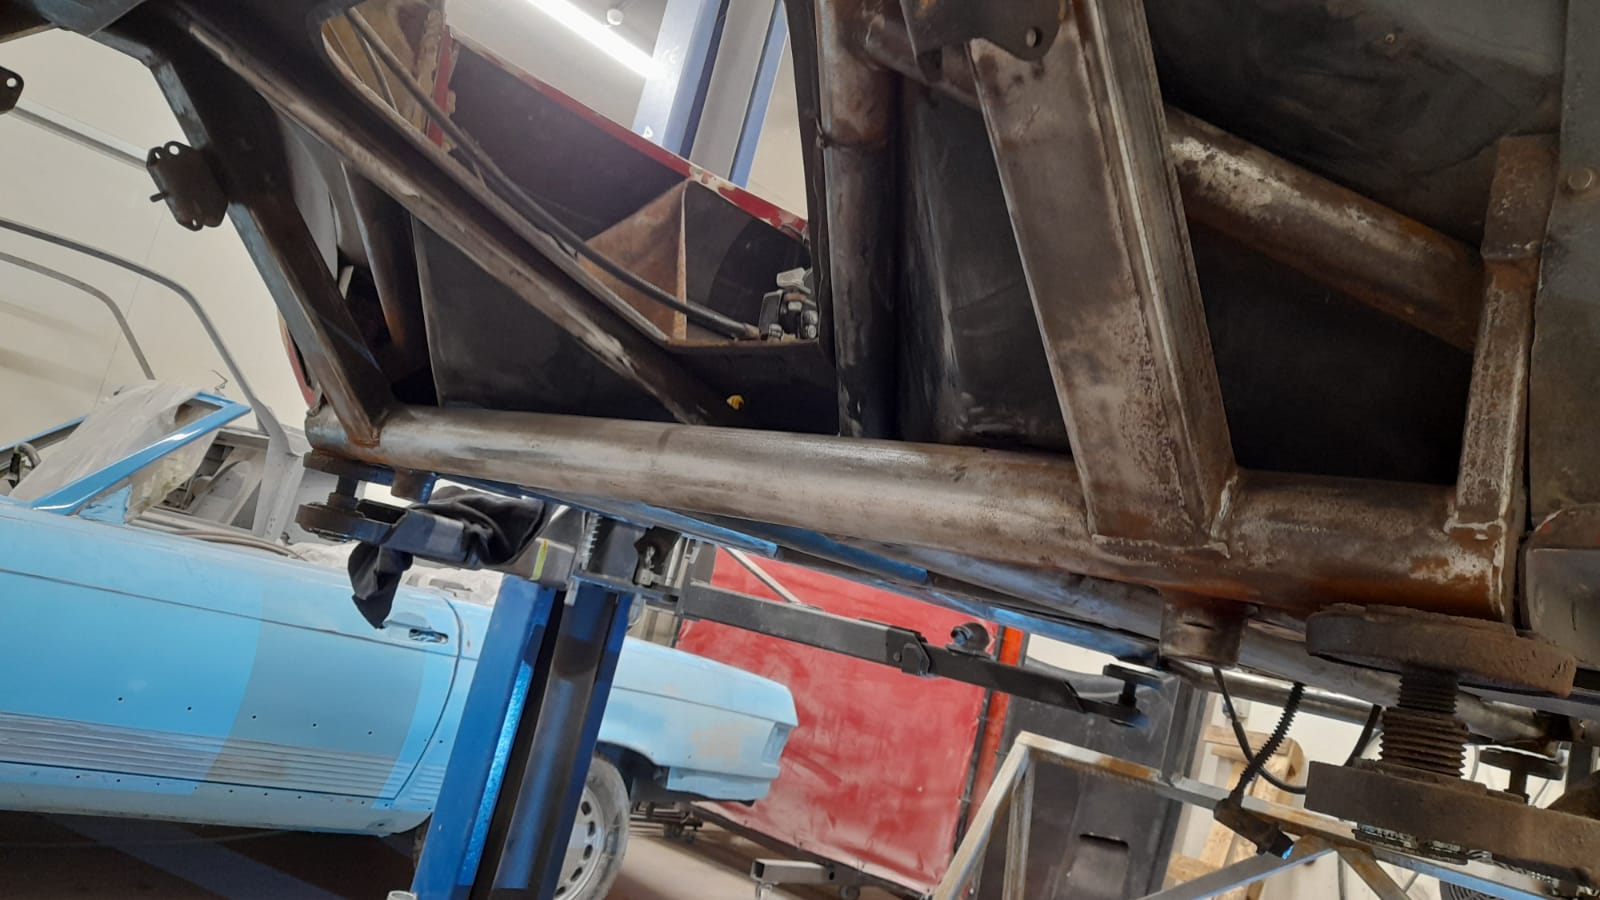
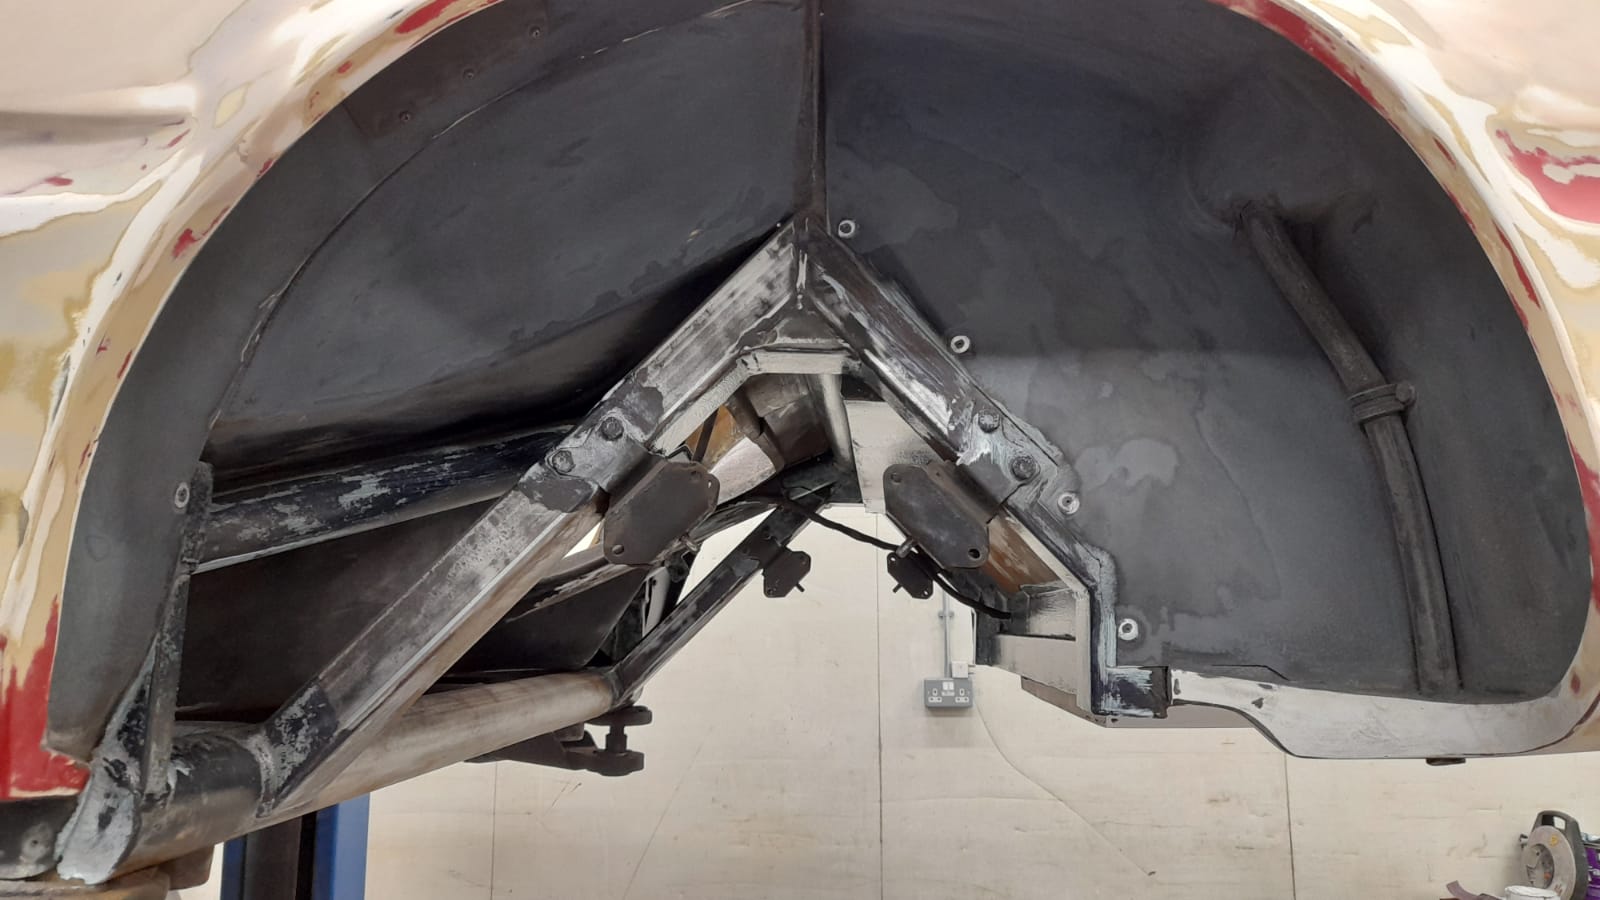
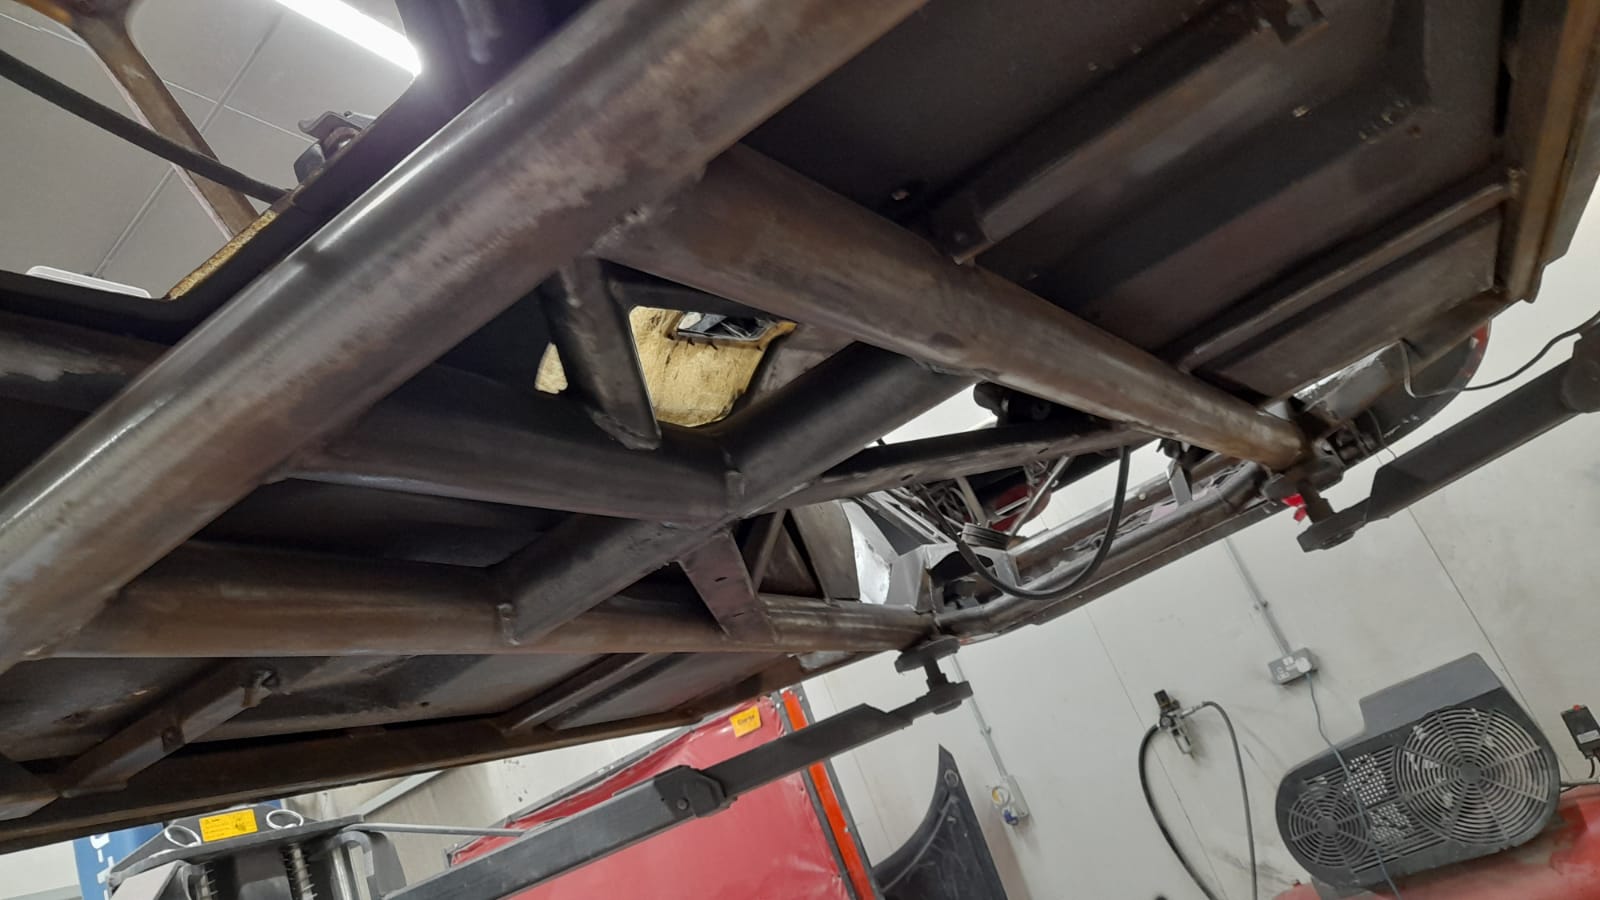
Scott has continued to prep the body of the Daytona by preparing the chassis and engine bay for paint.

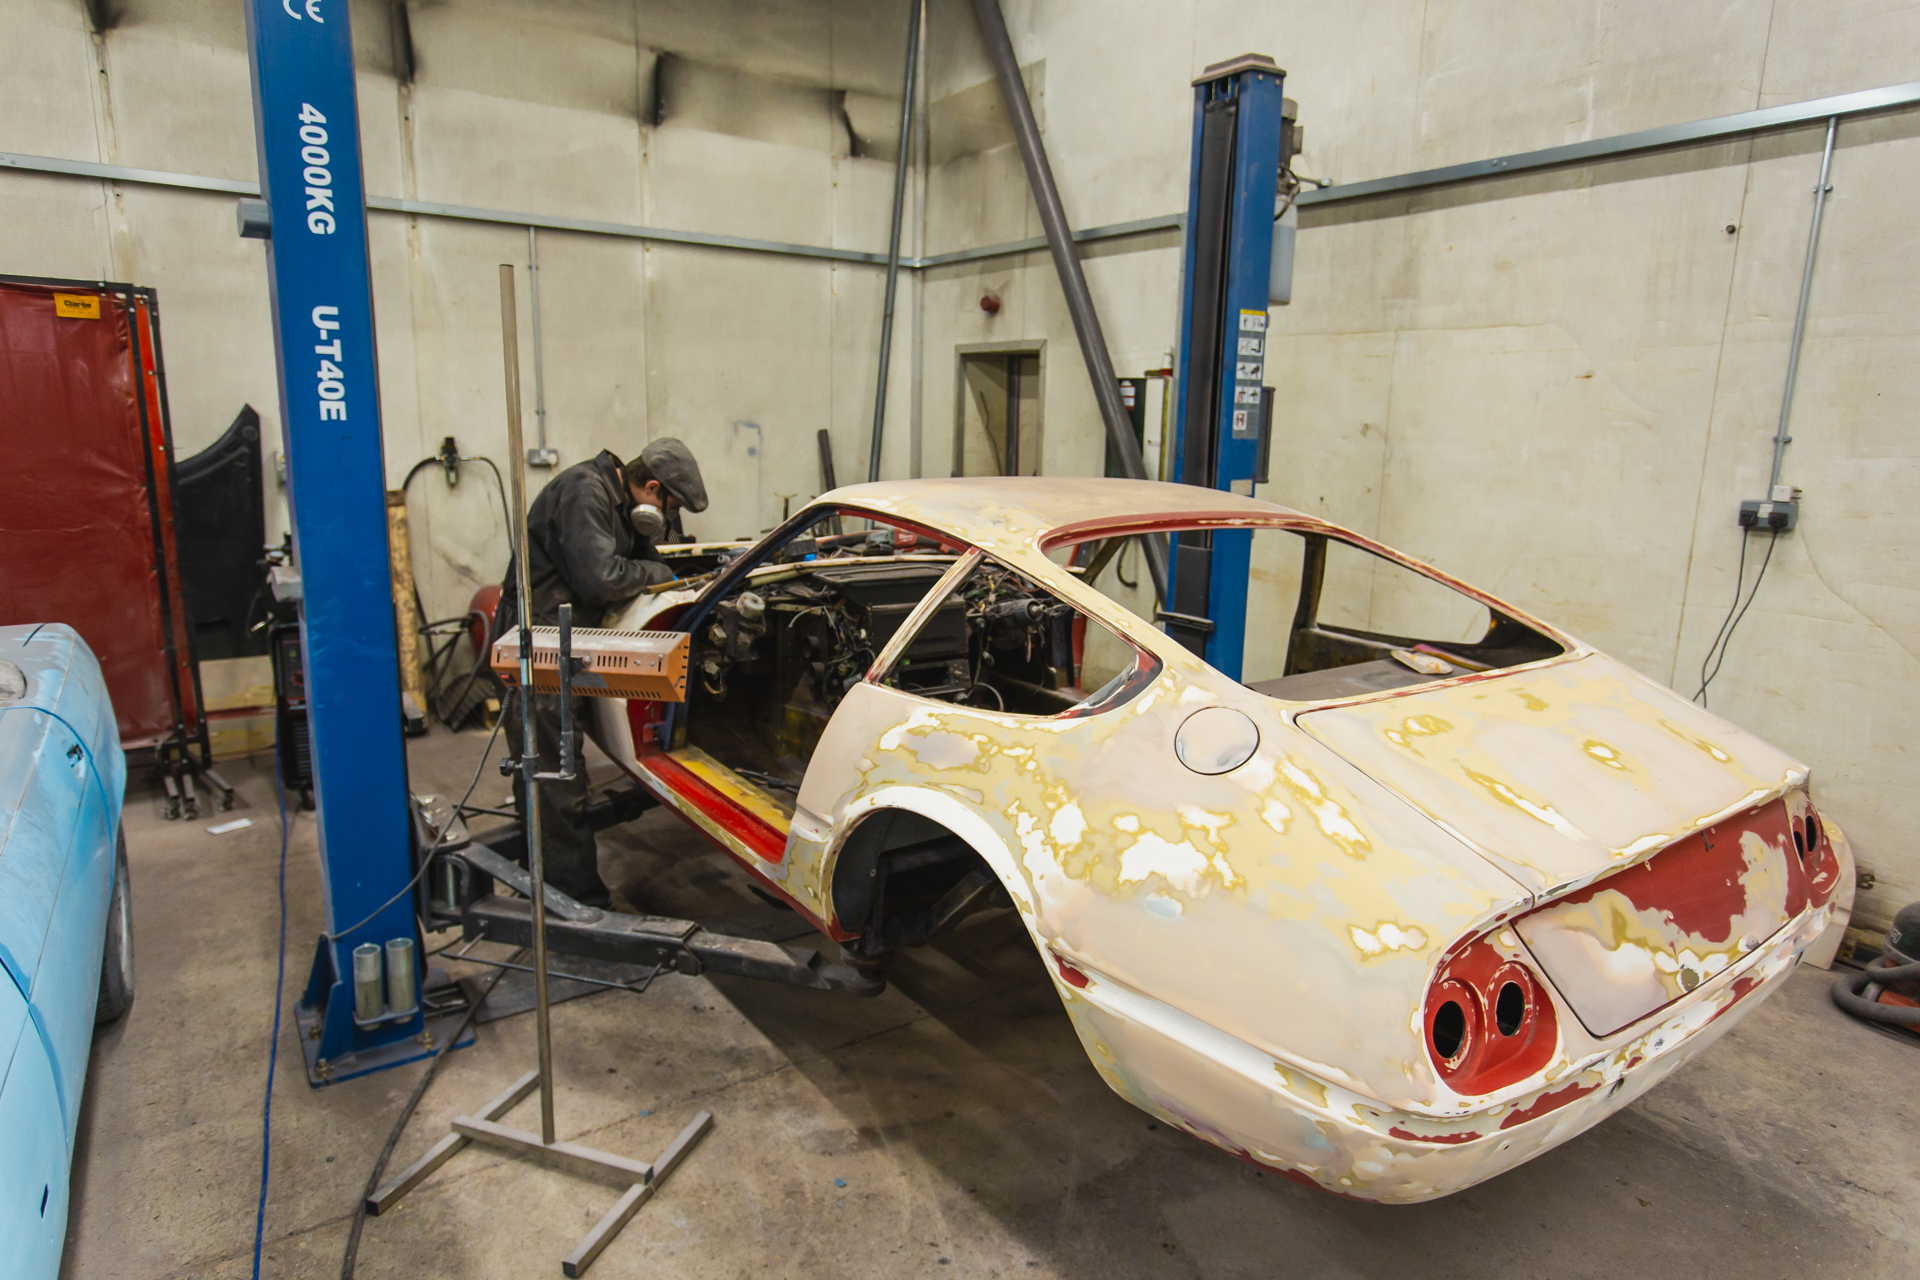
Scott has removed the heater blower to gain access to repair the rotten battery tray. The repair was done by cutting the rotten metal out and making a new panel to be welded in.
Scott has continued to clean up and remove rust from the chassis and engine bay to get it ready for paint. He’s also removed rust from the A posts by using a rust treatment. Scott has then repaired where the fibreglass of the body meets the steel framework of the ‘A’ posts that had been damaged by rust.
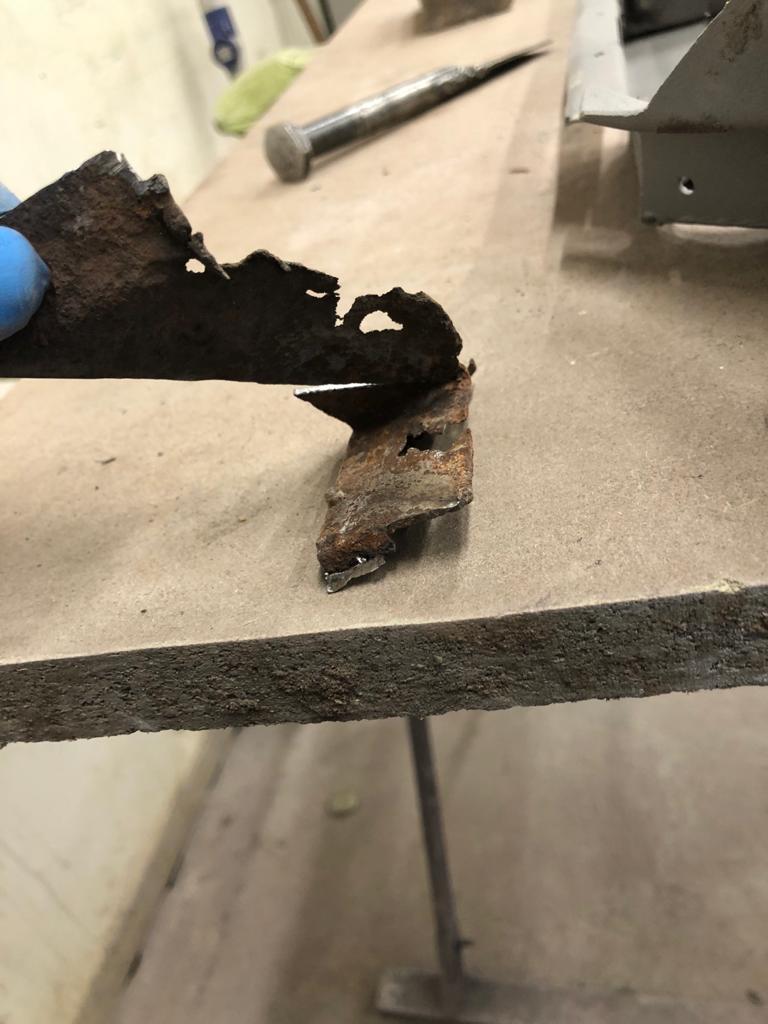
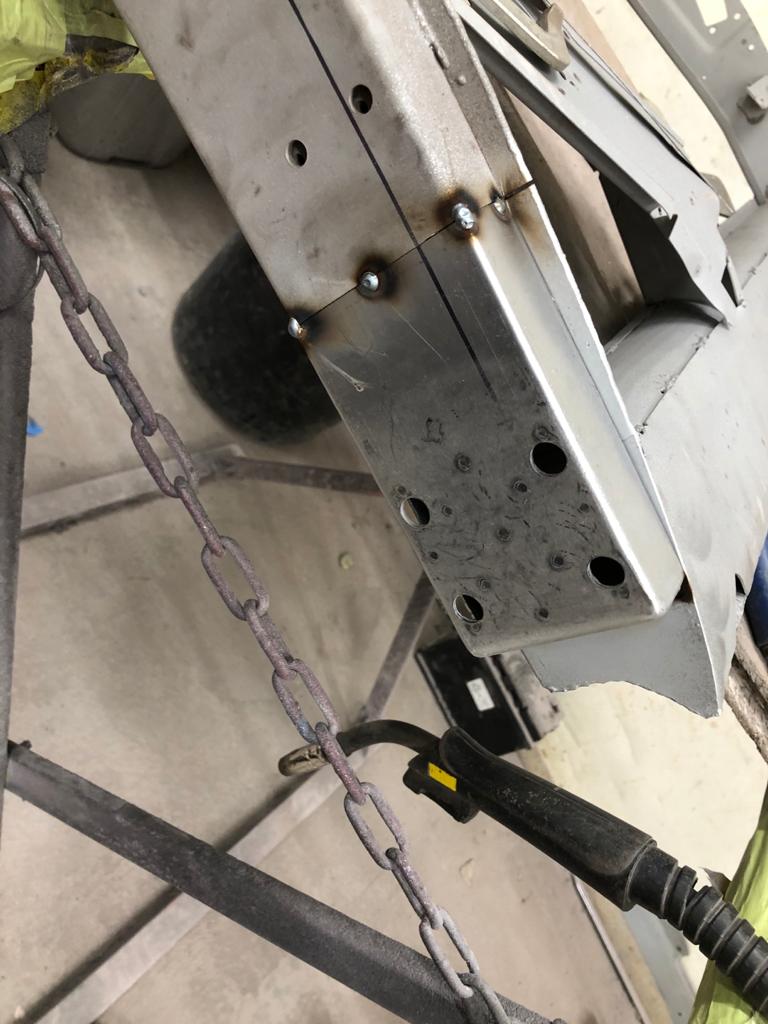
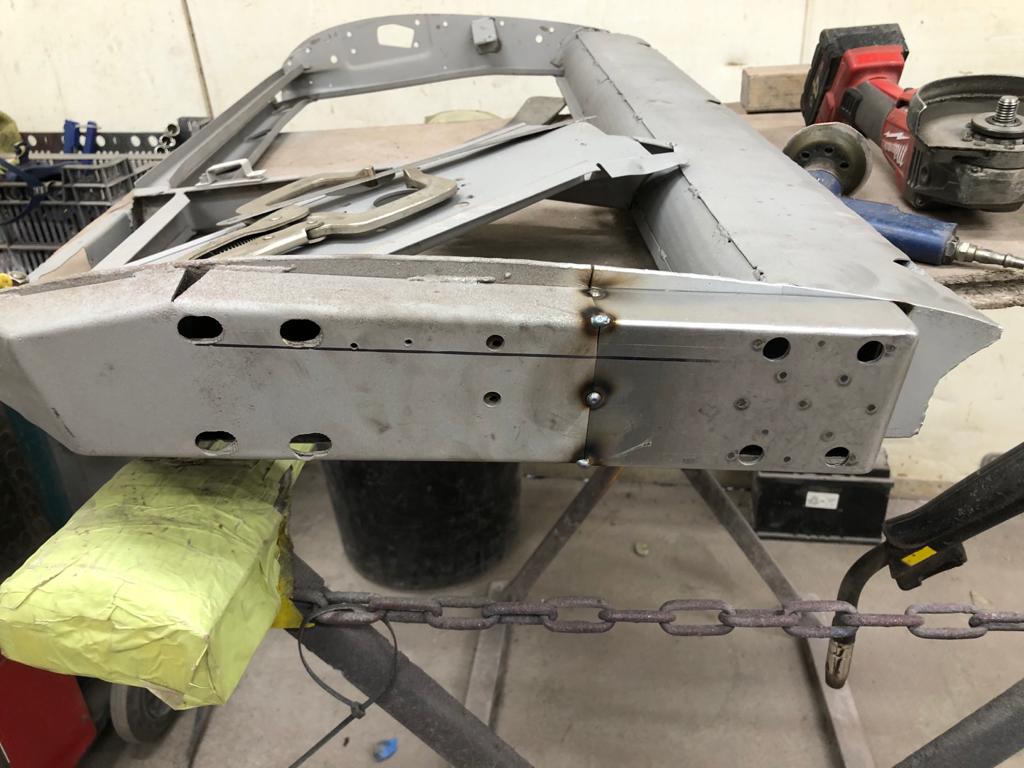
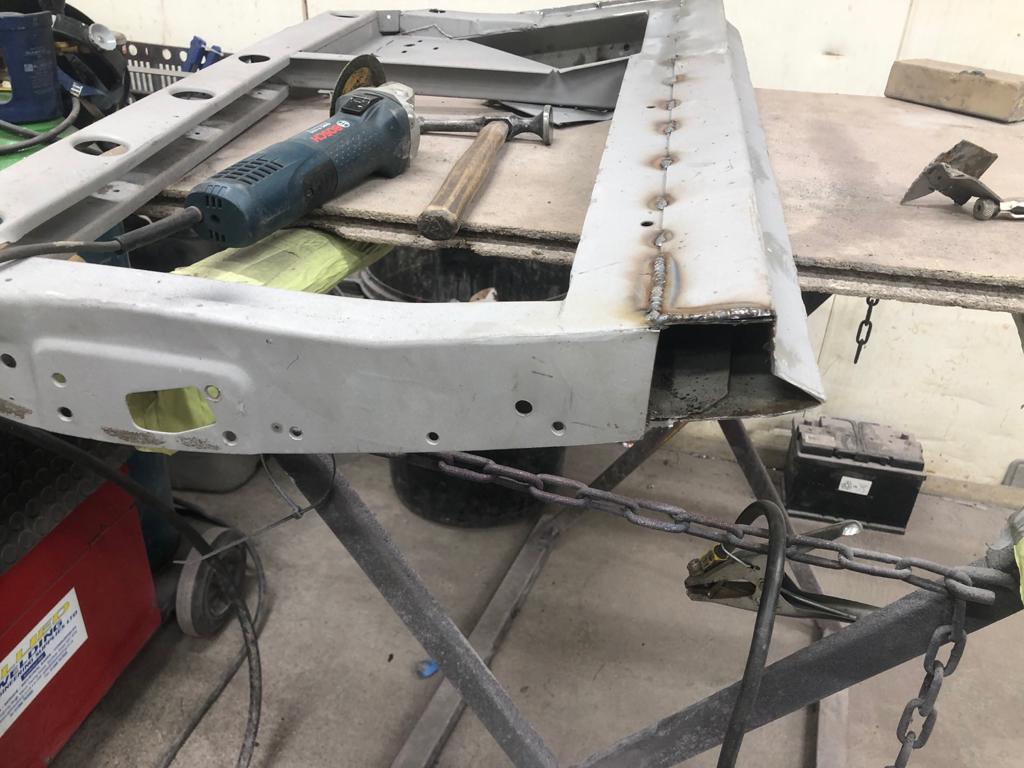
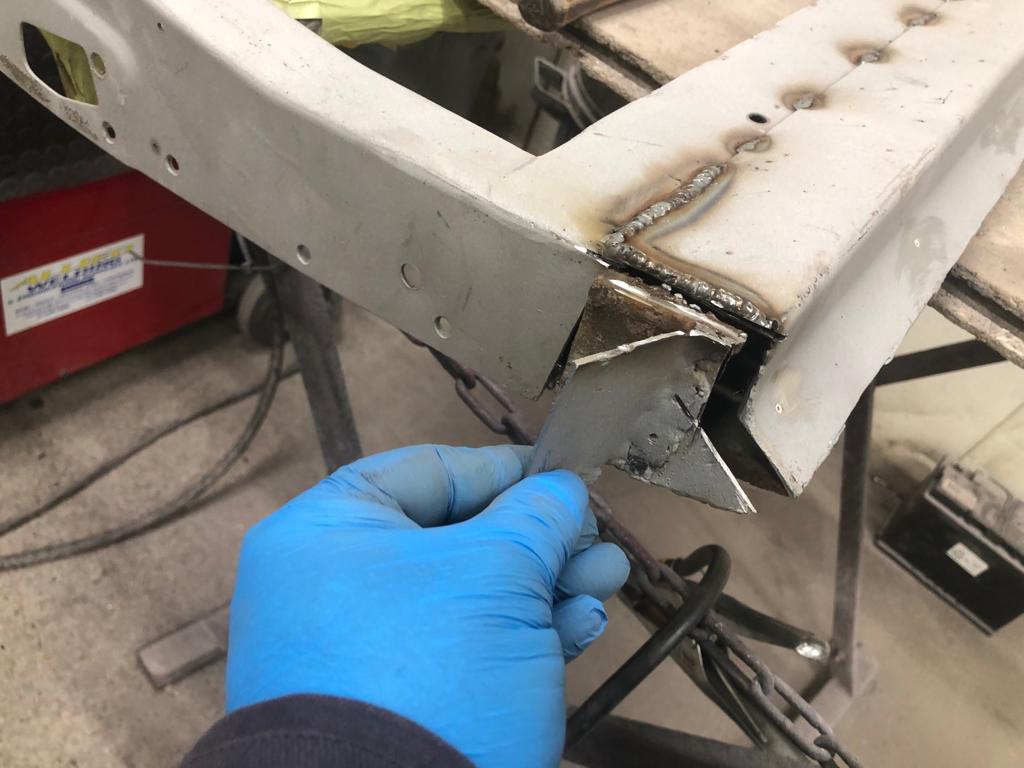
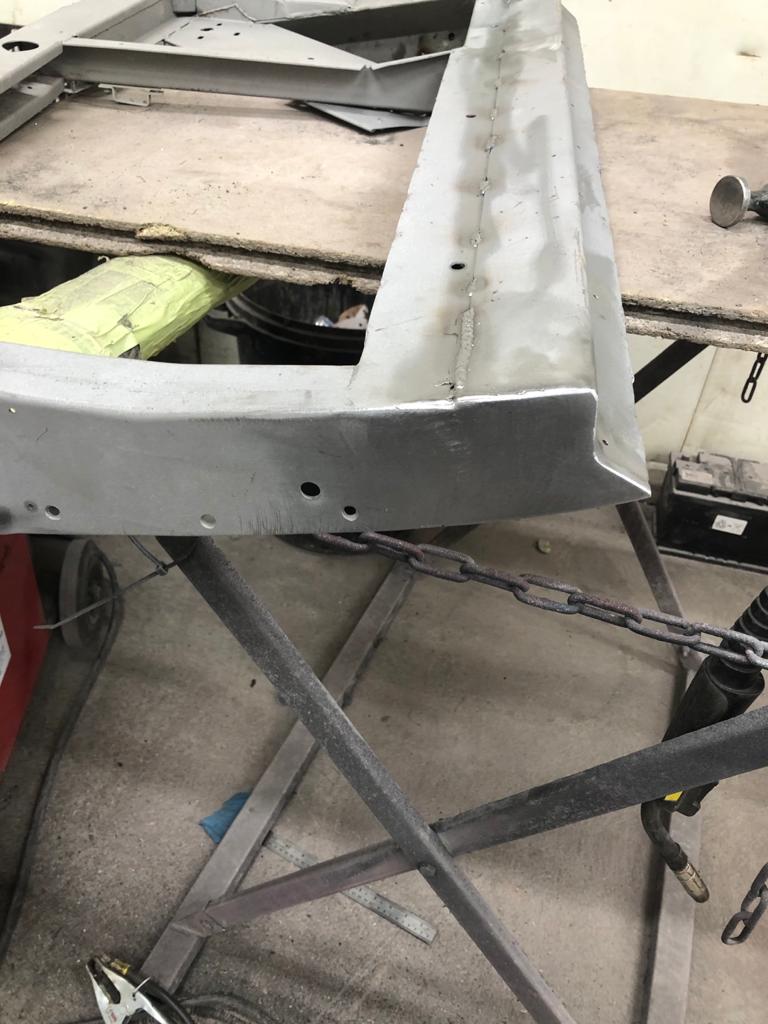
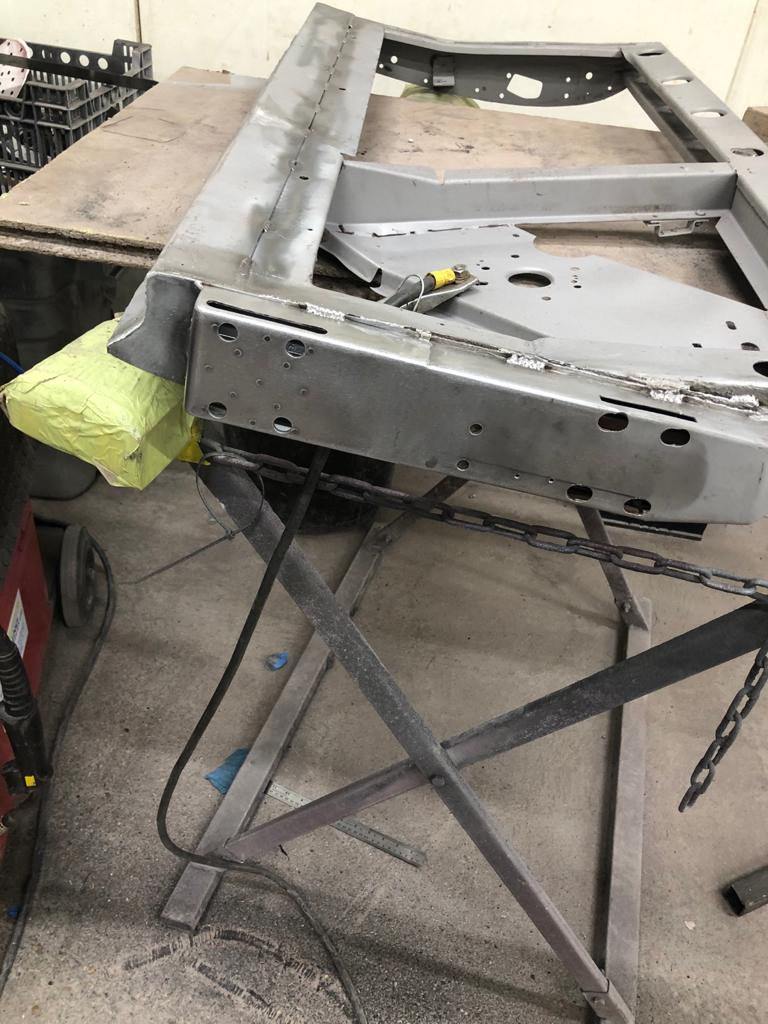
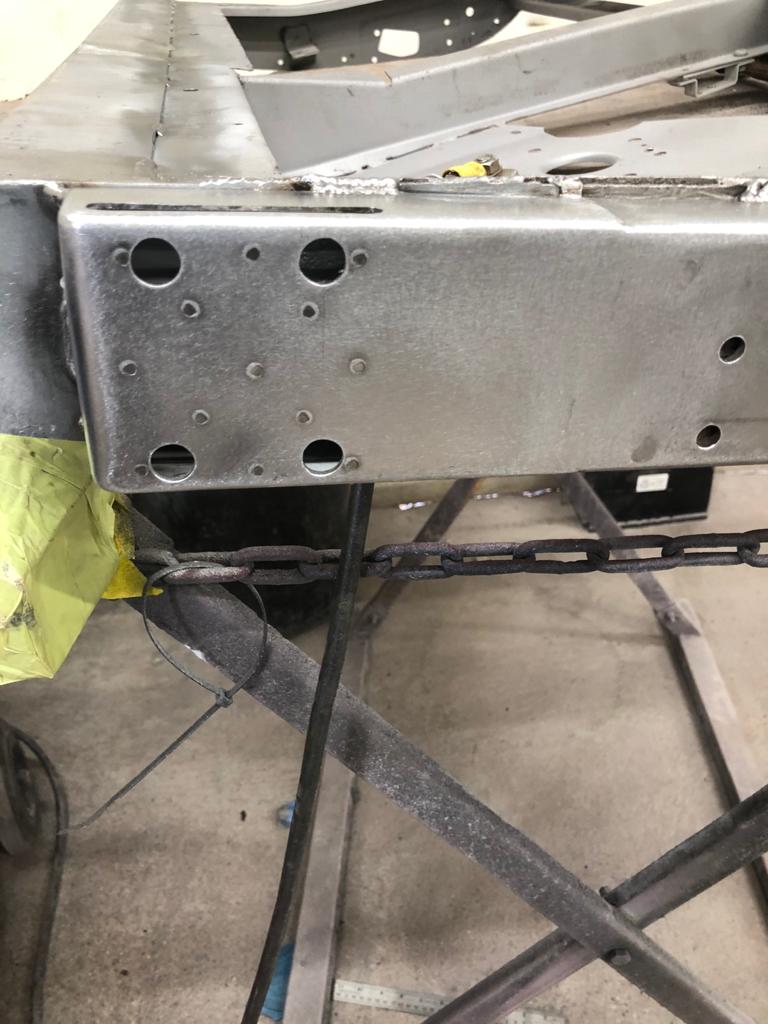
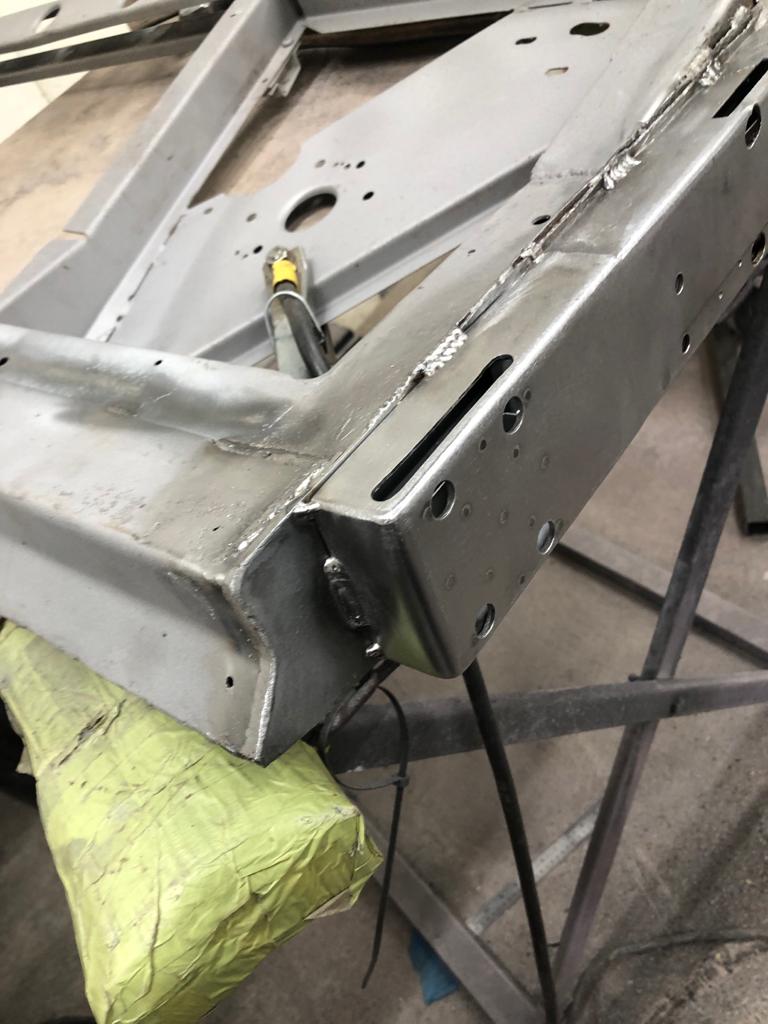
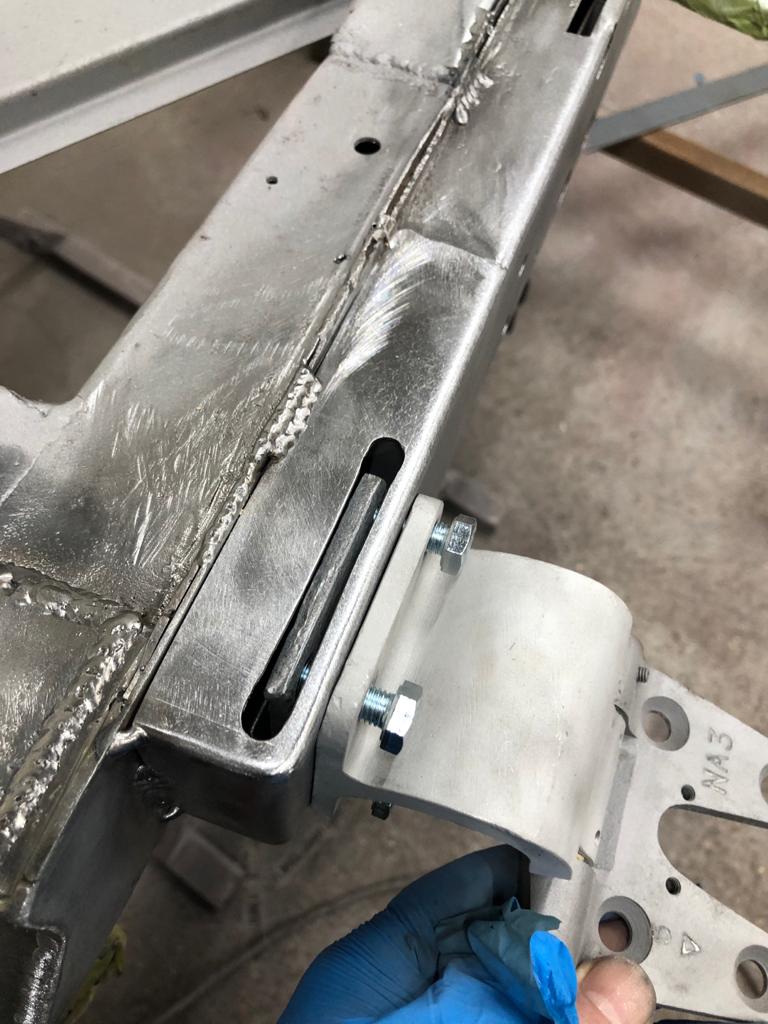
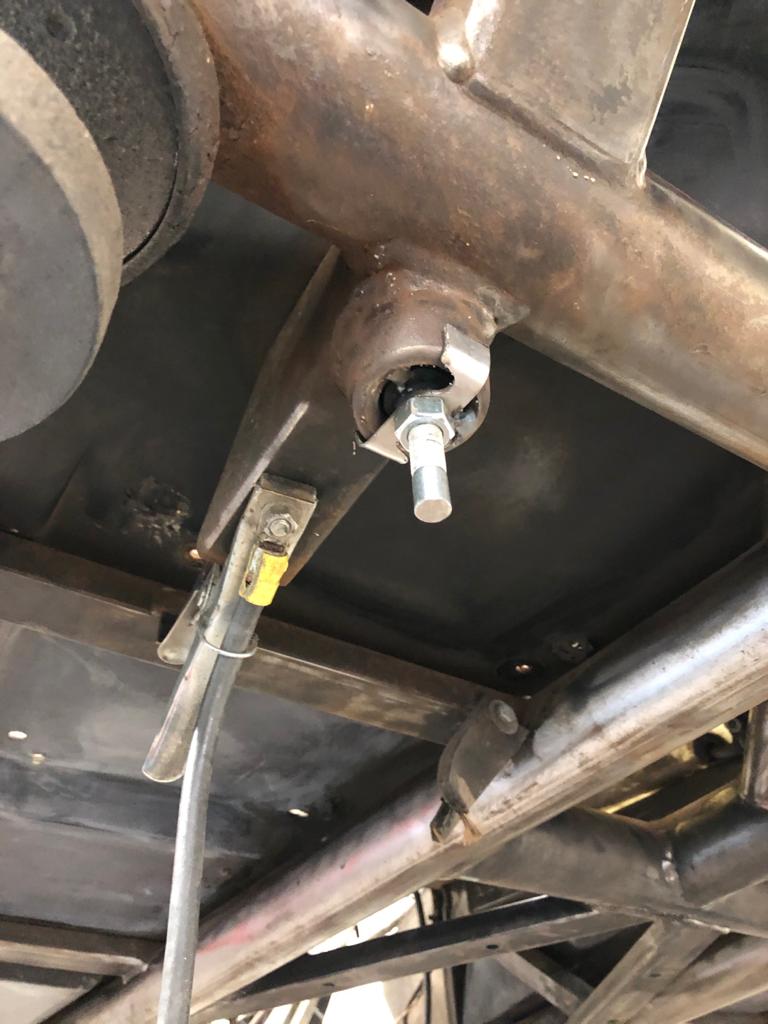
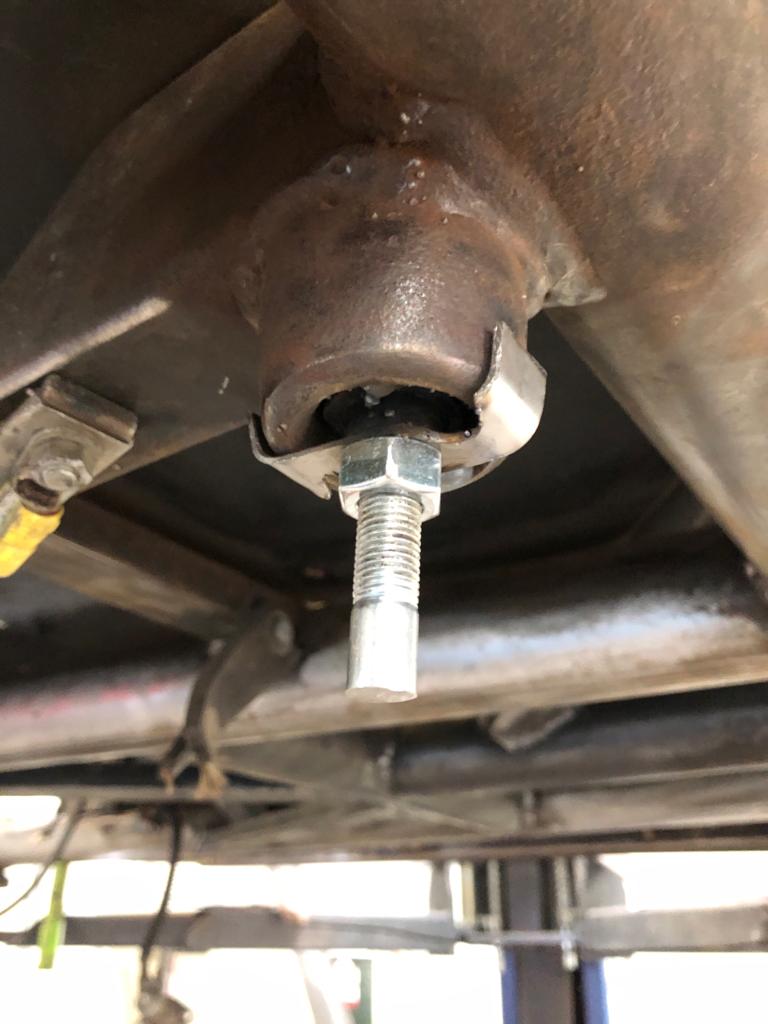
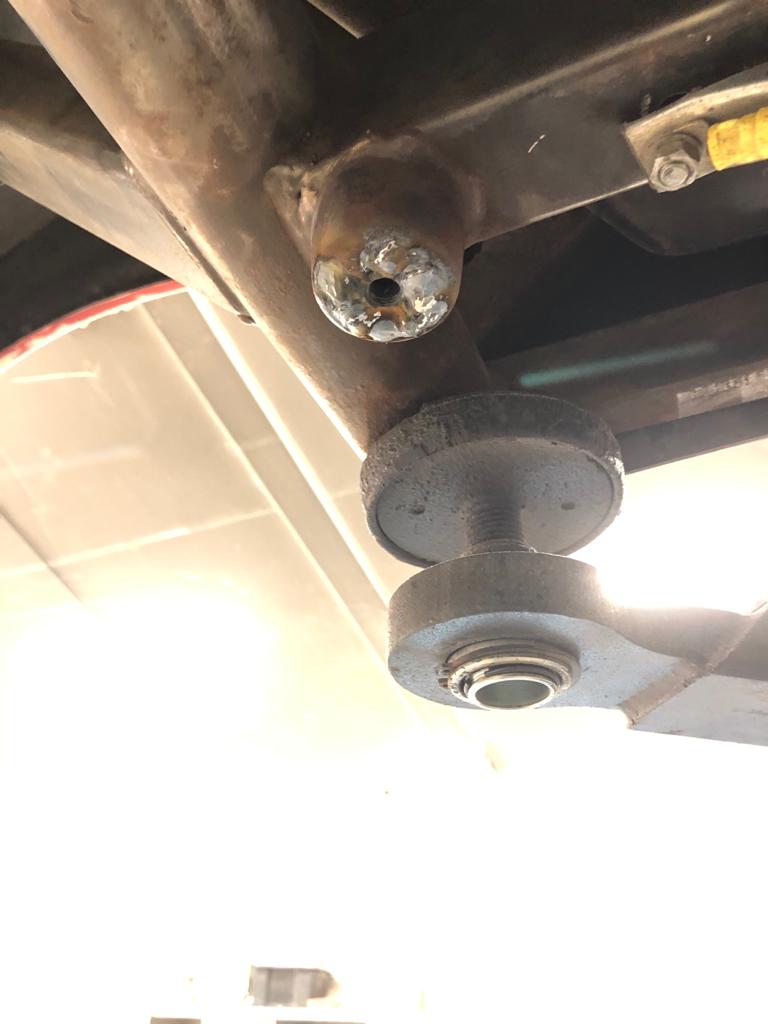
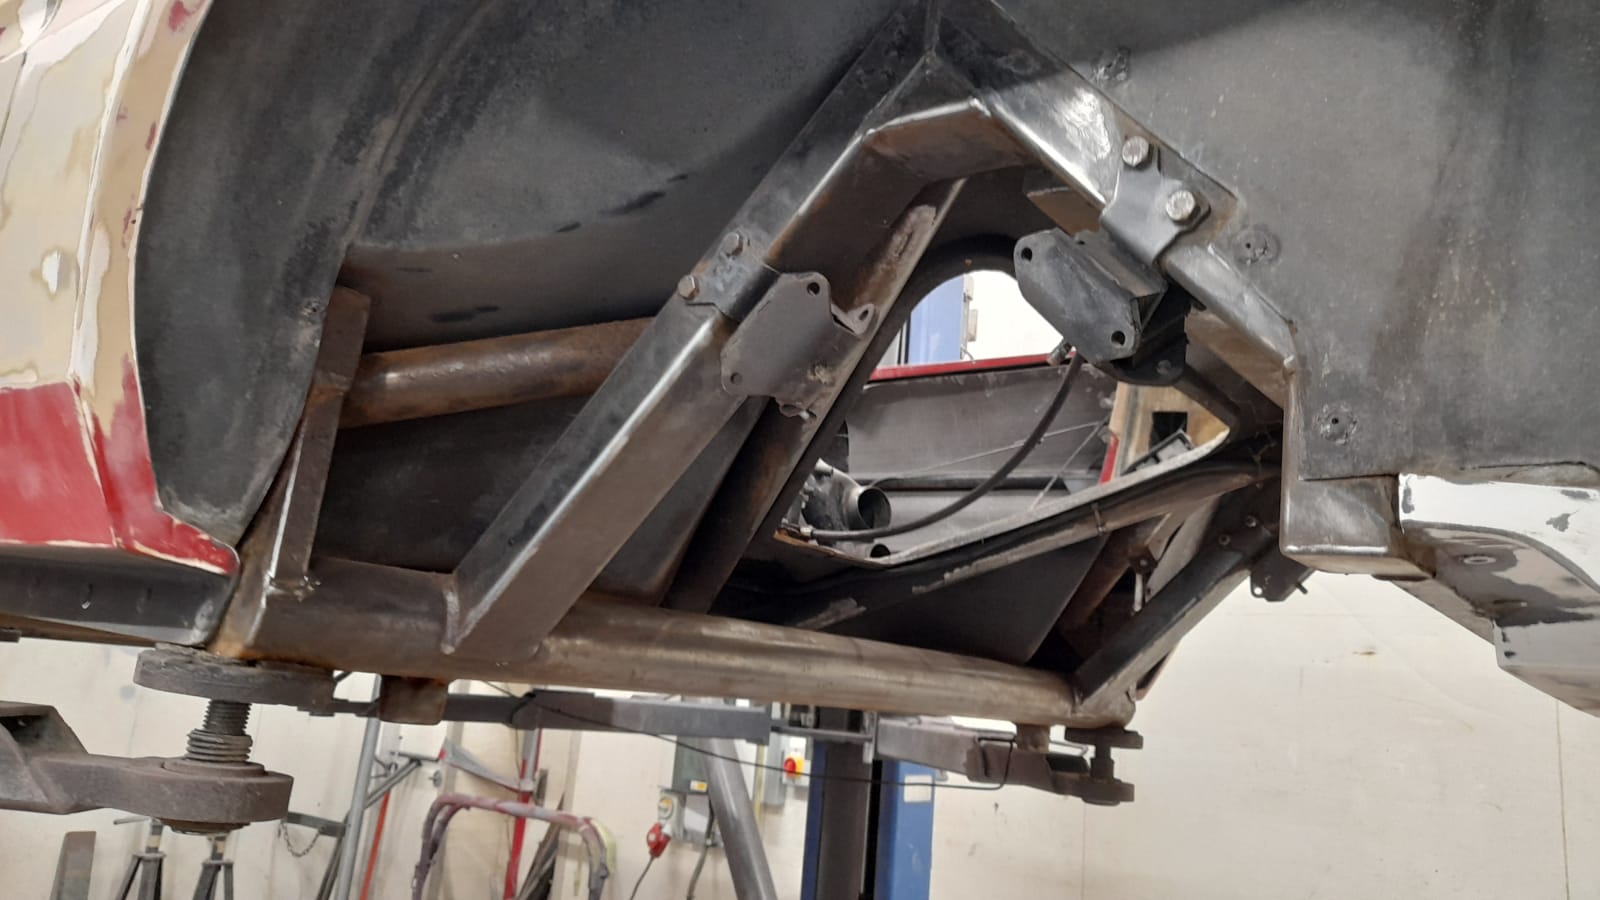
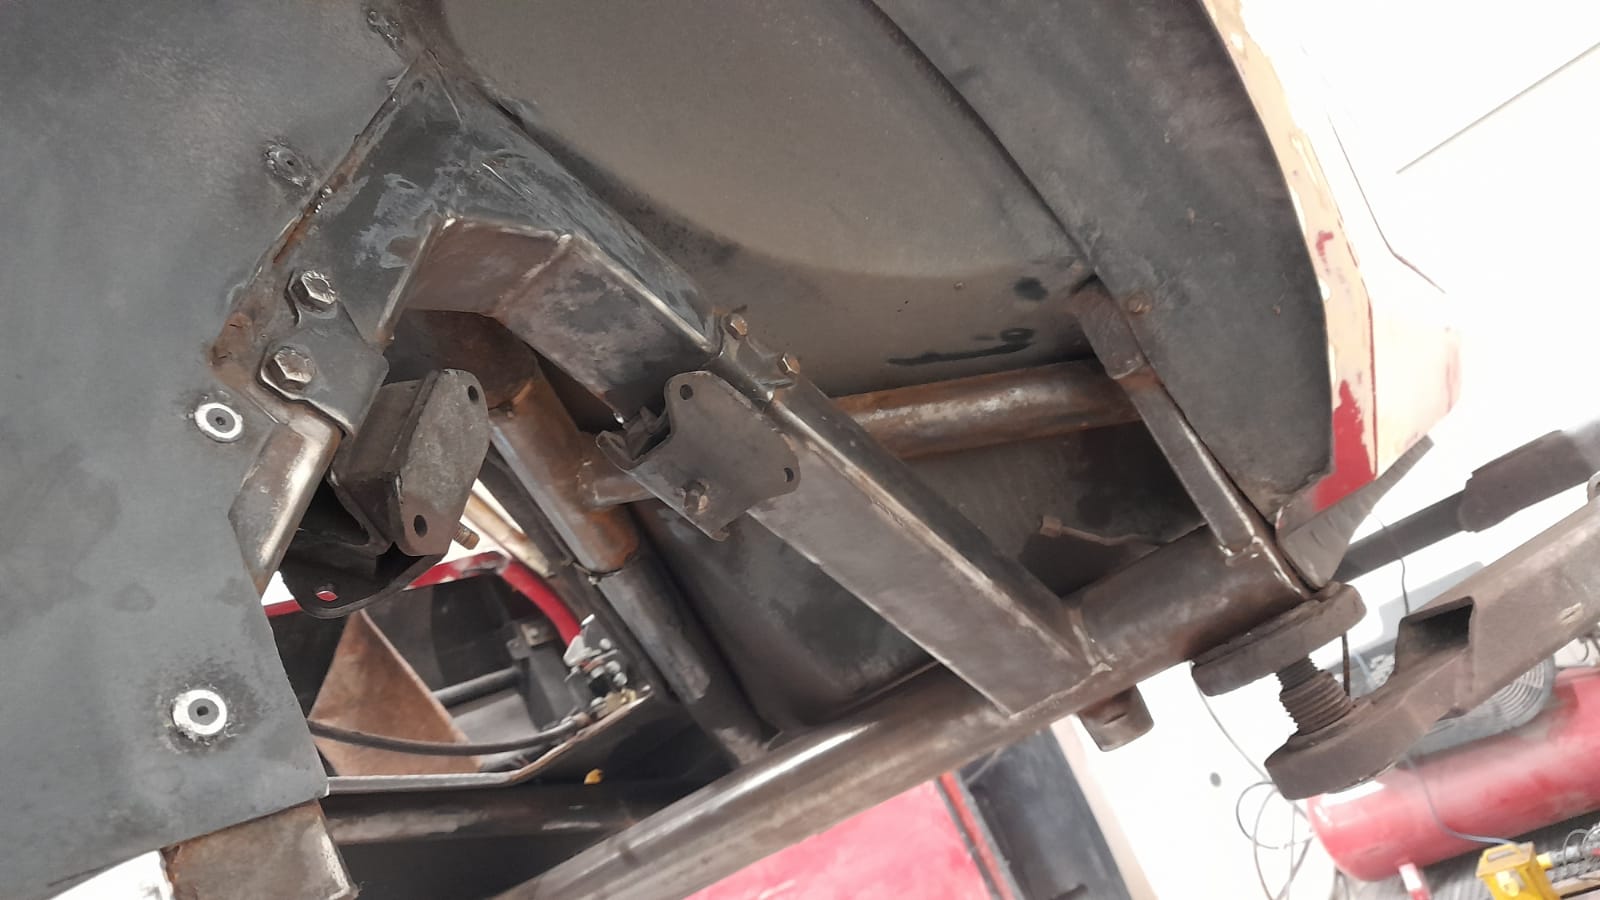
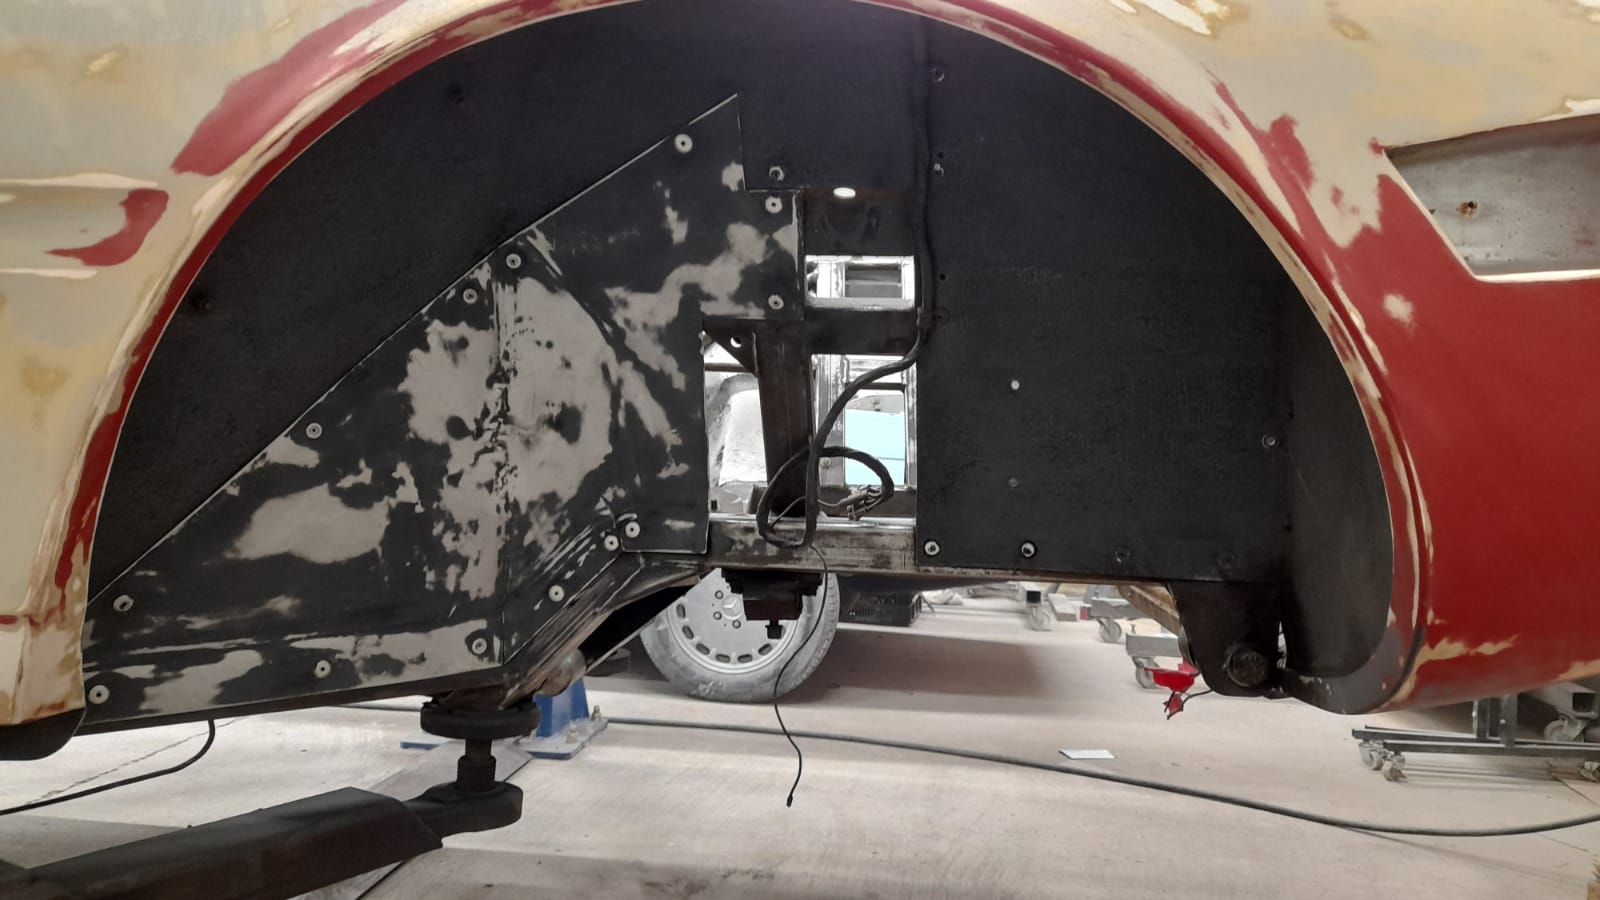
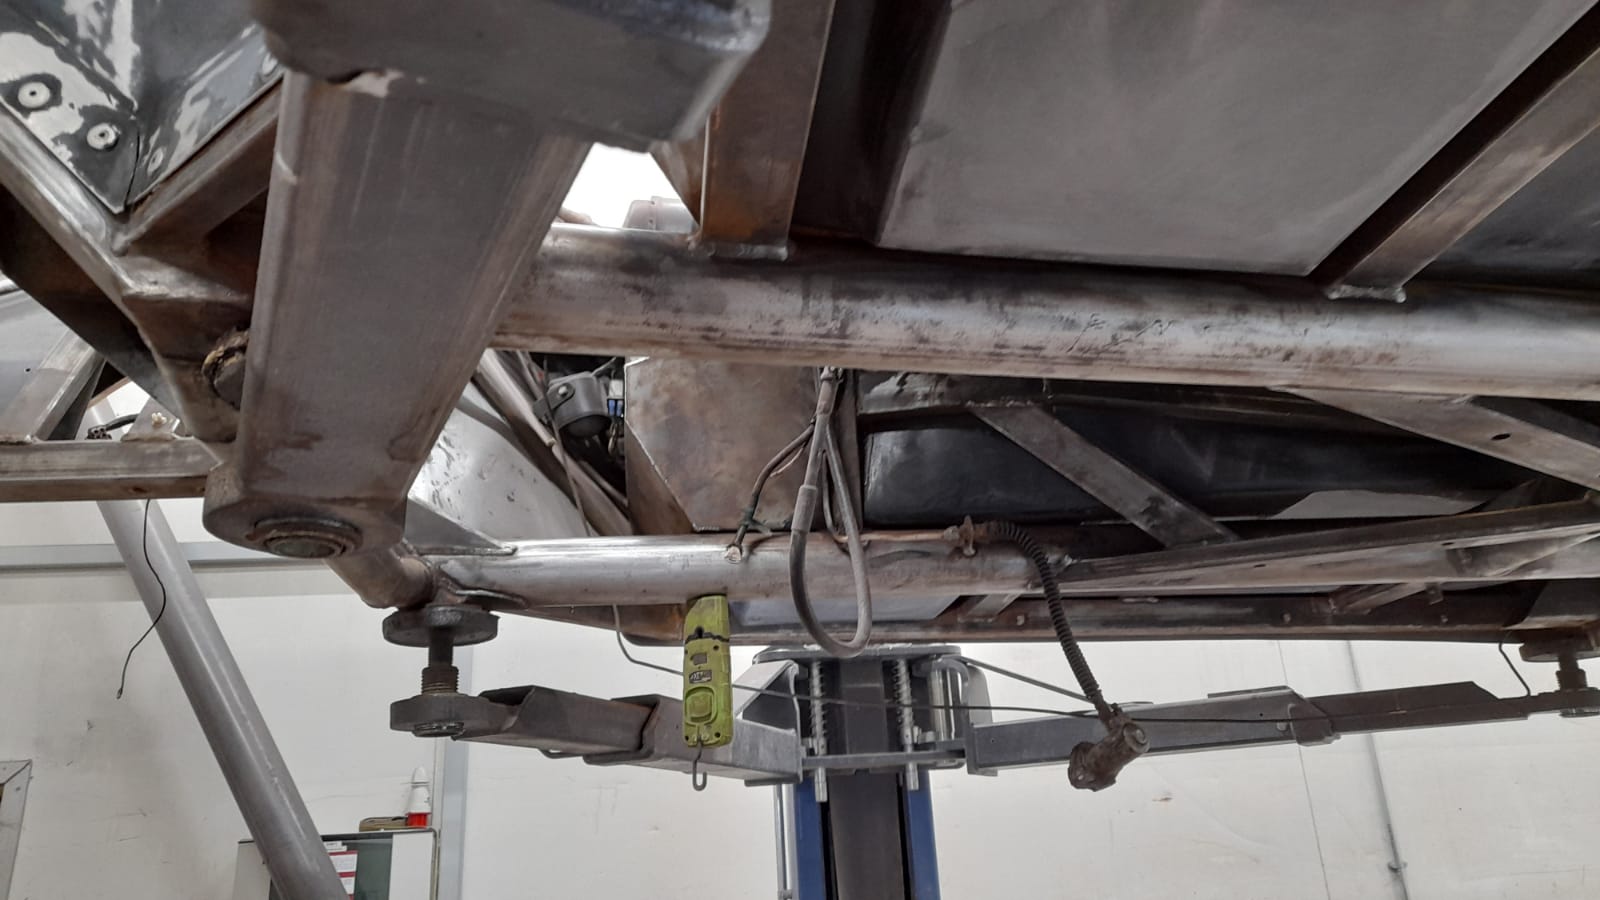
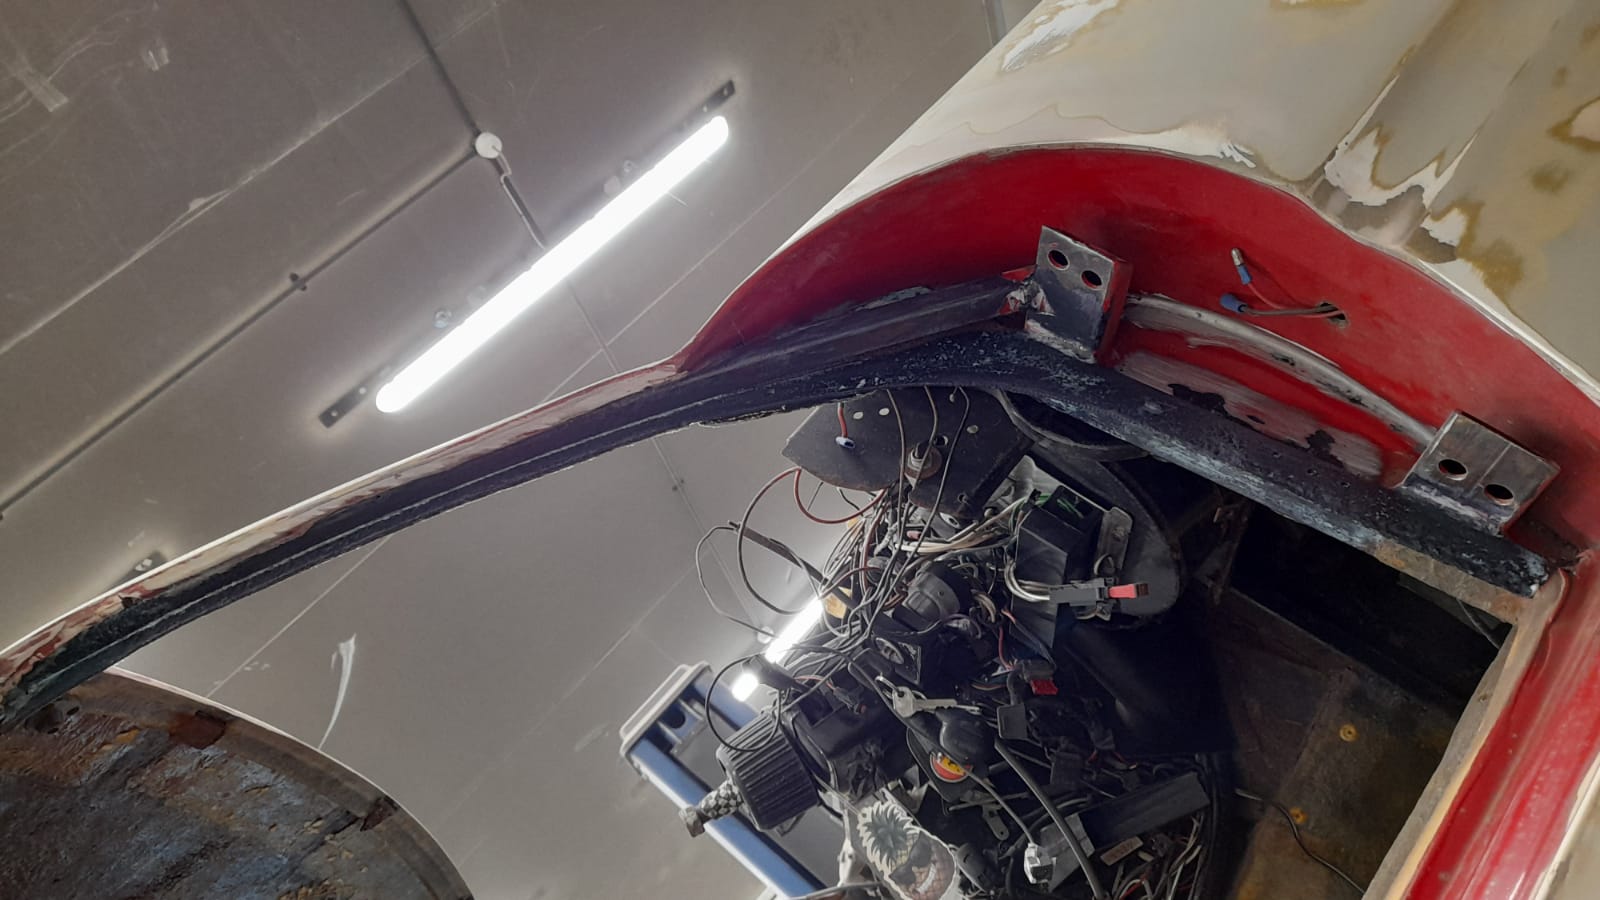
James has also been working on our Daytona. He’s removed the lower part of the left rear lower subframe mount as it had a snapped and rusted bolt. He made a replacement and location bracket to ensure that the new thread remains centred. Once this was made, James then welded it back in place.


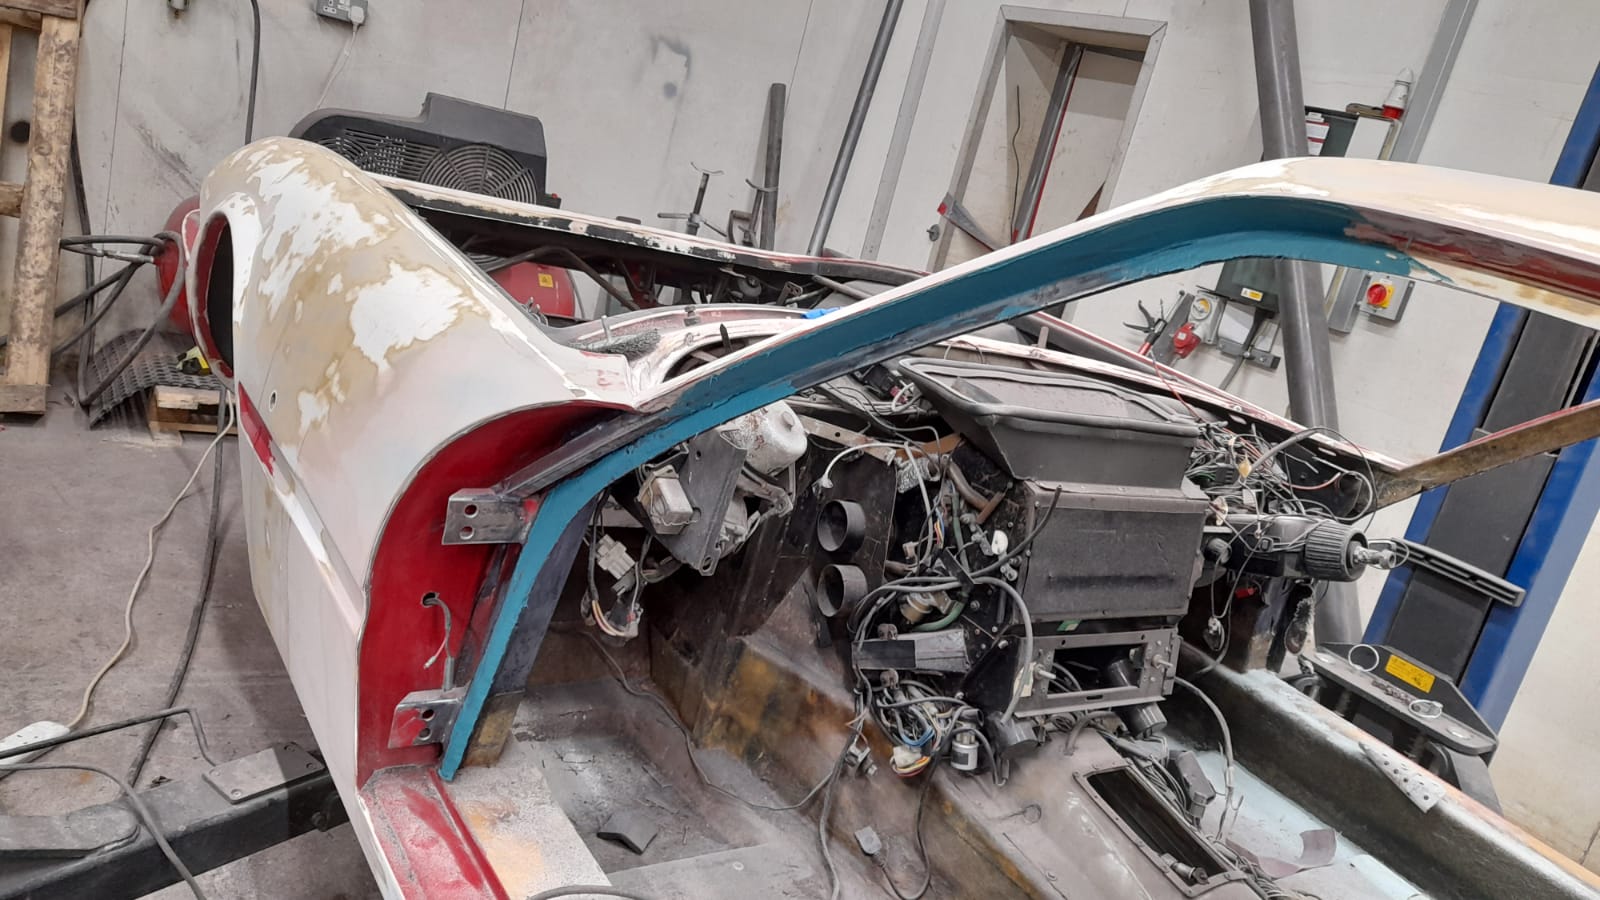
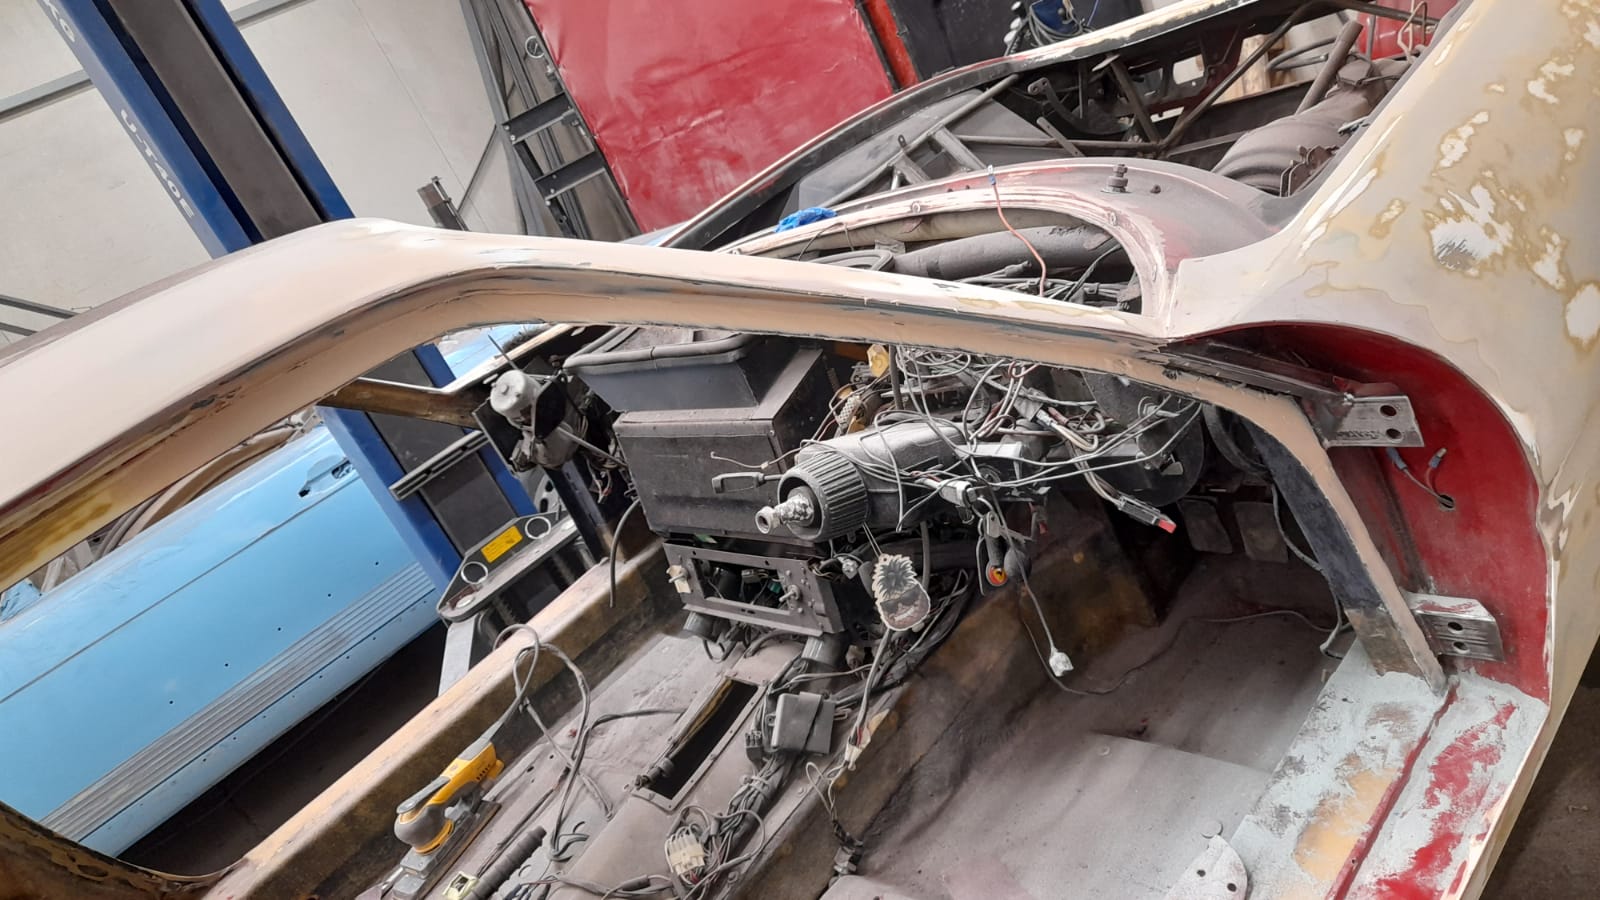
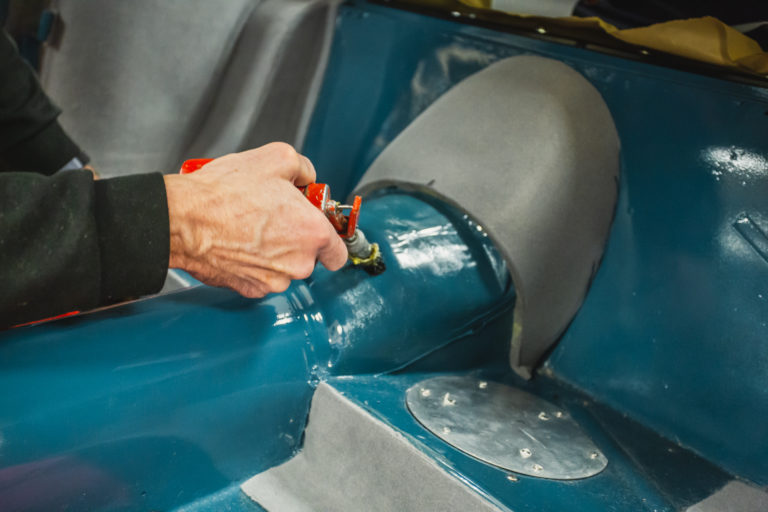
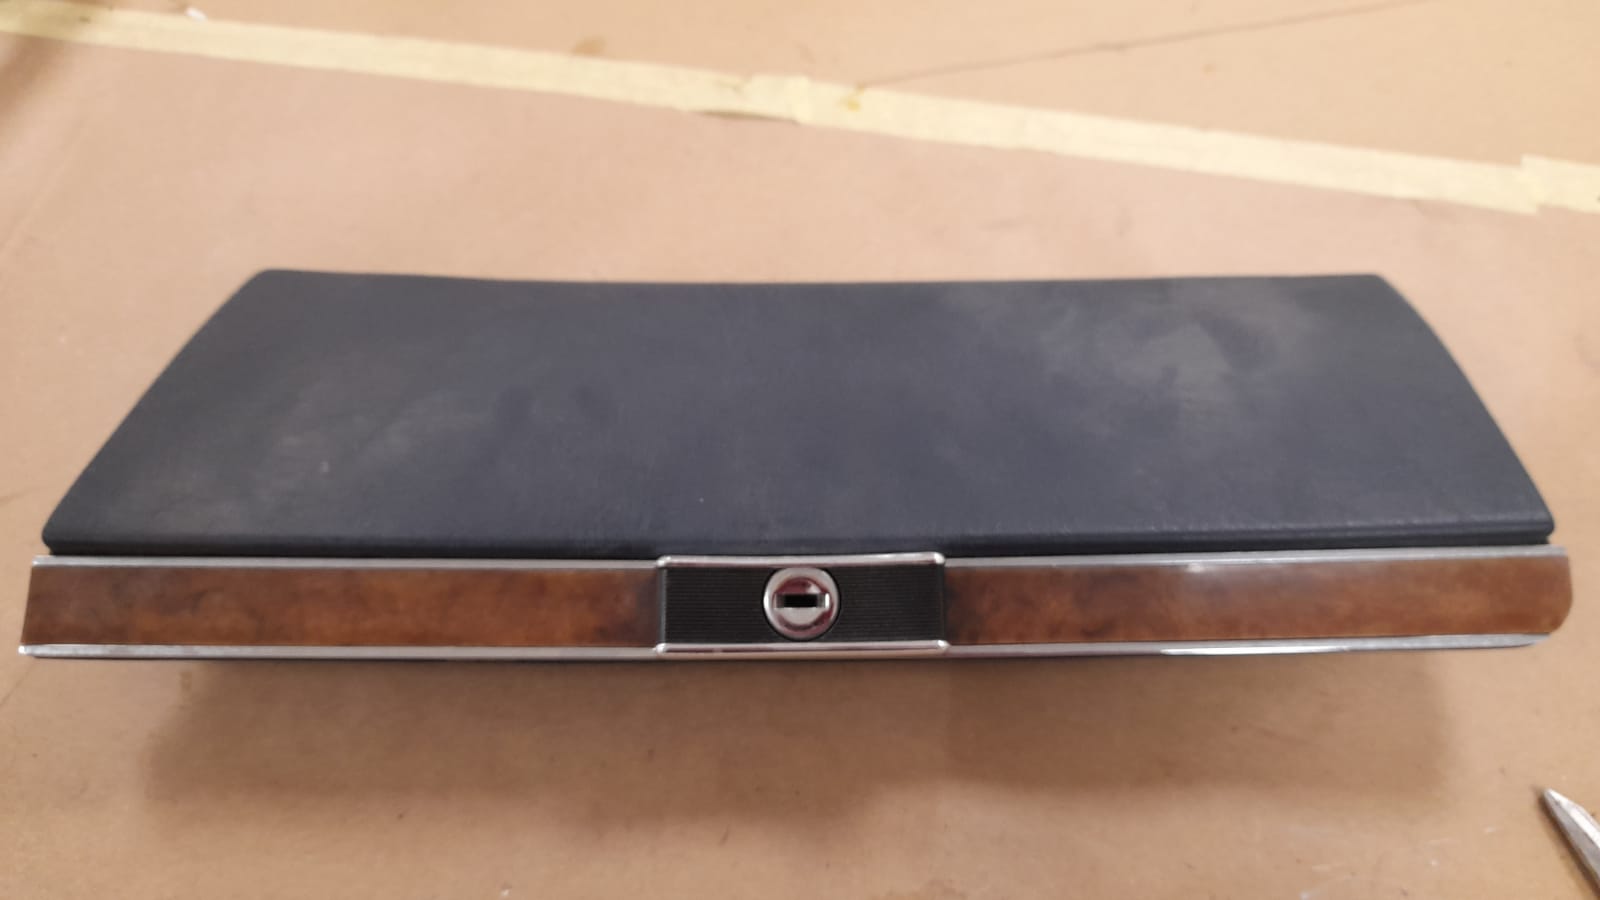
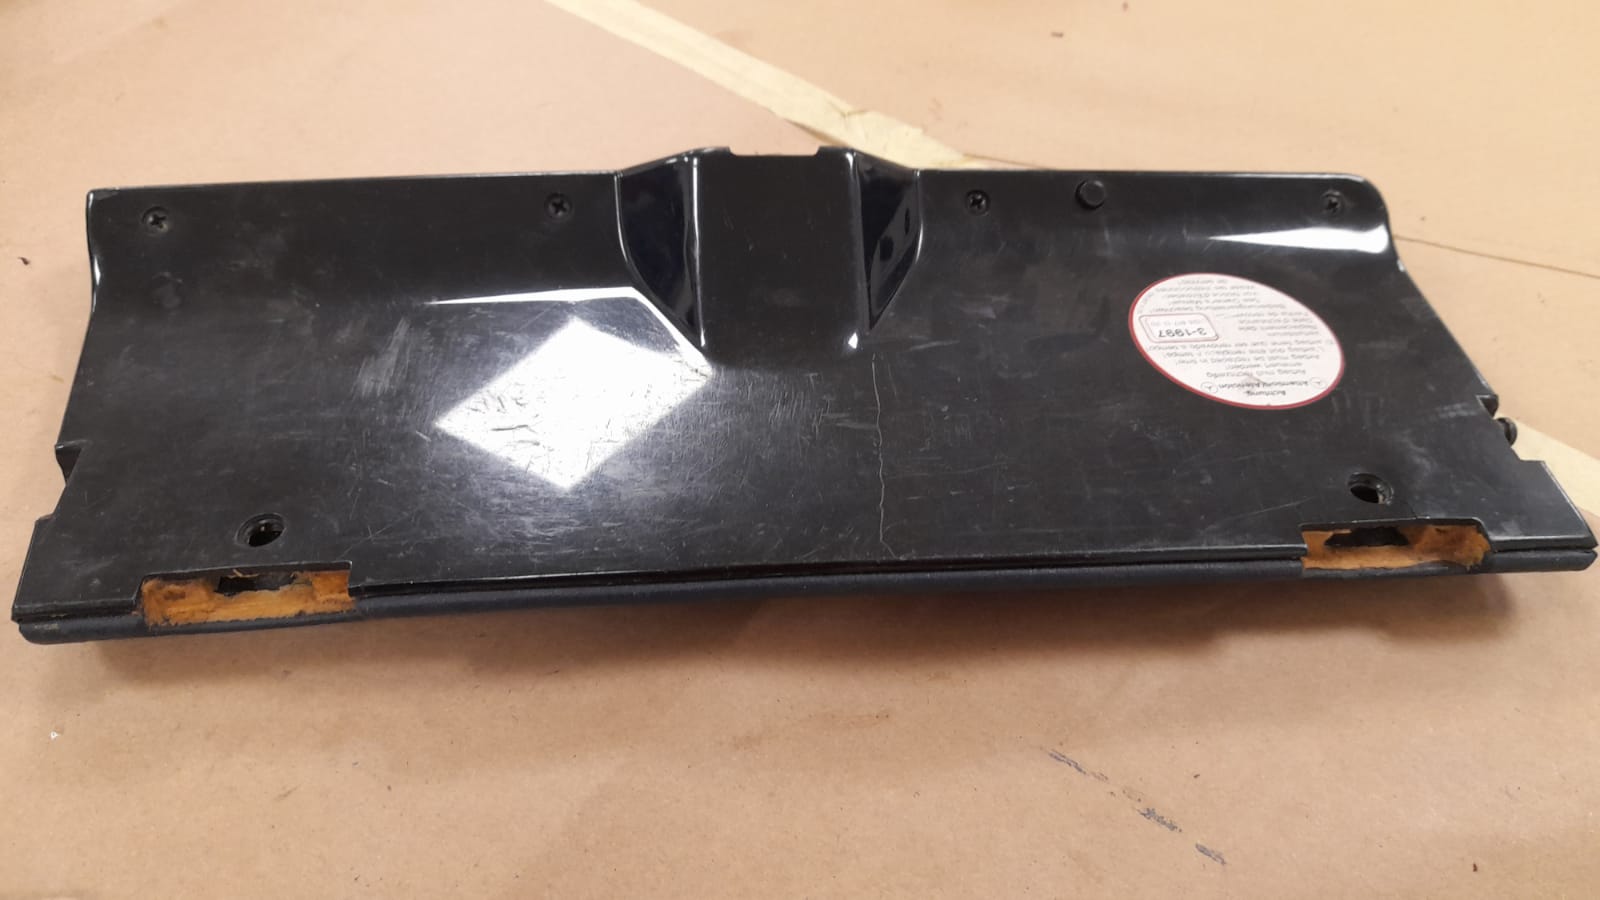
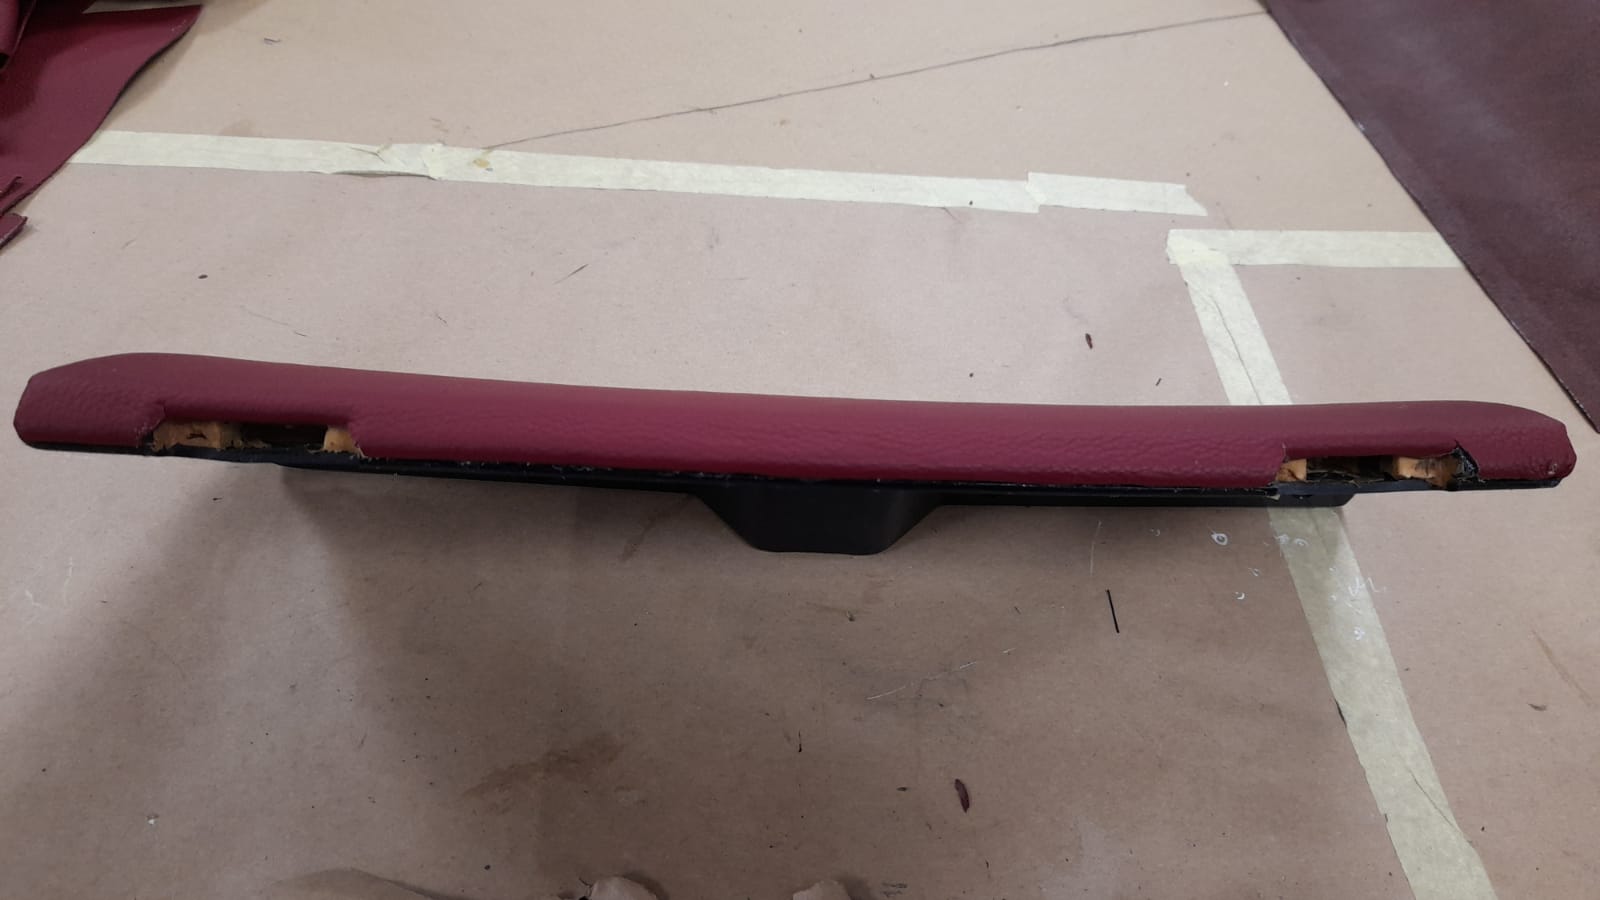
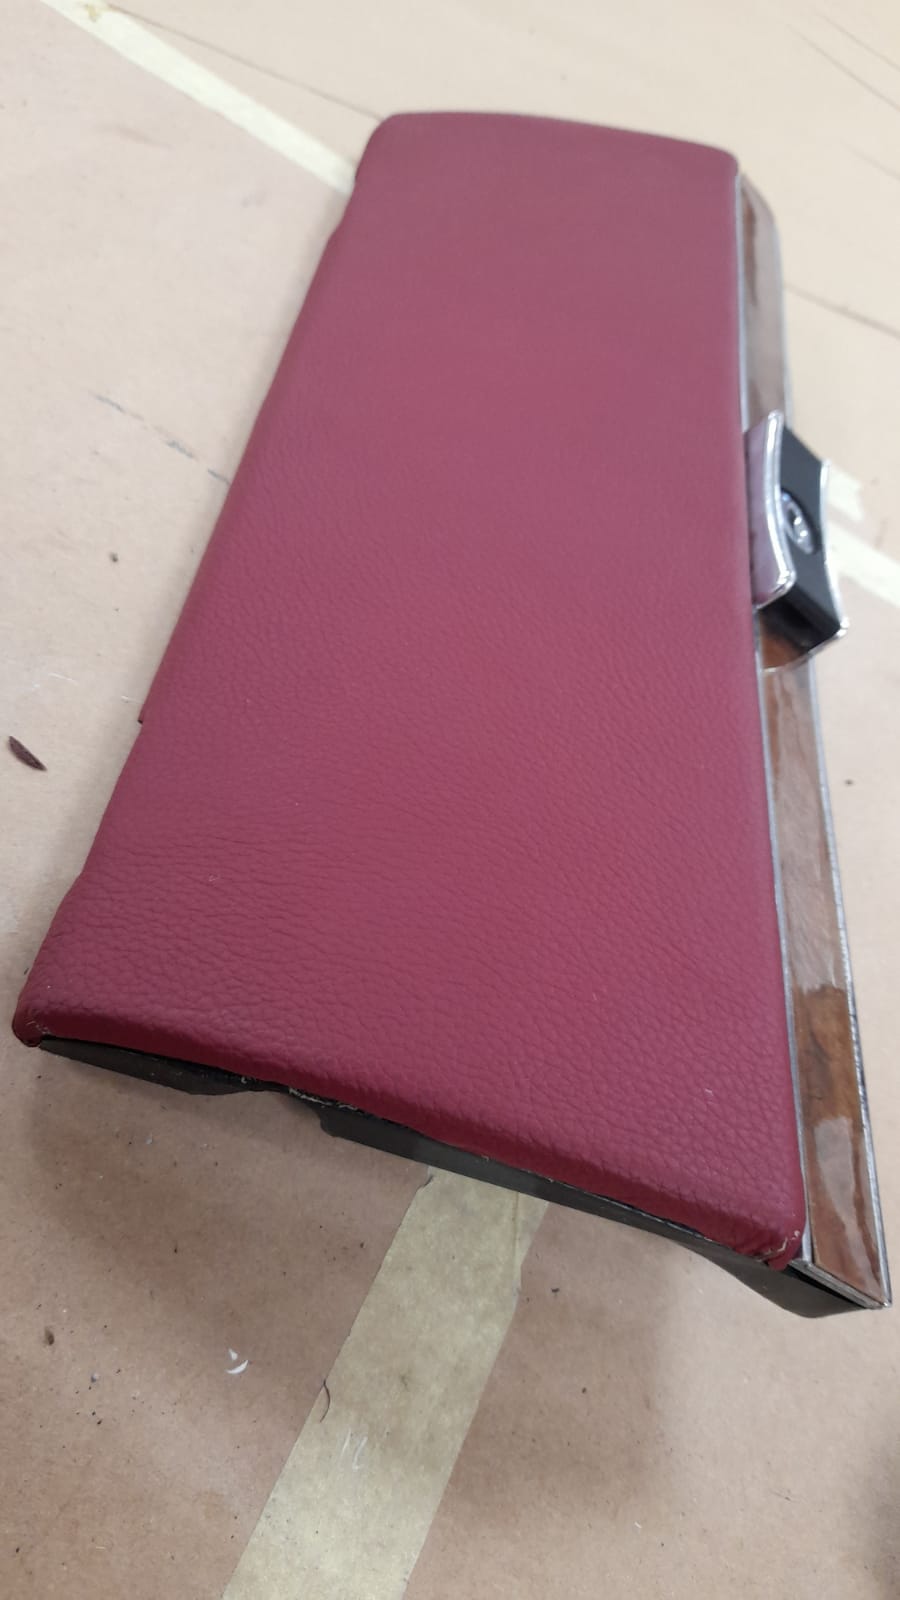
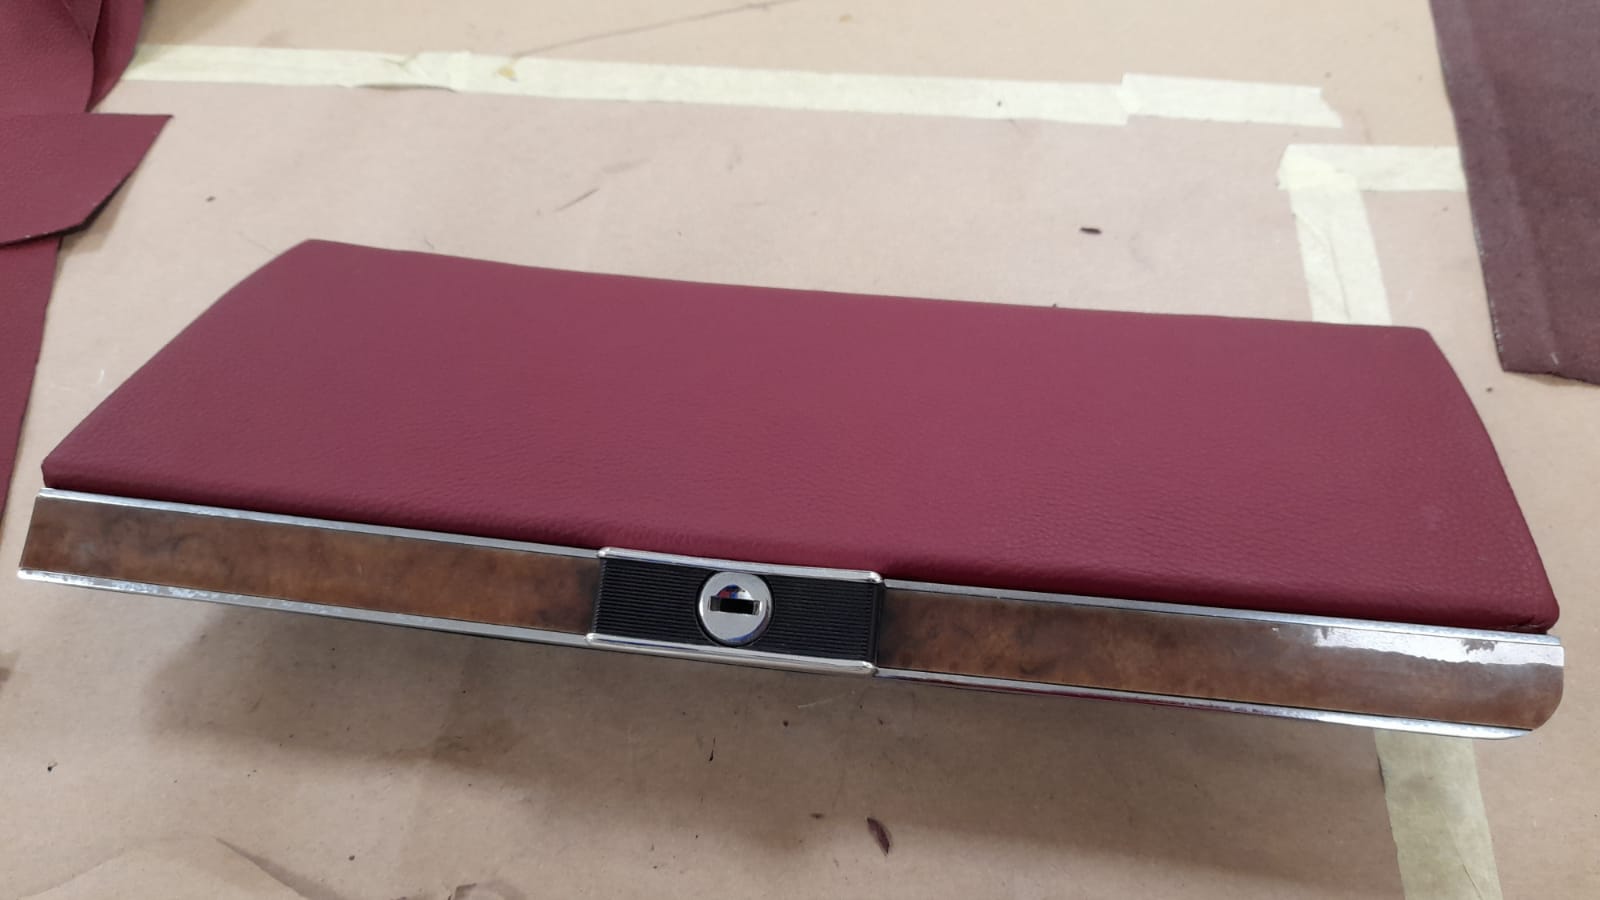
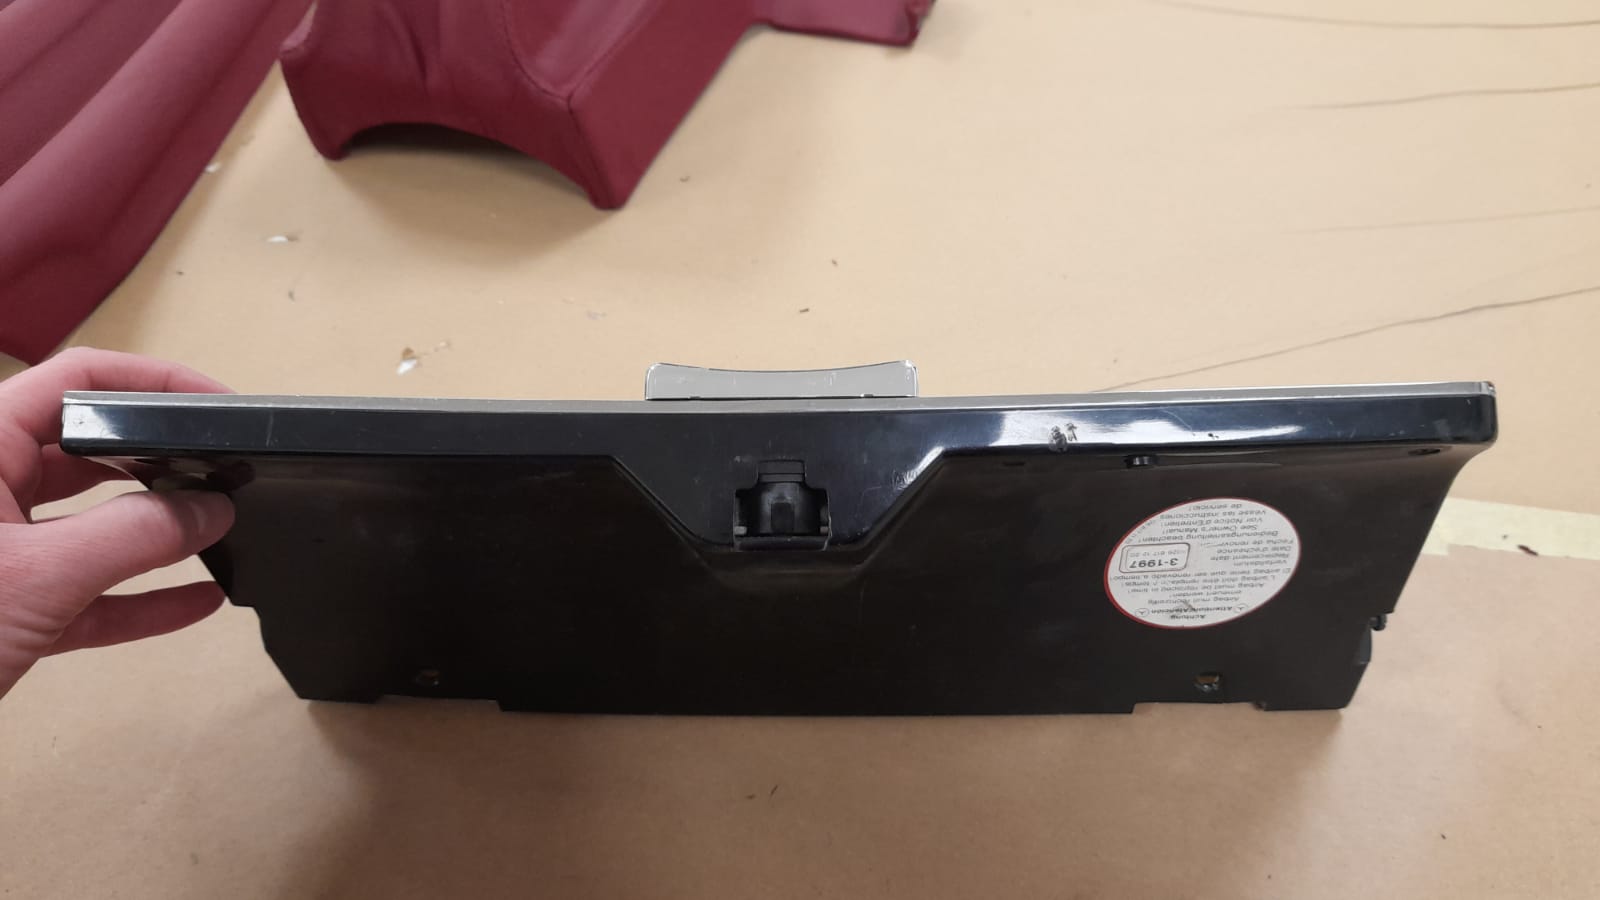
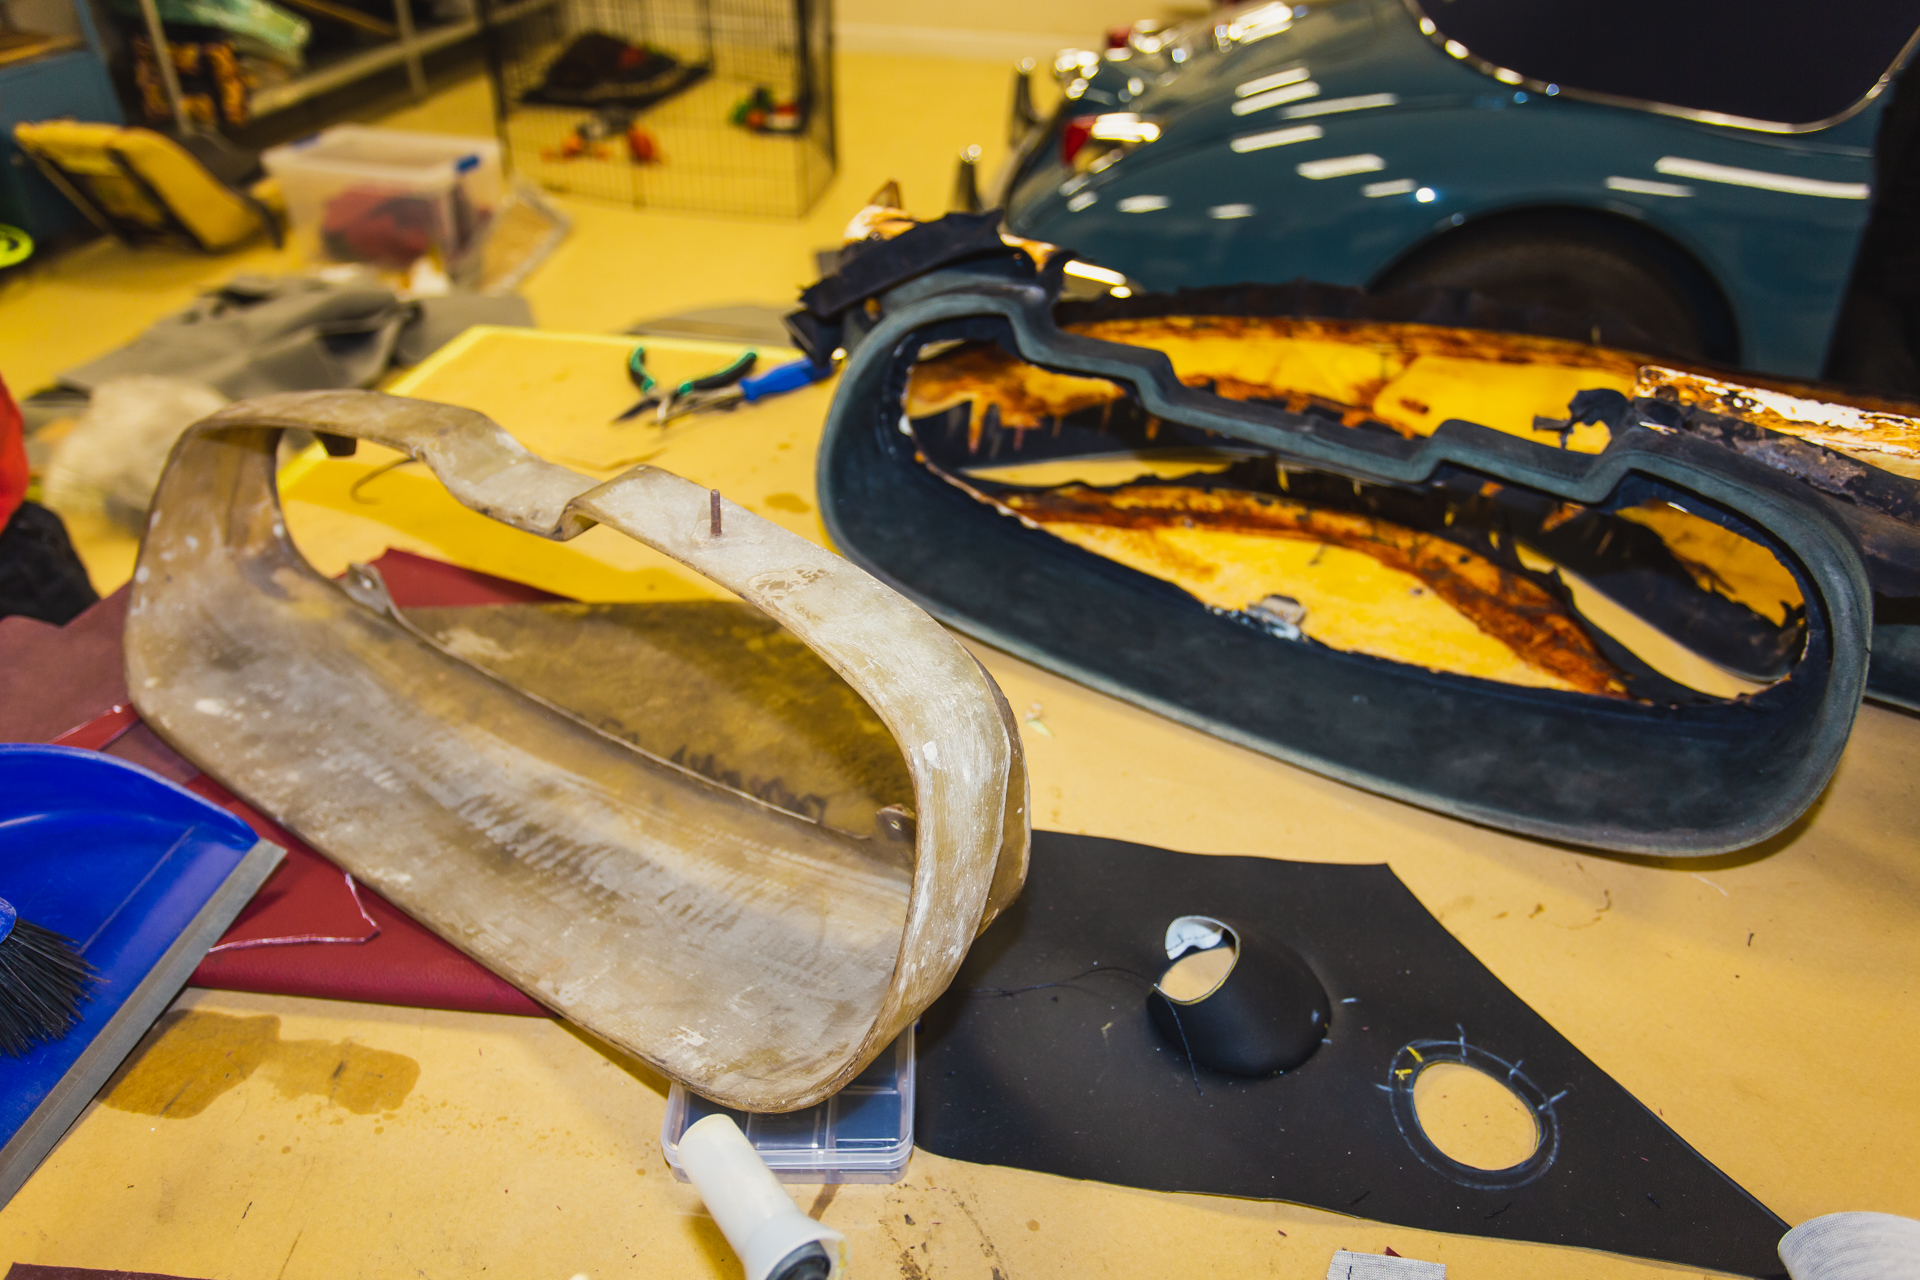
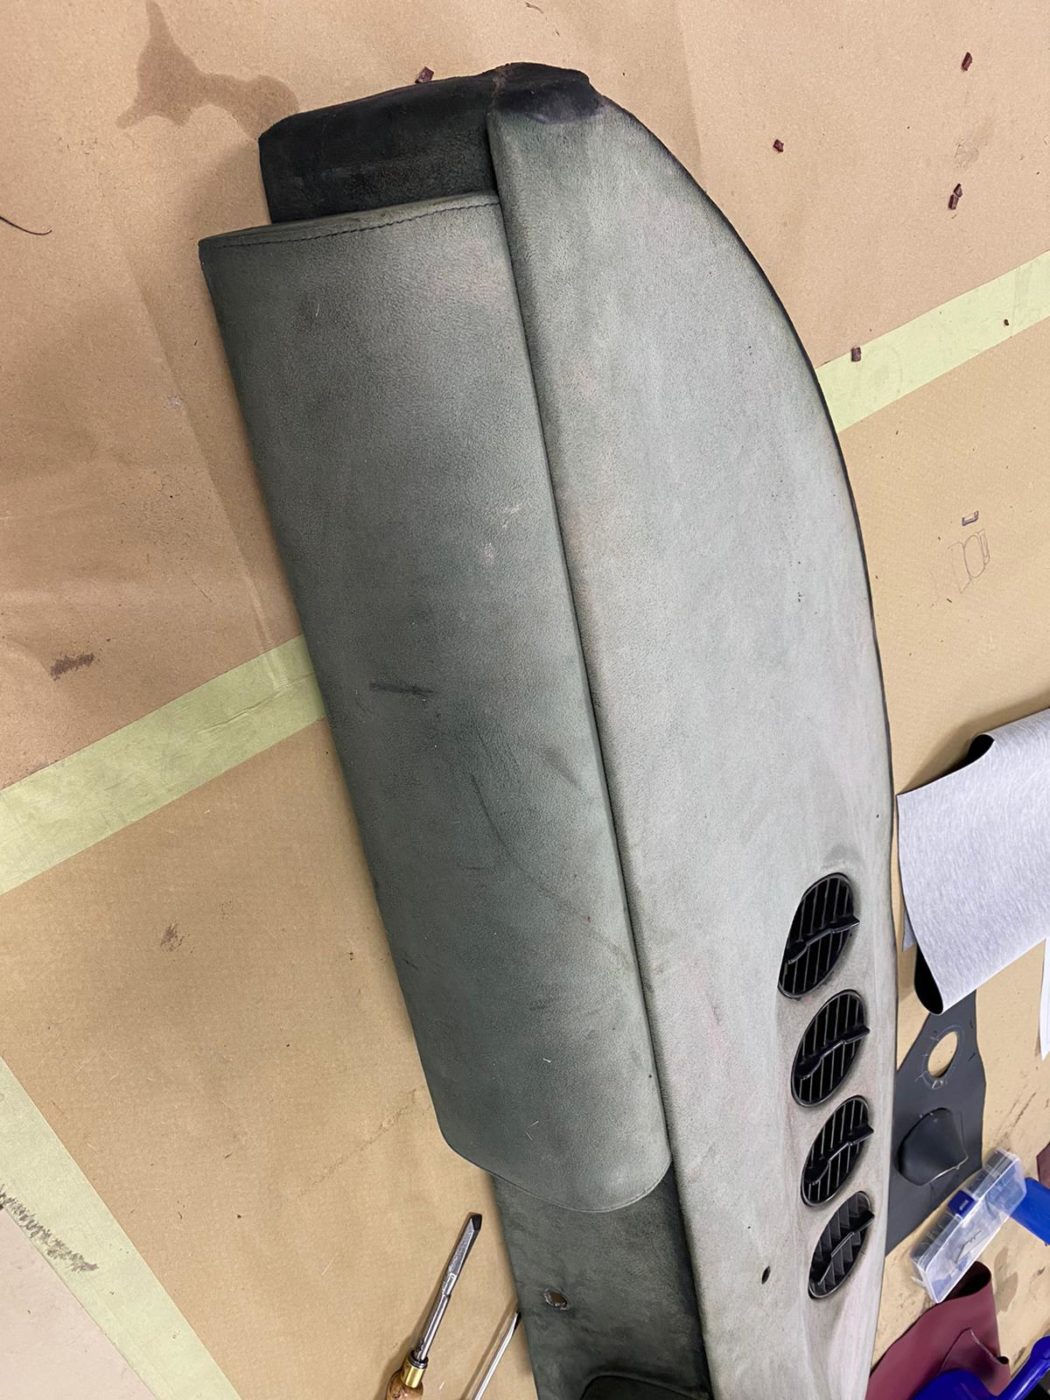
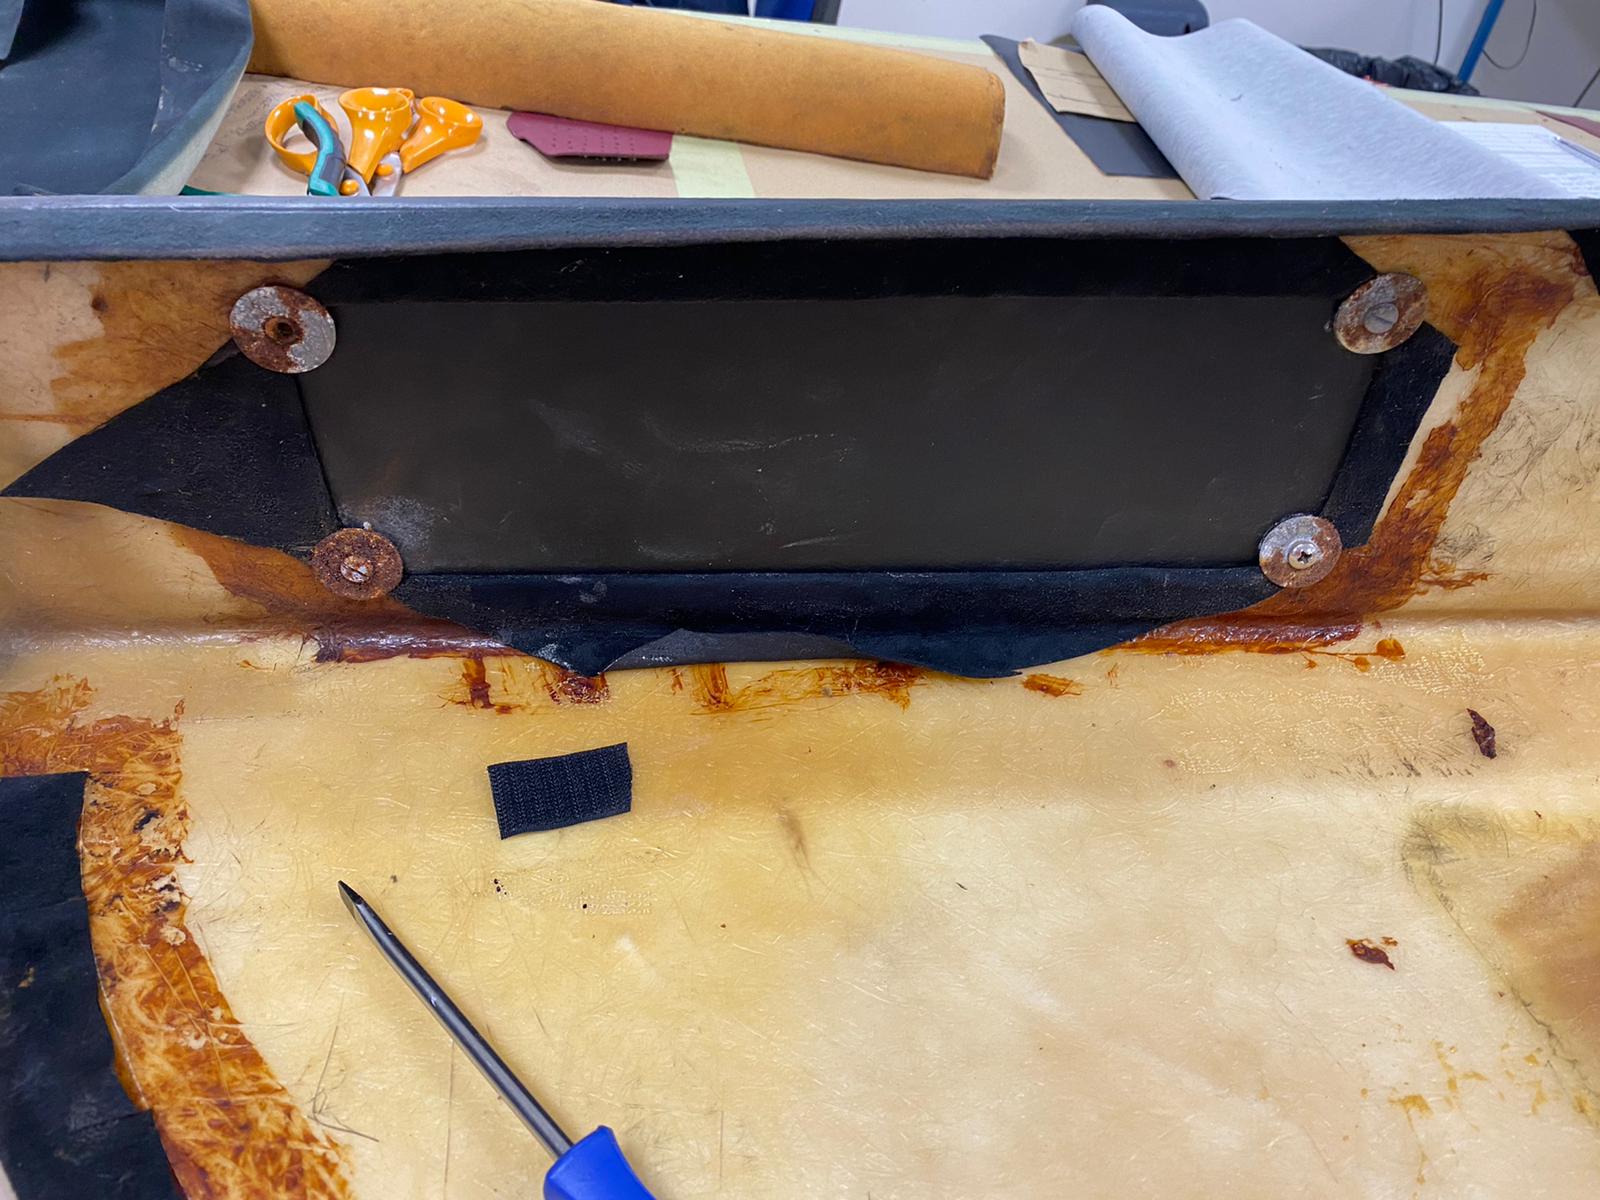
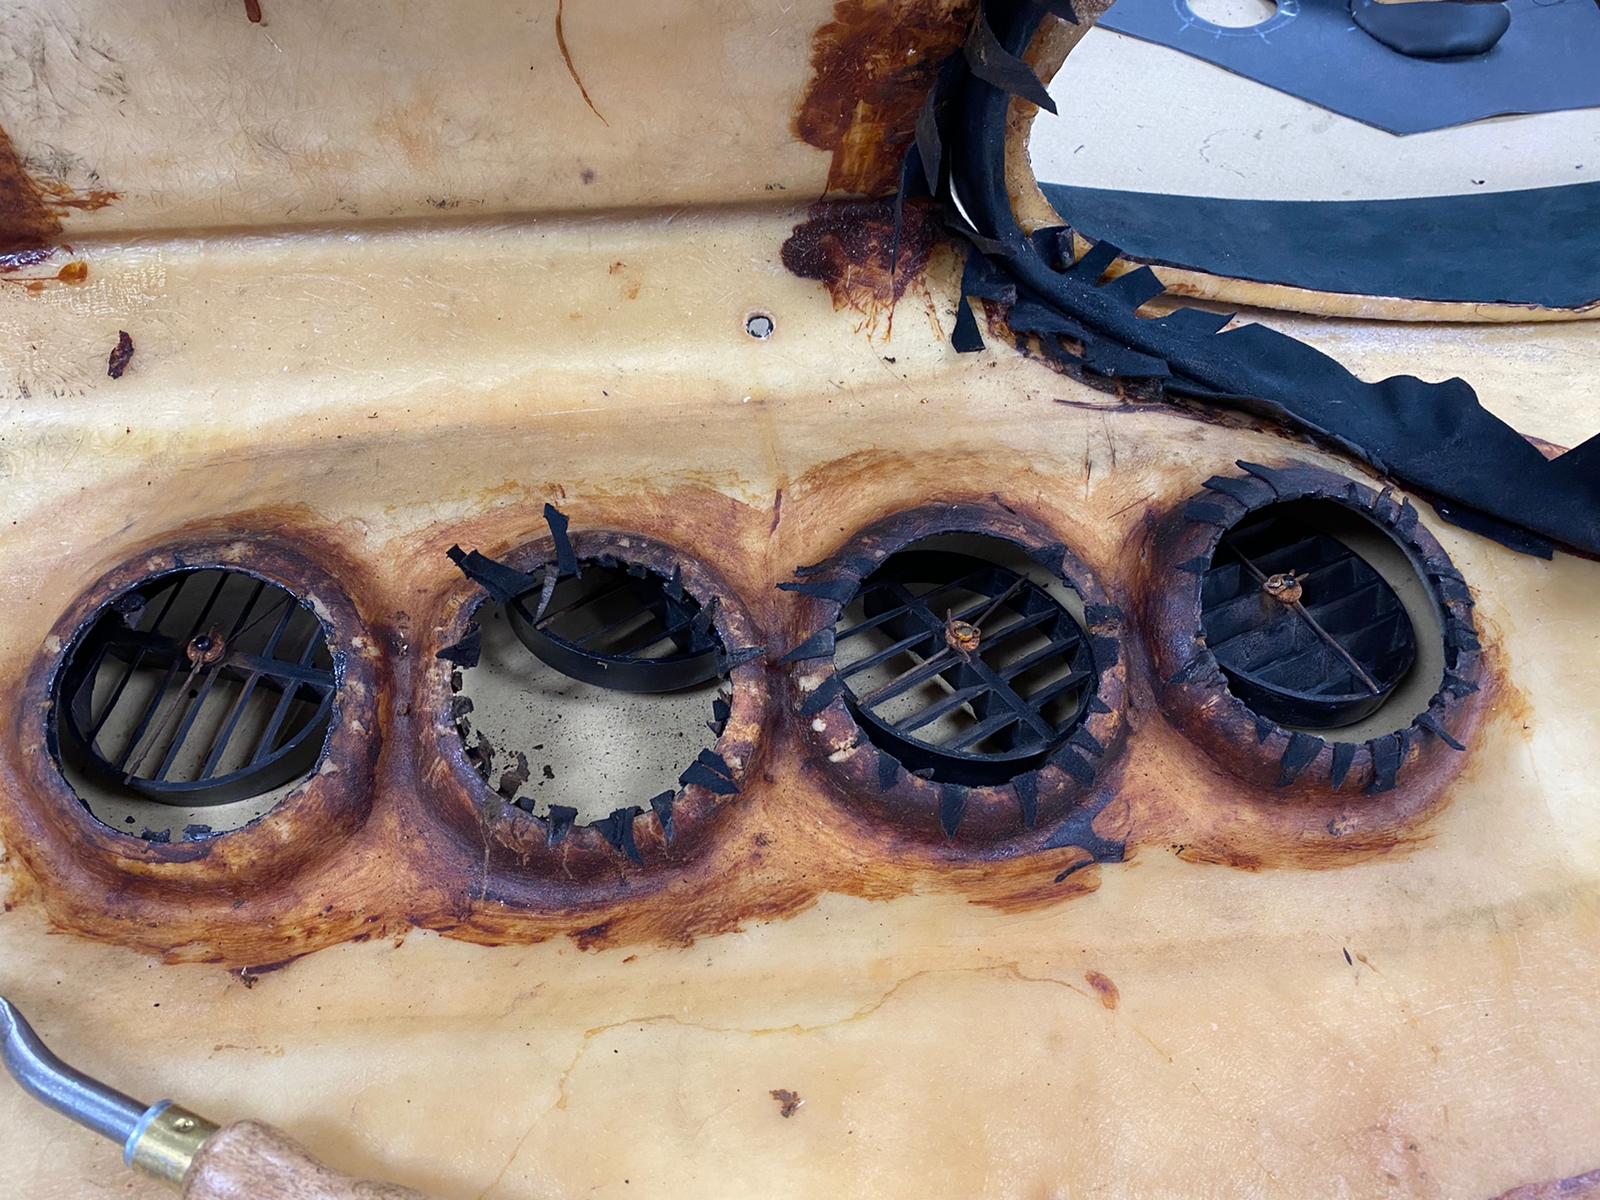
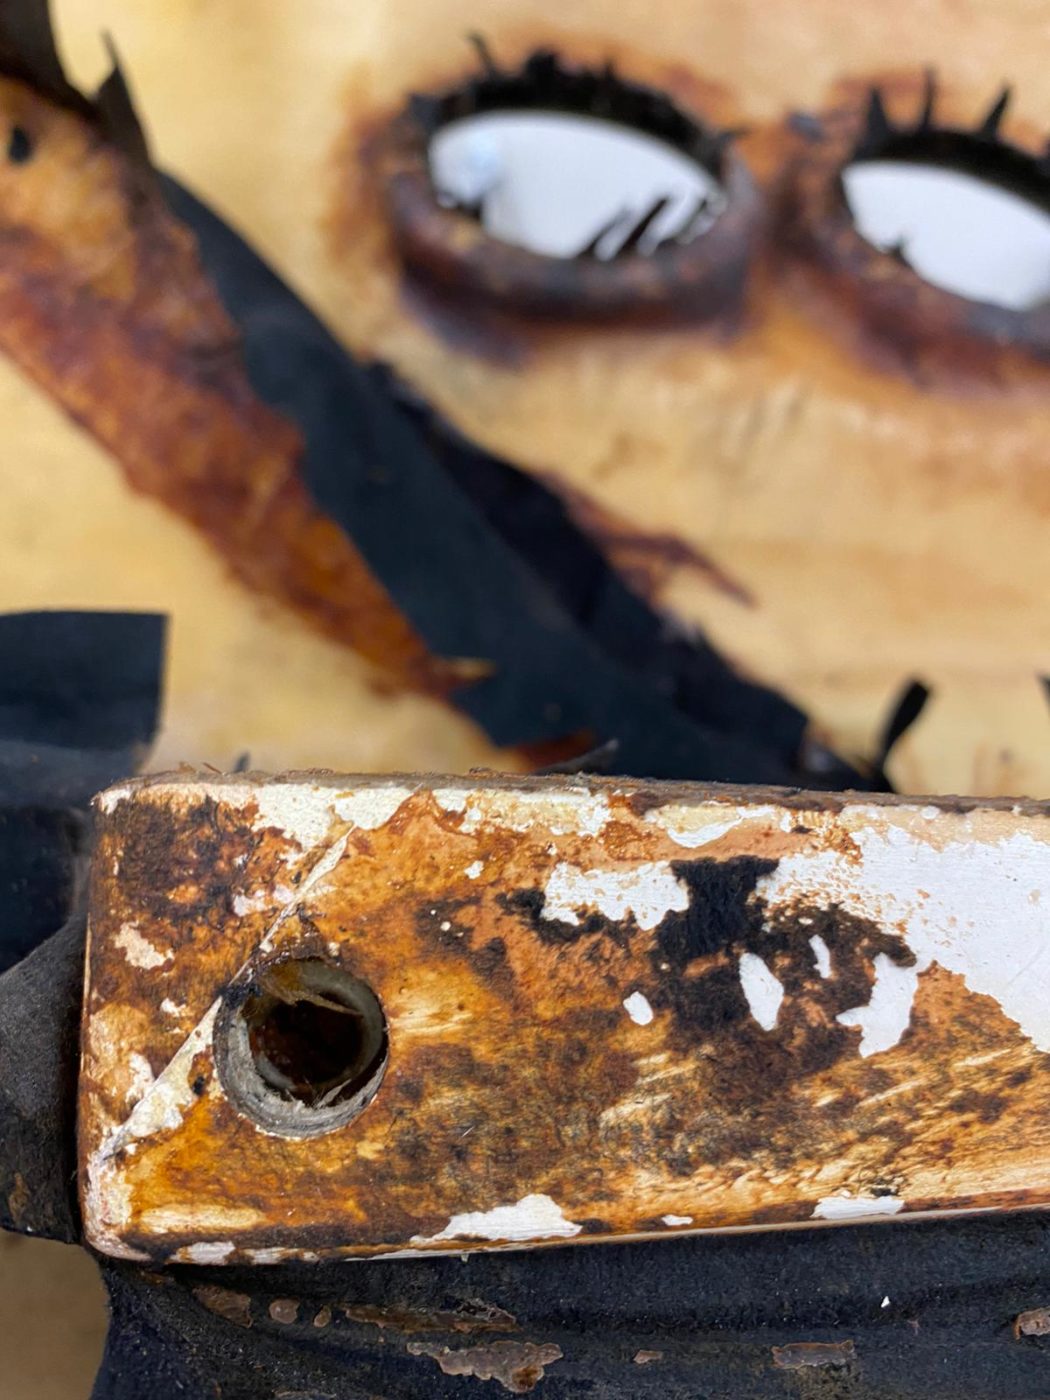
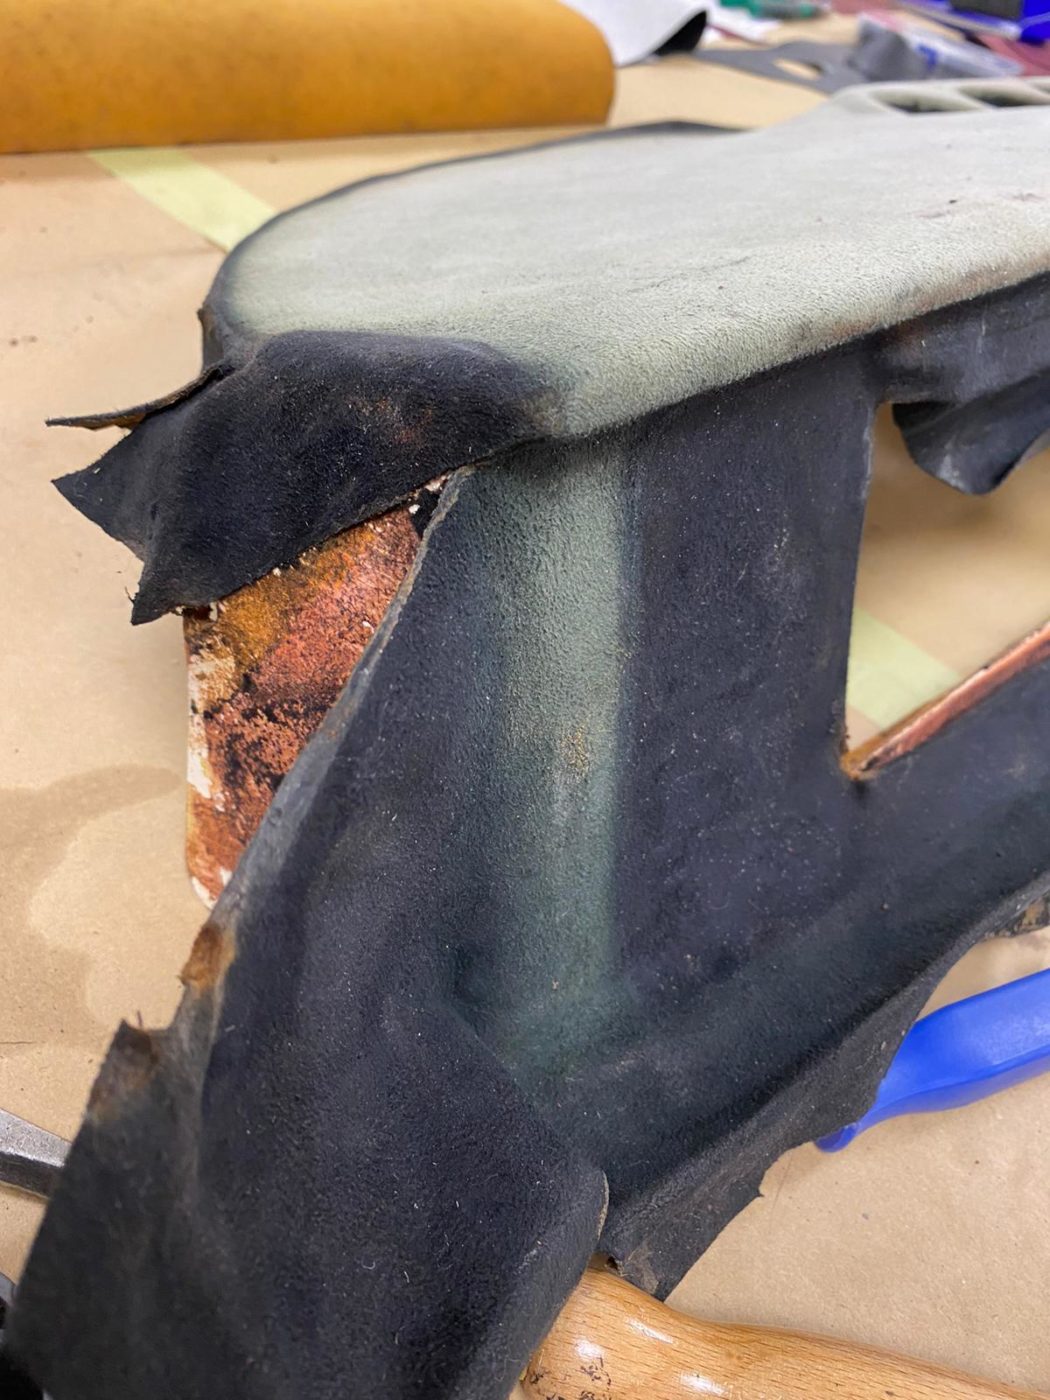
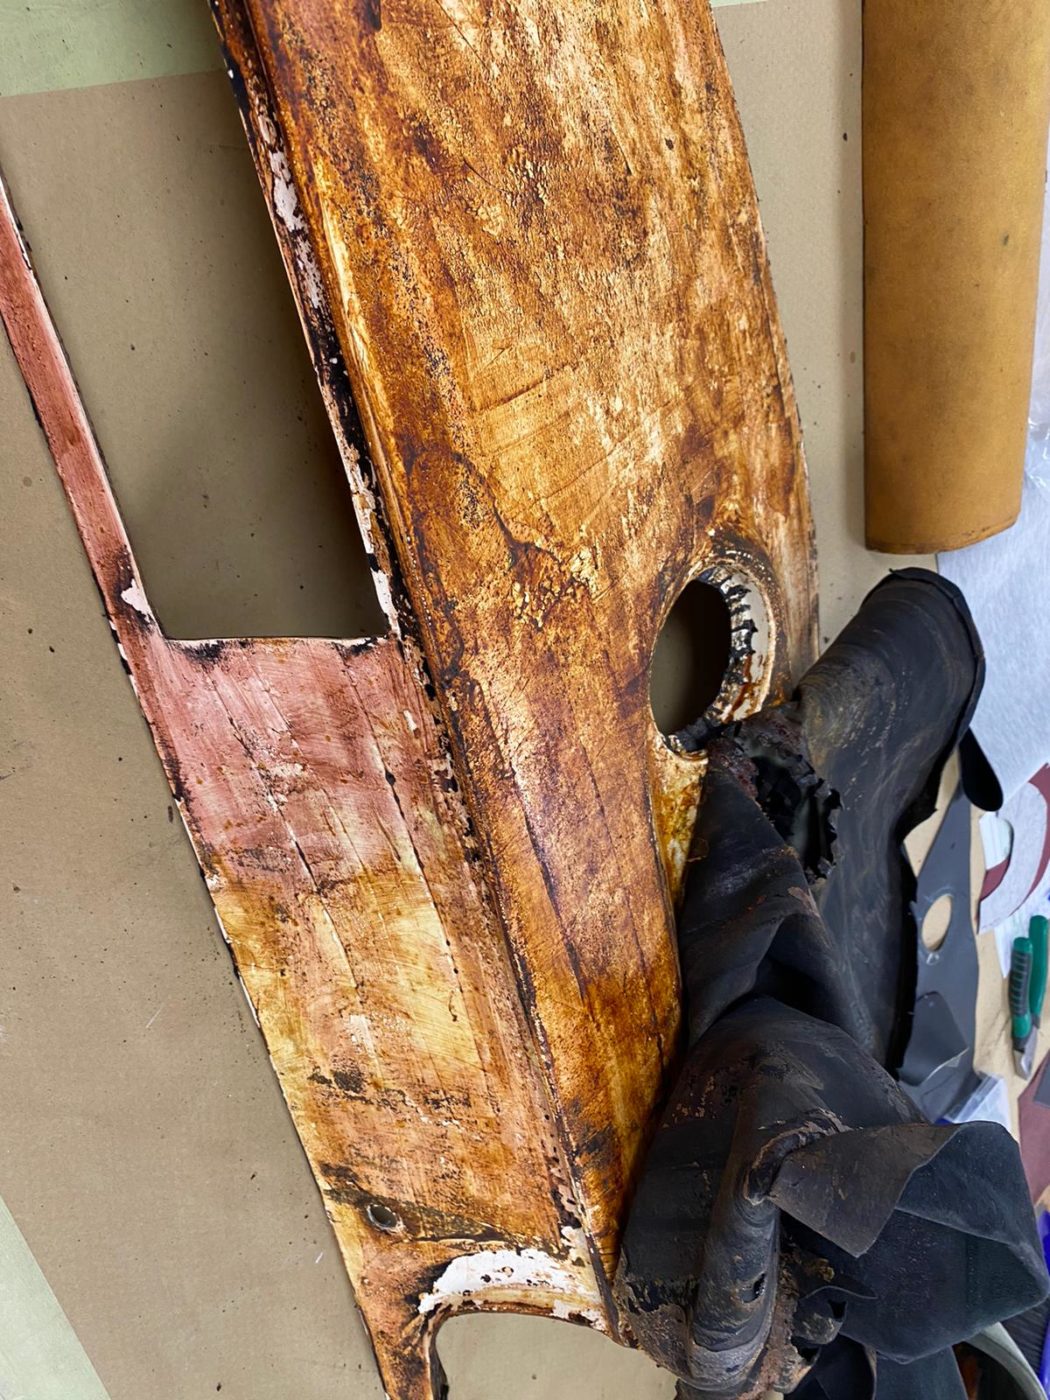
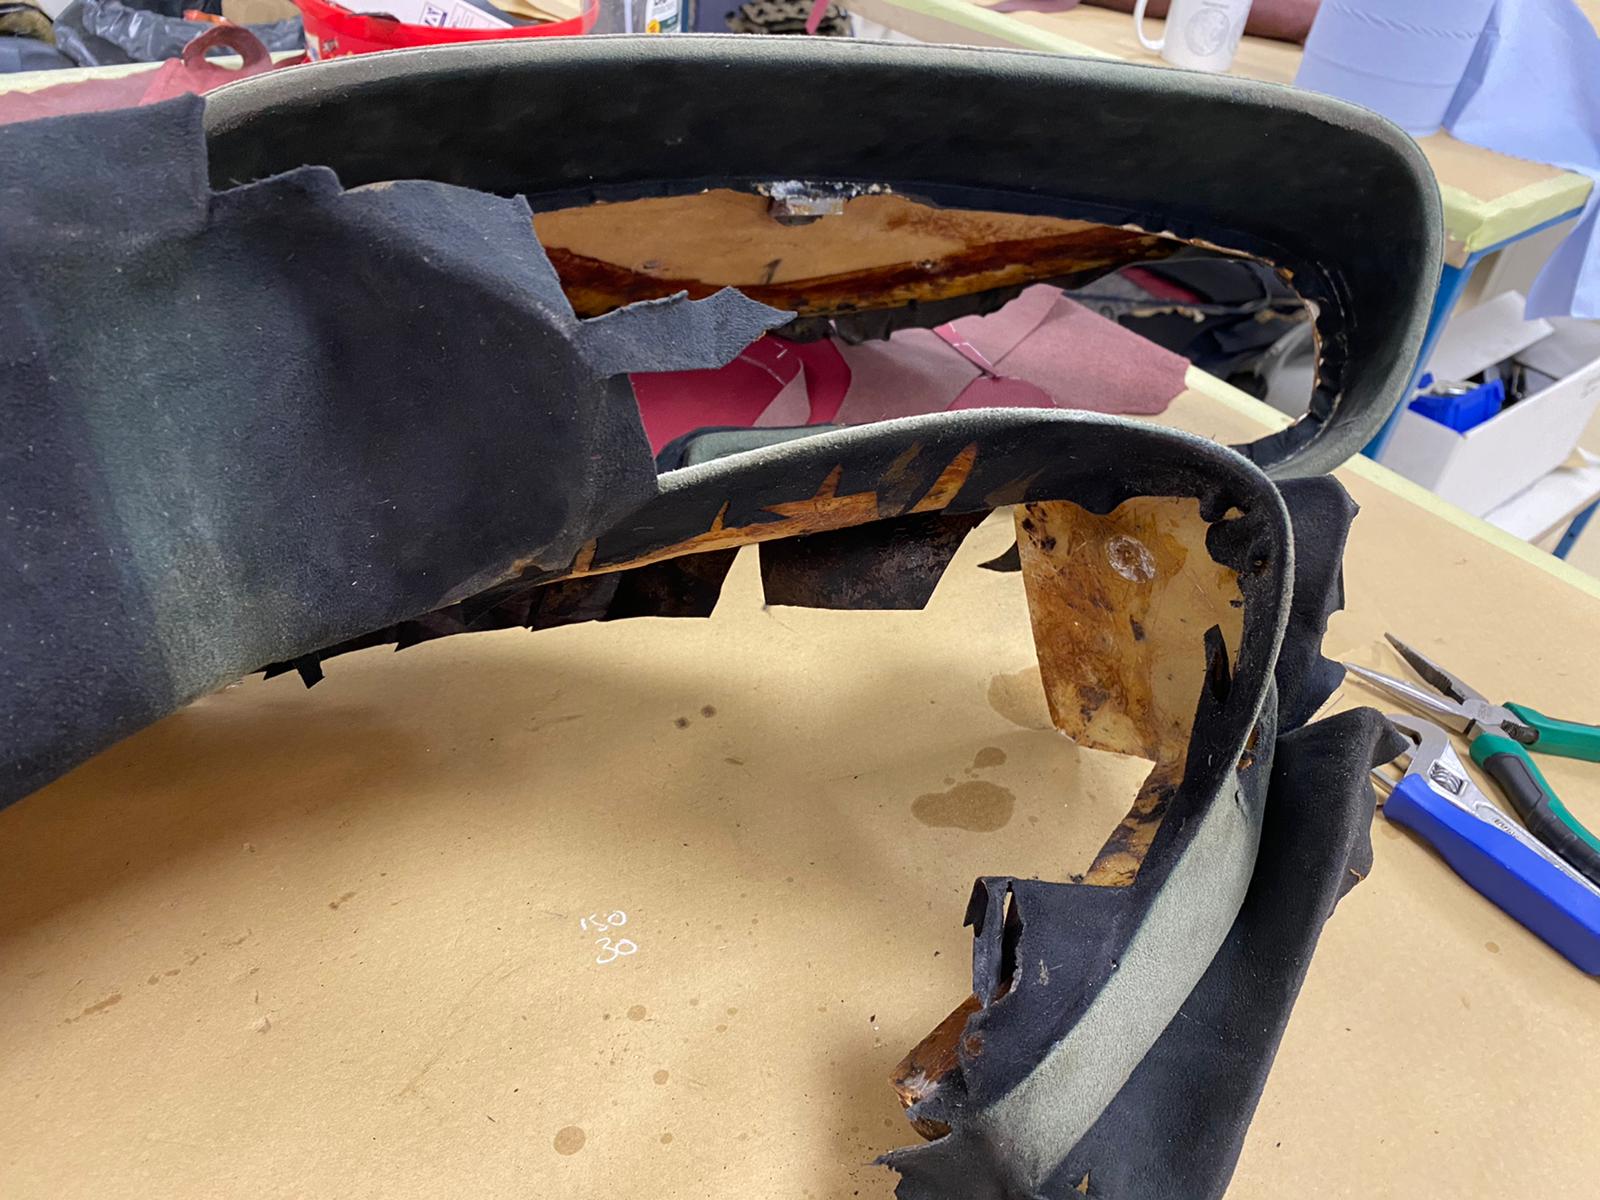
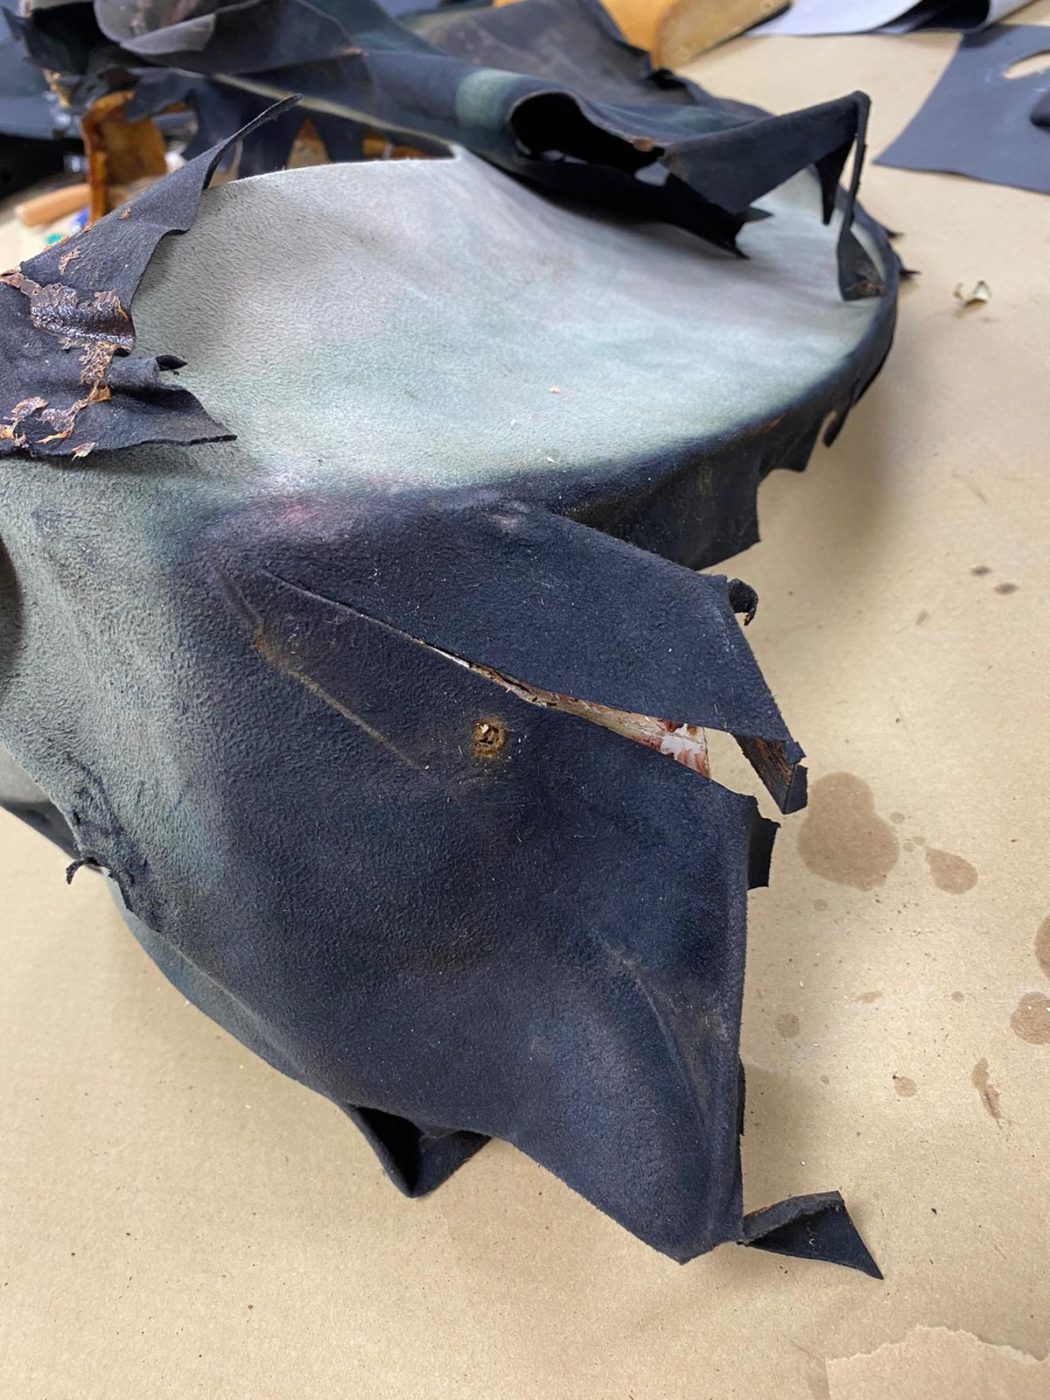
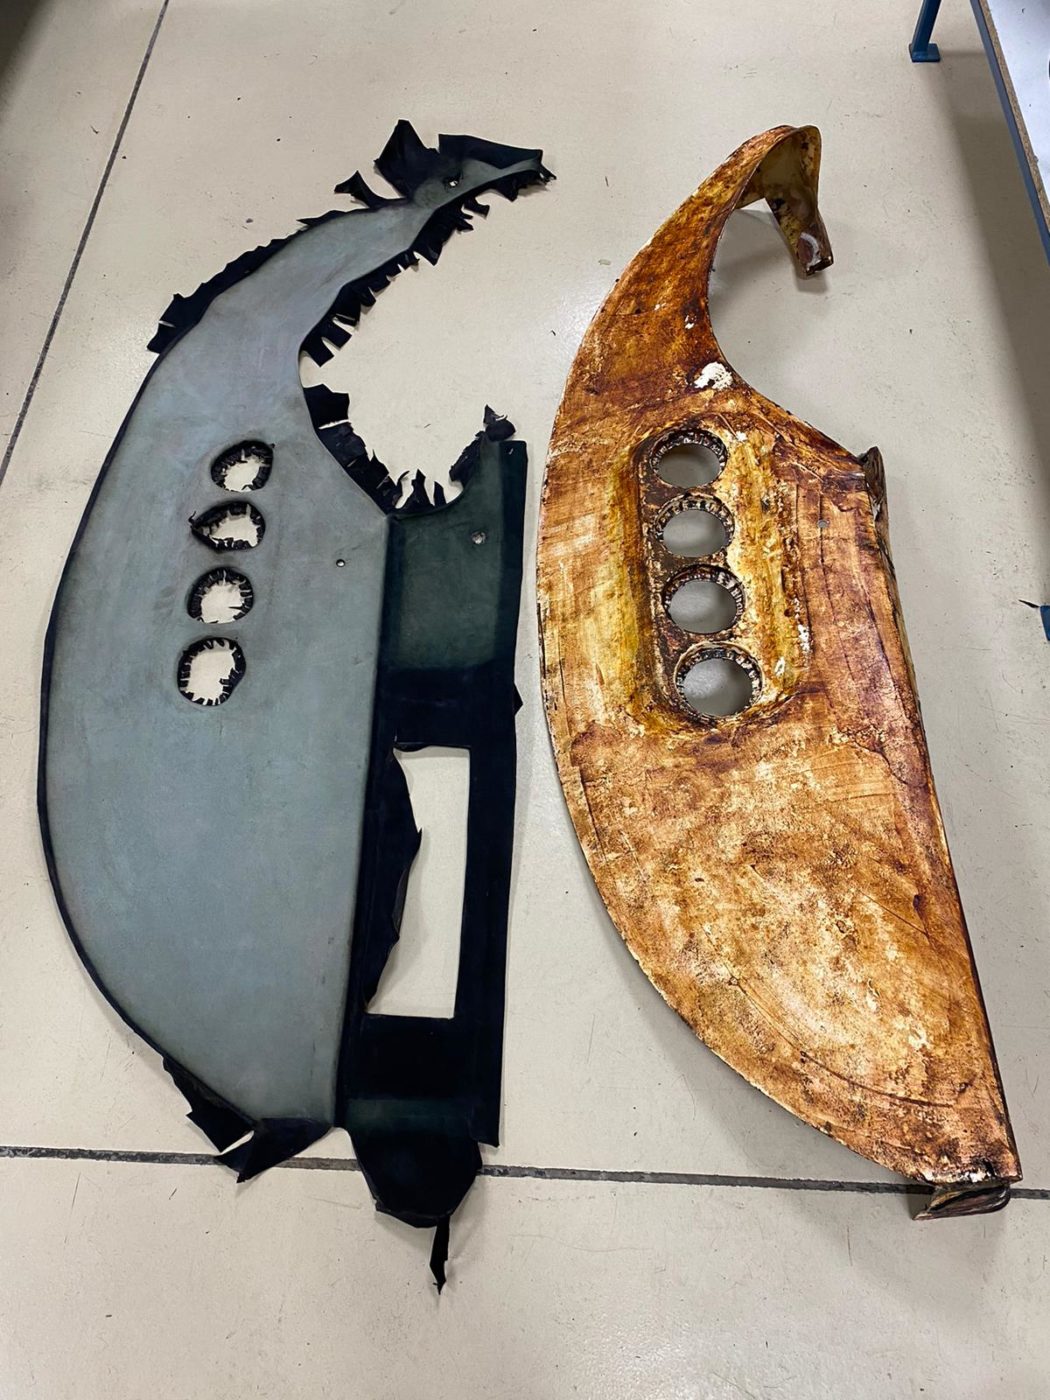
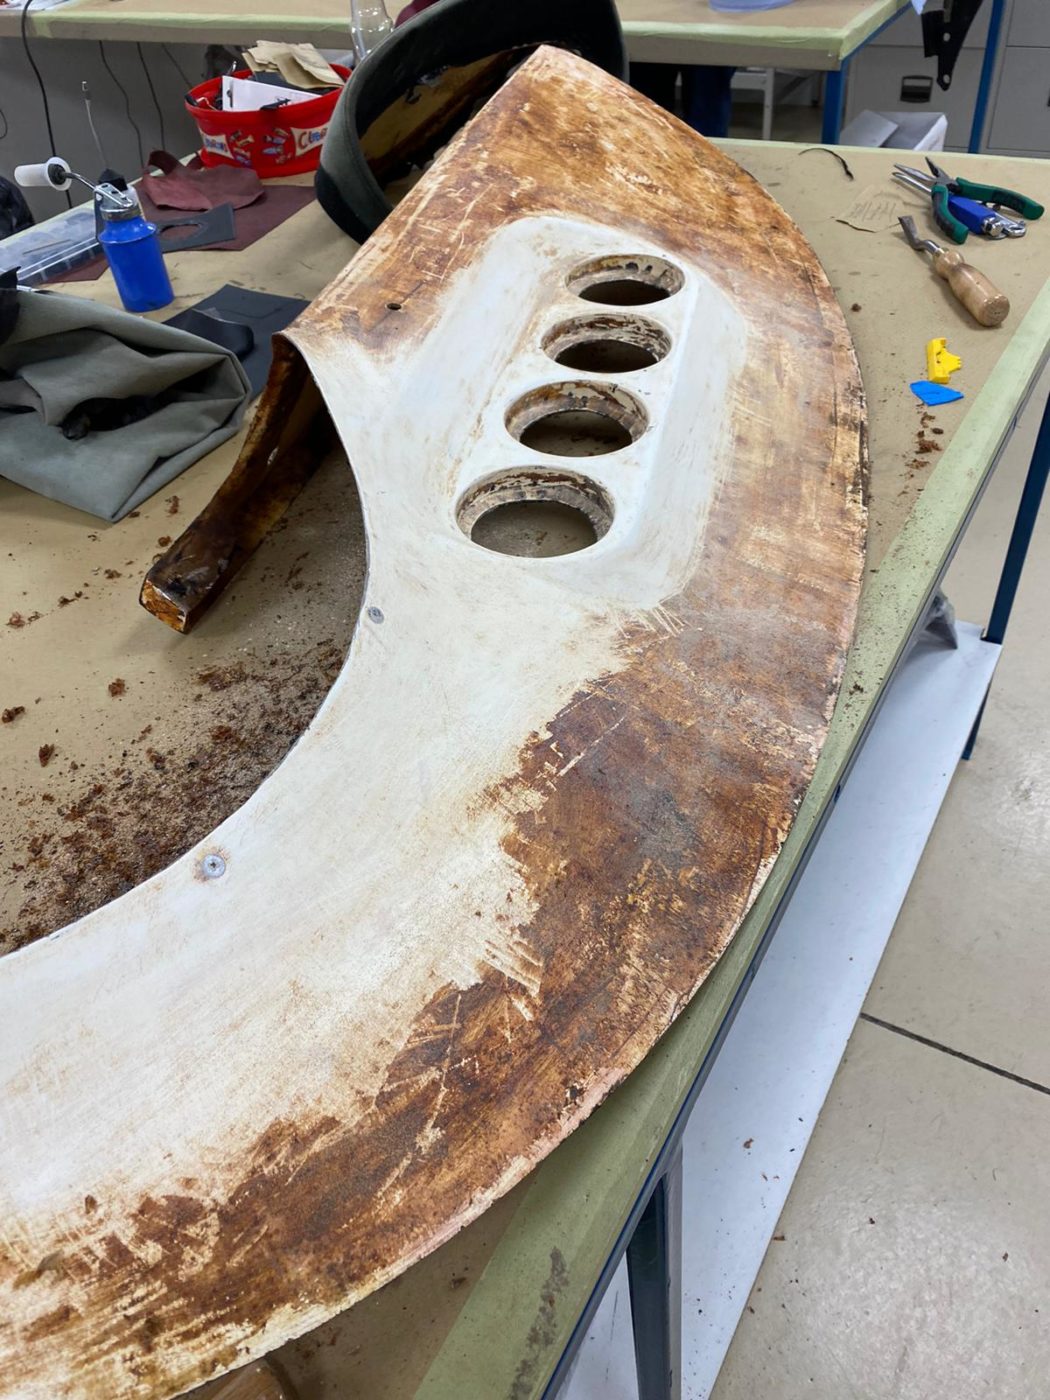
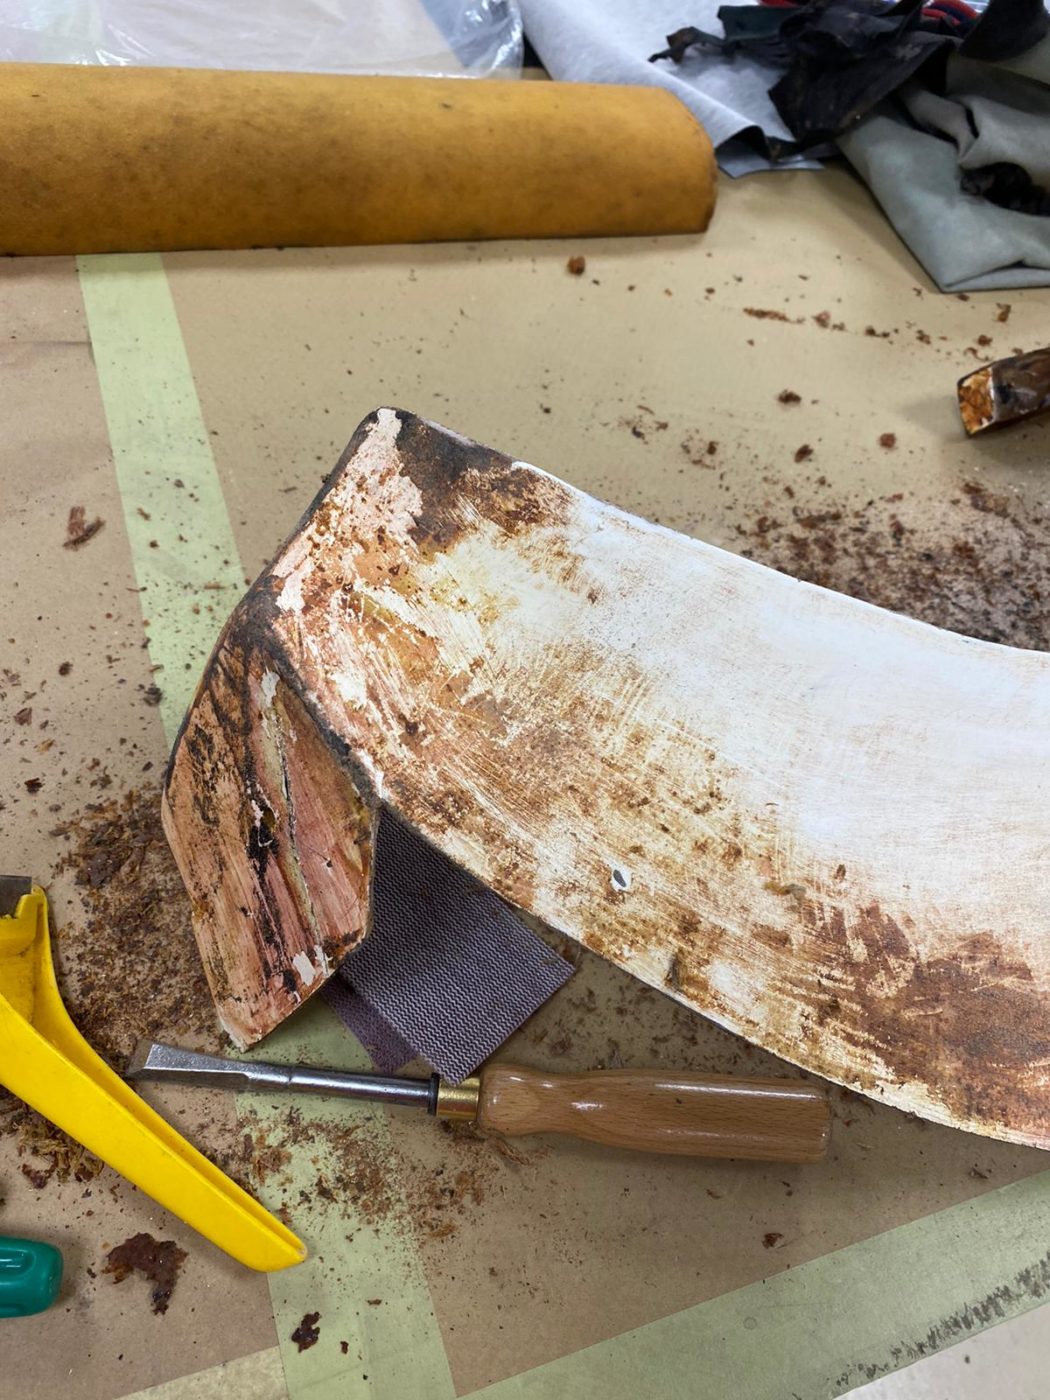
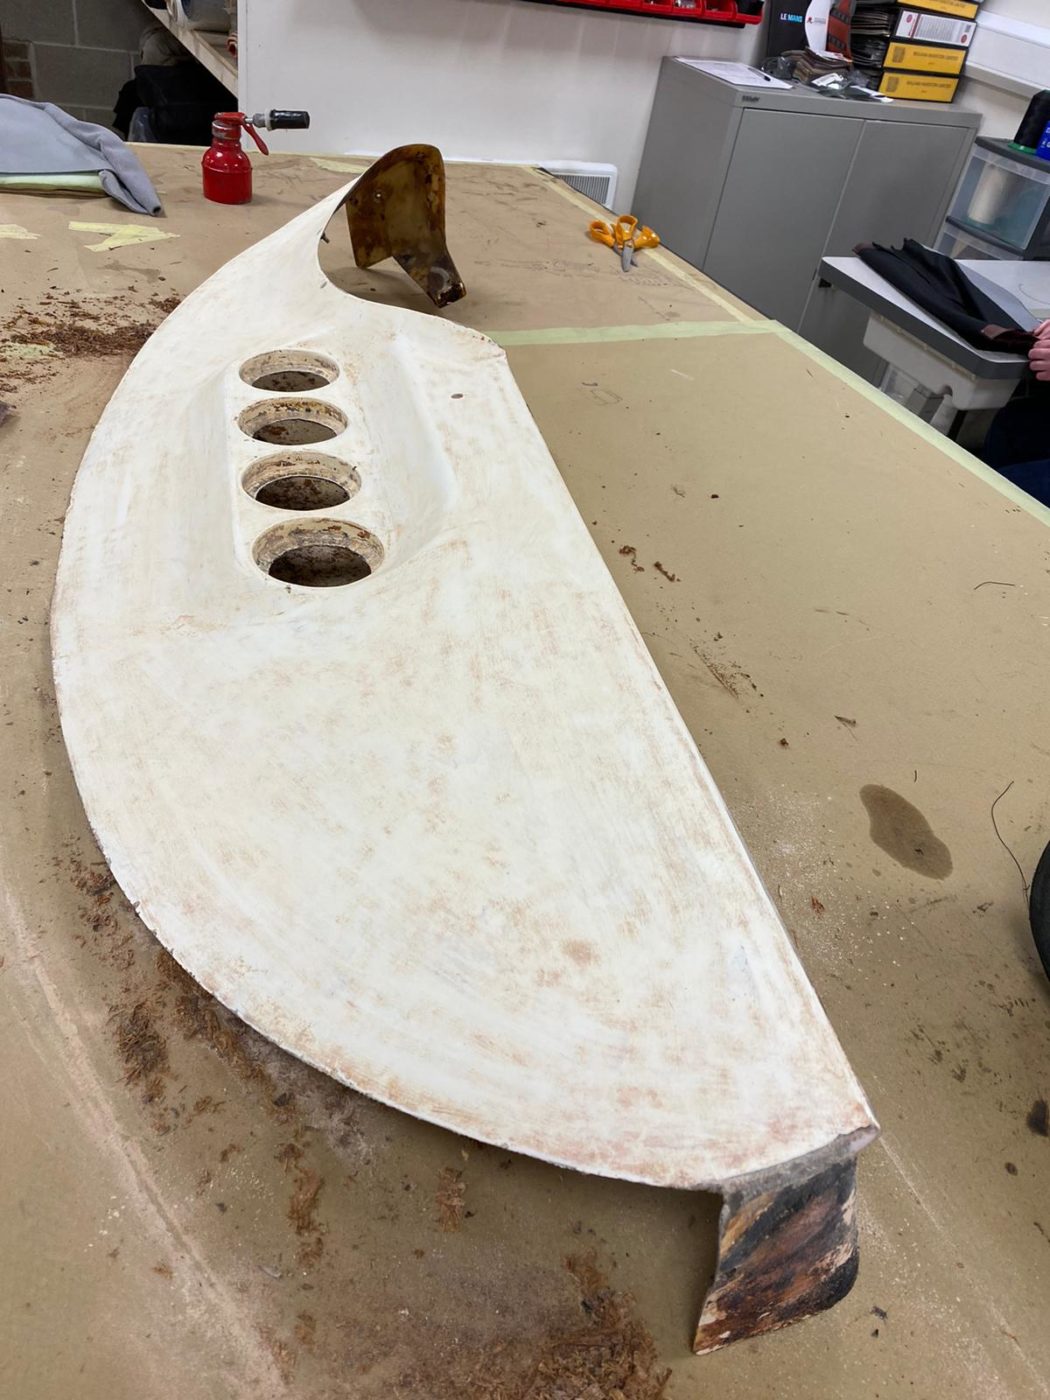
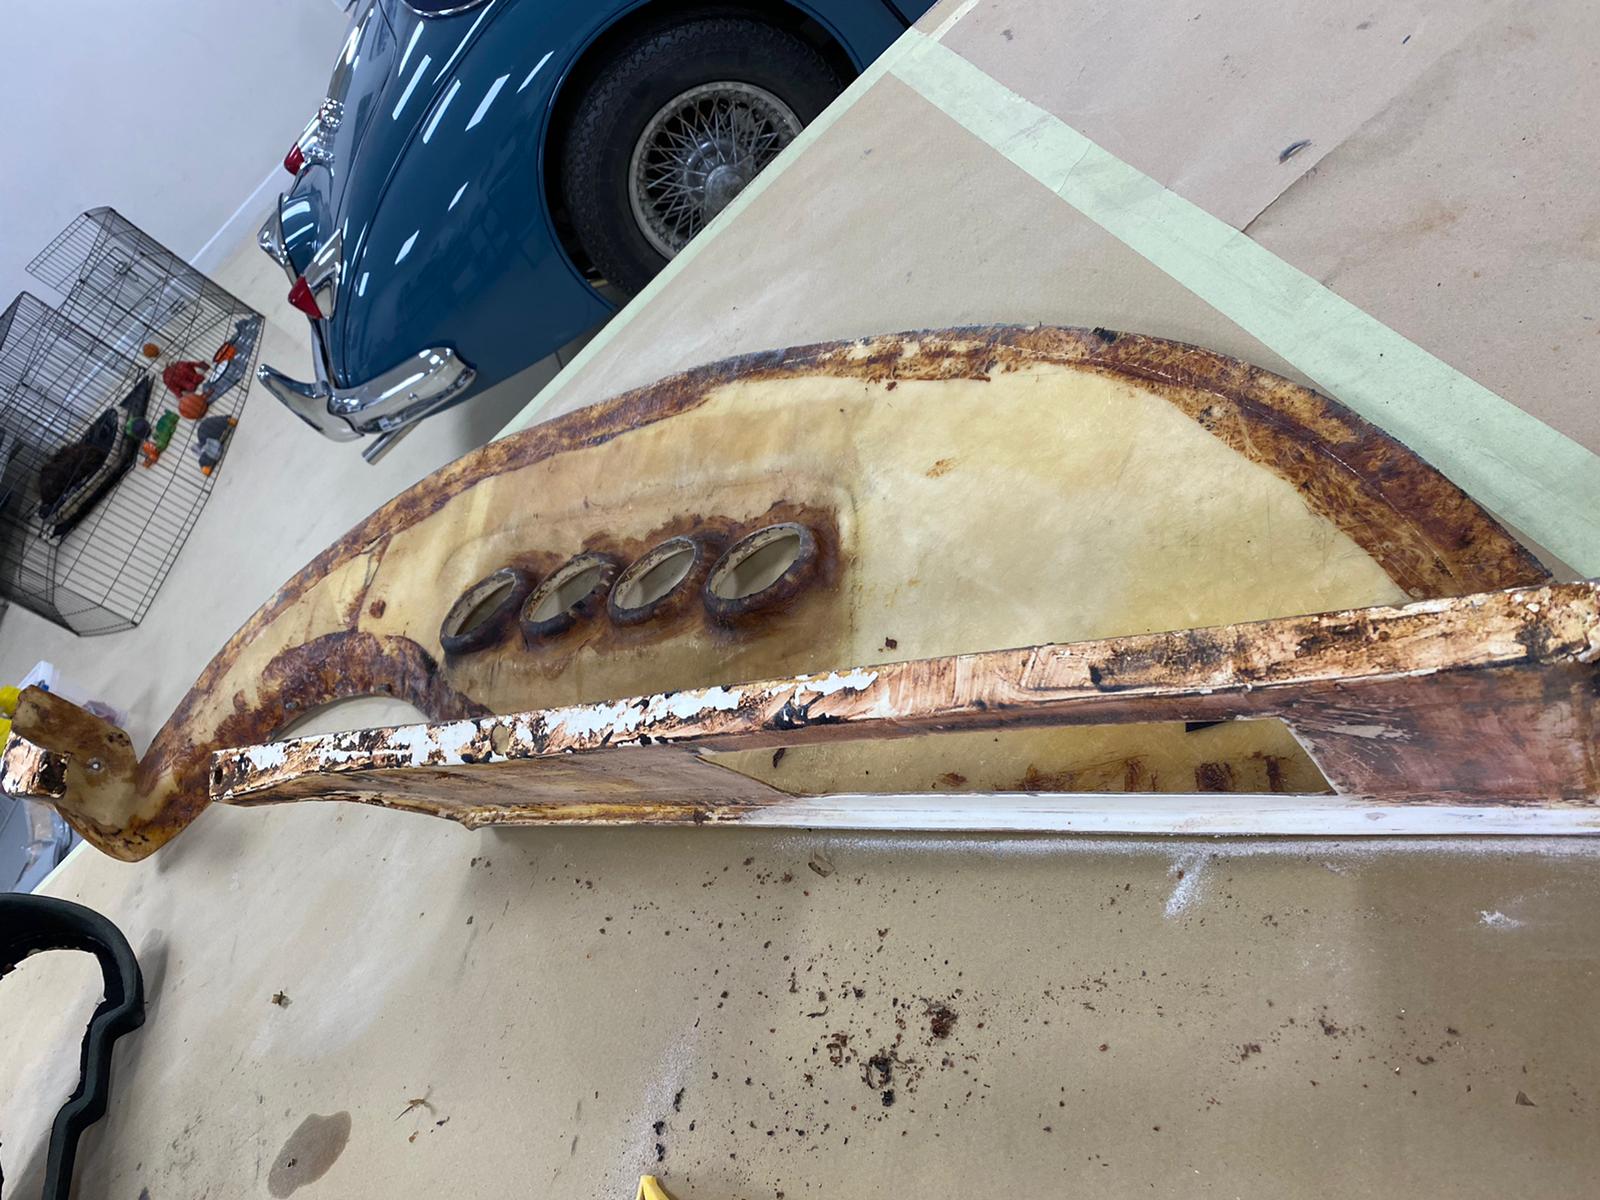
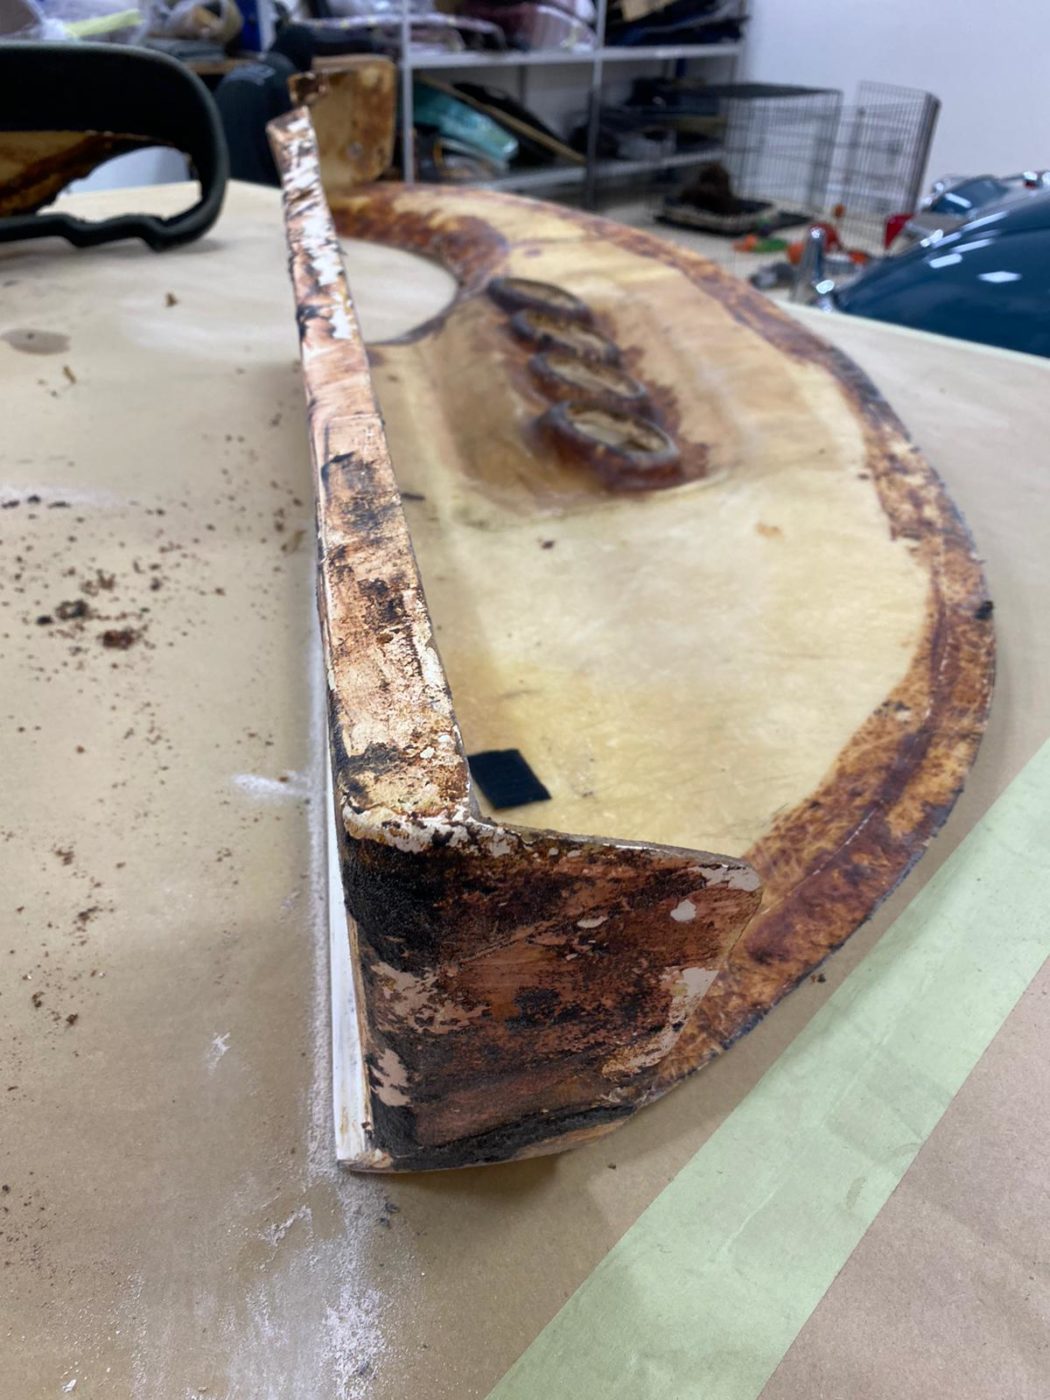
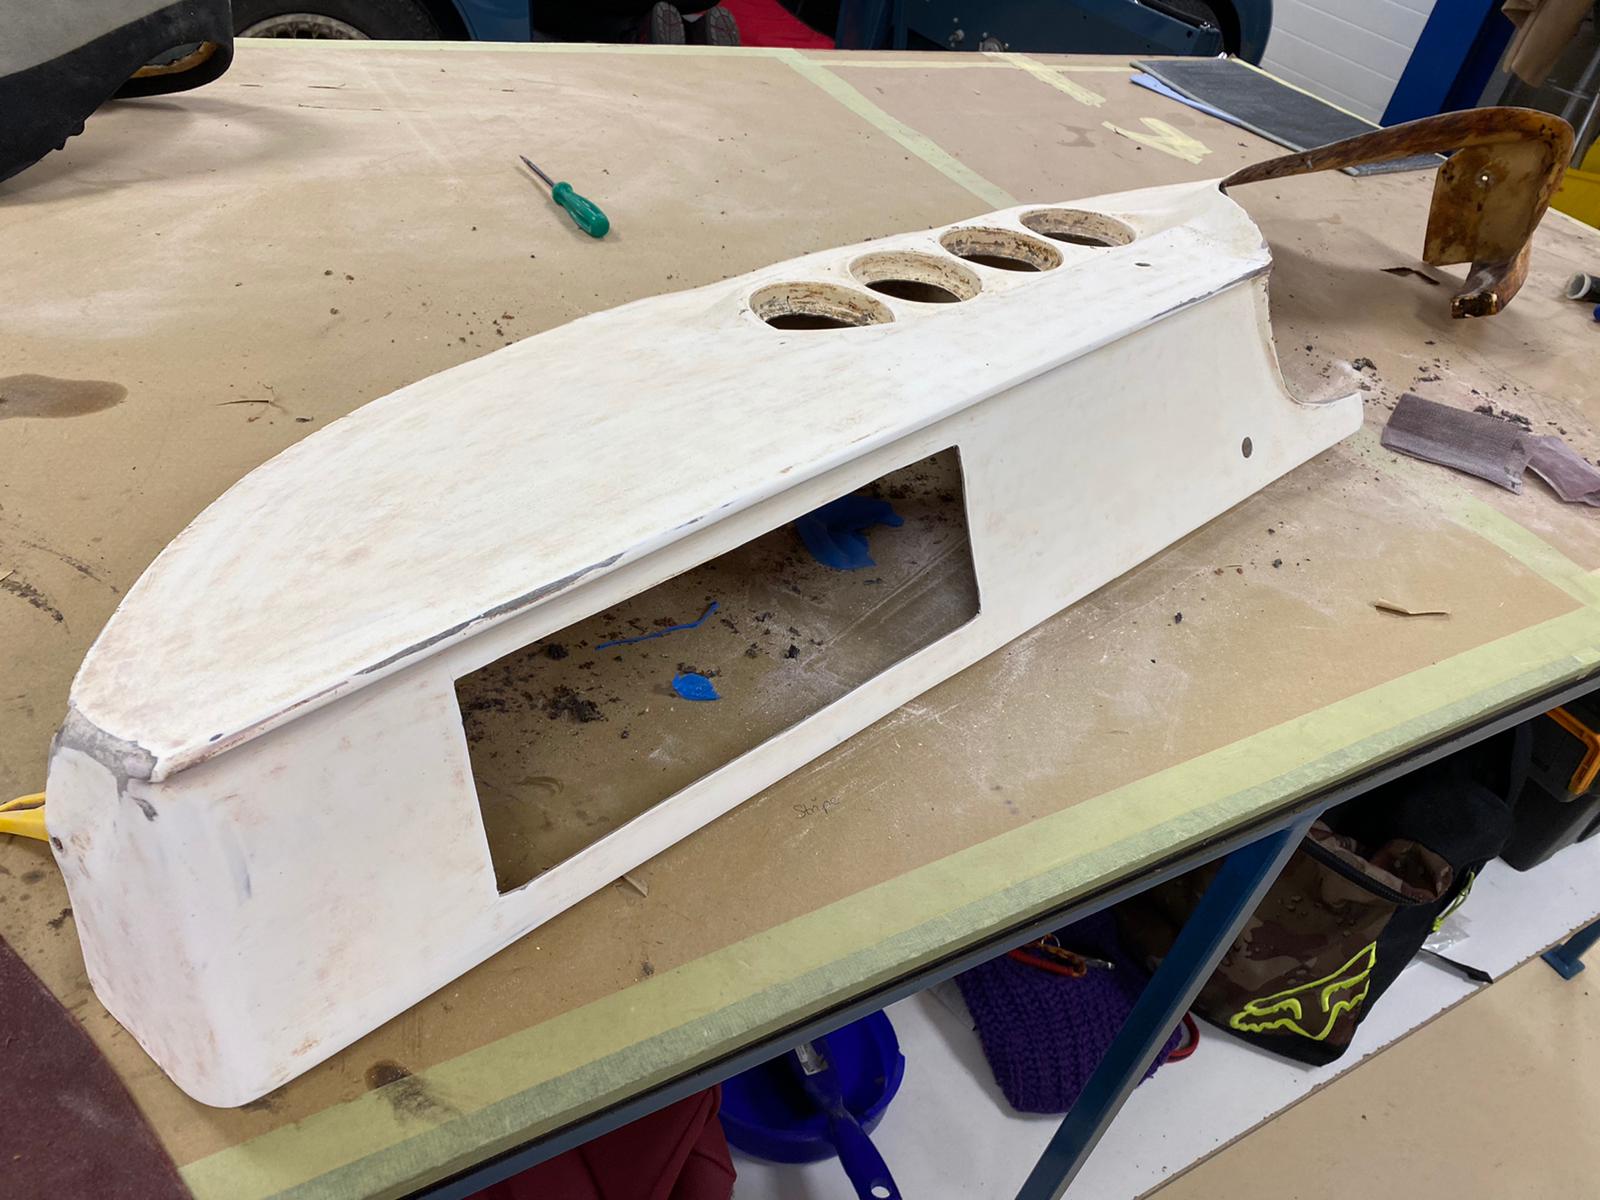
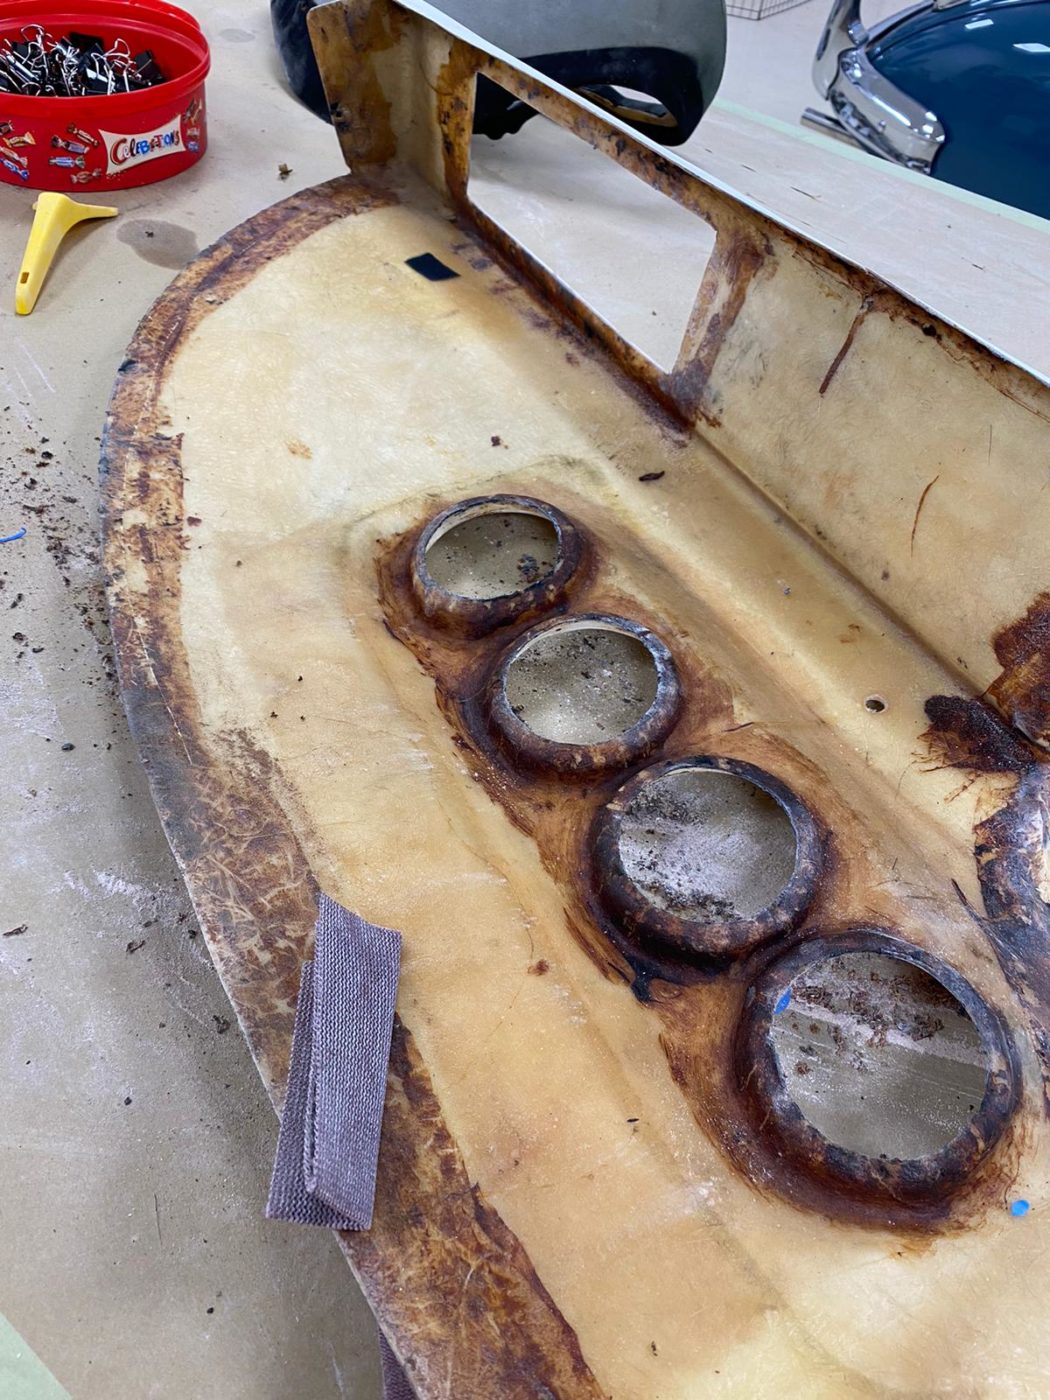
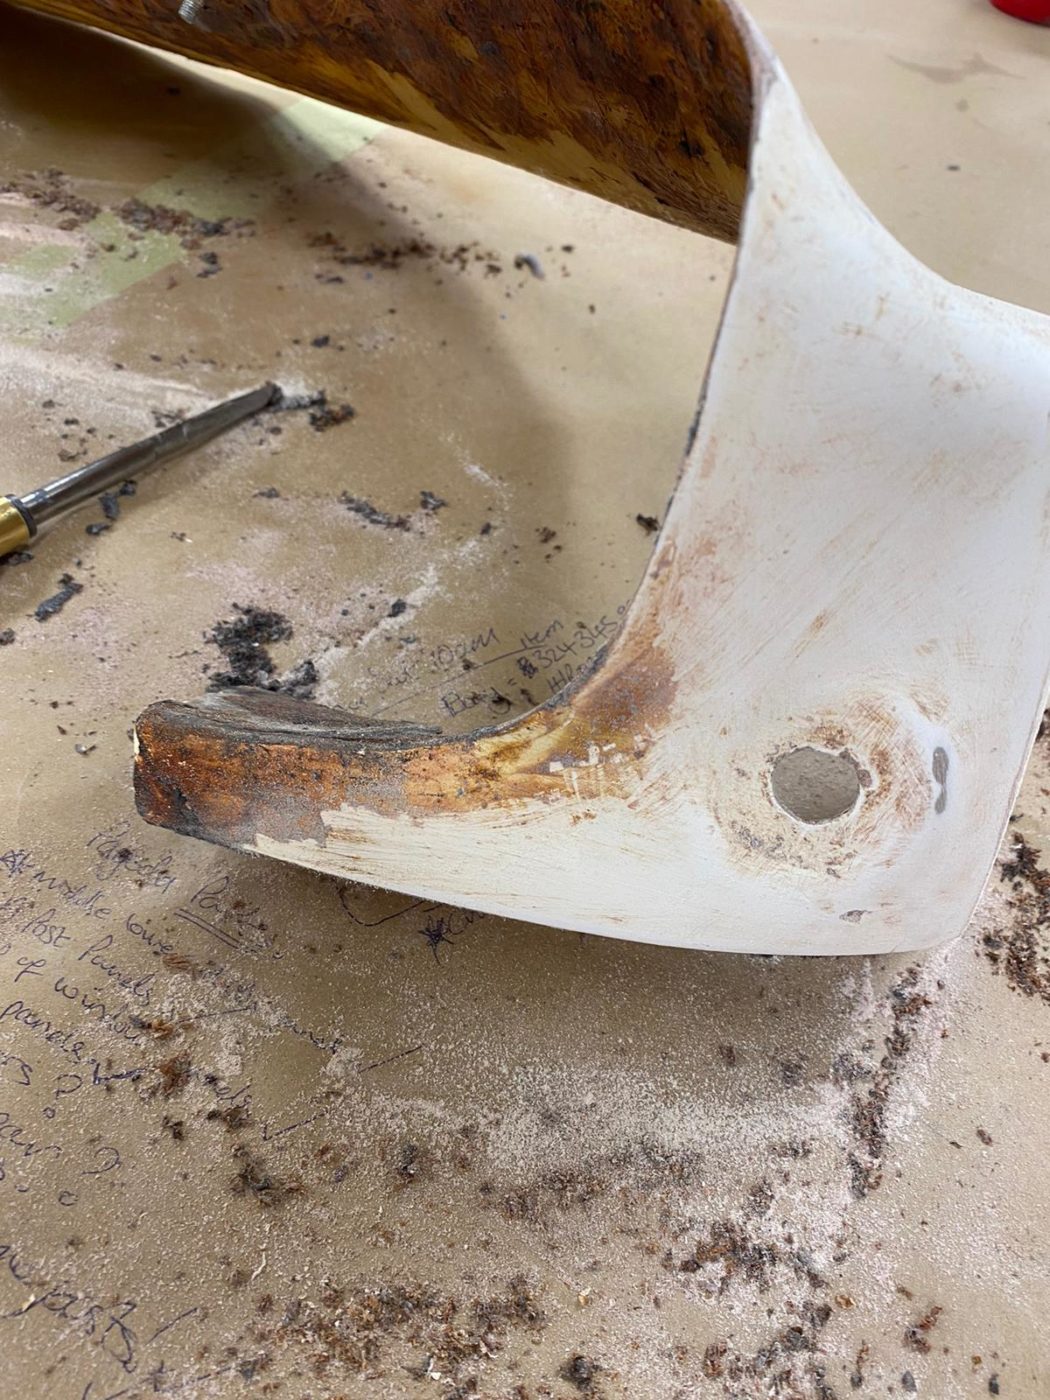
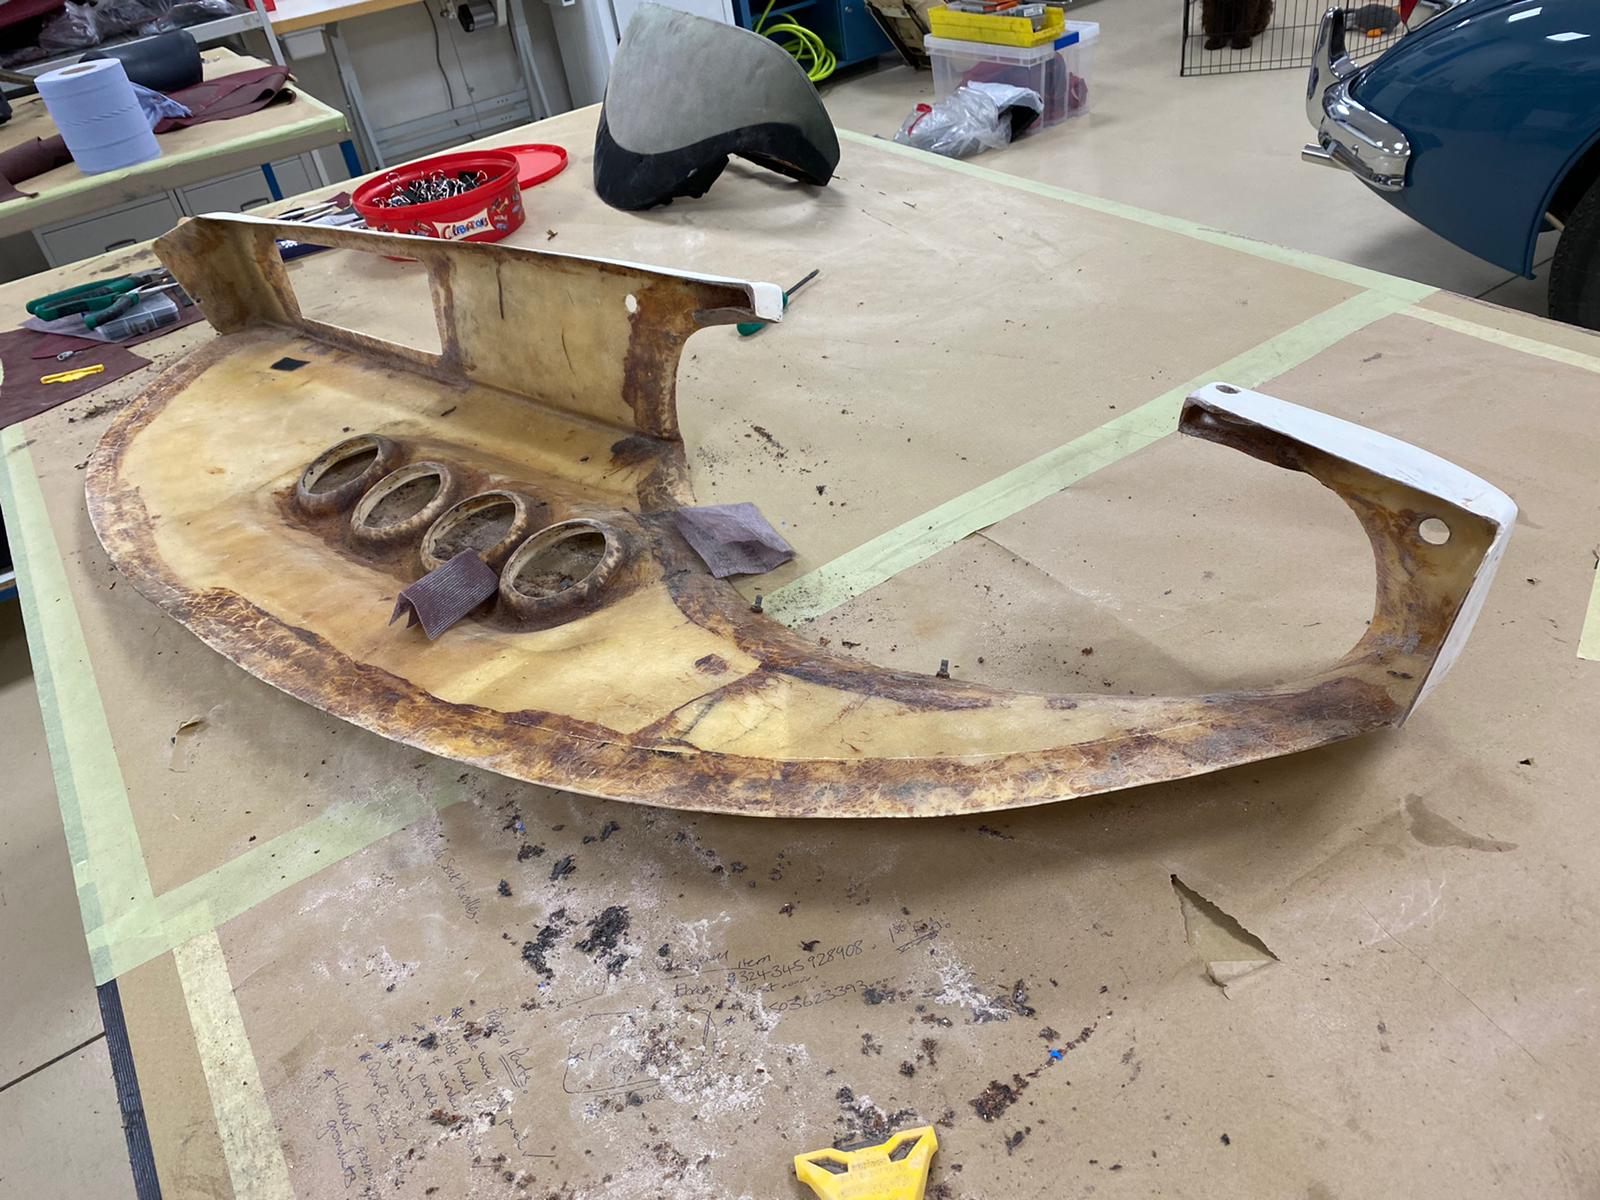
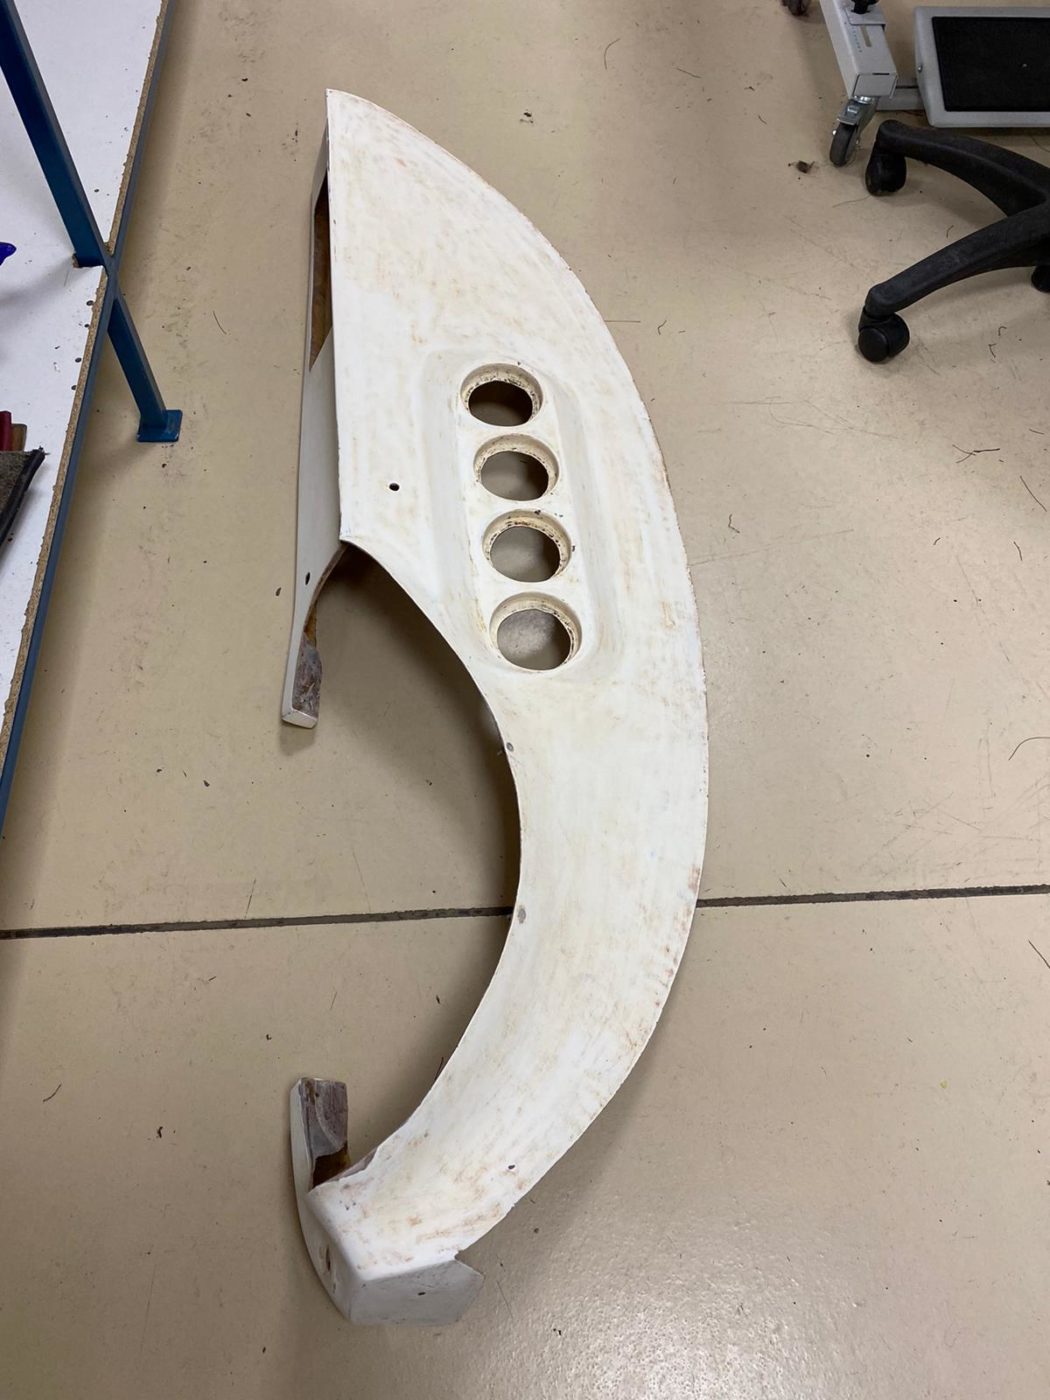
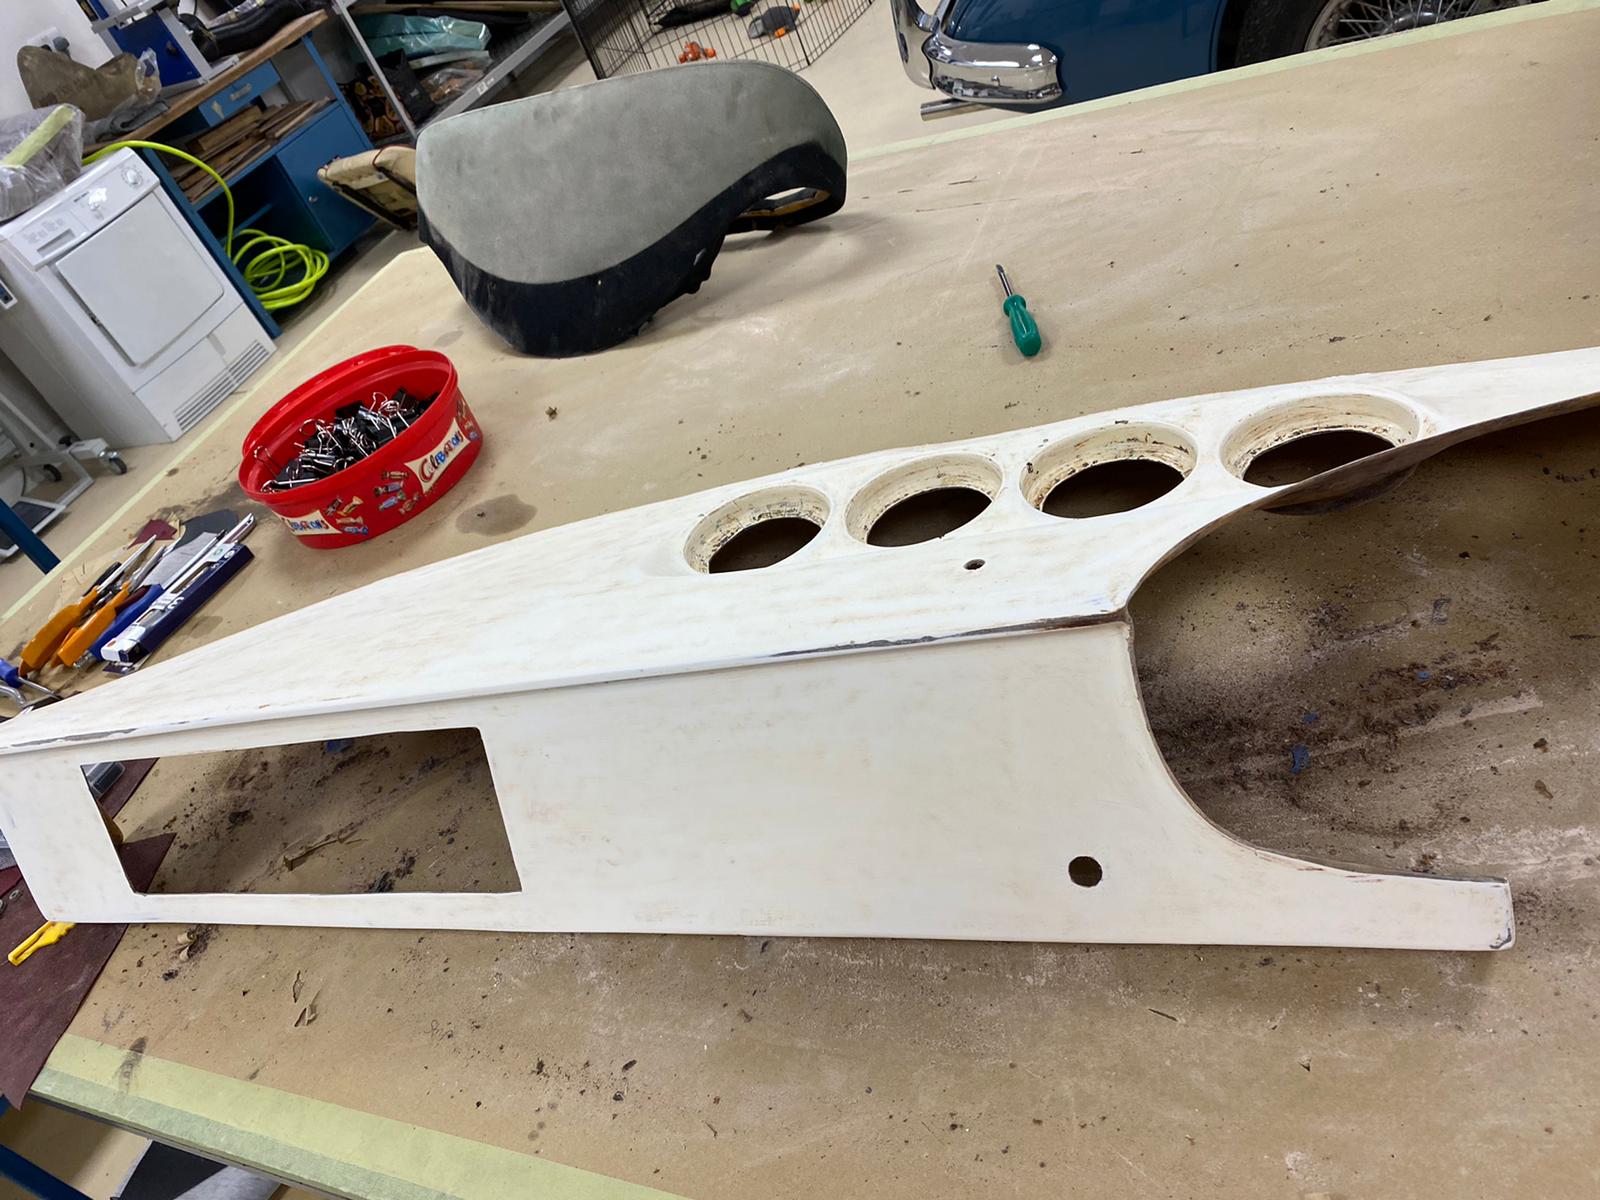
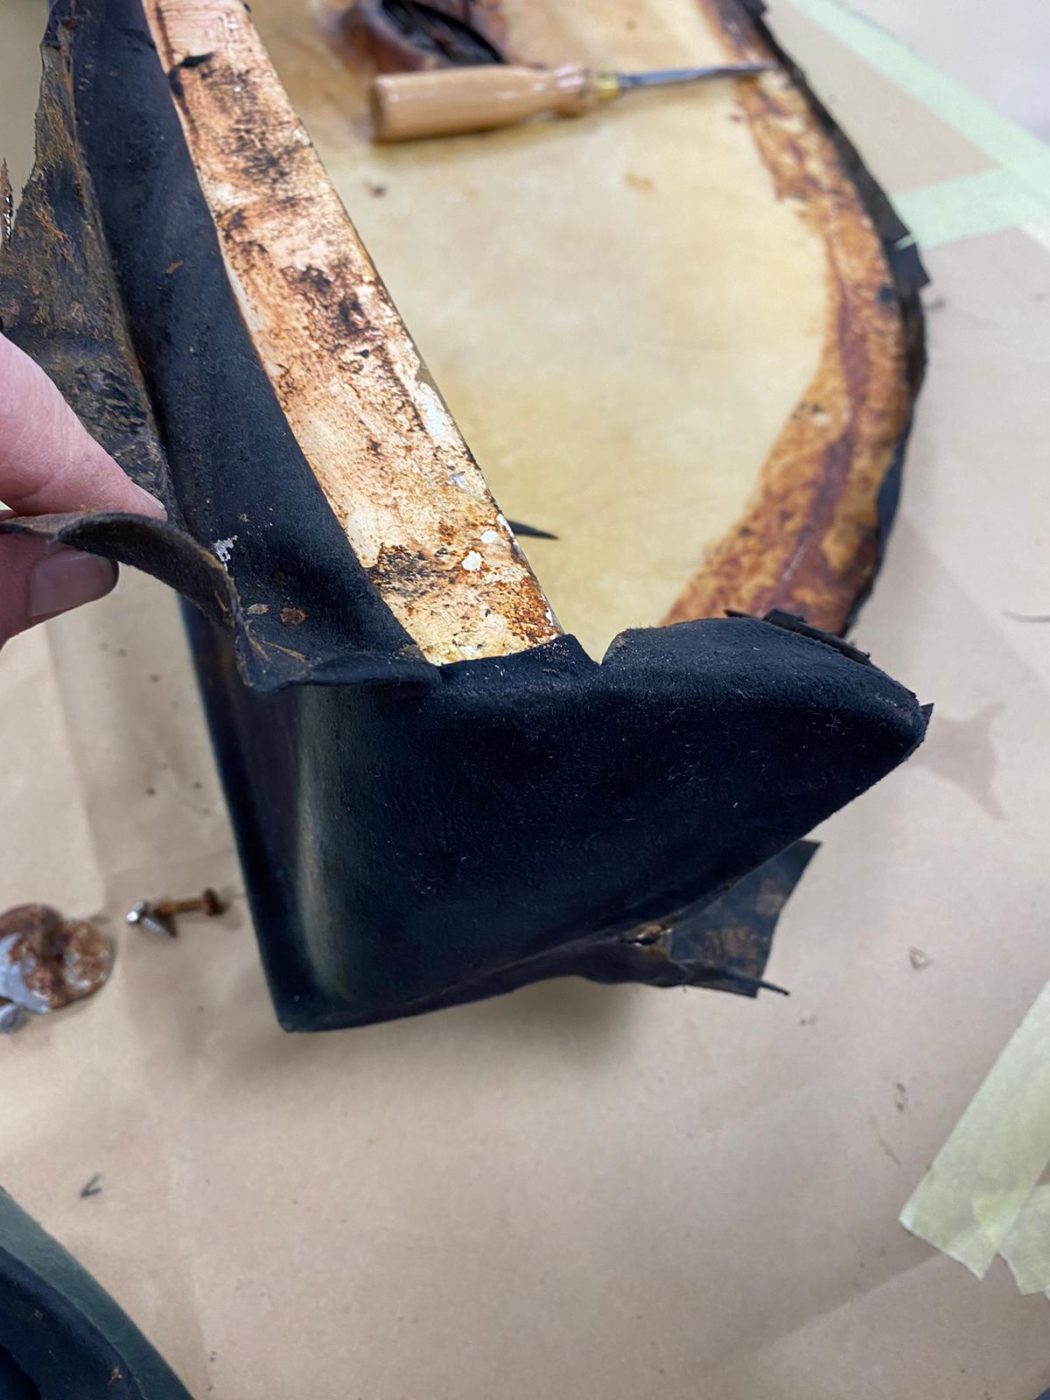
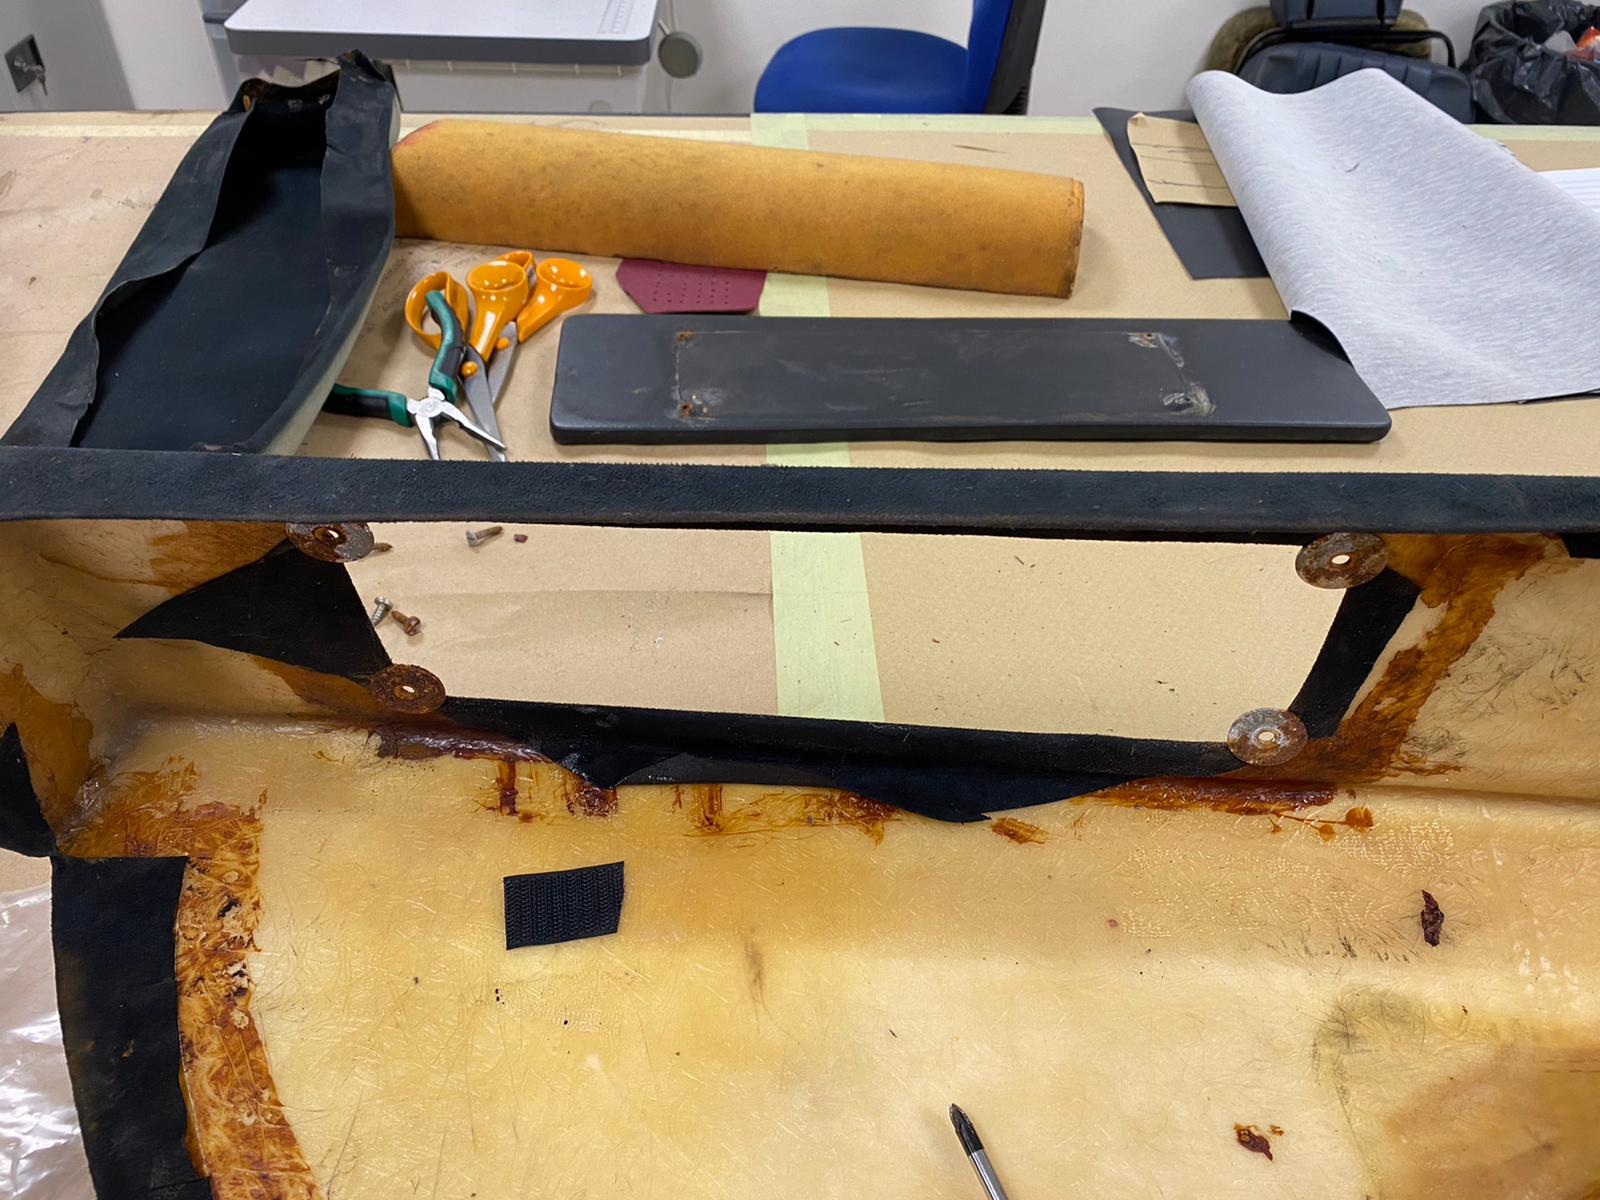
Kath has been working on creating a custom dashboard by refurbishing the existing parts and designing elements as the client wishes. After stripping the dashboard, Kath will then start to recover the parts. The client has requested a custom dashboard with piano hinges. Many of these components are also original Ferrari pieces that the client has sourced, making this project not only a Ferrari Daytona Replica but a custom replica.
Kath removed the cover from the glovebox and dashboard to reveal the wood underneath meaning it is now ready for one of our workshop engineers to modify.

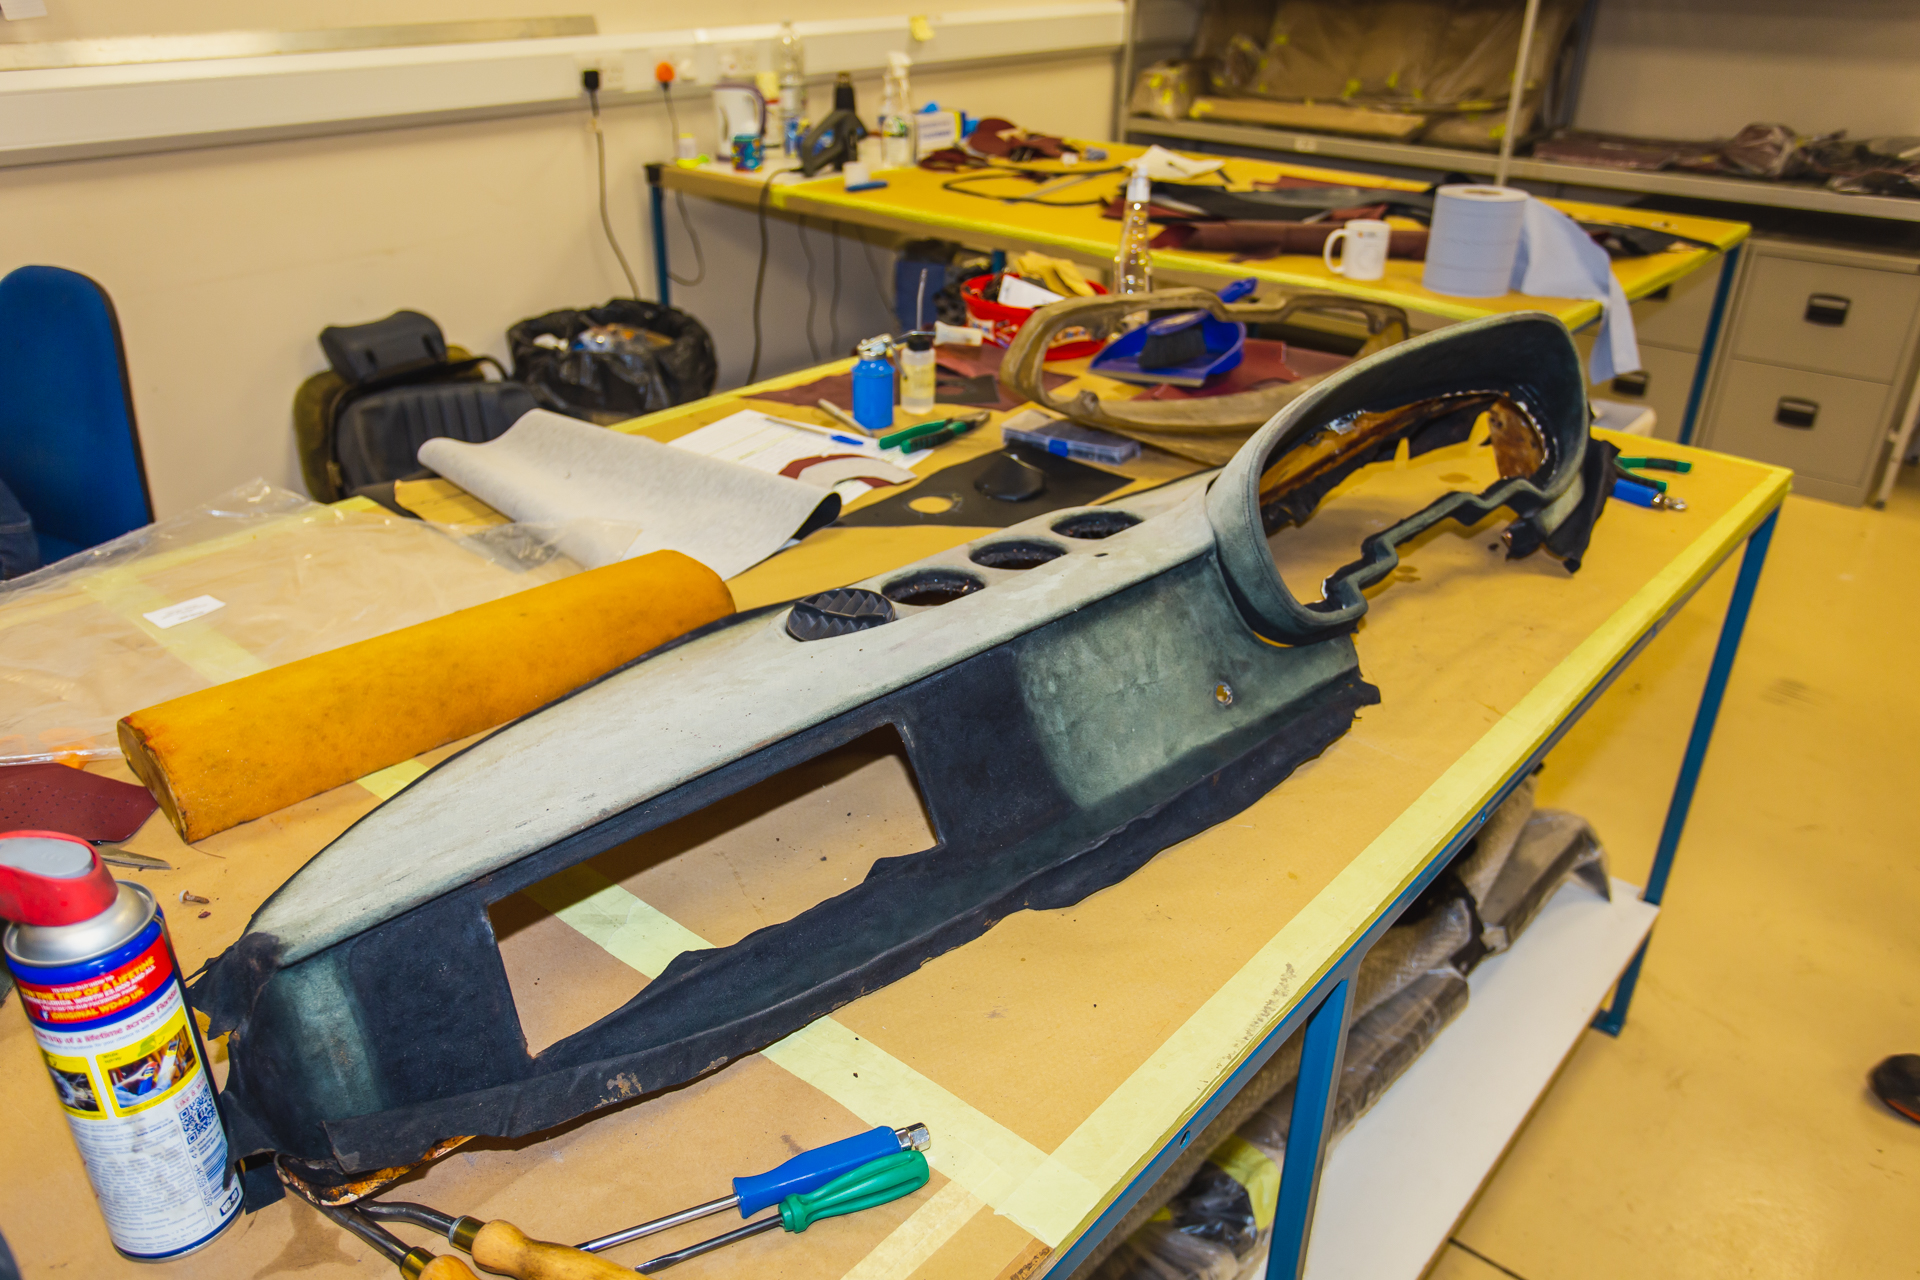

Here is Kath’s process:


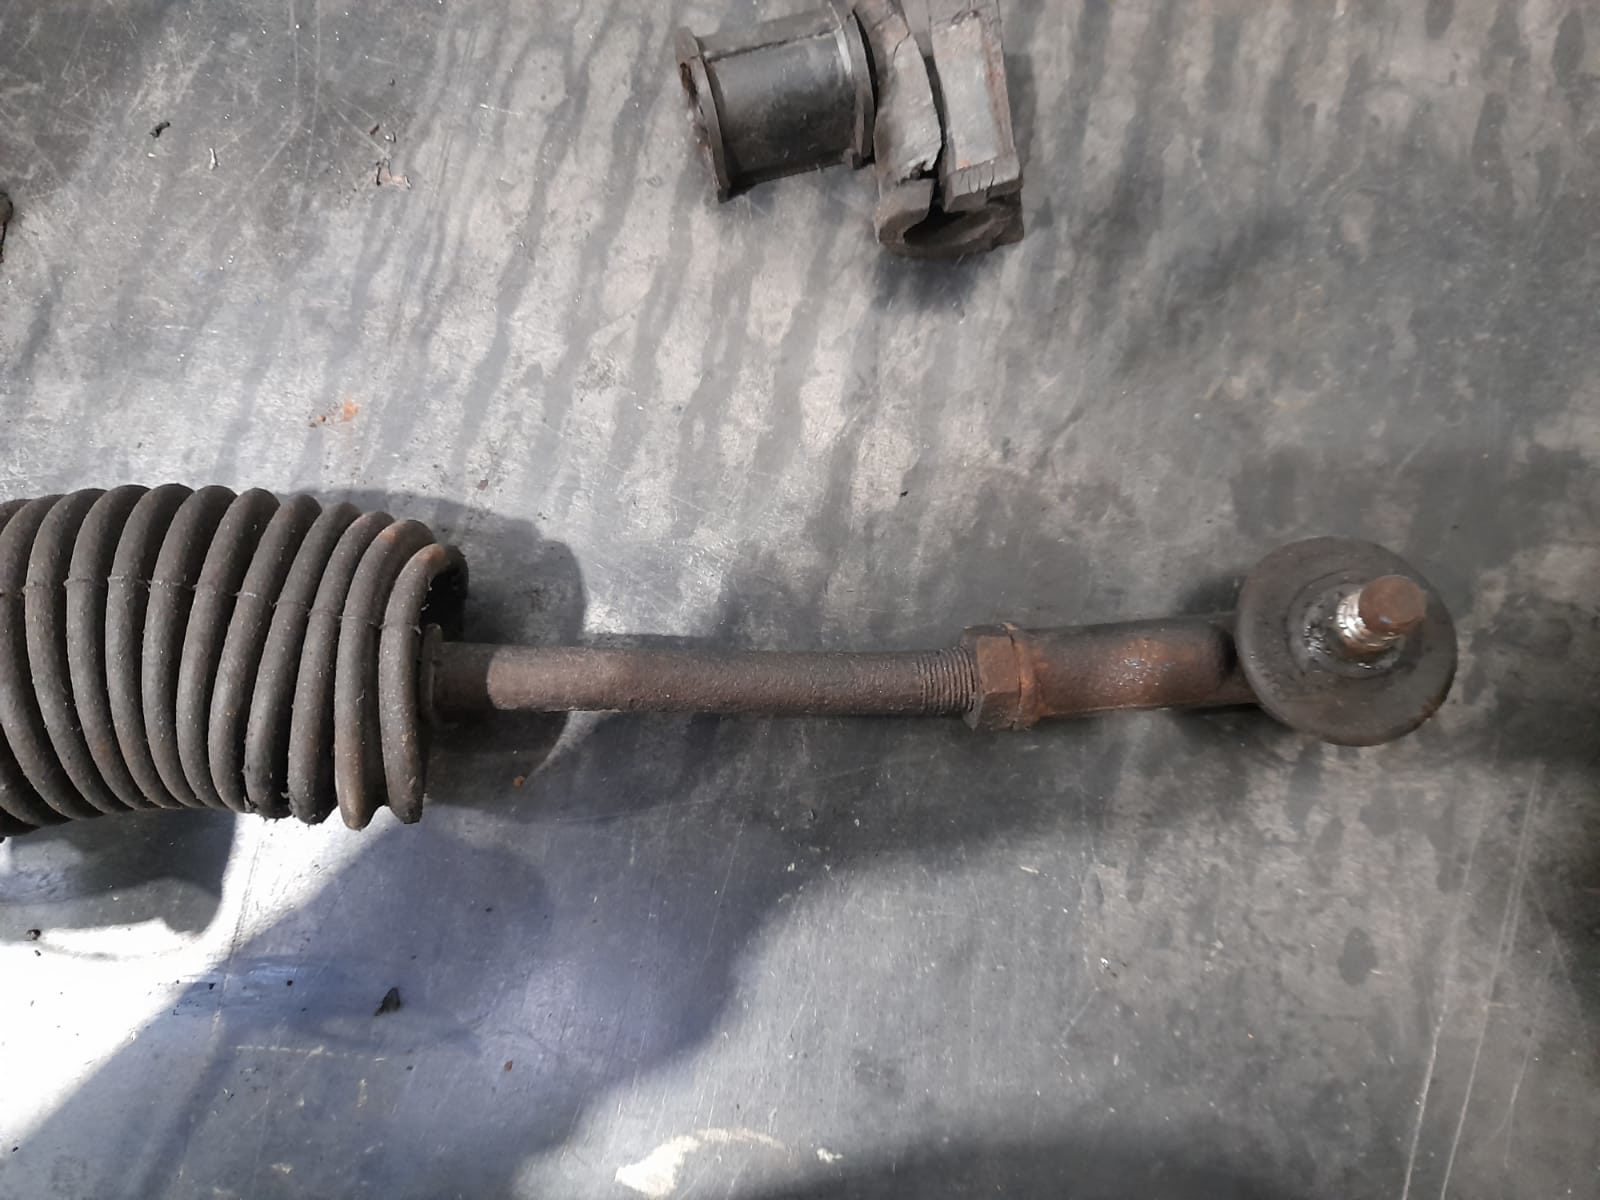
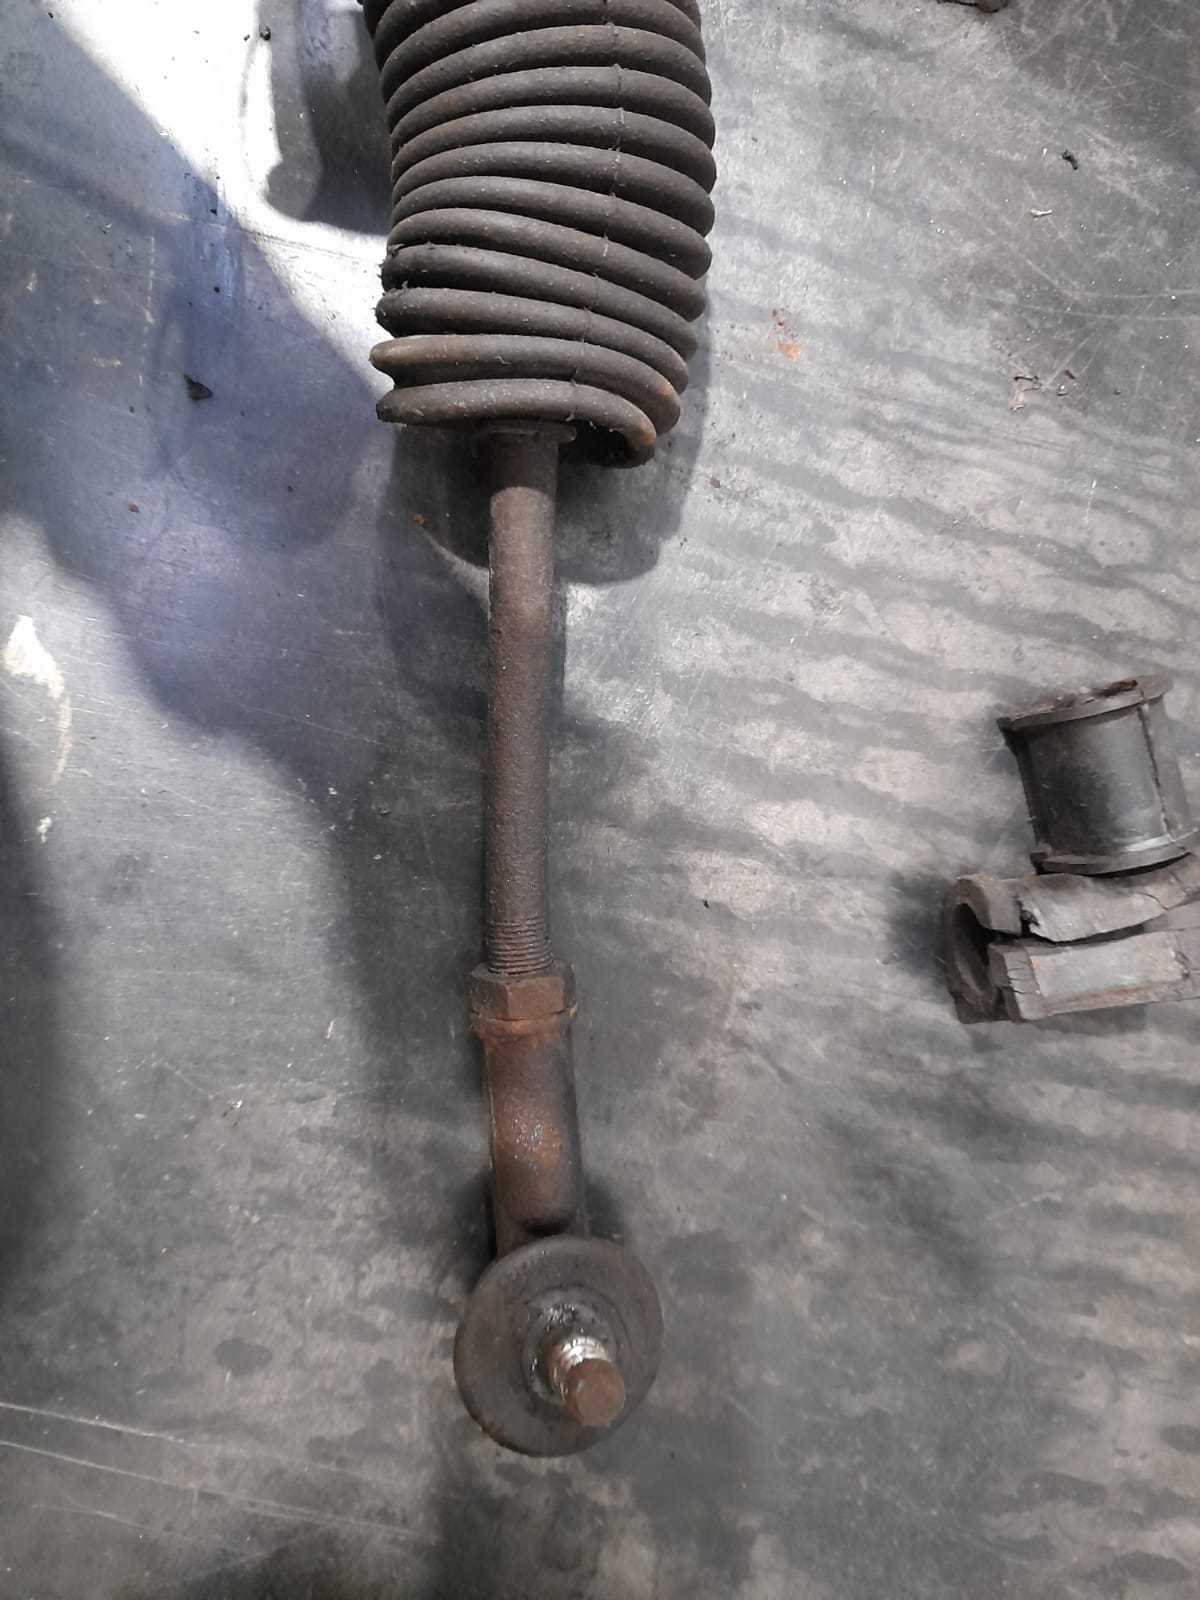
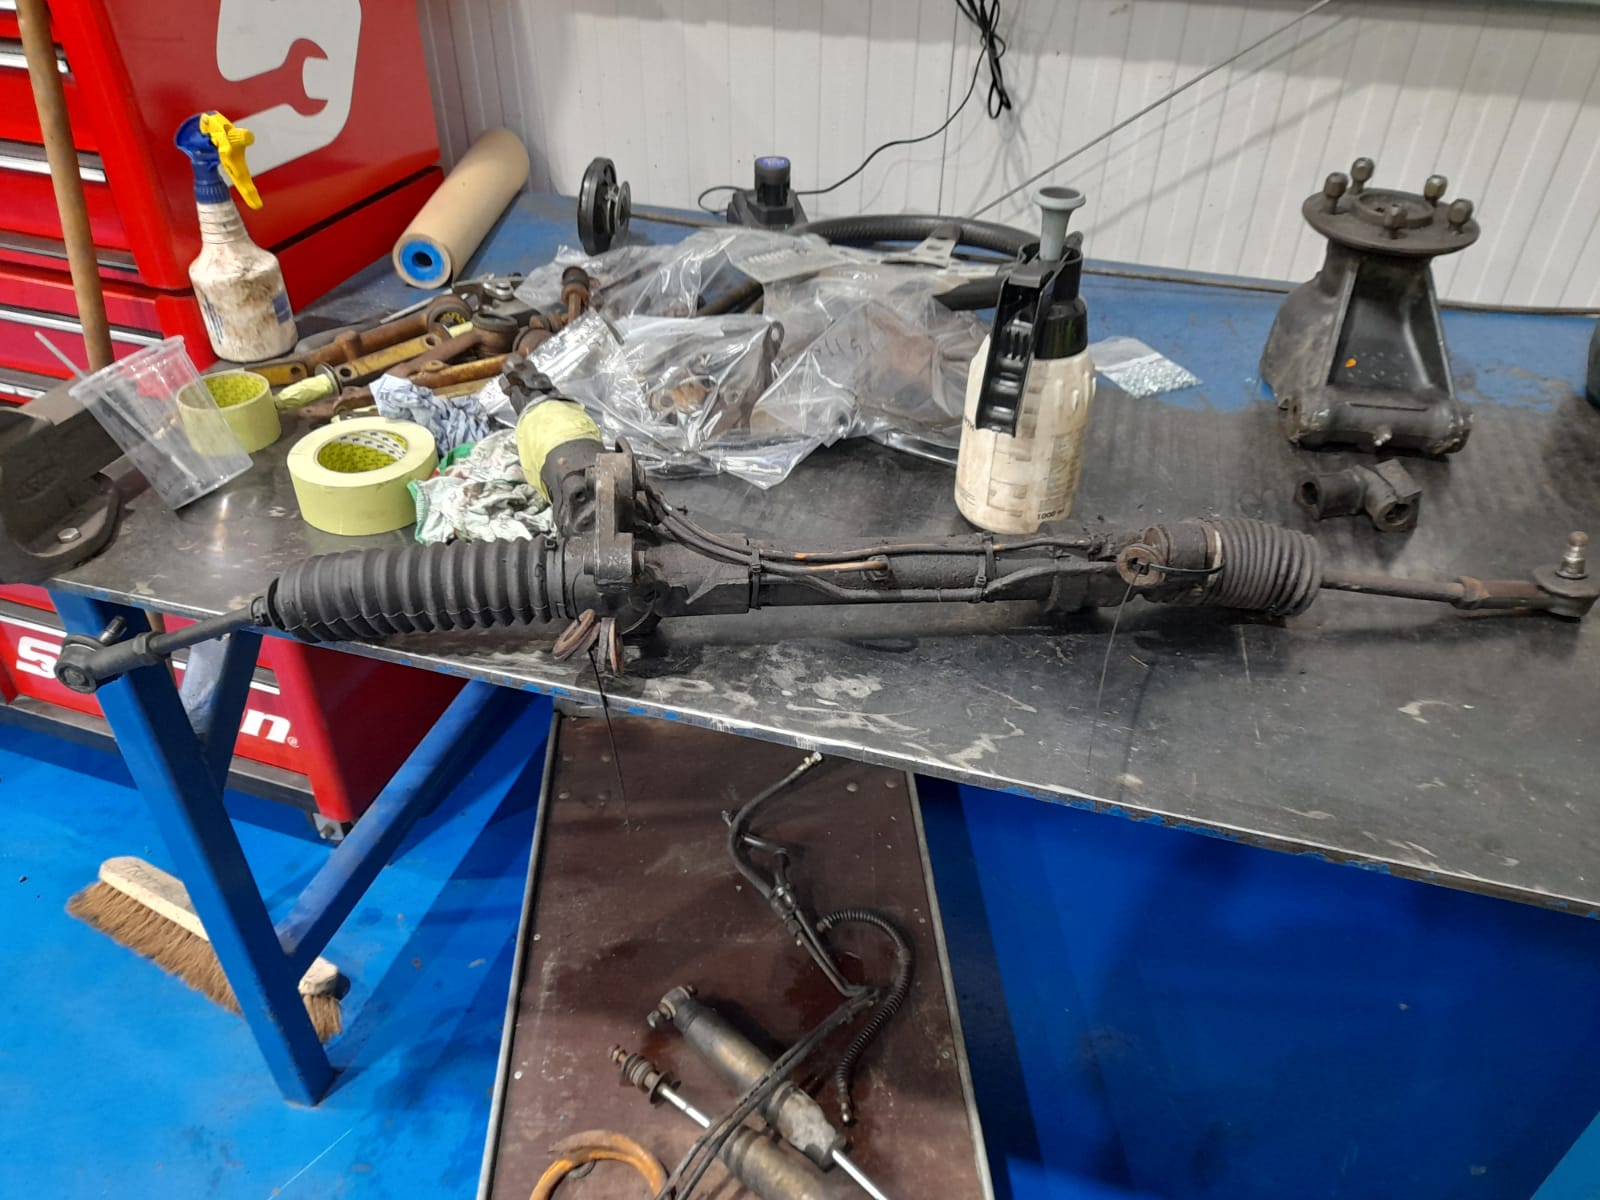
The steering rack has been sent off to Kelly Bray Steering to be refurbished as it was leaking and the steering arm is bent.