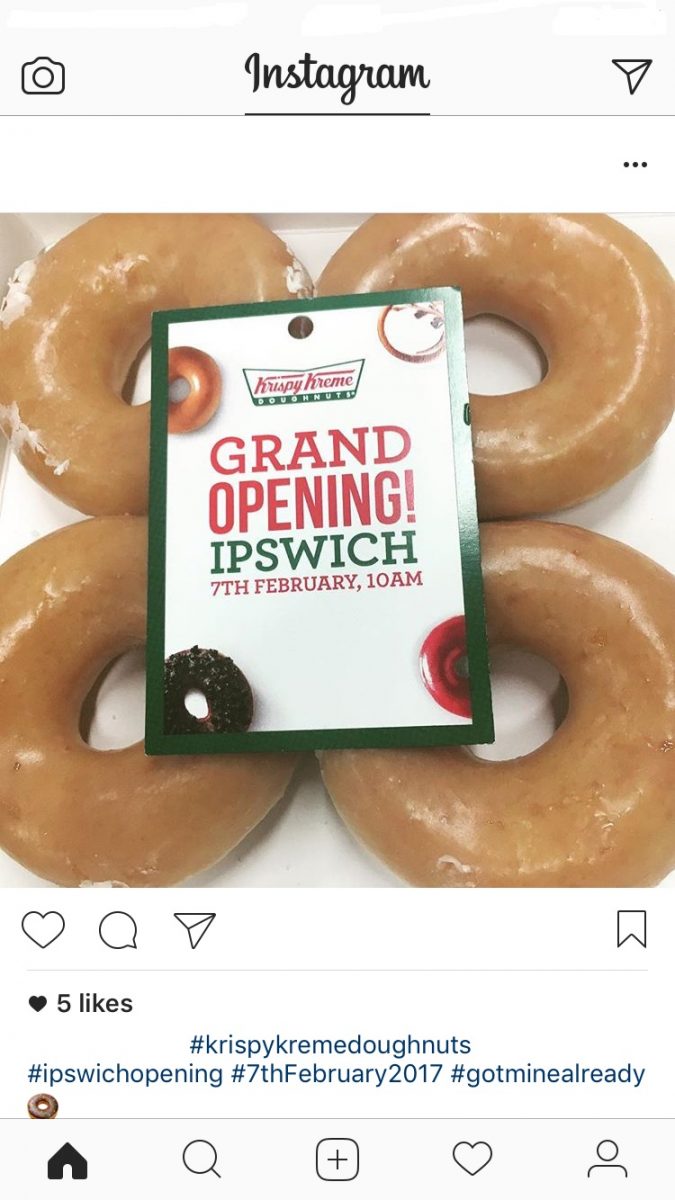
Krispy Kreme comes to Ipswich – Grand Opening 7th February 2017 – 10am
Popped up on Craig’s Instagram page feed earlier today. The new Krispy Kreme doughnut shop opens in Ipswich Buttermarket on February 7th at 10am. Read


Popped up on Craig’s Instagram page feed earlier today. The new Krispy Kreme doughnut shop opens in Ipswich Buttermarket on February 7th at 10am. Read
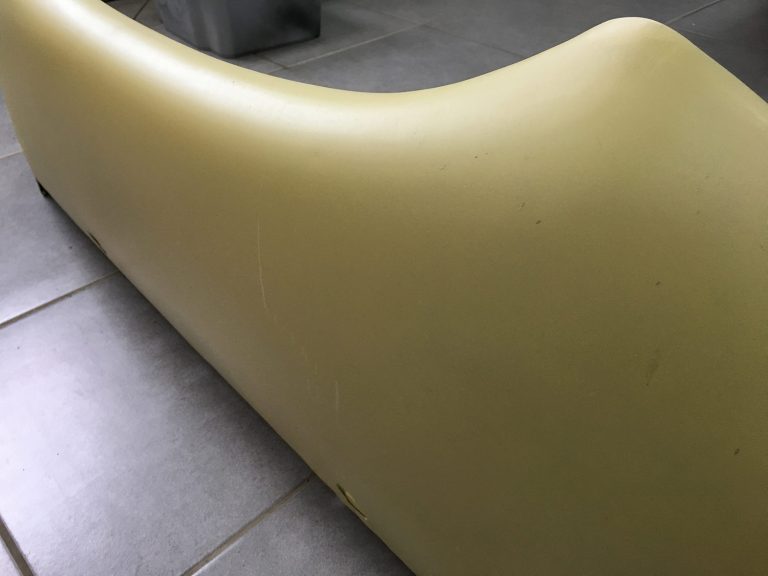
[vc_row][vc_column][vc_column_text]With the replacement panels now Laura has started work on repairing the bonnet of our 1967 Jaguar E-Type. The rotten front under-pan has now been
Assuming entire system to be dry but connected and engine ready to run, add fresh LHM fluid to the reservoir. Also, prime the LHM pump
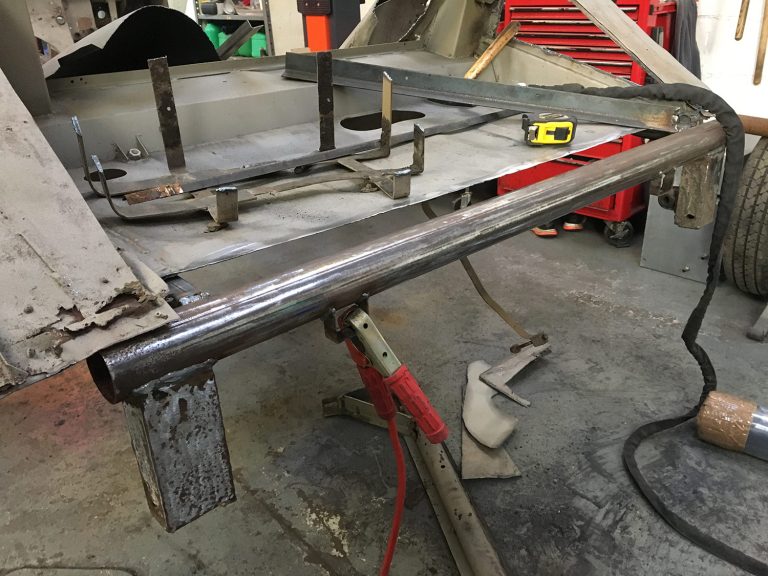
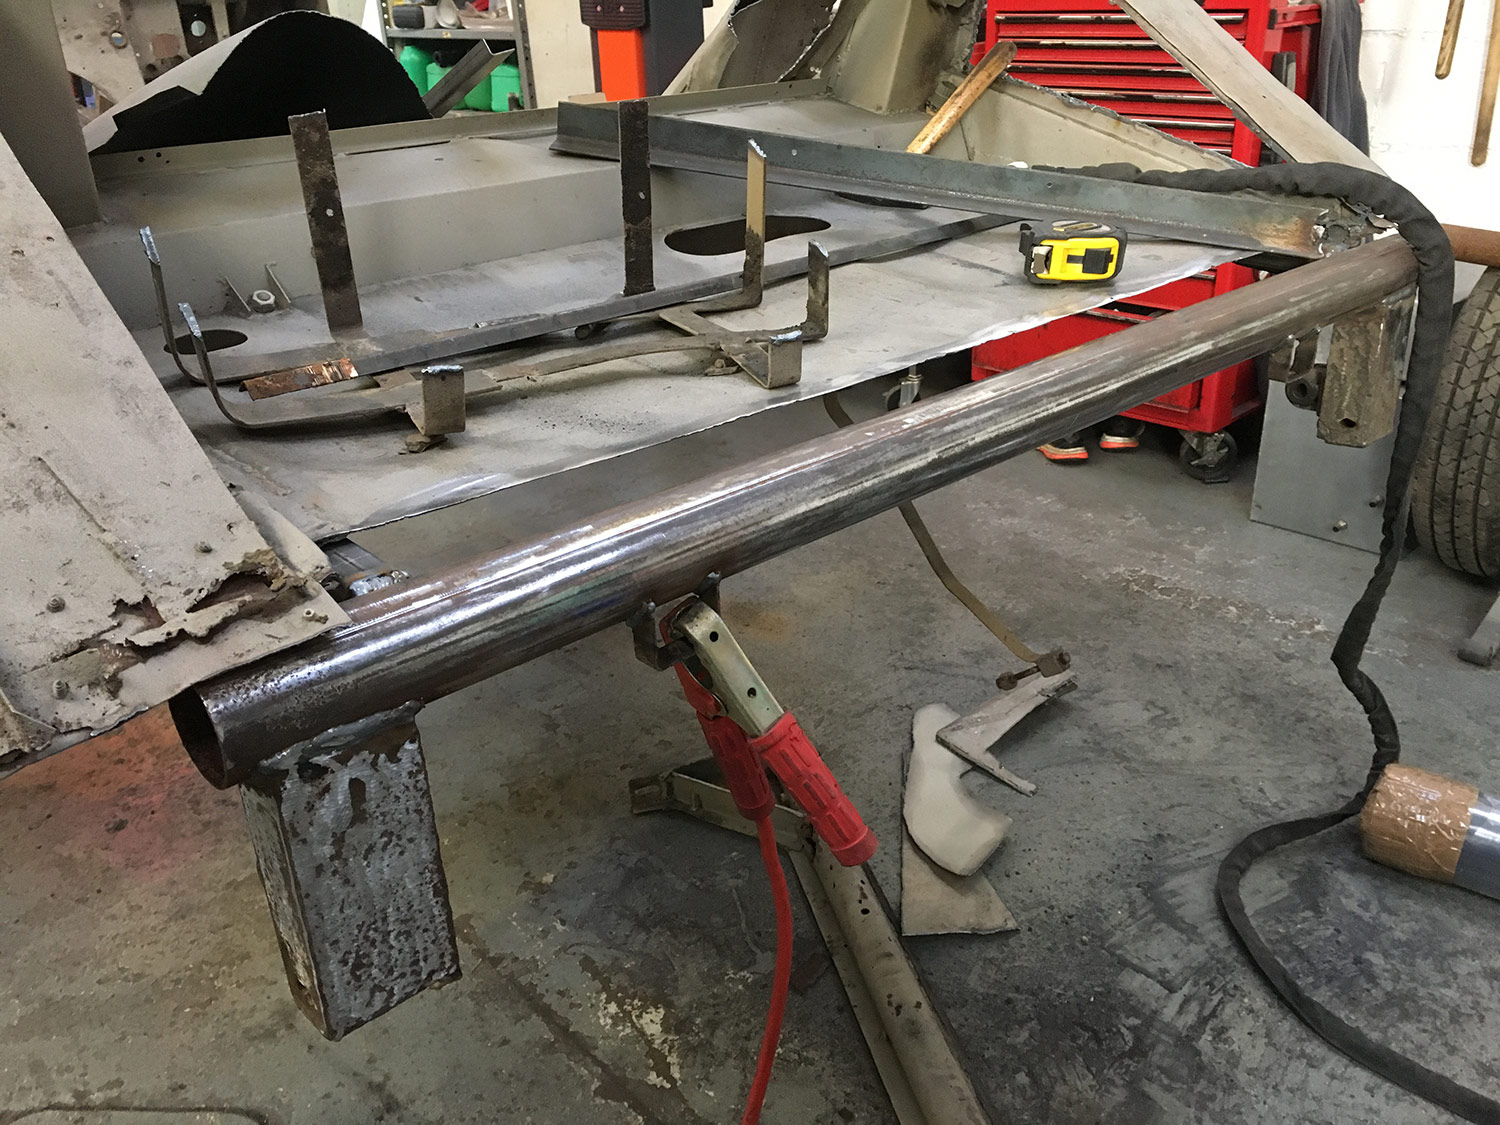
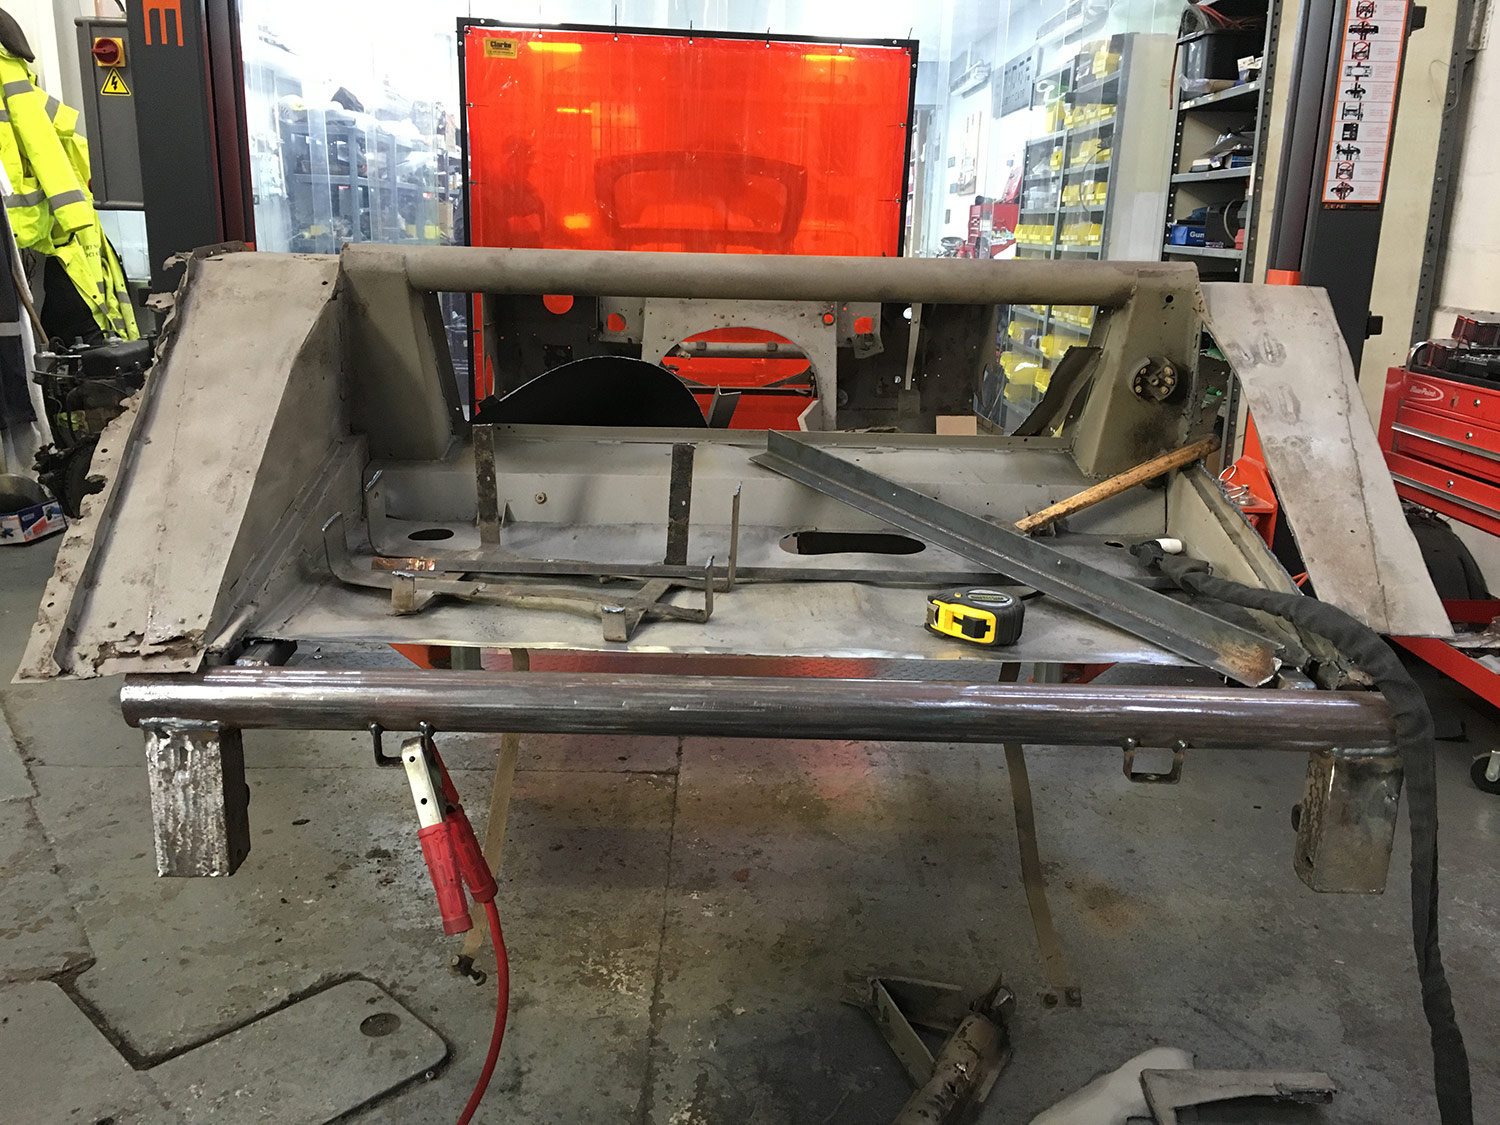
The corroded rear cross members and leaf hangers have now been cut away from the chassis of our Jensen 541S to be replaced with new.

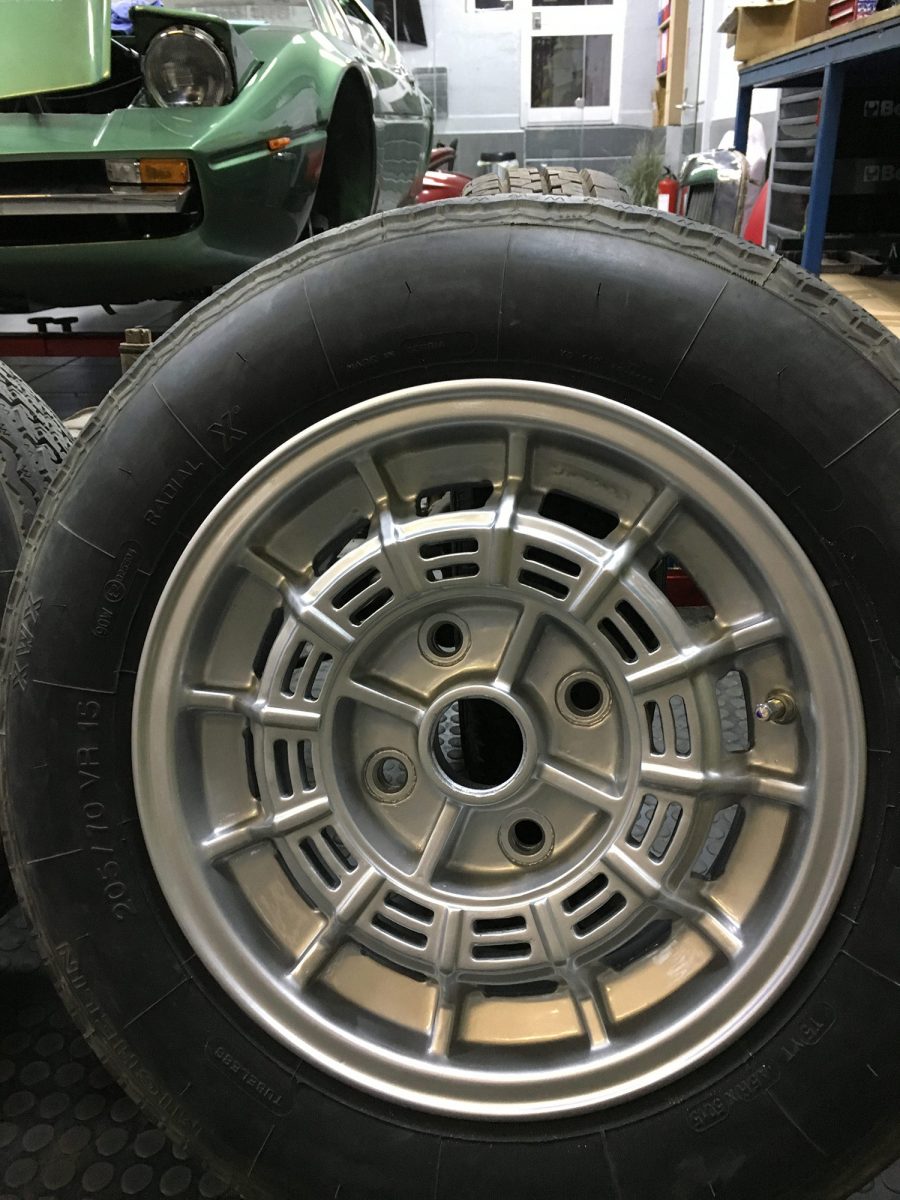
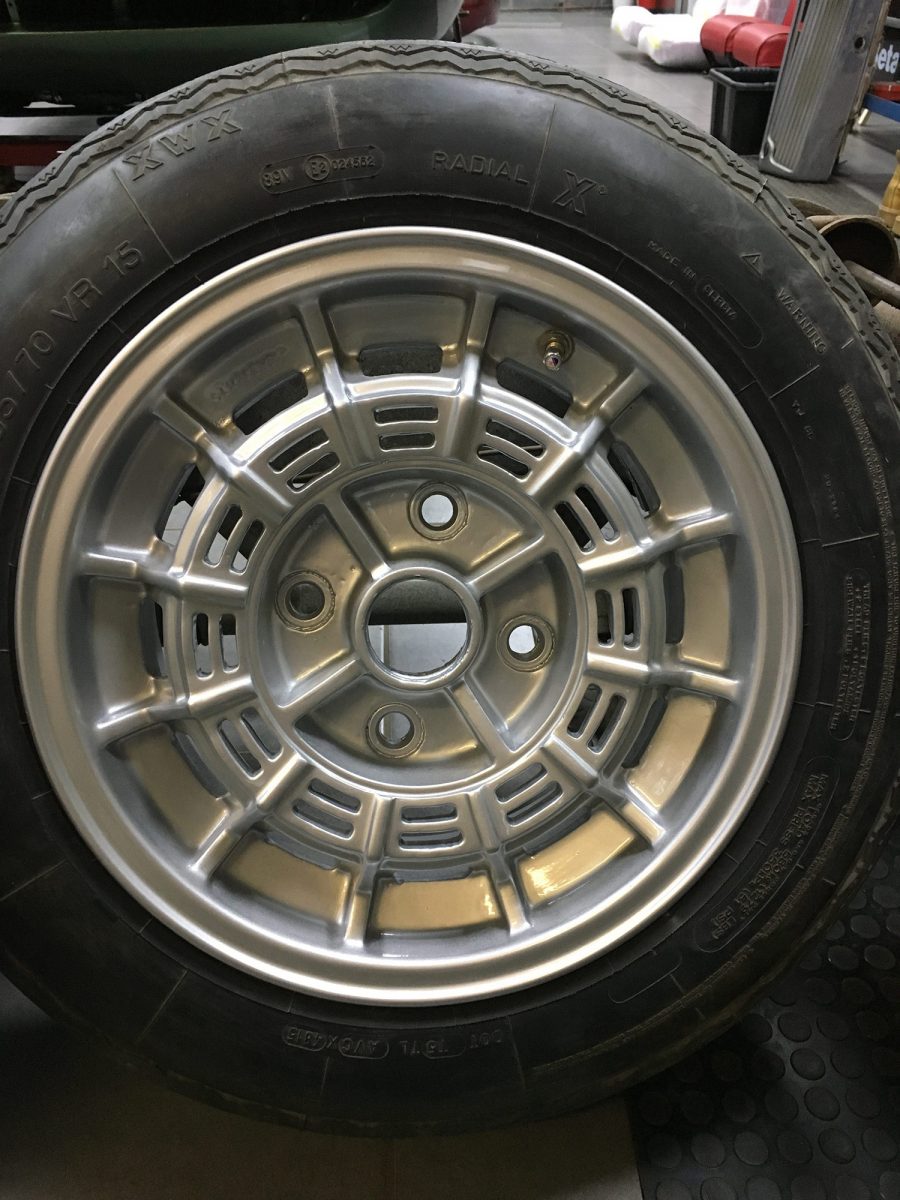
Our next attempt on the 1976 Maserati Merak wheels have been a success. Having stripped them all back we have managed to further improve the
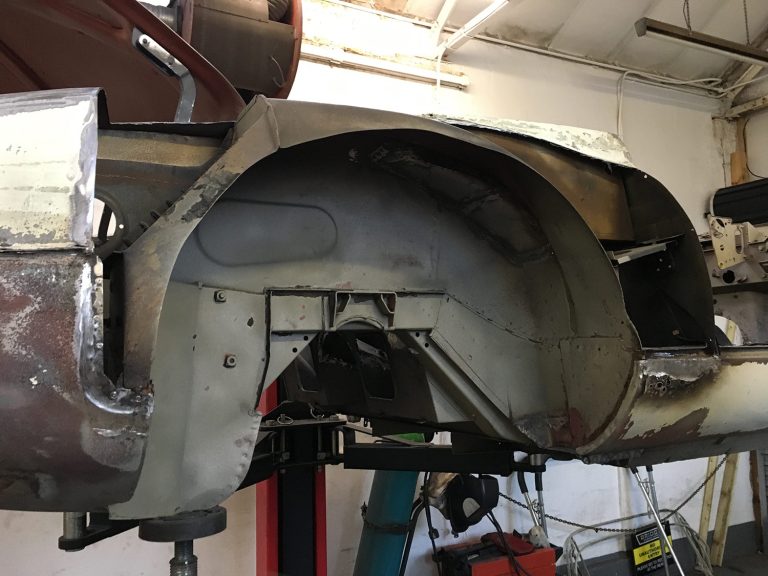
[vc_row][vc_column][vc_column_text]It’s been a solid task for Tommy since returning from his Christmas break but what a fantastic job he is doing. He’s managing to transform
Work has started today on our 1967 Jaguar E-Type 2+2 body shell. We are hoping to reveal some exciting news very soon on this 2017

When clearing out the glove box of our 1972 Jaguar E-Type we came across some old photographs taken of the car in 1998. It’s great

Popped up on Craig’s Instagram page feed earlier today.
The new Krispy Kreme doughnut shop opens in Ipswich Buttermarket on February 7th at 10am.
[vc_row][vc_column][vc_column_text]With the replacement panels now Laura has started work on repairing the bonnet of our 1967 Jaguar E-Type.
The rotten front under-pan has now been removed and the arches have been cut away where necessary. The pair of replacement arch panel repair kits have now been tacked up ready to be secured.
[/vc_column_text][/vc_column][/vc_row][vc_row][vc_column][vc_gallery type=”image_grid” images=”9454,9455,9456,9457,9458,9459,9460,9461,9462,9463,9464,9465,9466″][/vc_column][/vc_row]
This information has been provided to us from the Maserati Club.
The corroded rear cross members and leaf hangers have now been cut away from the chassis of our Jensen 541S to be replaced with new. The new components will be fabricated and refitted in our Ipswich workshops.

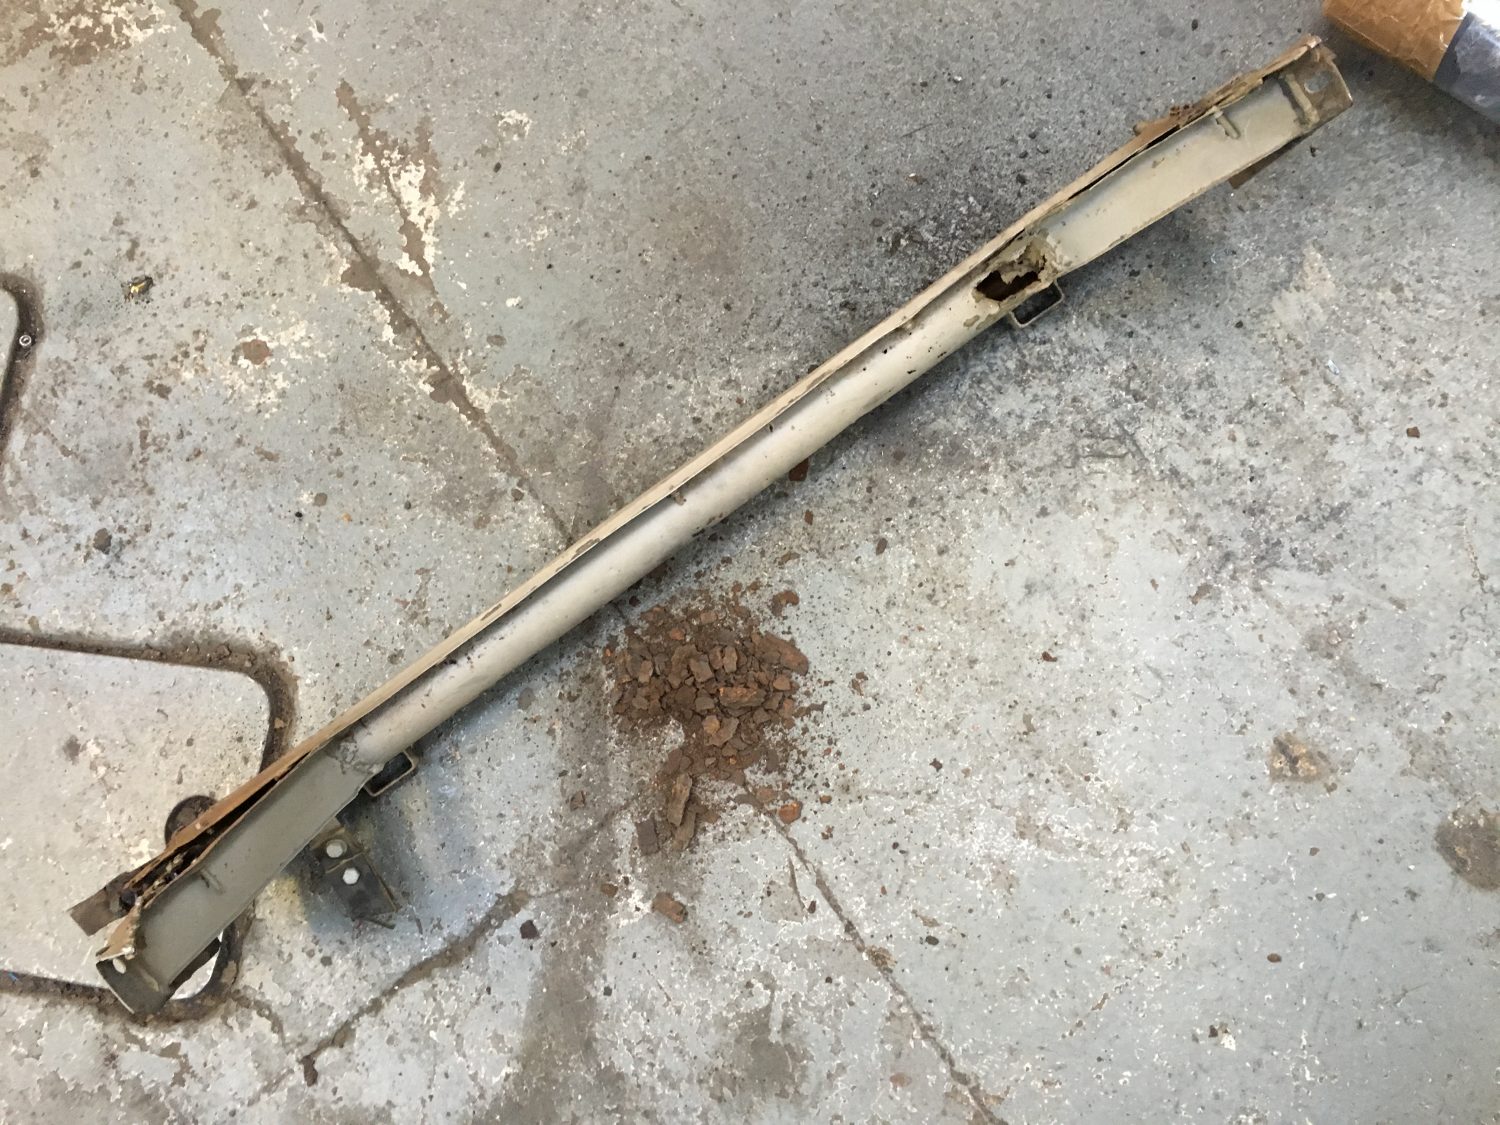

A new component has now been manufactured and fitted to replace the rear cross member and leaf hangers.
Asa has now turned his attention to the arches, having already cut out the offside arch, again, he is having to fabricate them from nothing…in house.
Creating and re-manufacturing body panels is never a problem but it is often good to check whether panels are readily available before attempting to do this, for no other reason than time.
Time costs money and if it can be saved then everyone is happy. It’s always beneficial to explore the options.

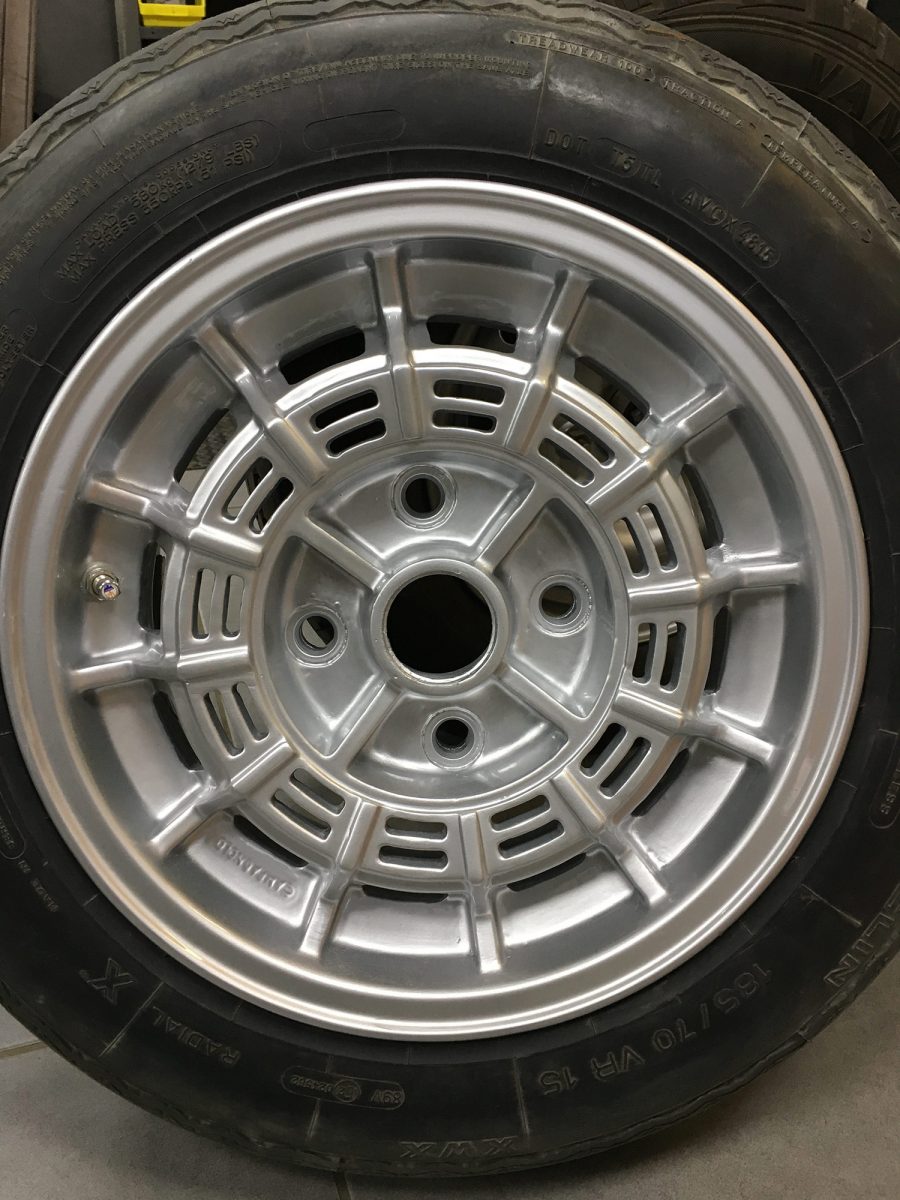
Our next attempt on the 1976 Maserati Merak wheels have been a success.
Having stripped them all back we have managed to further improve the magnesium finish to the wheels before applying a new coat of light gloss wheel paint.
It was a lot of effort and intricate detailing but the results on this attempt have very much improved.


[vc_row][vc_column][vc_column_text]It’s been a solid task for Tommy since returning from his Christmas break but what a fantastic job he is doing.
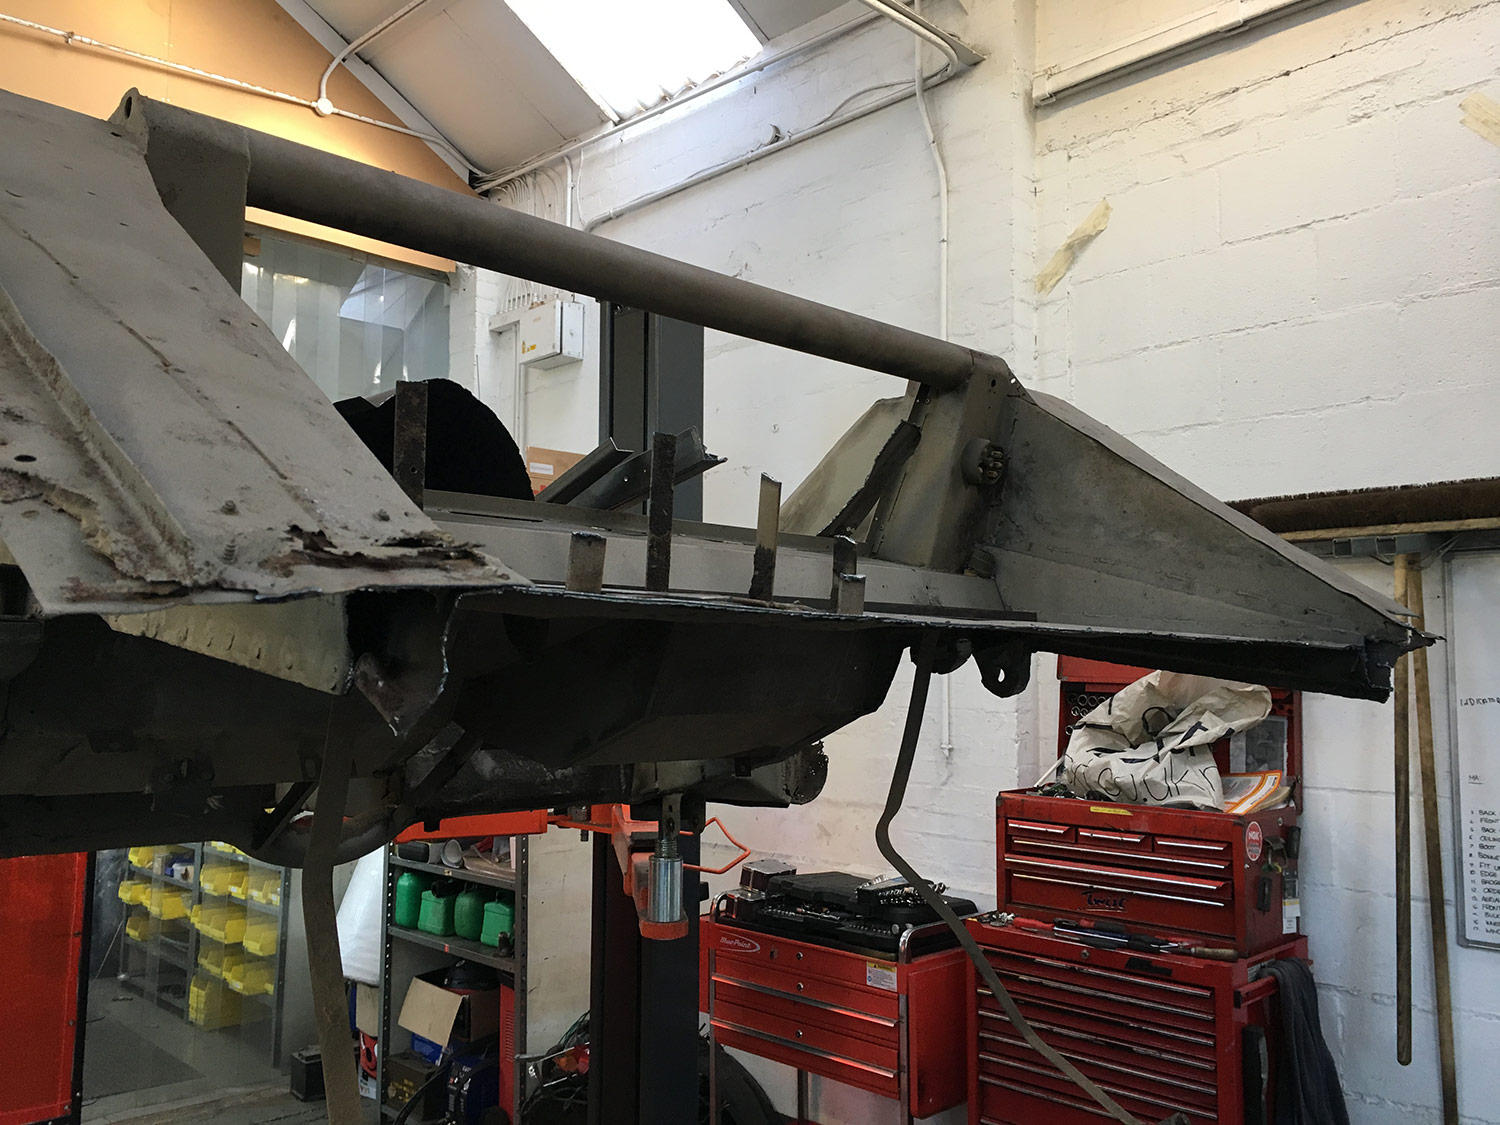
He’s managing to transform the body of our 1971 Jaguar E-Type roadster from a drag car back into the beautiful iconic classic it should be.
The arches have now been cut out ready for the new arches to be reshaped. The new floor pan is fitted and this afternoon he will be tackling the front air duct area…which is a big area to tackle.[/vc_column_text][/vc_column][/vc_row][vc_row][vc_column][vc_gallery type=”image_grid” images=”9378,9383,9382,9381,9380,9379,9389,9384,9385,9386,9387,9388″][/vc_column][/vc_row]

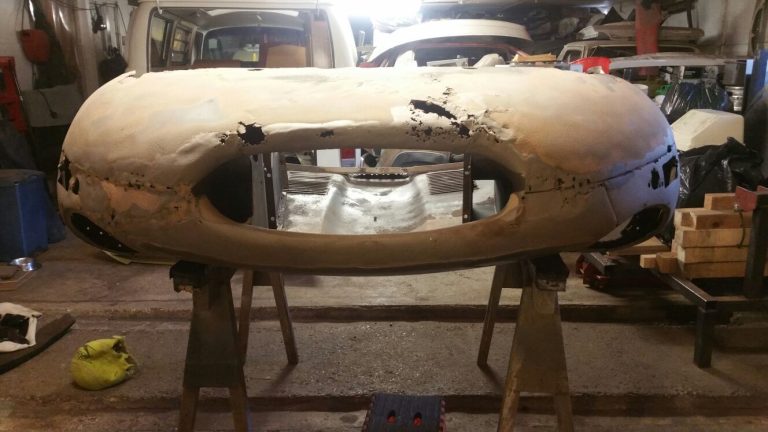
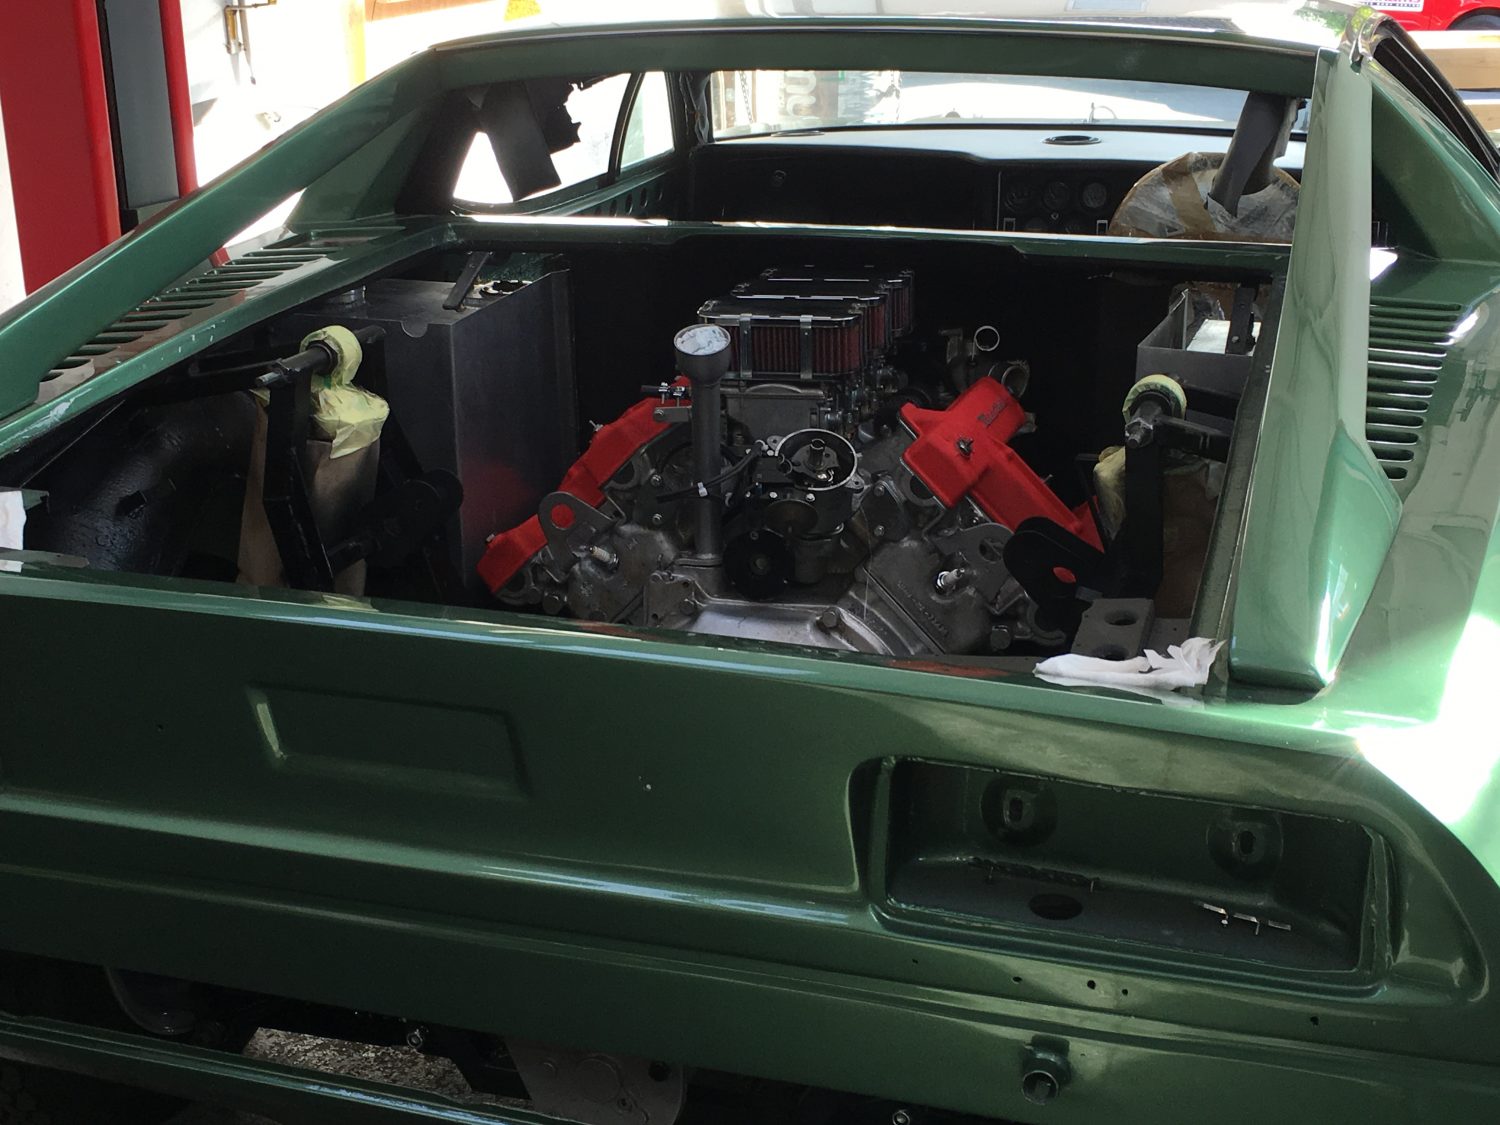
Work has started today on our 1967 Jaguar E-Type 2+2 body shell.
We are hoping to reveal some exciting news very soon on this 2017 project but until we have our plans confirmed, all of our I’s dotted and our T’s crossed then work must still commence on the body-shell.
The bonnet is the first and probably the most time consuming area to cover so we’ve enlisted a little help from our friends at Hutson Motor Company.
World renowned Jaguar specialist, the Hutson Motor Company are one of the foremost manufacturers of ‘E’ -Type spares.
Rather than the Bridge technicians having to build the panels required we thought it was best to see if Hutson had them on the shelf and luckily they did.
Typically the panels we required were probably the most expensive panels on the bonnet but nevertheless, the cost in parts and labour for us to build would have been greater.
Here we have the front under-pan which, as you can see, makes up a huge portion of the front nose. This is a very important piece.


And then we have right-hand and left-hand wing repair panels. This saves having to buy or replace an entire wing.

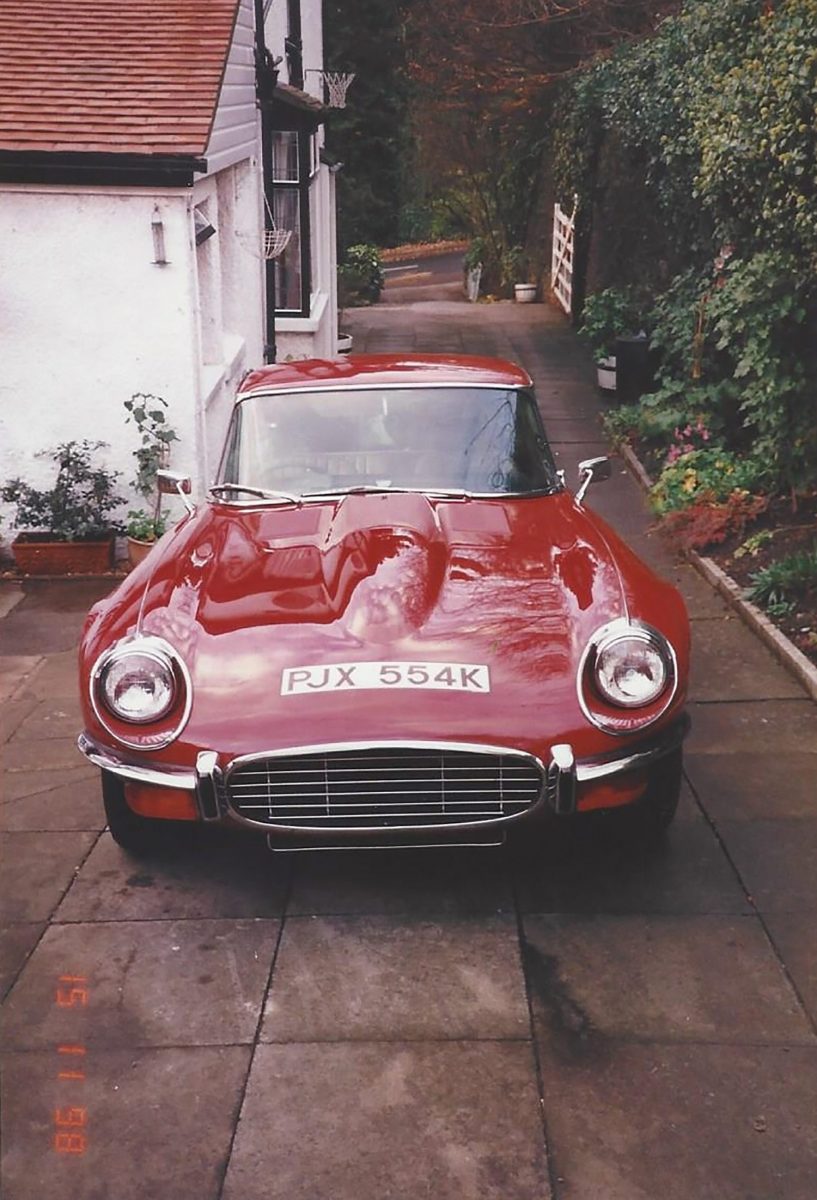
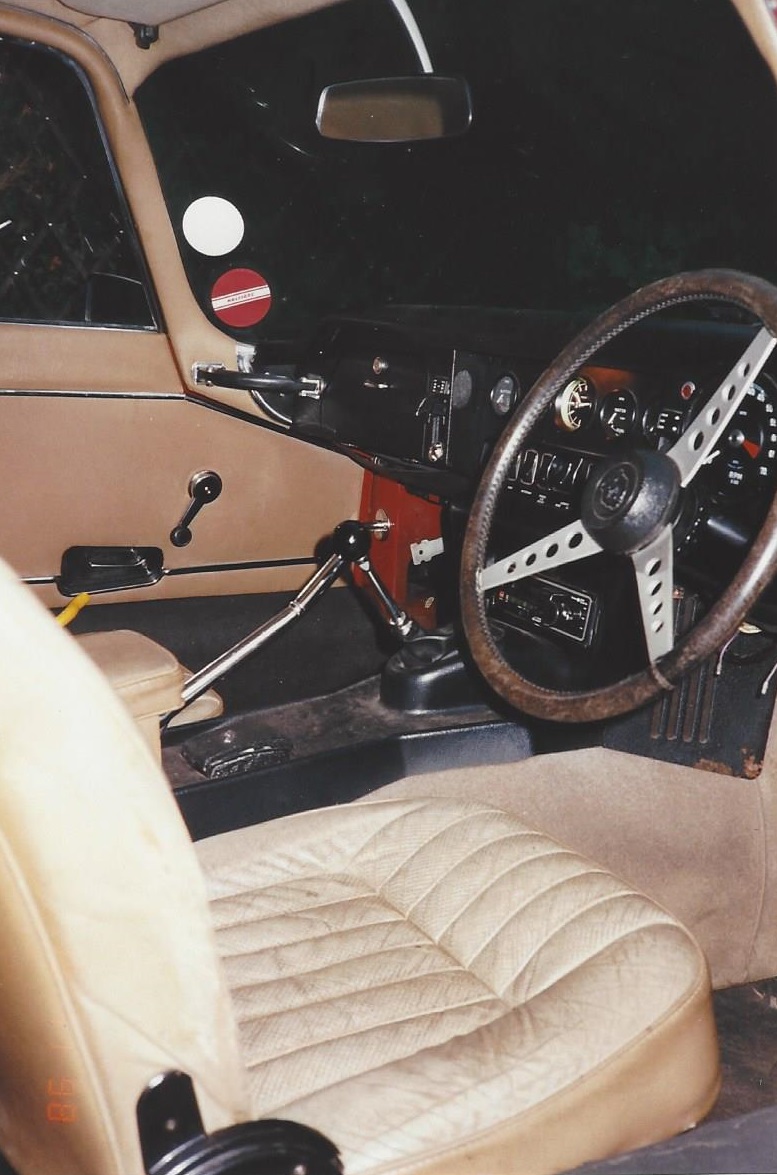
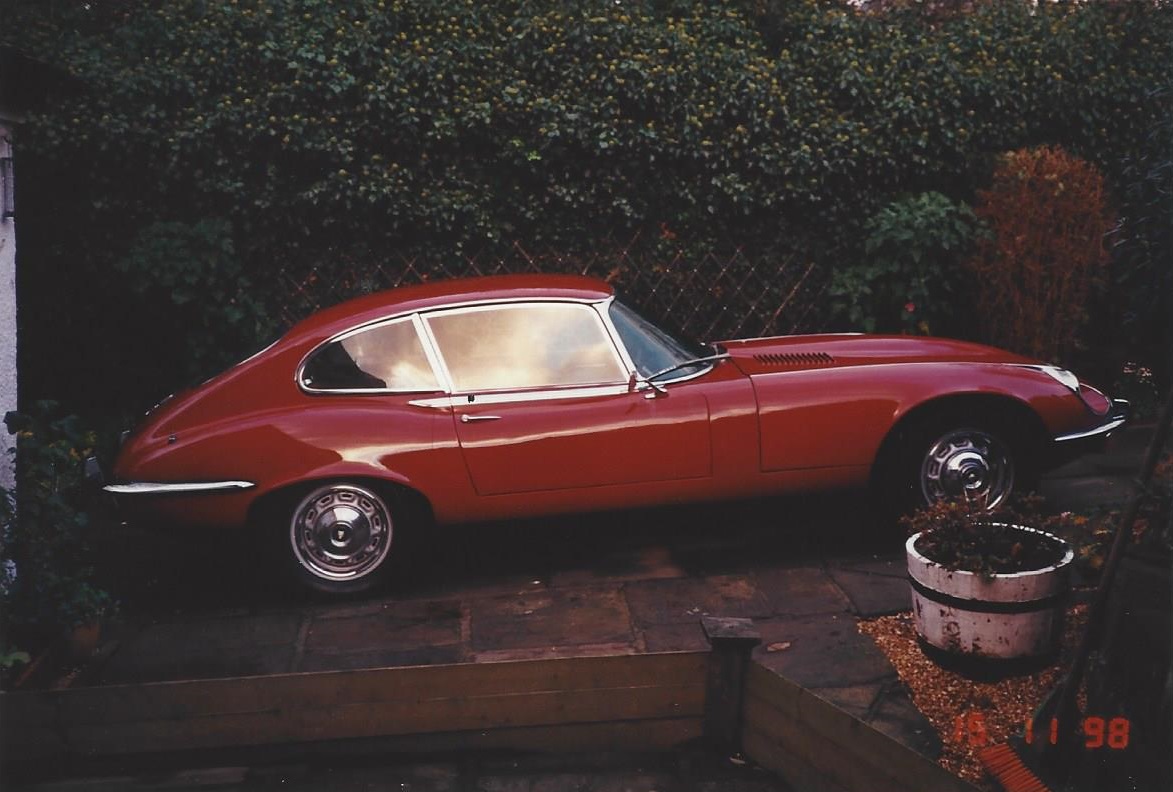
When clearing out the glove box of our 1972 Jaguar E-Type we came across some old photographs taken of the car in 1998.
It’s great to keep old documentation of the vehicle, however minor you feel it is at the time it all helps to build the history of the car.
We love taking lots of photographs here at Bridge Classic Cars.
These were taken over 18 years ago, here is our 1972 Jaguar E-Type sitting proudly on someone’s driveway, looking lovely!