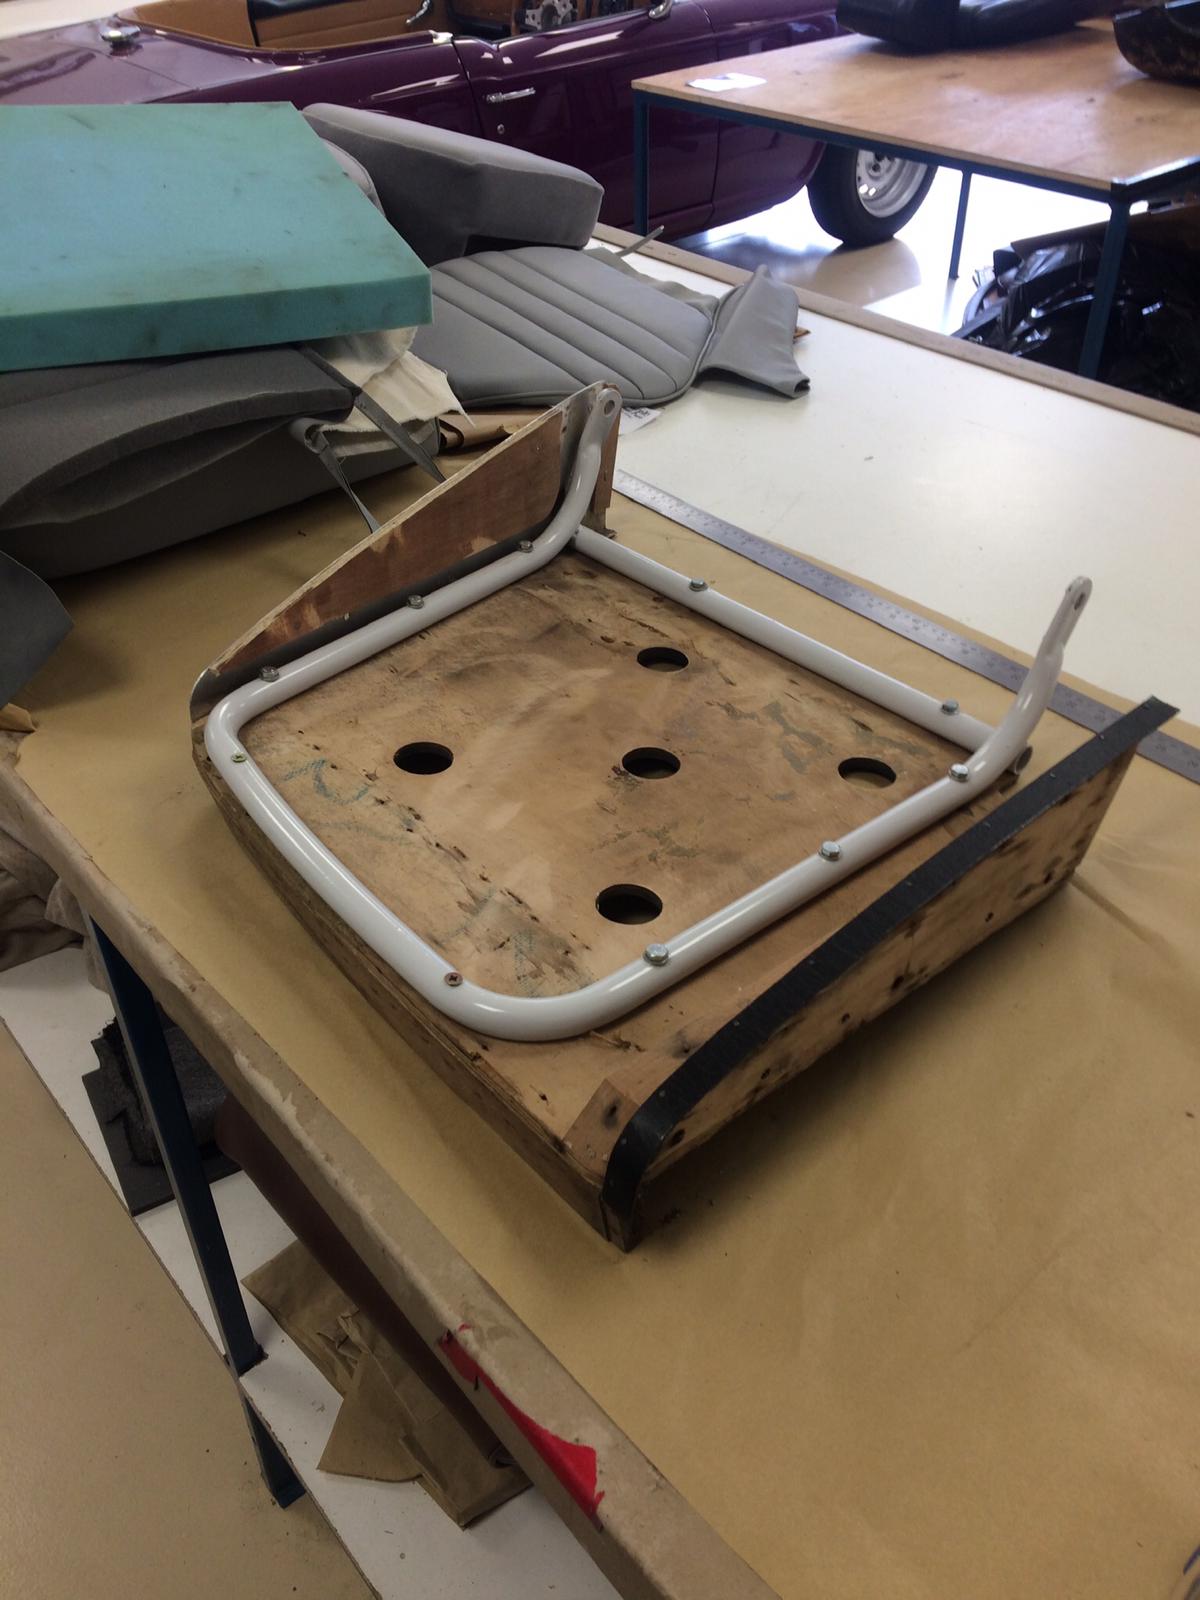
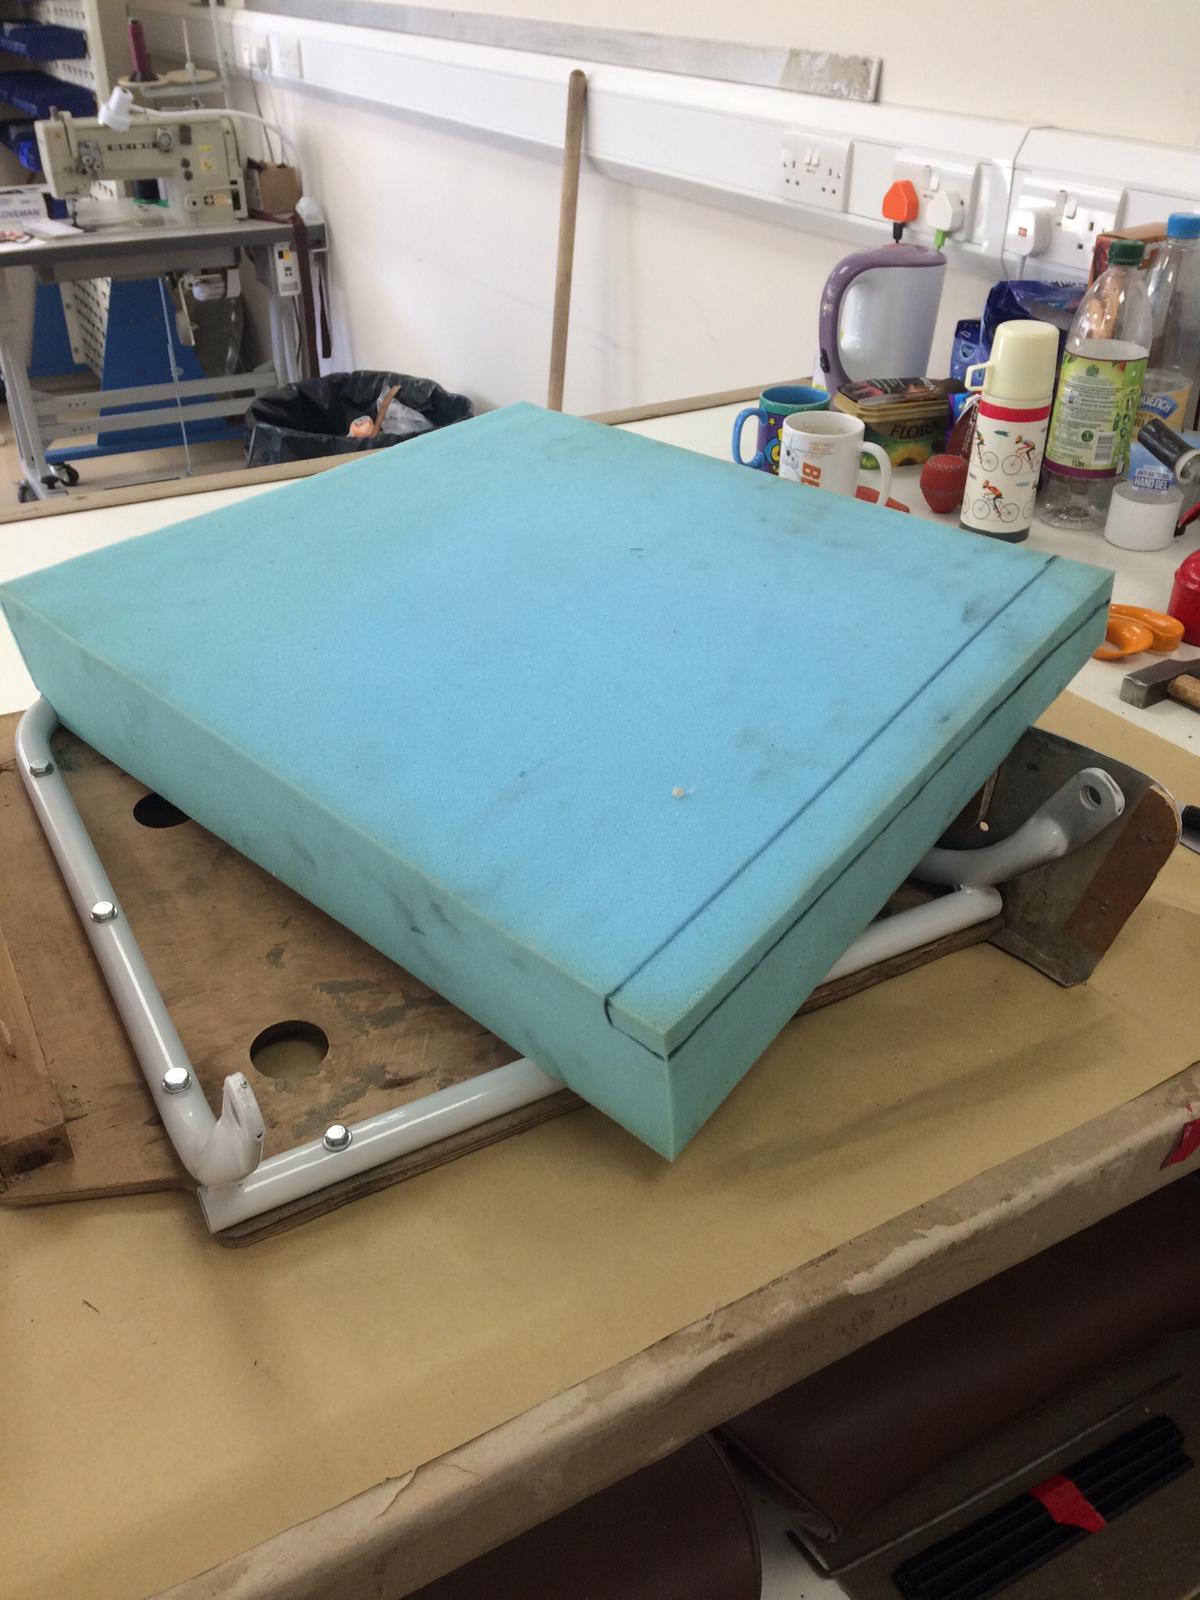
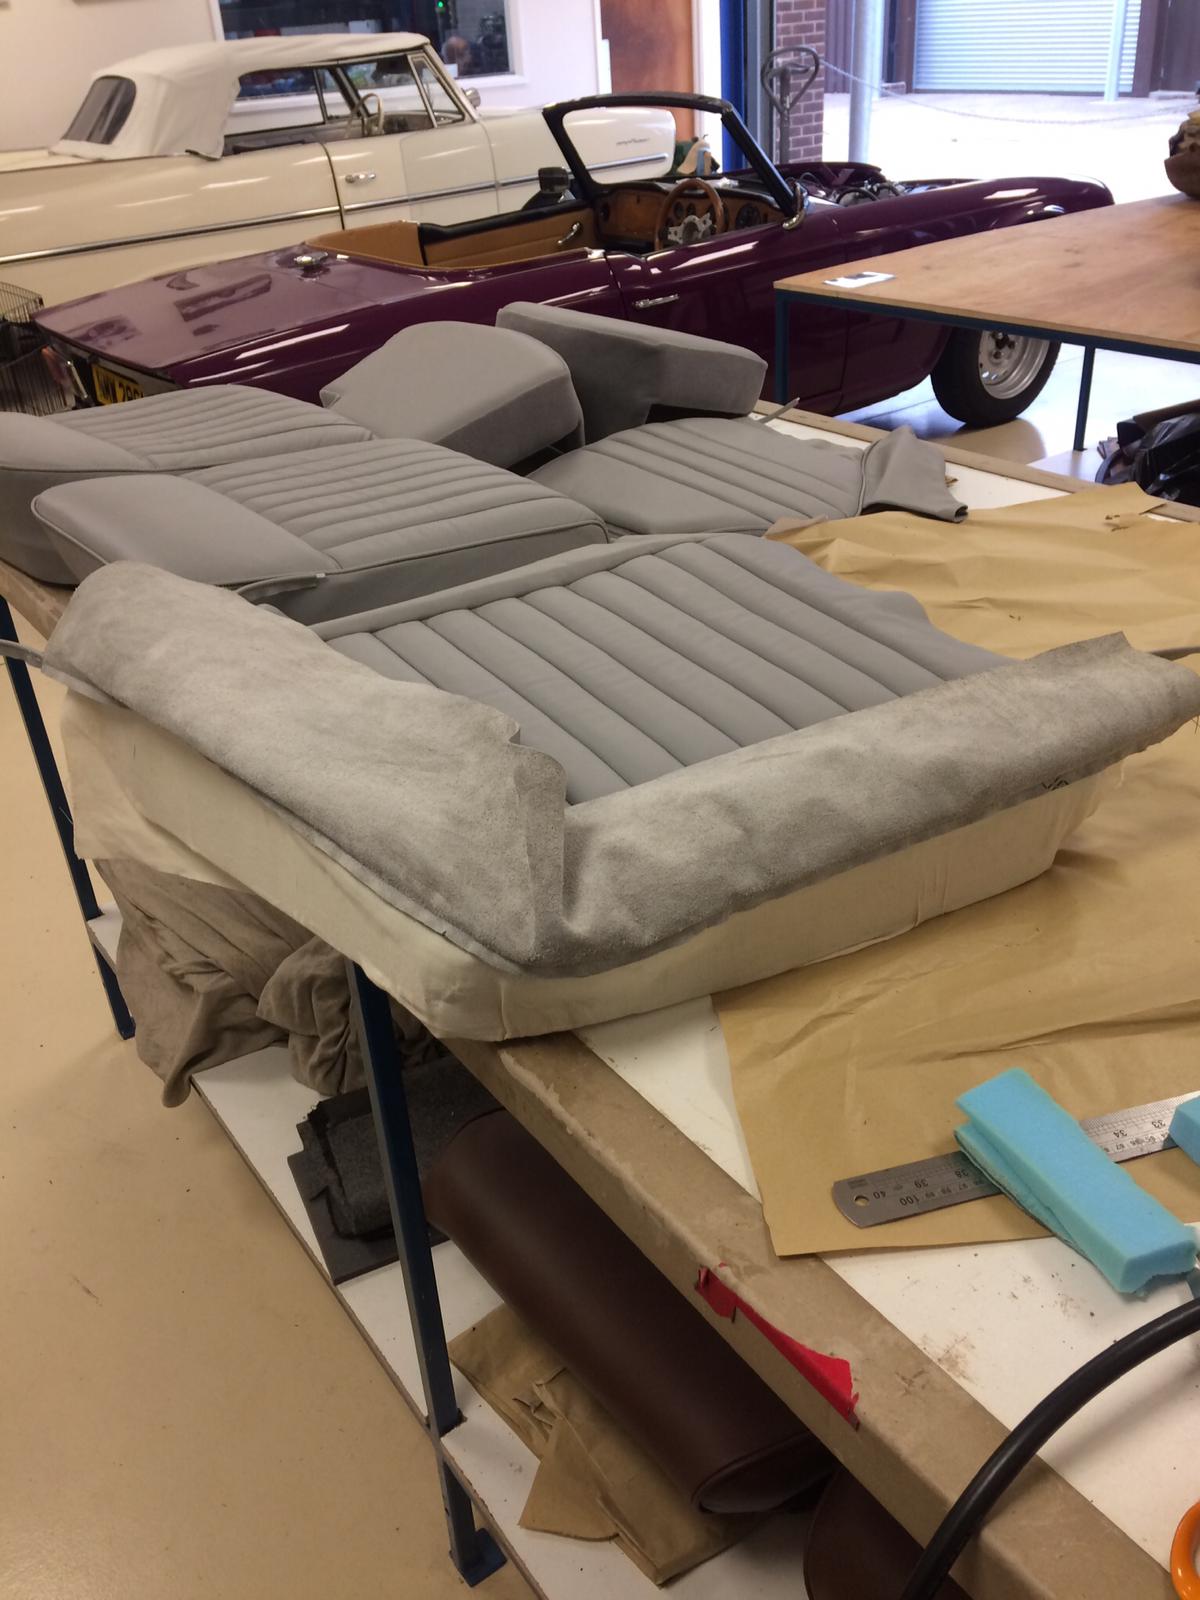
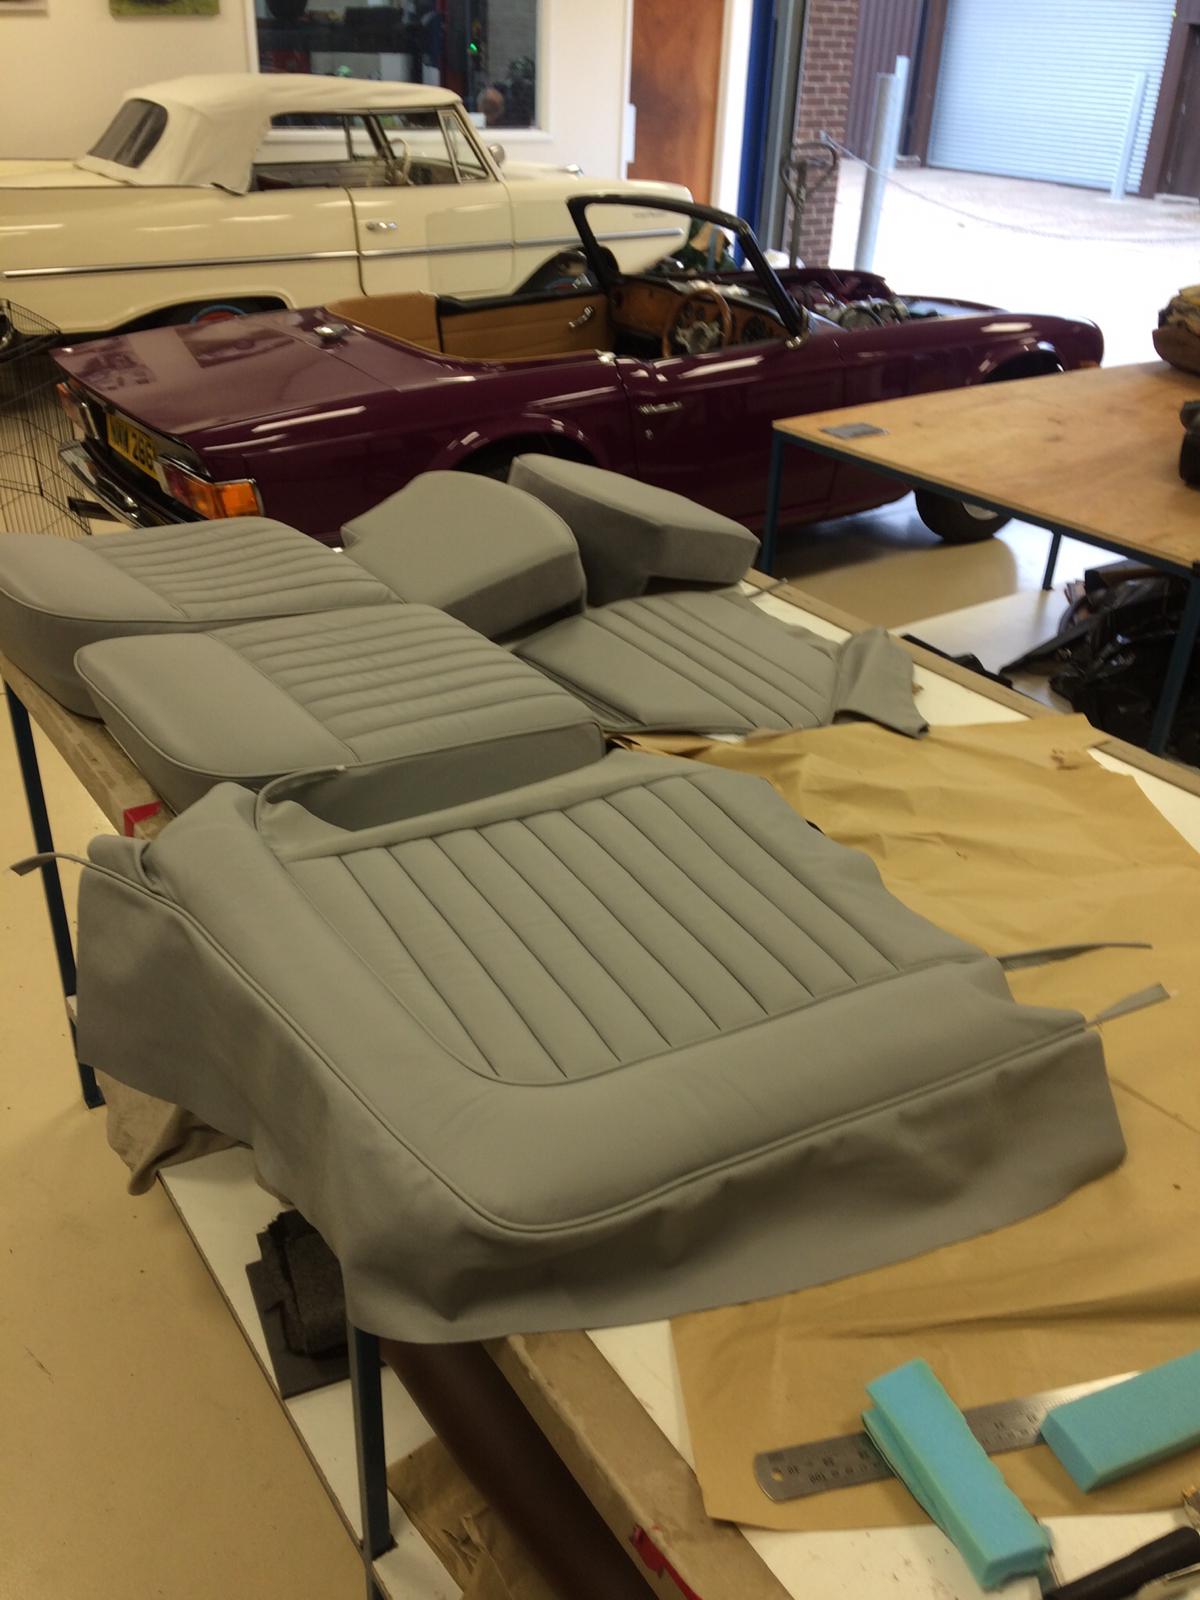
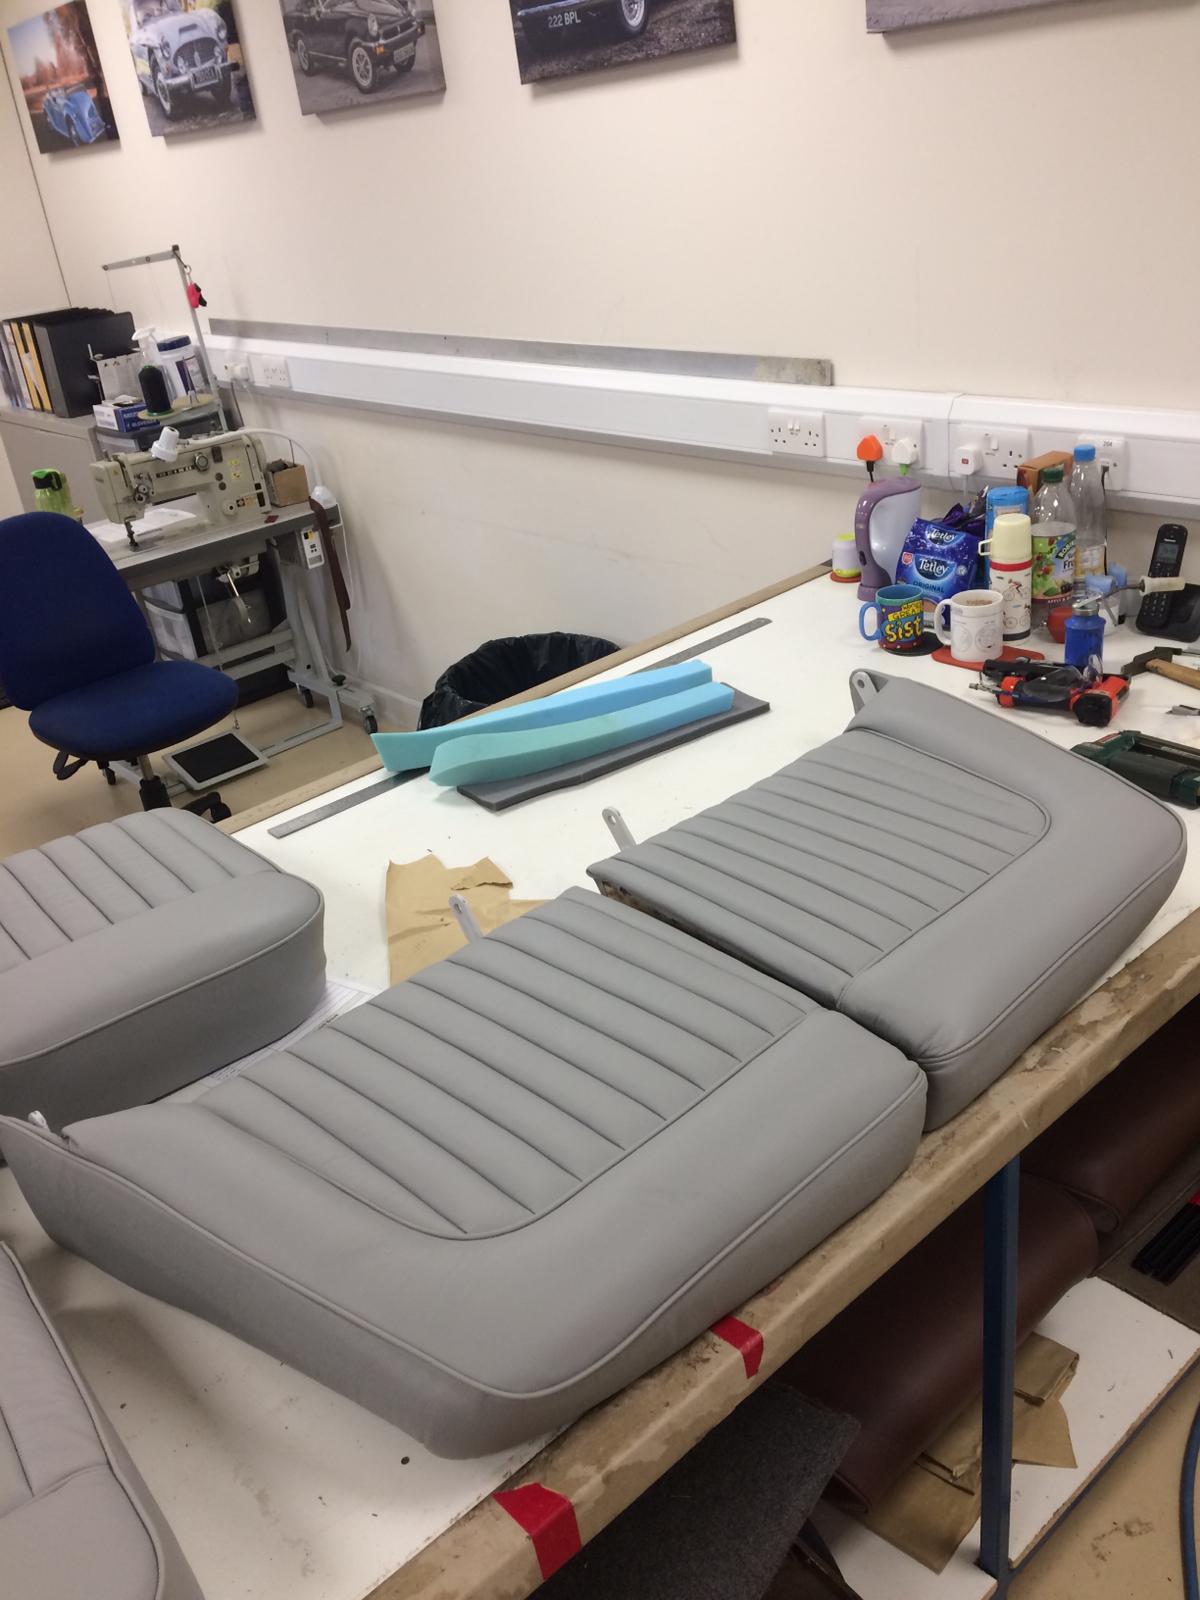
The exciting restoration project continues on our 1958 Jaguar XK150. This week the interior has been with our expert trim shop who have been working on the seats, and other interior panels.
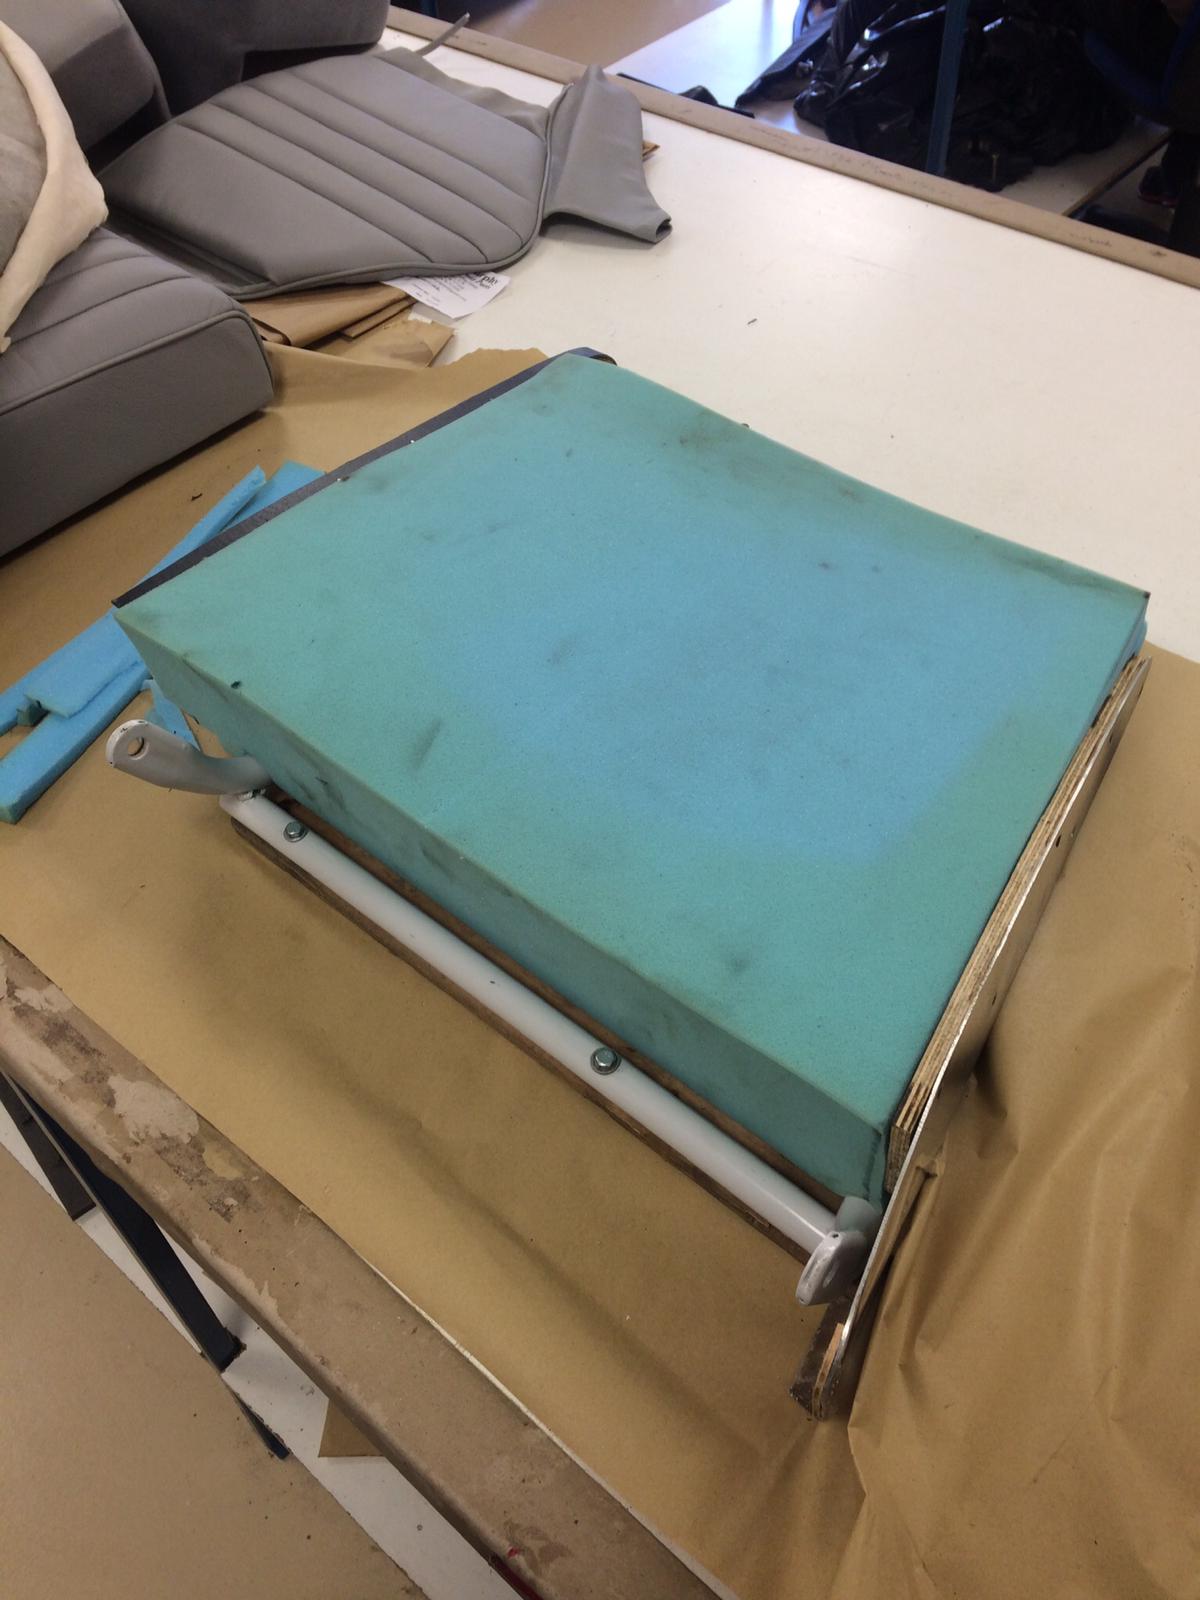
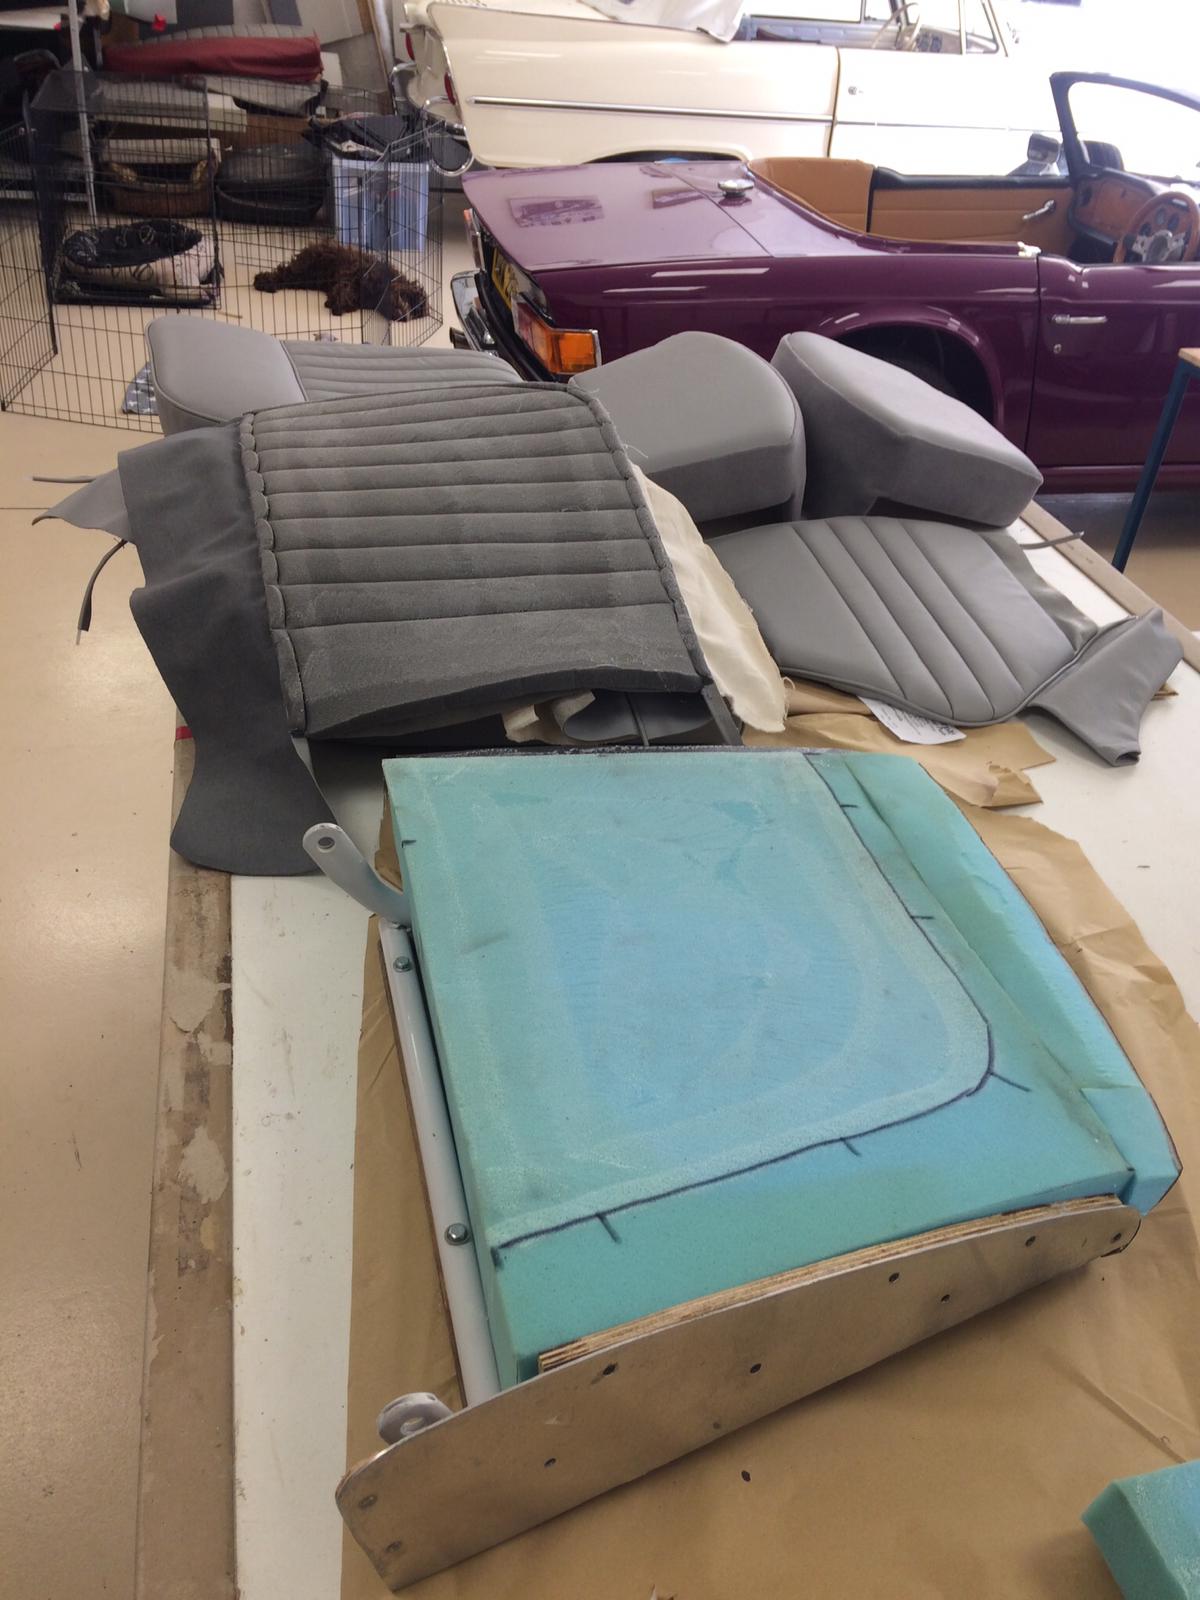
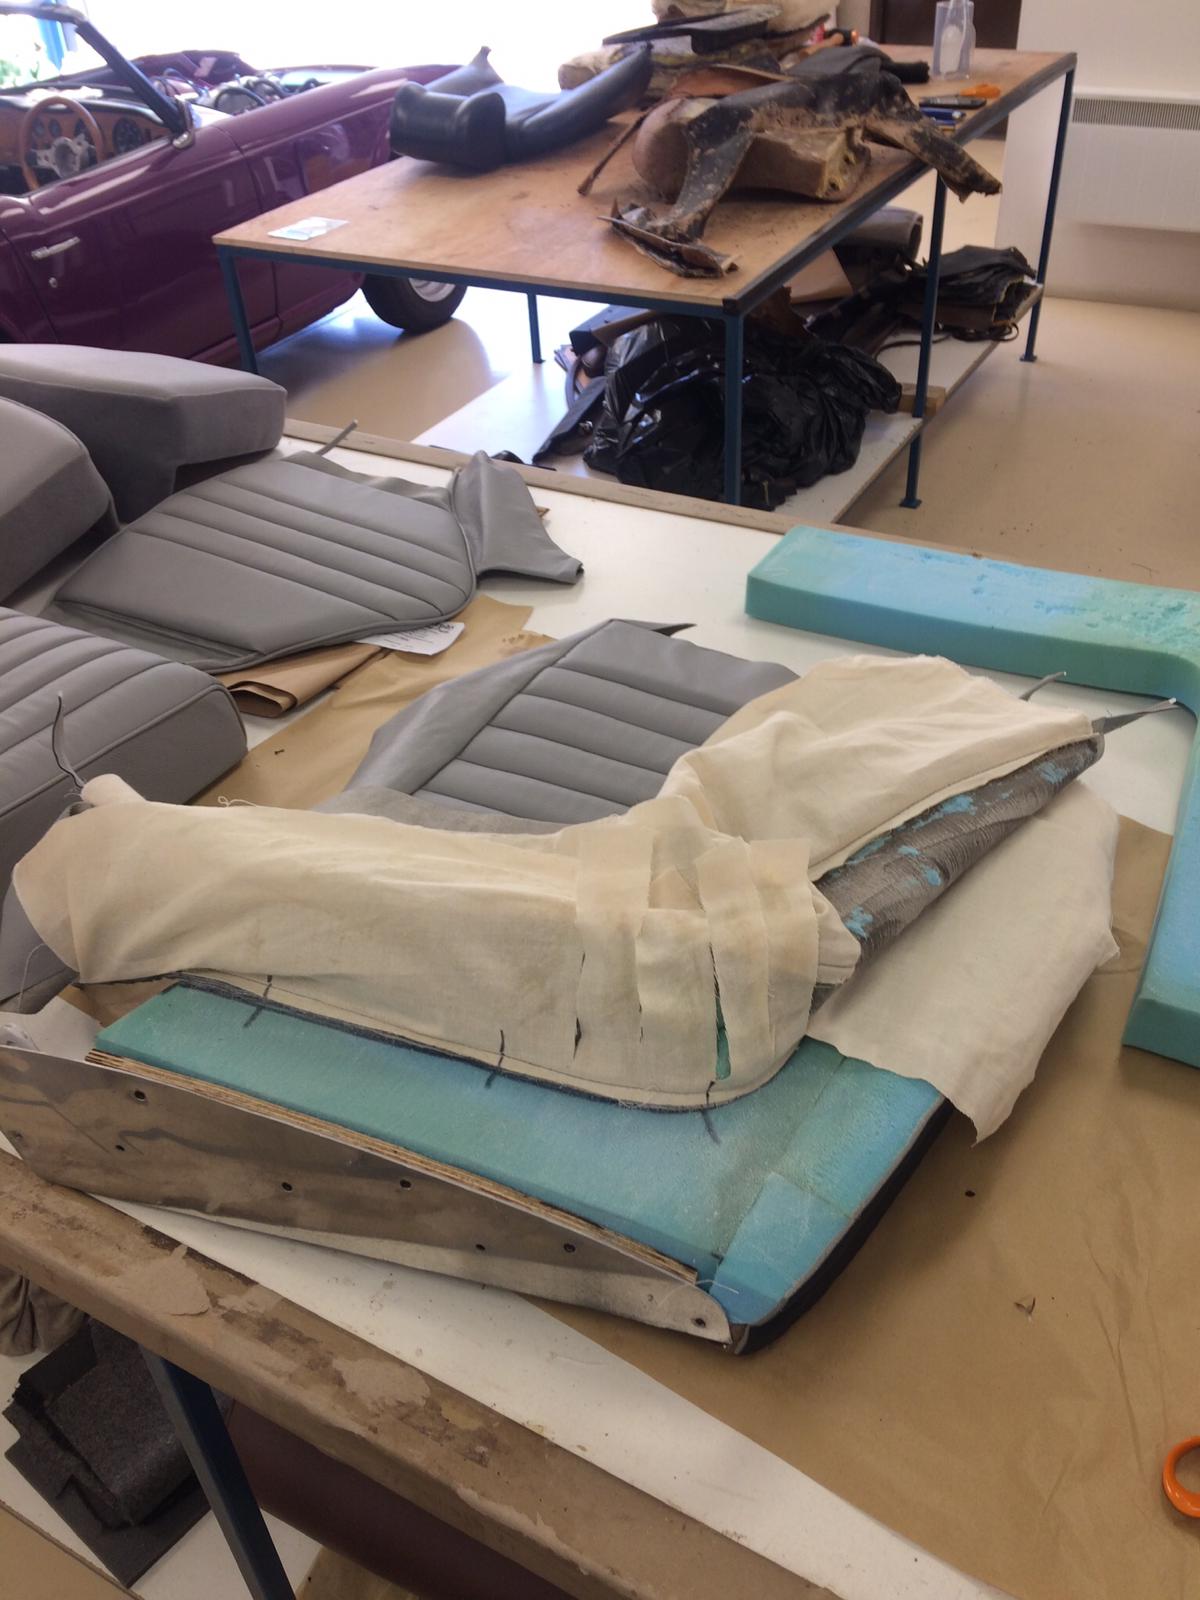
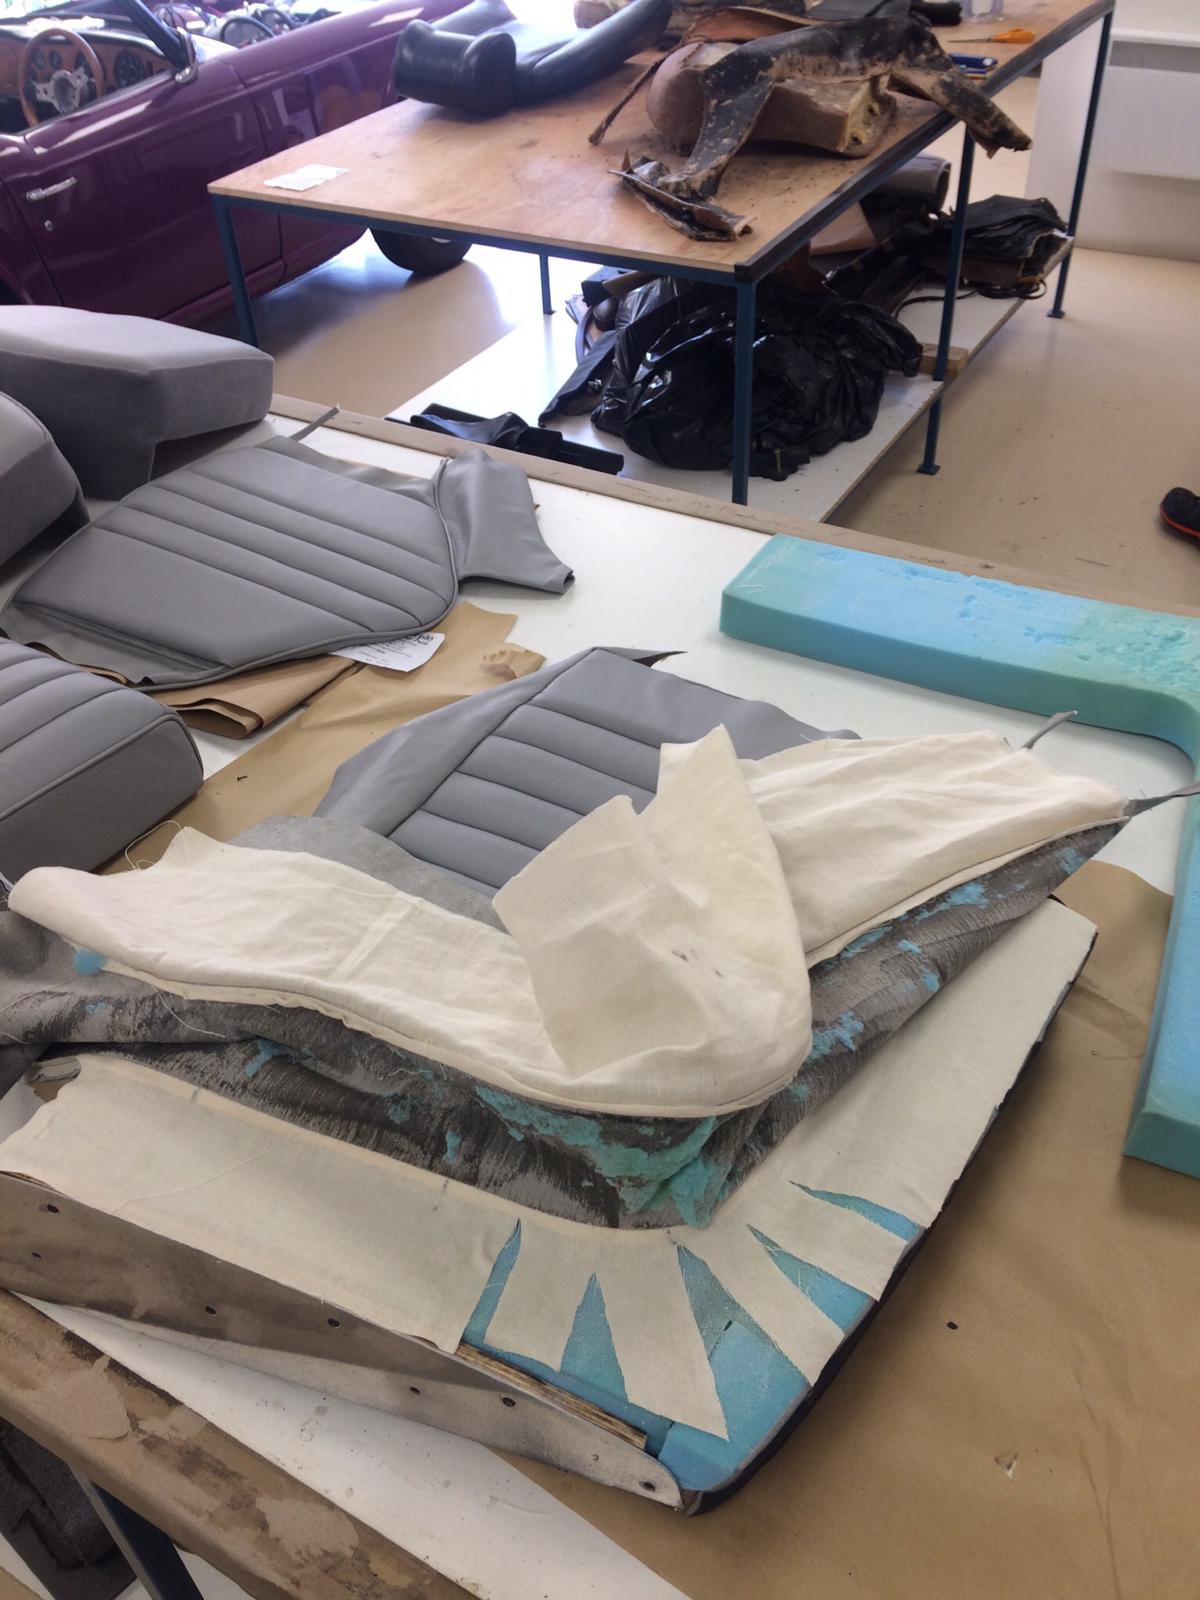
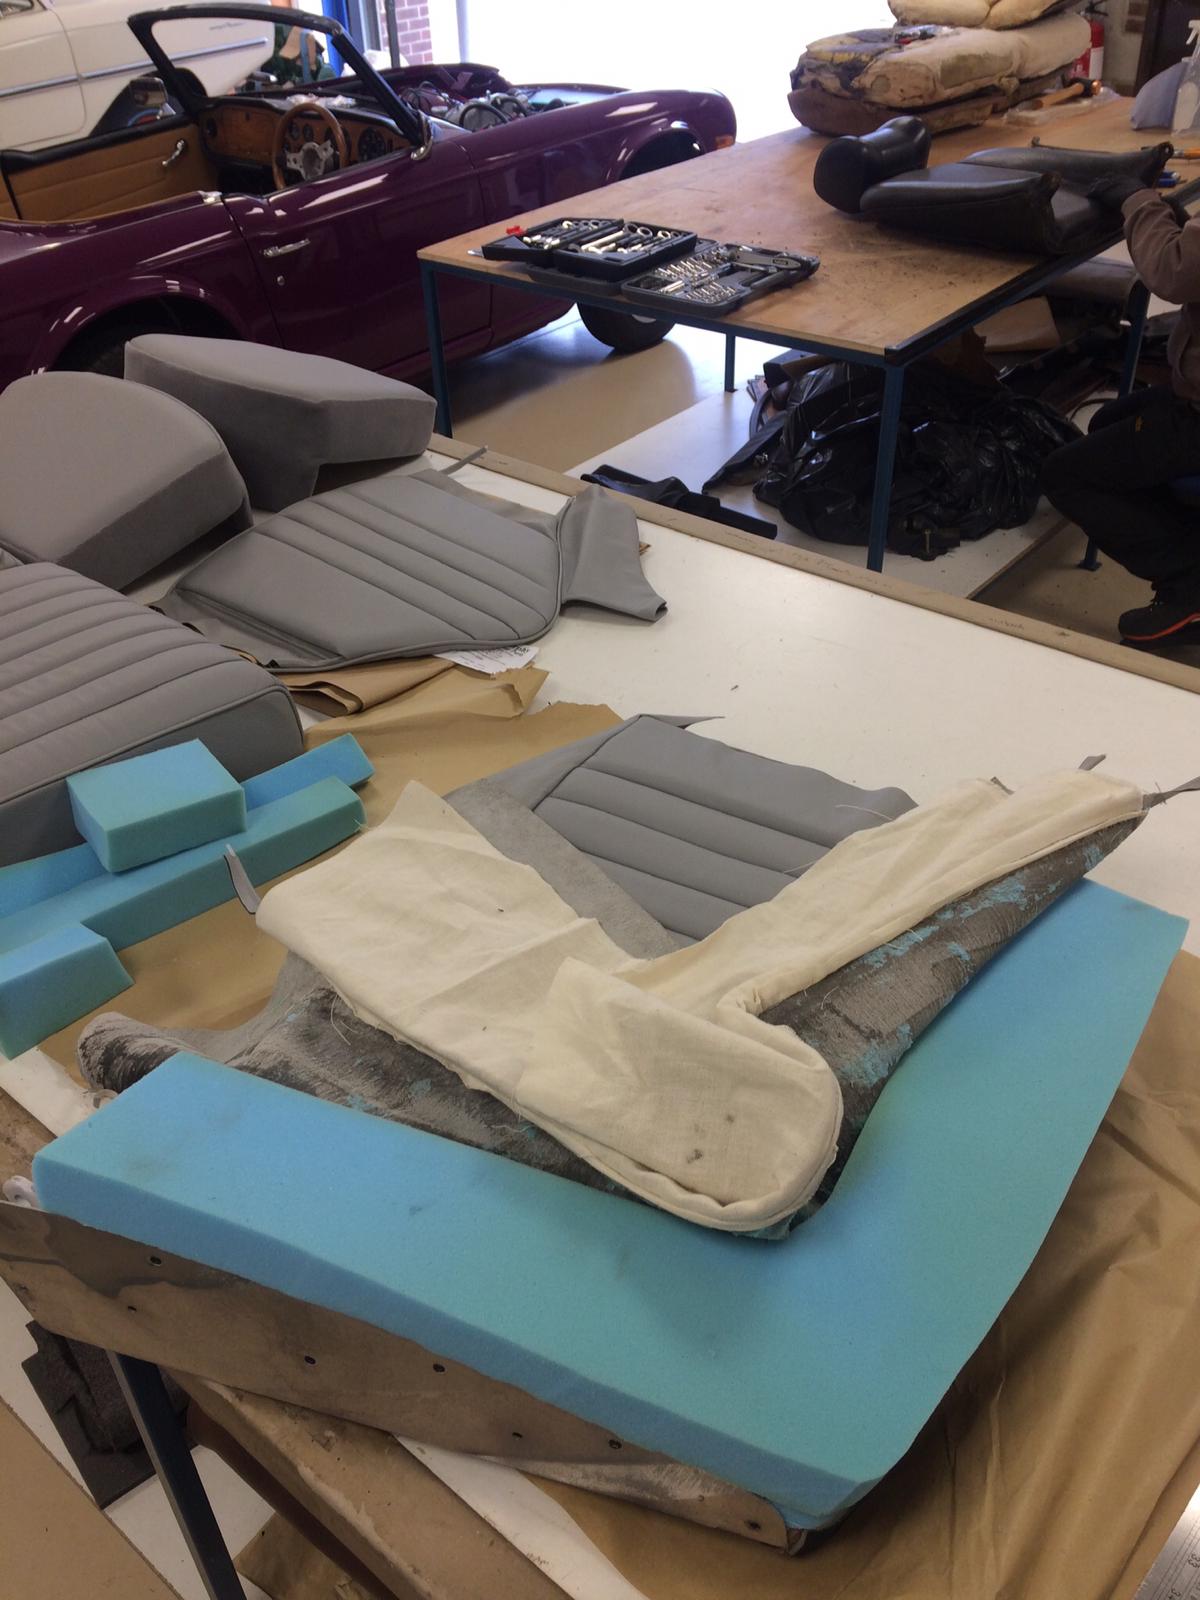
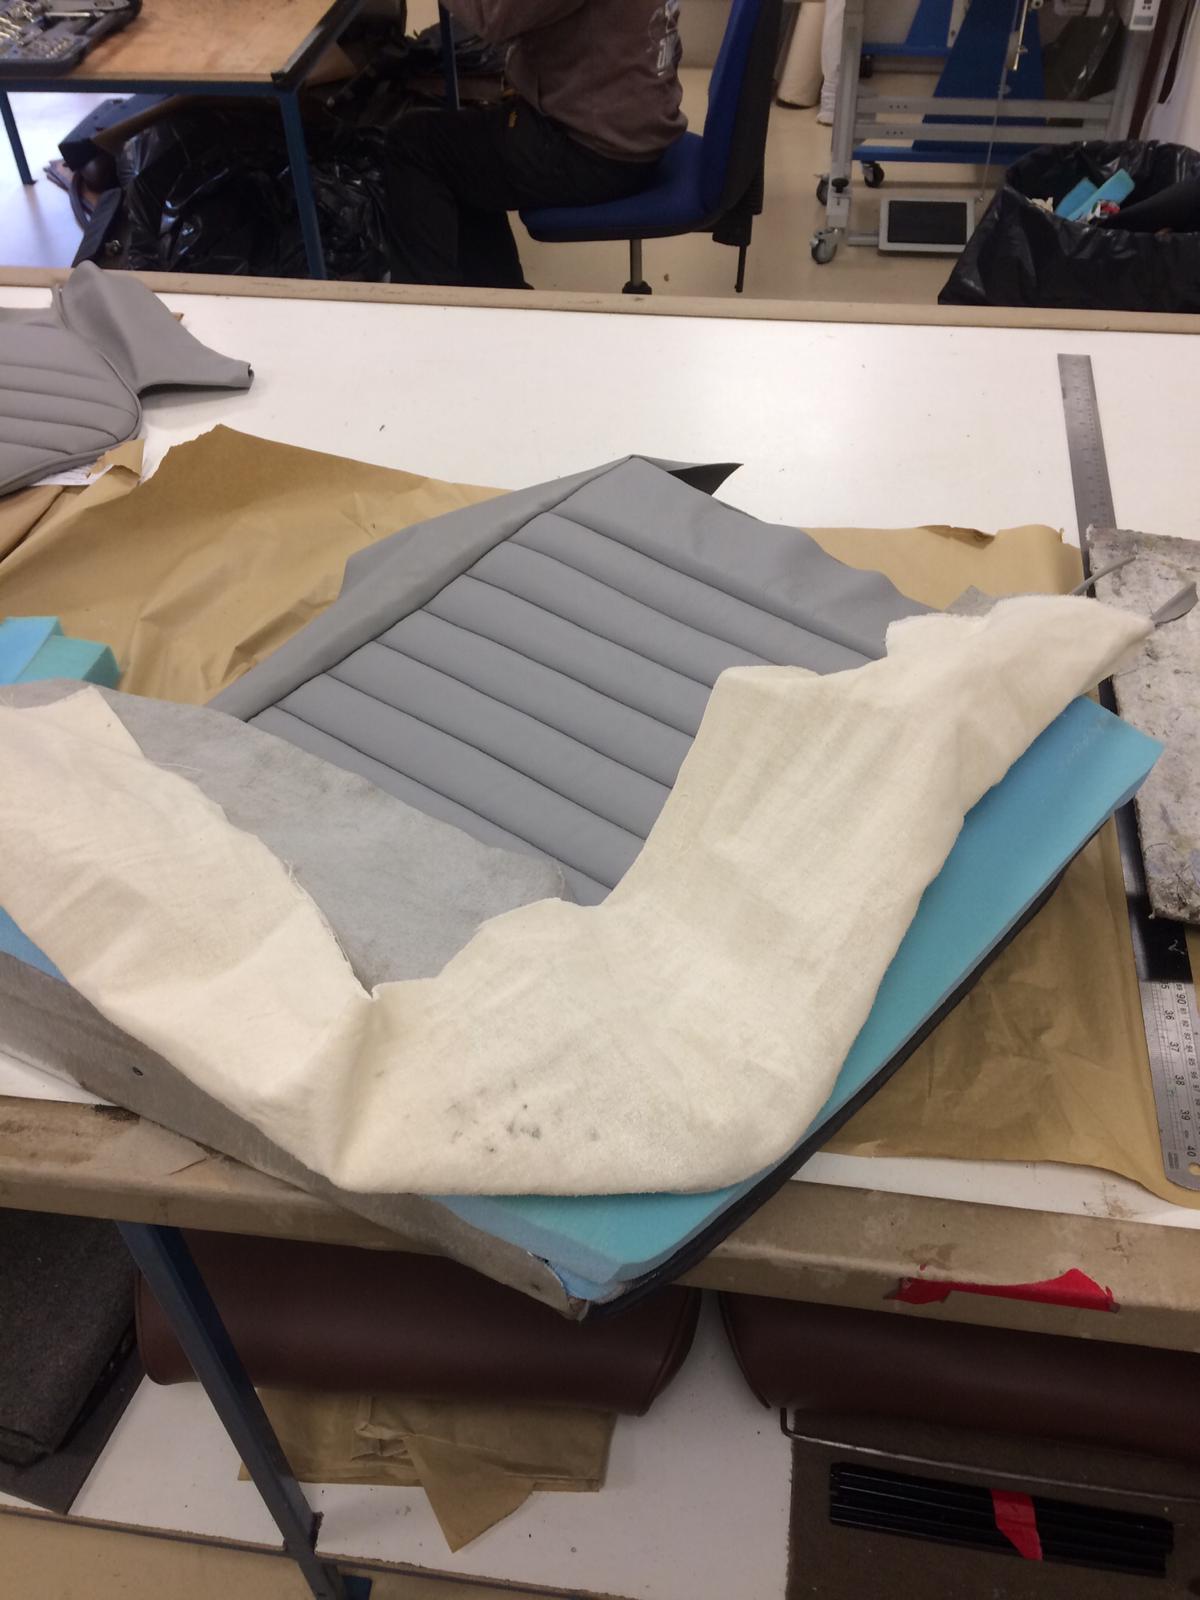
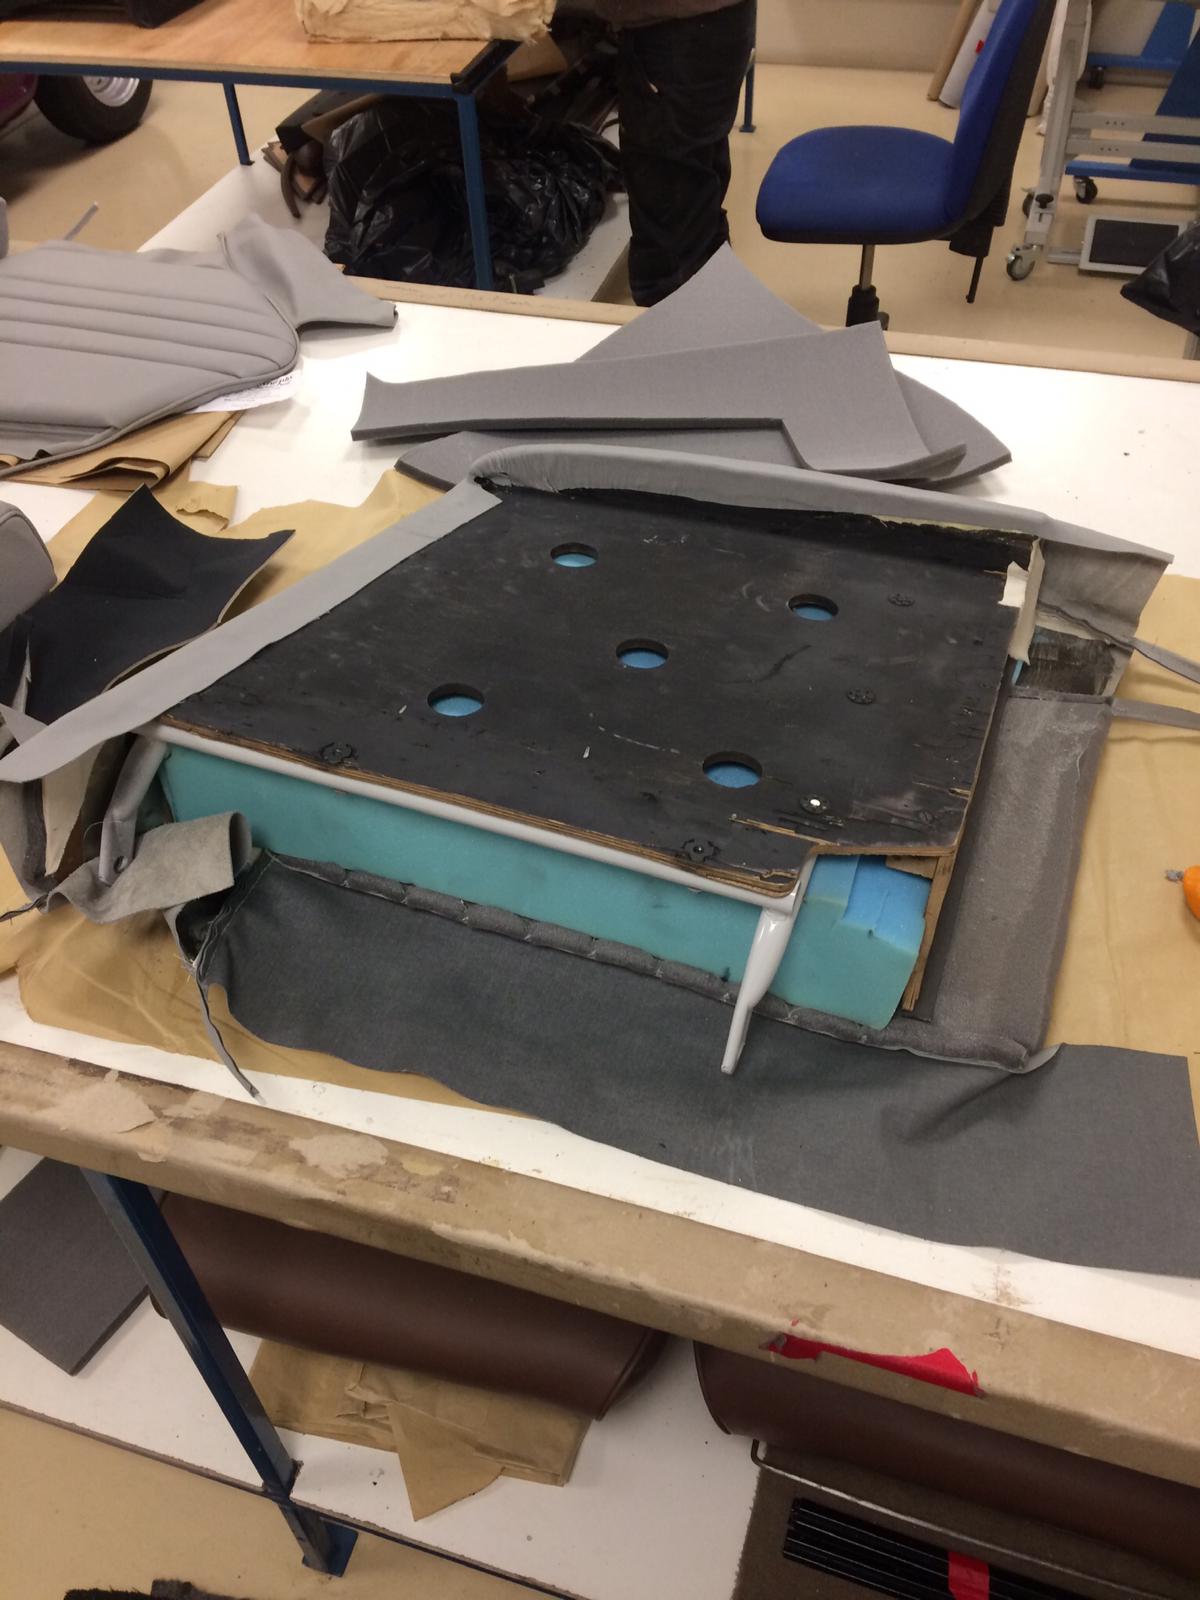
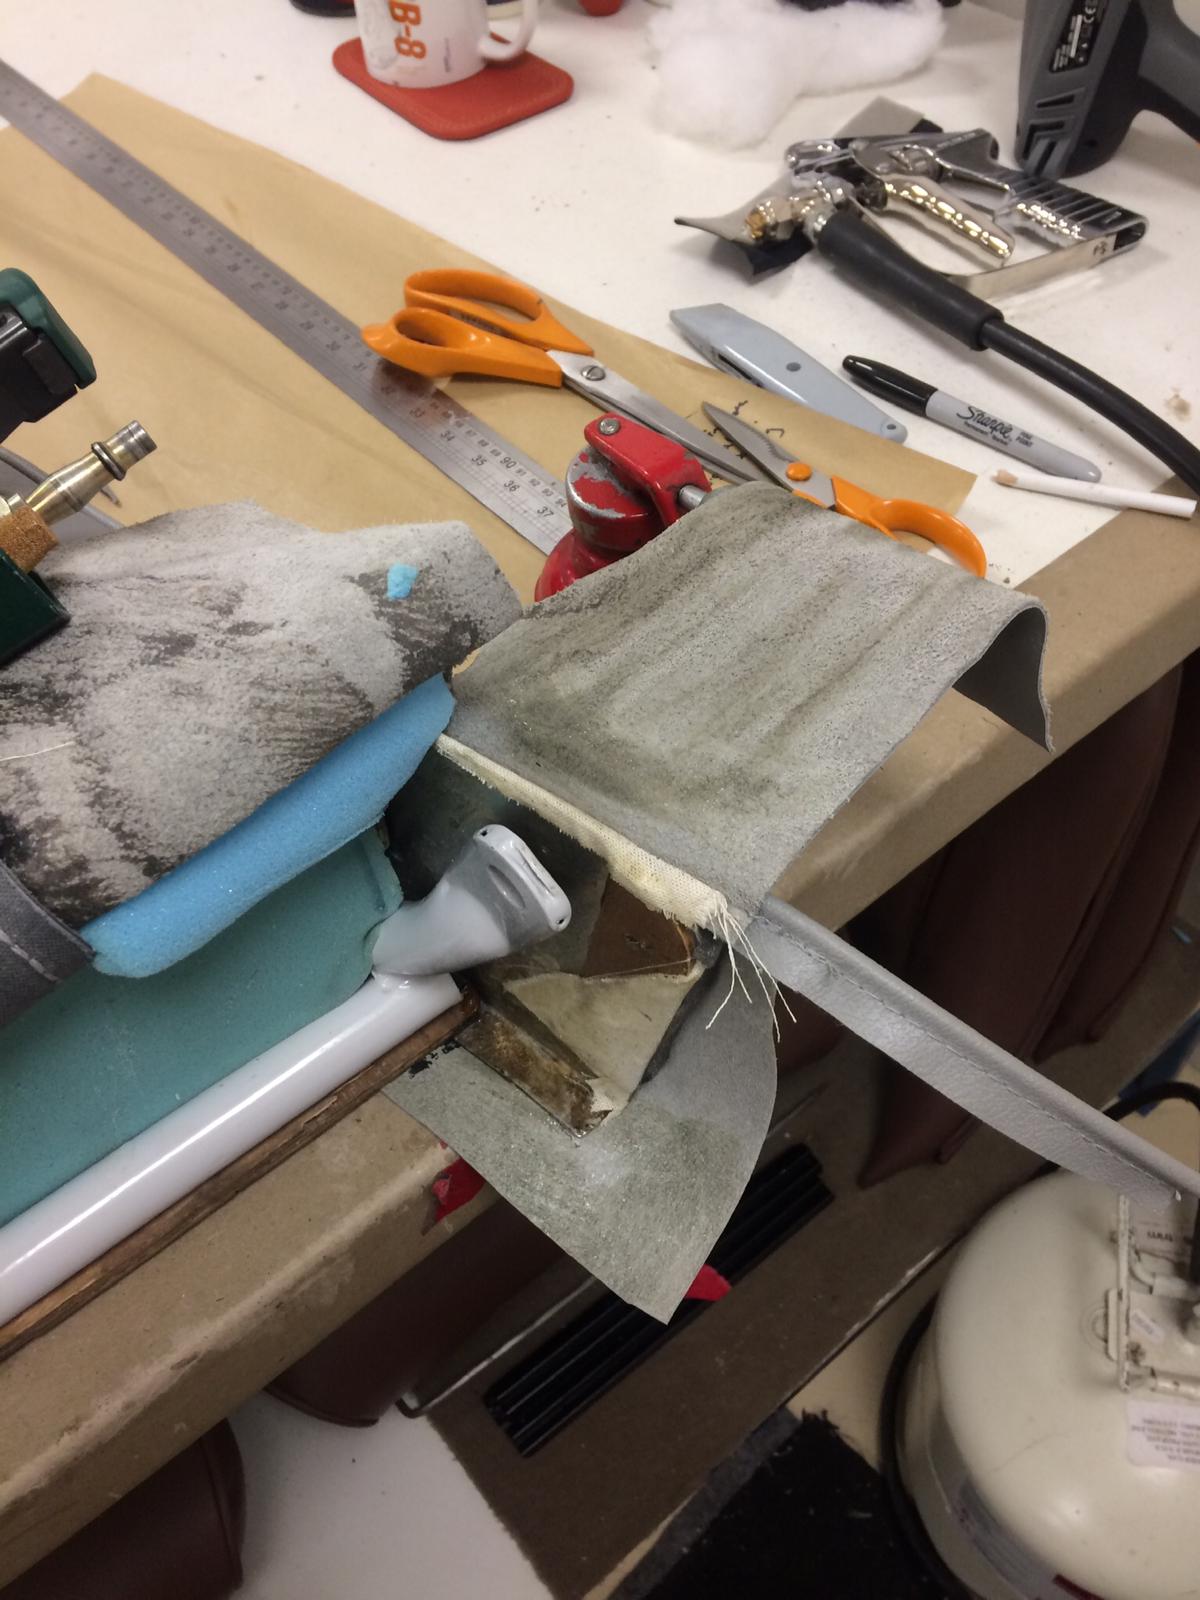
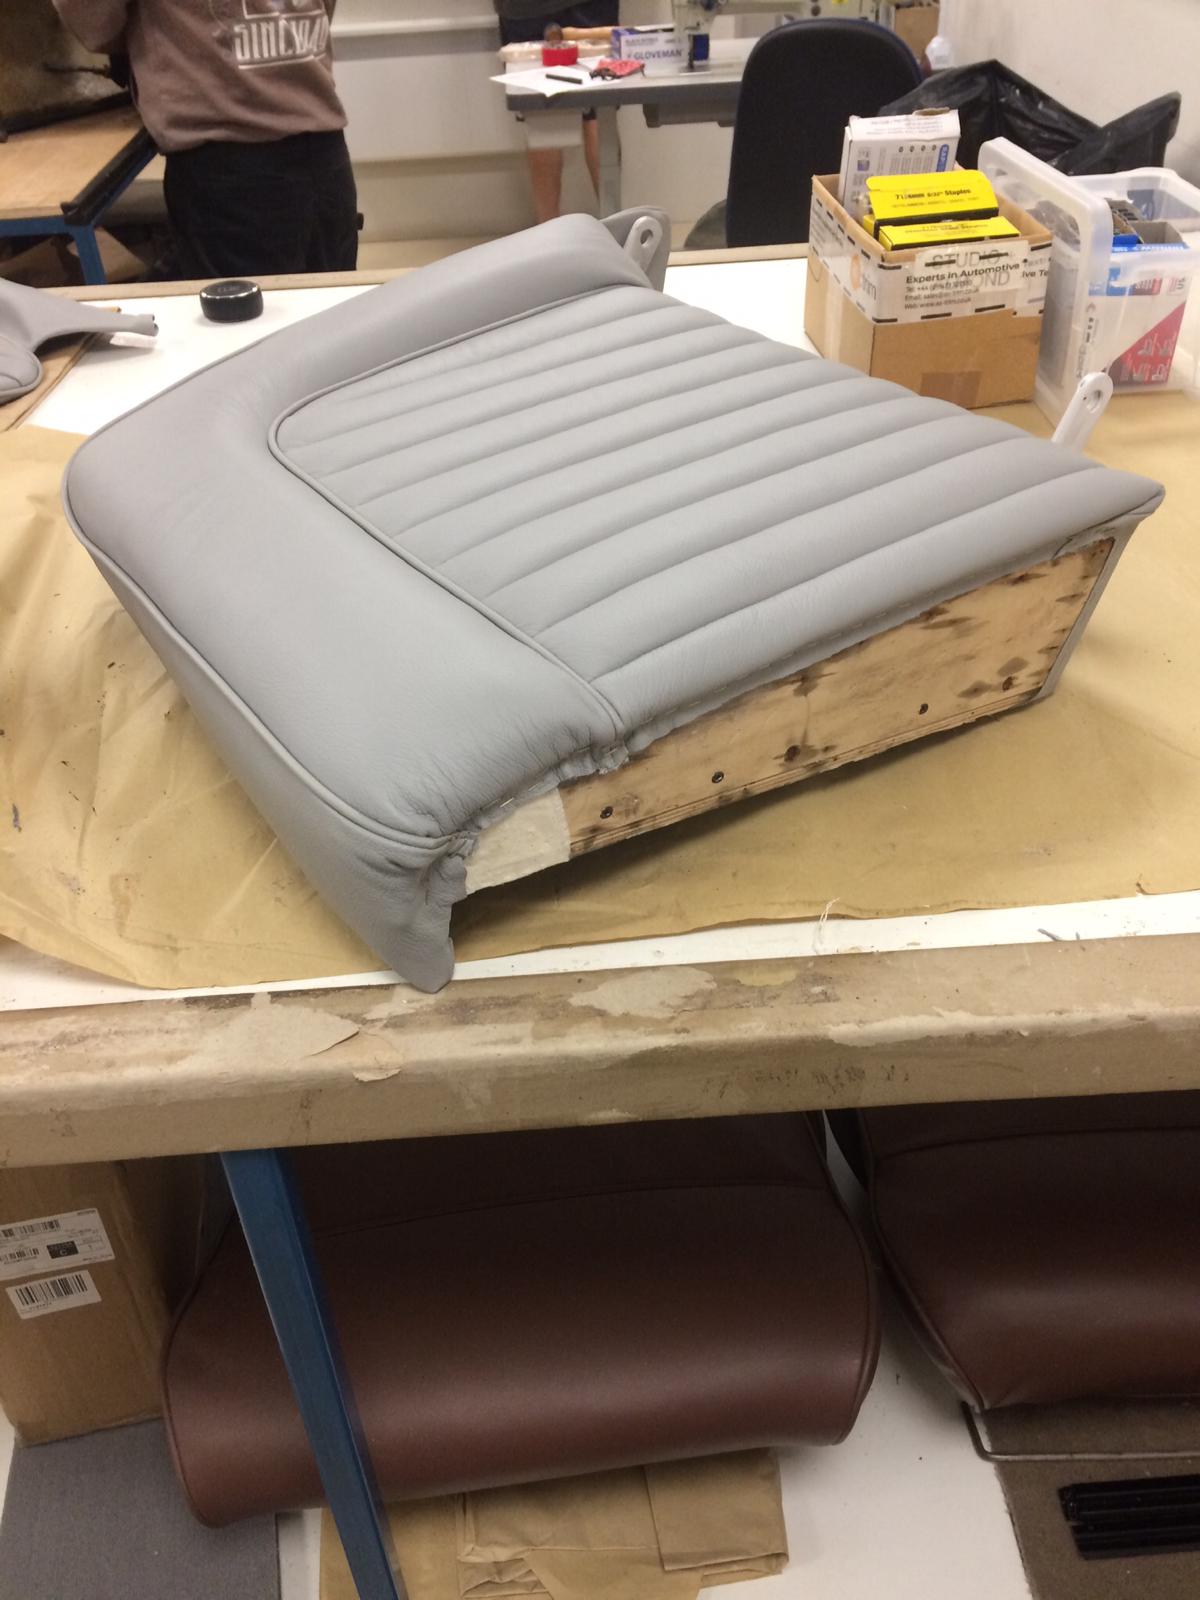
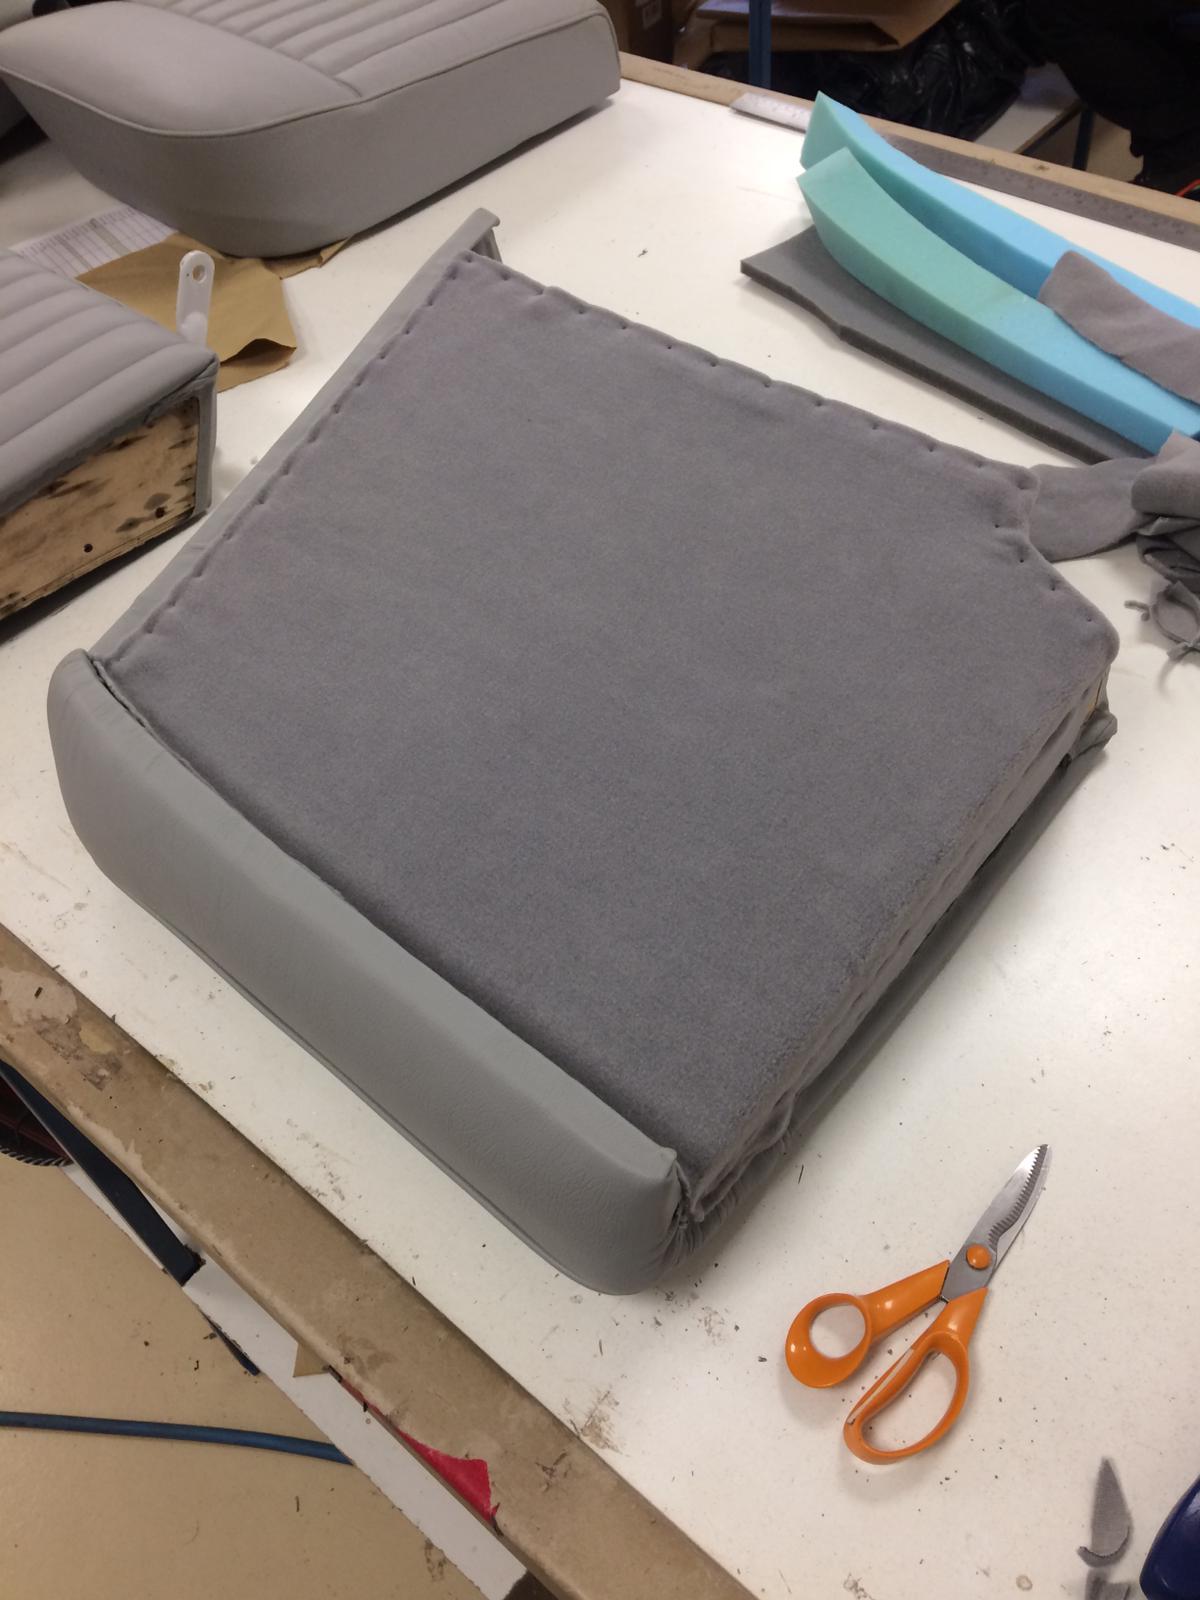
Brian starts by cutting the foam to the right size for the front seat squab frame. “I then mark where the cover needs to sit” Brian explains “gluing the cover into position, sticking the calico flap in place”.
Brian adds extra foam bolstering, to give the seat it’s comfortable shape. He then pulls the second calico flap over the frame and pulls the cover into position.
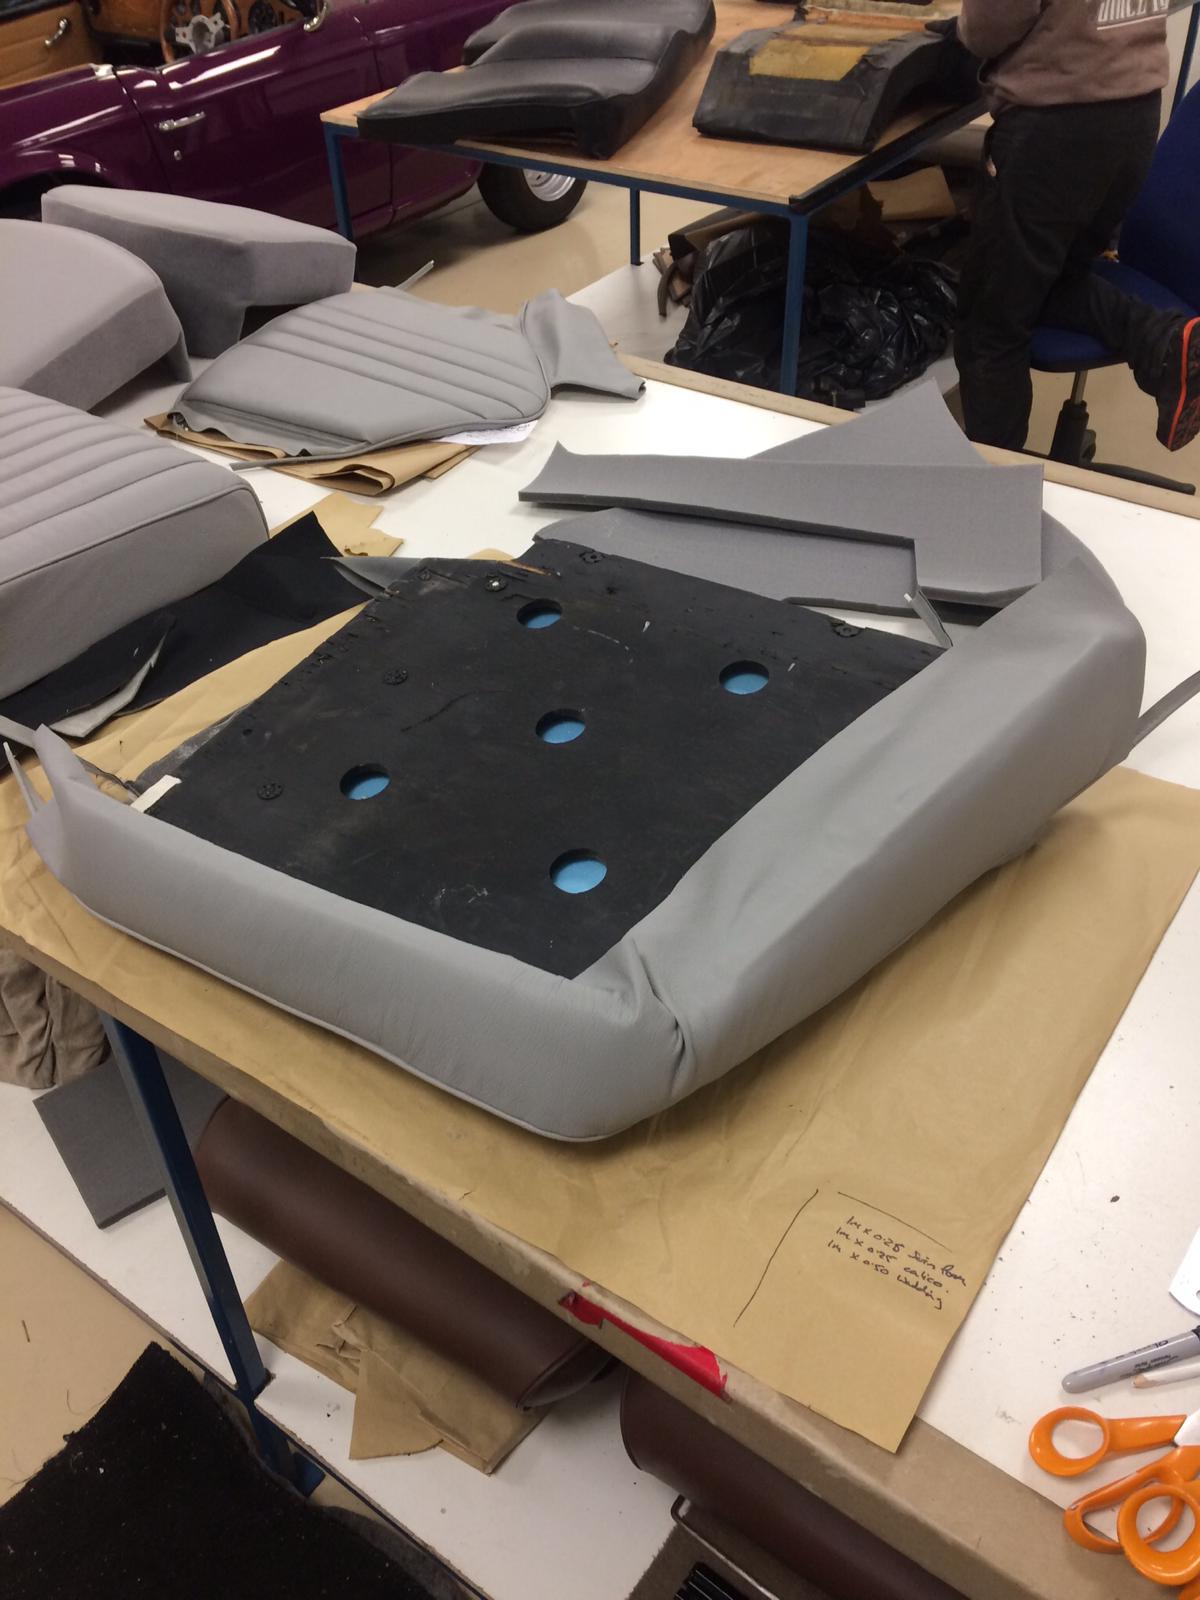
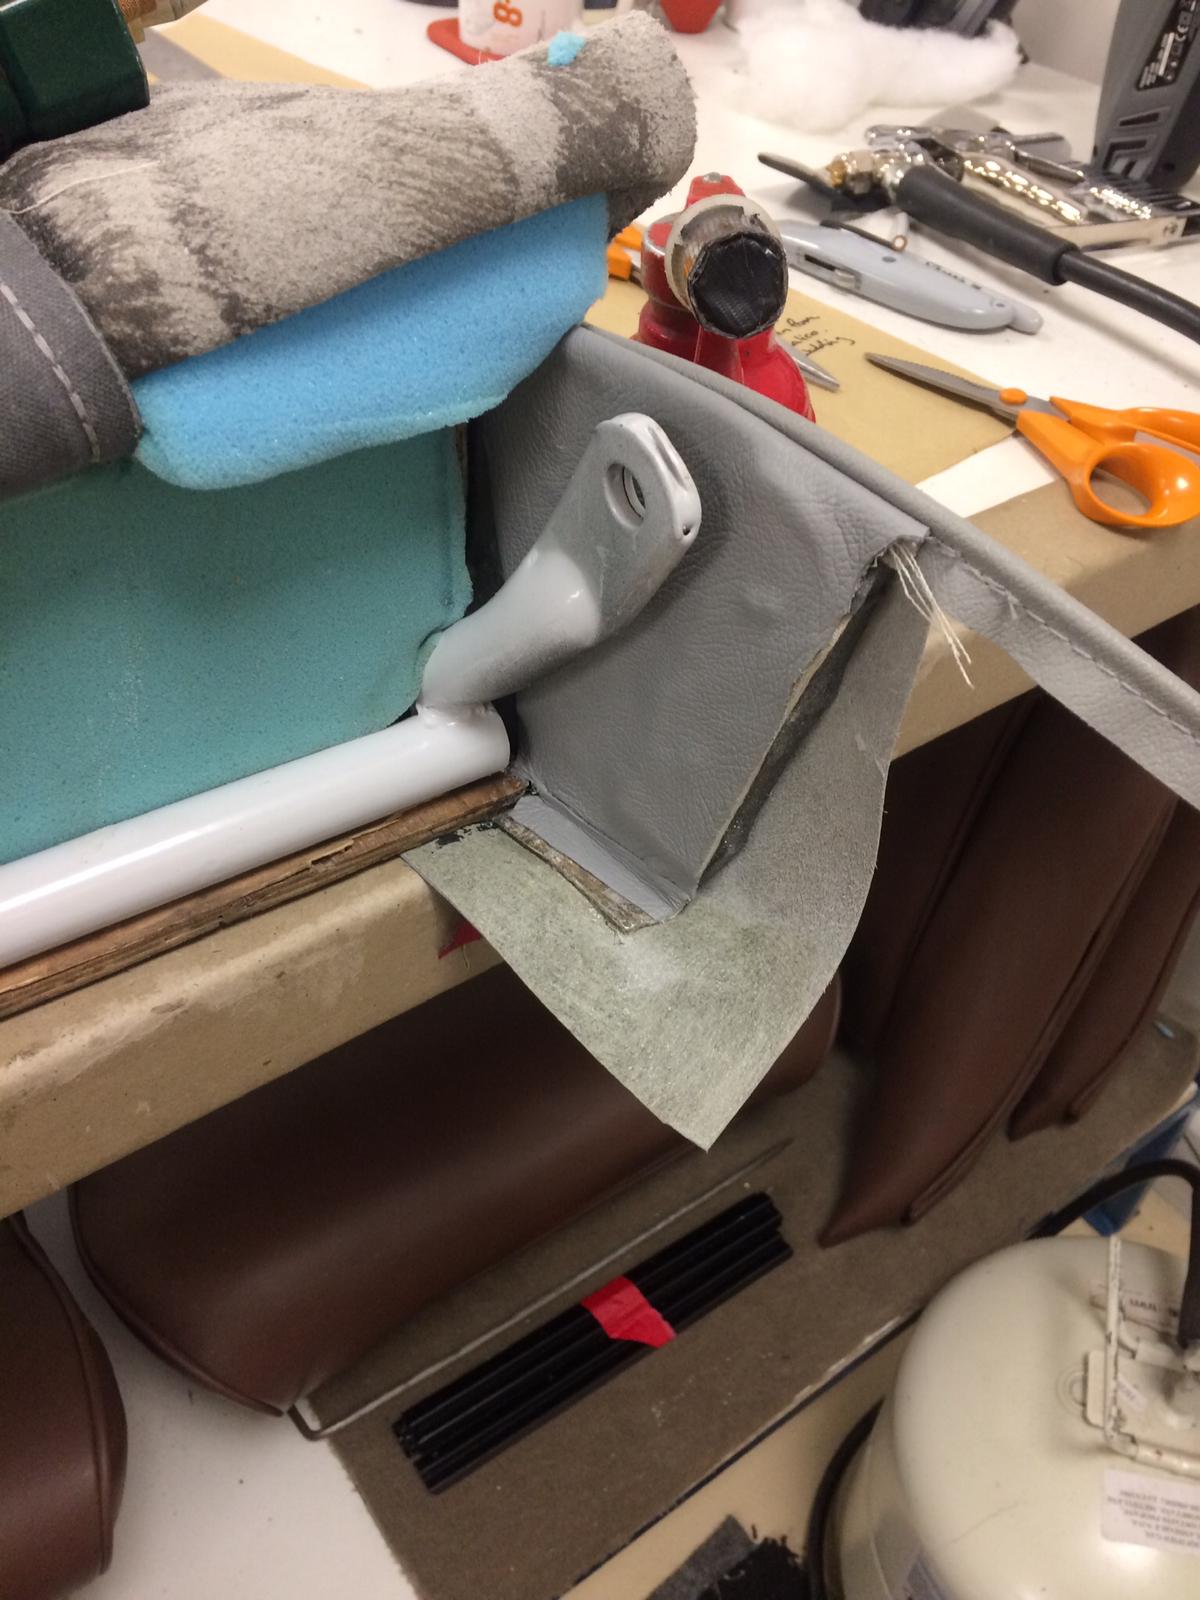
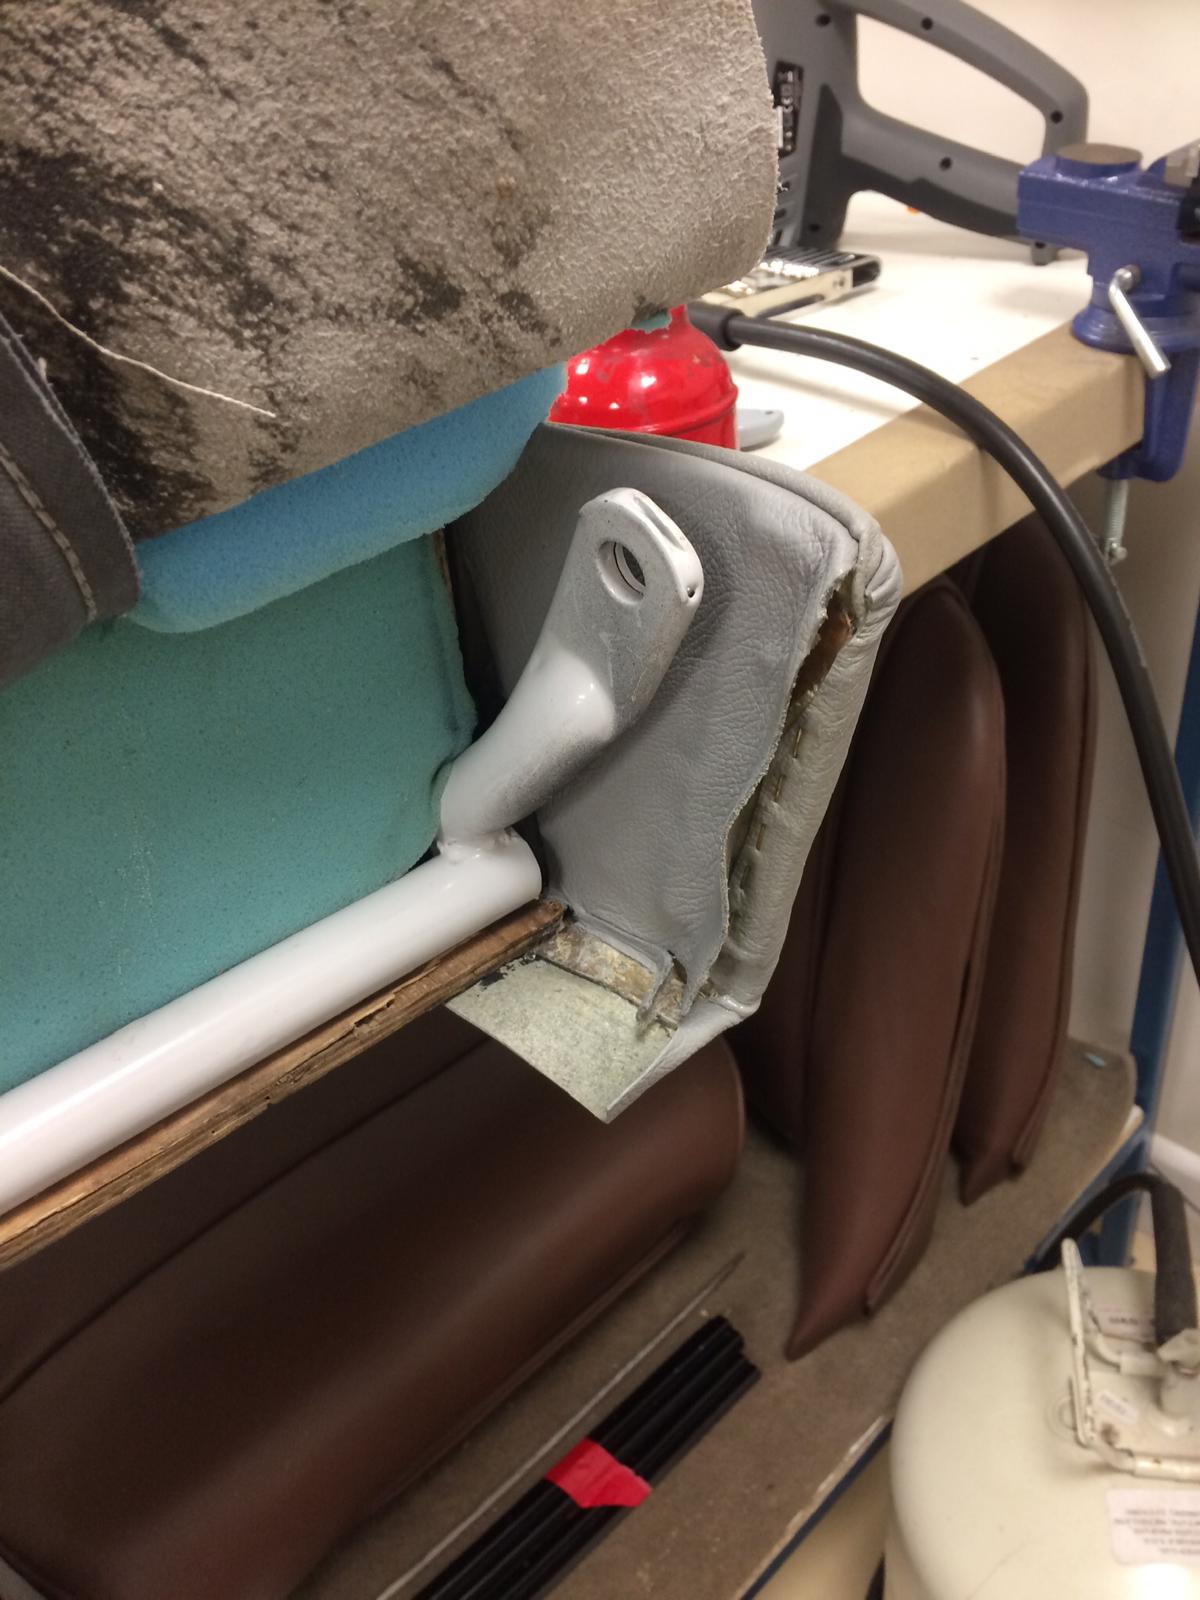
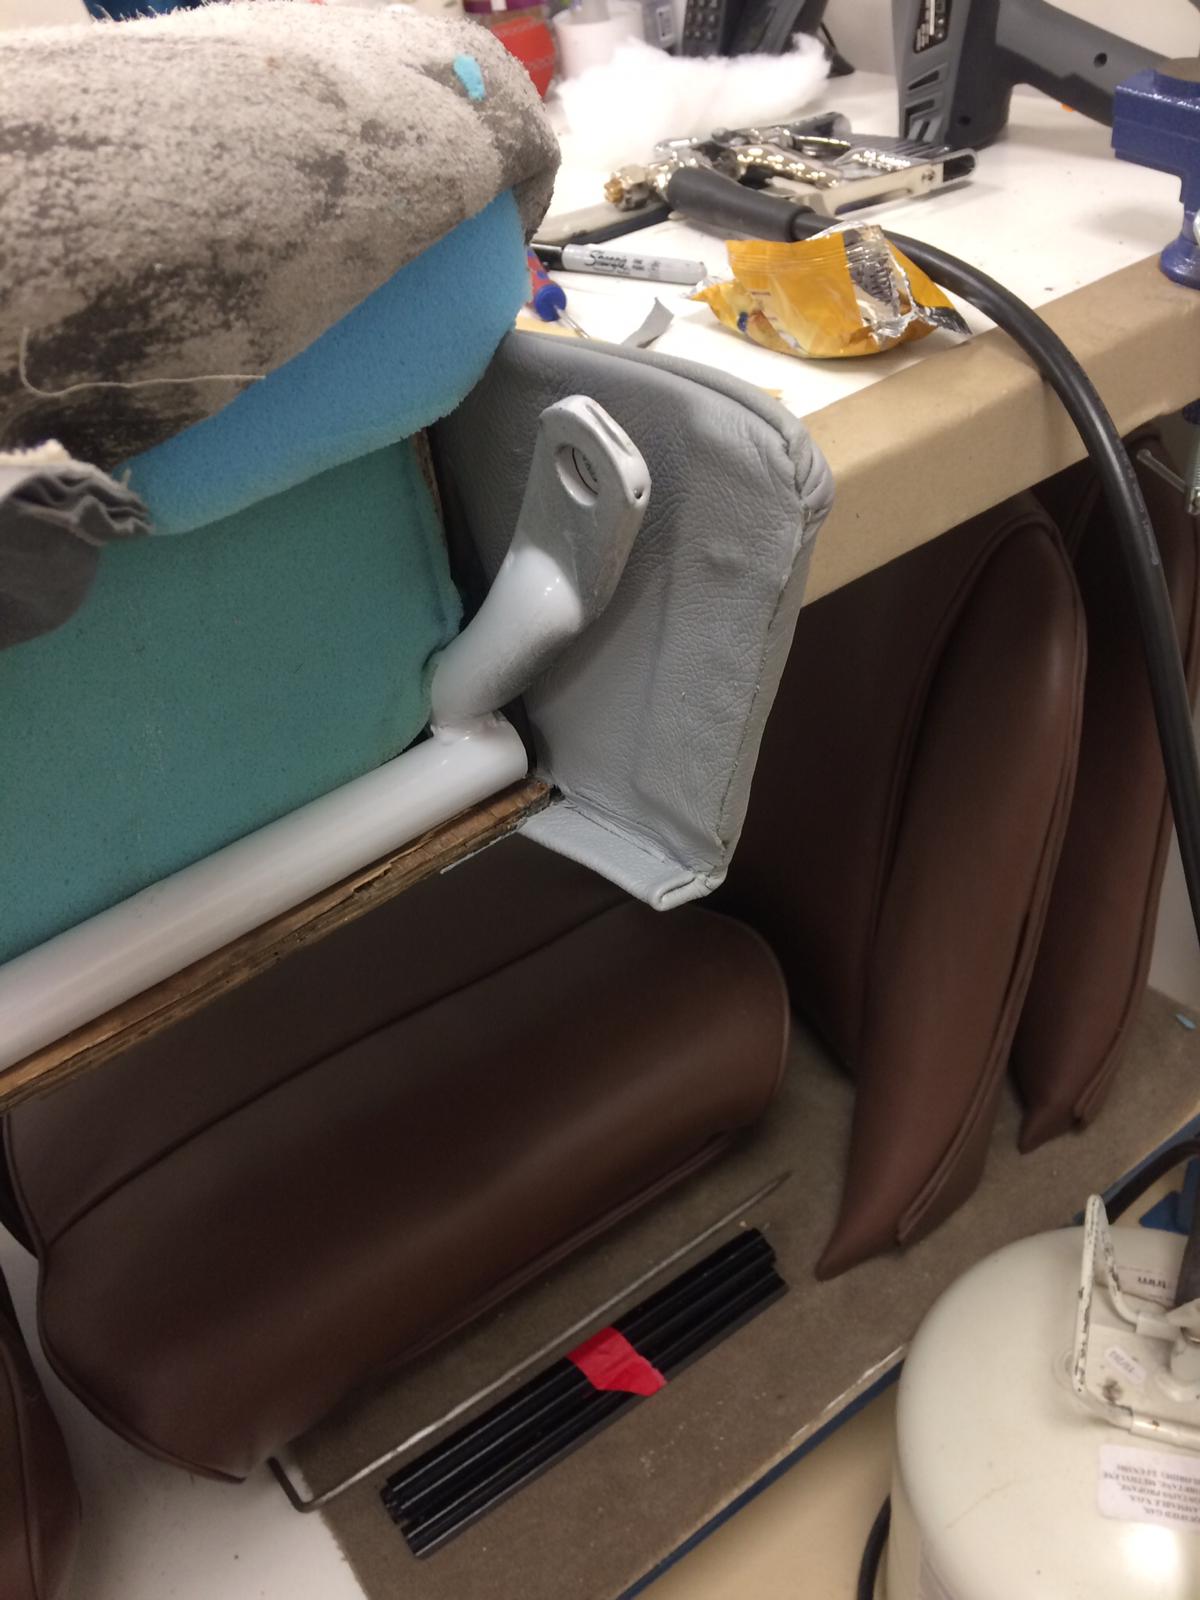
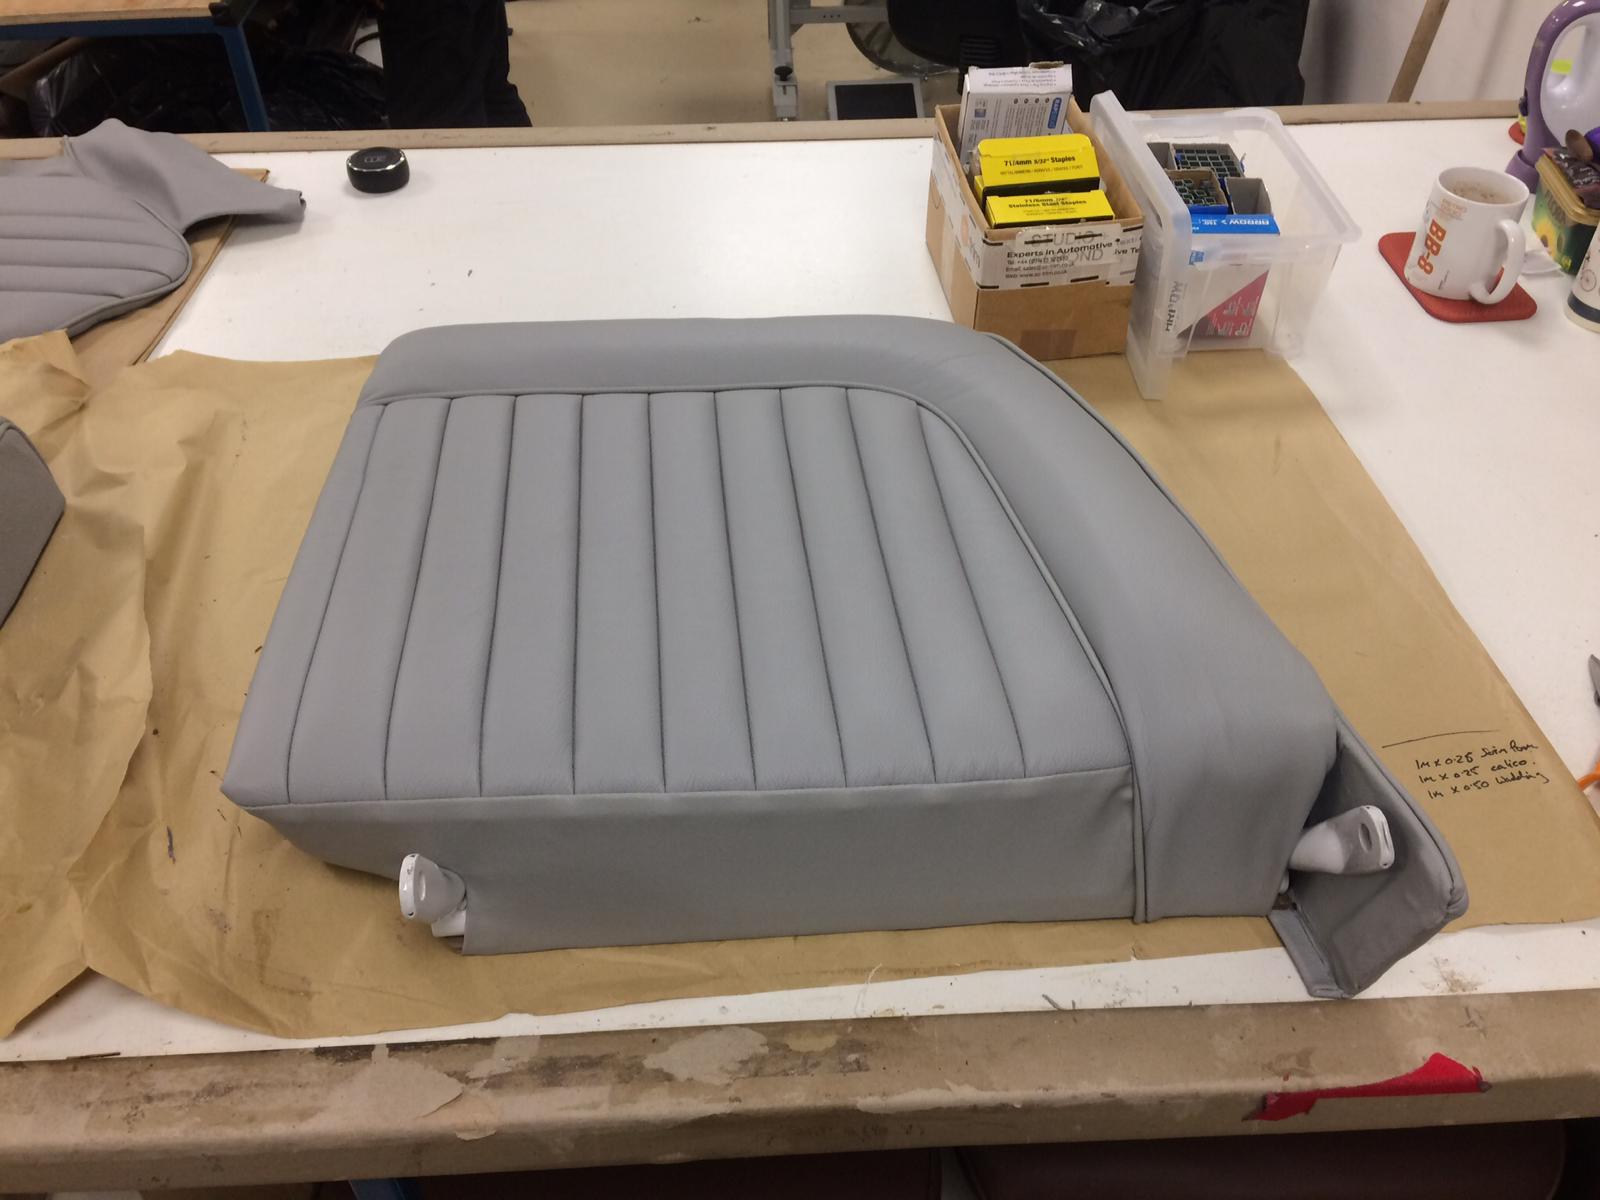
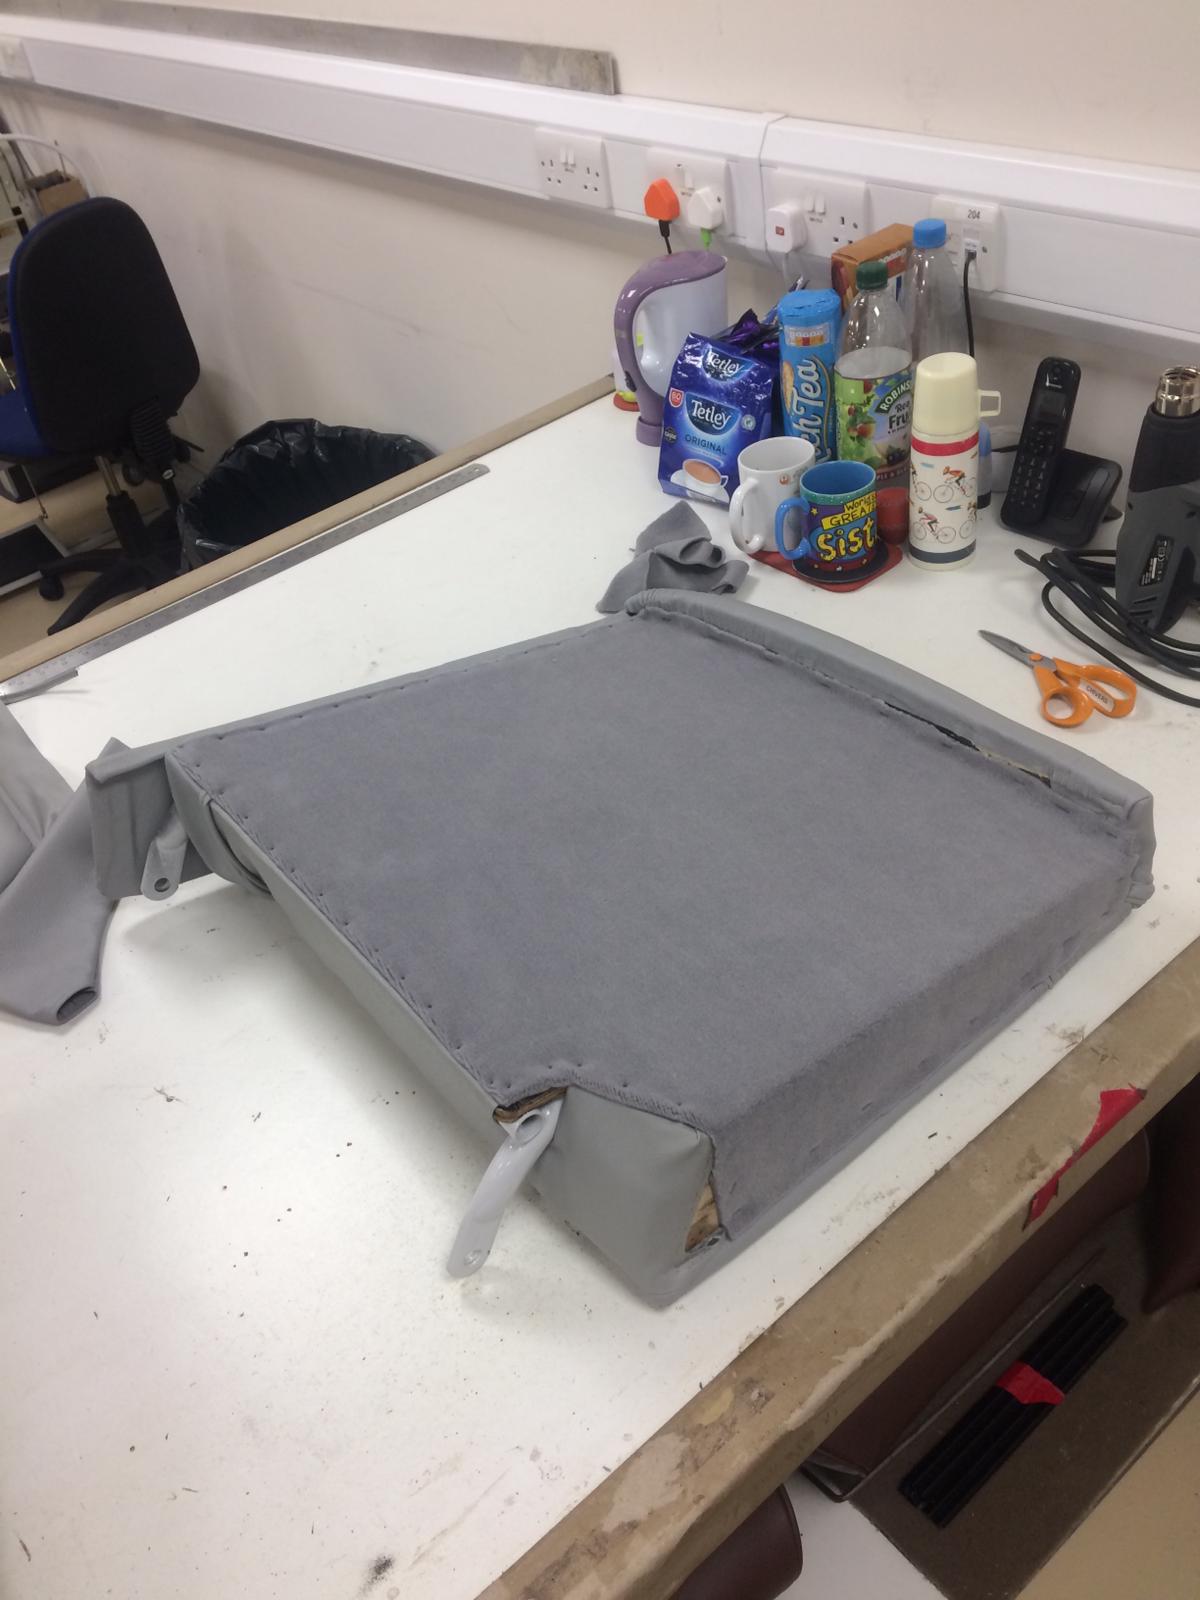
Brian then begins gluing and stapling the top and side of the cover onto the frame. “I’ve glued the bottom edge of the outer side of the frame” he explains “gluing the outer flap, then tucking in the piping and gluing the inner flap”.
Brian then staples the inner edge and bottom flap neatly into place, carefully hiding the glue and staples from view.
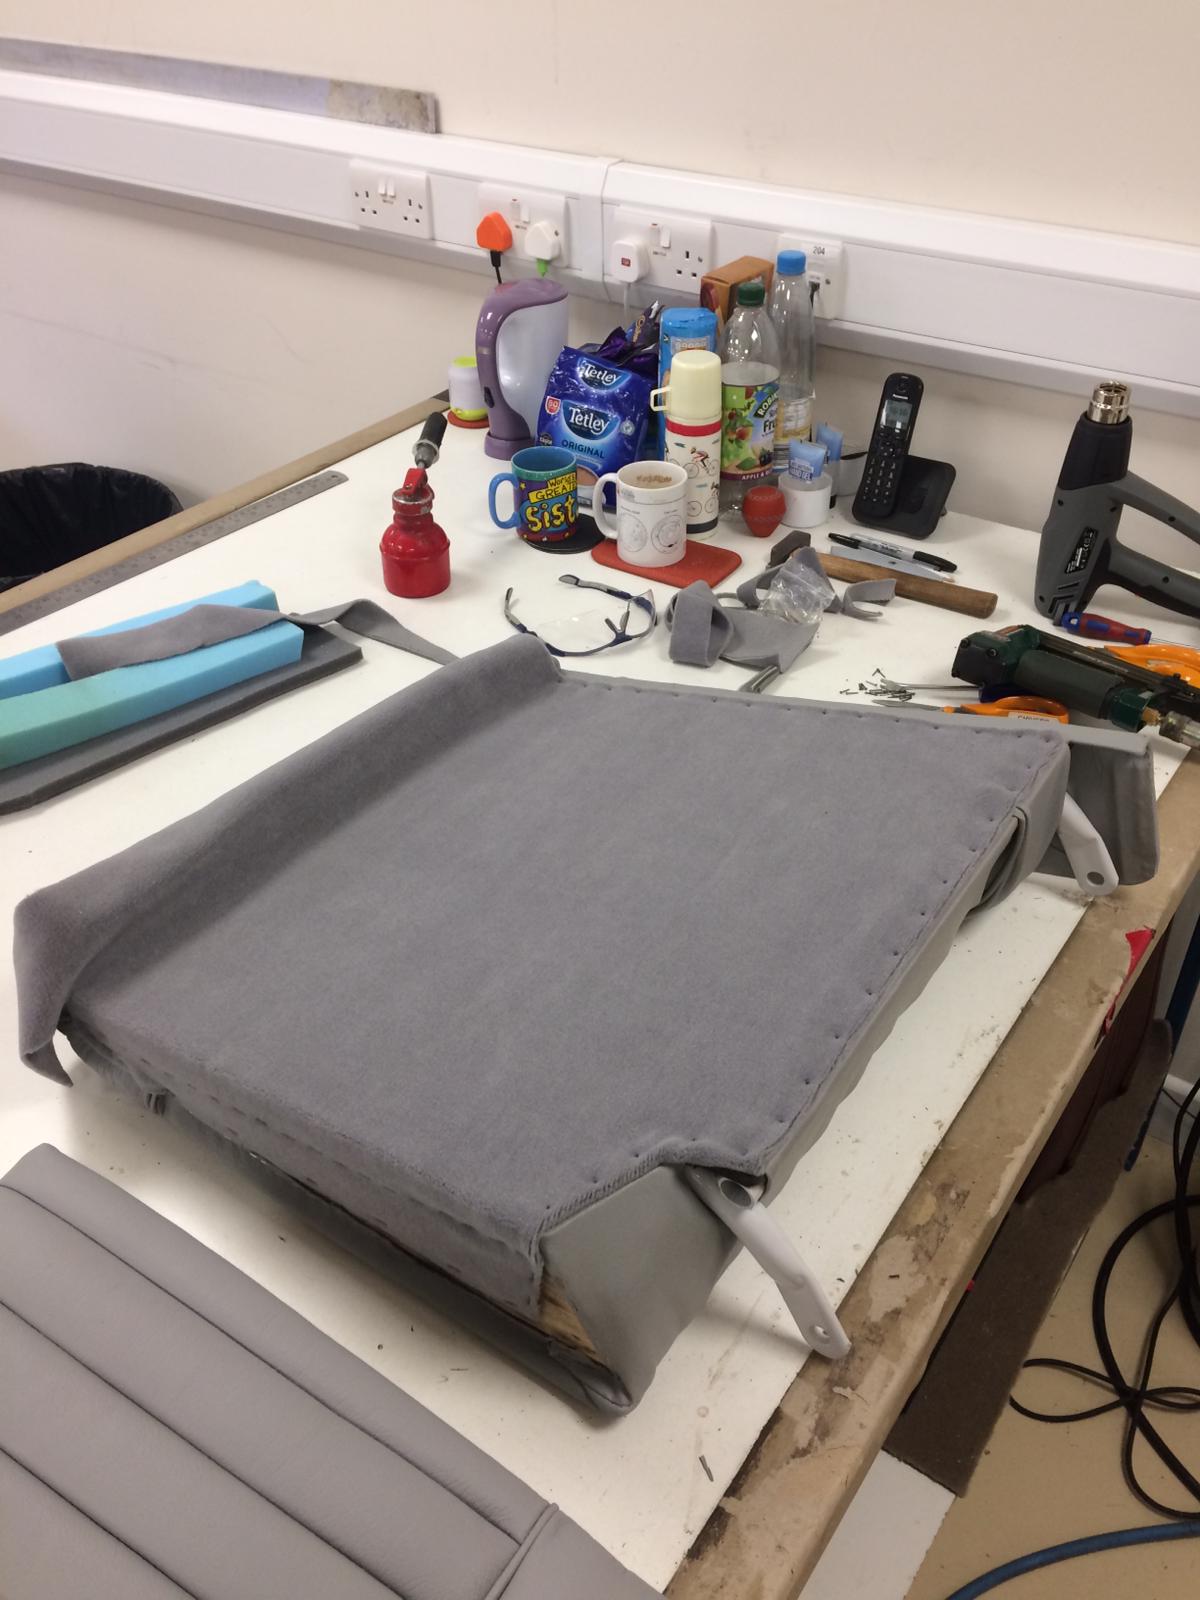
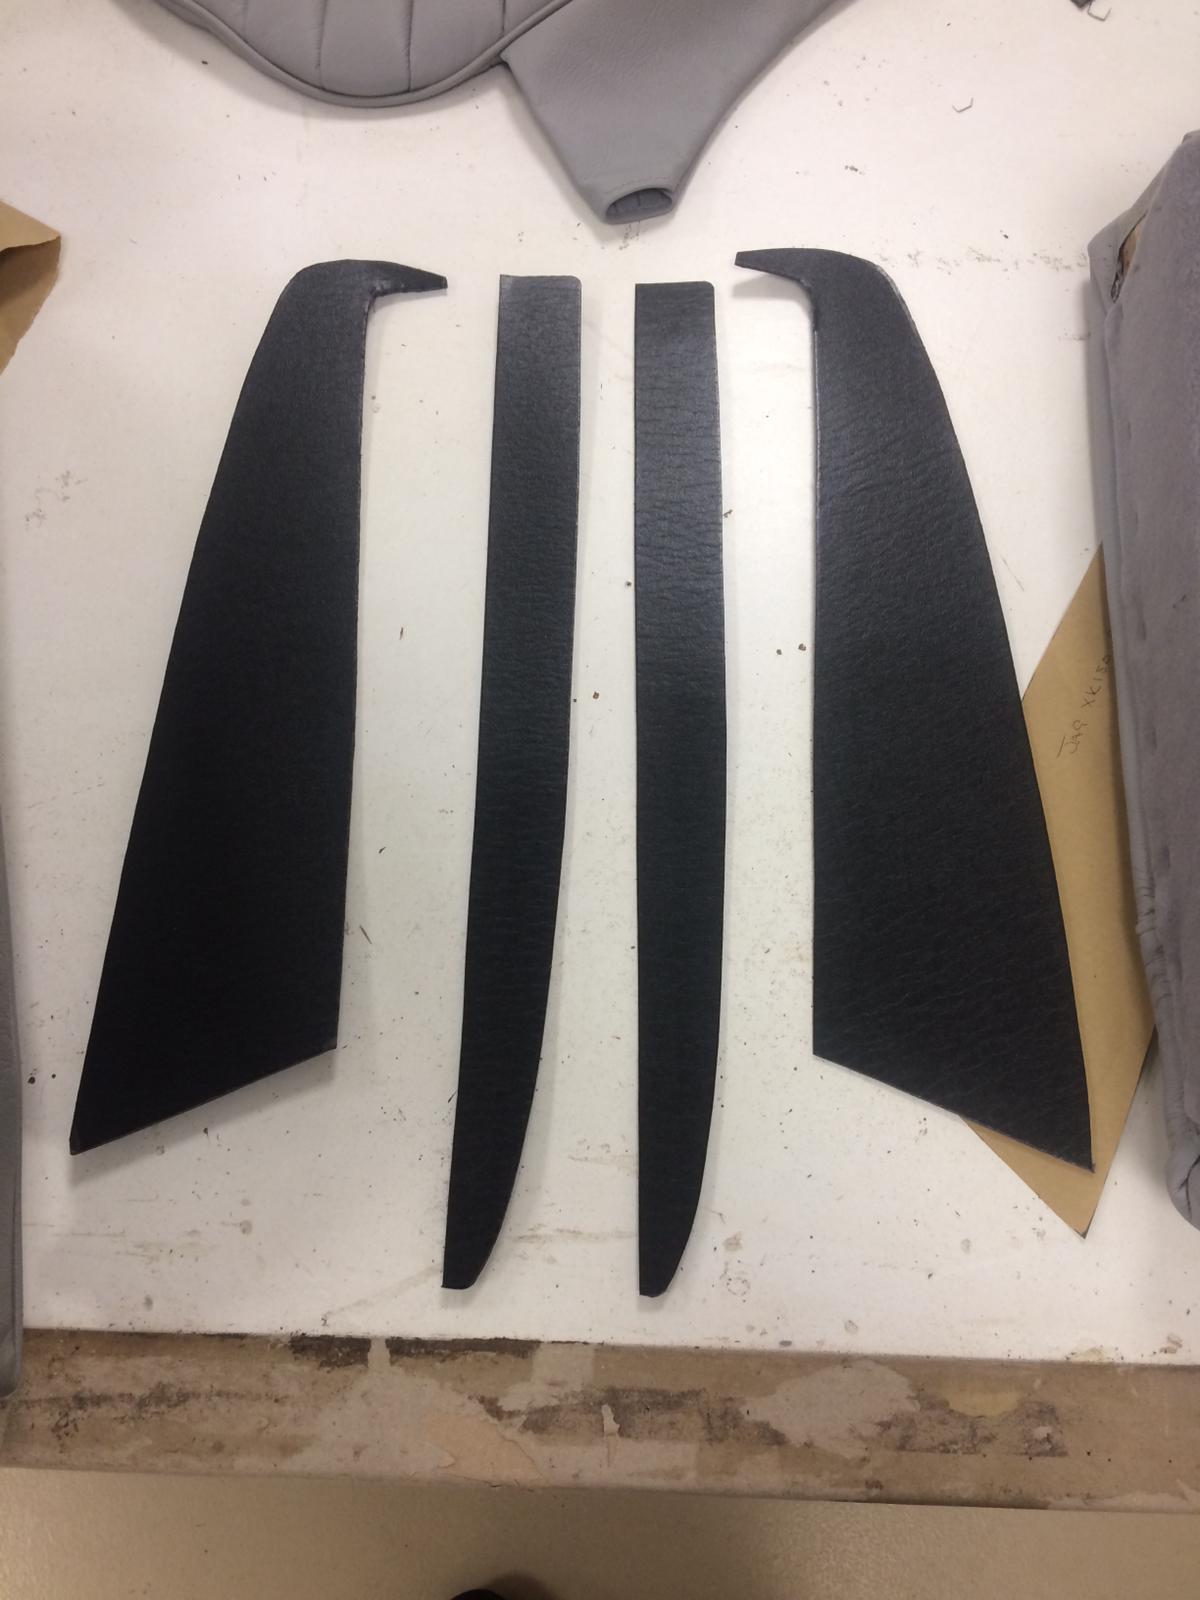
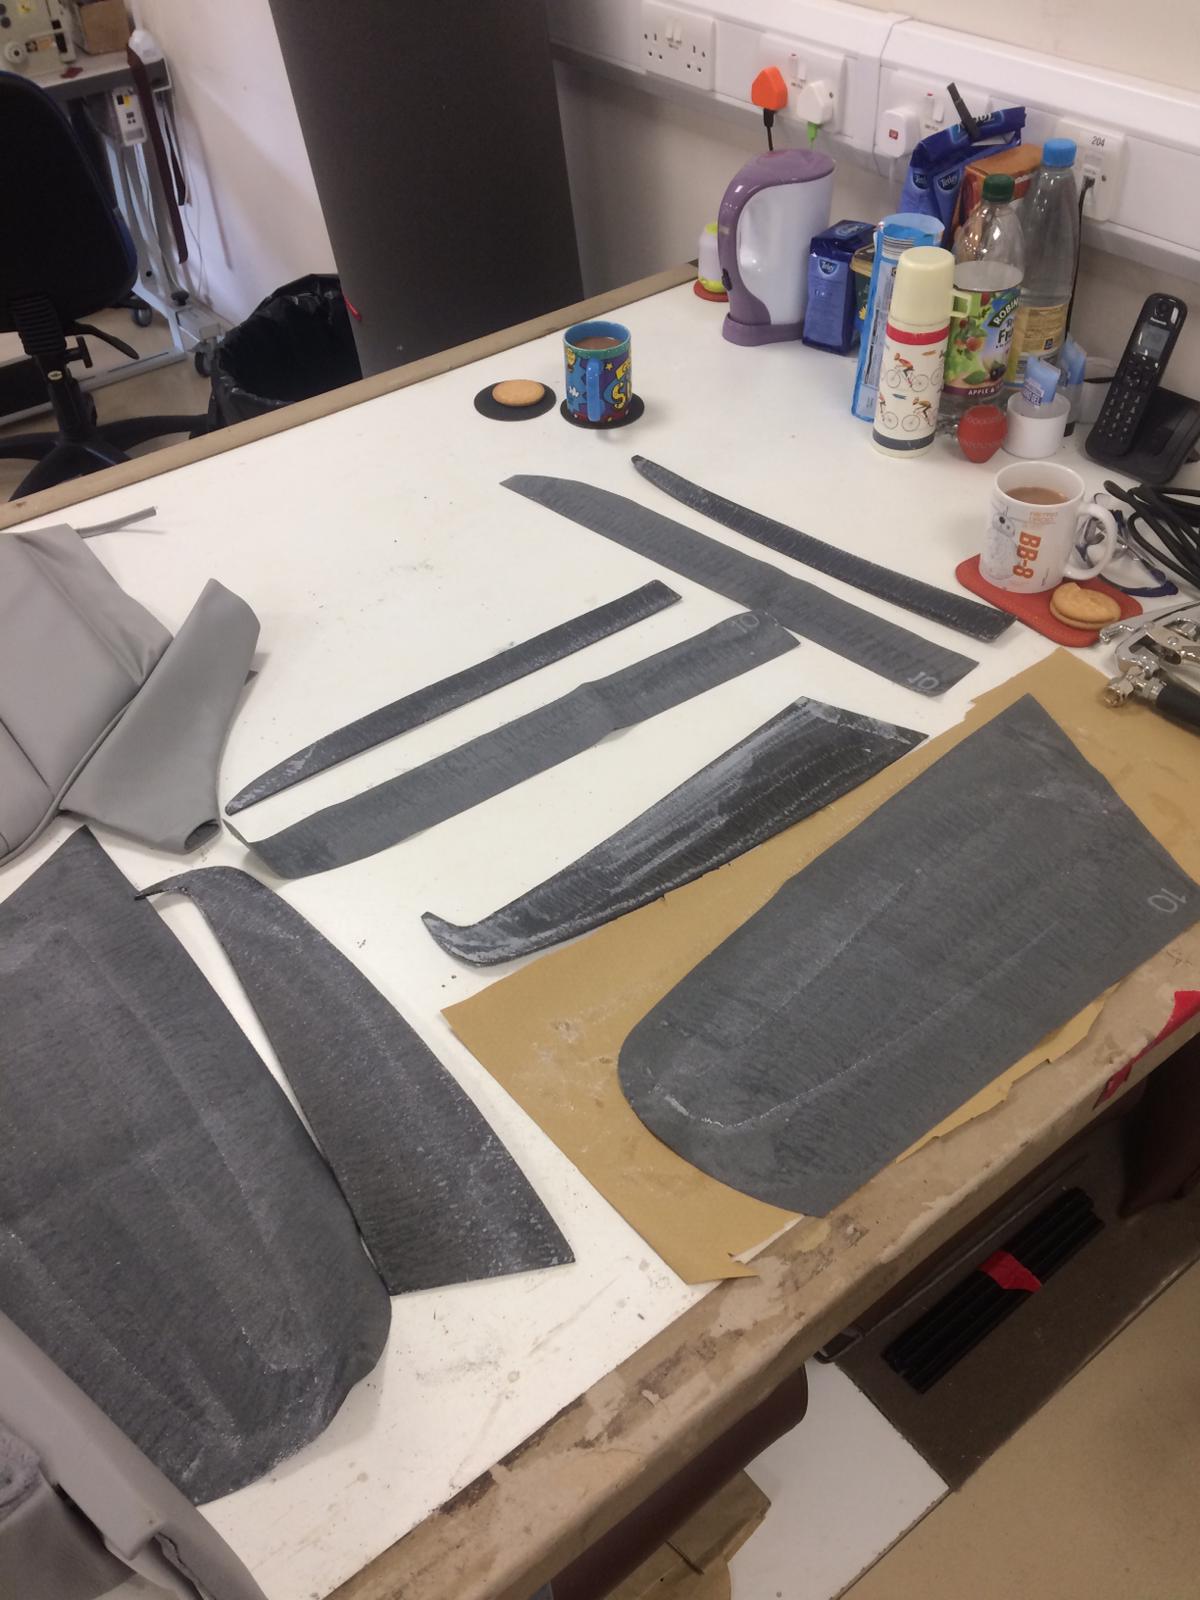
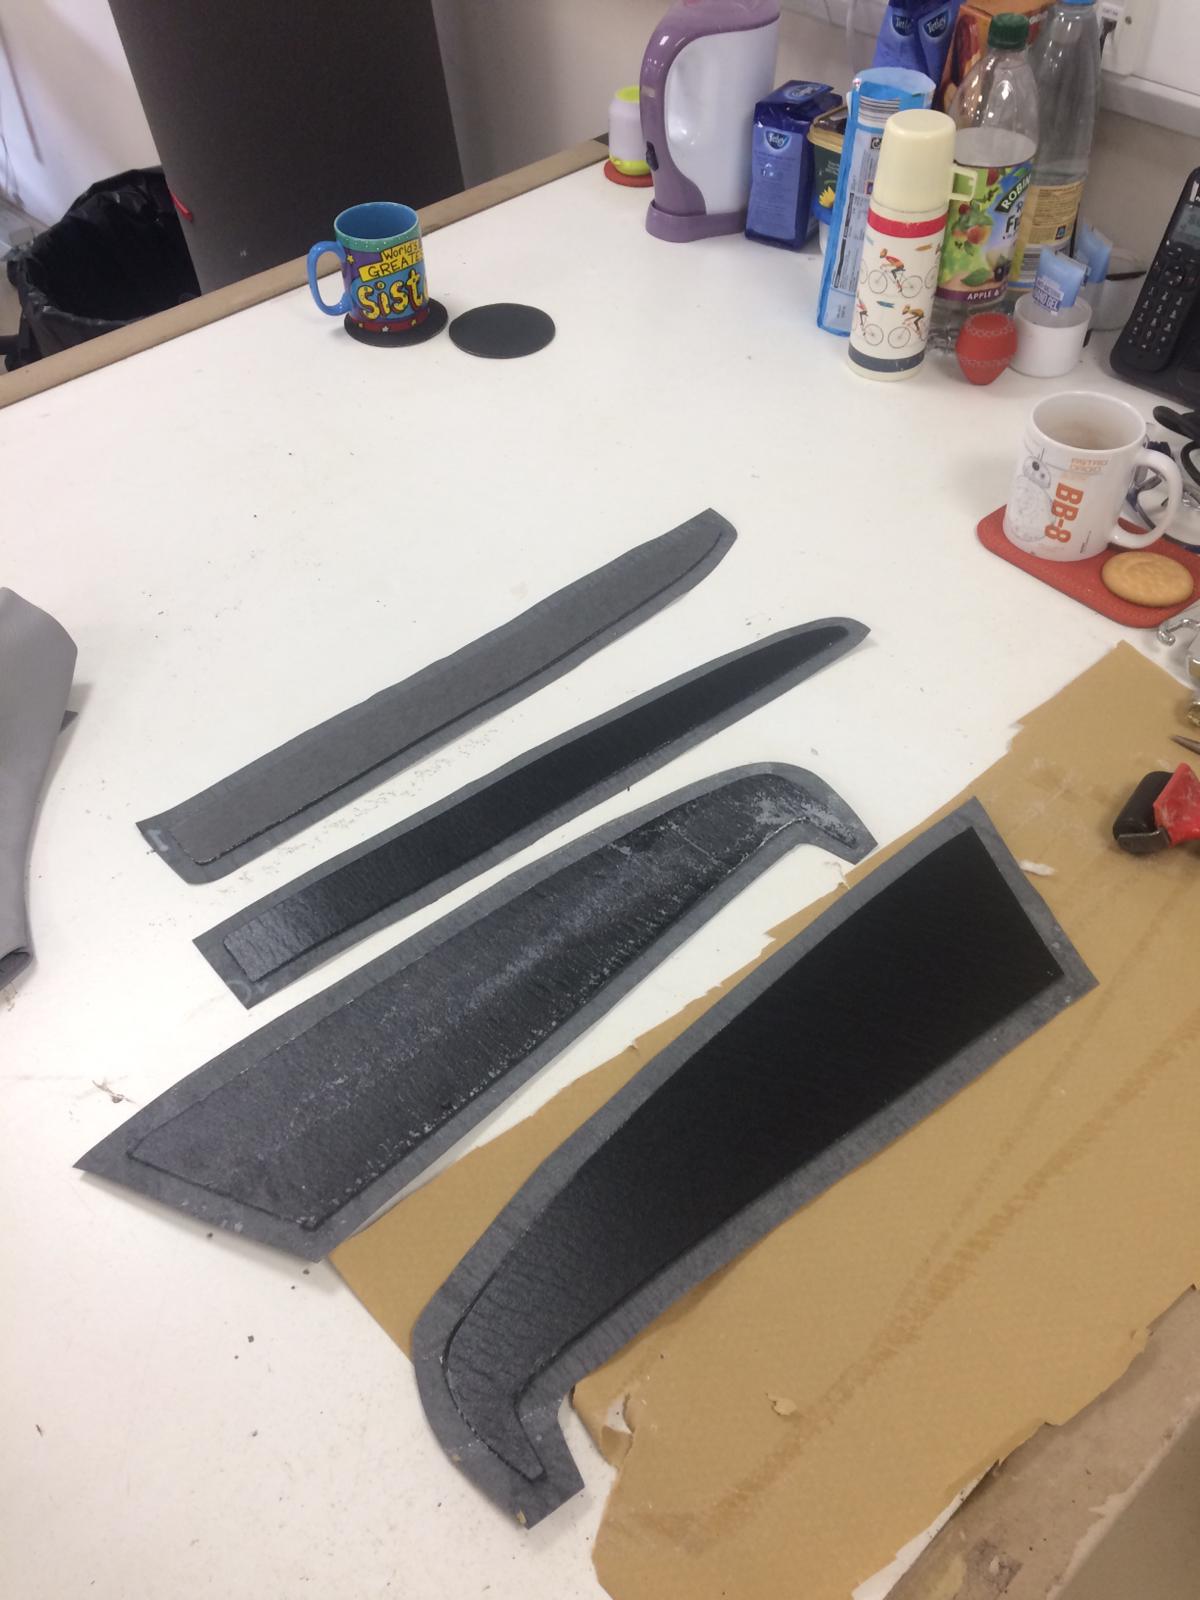
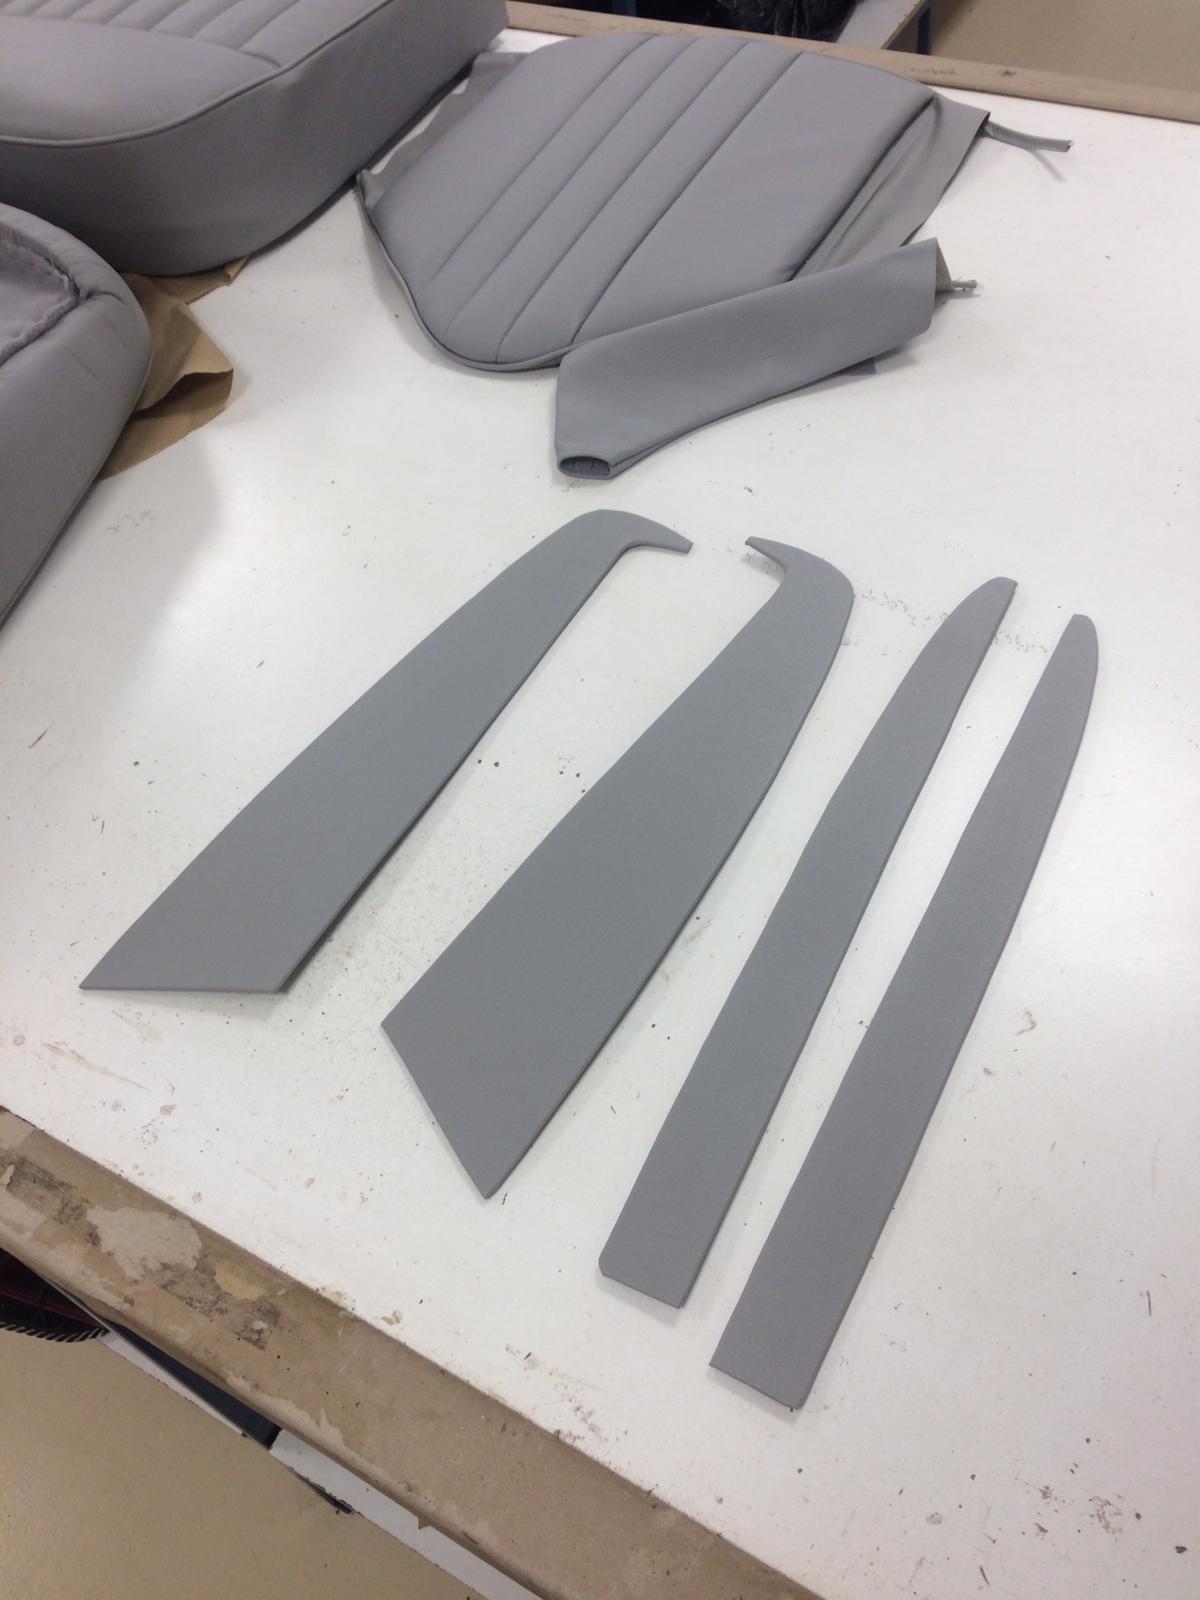
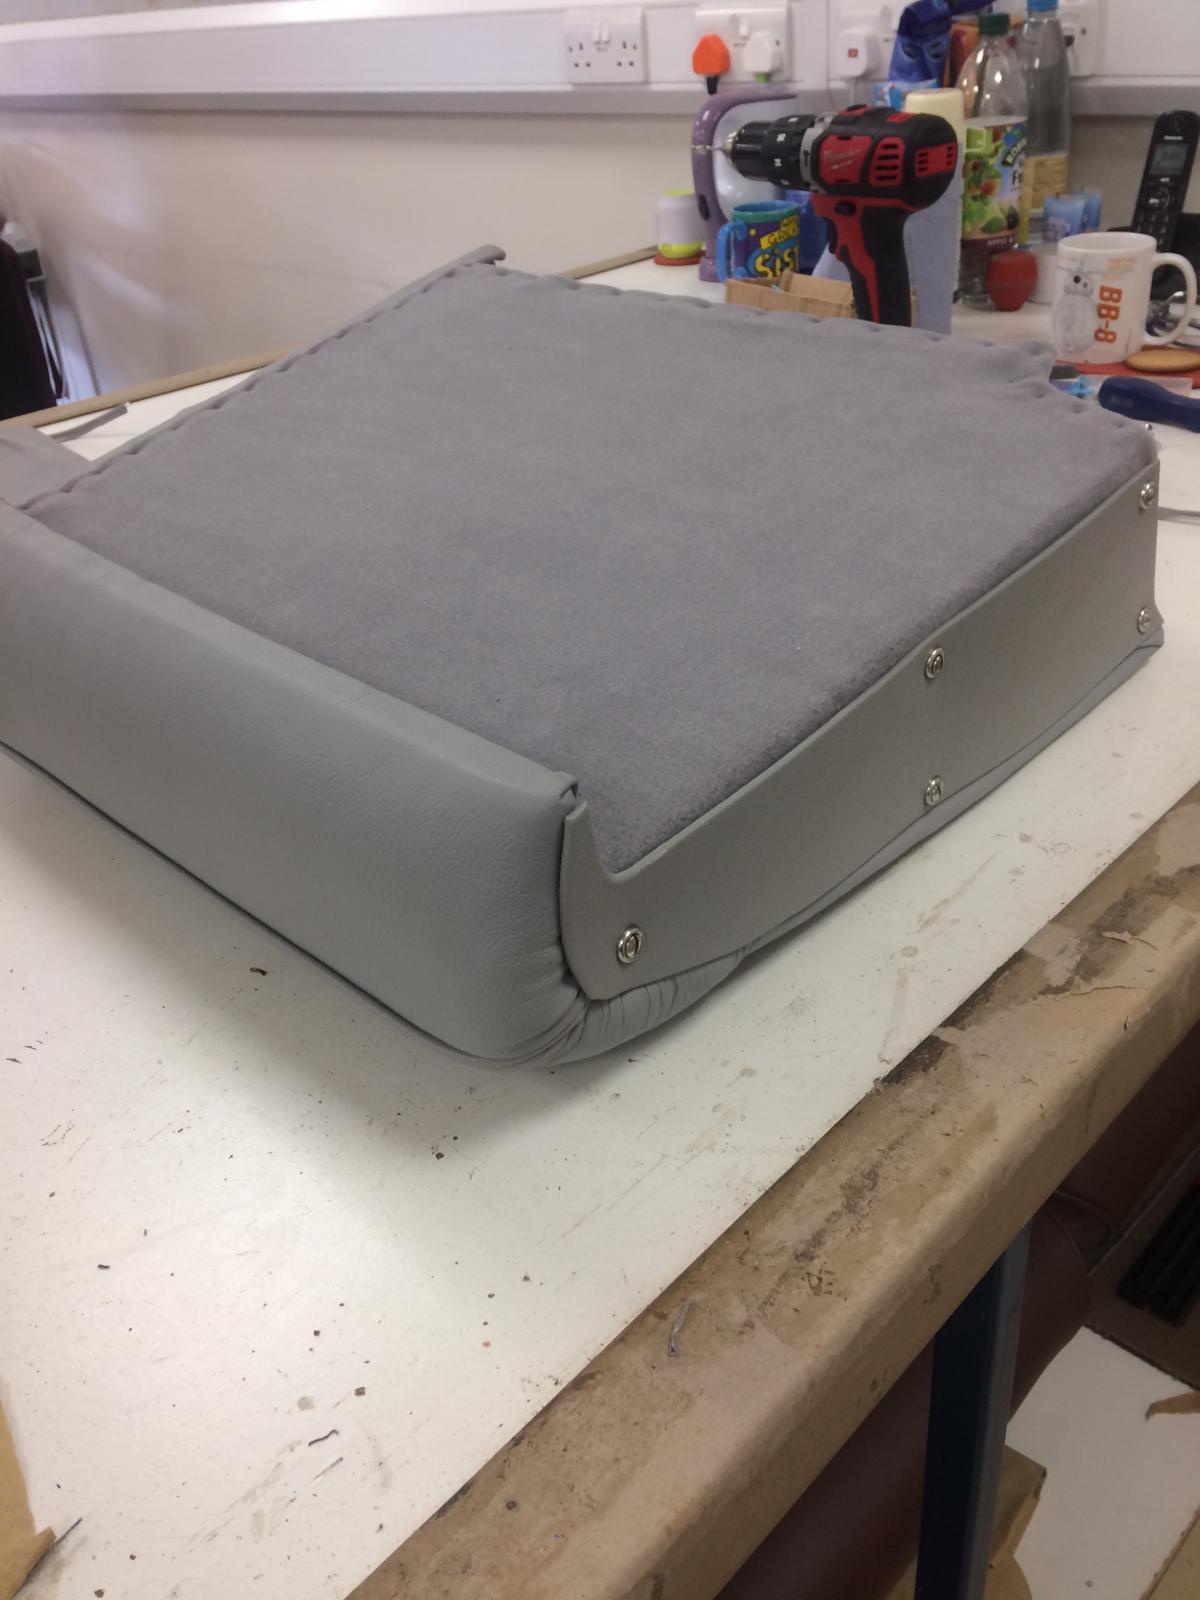
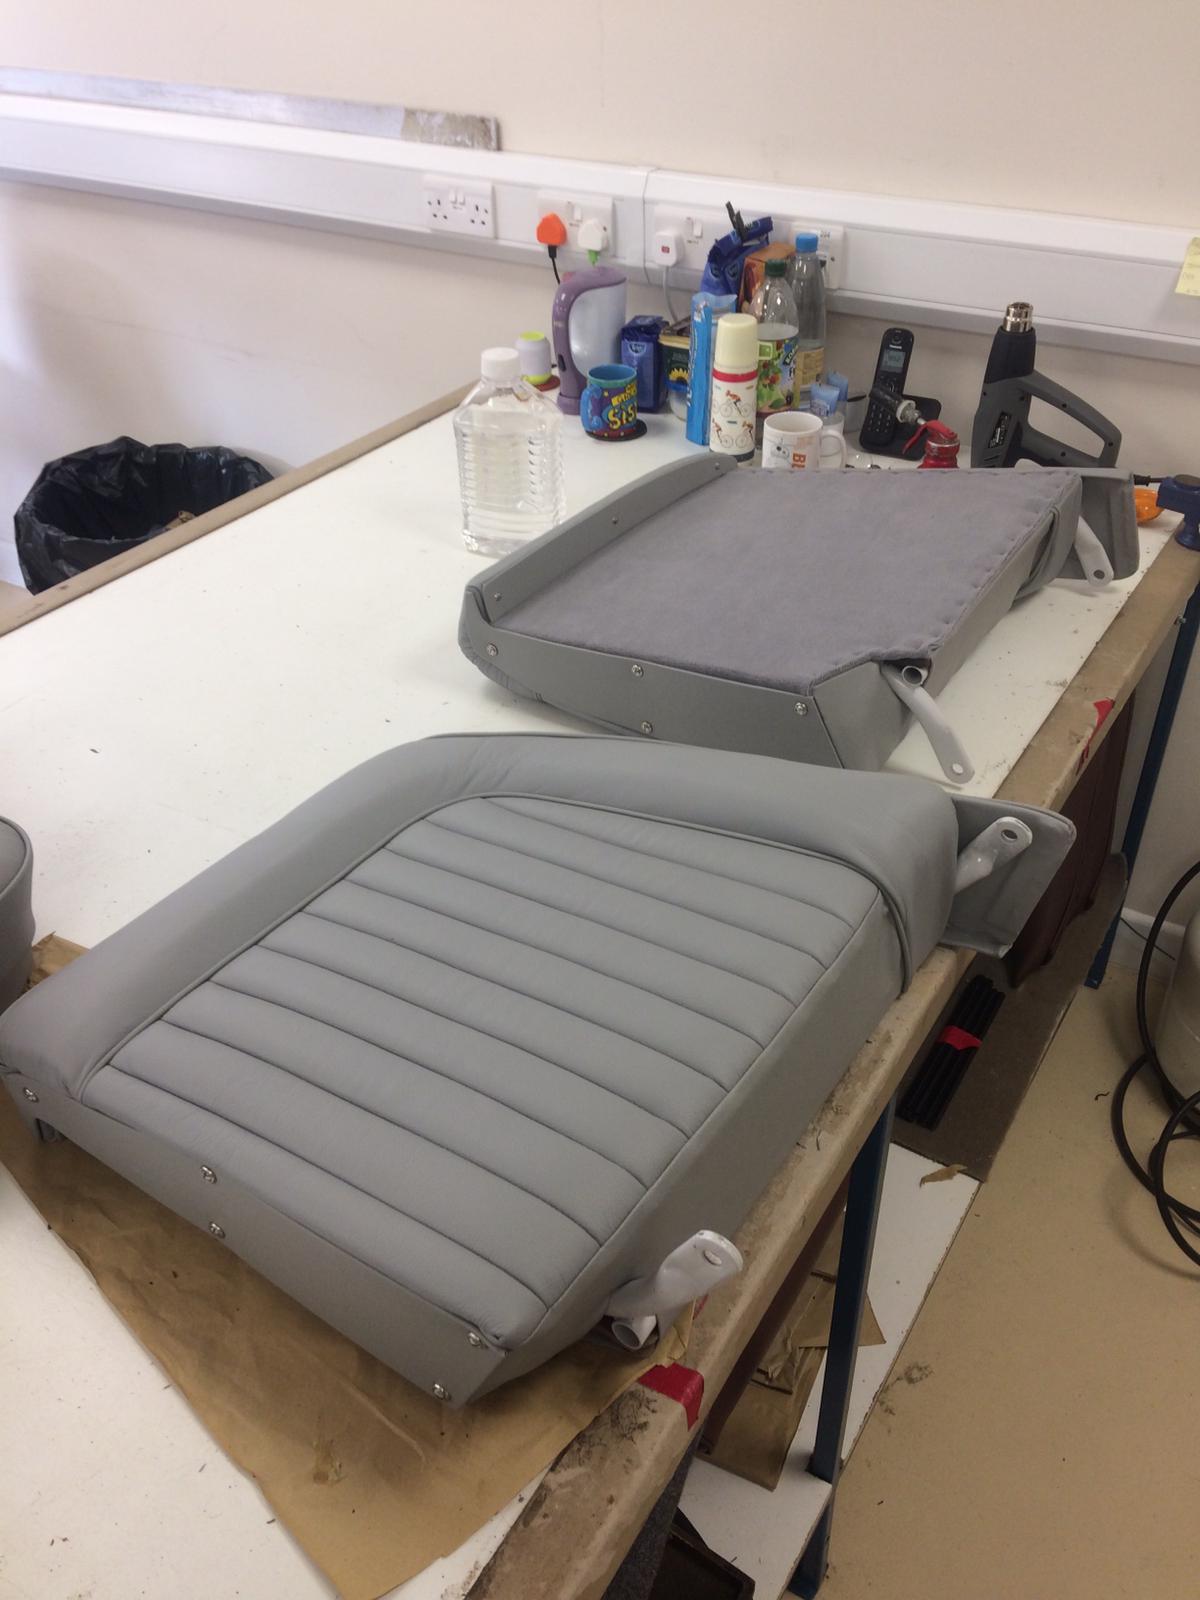
The back of the chairs is next up, where Brian tacks the fabric to the back of the frame. “I’ve made the side and top panels out of mill board” he tells us “finishing them off by covering them with vinyl”.
He then screwed the top and side panels into place.
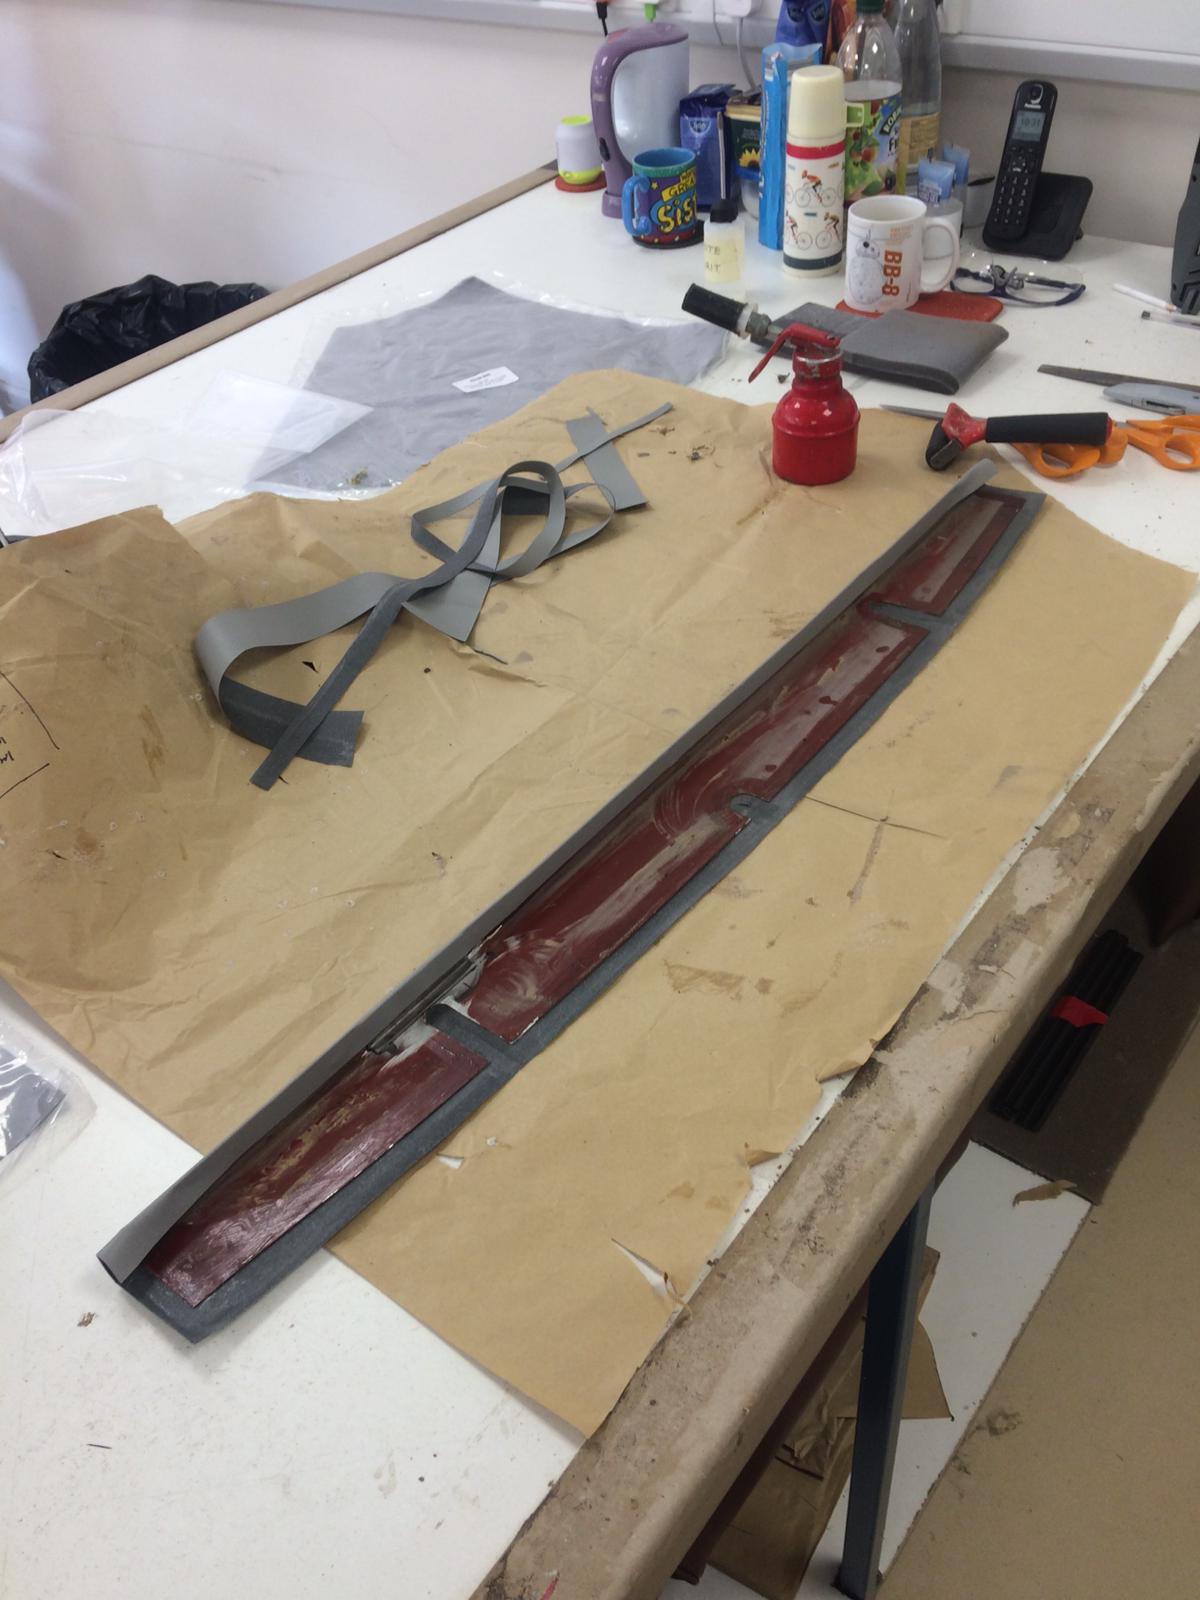
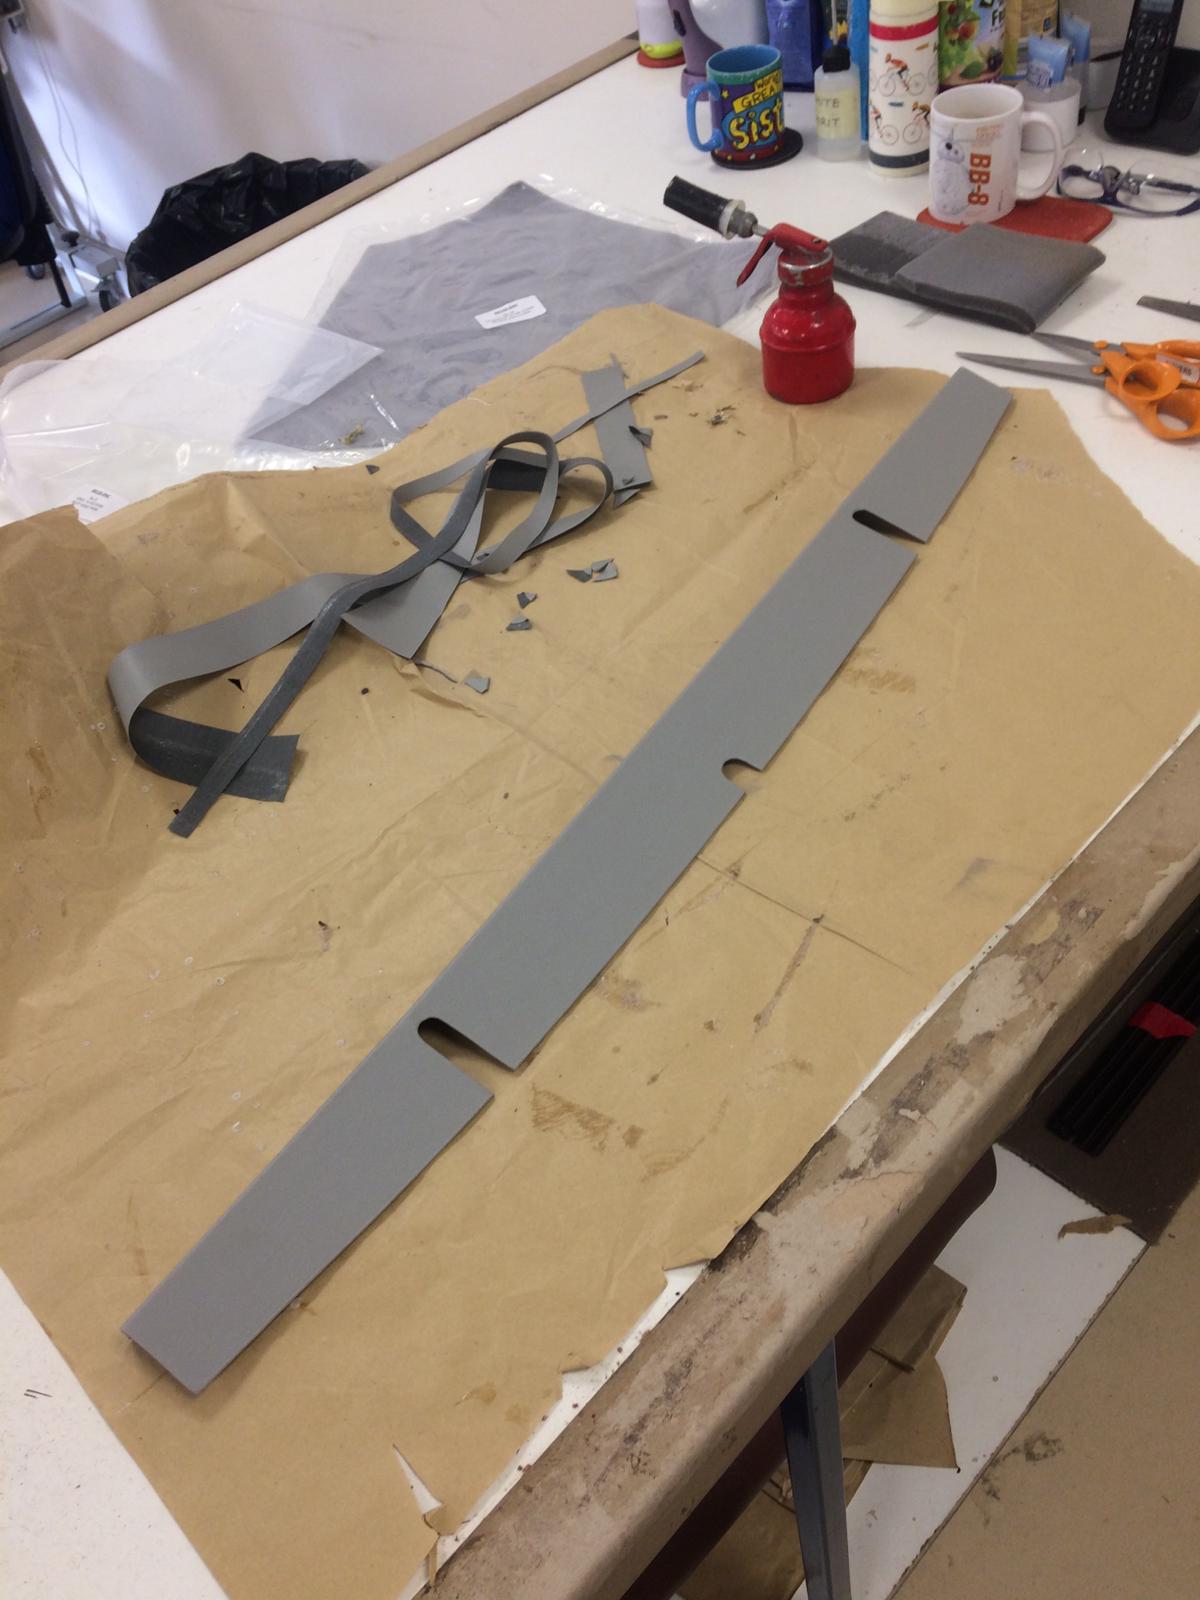
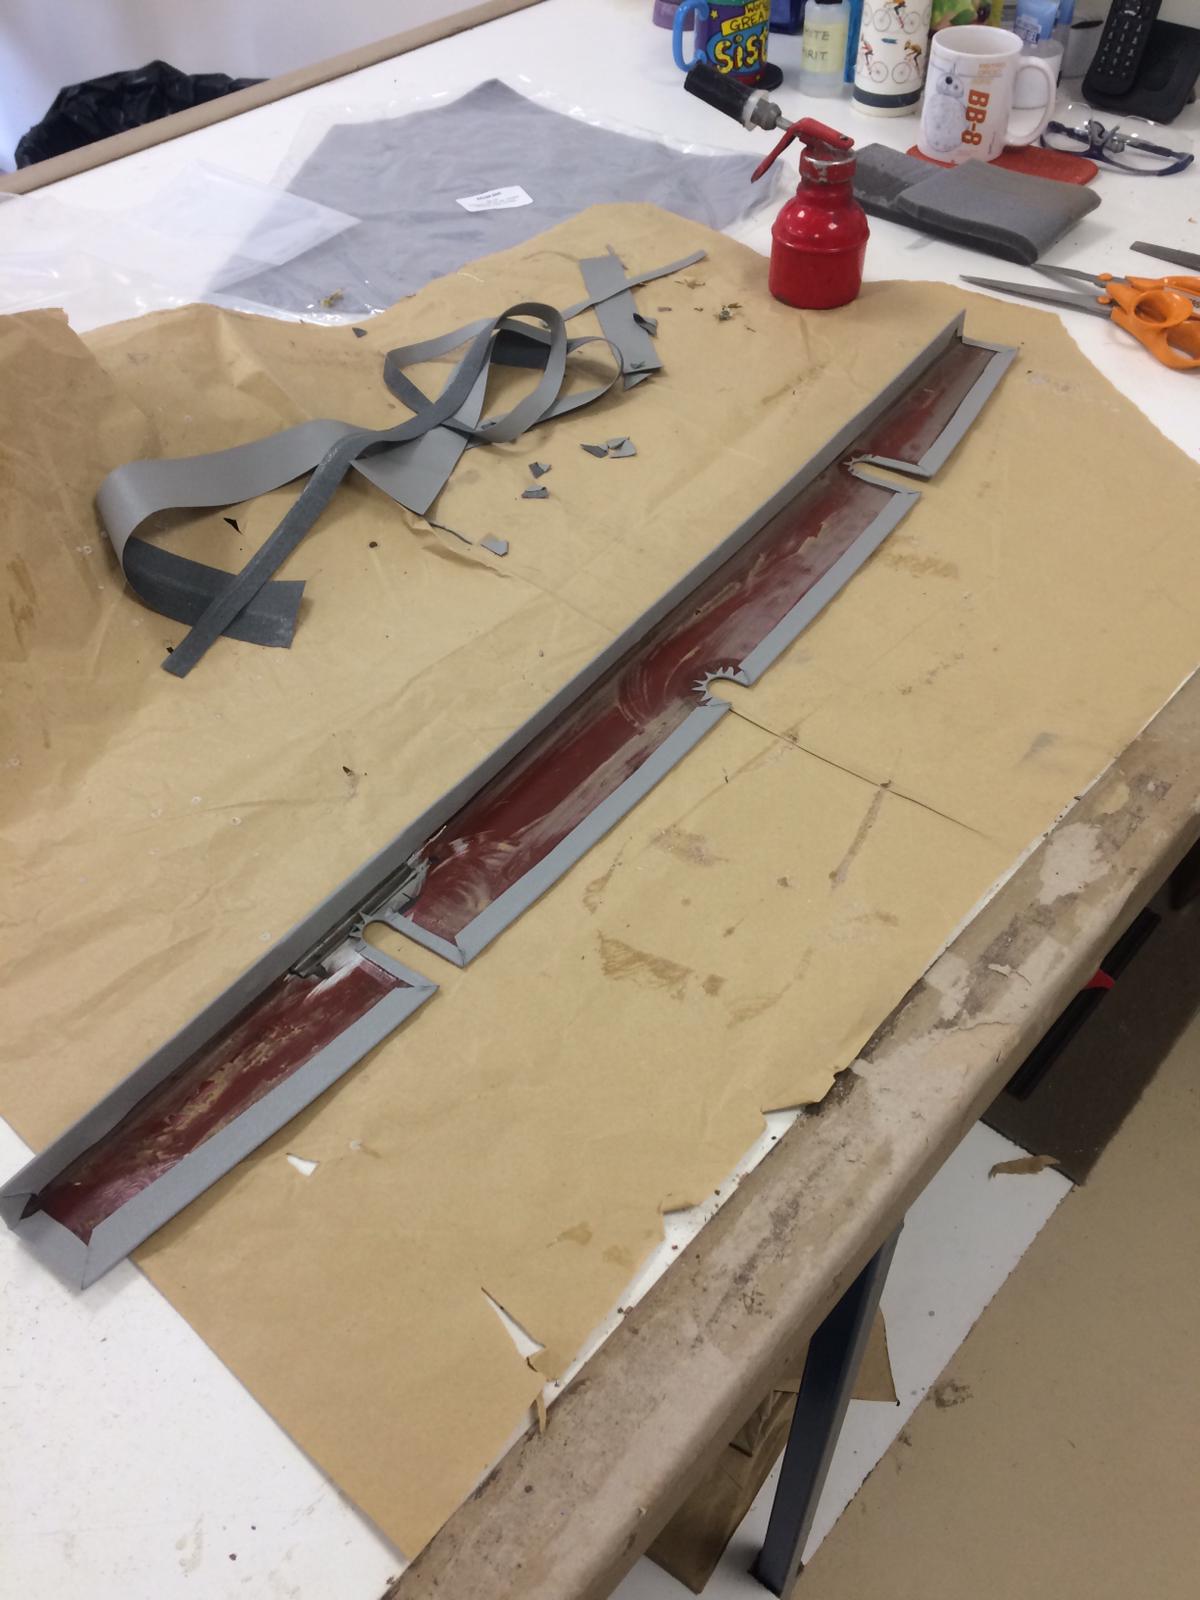
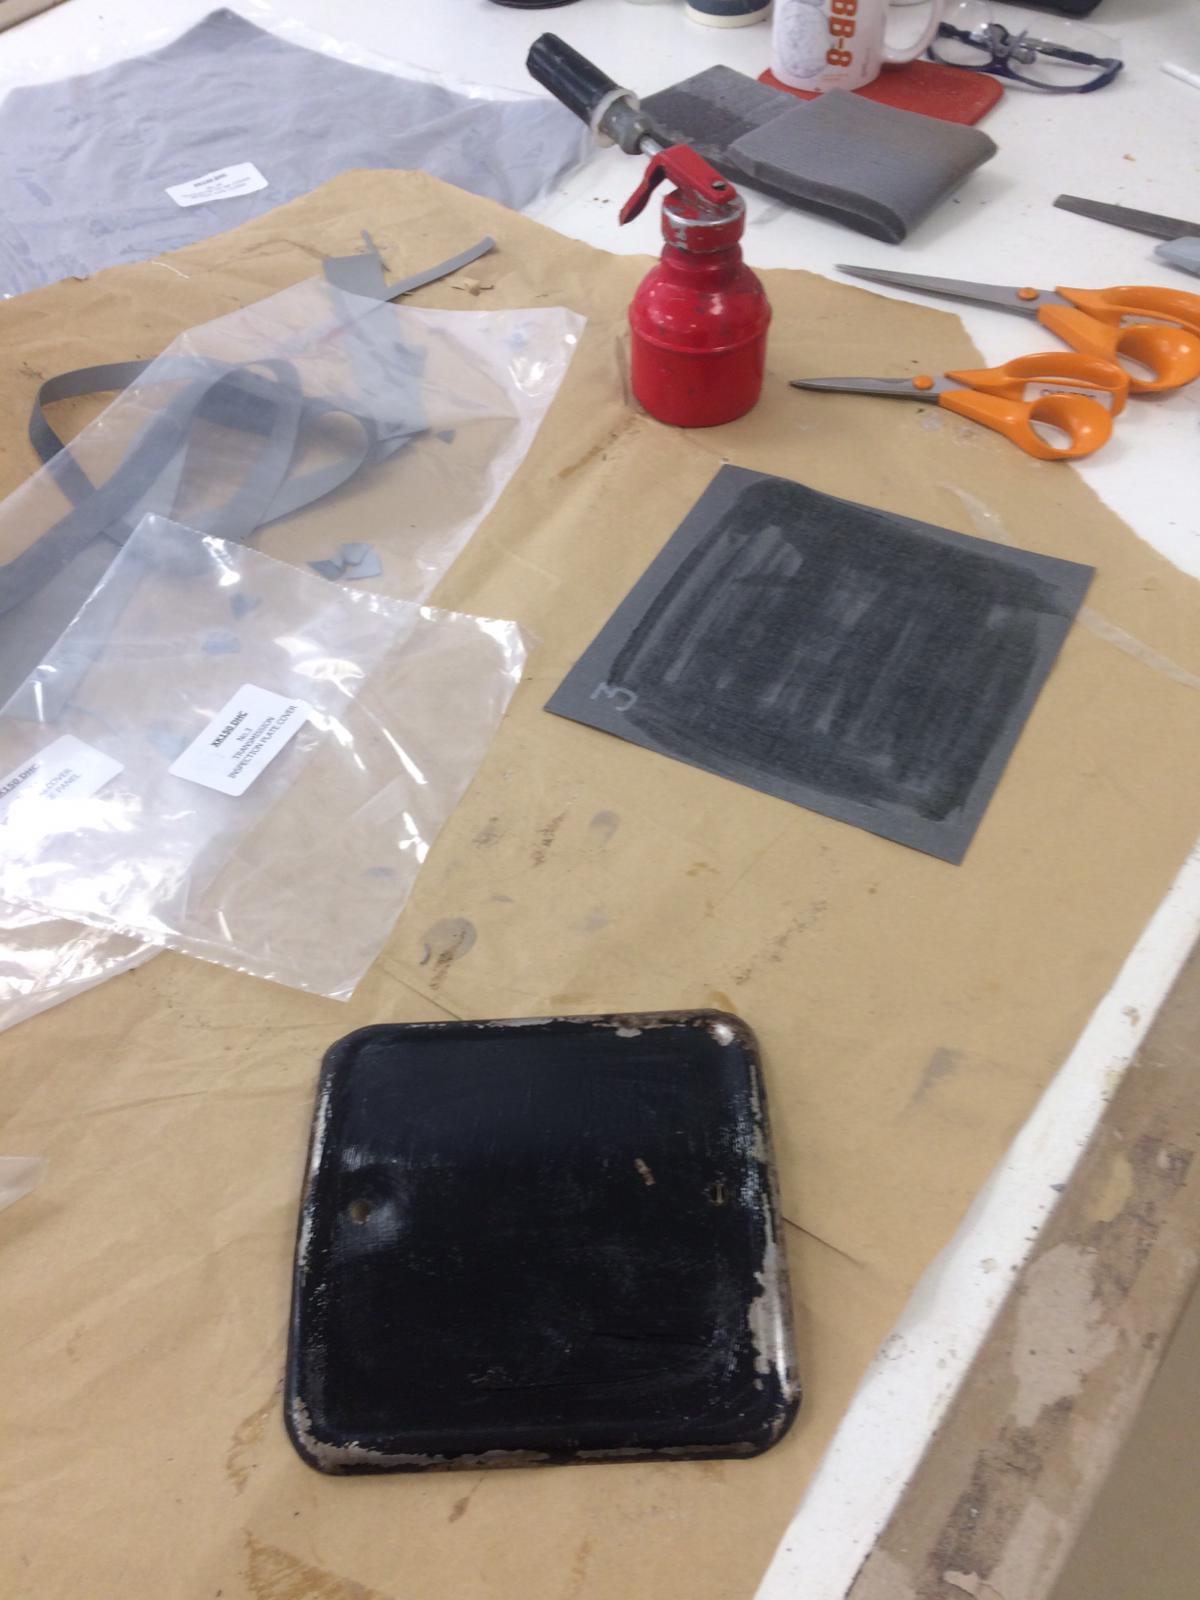
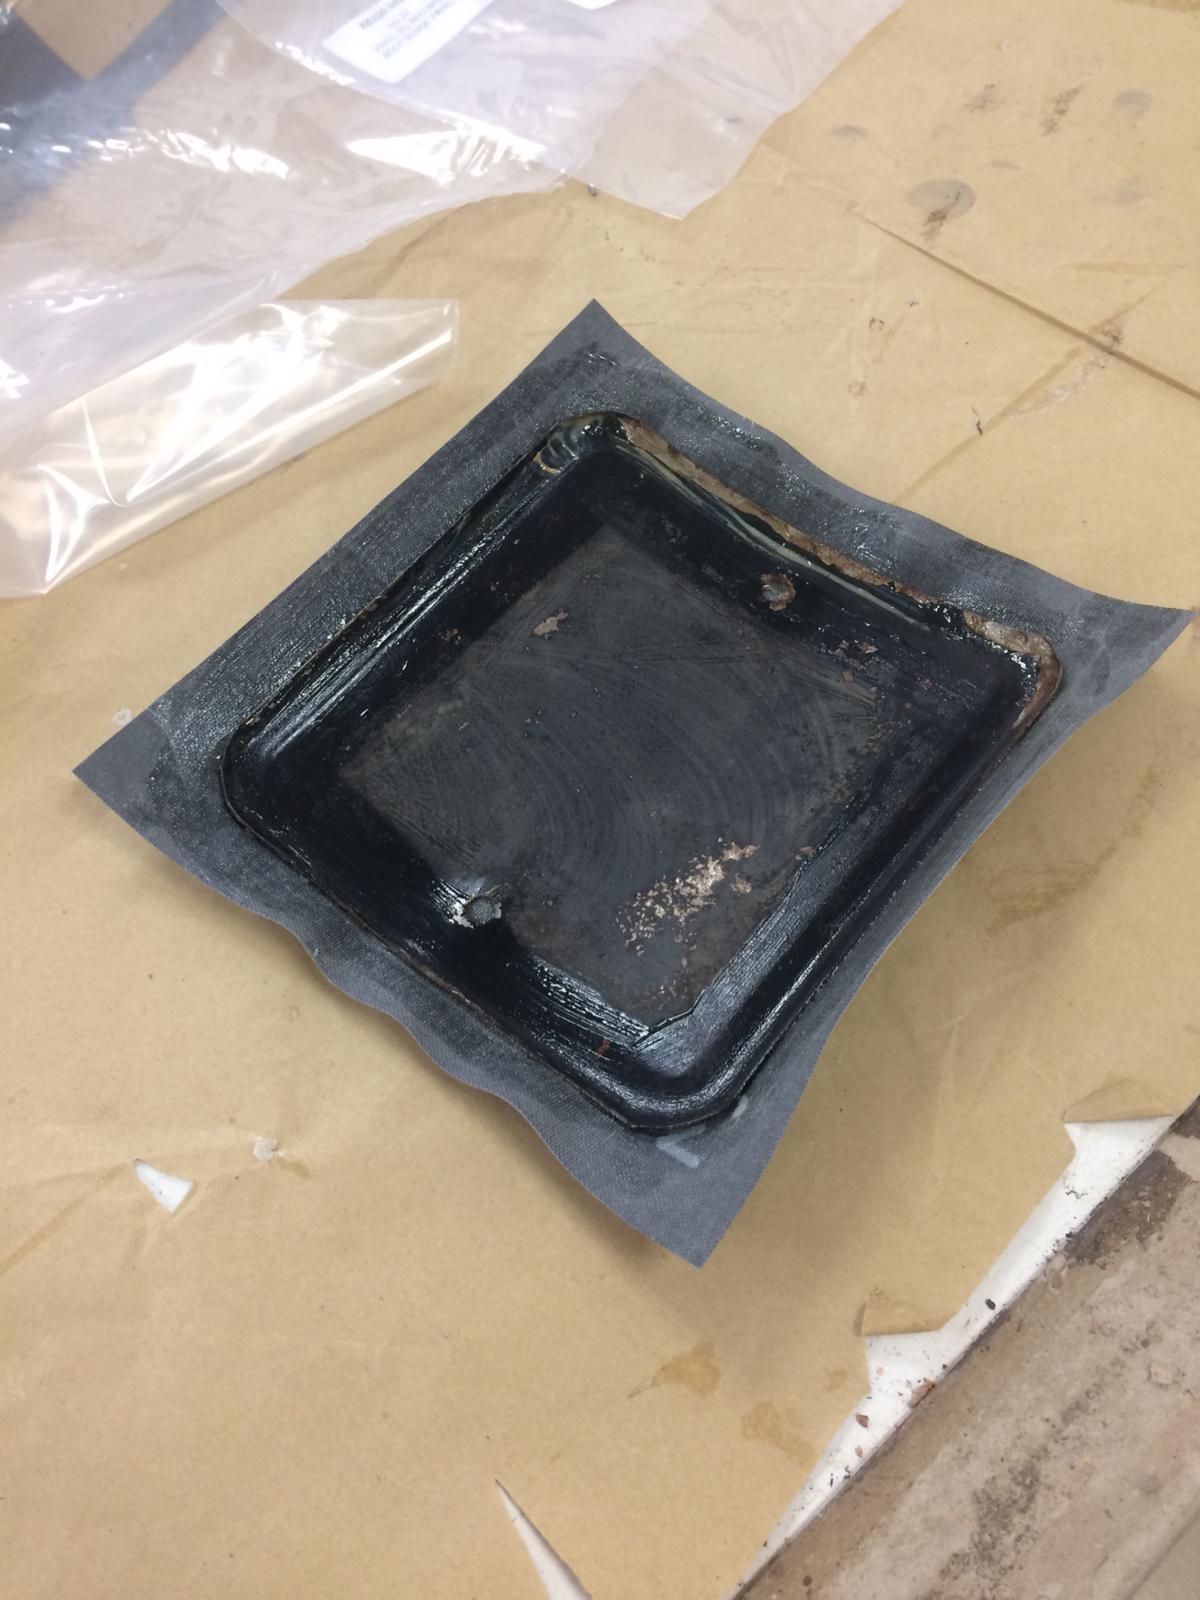
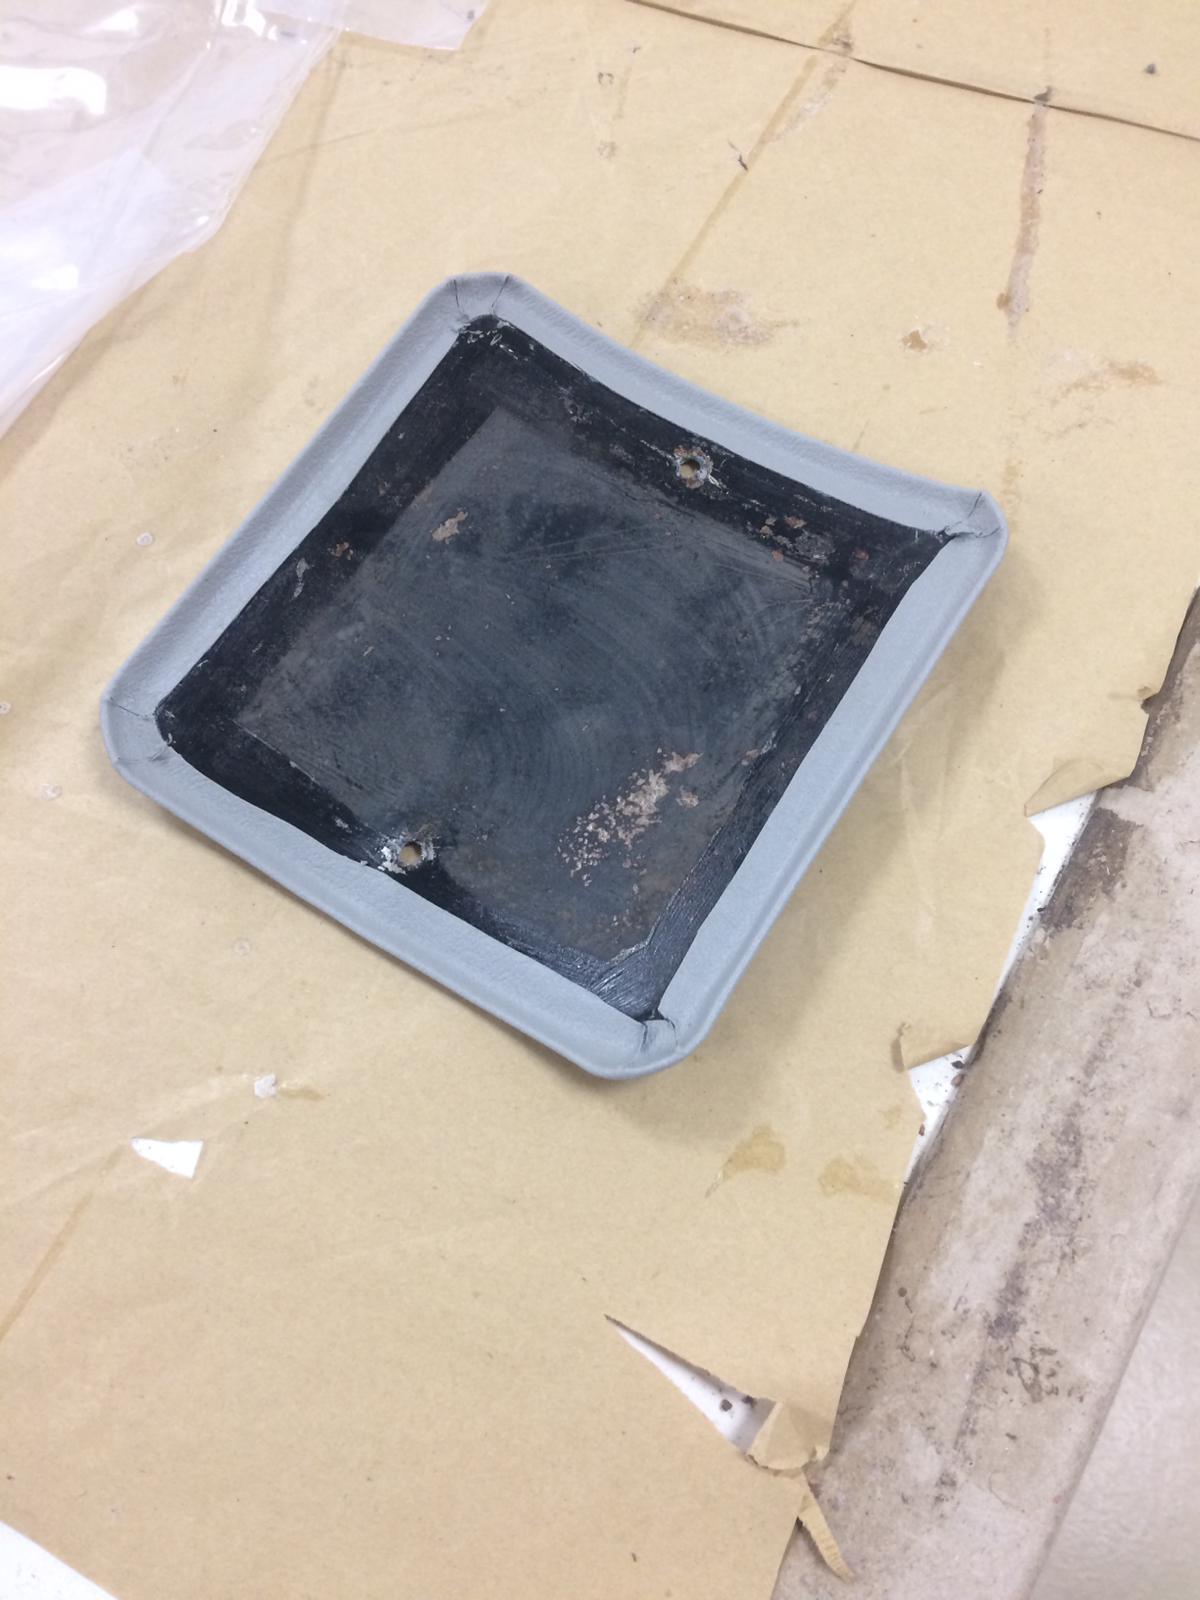
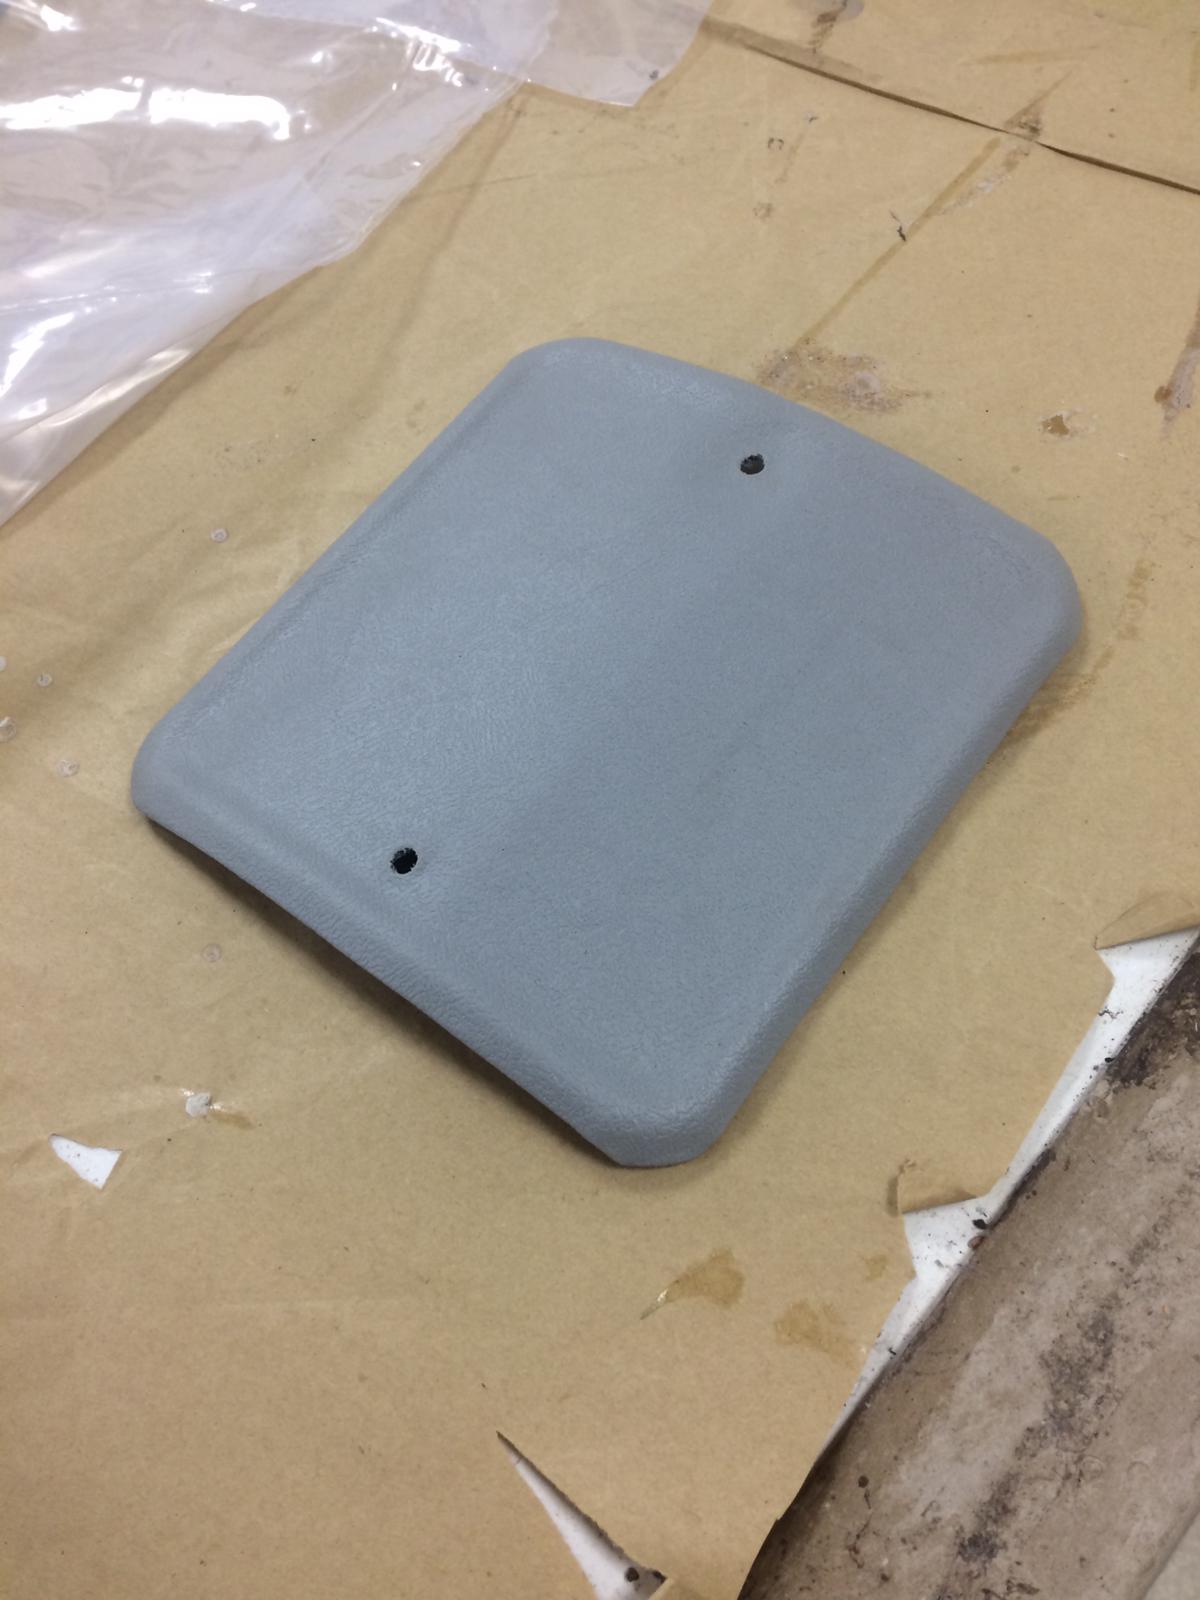
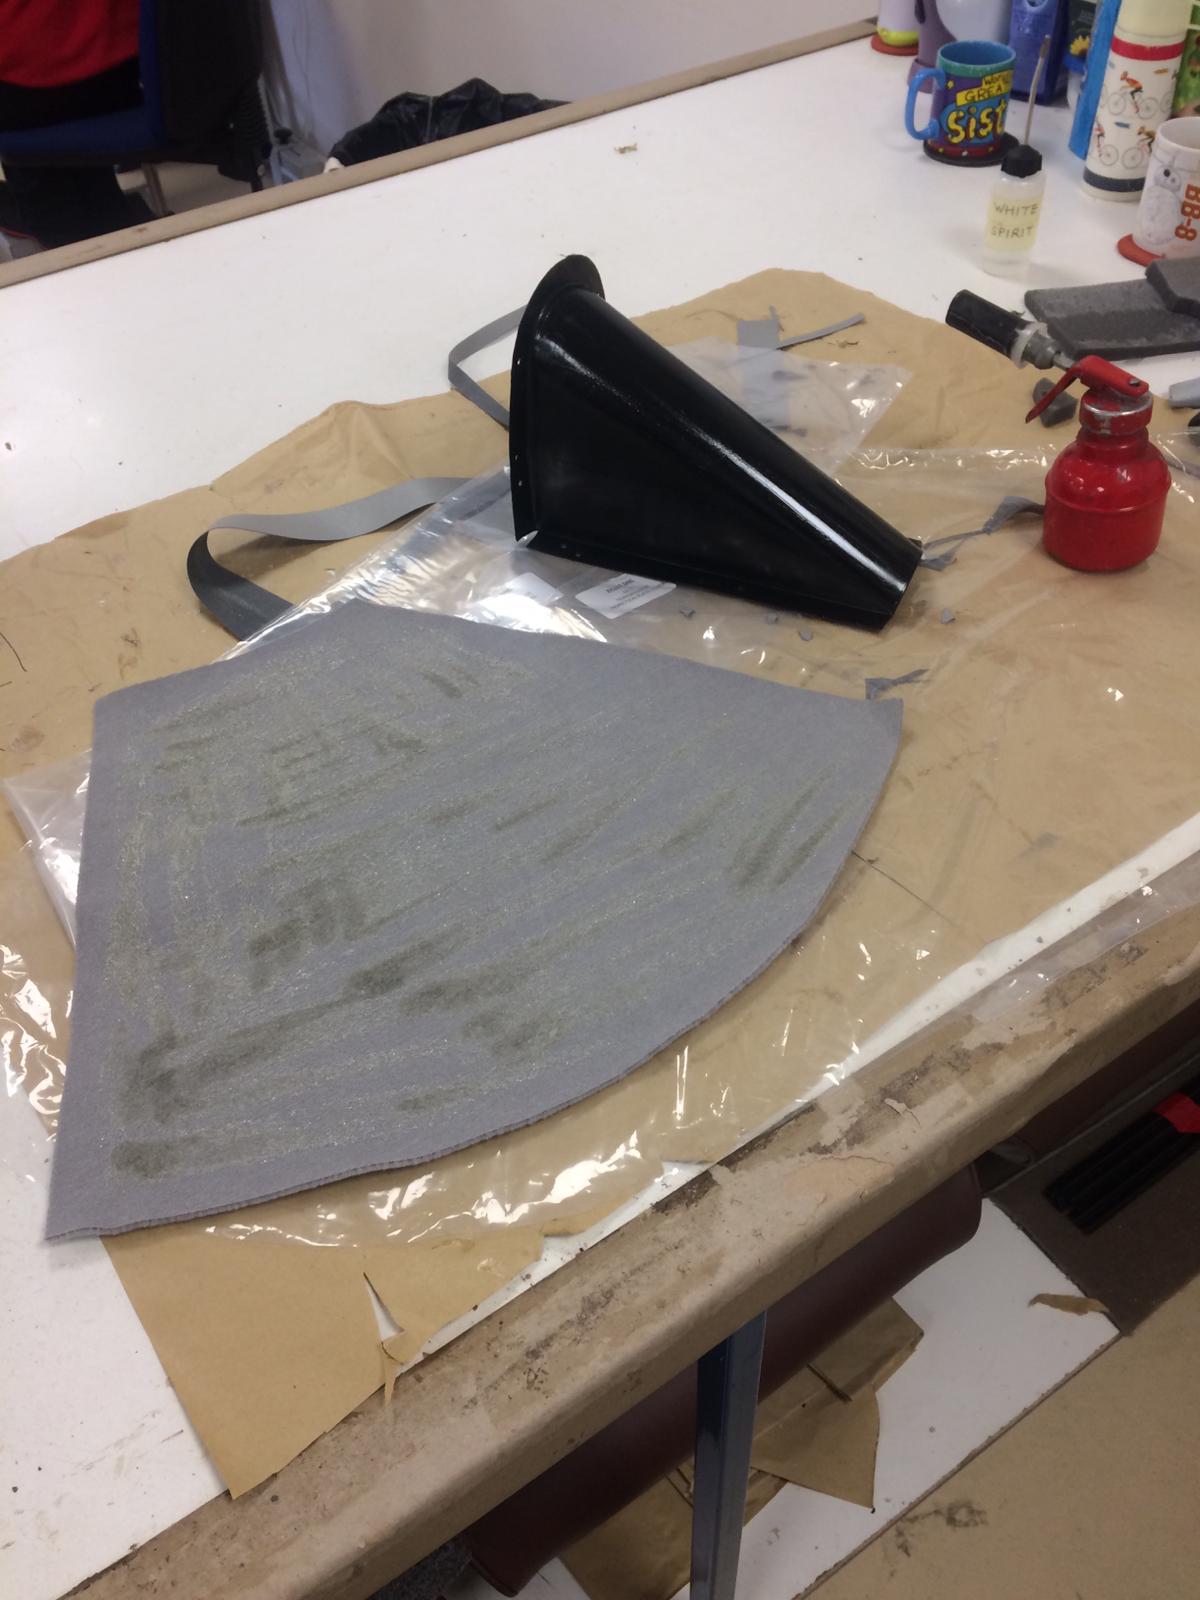
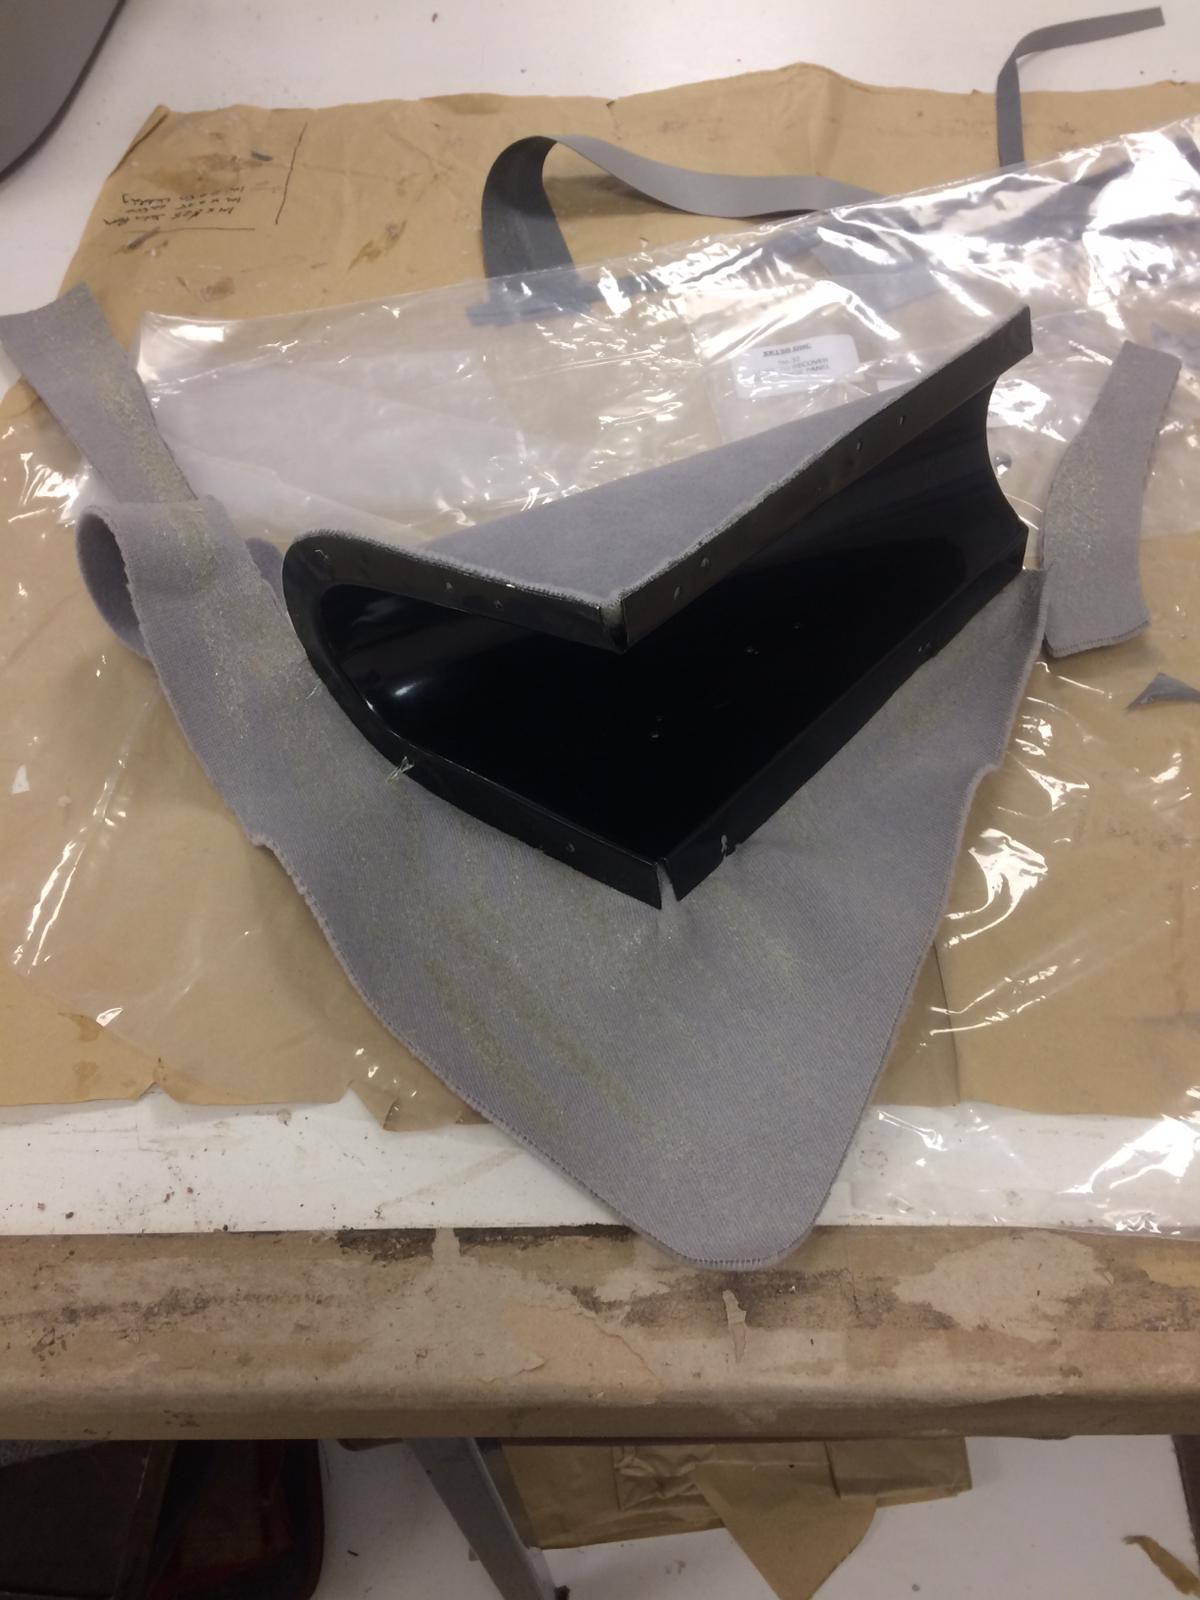
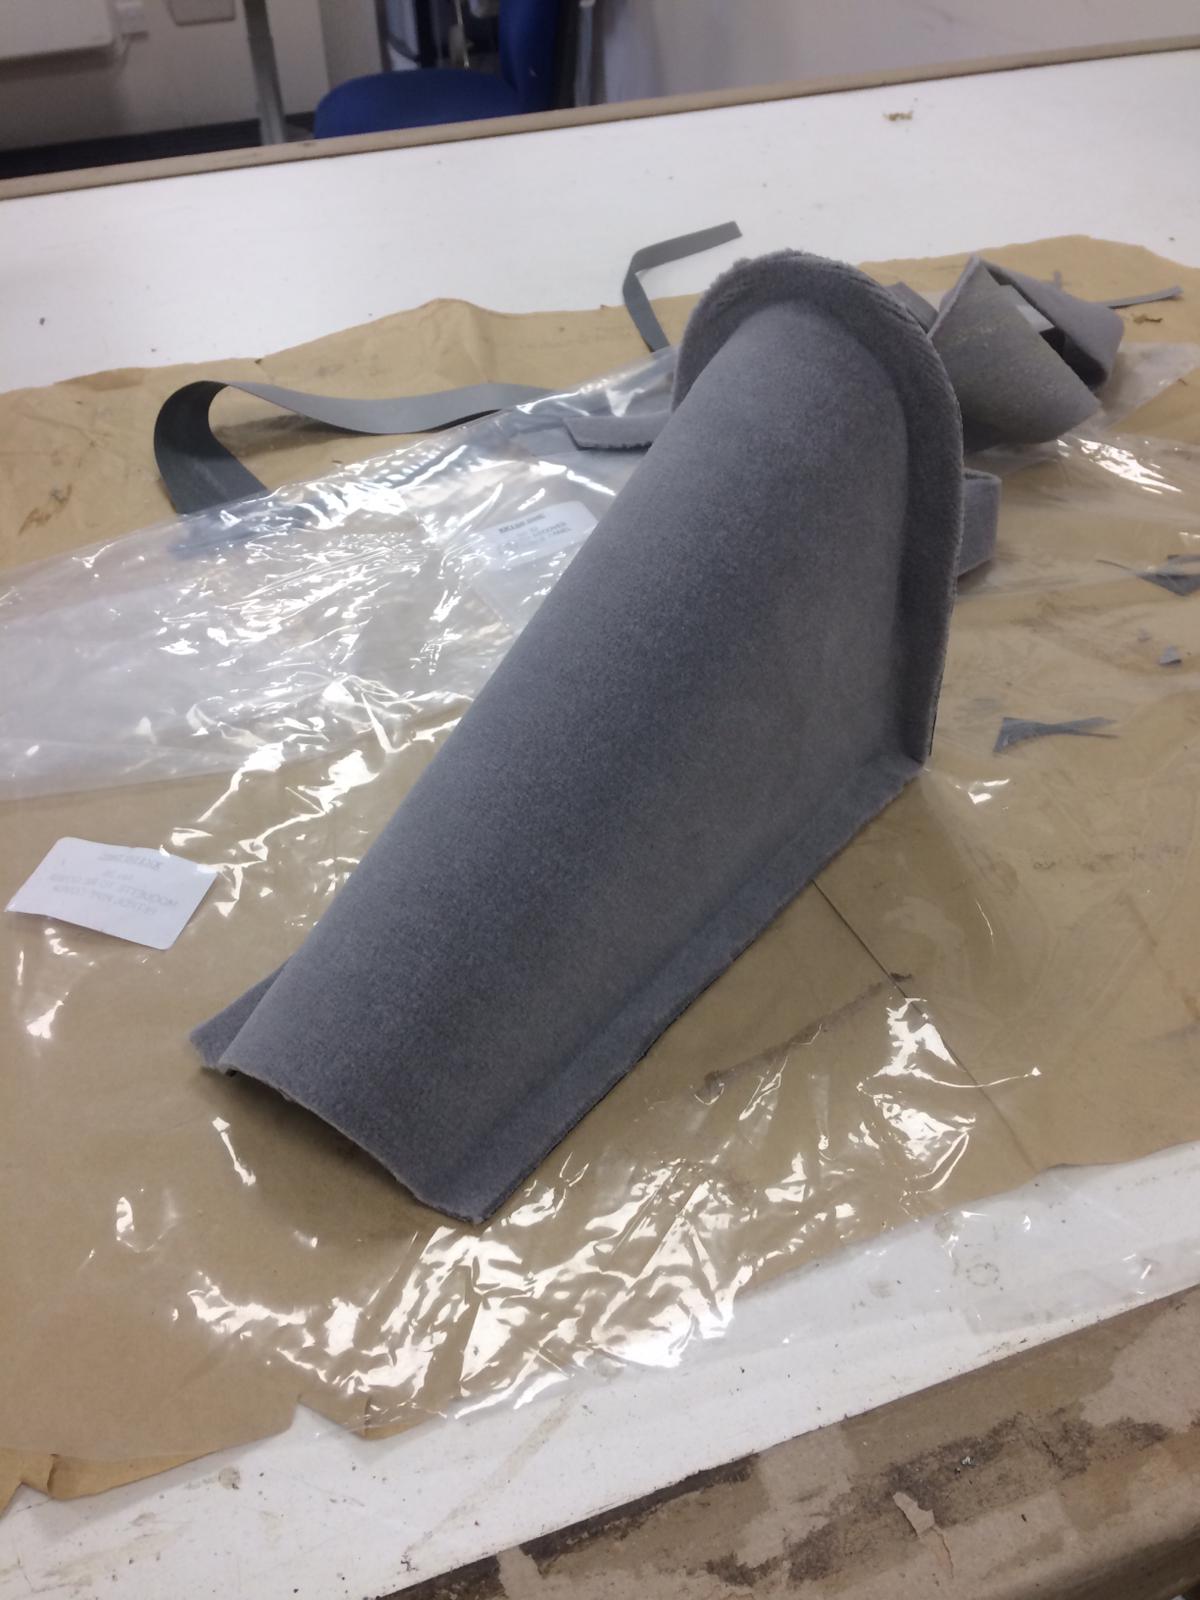
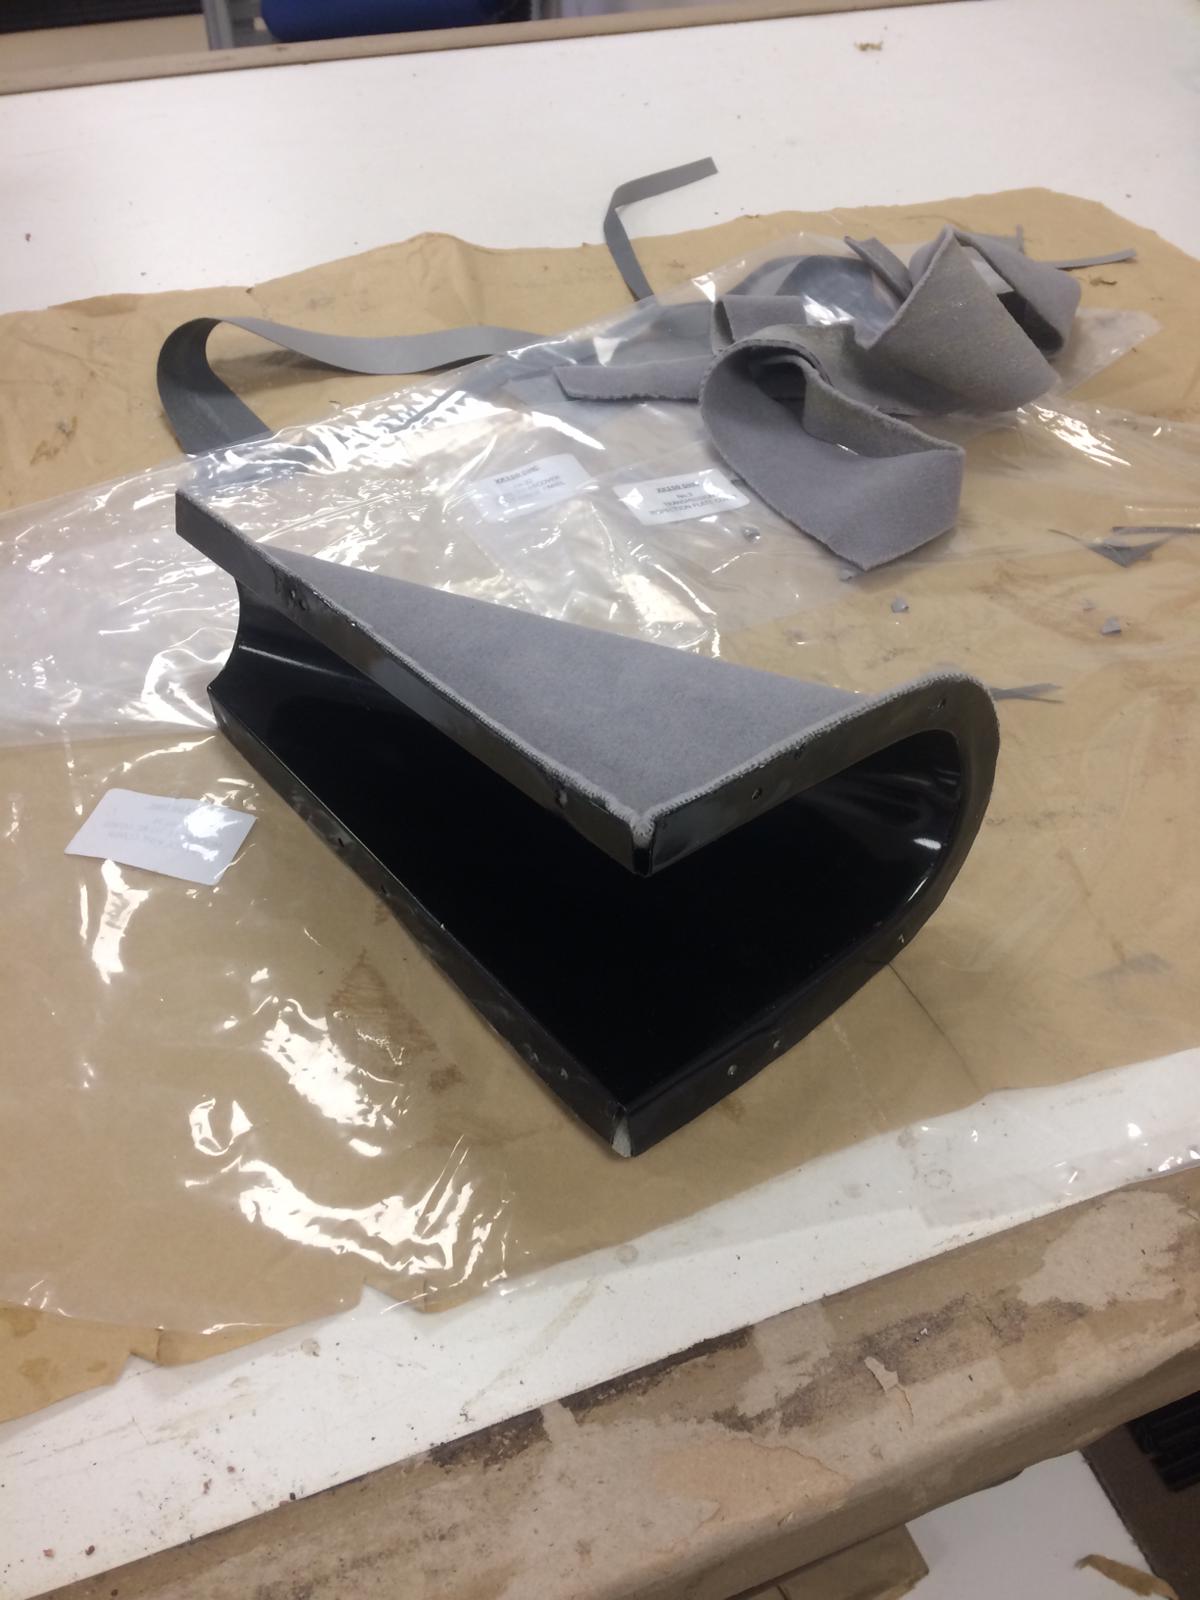
Some other interior panels have also has Brian’s magic touch. Including the boot hinge cover, the transmission inspection plate and the petrol pipe cover. All hand crafted and finished in a matching vinyl.
All these sections and the seats are now ready to be fitted back into the car. How sharp does this interior work look?

