Update on the Aston Martin
Here’s a big update on the 1955 Aston Martin DB 2/4. Clinton has been continuing his work on the car and has given us the


Here’s a big update on the 1955 Aston Martin DB 2/4. Clinton has been continuing his work on the car and has given us the
After coming back from the sandblasters, the chassis of the 1951 yellow Riley RMB is looking a little corroded so James is going to have
James has been continuing his work on the yellow 1951 Riley. The air vent for the second panel was sandblasted last week, so could be
James has been continuing his repair work on the corroded areas of the 1977 Daimler Double Six. The right-hand side front inner wing has been

After thinking the 1977 Daimler Double Six would only be in and out rather quickly, James has unfortunately discovered layers of more corrosion than expected
James has been continuing his repair work on the 1986 Daimler Double Six. He’s now finished the left-hand side, which you can read about the
James has got the 1986 Daimler Double Six in the fabrication bay and has been starting the welding work on it! He’s been concentrating on
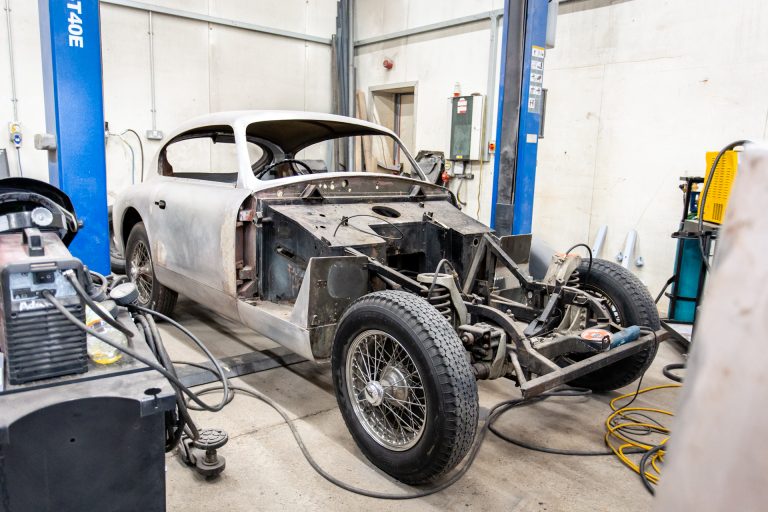
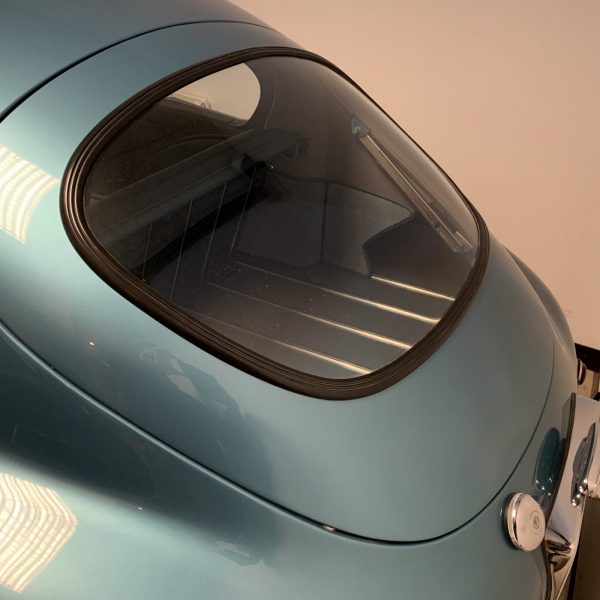
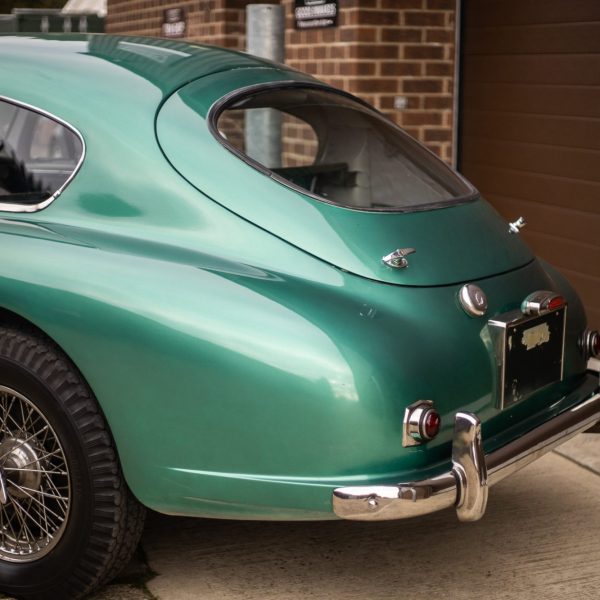
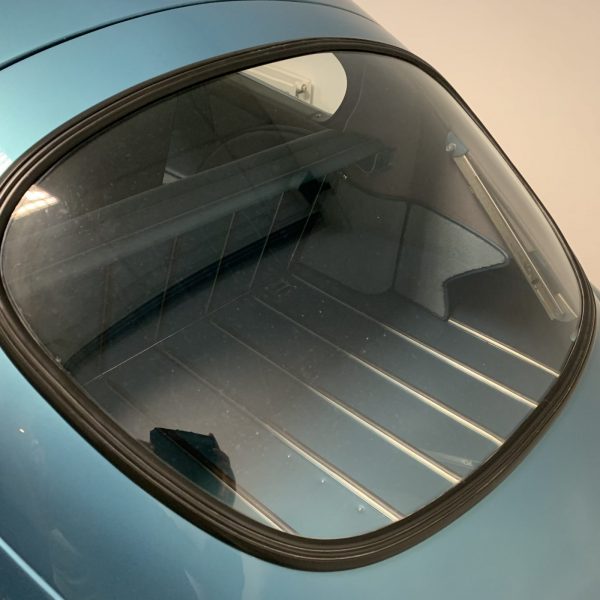
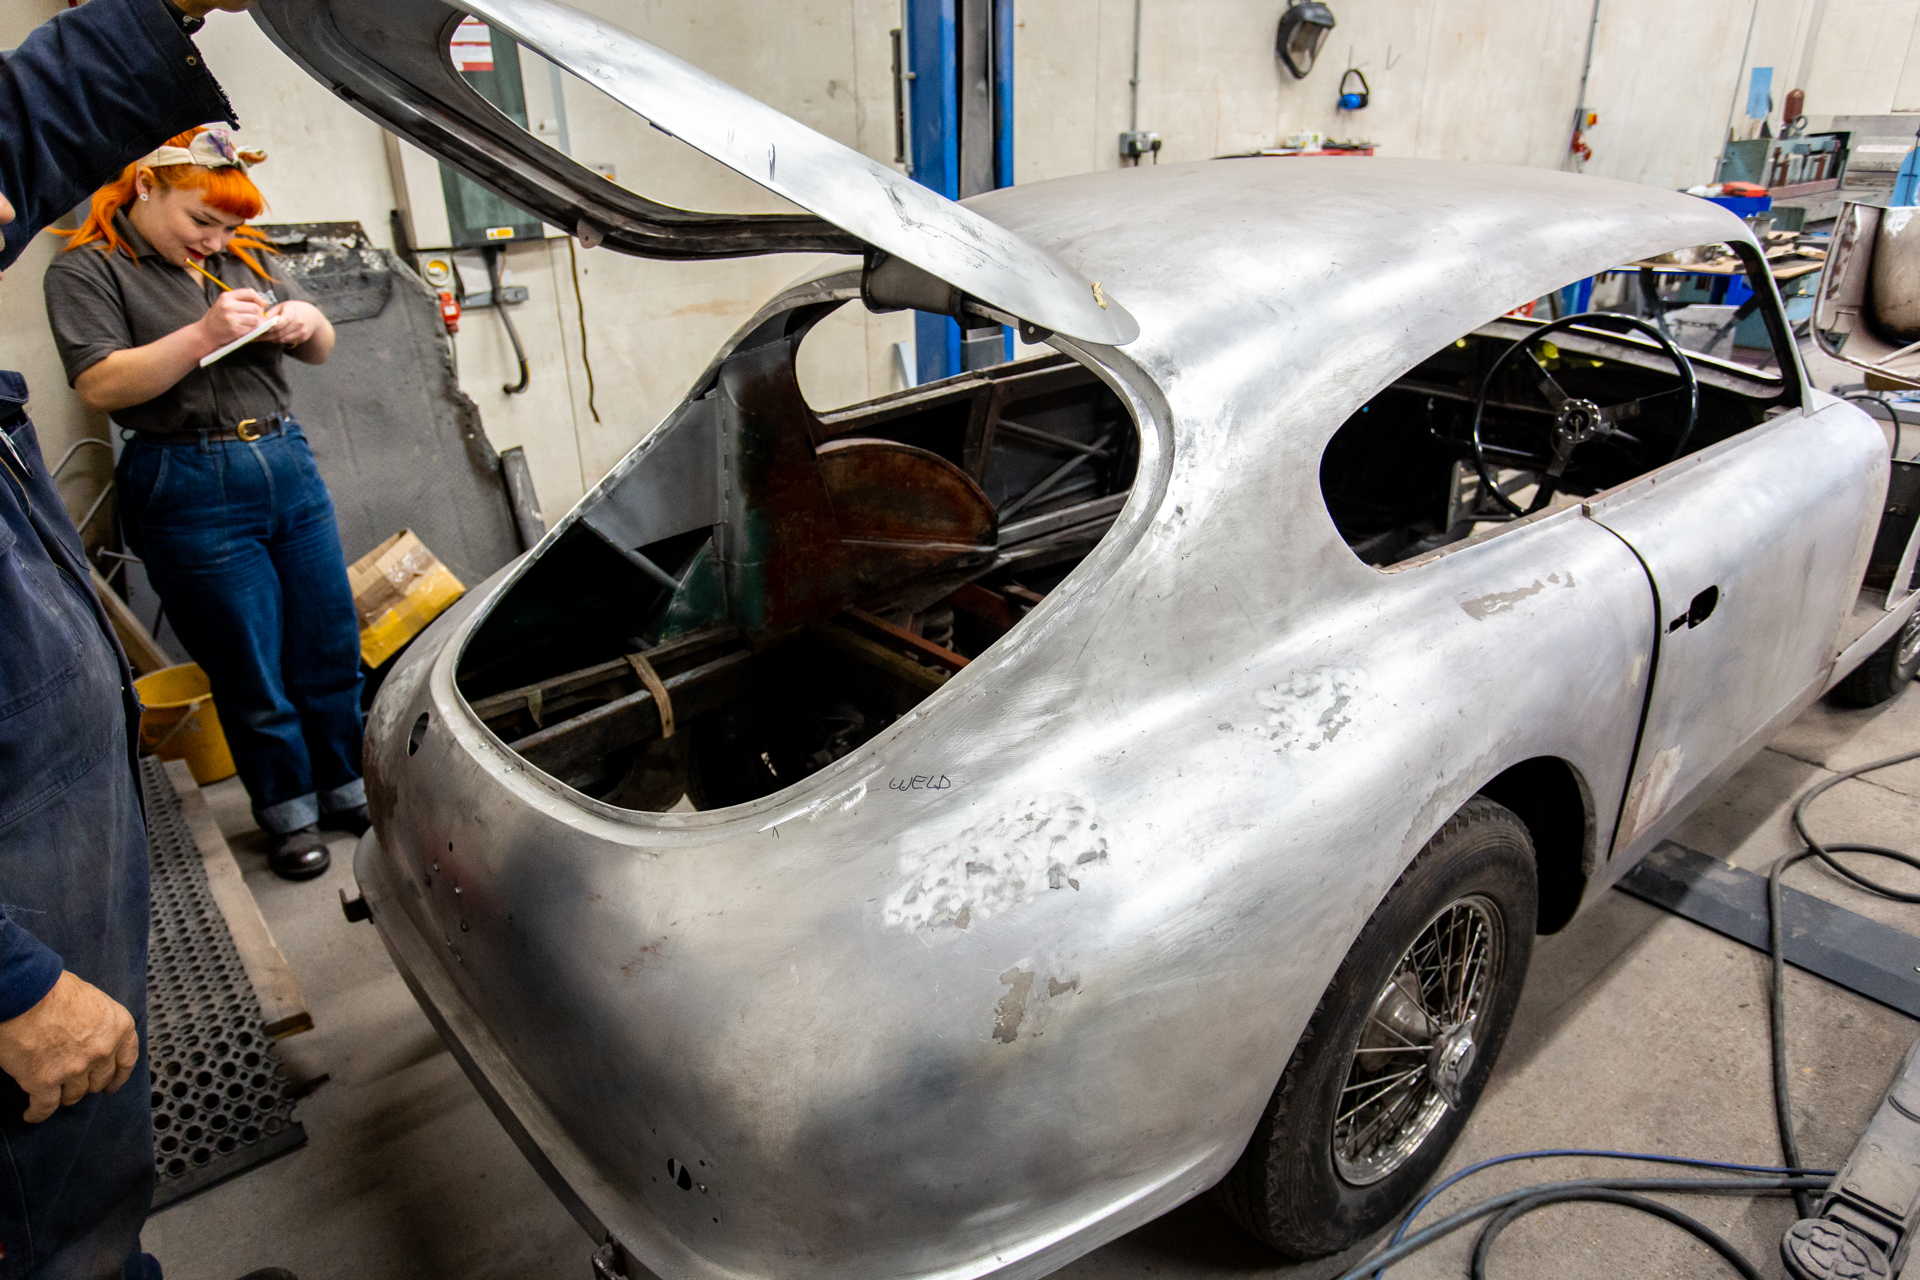
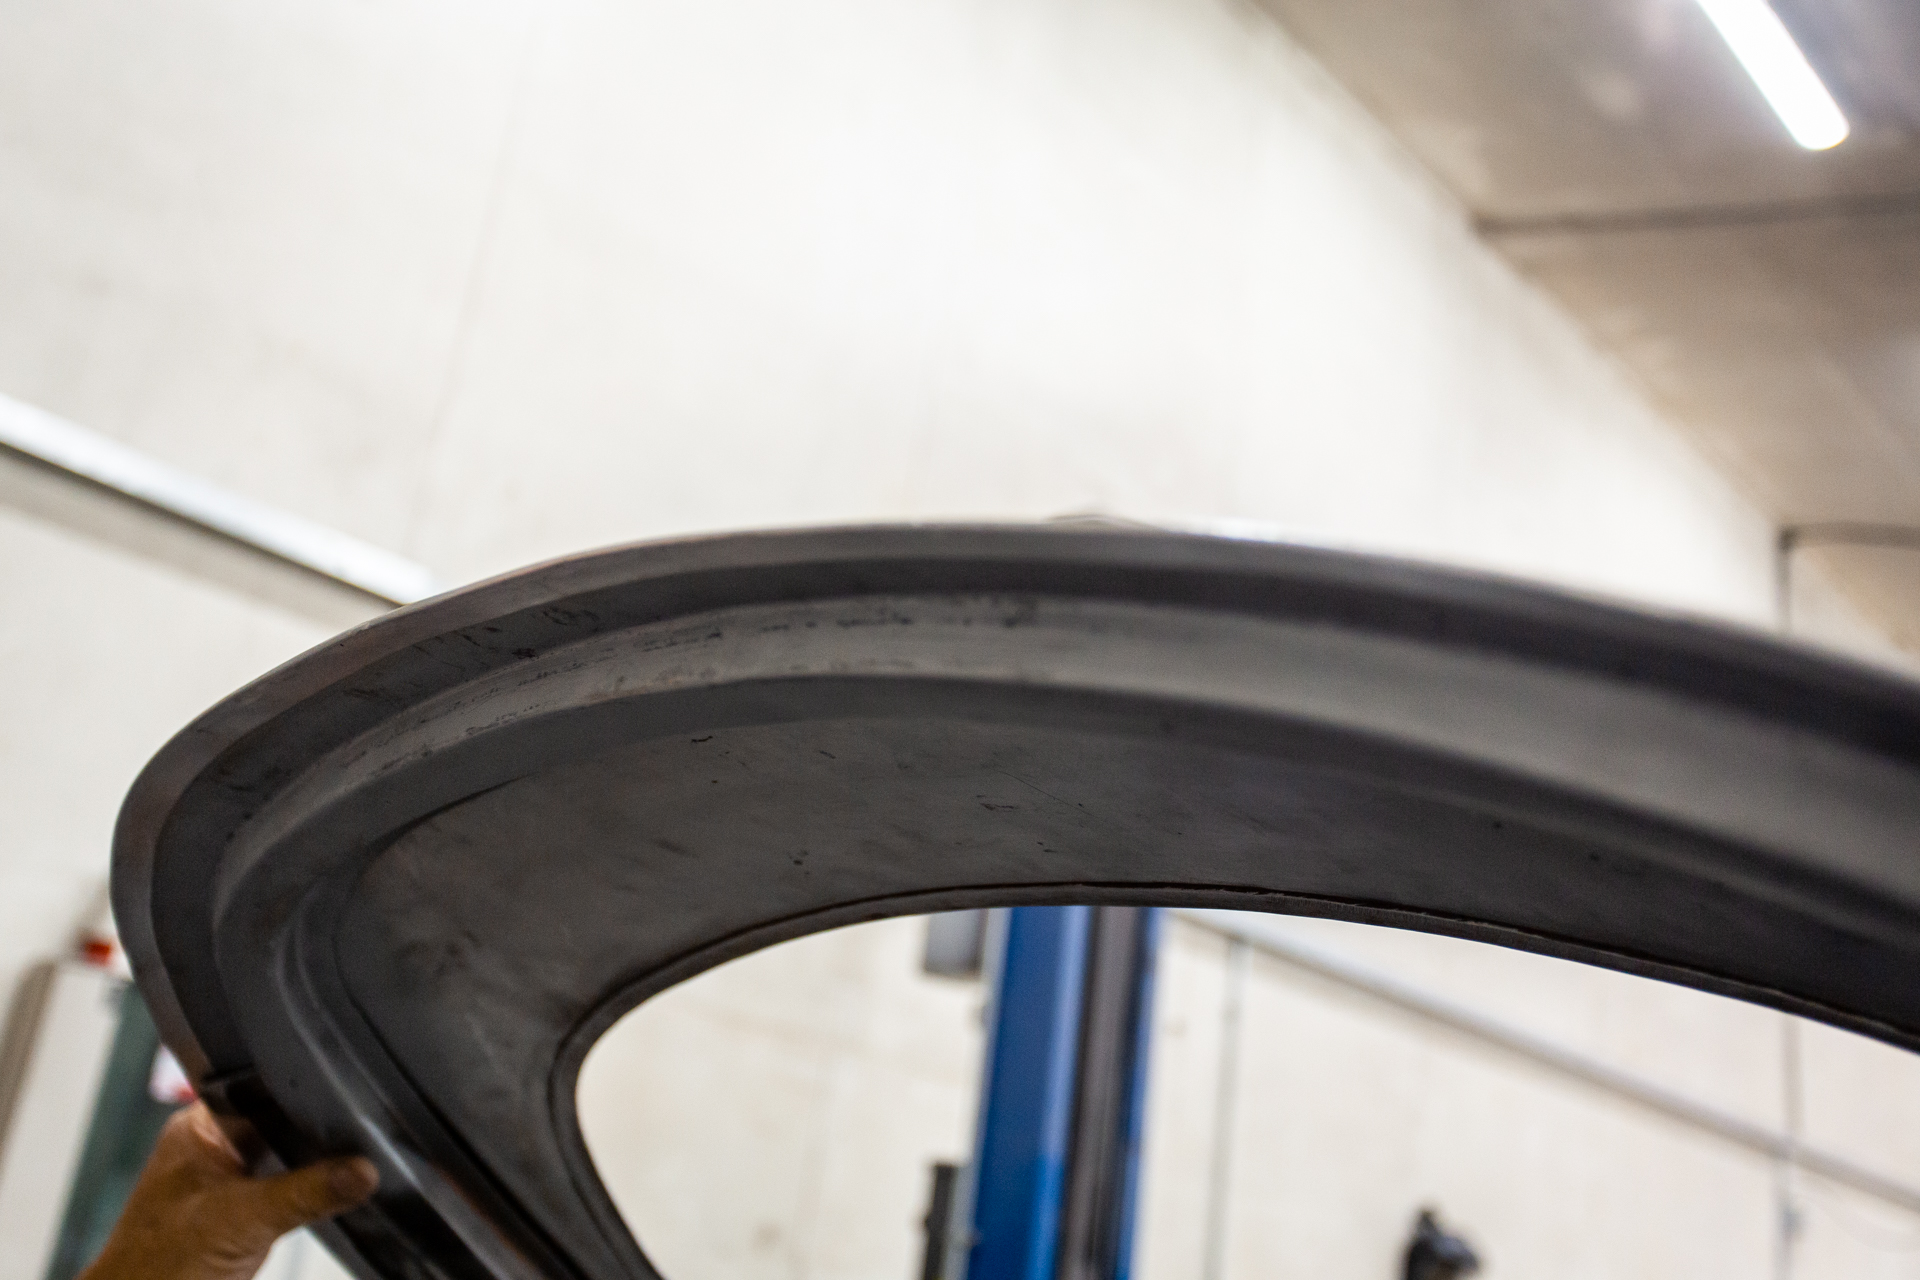
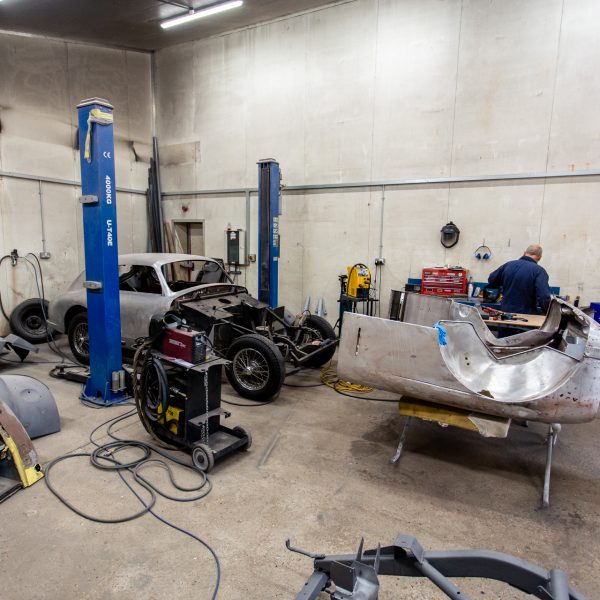
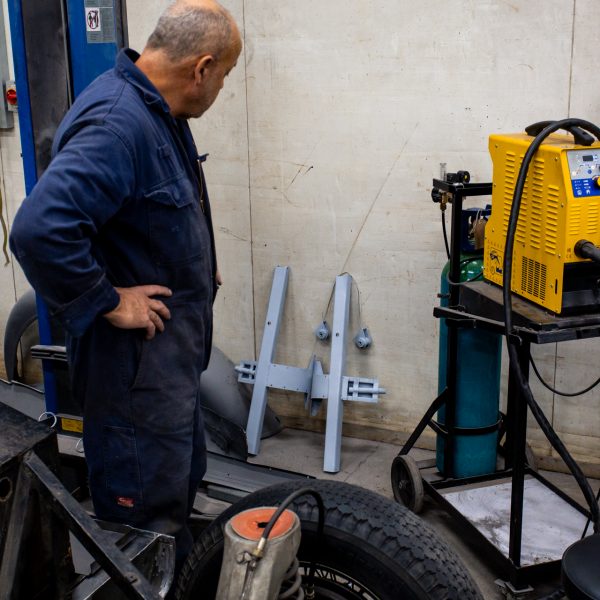
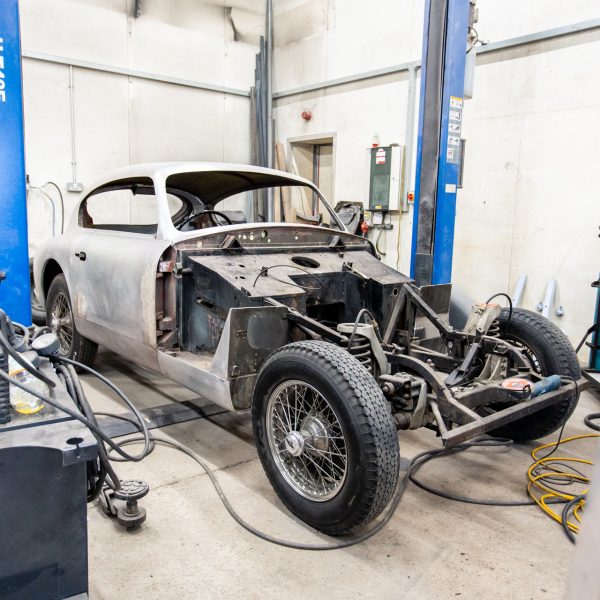
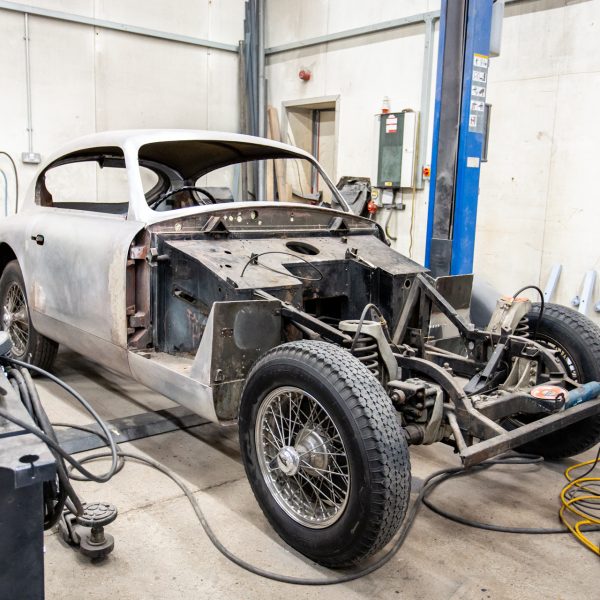
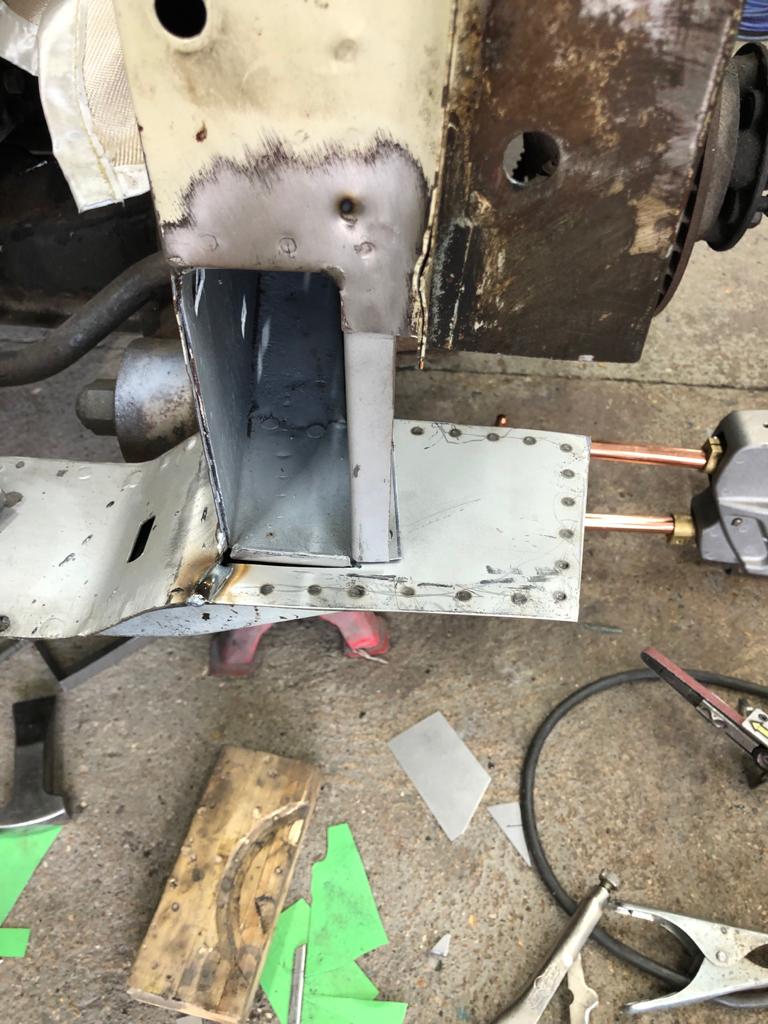
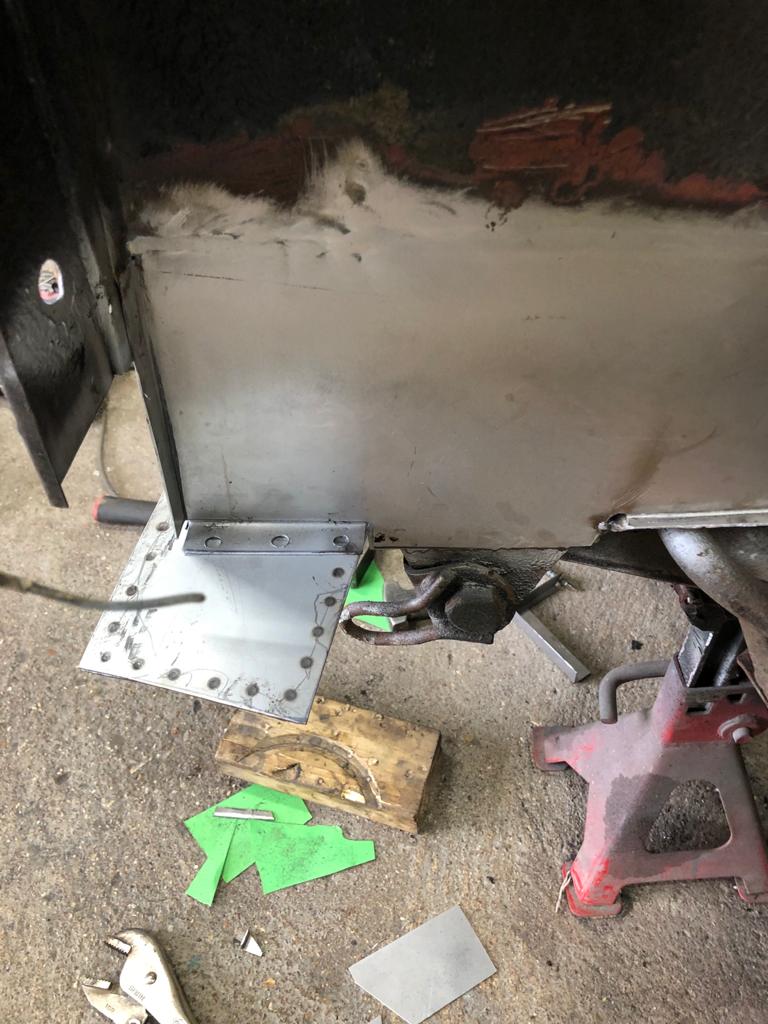
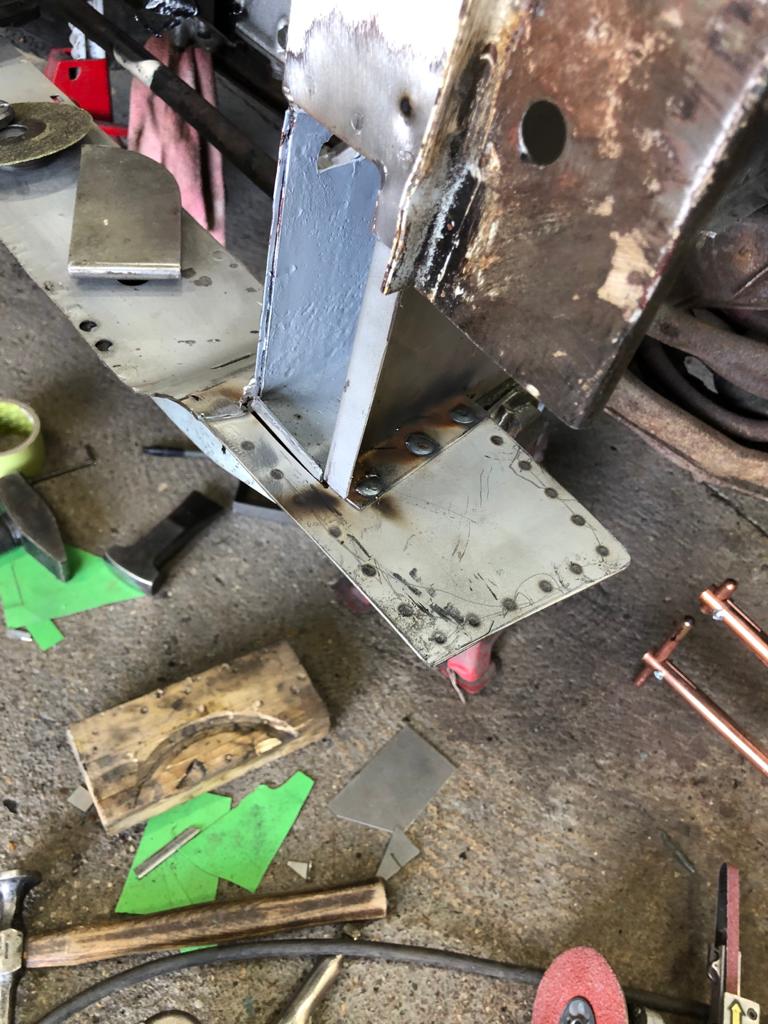
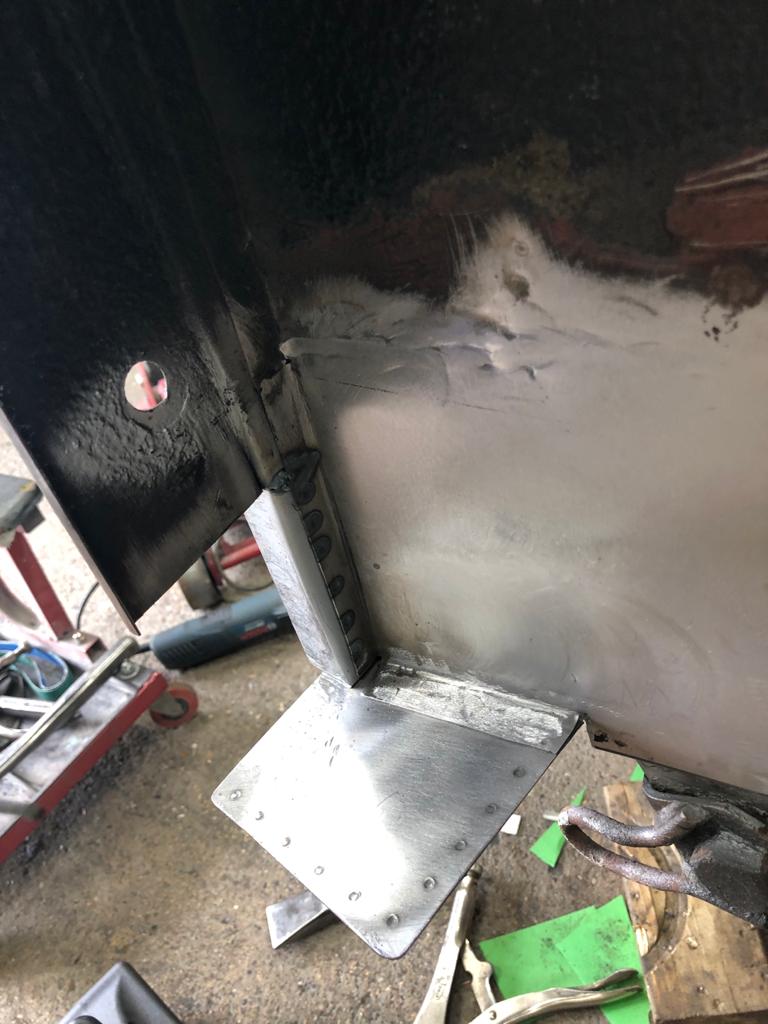
Here’s a big update on the 1955 Aston Martin DB 2/4. Clinton has been continuing his work on the car and has given us the low-down on what has been done recently.
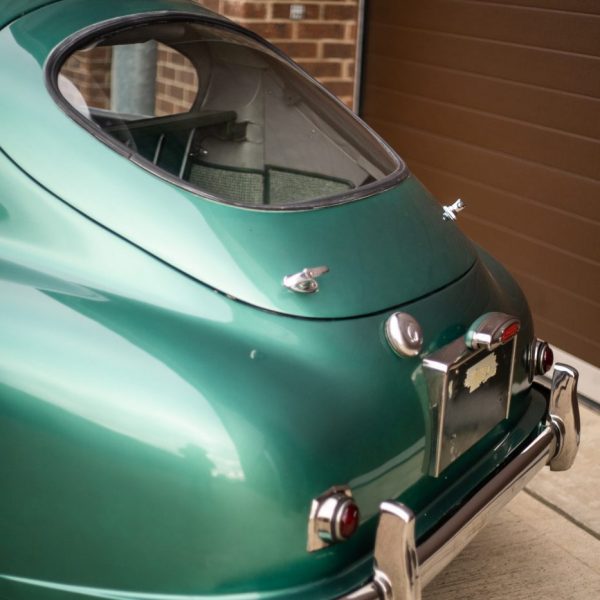
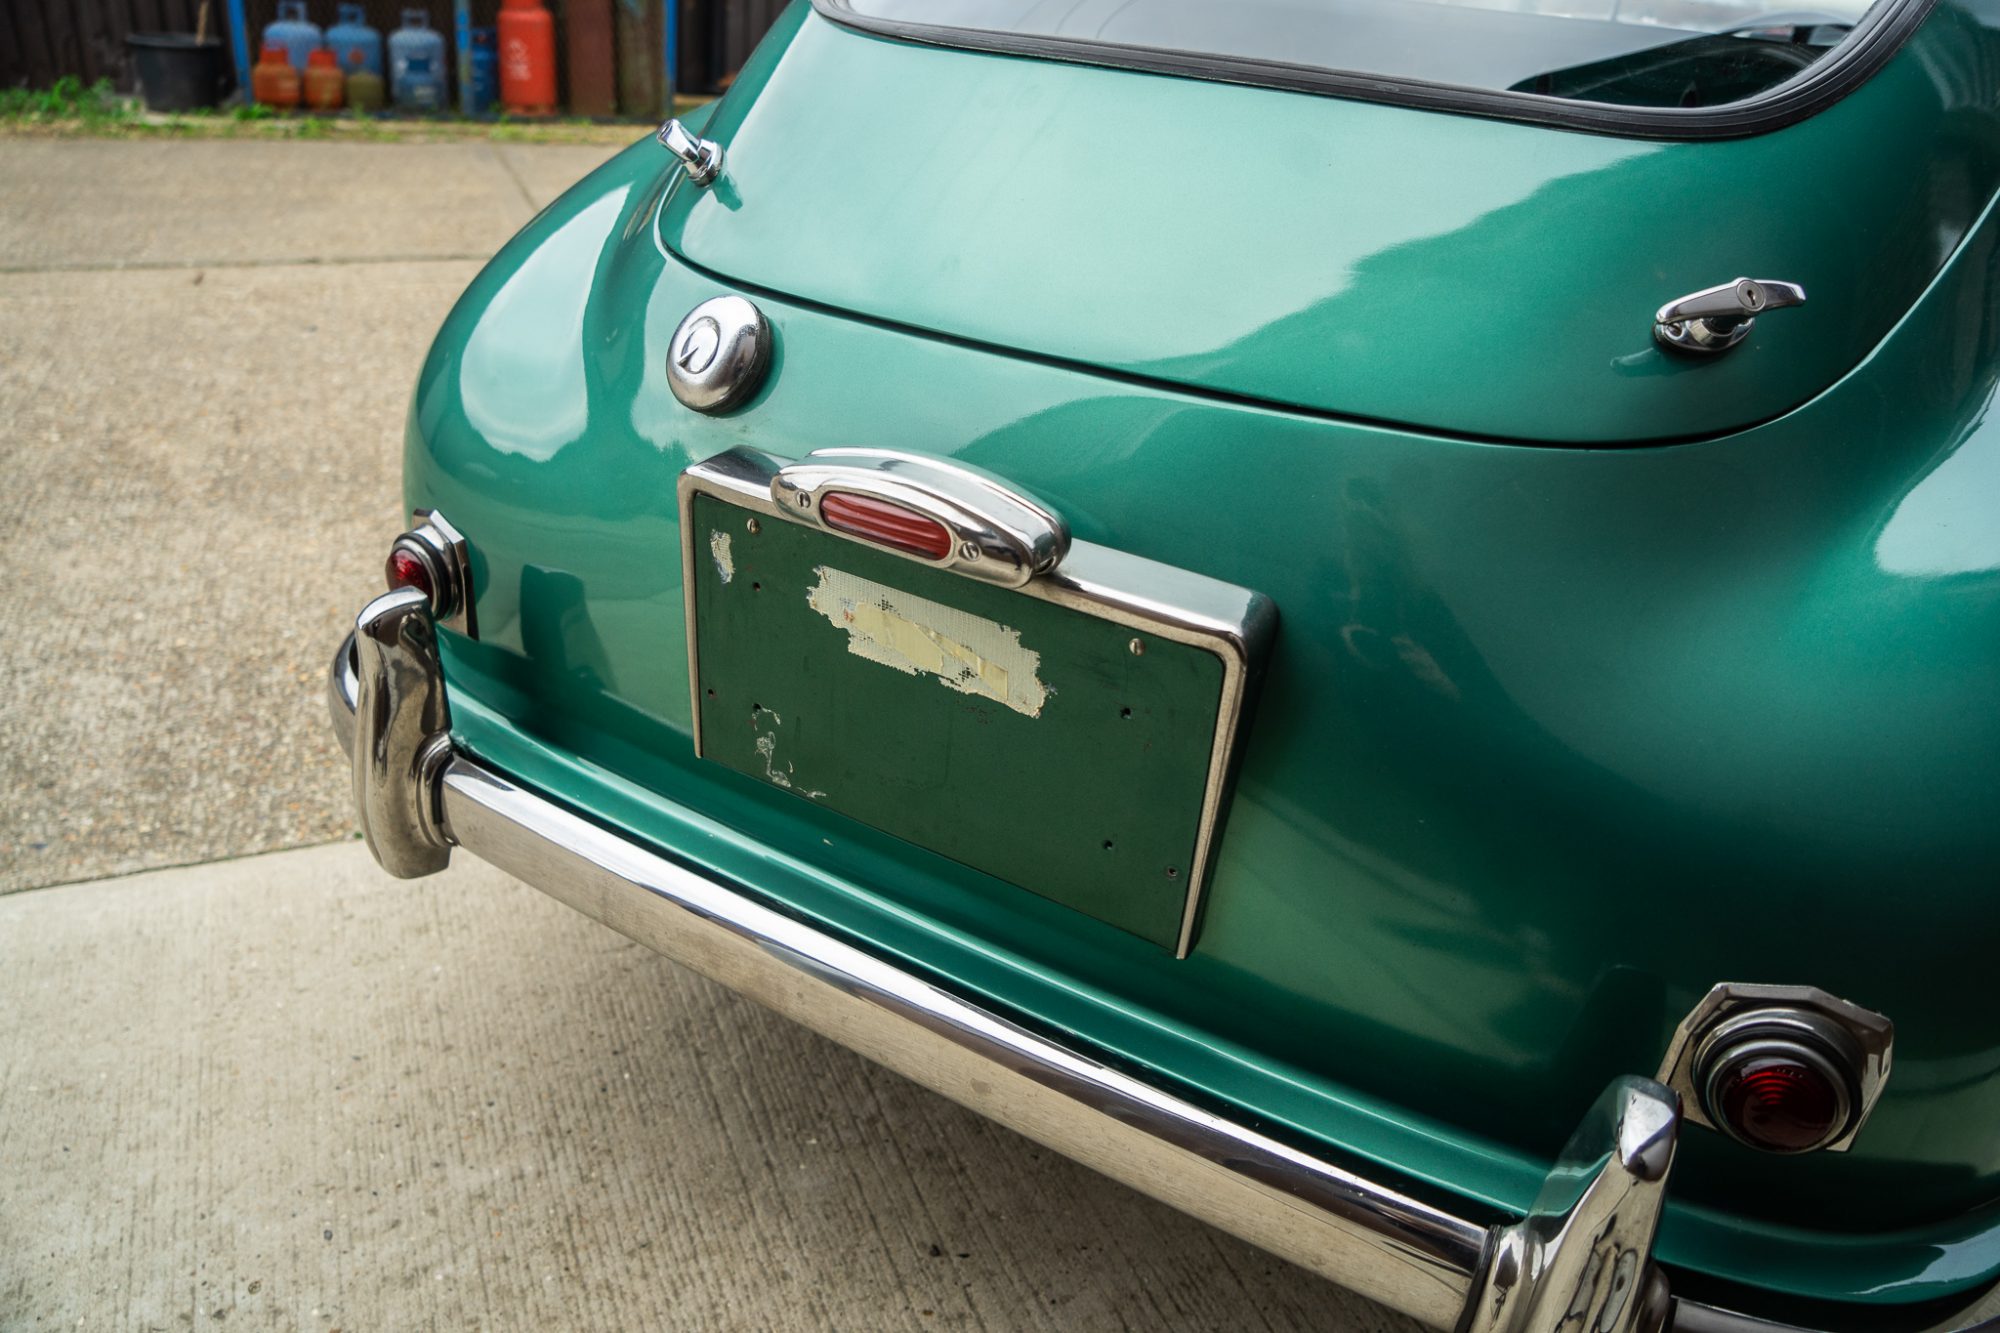
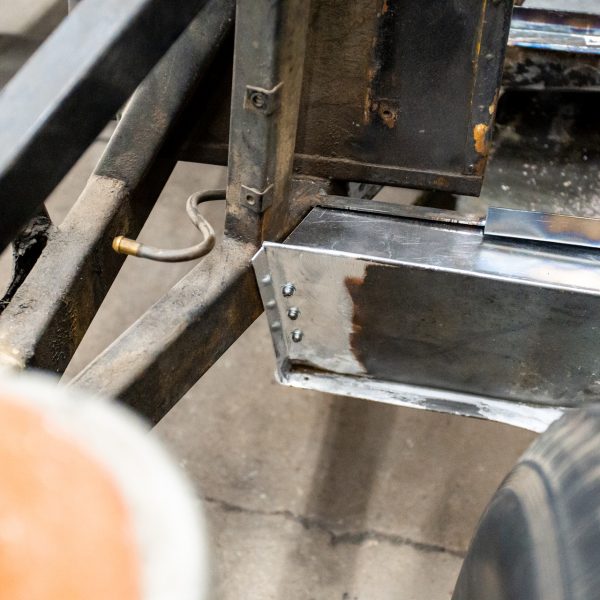
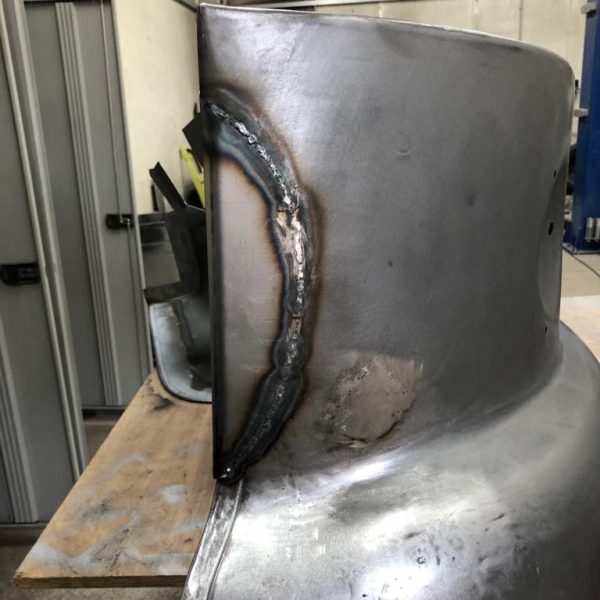
If we start at the rear of the vehicle, he’s finished putting the four corners in, the outside edge of the boot lid was corroded so this has been repaired with fabrication and welding, a new boot hinge has been created and Clinton is waiting for parts to arrive to complete the boot. One bigger change to the boot has been the removal of two large handles on the boot. When the car arrived with them on, we thought something wasn’t quite right, so we went on a visit to Stratton Motor Company because they had a DB 2/4 in their own showroom. It was there that it was confirmed that the handles should not be on the boot lid.
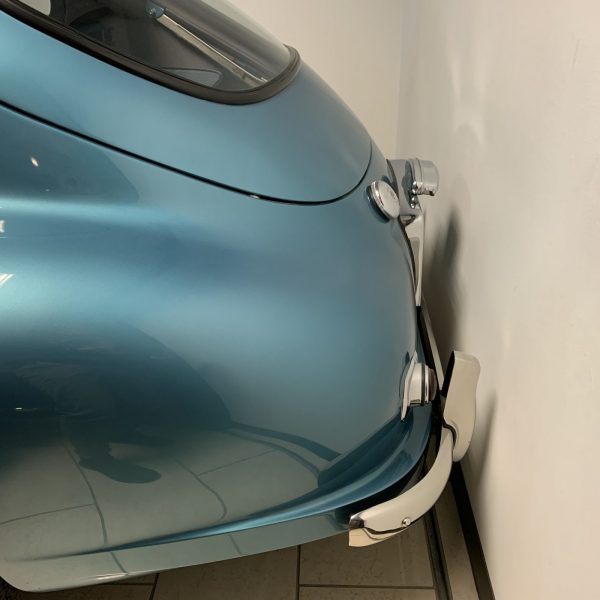
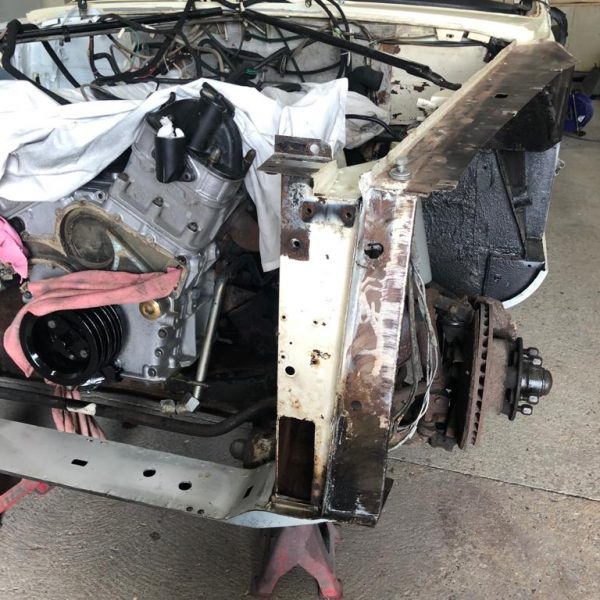
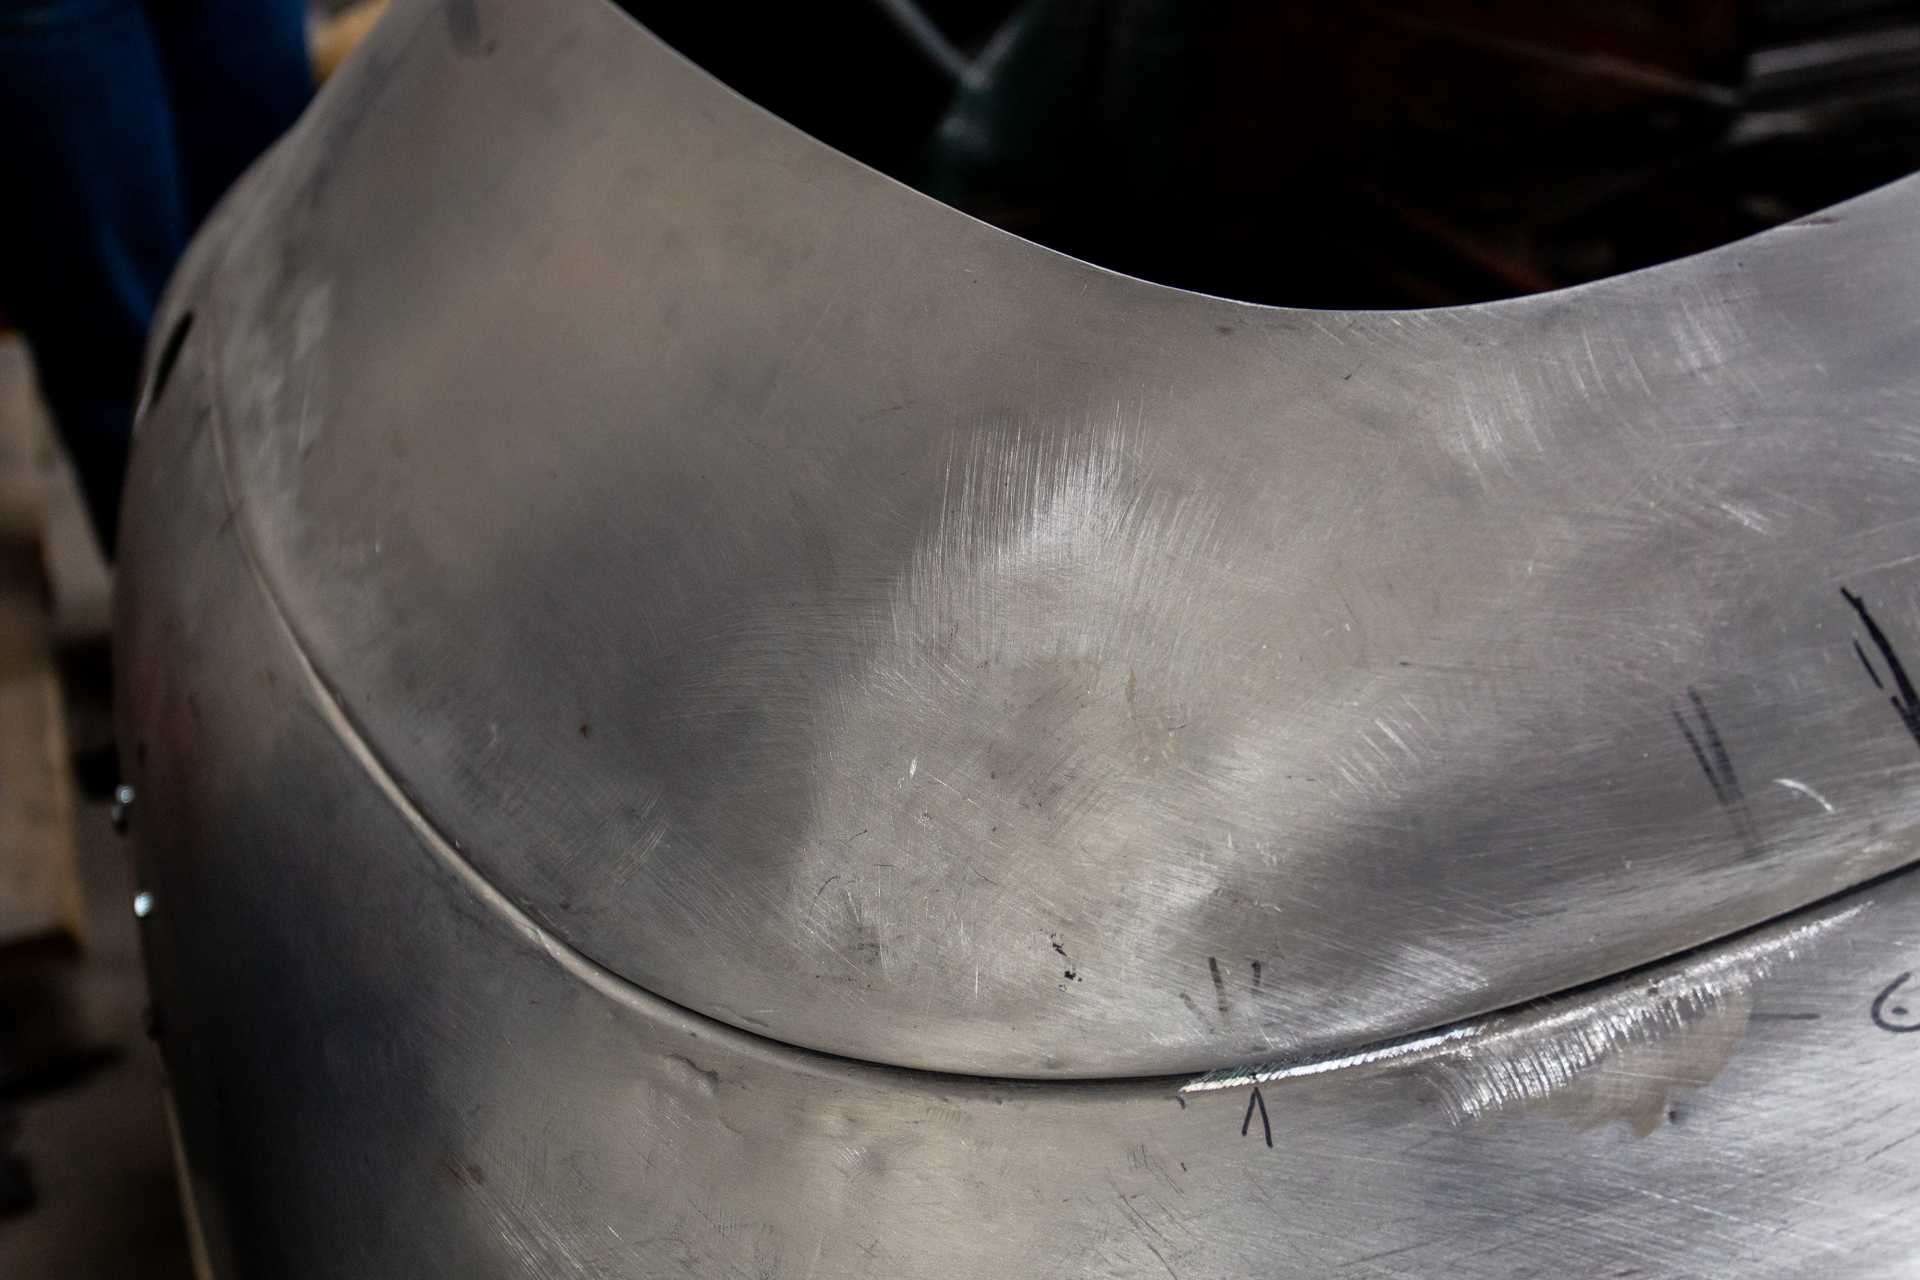
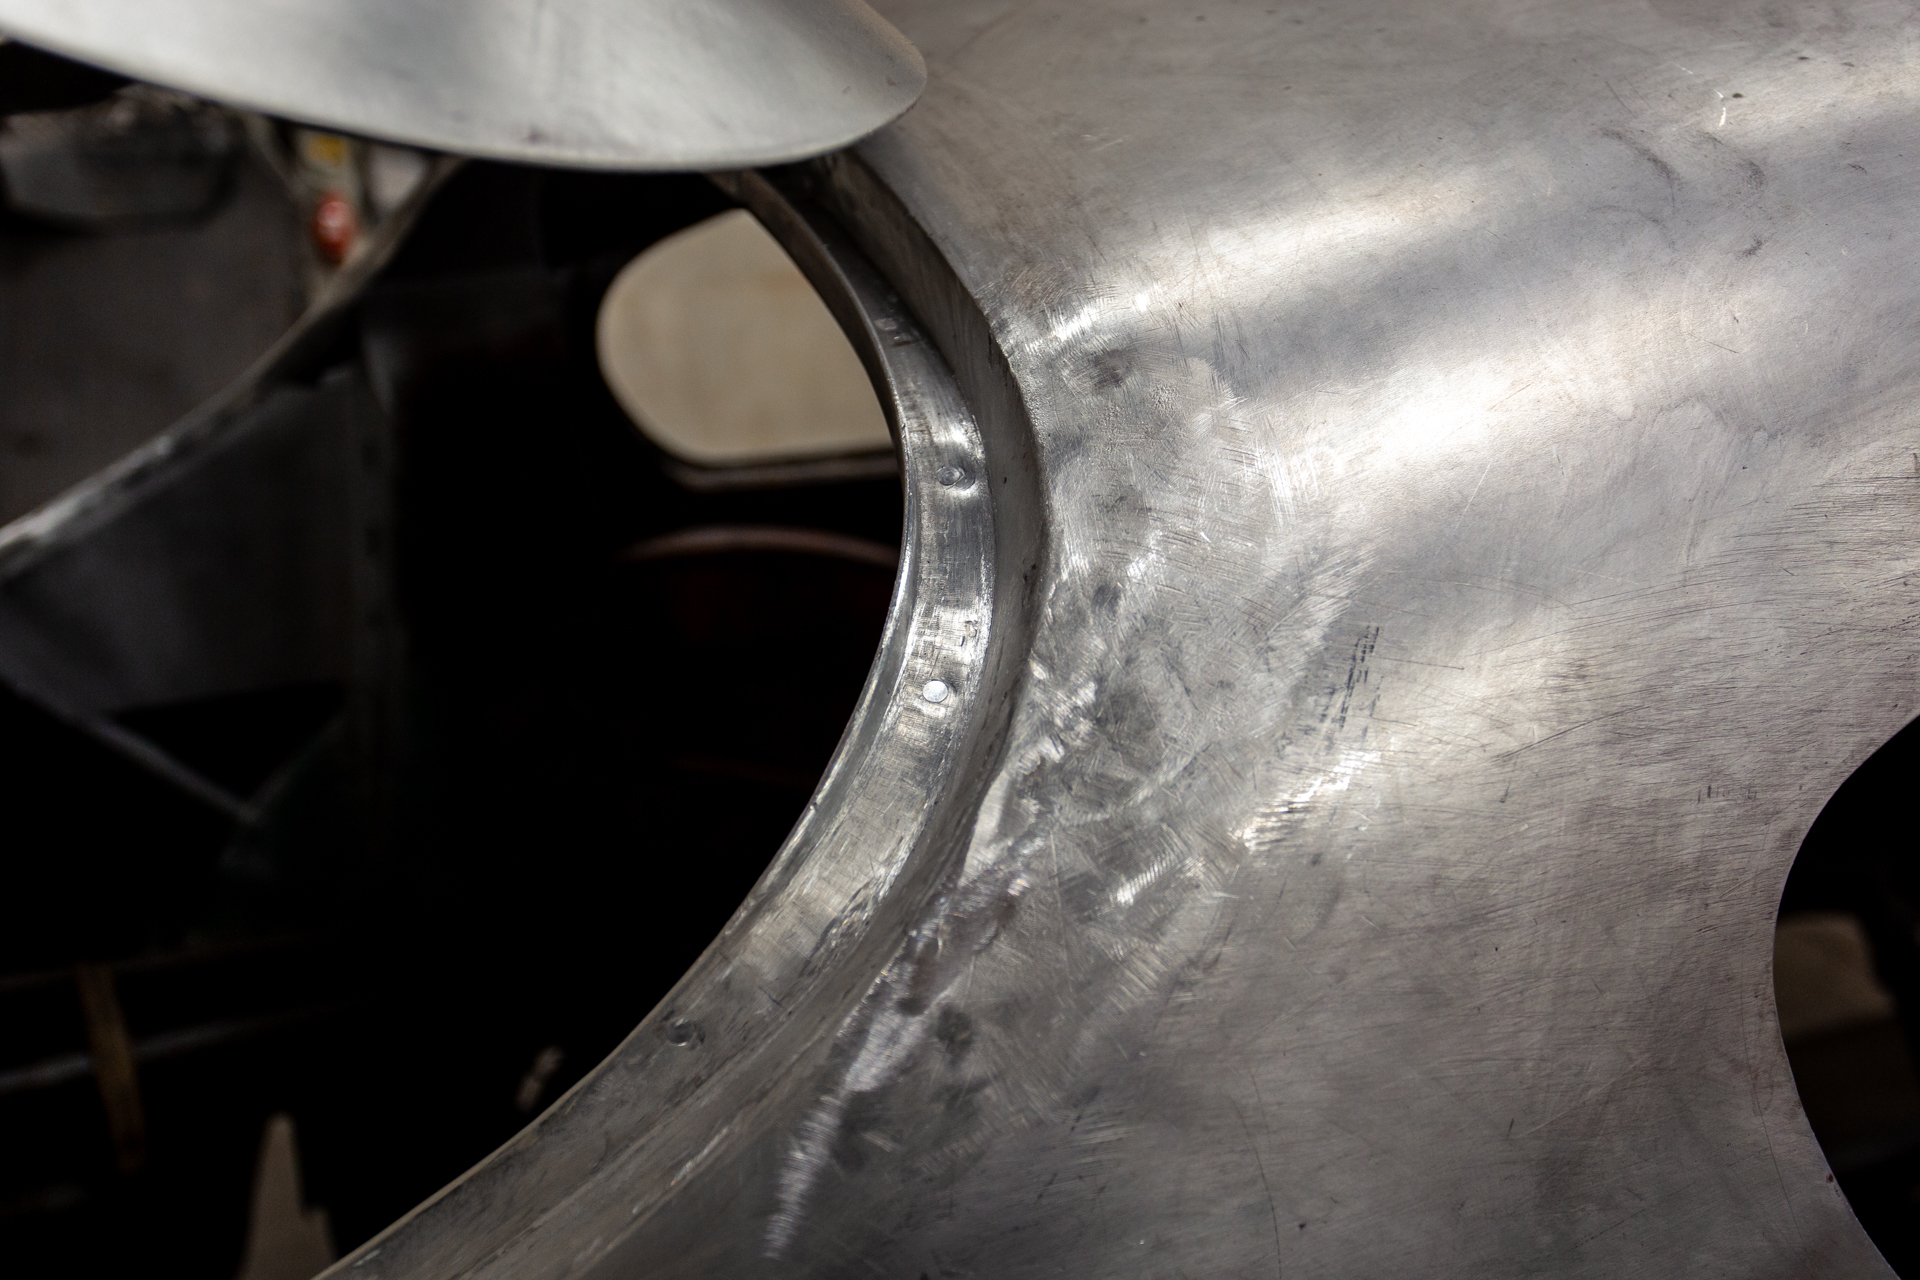
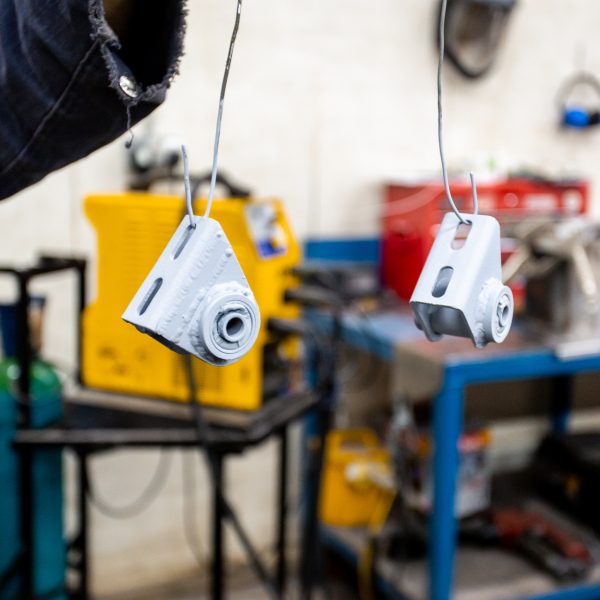
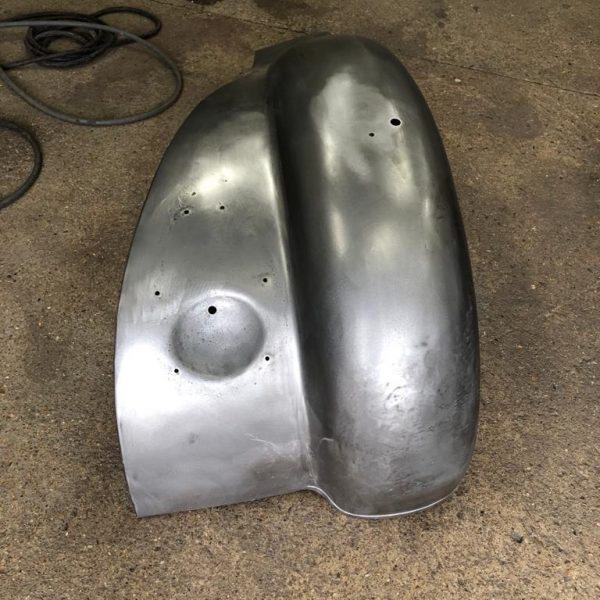
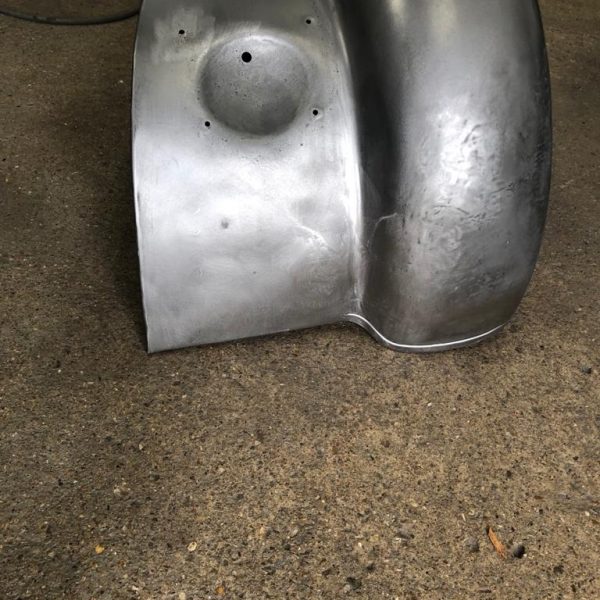
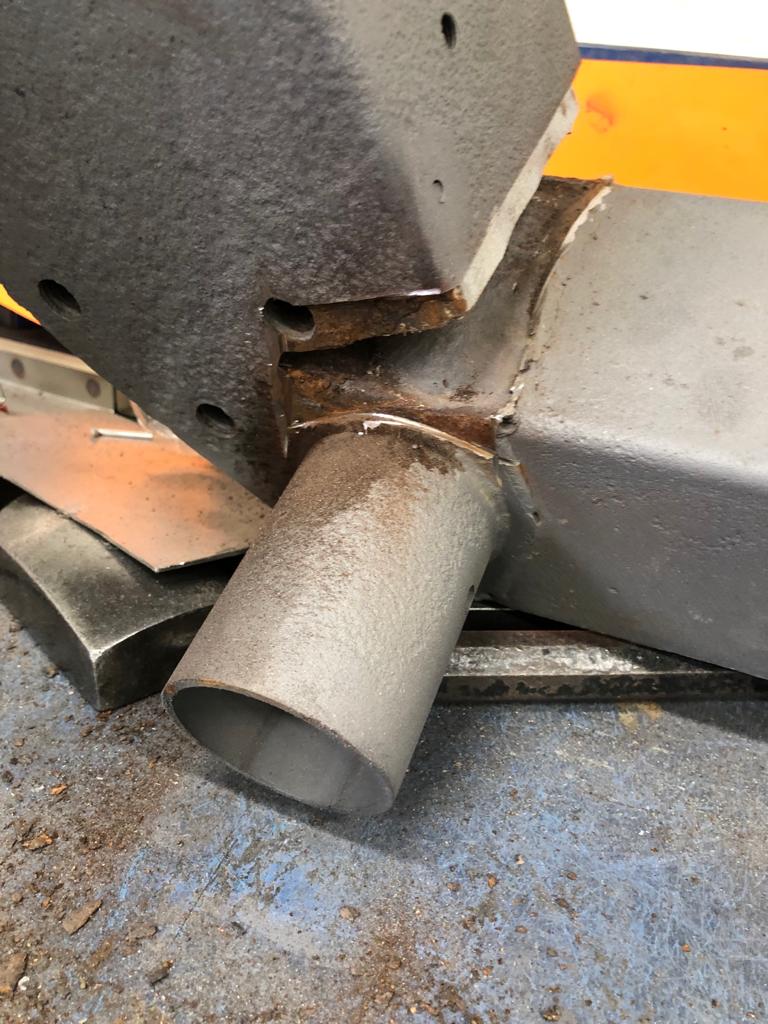
The front “pod” of the car on the right-hand side had to be repaired due to corrosion. The guys in the fabrication and welding bay are now waiting for the inside of the bonnet to be painted before they can fit the inner frame parts back in. The doors also need looking at as they won’t shut properly.


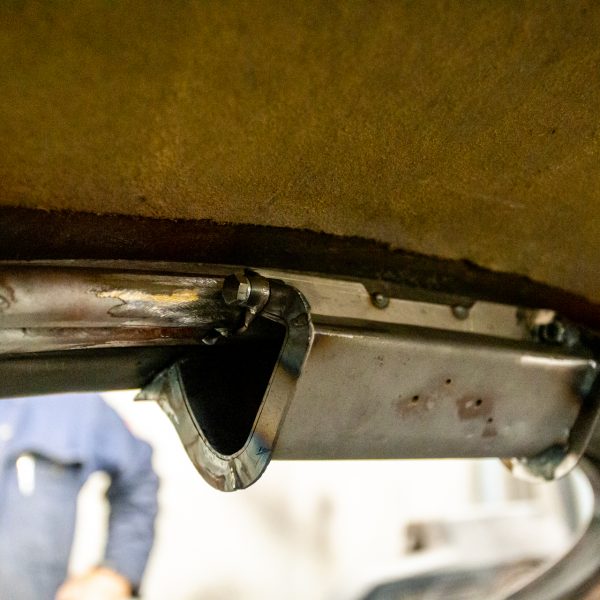

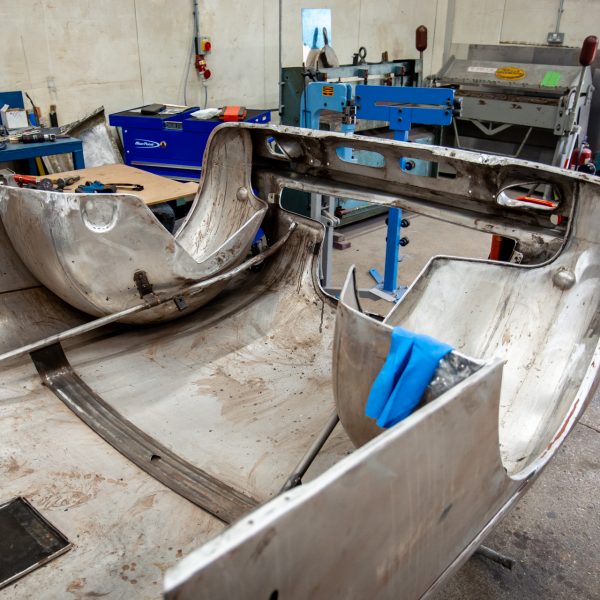
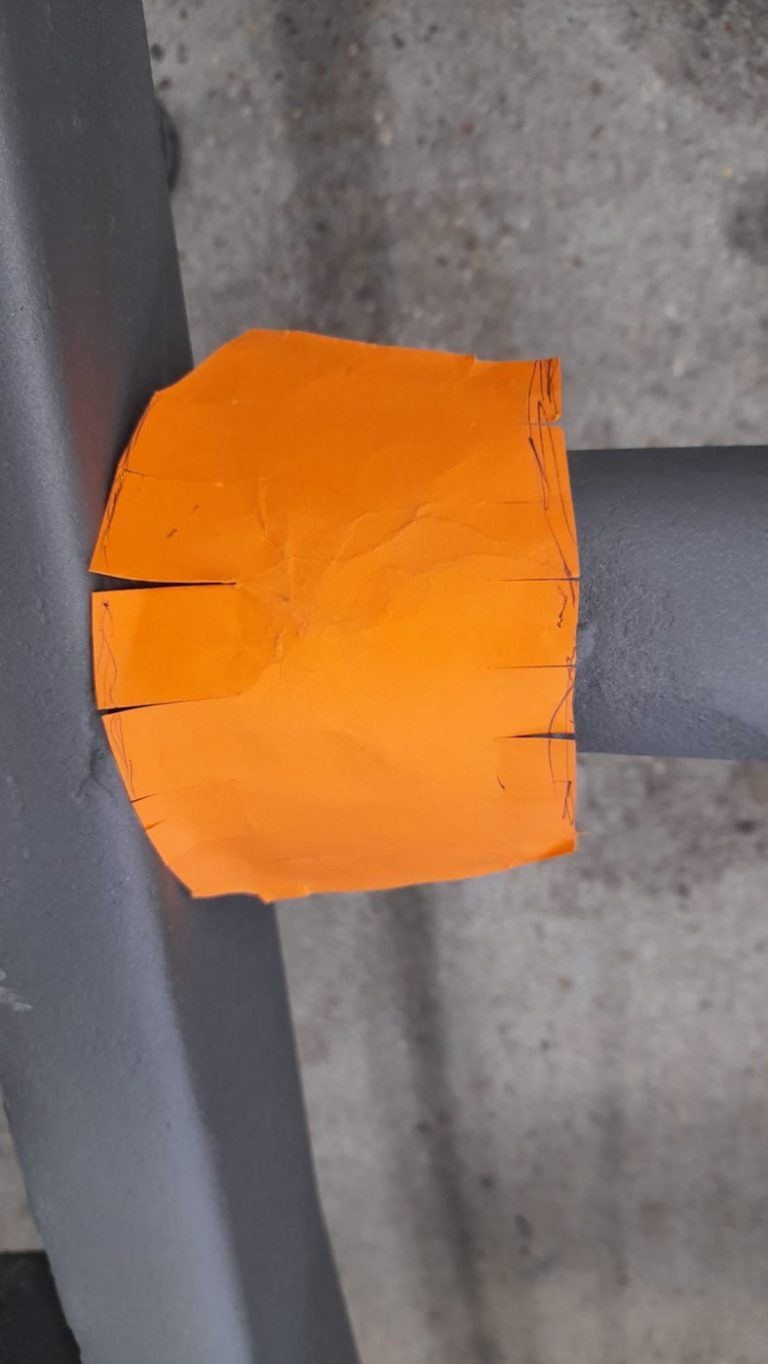
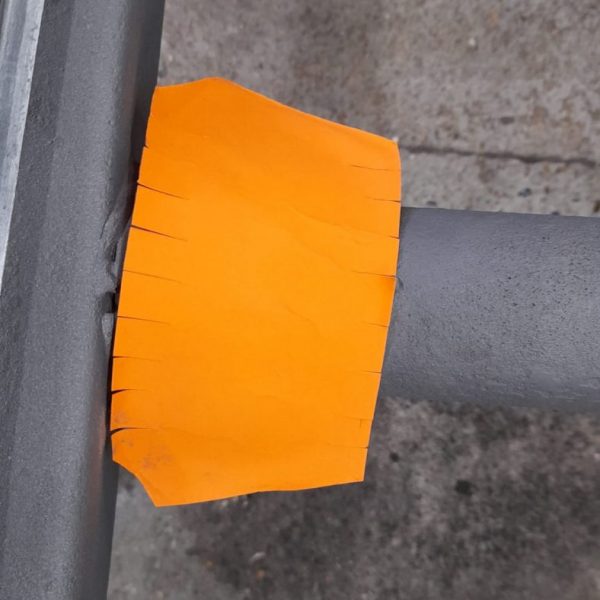
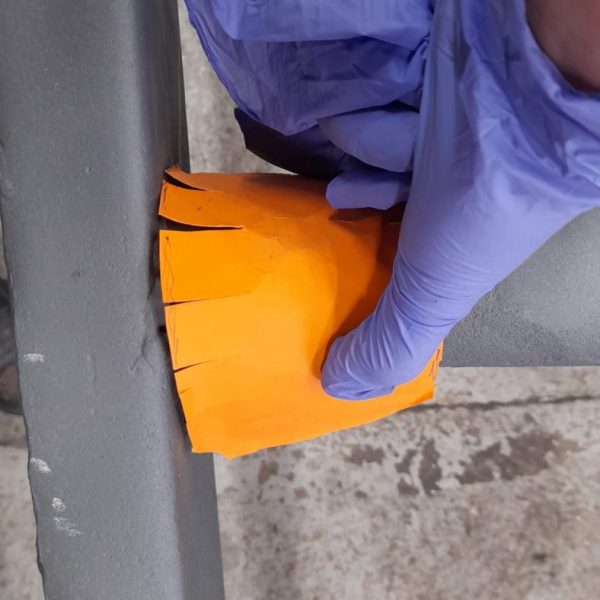
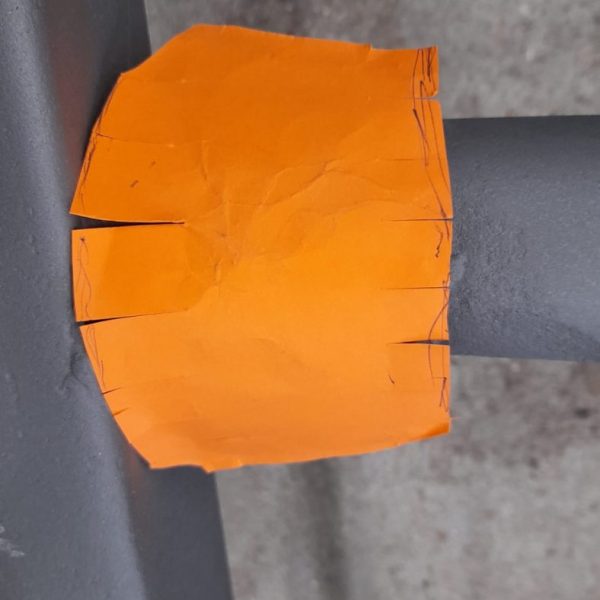
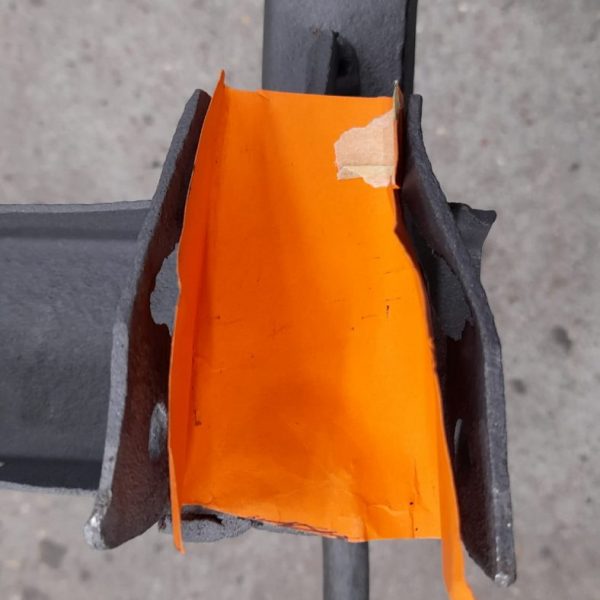
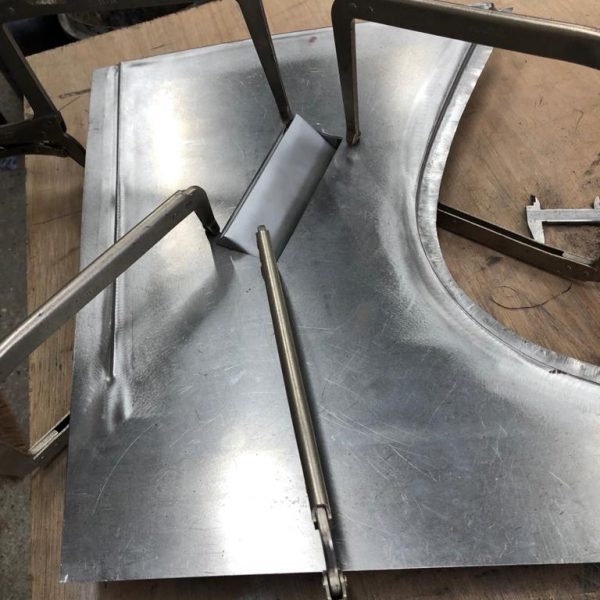
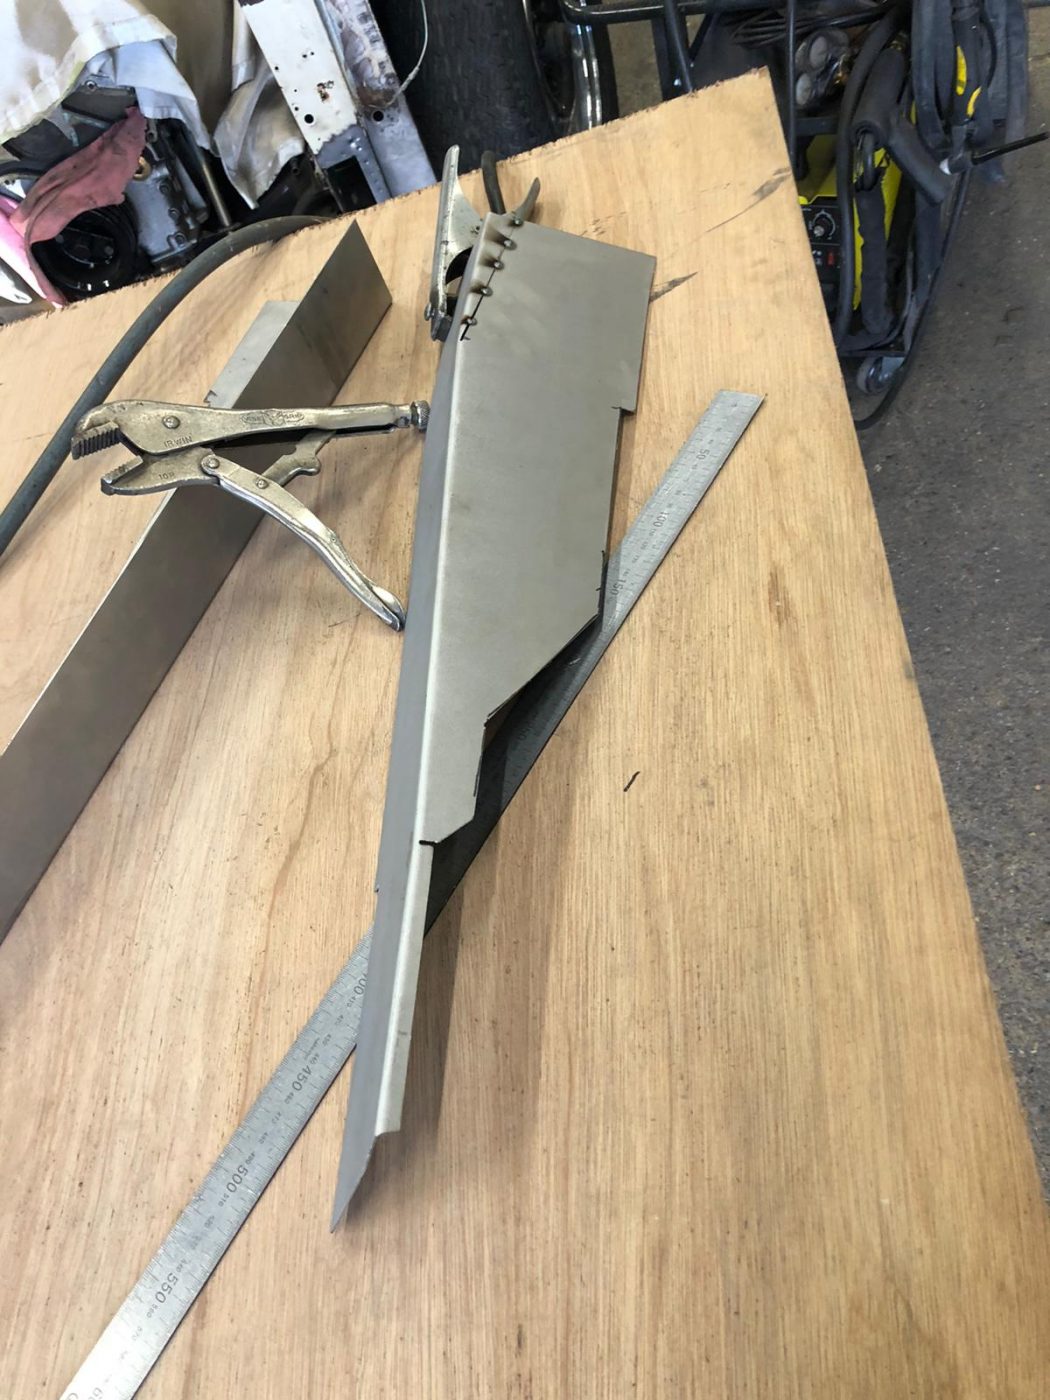
After coming back from the sandblasters, the chassis of the 1951 yellow Riley RMB is looking a little corroded so James is going to have to repair these sections. Lydia has begun the process by making cardboard templates of these parts, cutting where necessary to get the shaping right. These templates will be used by James to mark out around on the new metal. The original corroded metal will be removed and the new will be welded into place.
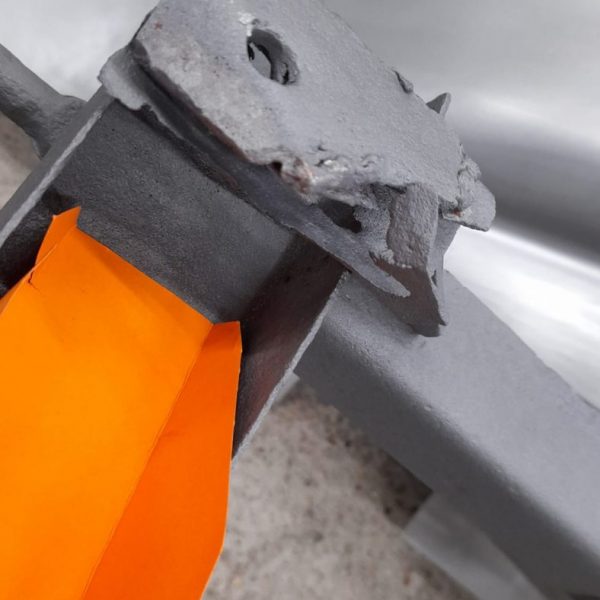
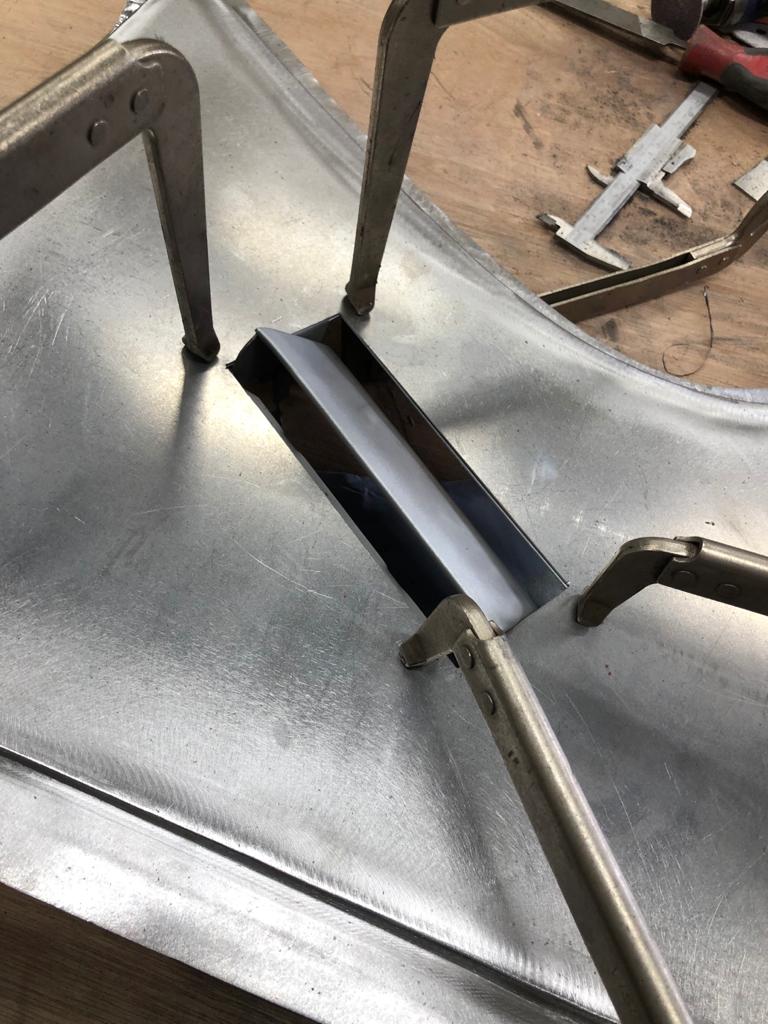
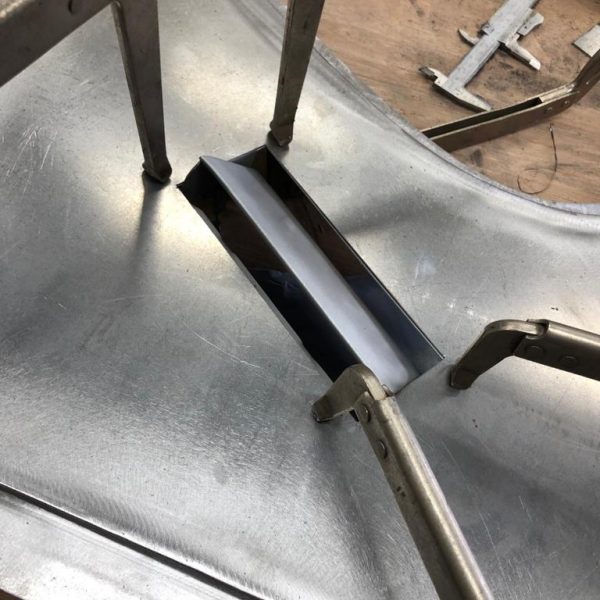
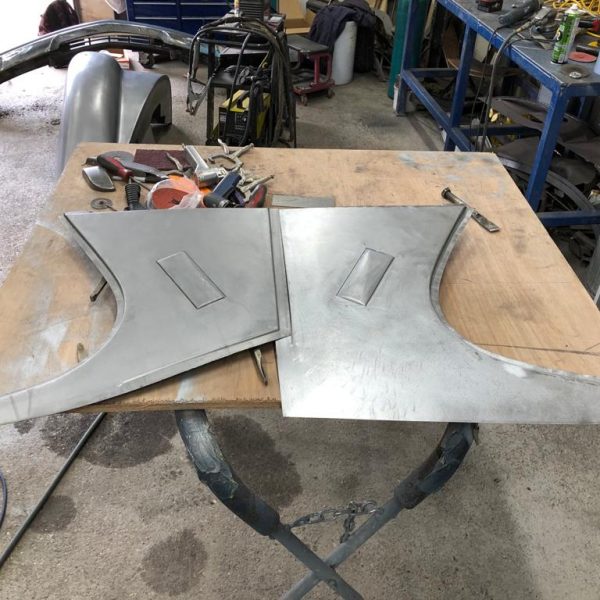
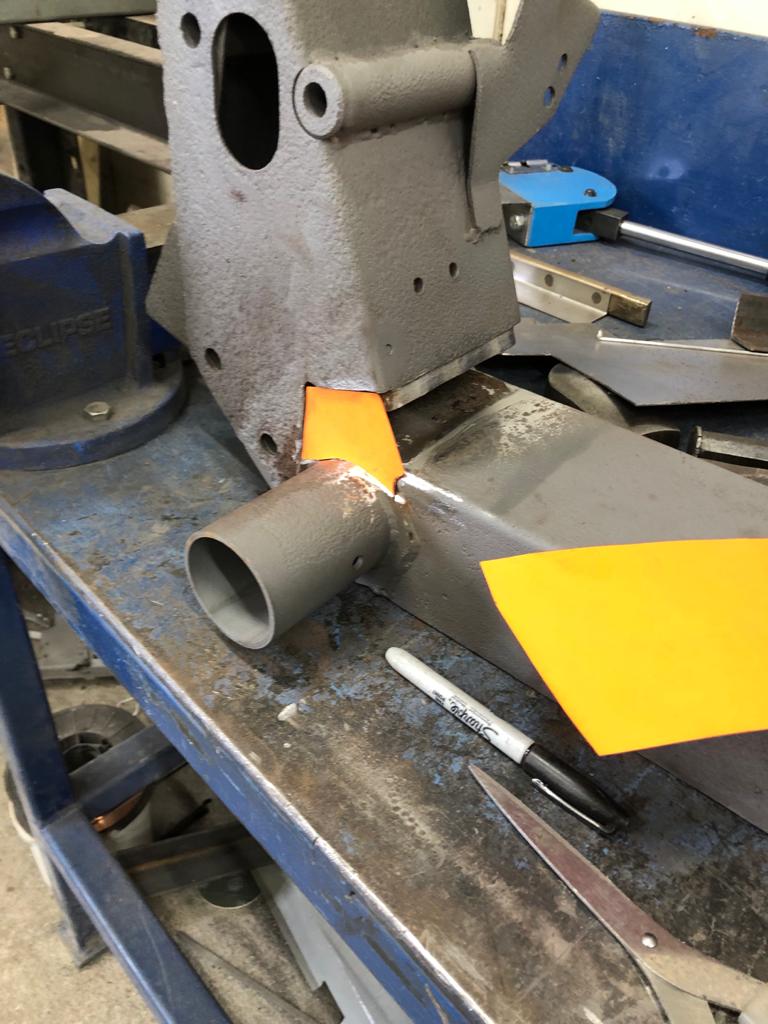
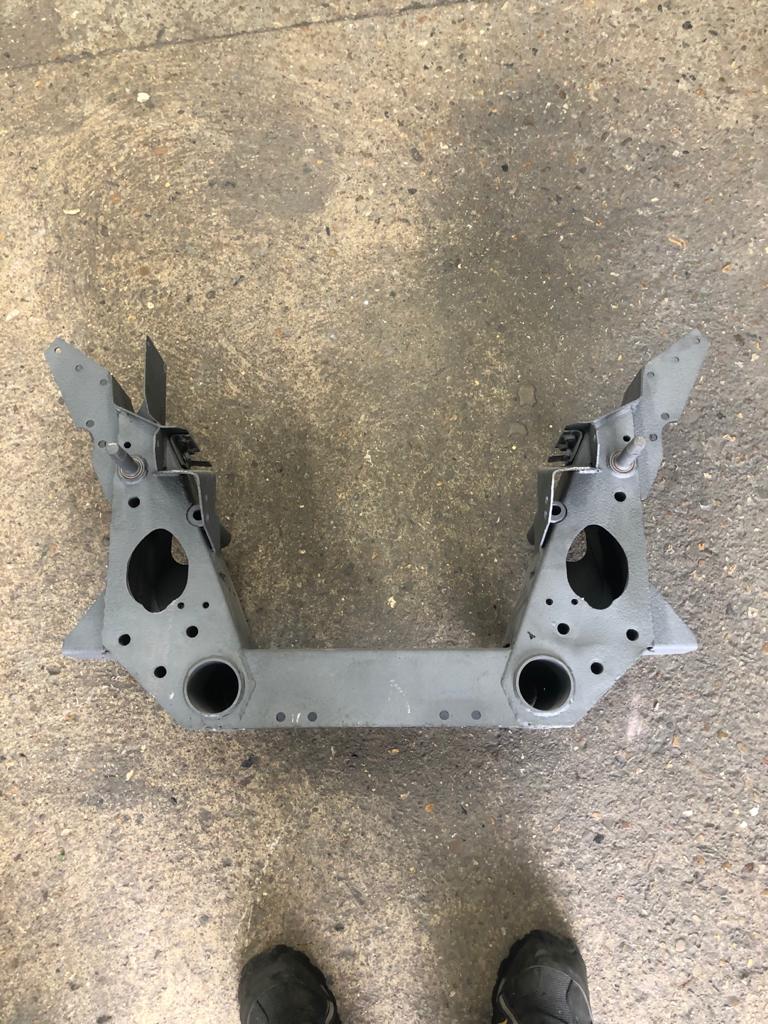
James has been continuing his work on the yellow 1951 Riley. The air vent for the second panel was sandblasted last week, so could be welded into its new surrounding. James then used the finished one to determine how much metal to trim off the end. Back in July, he had to do some welding repair work on the left-hand wing. He’s now repaired the other wing. The subframe came back from the sandblasters and showed how much corrosion there was. James has started to make cardboard templates for the parts that need replacing, to mark out new pieces of metal for fabrication.

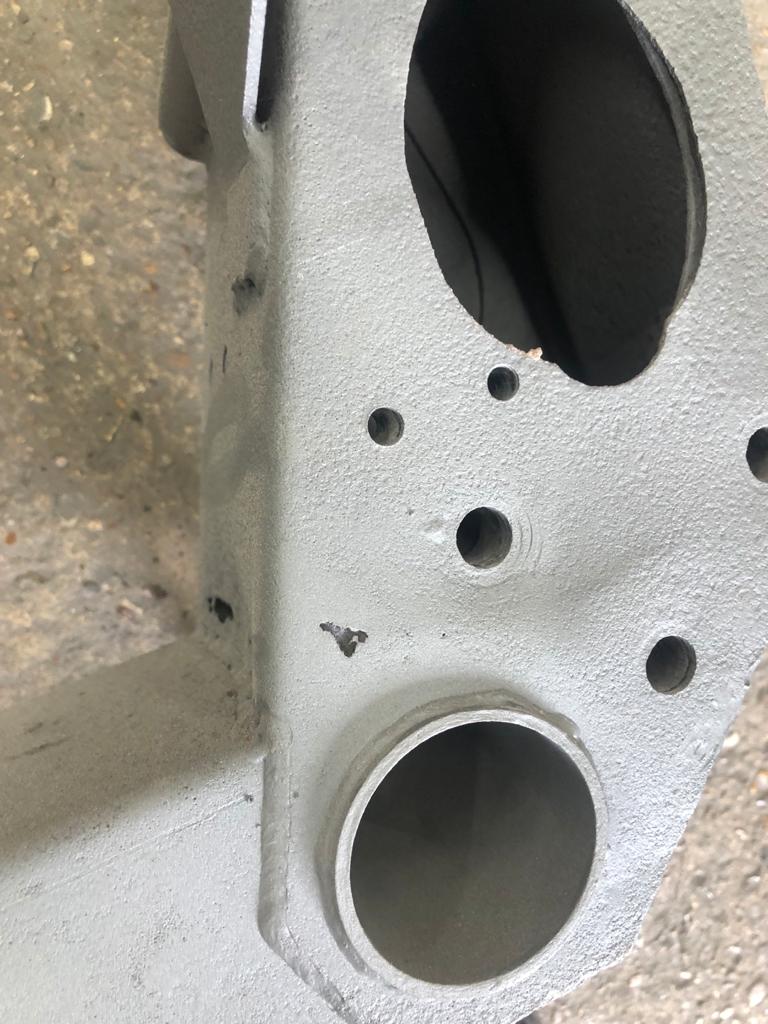
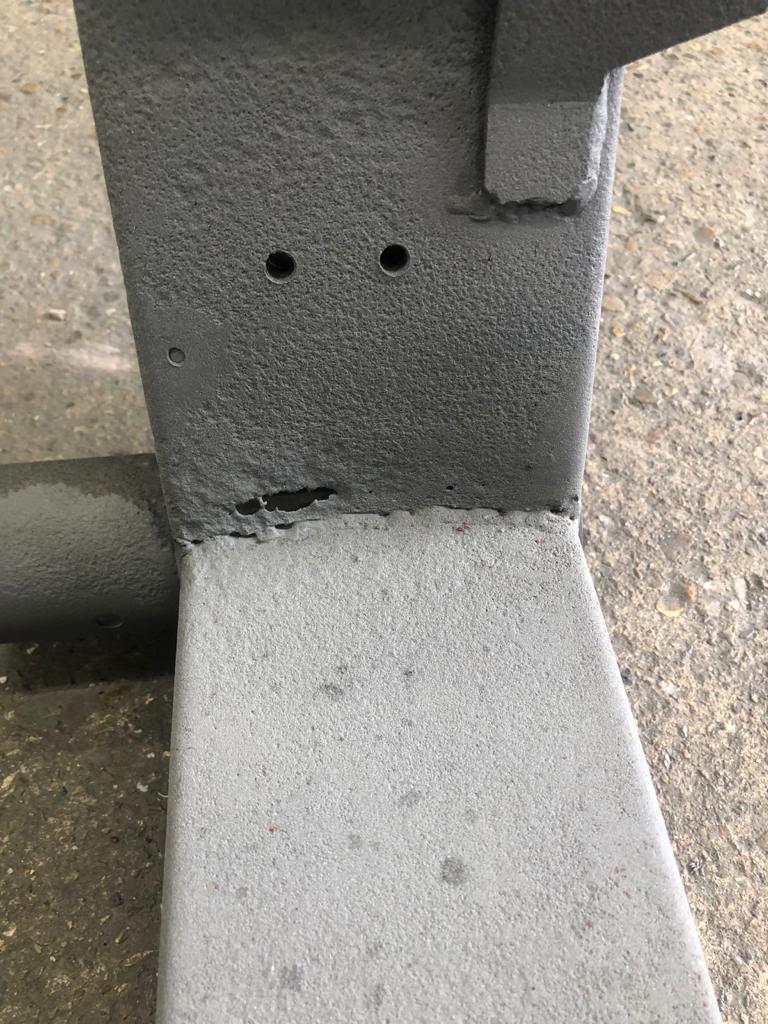
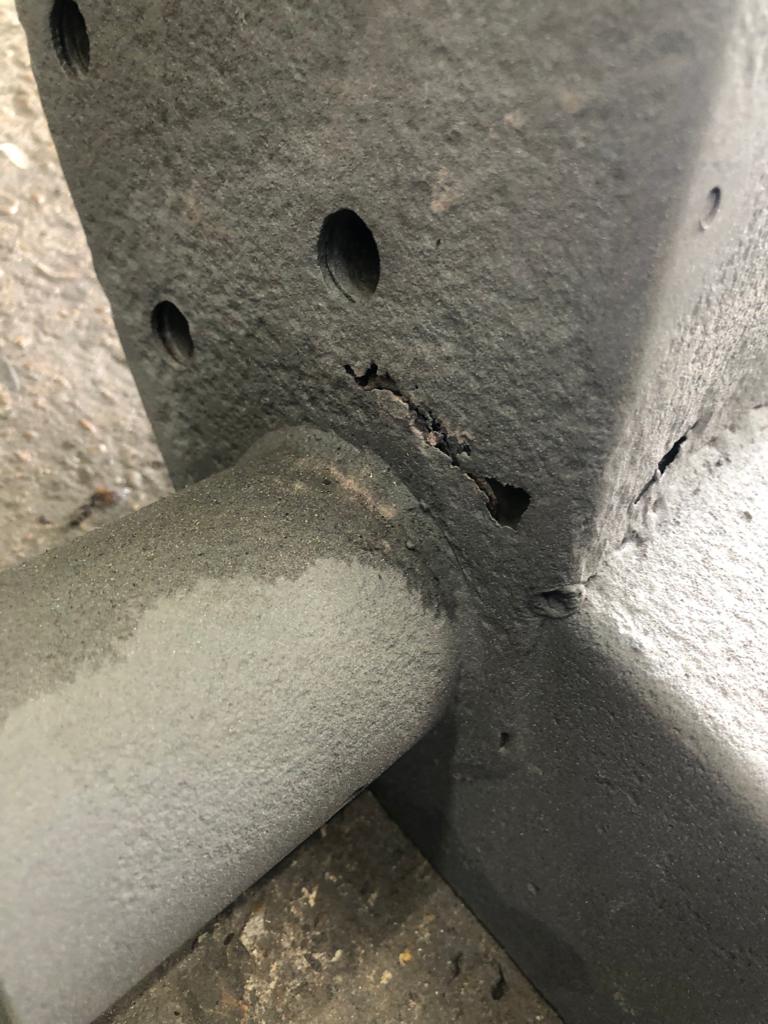
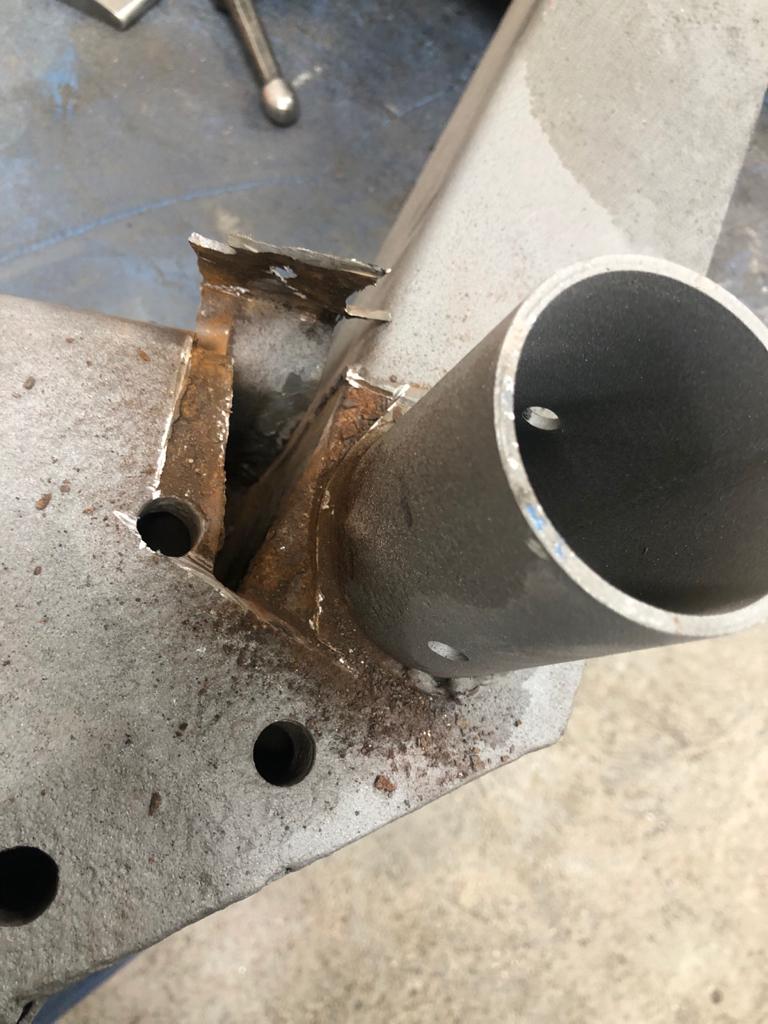

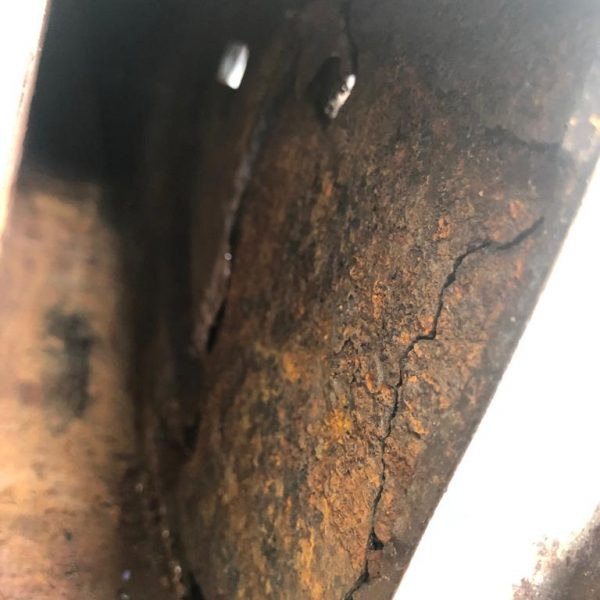
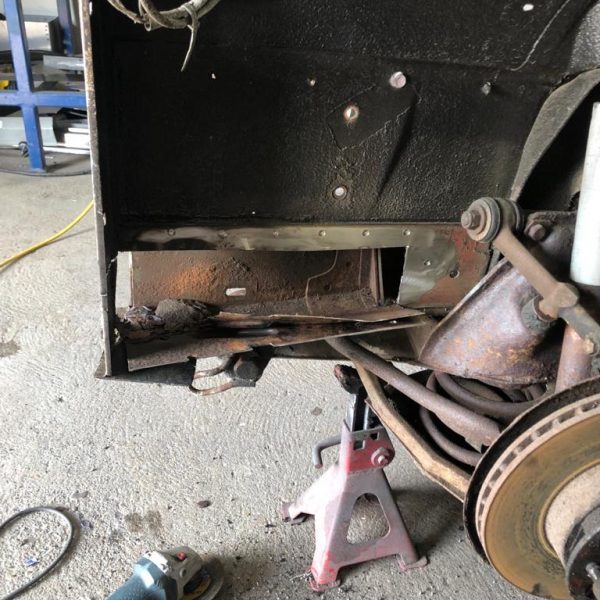
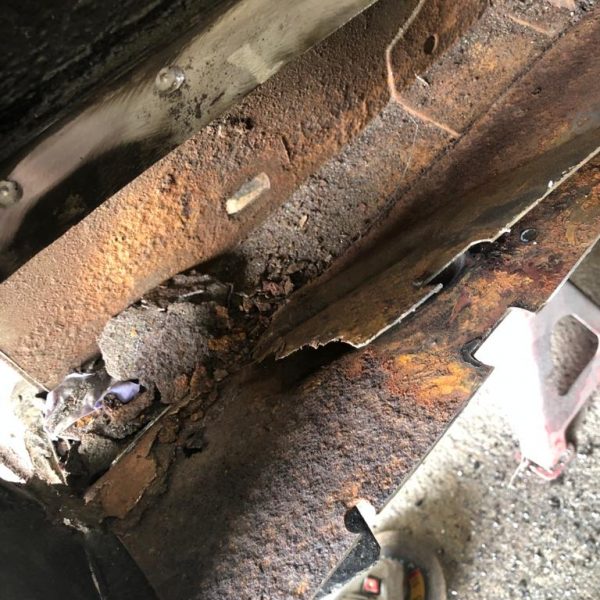
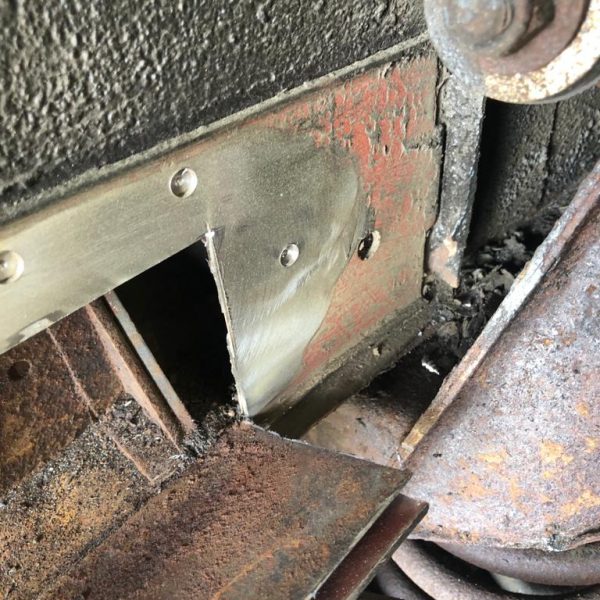
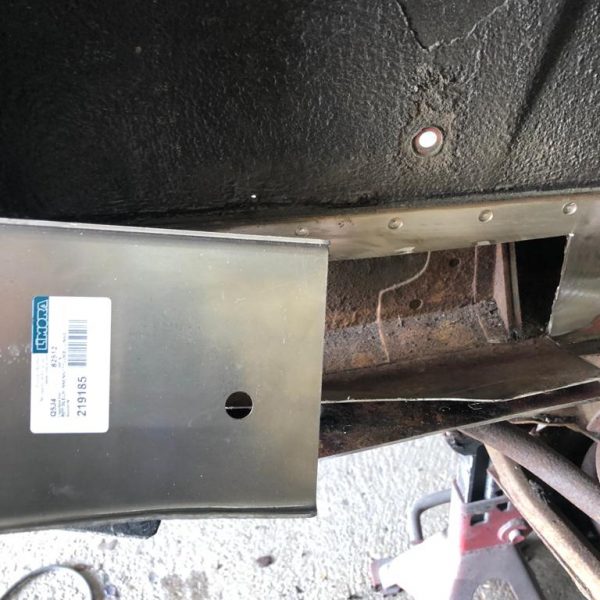
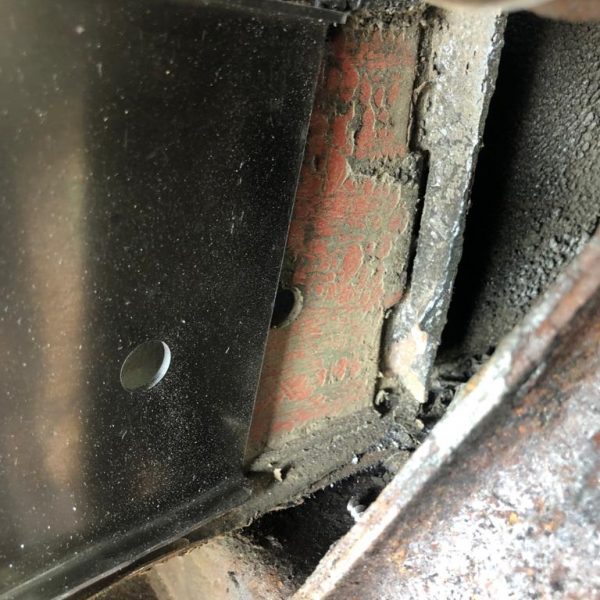
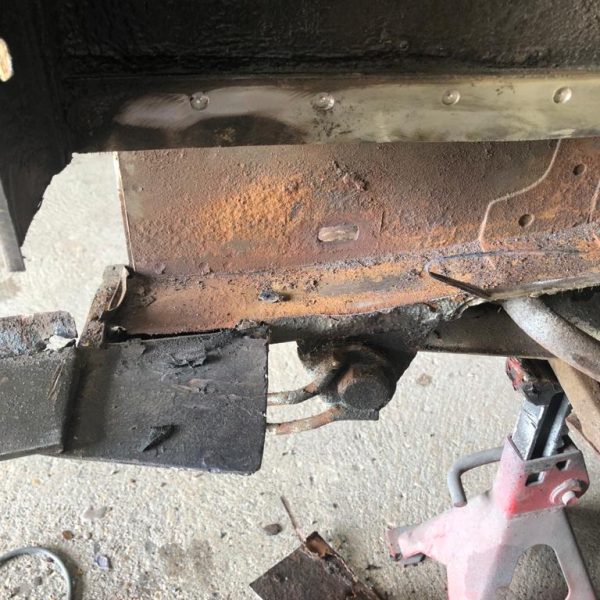
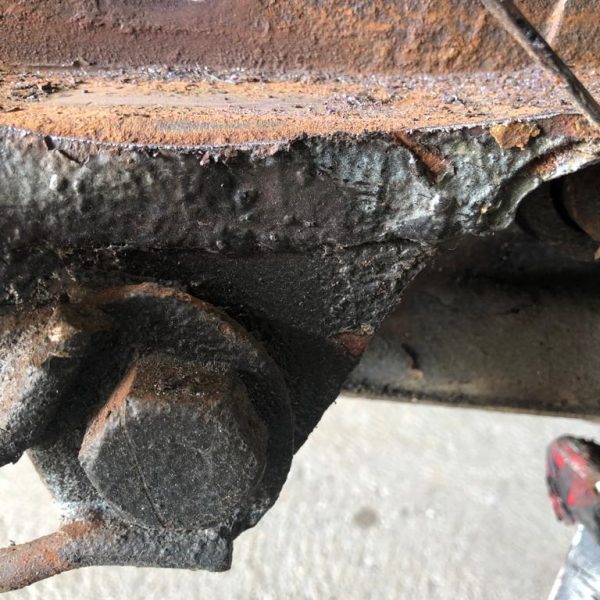
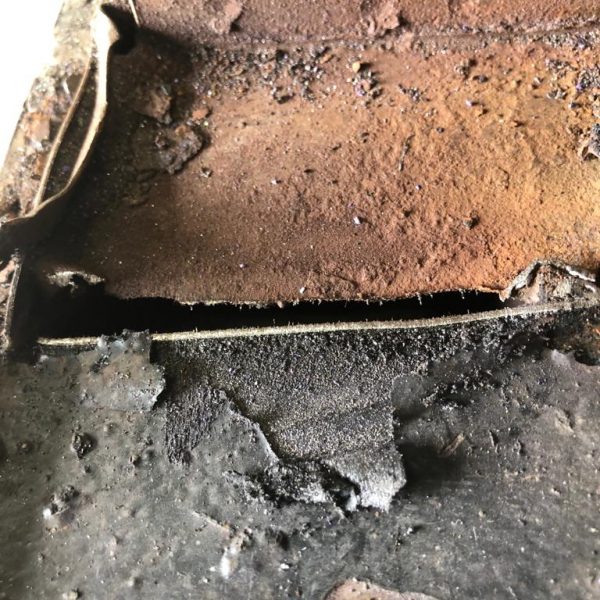
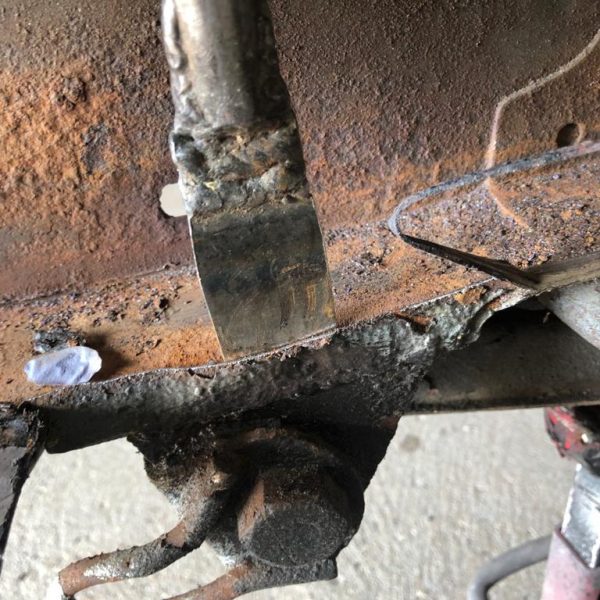
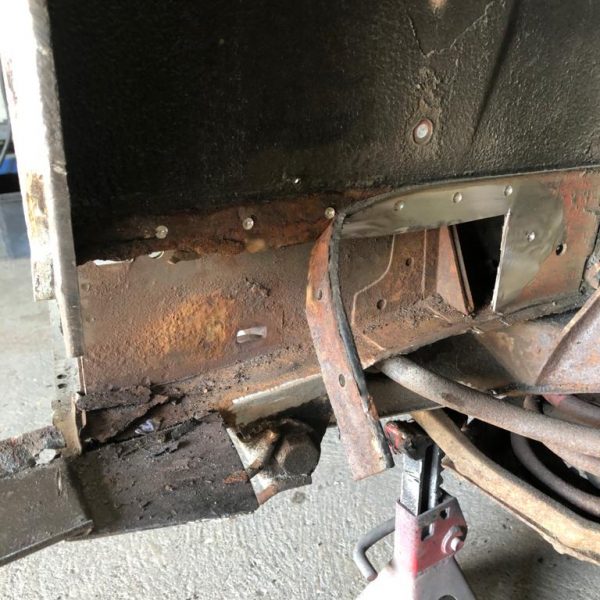
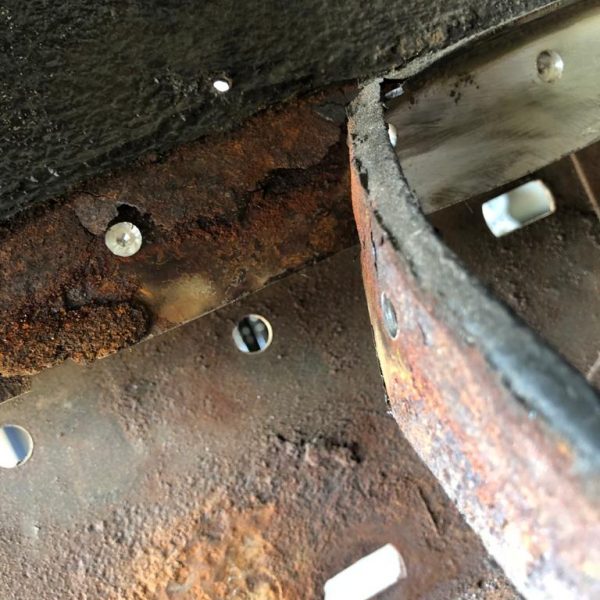
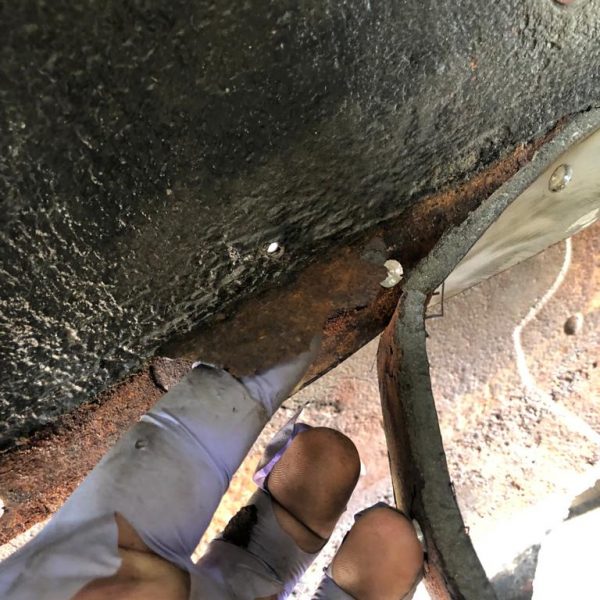
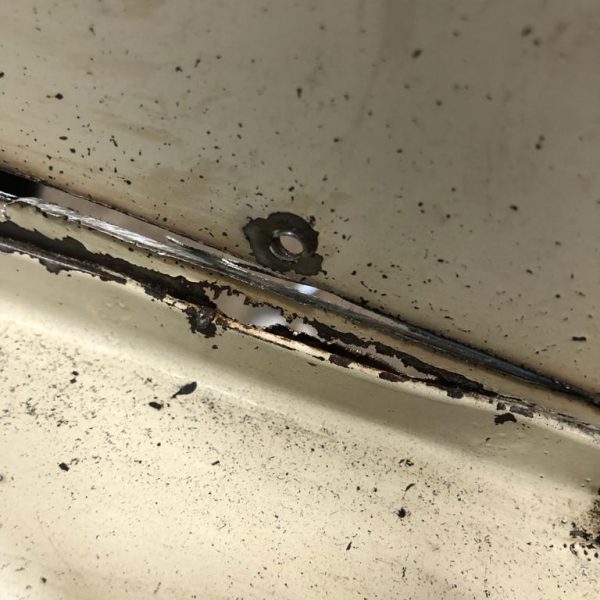
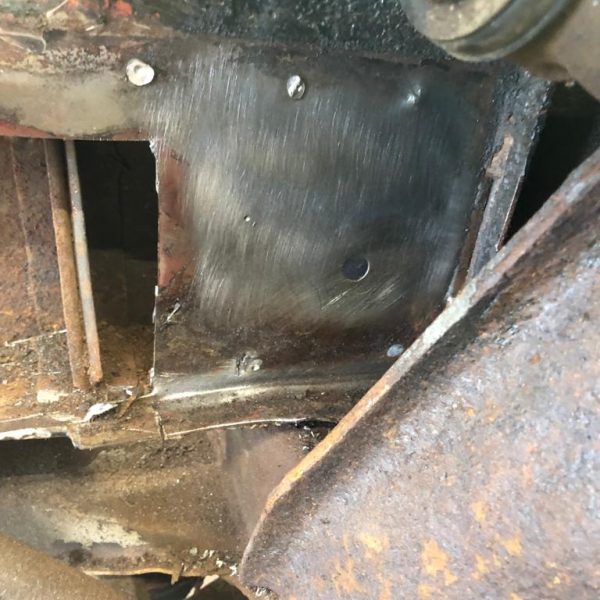
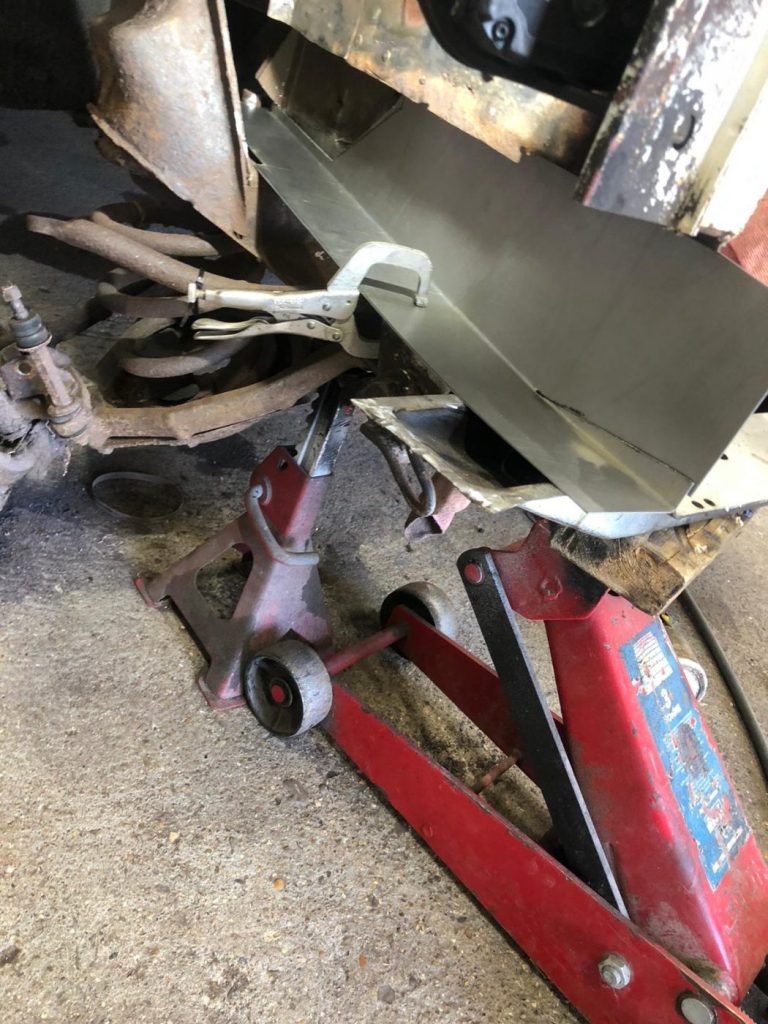
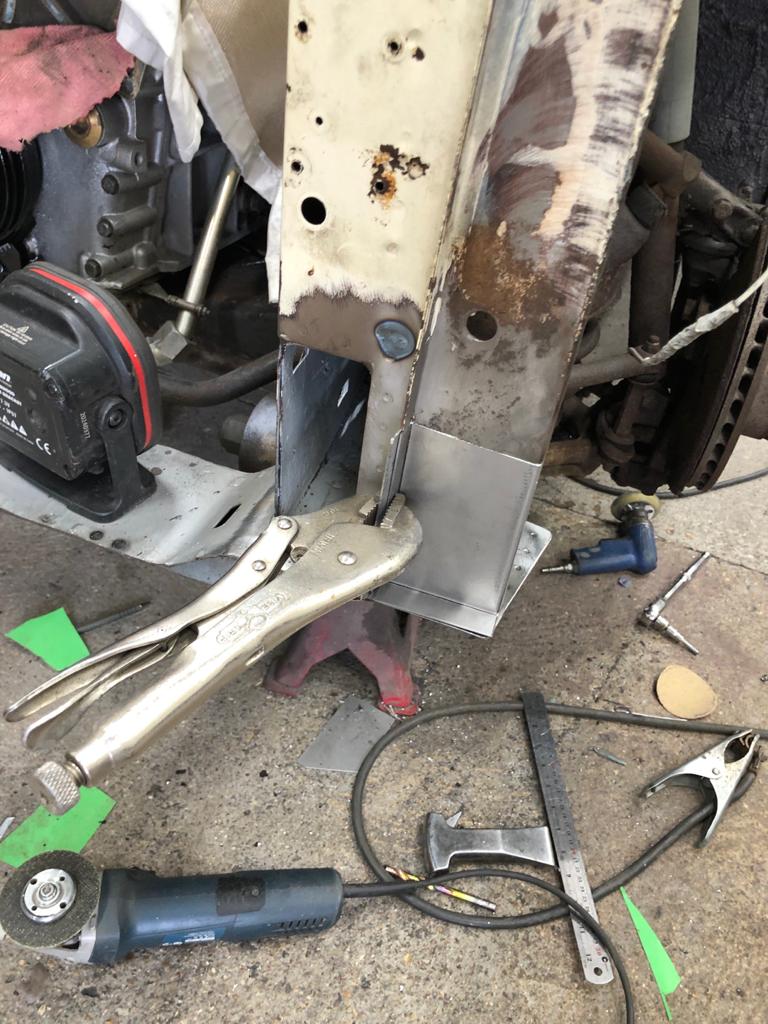
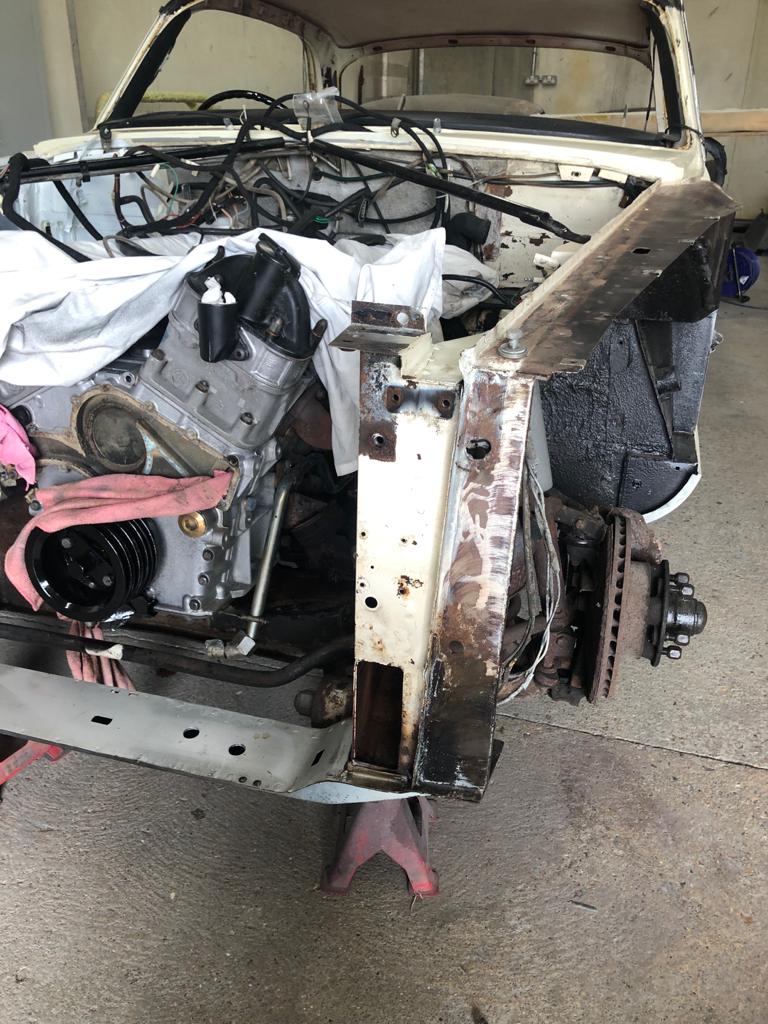
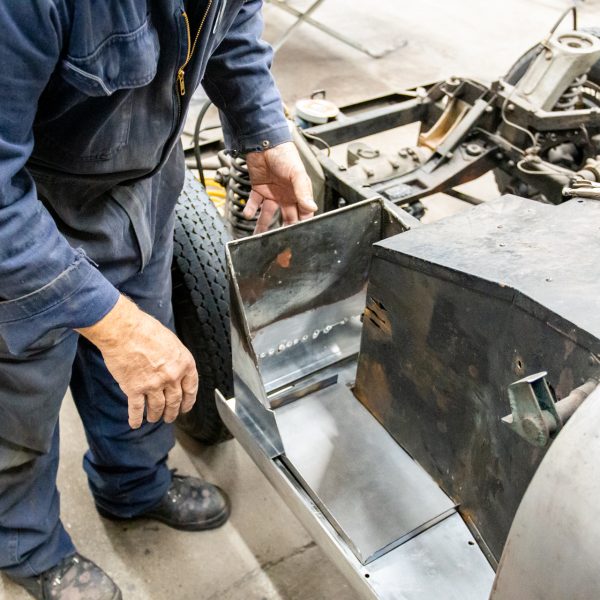
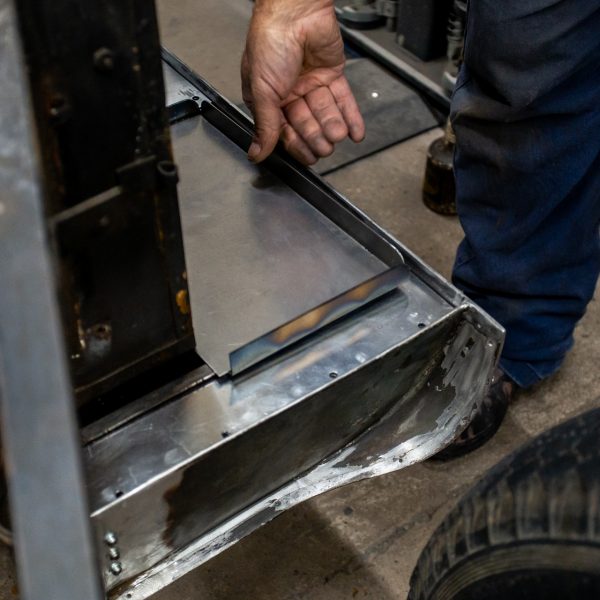
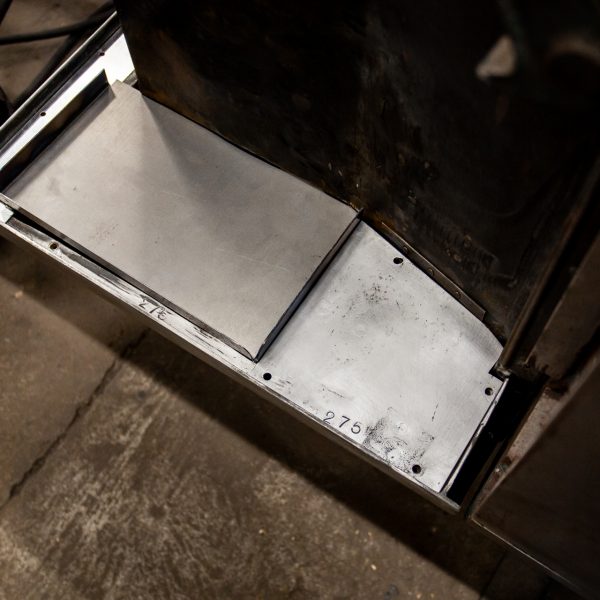
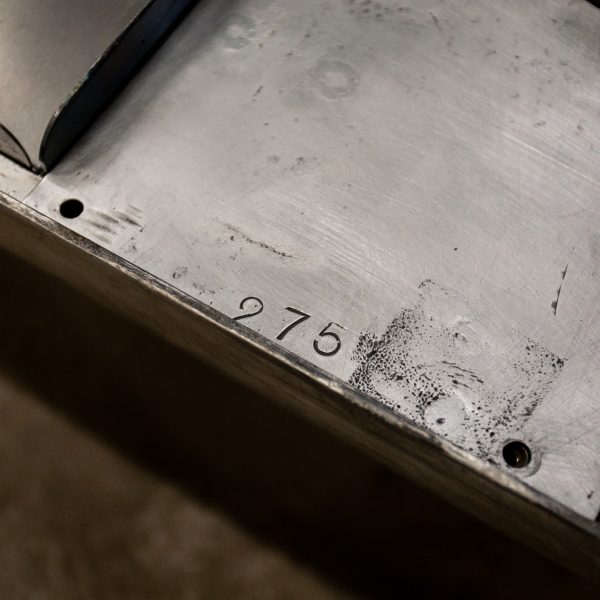
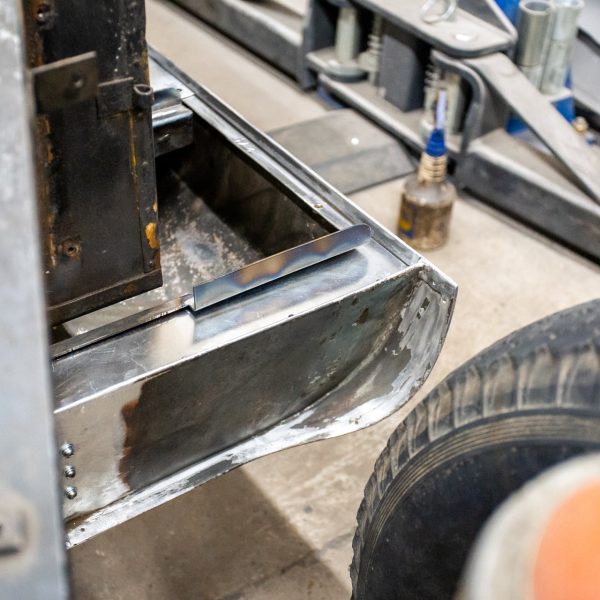
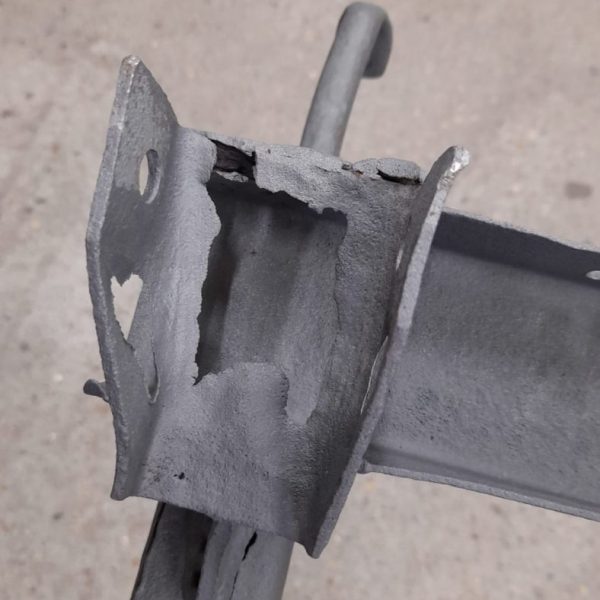
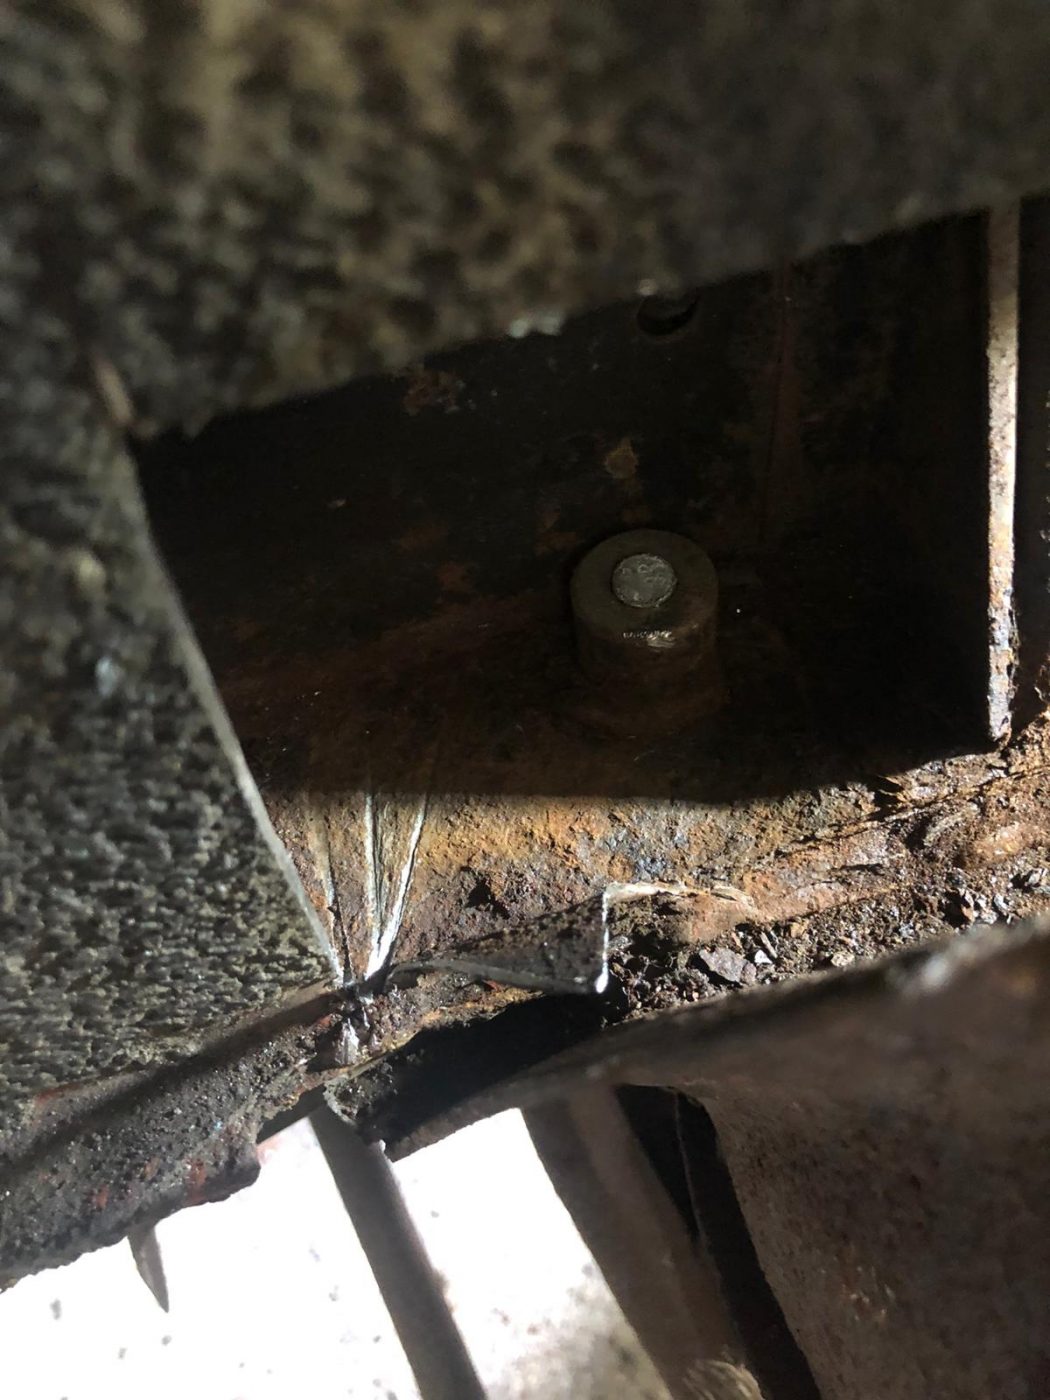
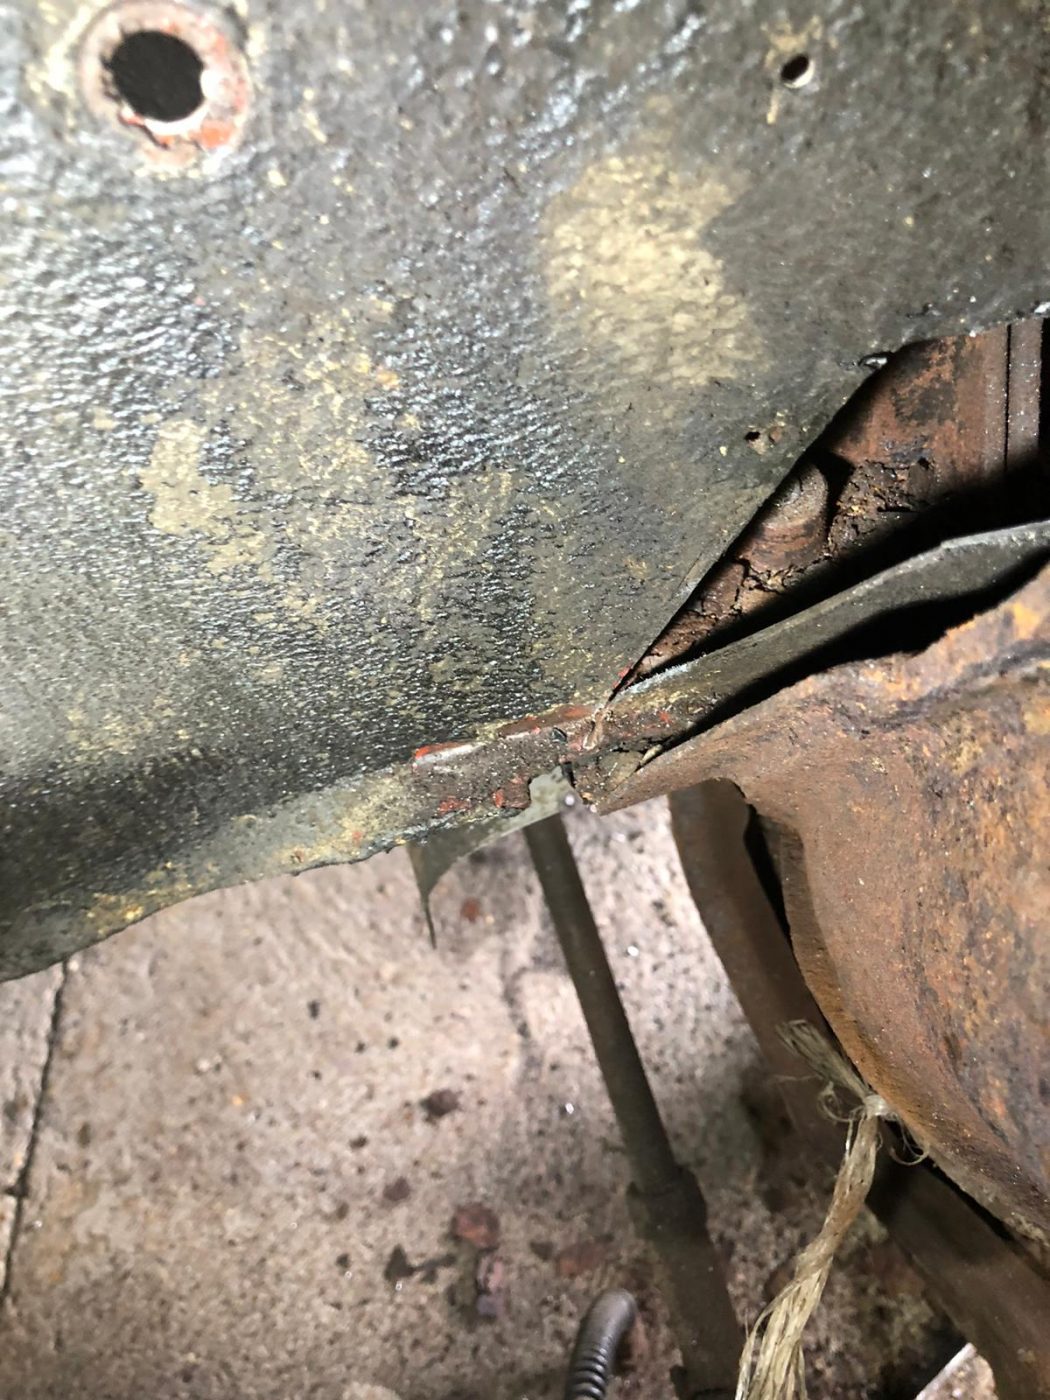
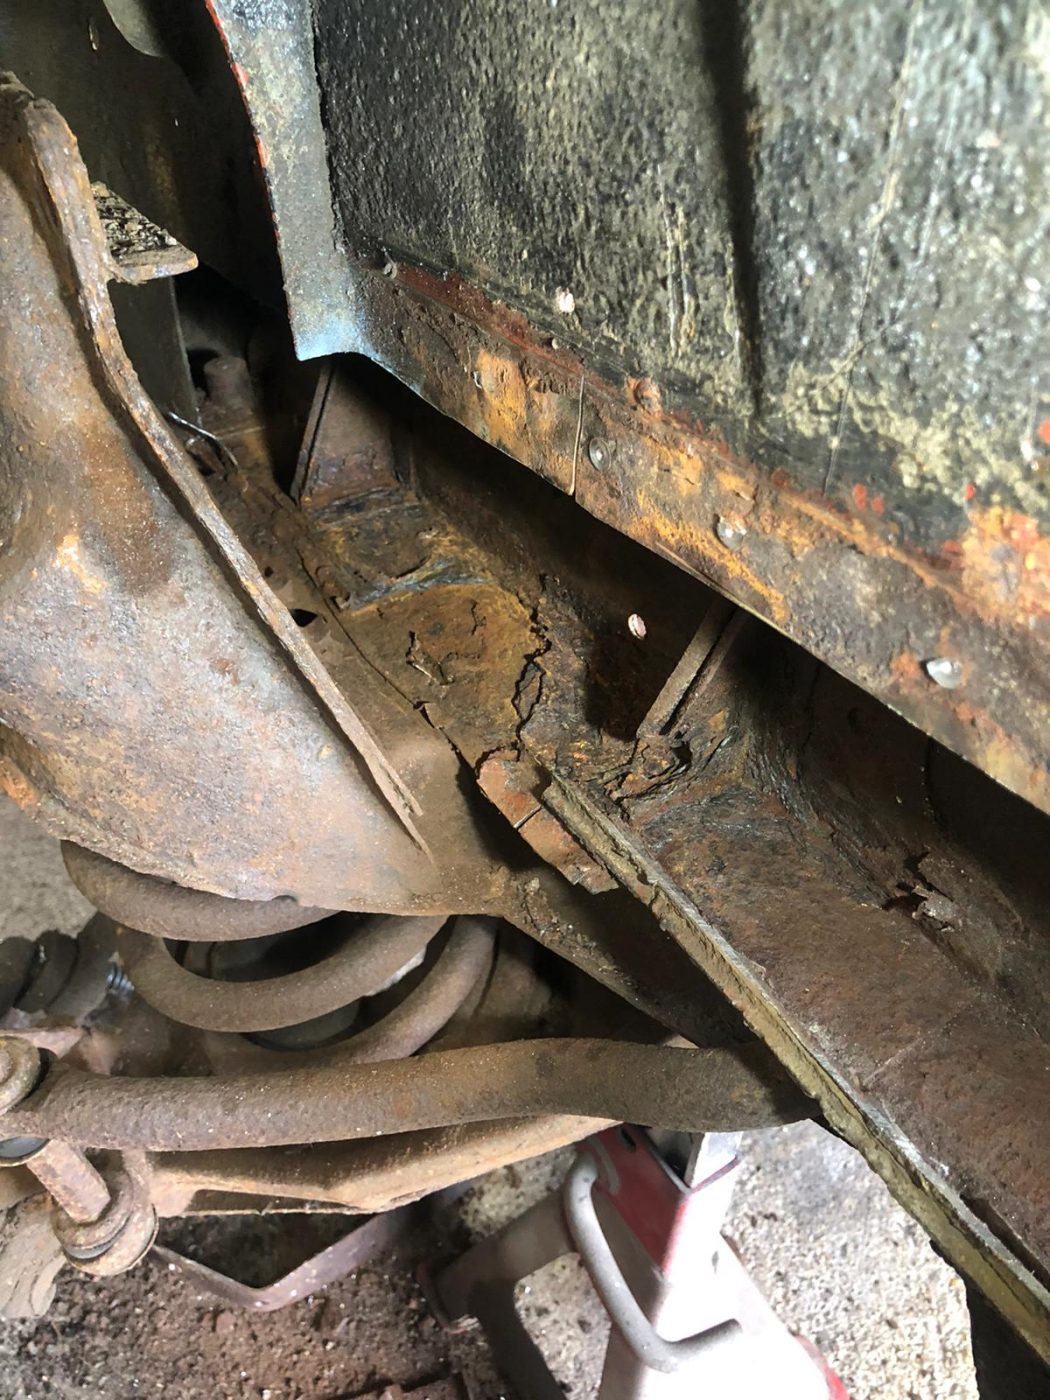
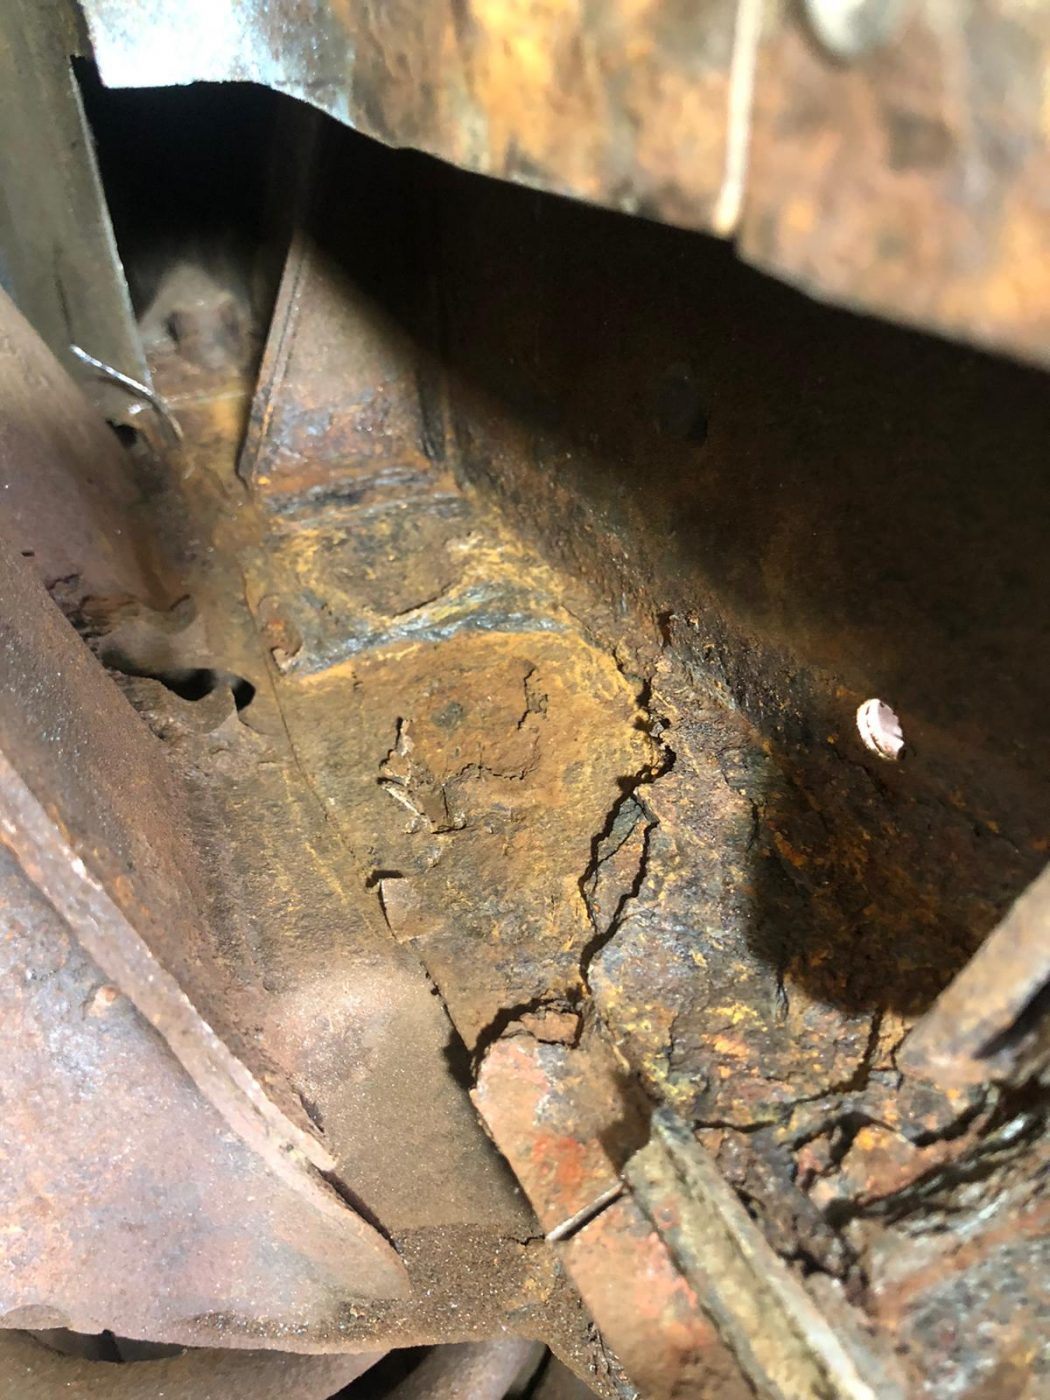
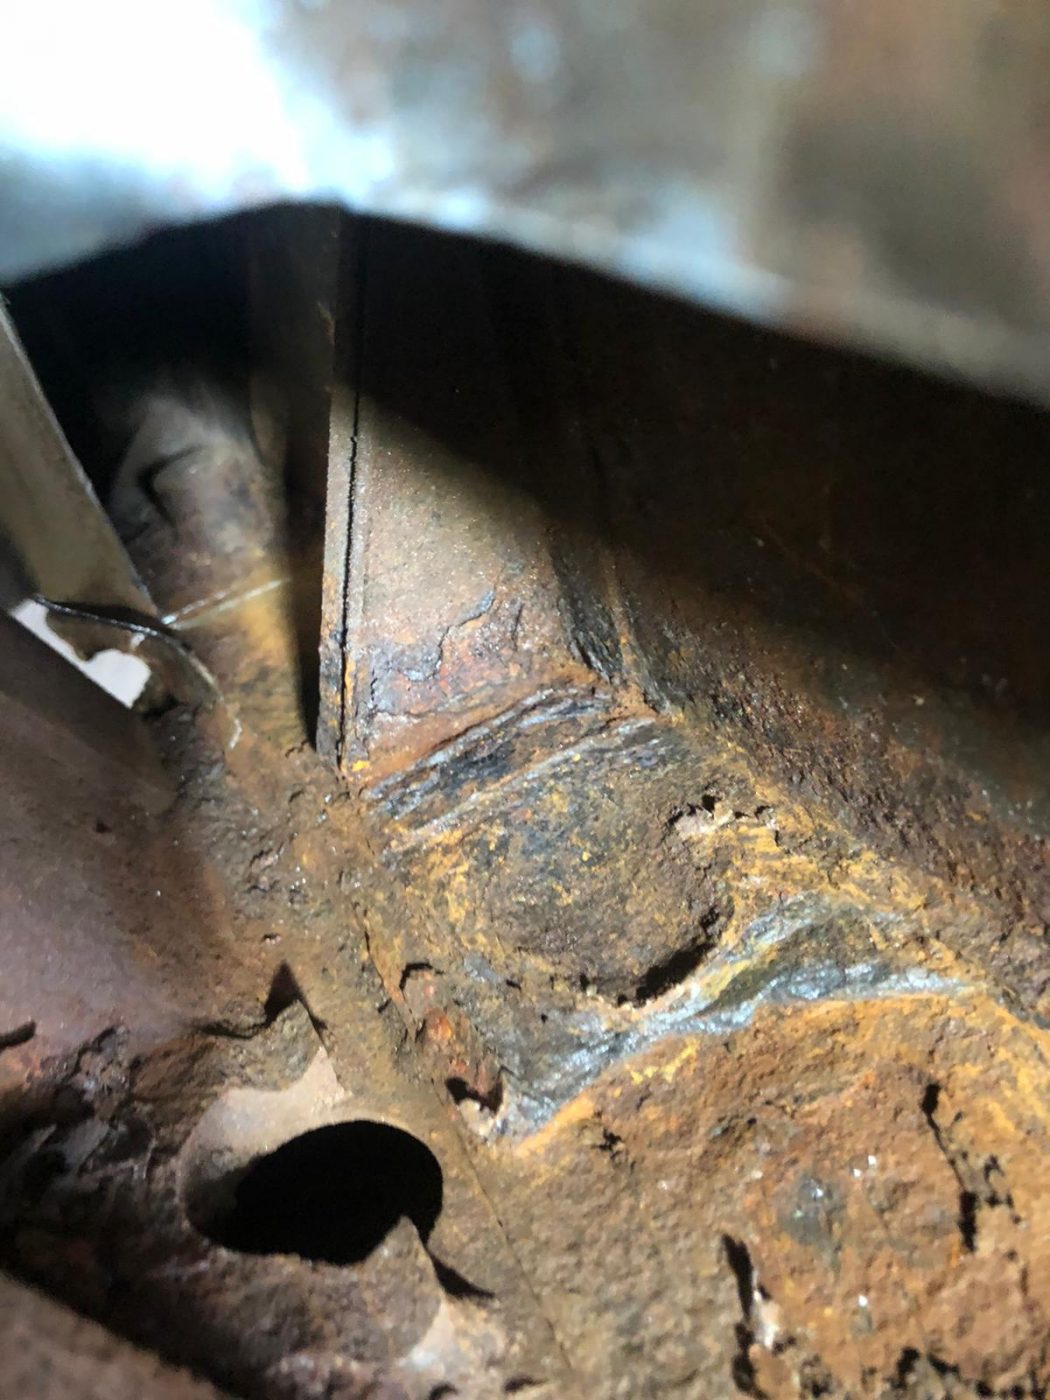
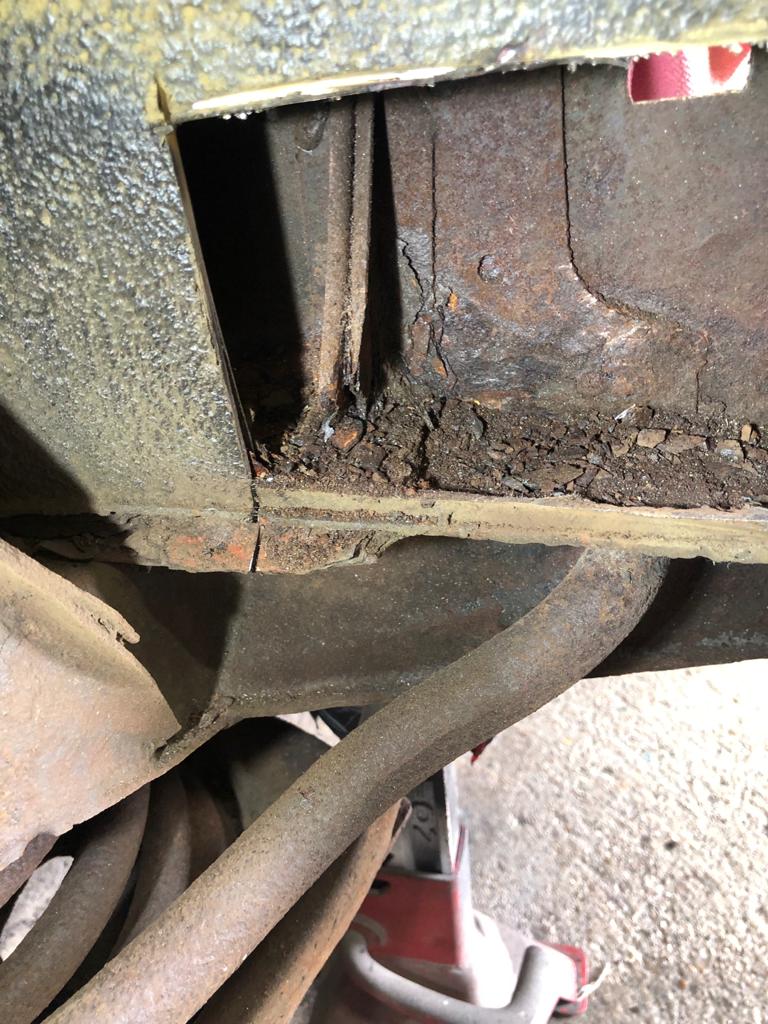
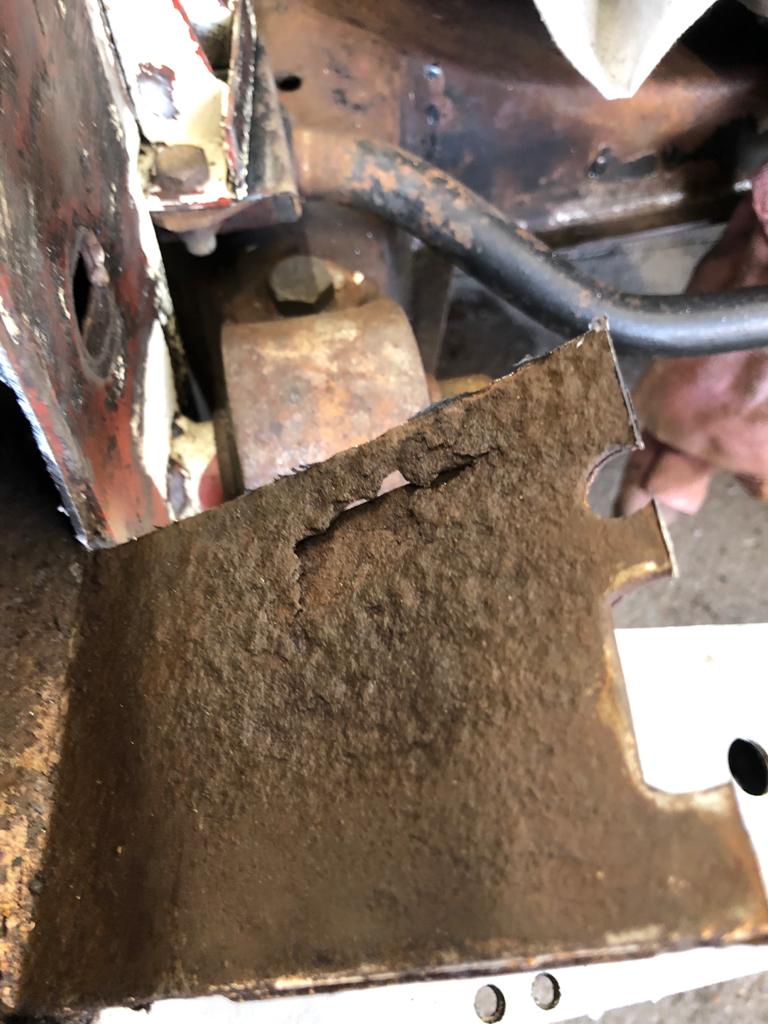
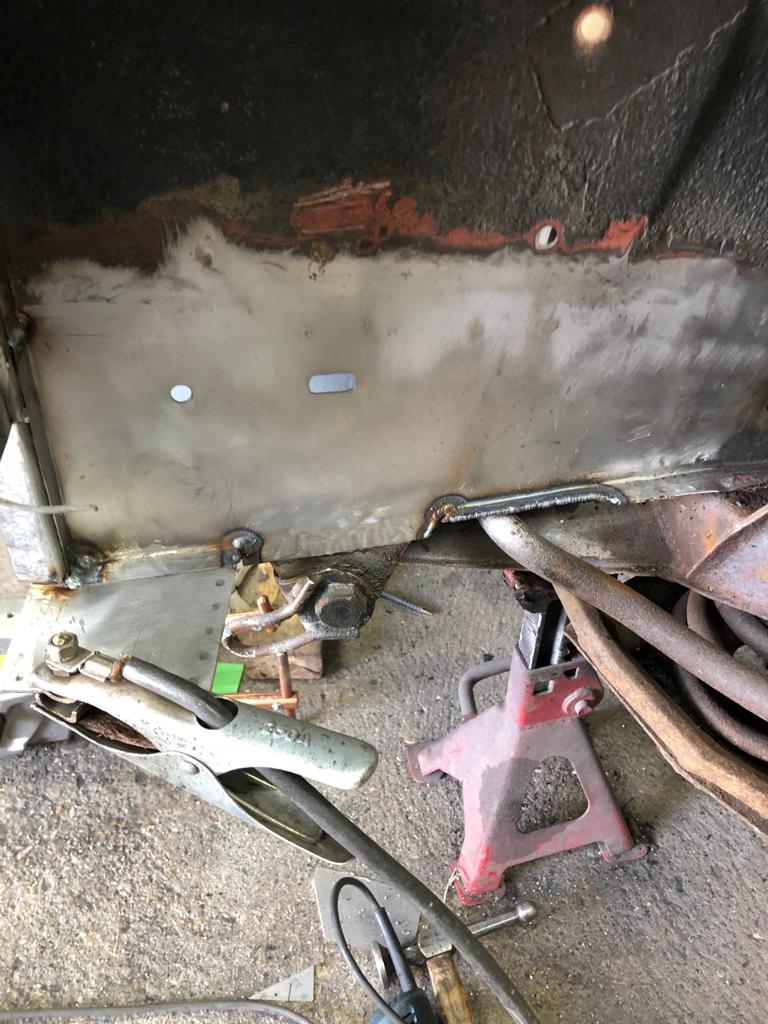
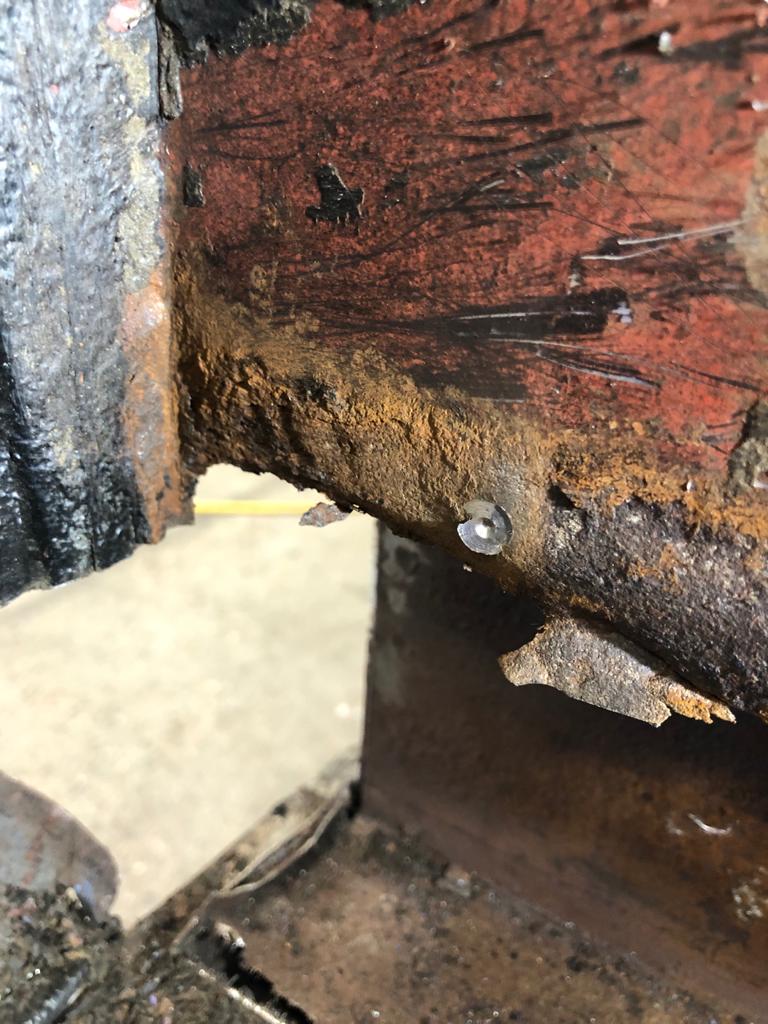
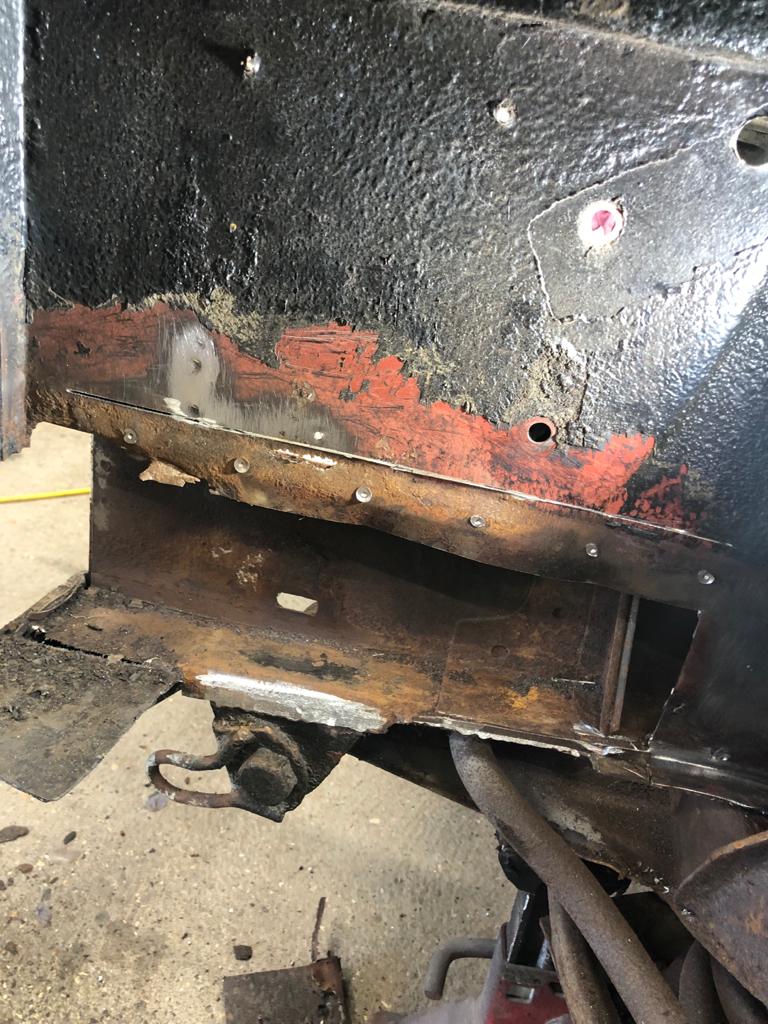
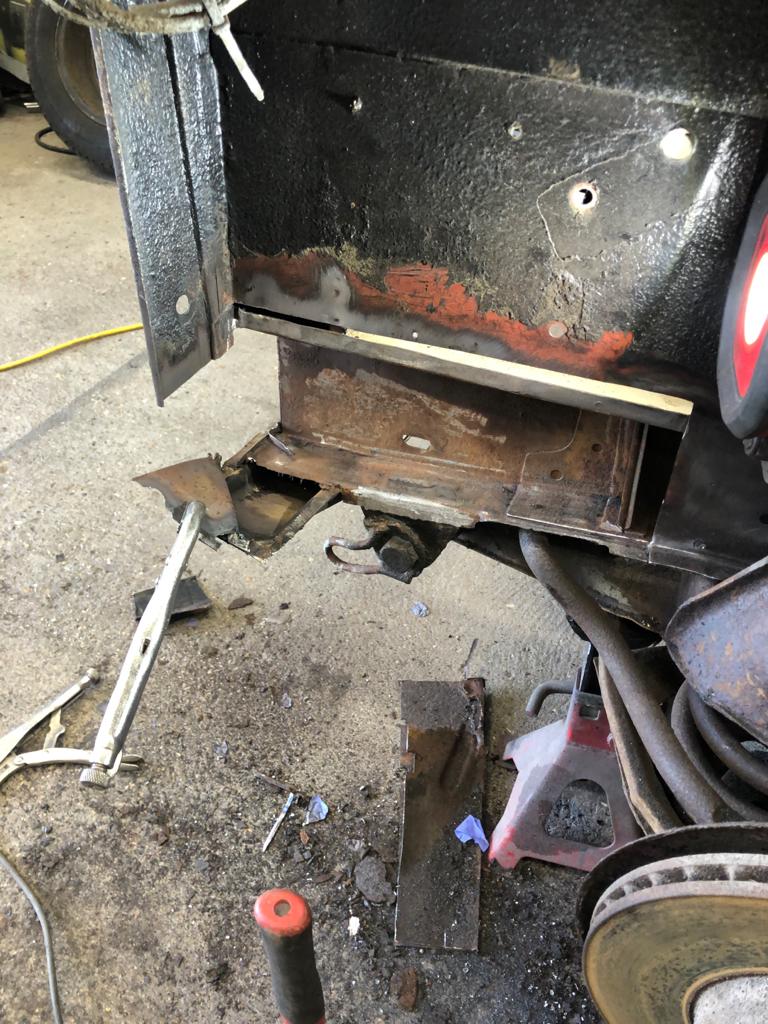
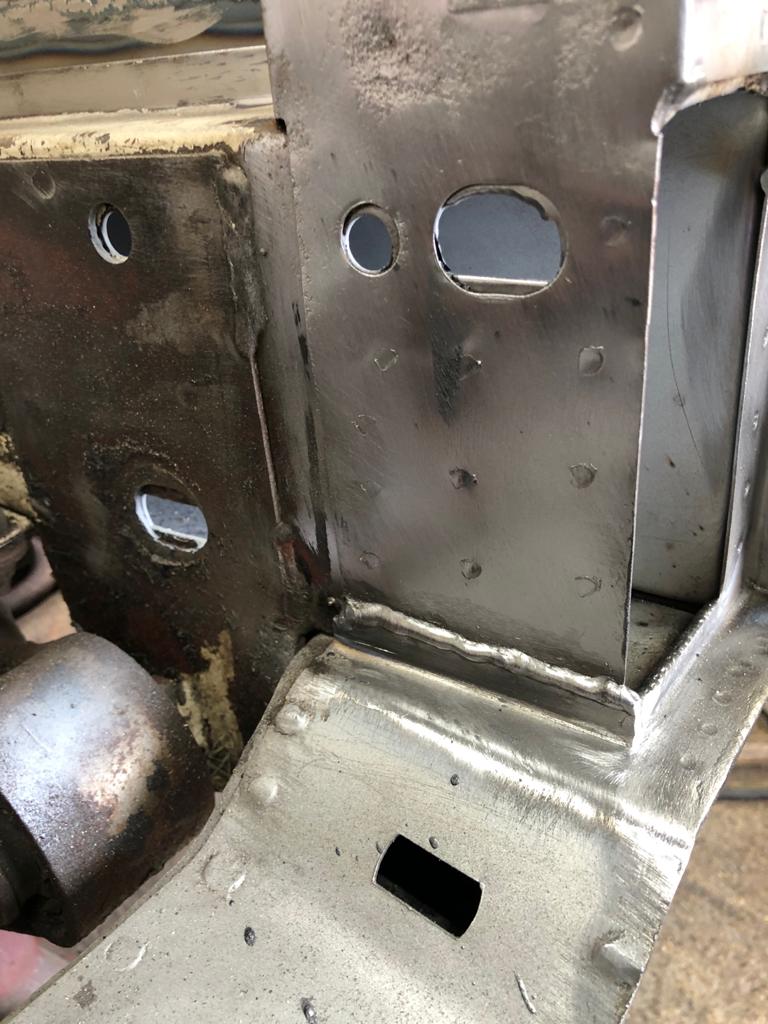
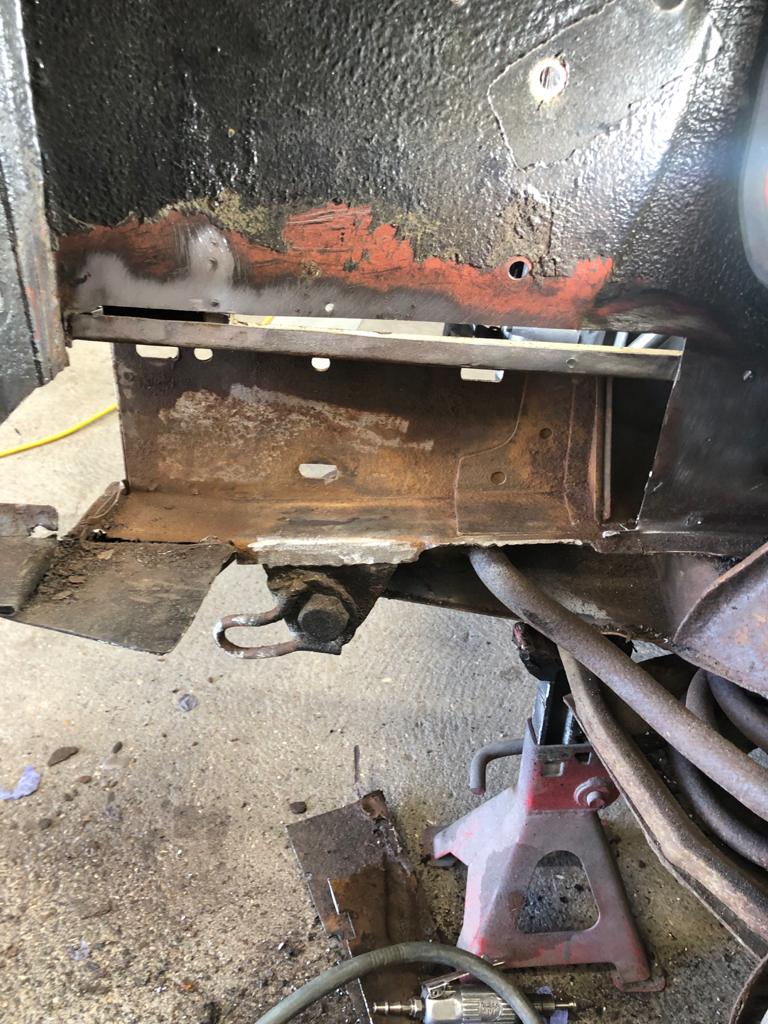
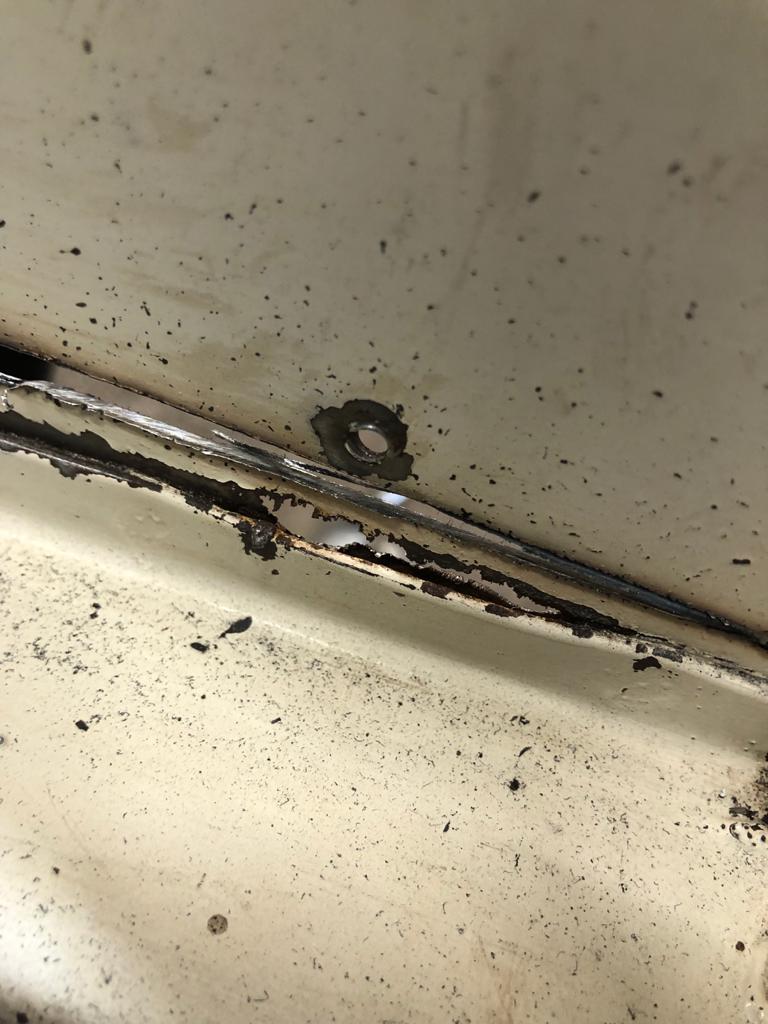
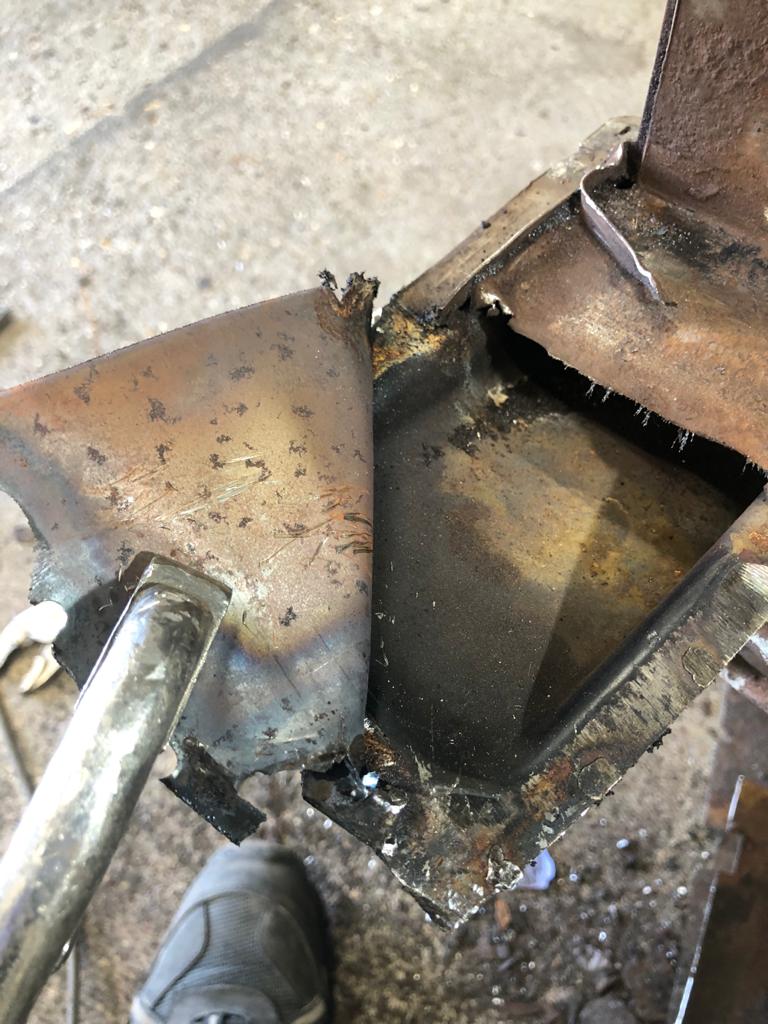
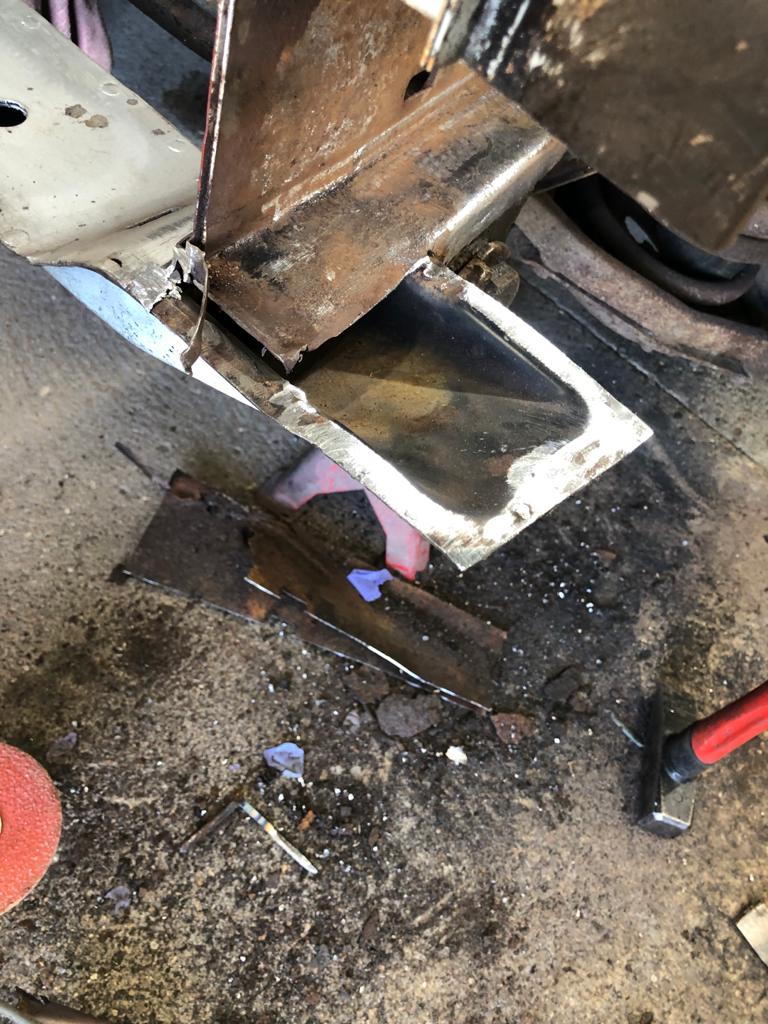
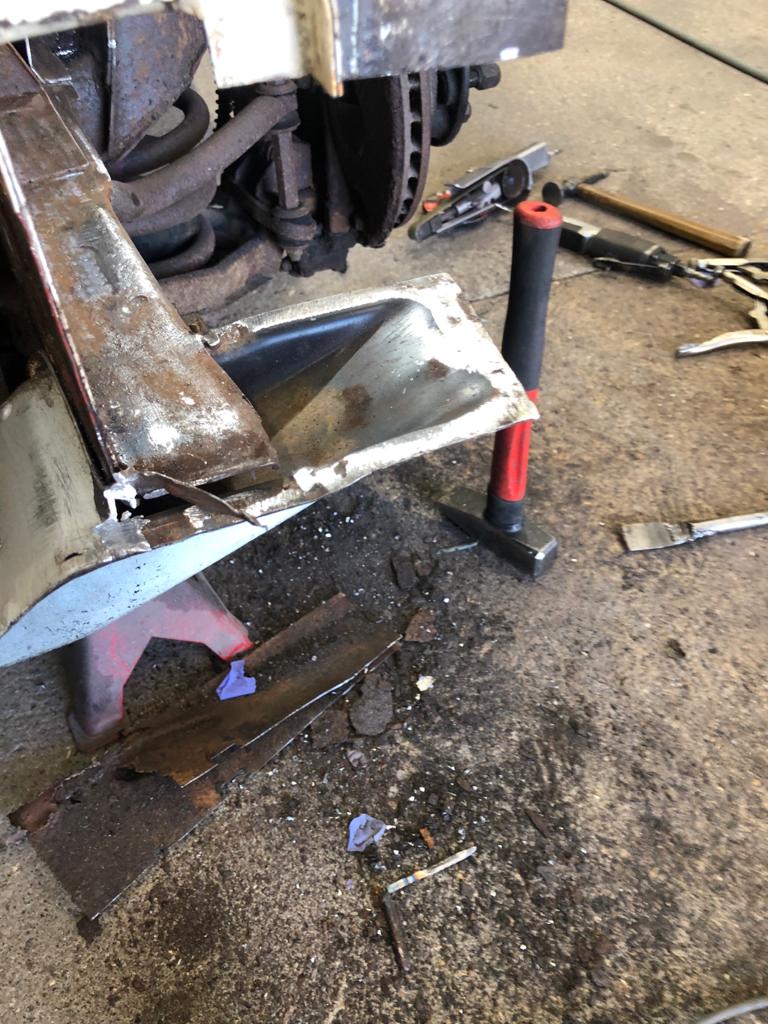
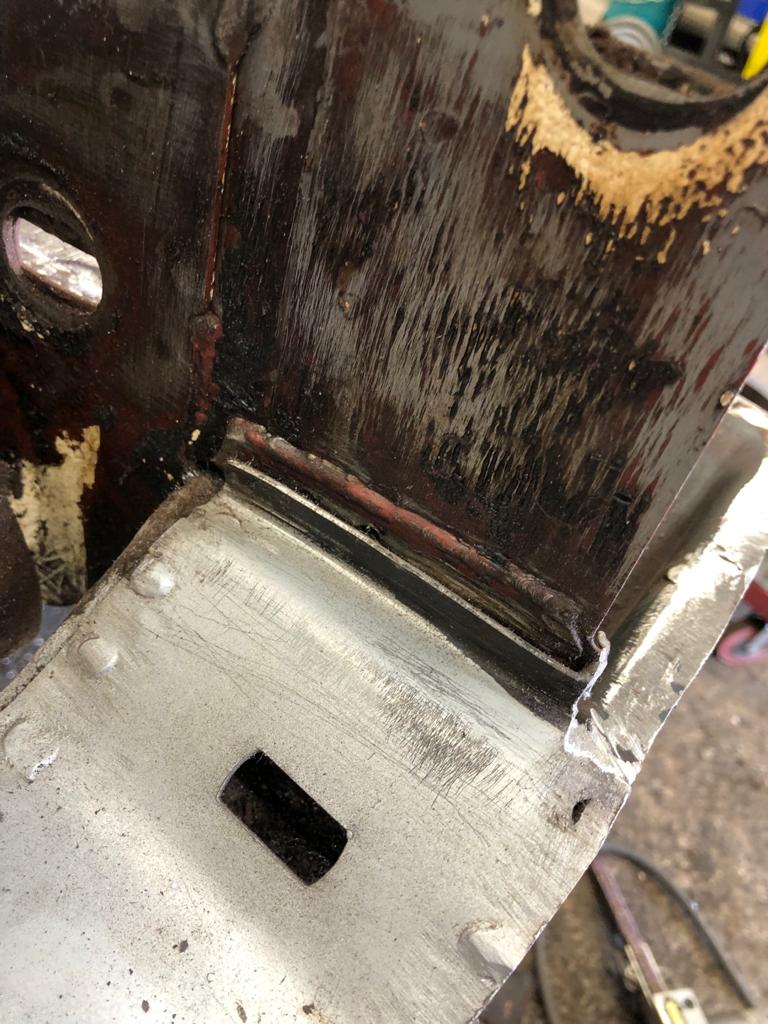
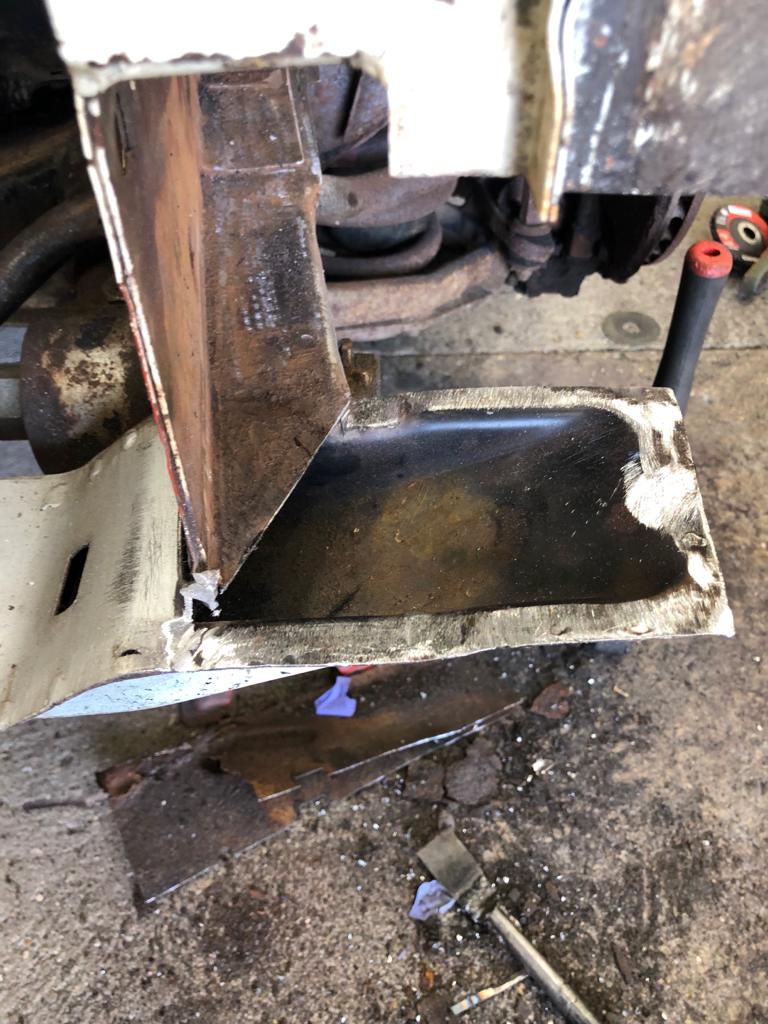
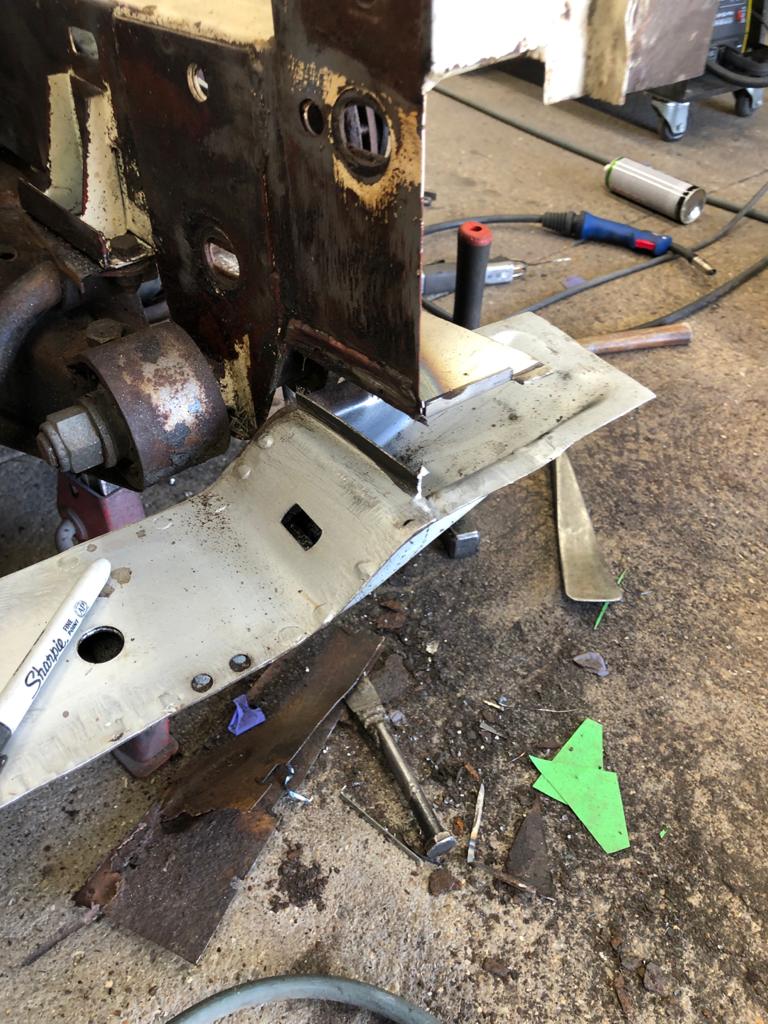
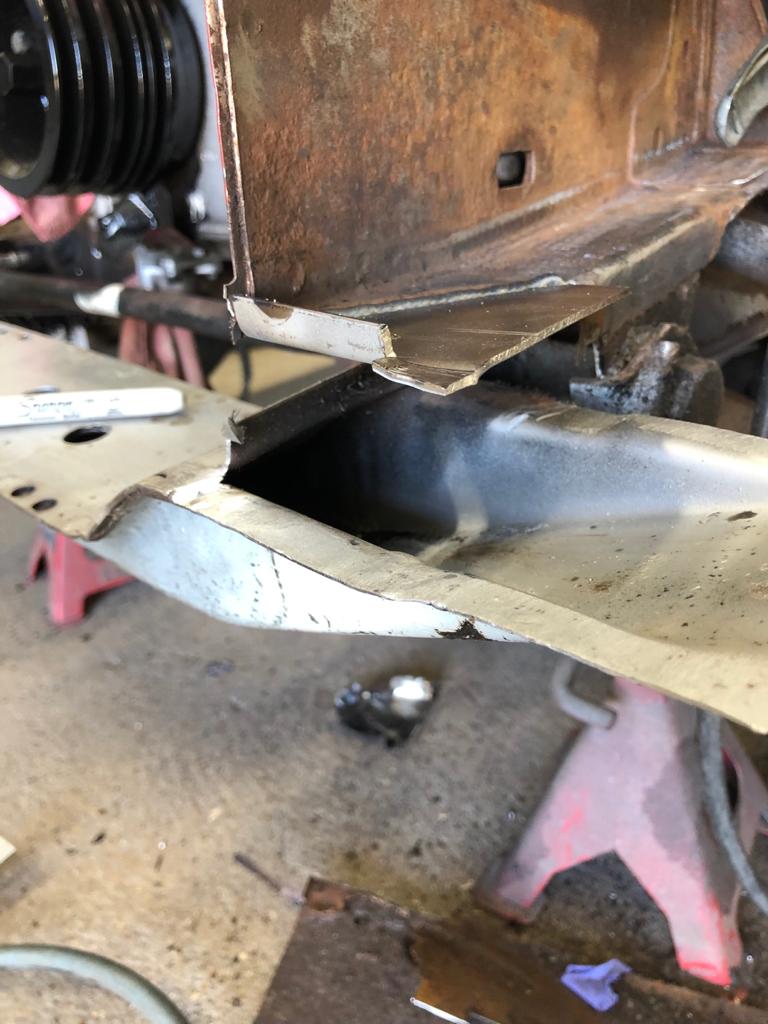
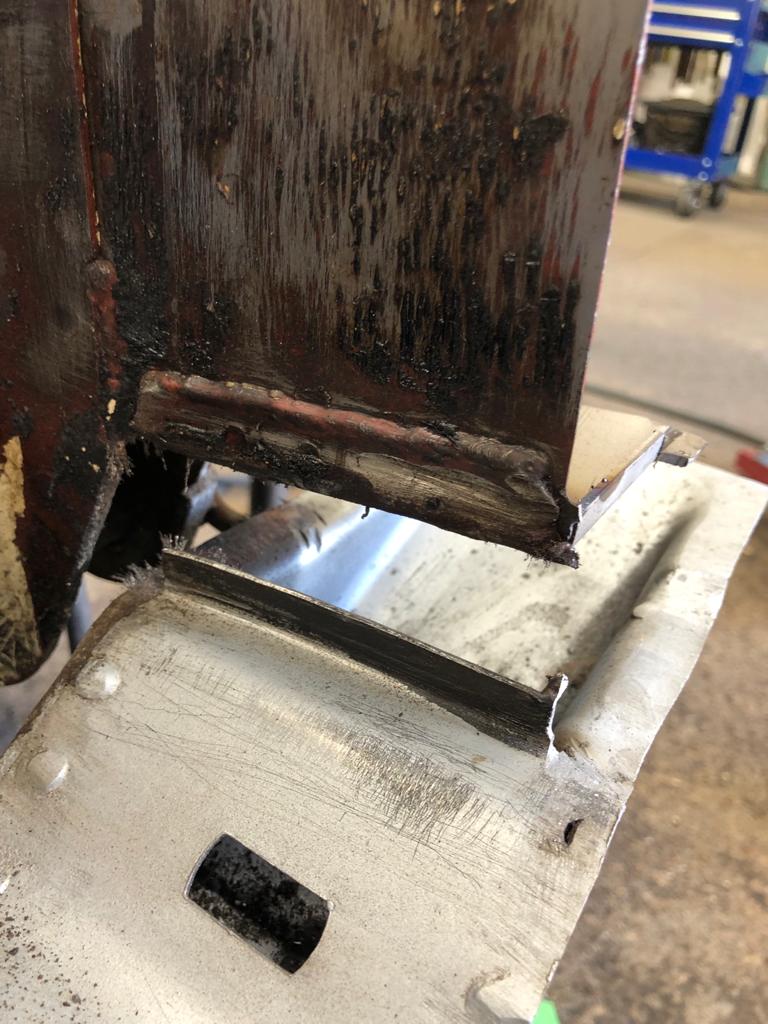
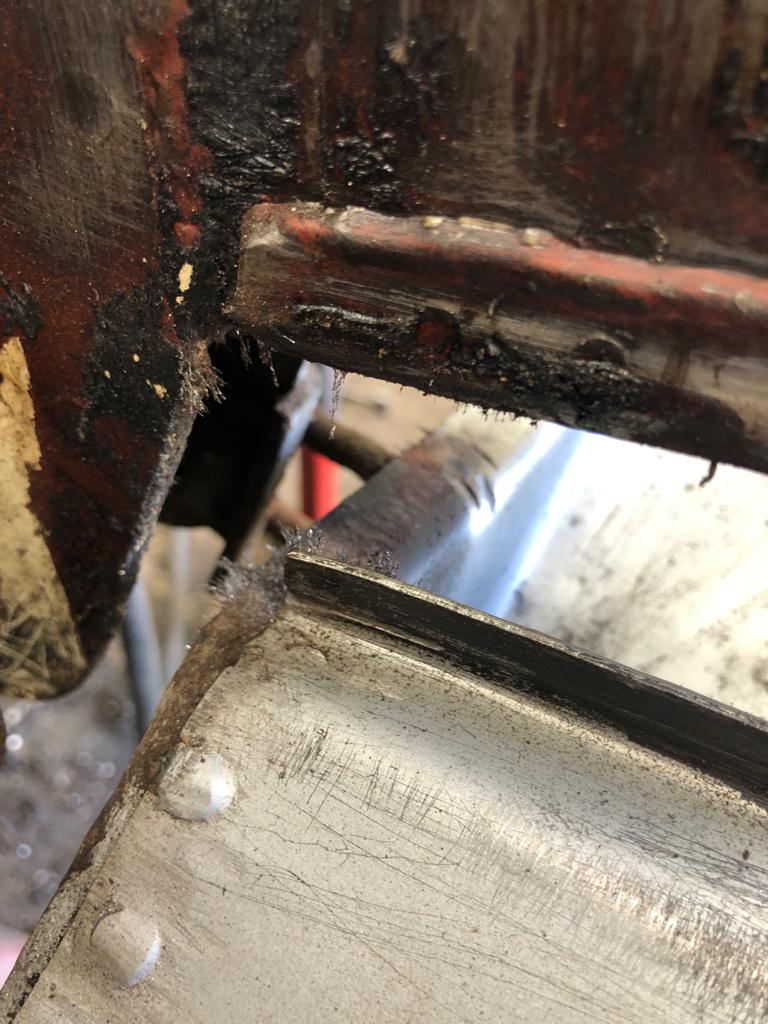
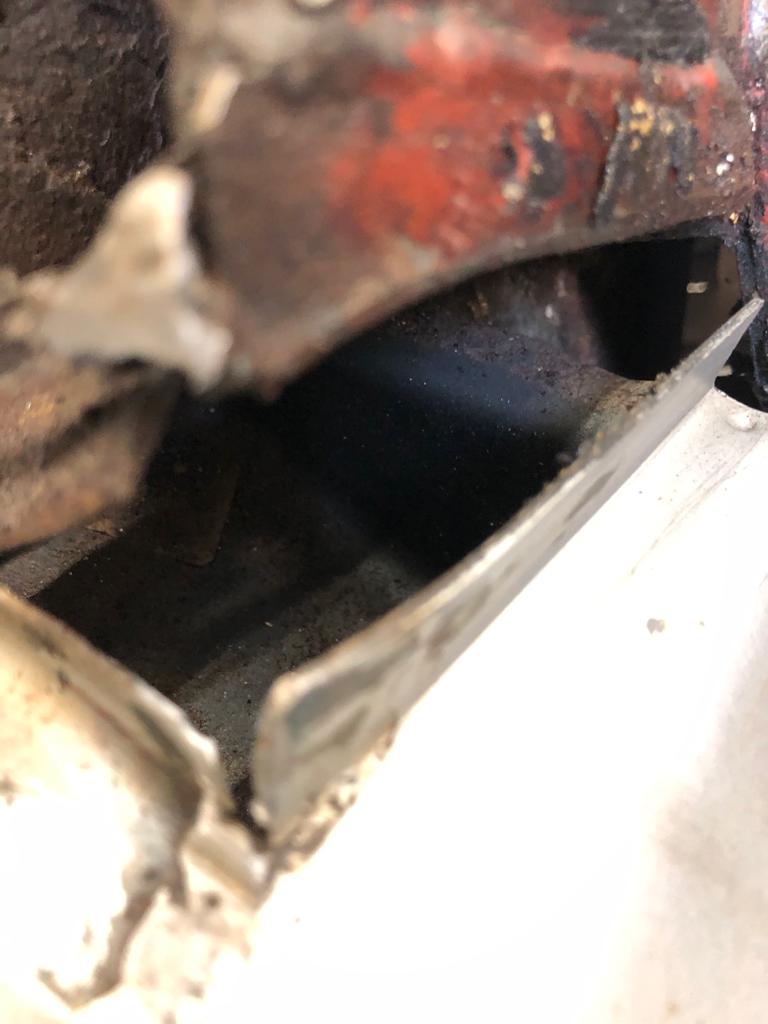
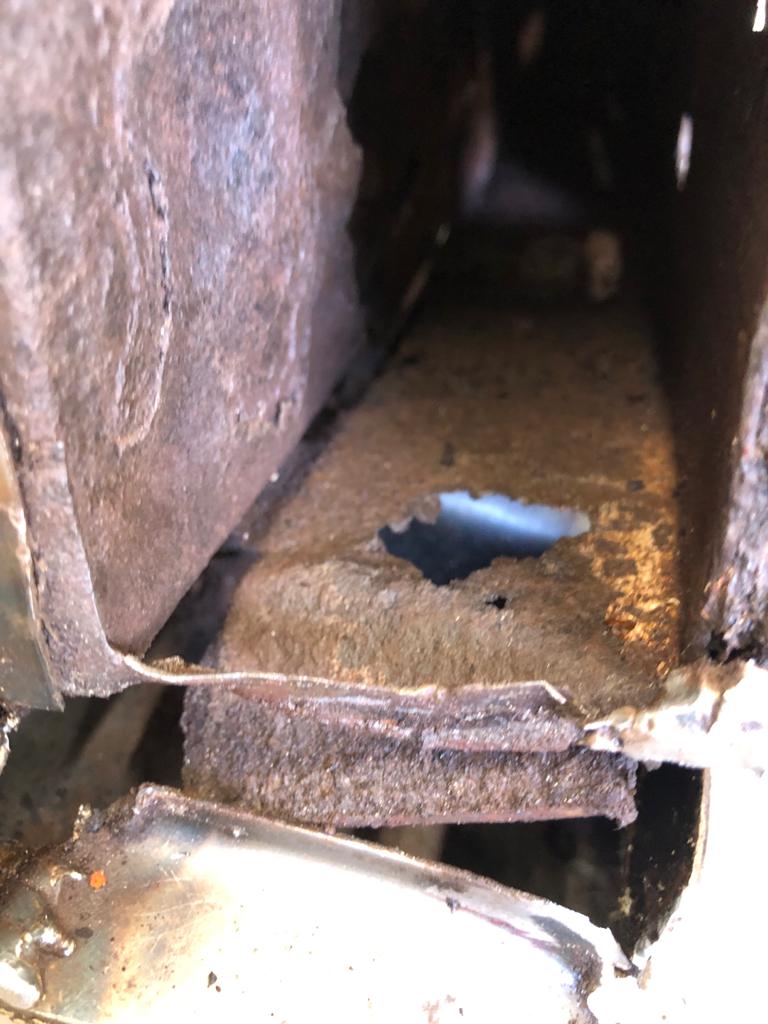
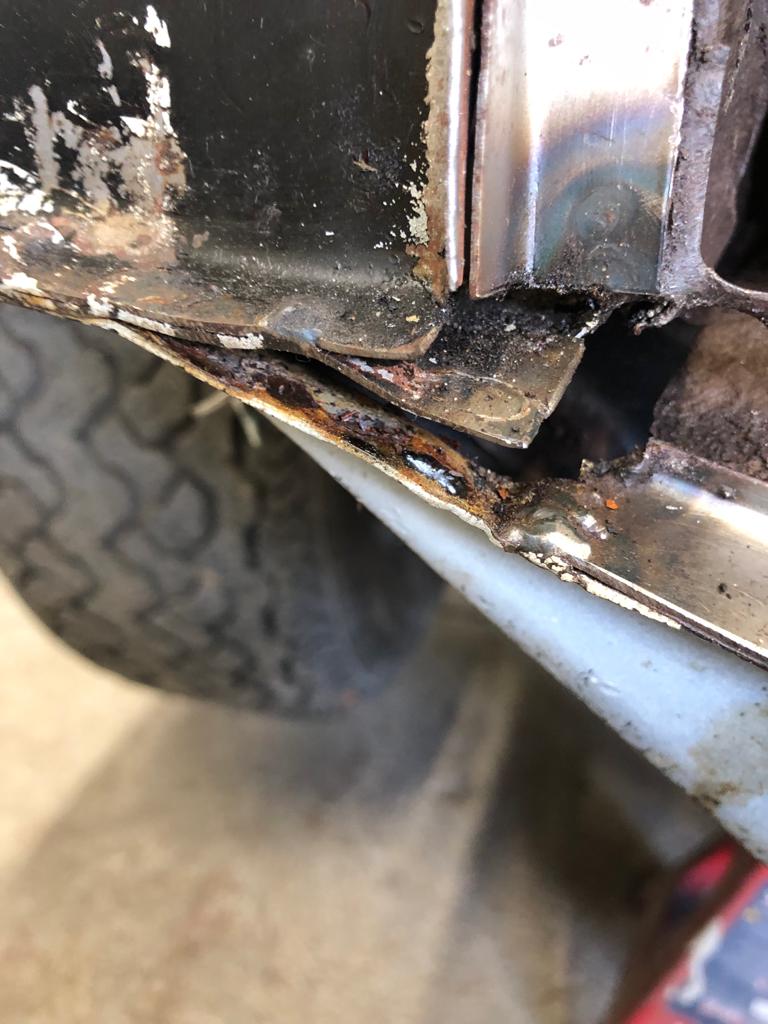
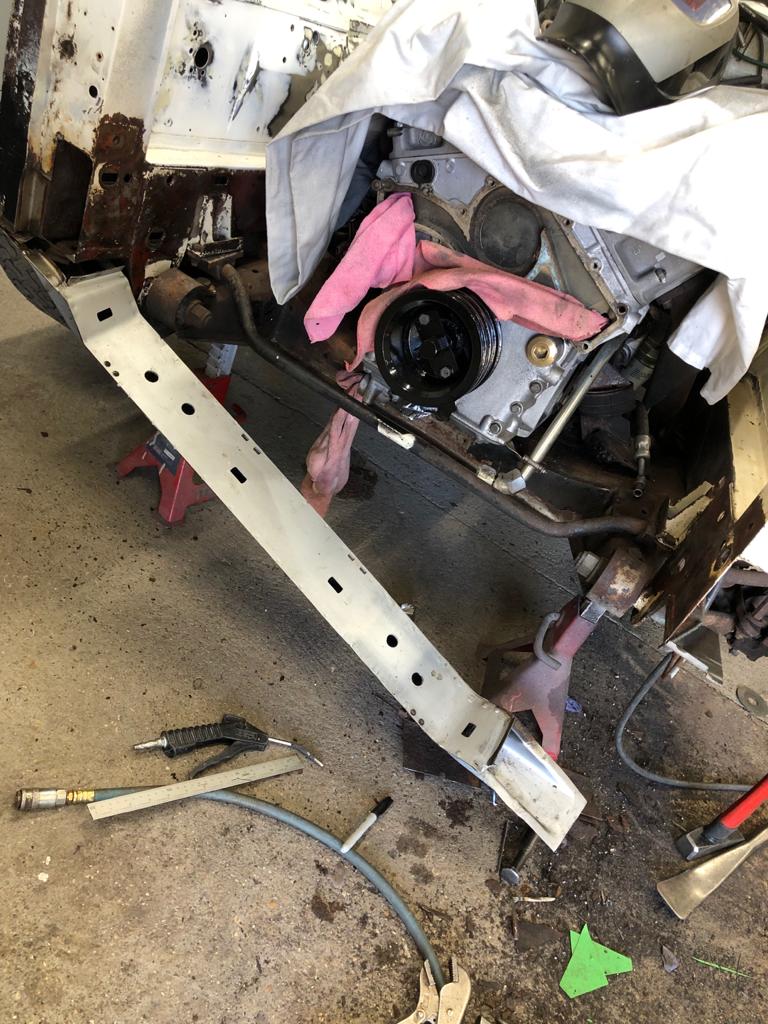
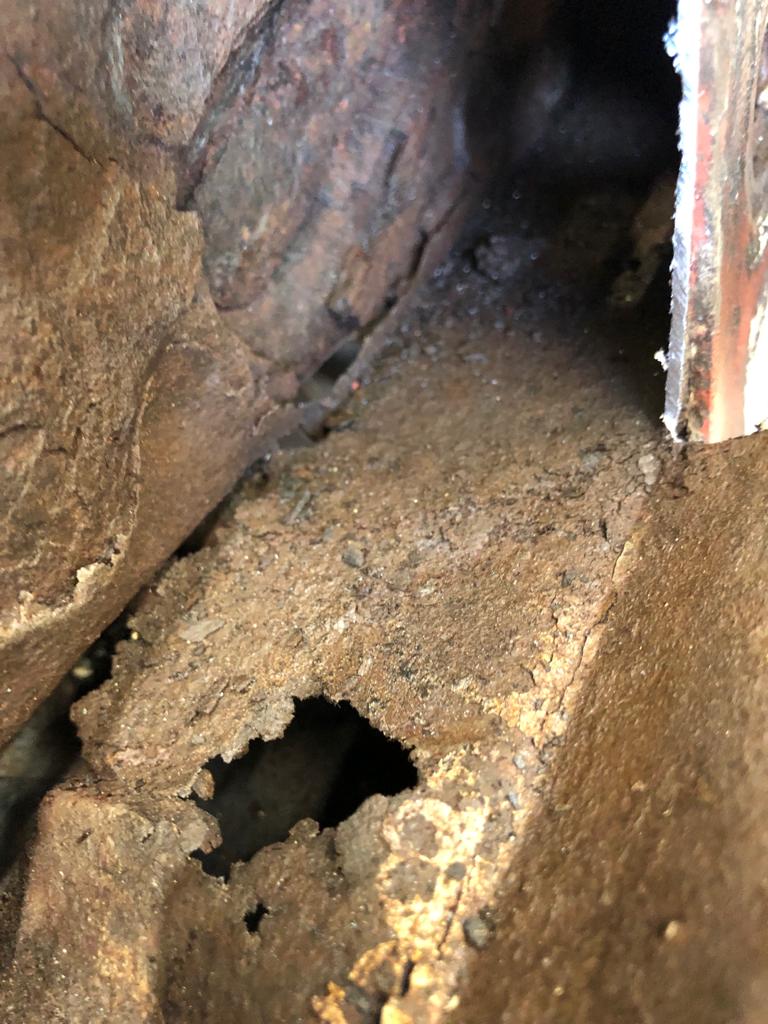
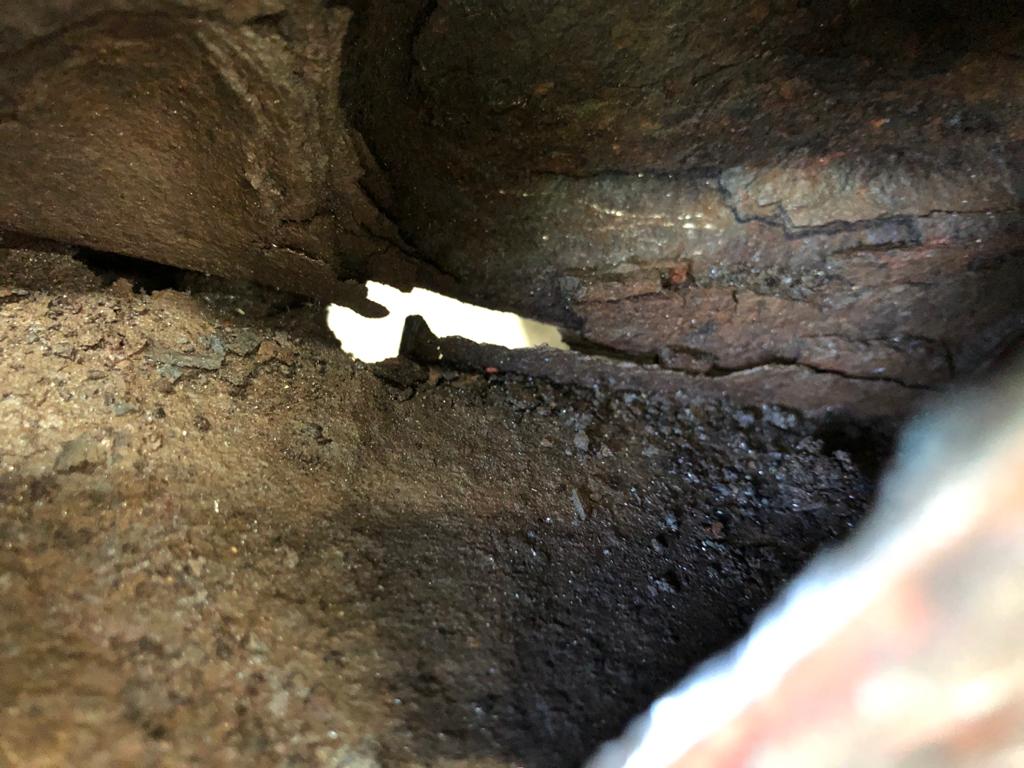
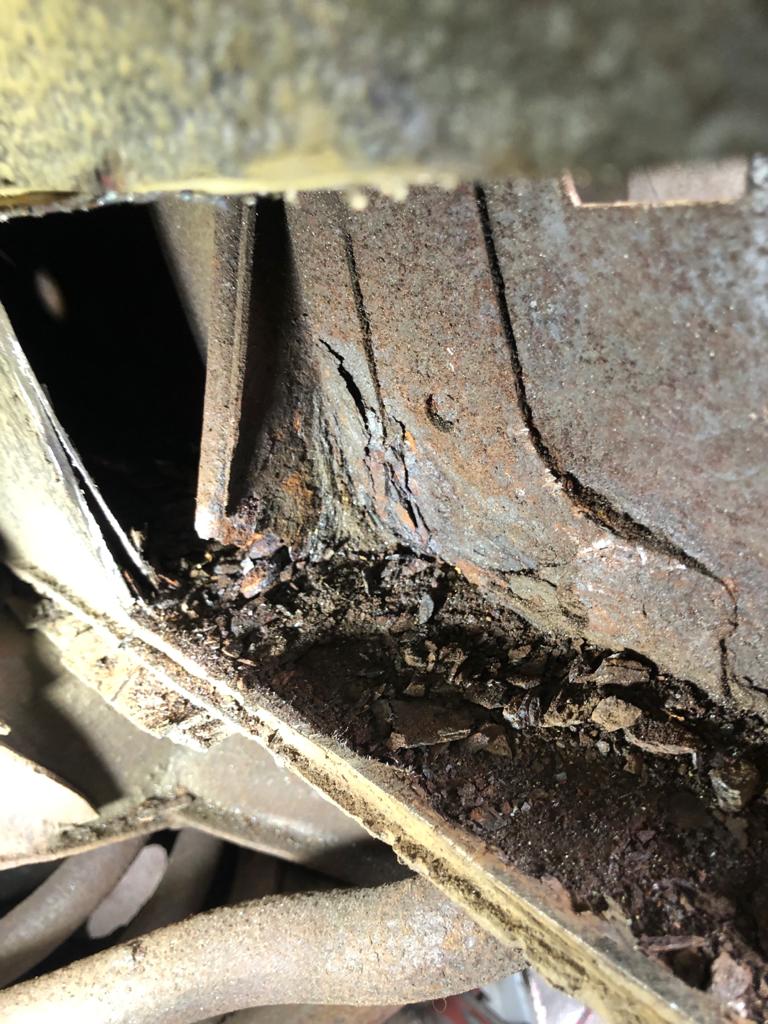
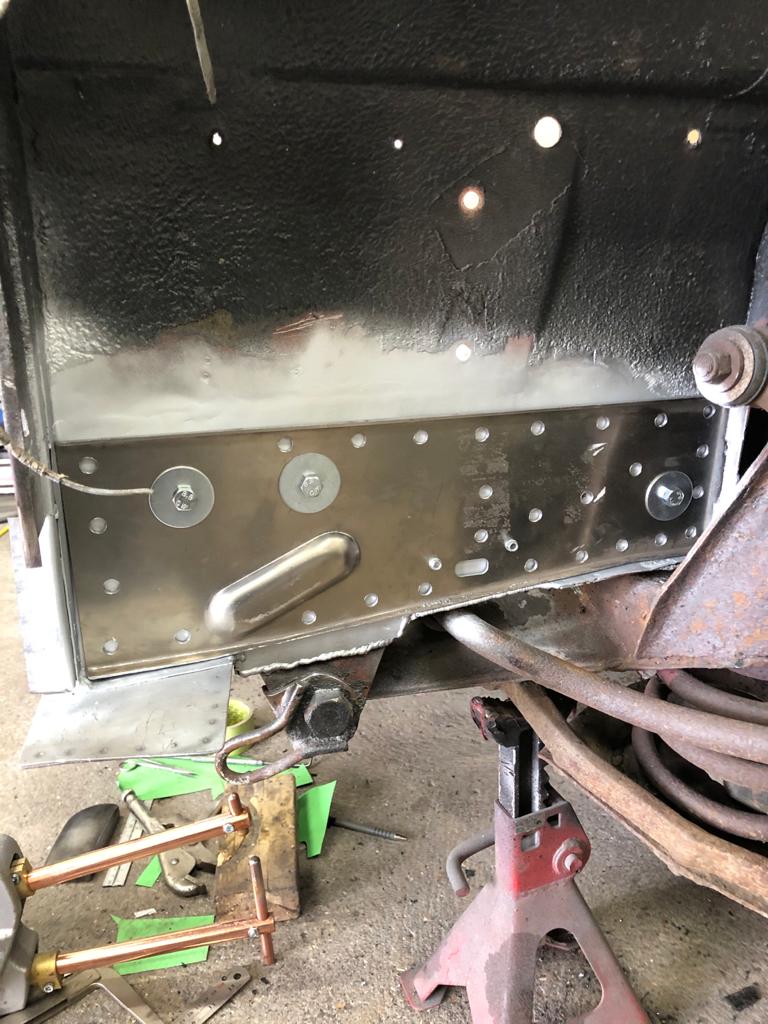
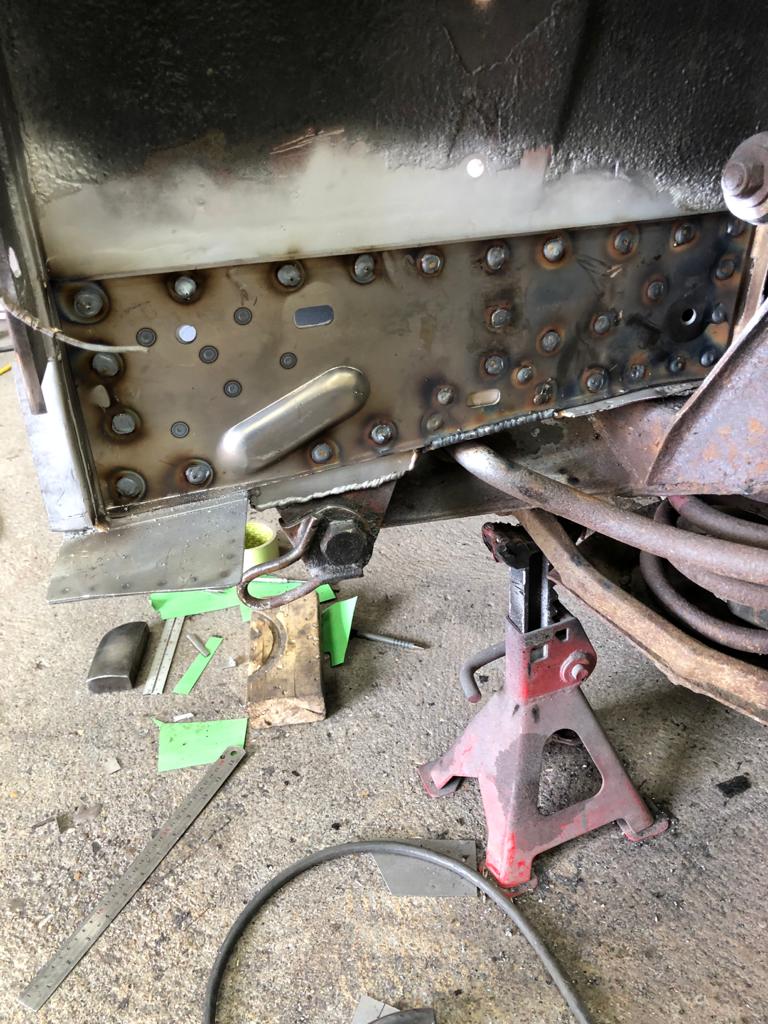
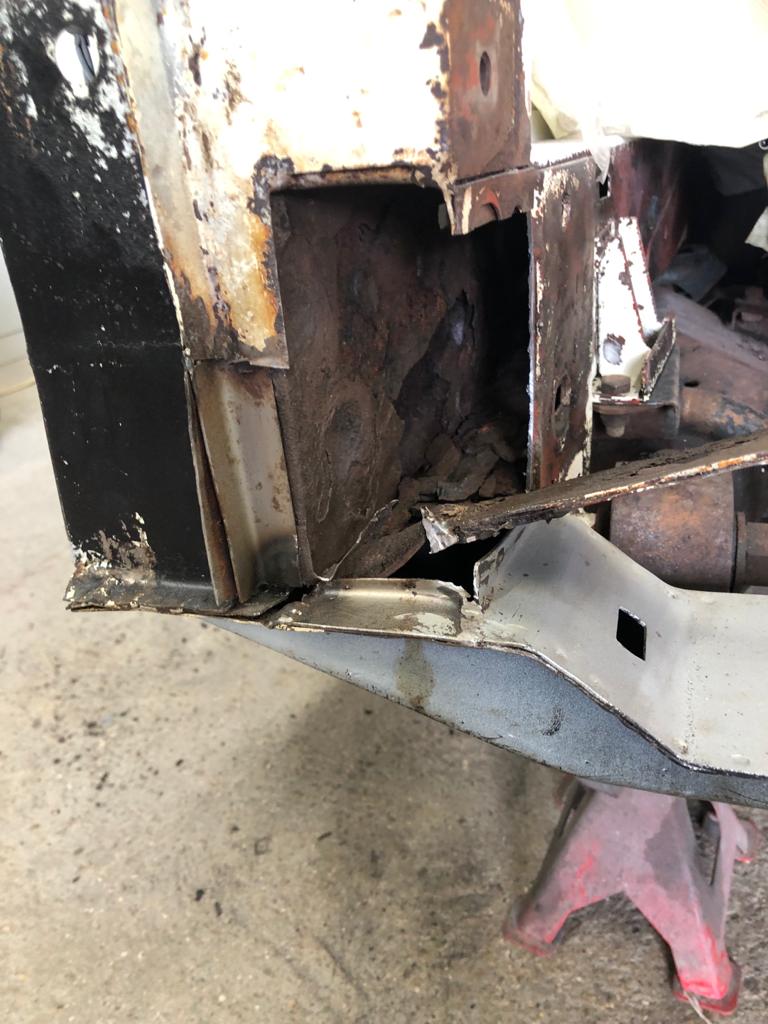
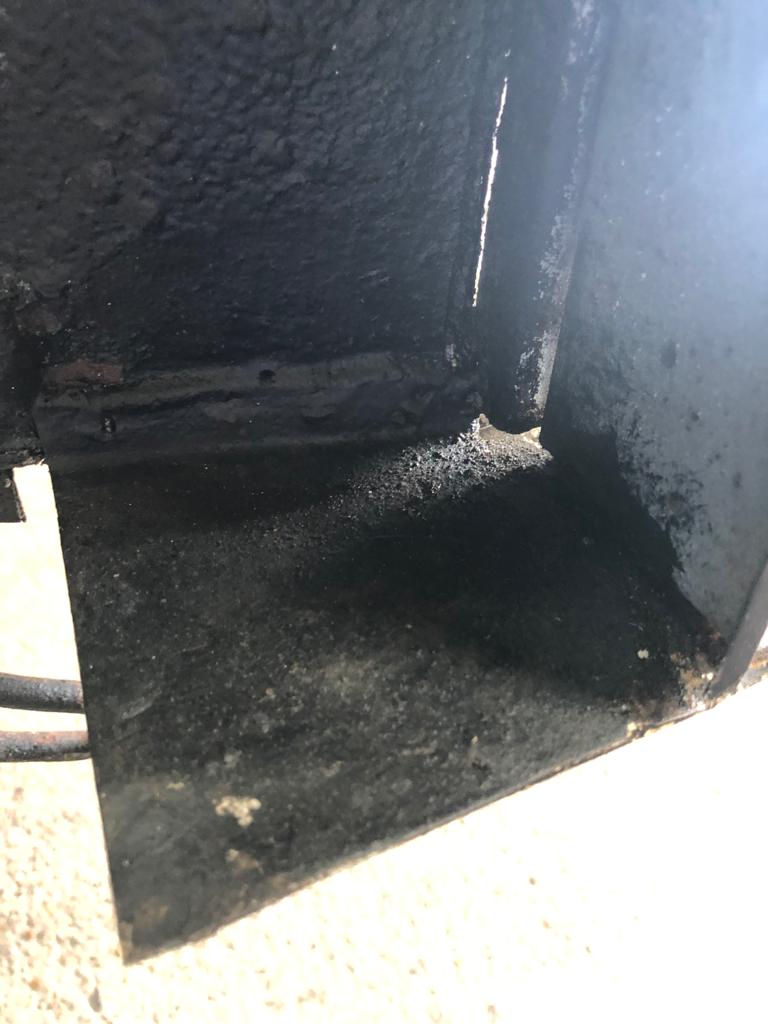
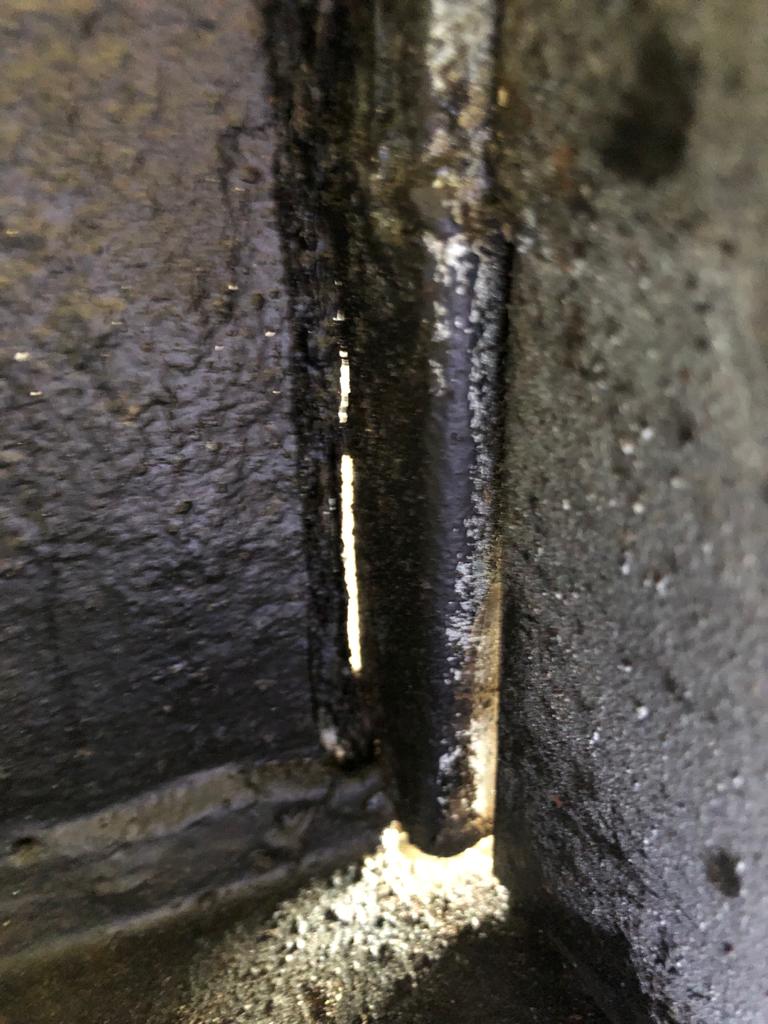
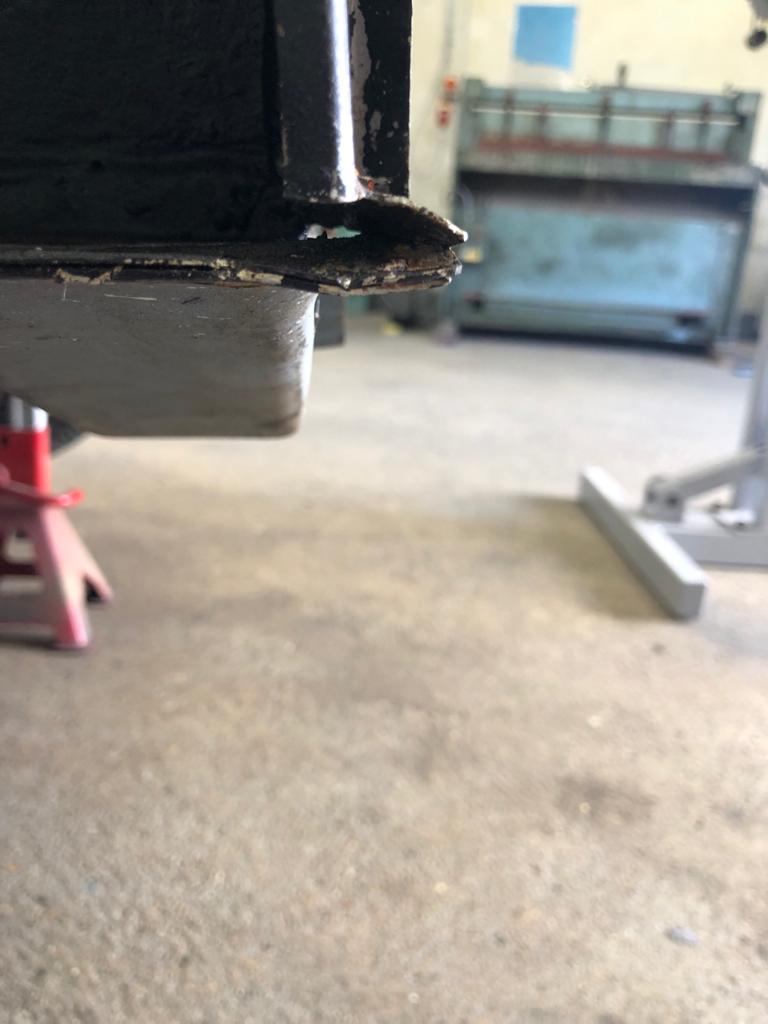
James has been continuing his repair work on the corroded areas of the 1977 Daimler Double Six. The right-hand side front inner wing has been more work than the left-hand side. Keep up the good work James!
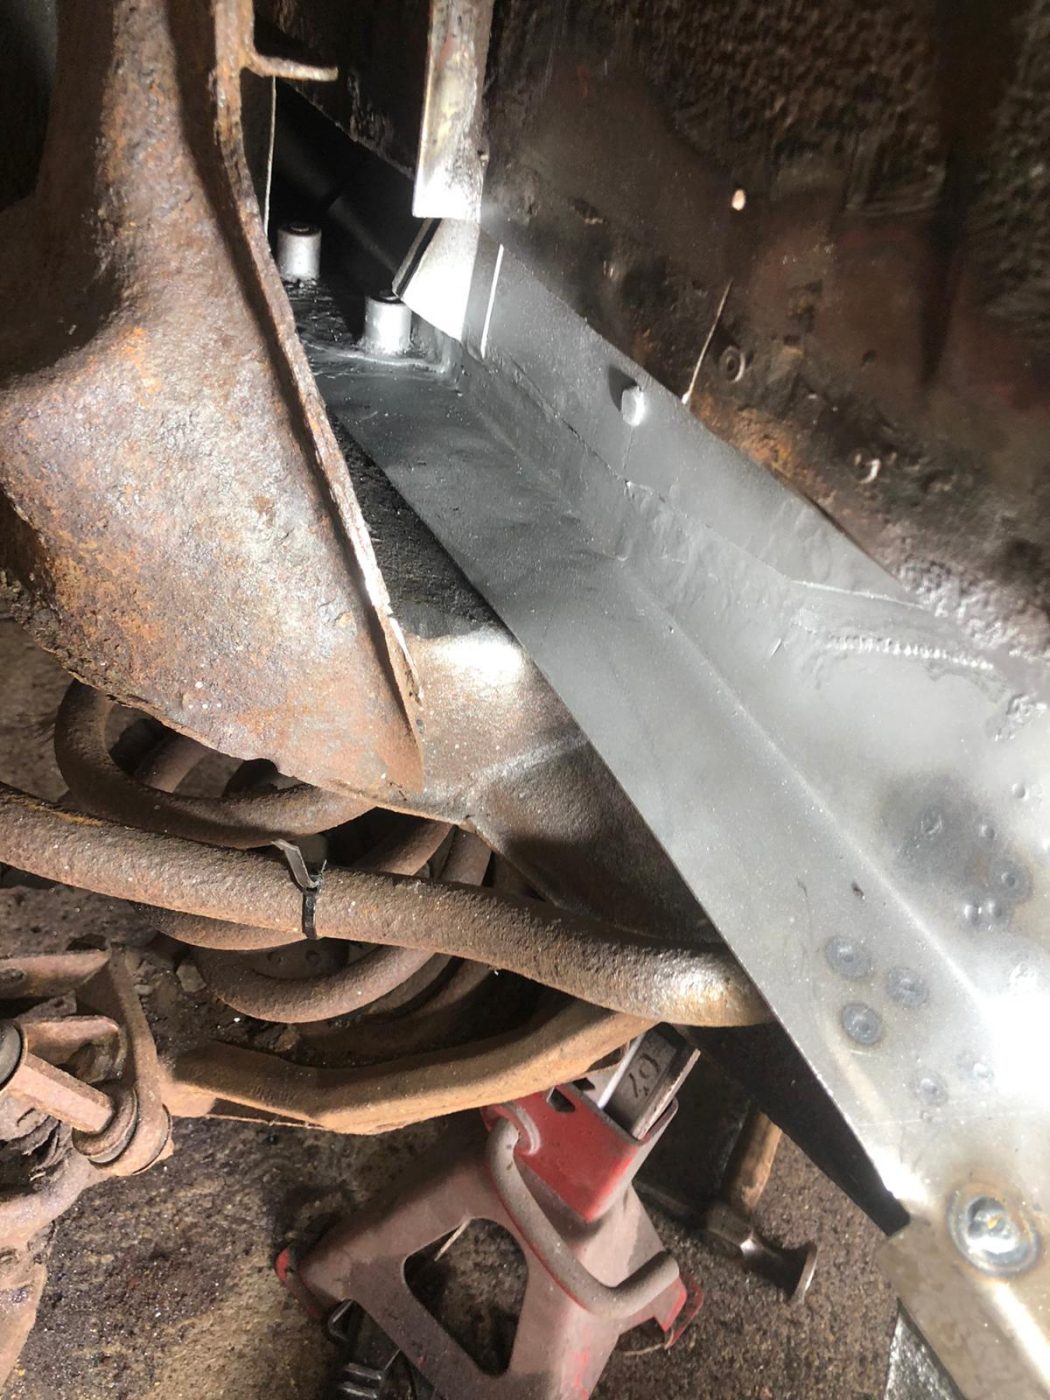
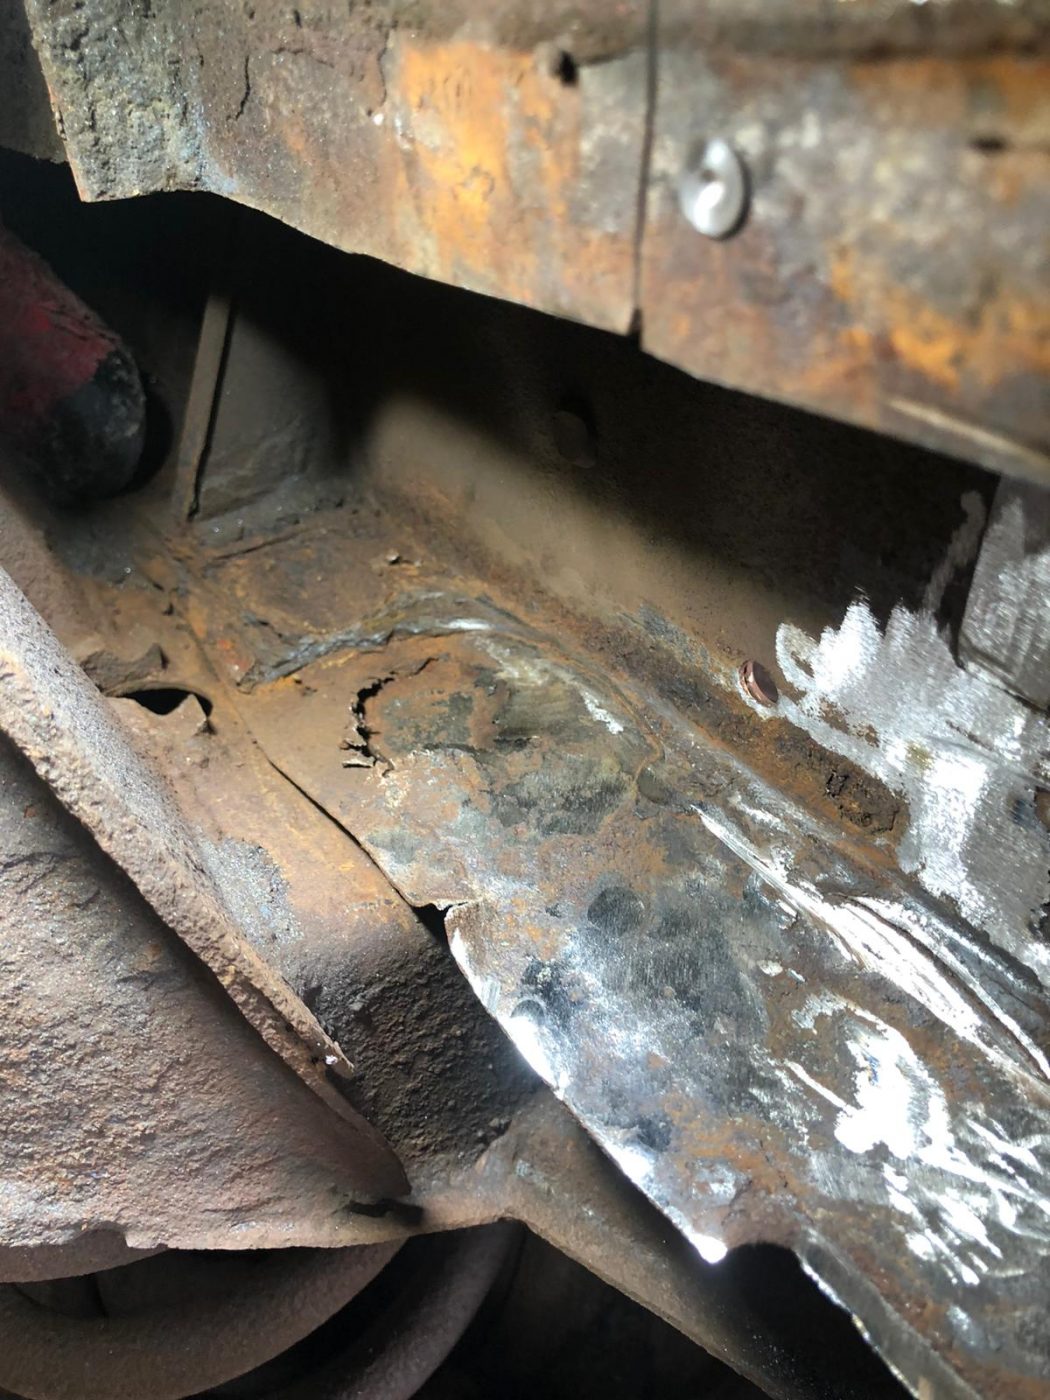
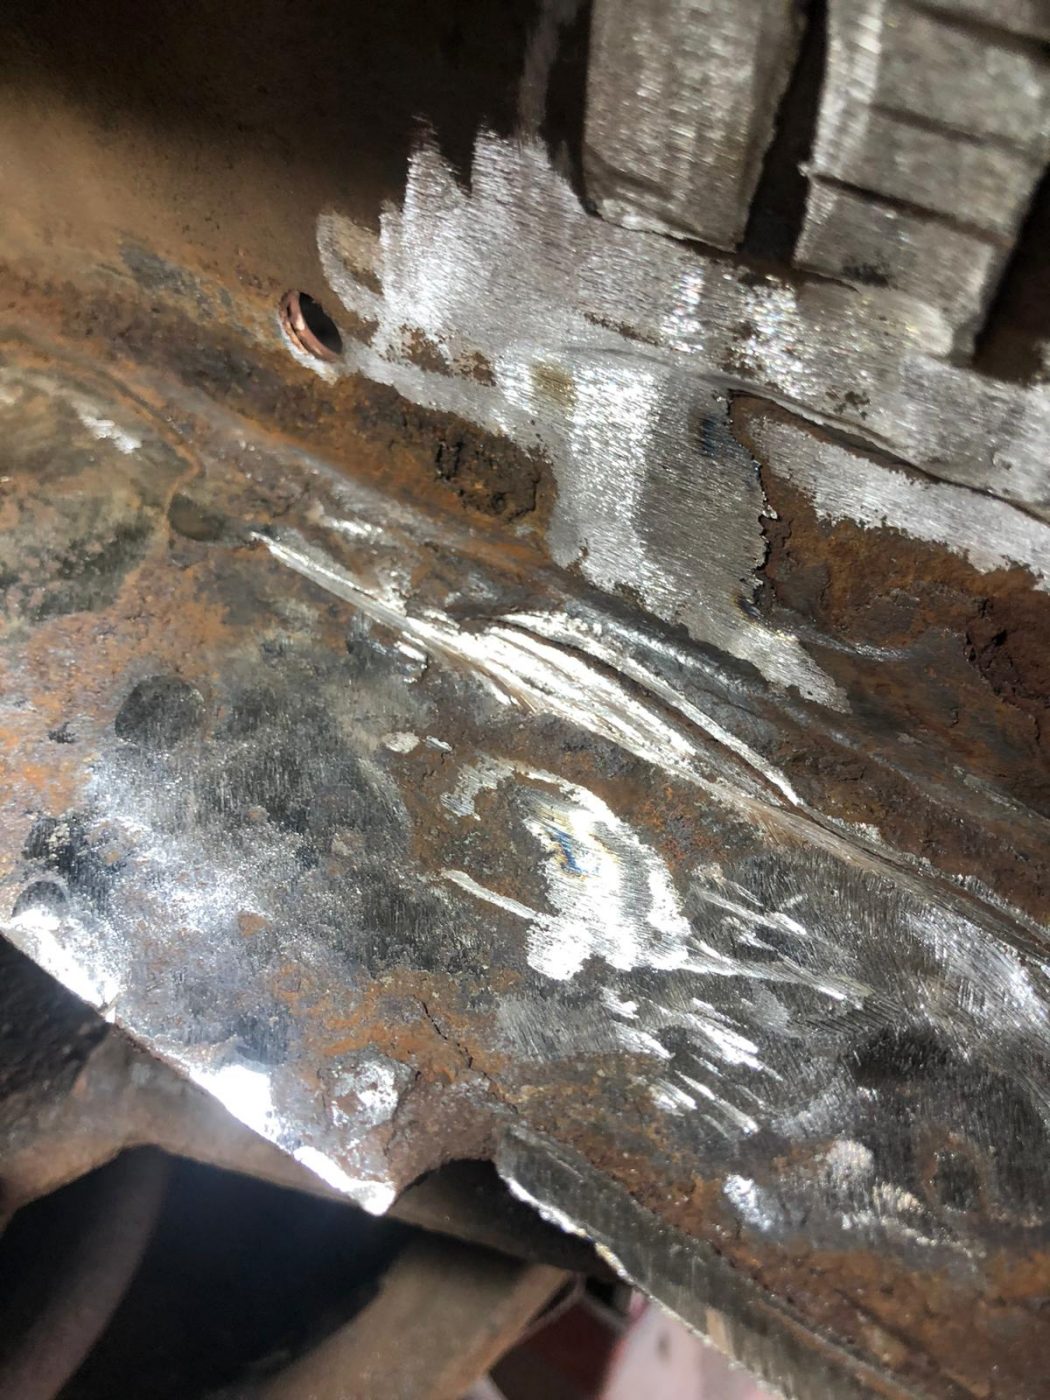
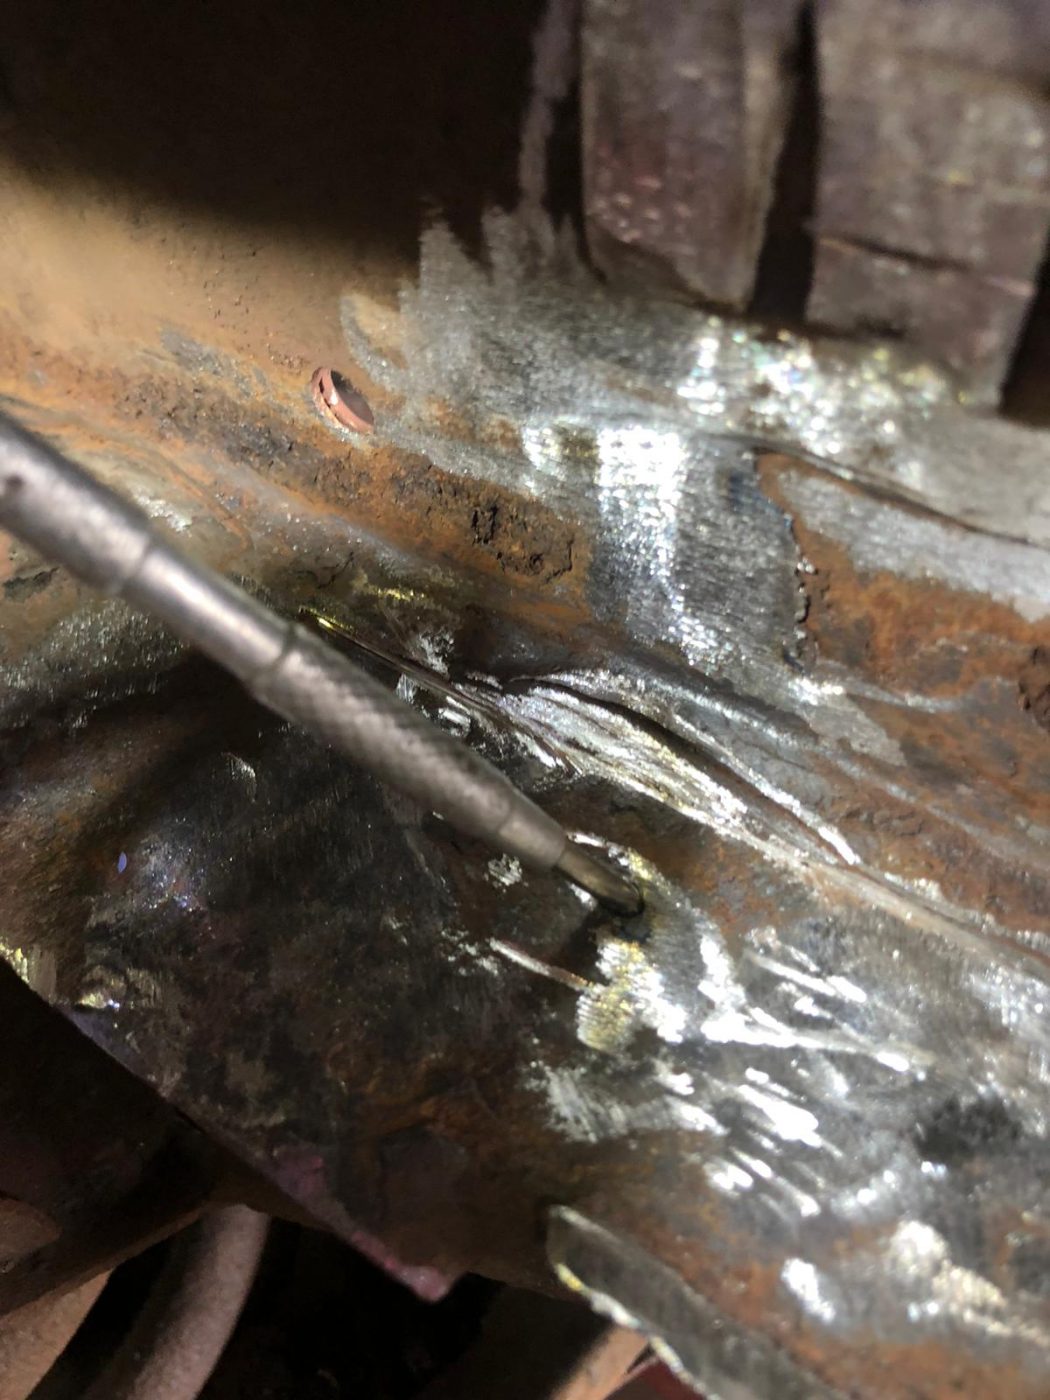
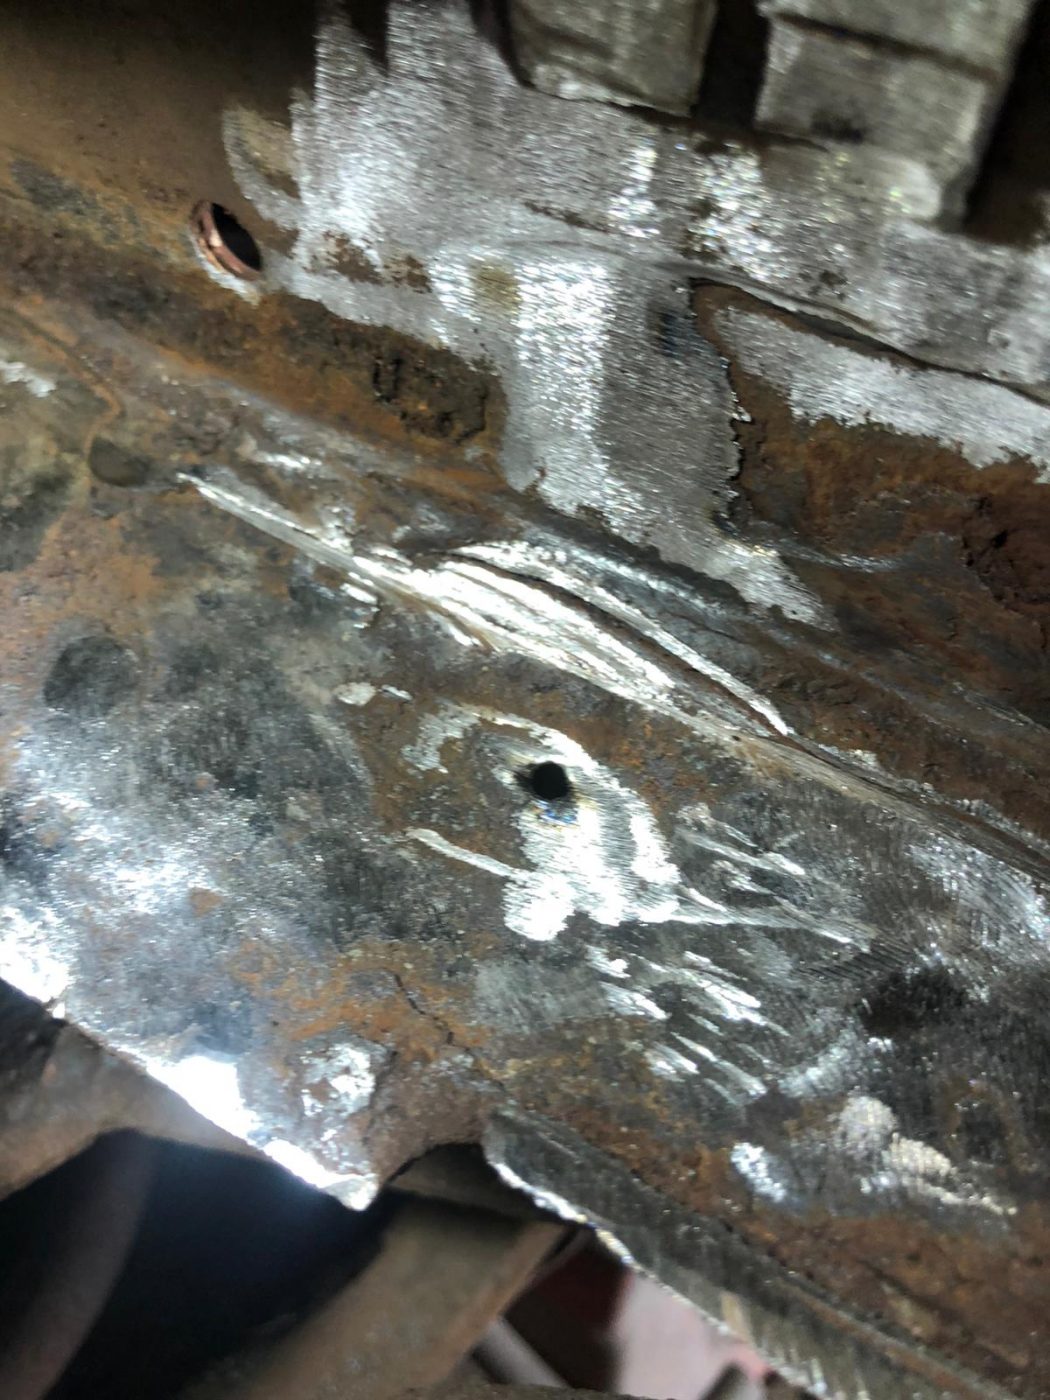
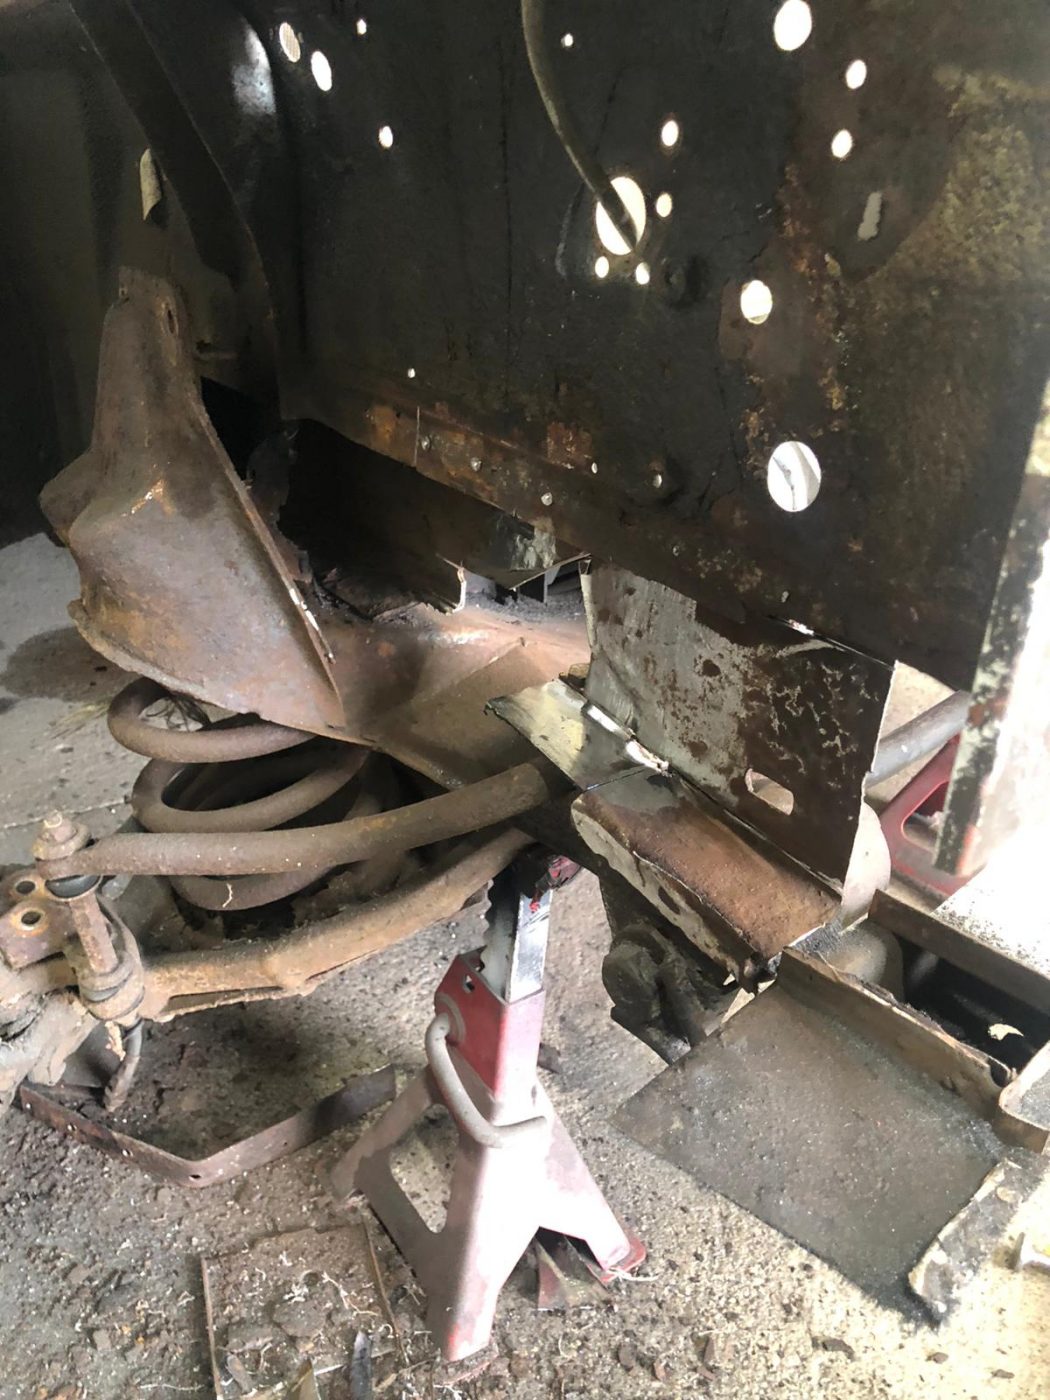
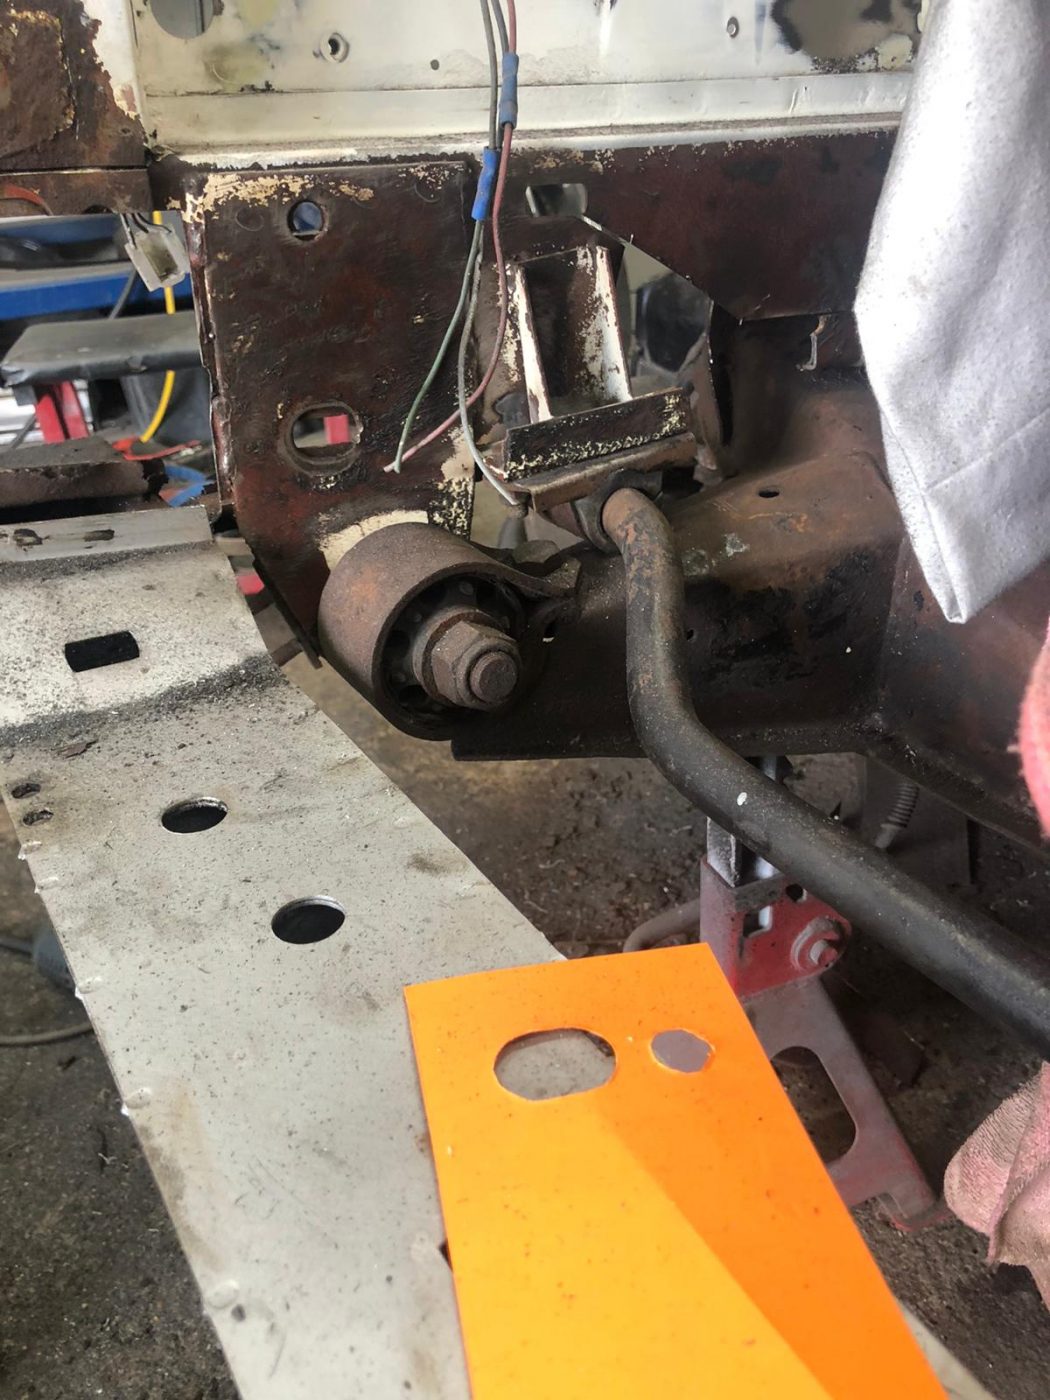
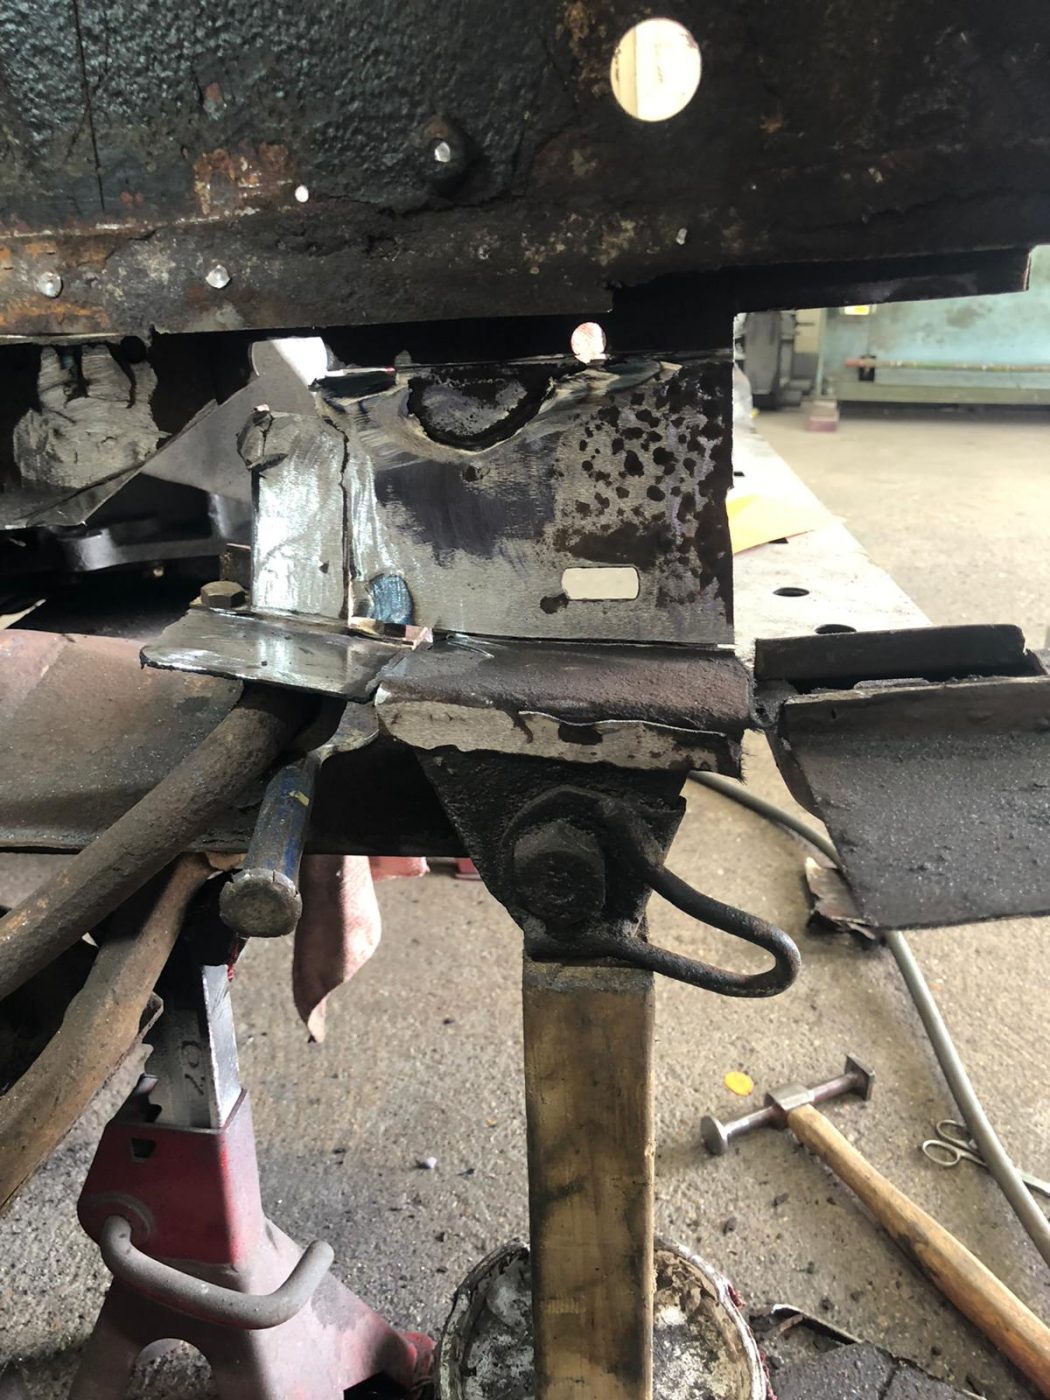
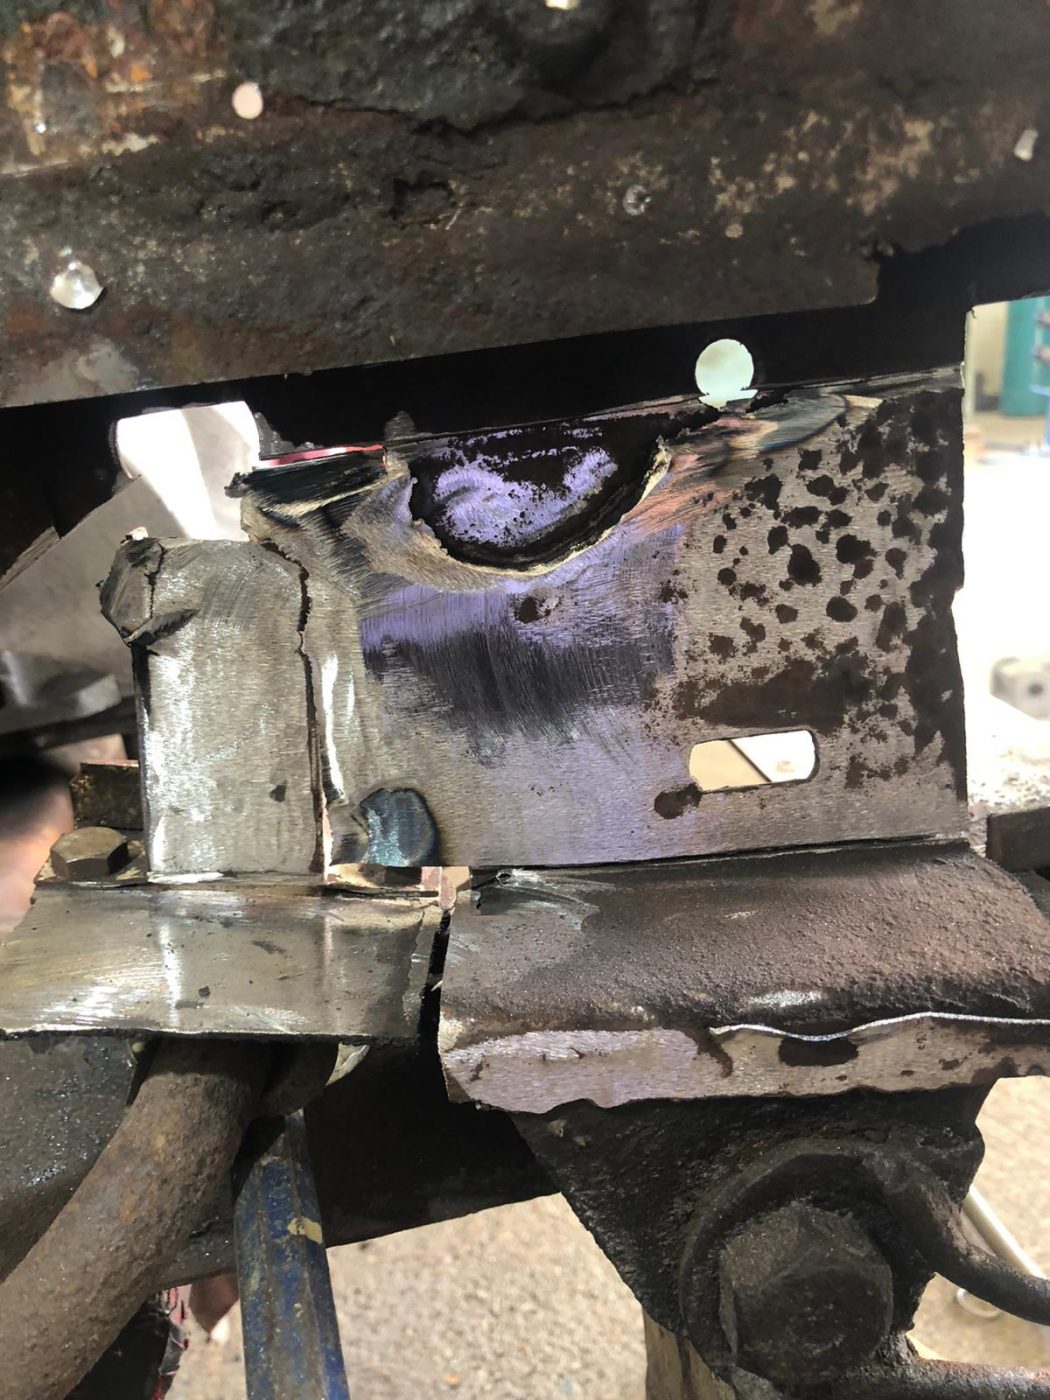
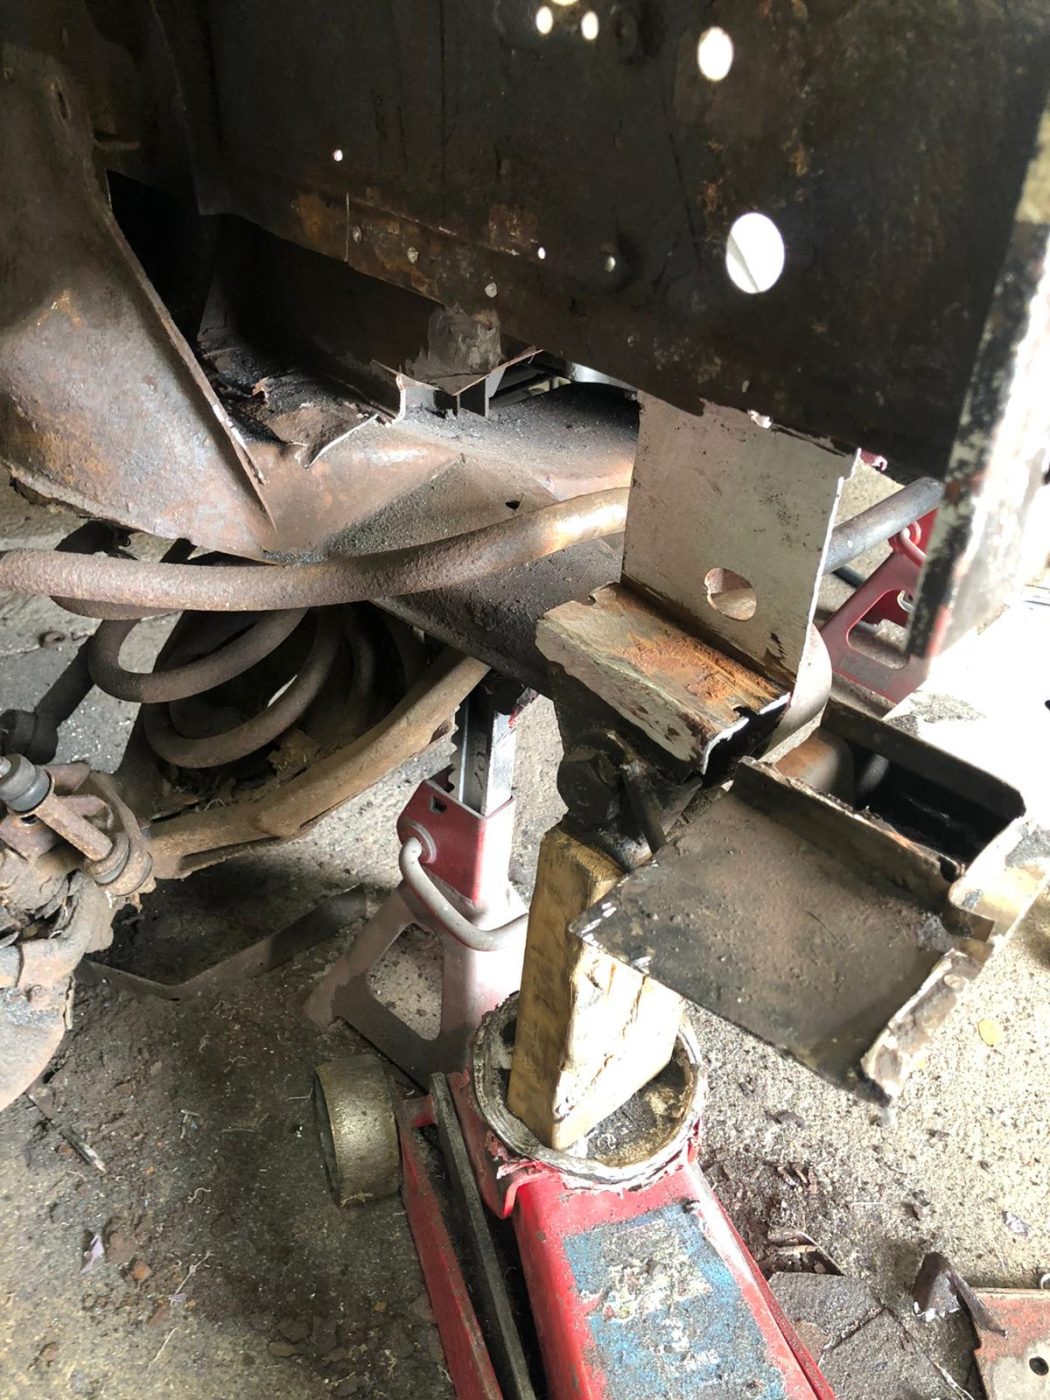
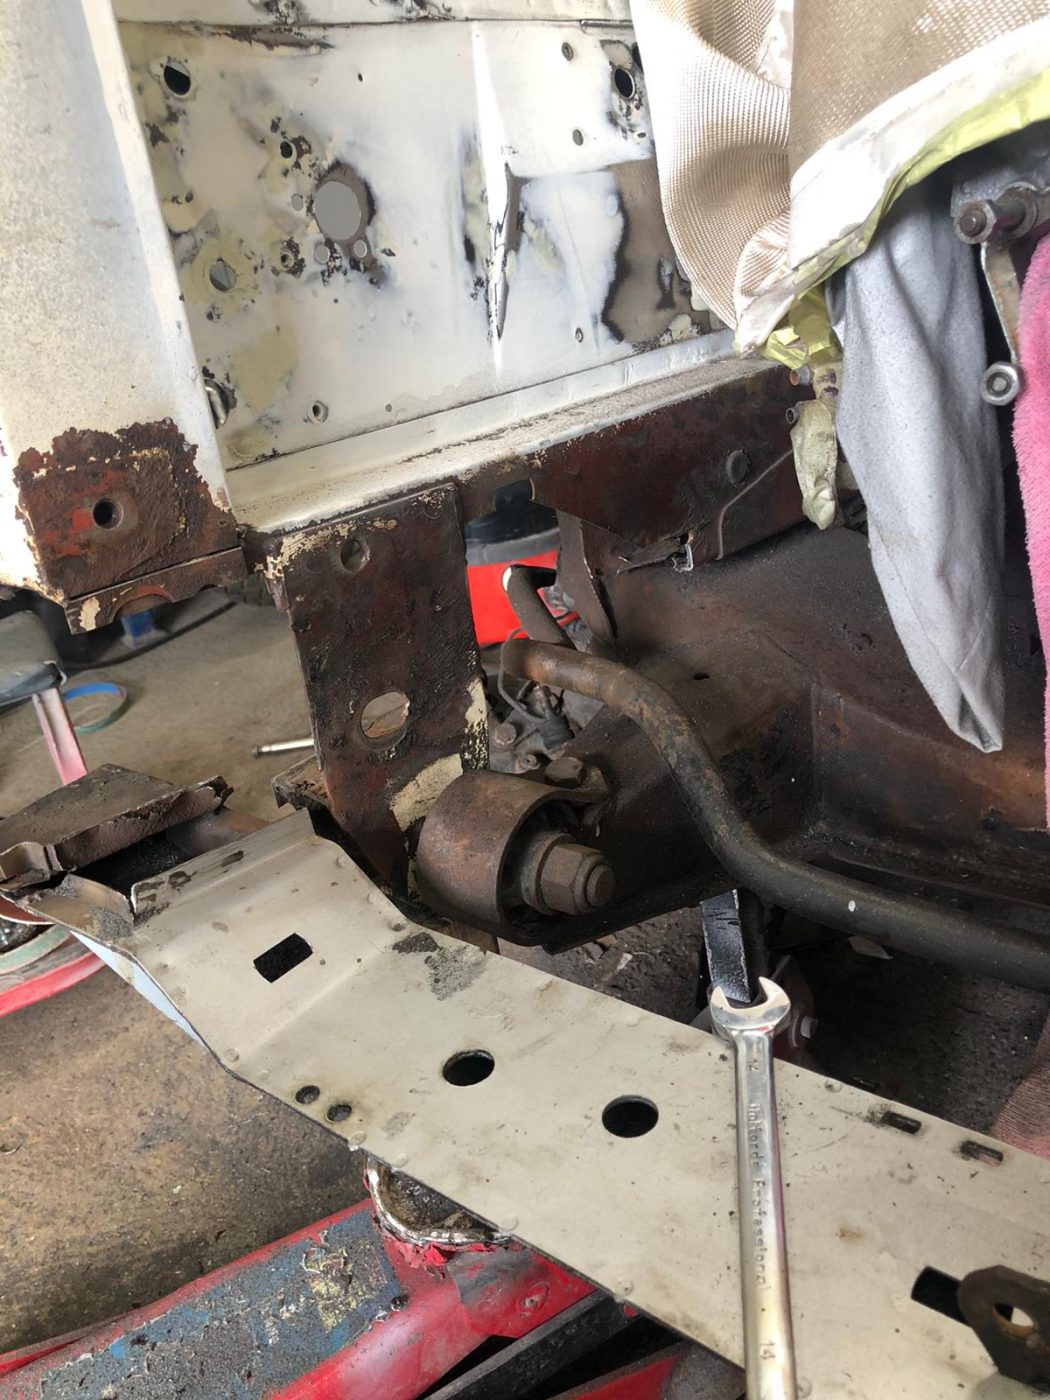
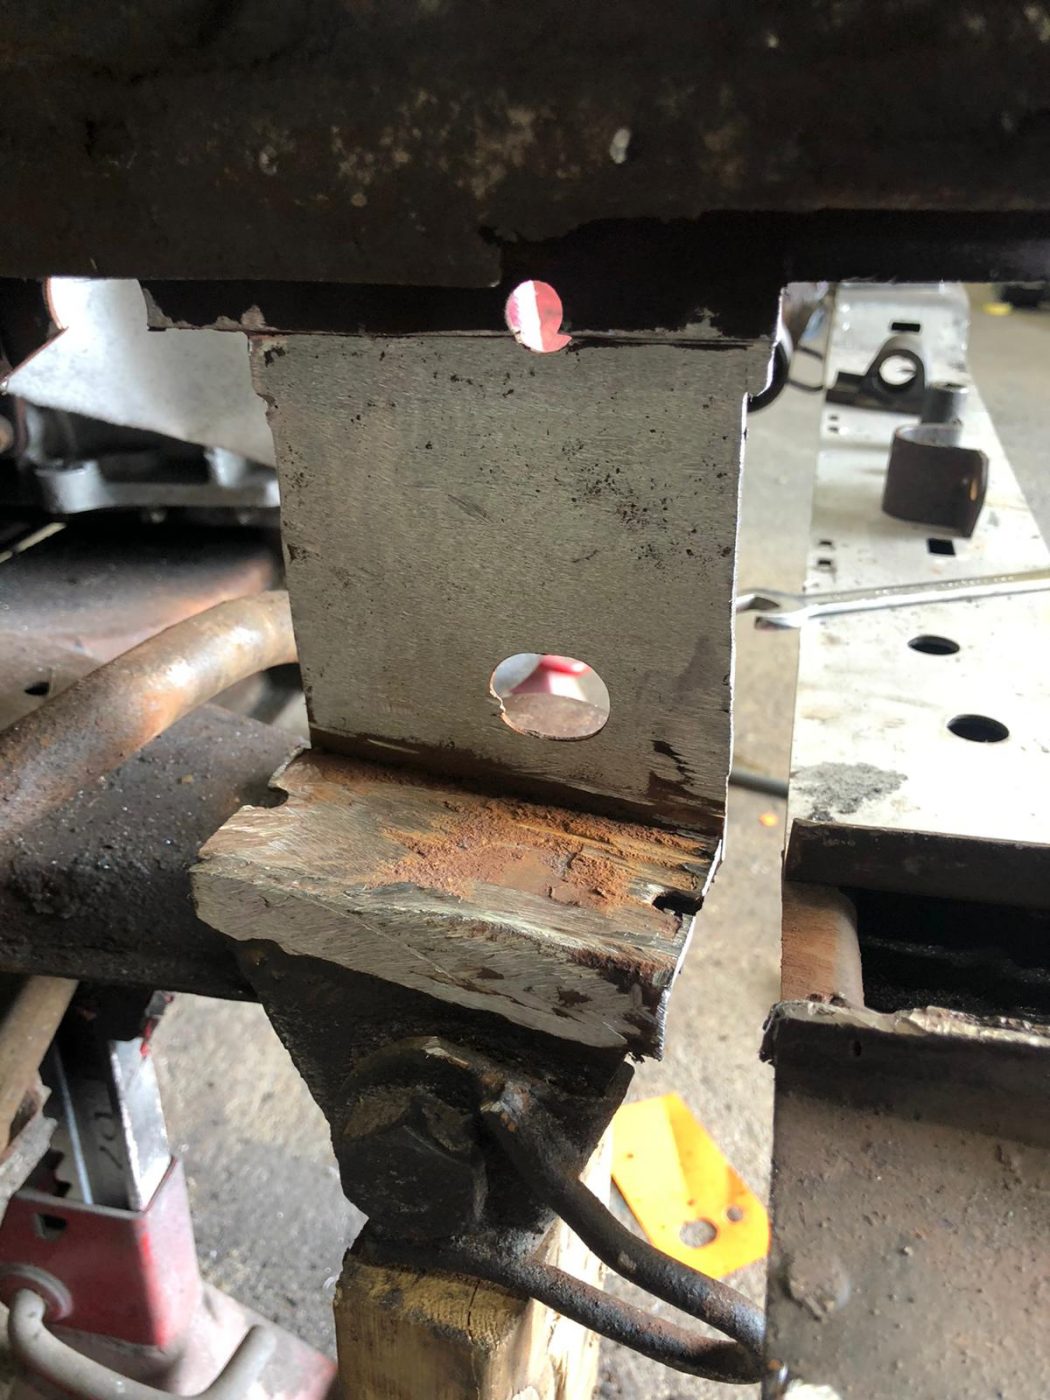
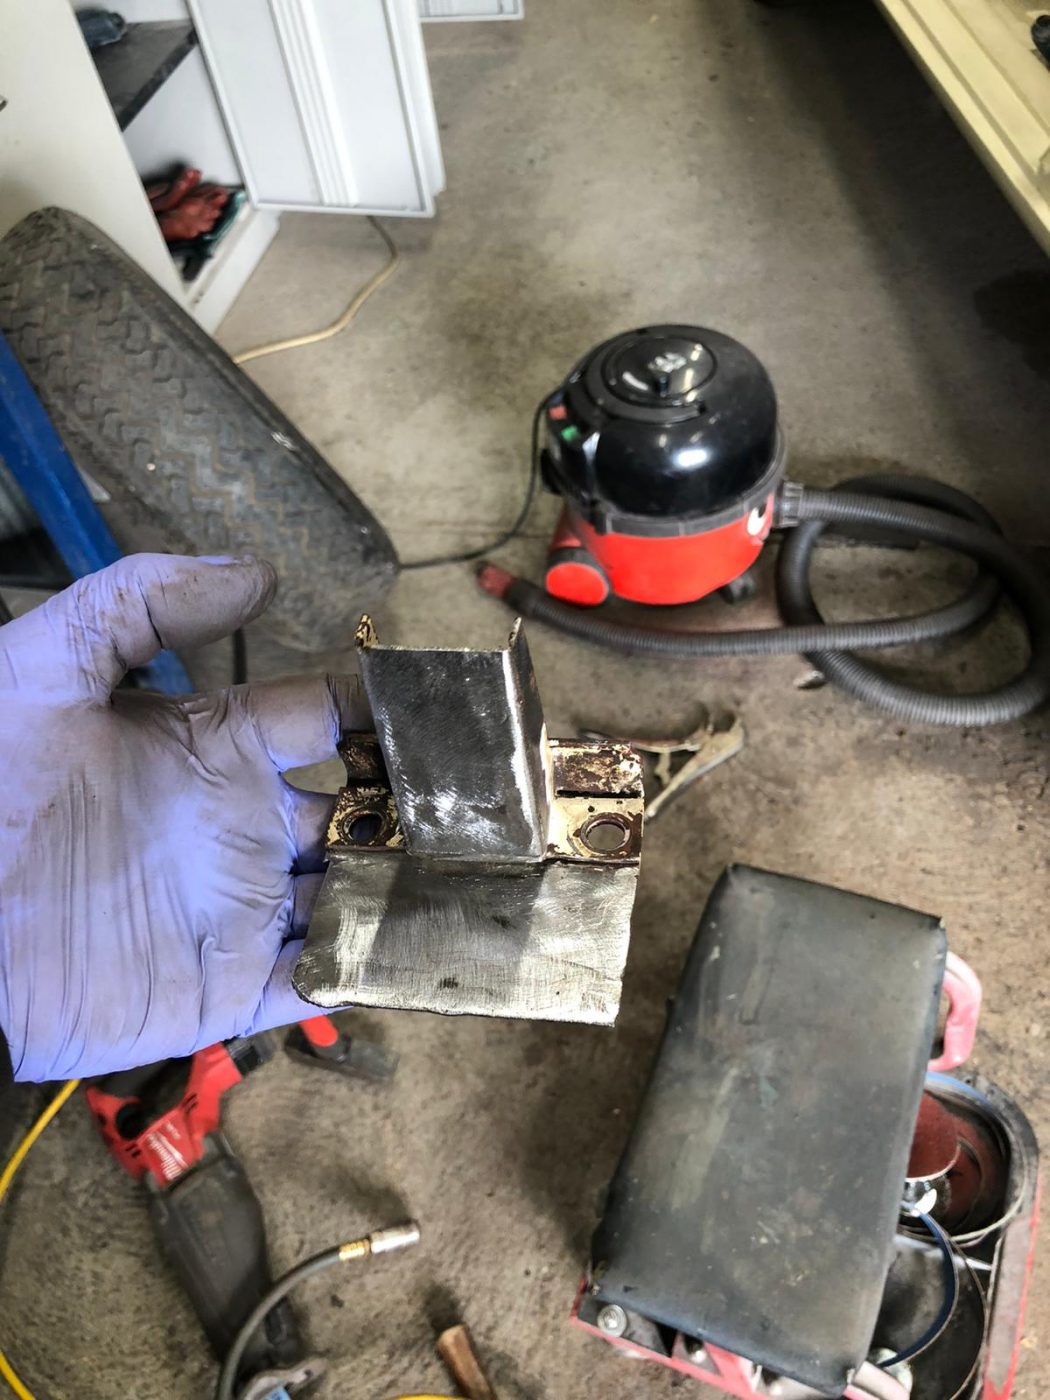
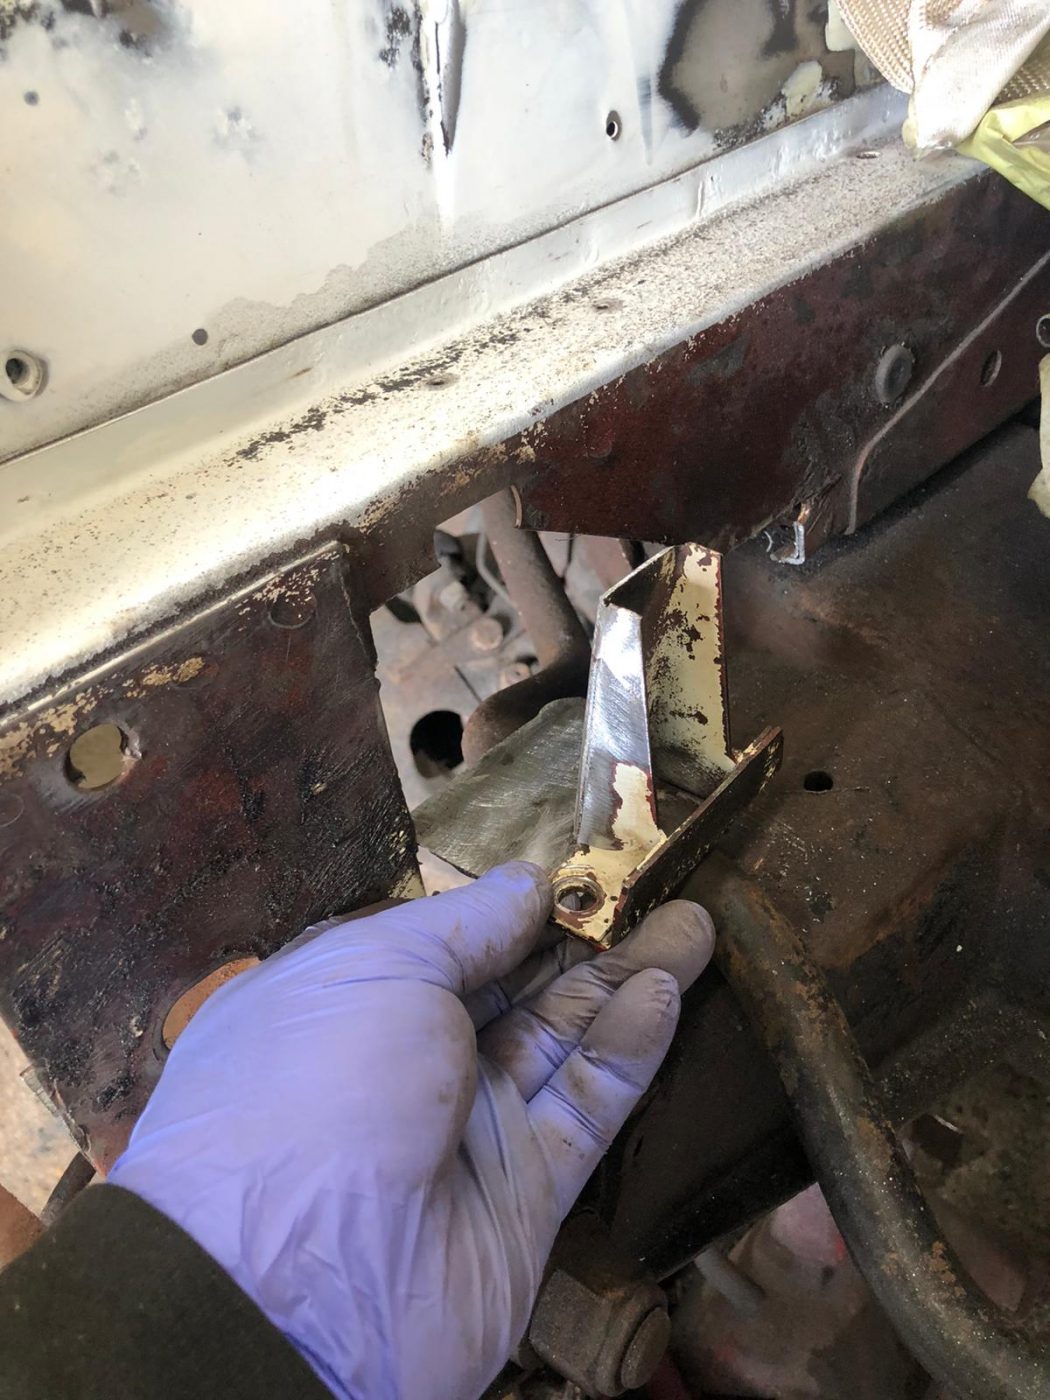
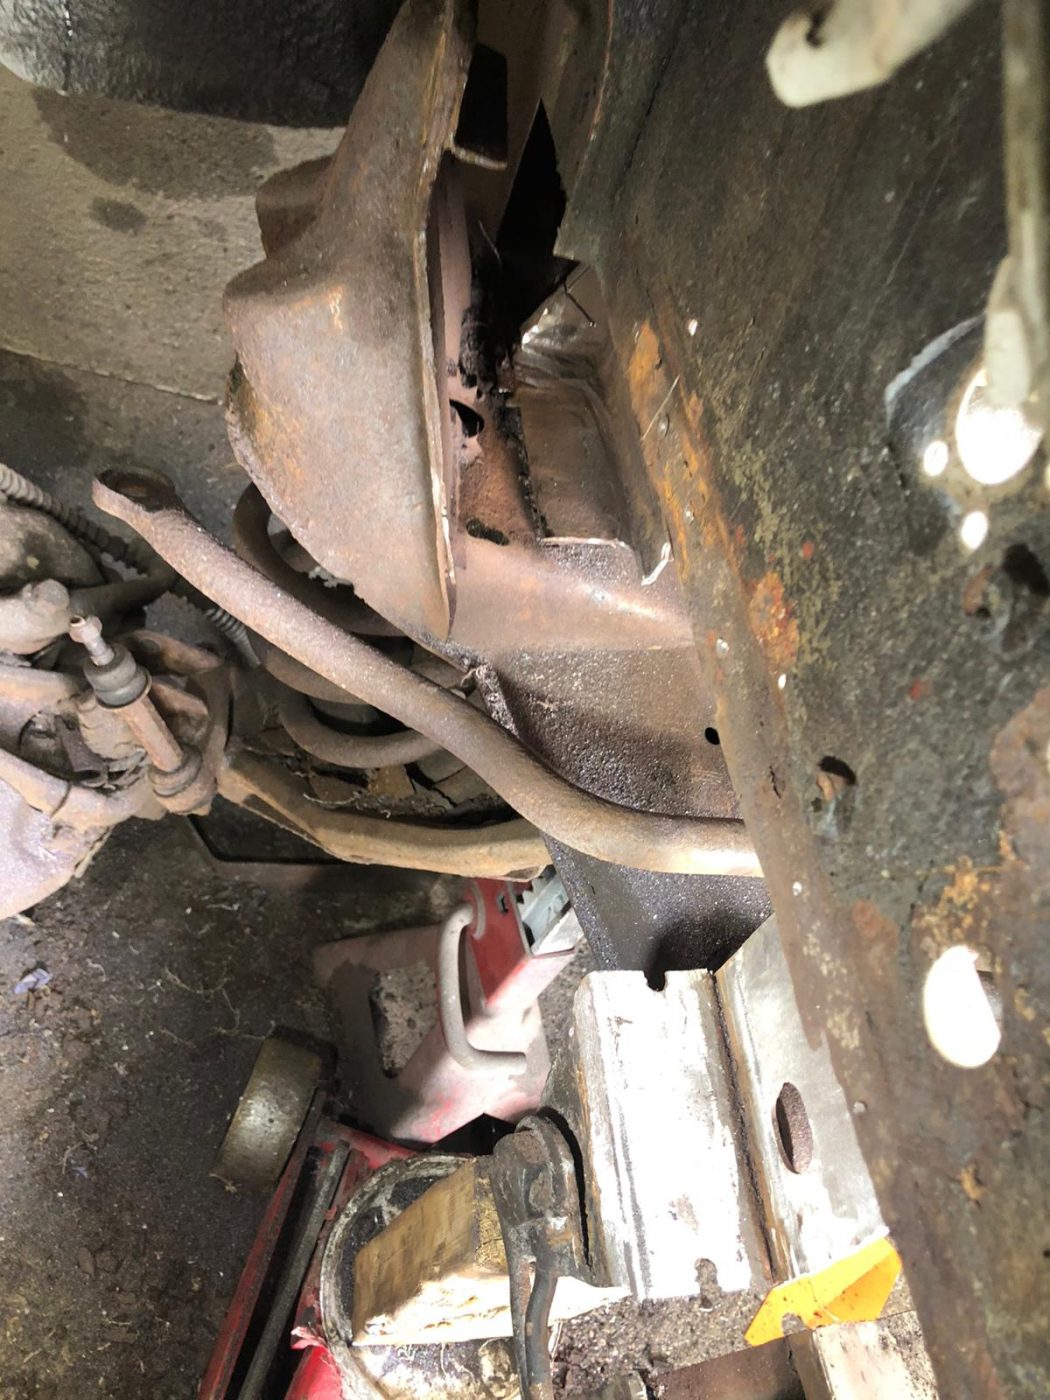
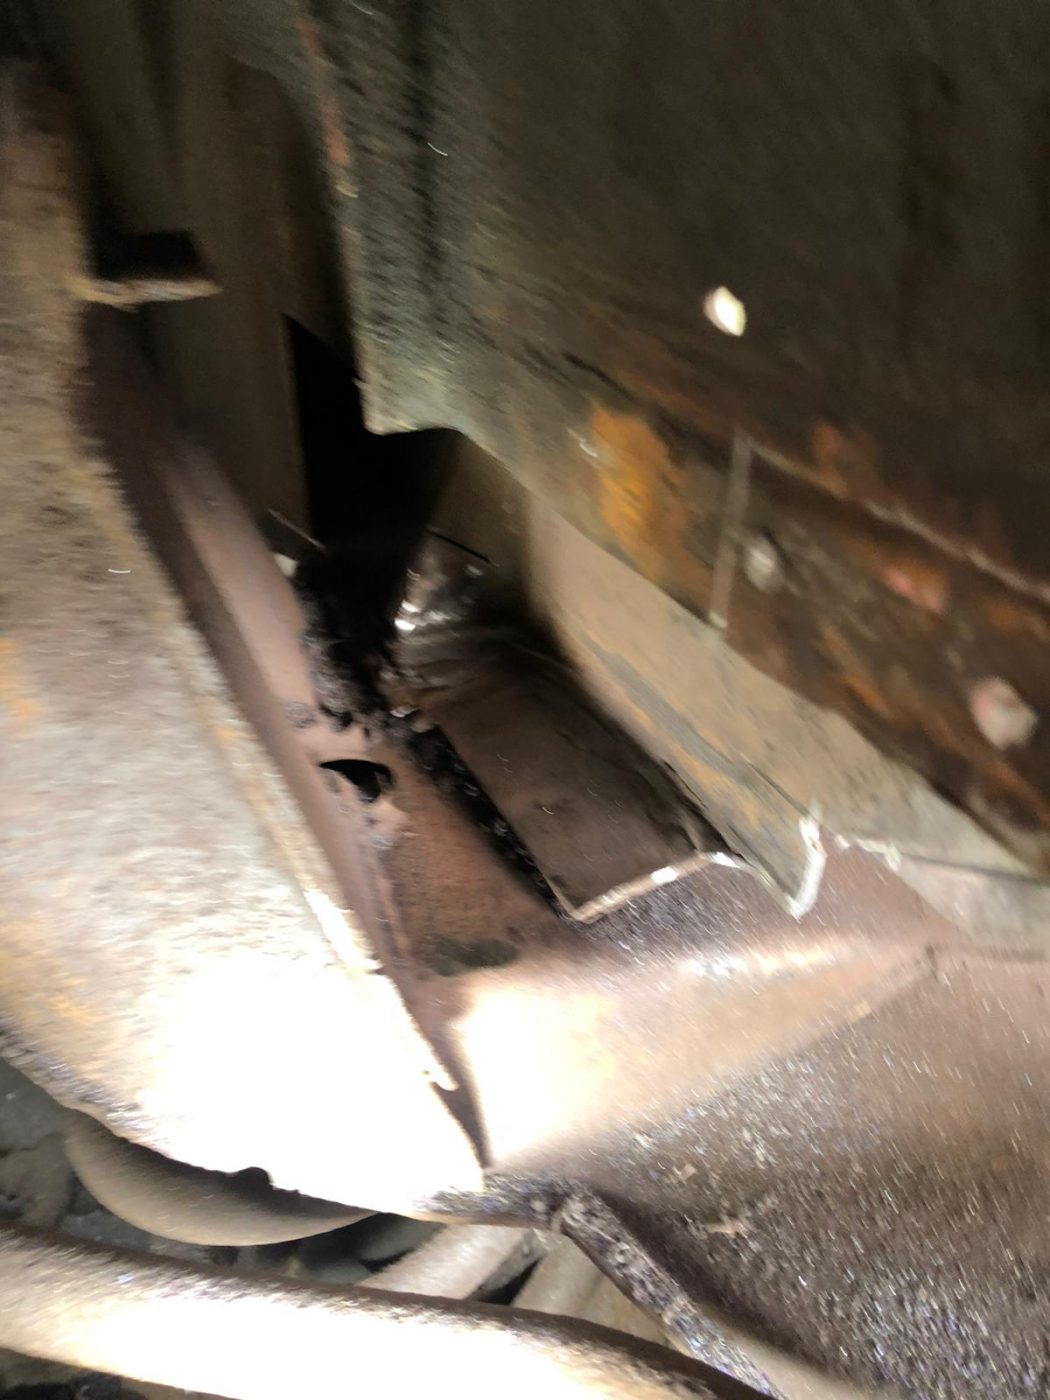
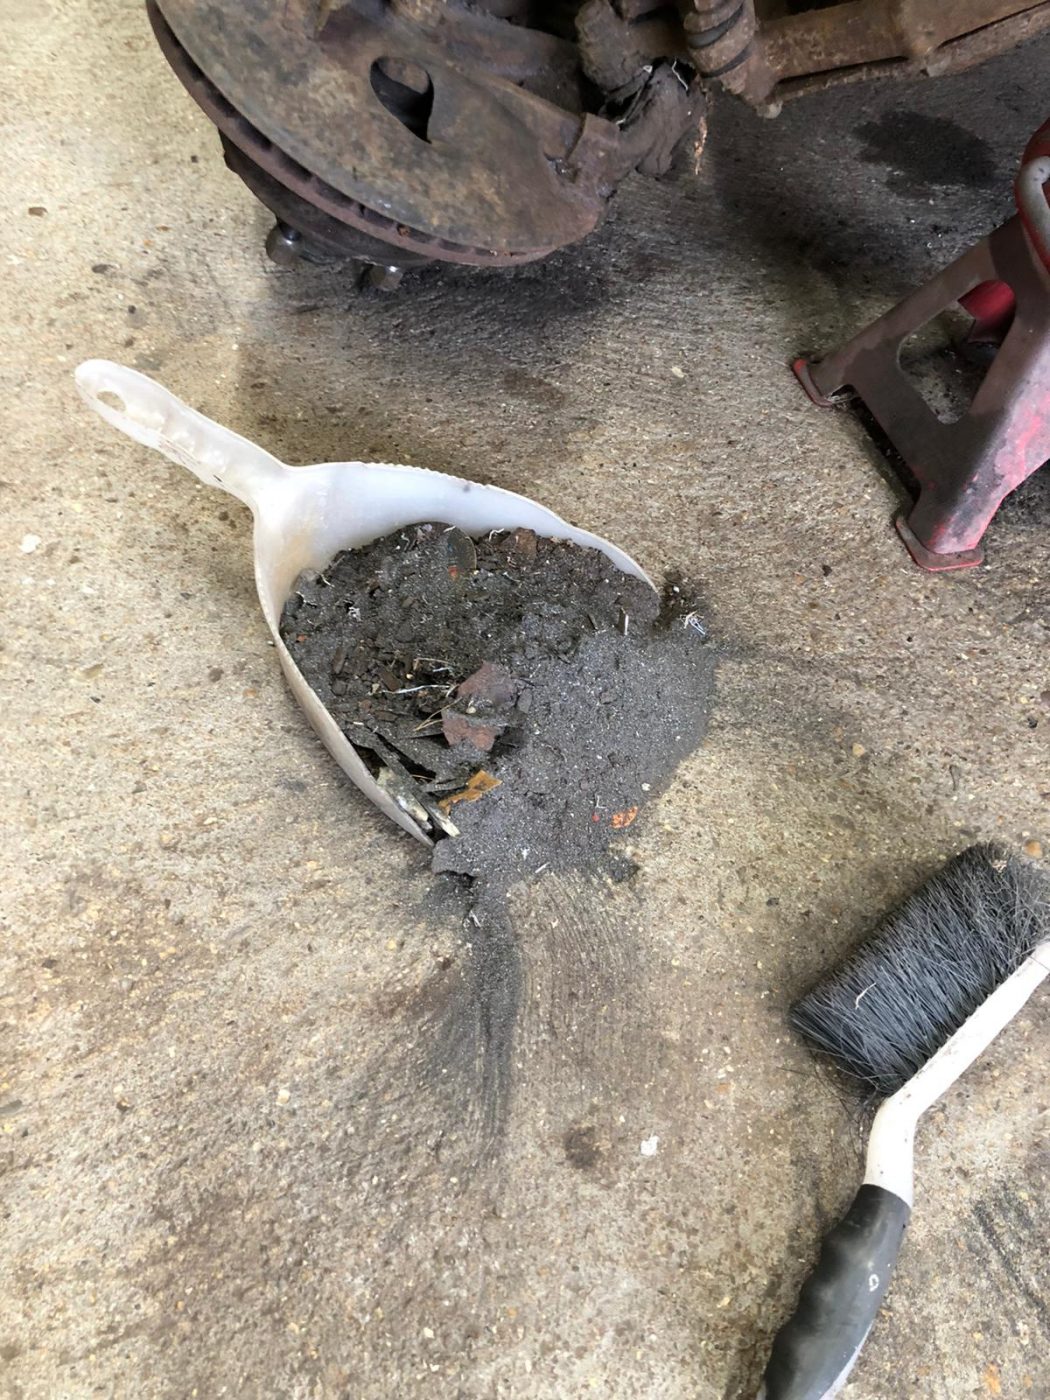
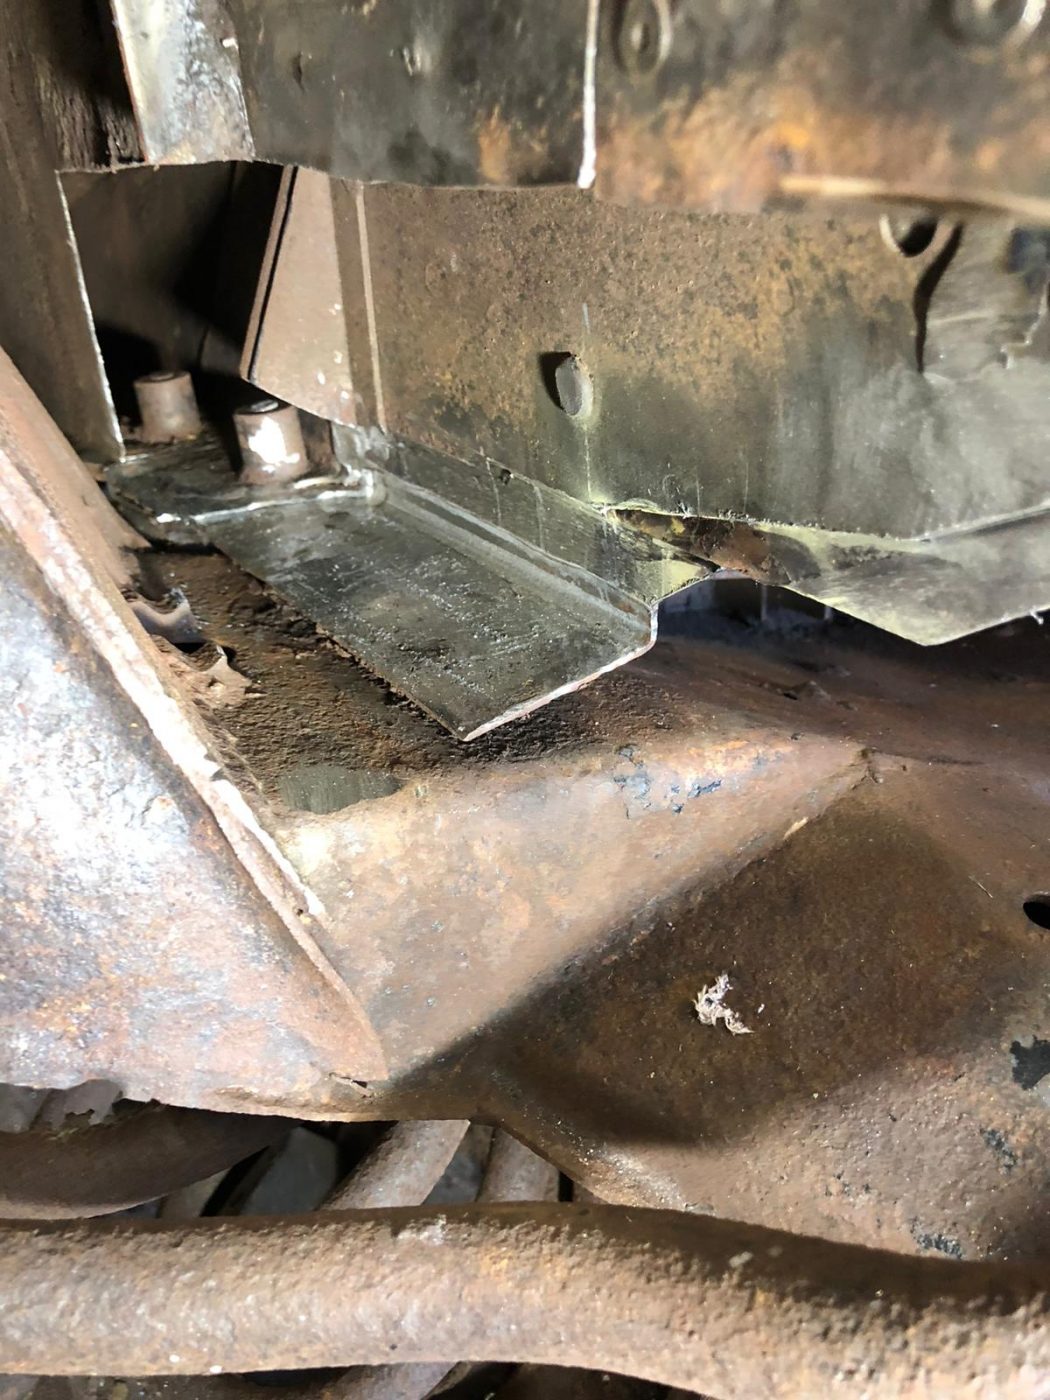
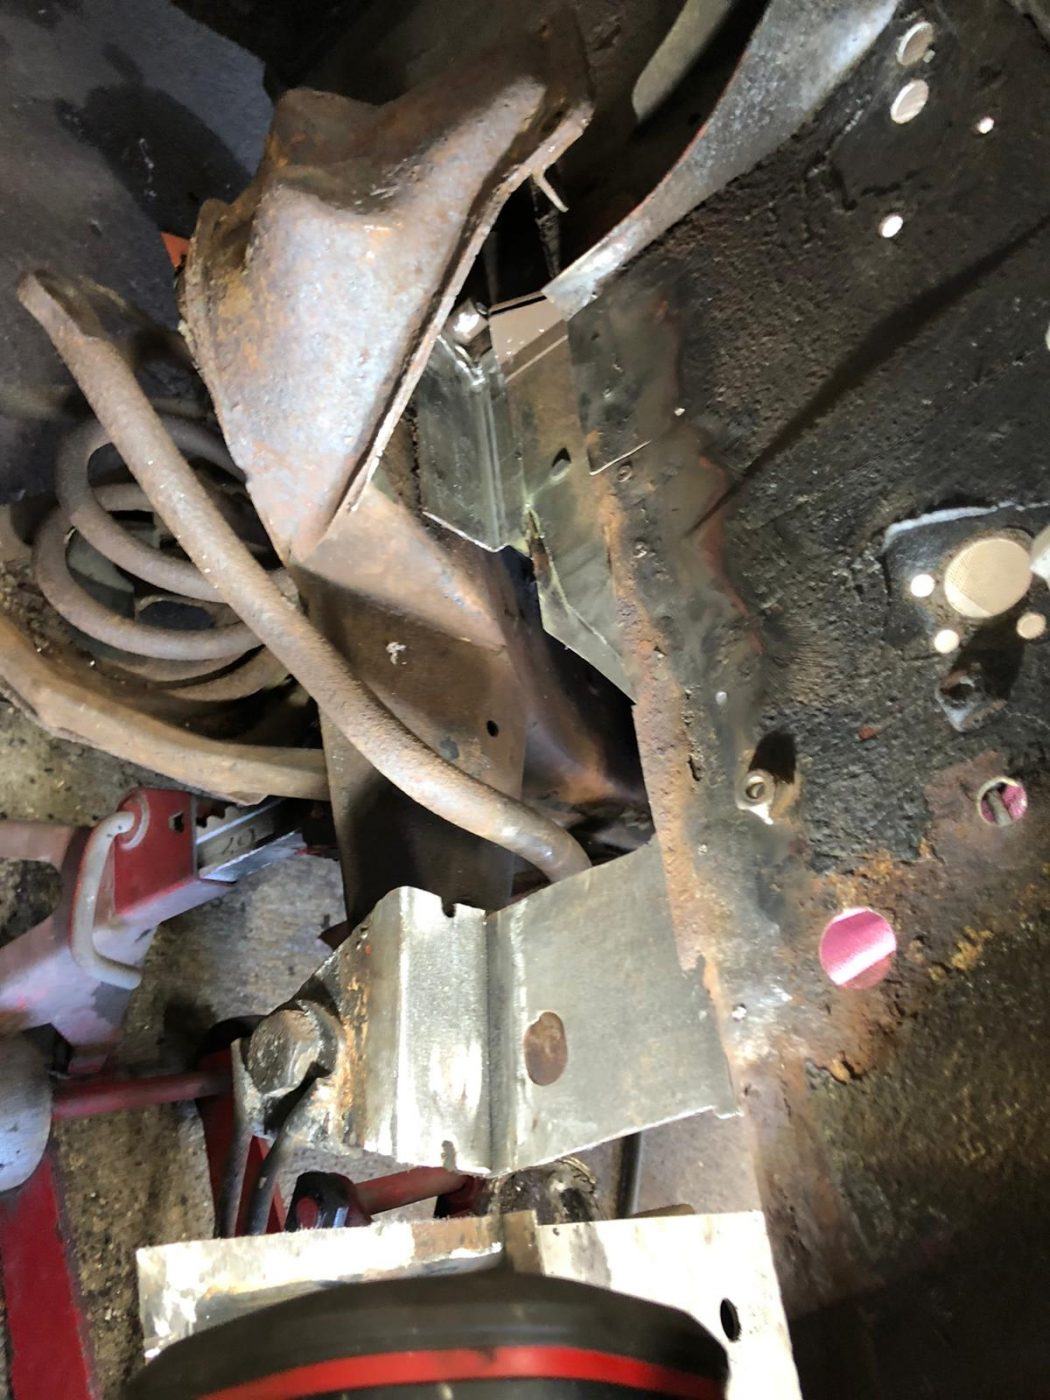

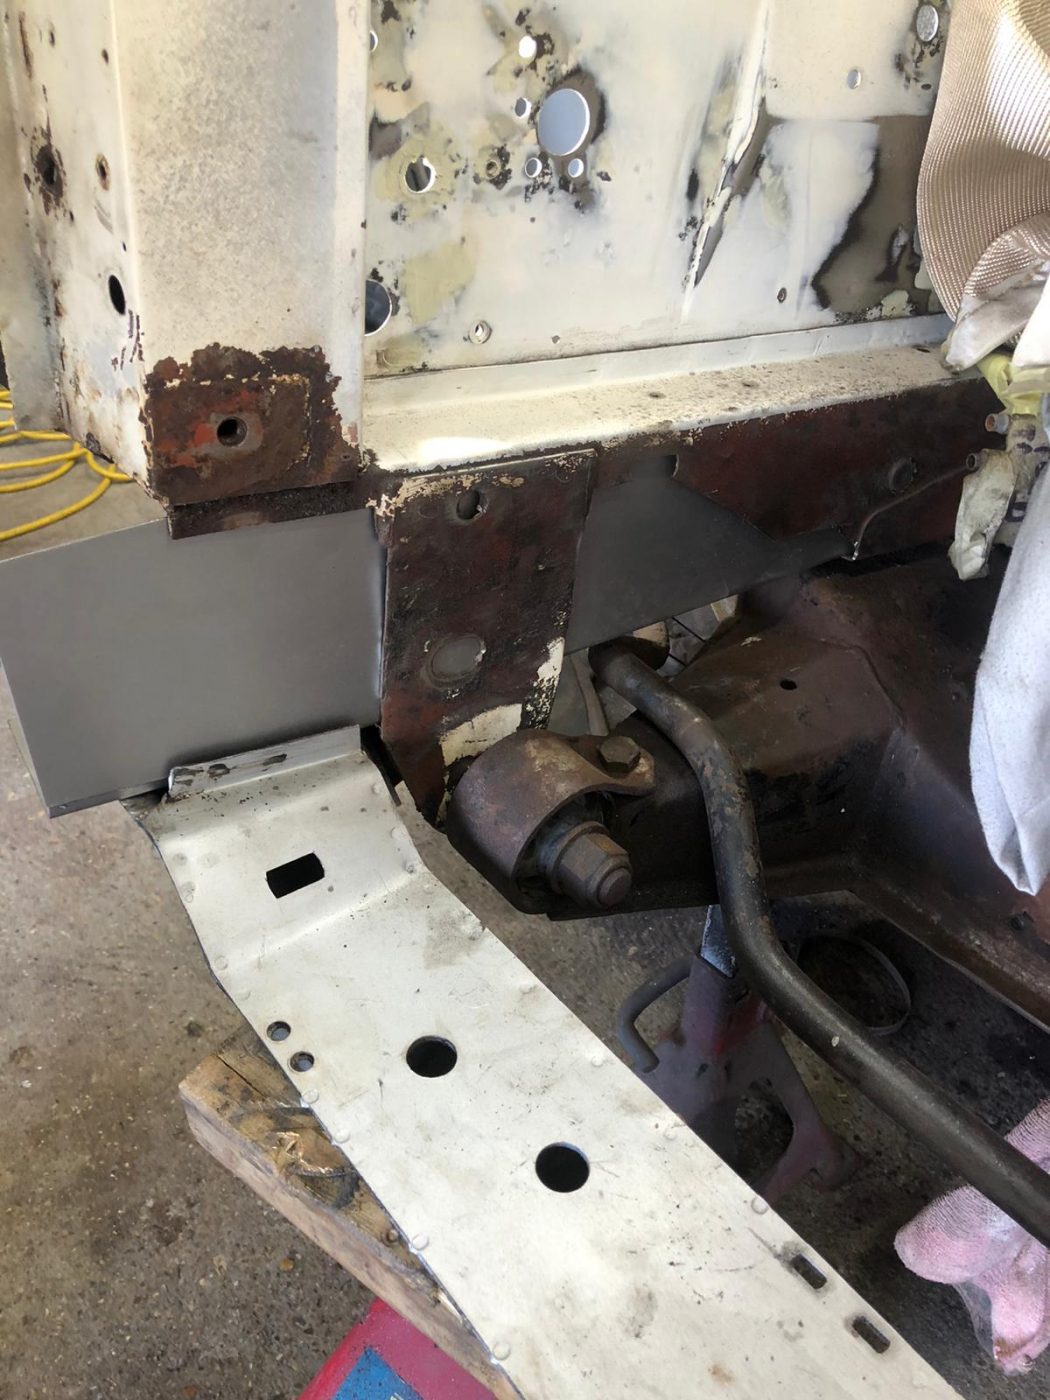
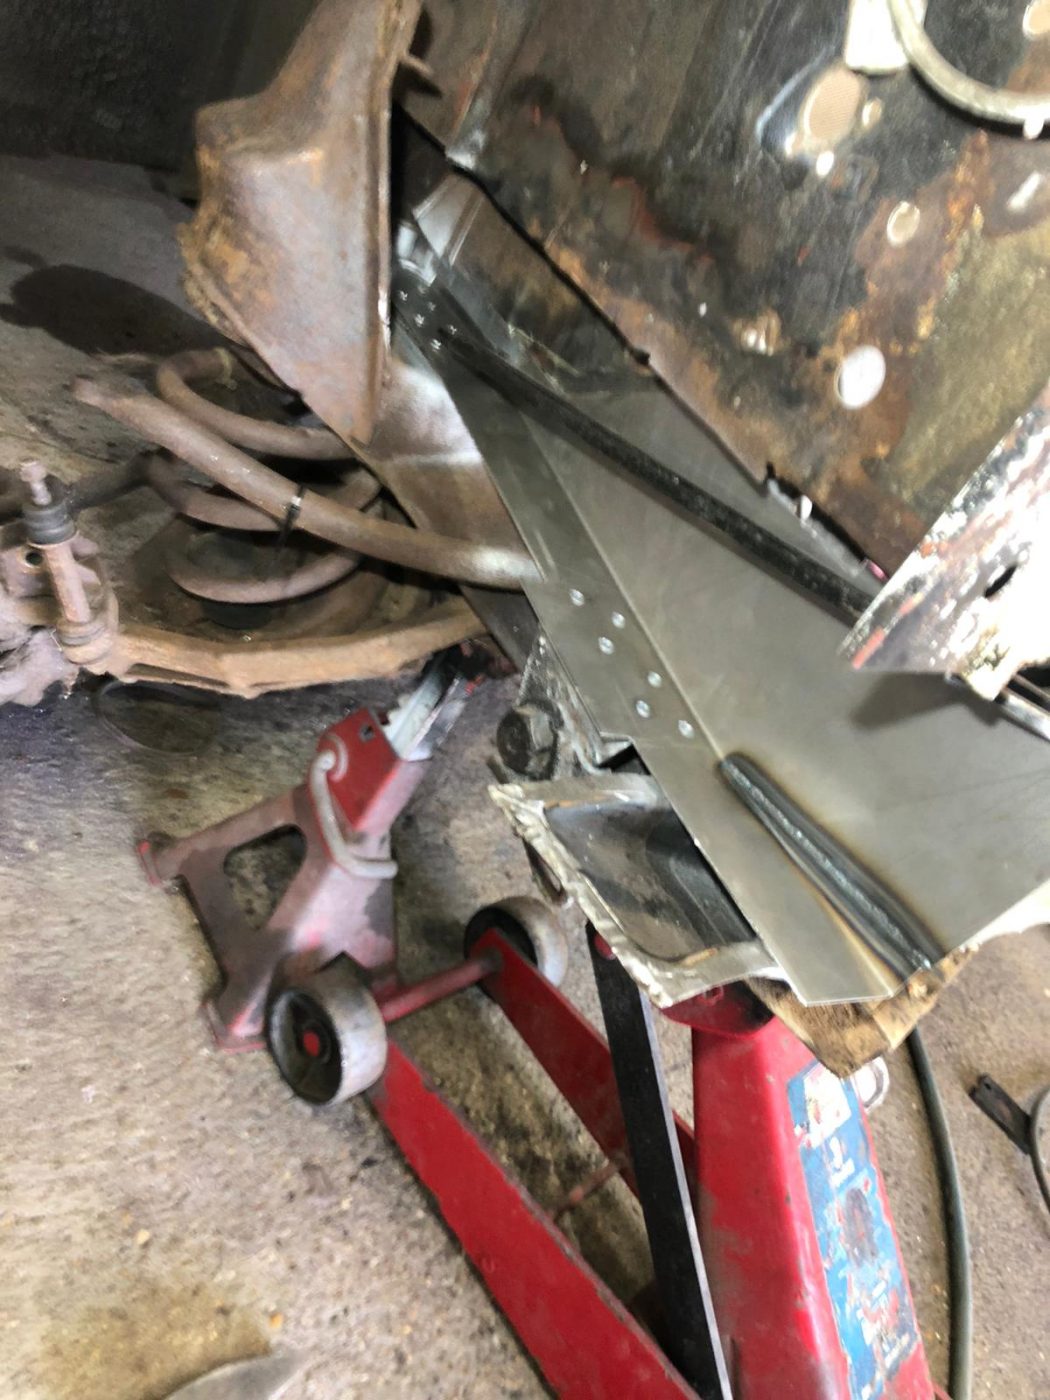
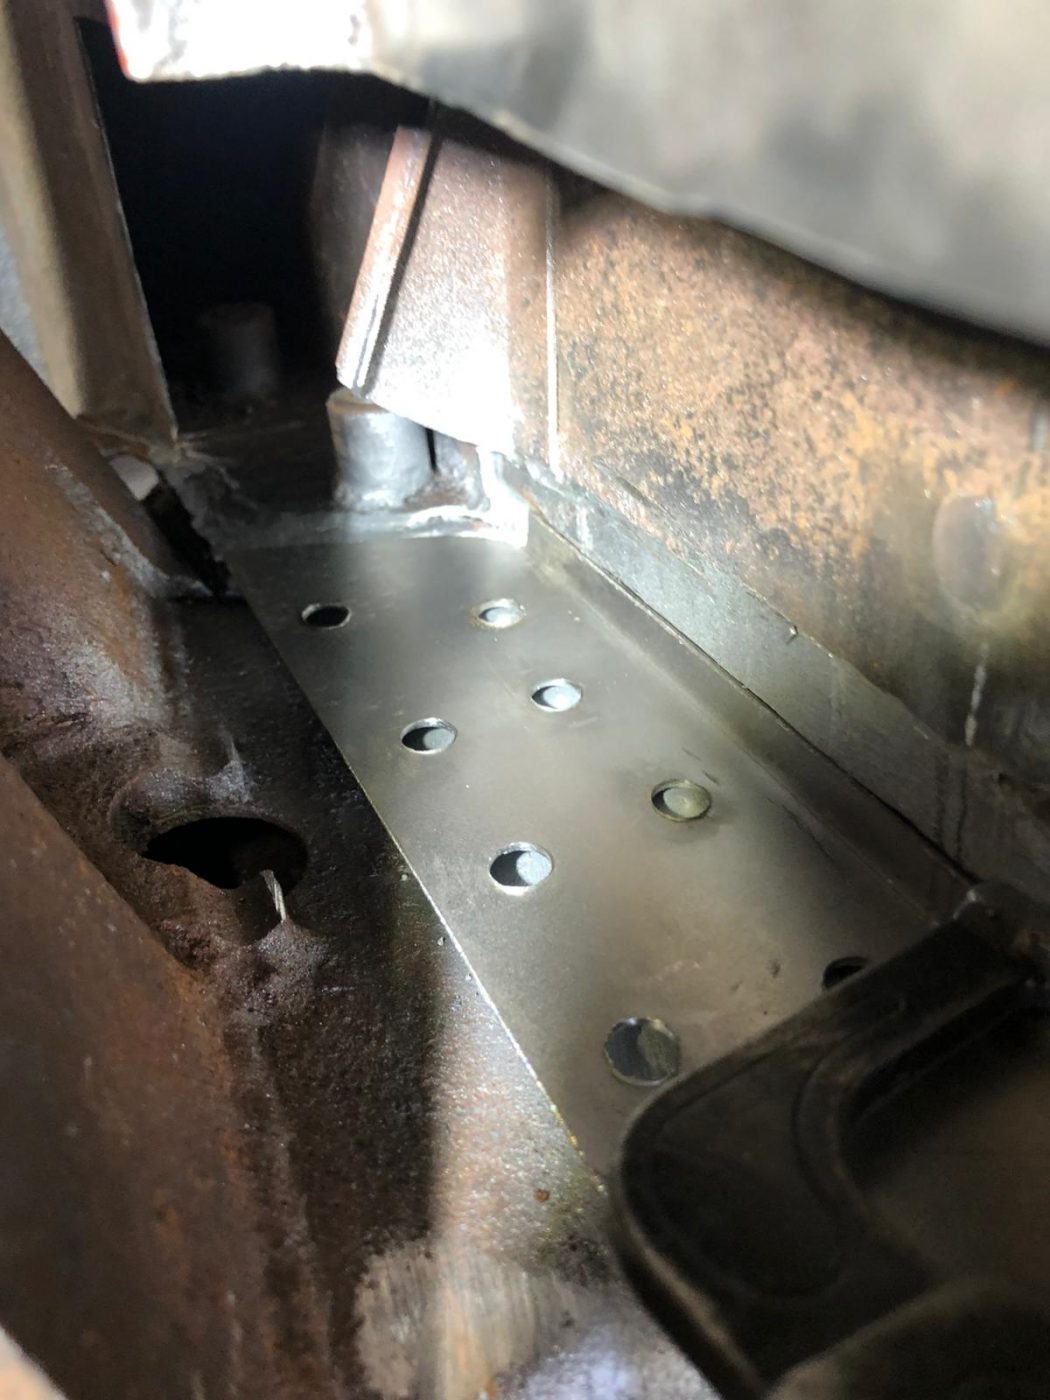
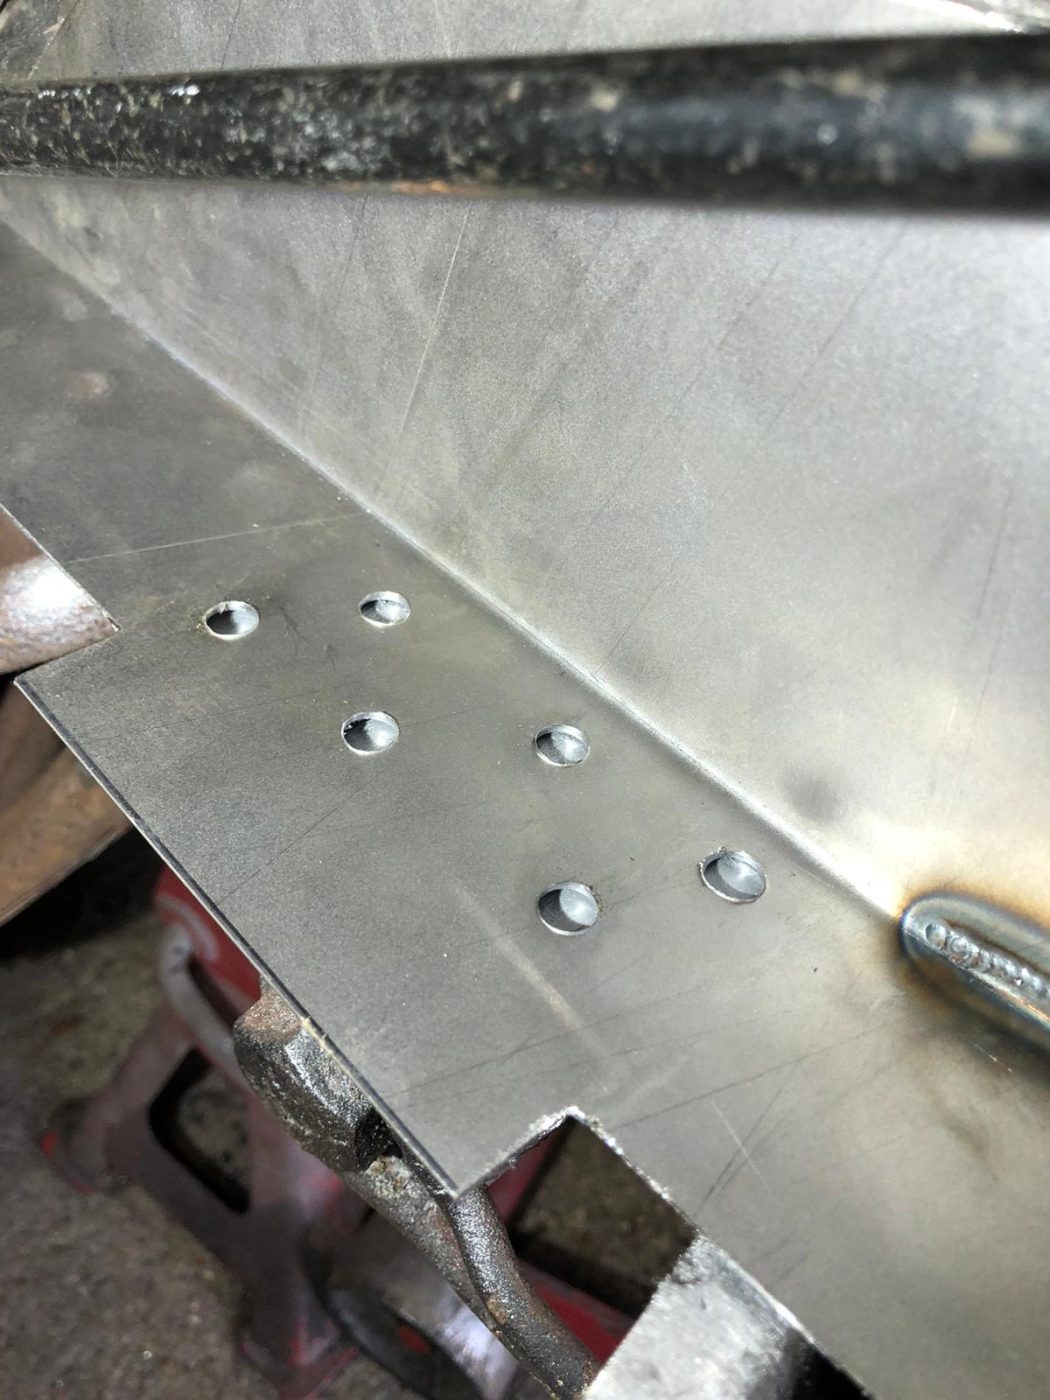
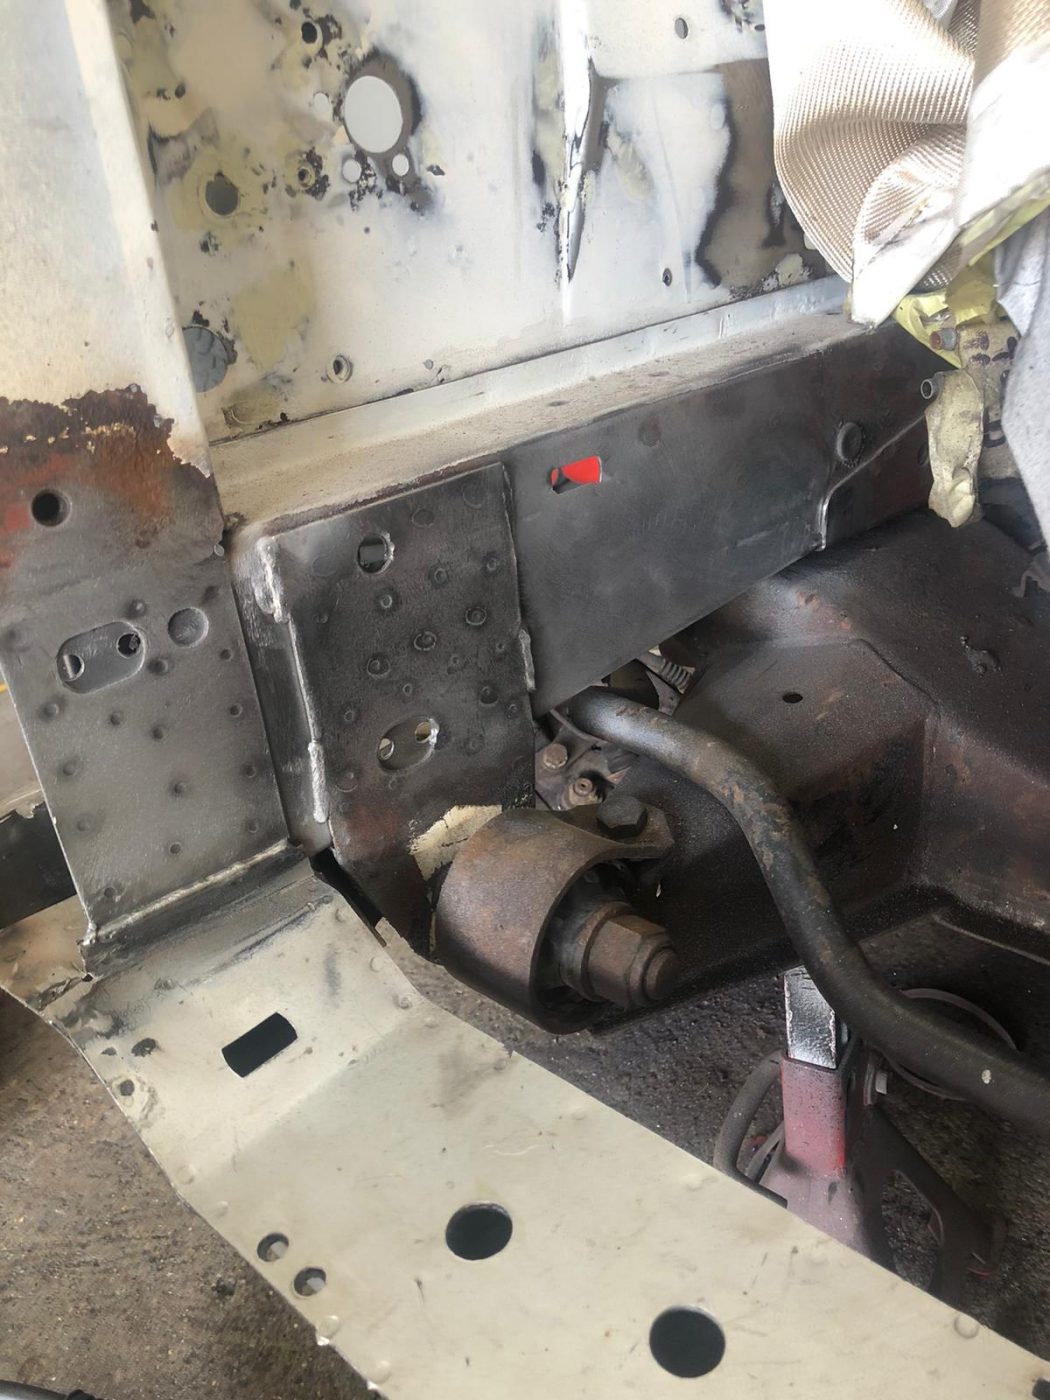
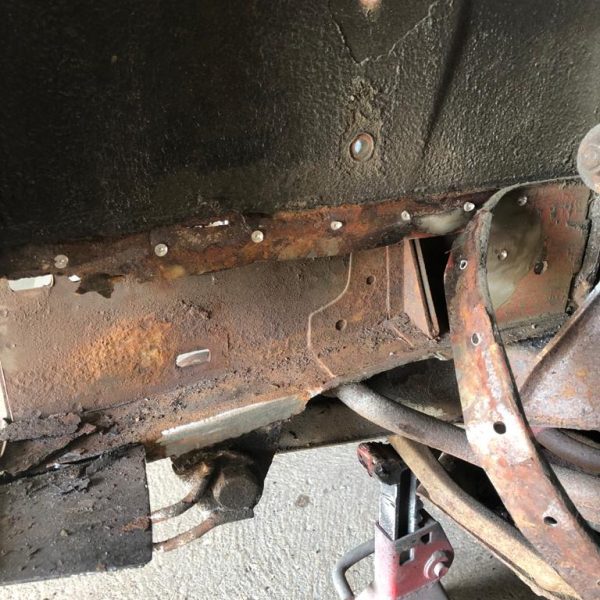
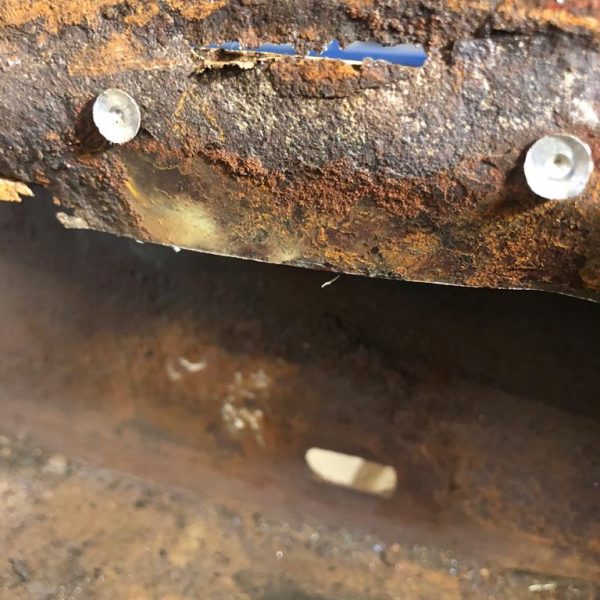
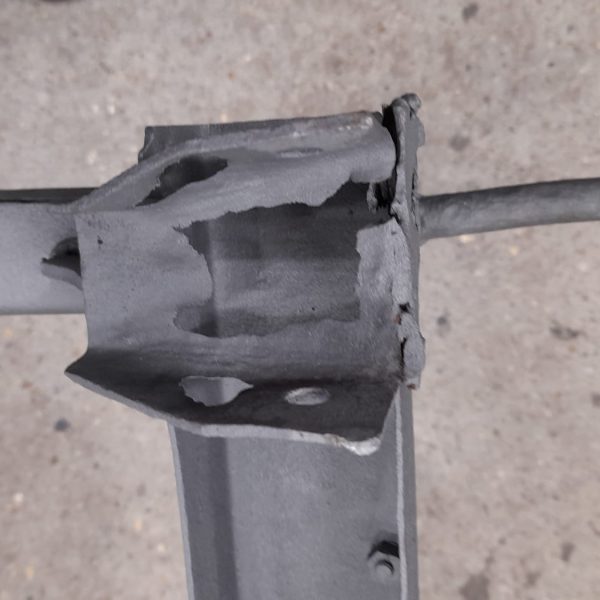
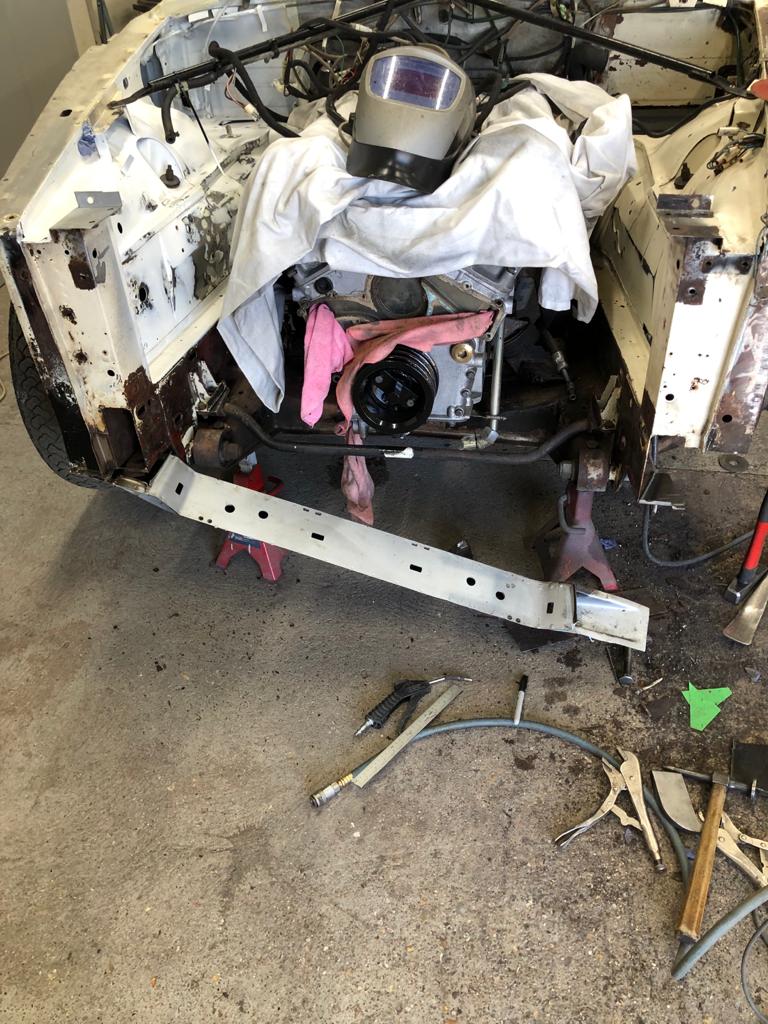
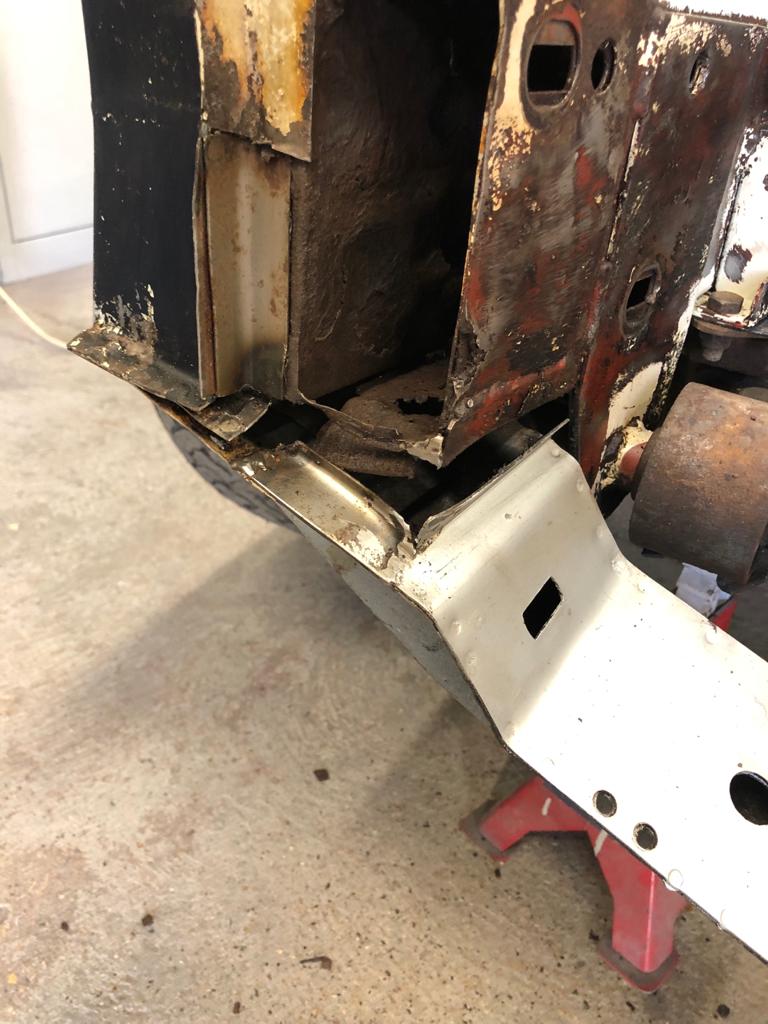
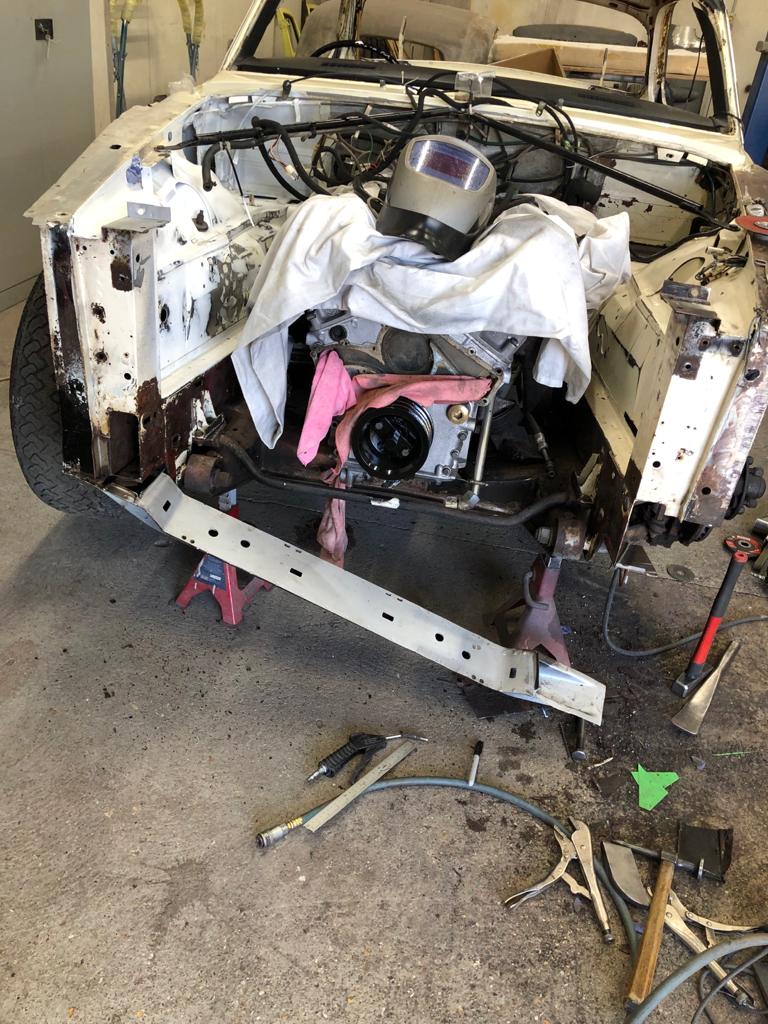
After thinking the 1977 Daimler Double Six would only be in and out rather quickly, James has unfortunately discovered layers of more corrosion than expected on the right-hand side, front inner wing and chassis rail/leg. The whole inside of the subframe is corroded. So James has been going through it all and working out which parts can be repaired and which parts need to be replaced altogether.
Sometimes this is the way with classic cars. You think you have the problem noted down and are prepared for it, but then you start uncovering more than expected. Thankfully we have a talented group of staff that are there to solve these issues!

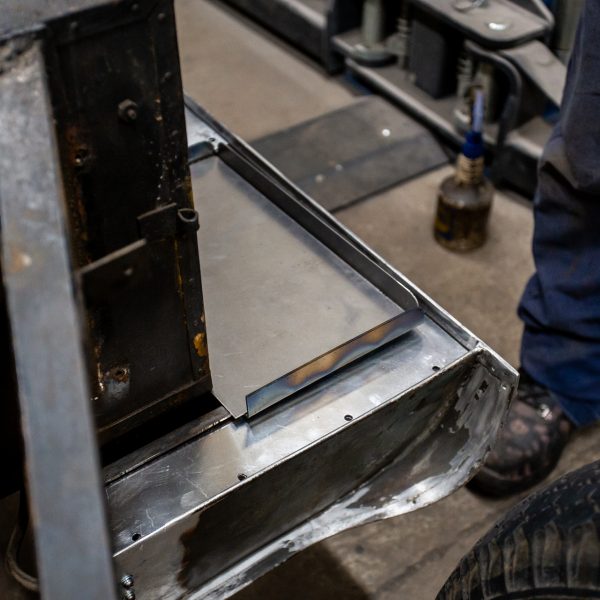
James has been continuing his repair work on the 1986 Daimler Double Six. He’s now finished the left-hand side, which you can read about the process of here. The same work will be carried out on the right-hand side now.

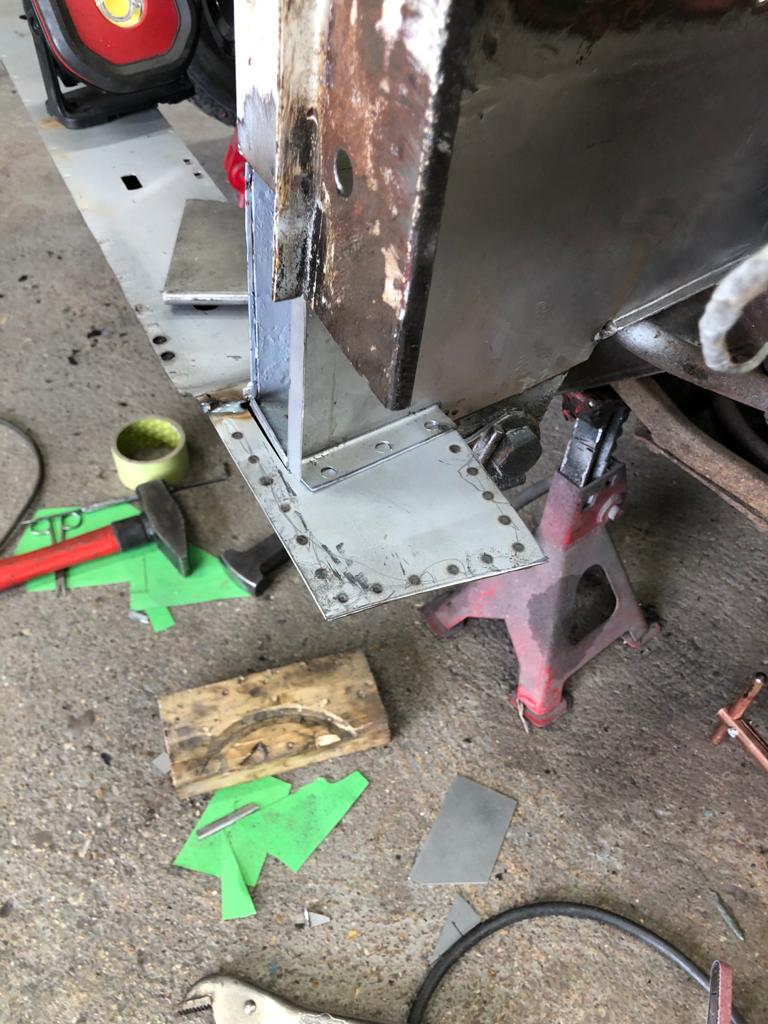
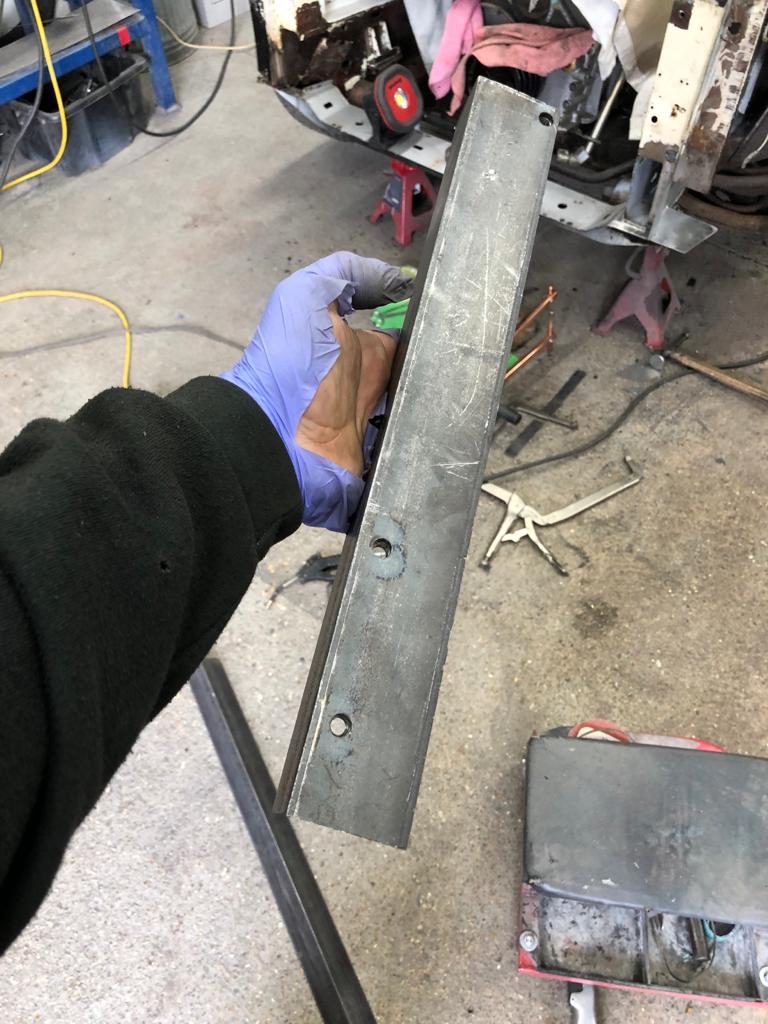

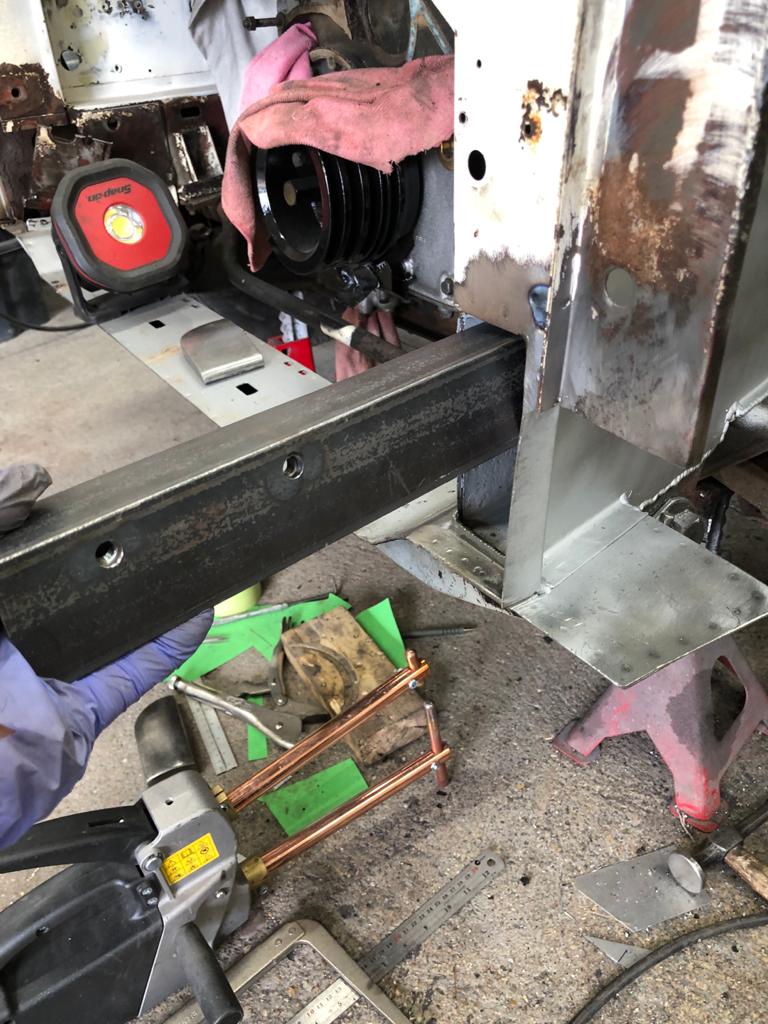

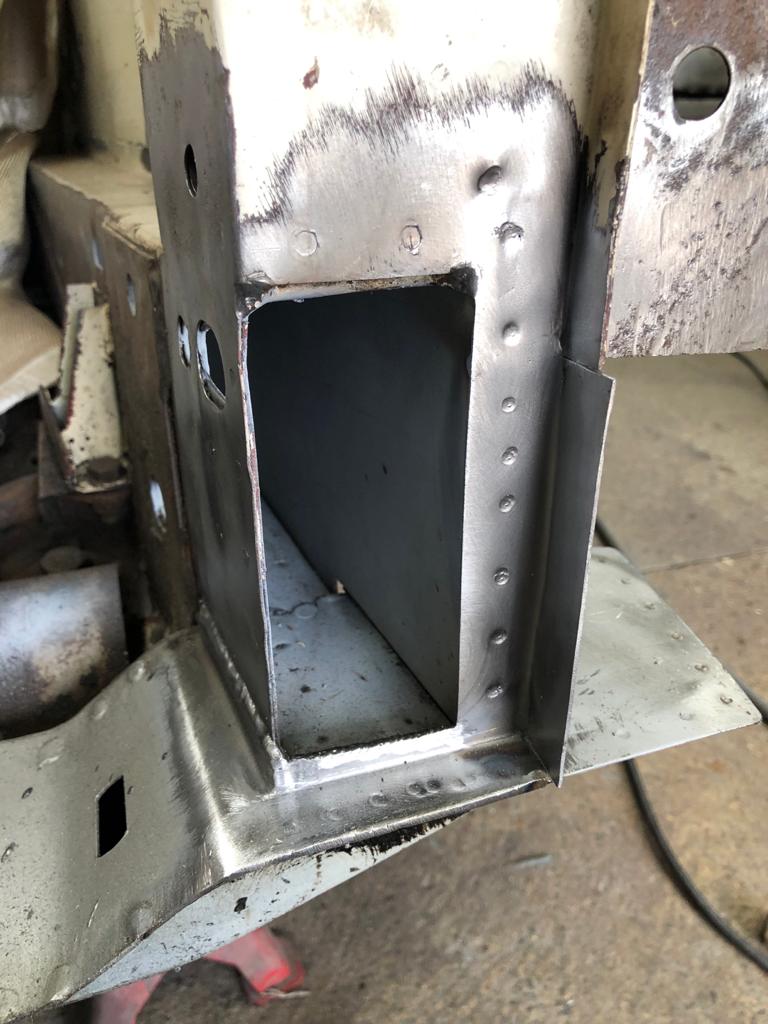
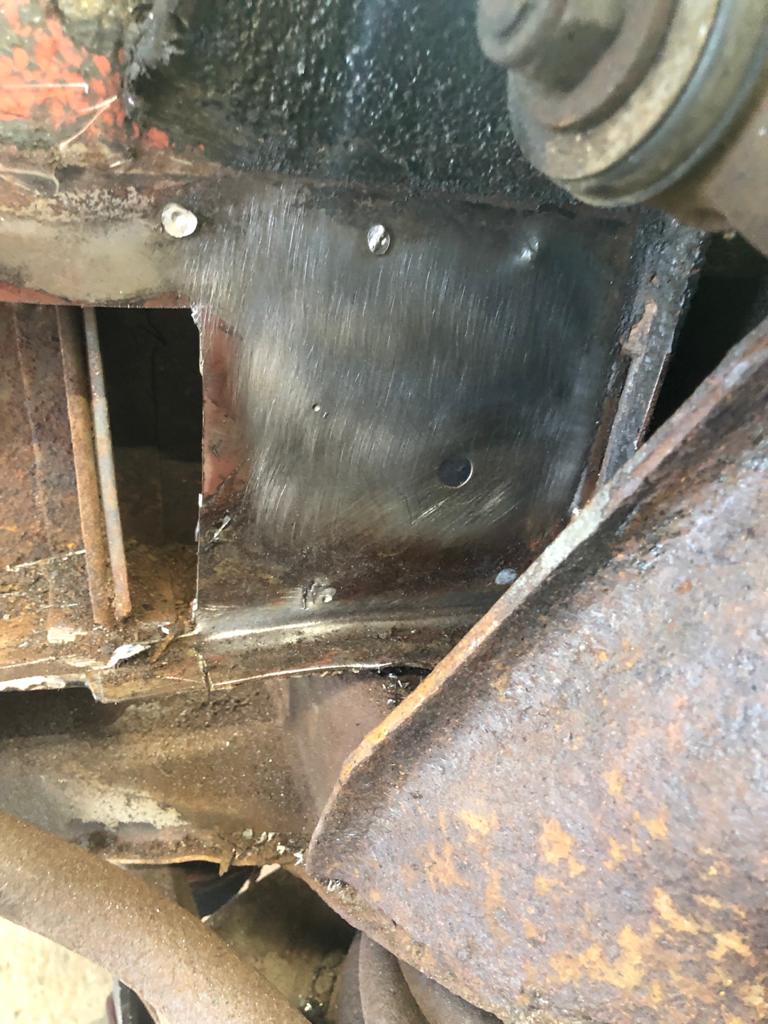
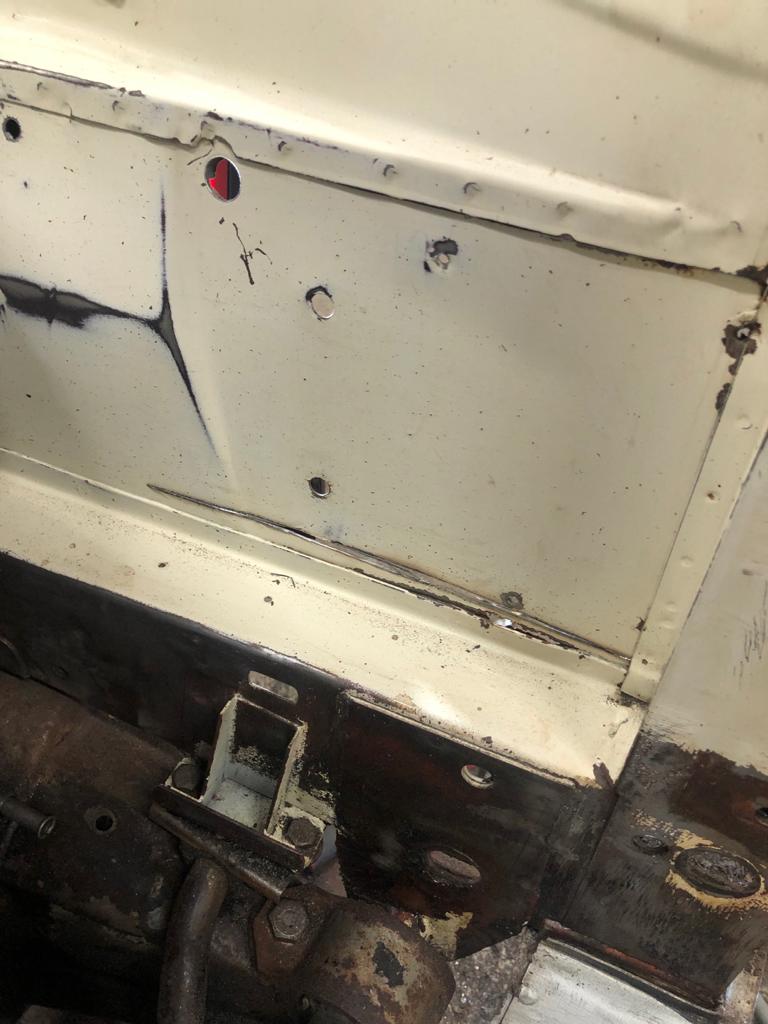


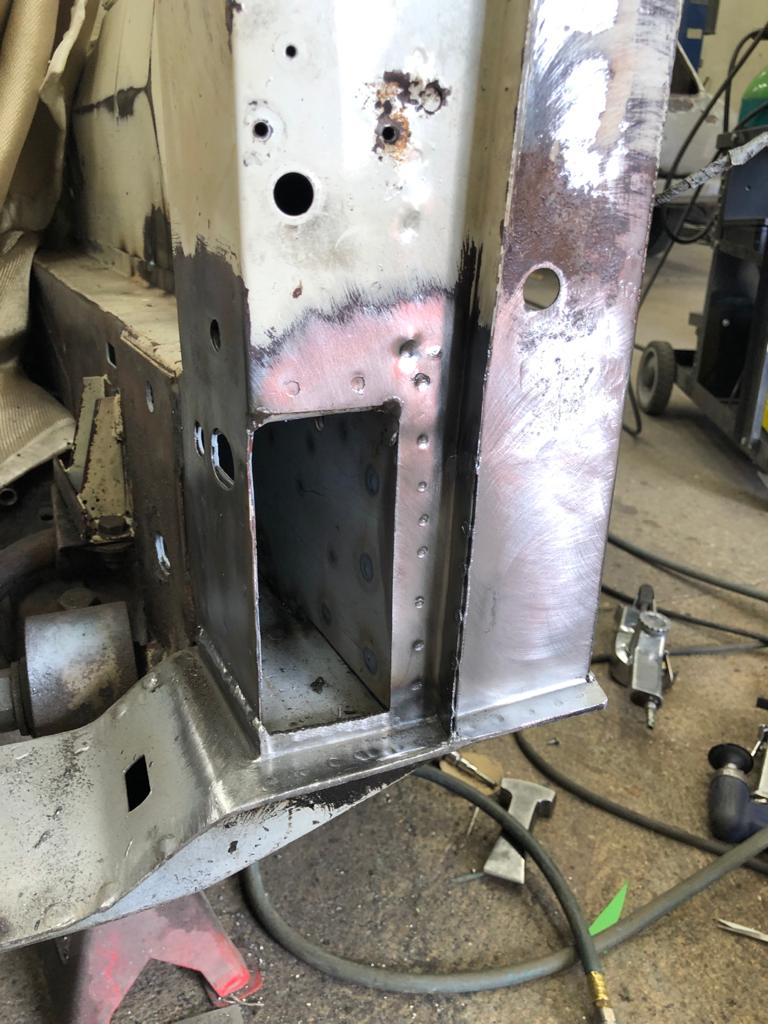
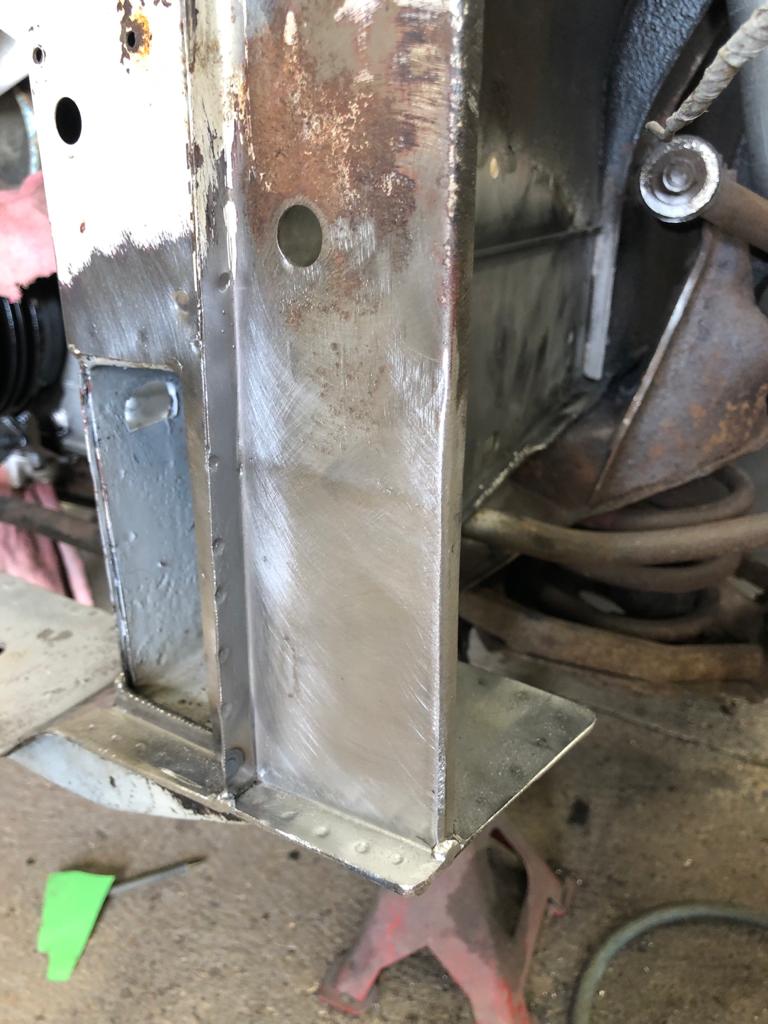
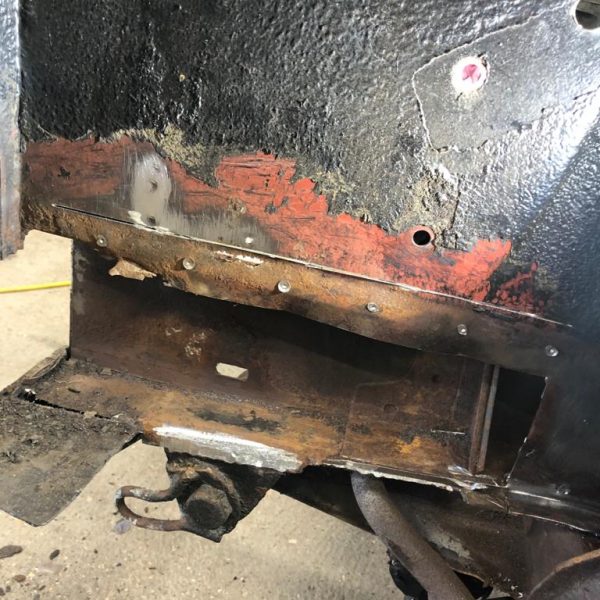
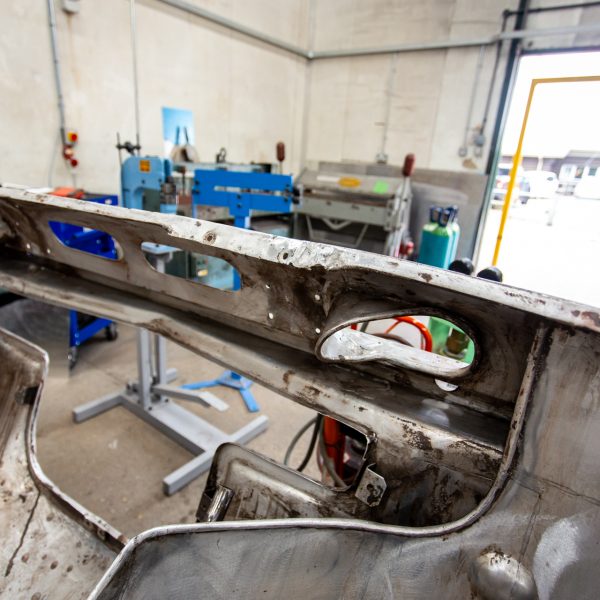
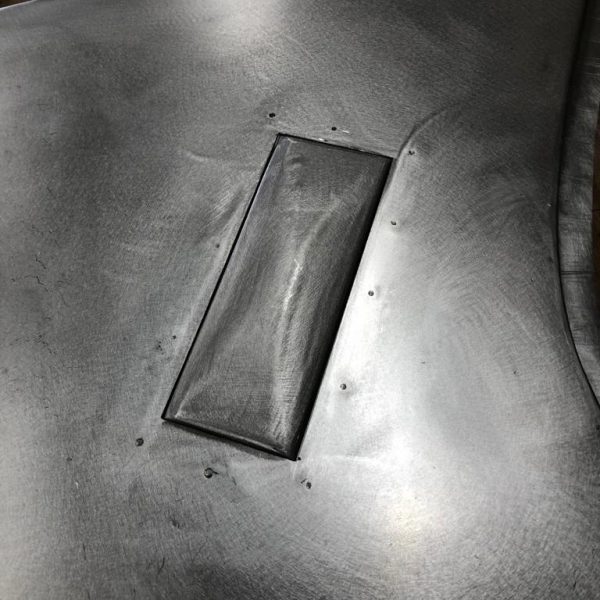
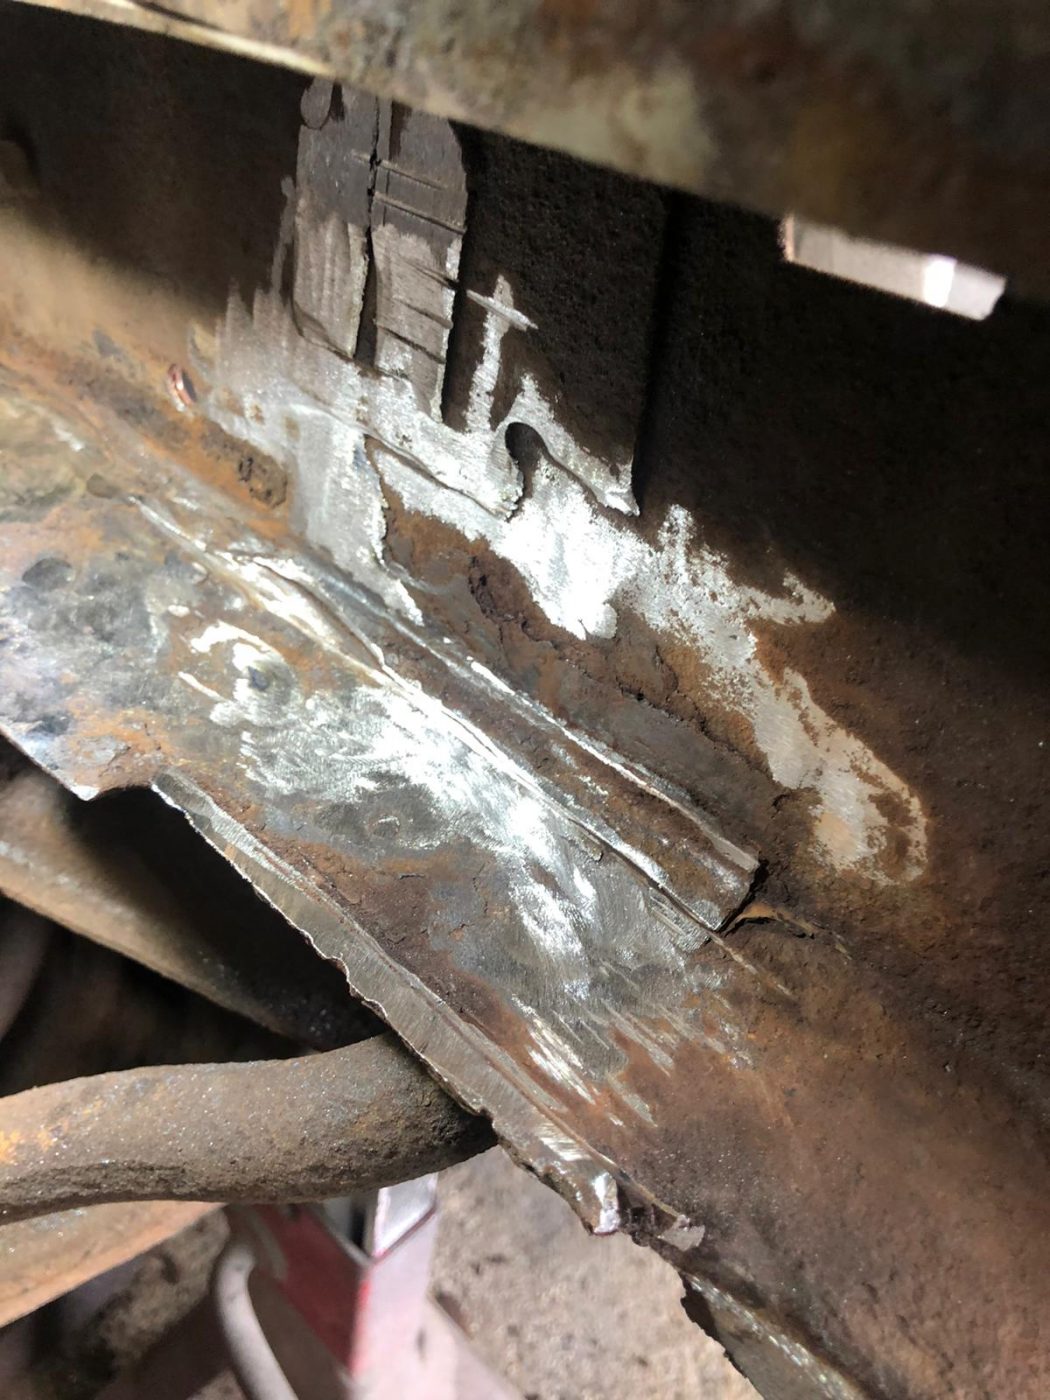
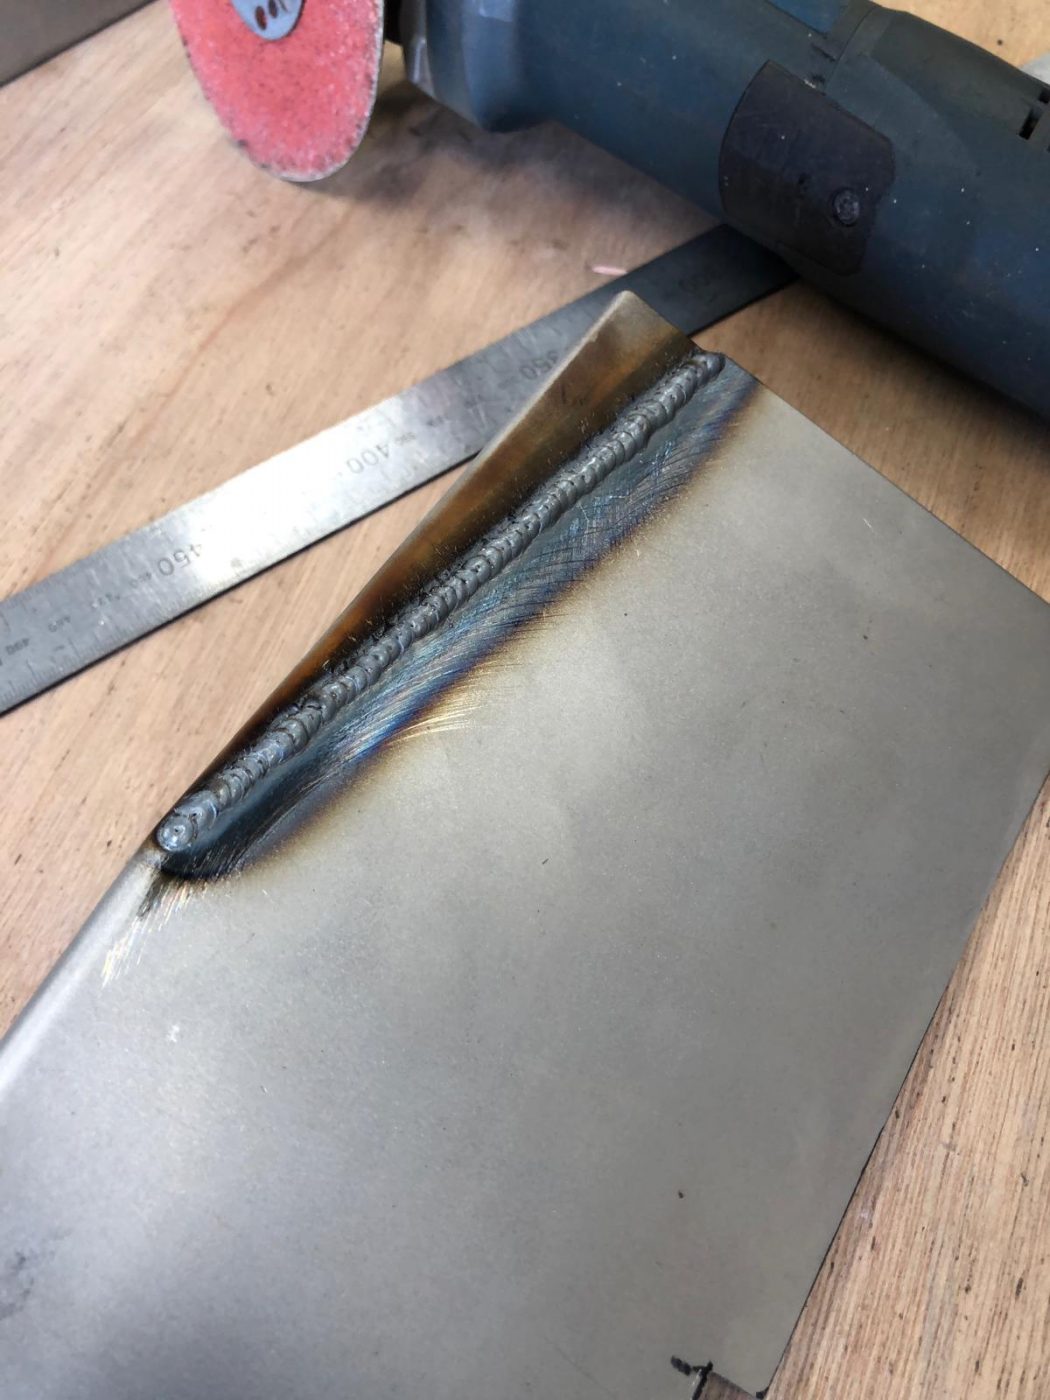
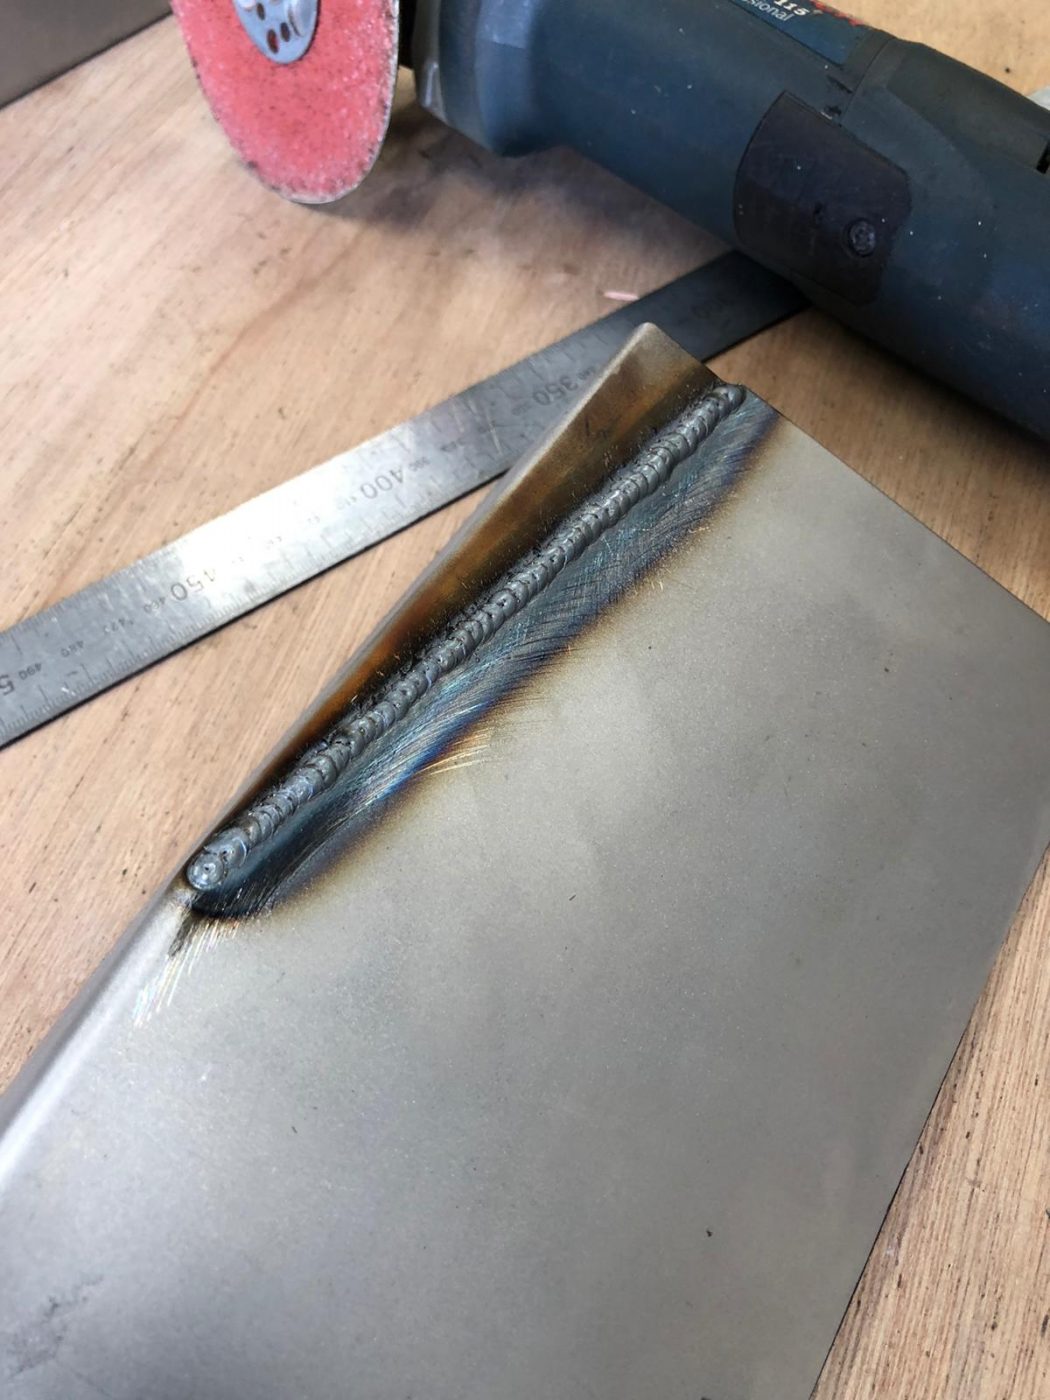
James has got the 1986 Daimler Double Six in the fabrication bay and has been starting the welding work on it!
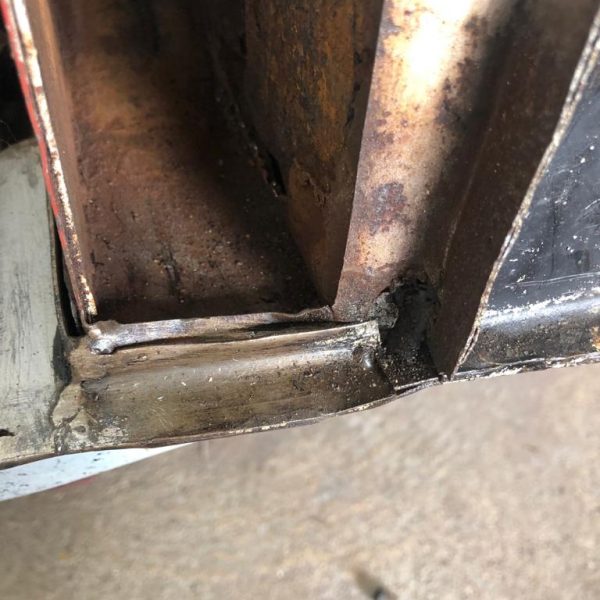
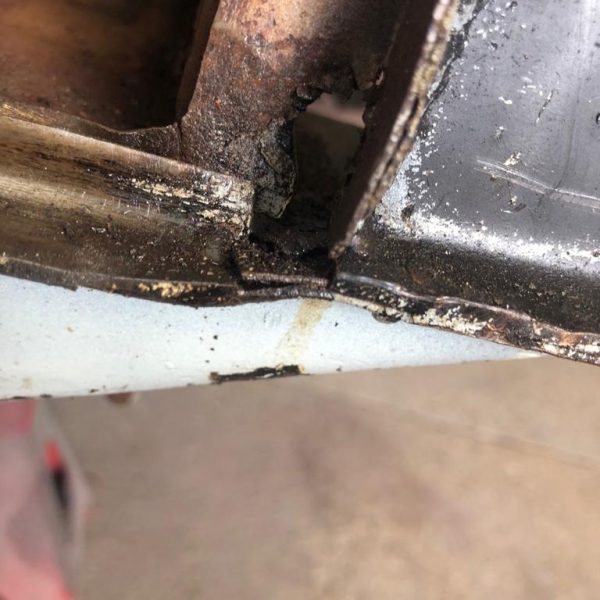
He’s been concentrating on the inner wing and bonnet hinge housing area today. He found there were spot welds that had been previously been put in and weren’t holding anything in place, so he’s given that some attention and welding parts in properly. He’s also taken out the corroded areas so he can fabricate replacement sections.