From Scratch – Trimming the Armrests on the 1987 Mercedes 500SL
The in-house Trim Shop at Bridge Classic Cars can create just about anything. This time, our lead trimmer Brian has been trimming the armrests for


The in-house Trim Shop at Bridge Classic Cars can create just about anything. This time, our lead trimmer Brian has been trimming the armrests for
Bridge Classic Cars in-house restoration team have been busy assessing and cataloguing the next round of parts from the 1987 Mercedes 500SL restoration project. Tamas,
The Bridge Classic Cars in-house restoration team have been busy cleaning and cataloguing the parts for the 1987 Mercedes 500SL which is in with ourselves

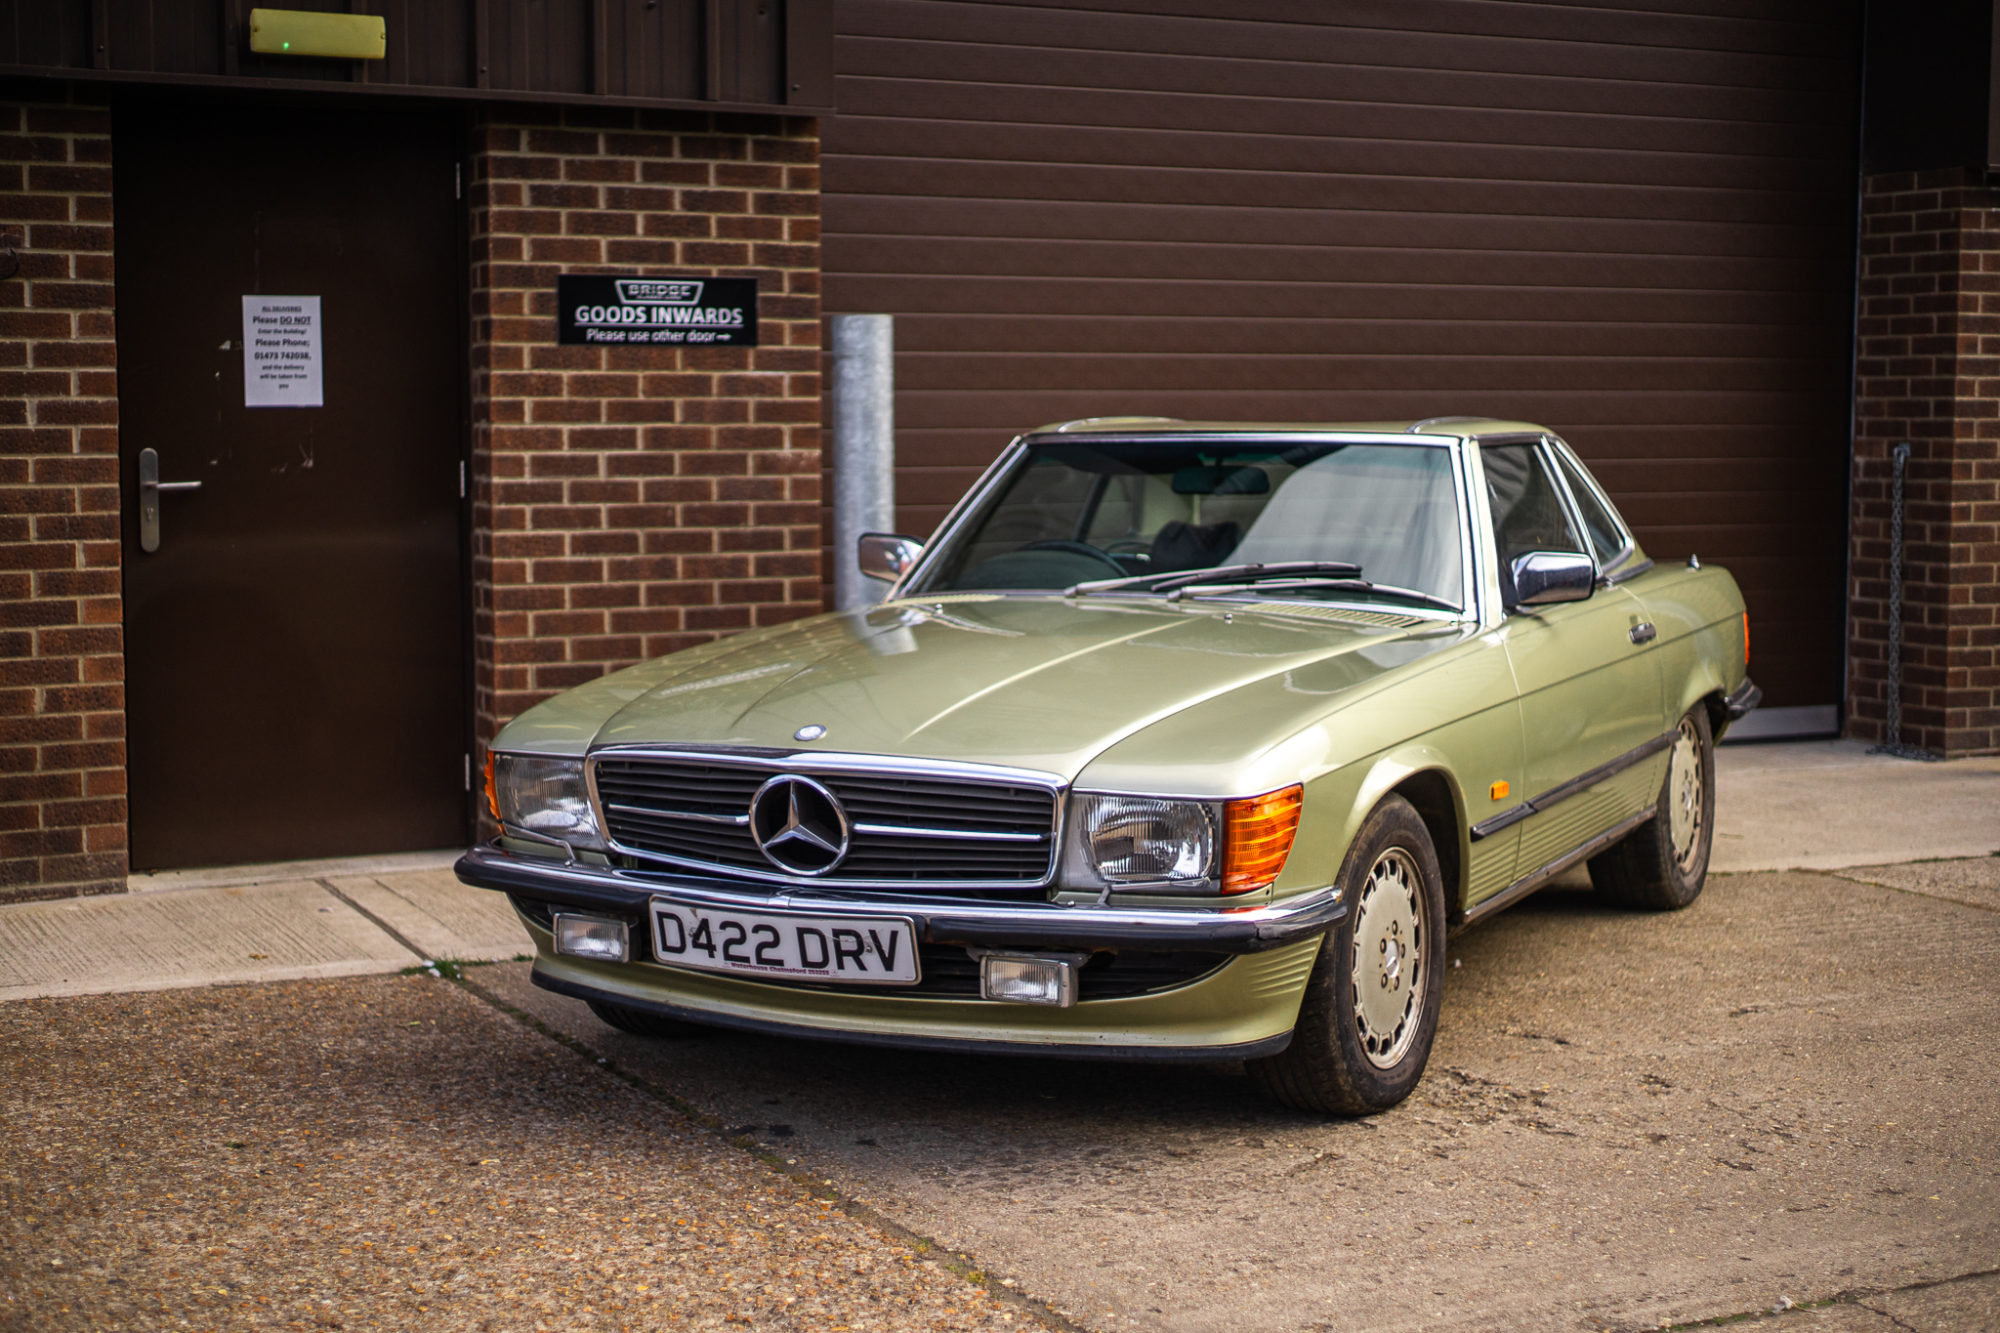
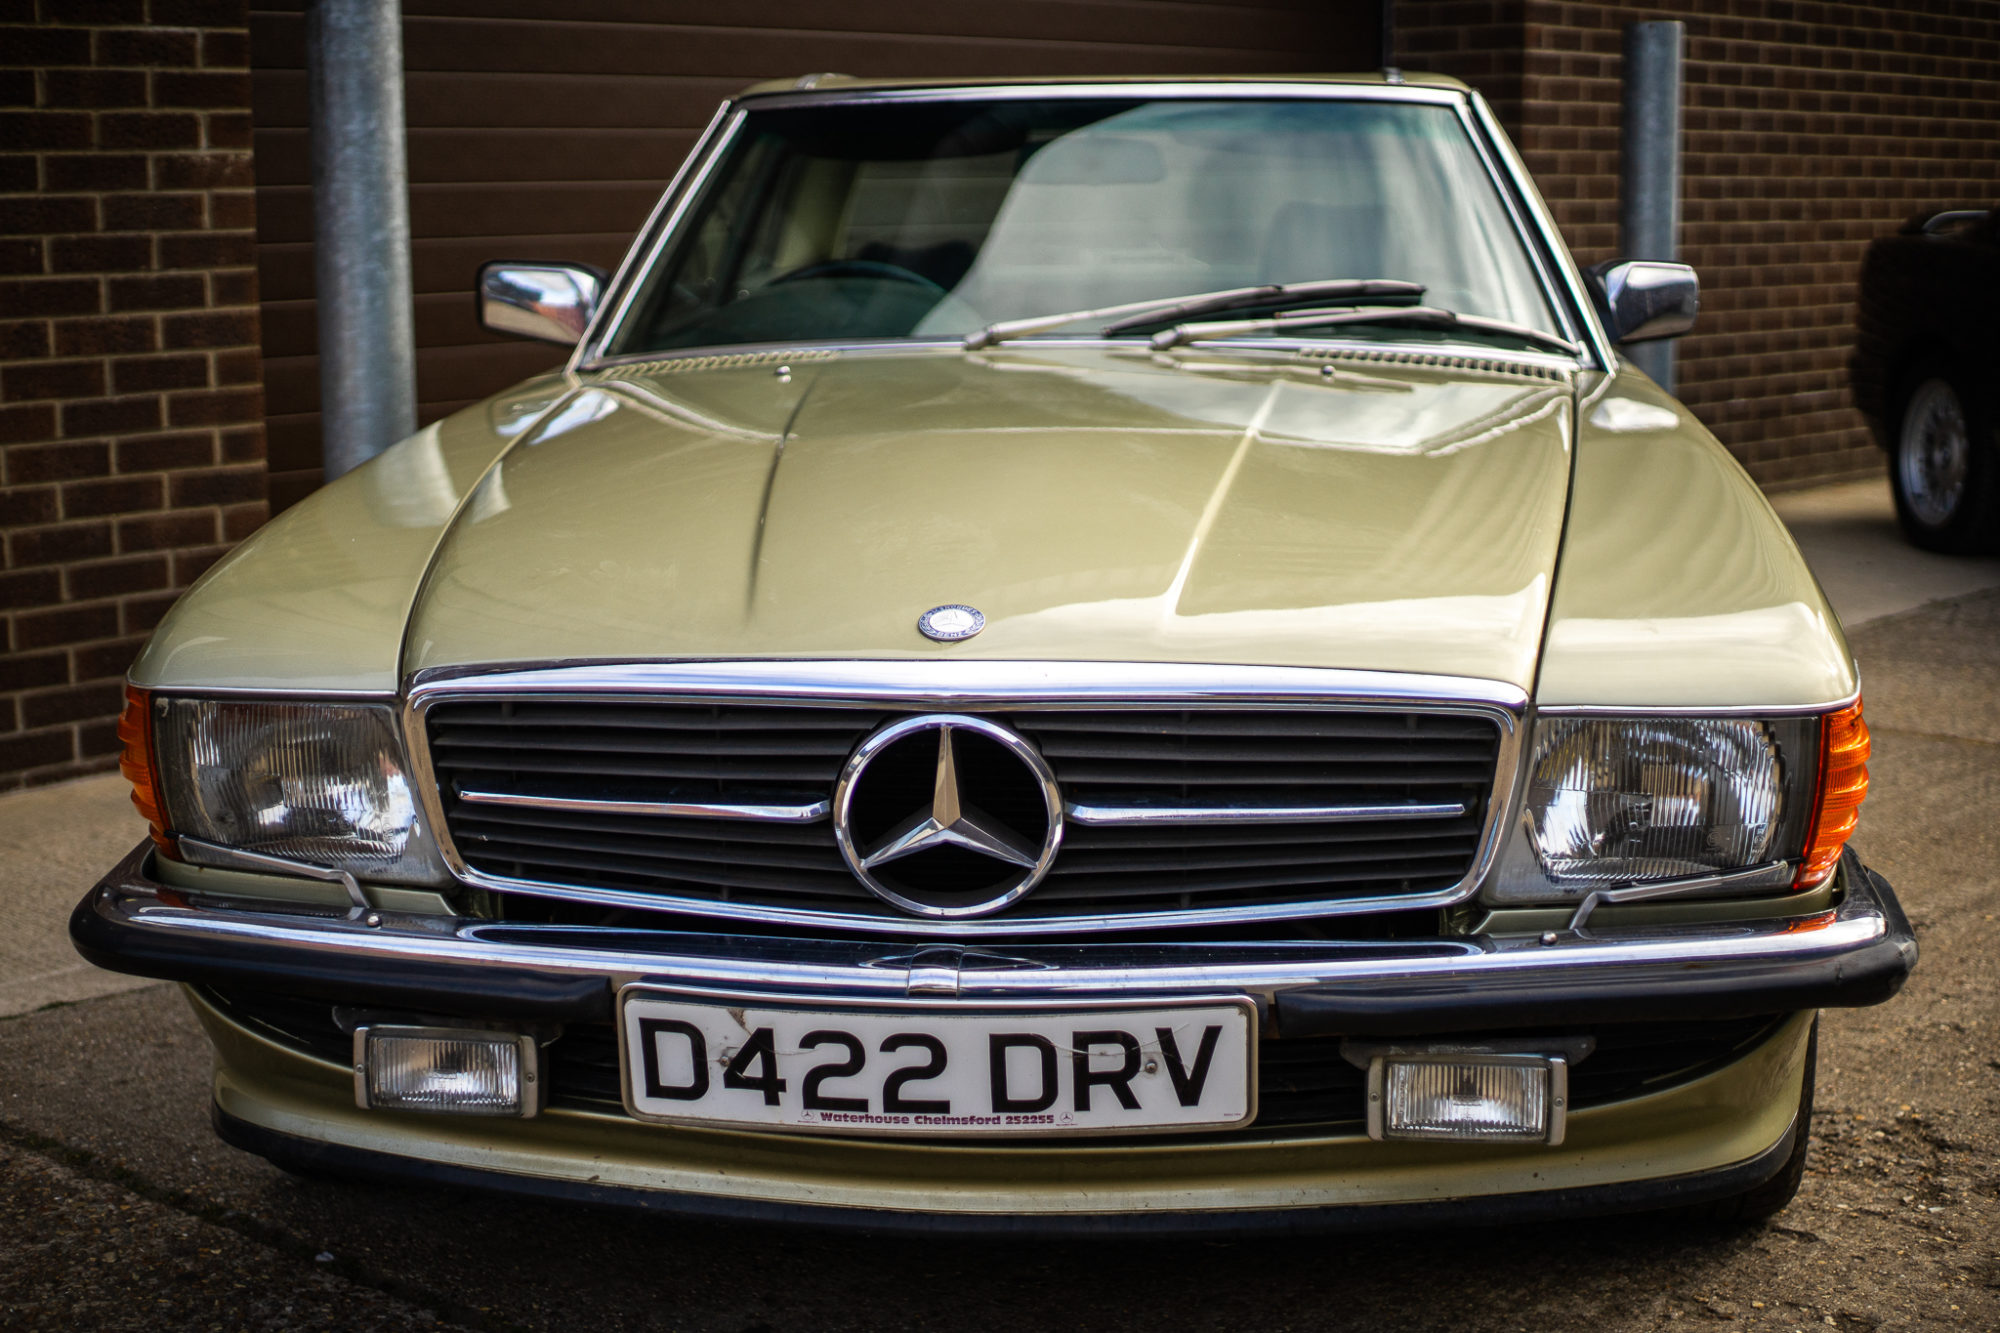
Our 1976 Mercedes Benz 350SL is back from Derrick Wells, a local Mercedes Specialist, to have a look into some electrical issues with the car.
Interior trim is one of the key elements of any restoration, and we here at Bridge Classic Cars have got probably the best in-house trim
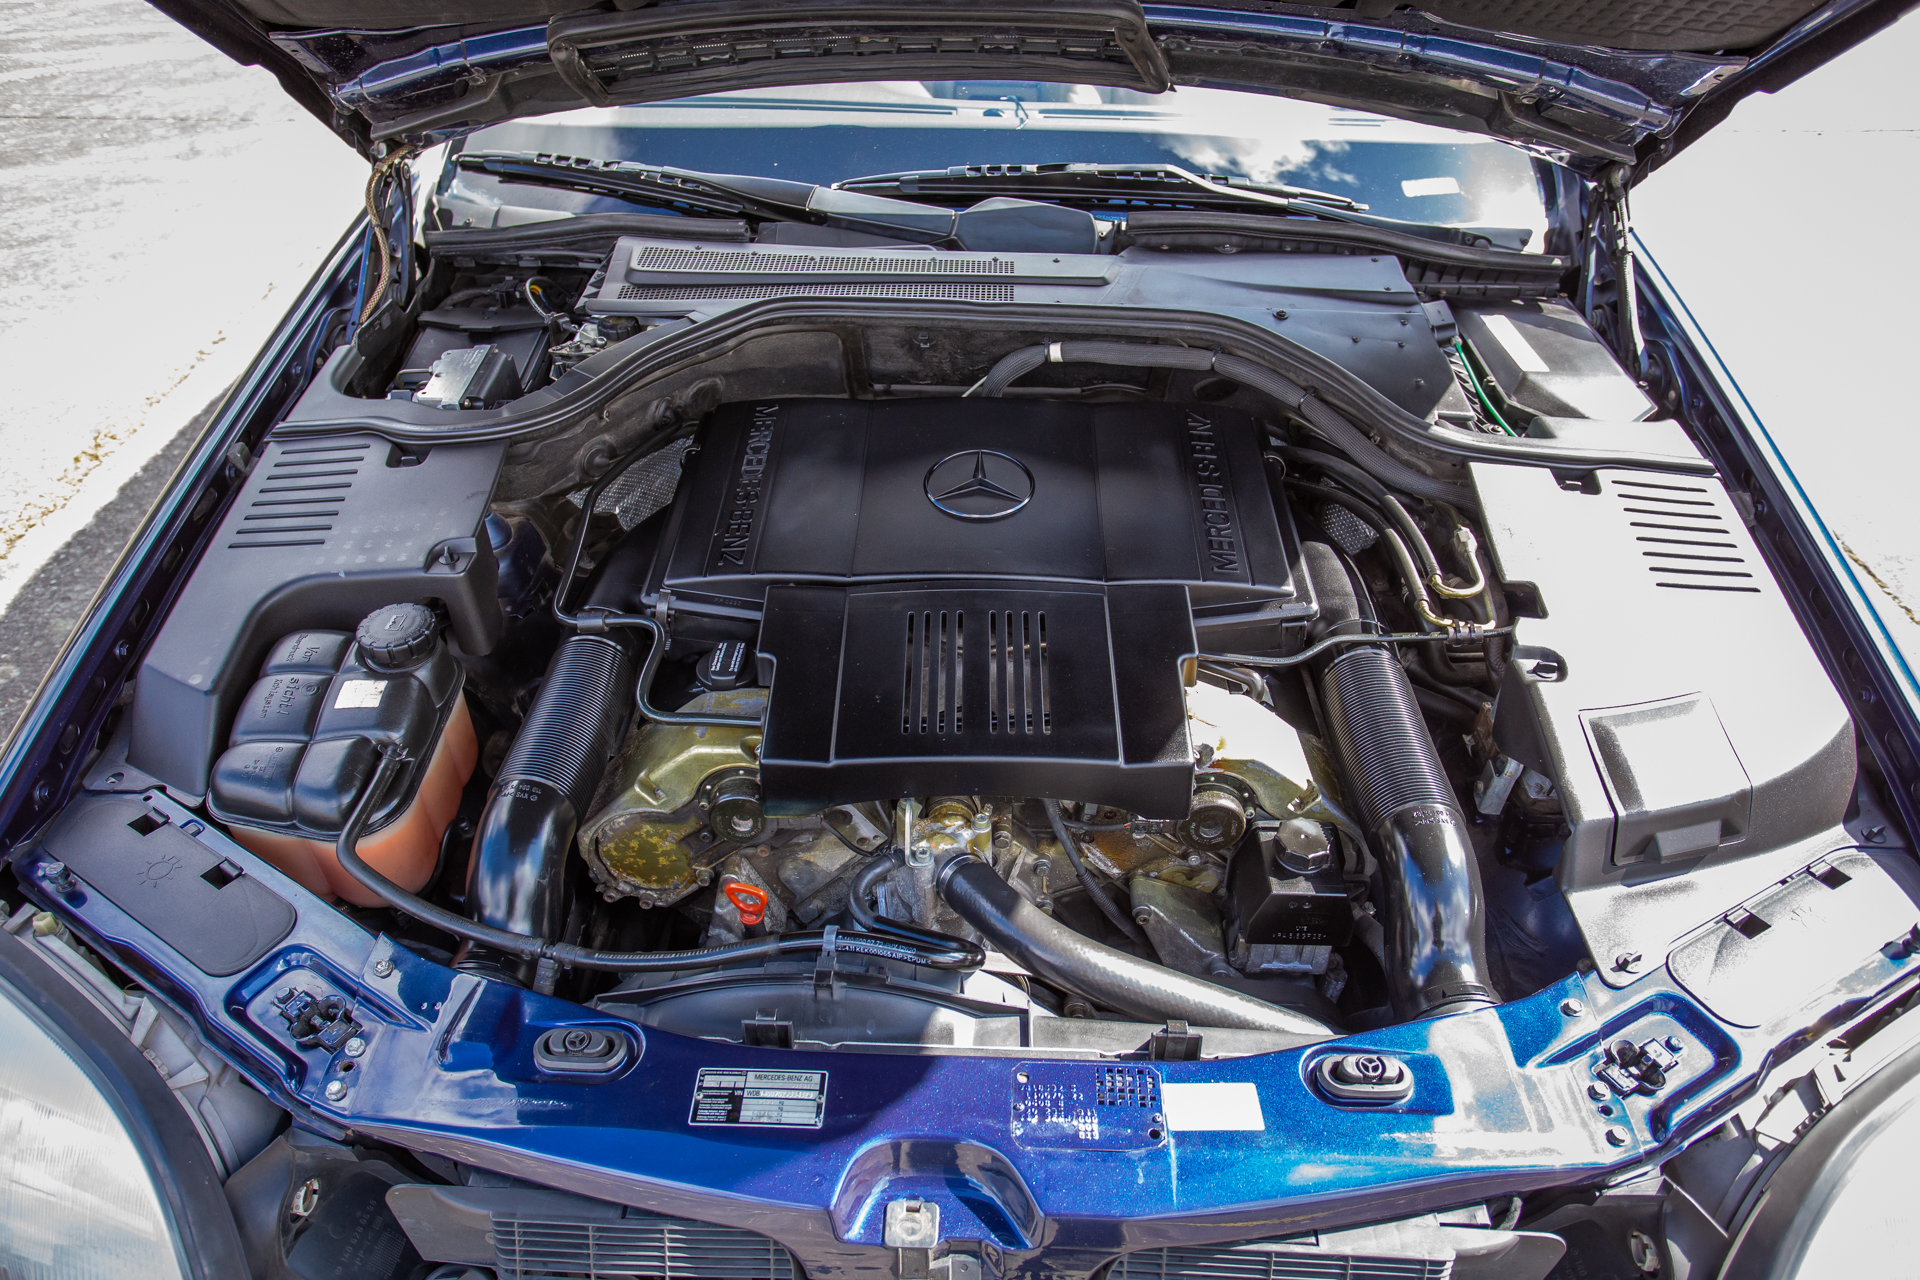
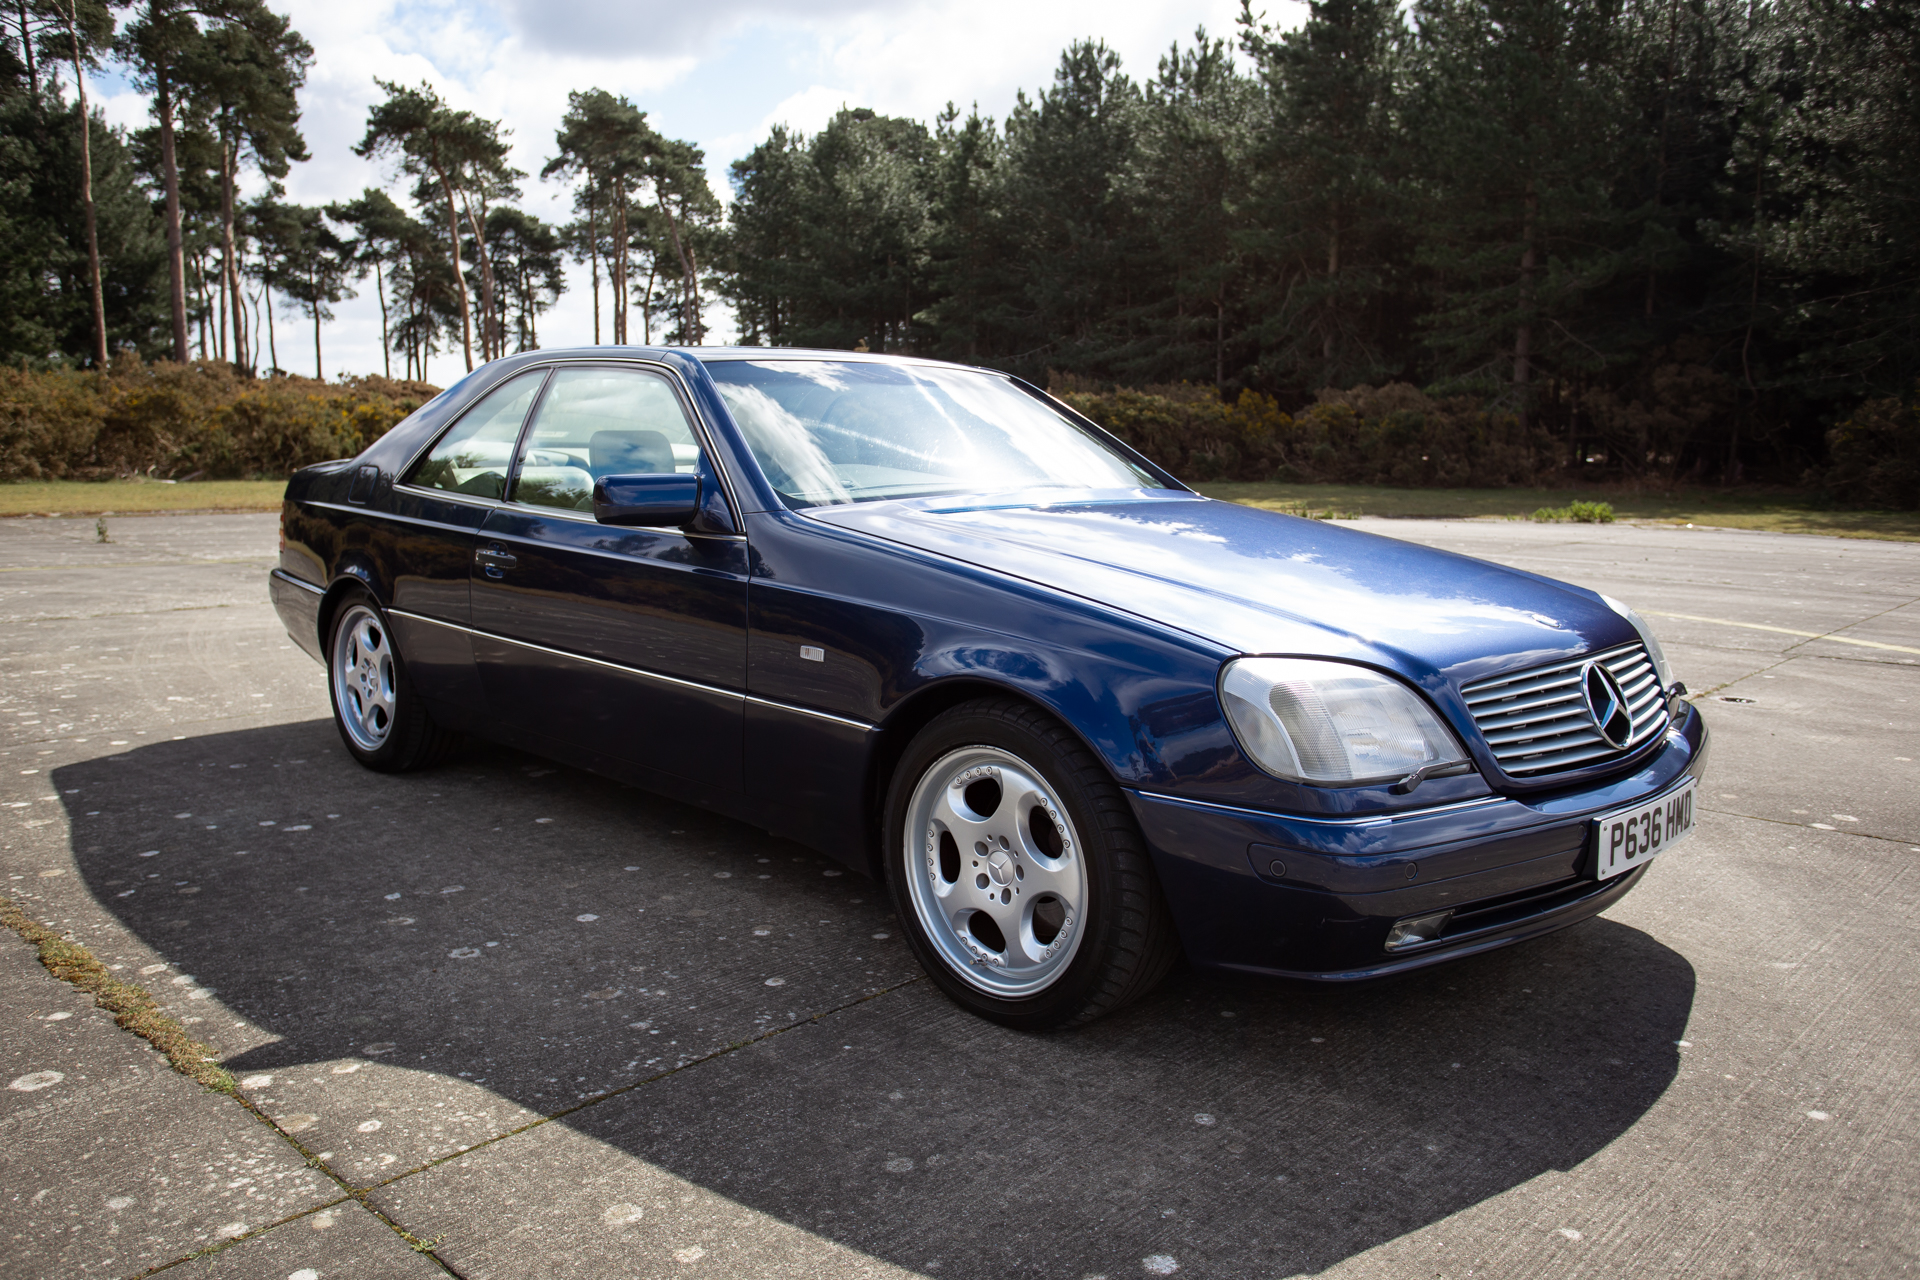
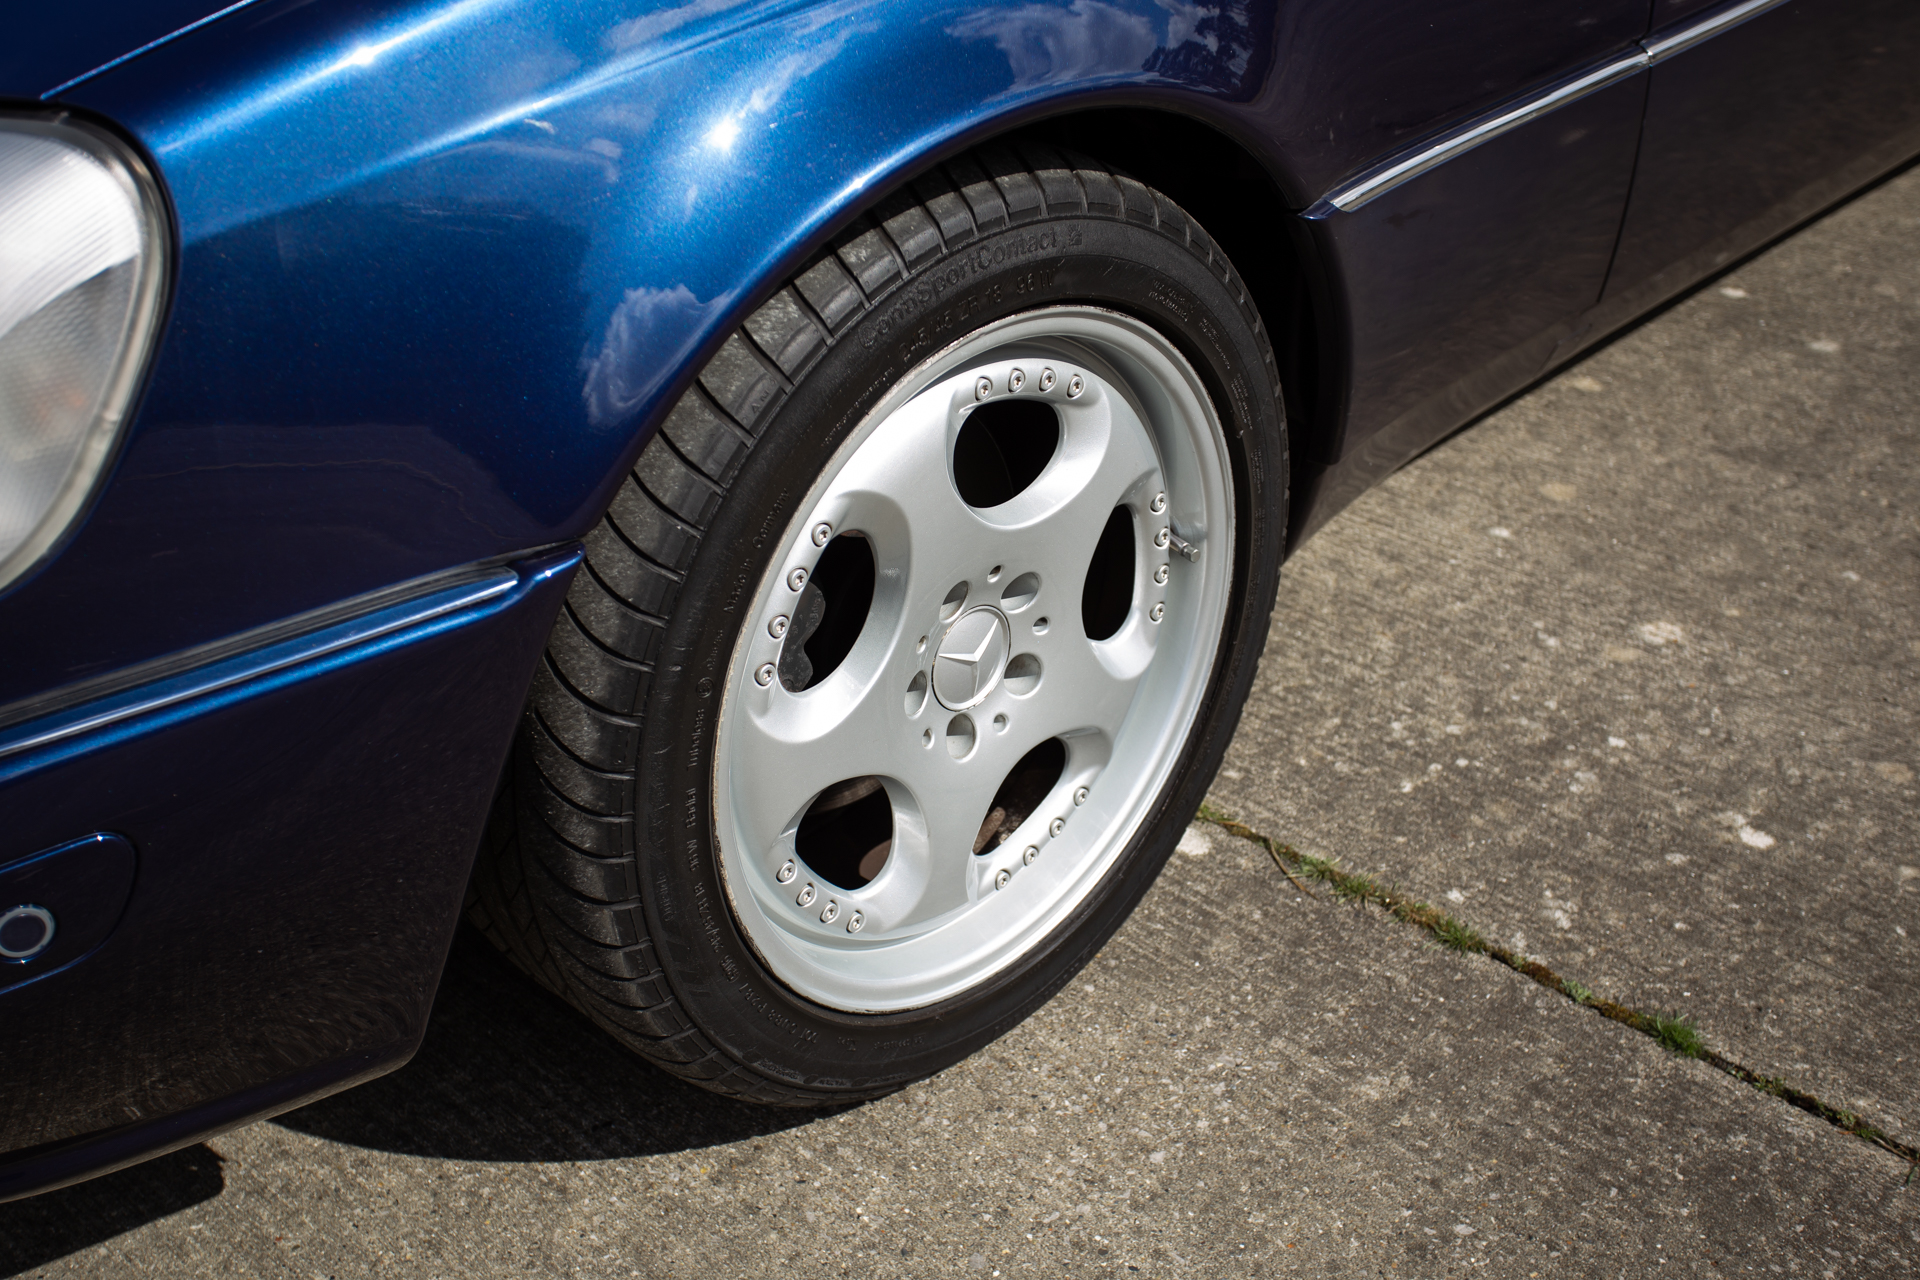
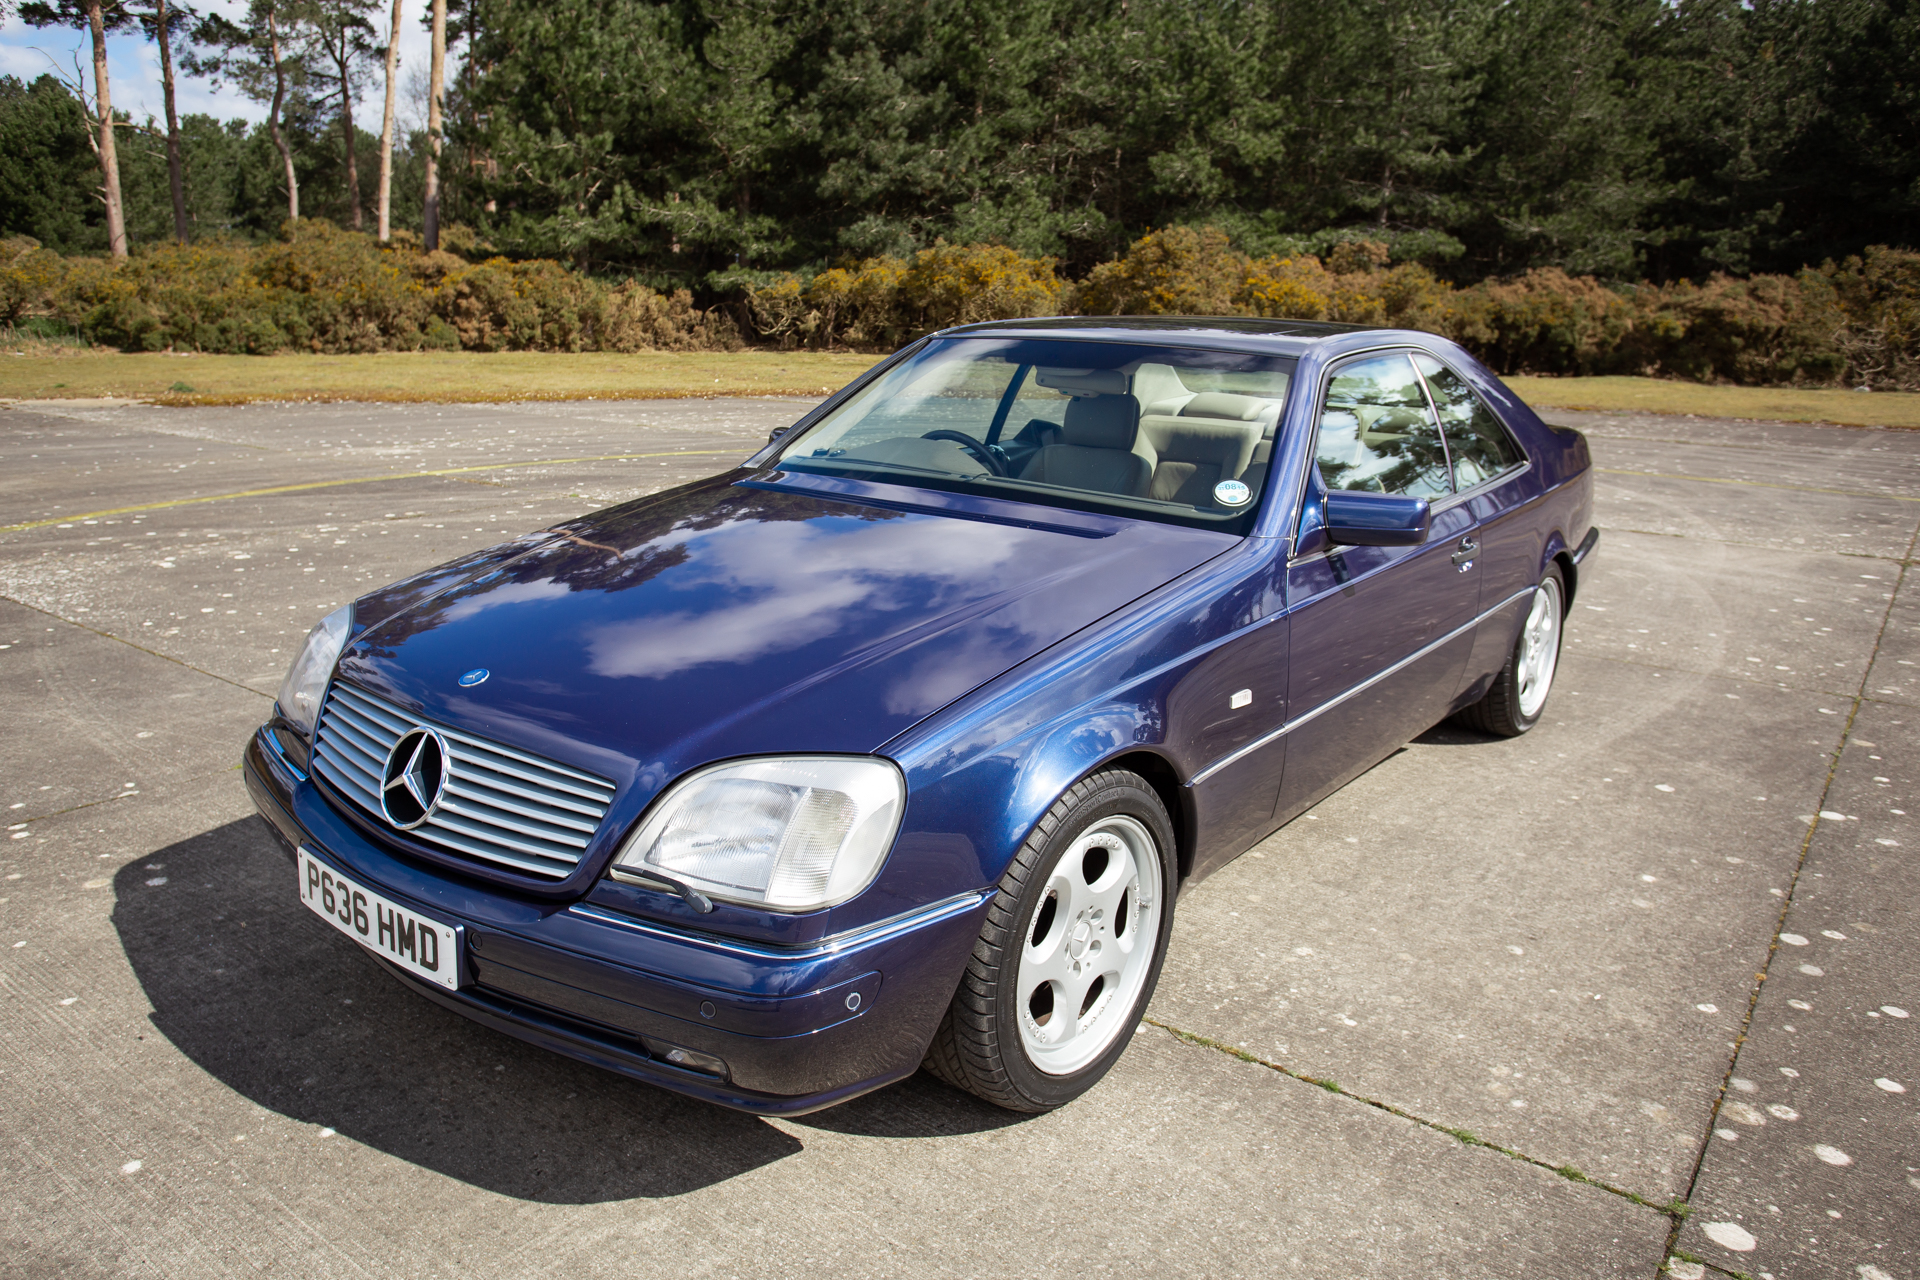
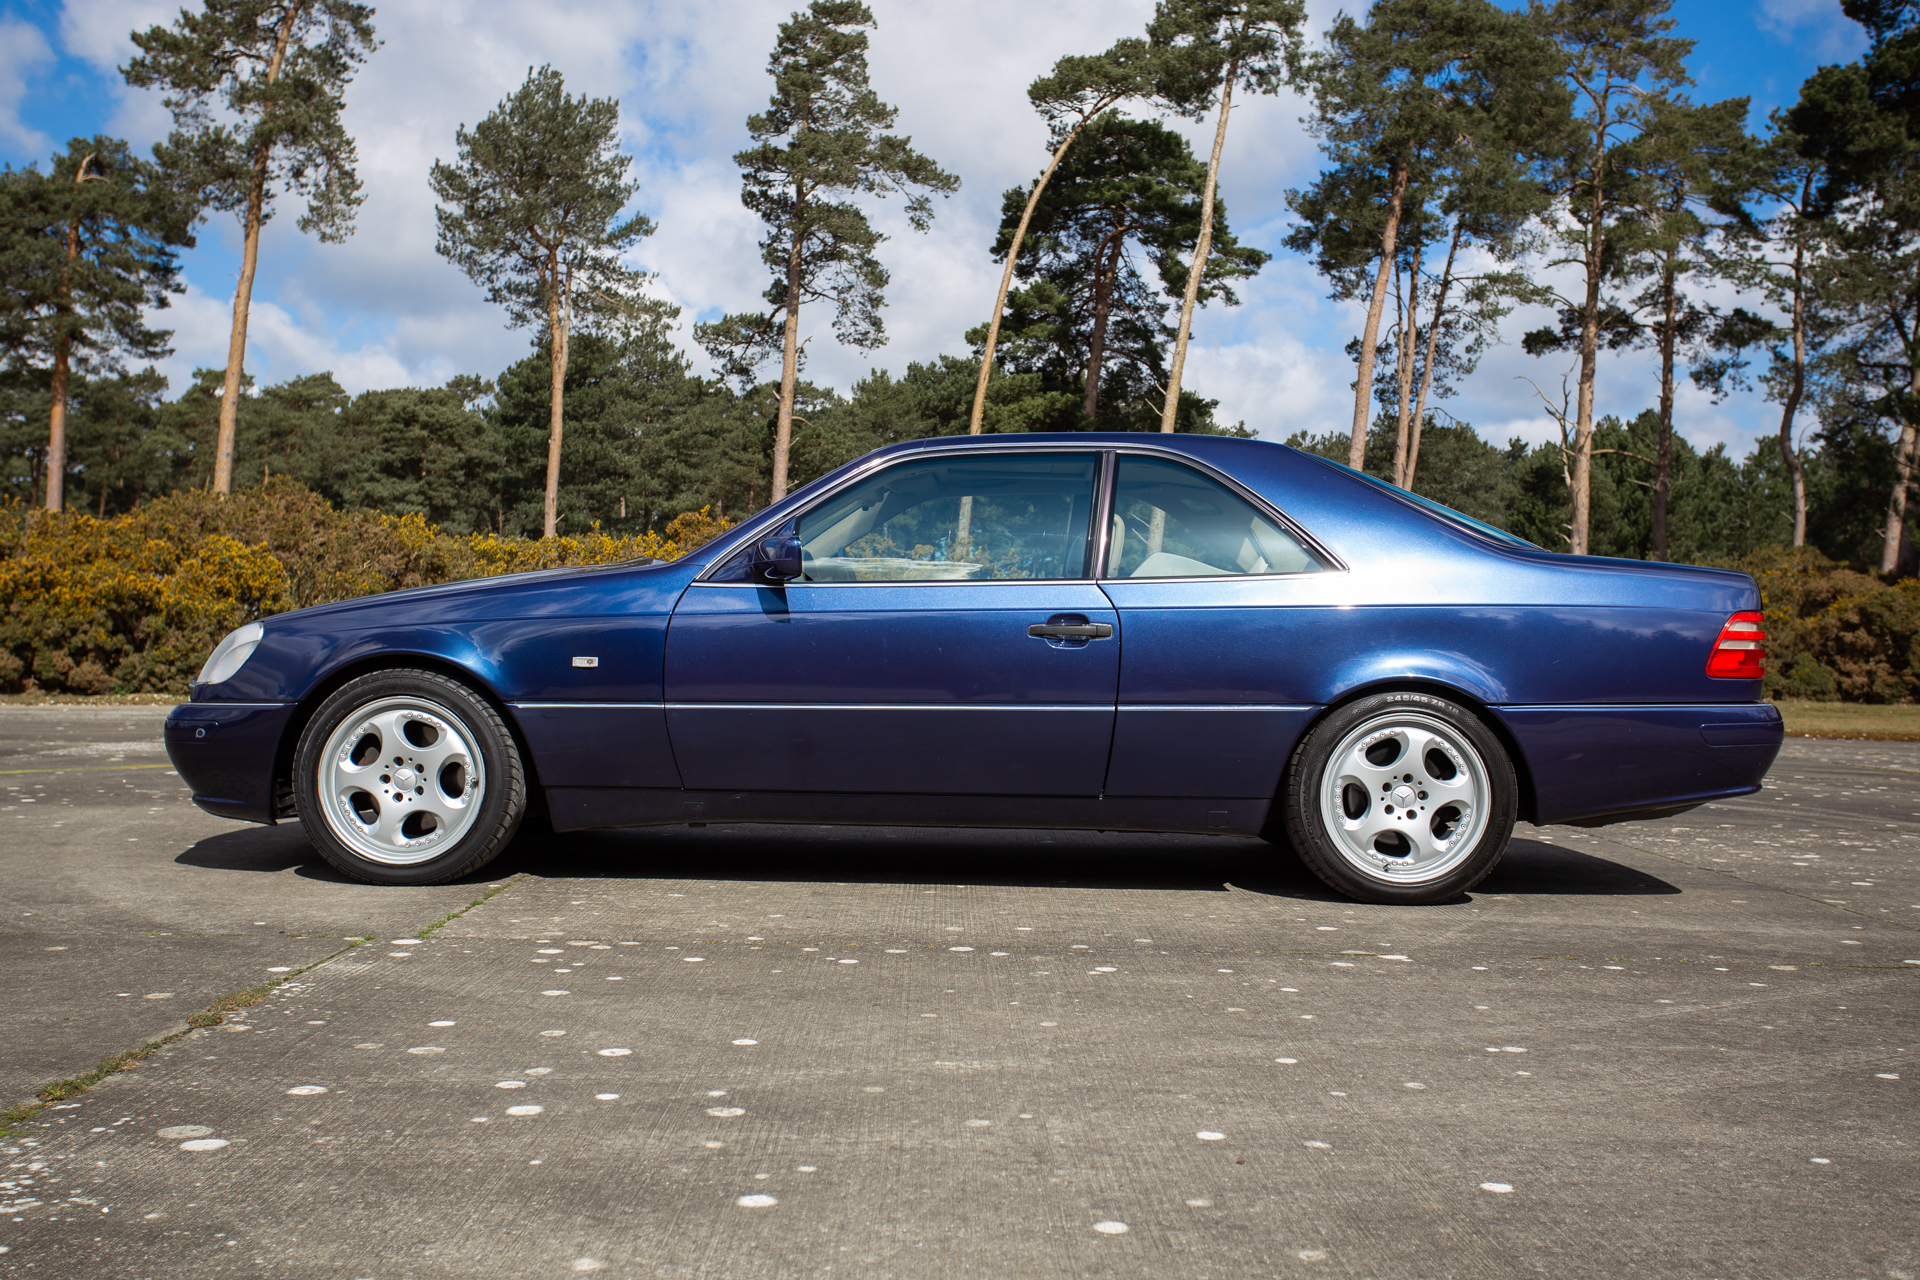
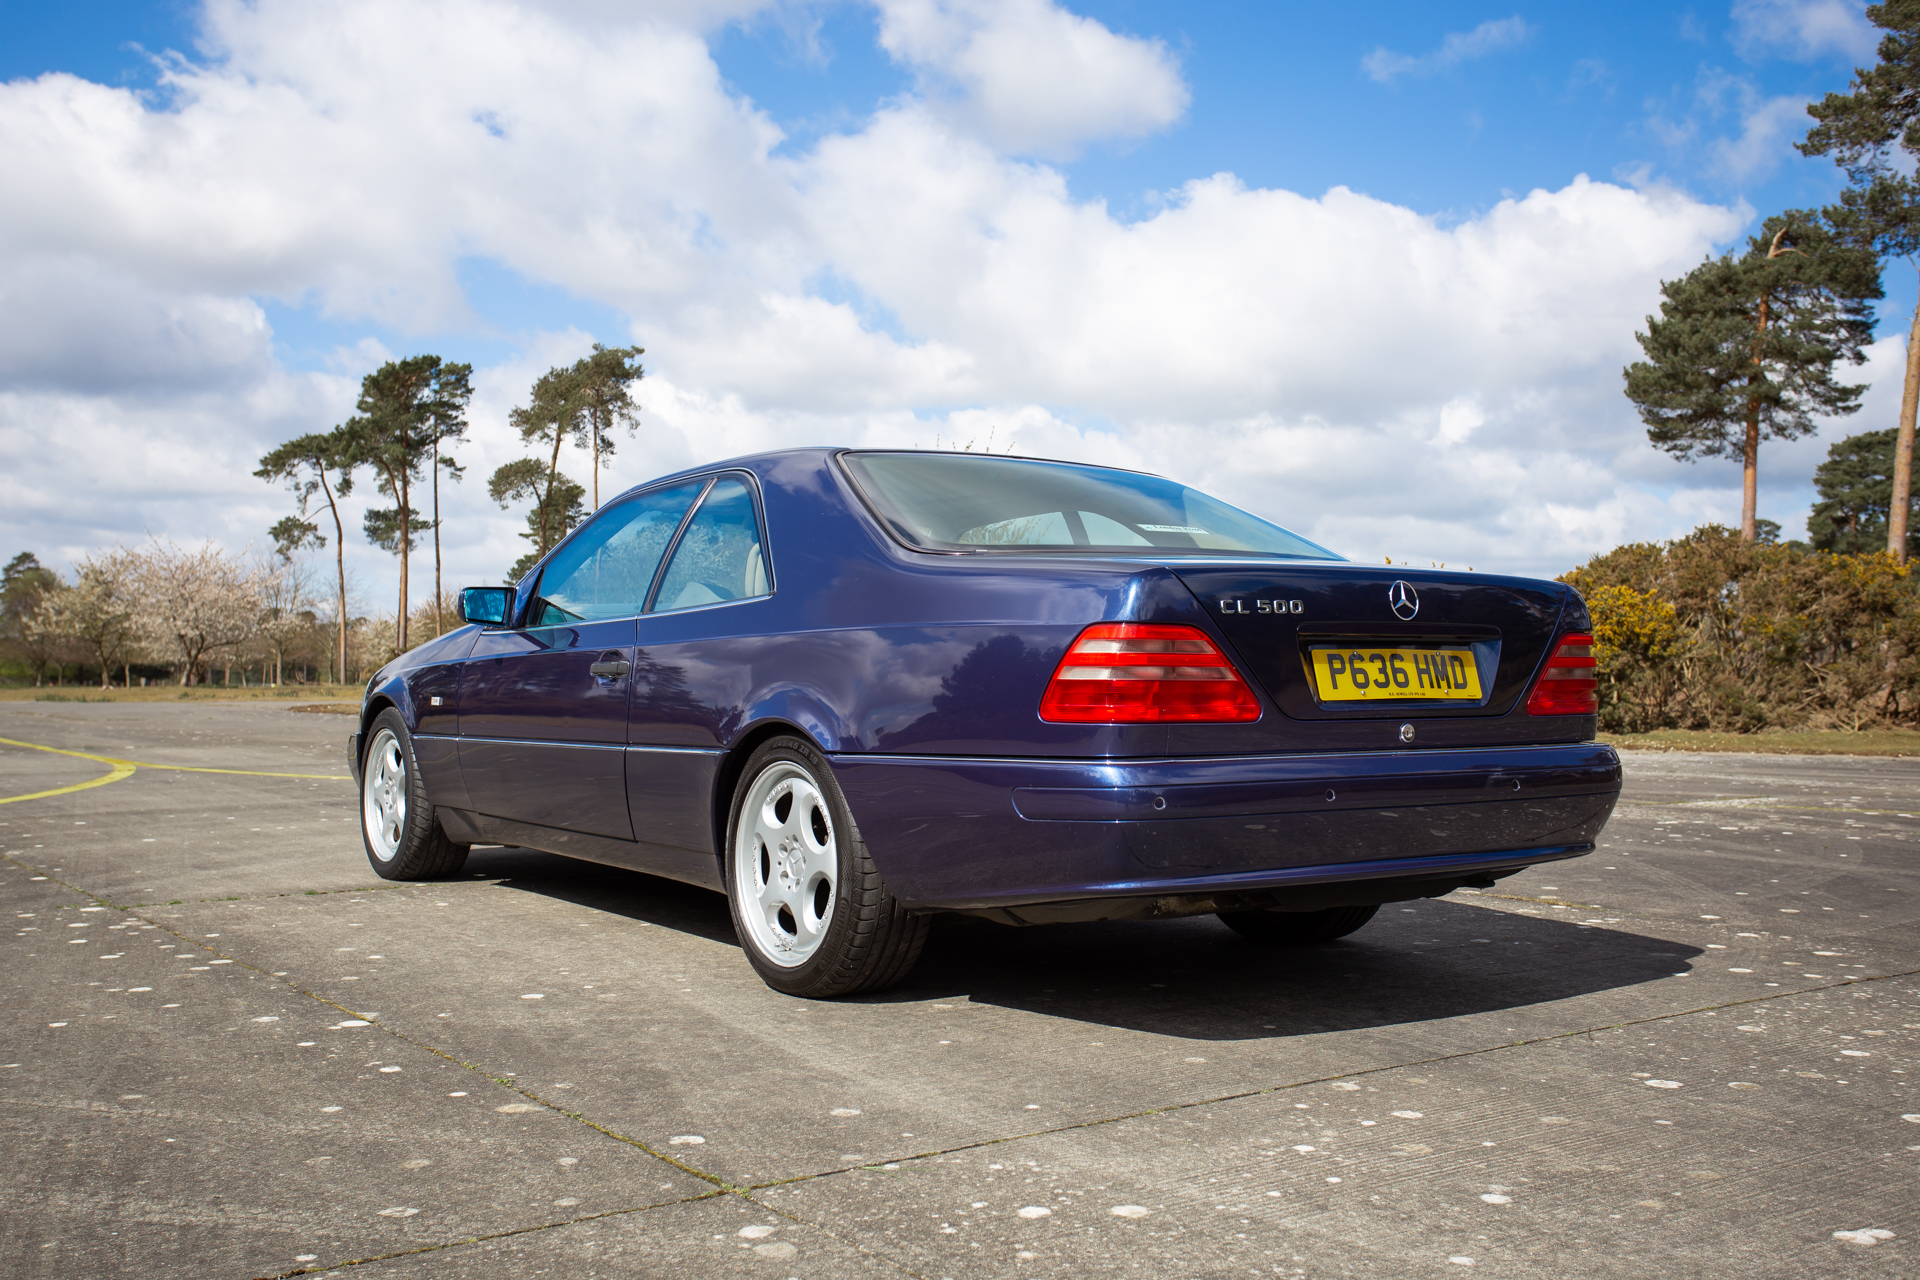
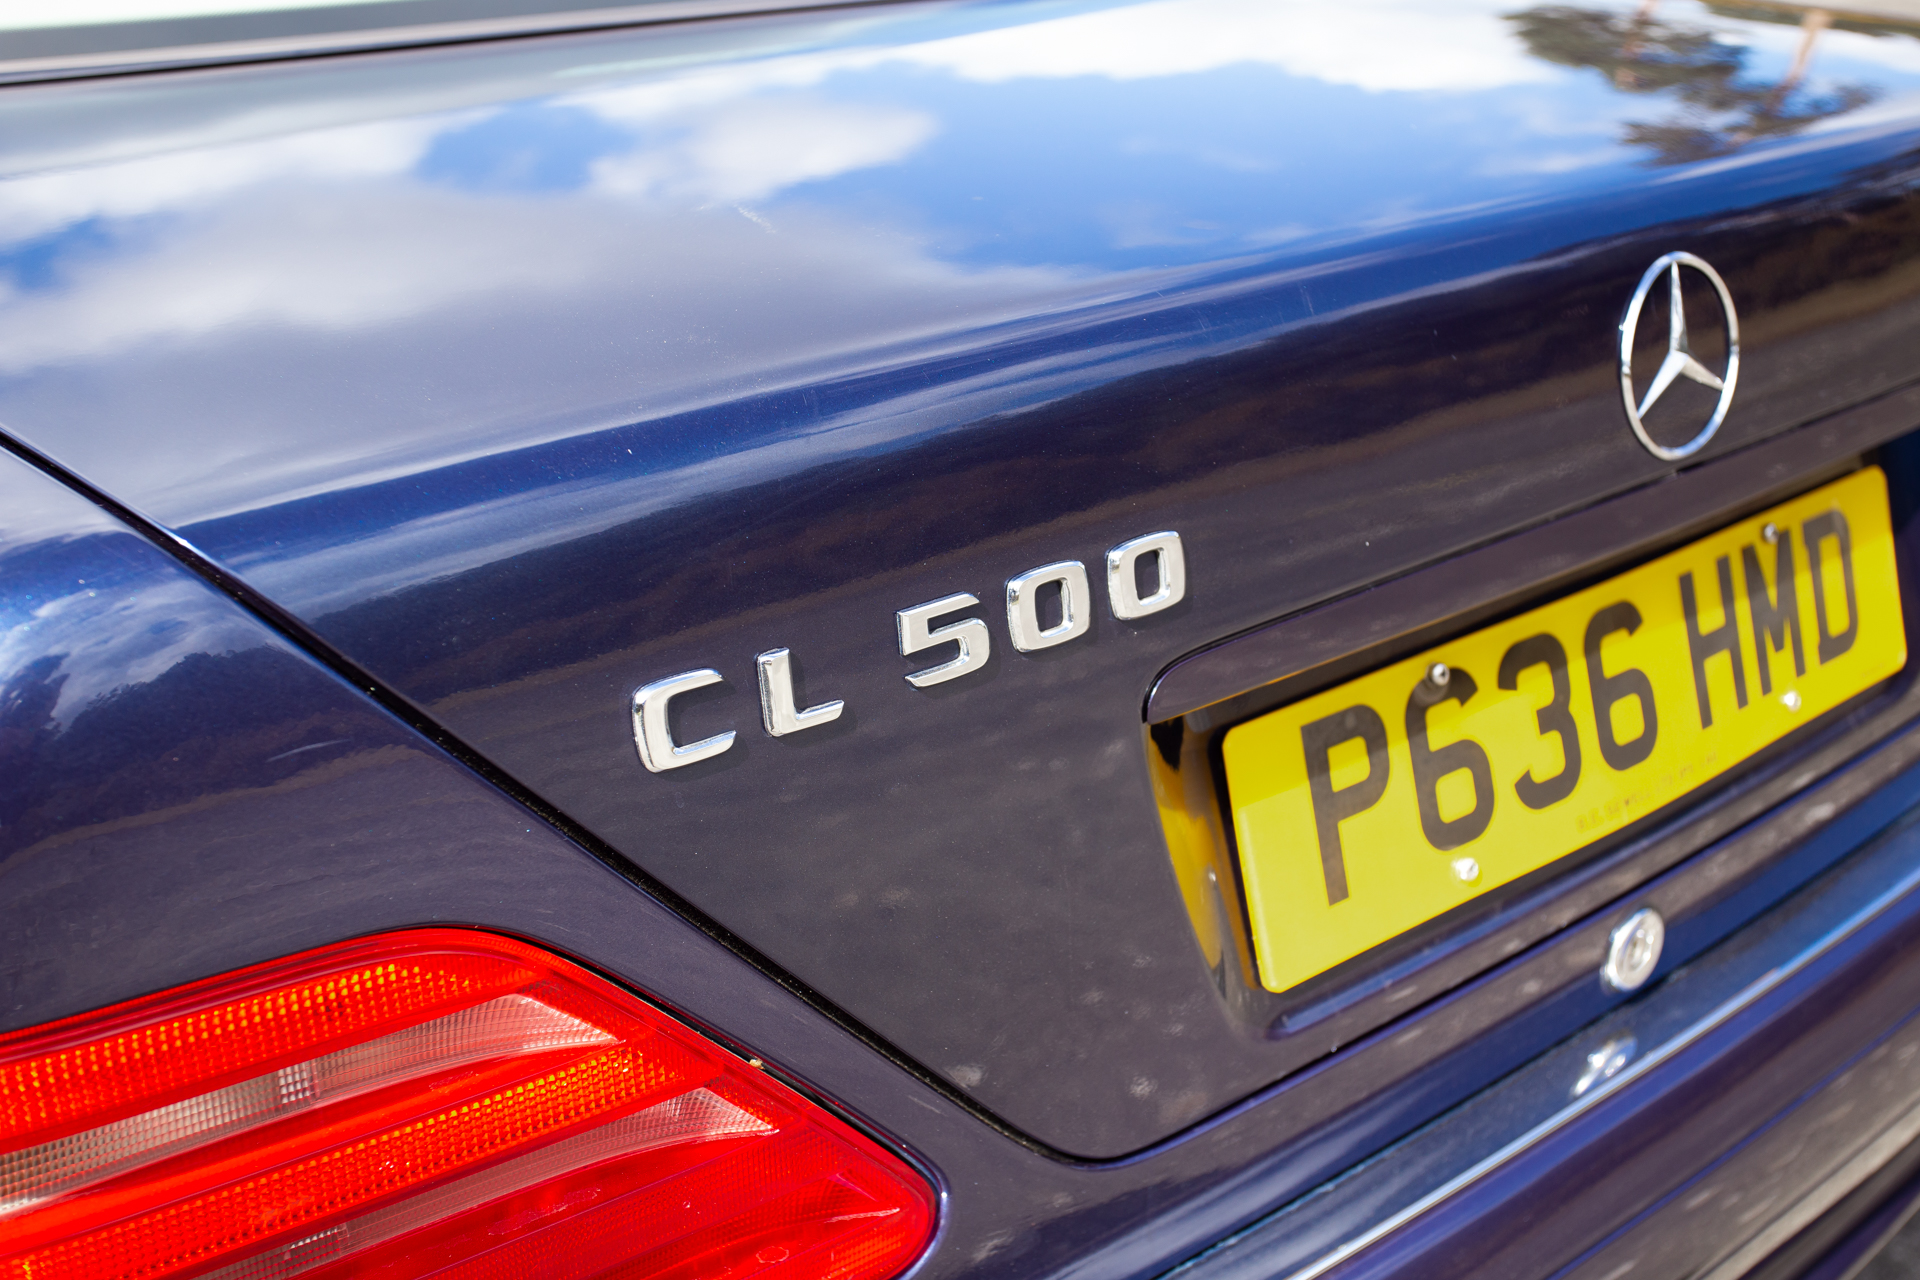
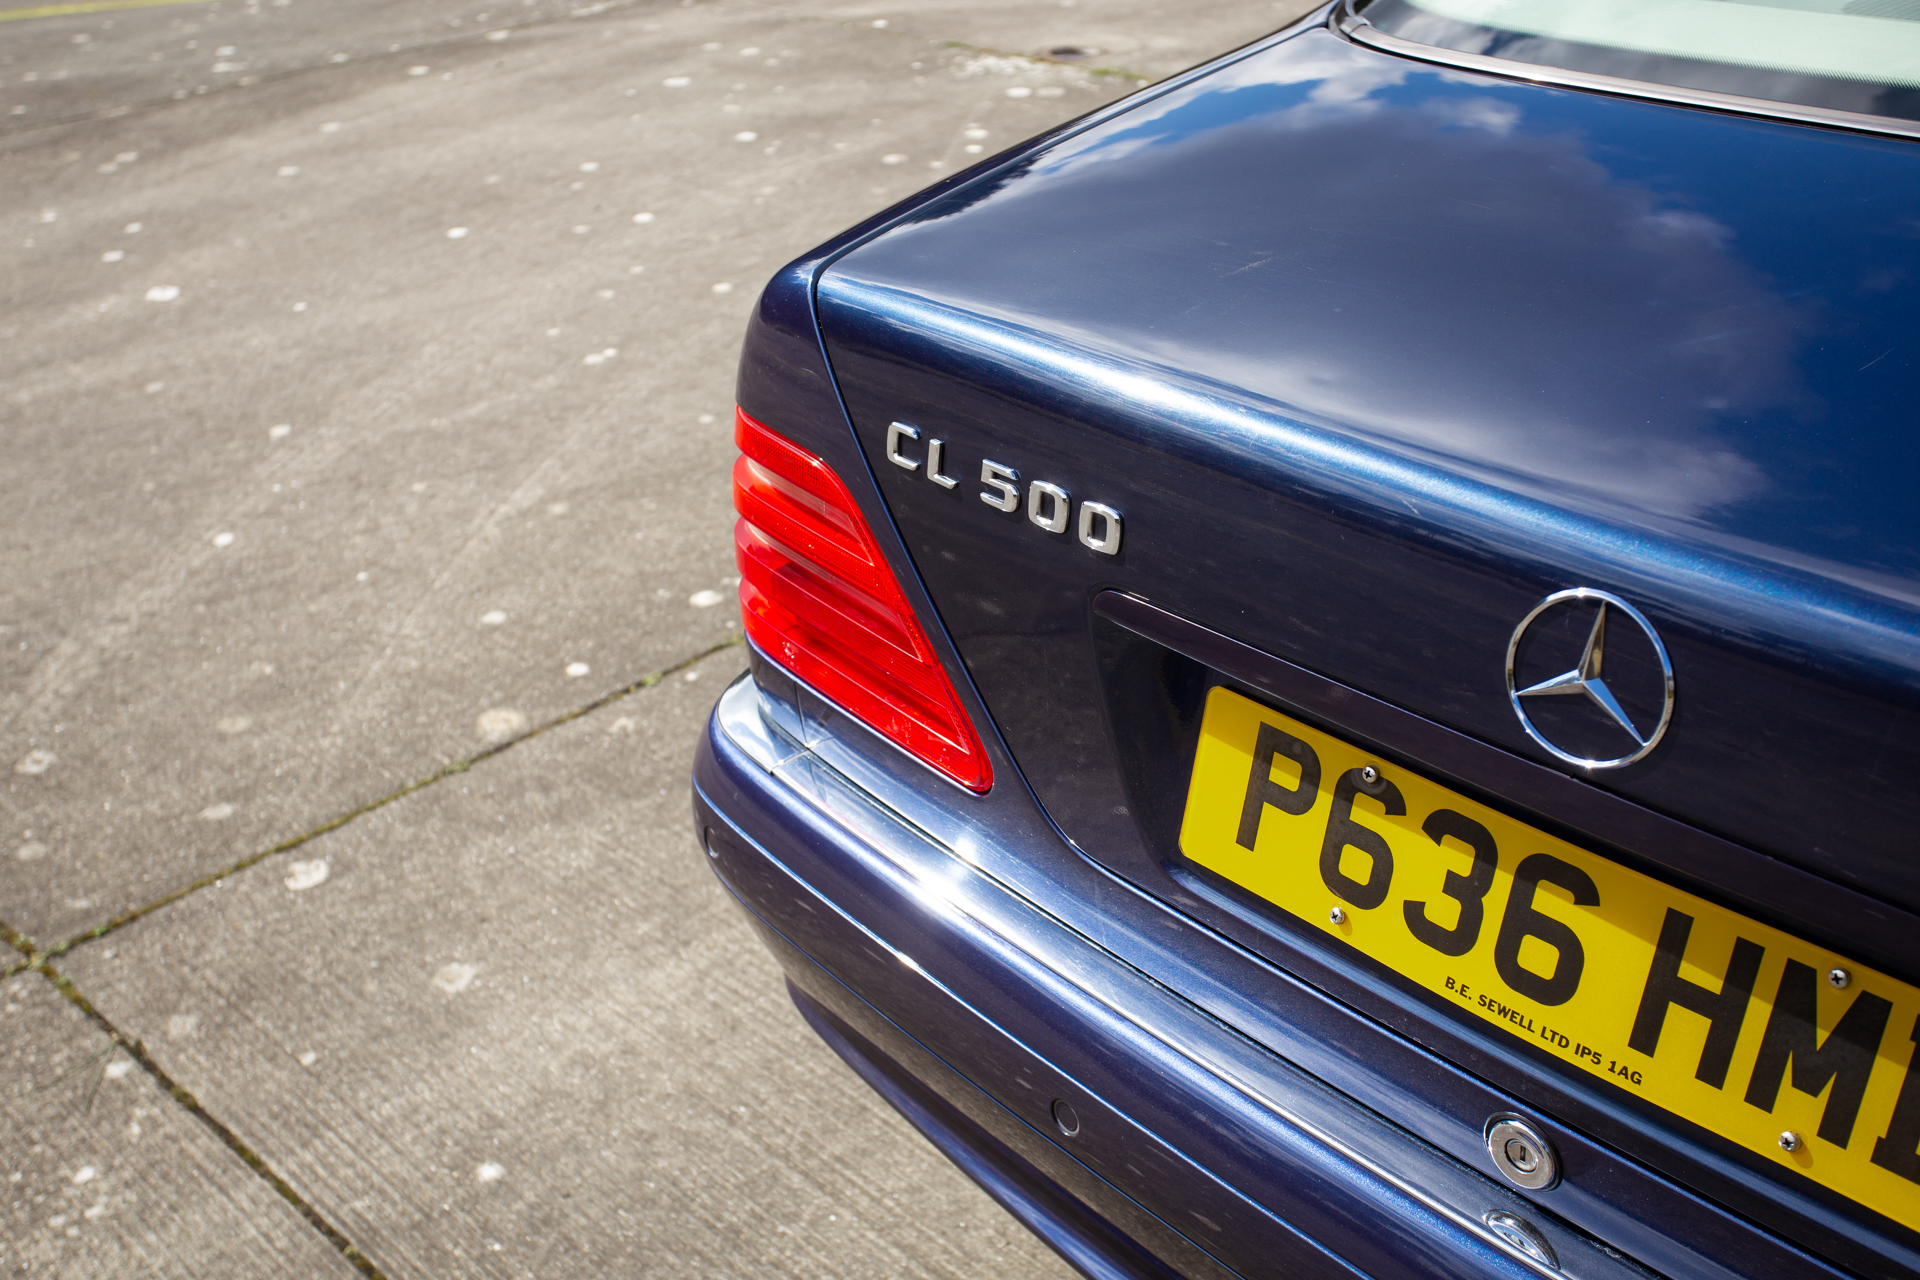
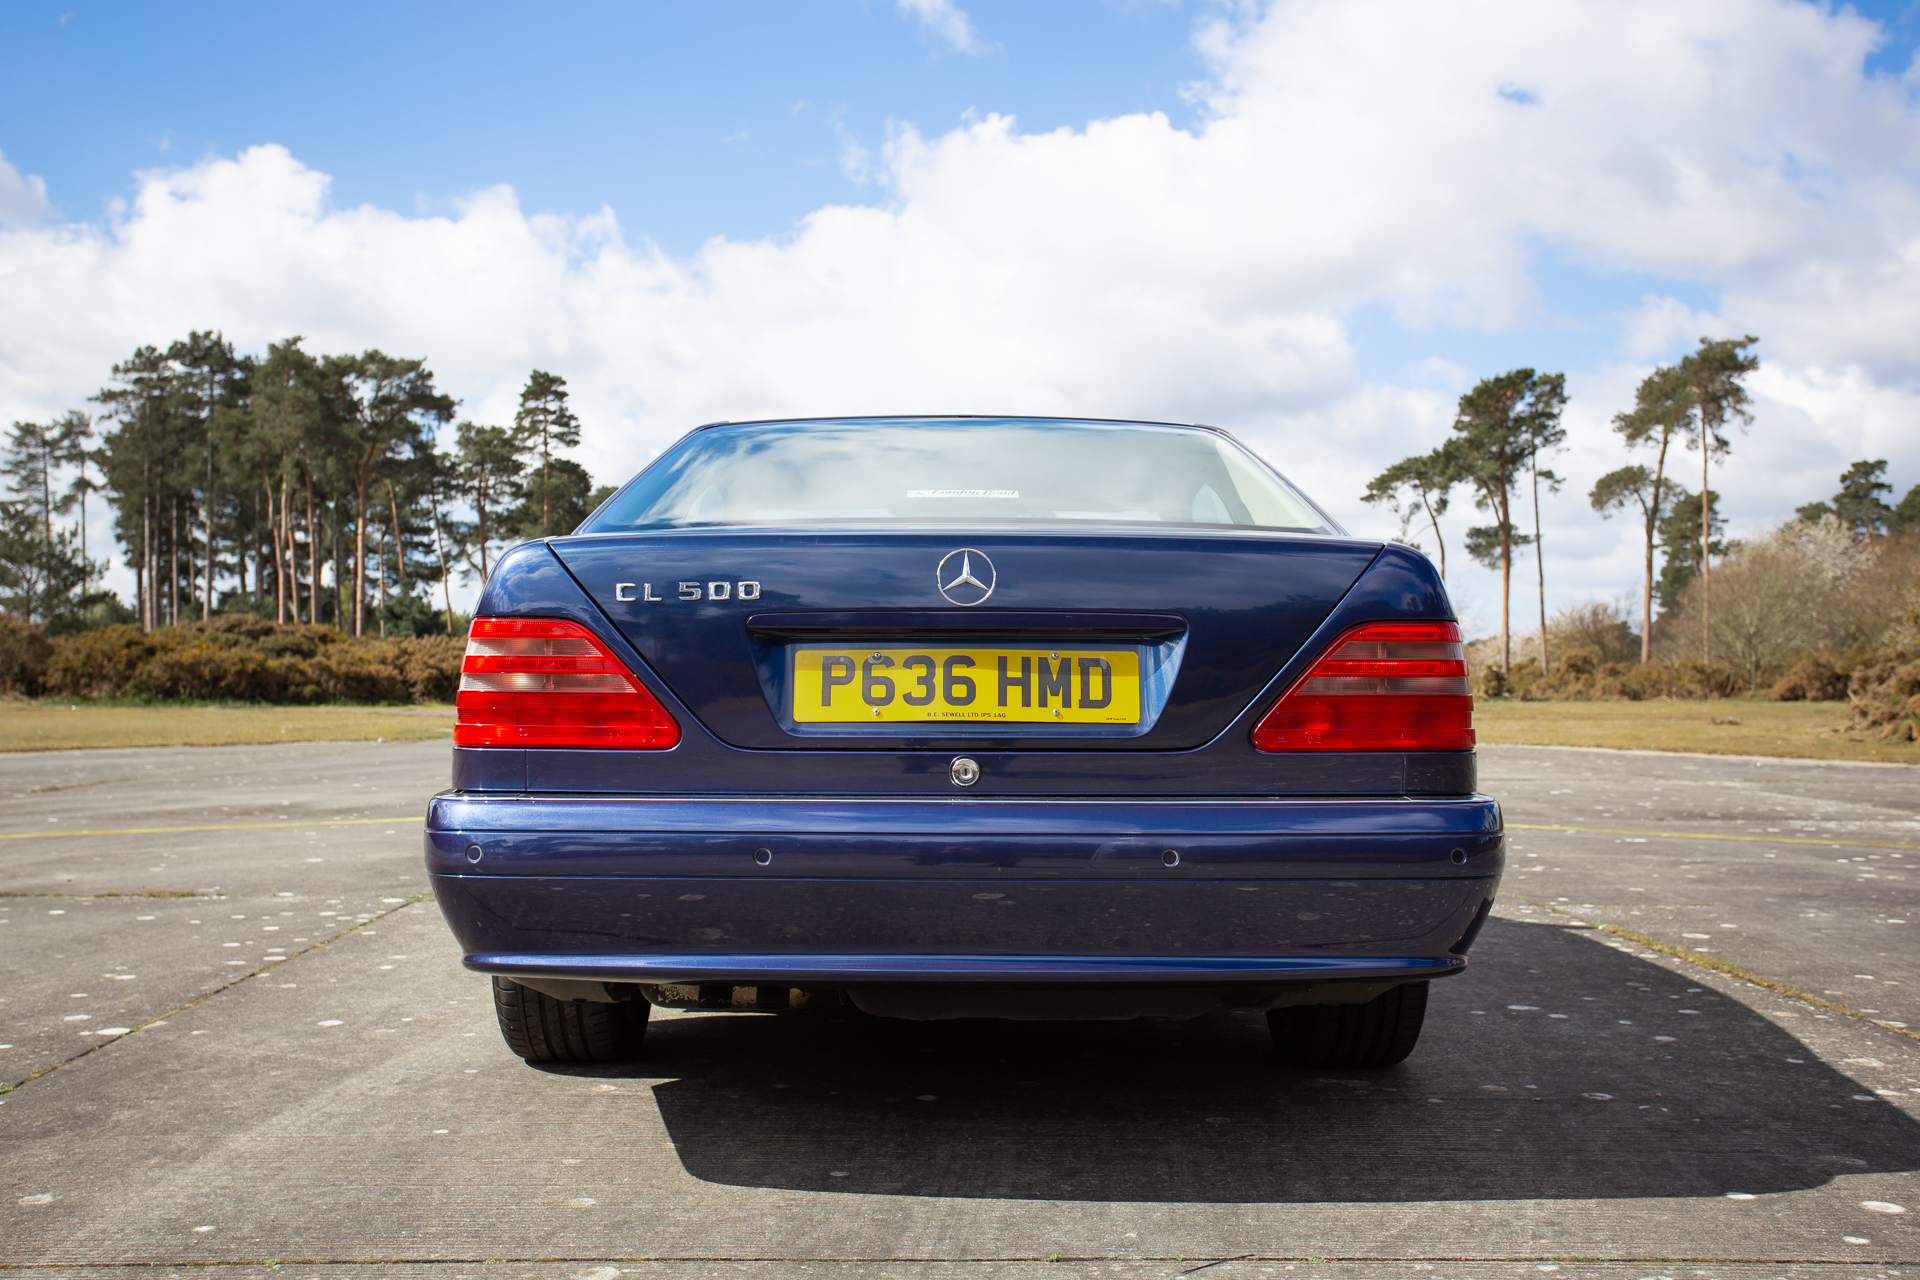
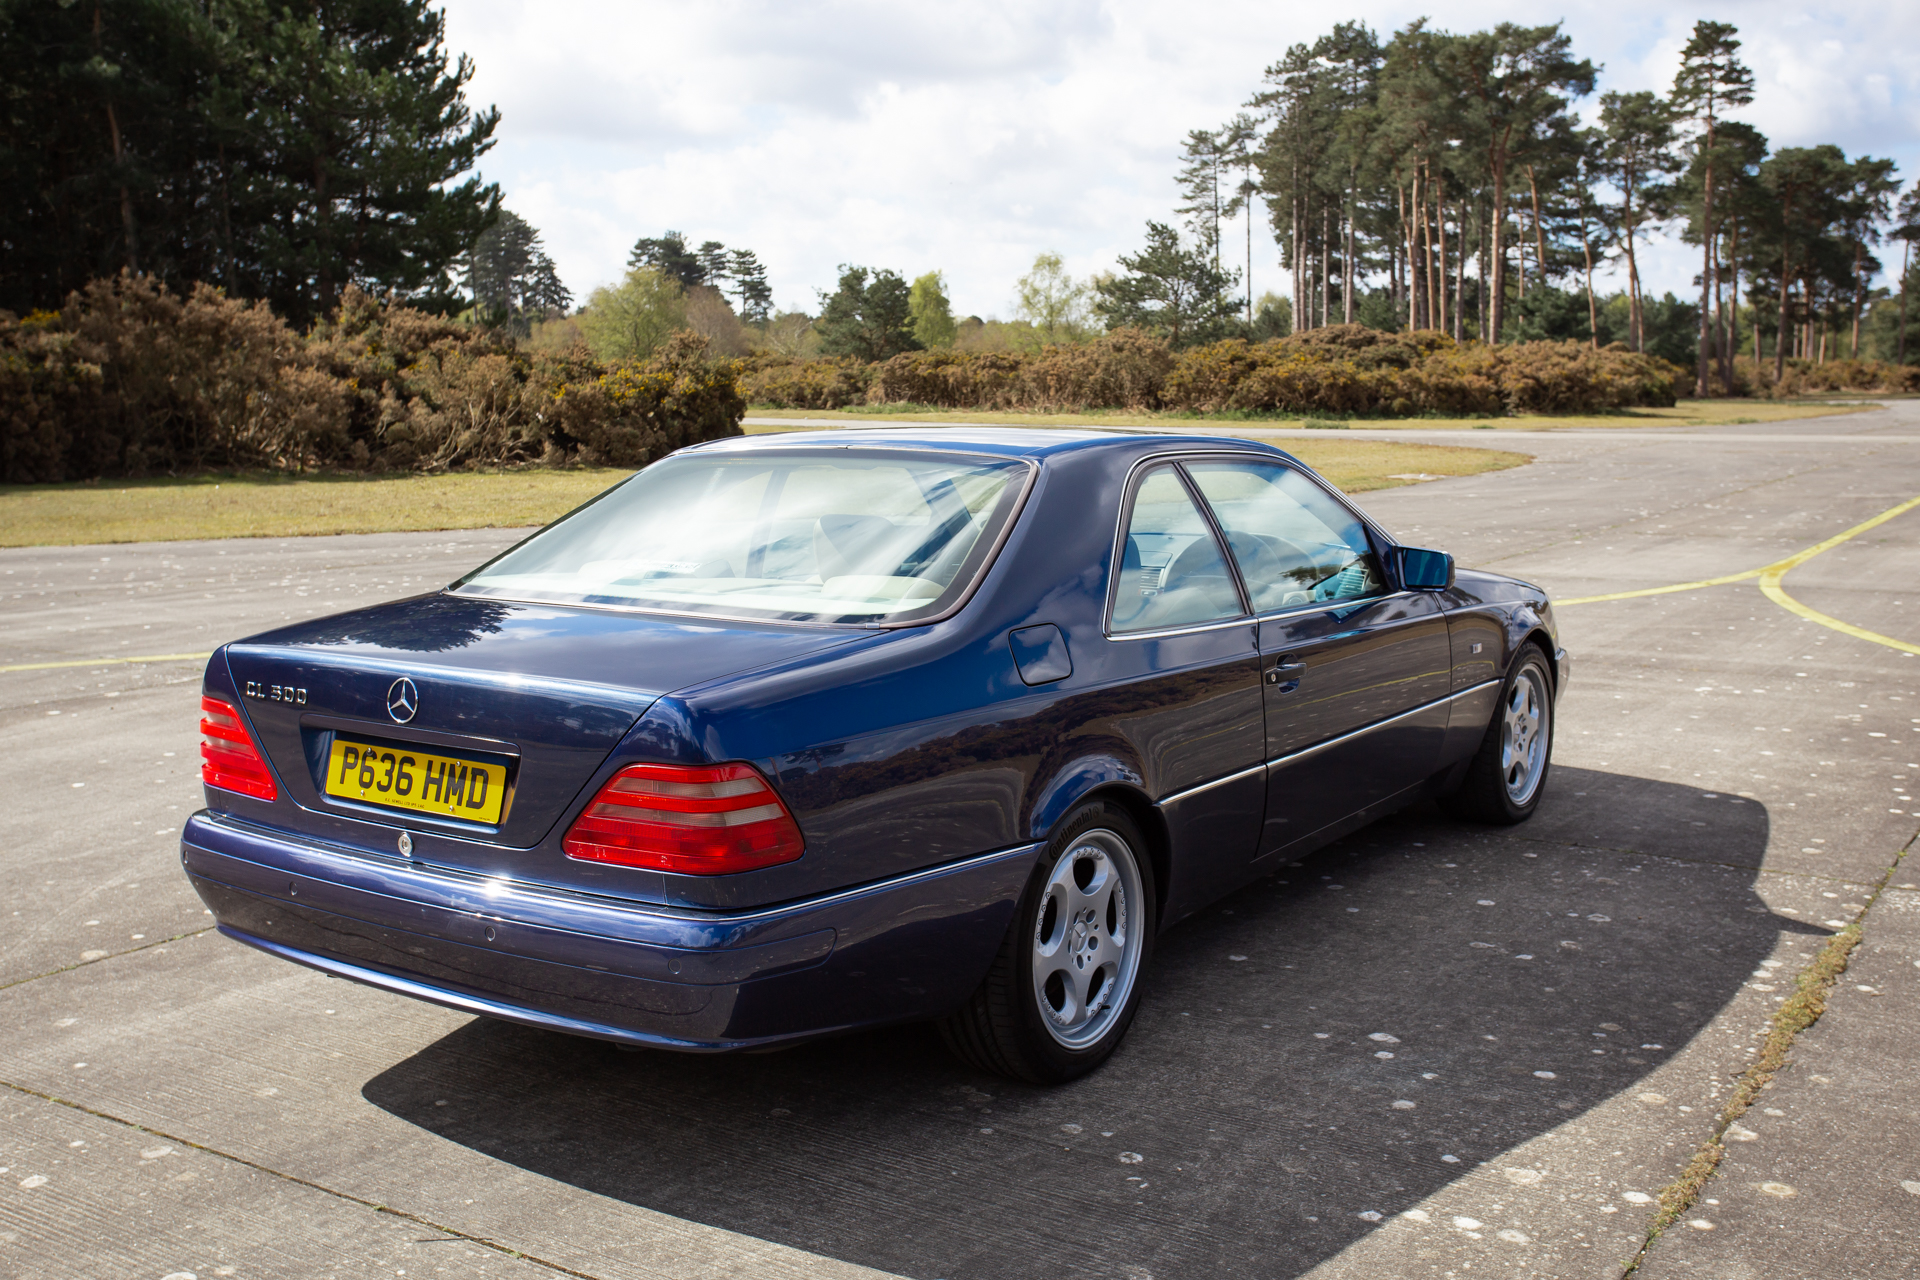
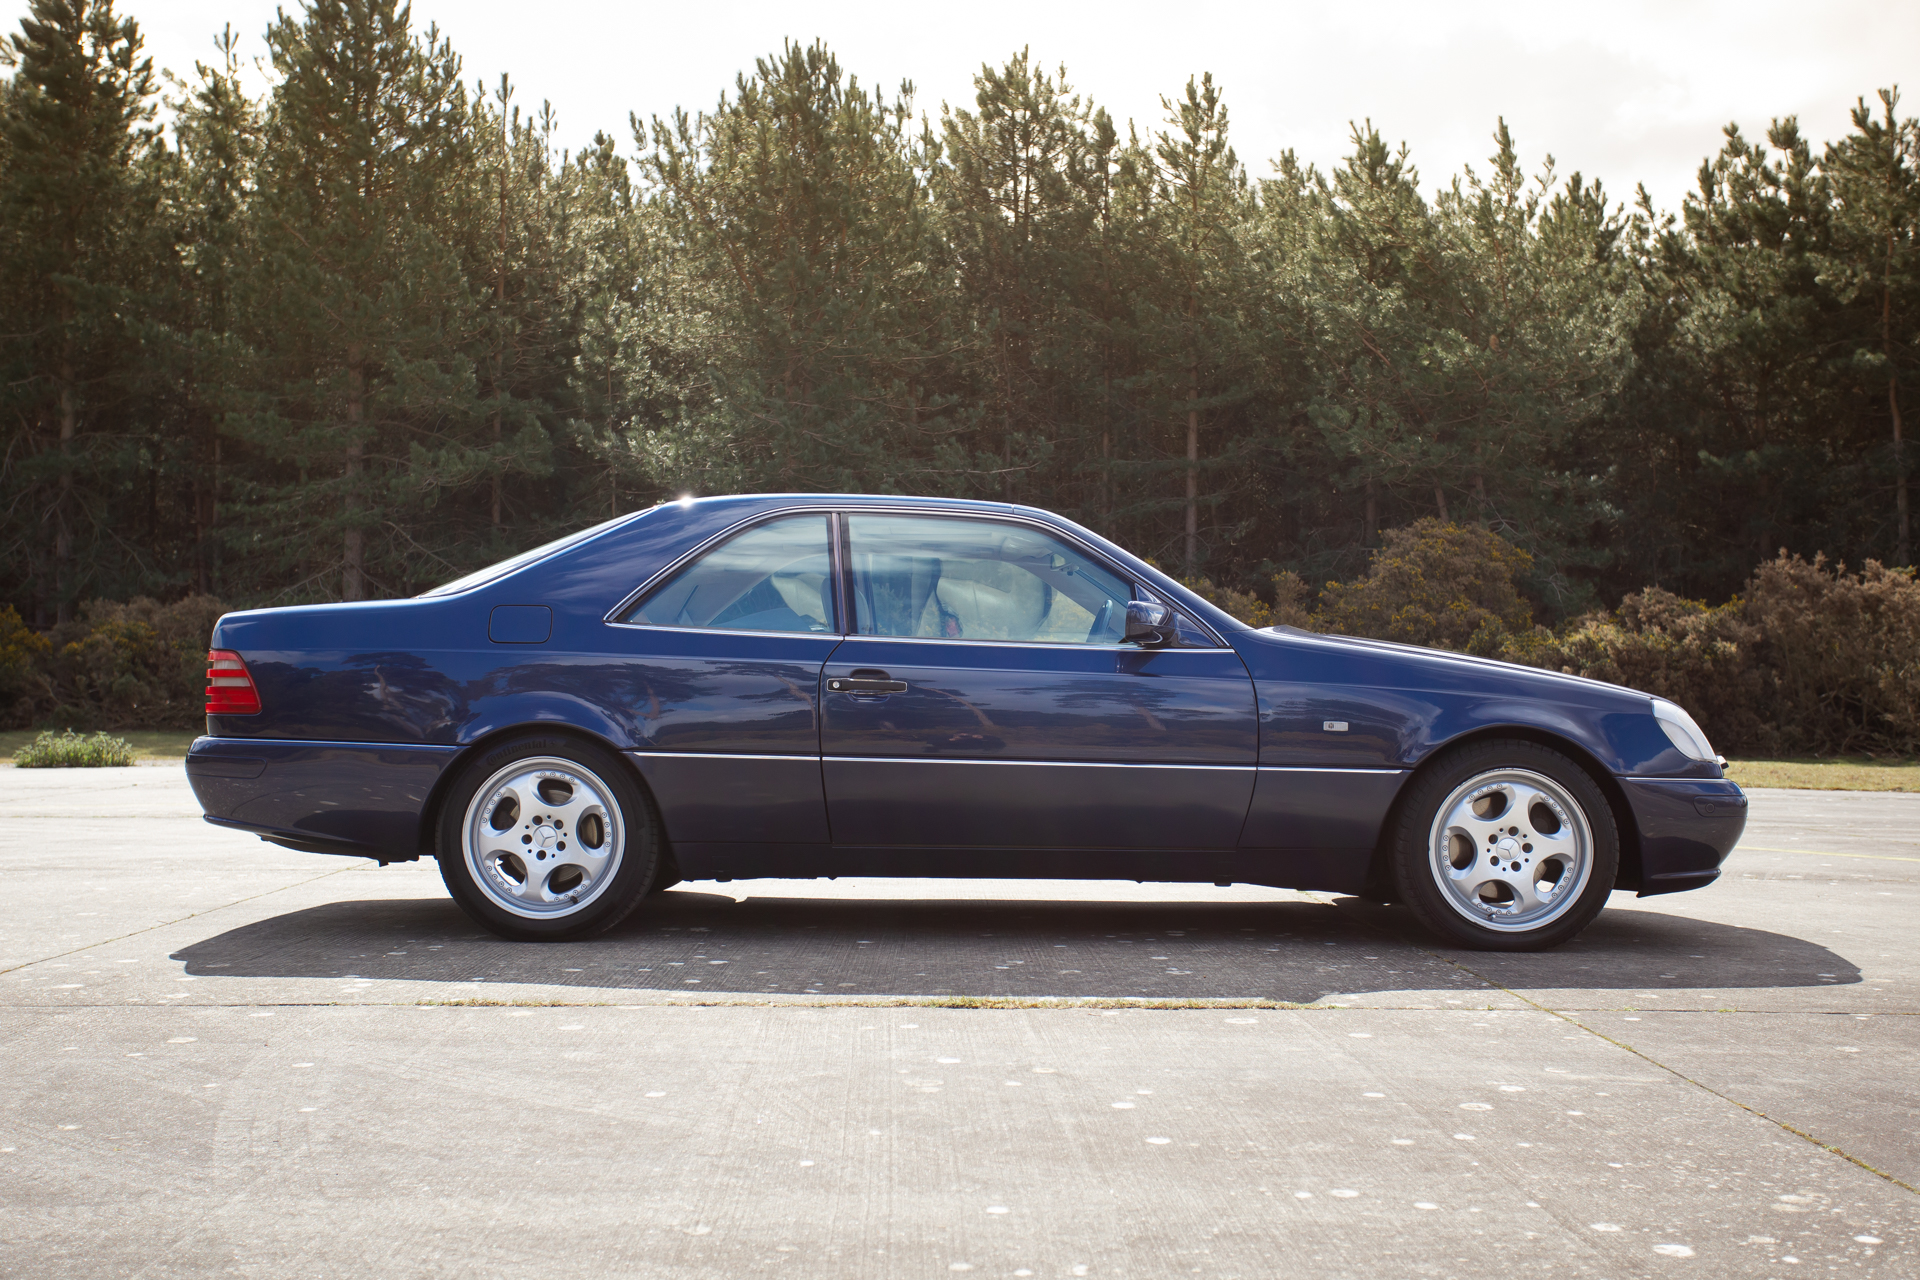
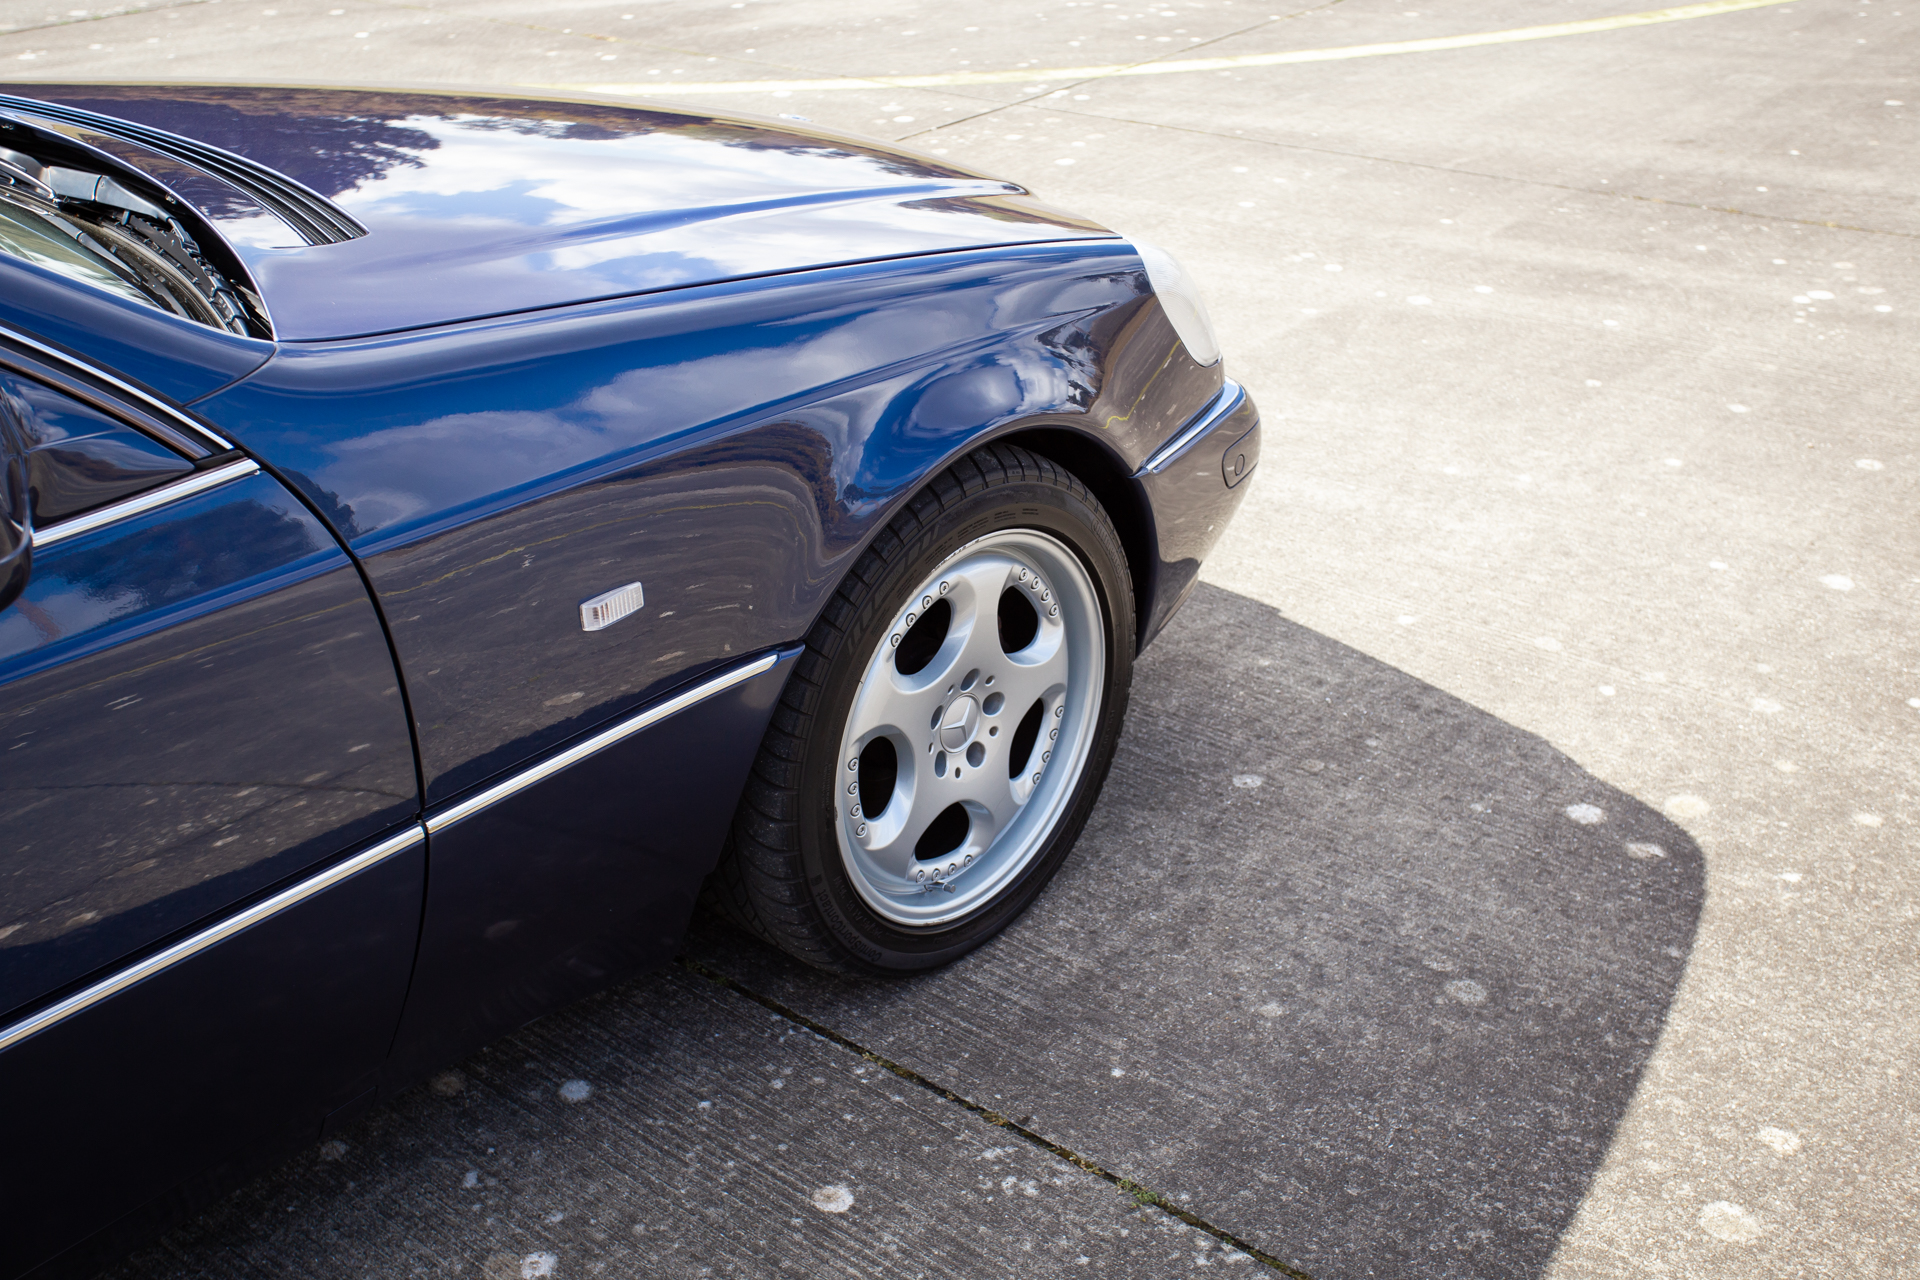
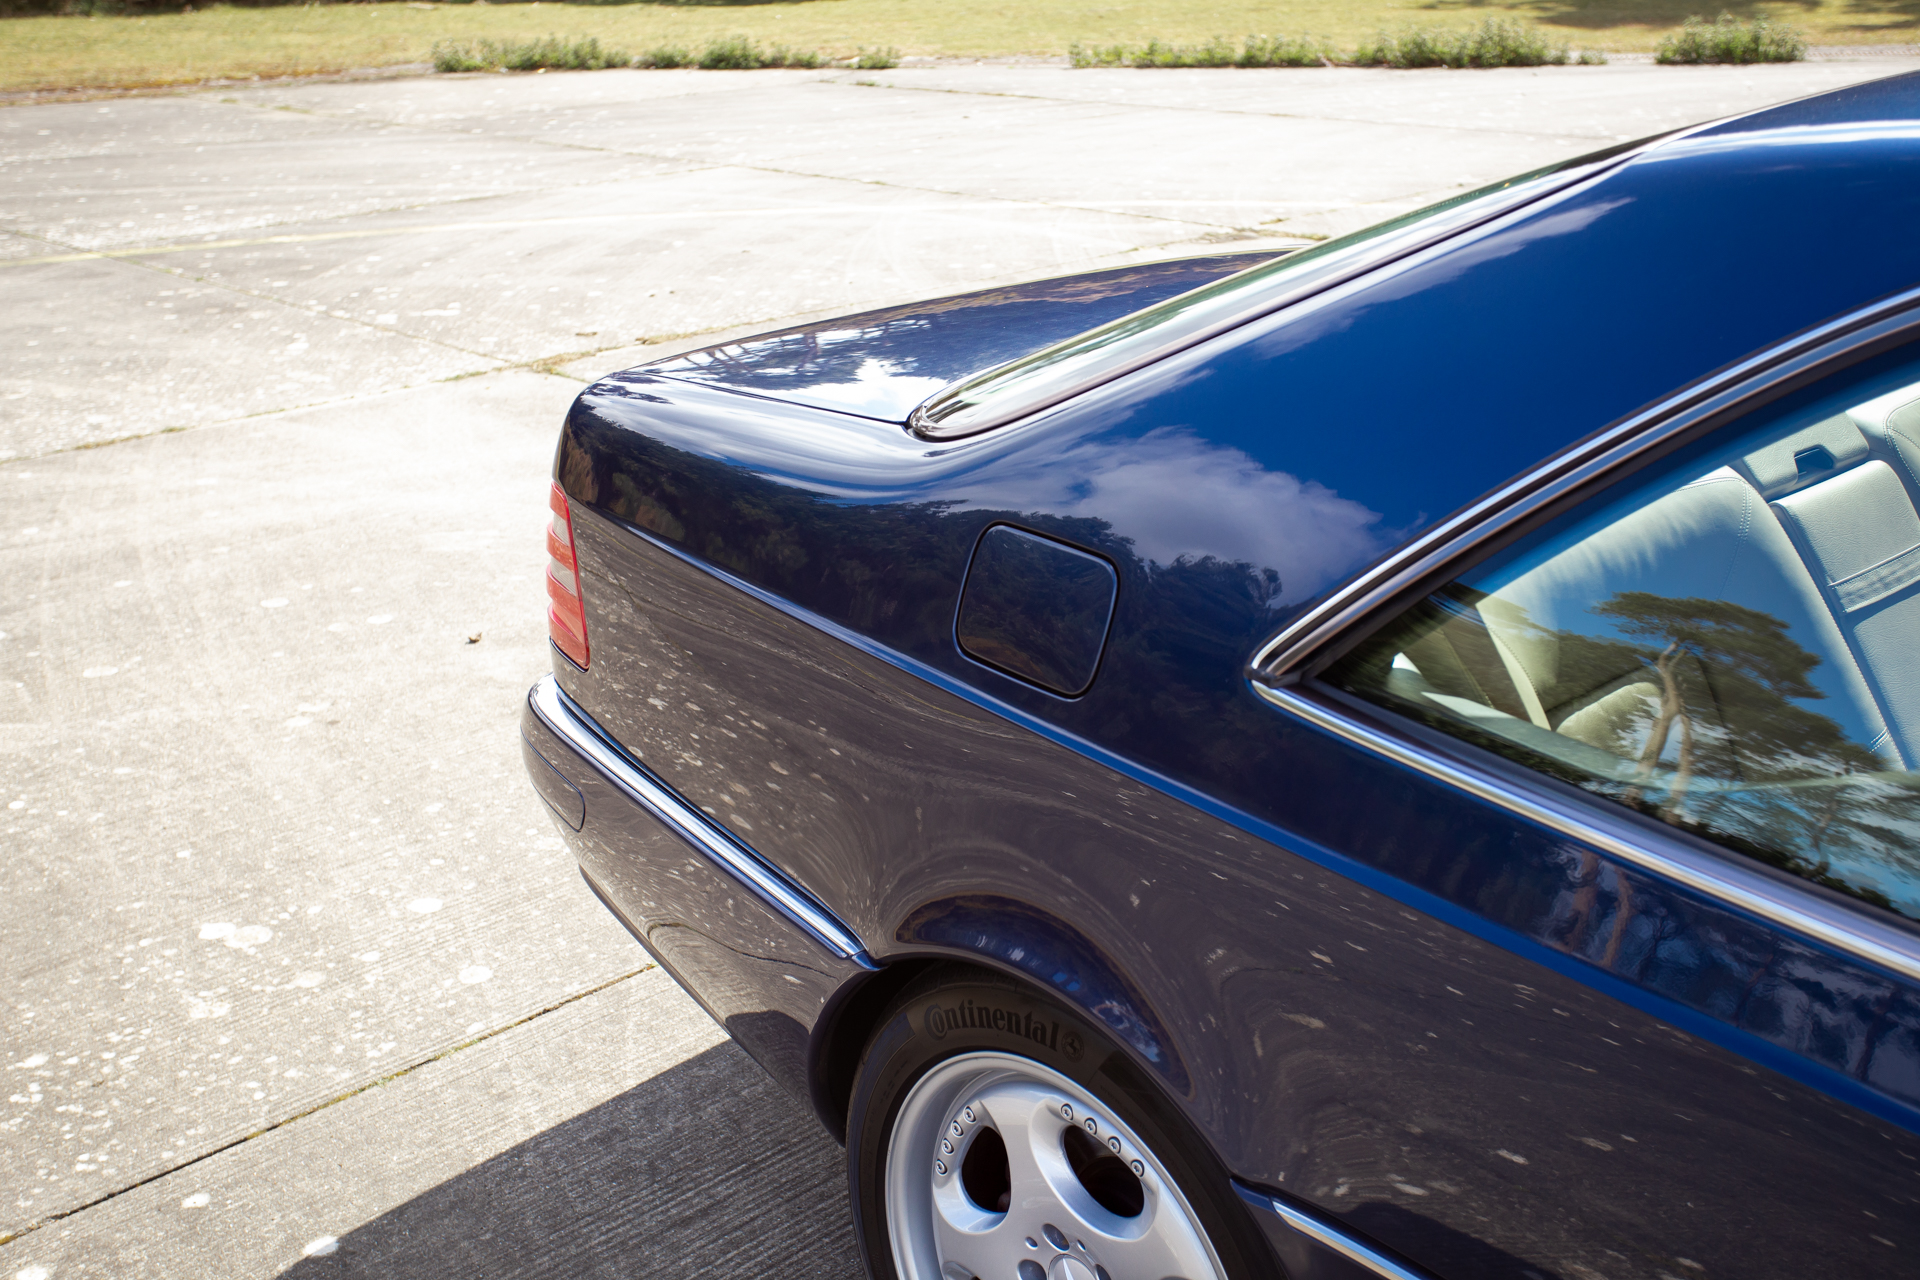
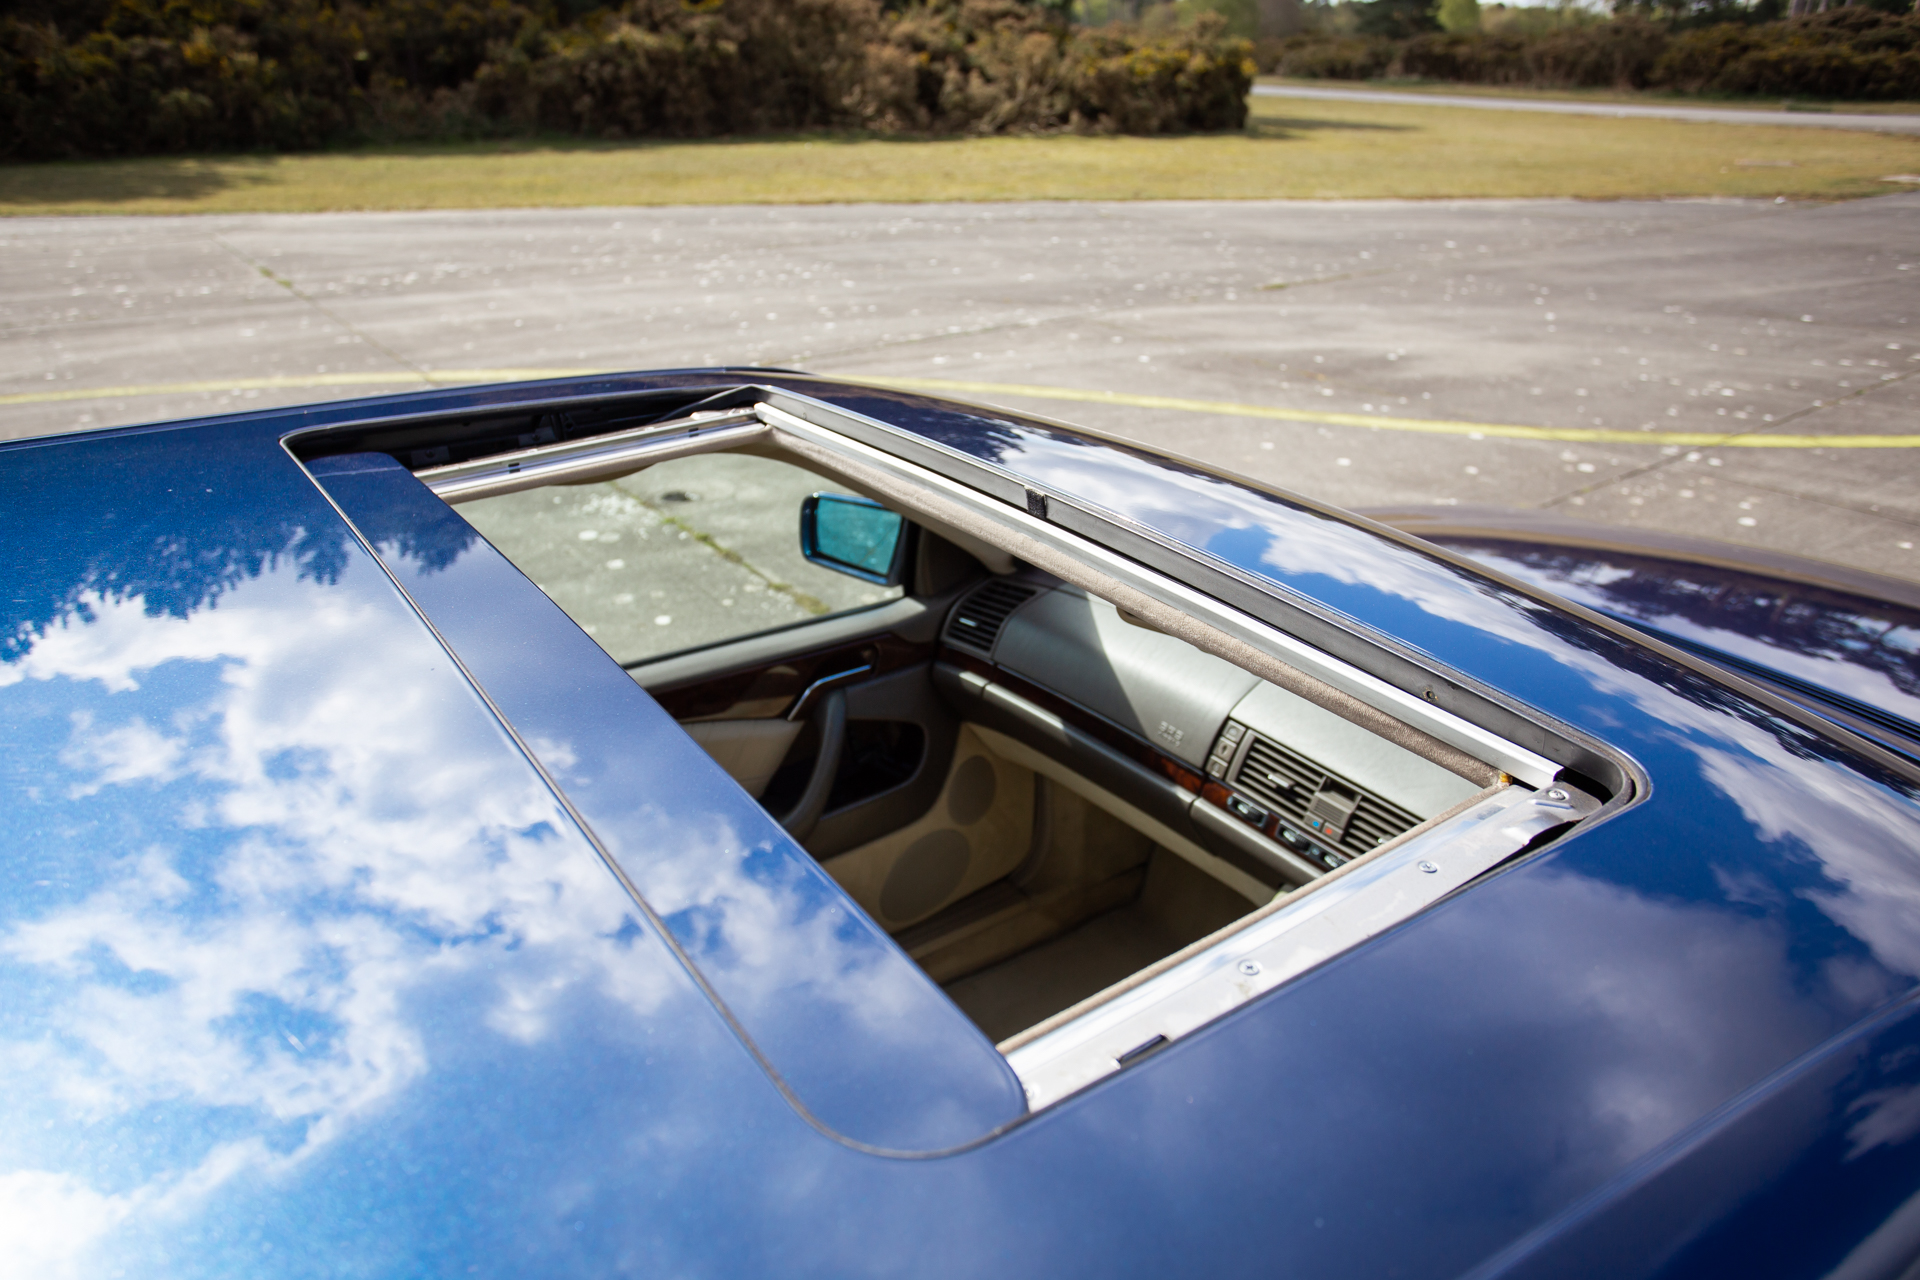
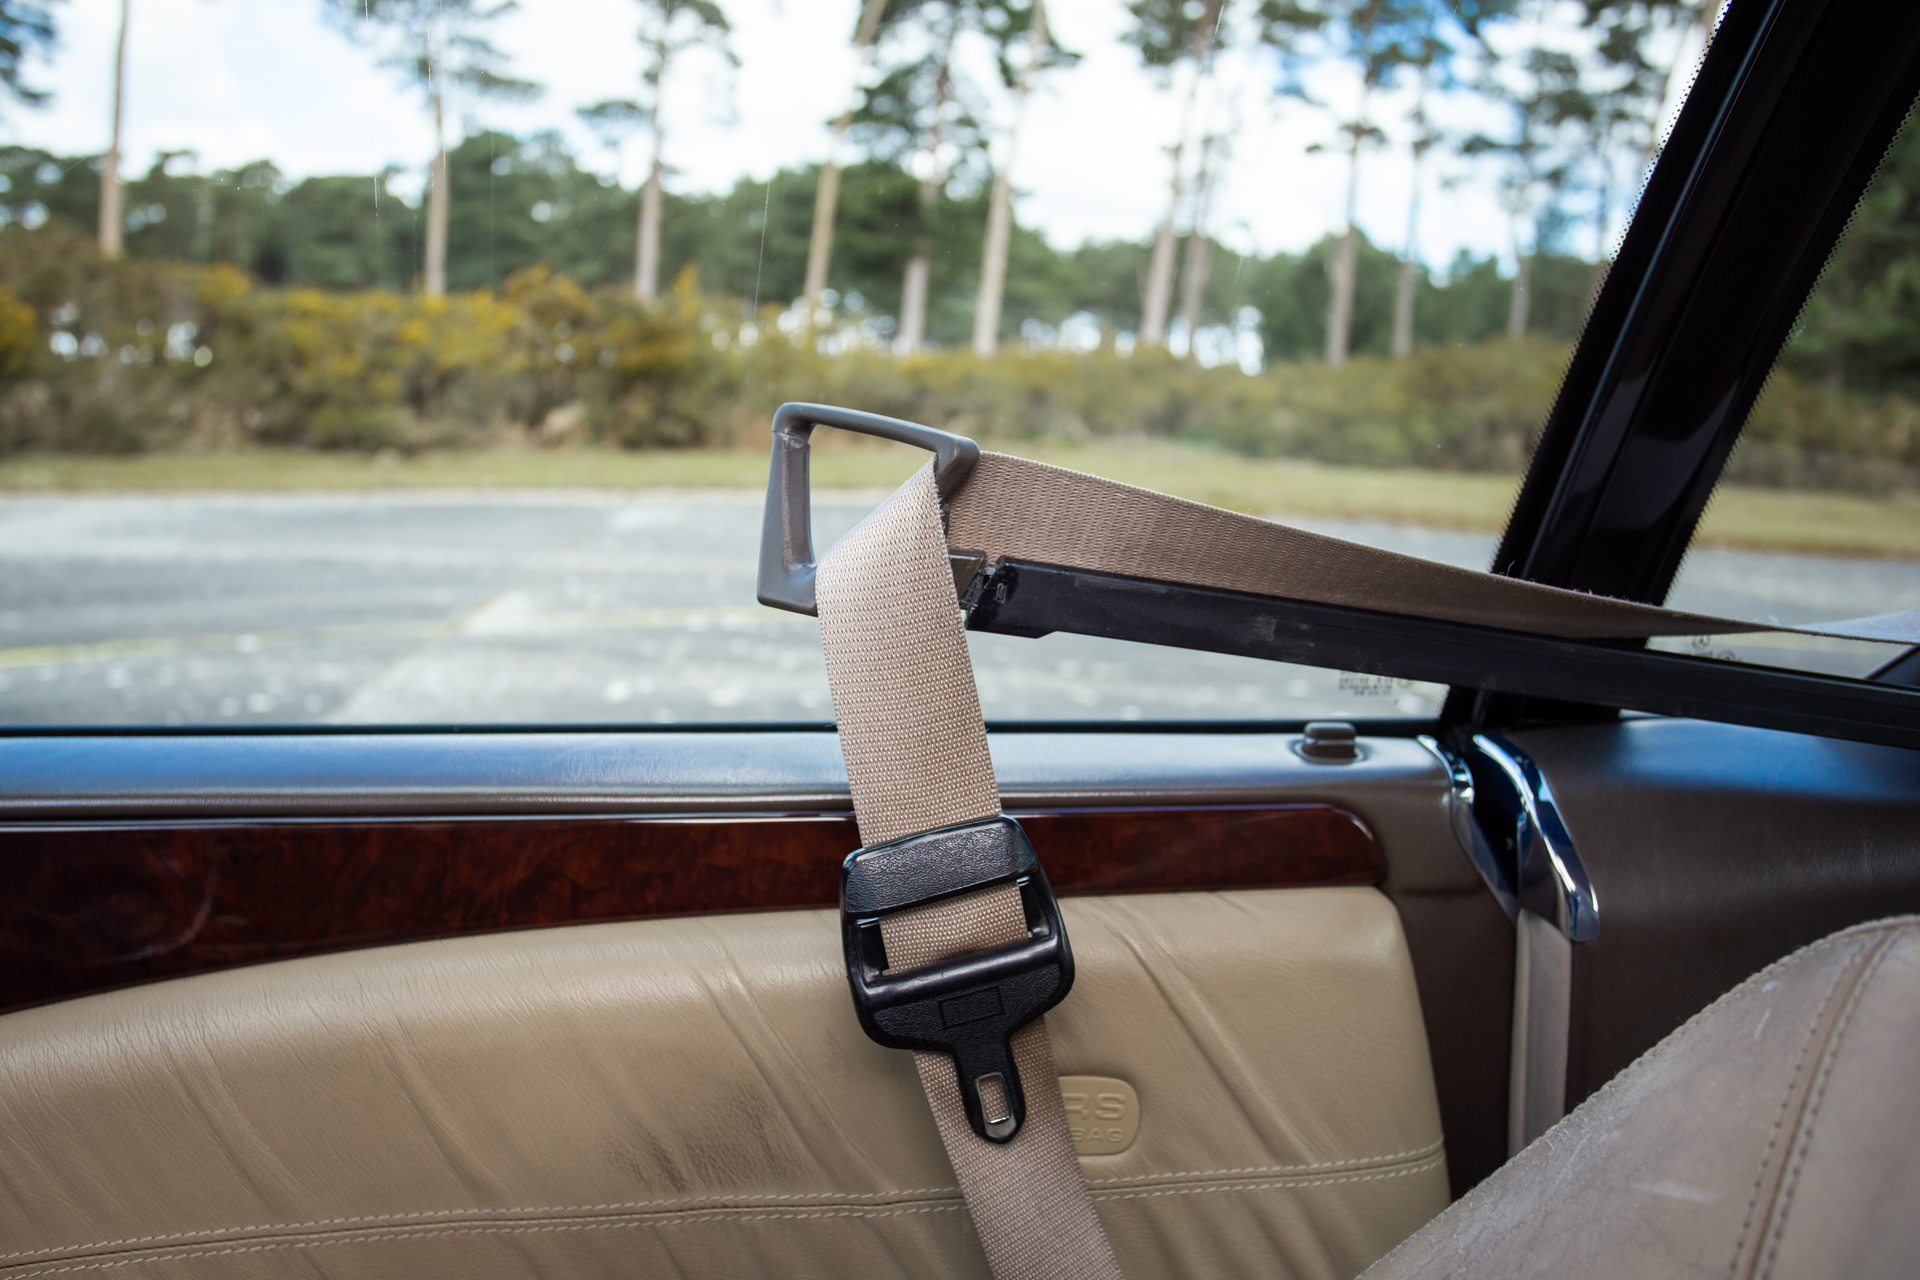
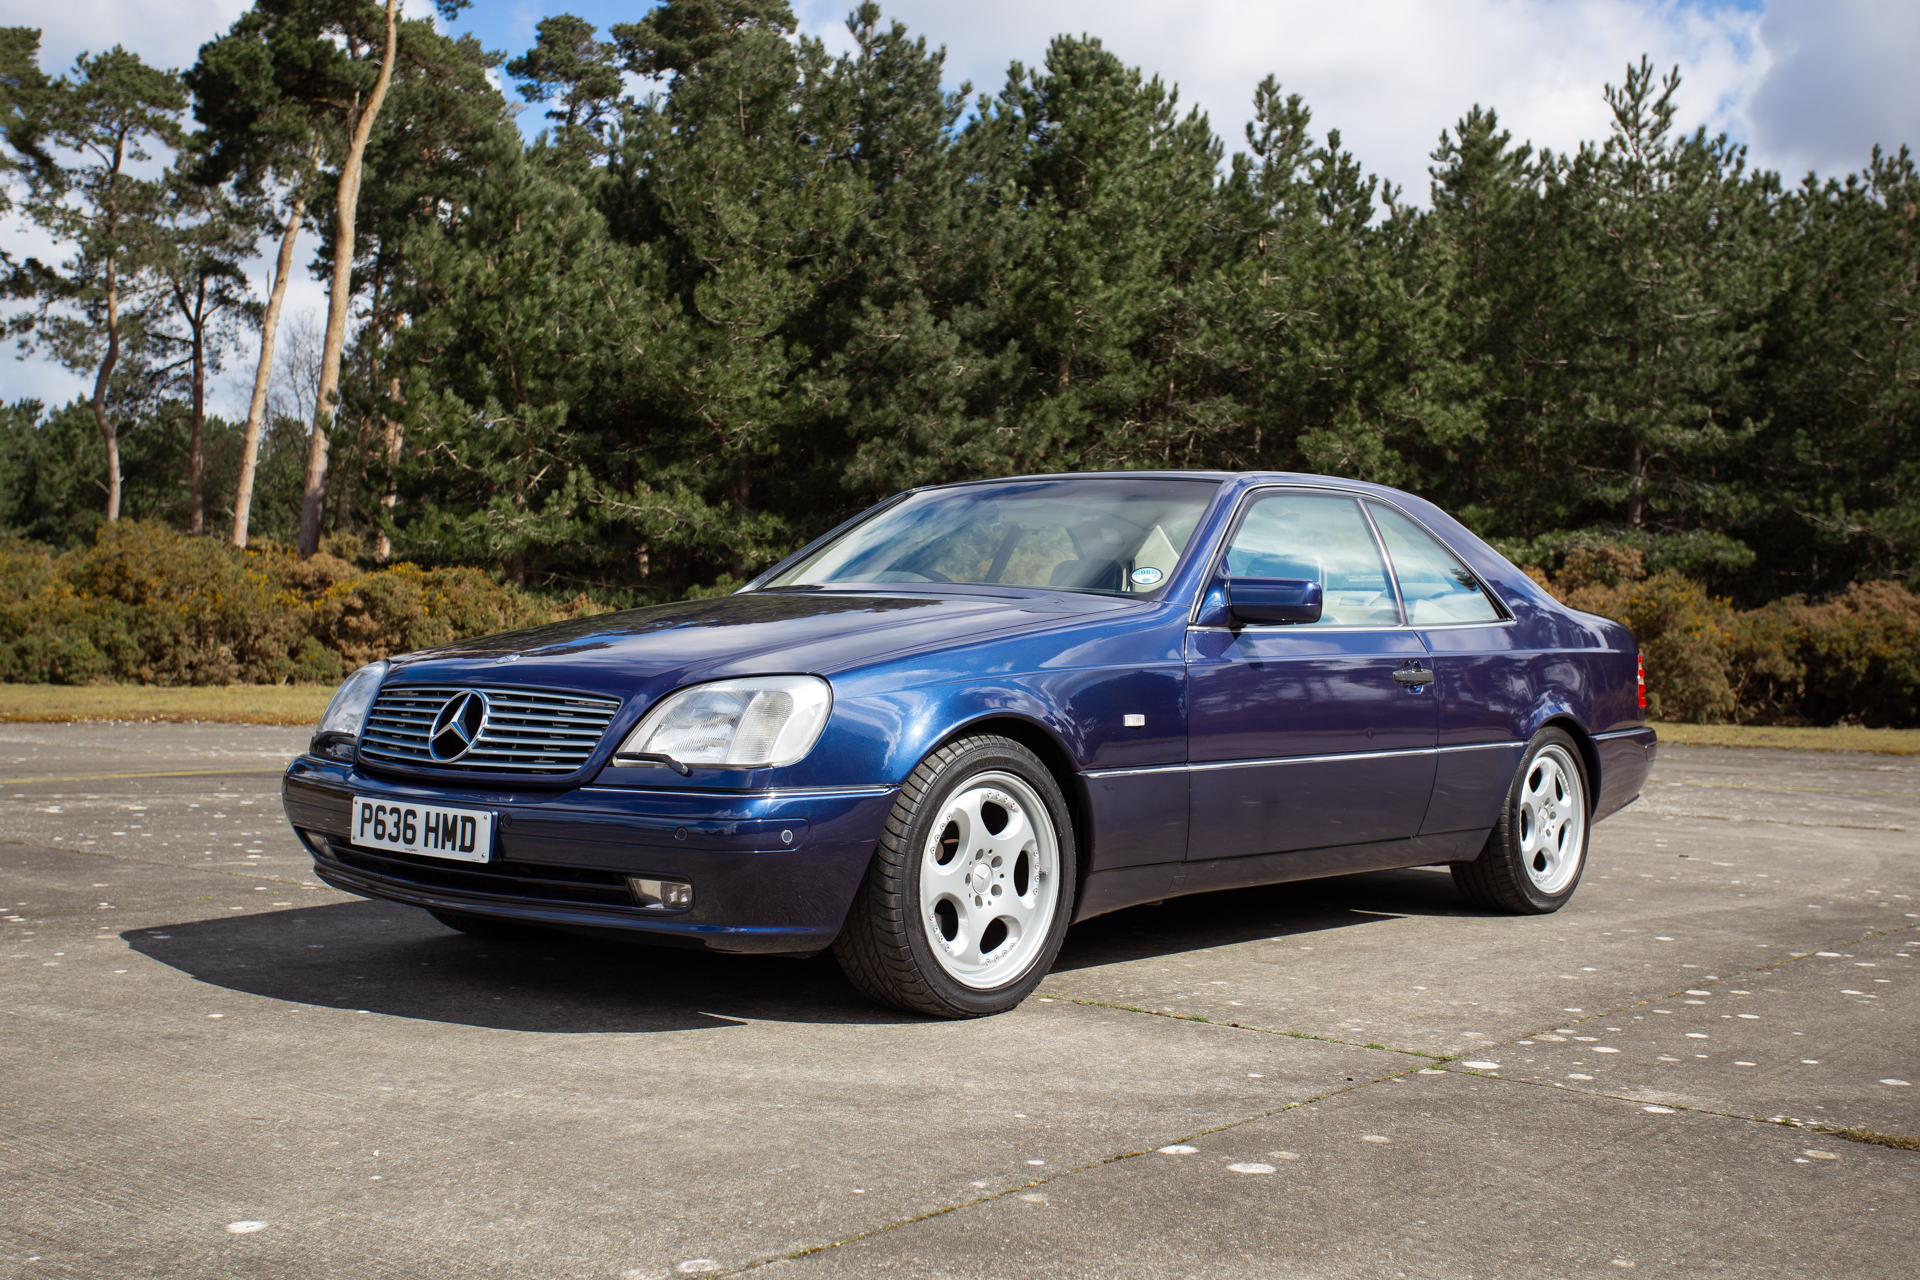
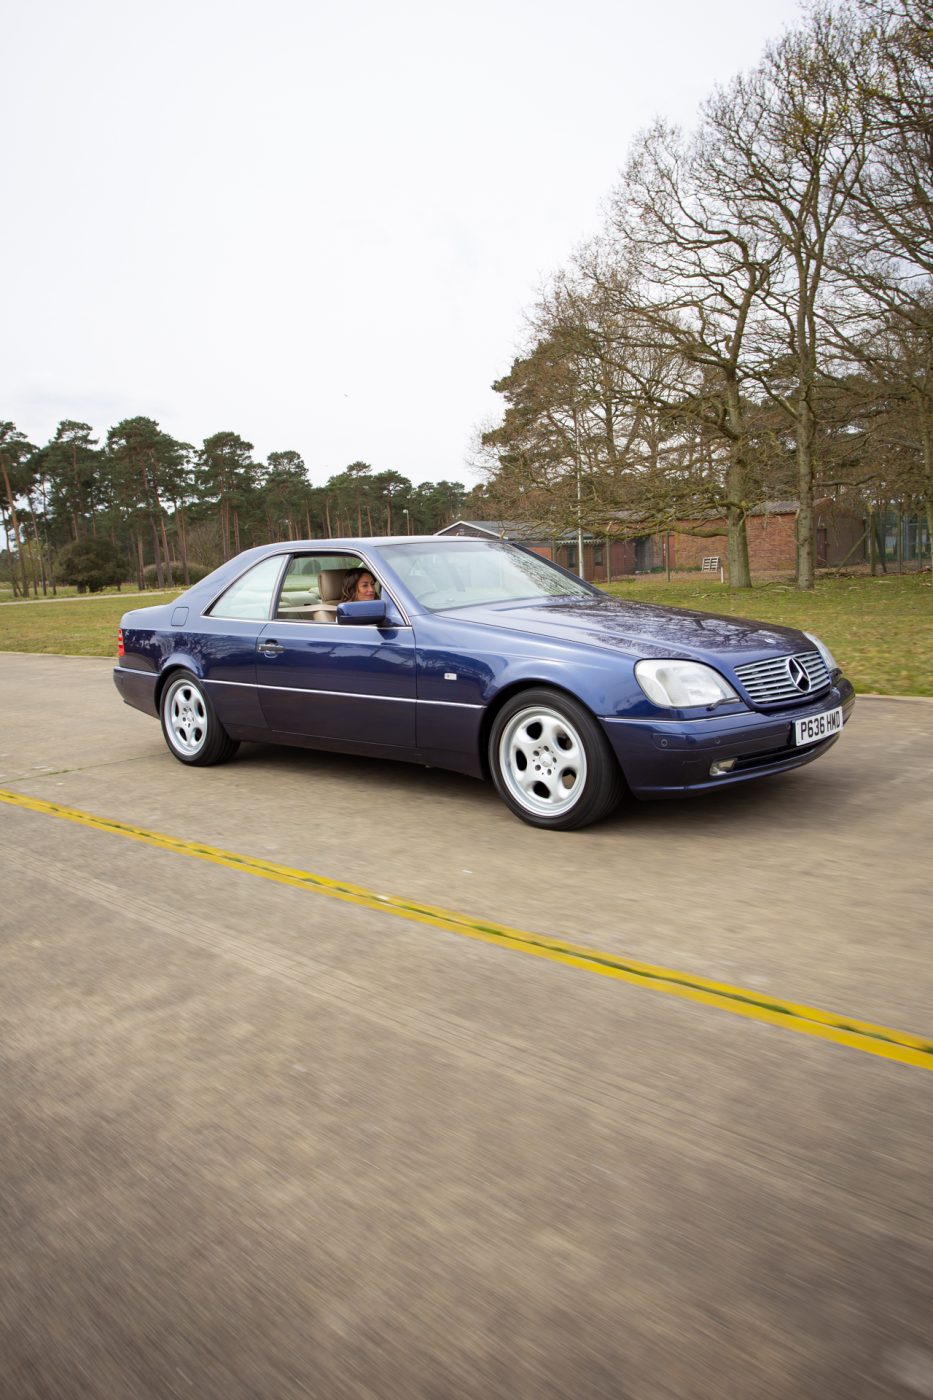
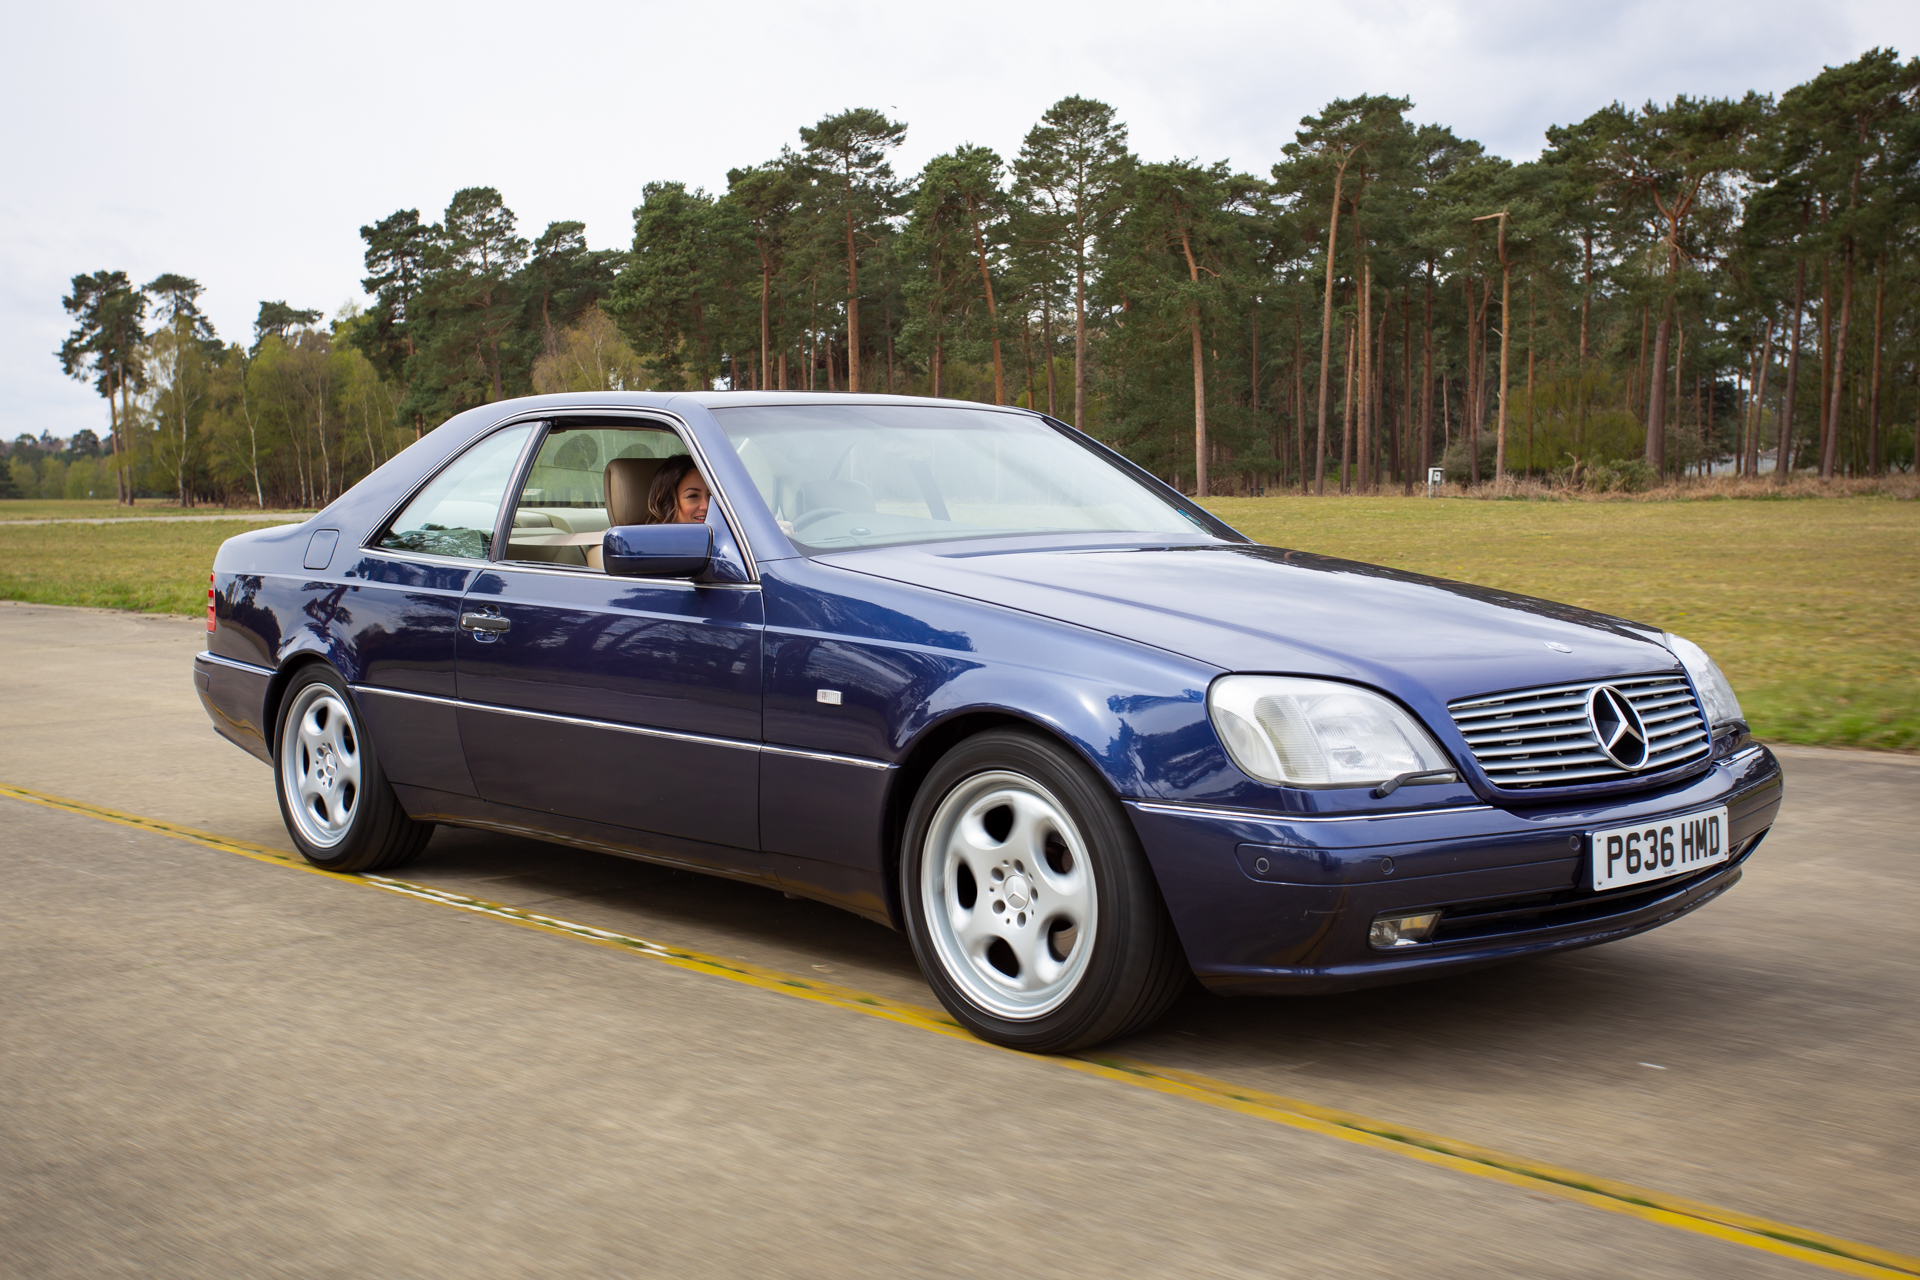
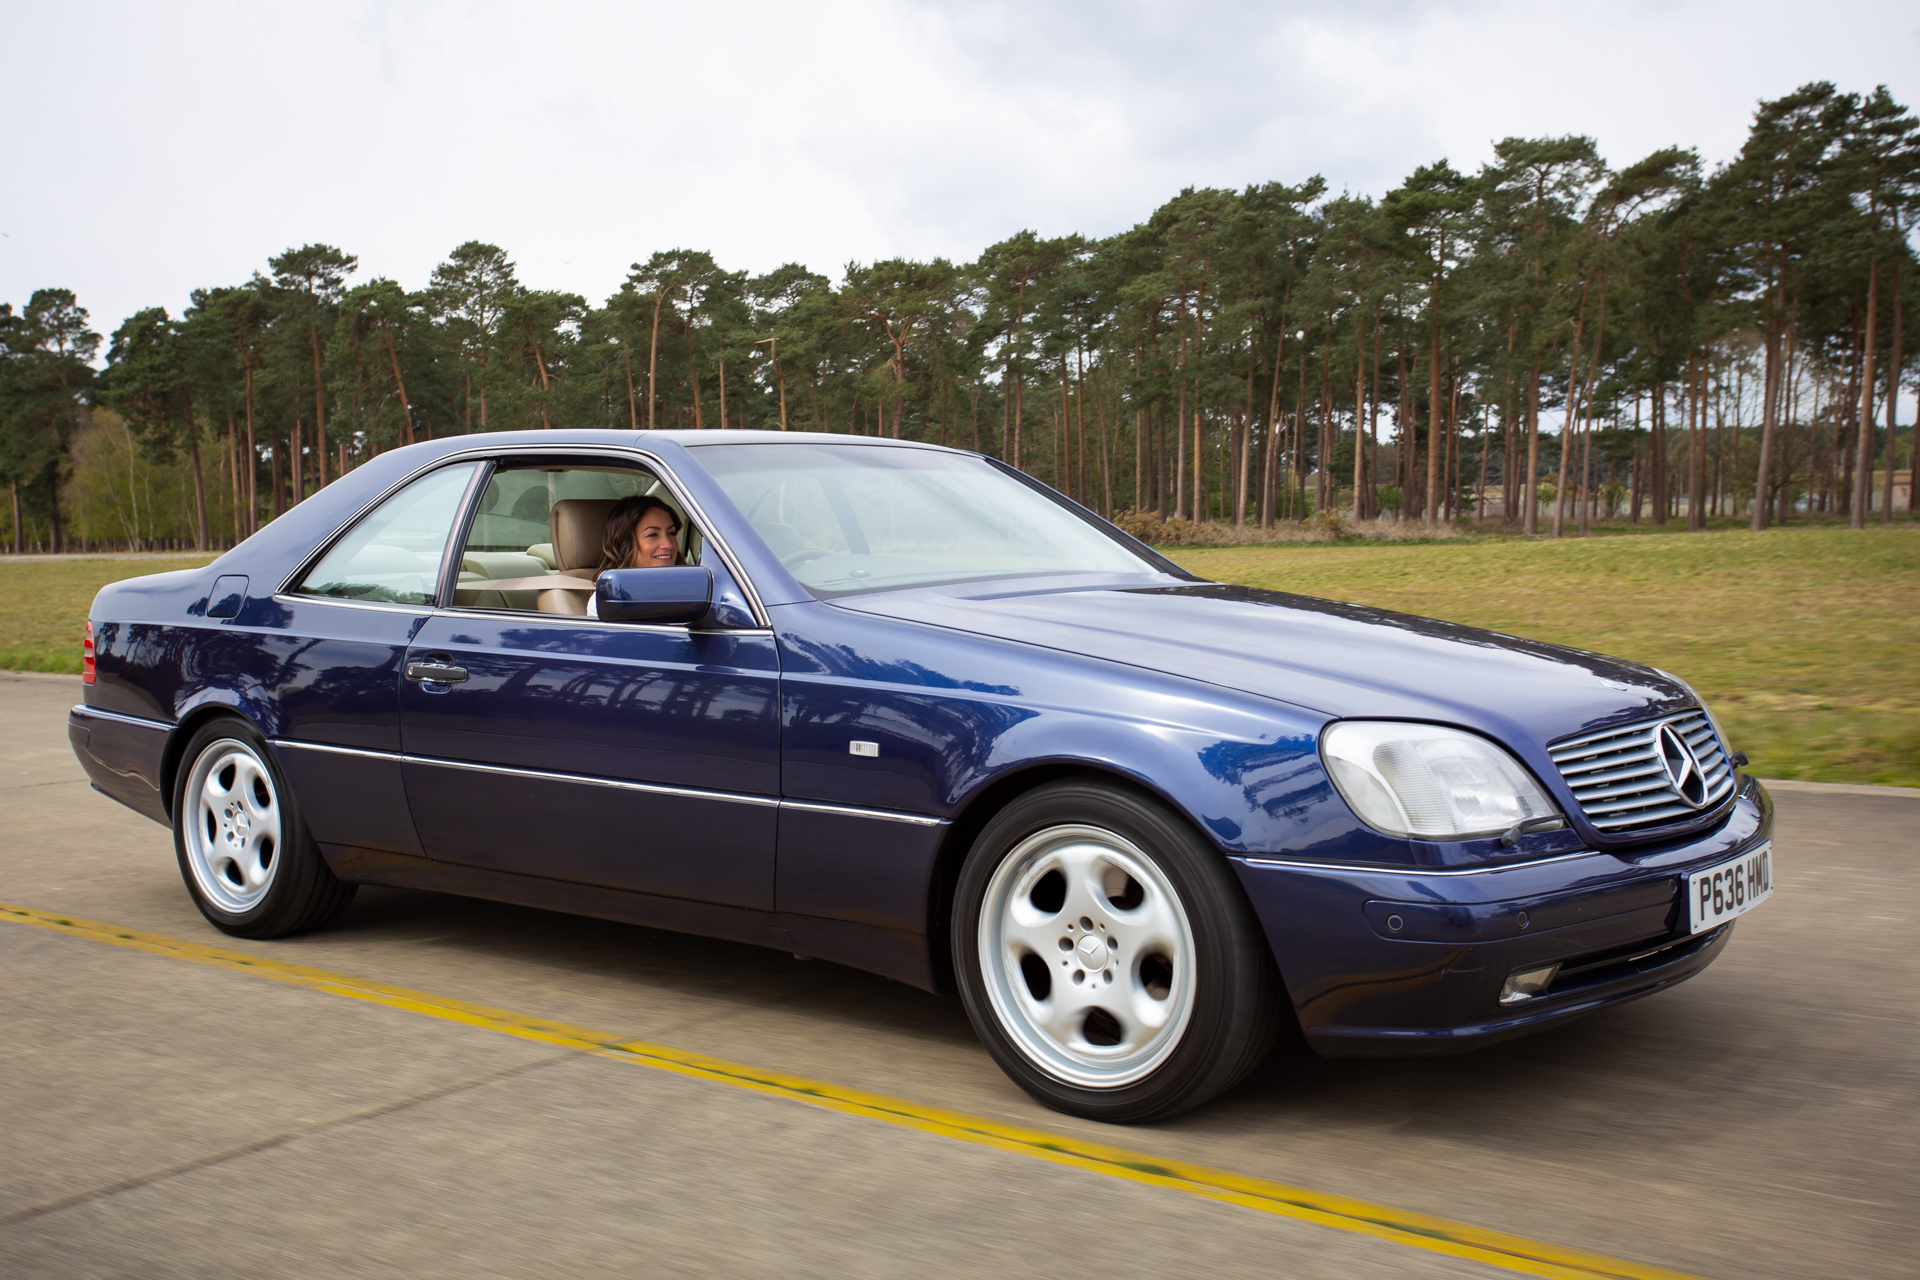
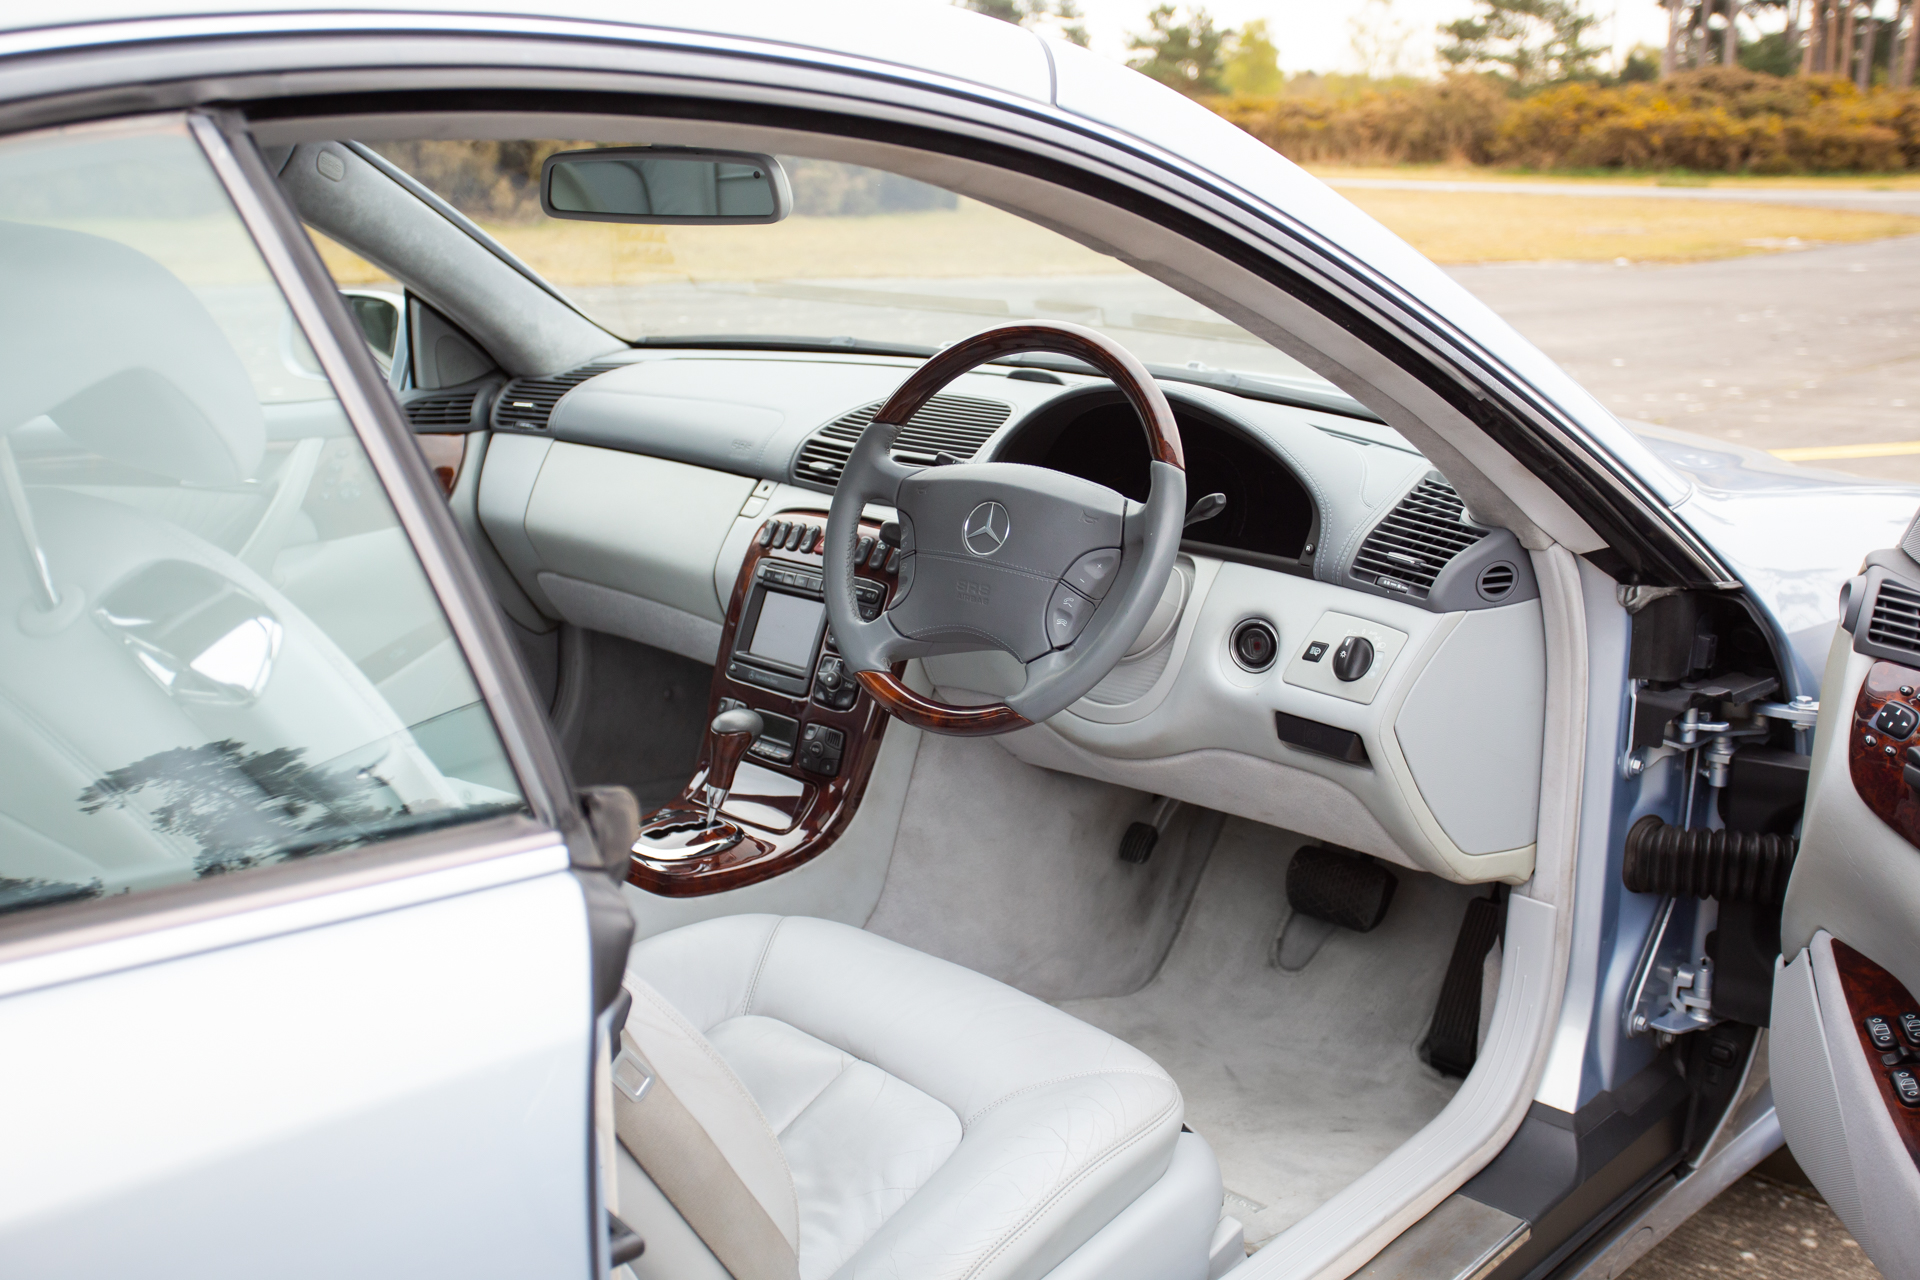
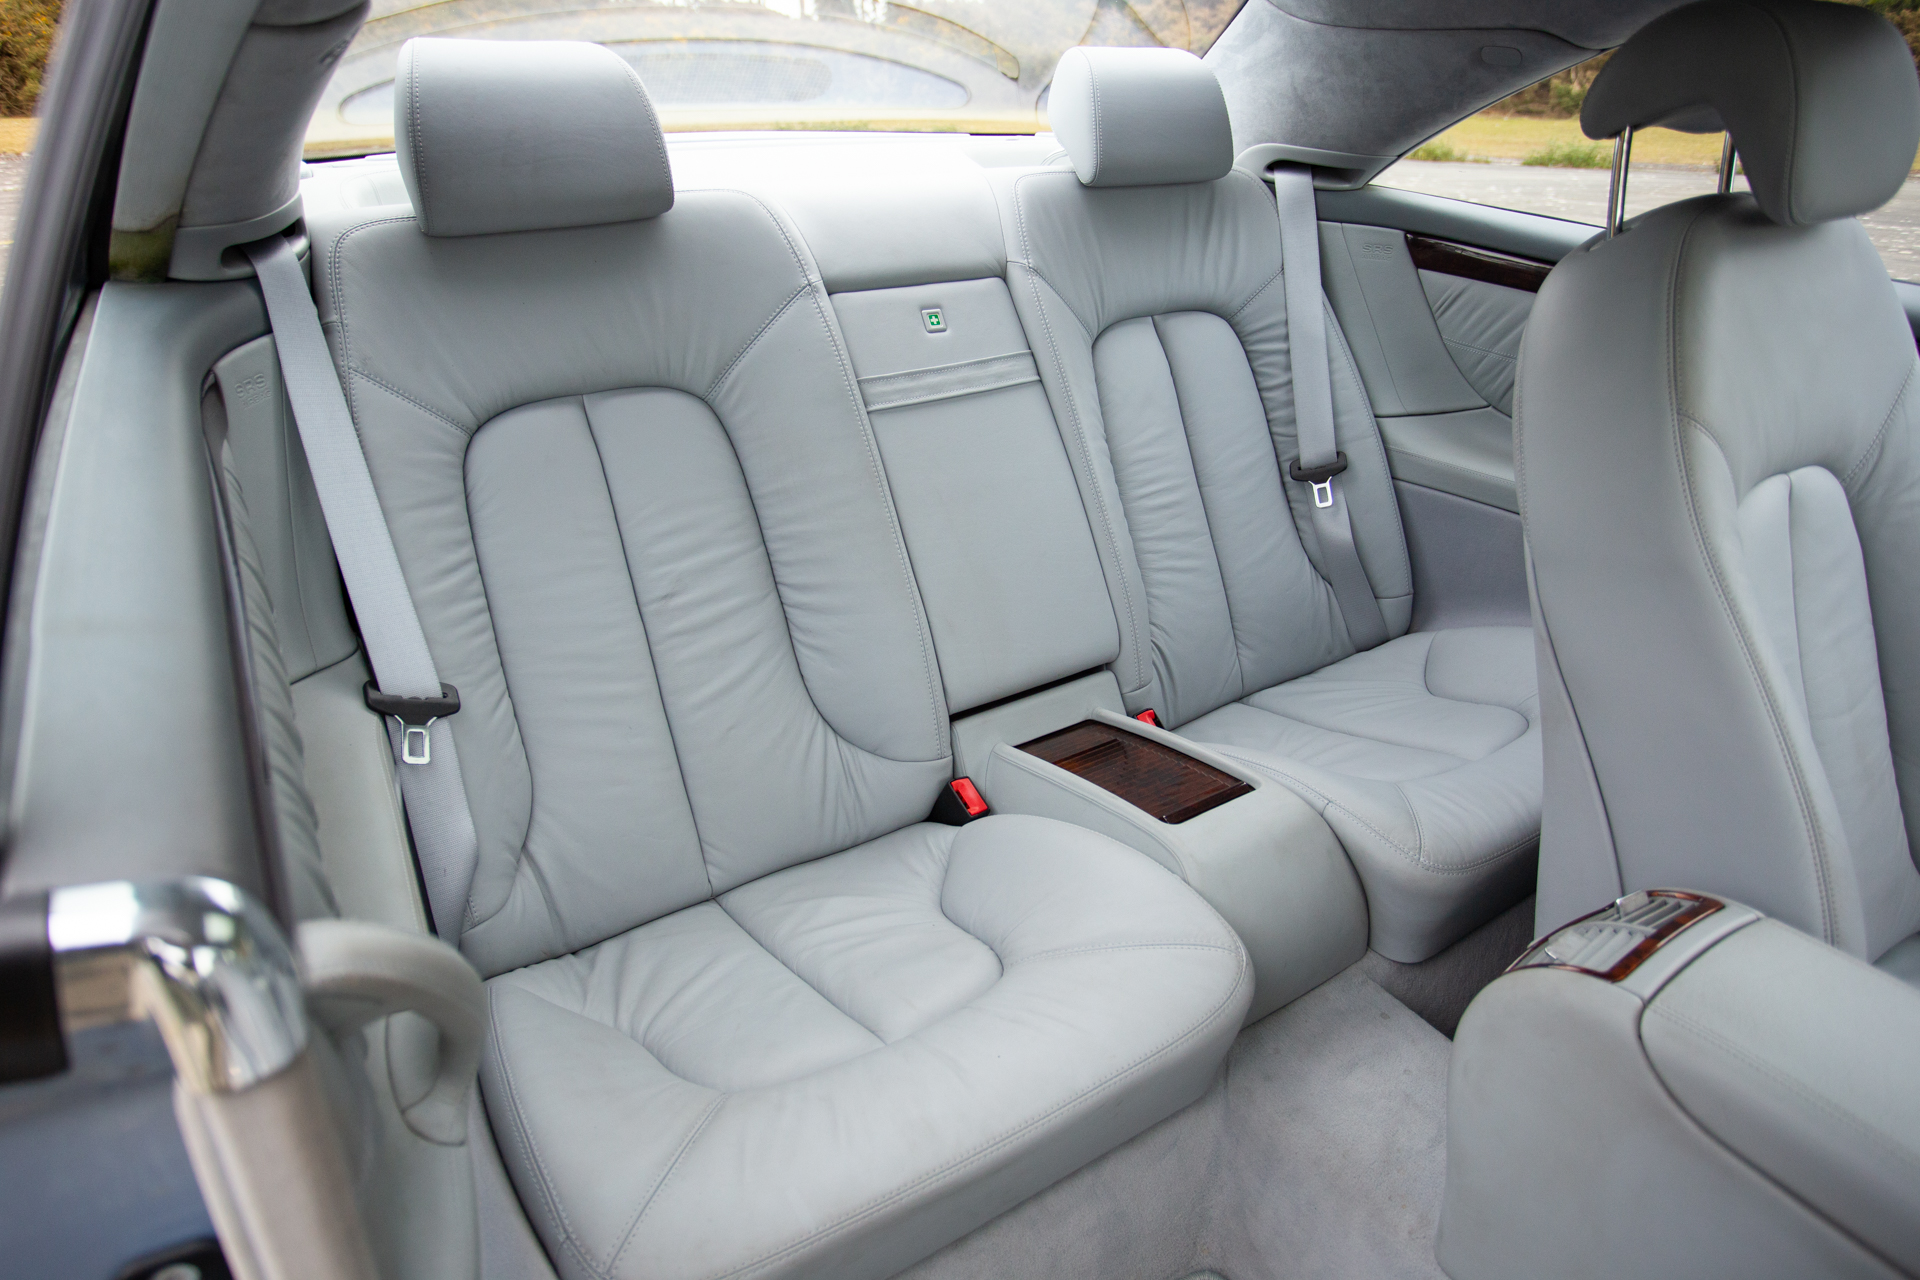
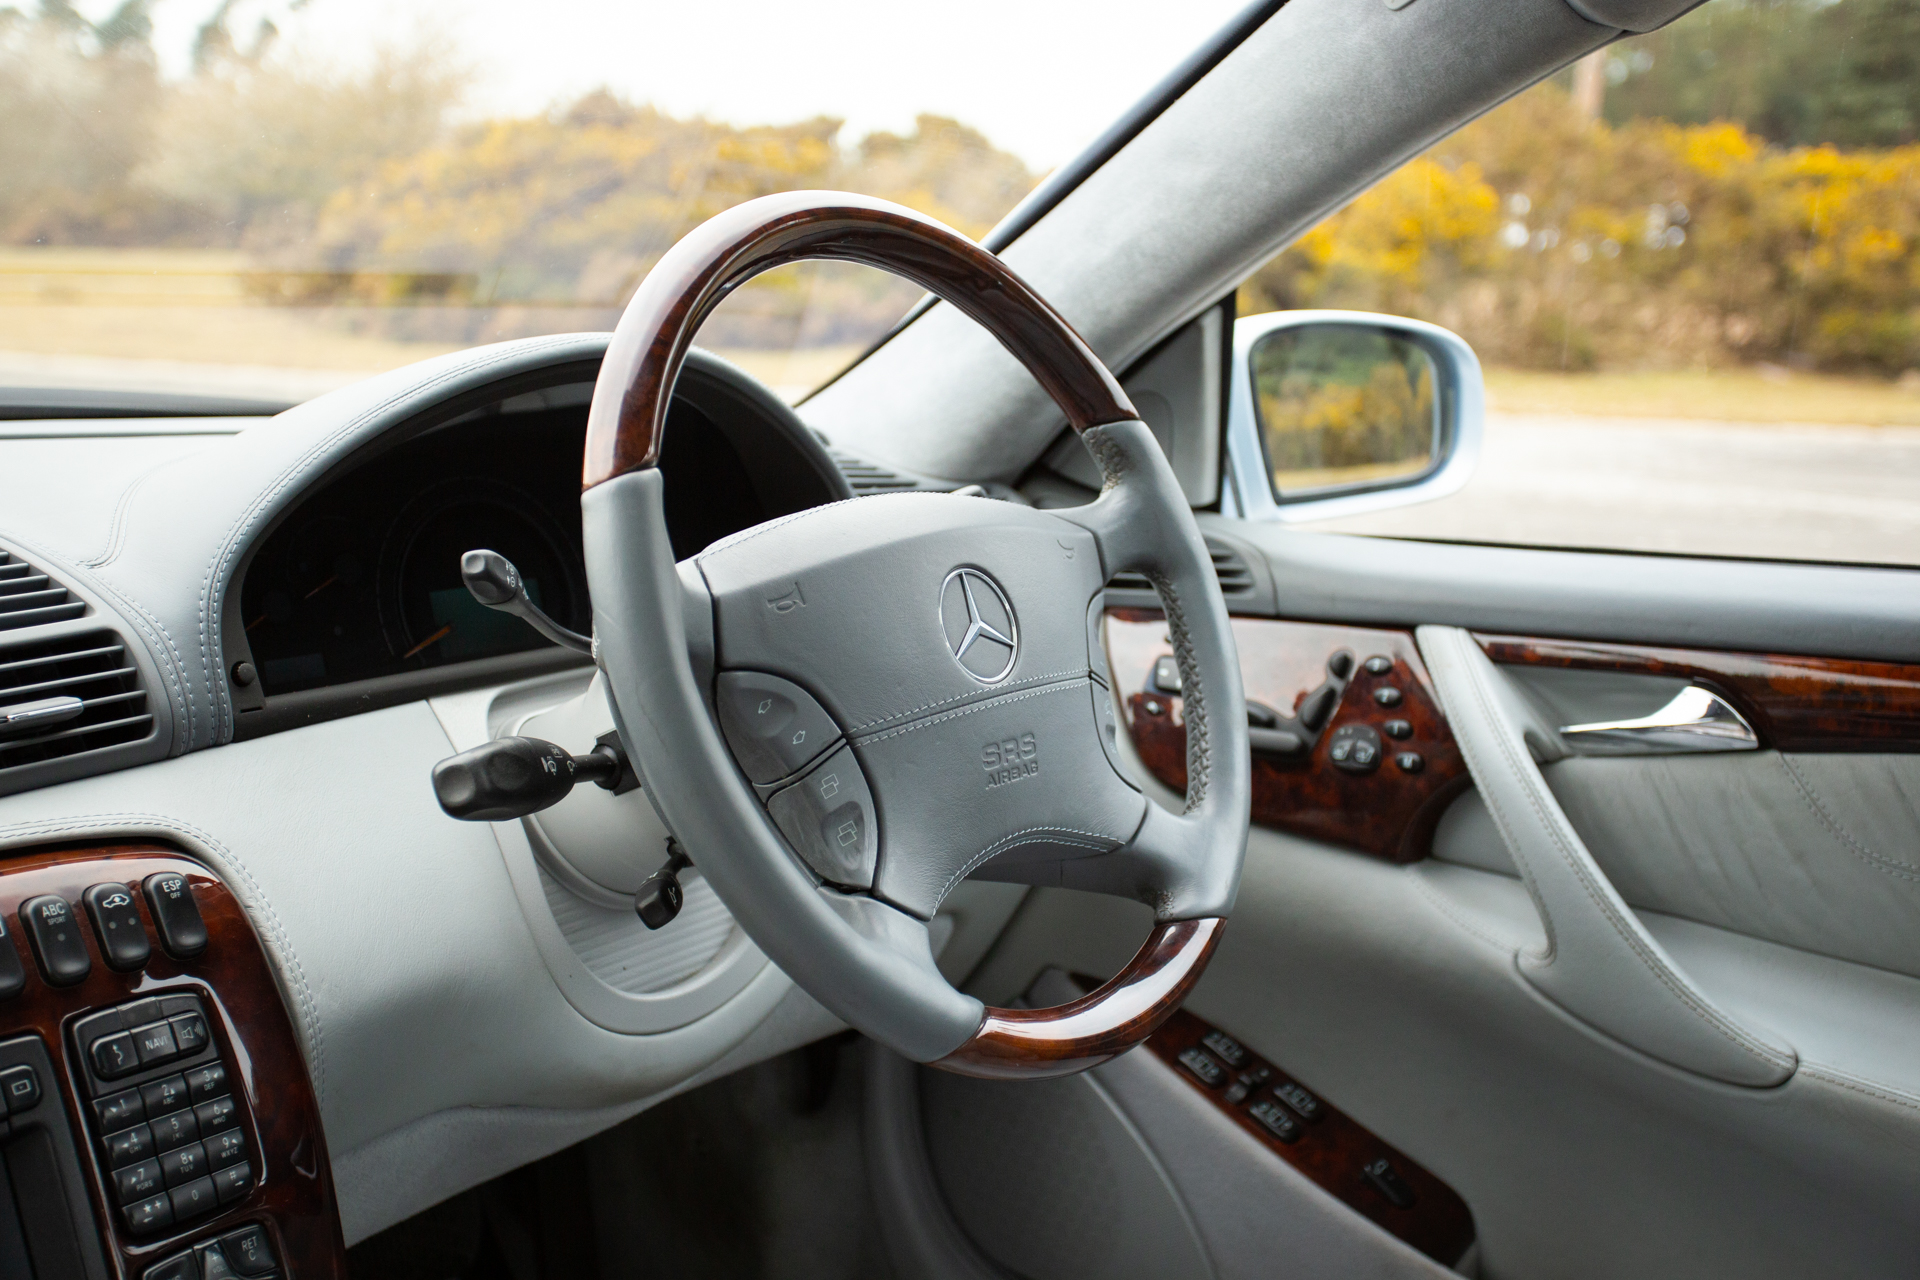
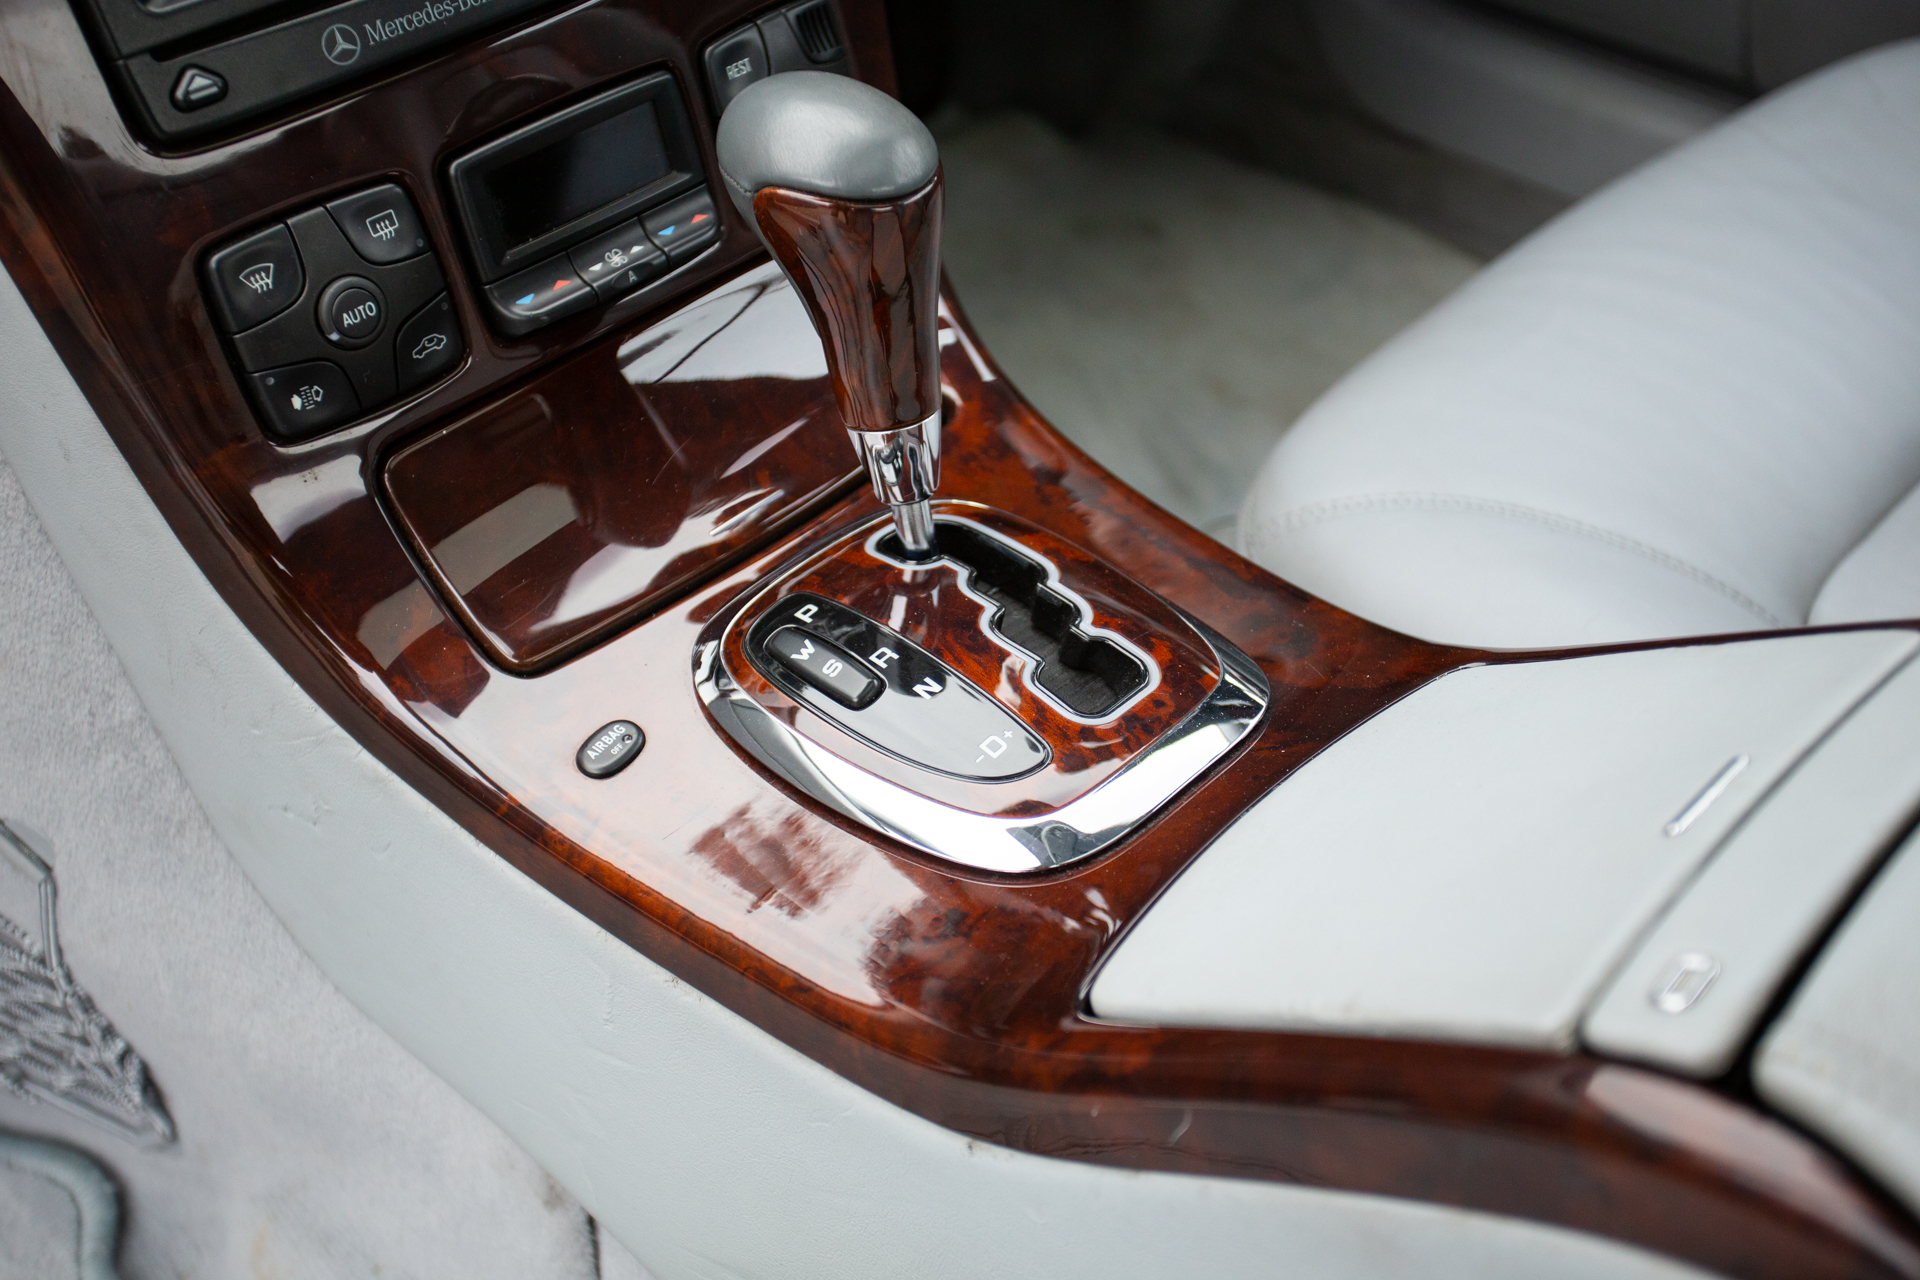
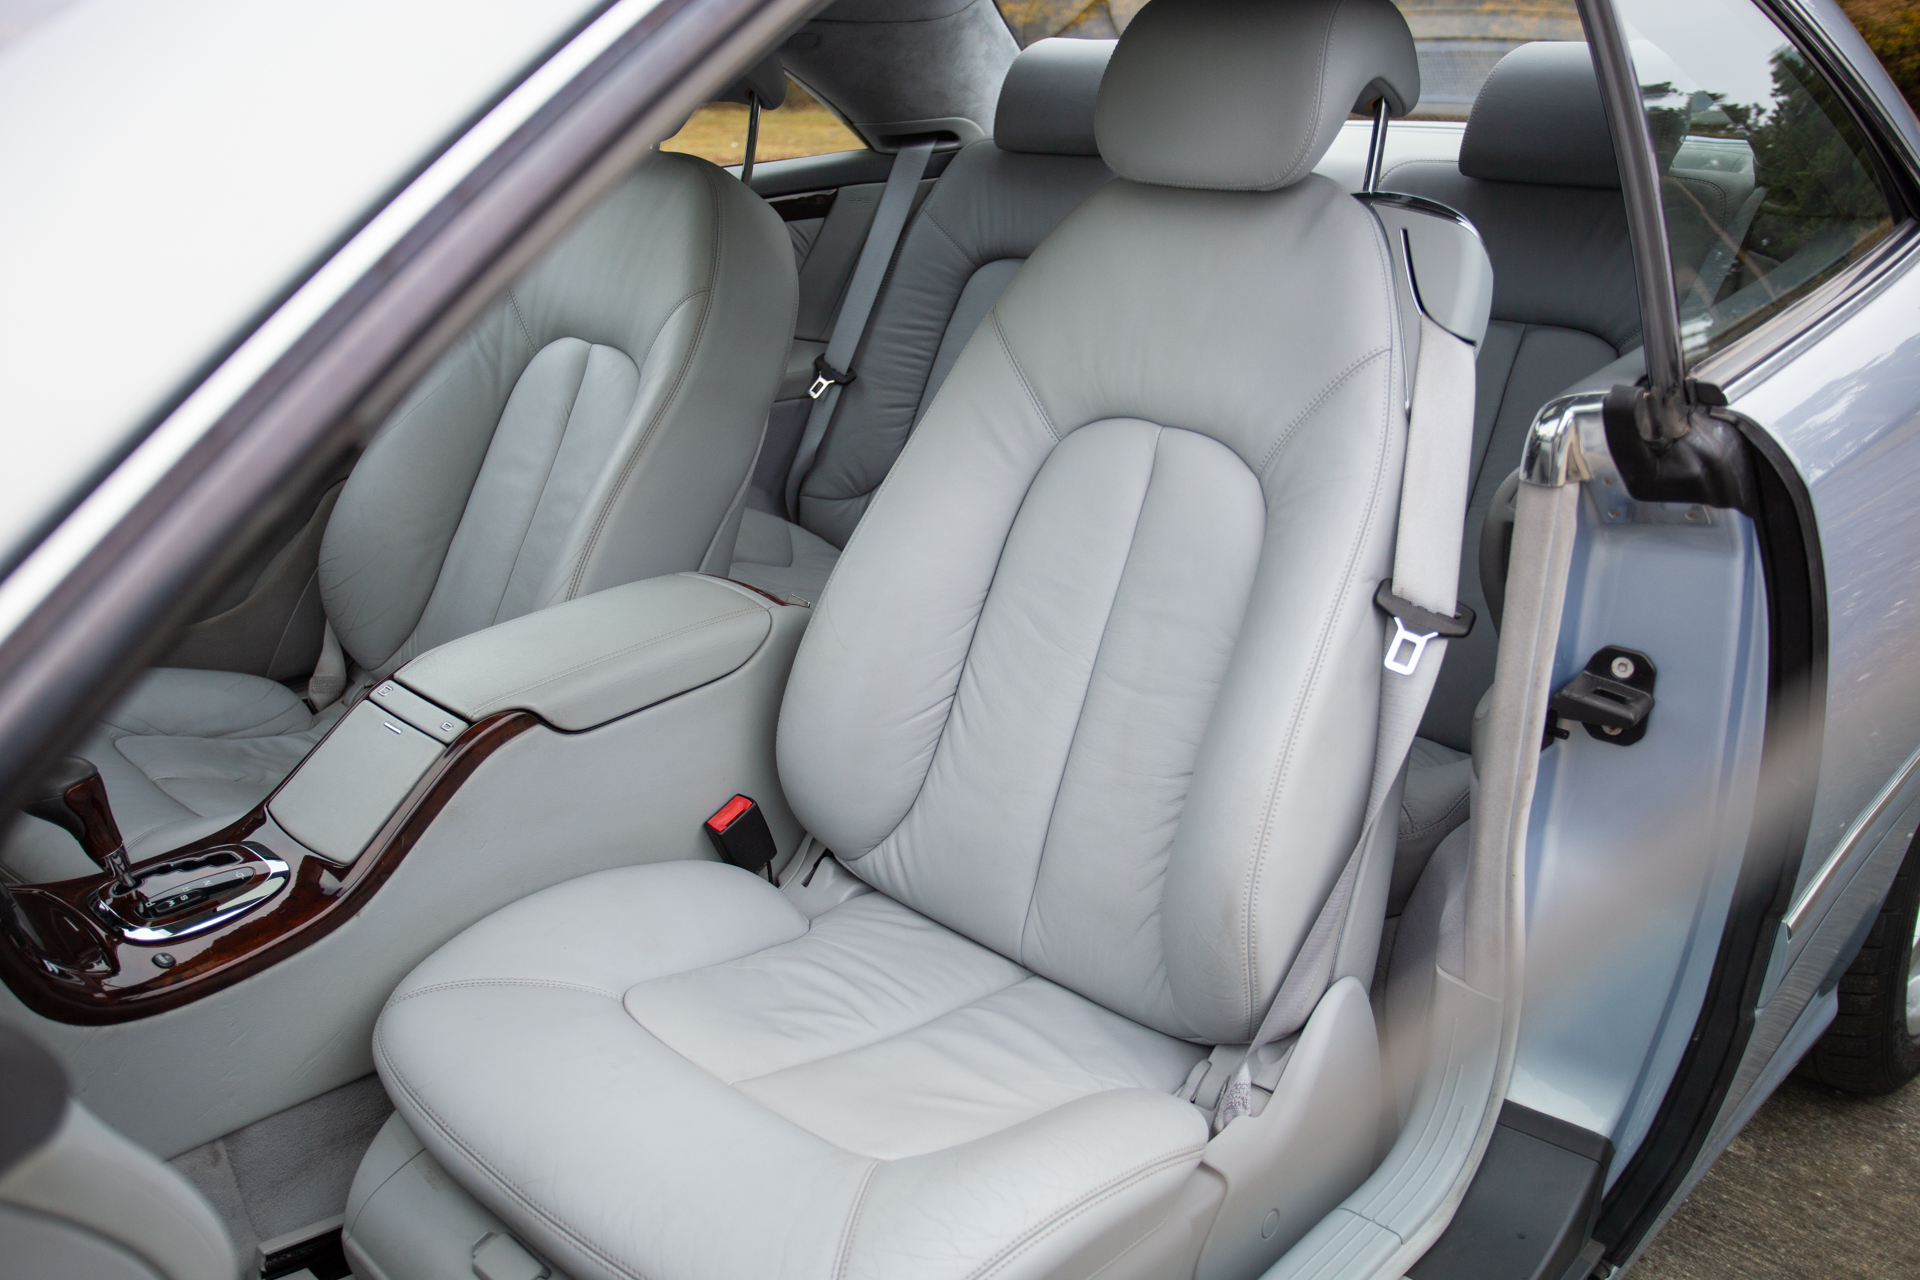
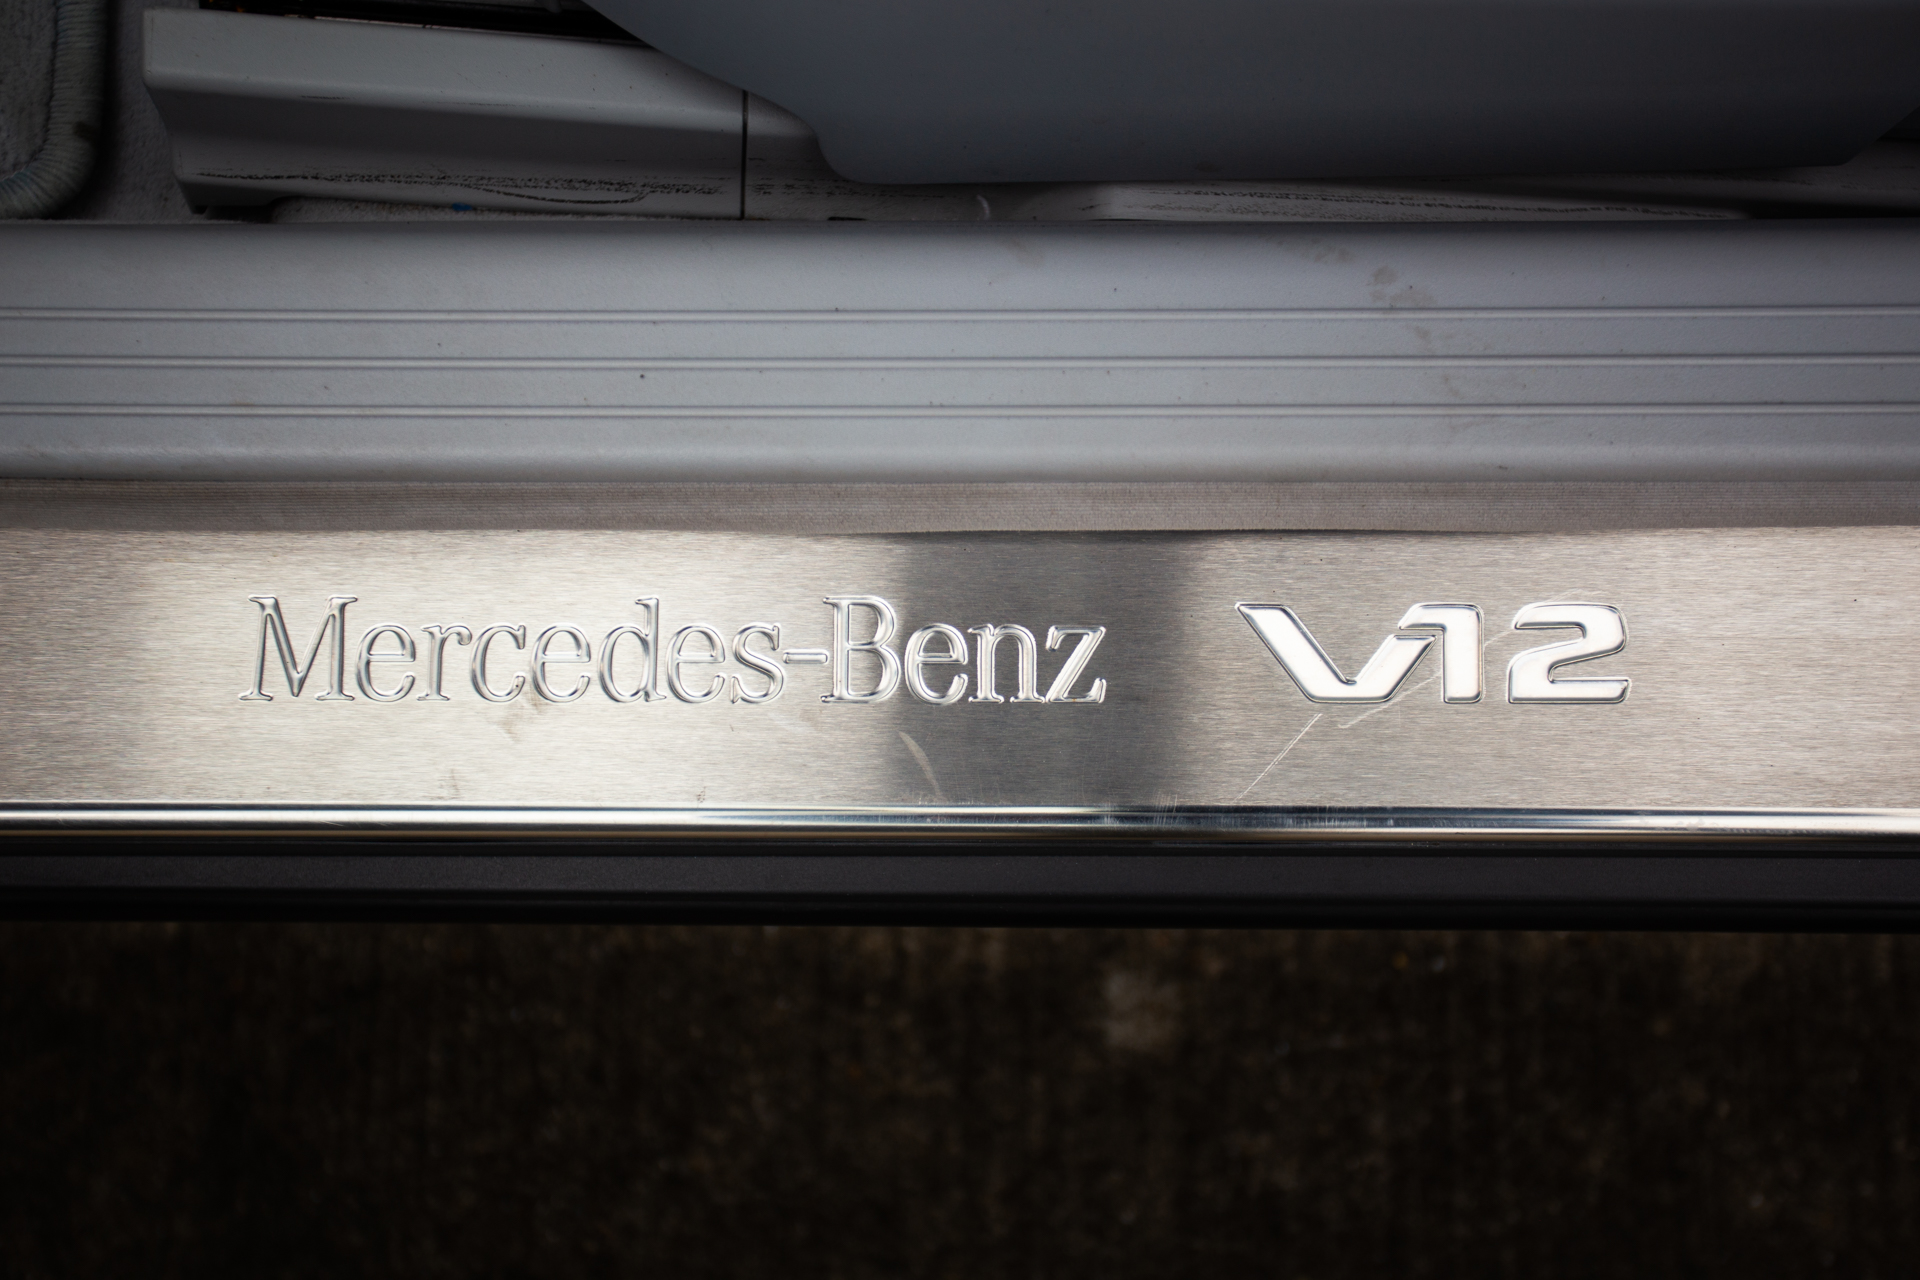
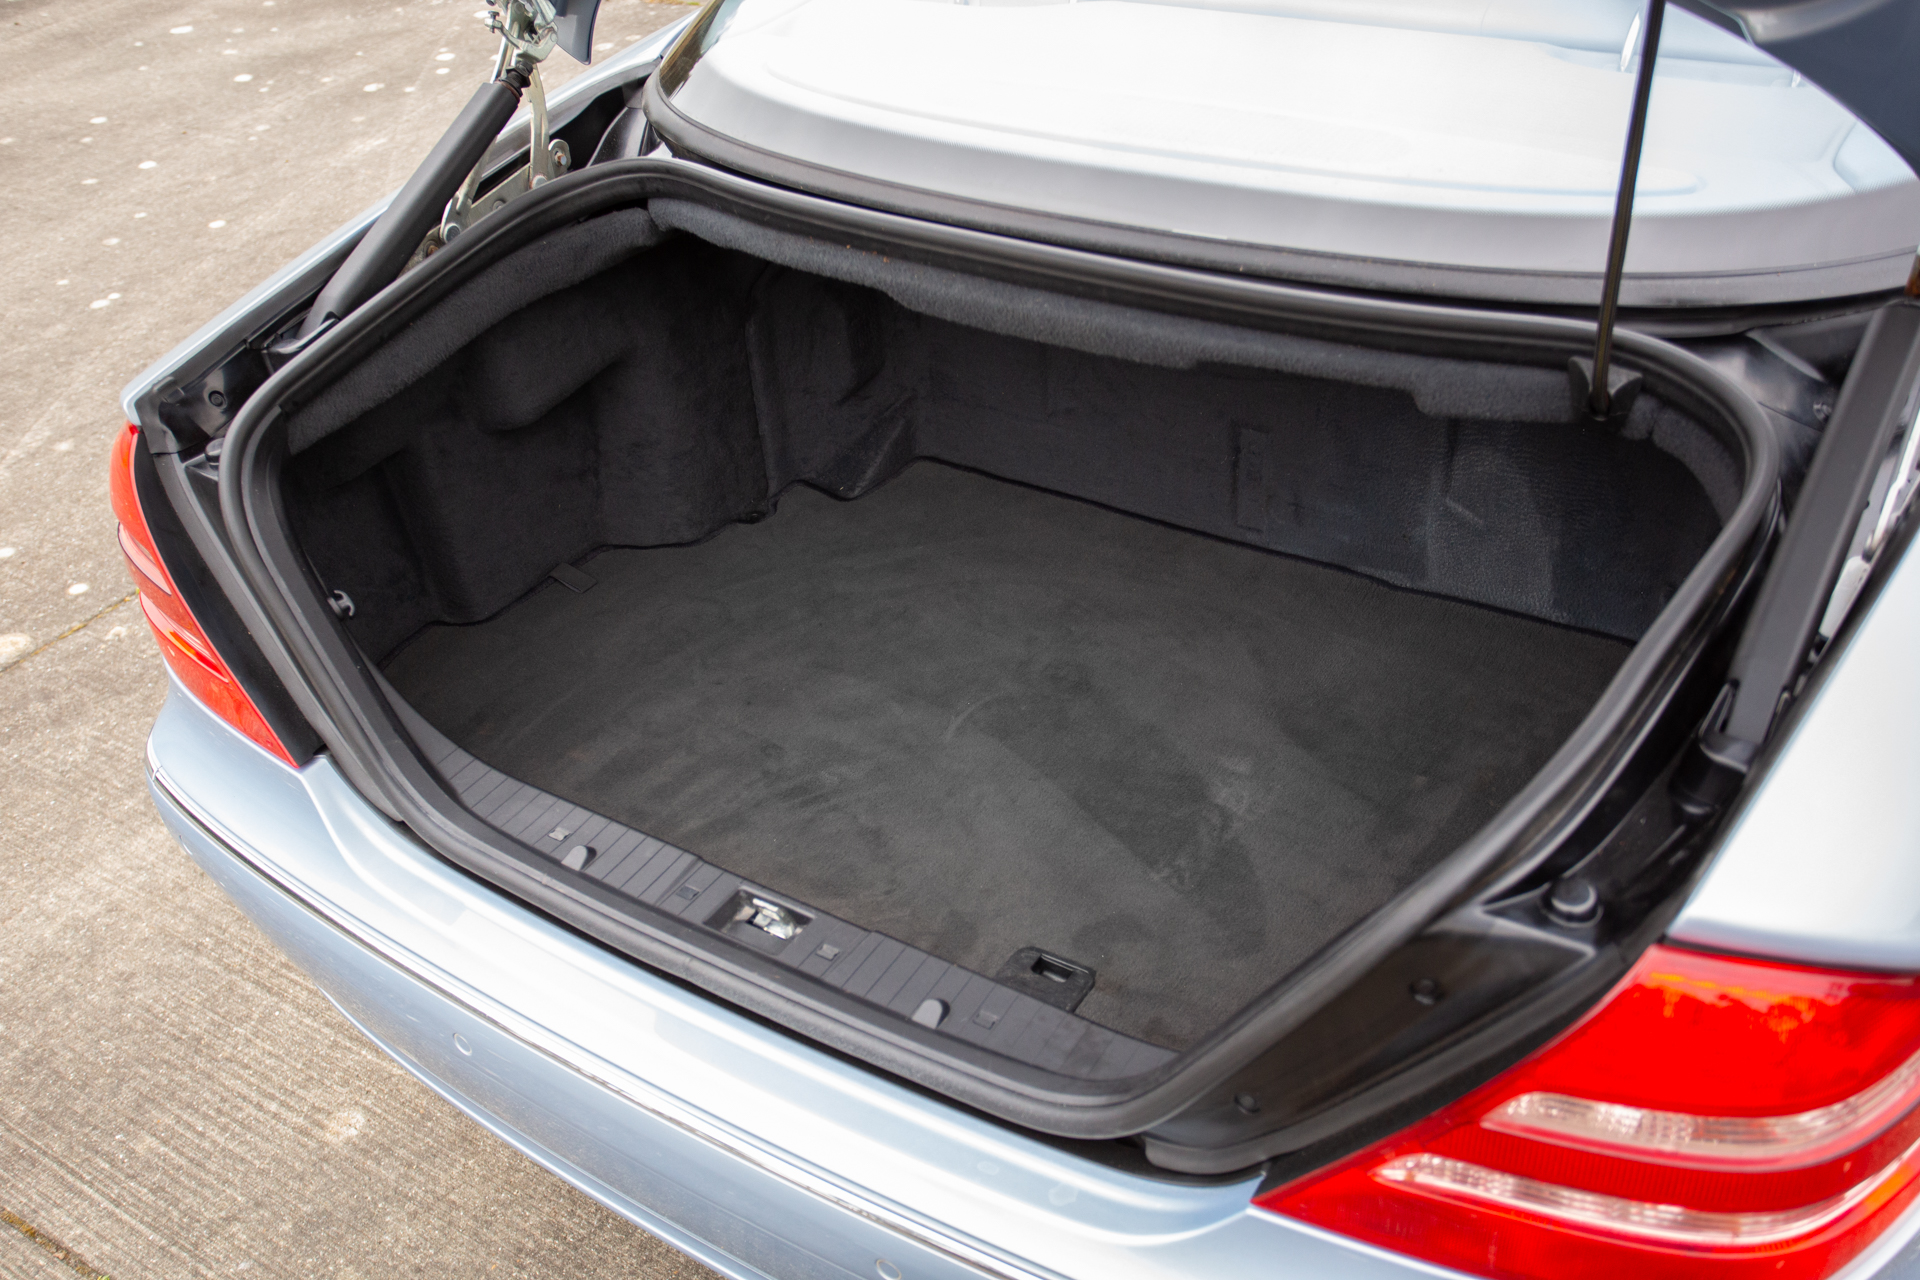
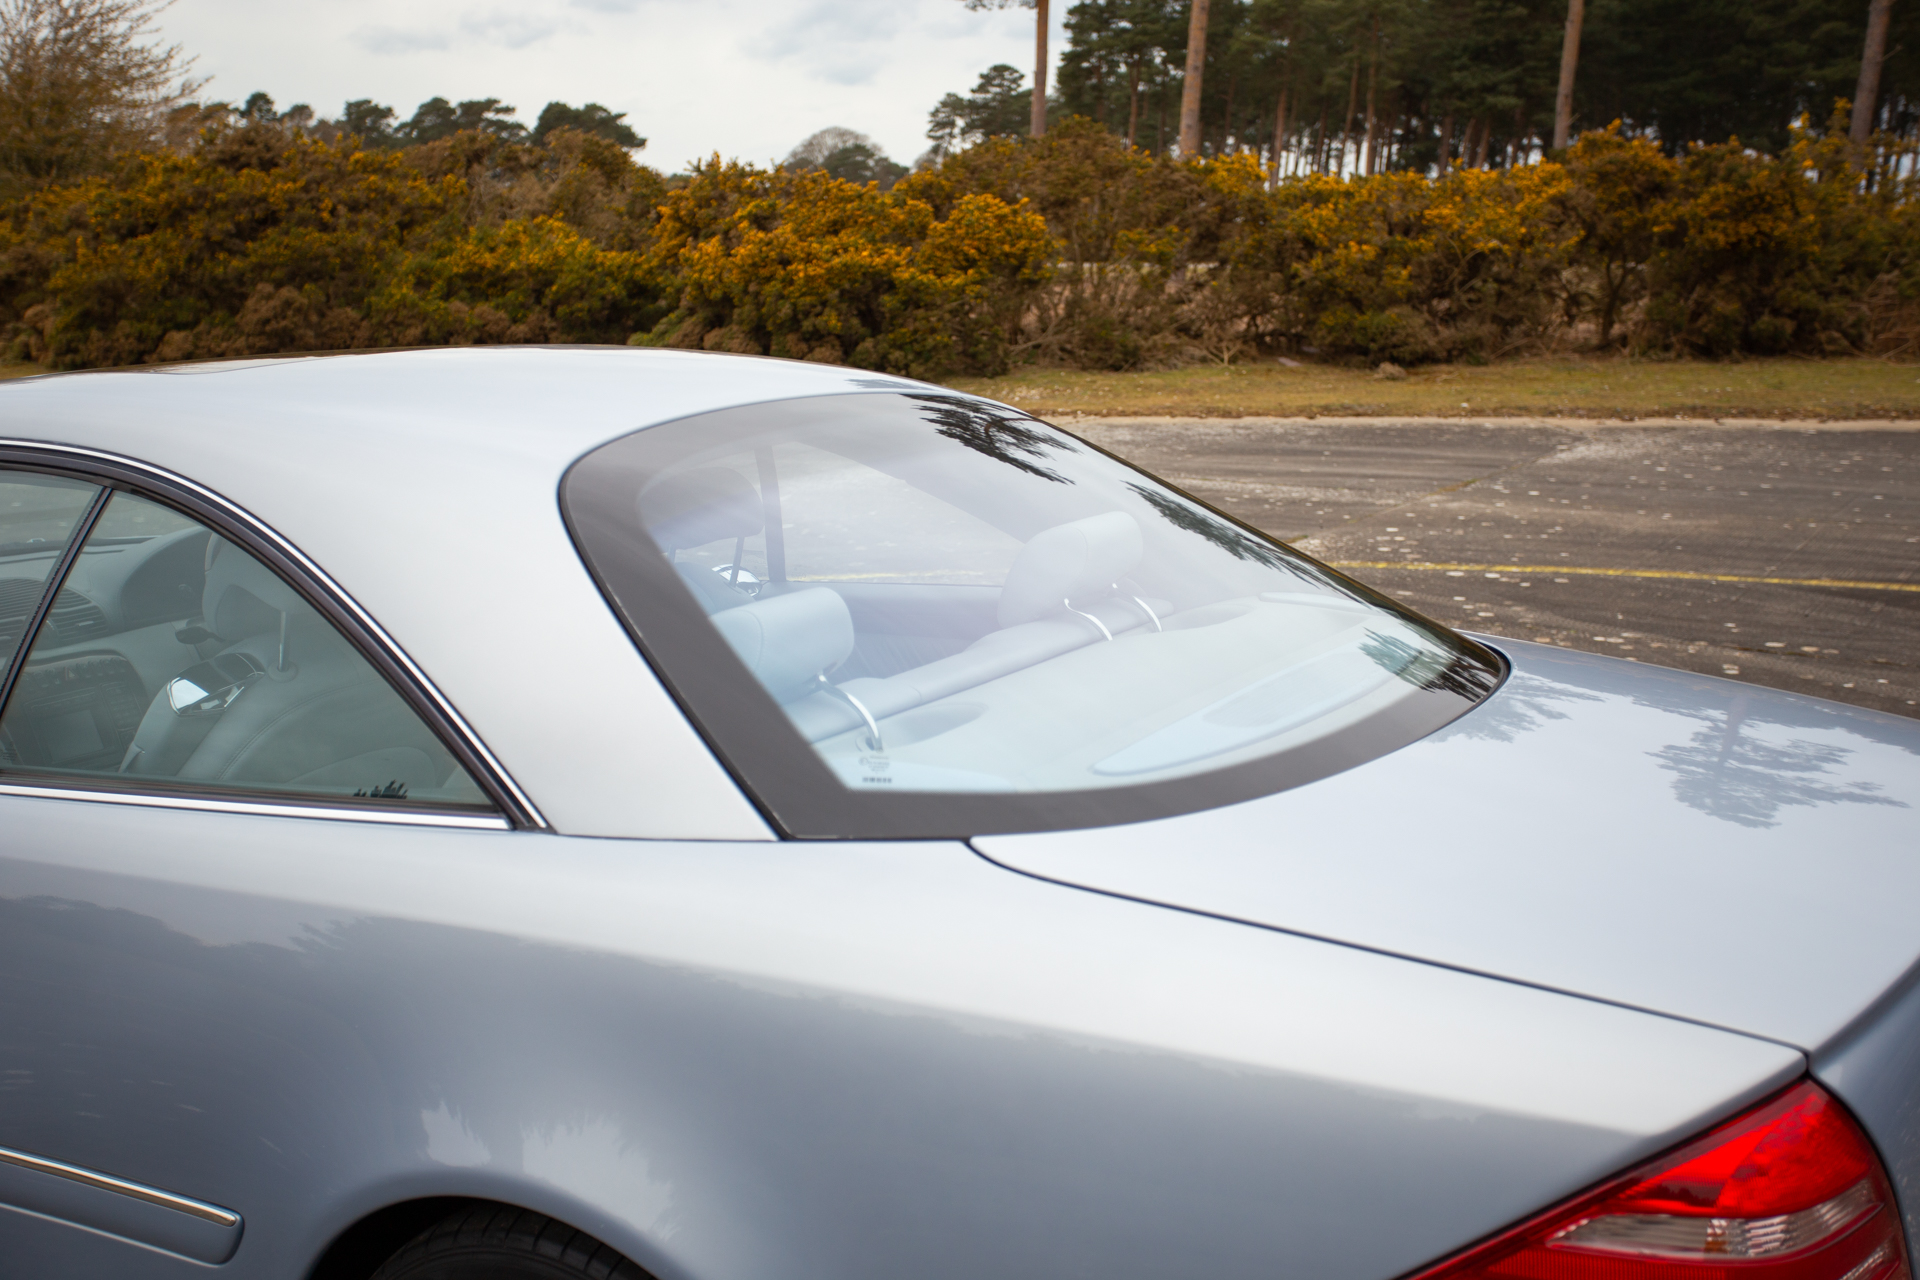
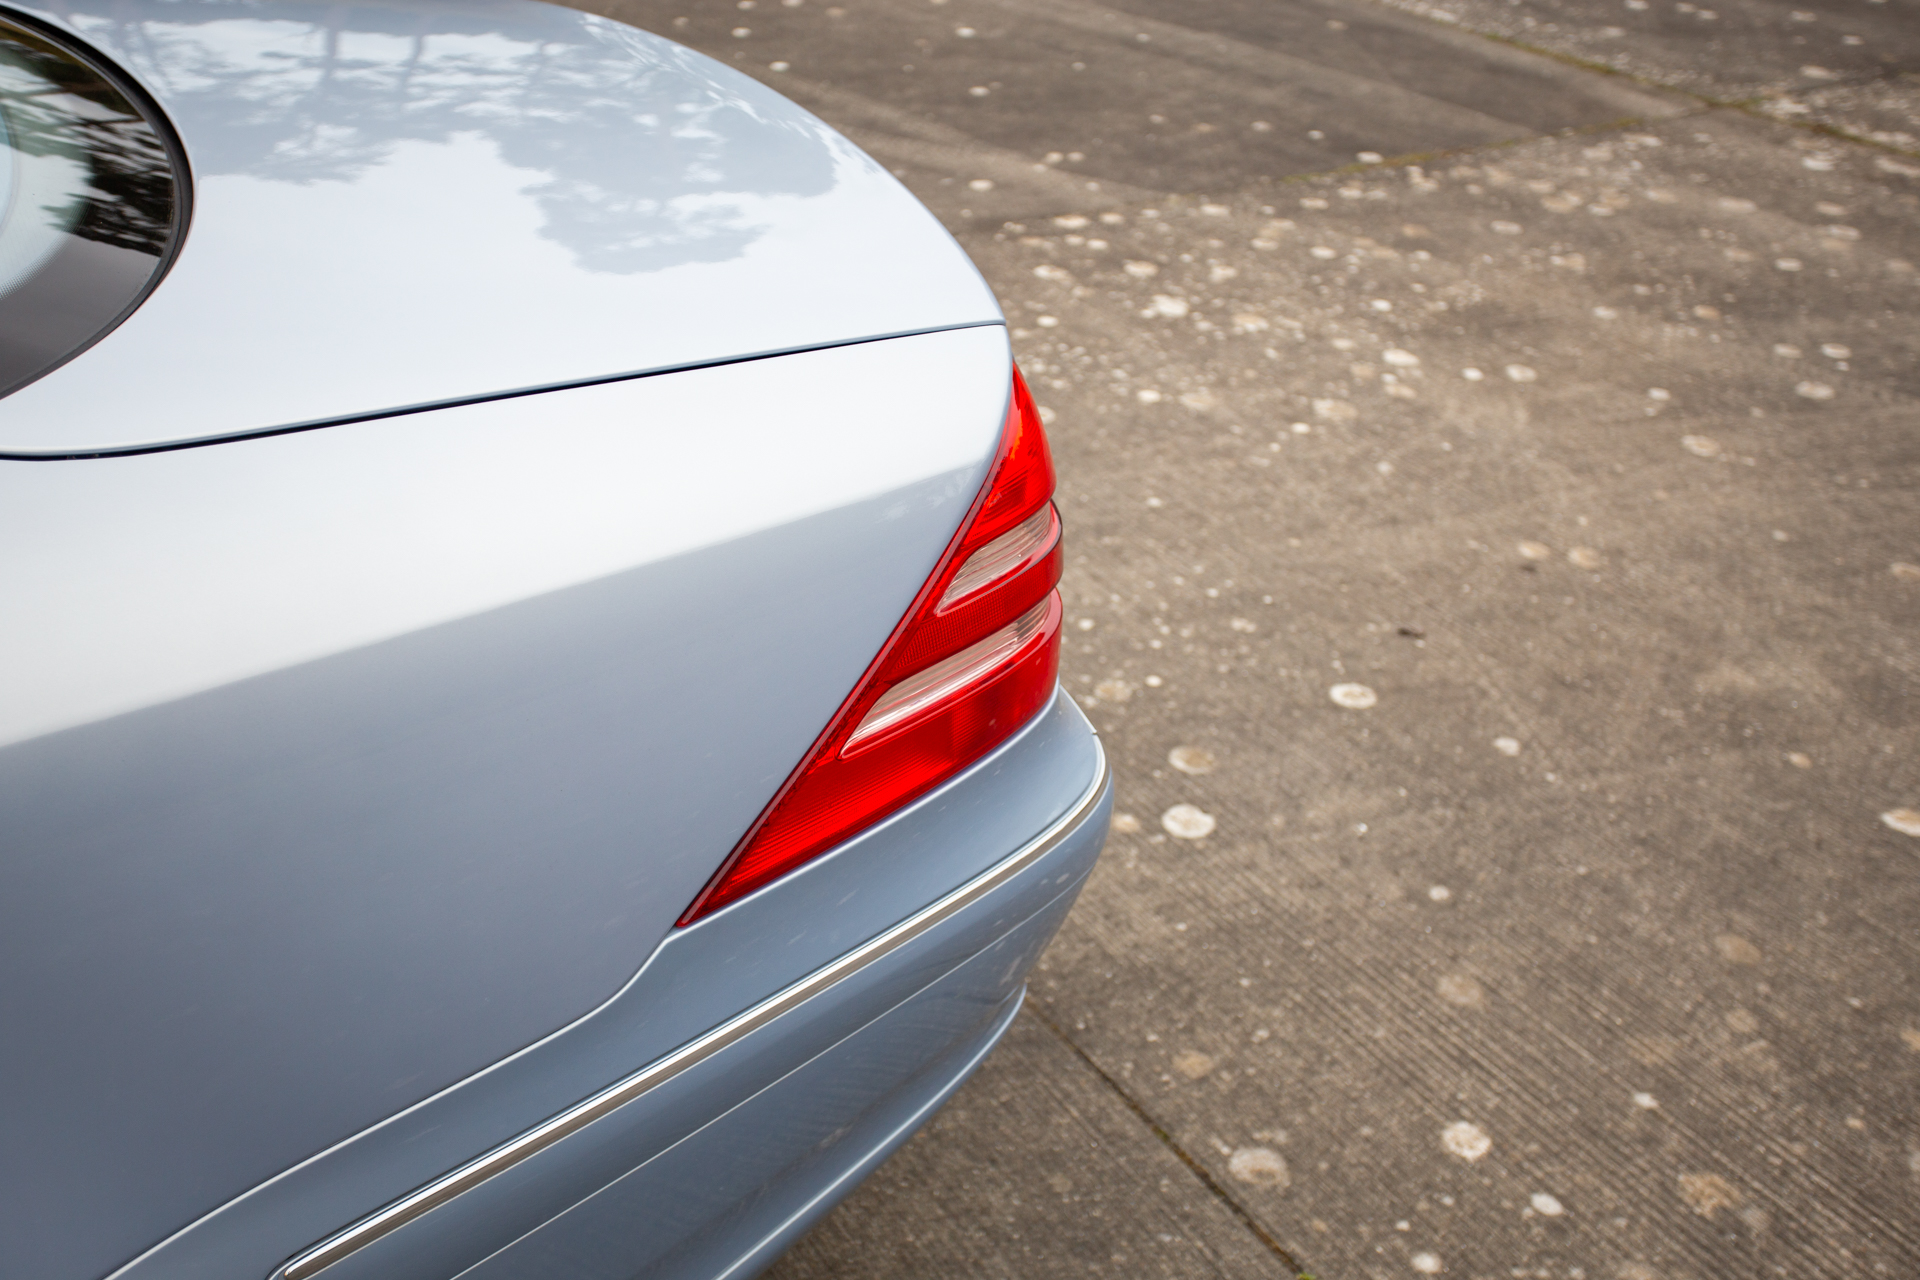
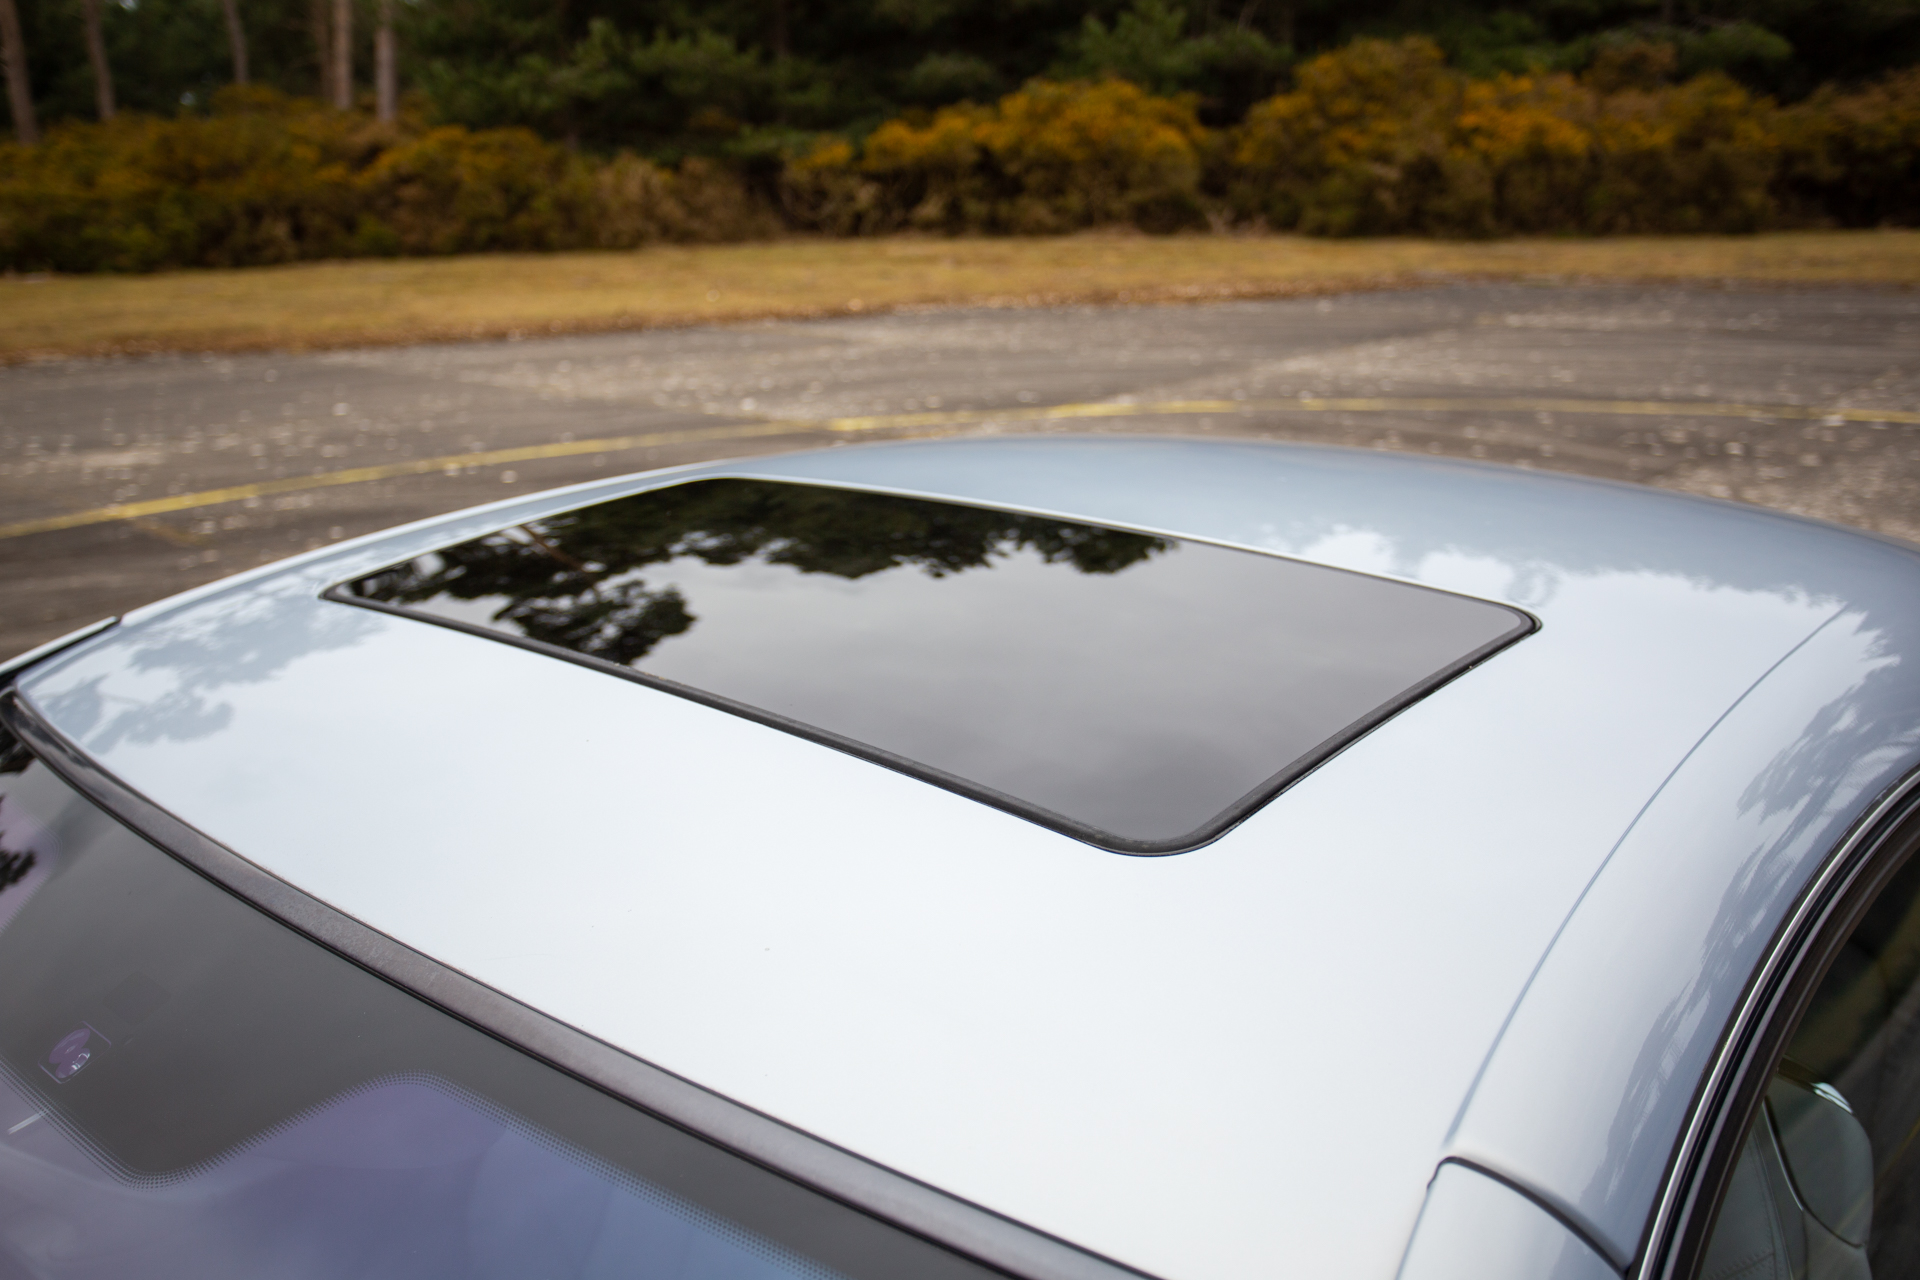
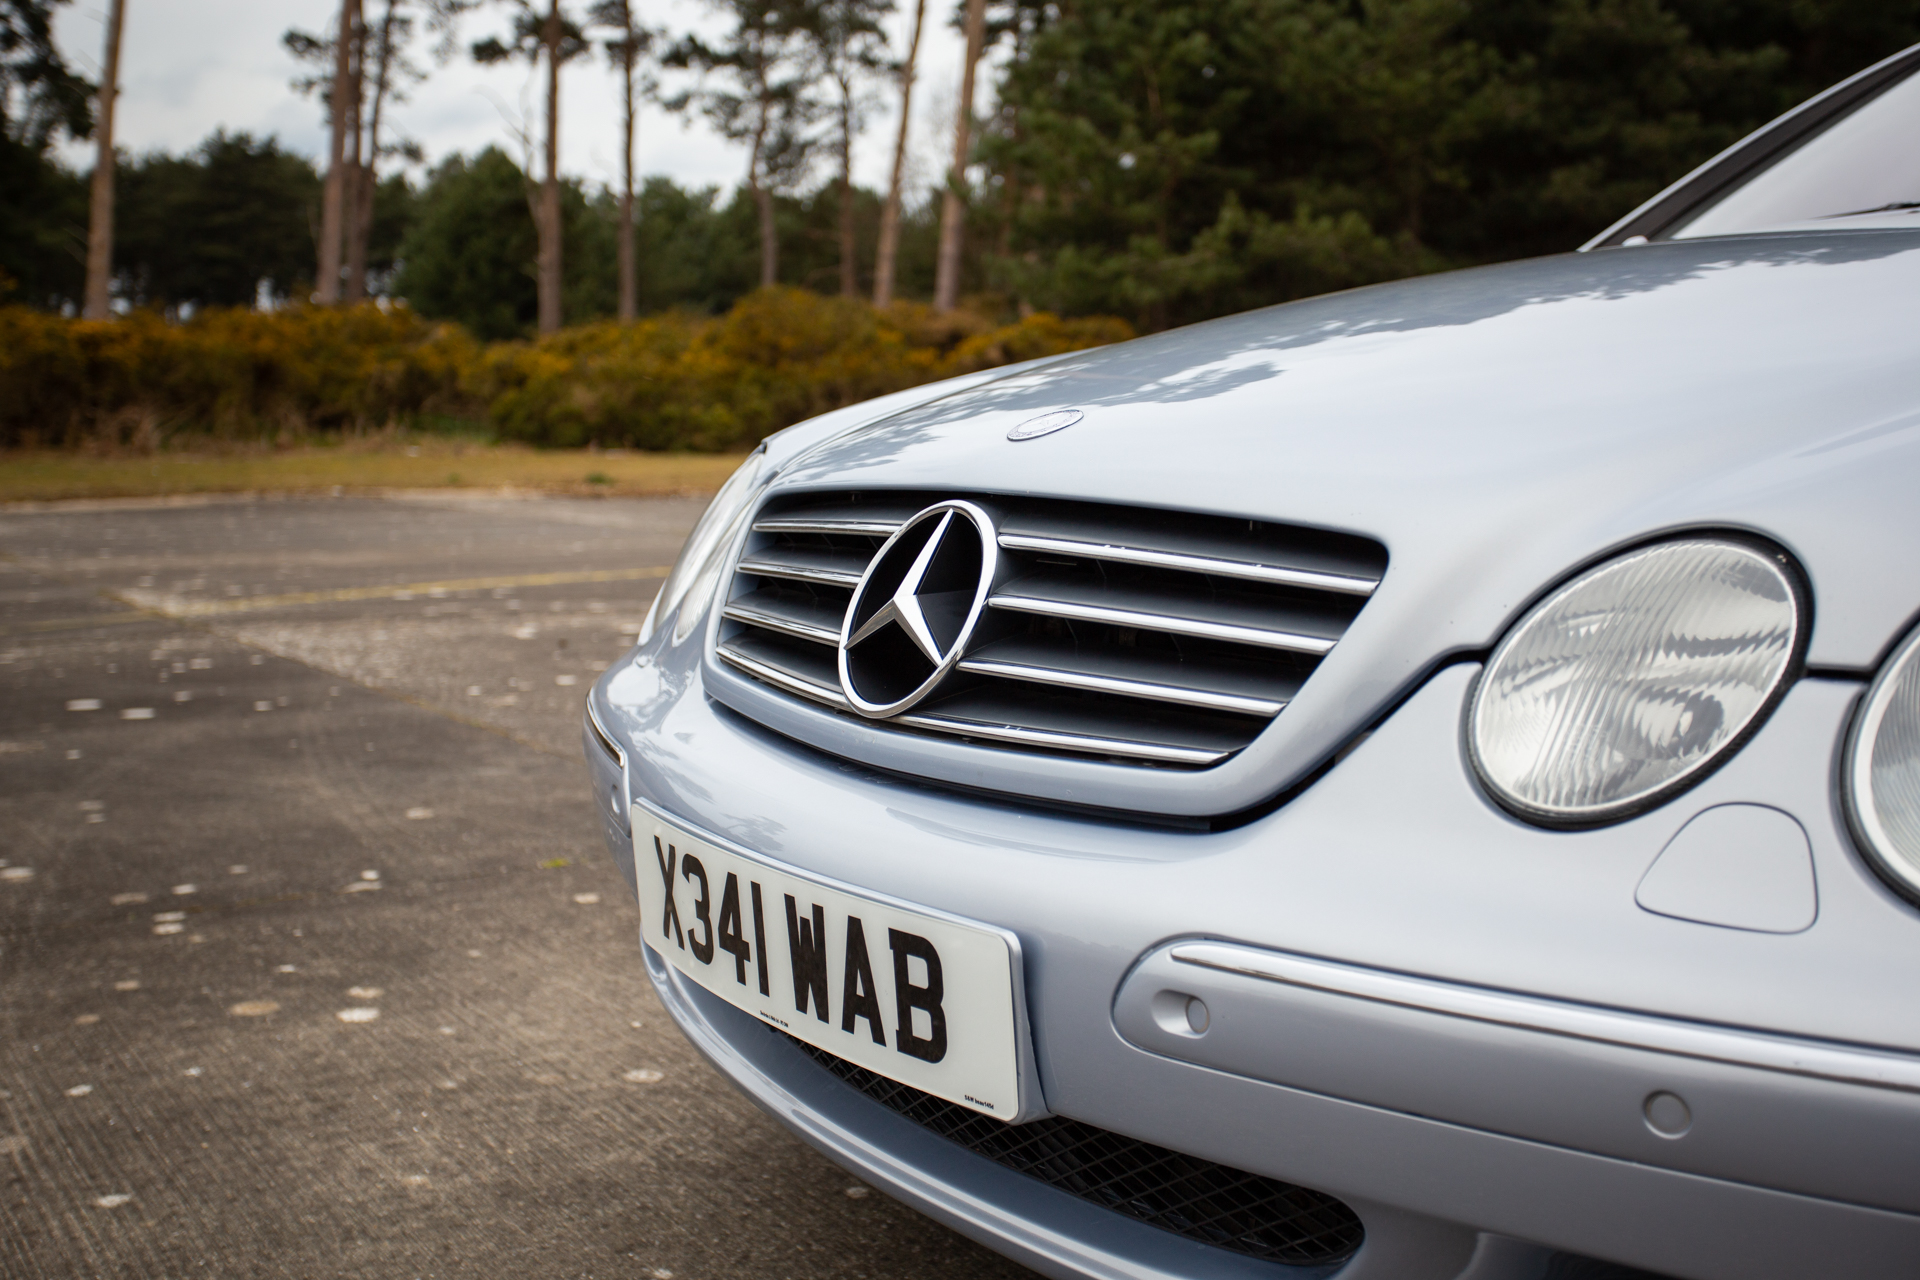
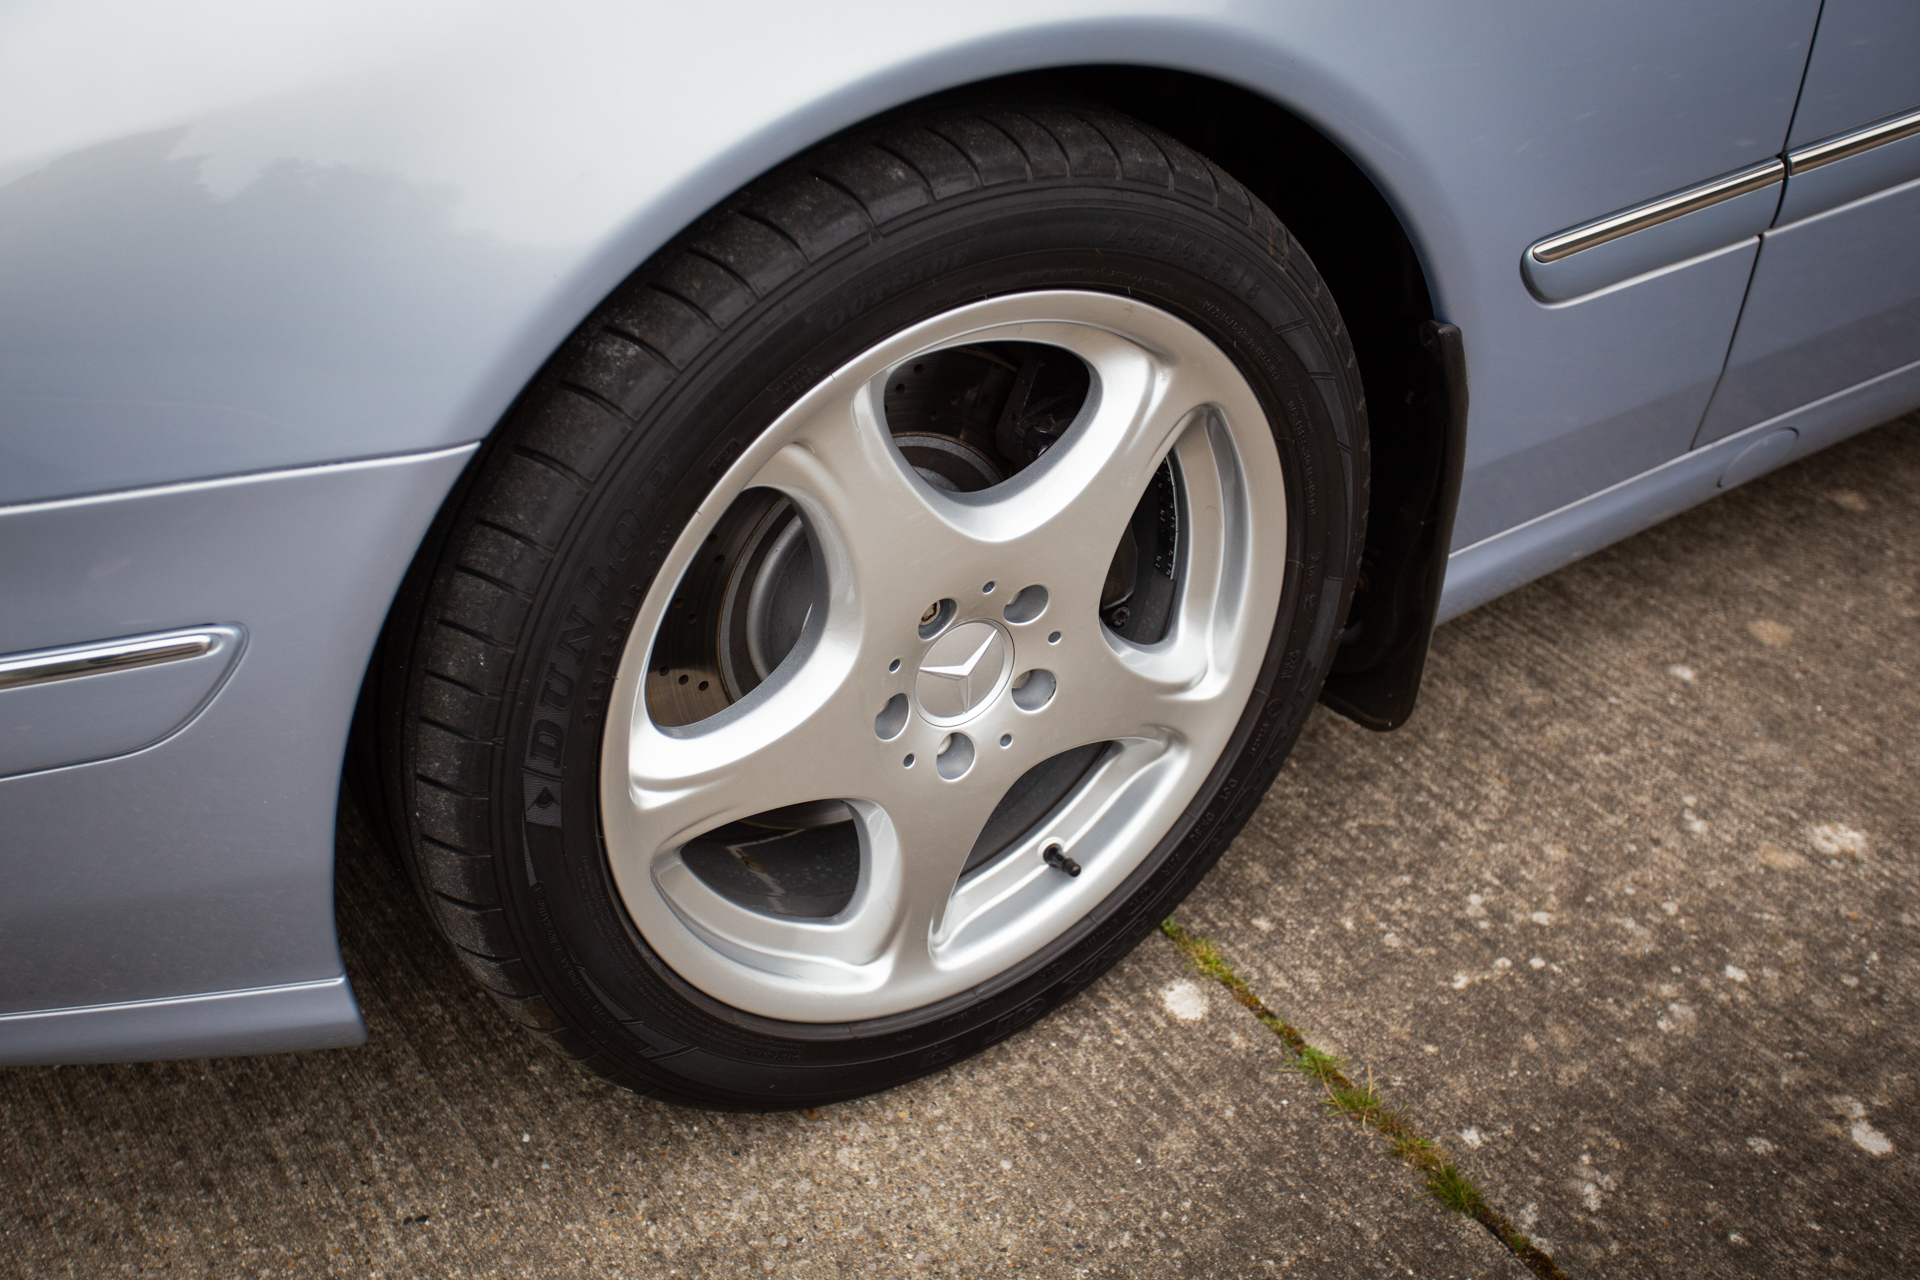
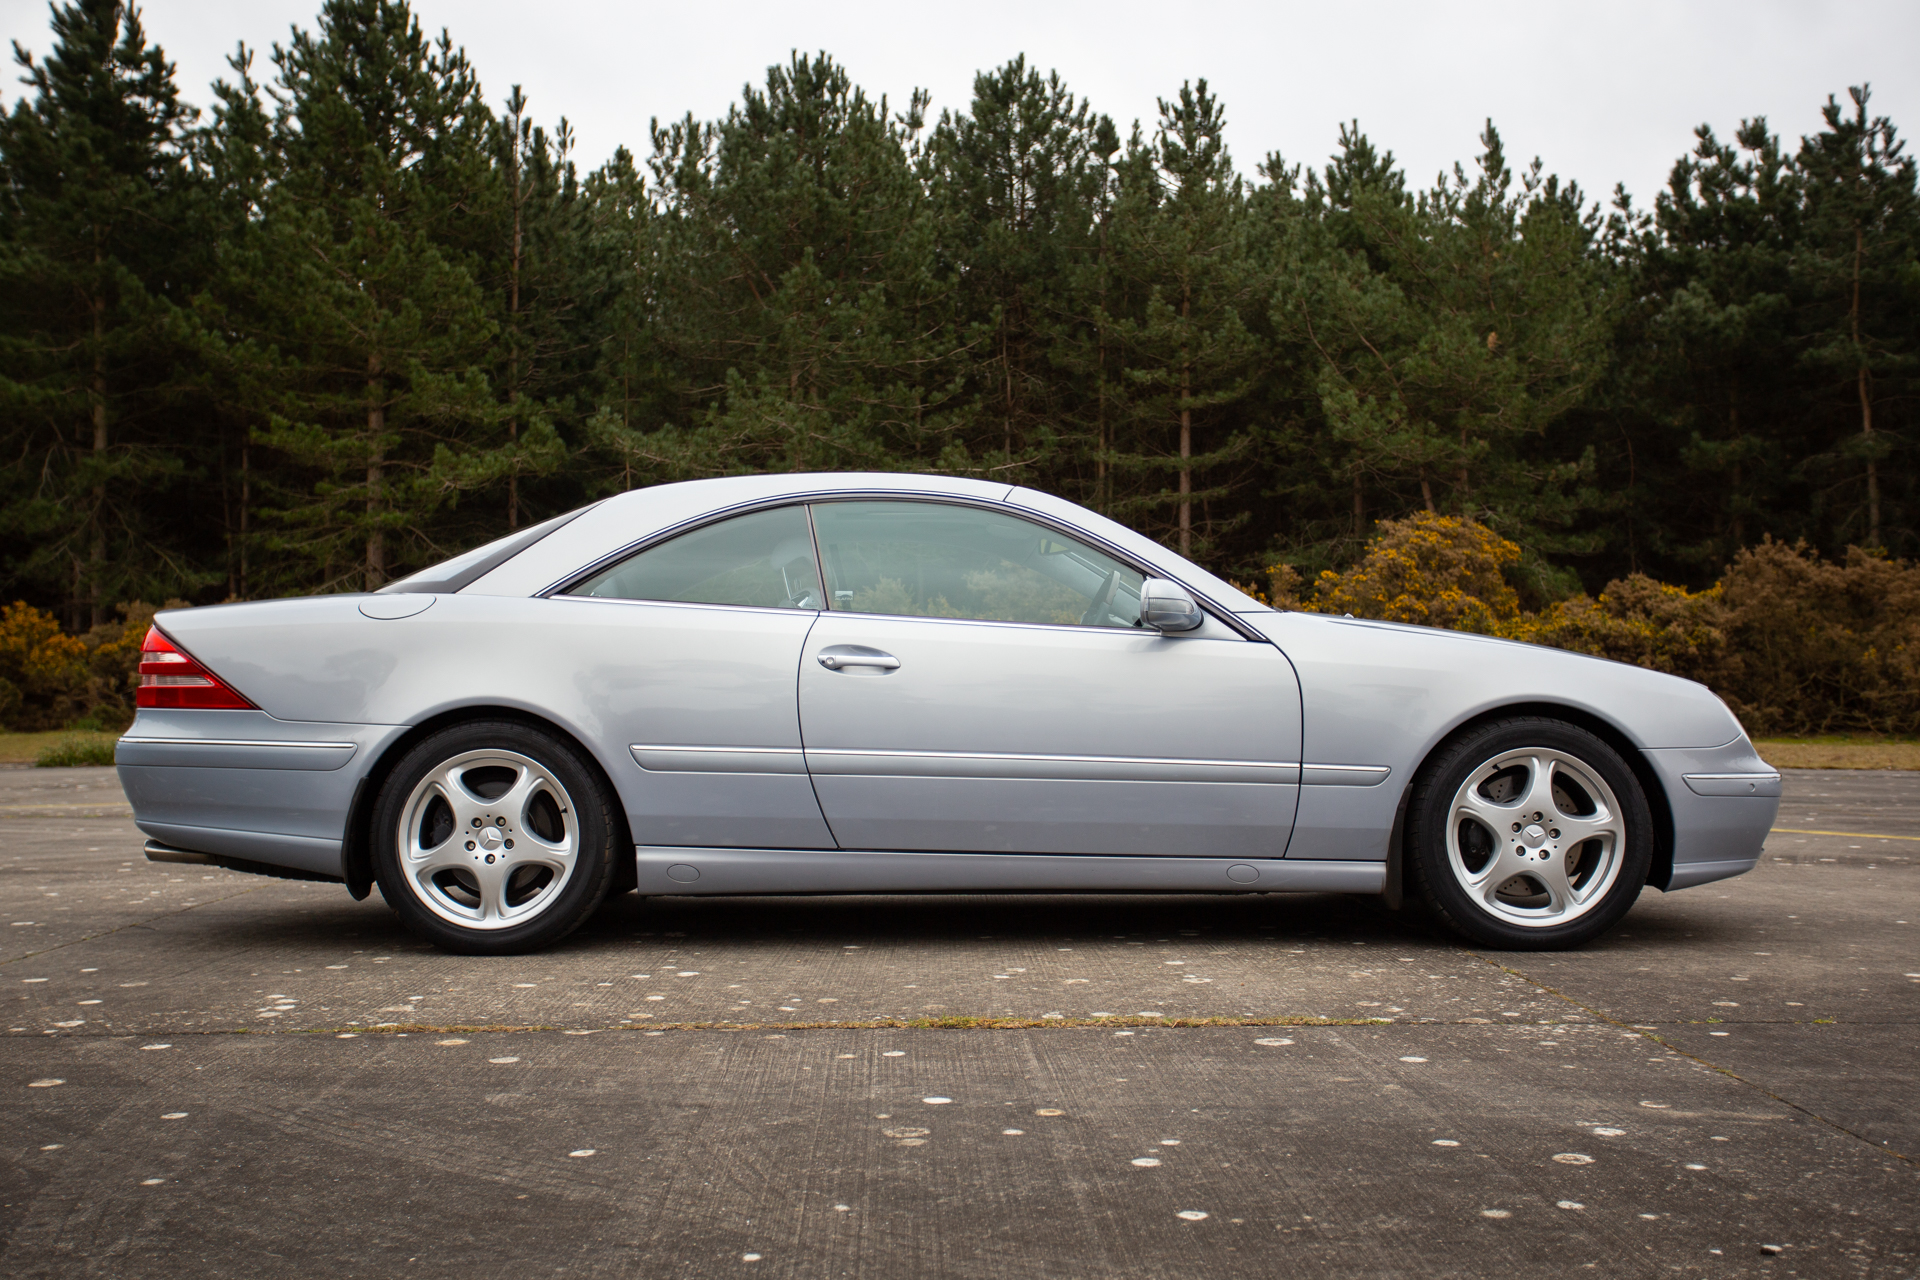
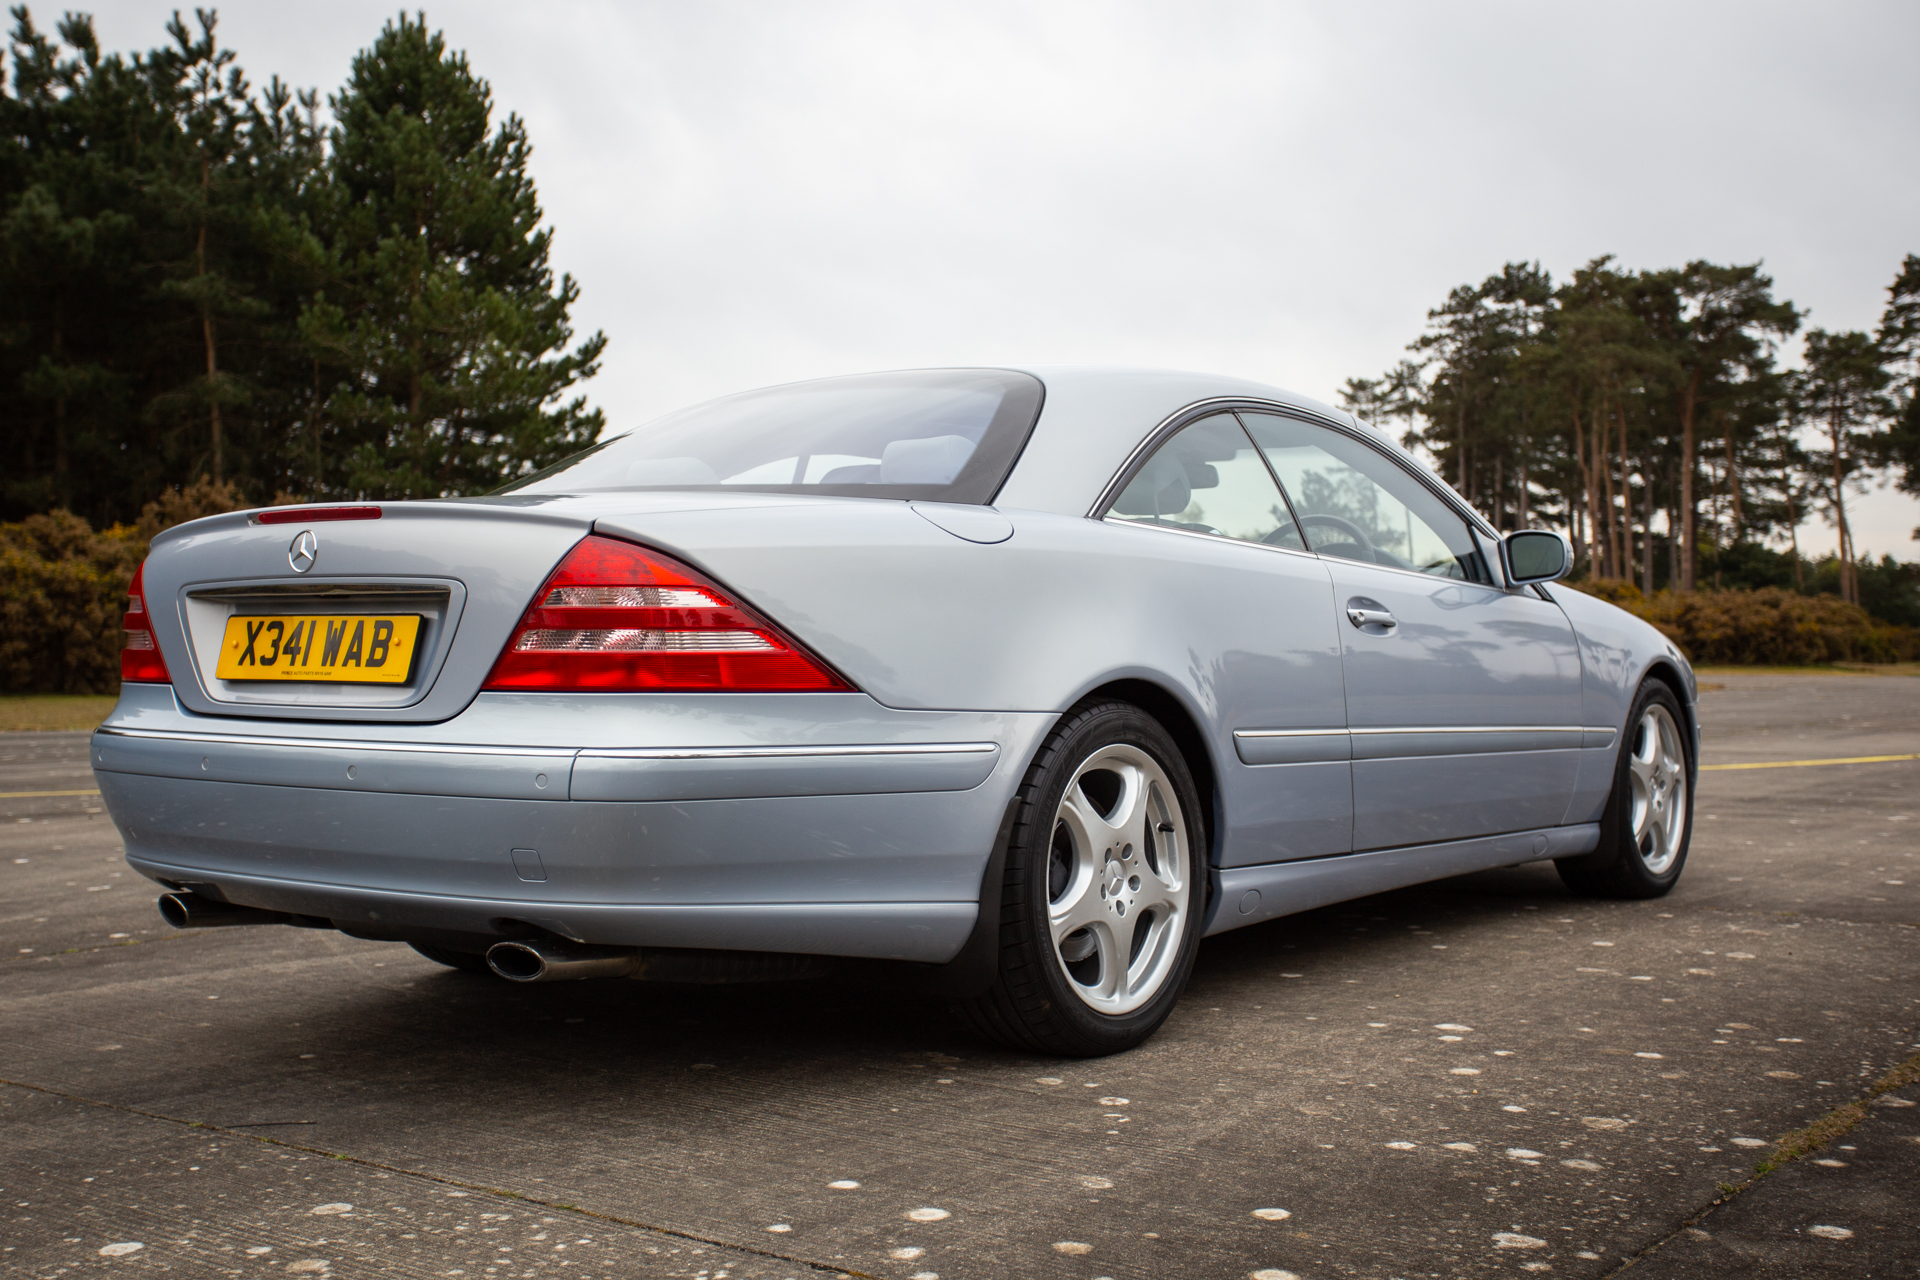
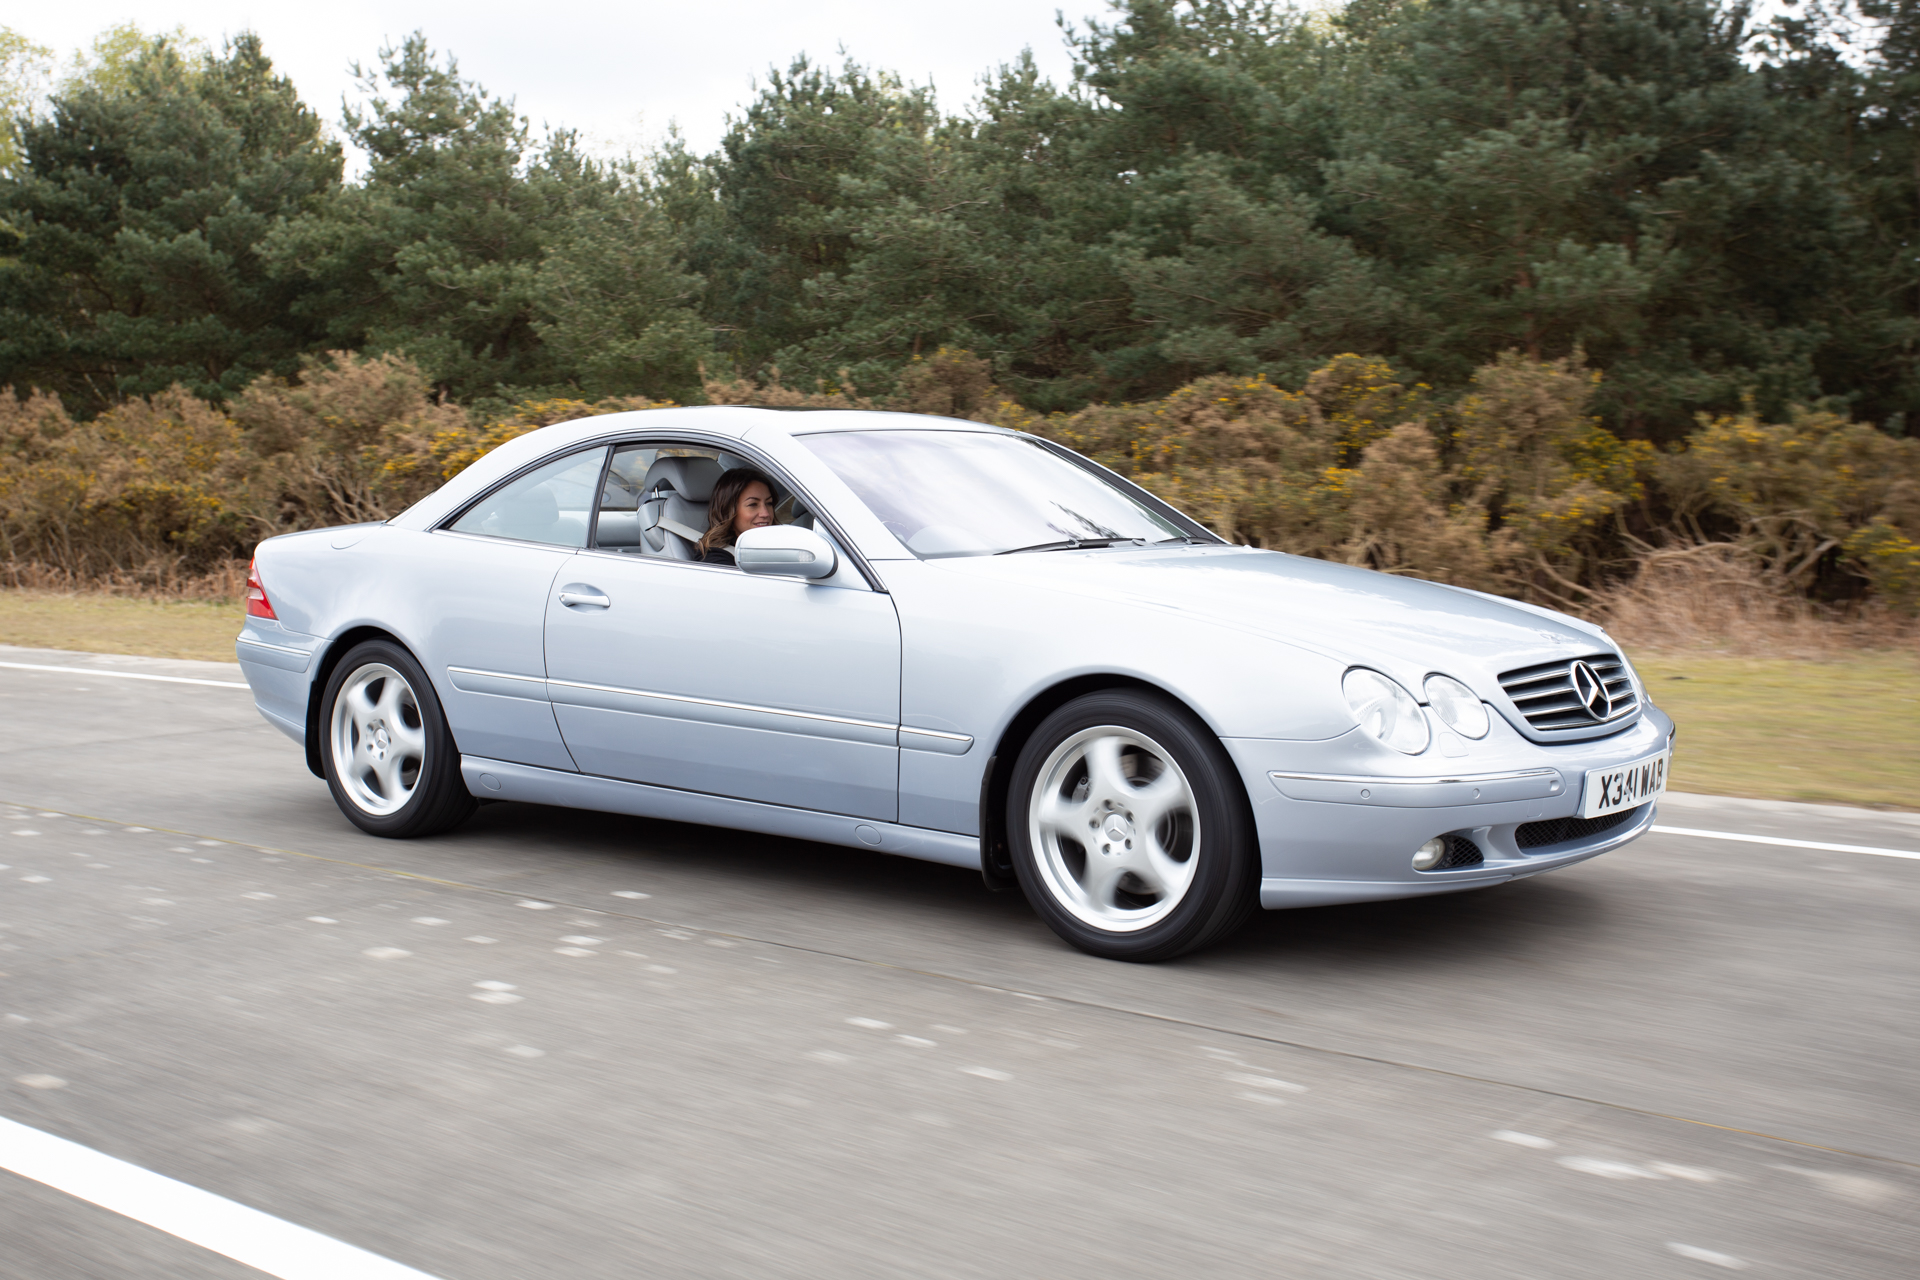
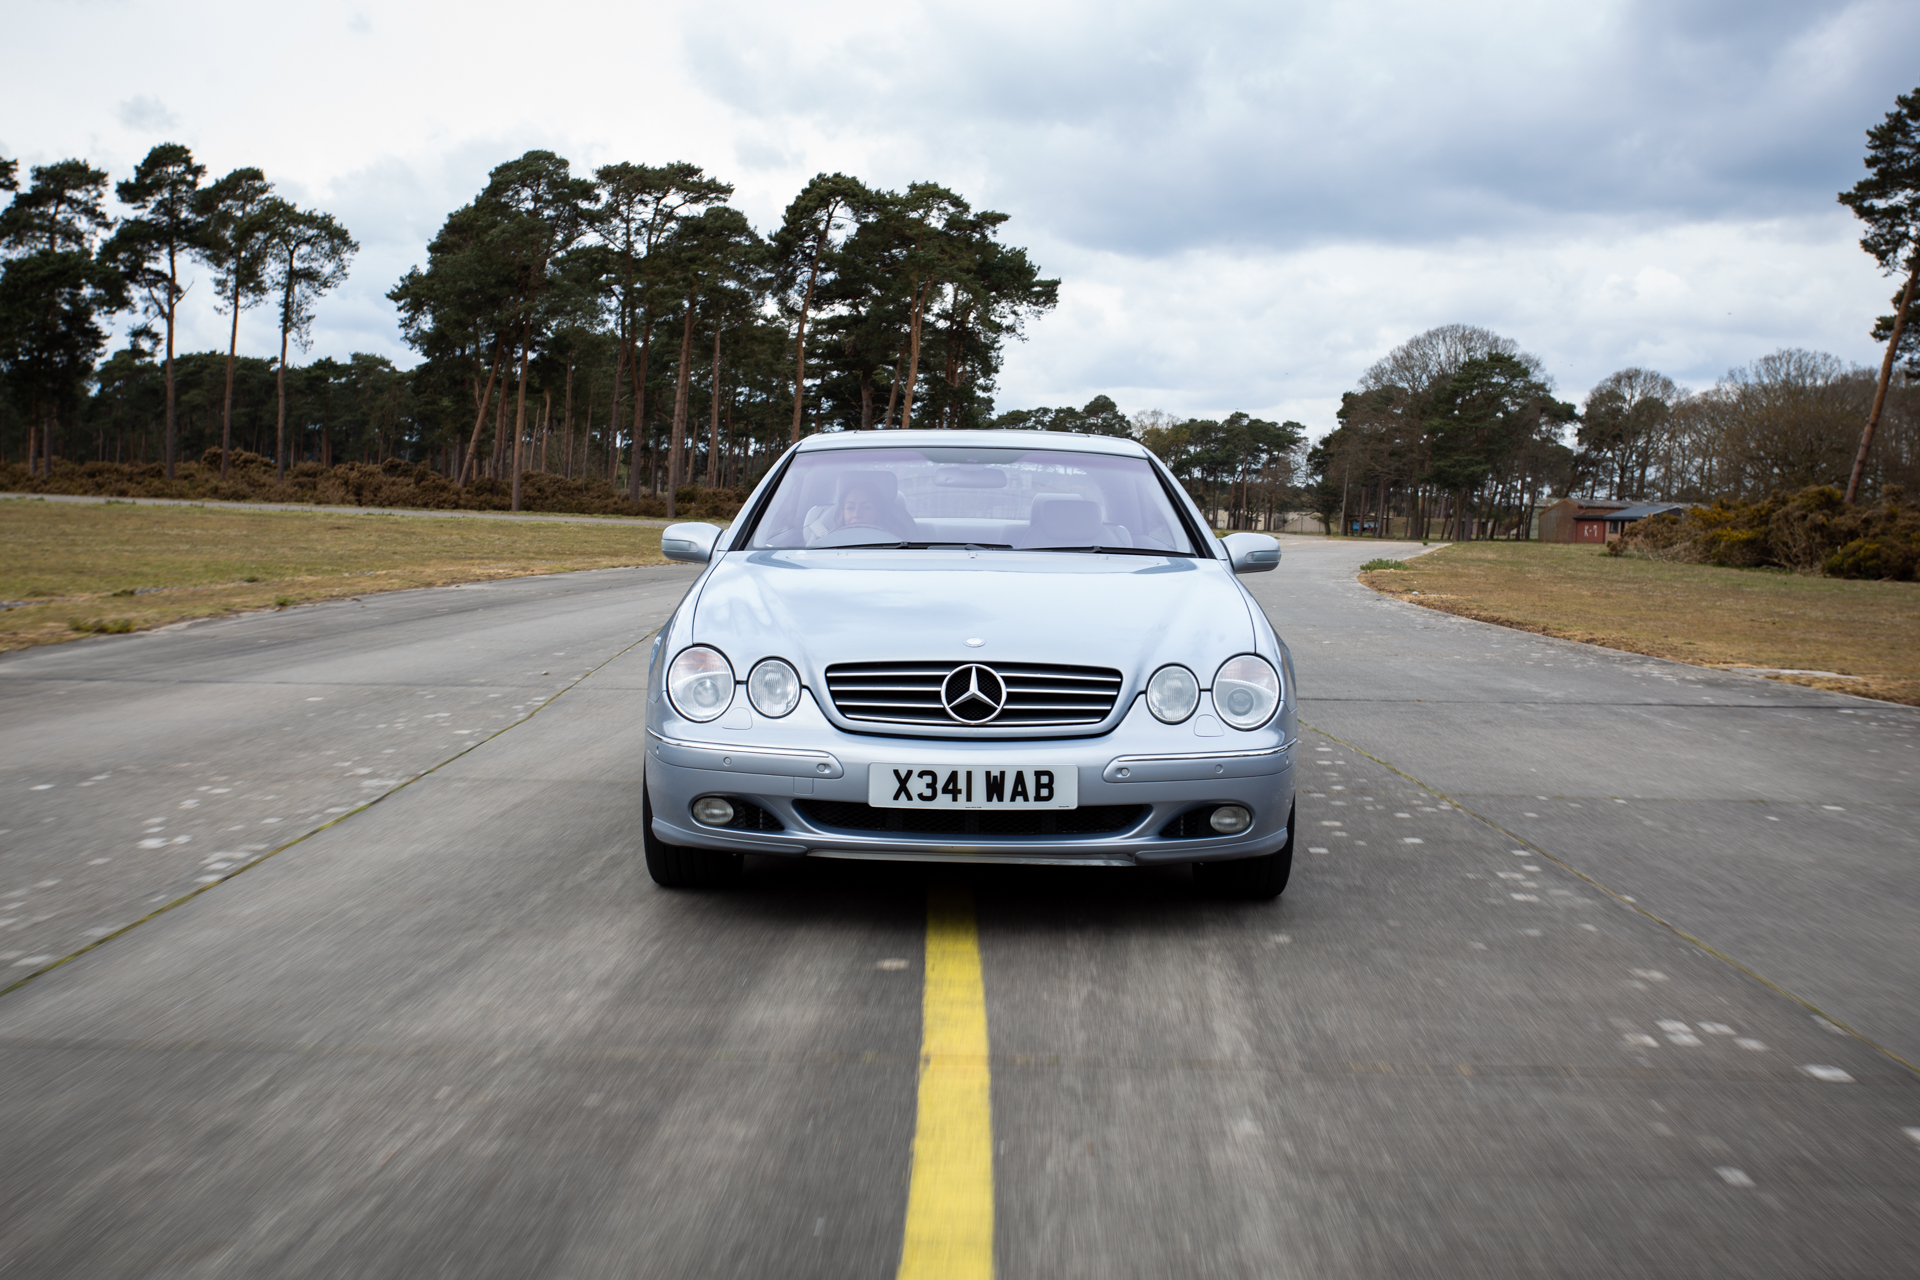
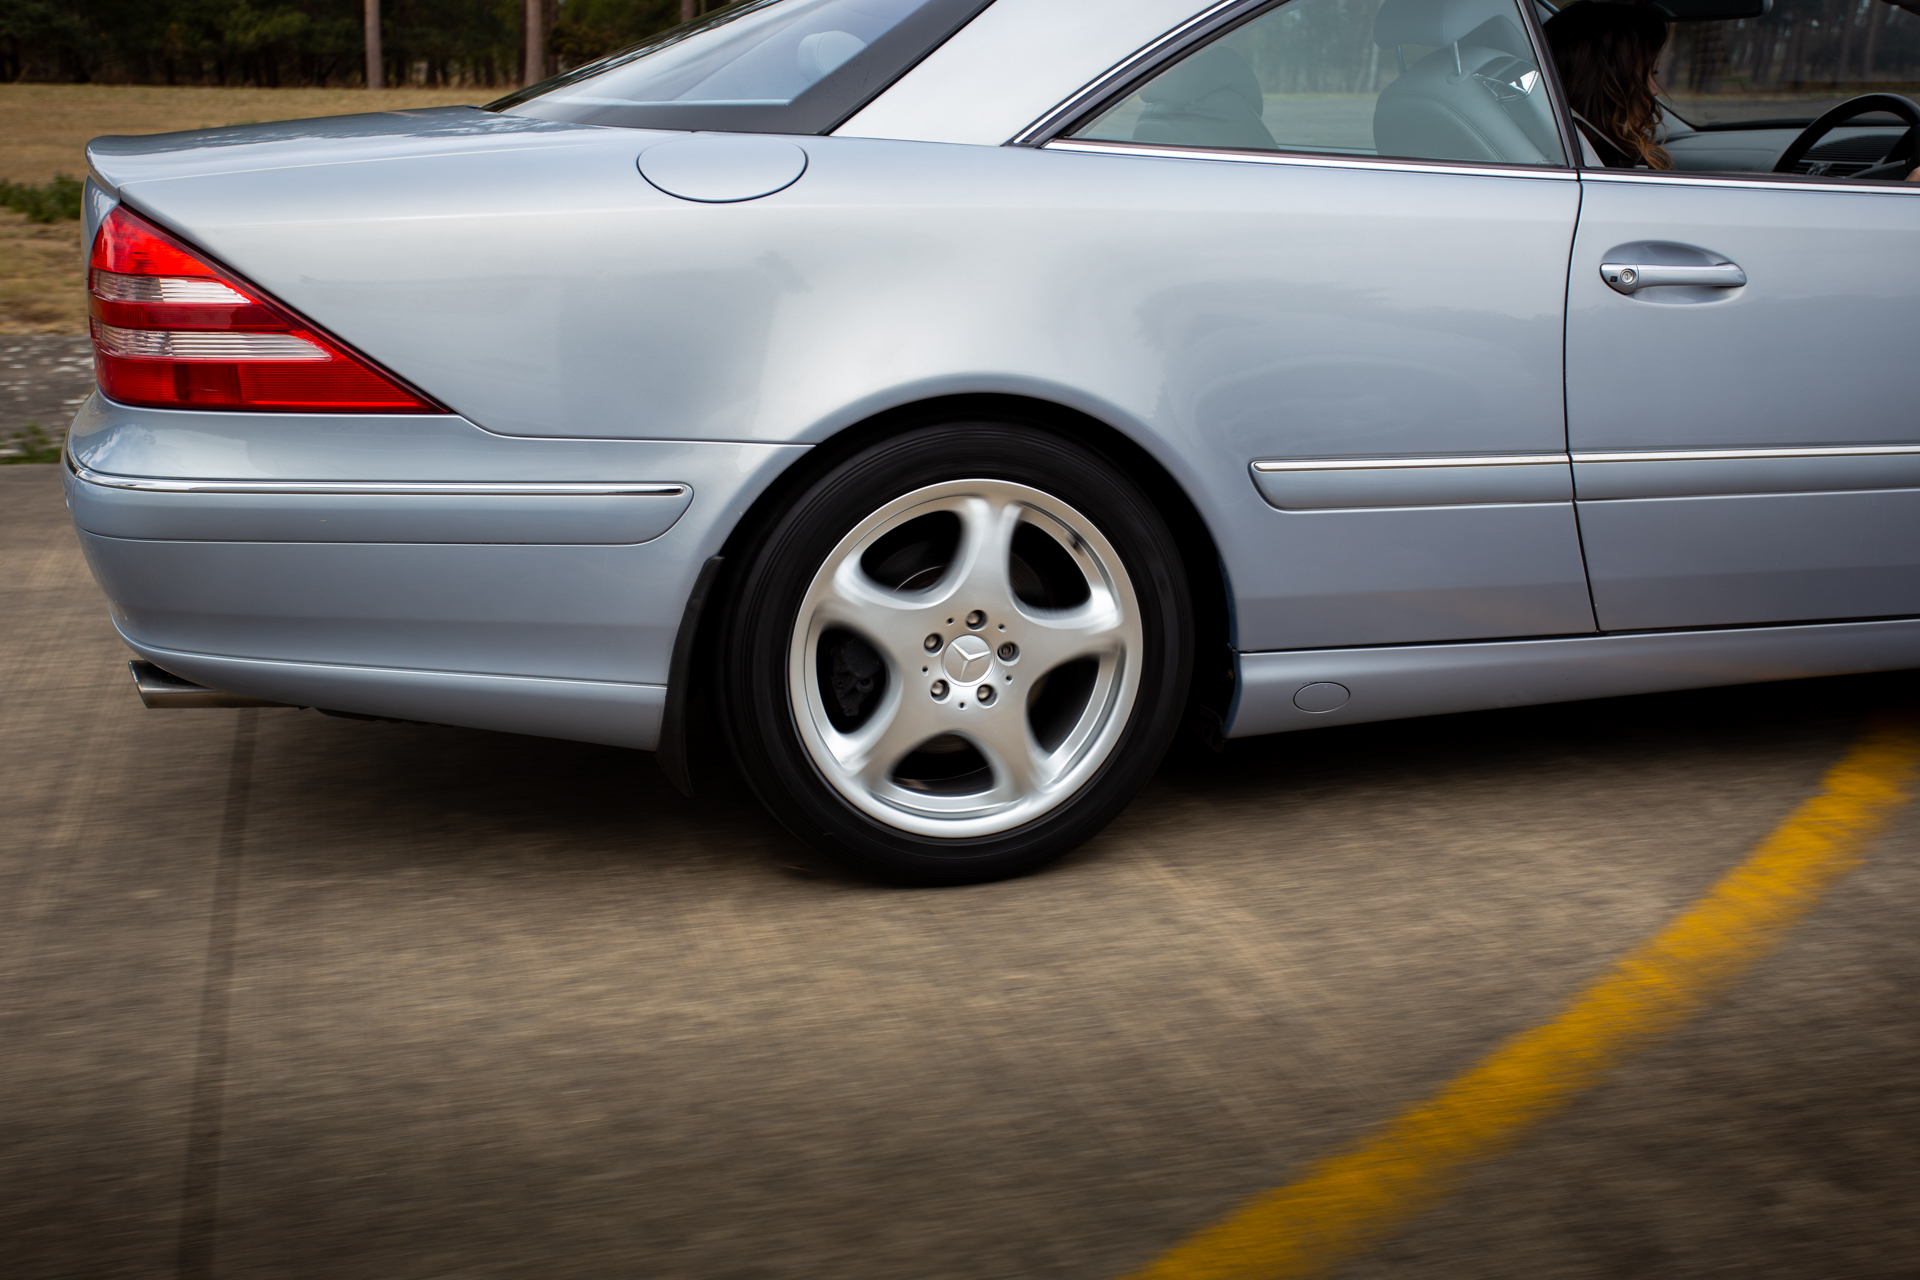
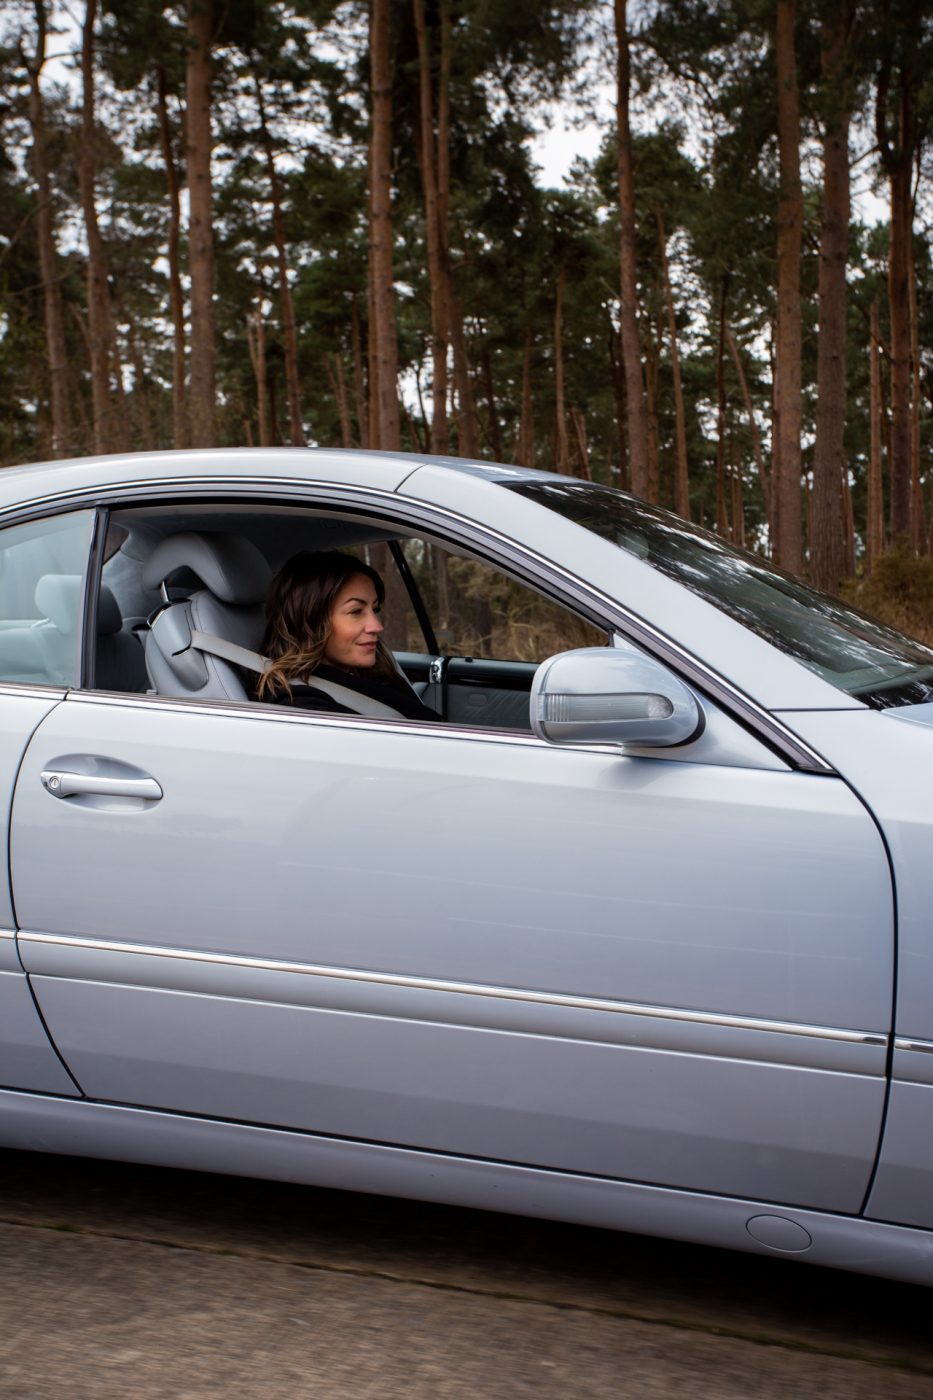
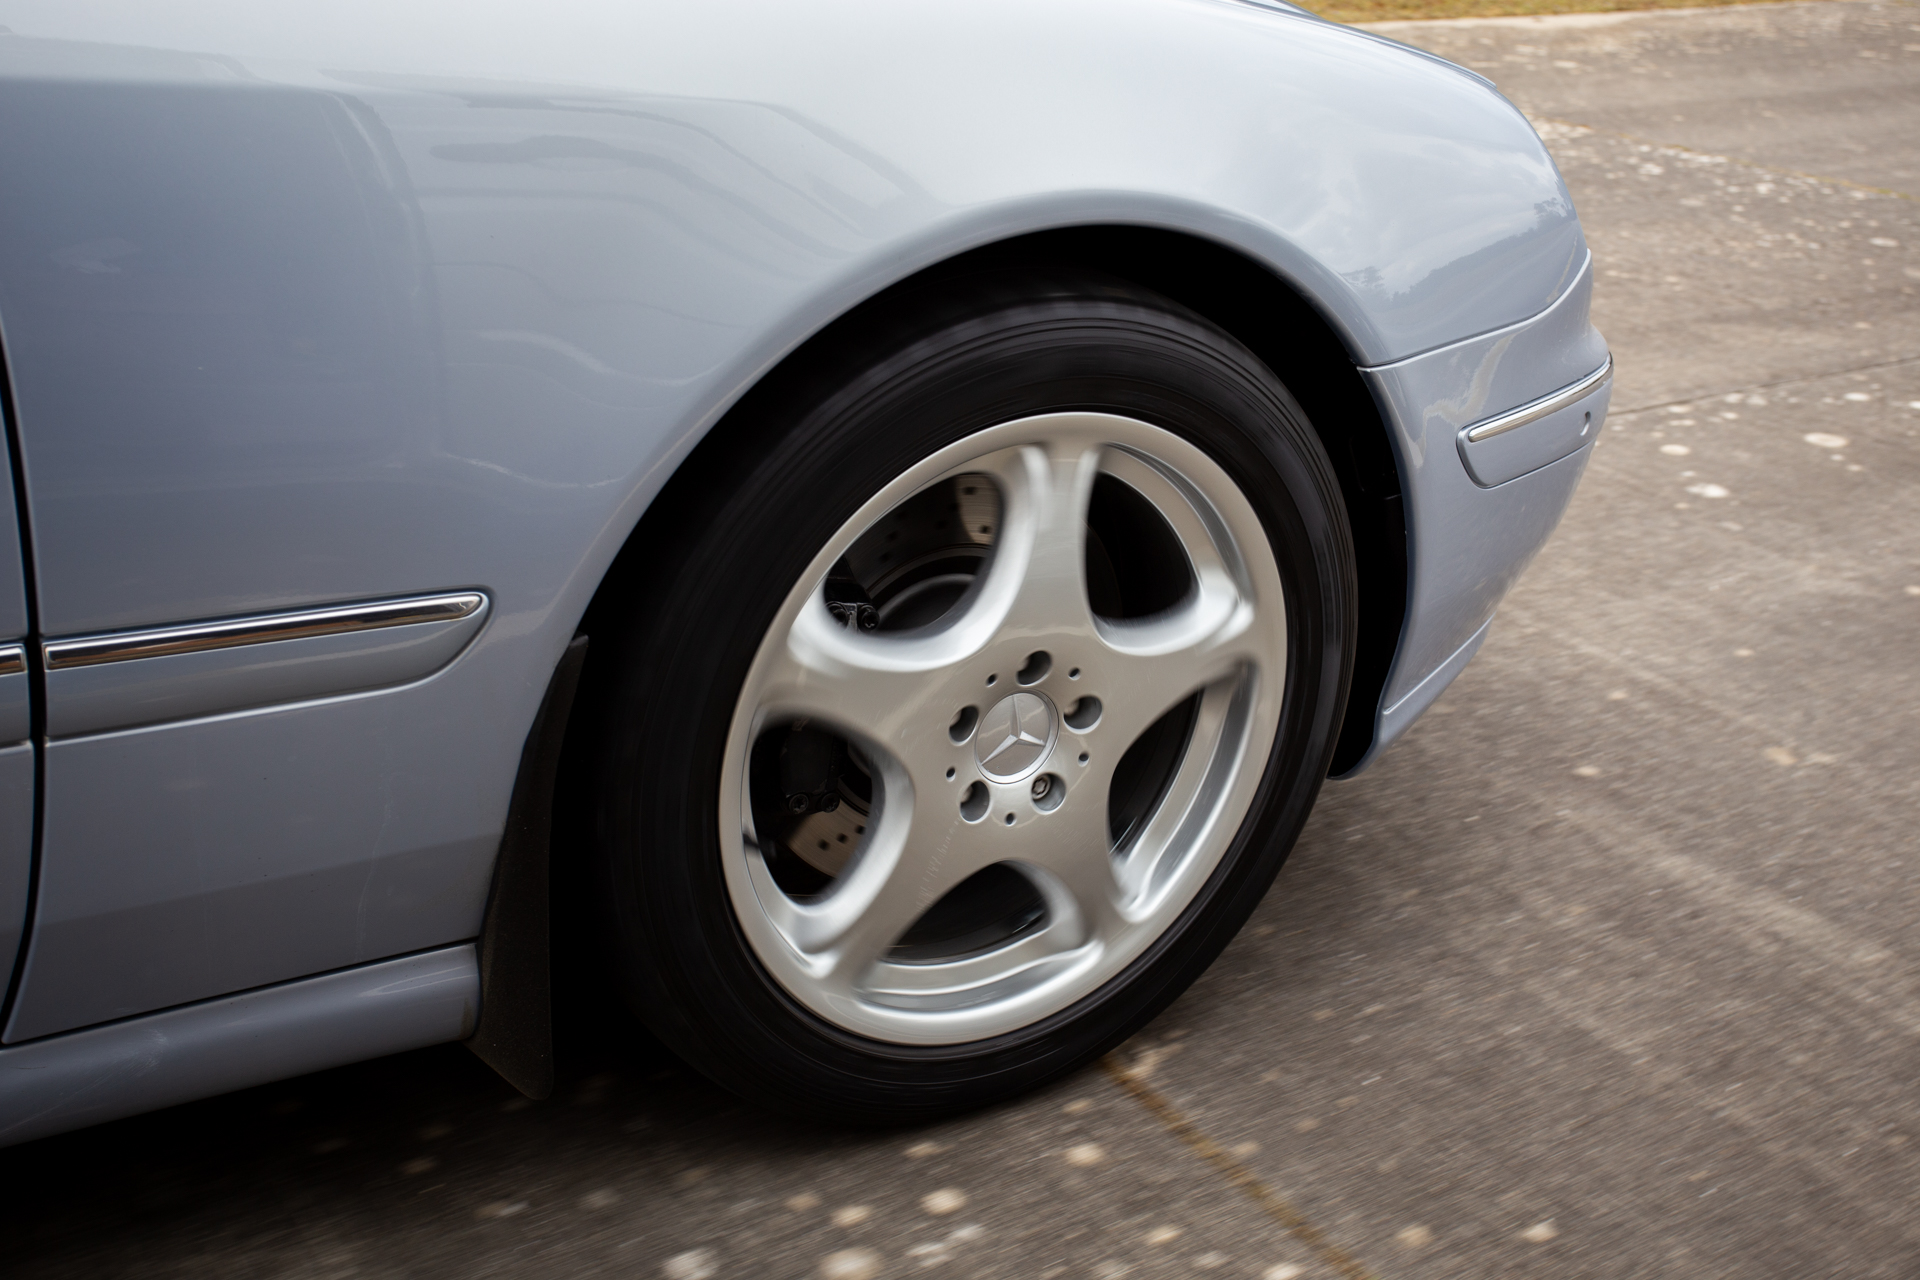
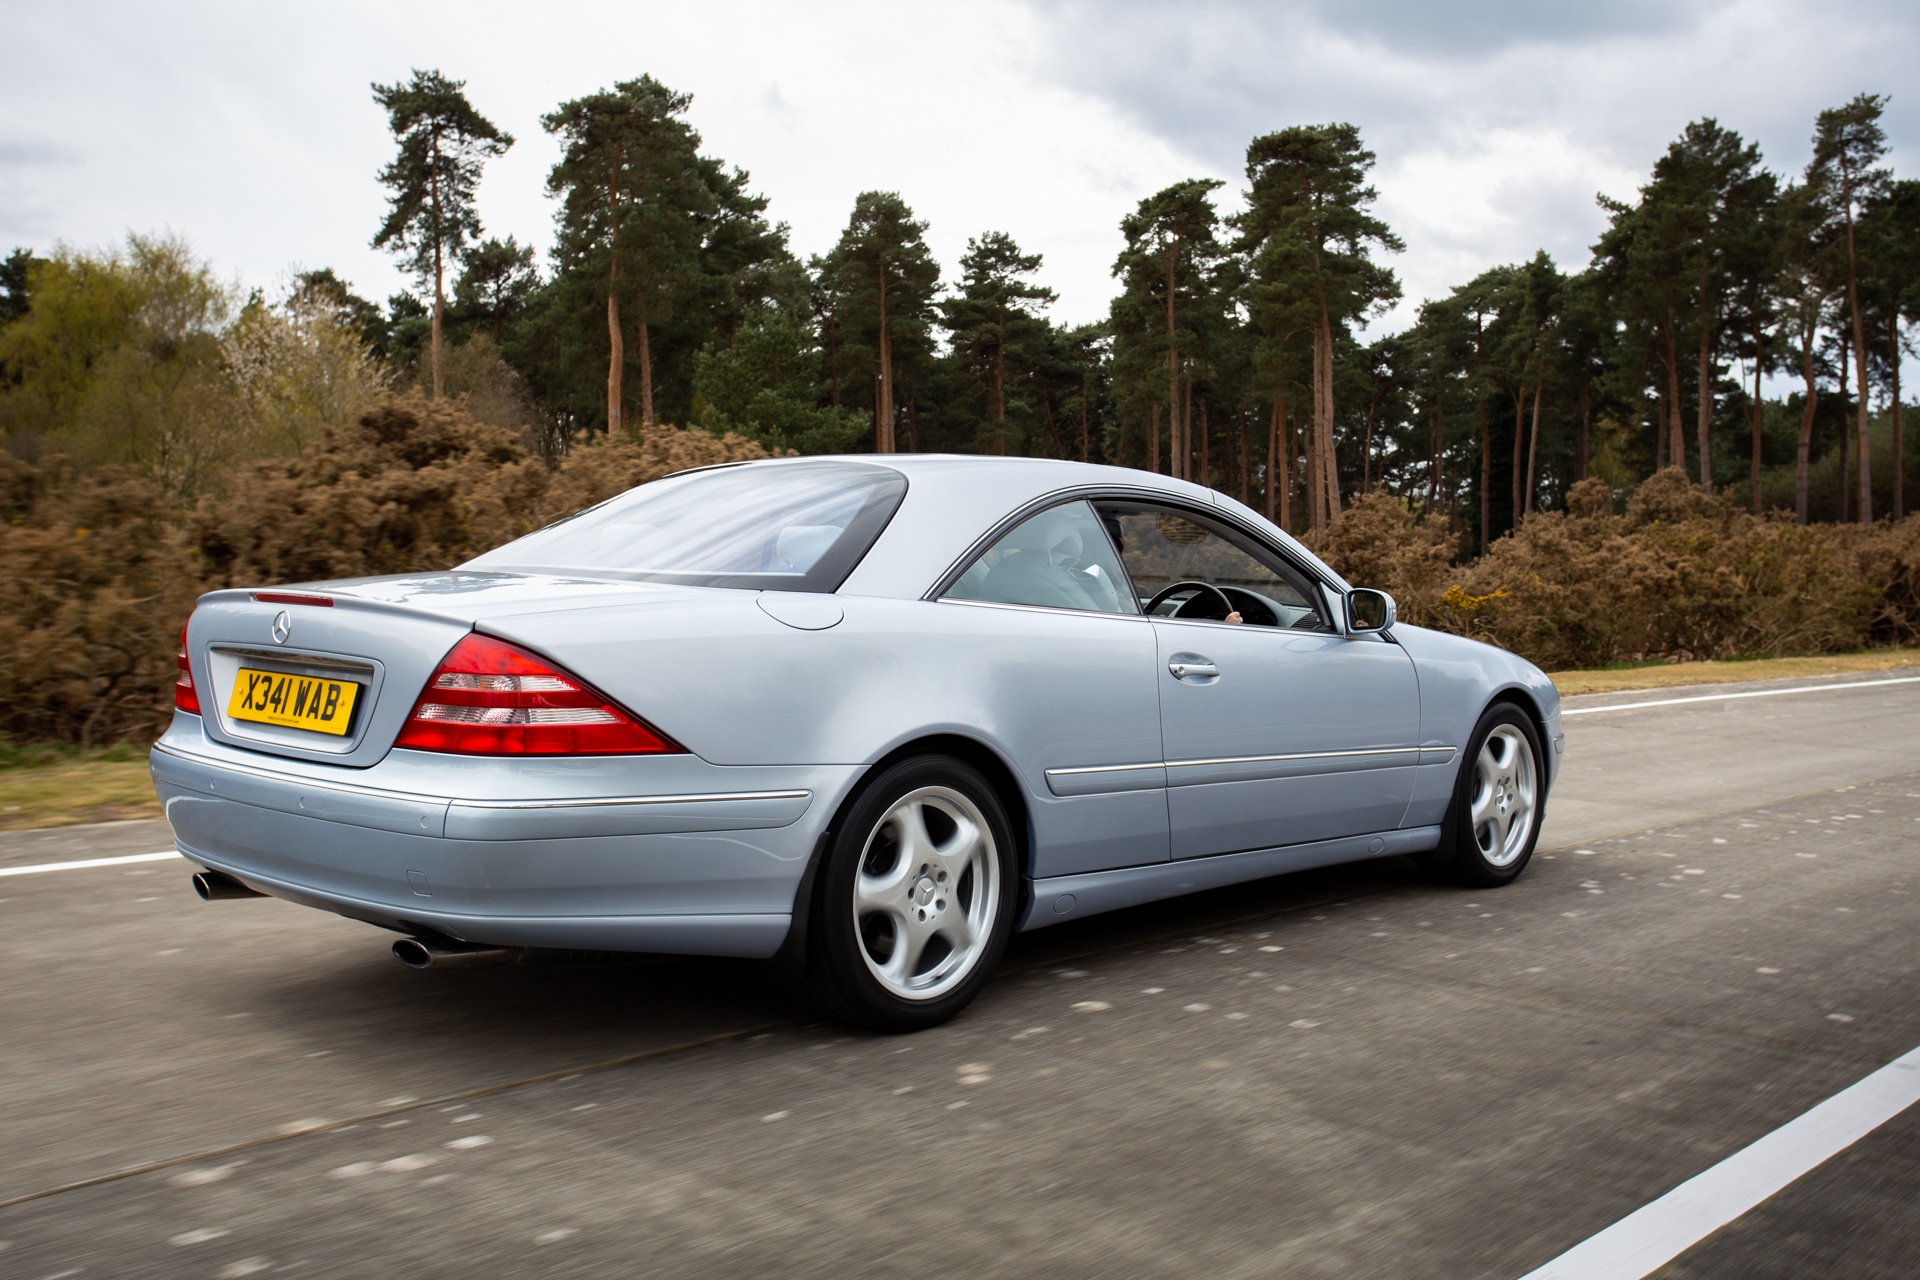
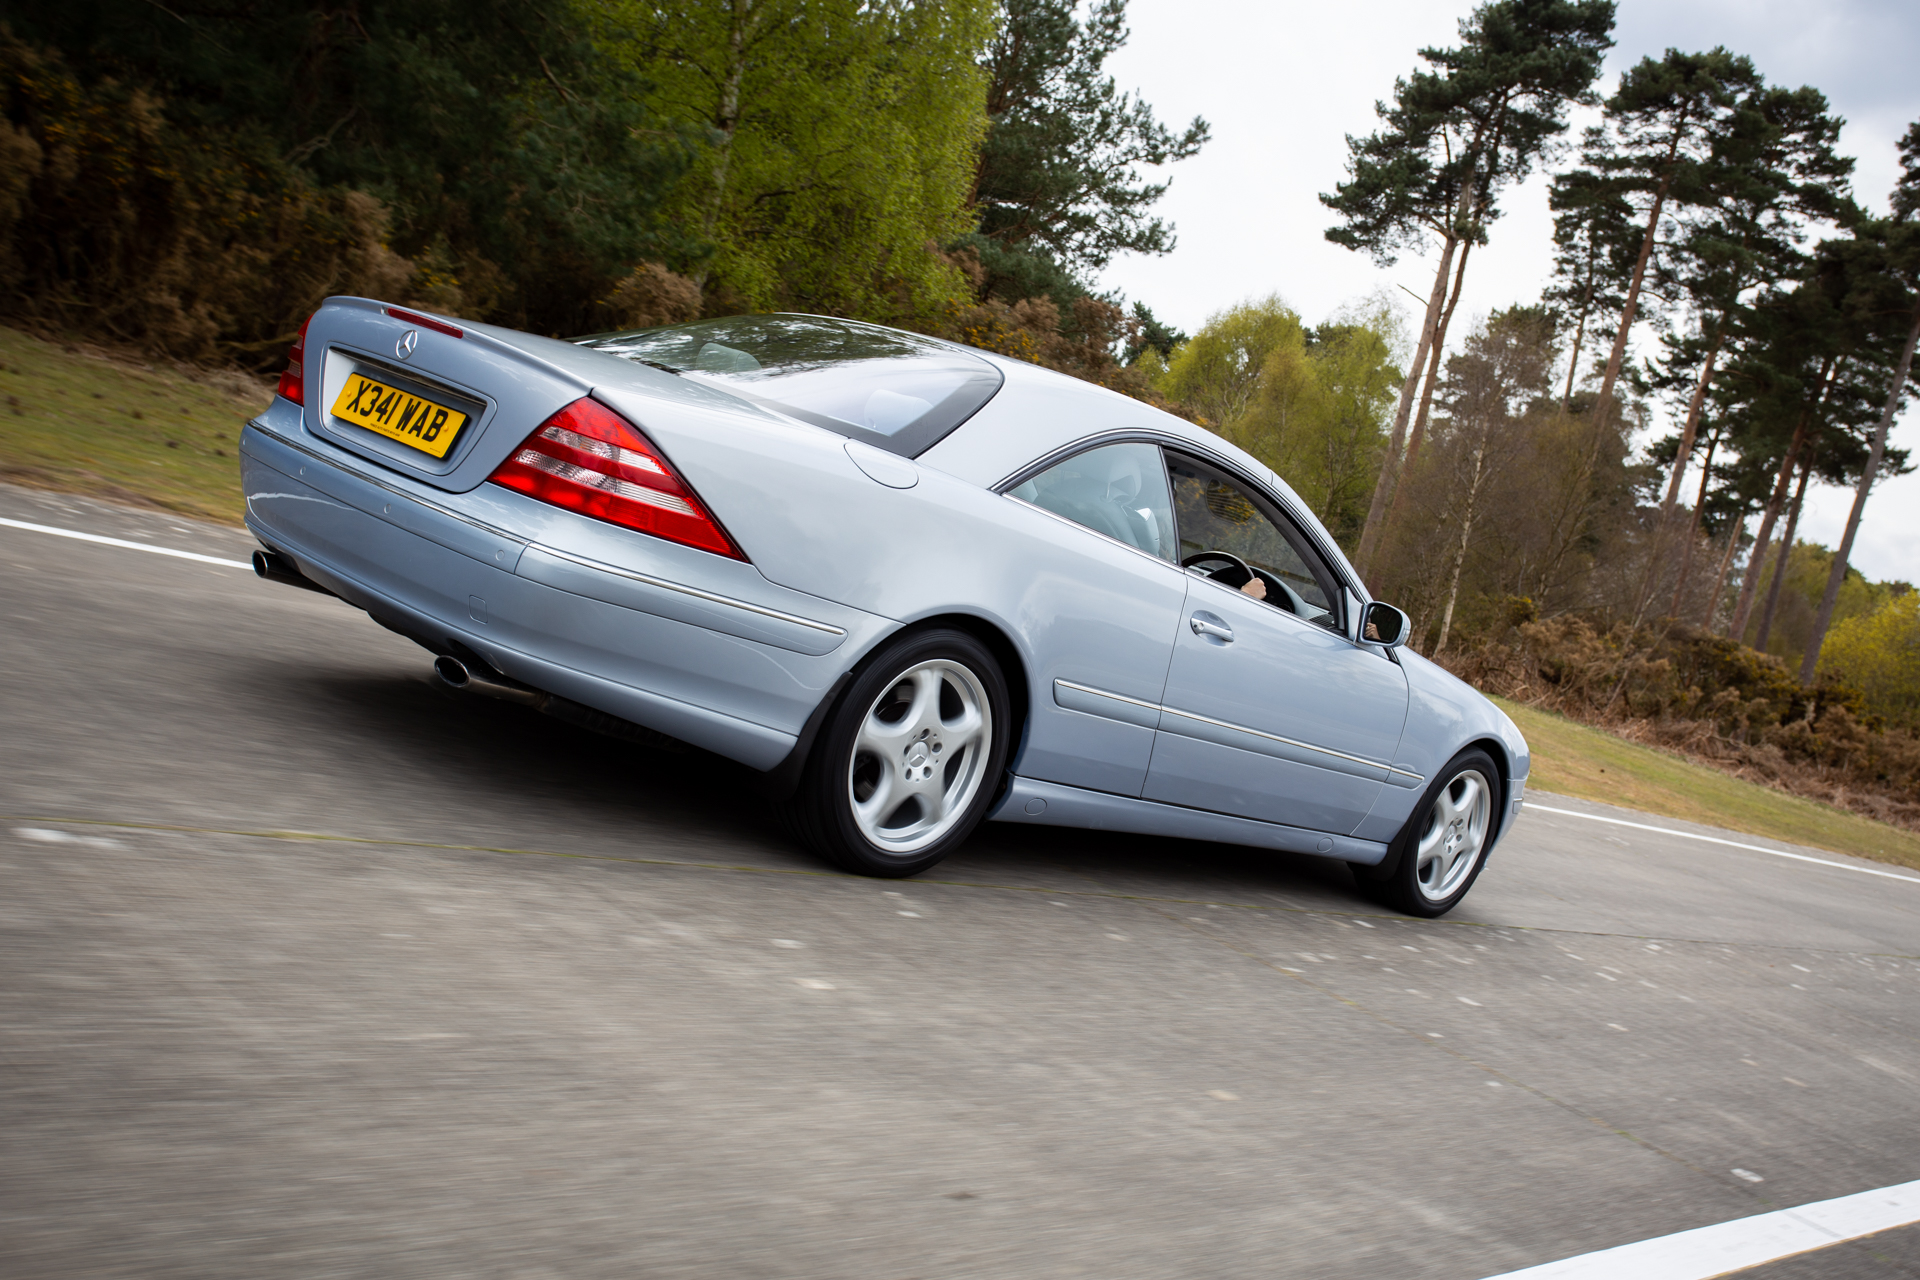
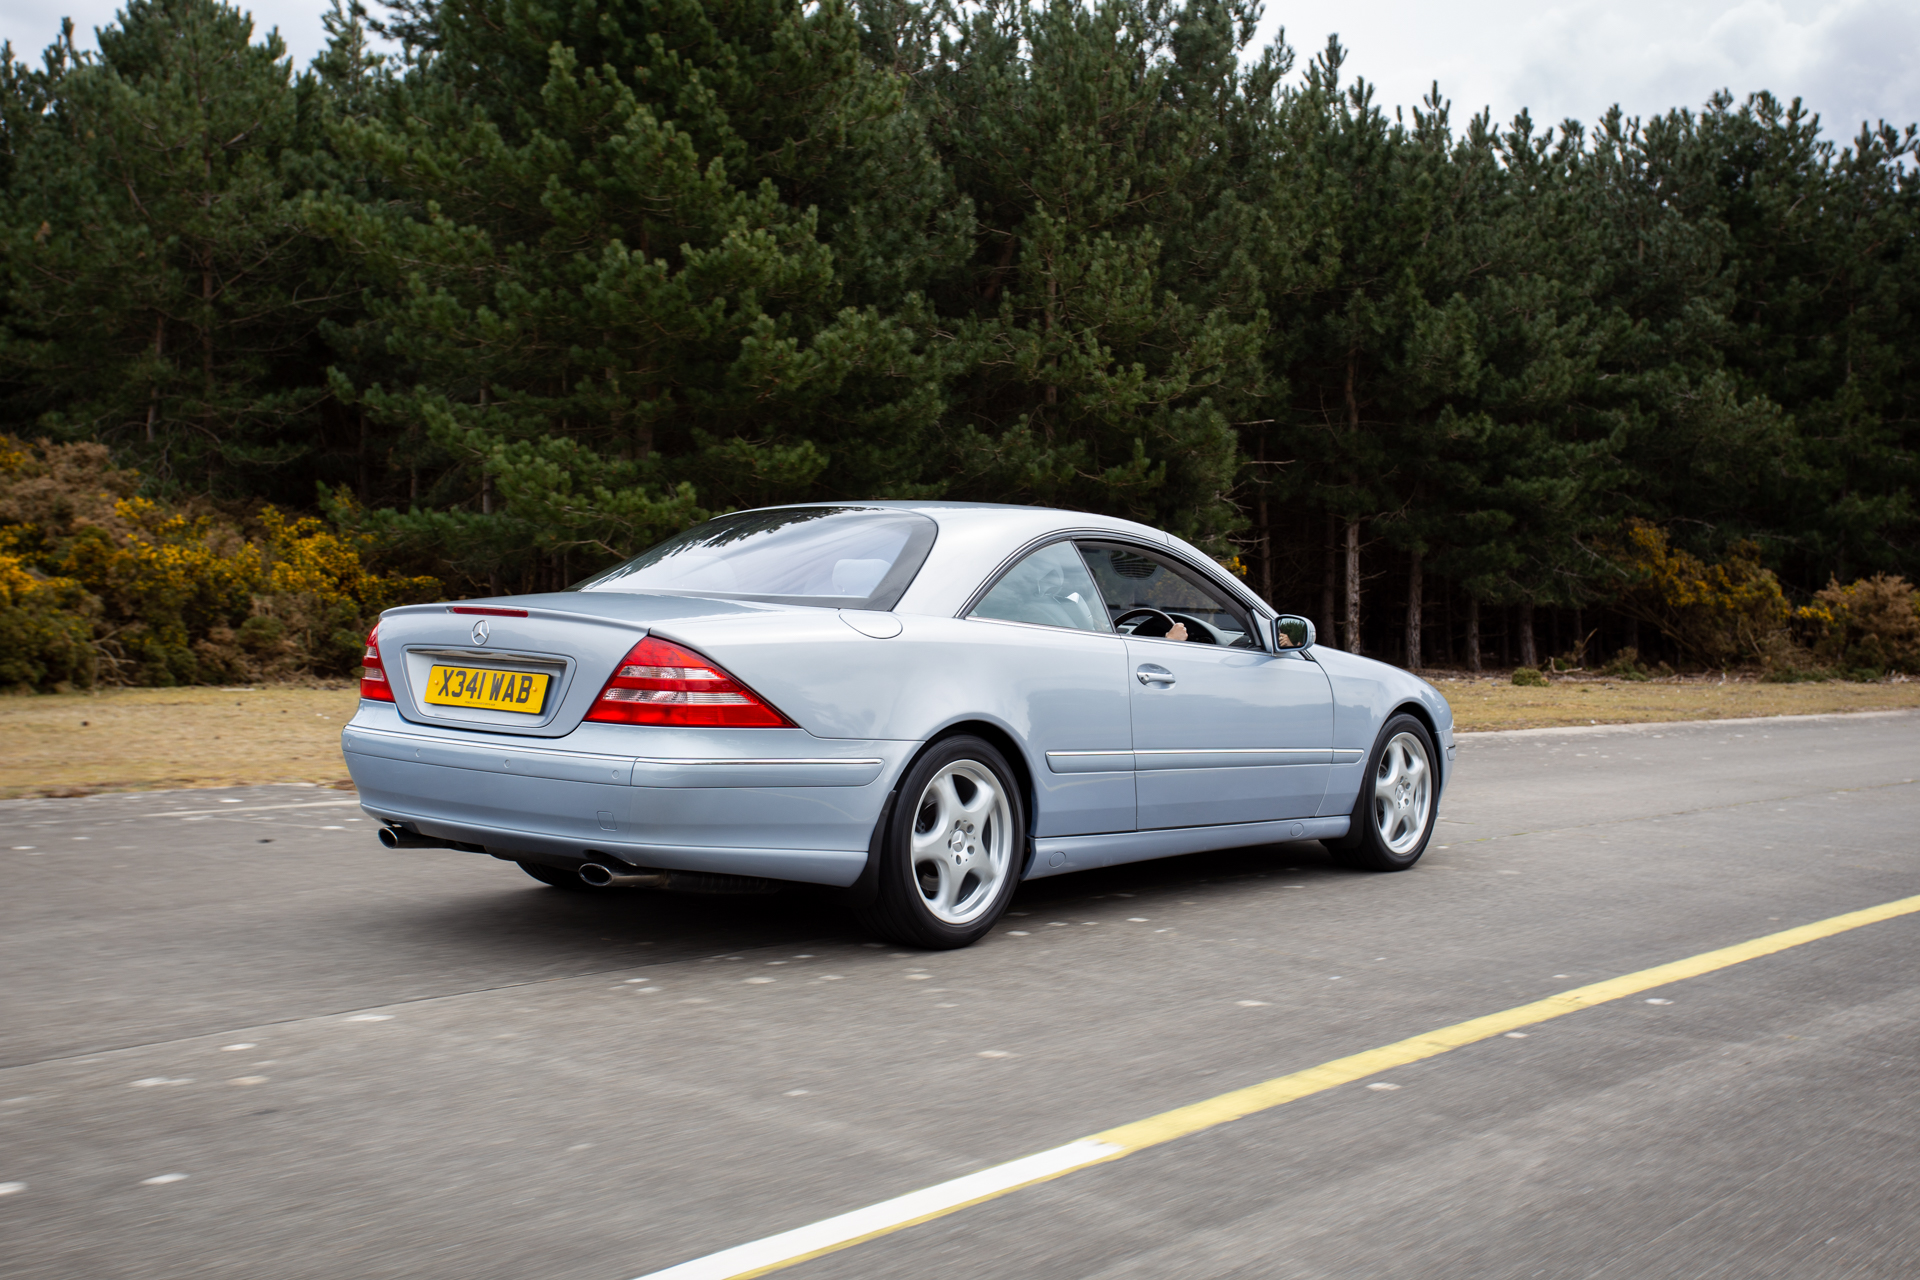
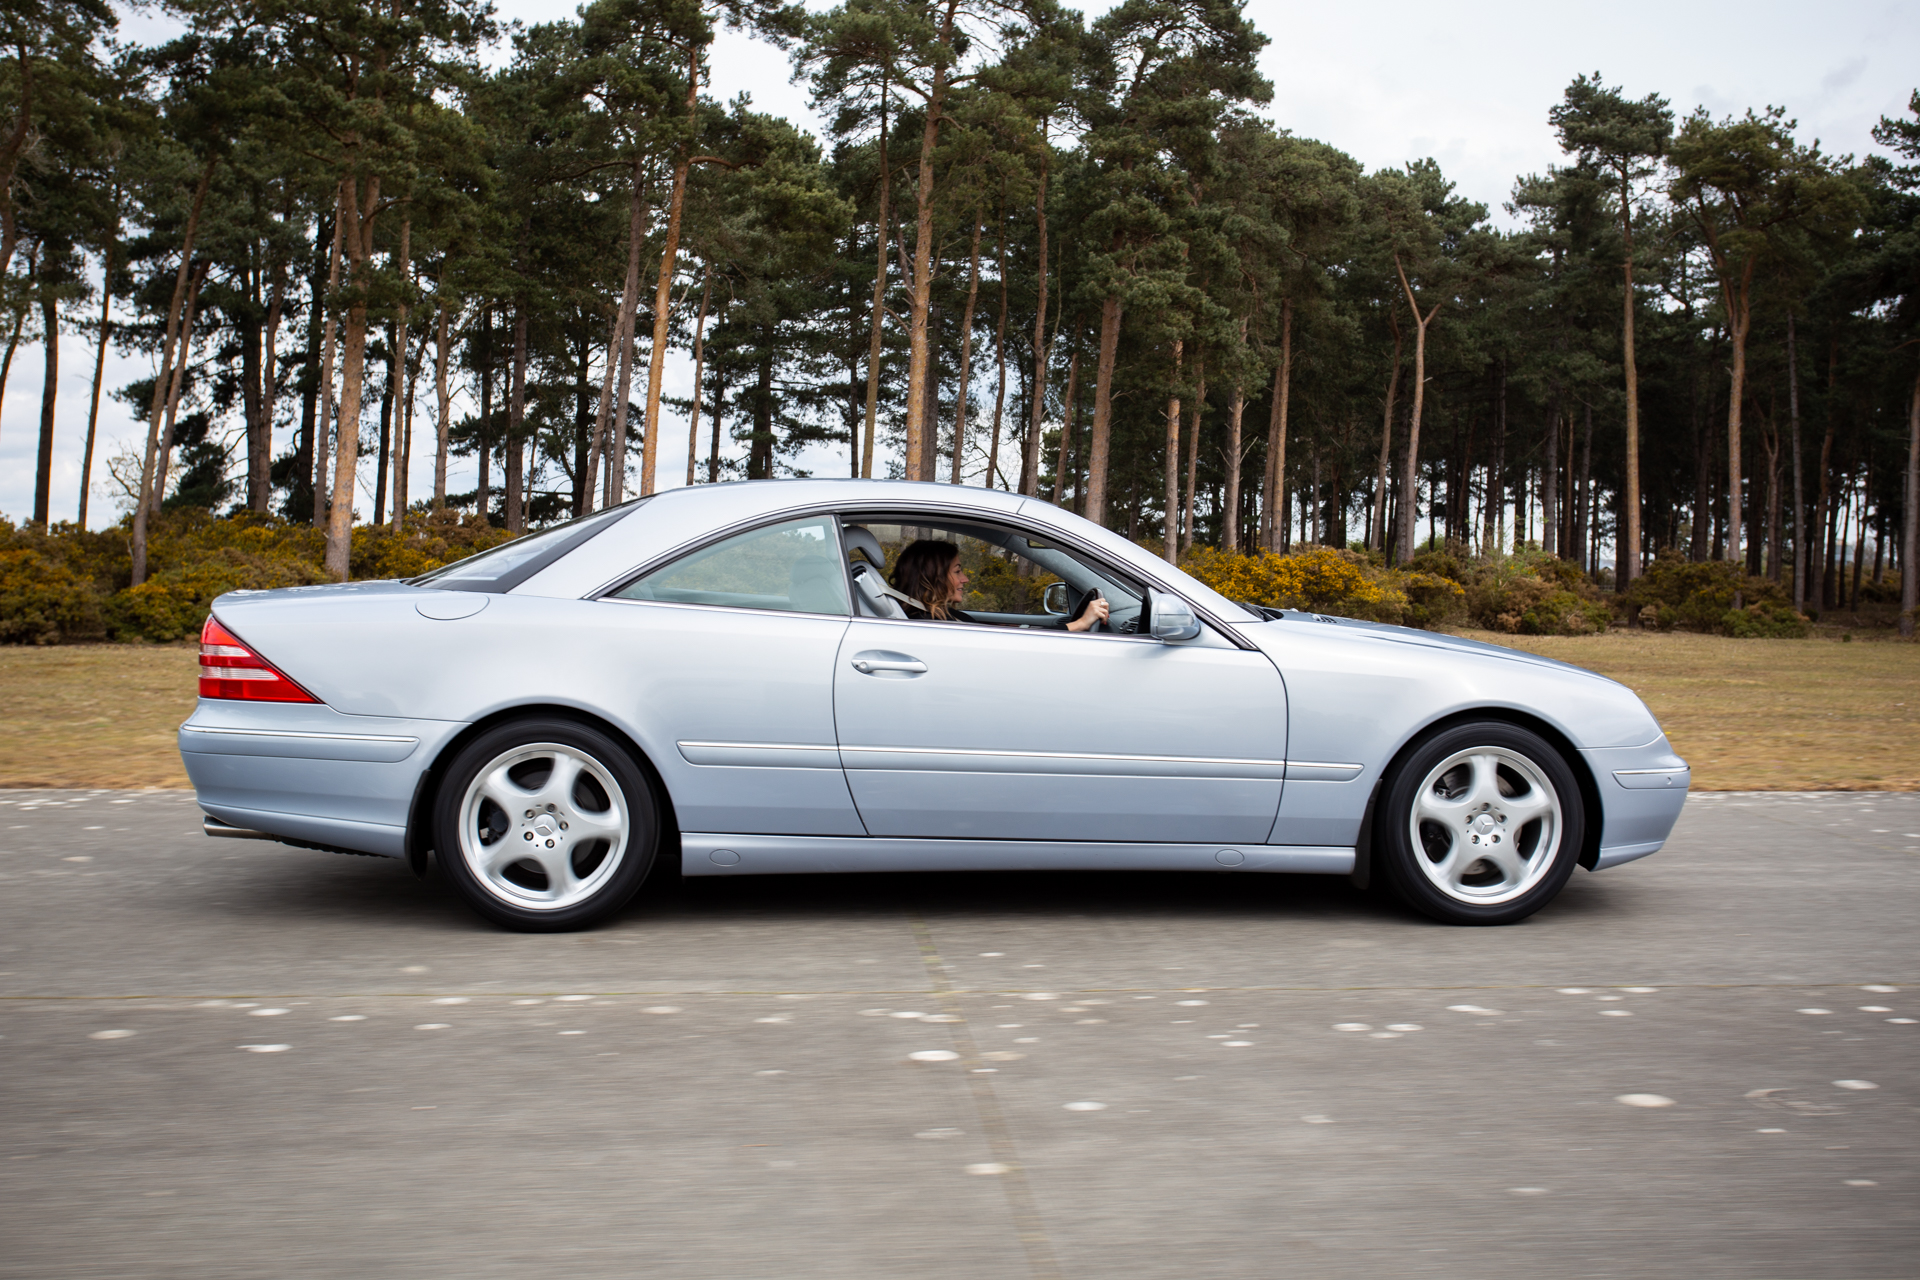
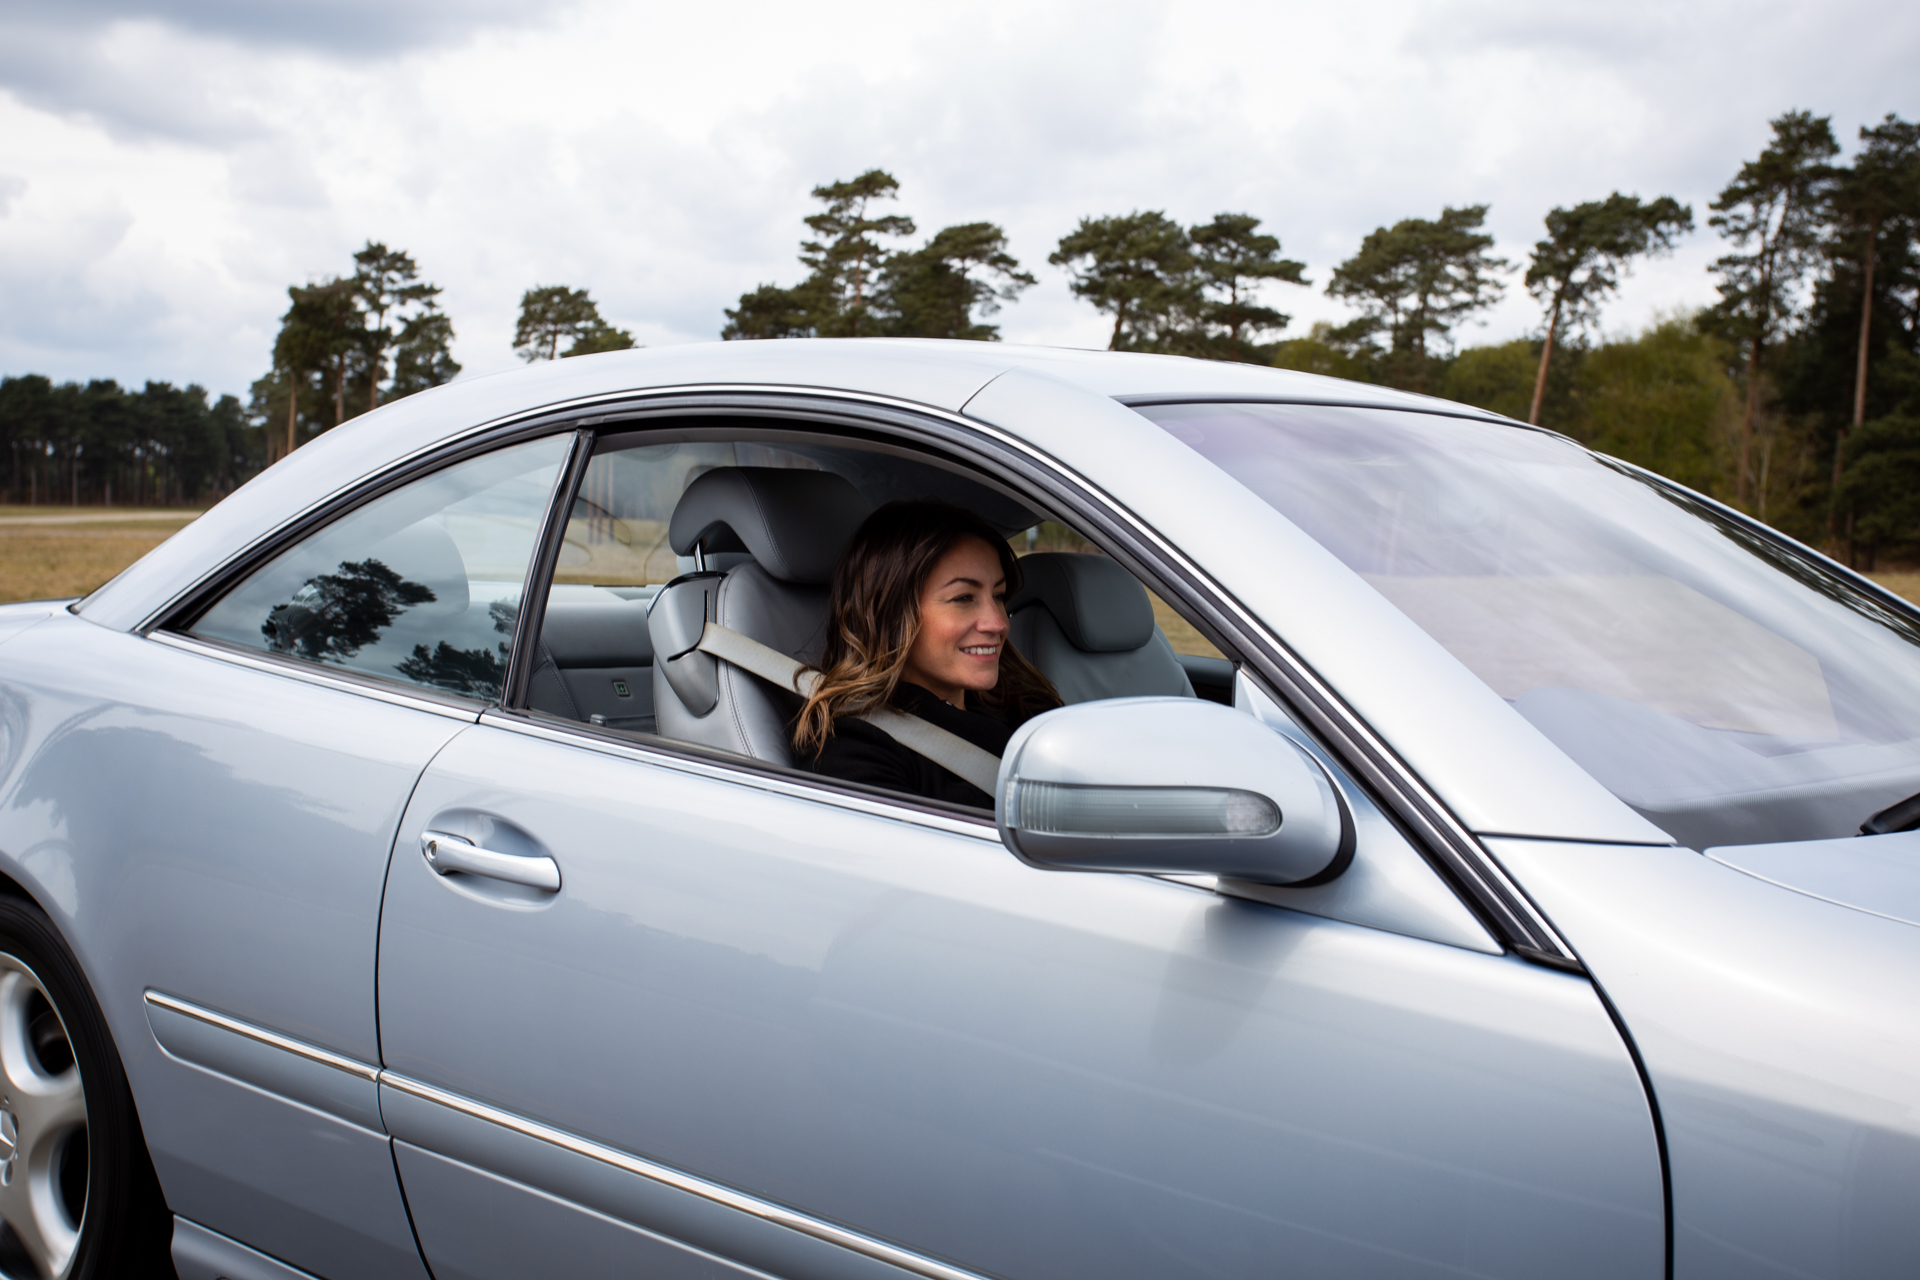
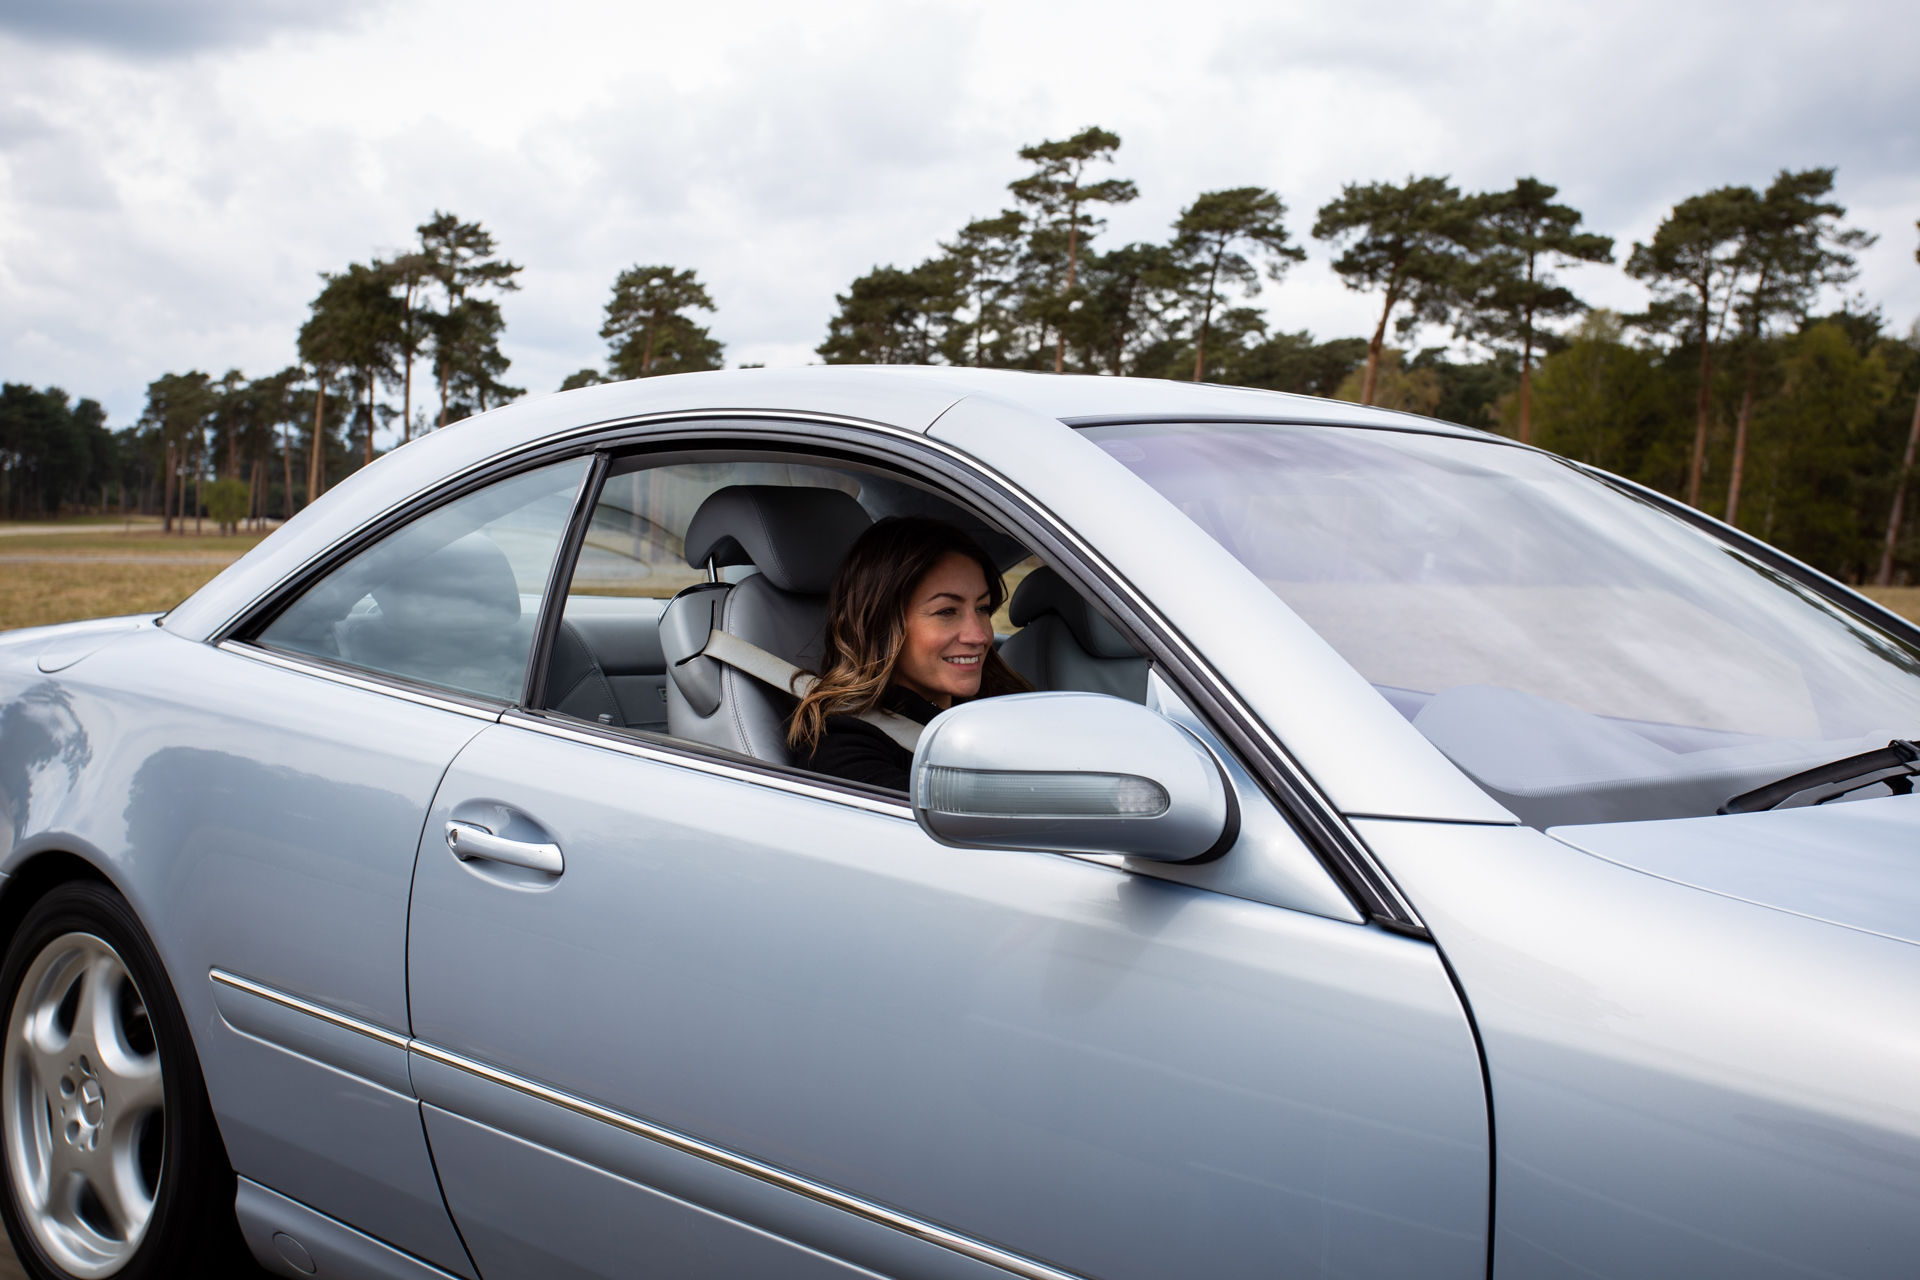
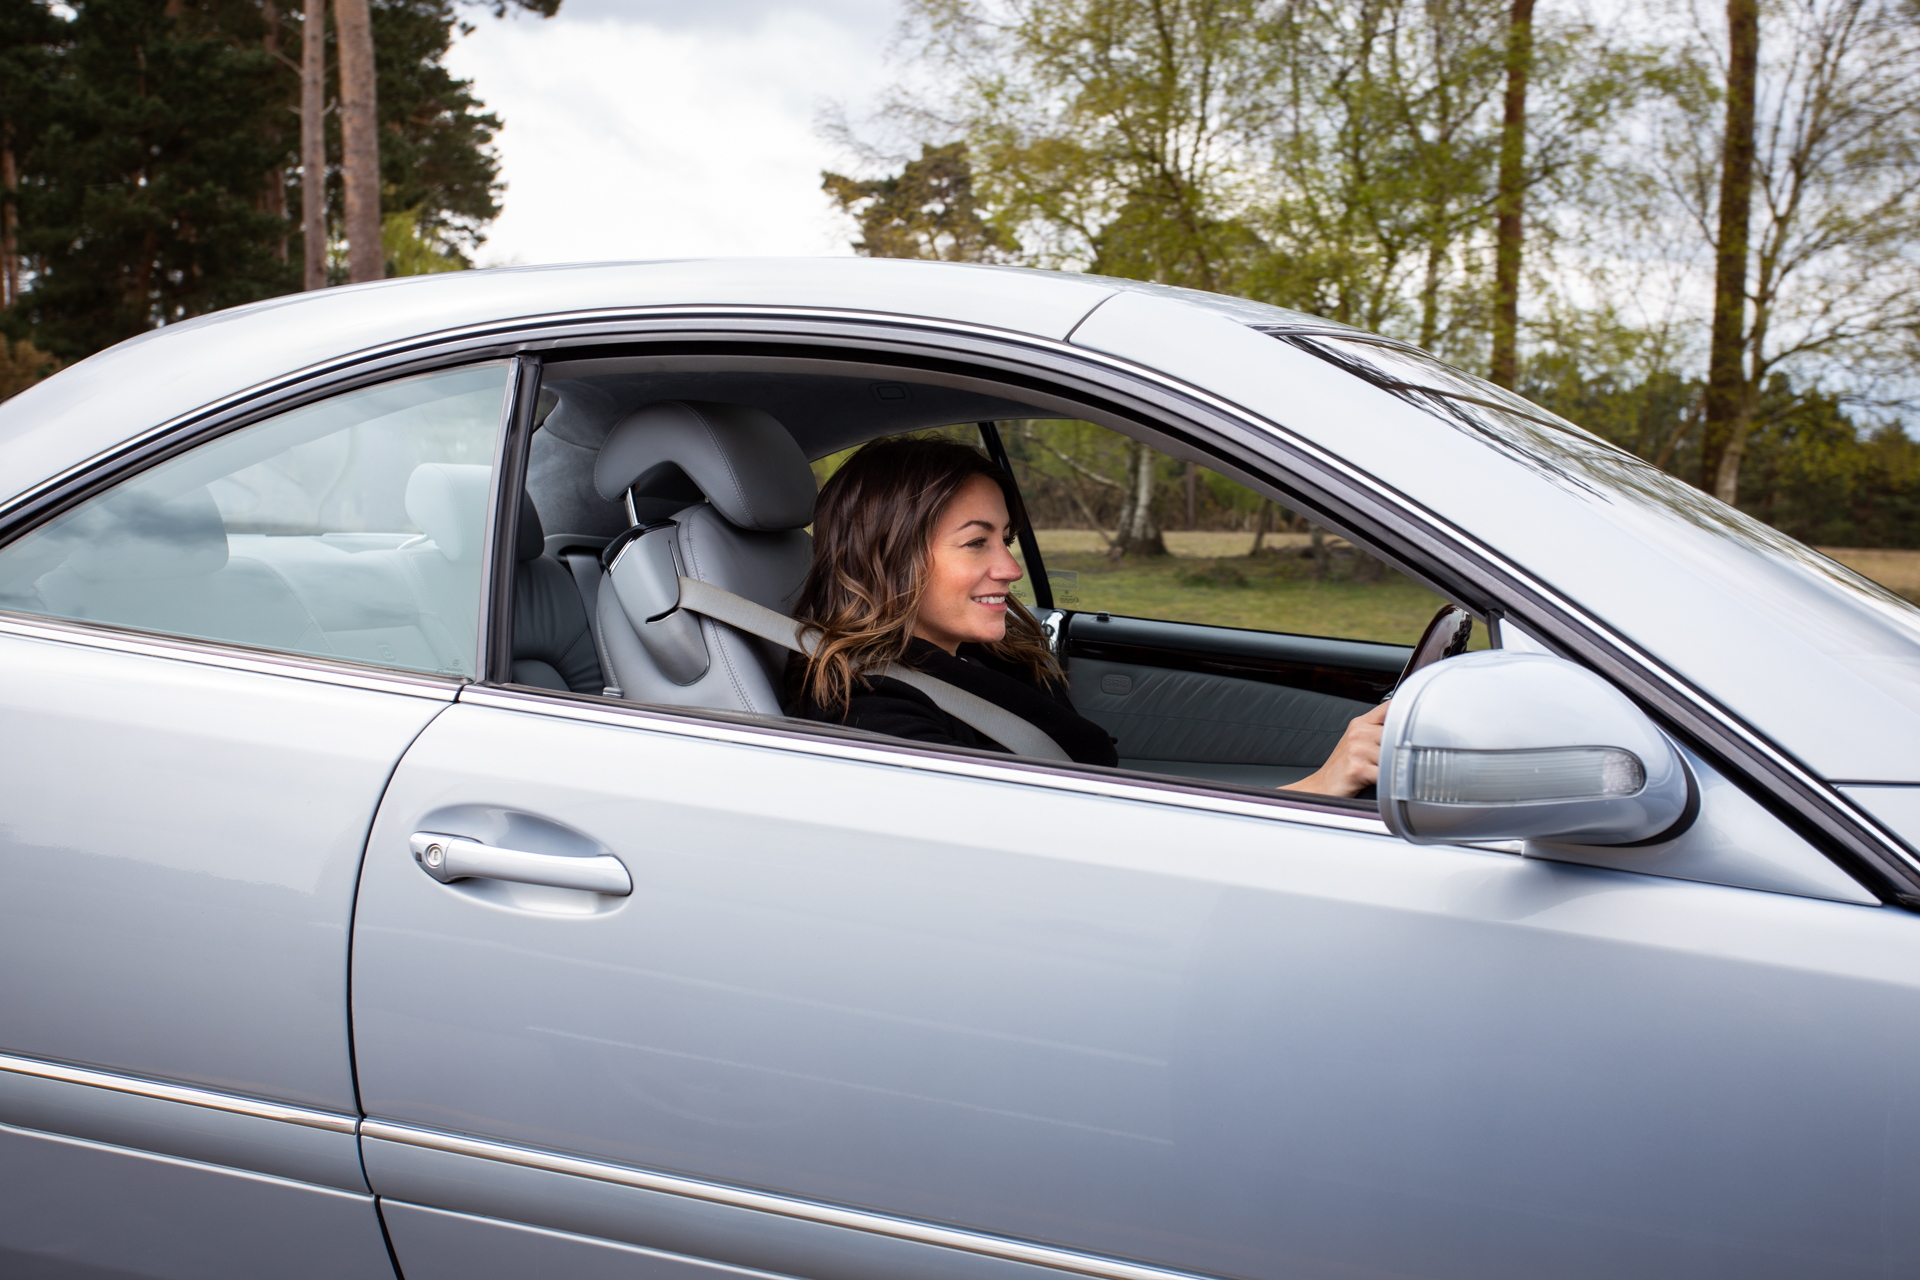
The team headed over to Bentwaters recently to shot our Mercedes CL600, our recent competition car. Although an overcast day, the lighting was perfect to
Take a look at the full photo gallery for our Mercedes CL500:
This stunning 1986 420SL has just come in for a re-commission. Our technicians will take a look over this classic to evaluate what needs to

The trim shop has started on Craig’s 1987 Mercedes 500SL trim which is being done in a Claret red. Kath has been painstakingly pouring over
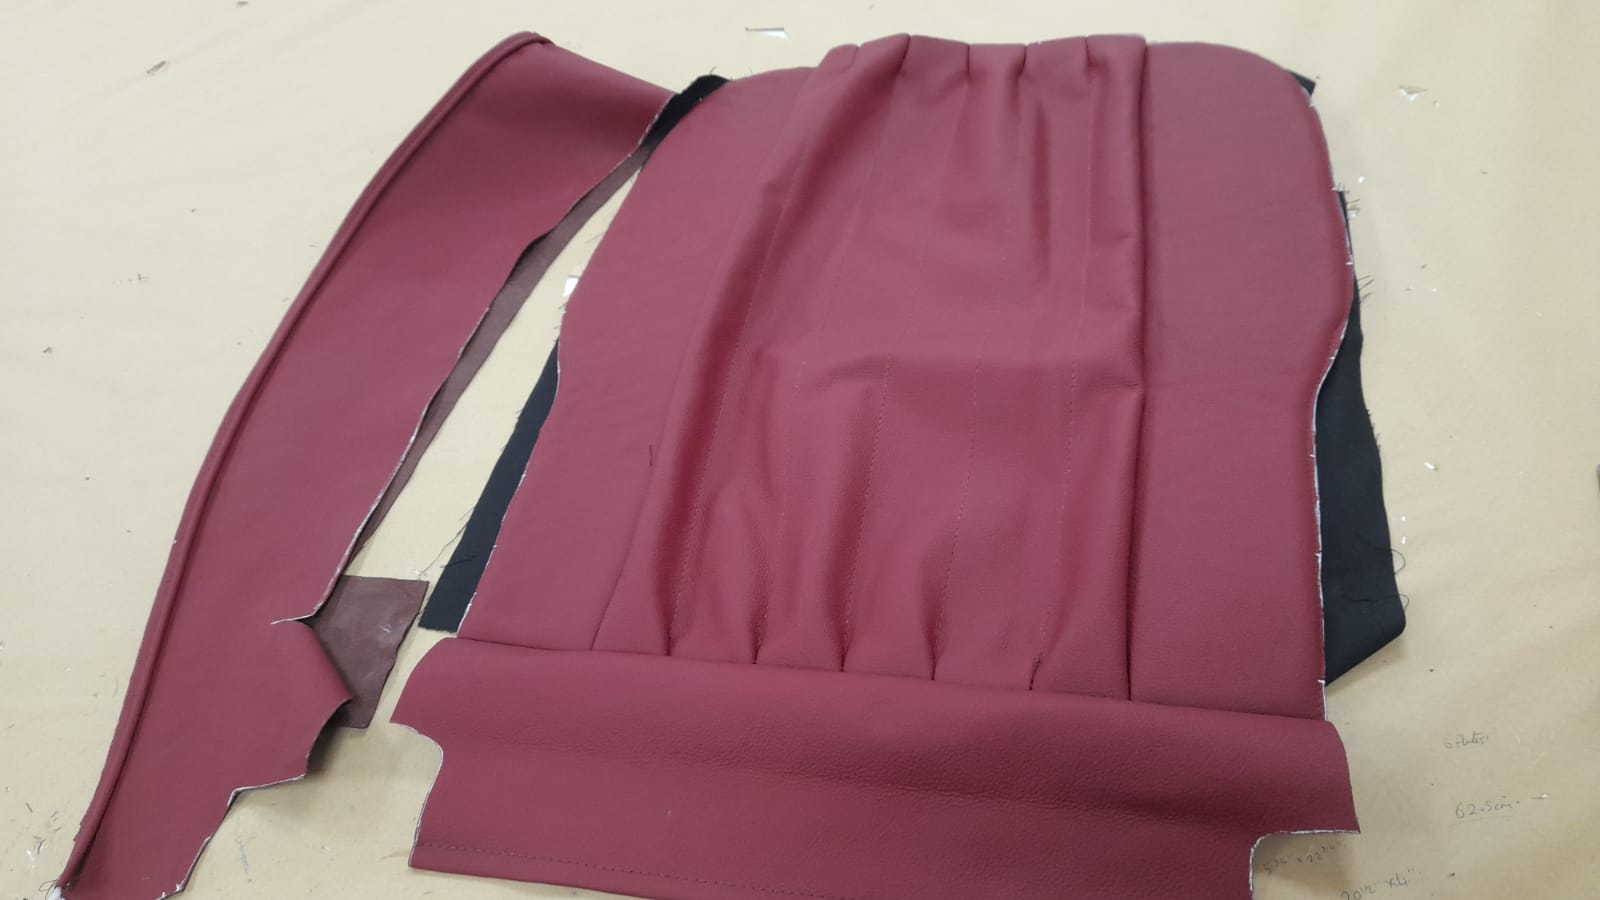
Lydia has been focusing exclusively on Craig’s 500SL Mercedes interior restoration. Over the last week or so shes been working on the seat covers, re-working
Lydia has been making the second front squab seat cover for our 1987 Mercedes 500SL. This included taking the cover off the frame which is
Lydia has completed another seat cover using the same process as before. Brian and Kath have also been working at creating a cover for the
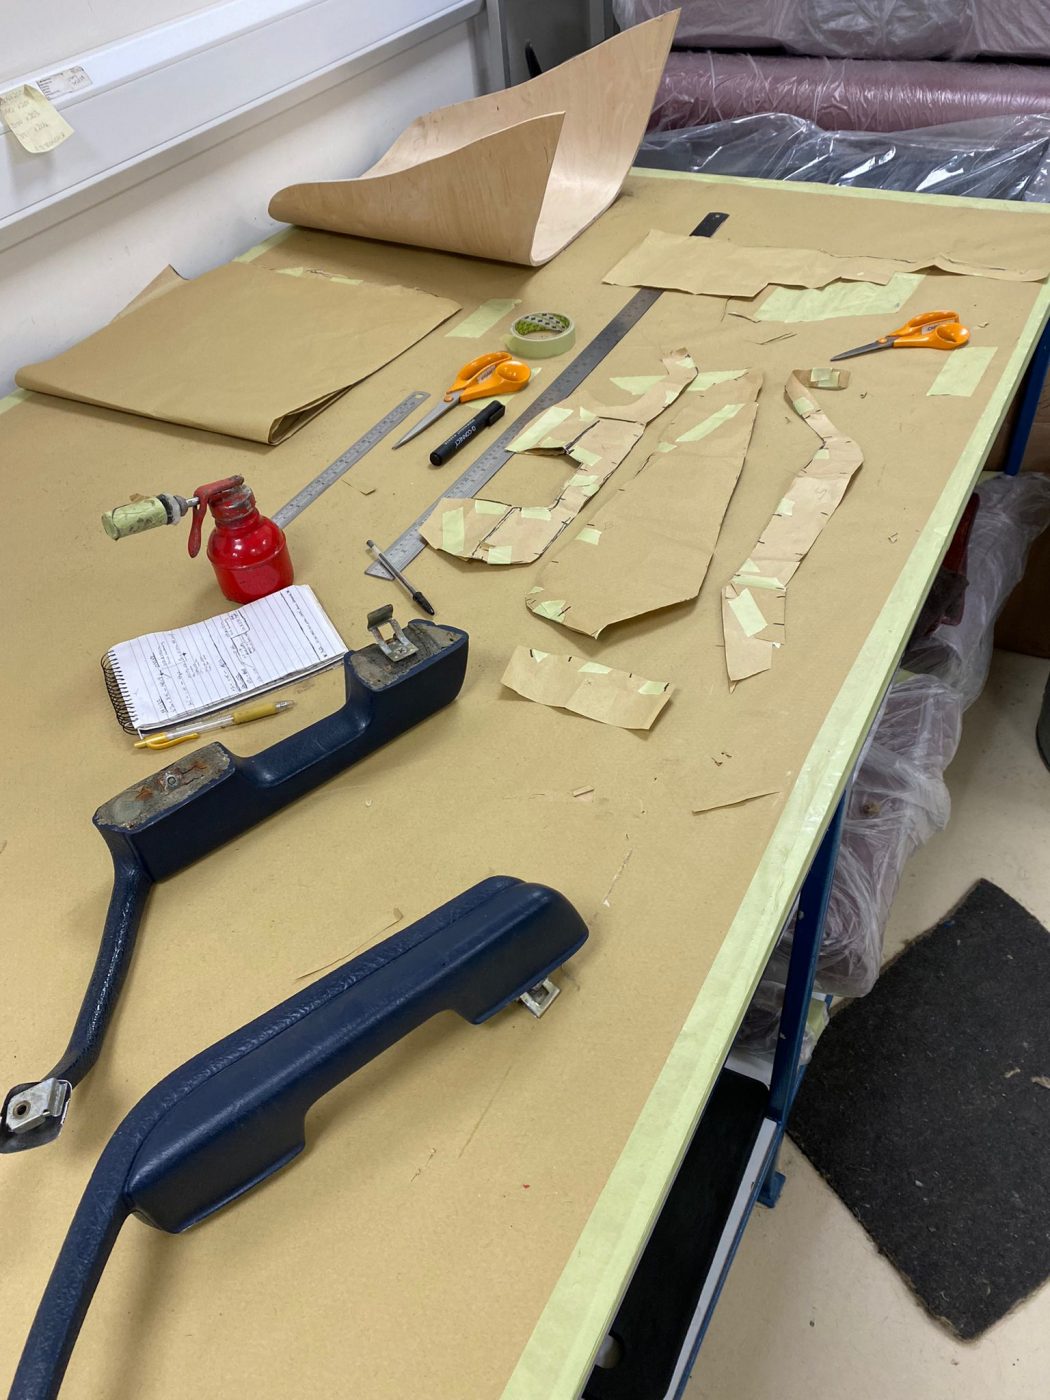
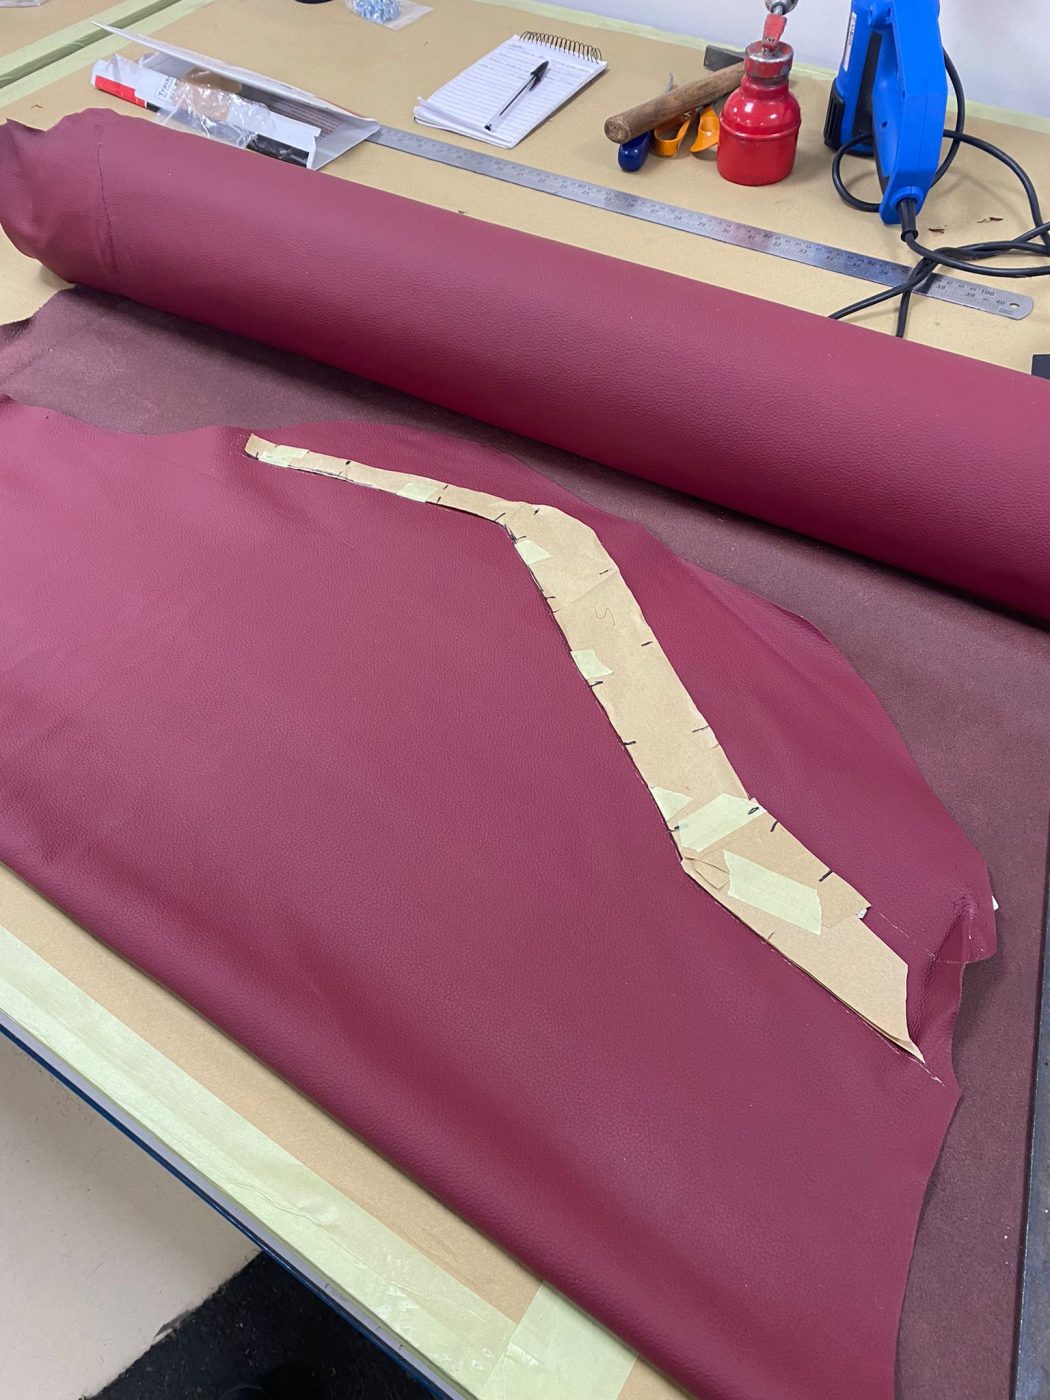
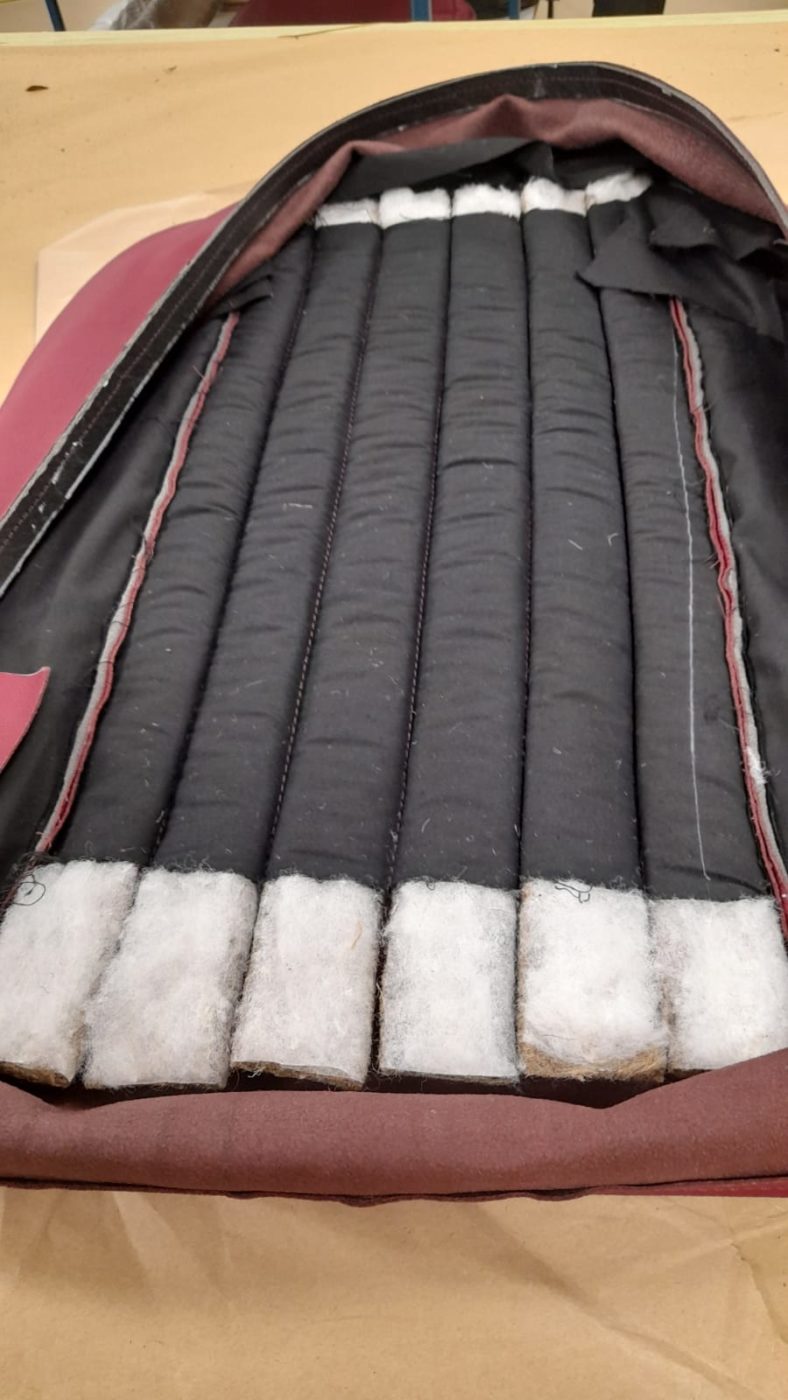
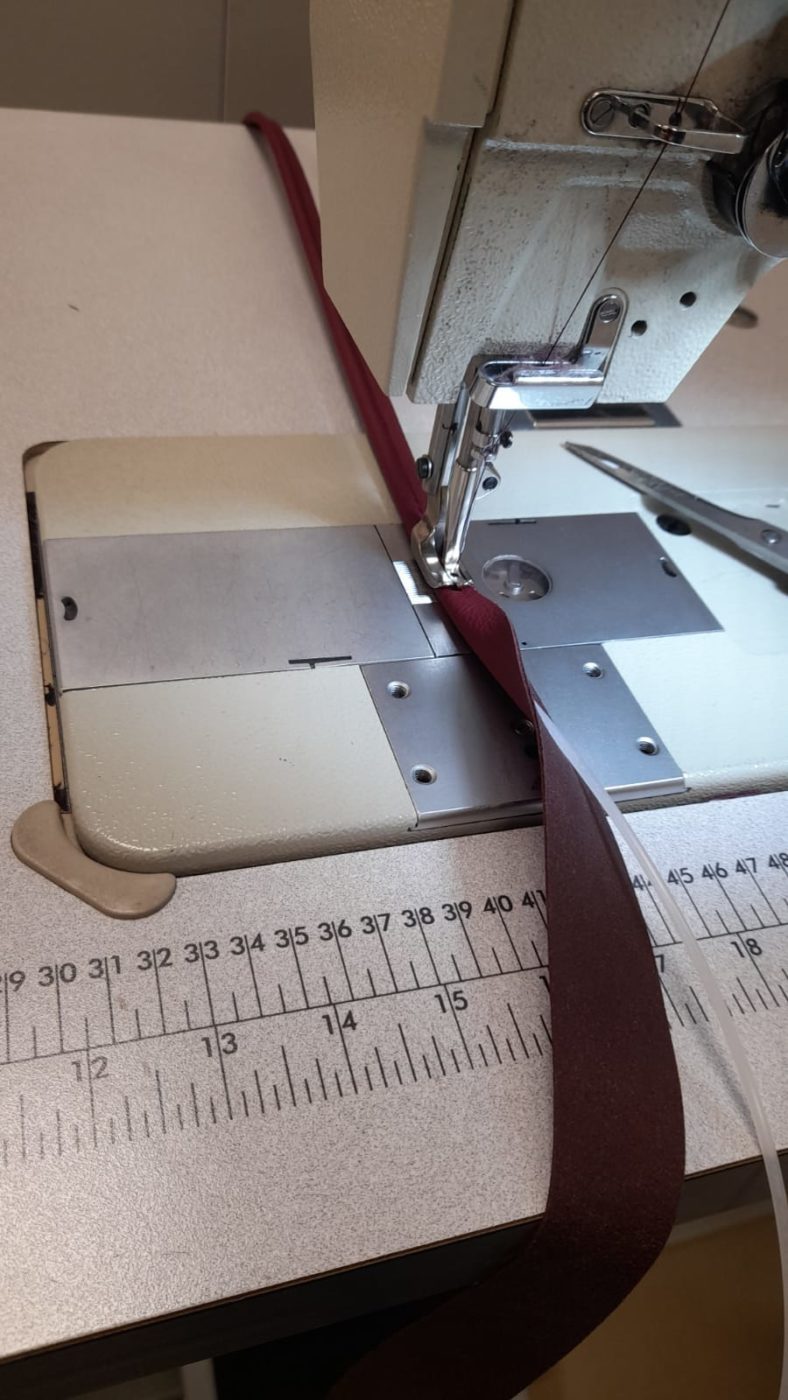
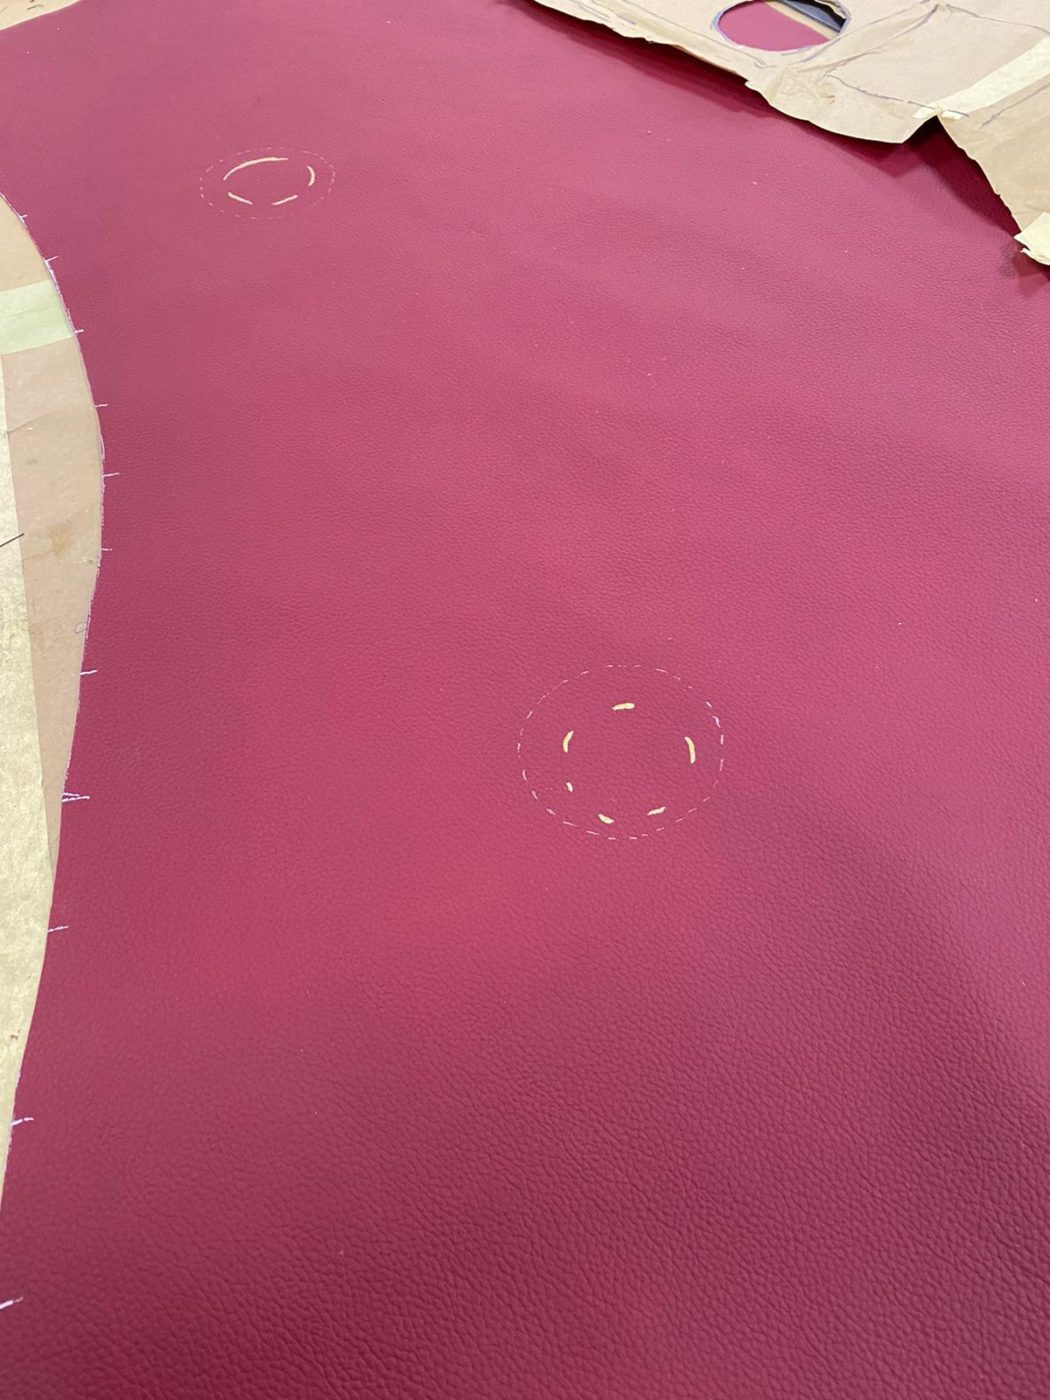
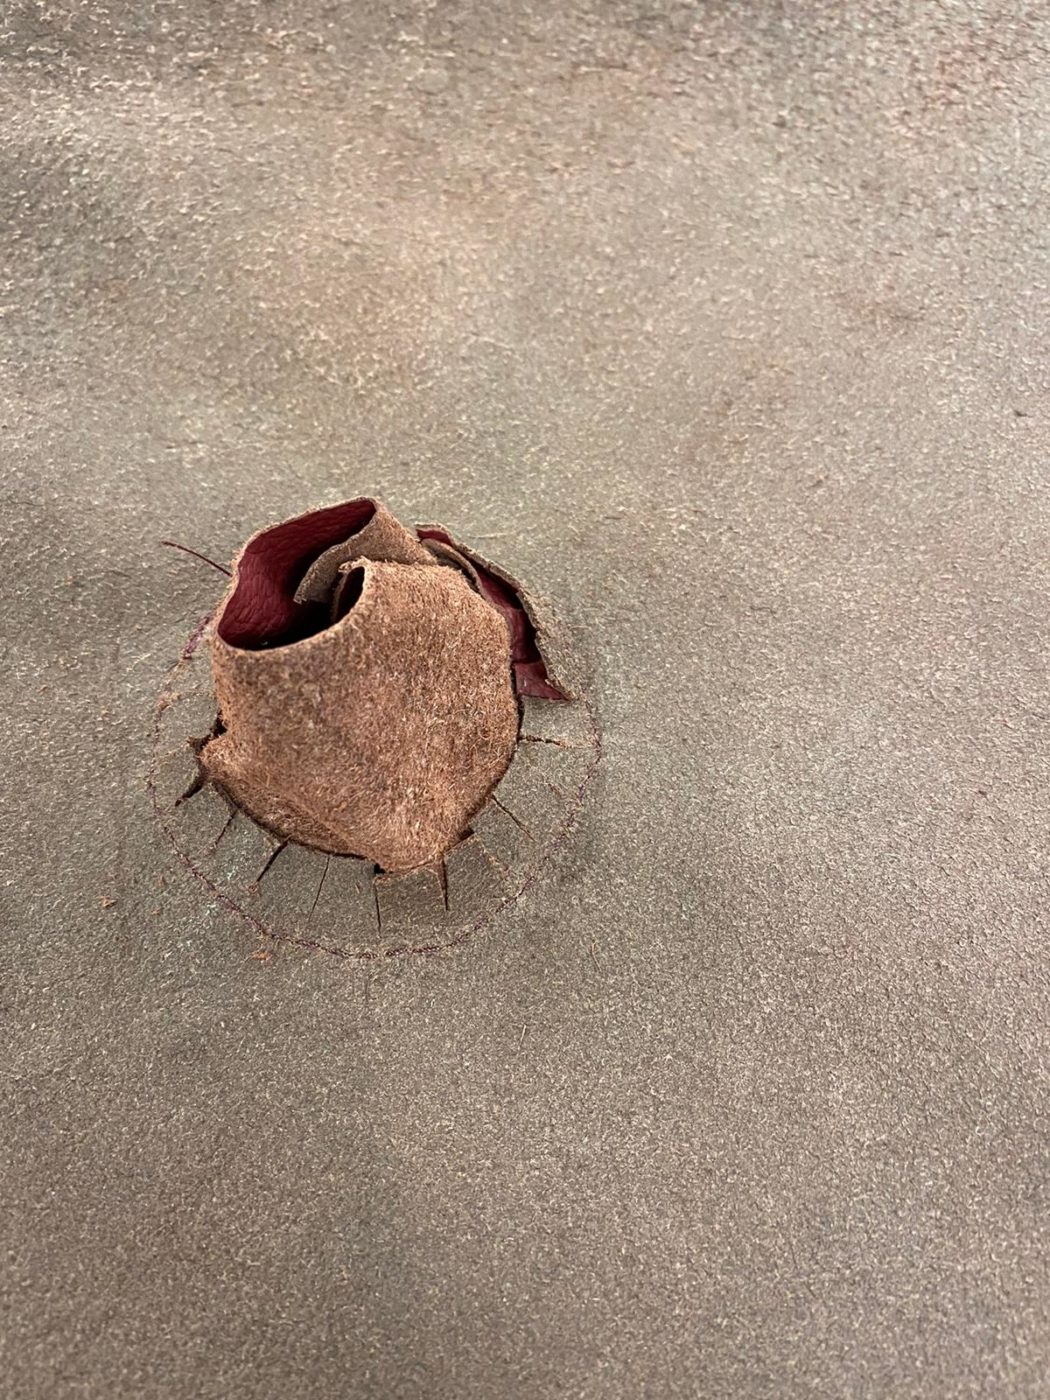
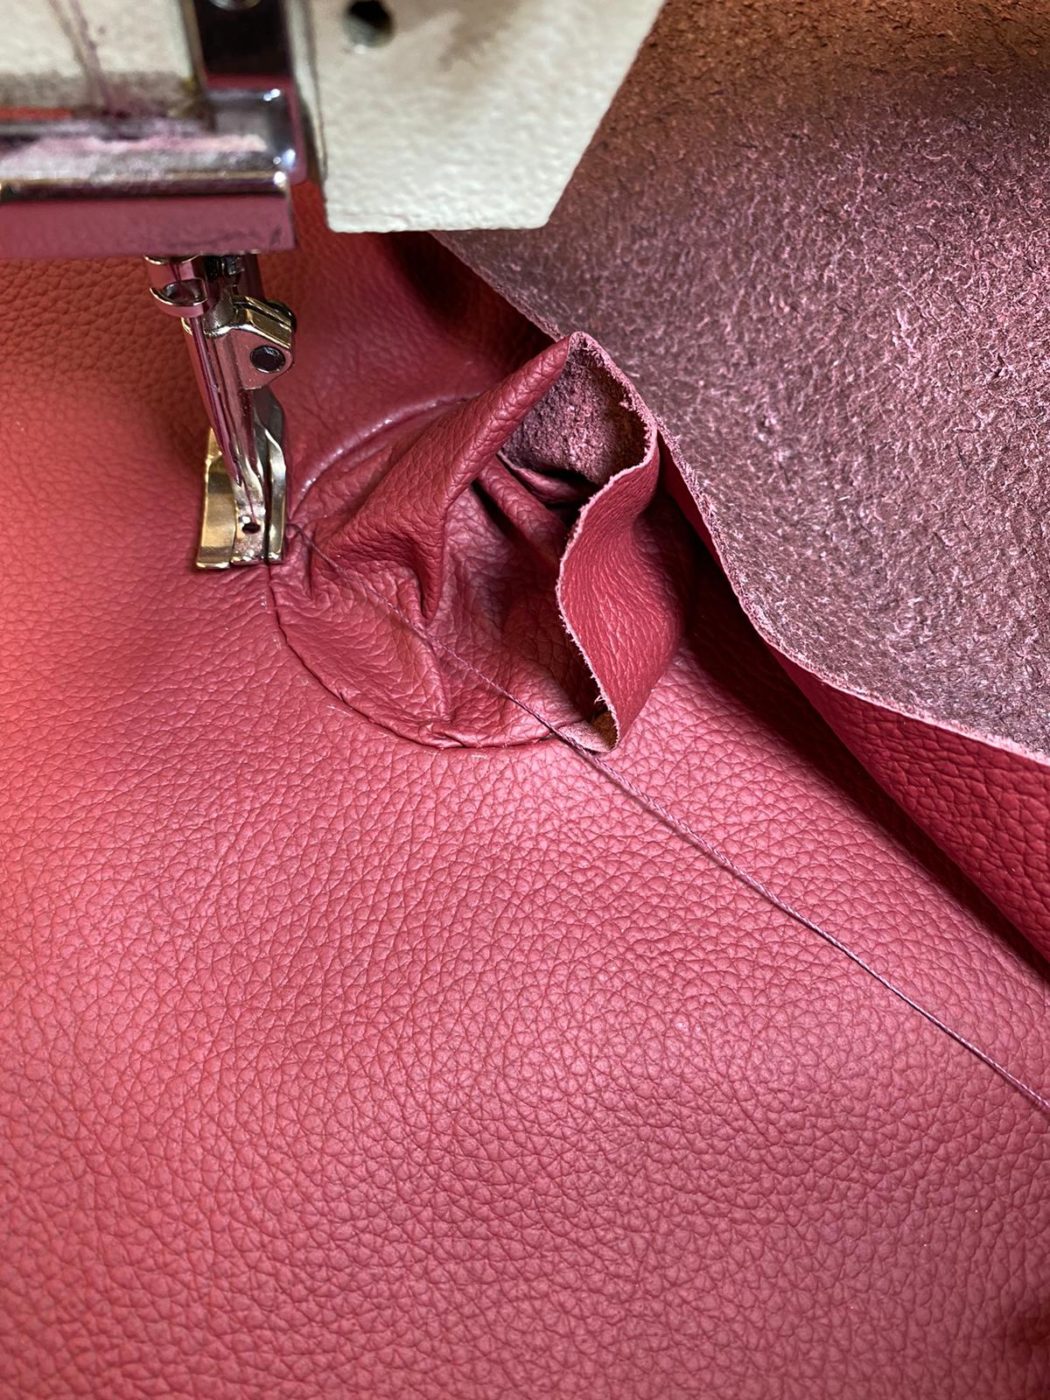
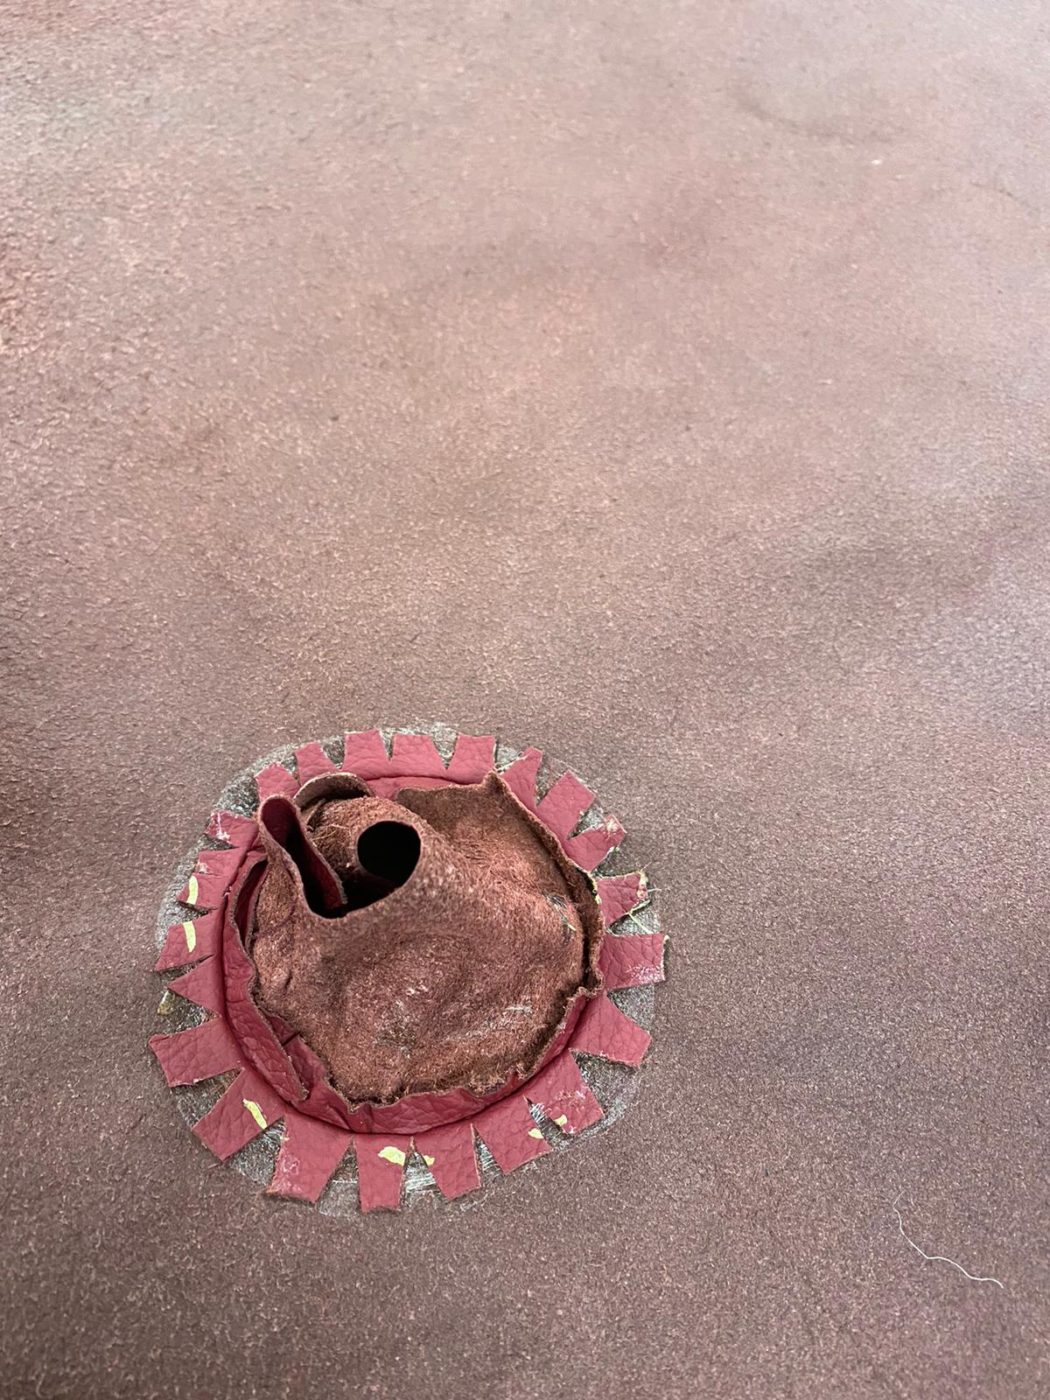
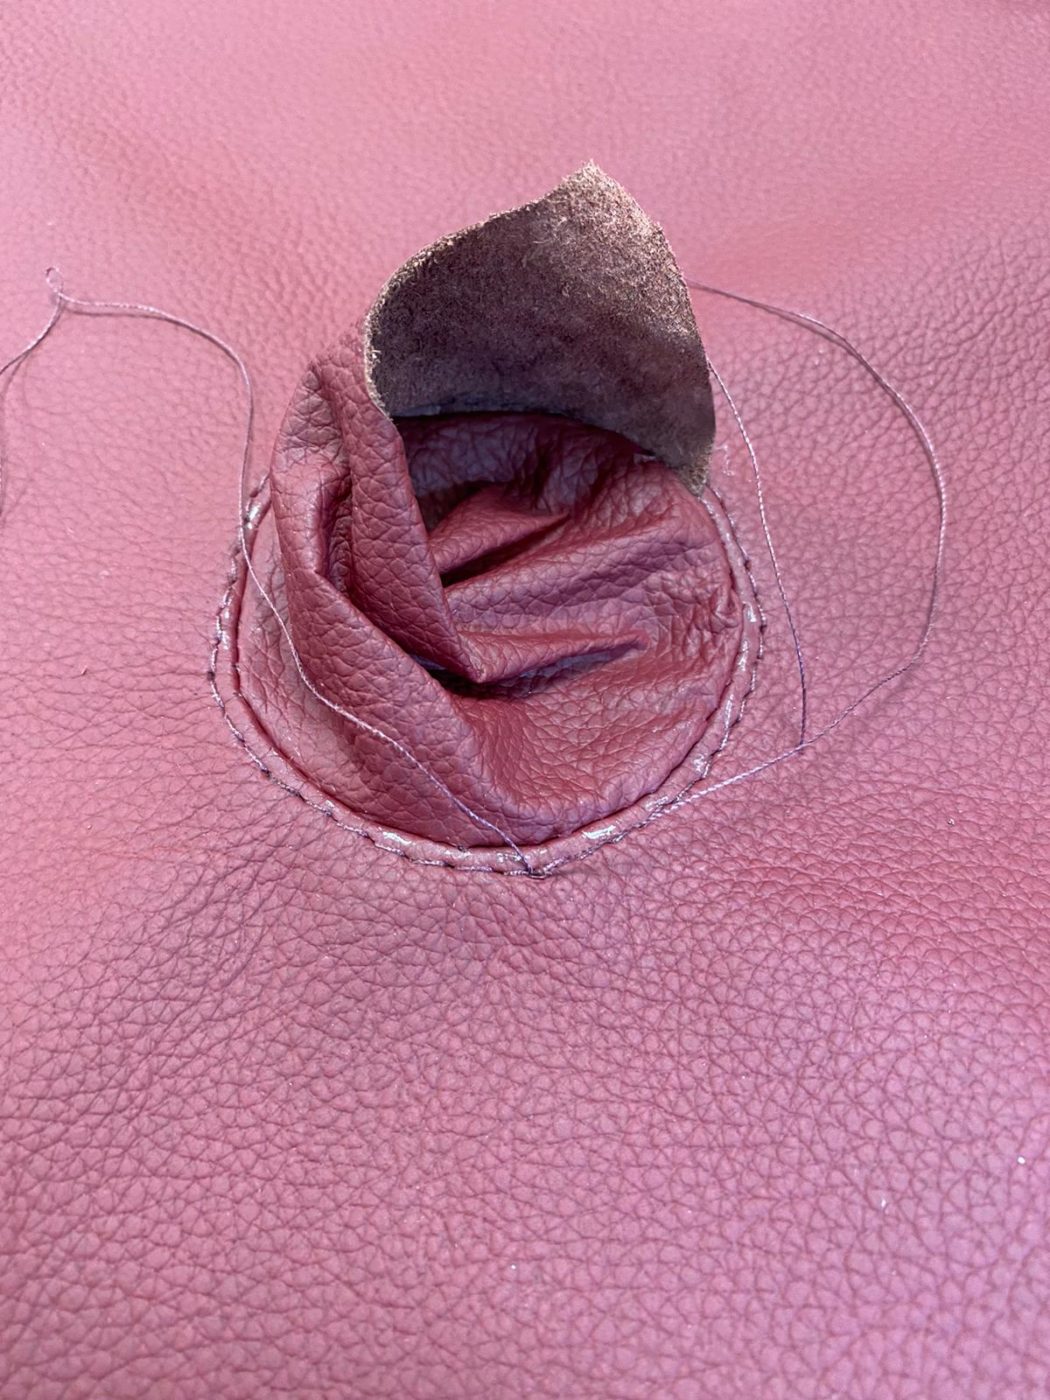
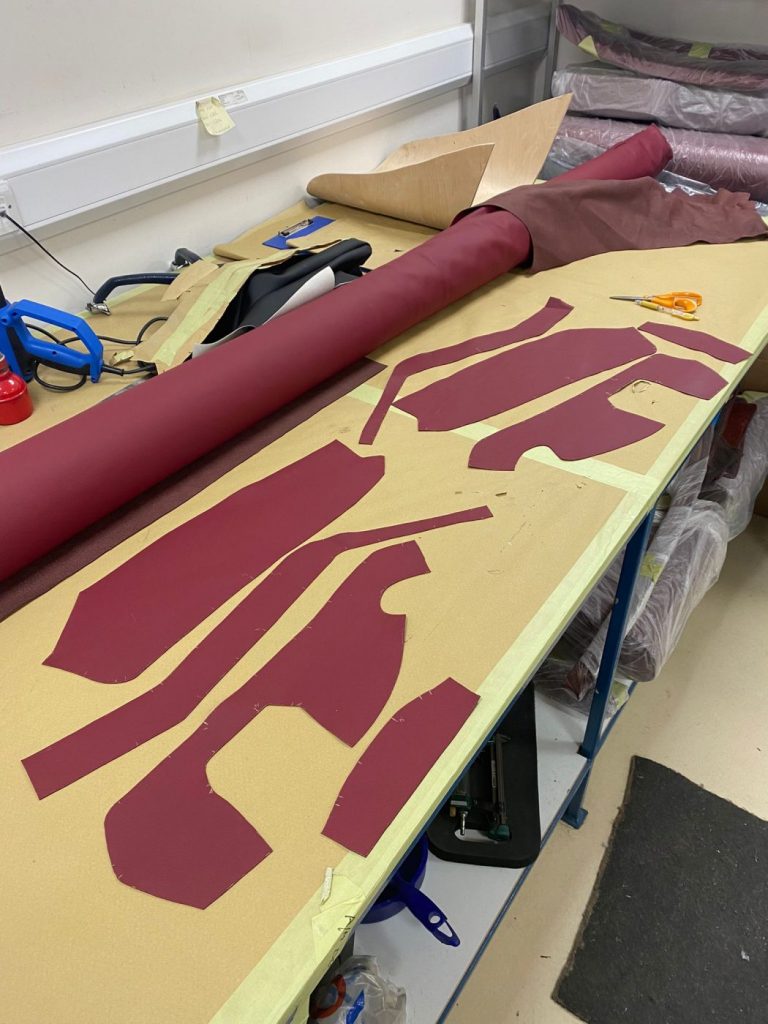
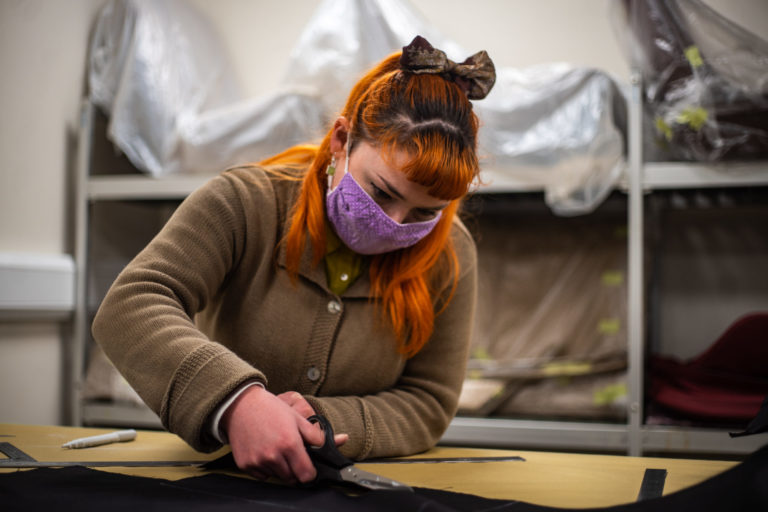
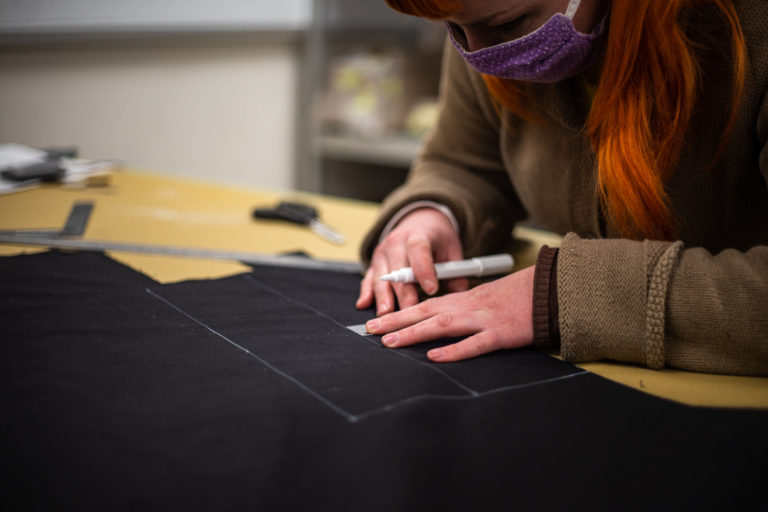
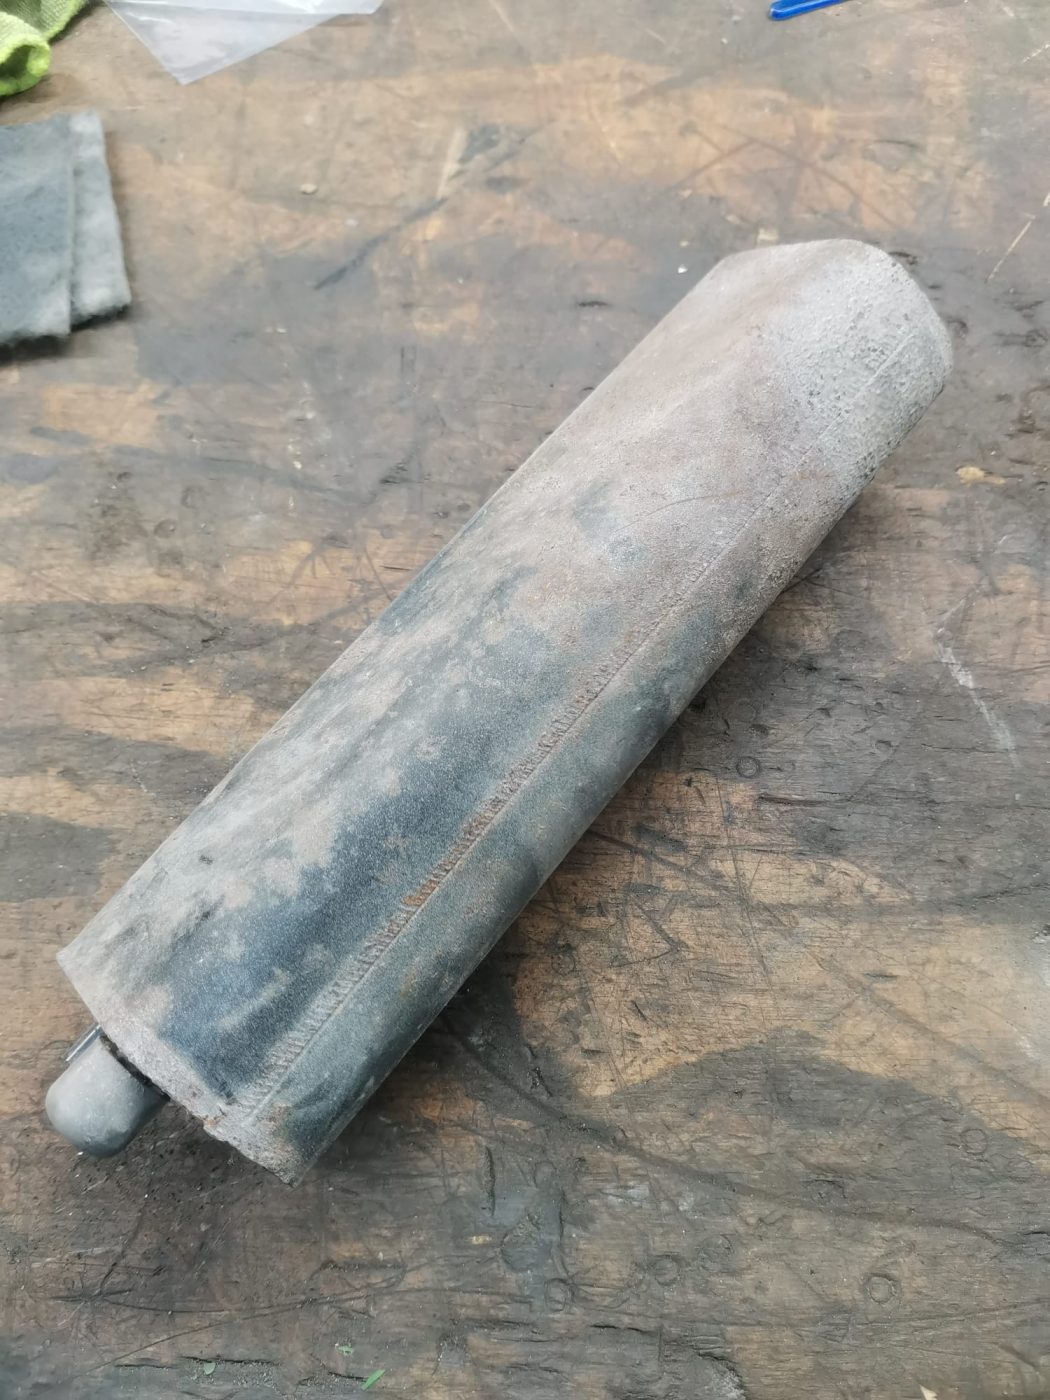
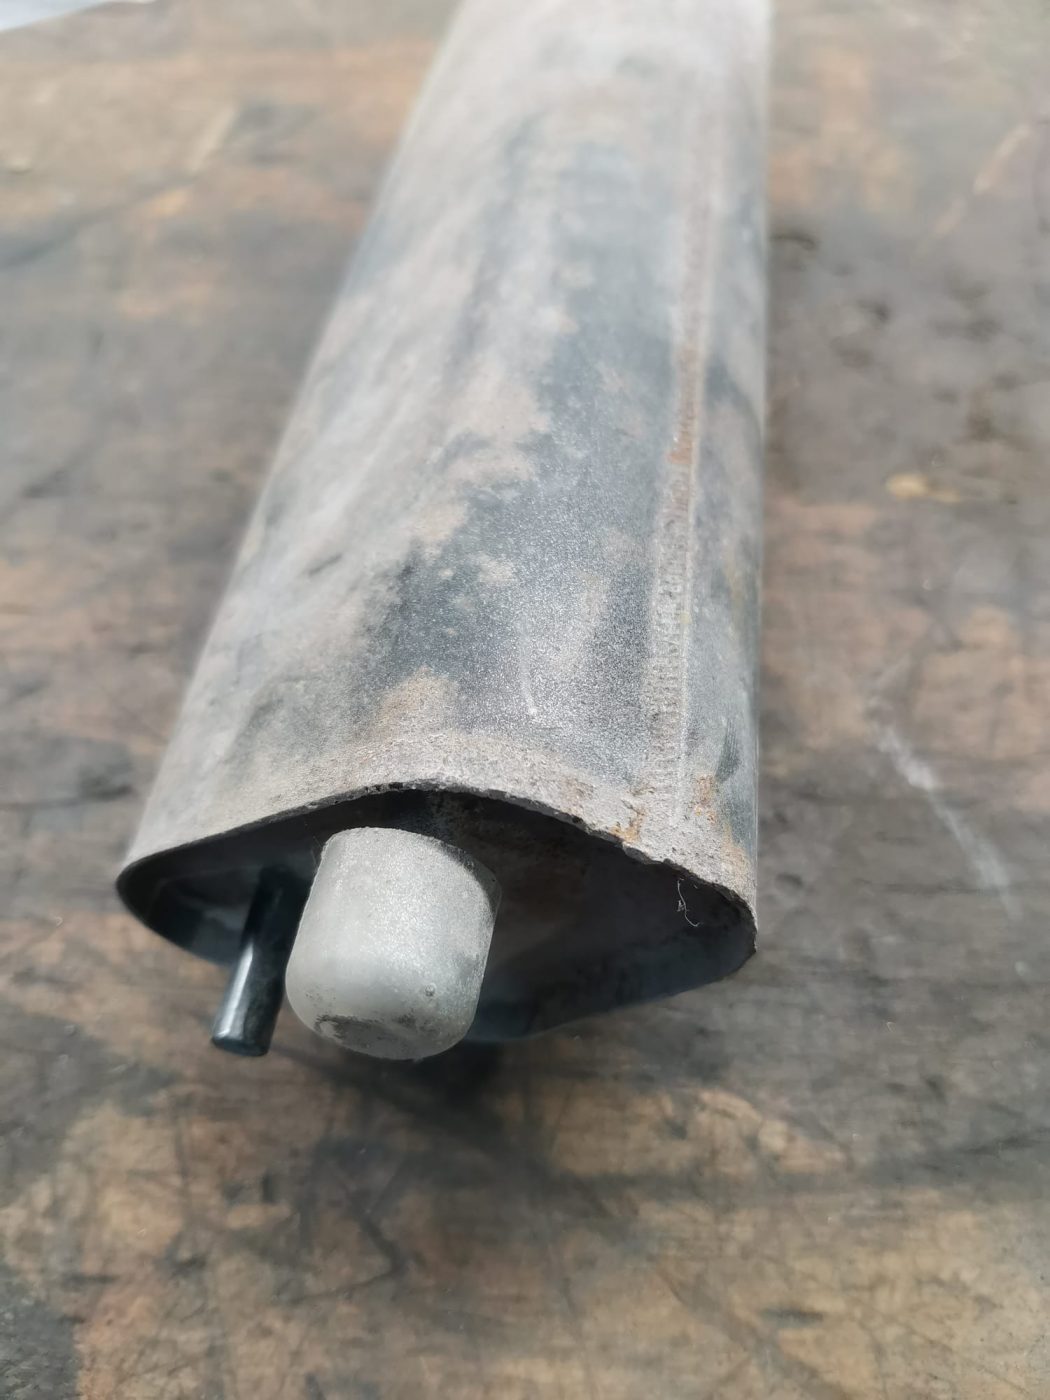
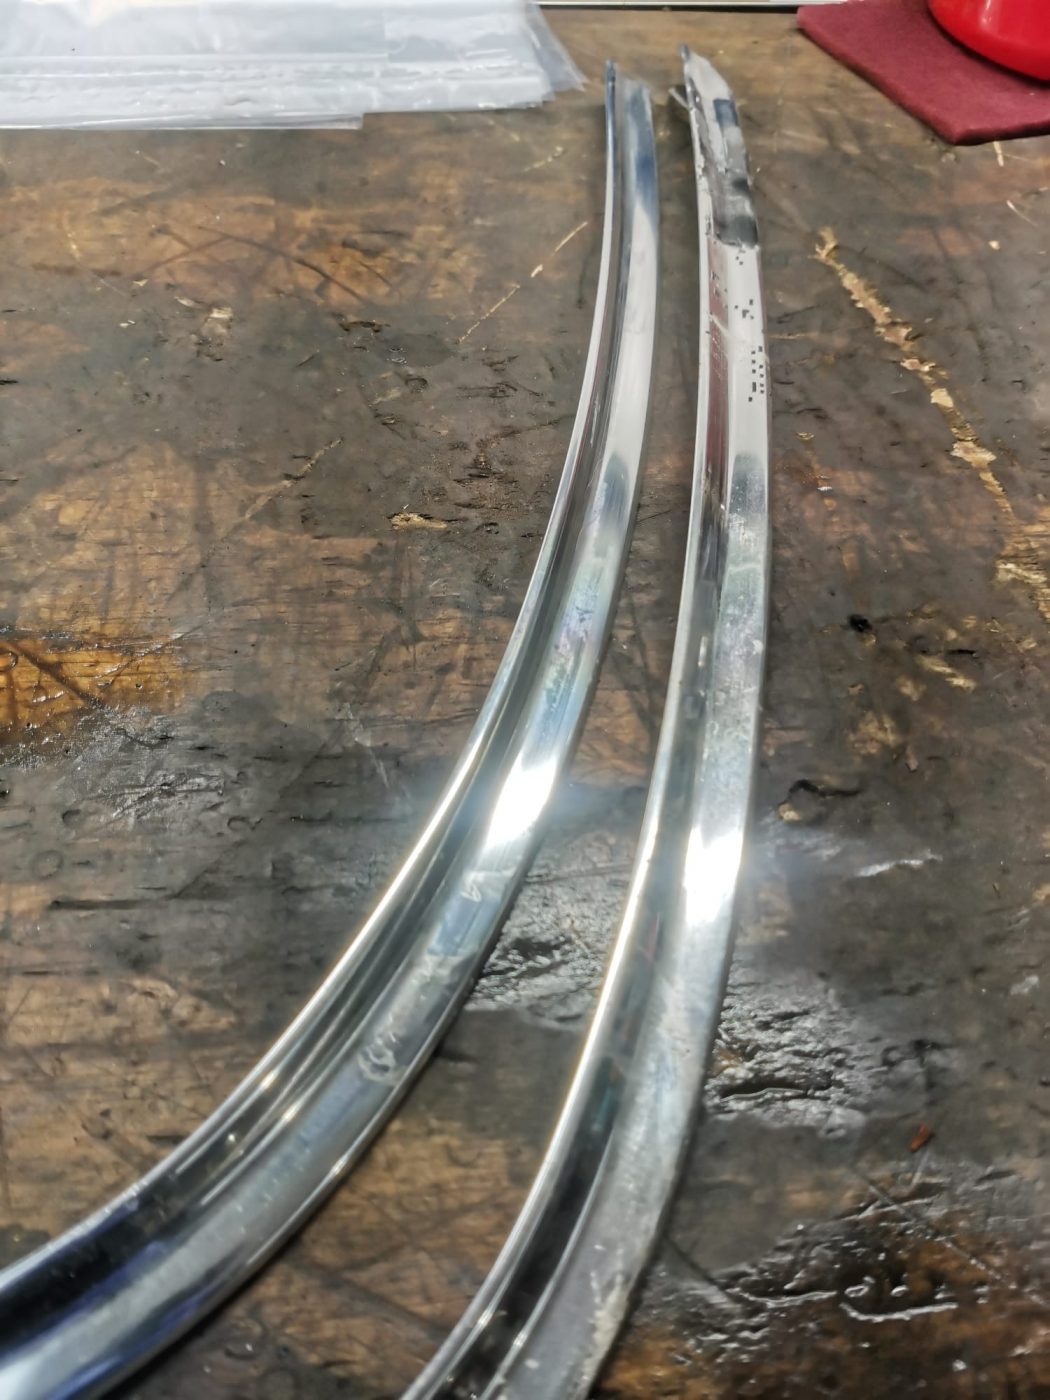
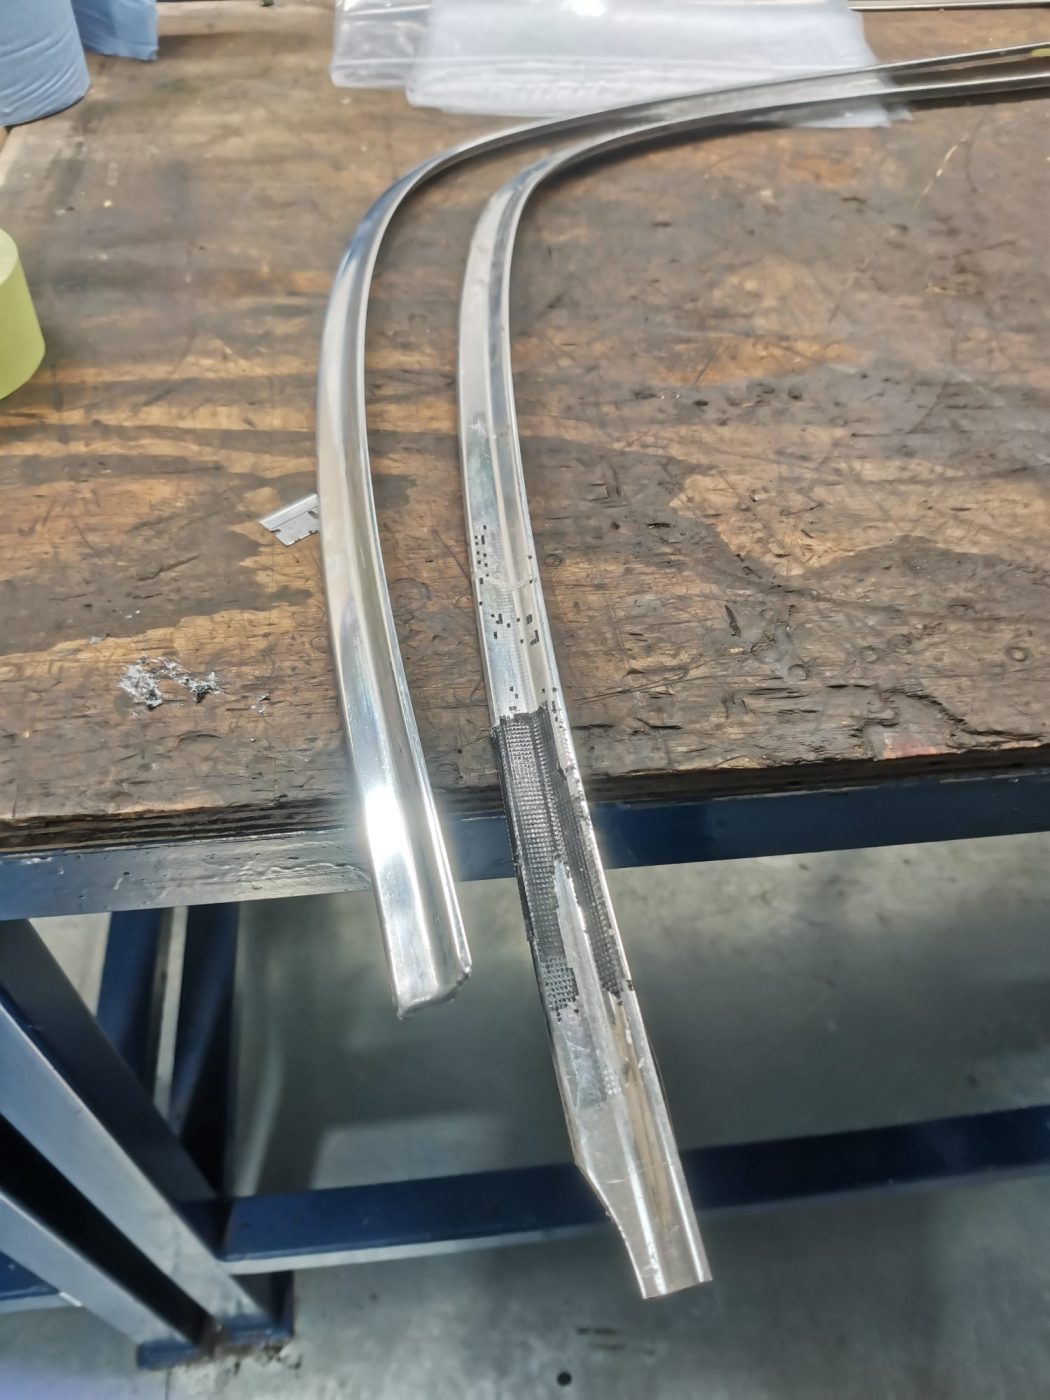
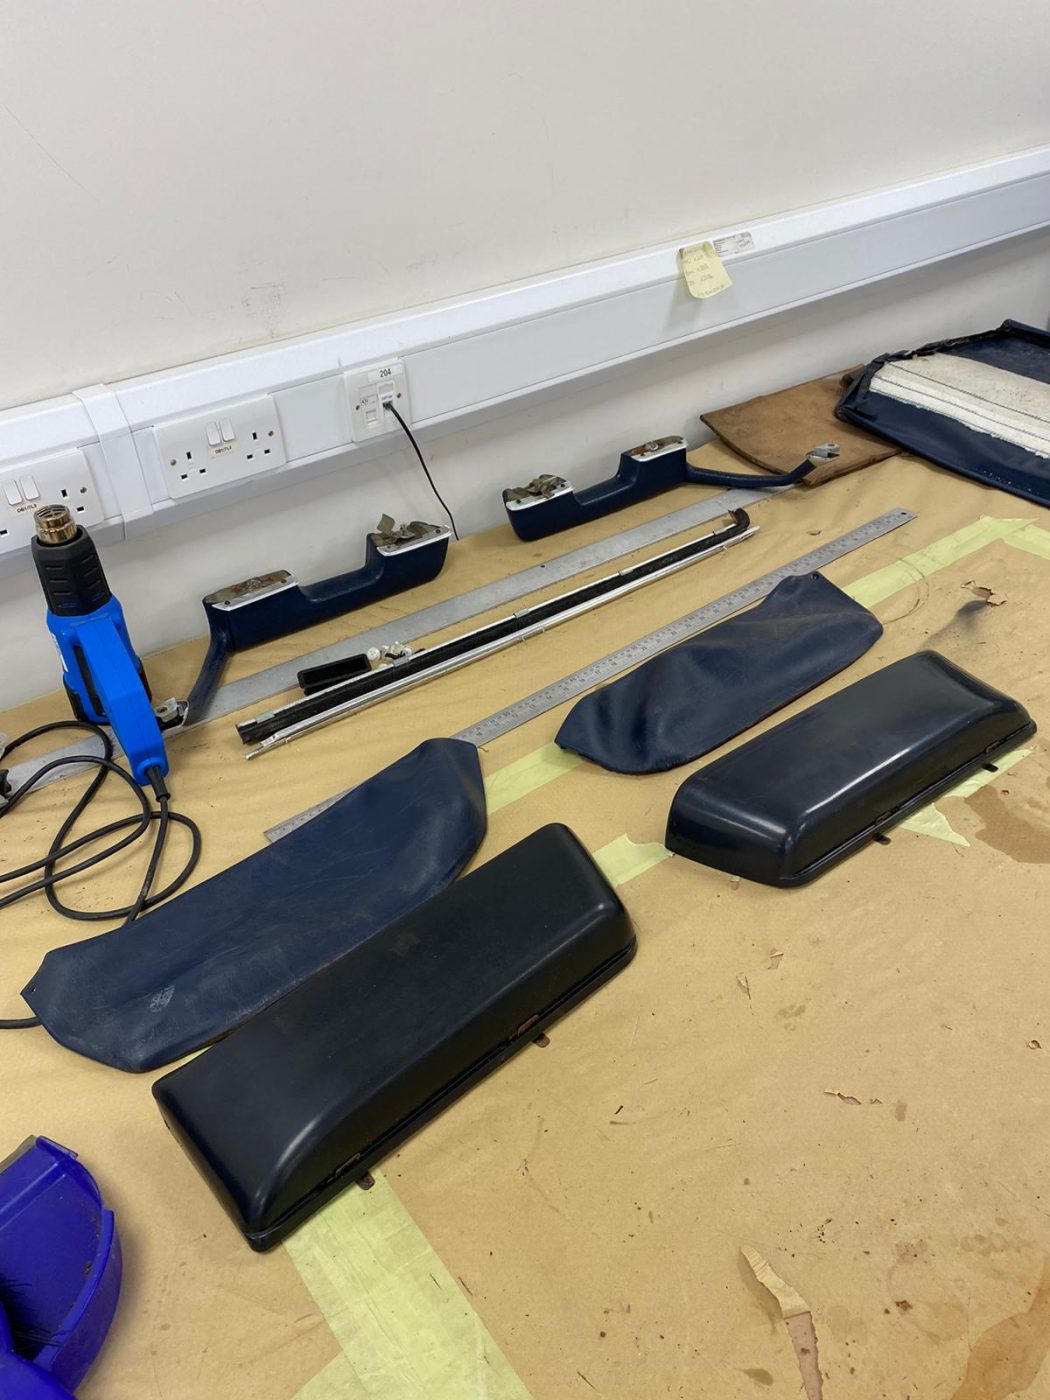
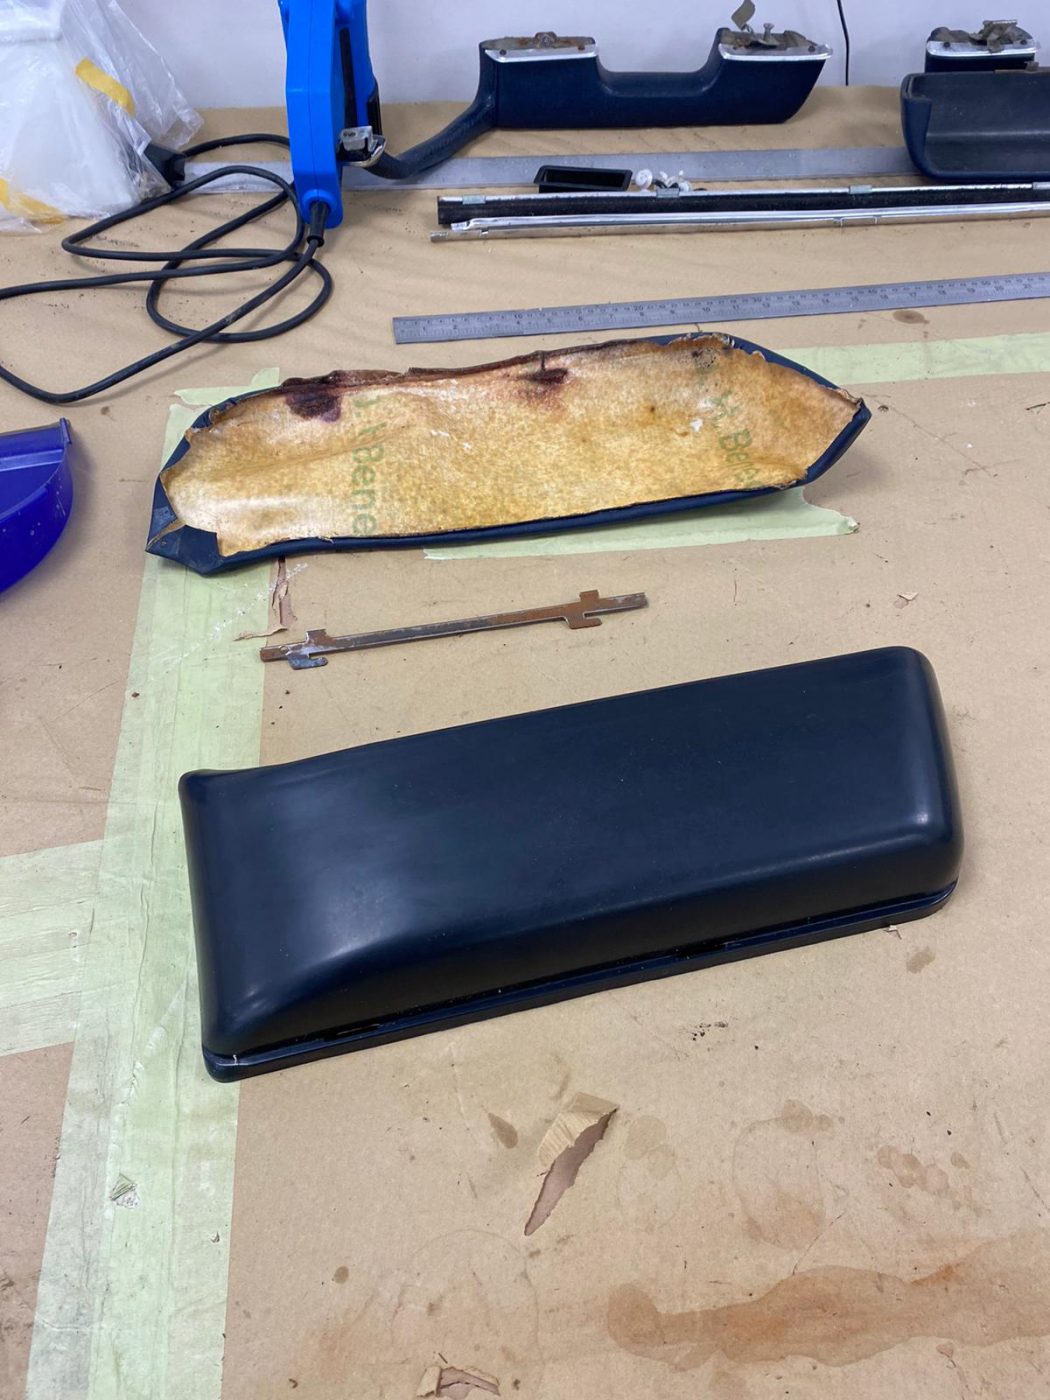
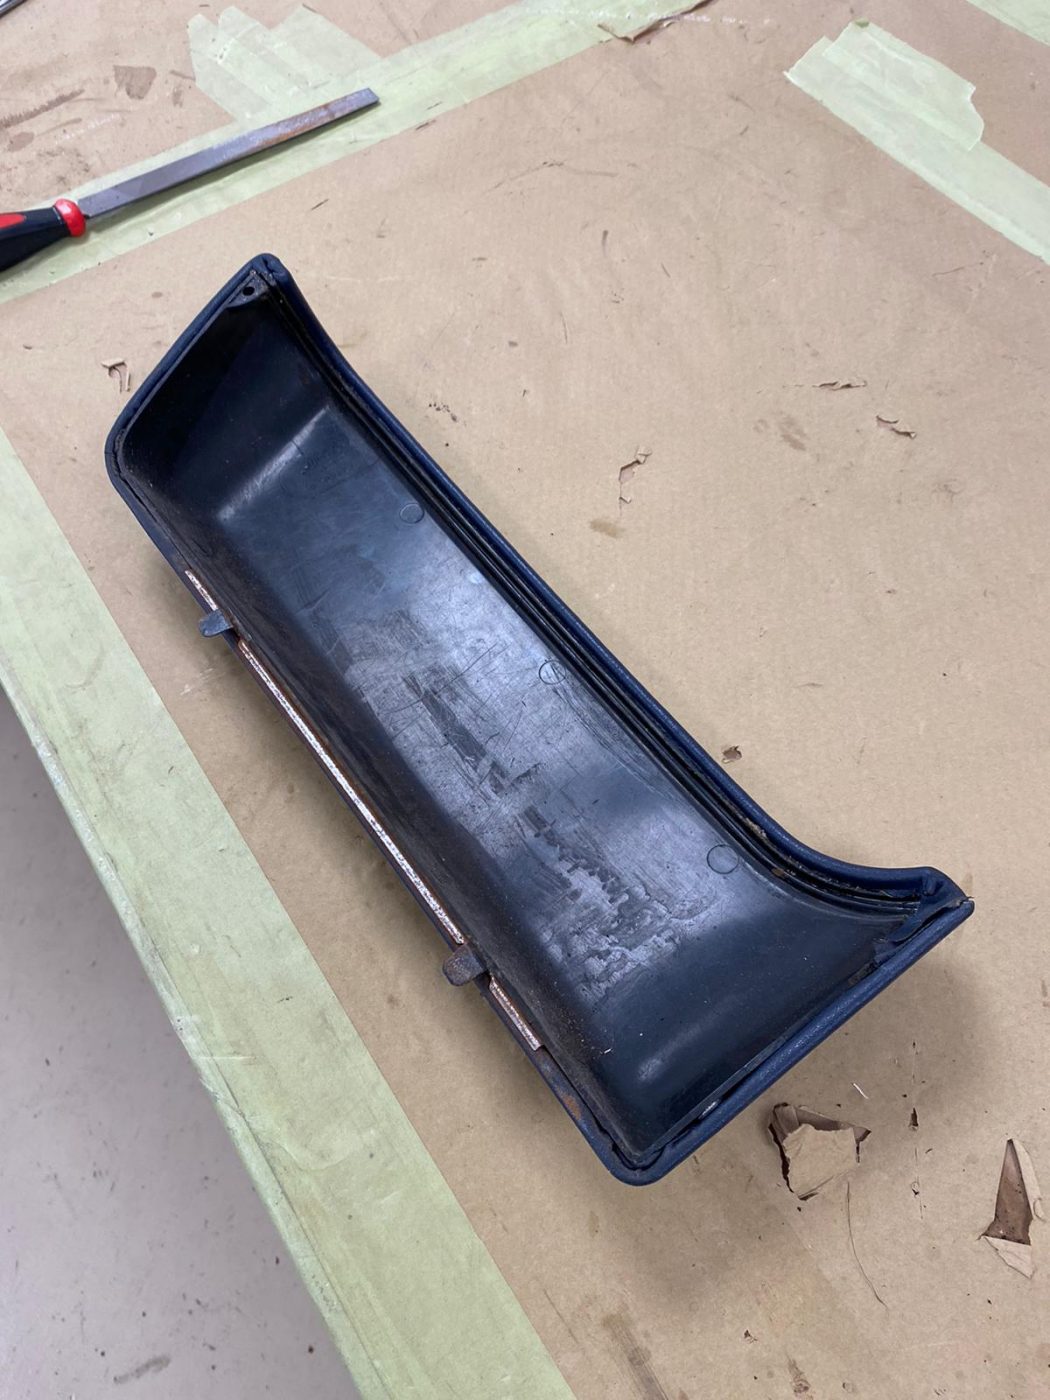
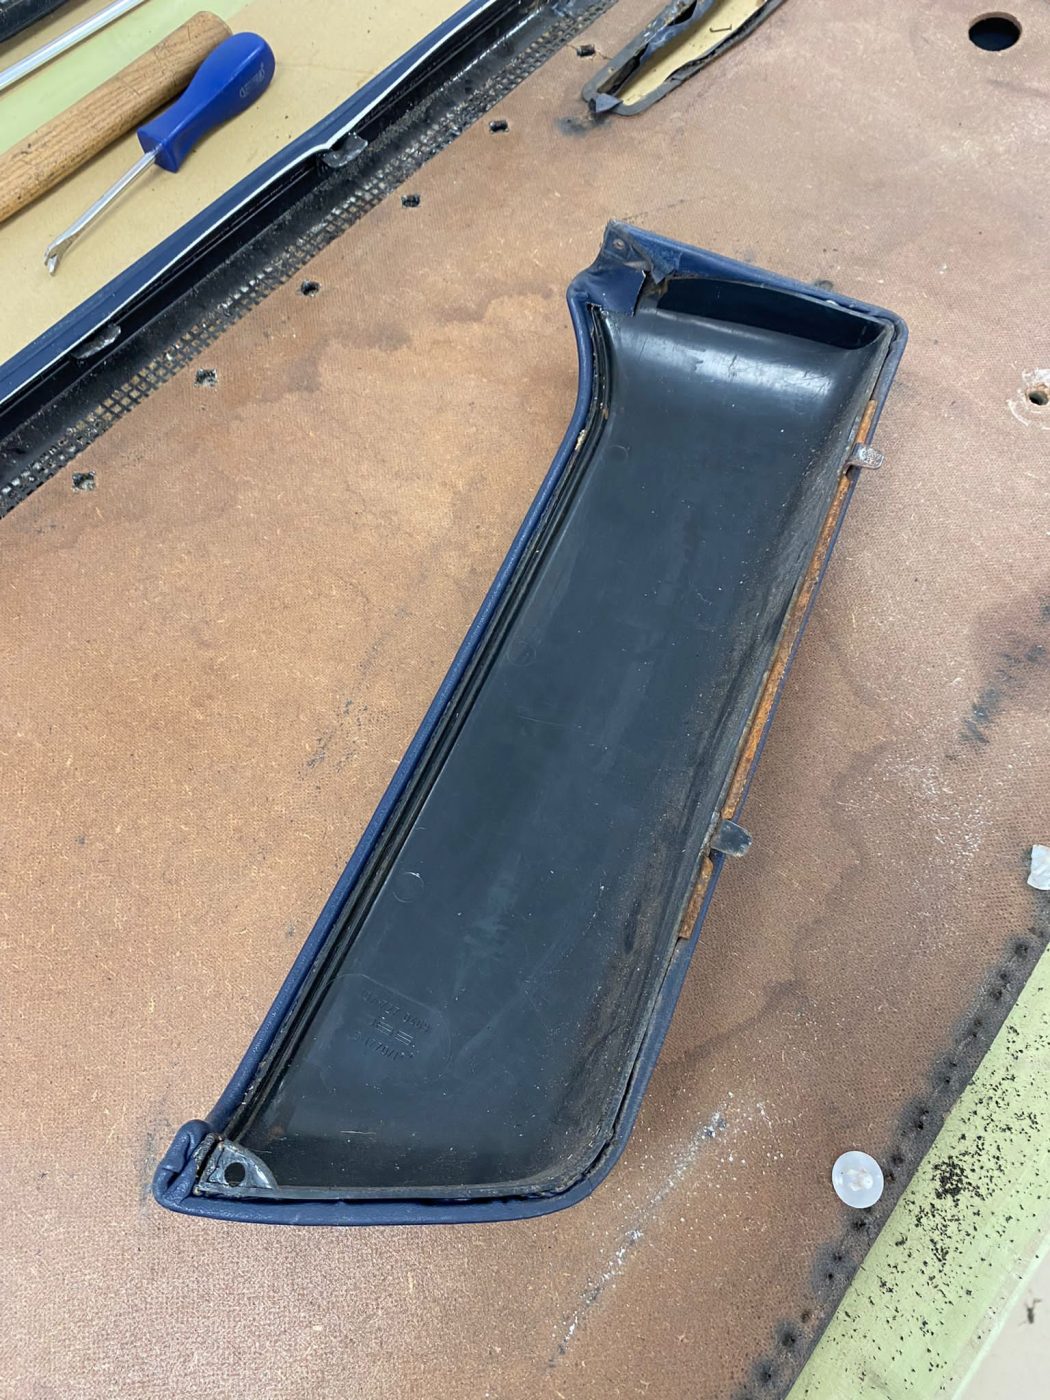
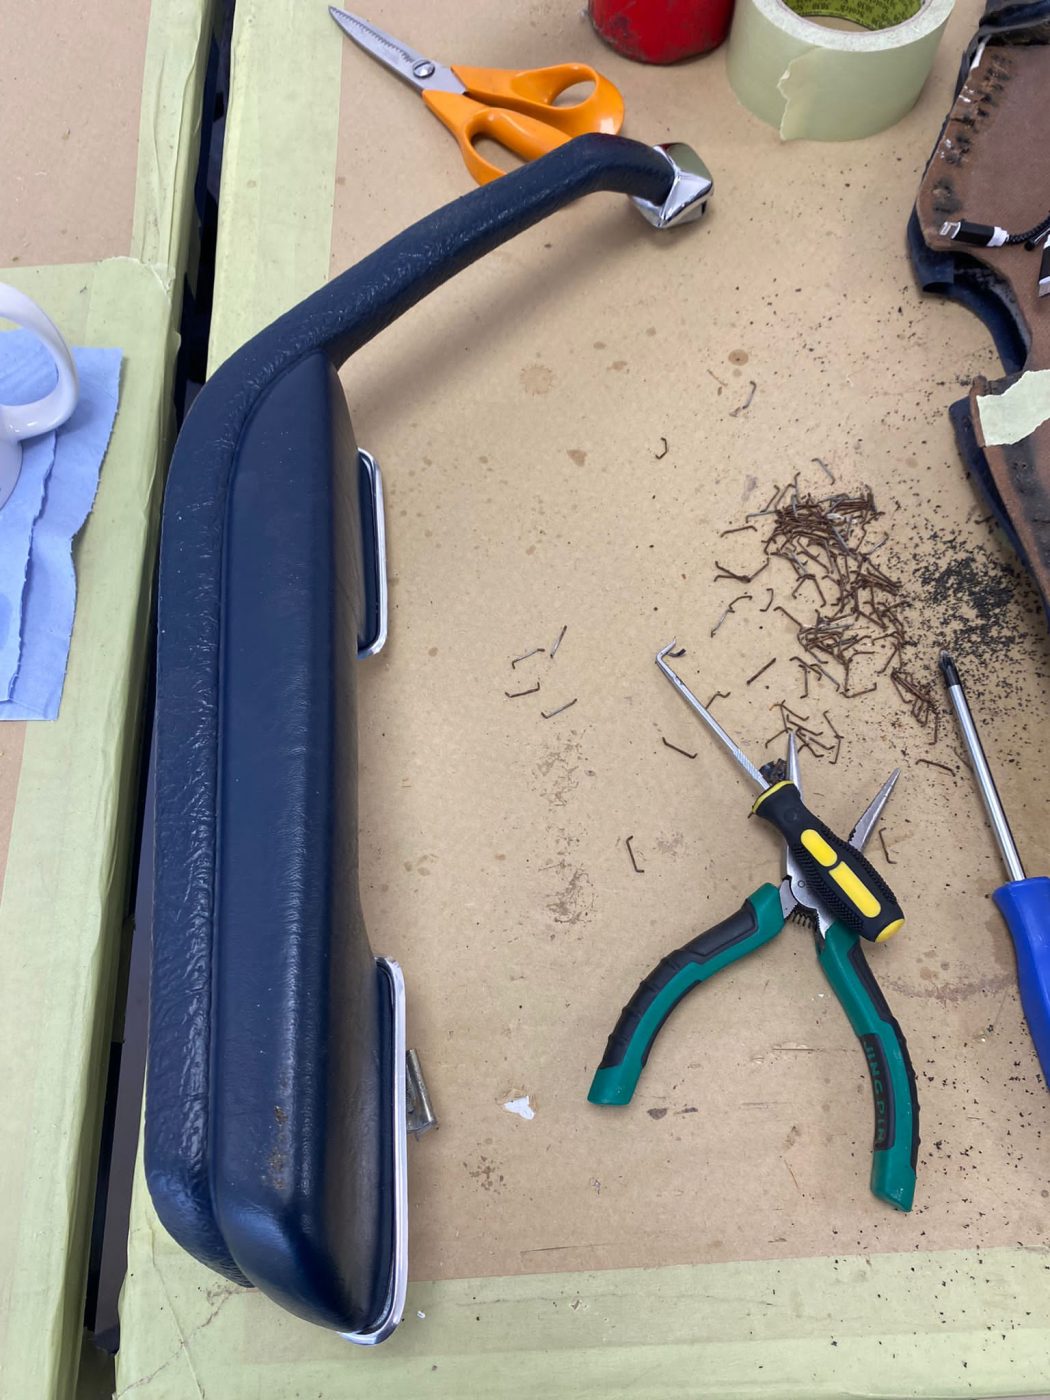
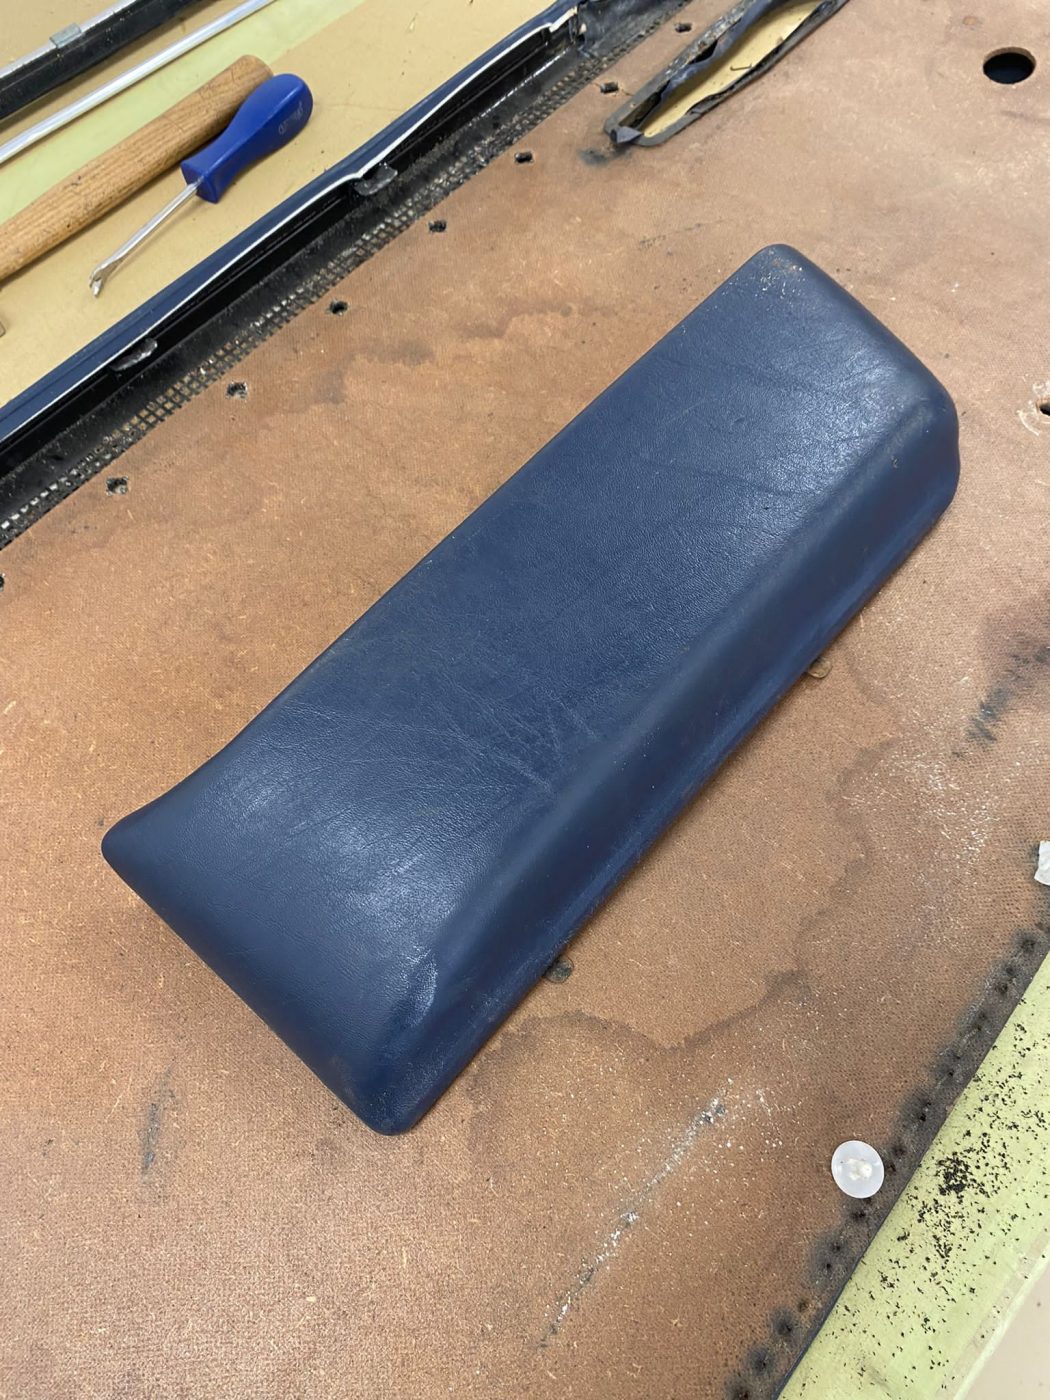
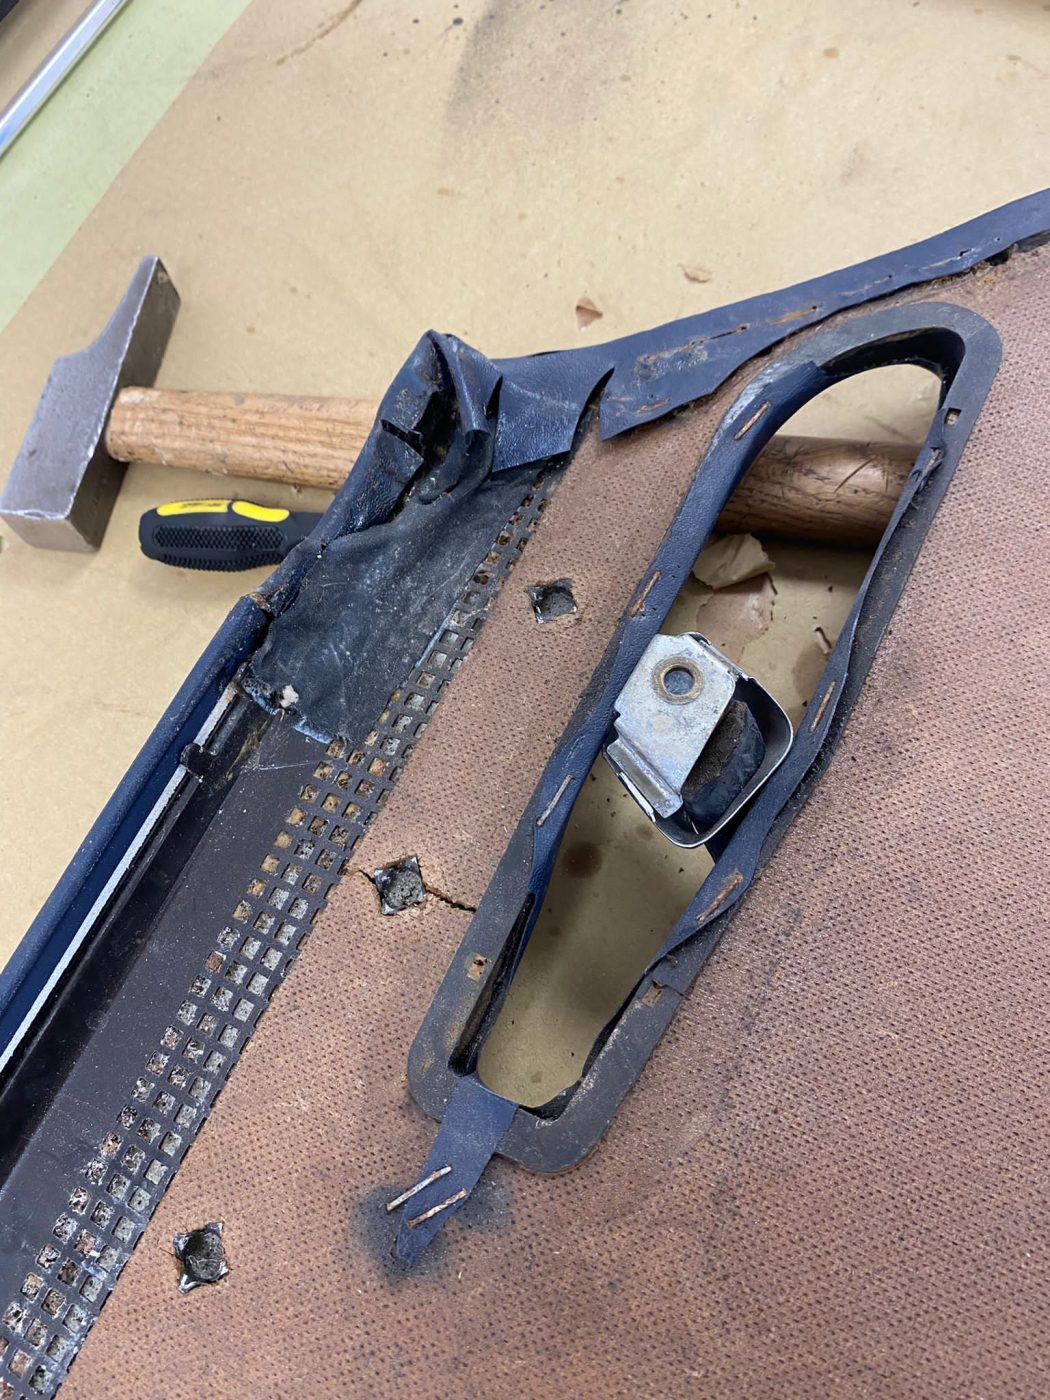
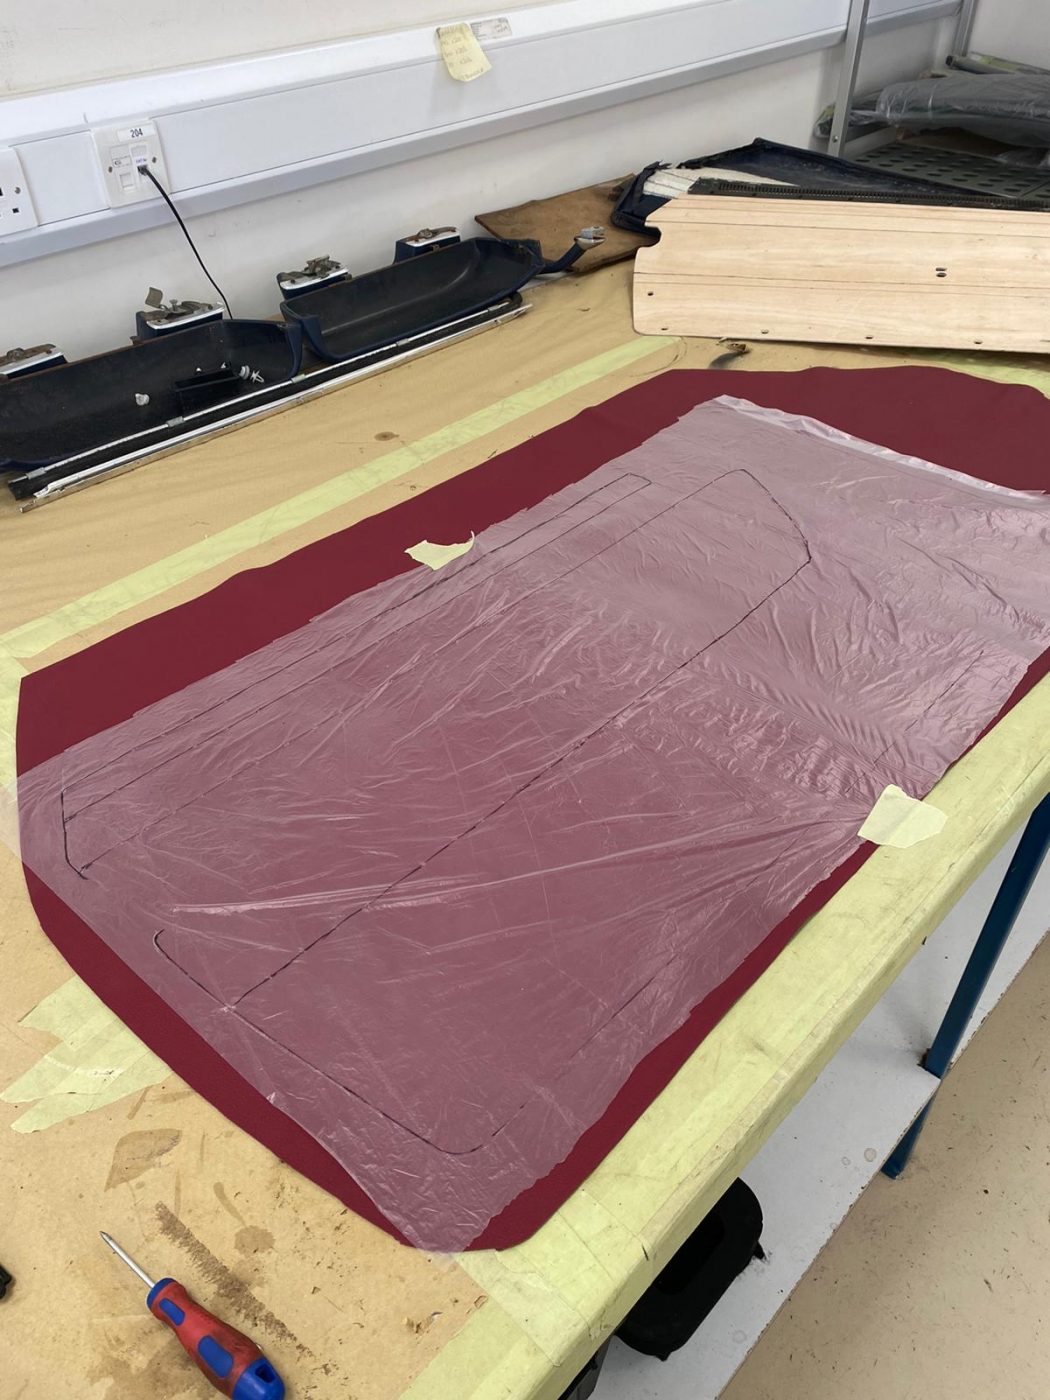
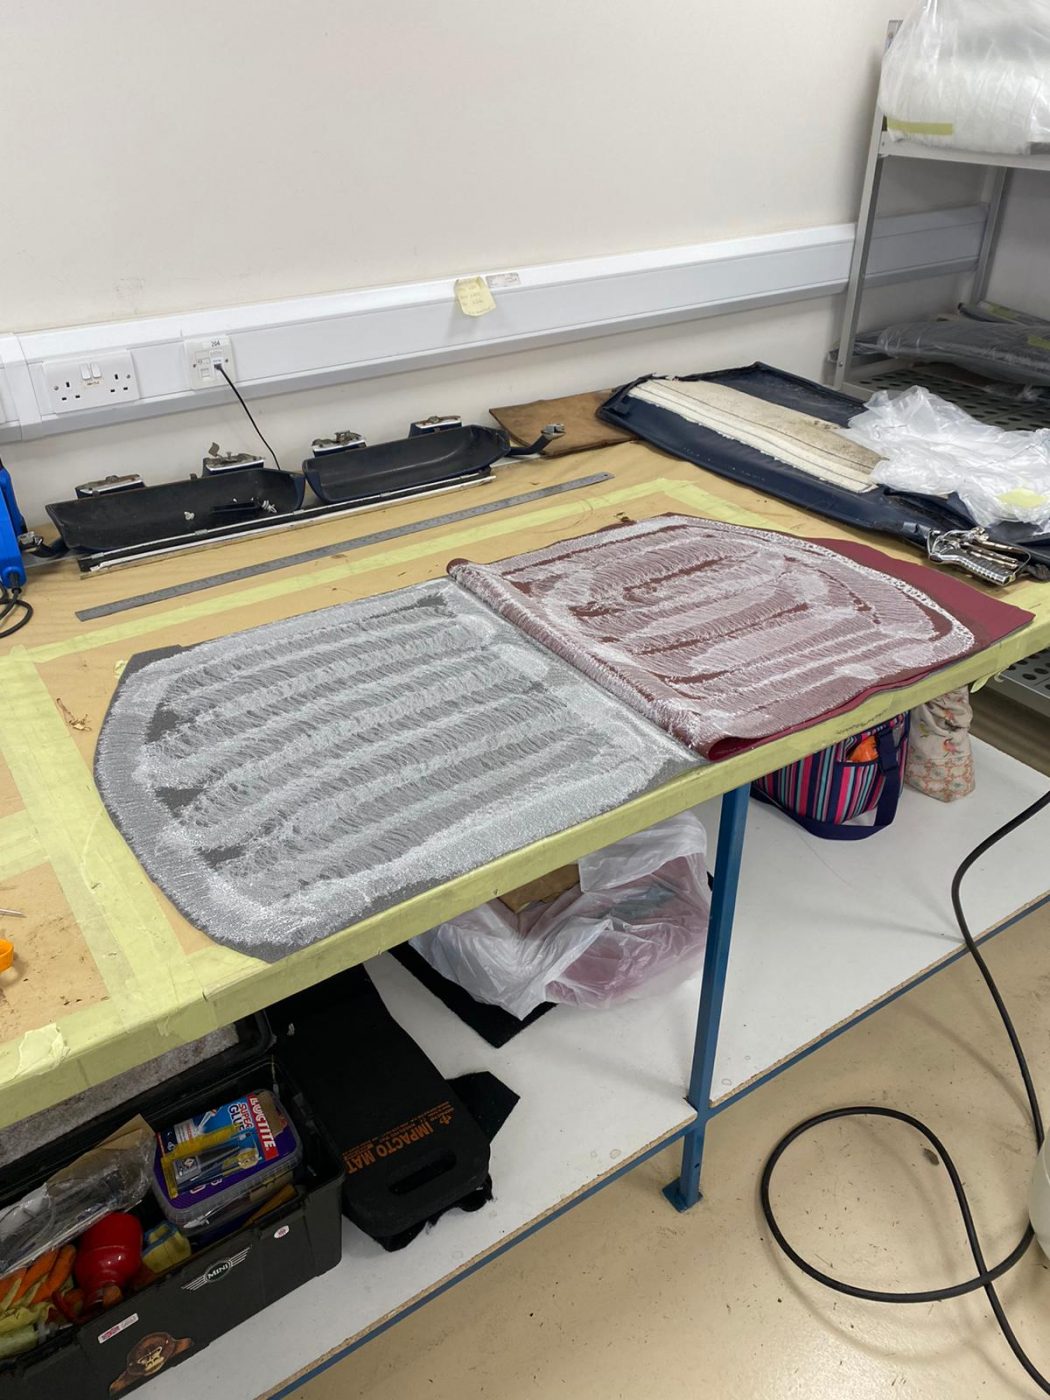
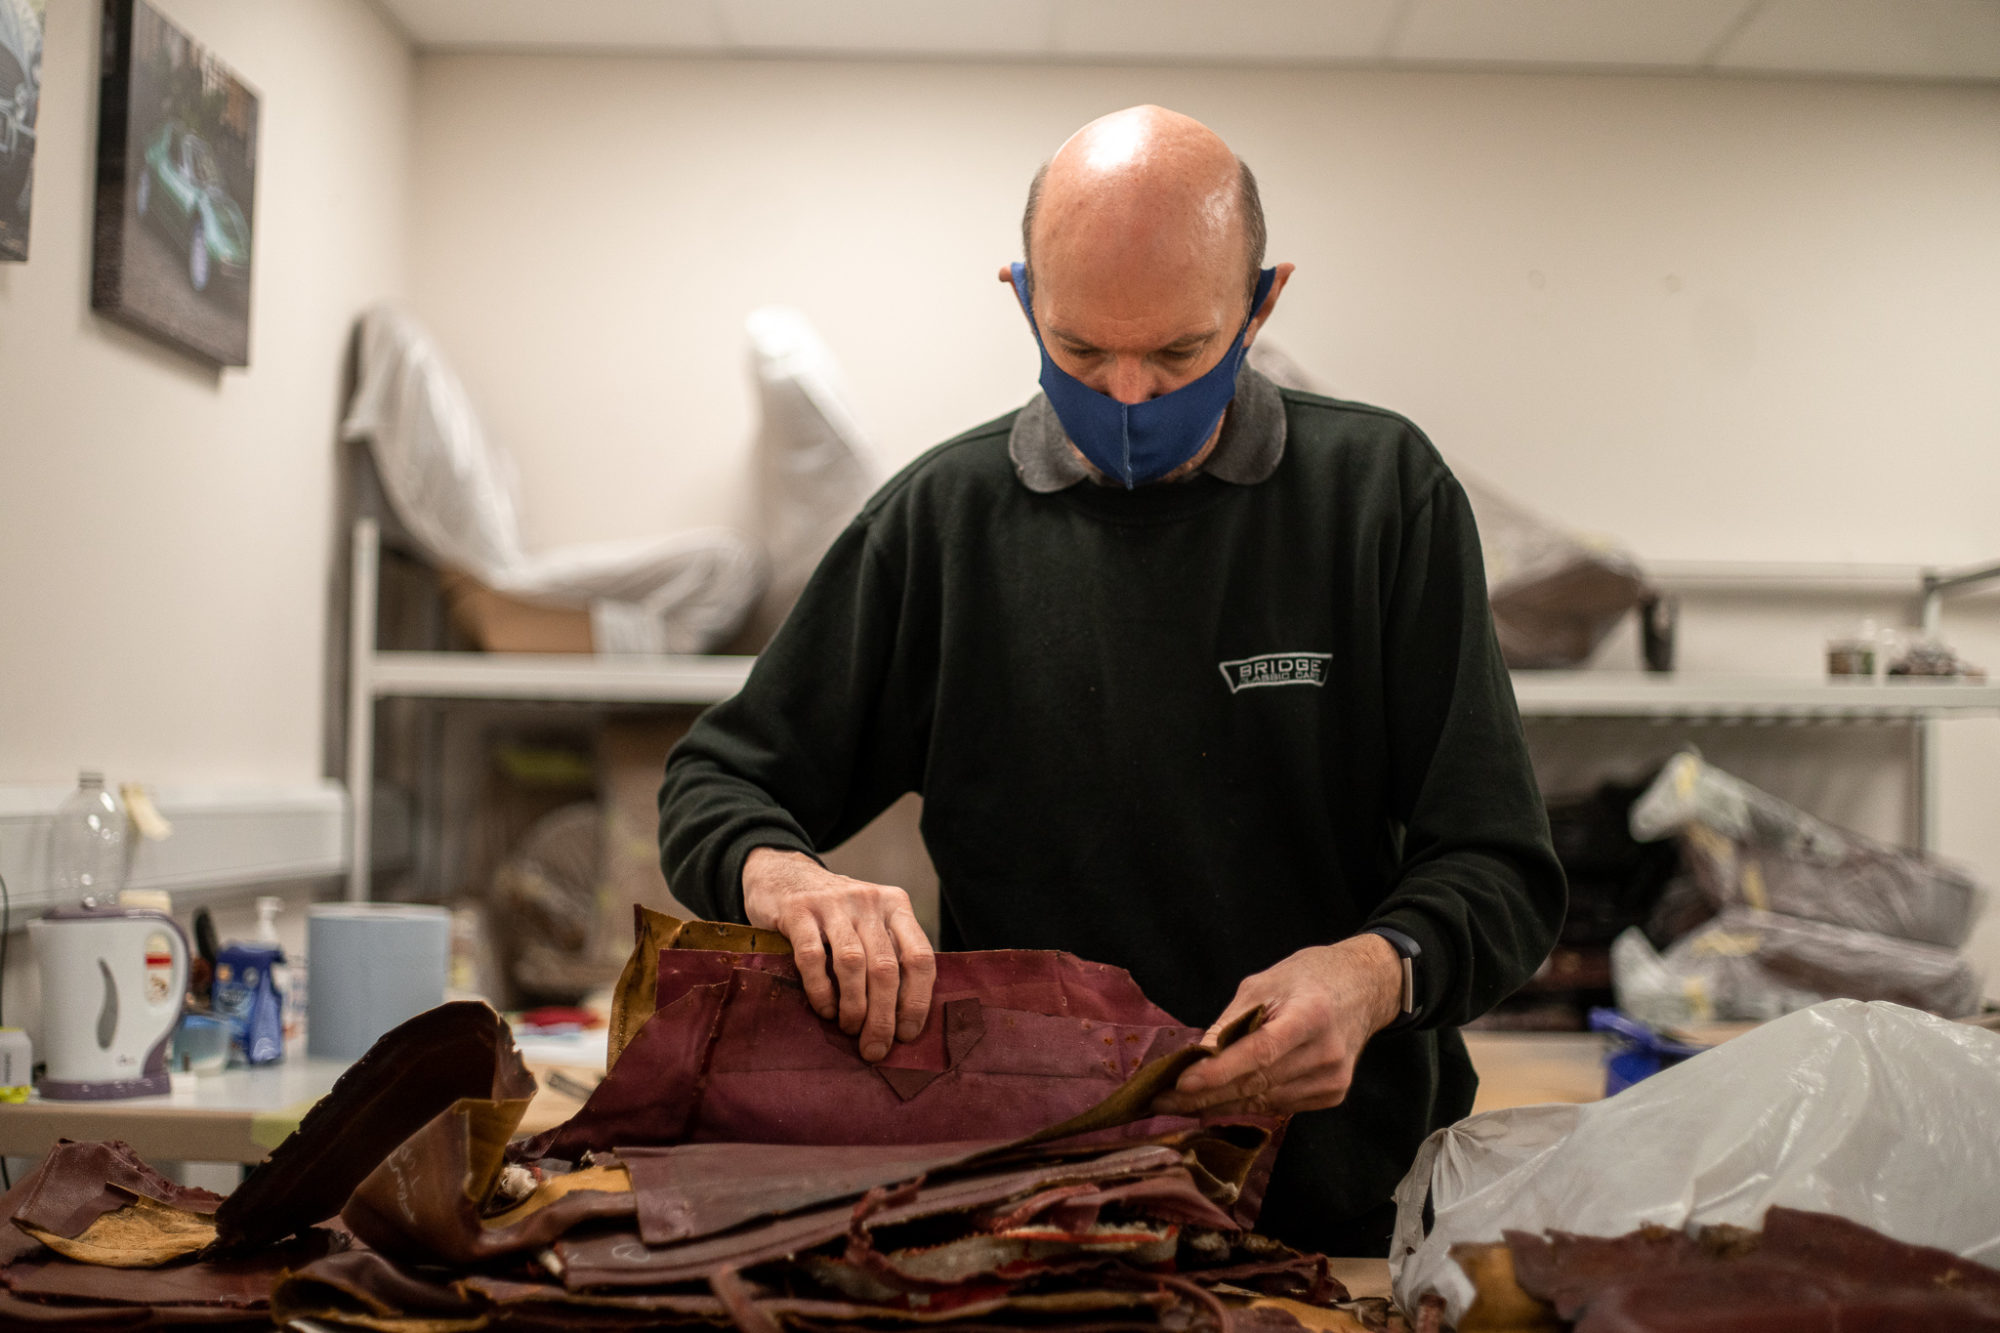
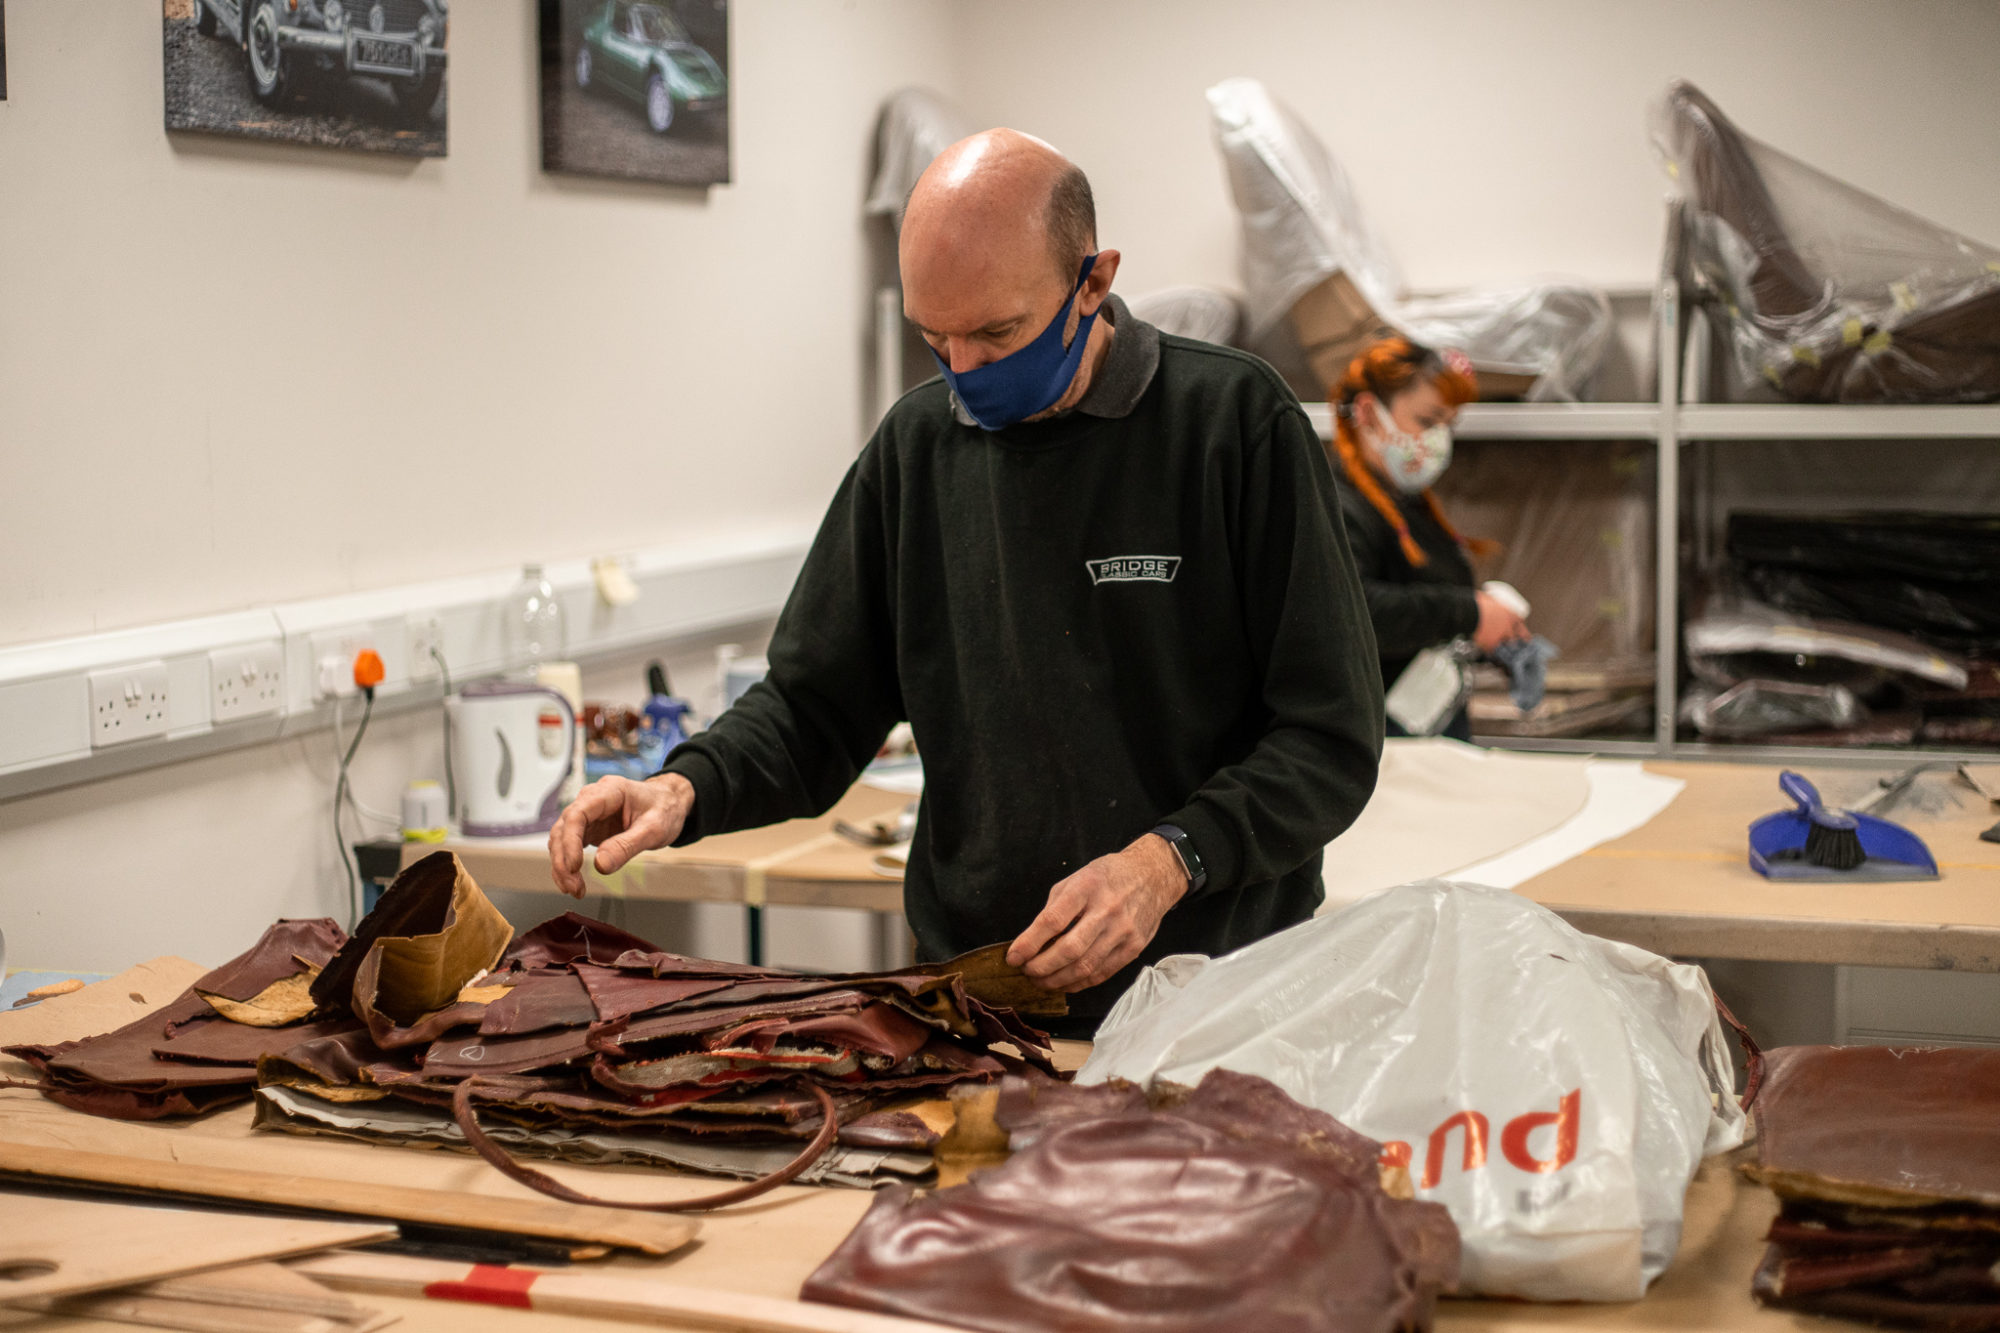
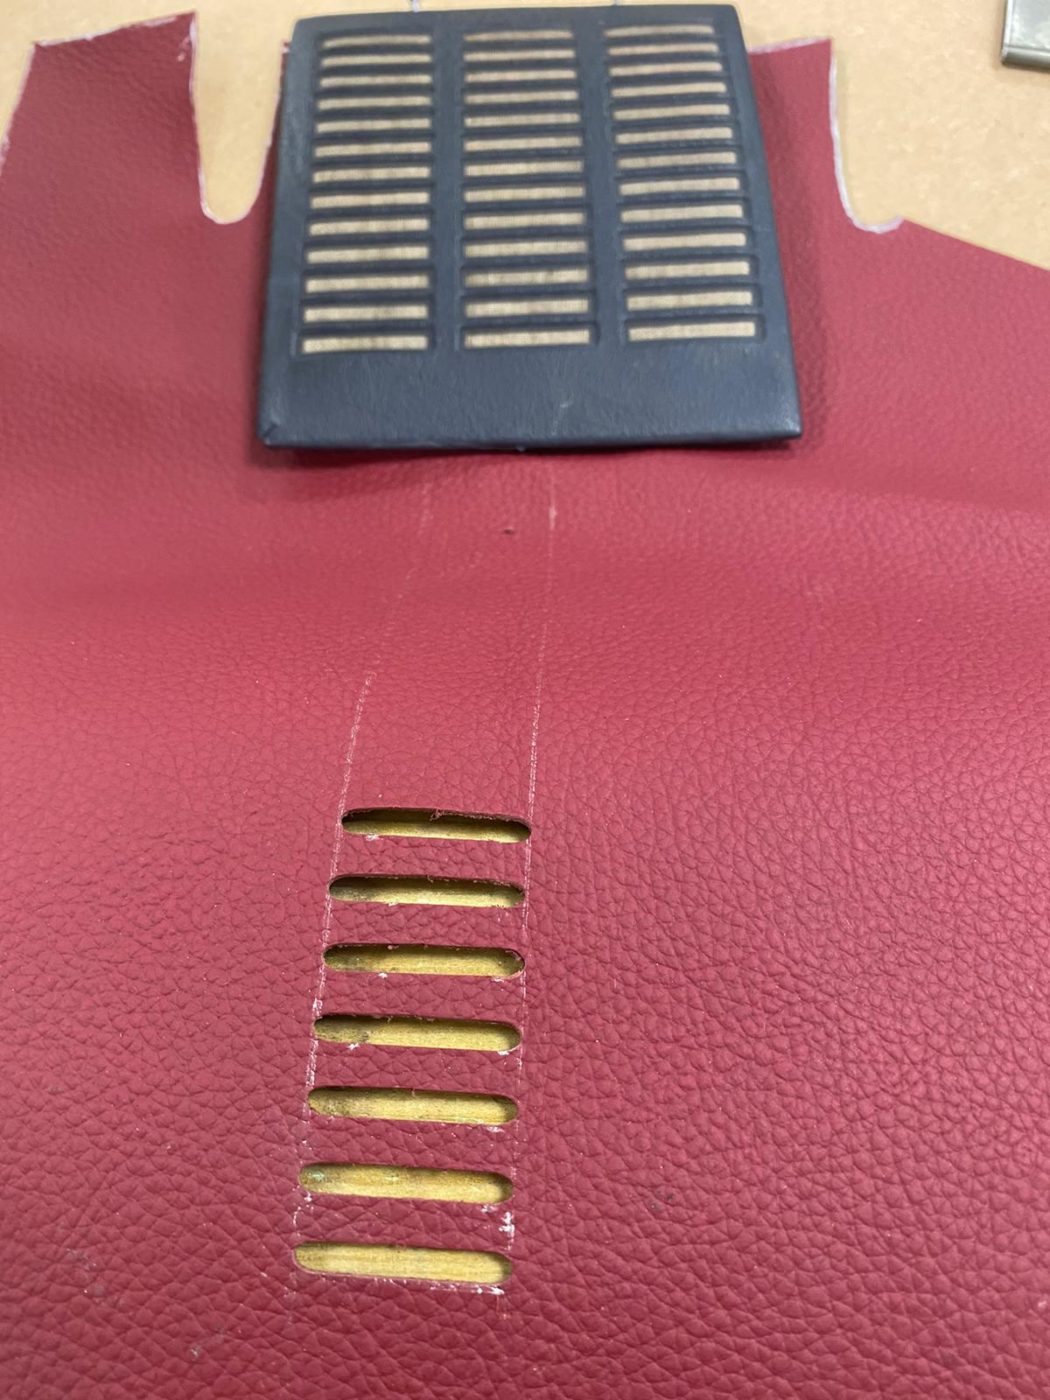
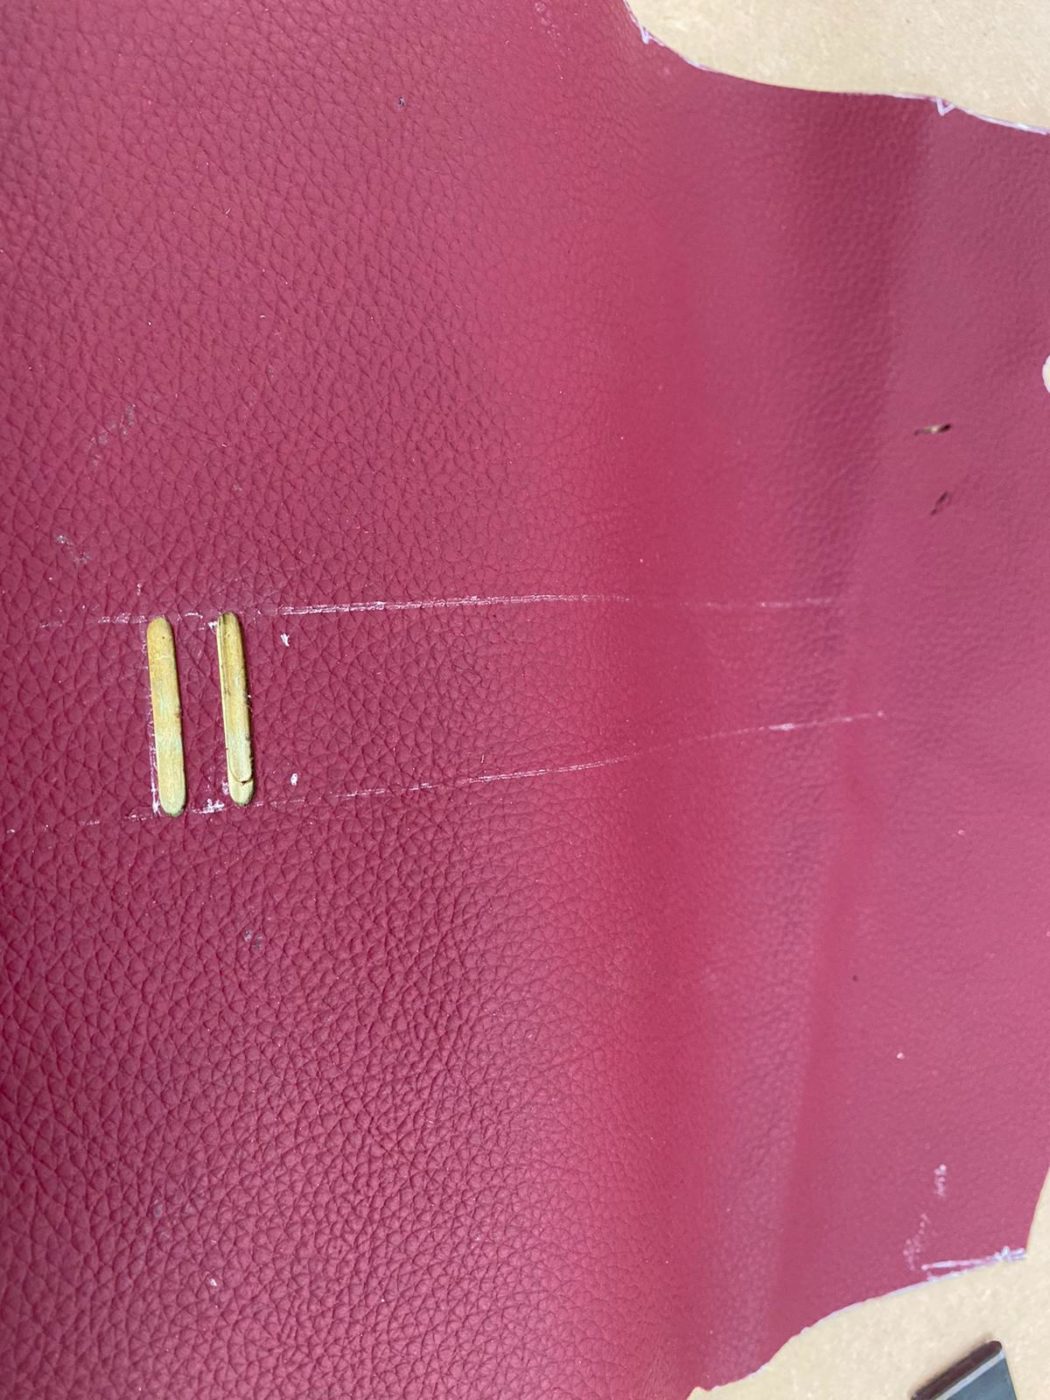
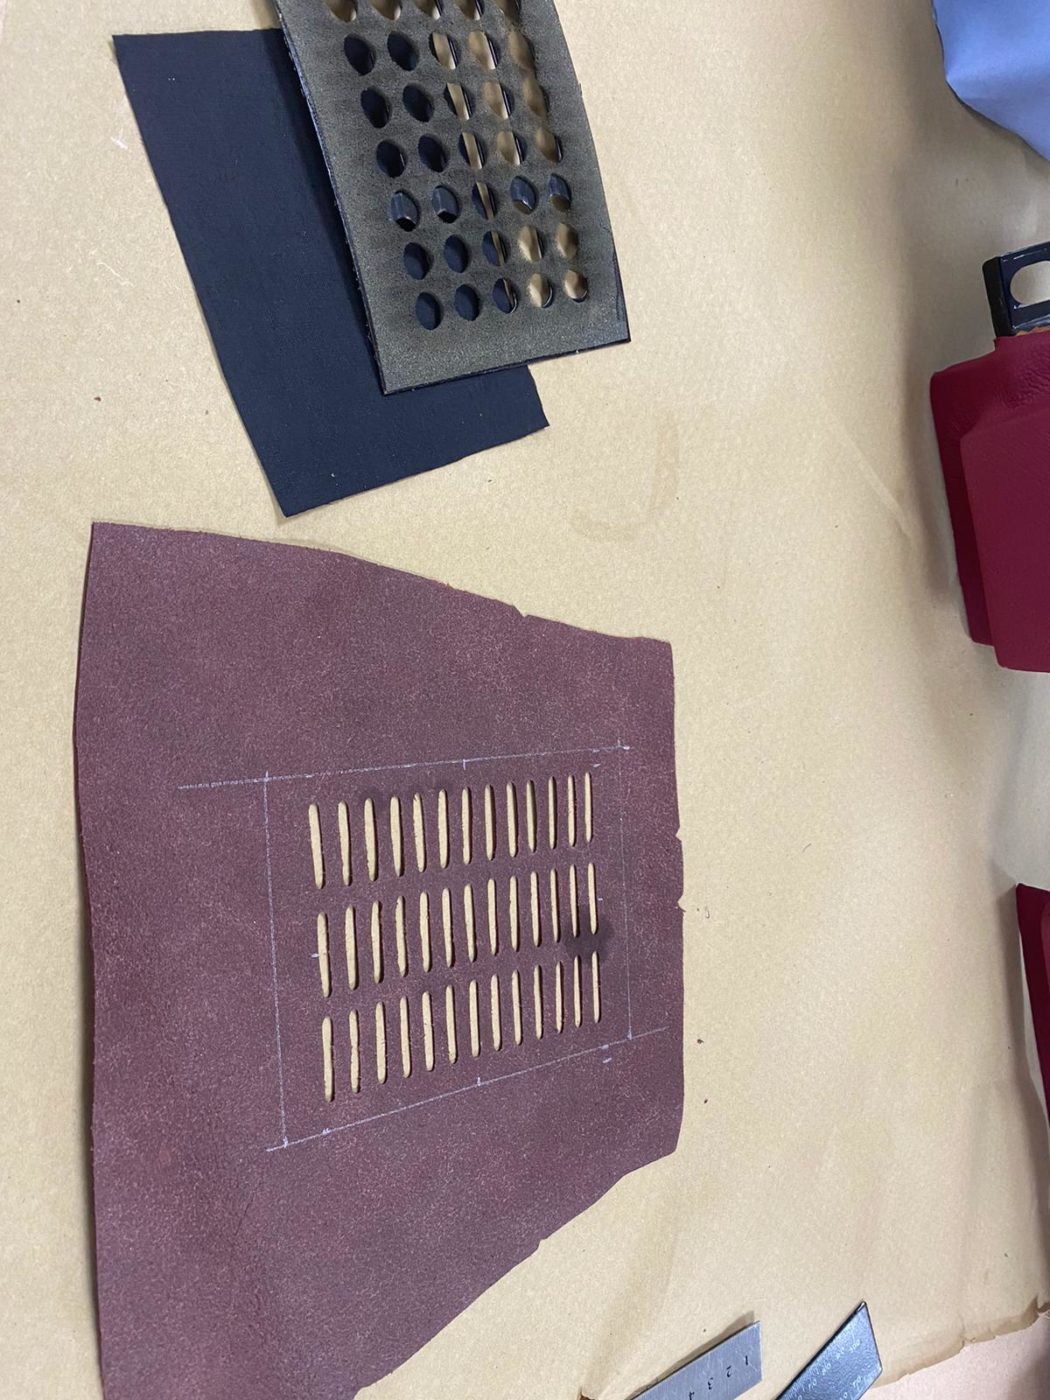
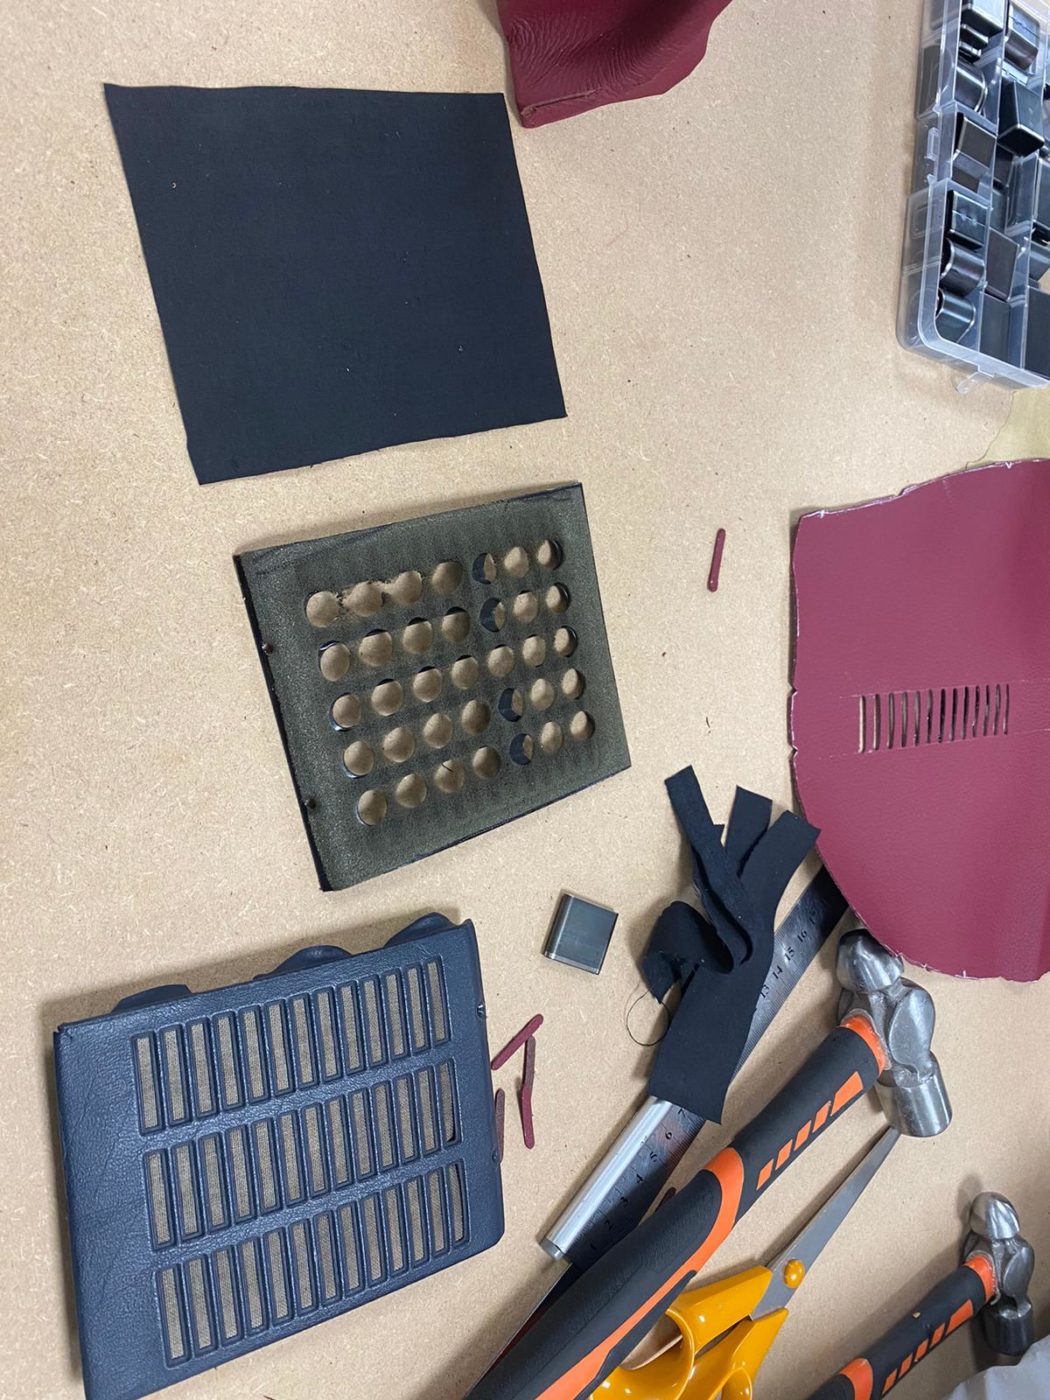
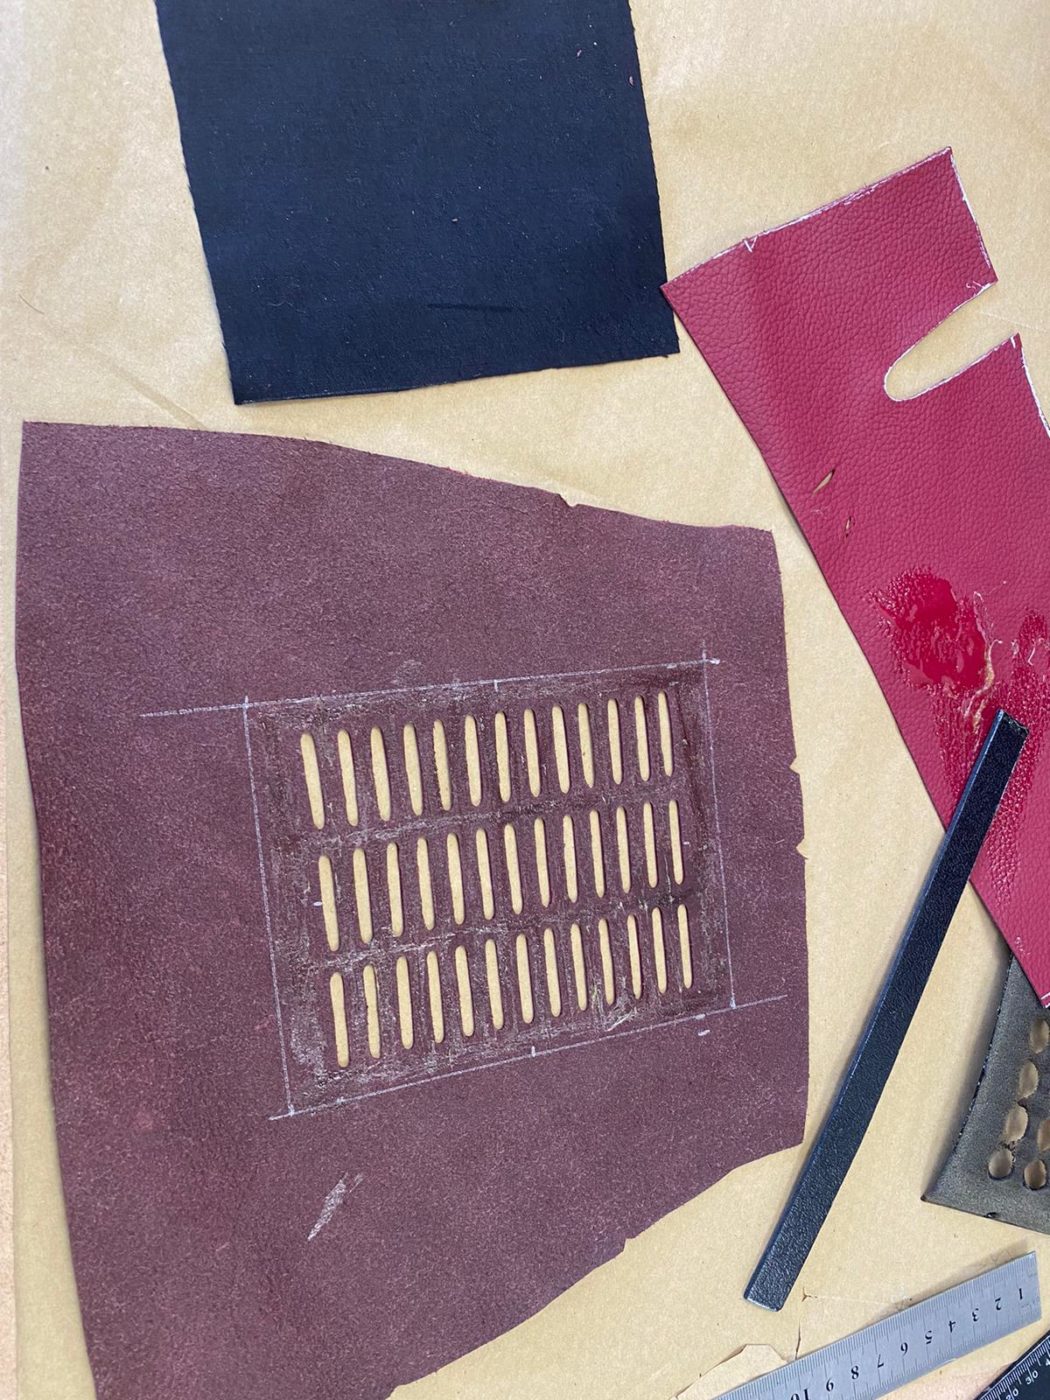
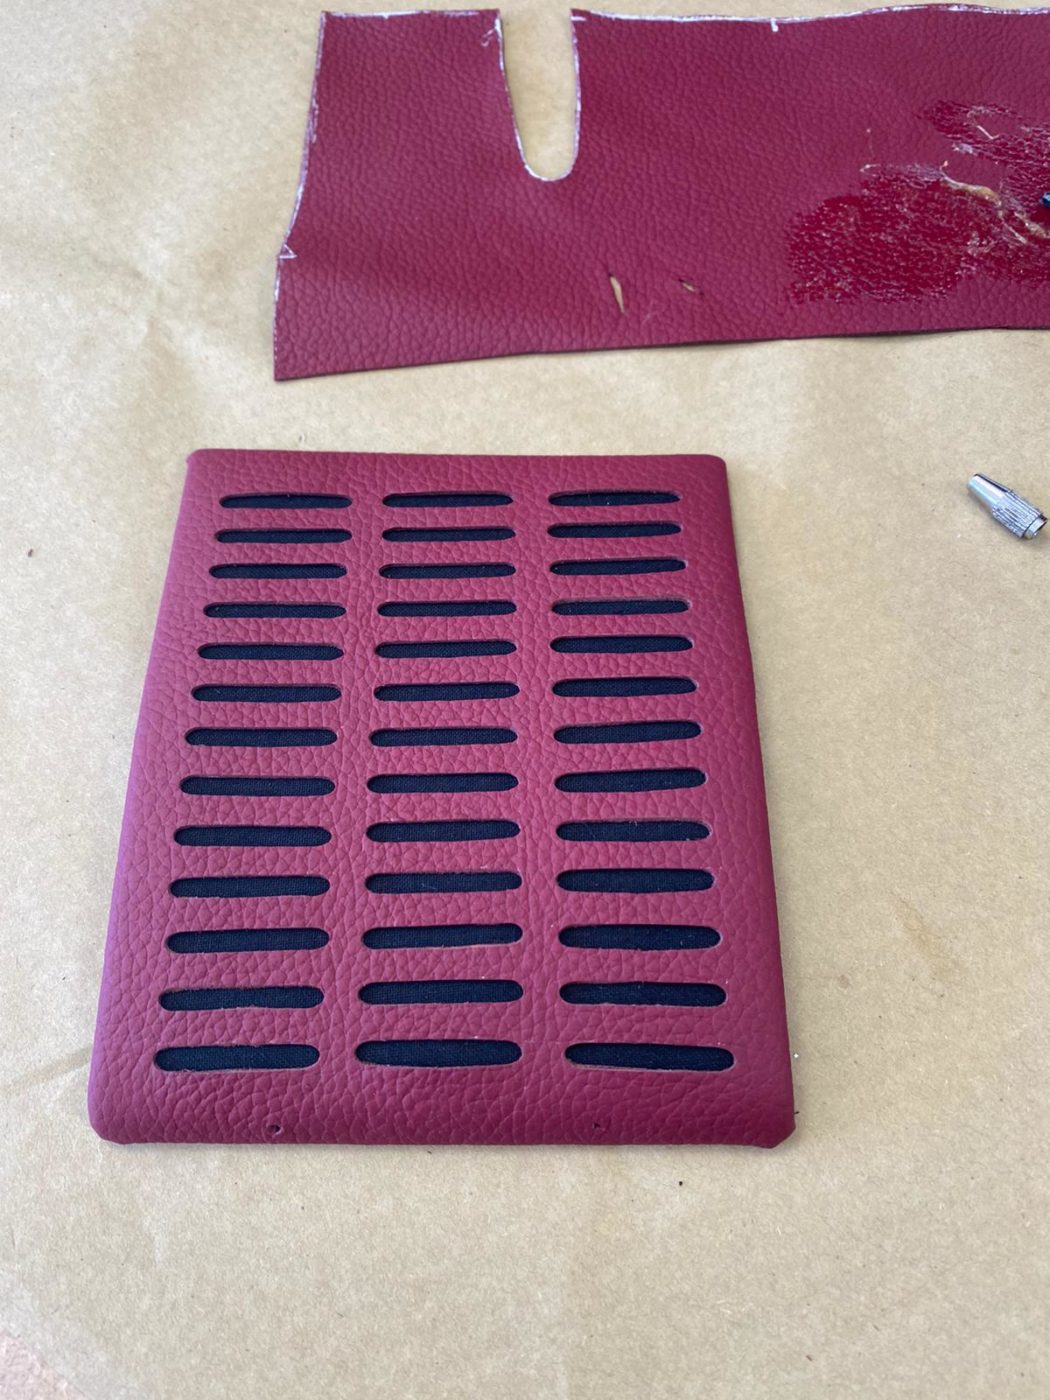
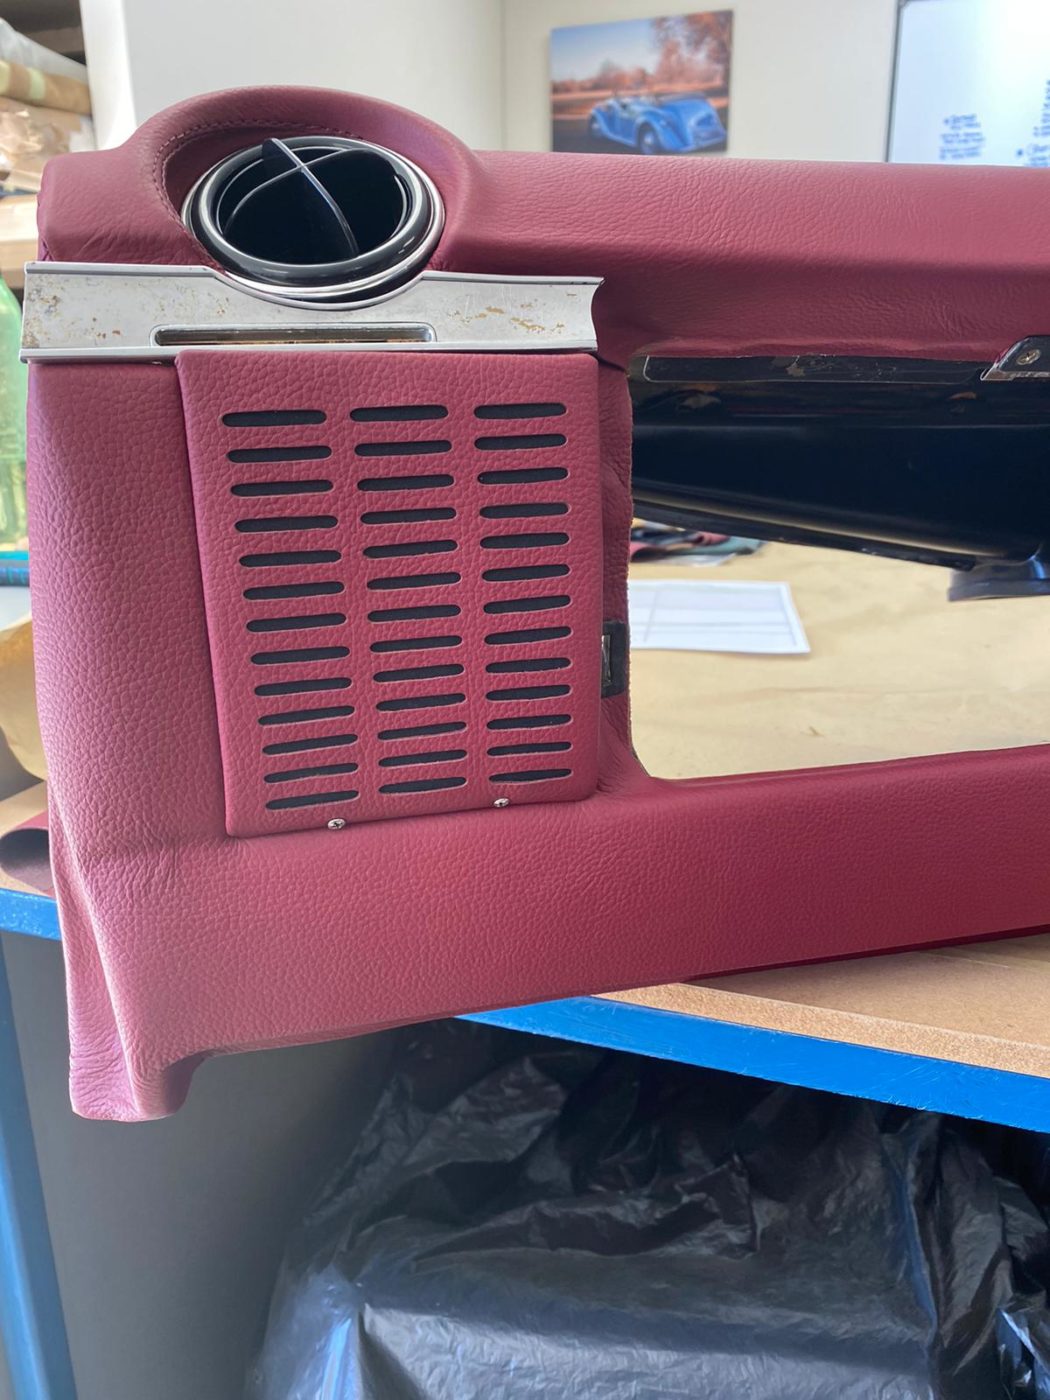
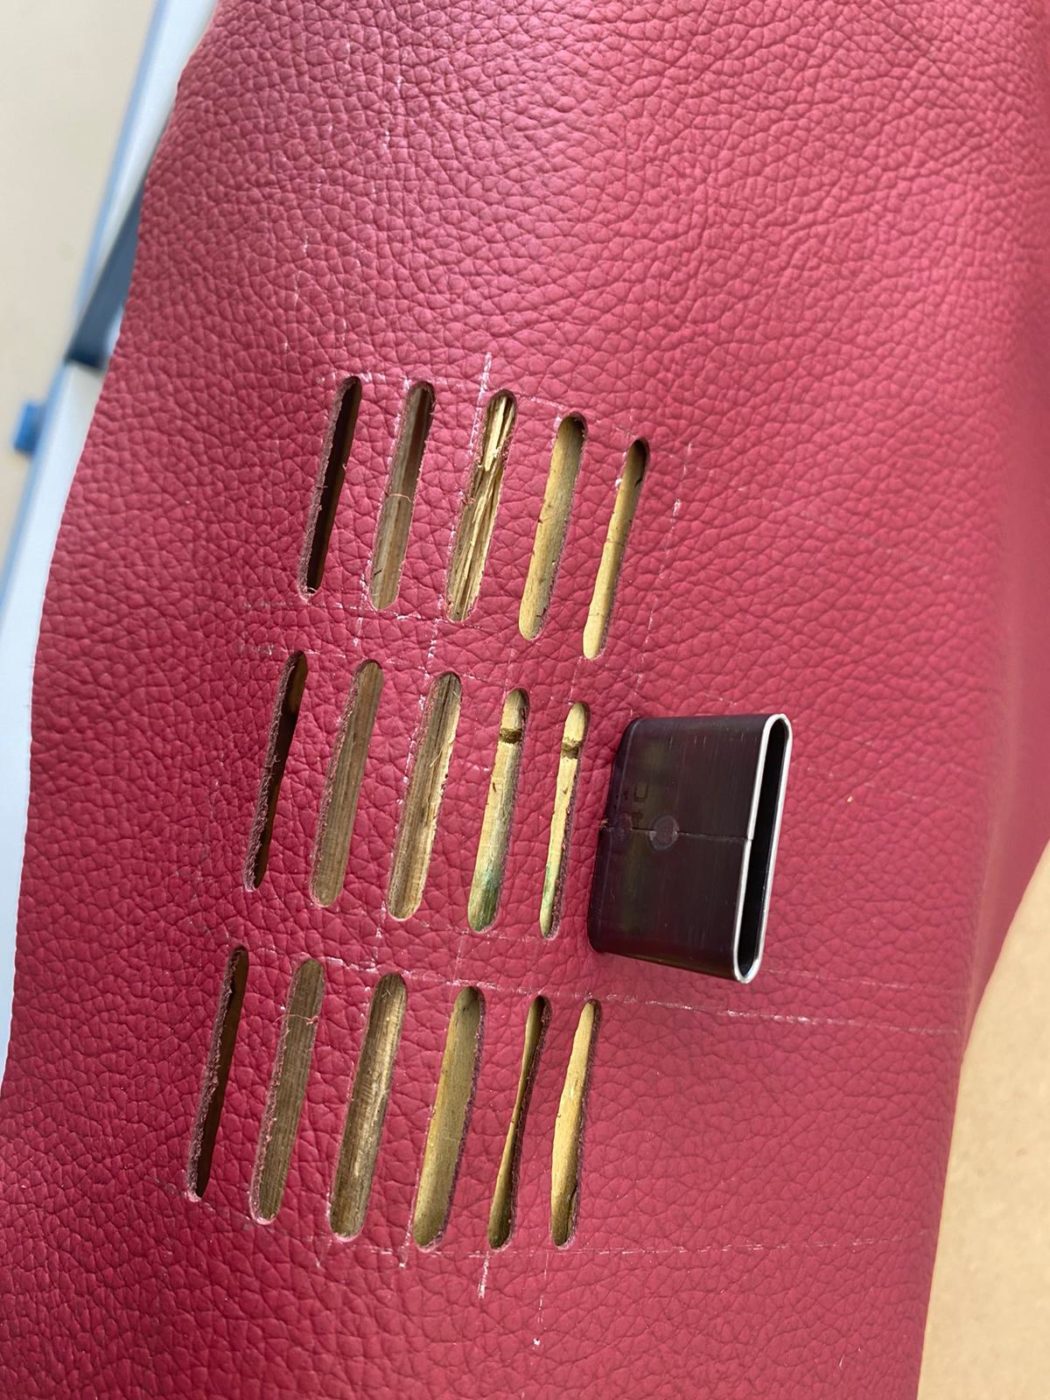
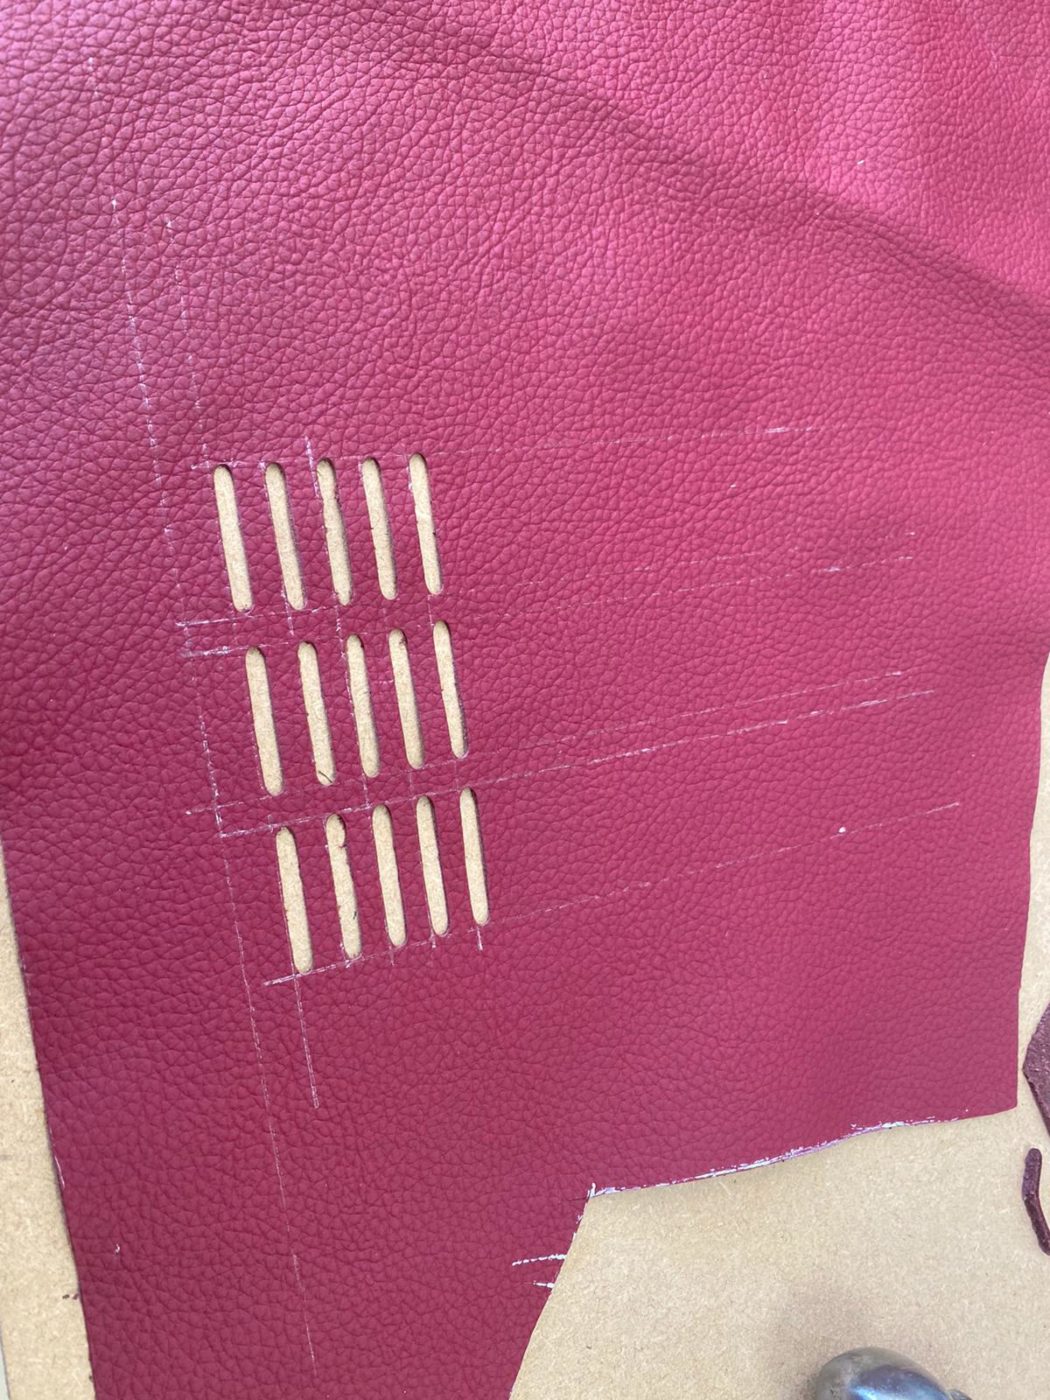
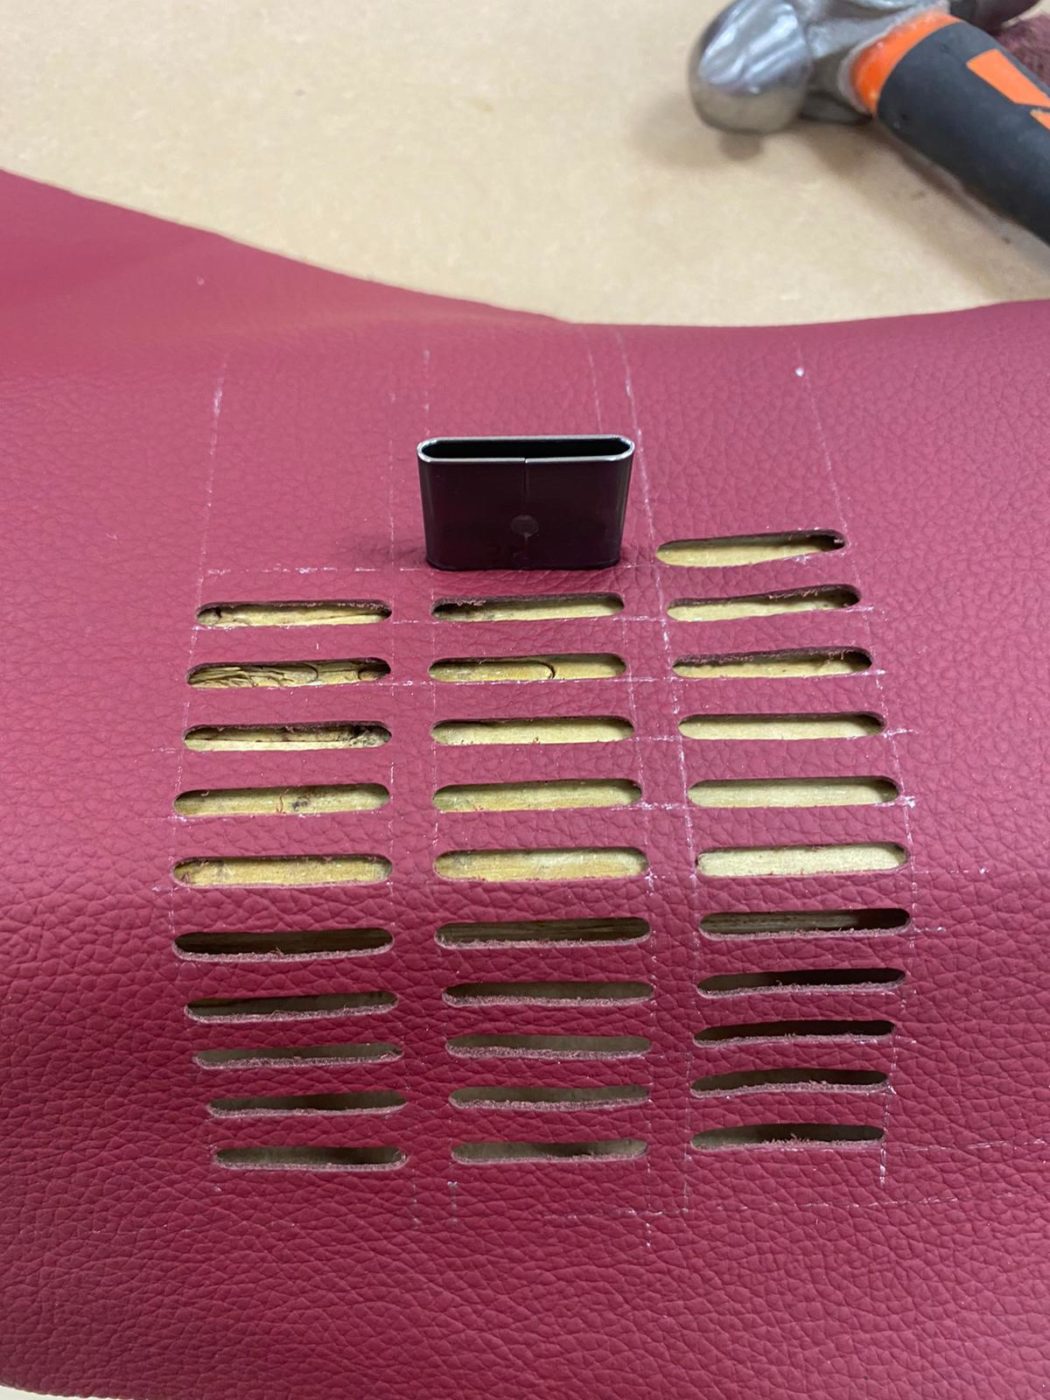
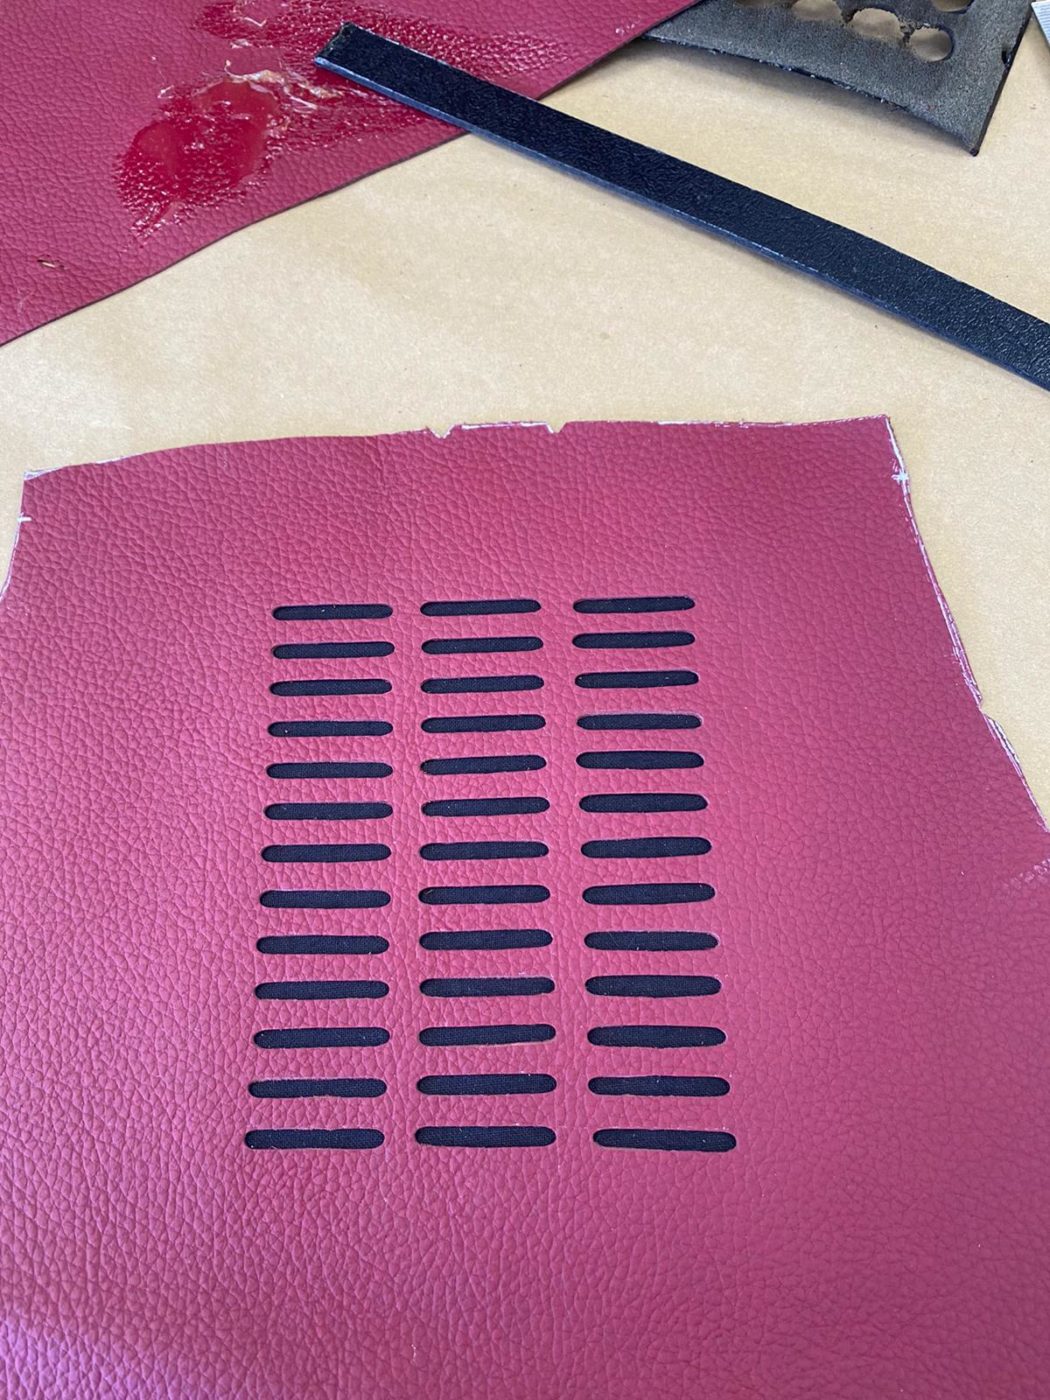
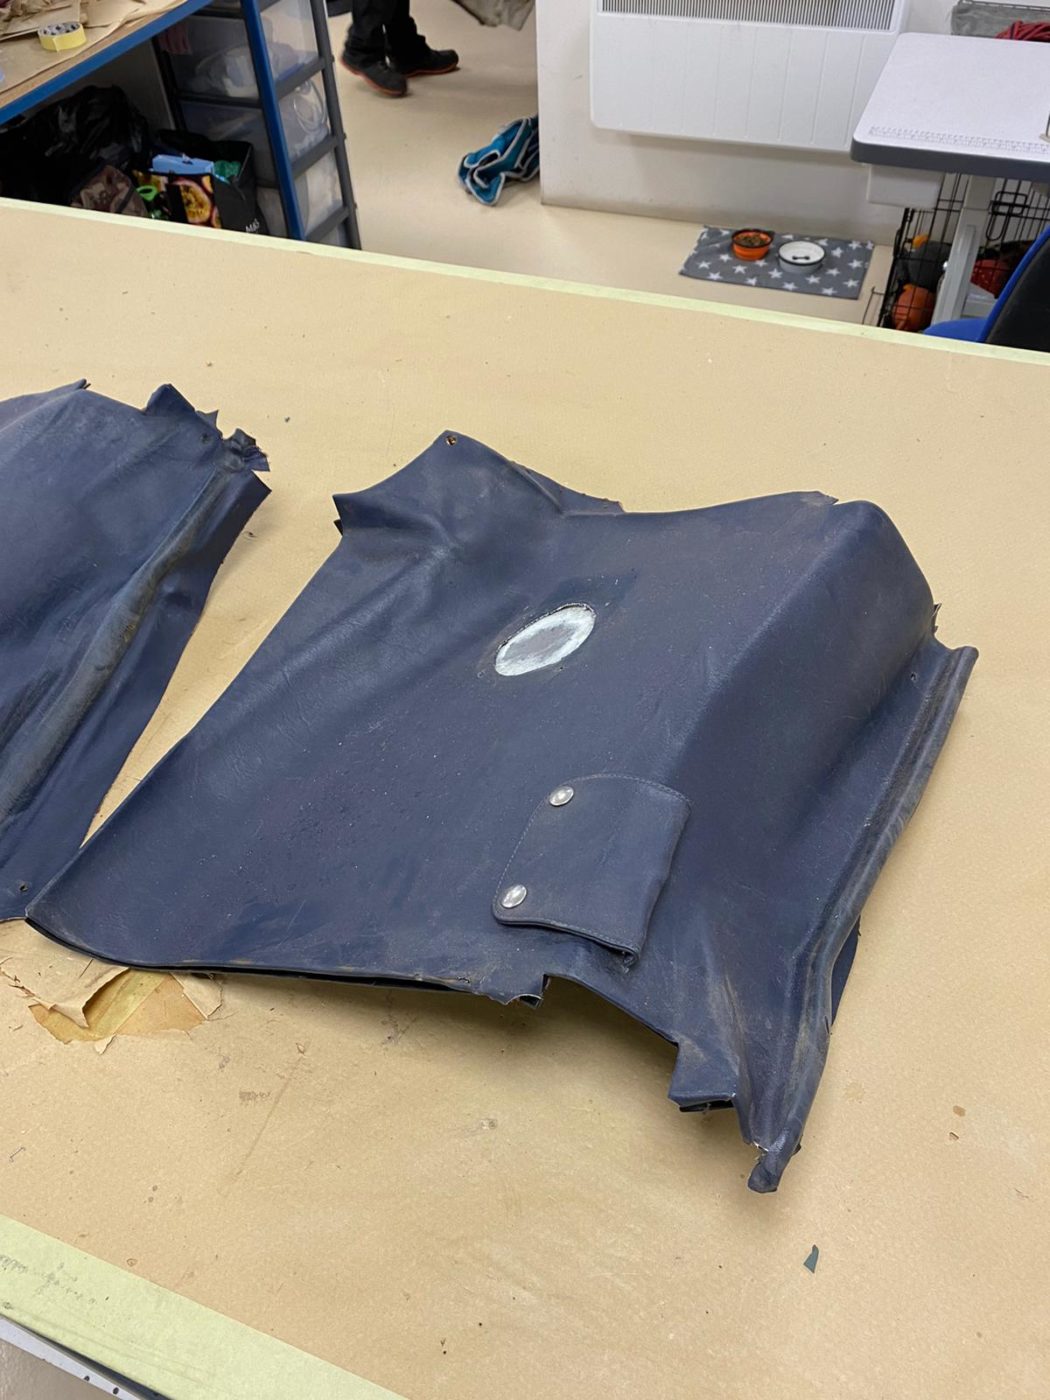
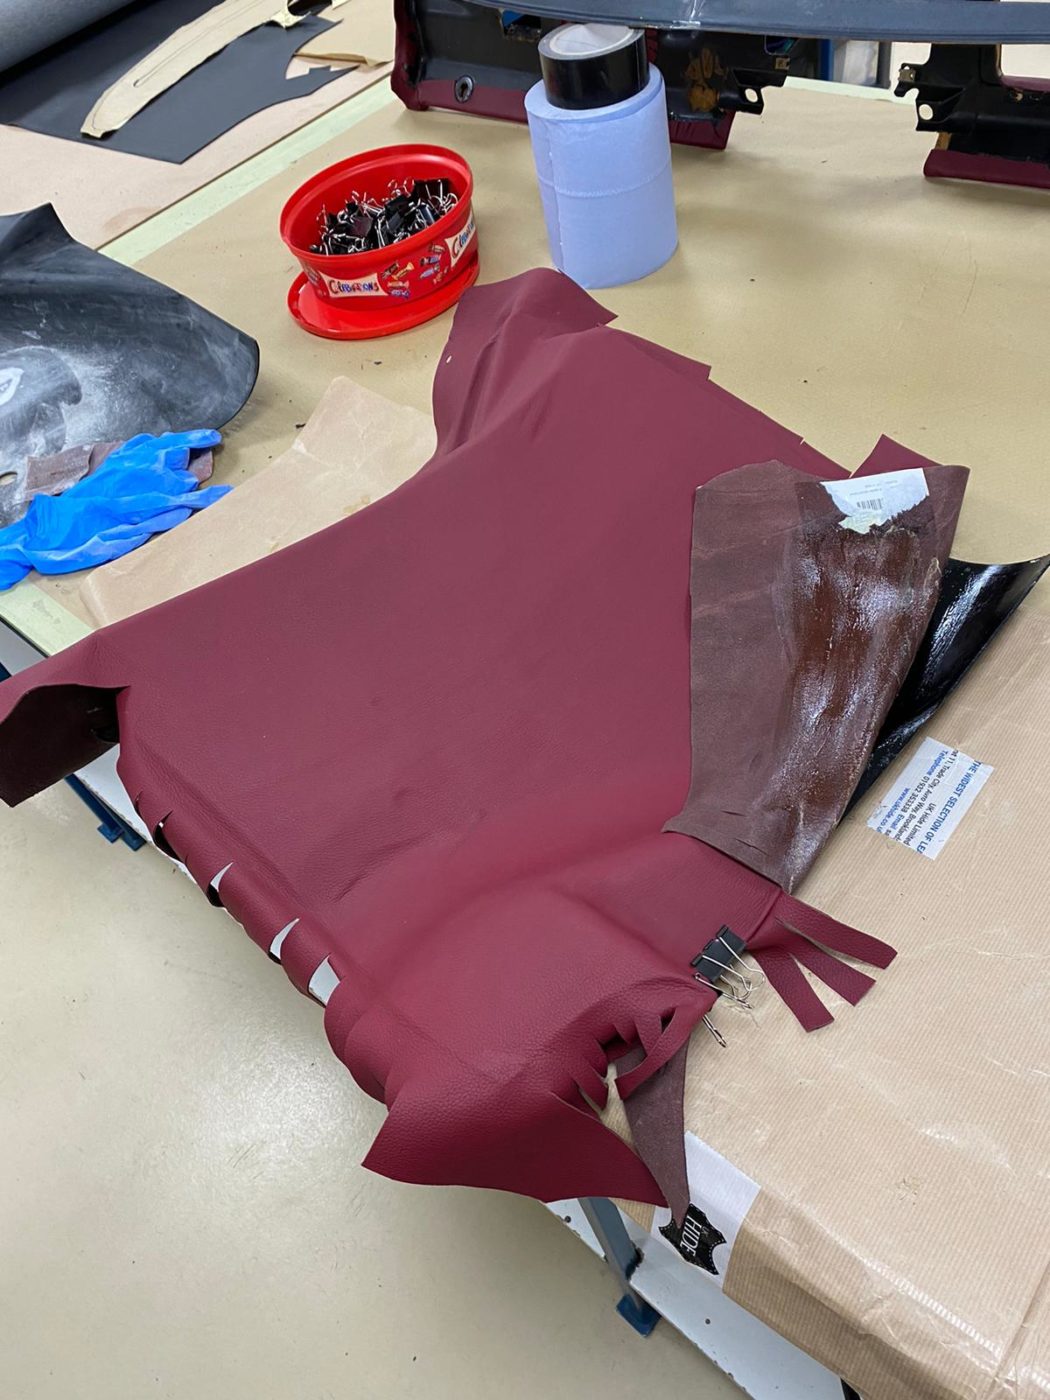
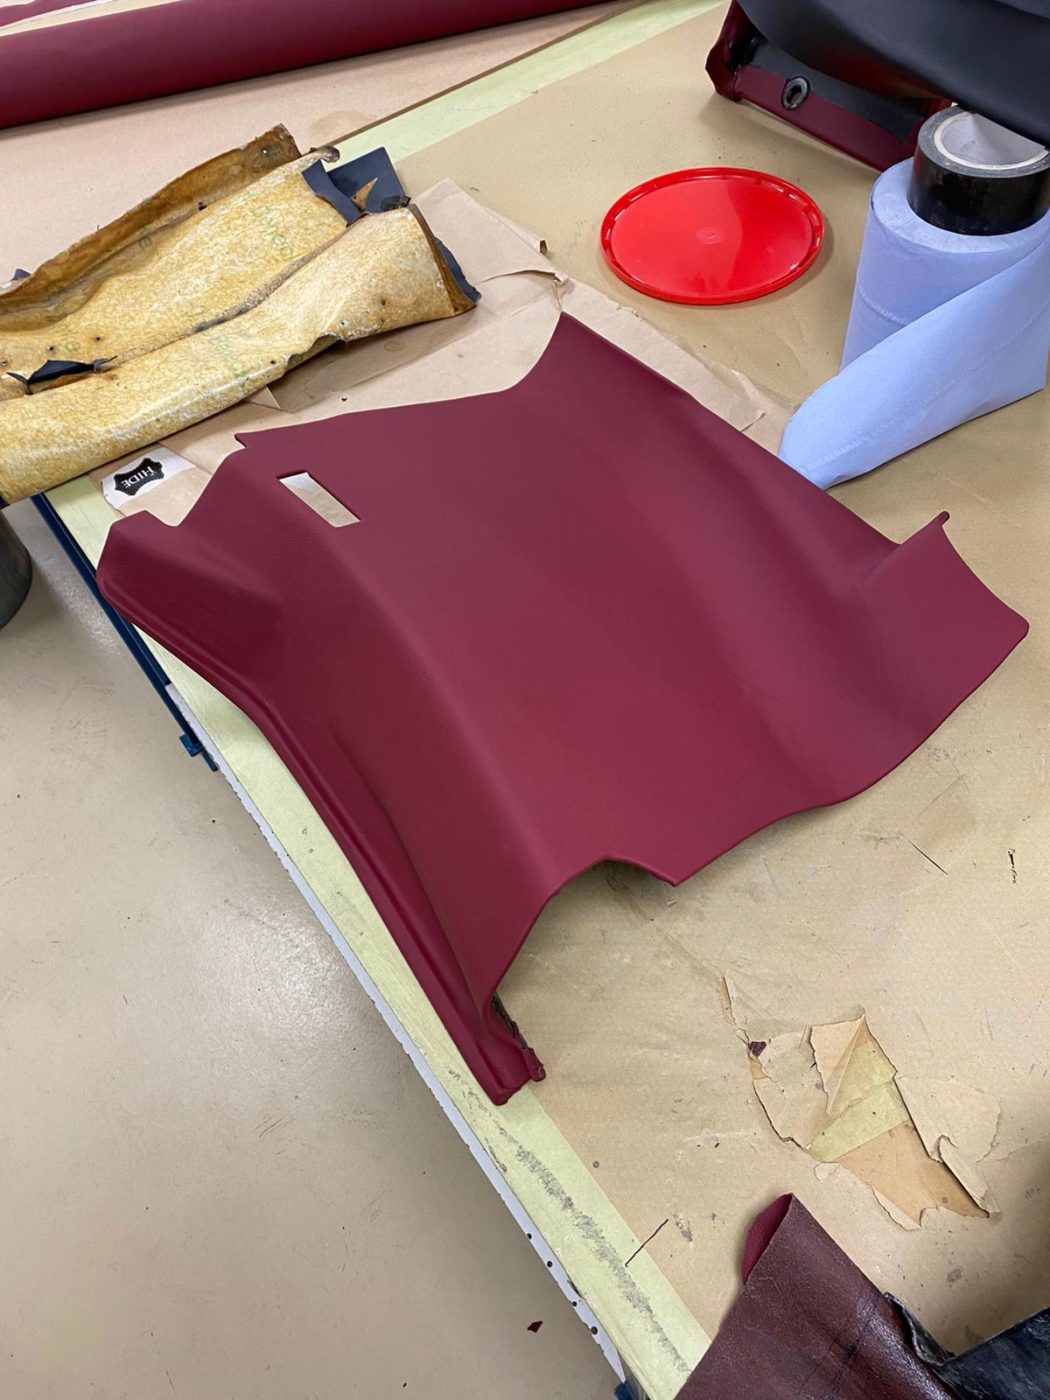
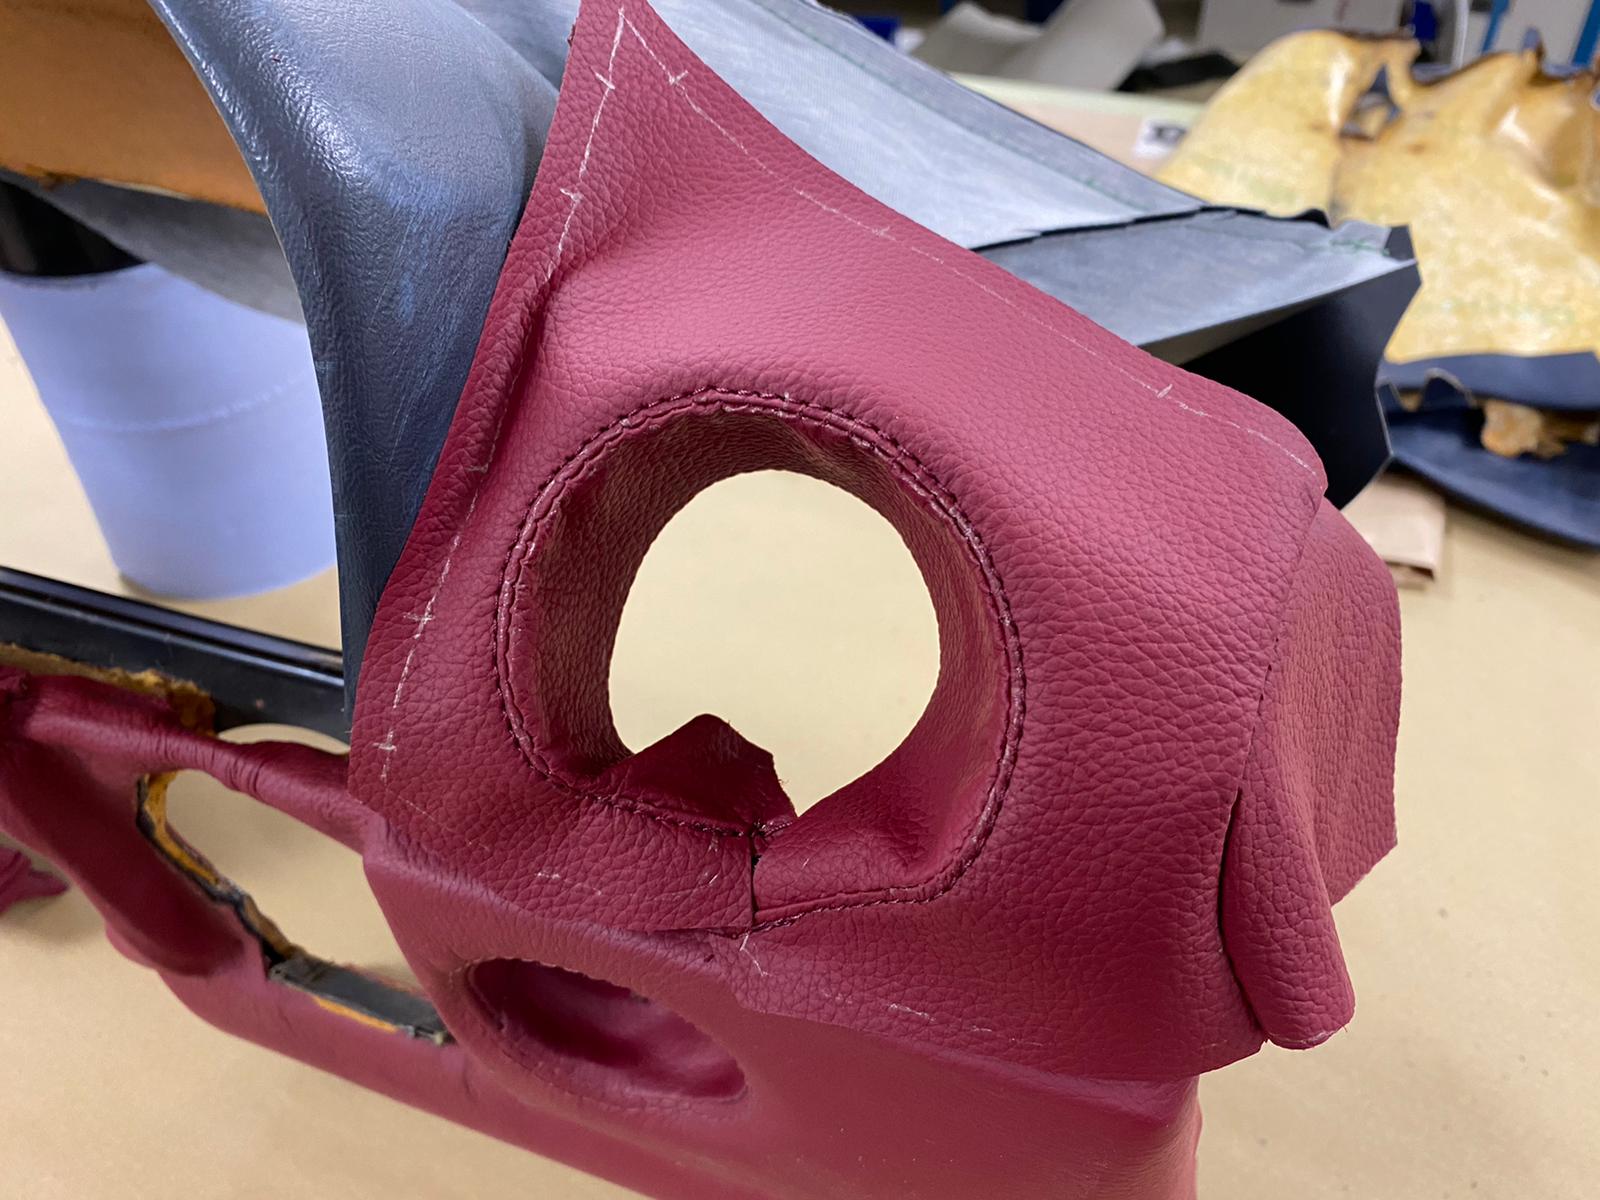
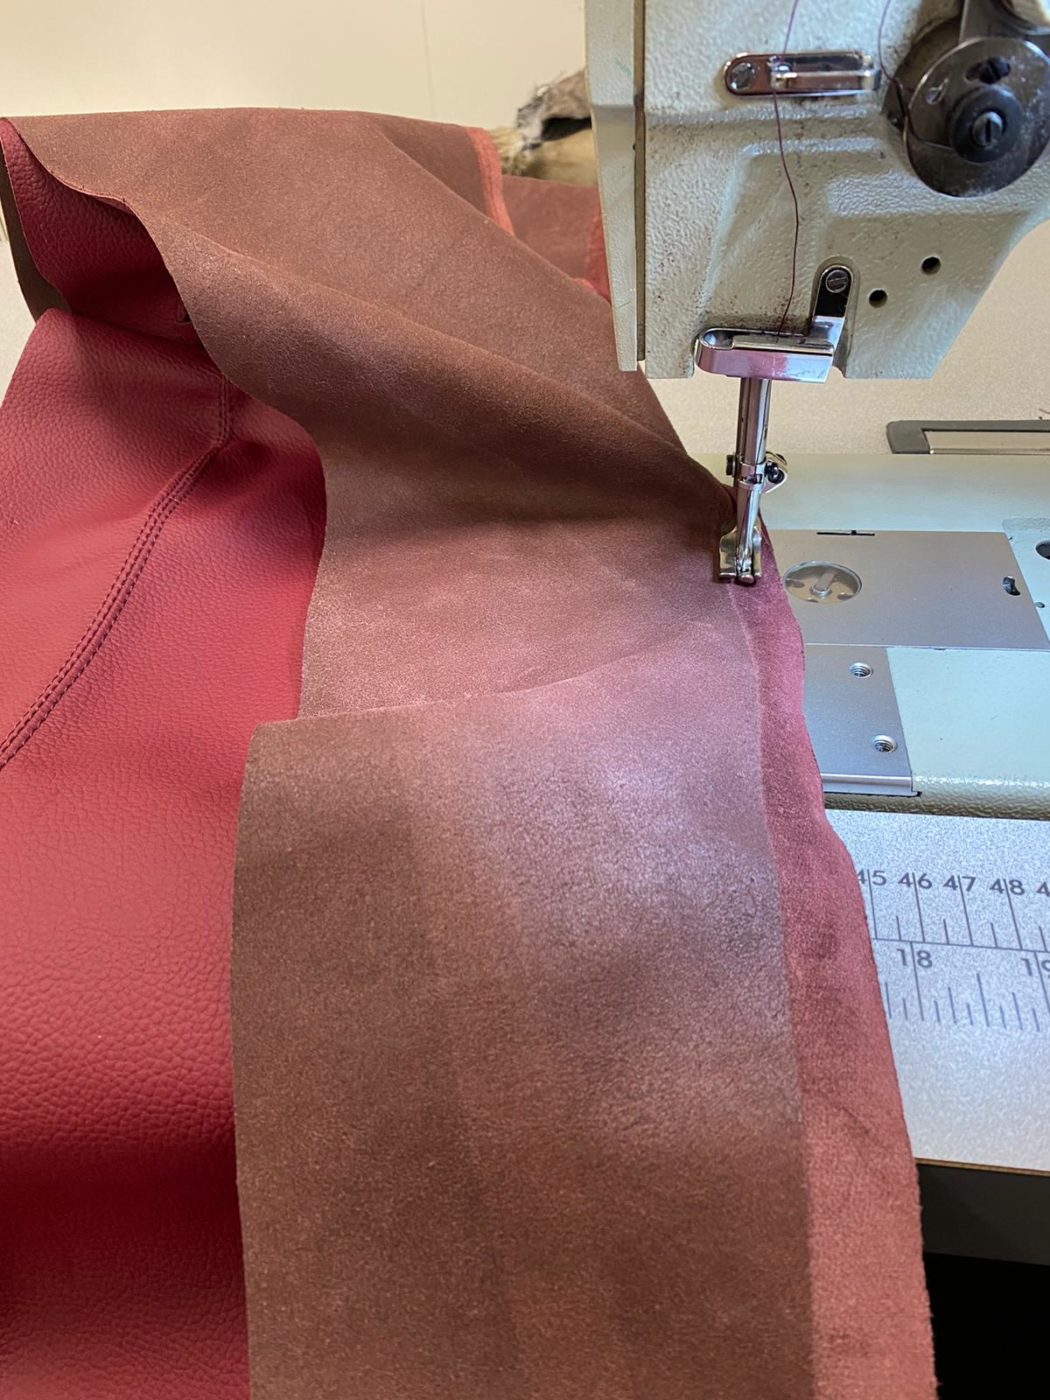
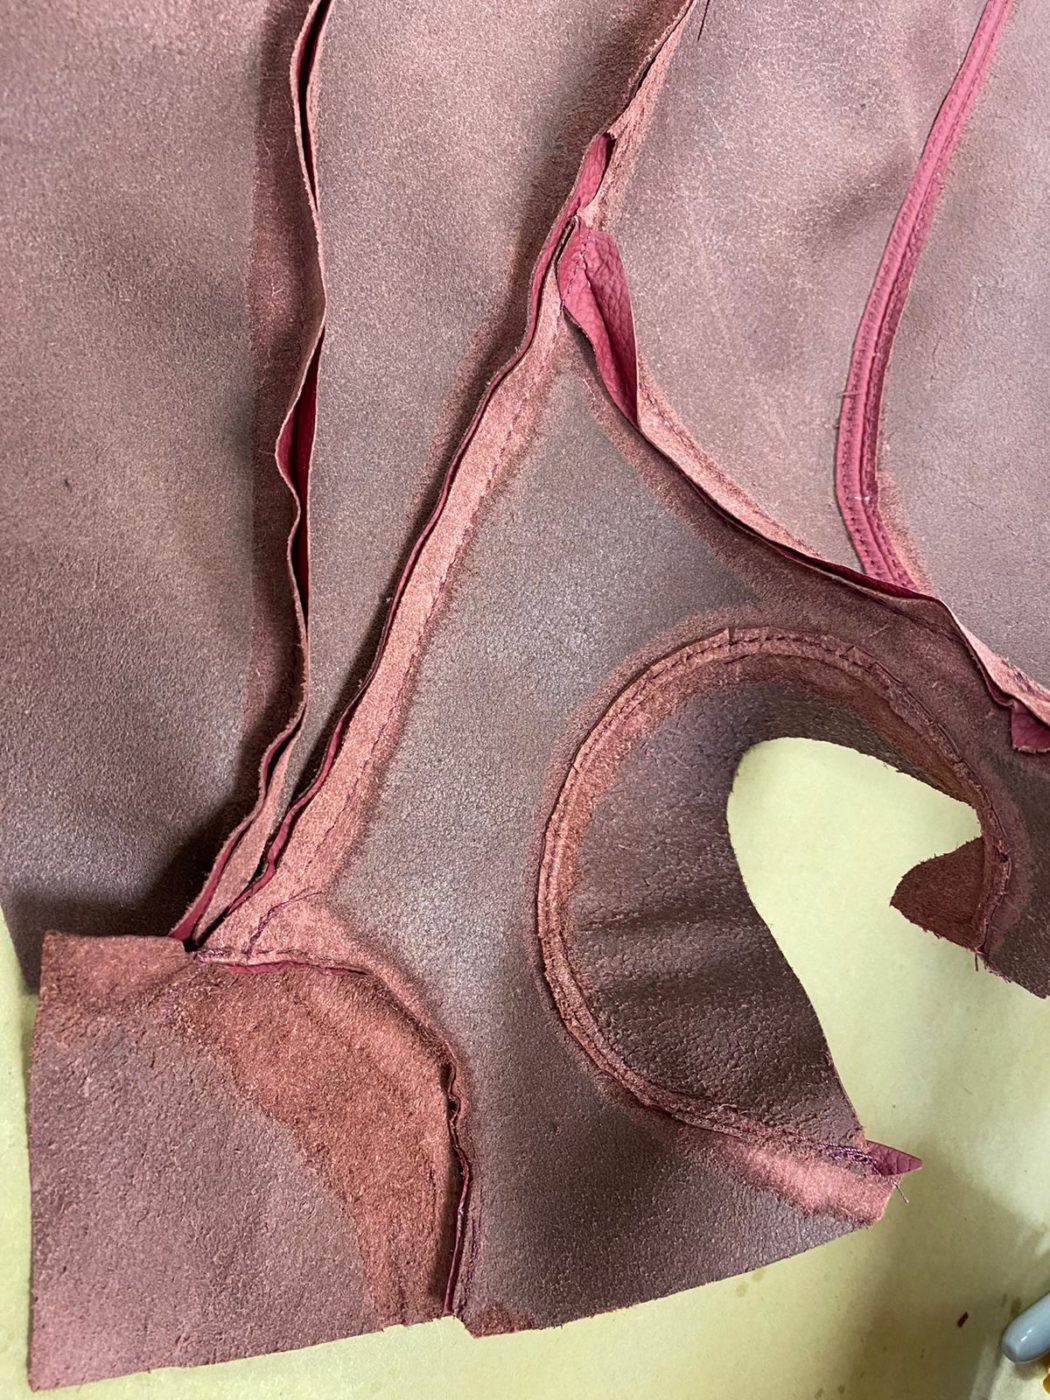
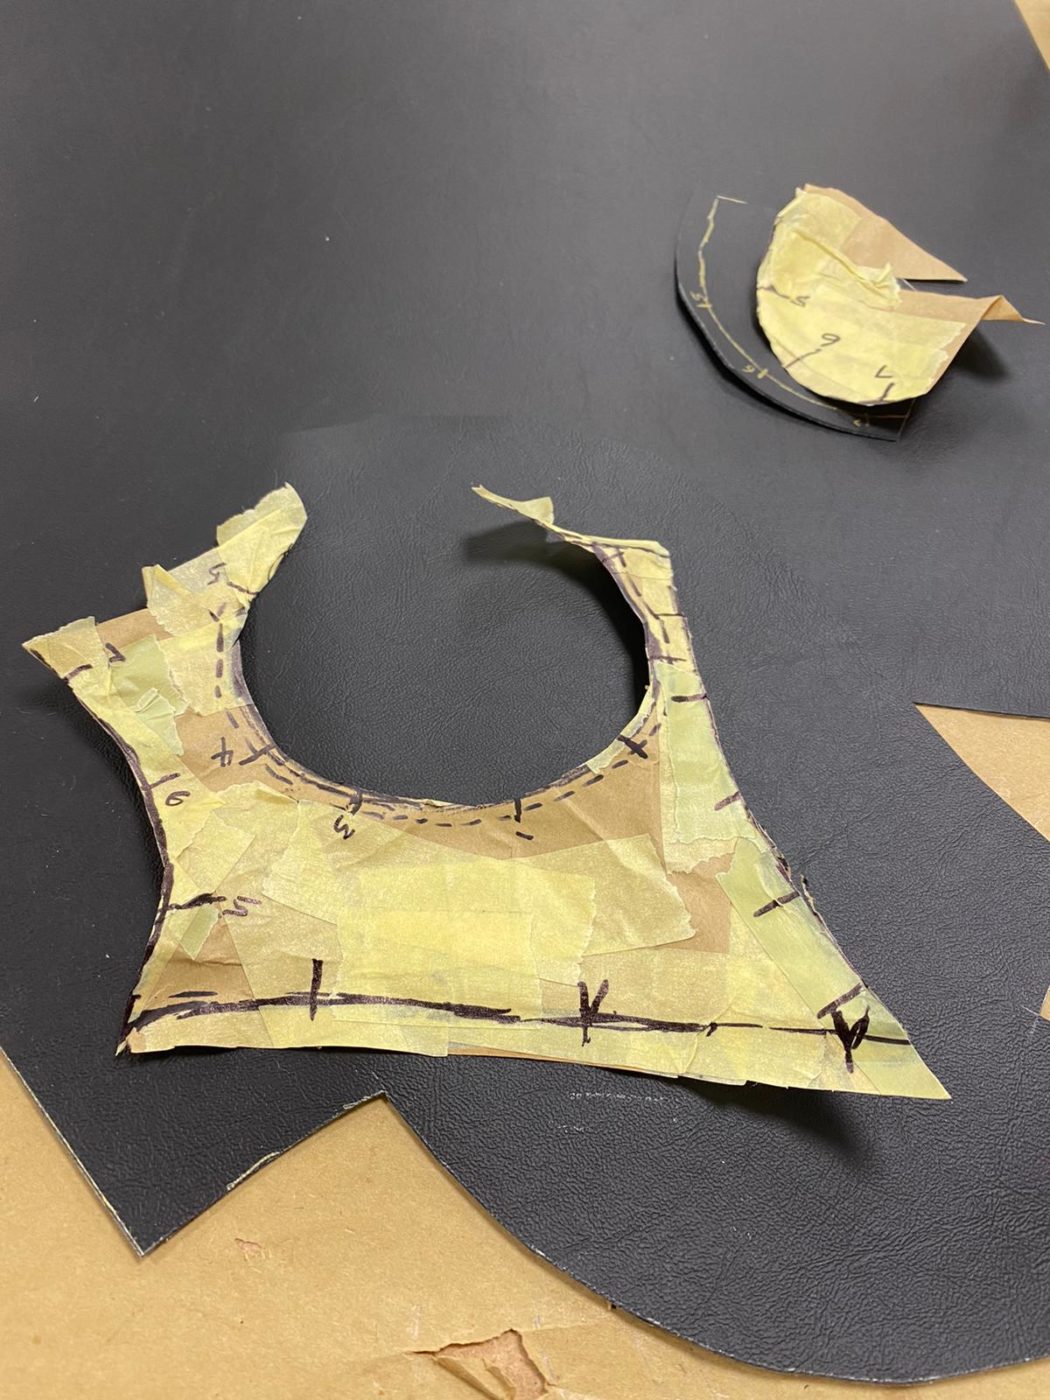
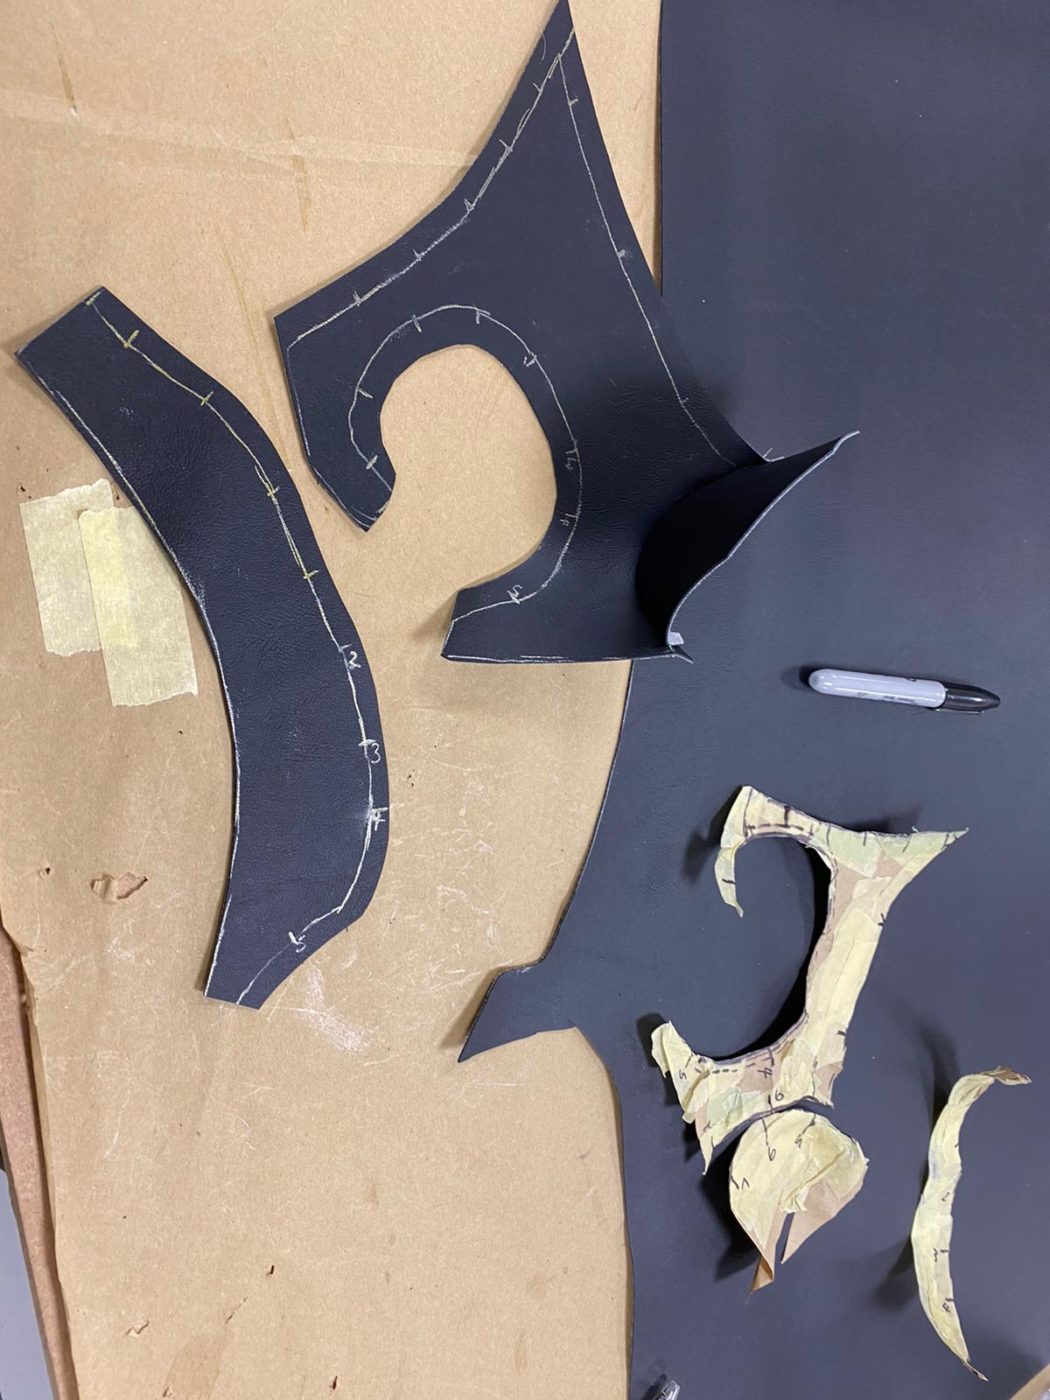
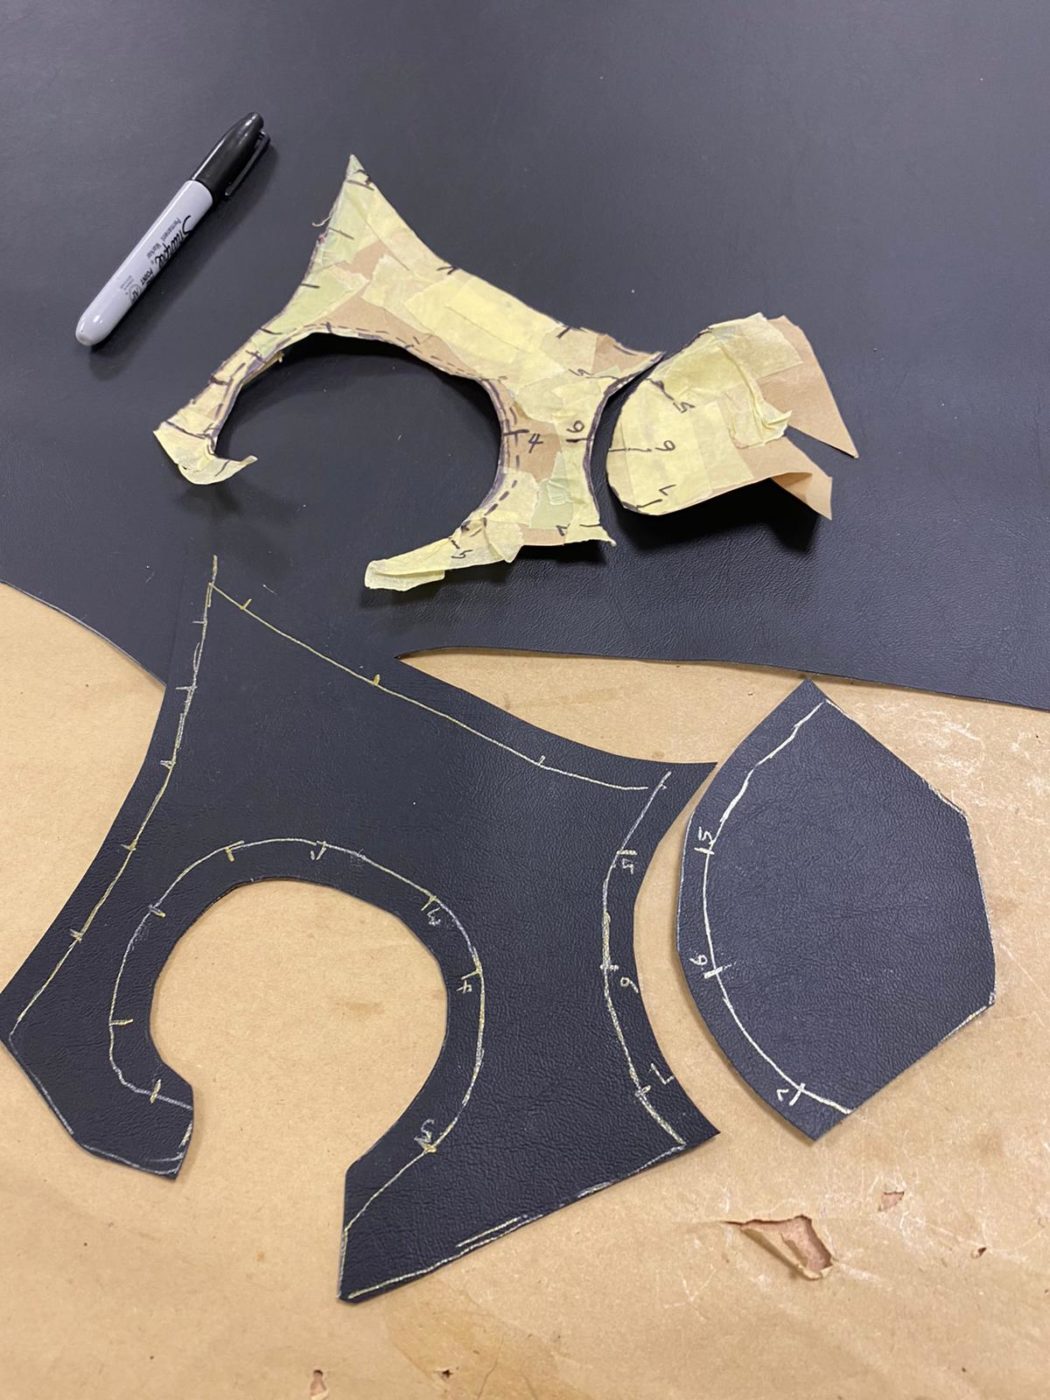
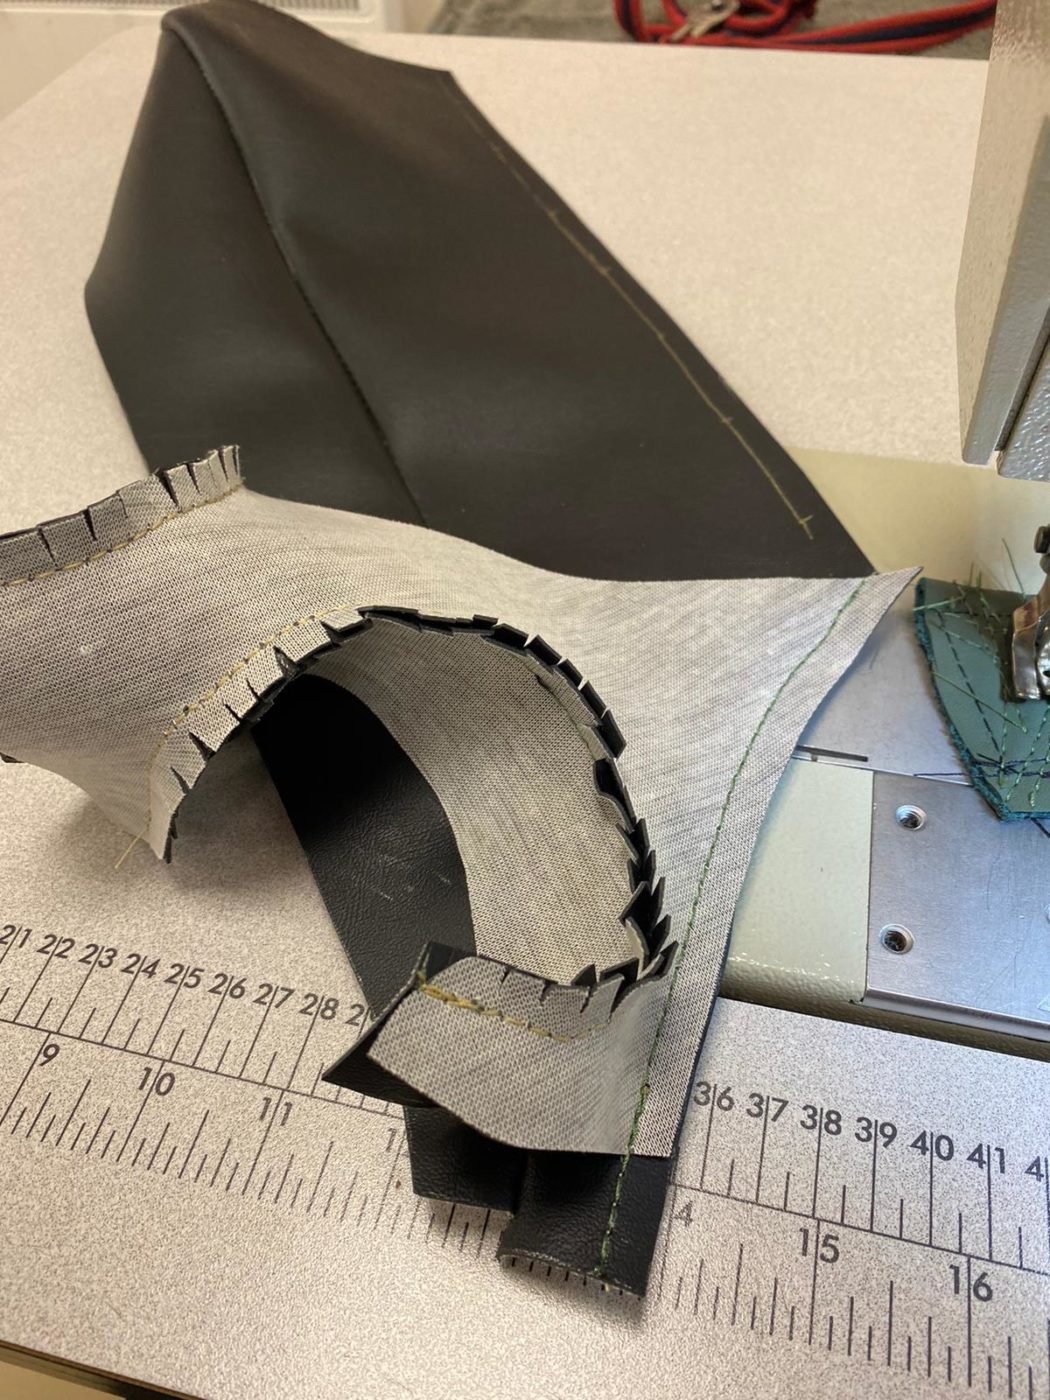
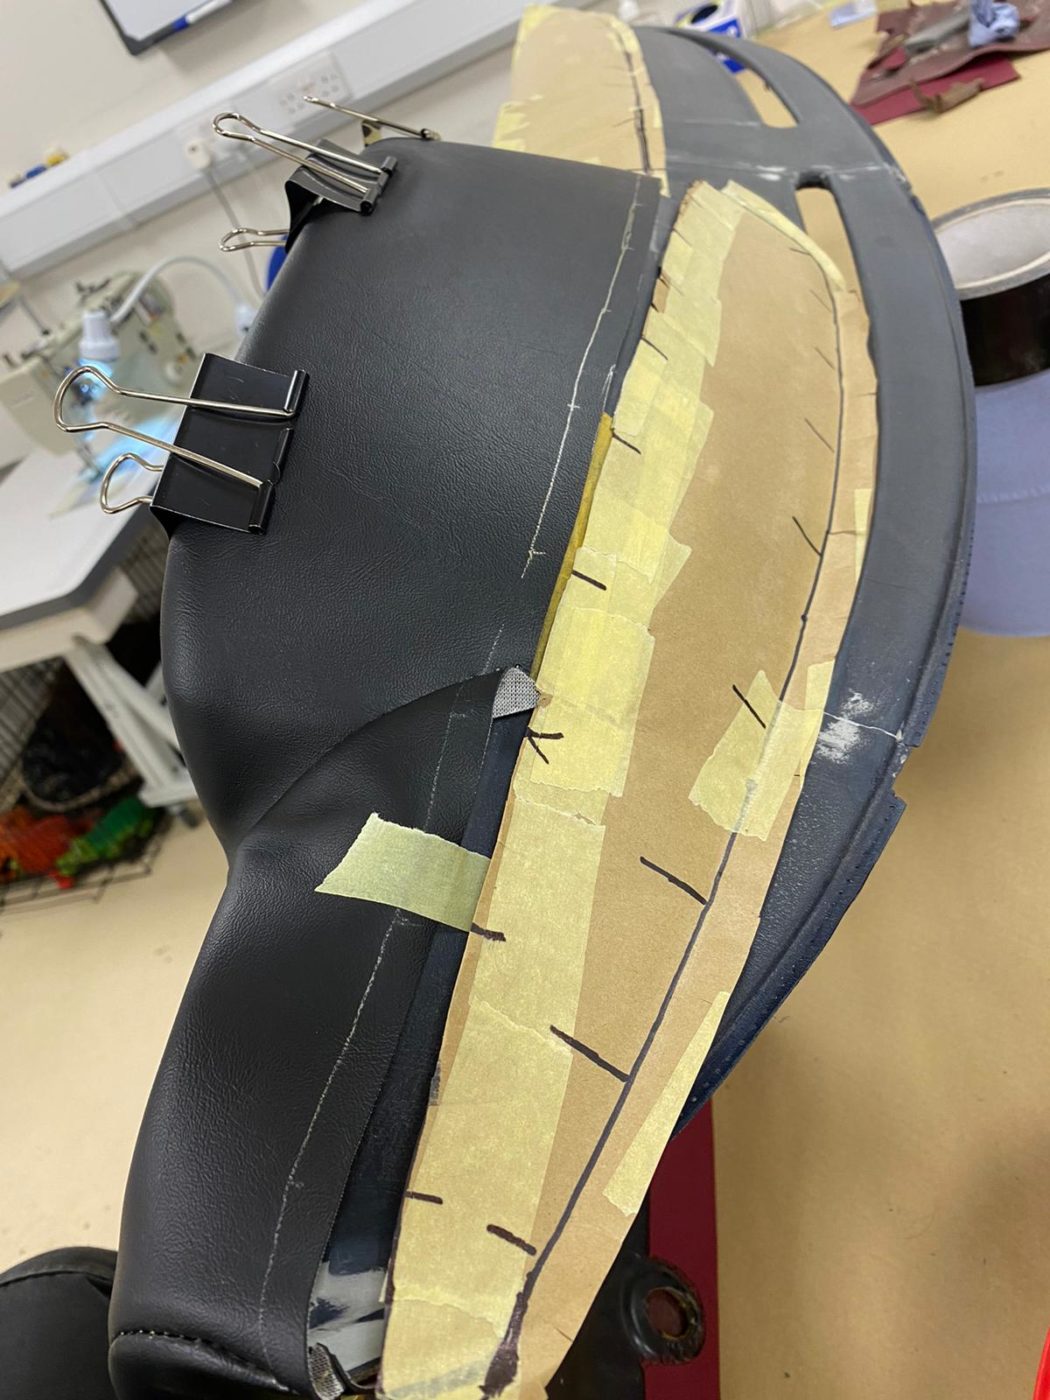
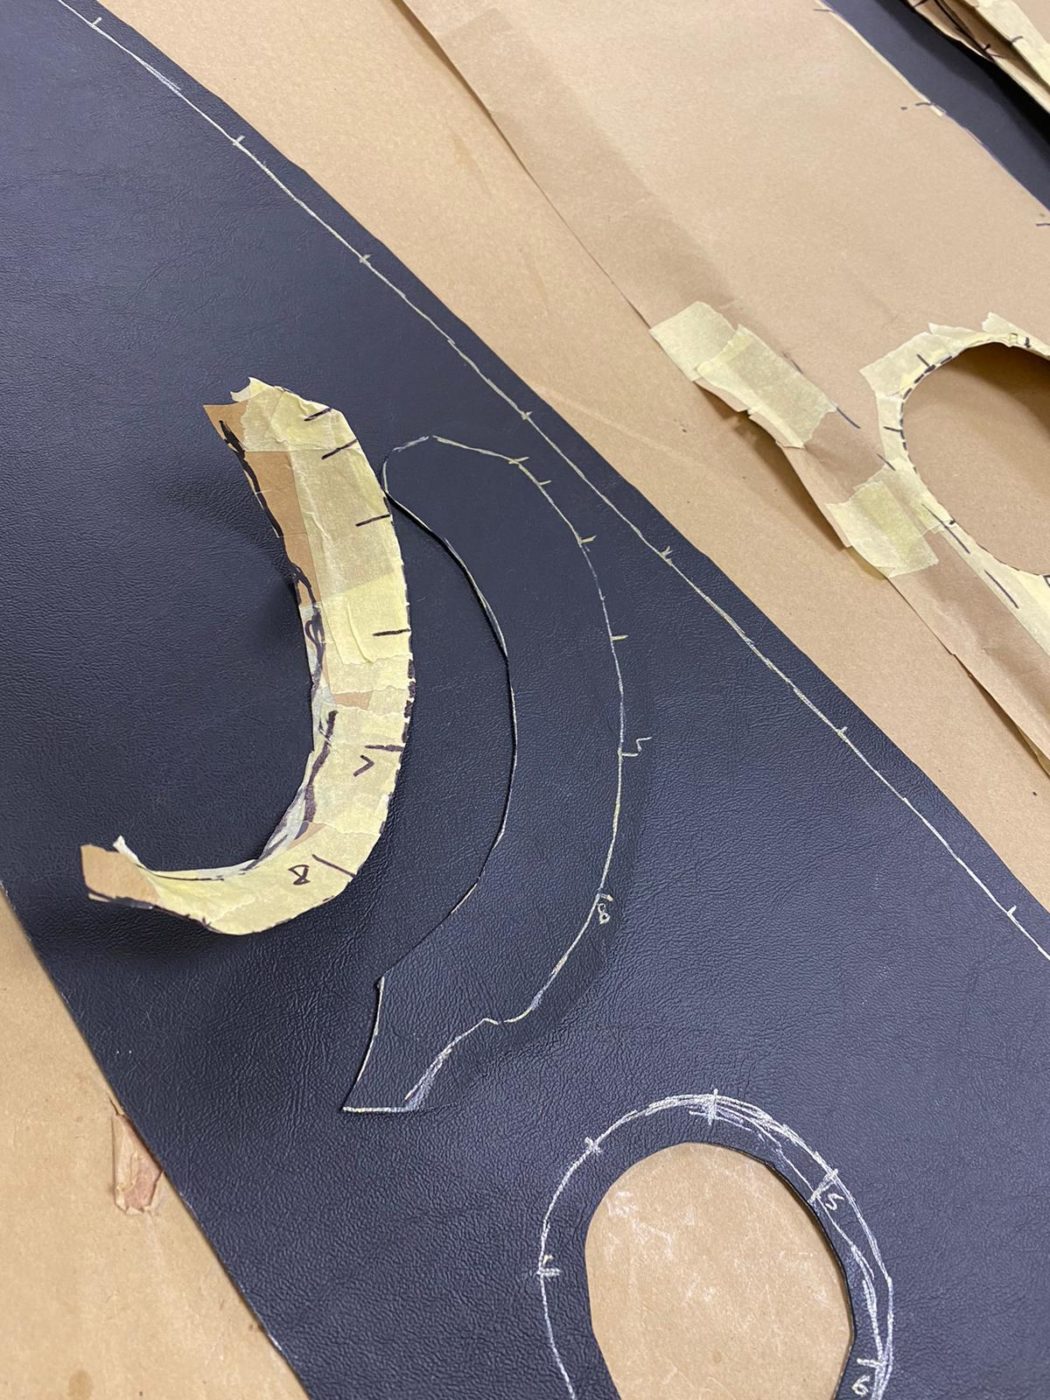
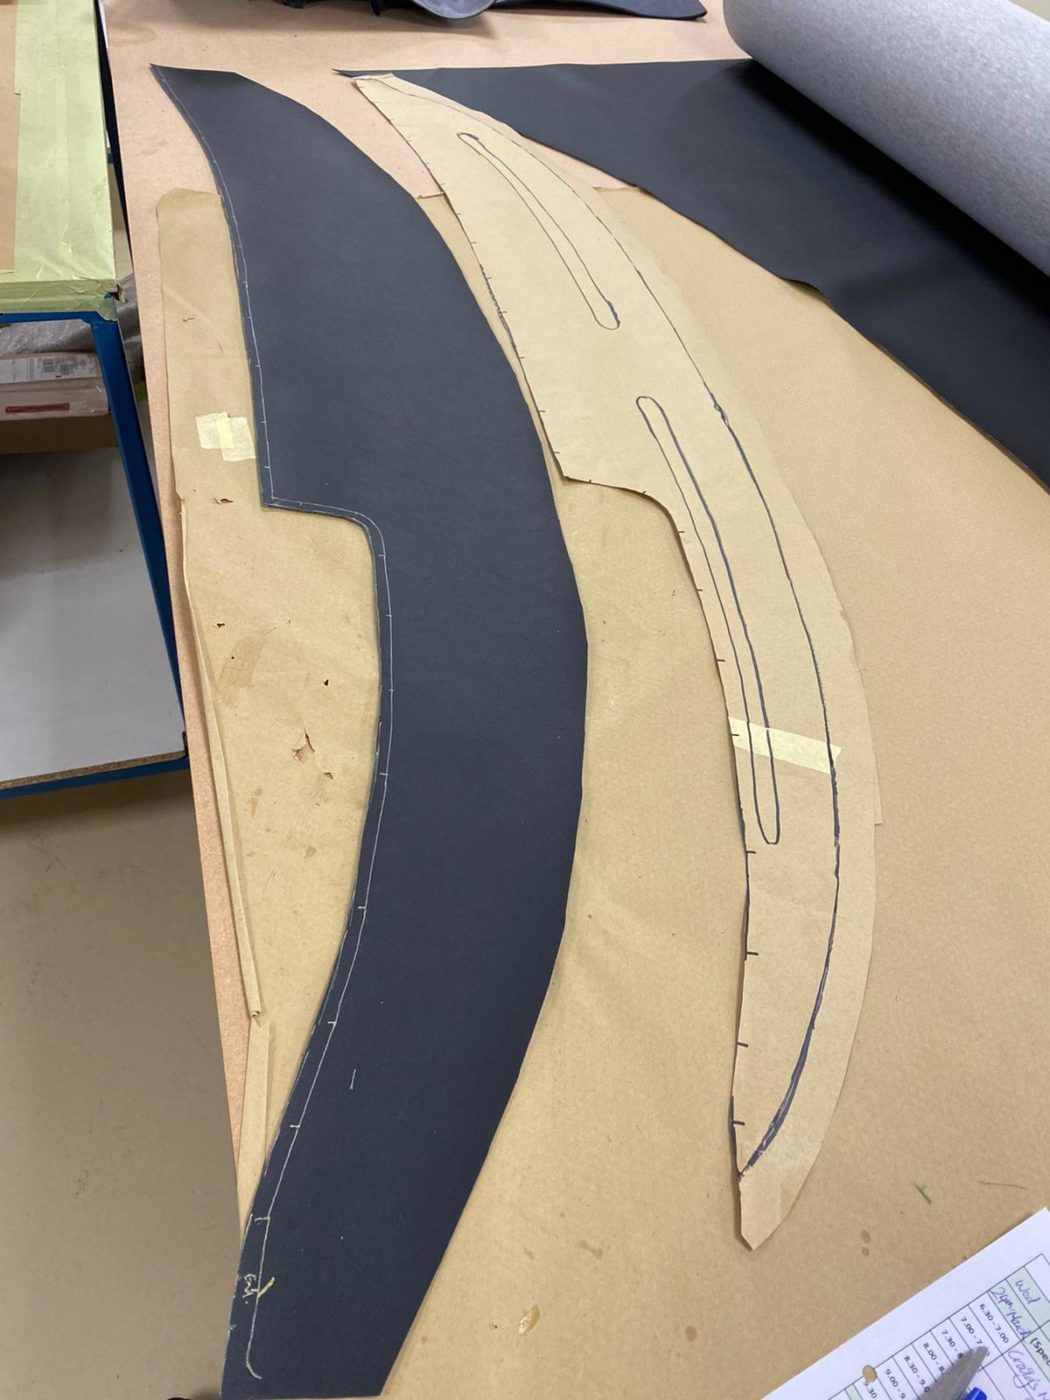
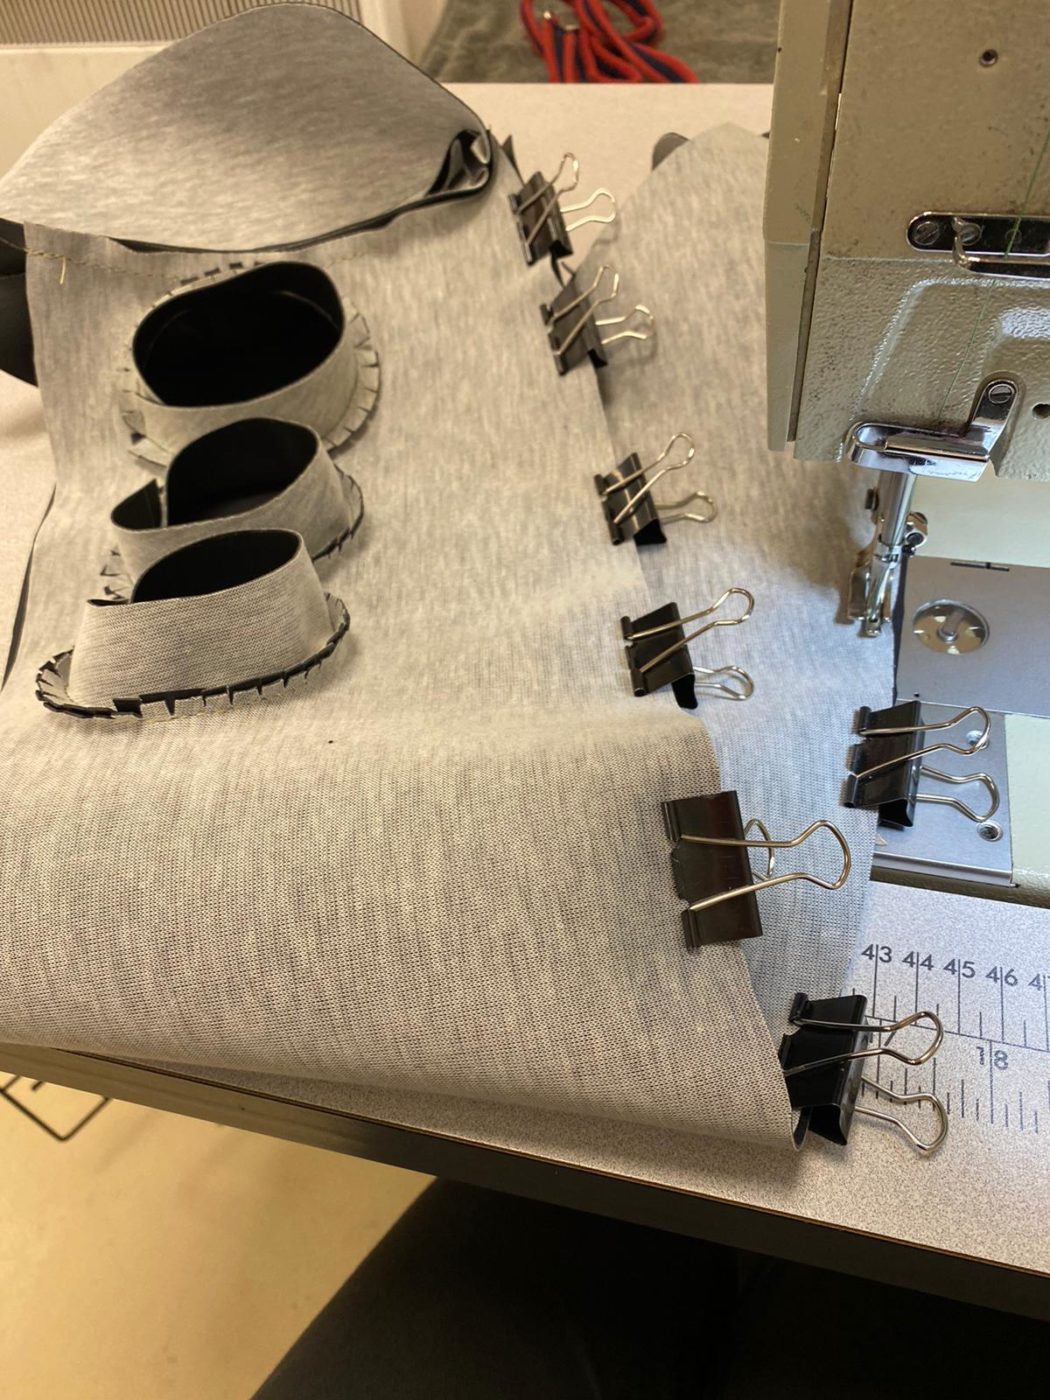
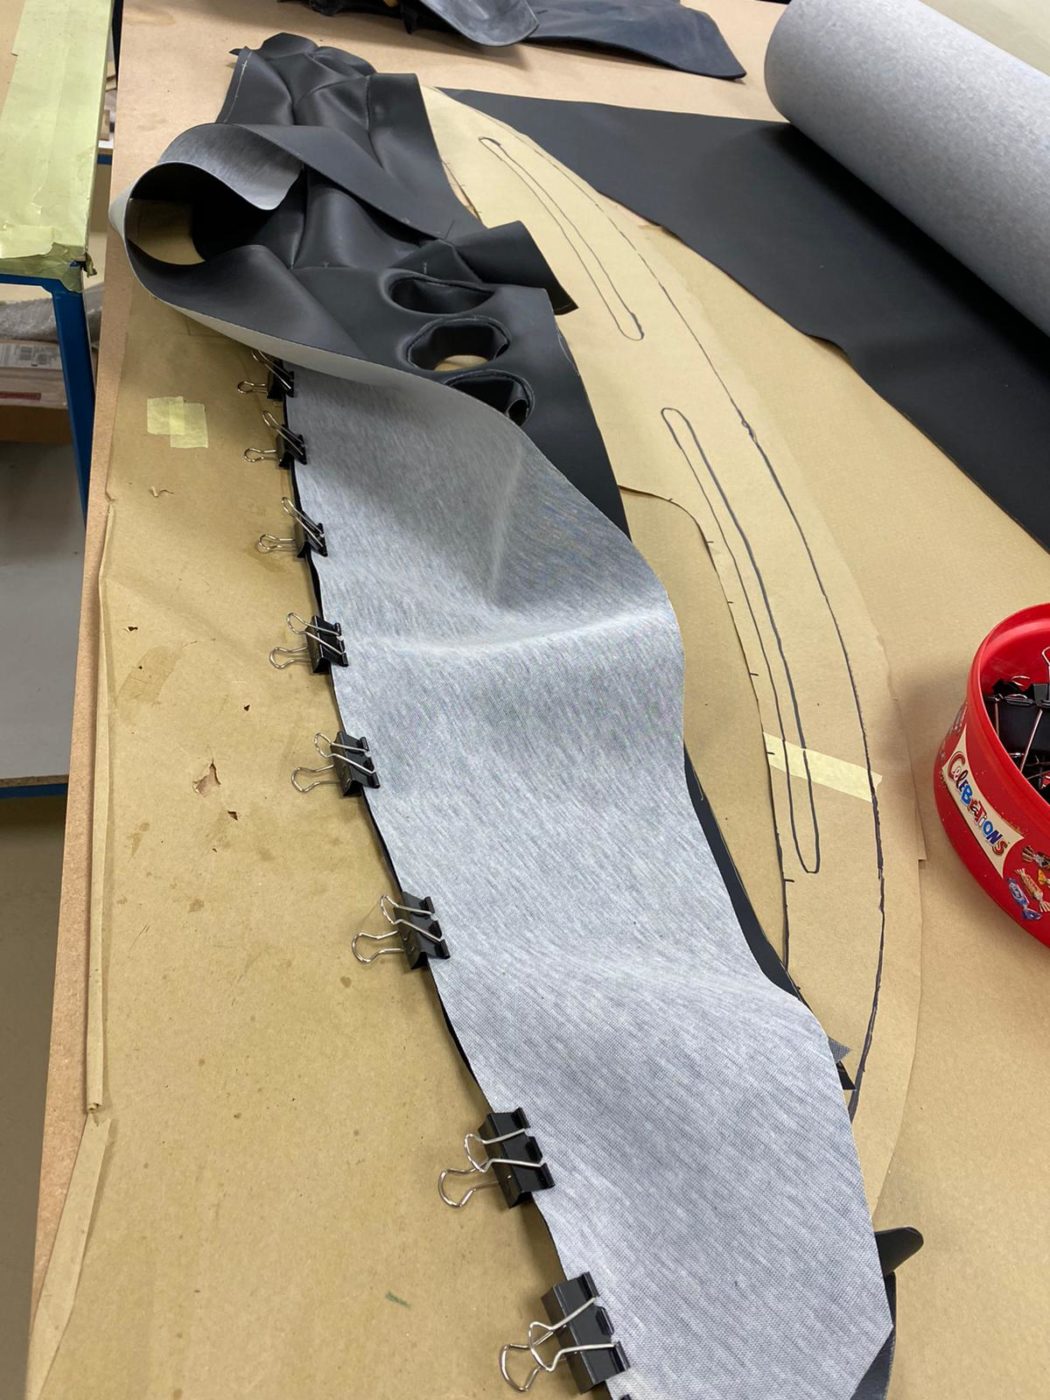
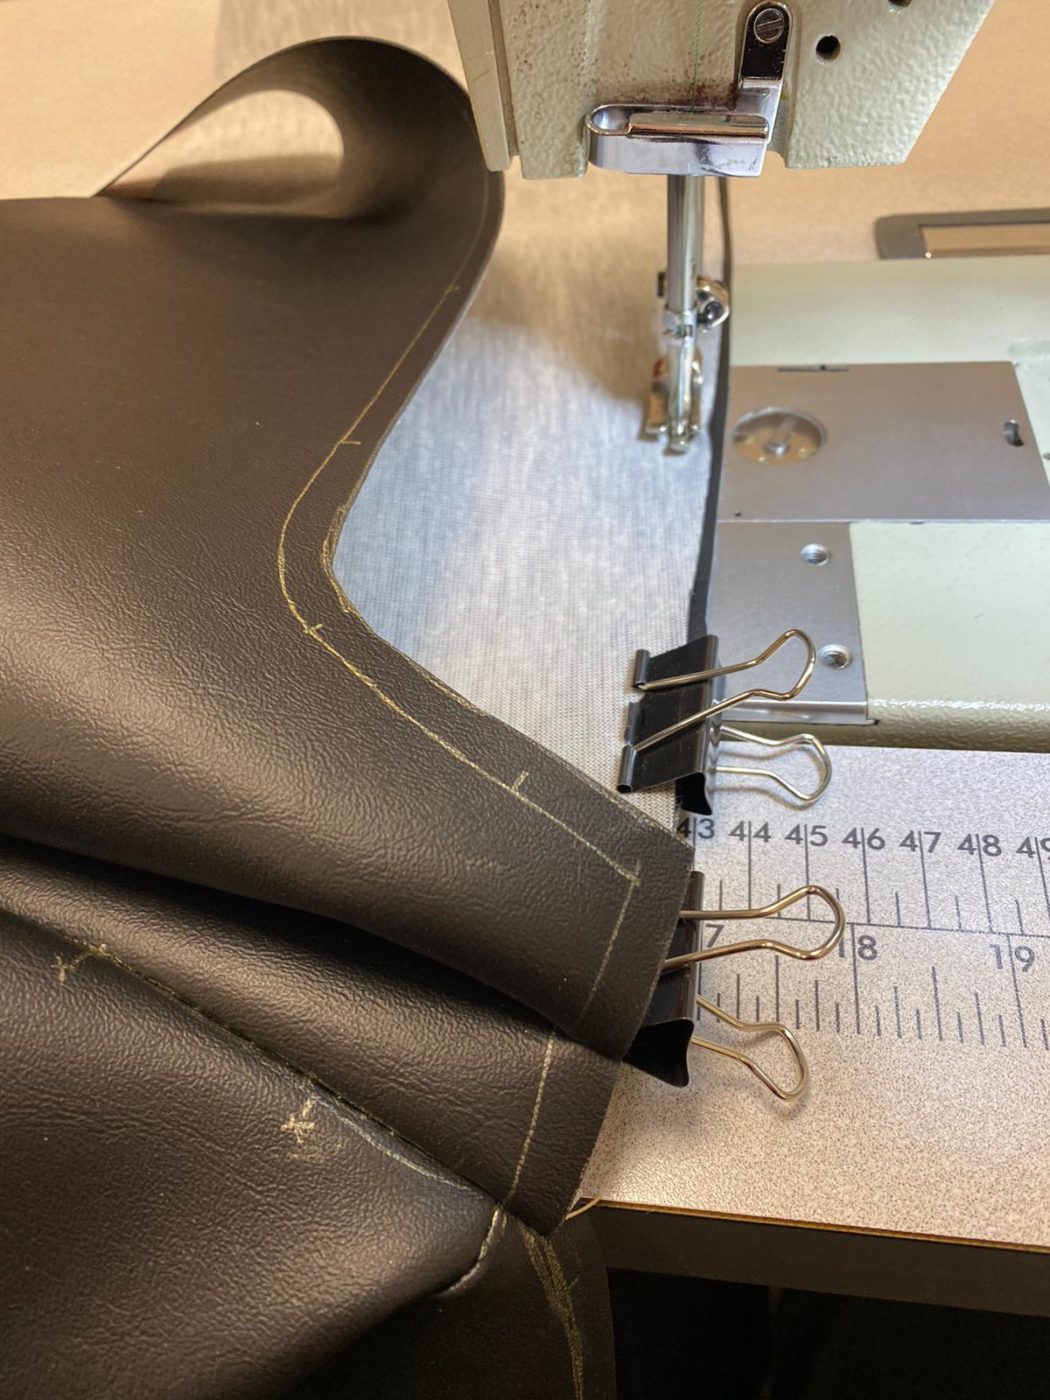
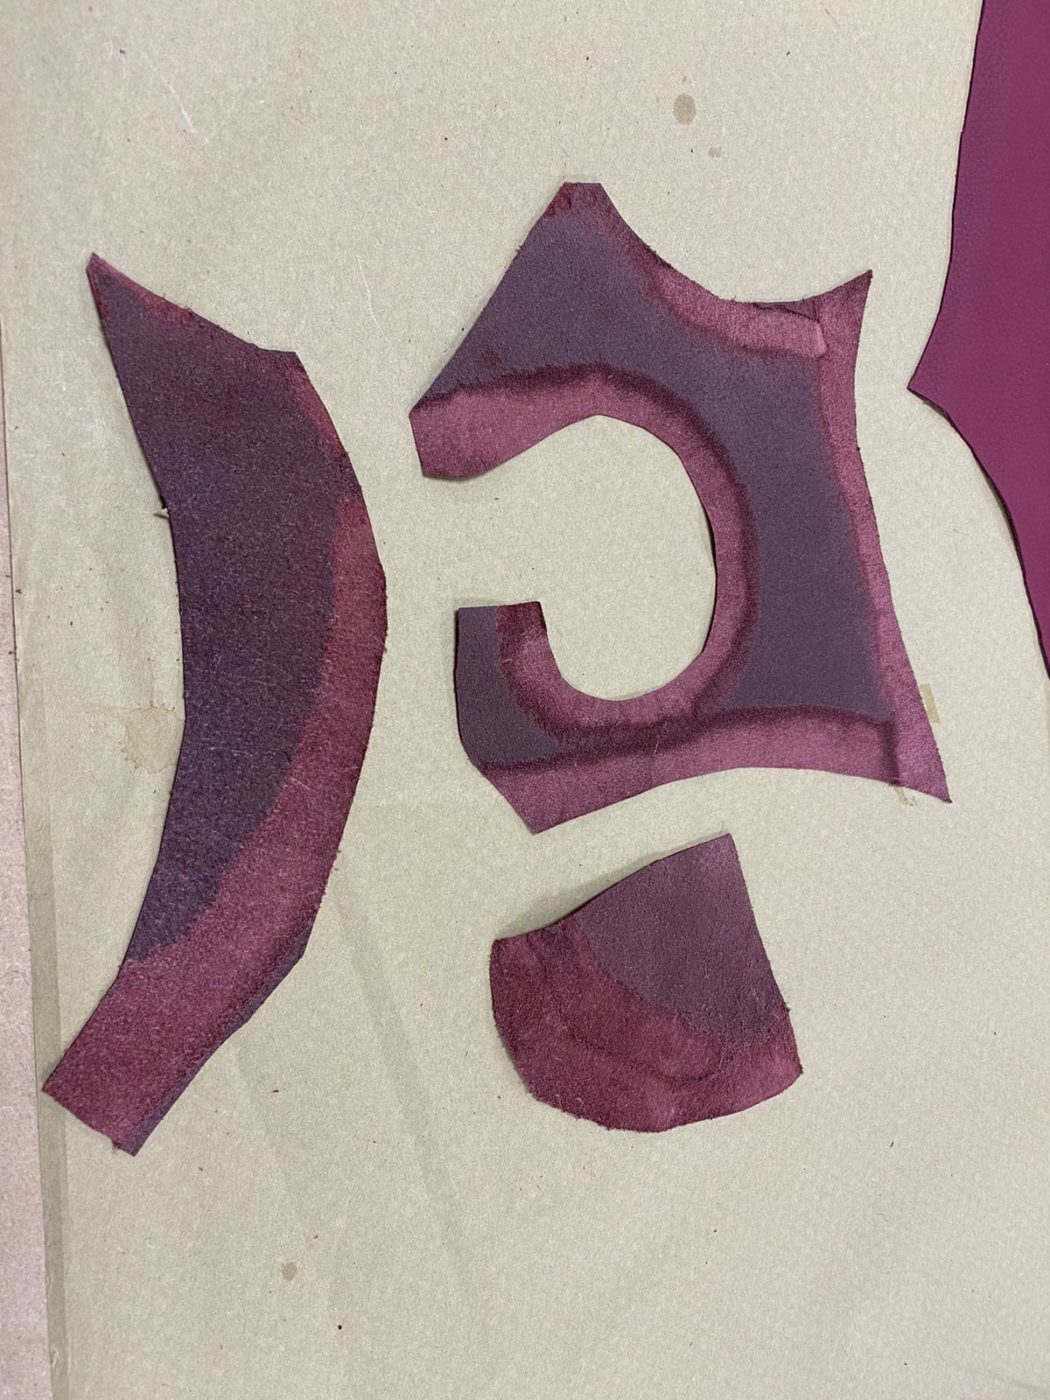
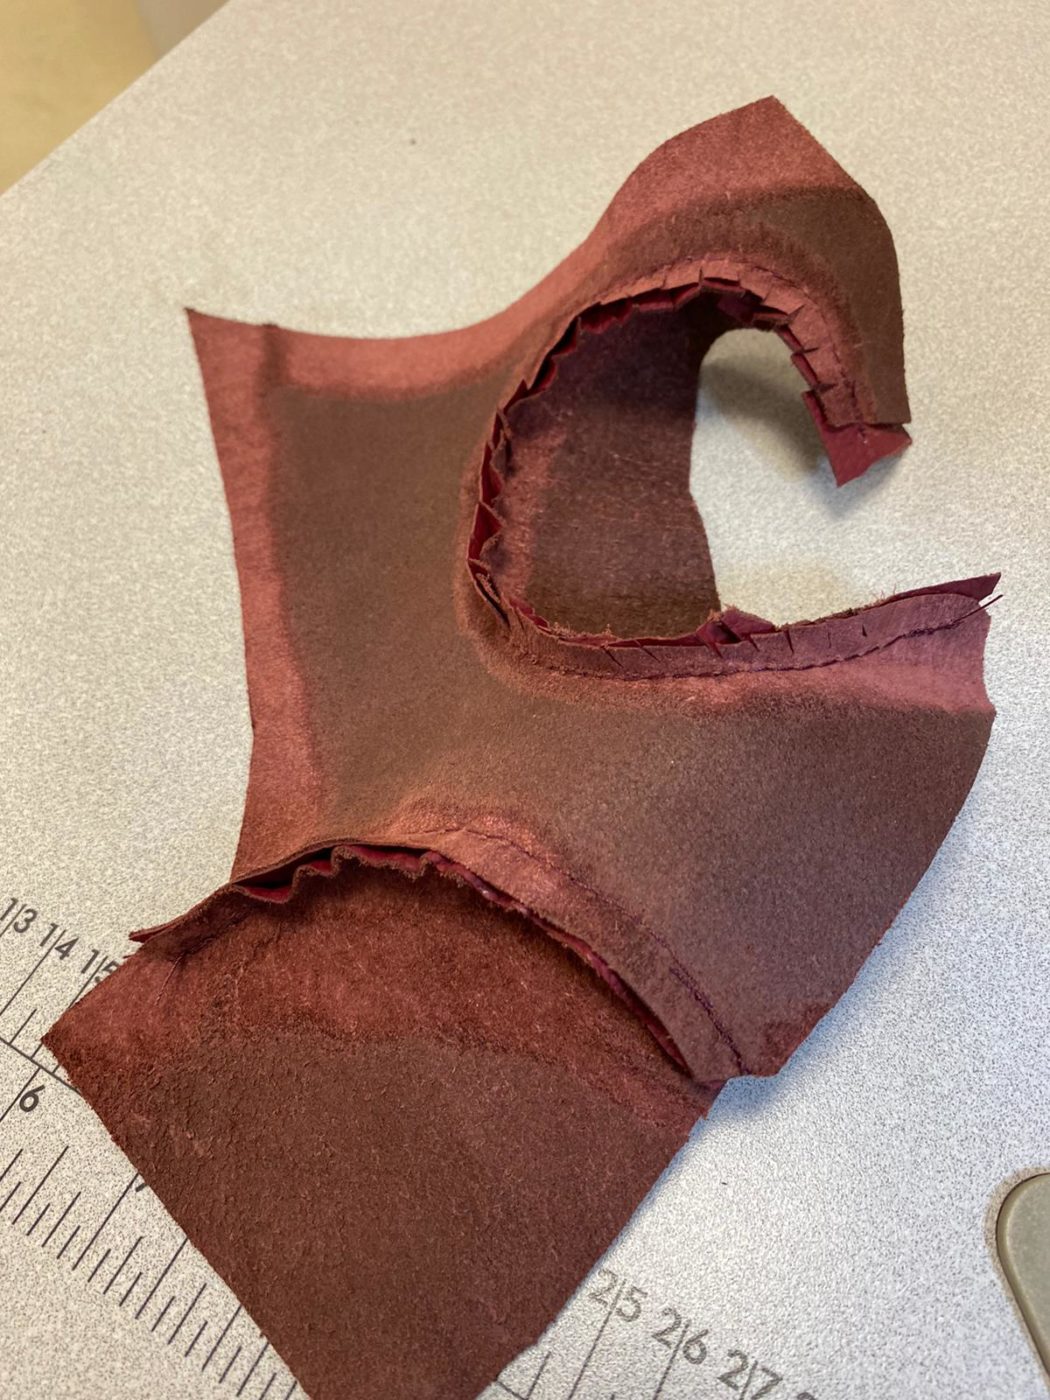
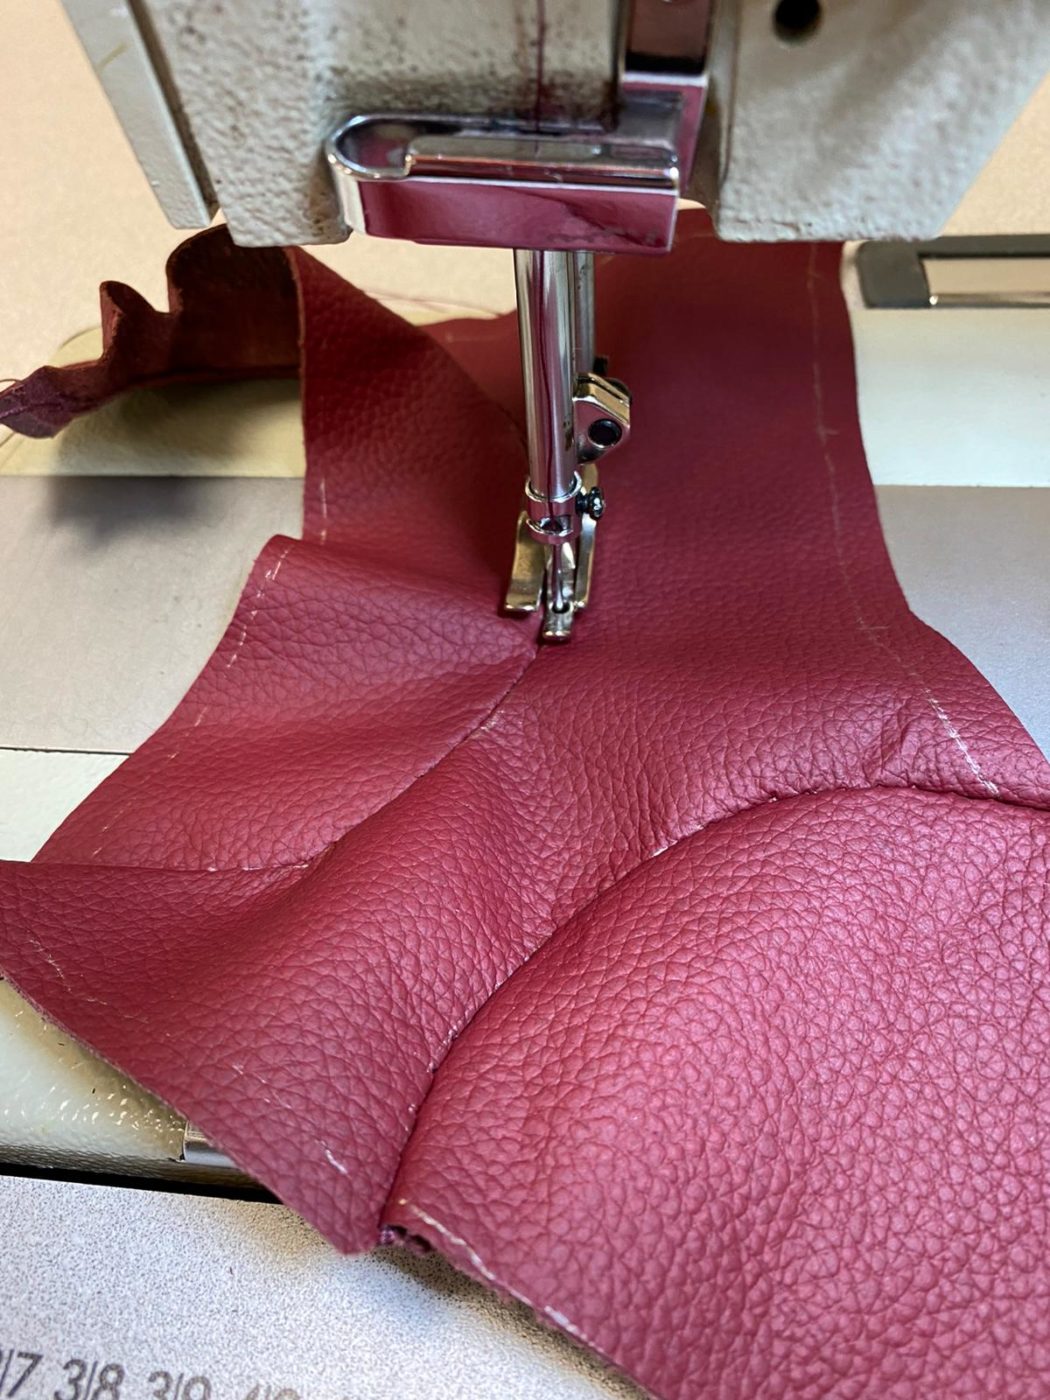
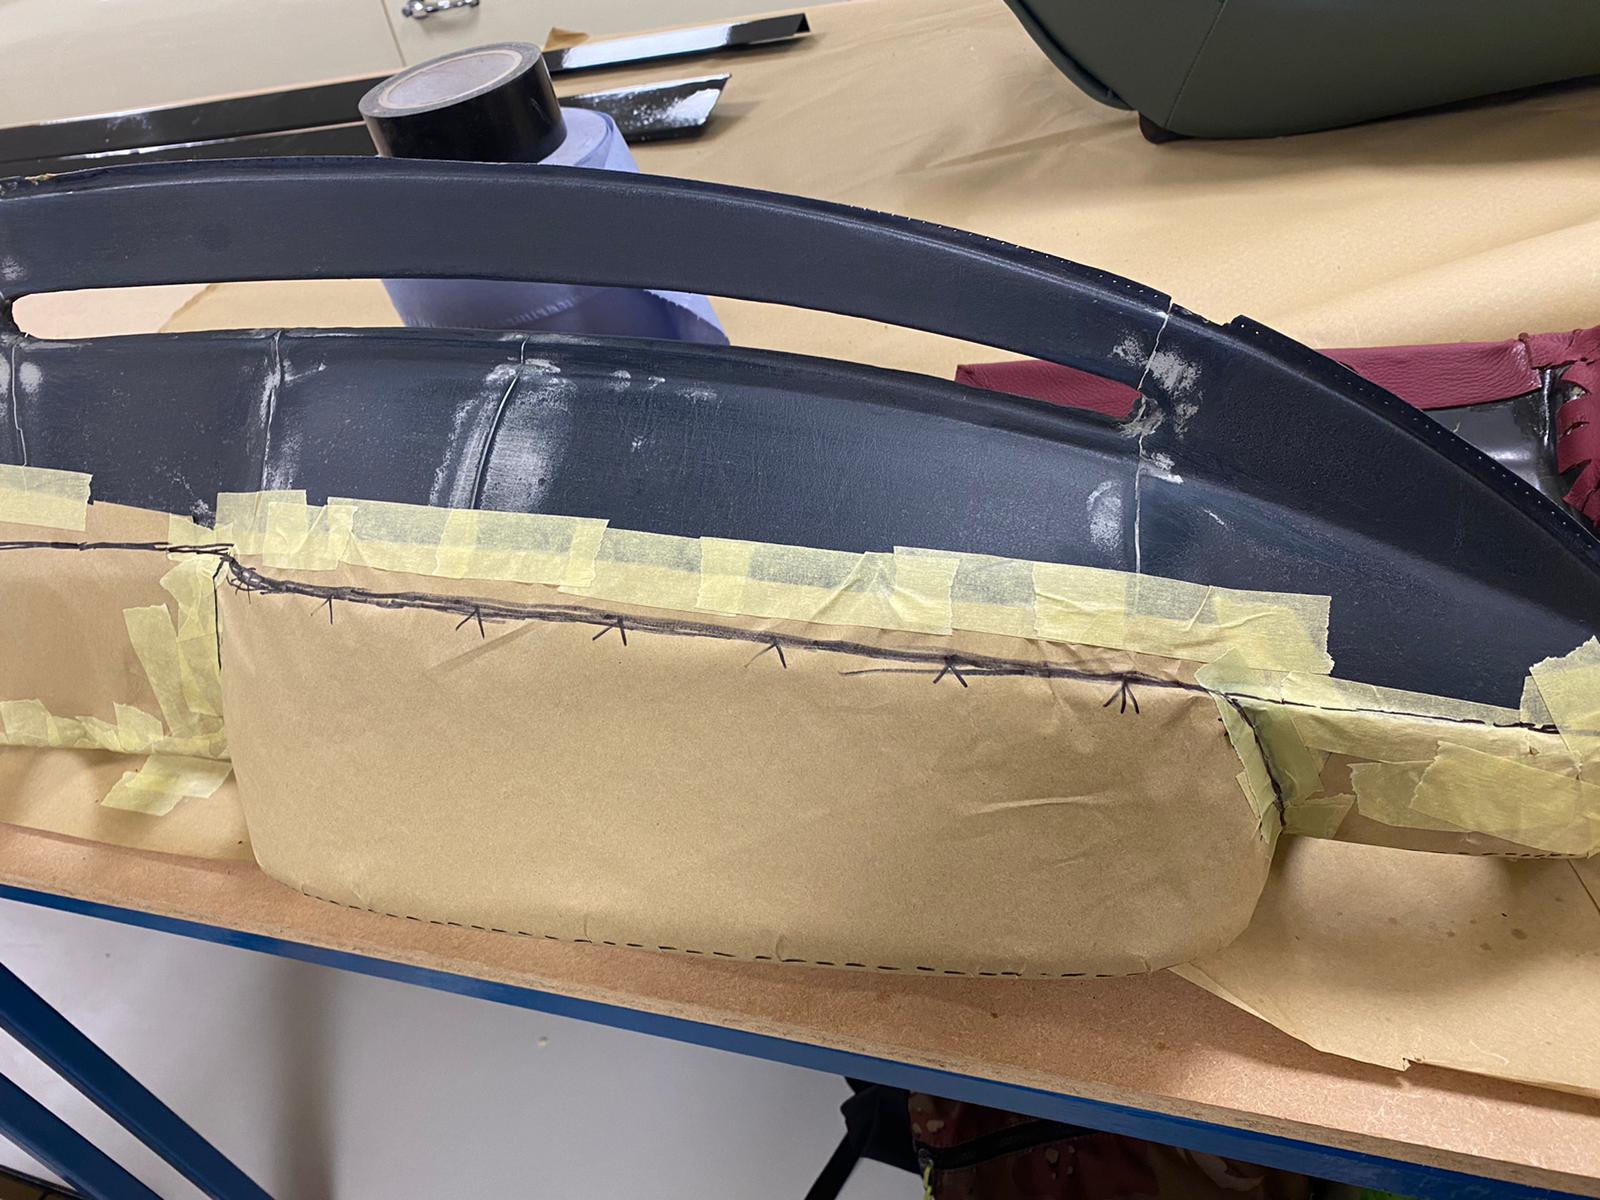
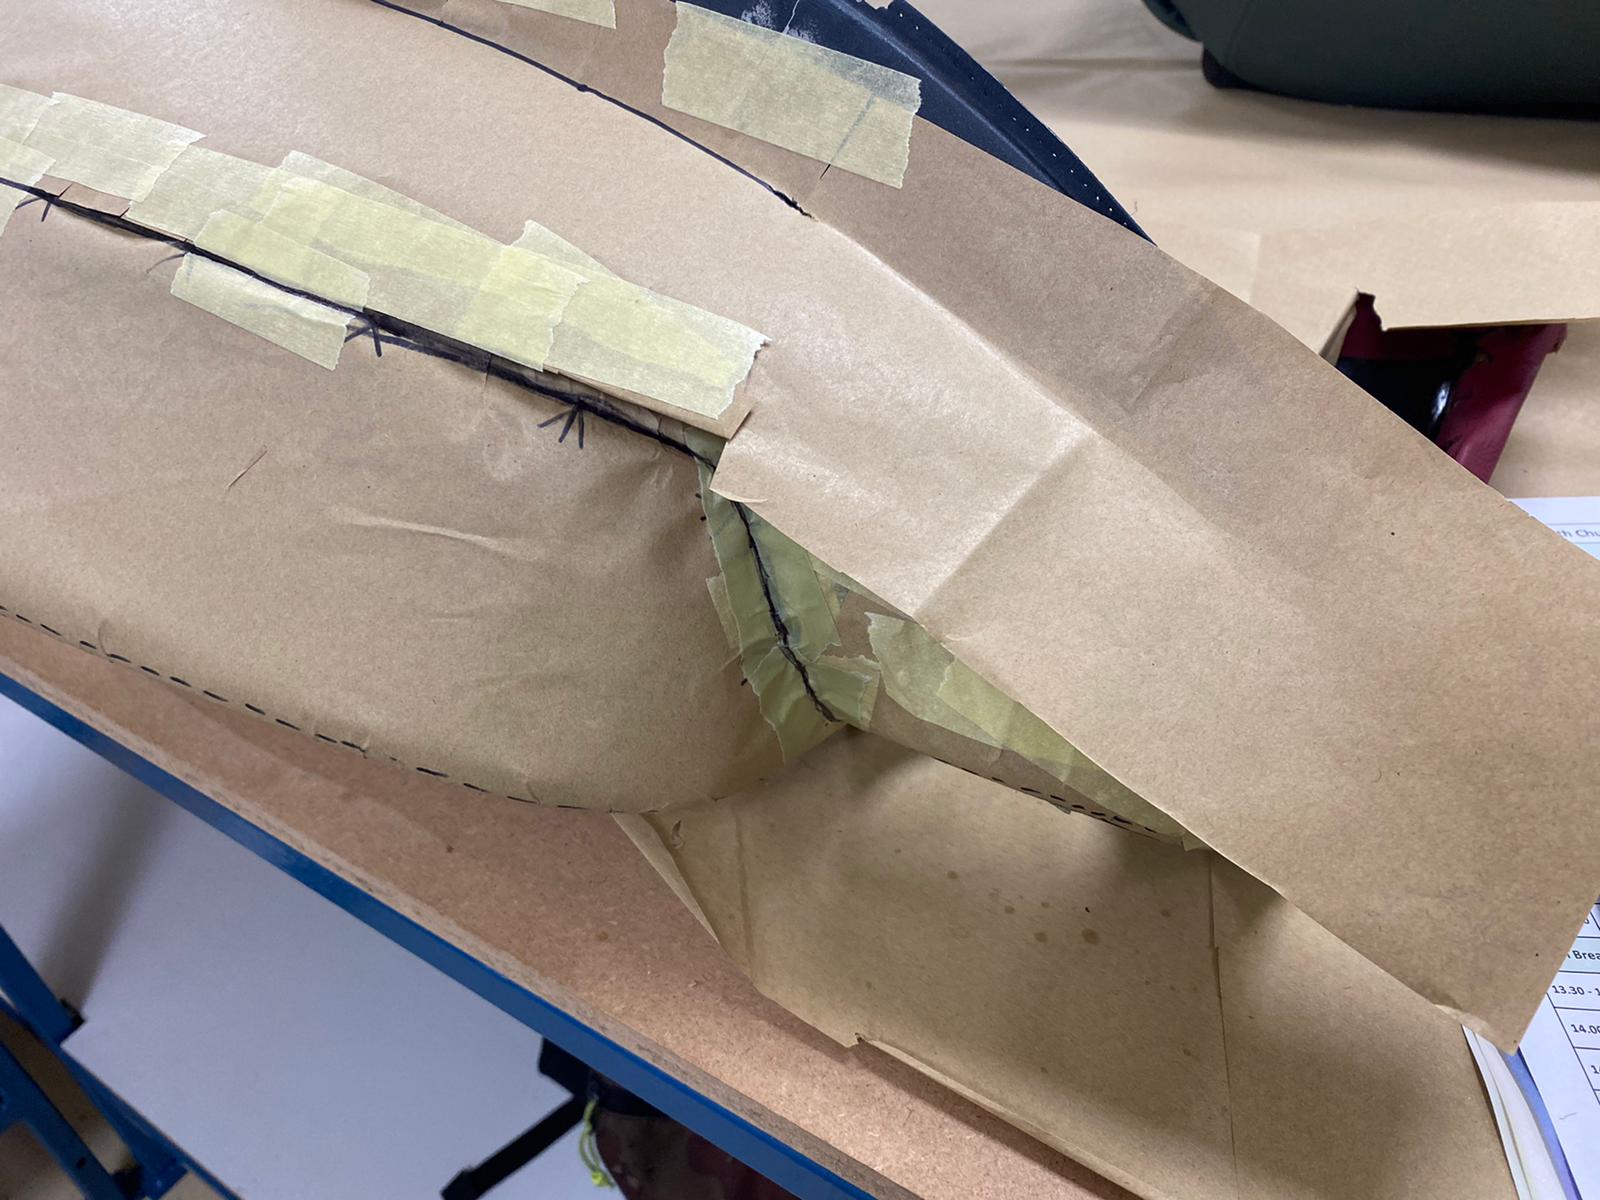
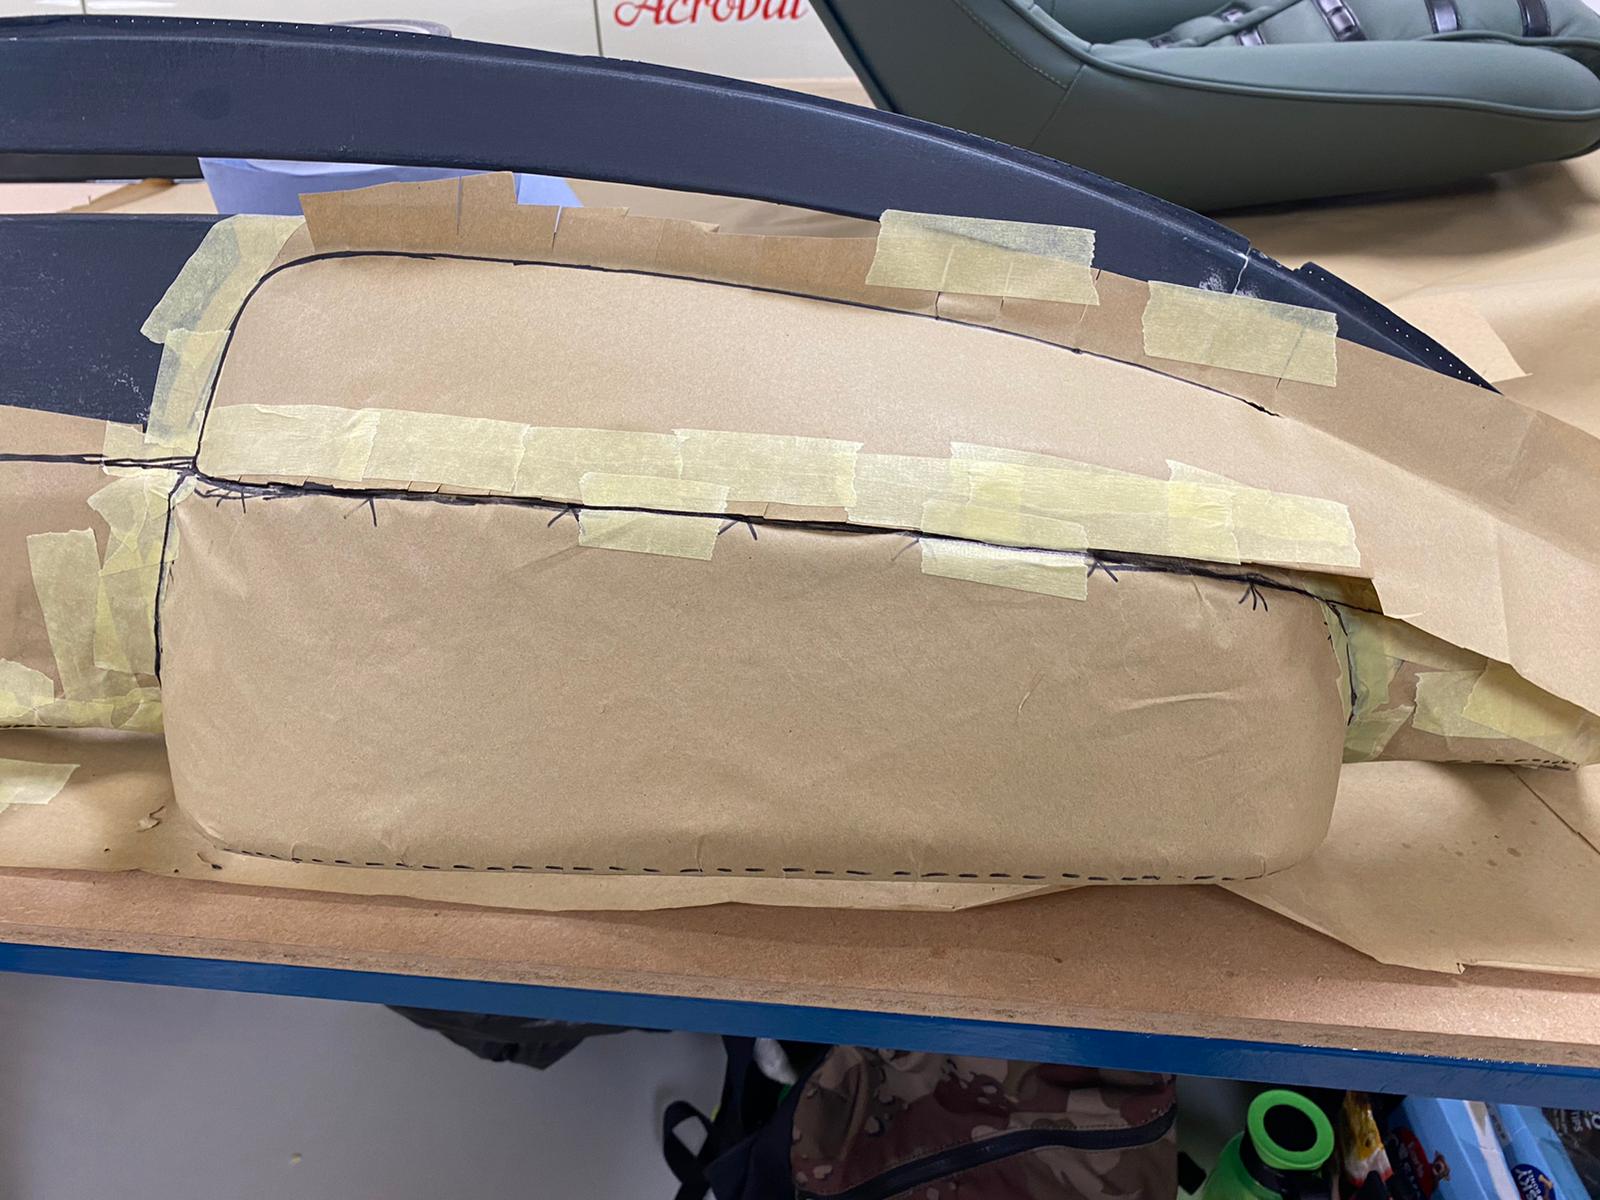
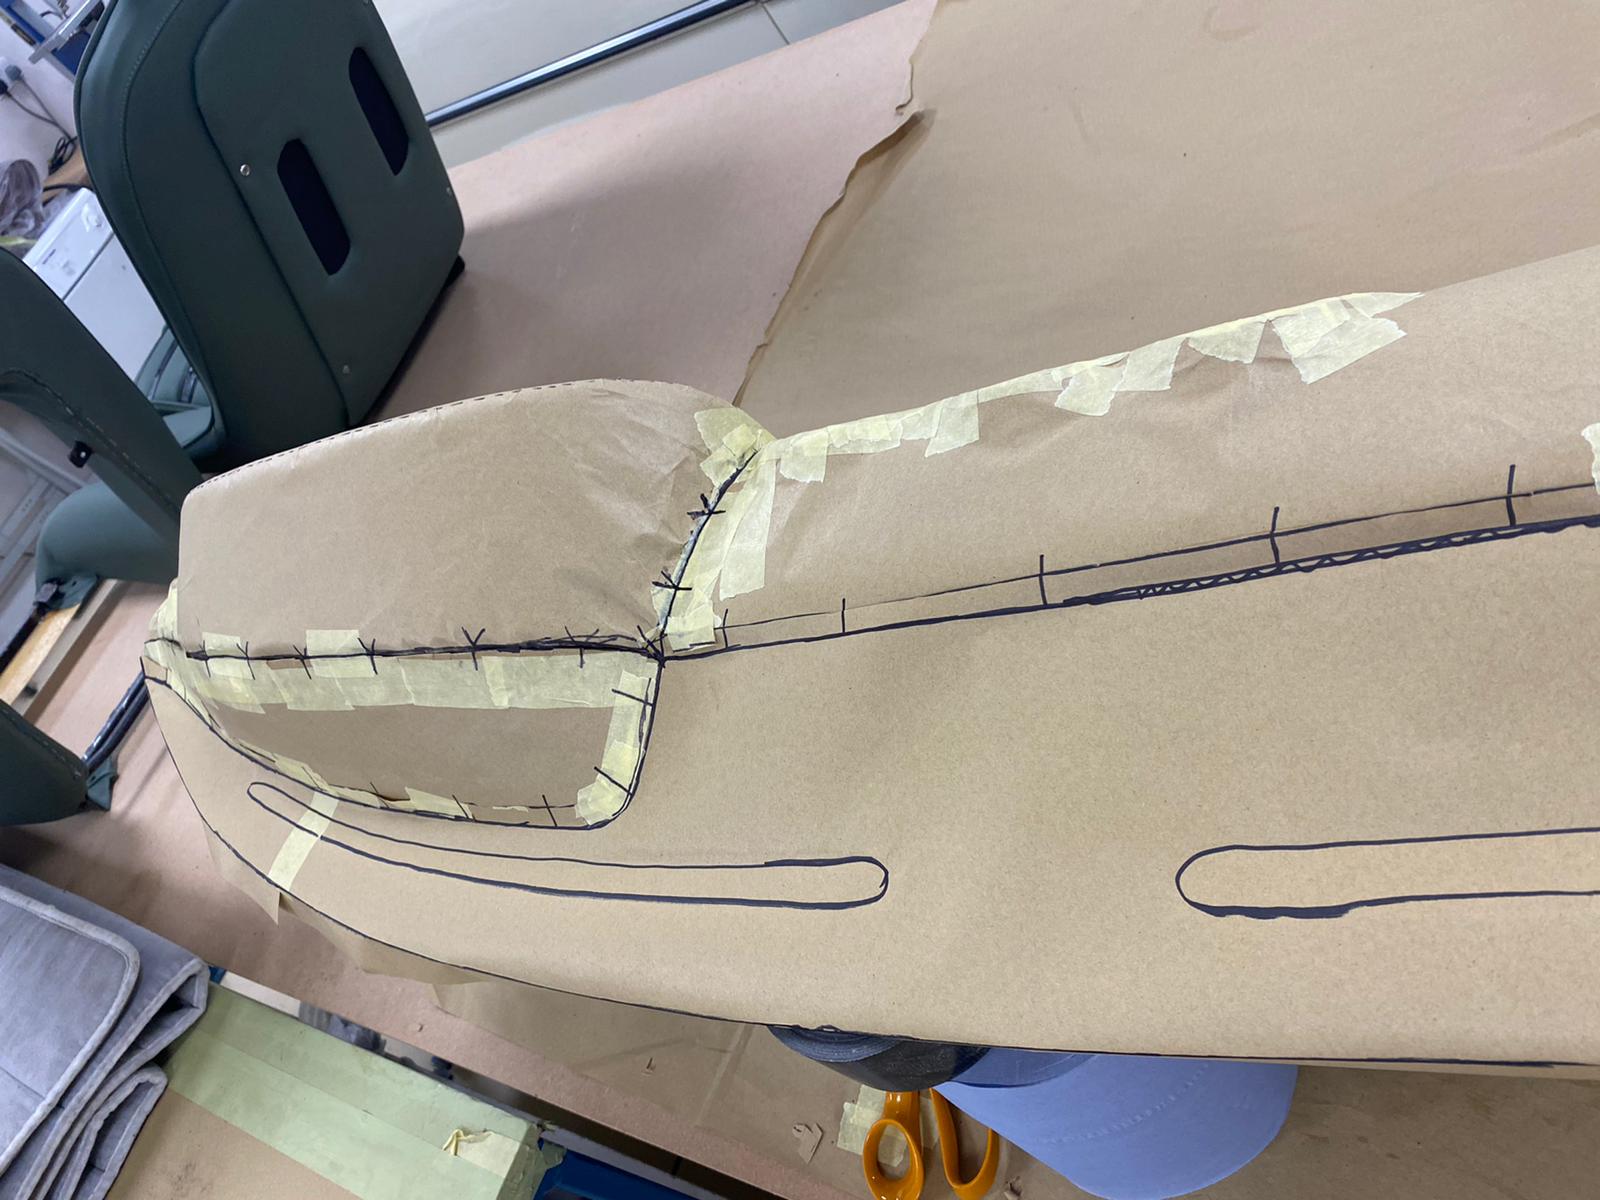
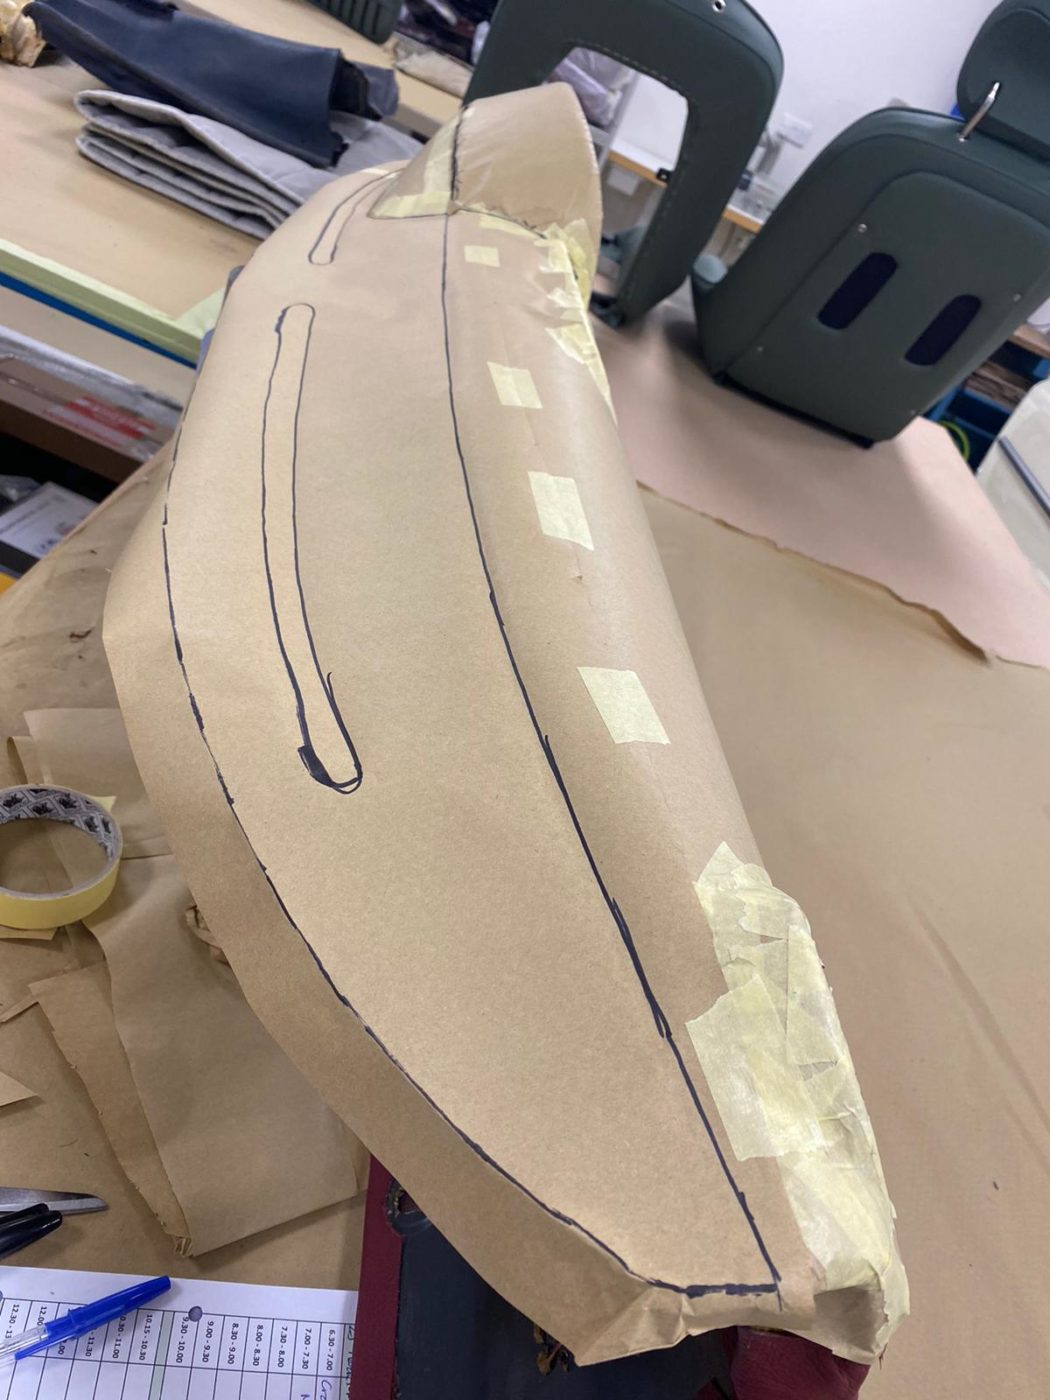
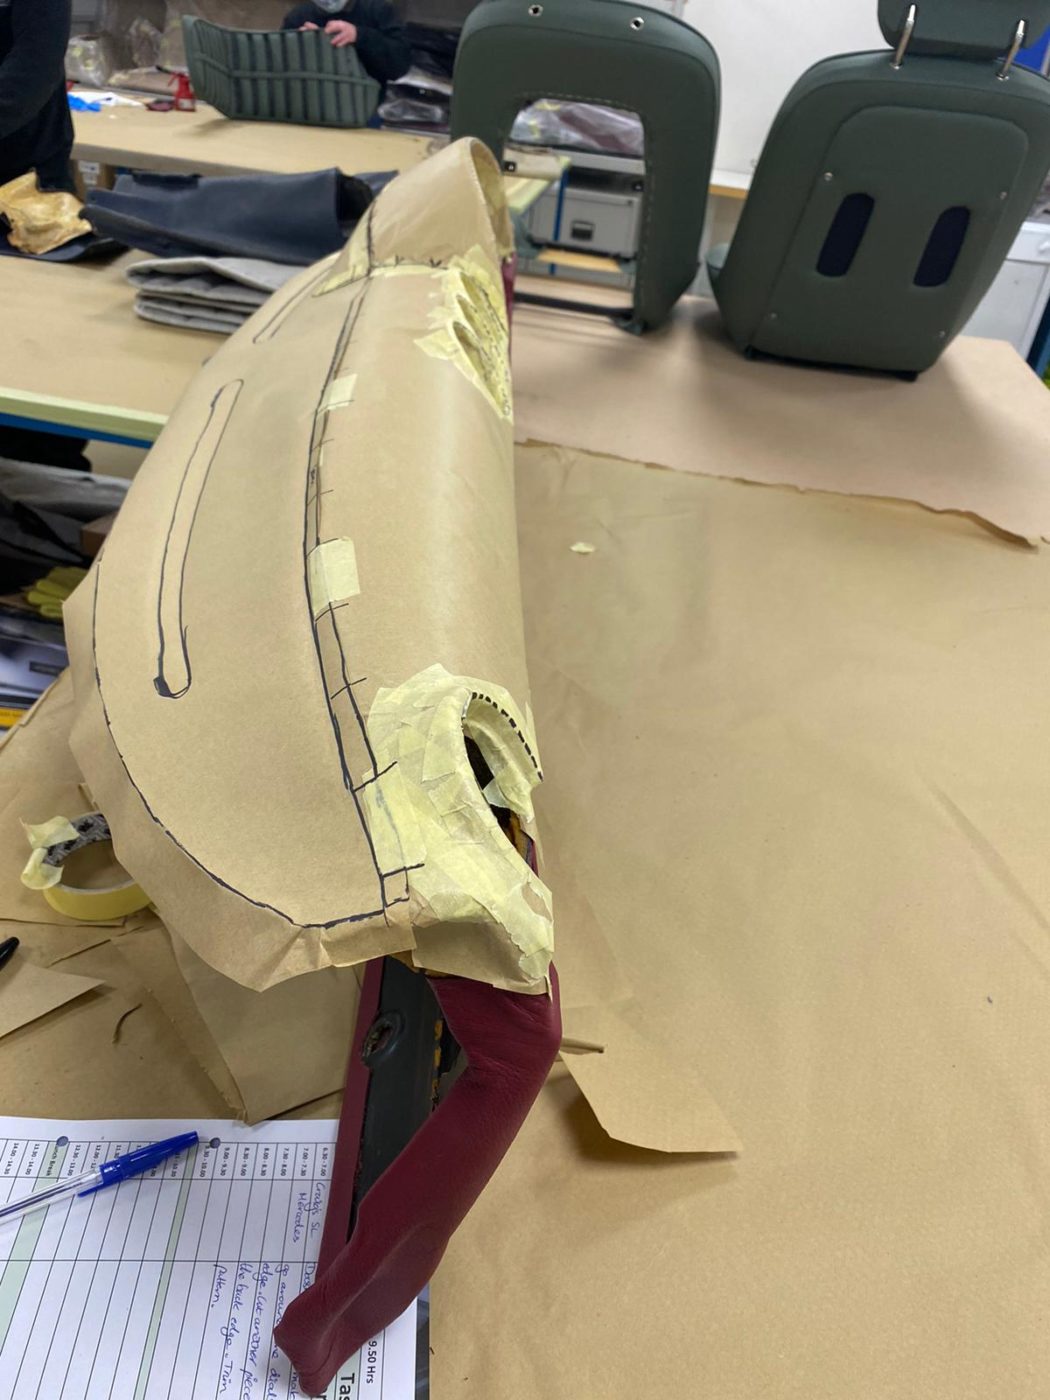
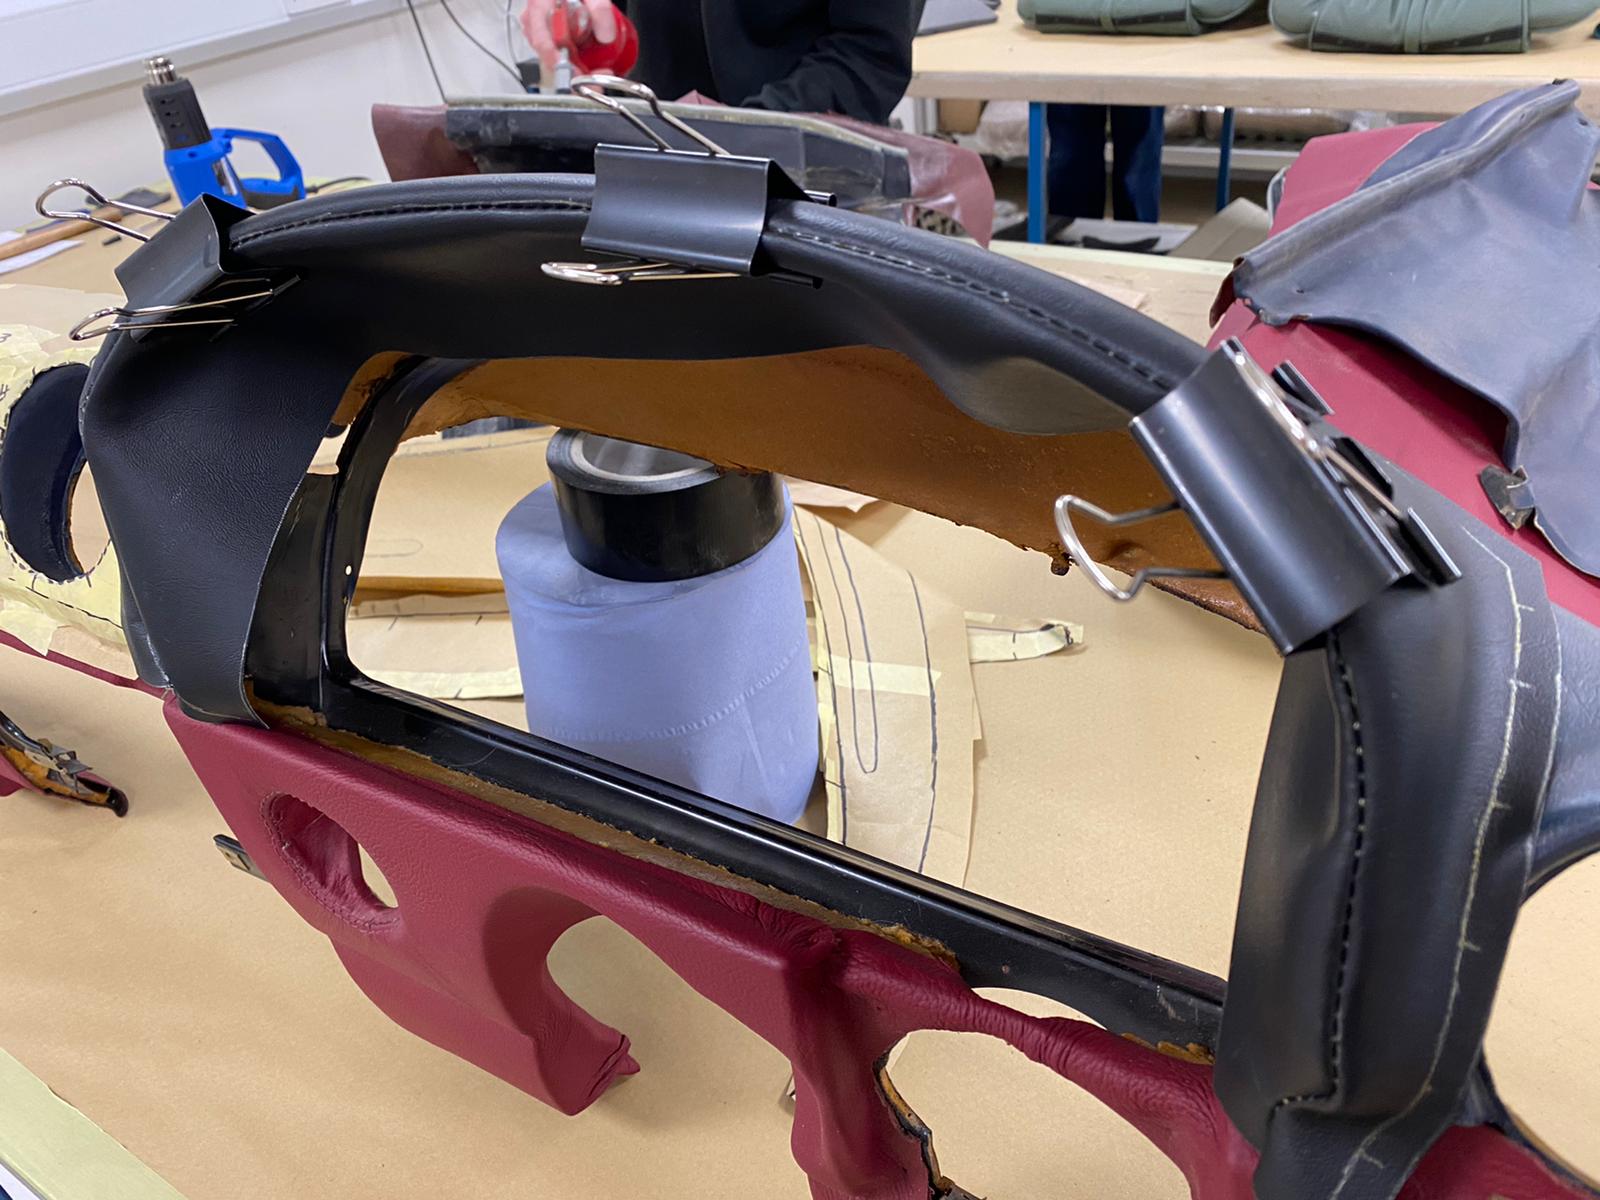
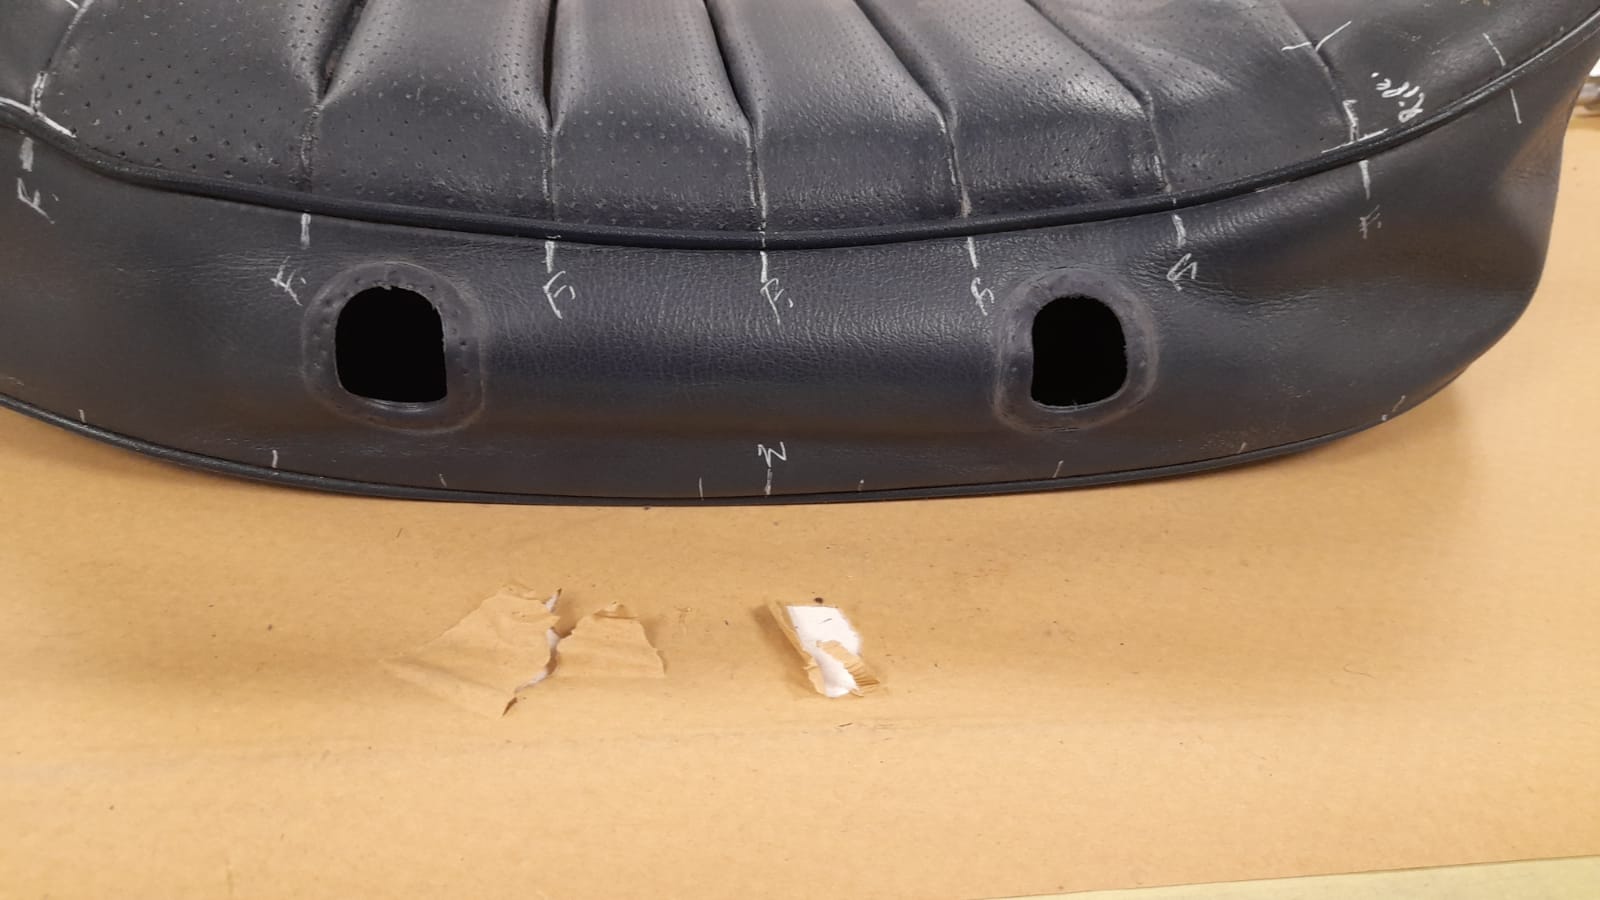
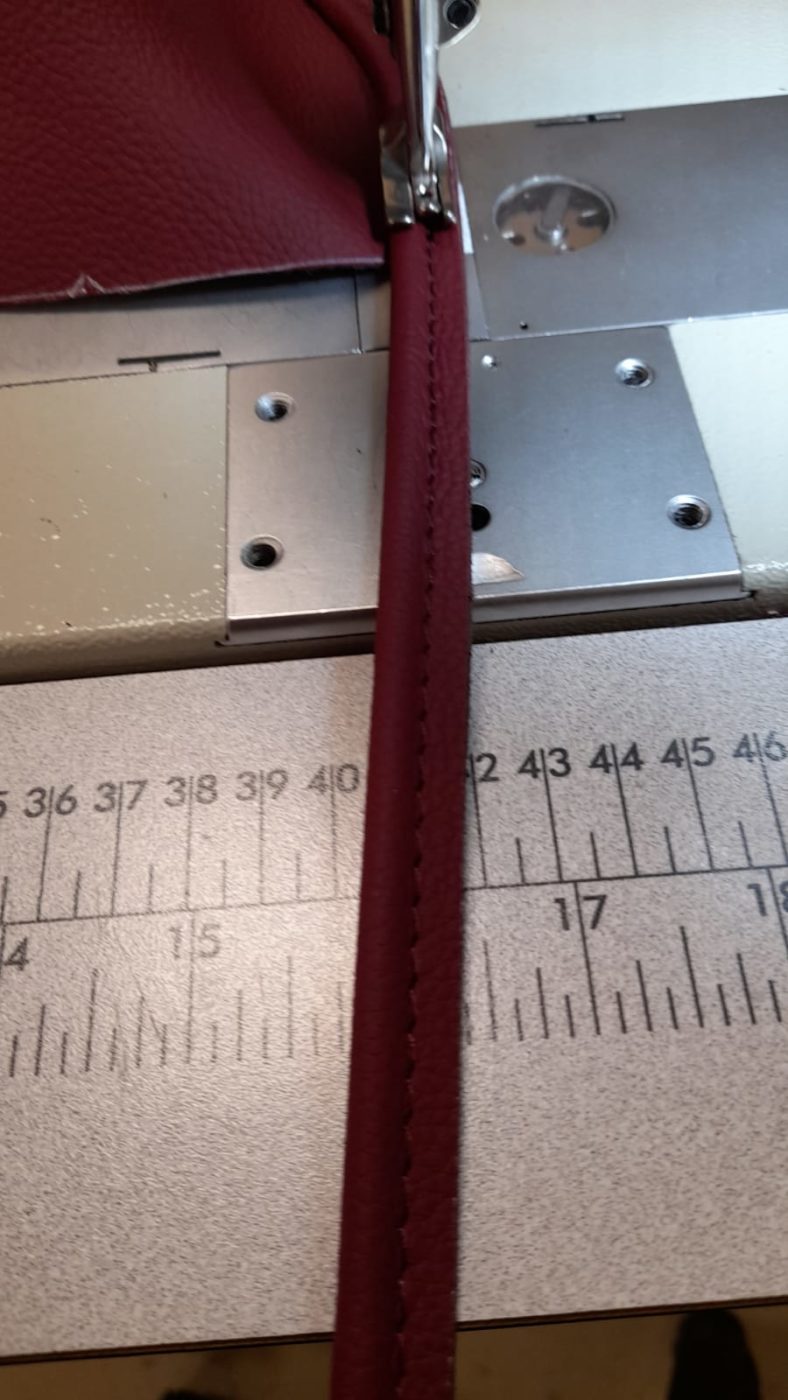
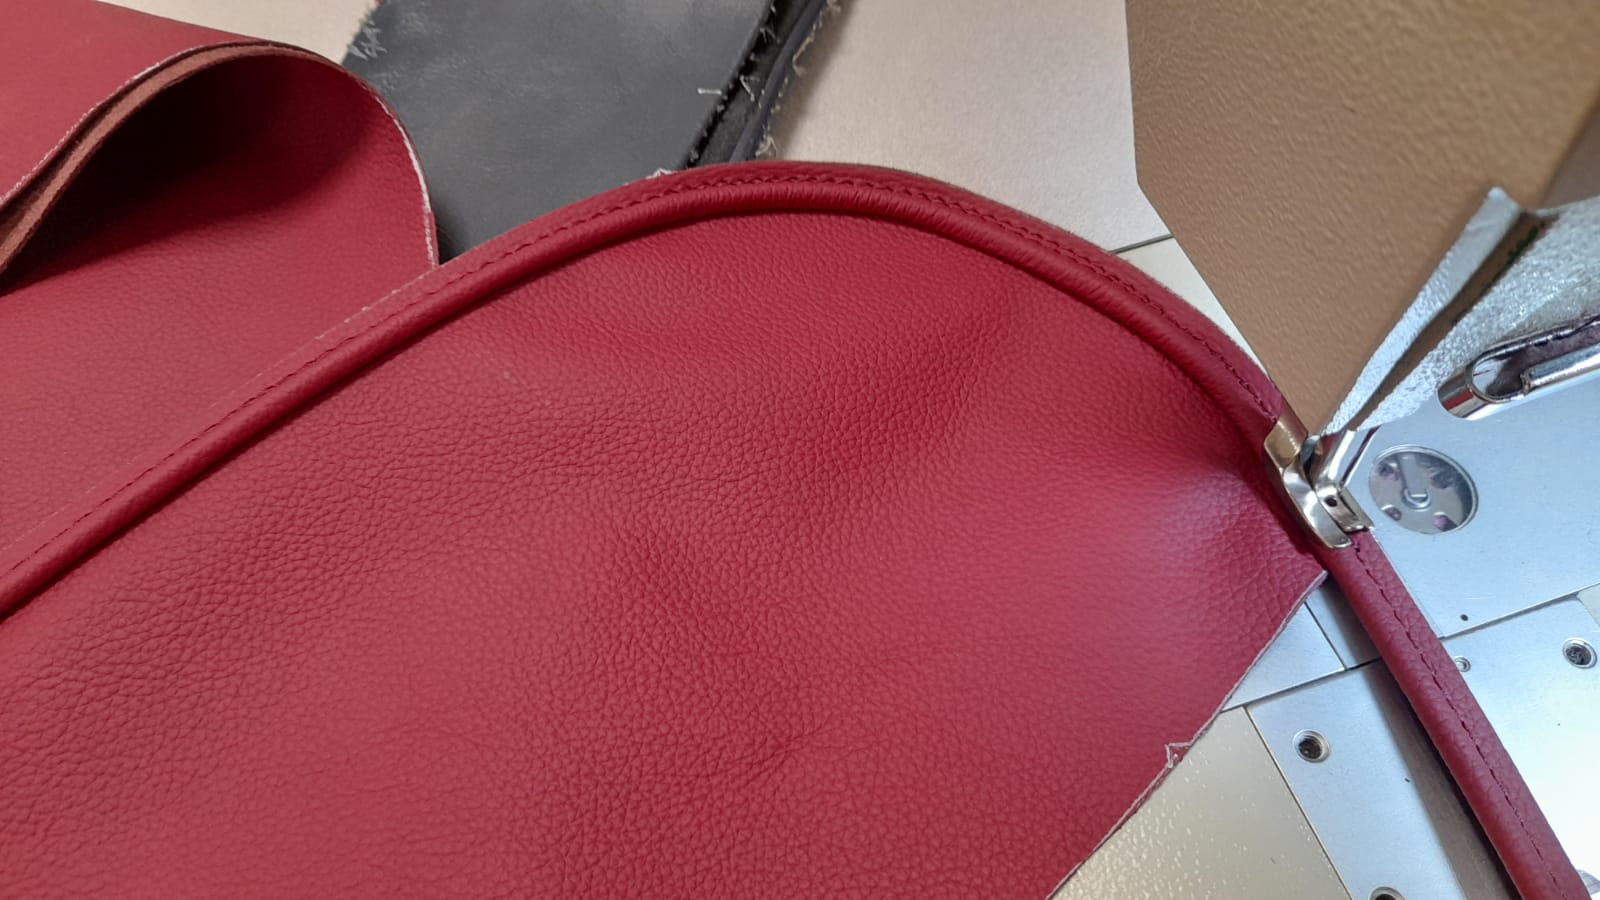
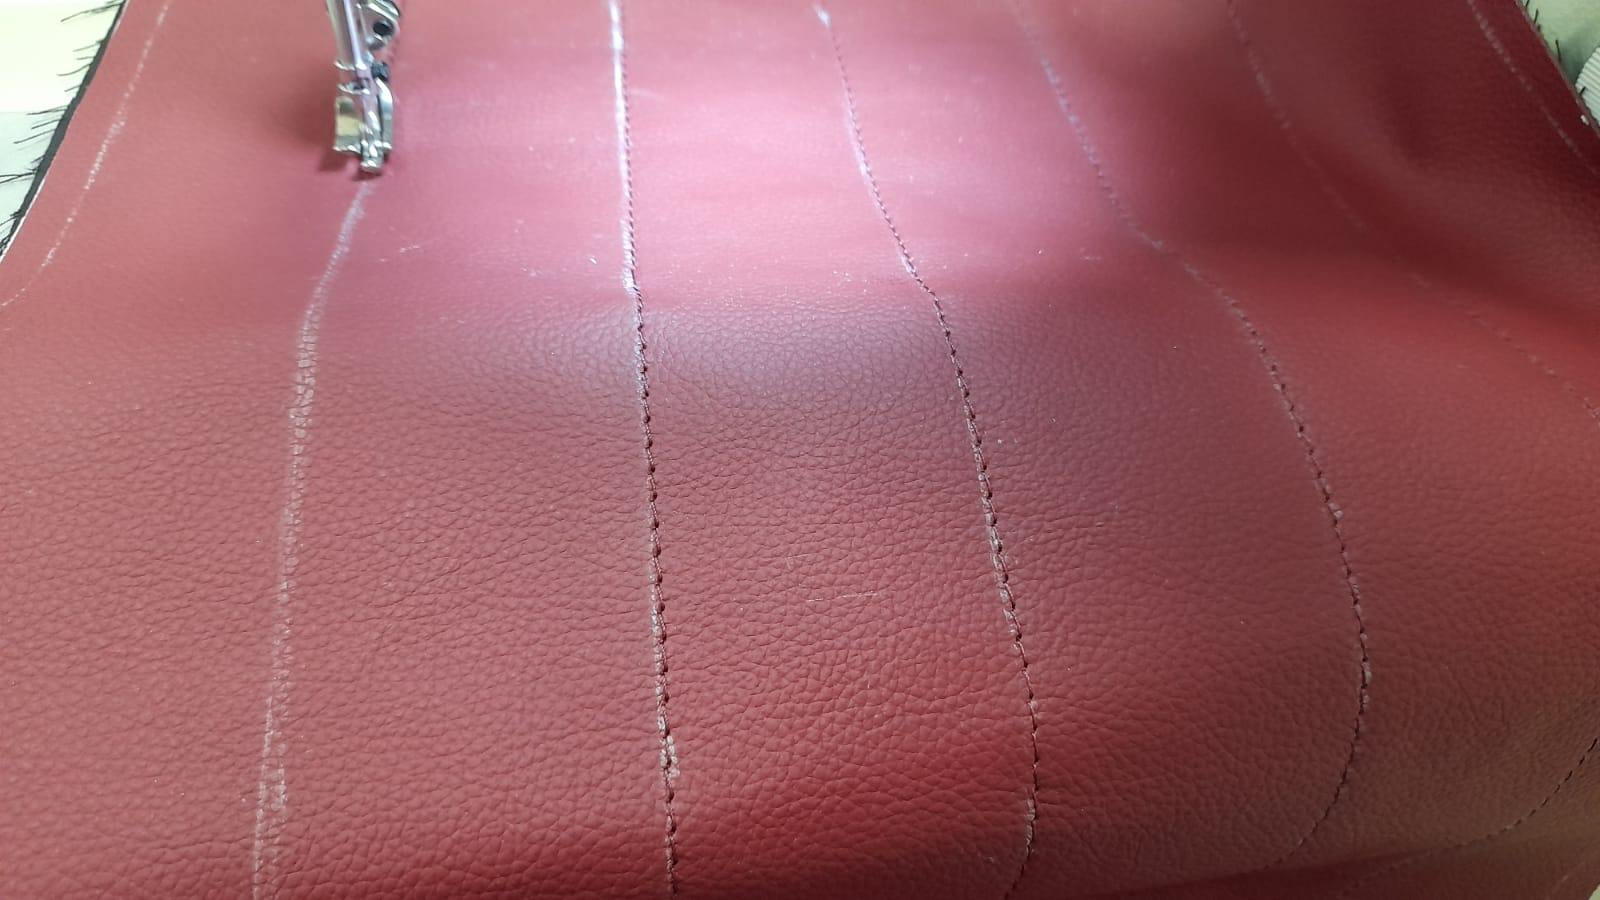
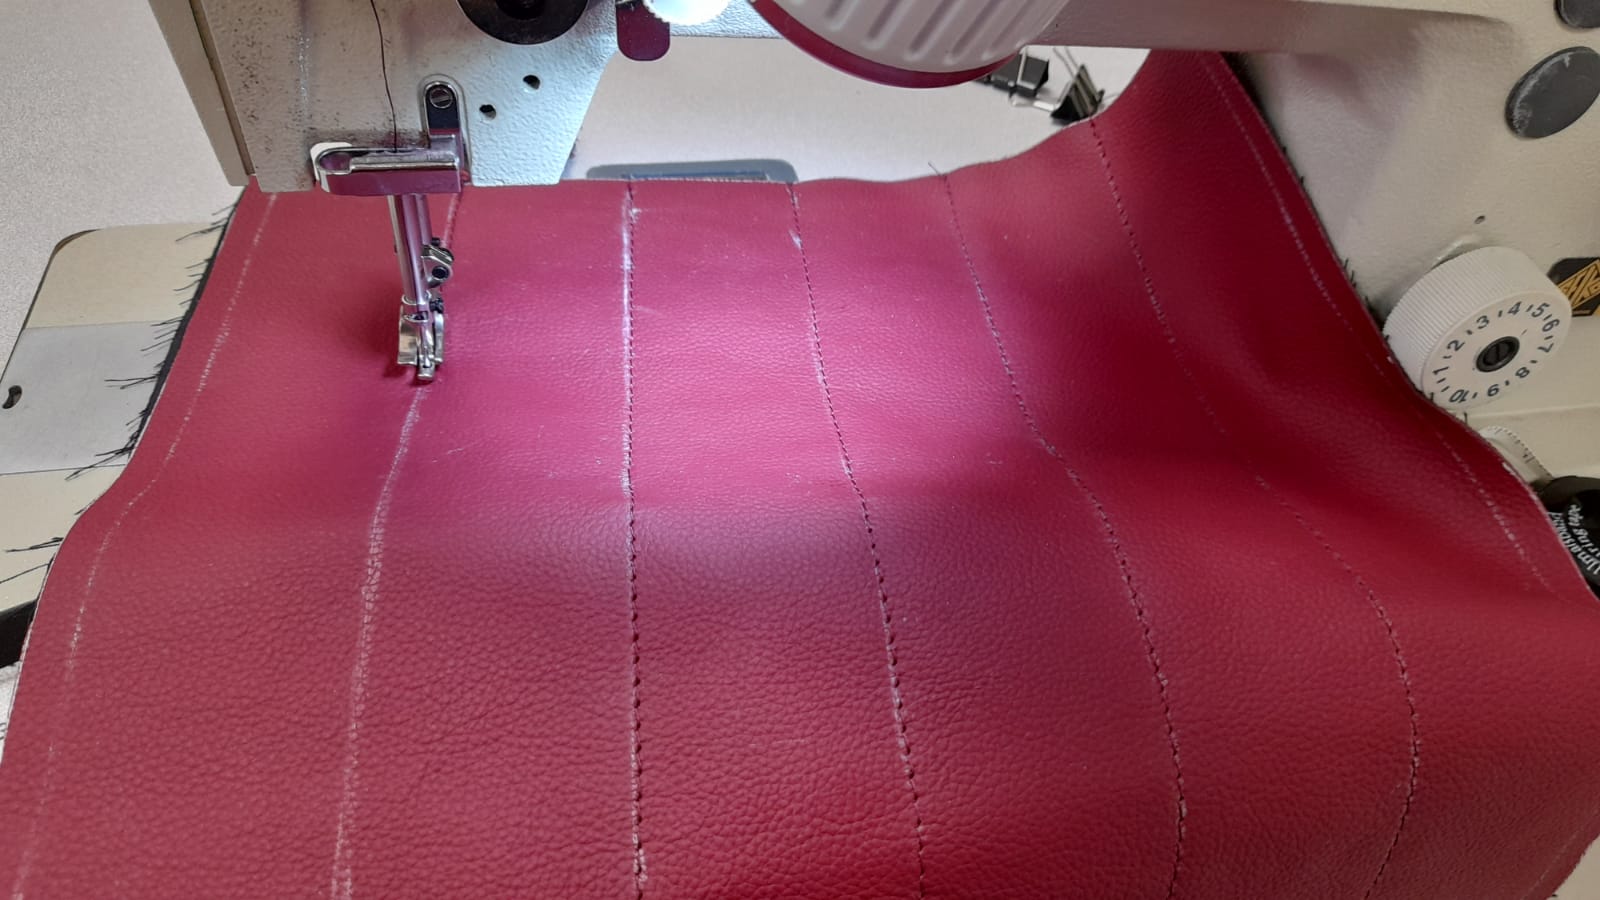
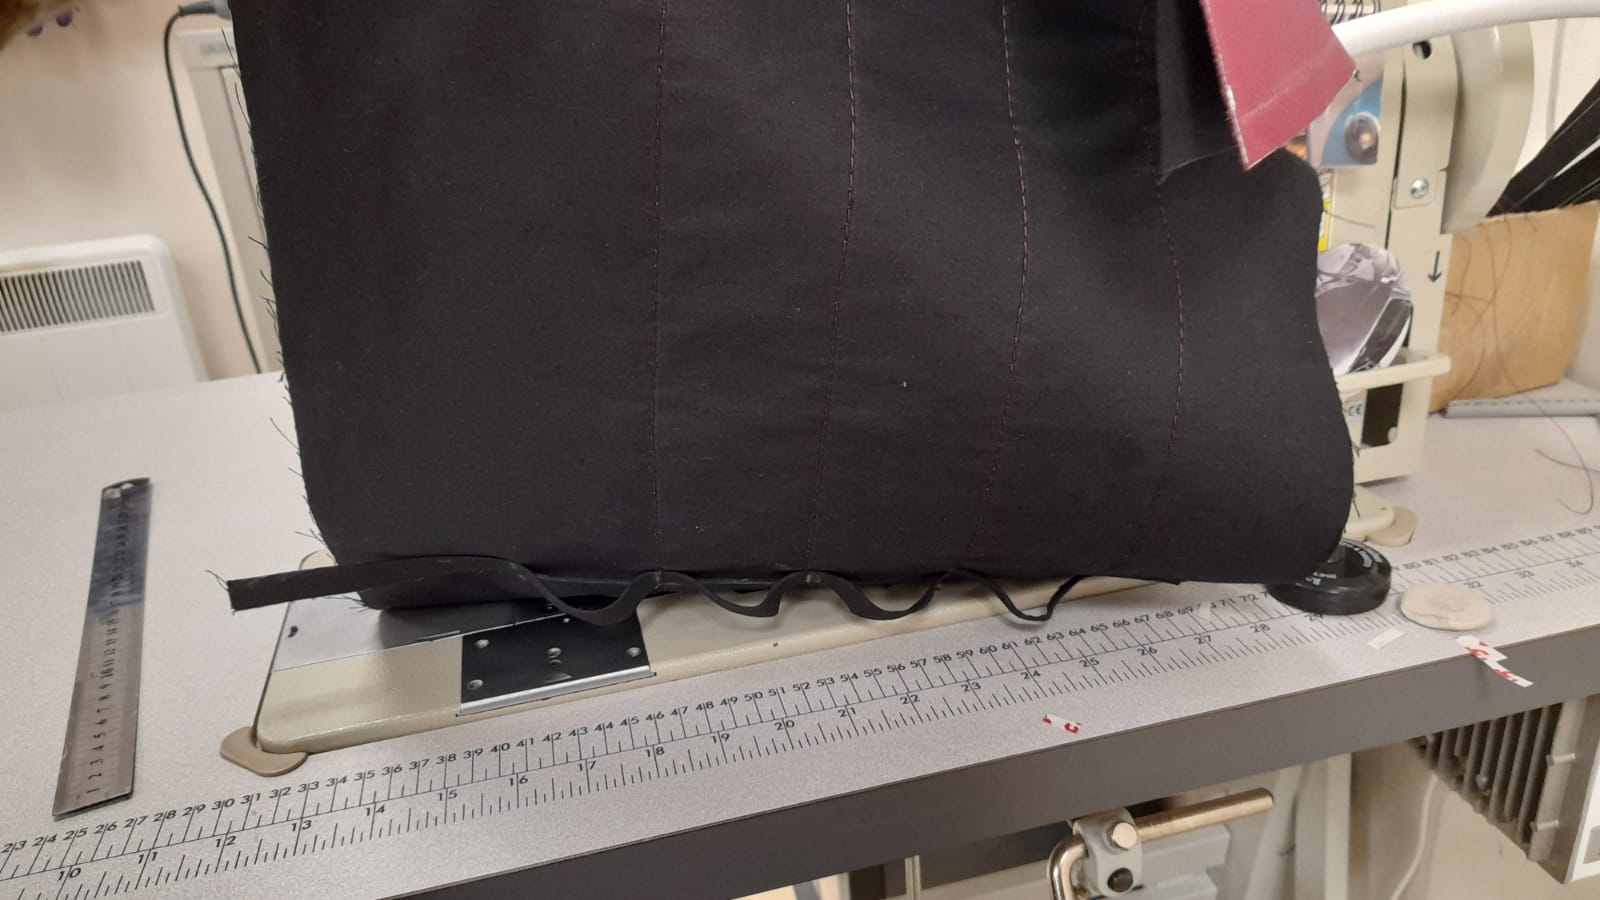
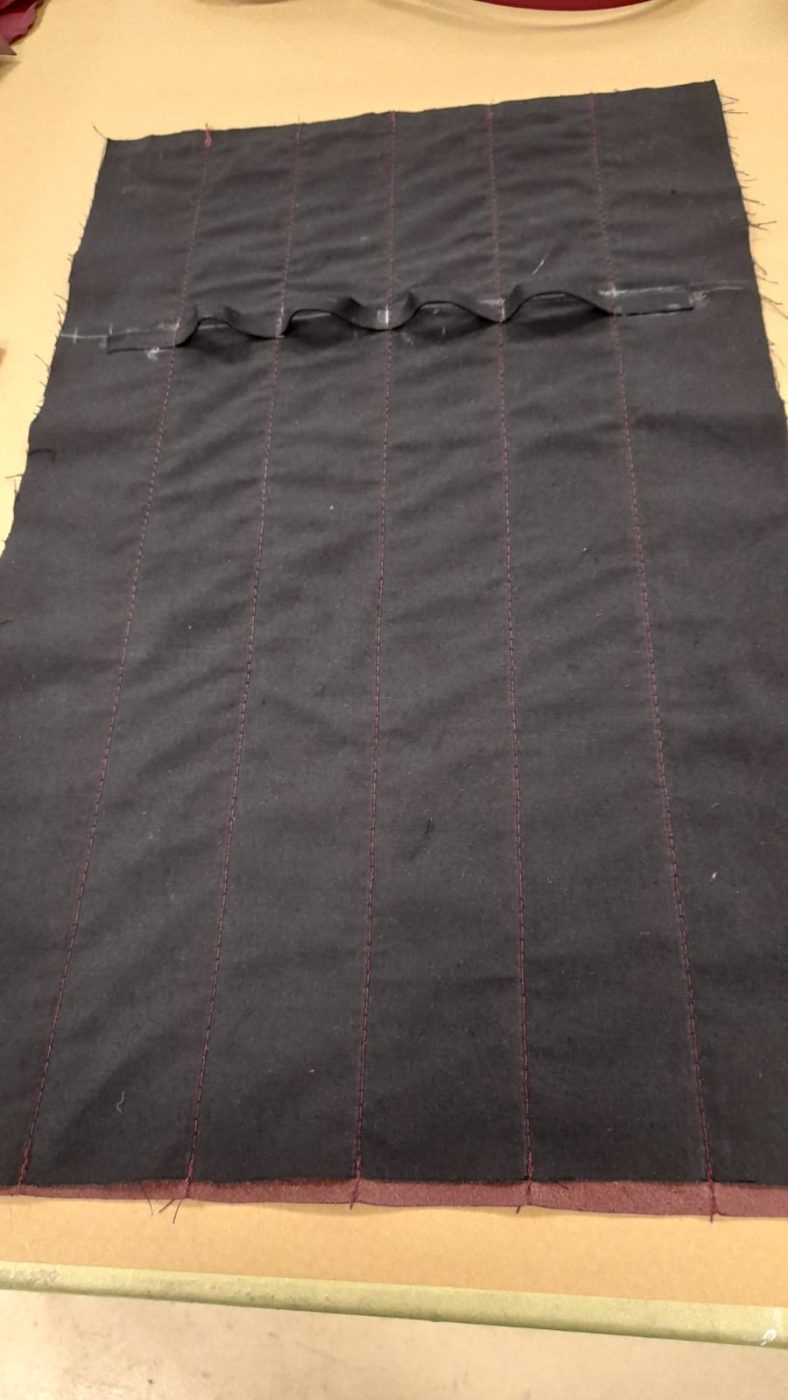
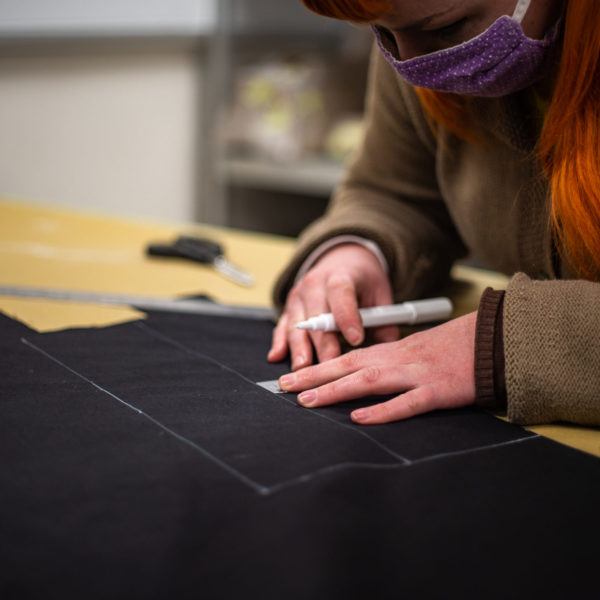
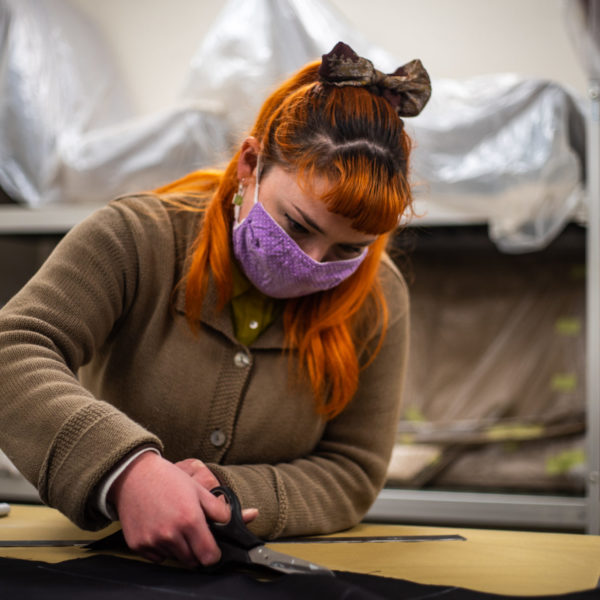
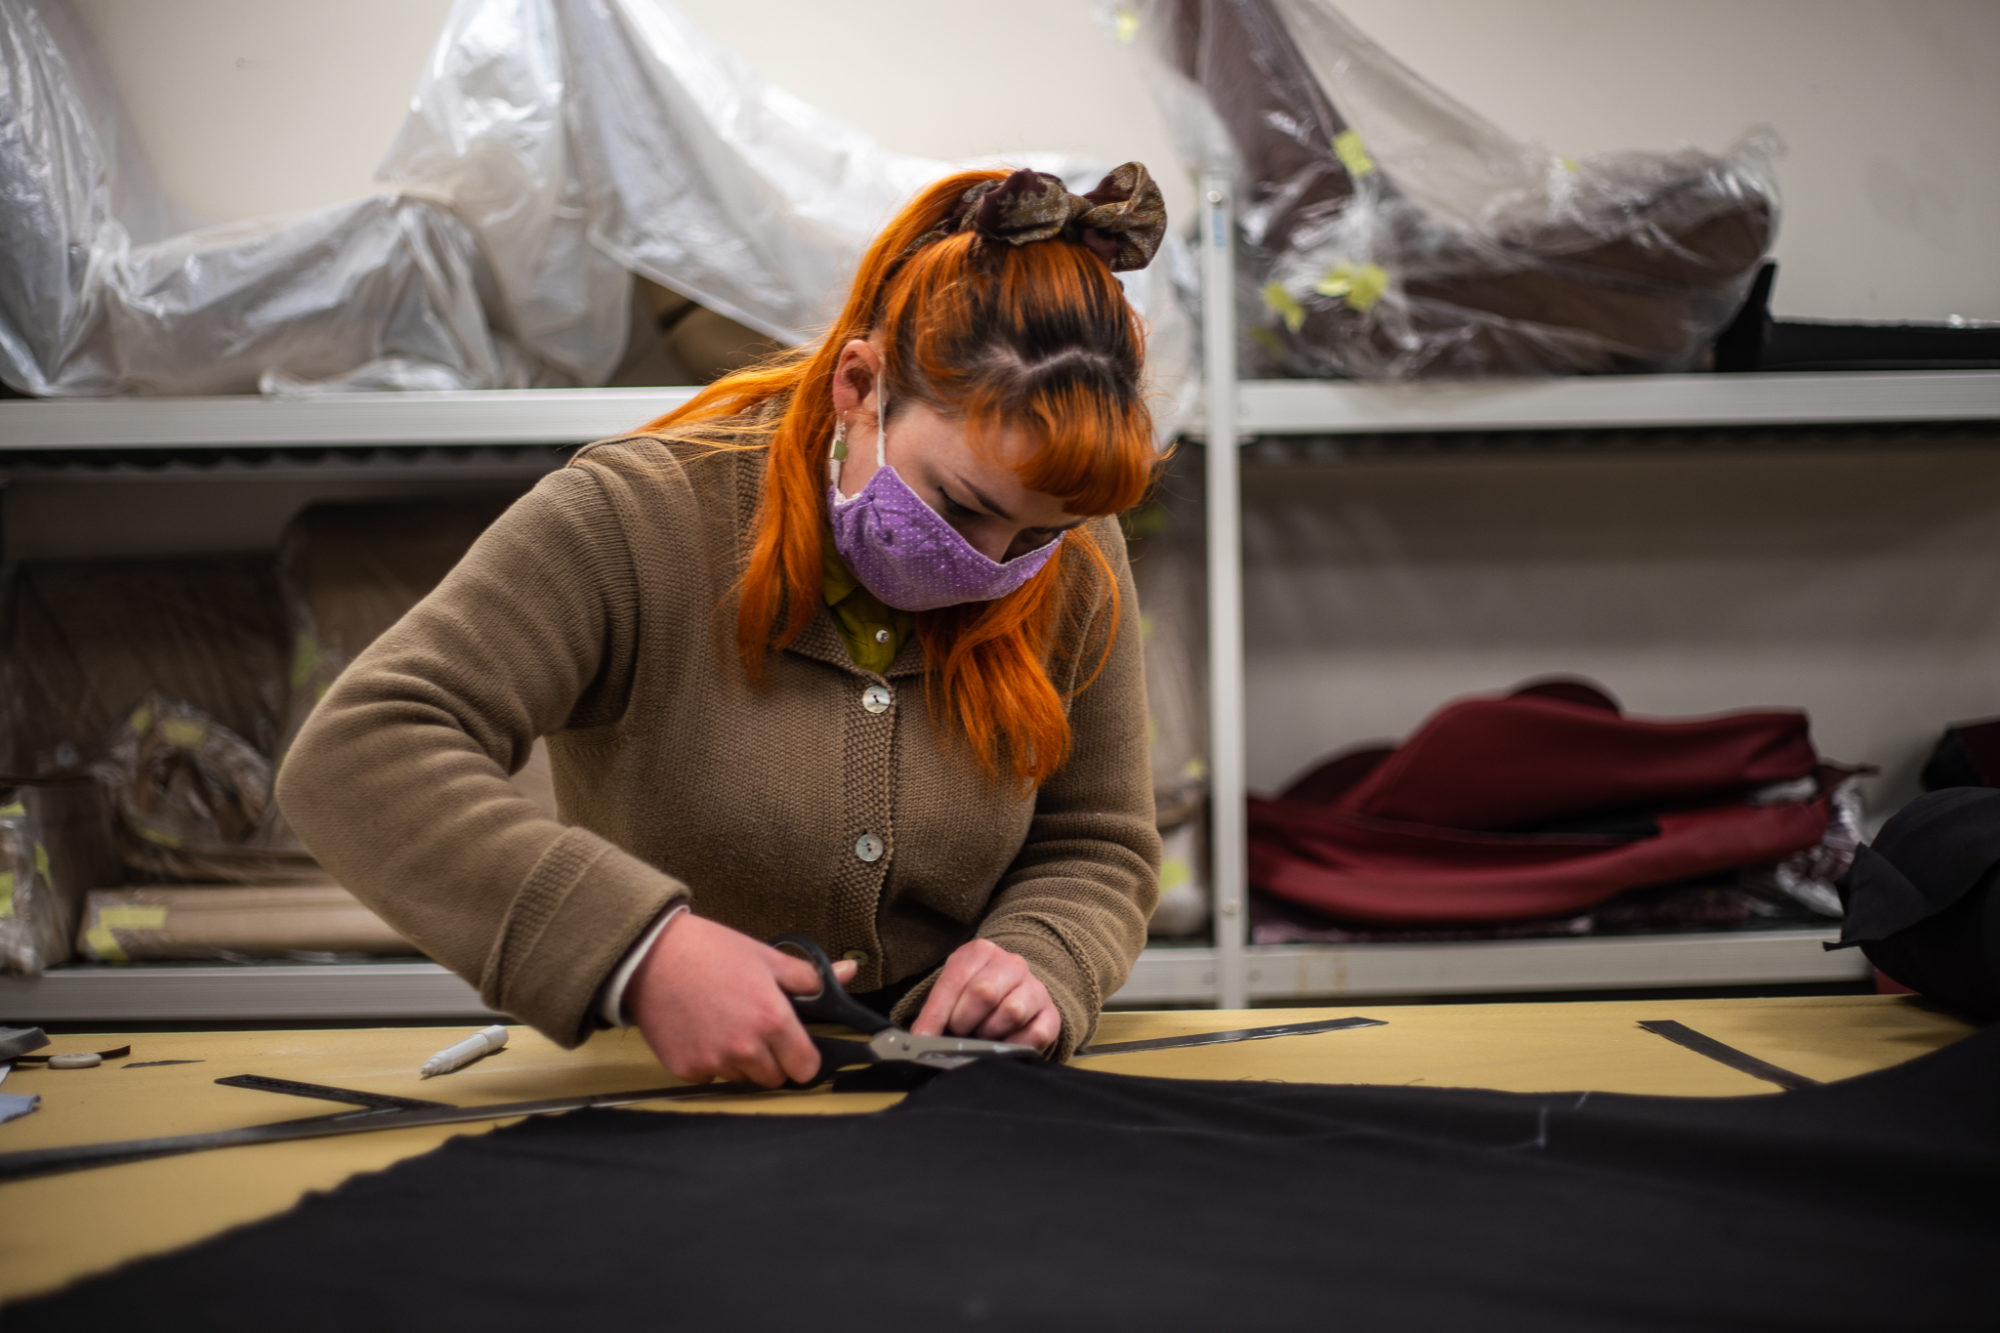
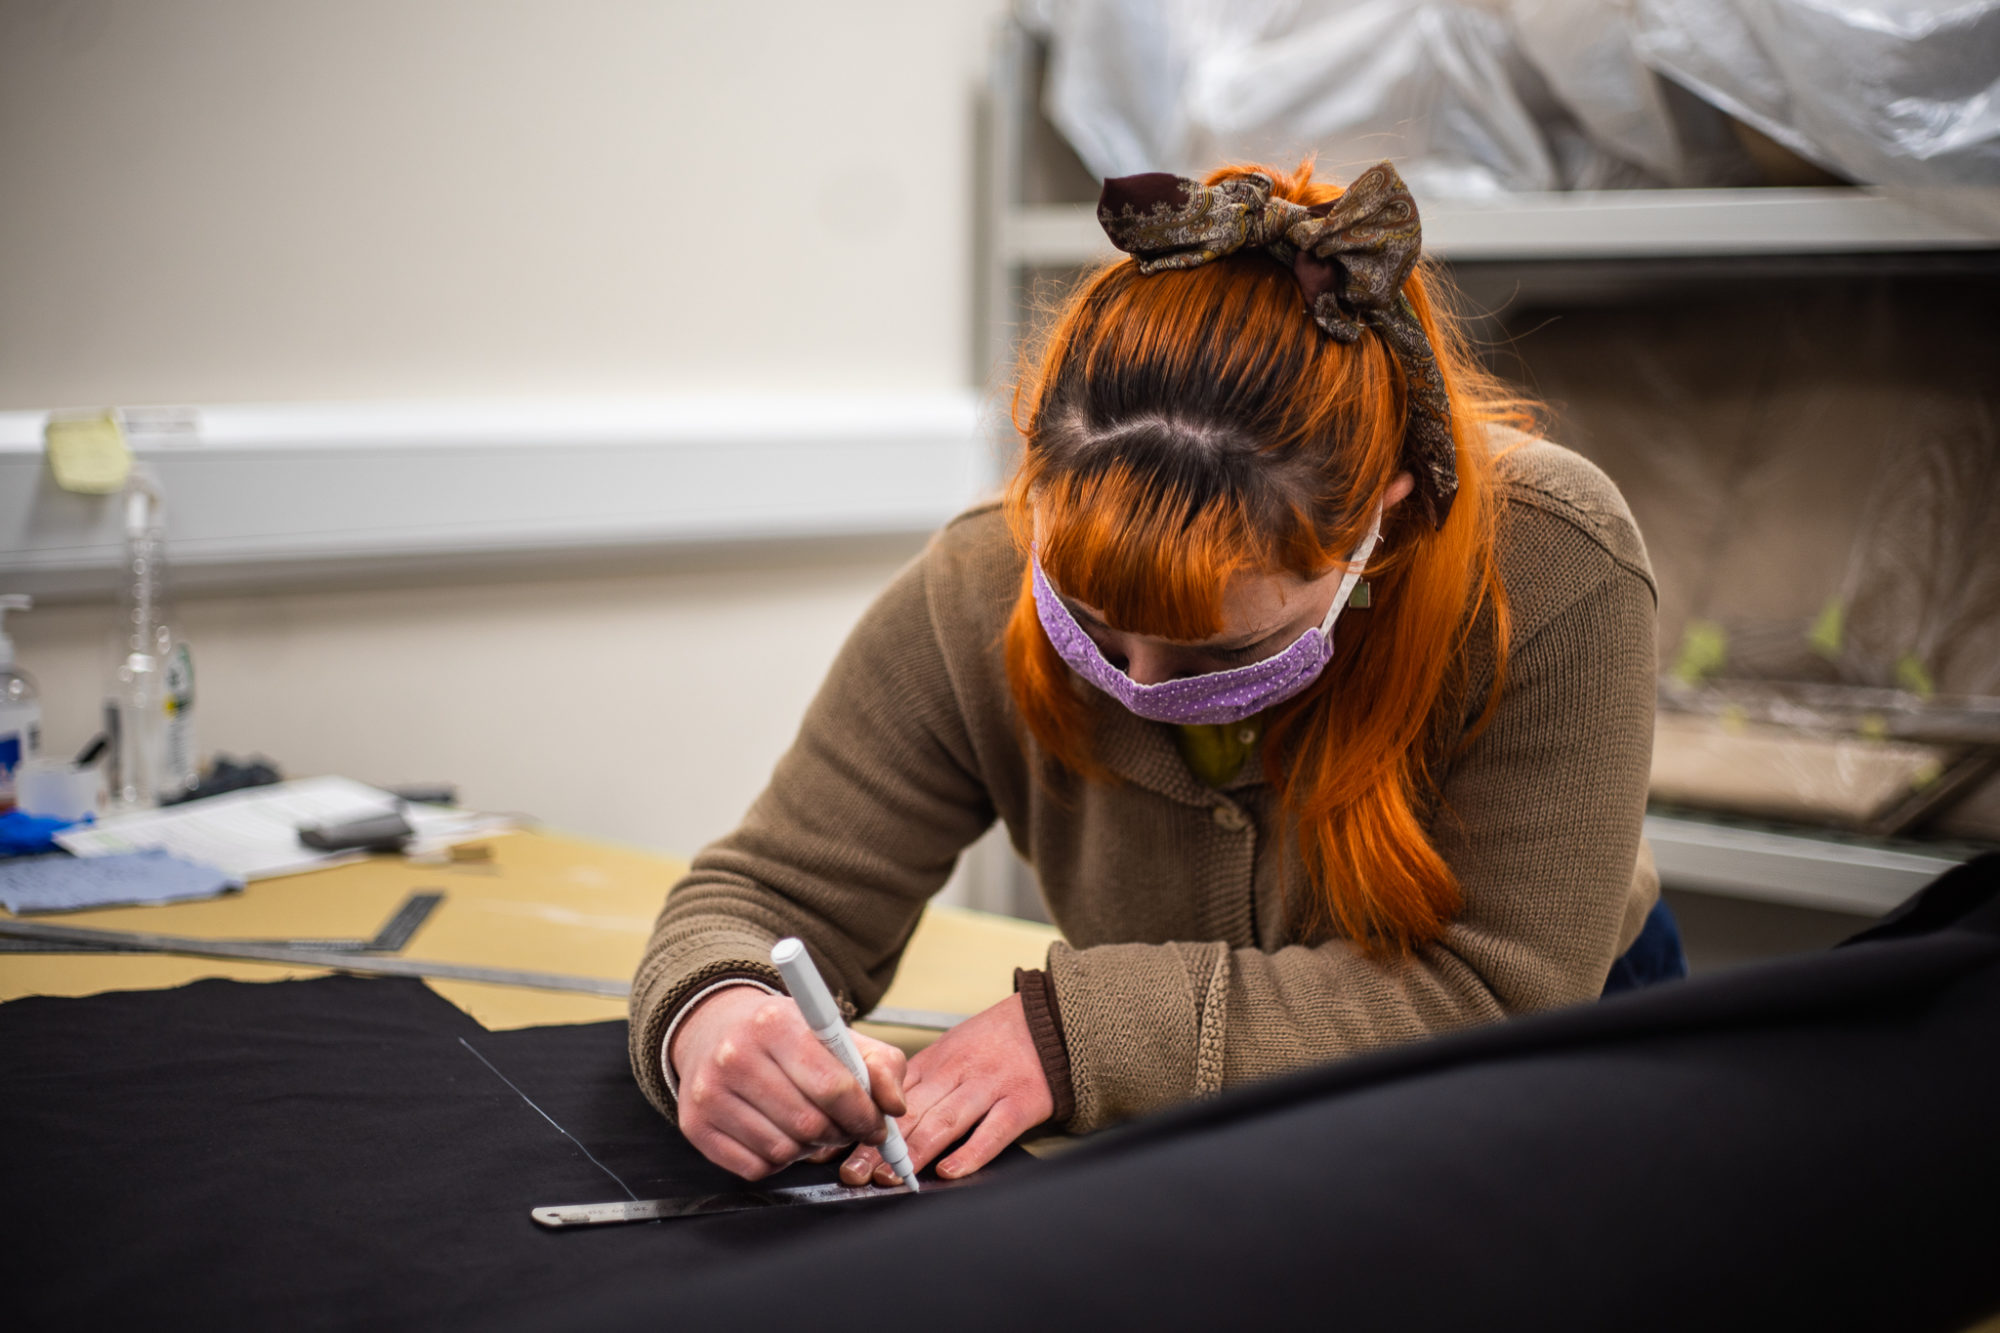
The in-house Trim Shop at Bridge Classic Cars can create just about anything. This time, our lead trimmer Brian has been trimming the armrests for the 1987 Mercedes R107 500SL.
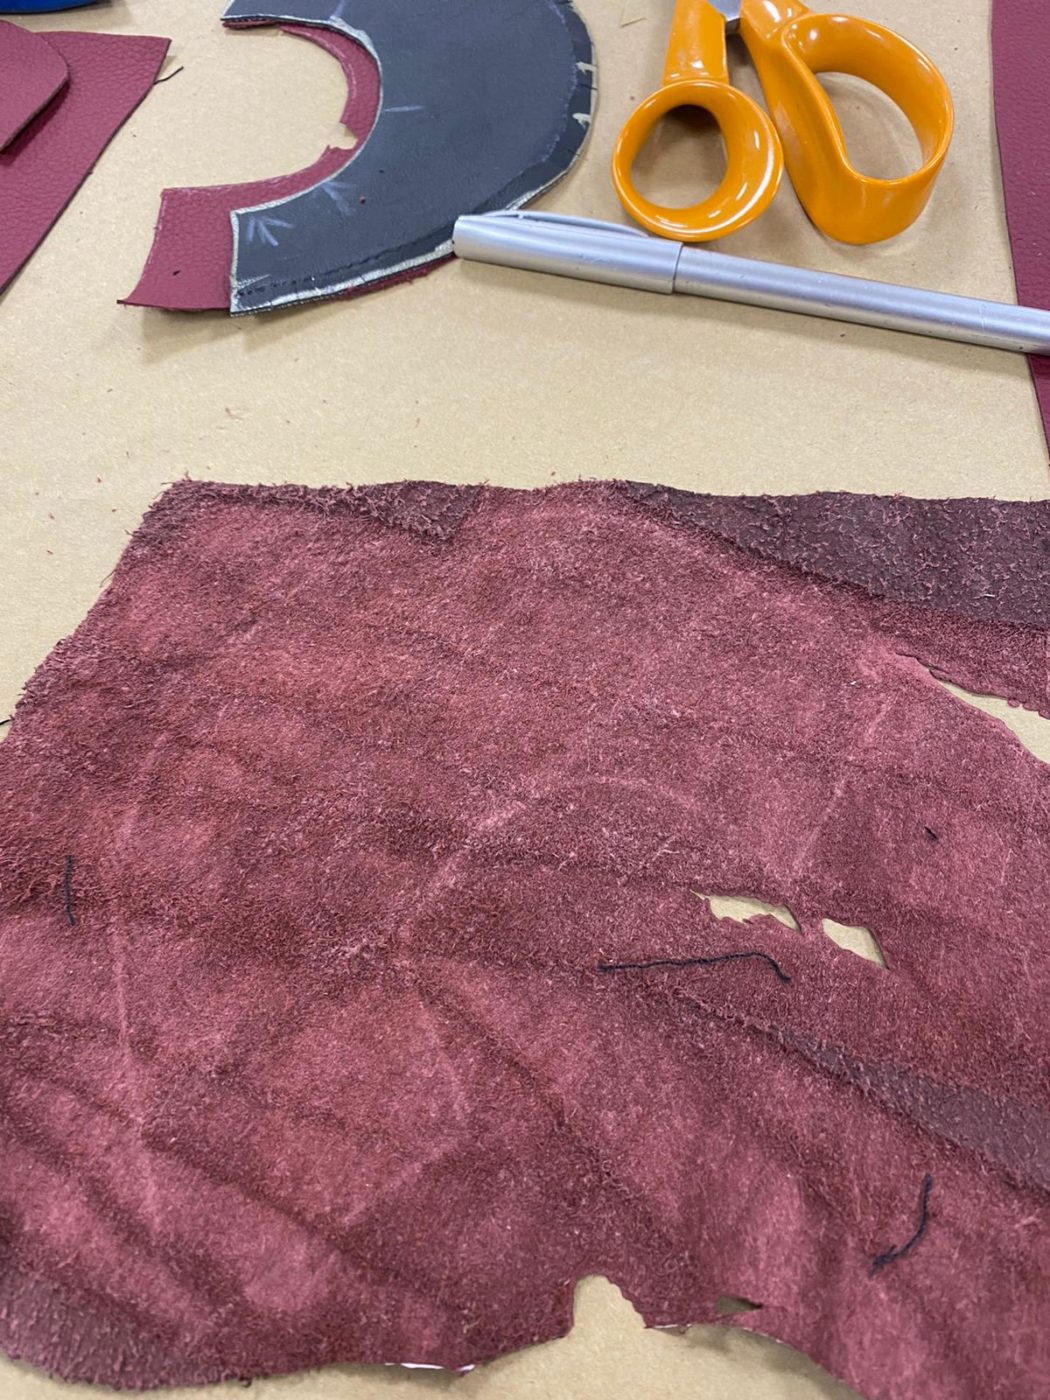
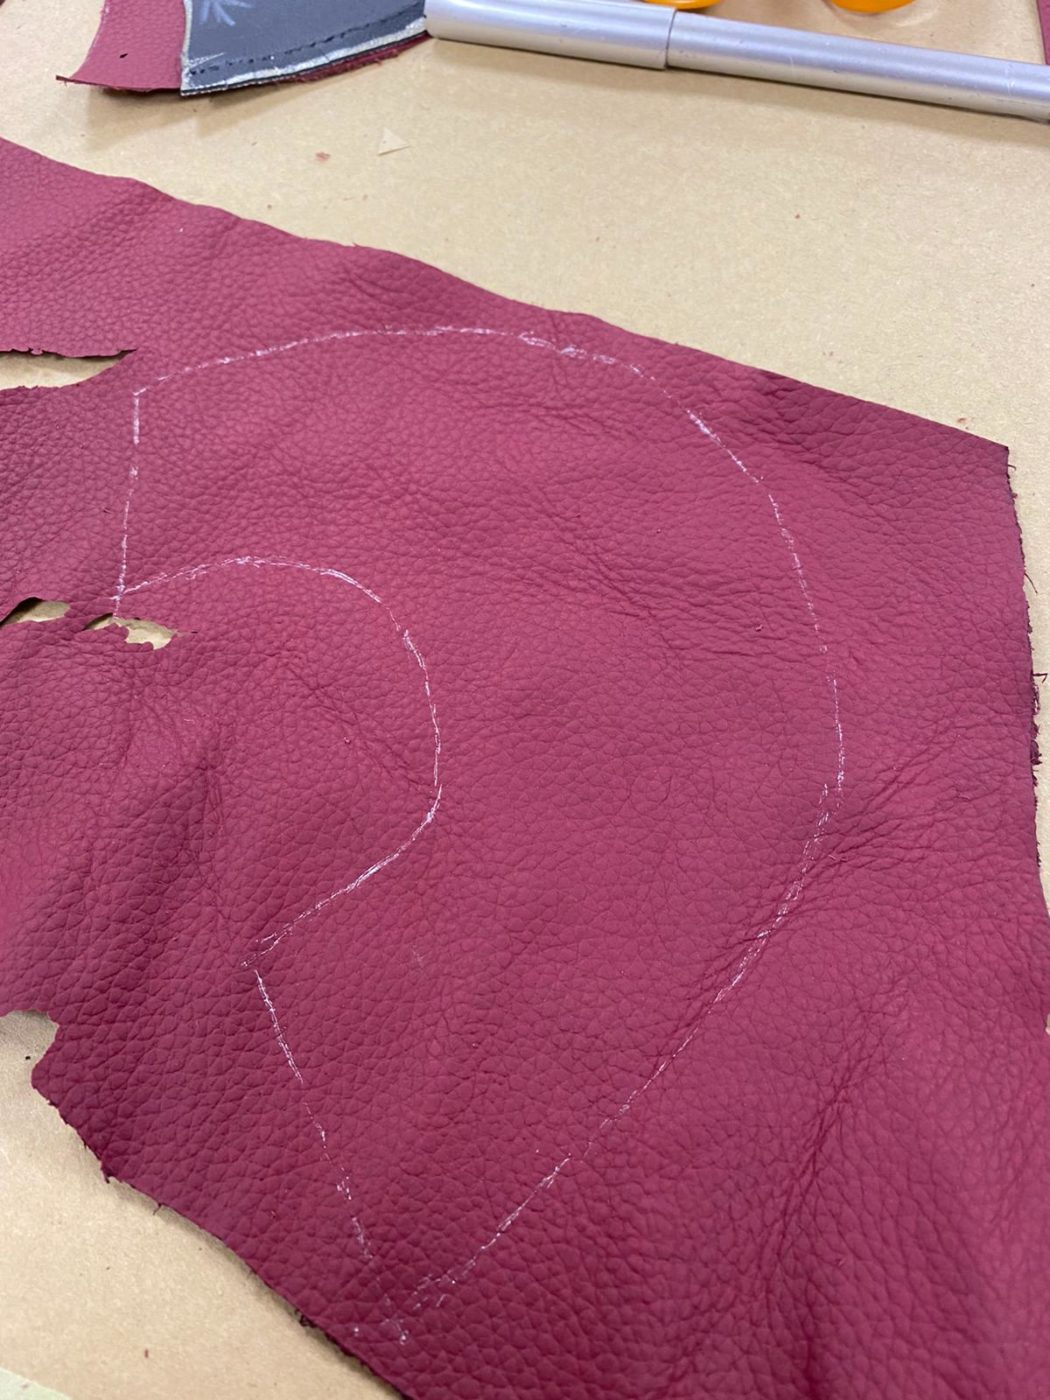
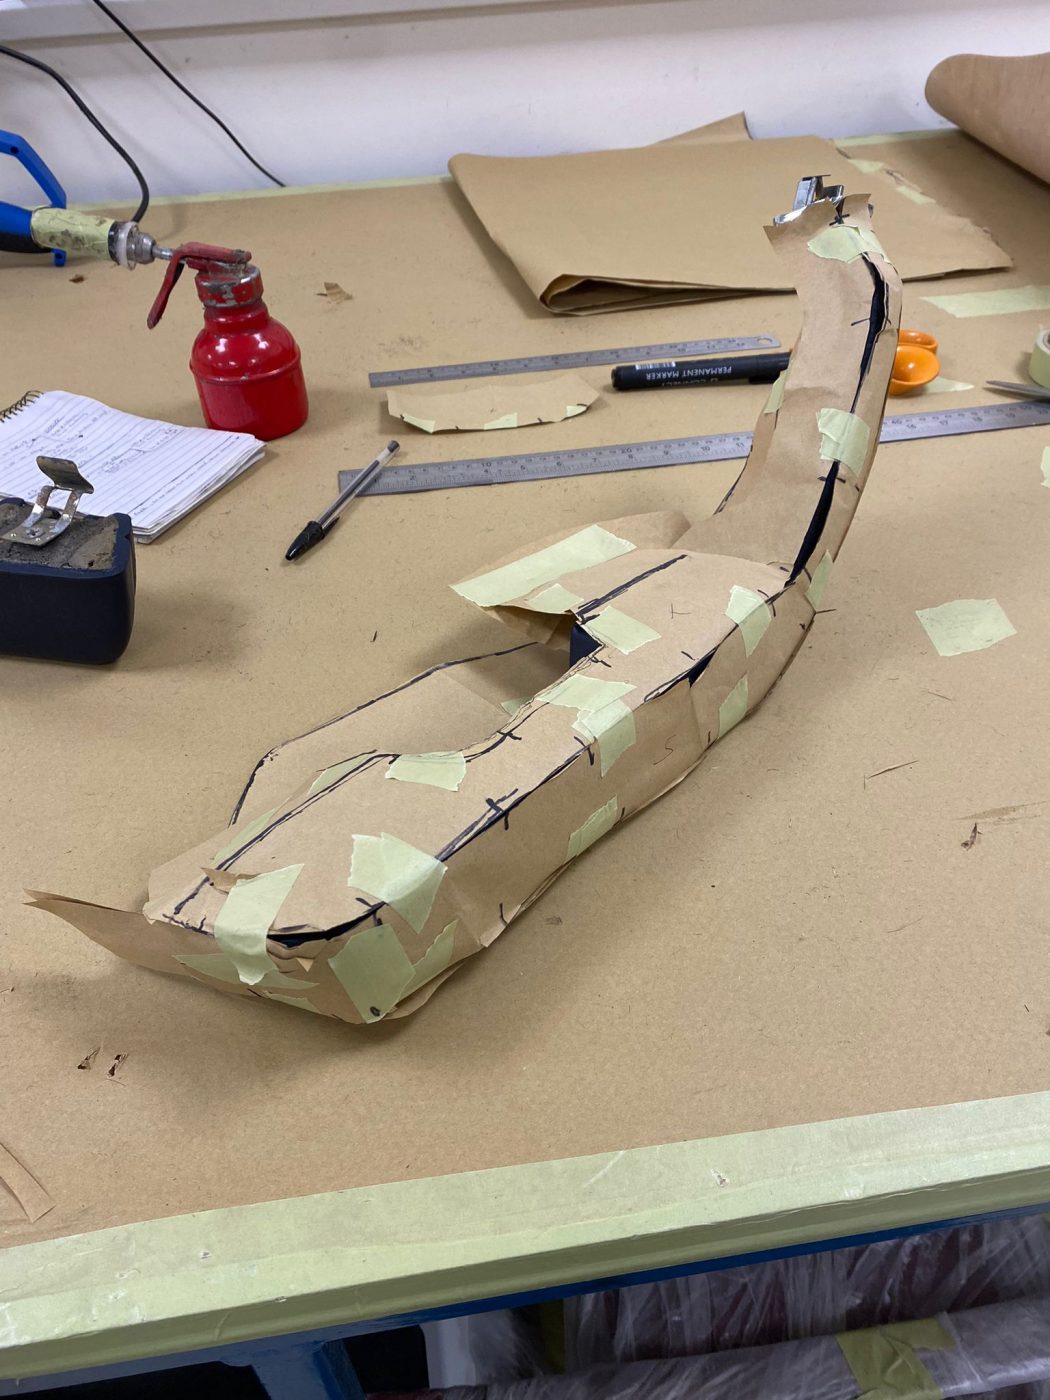
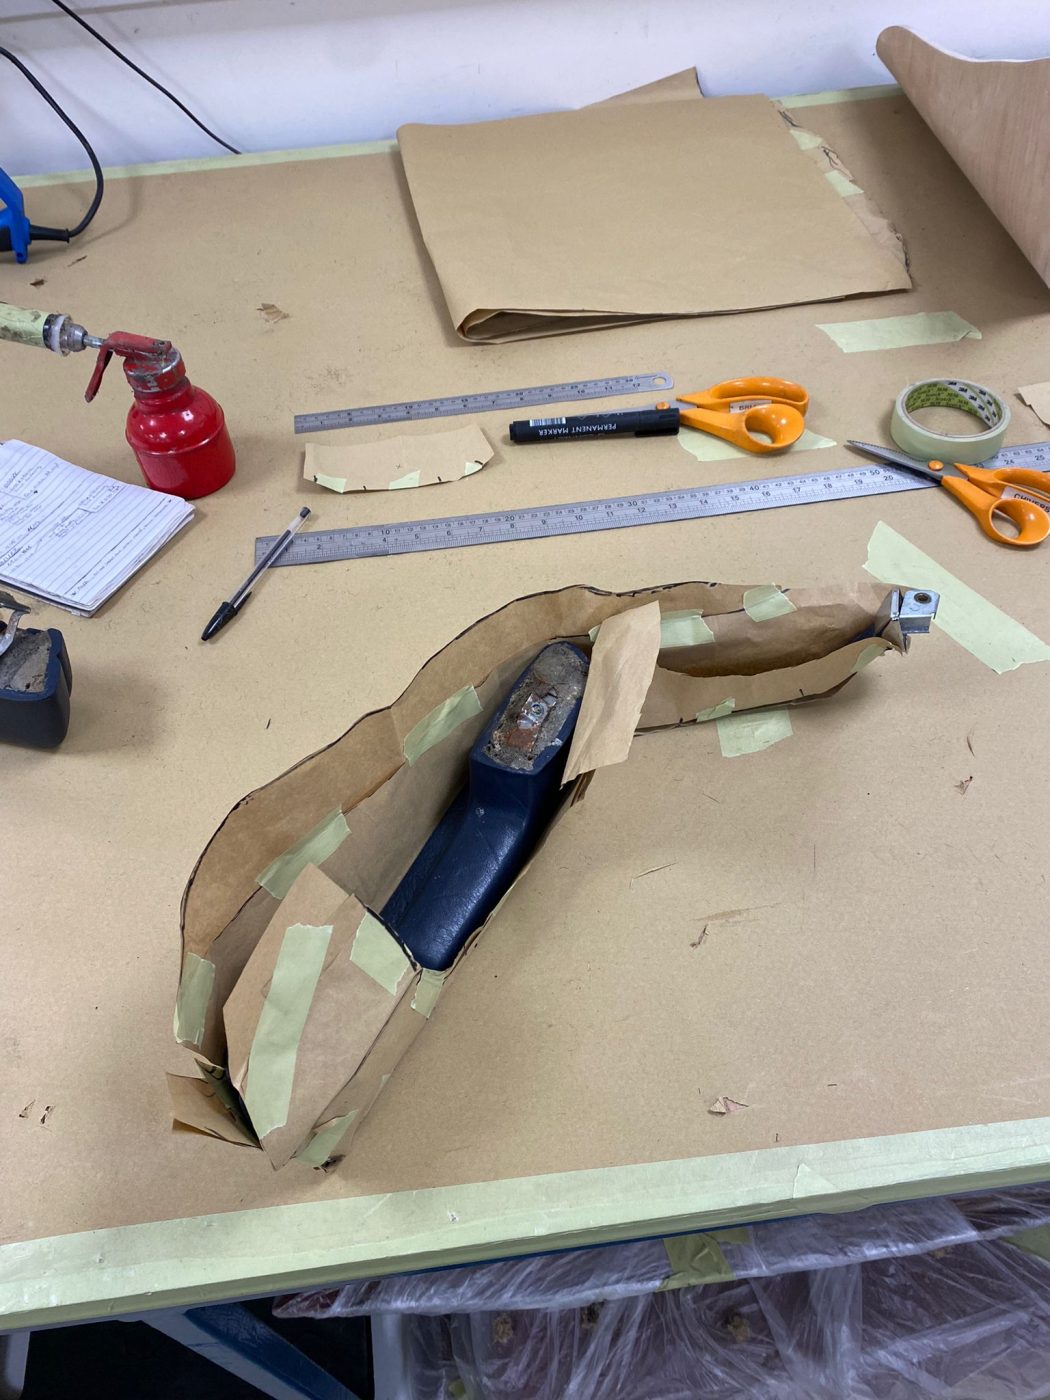
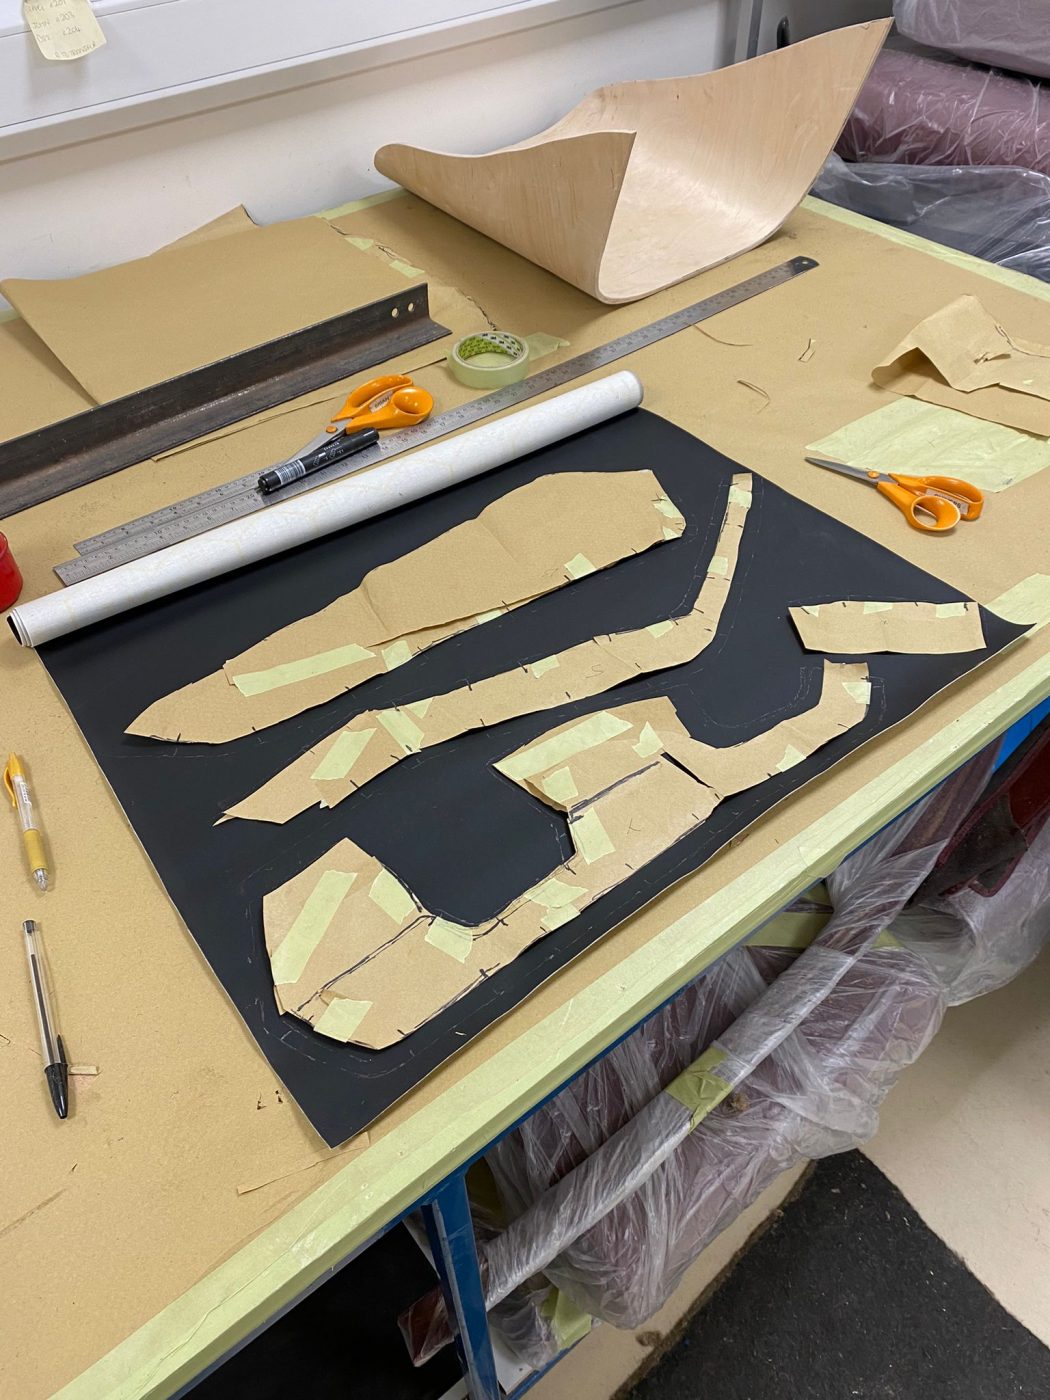
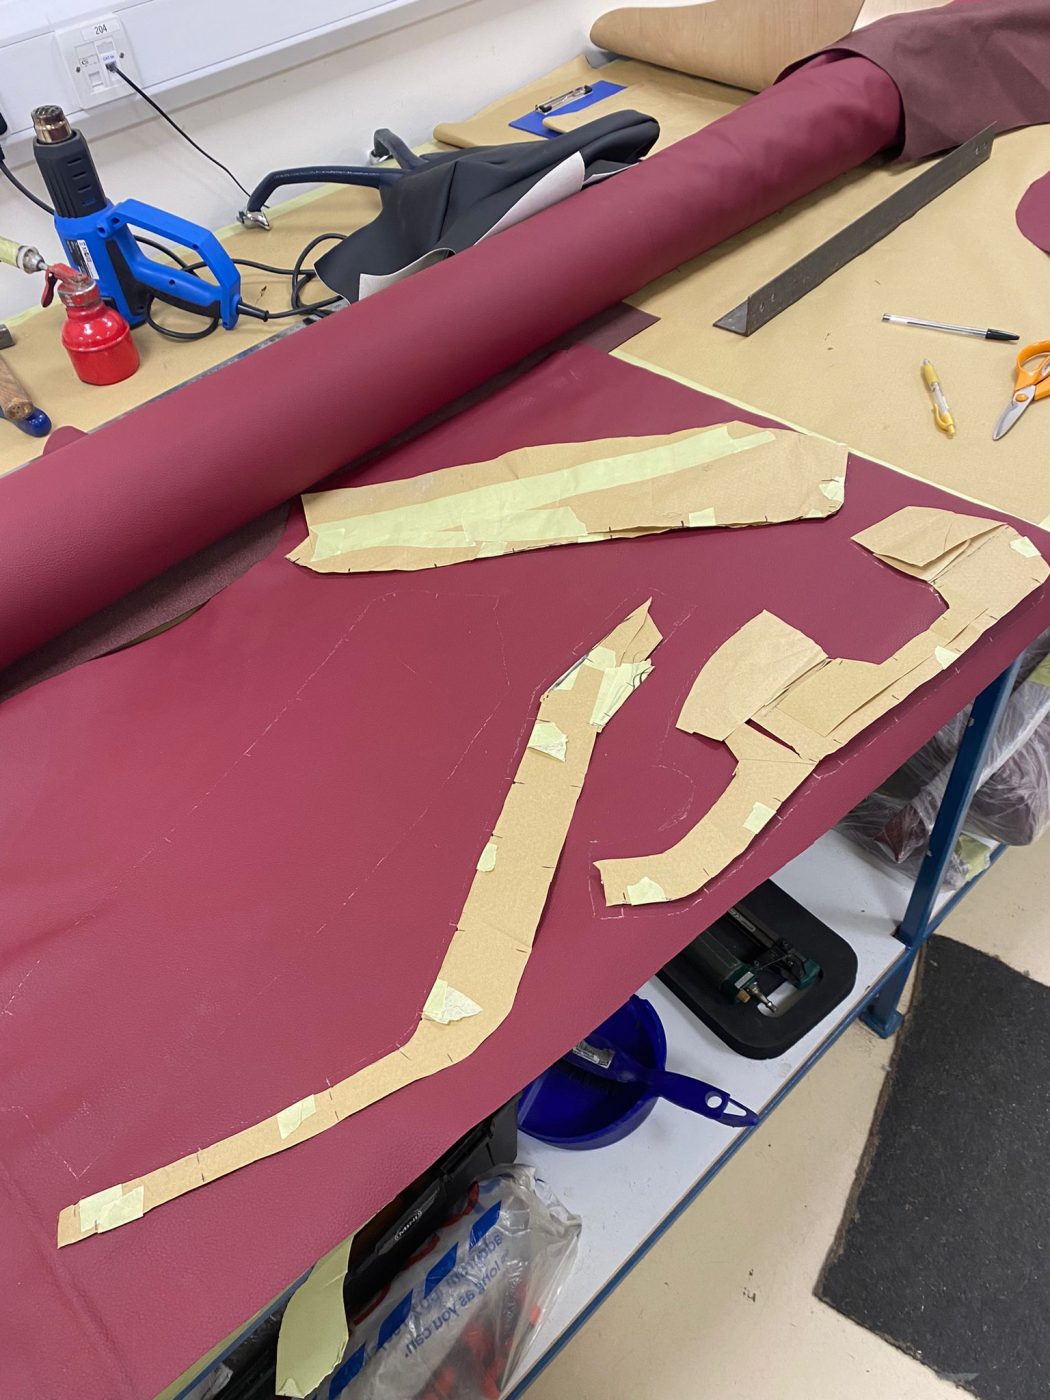
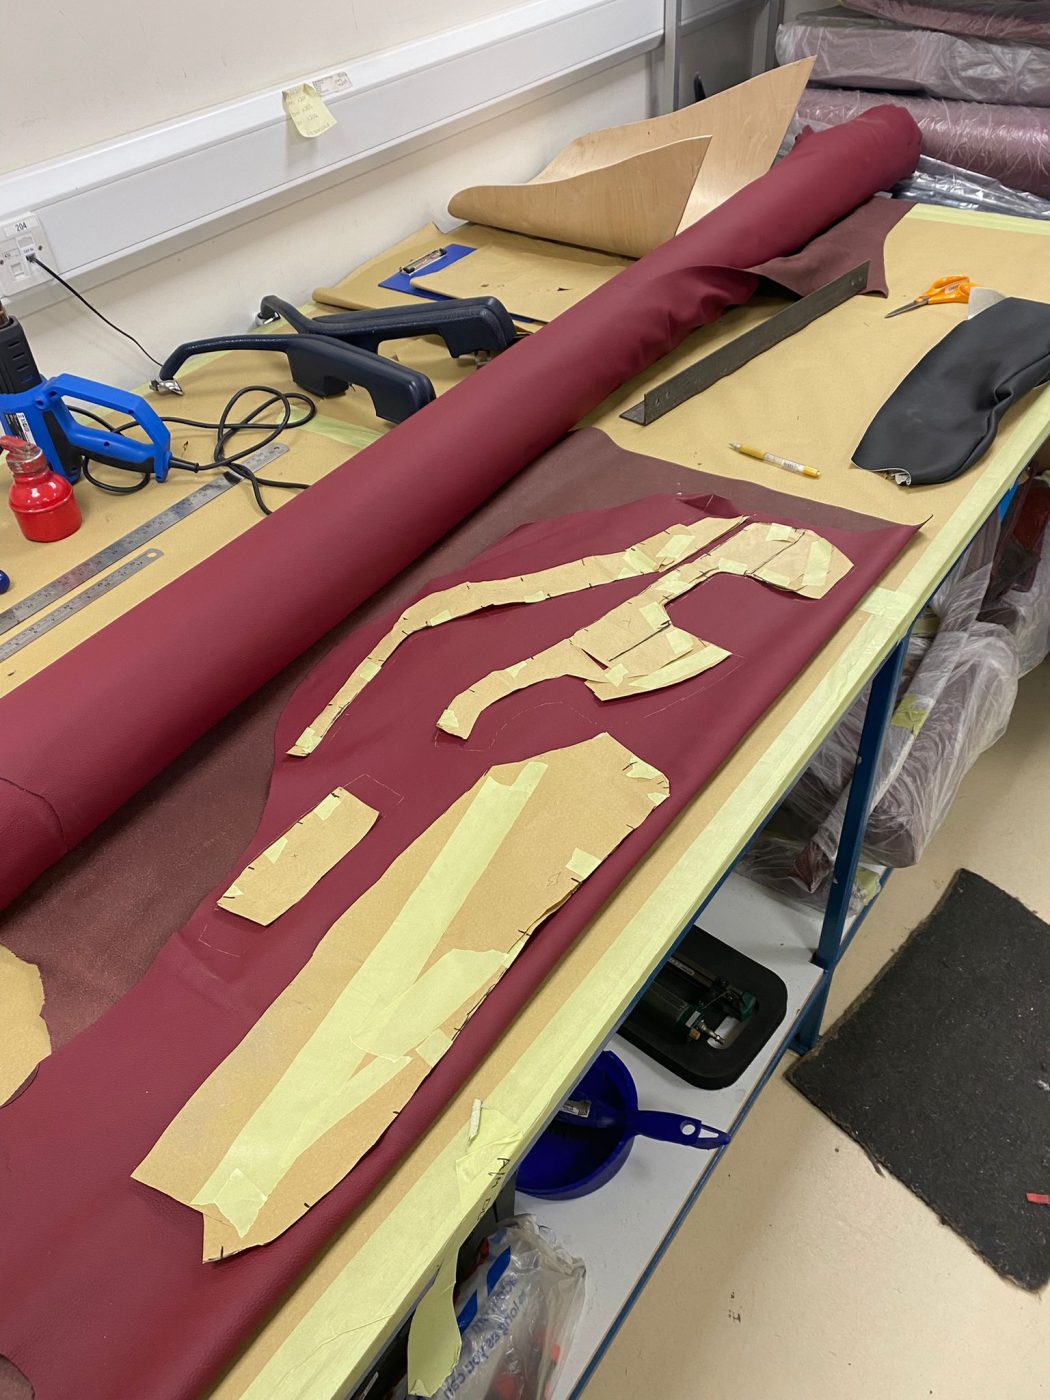
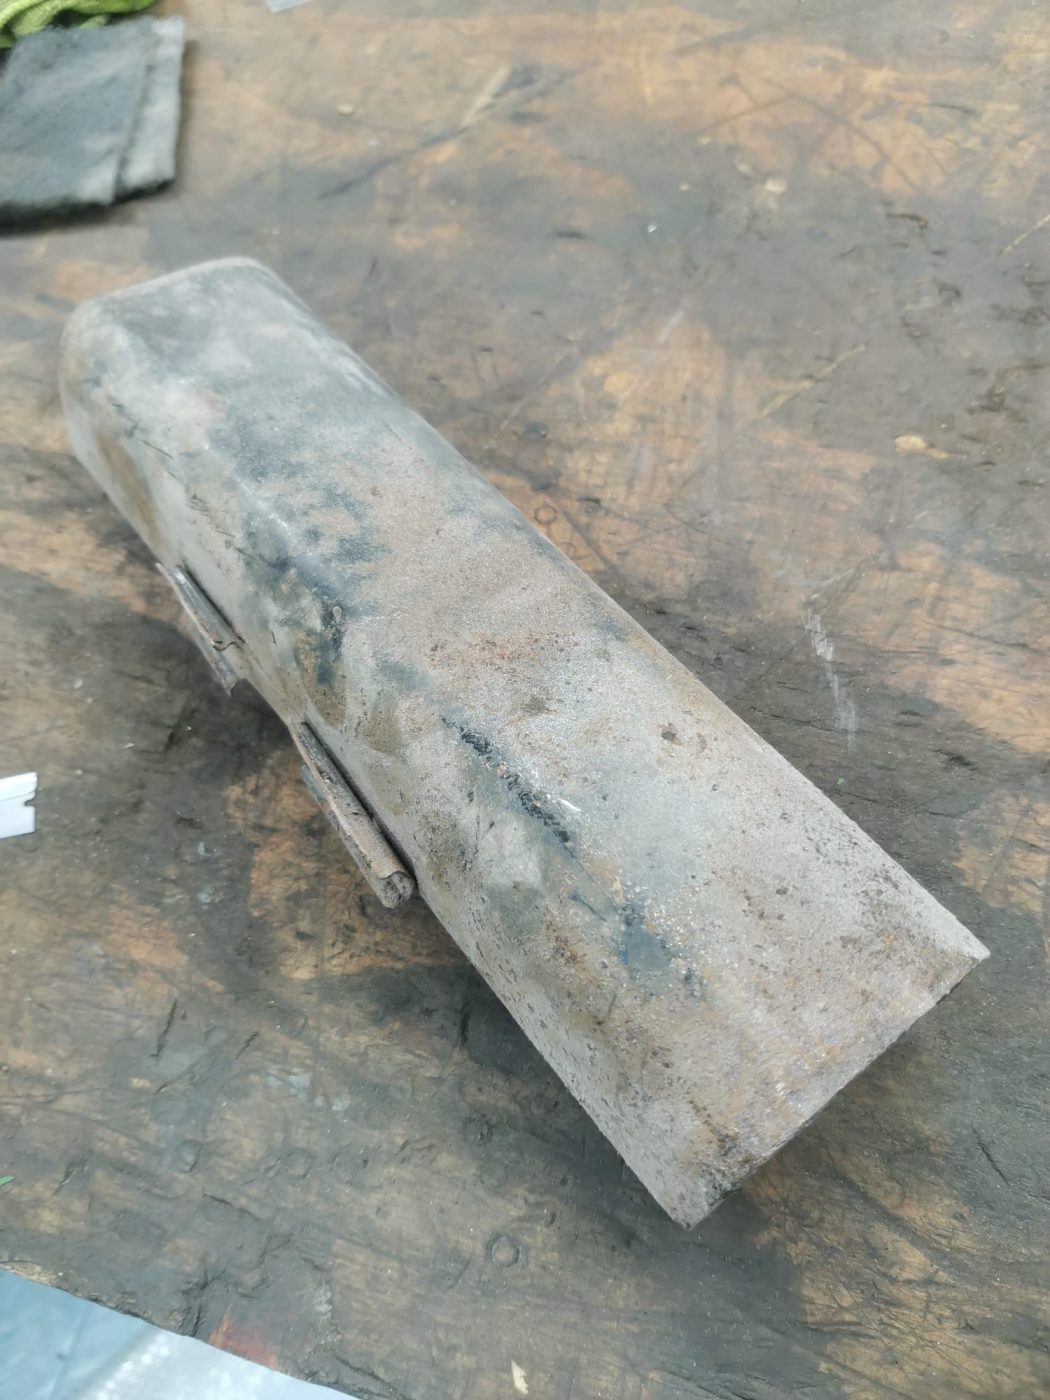
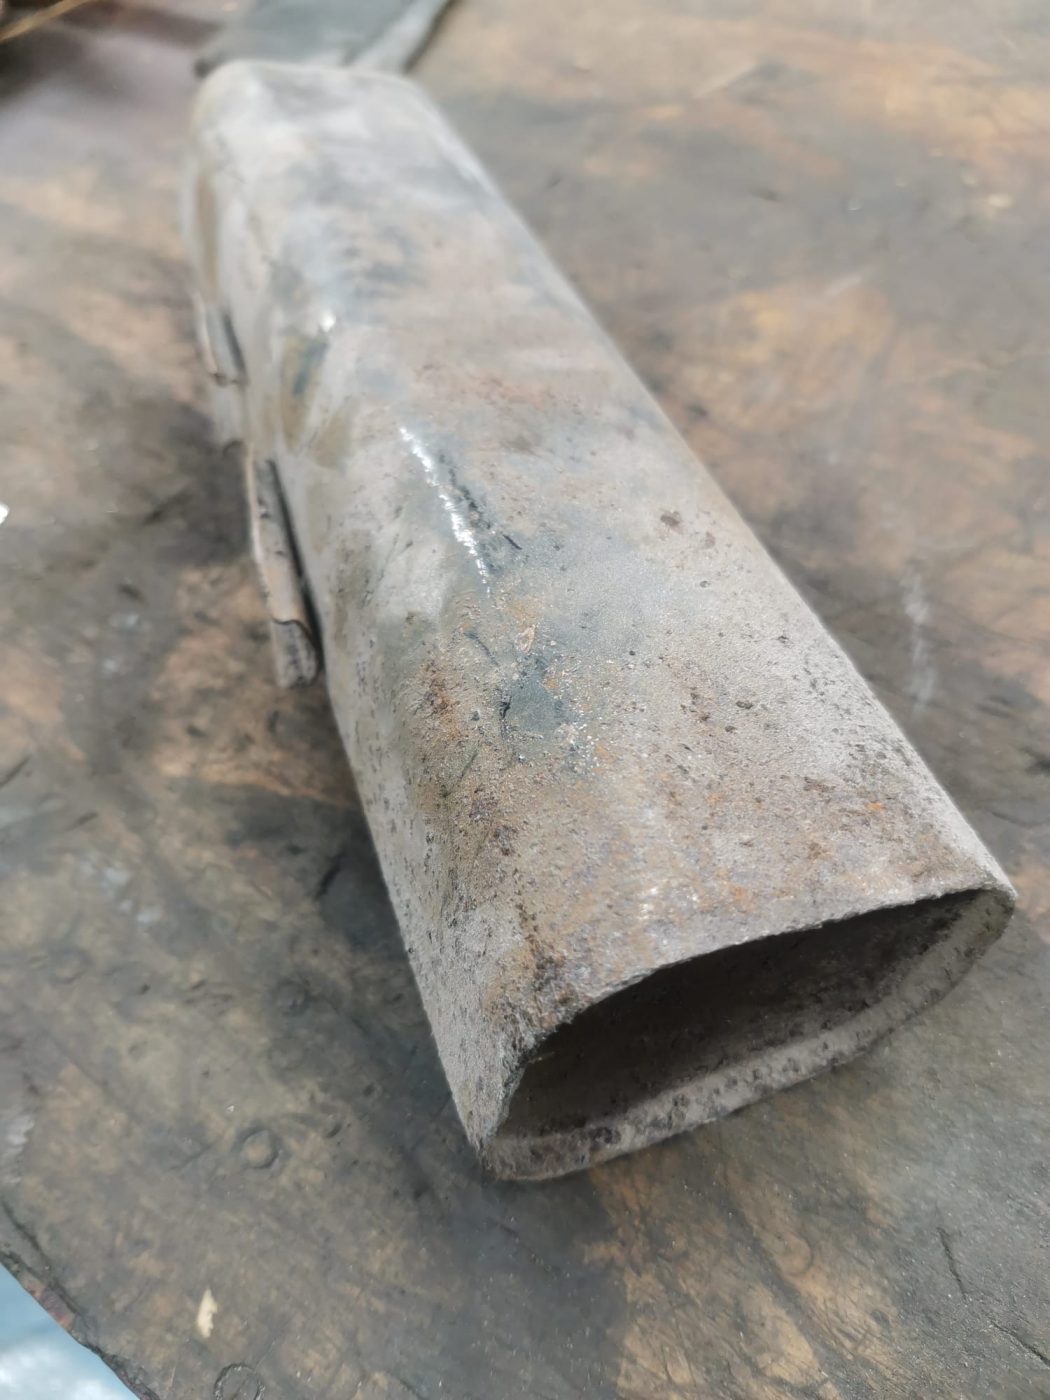
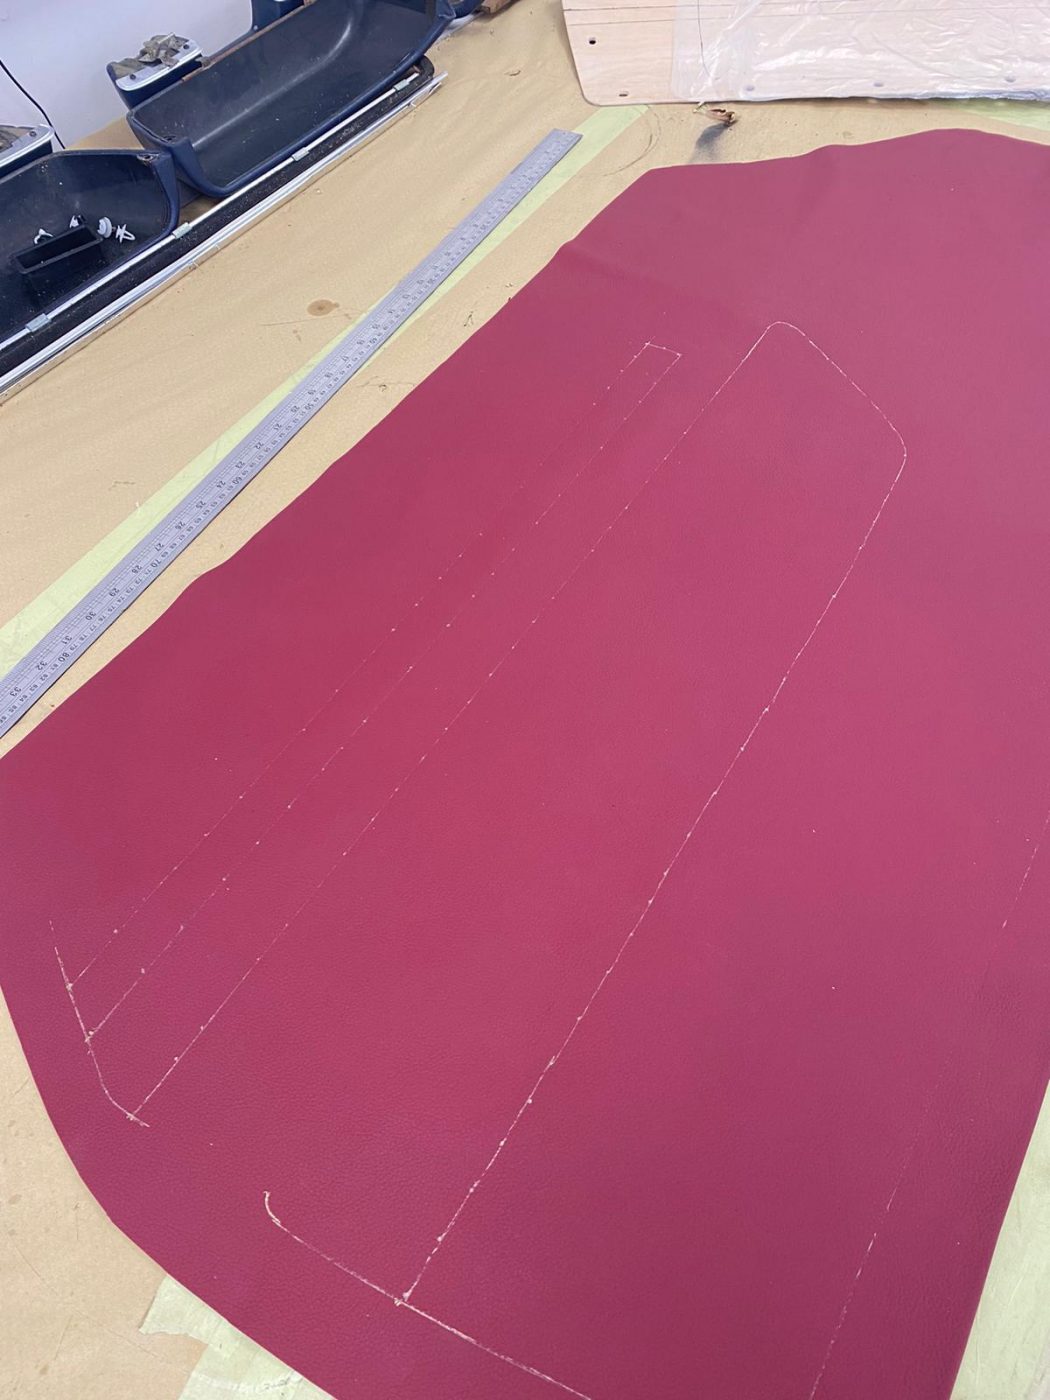
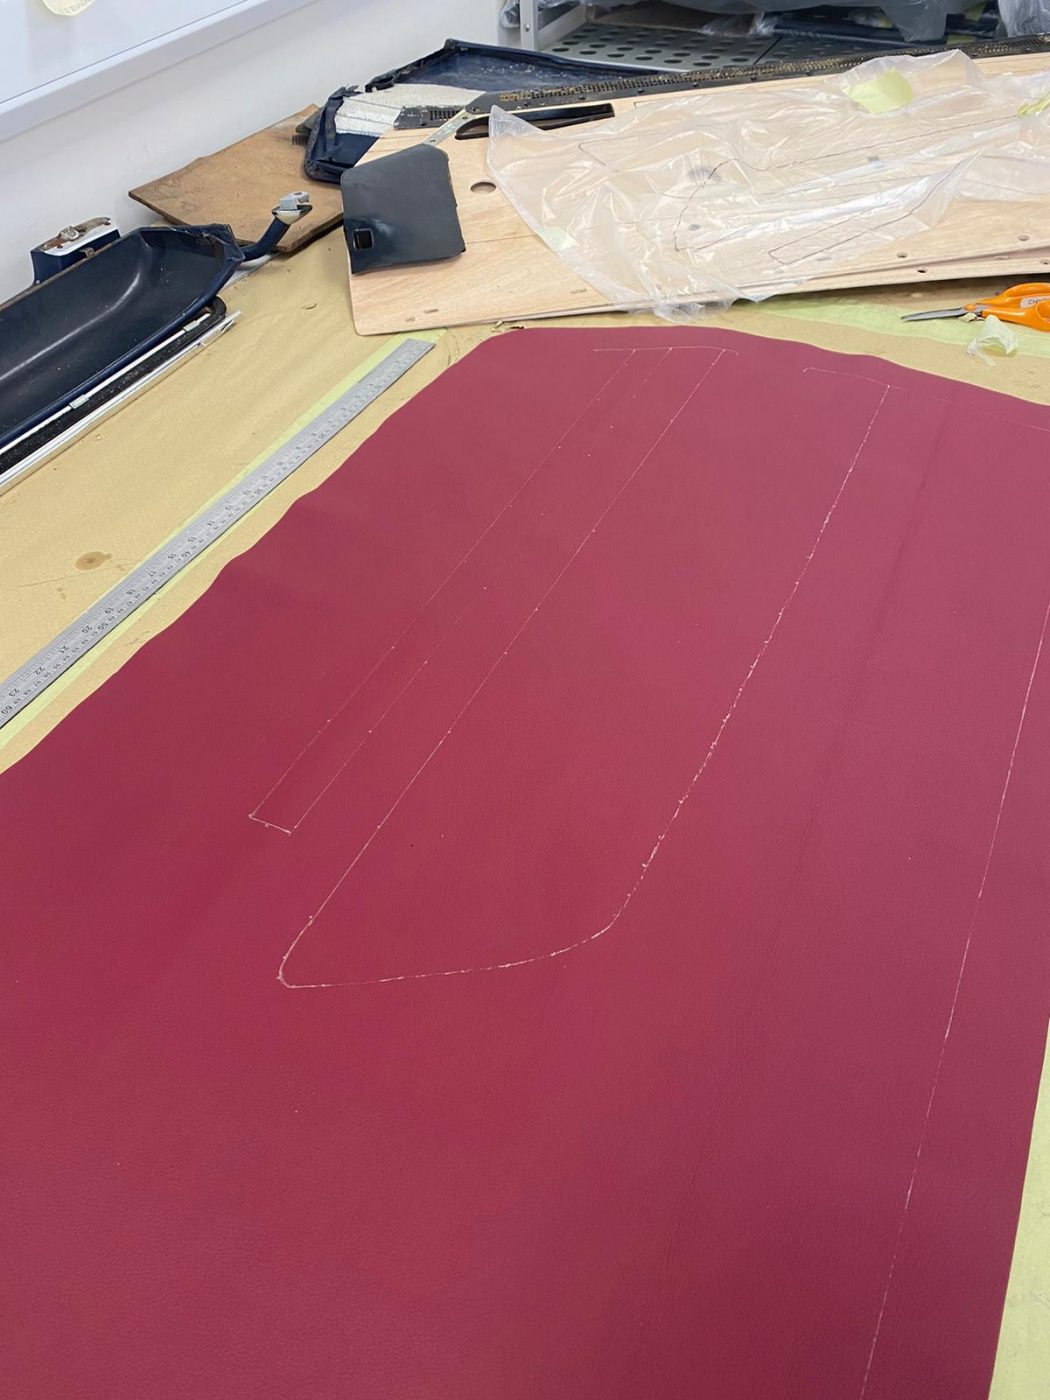
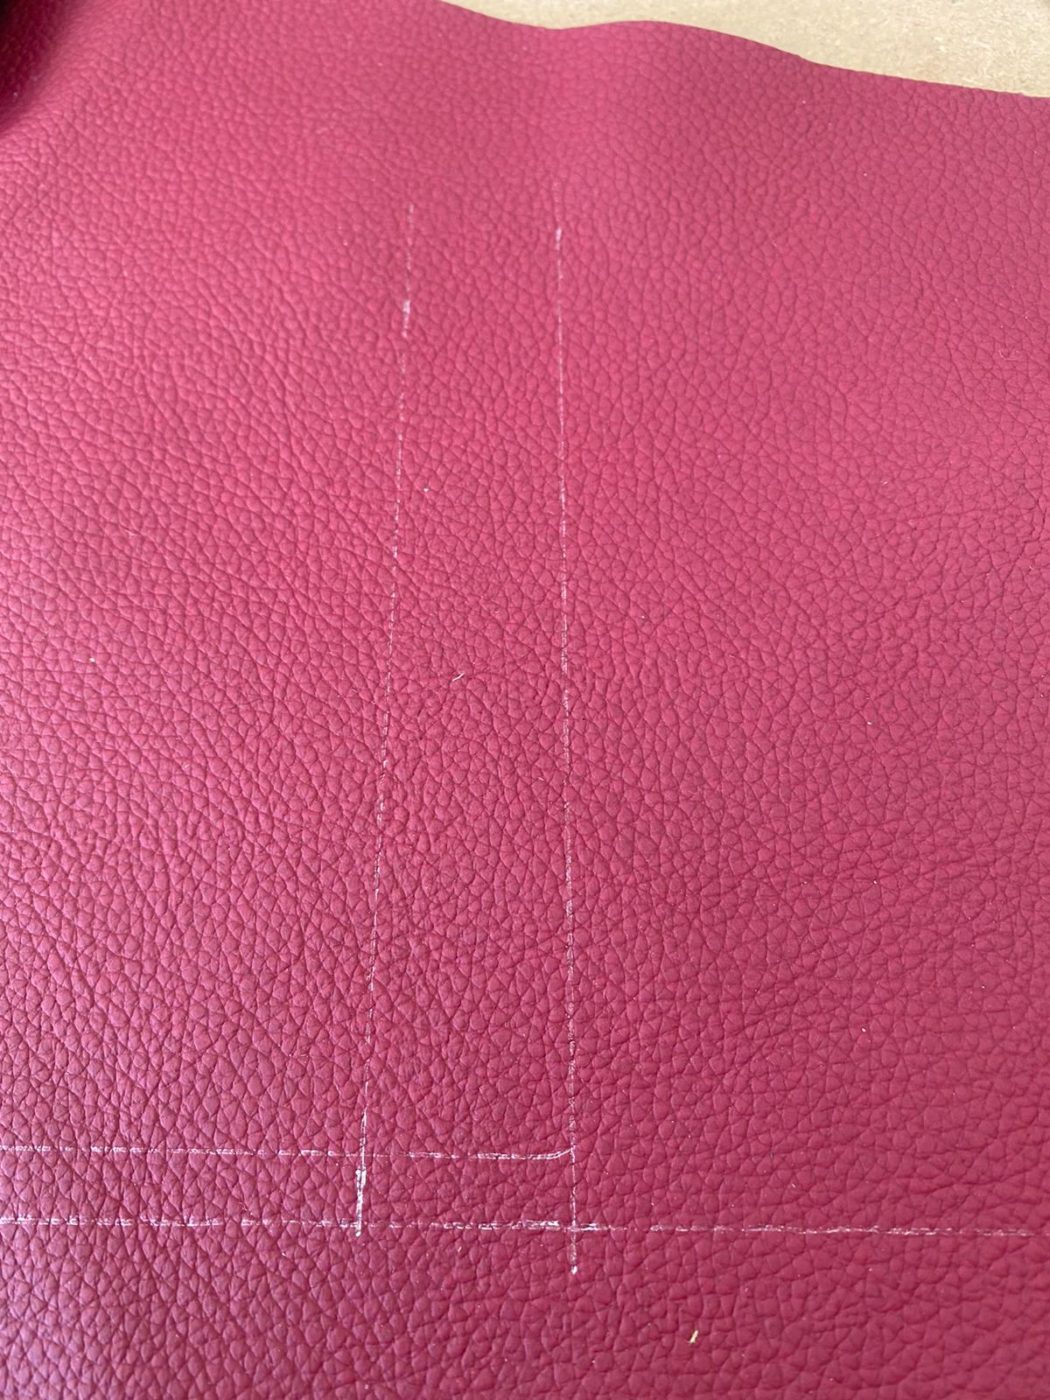
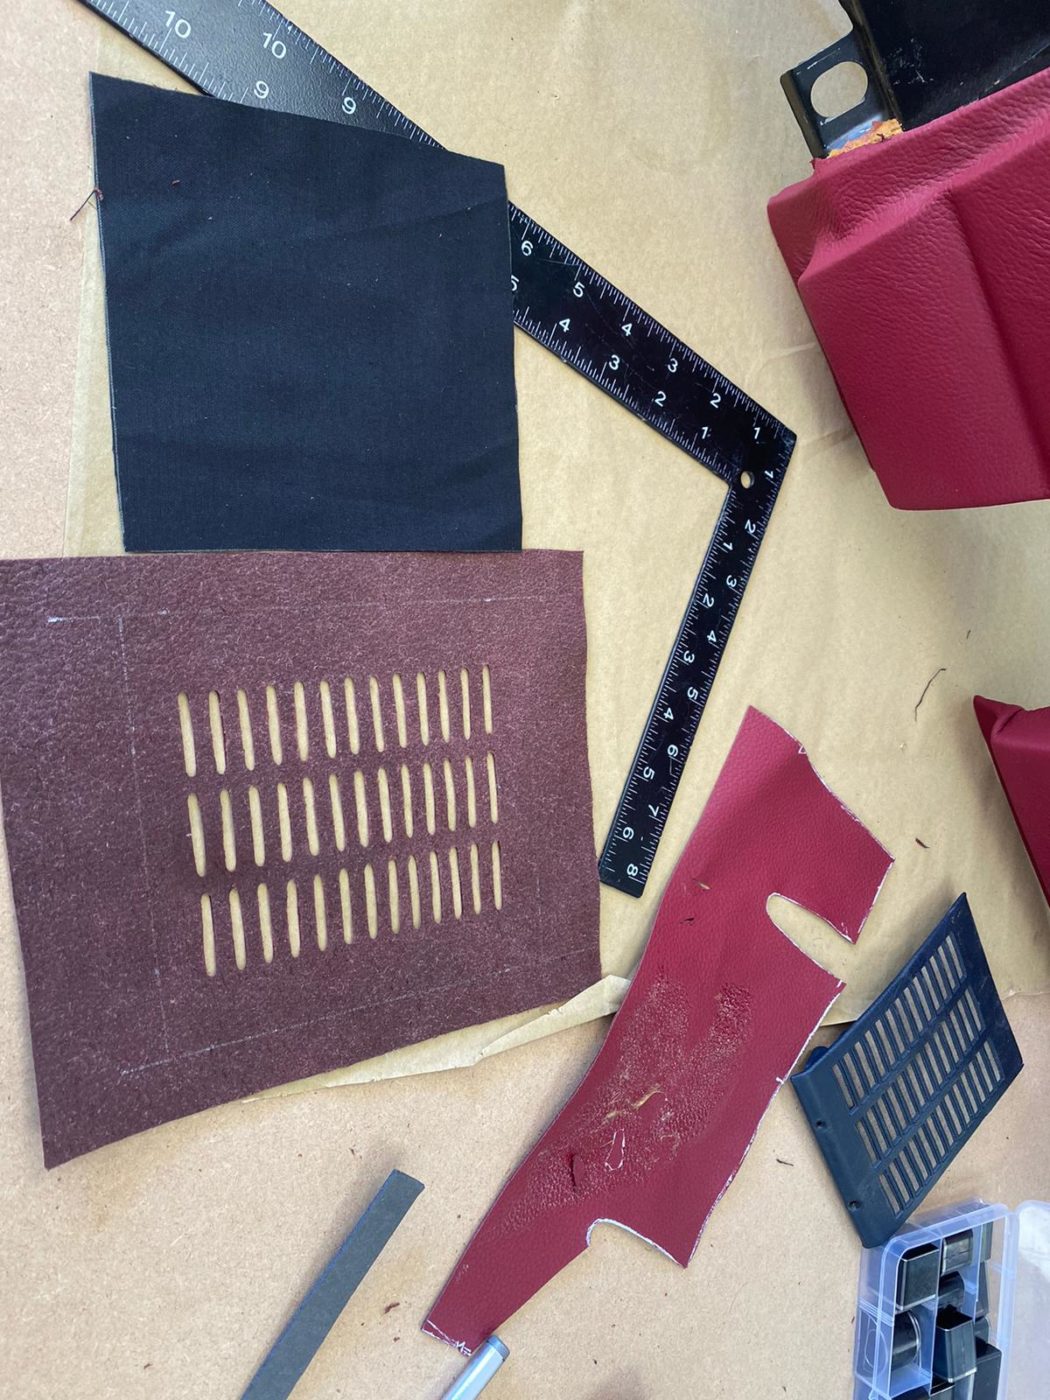
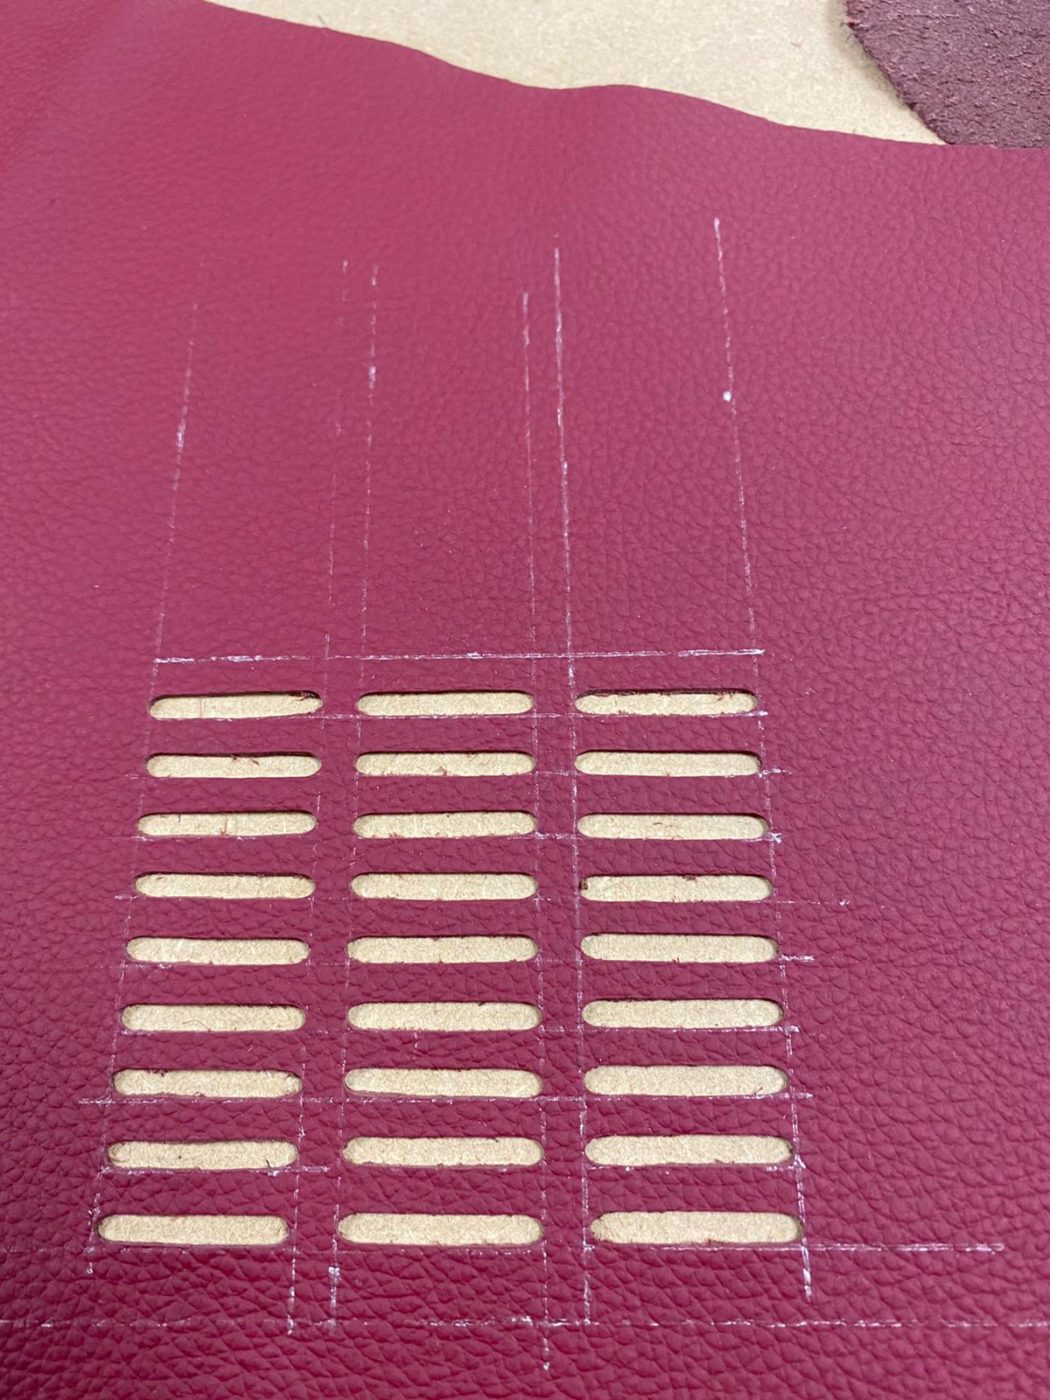
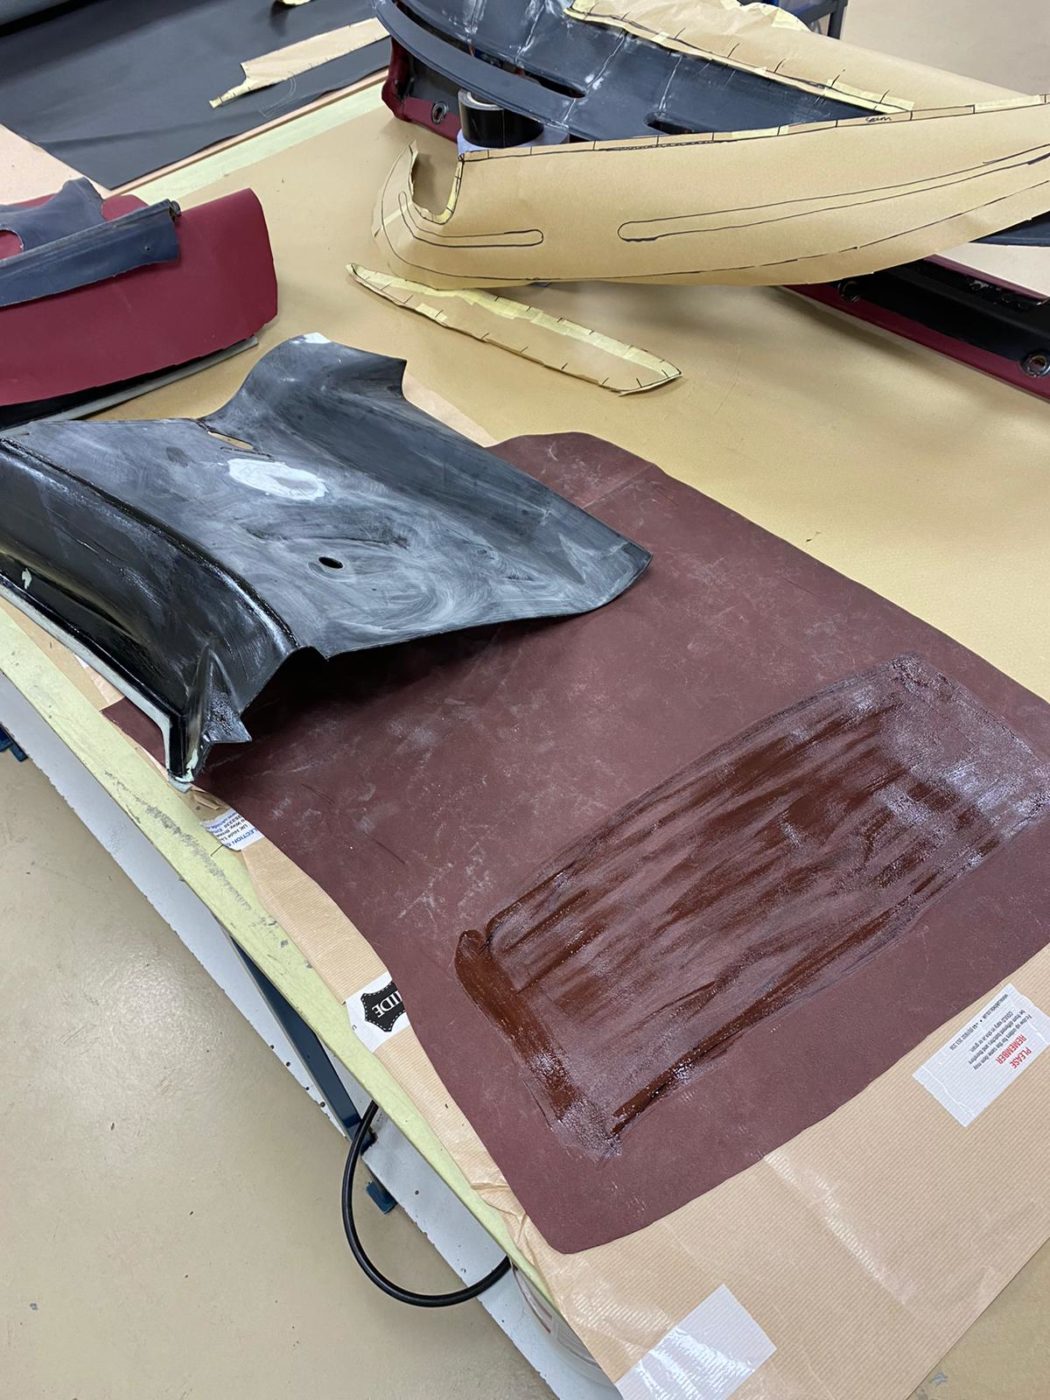
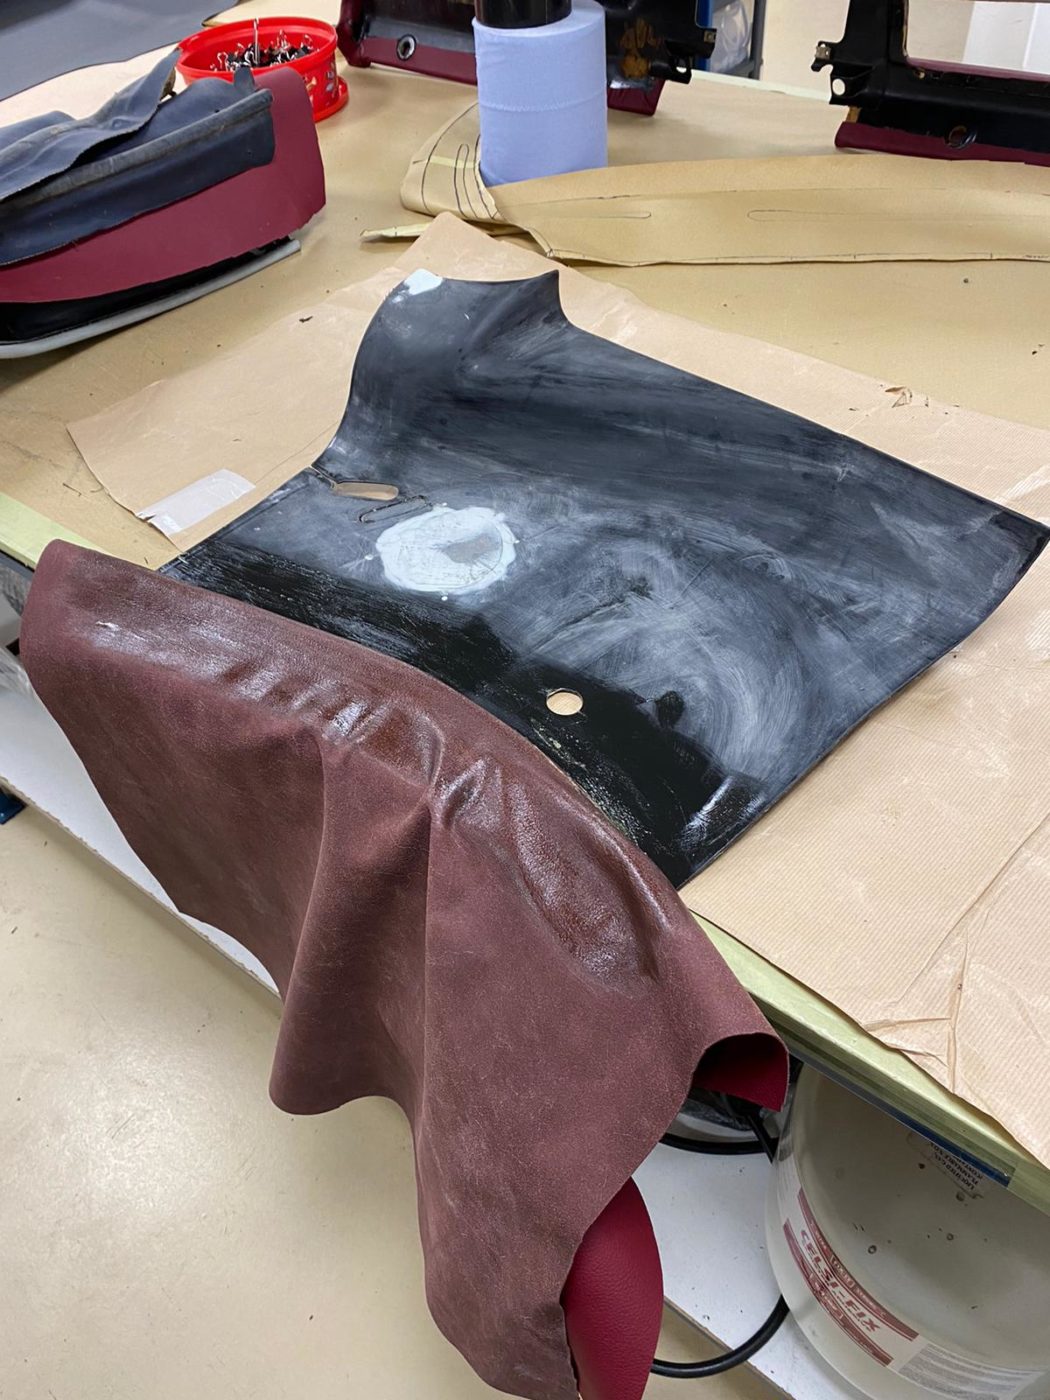
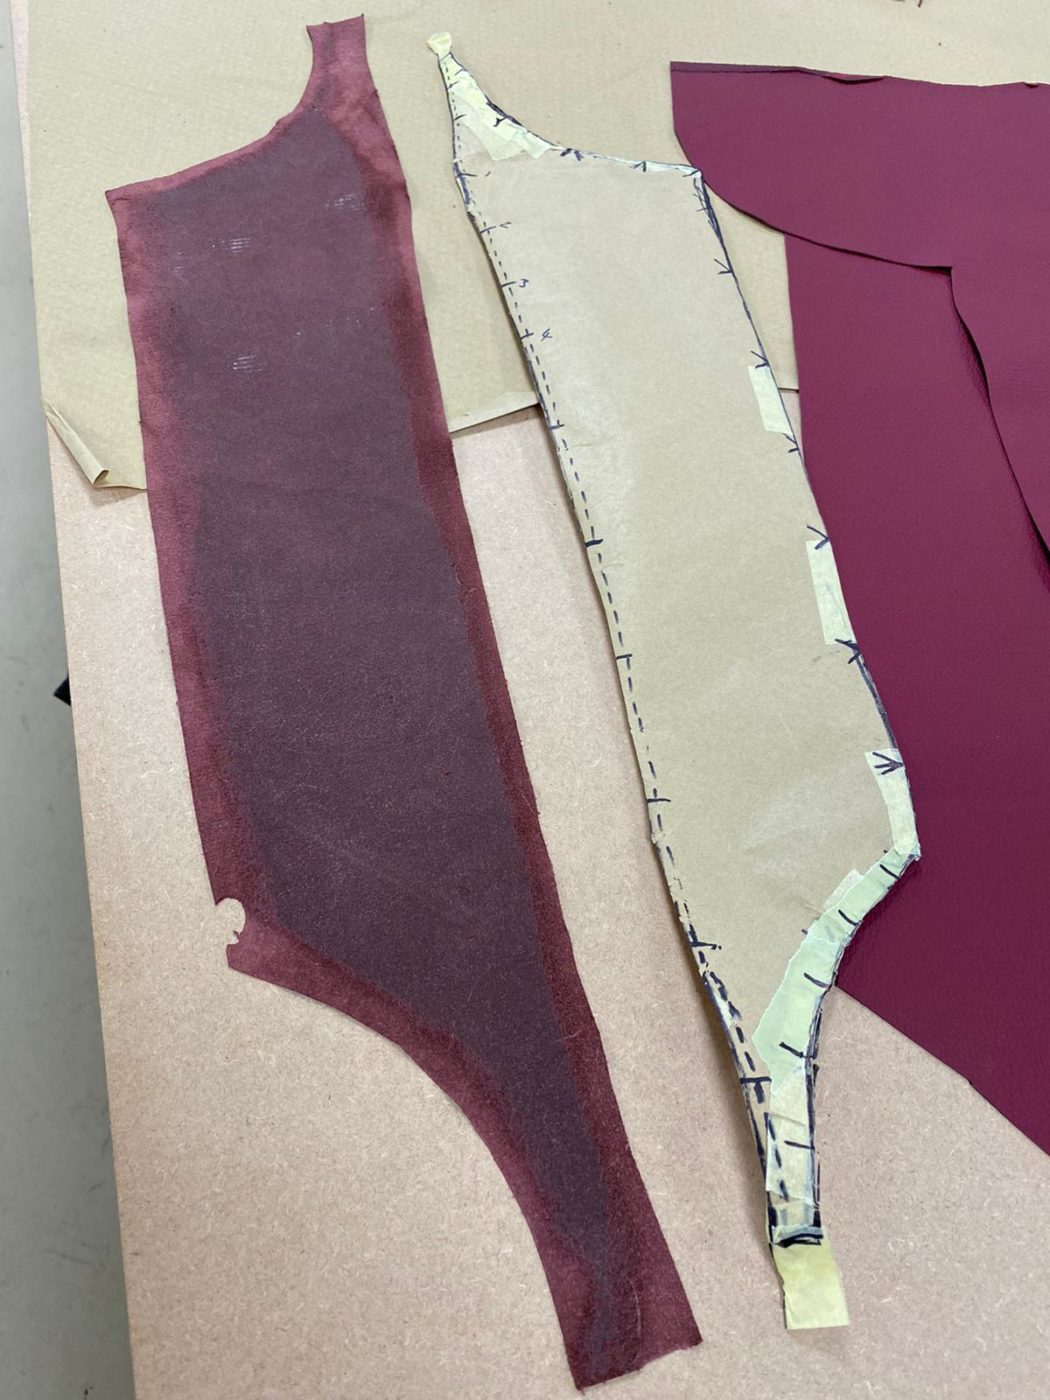
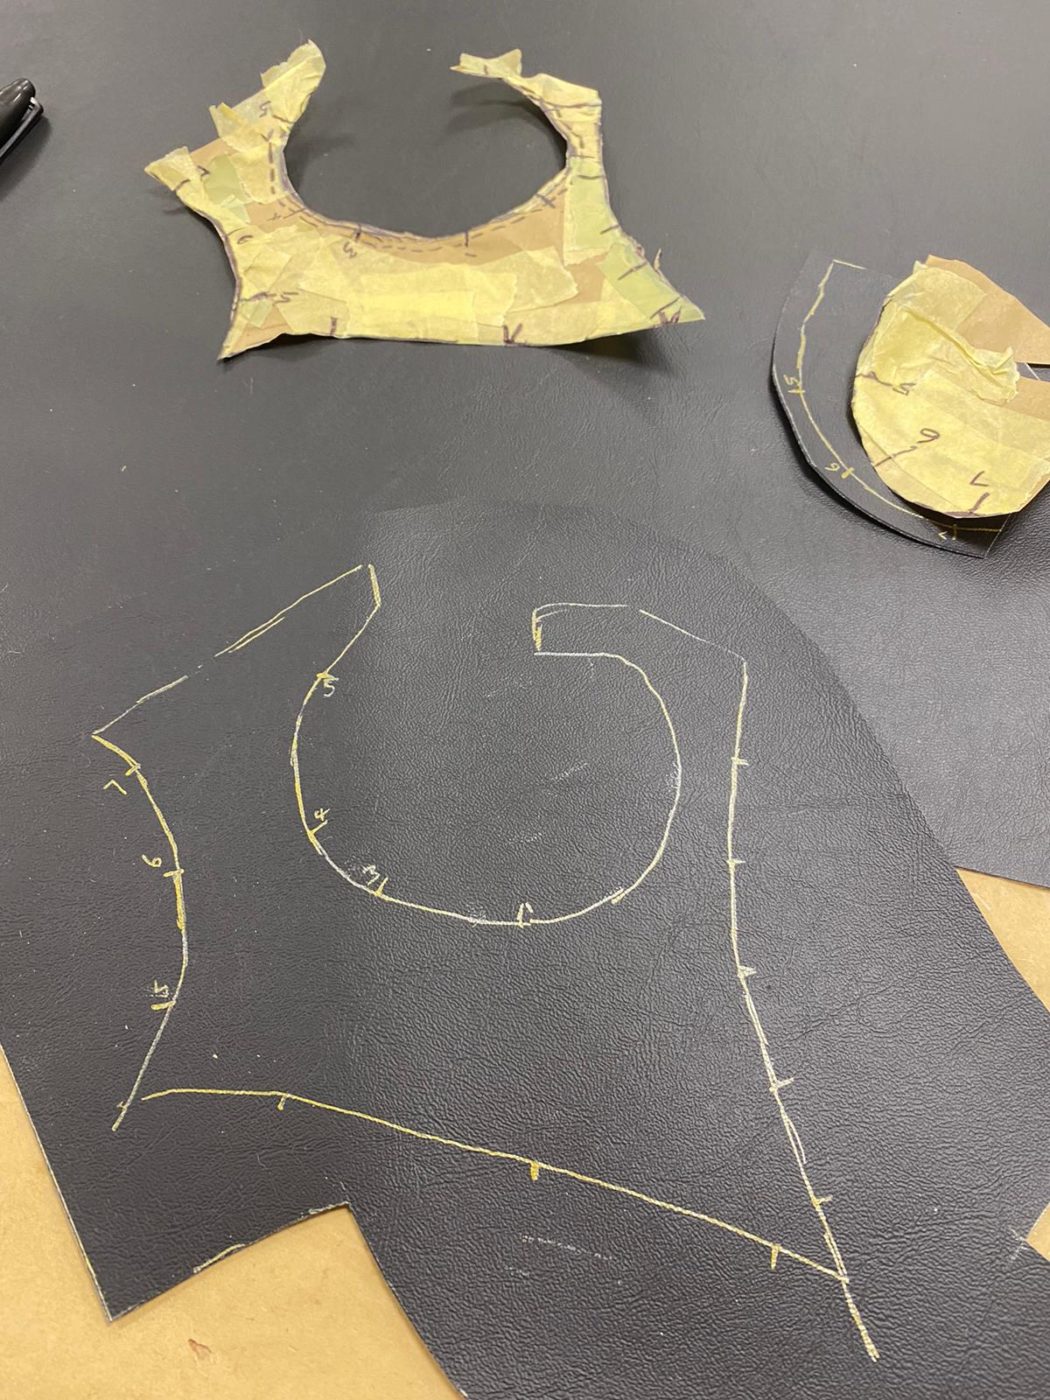
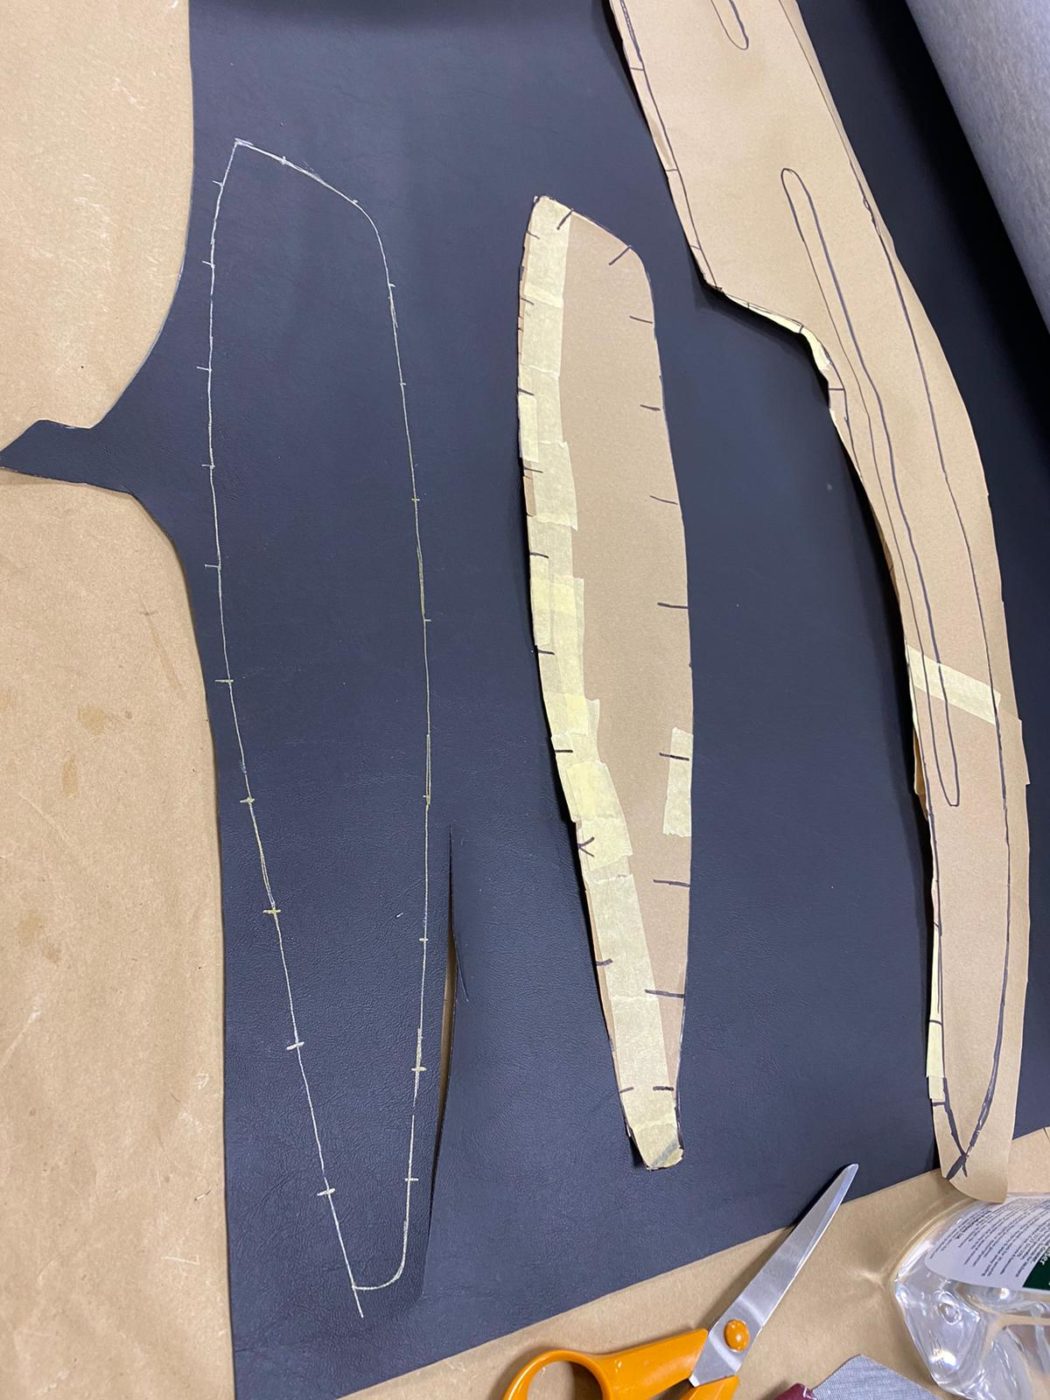
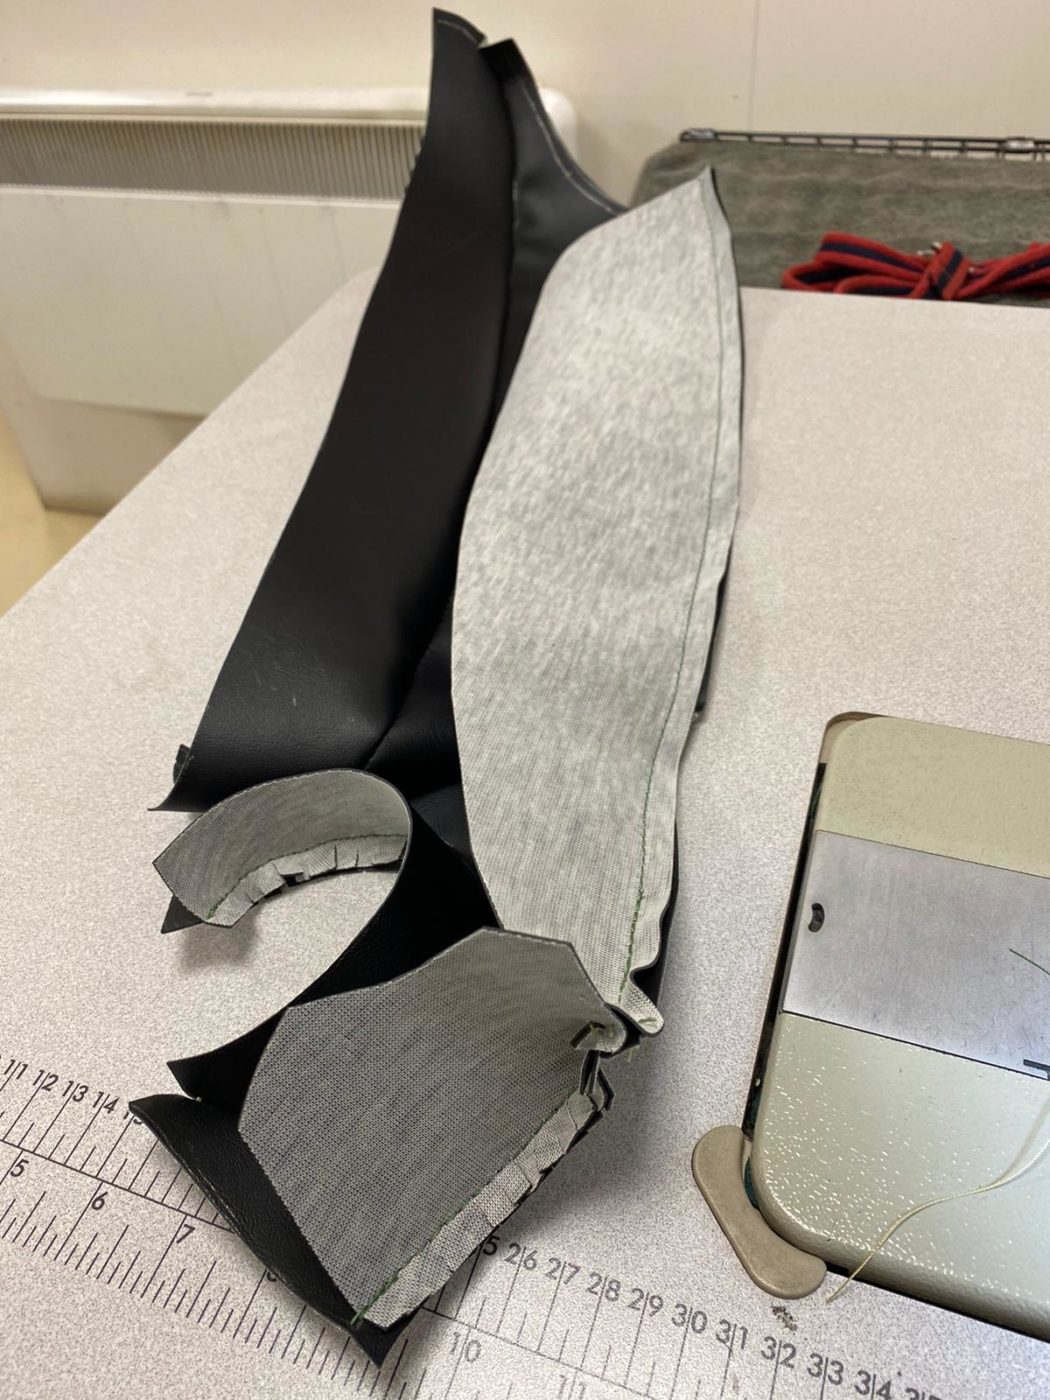
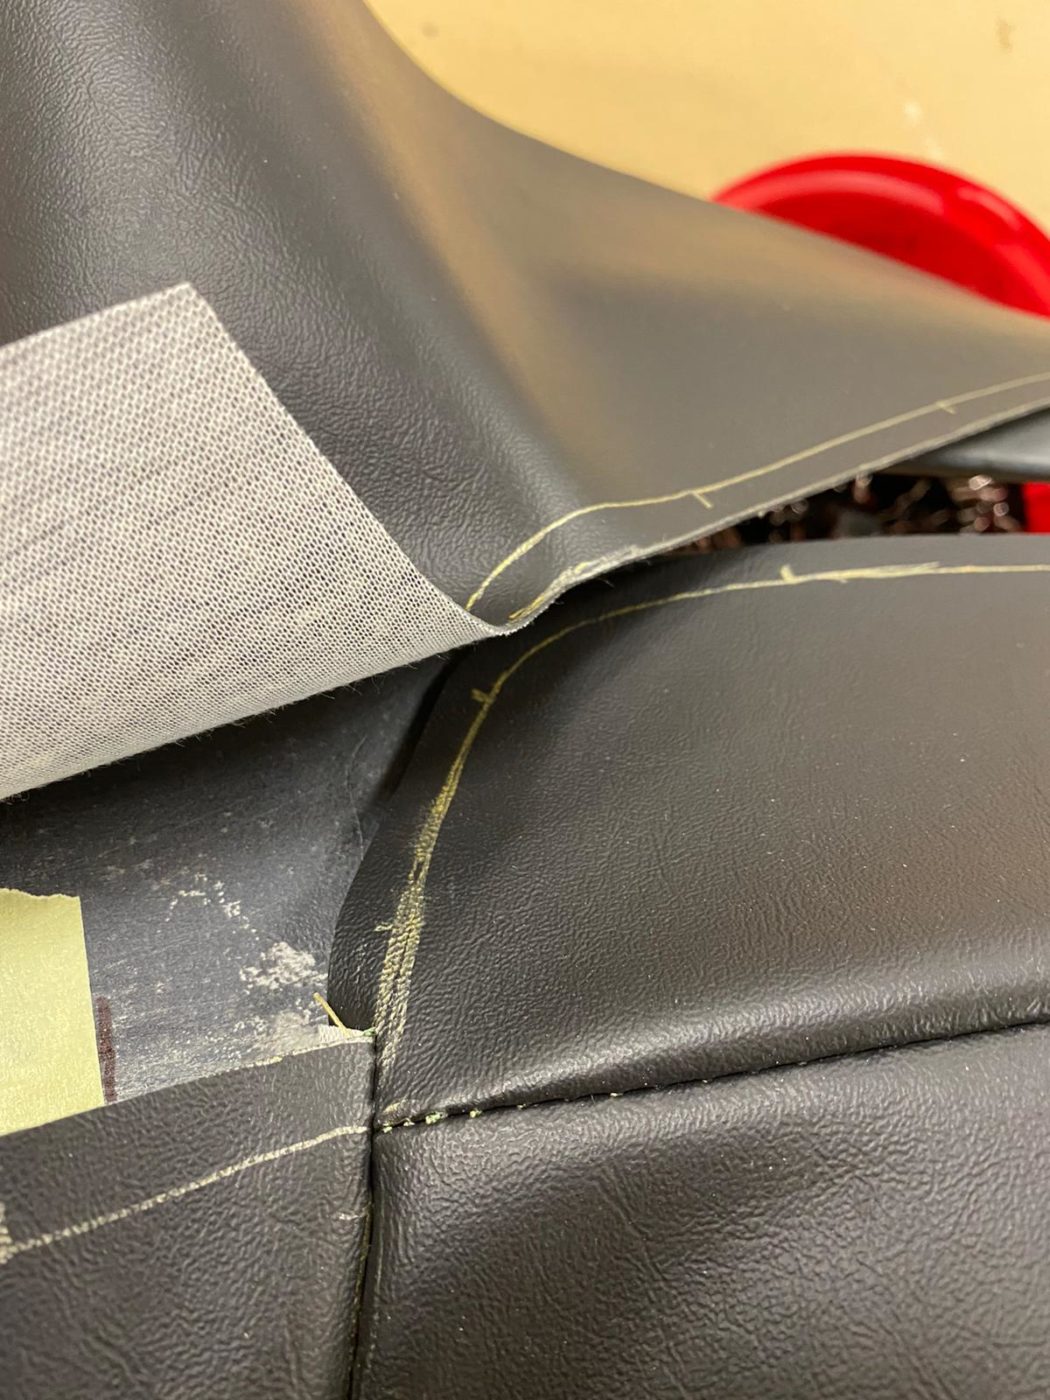
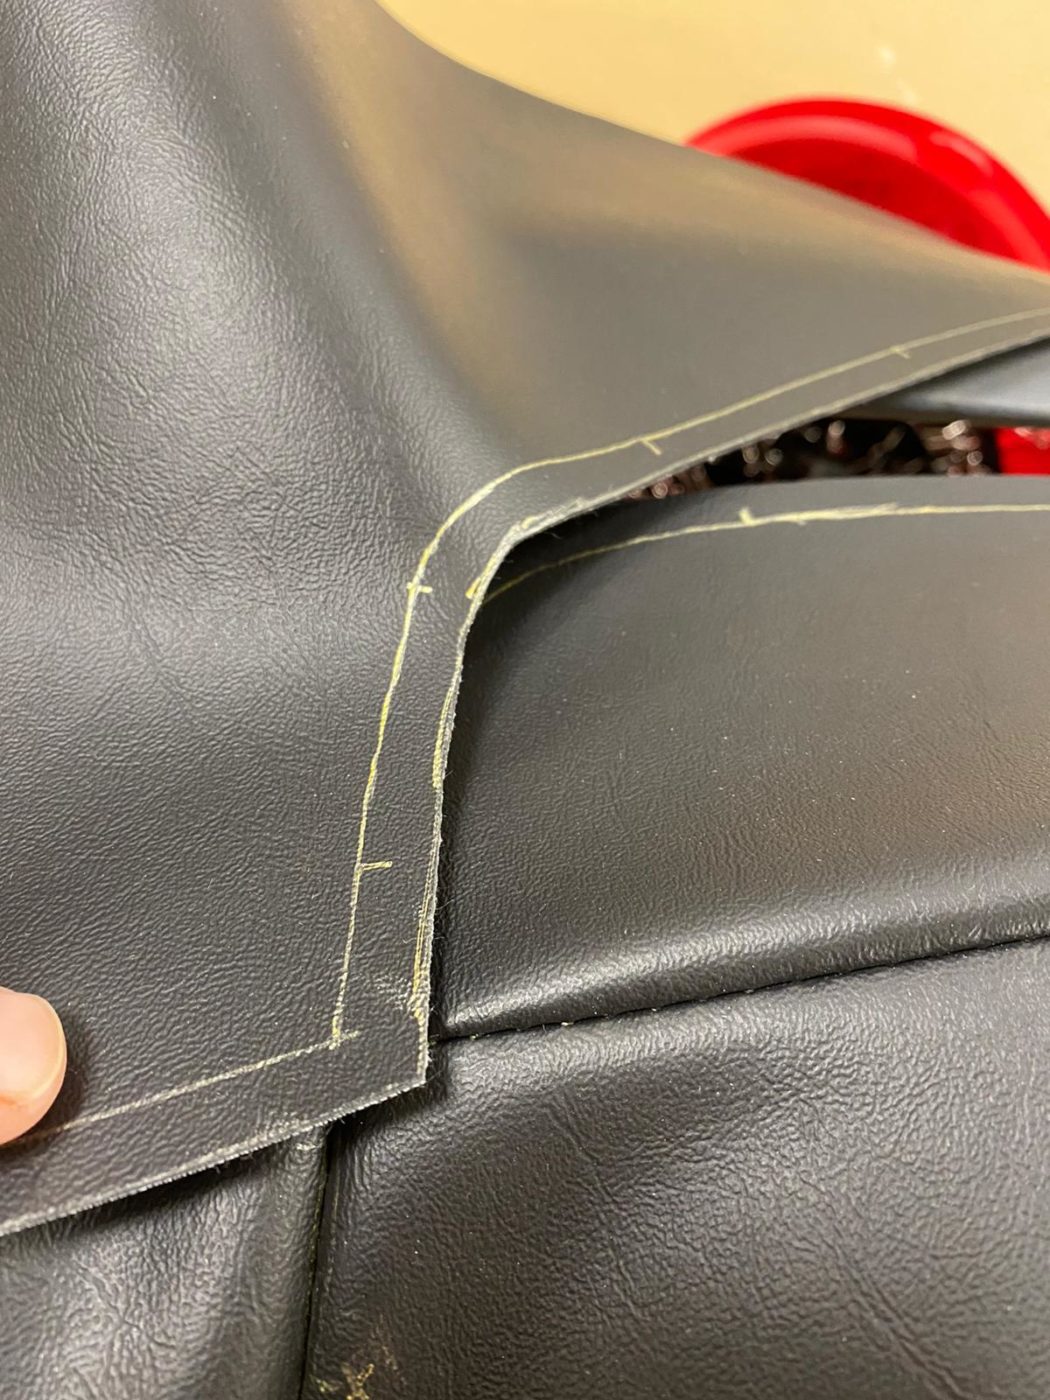
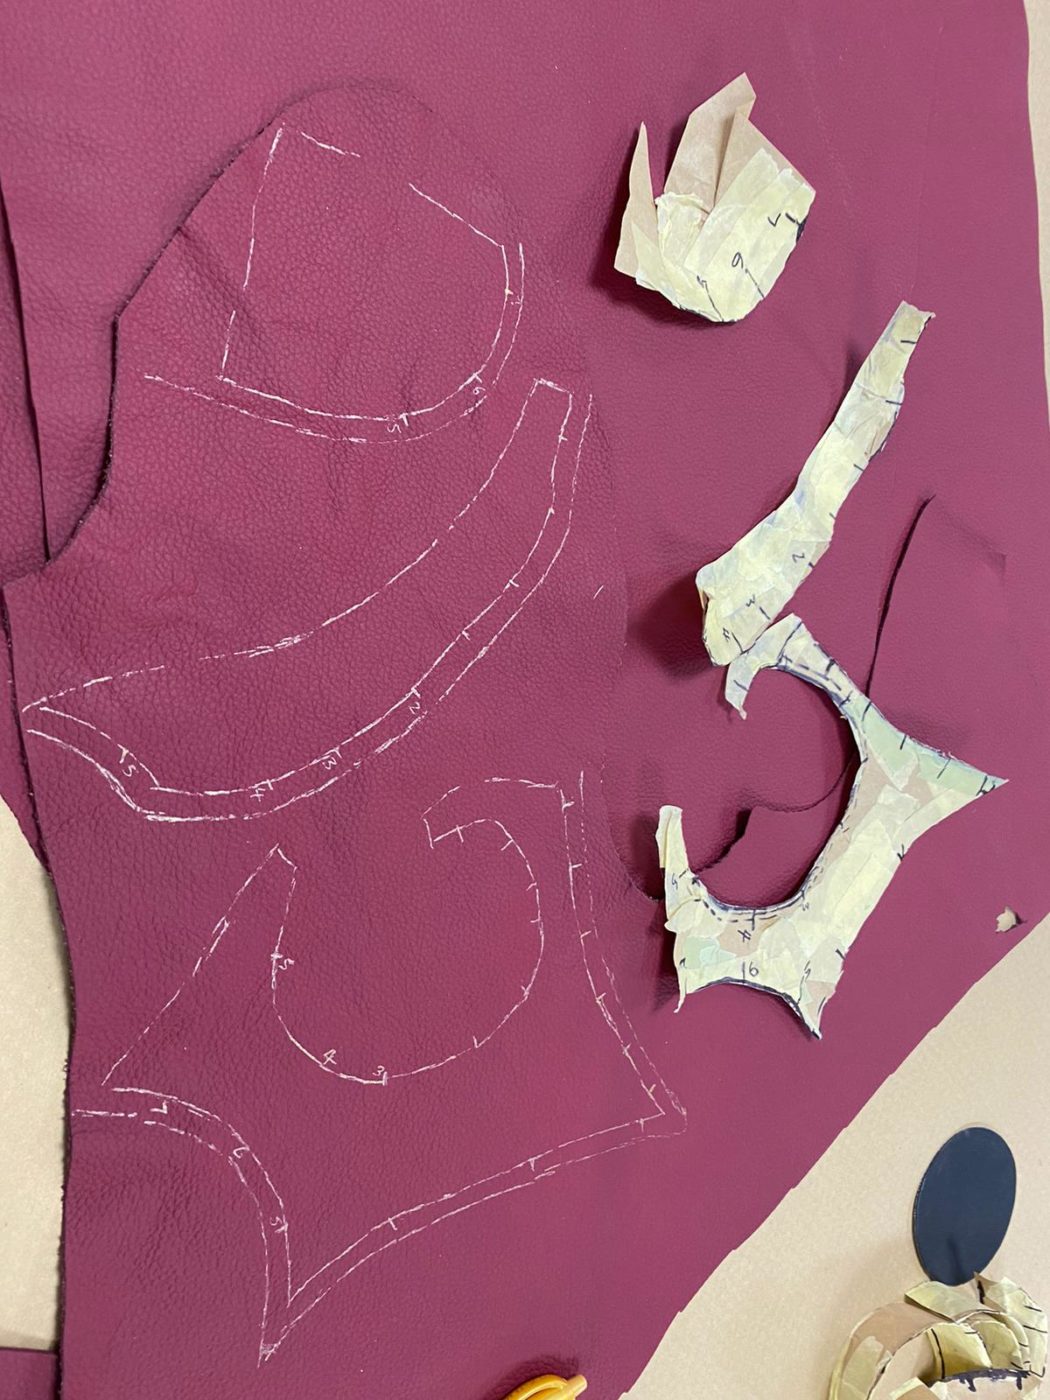
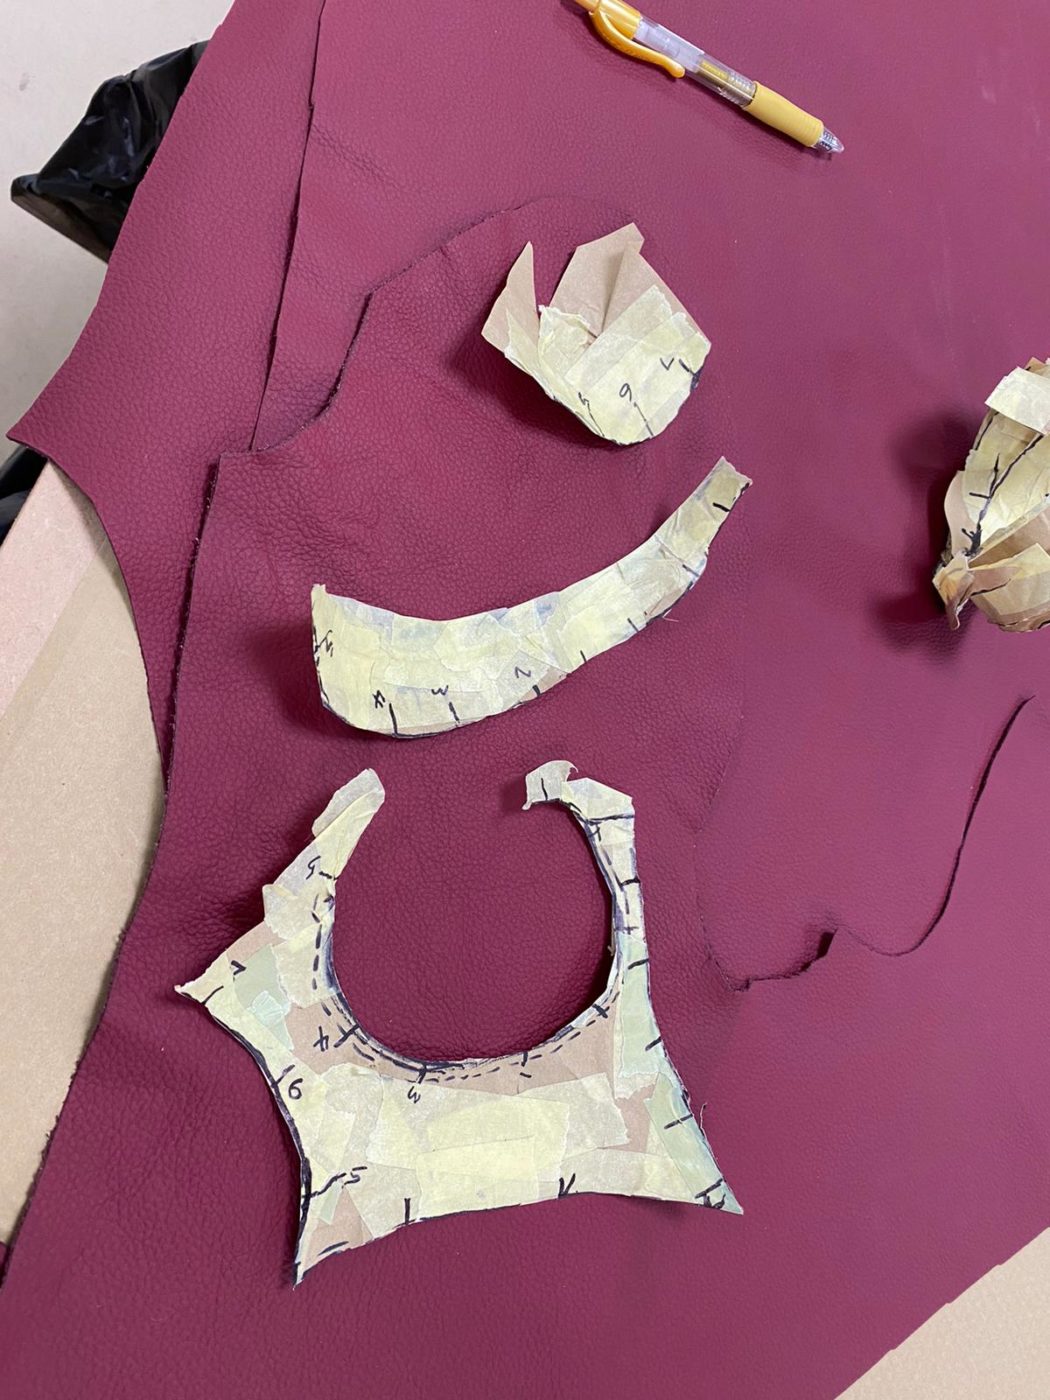
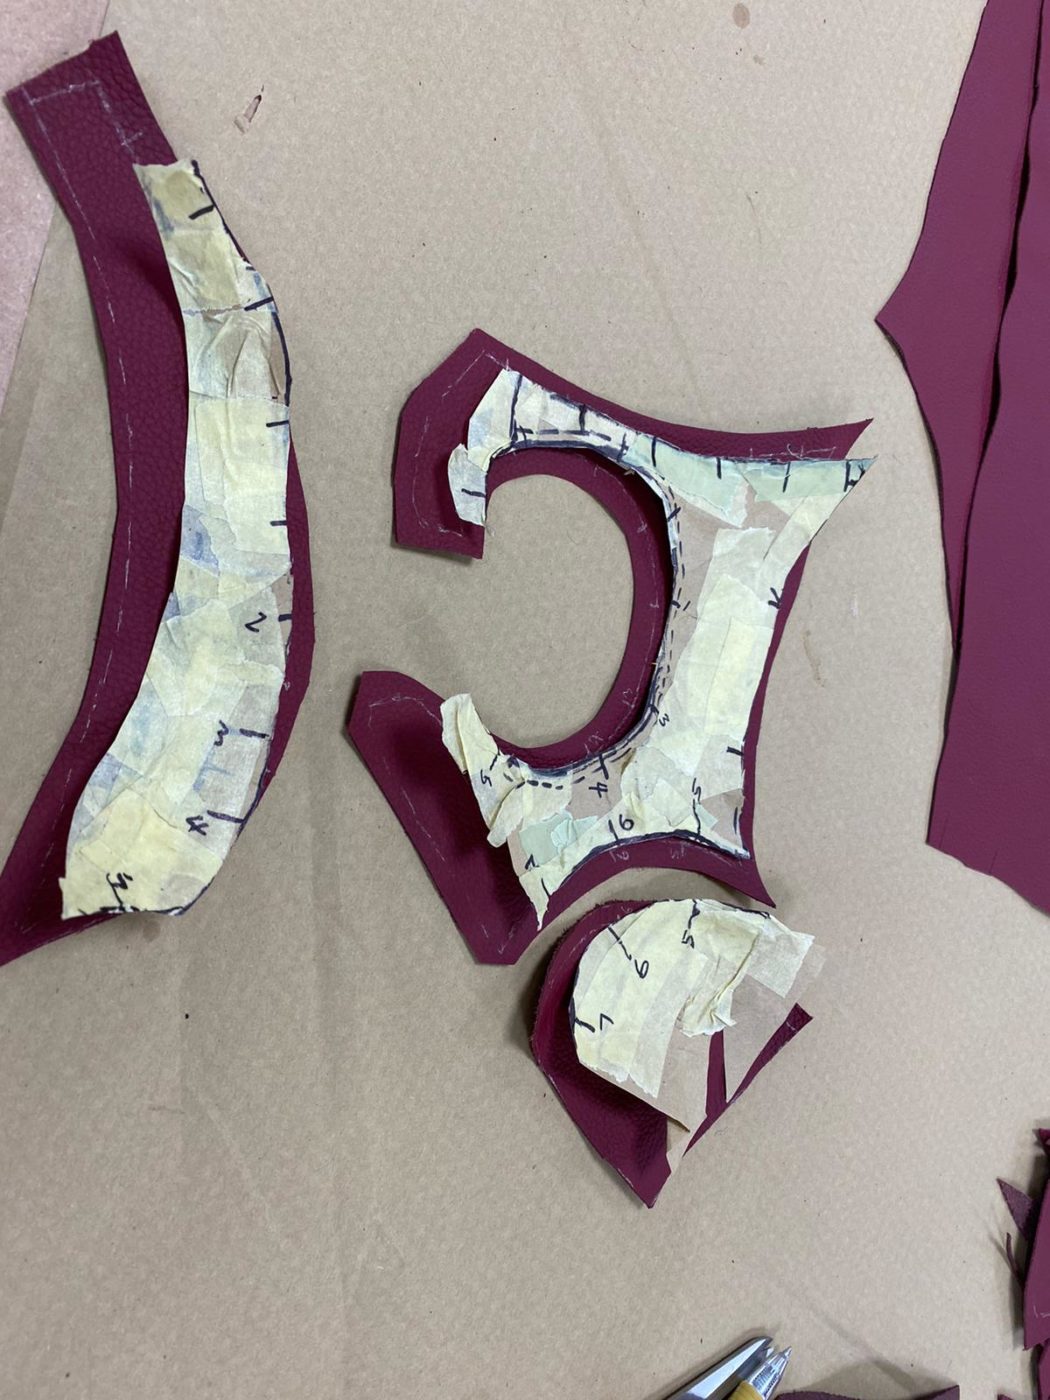
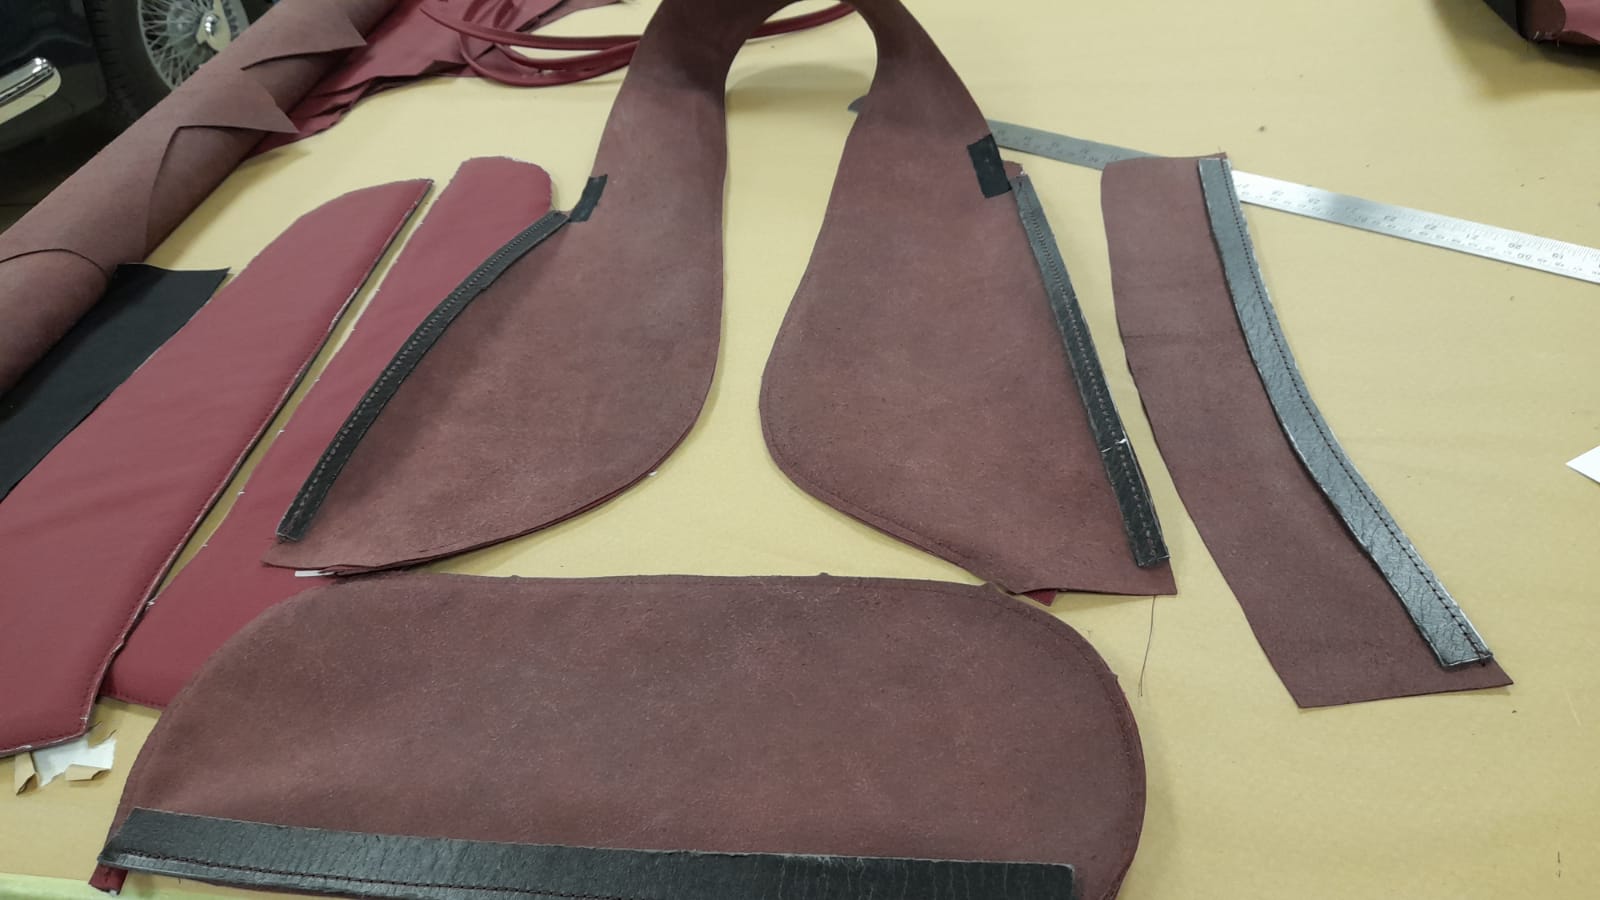
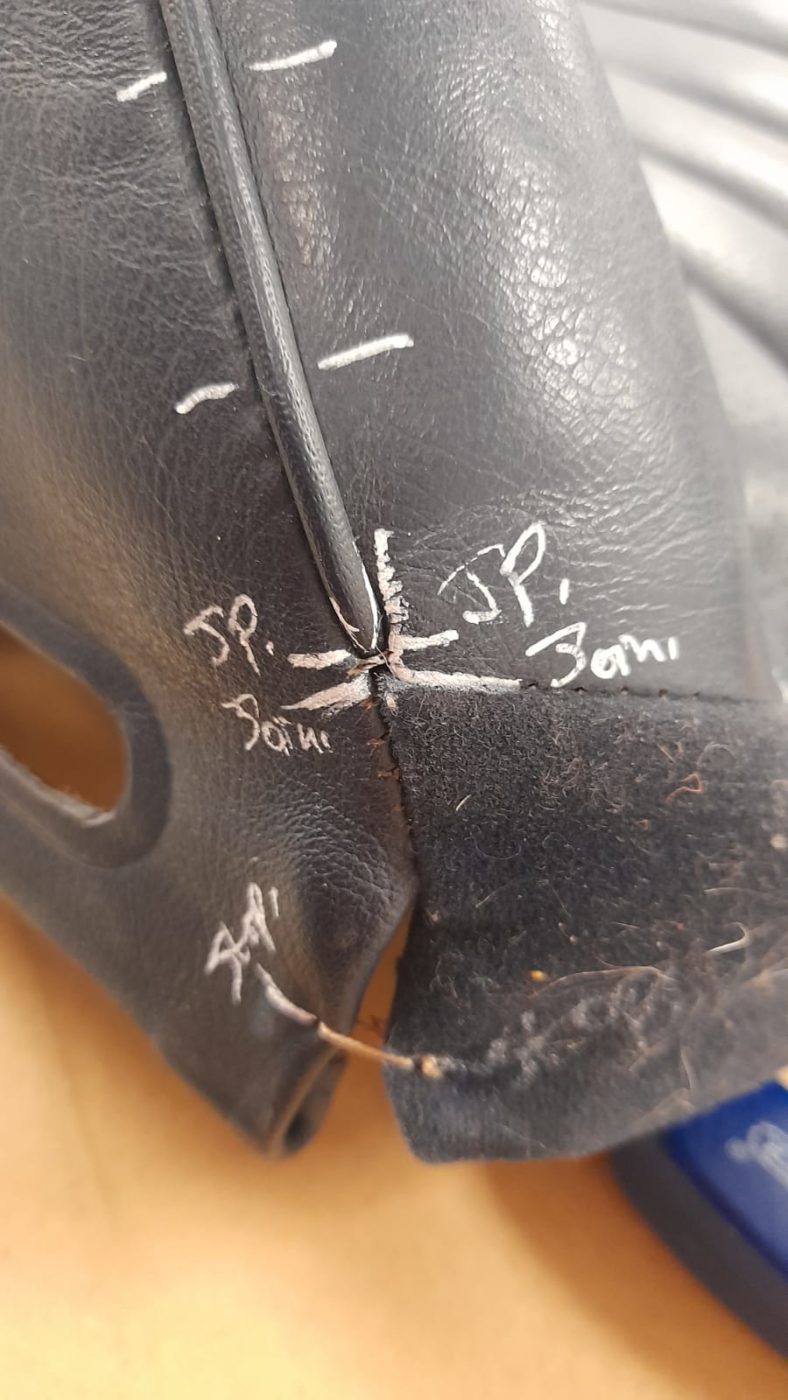
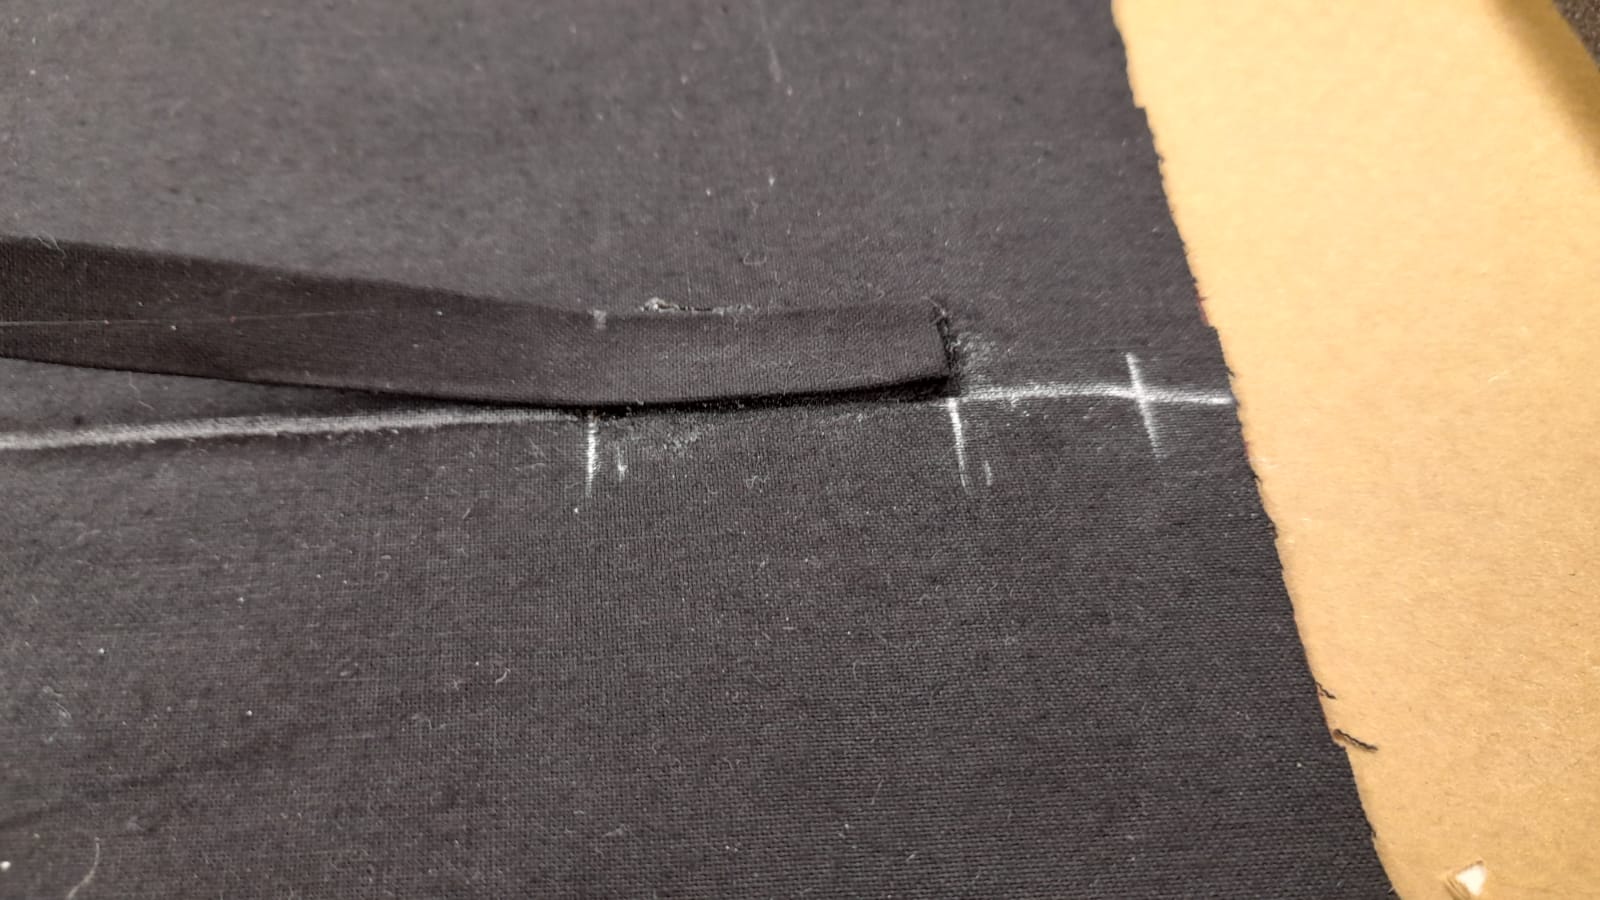
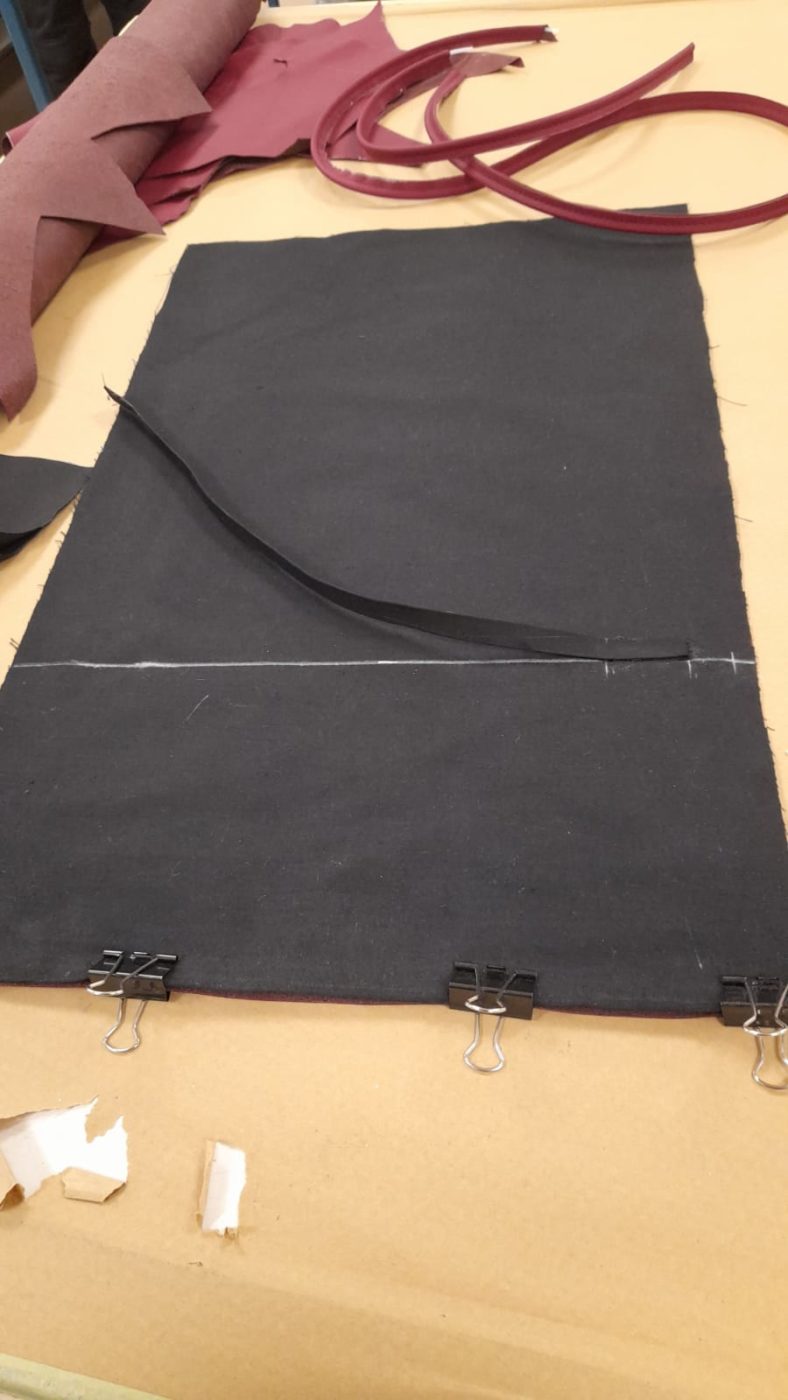
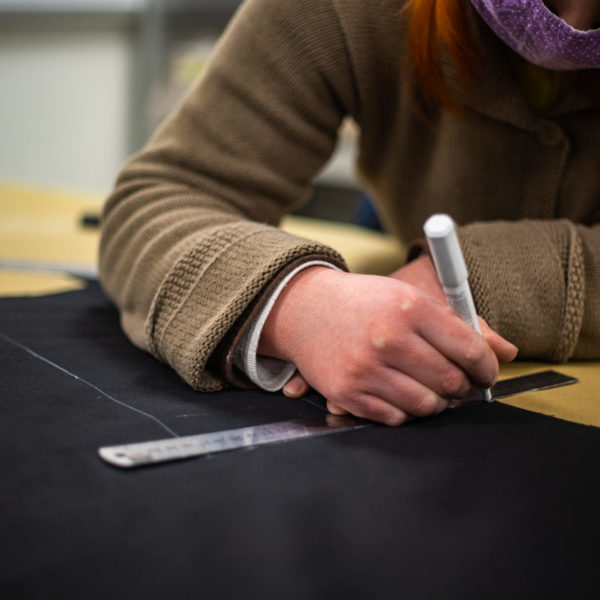
Beginning with the original piece, Brian hand-made a template for the new pieces which would find their way onto the armrest of the handsome R107.
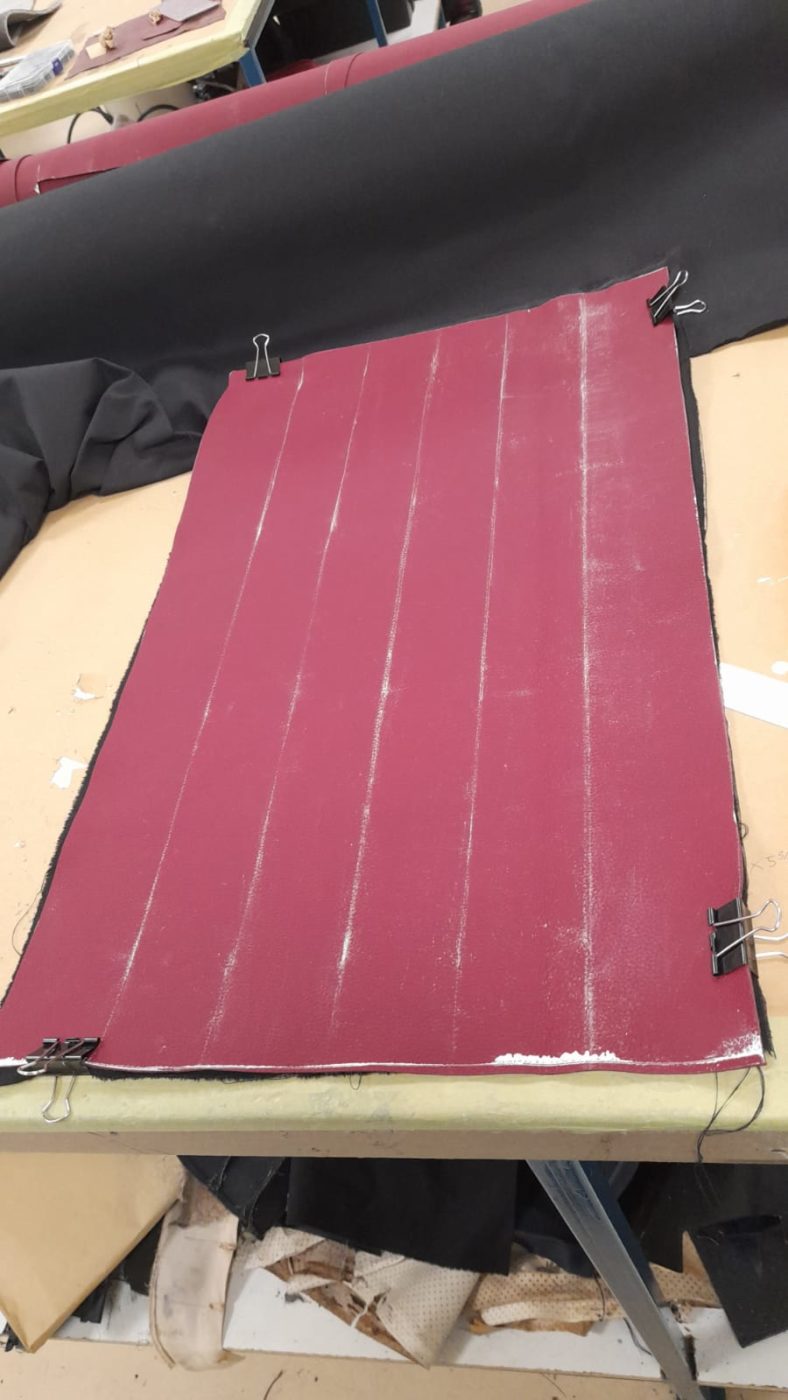
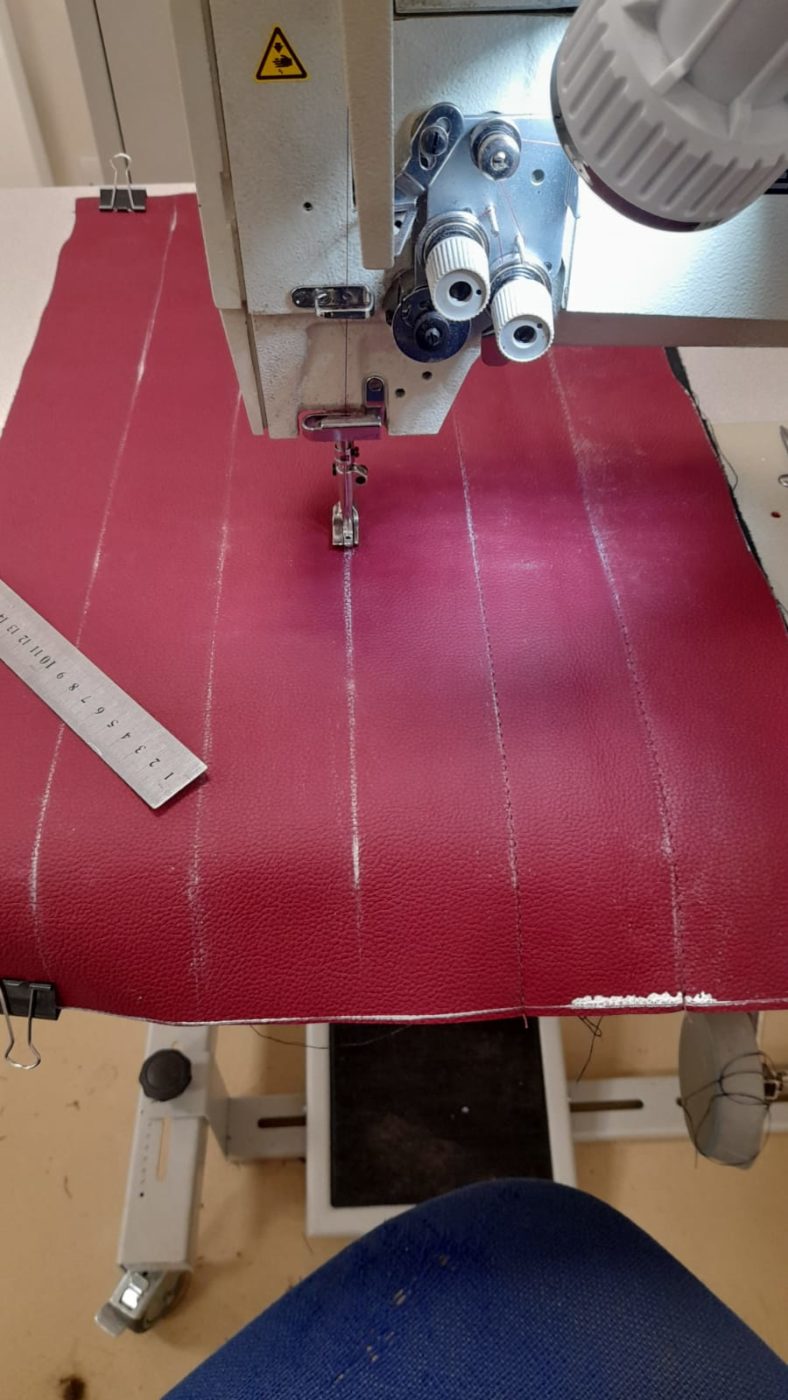
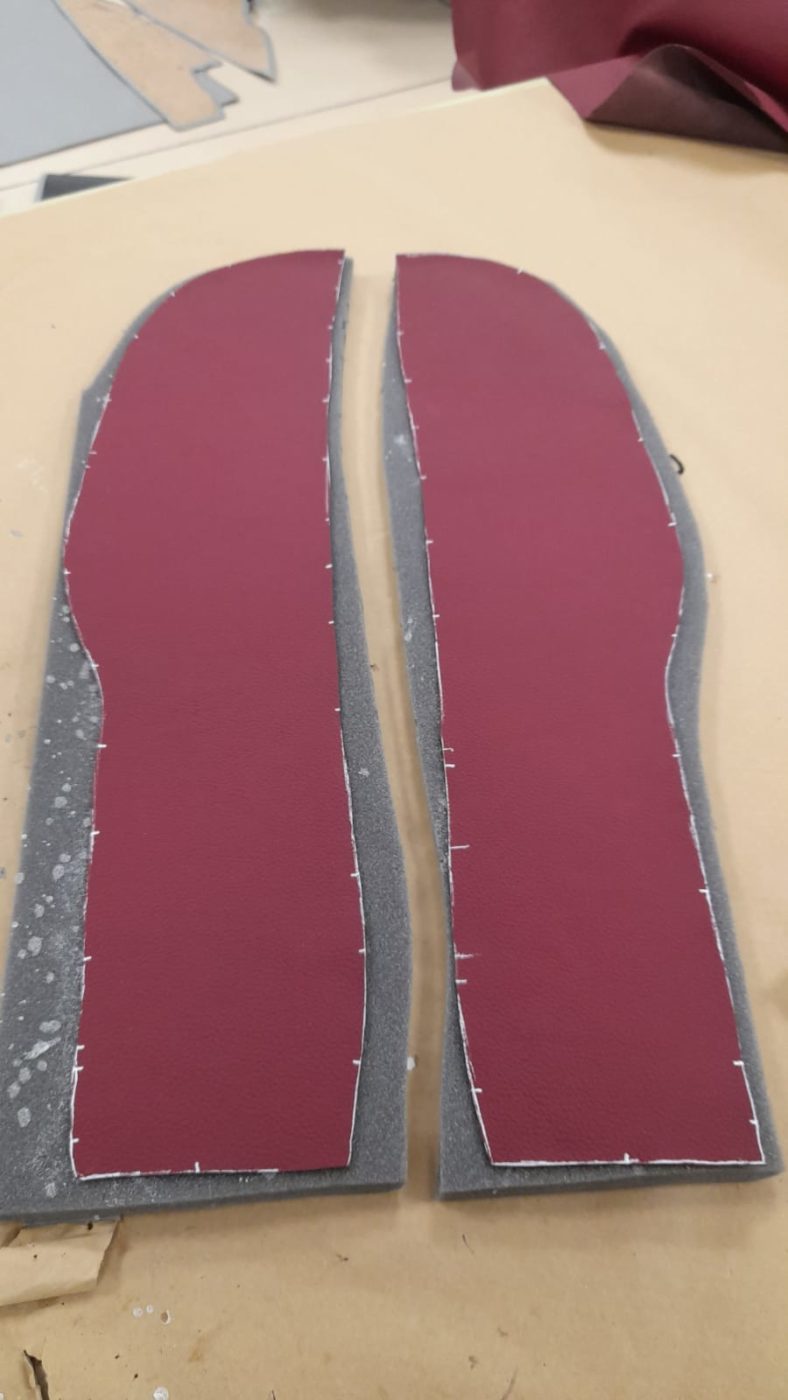
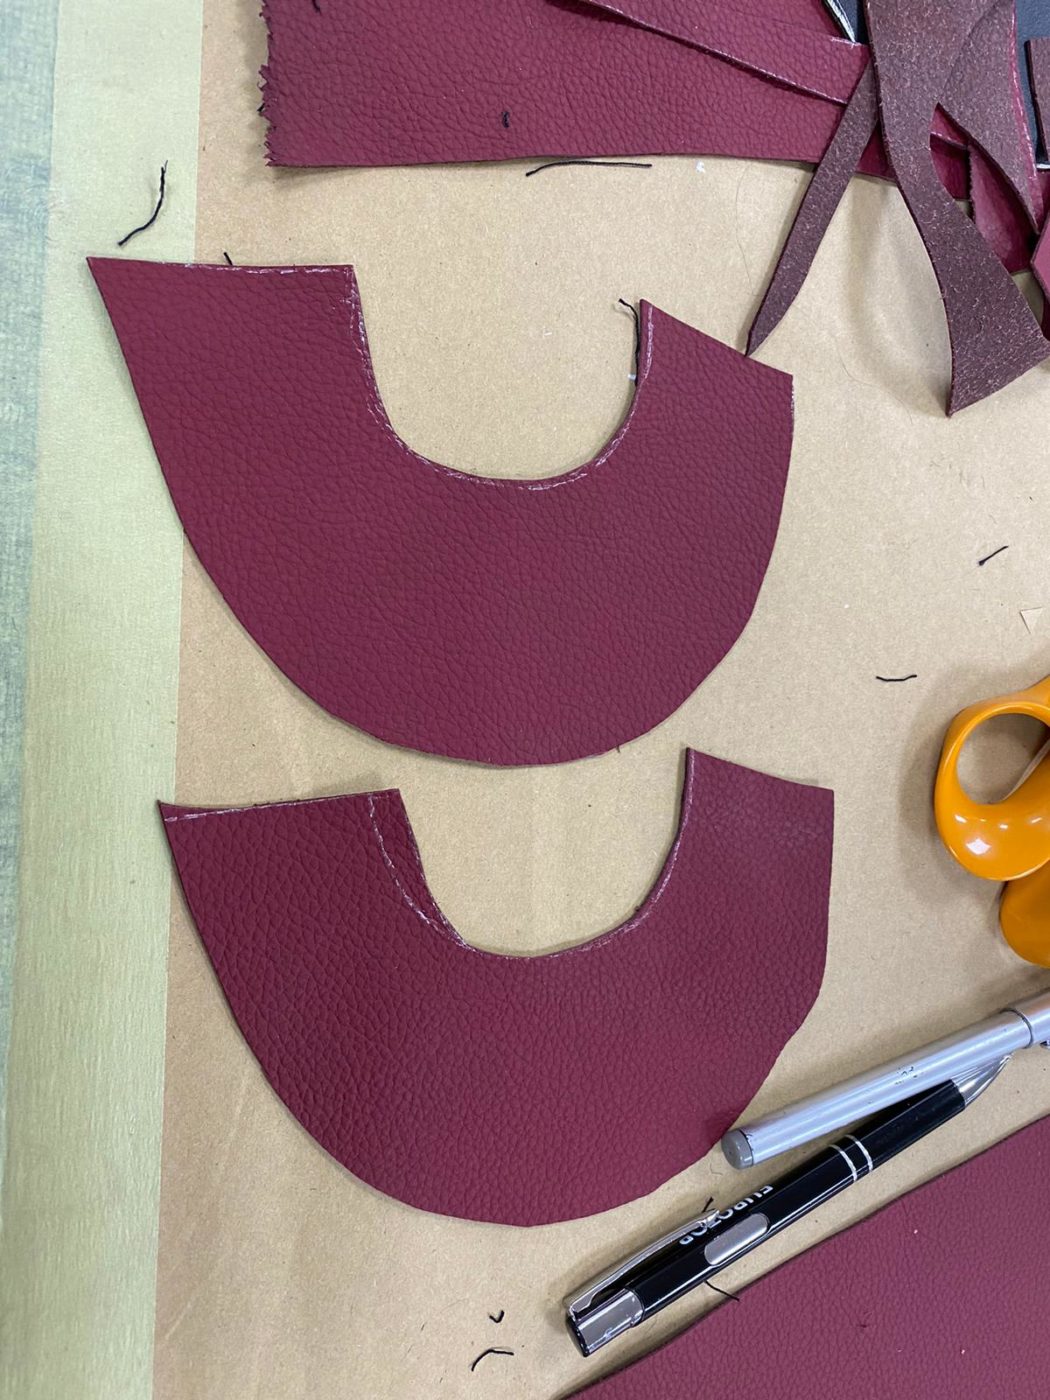
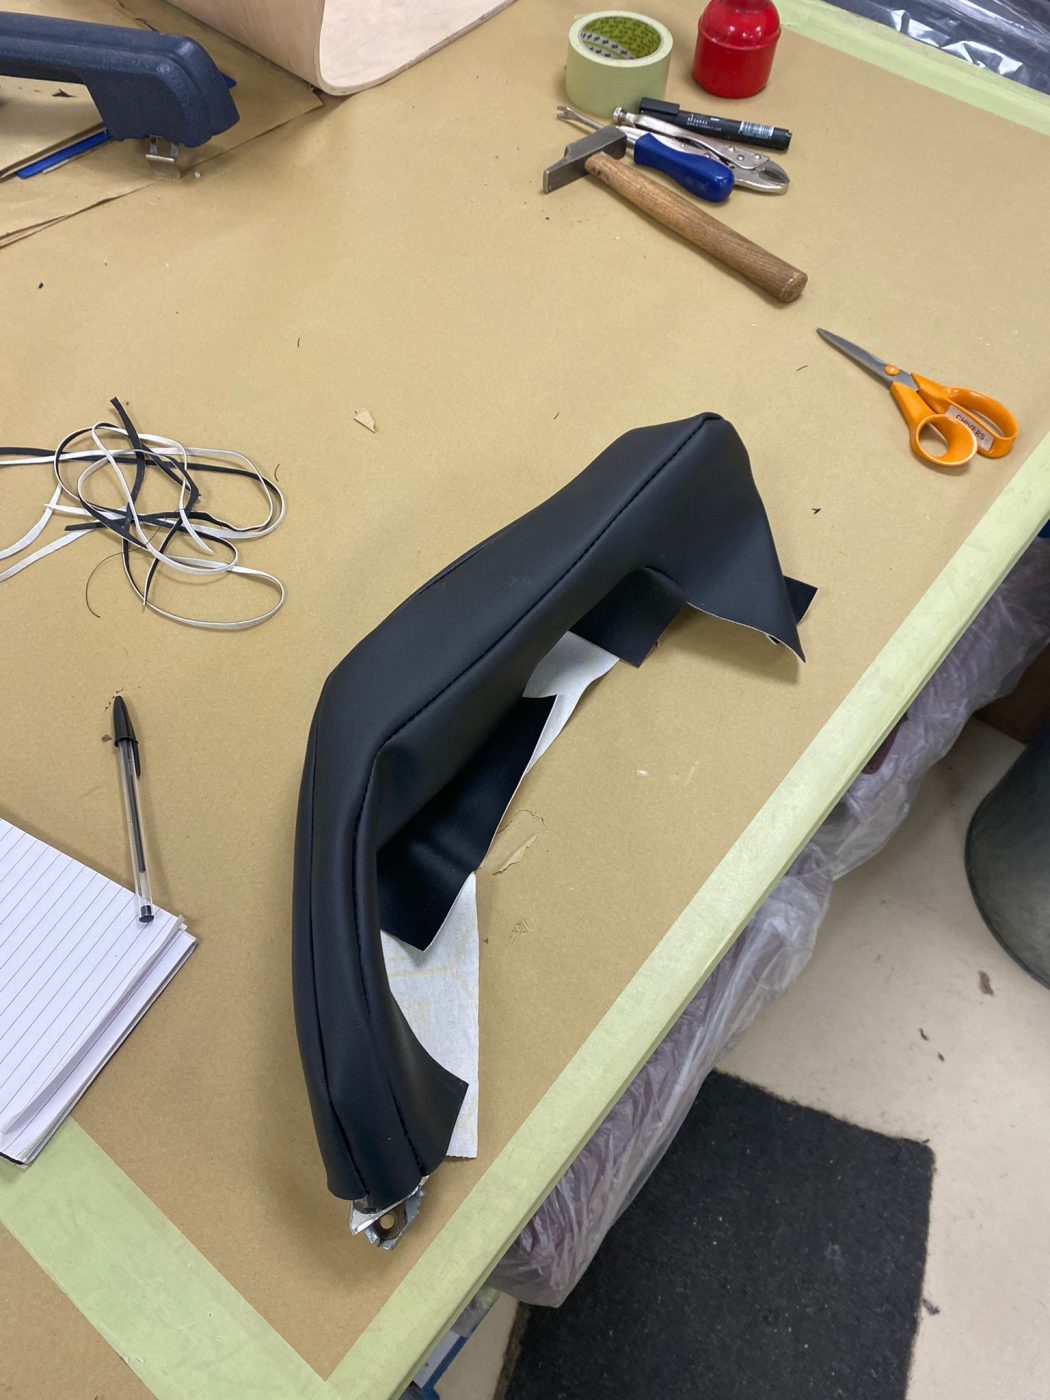
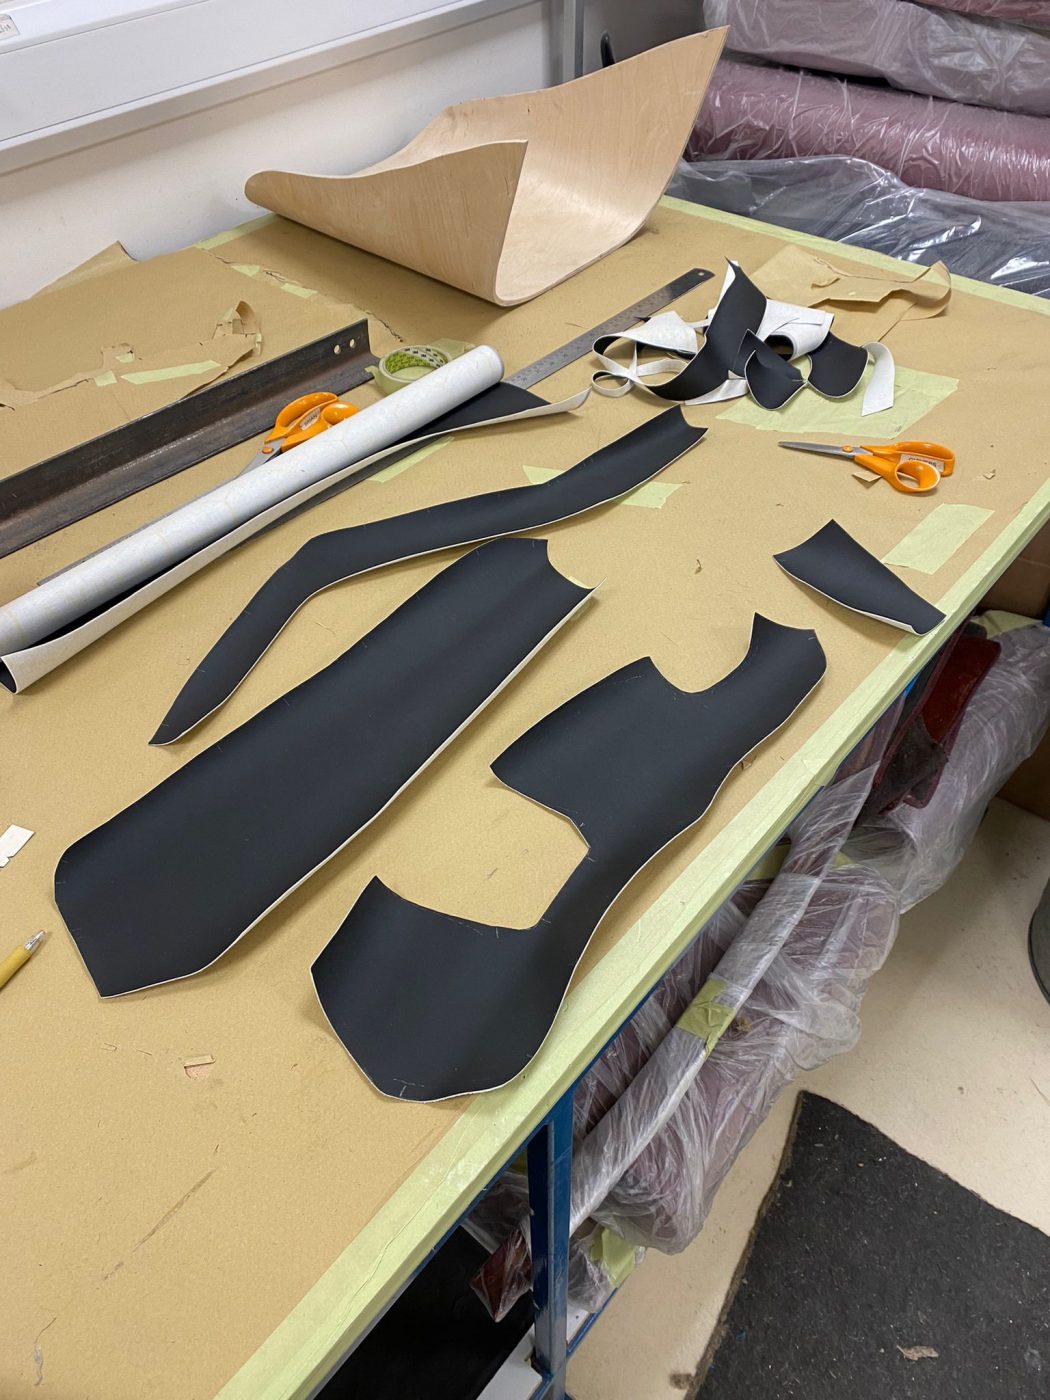
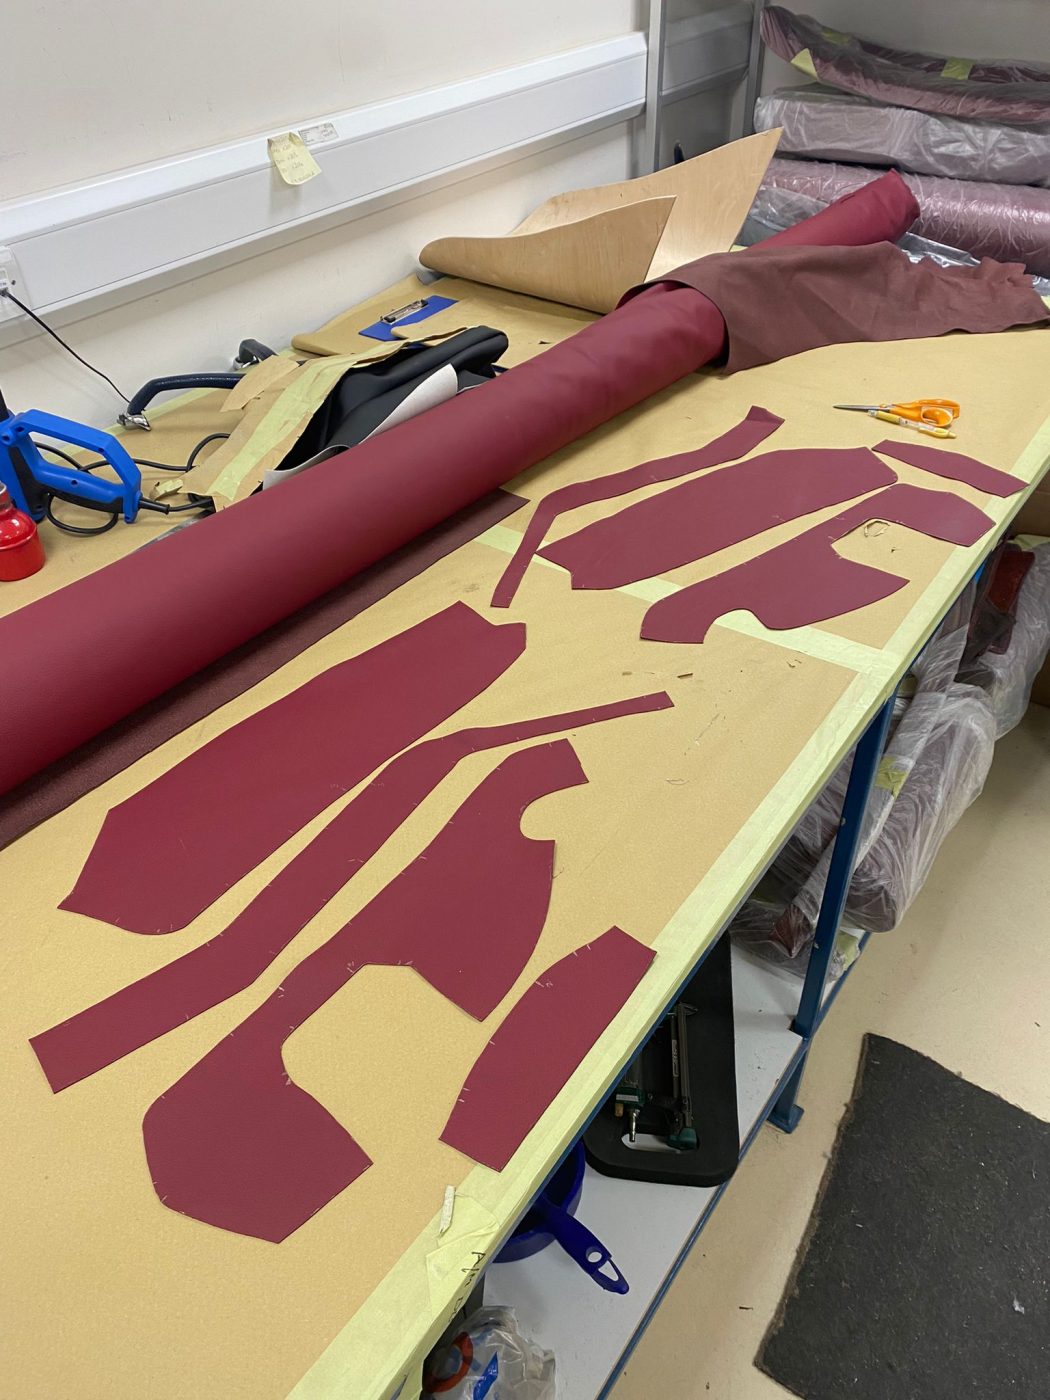
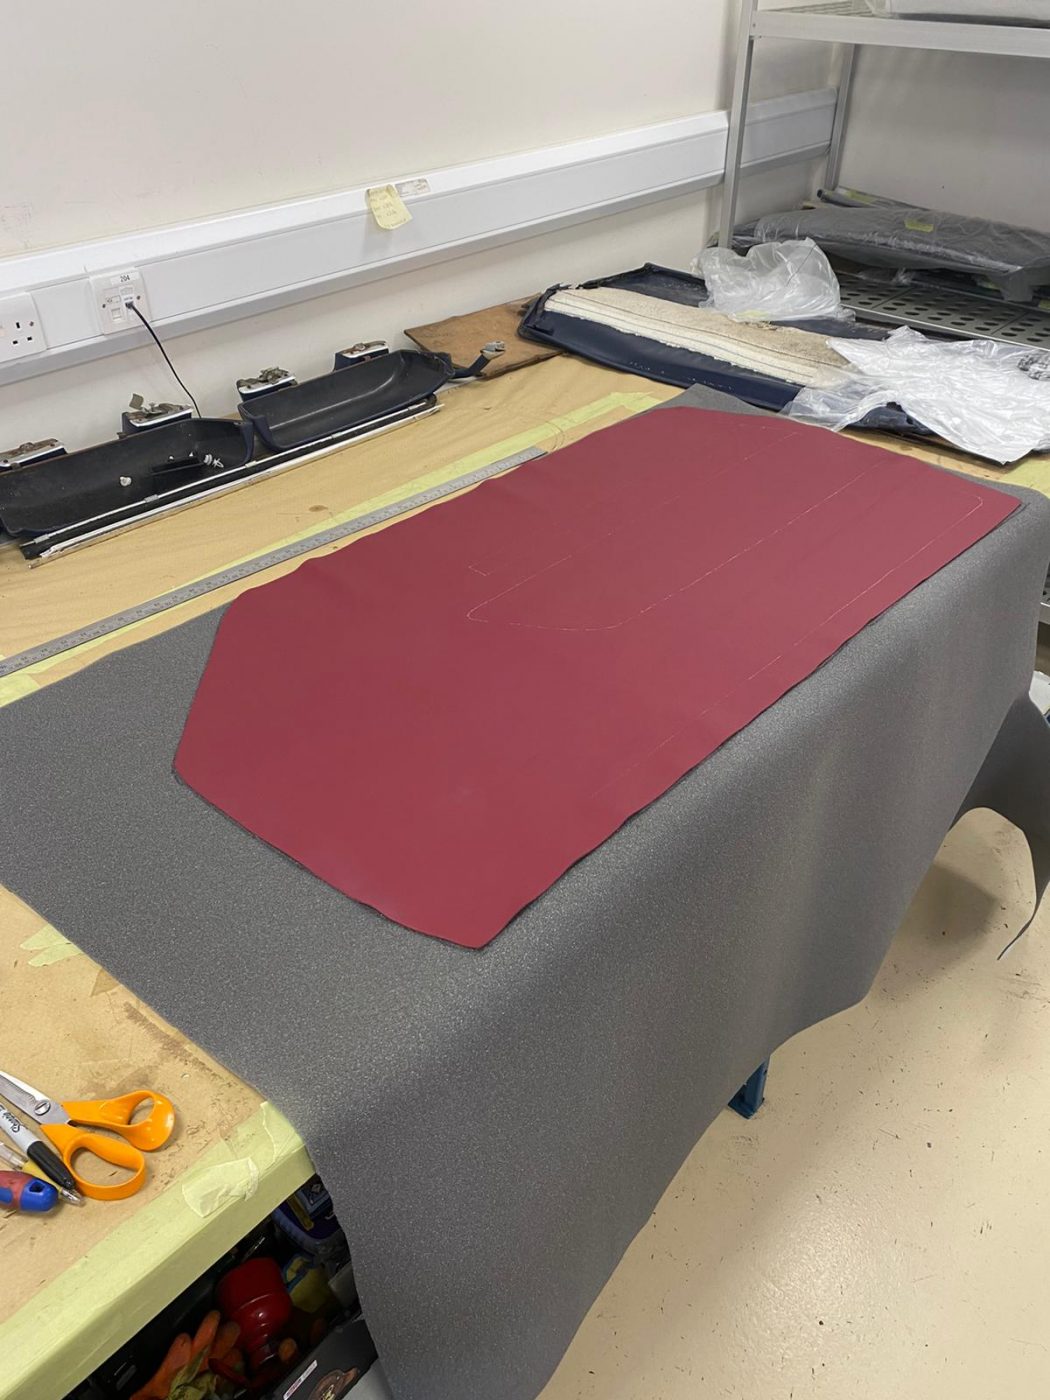
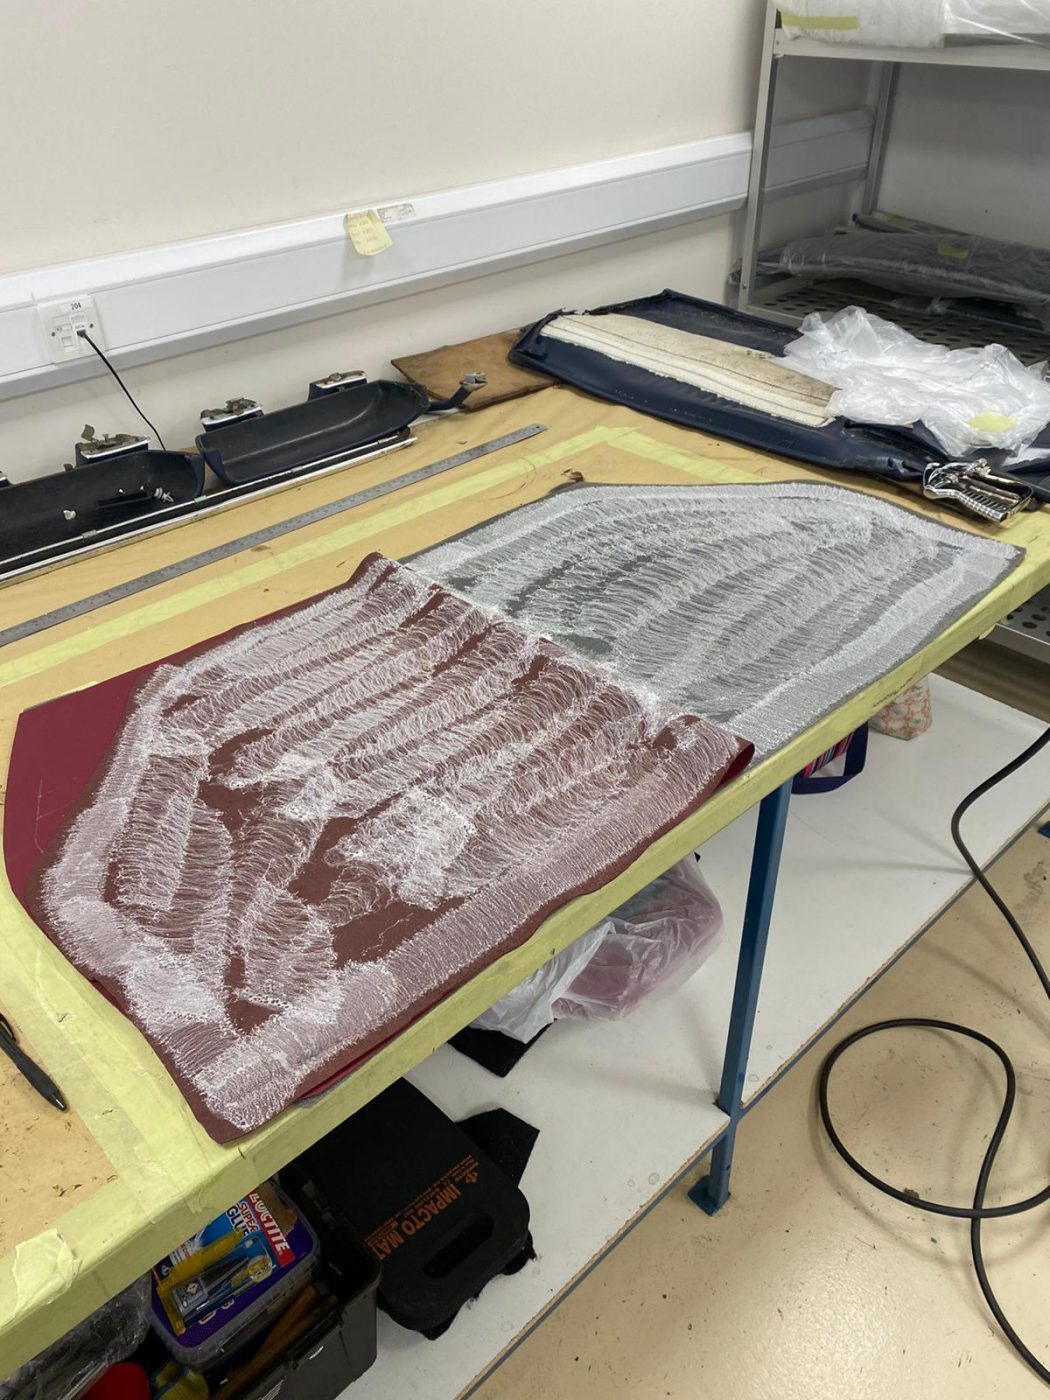
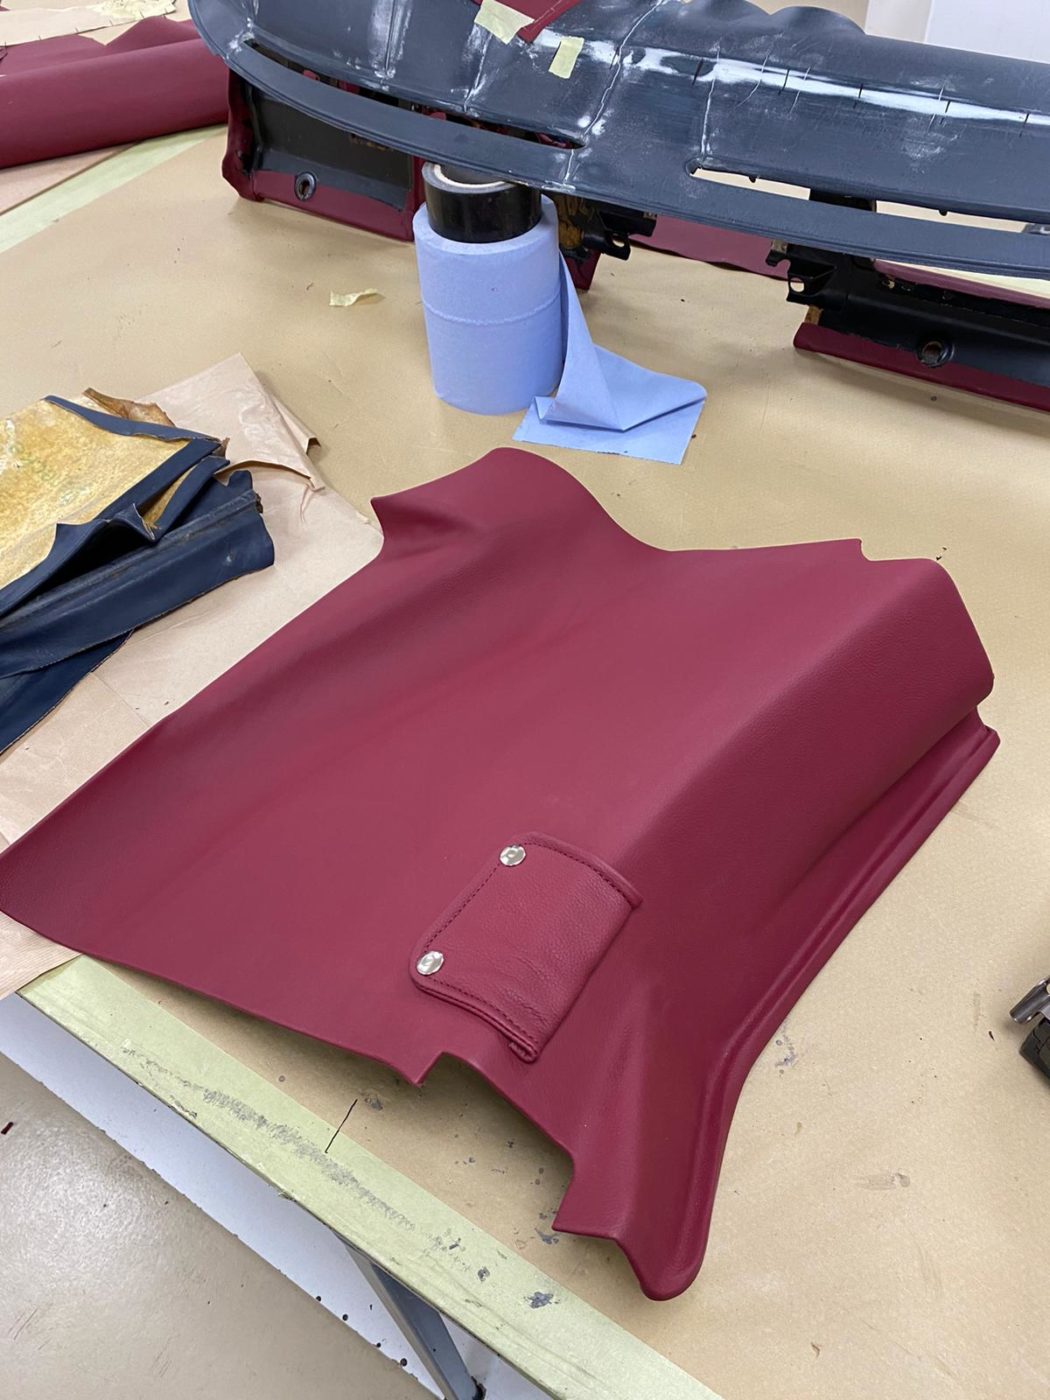
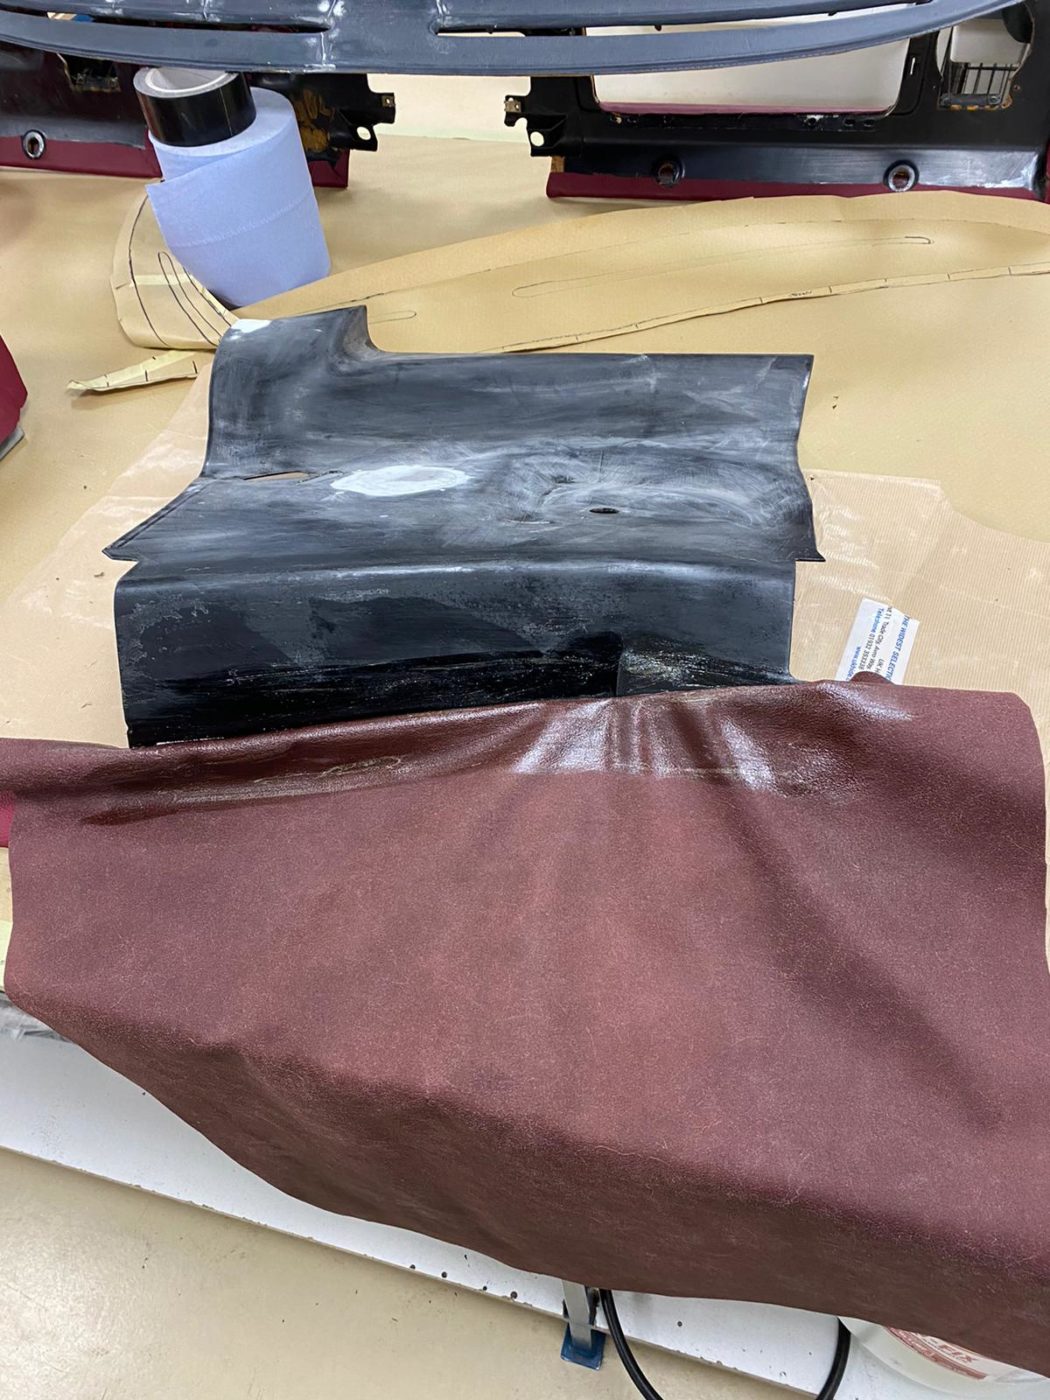
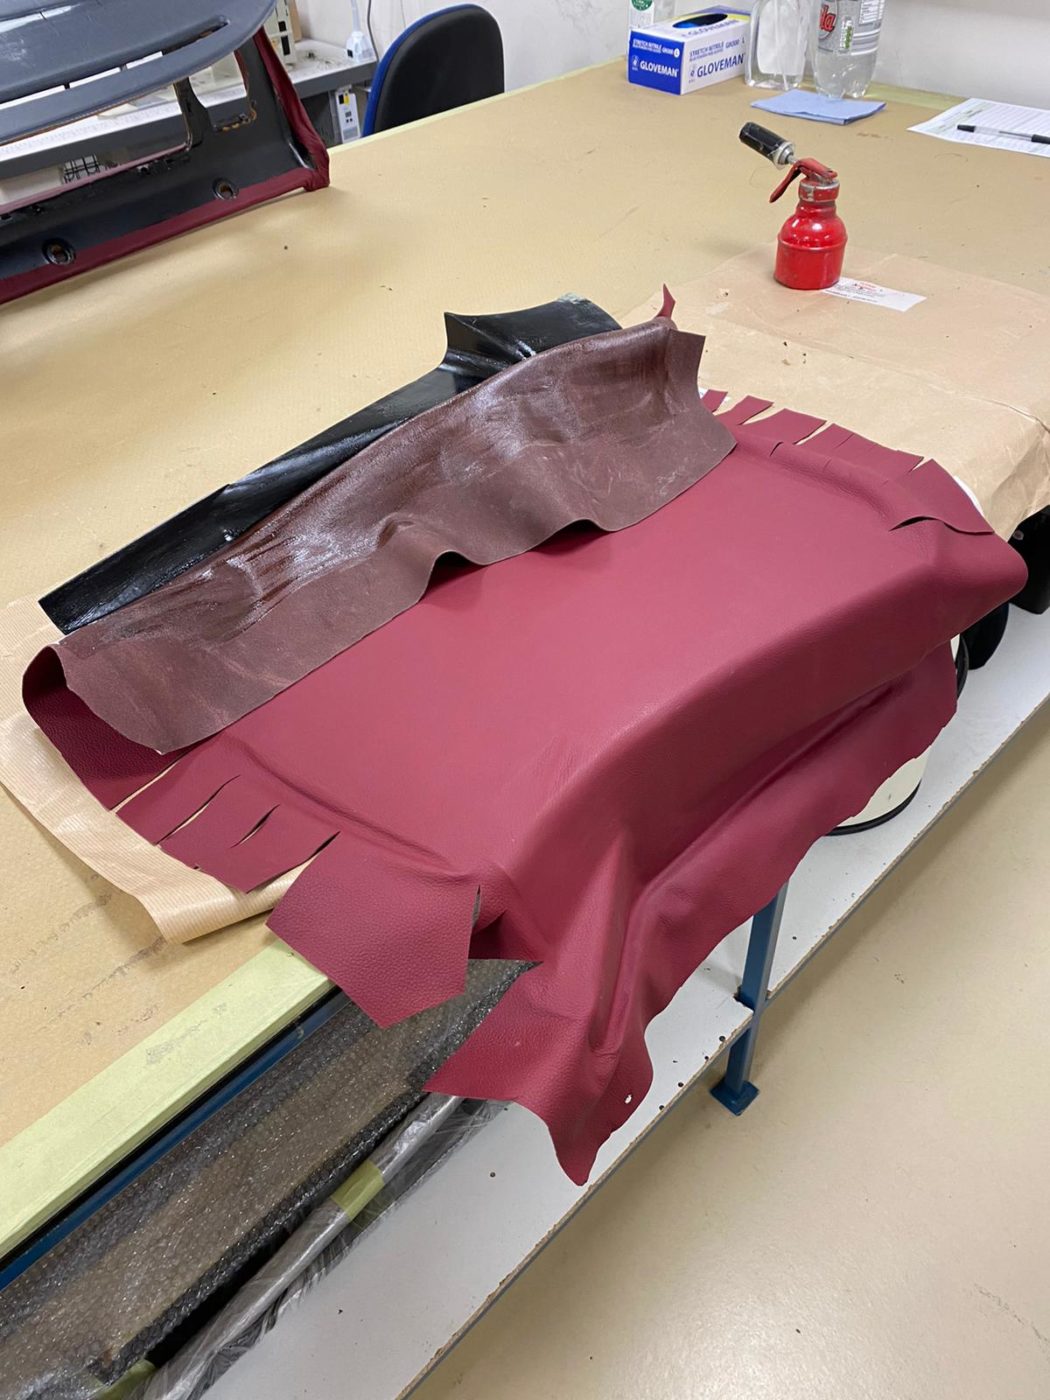
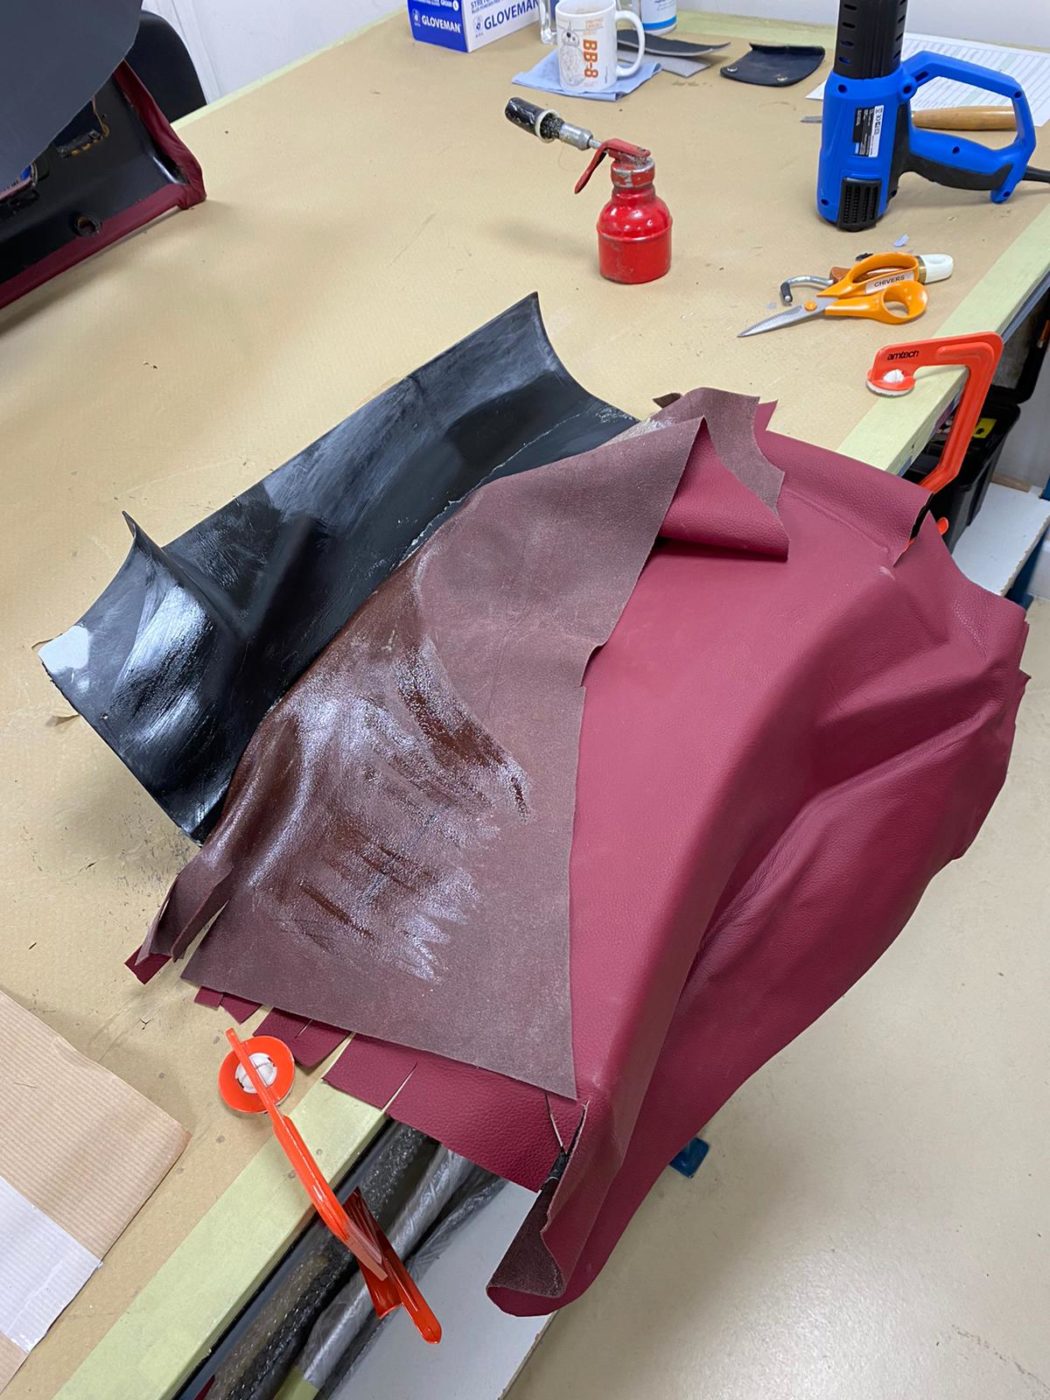
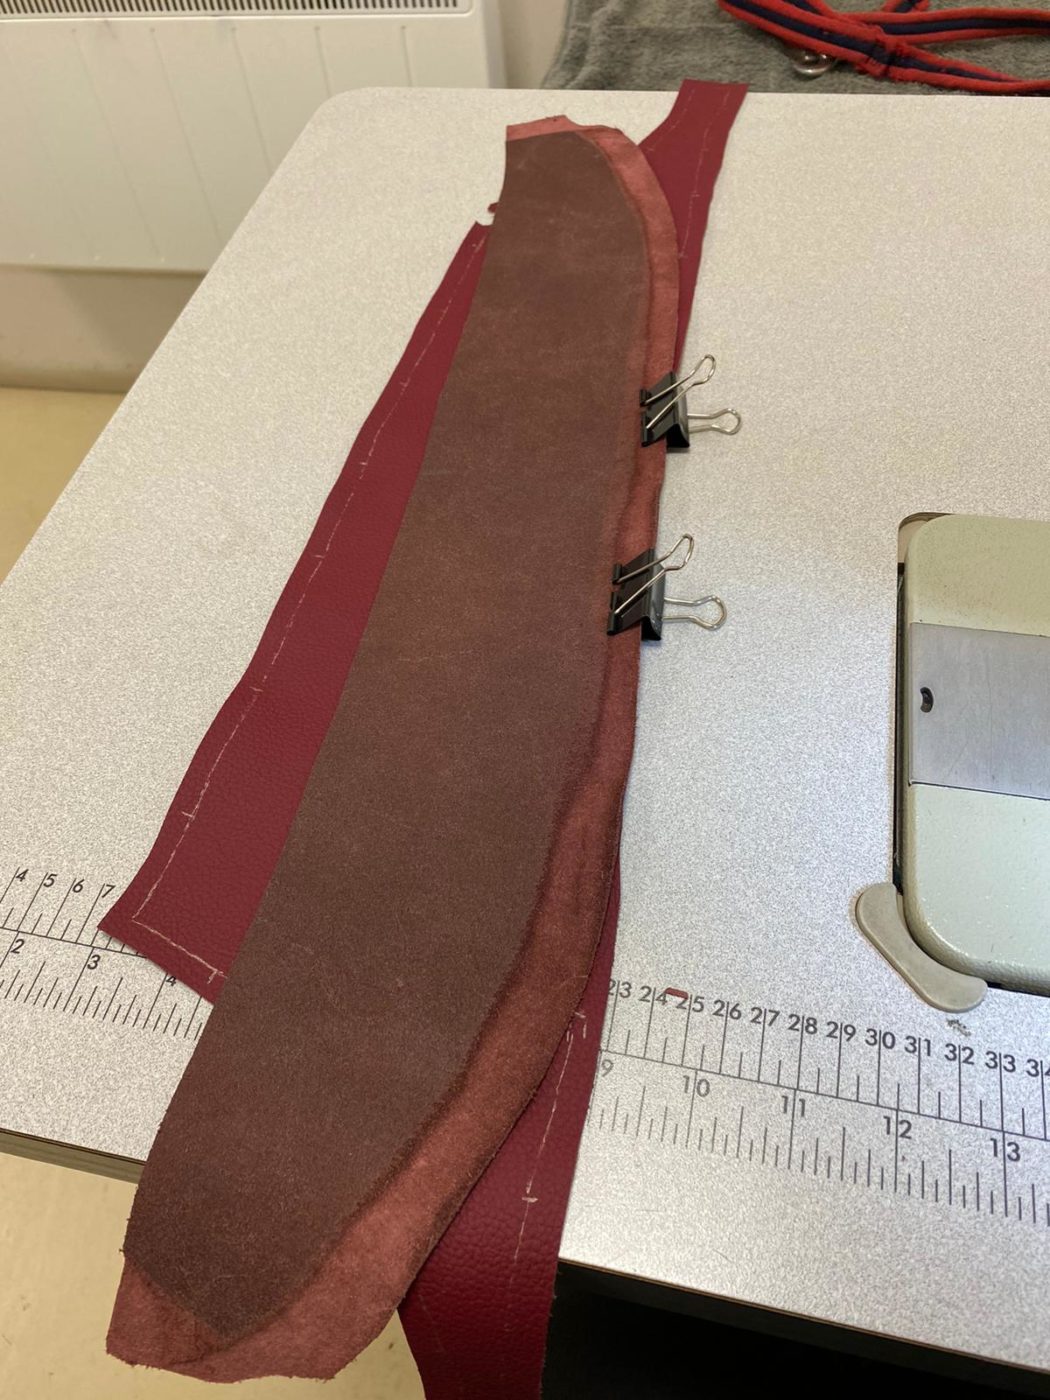
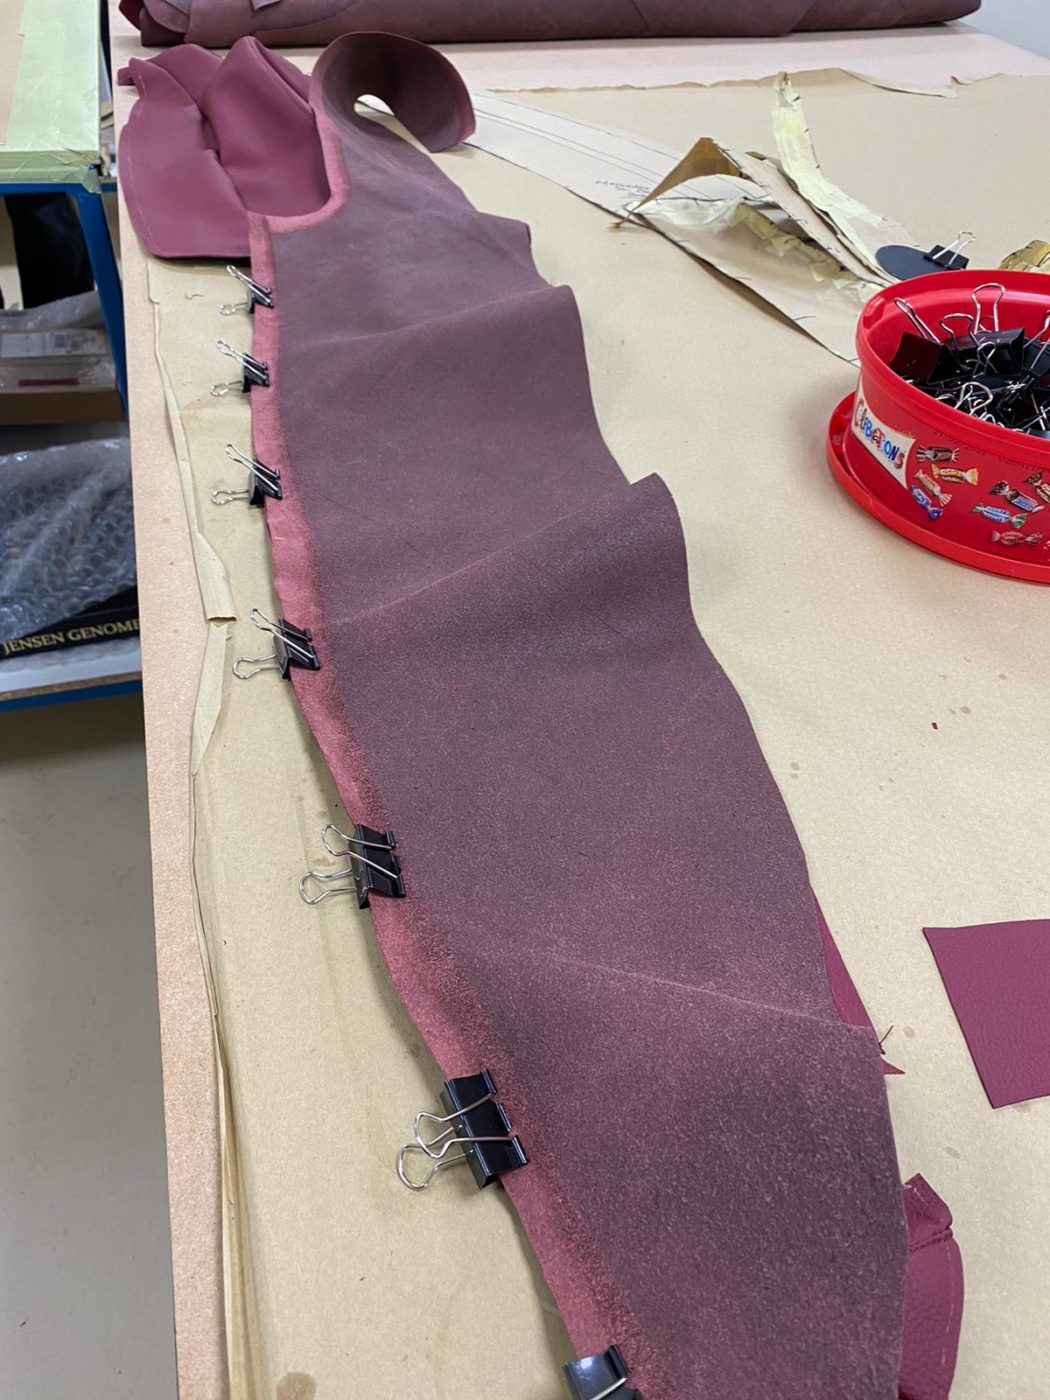
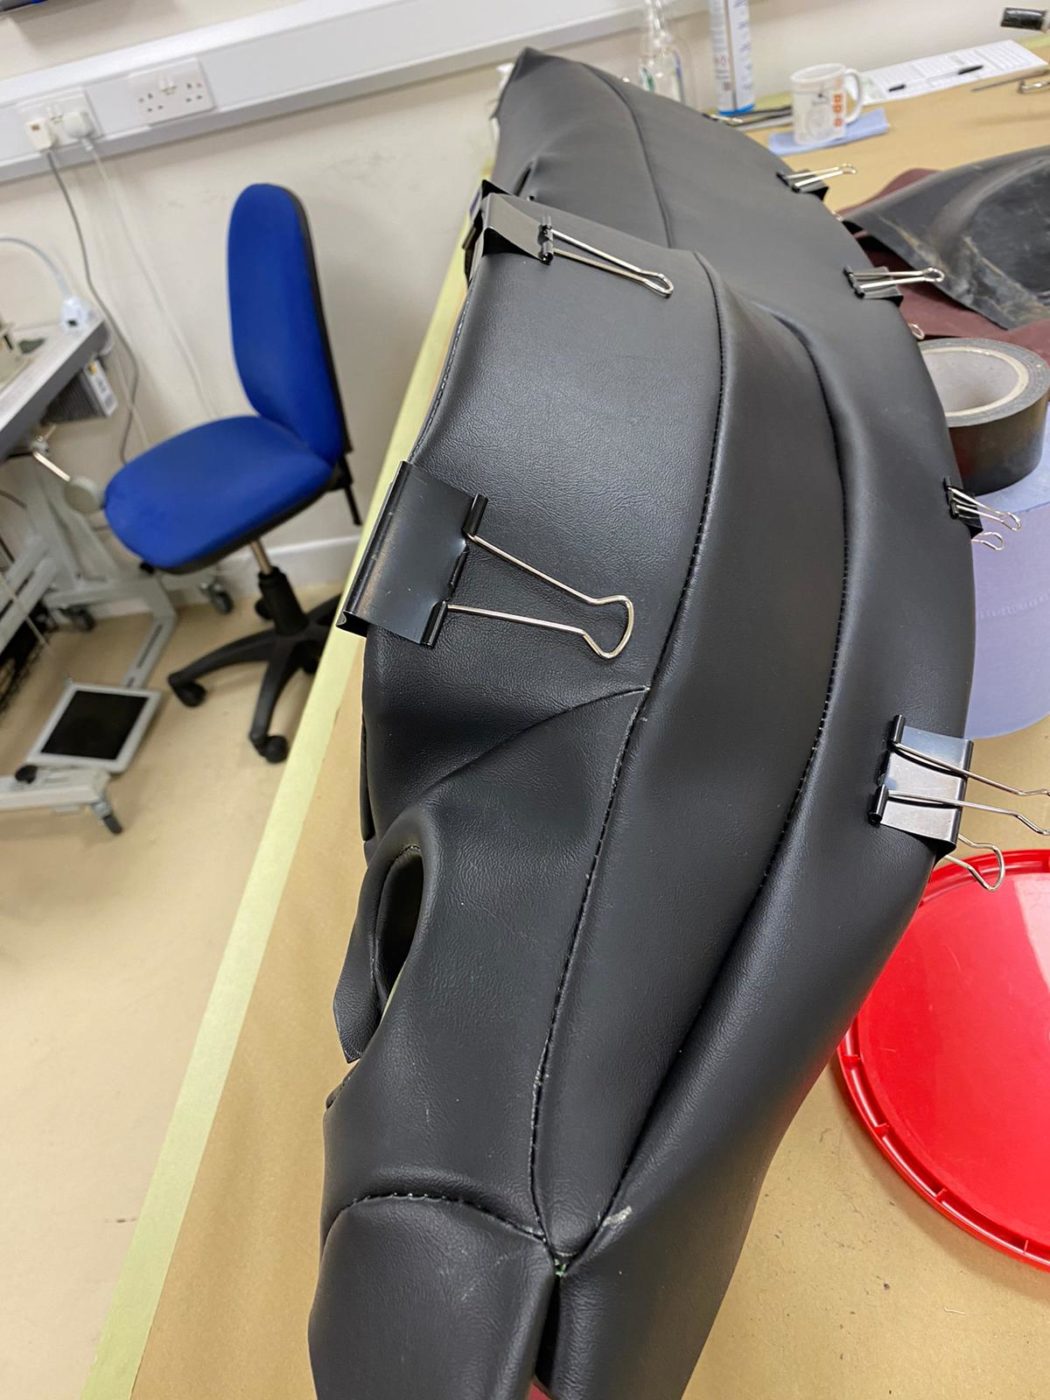
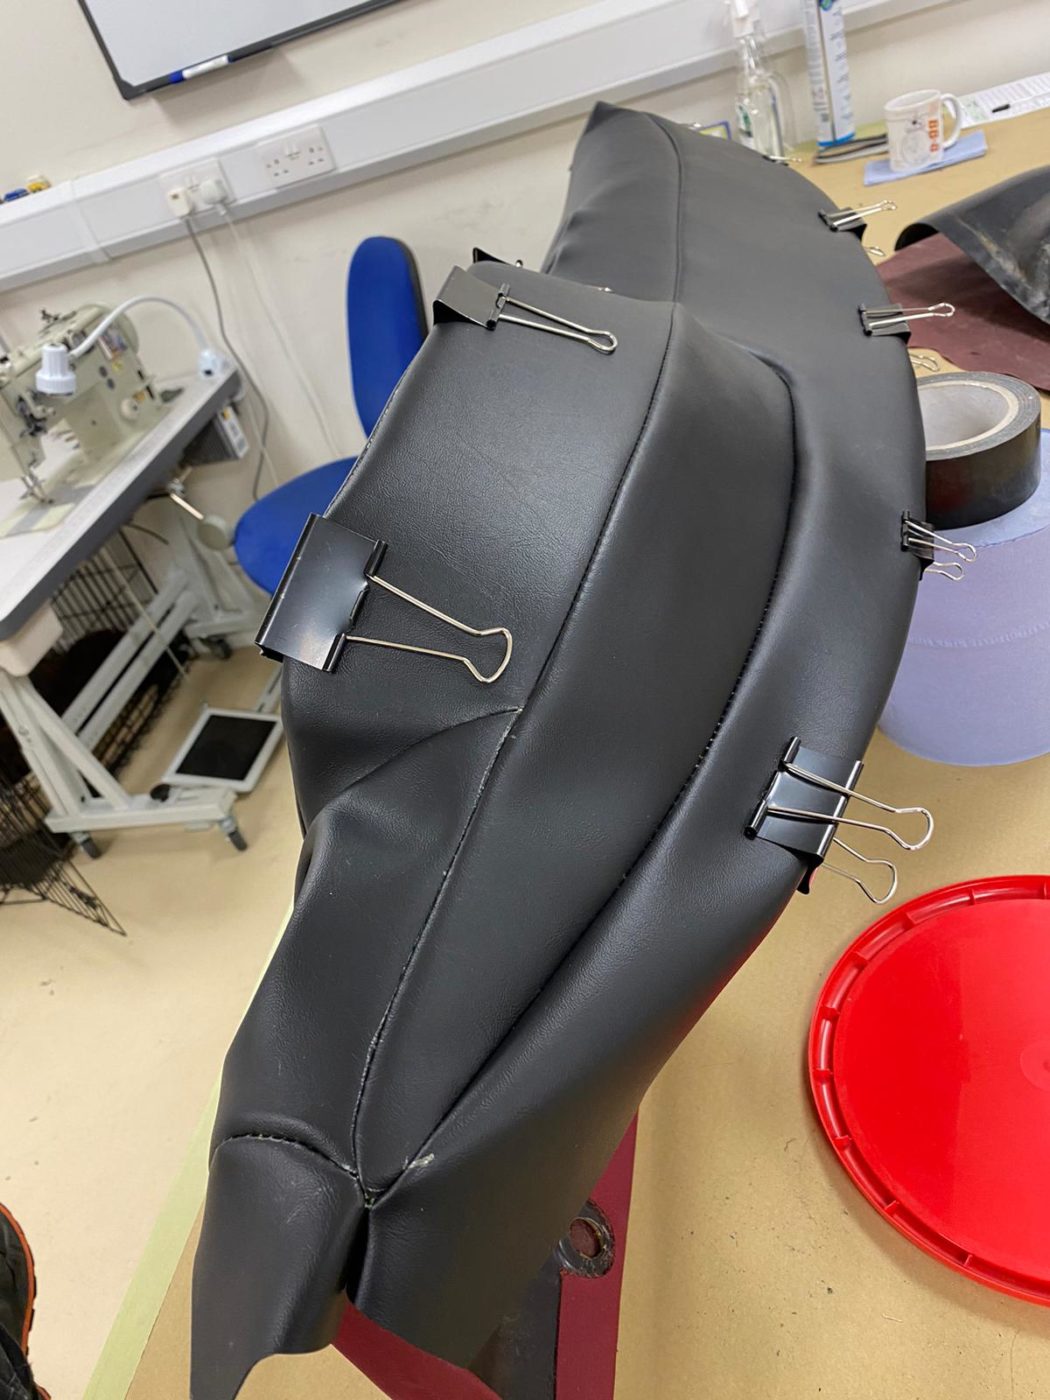
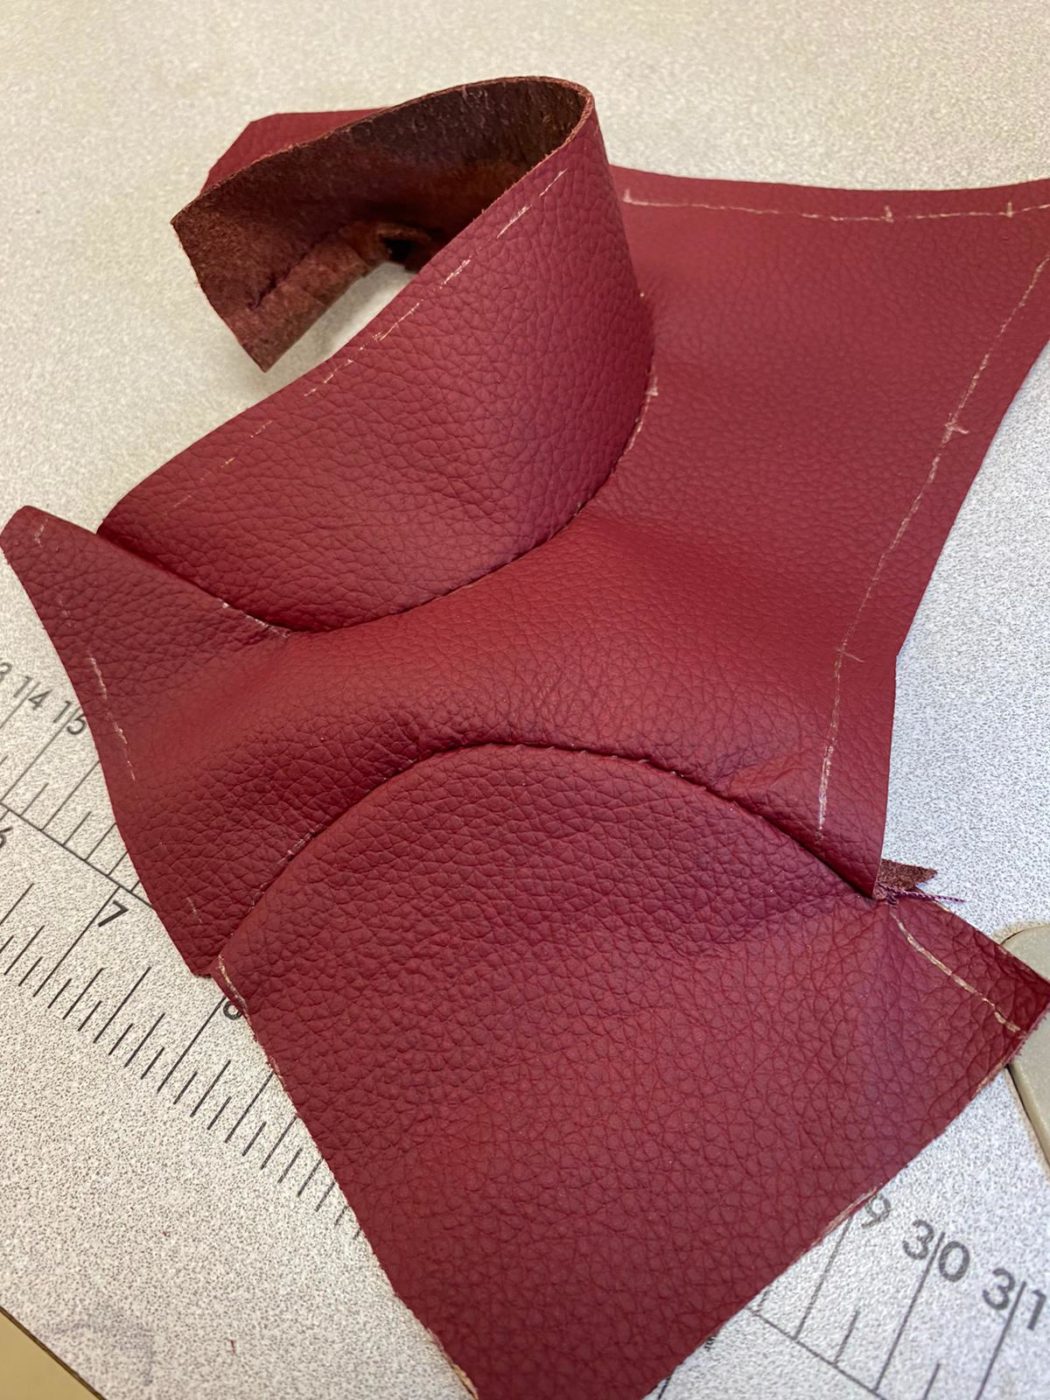
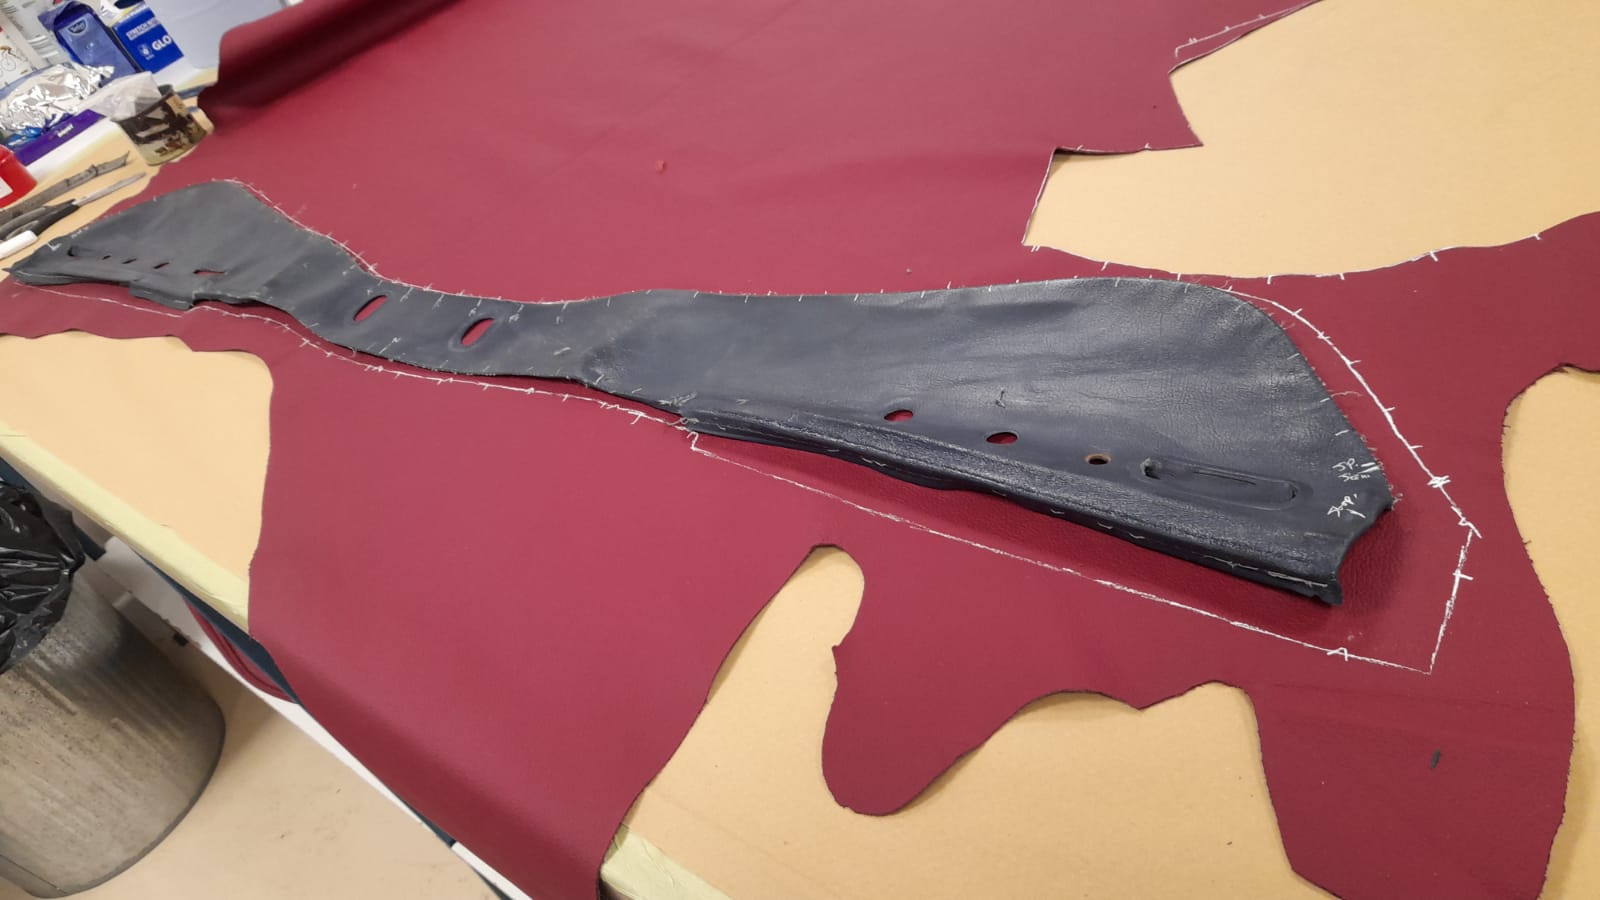
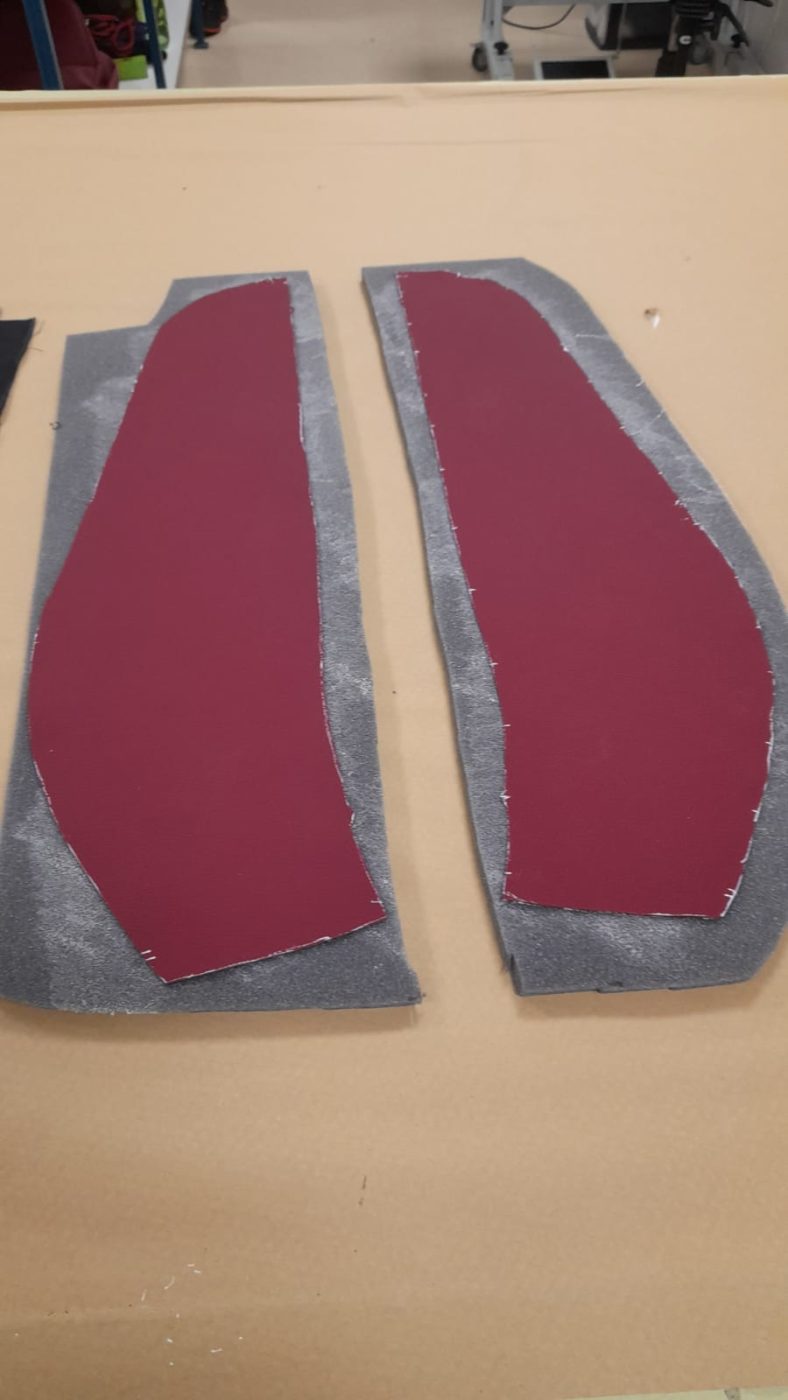
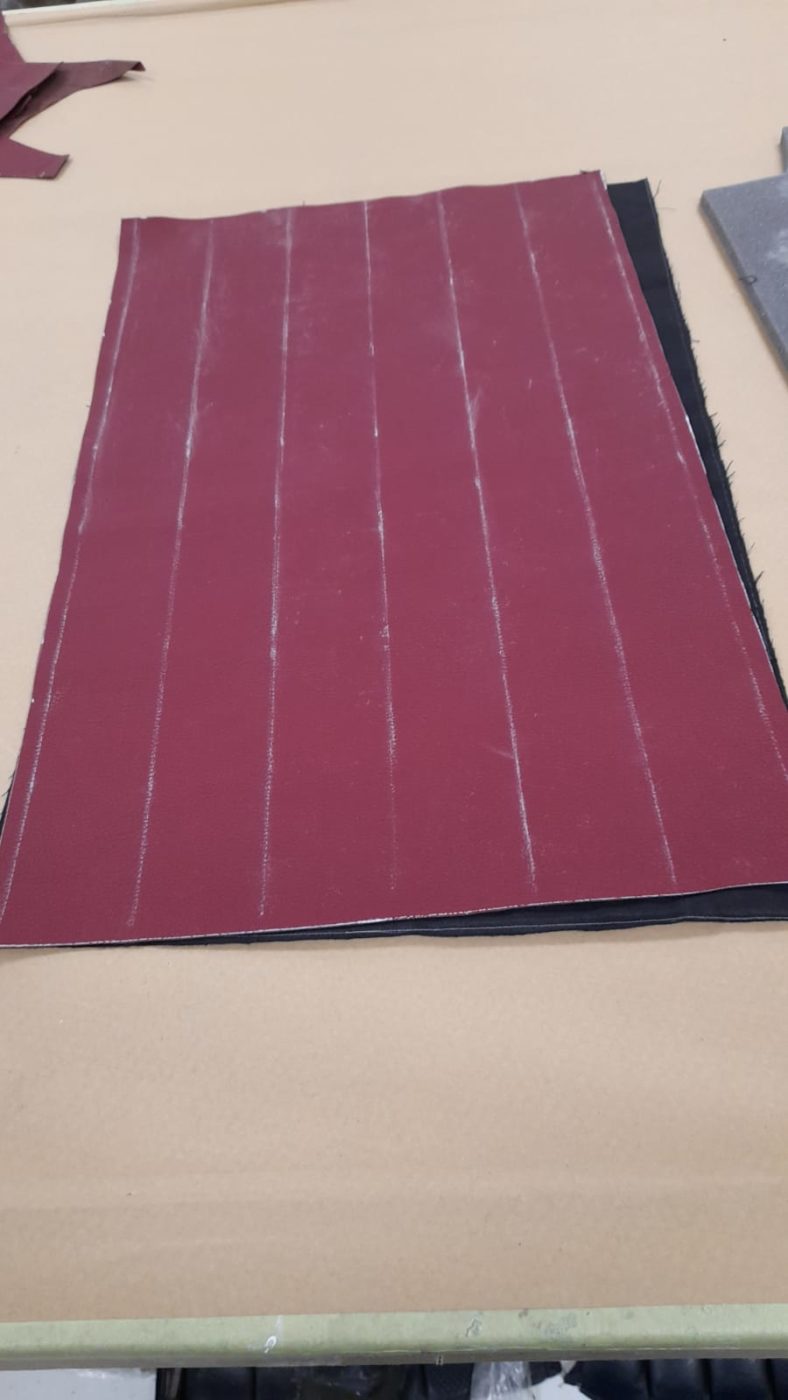
Carefully careful traced his patterns onto the same stunning red leather that the rest of the car has been trimmed in. Then, with millimetre precision, Brian cut out the templates ready for when they will be stitched and finished by hand.
Expect to see much more on the 1987 Mercedes 500SL here on the Bridge Classic Cars news page.
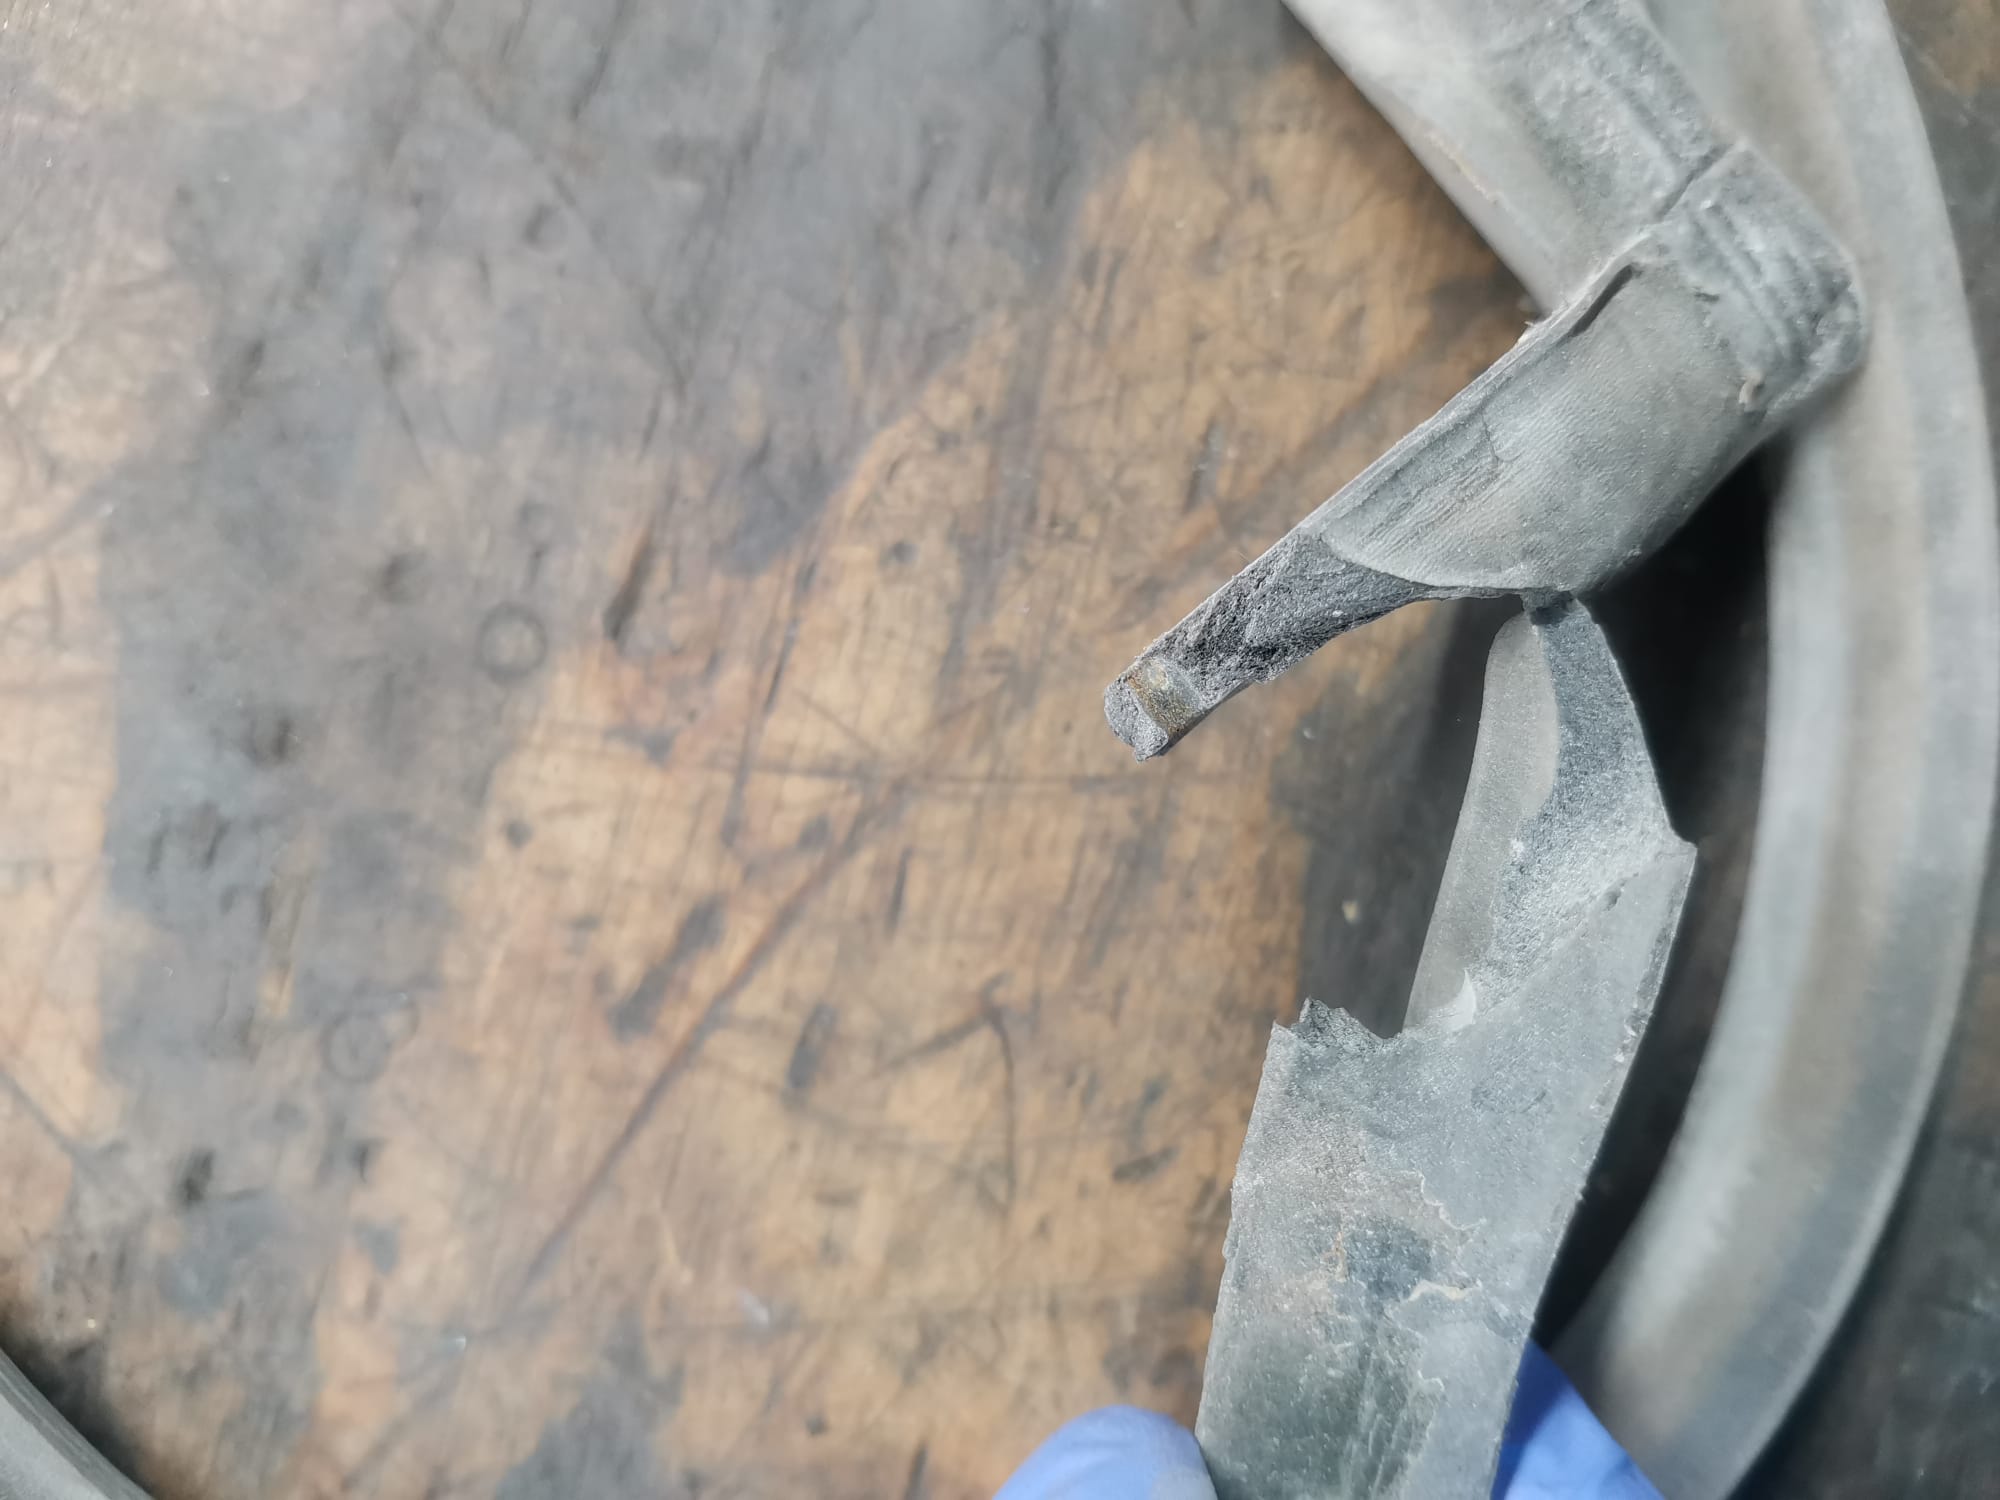
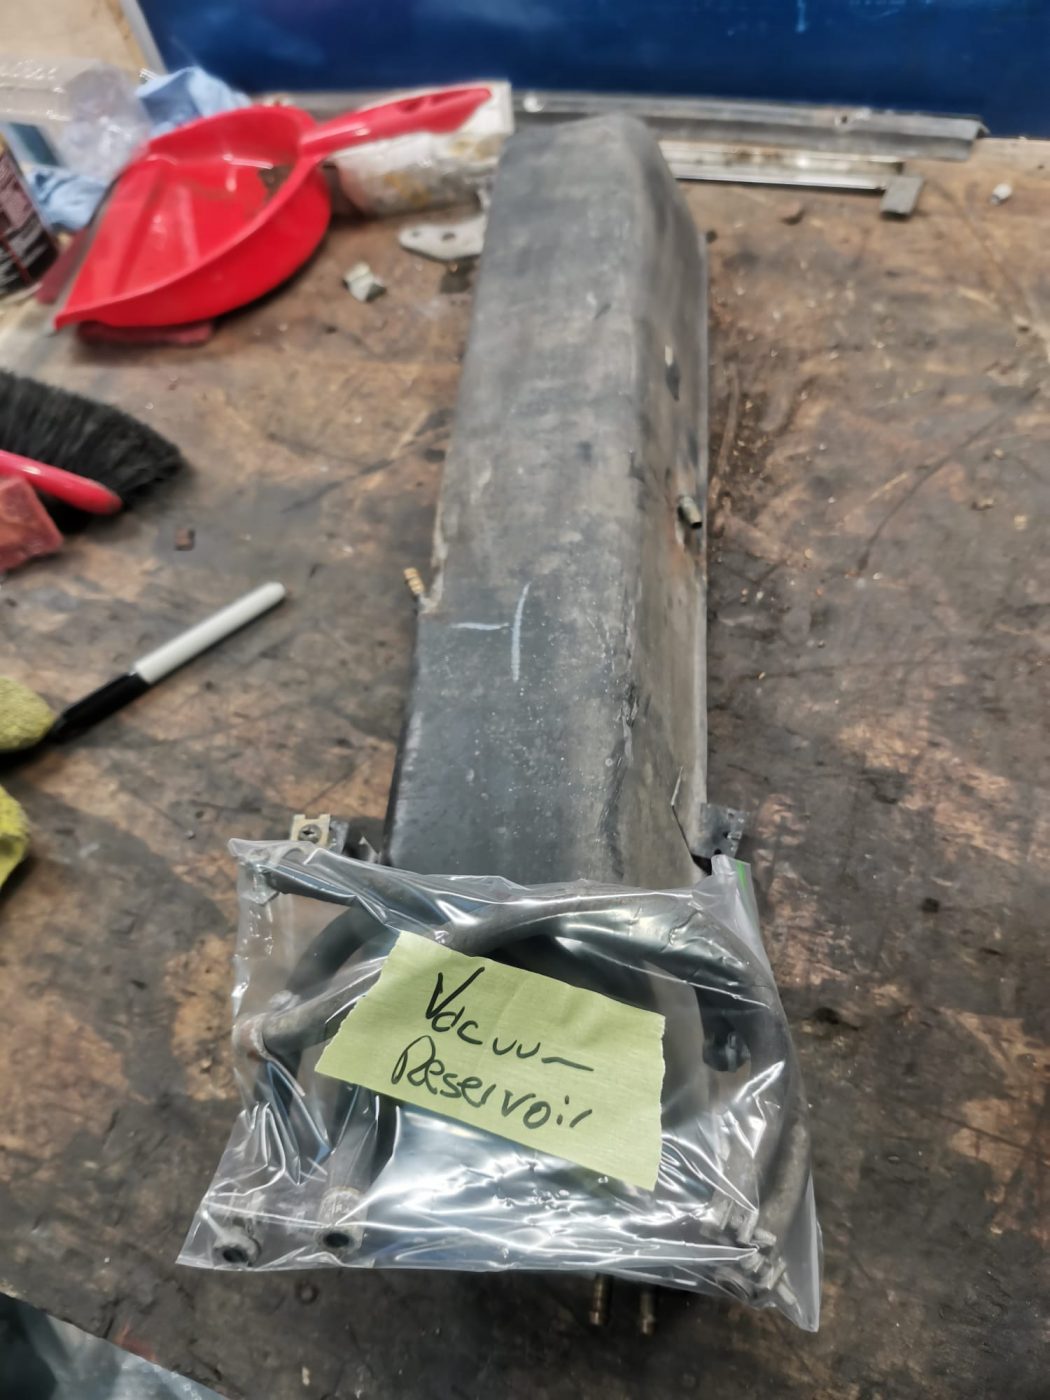
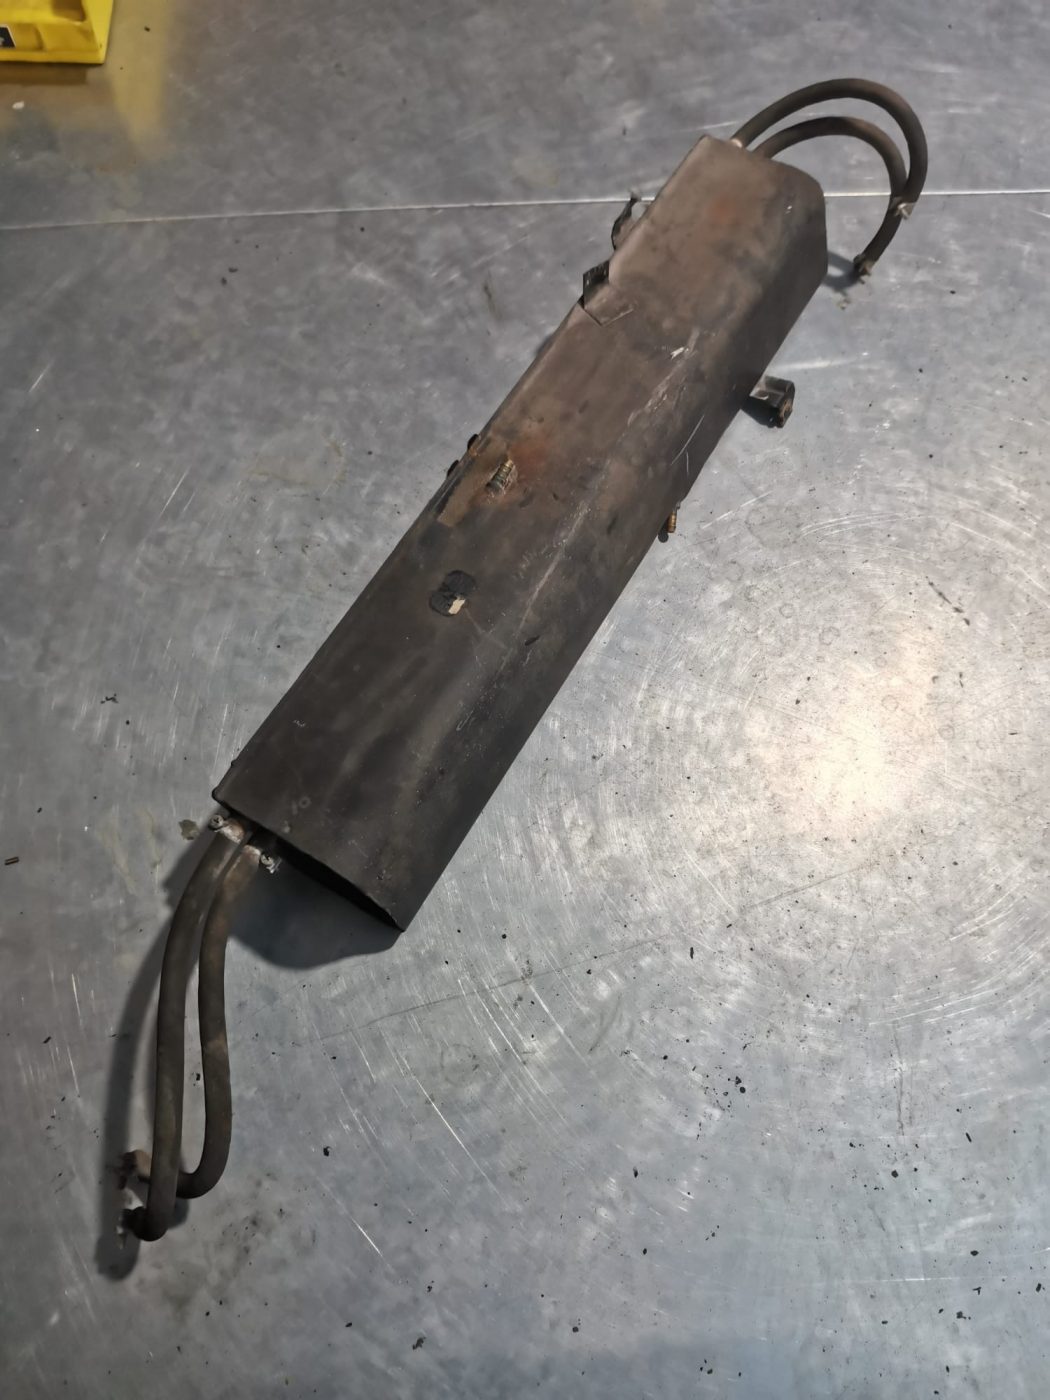
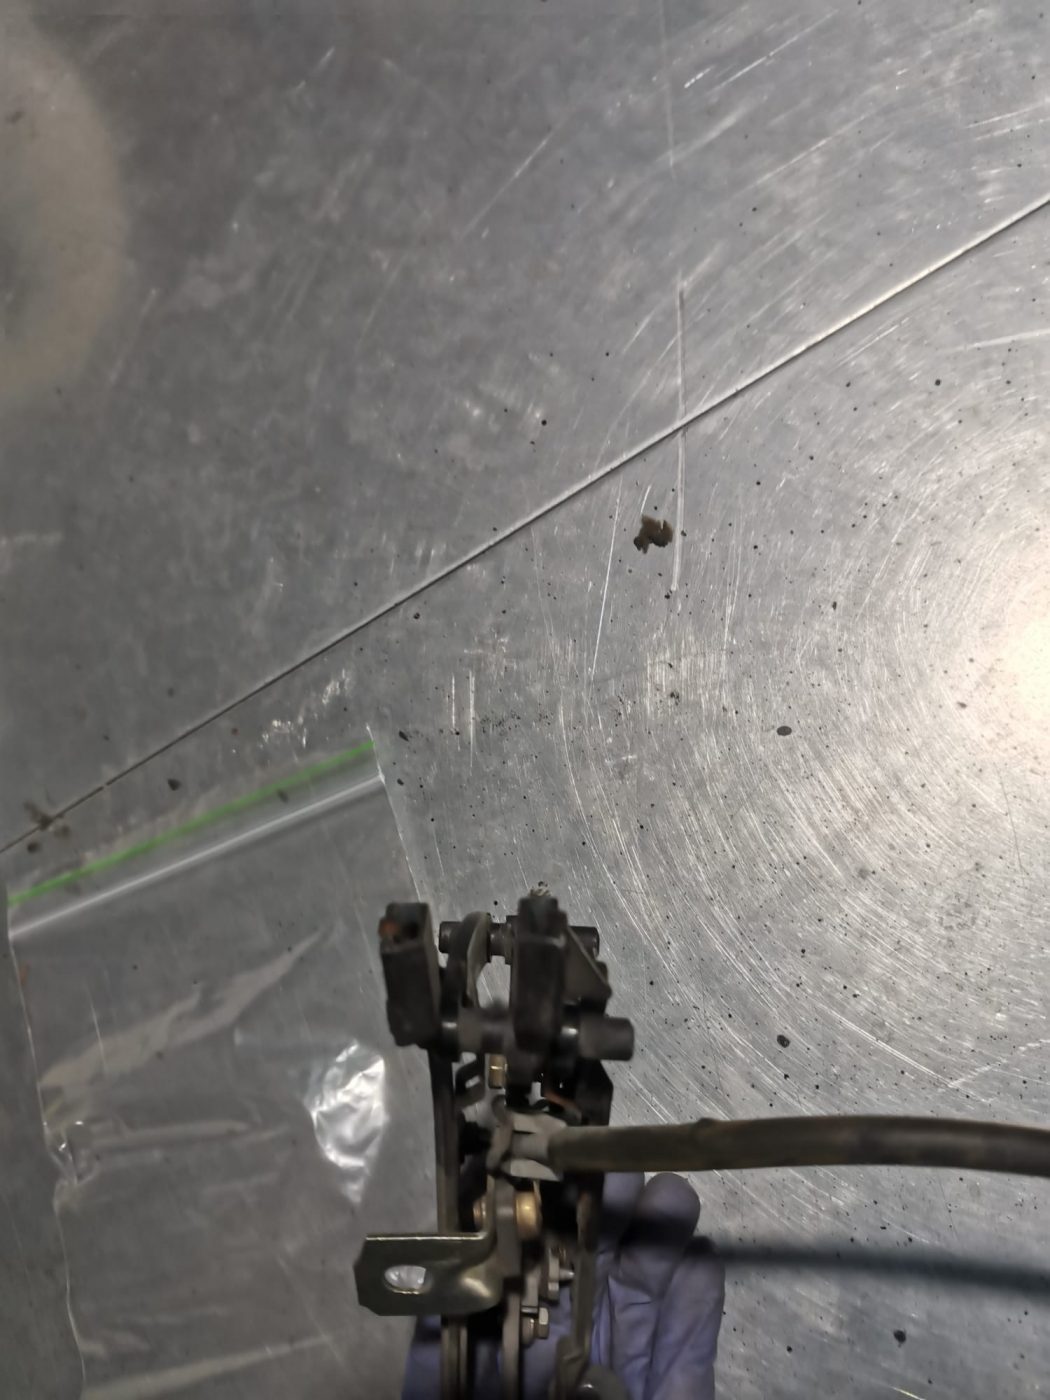
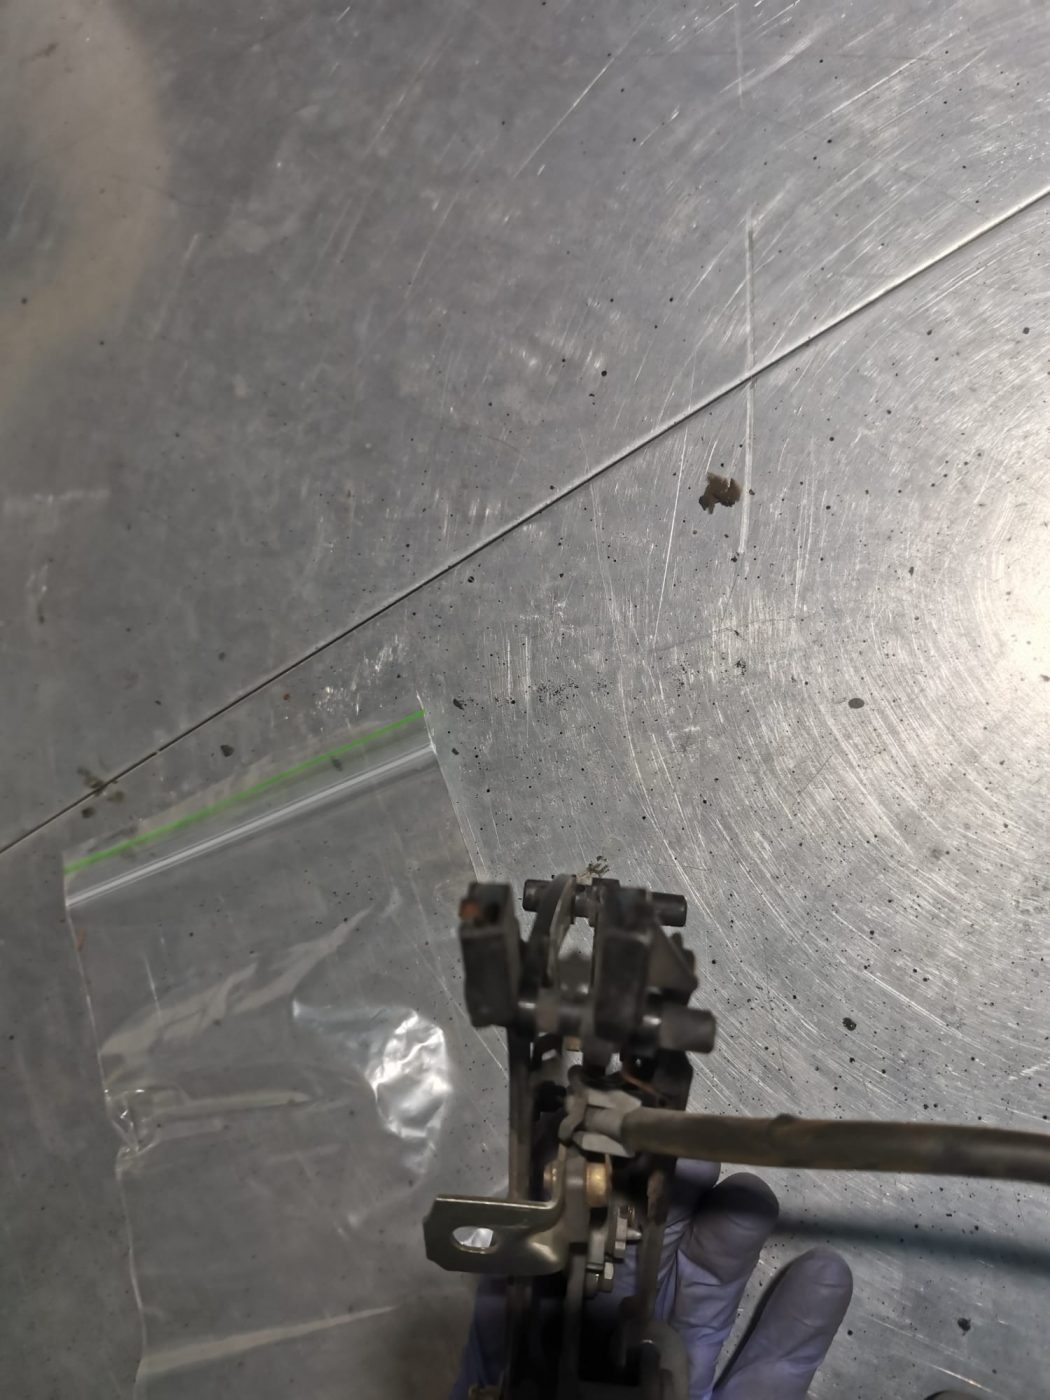

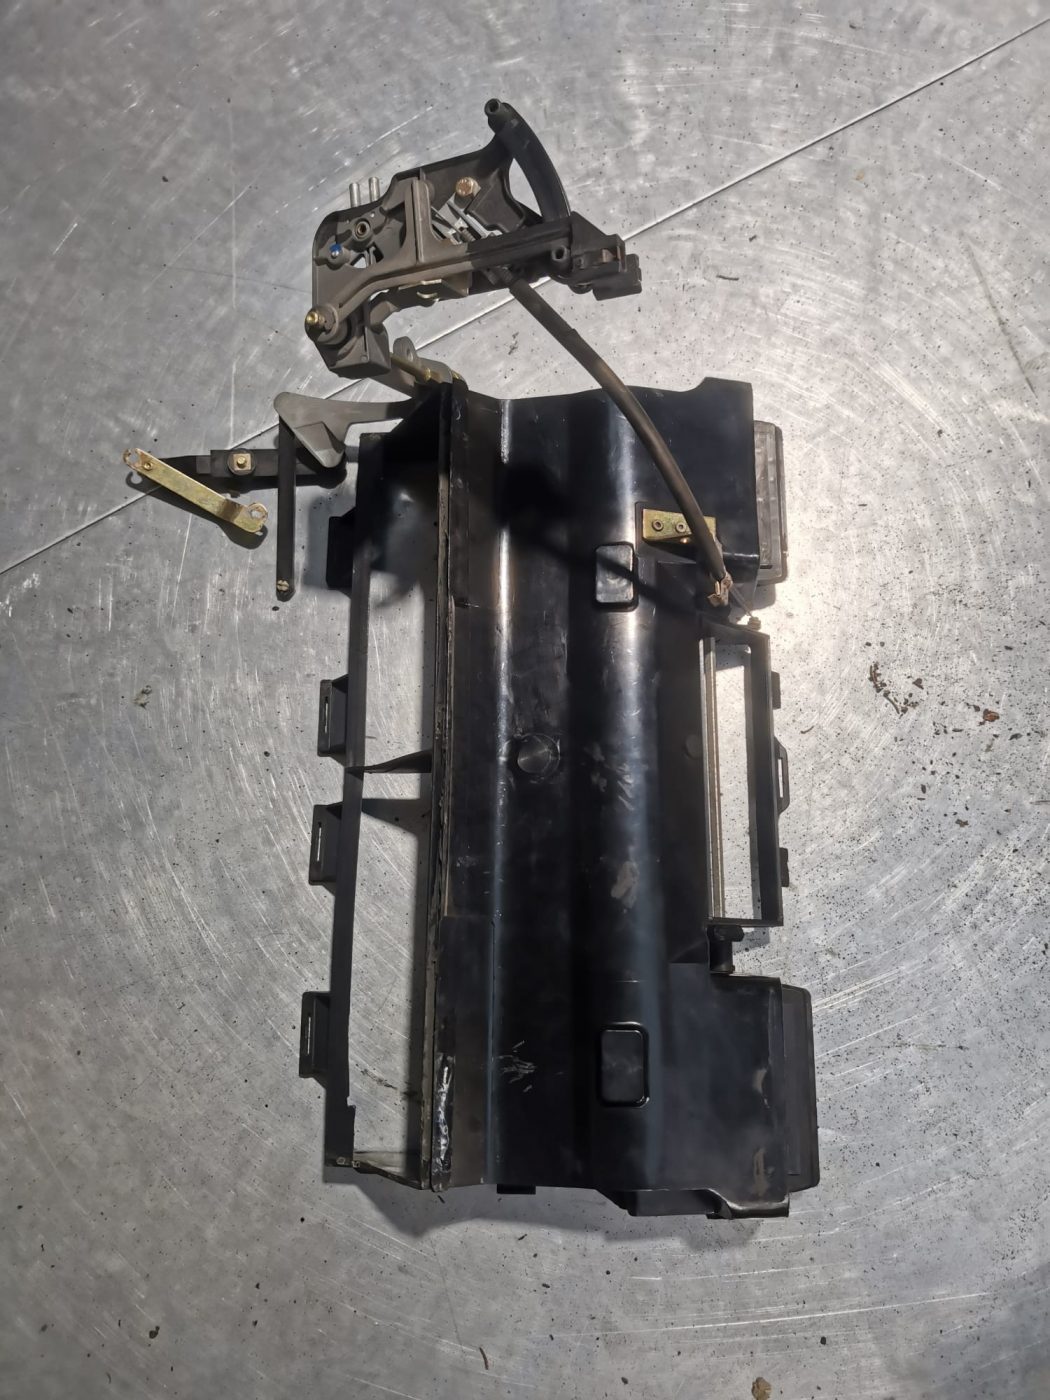
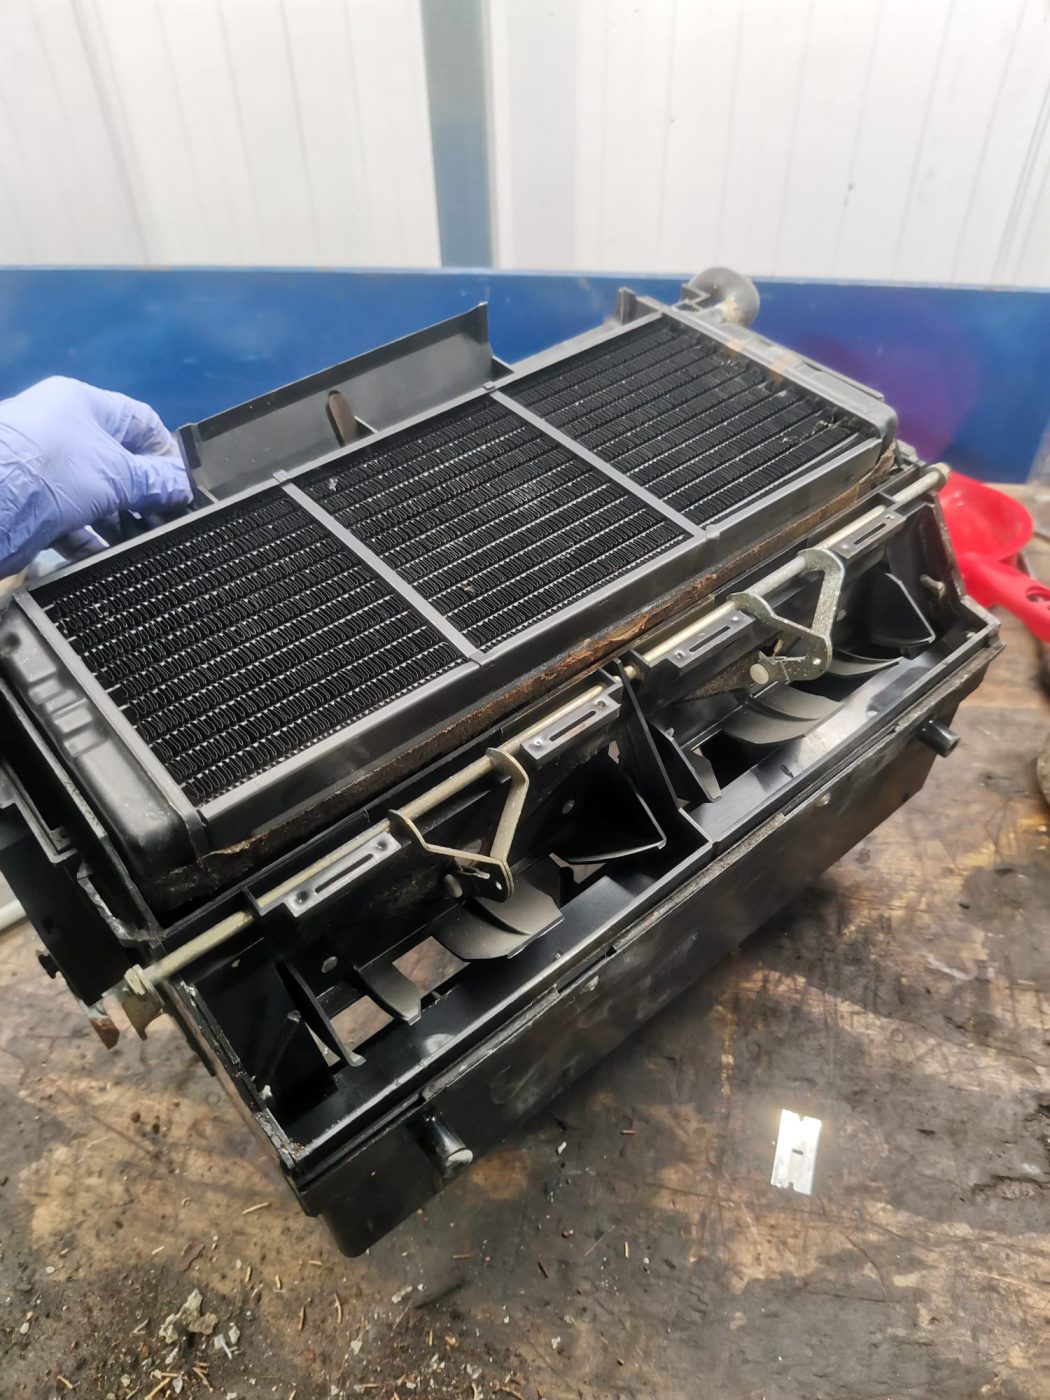
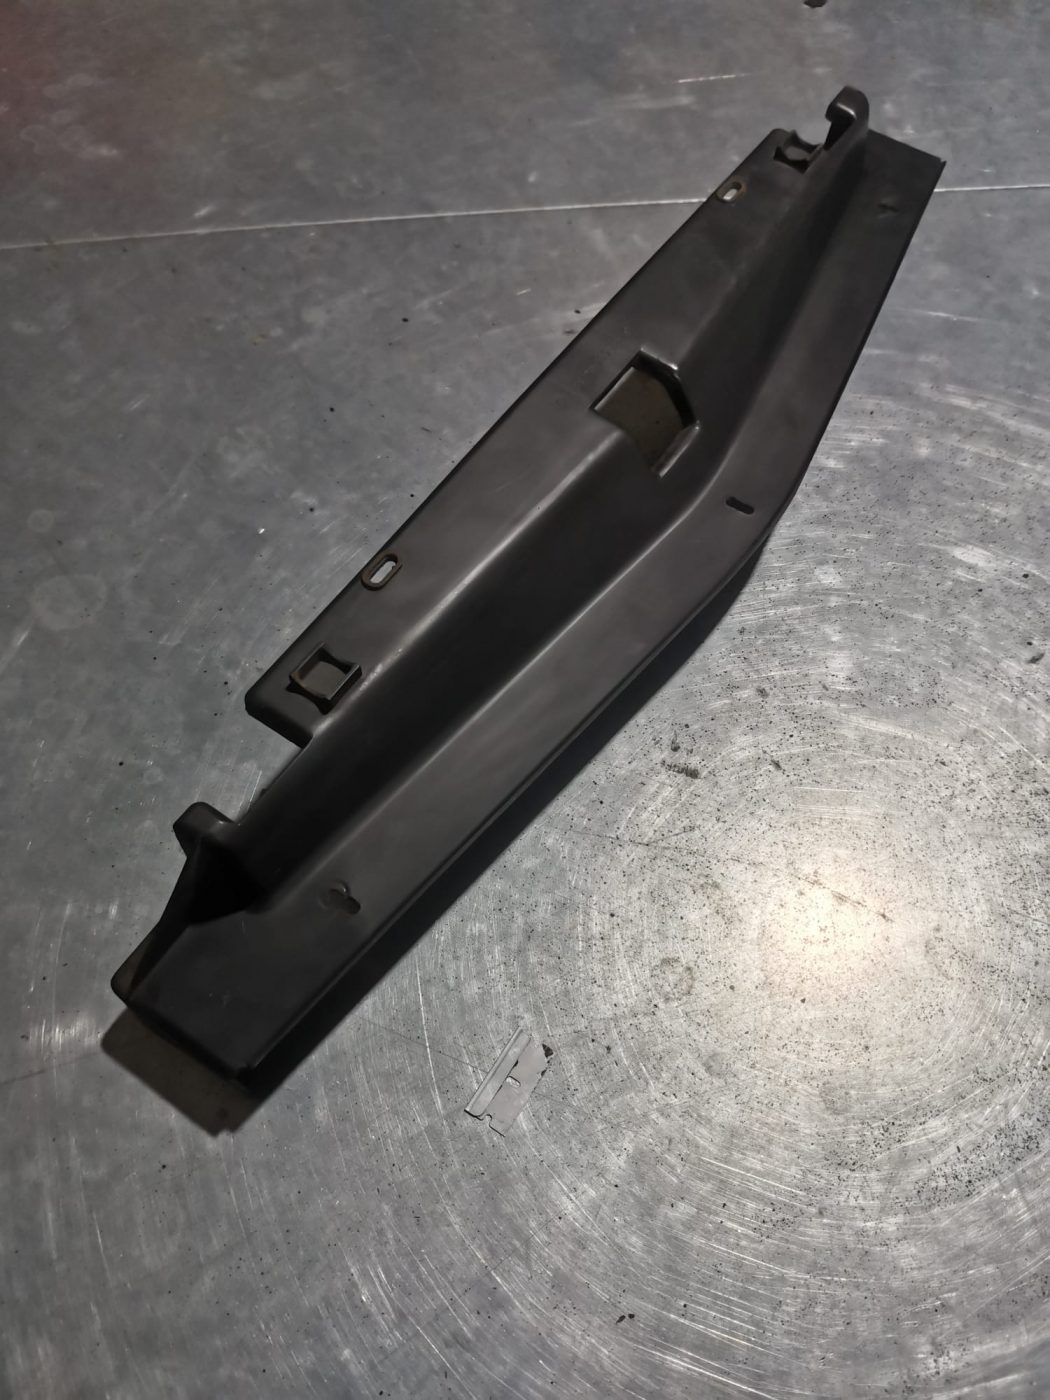

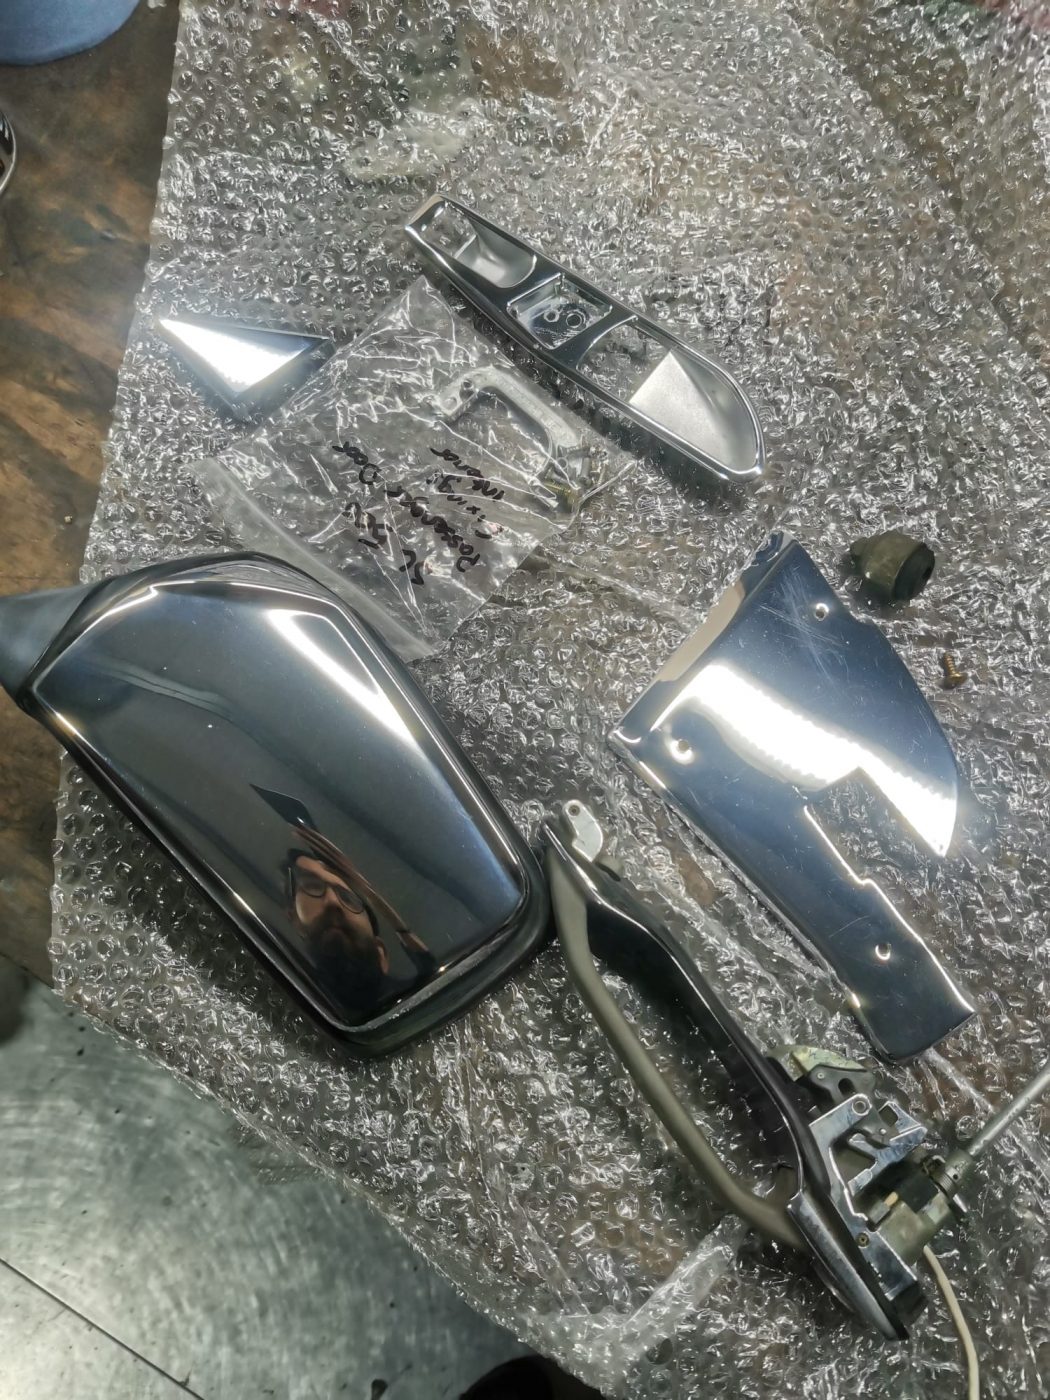
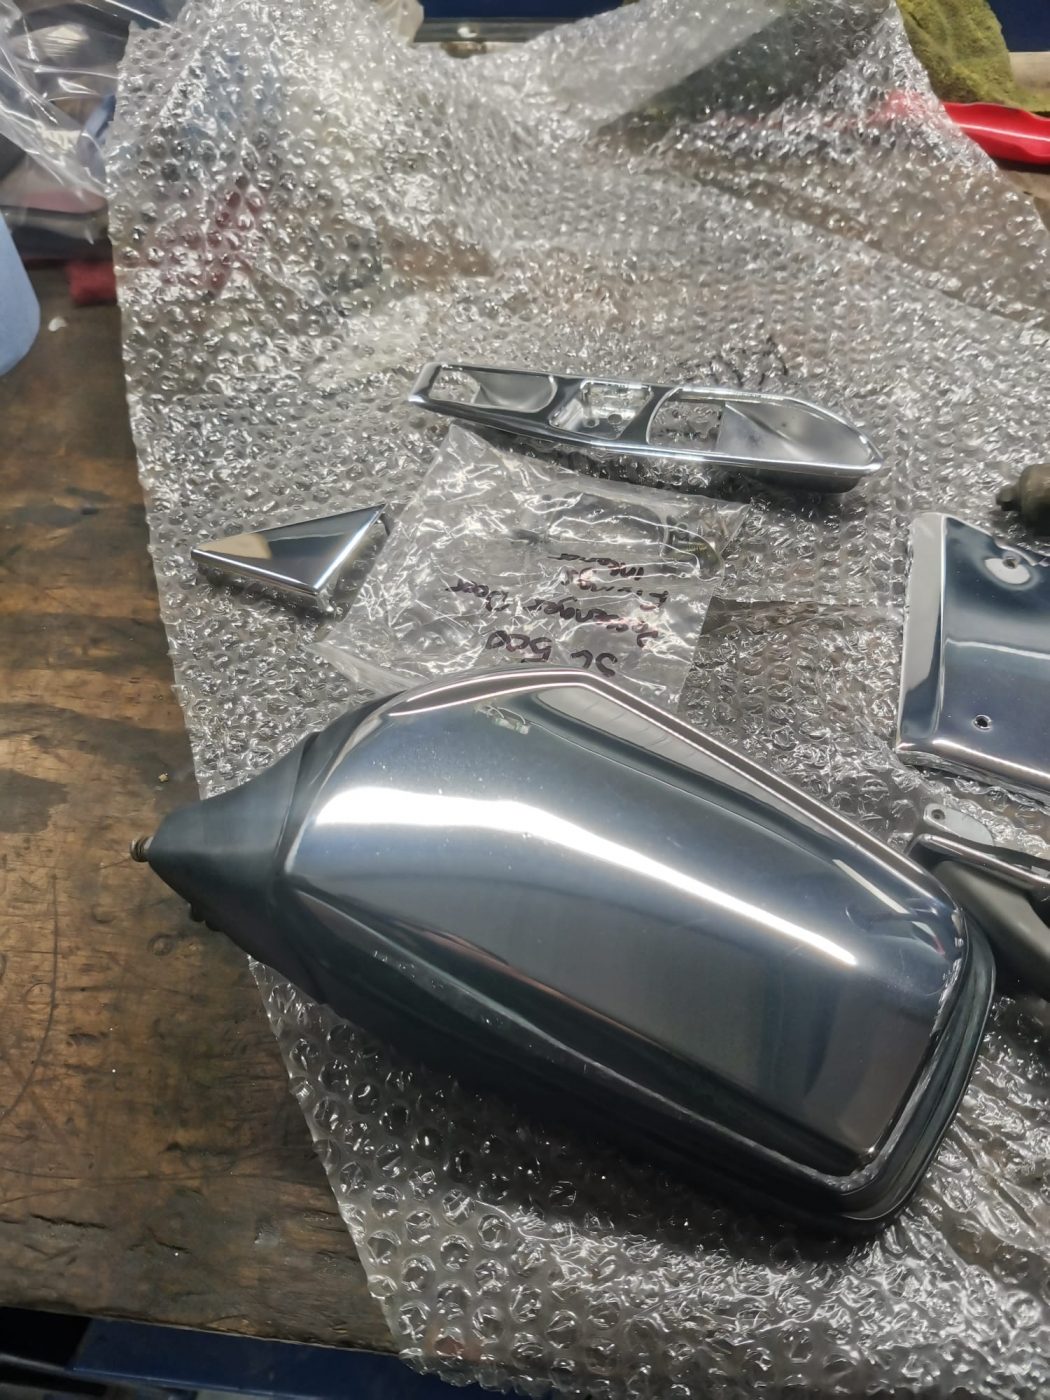
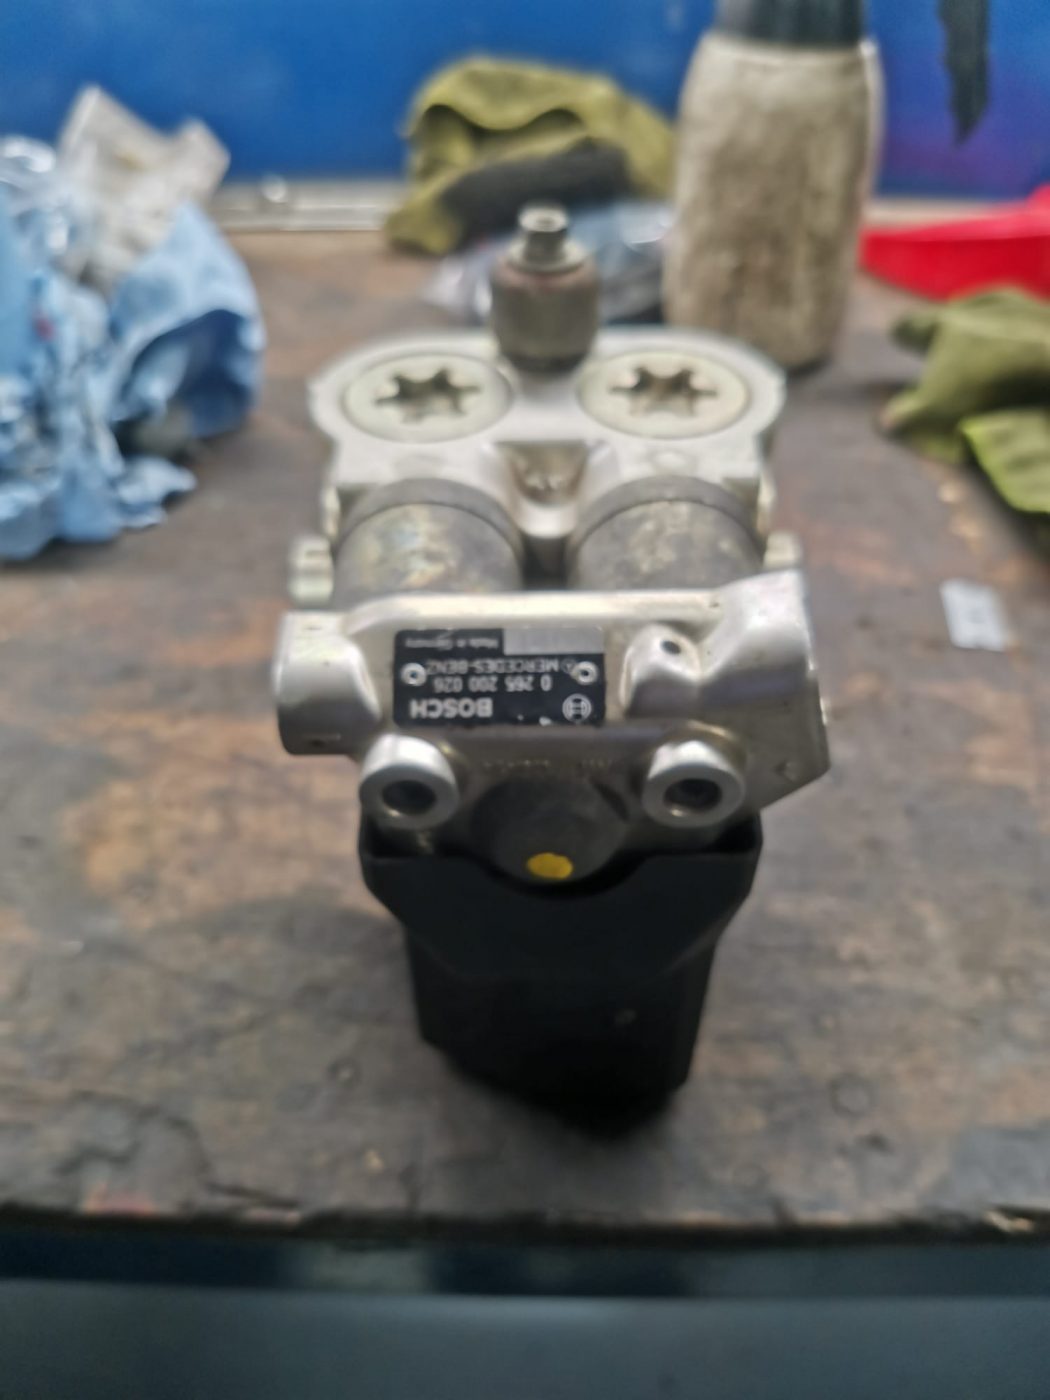
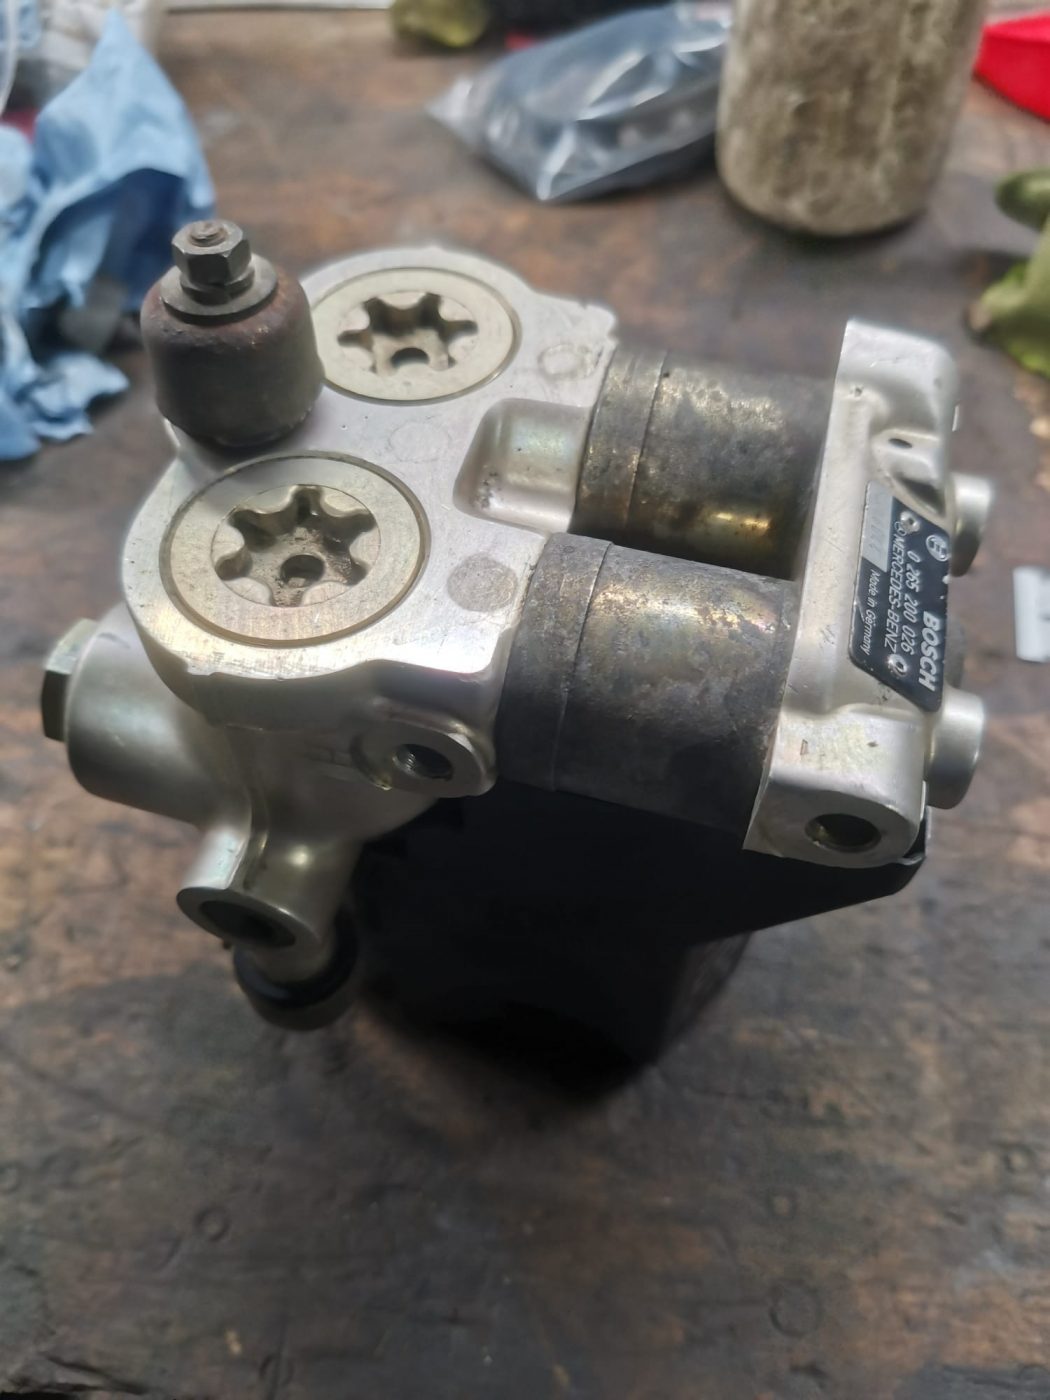
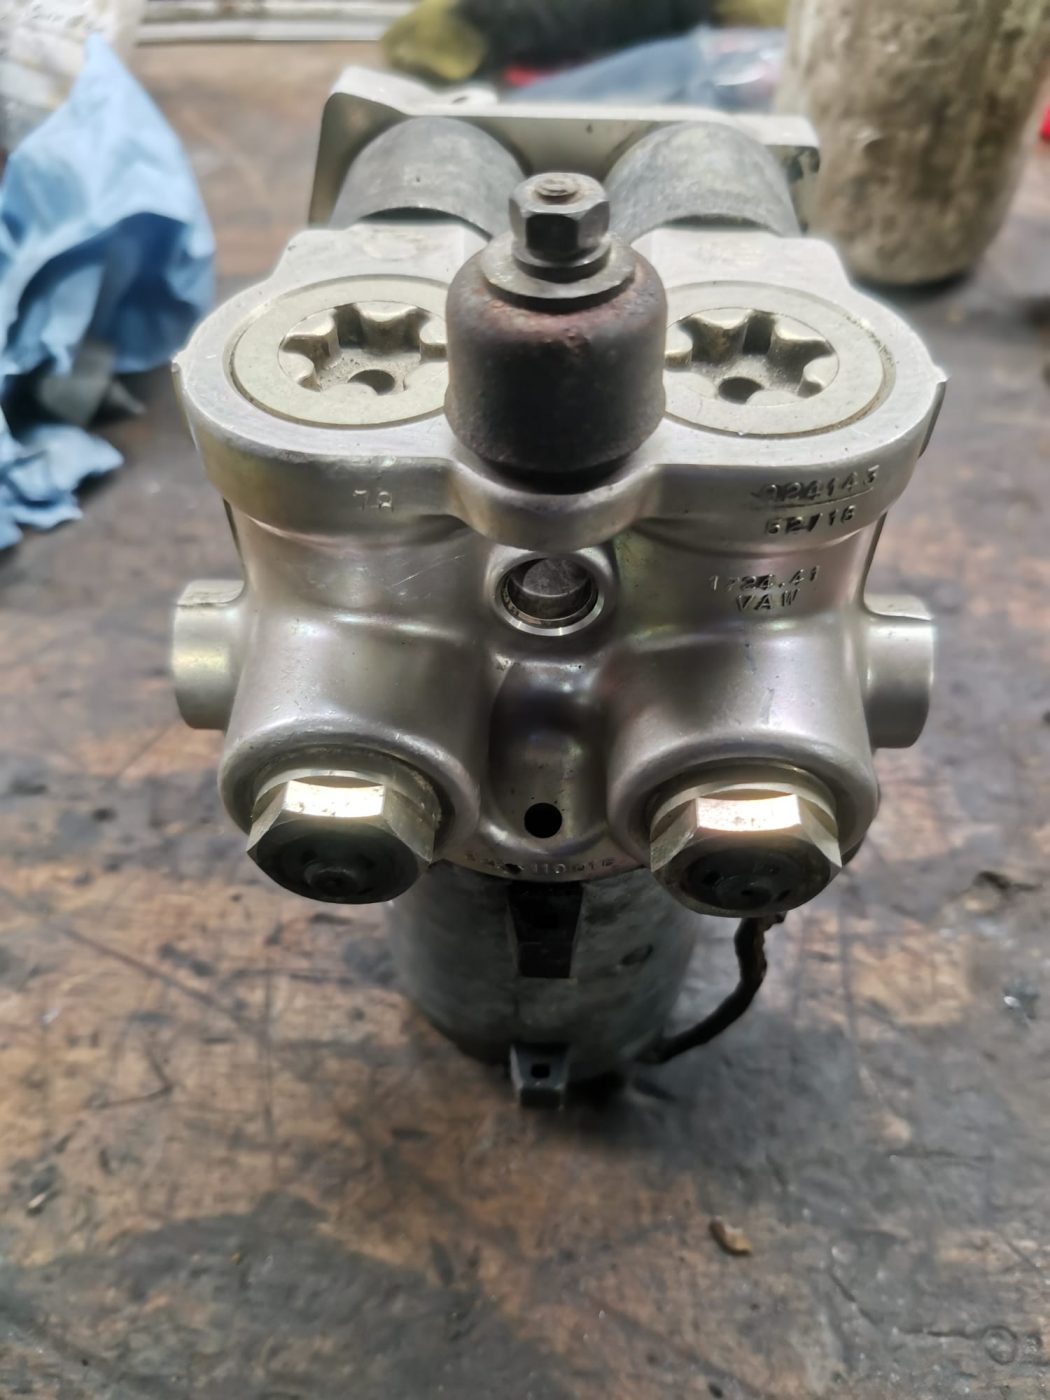
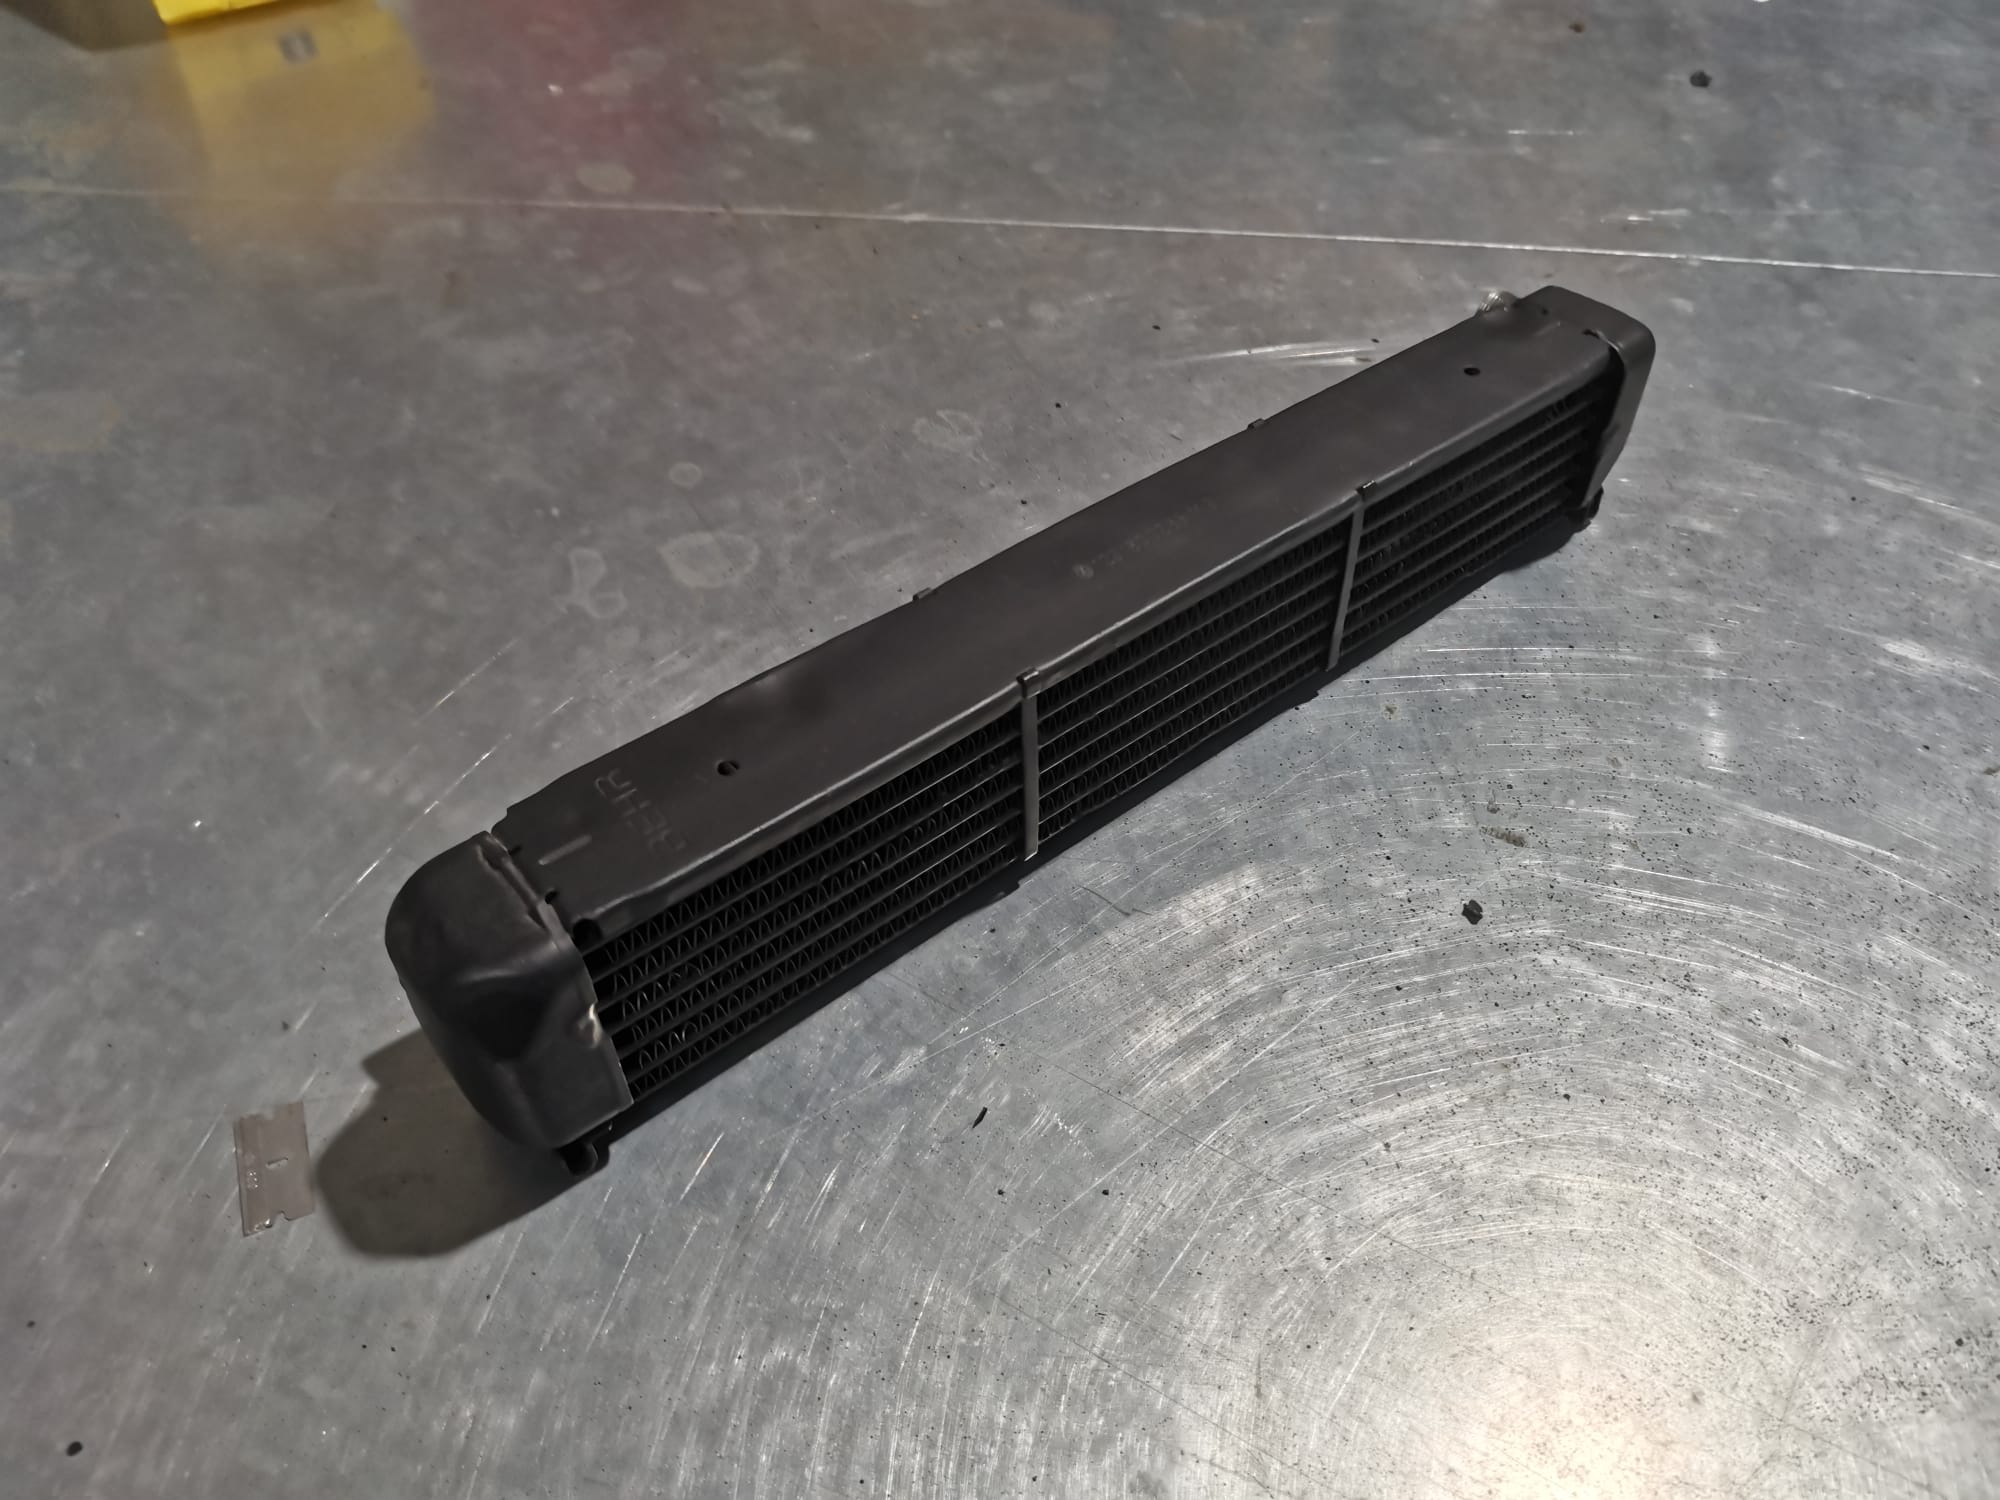
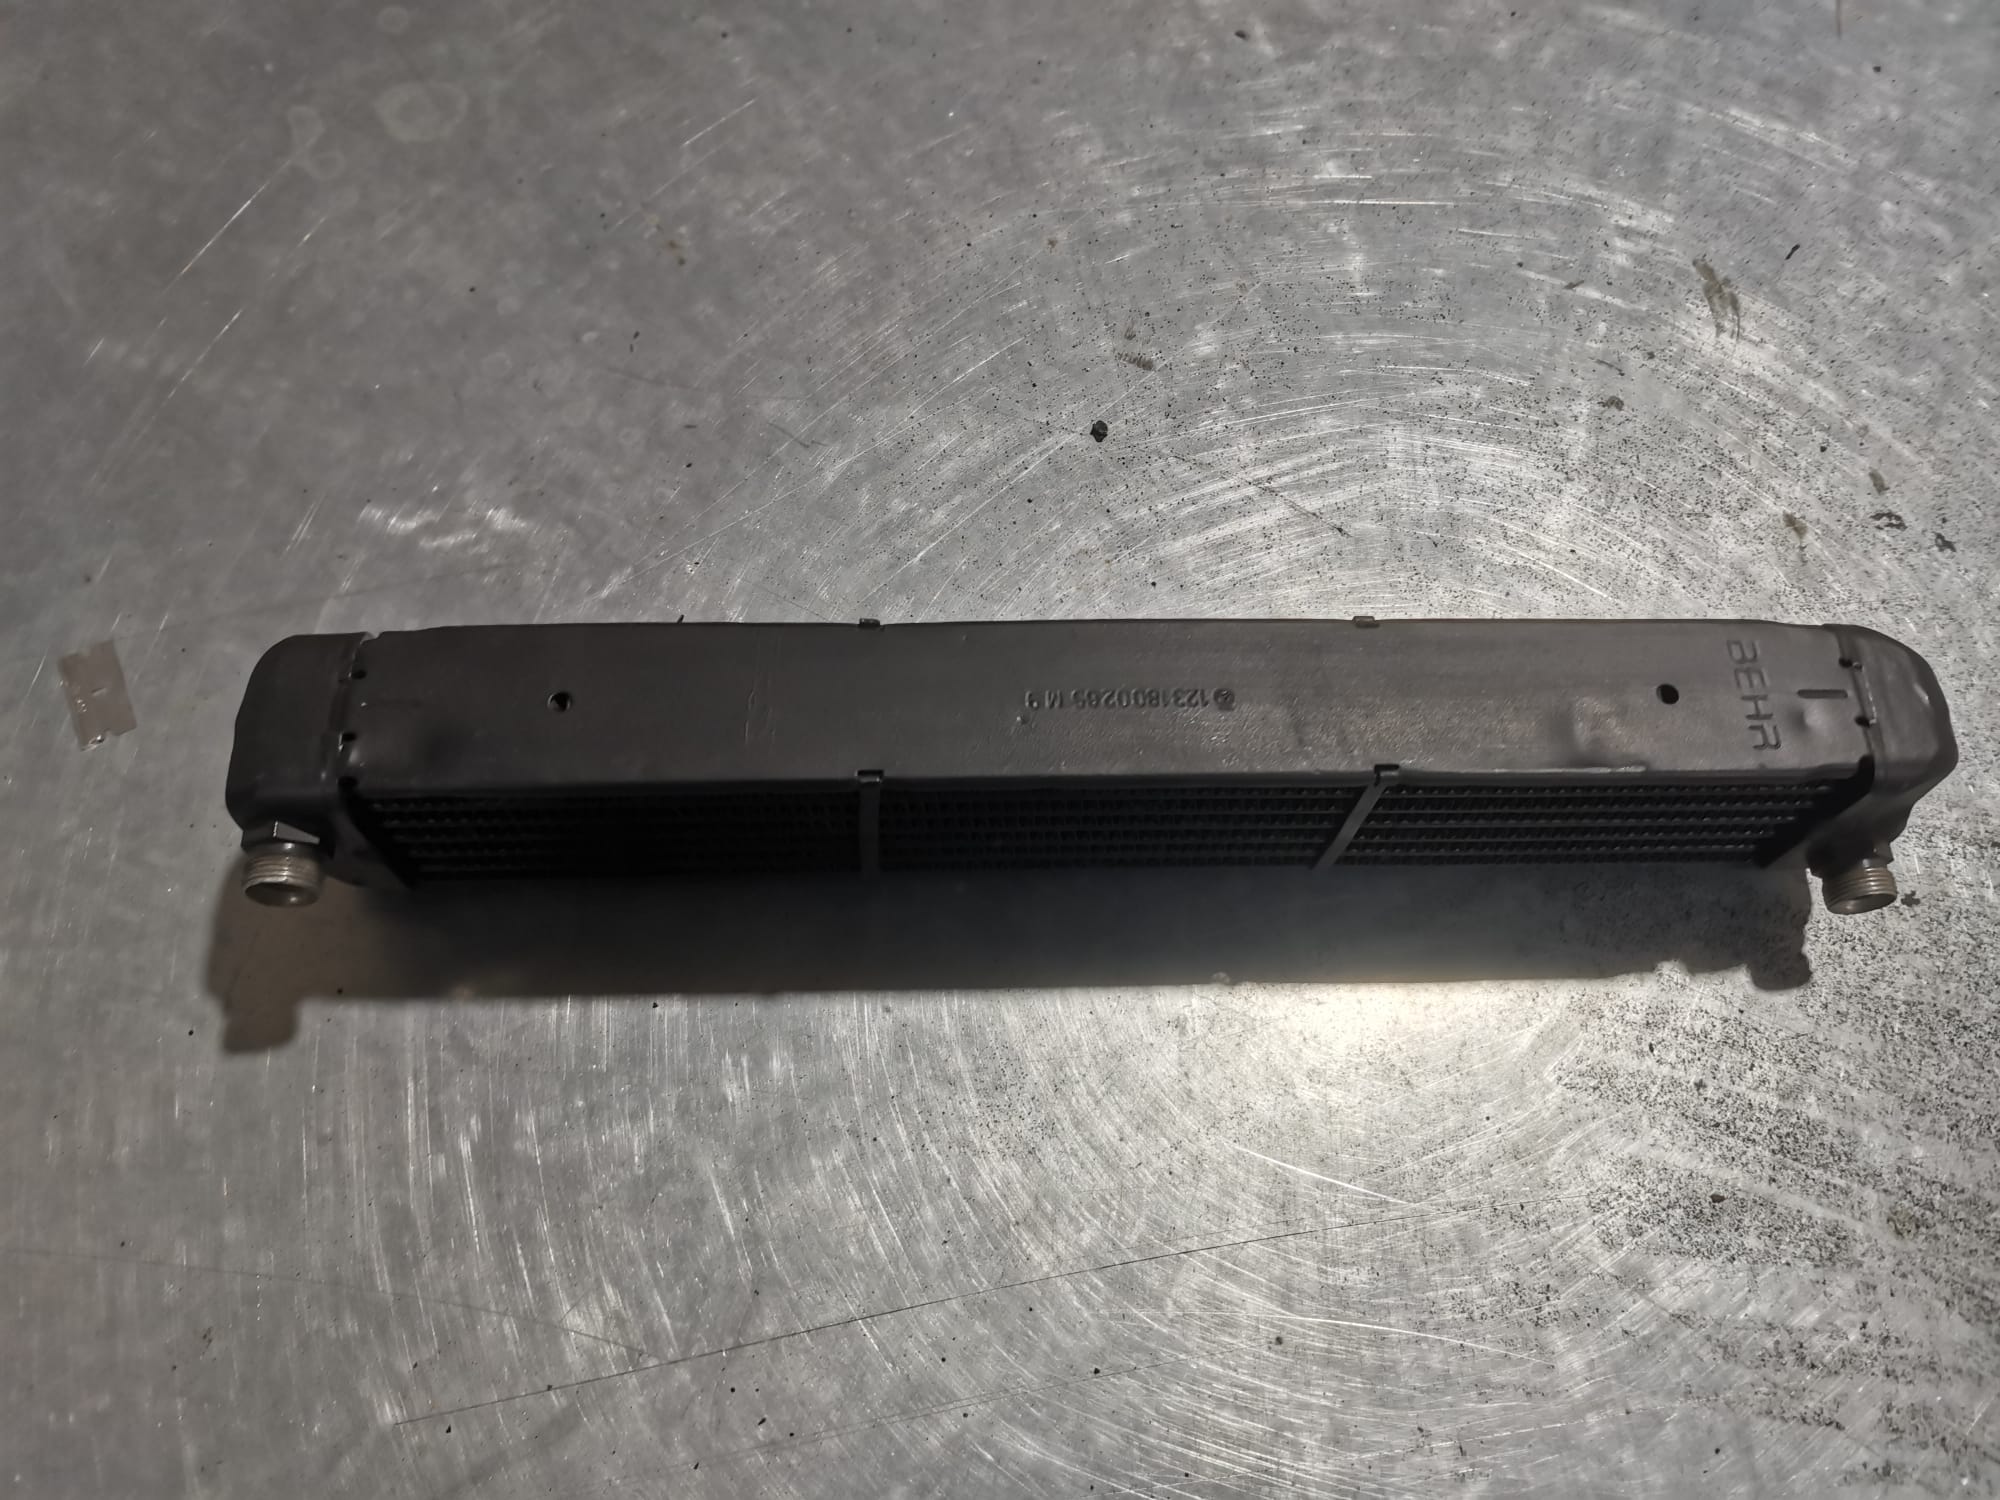
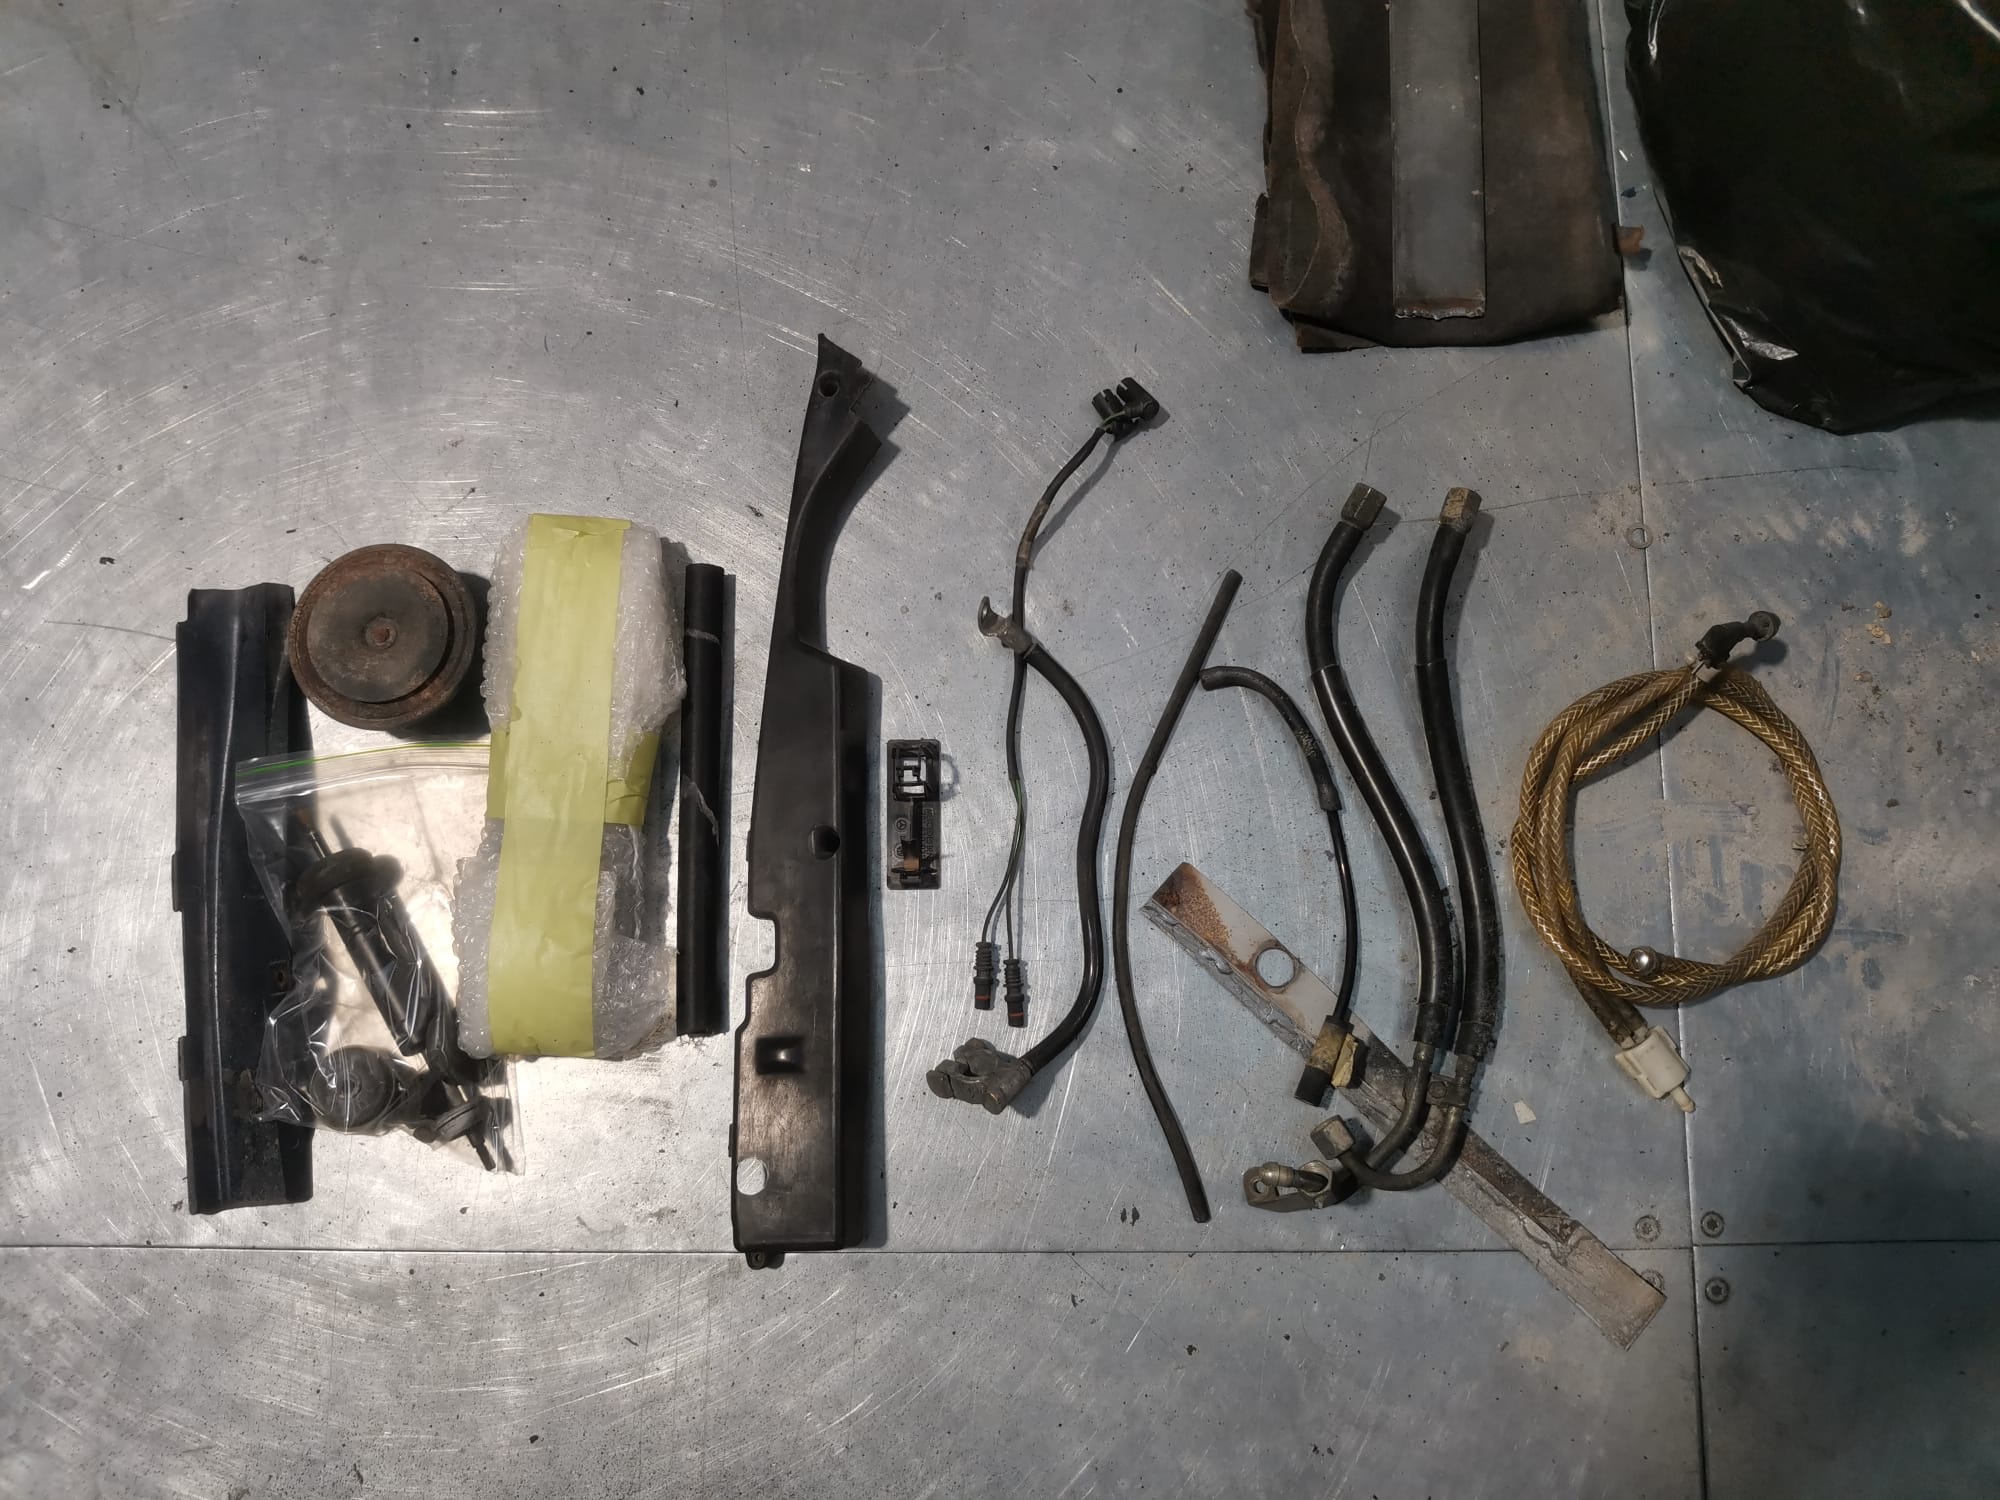
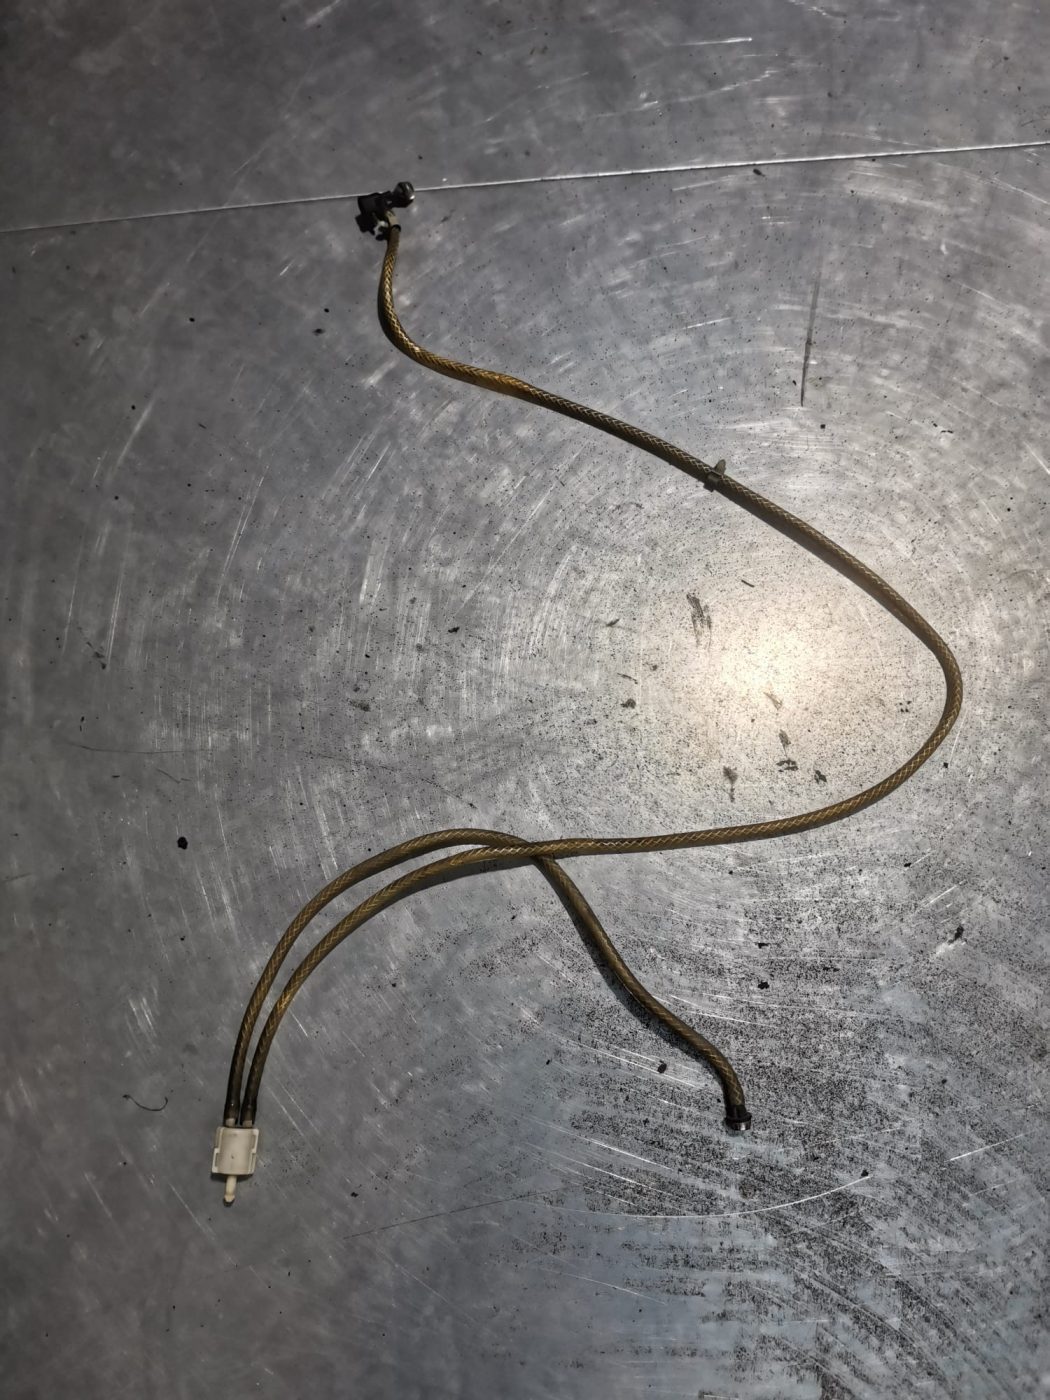


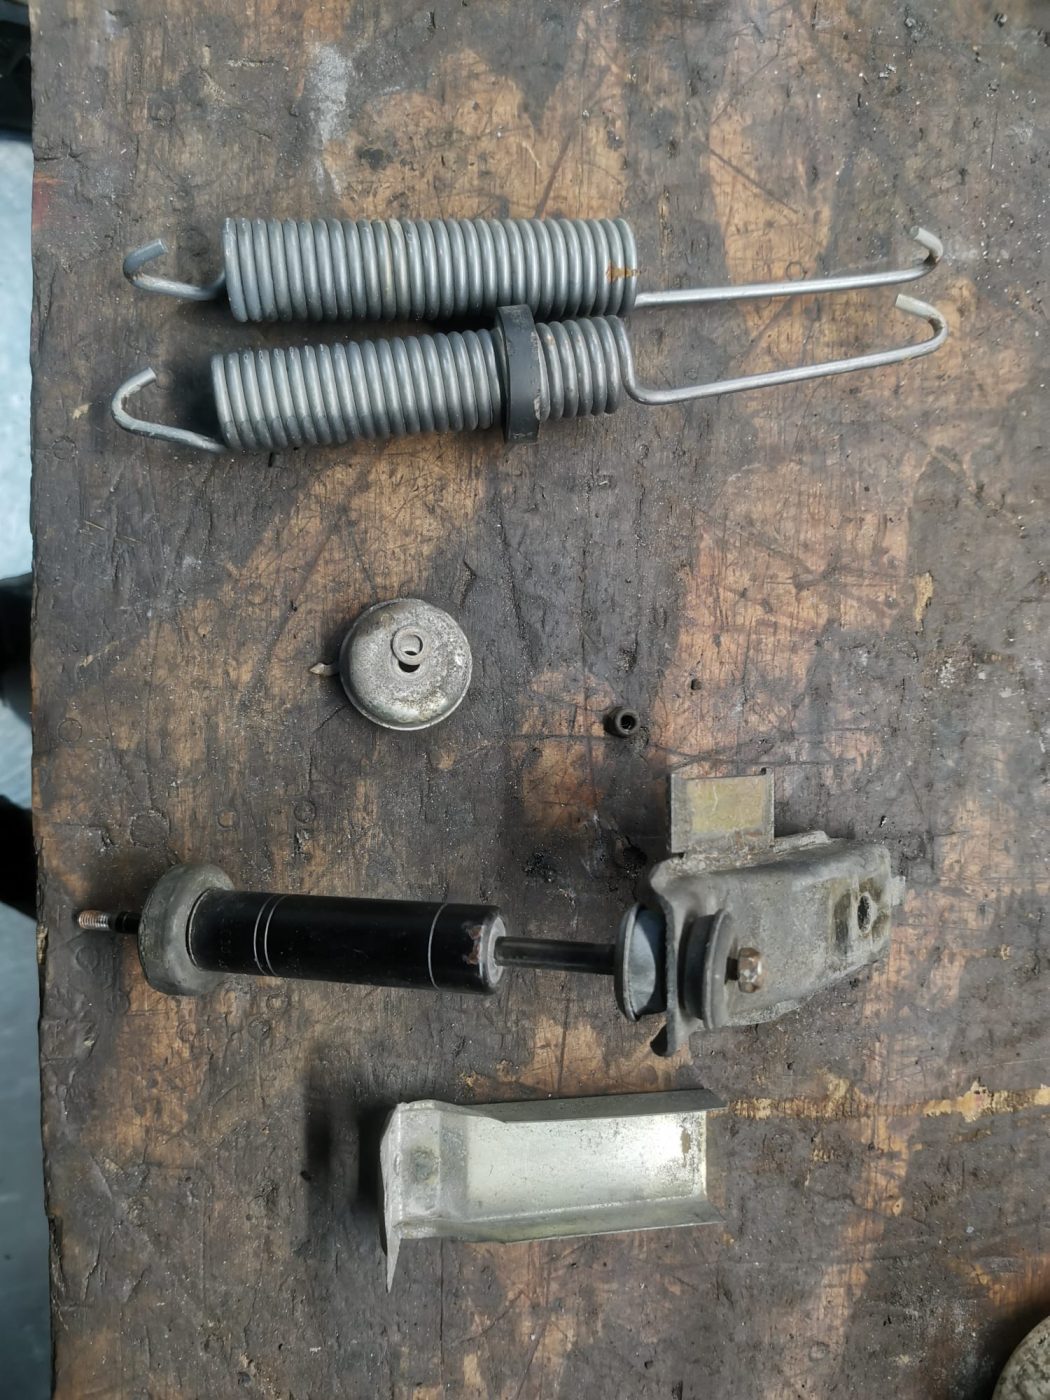
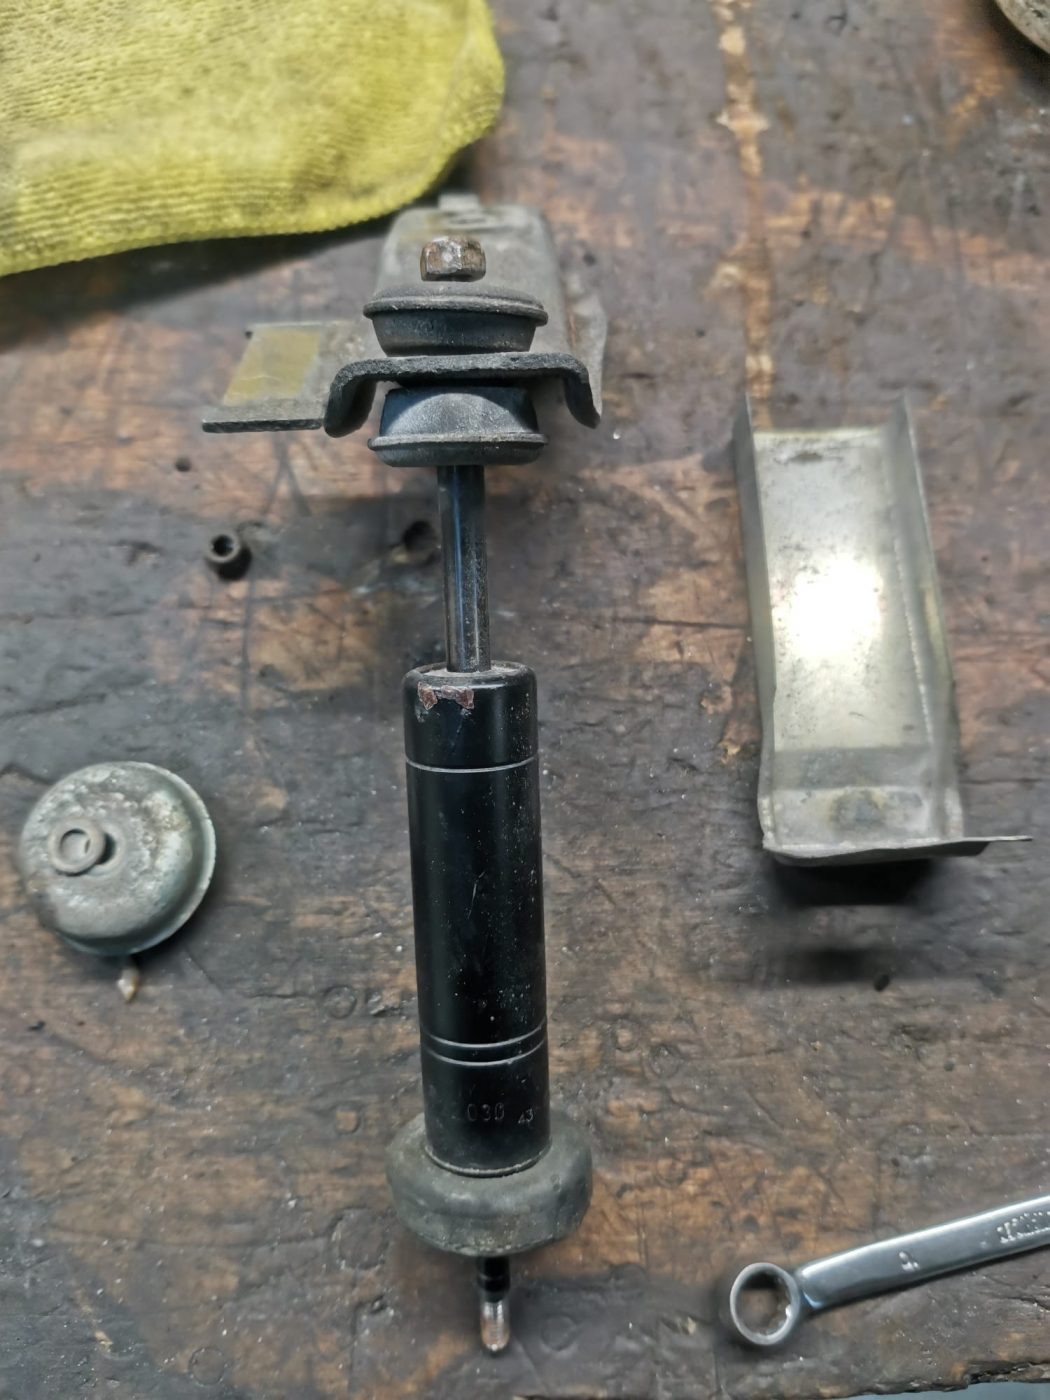
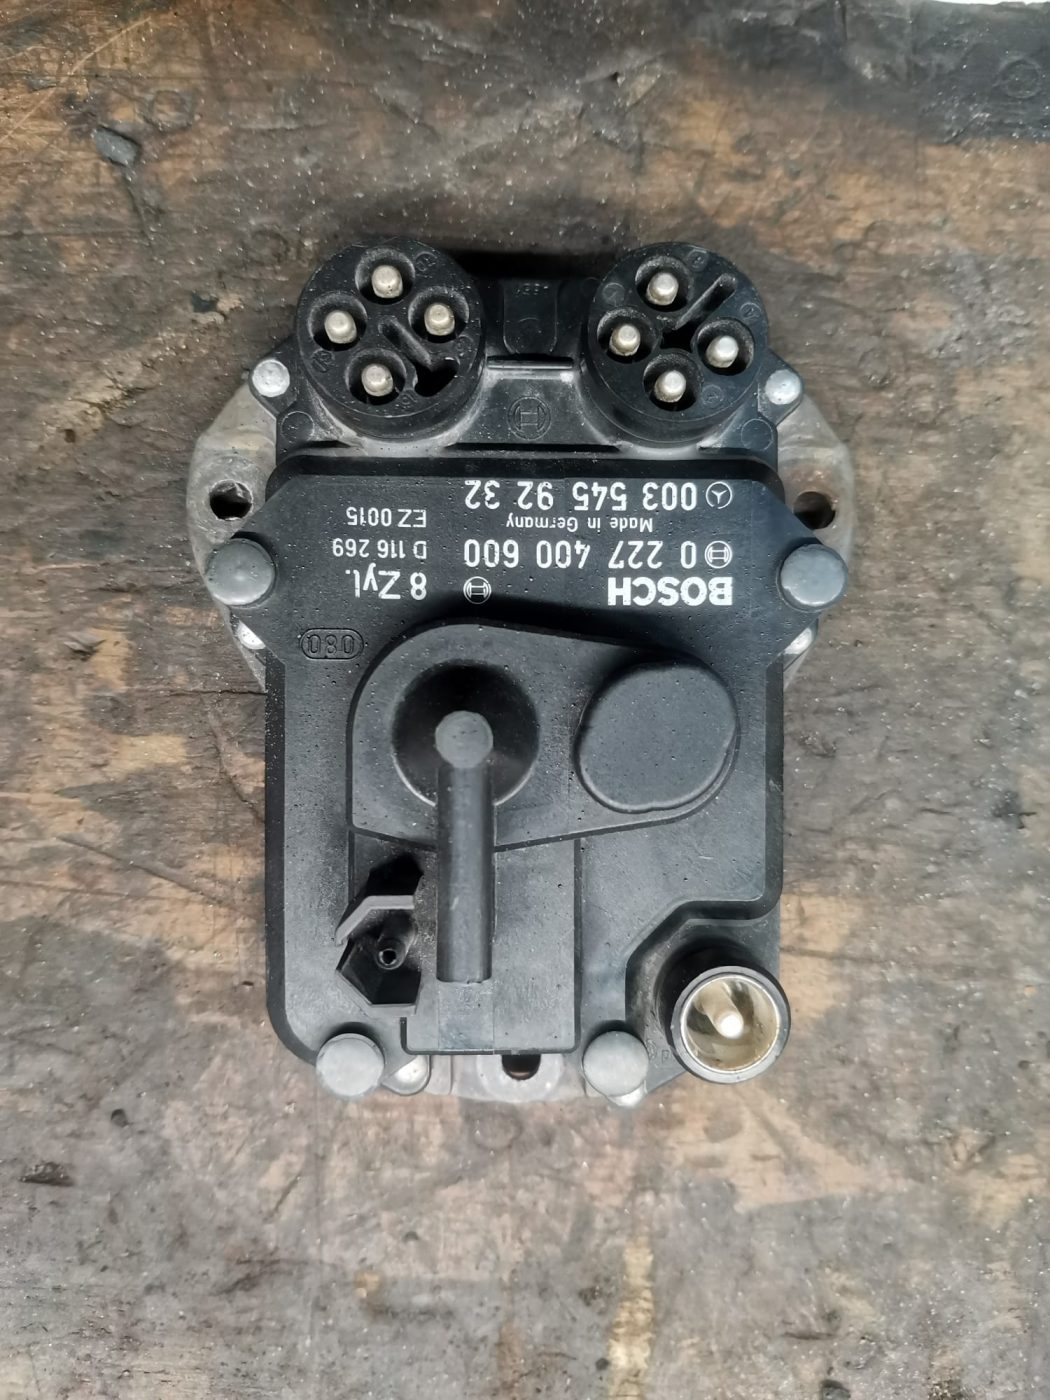
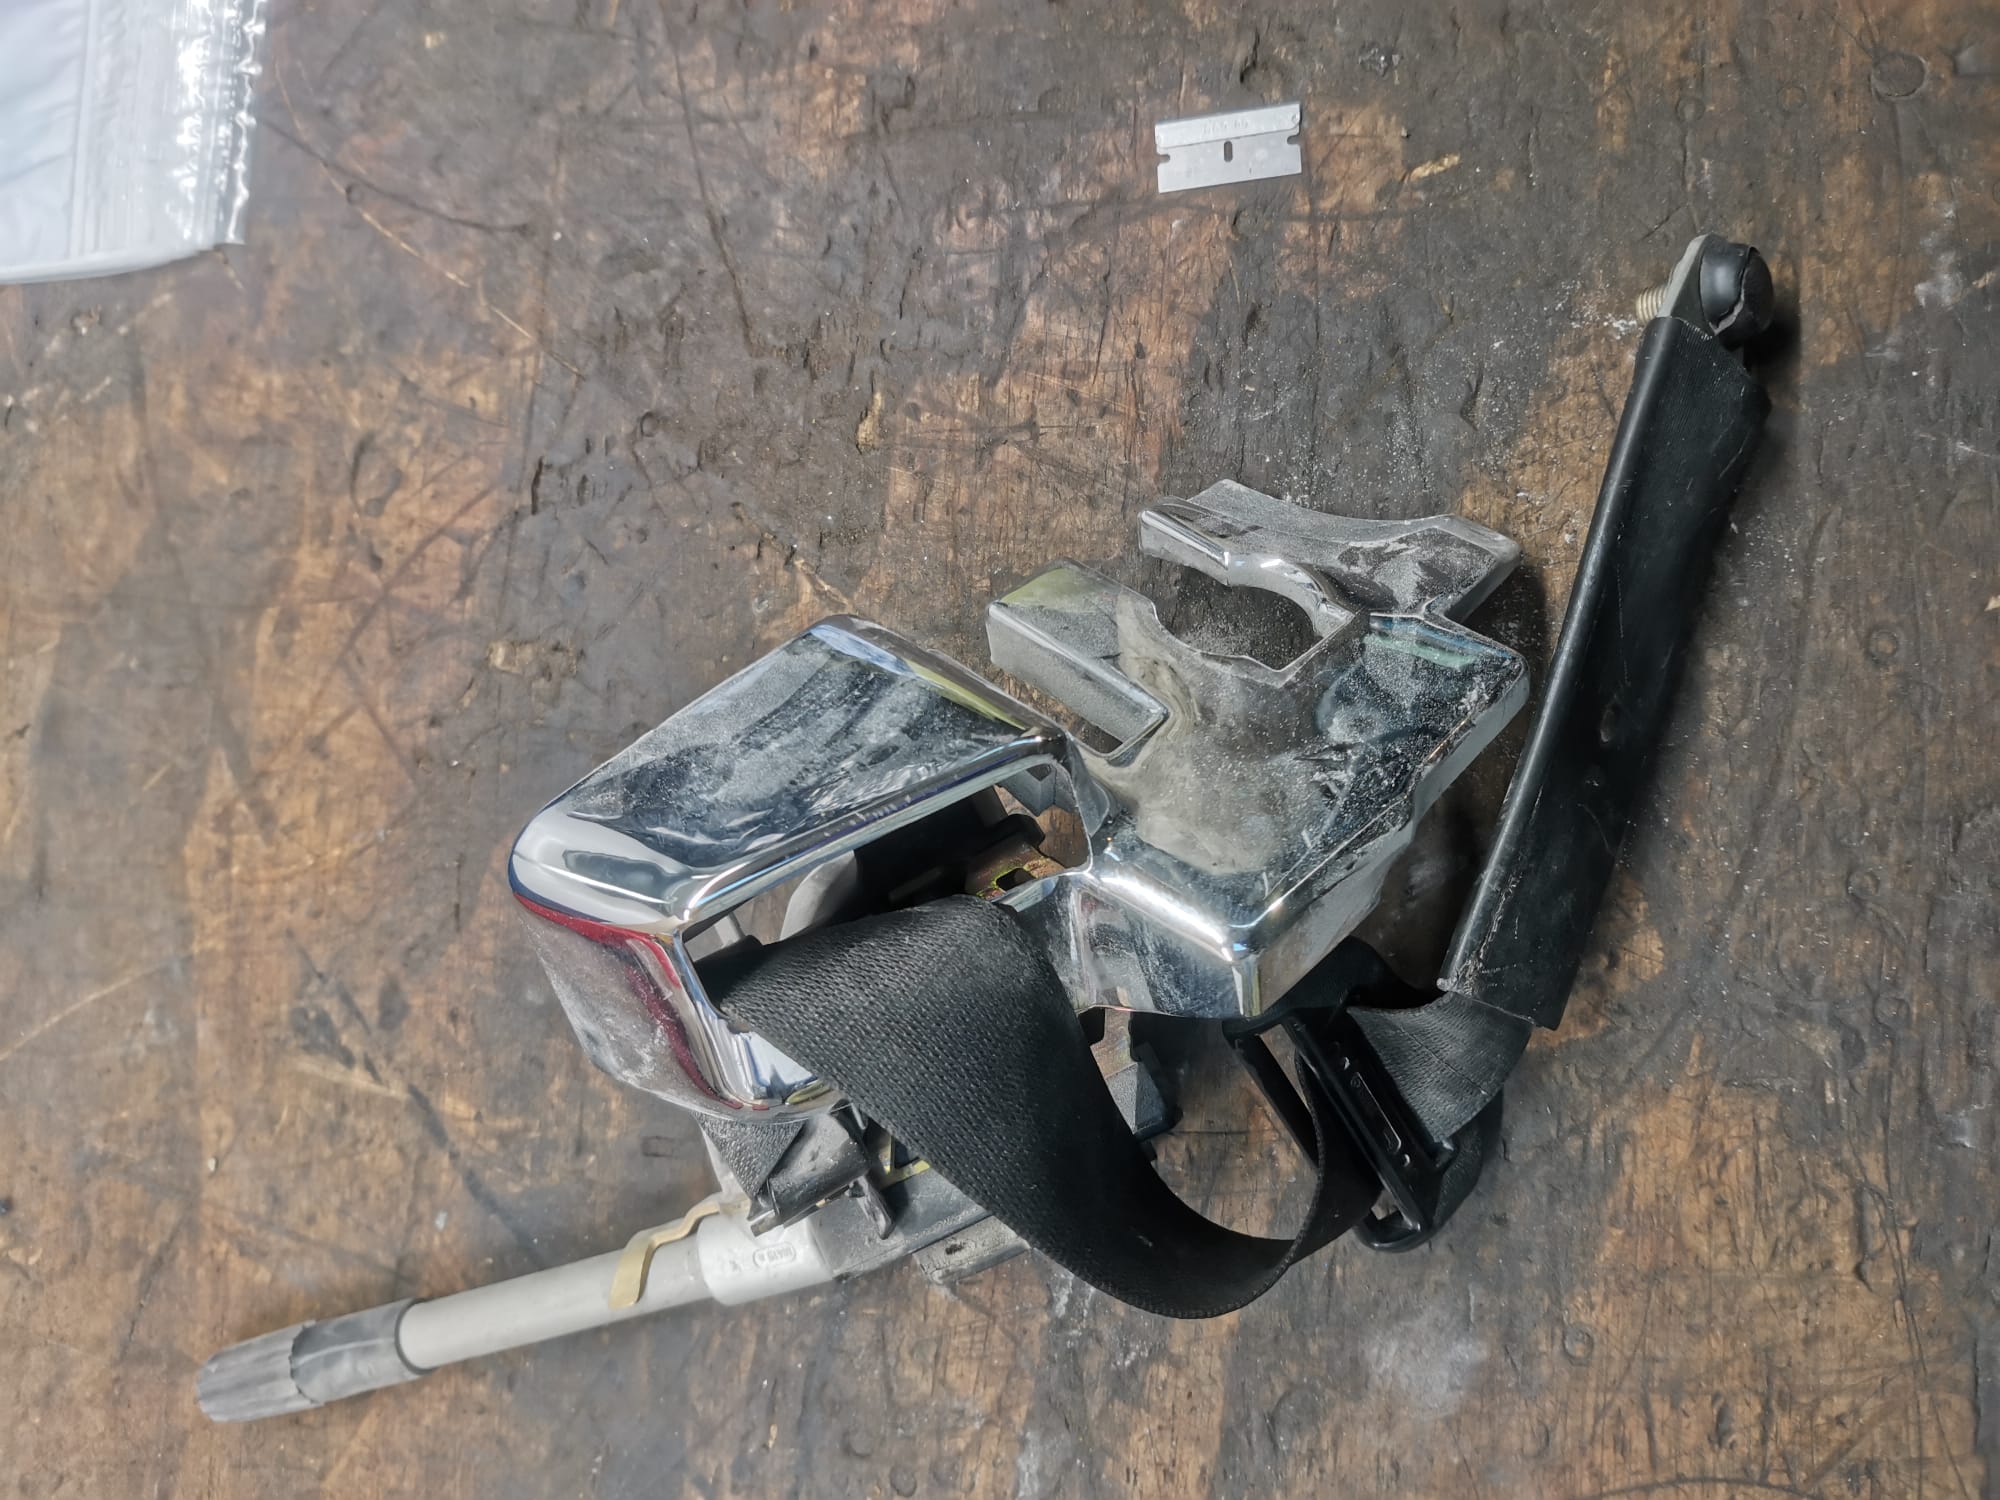
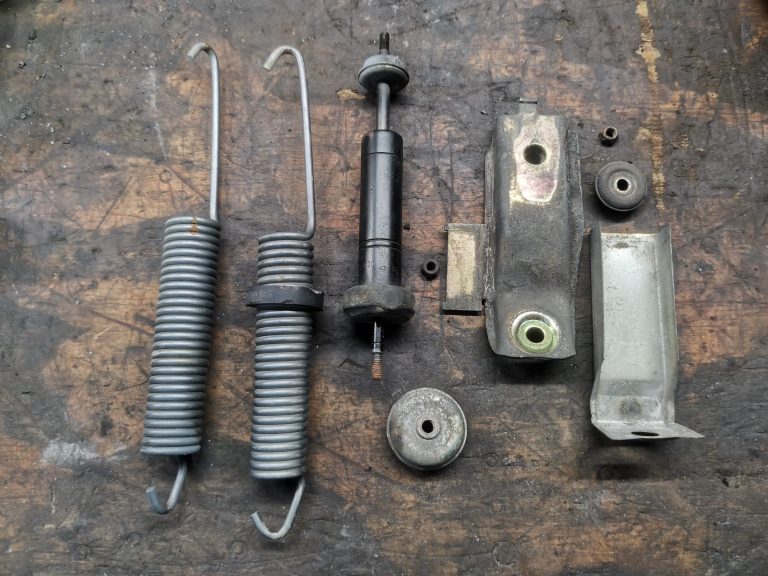
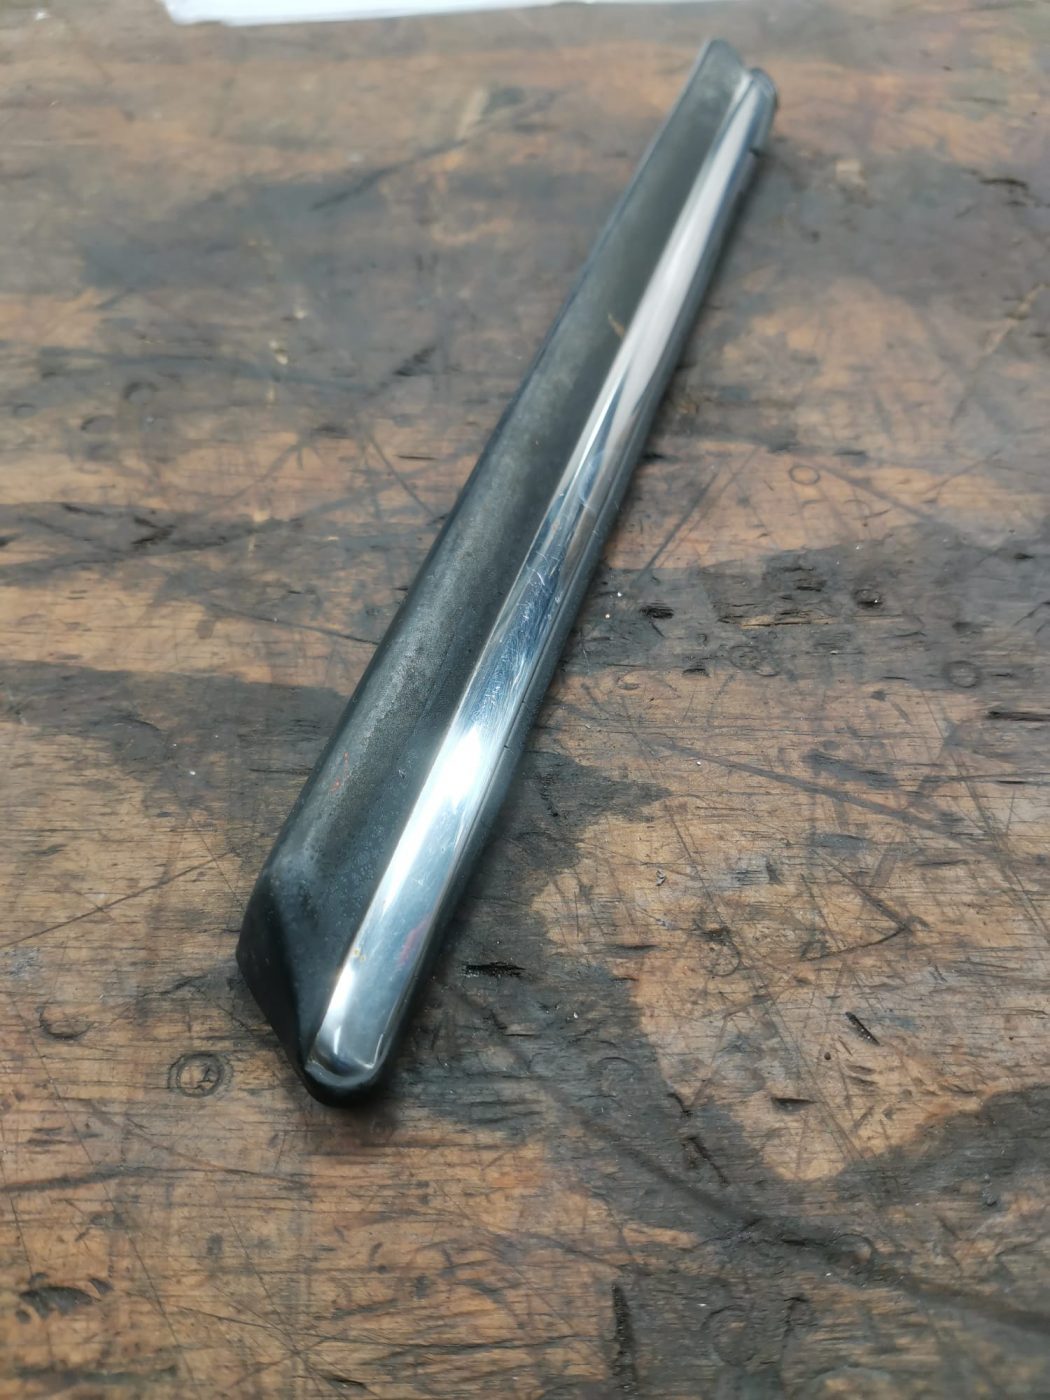
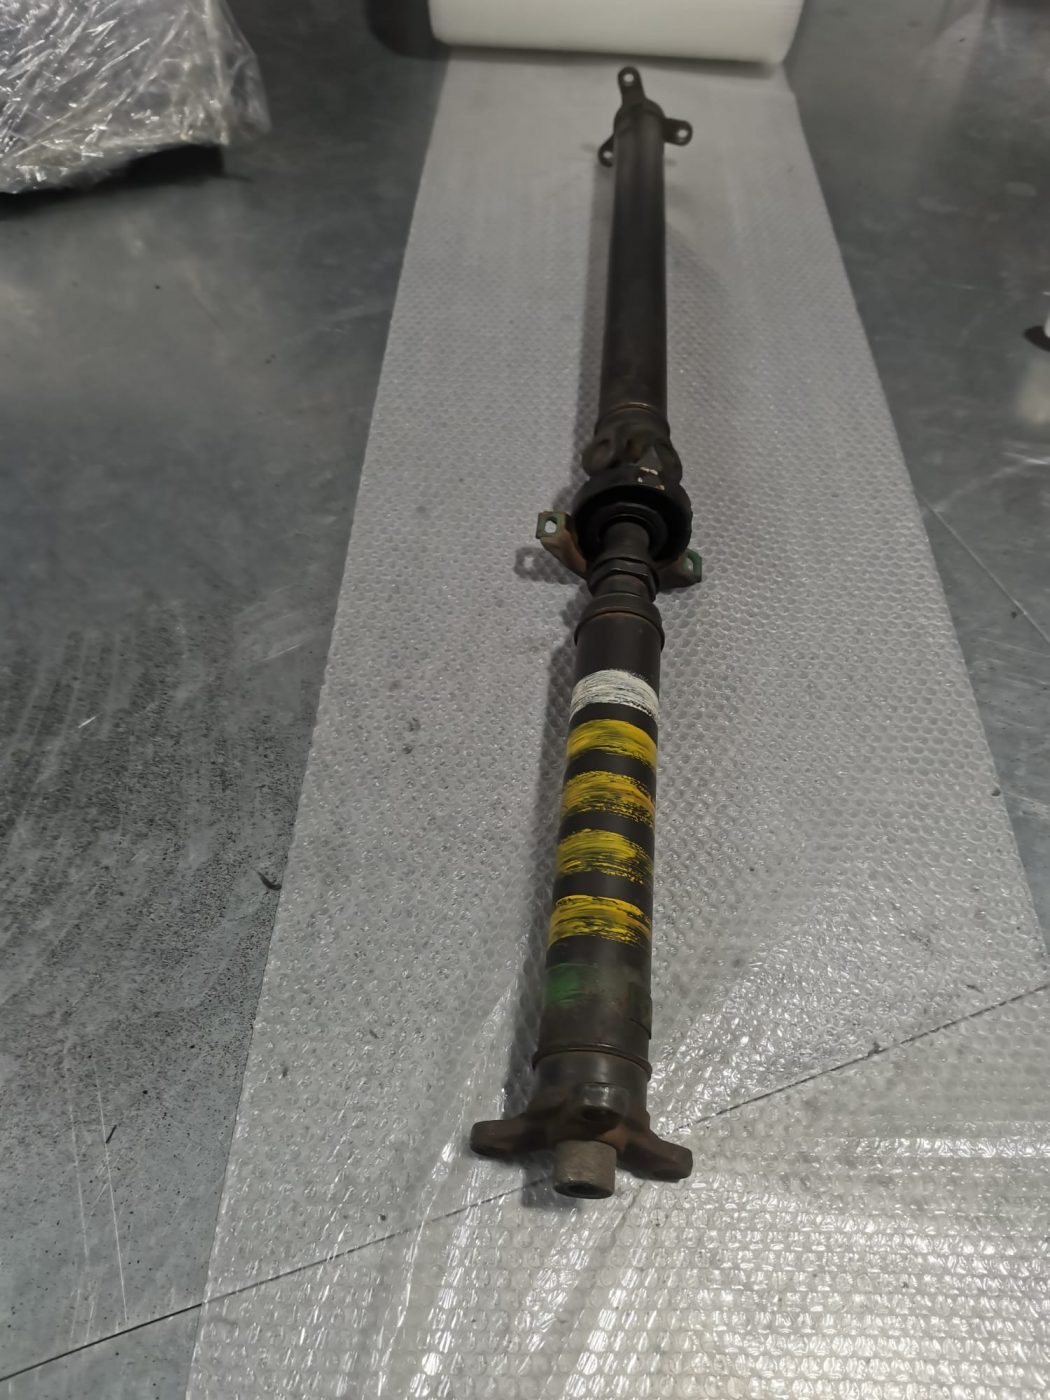
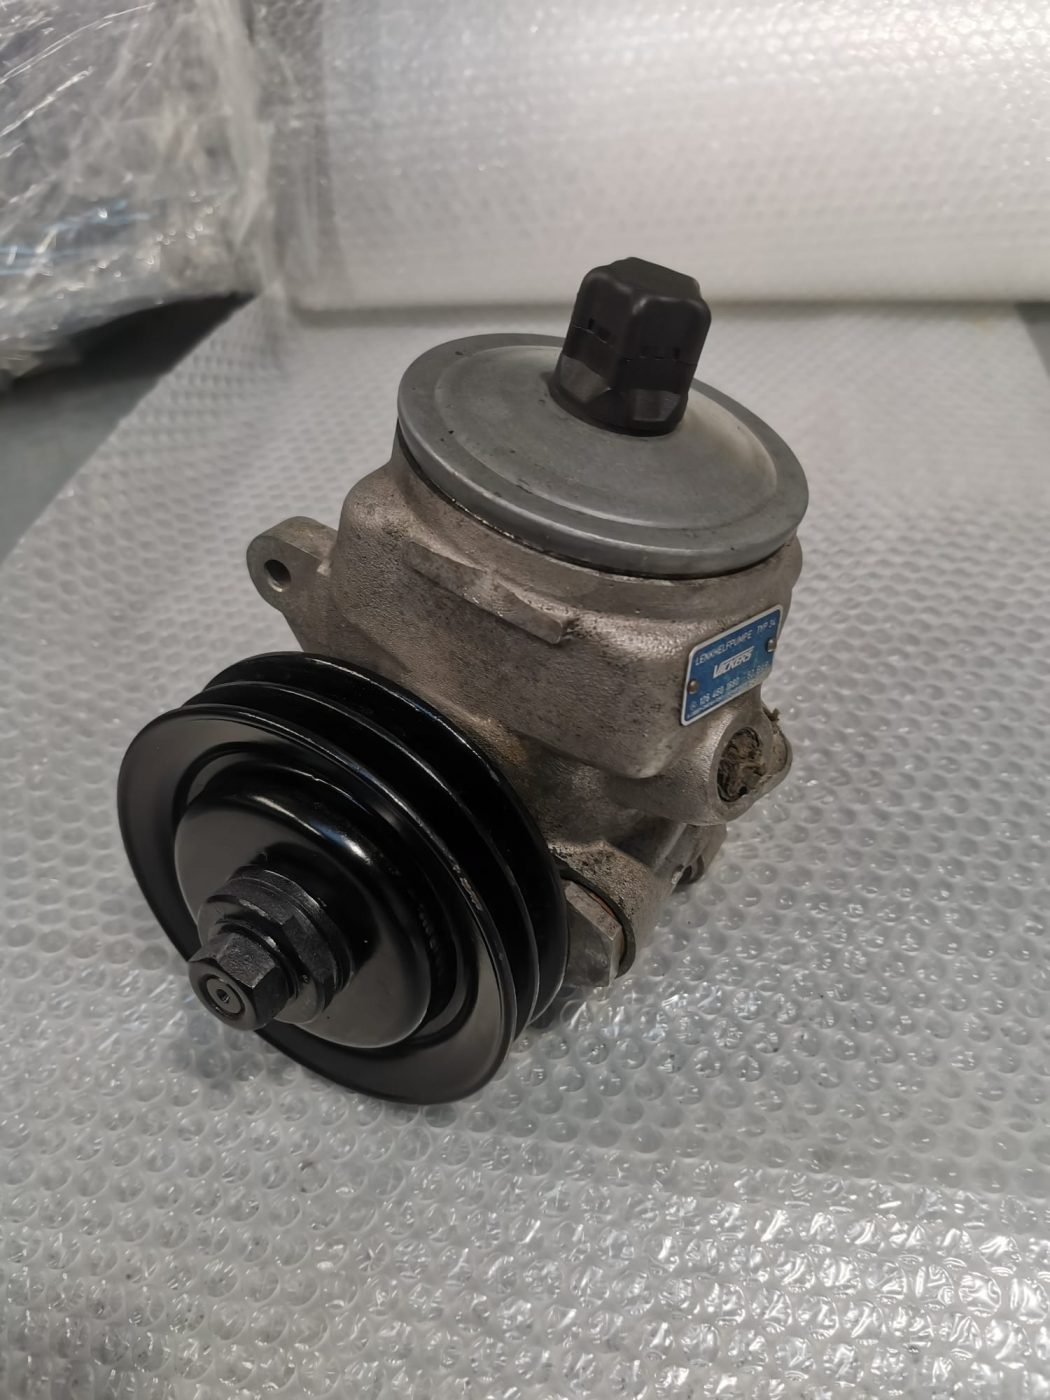
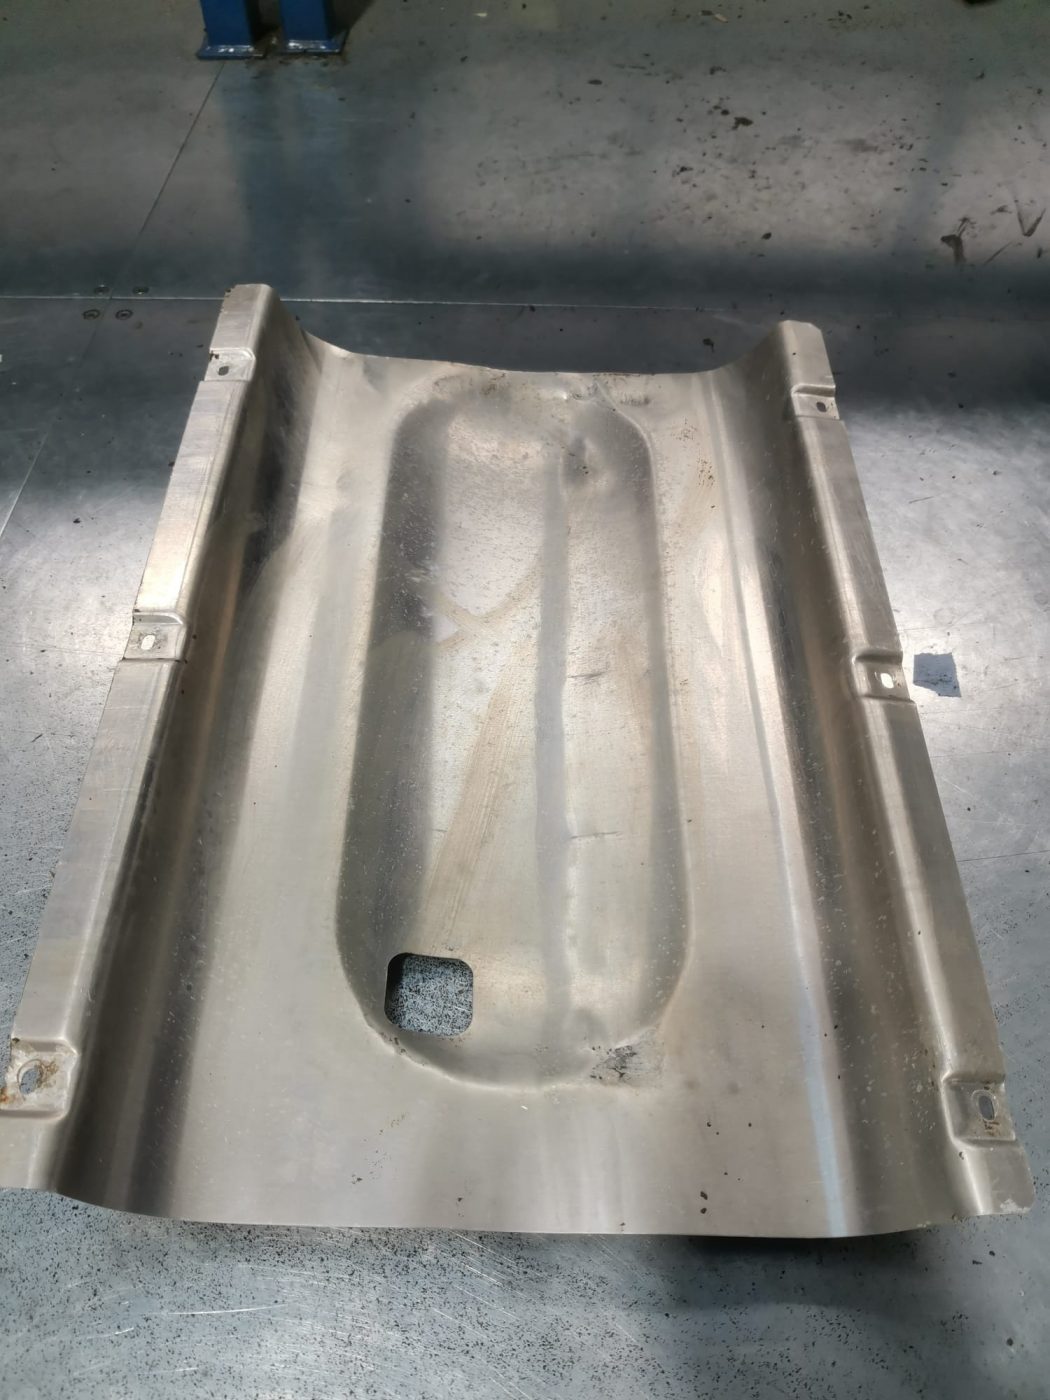
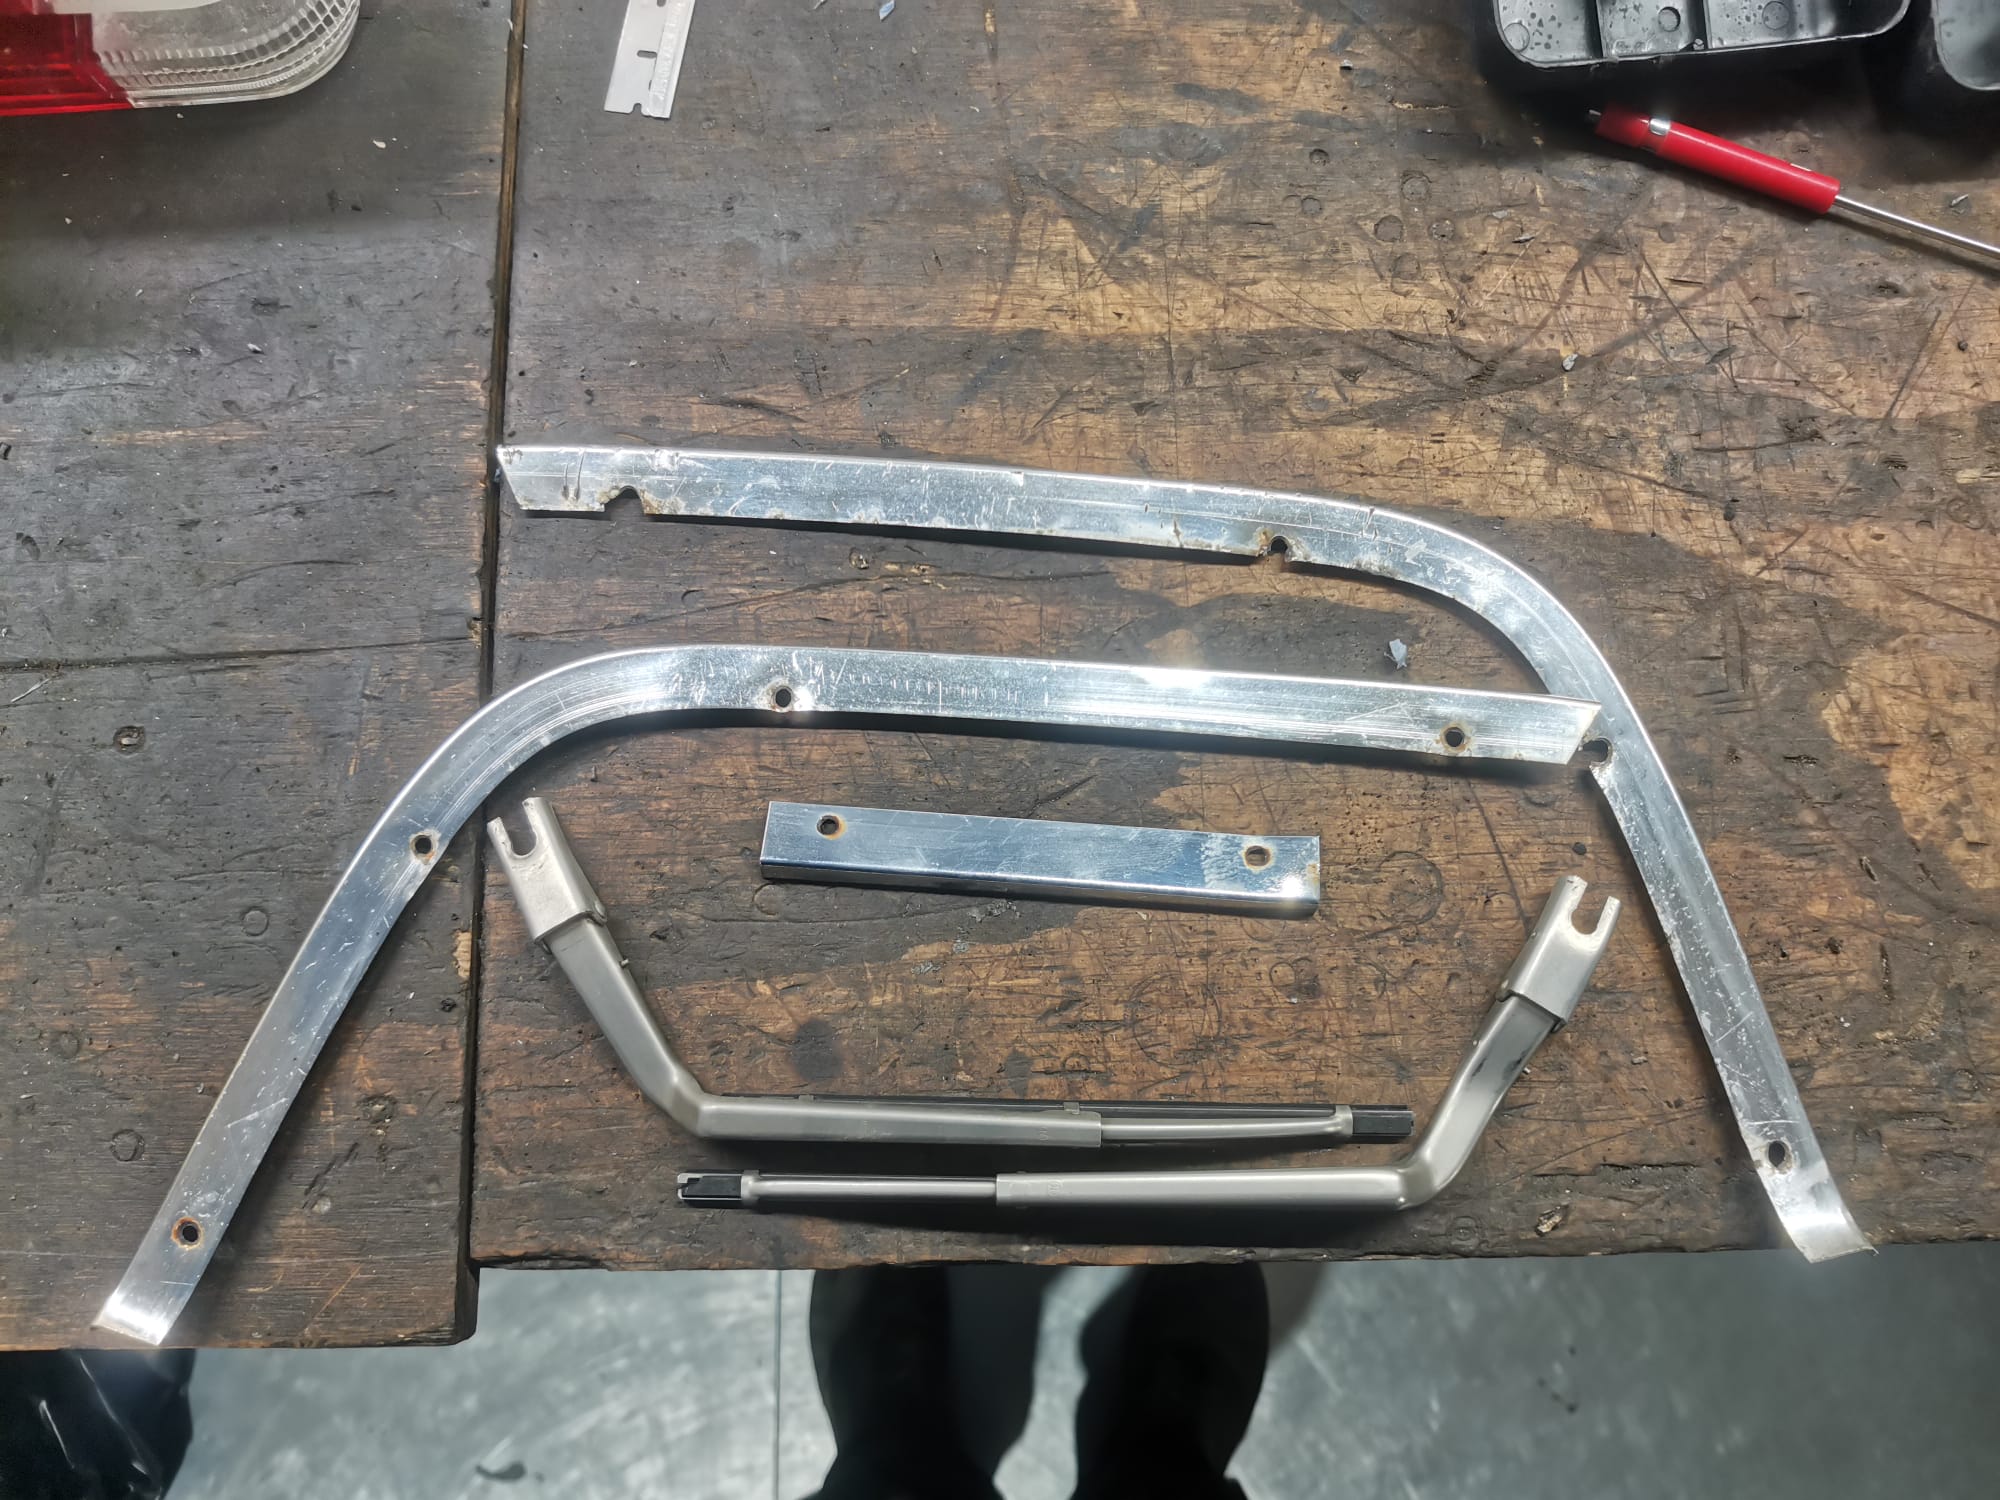
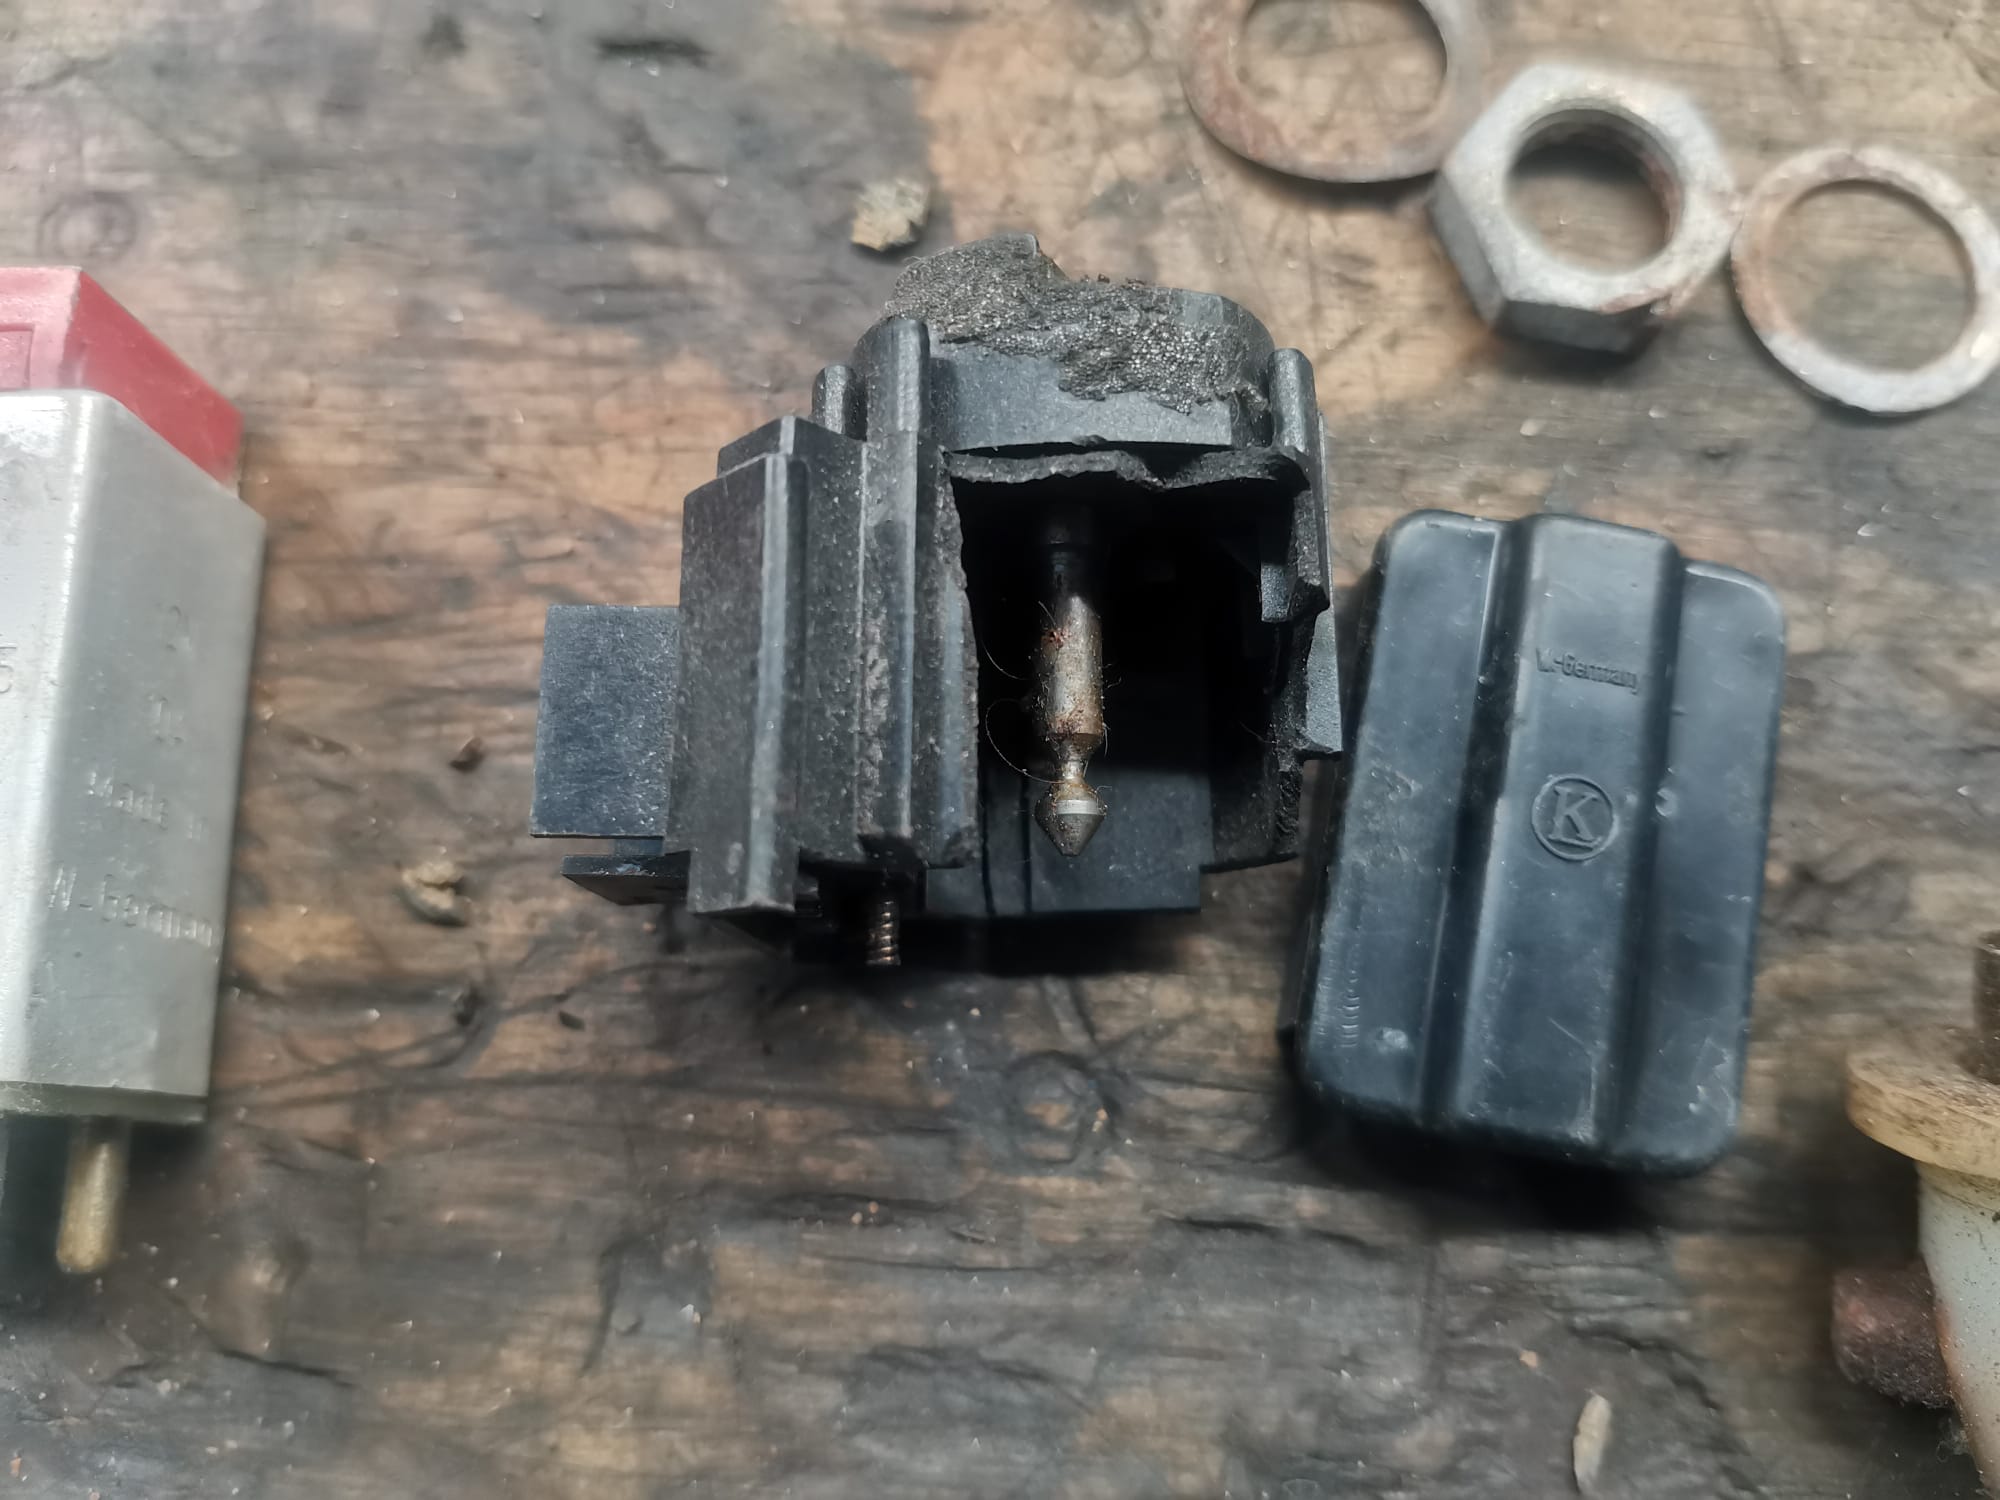
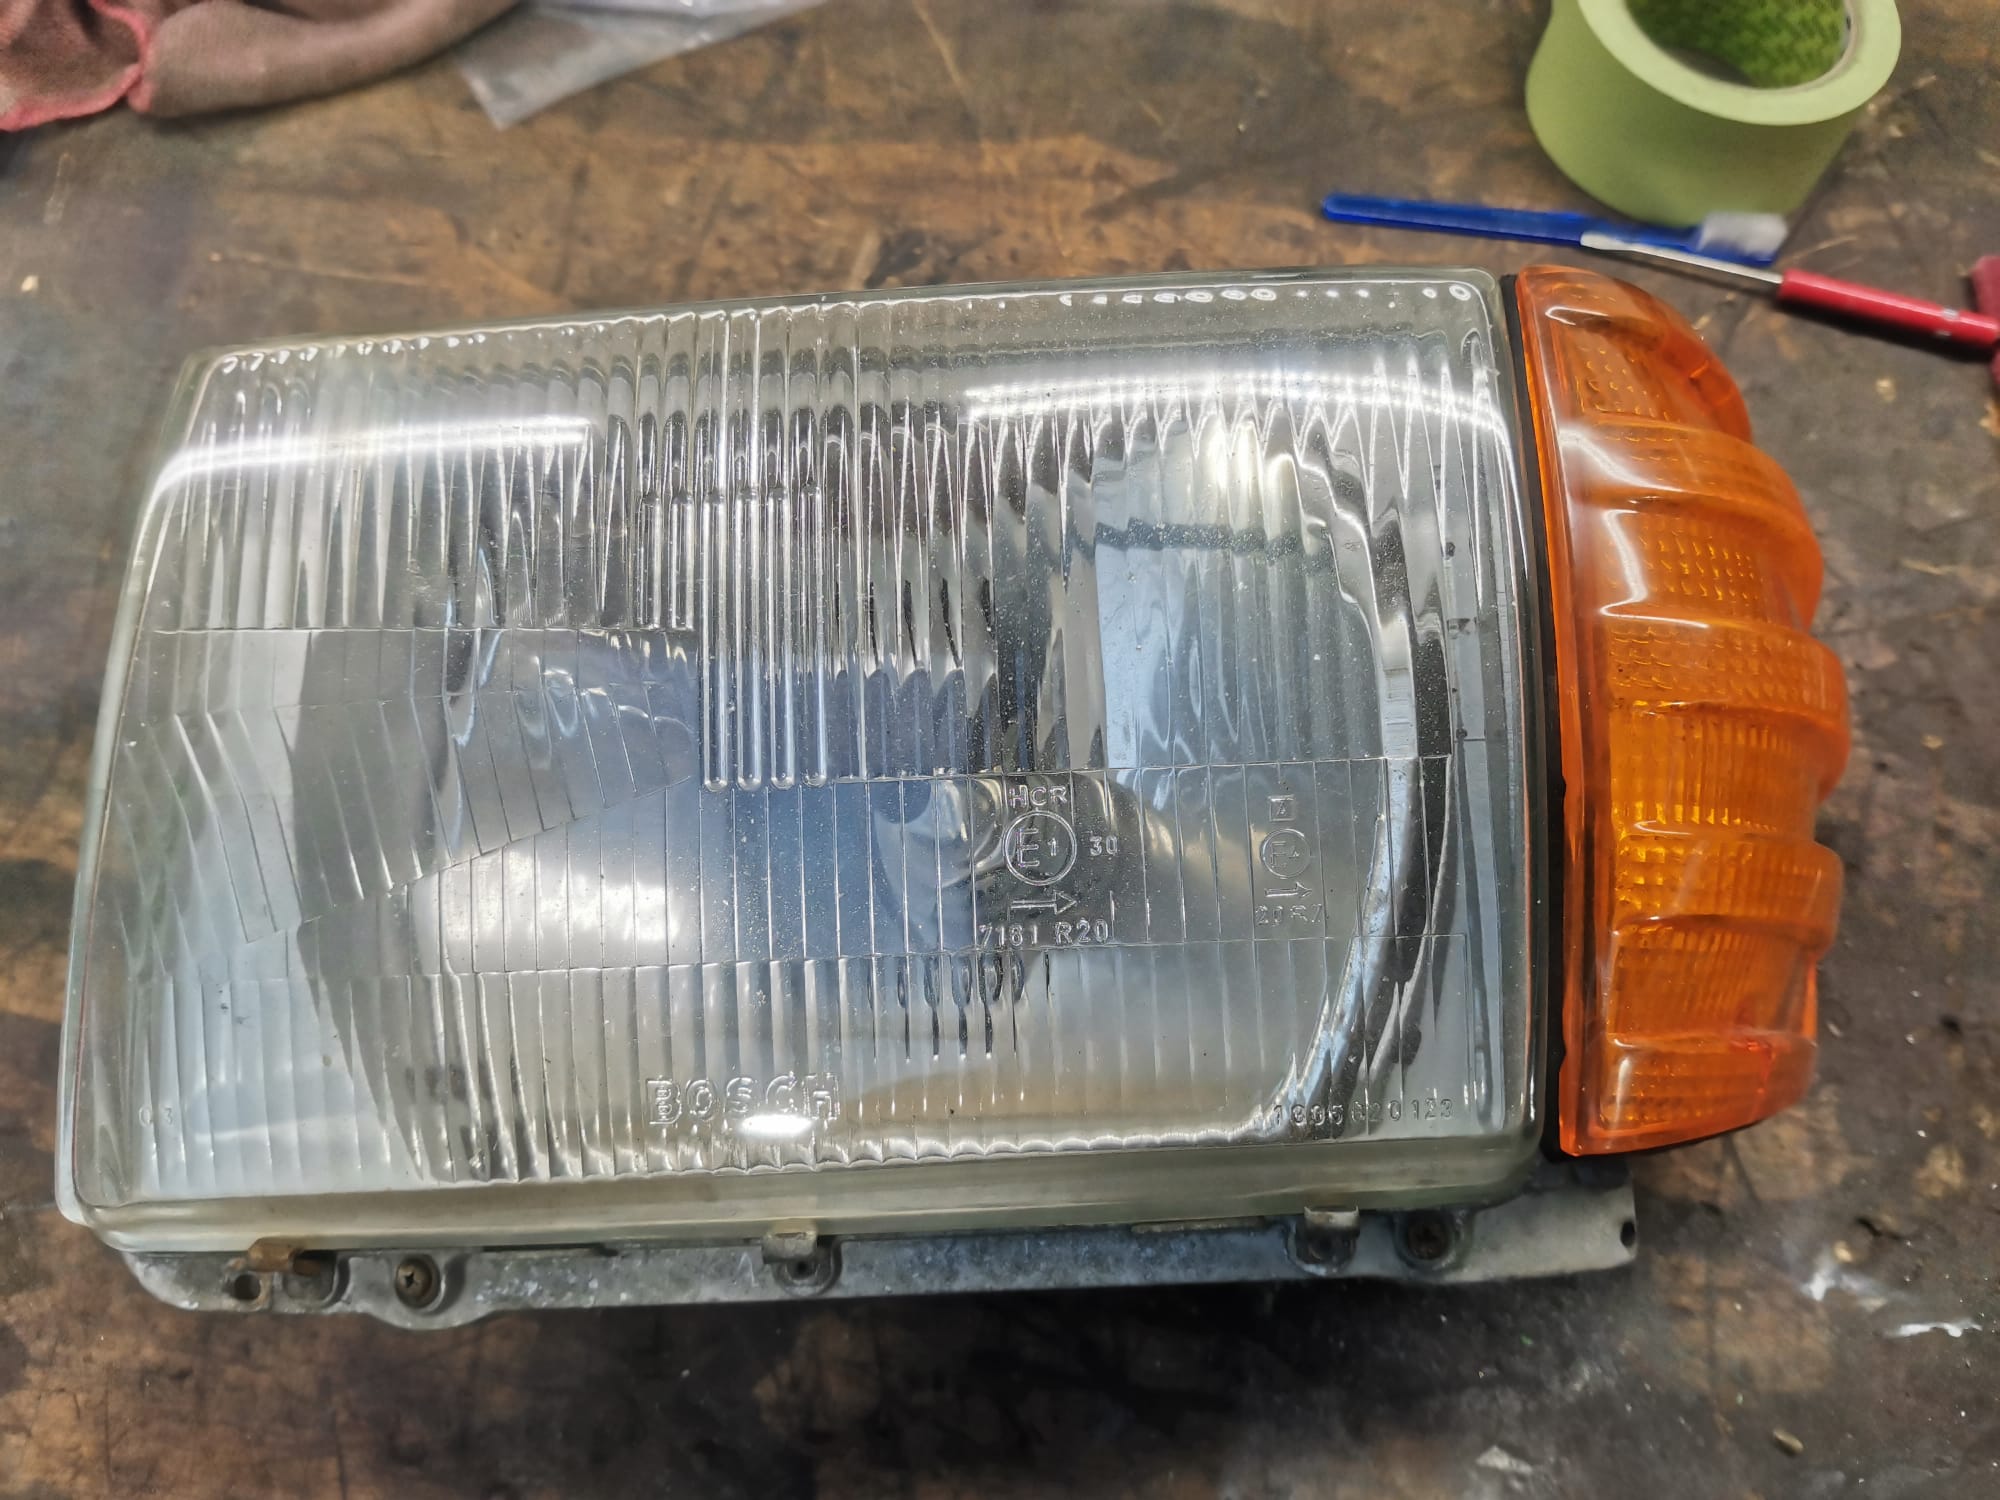
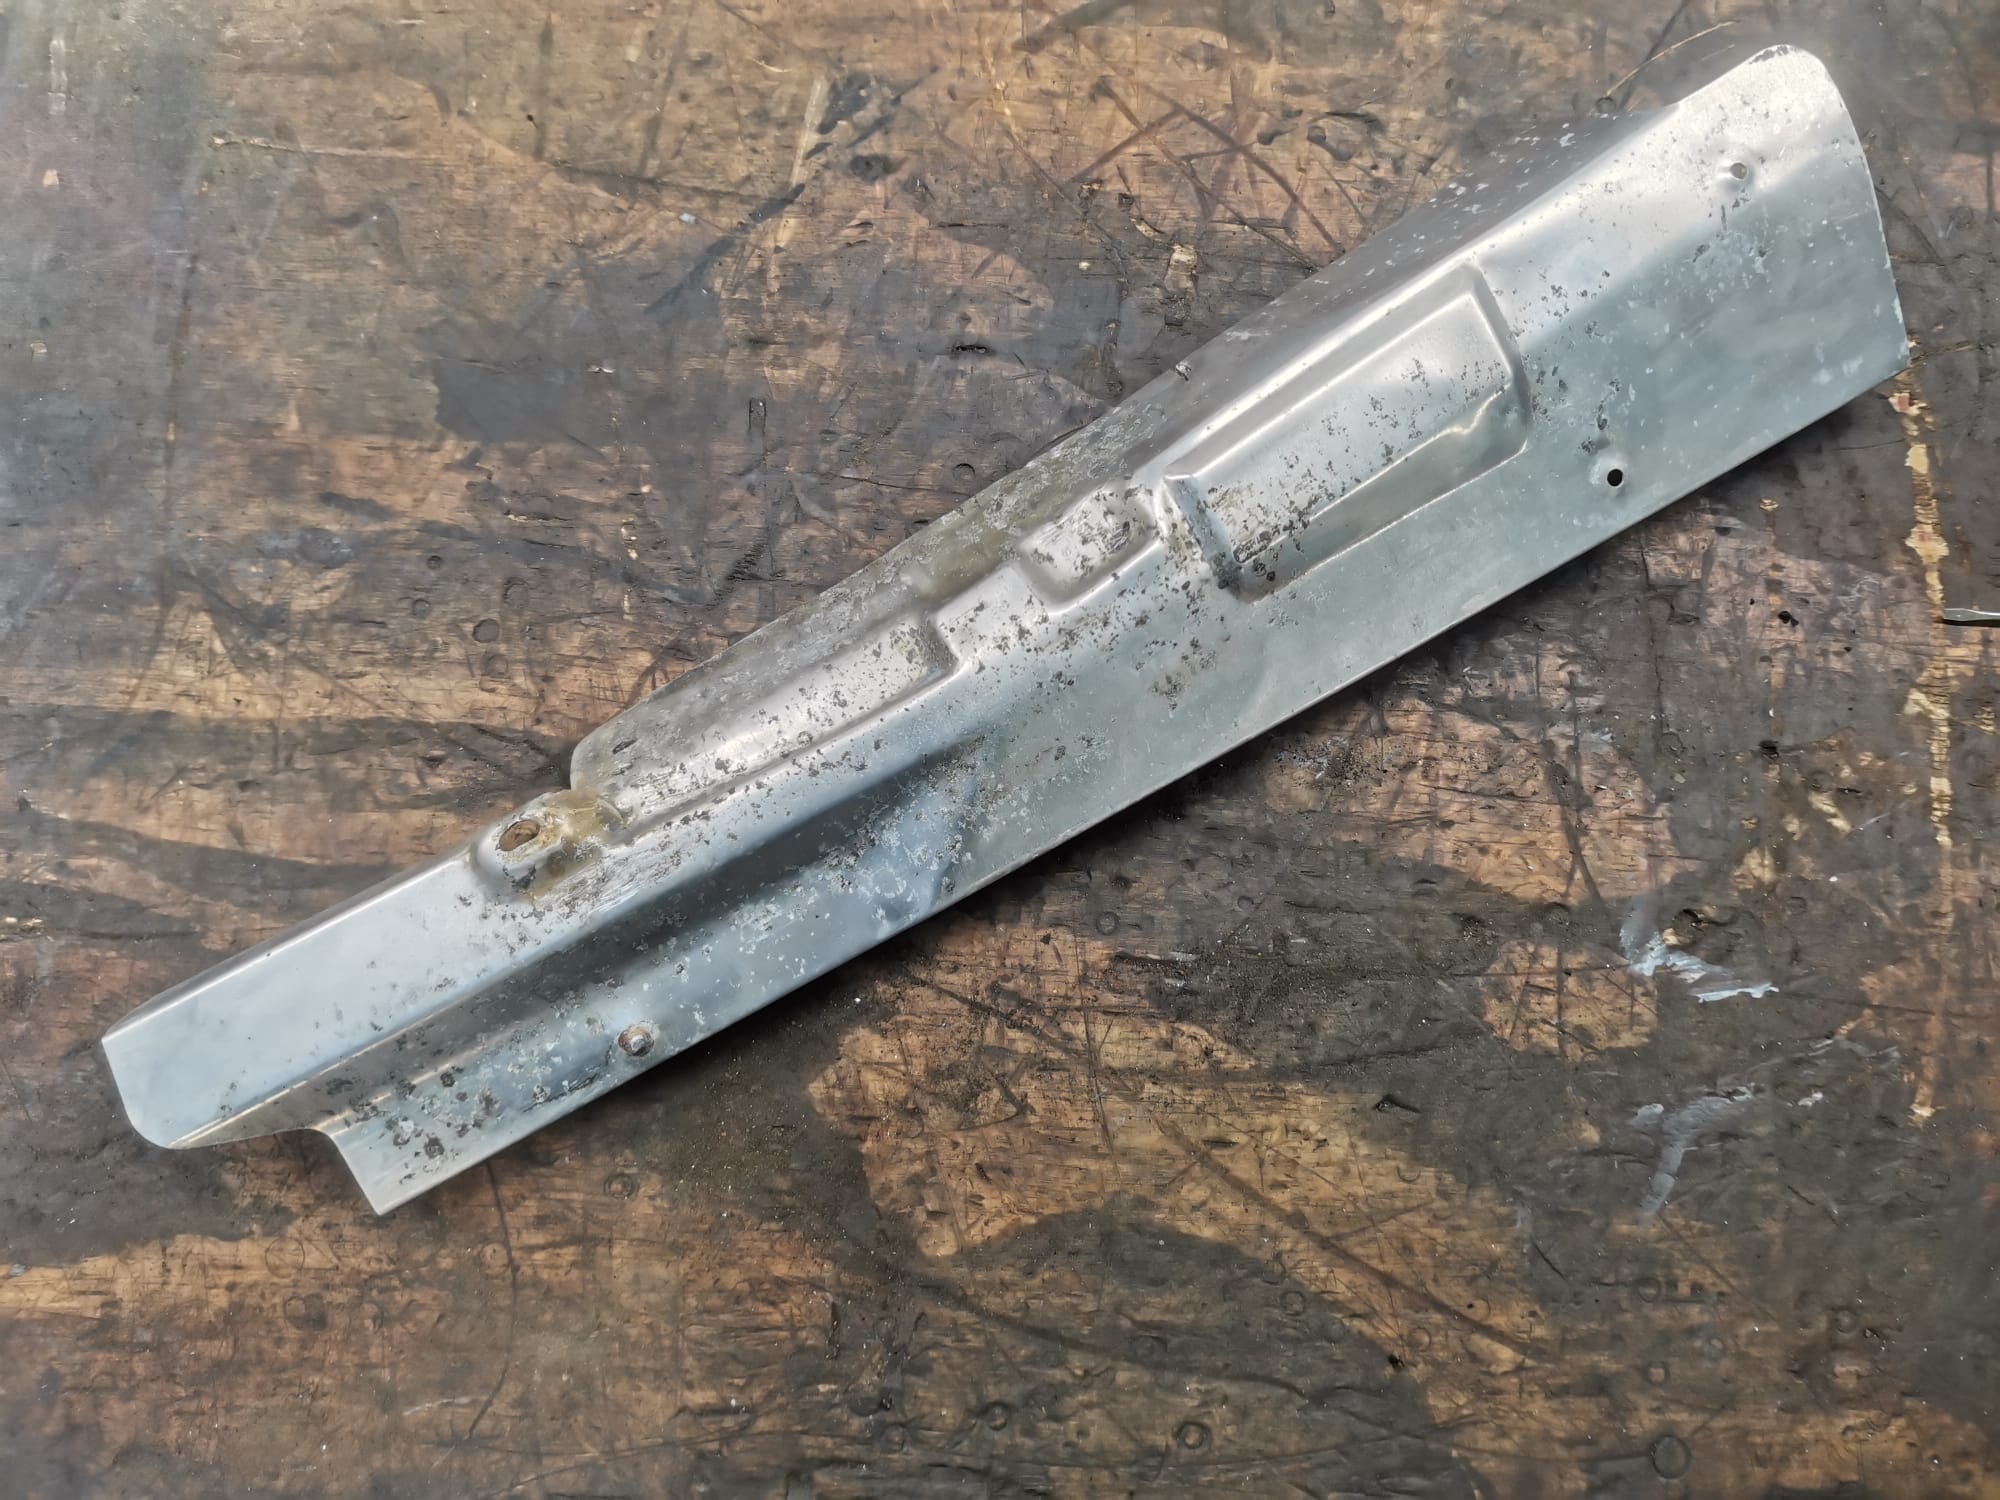
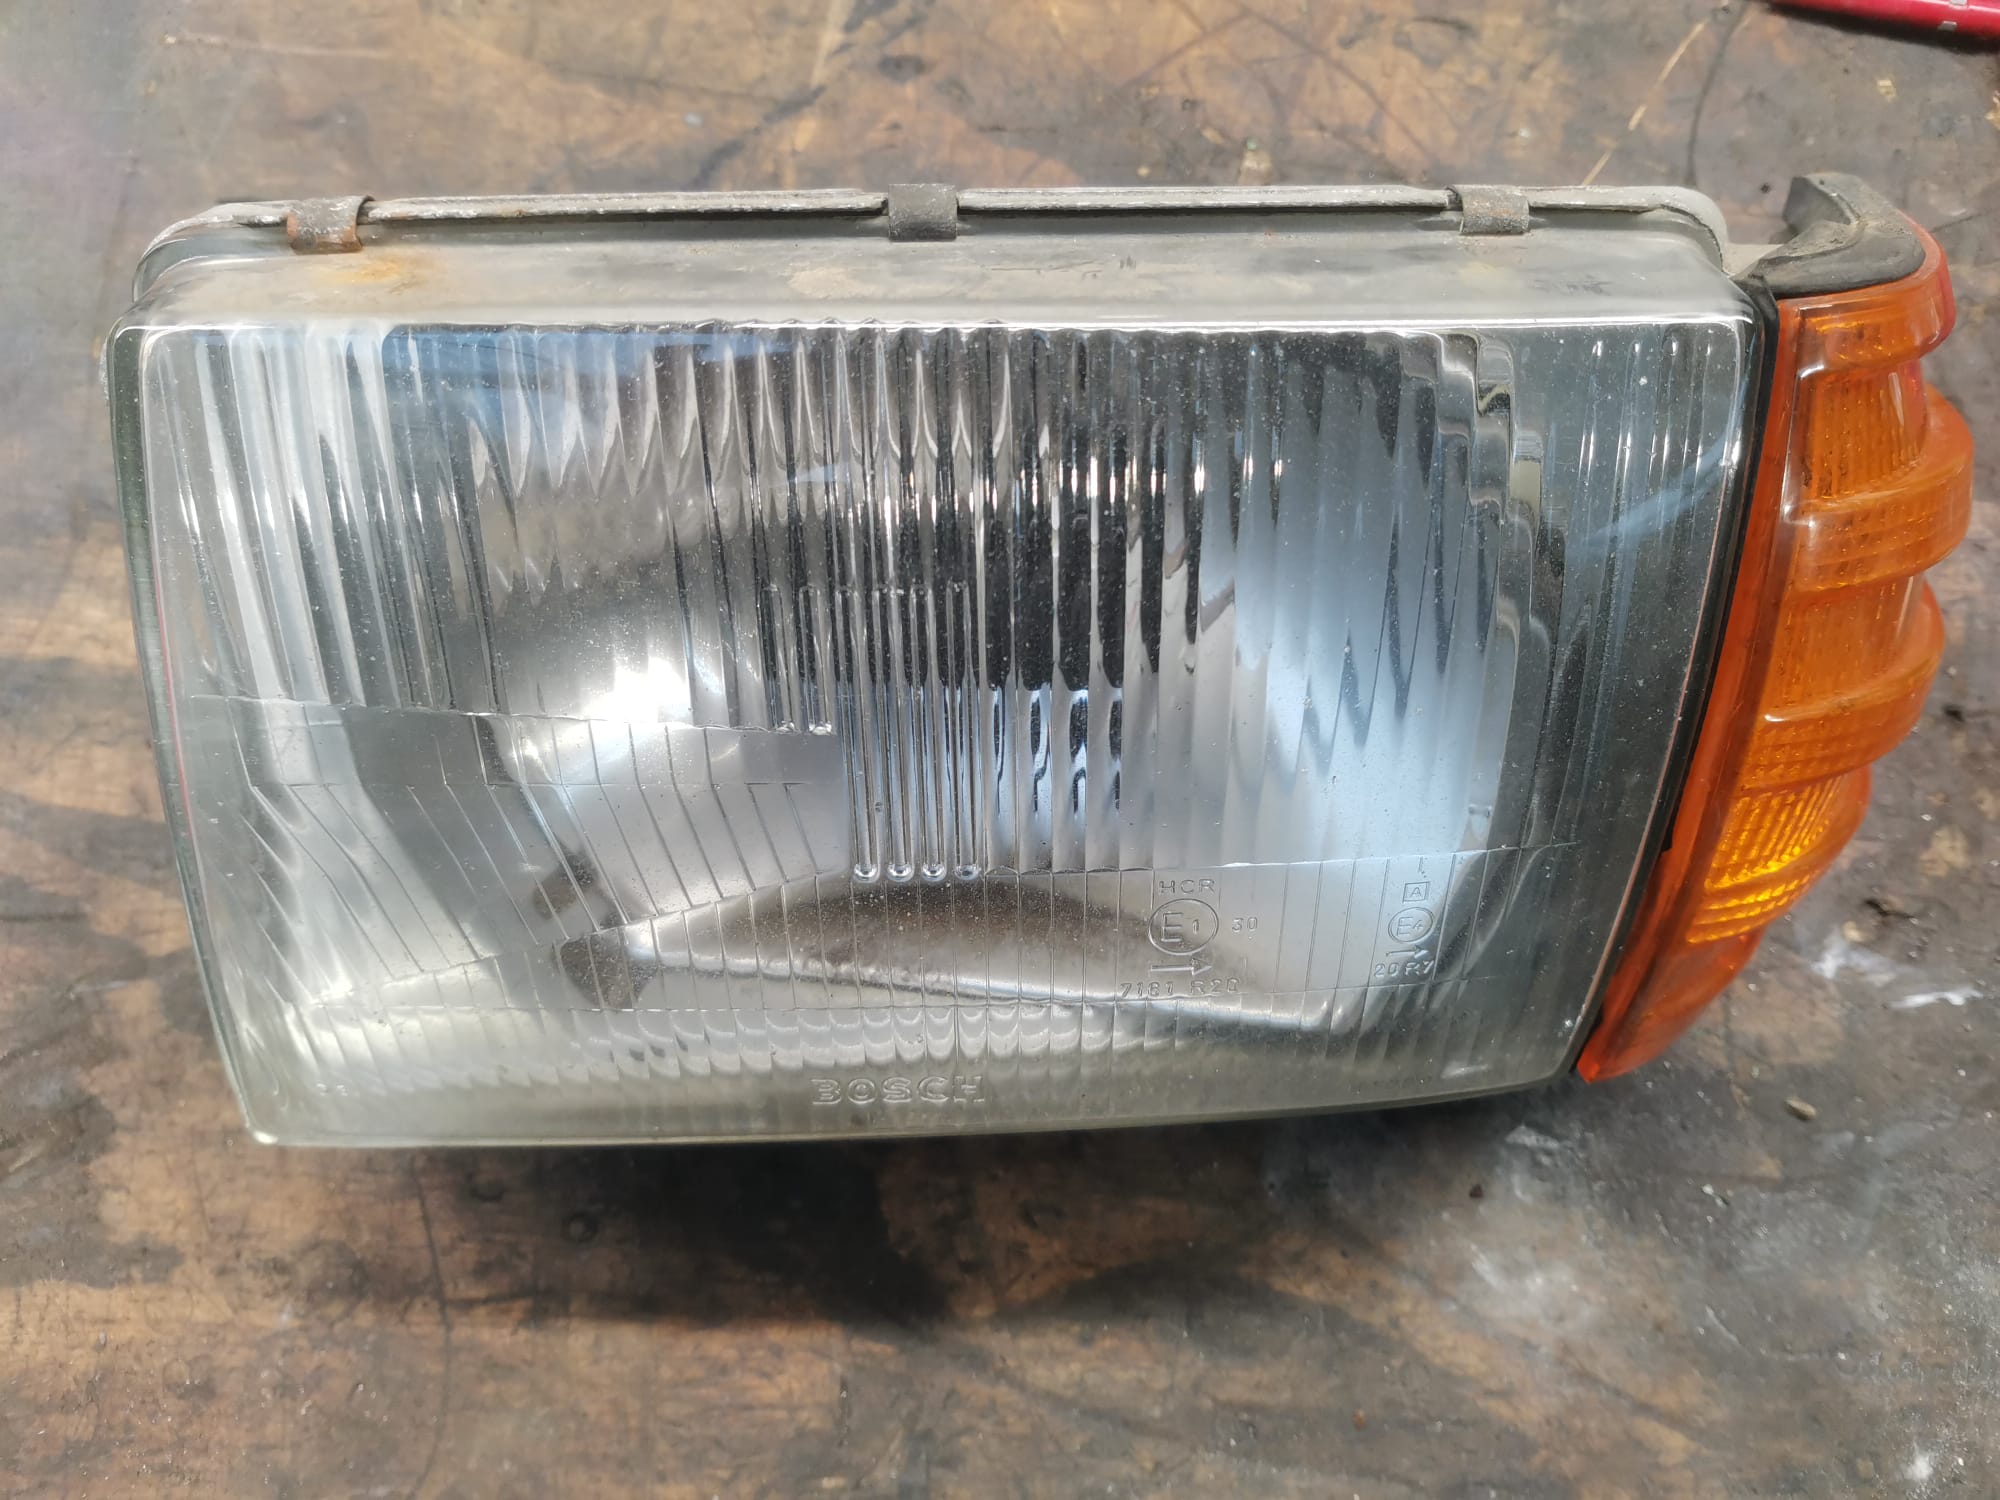
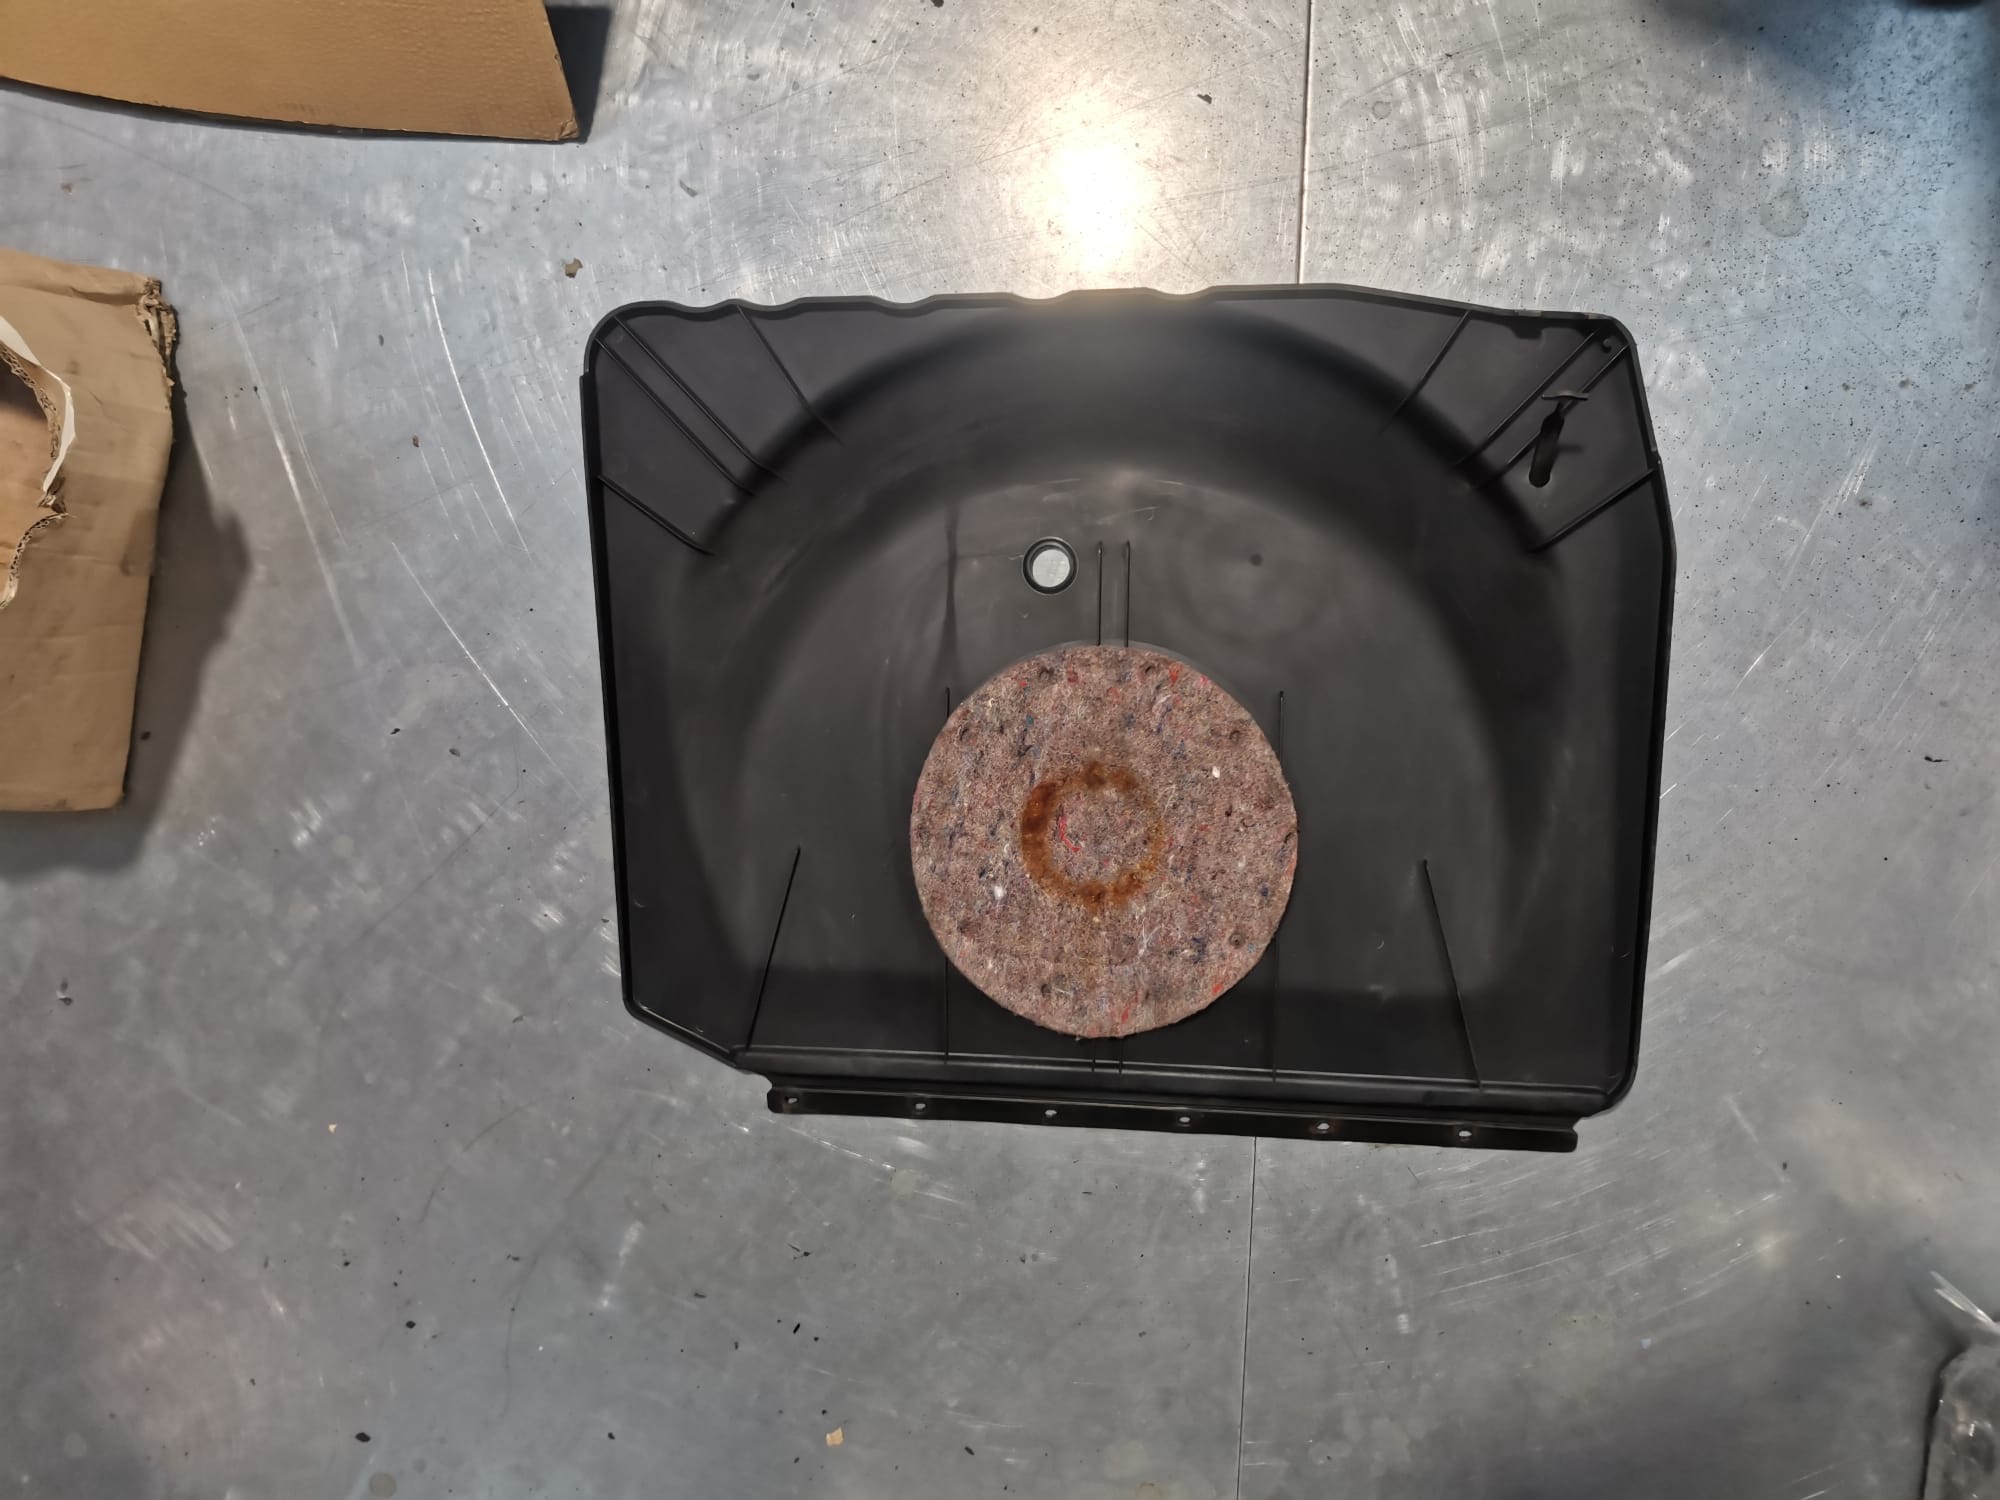
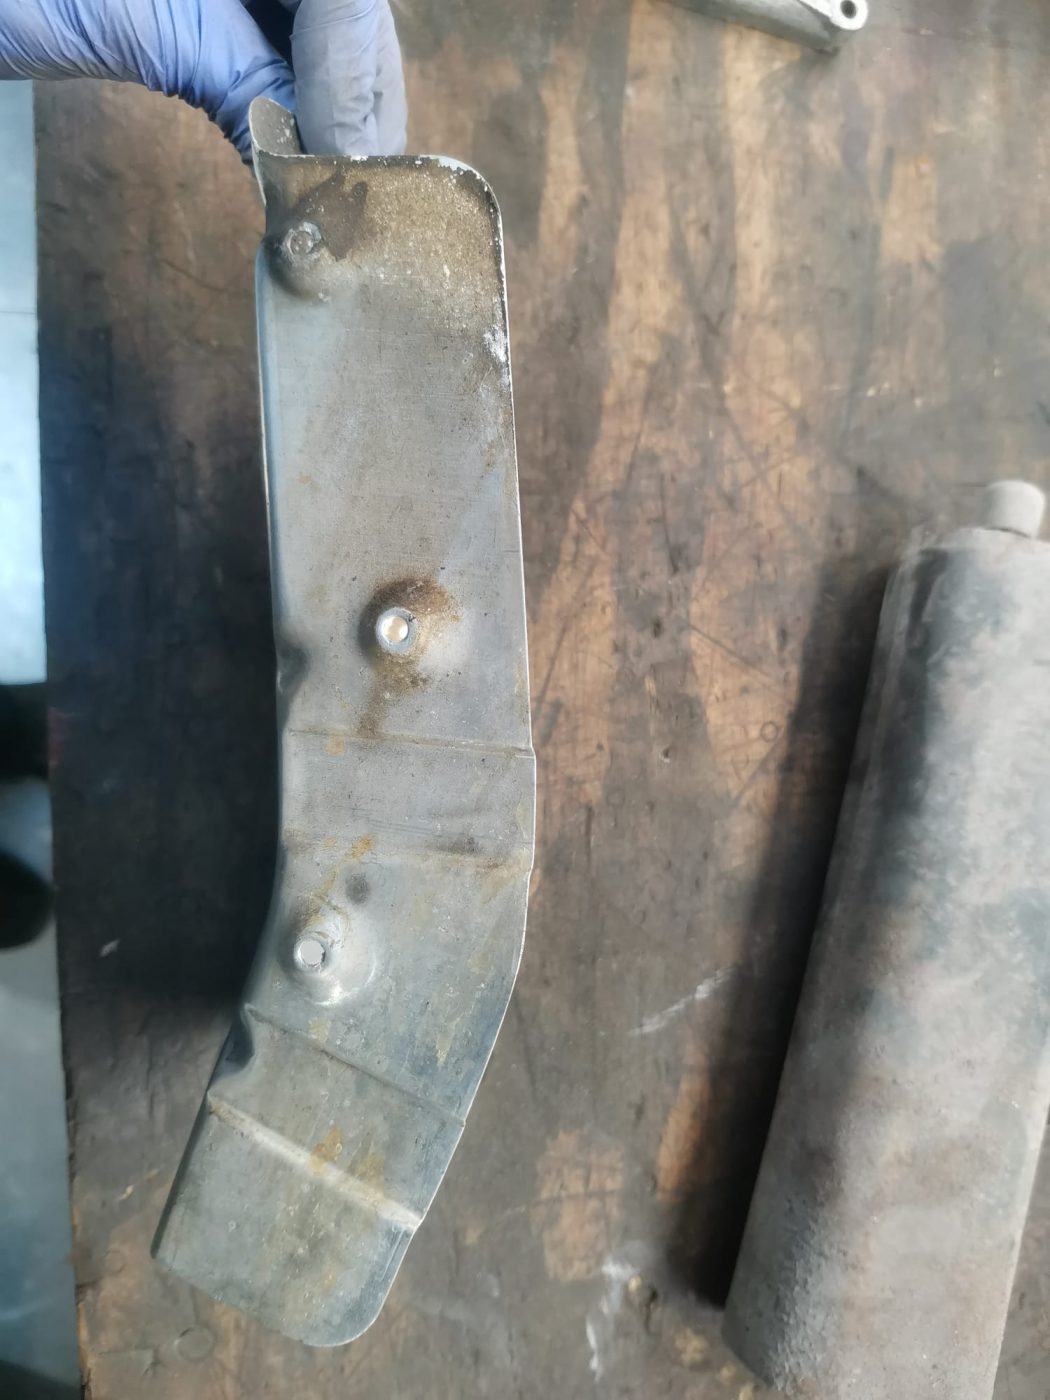
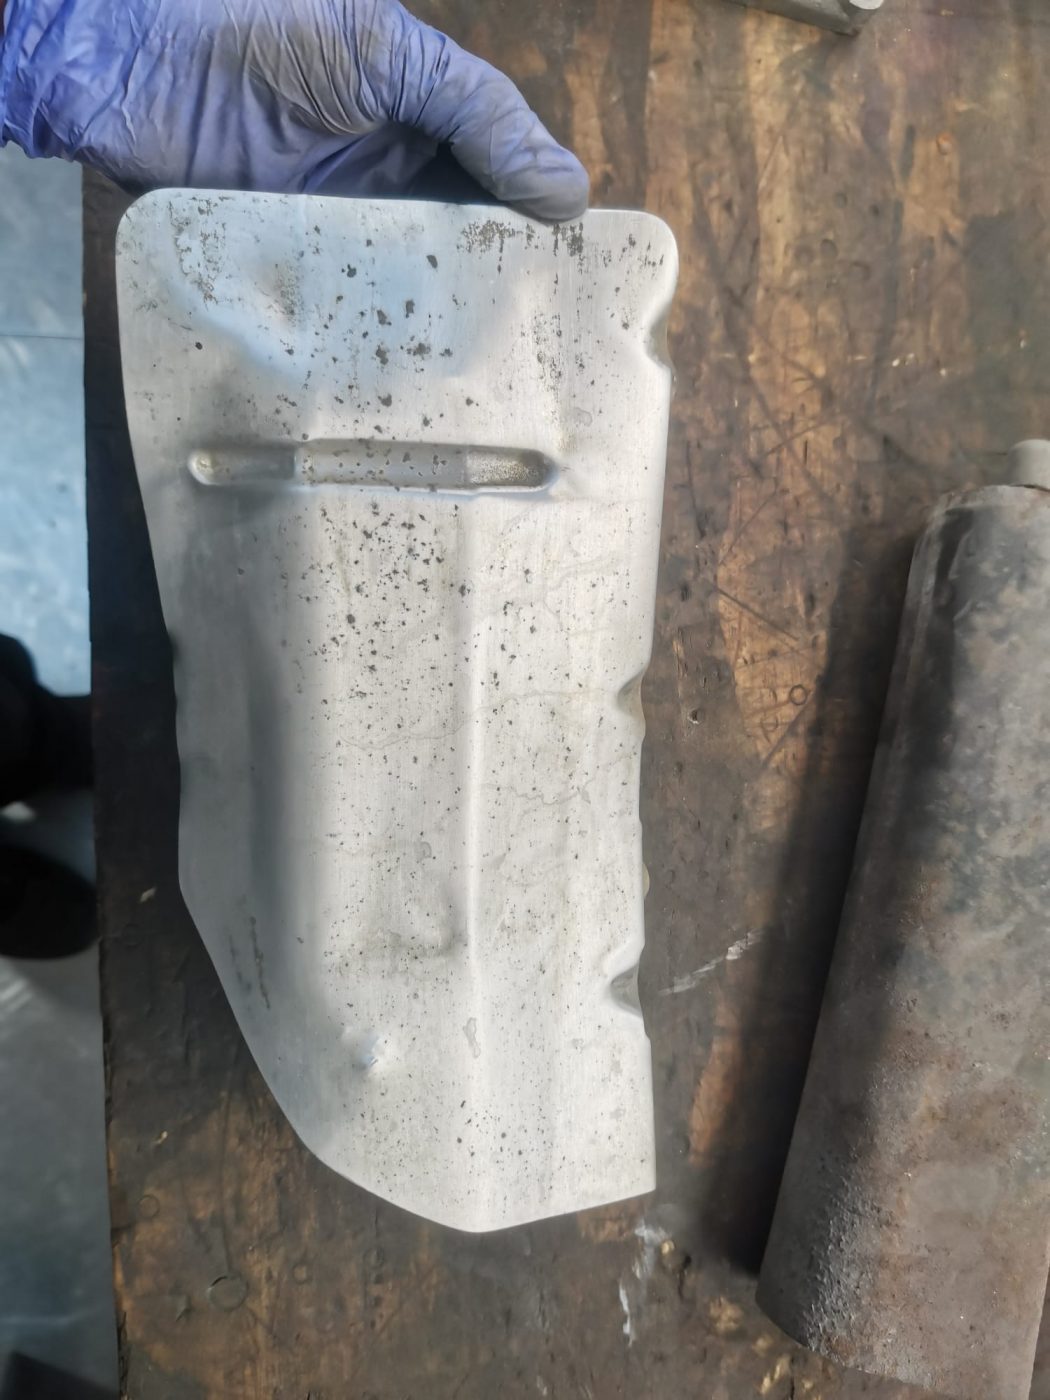
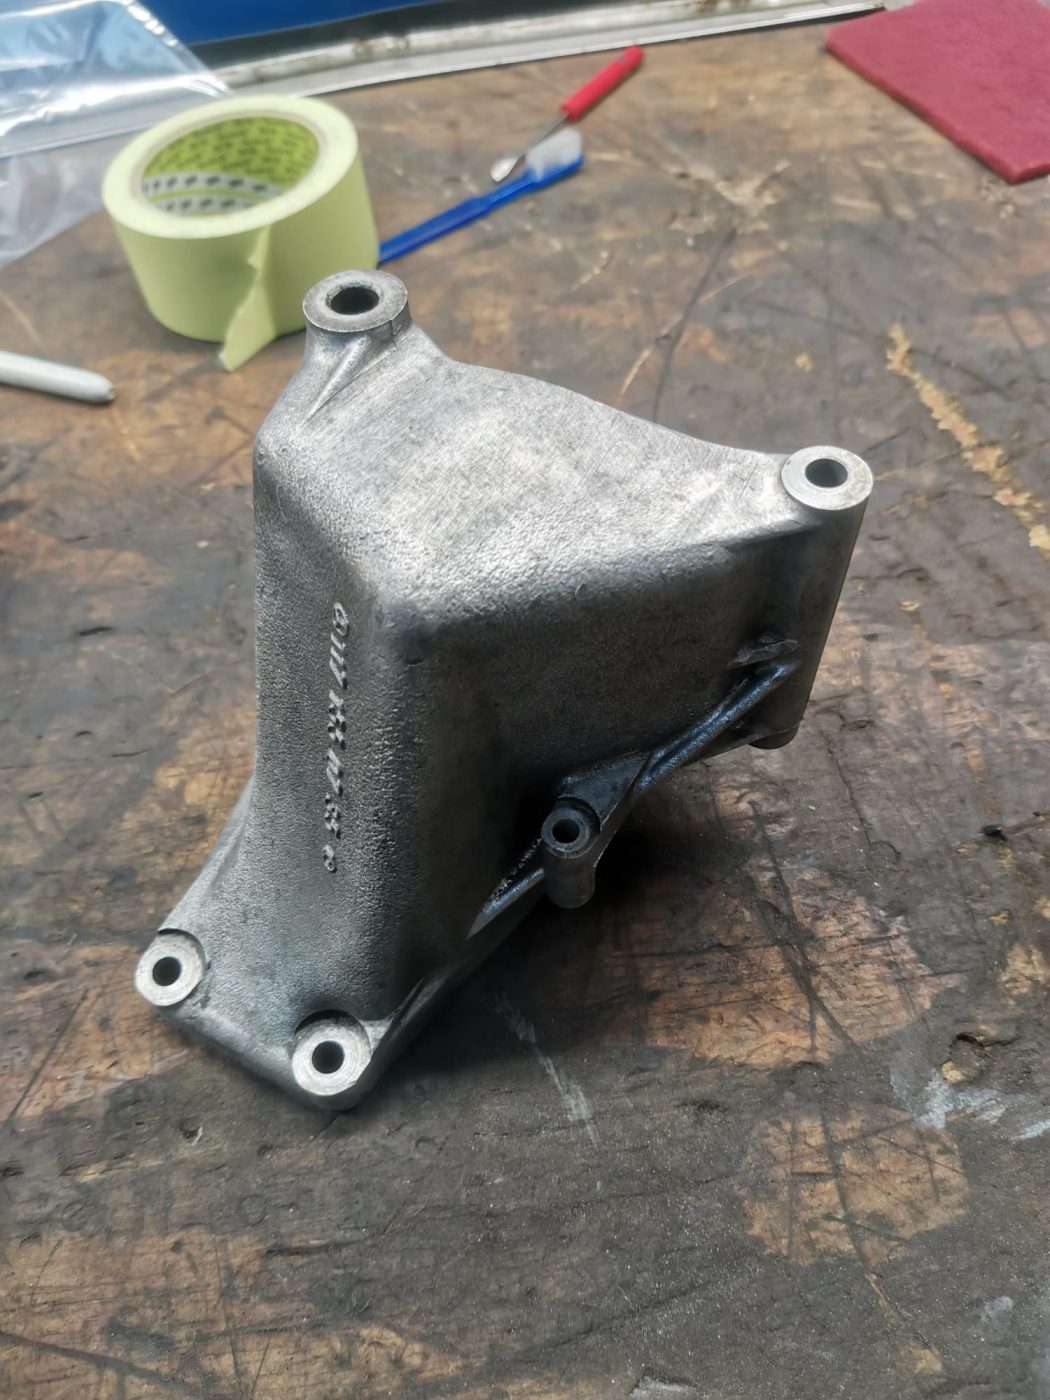
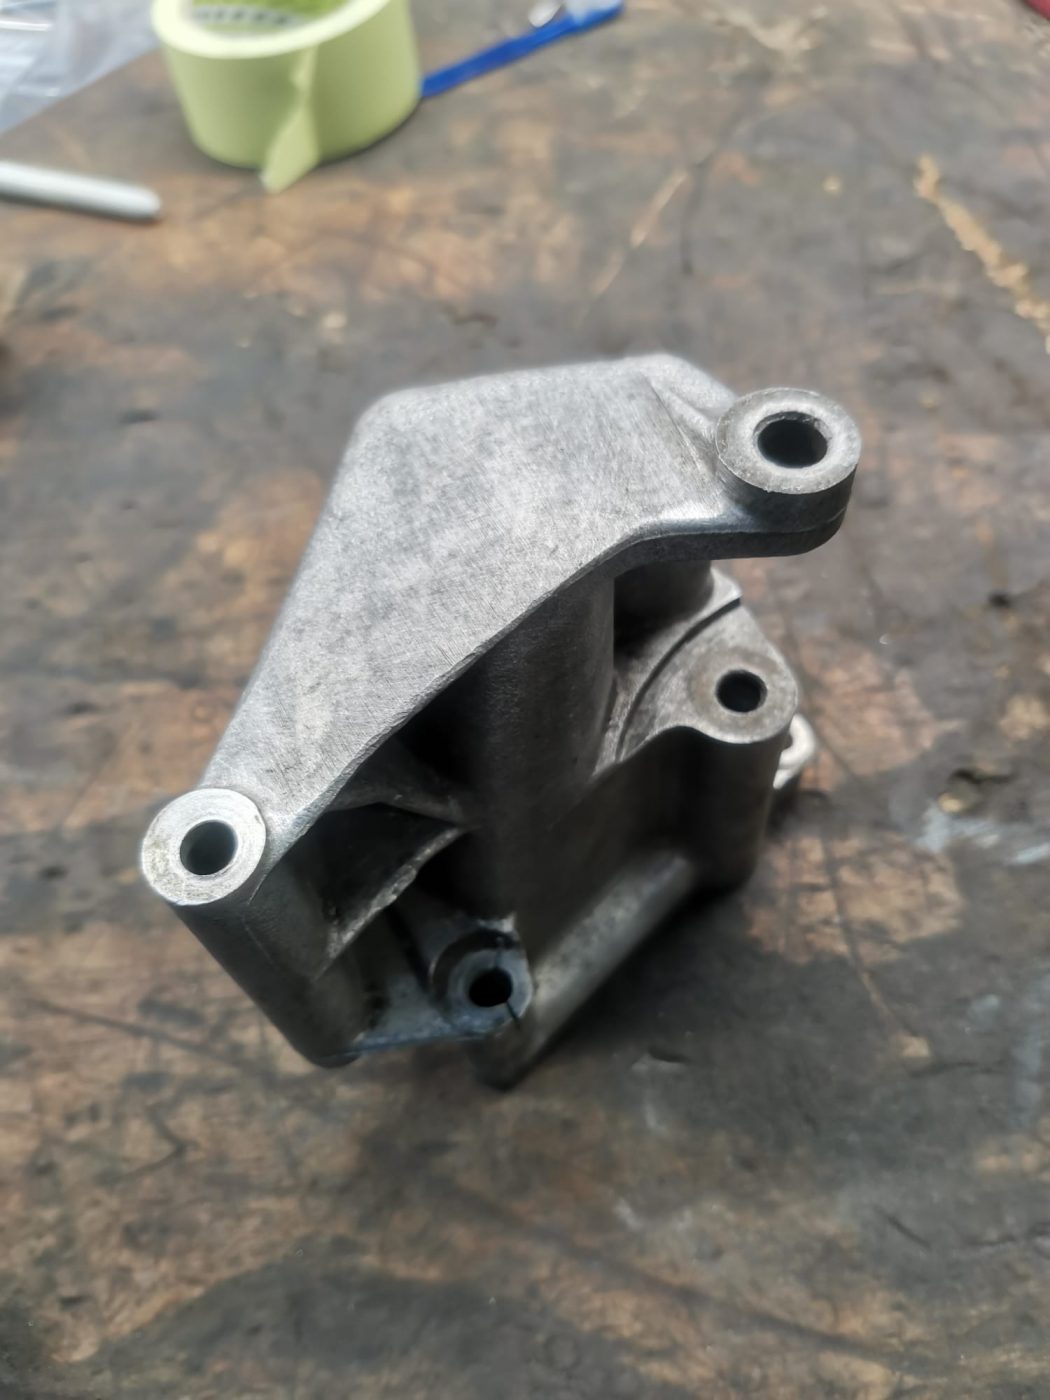
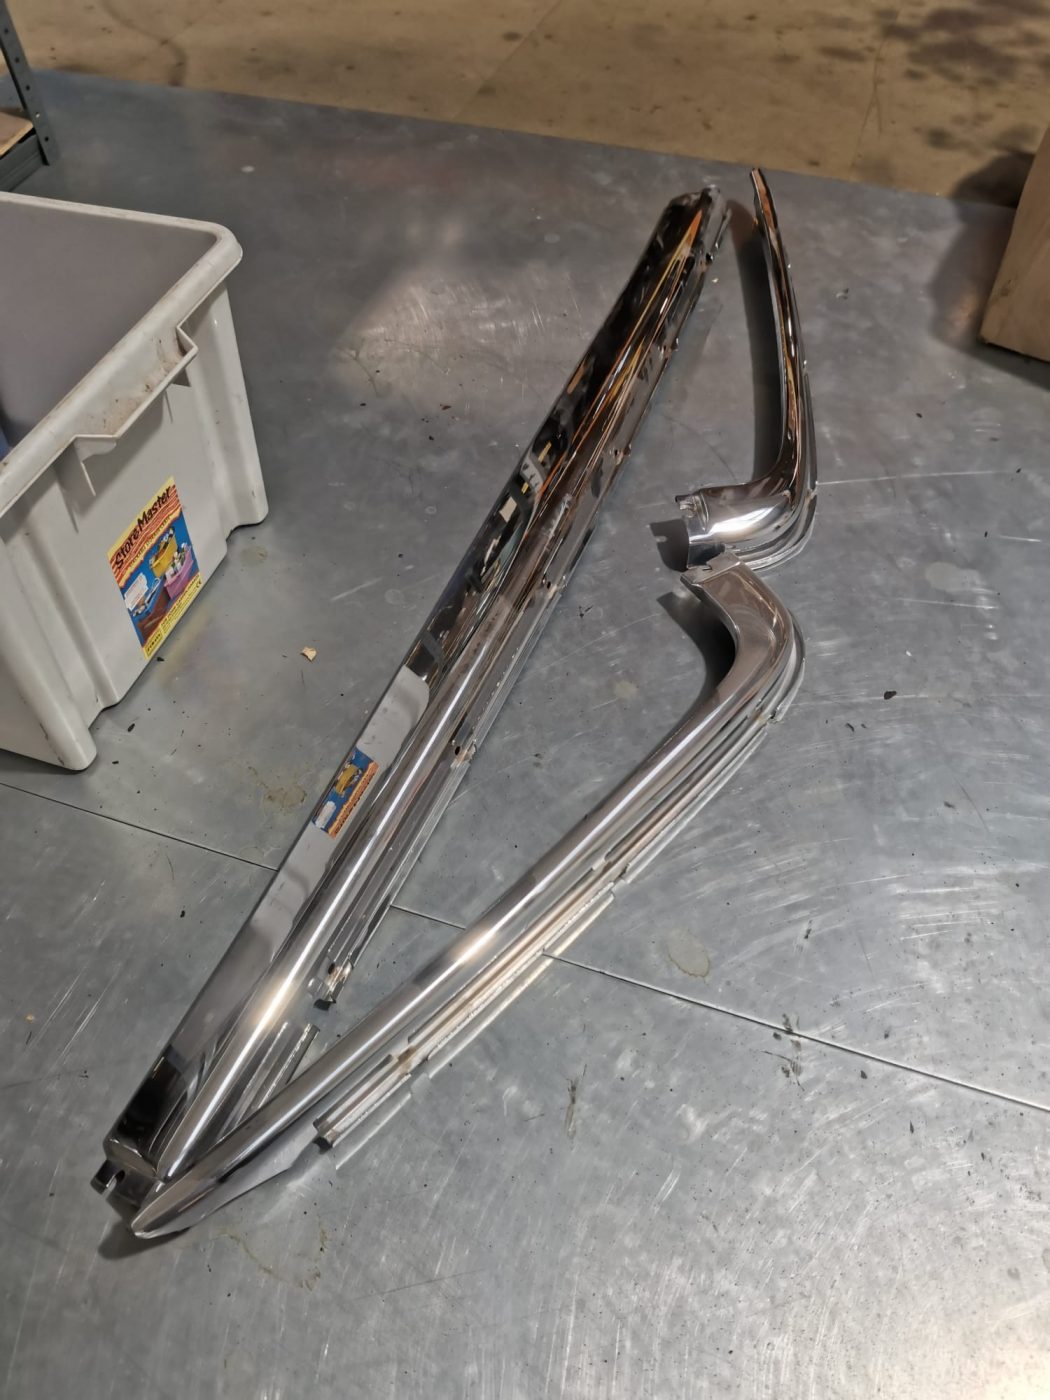
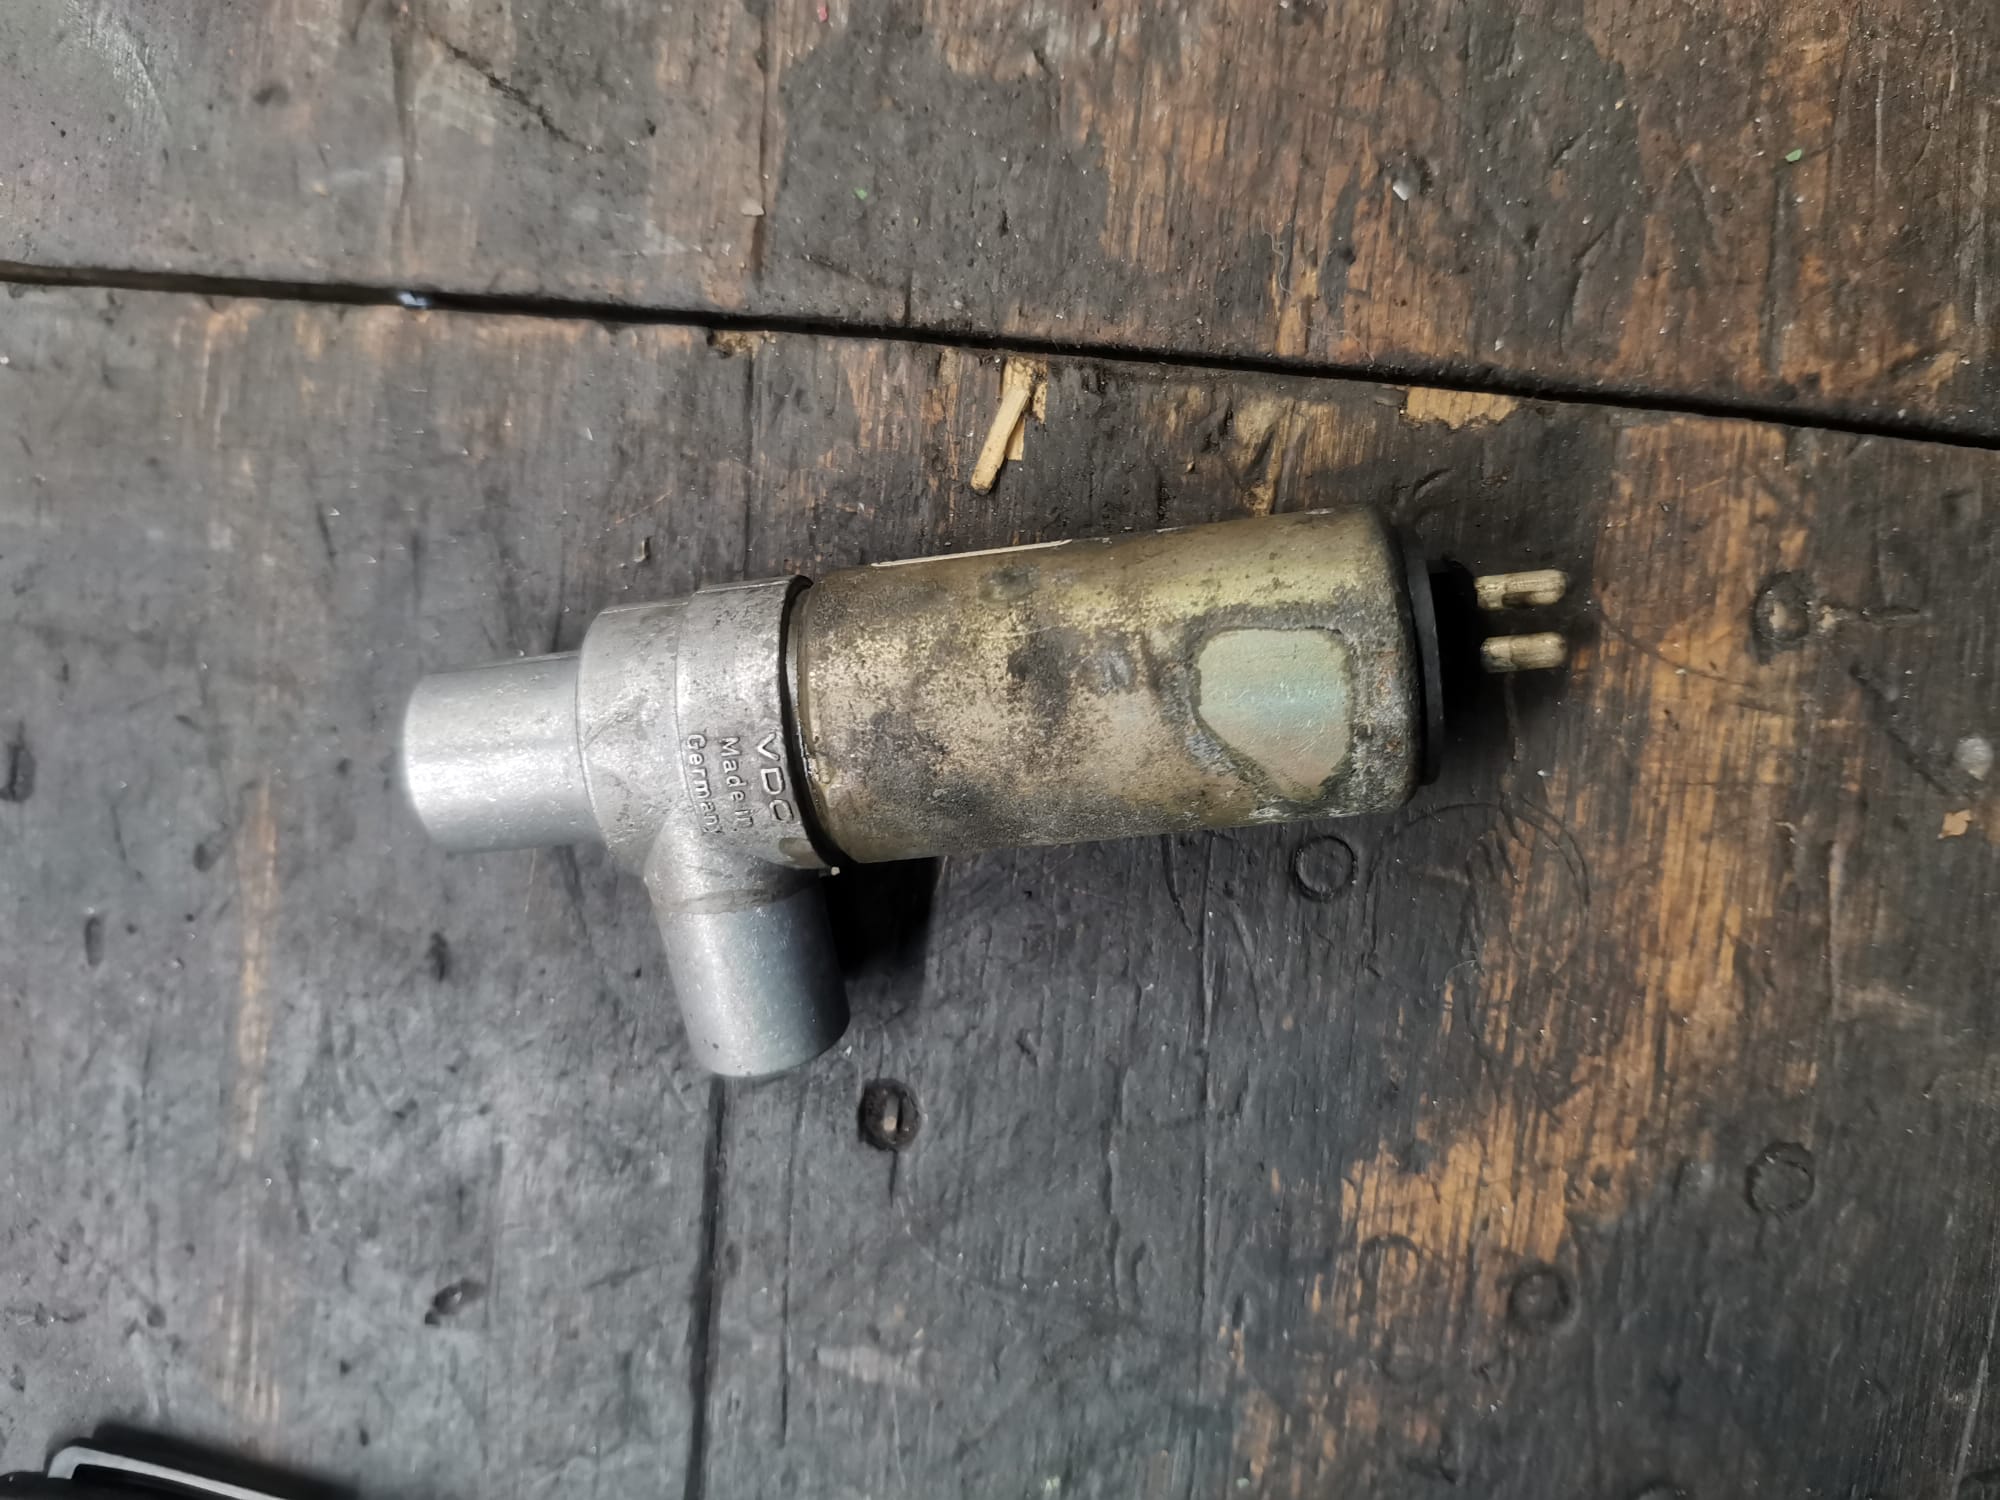
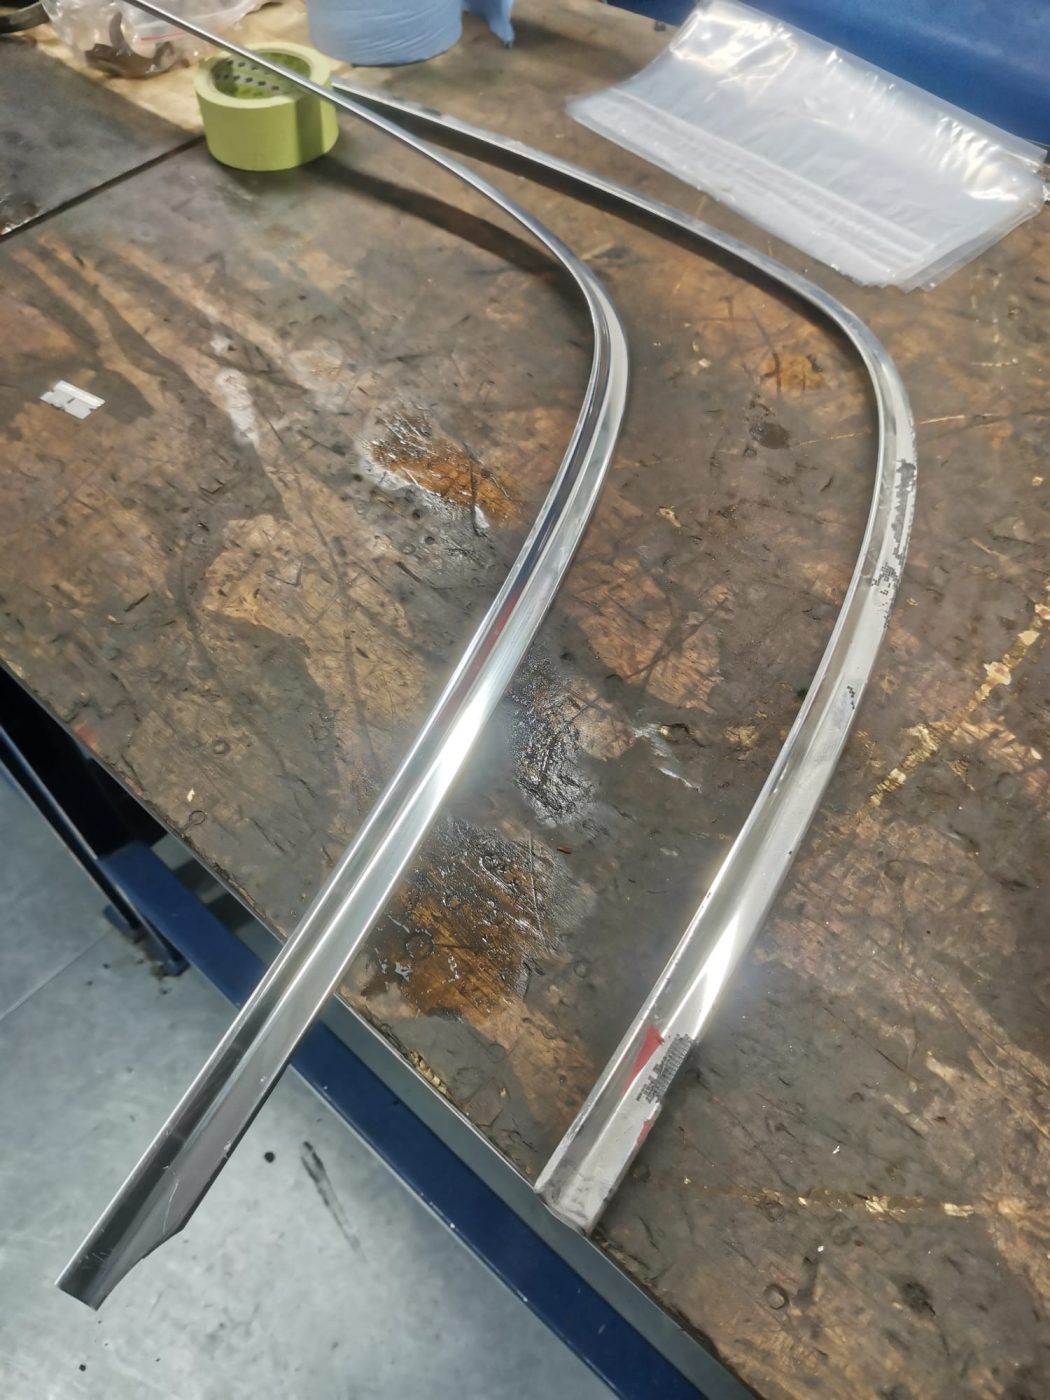
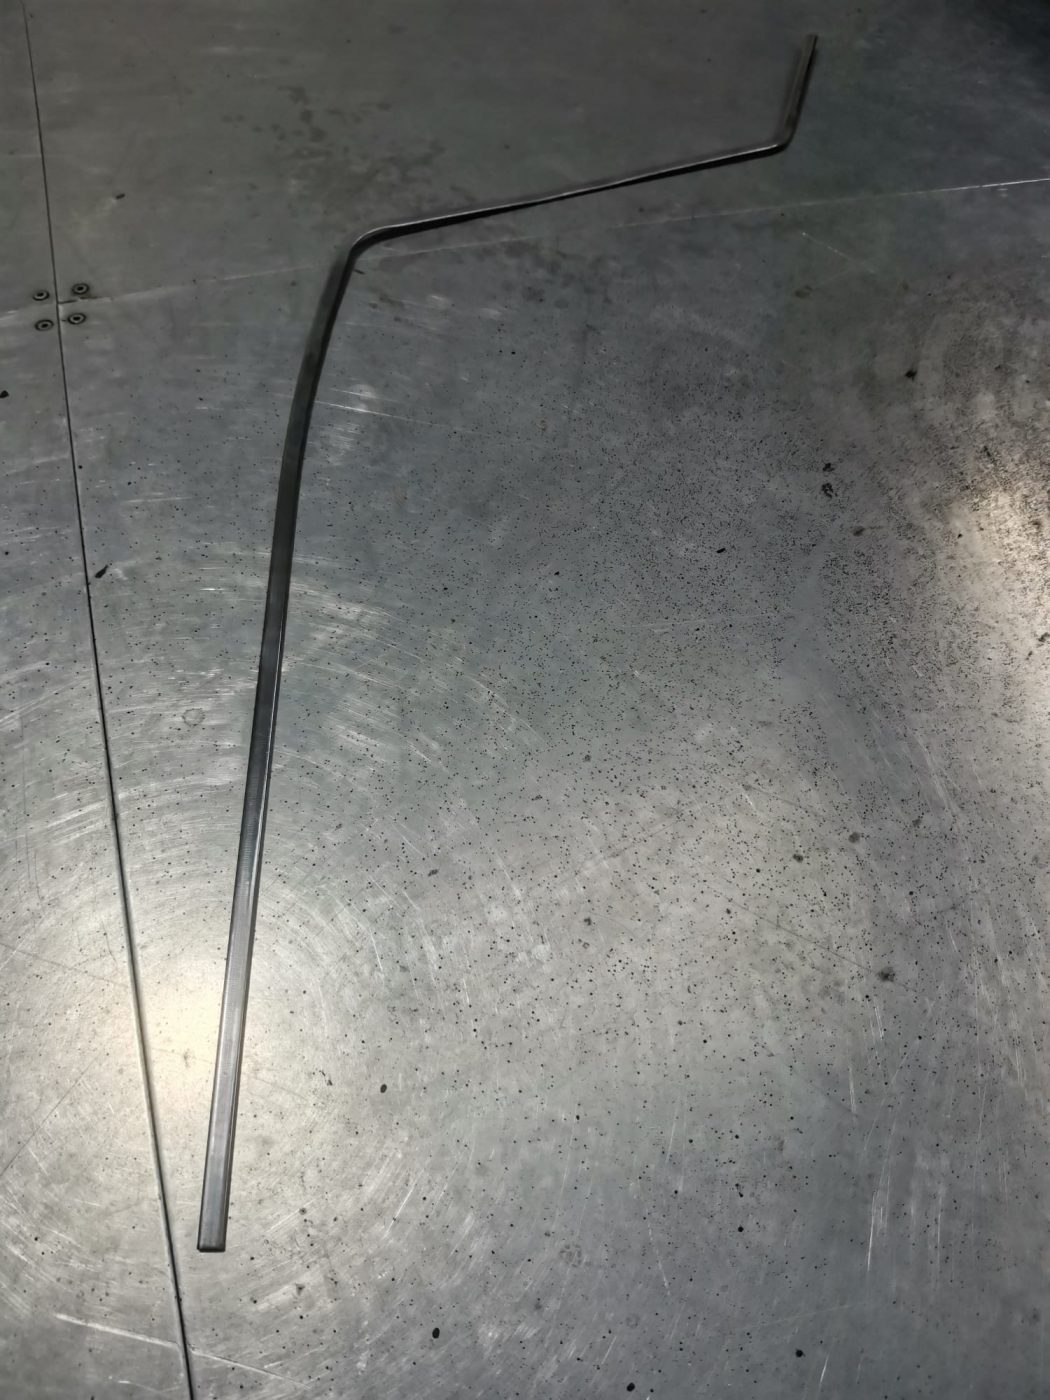
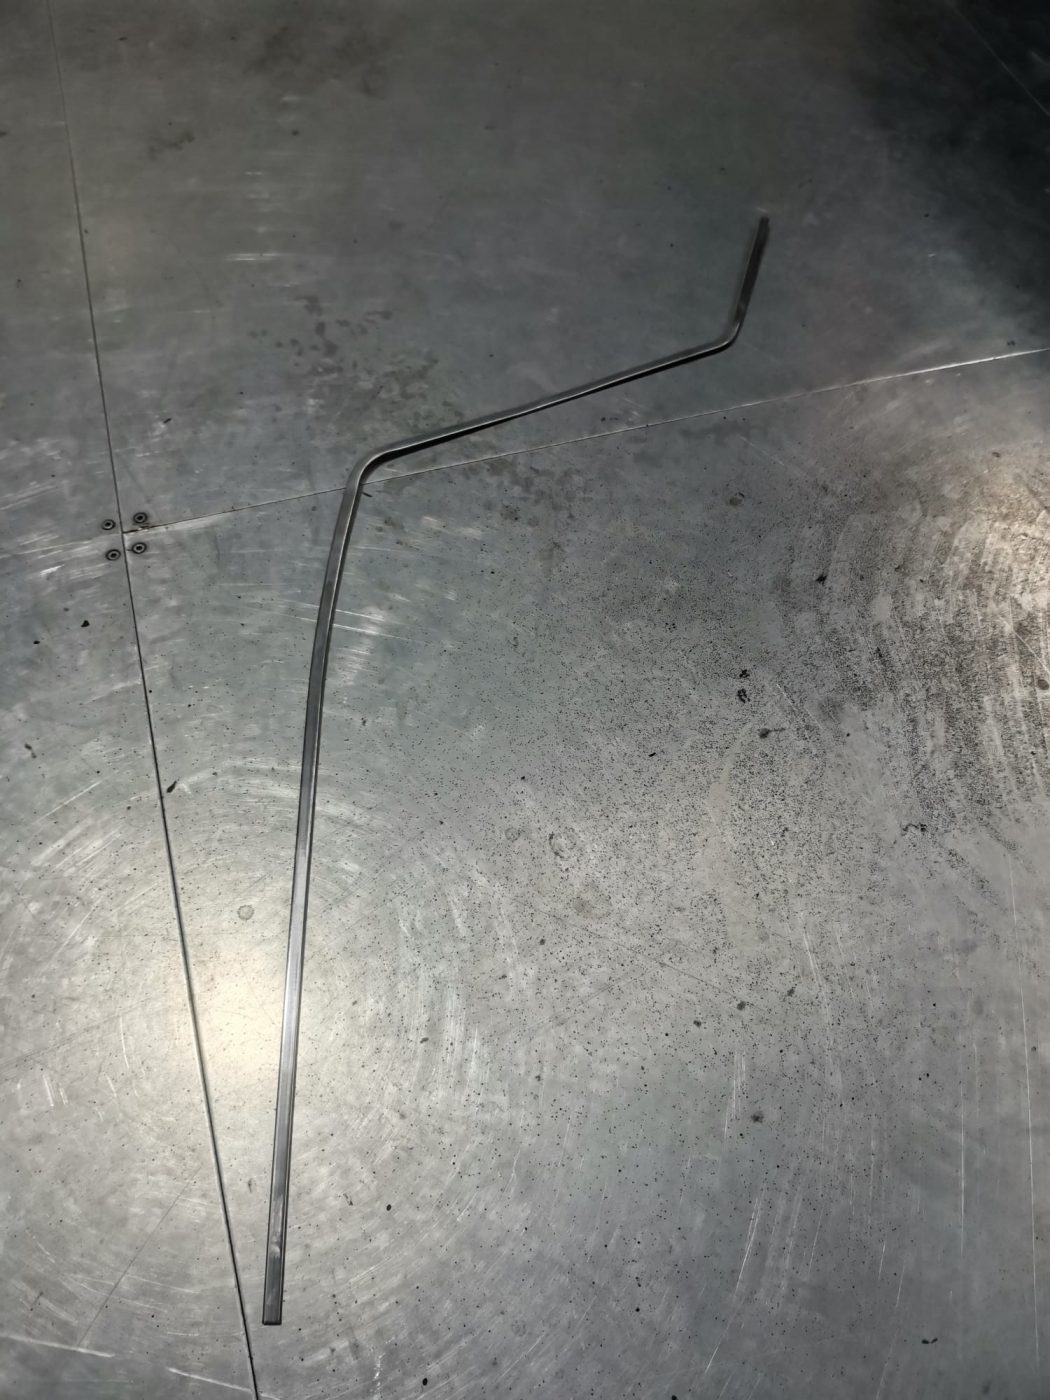
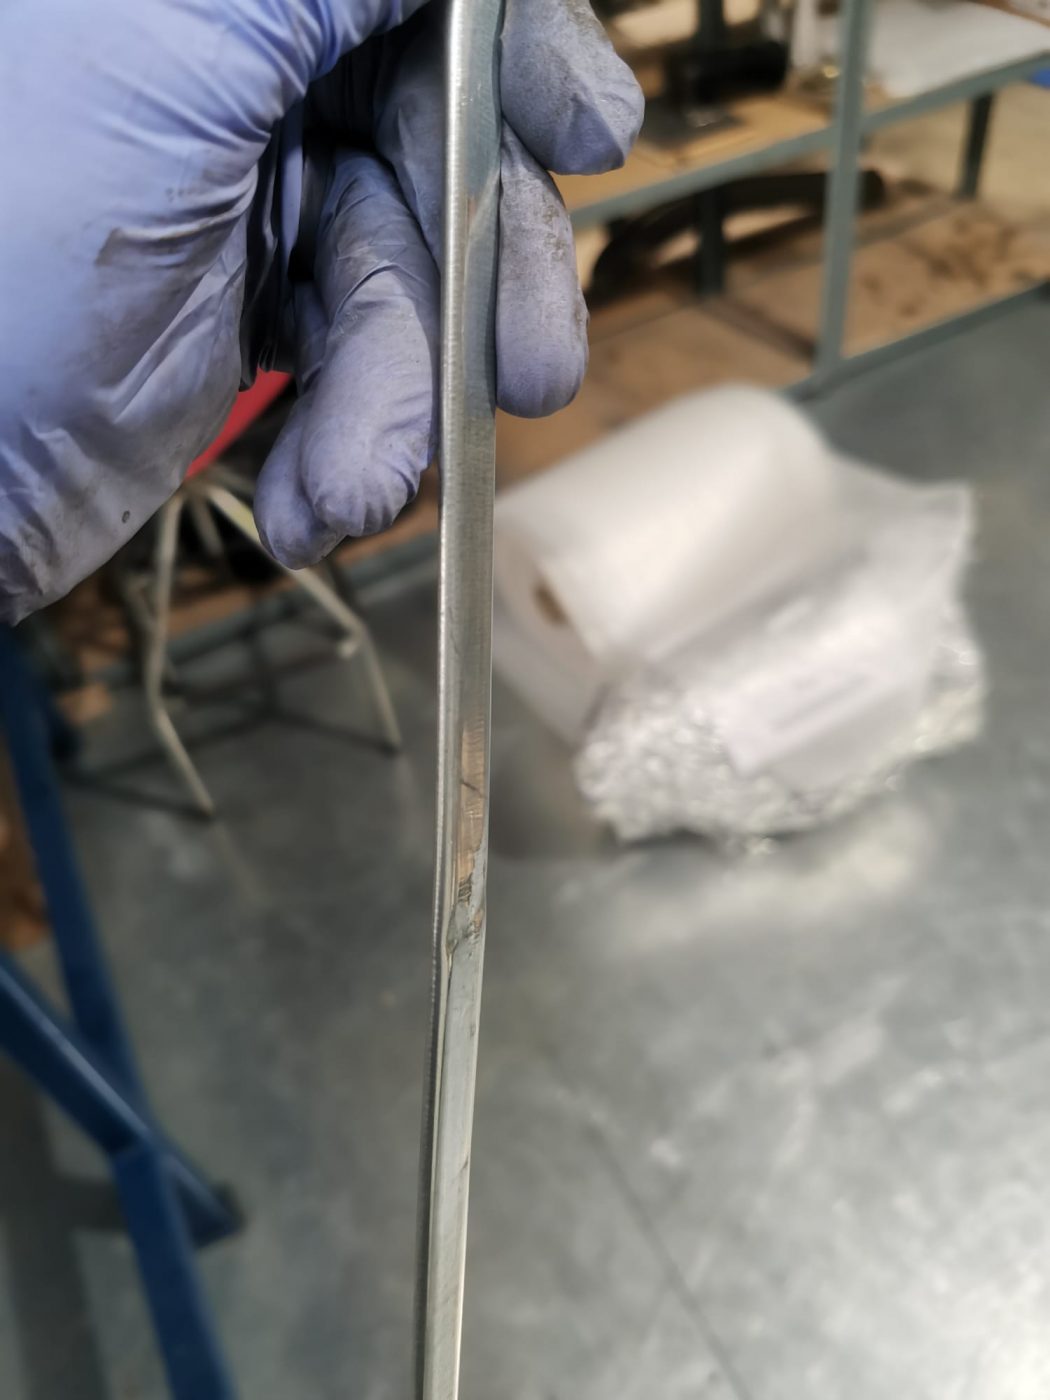
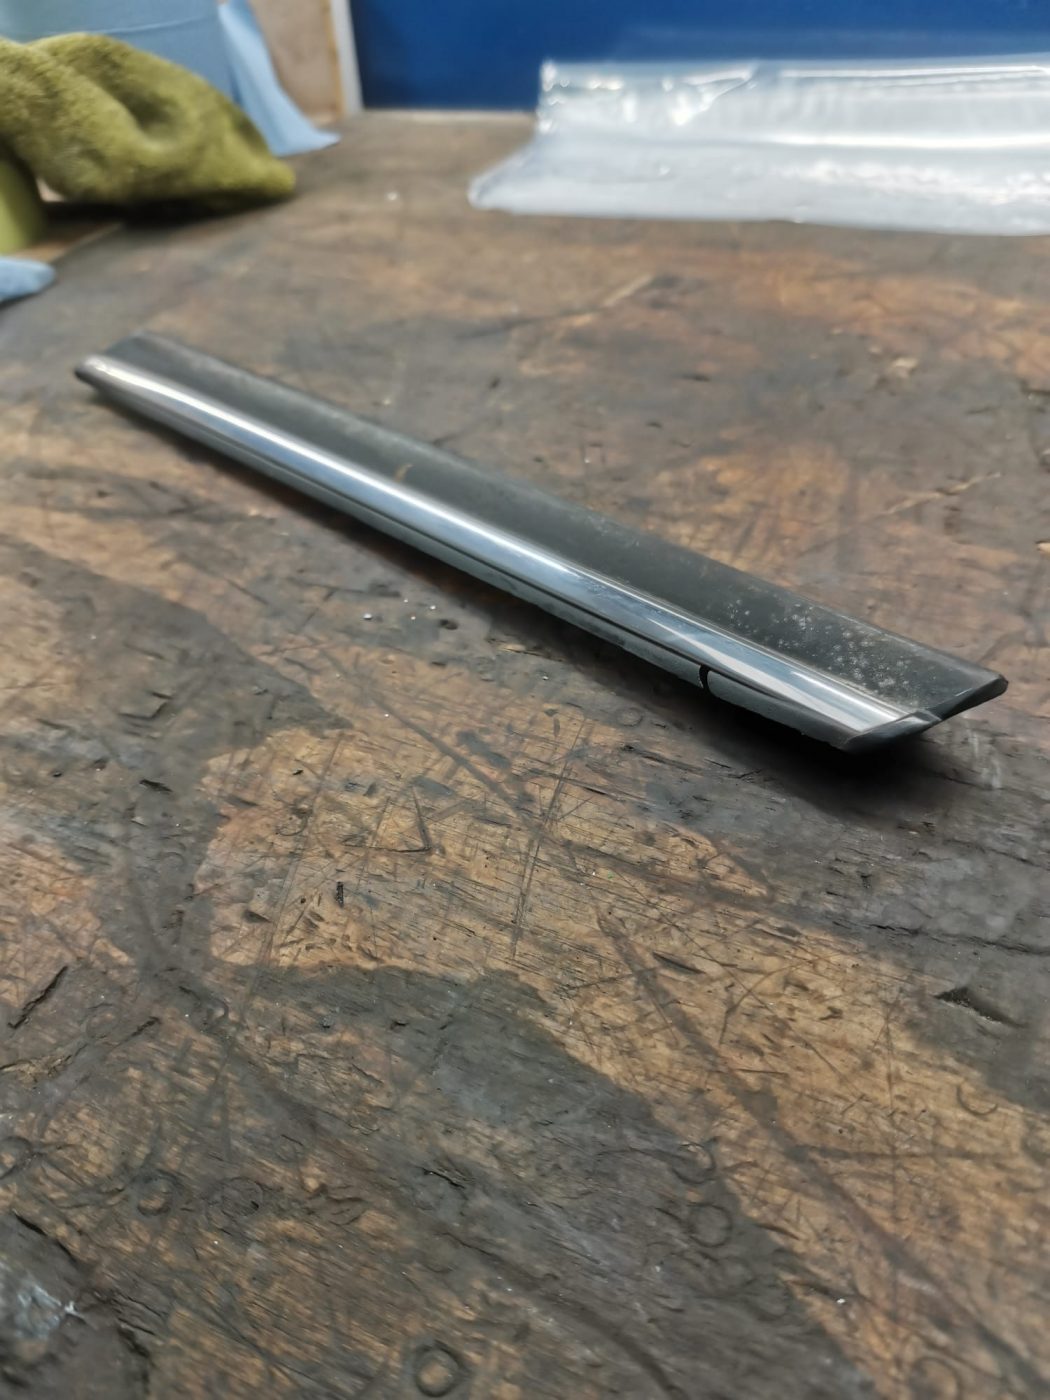
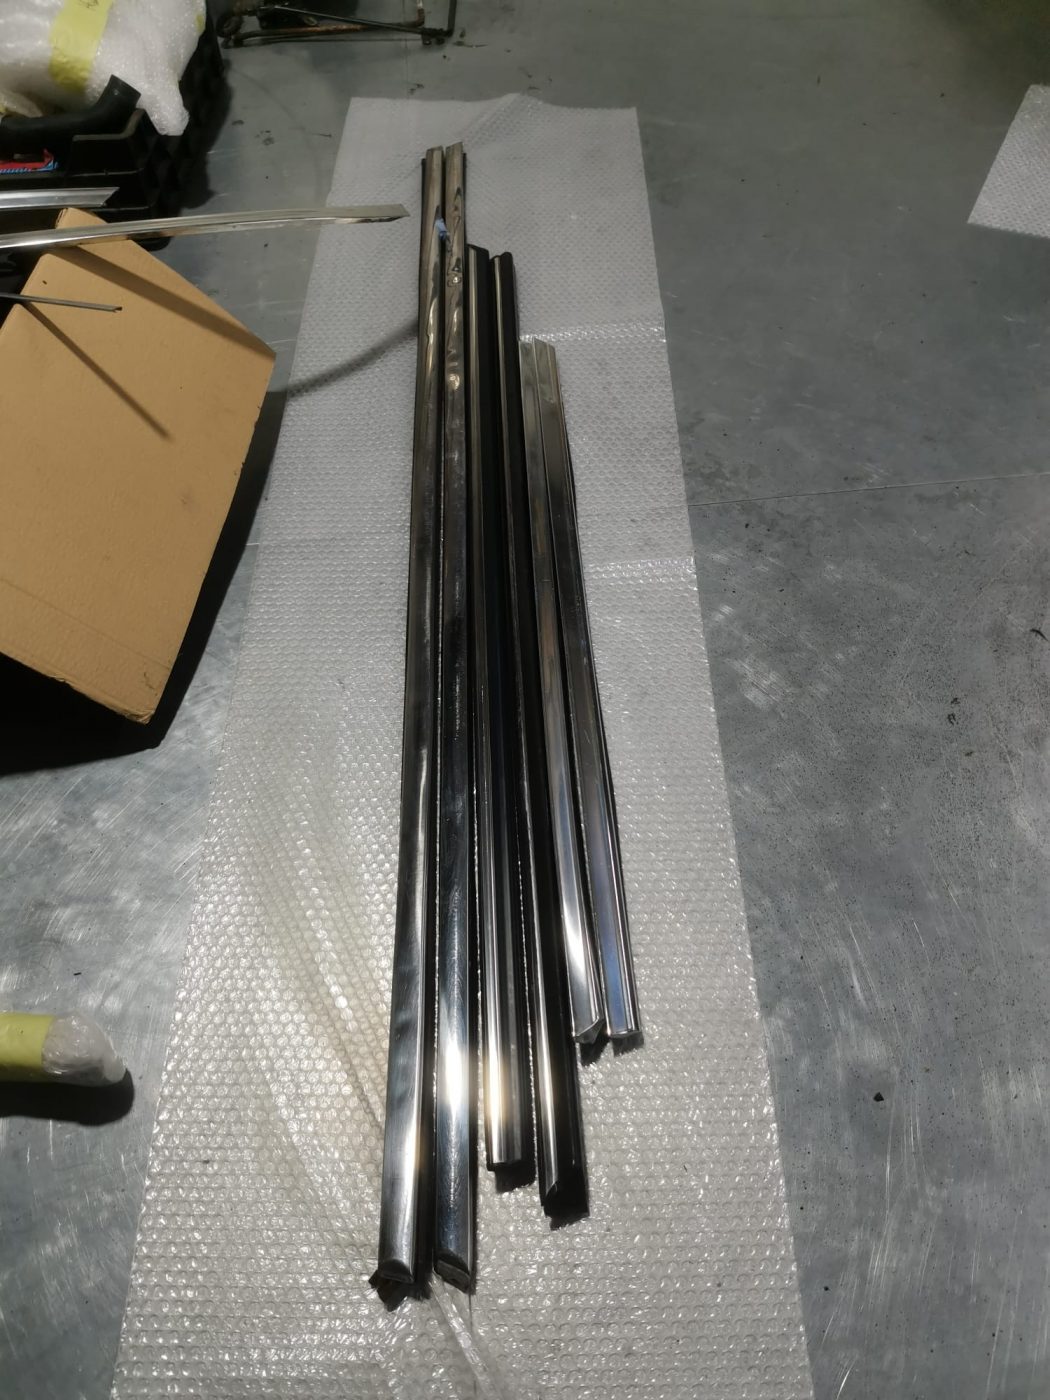
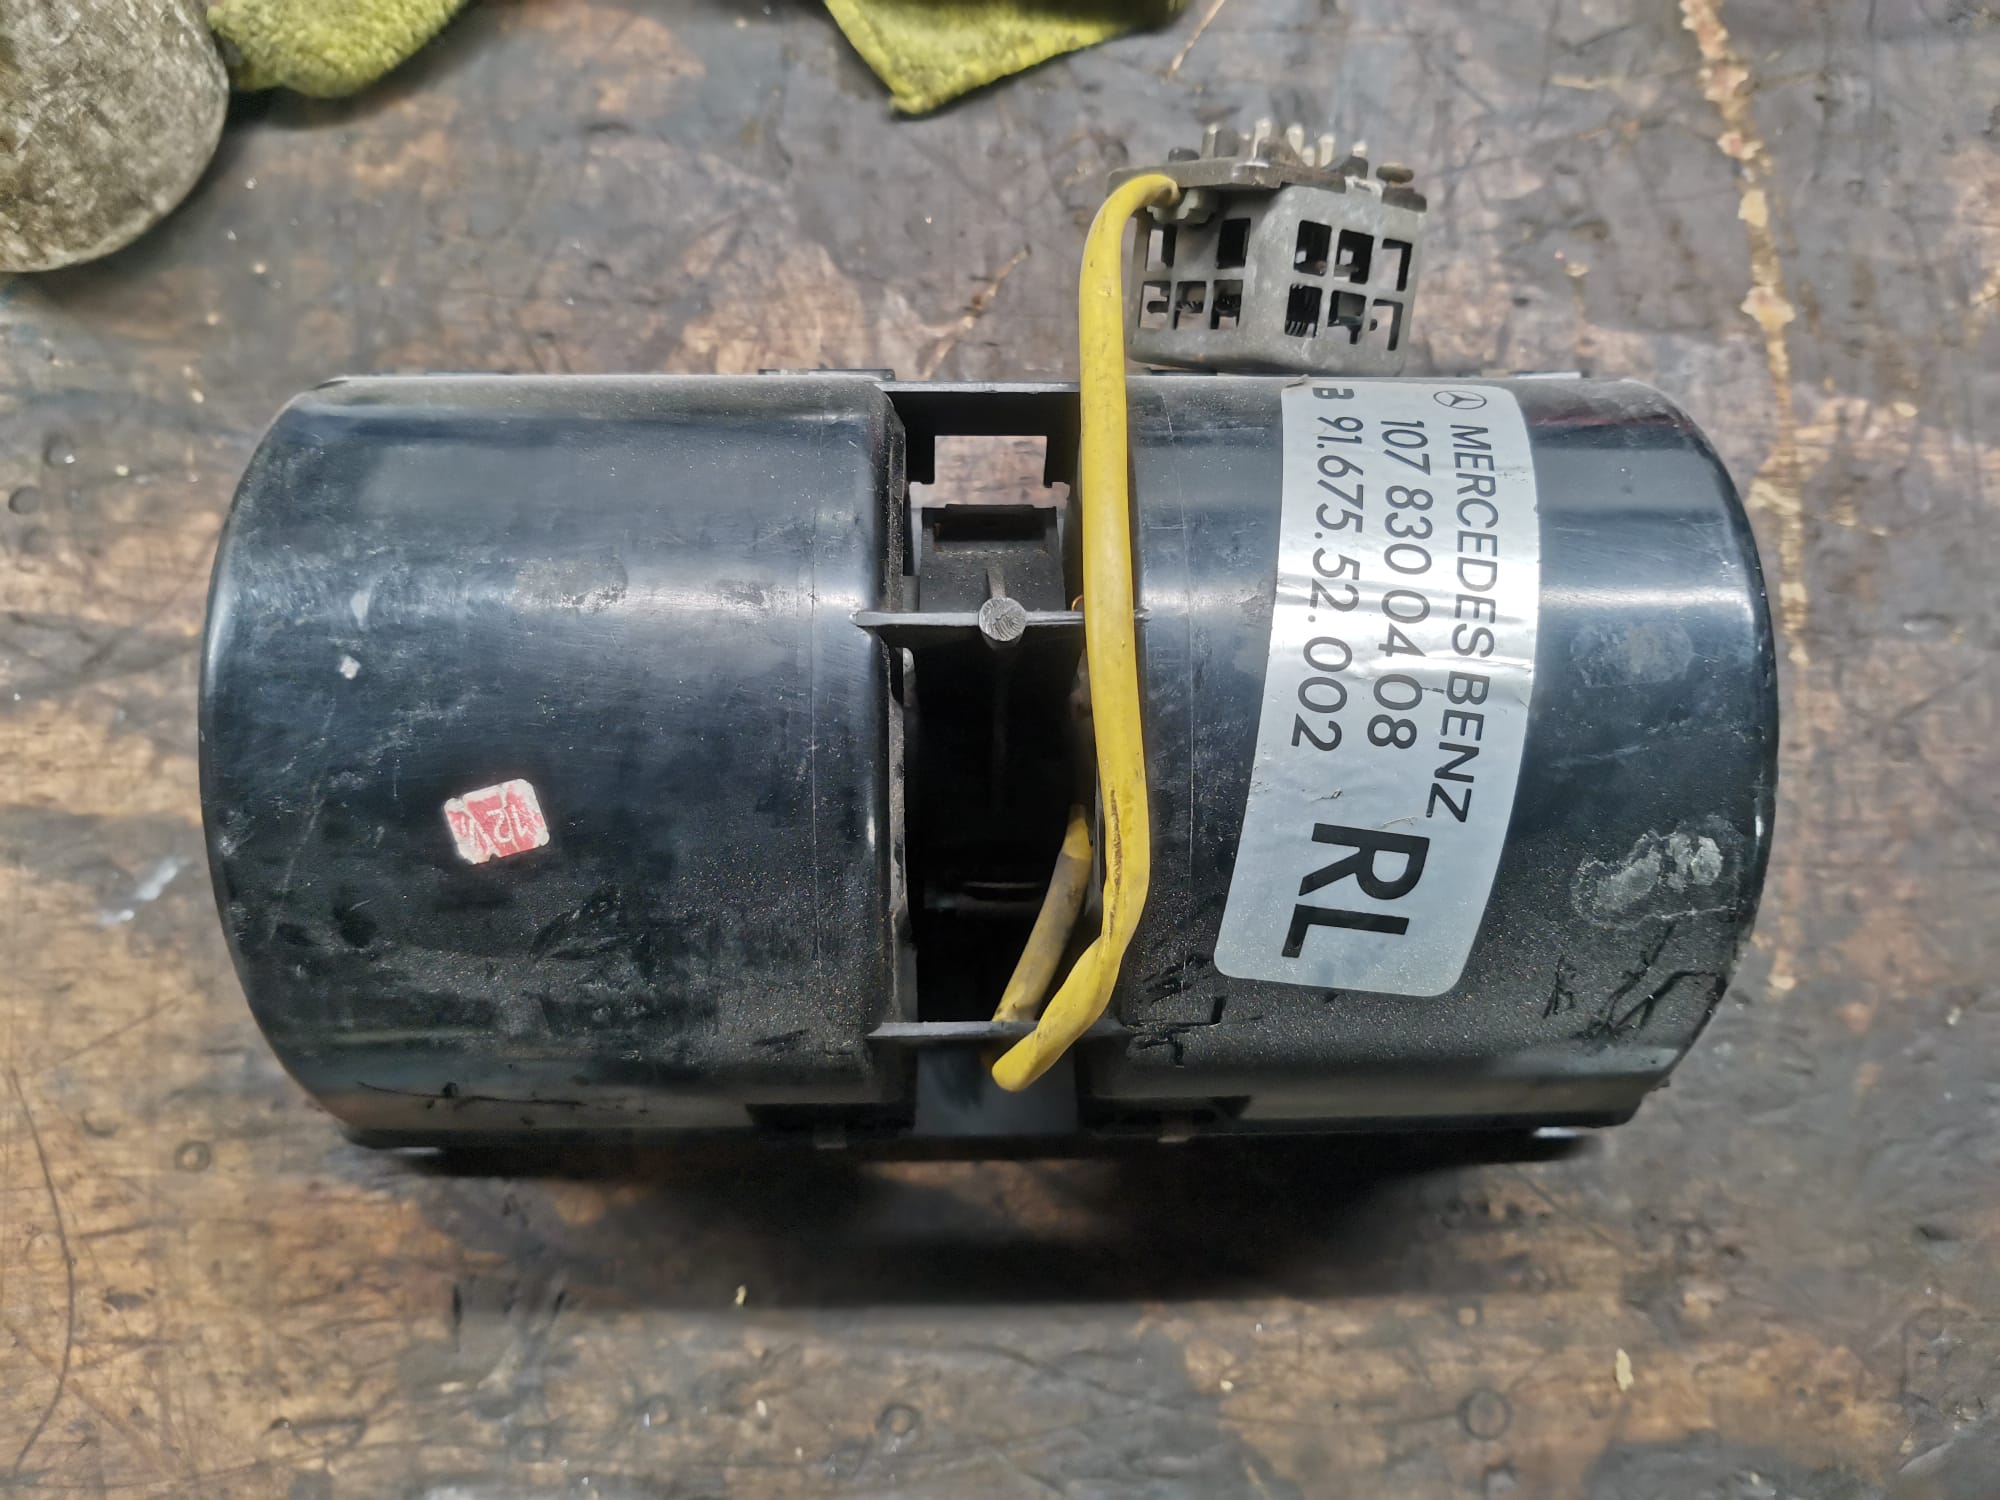
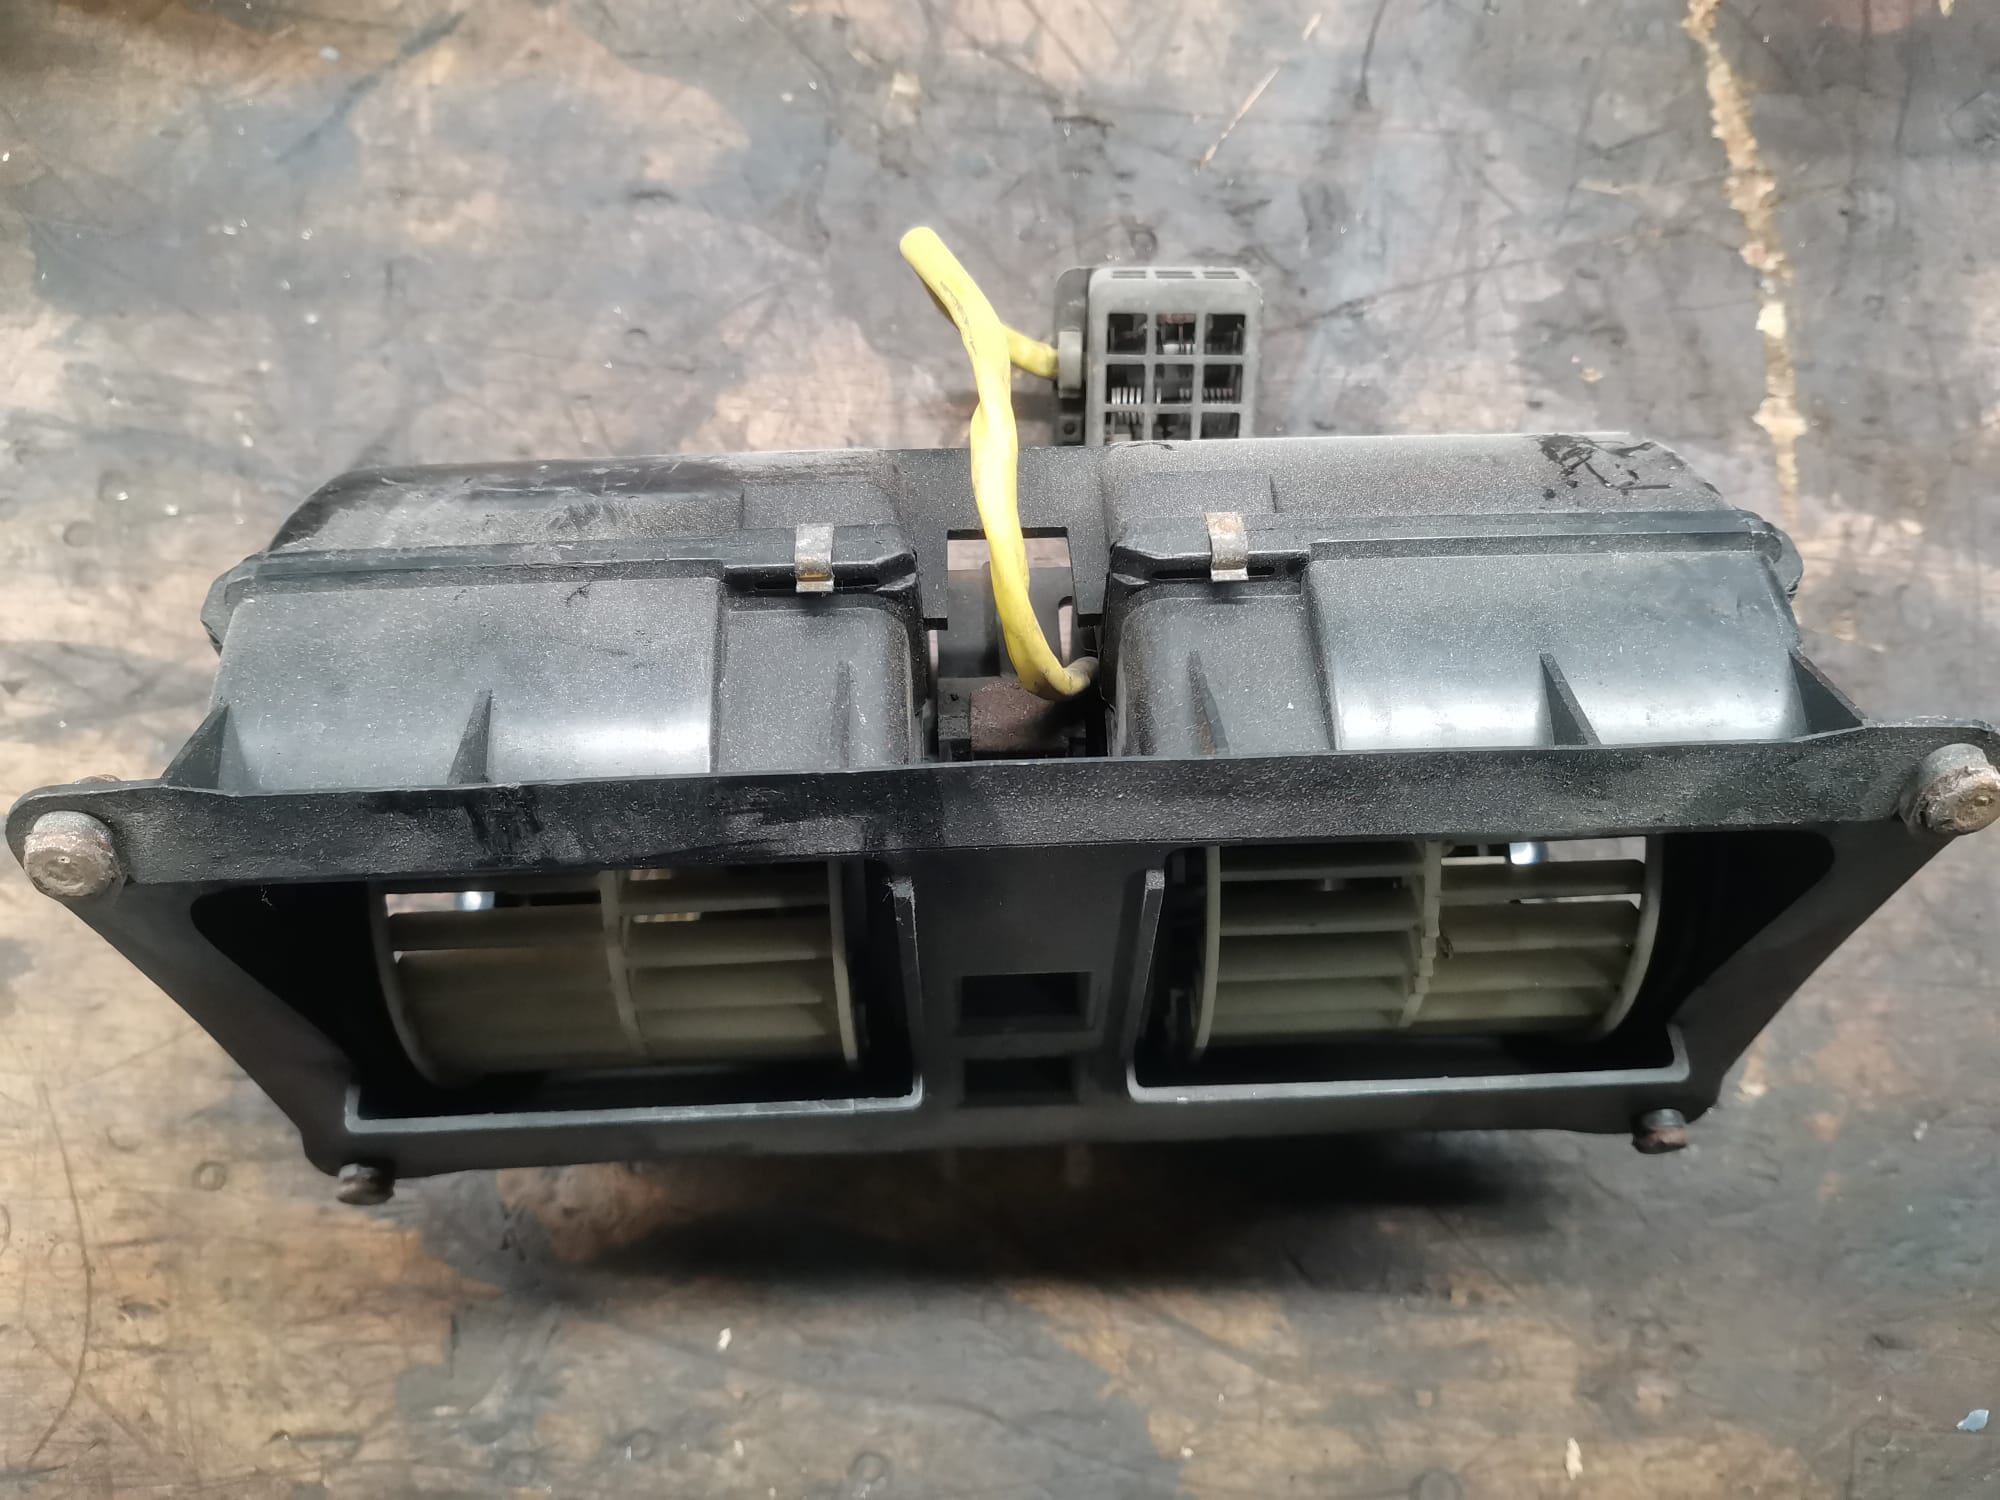
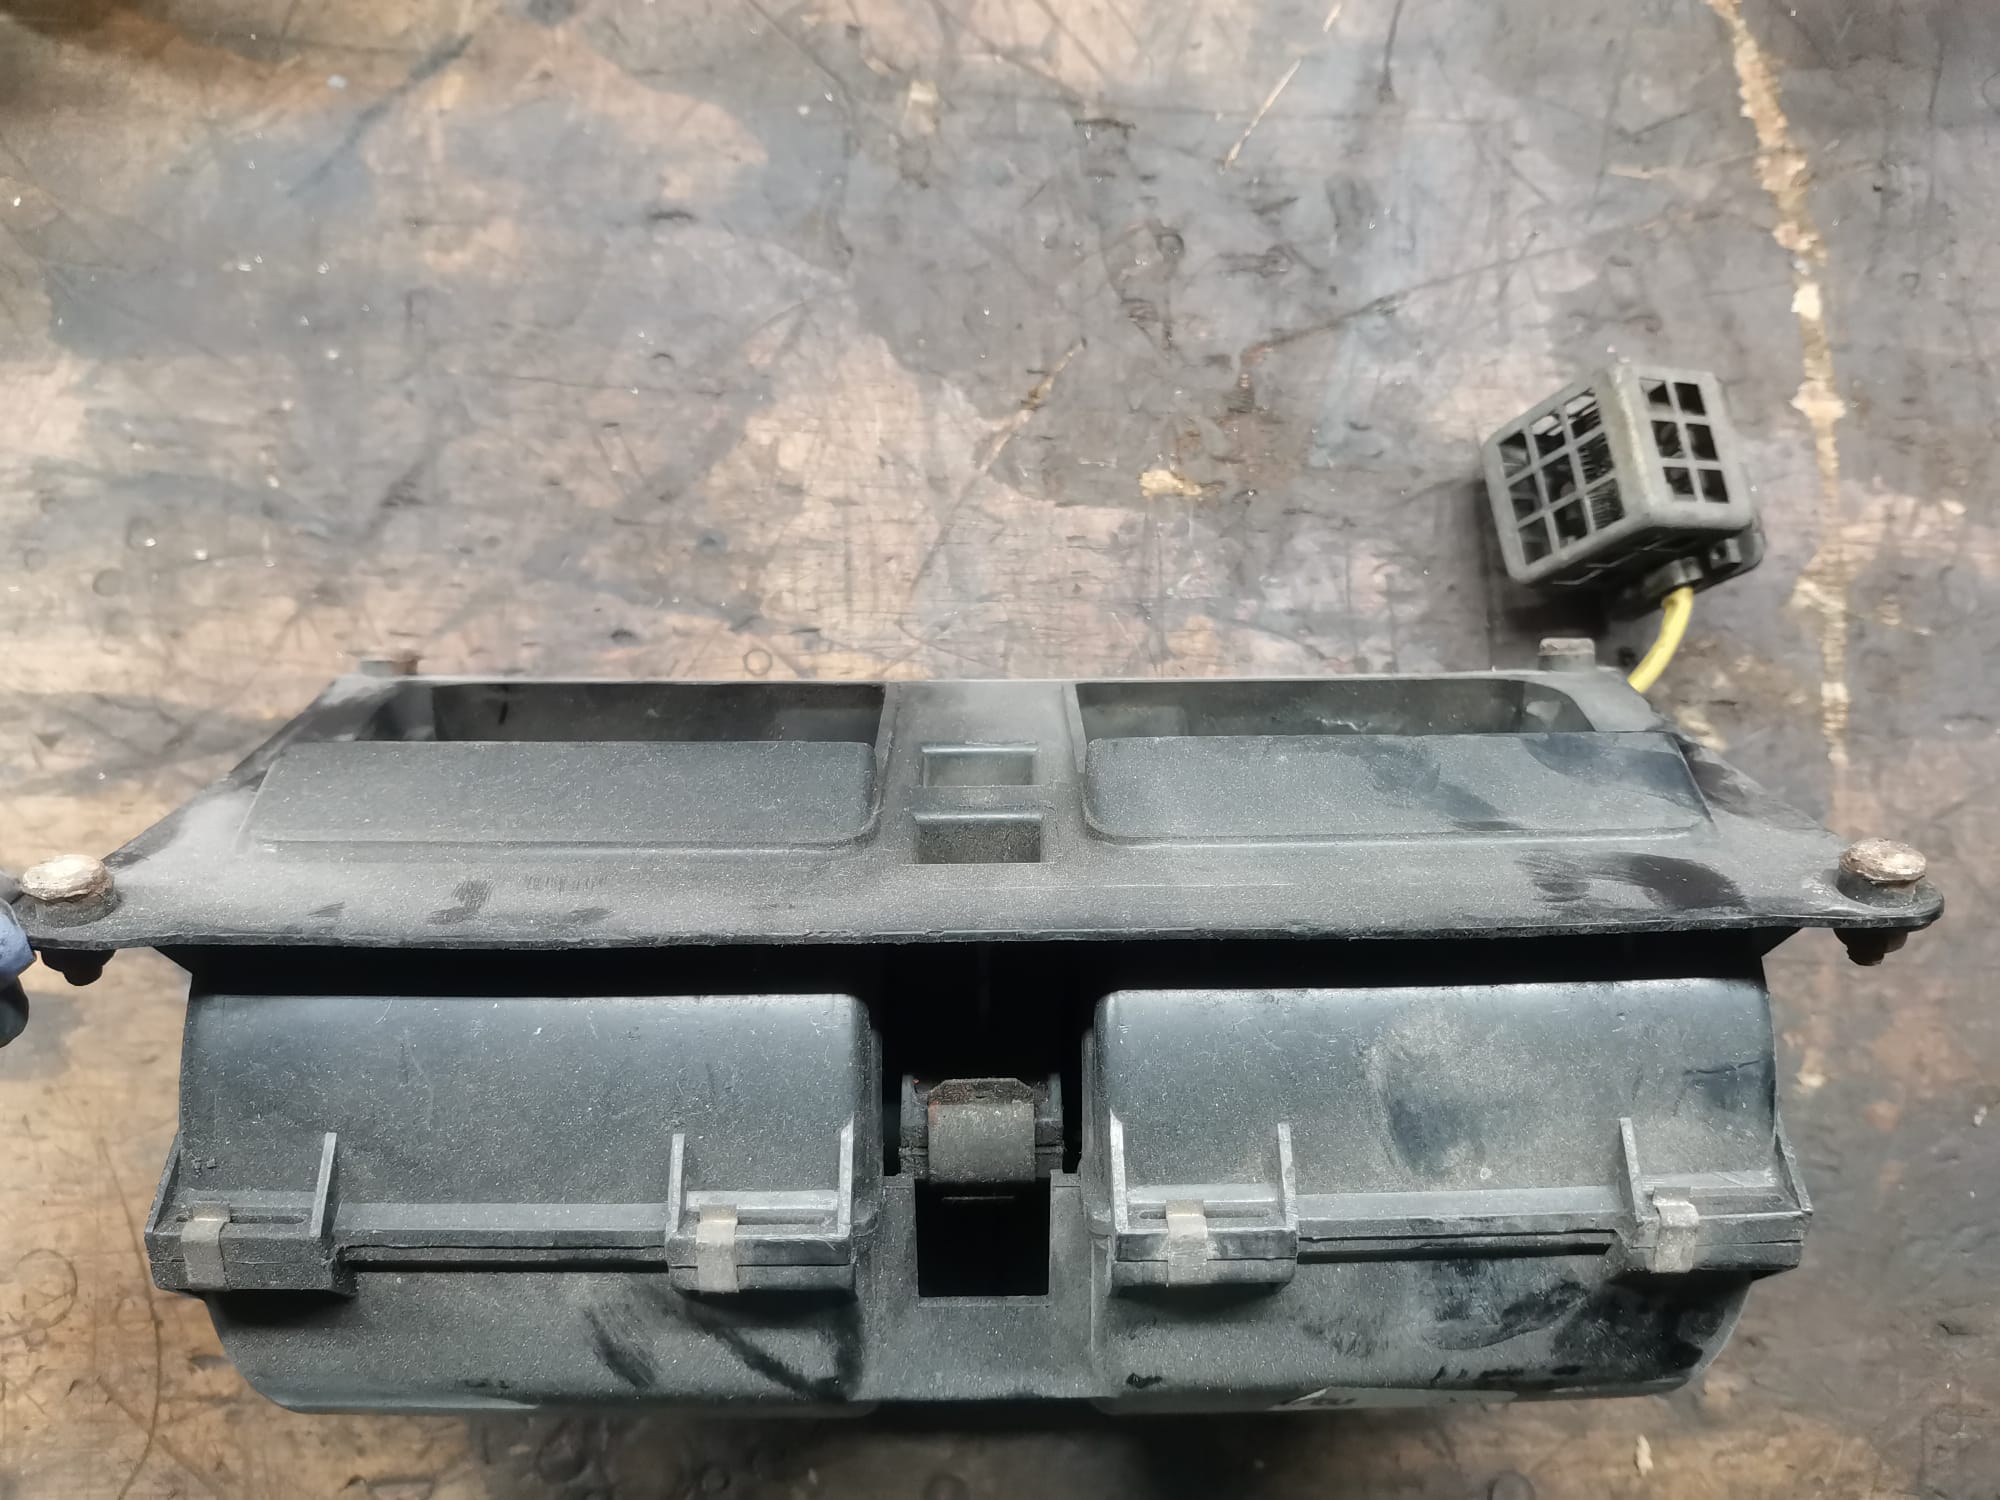
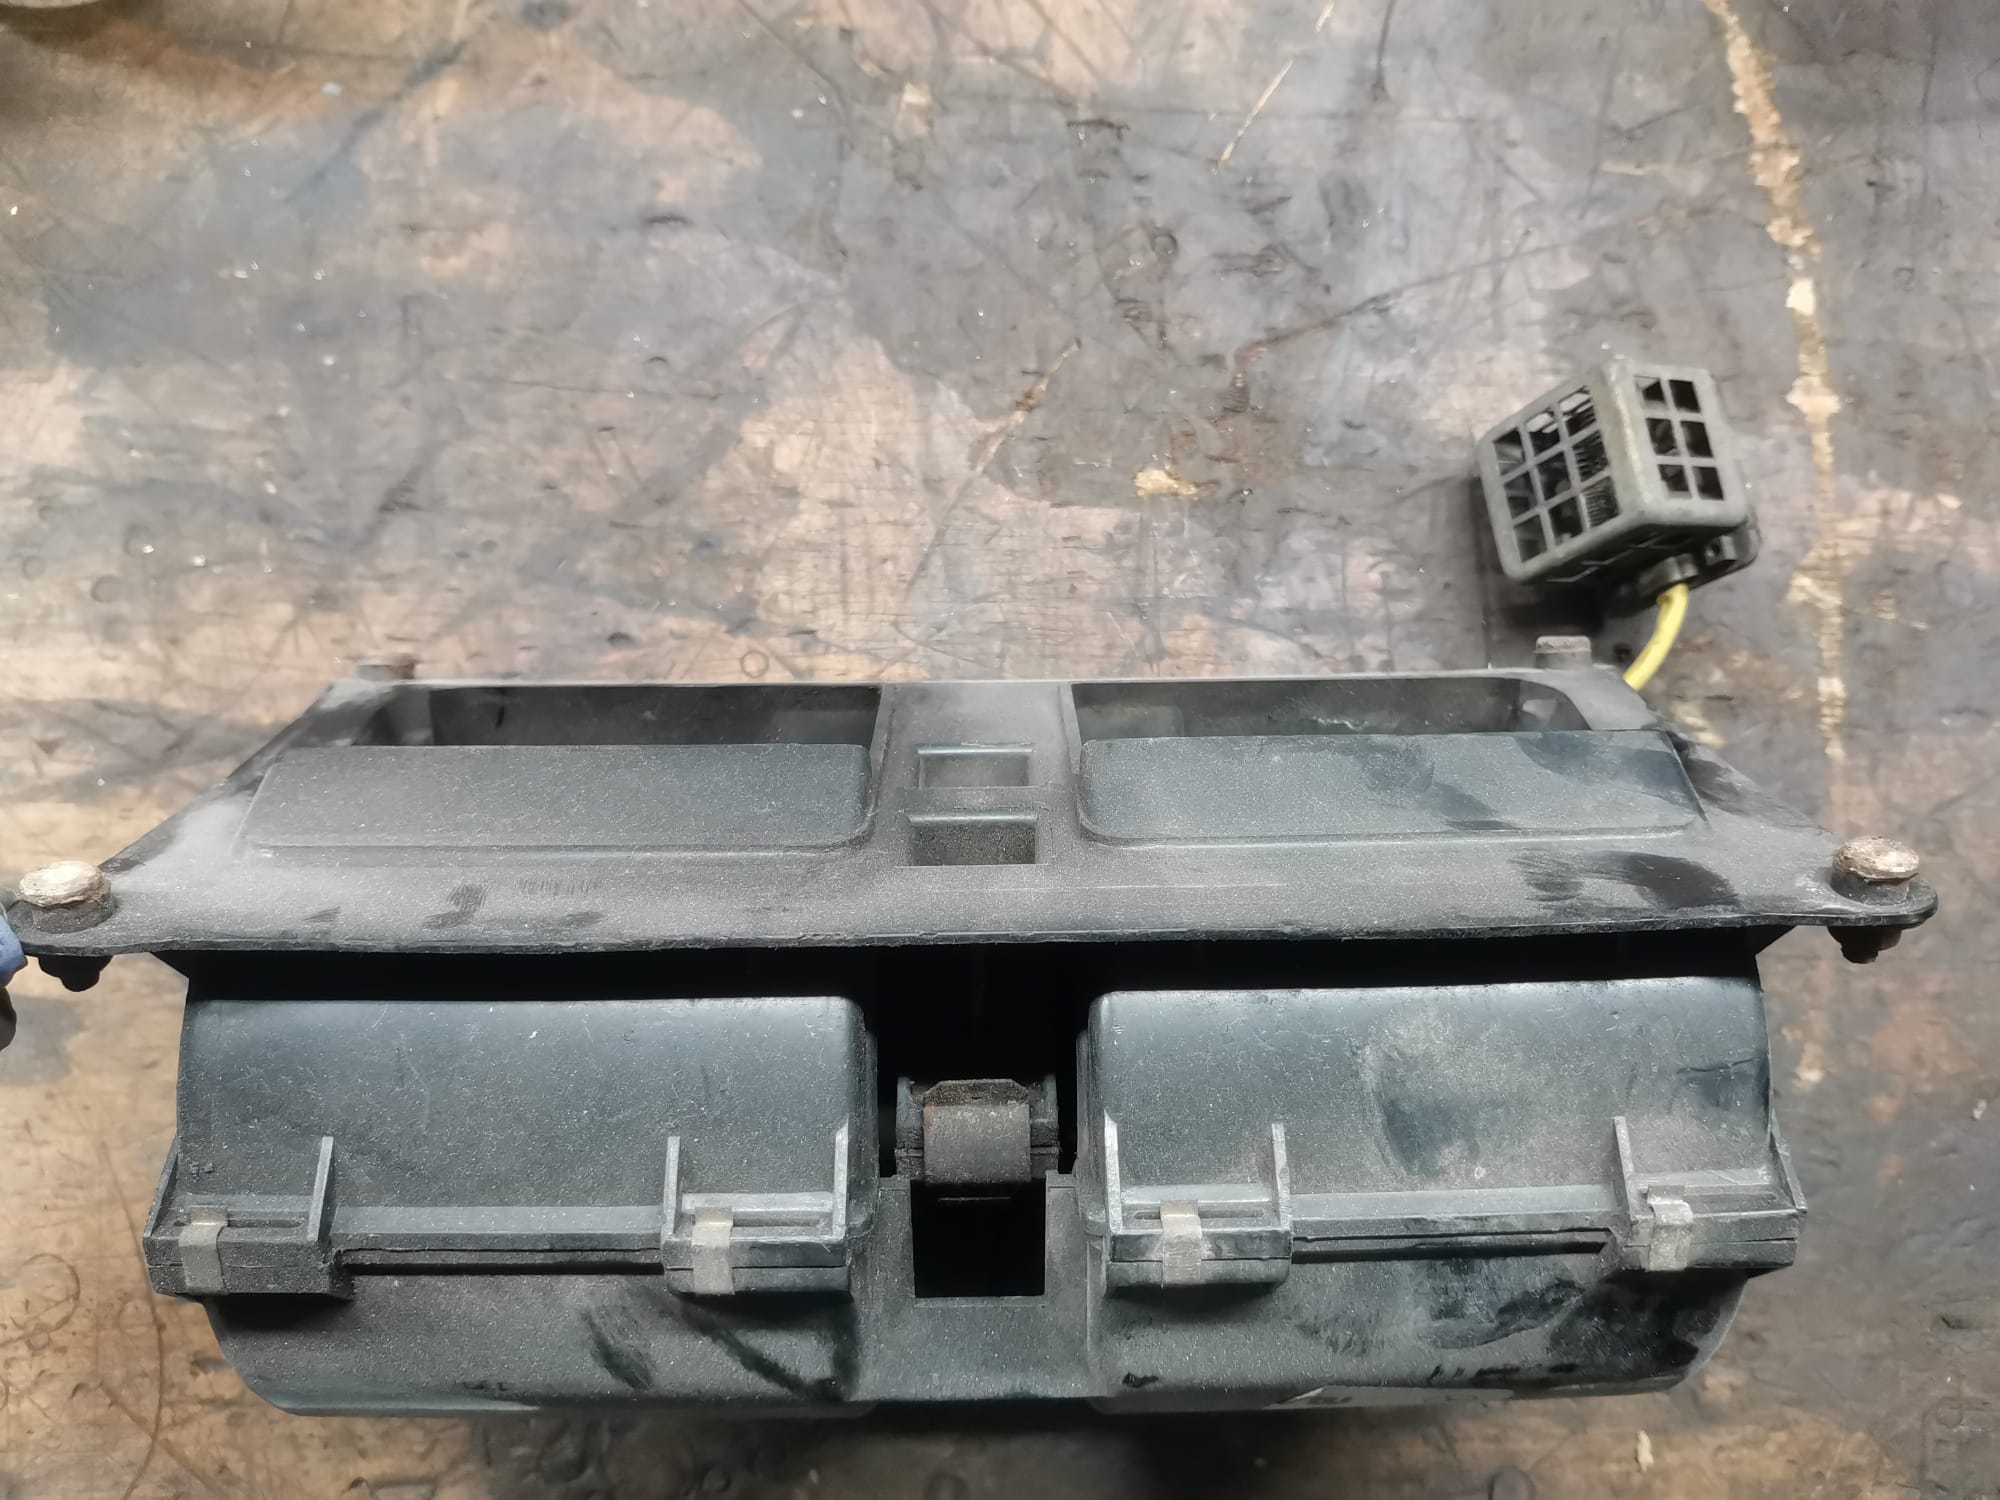
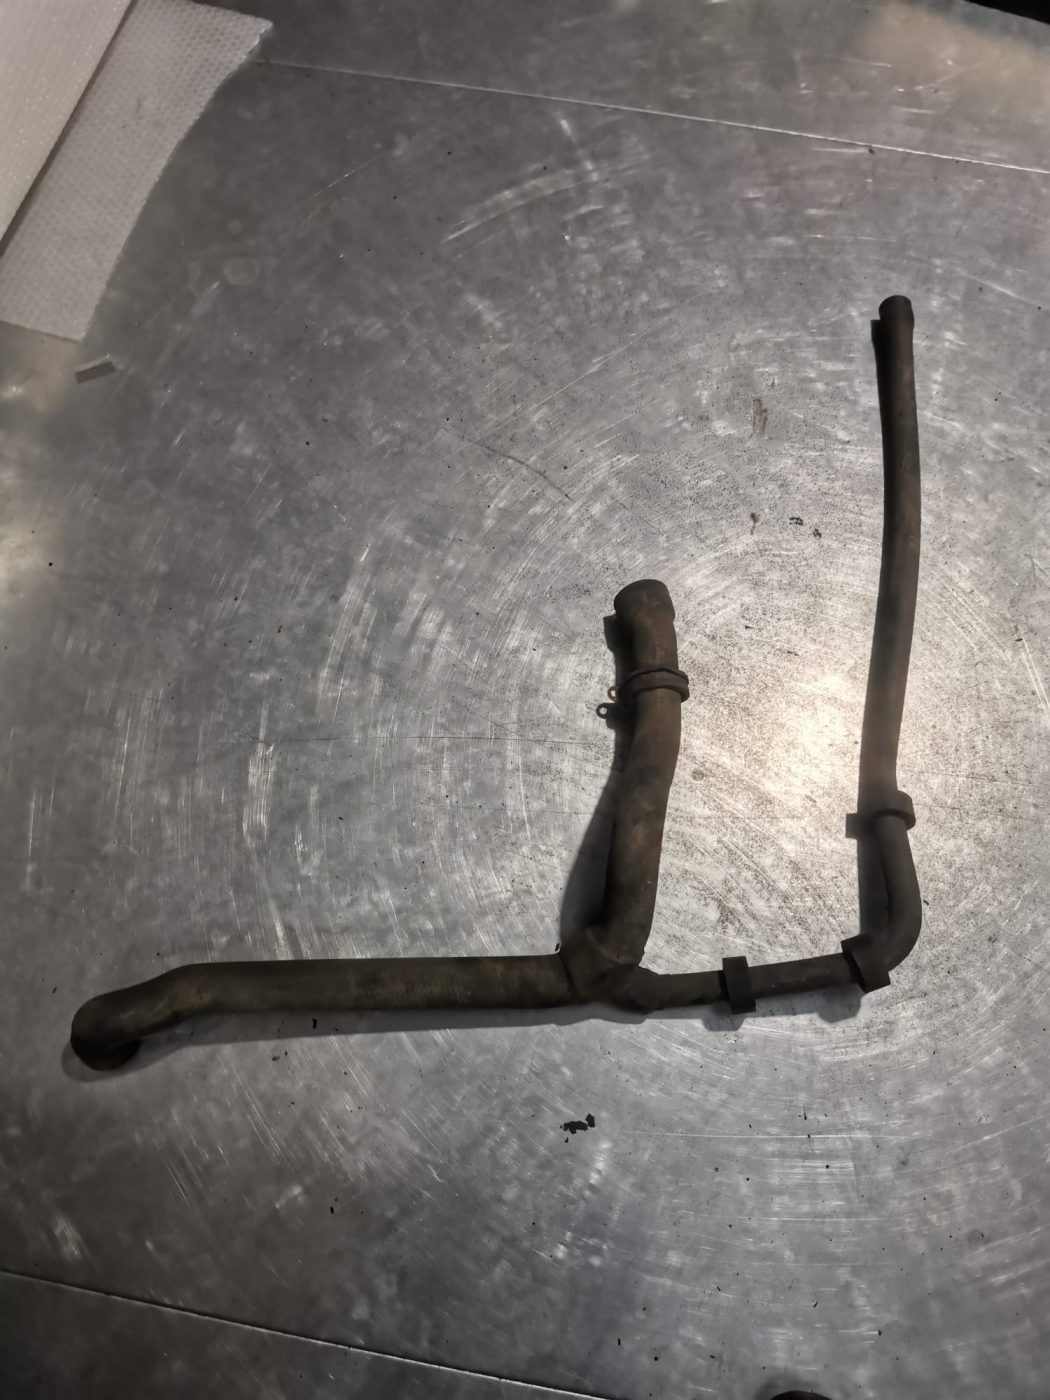
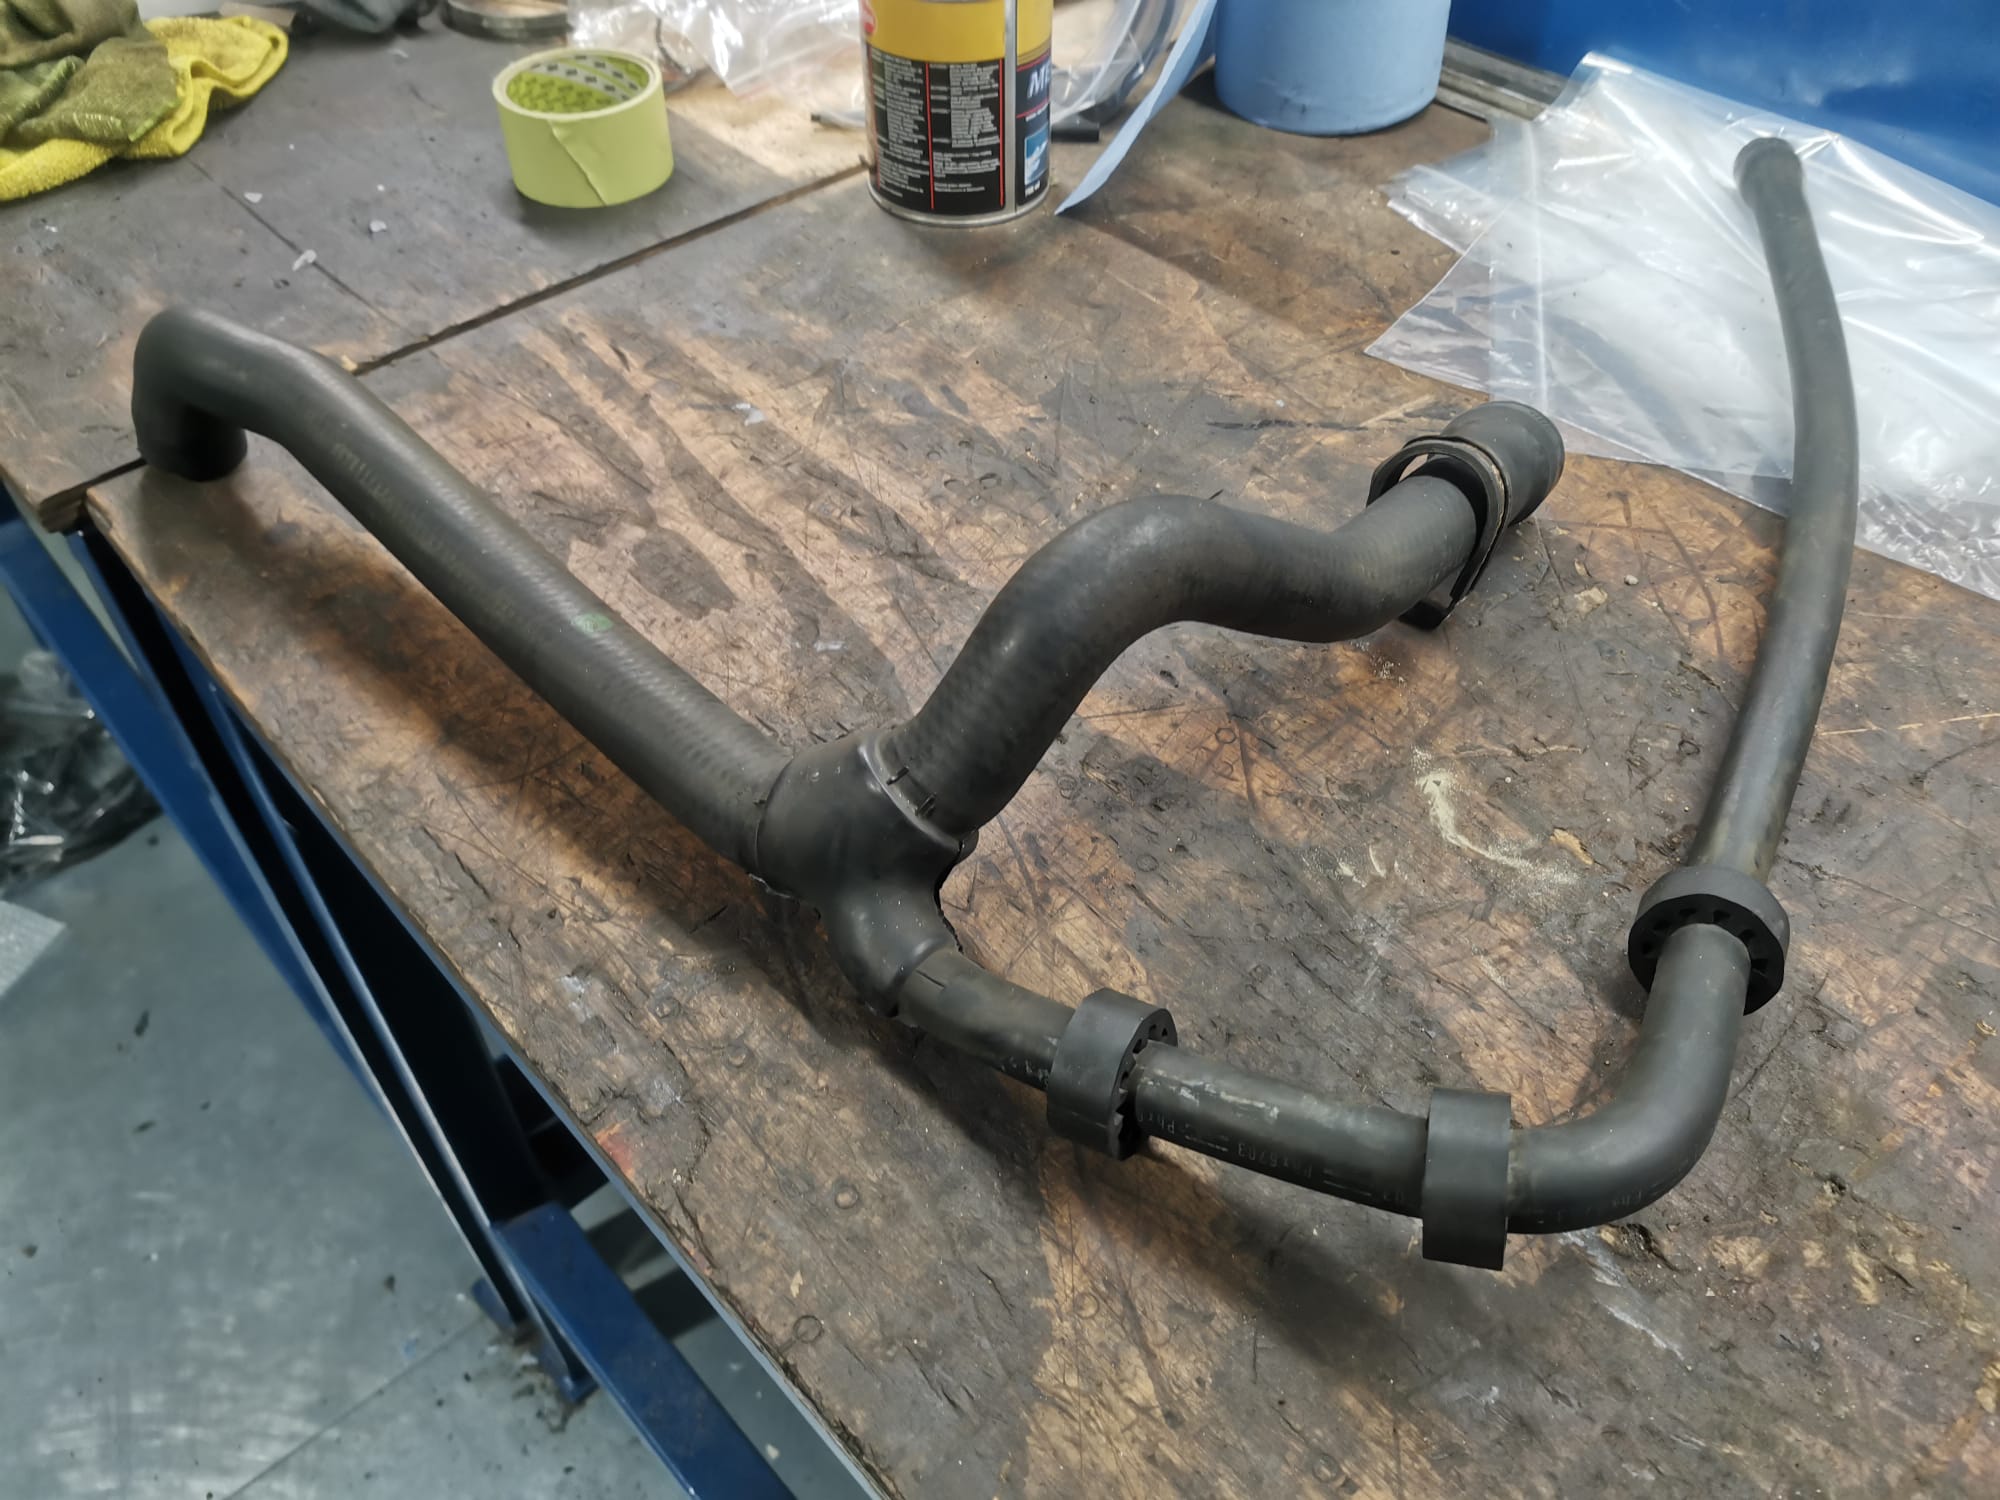
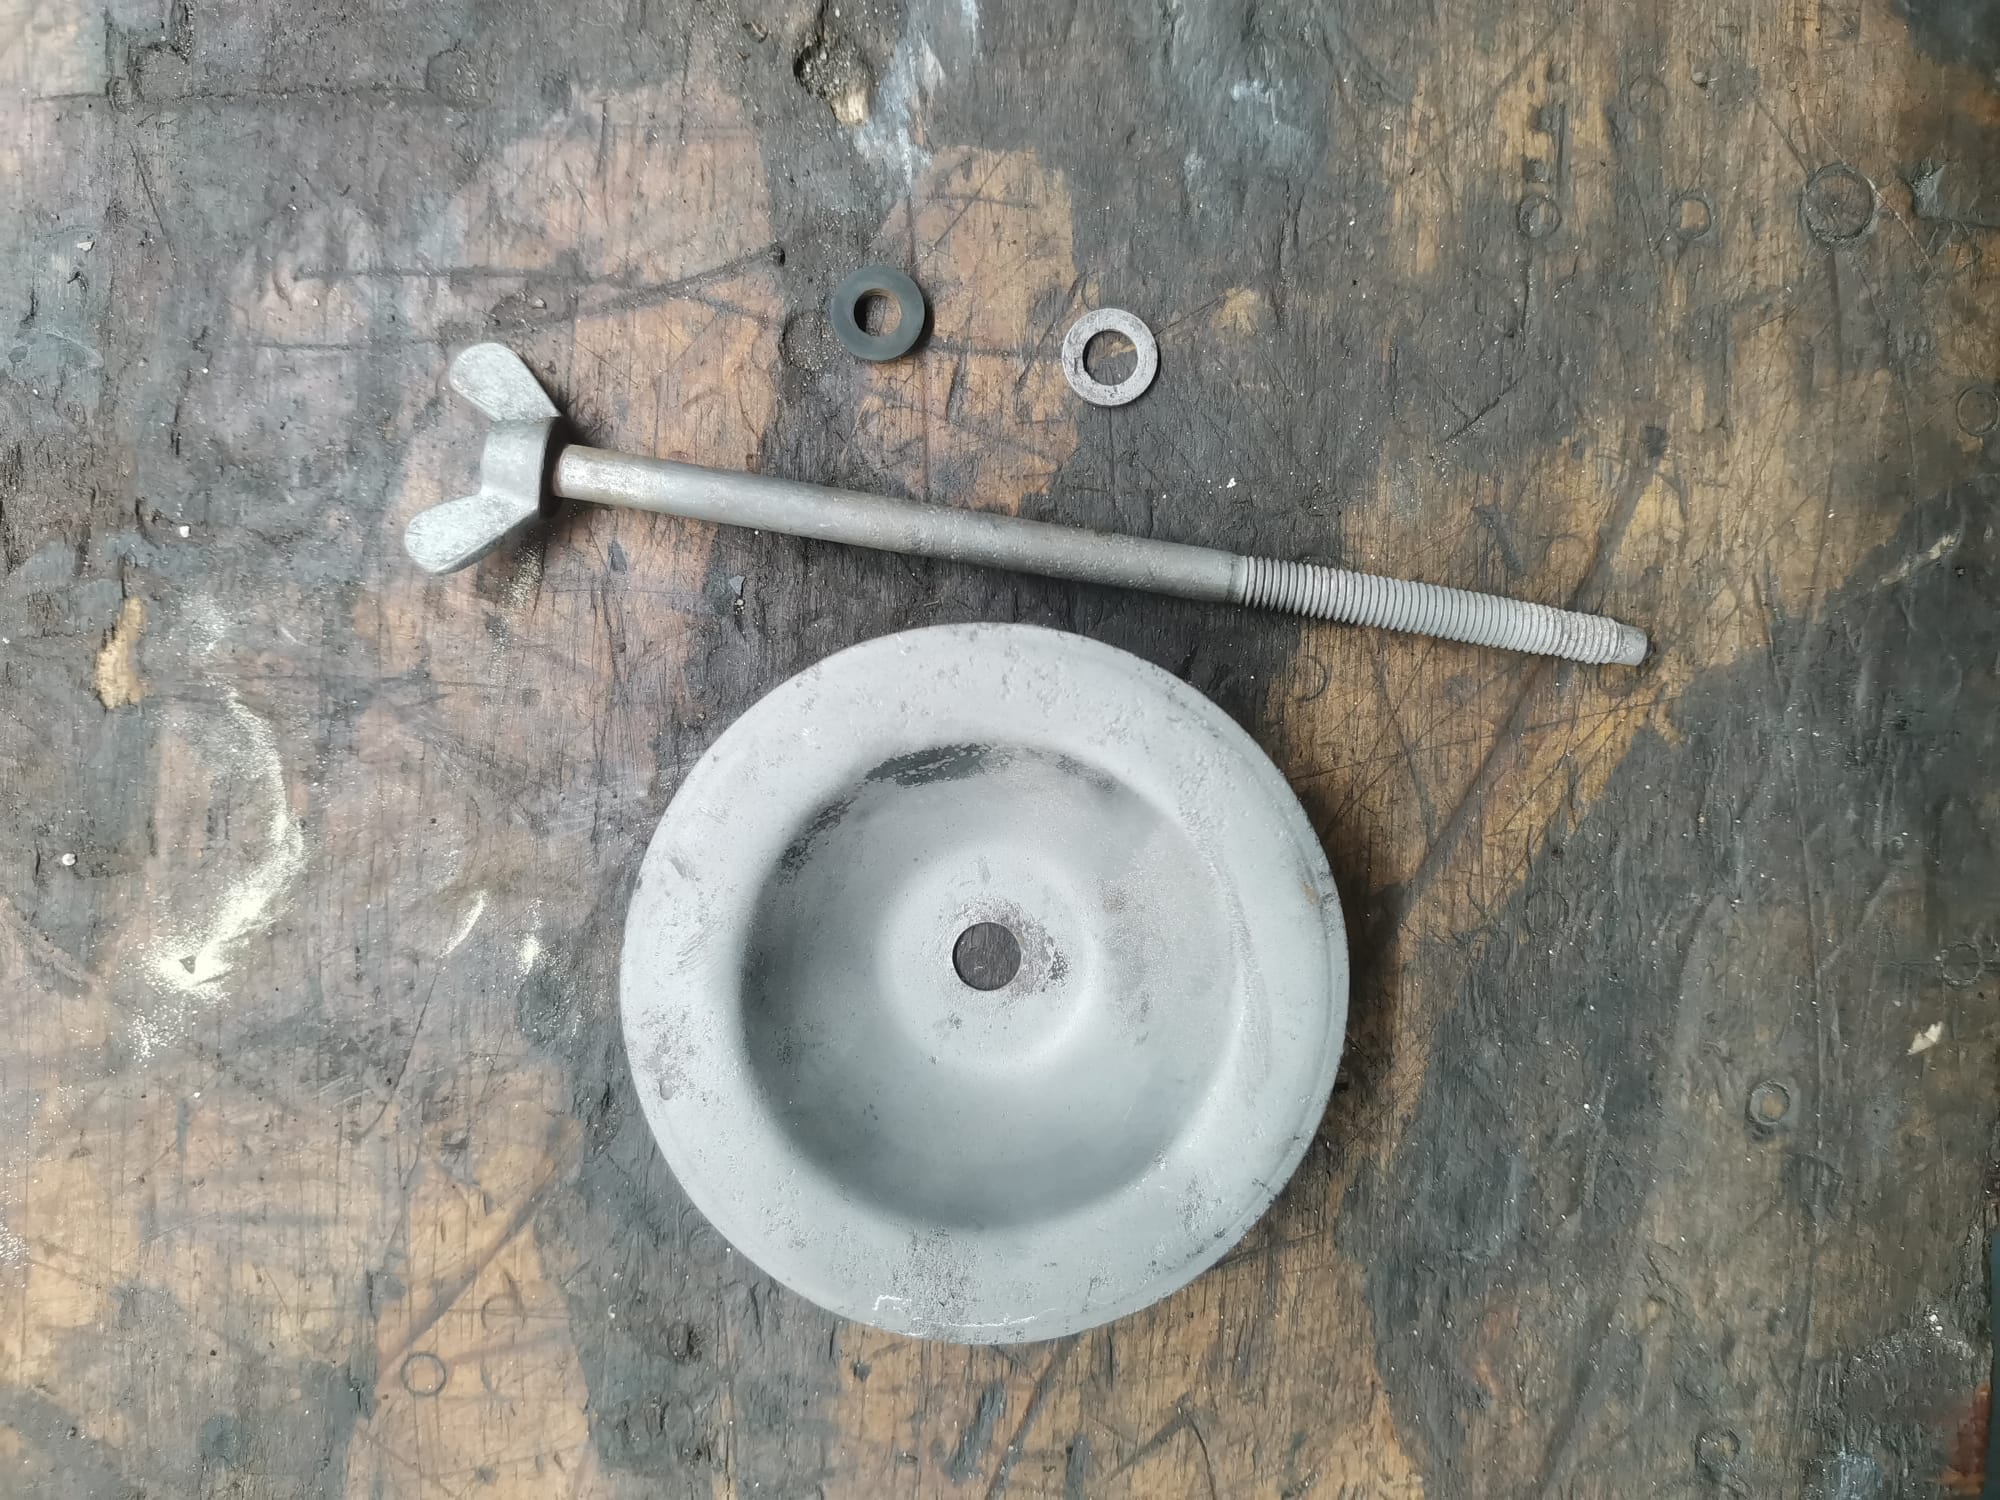
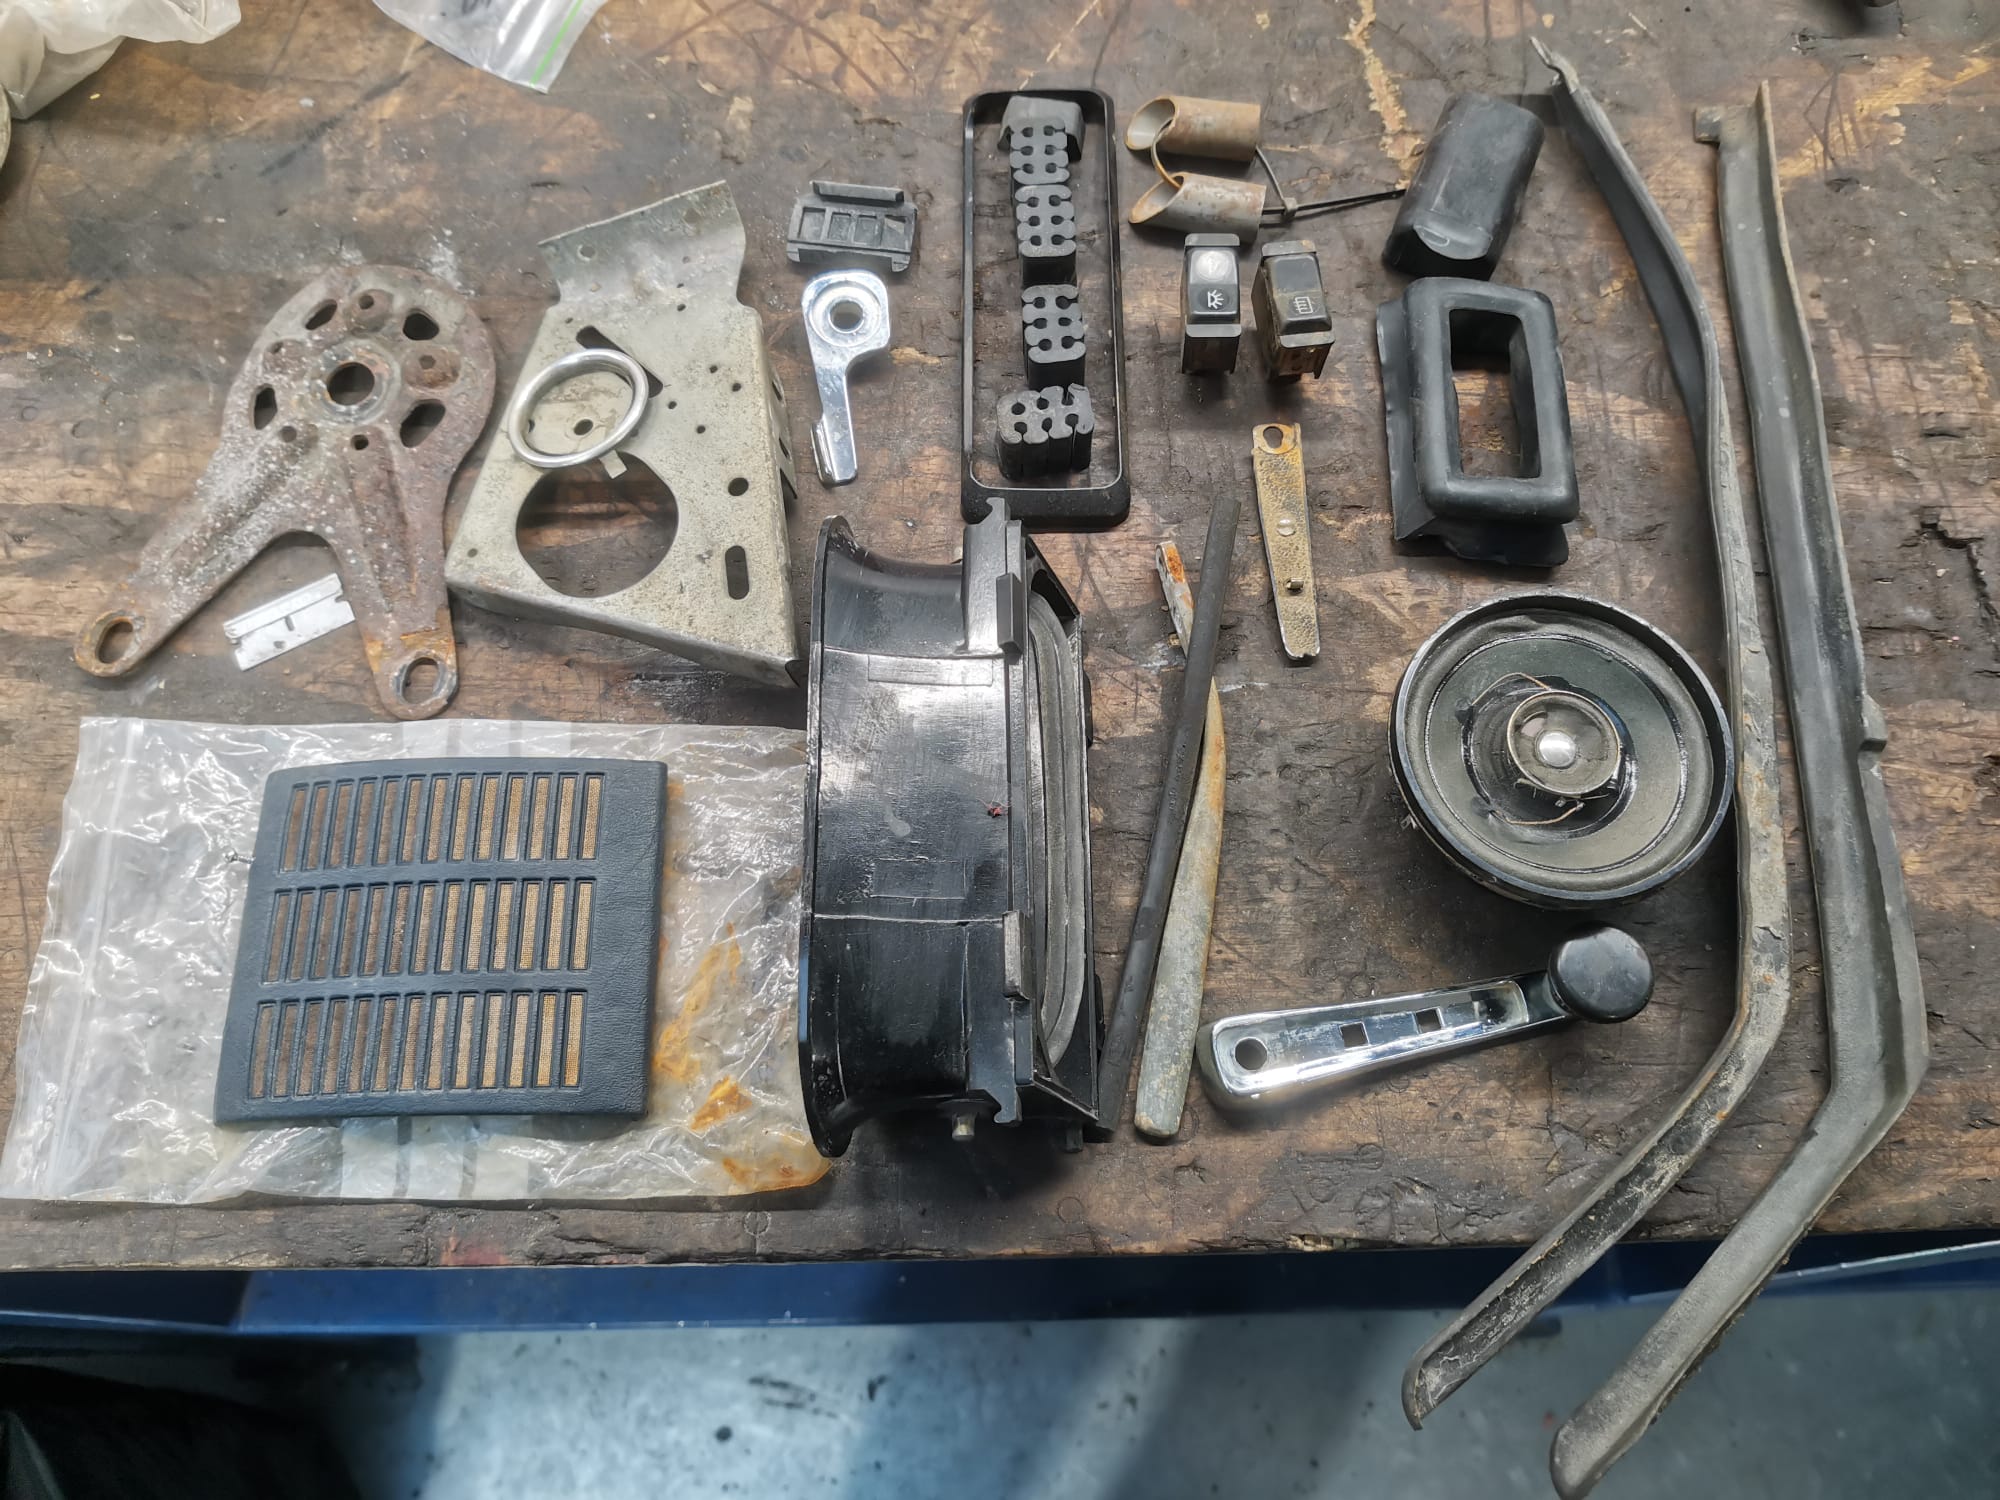
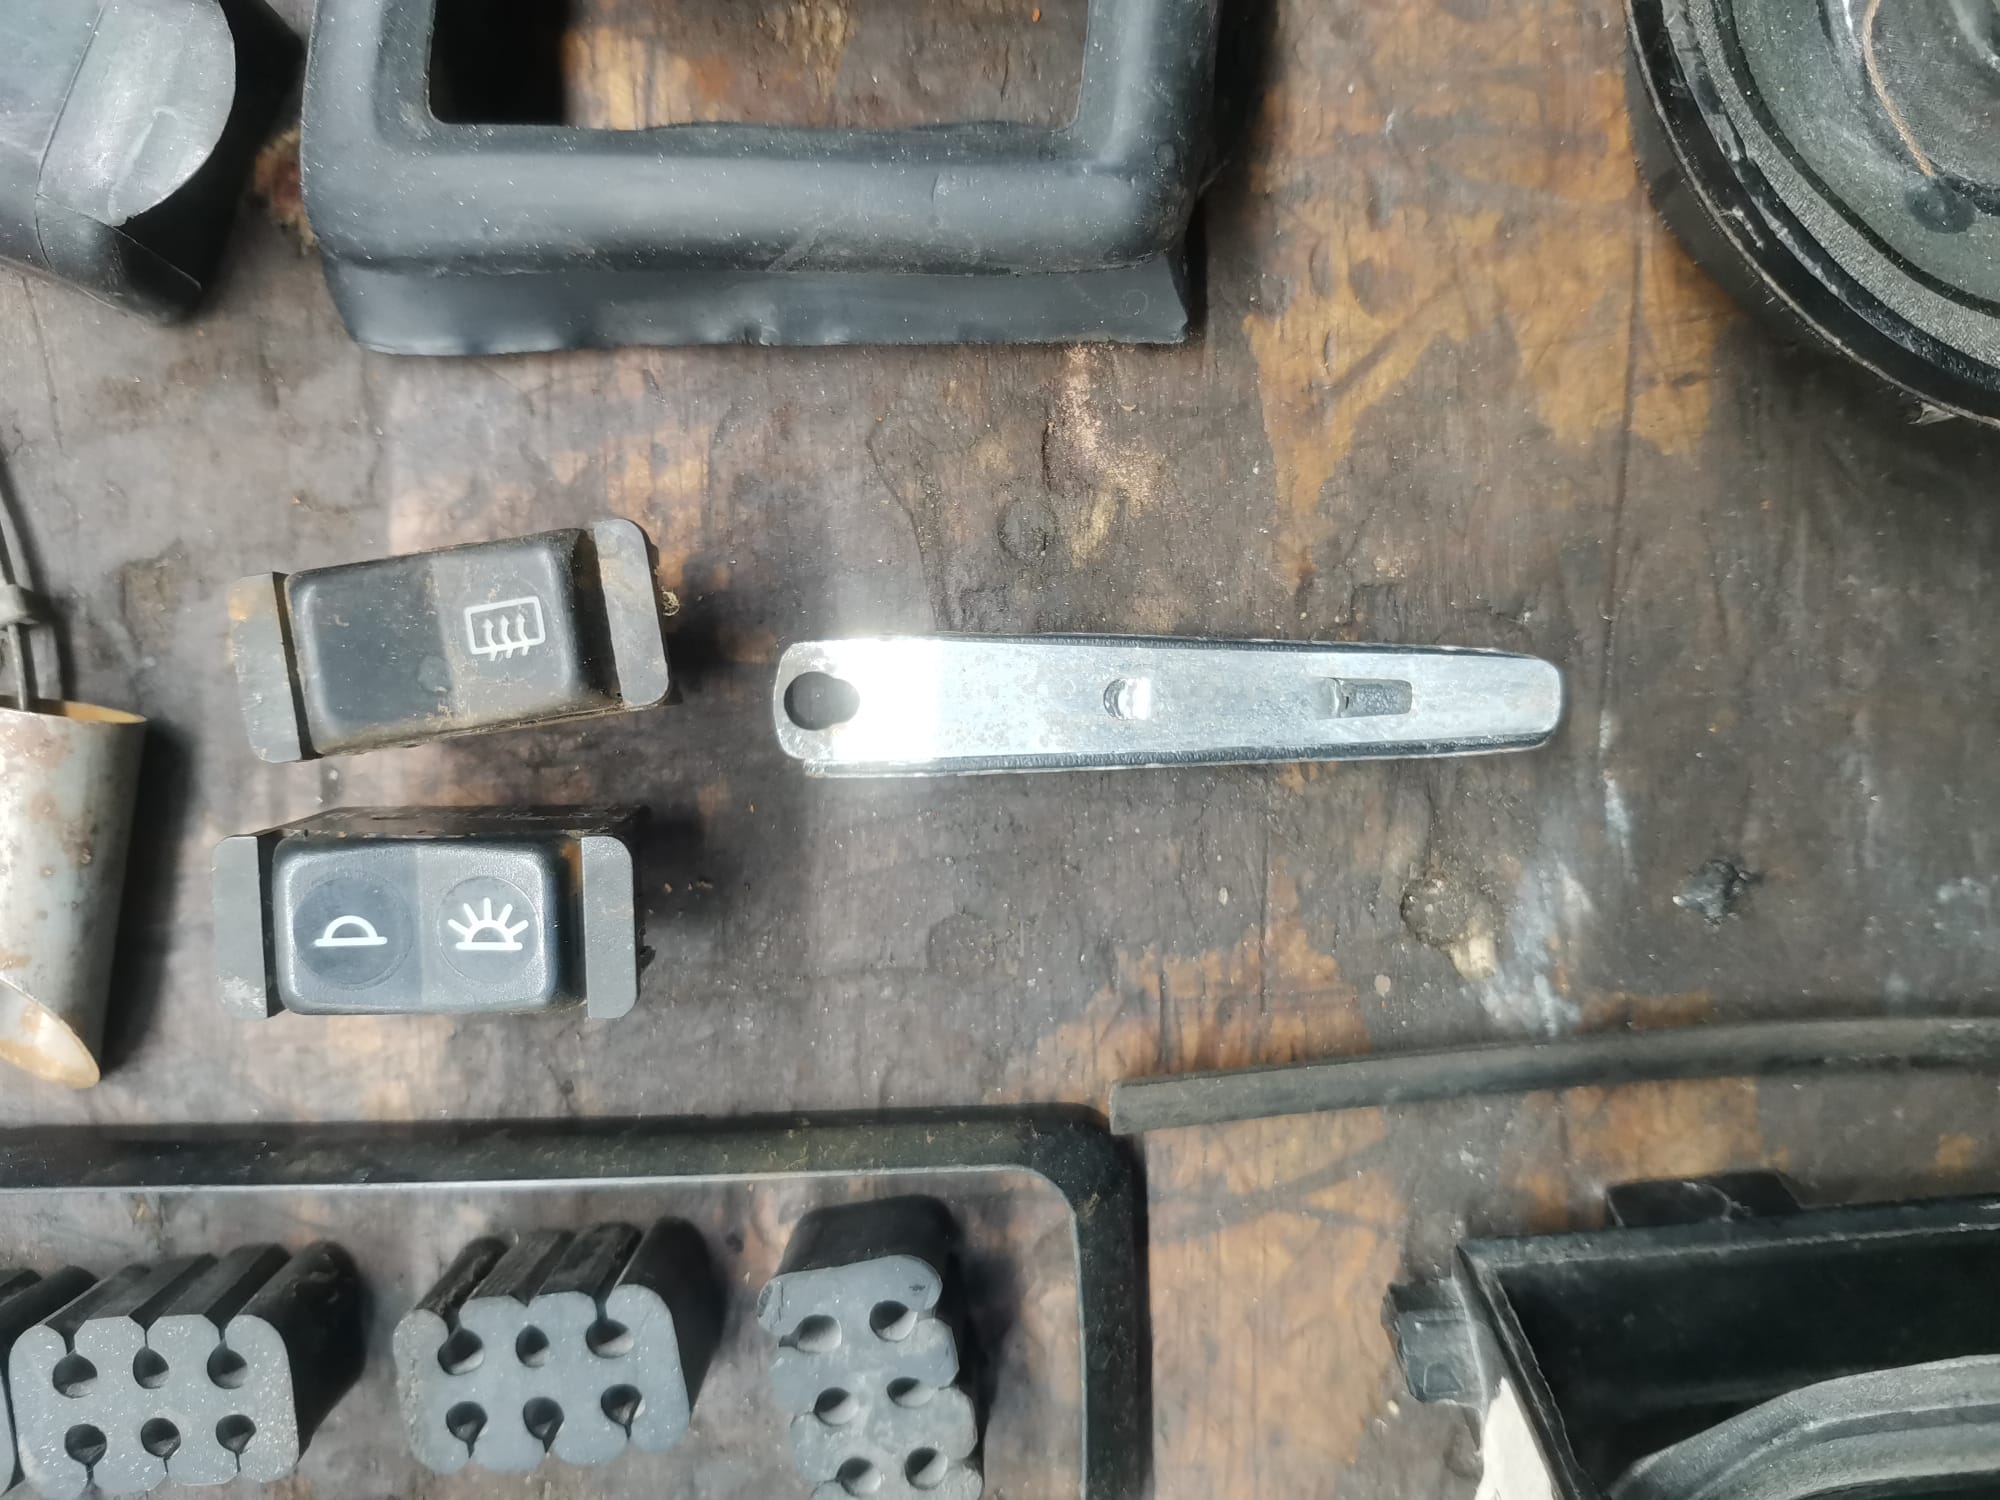
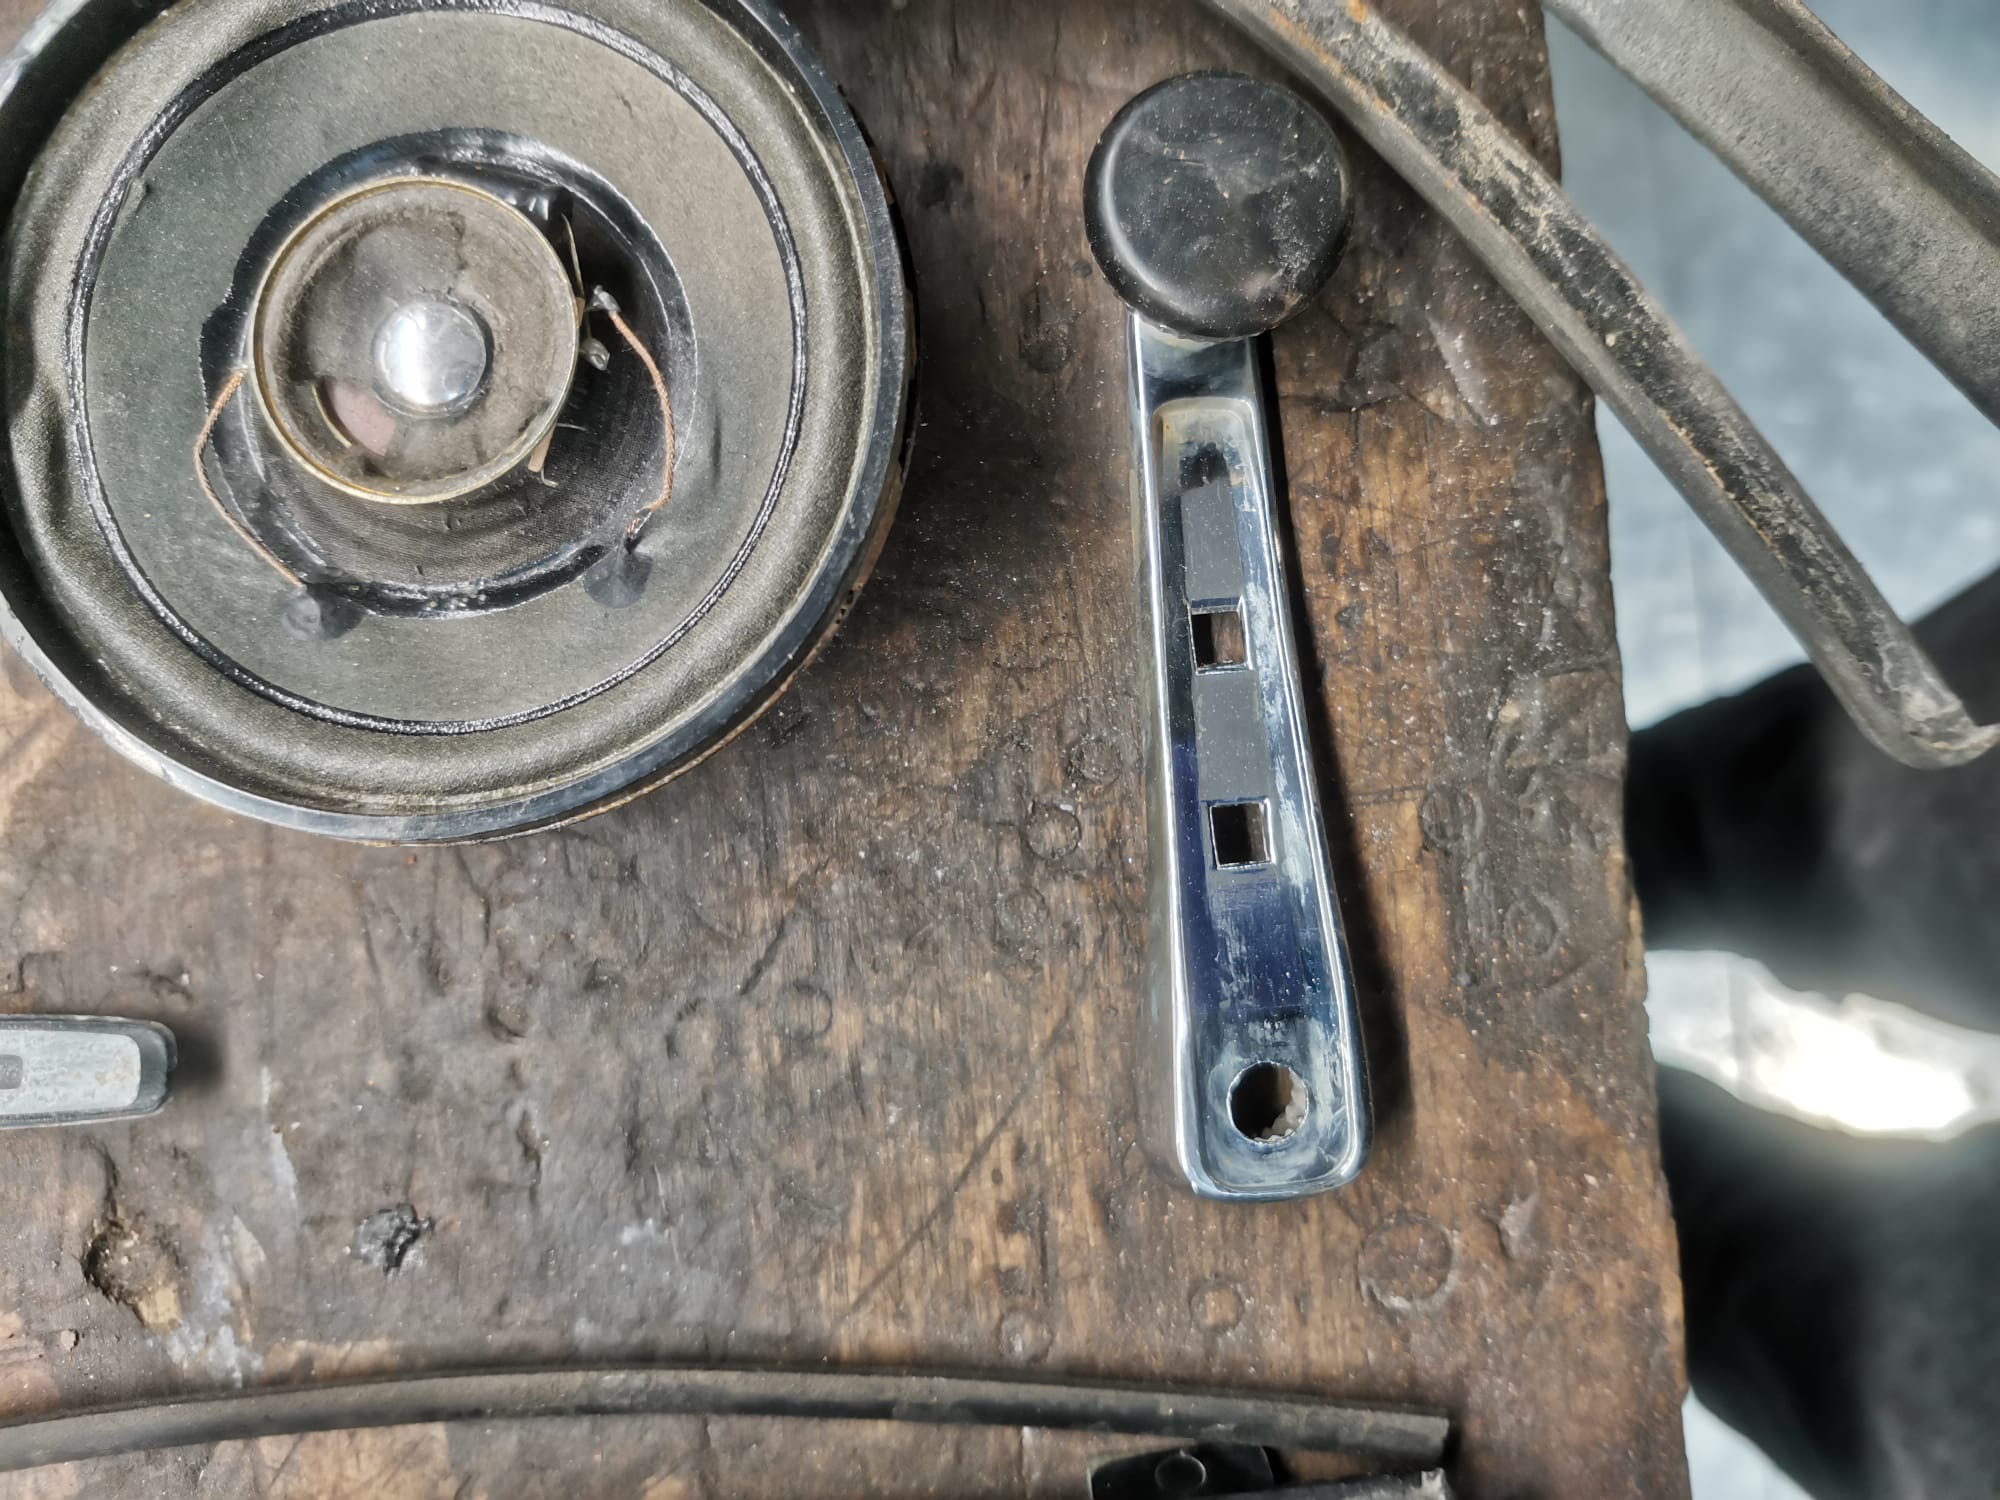
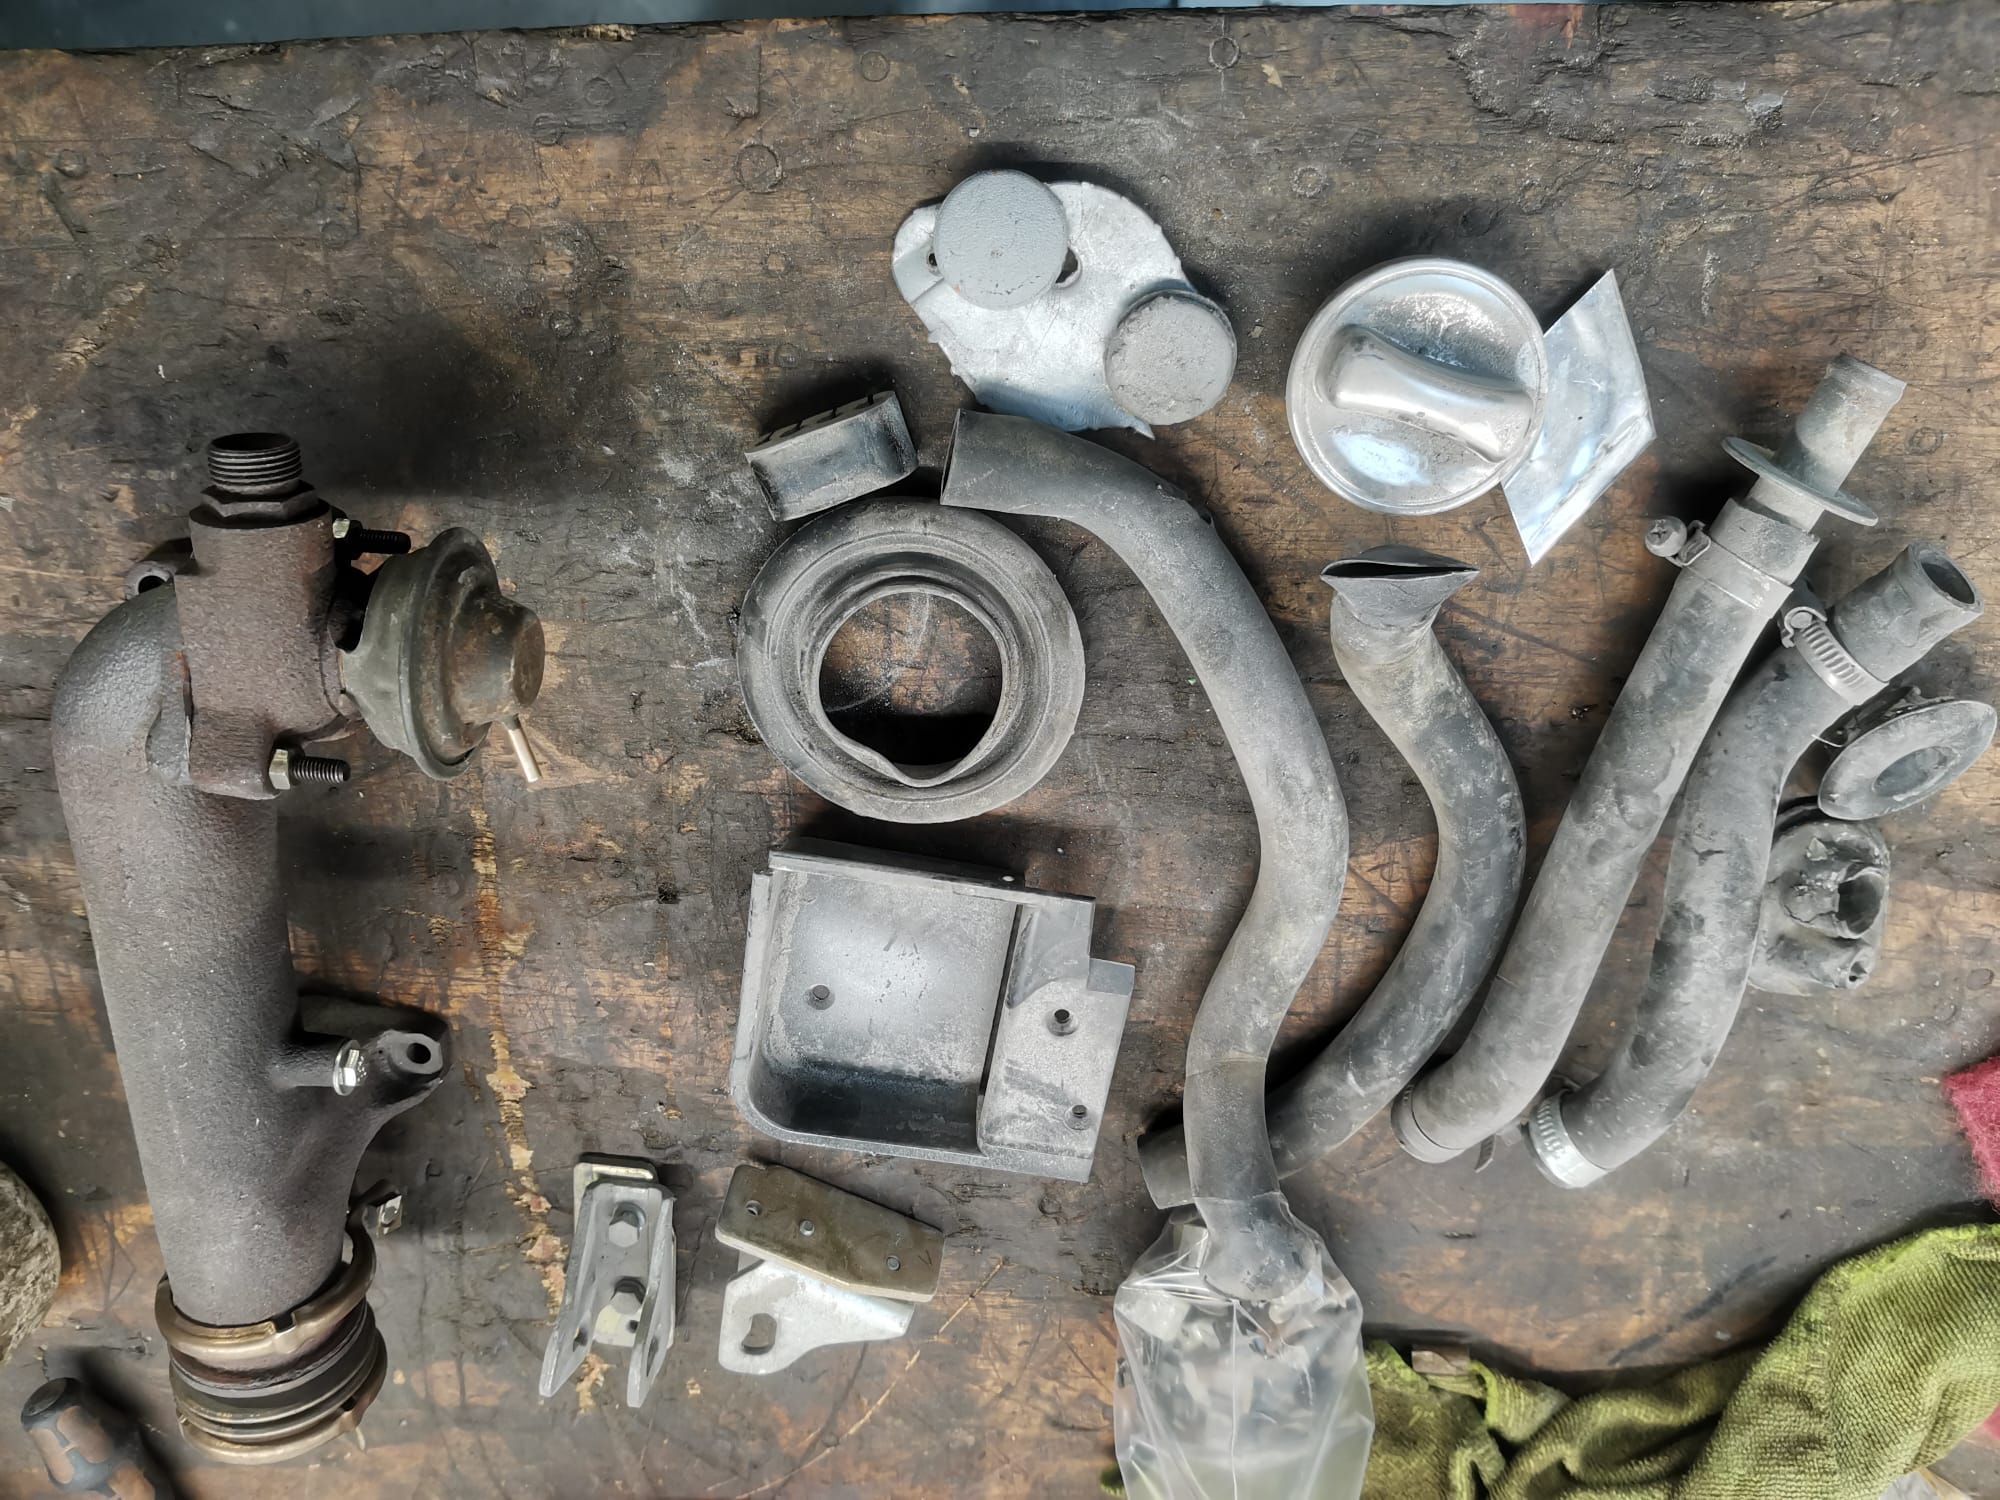
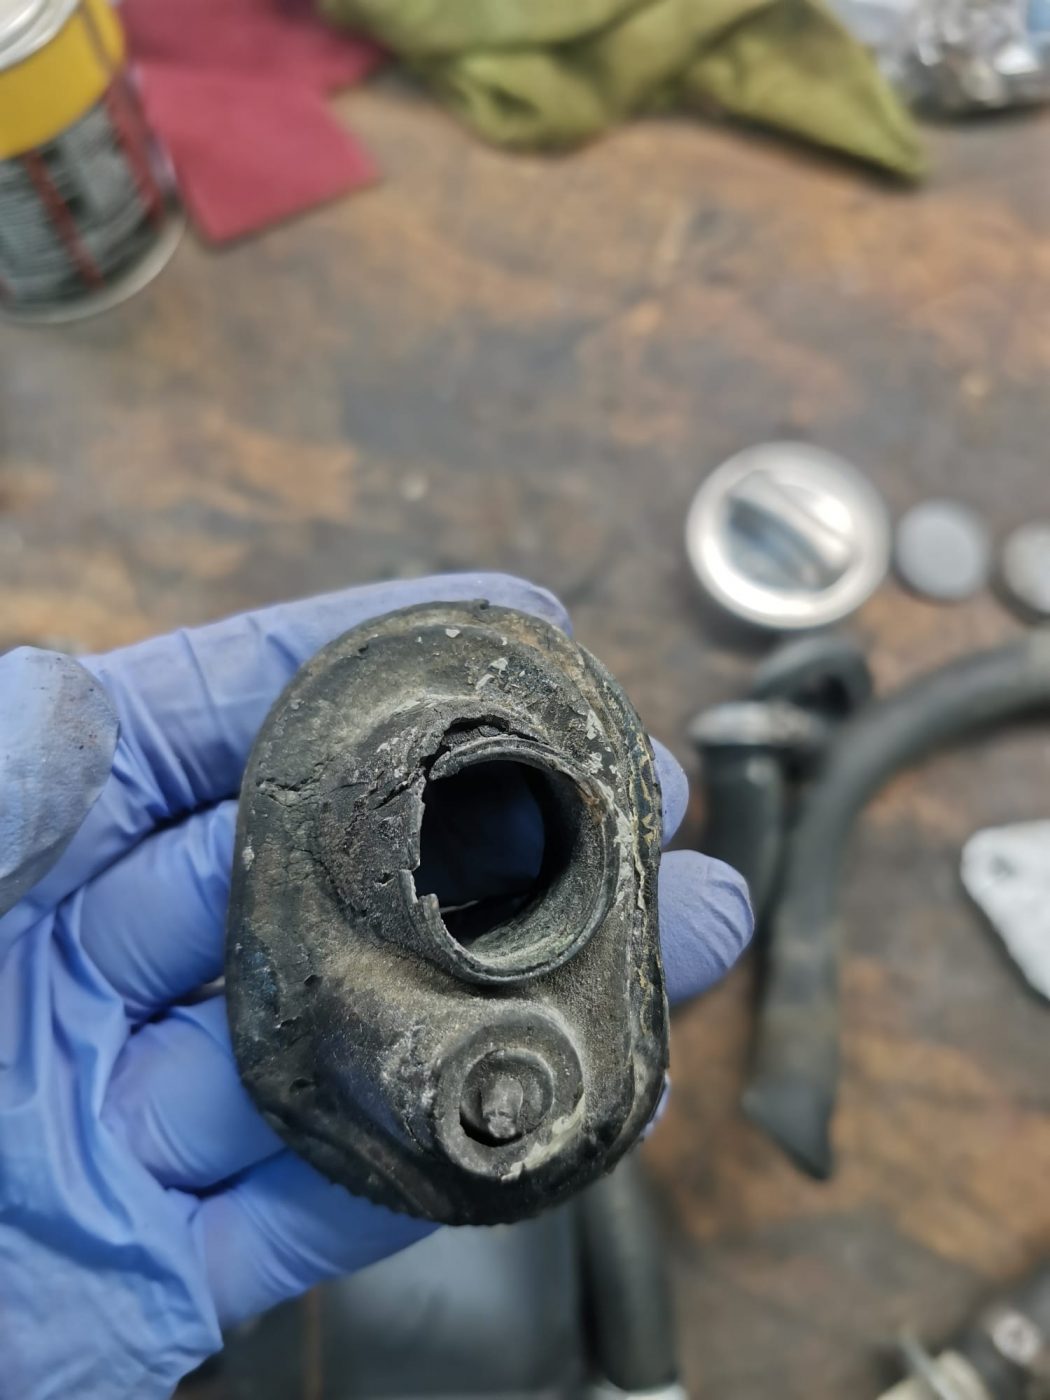
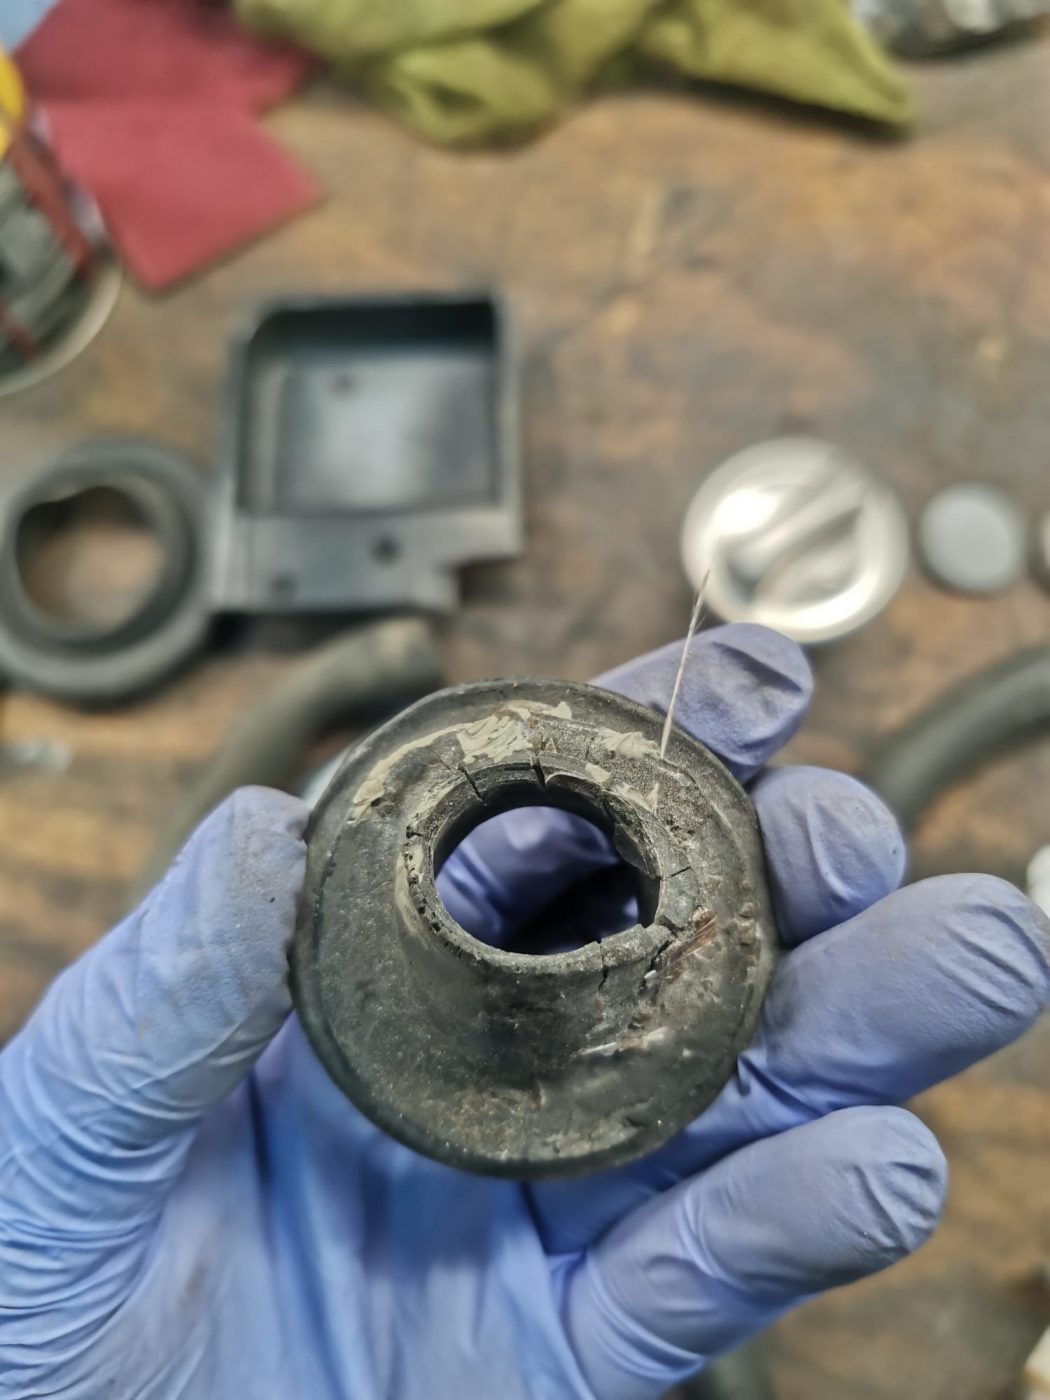
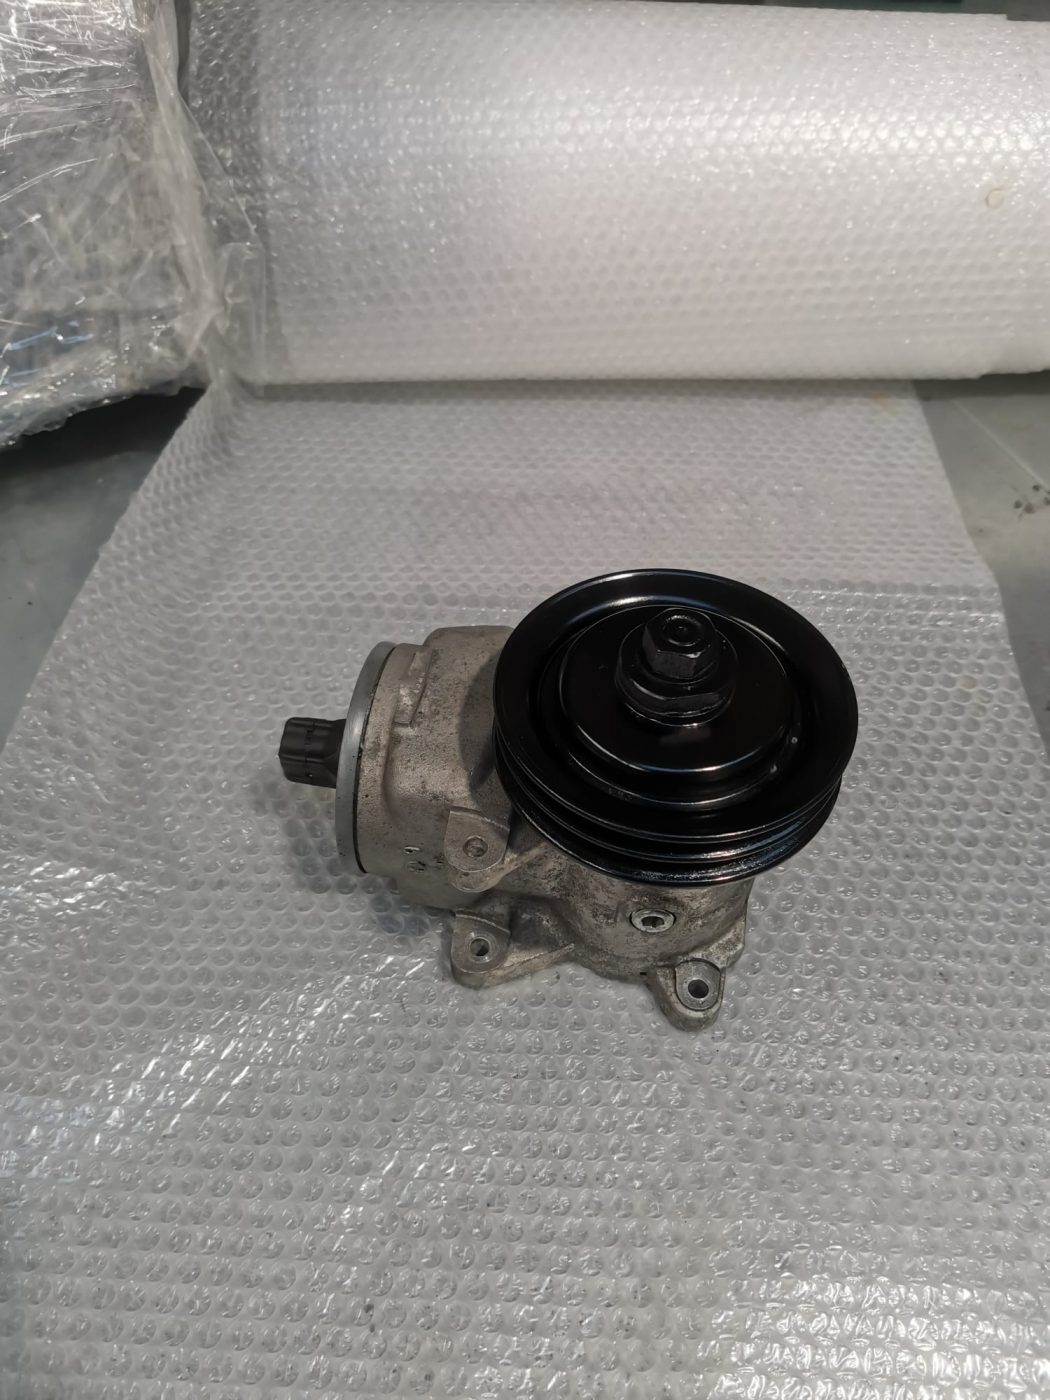
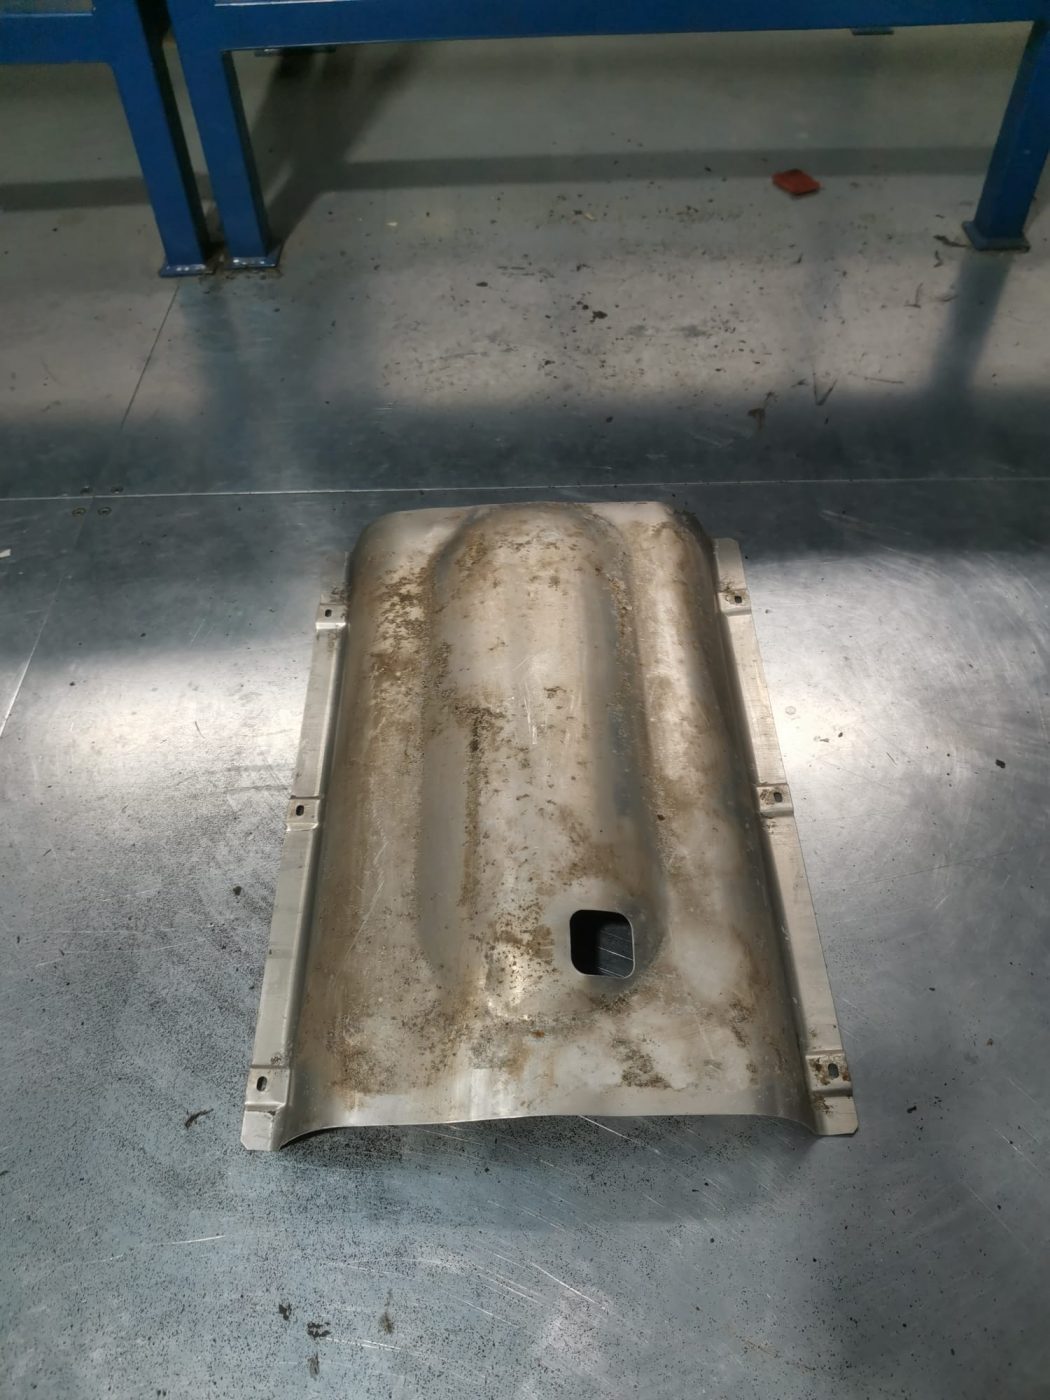
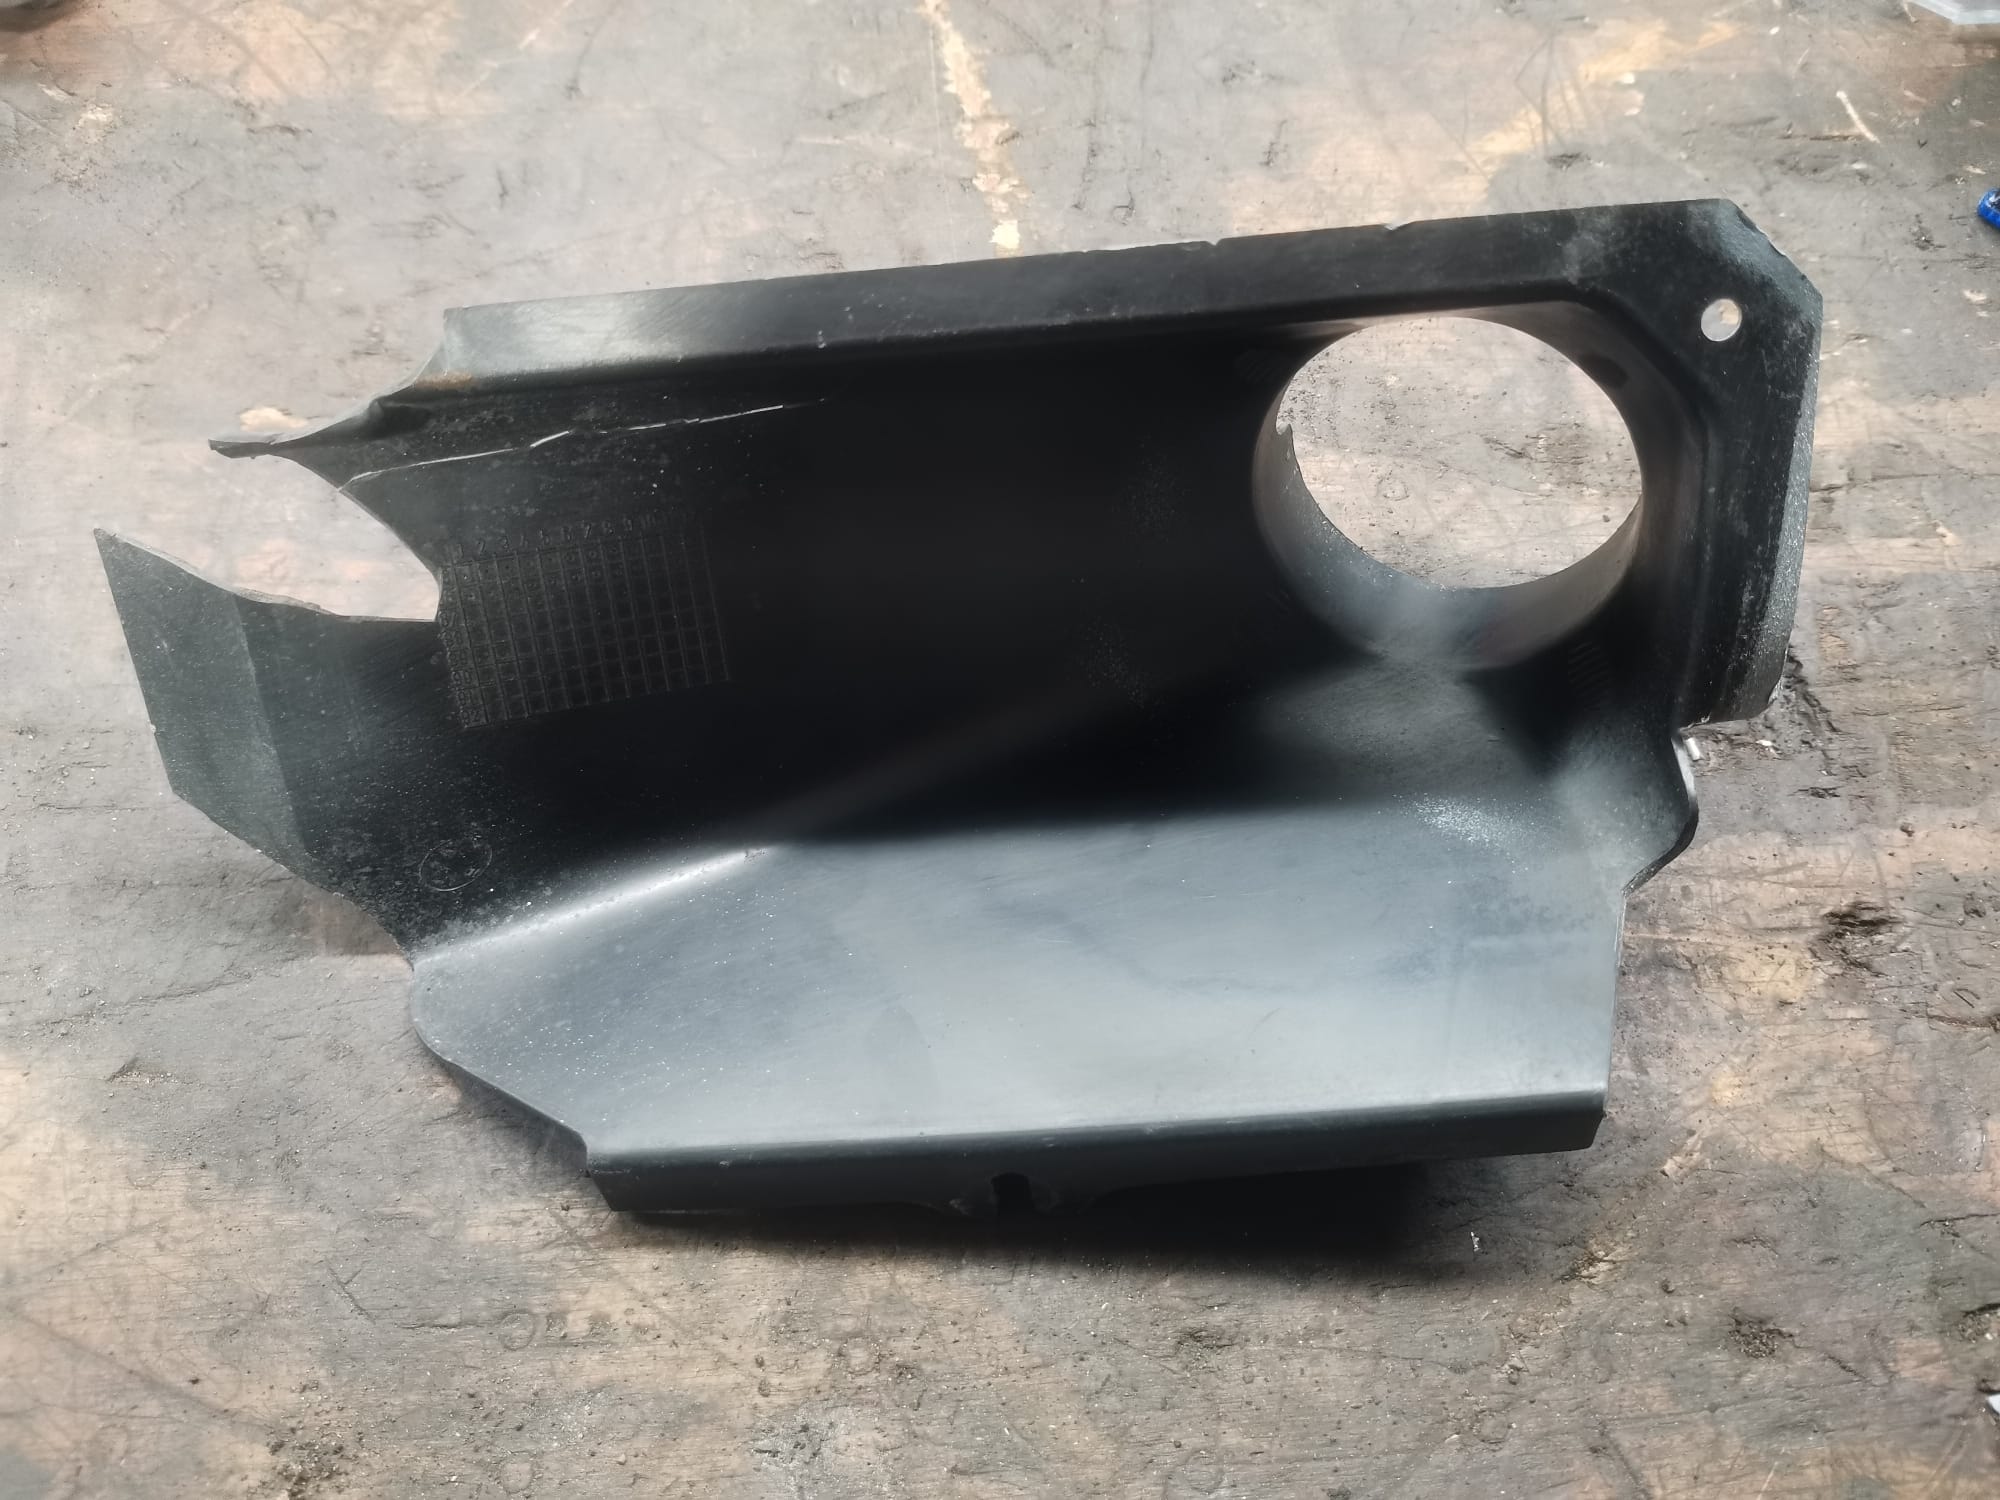
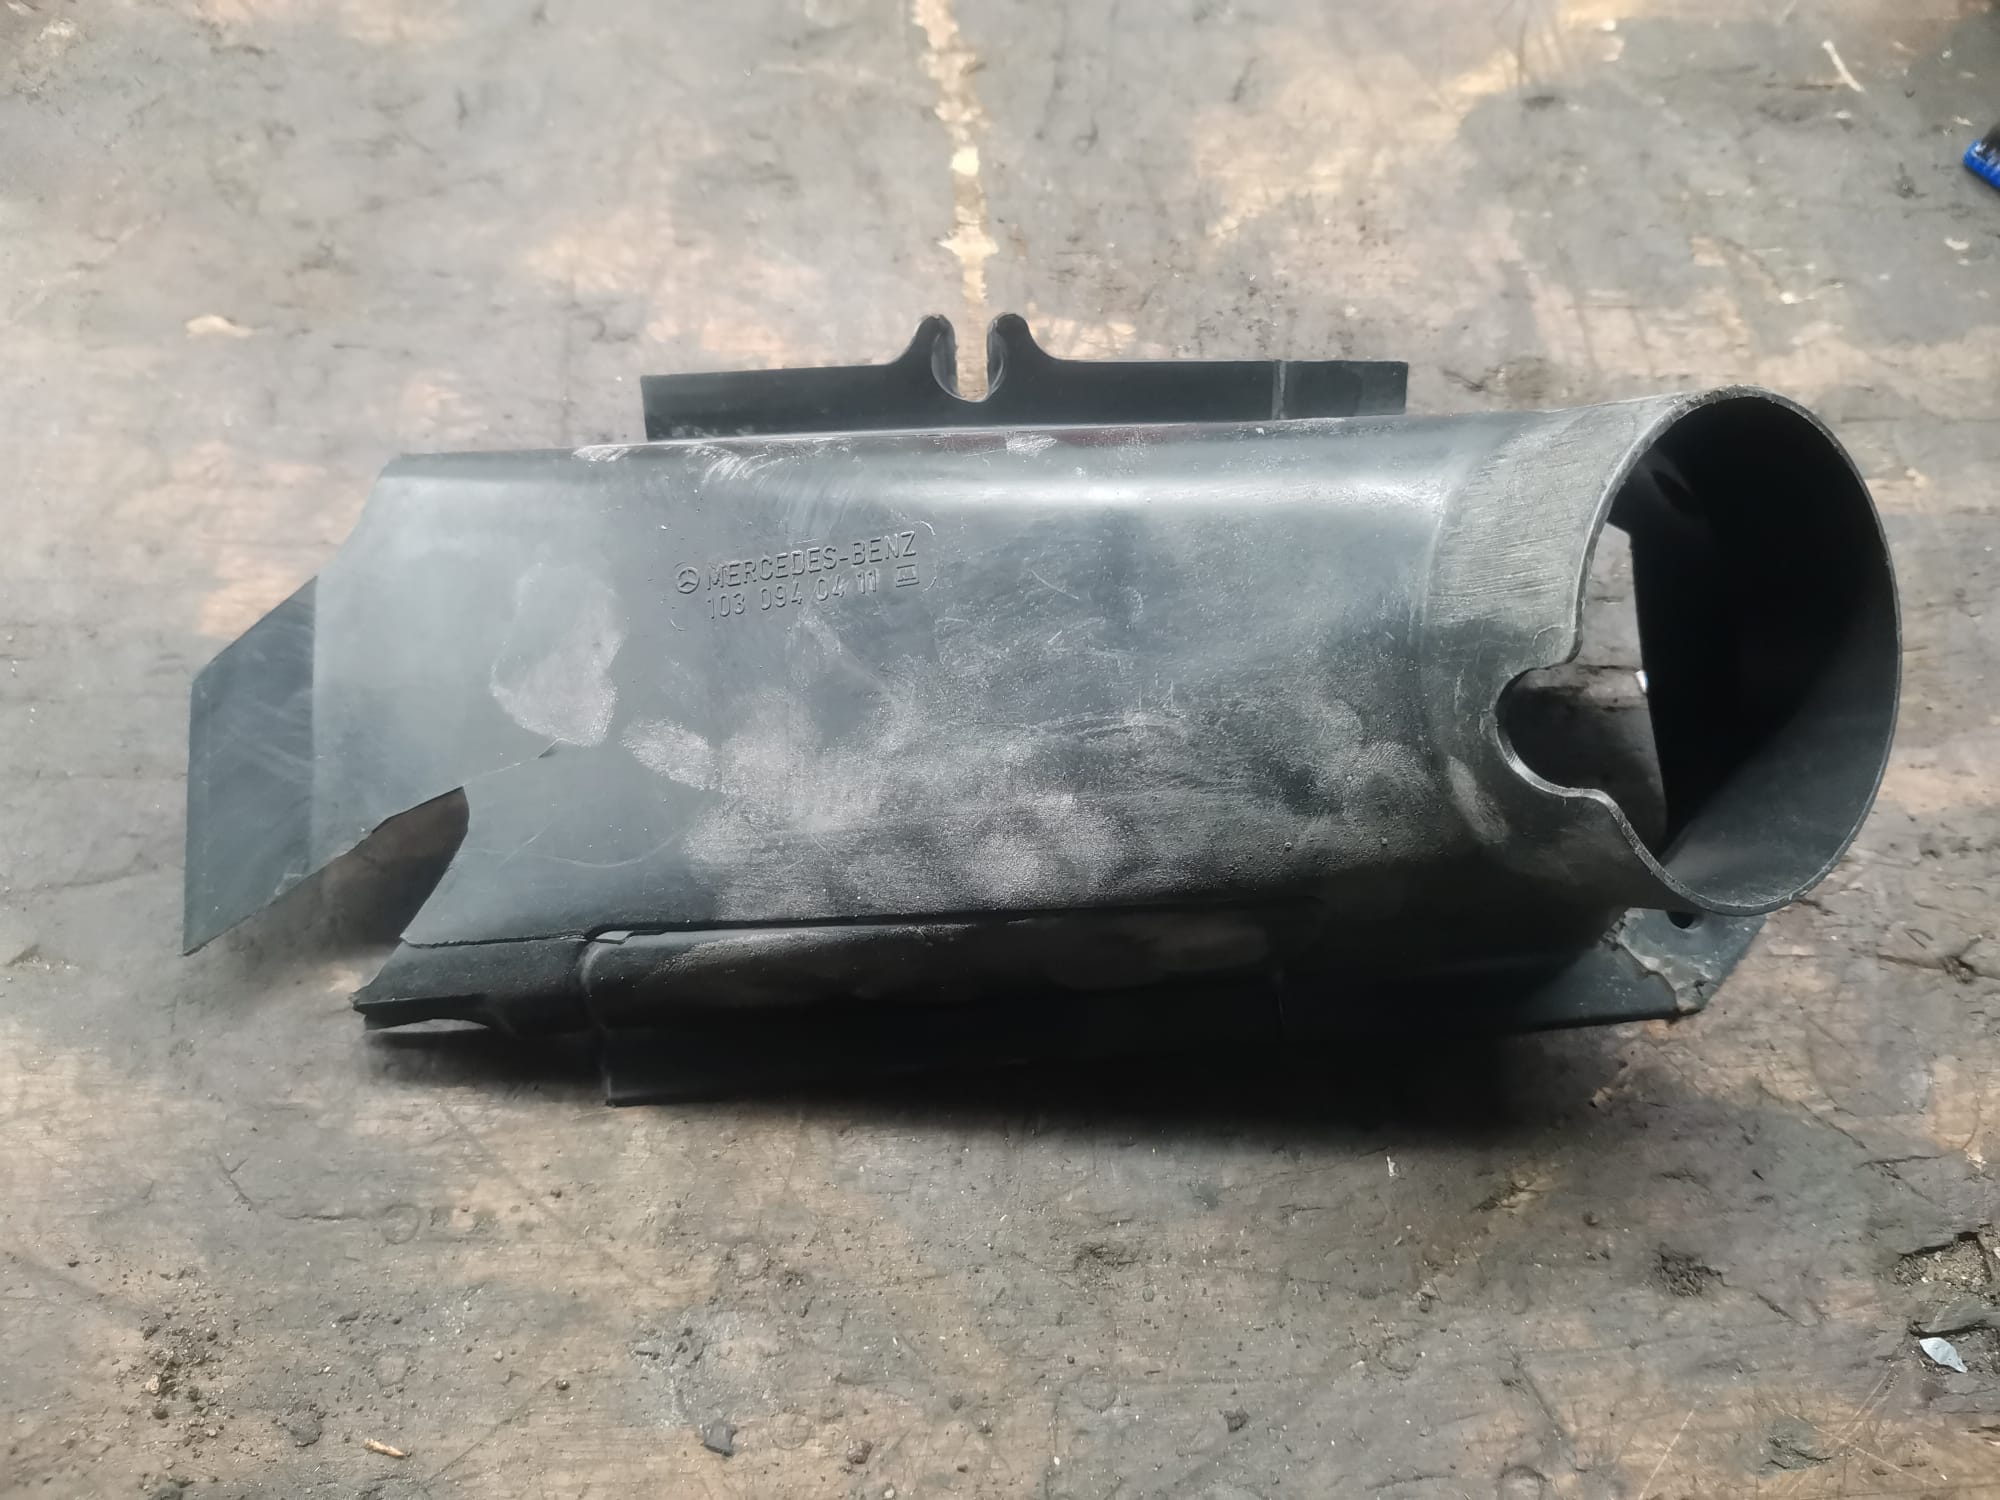
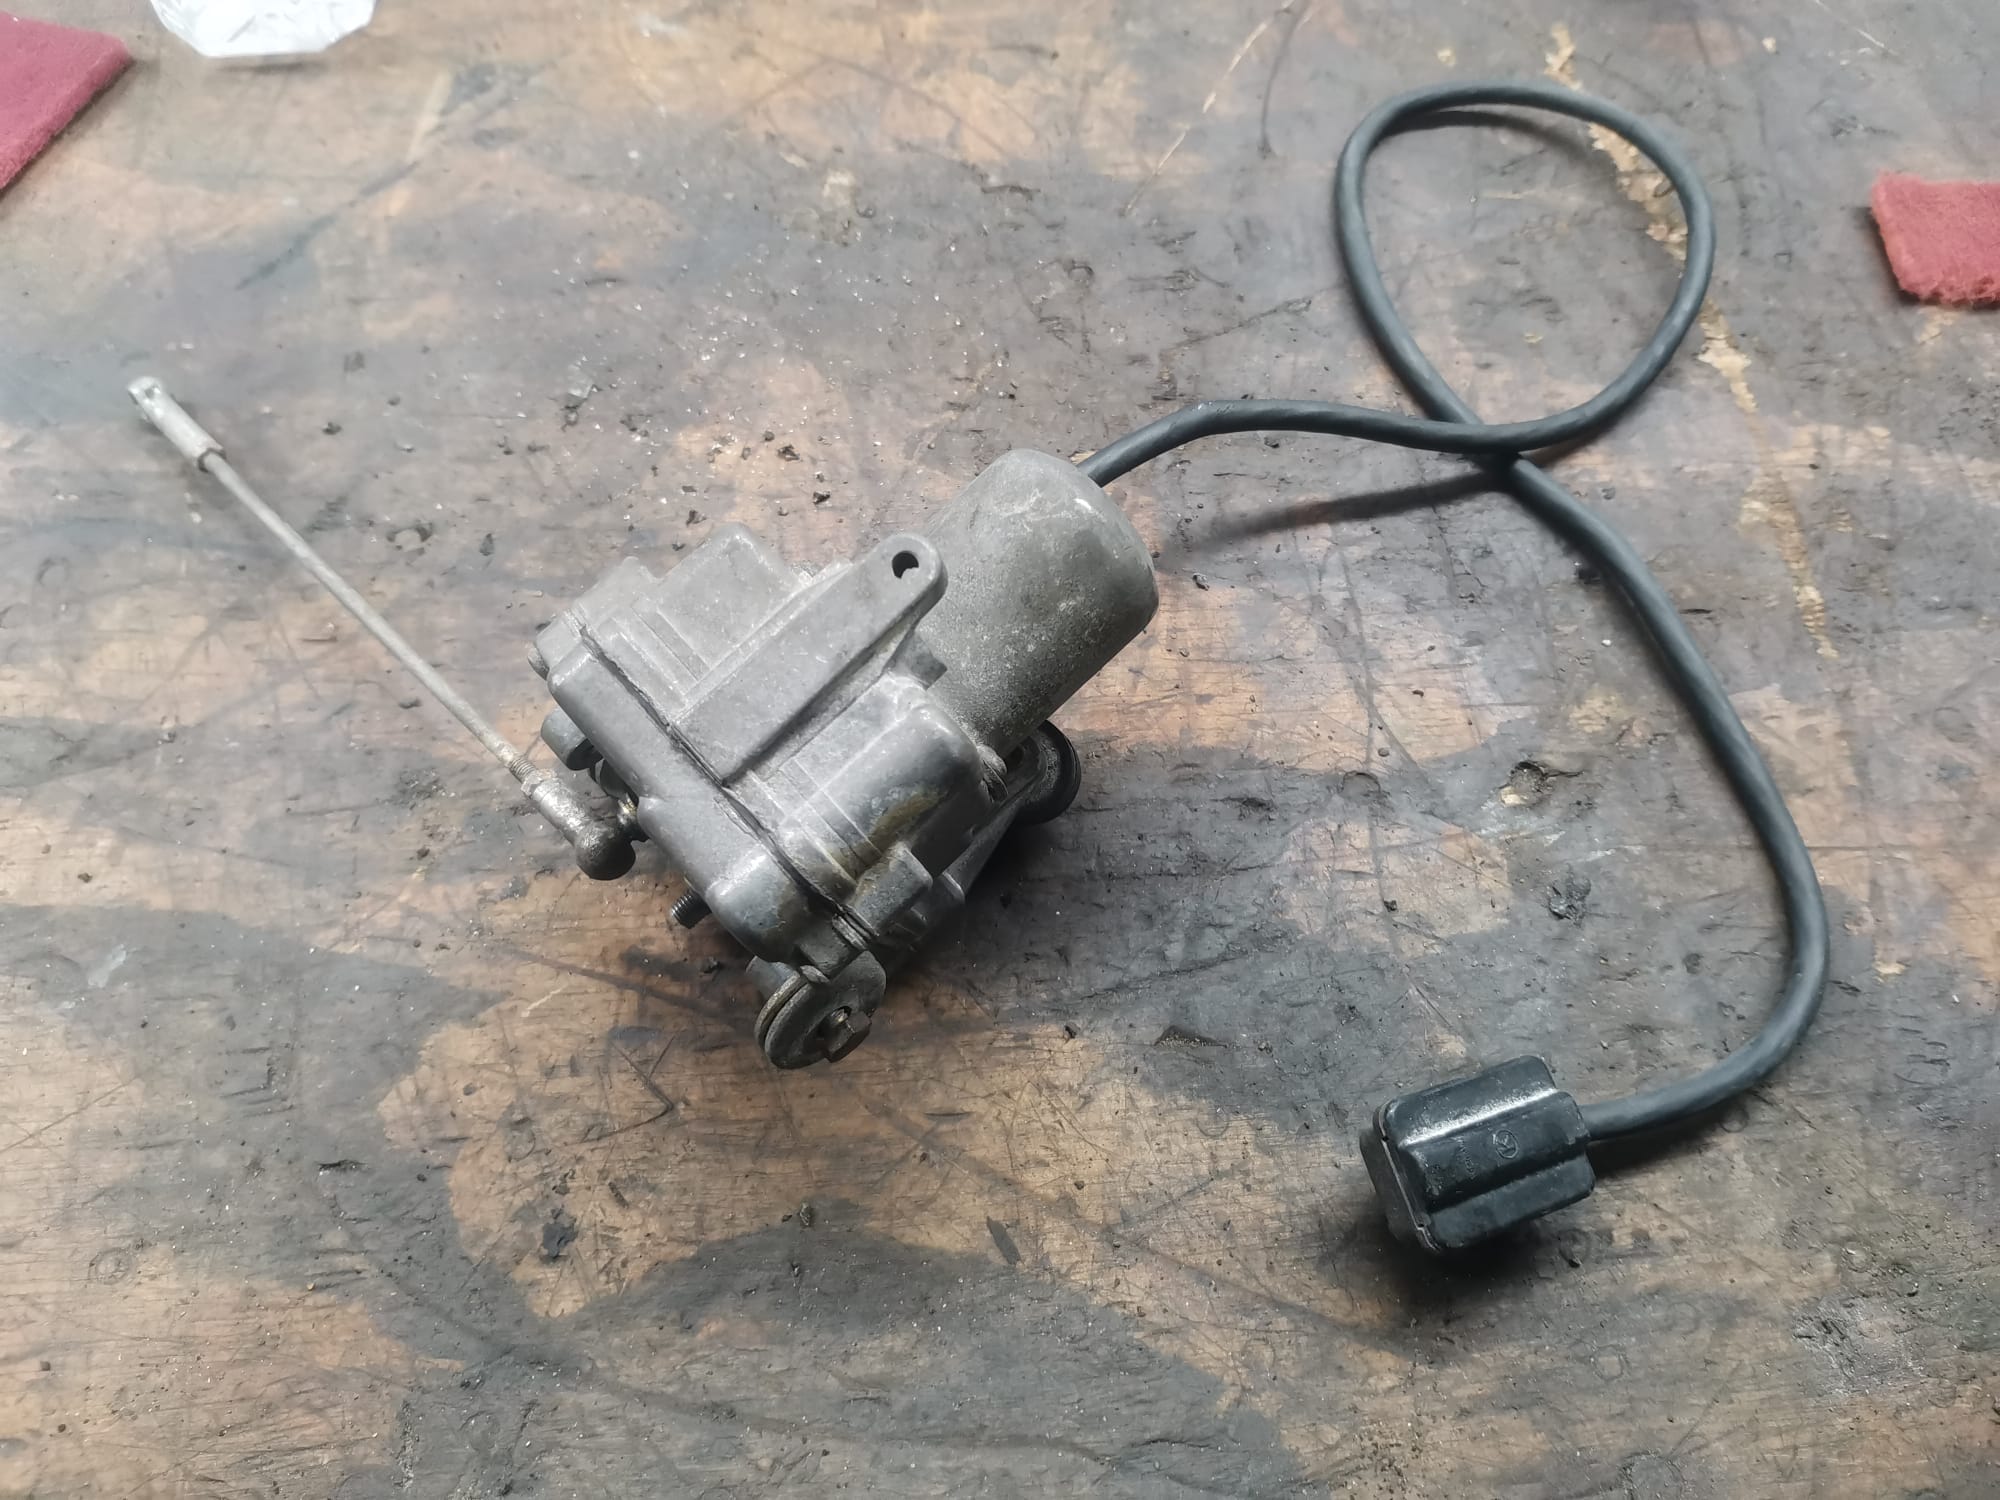
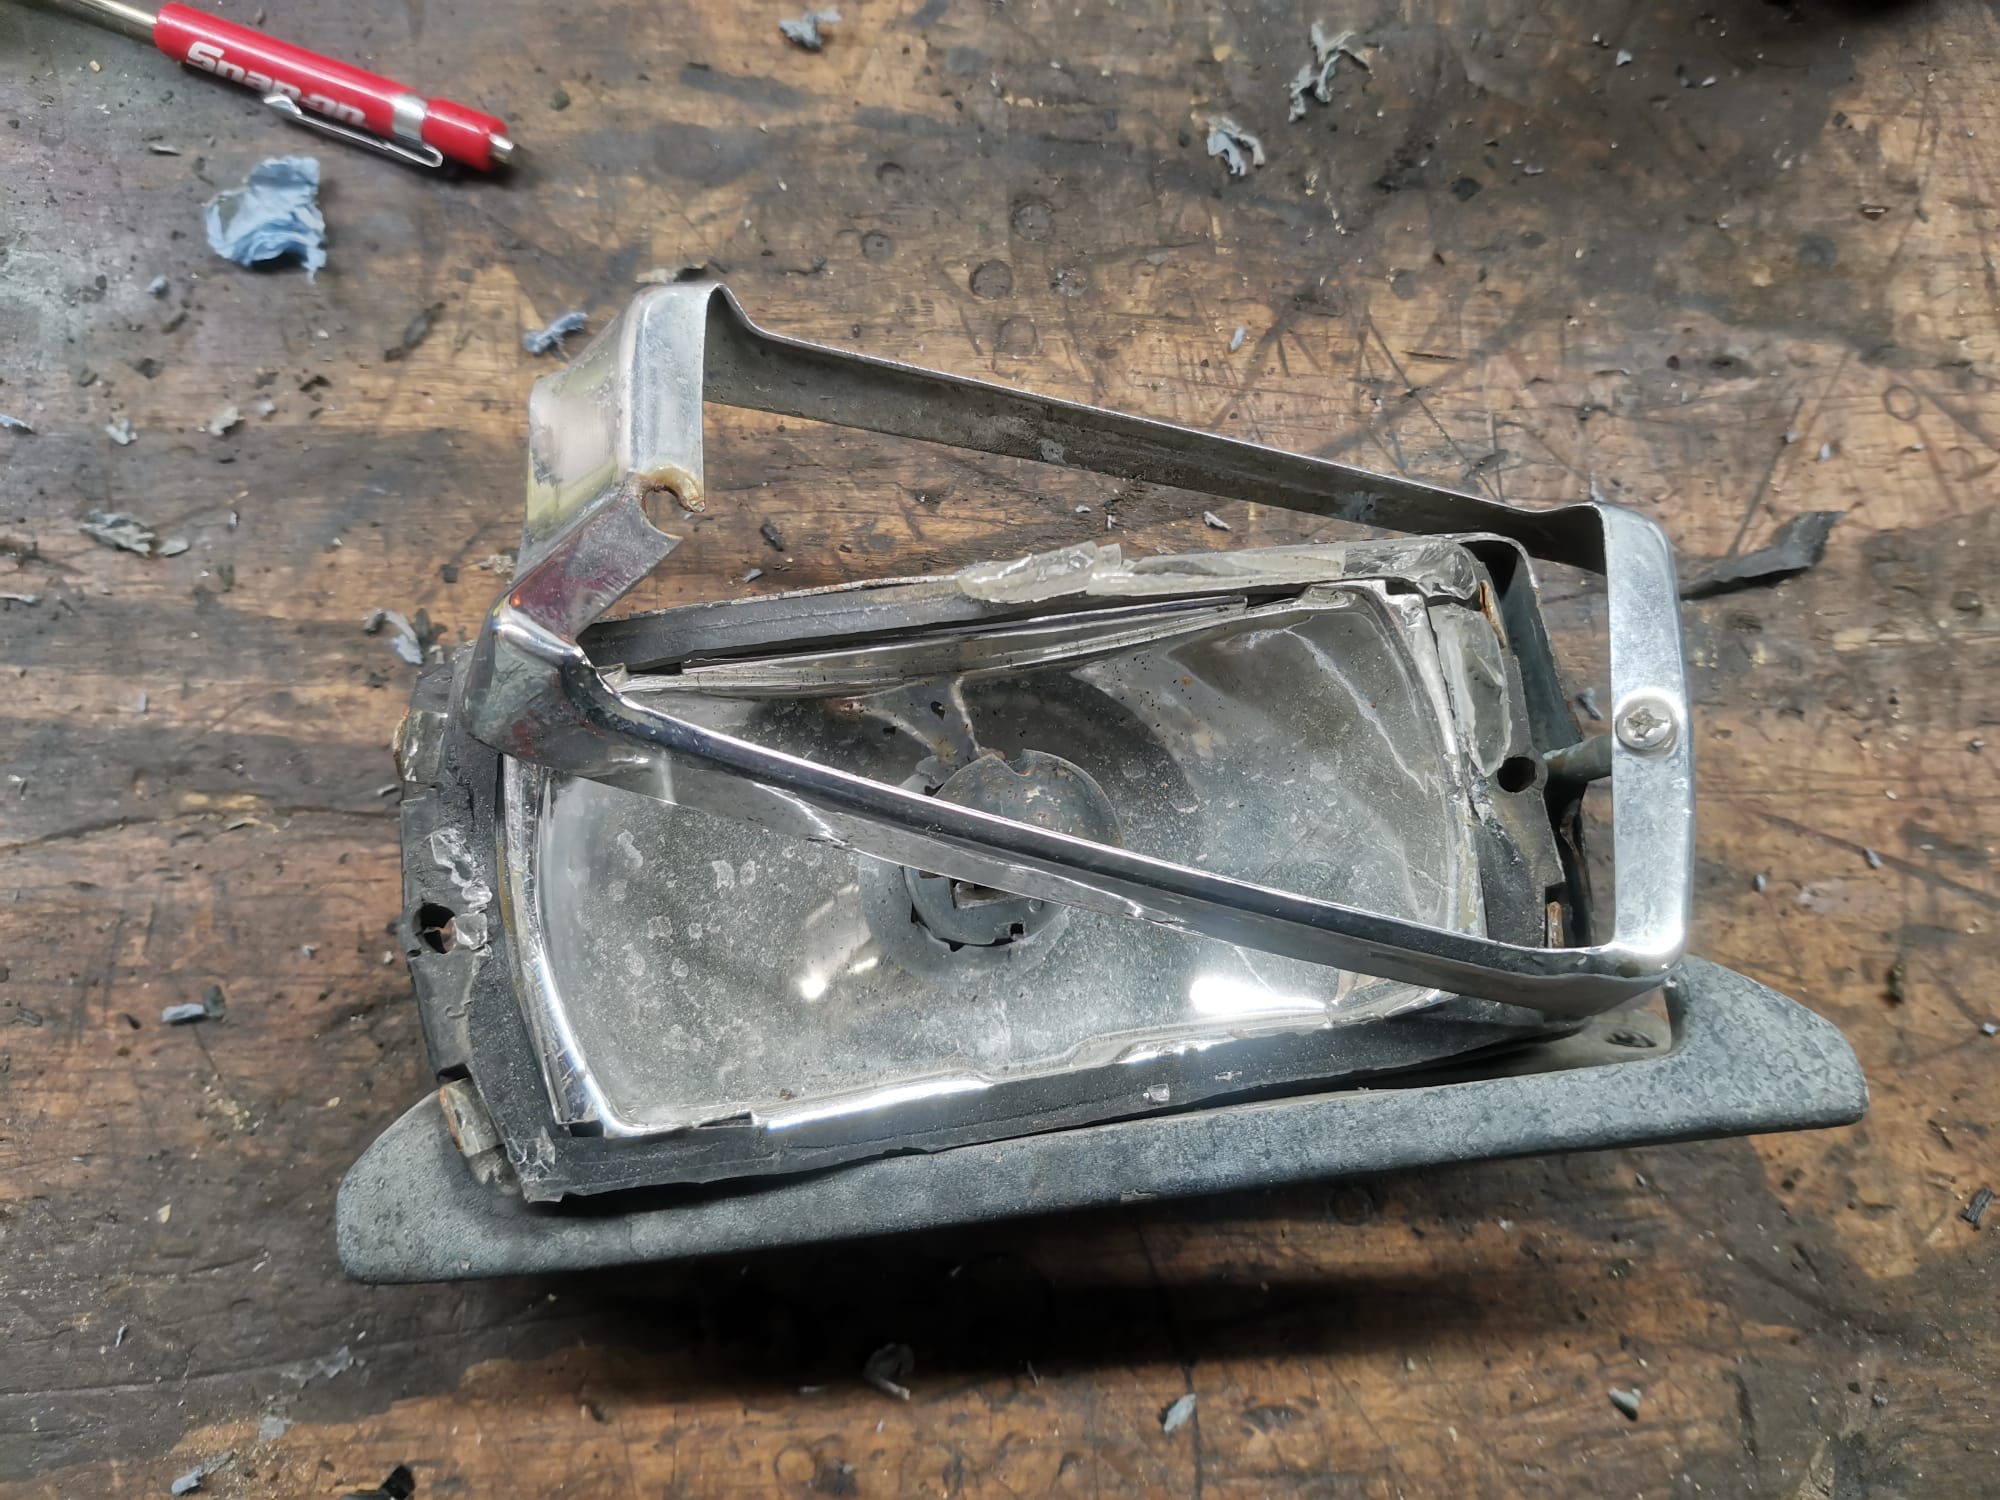
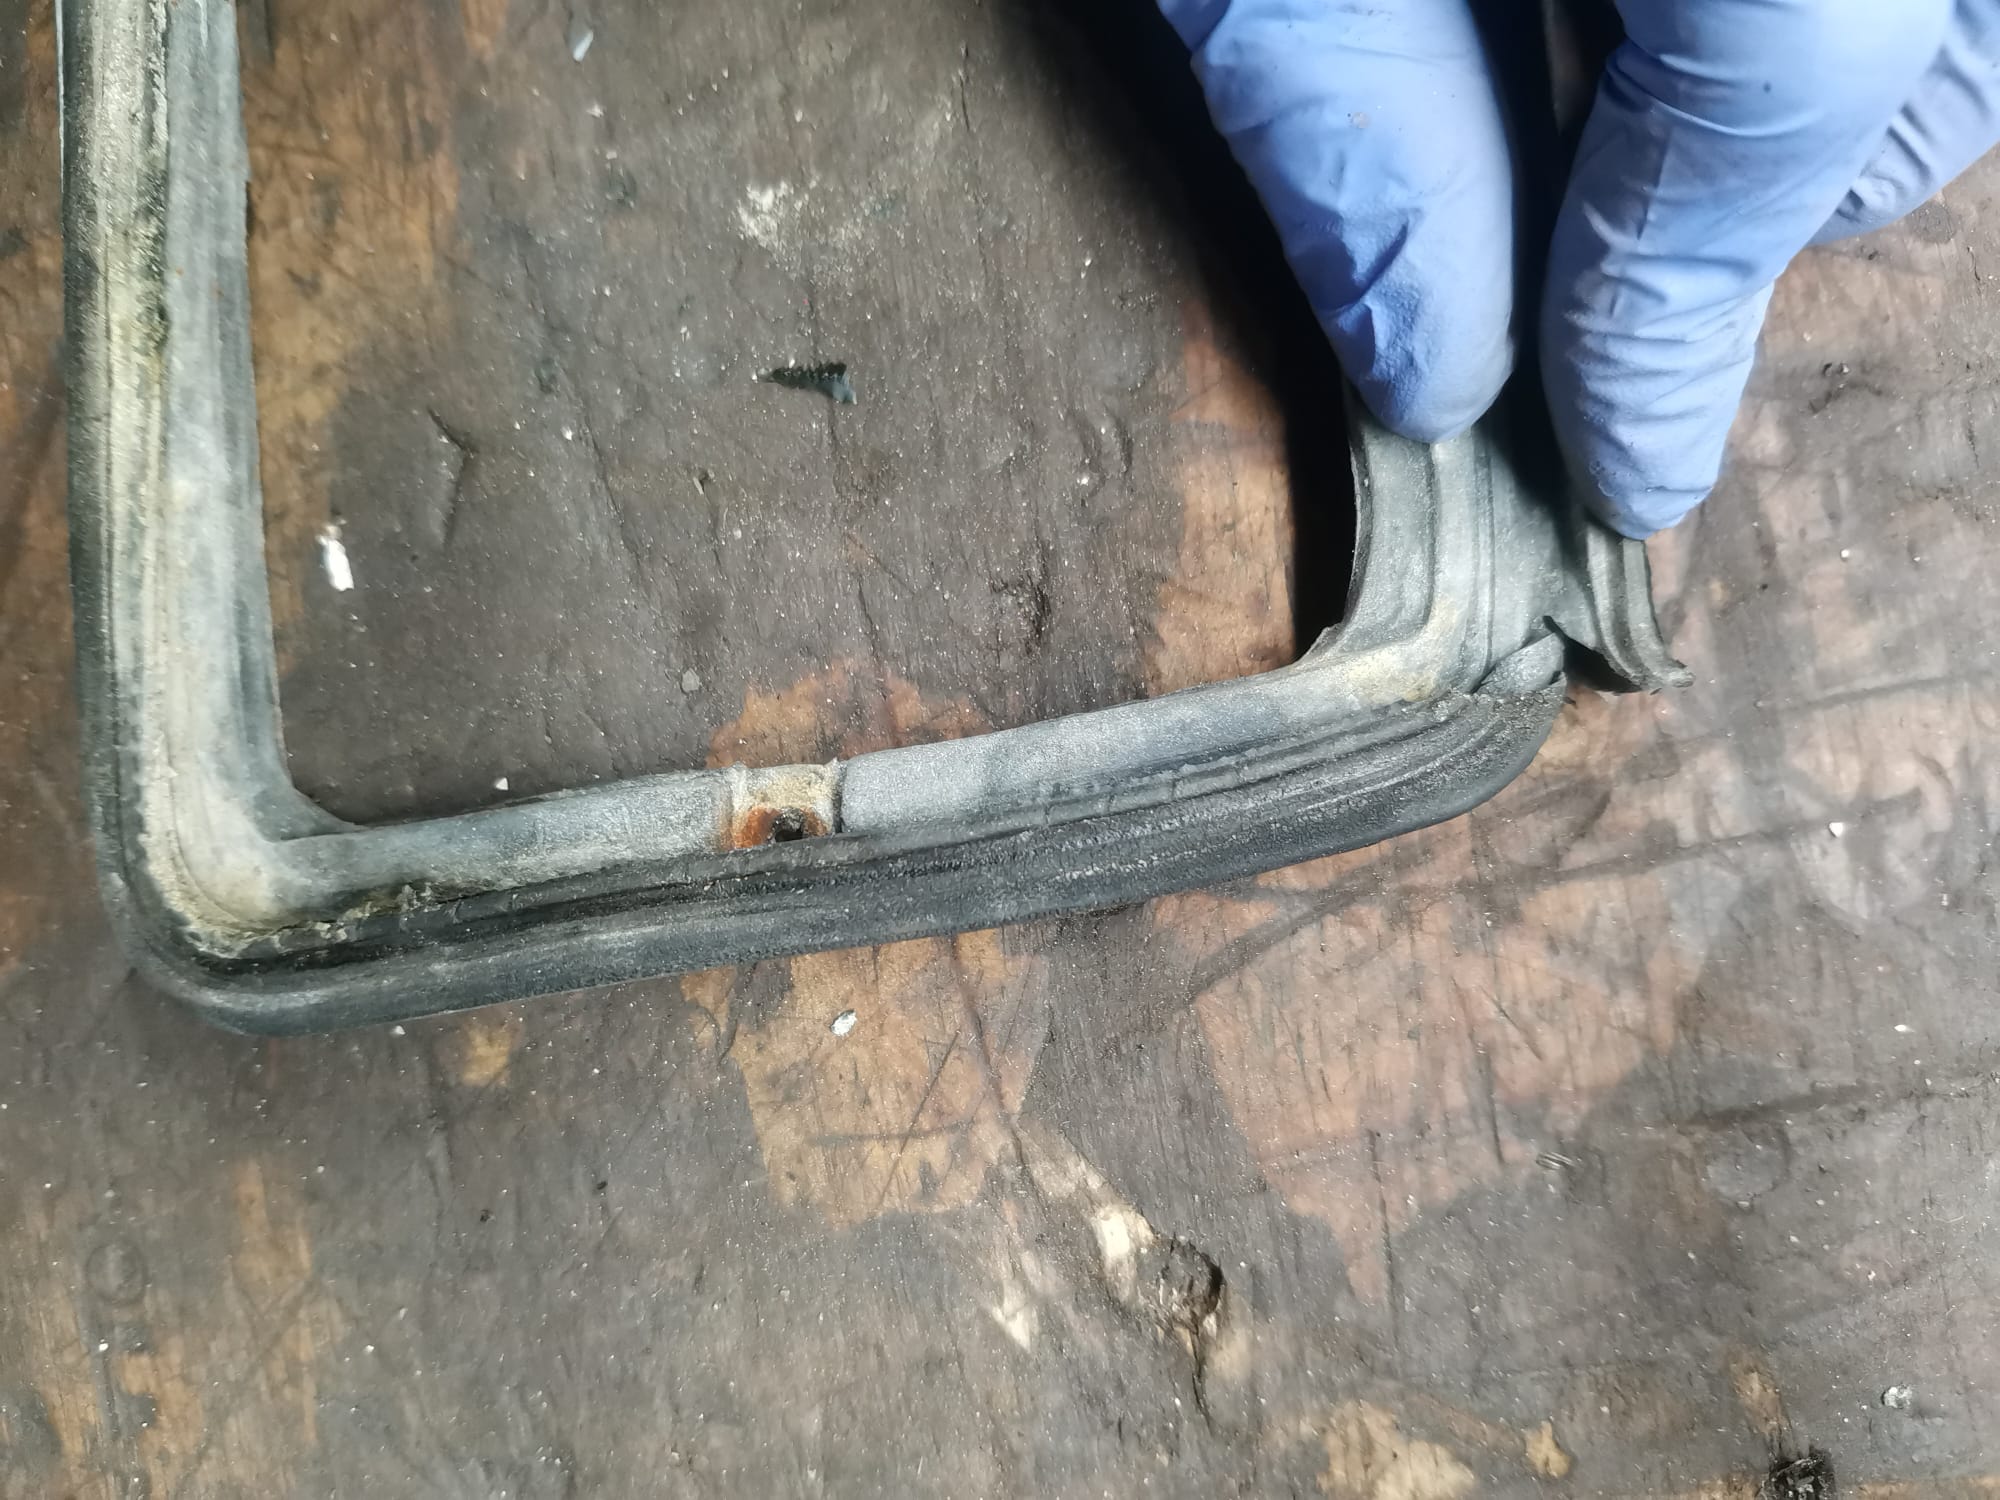
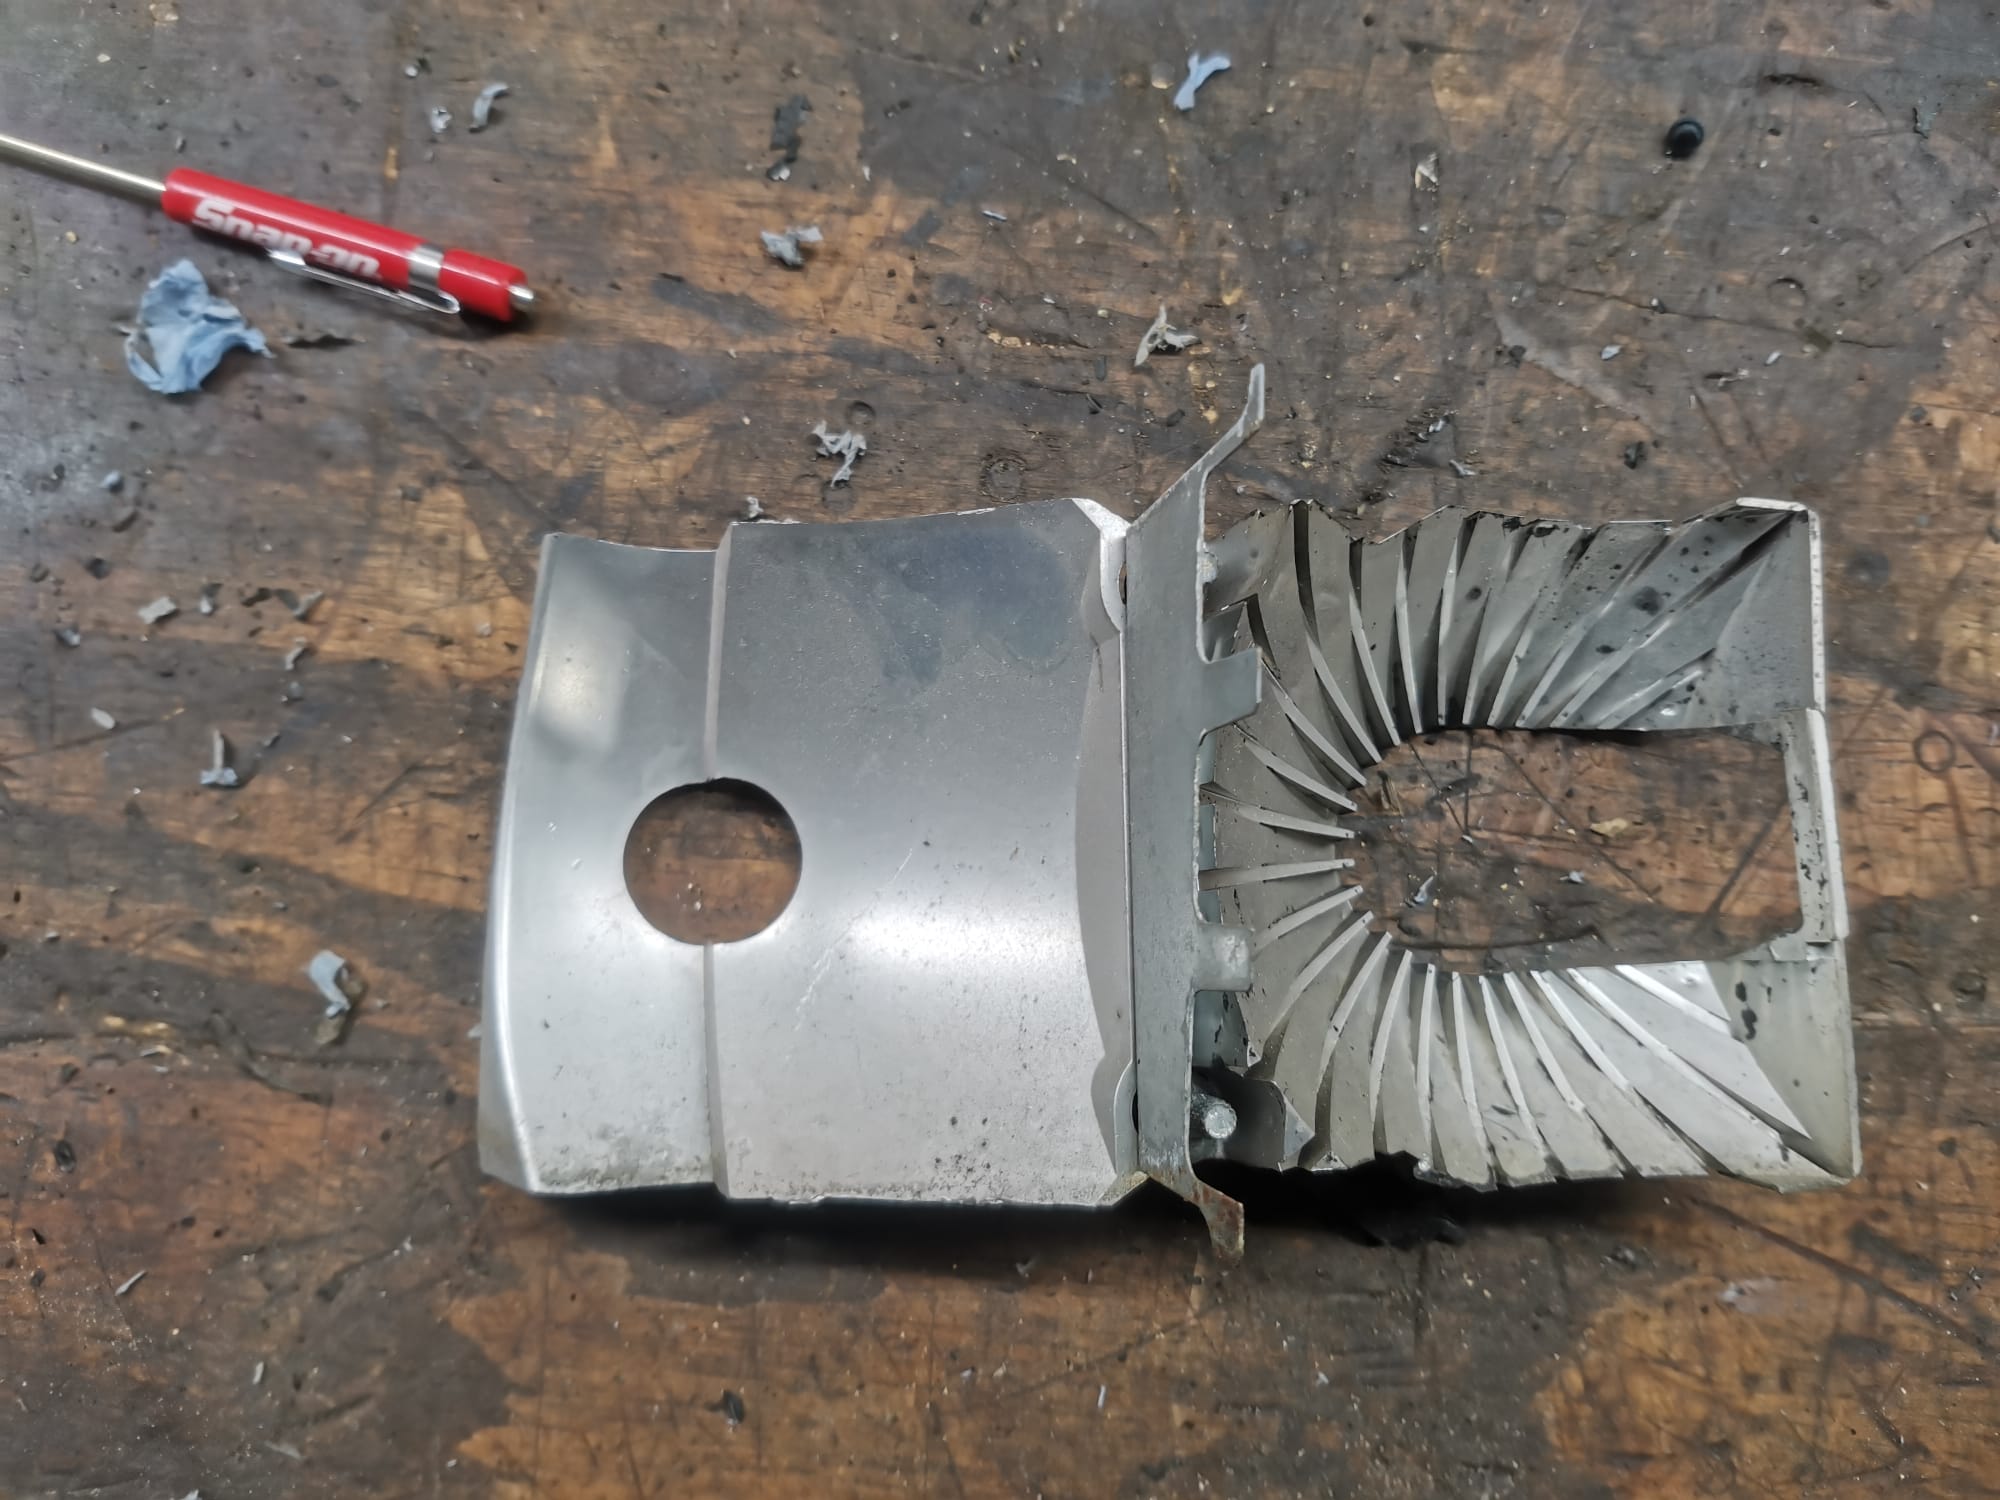
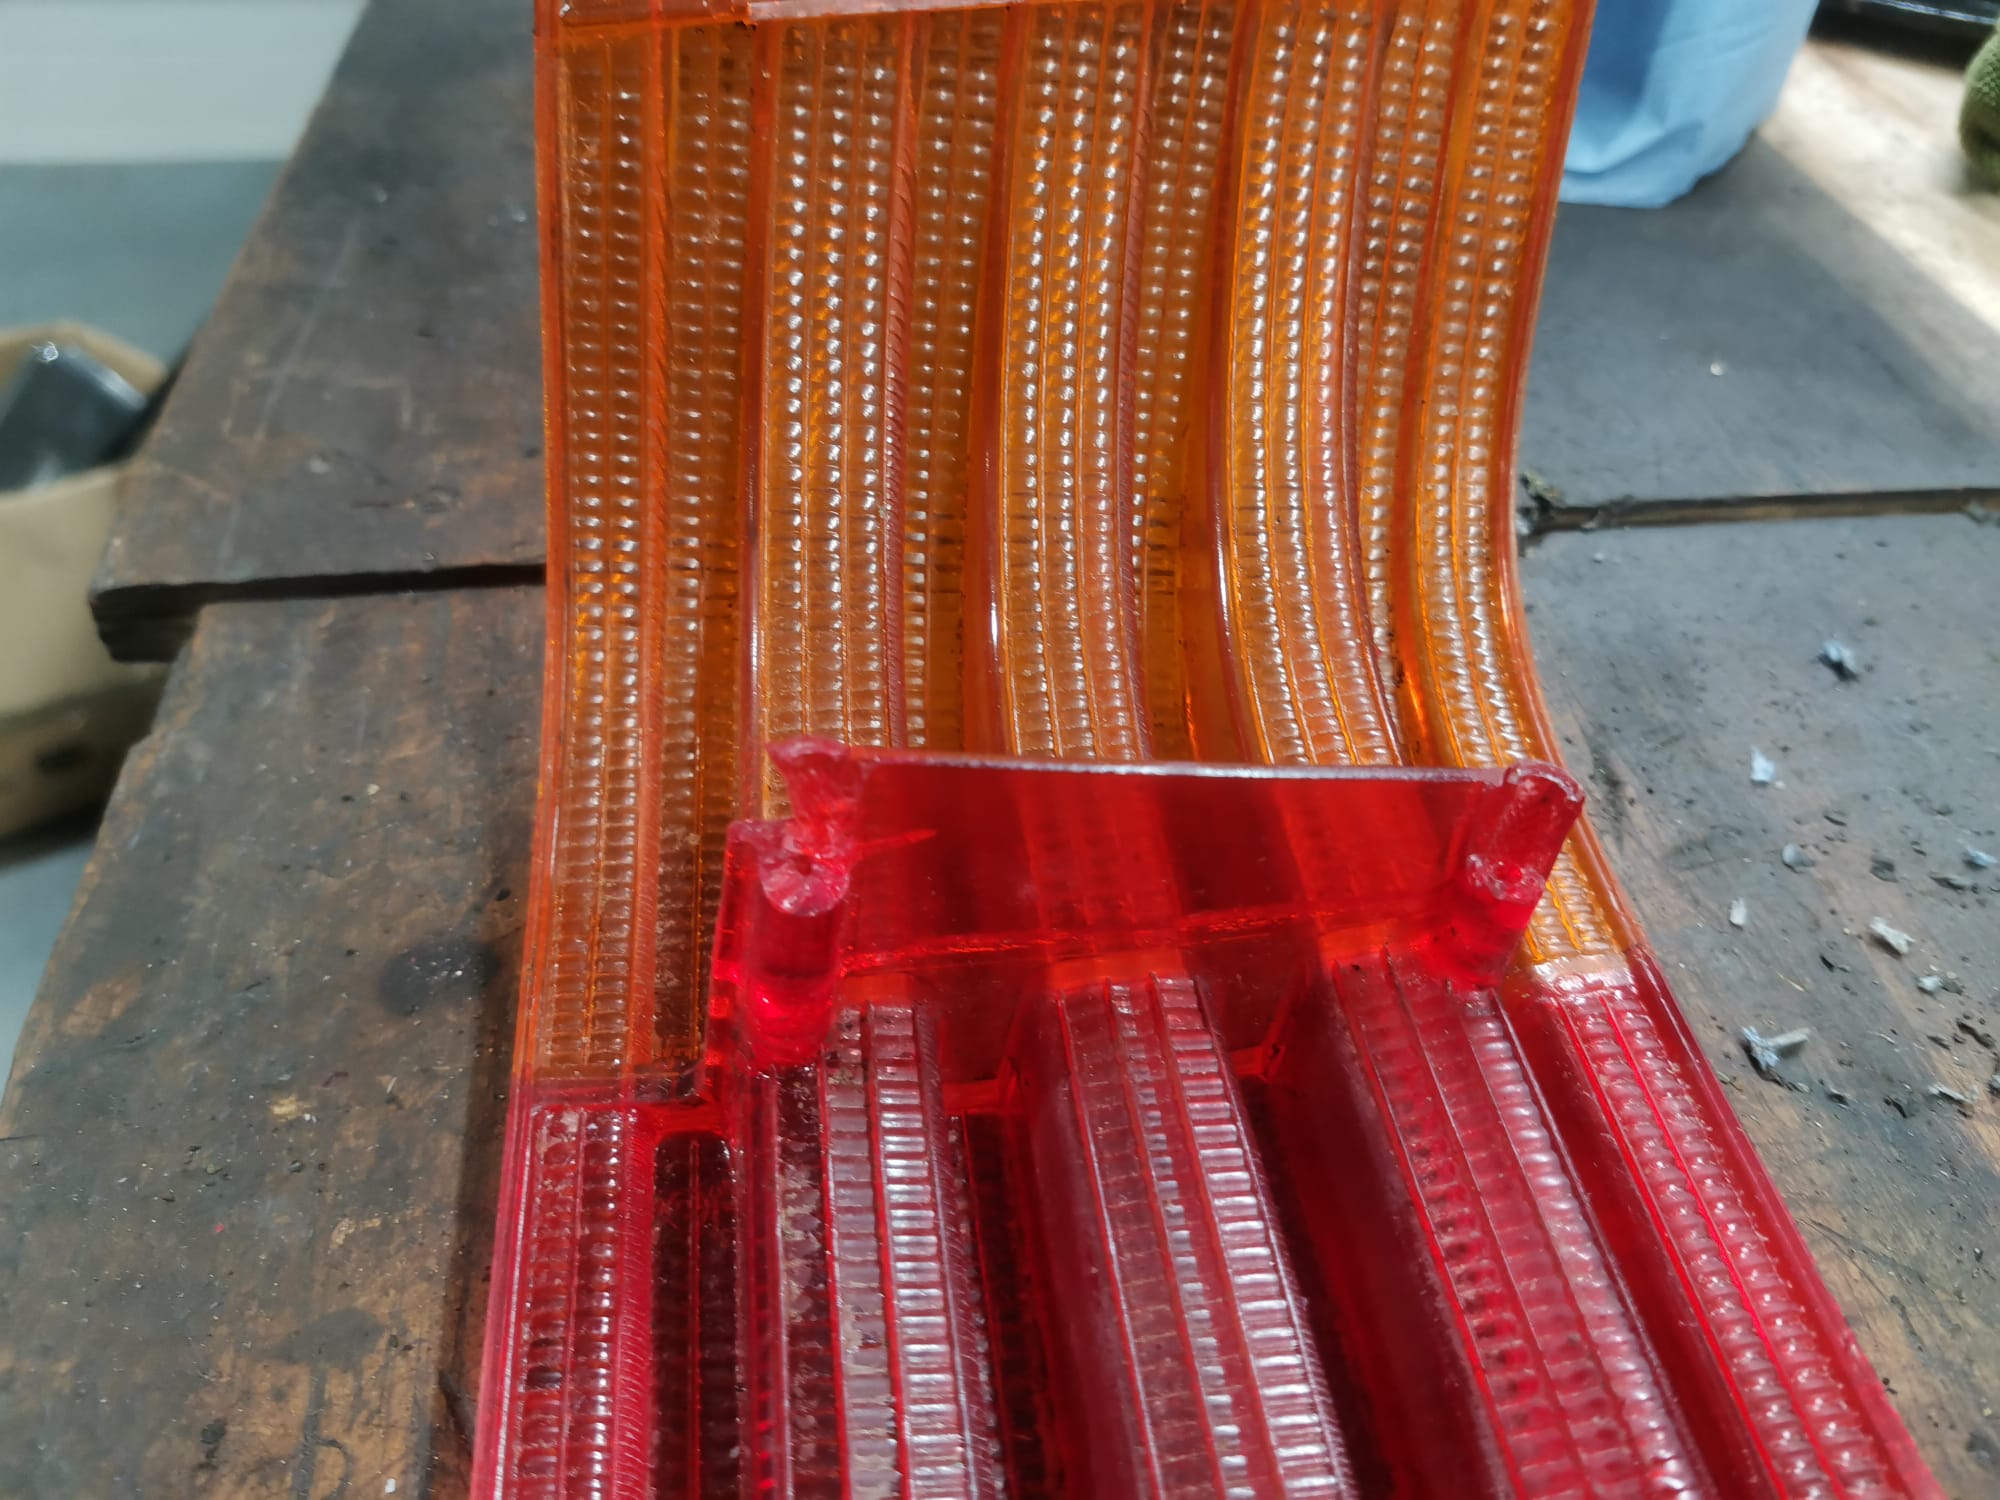
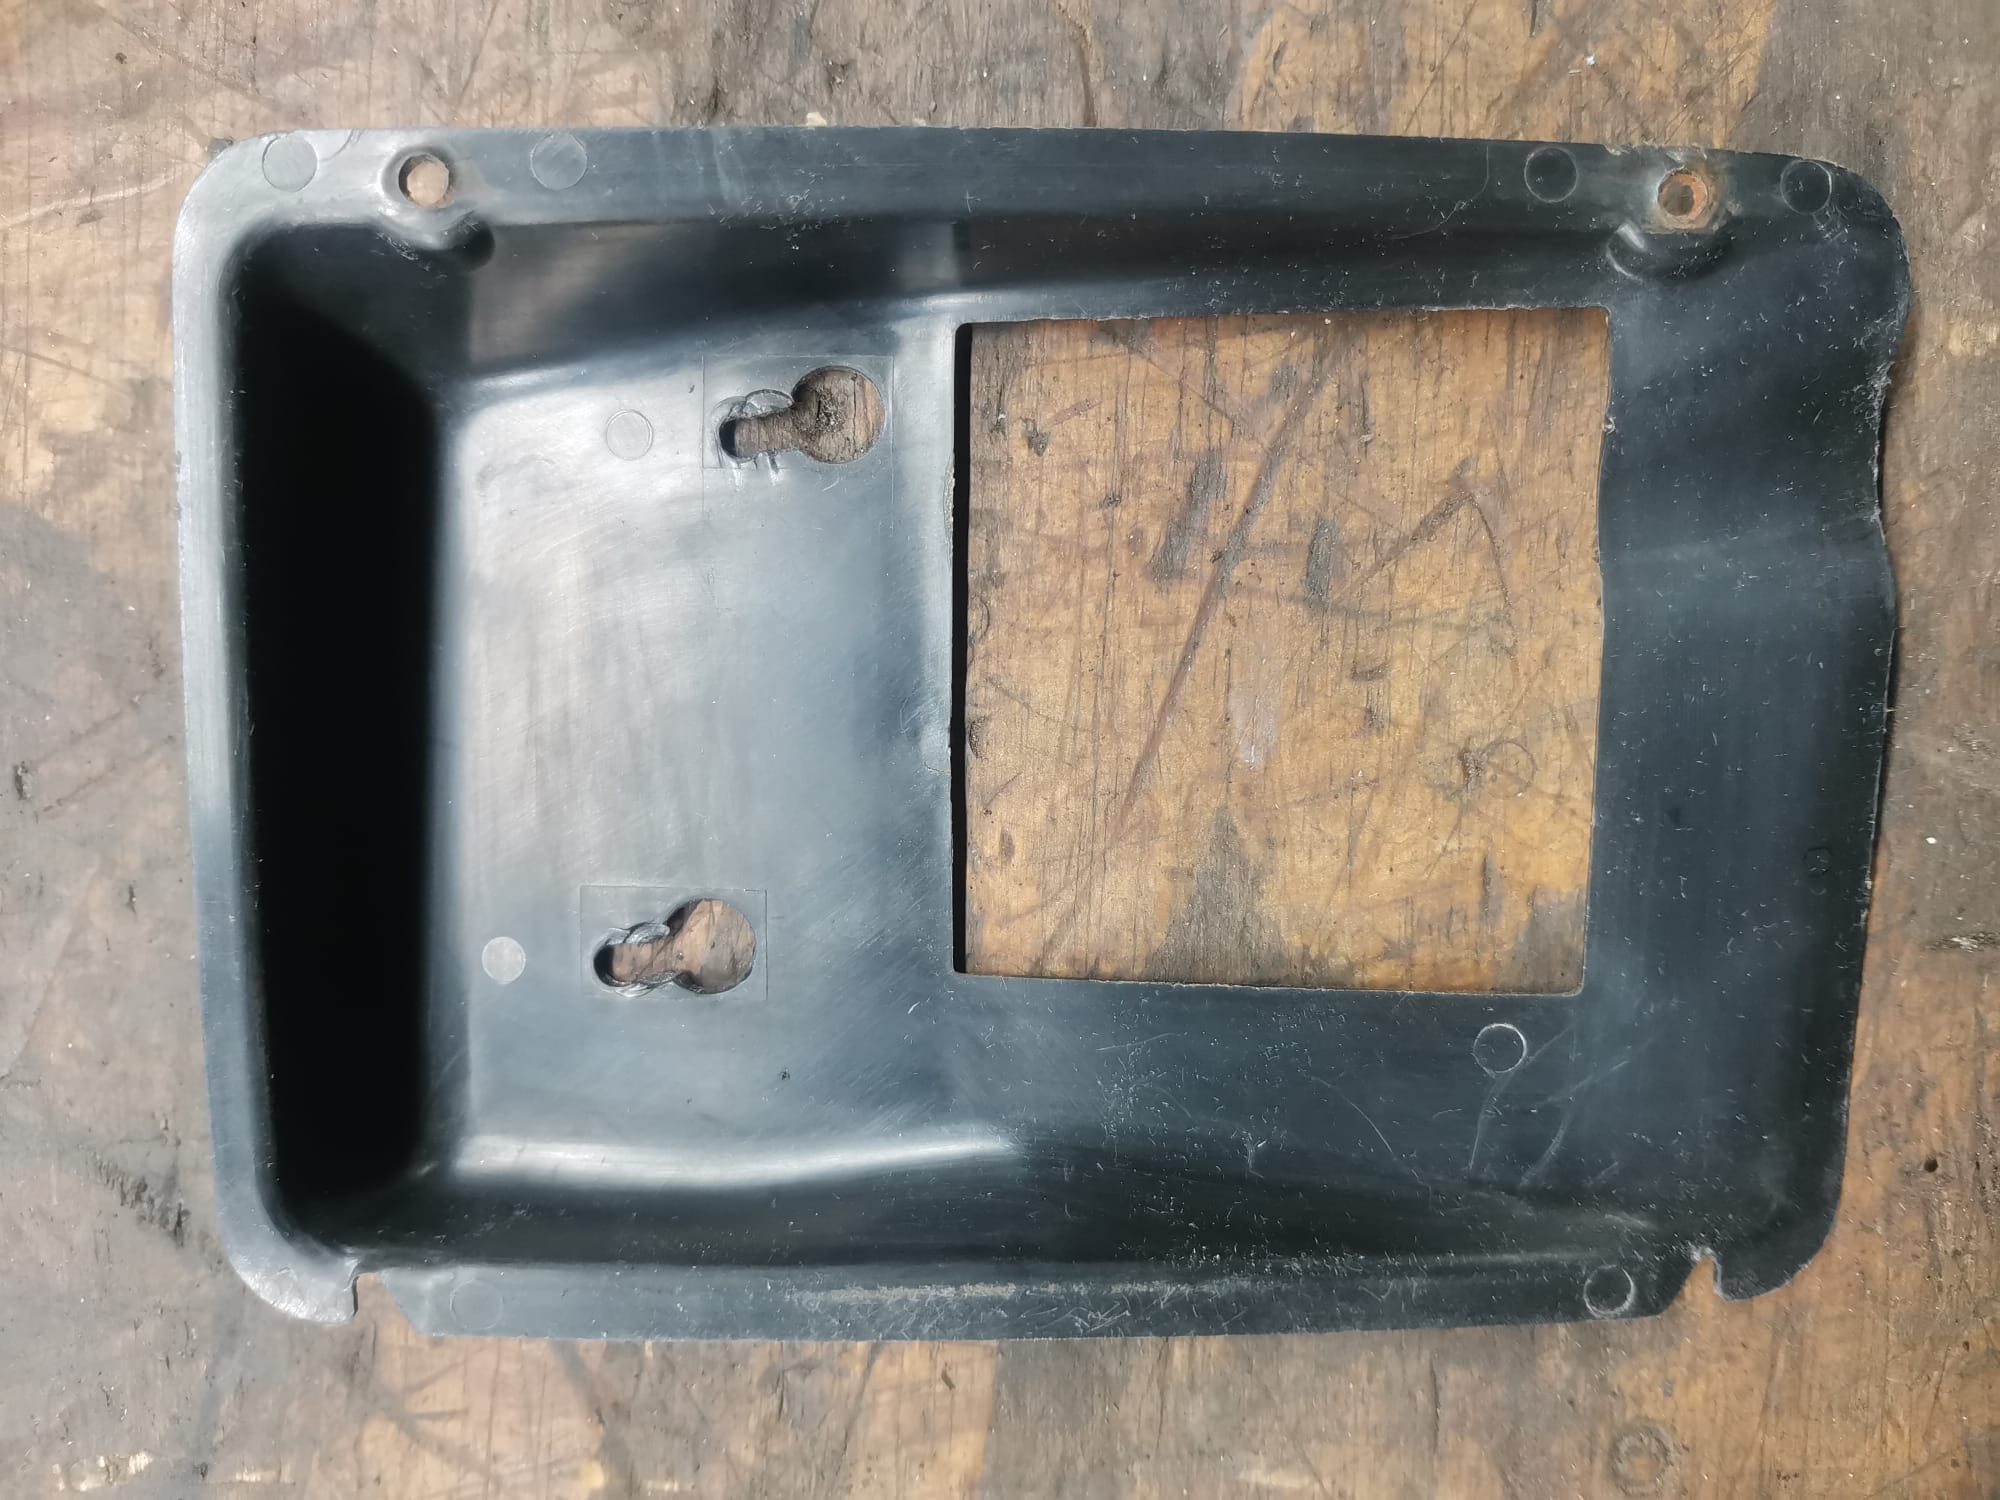
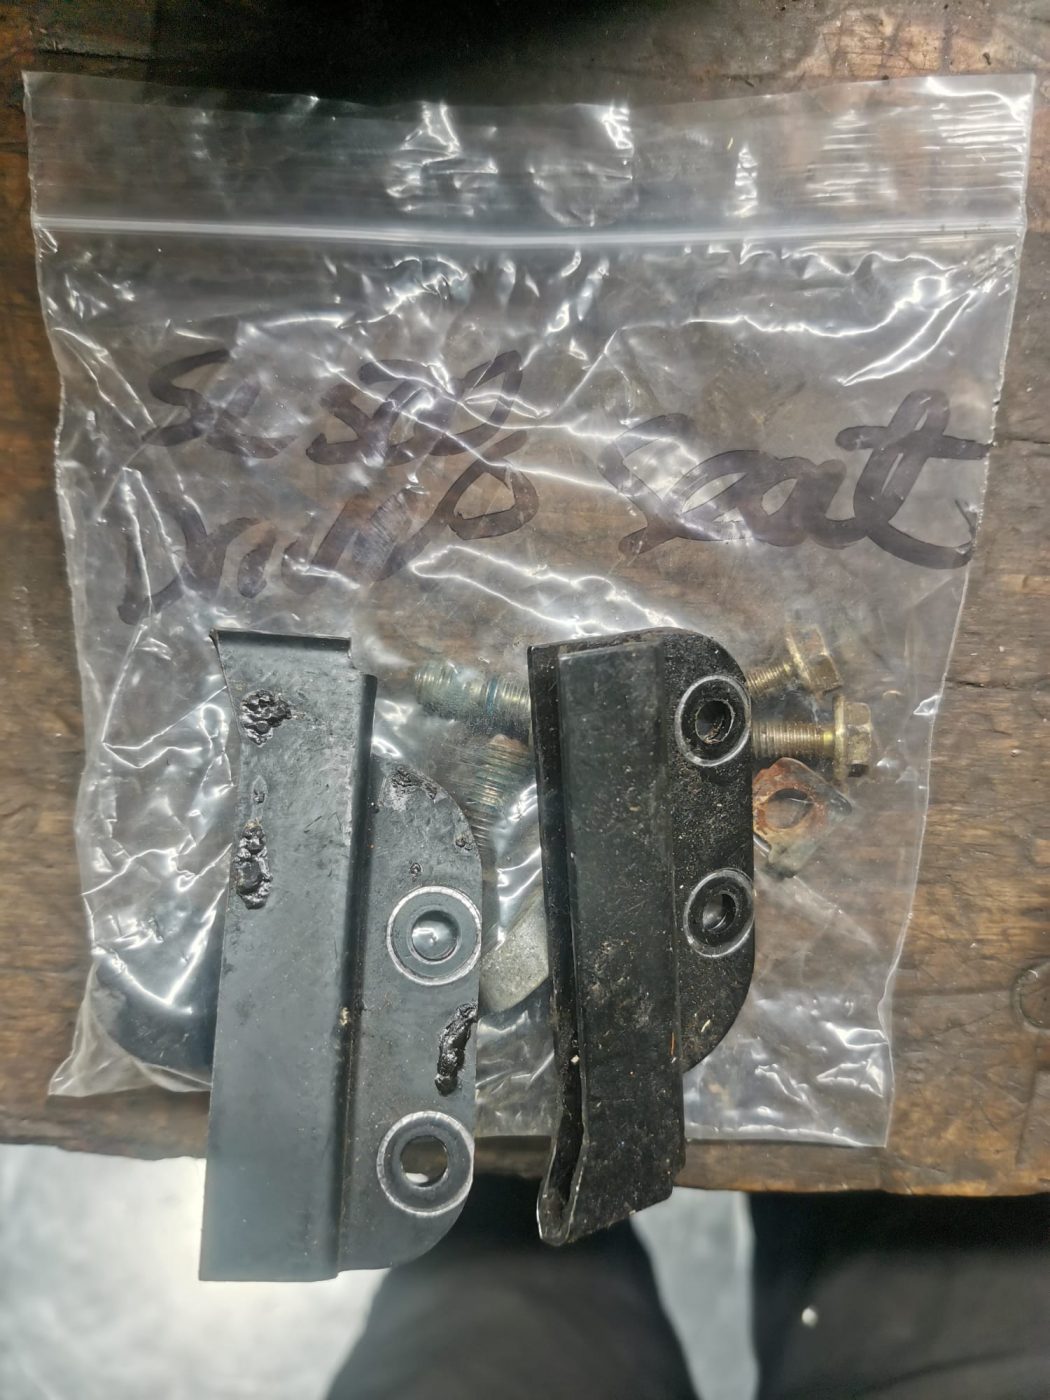
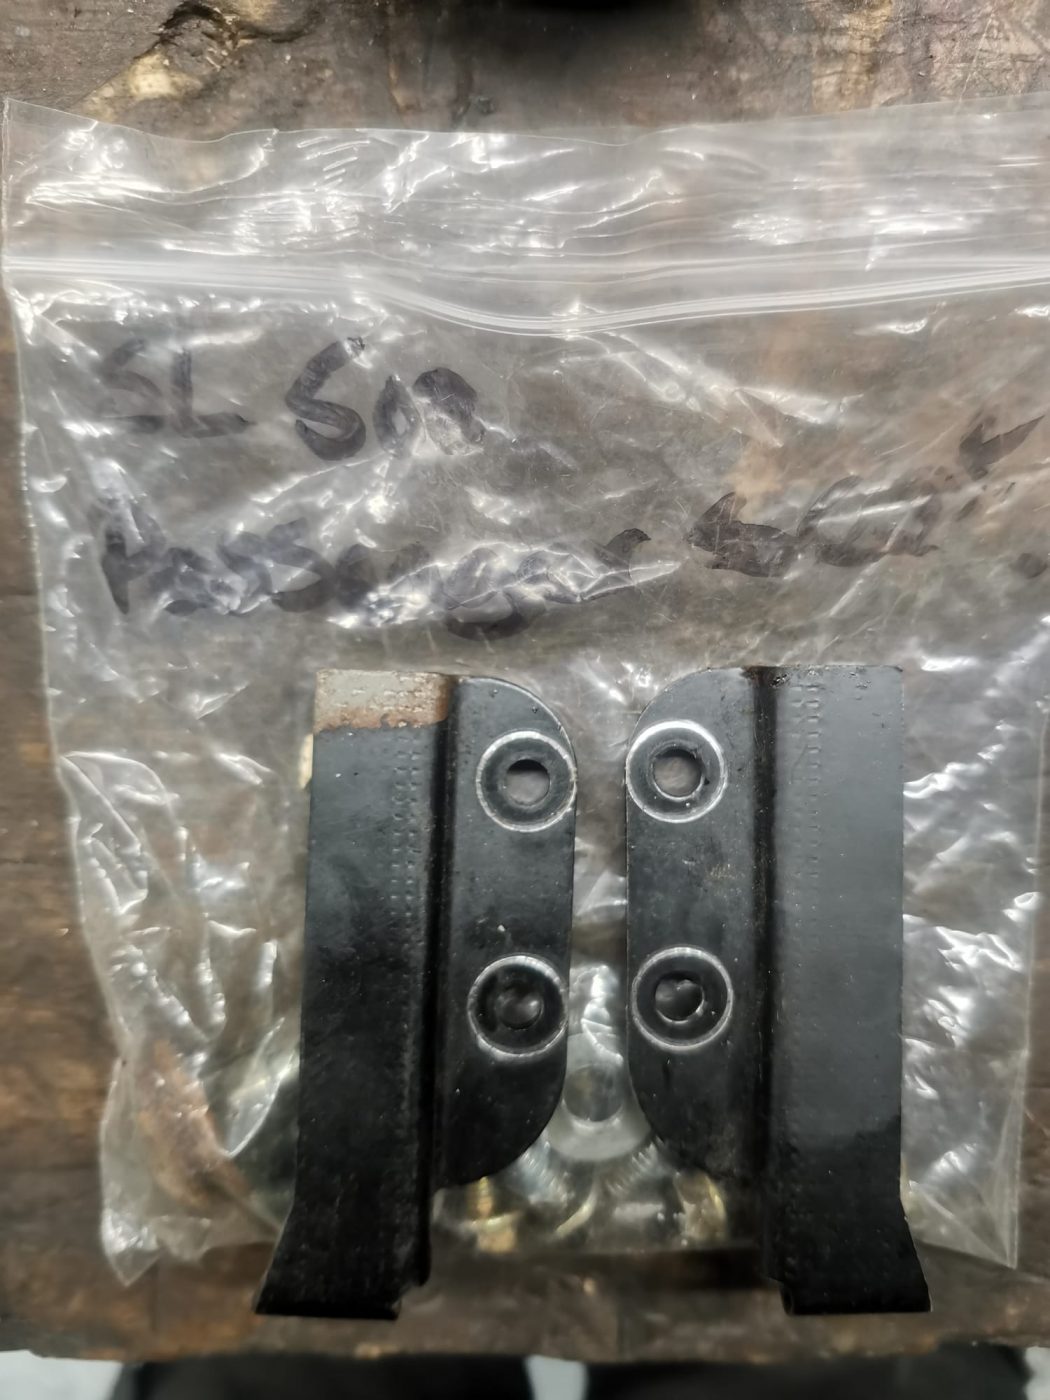
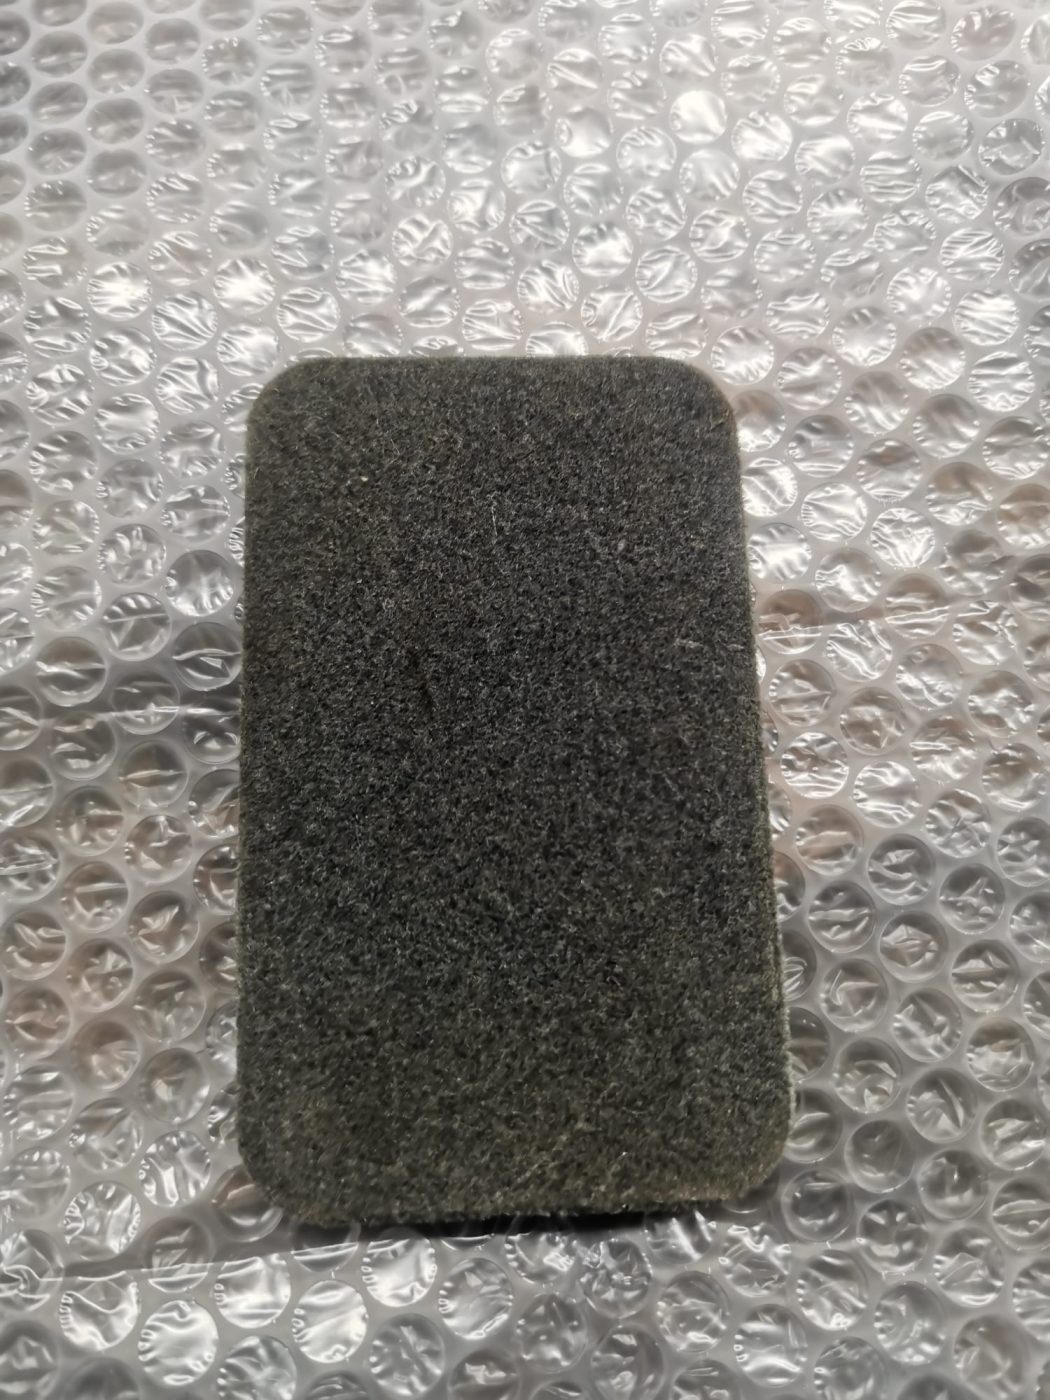
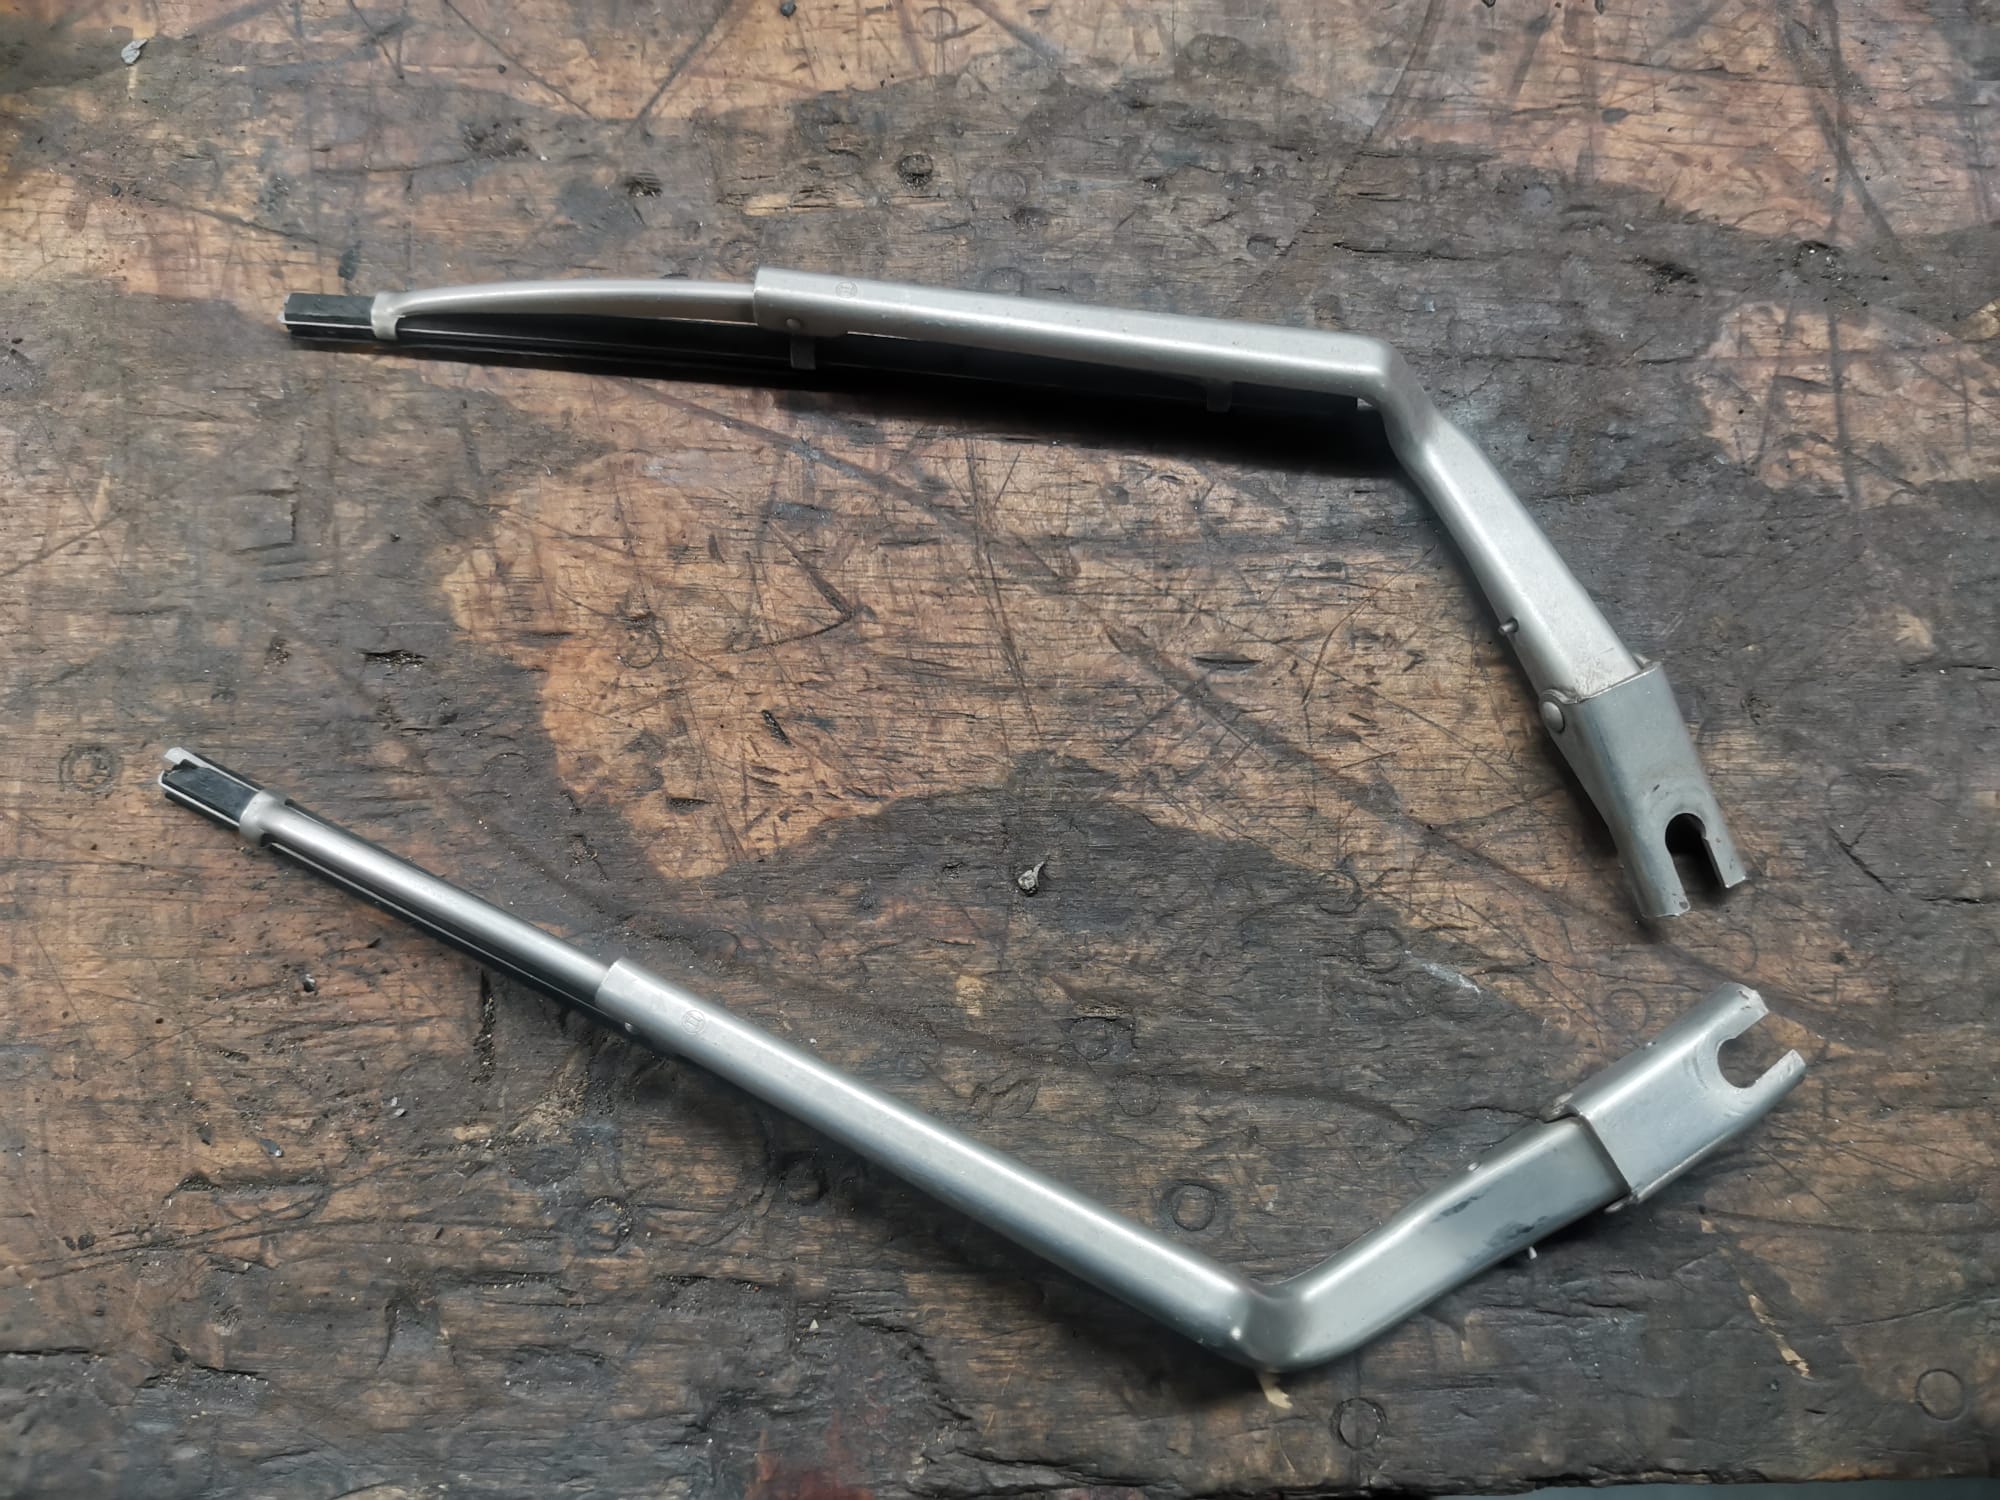
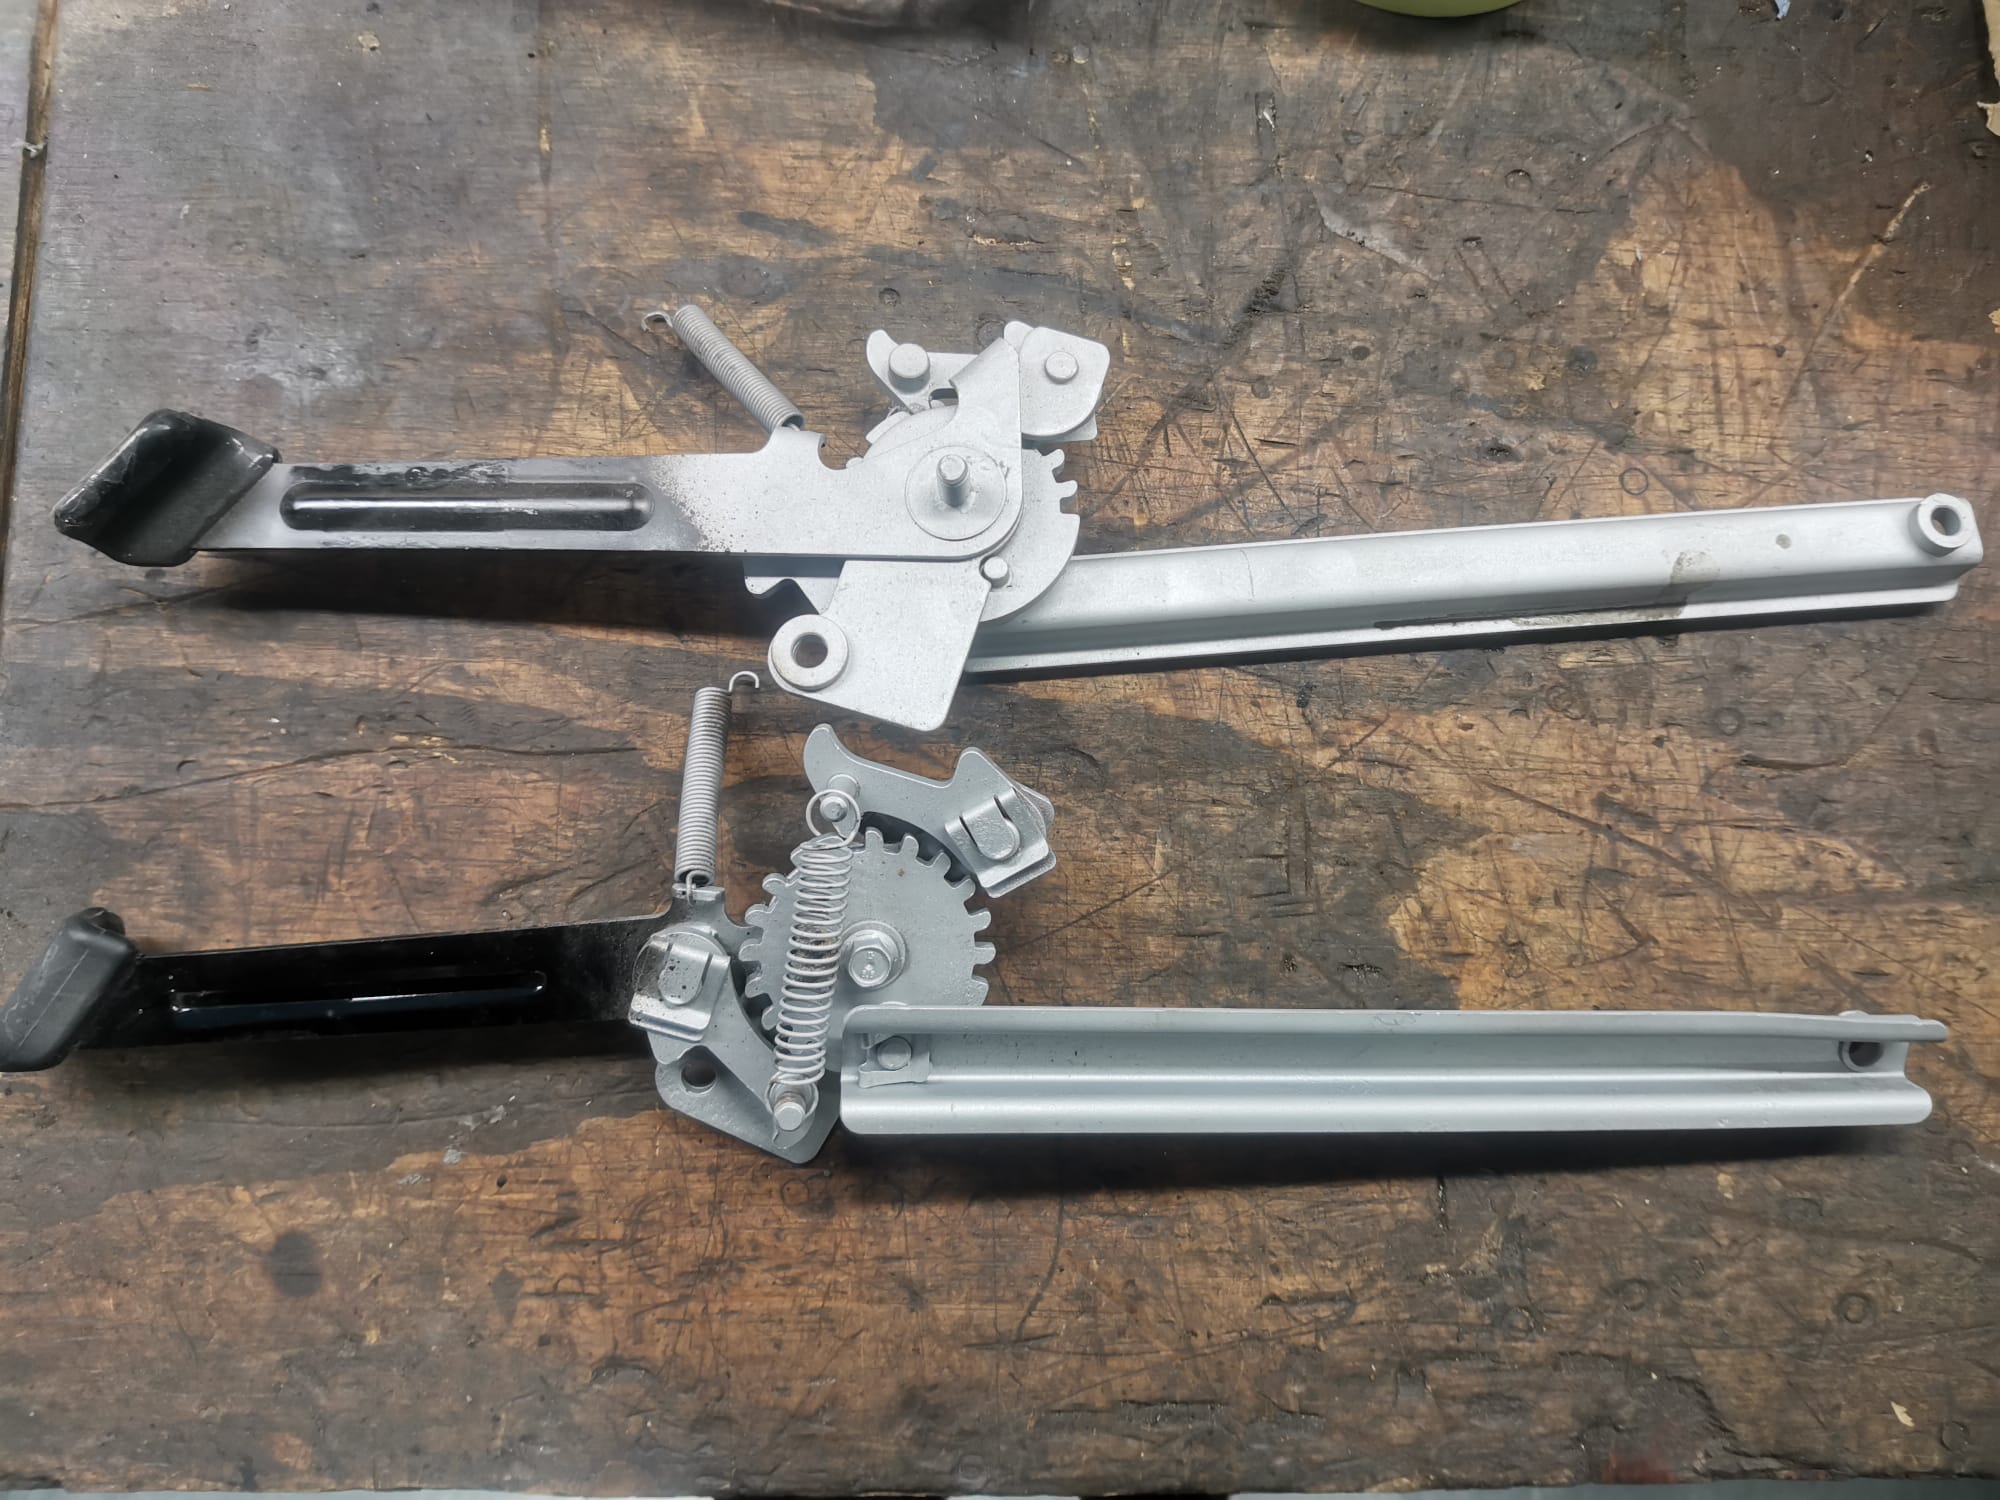
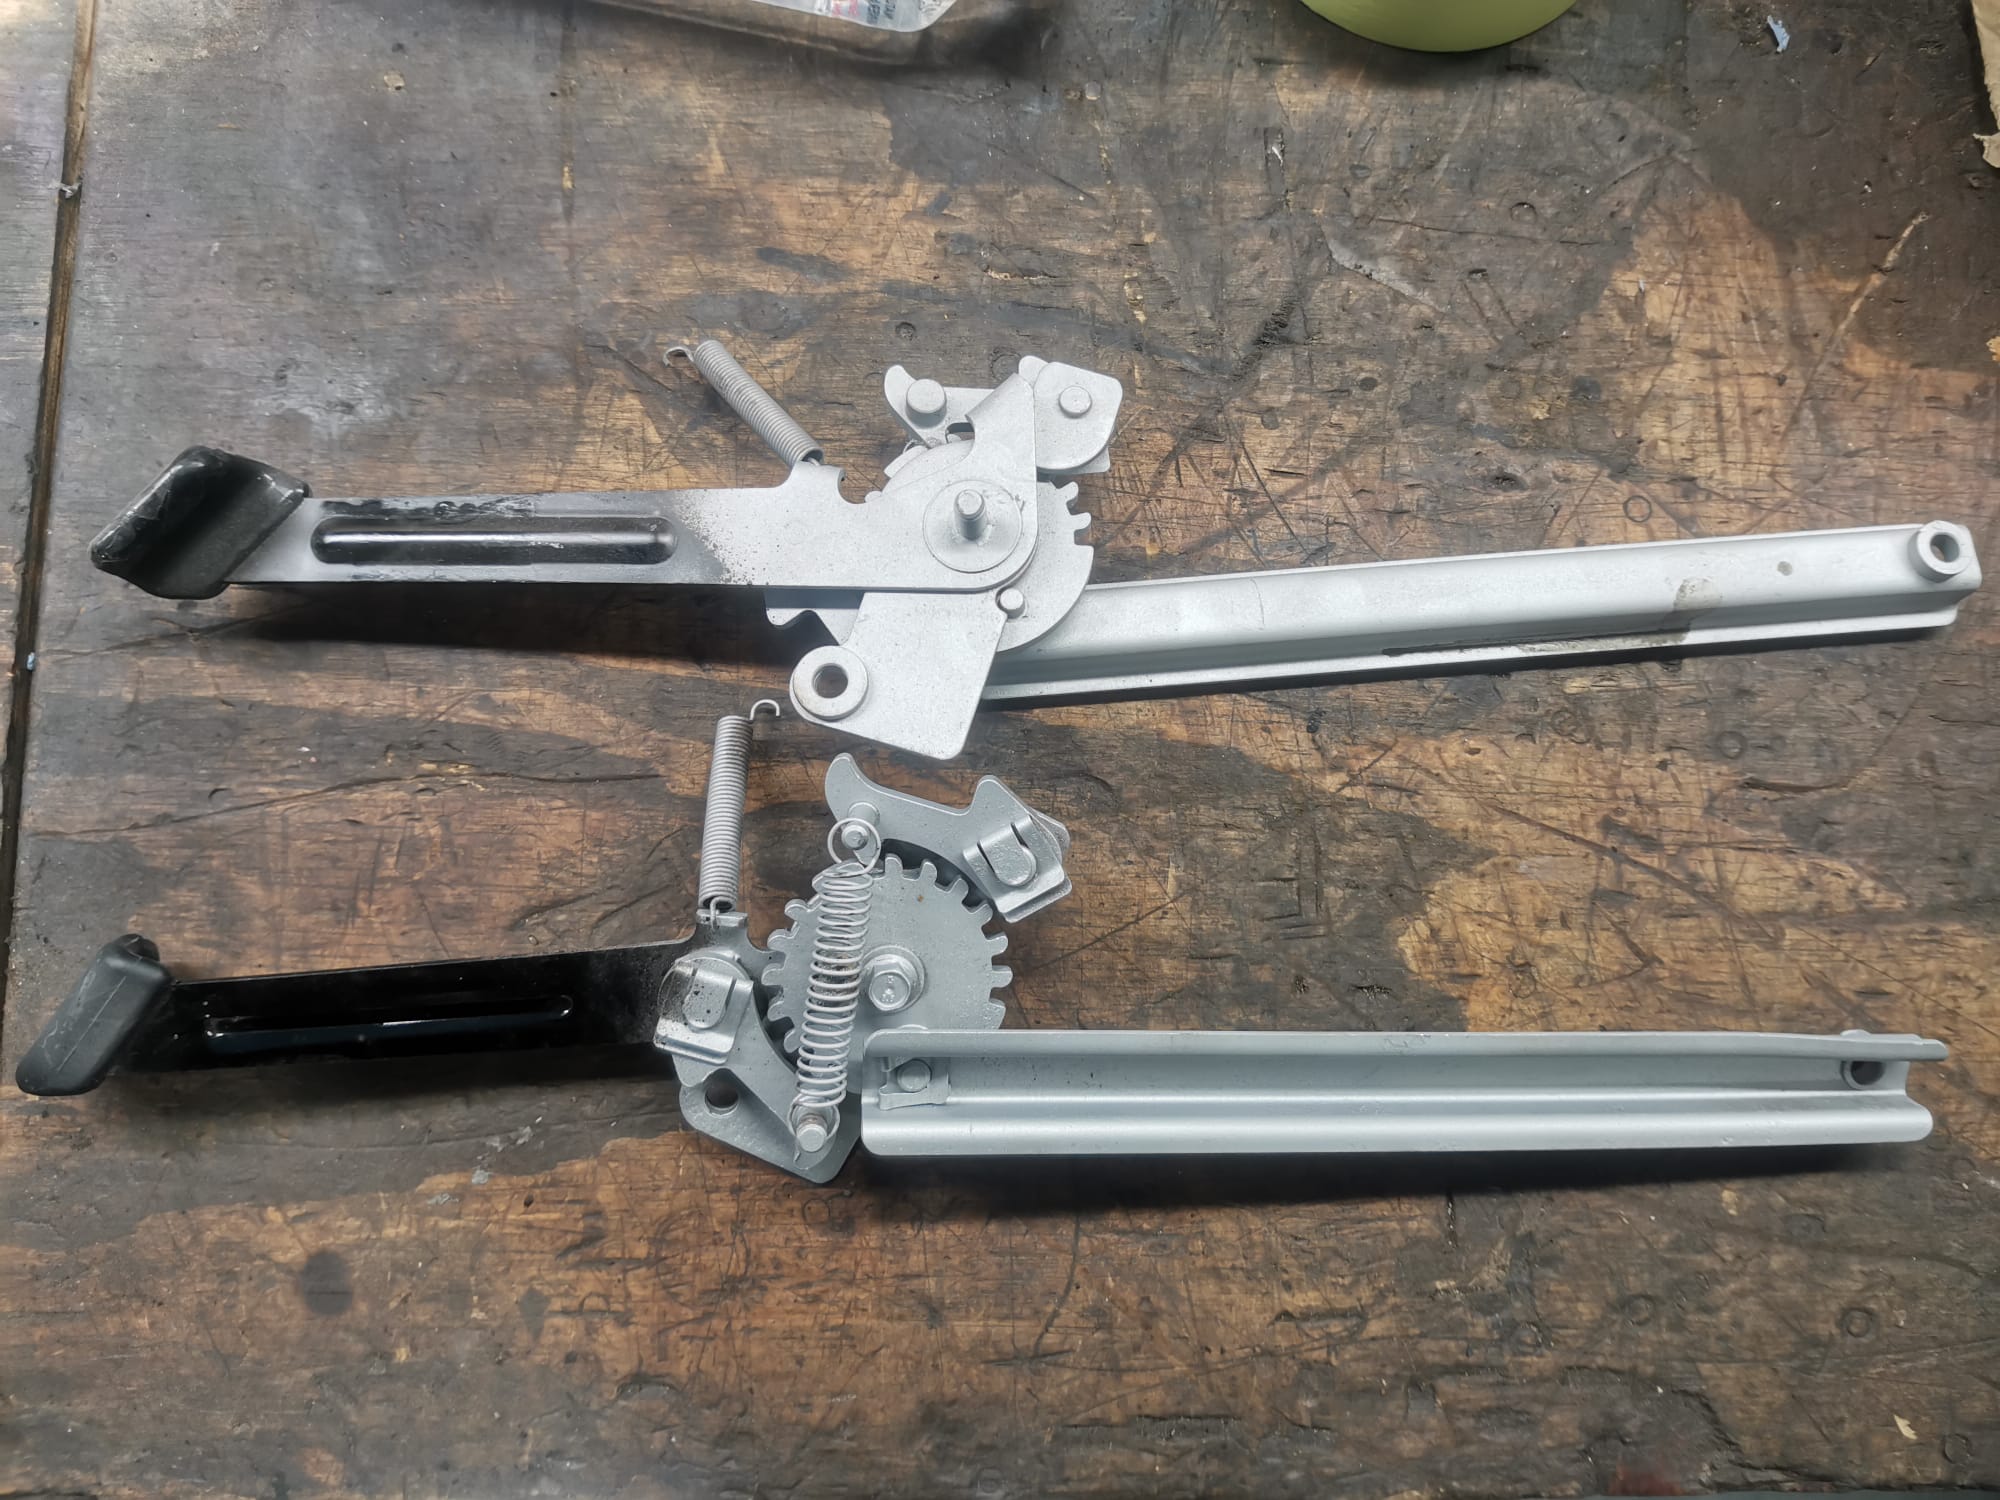
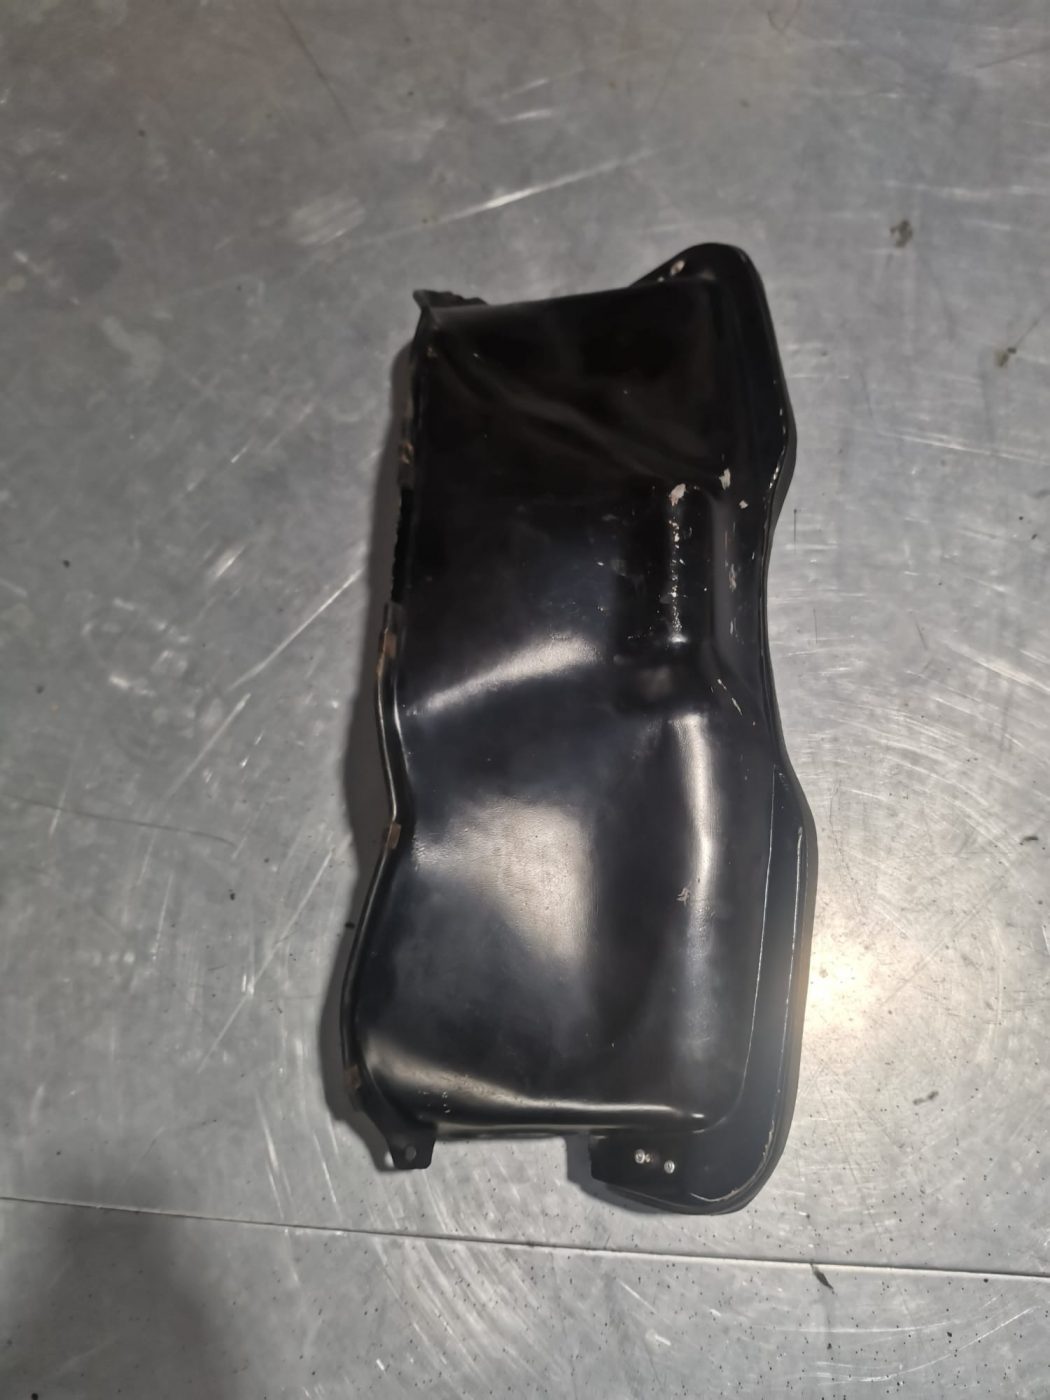
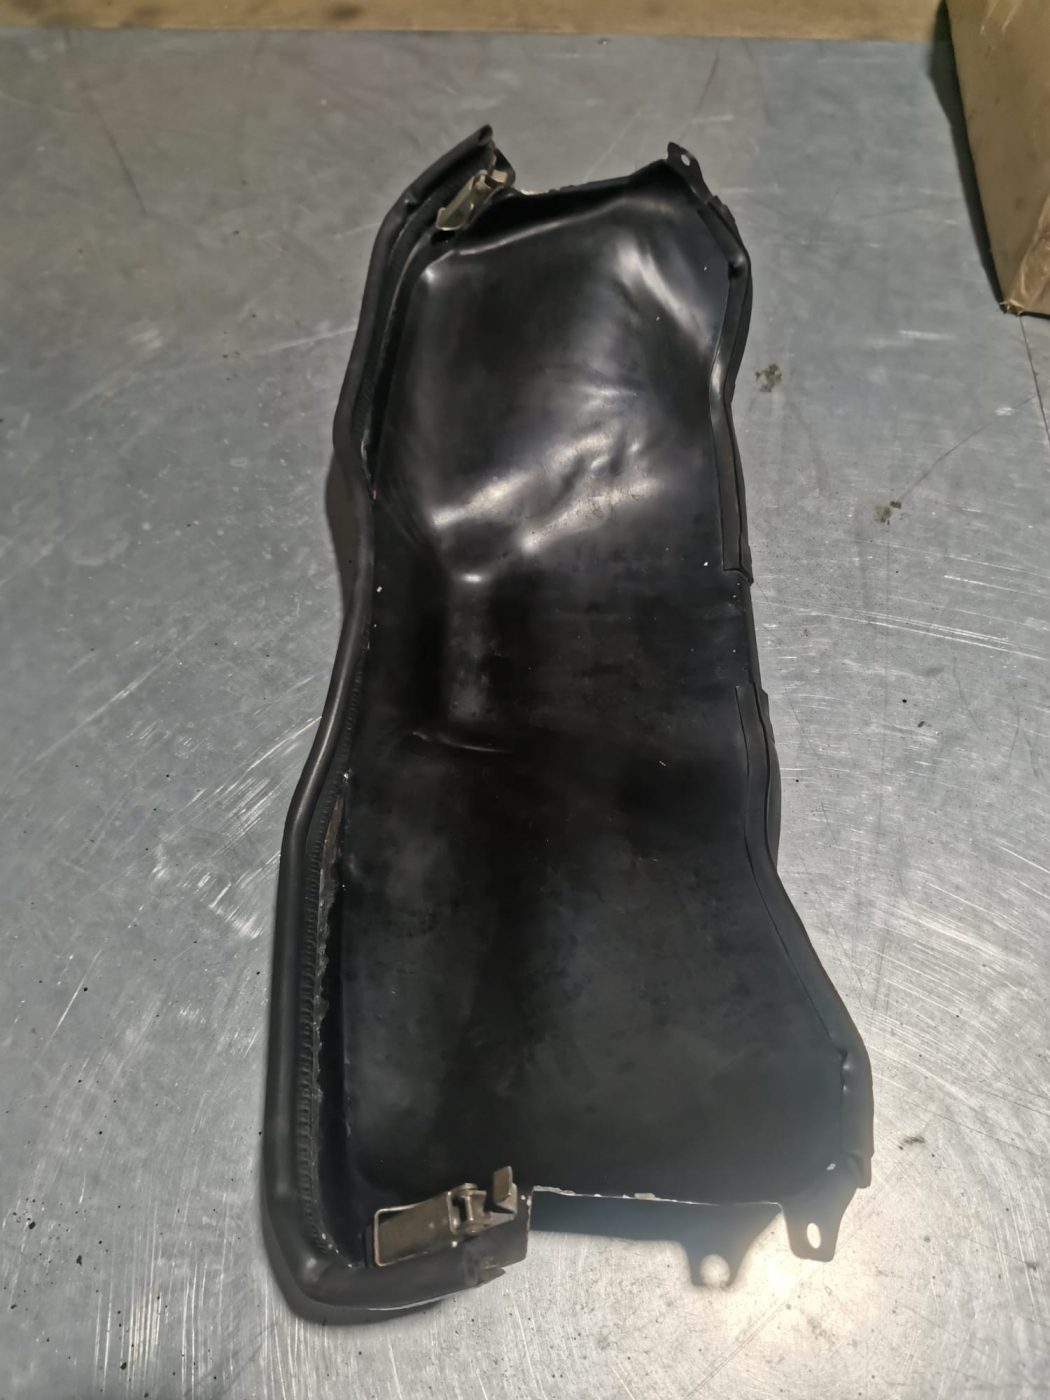
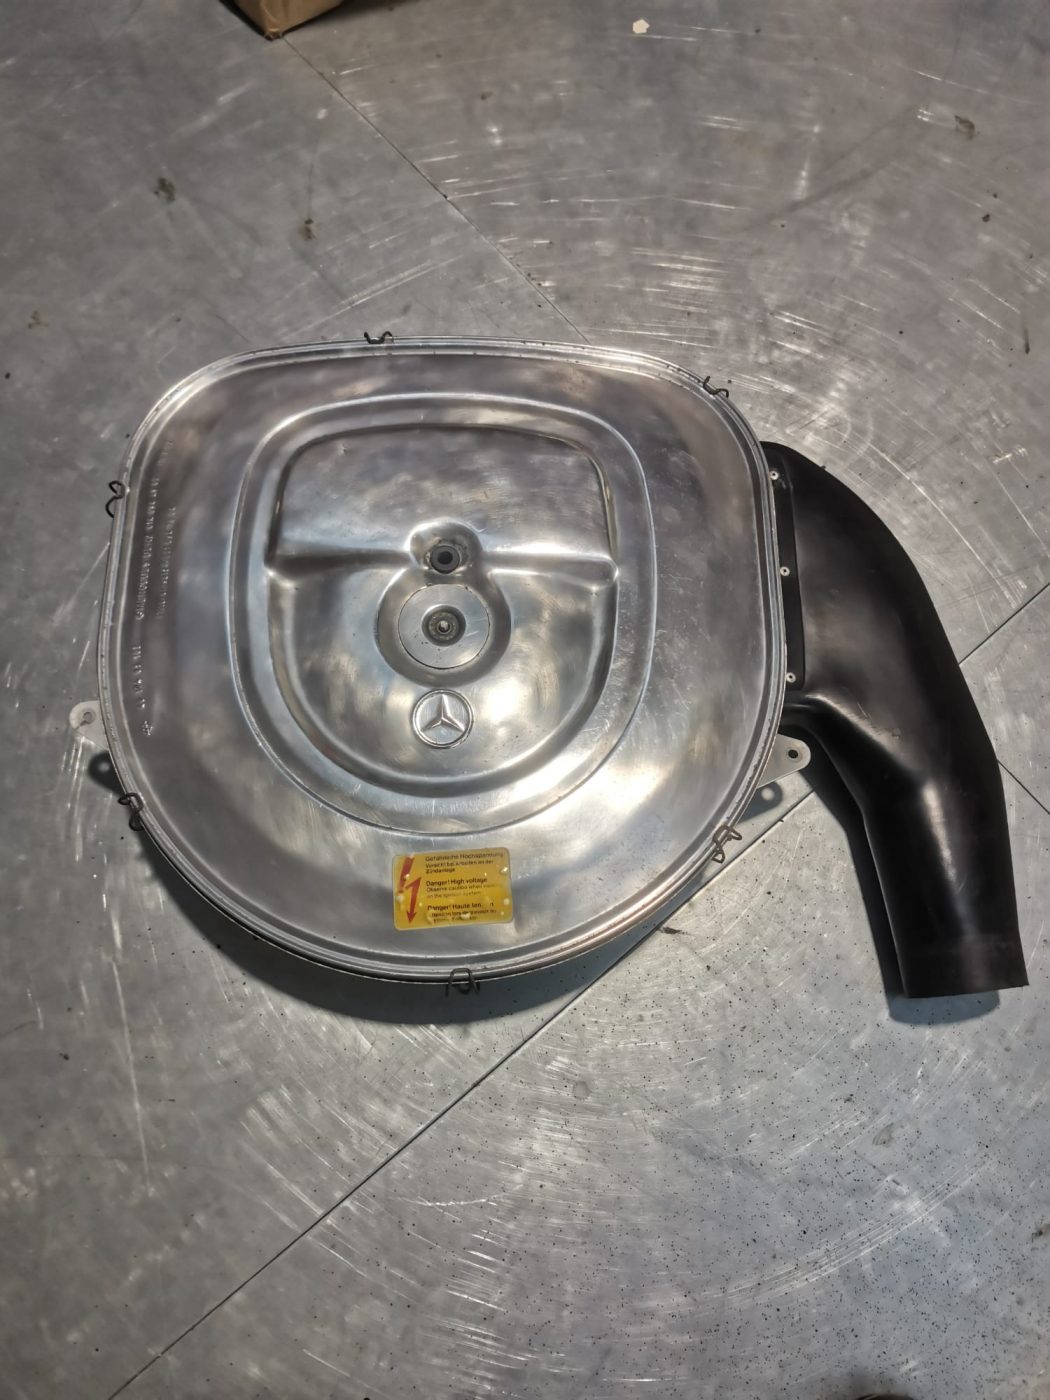
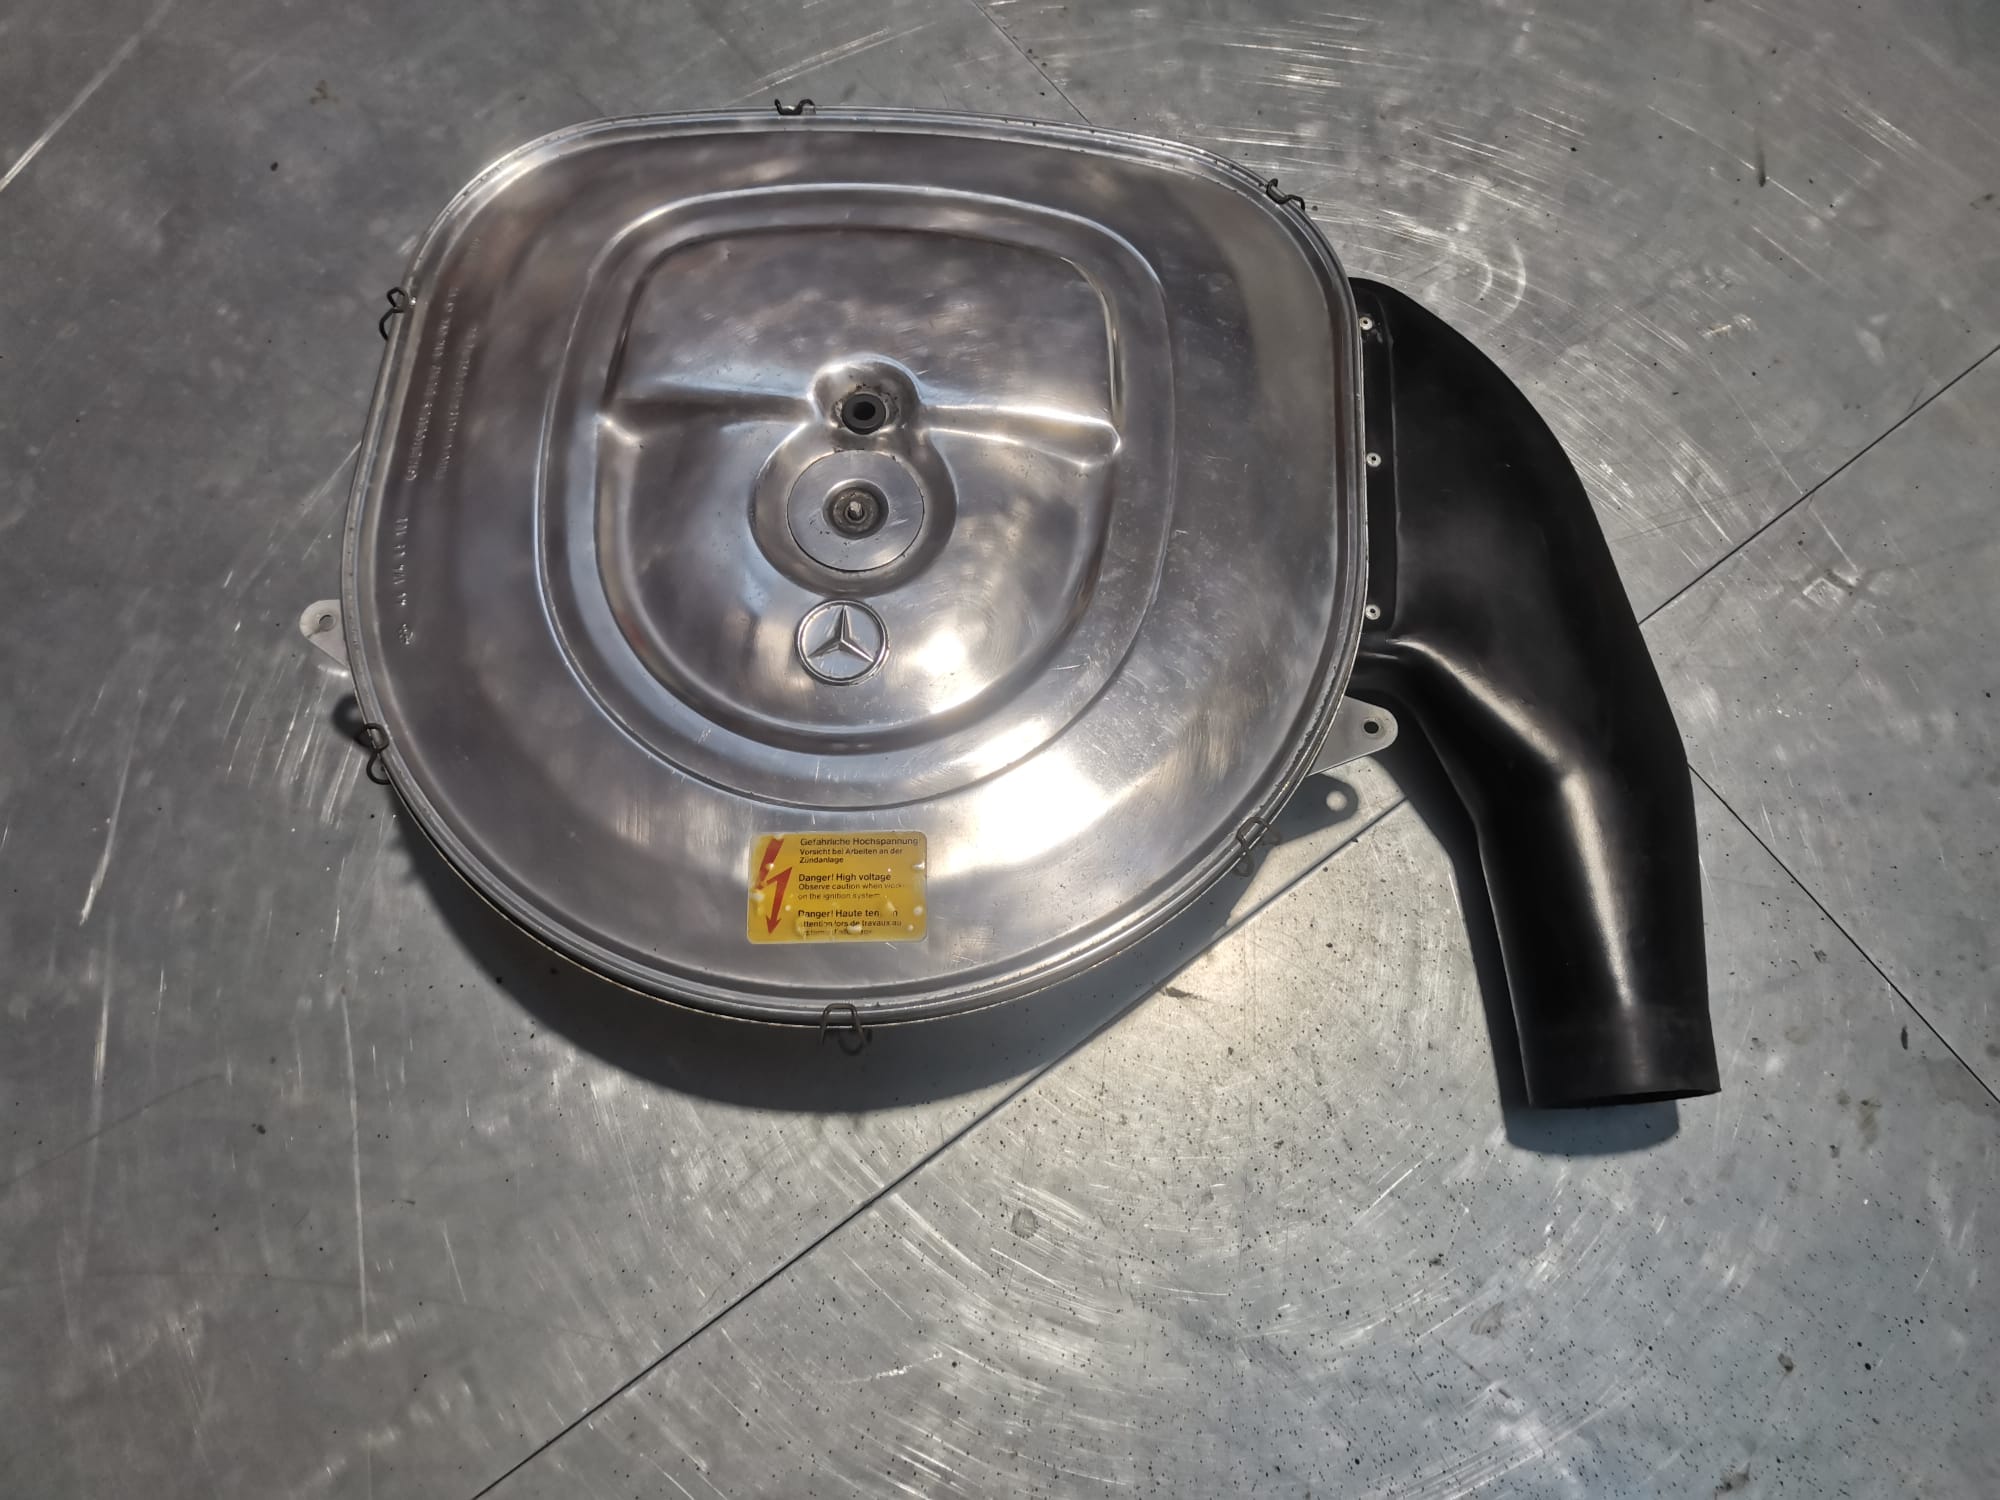
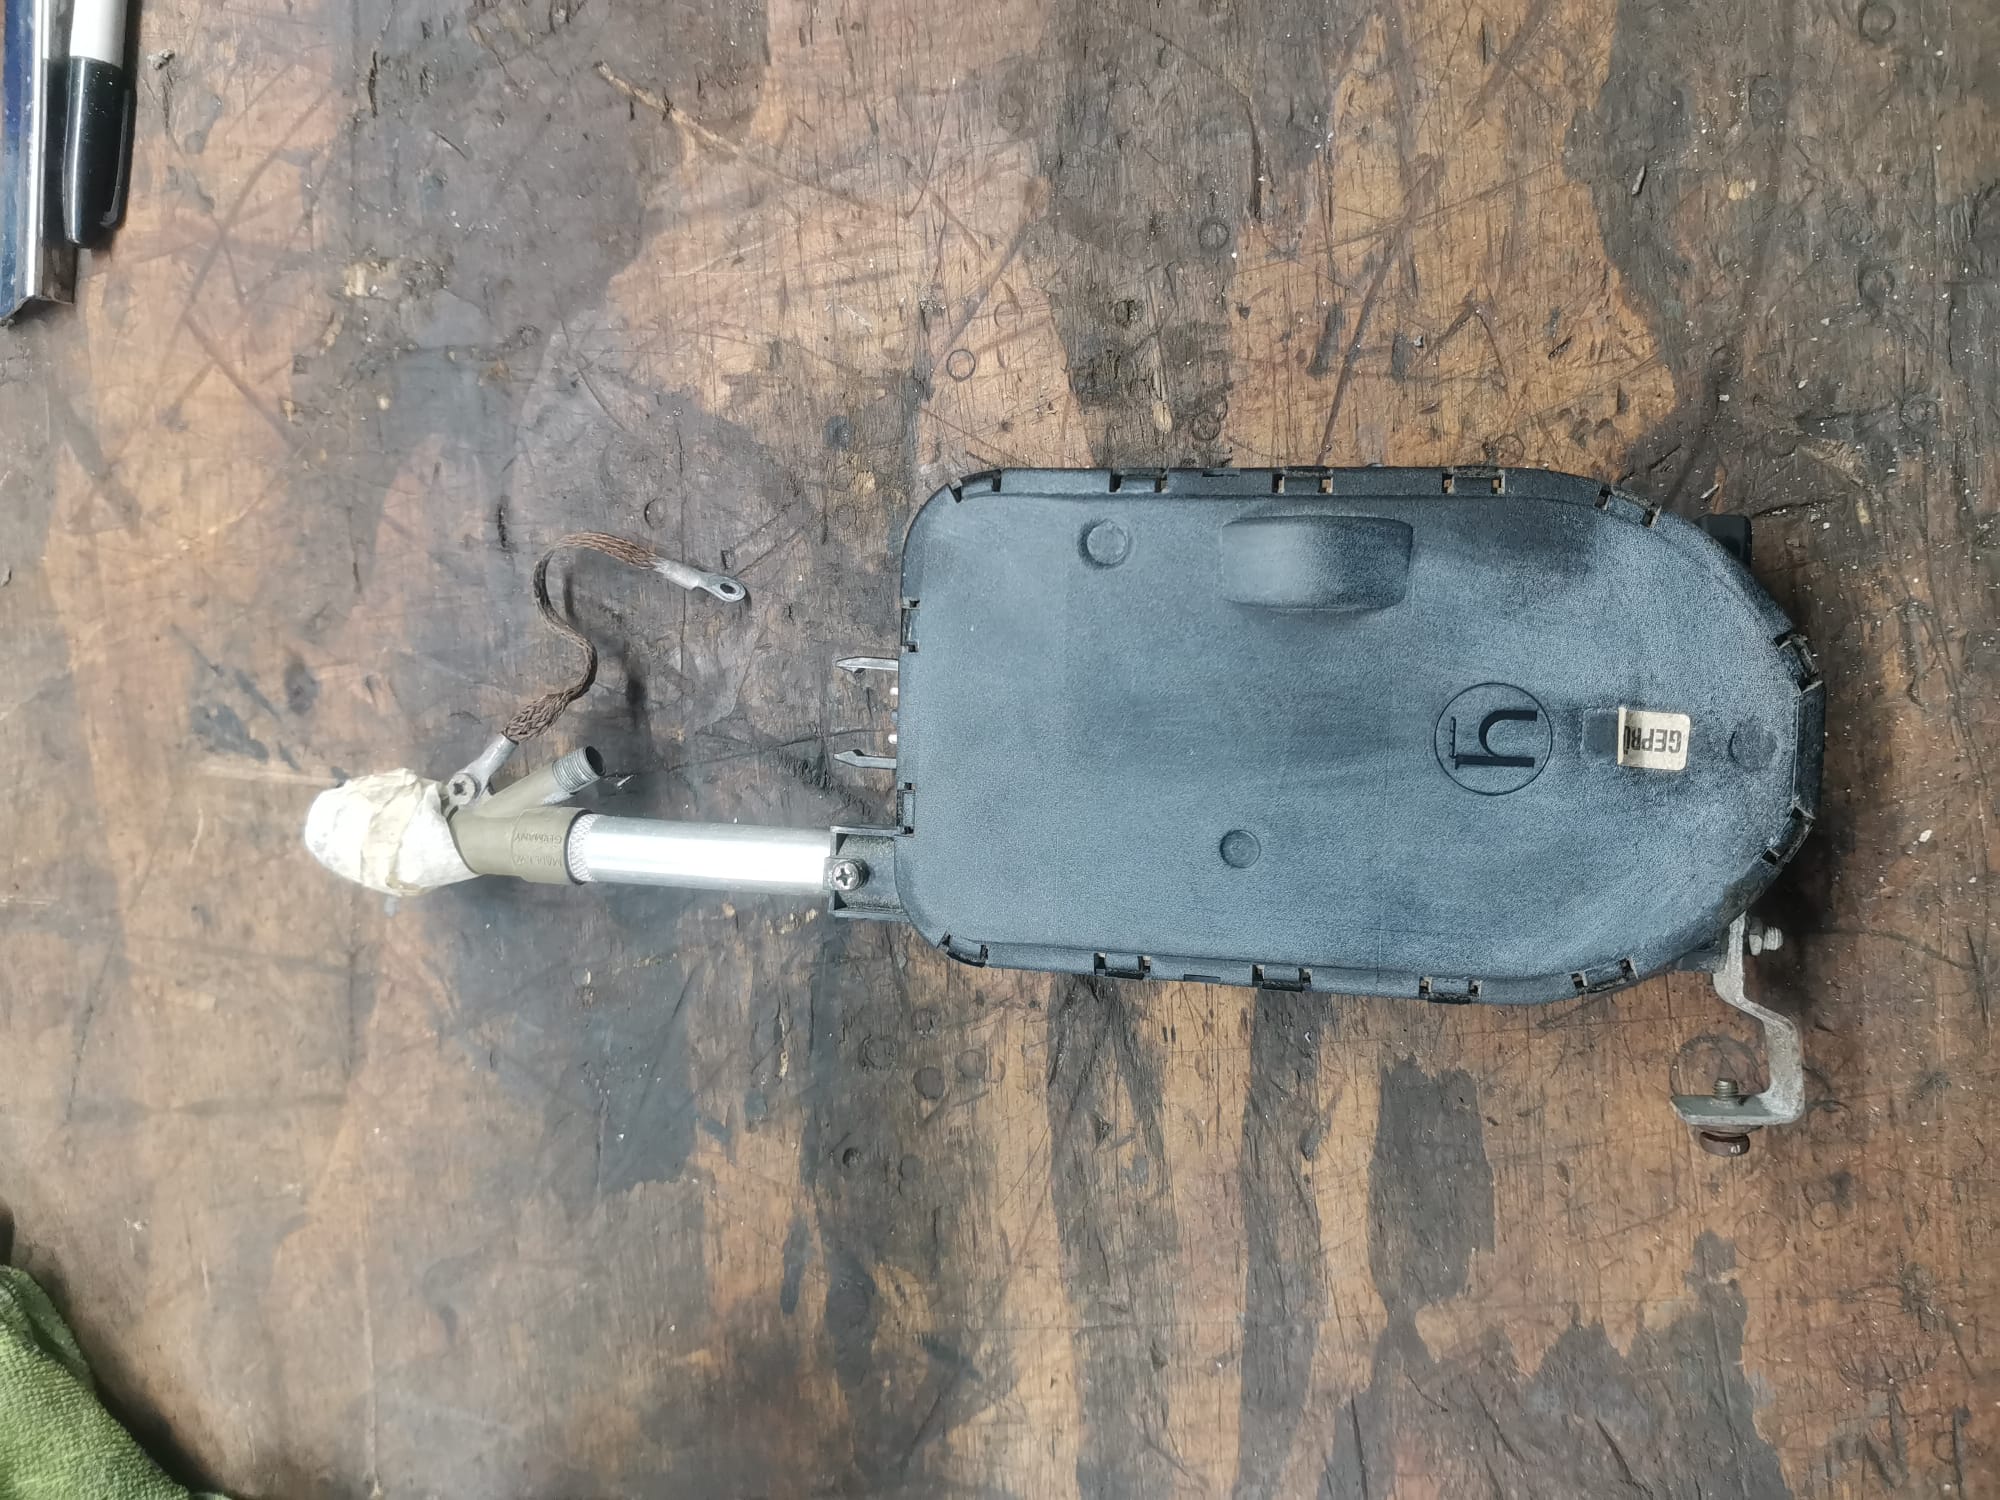
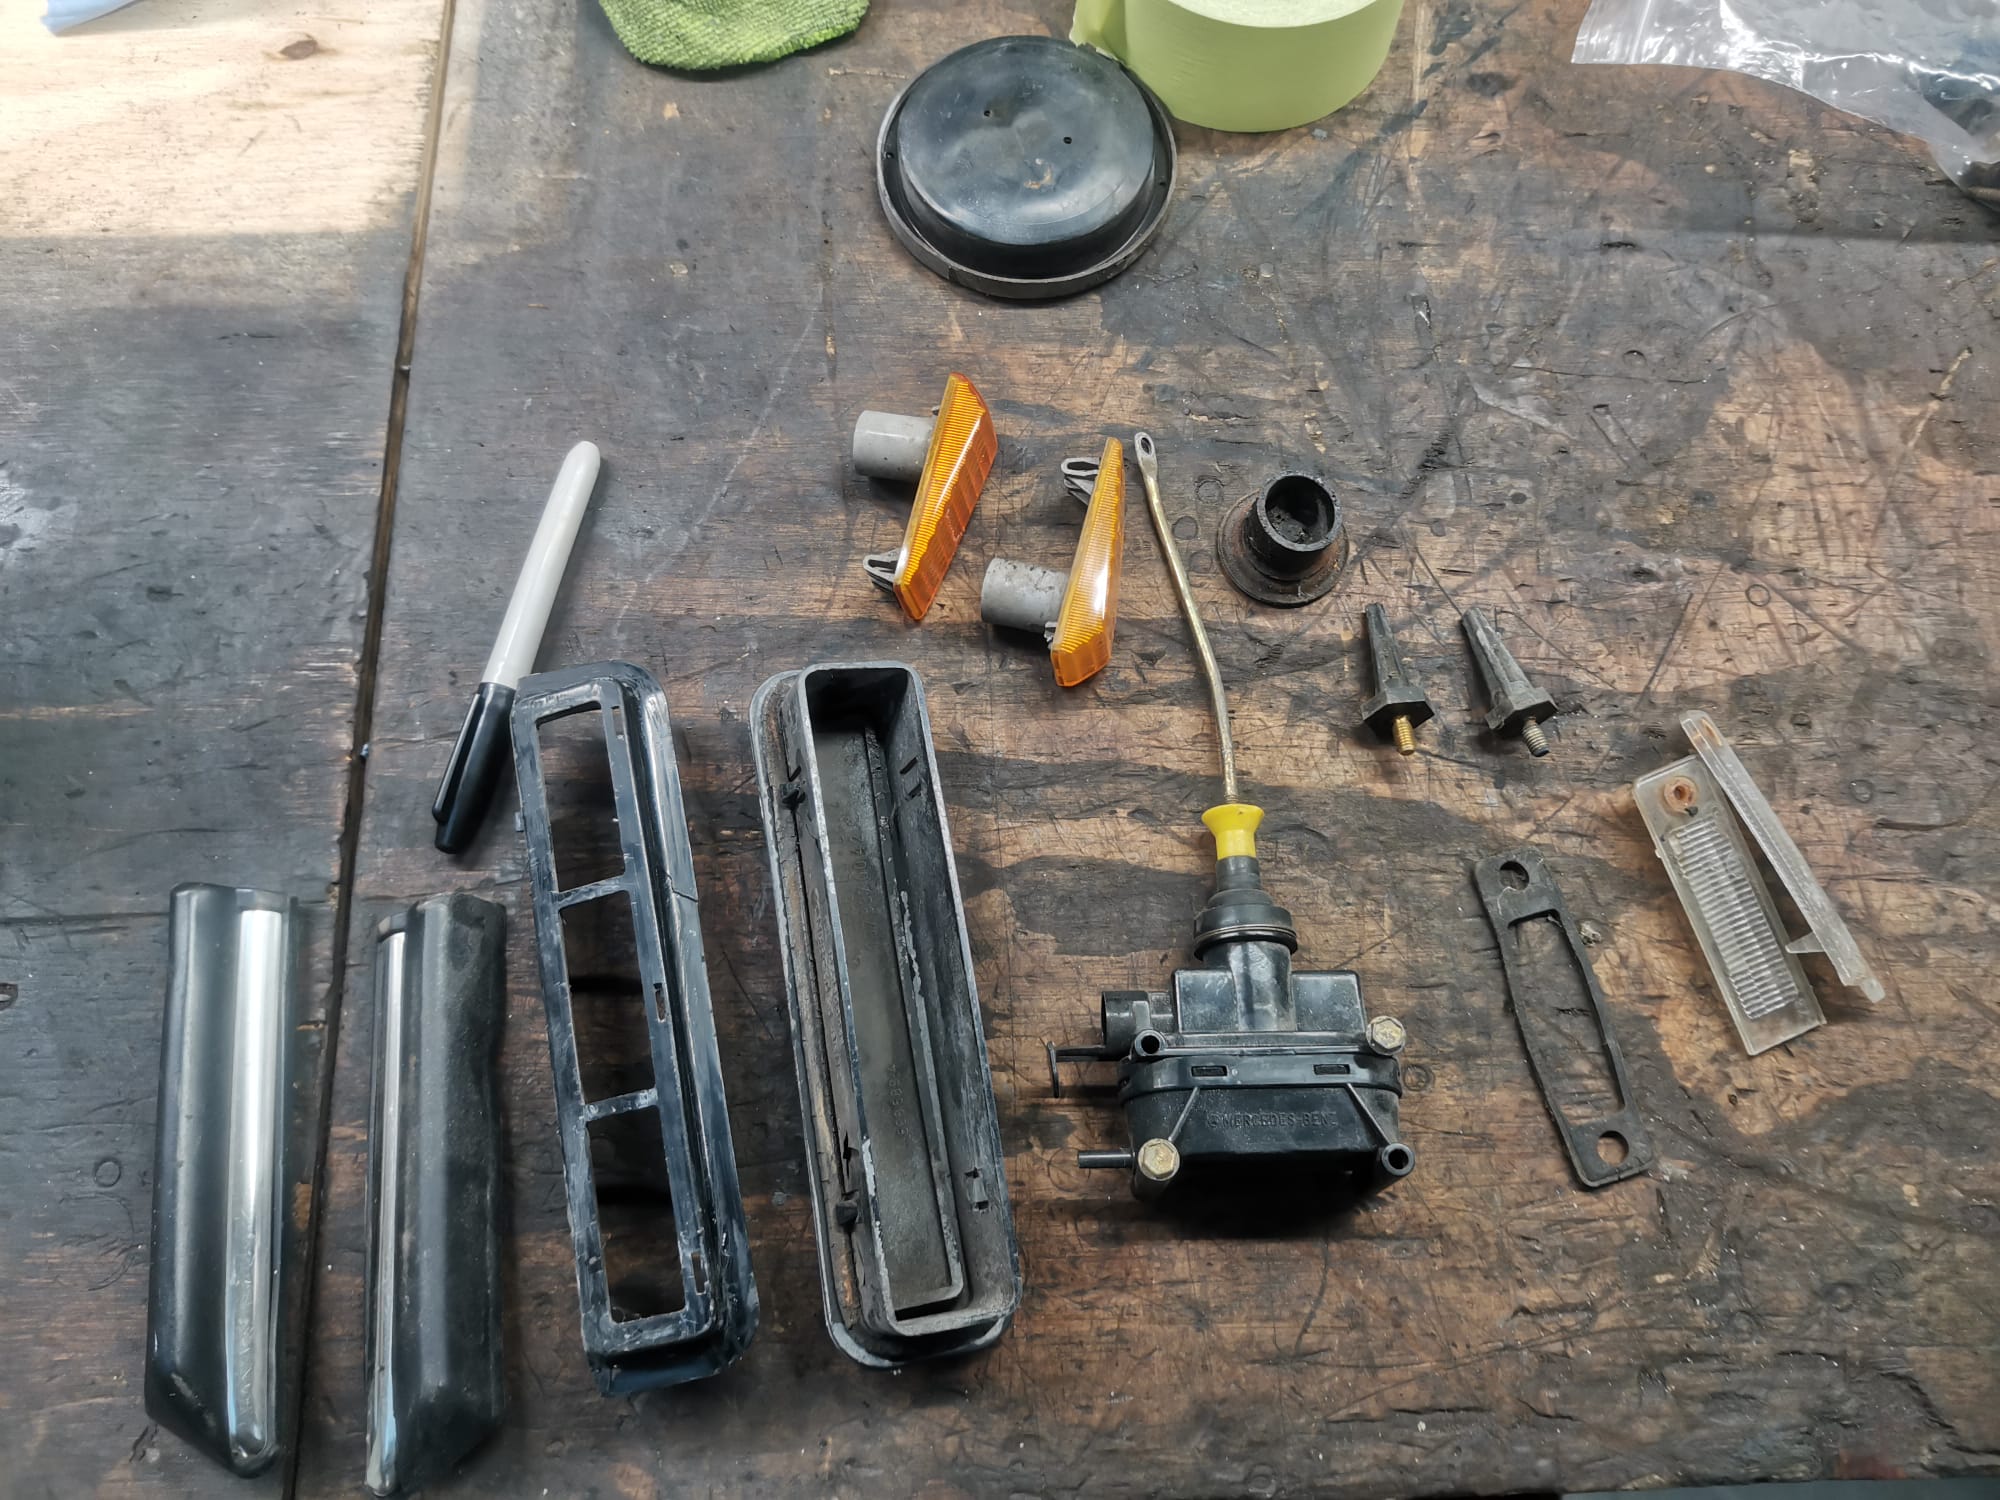
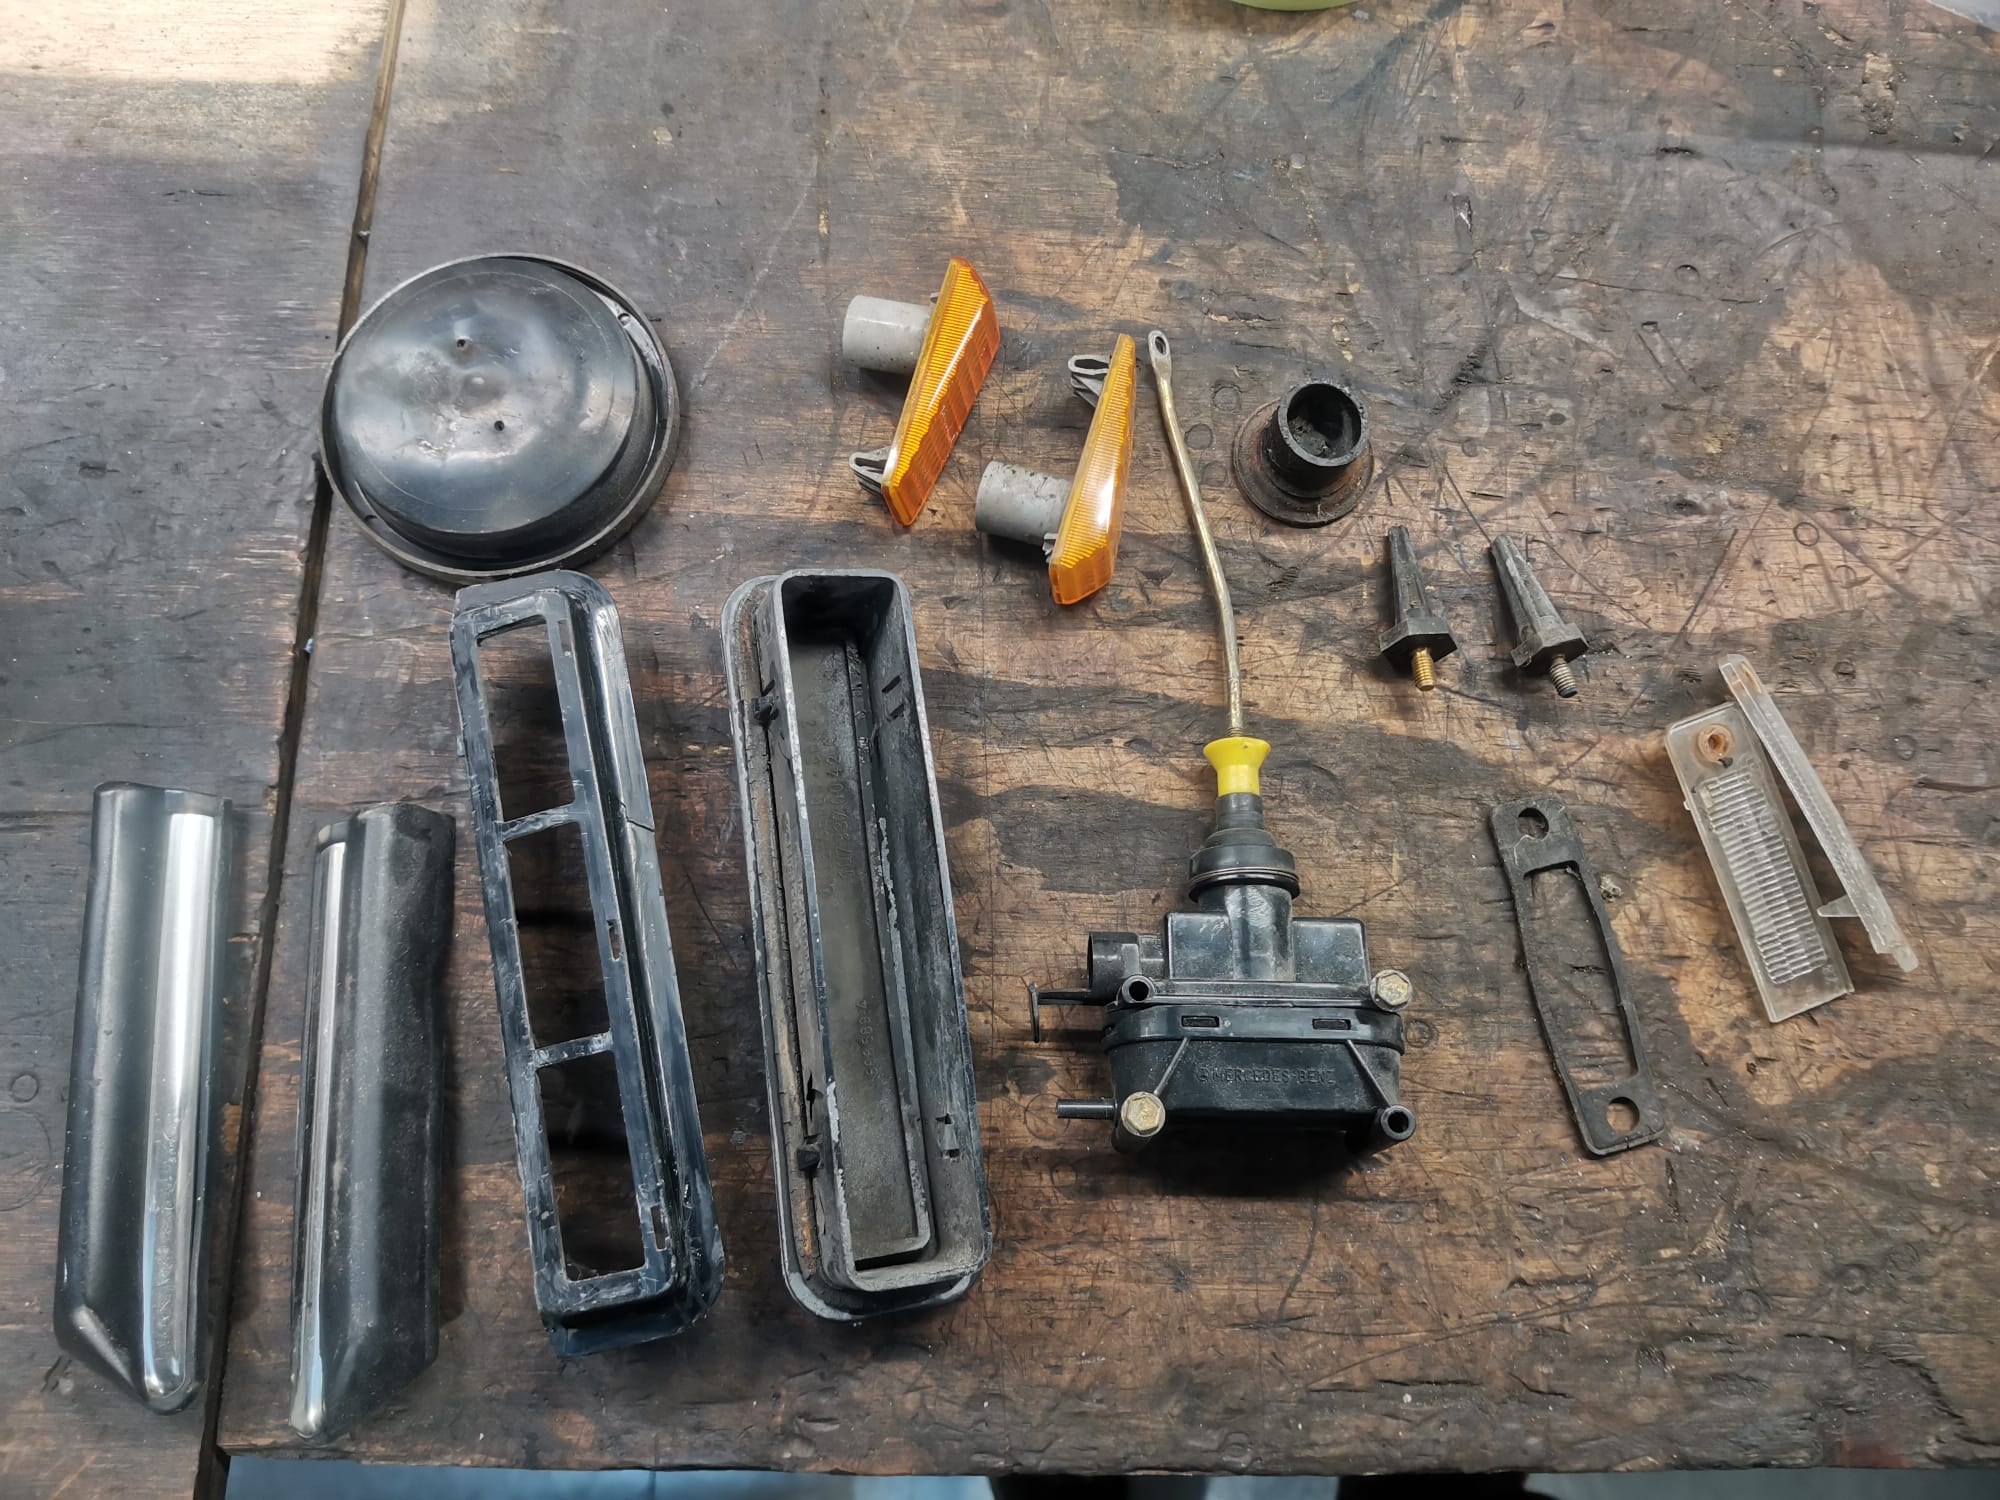
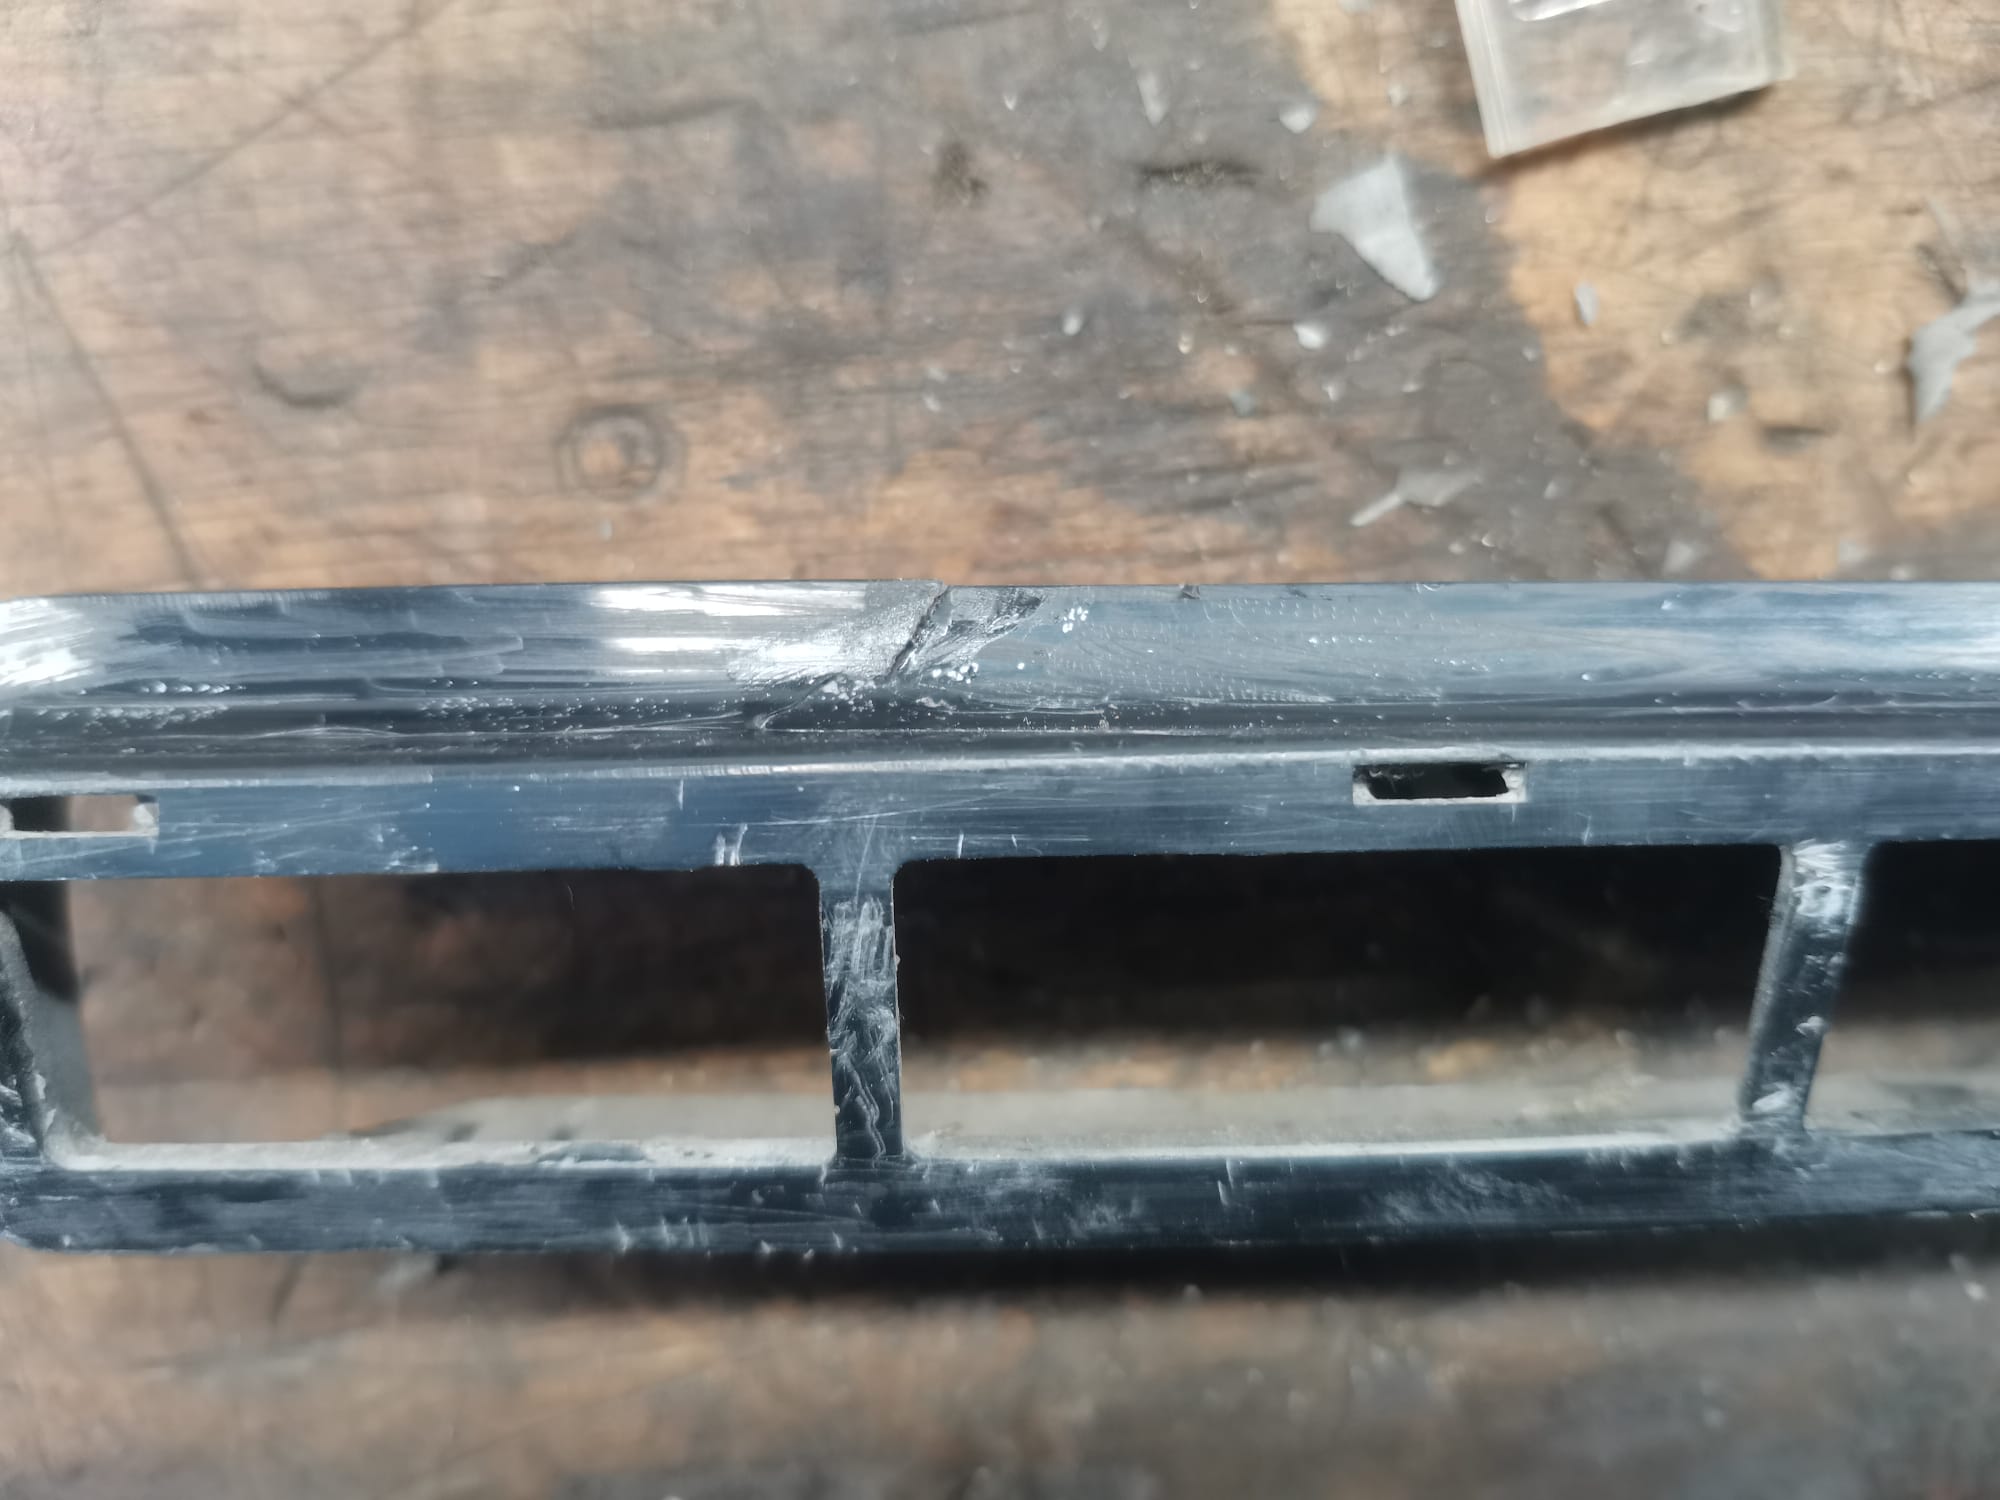
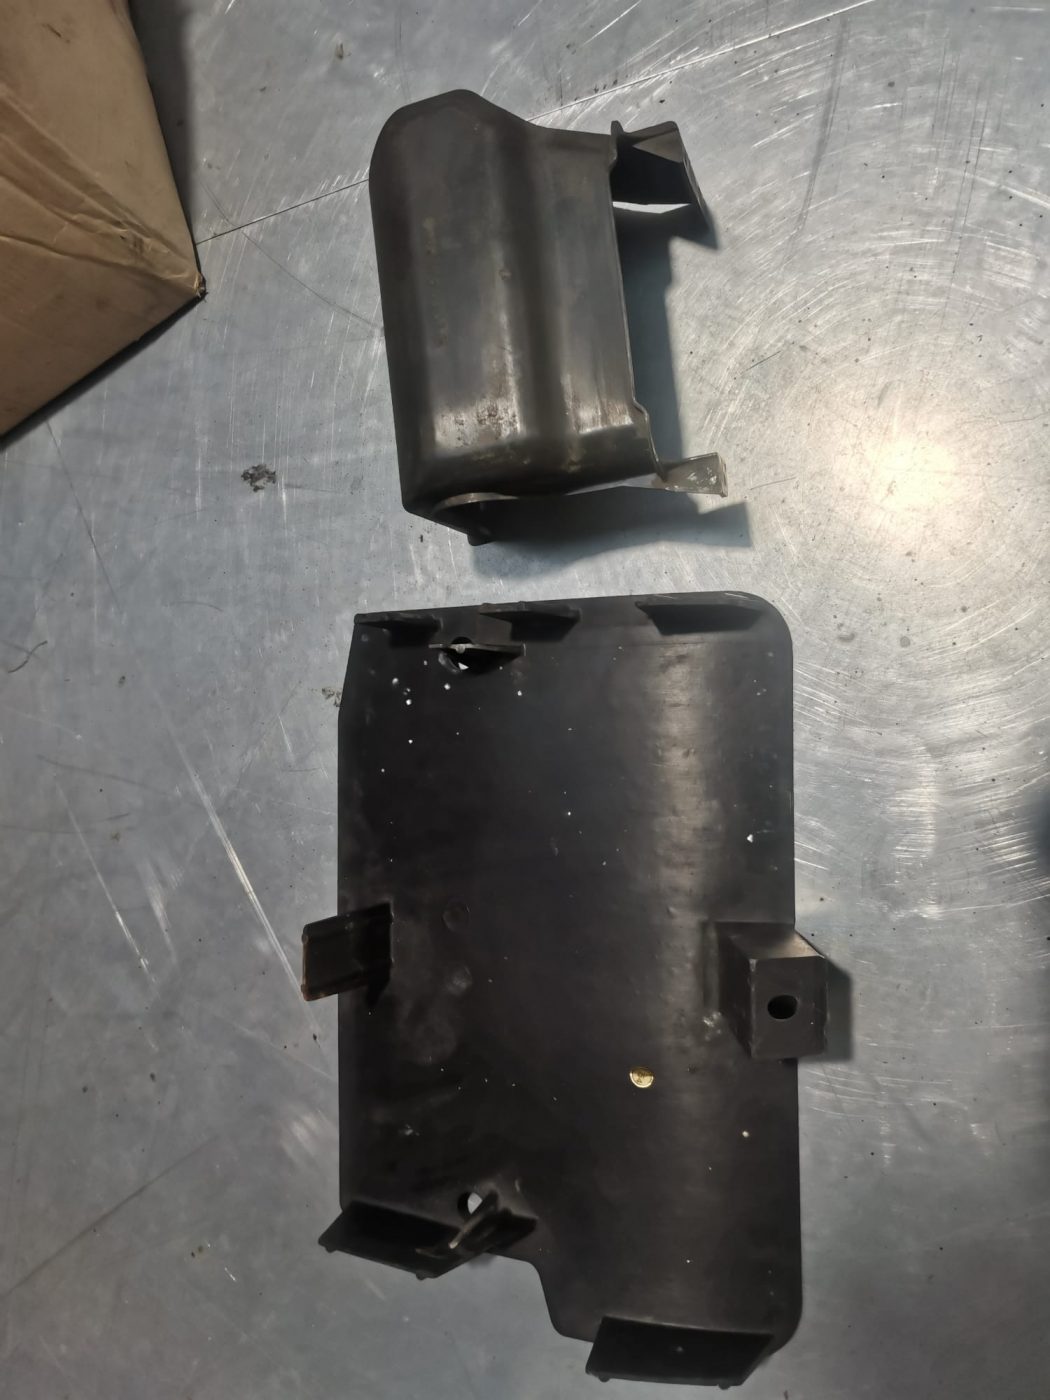
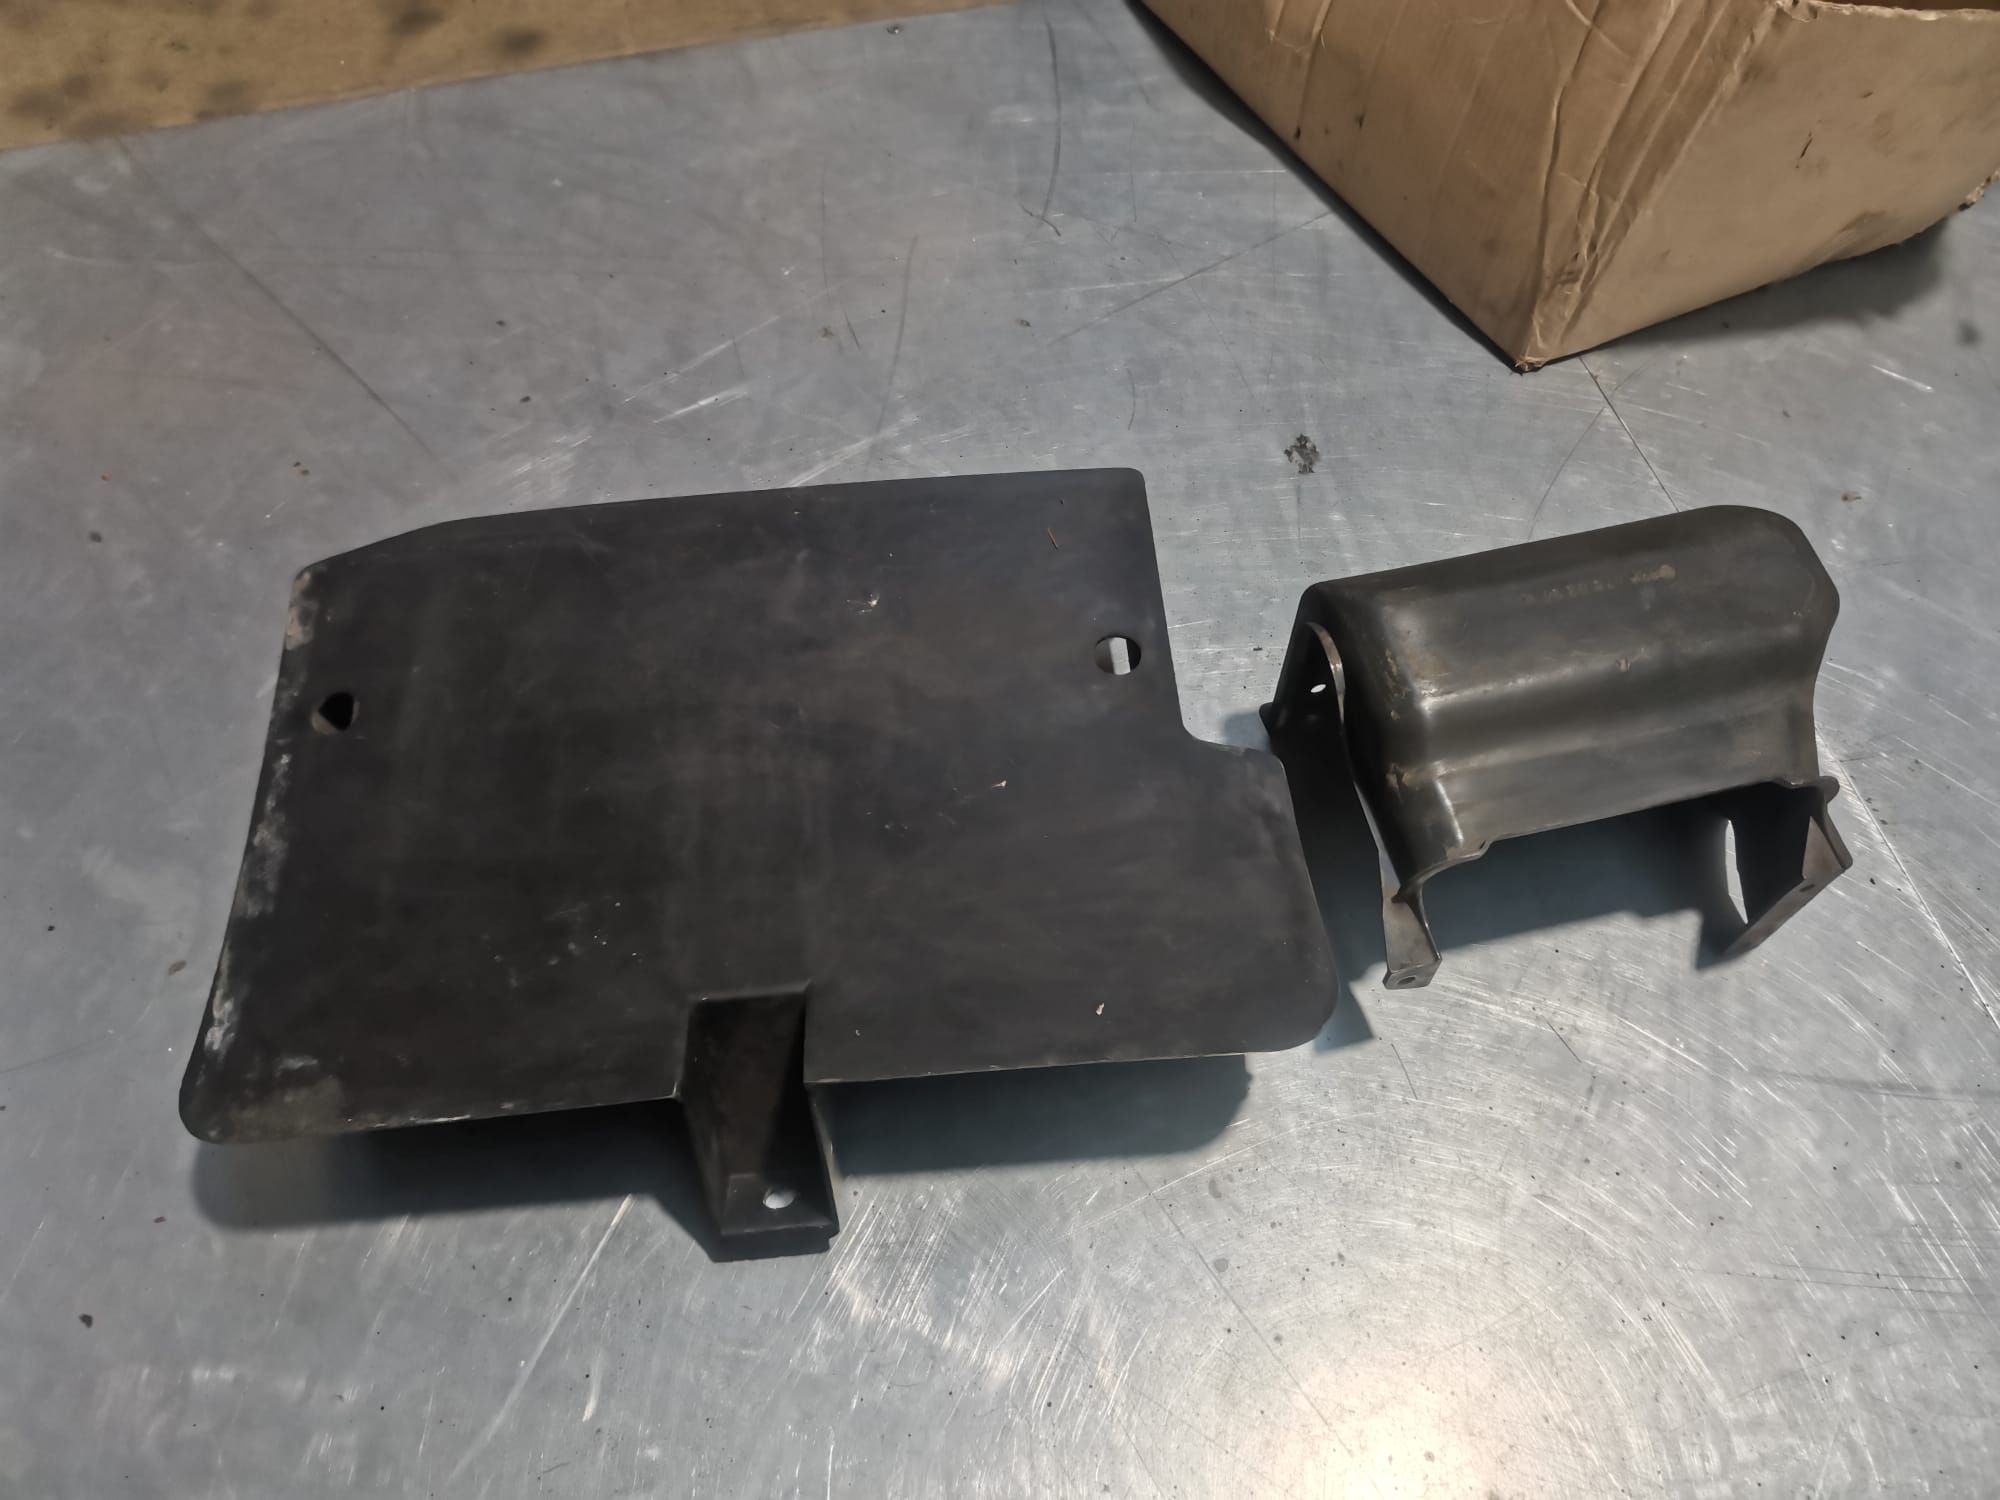
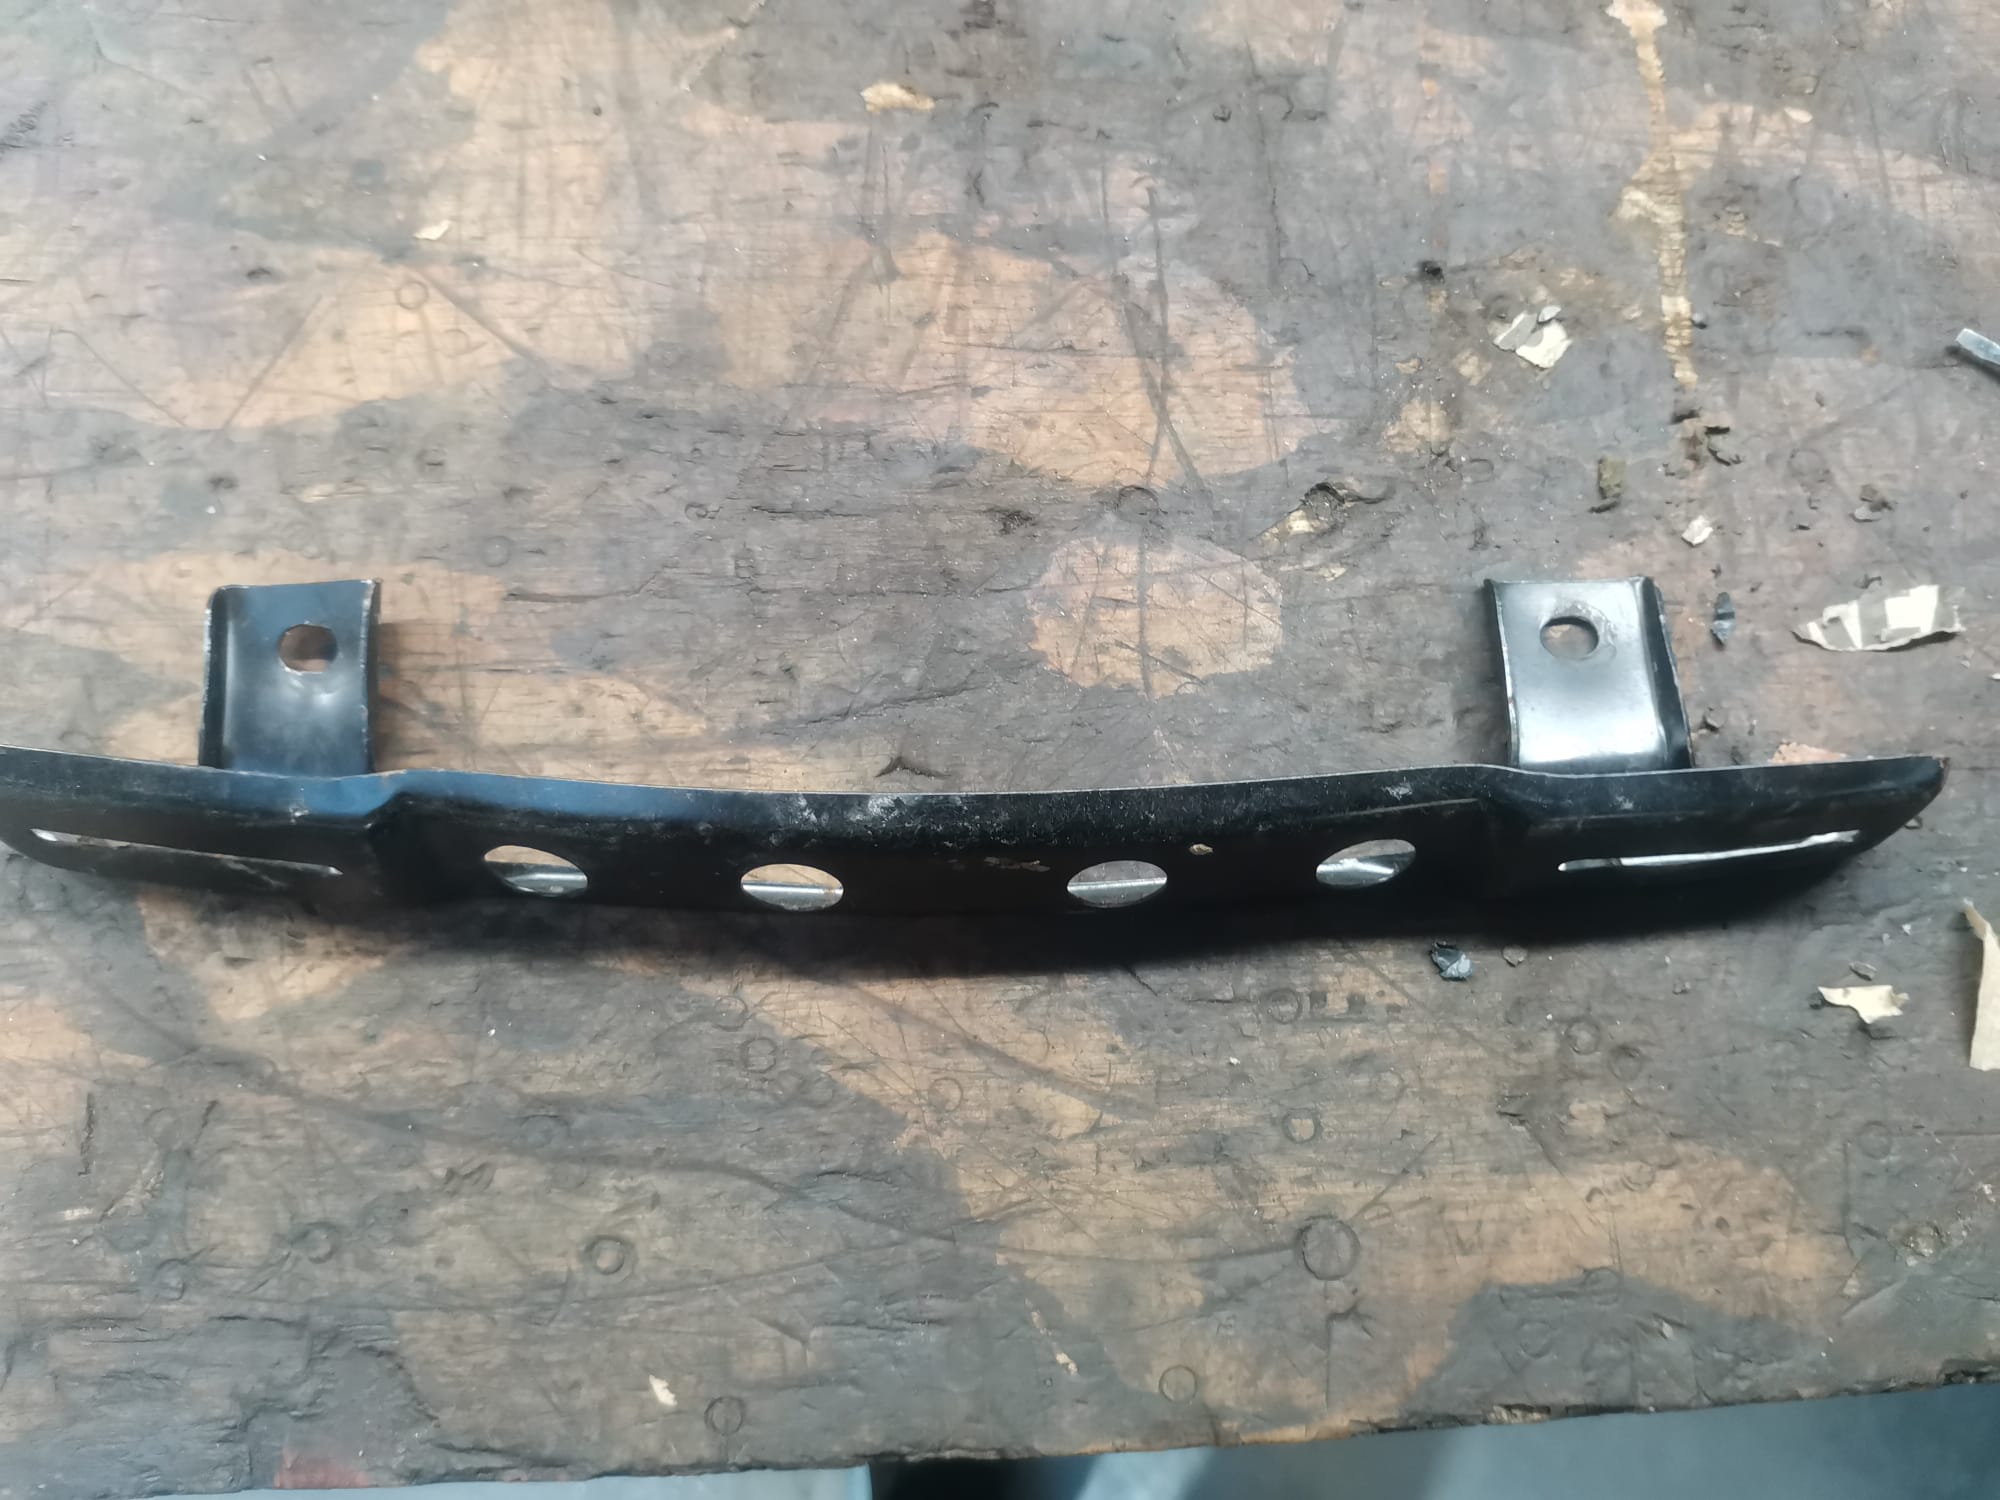
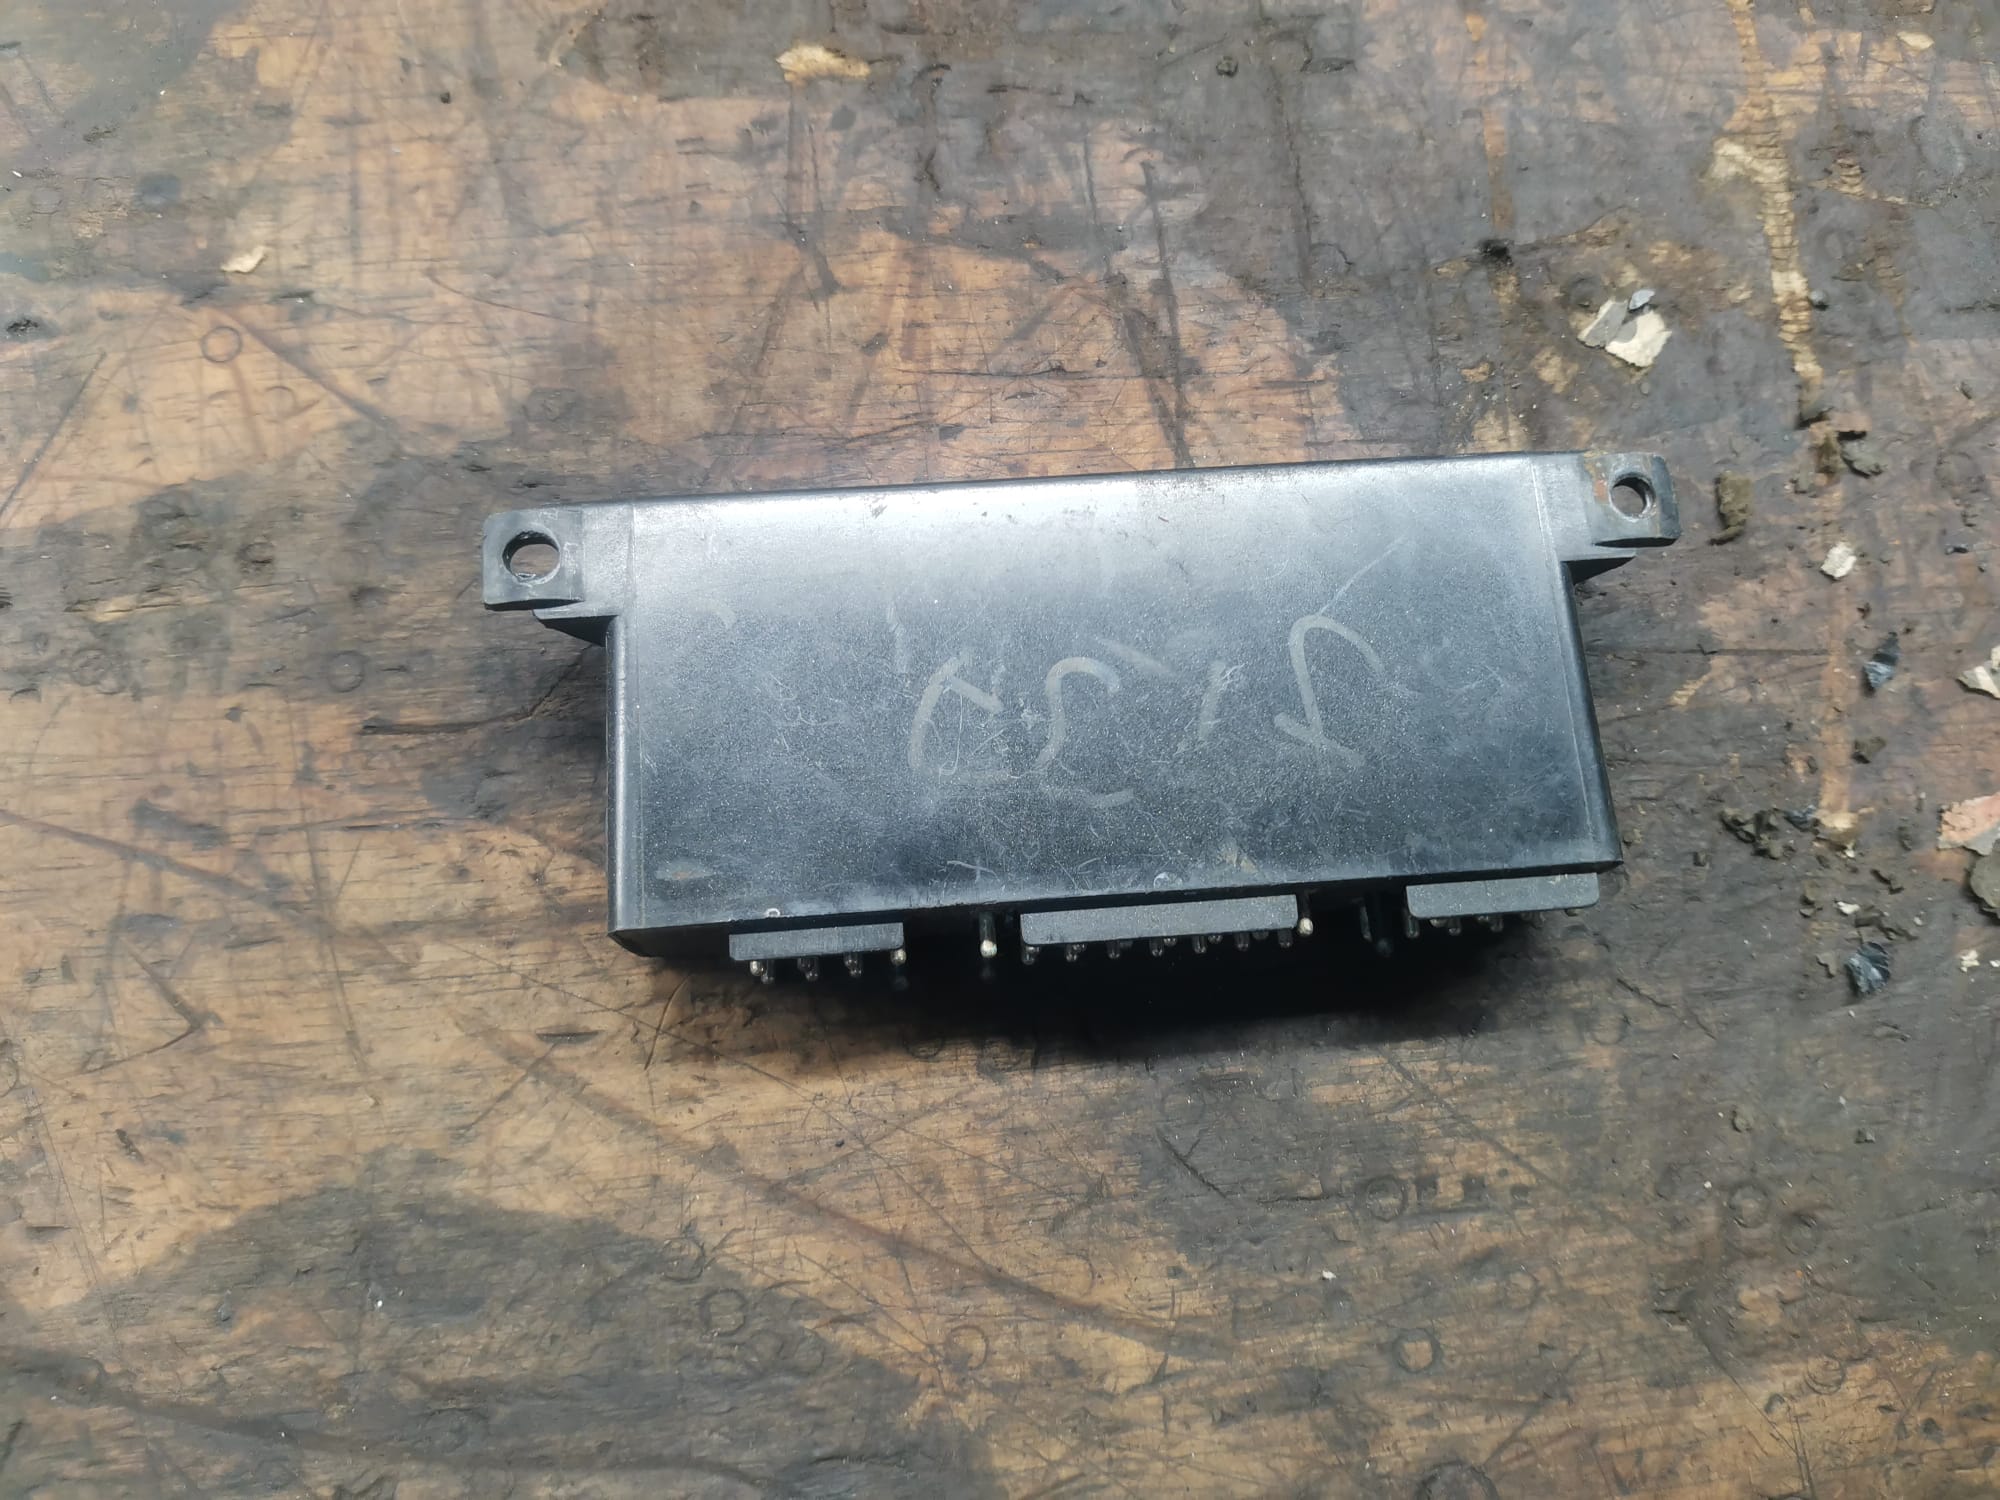
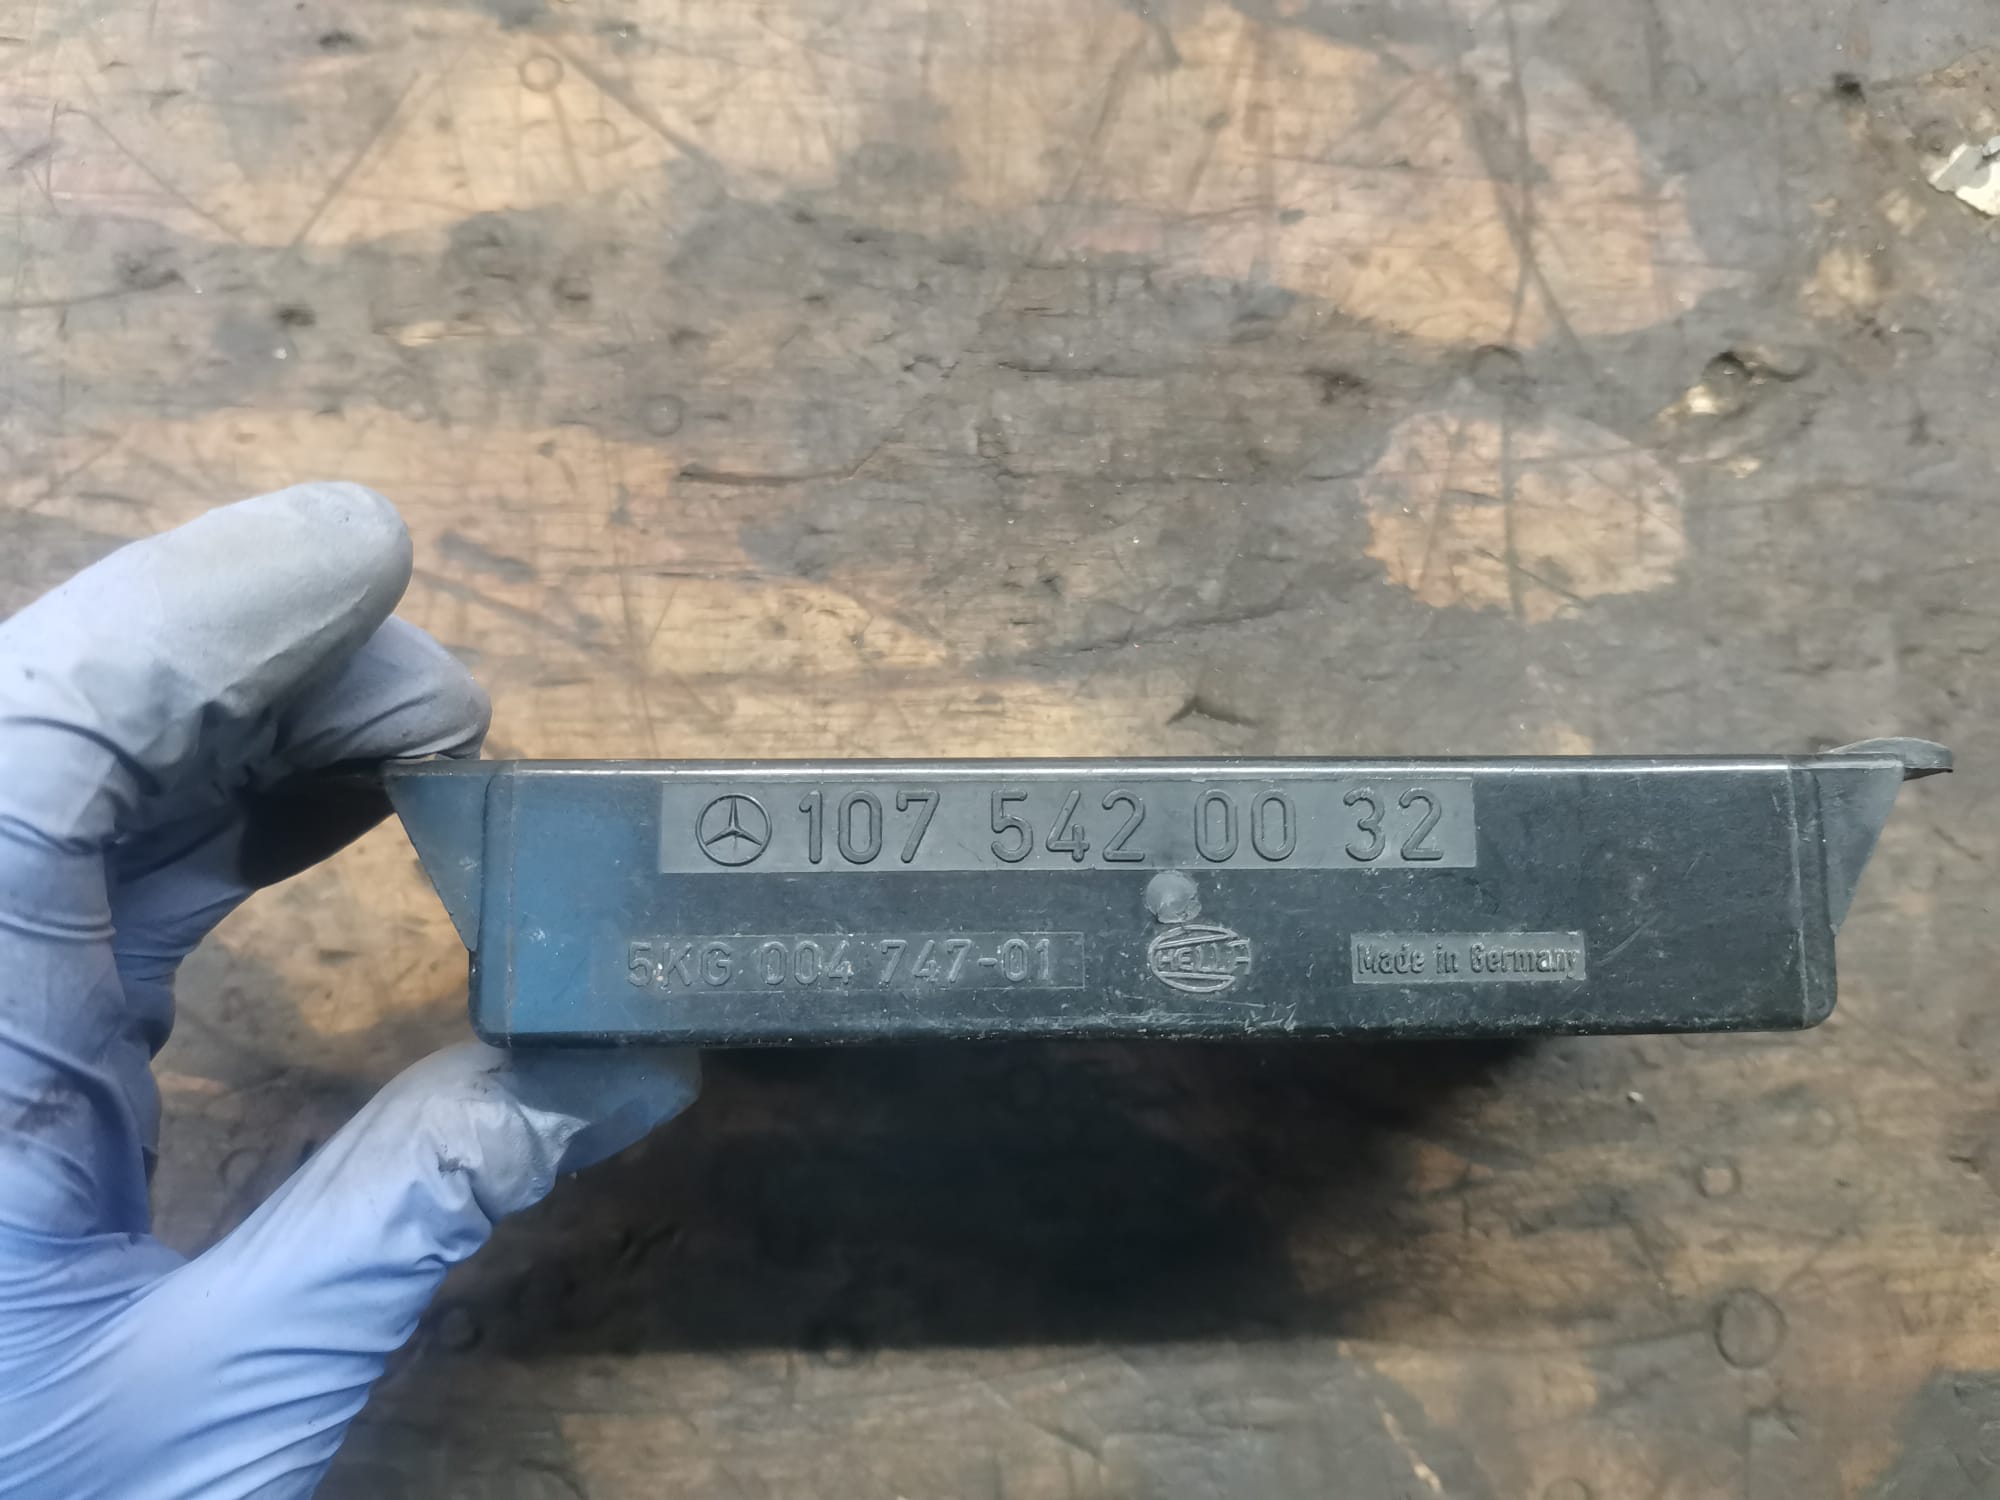
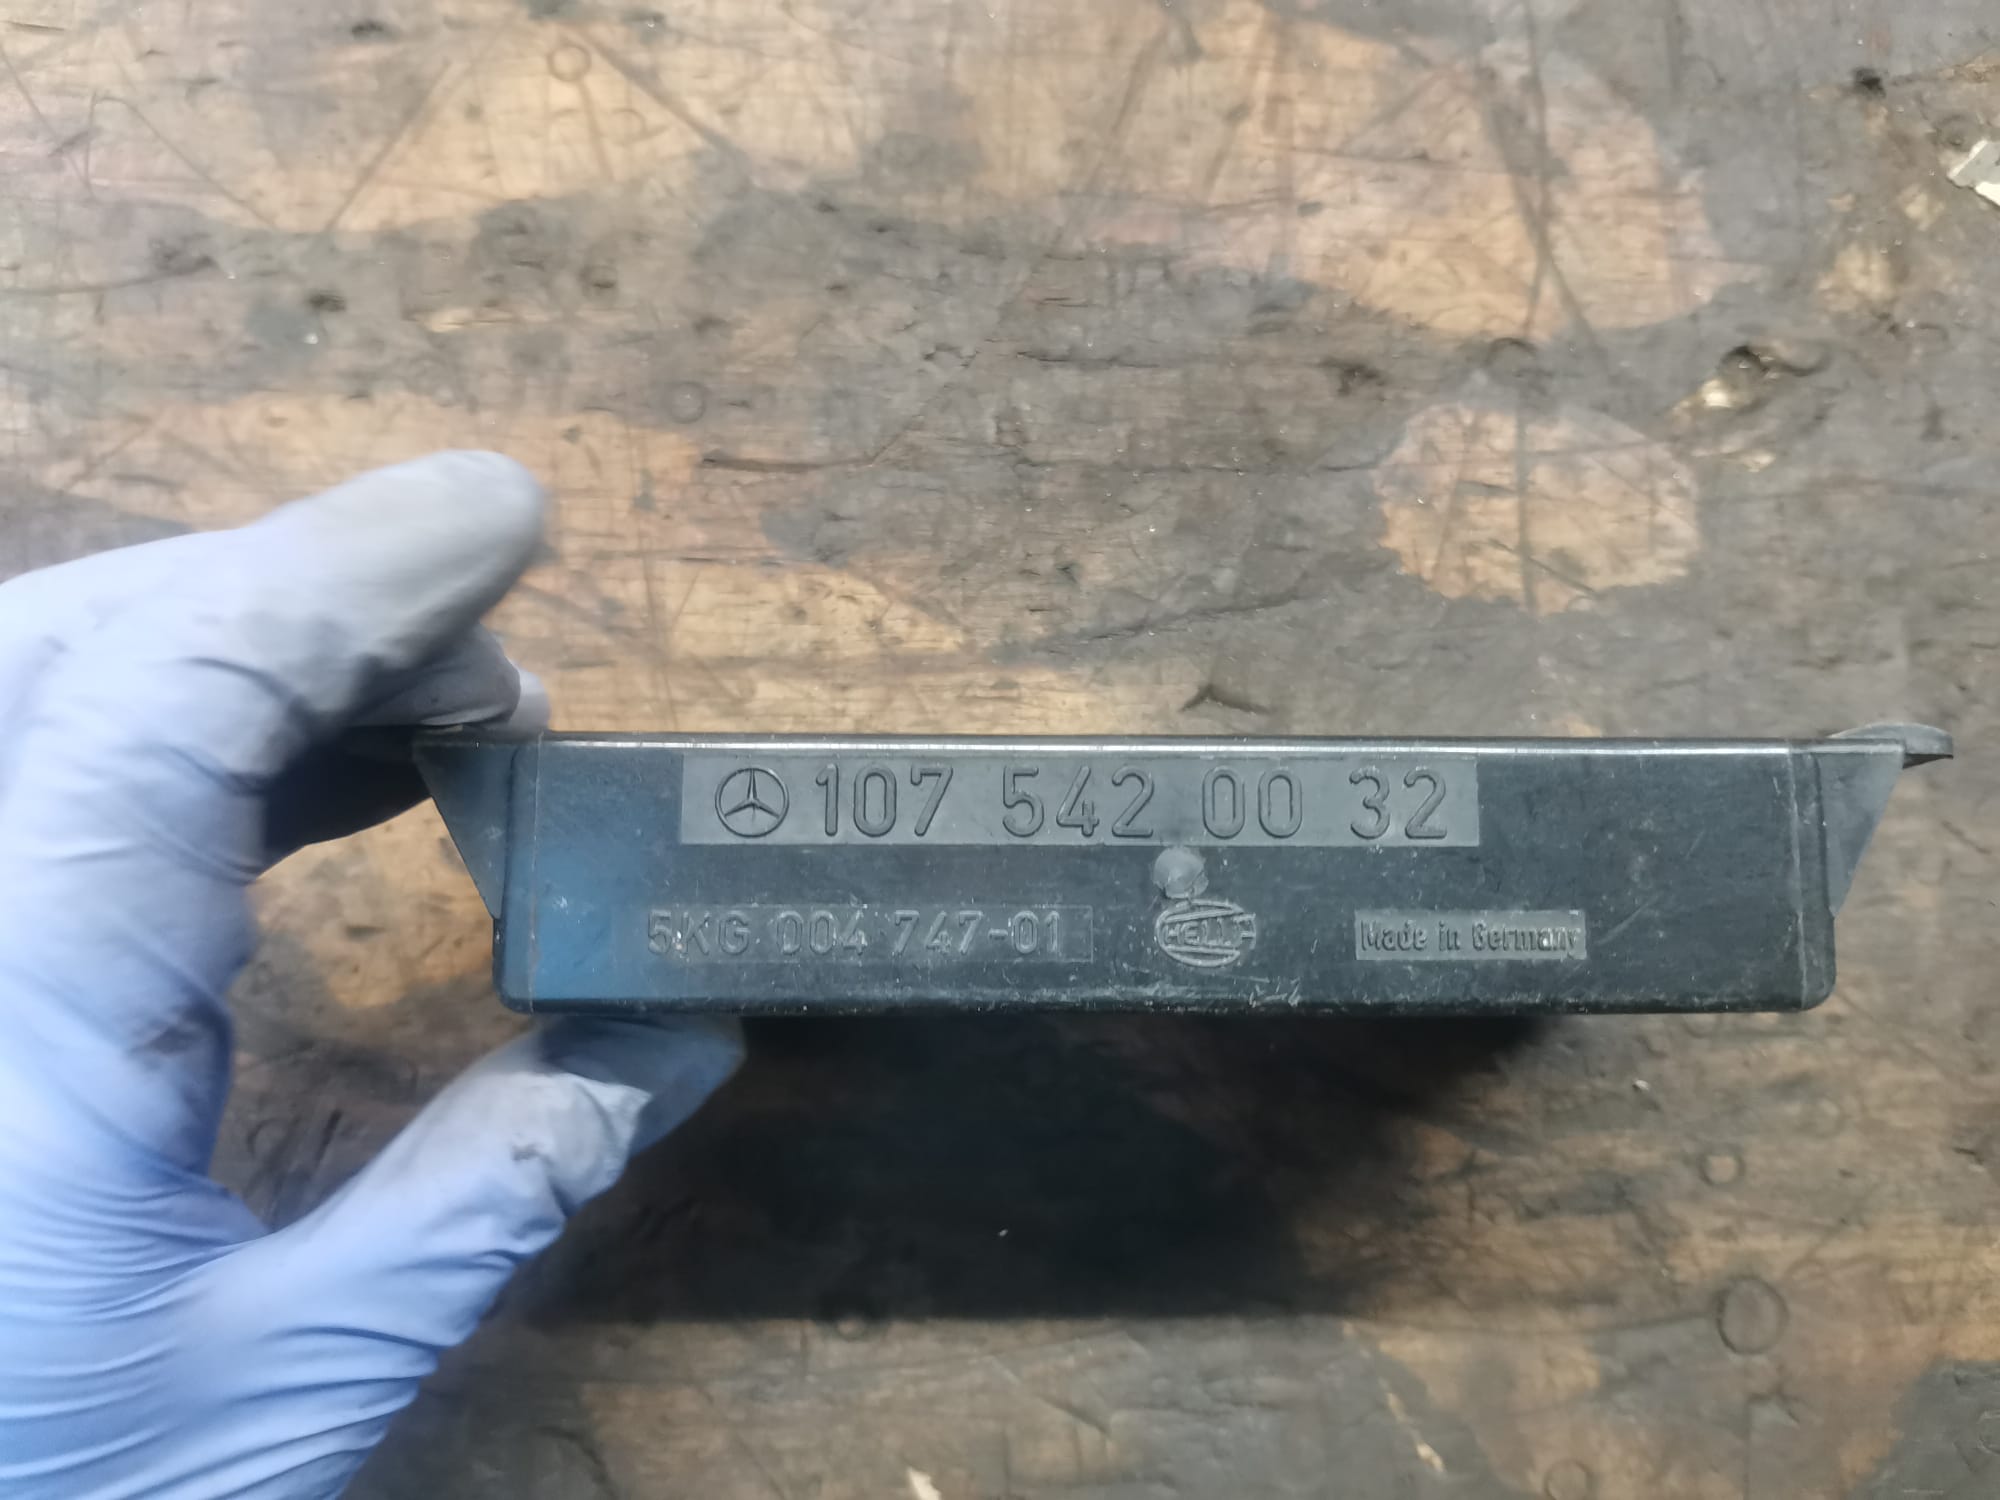
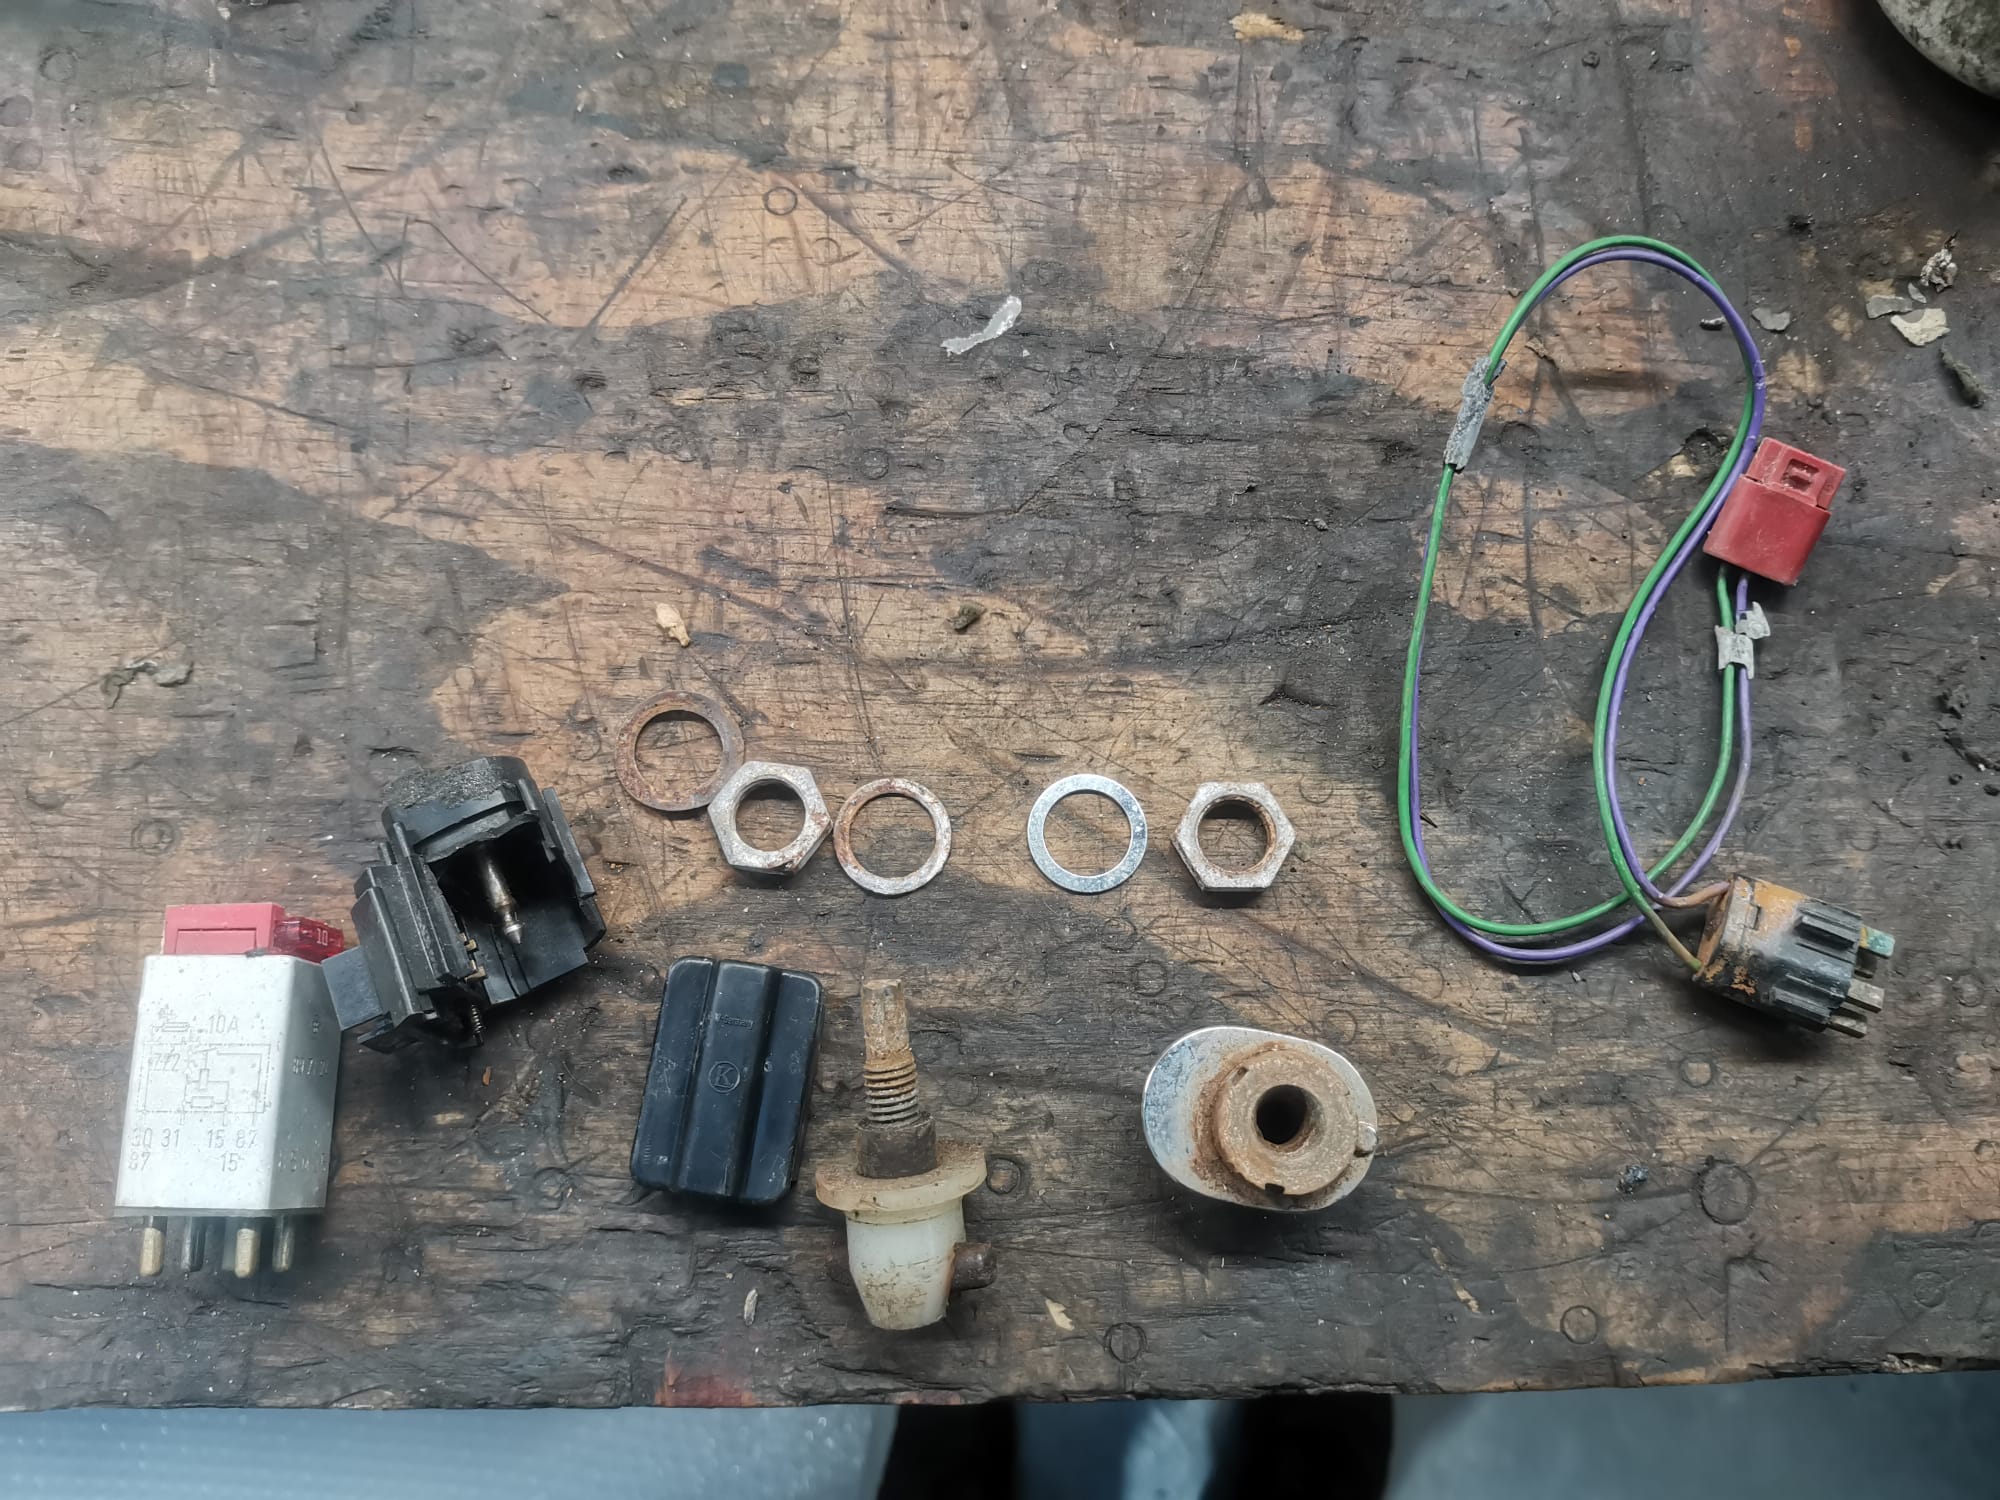
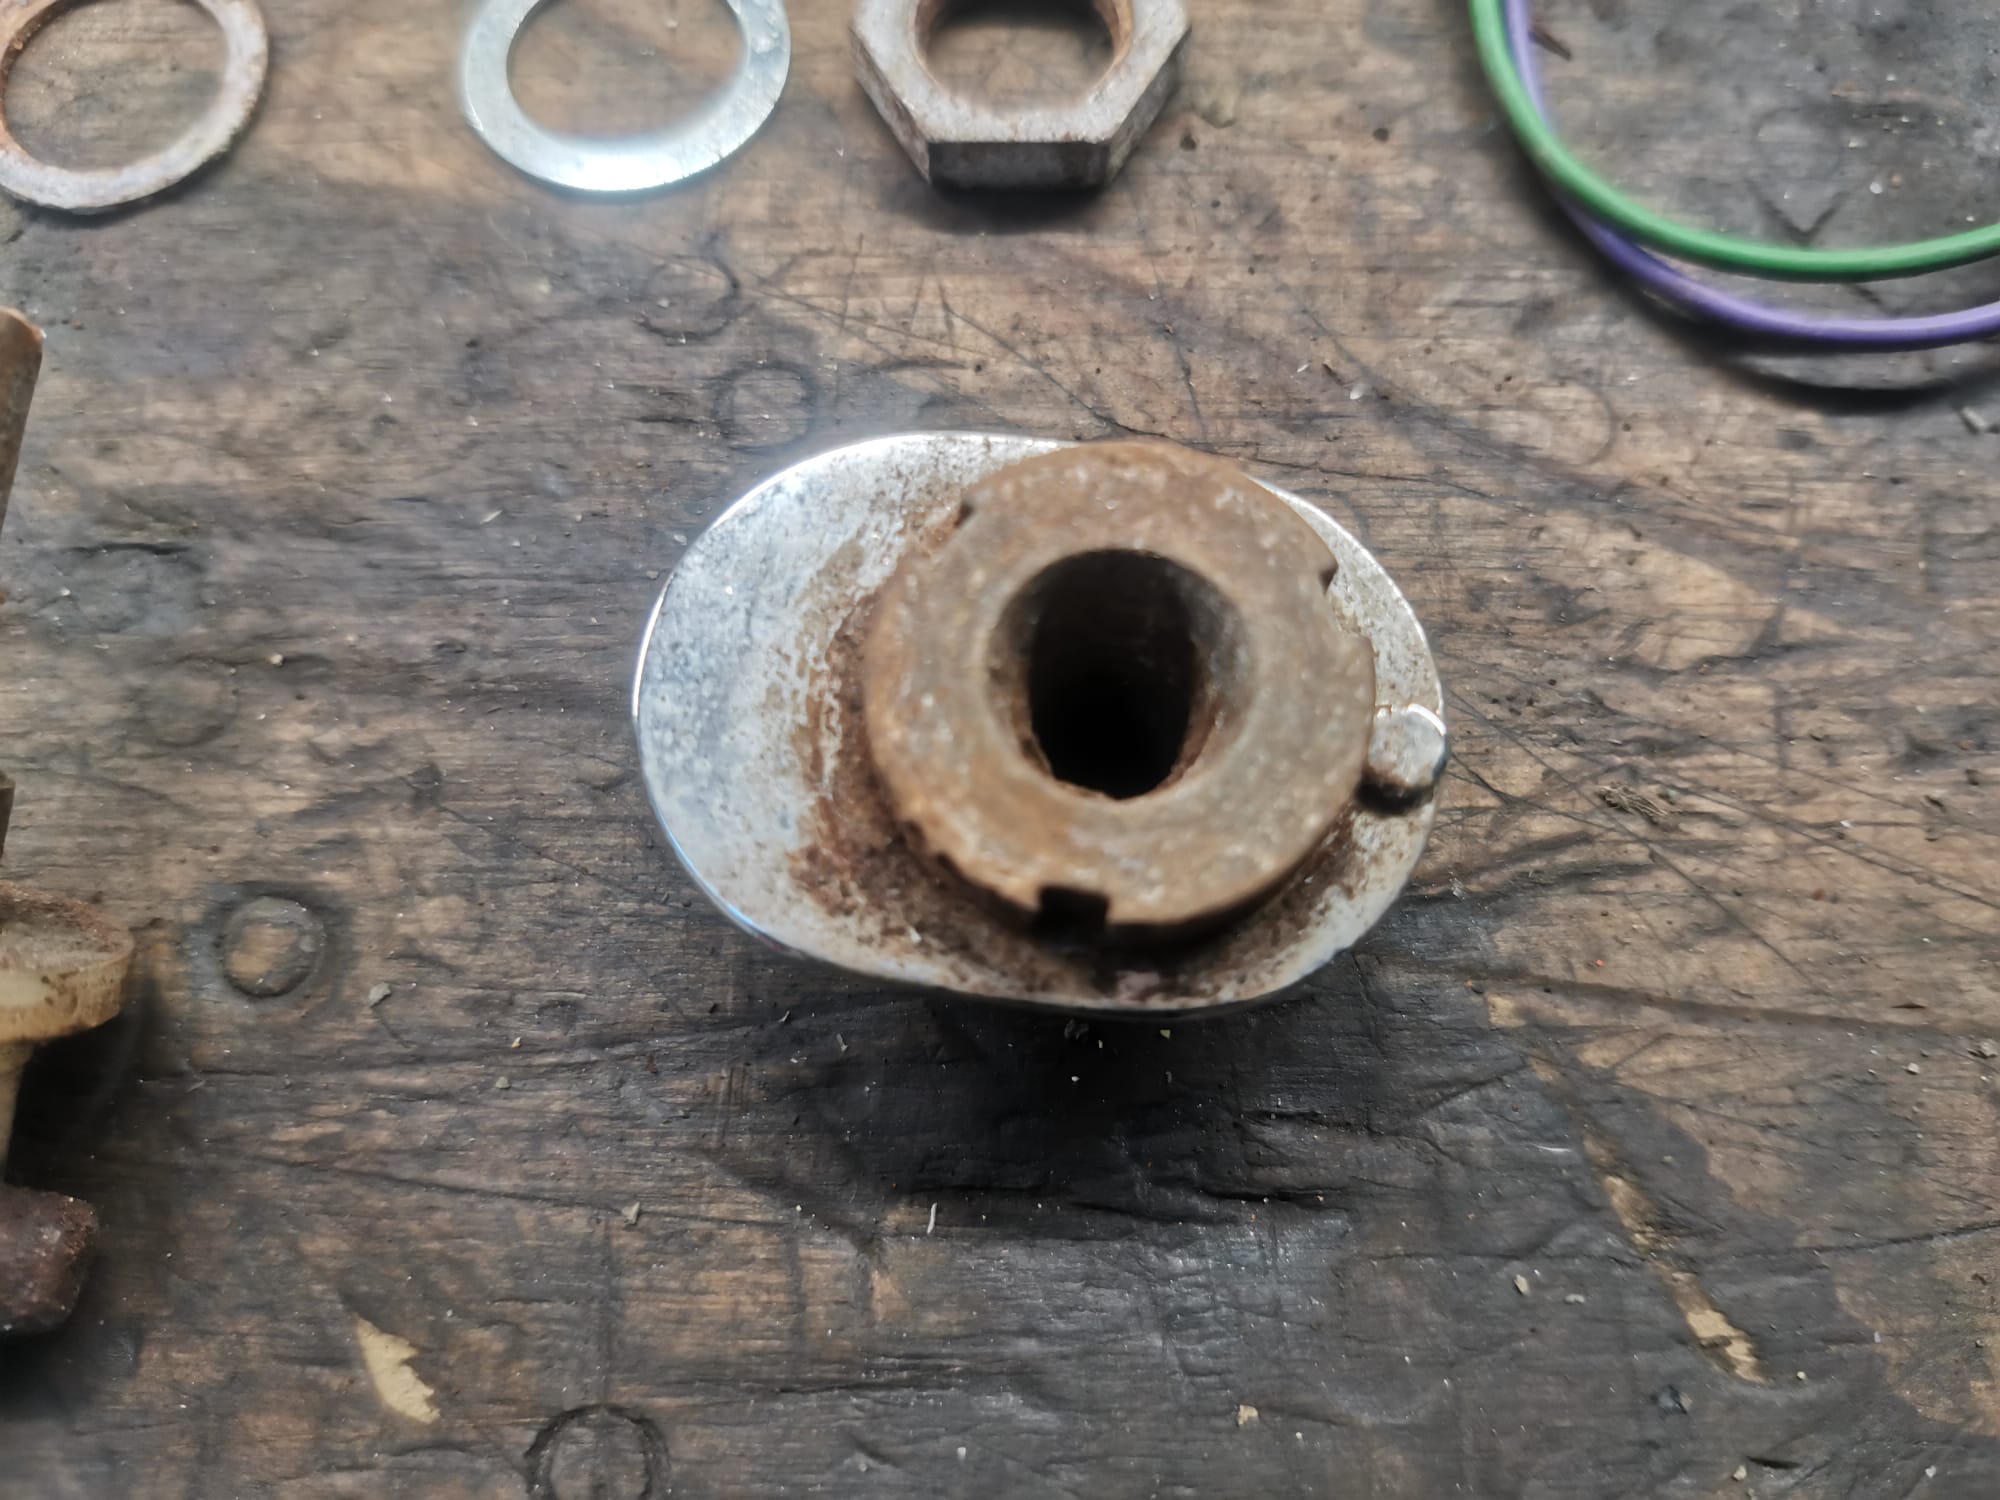
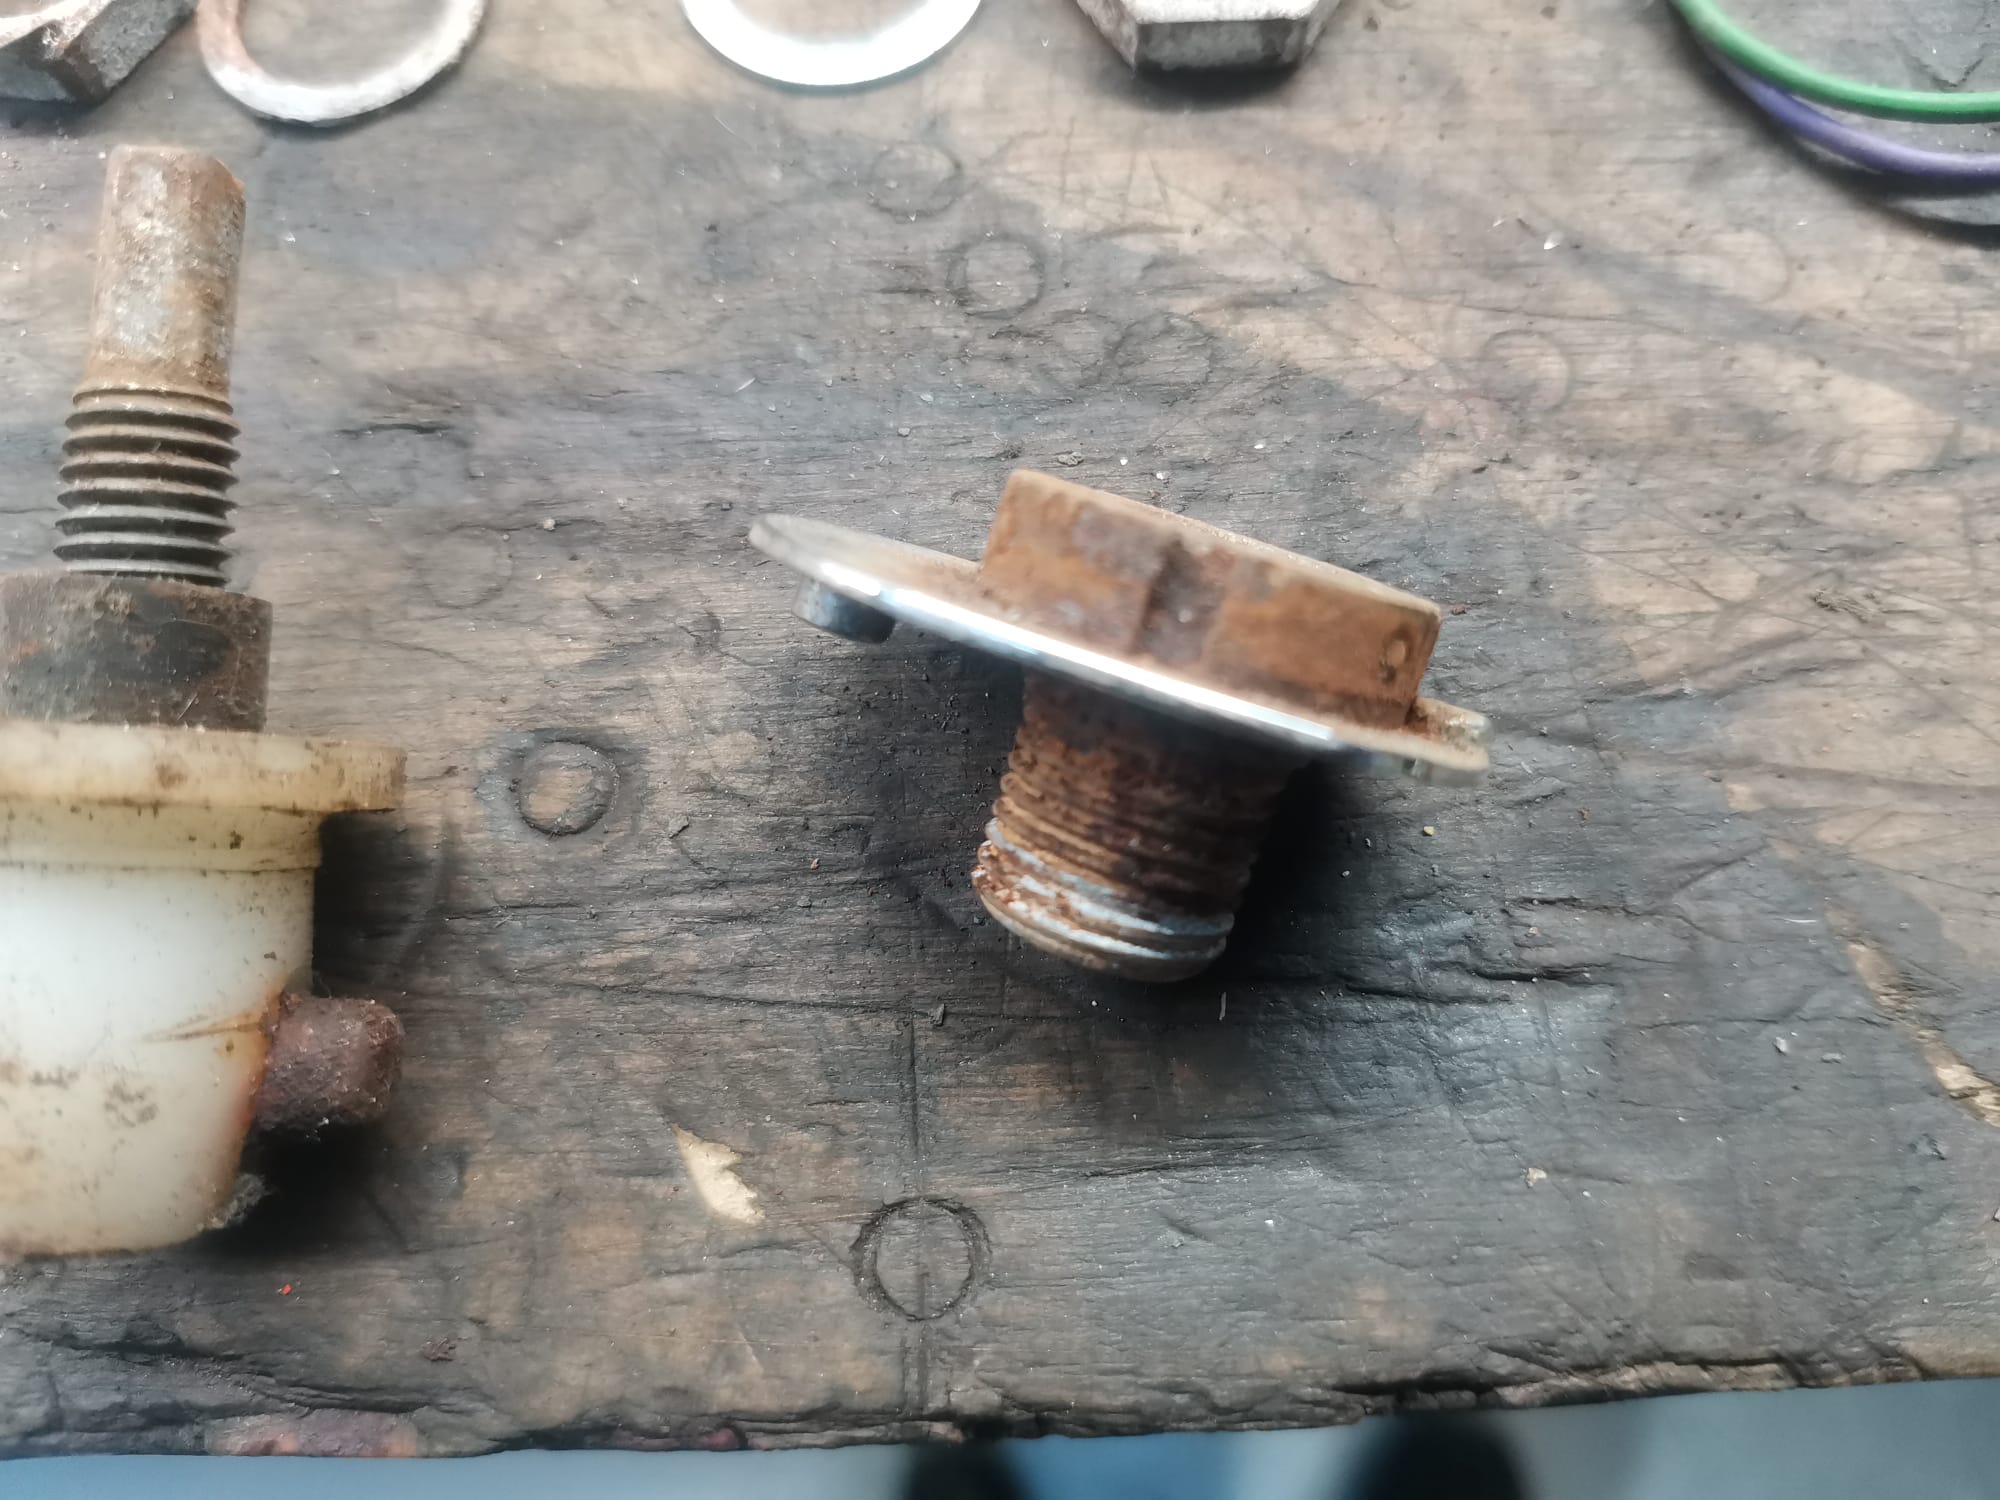
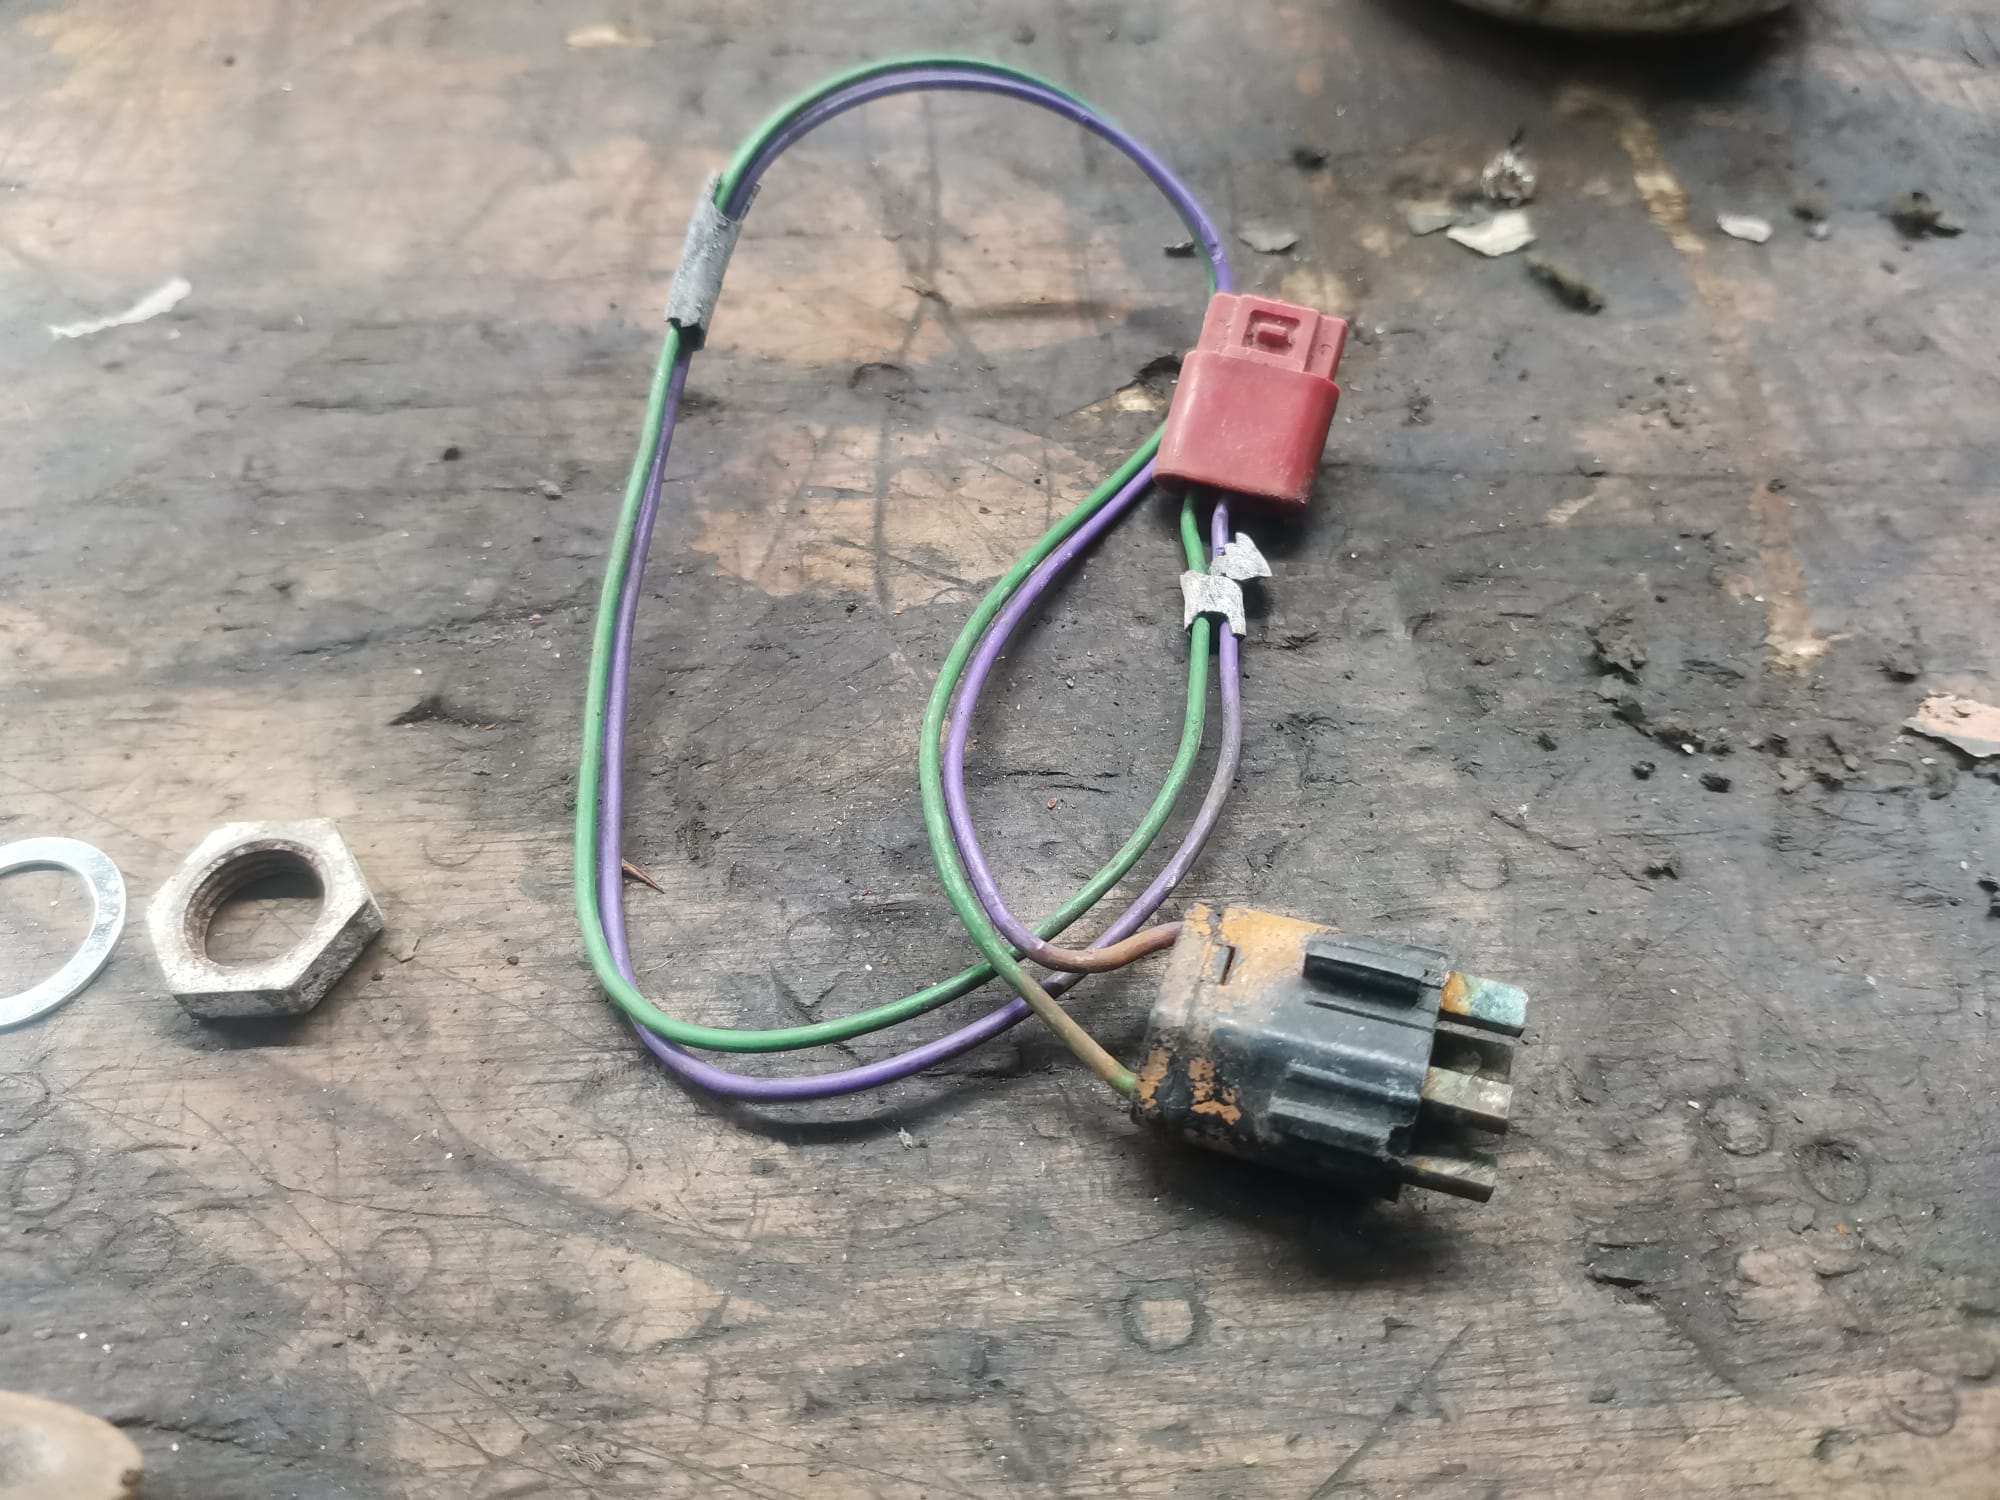
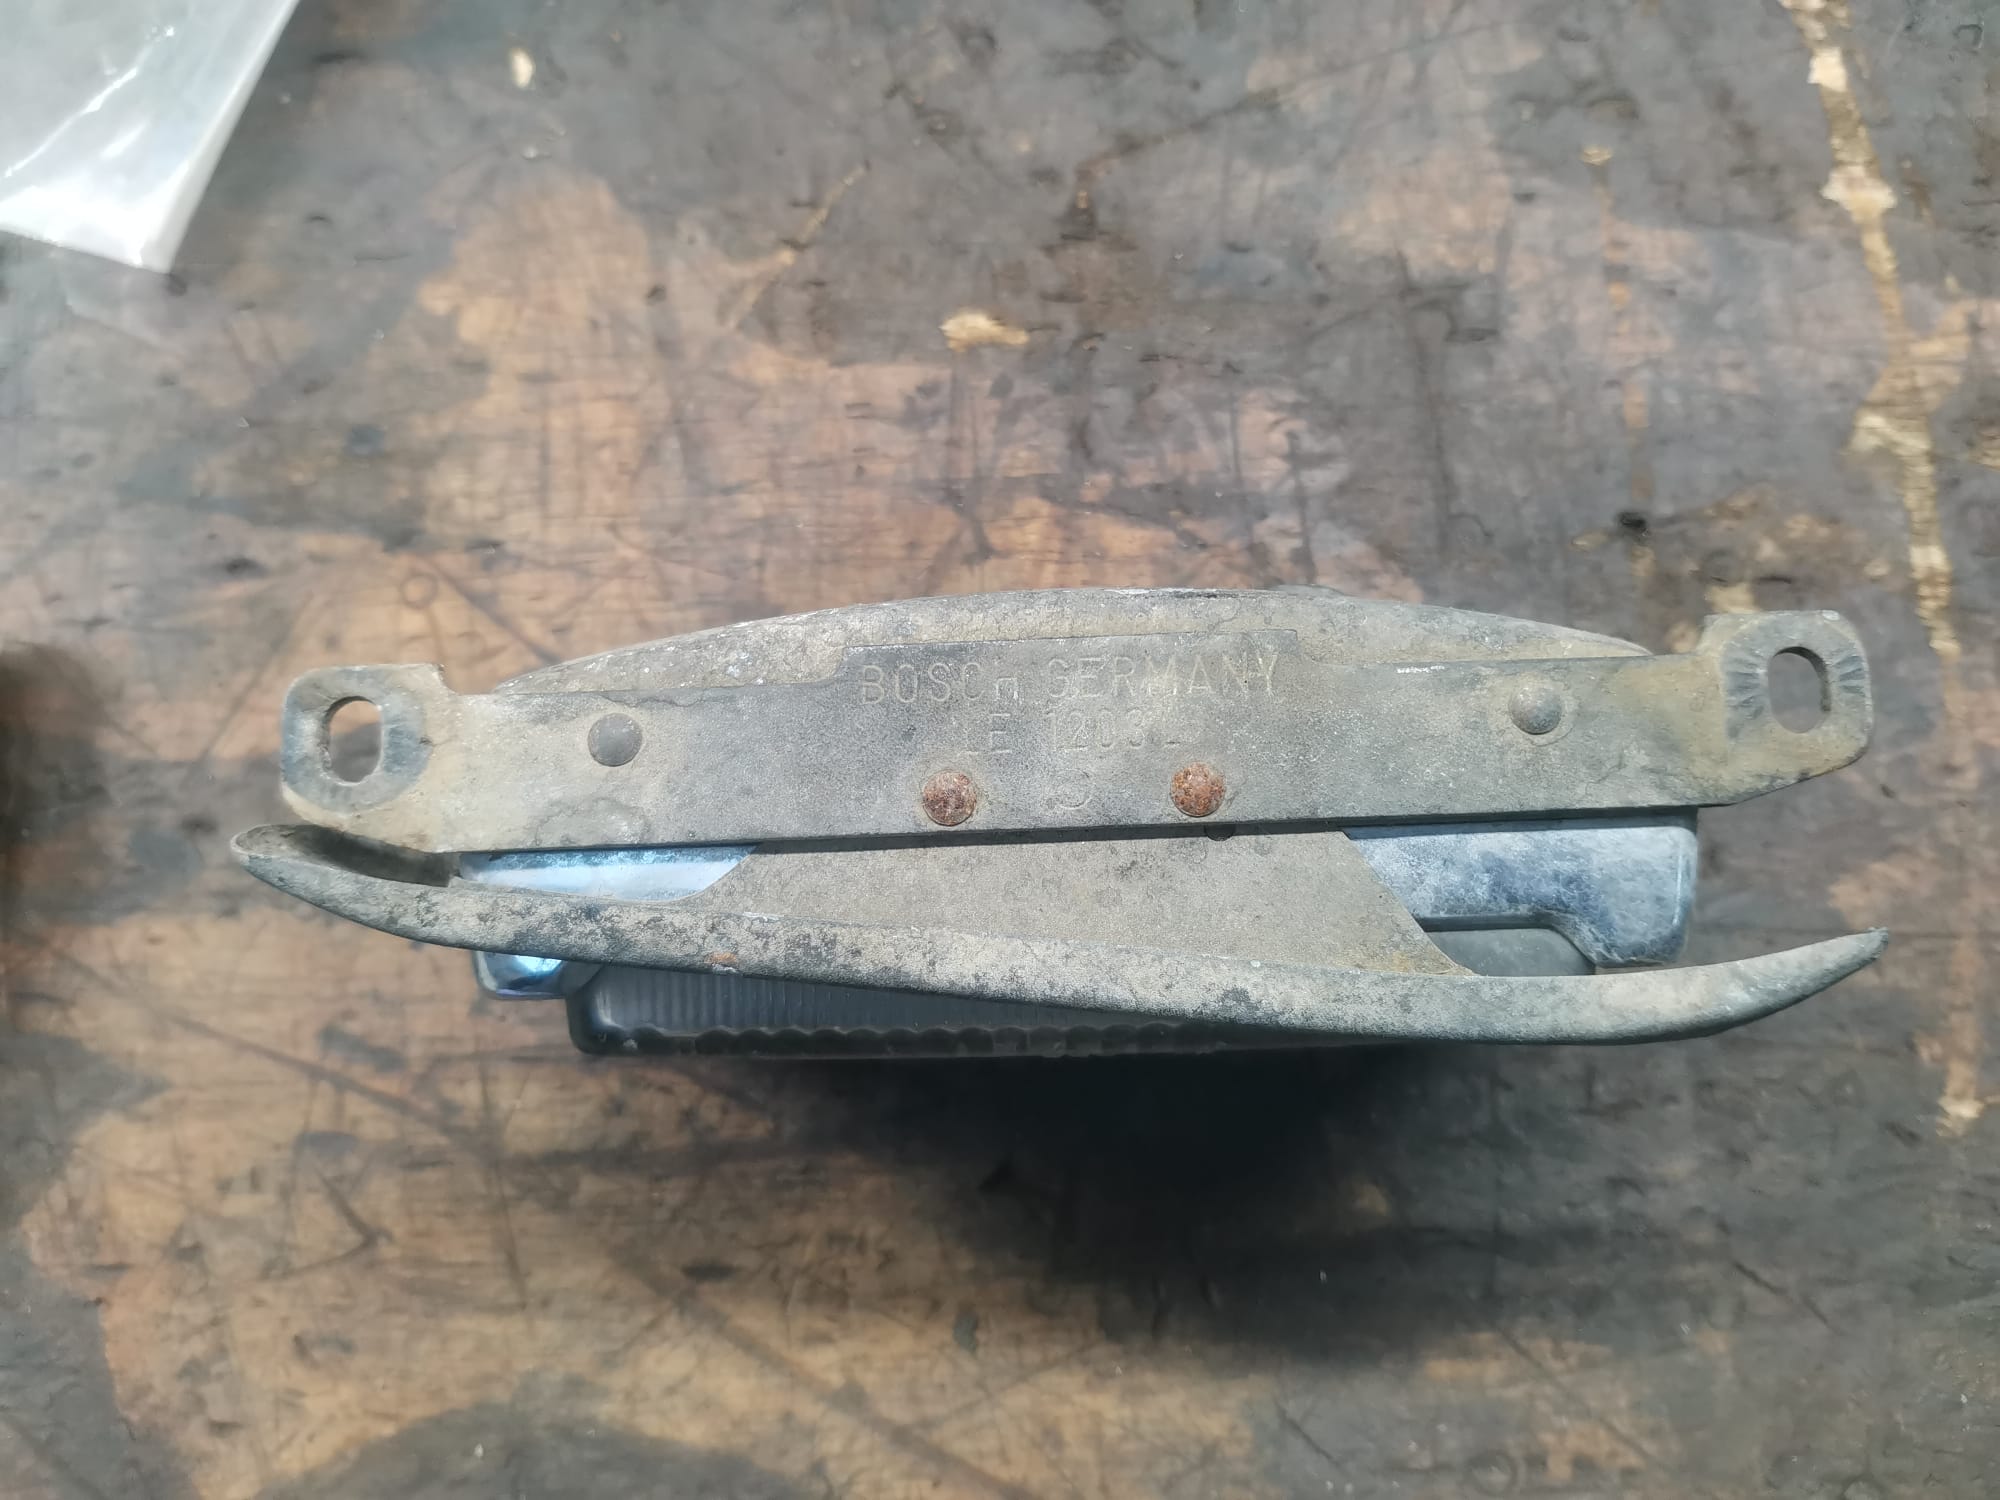
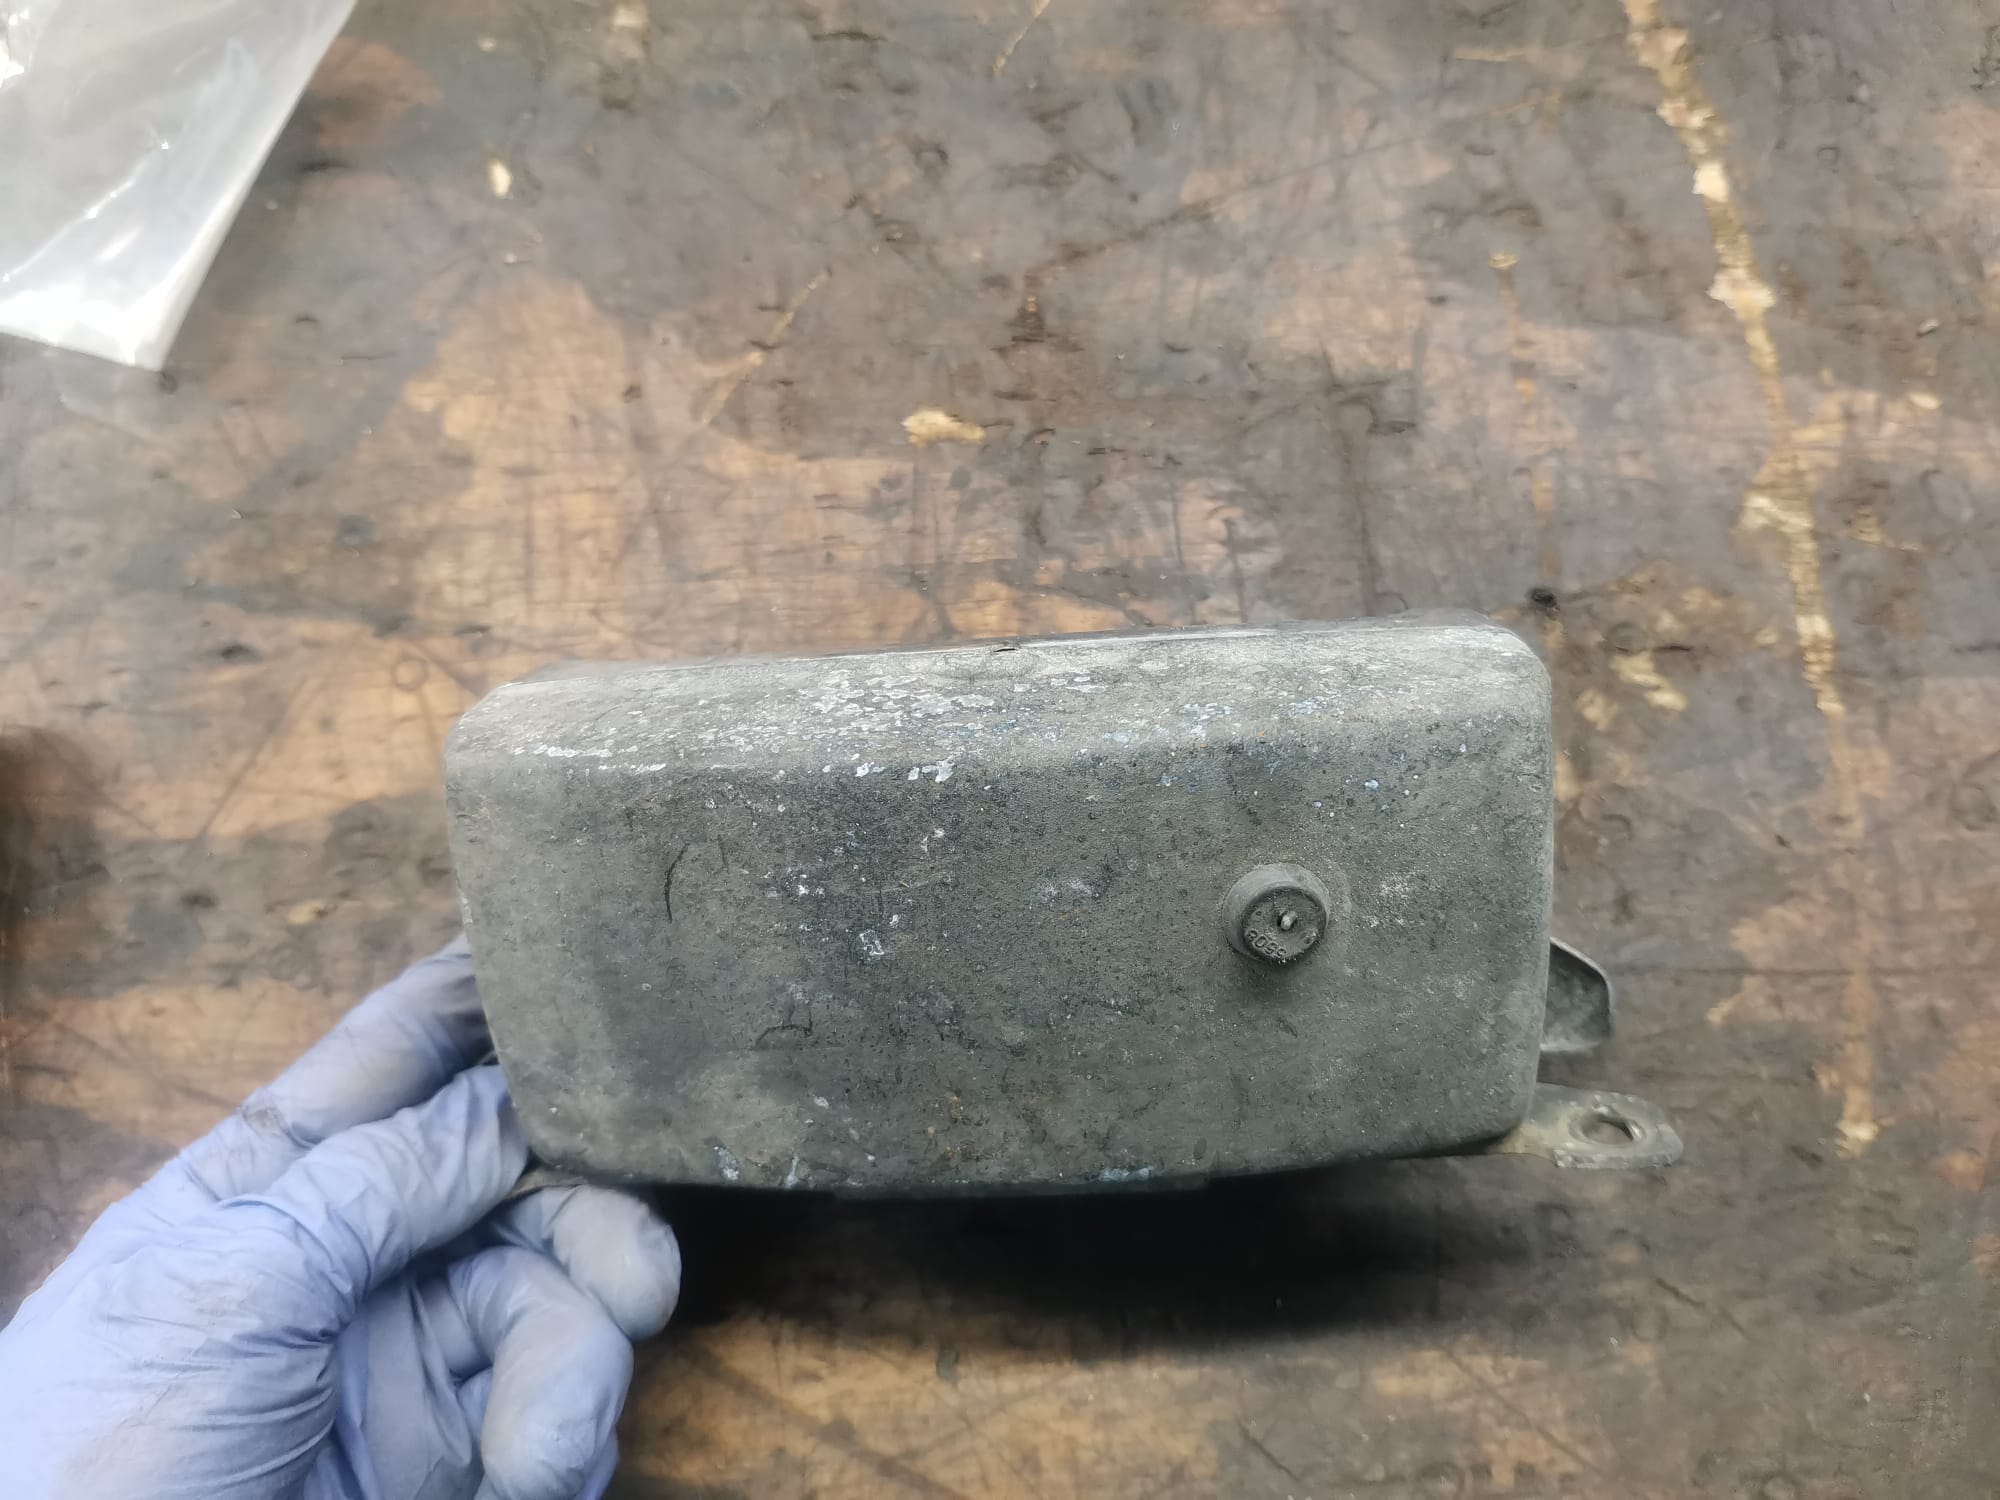
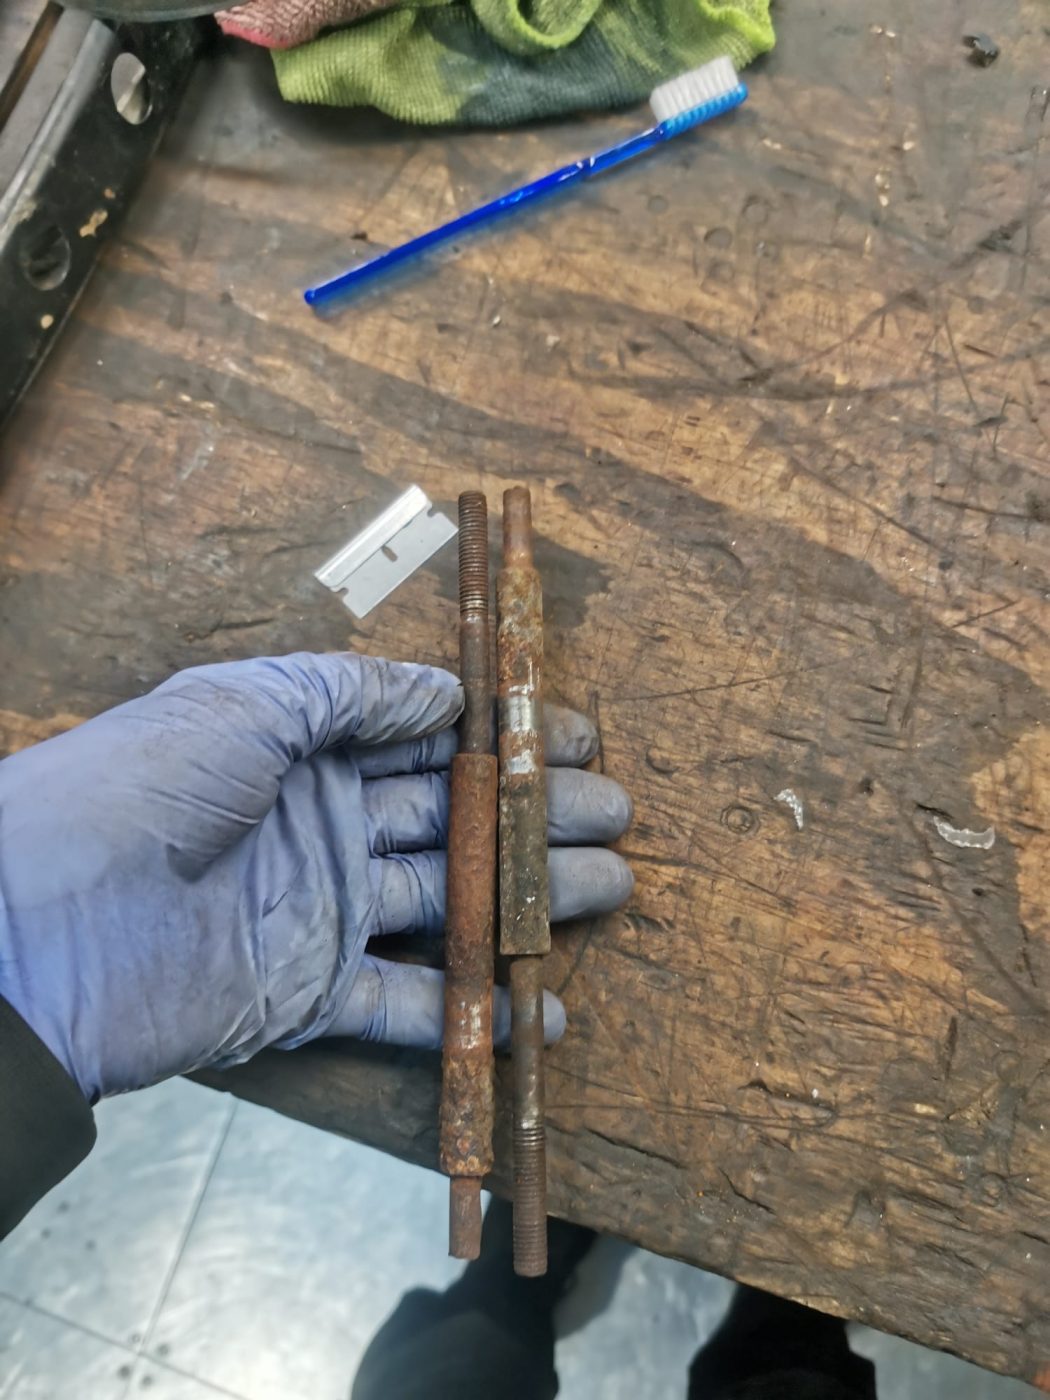
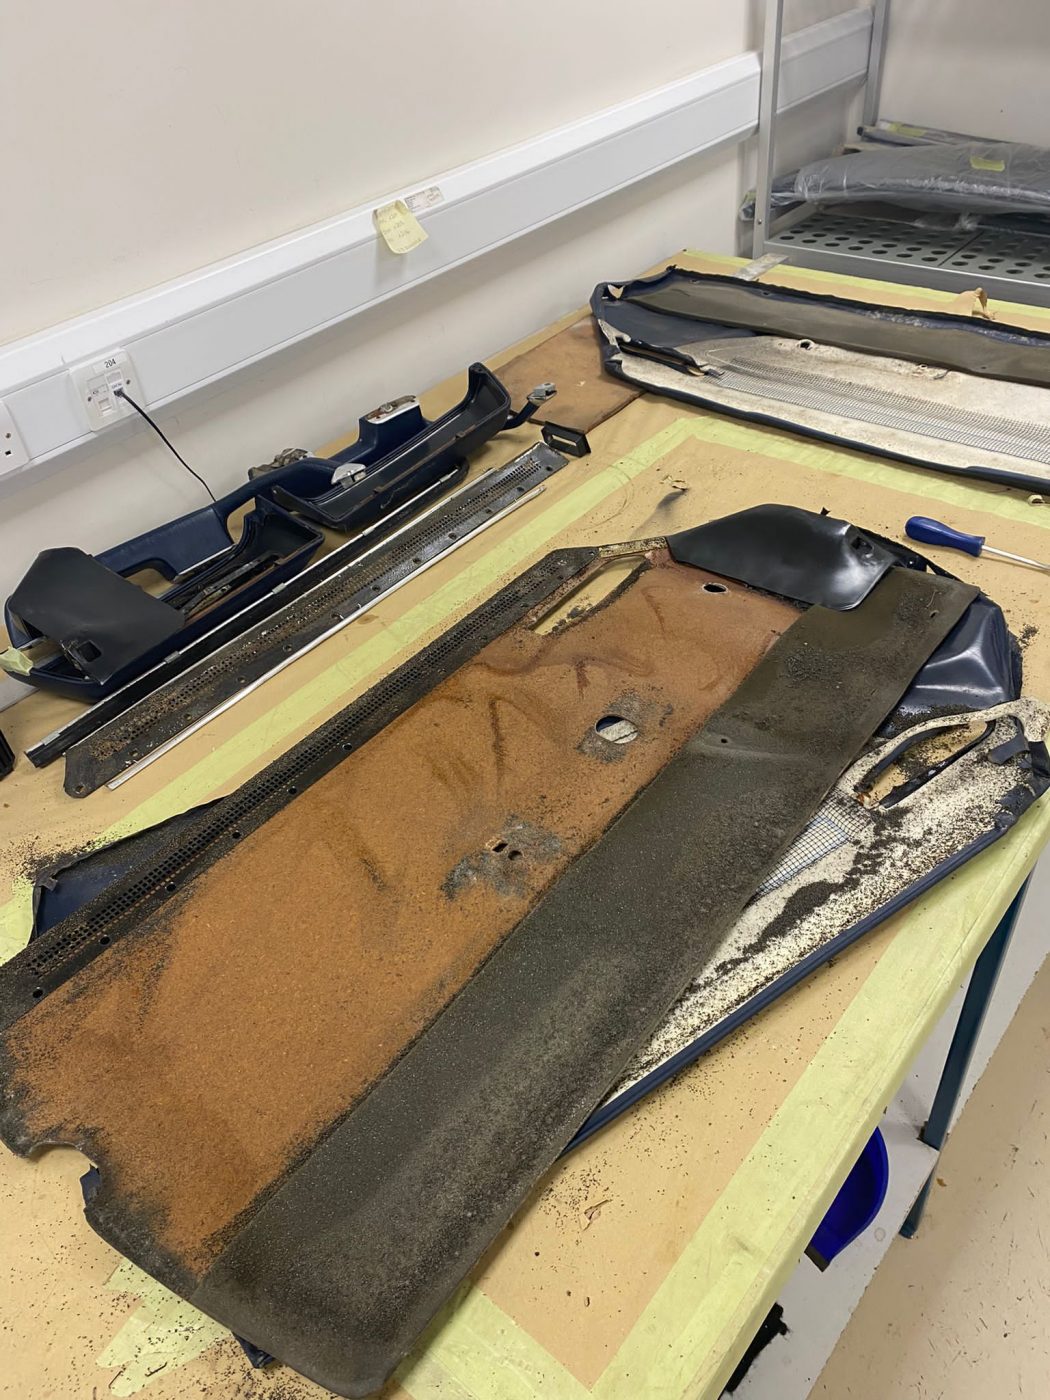
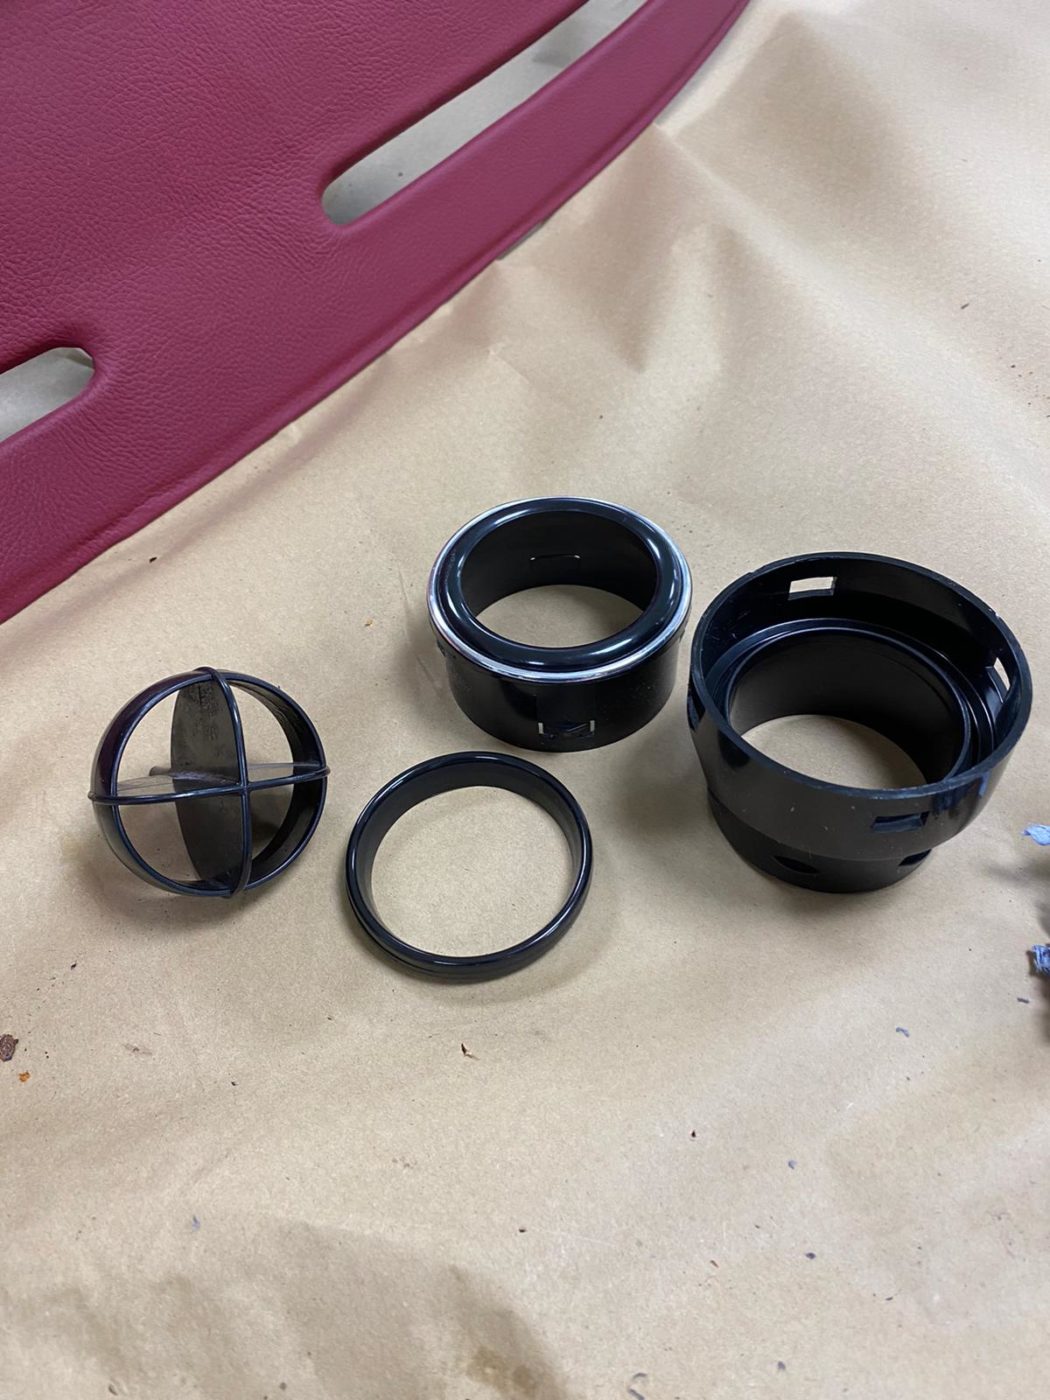
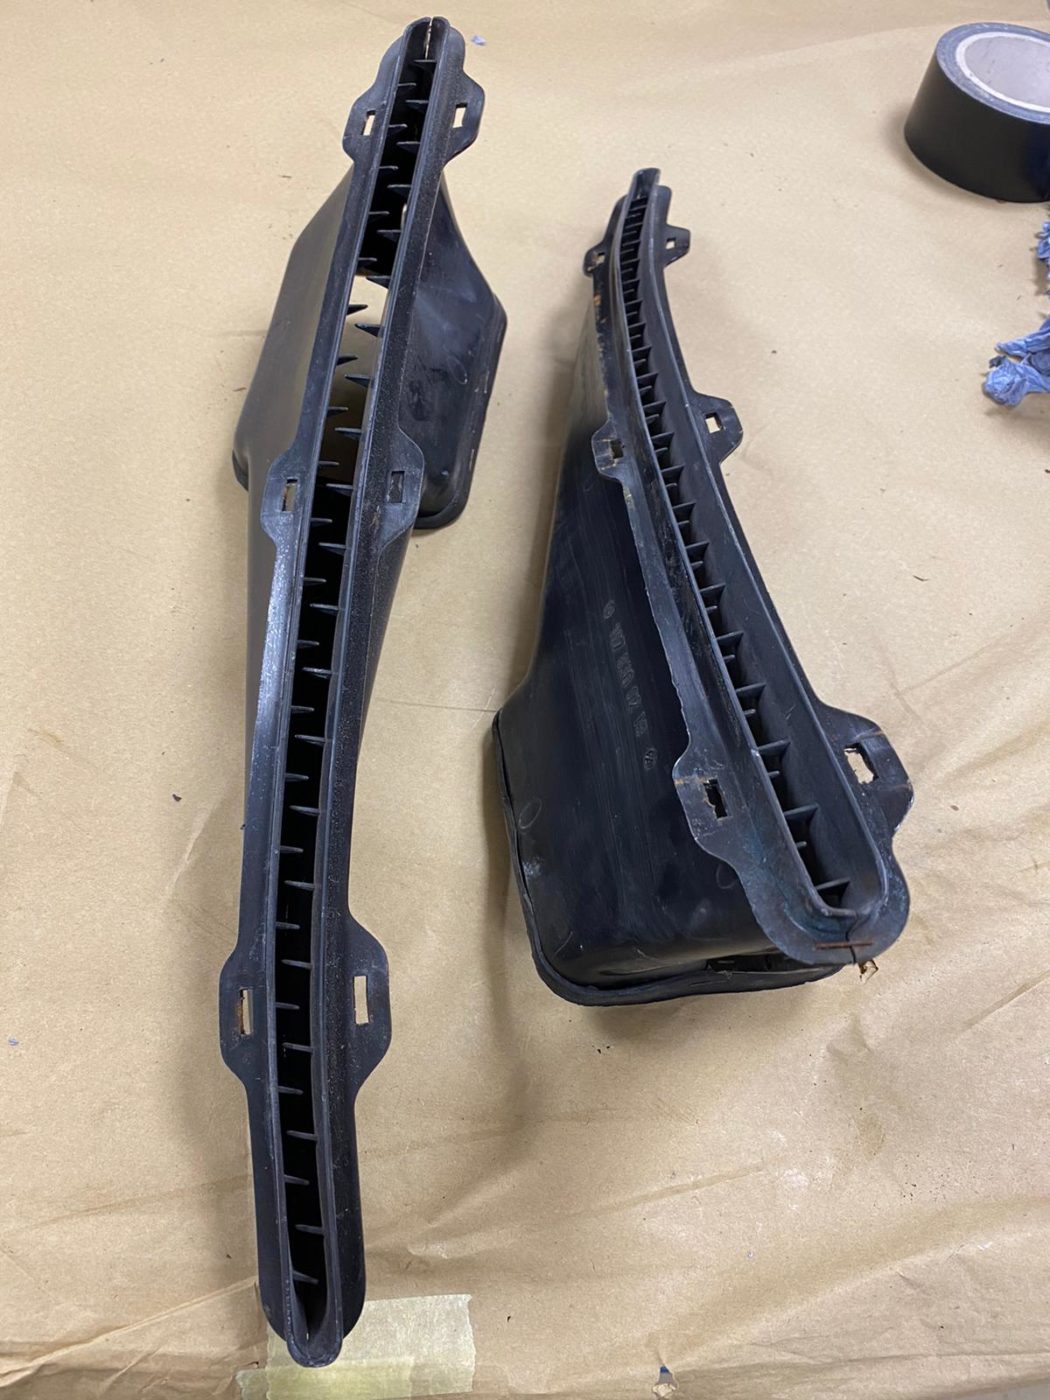
Bridge Classic Cars in-house restoration team have been busy assessing and cataloguing the next round of parts from the 1987 Mercedes 500SL restoration project.
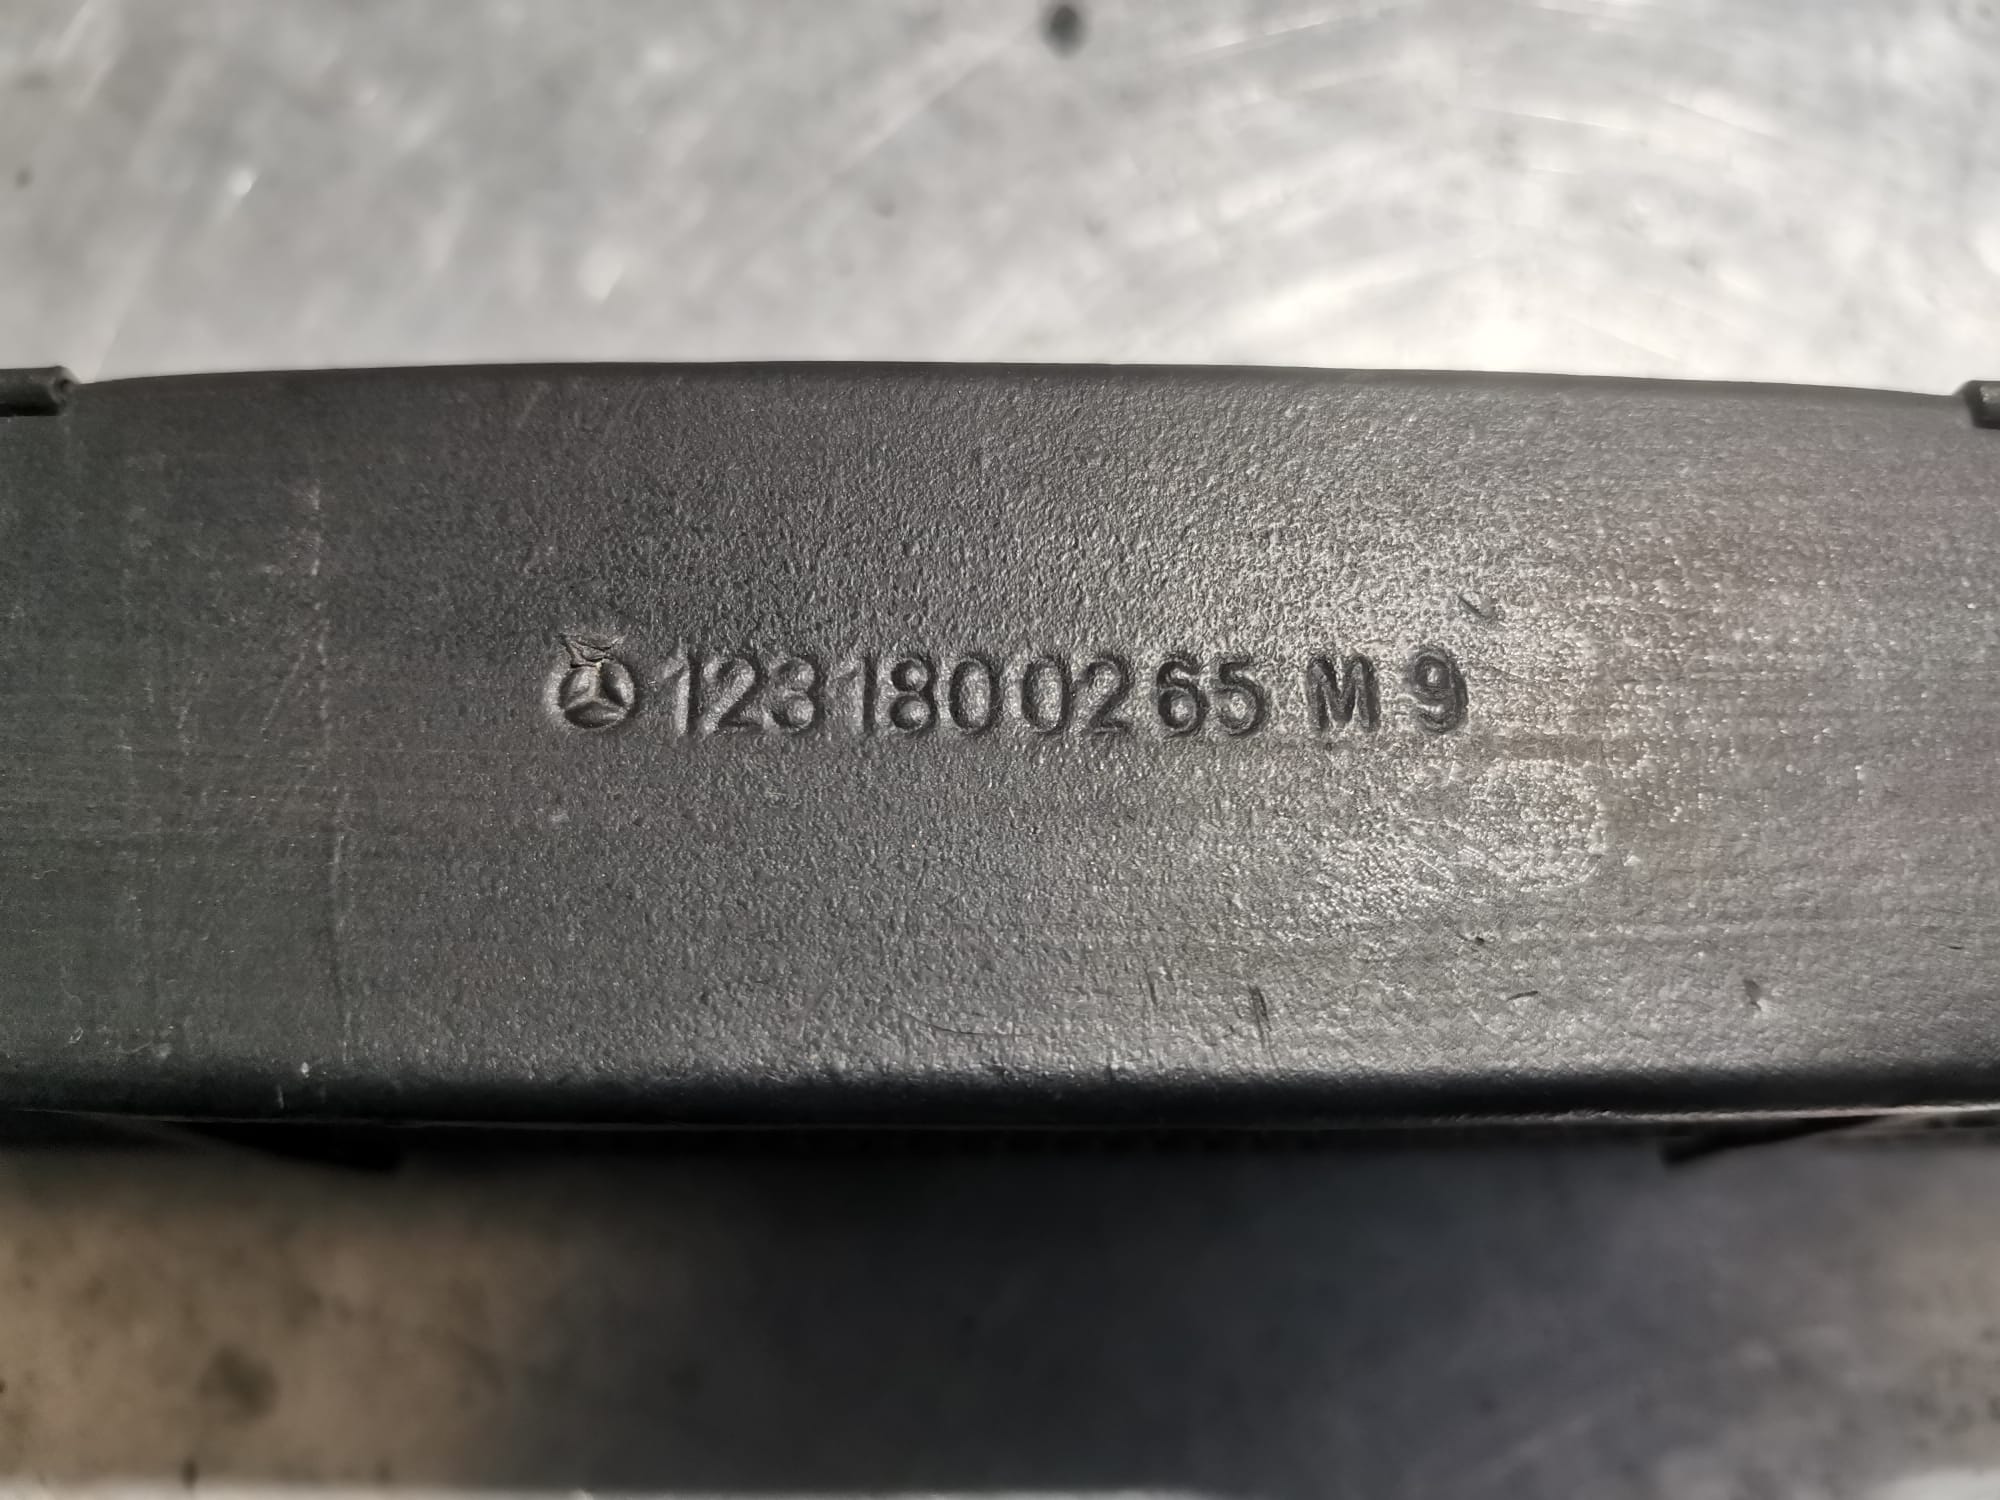
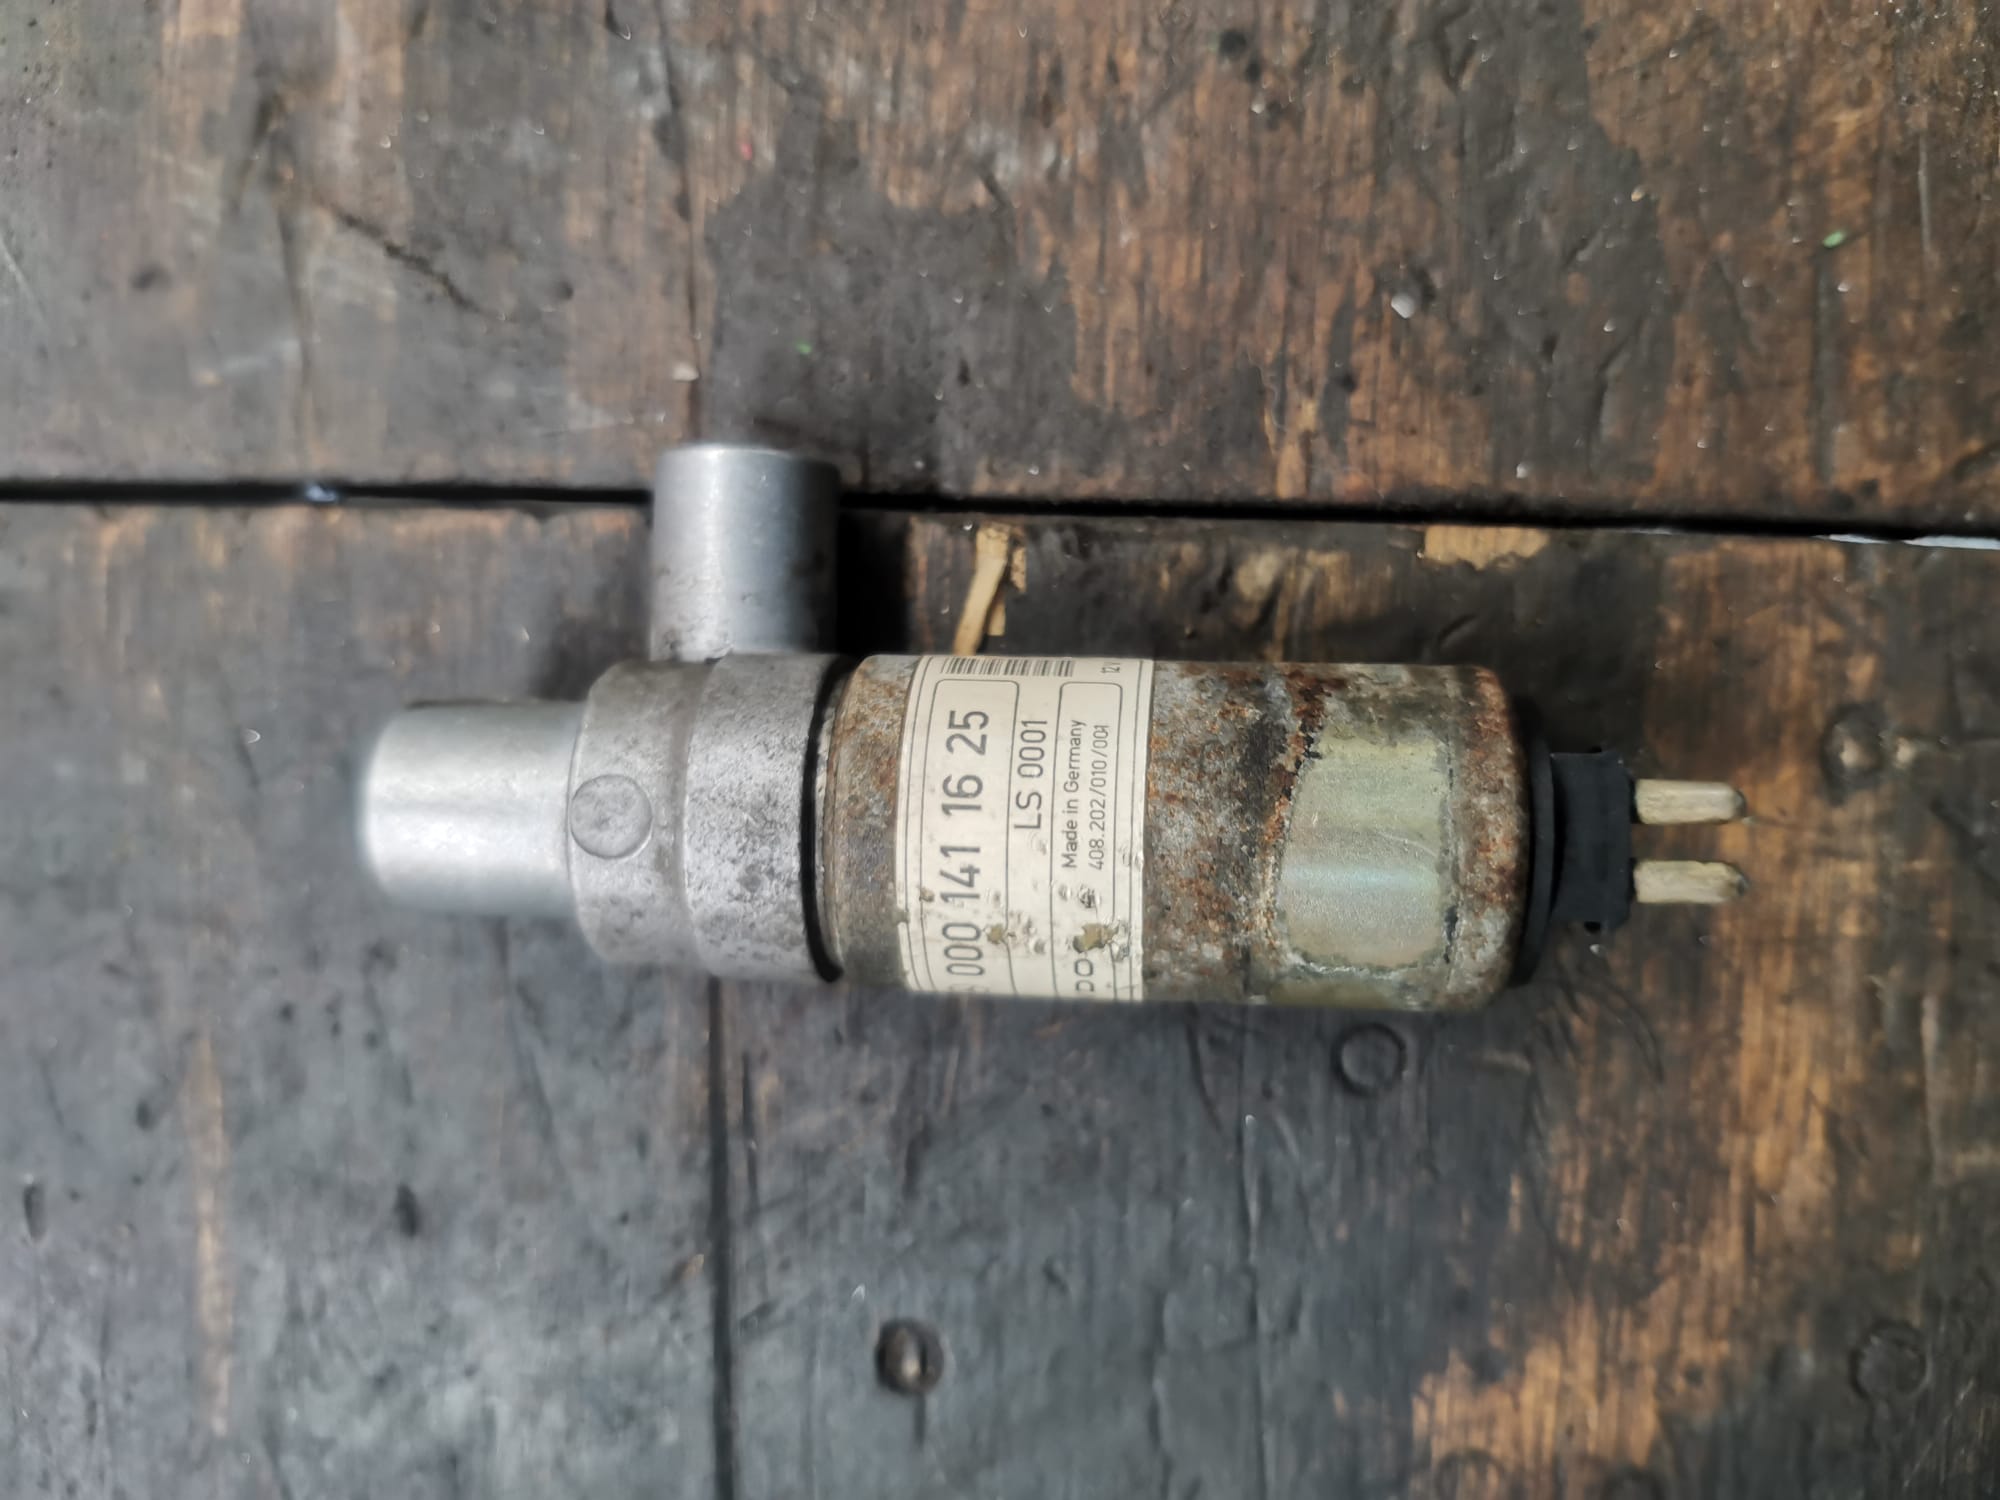
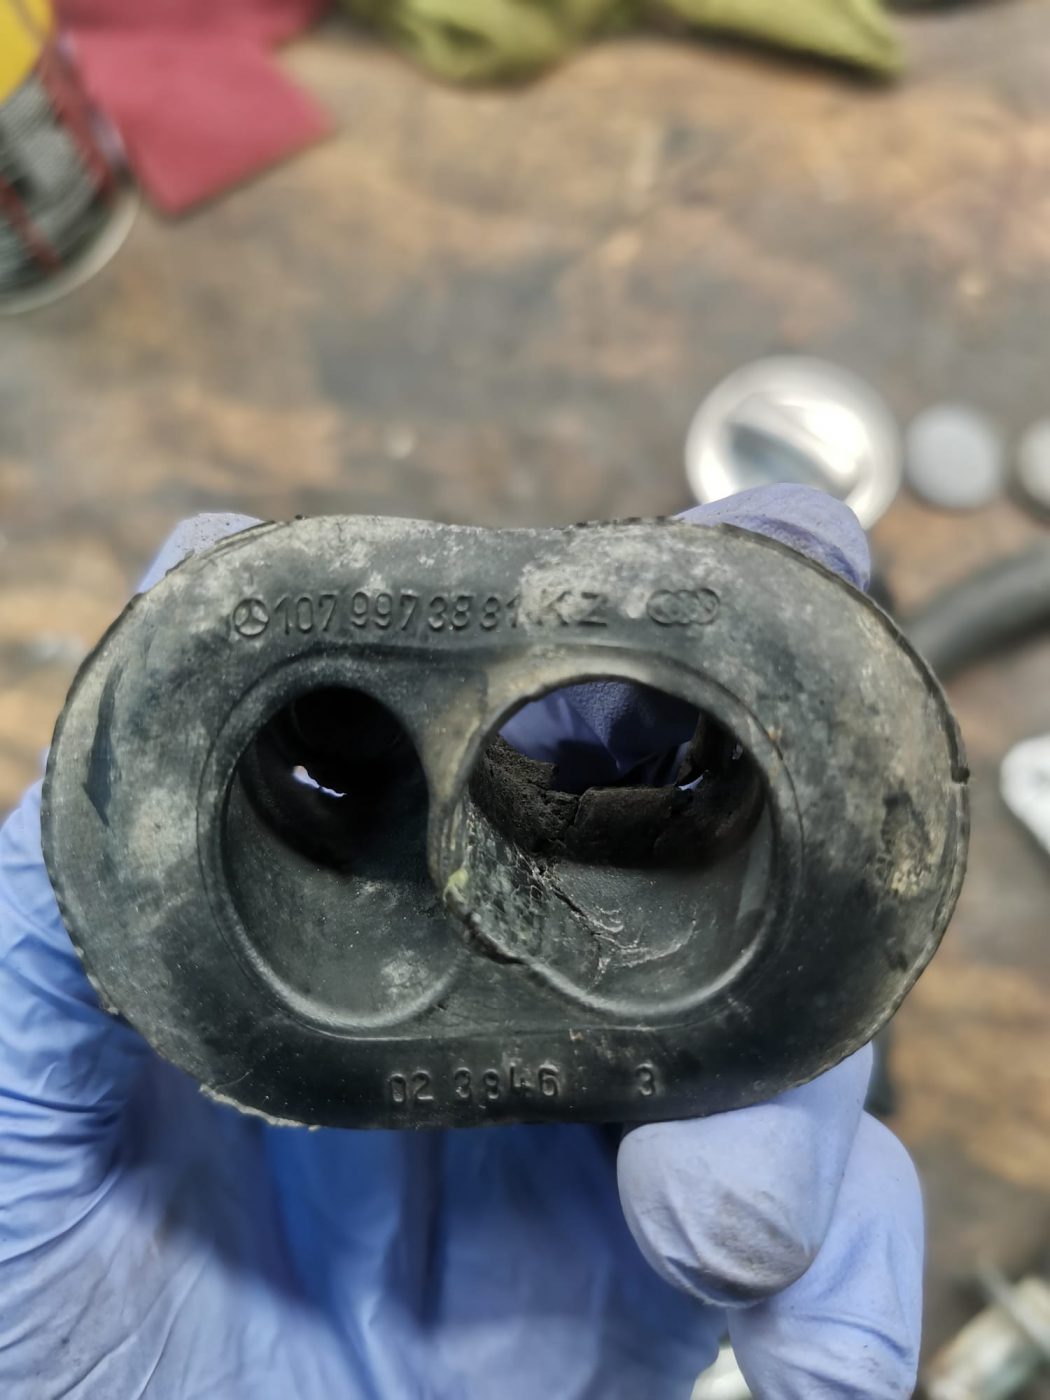
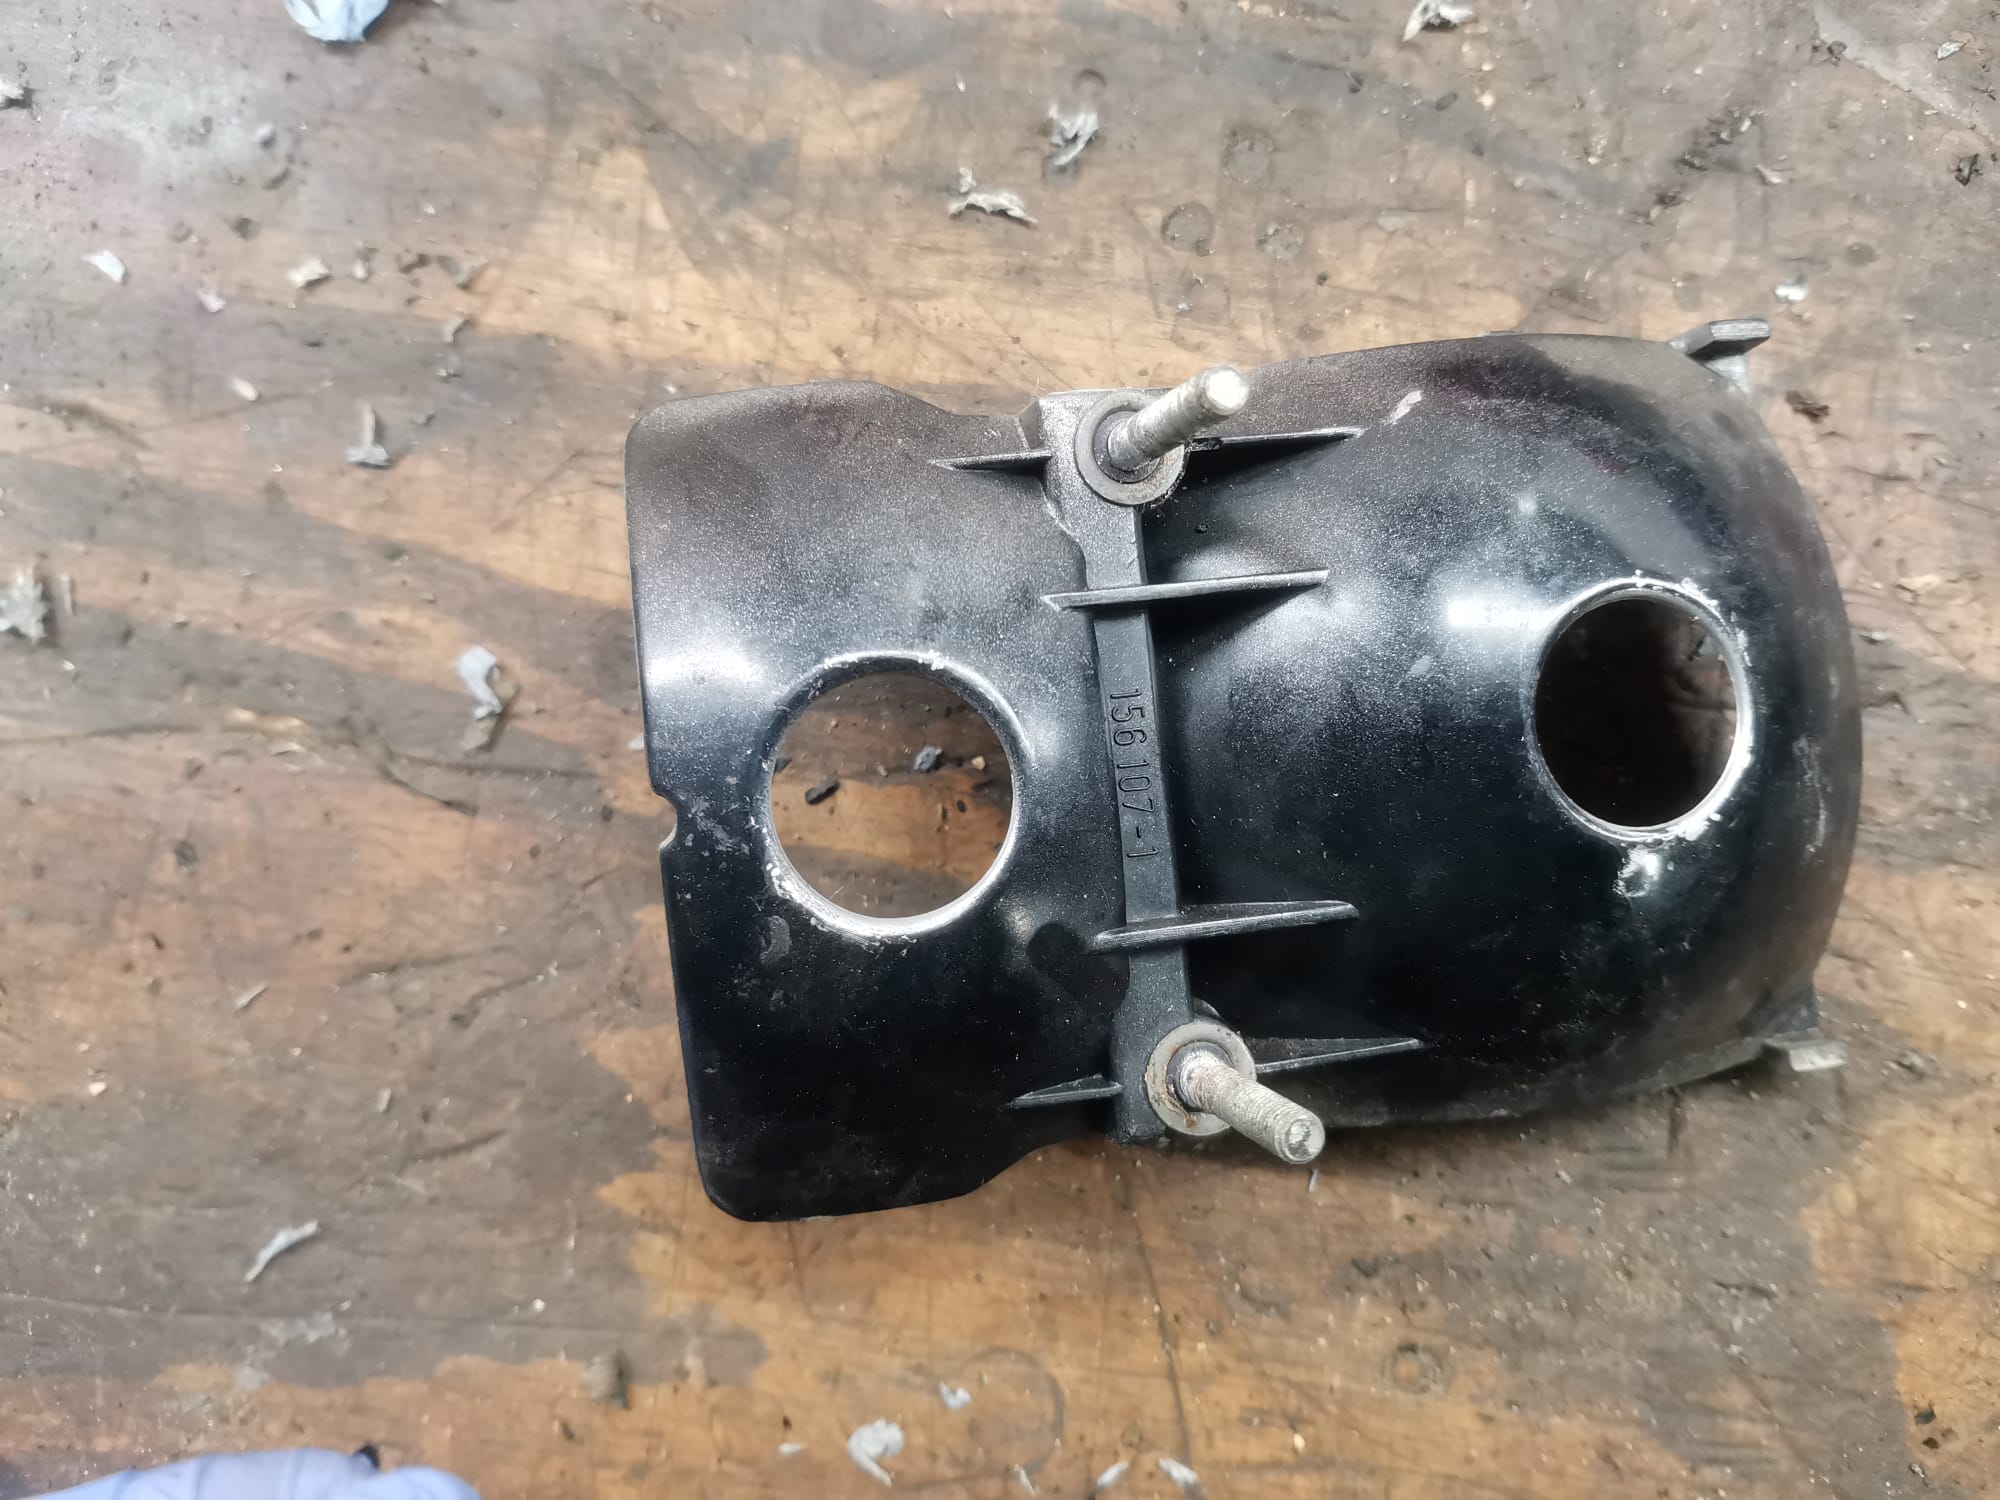
Tamas, has been going through each individual part to check its part number and operation/condition for when the car comes back in for final assembly. This is a crucial part of any restoration project so that replacements can be sourced or pieces can be sent off for refurbishment.
Expect to see a lot more on the 1987 Mercedes 500SL here on the Bridge Classic Cars news page very soon.
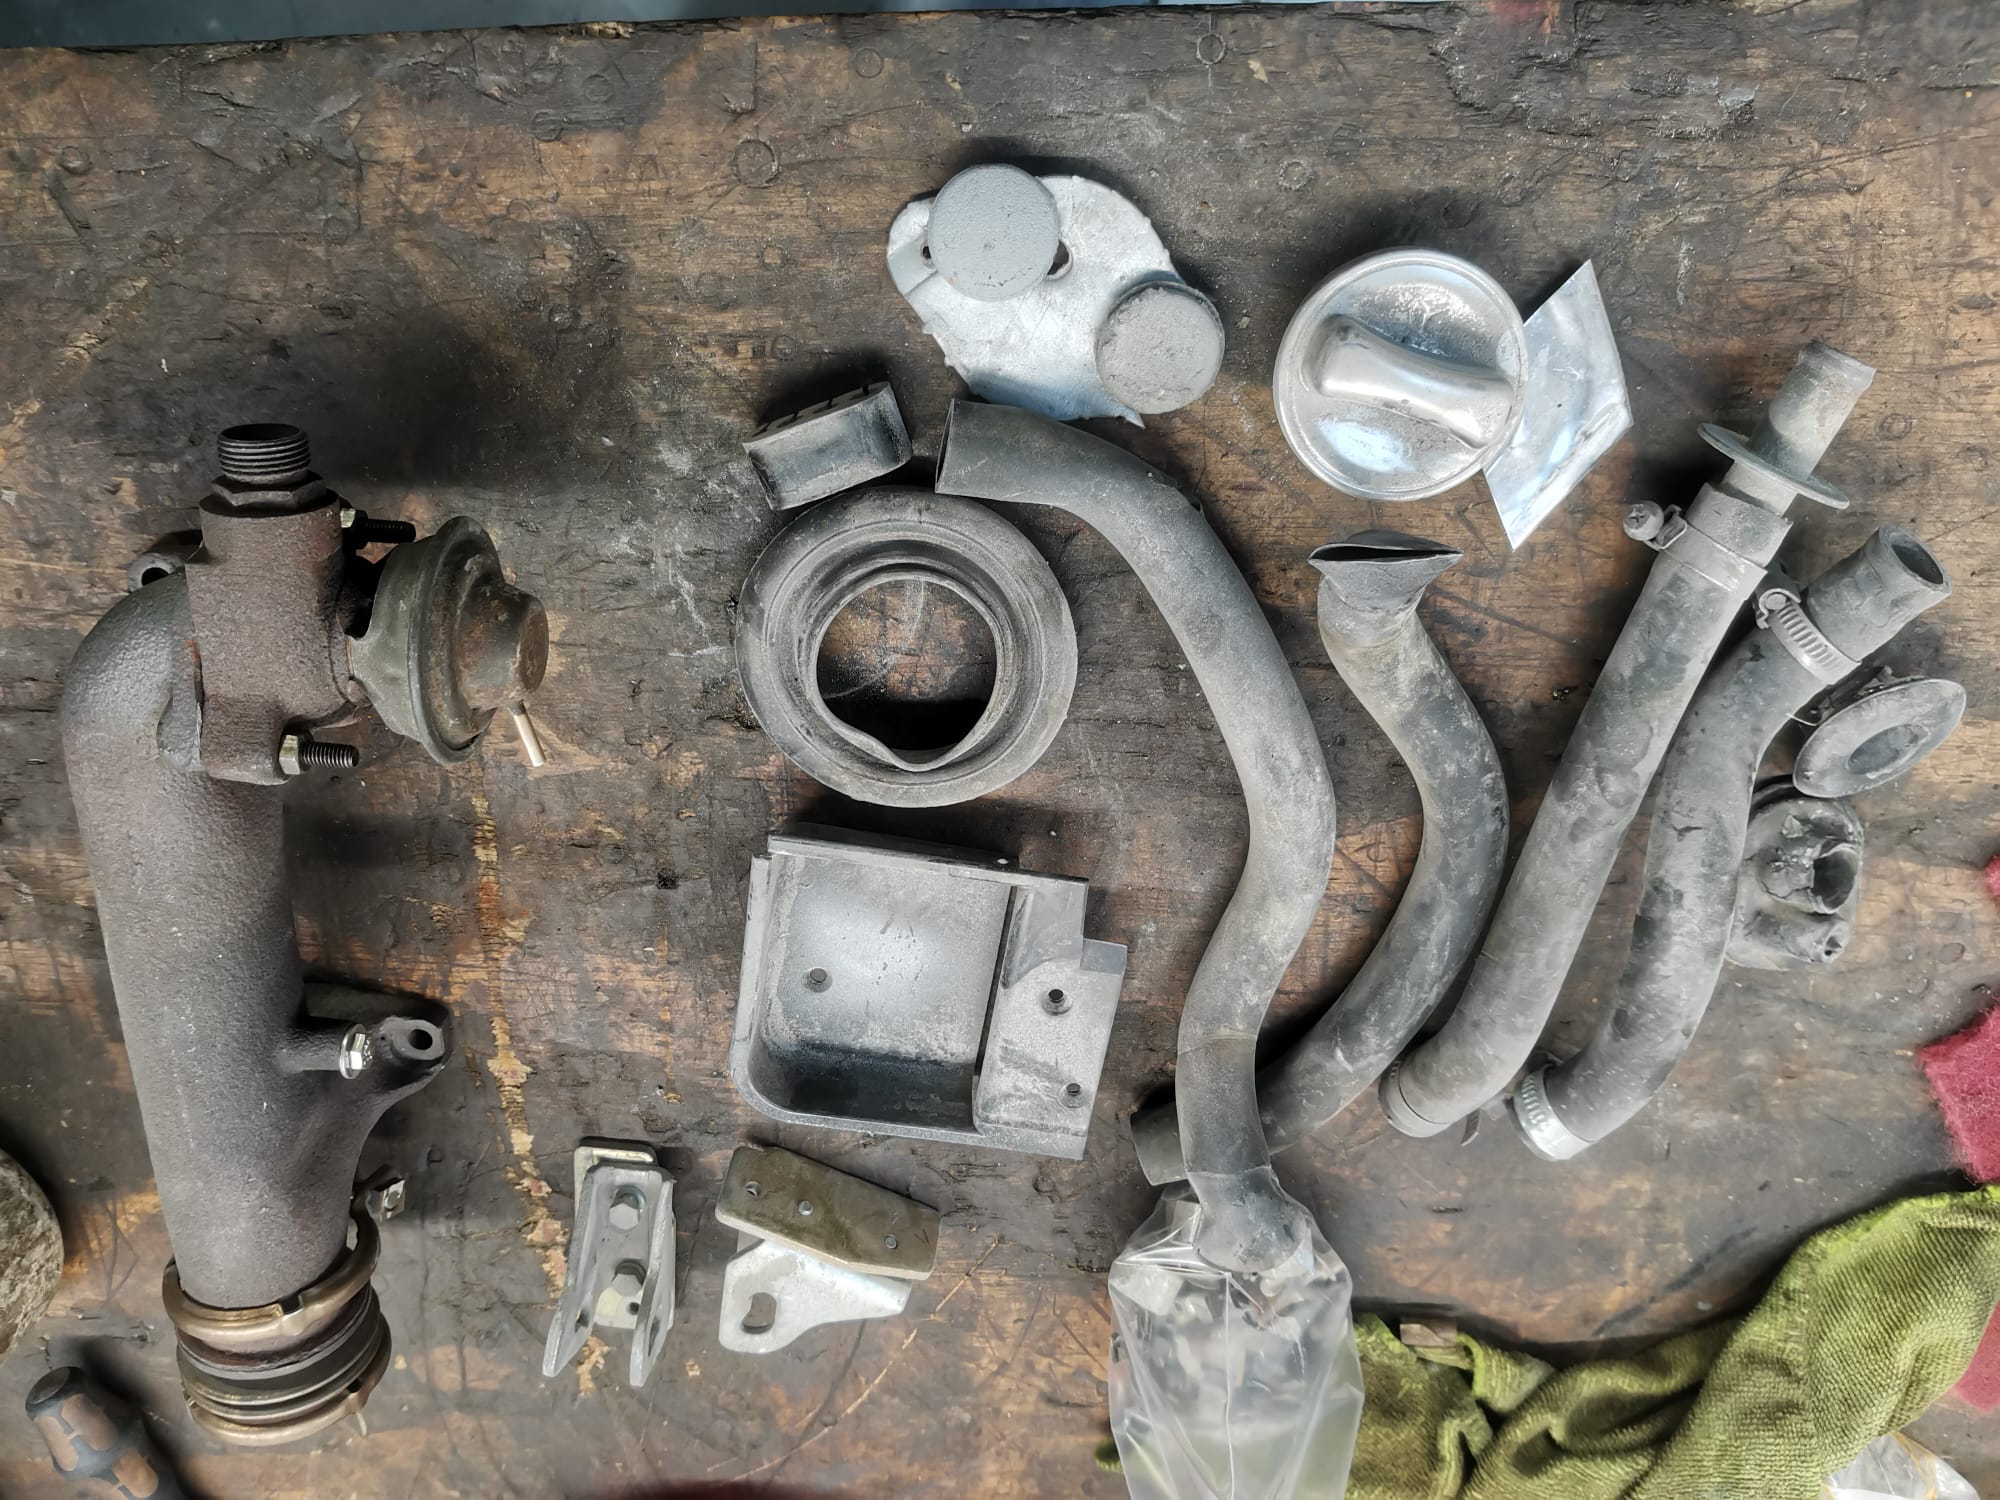


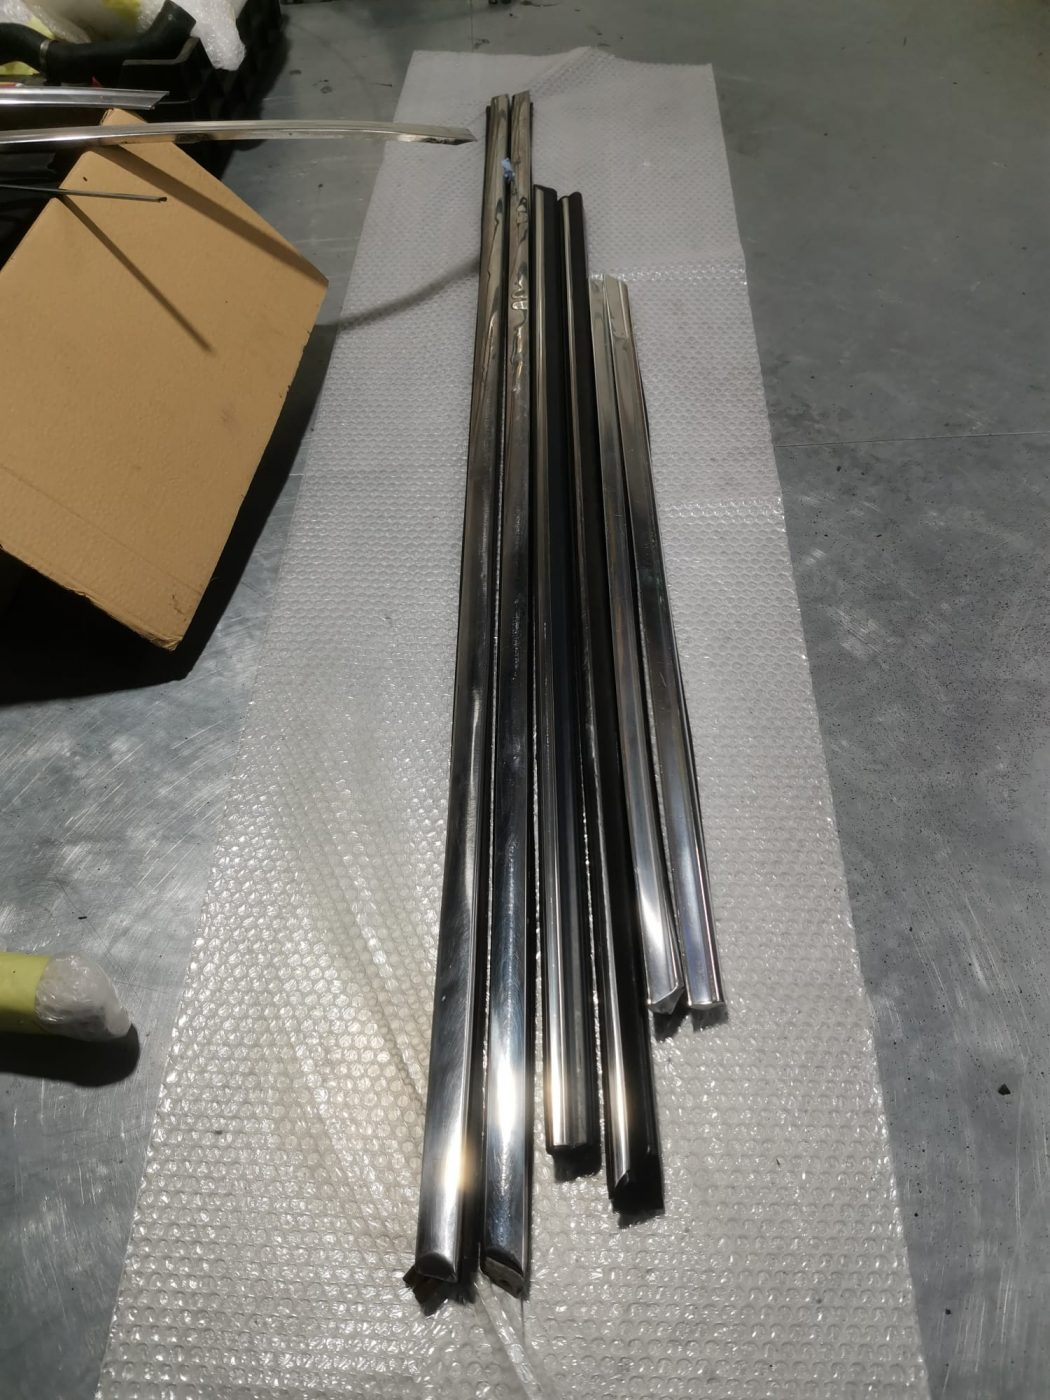
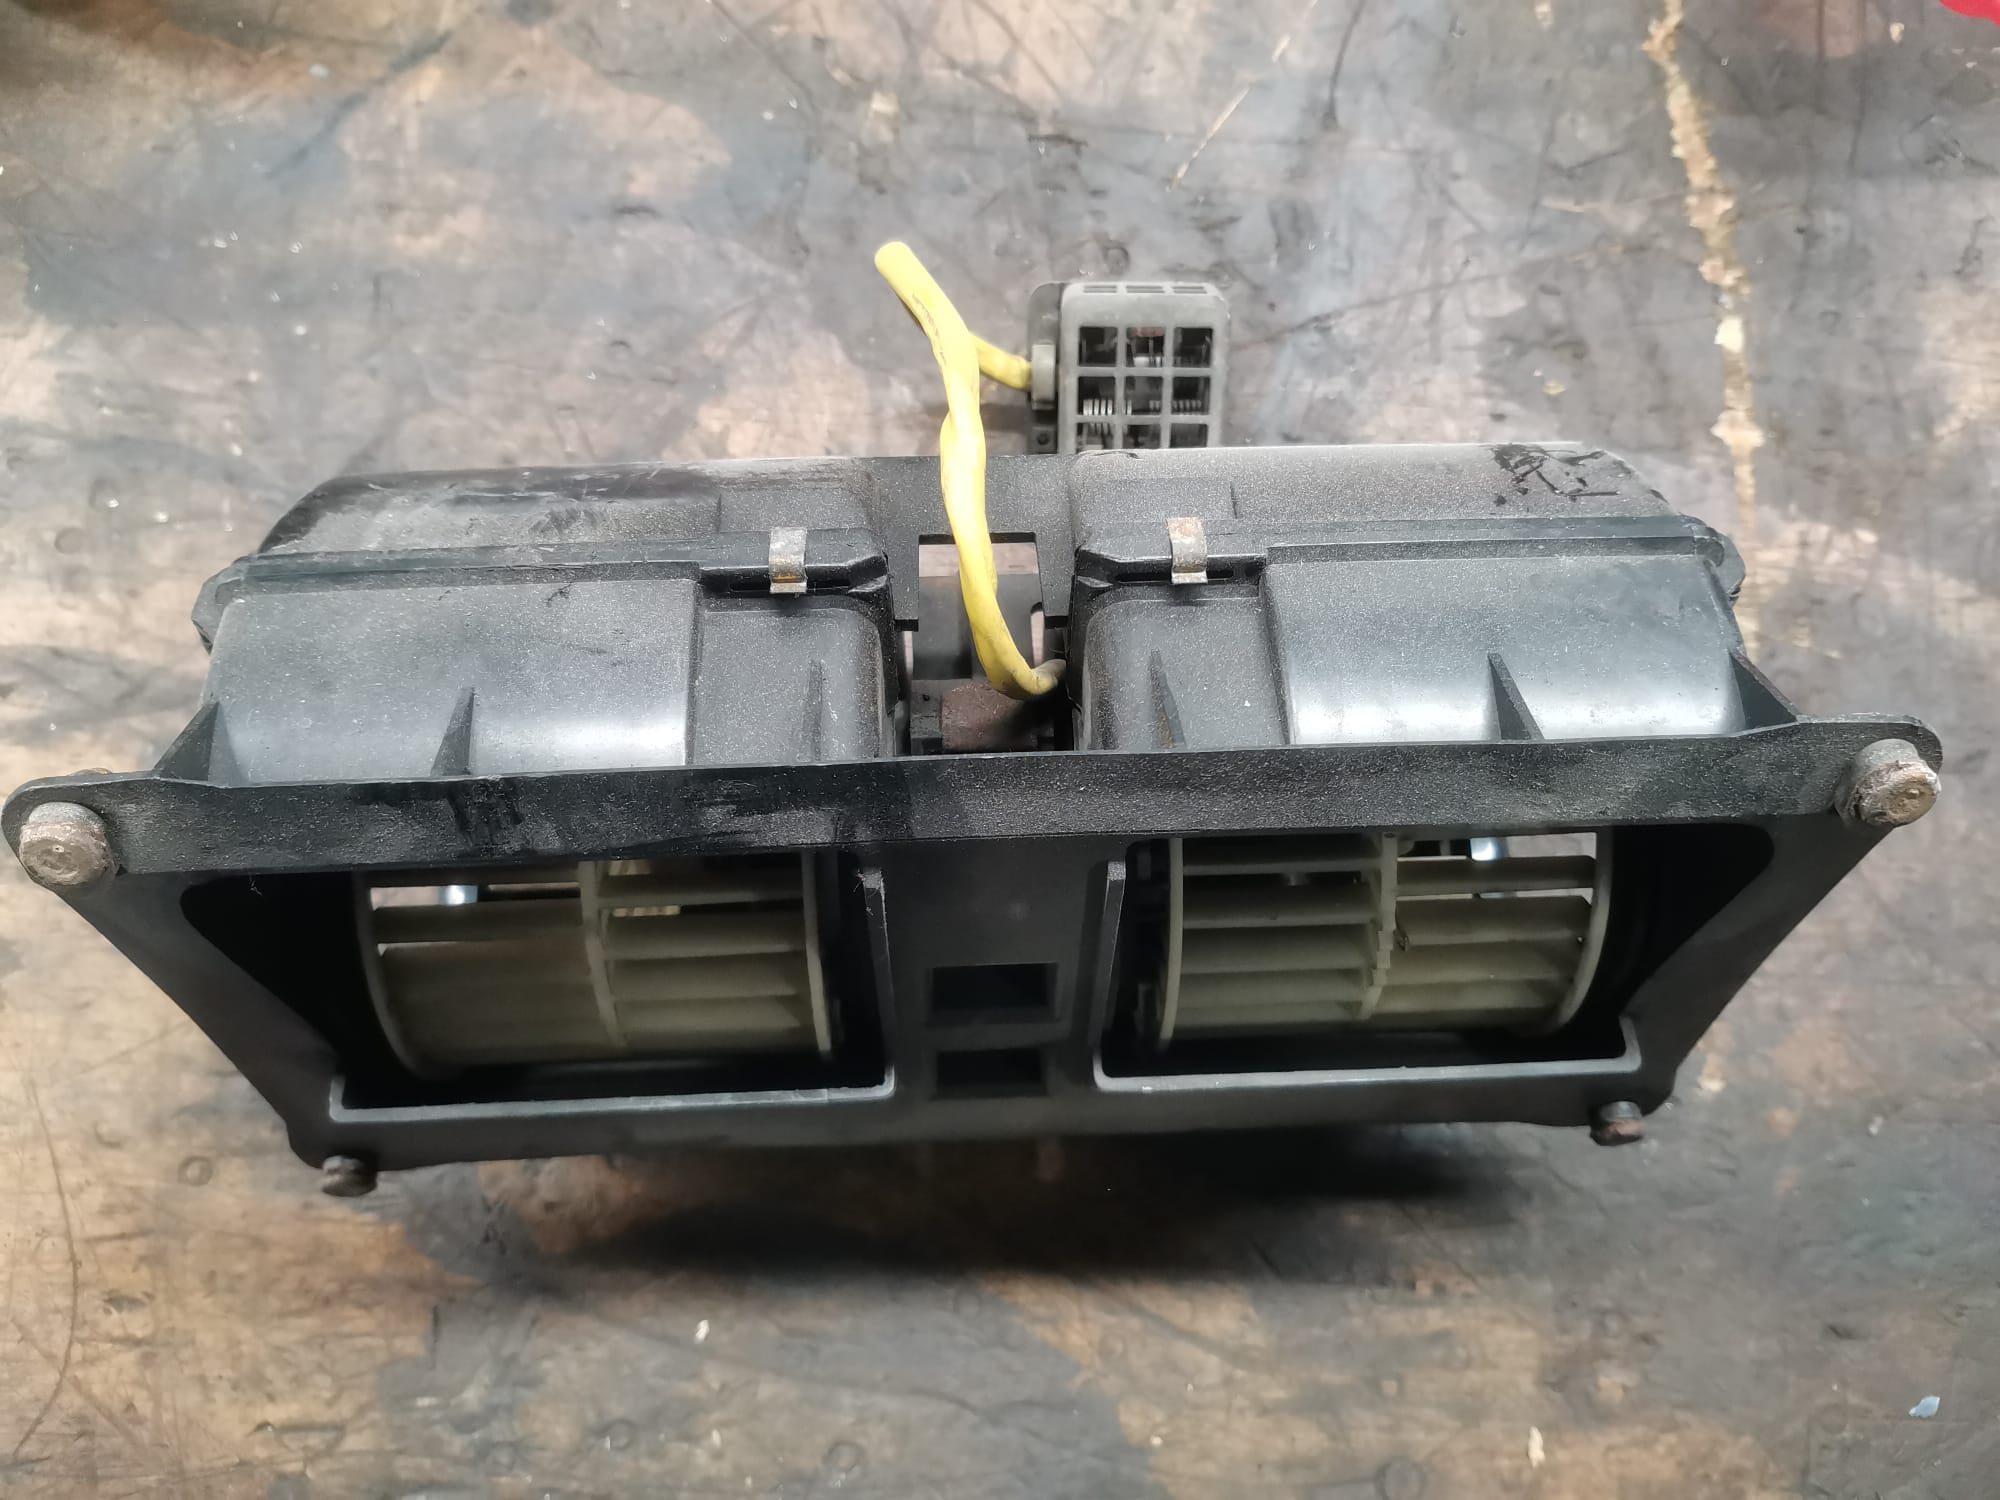
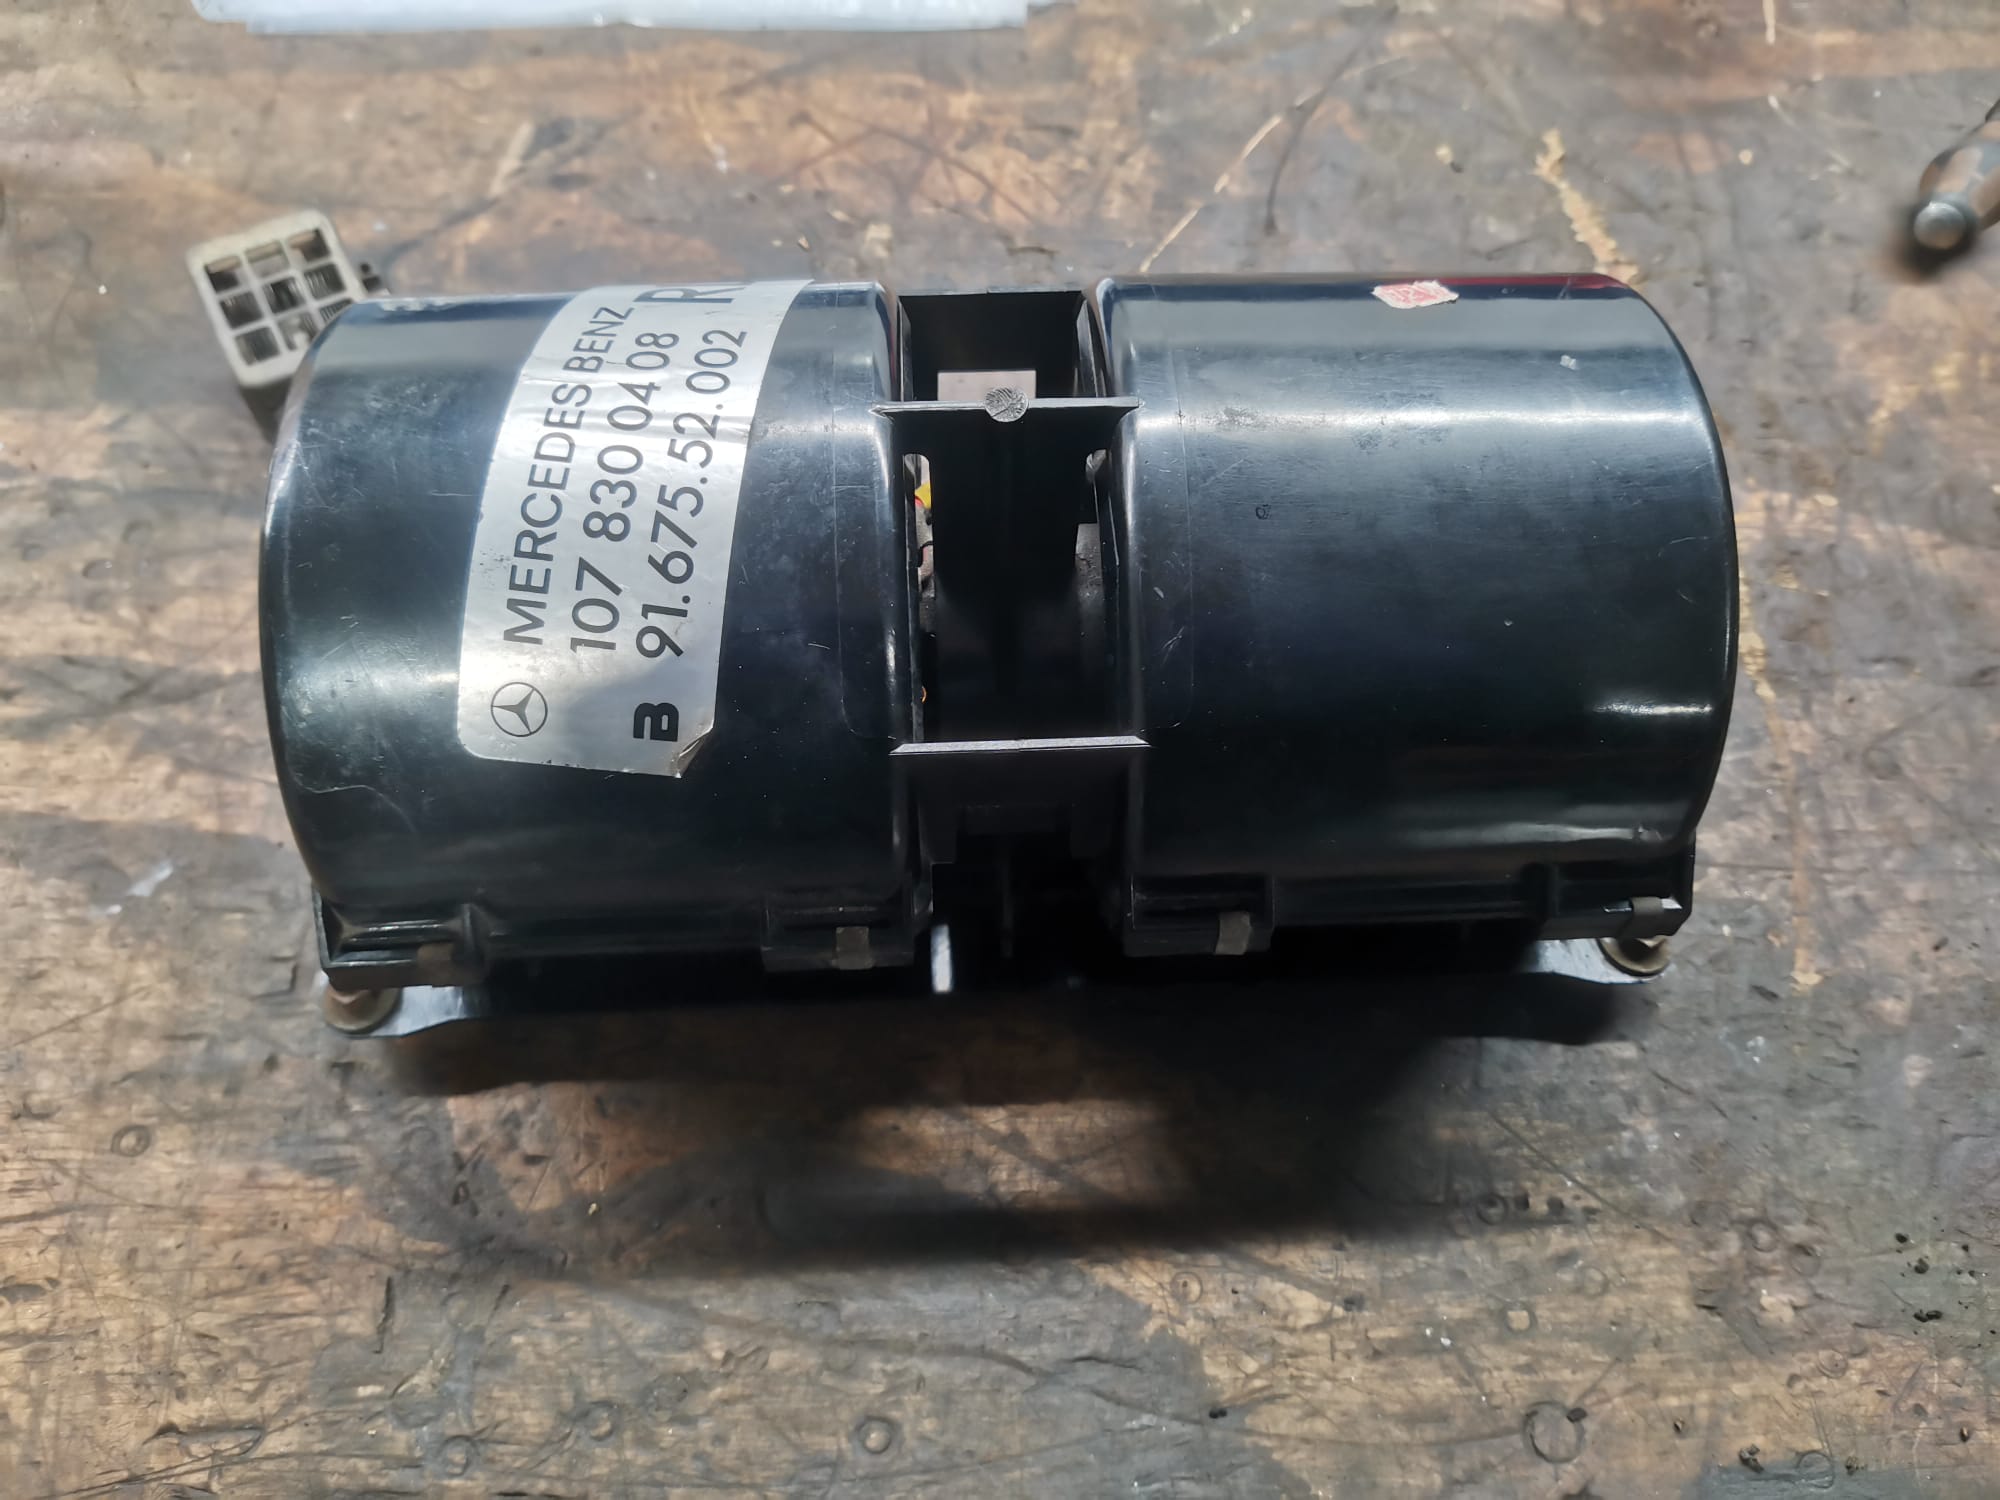
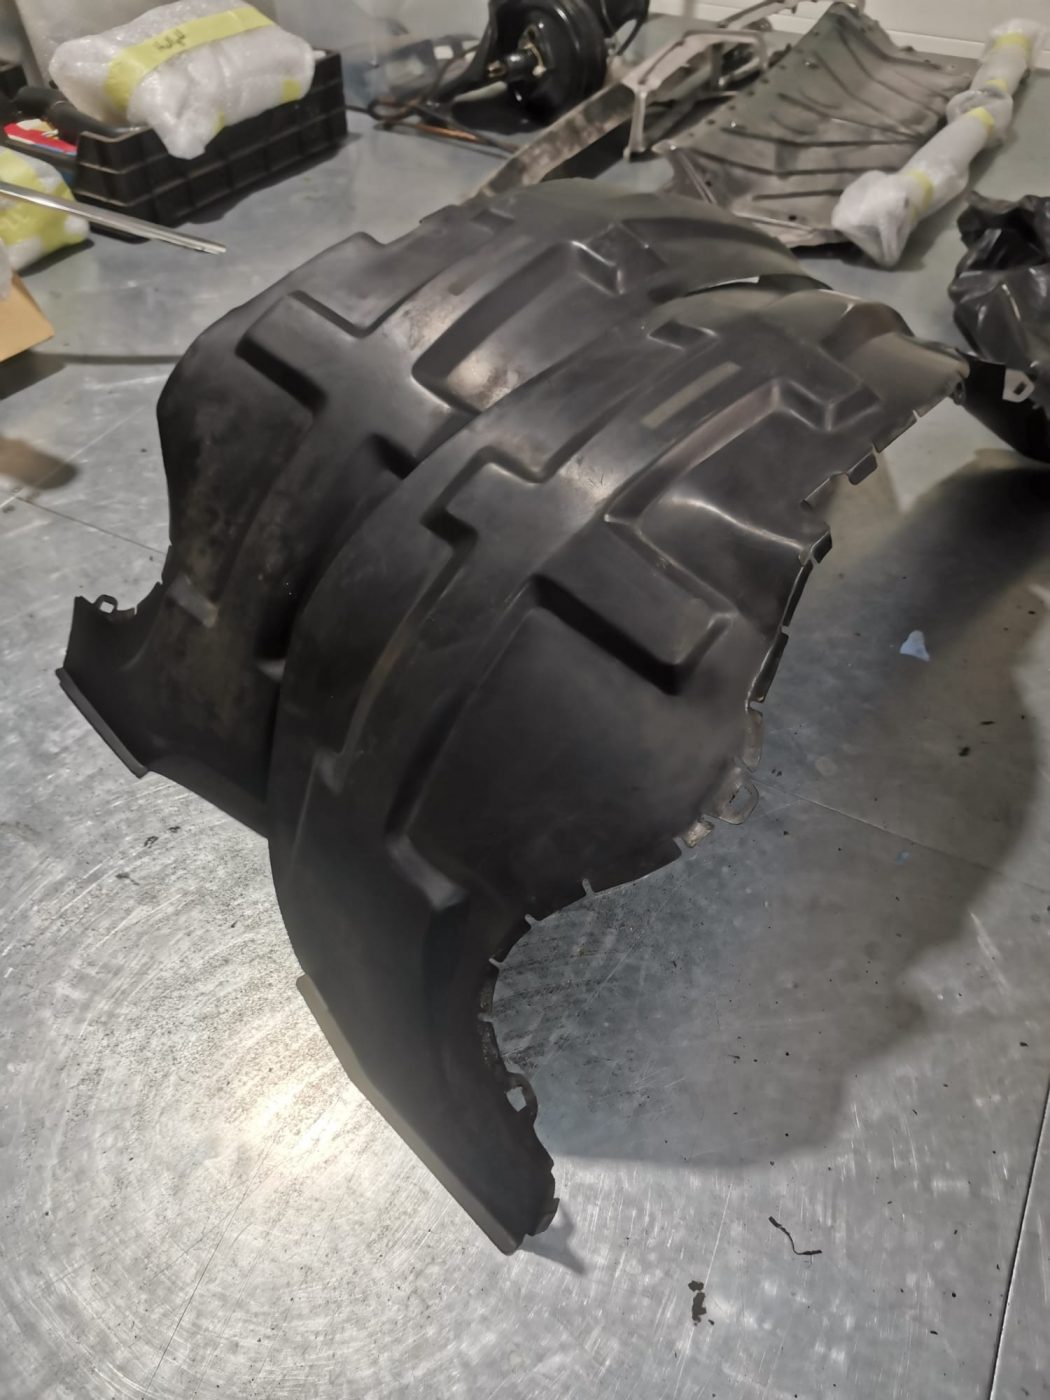

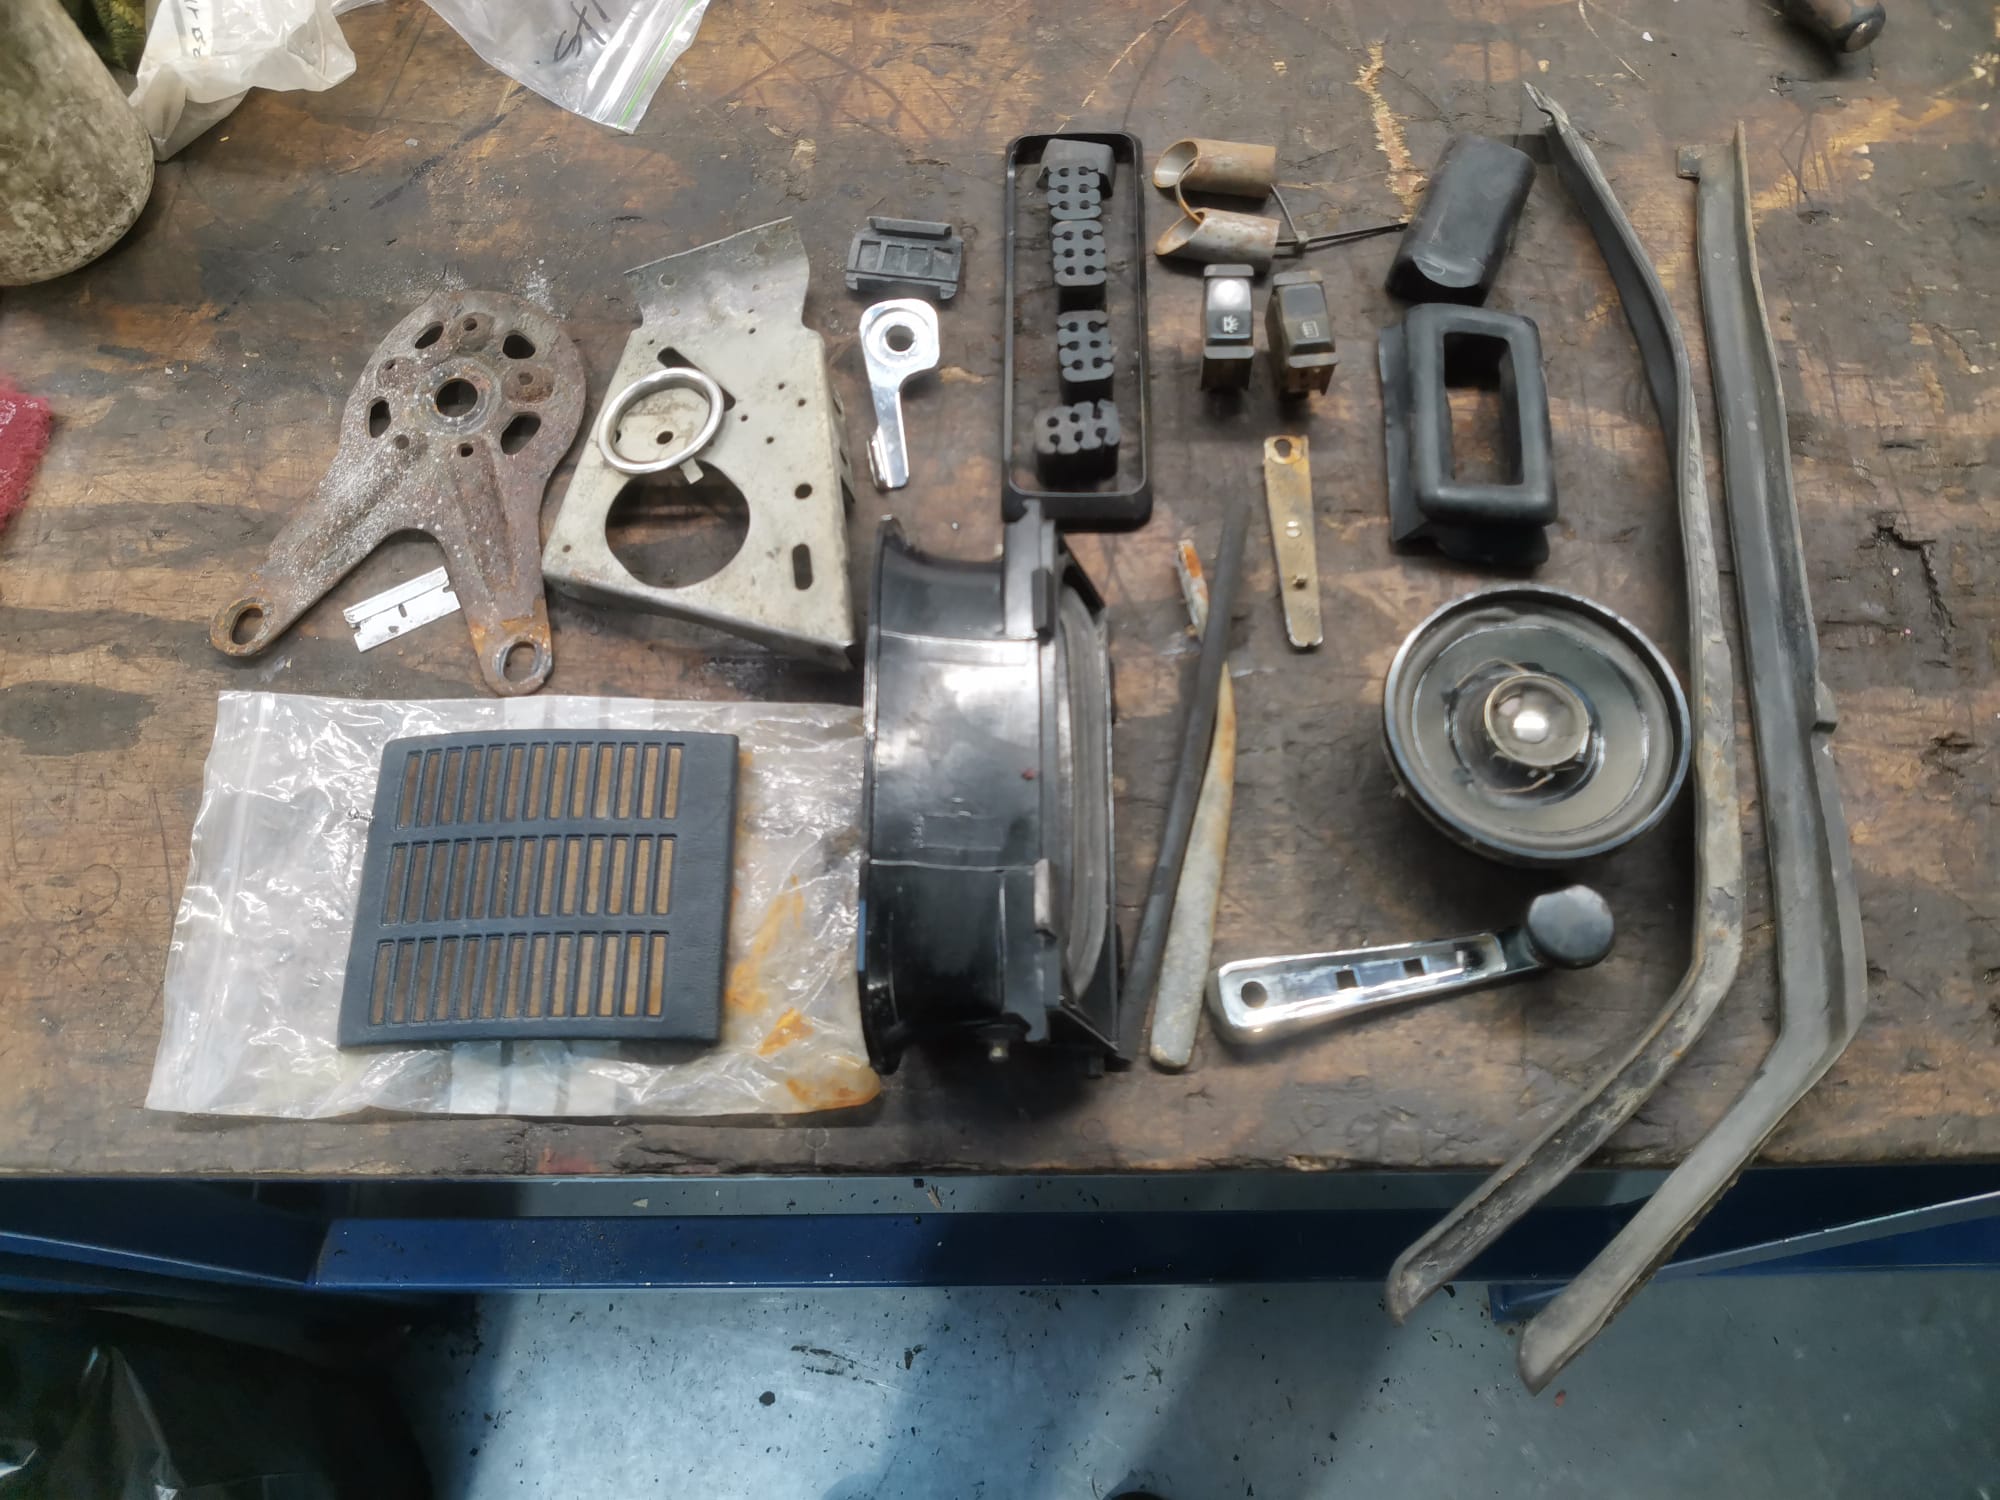


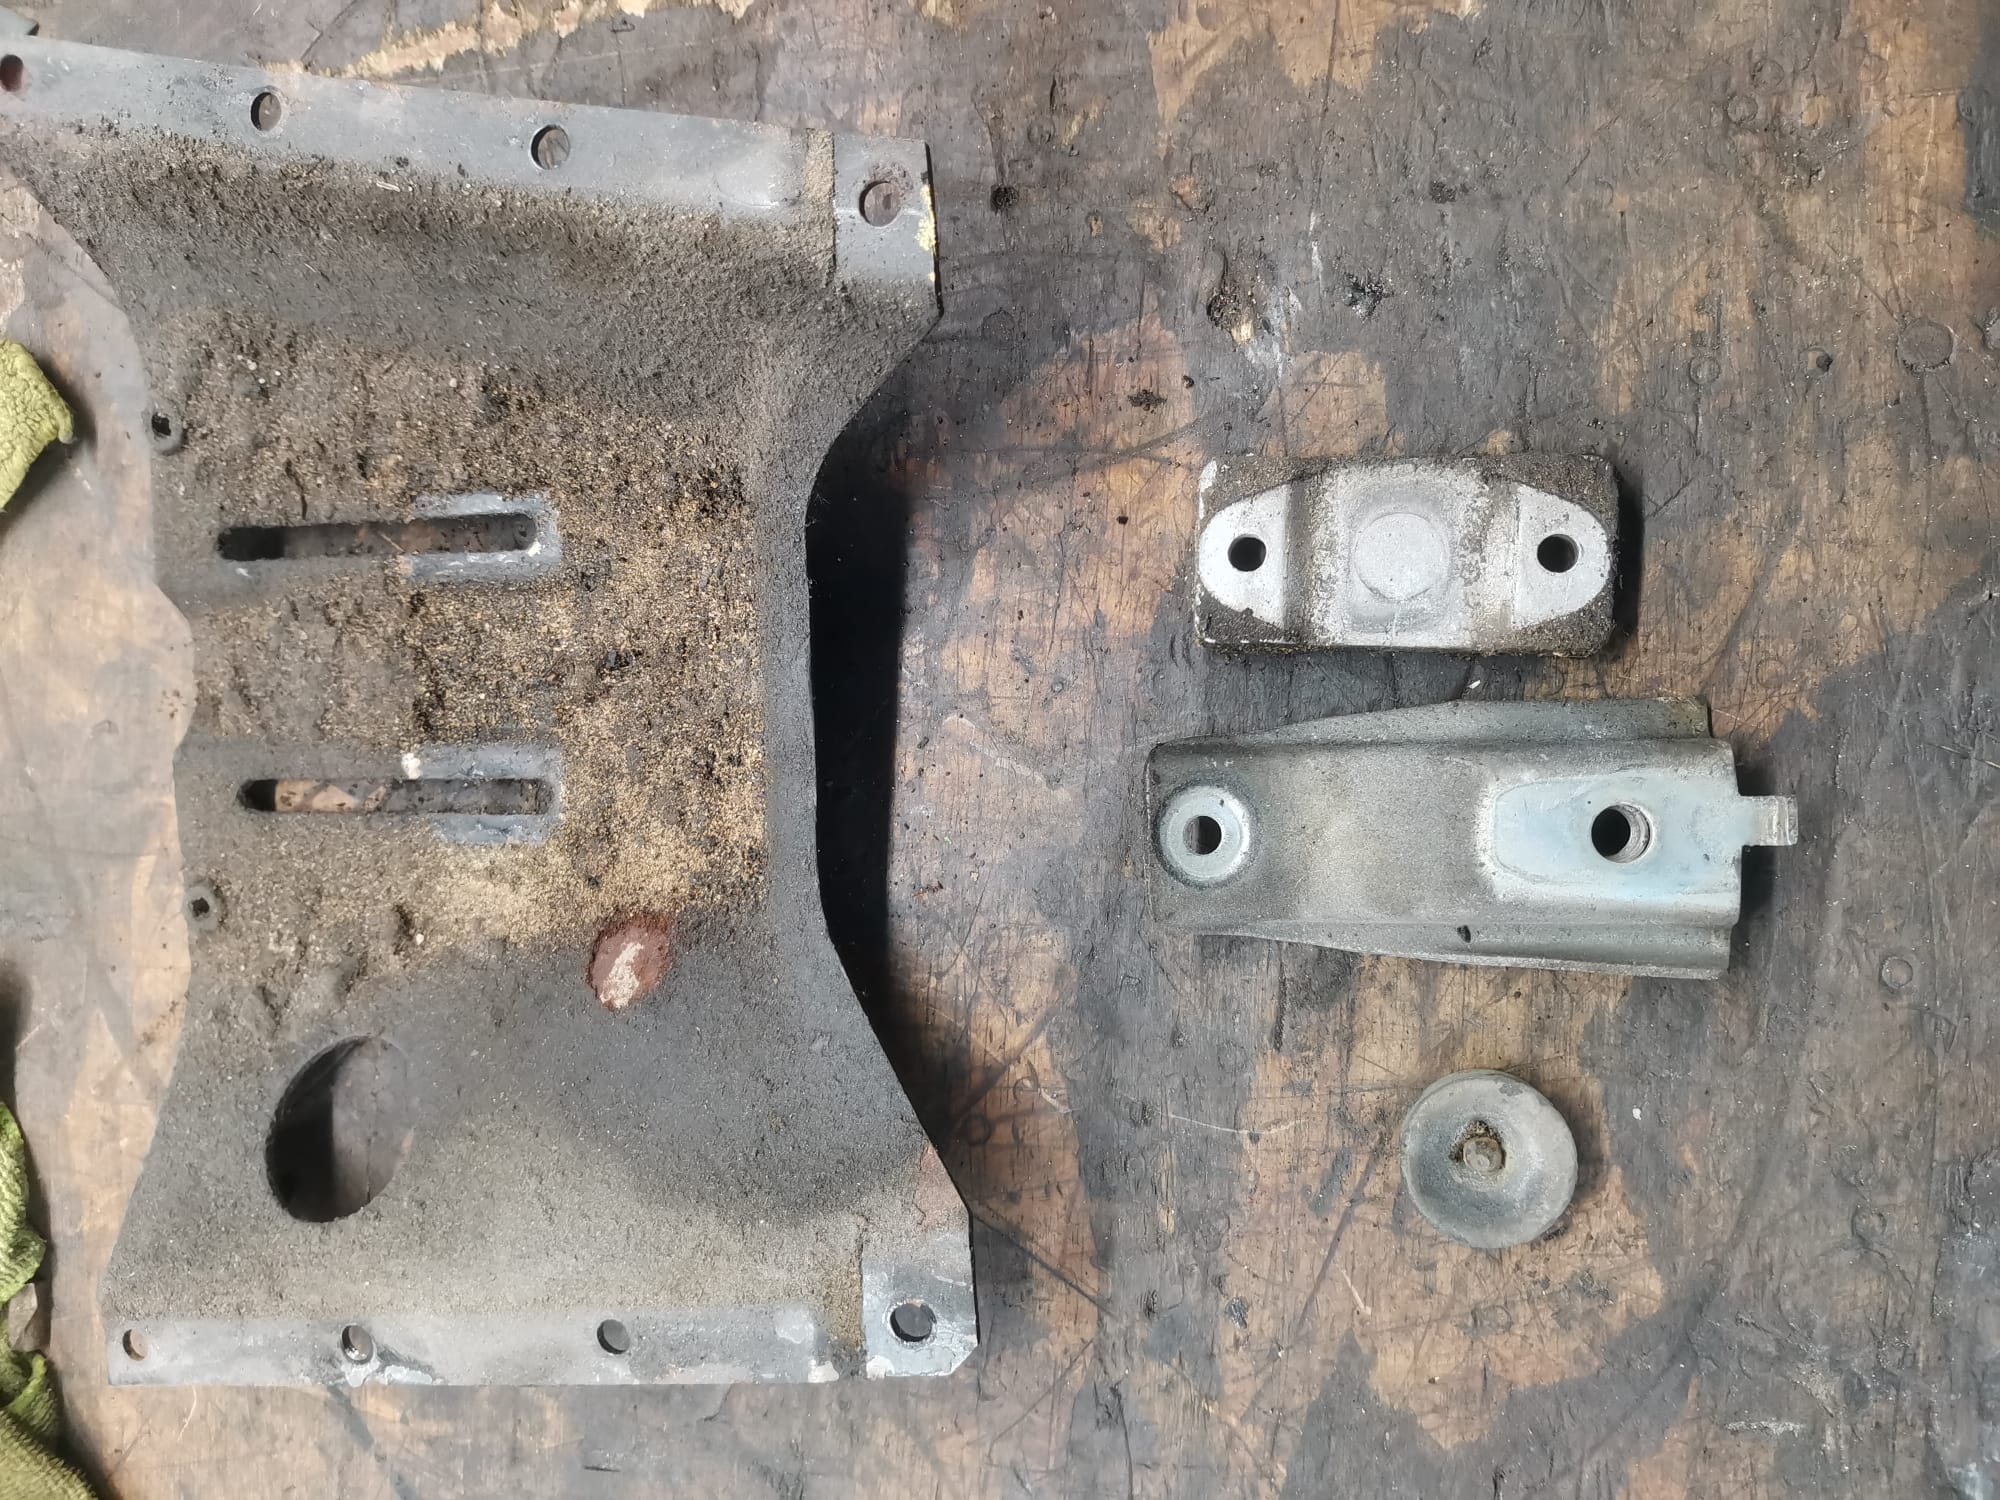
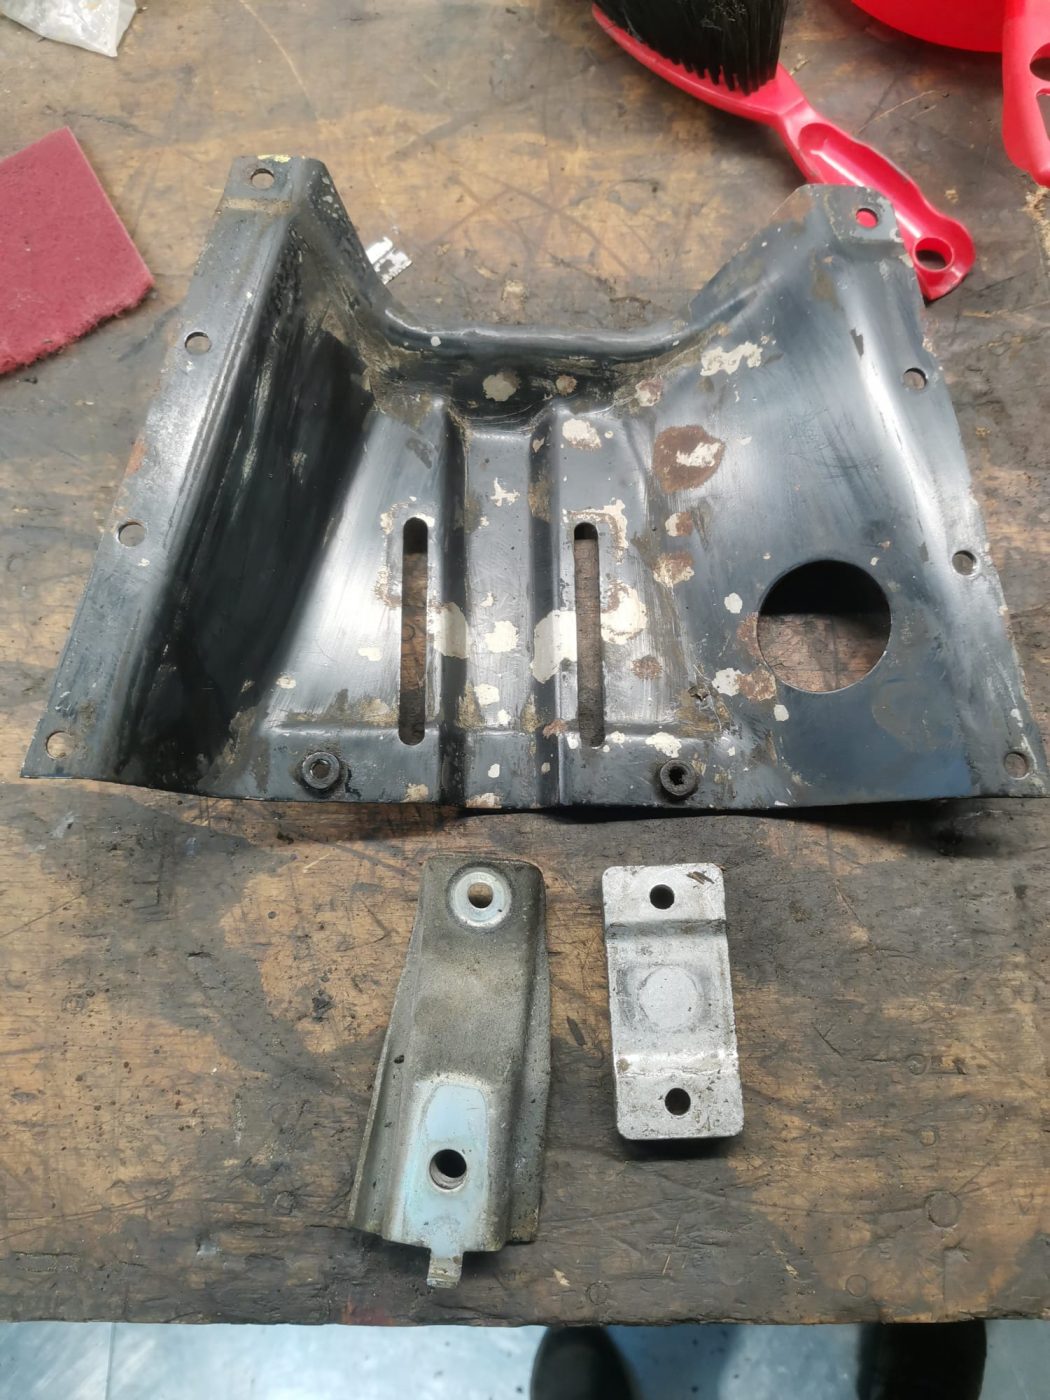
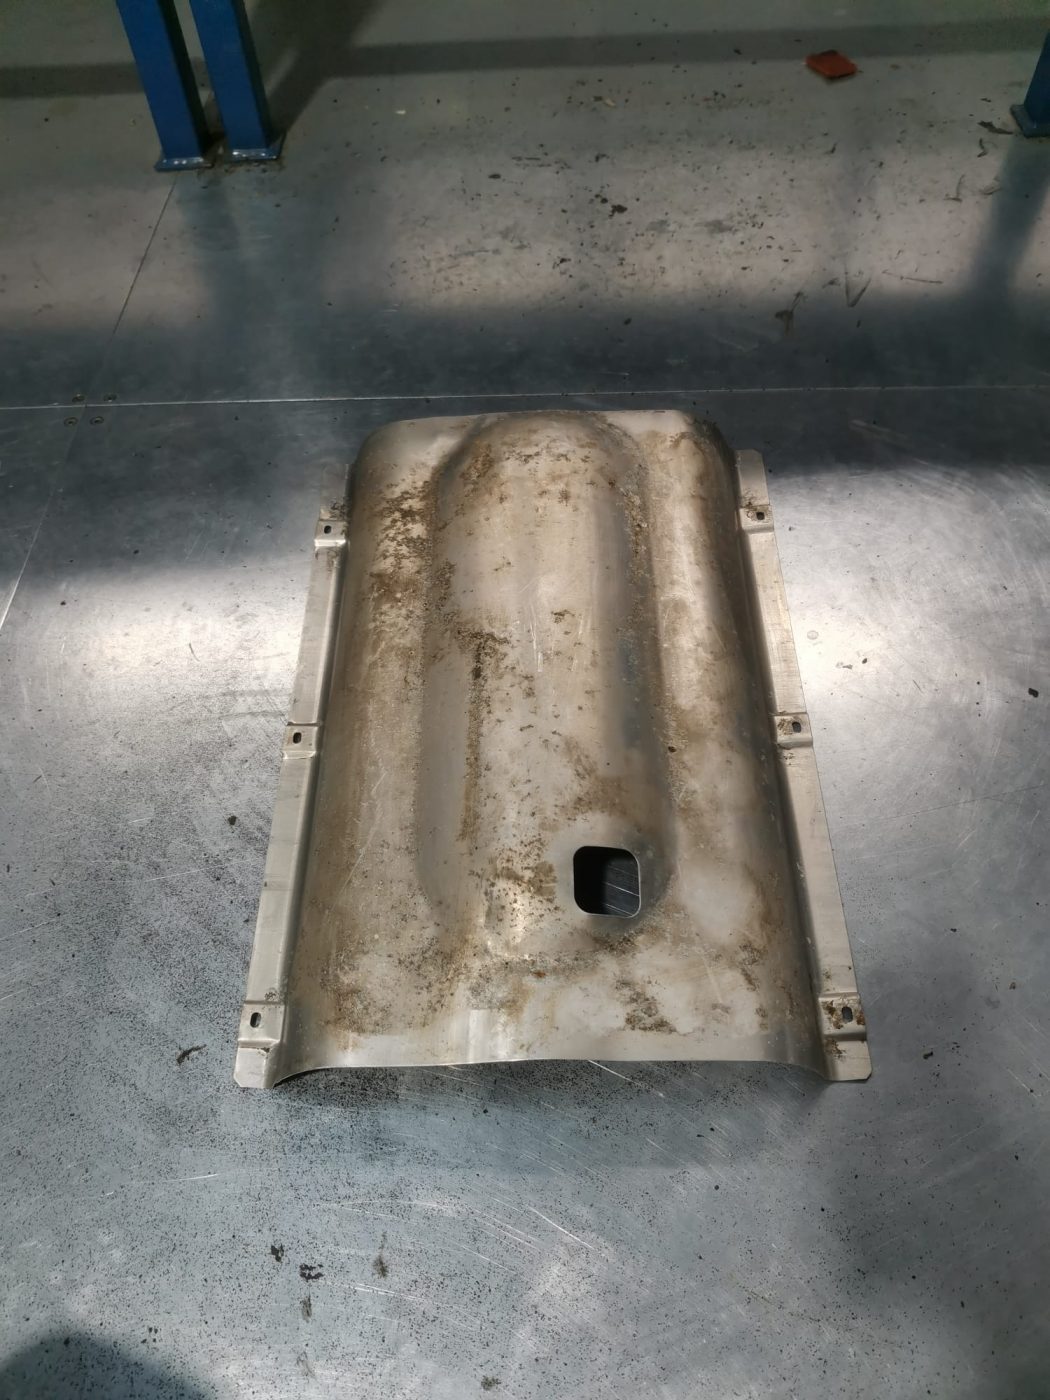
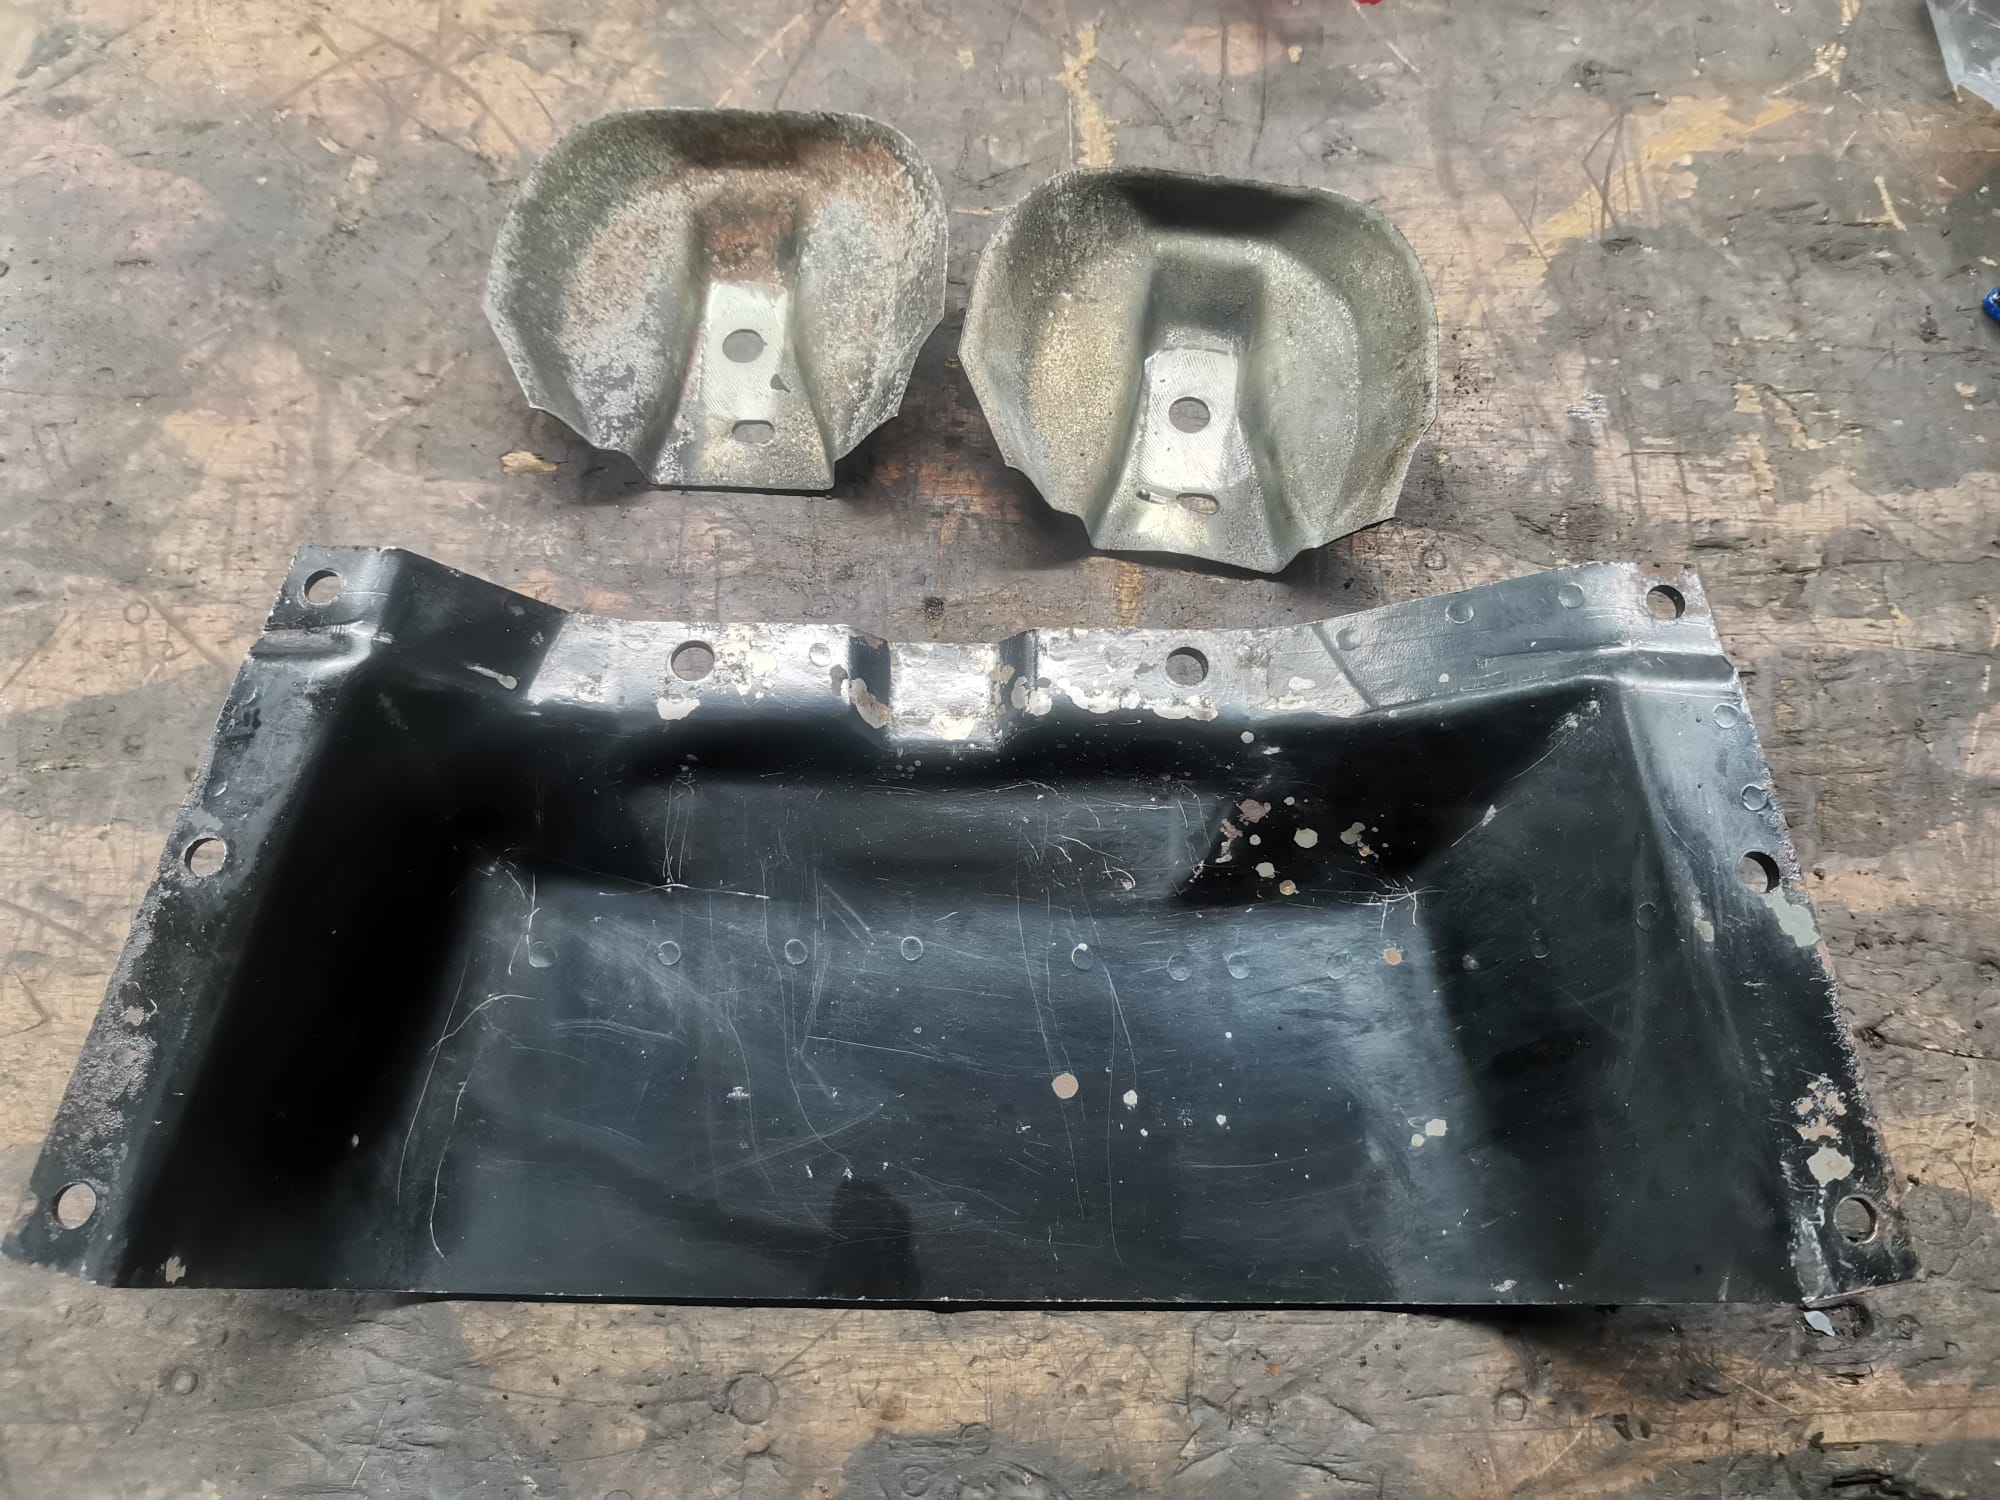
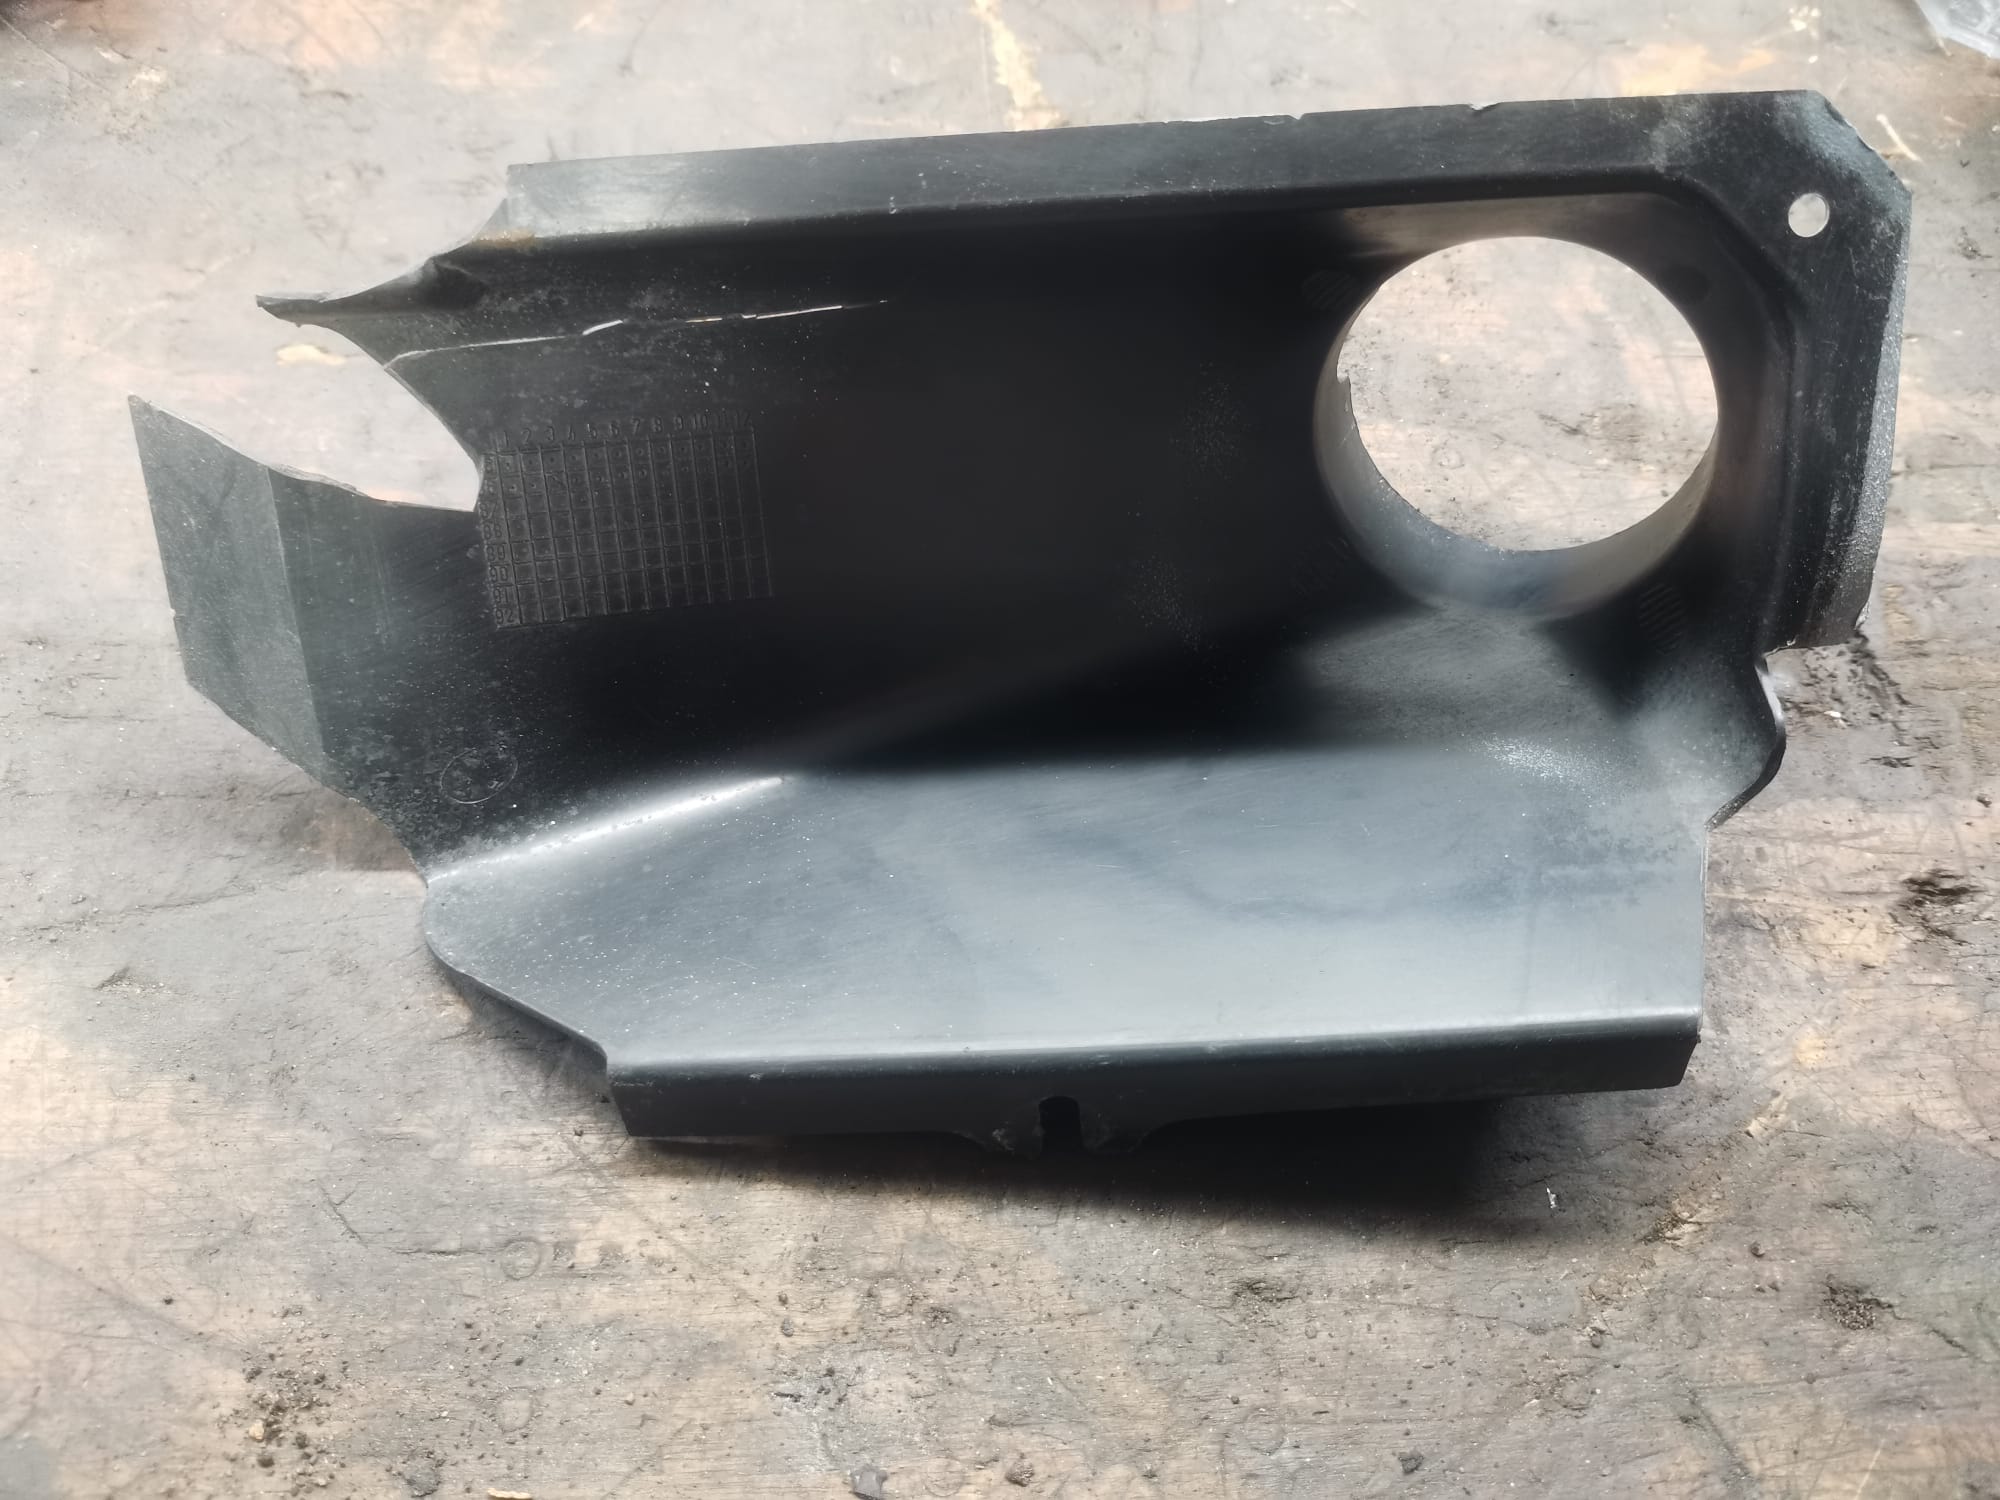
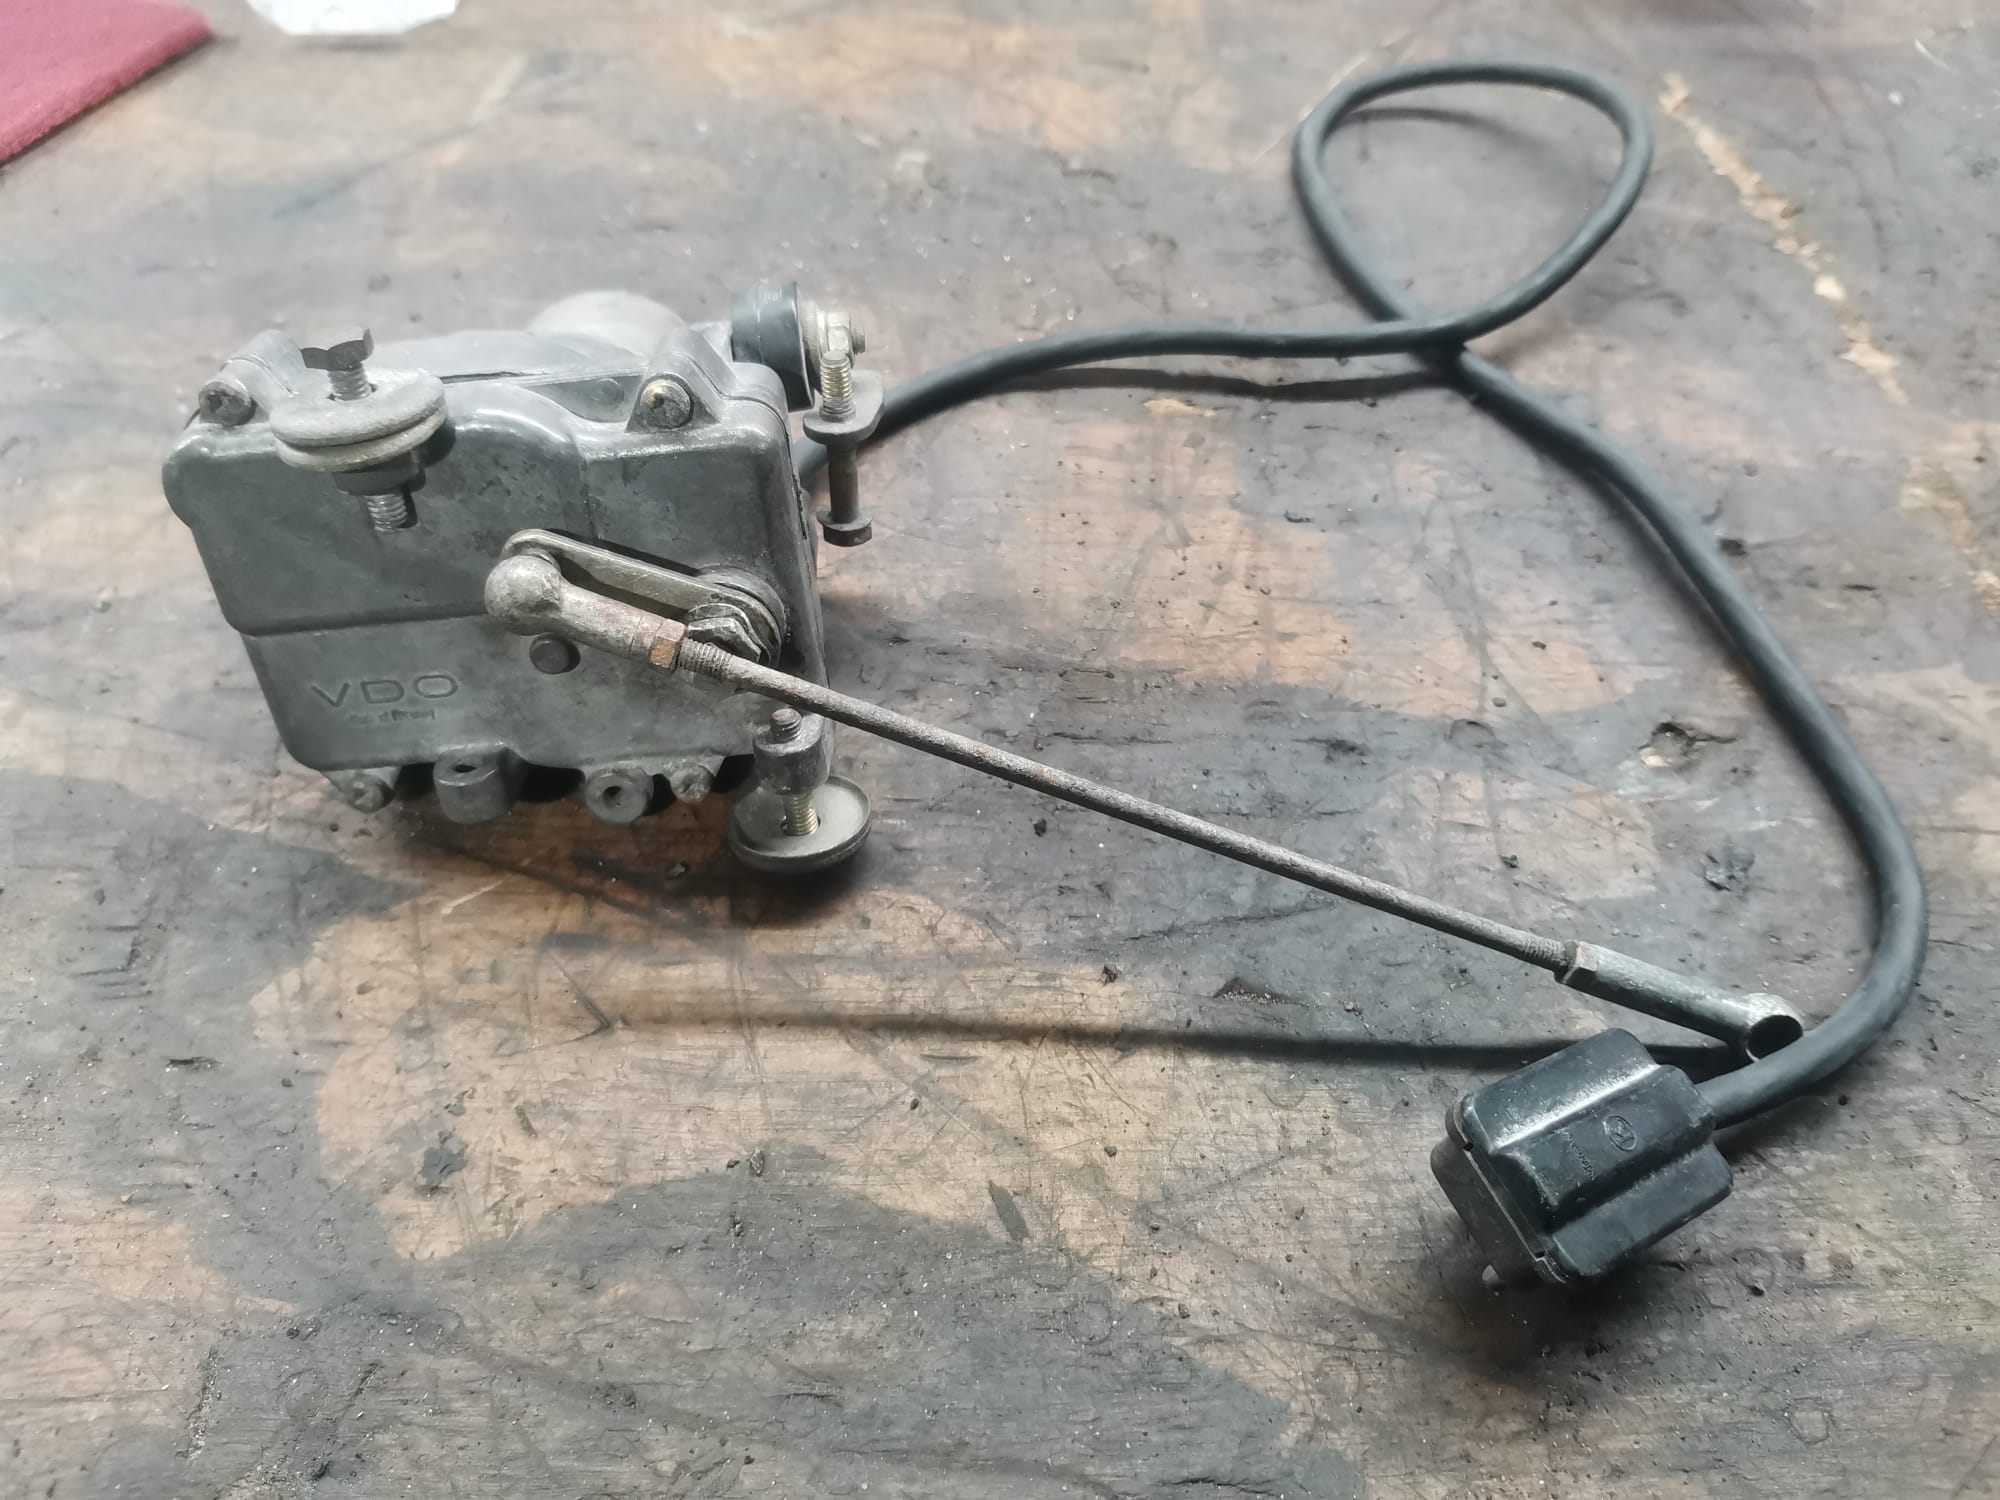


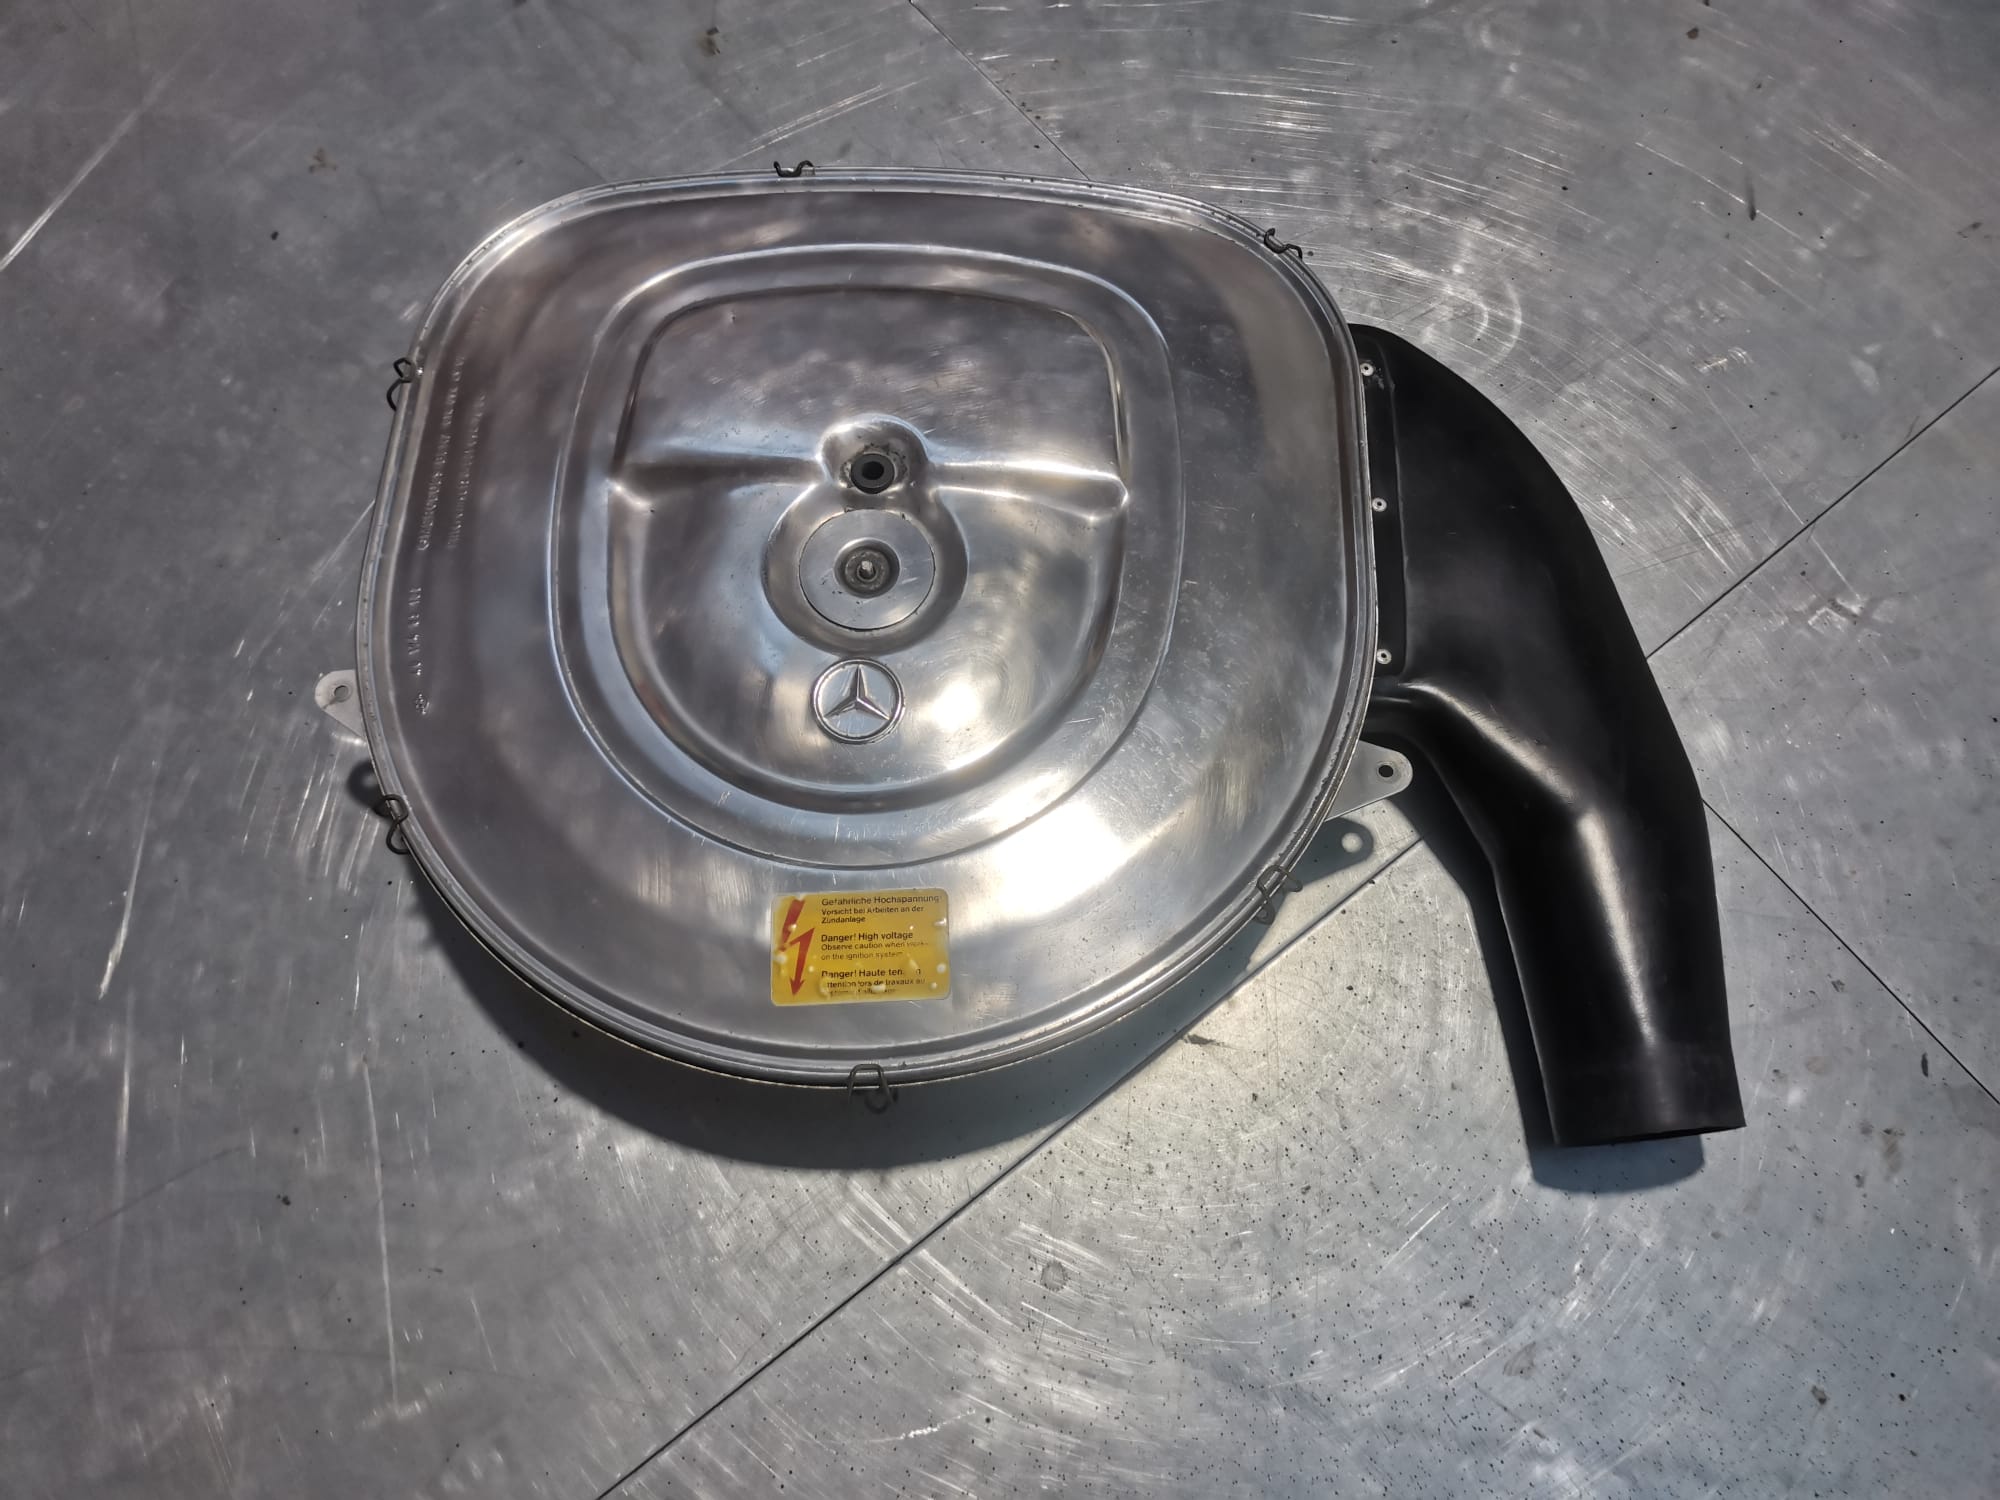


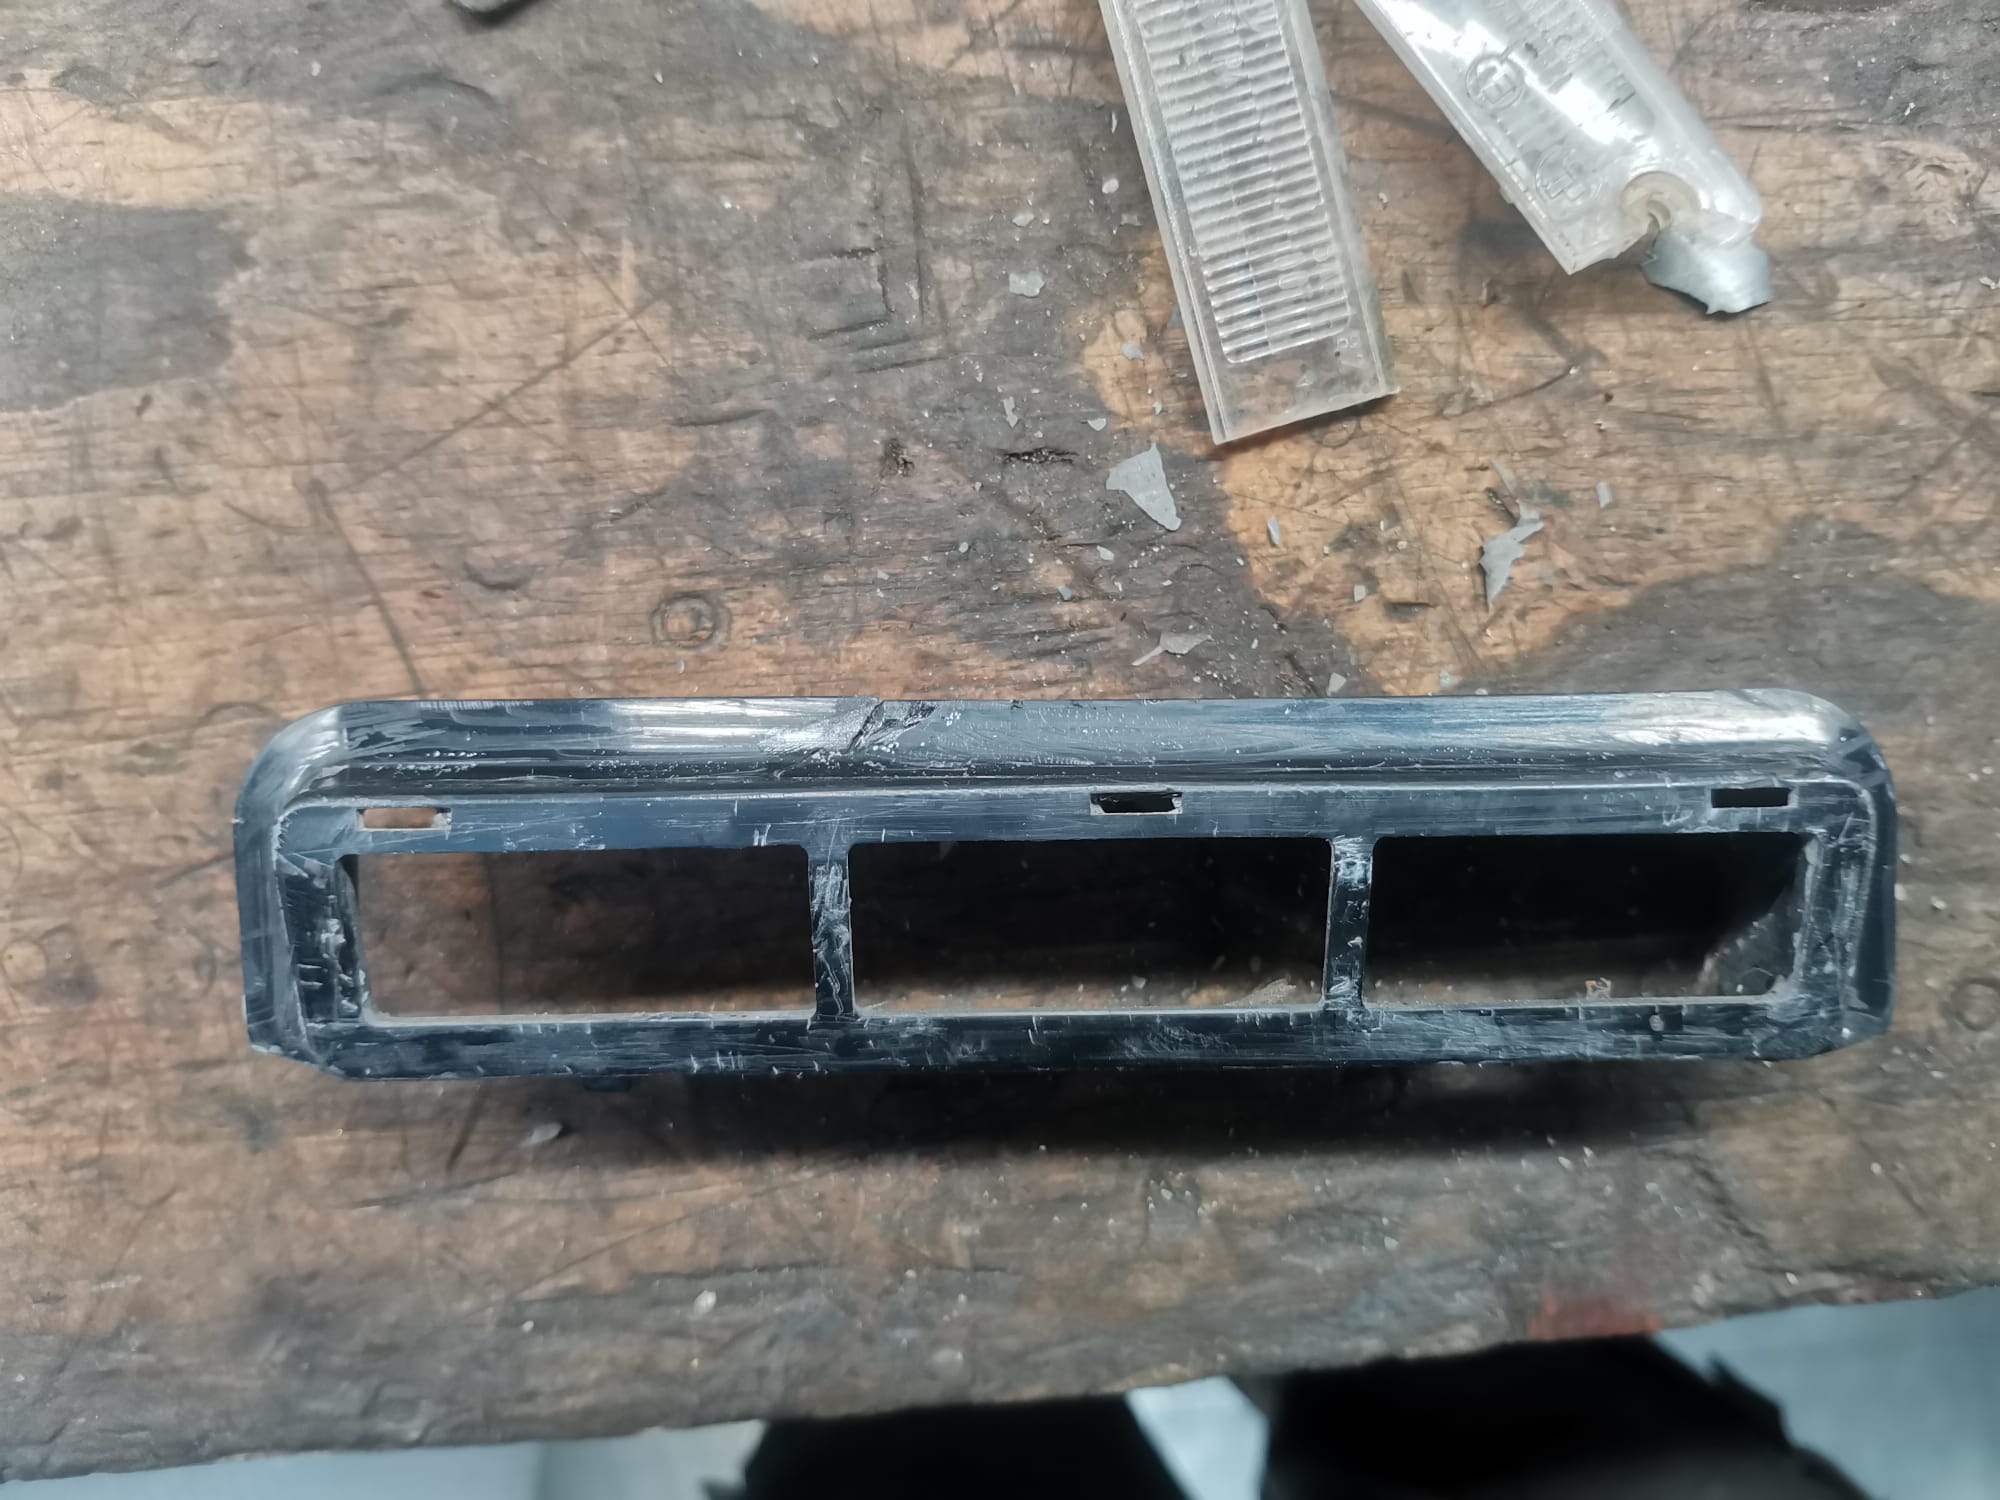

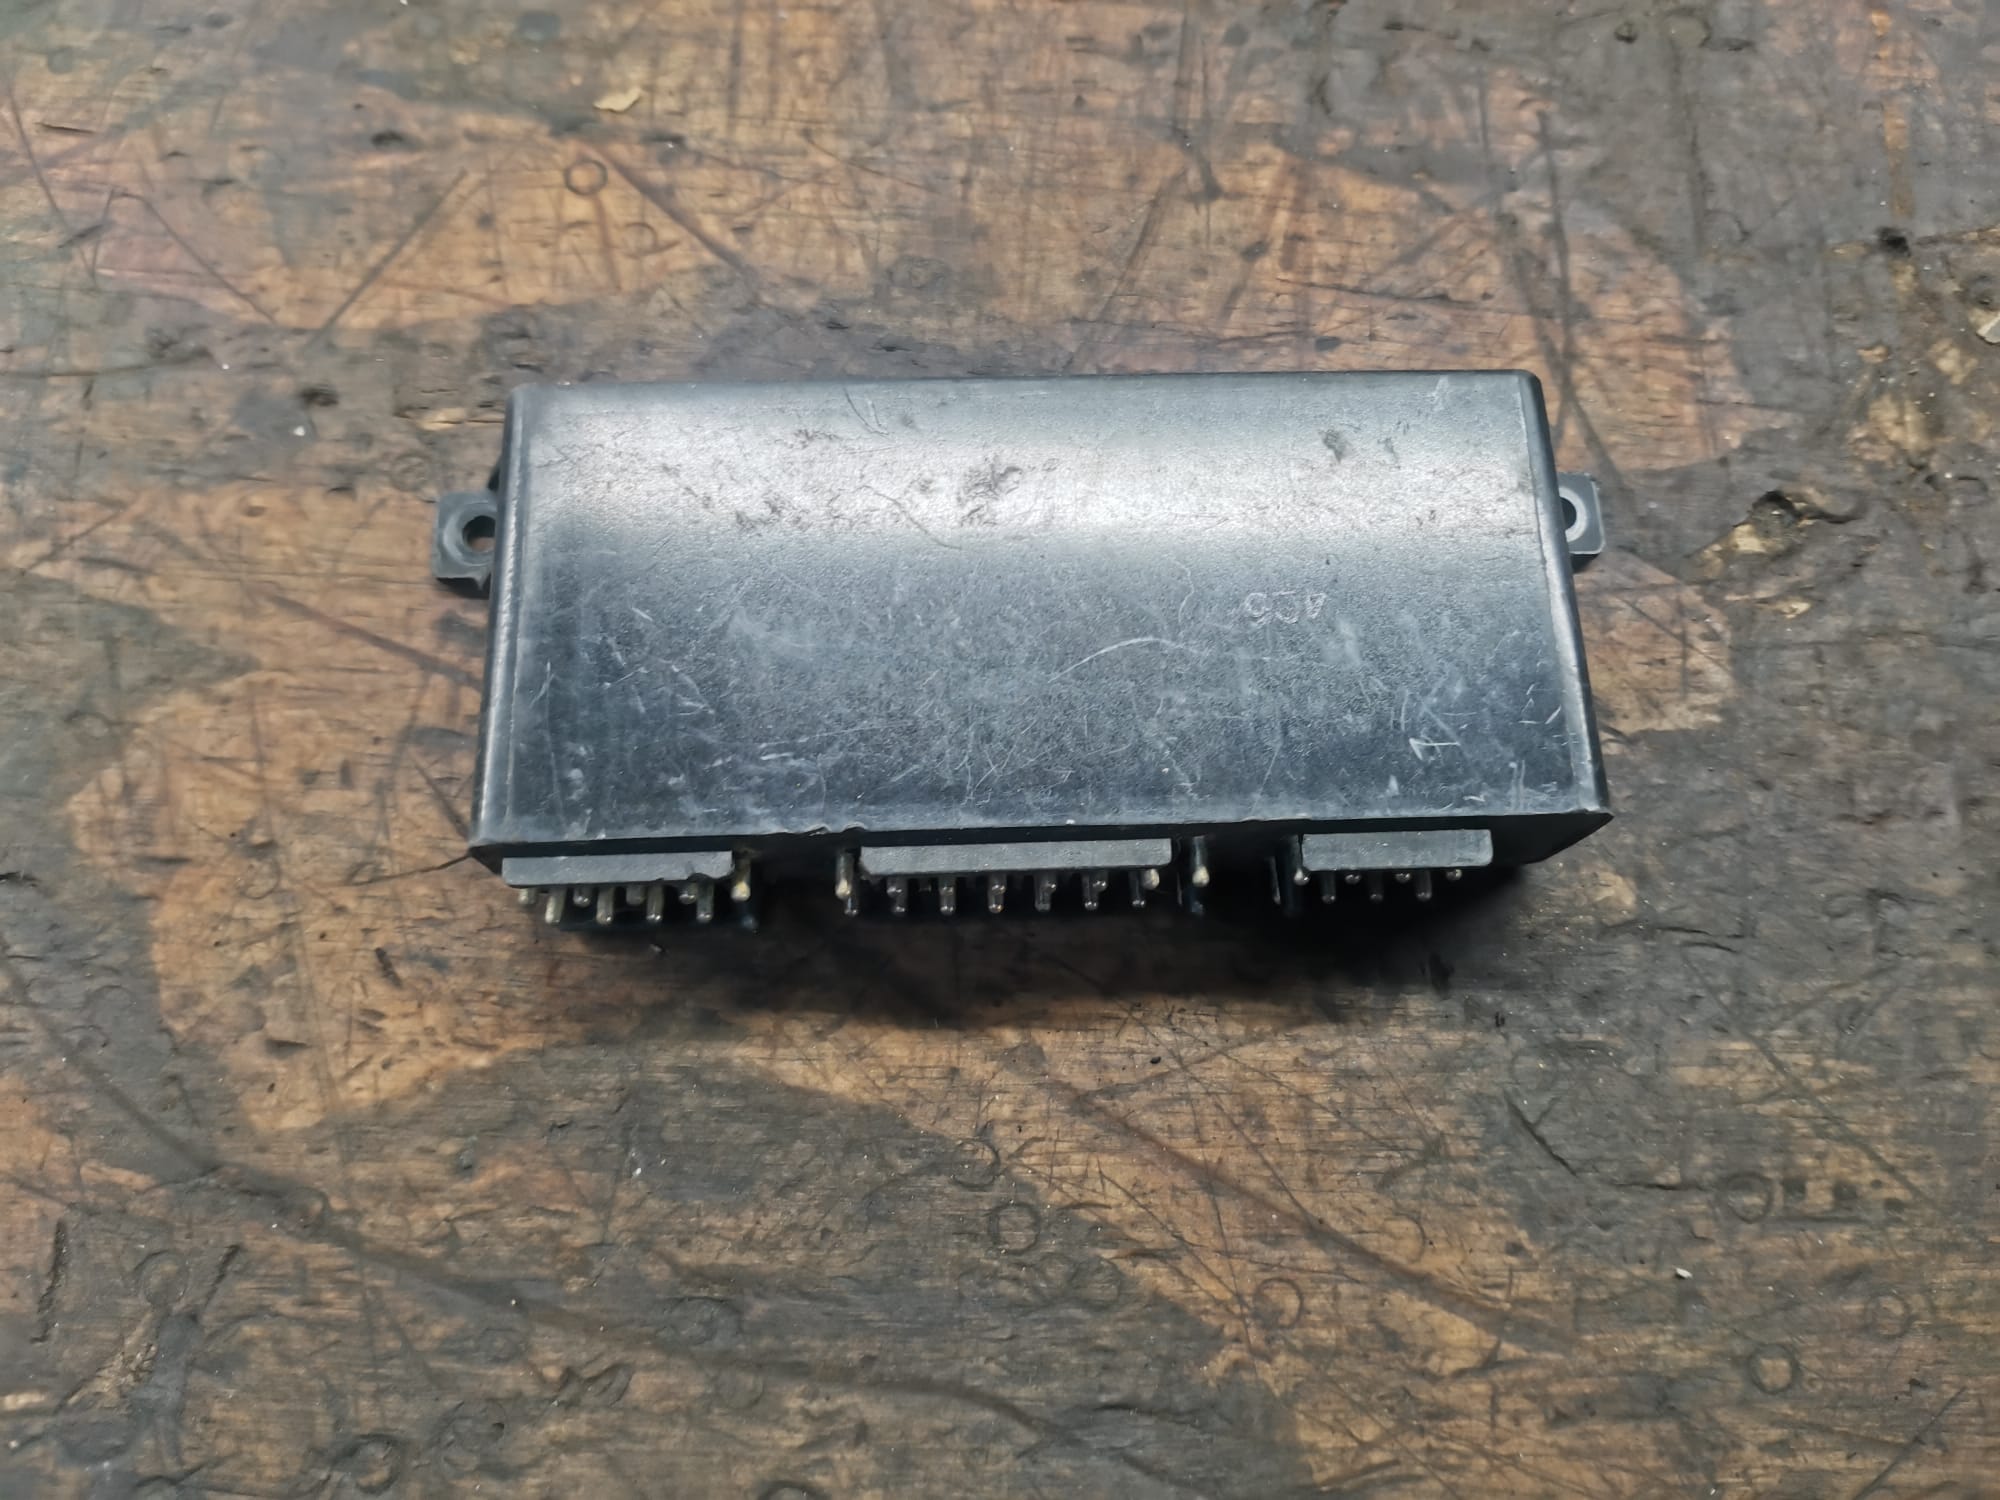

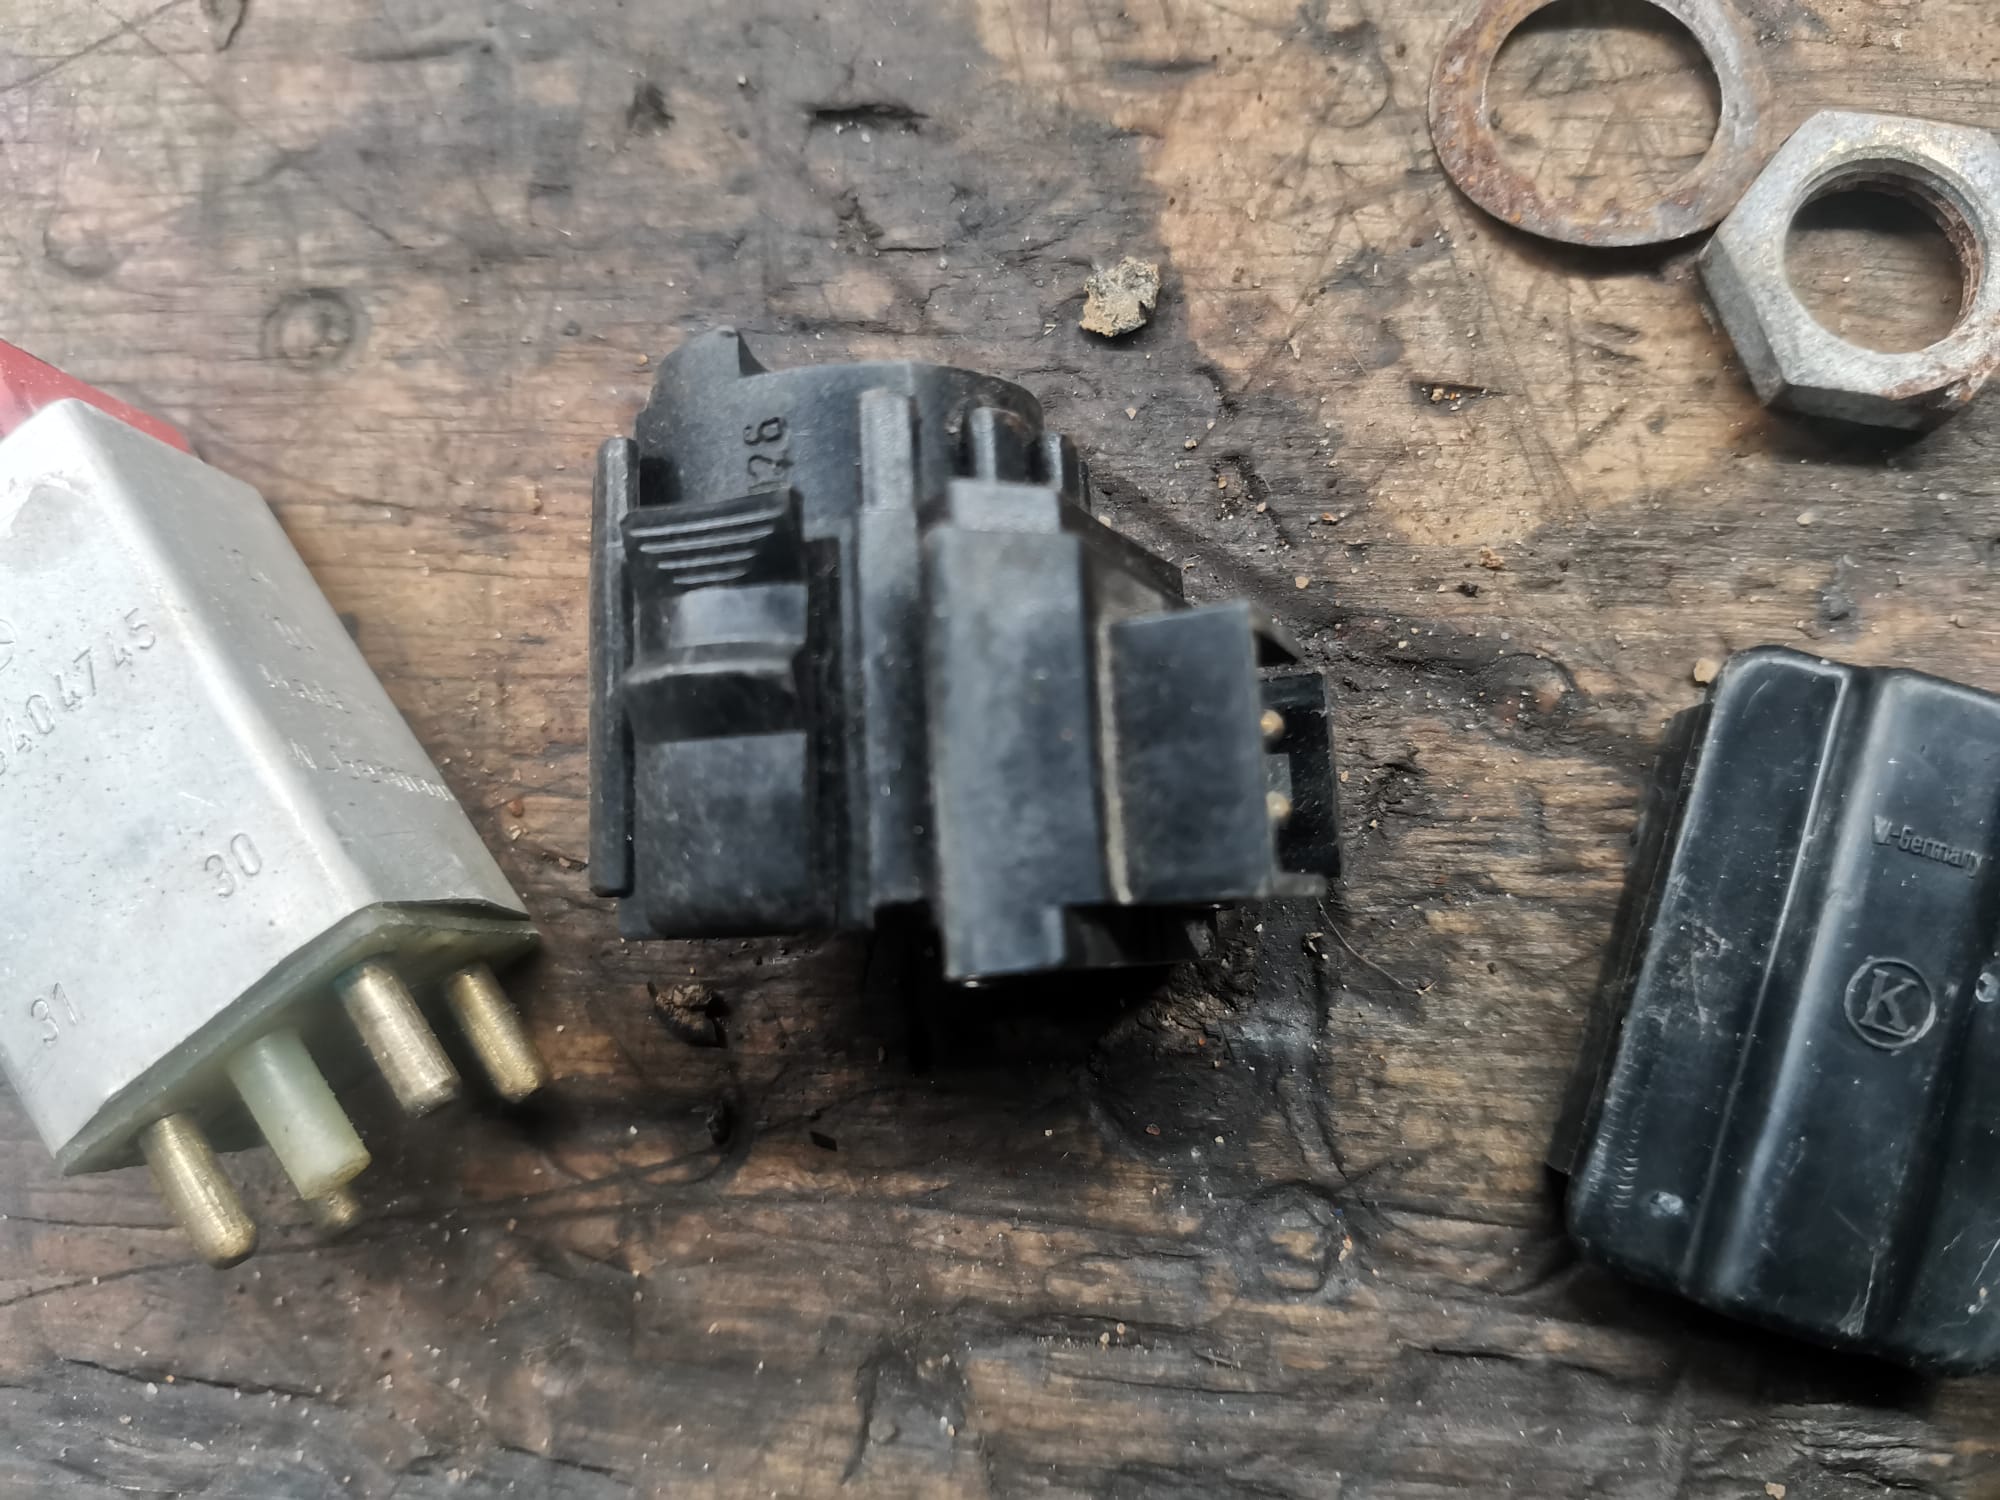

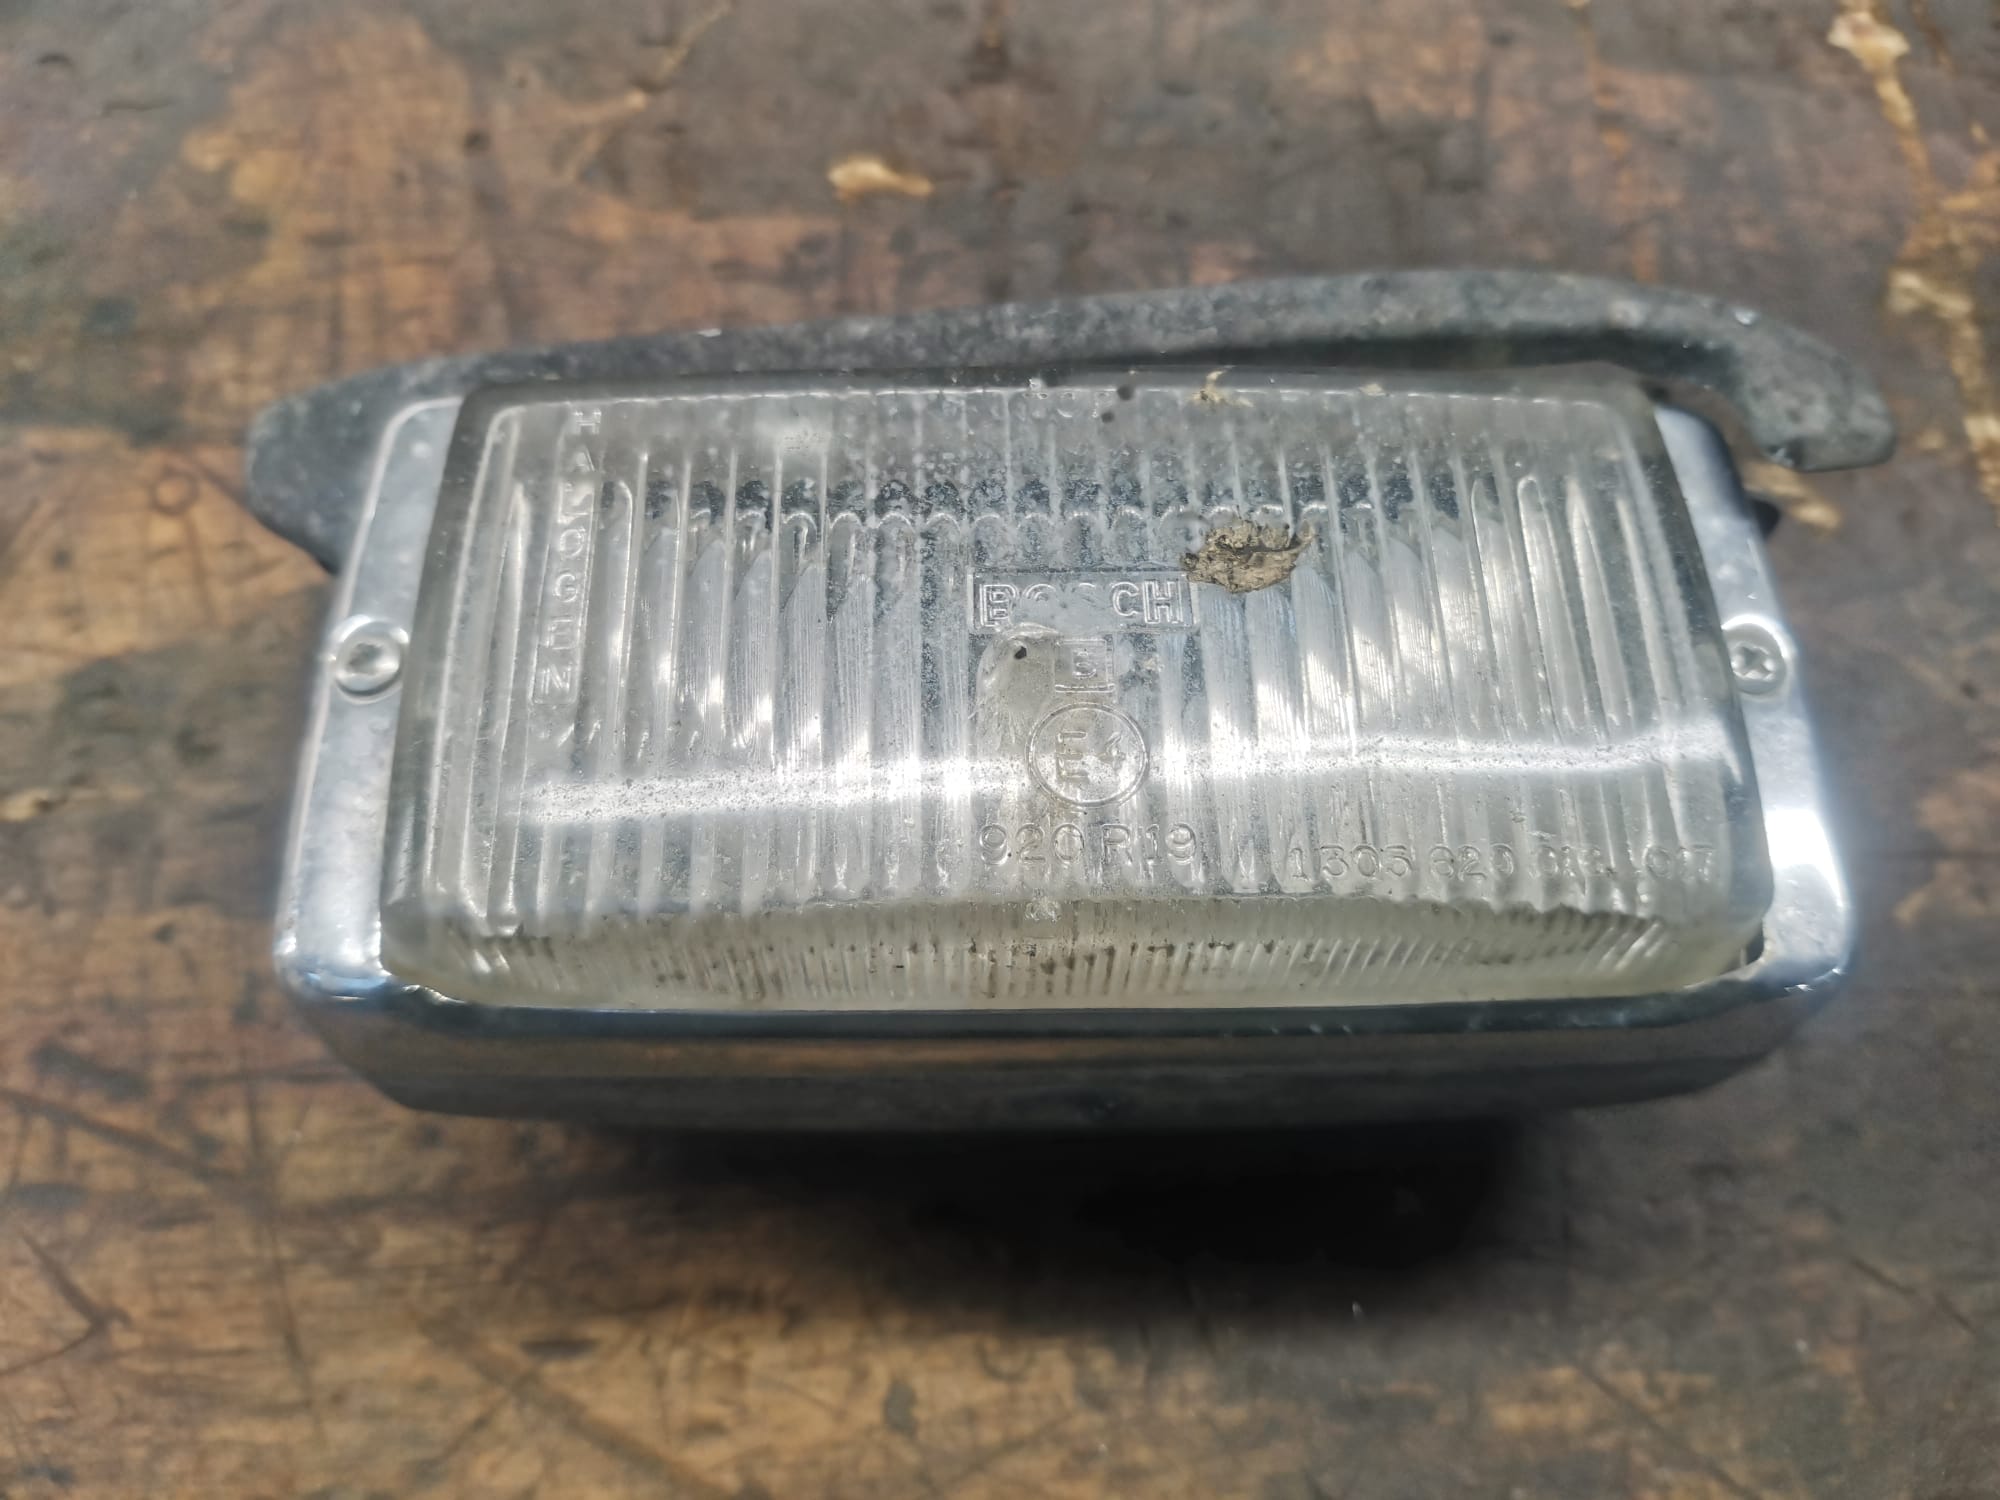
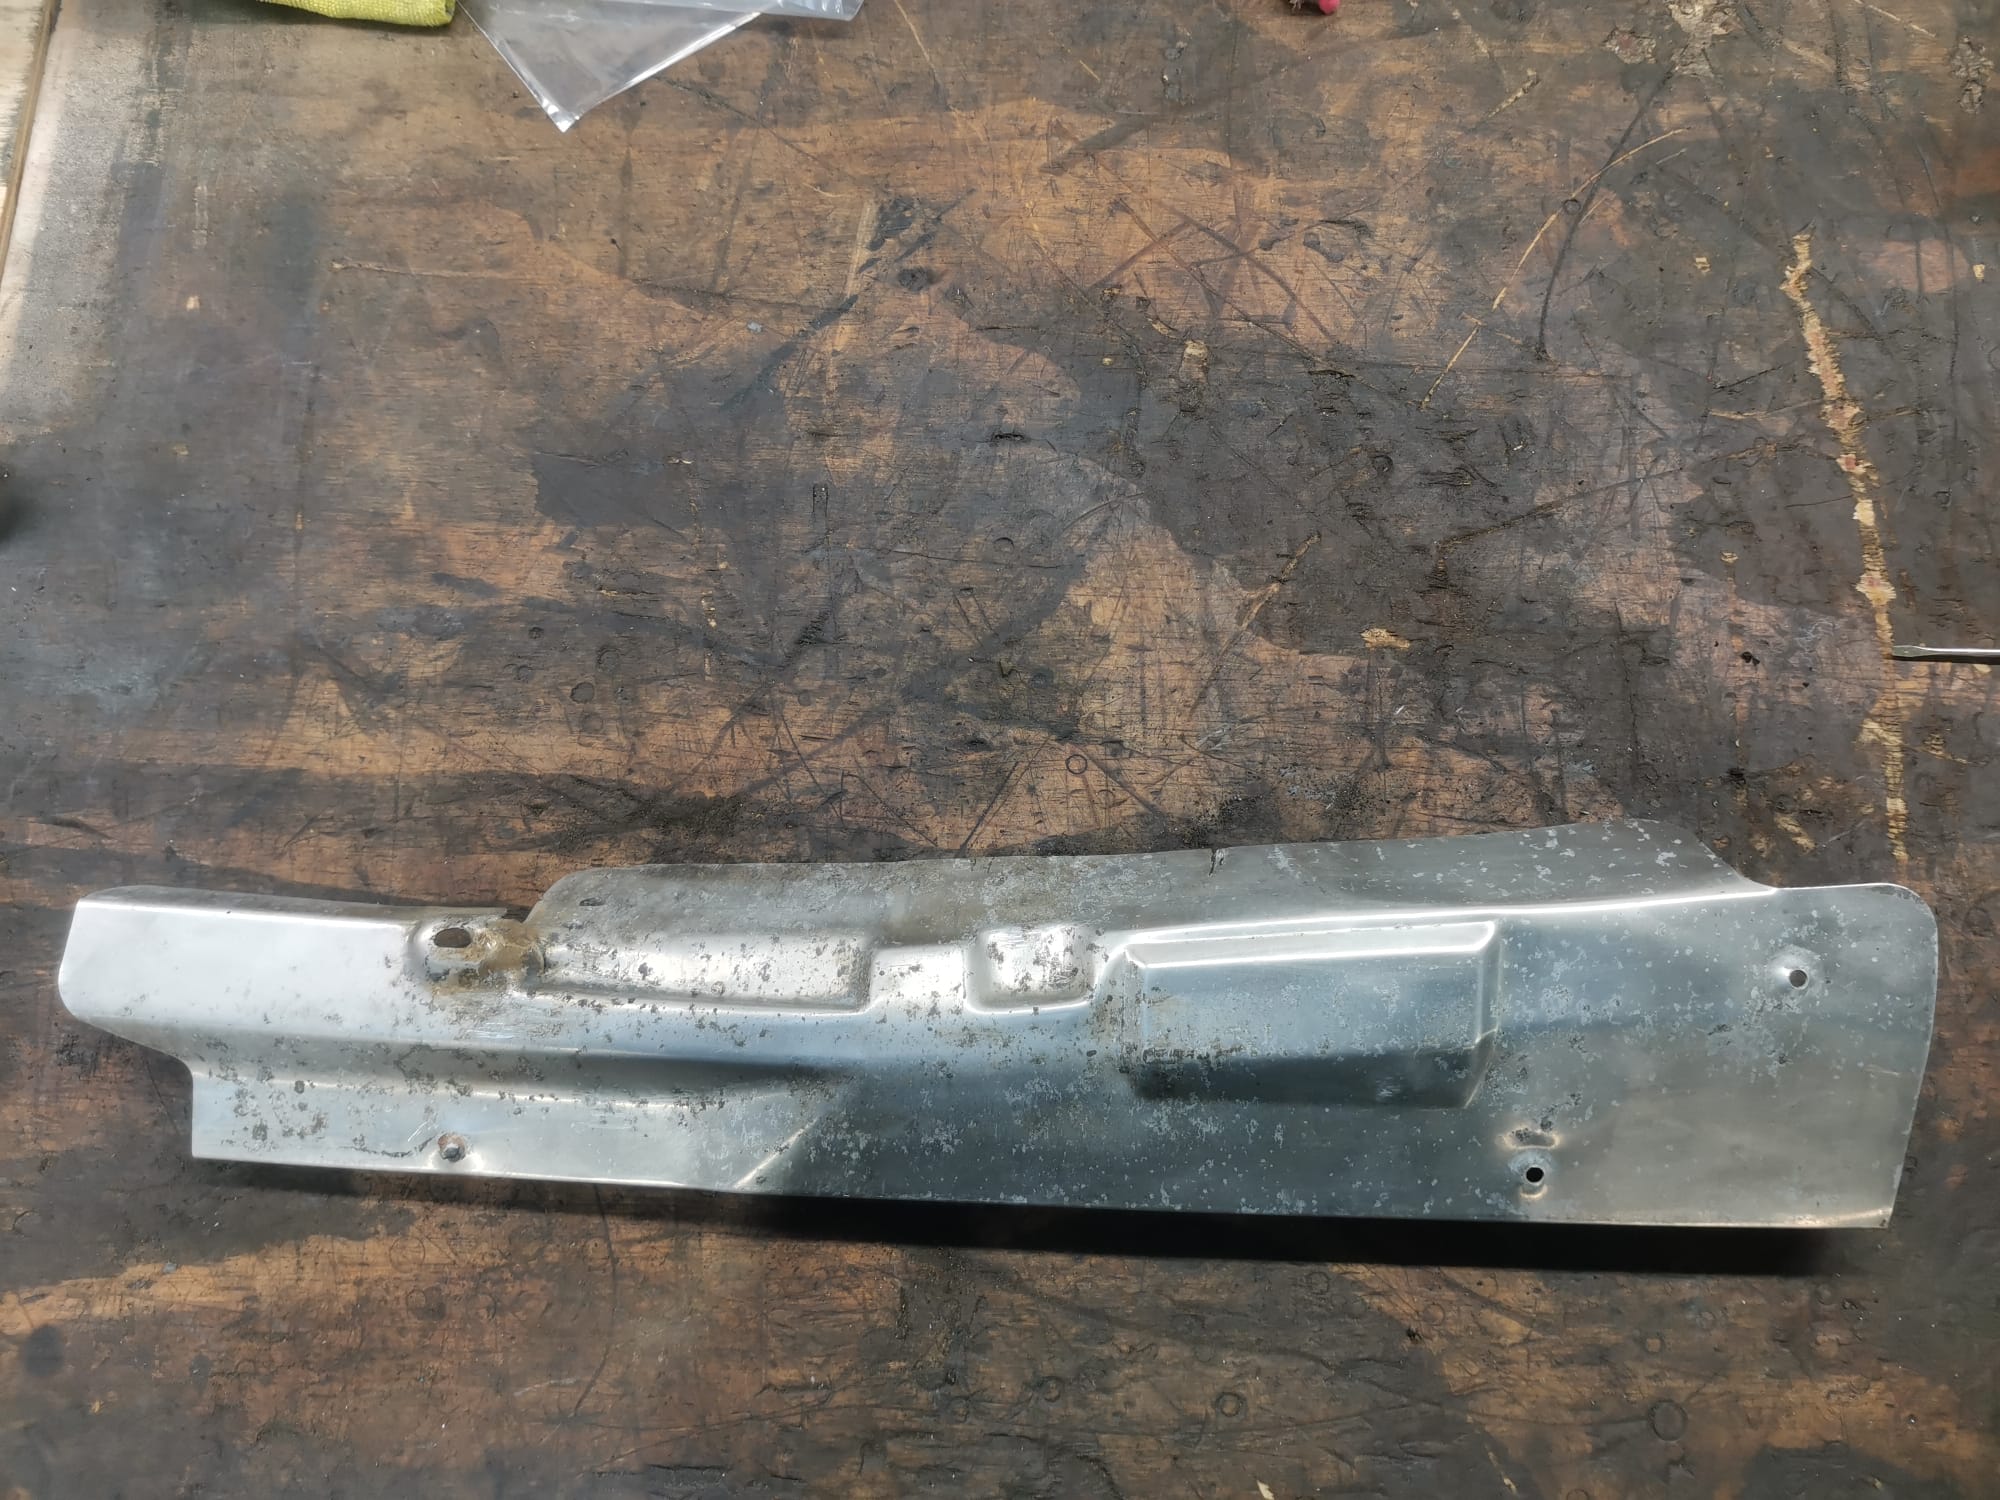

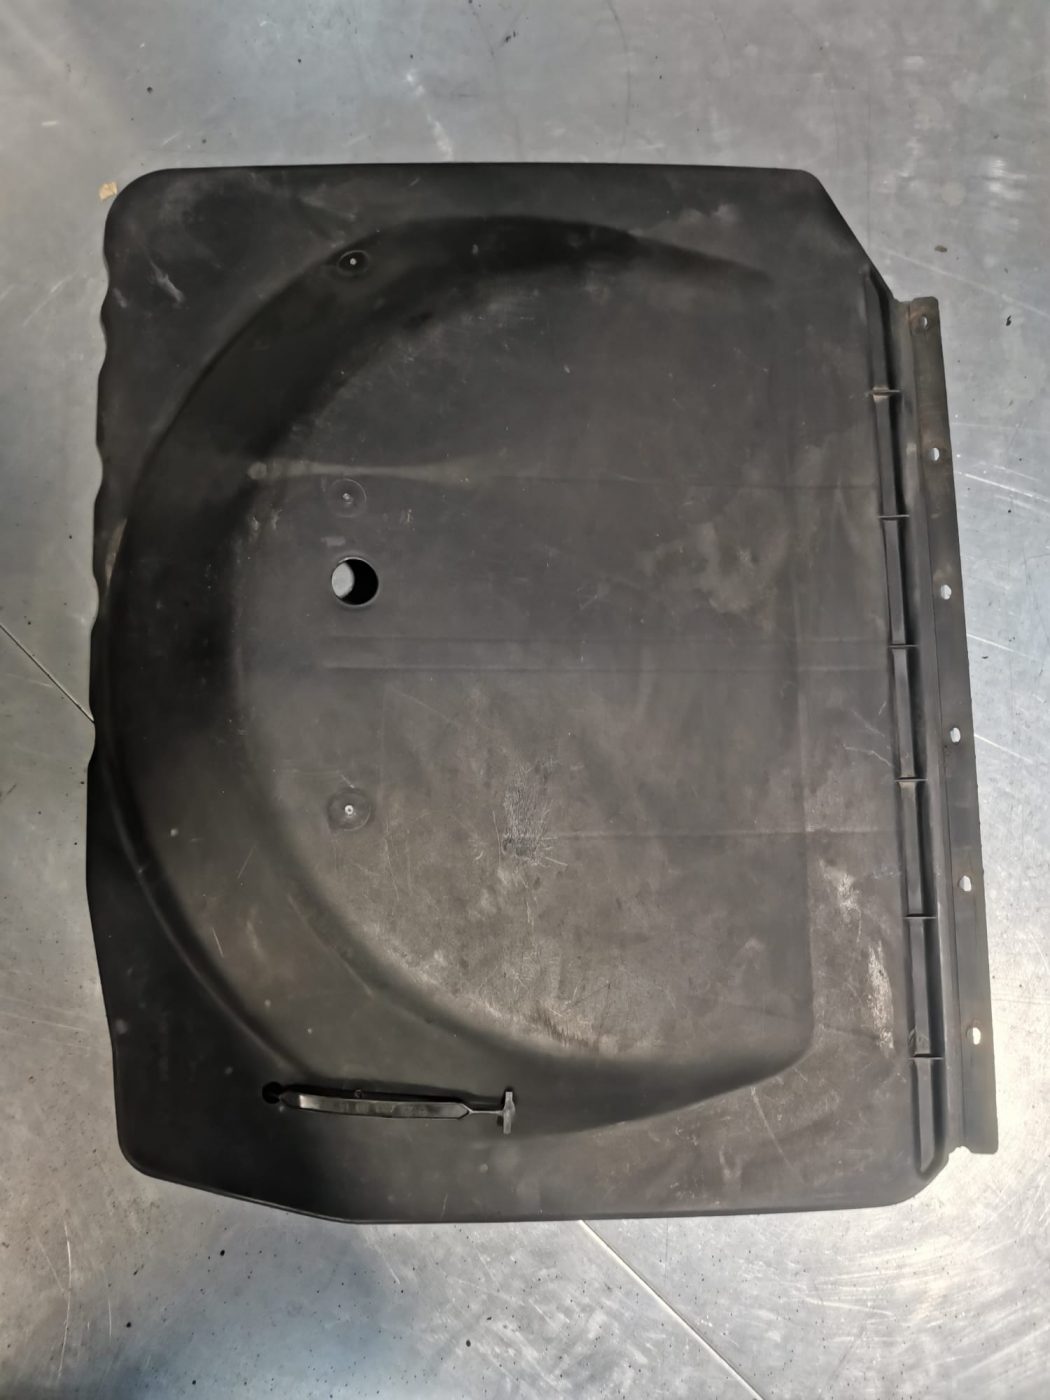


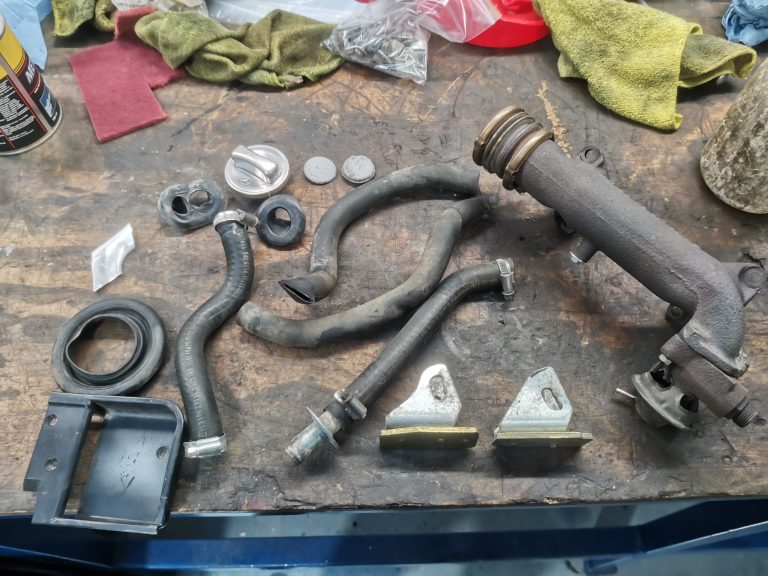
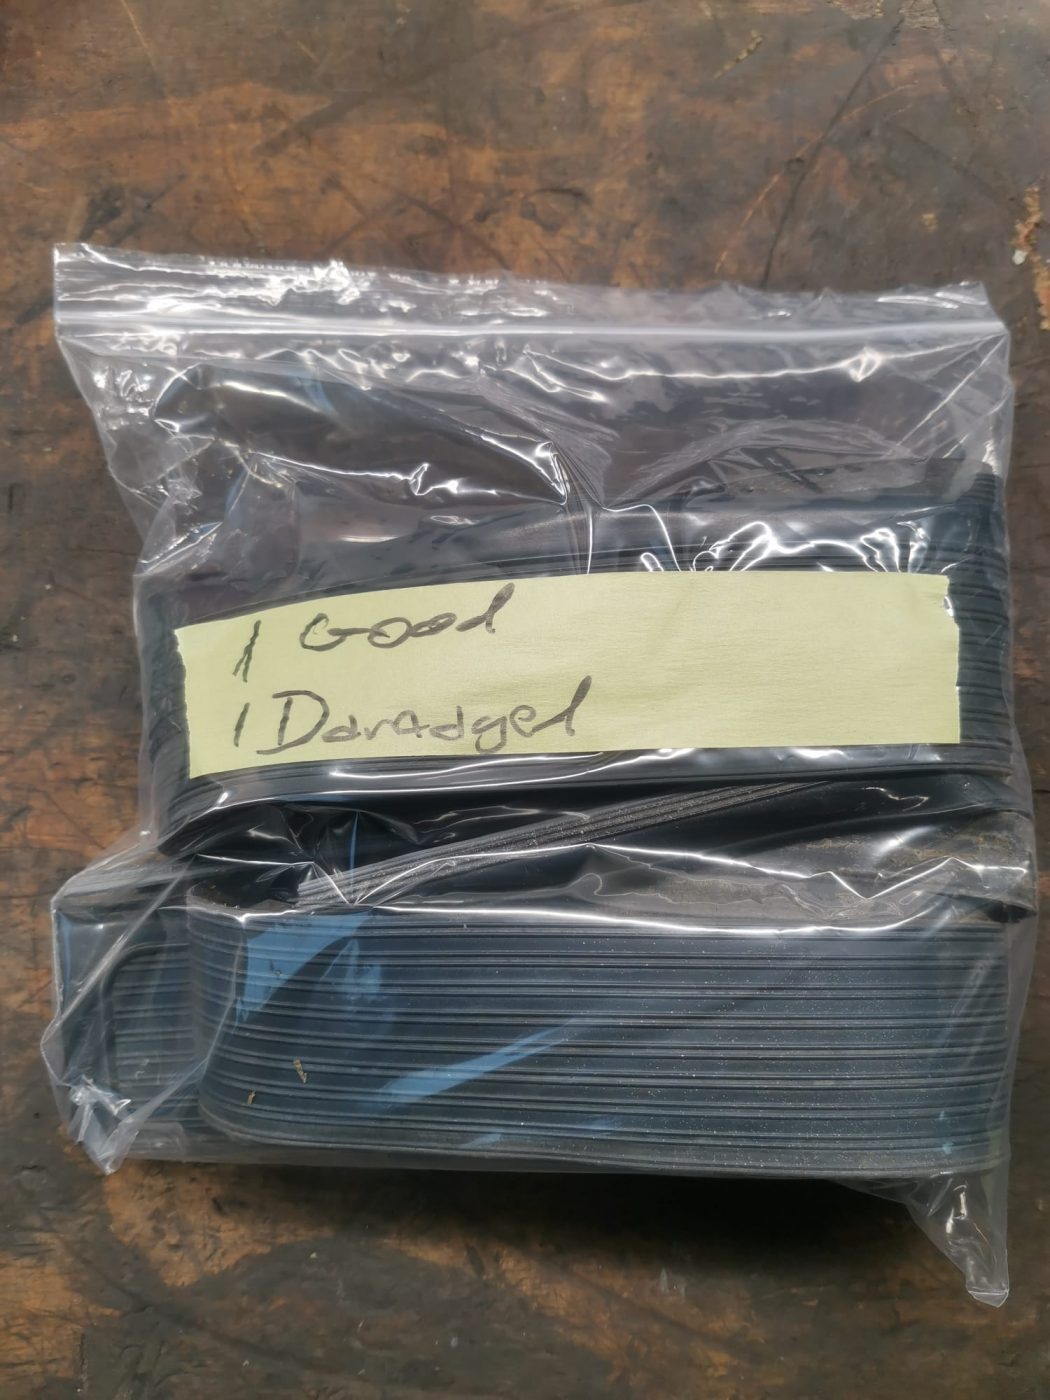
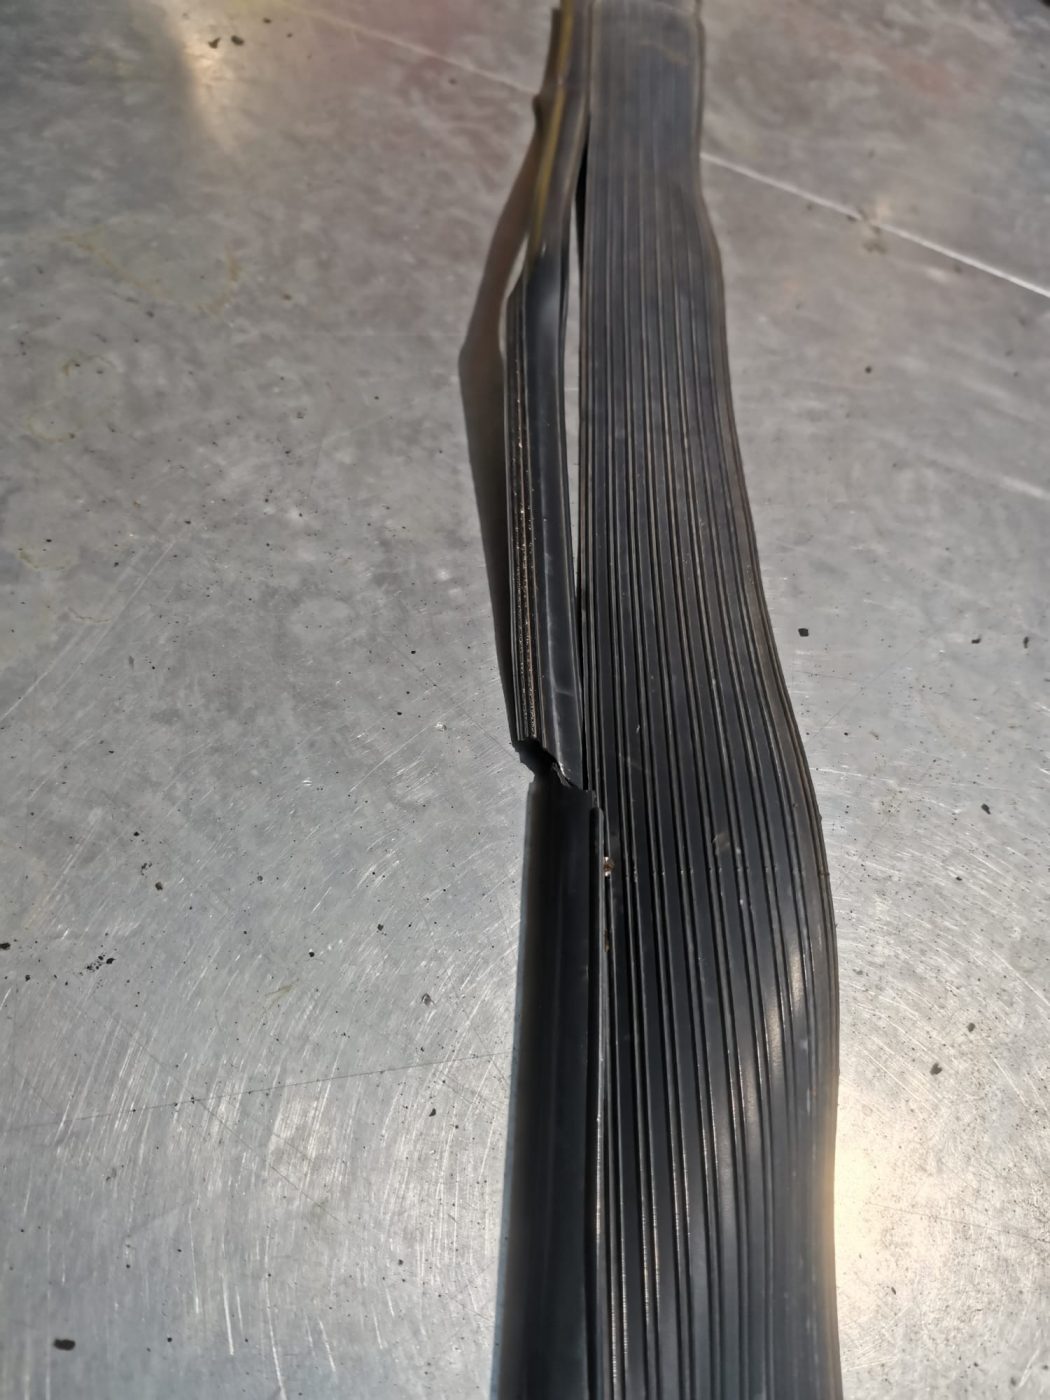
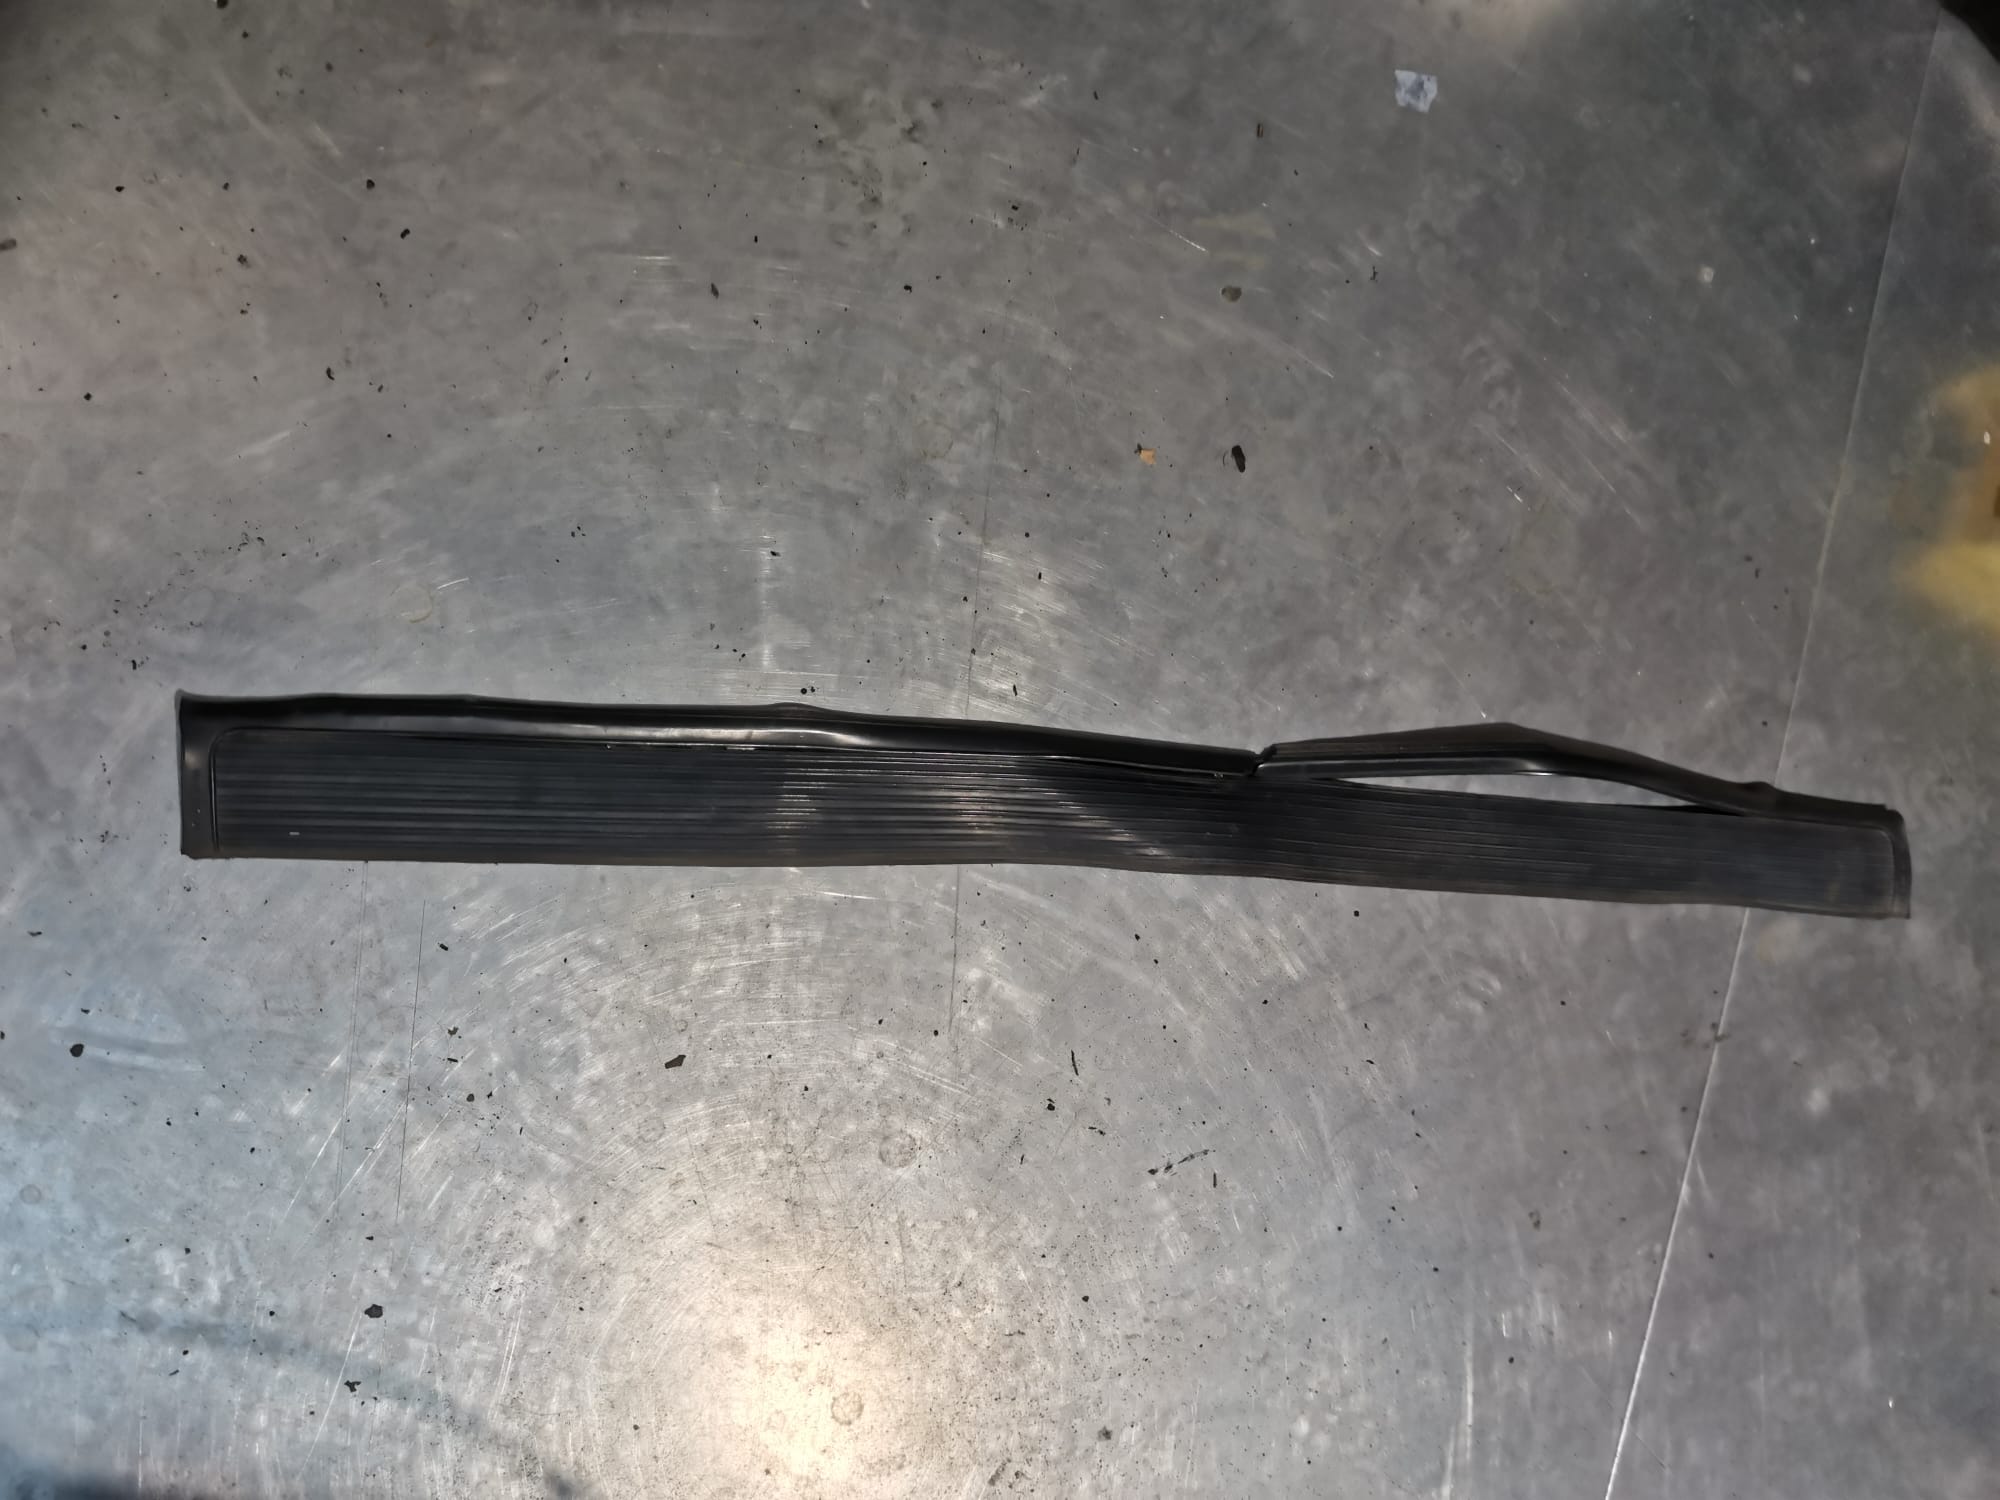
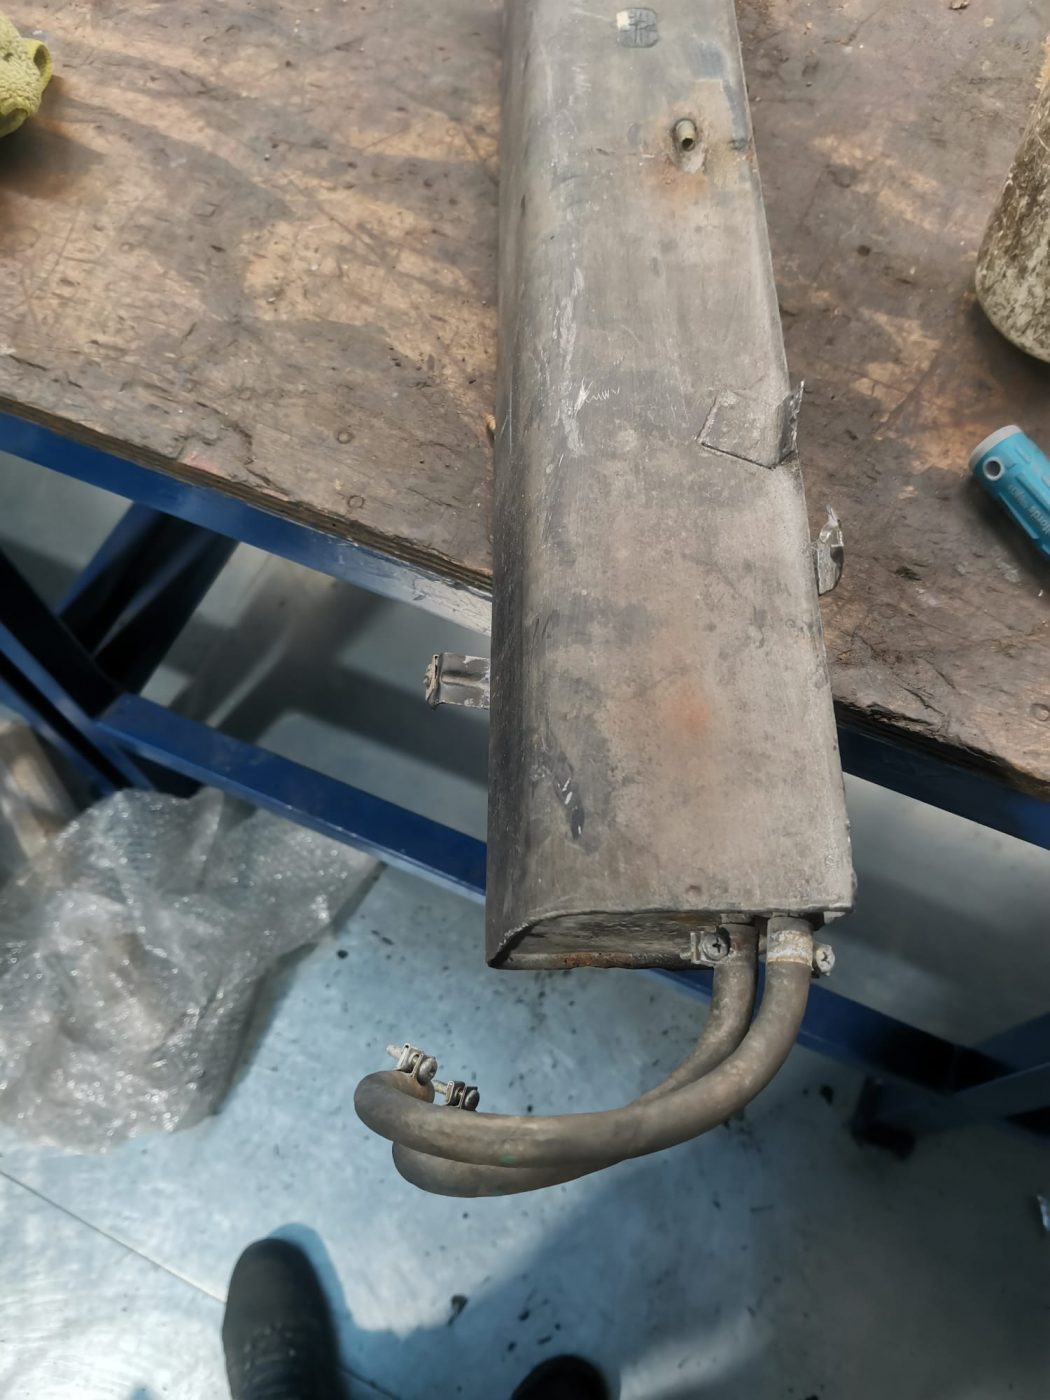
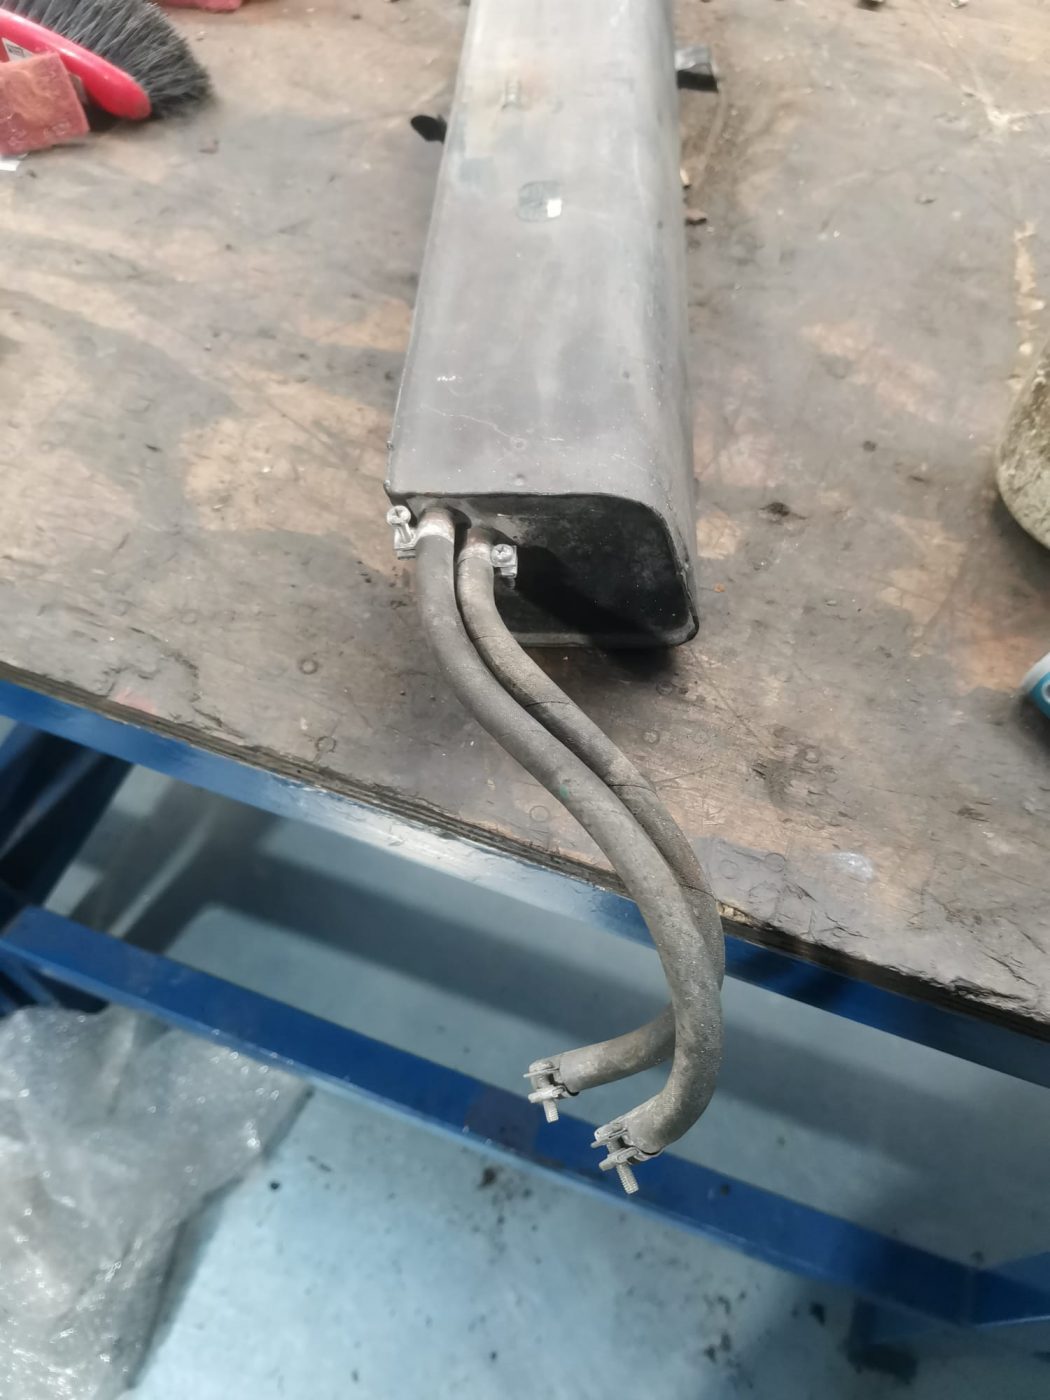
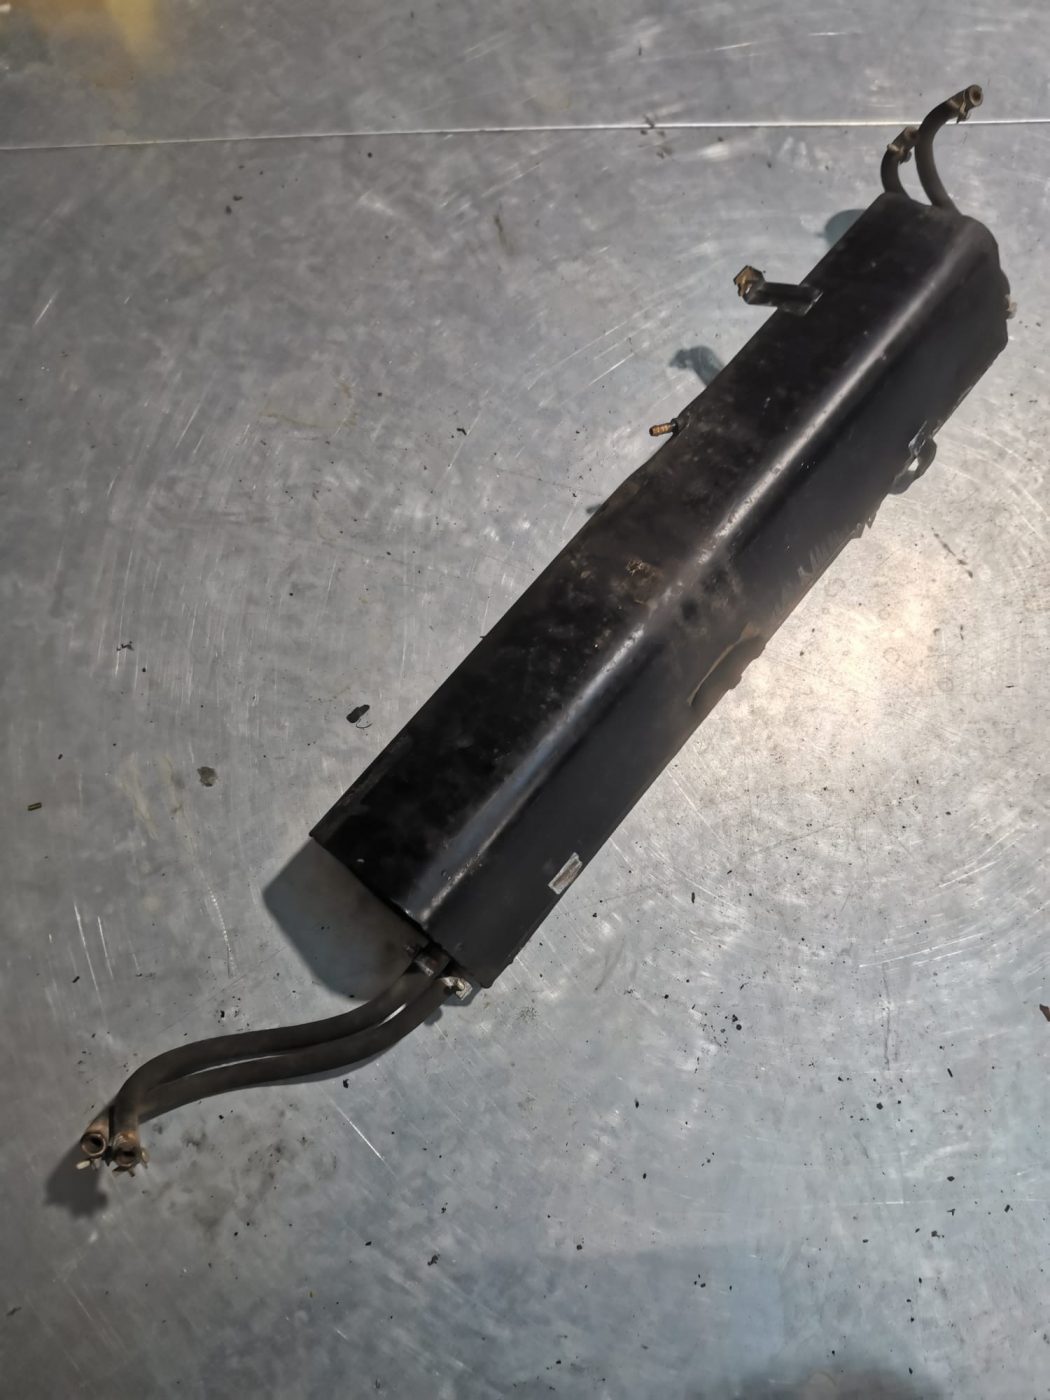
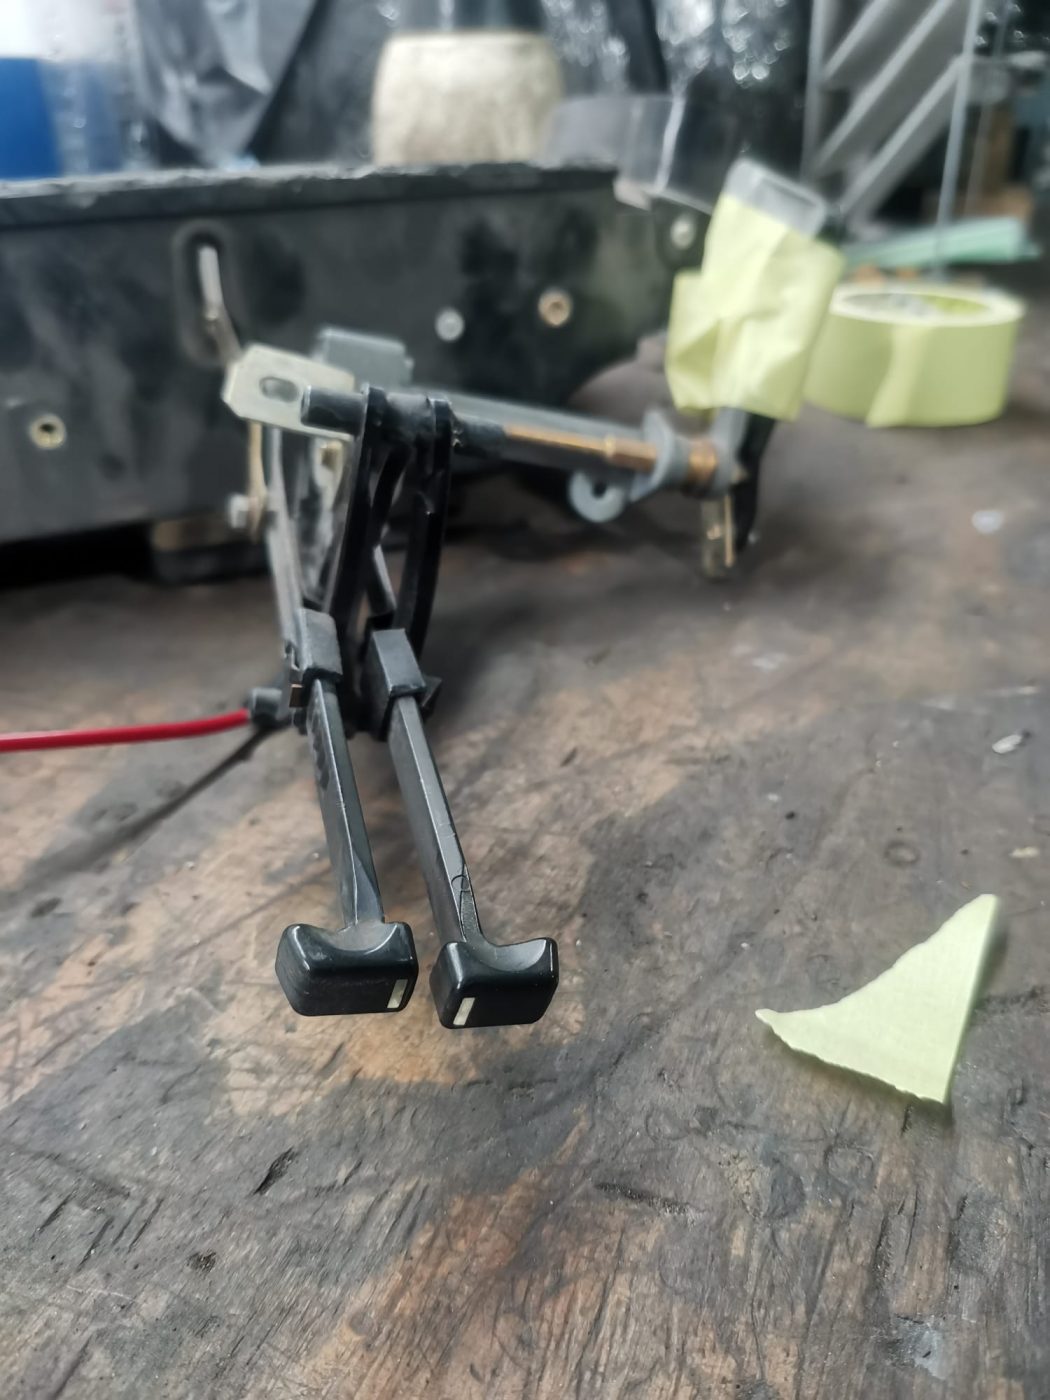
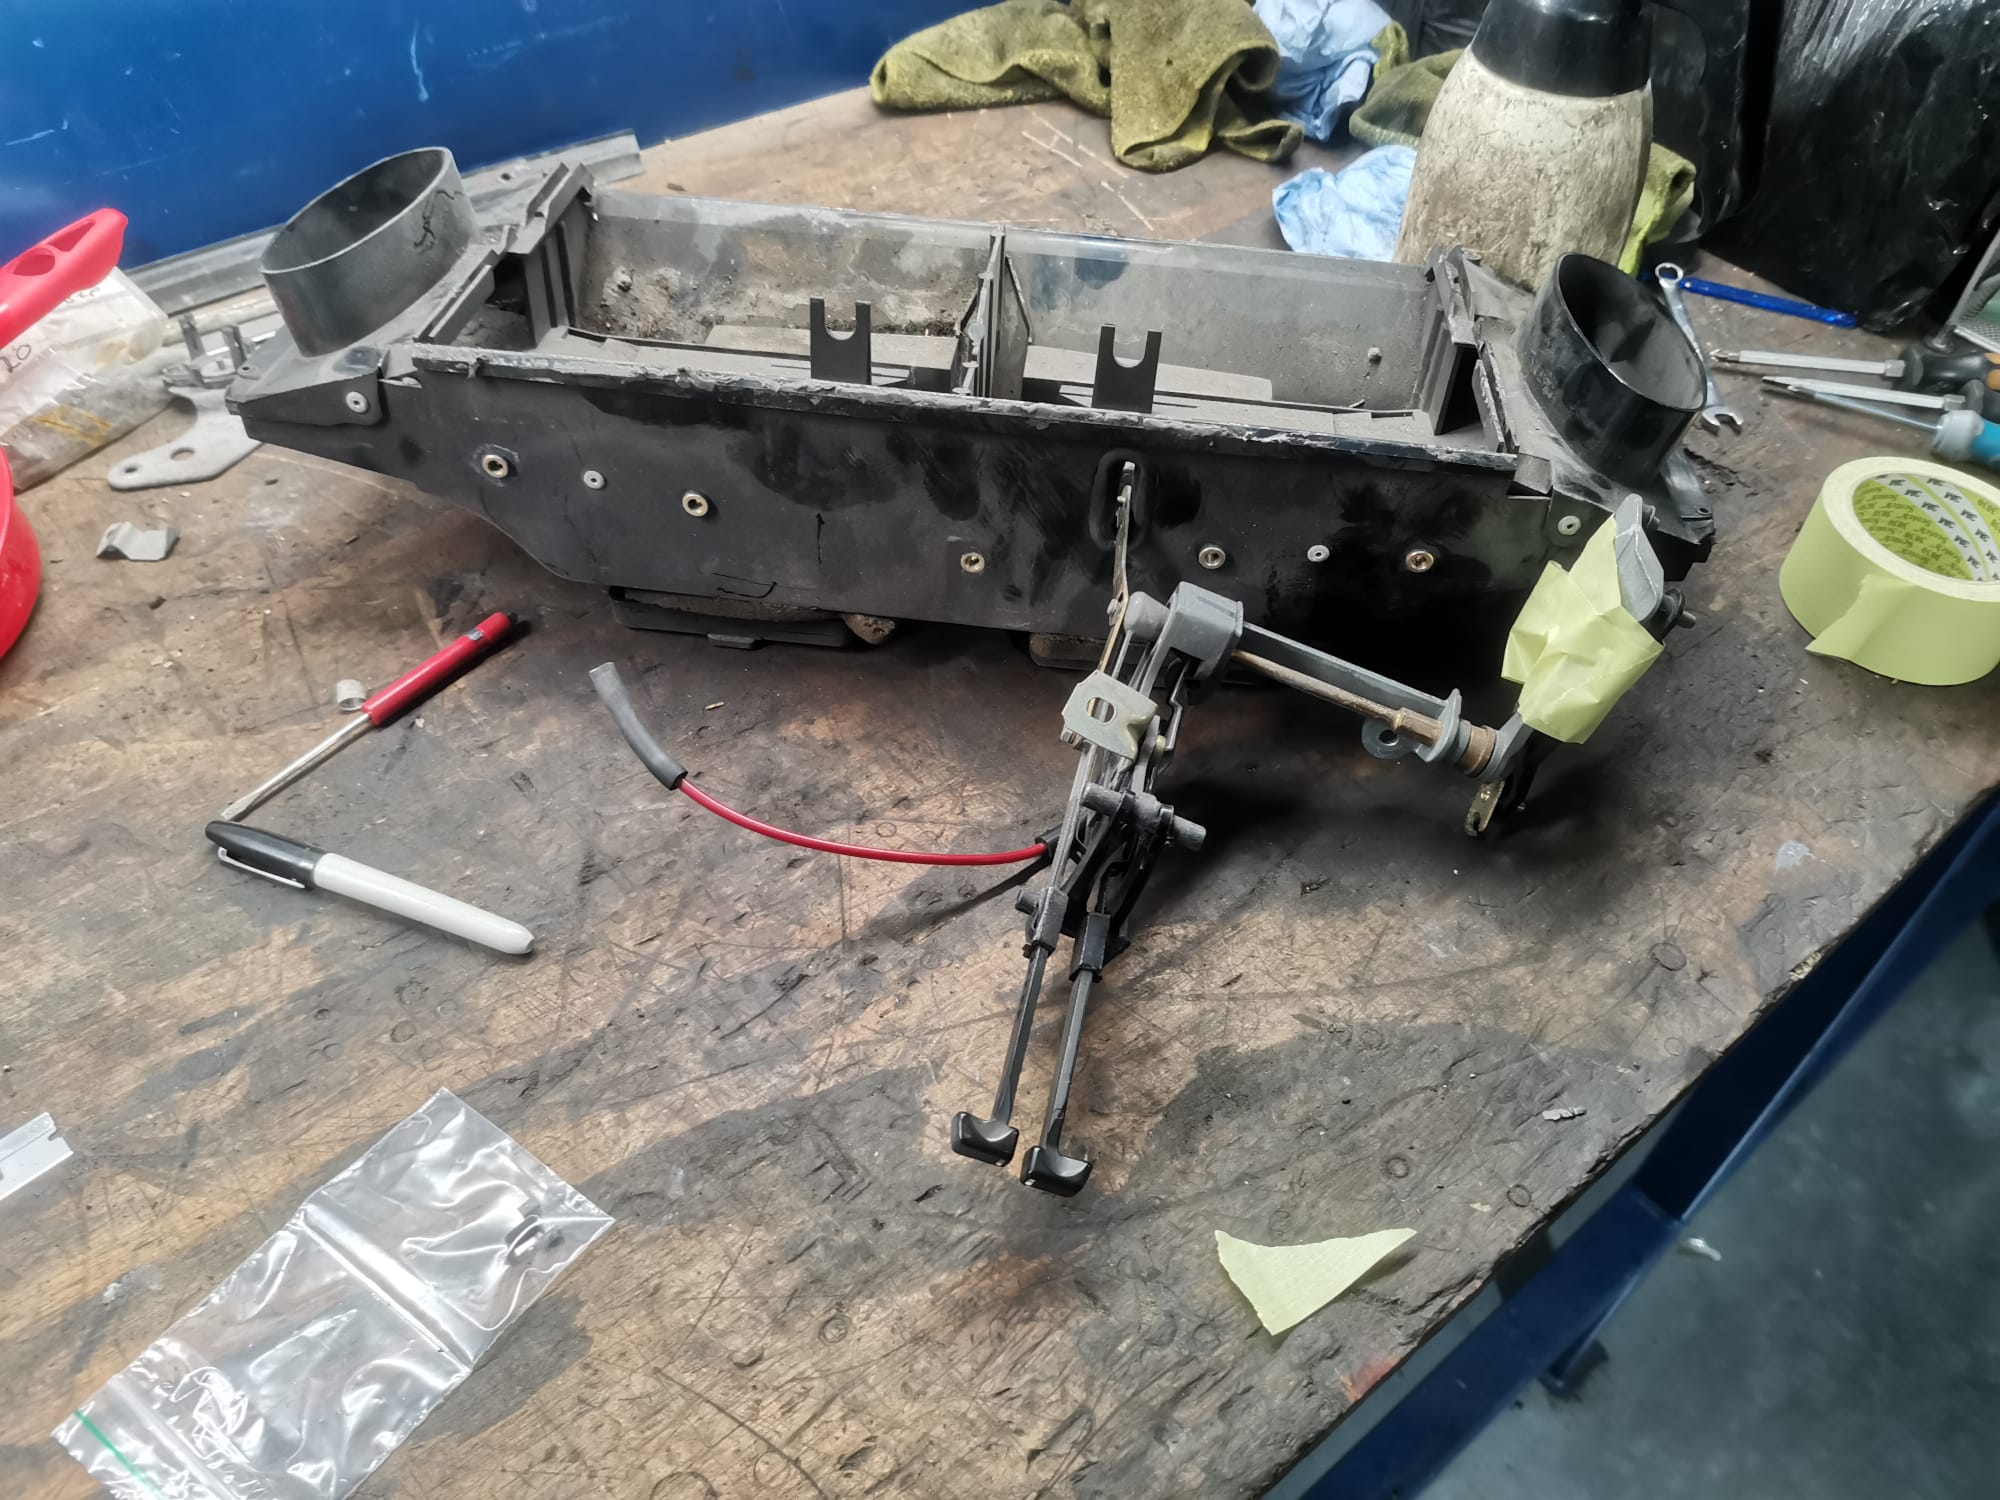
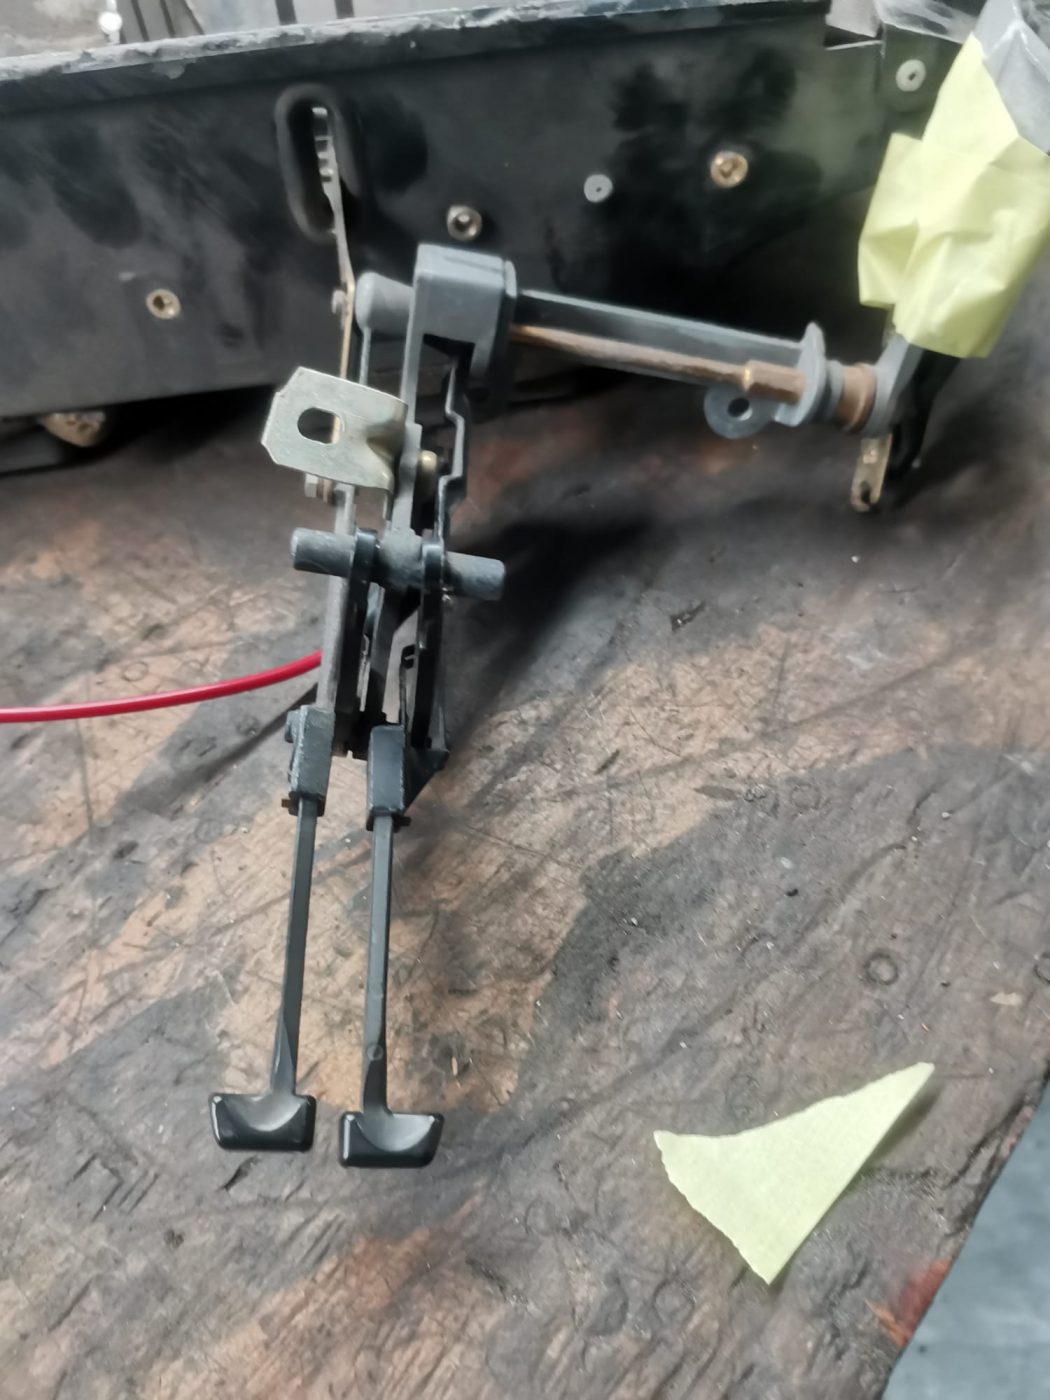
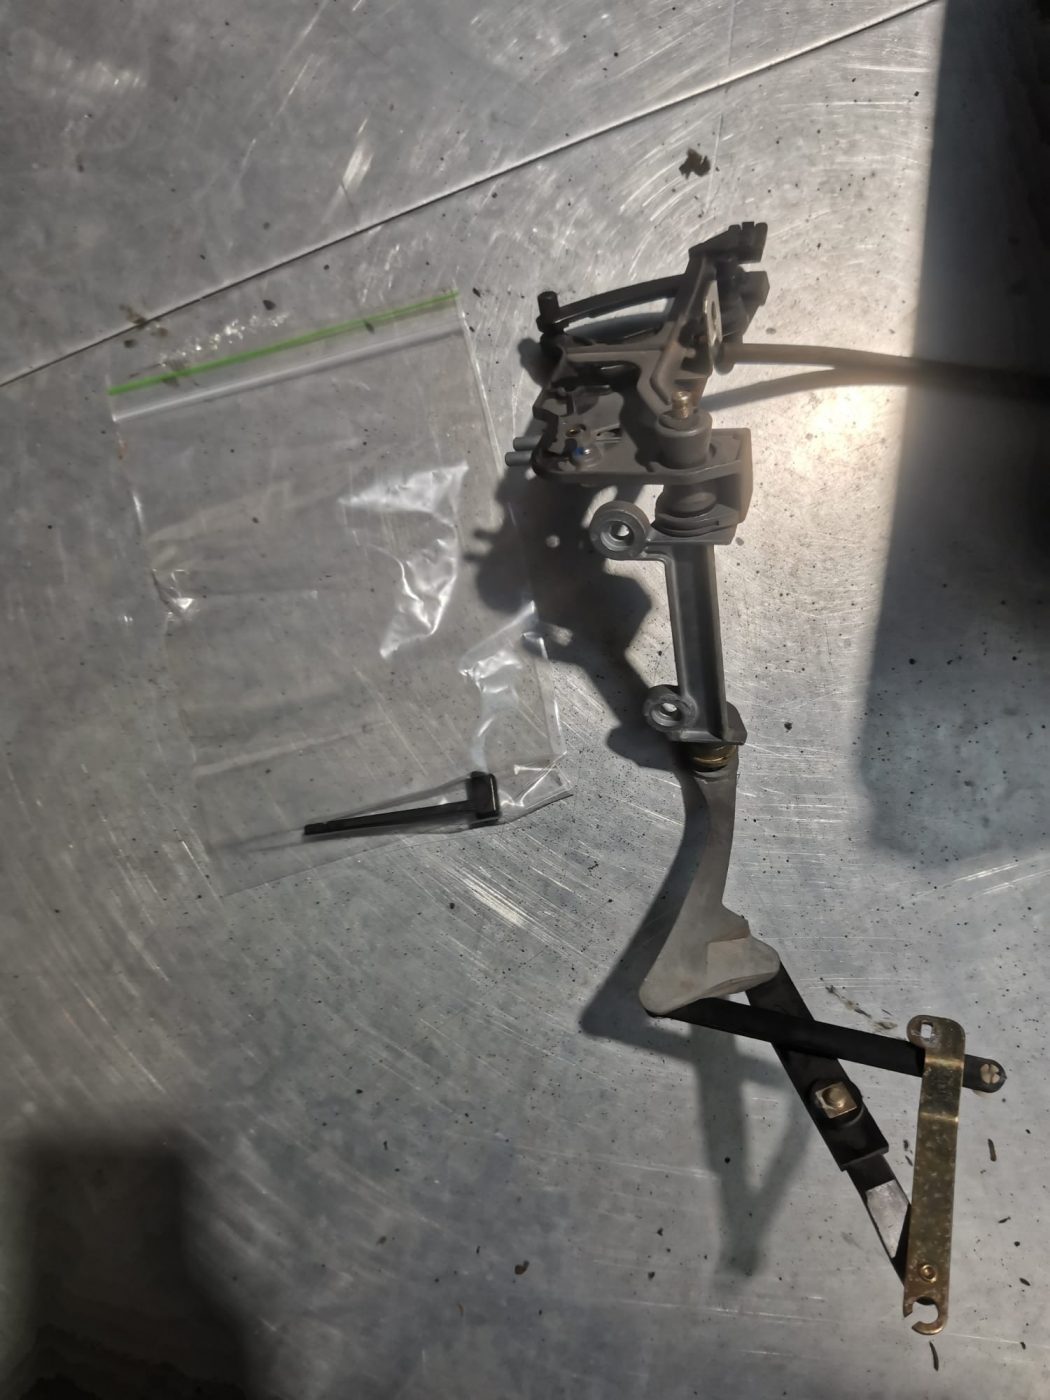
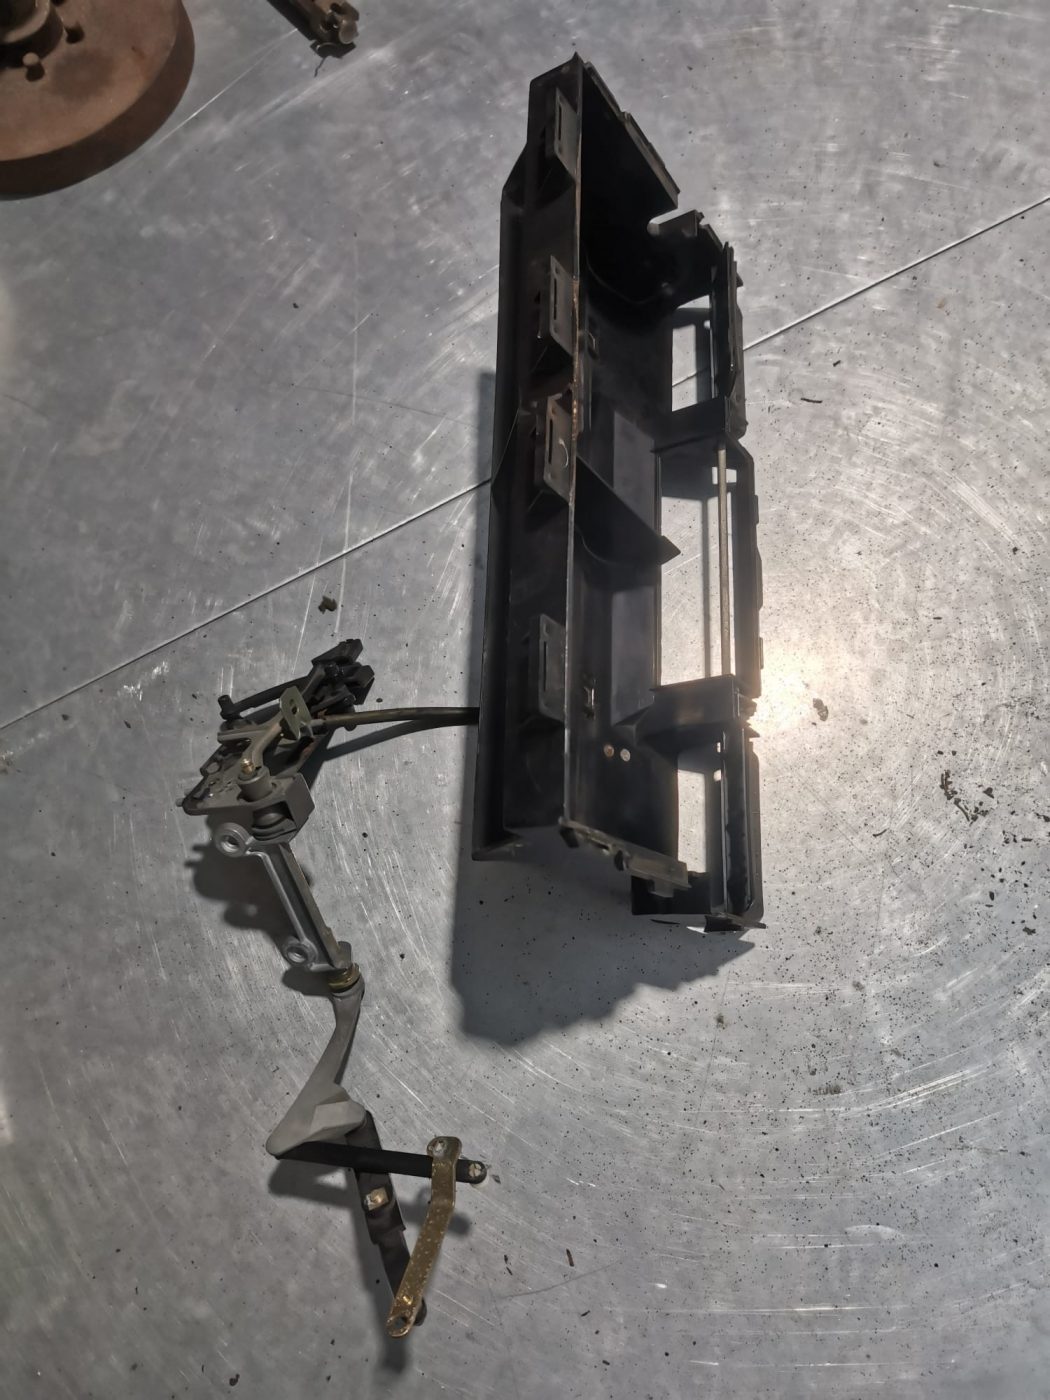
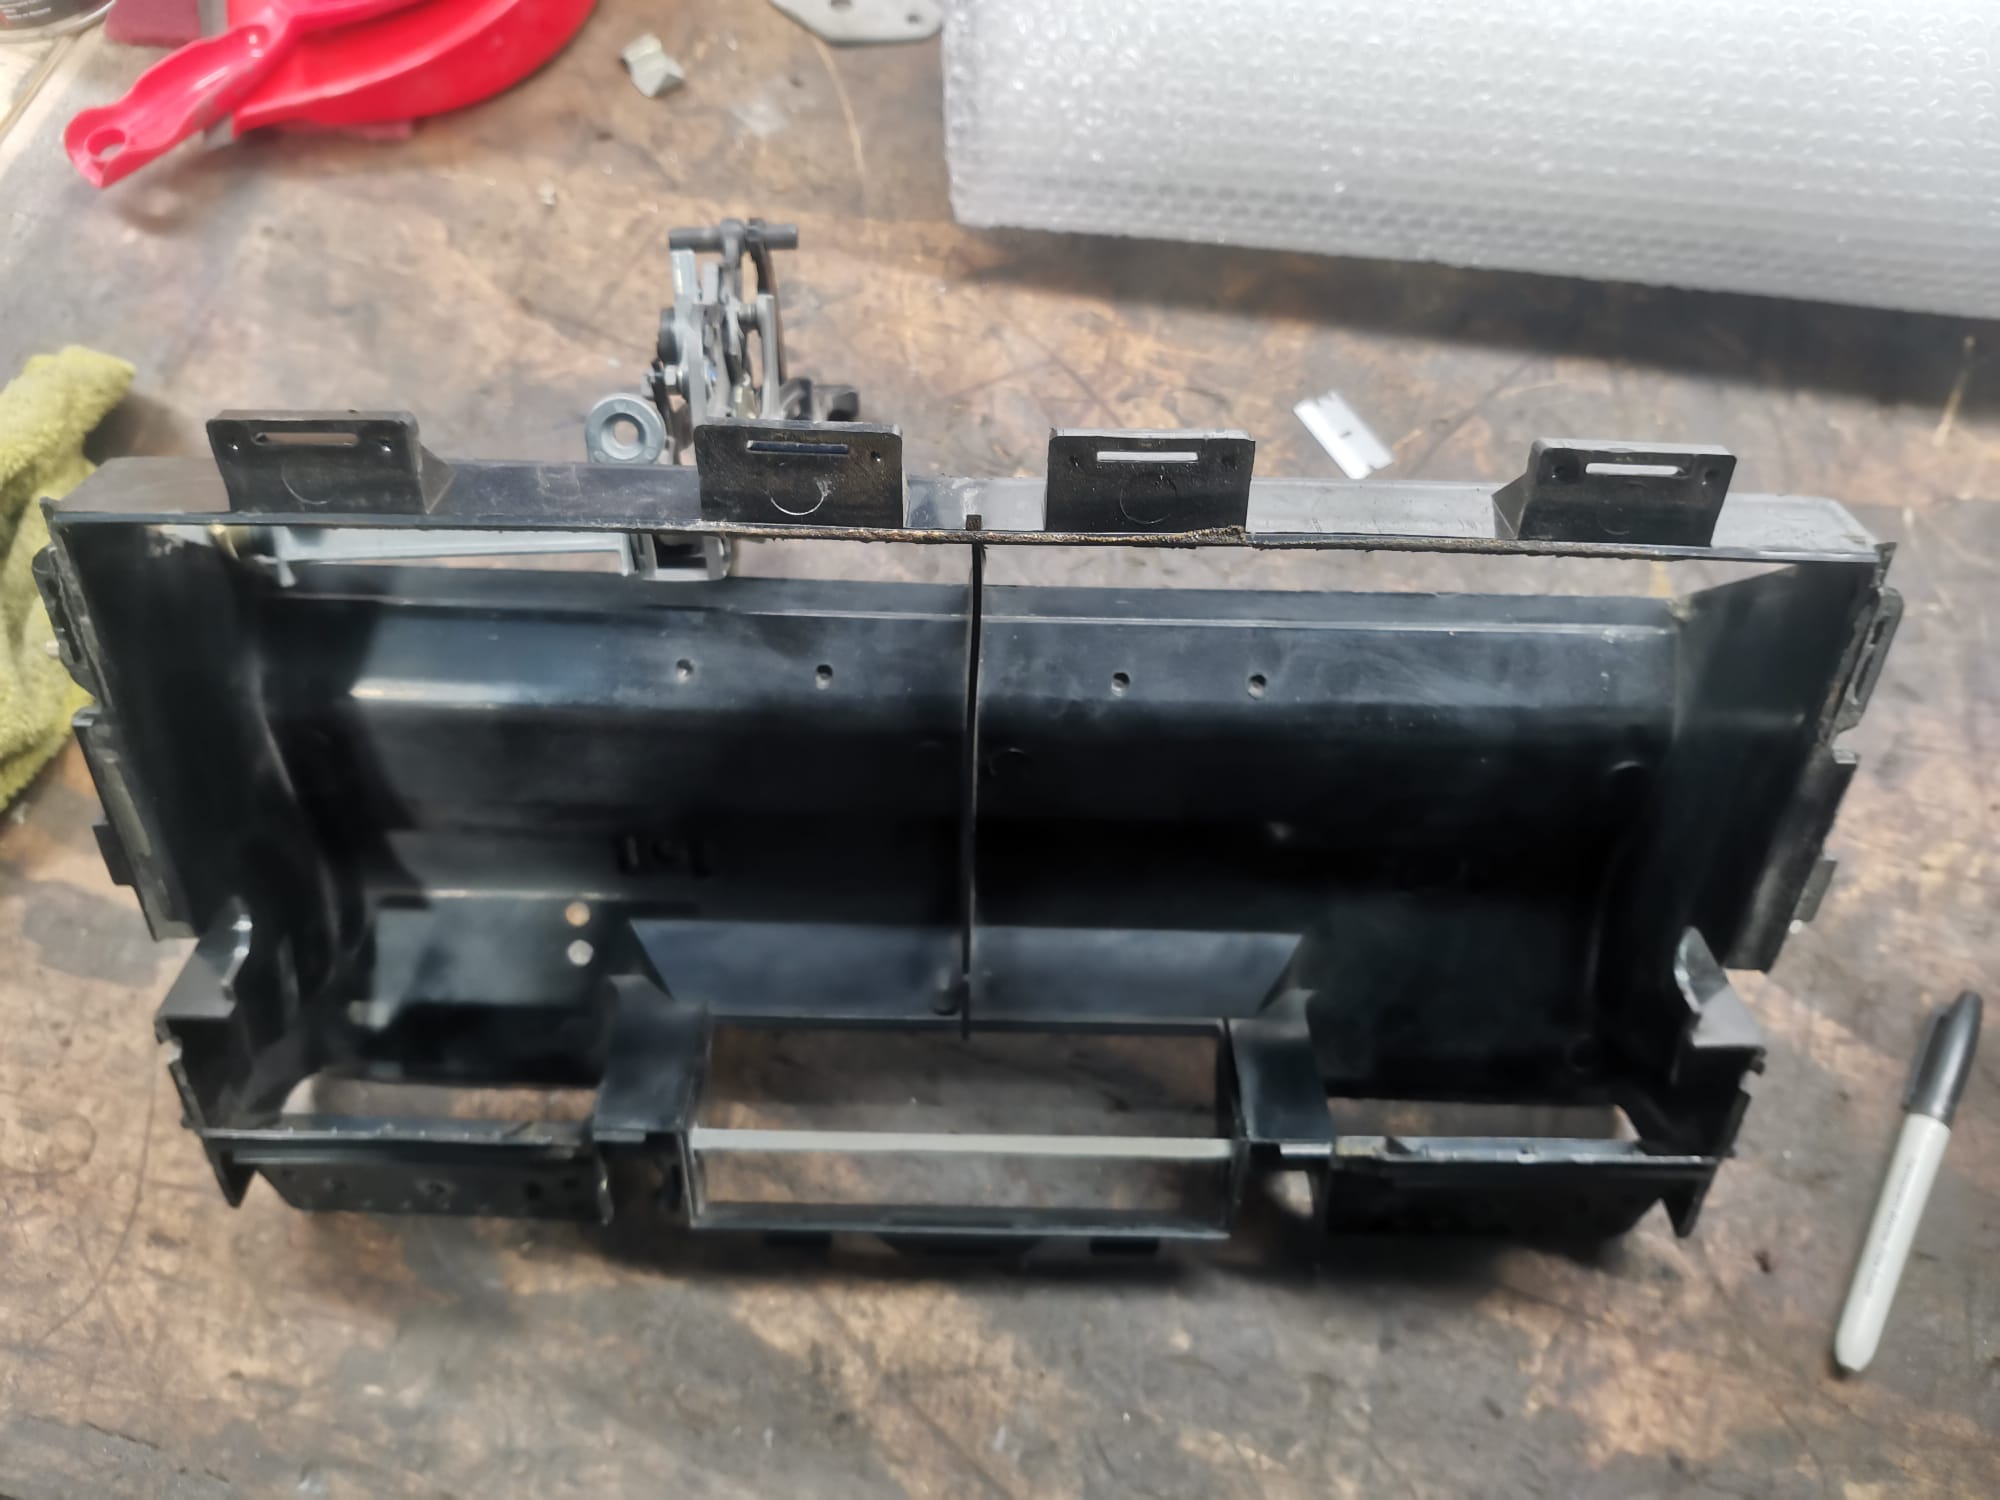
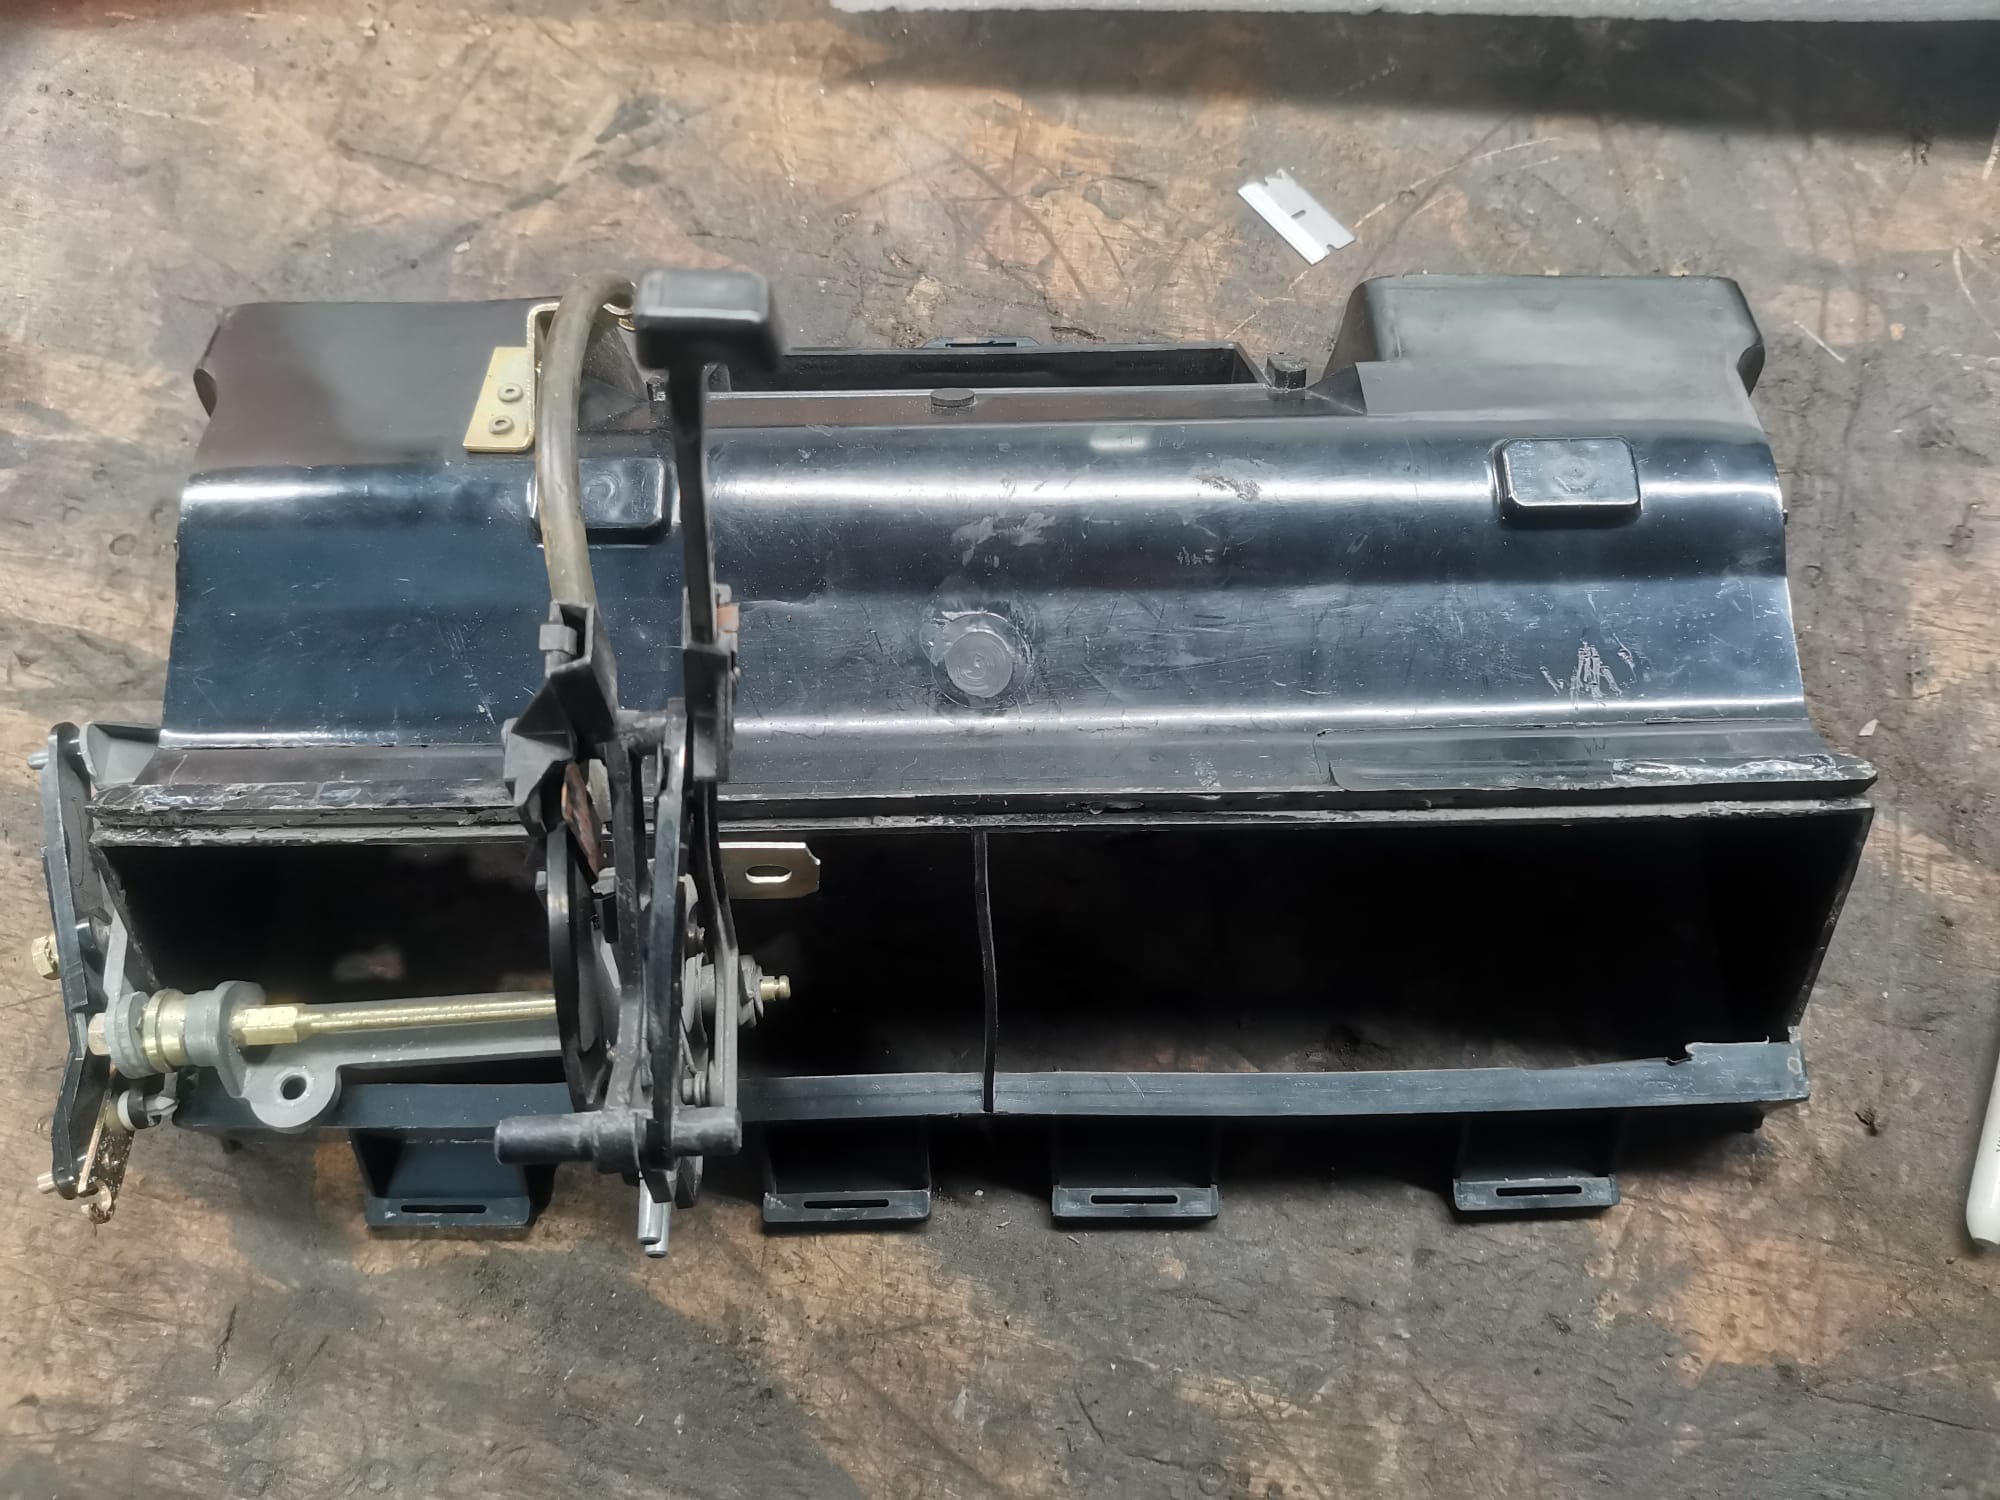
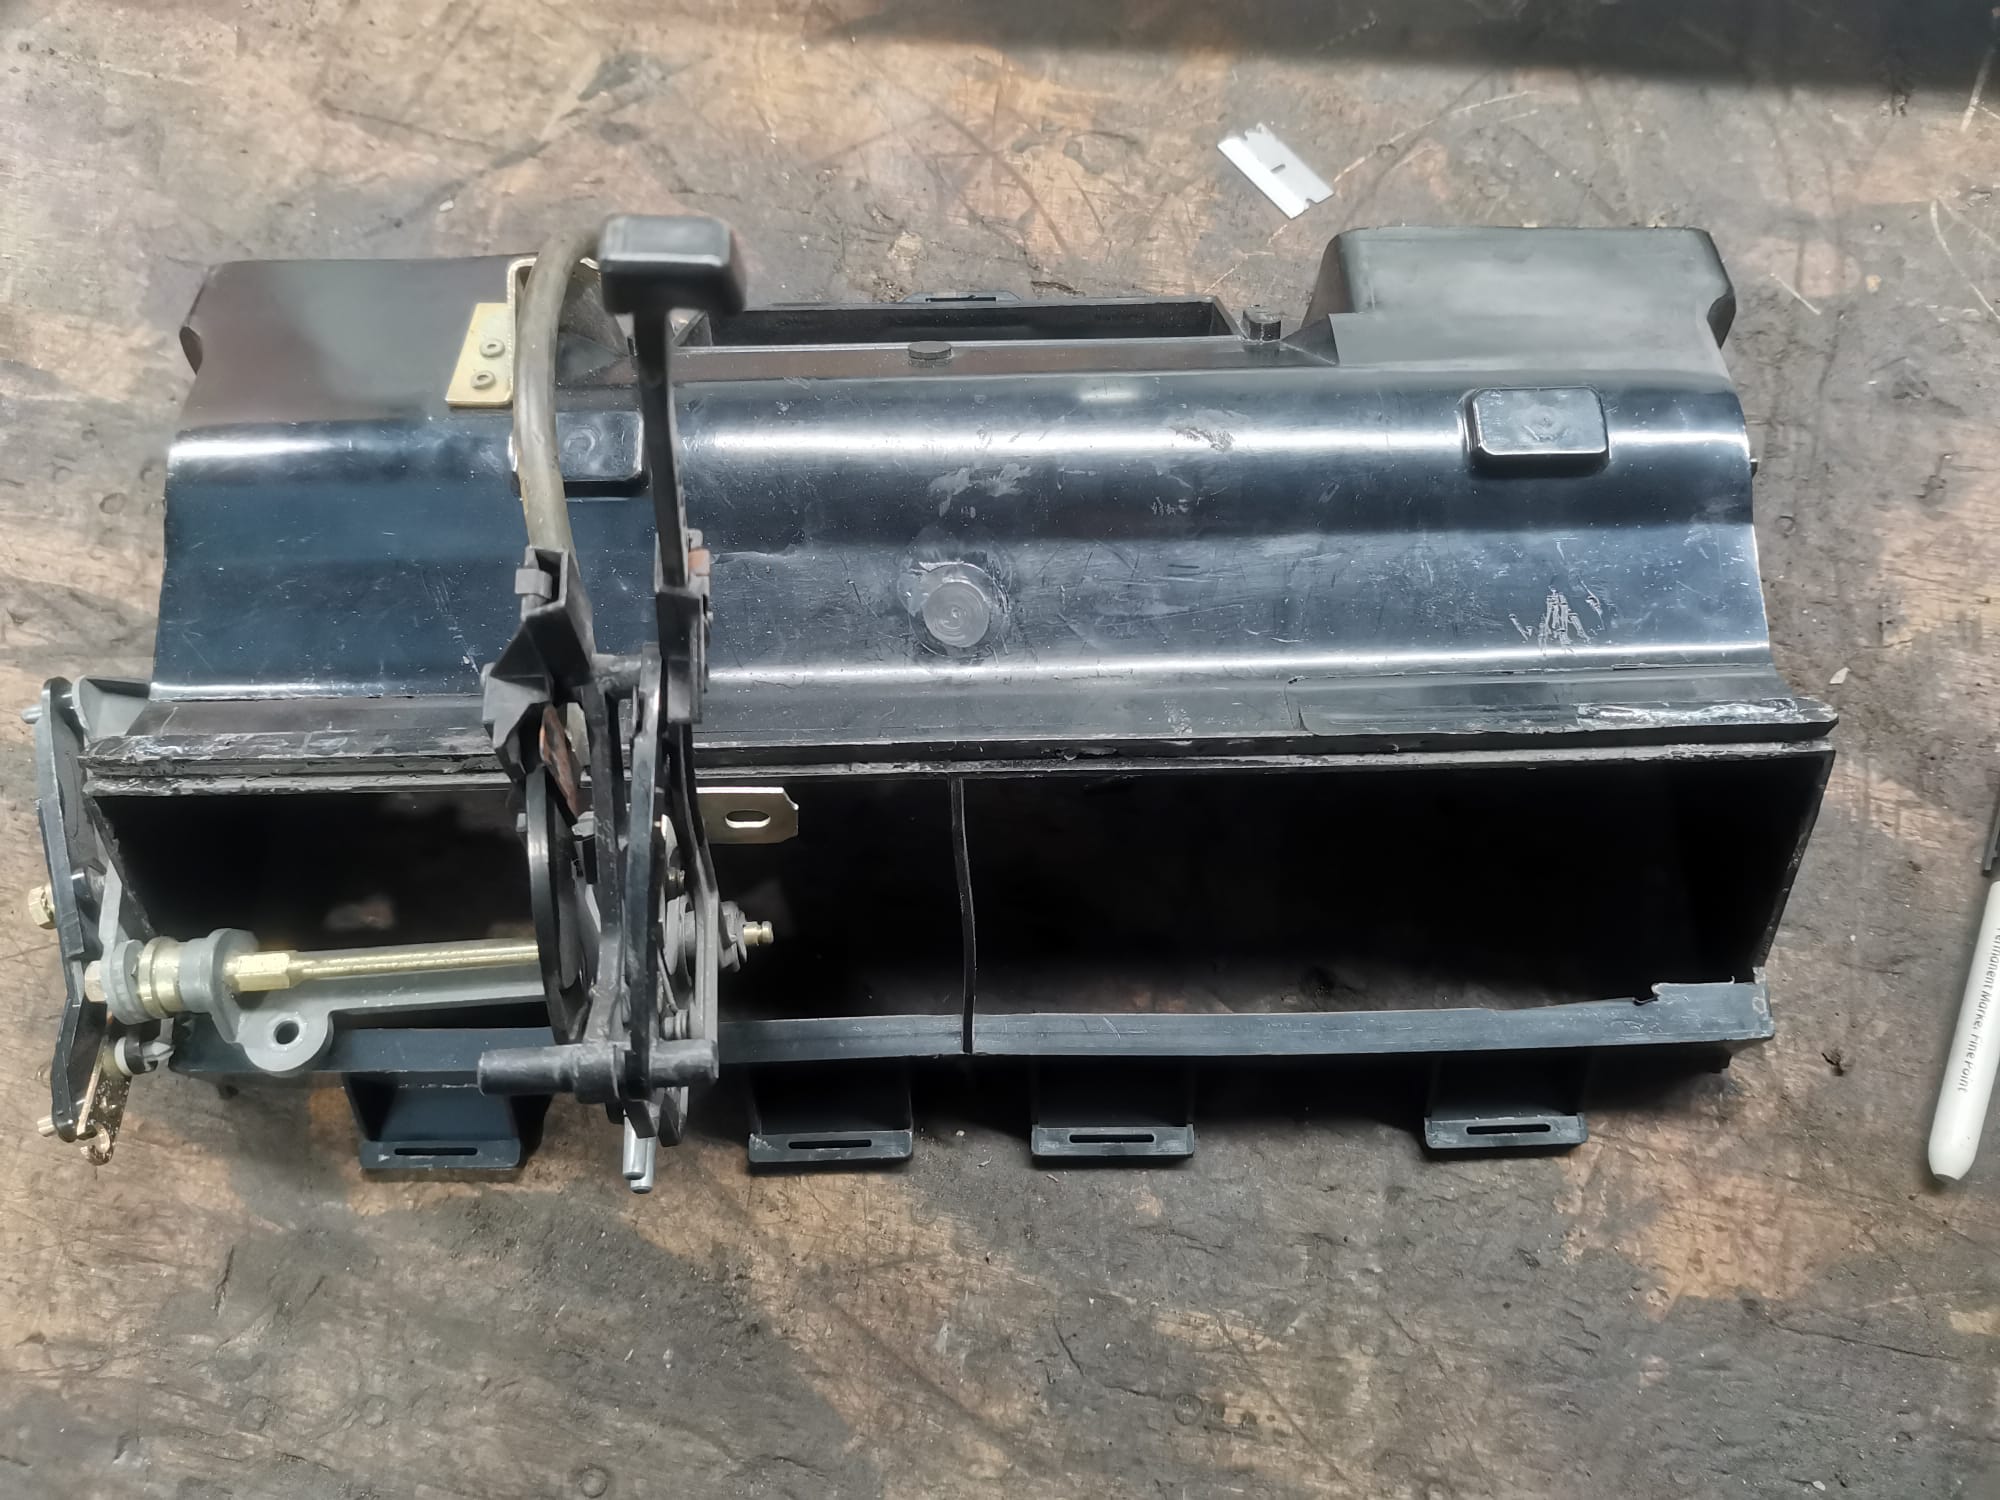
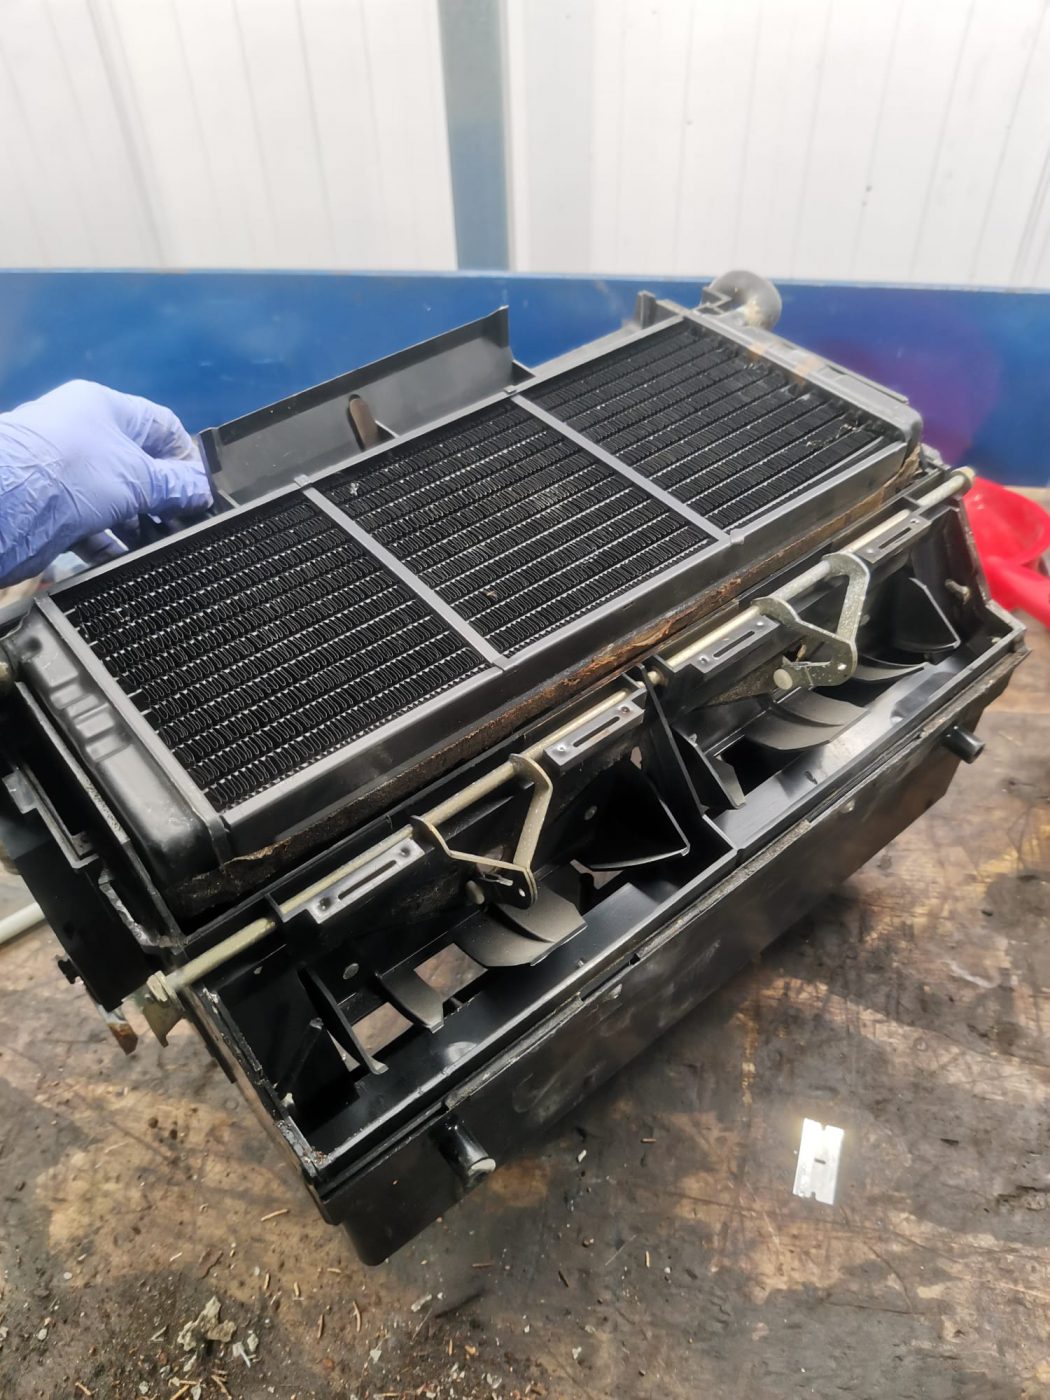
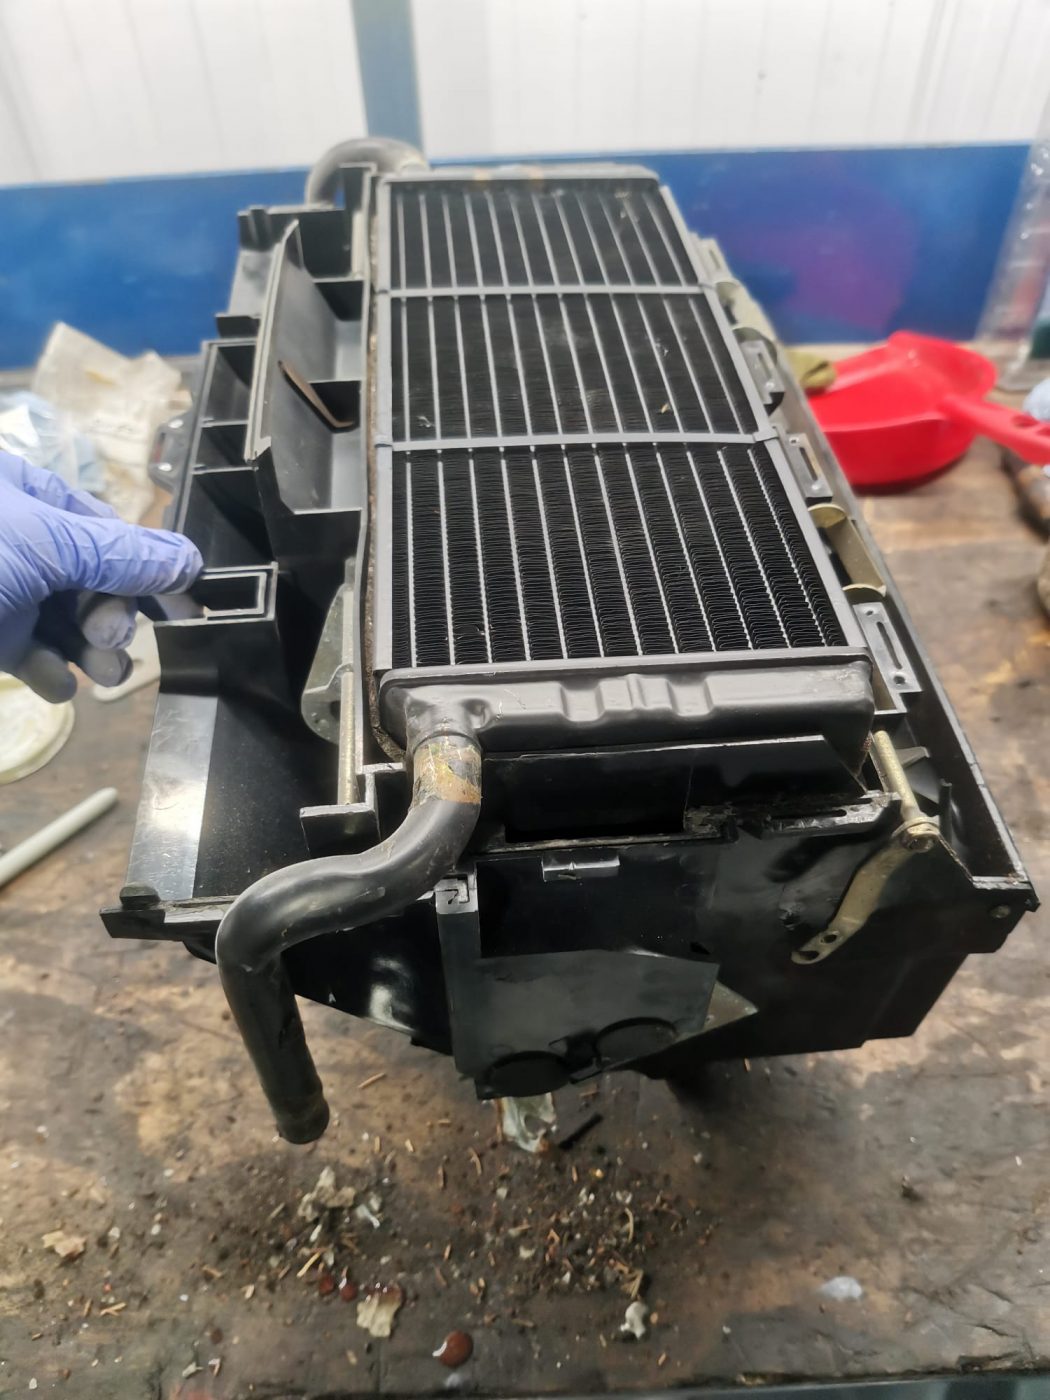
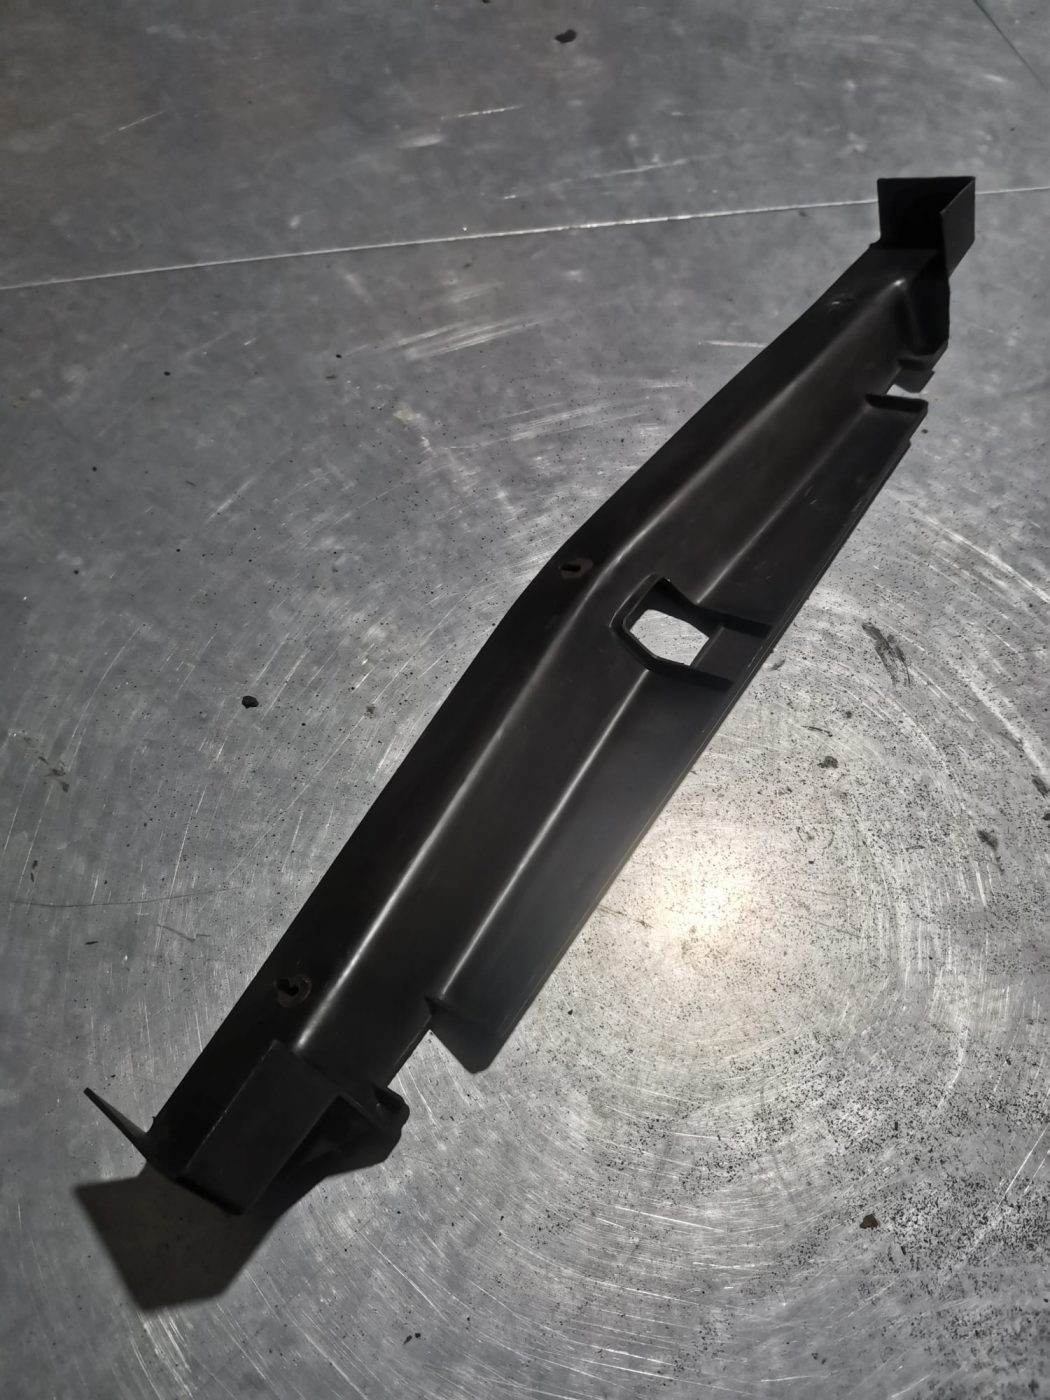
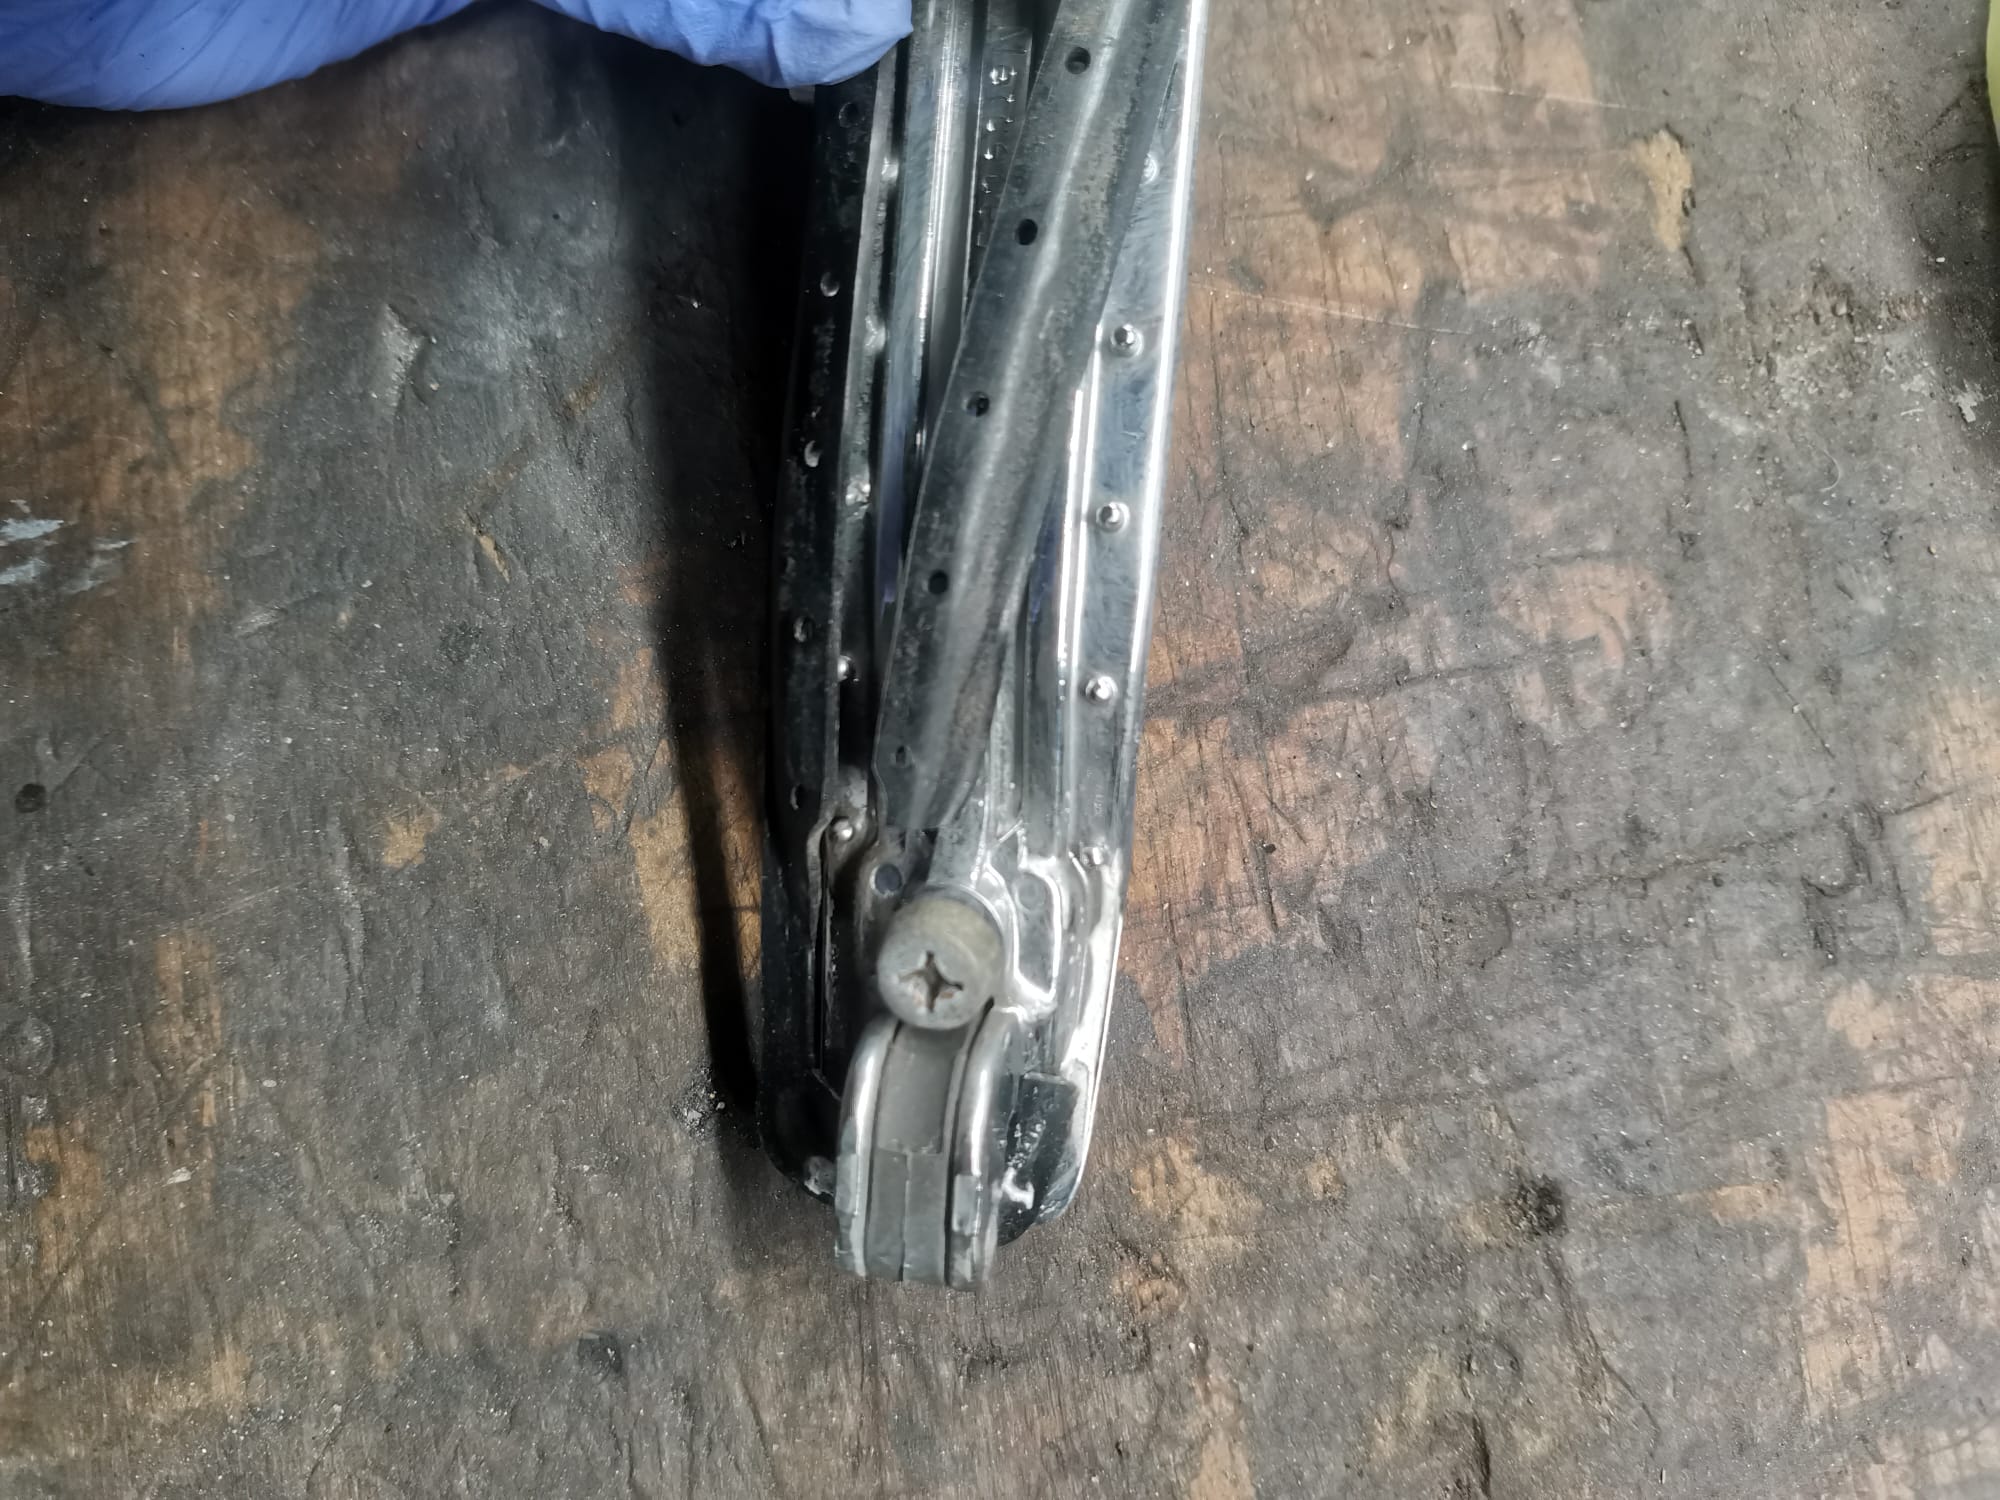
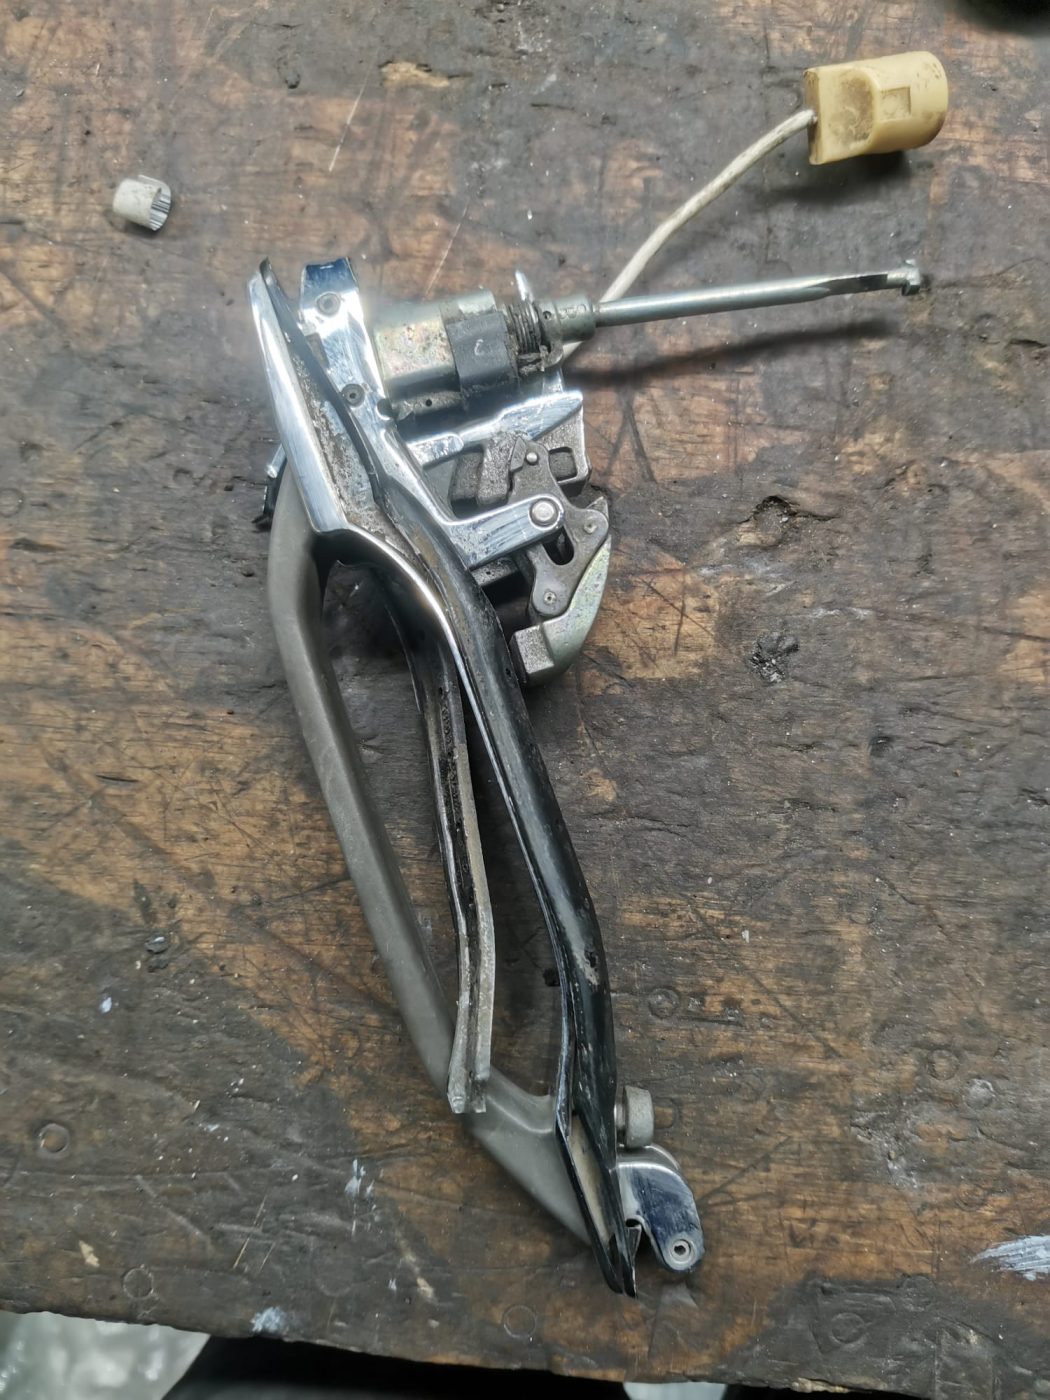
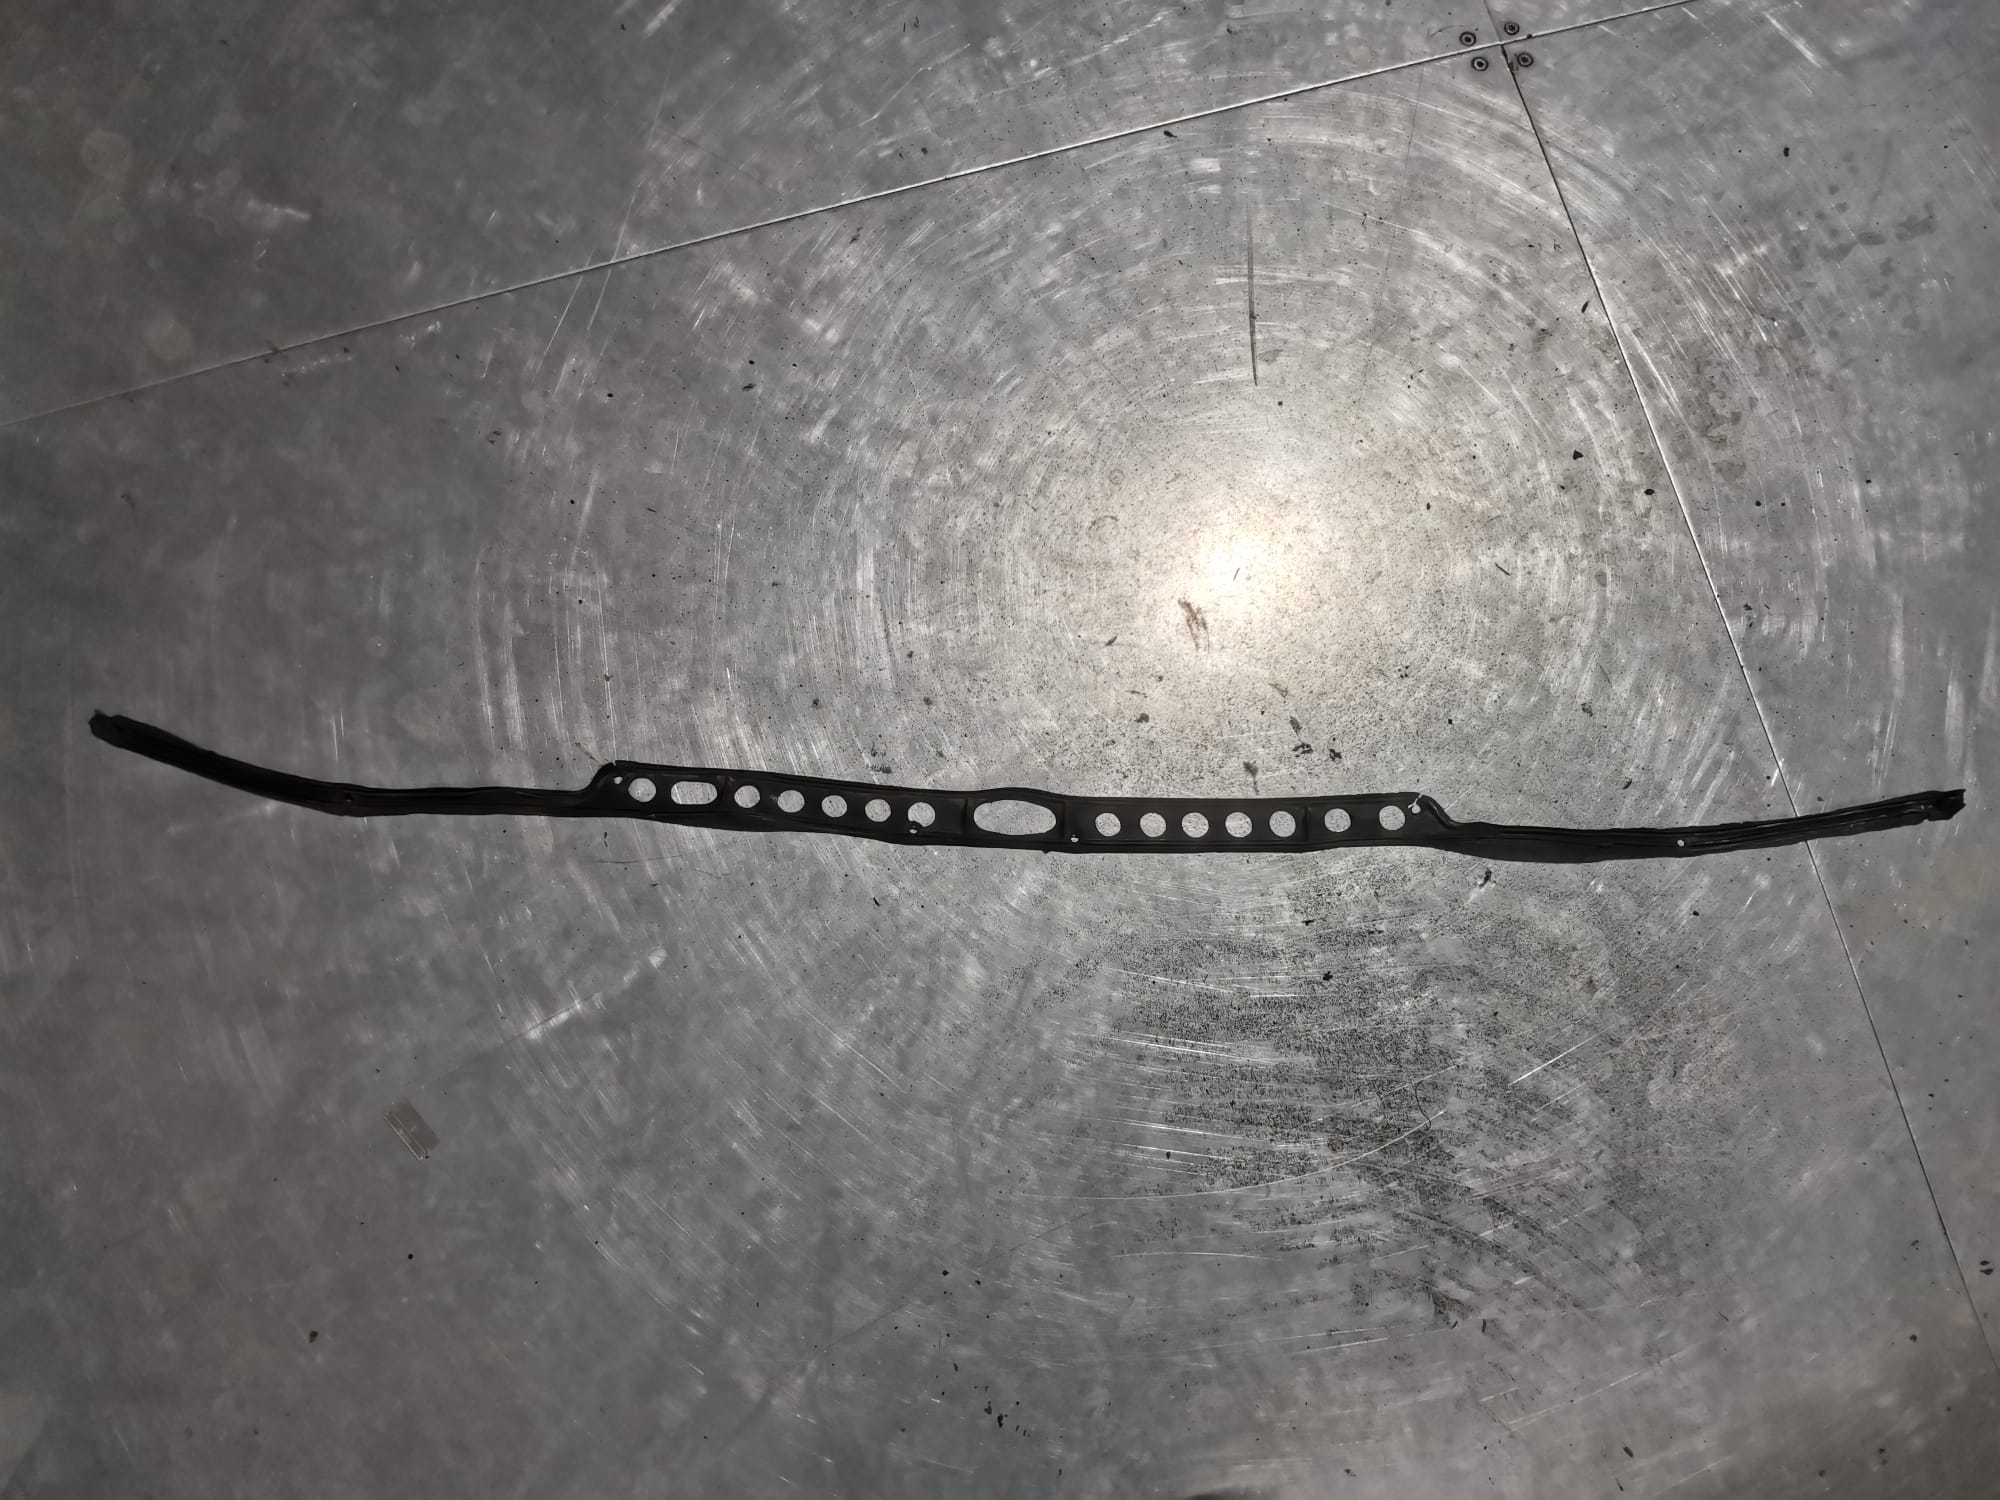
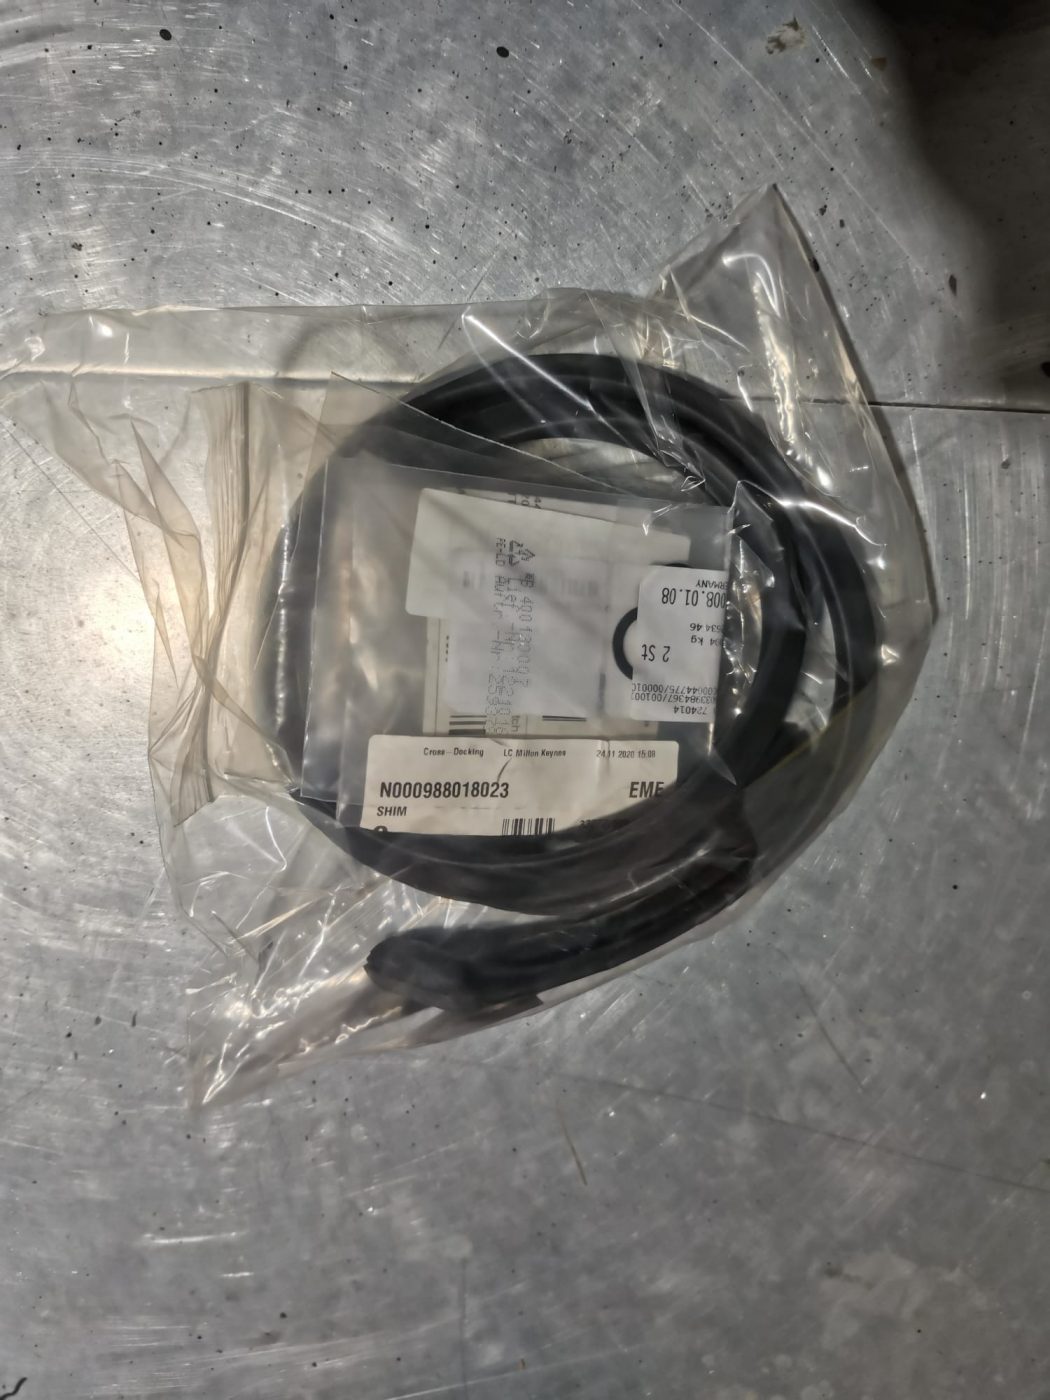
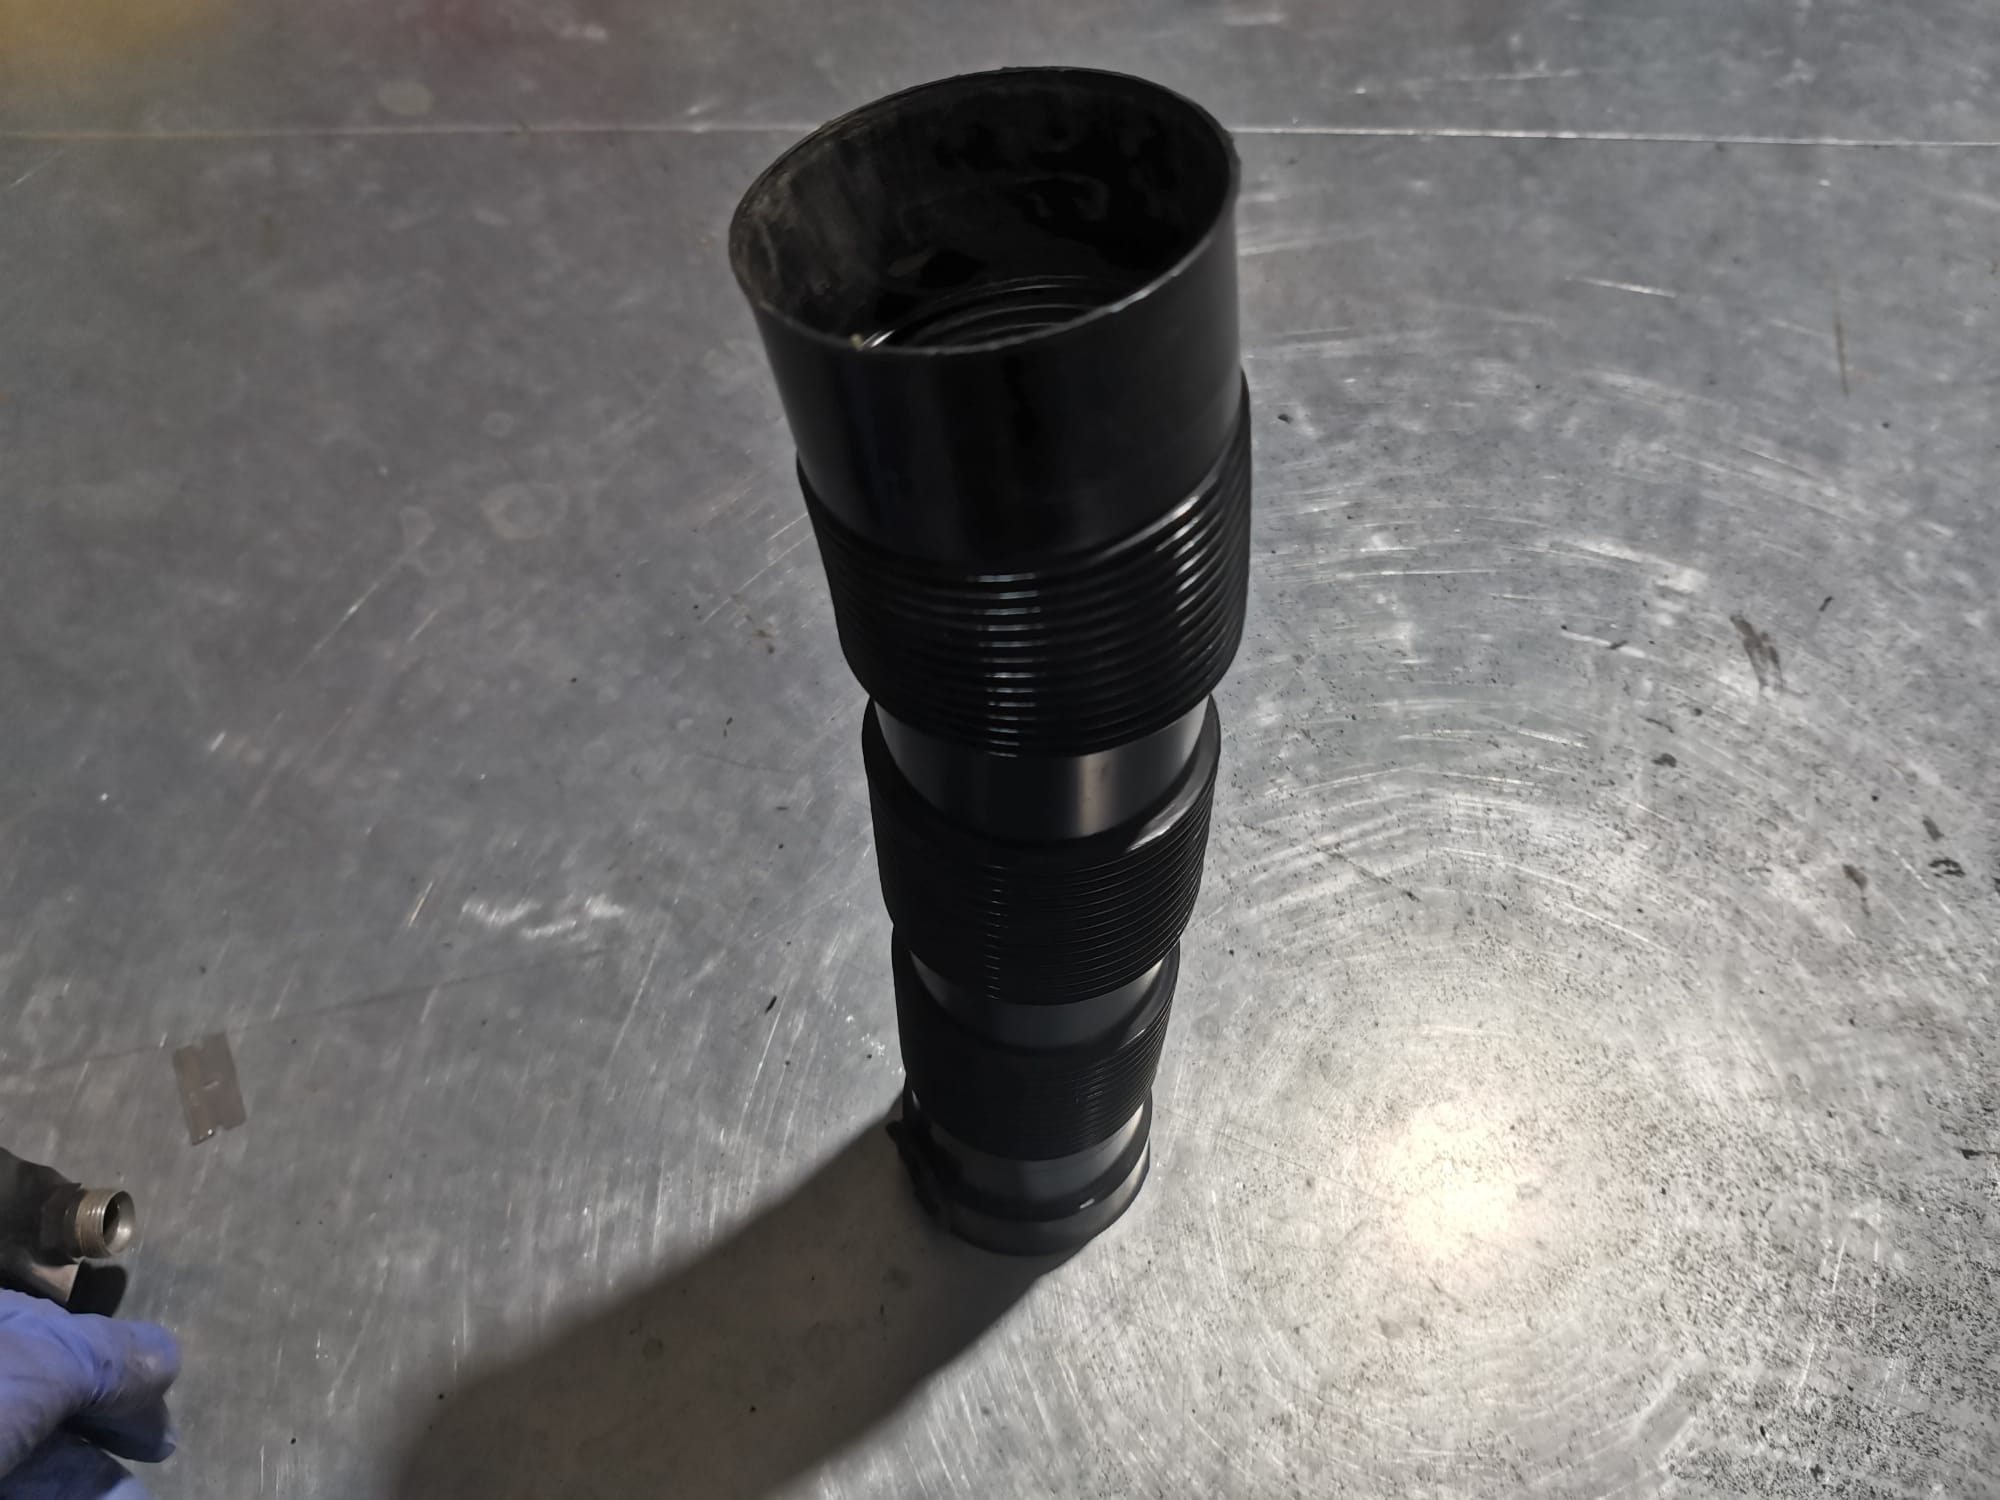
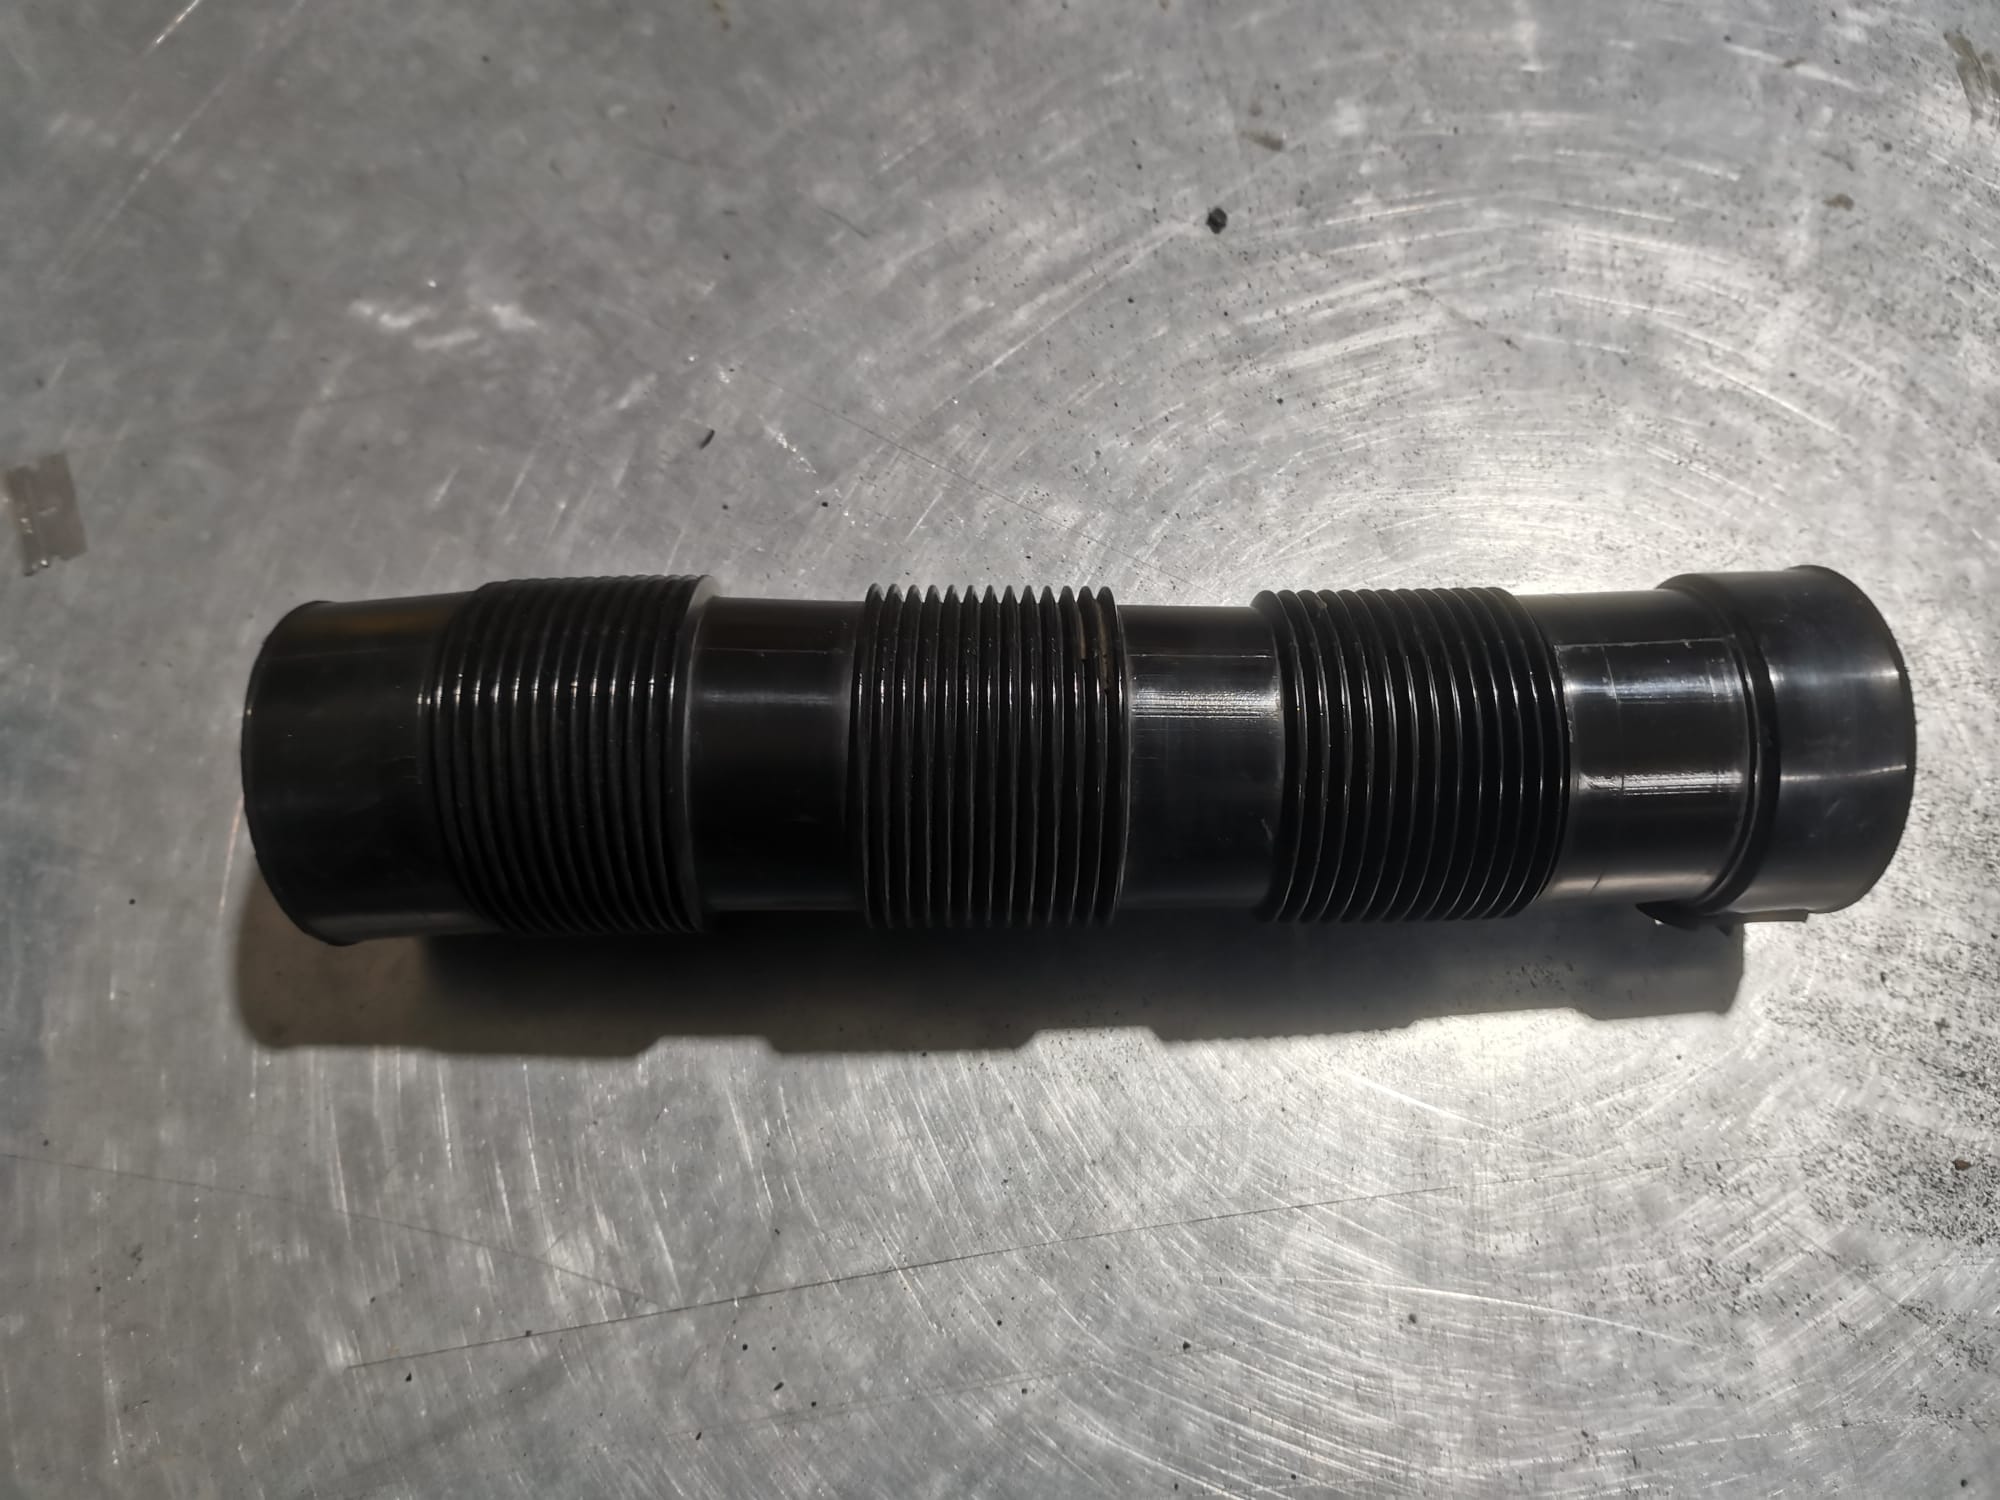
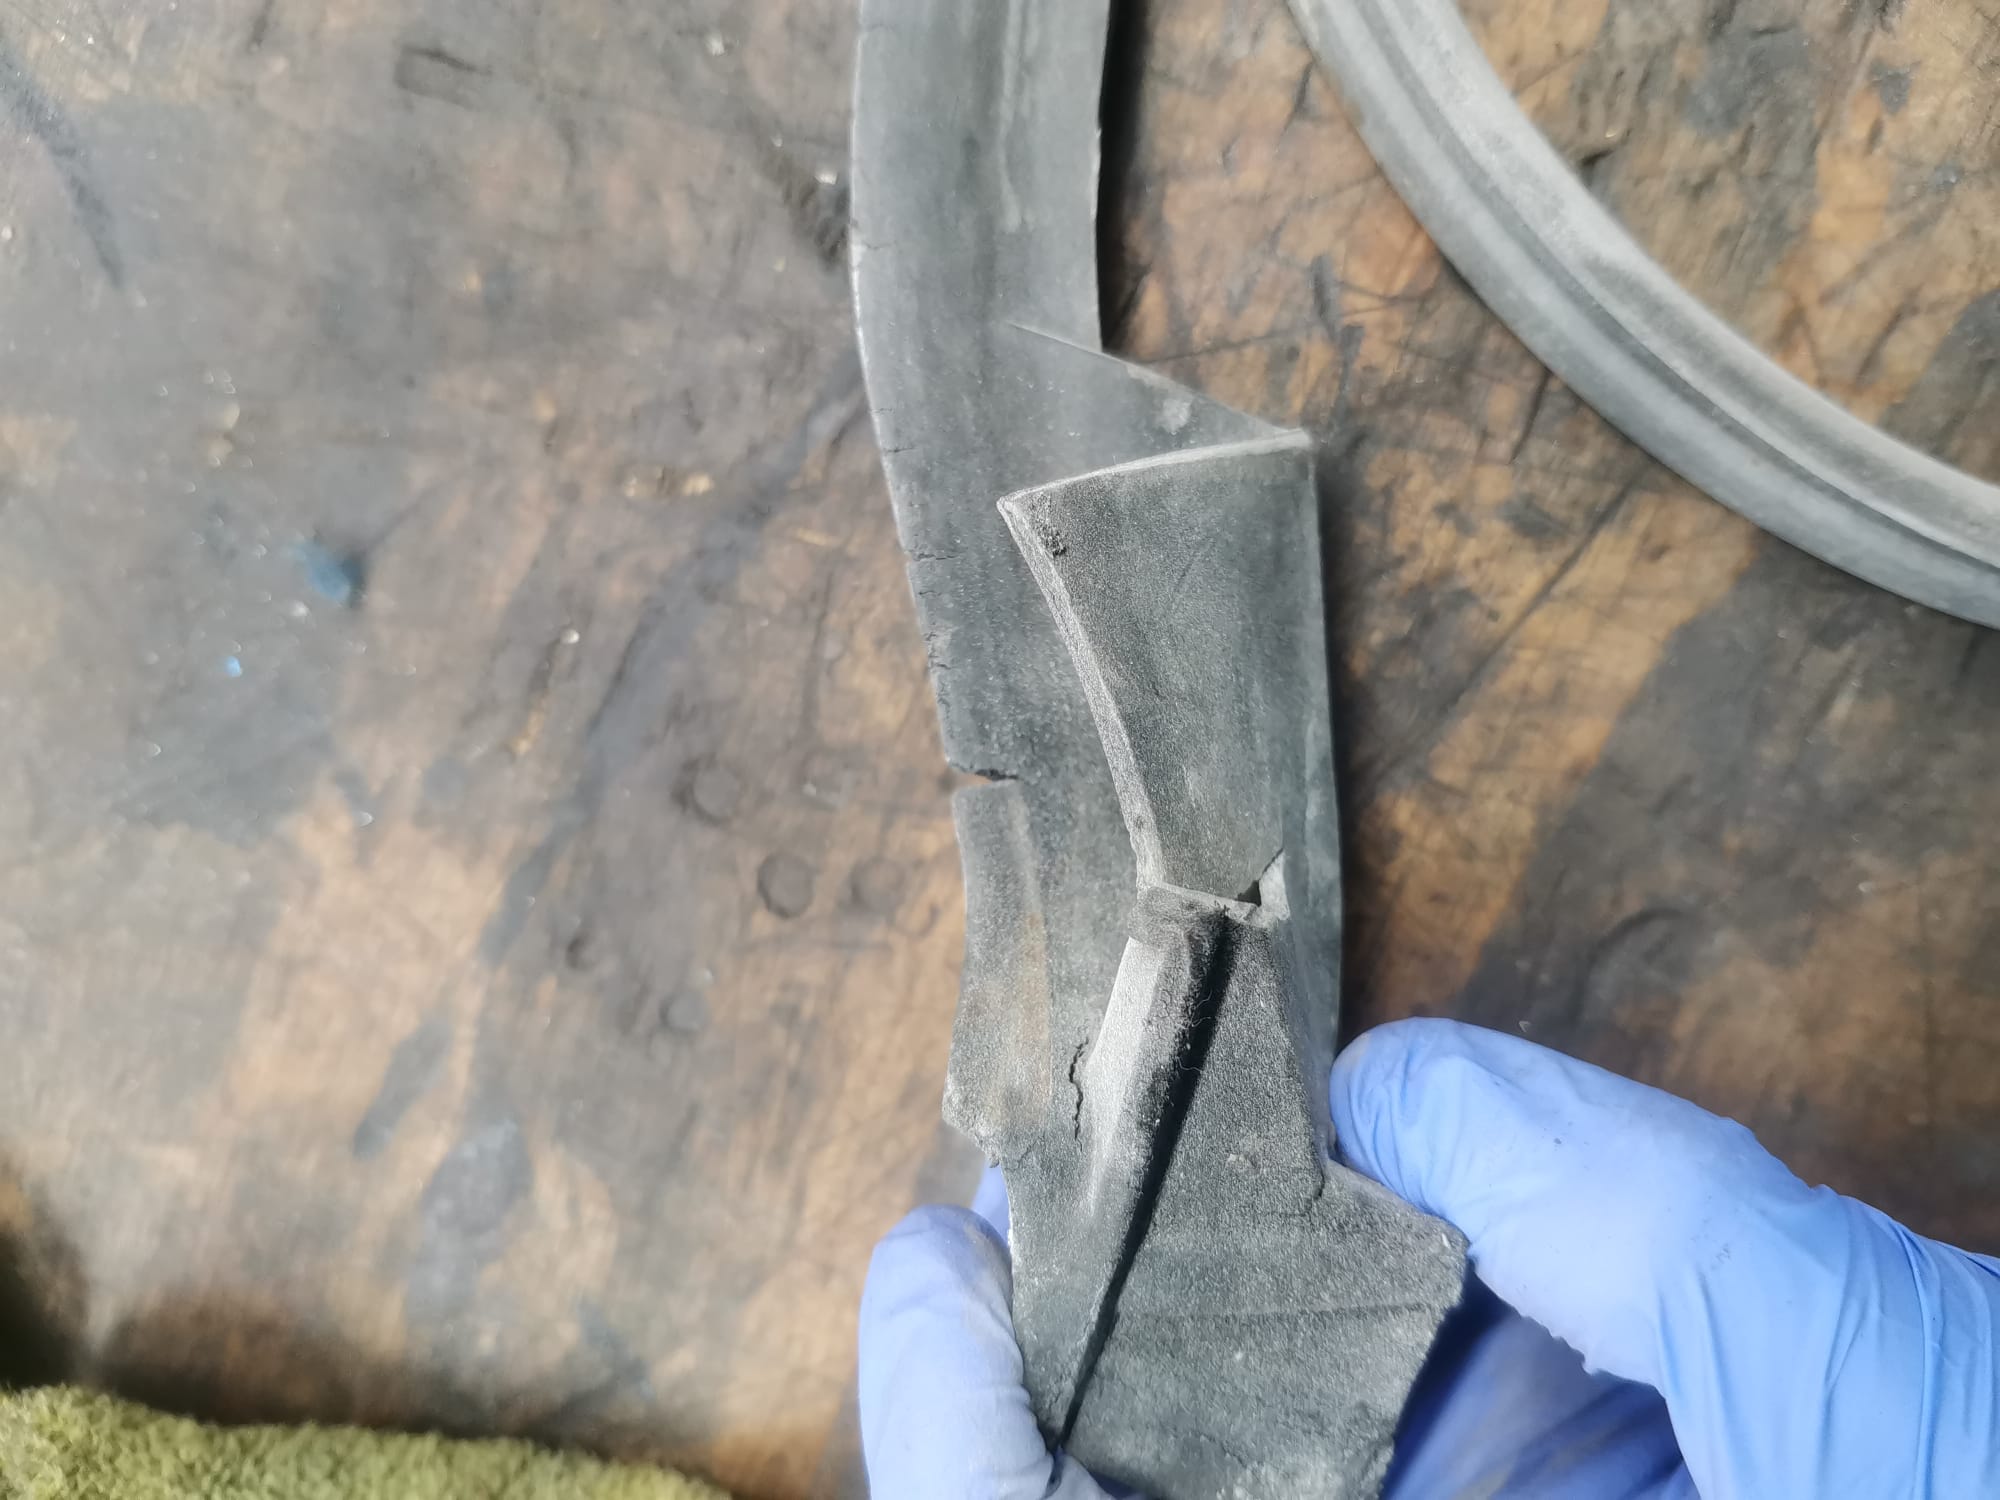
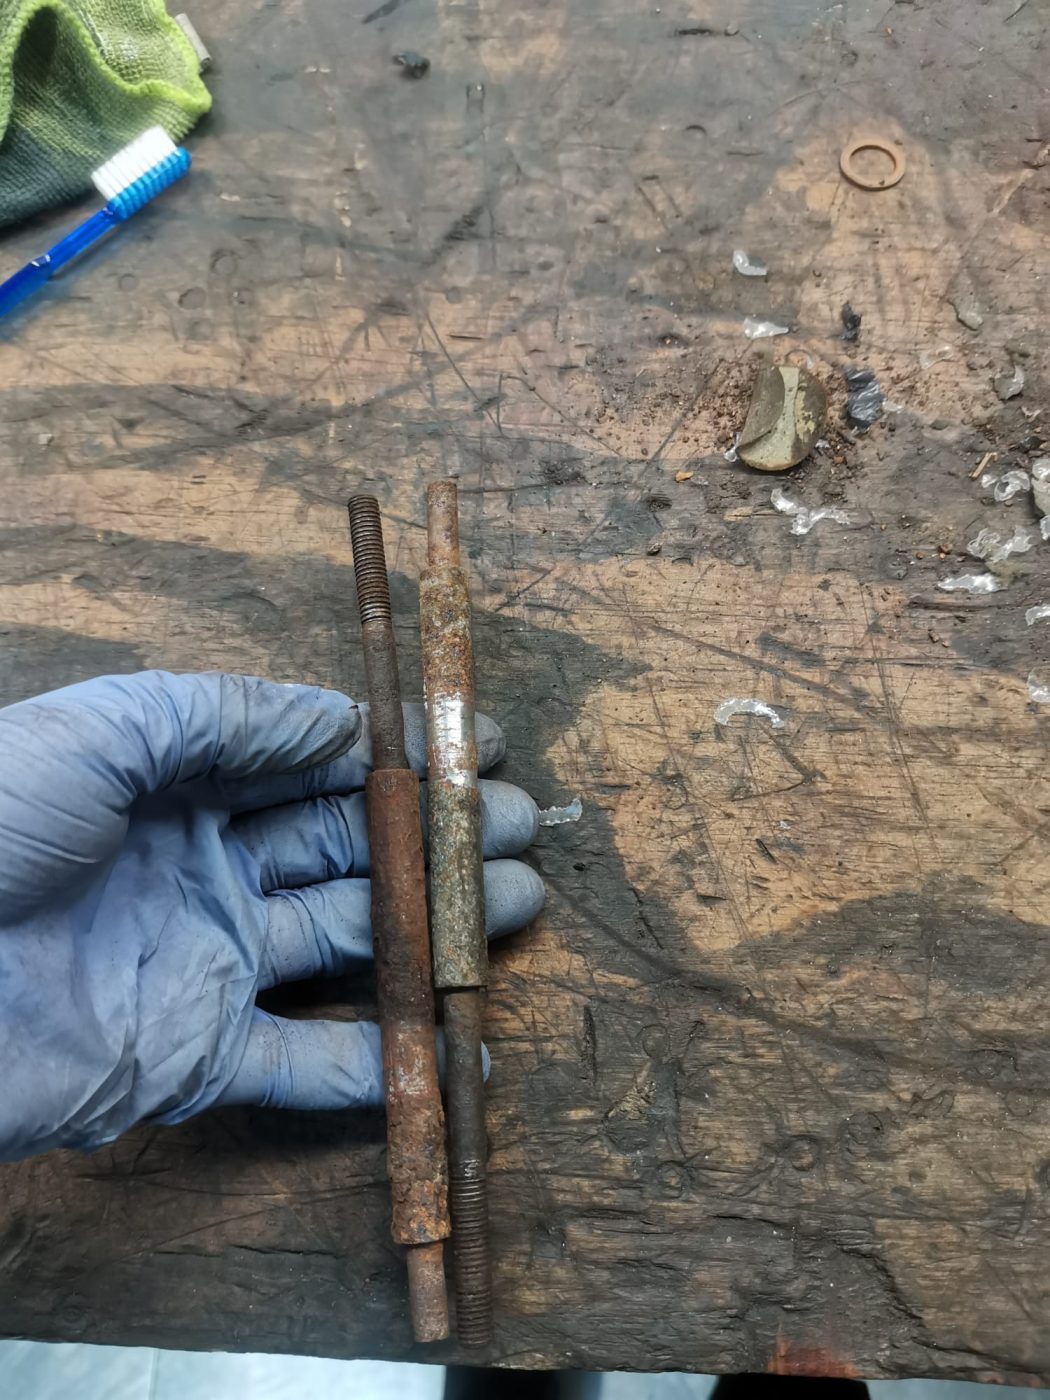
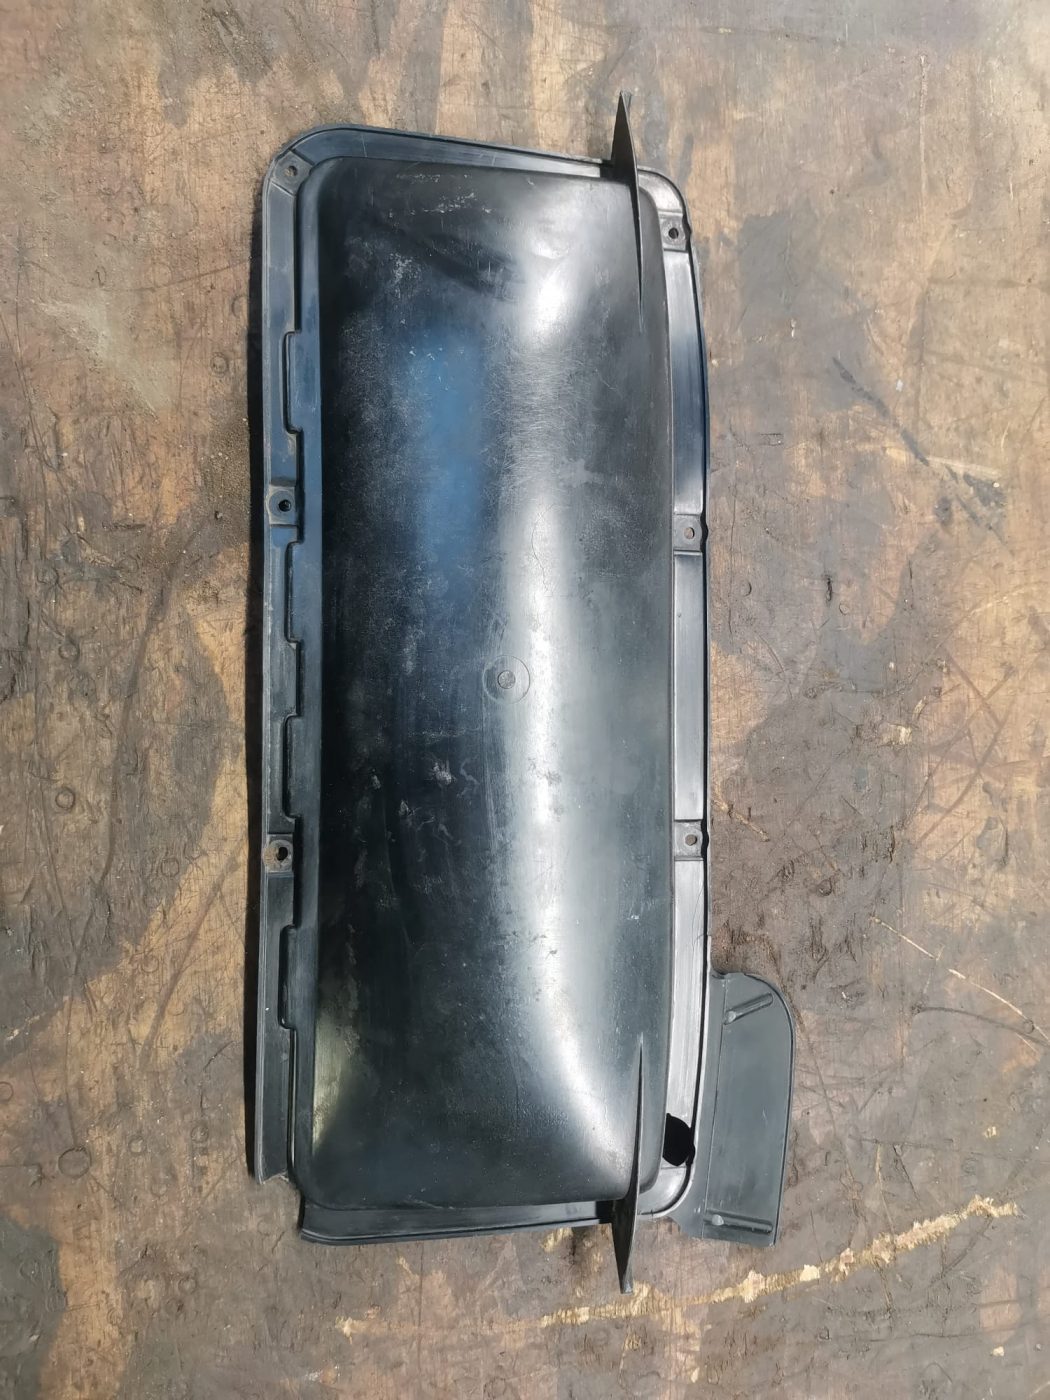
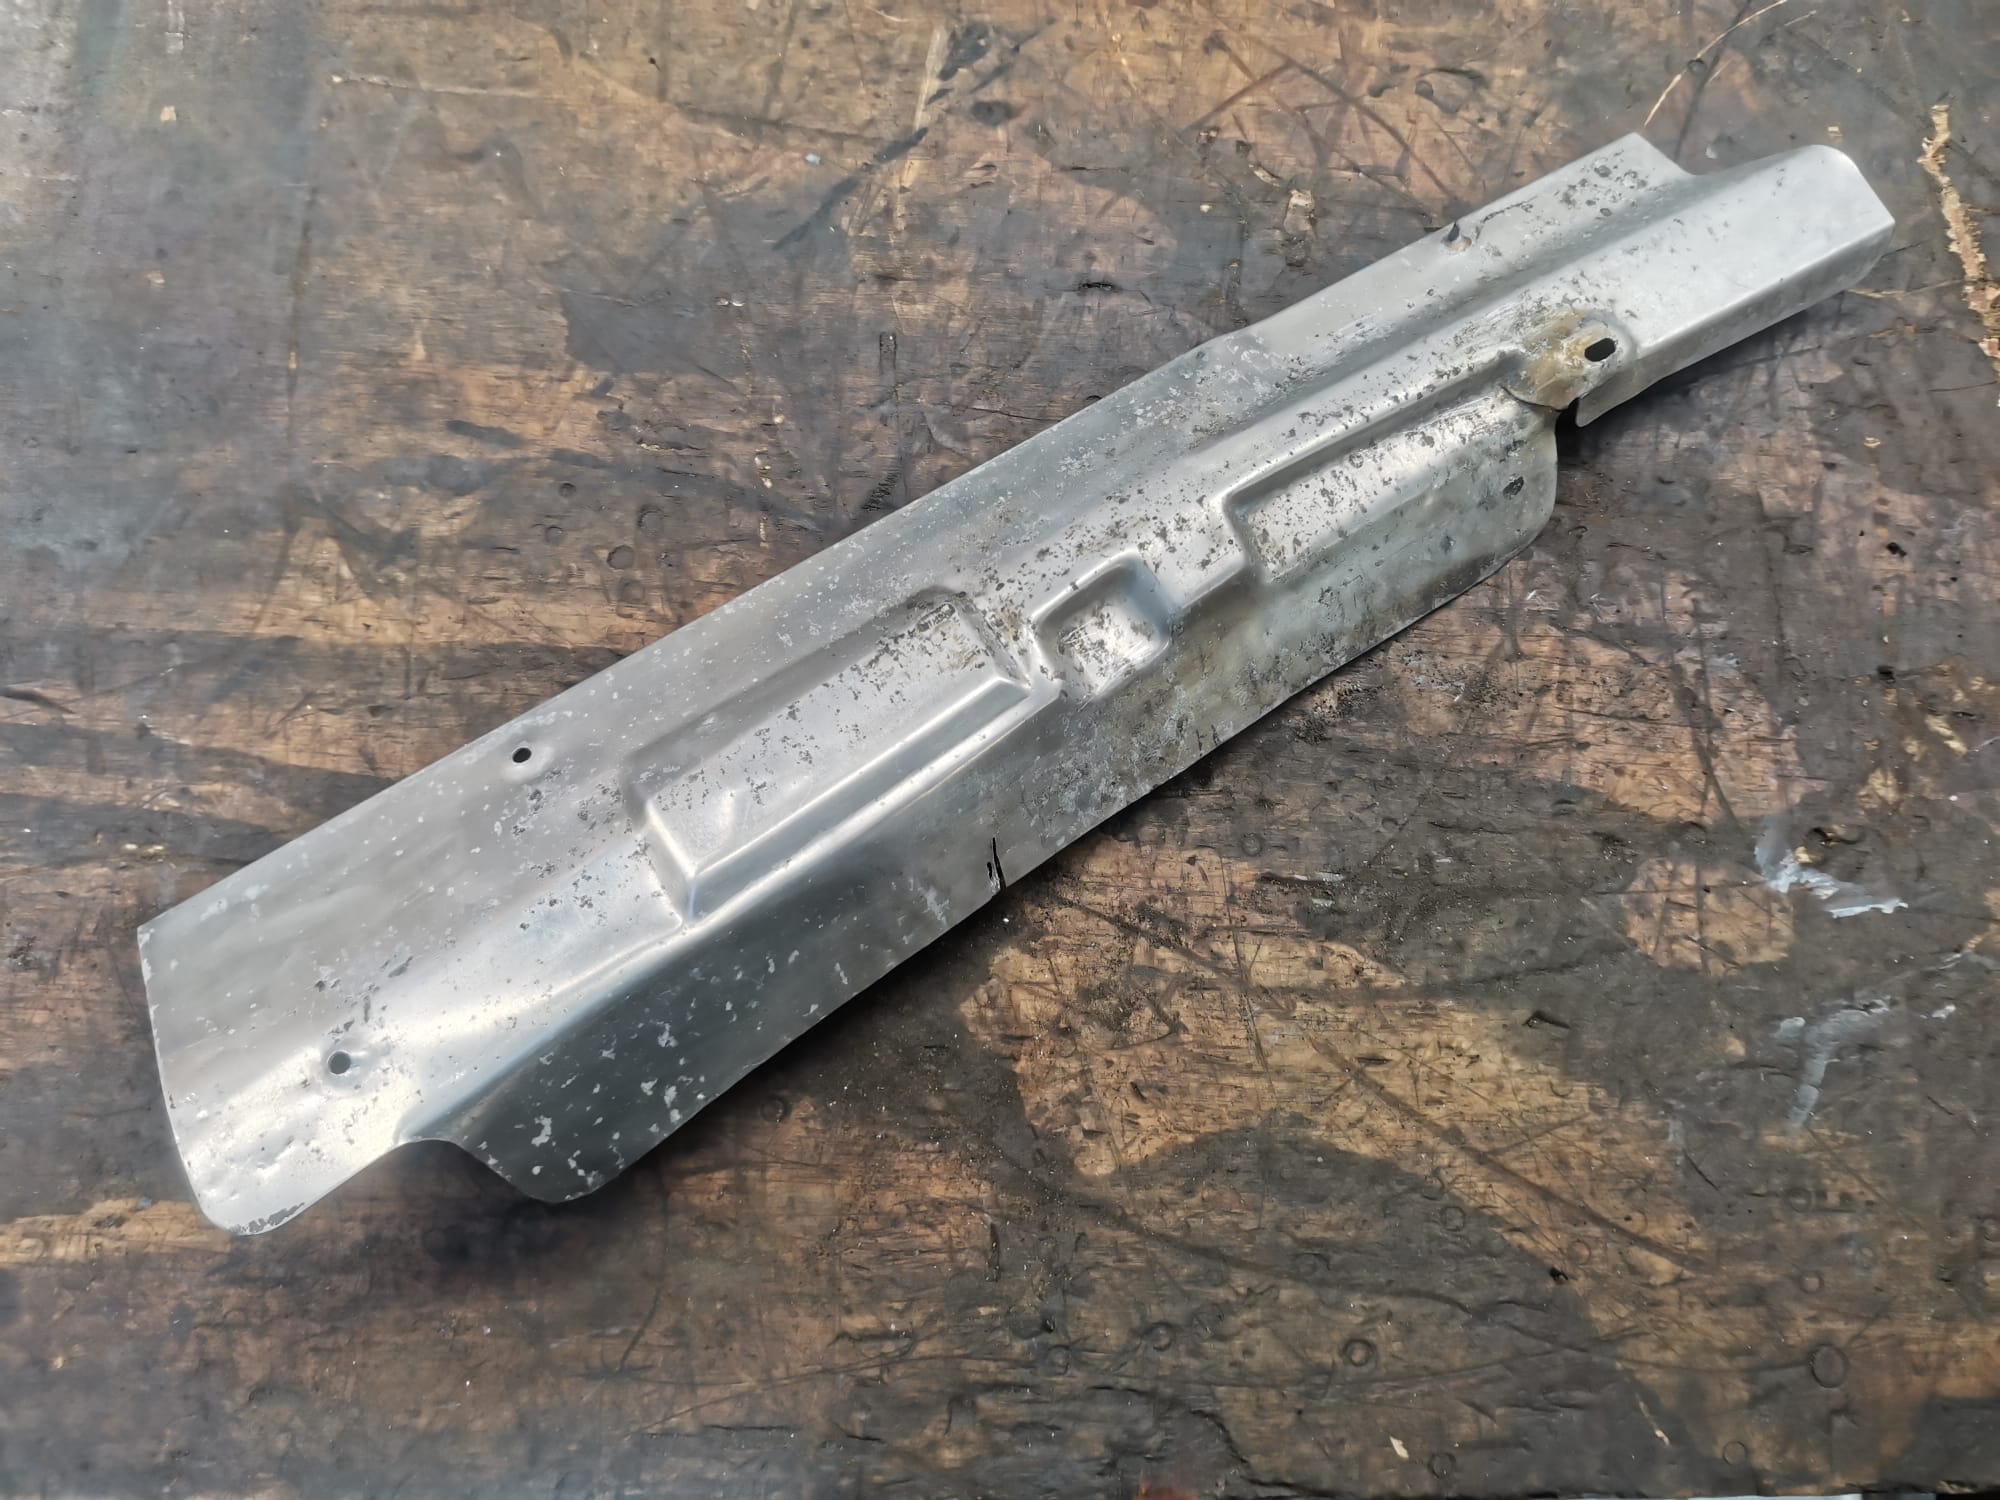
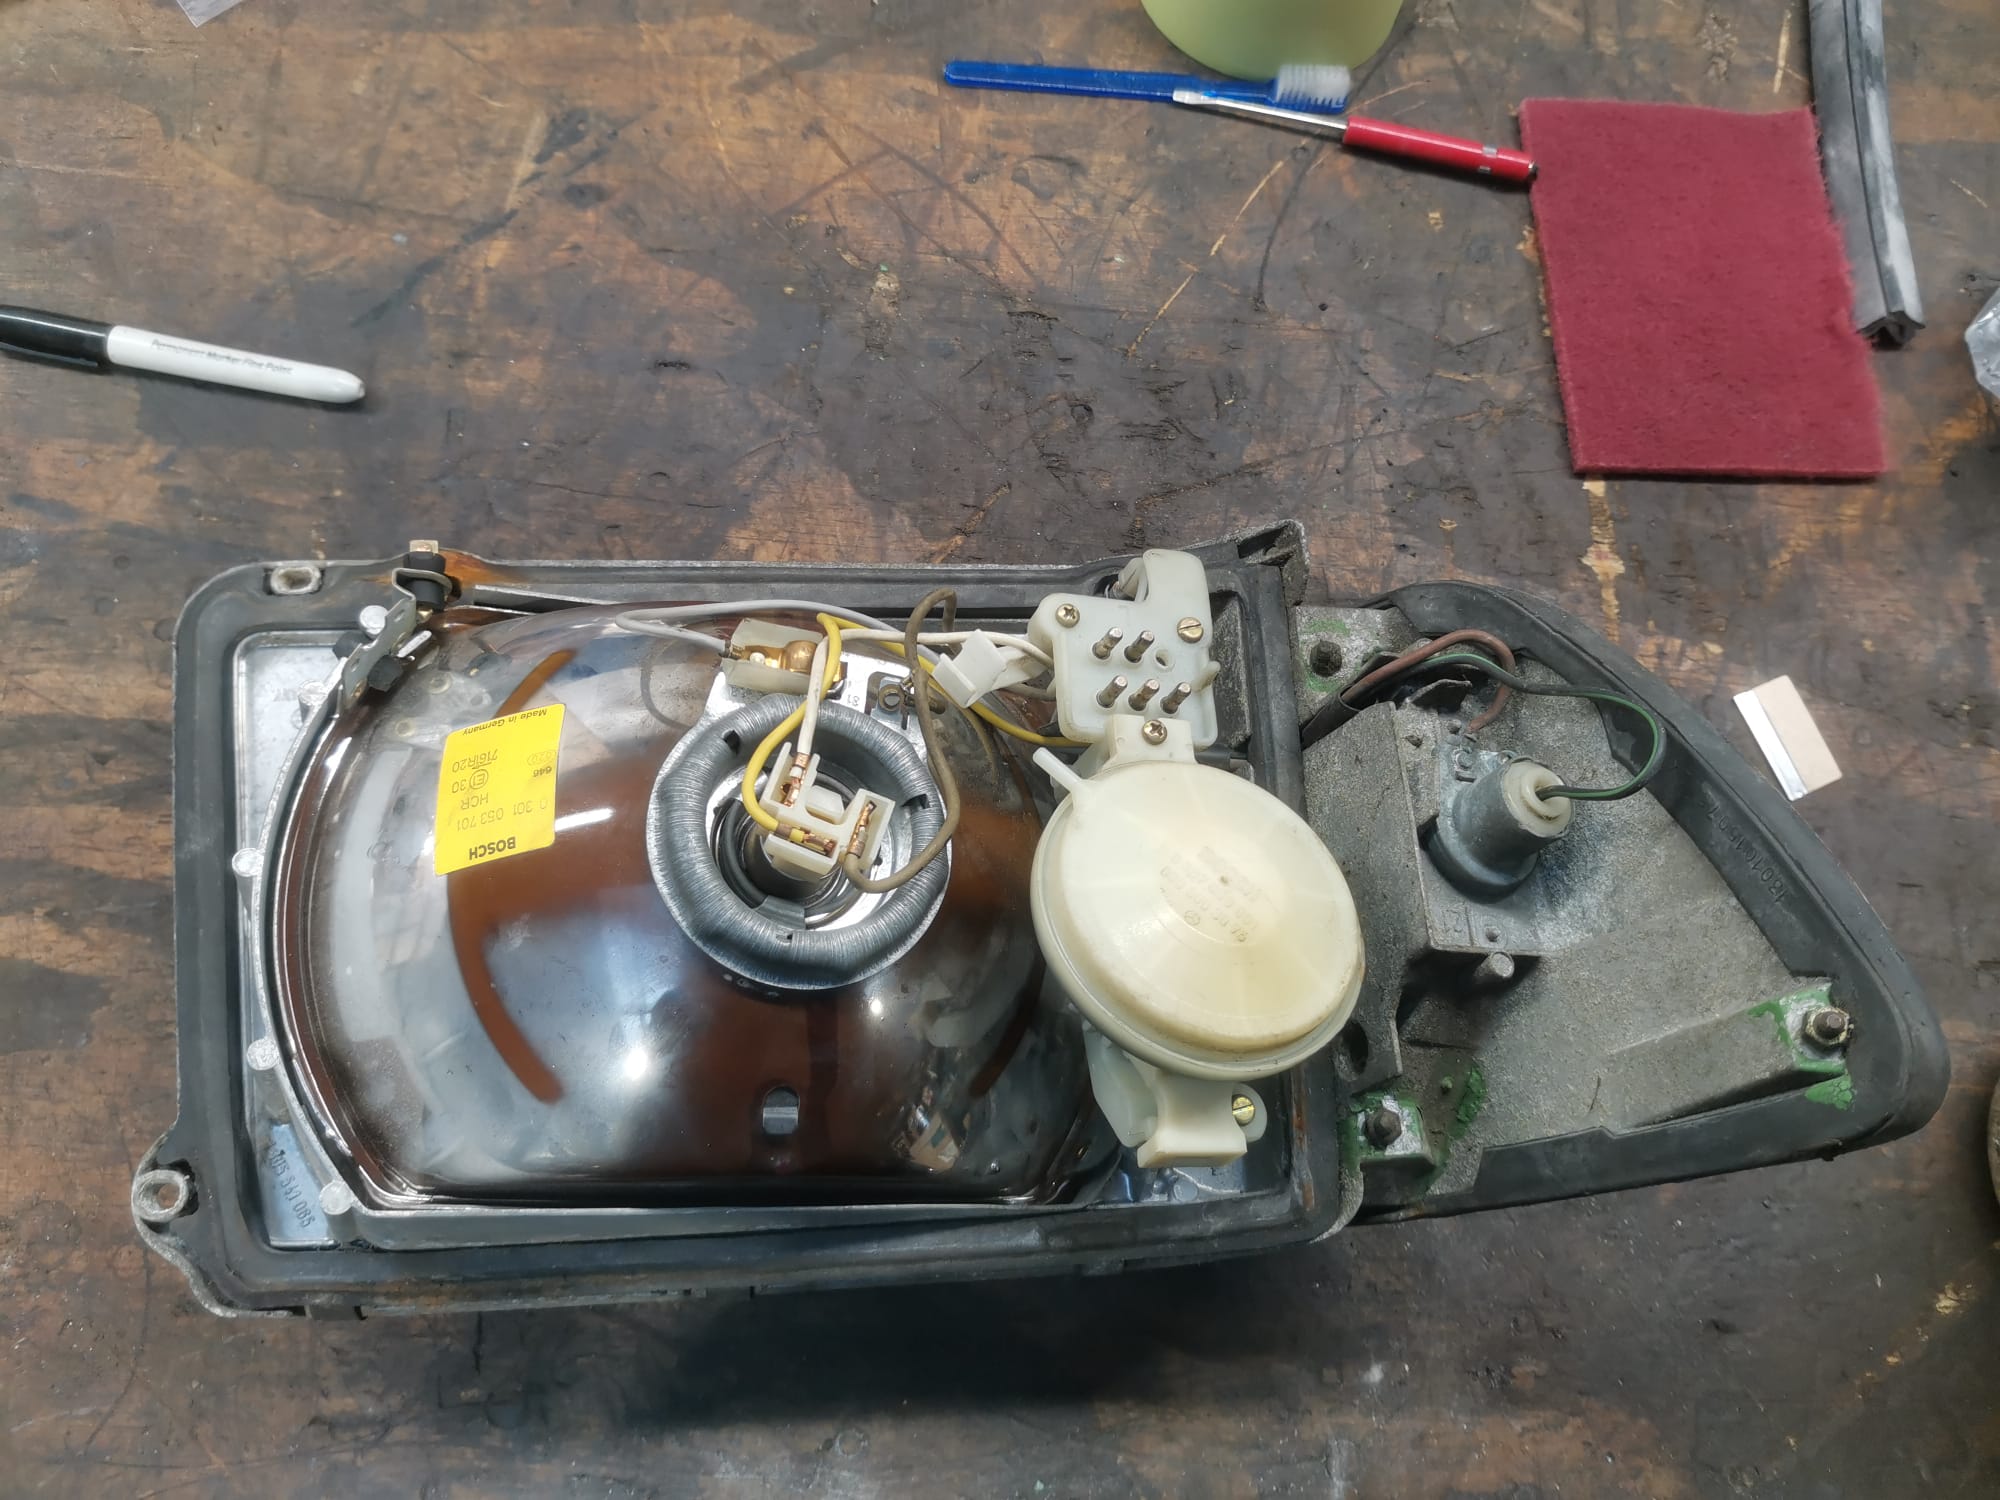
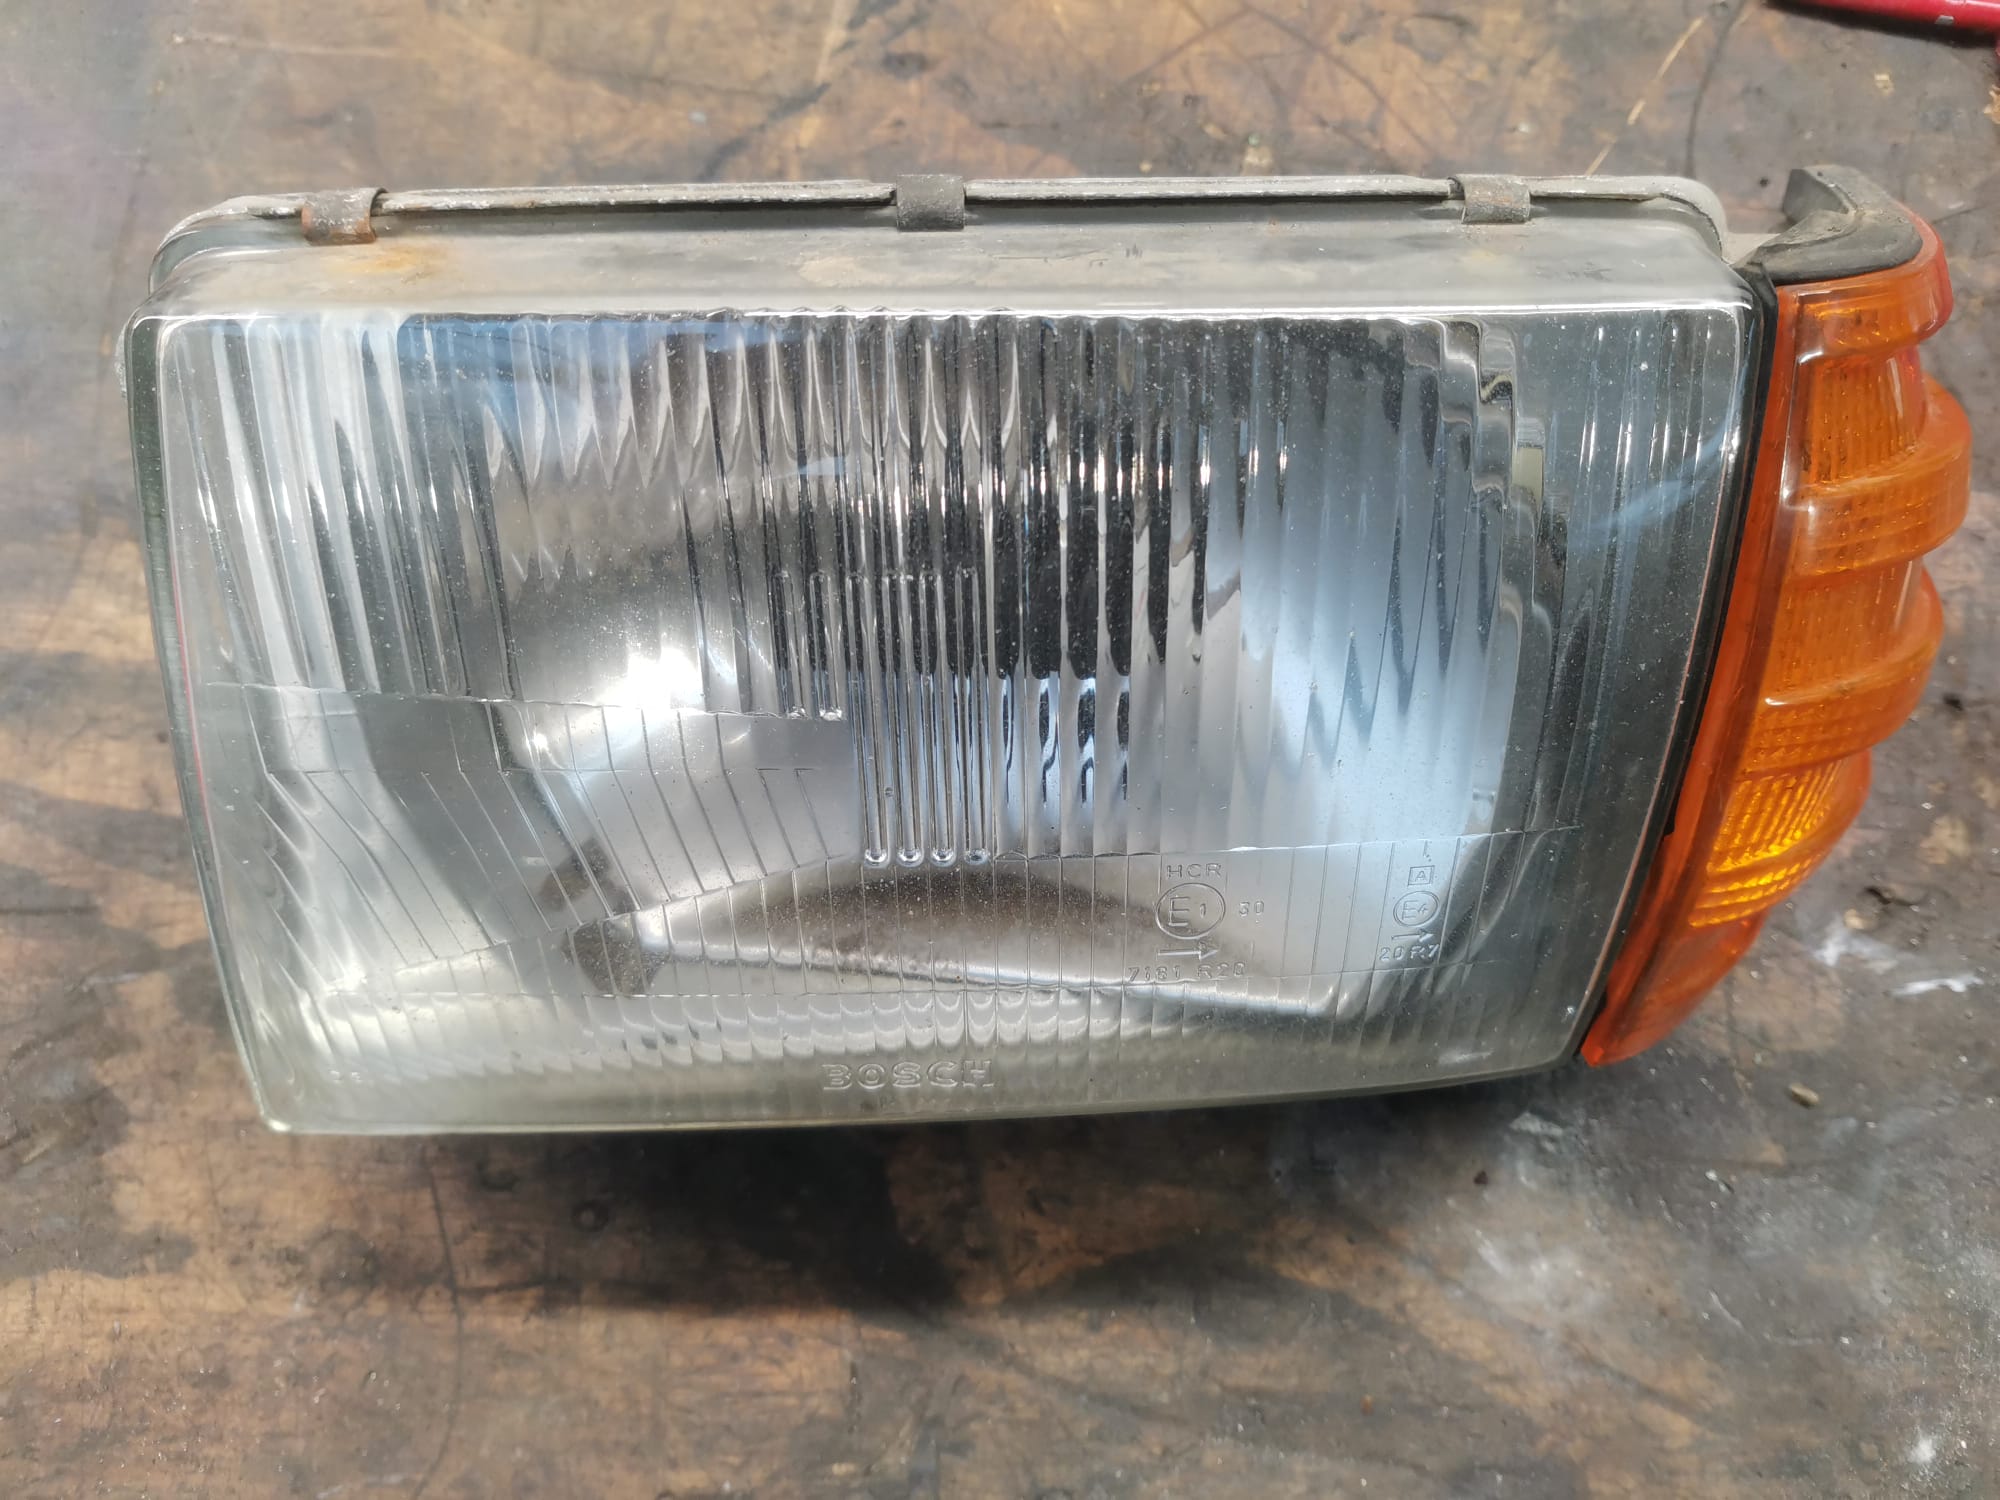
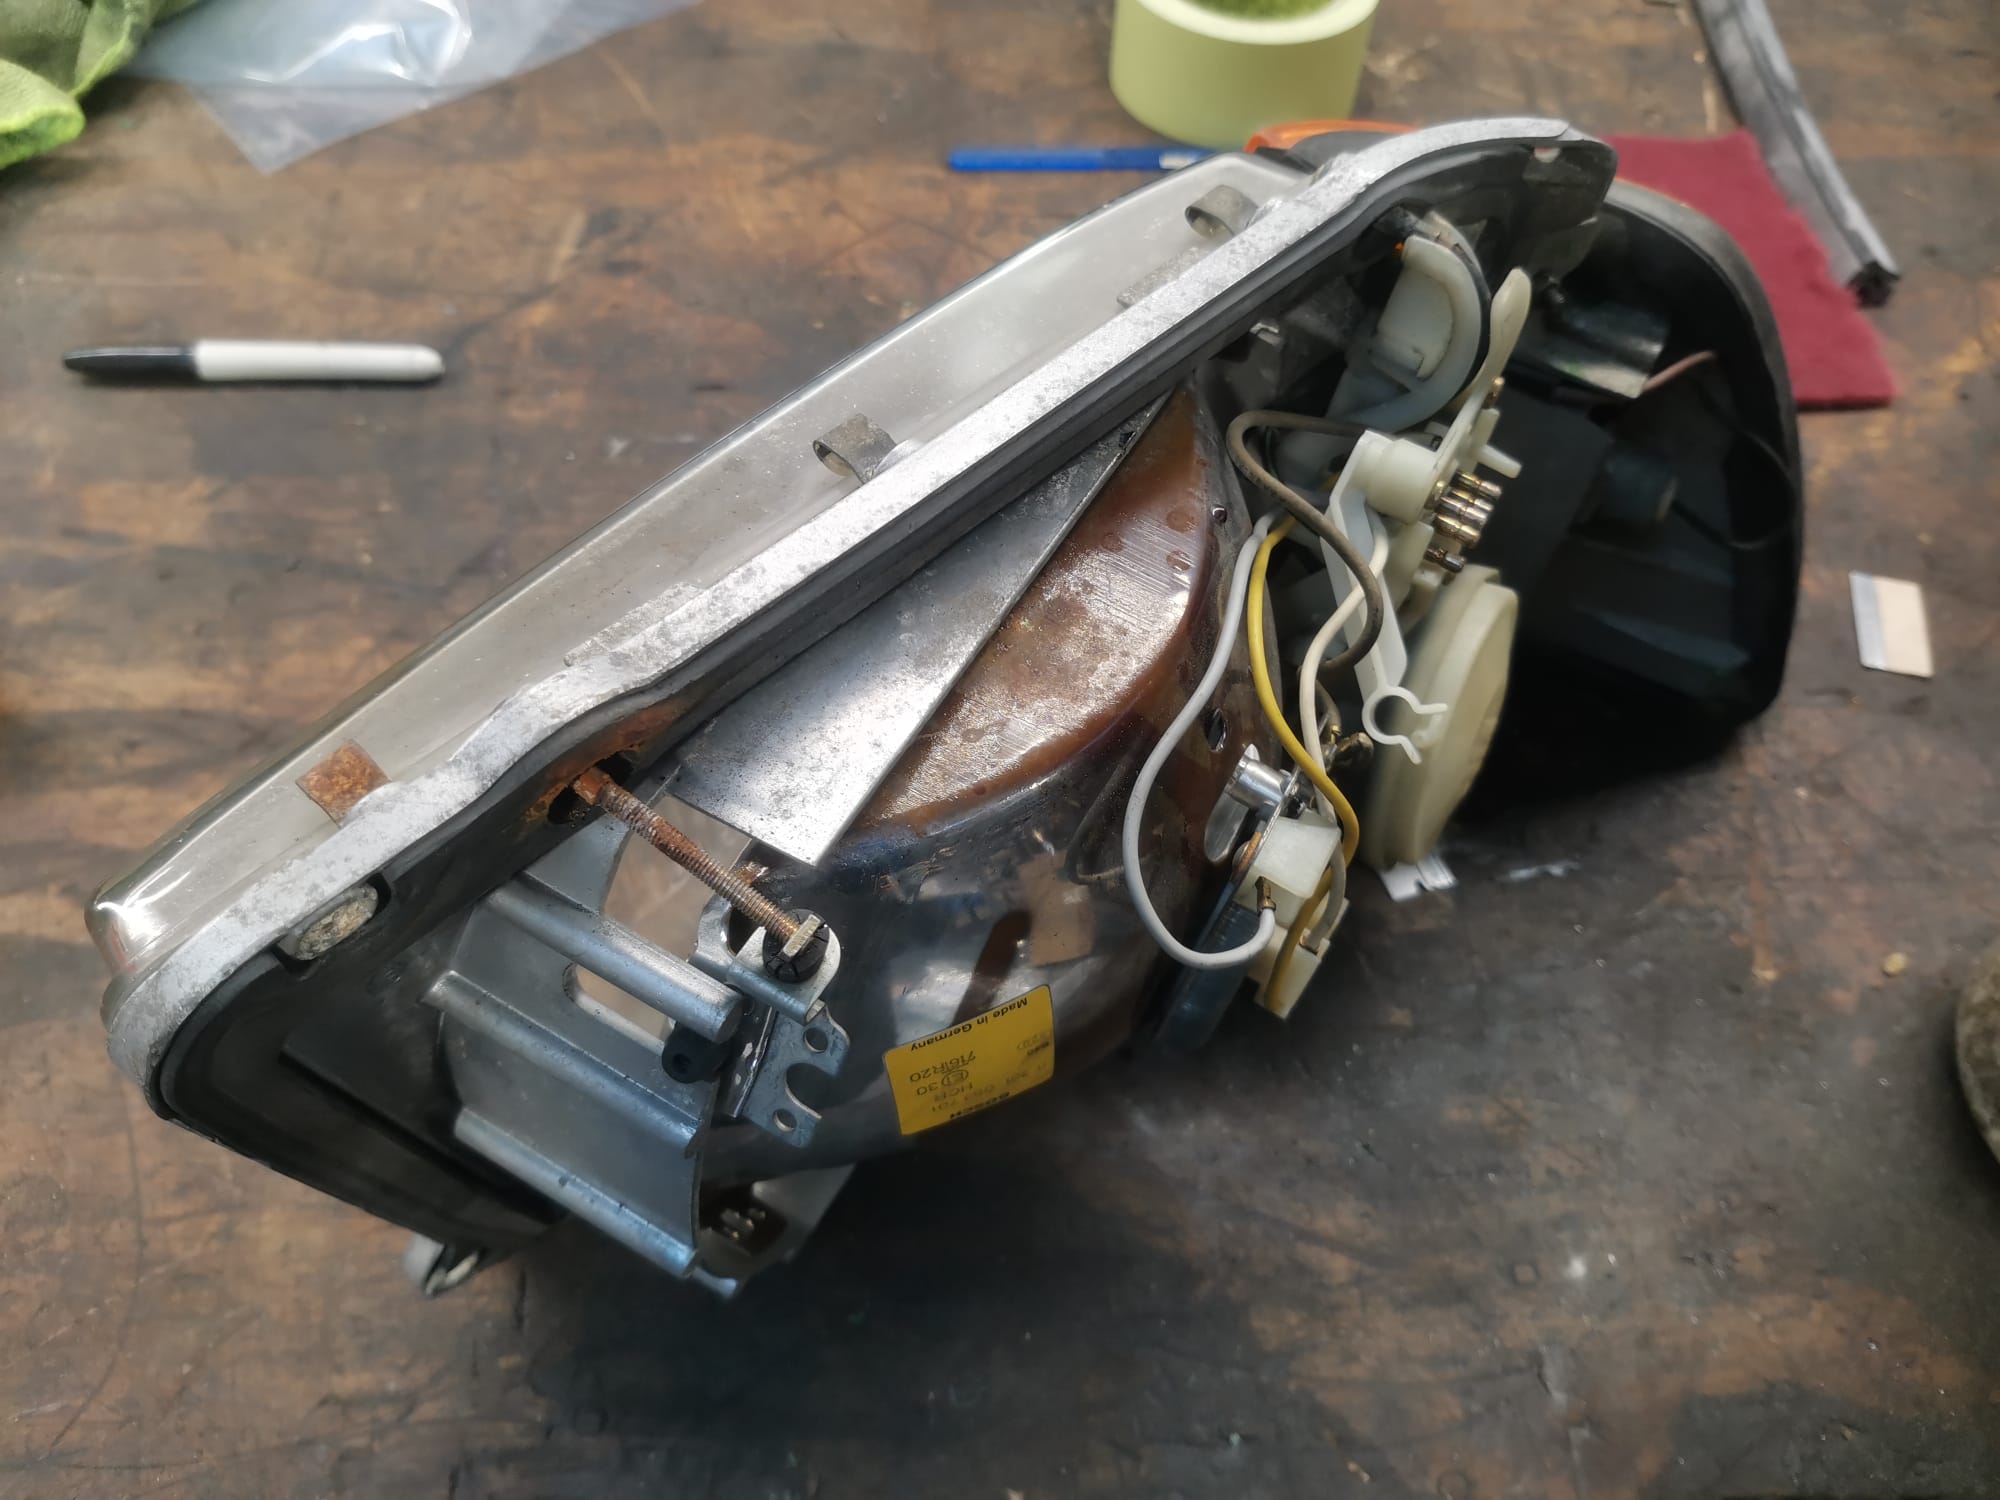
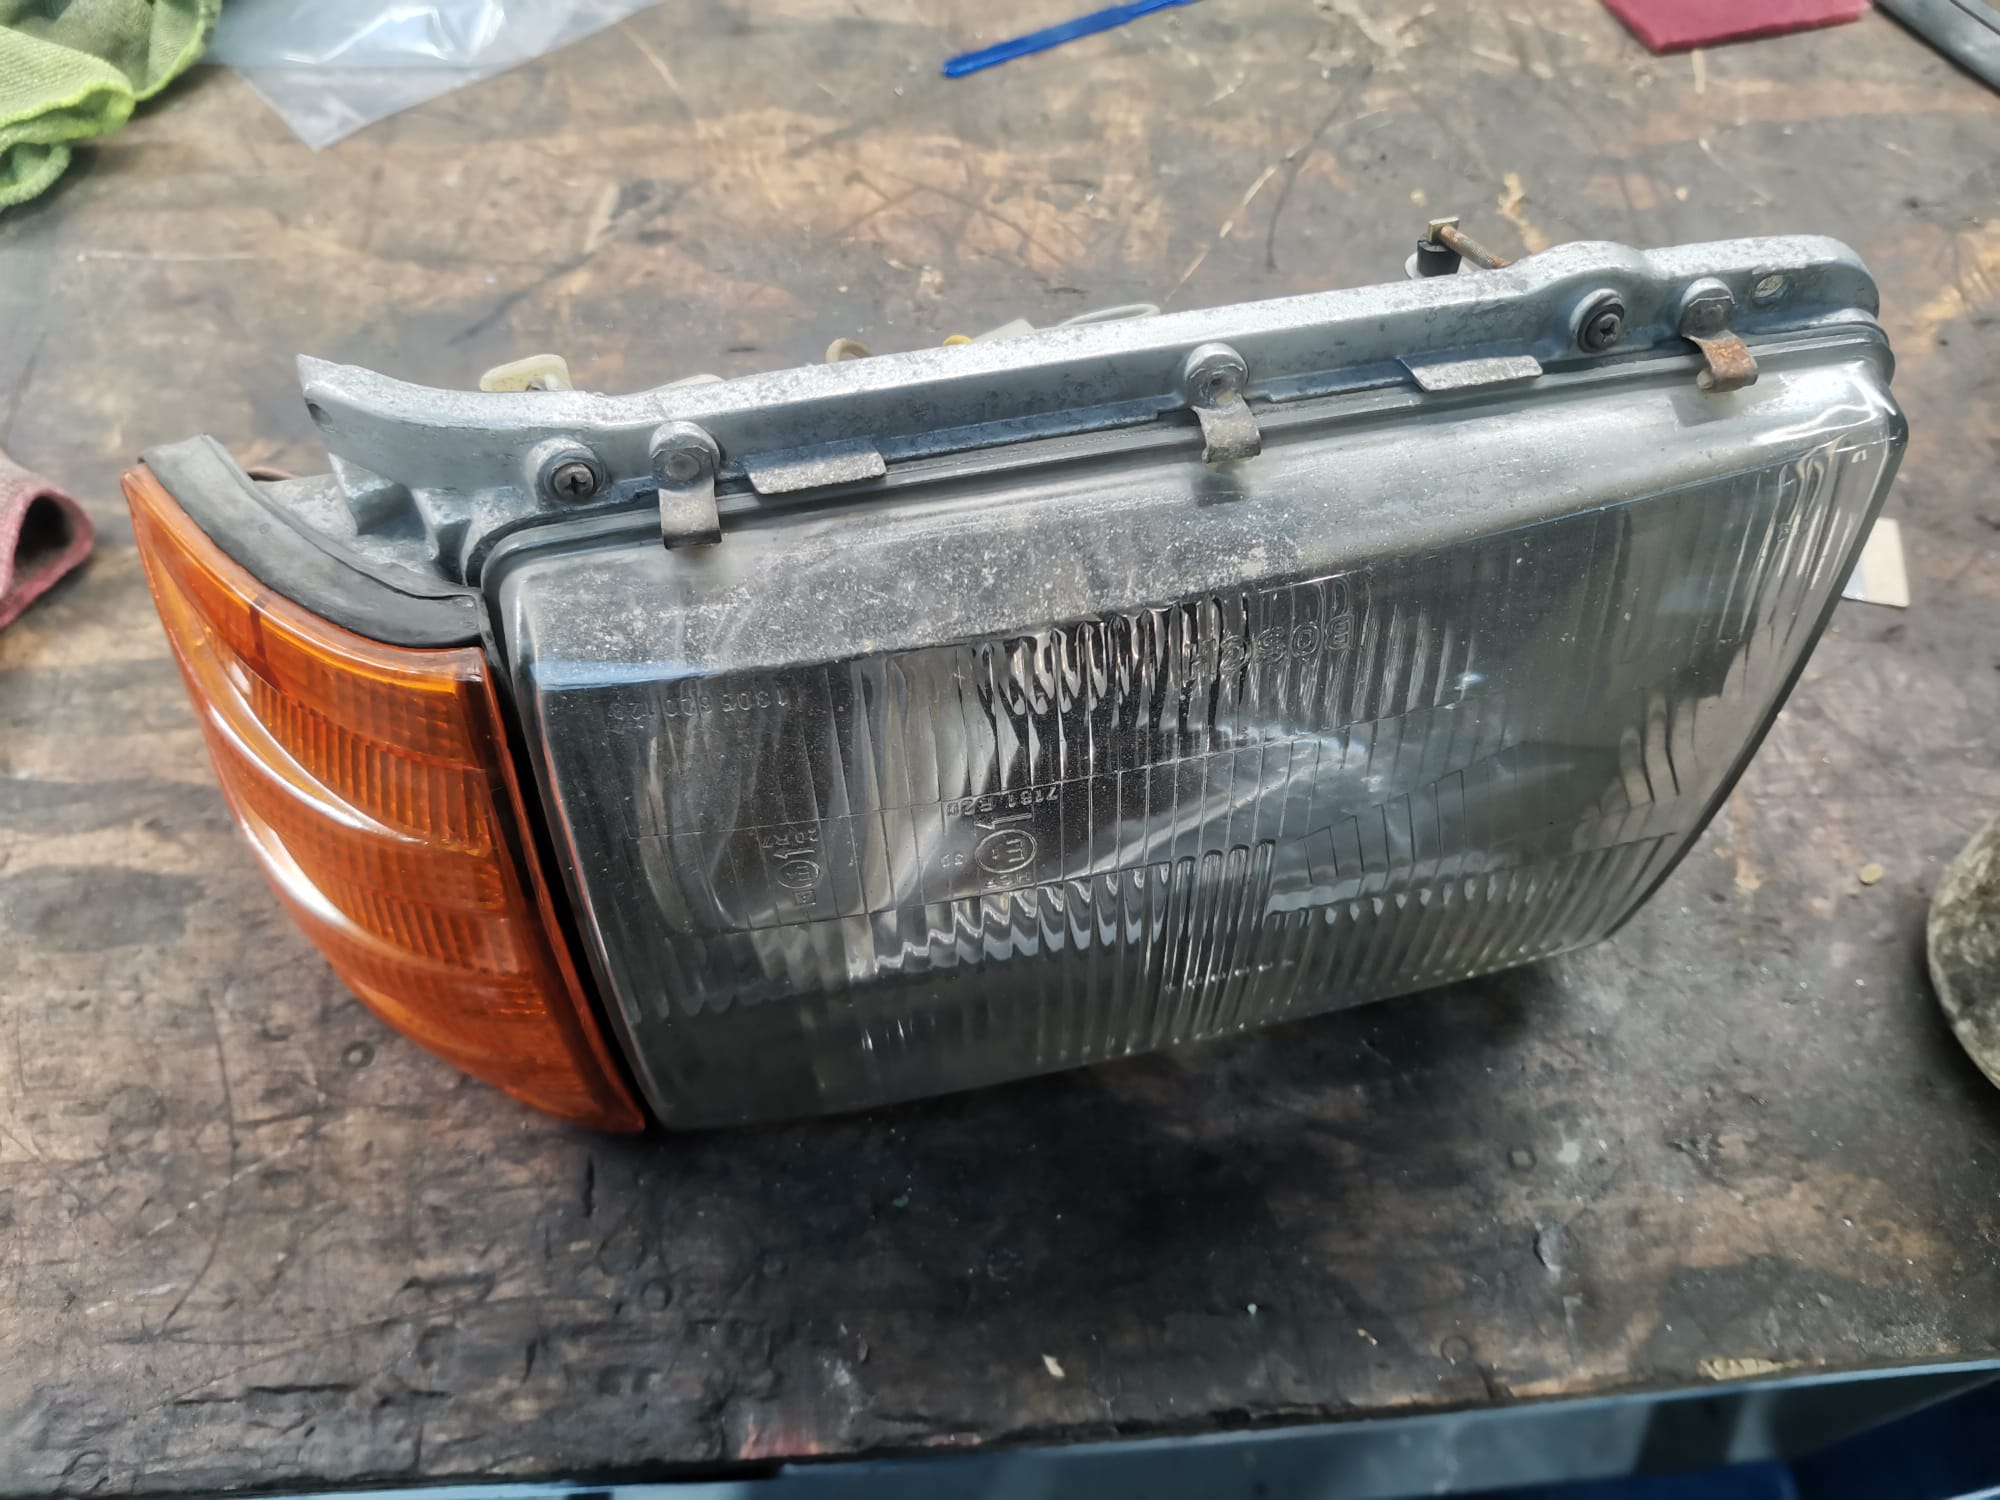
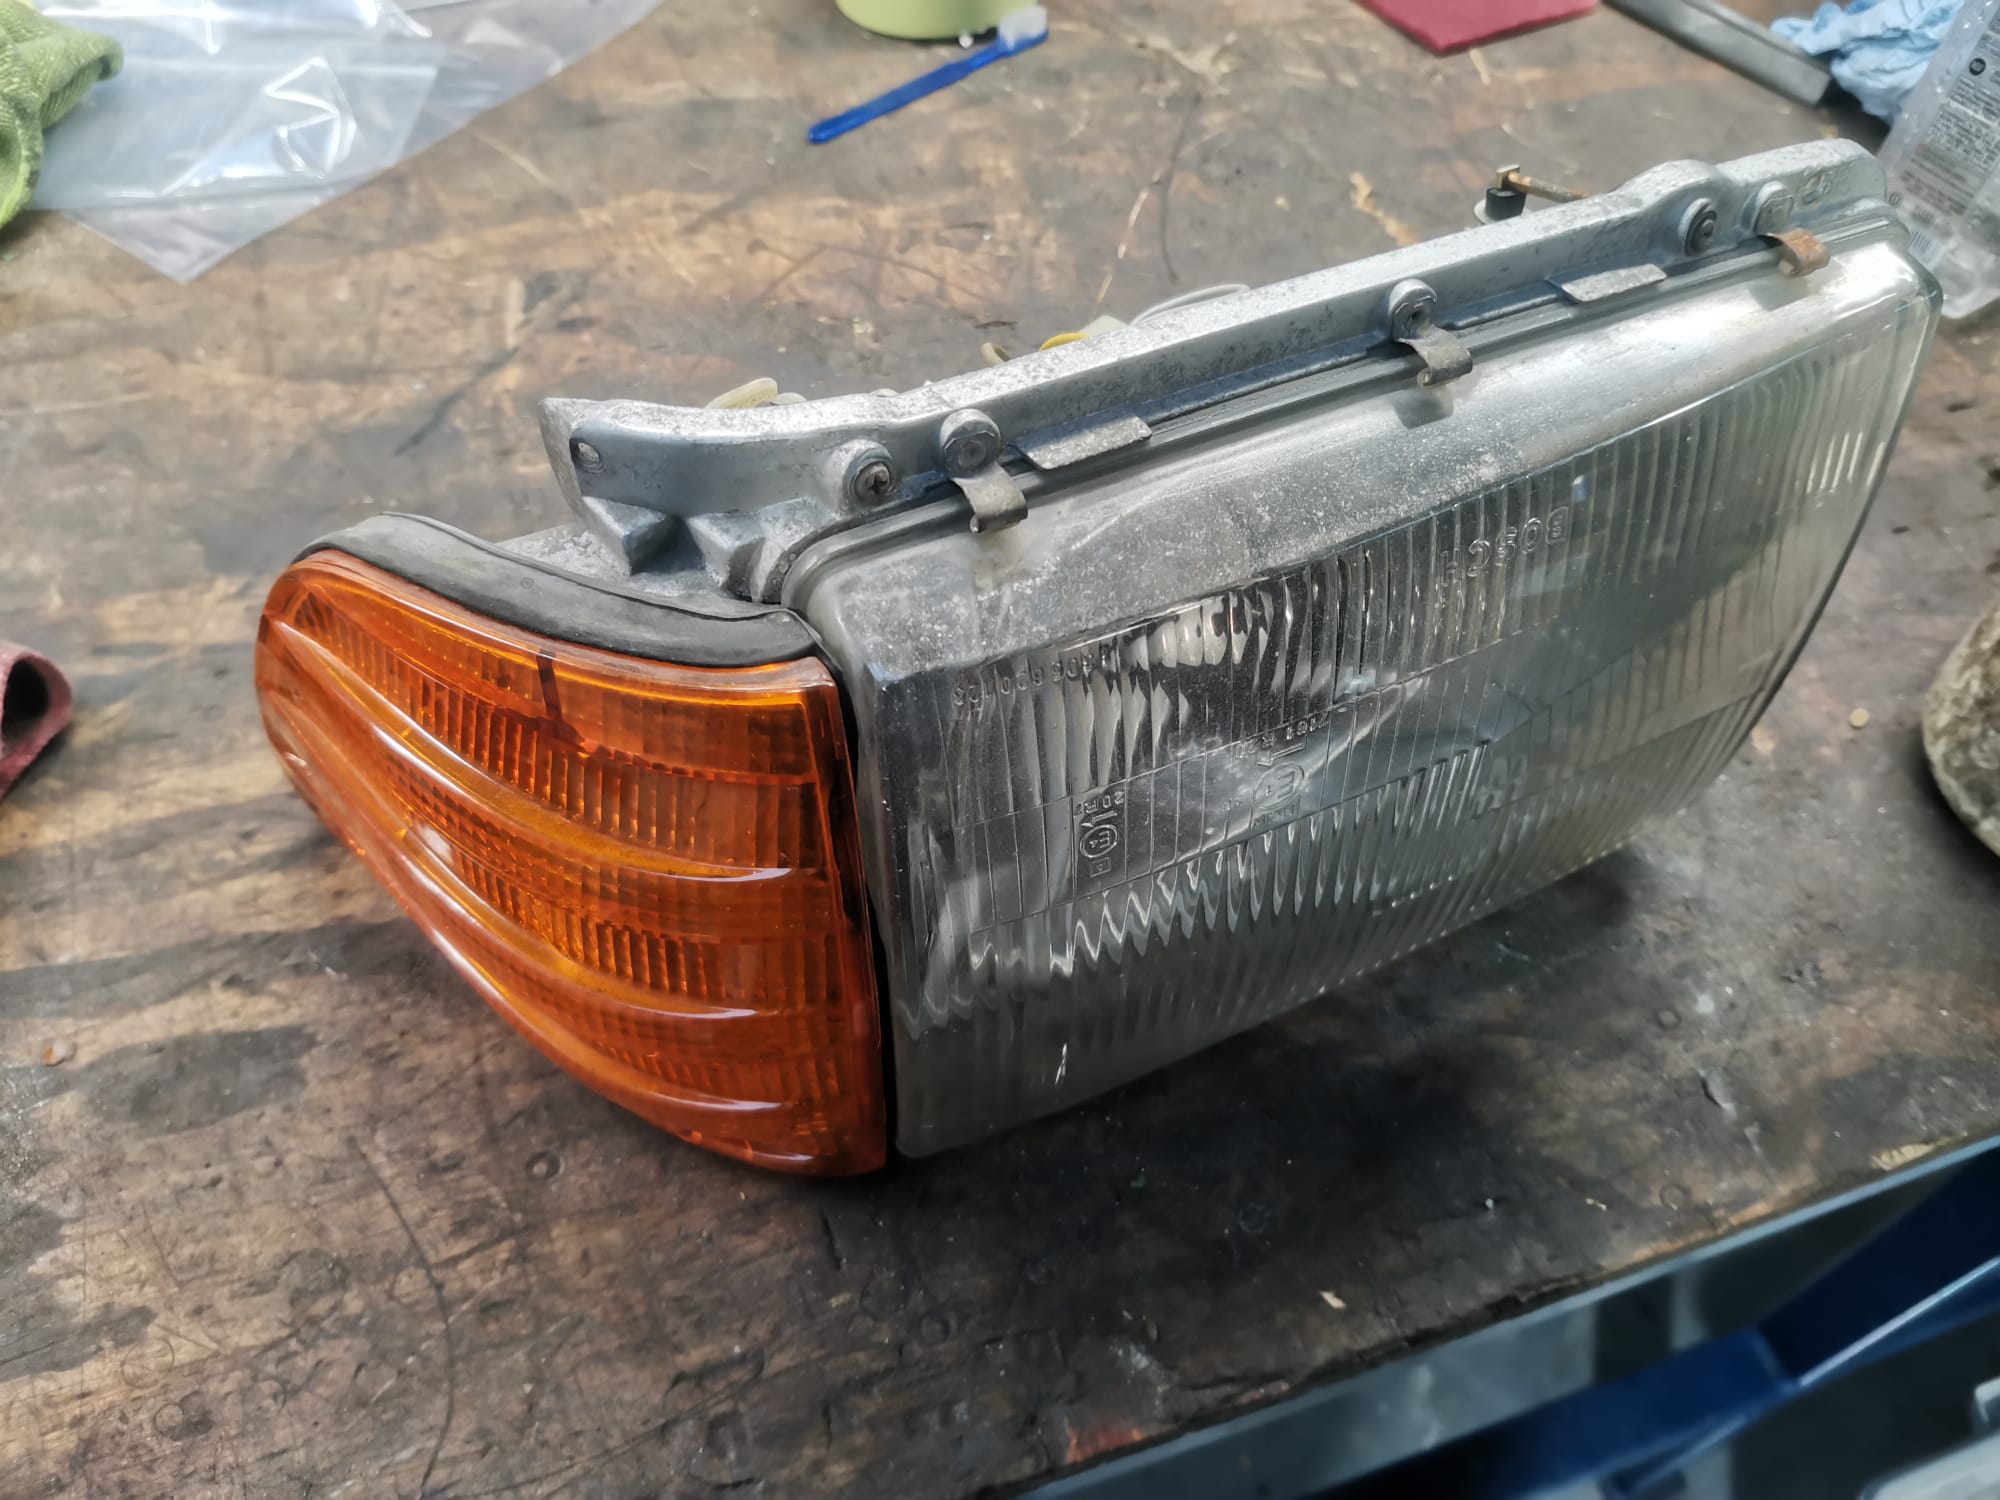
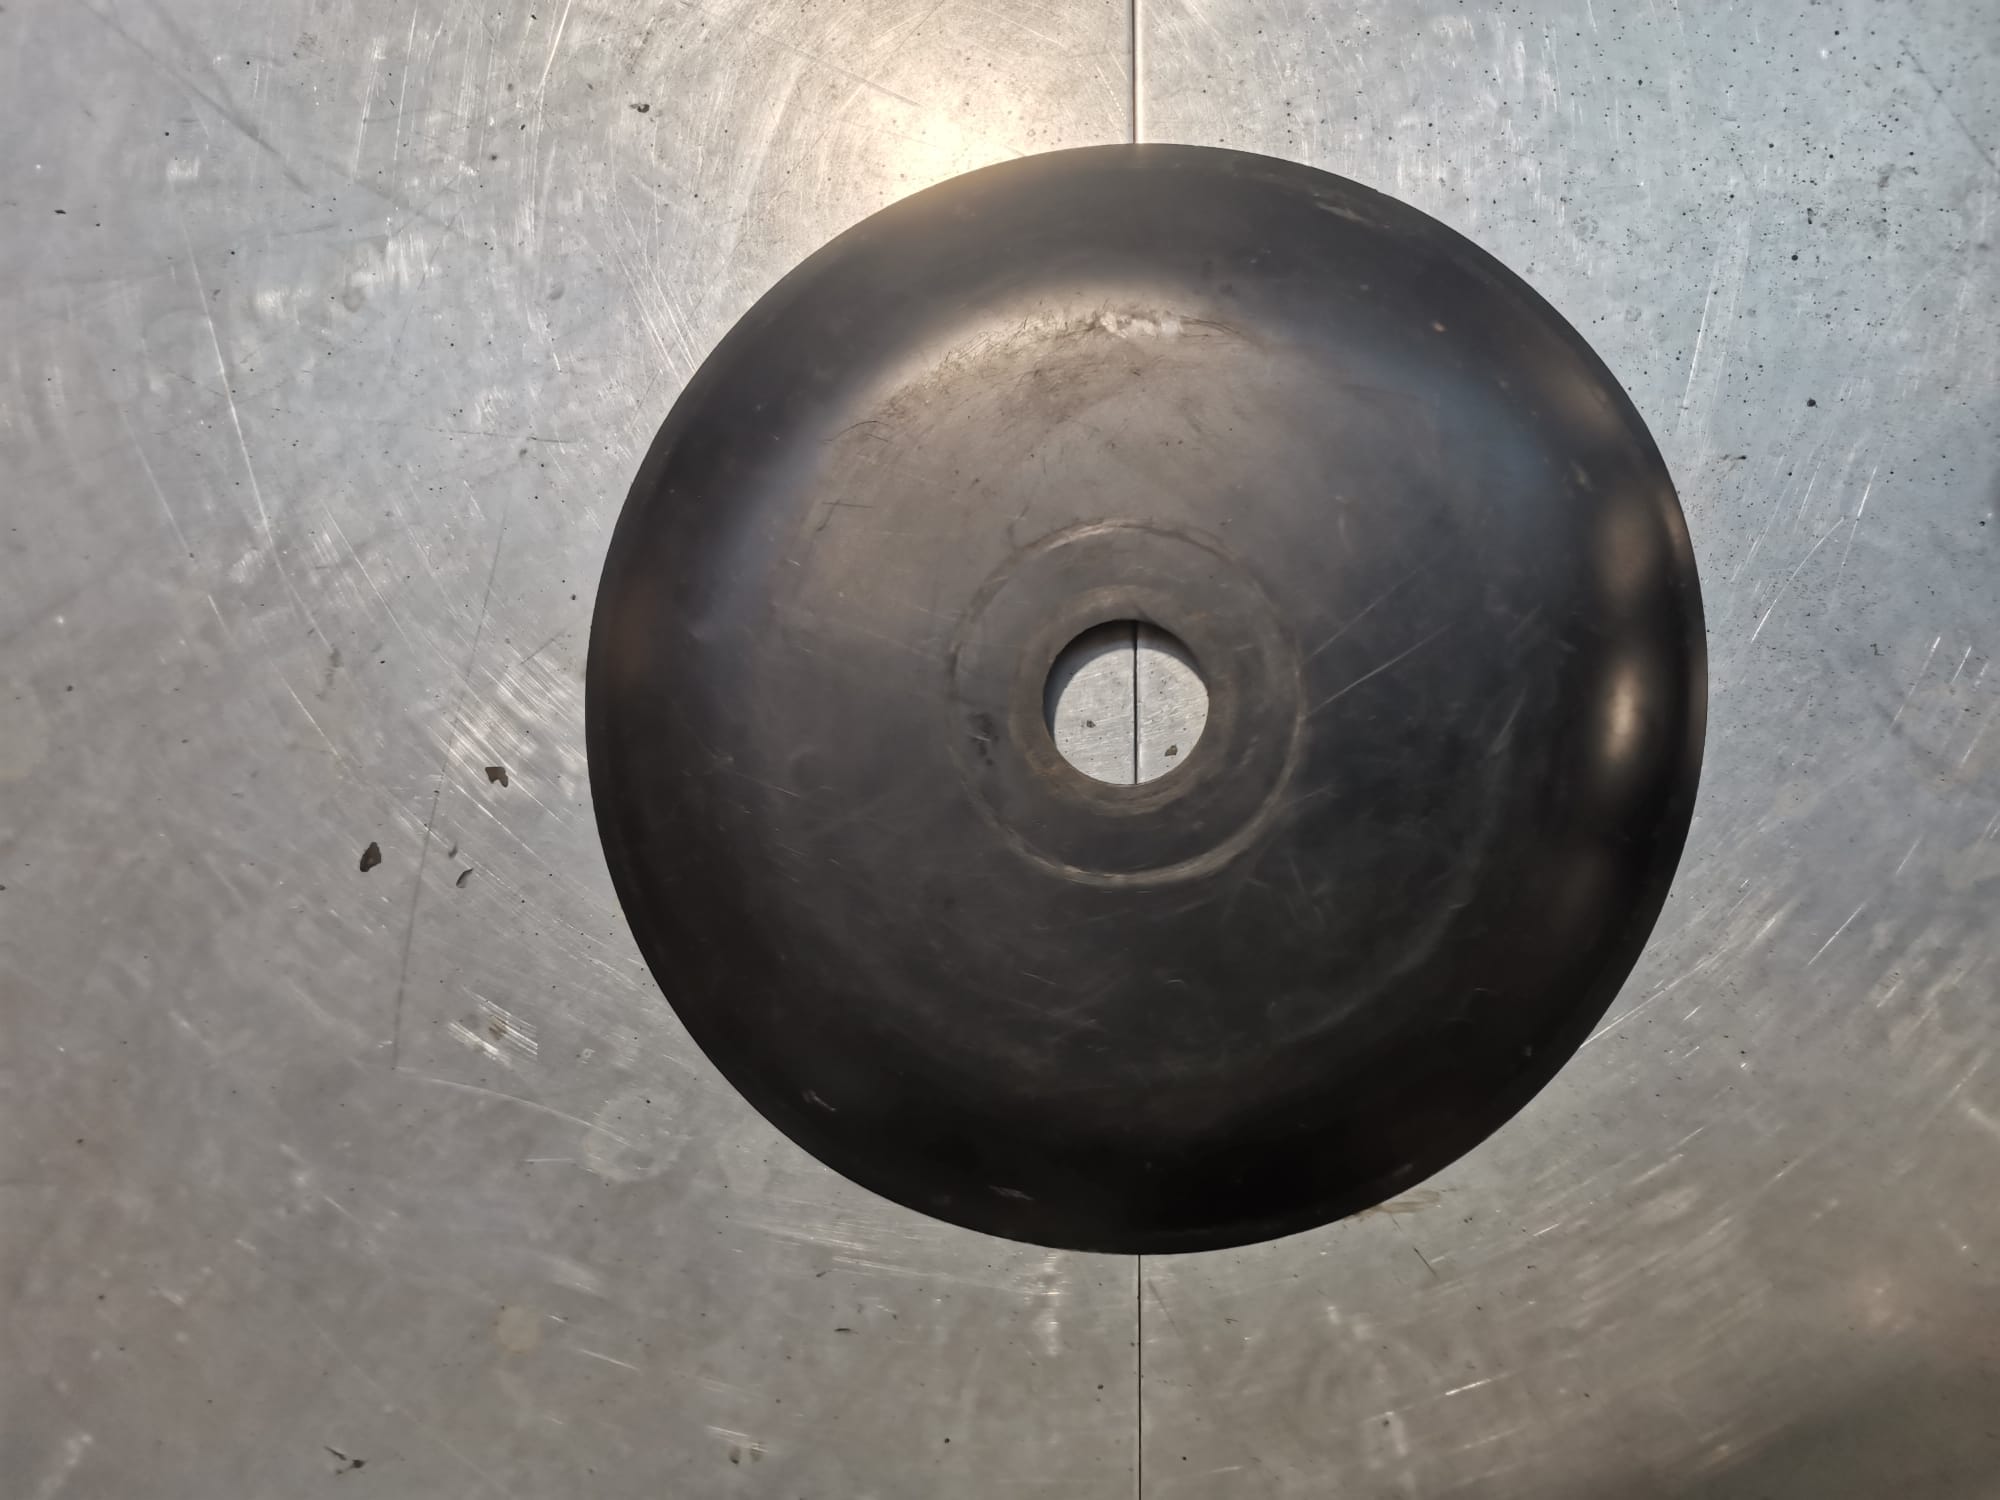
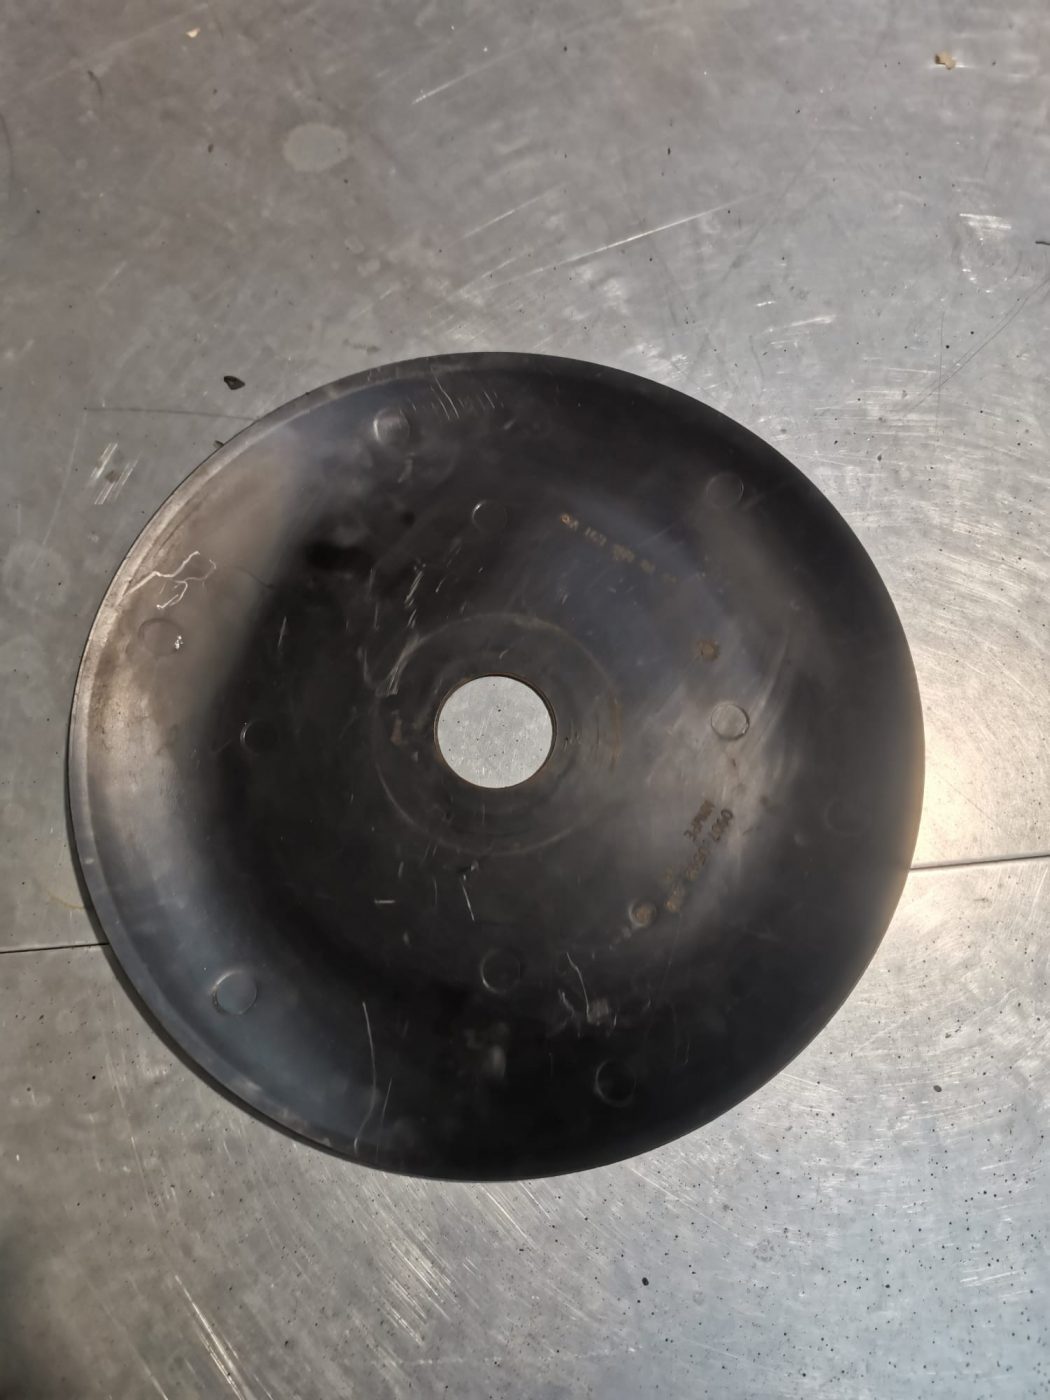
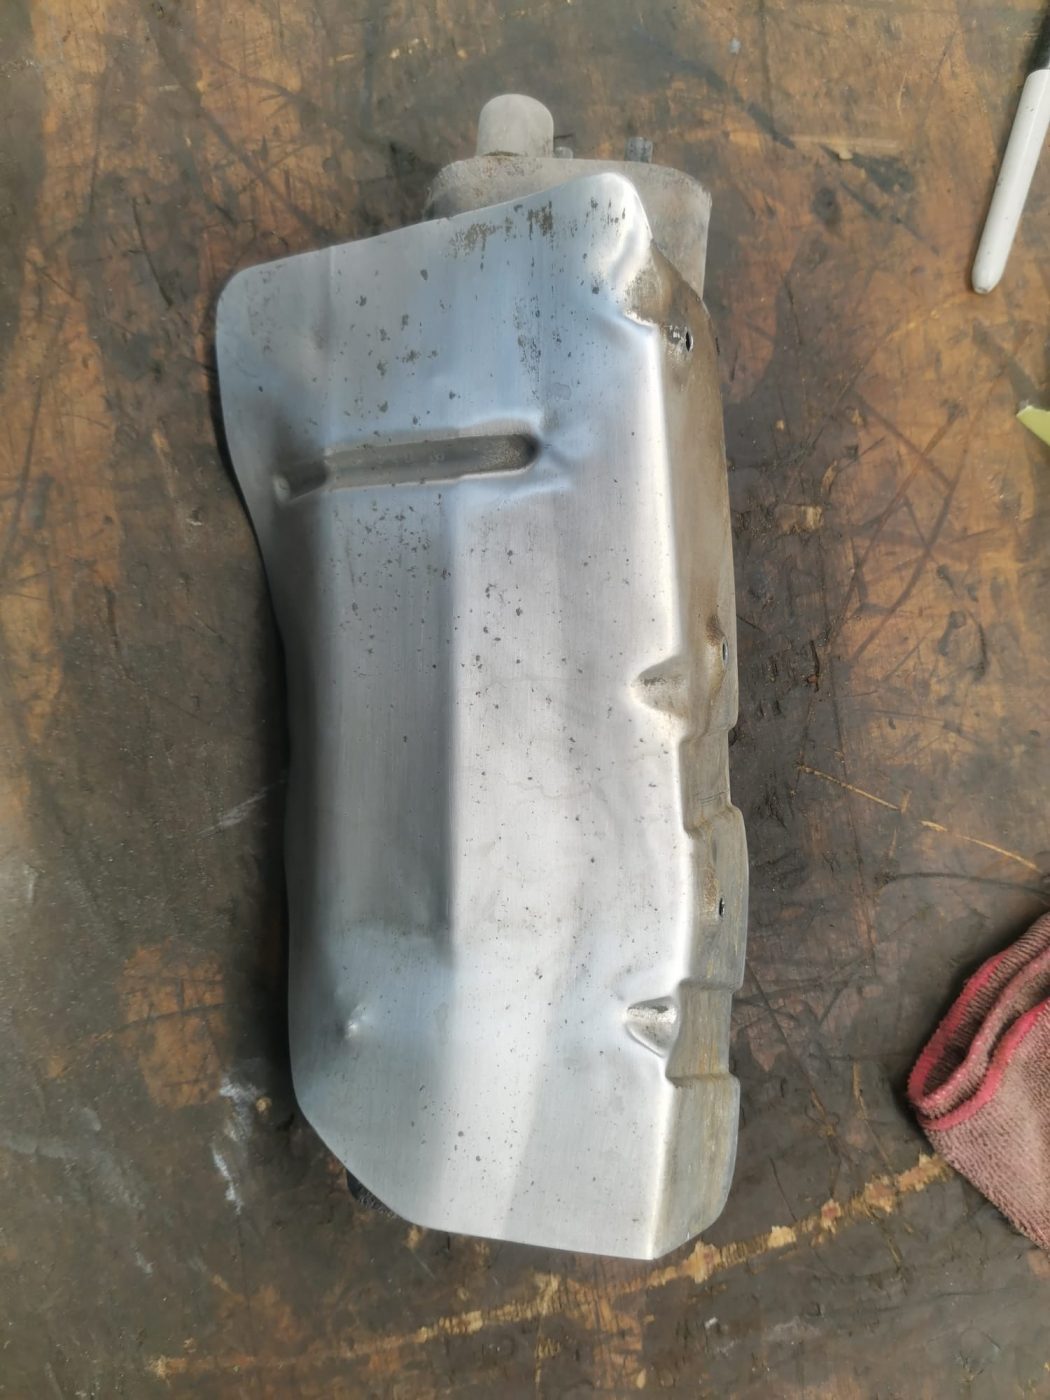
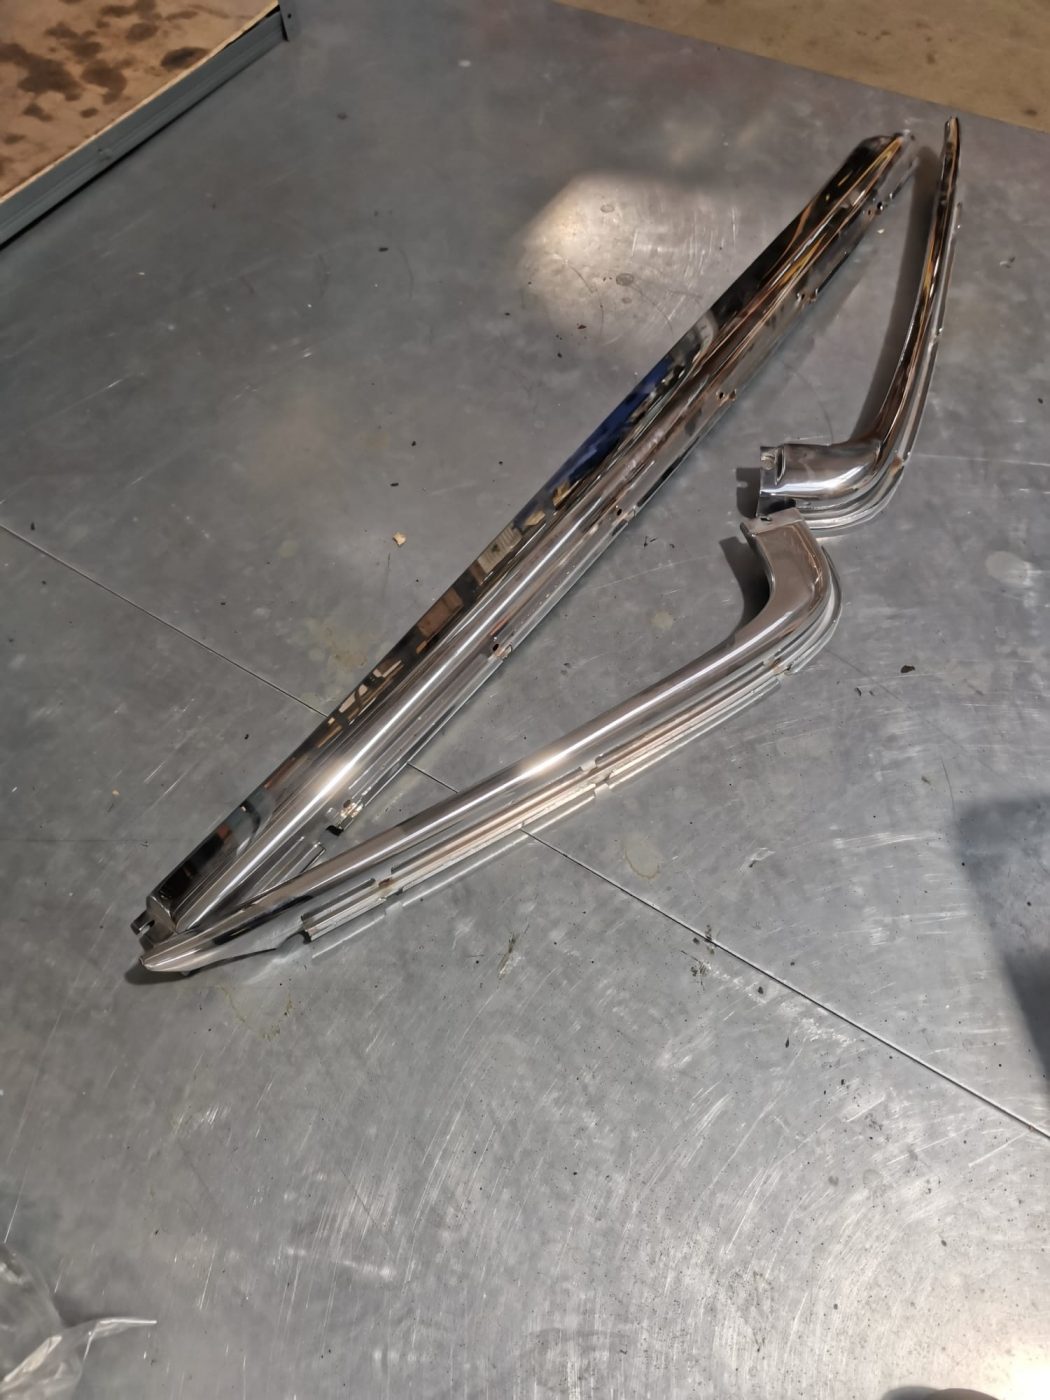
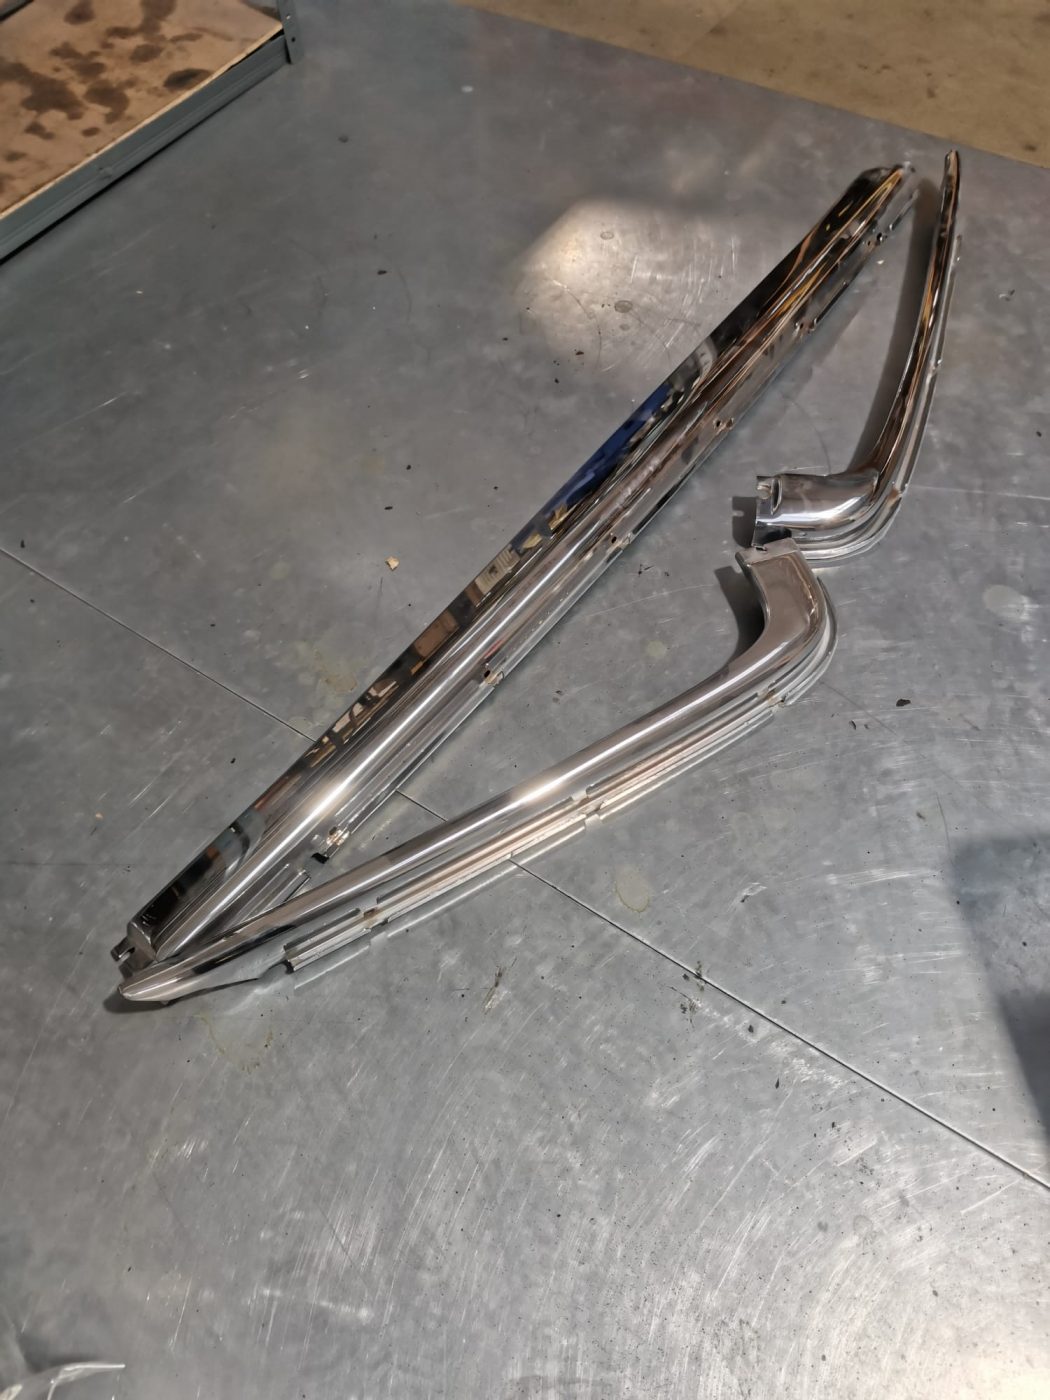
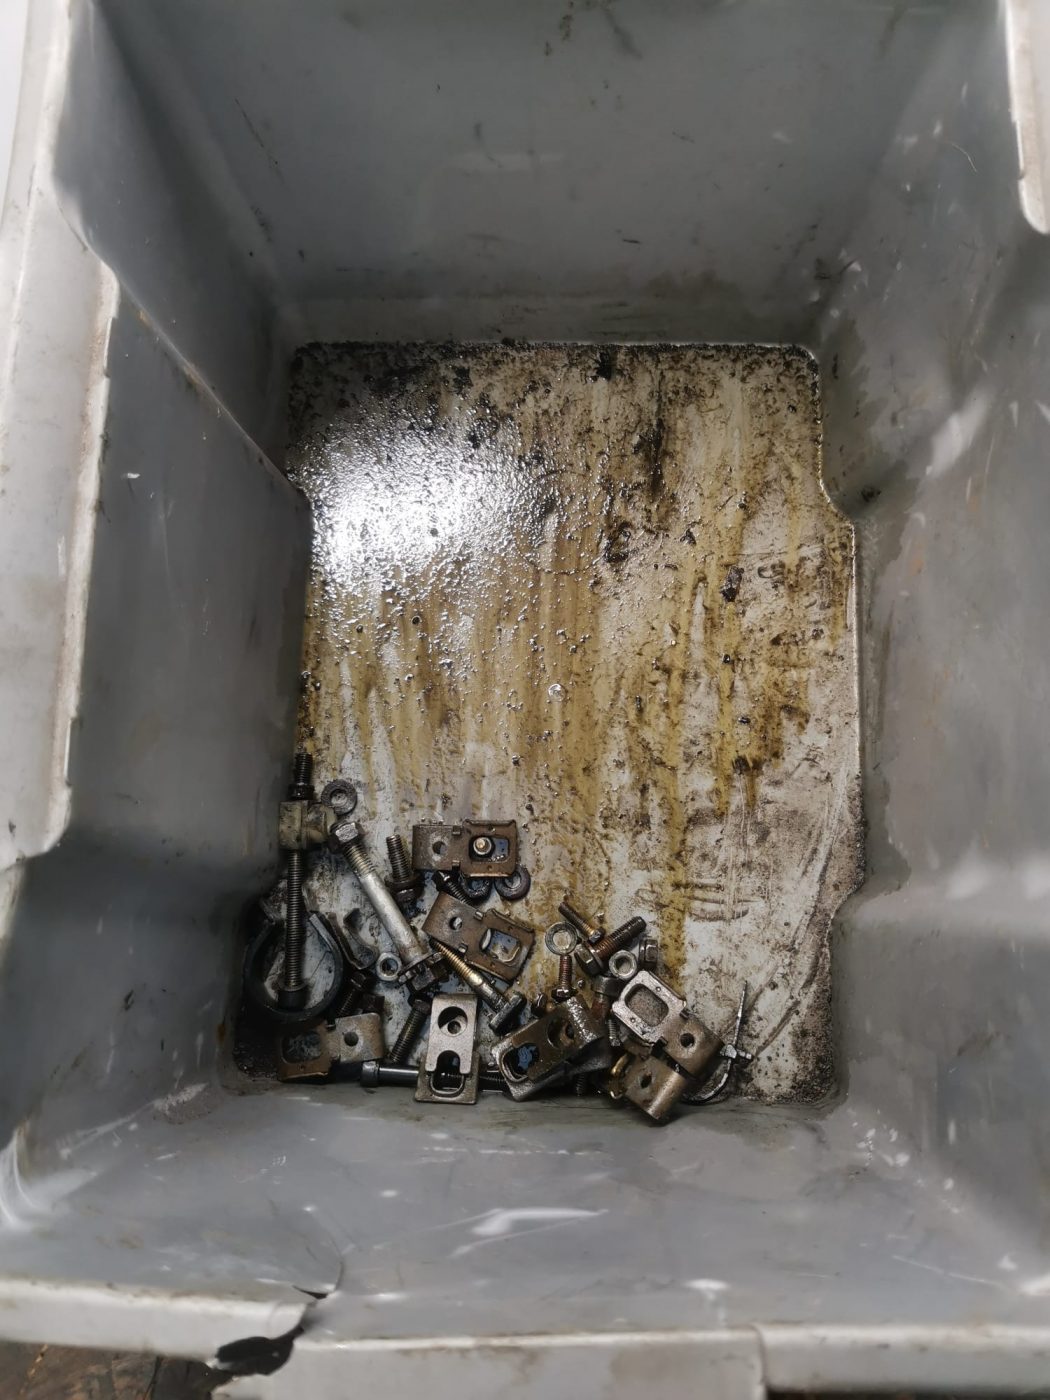
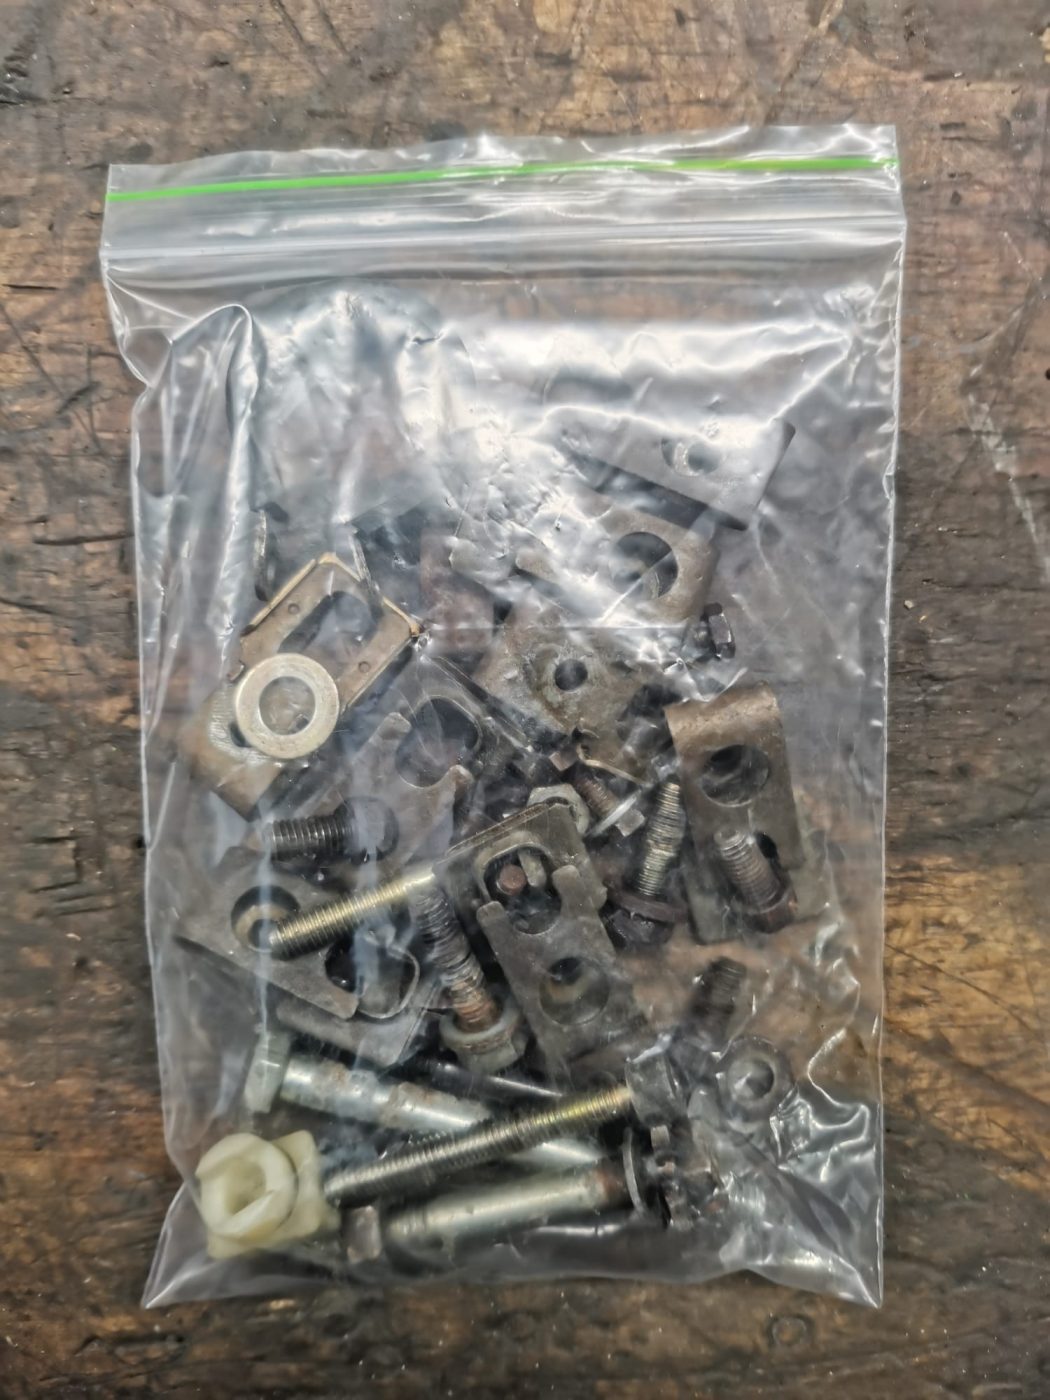
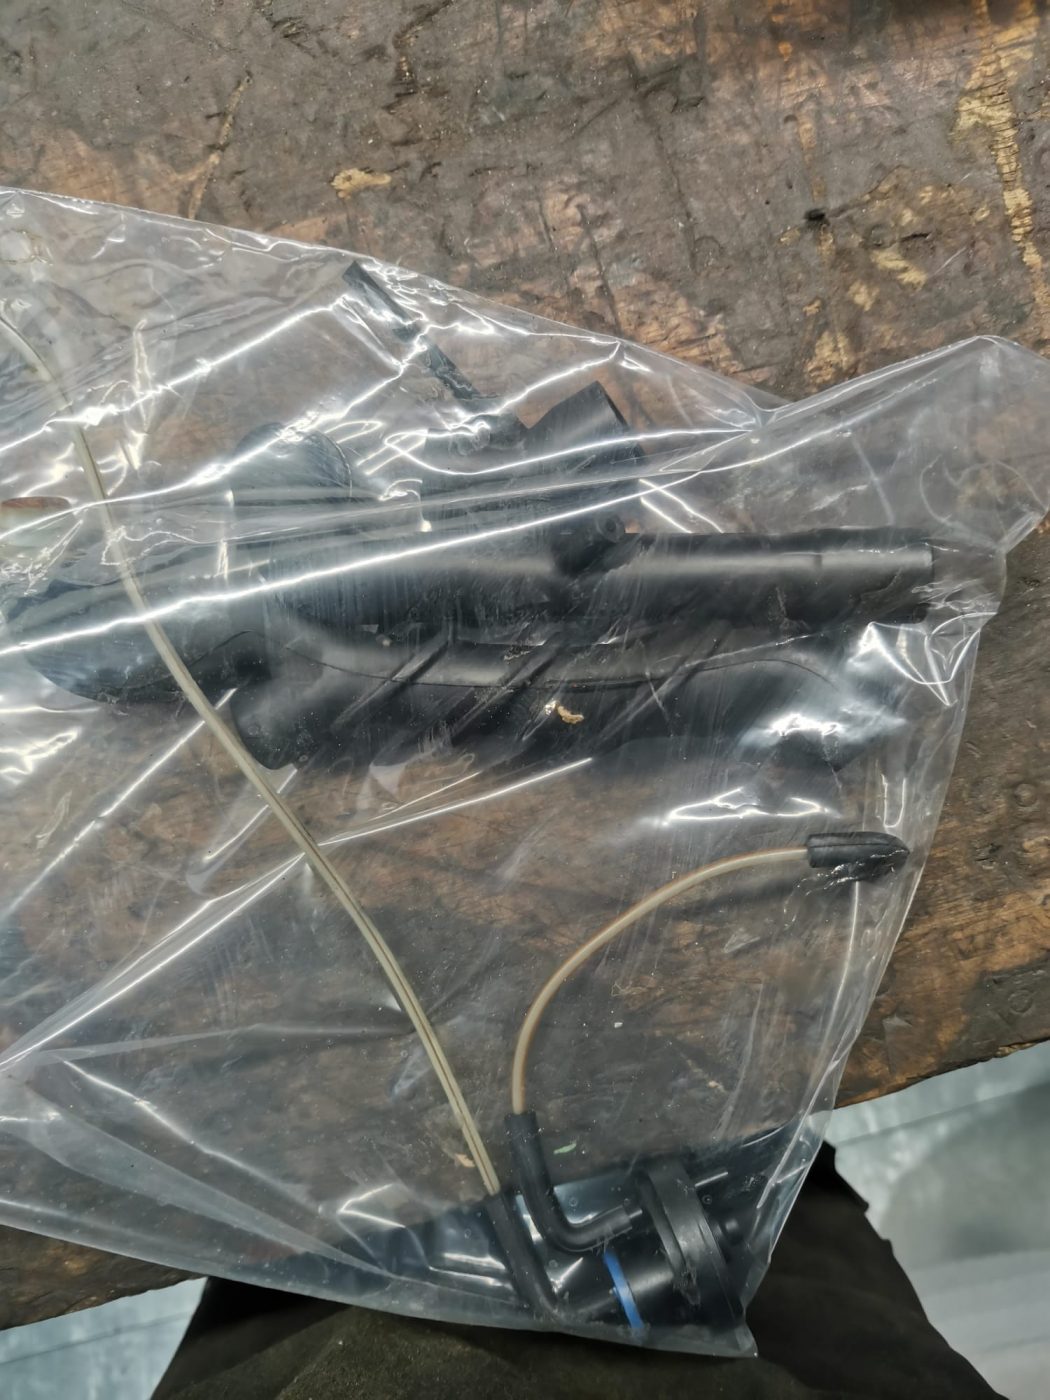
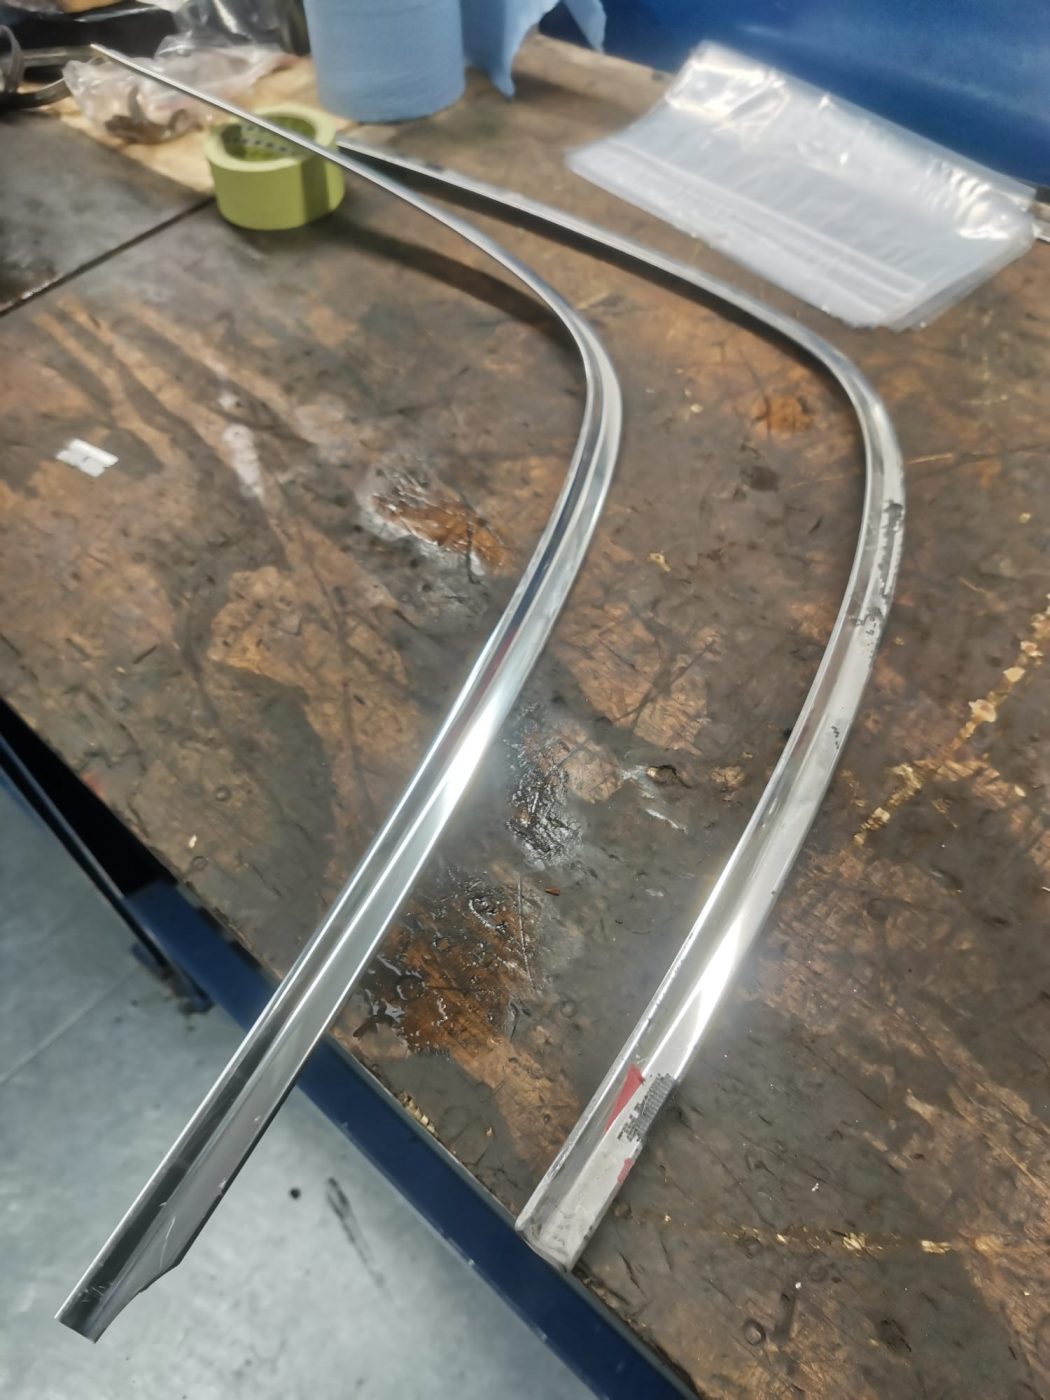
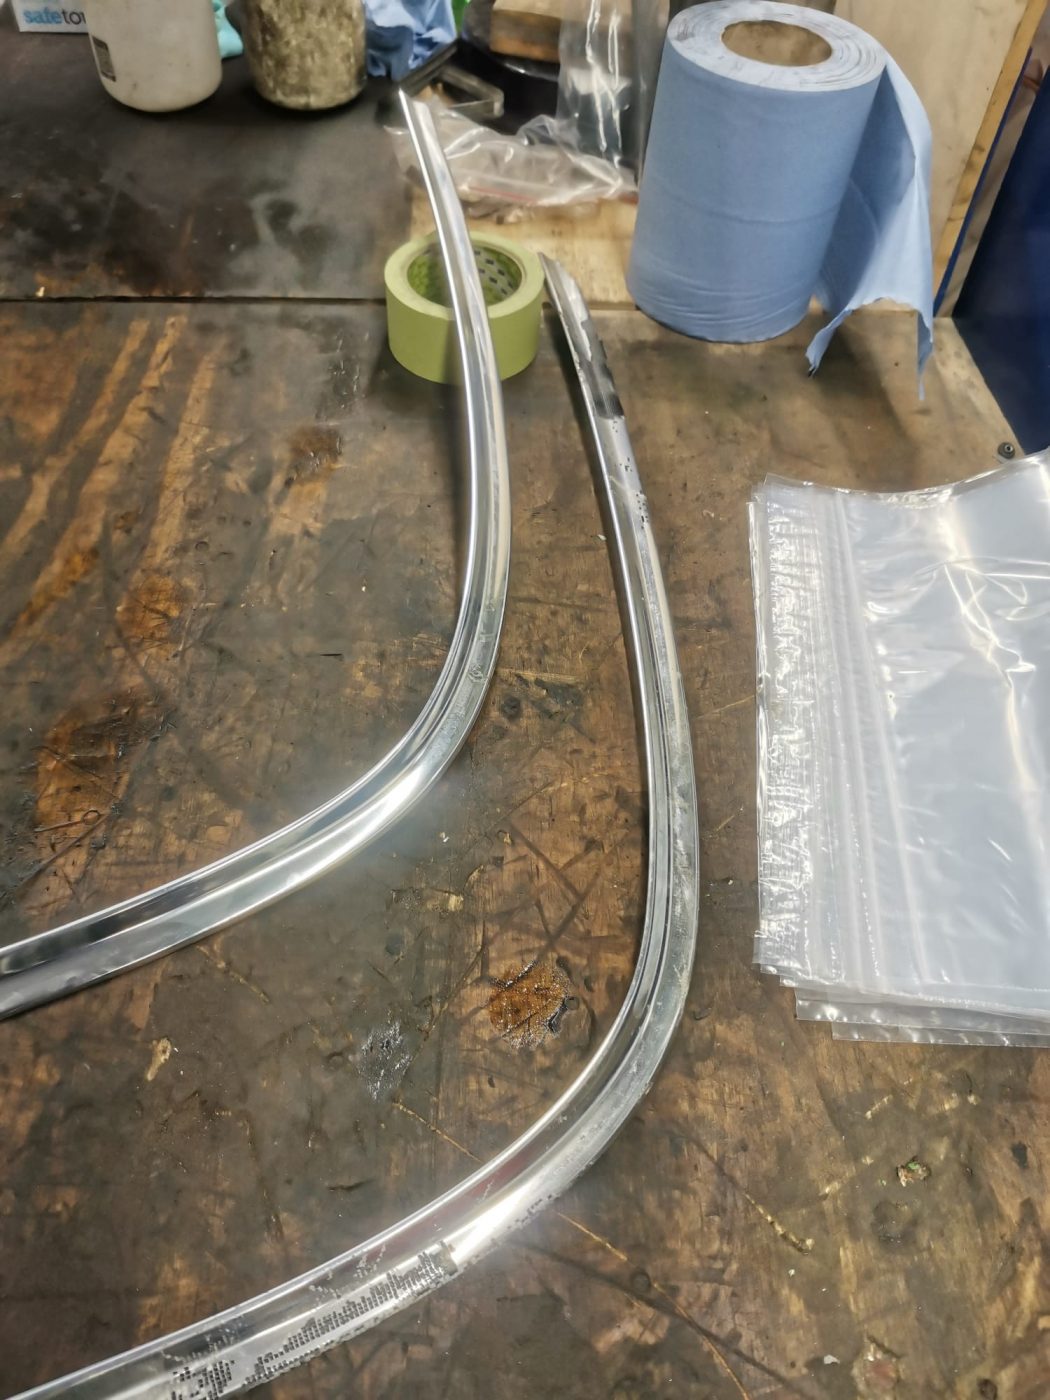
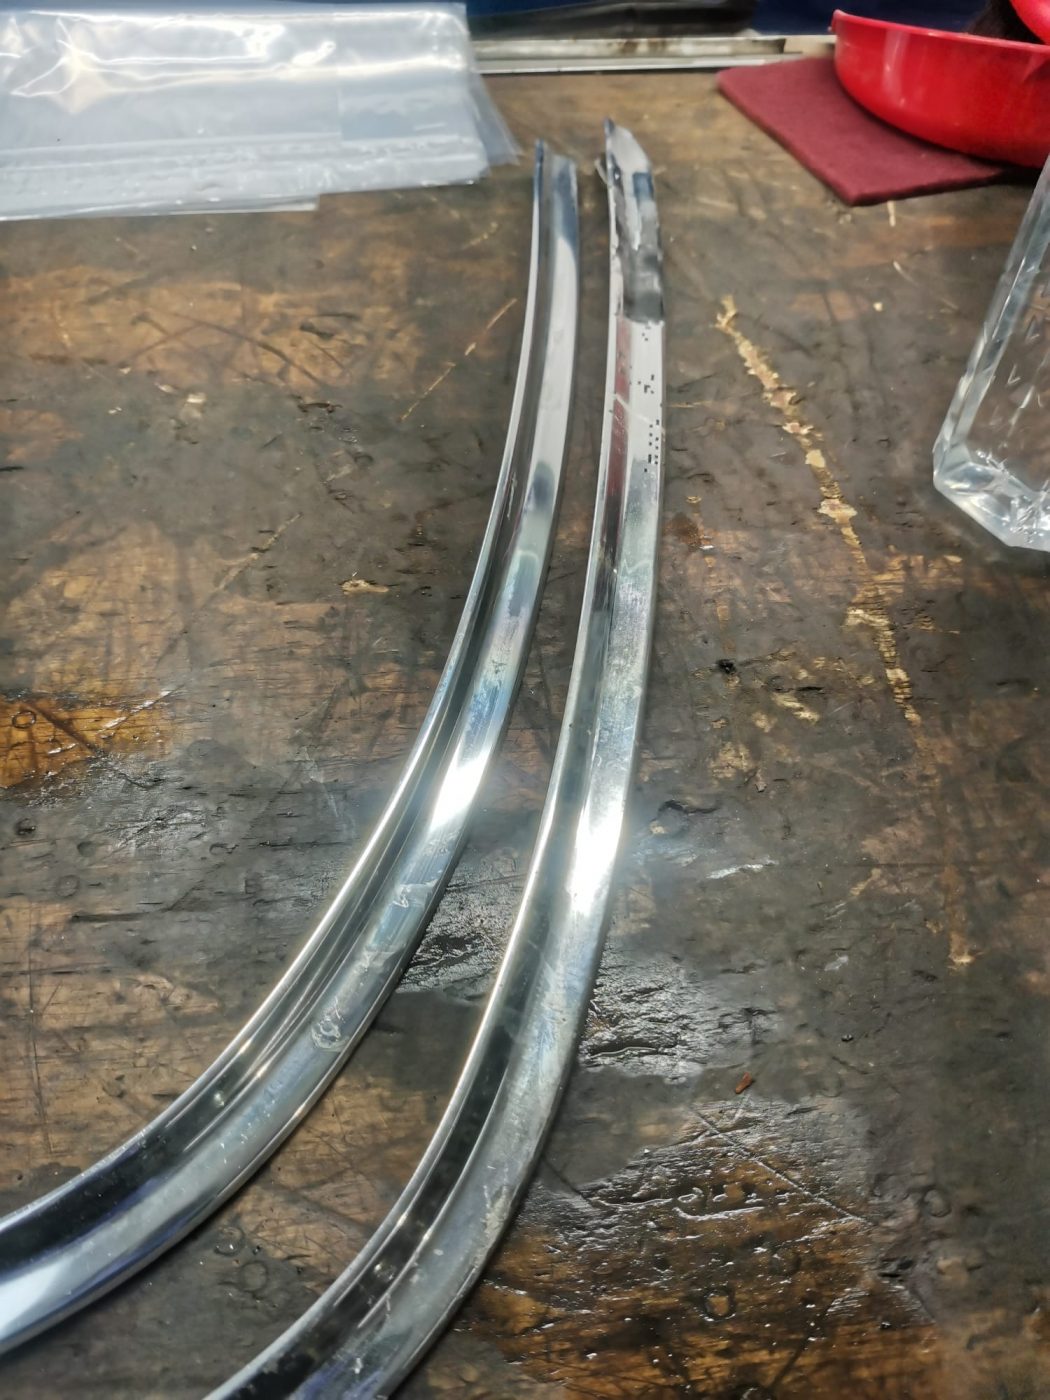
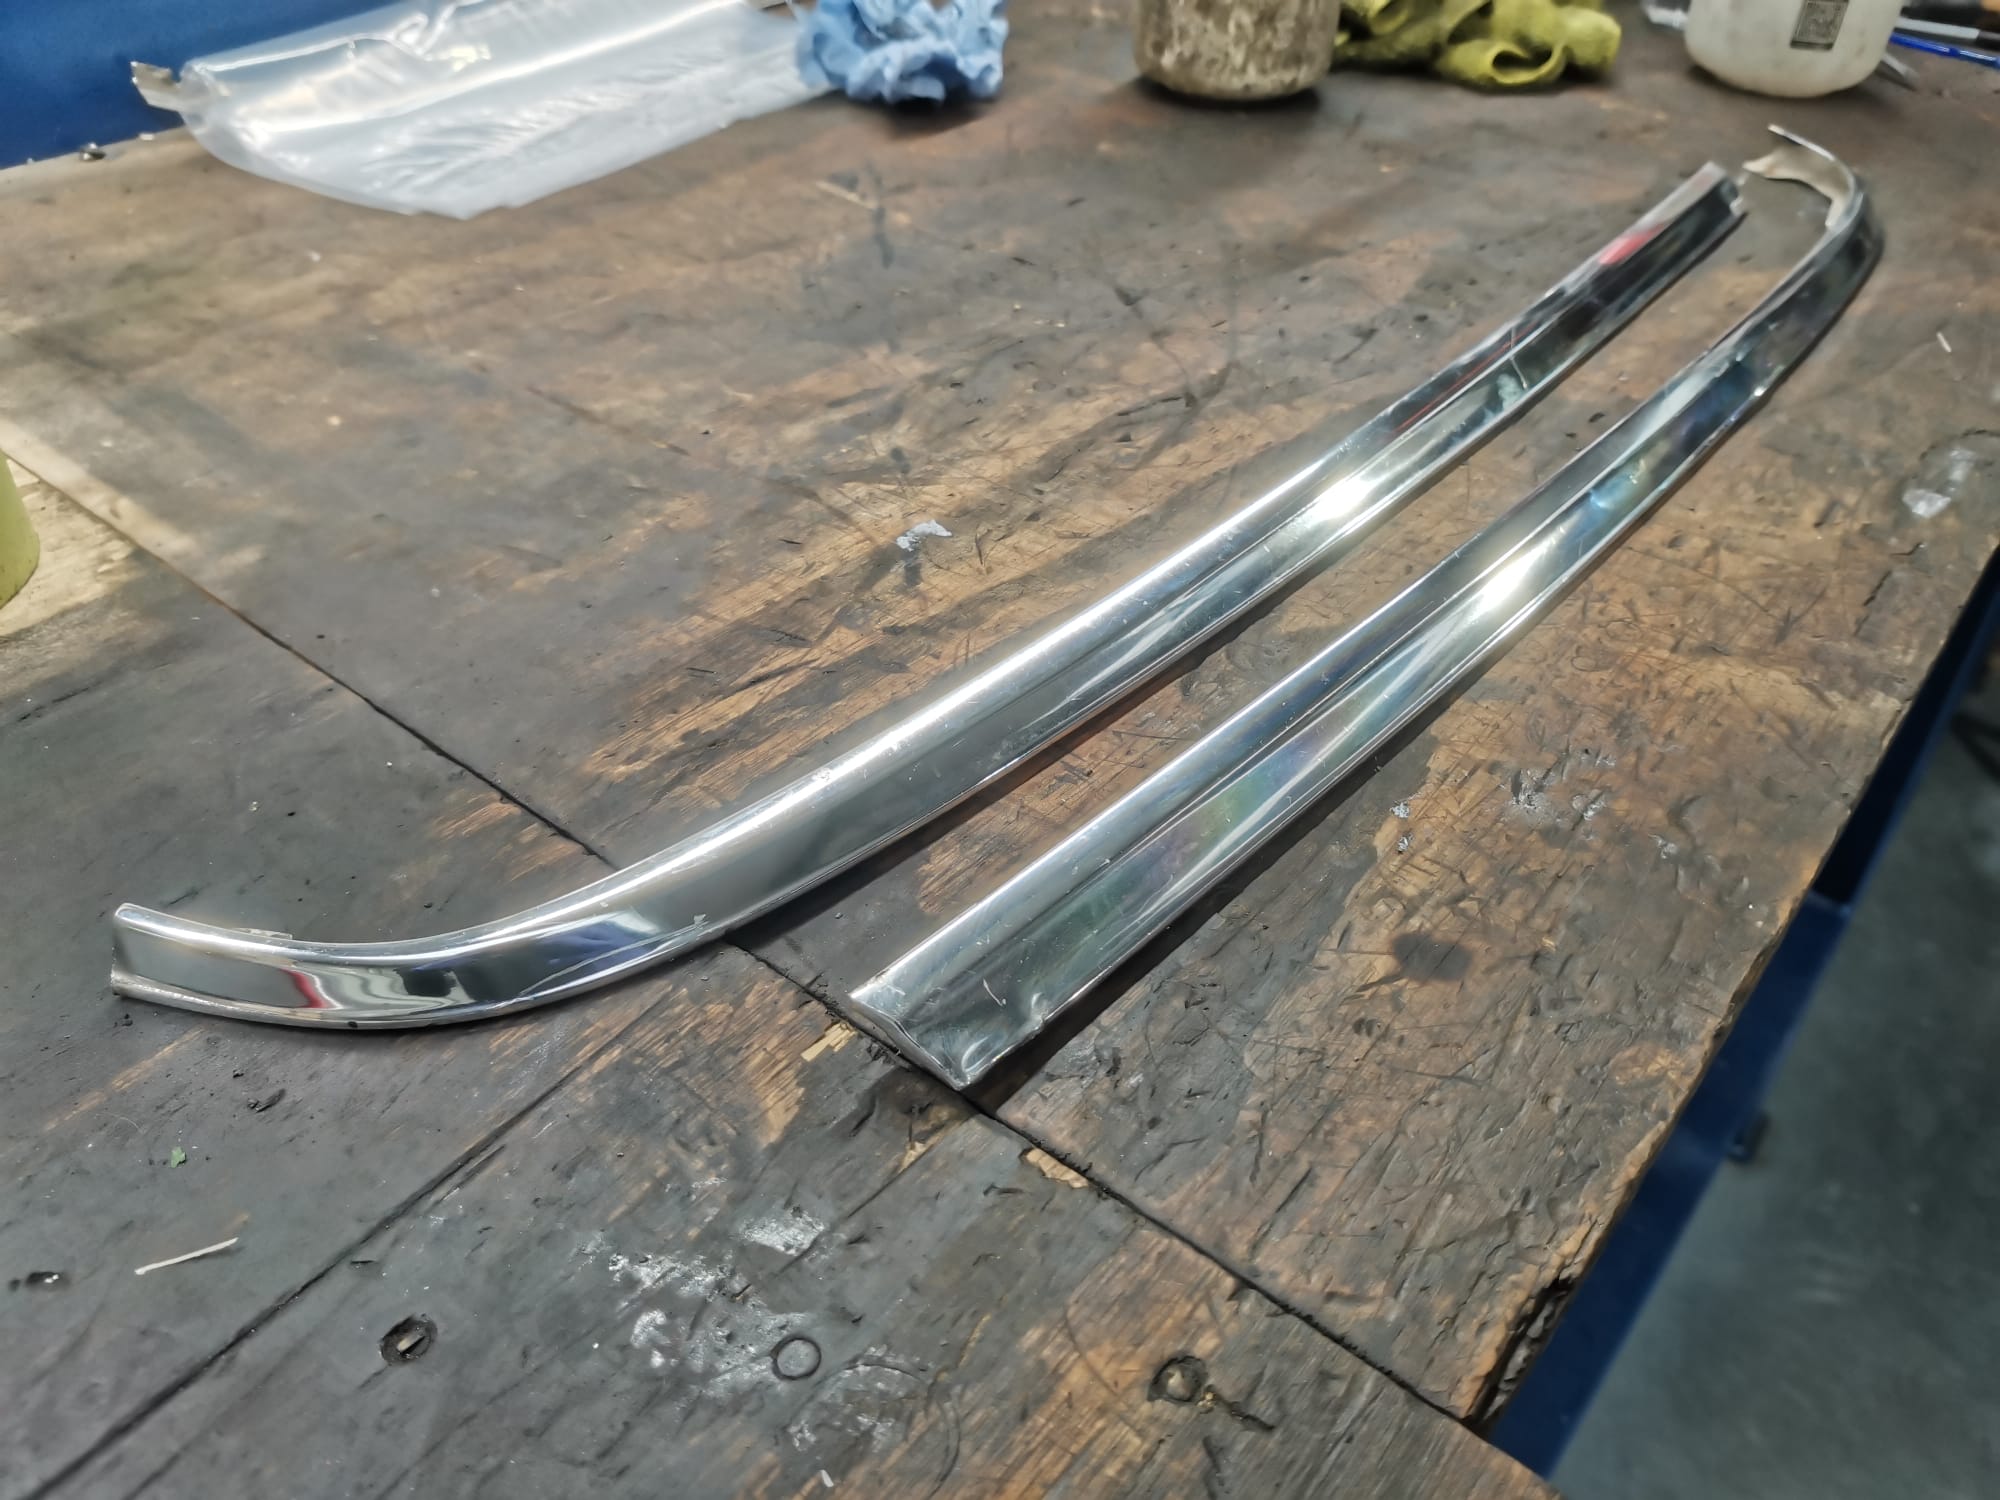
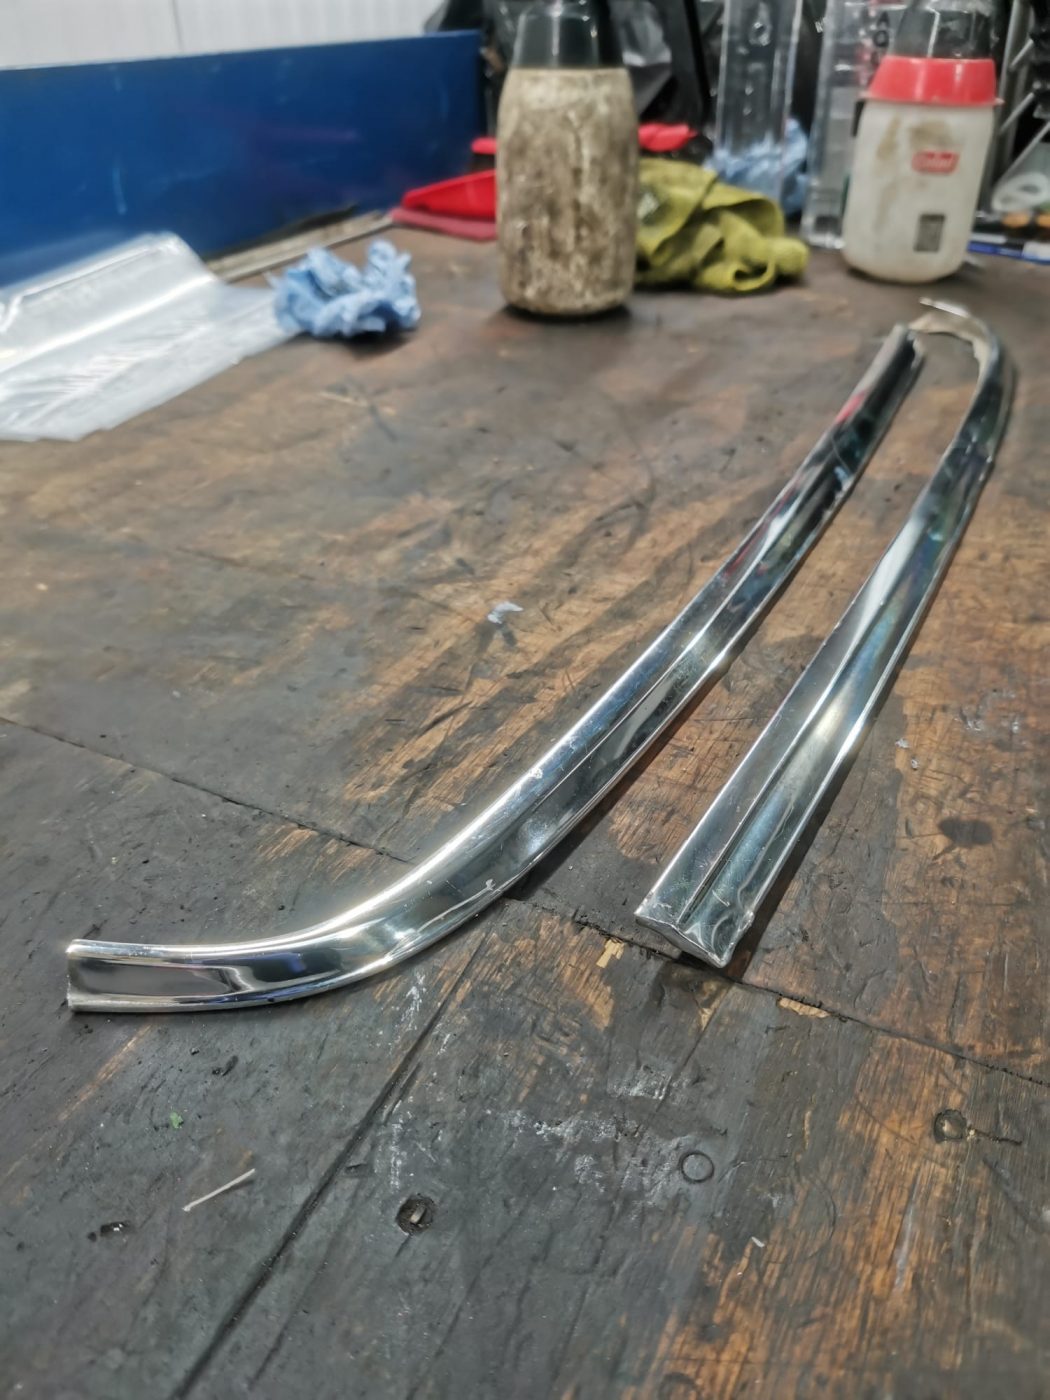
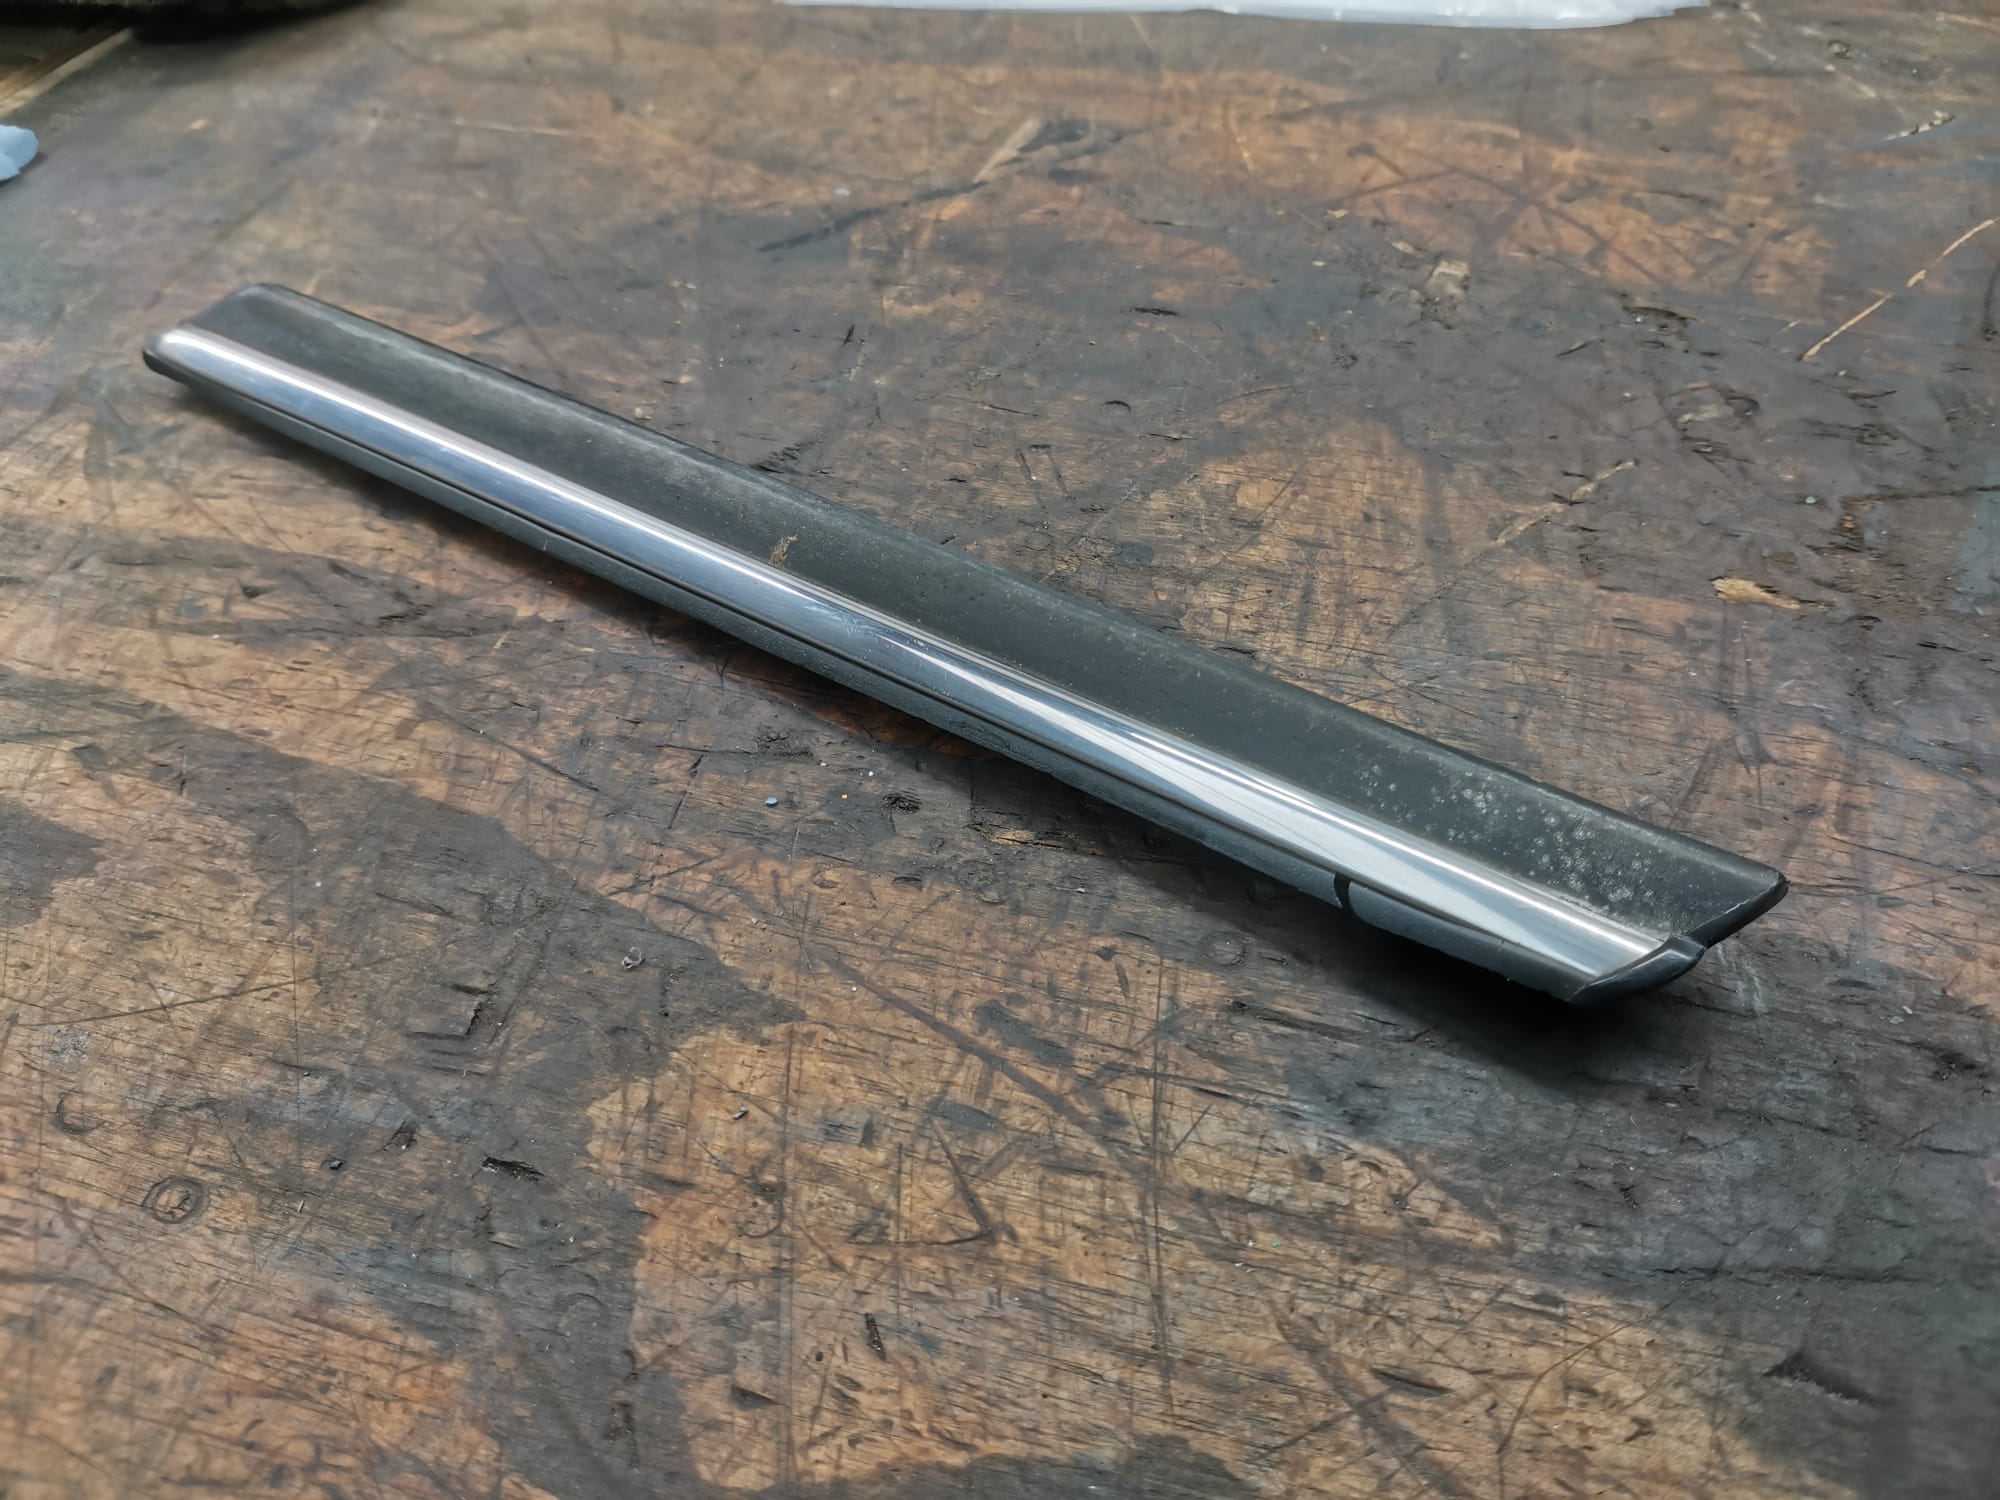
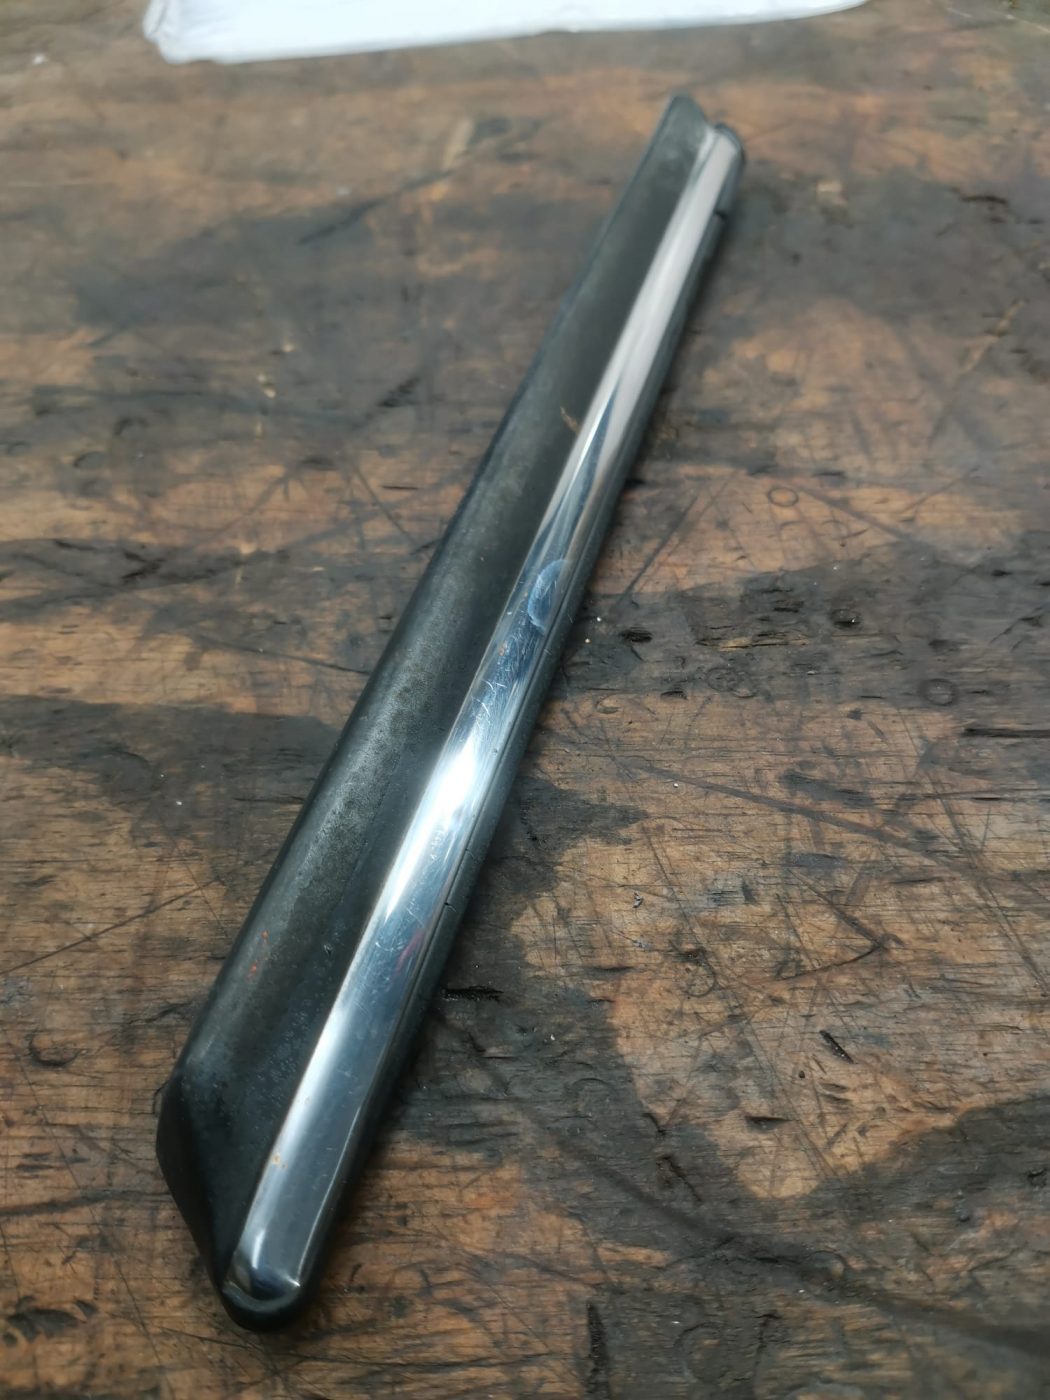
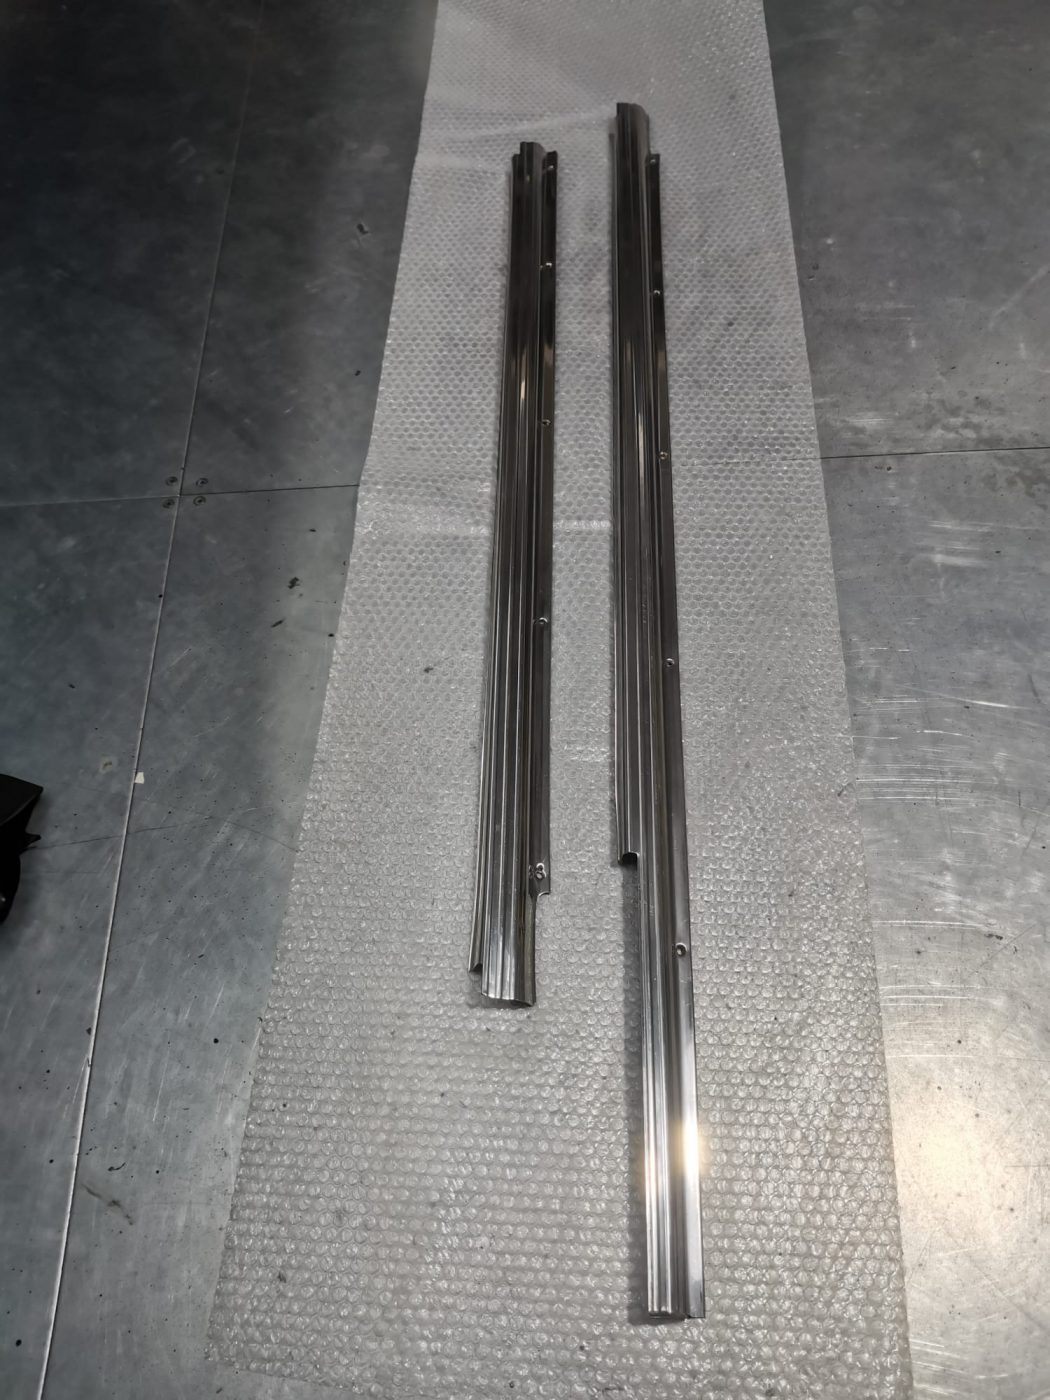
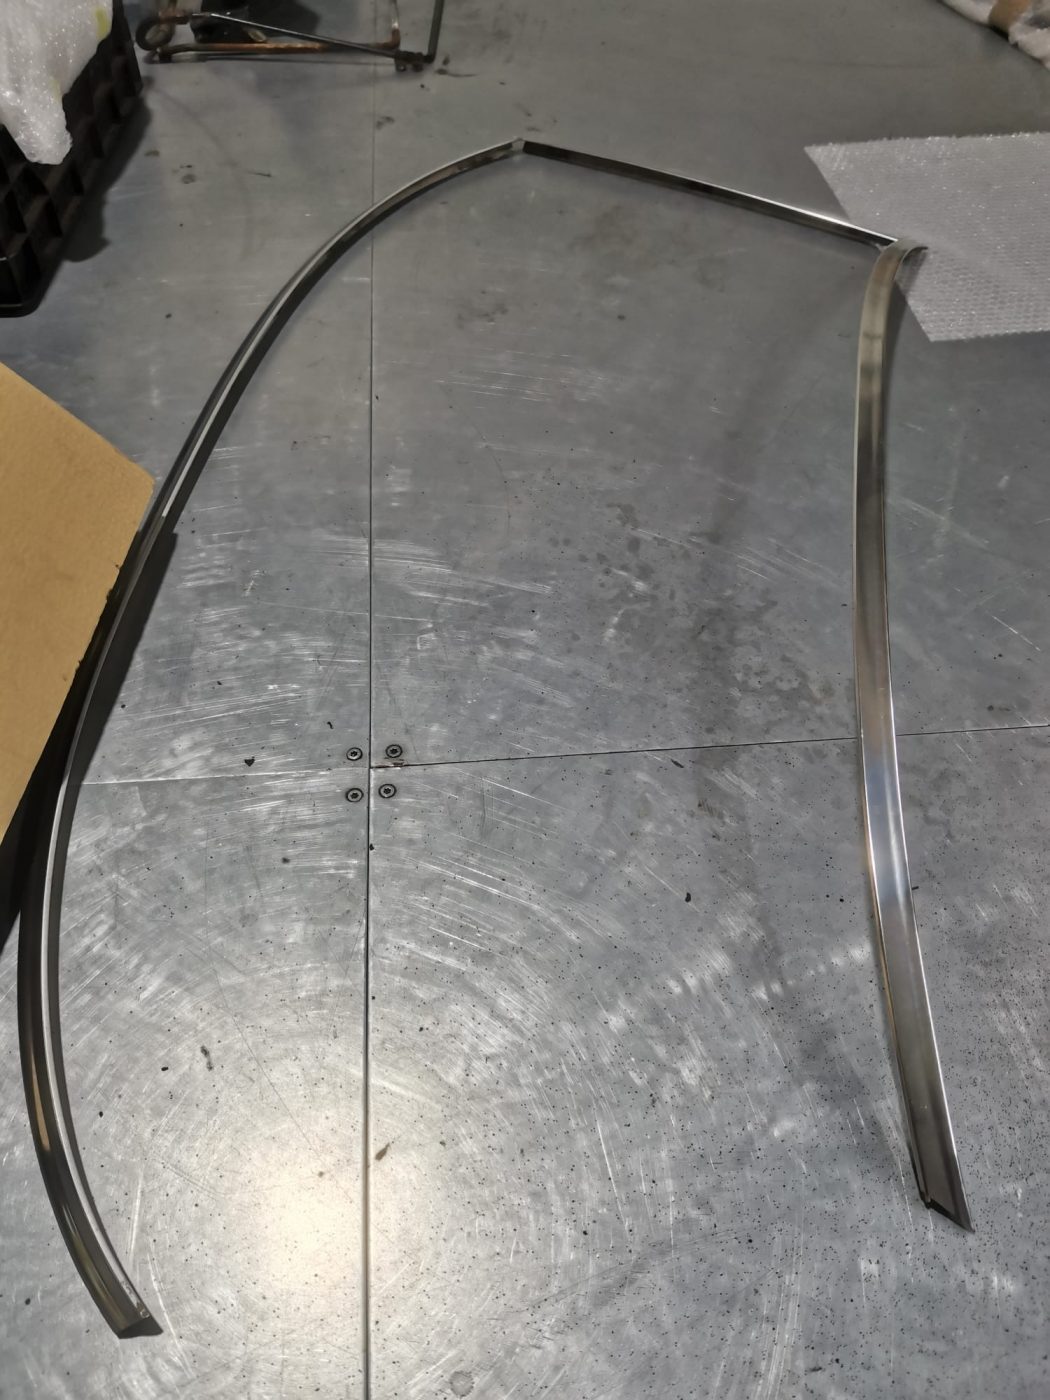
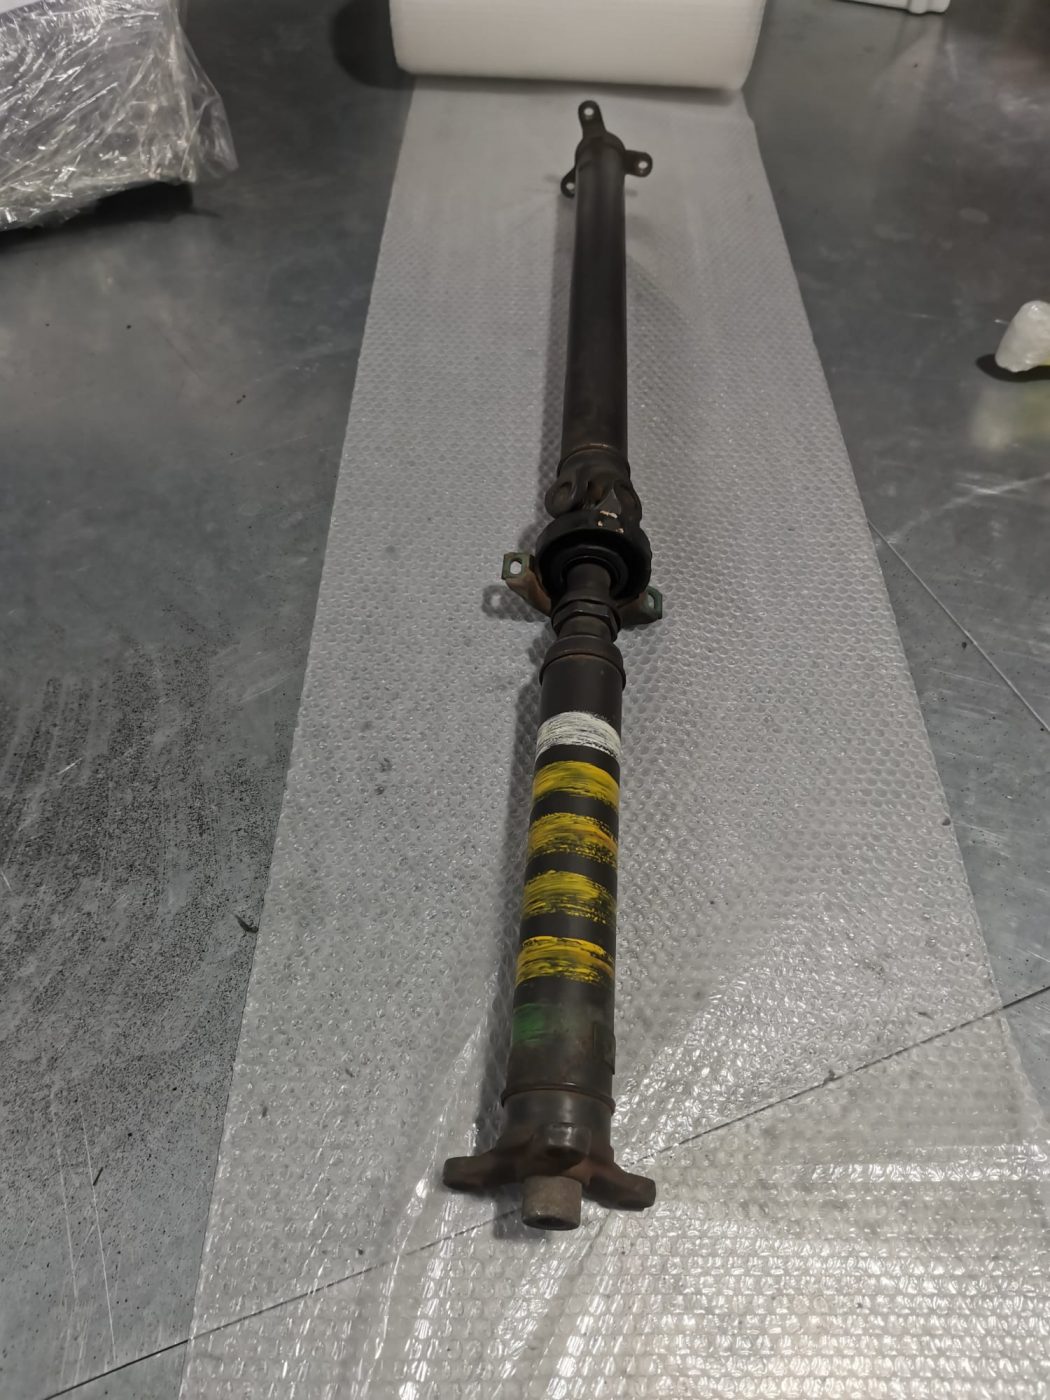
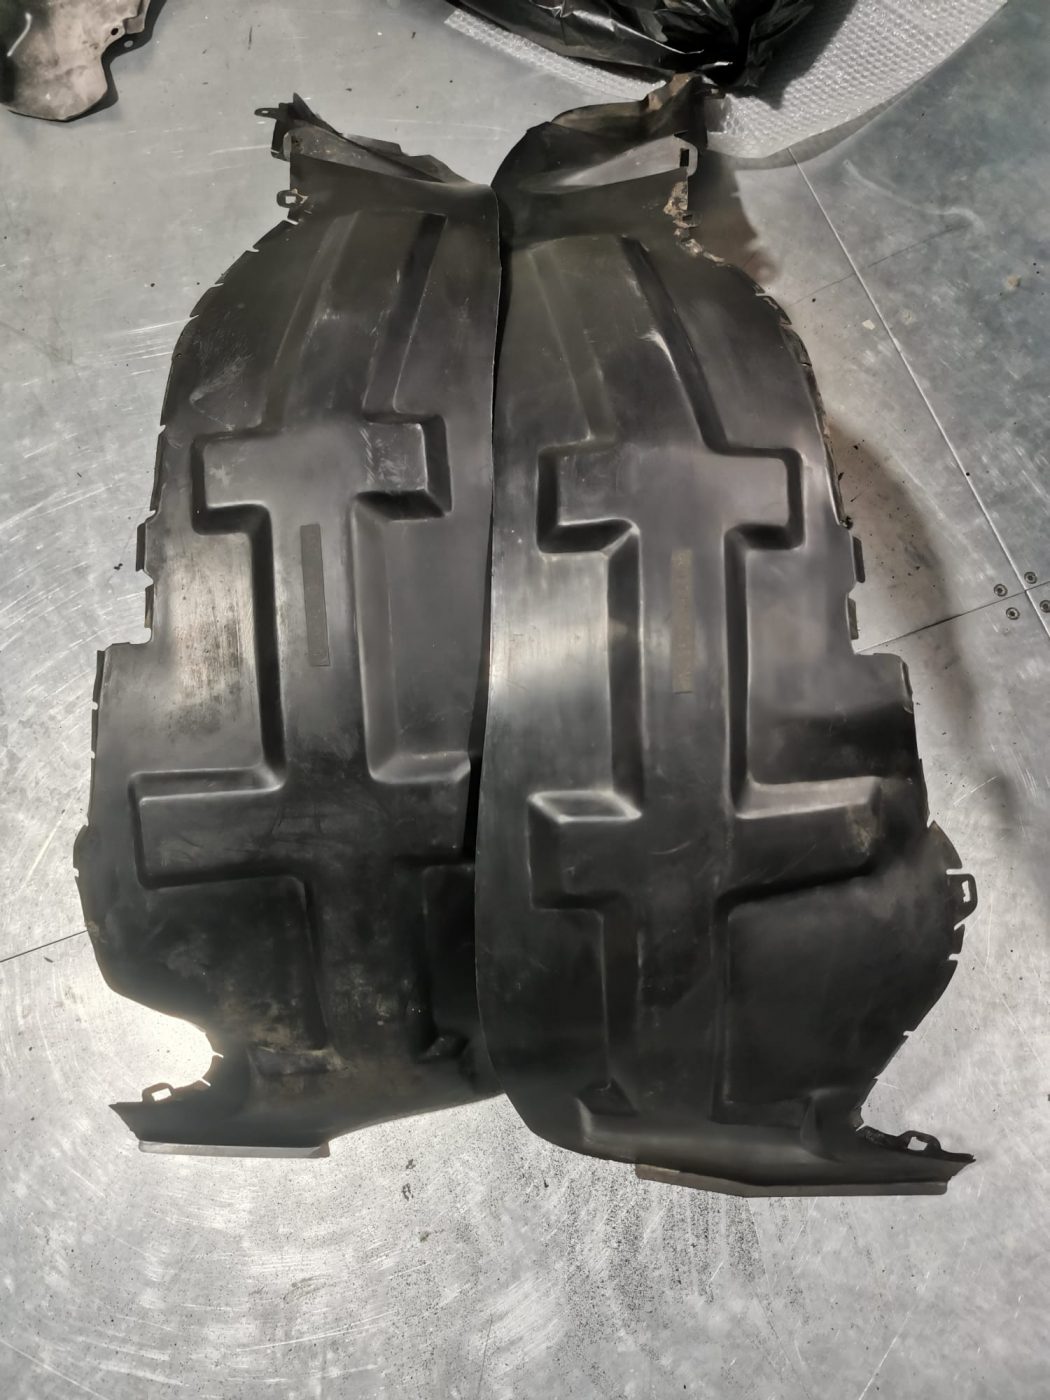
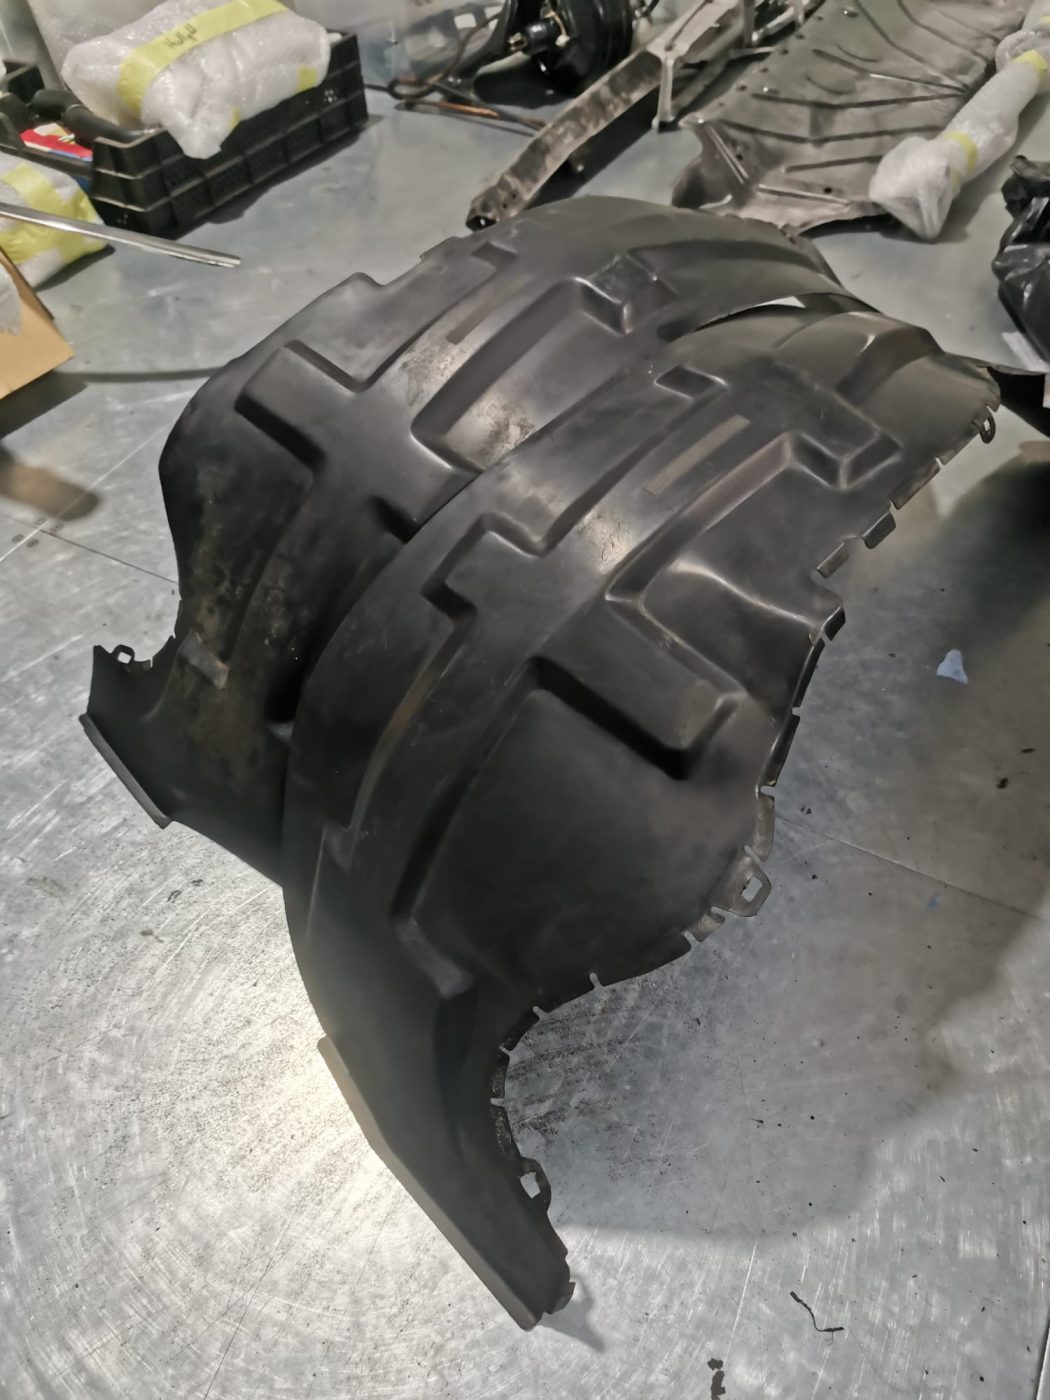
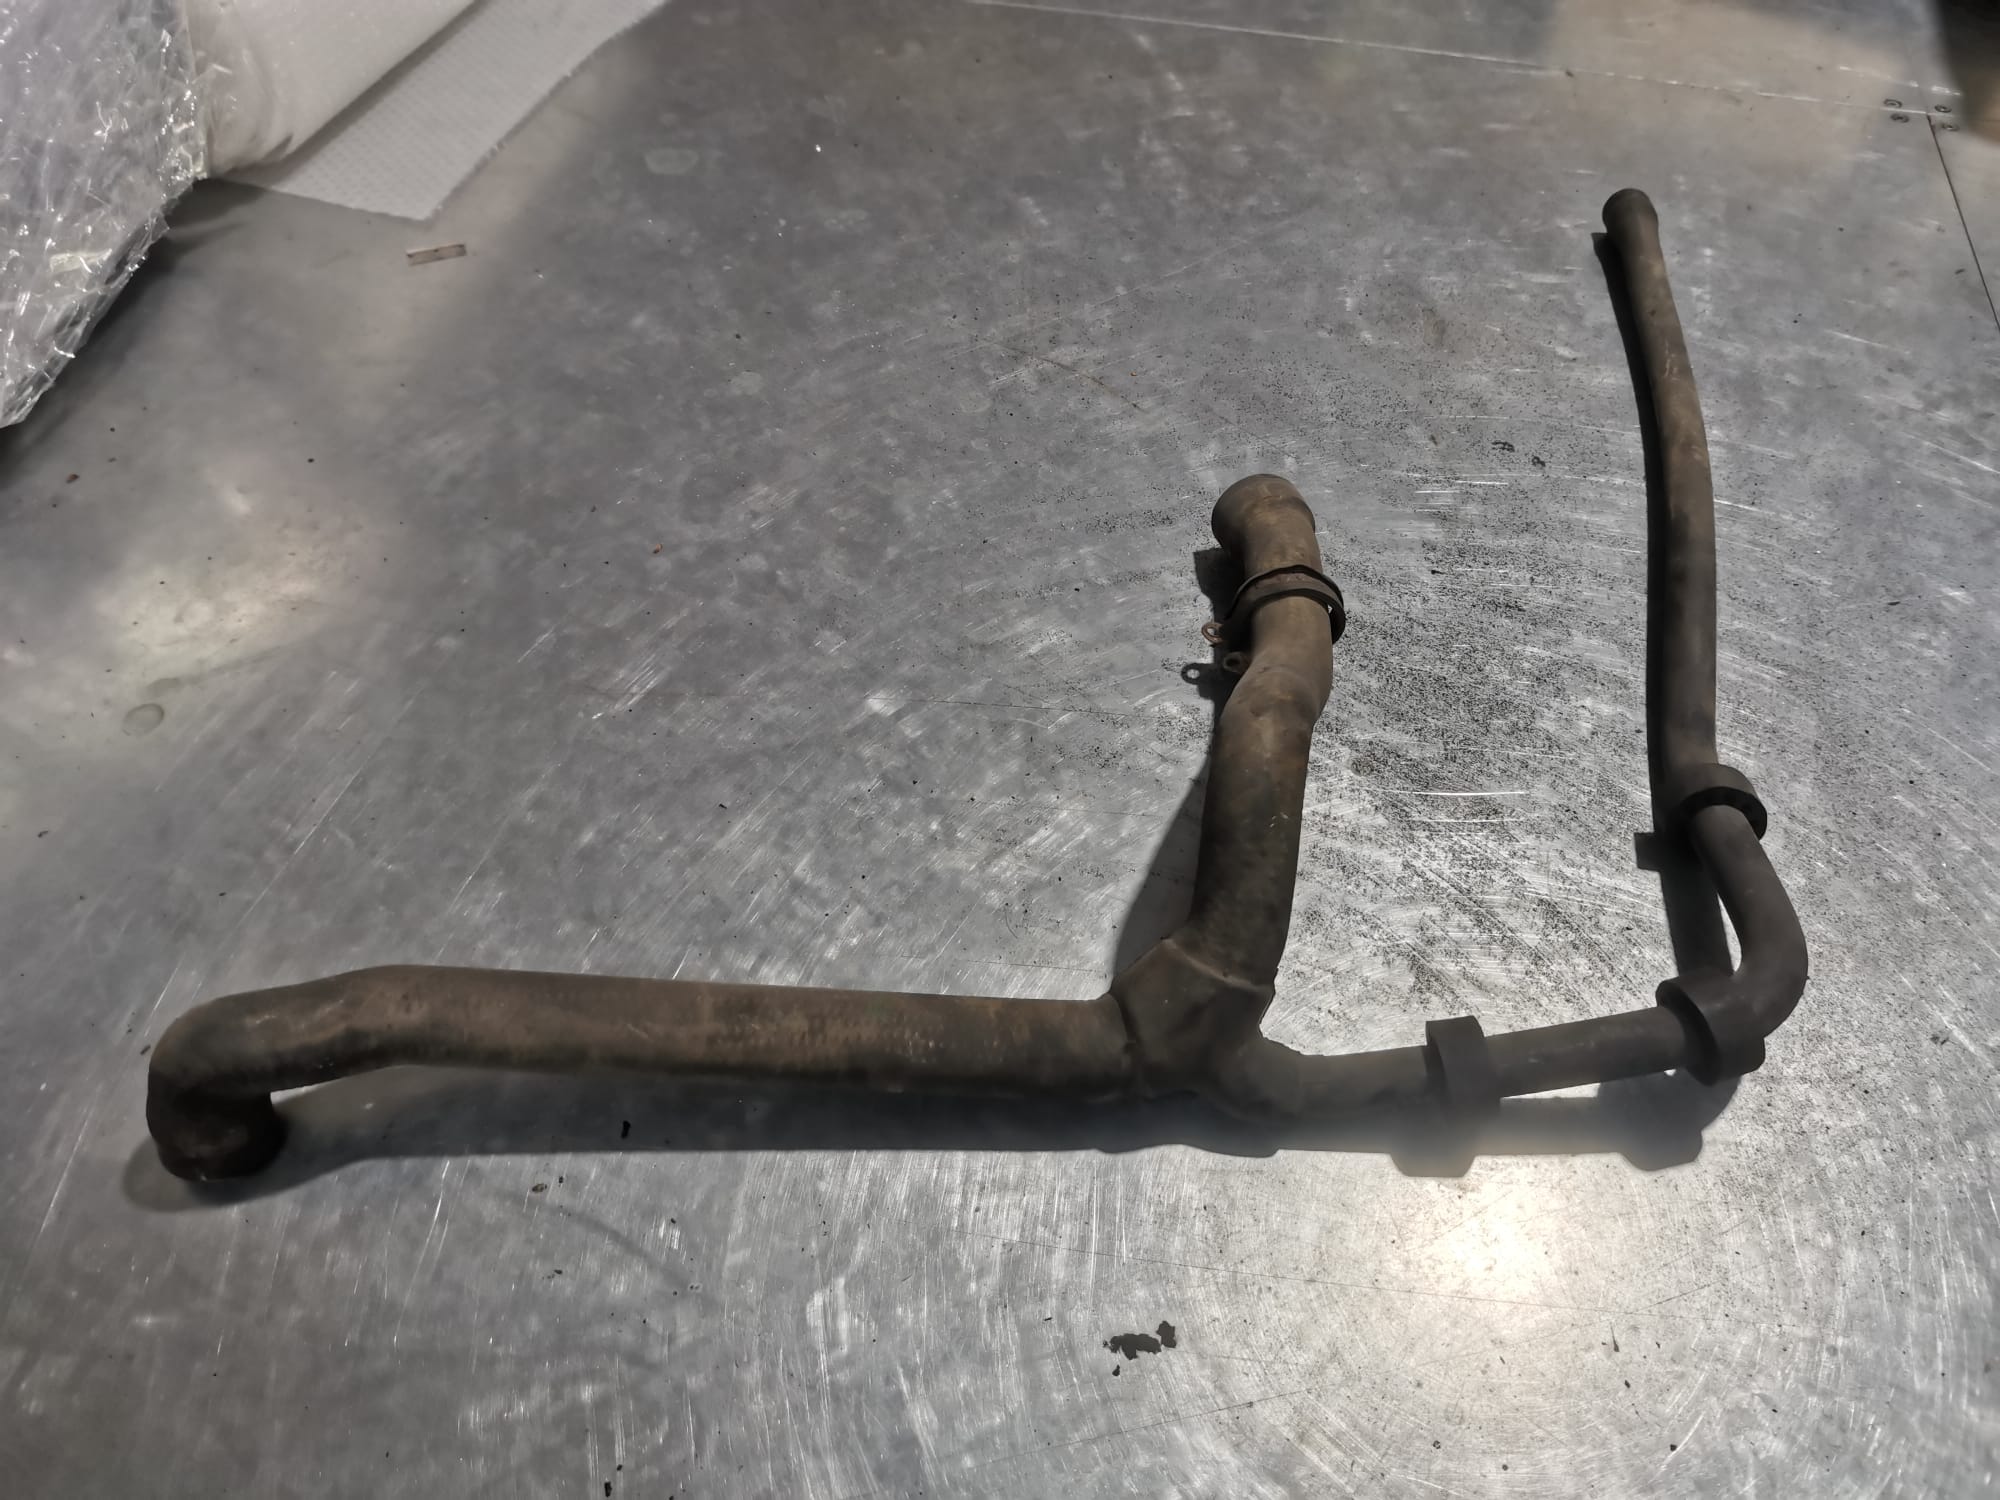
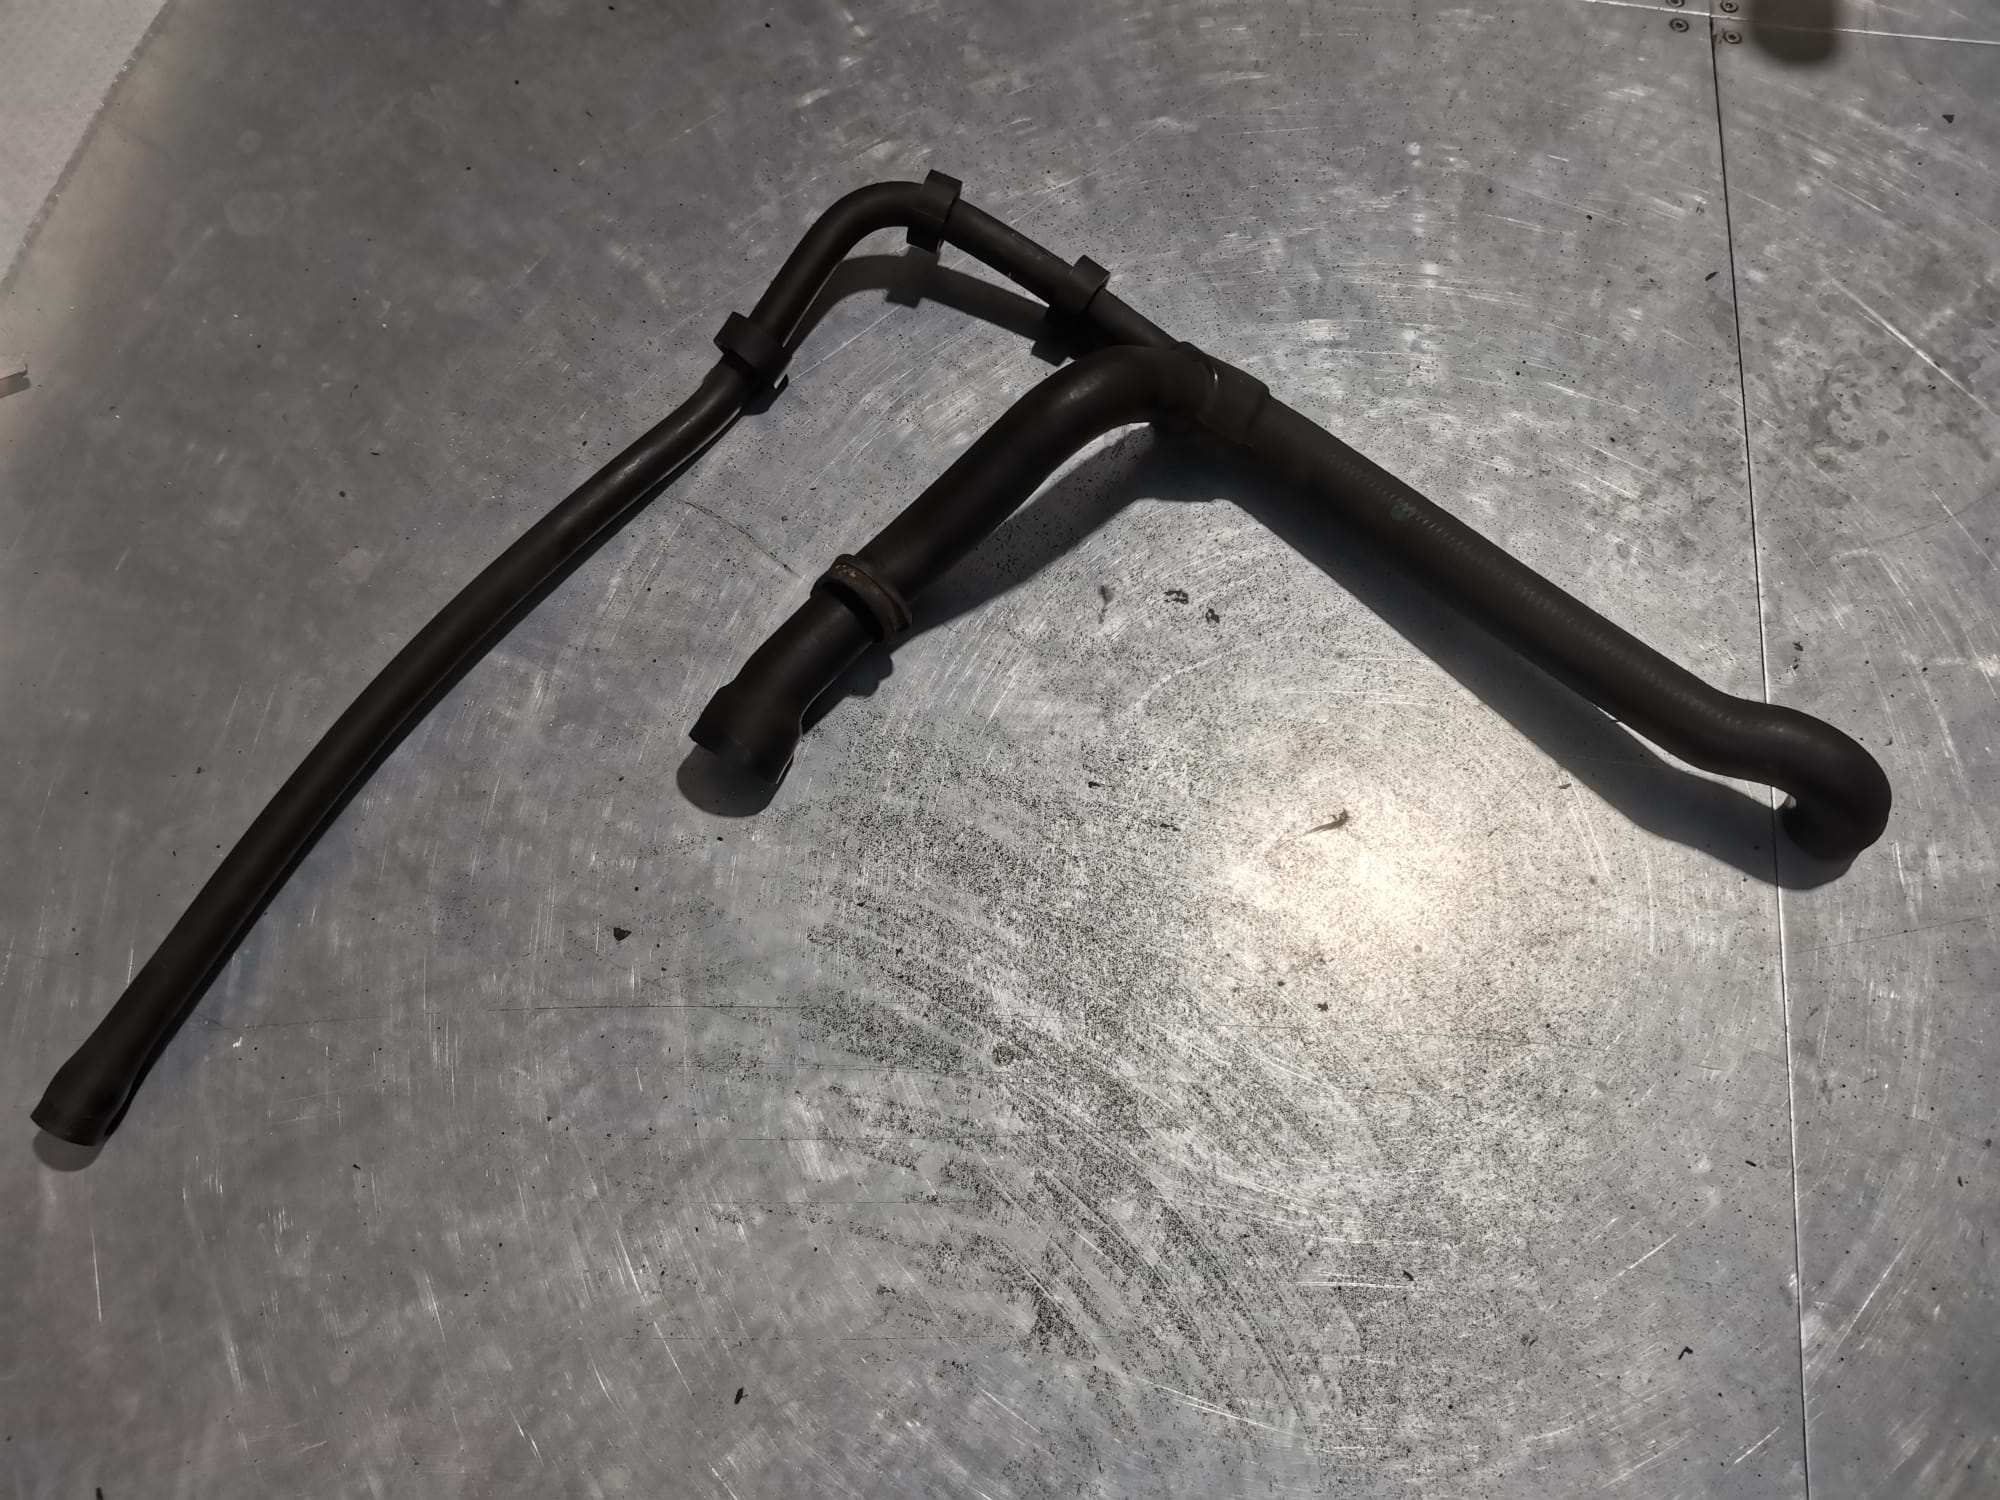
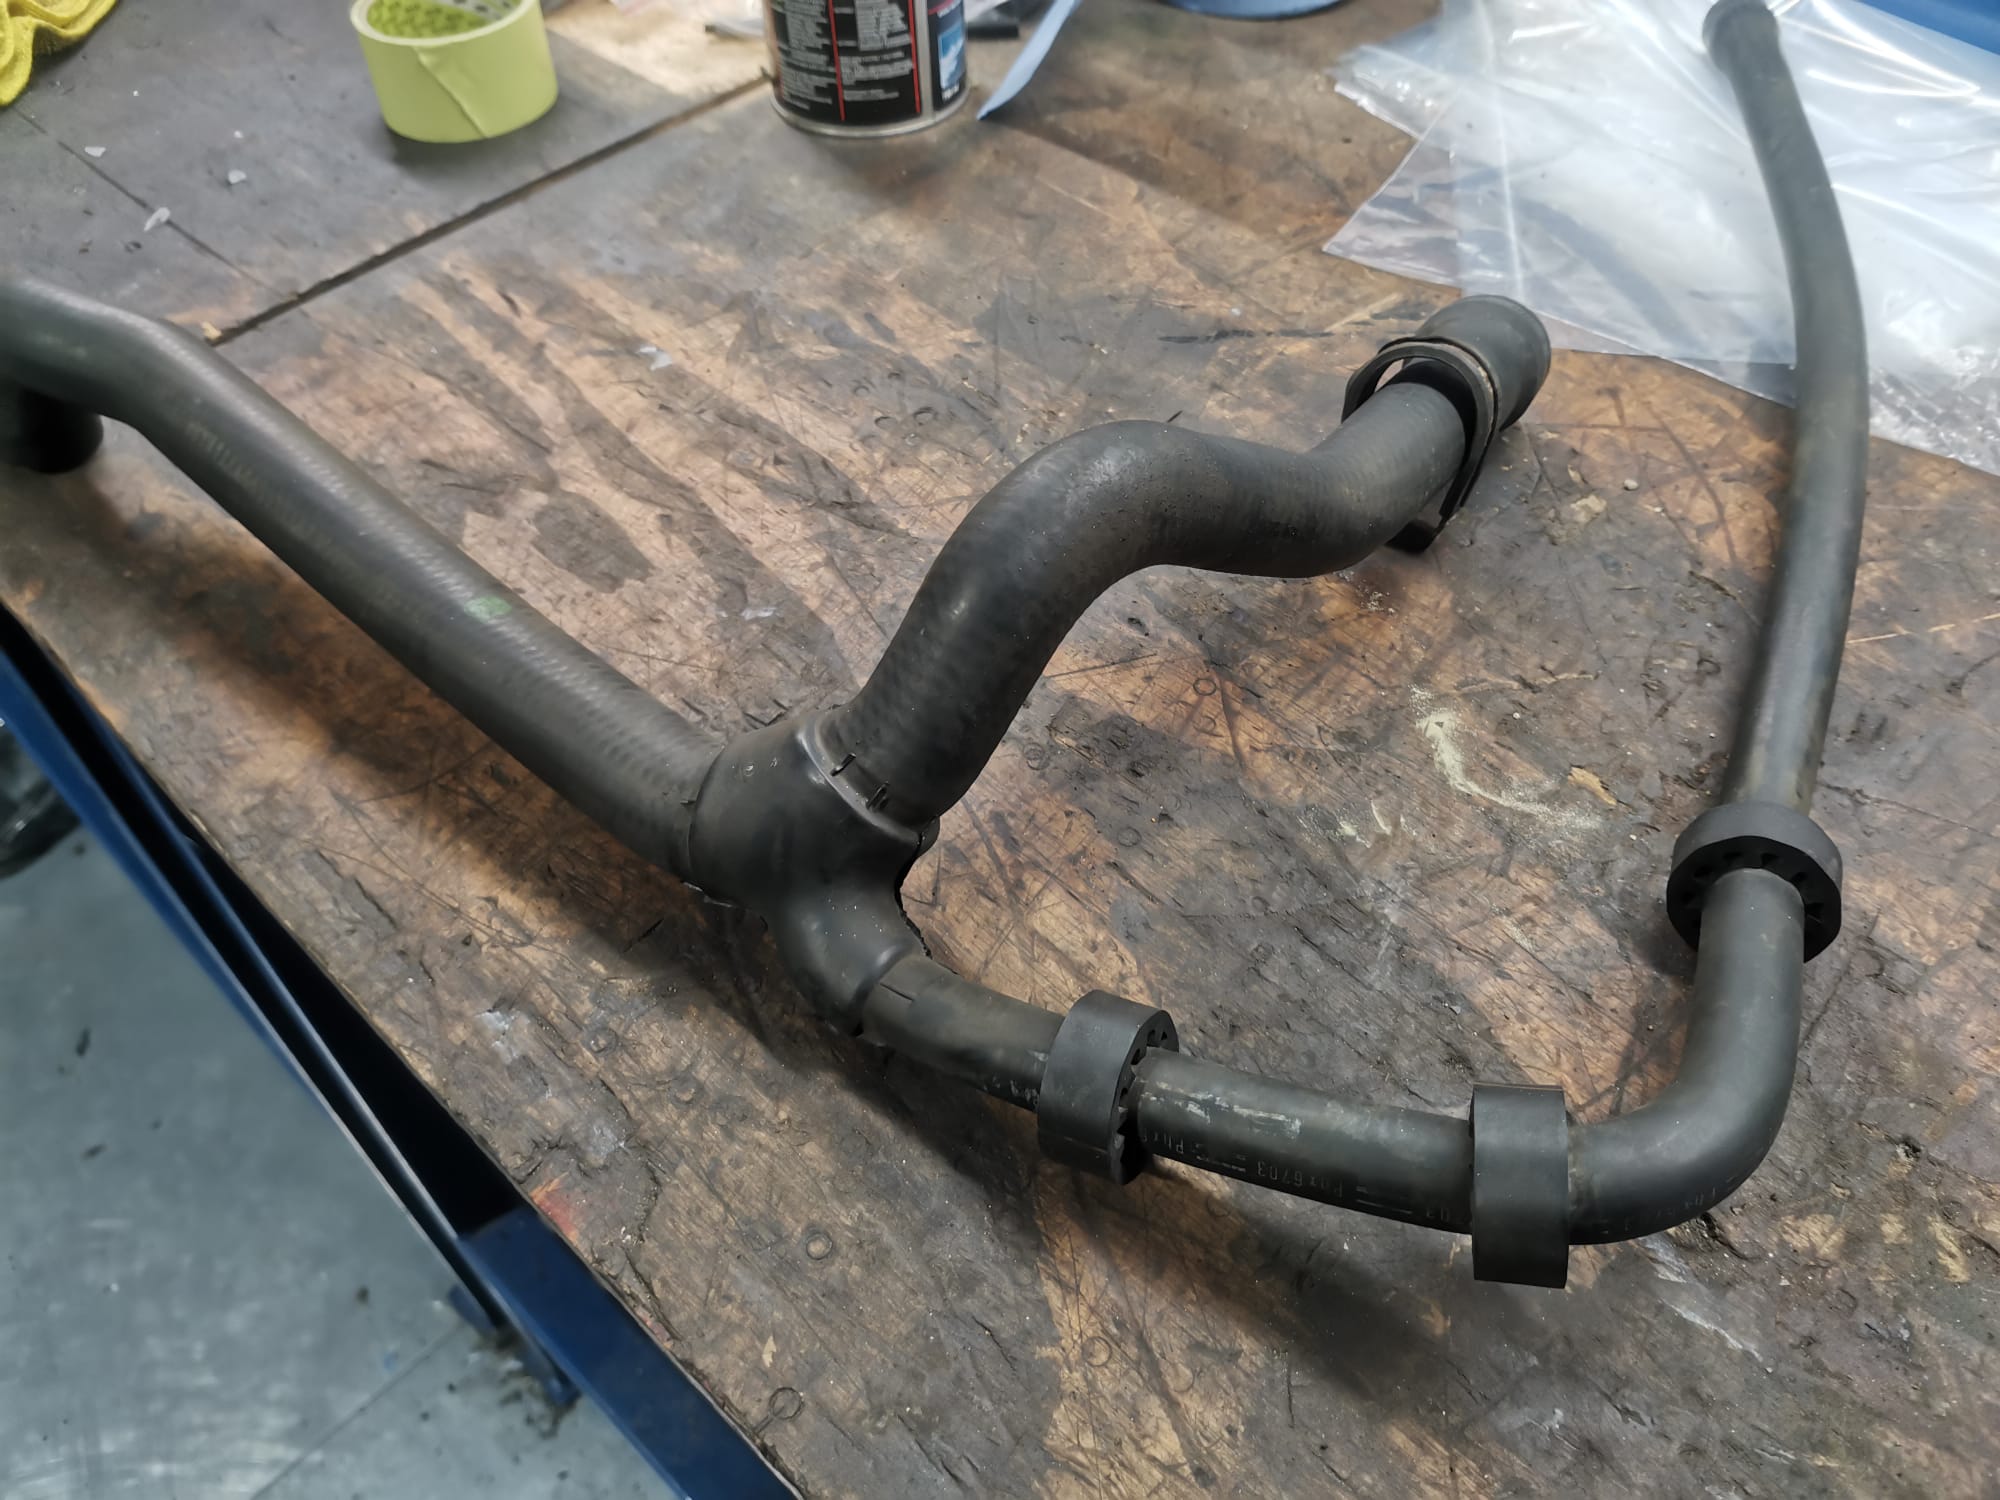
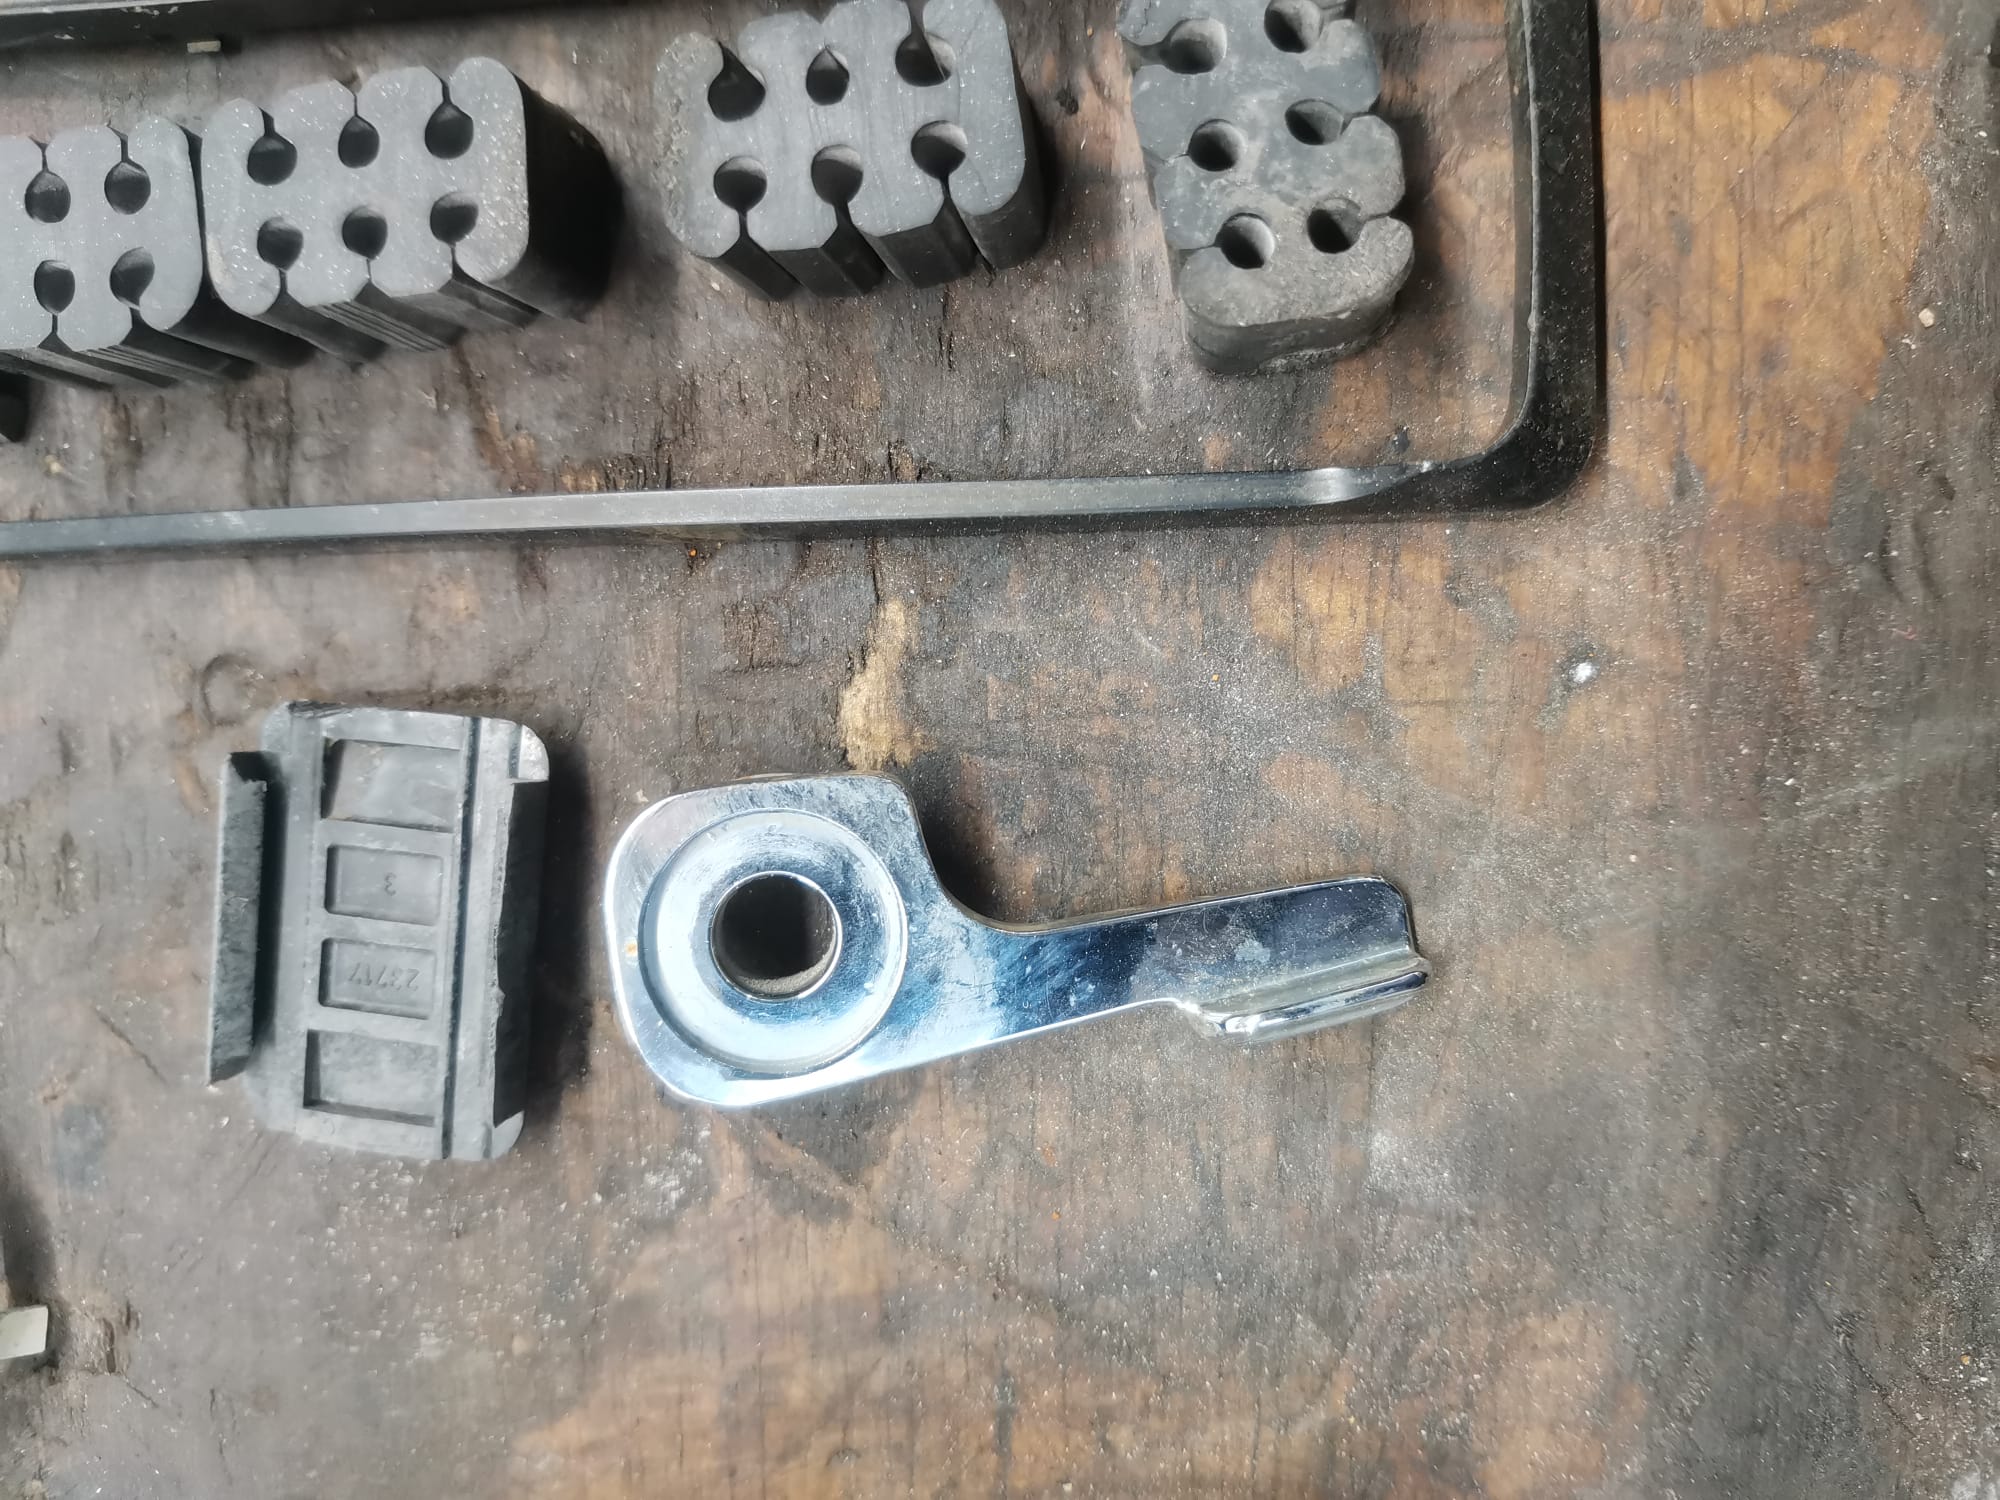
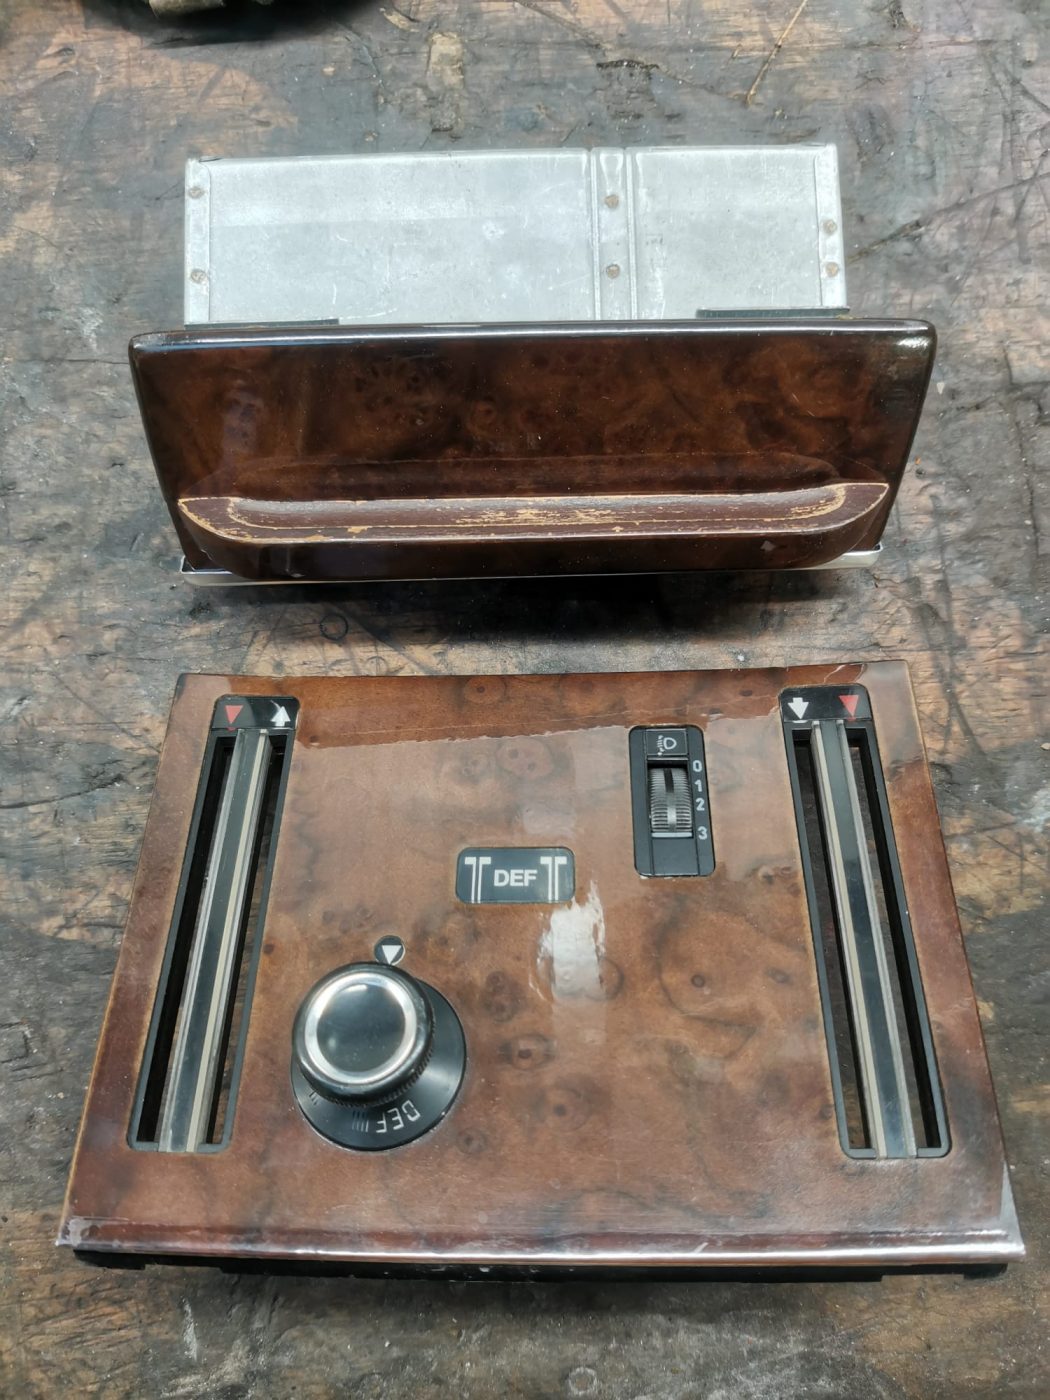
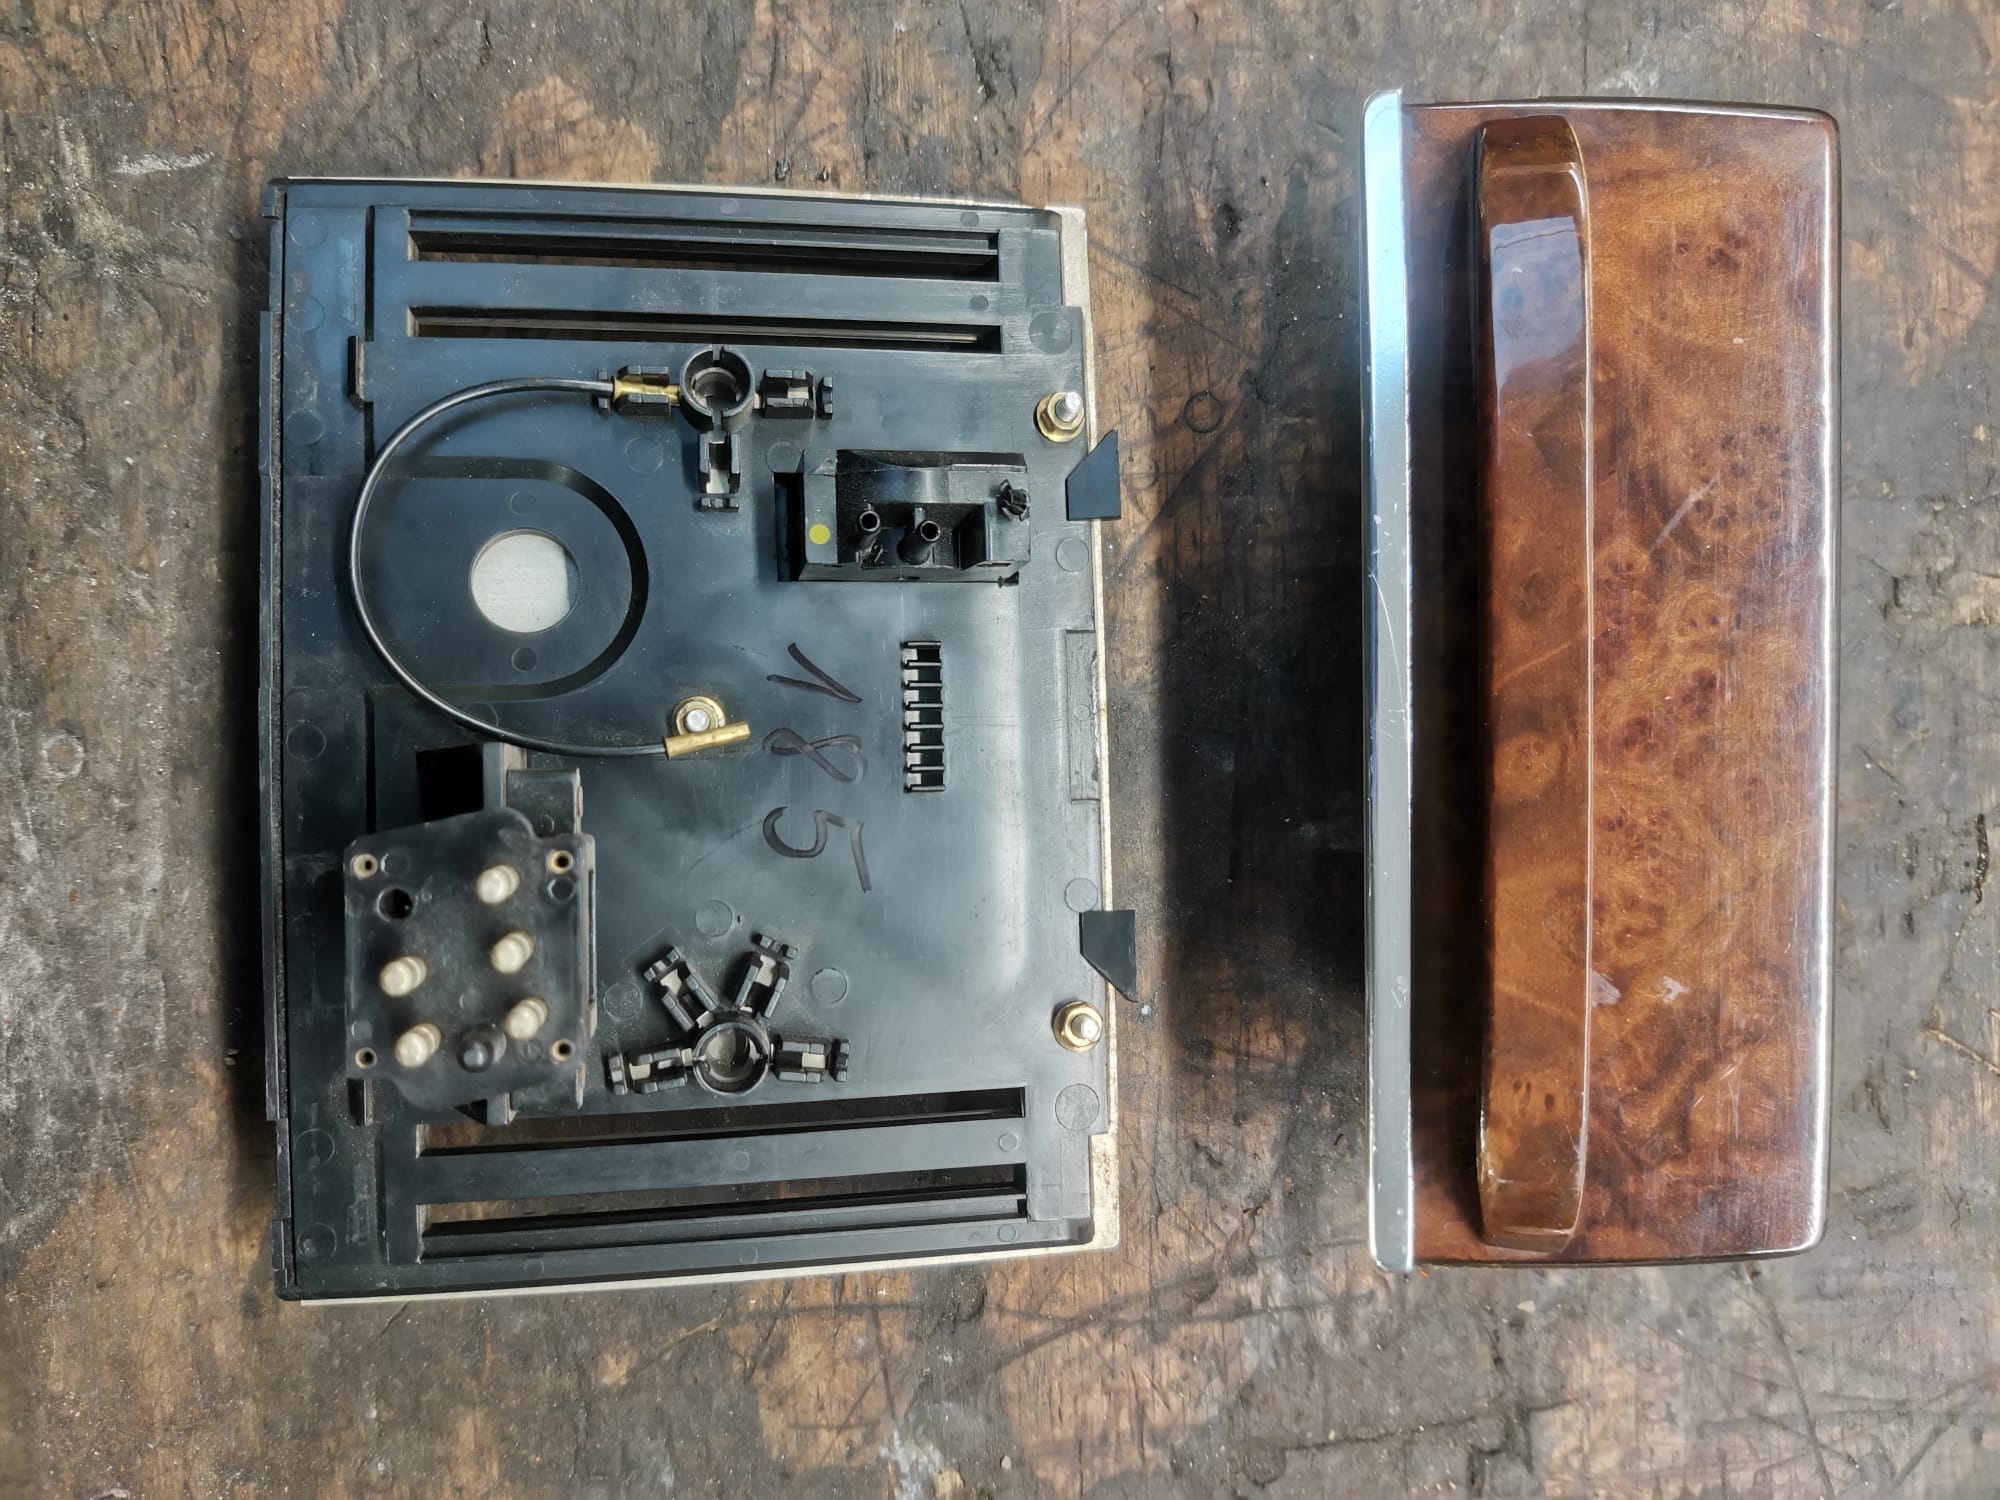
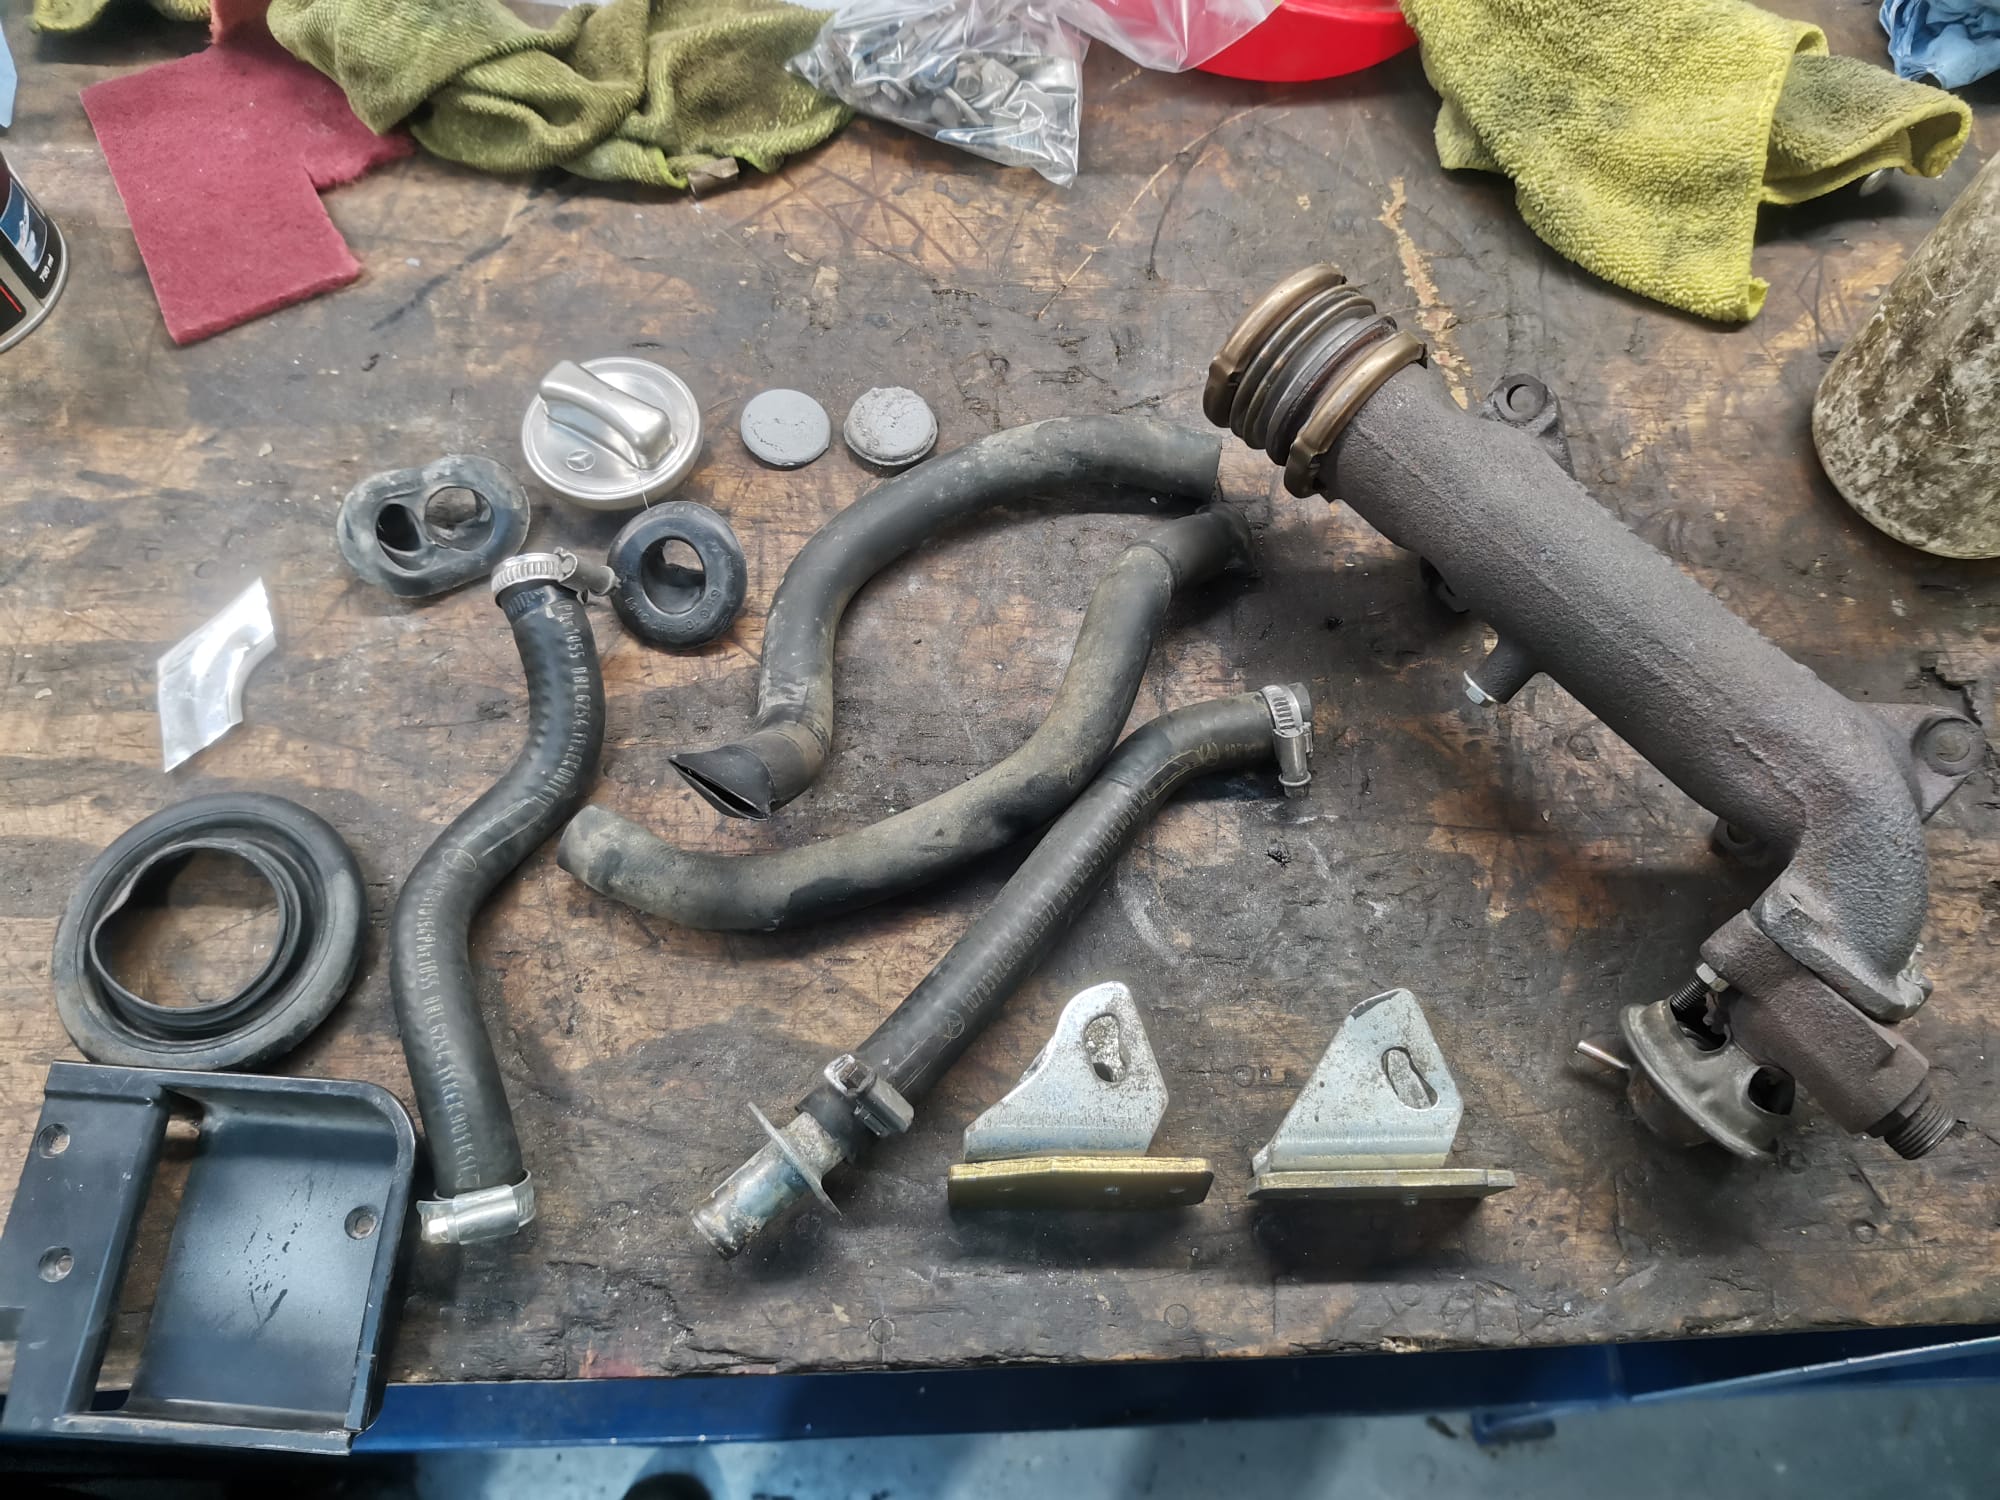
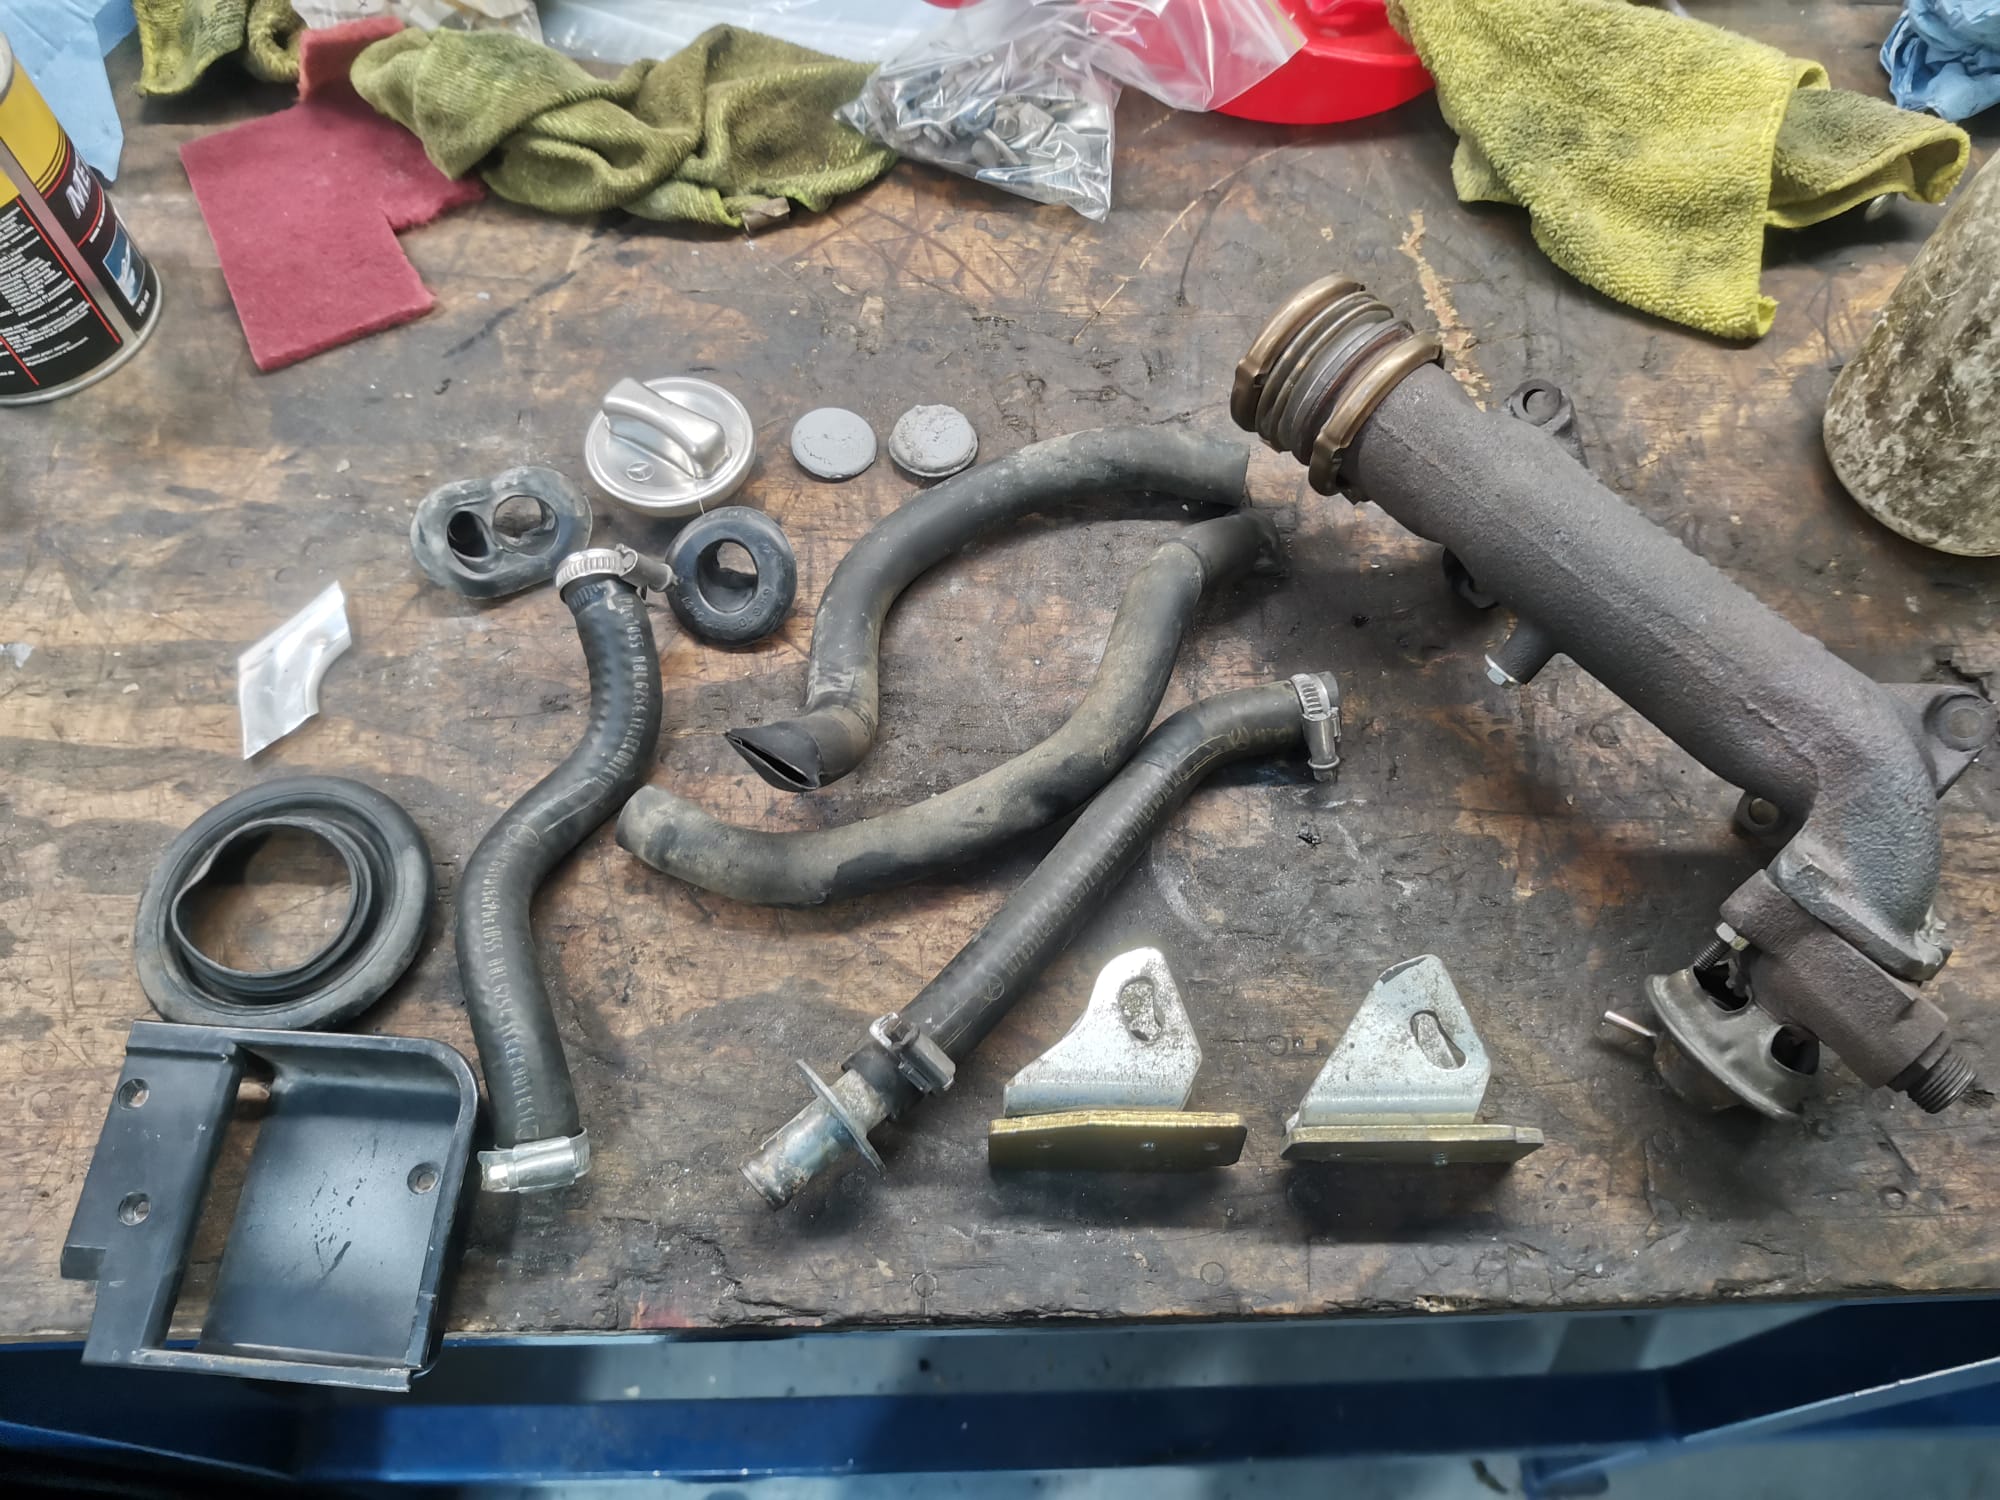
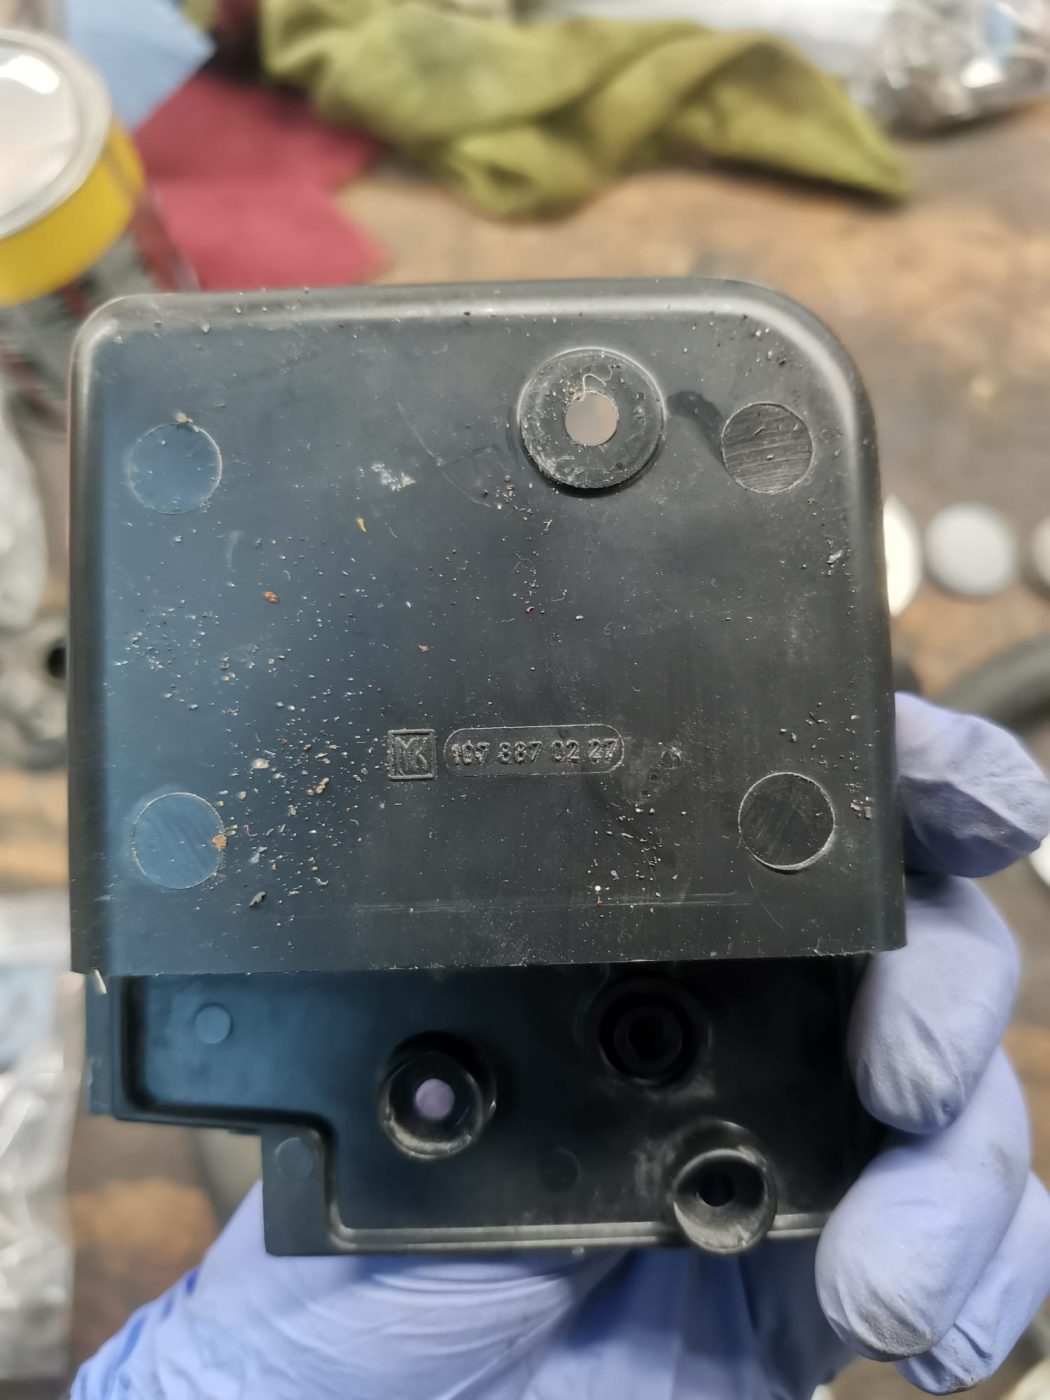
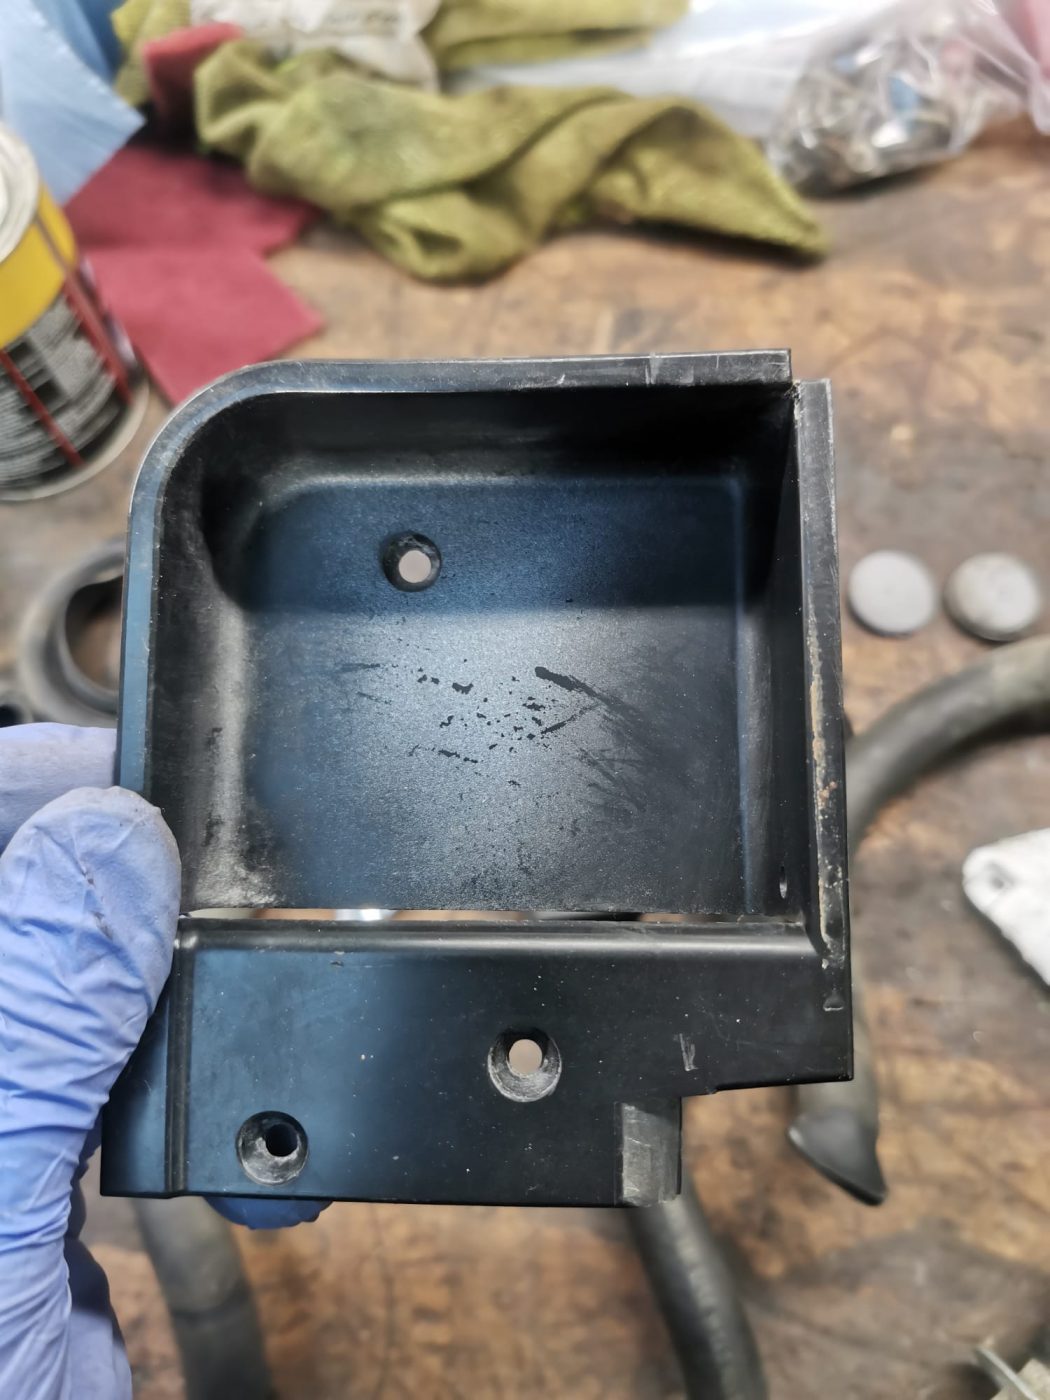
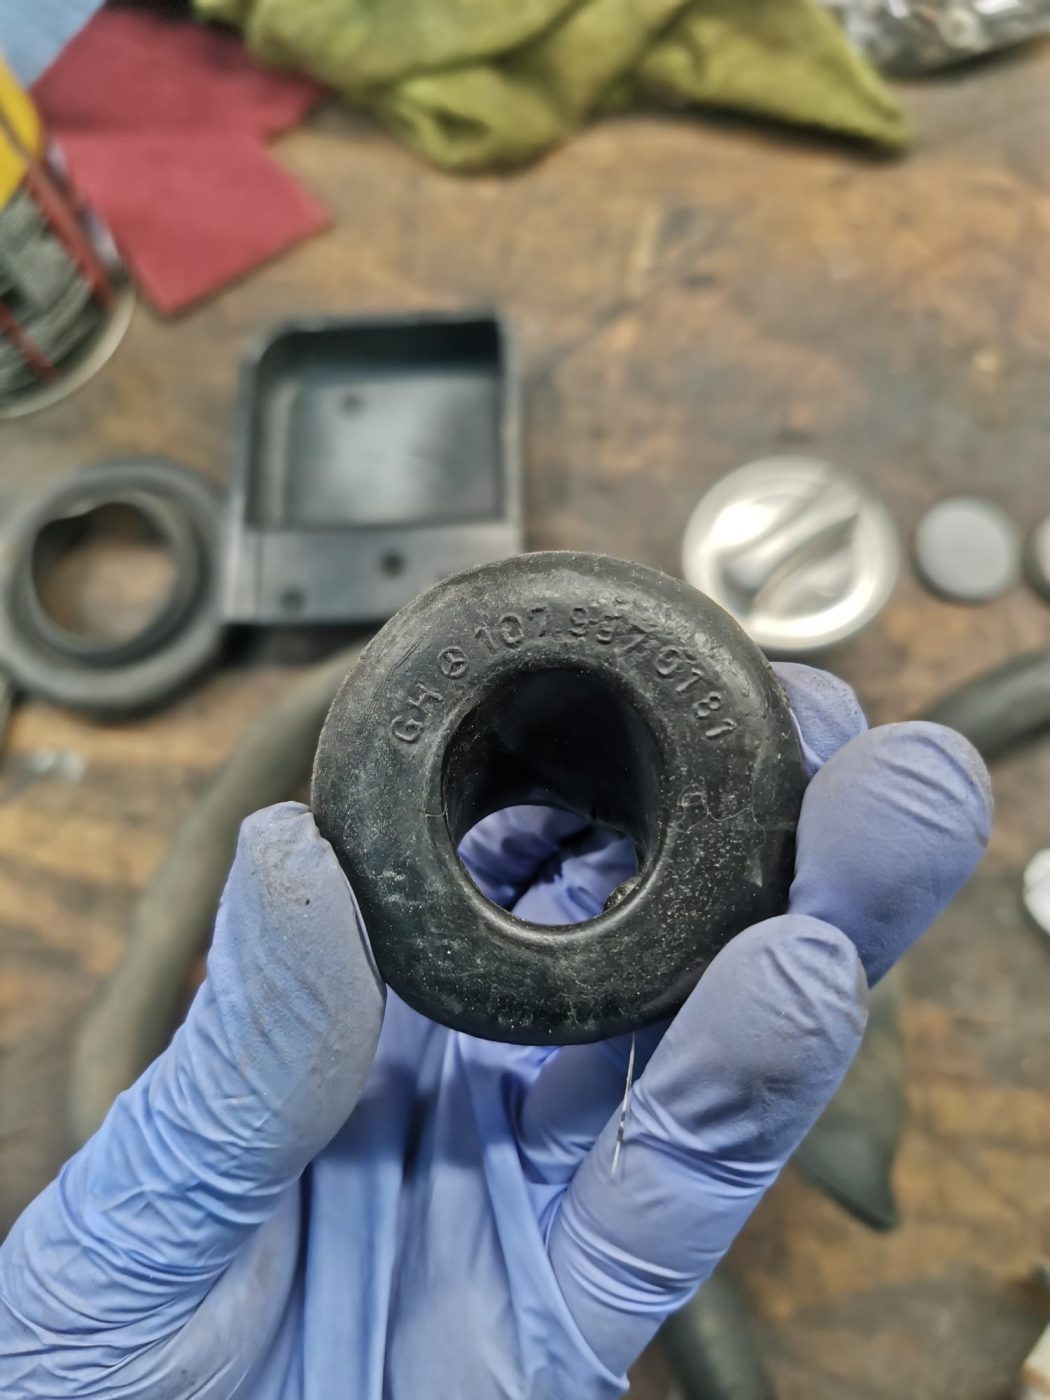
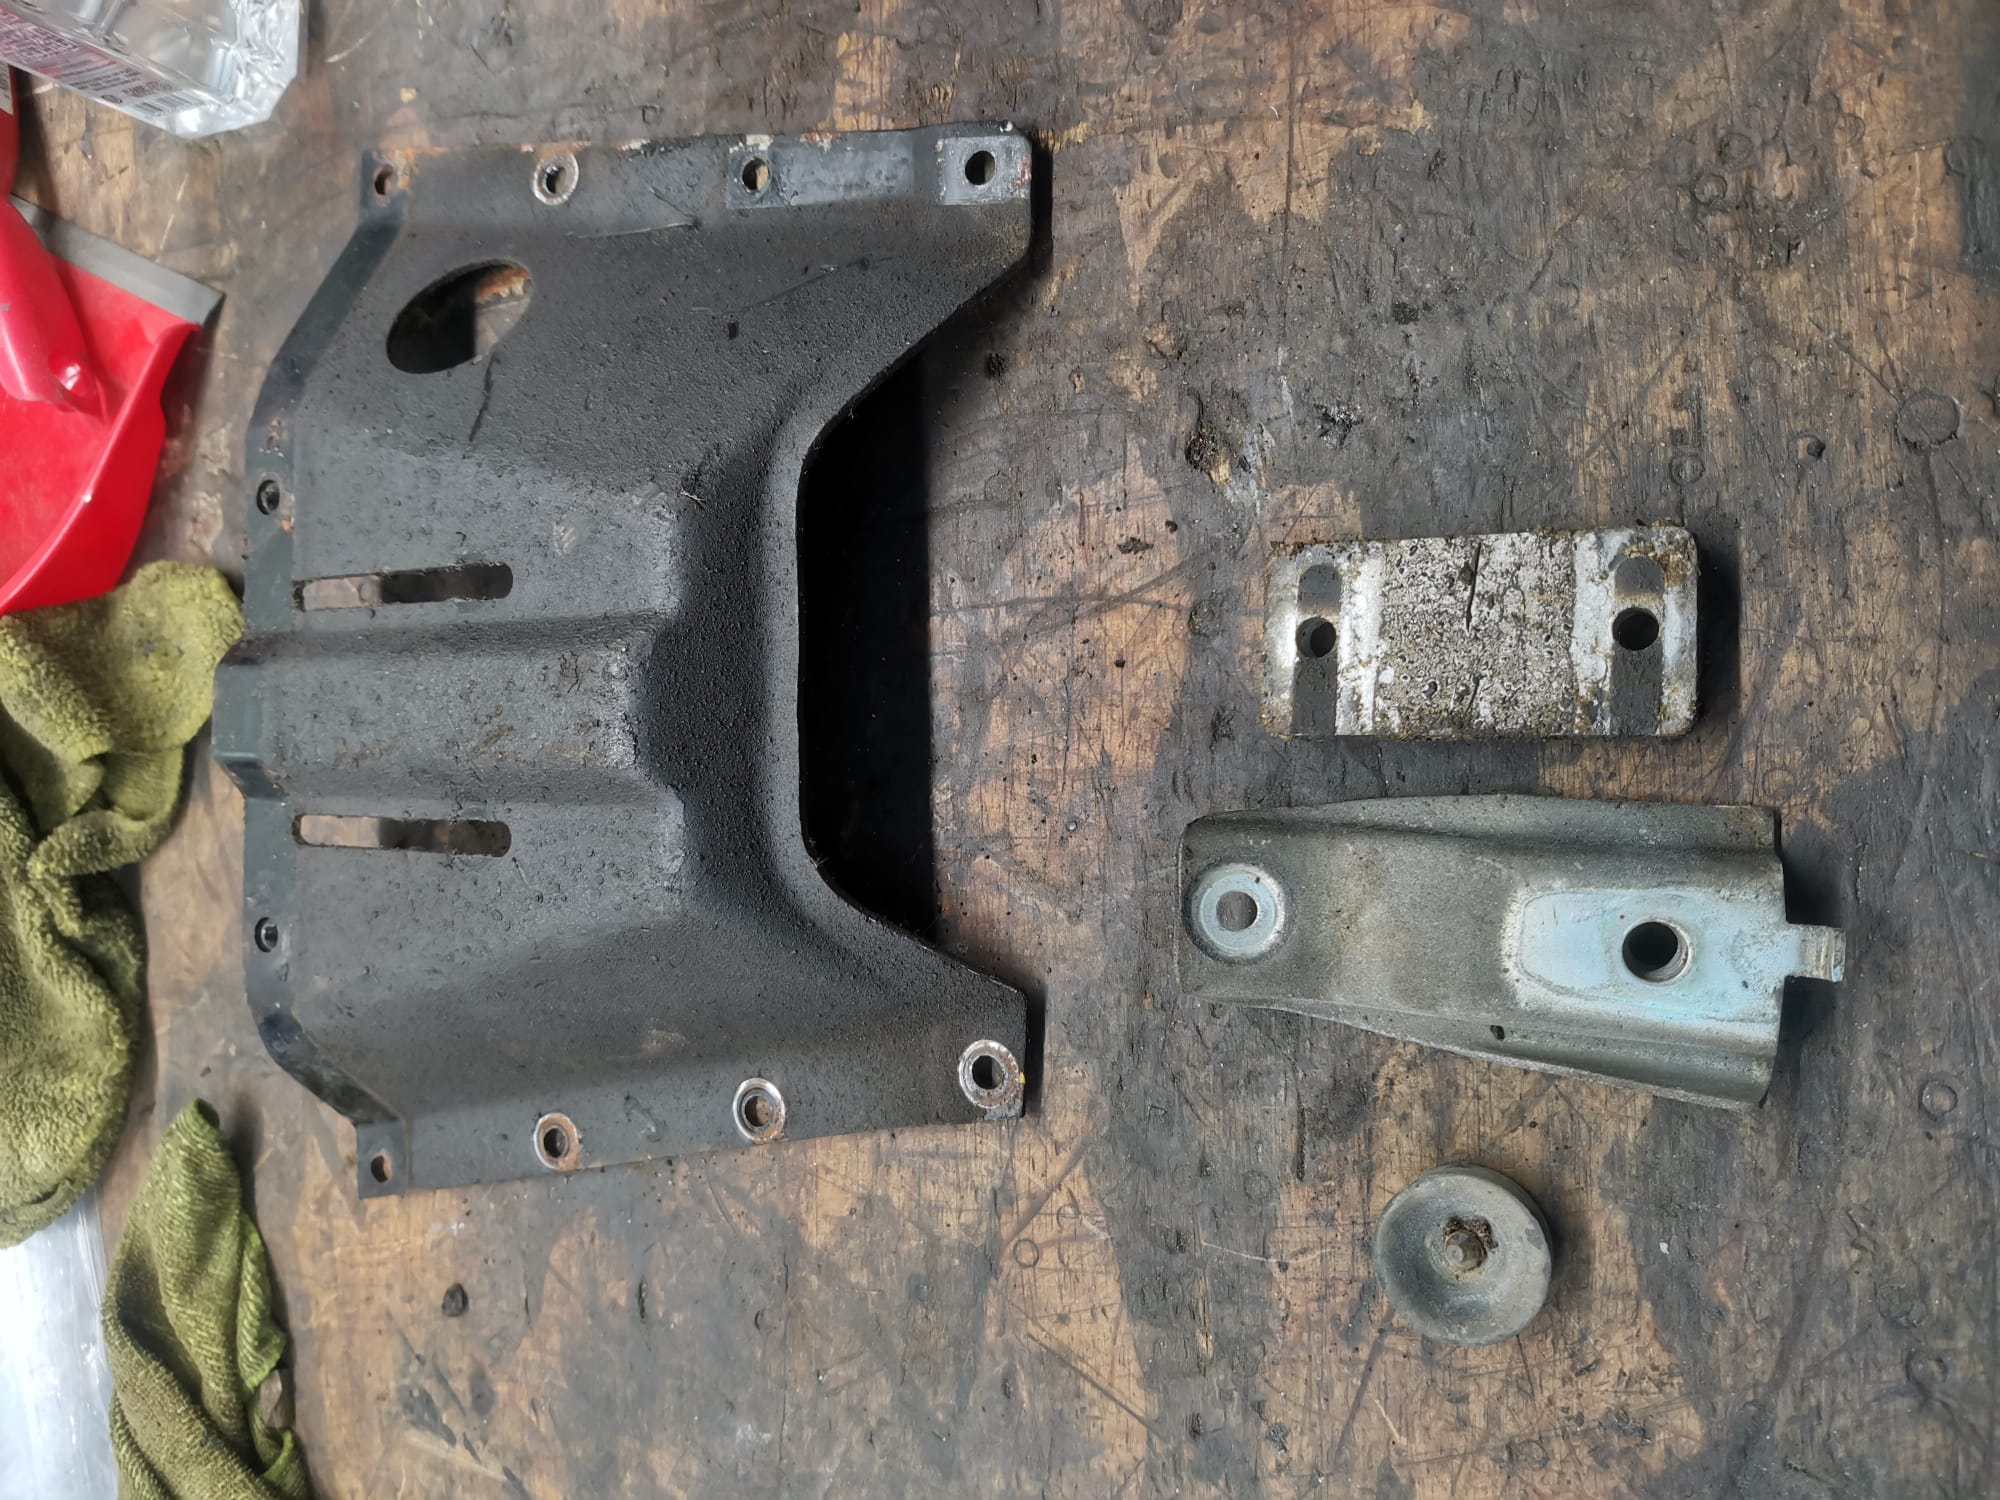
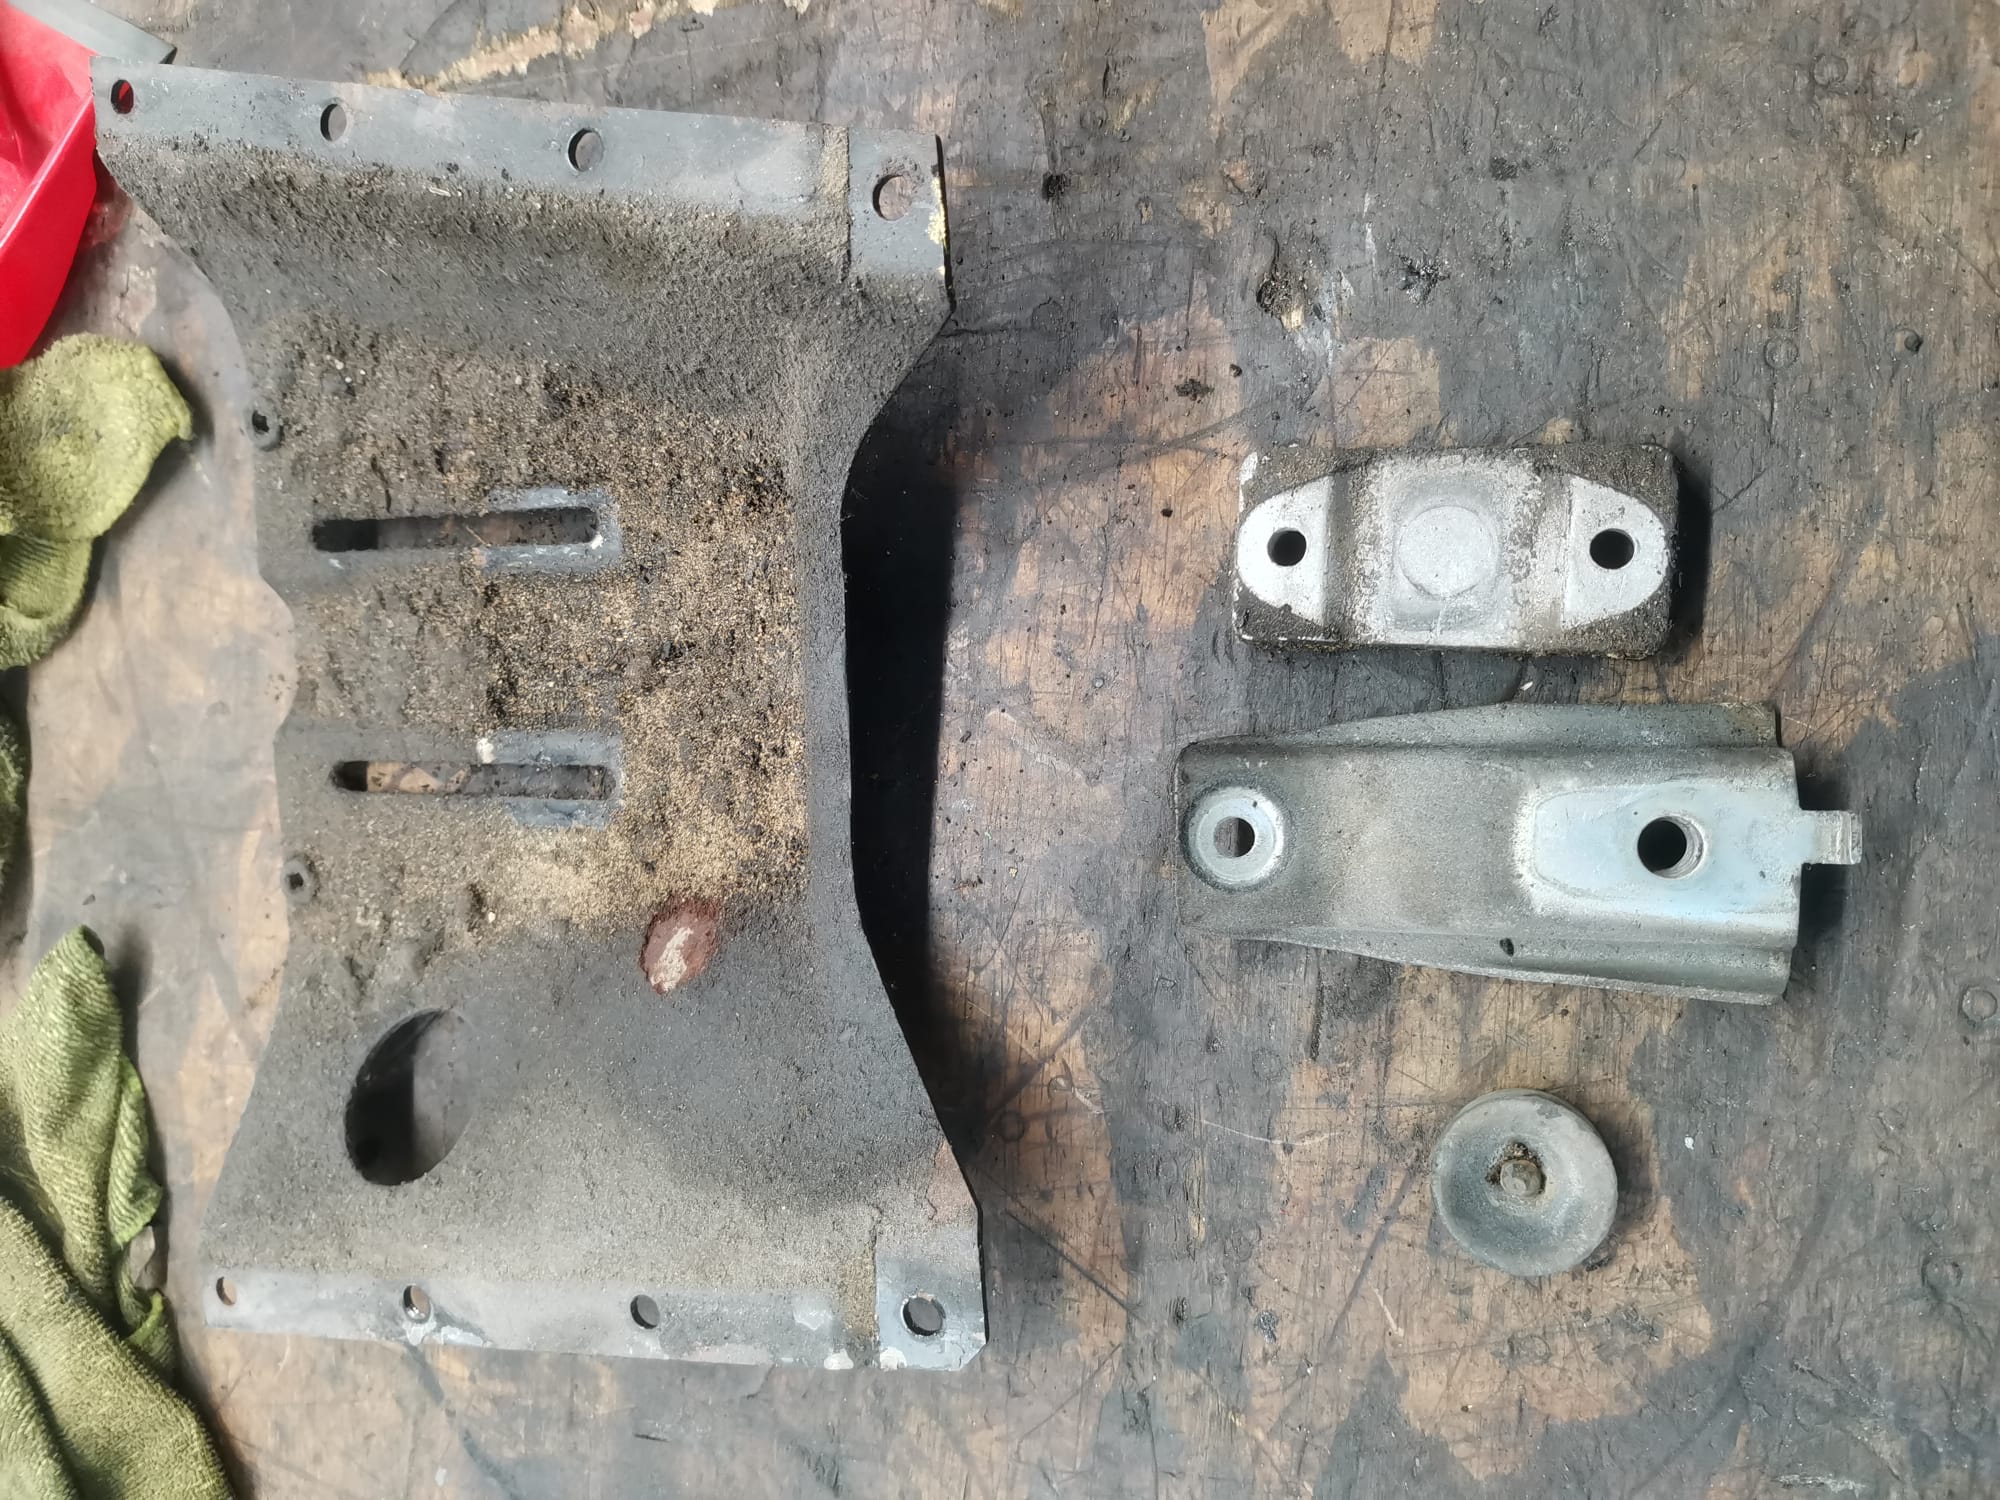
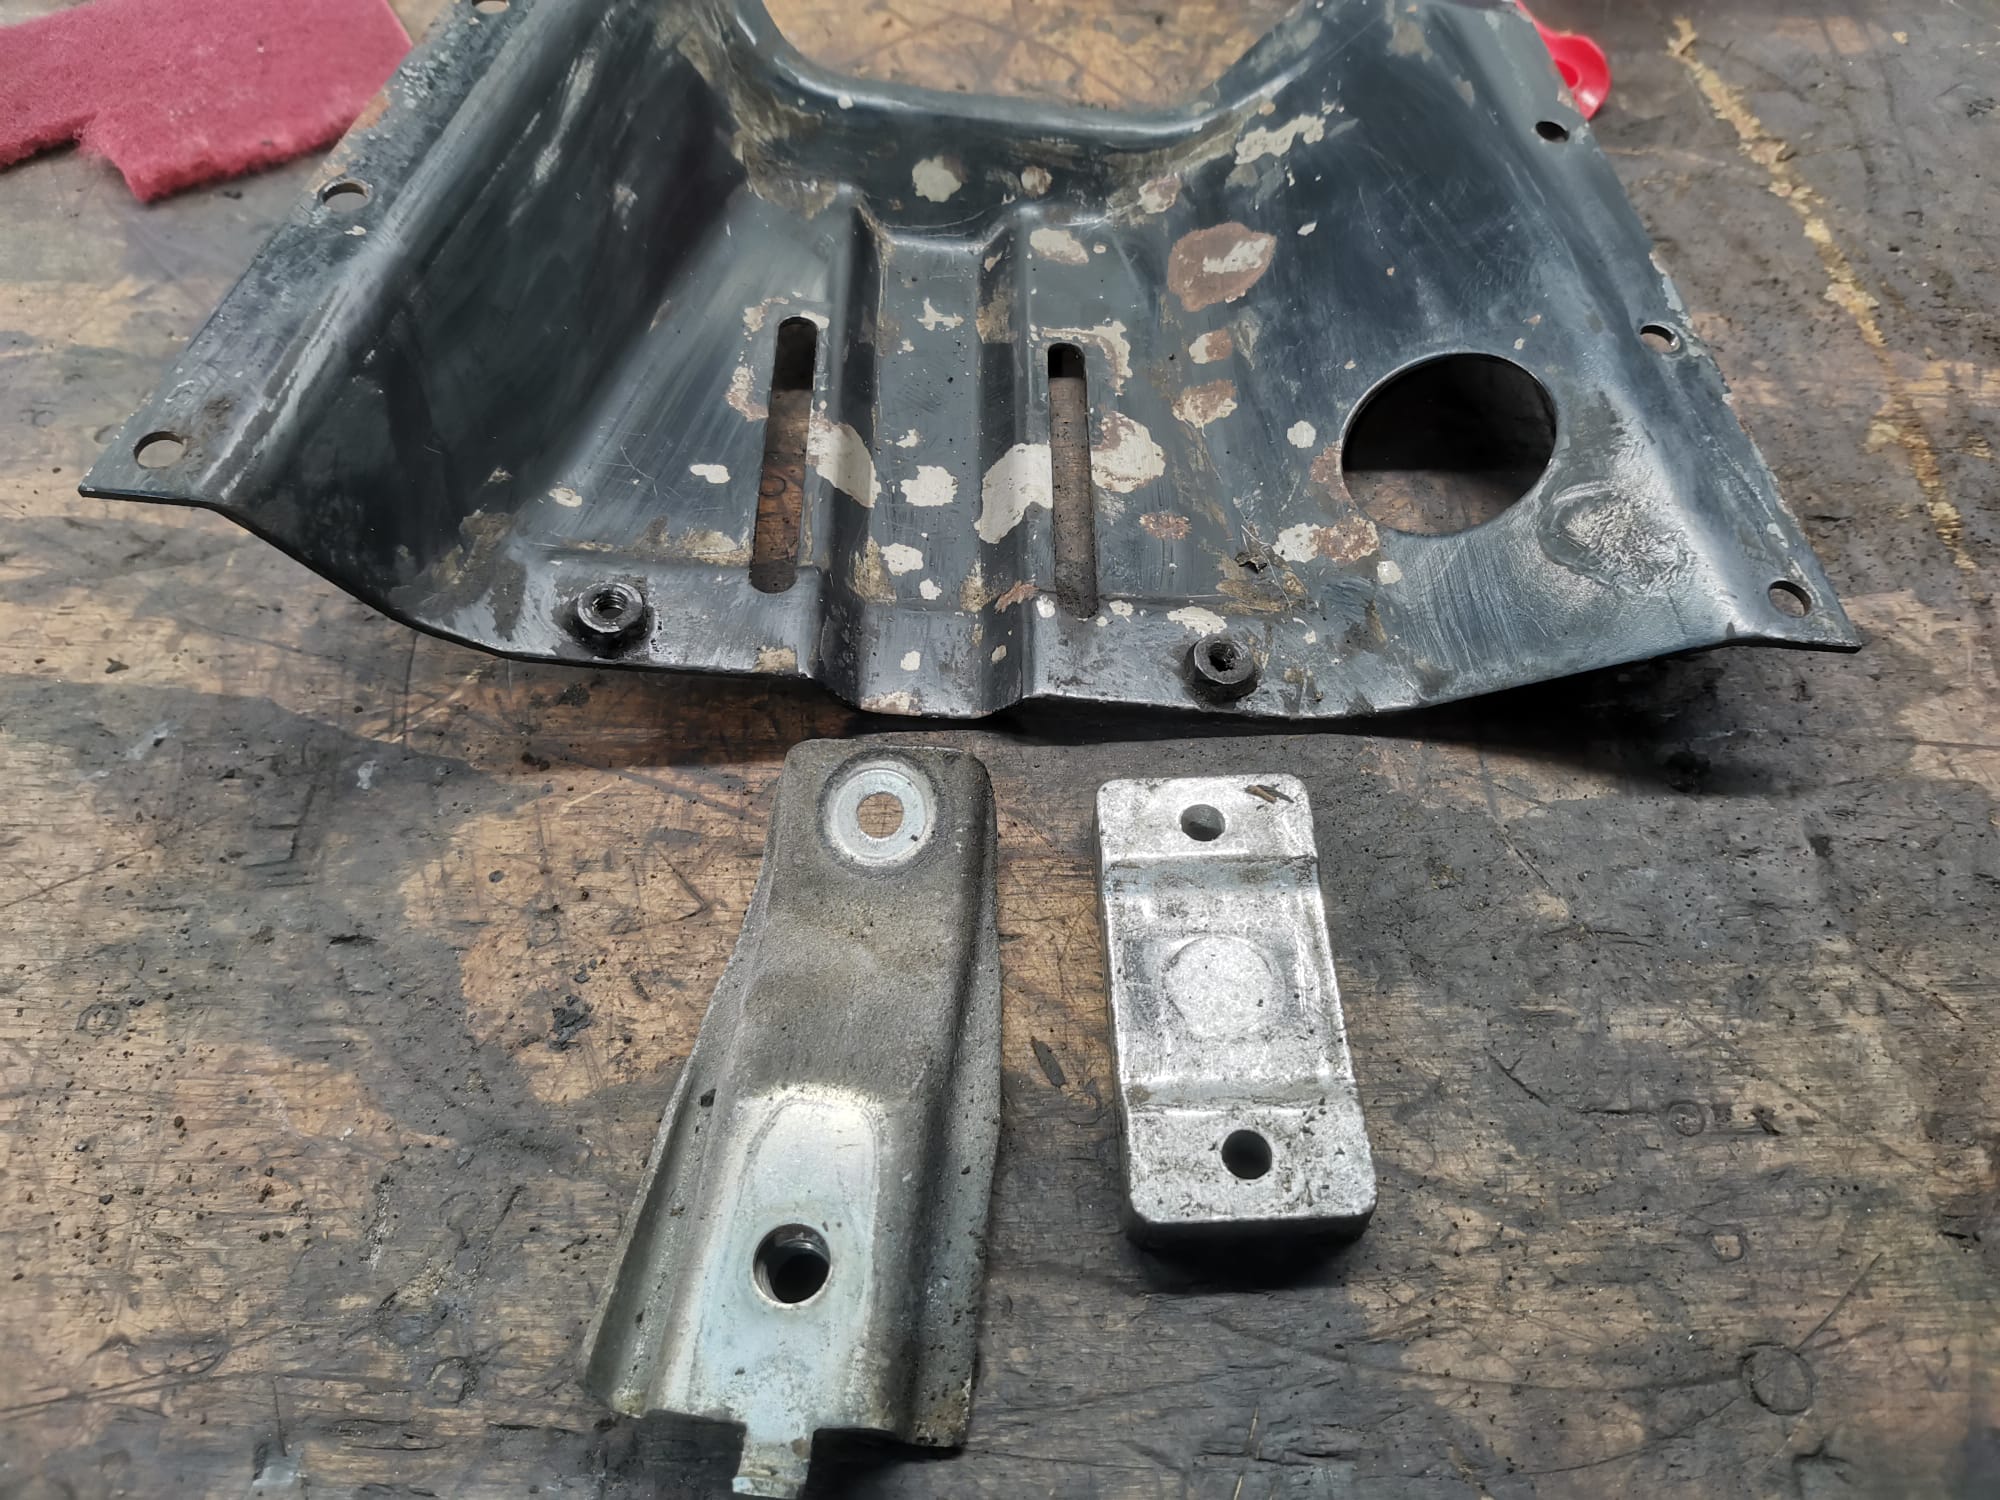
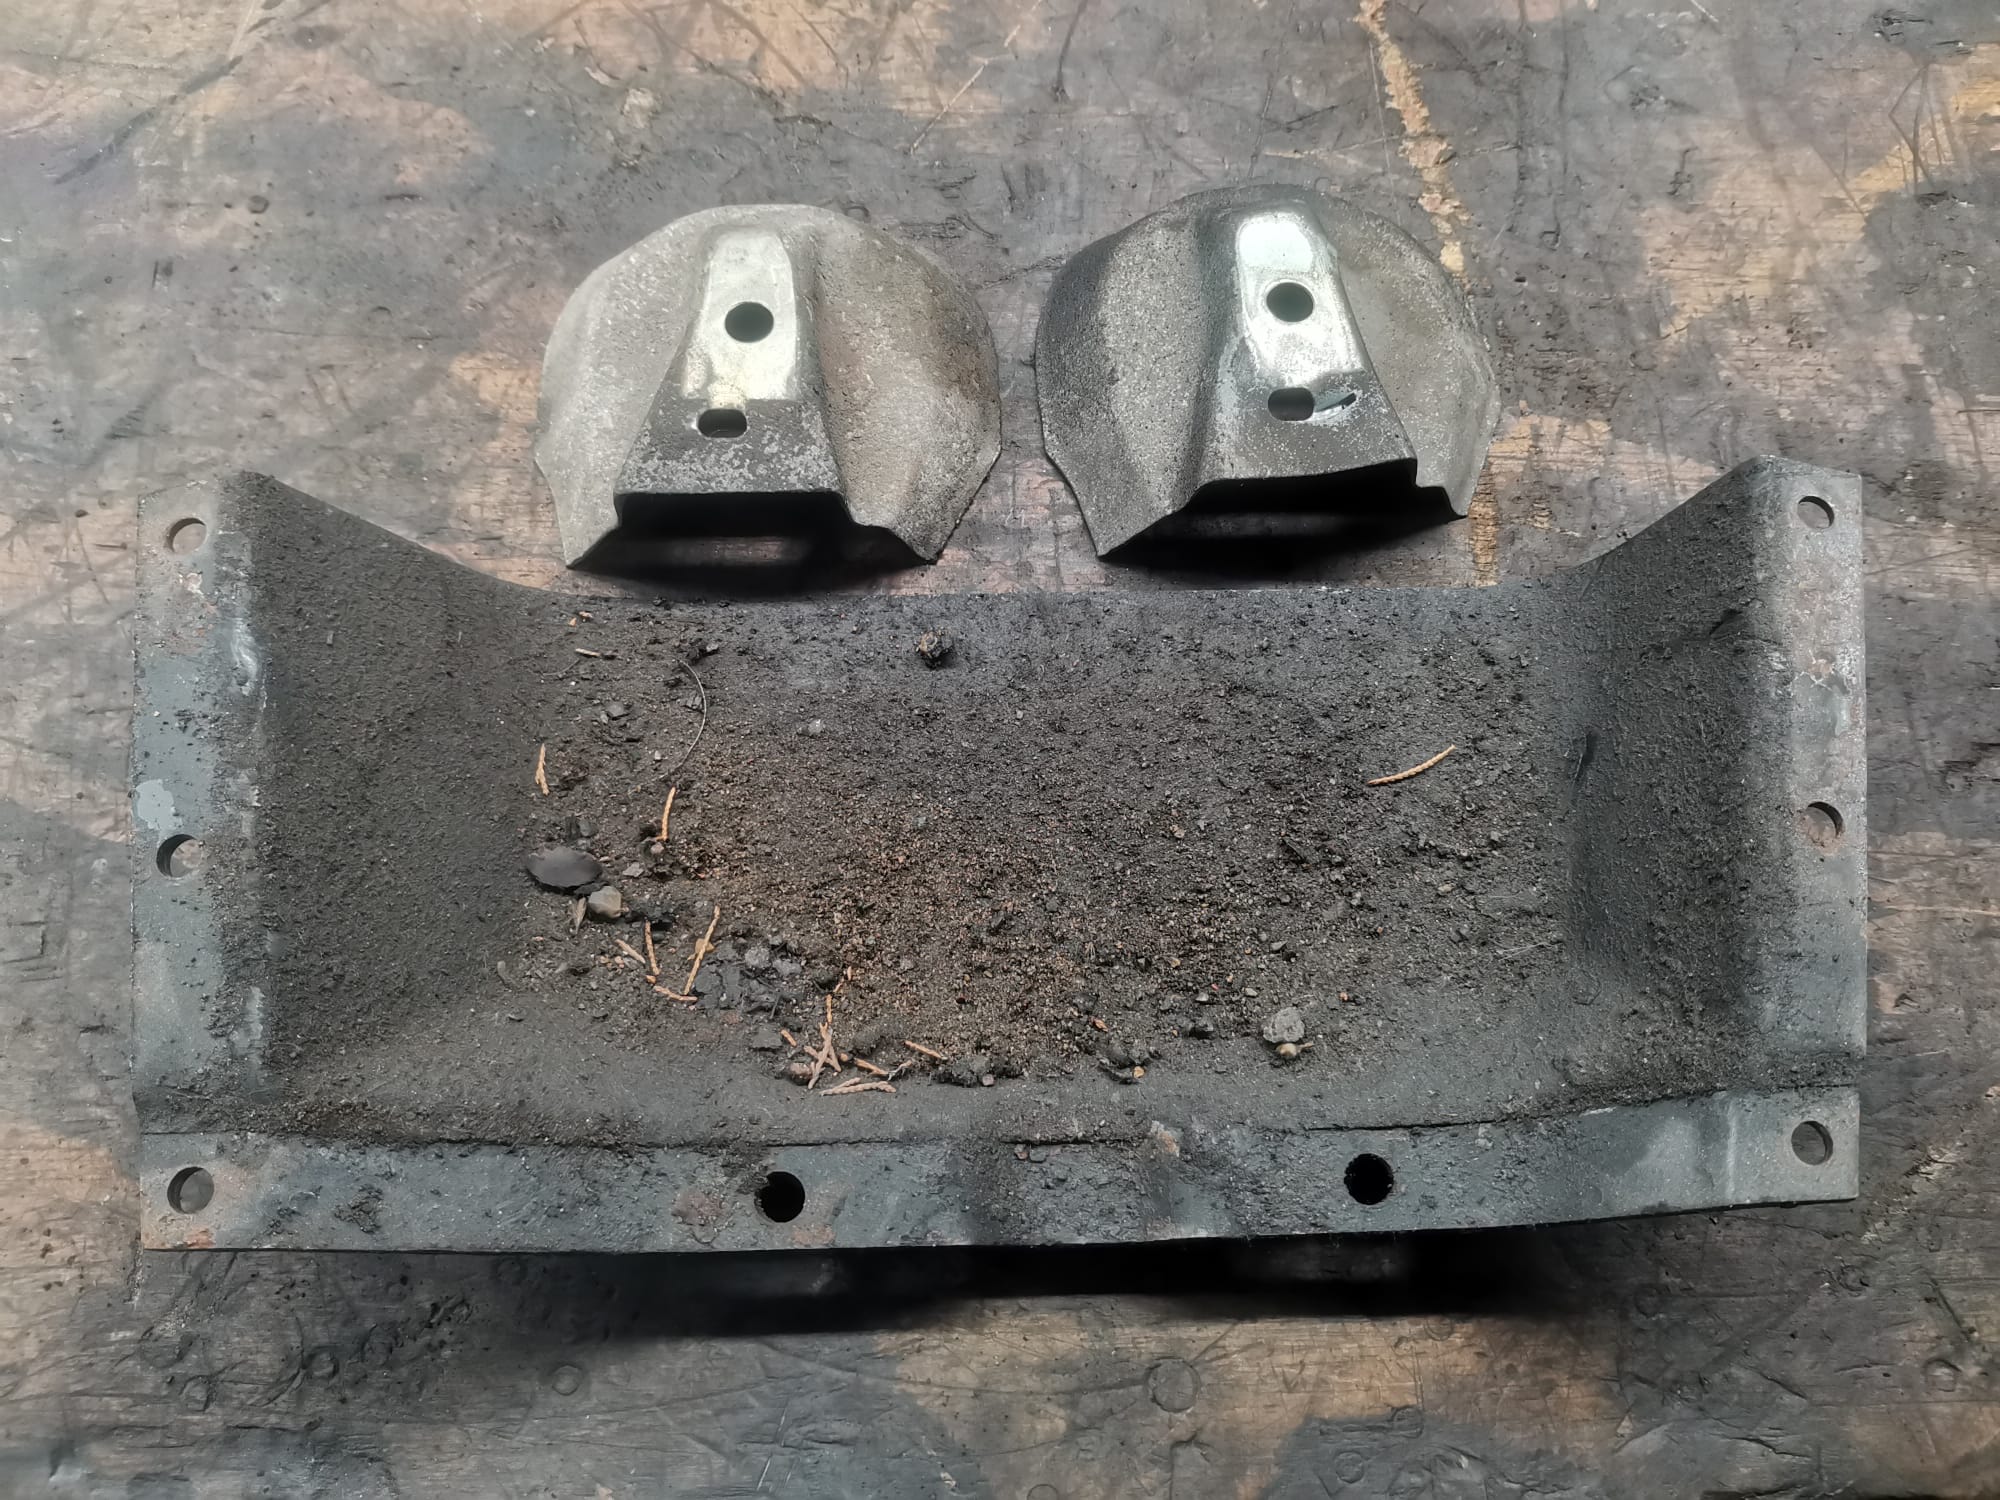
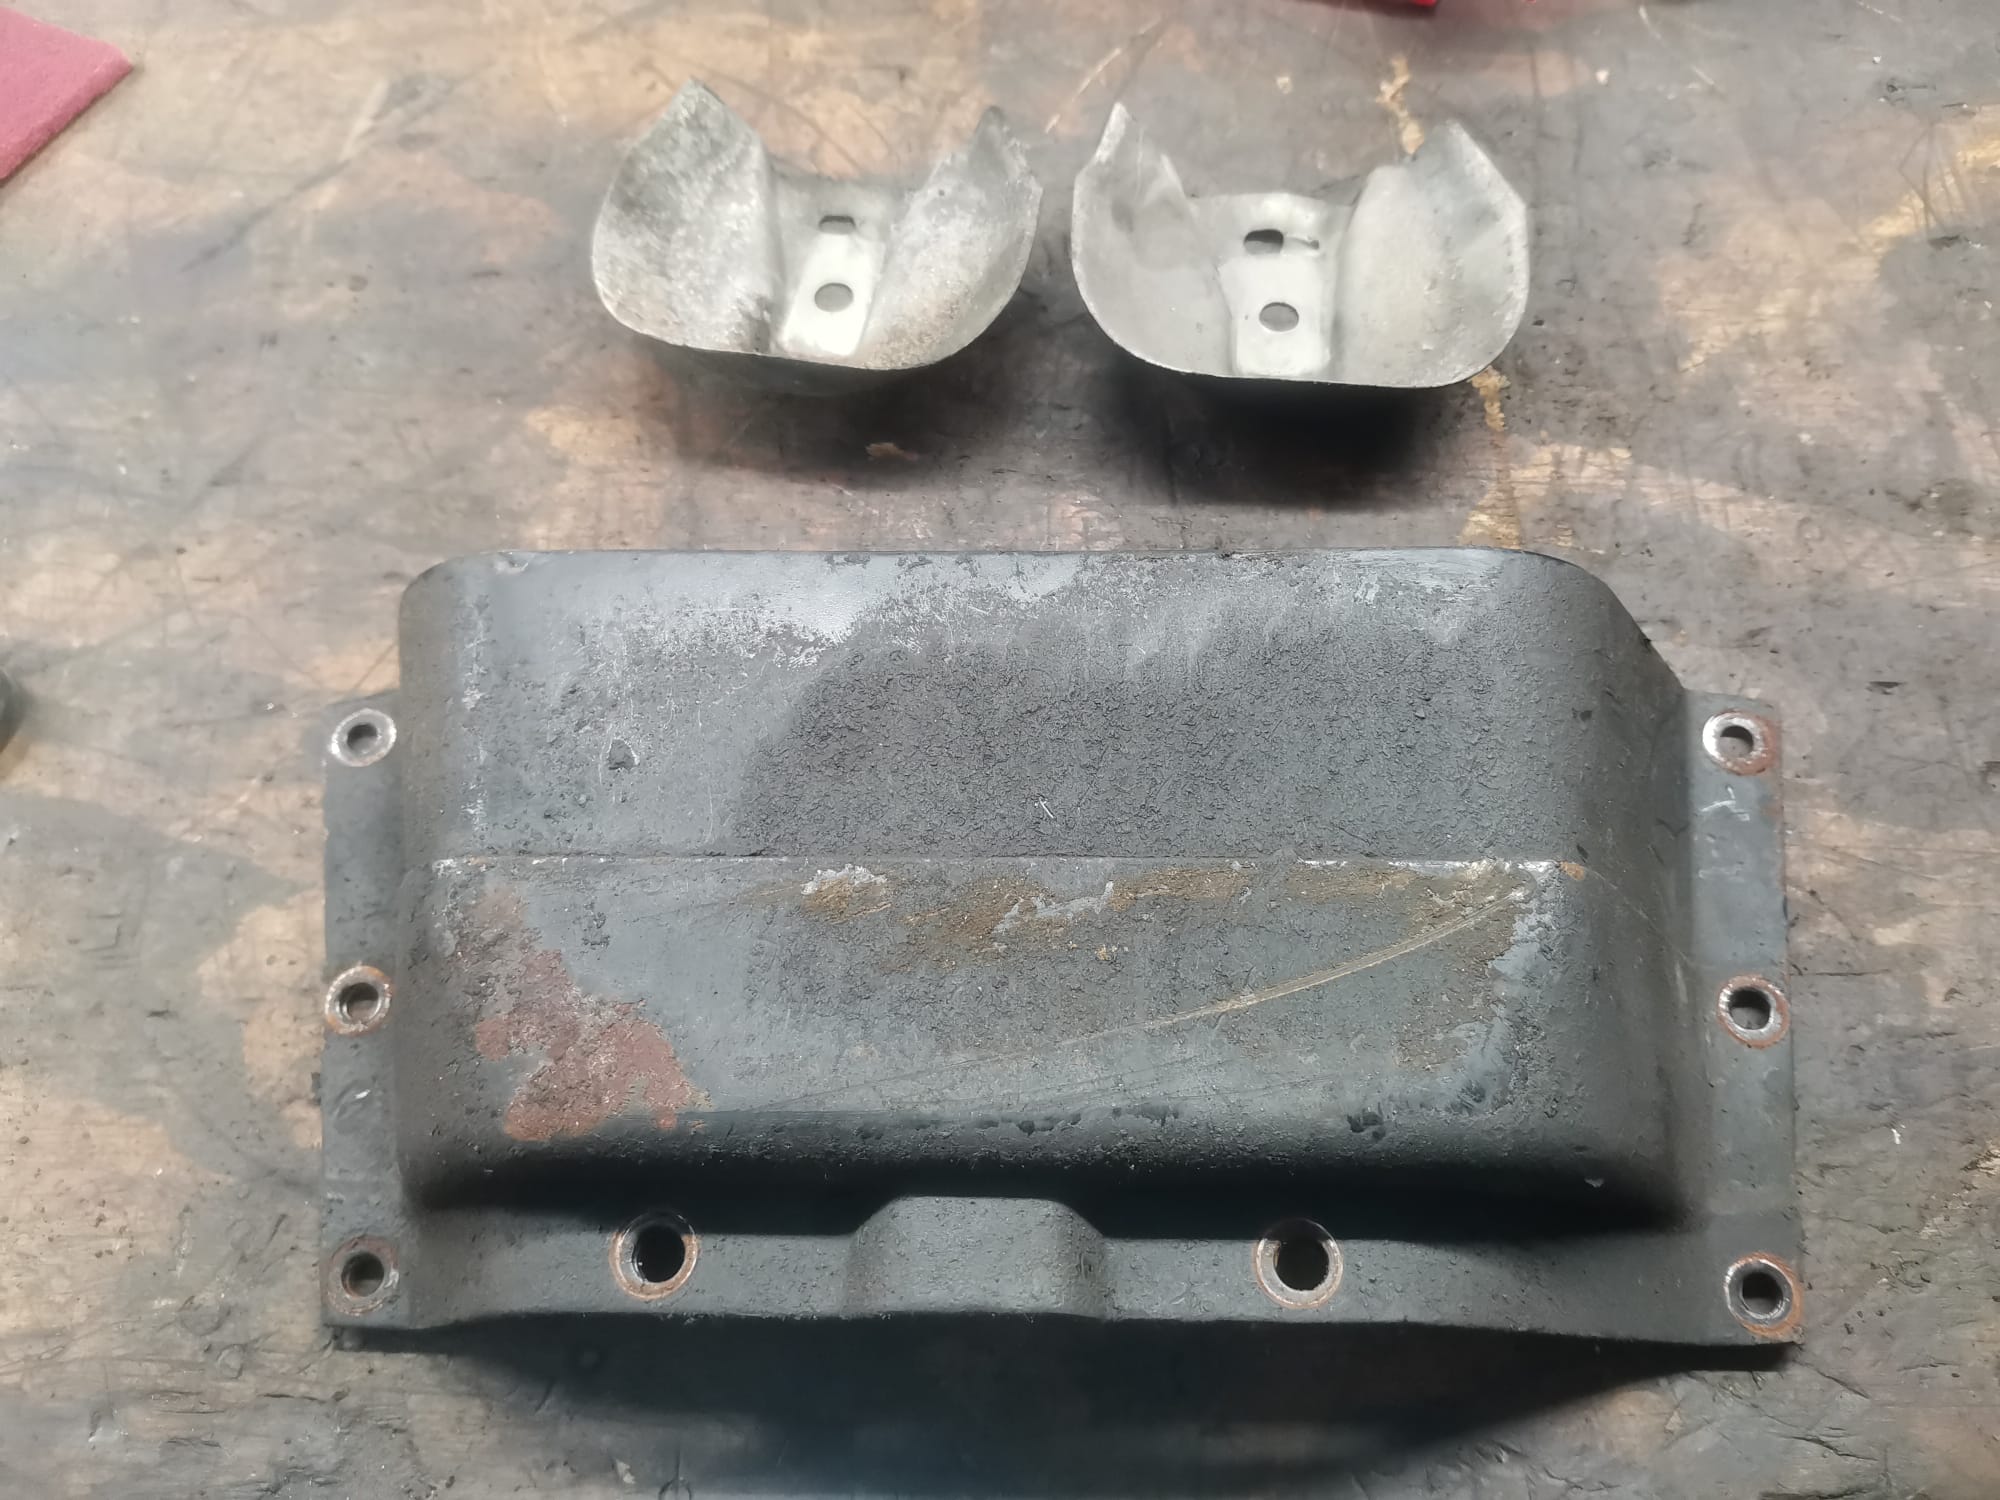
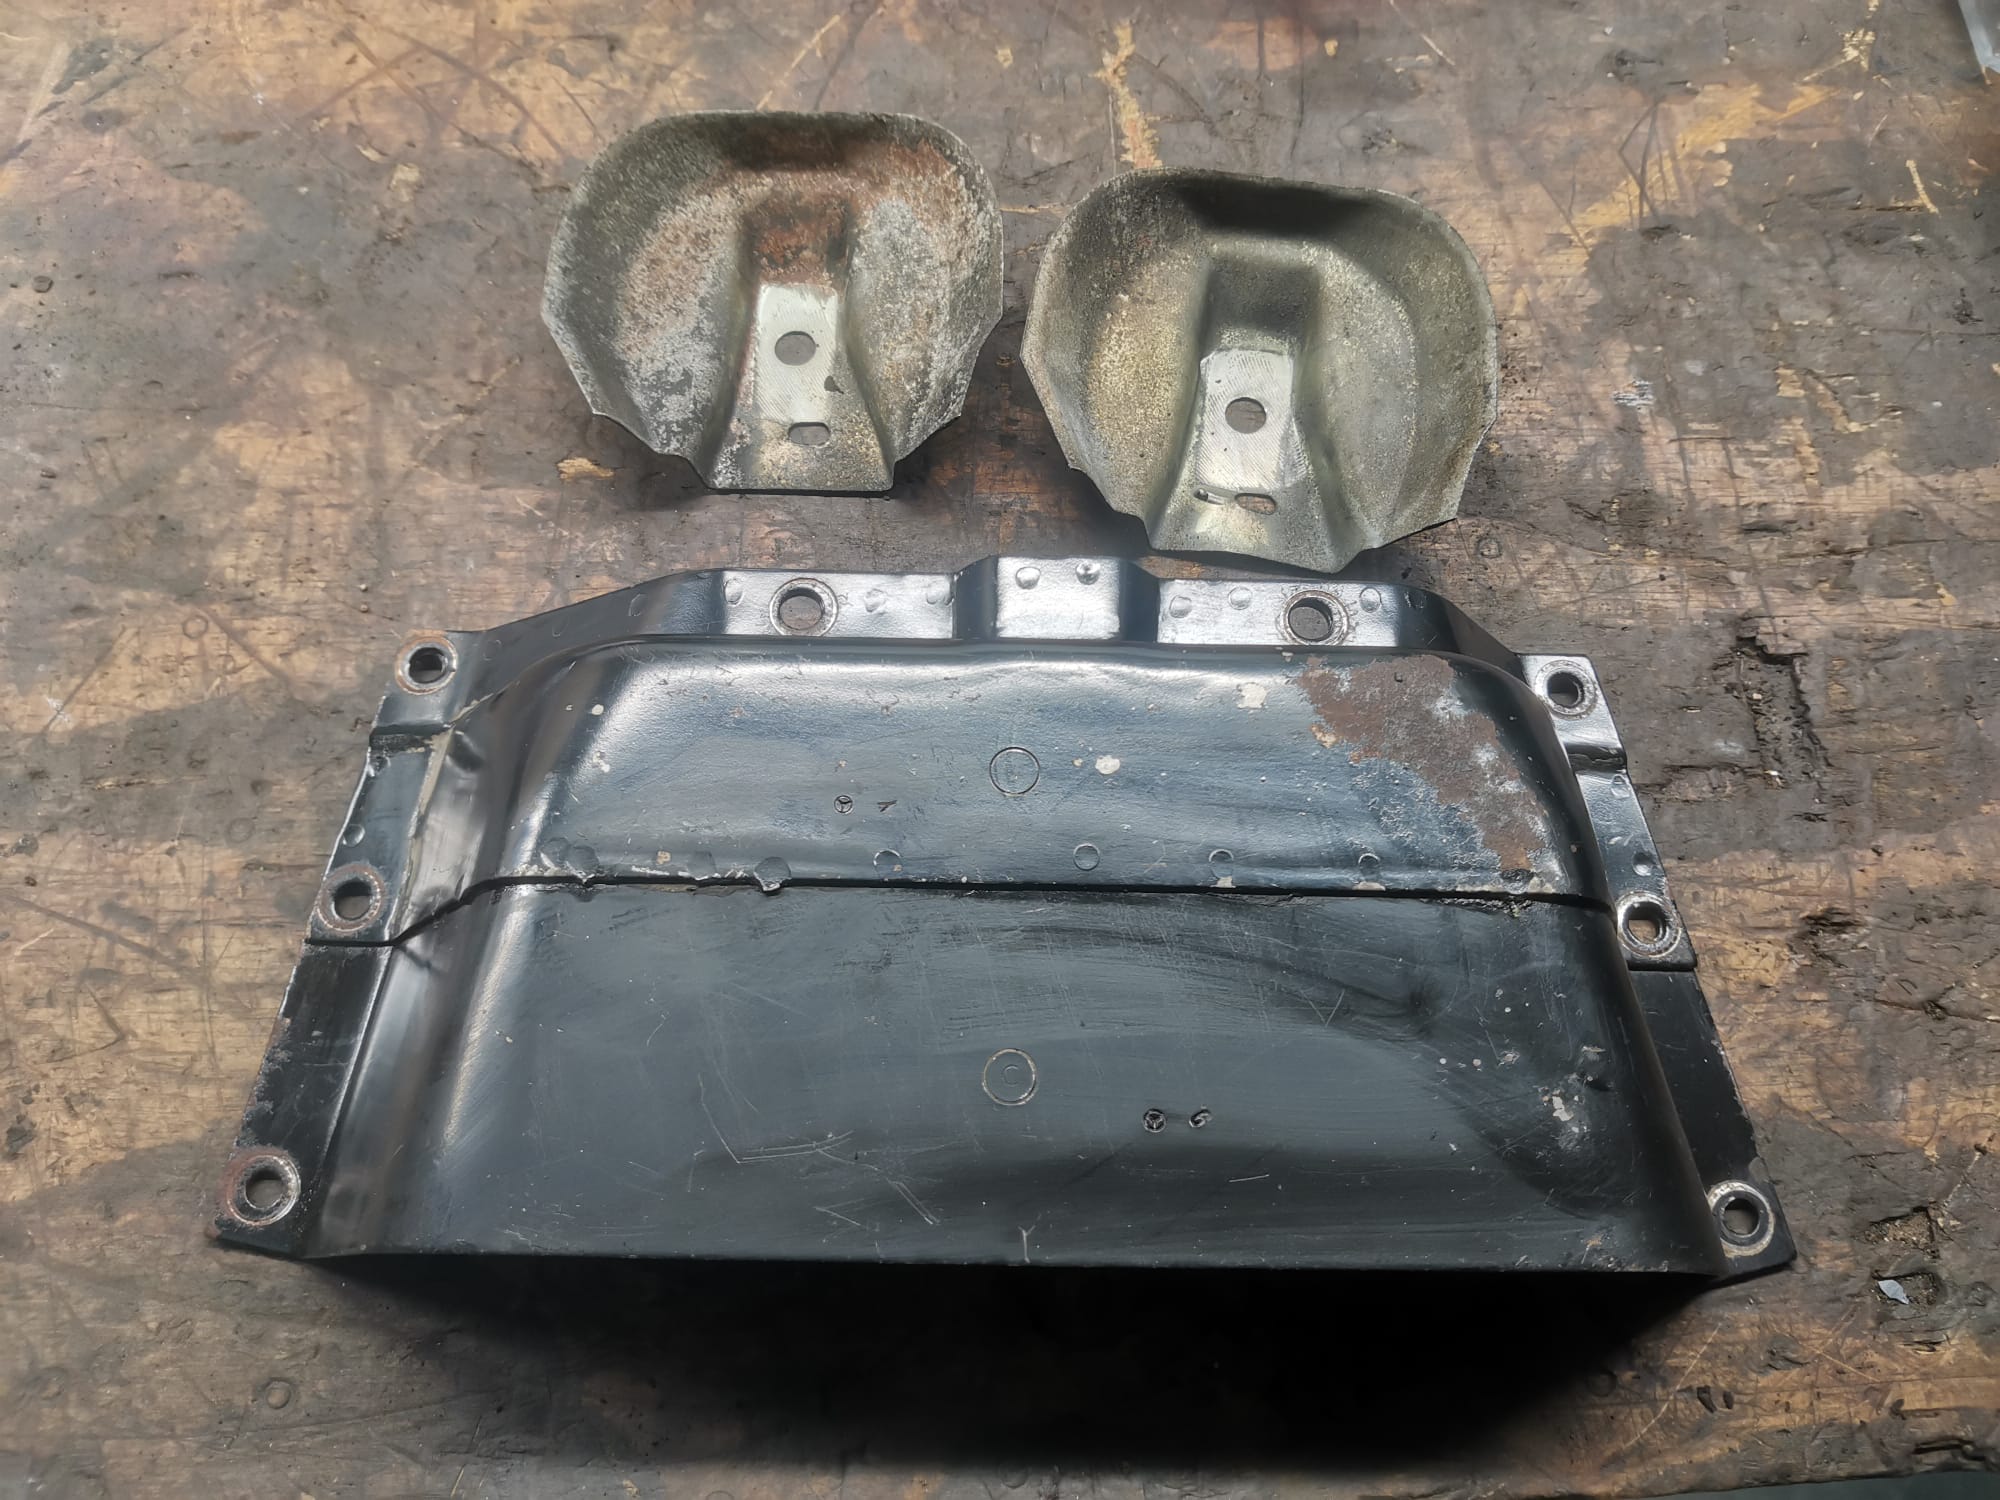
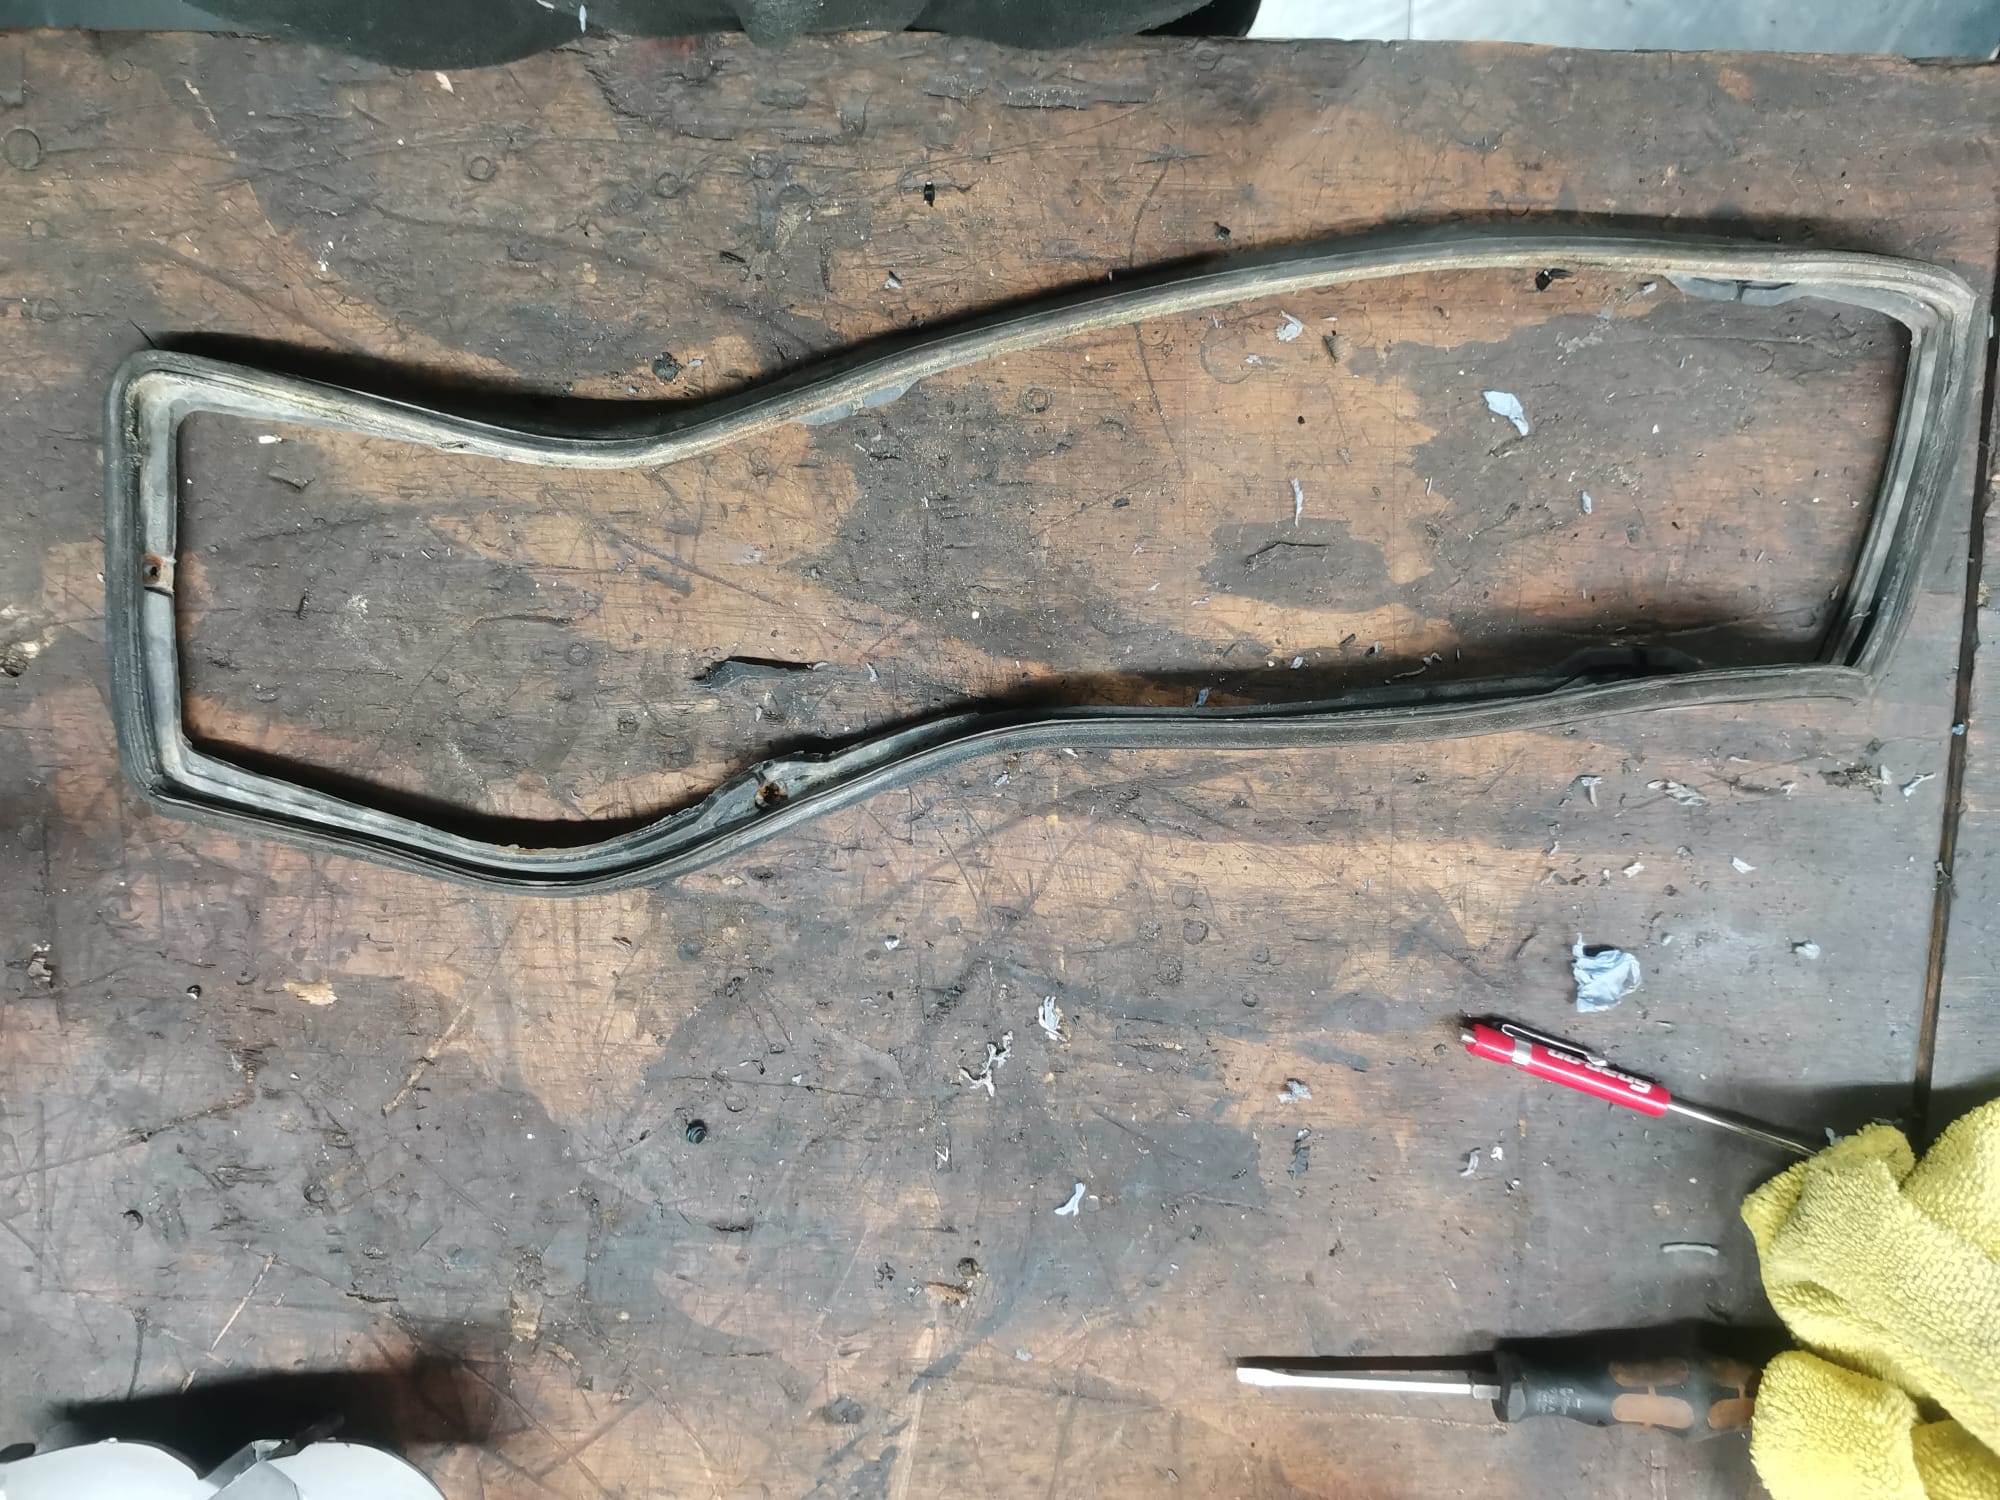
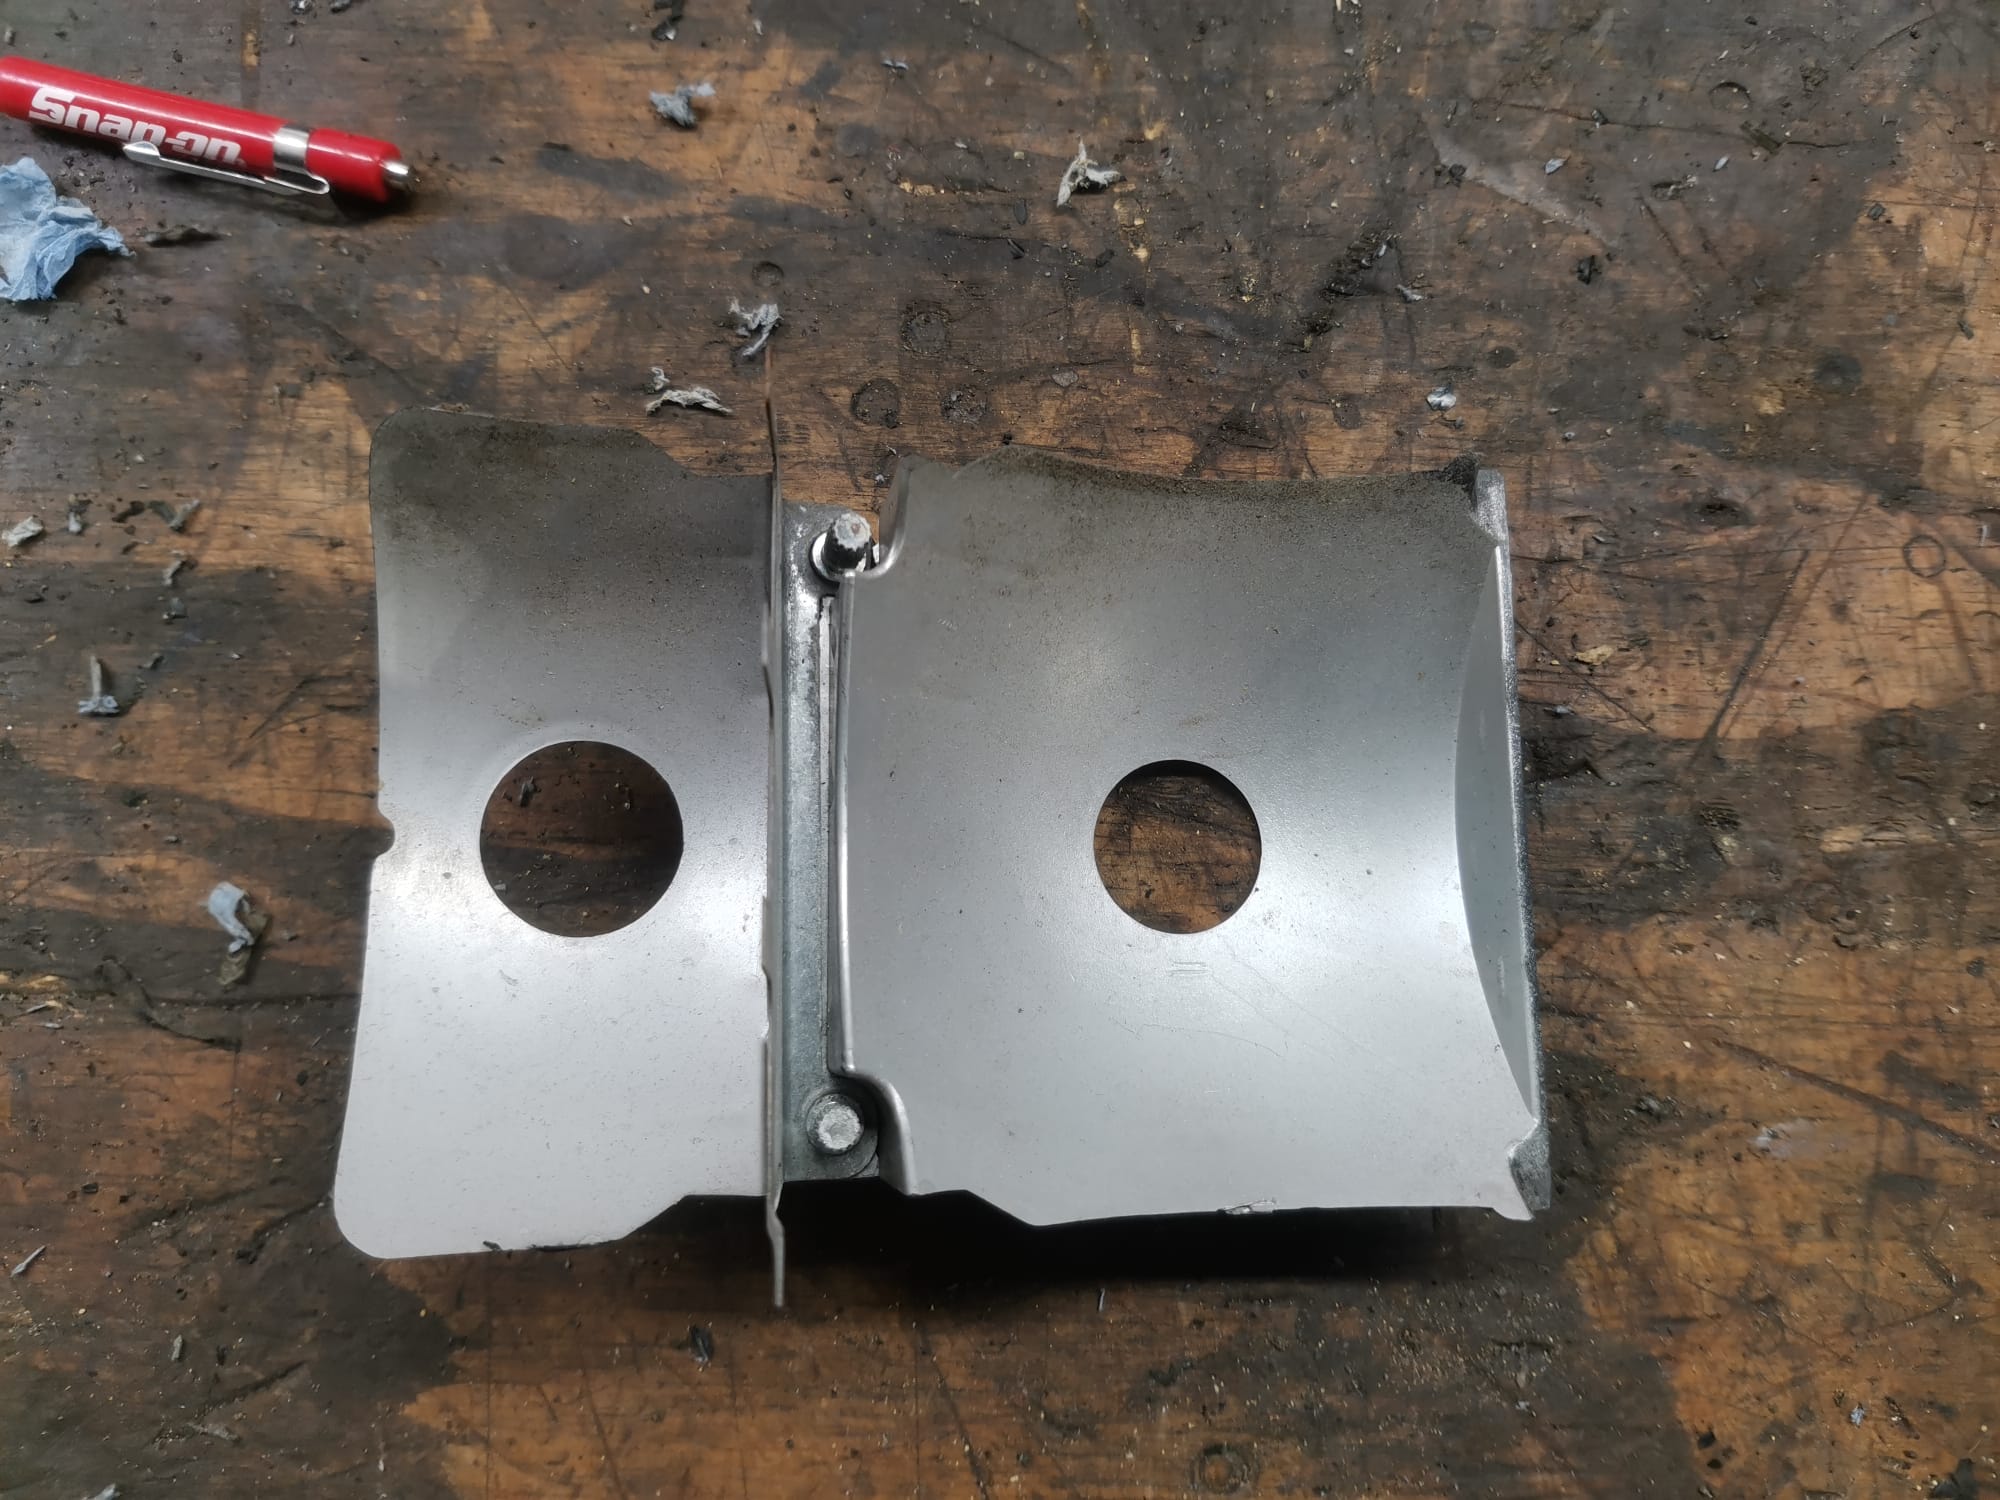
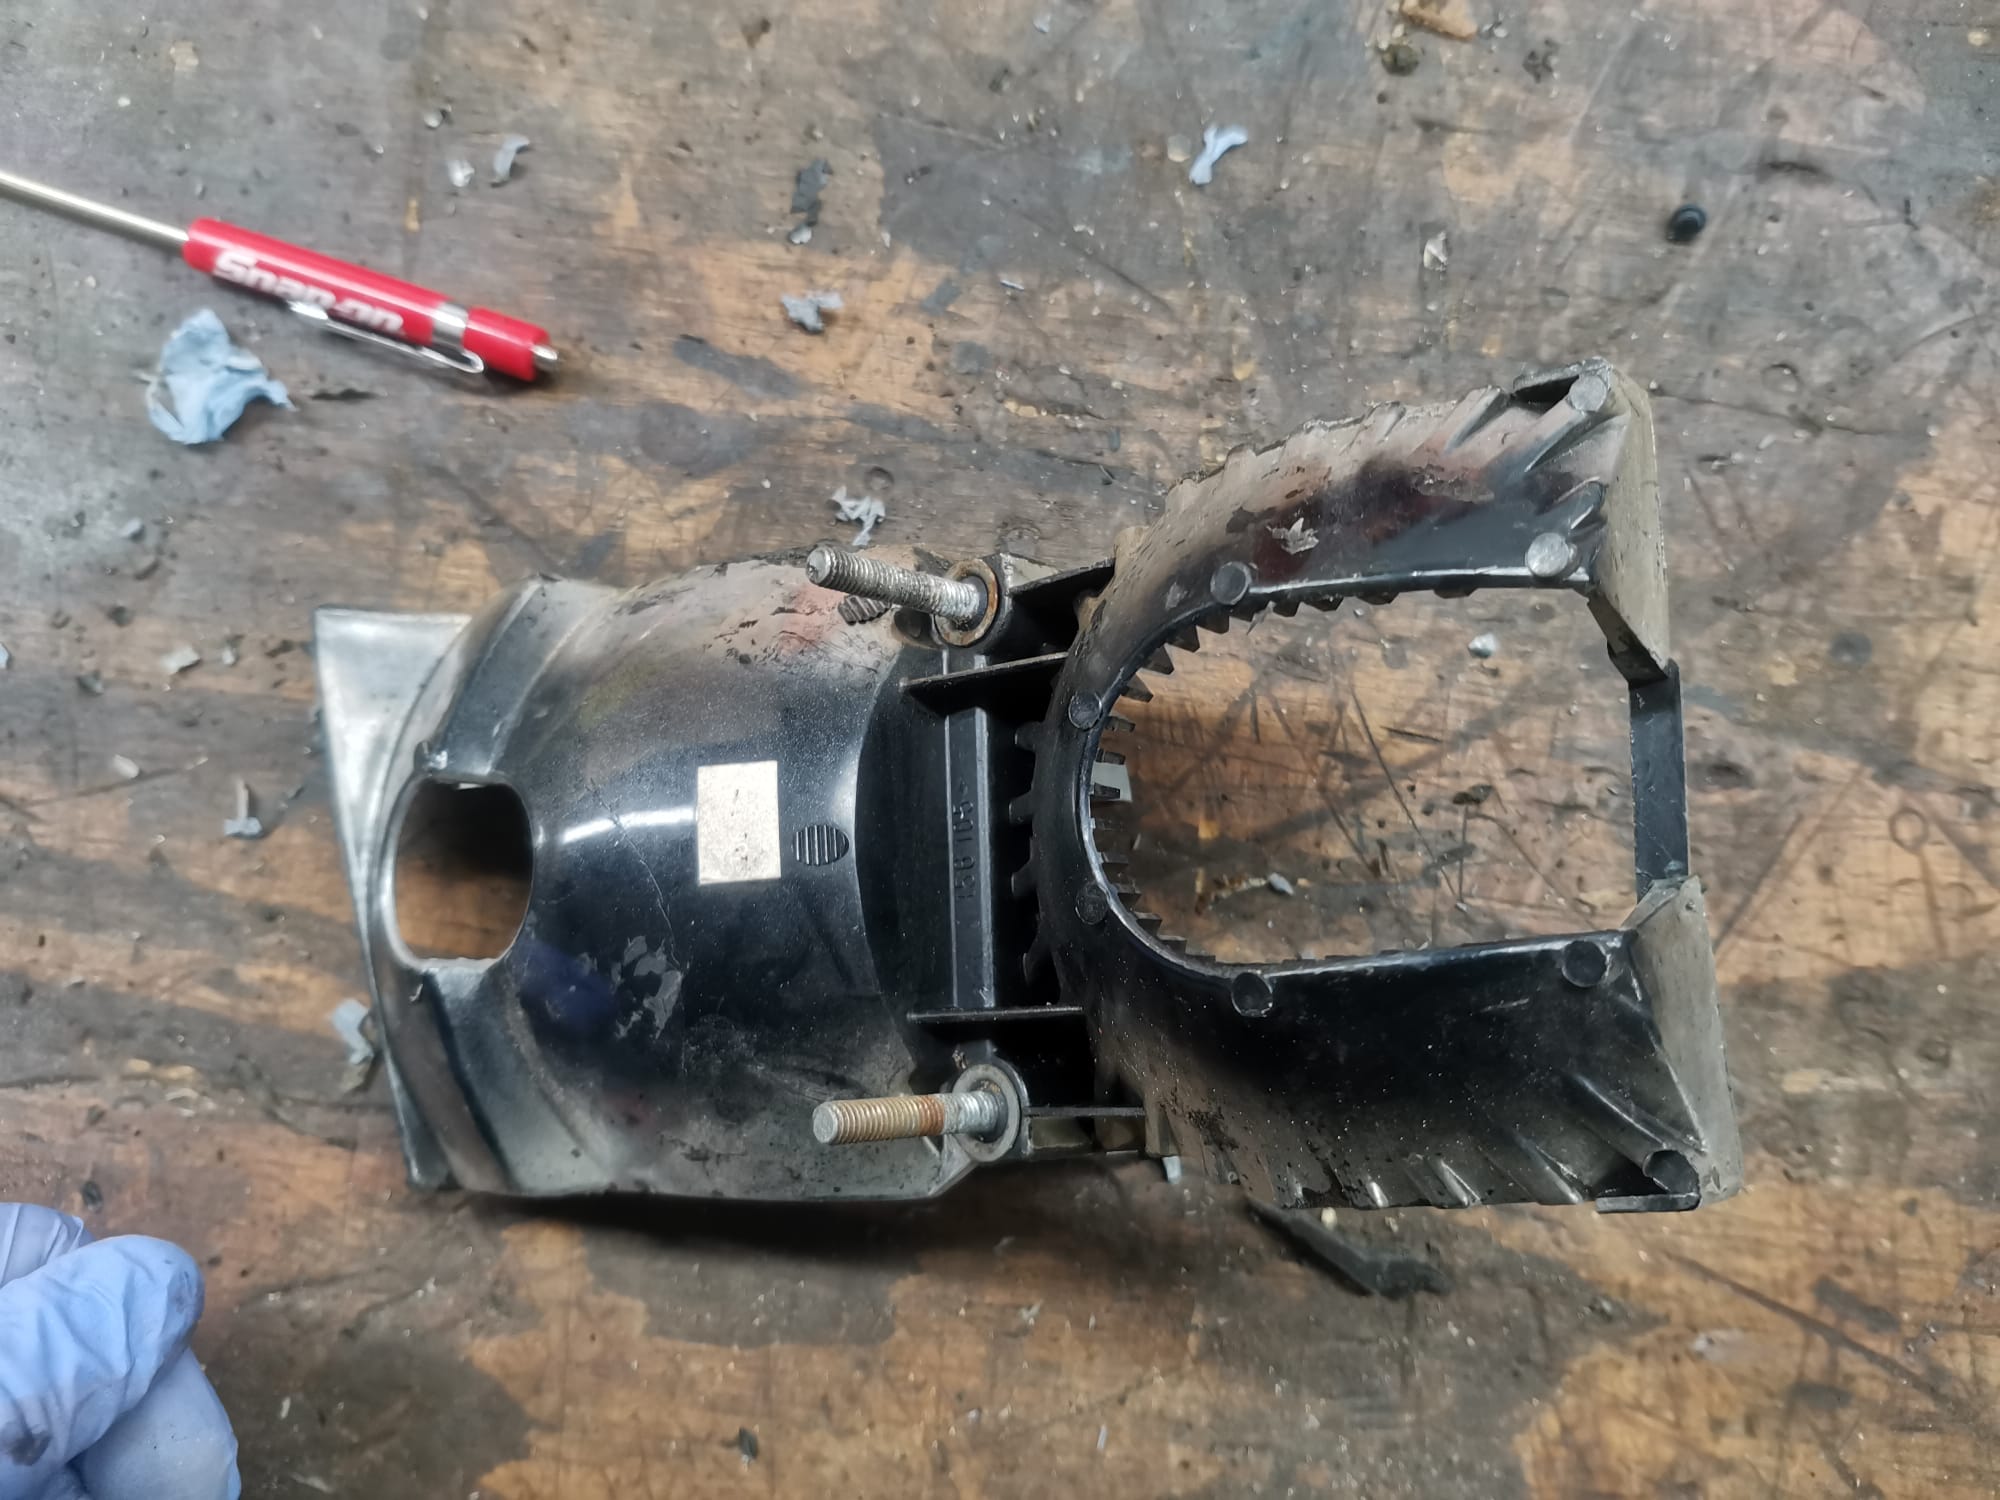
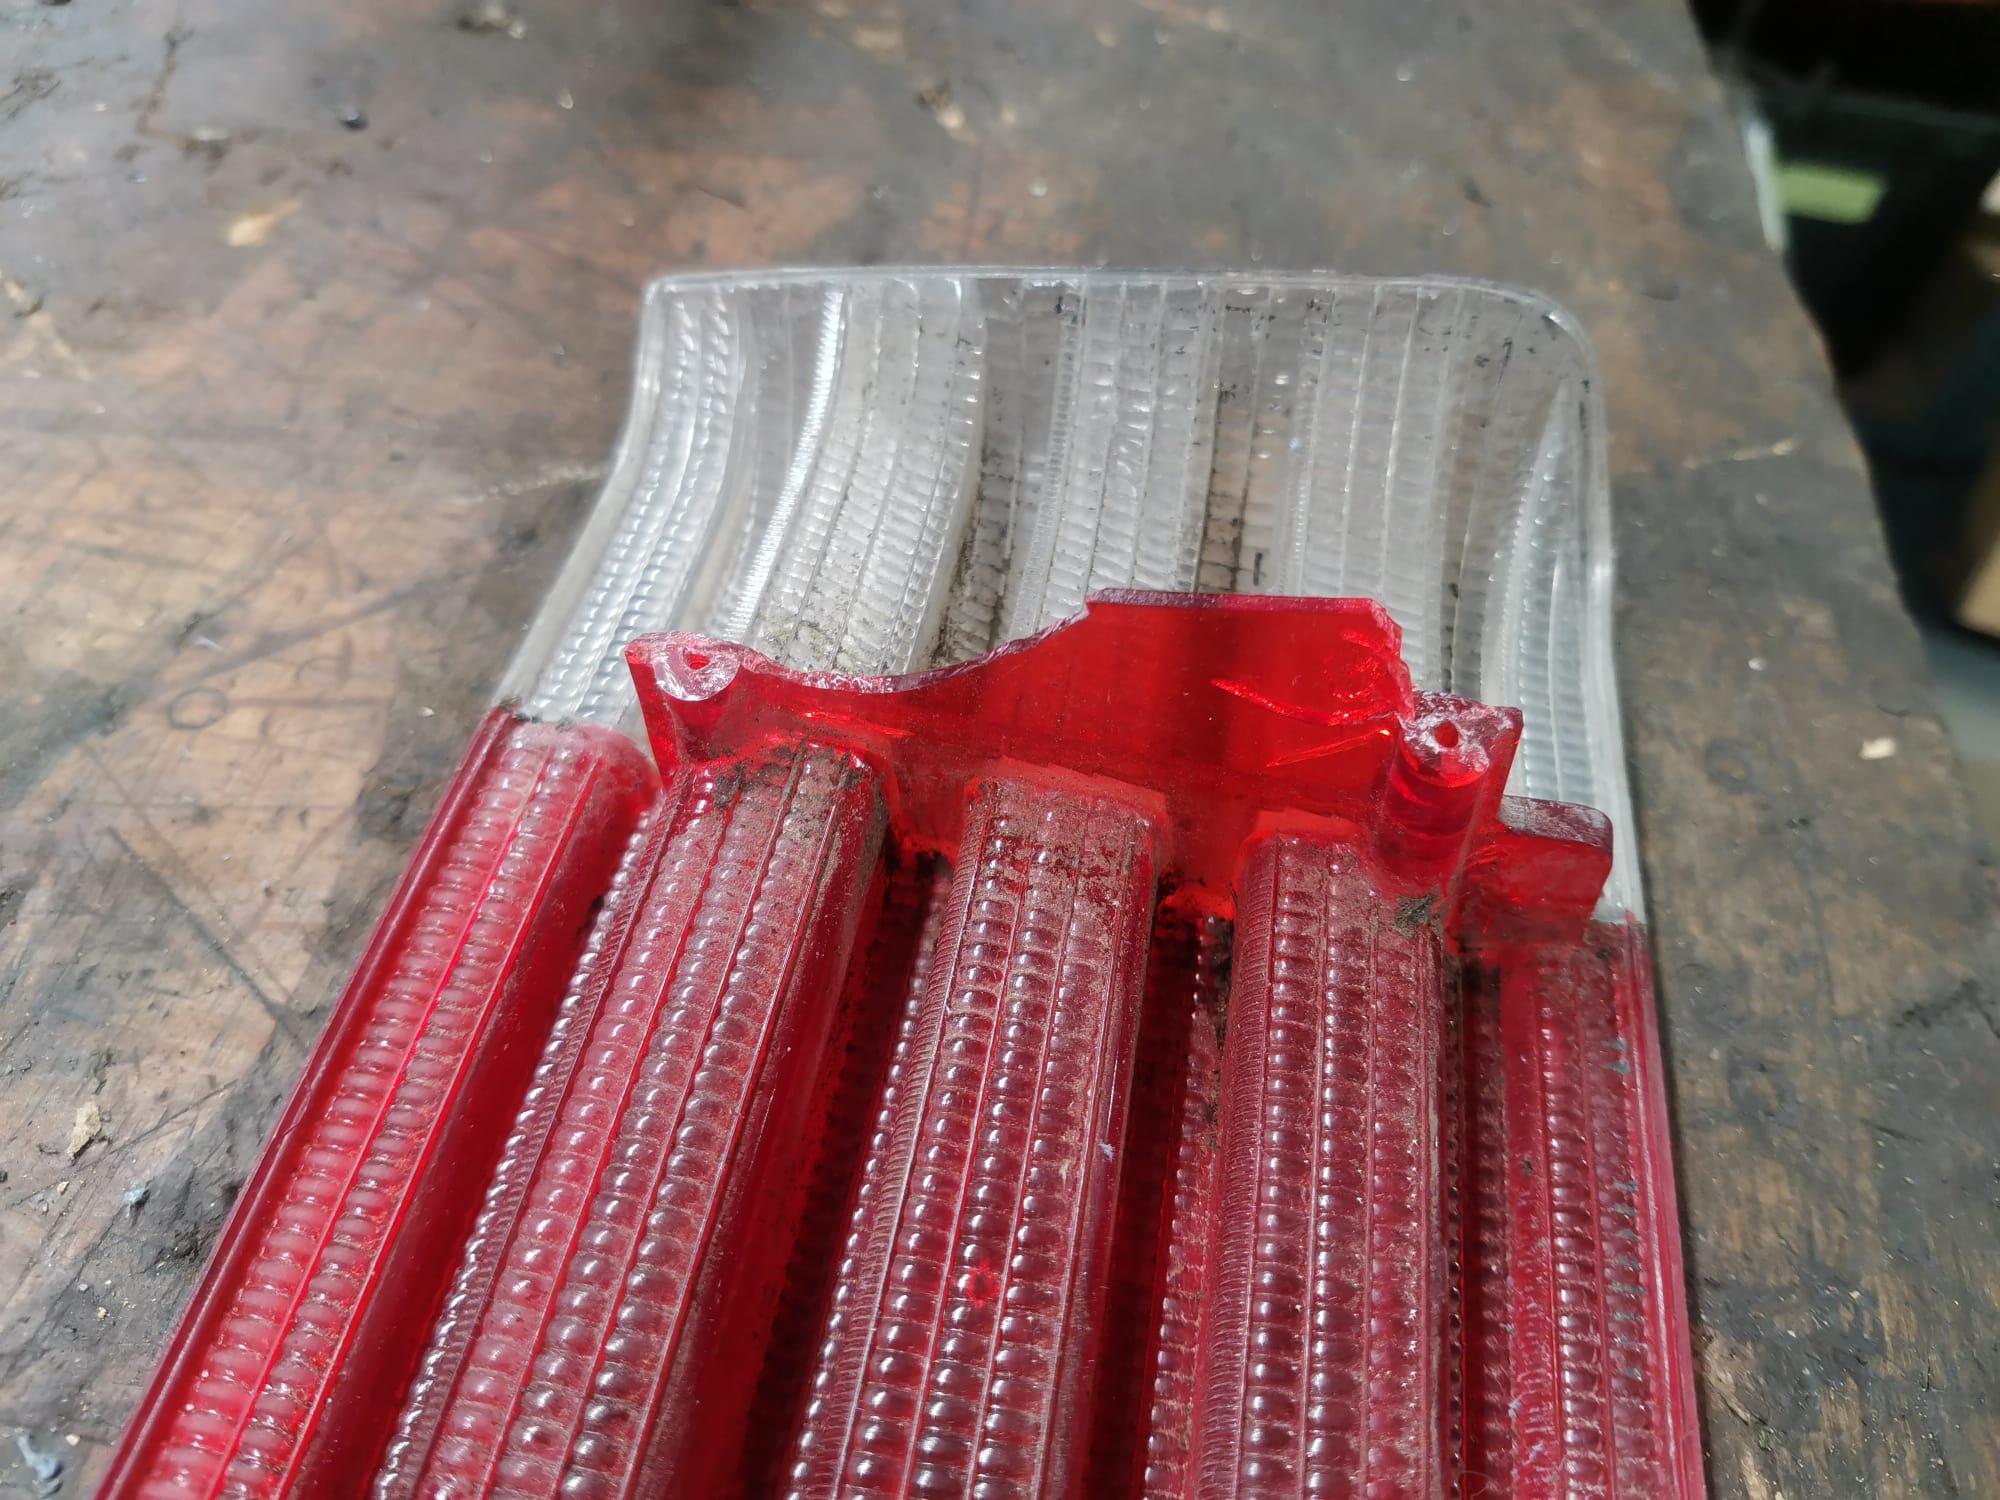
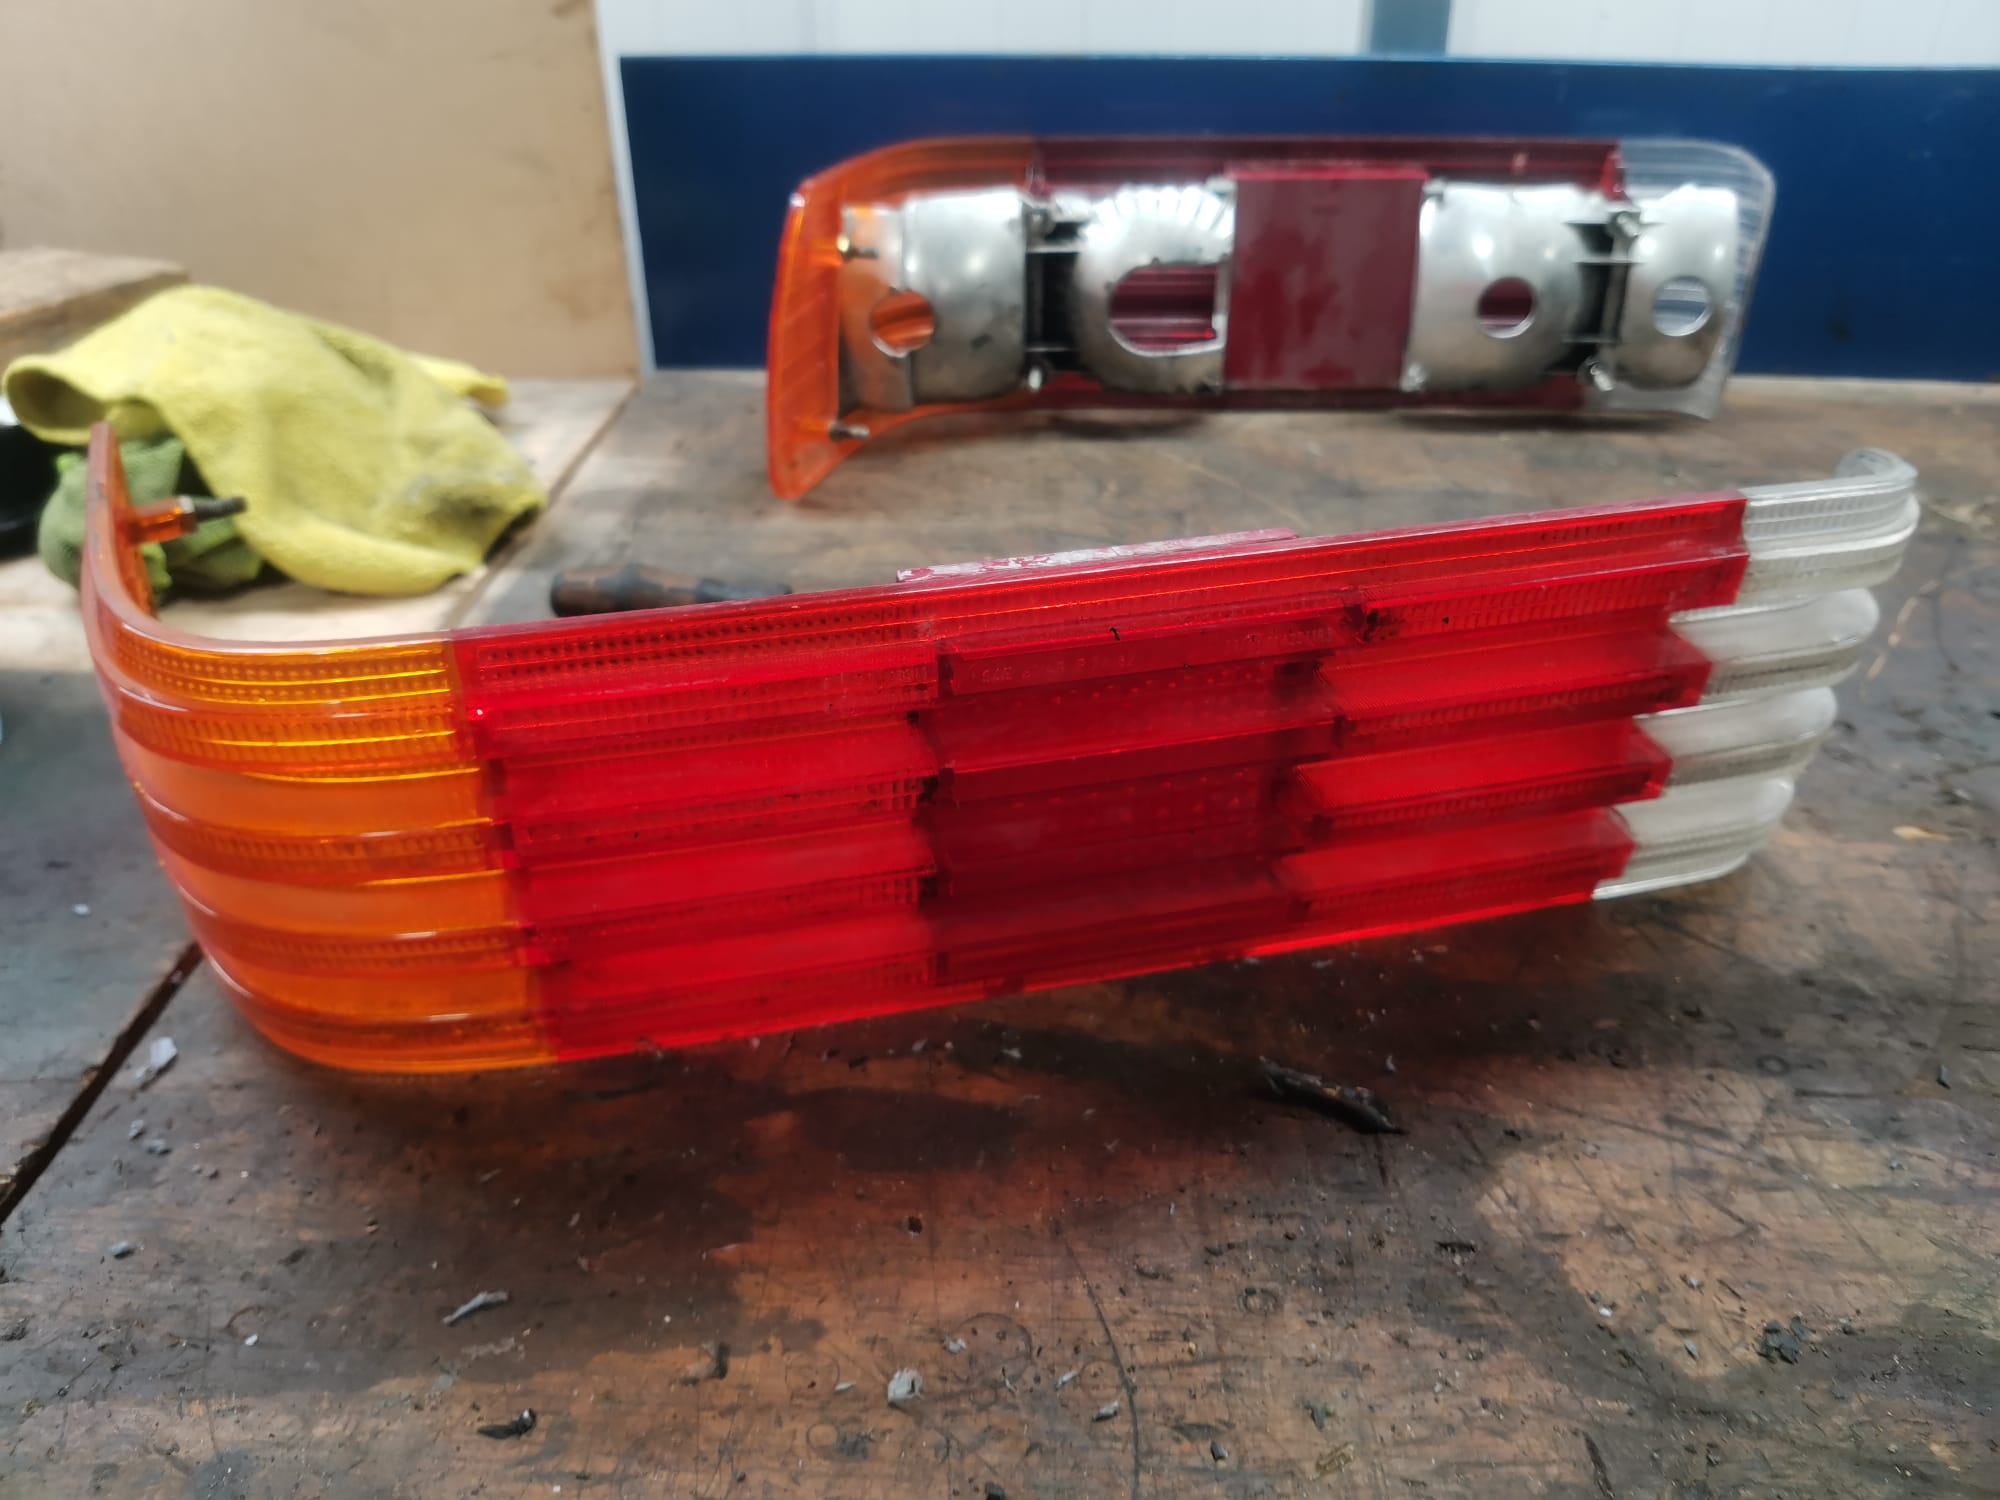
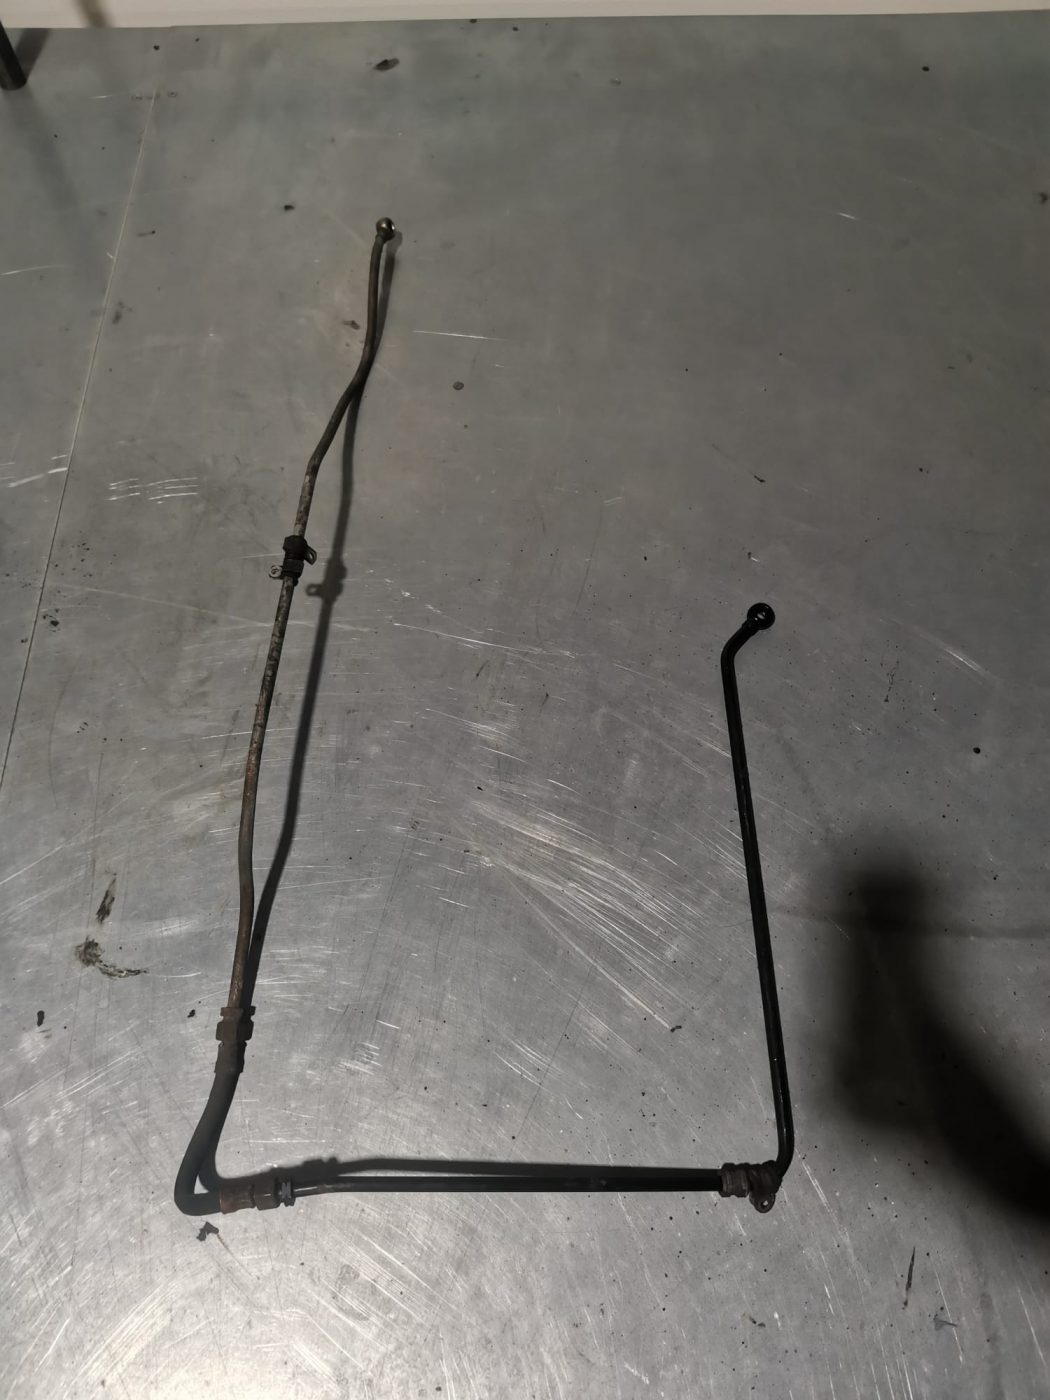
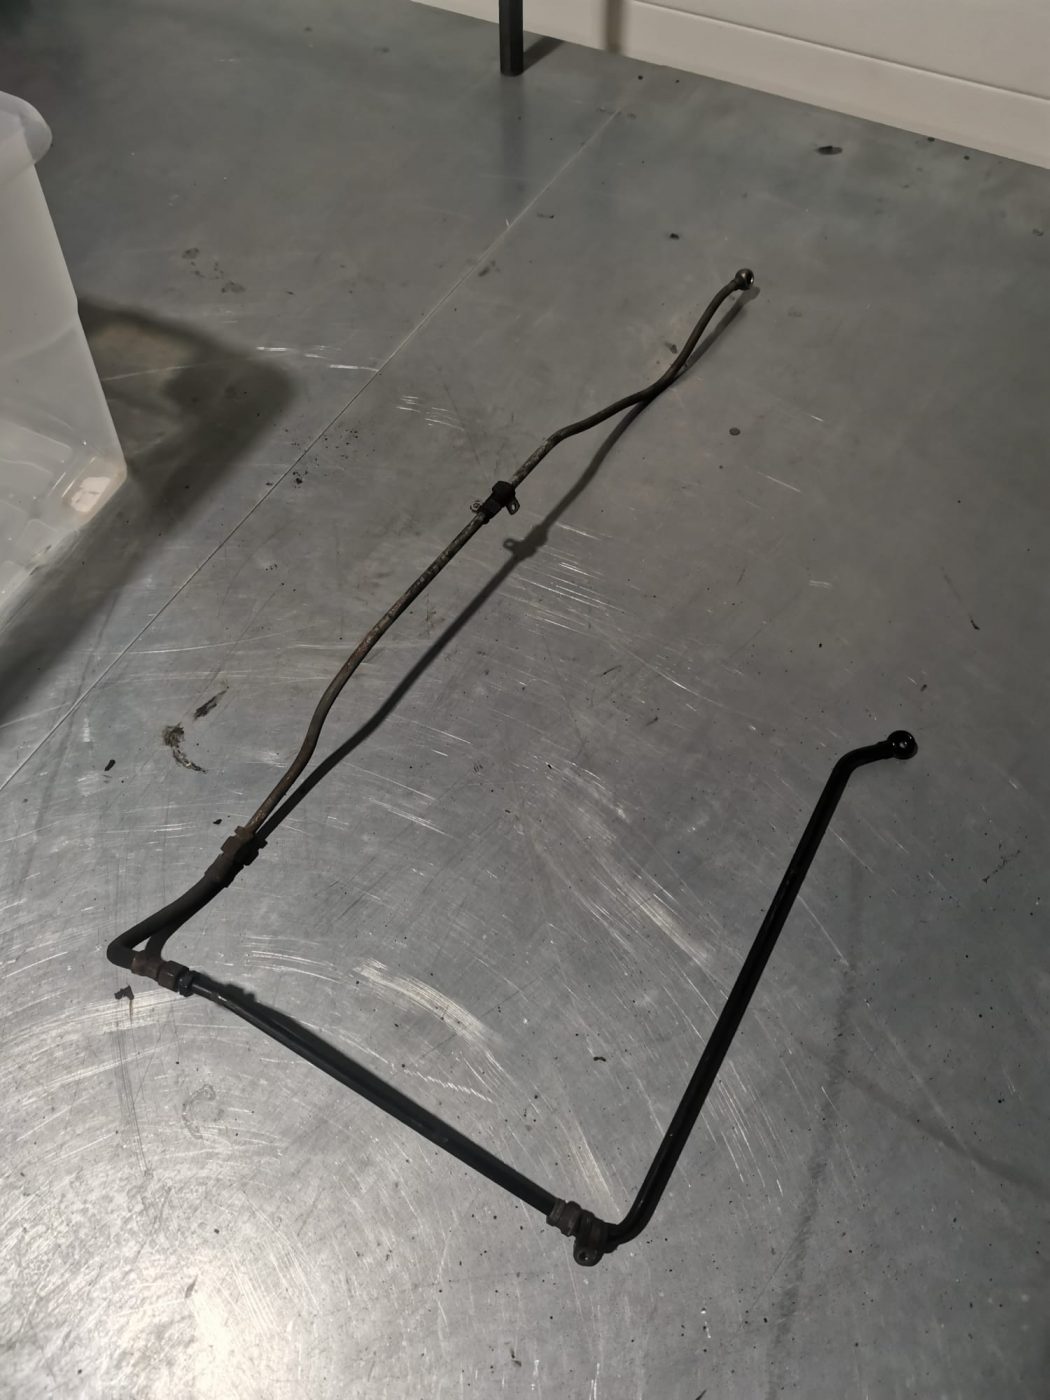
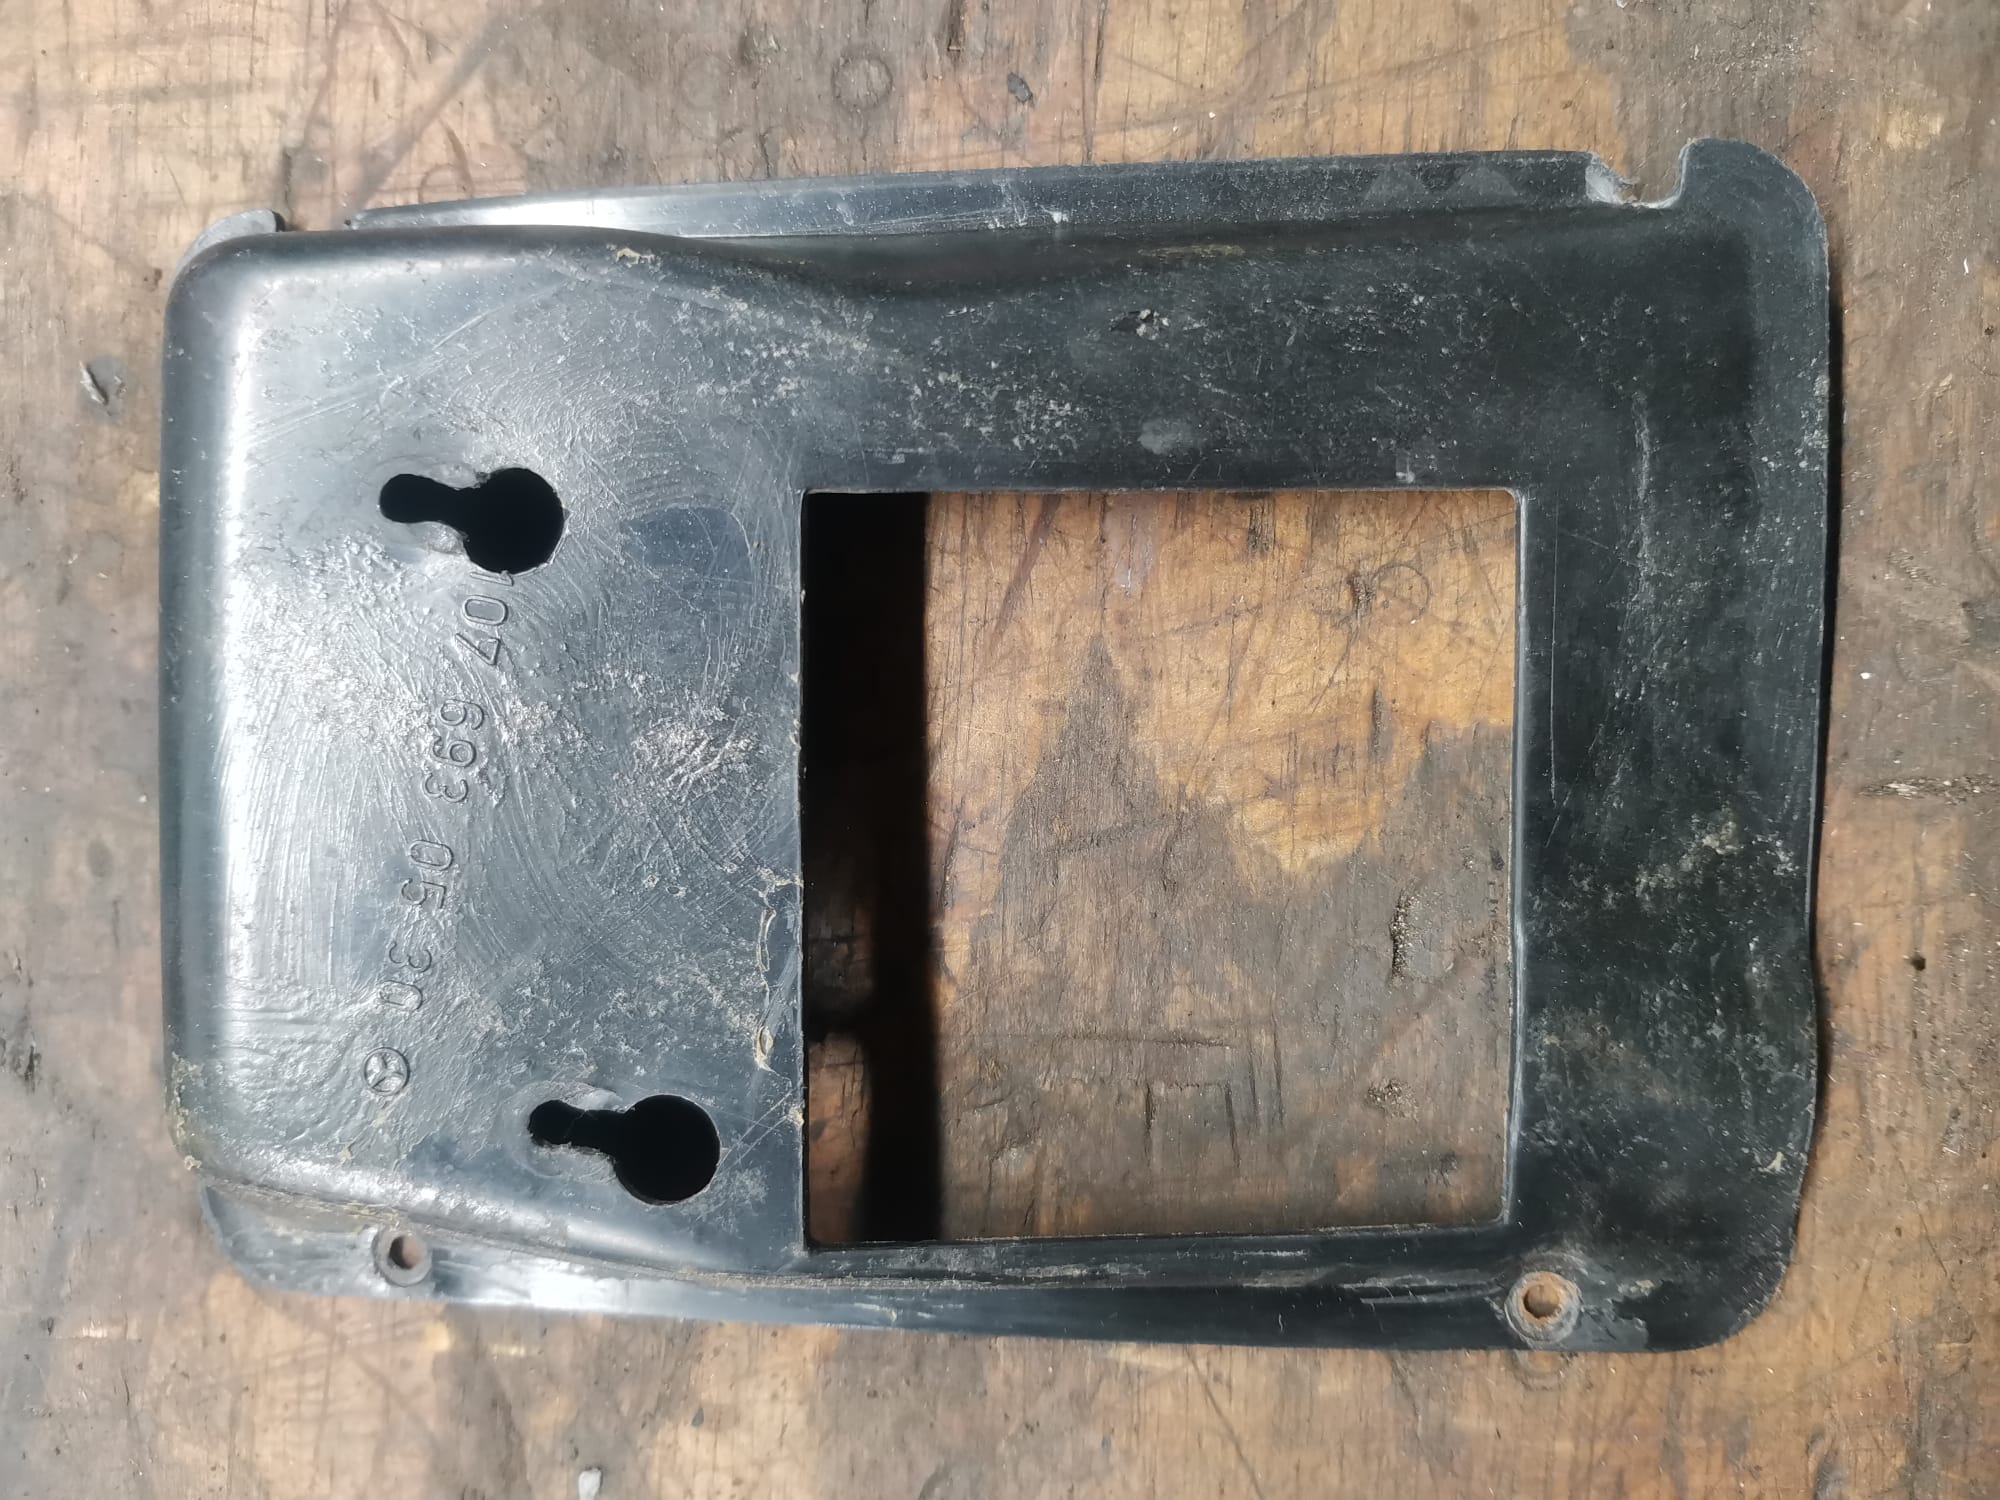
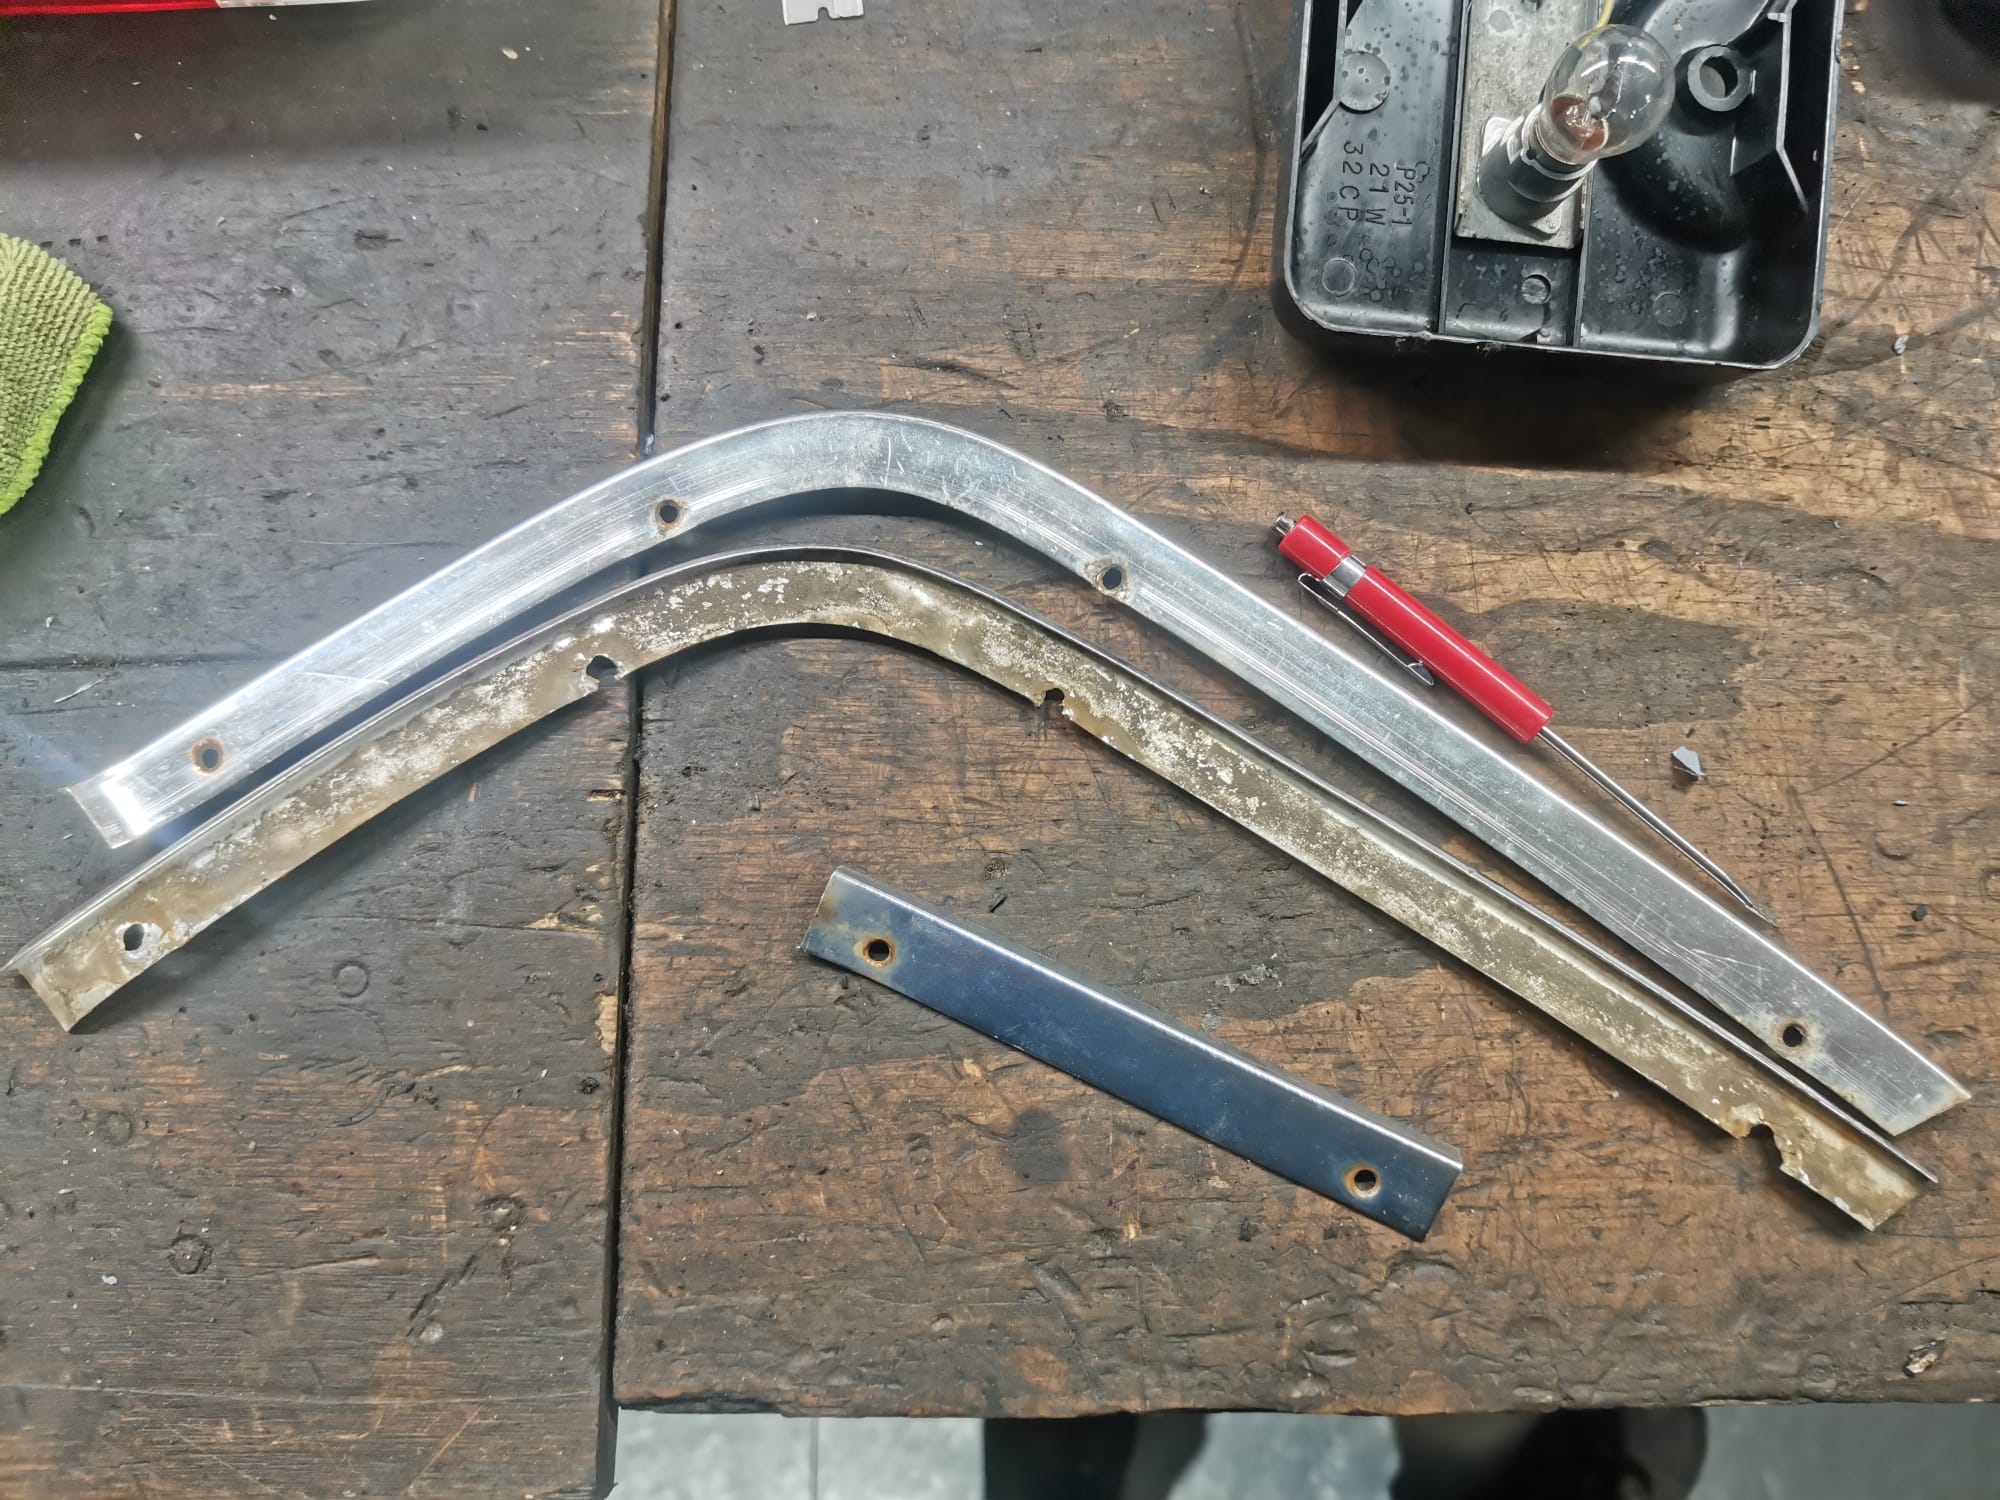
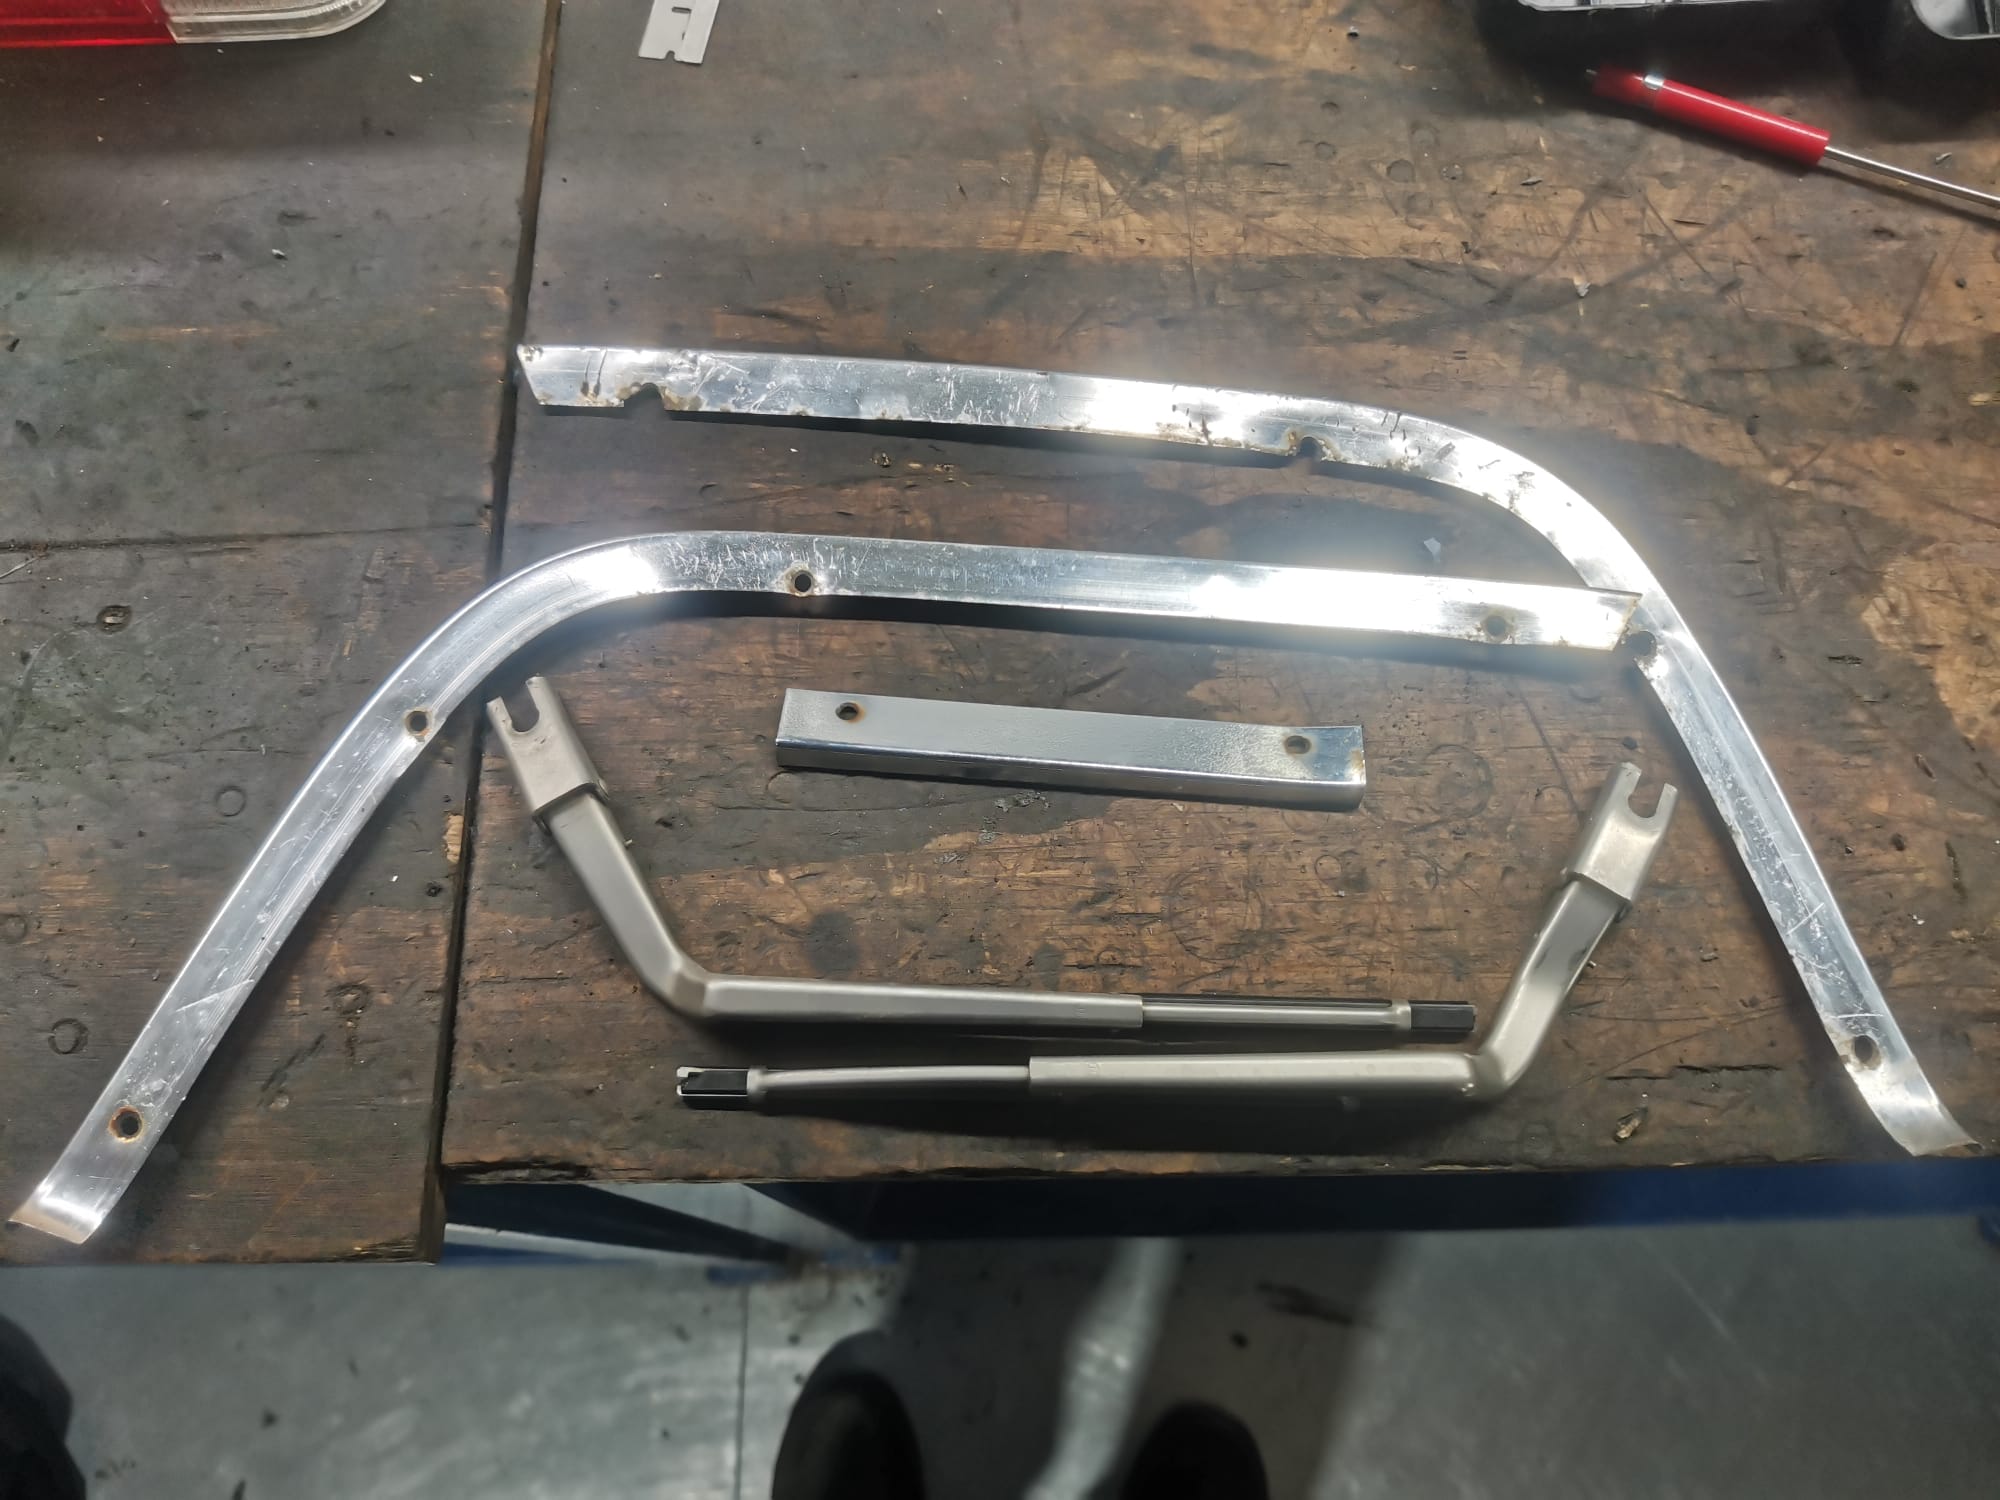
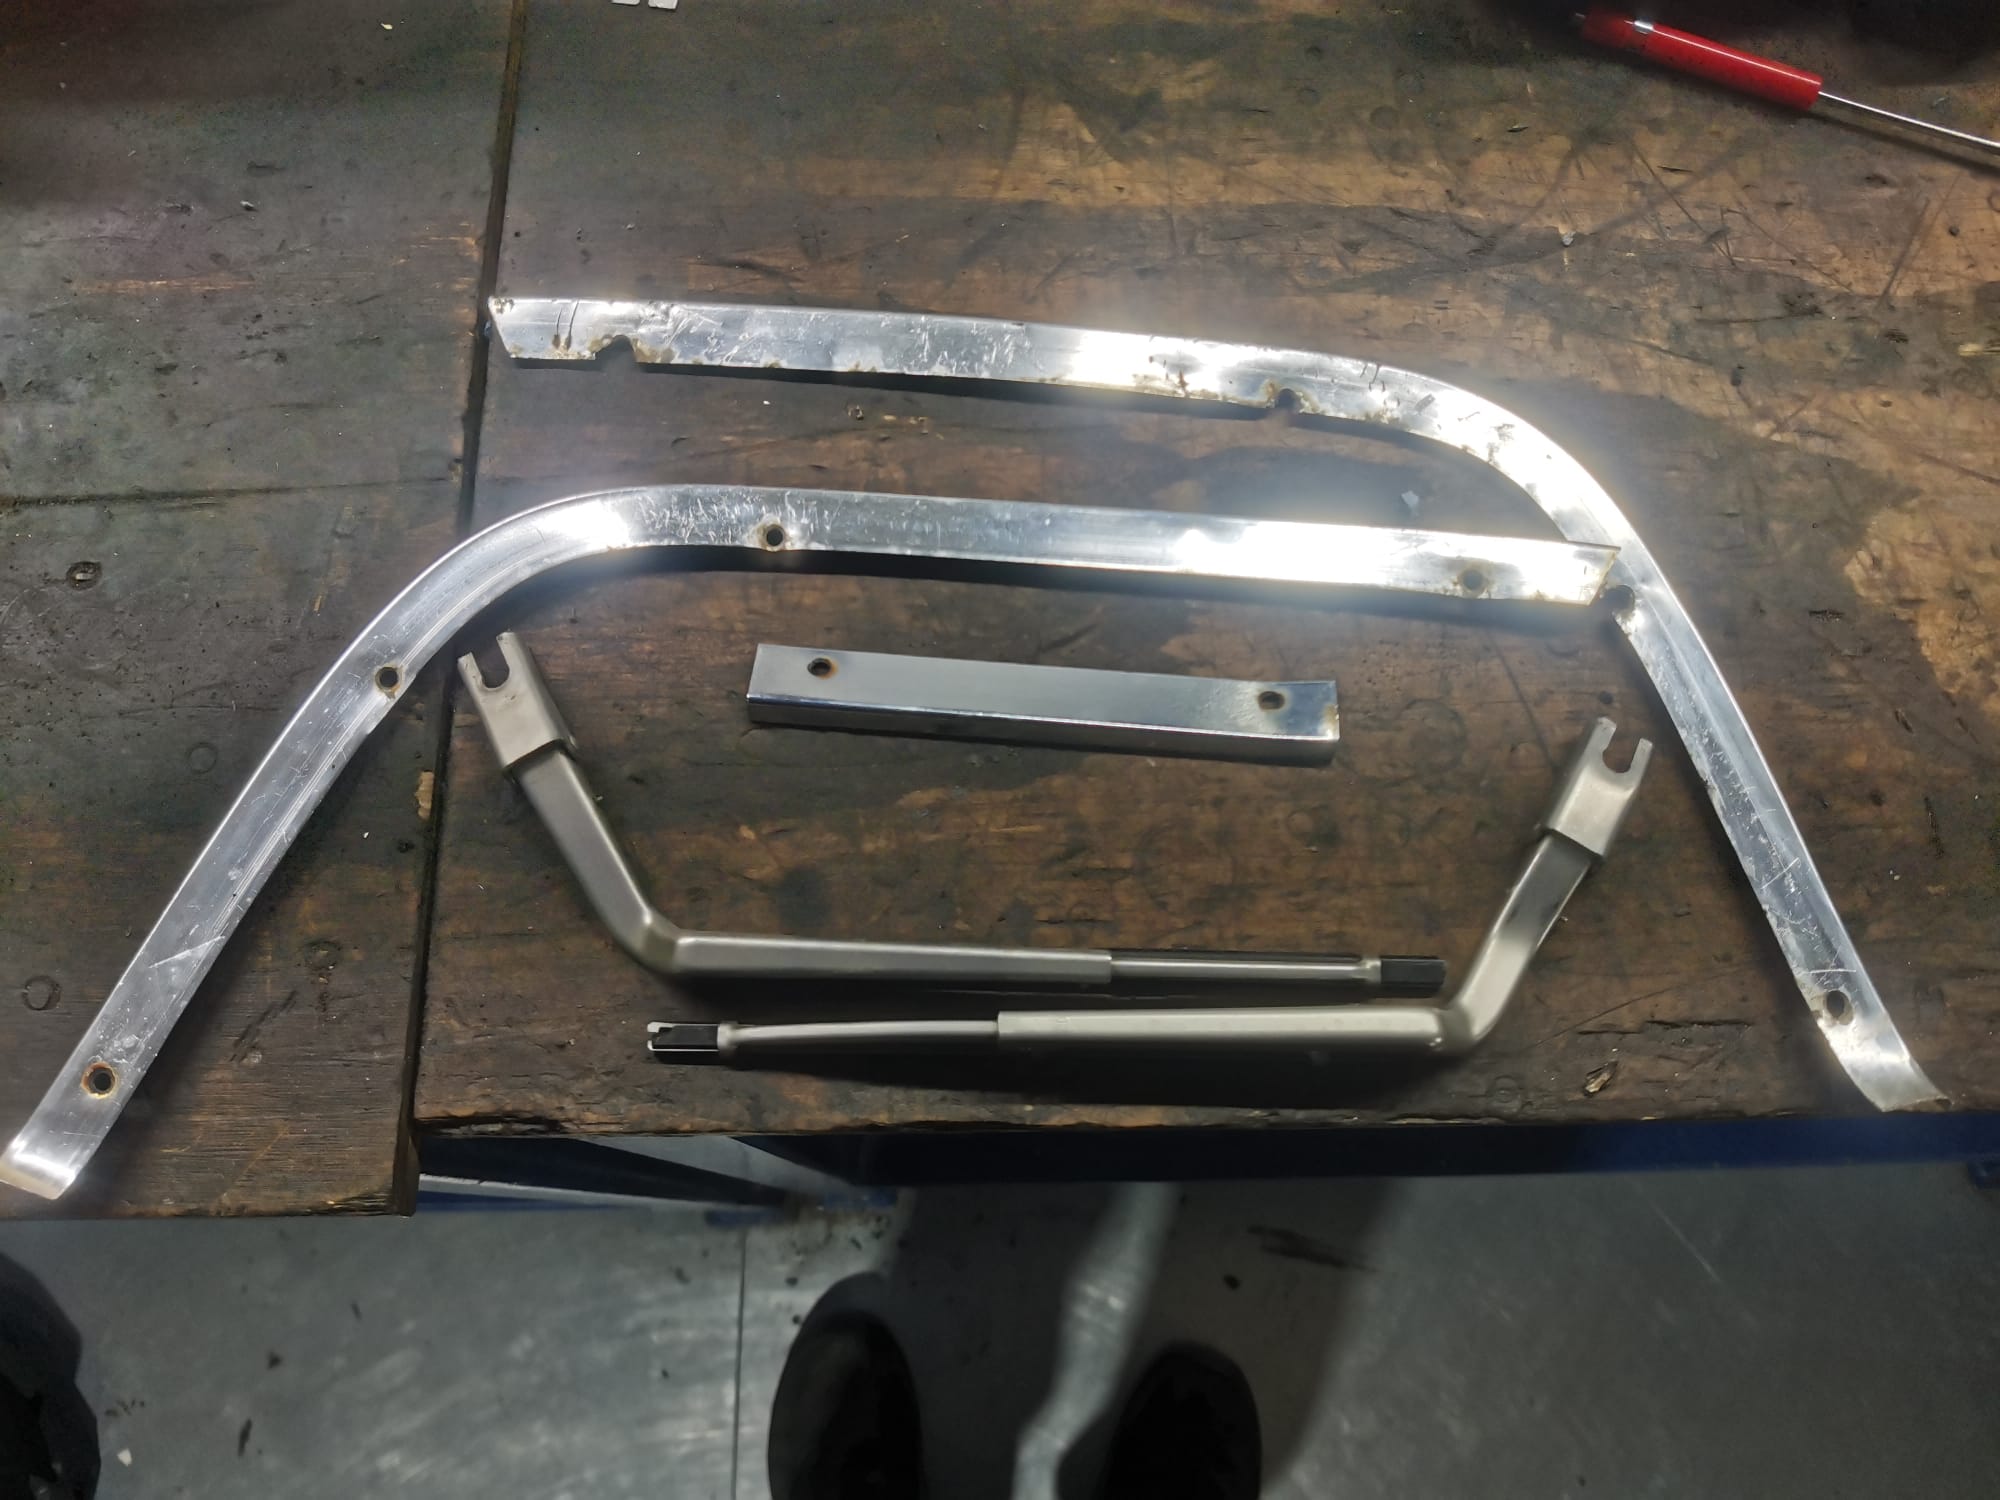
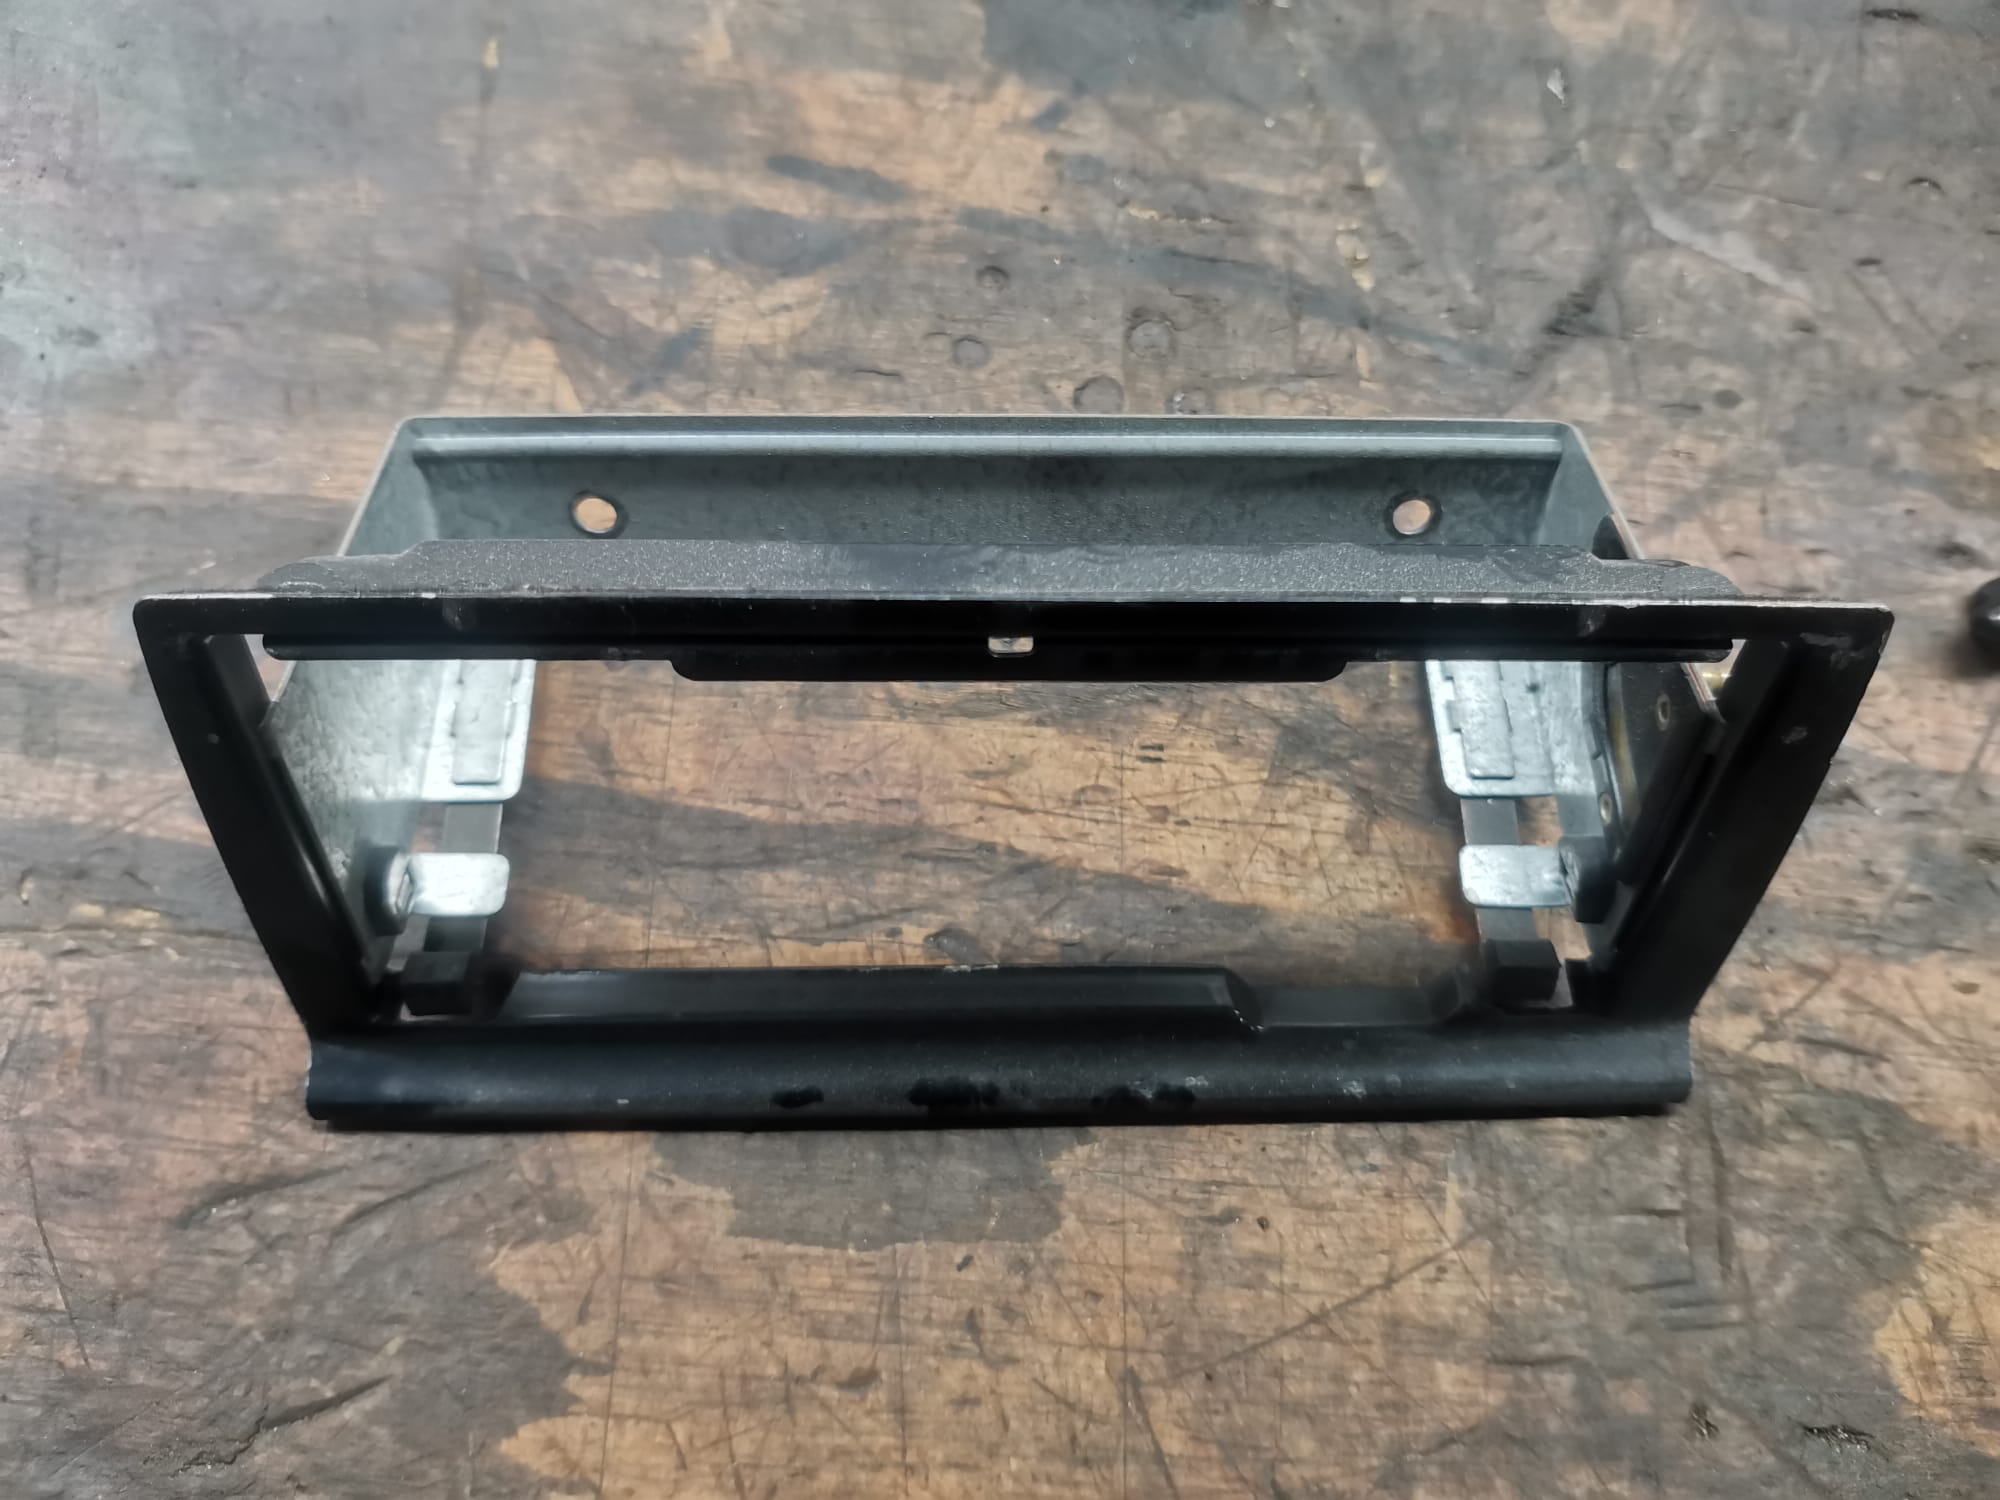
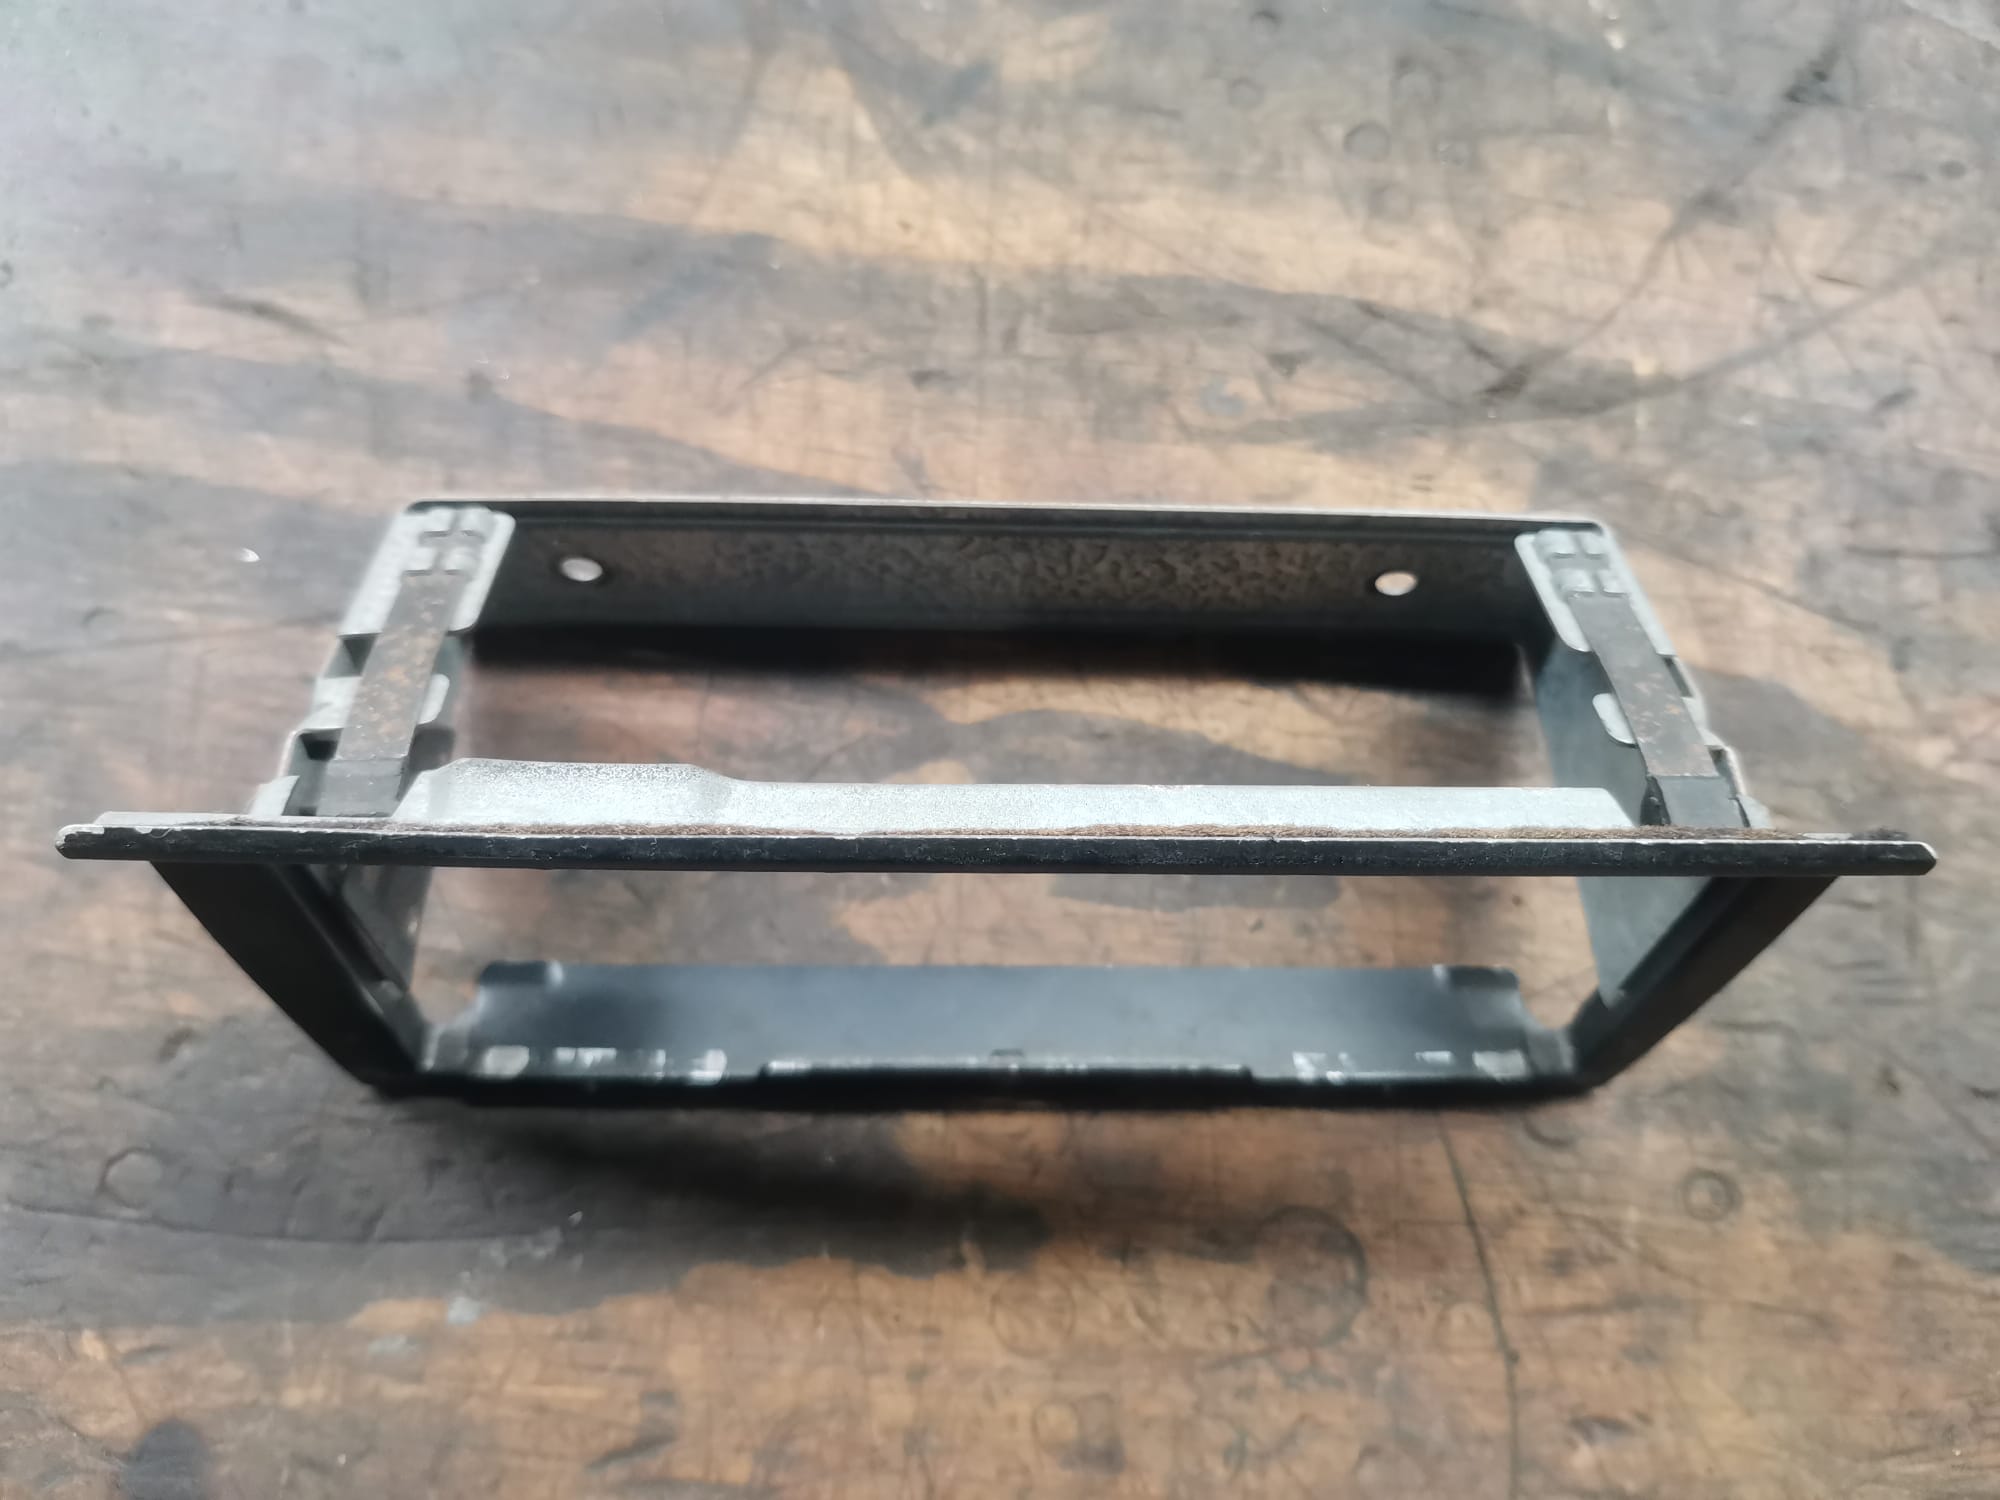
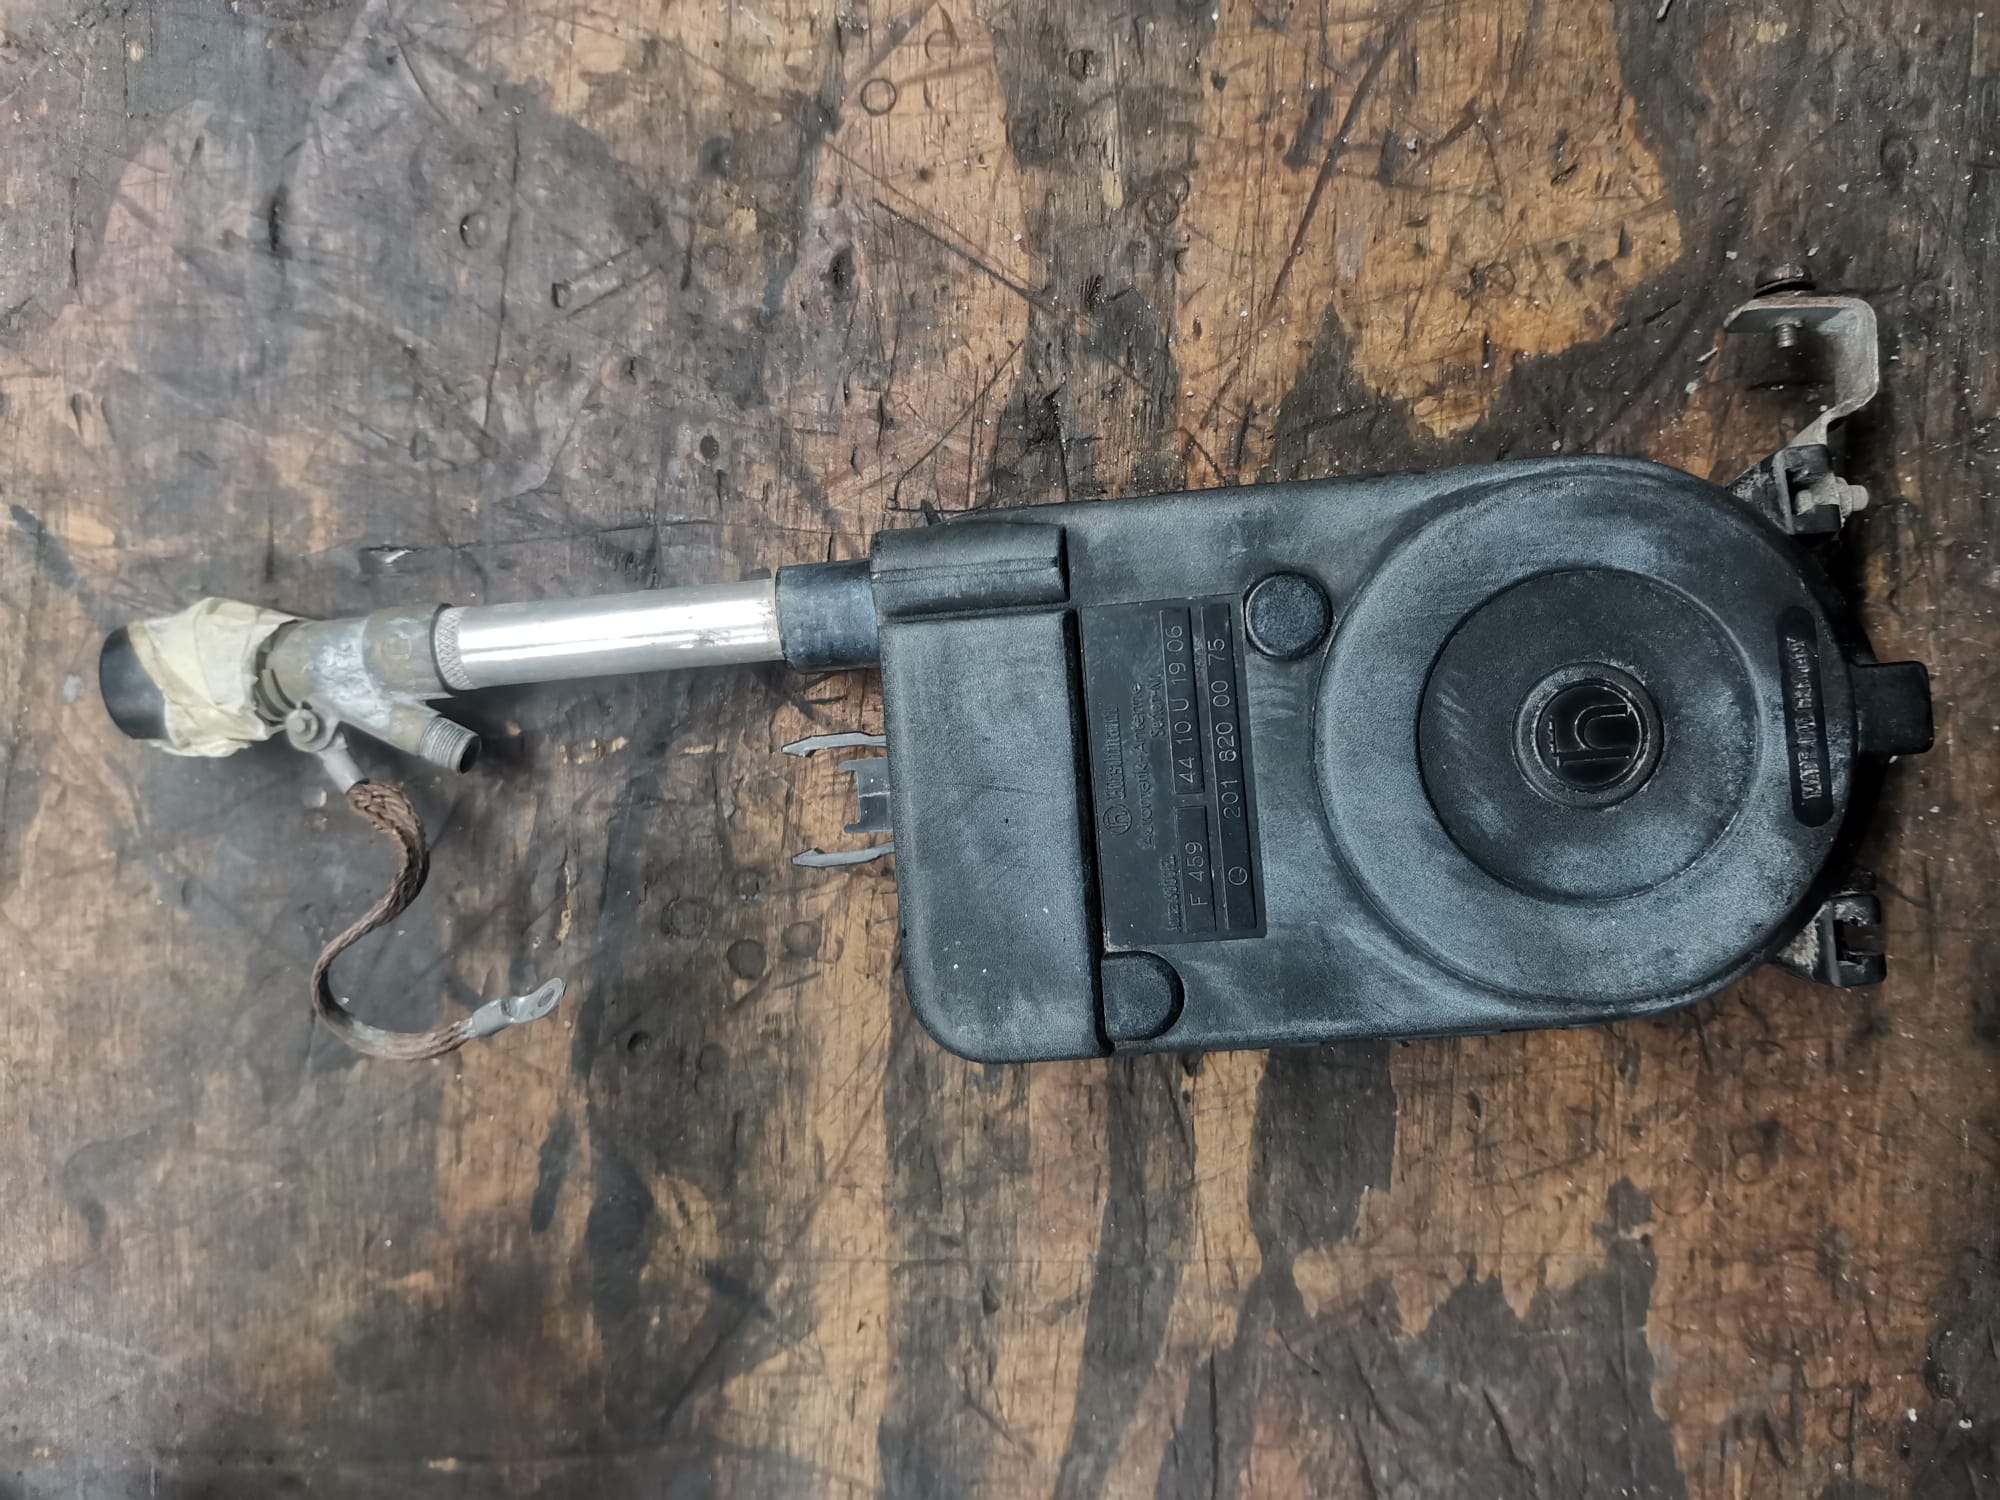
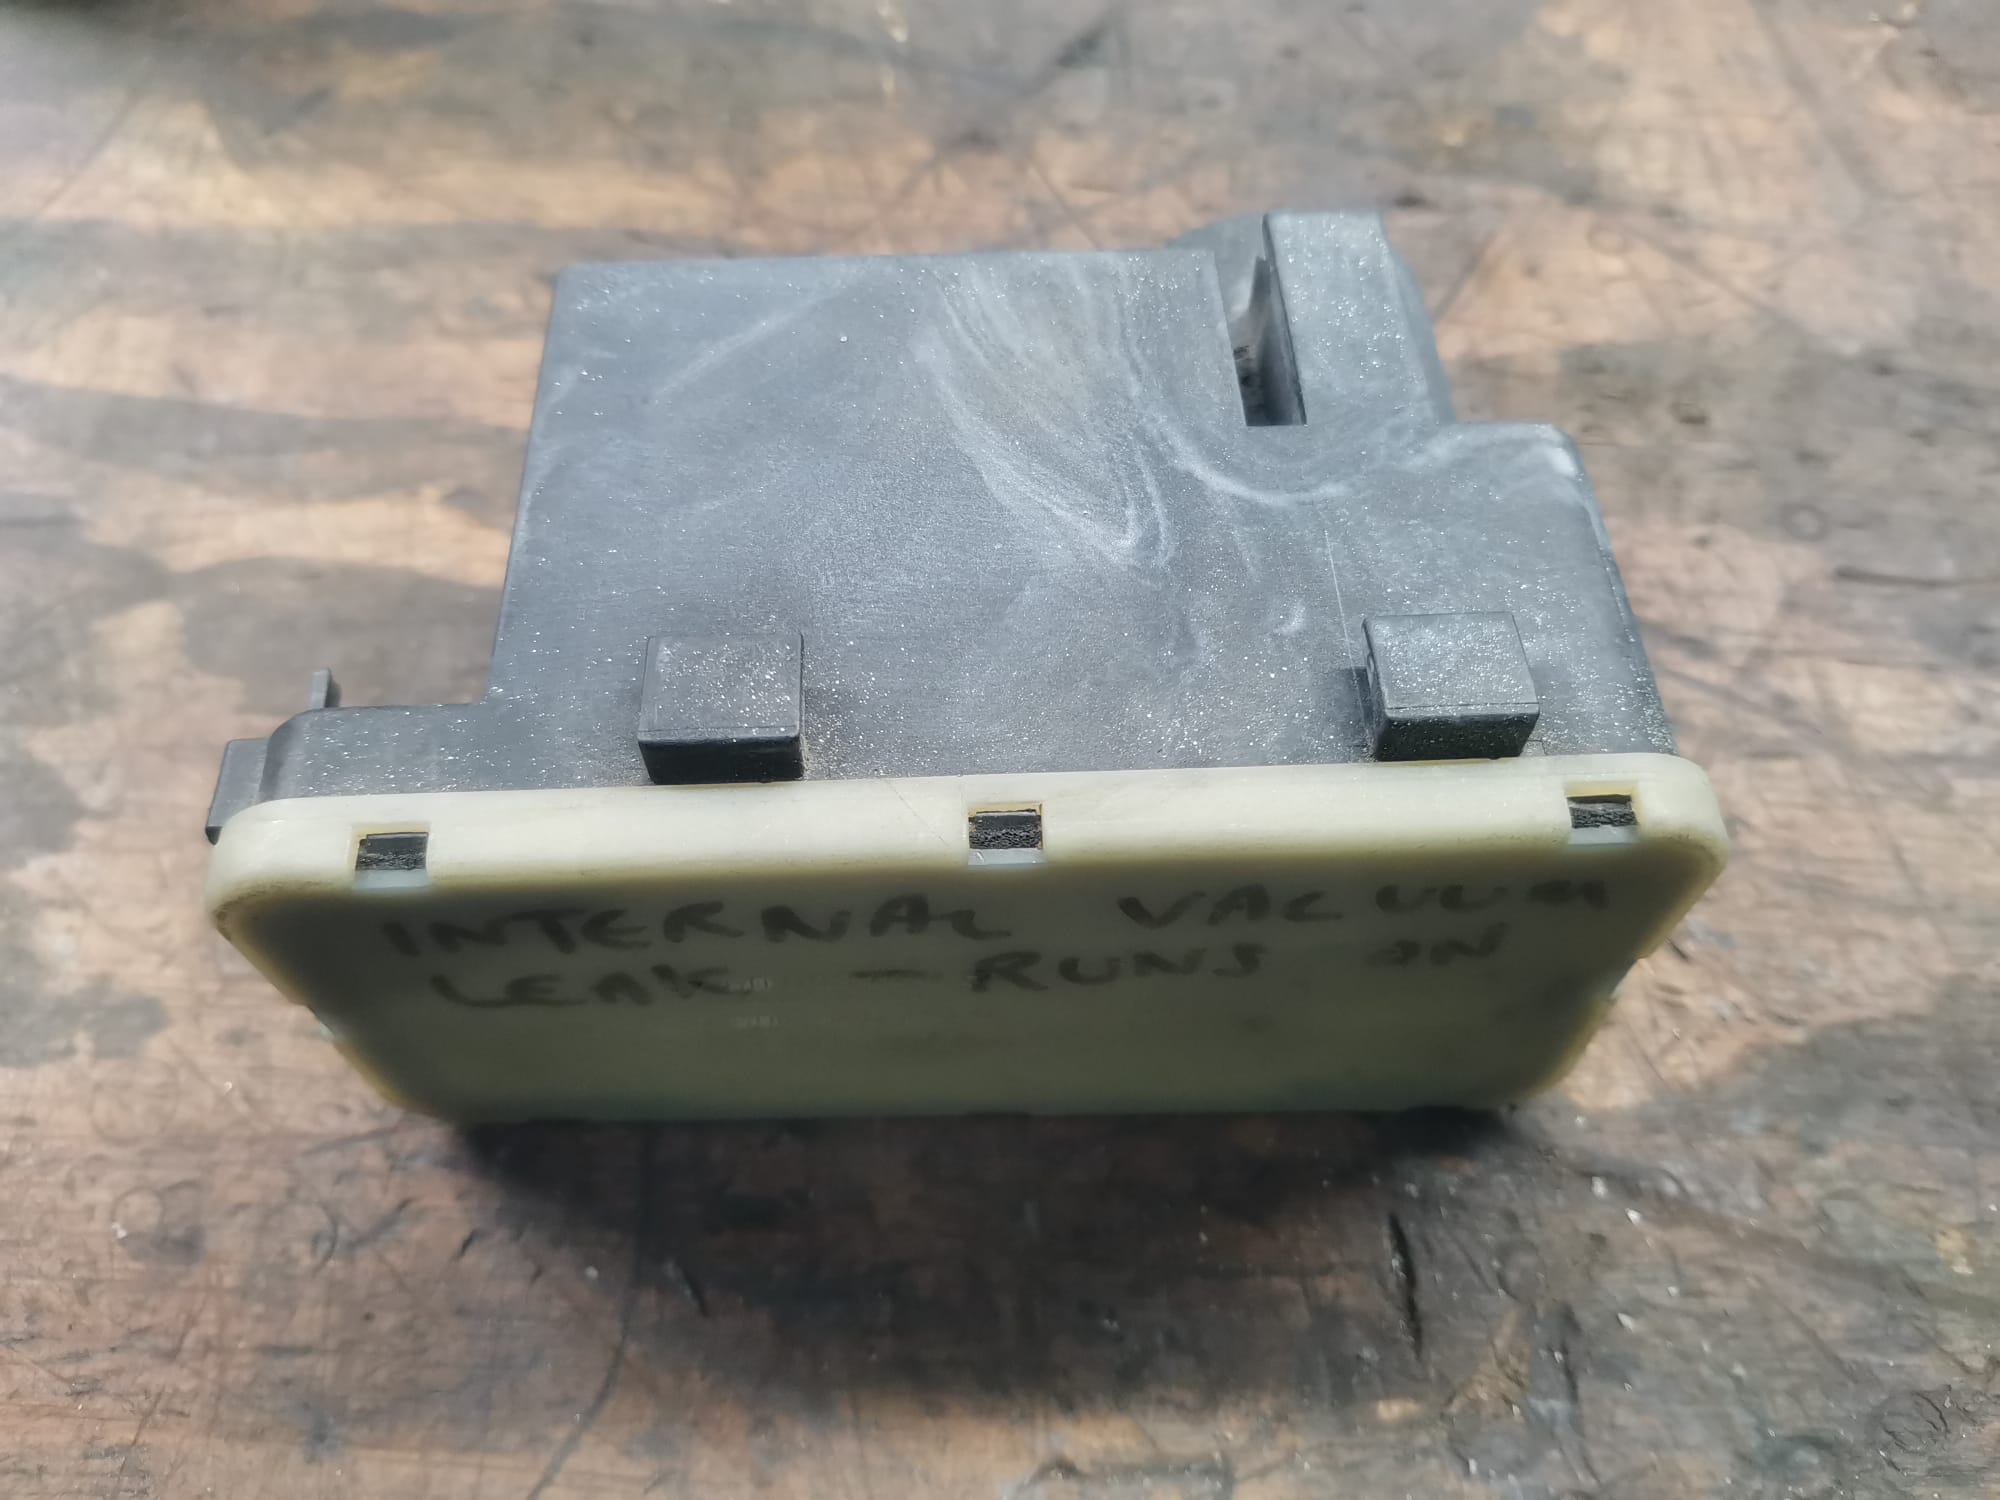
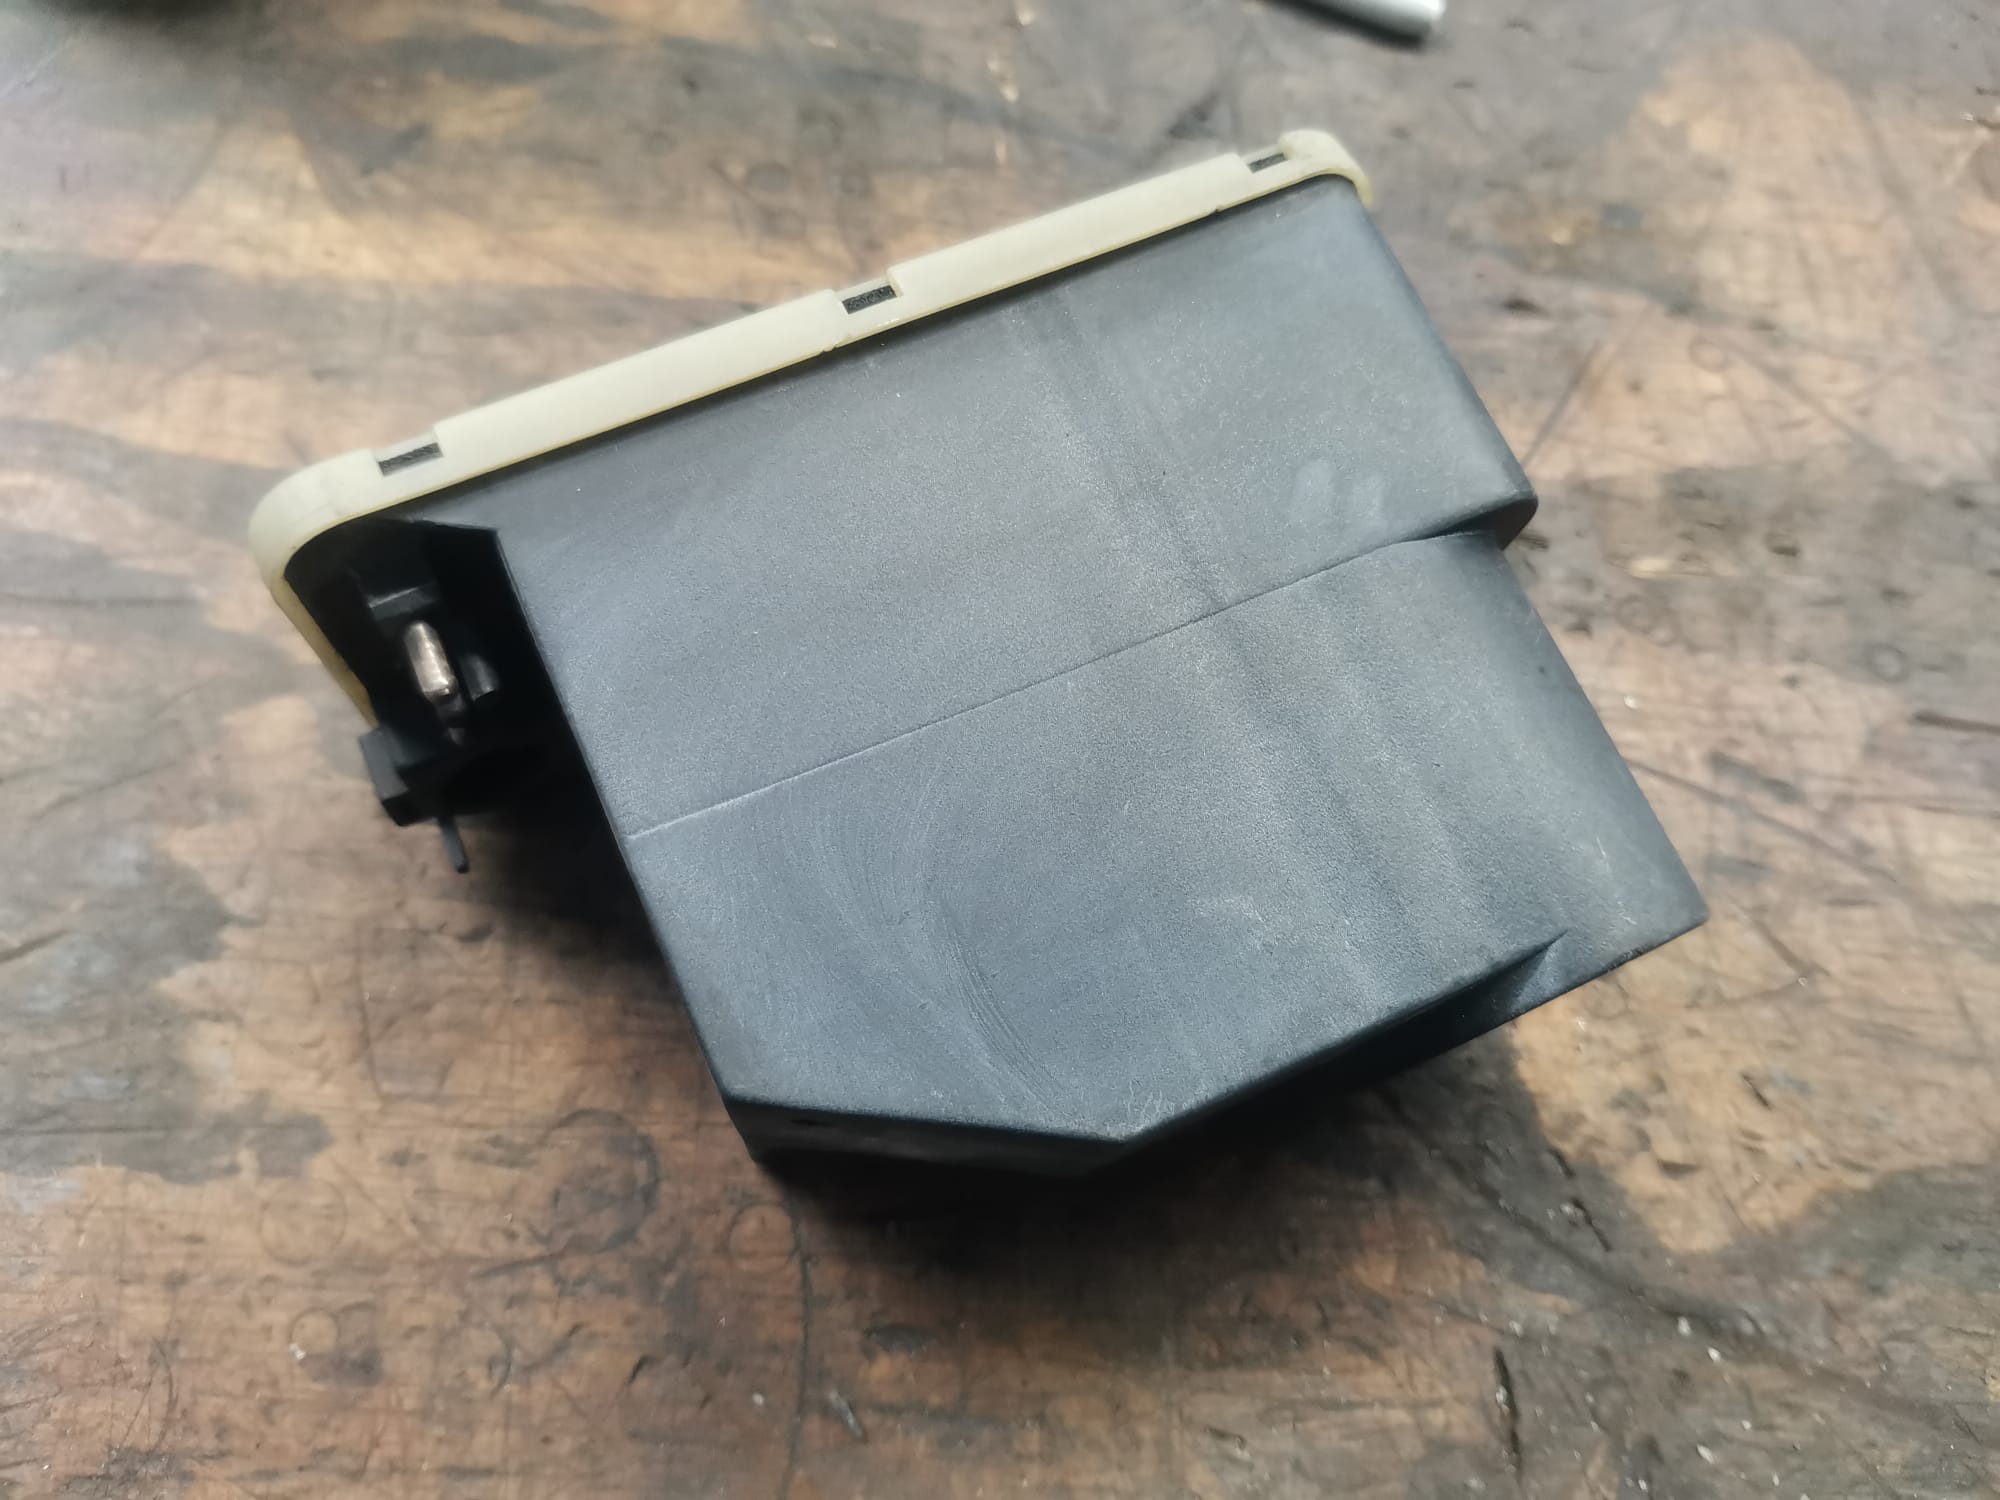
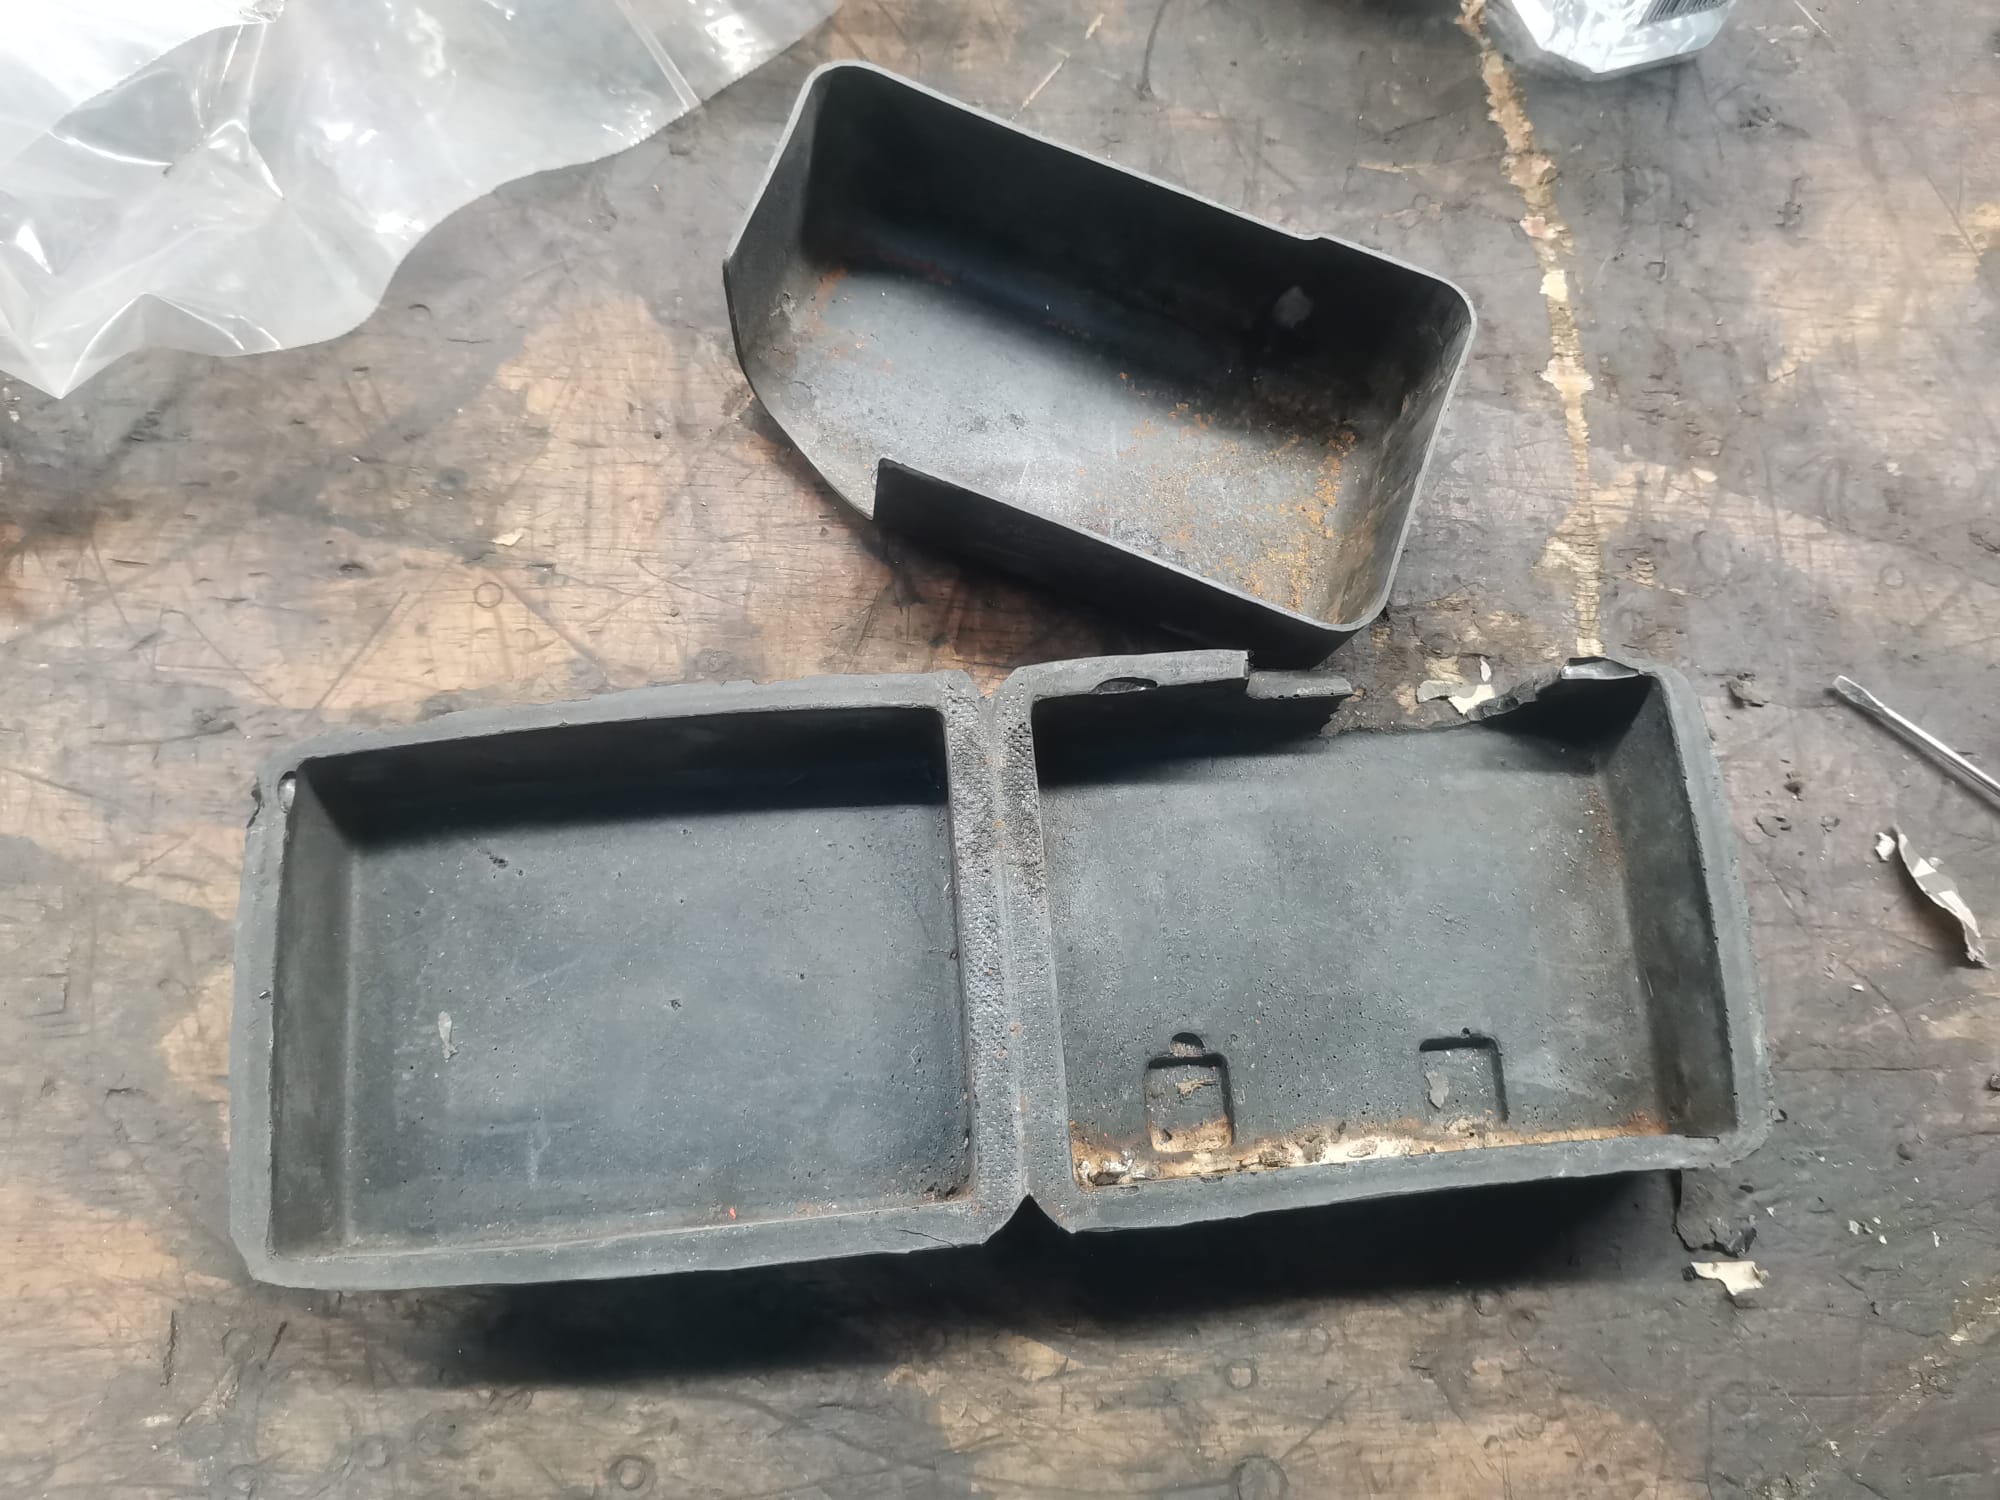
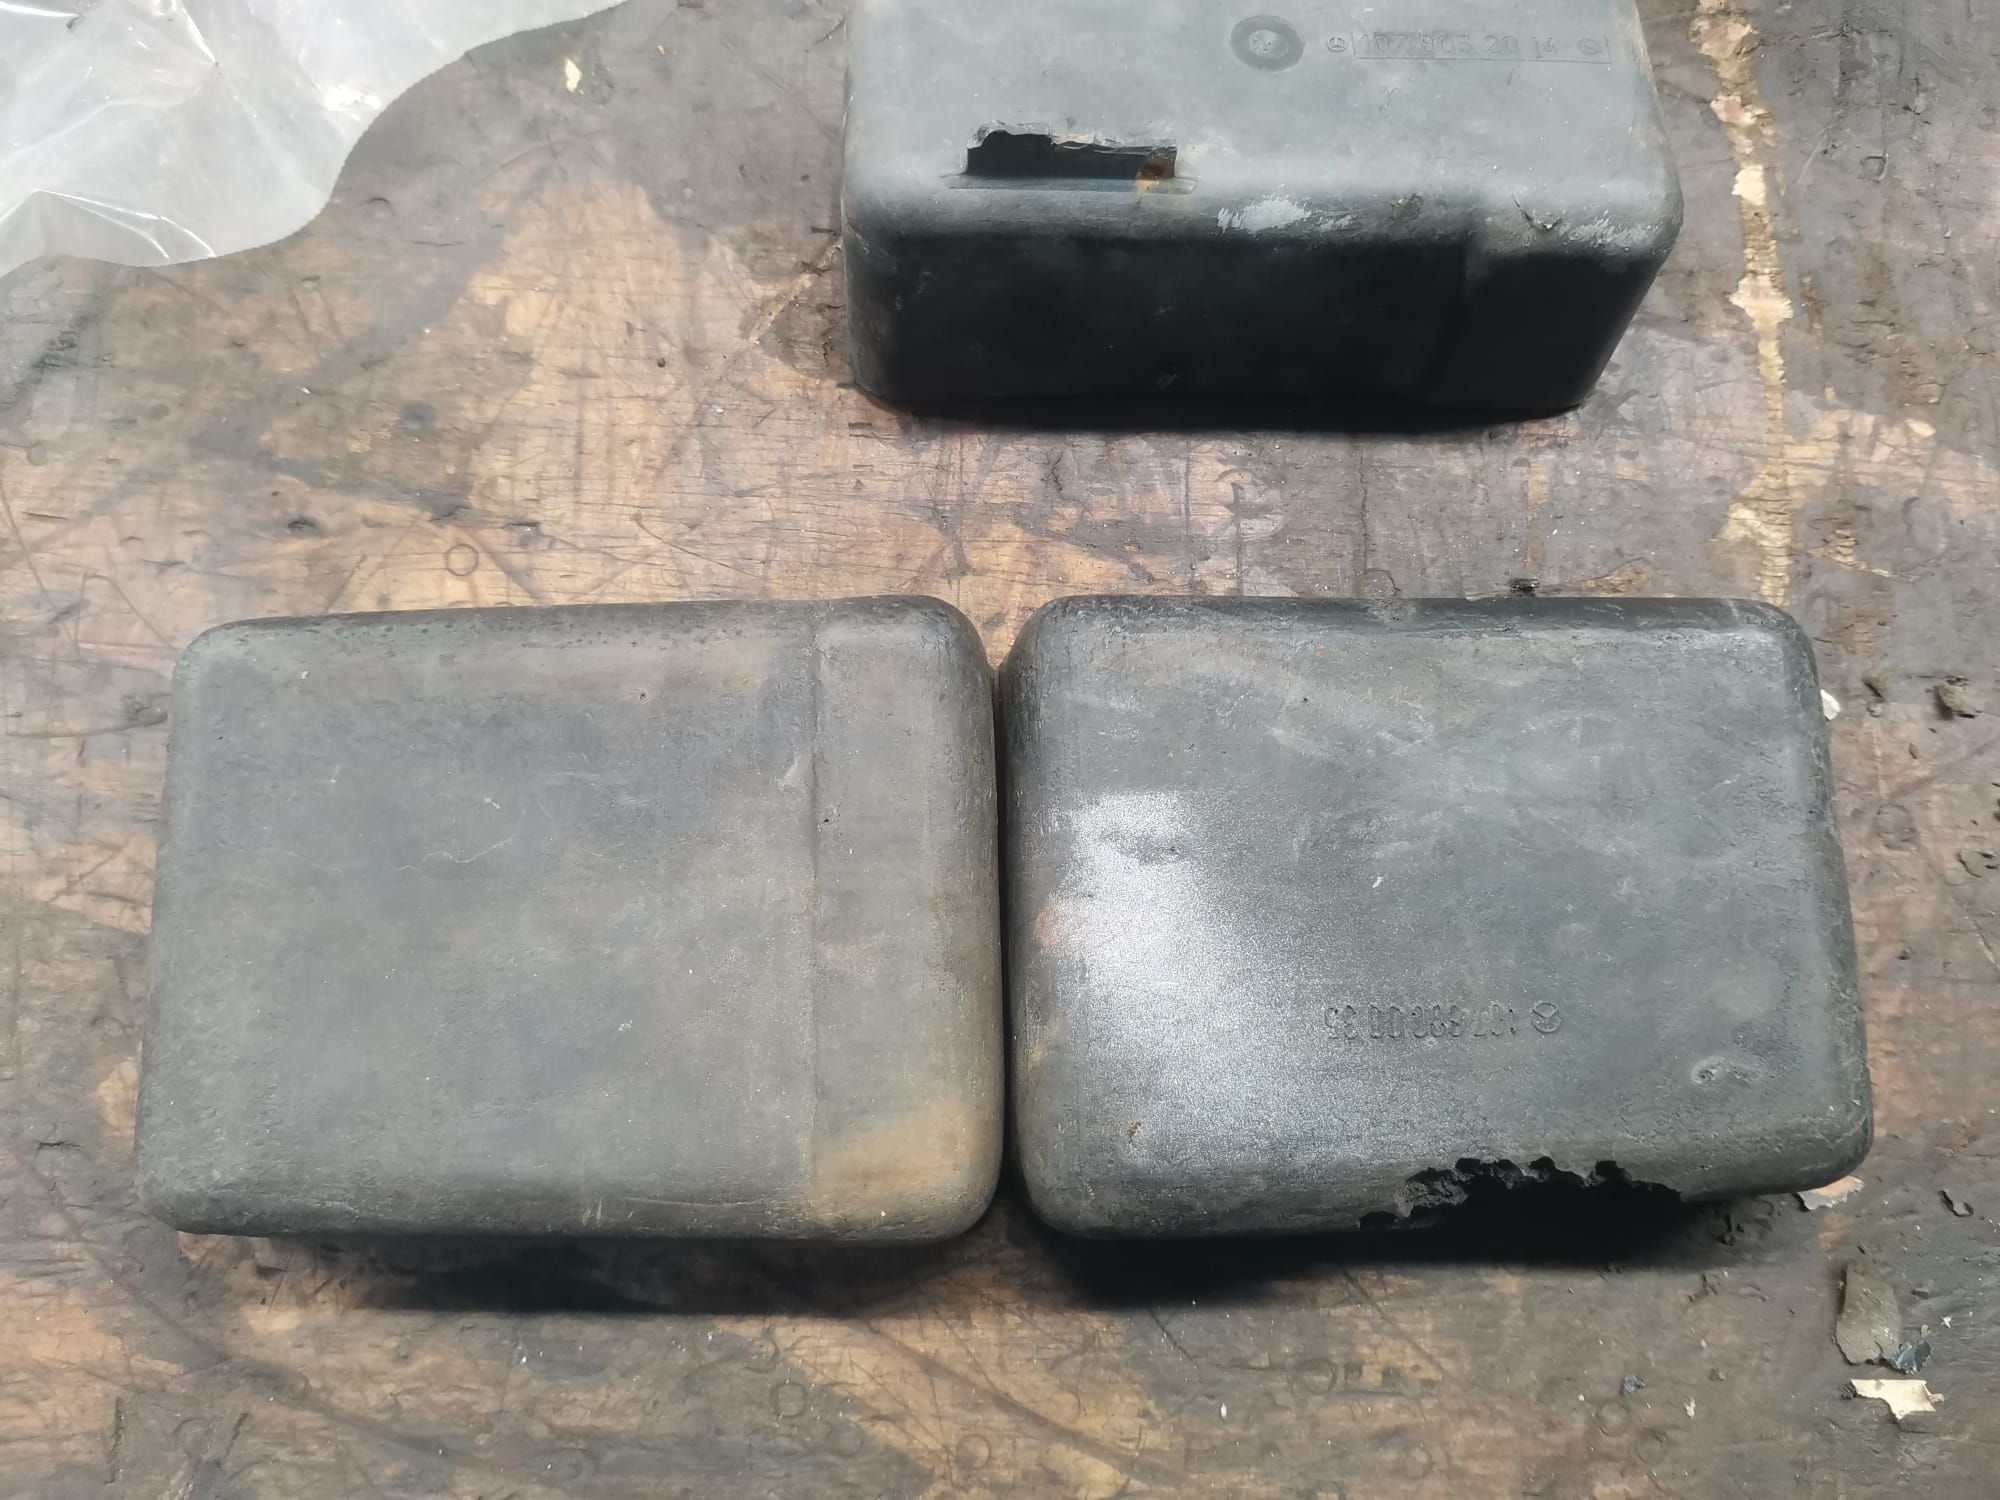
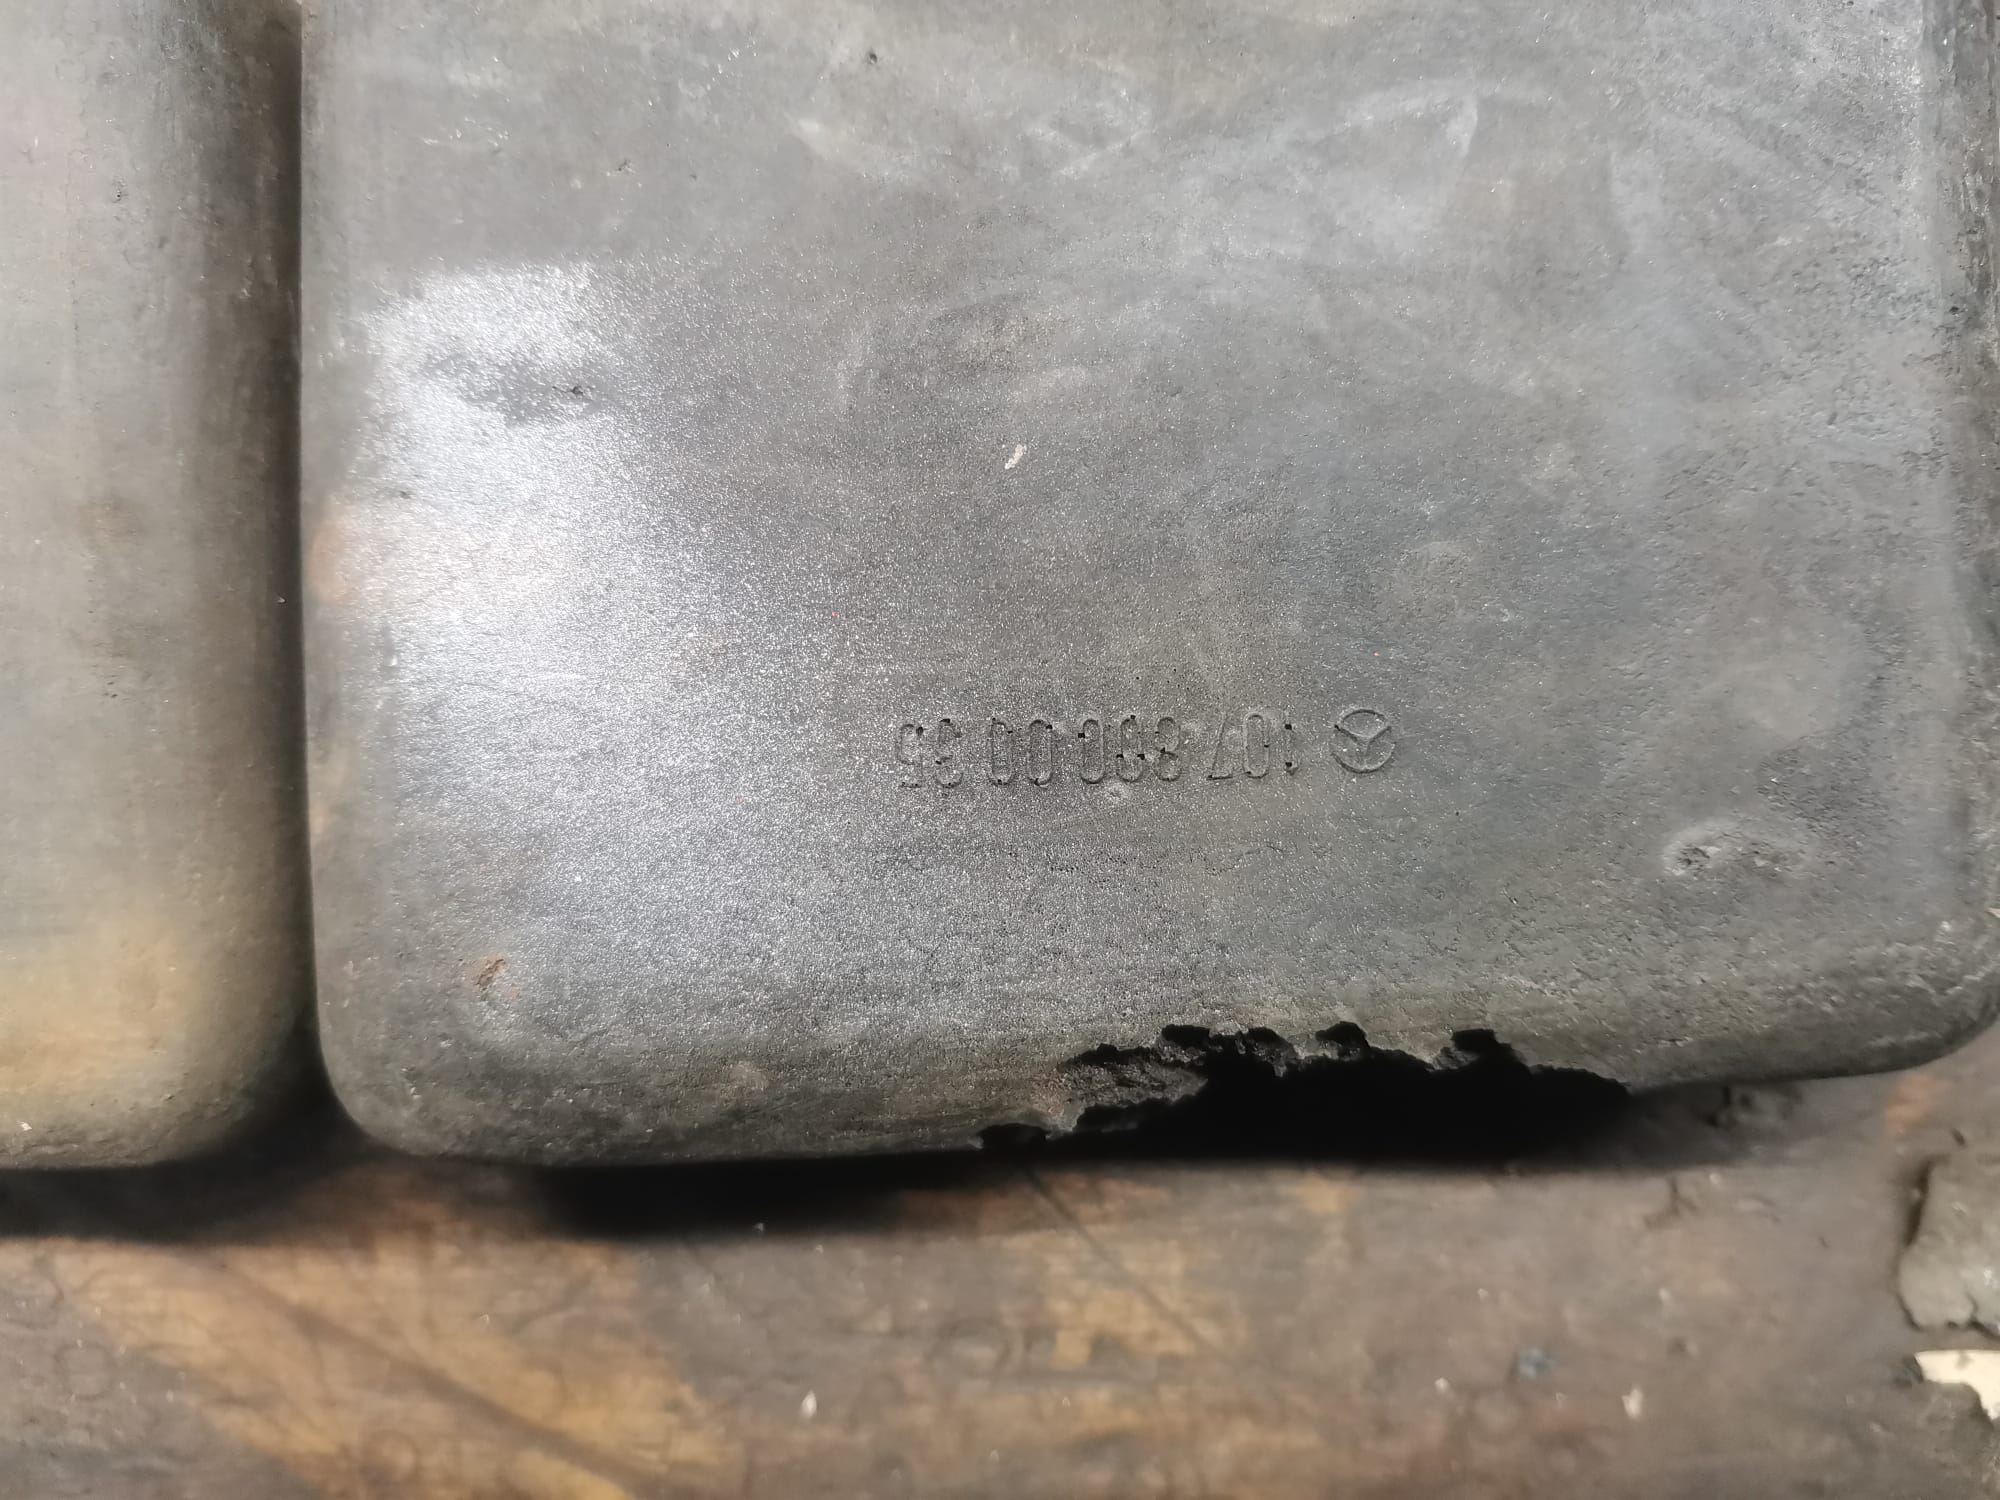
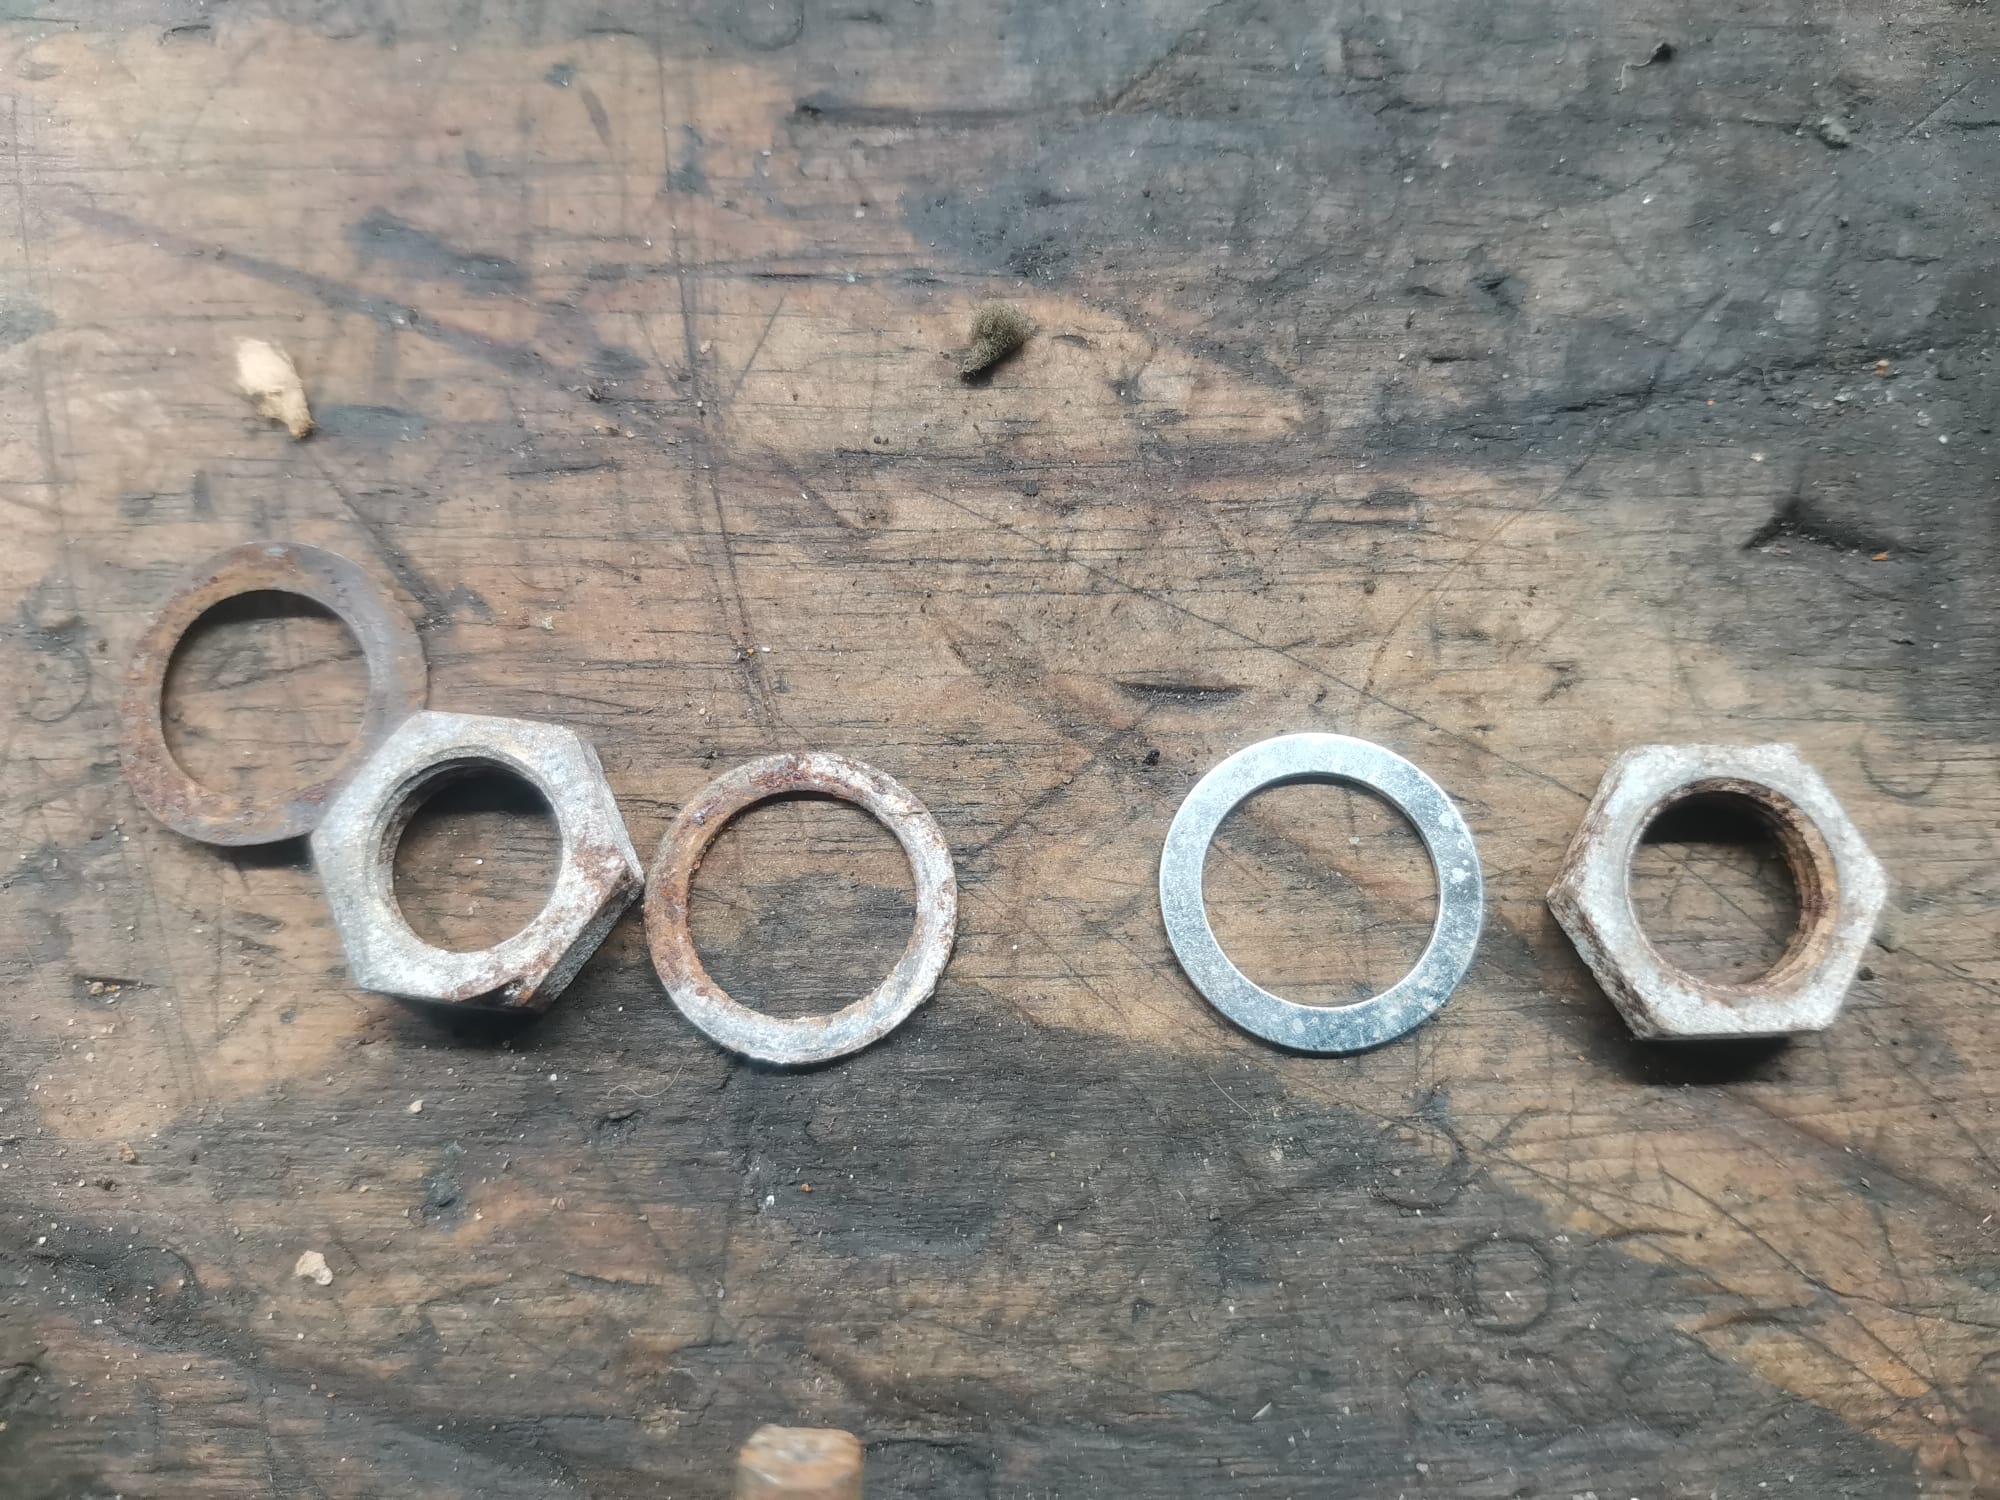
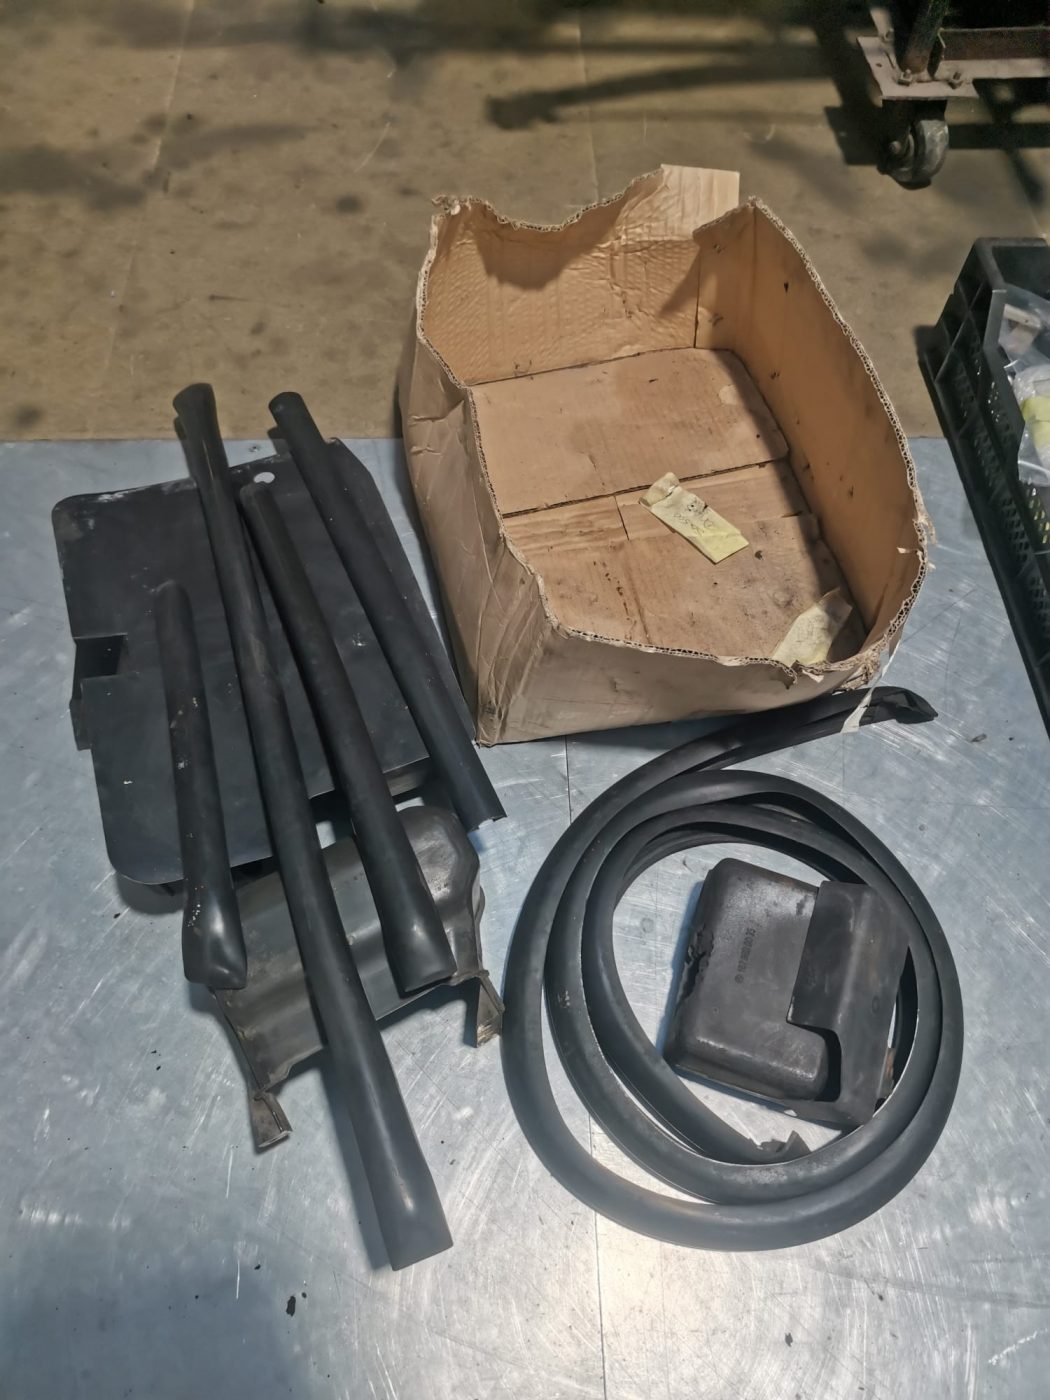
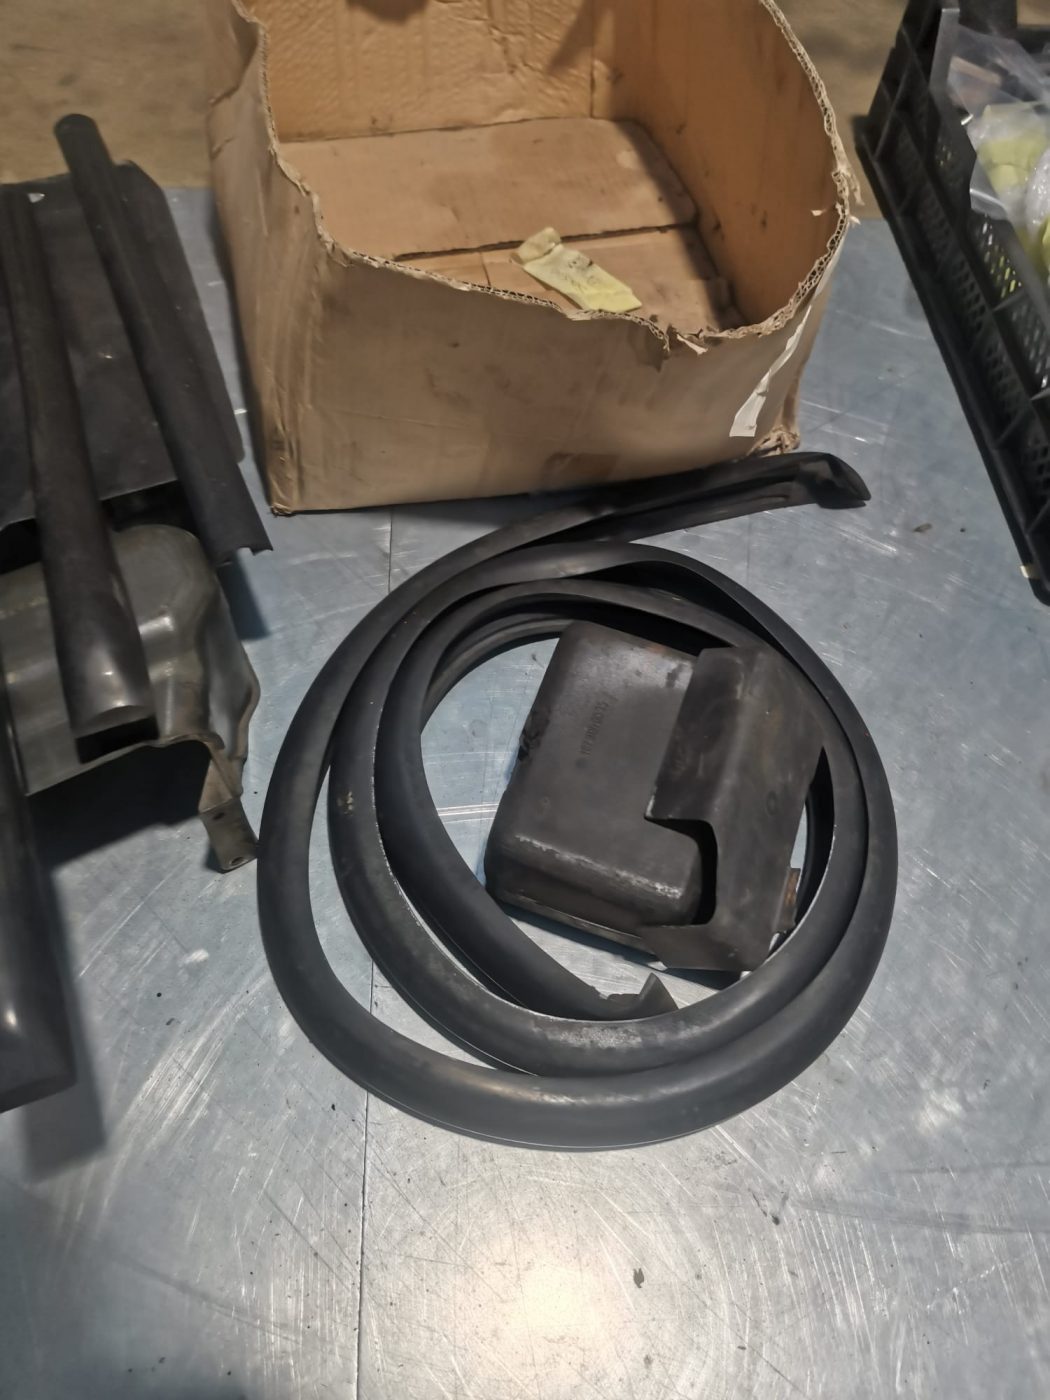
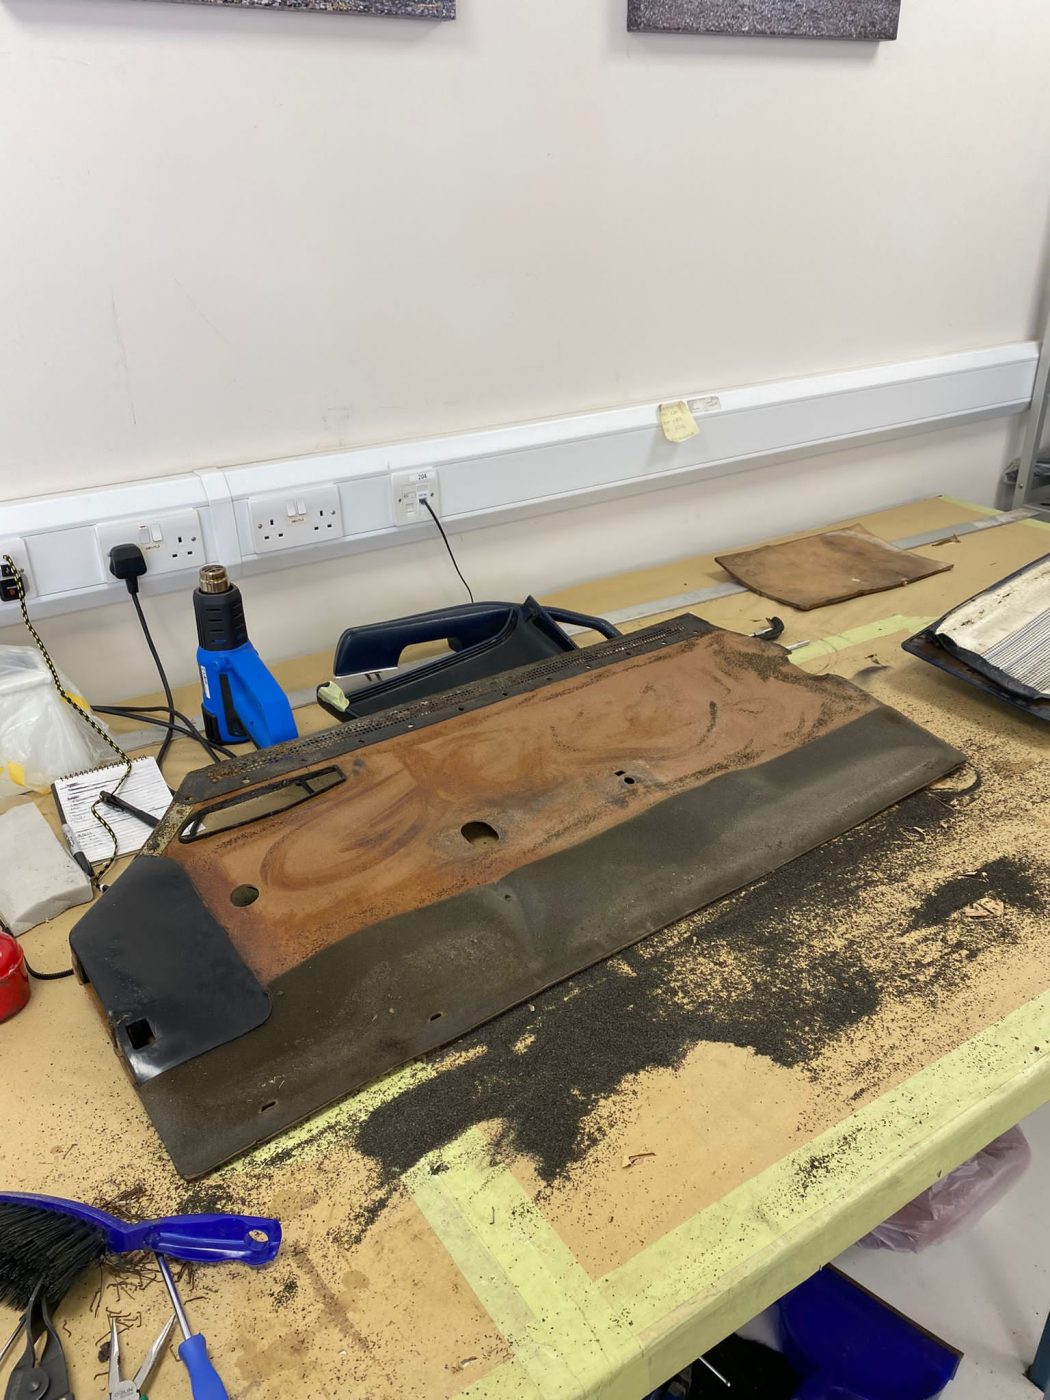
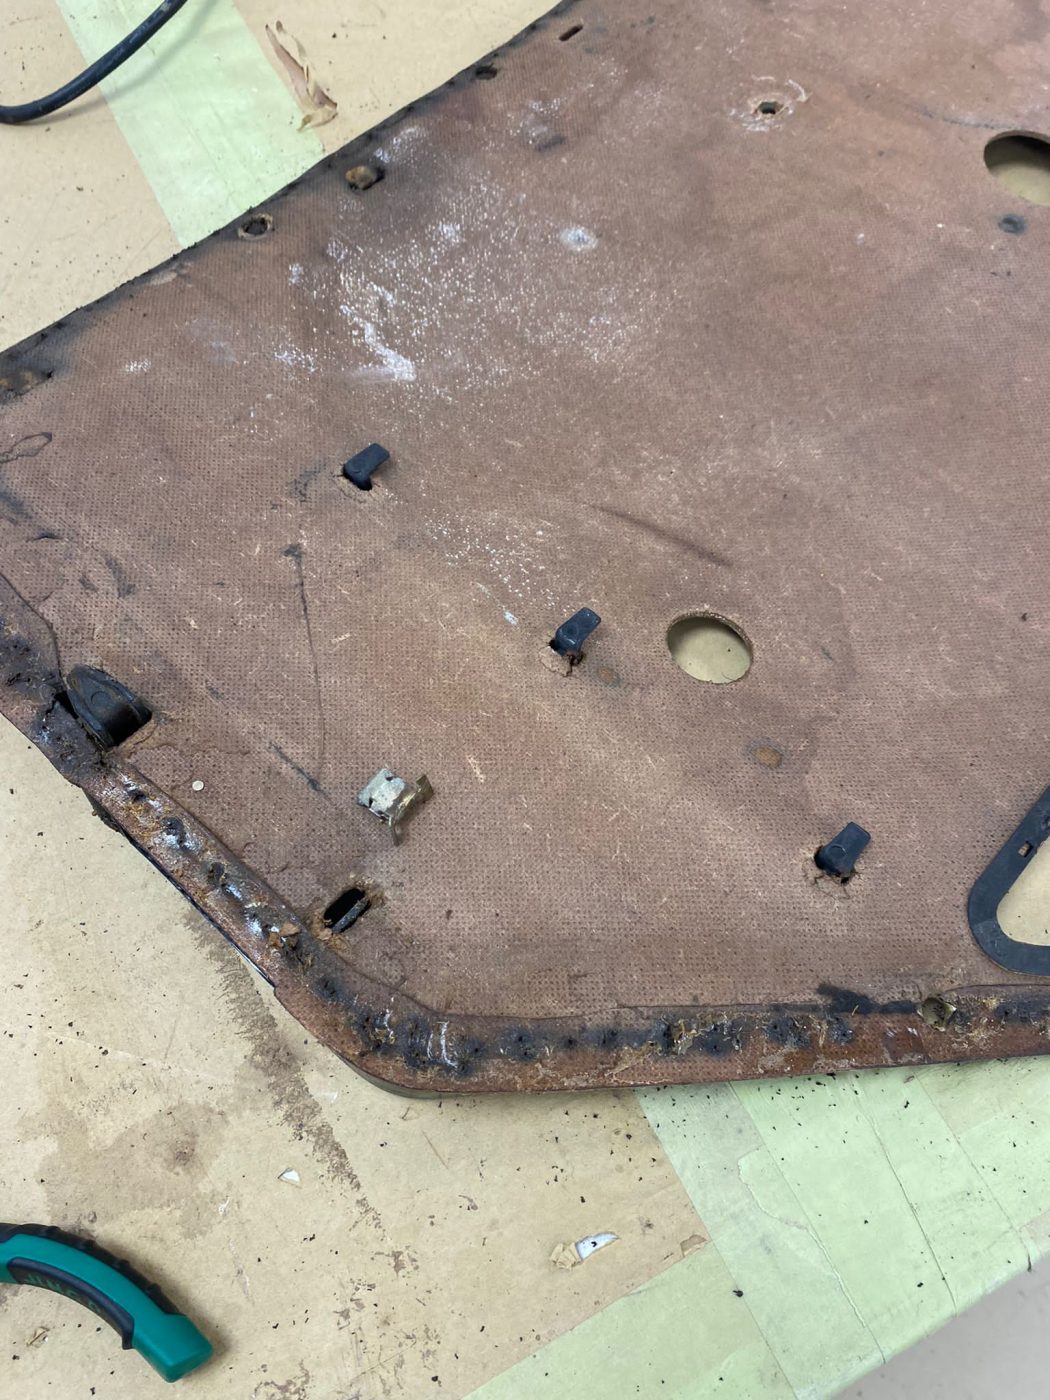
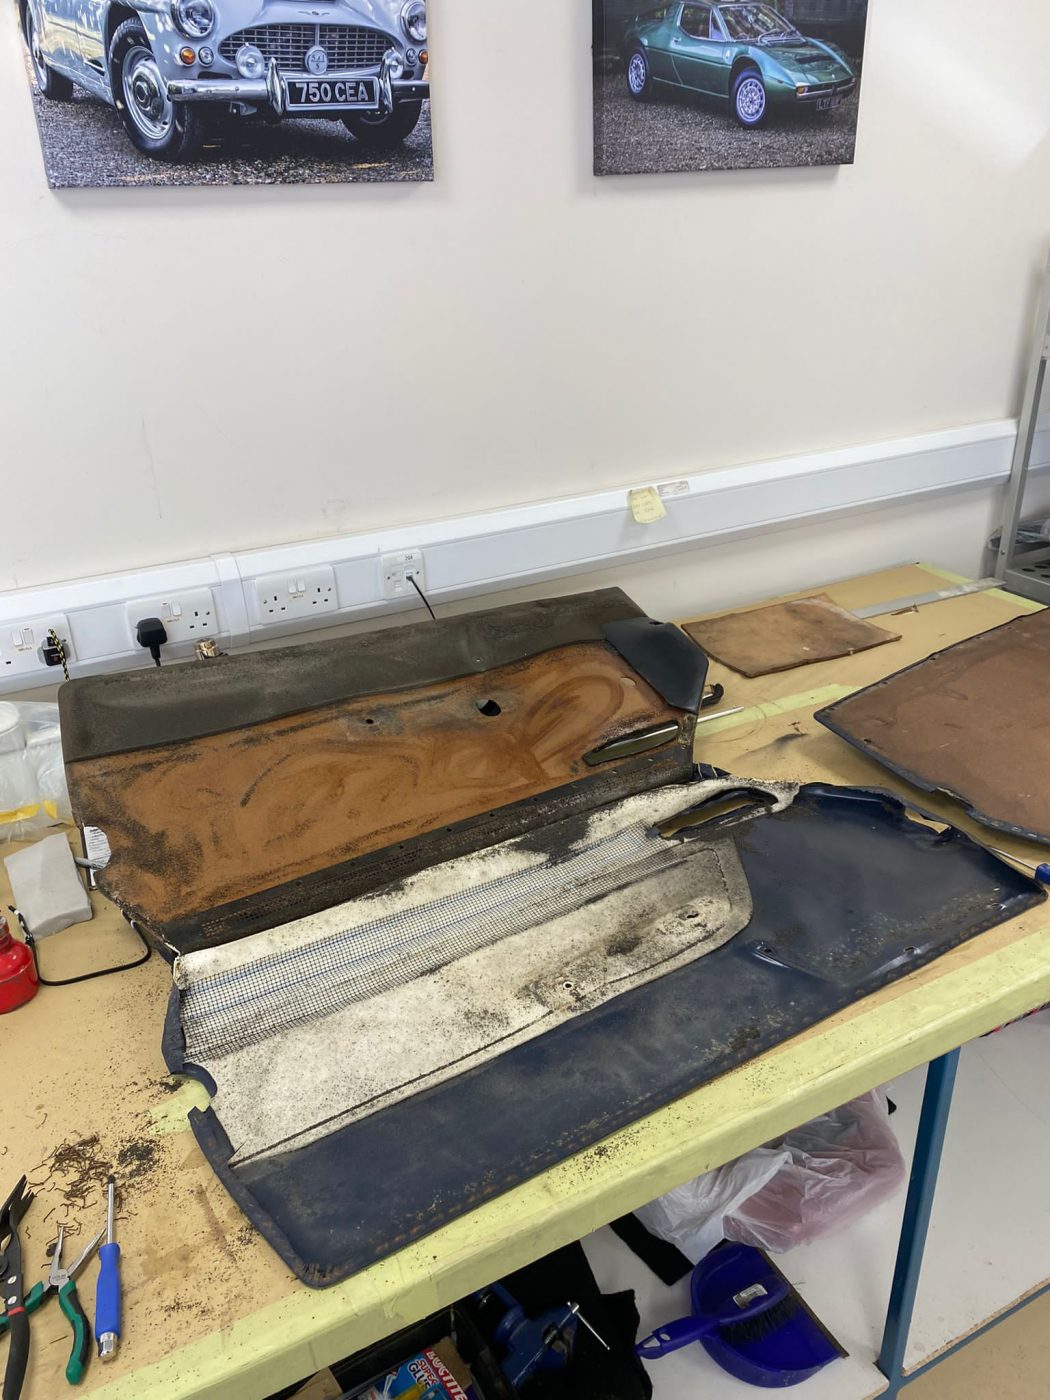
The Bridge Classic Cars in-house restoration team have been busy cleaning and cataloguing the parts for the 1987 Mercedes 500SL which is in with ourselves for restoration. Our in-house restoration technician Tamas has been meticulously going through every component which was removed from the car to evaluate and note its condition and part number if needed.
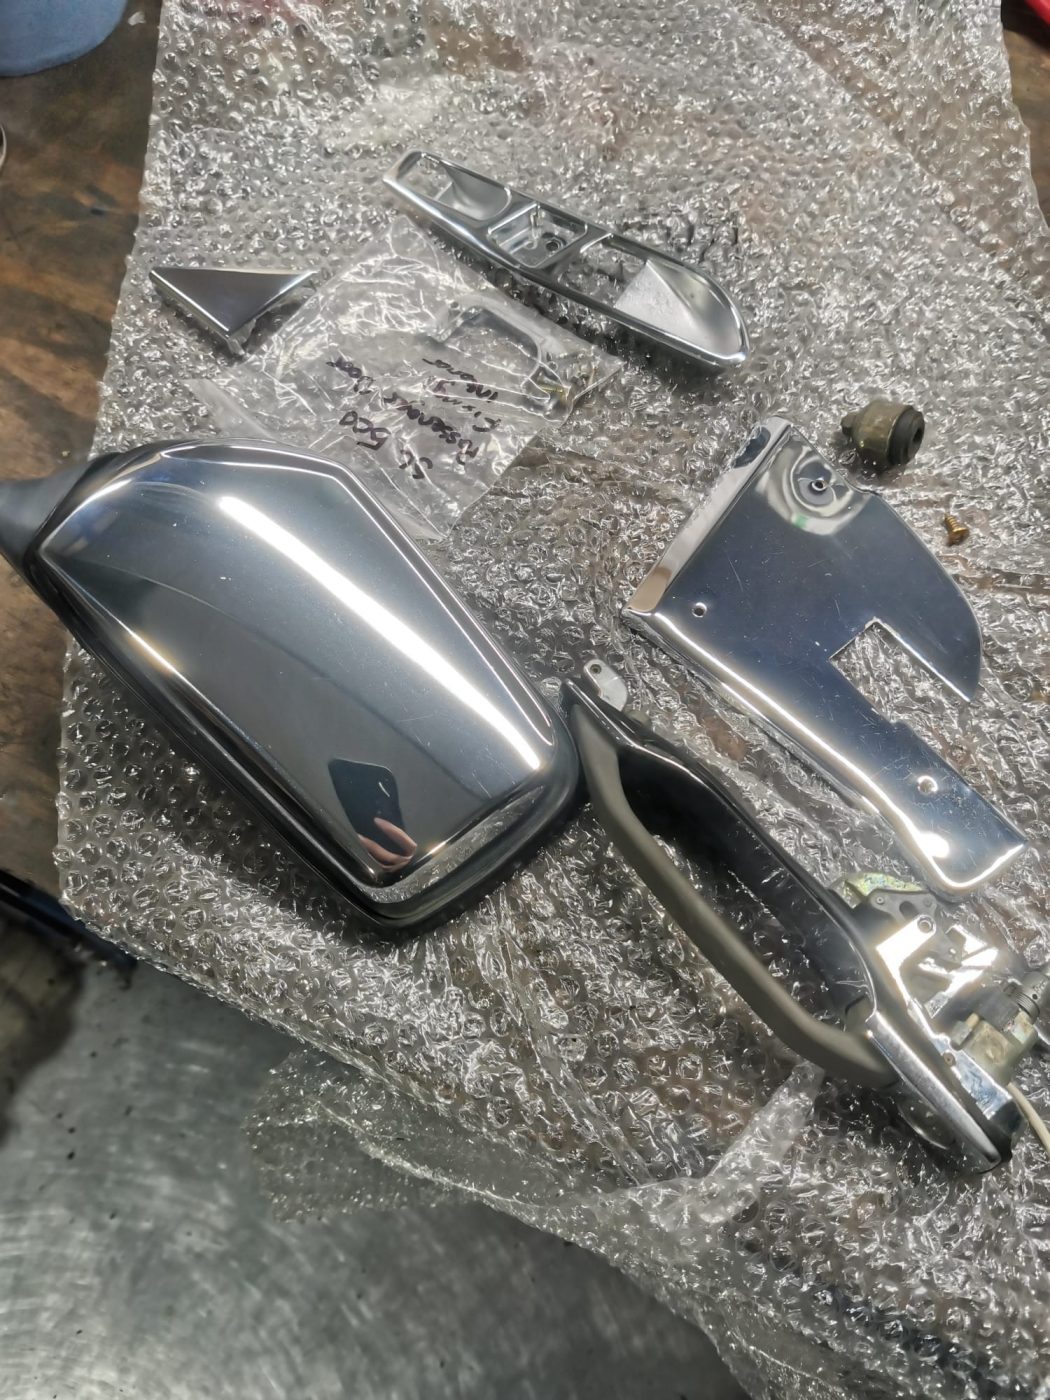
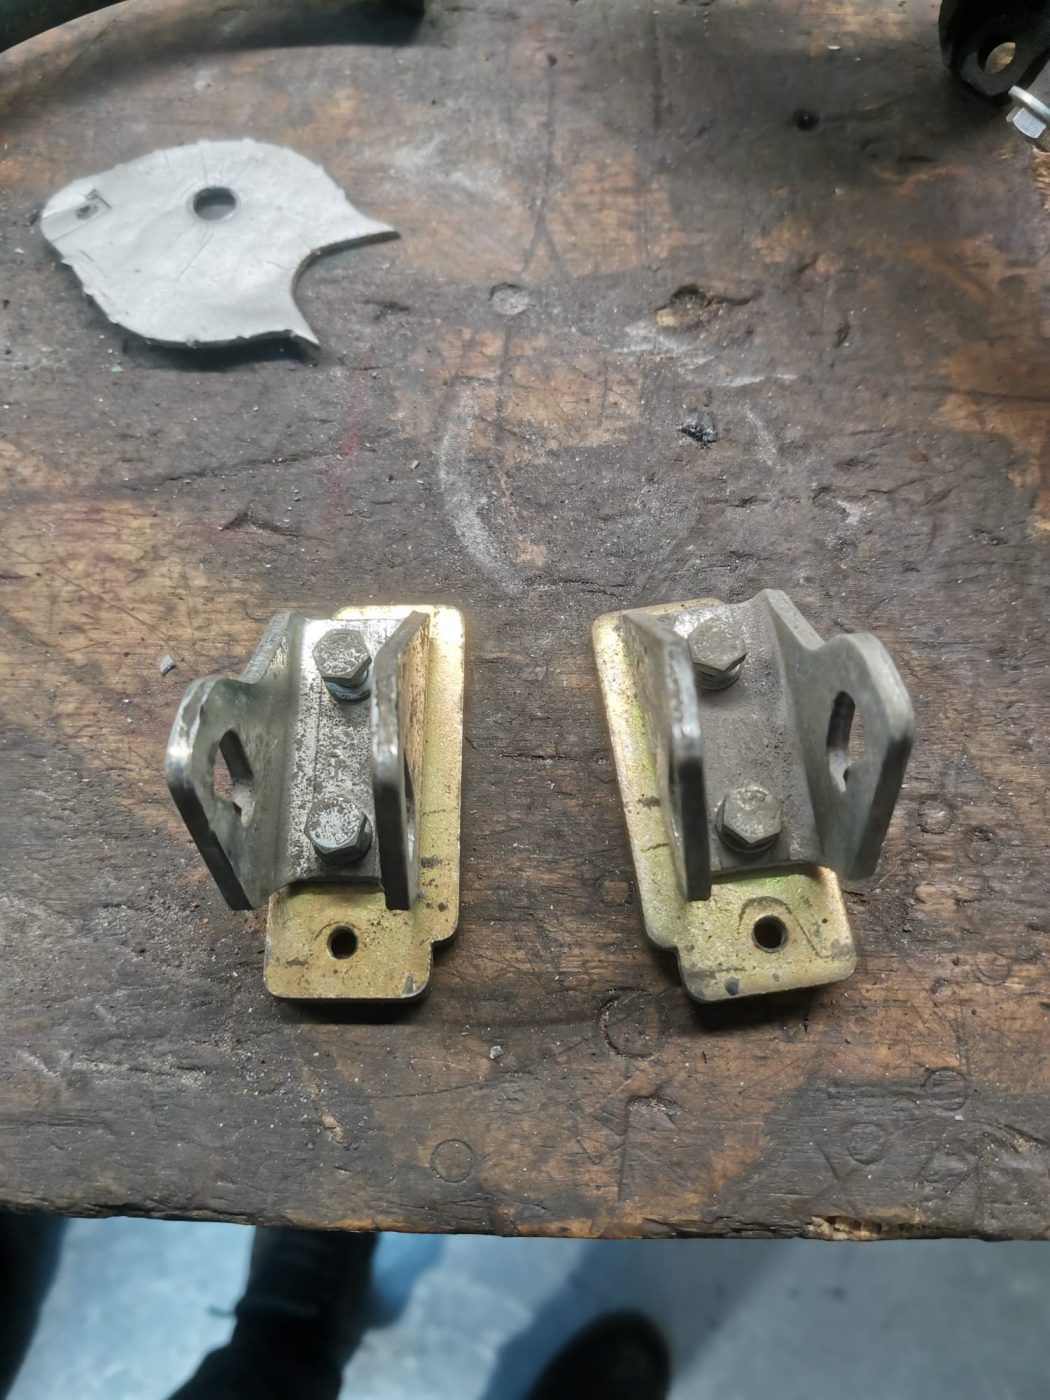
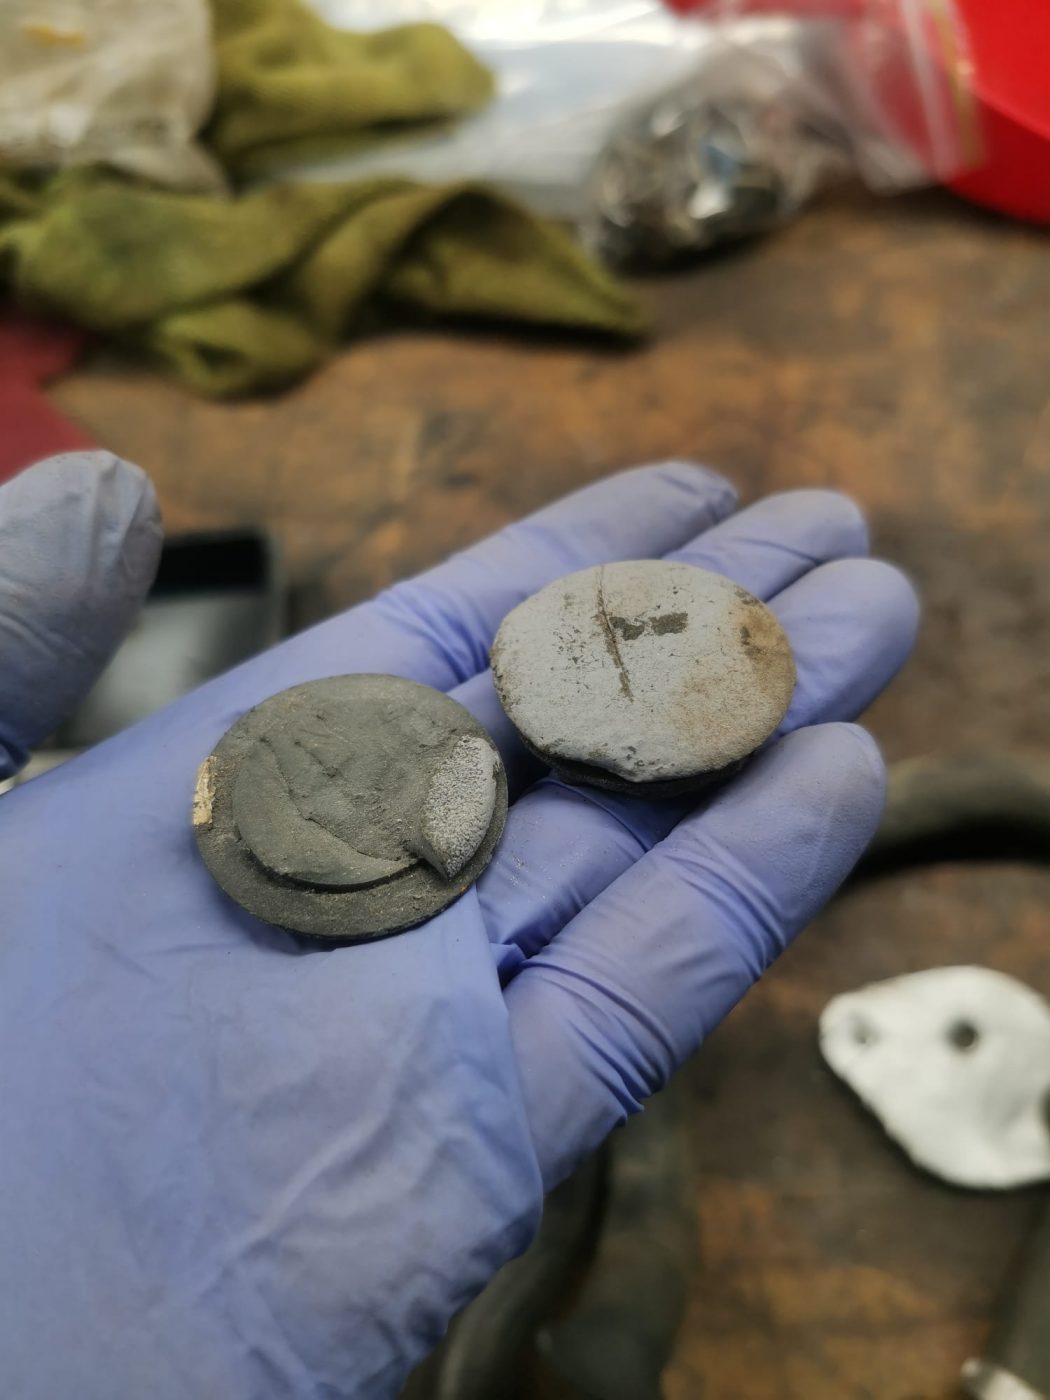
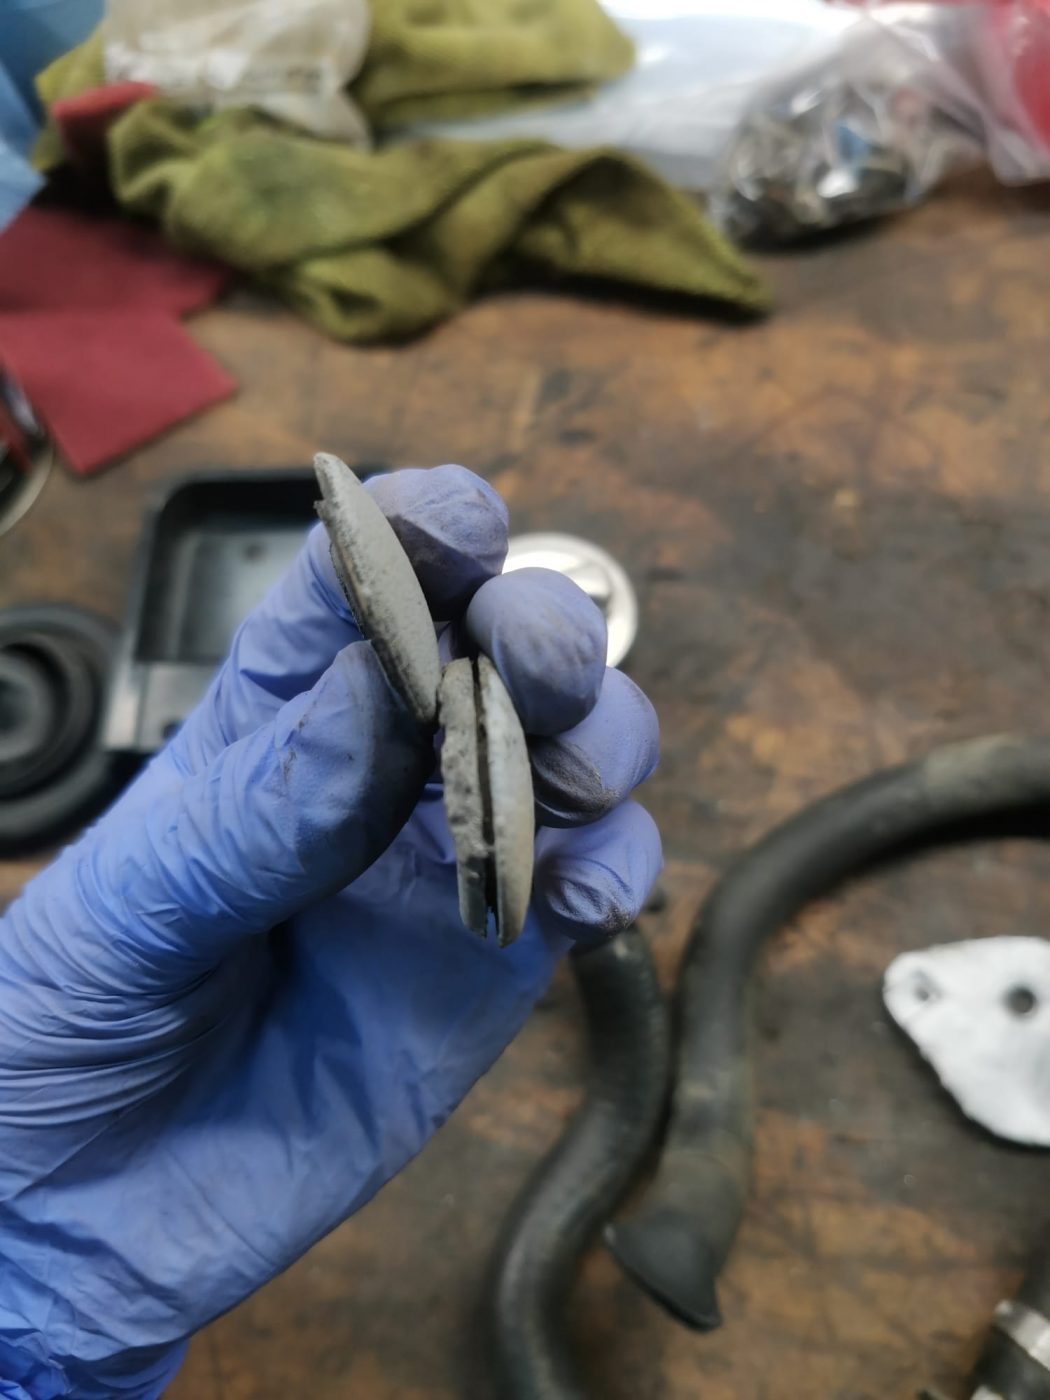
Some of these pieces will be sent out to specialists for refurbishment or refinishing but others will have particular treatments and processes done to them in-house.
To see all of the parts our technician has gone through, see the gallery below!


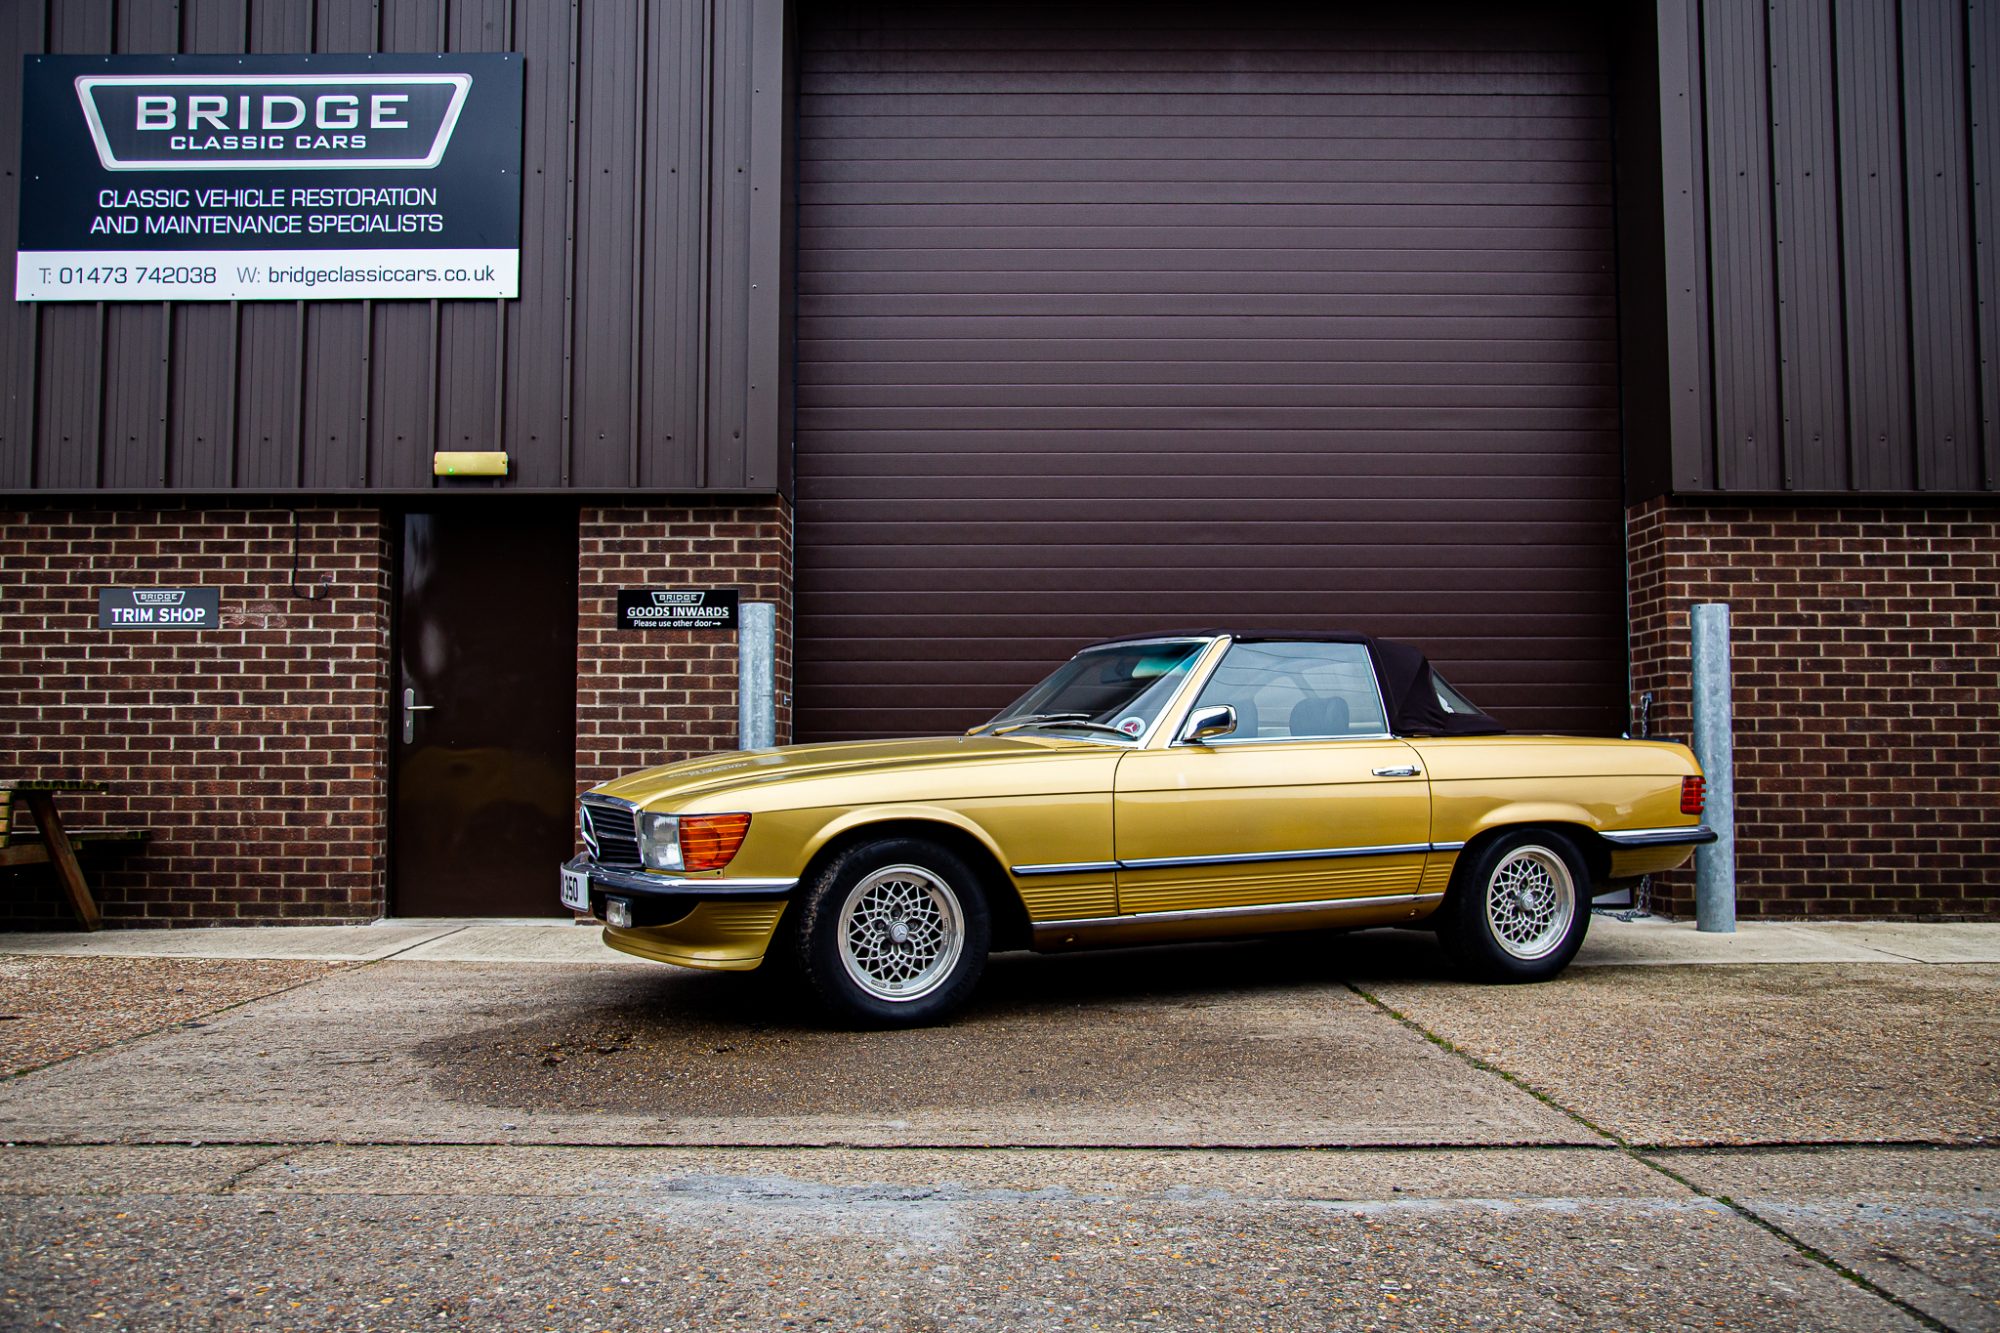
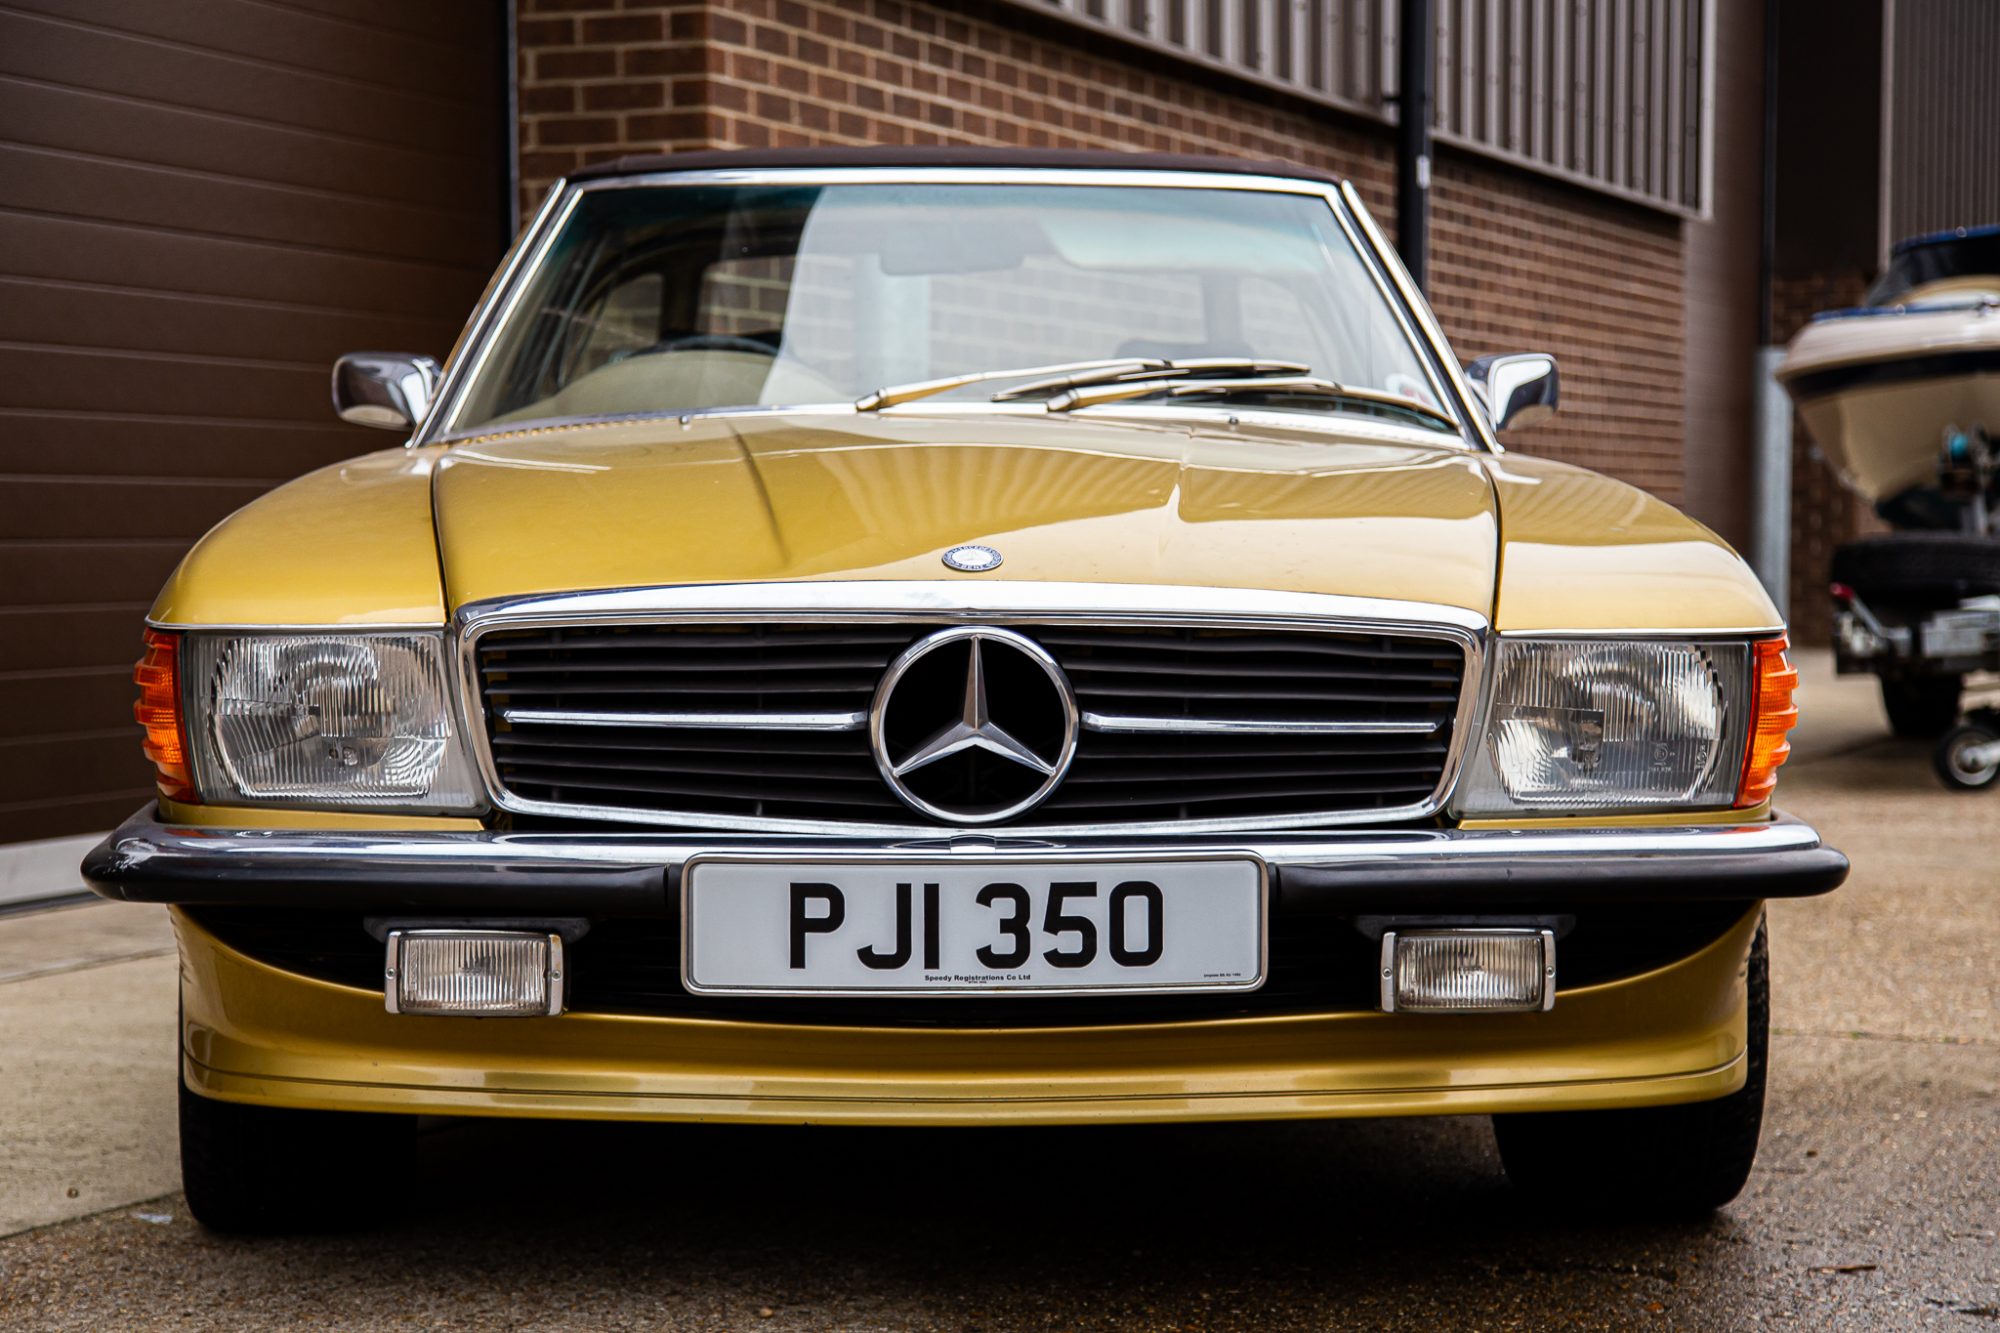
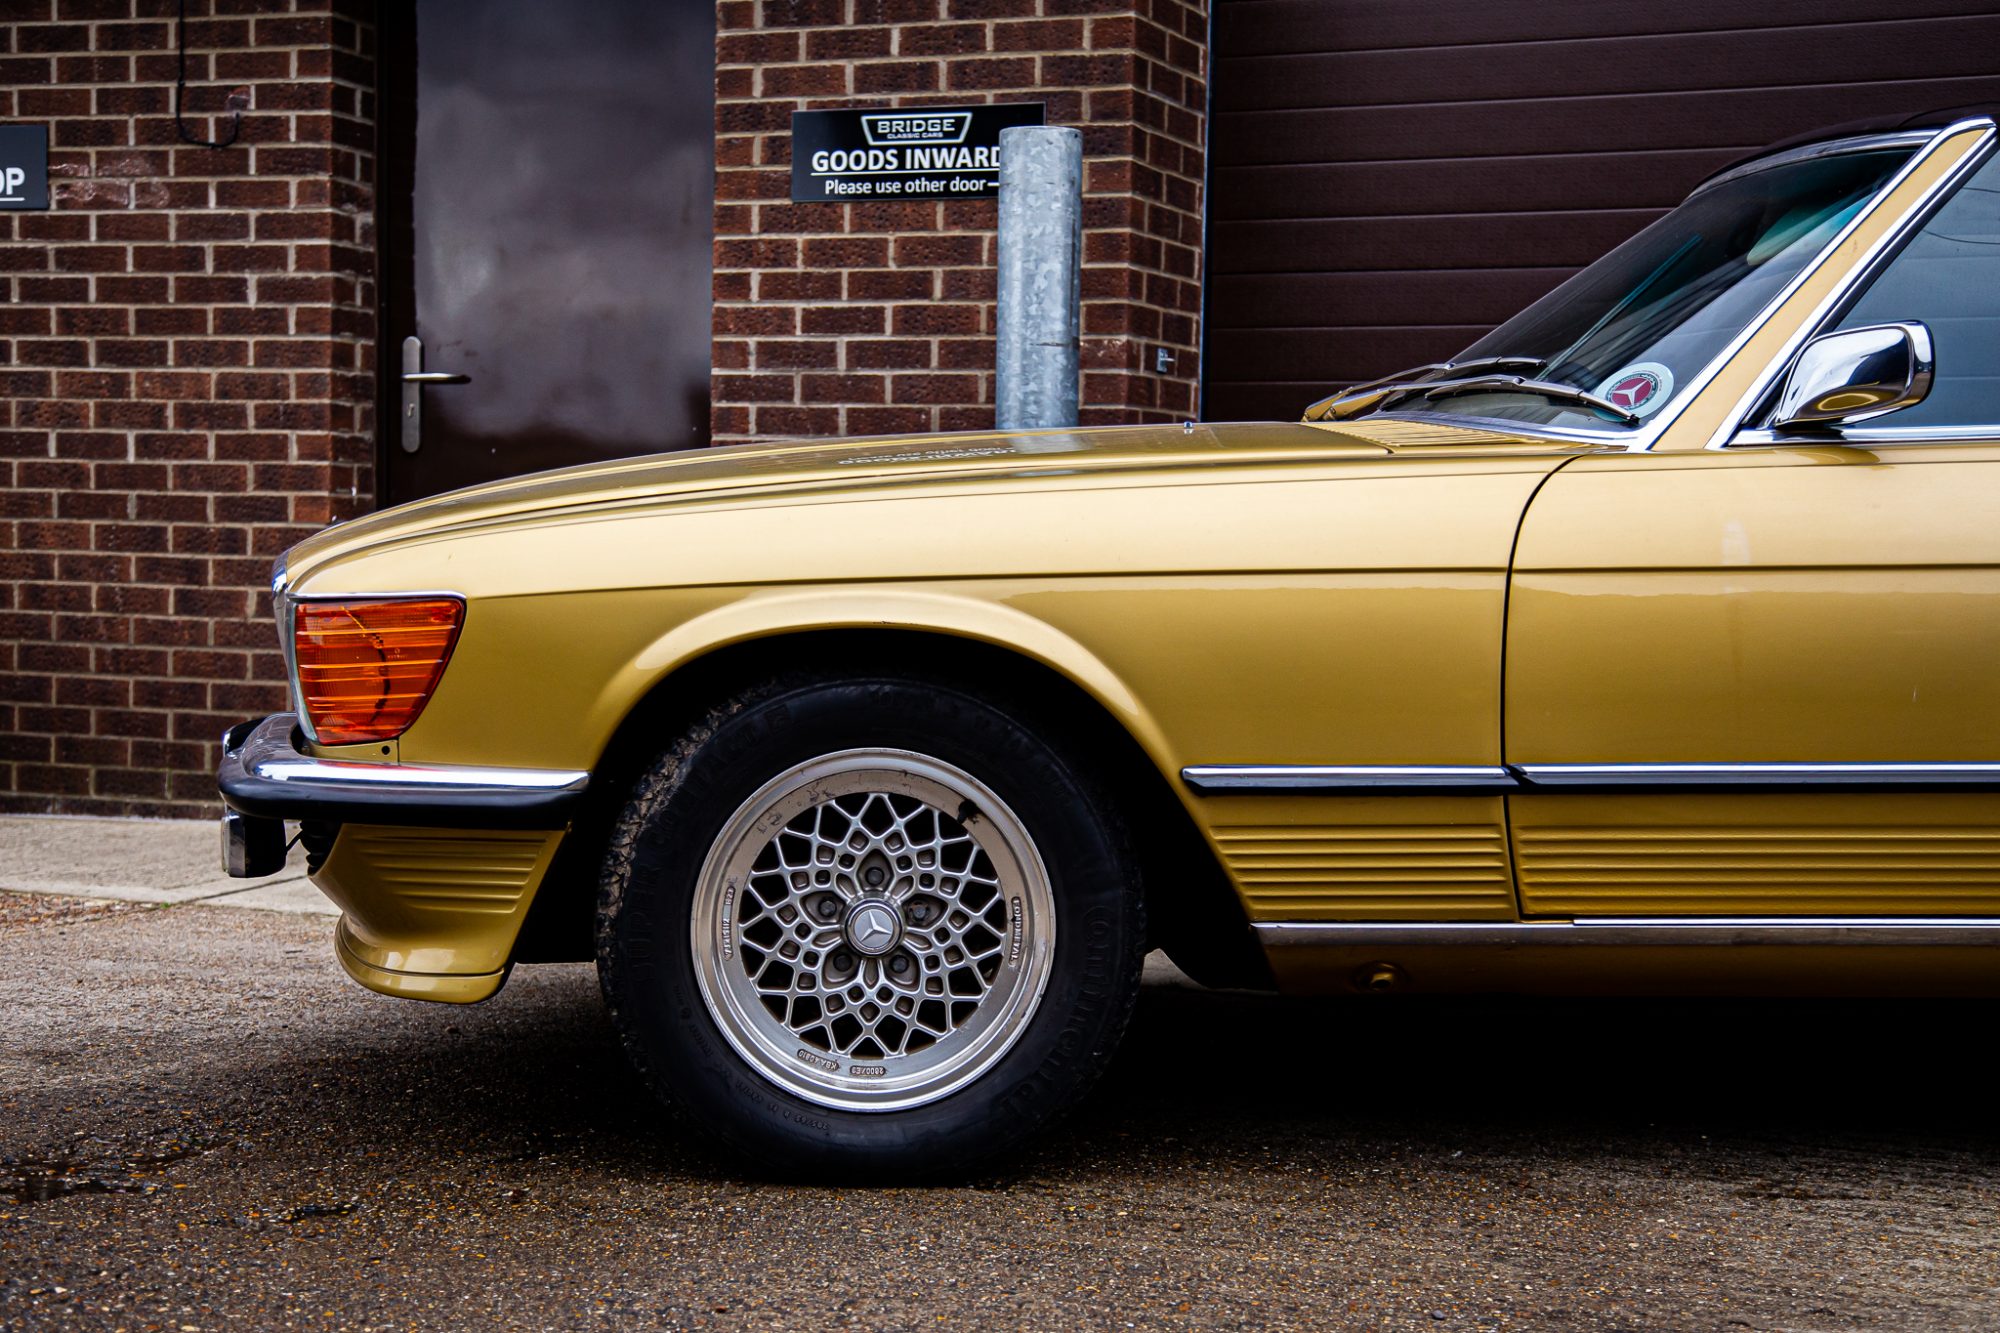
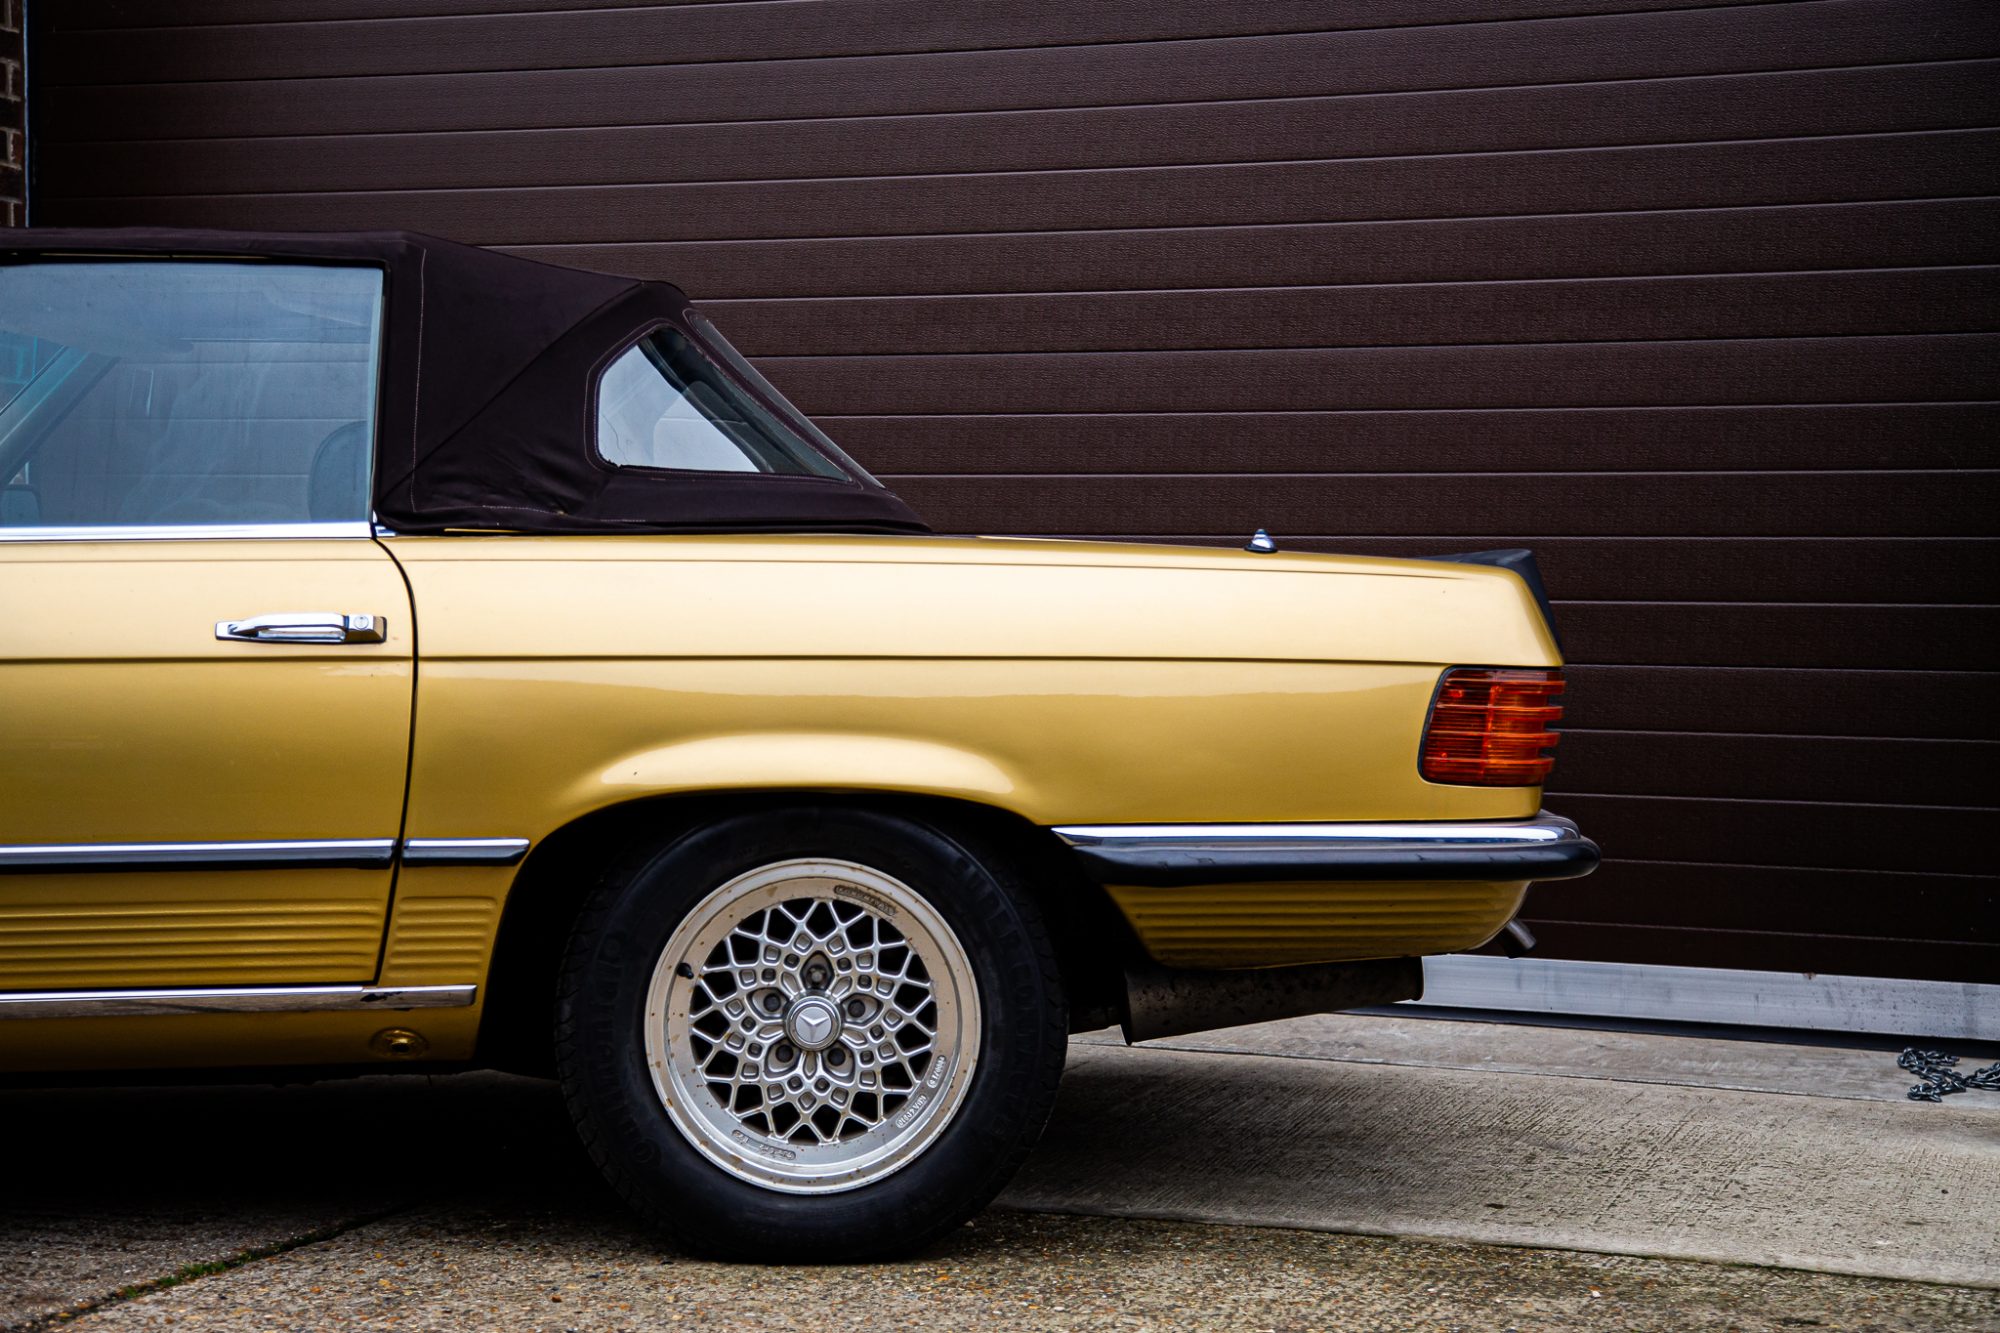
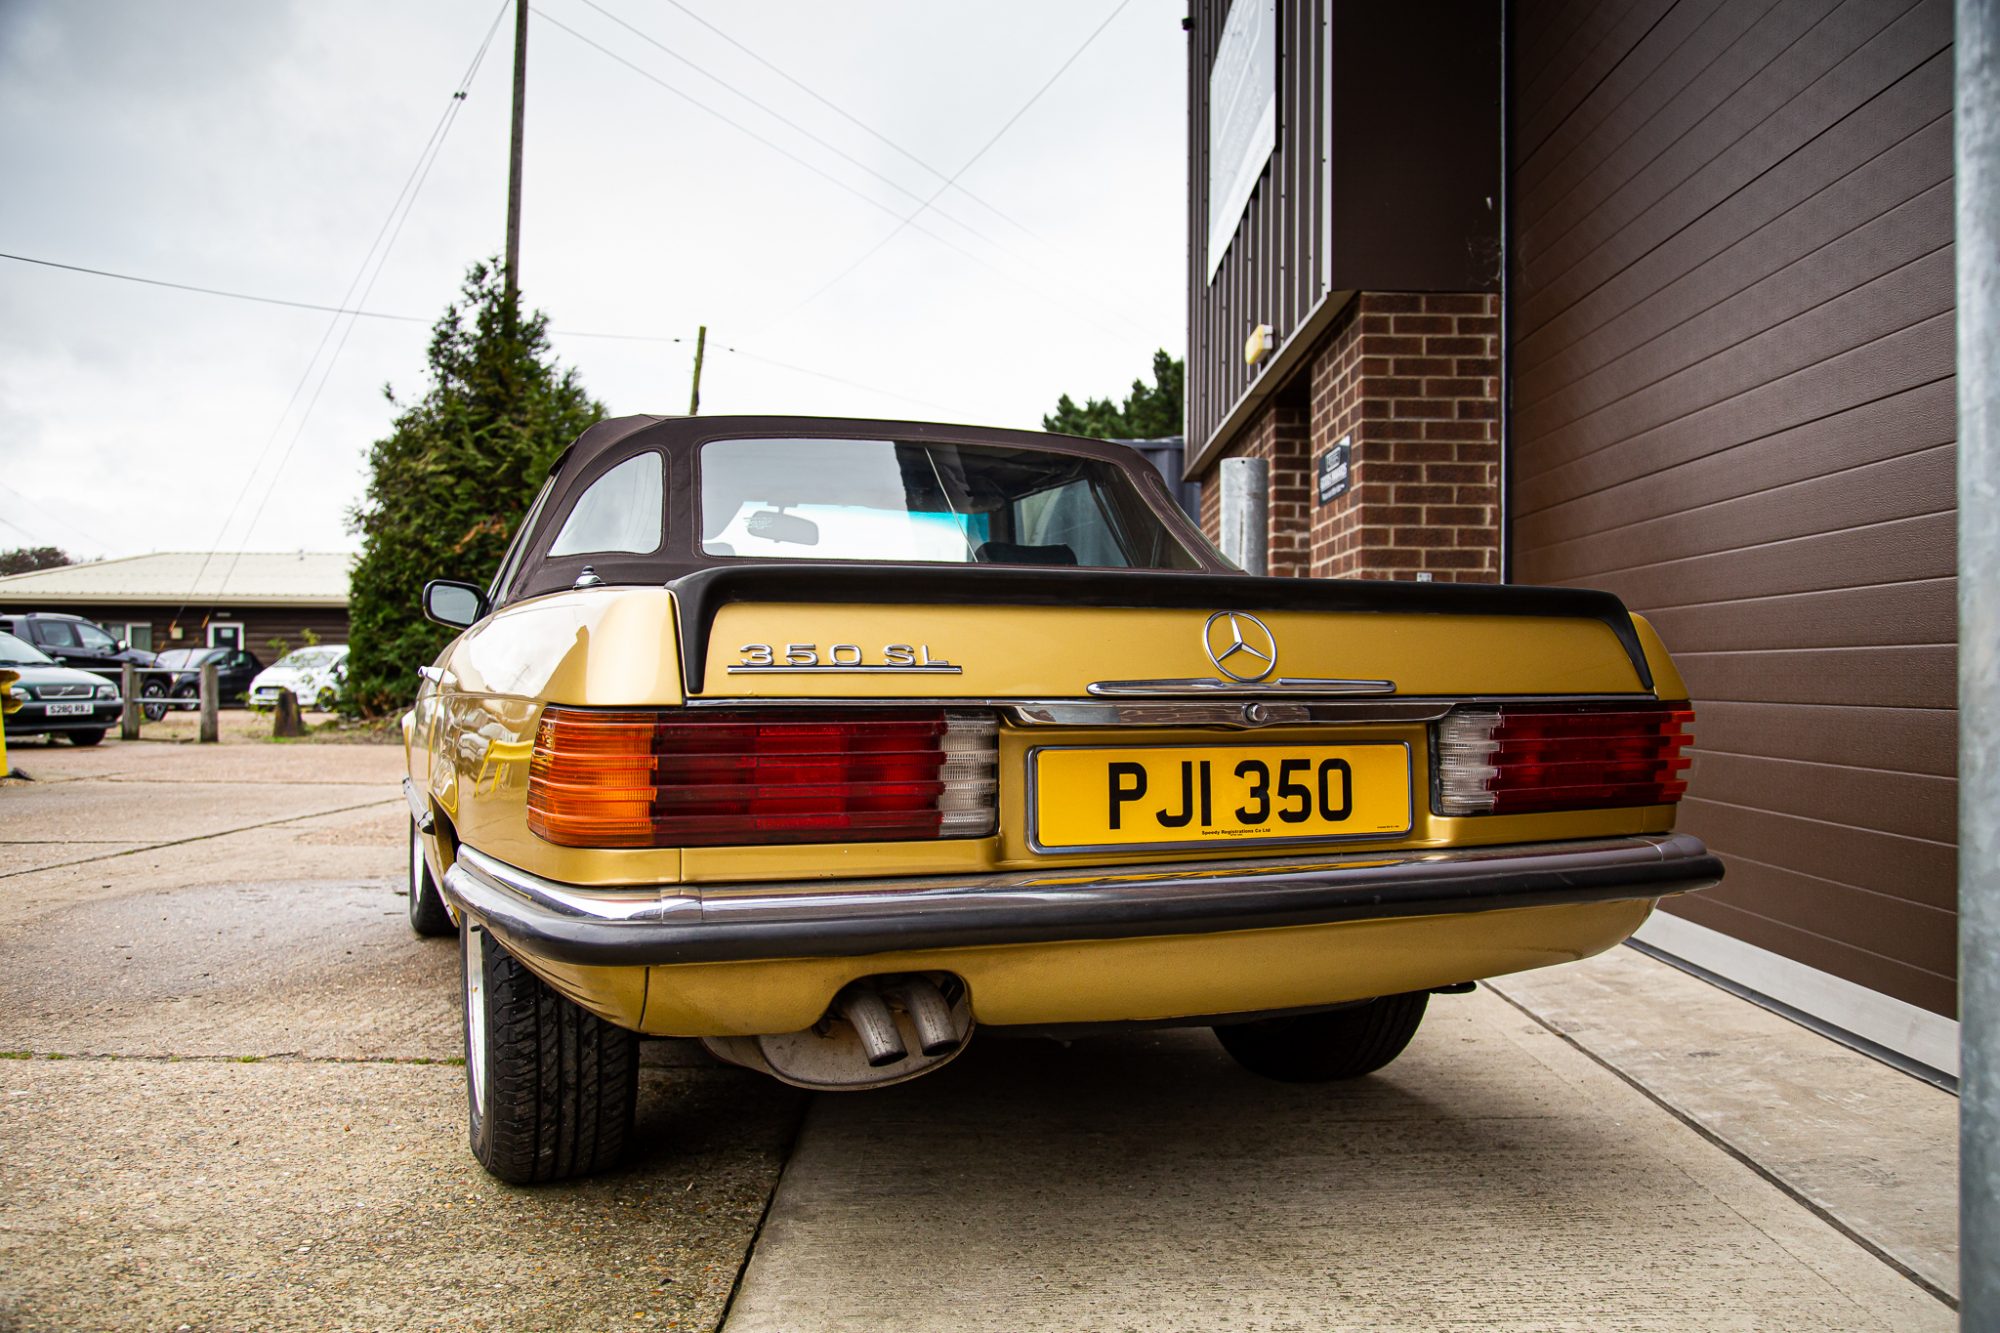
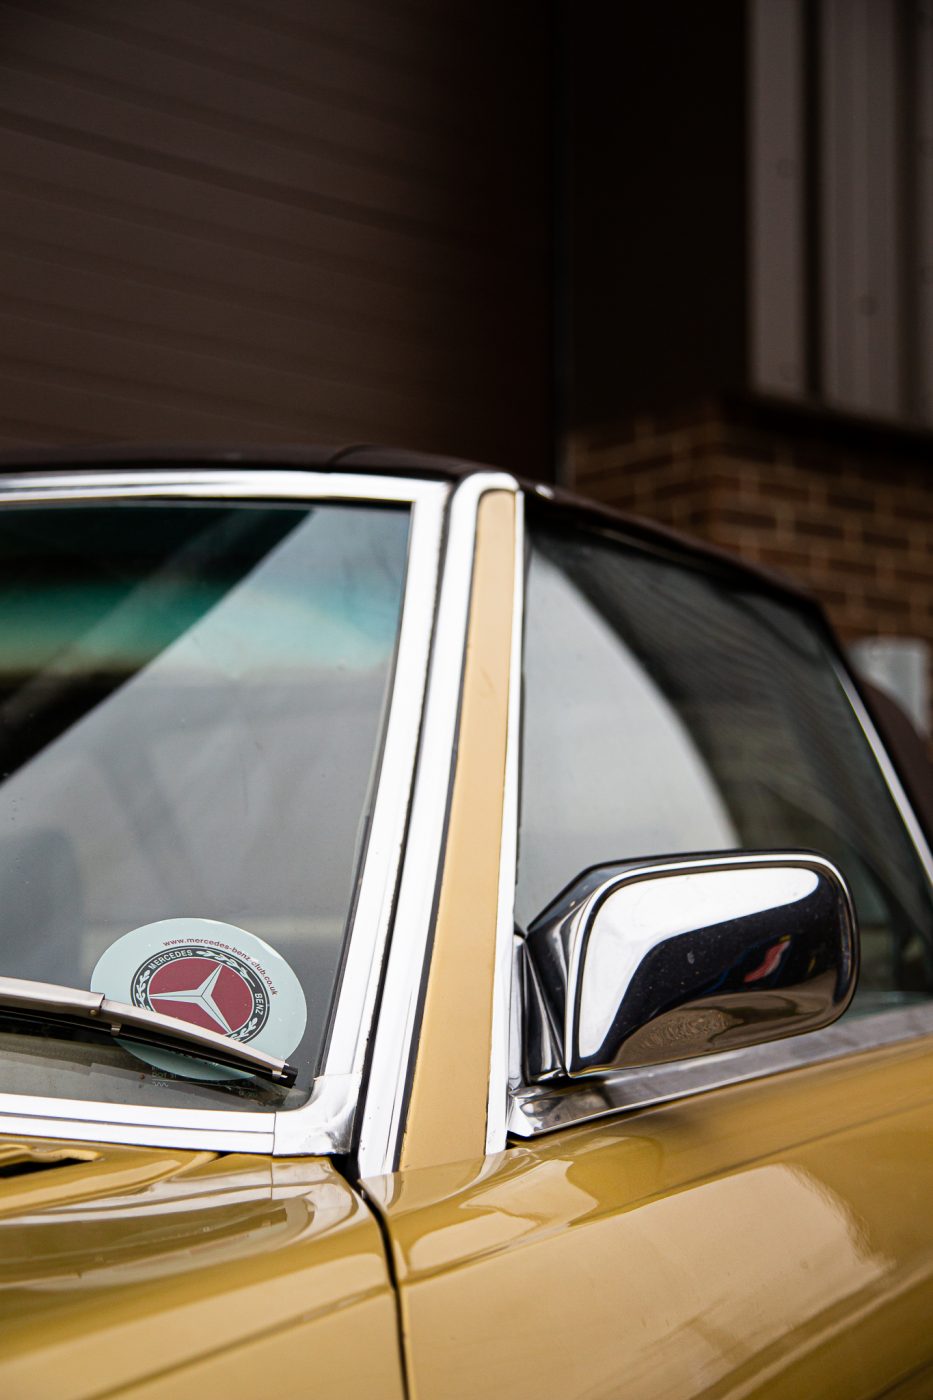
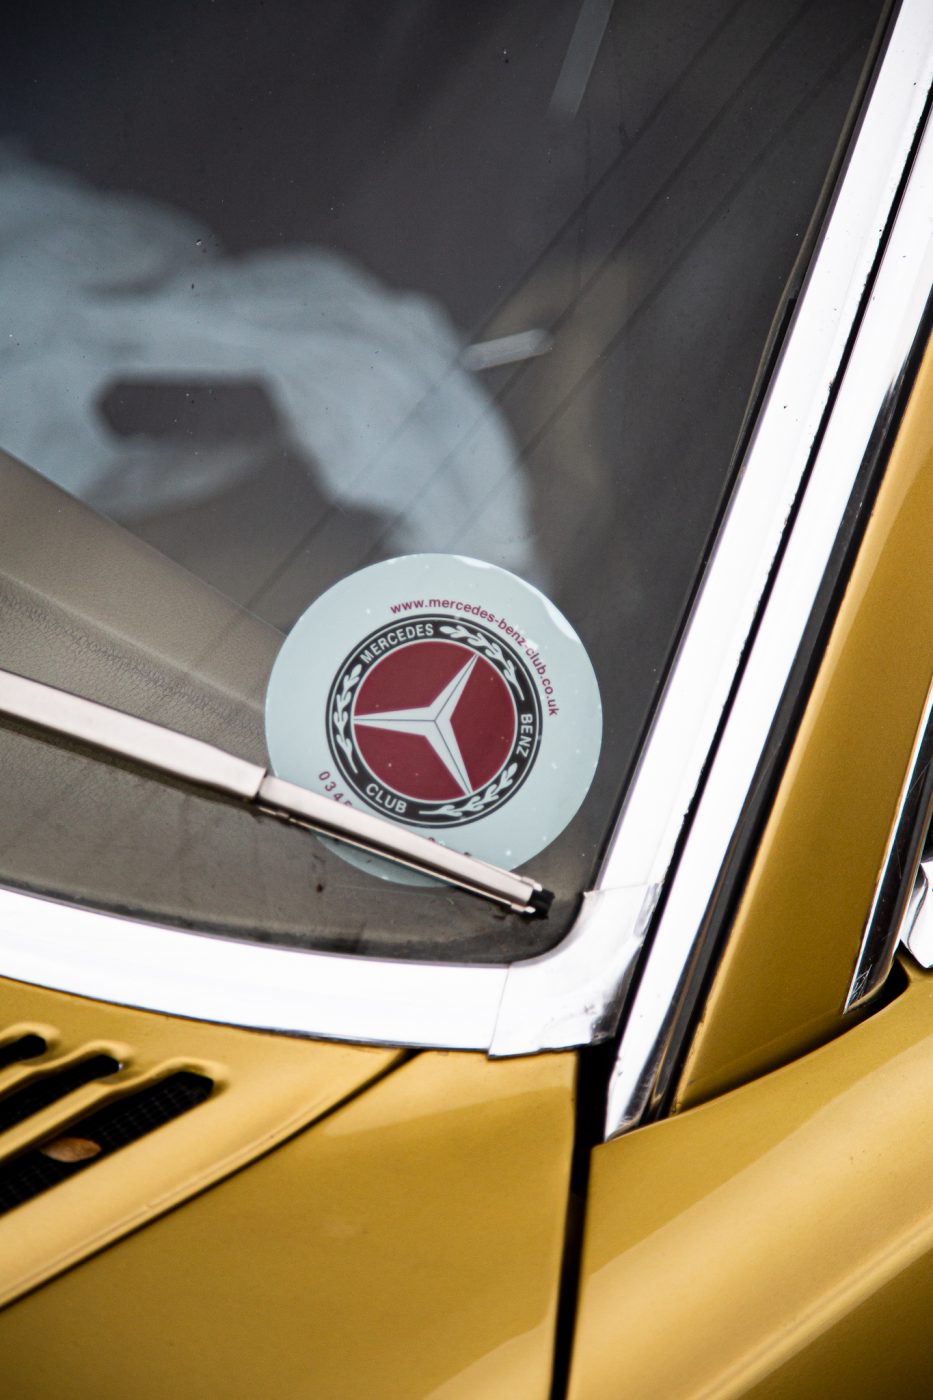
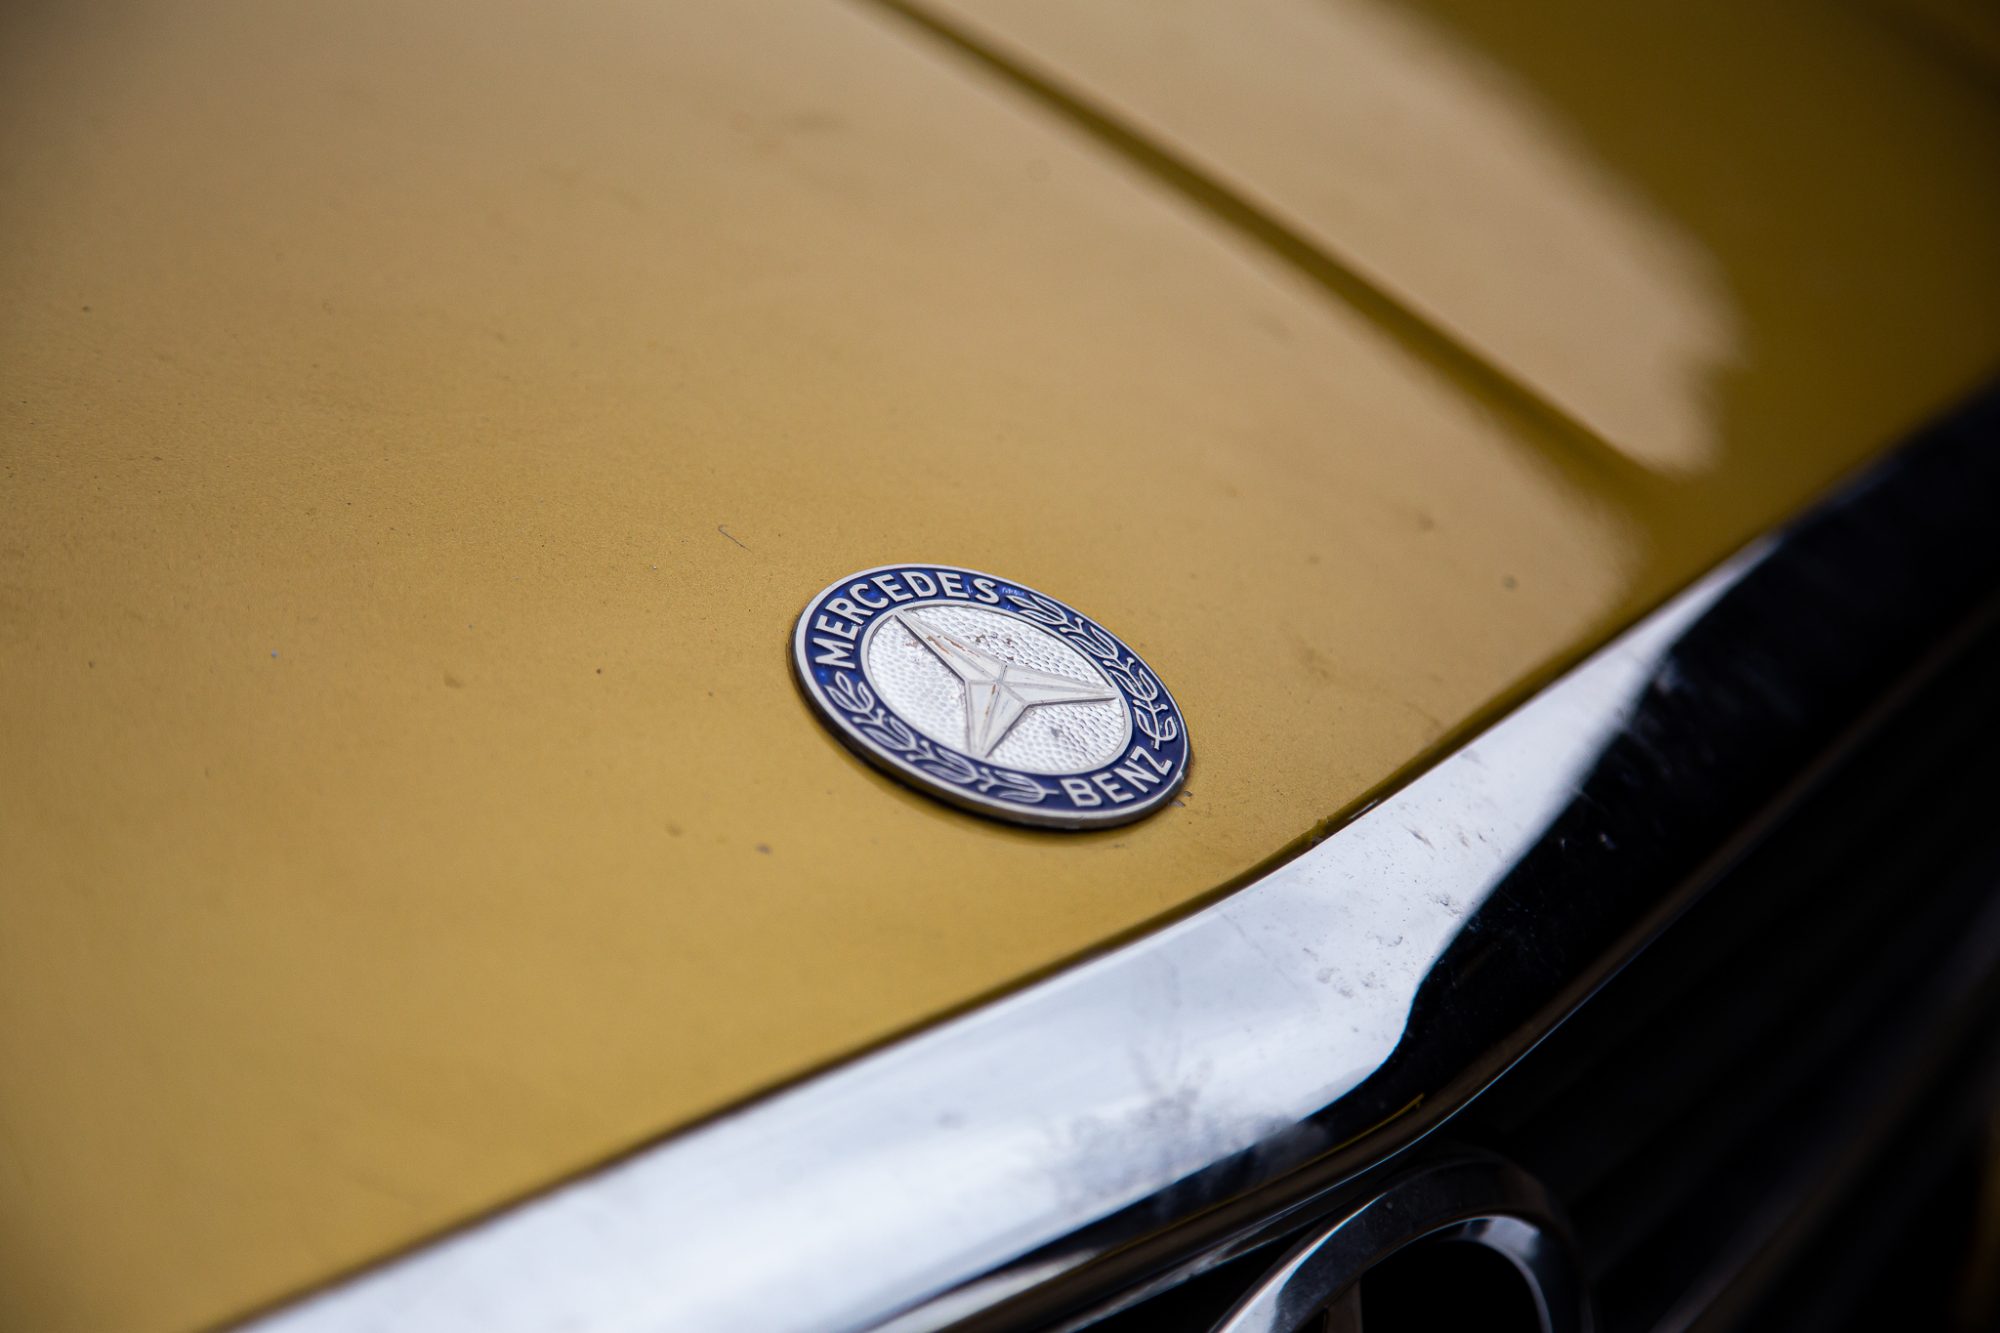
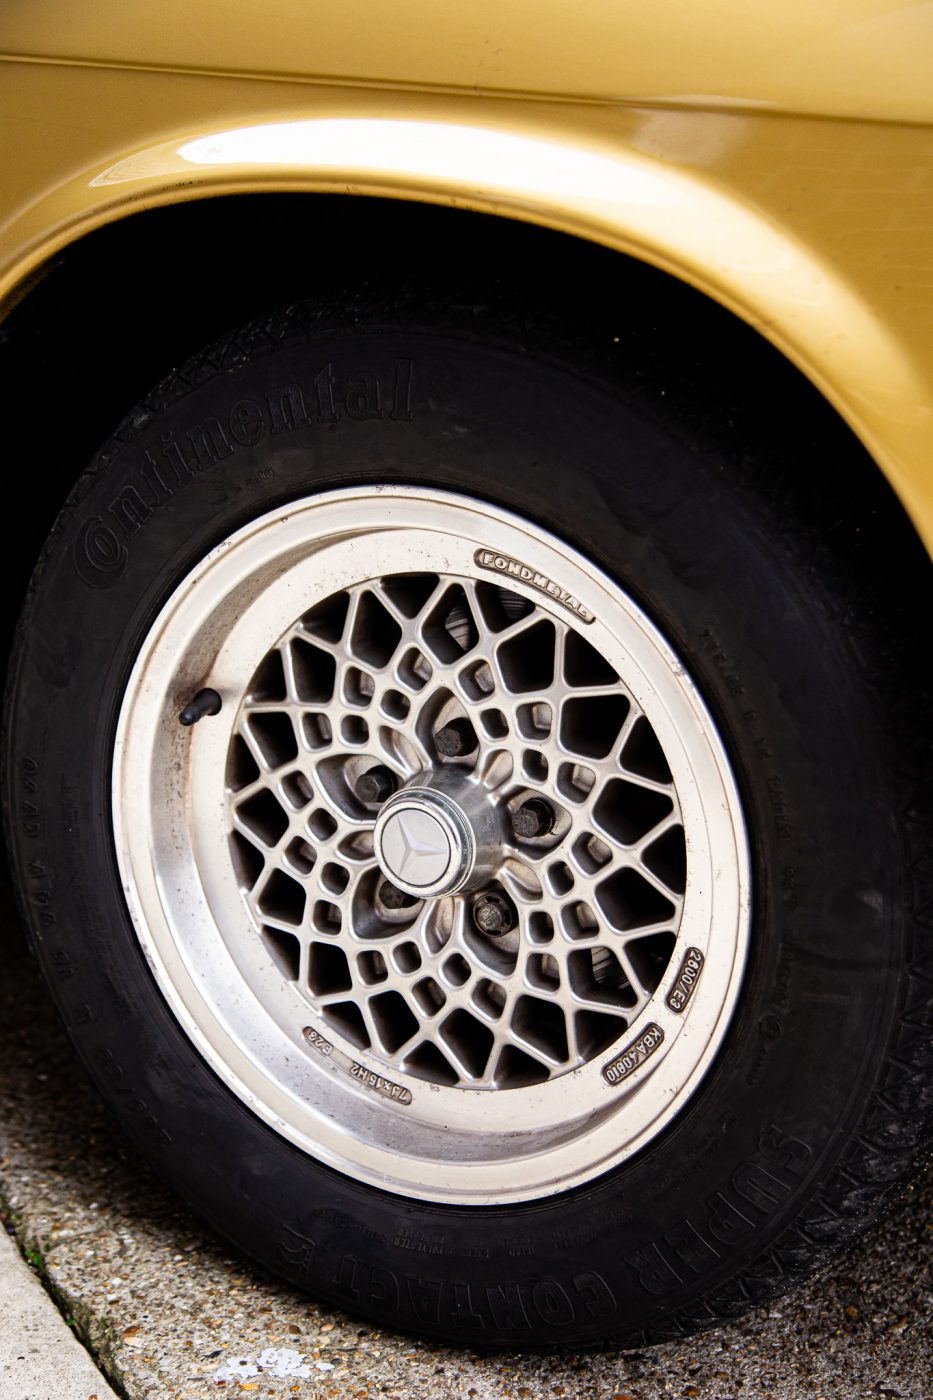
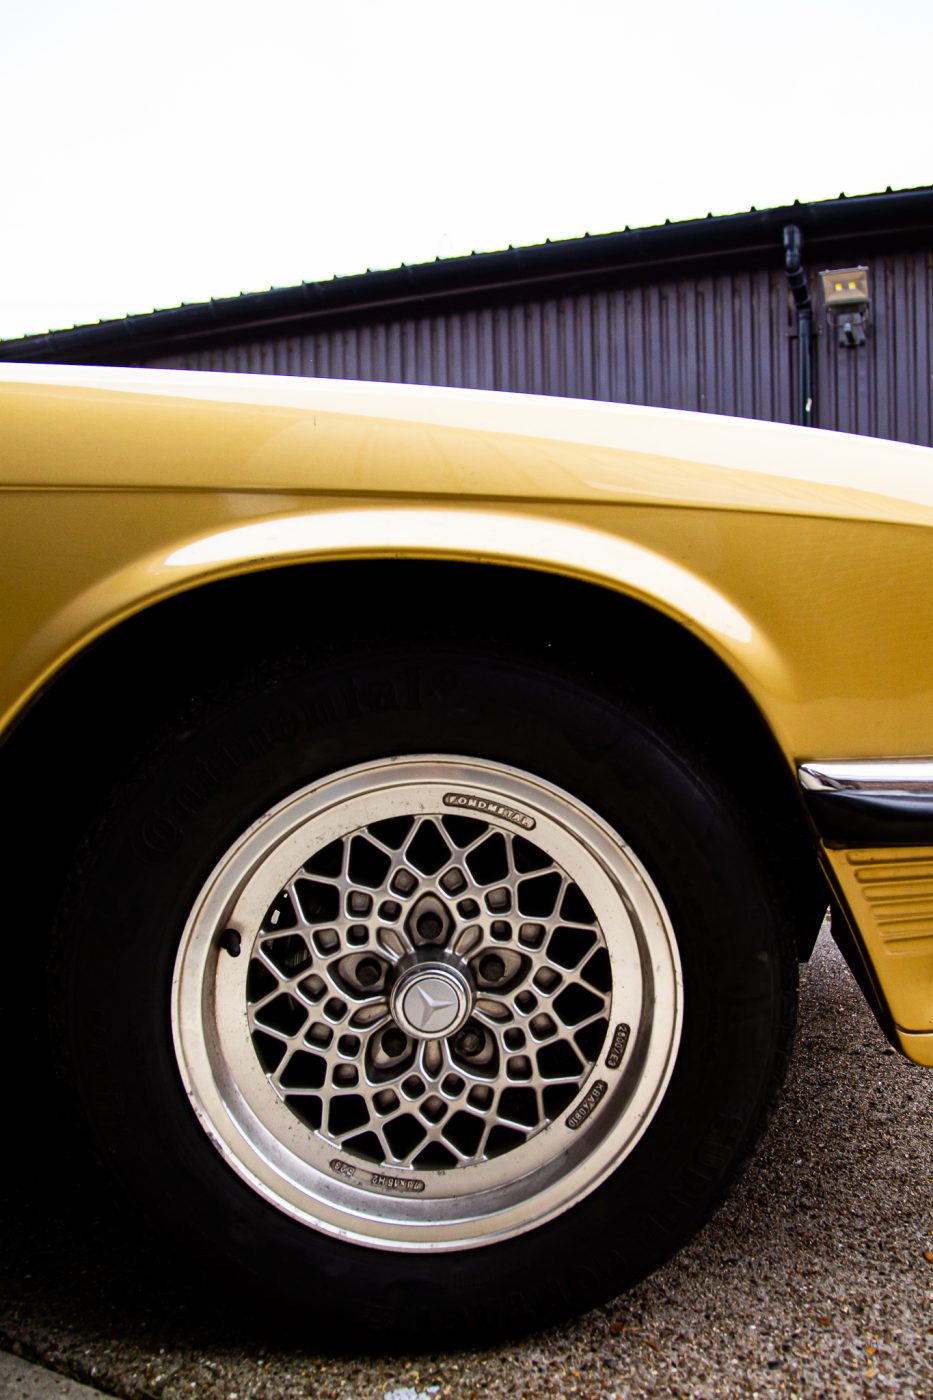
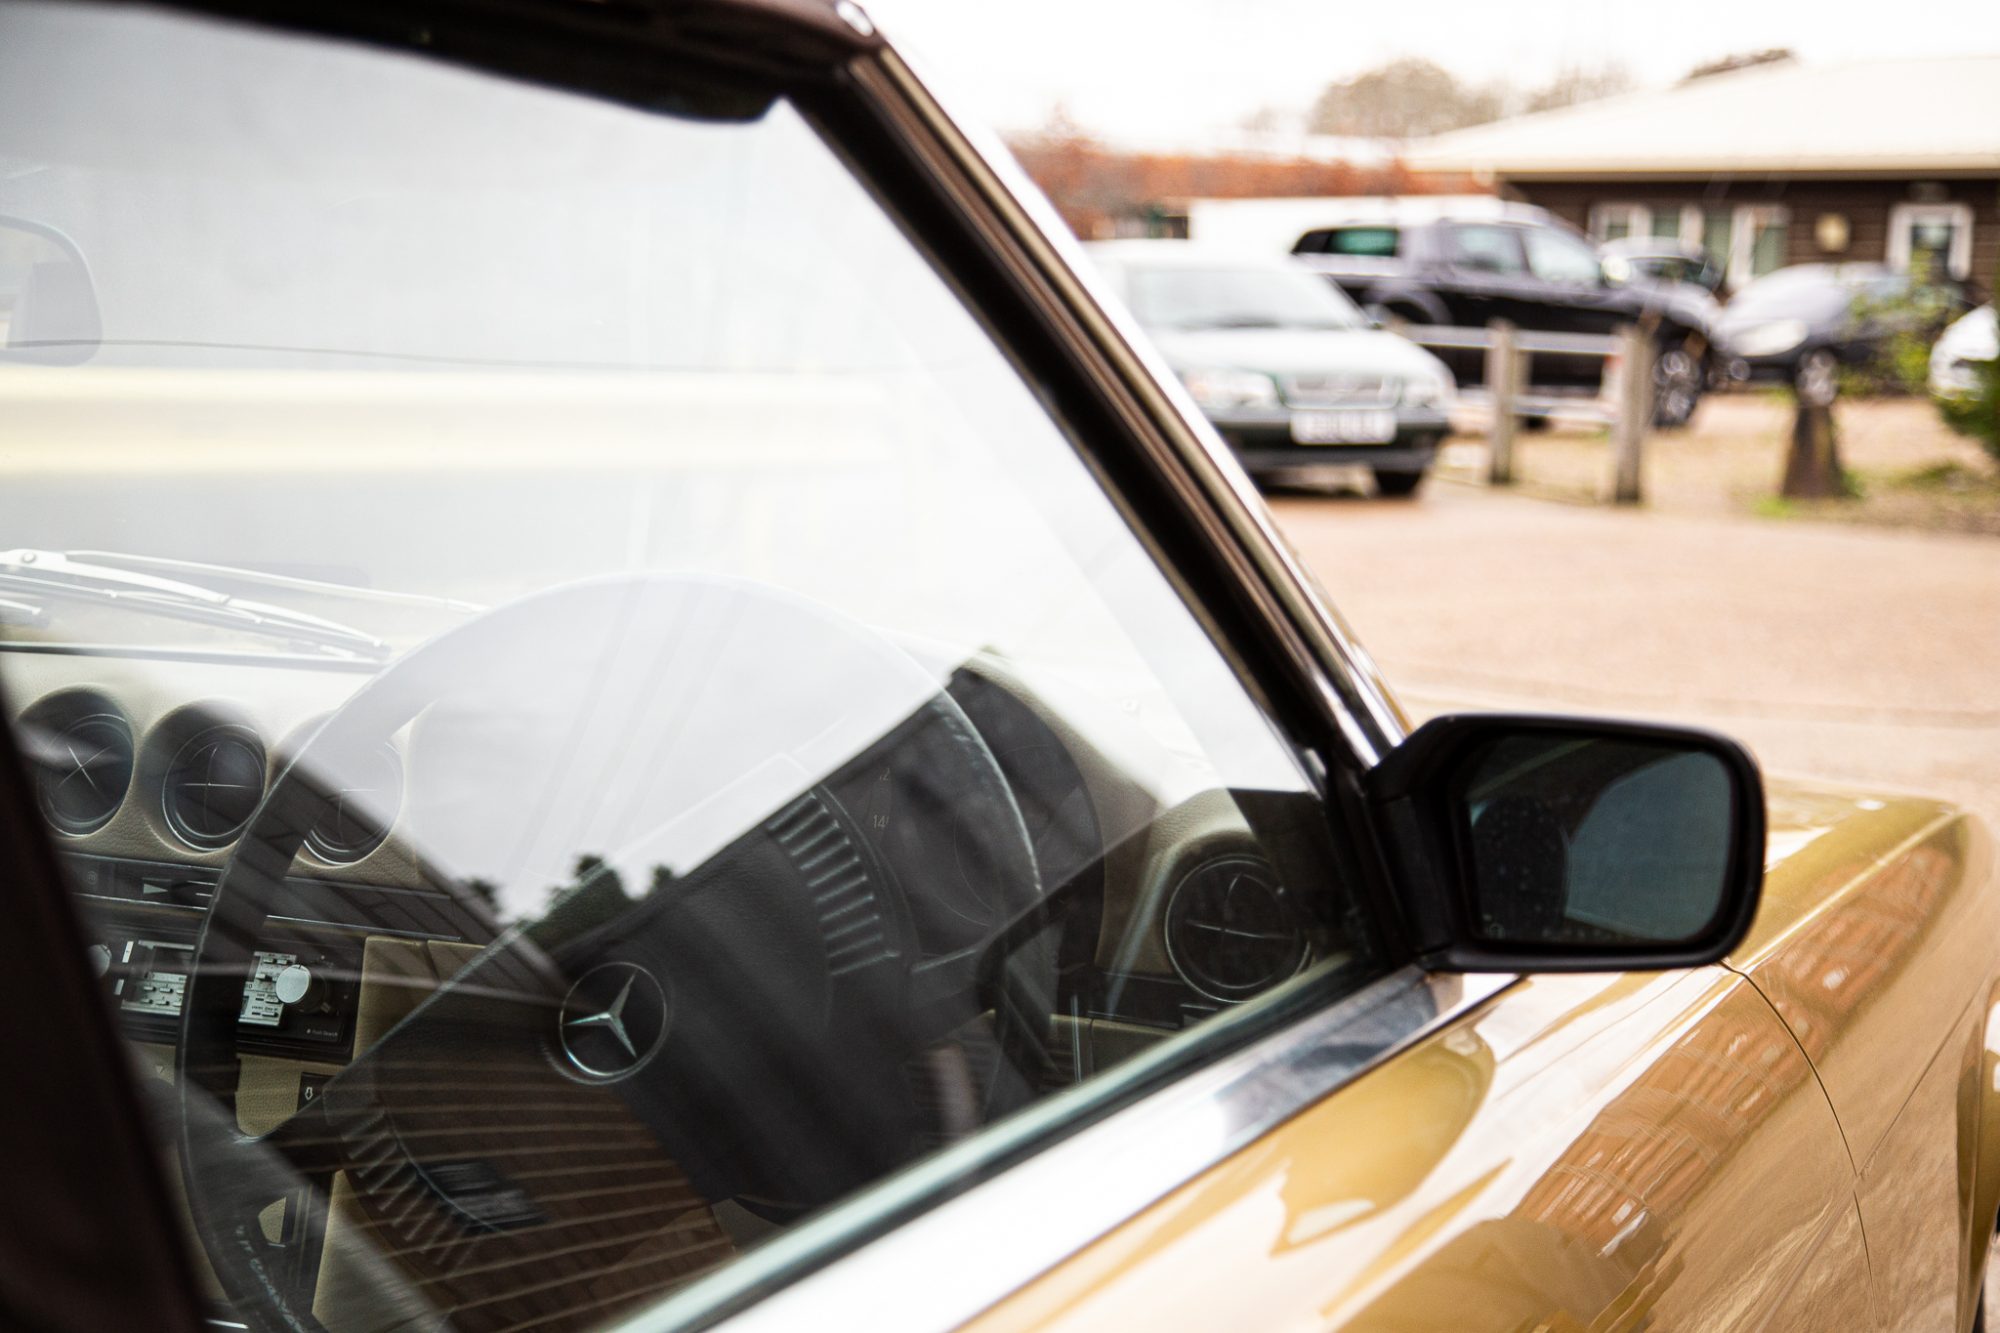
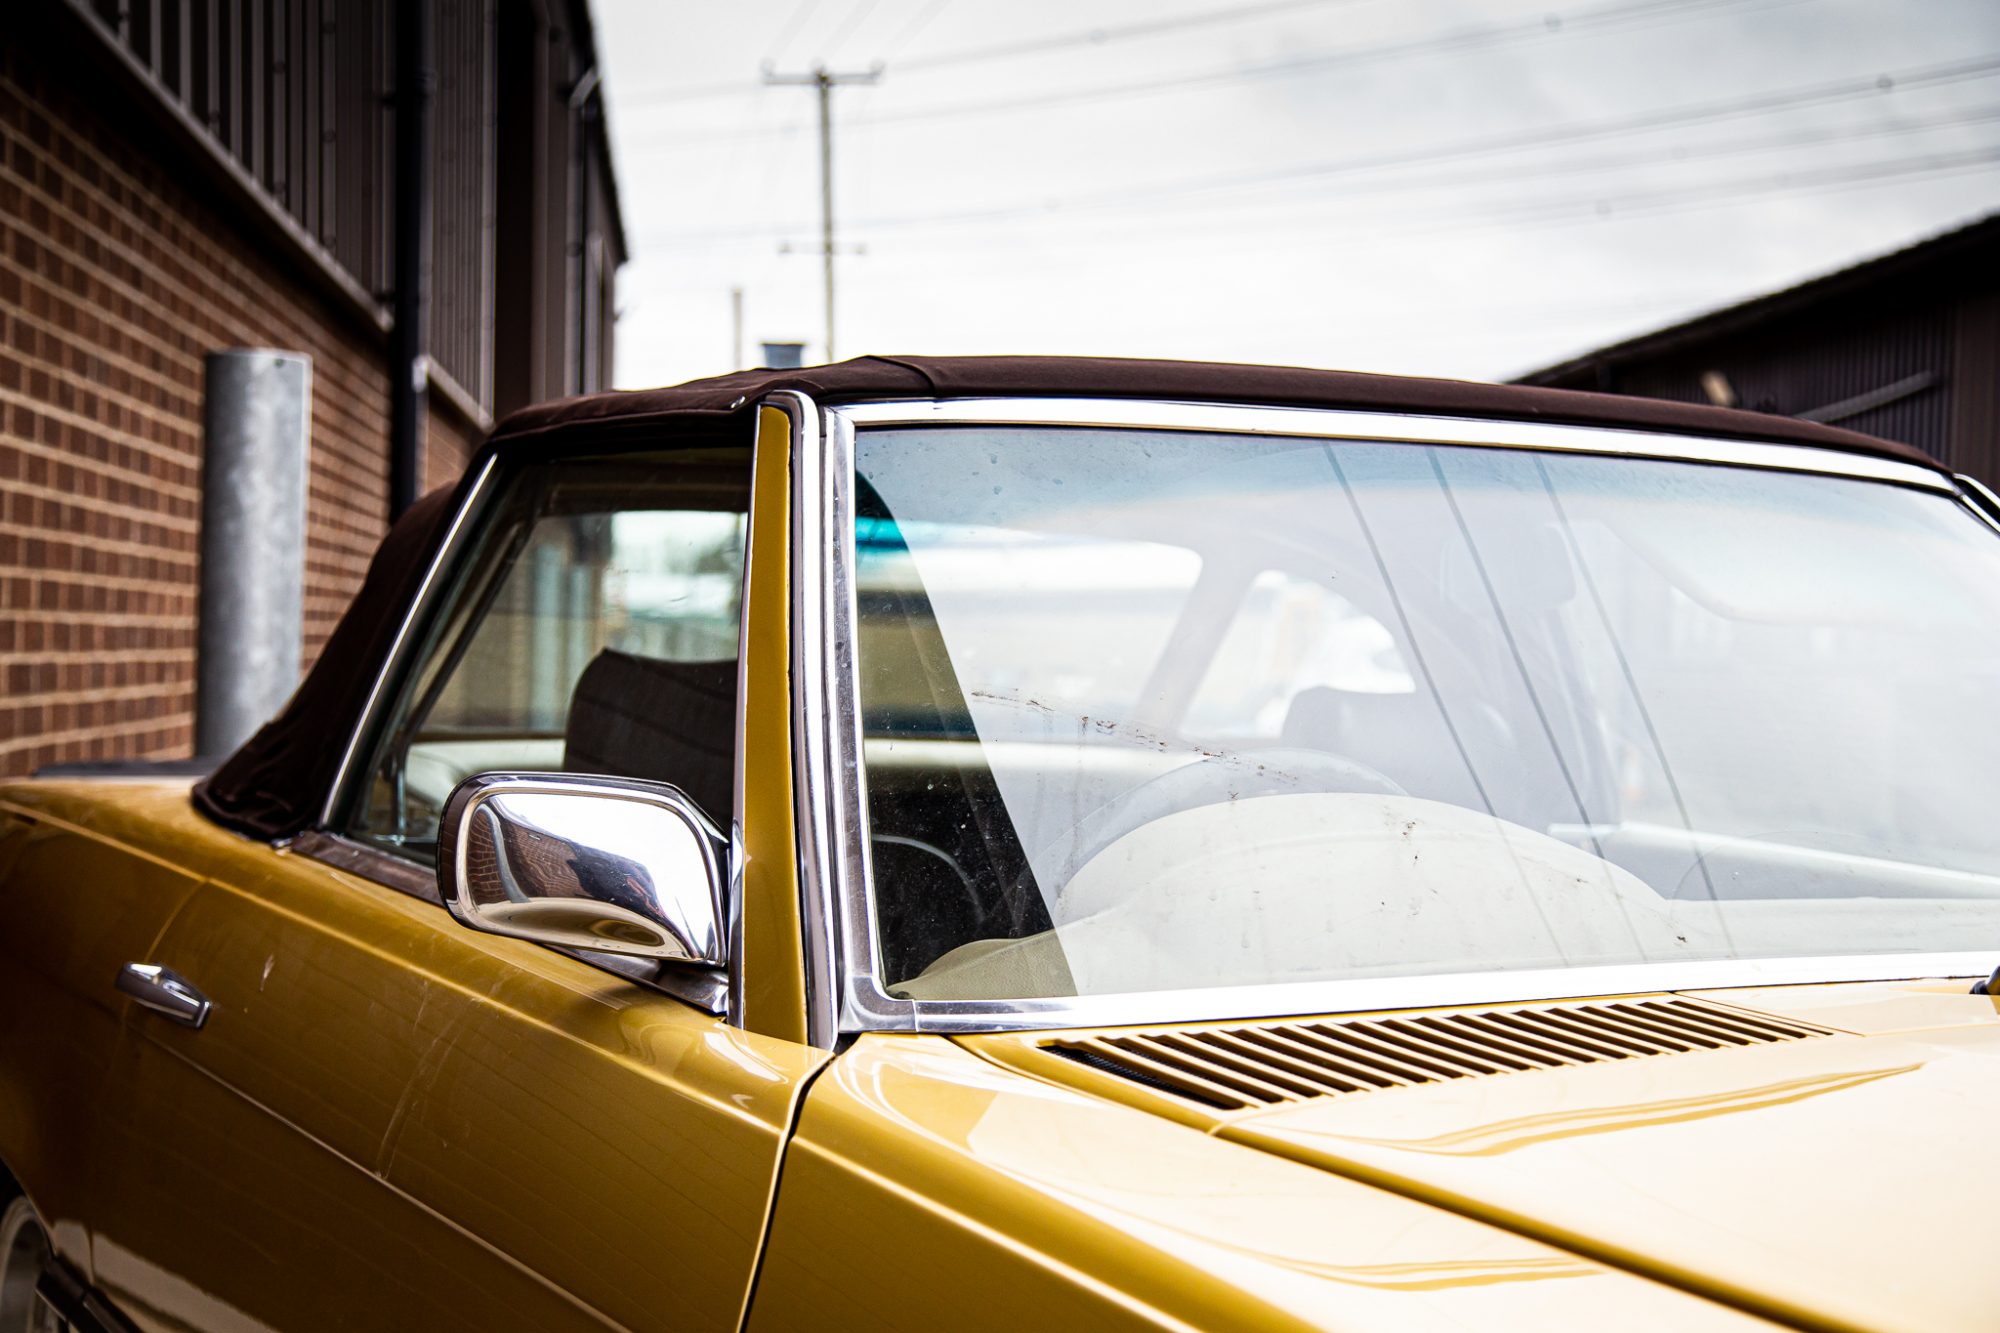

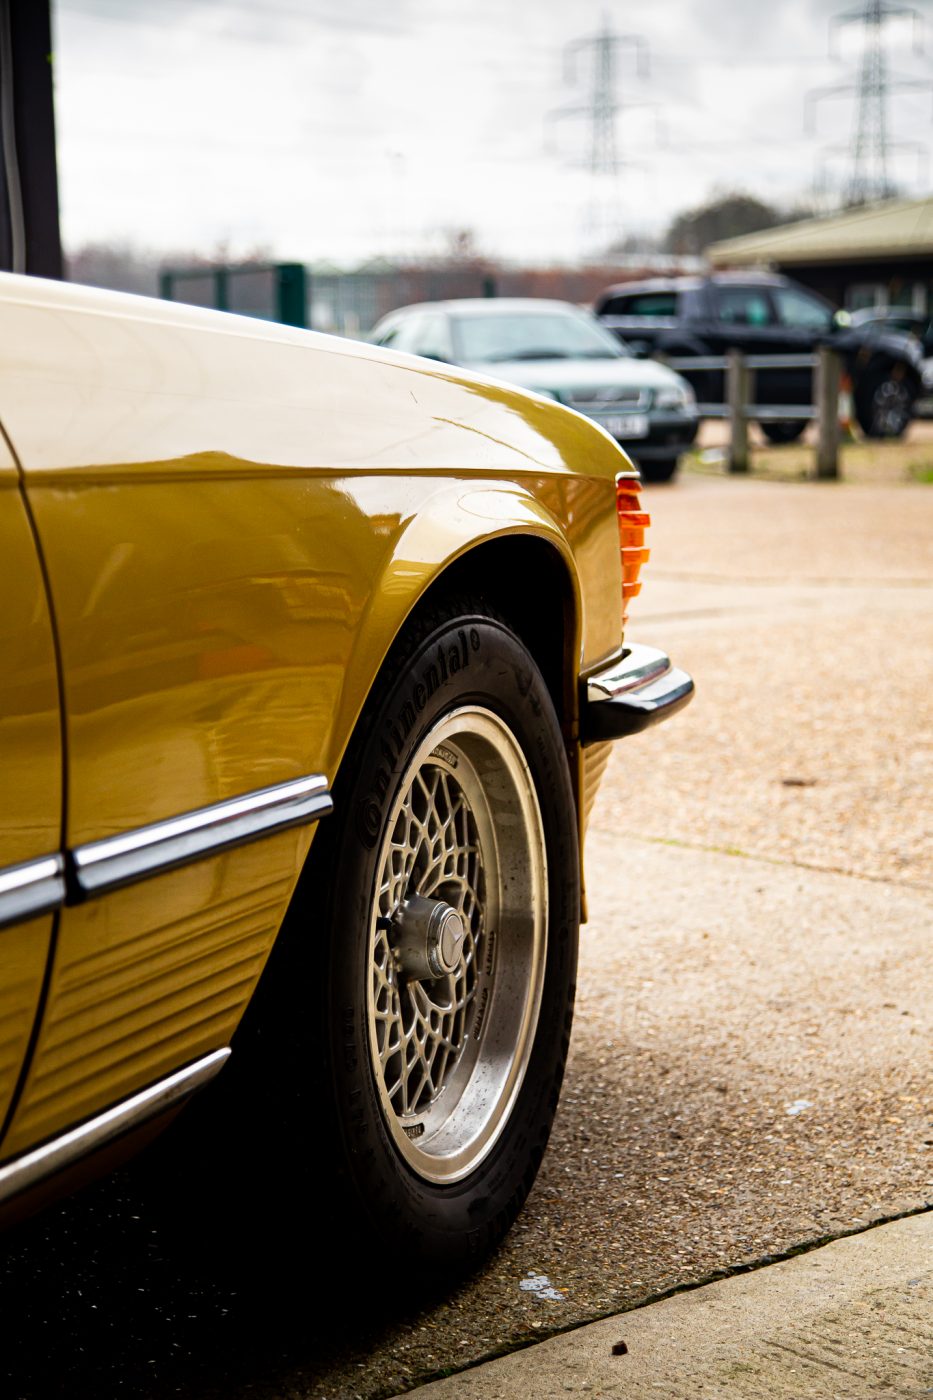
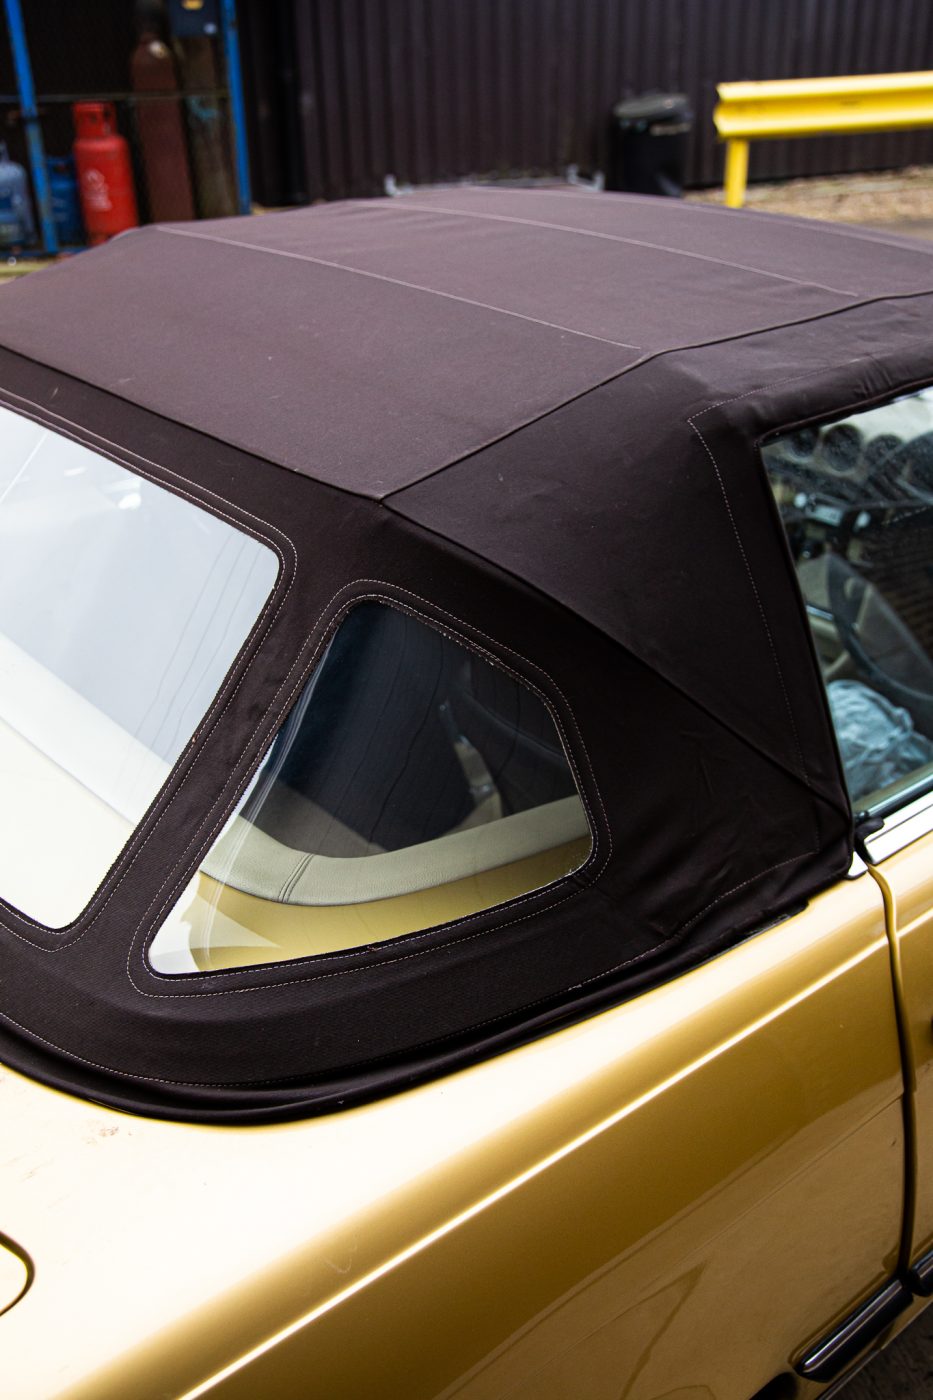
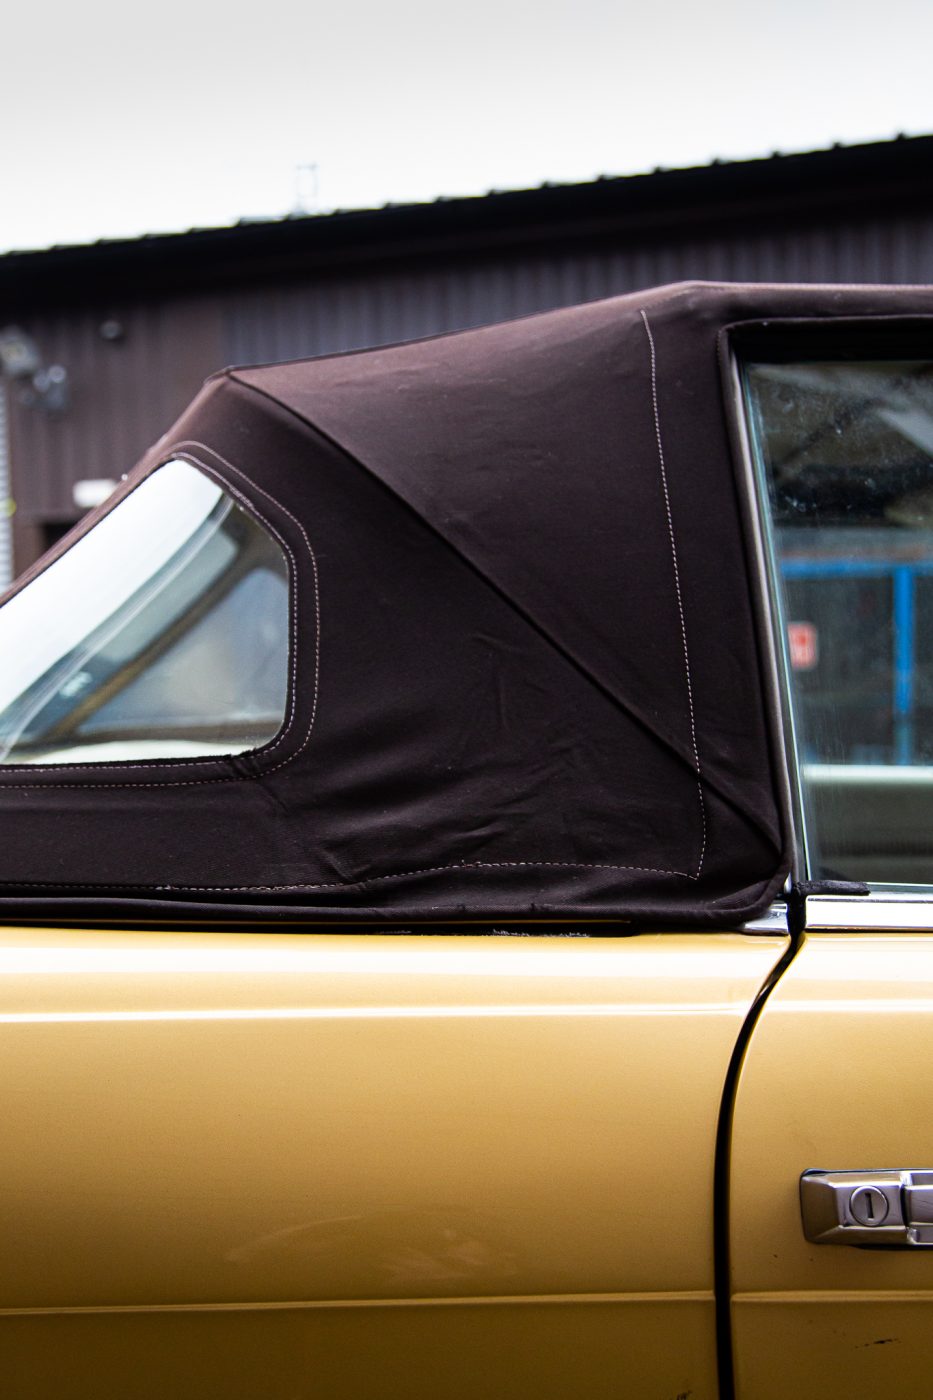
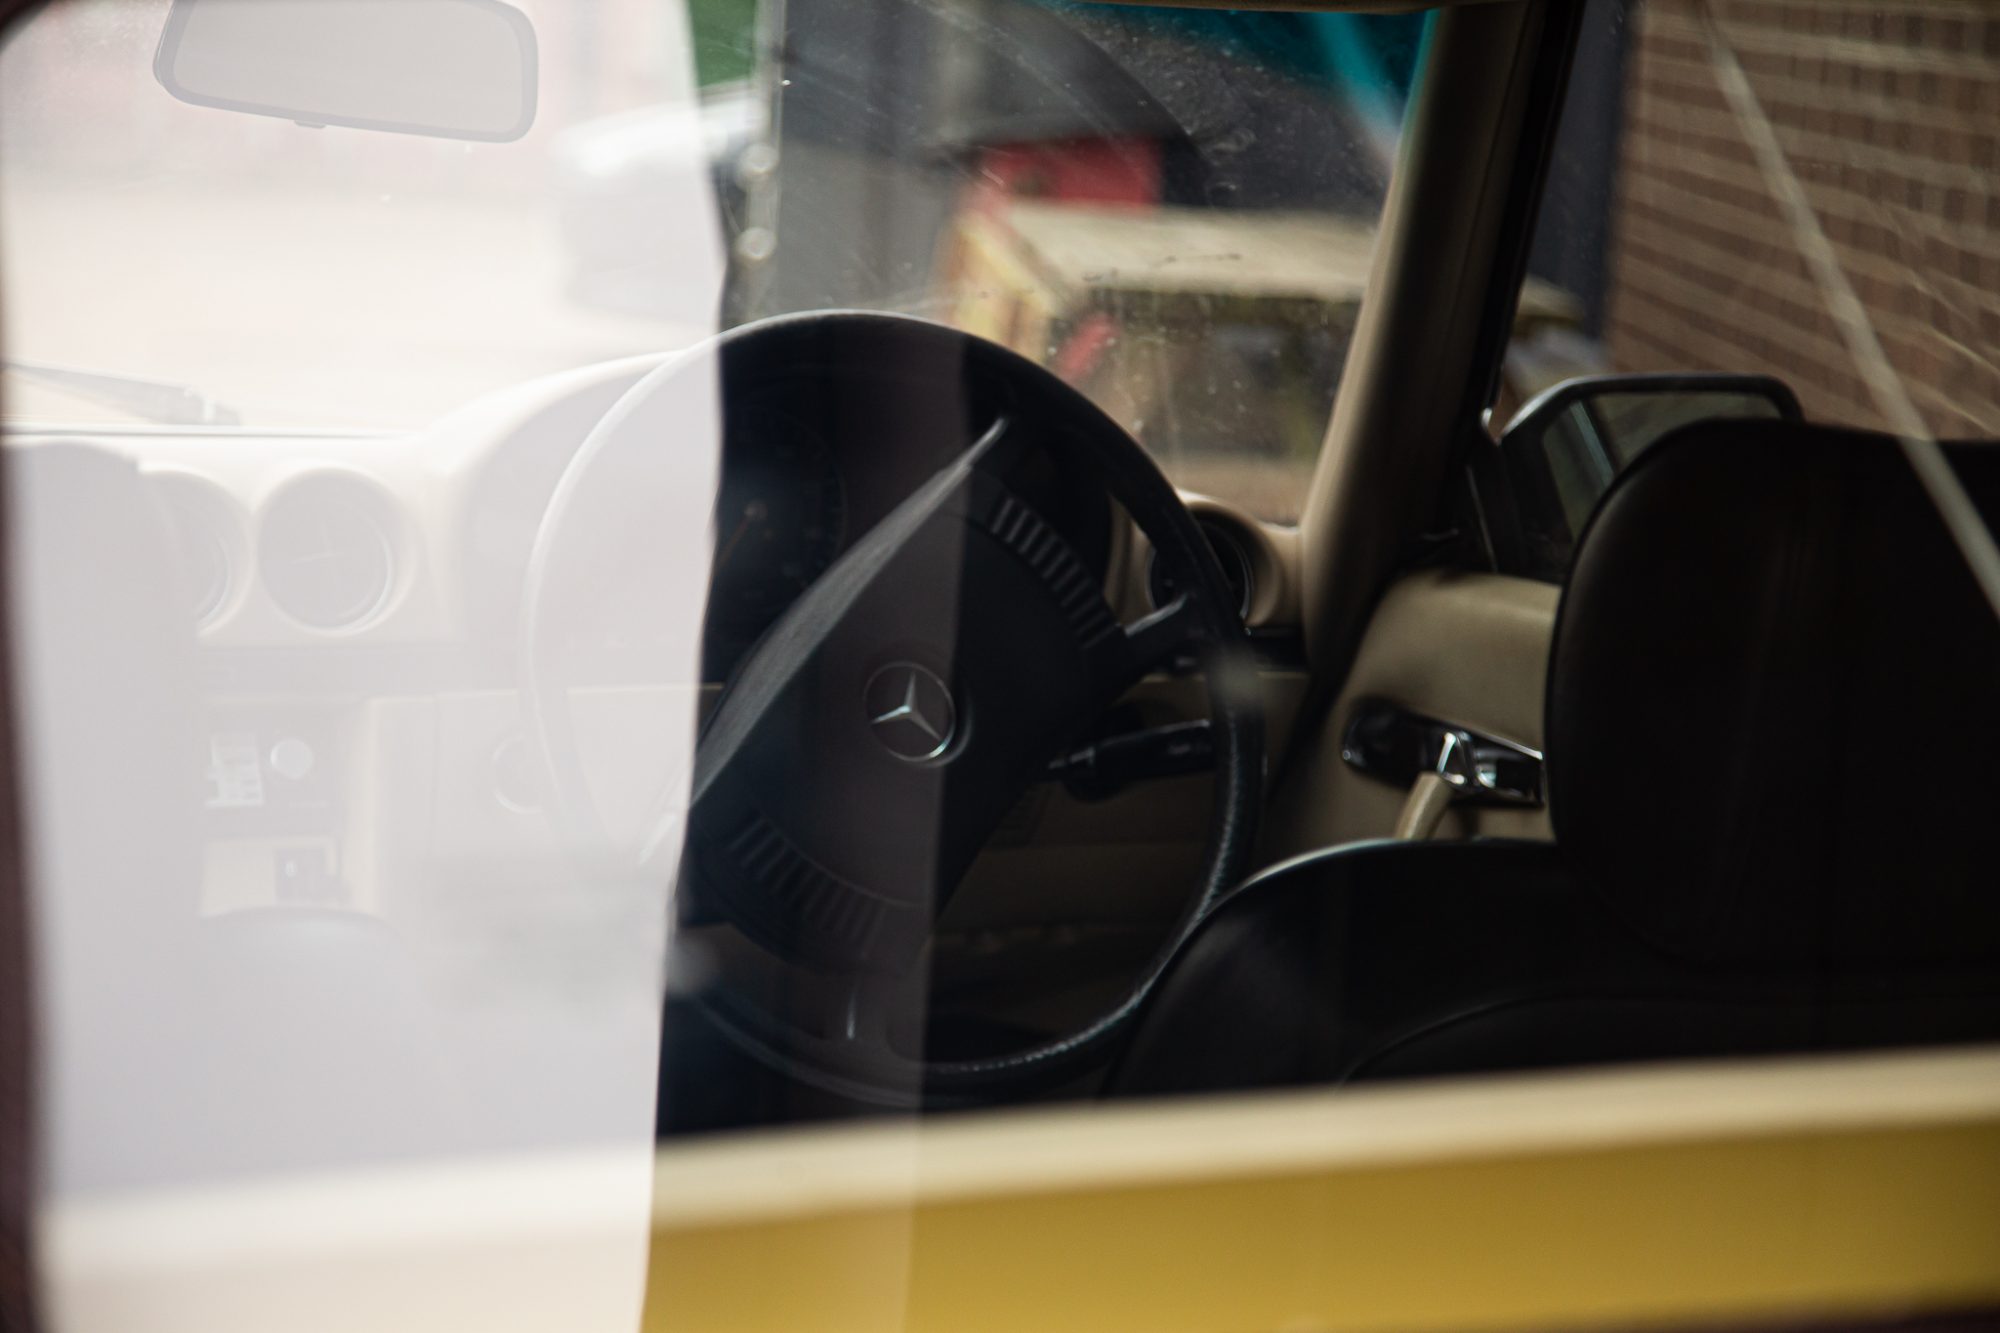
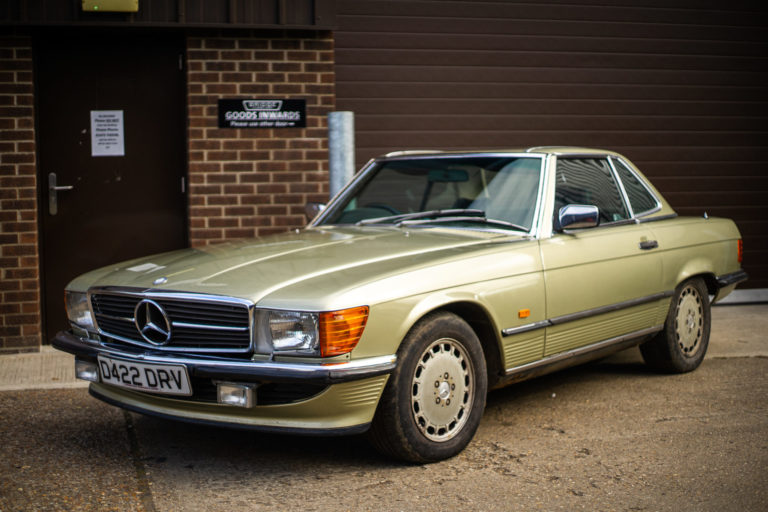
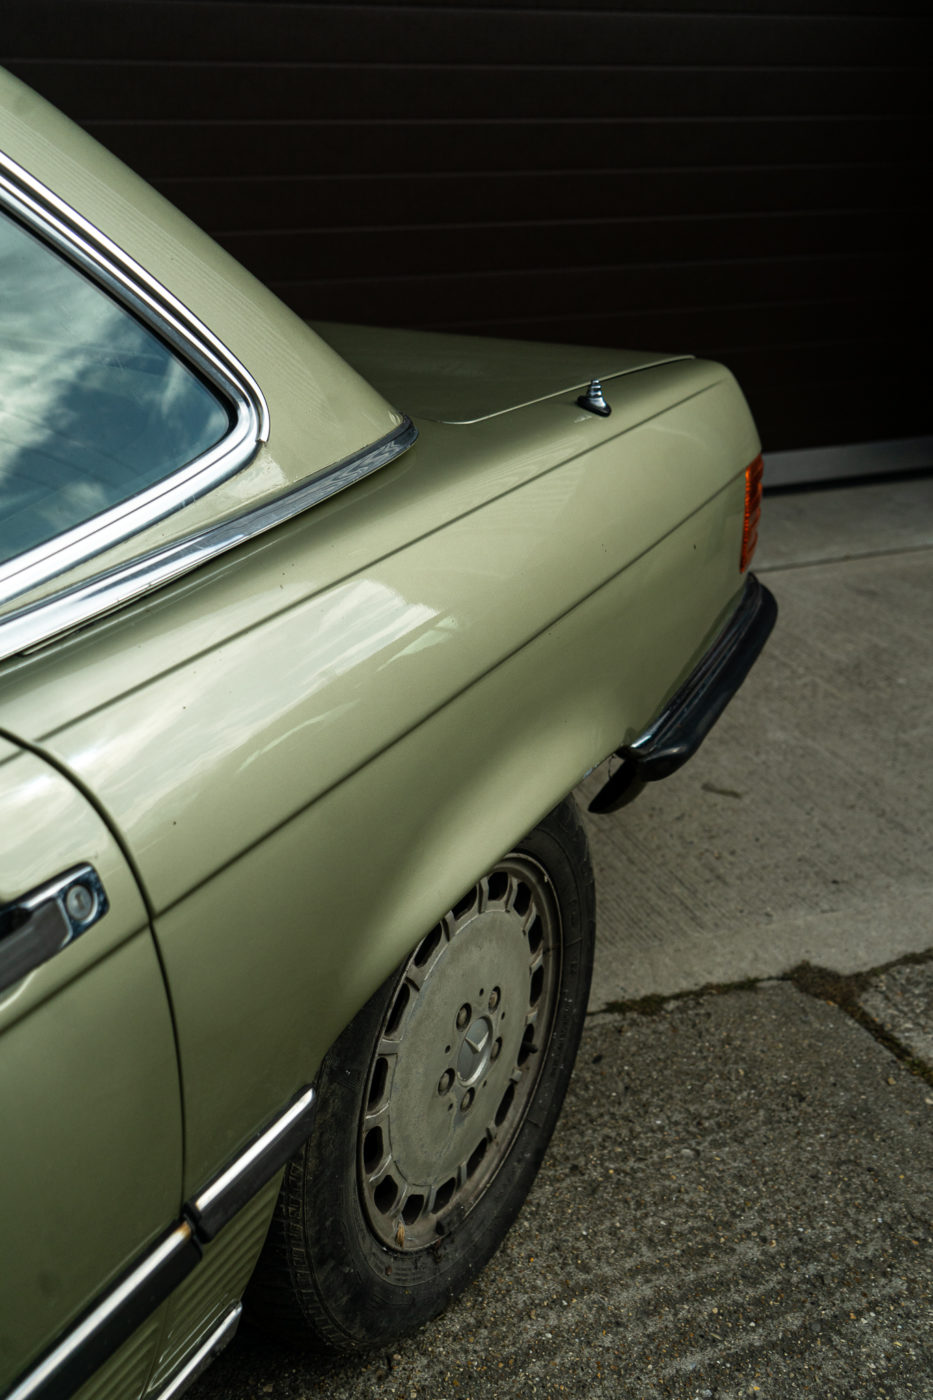
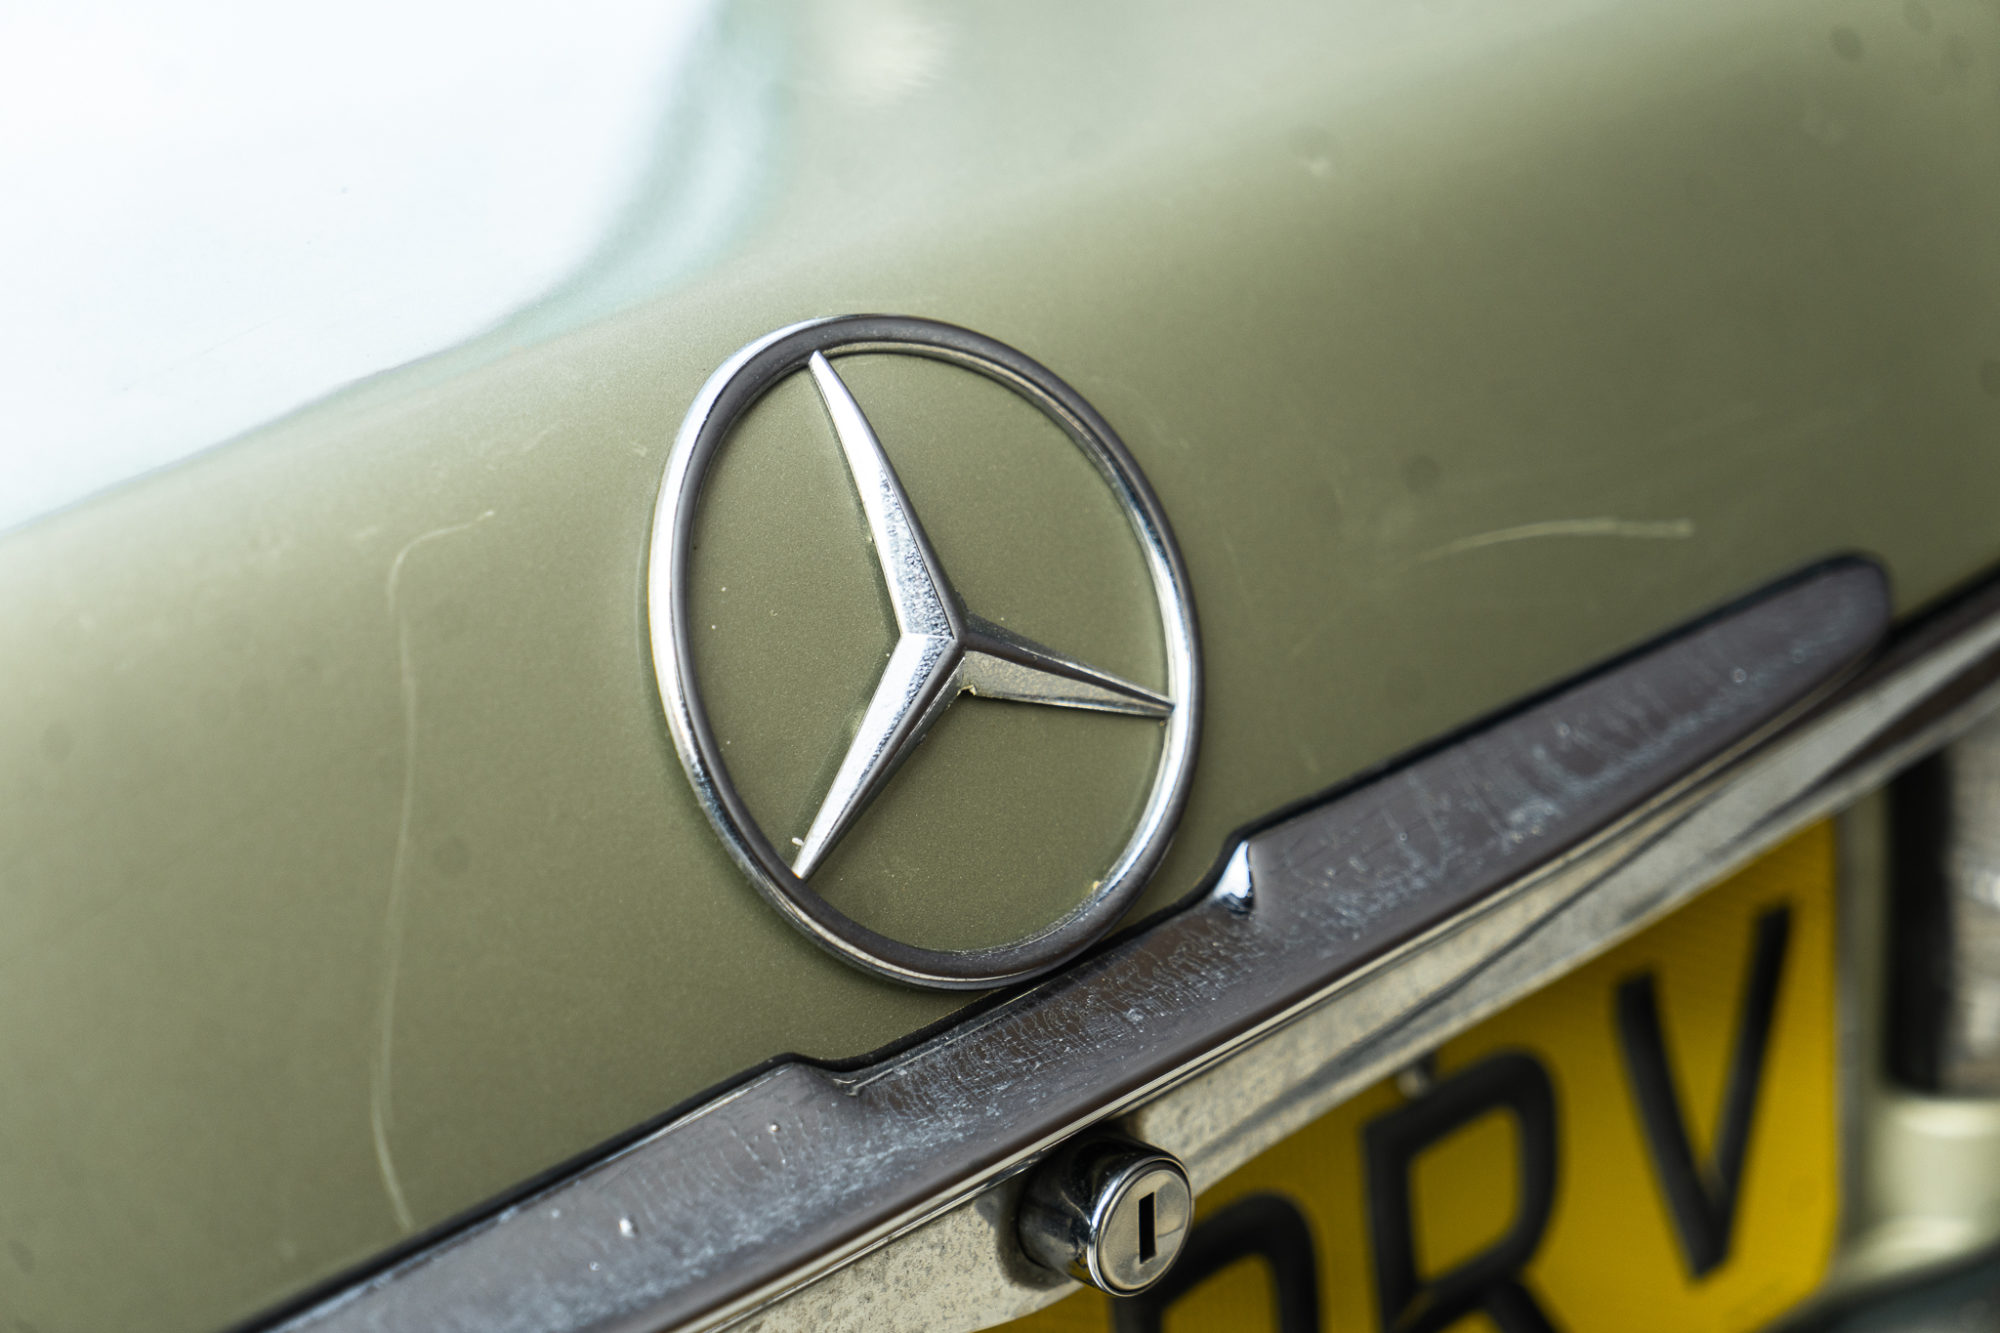
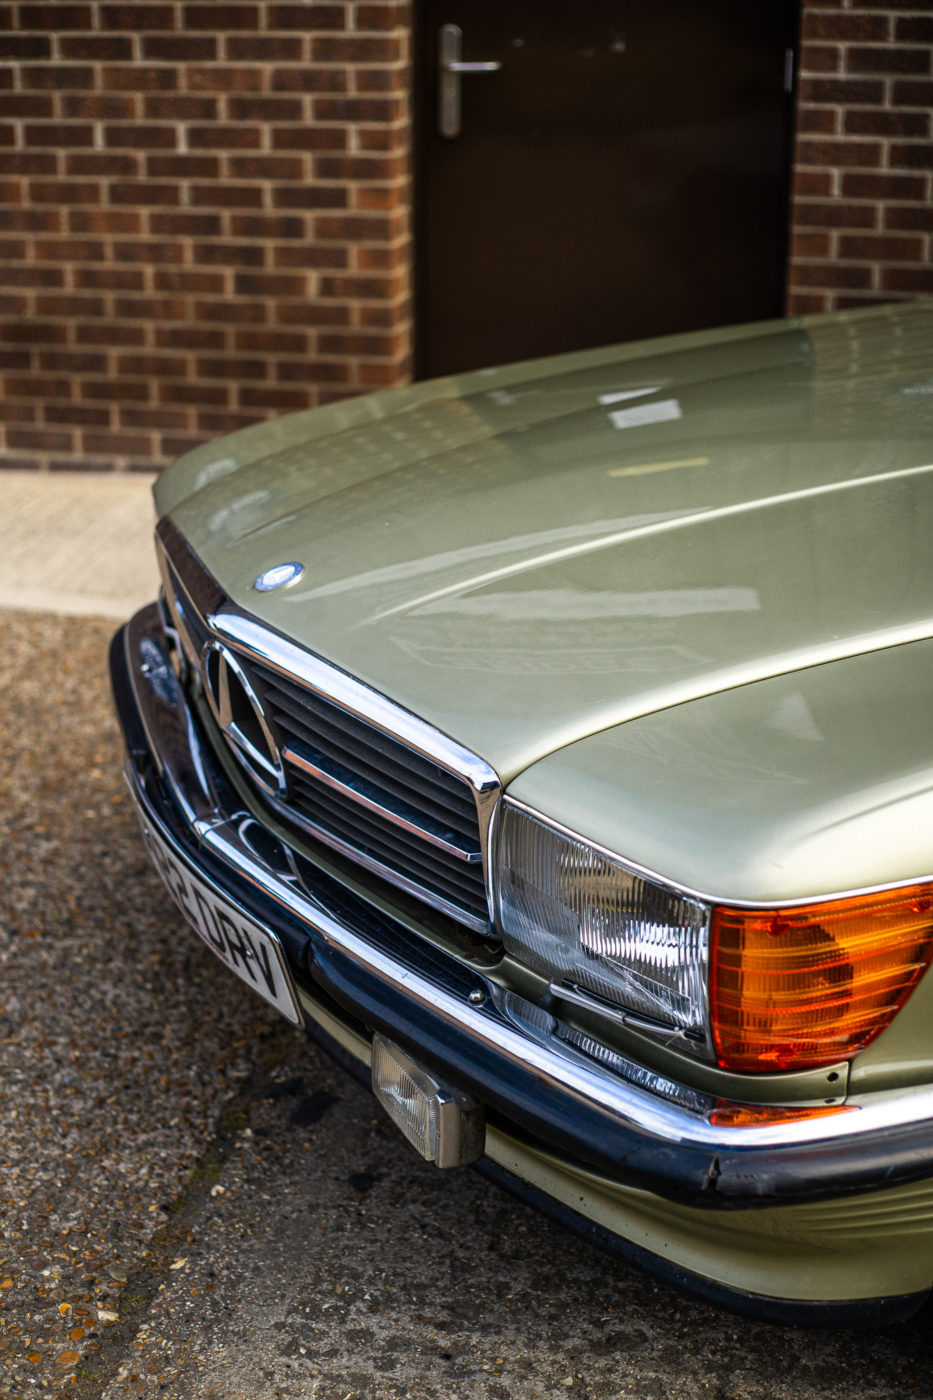
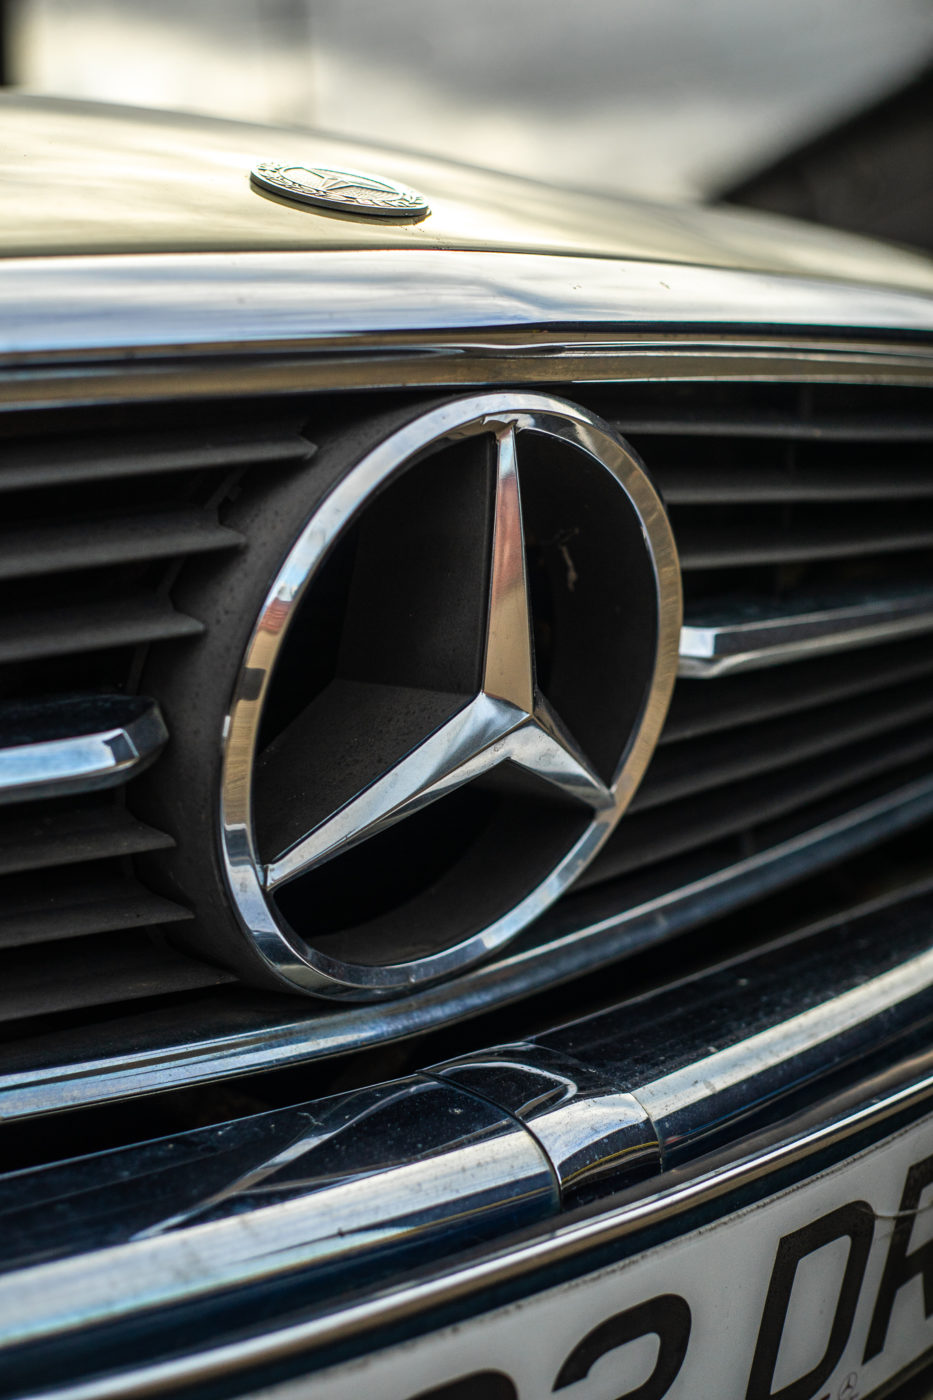
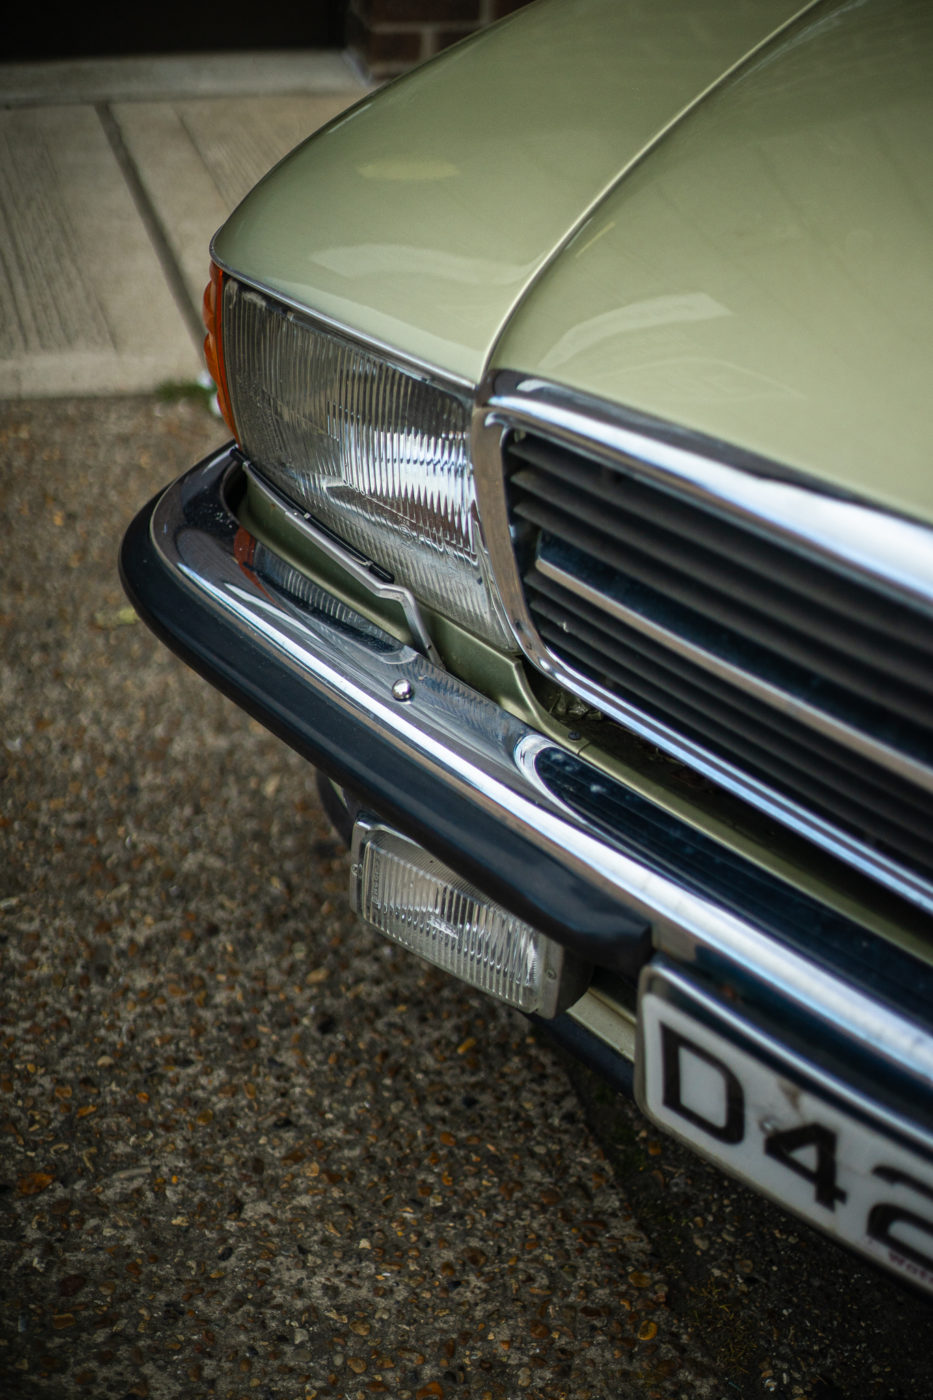
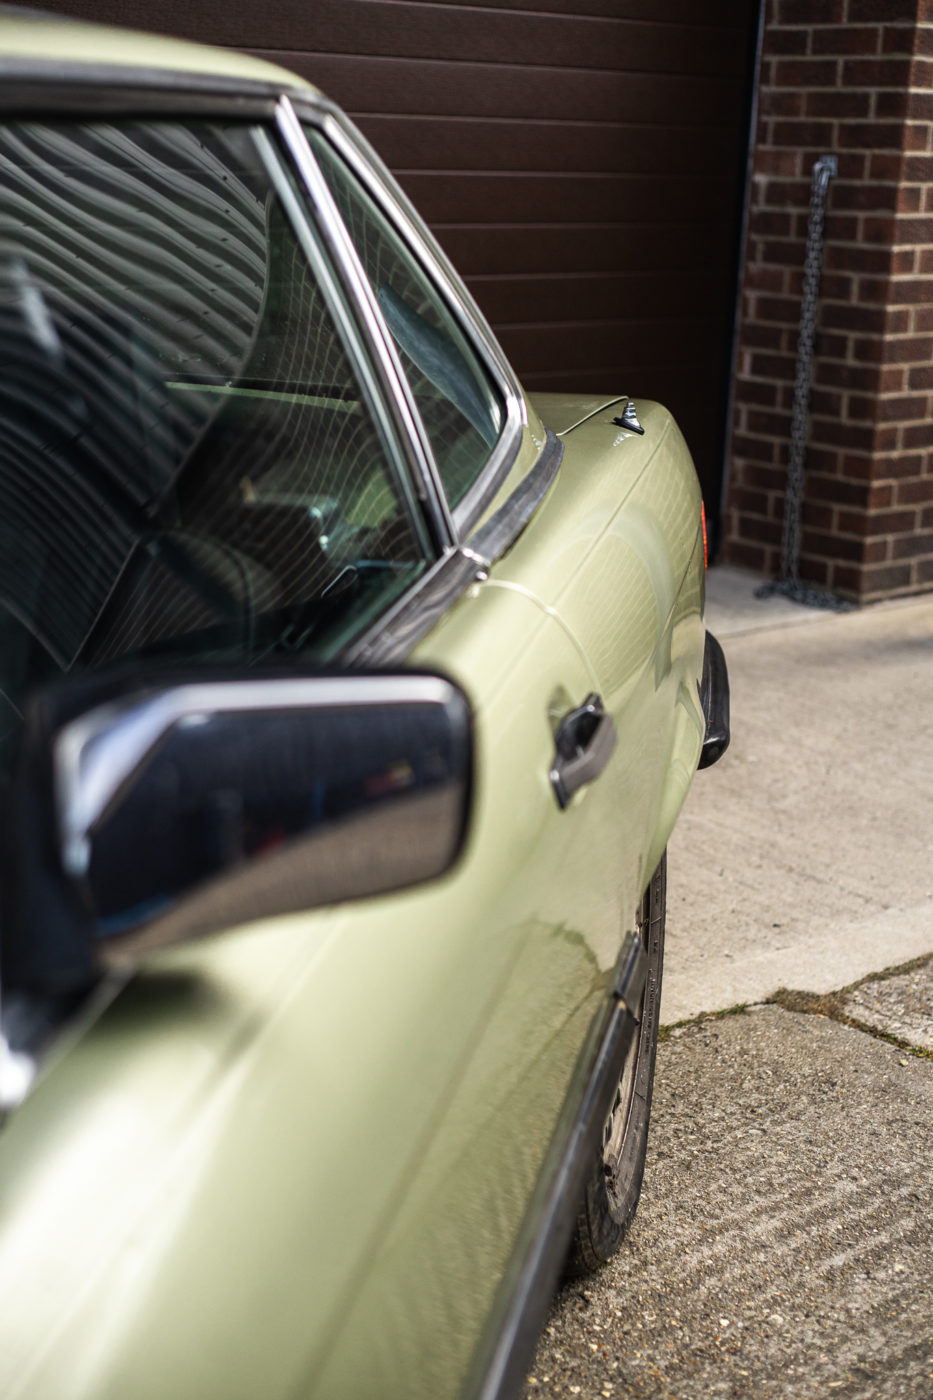
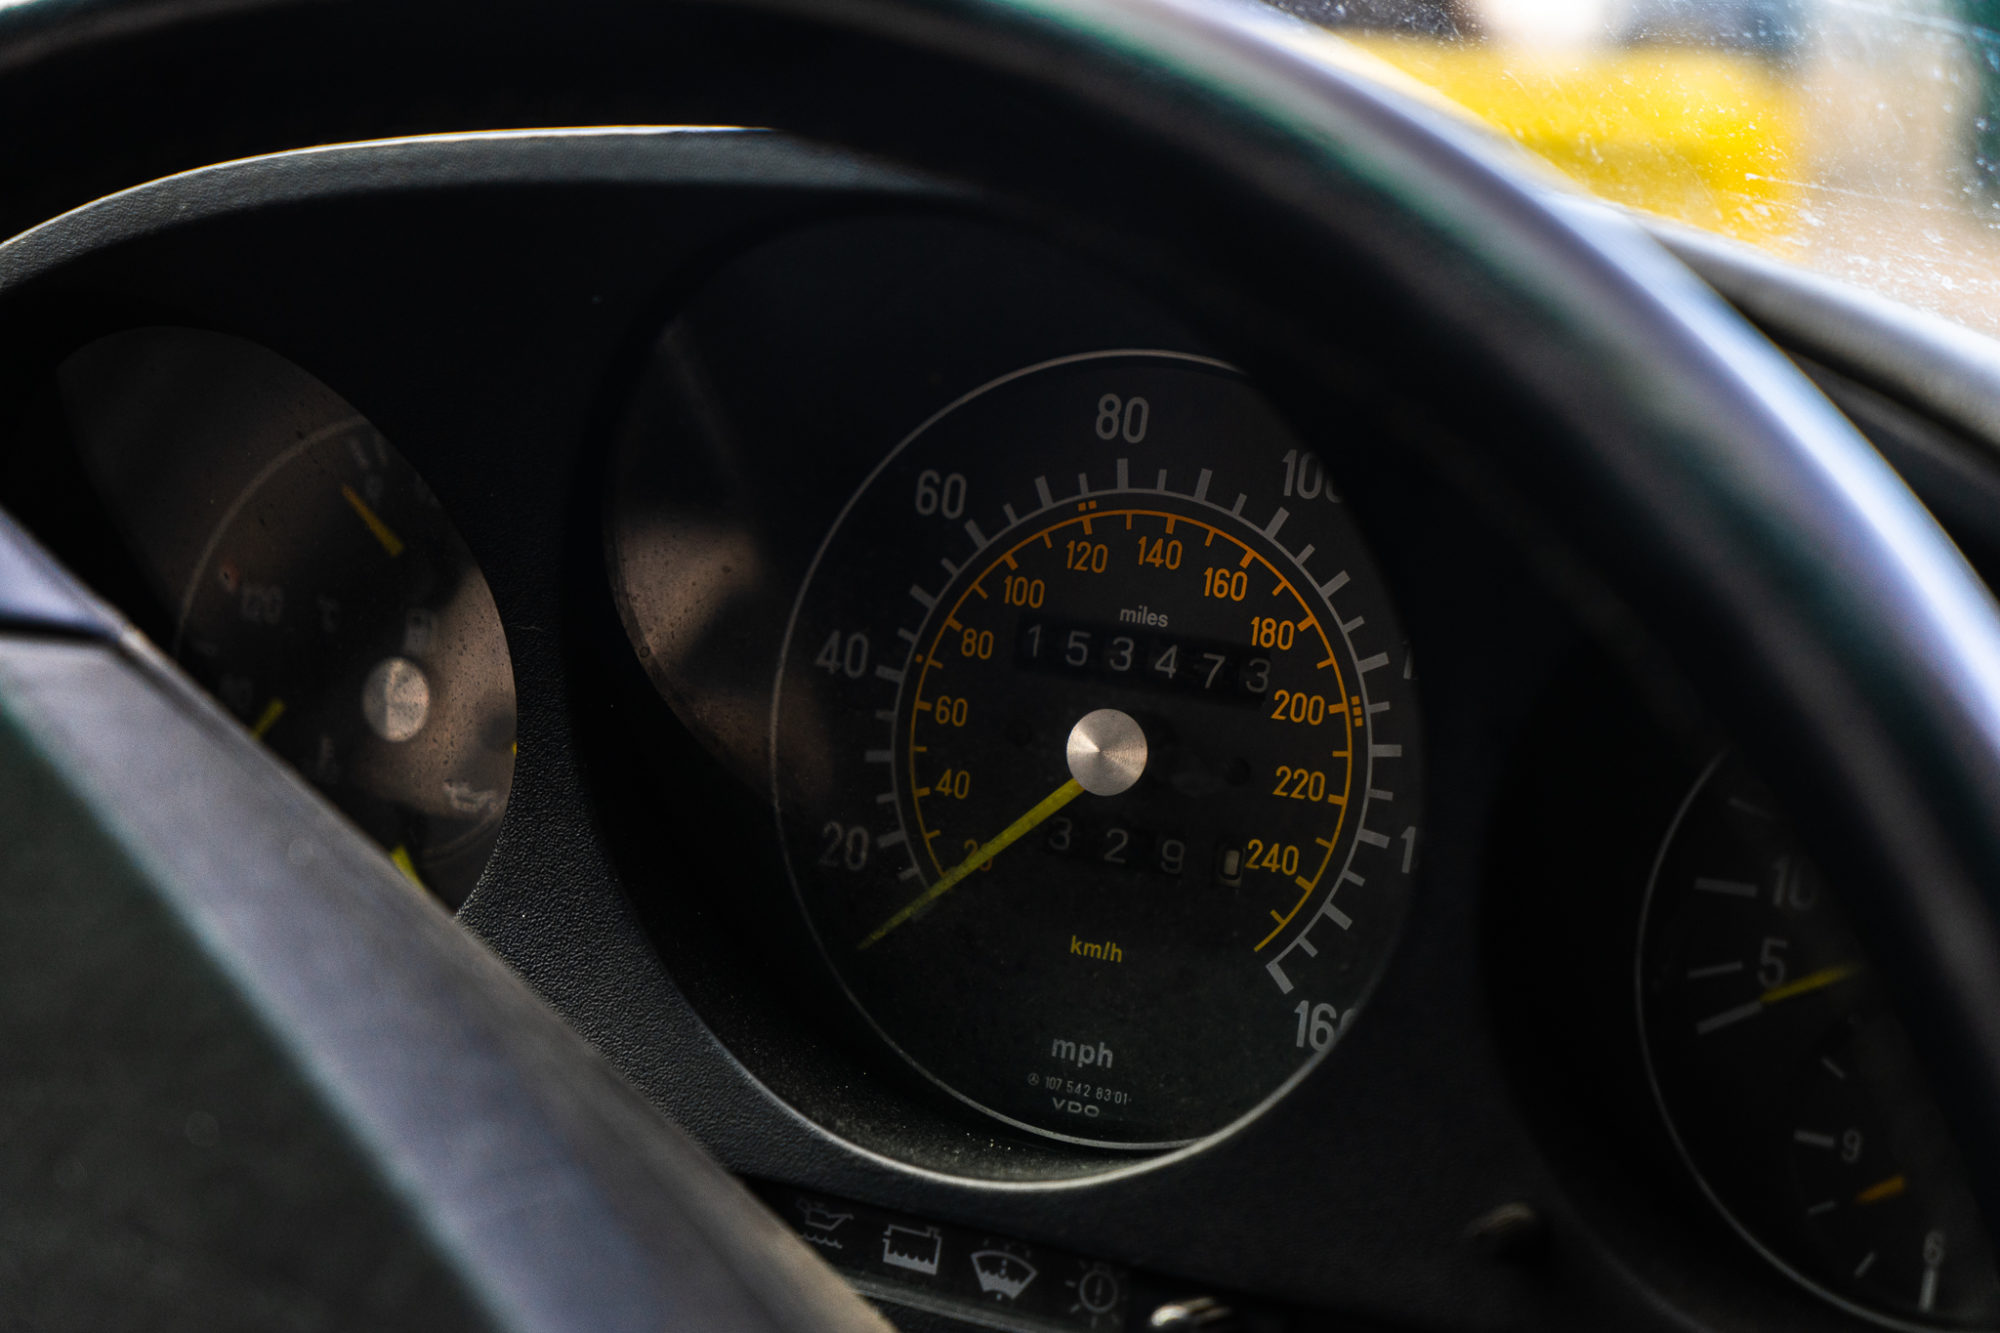
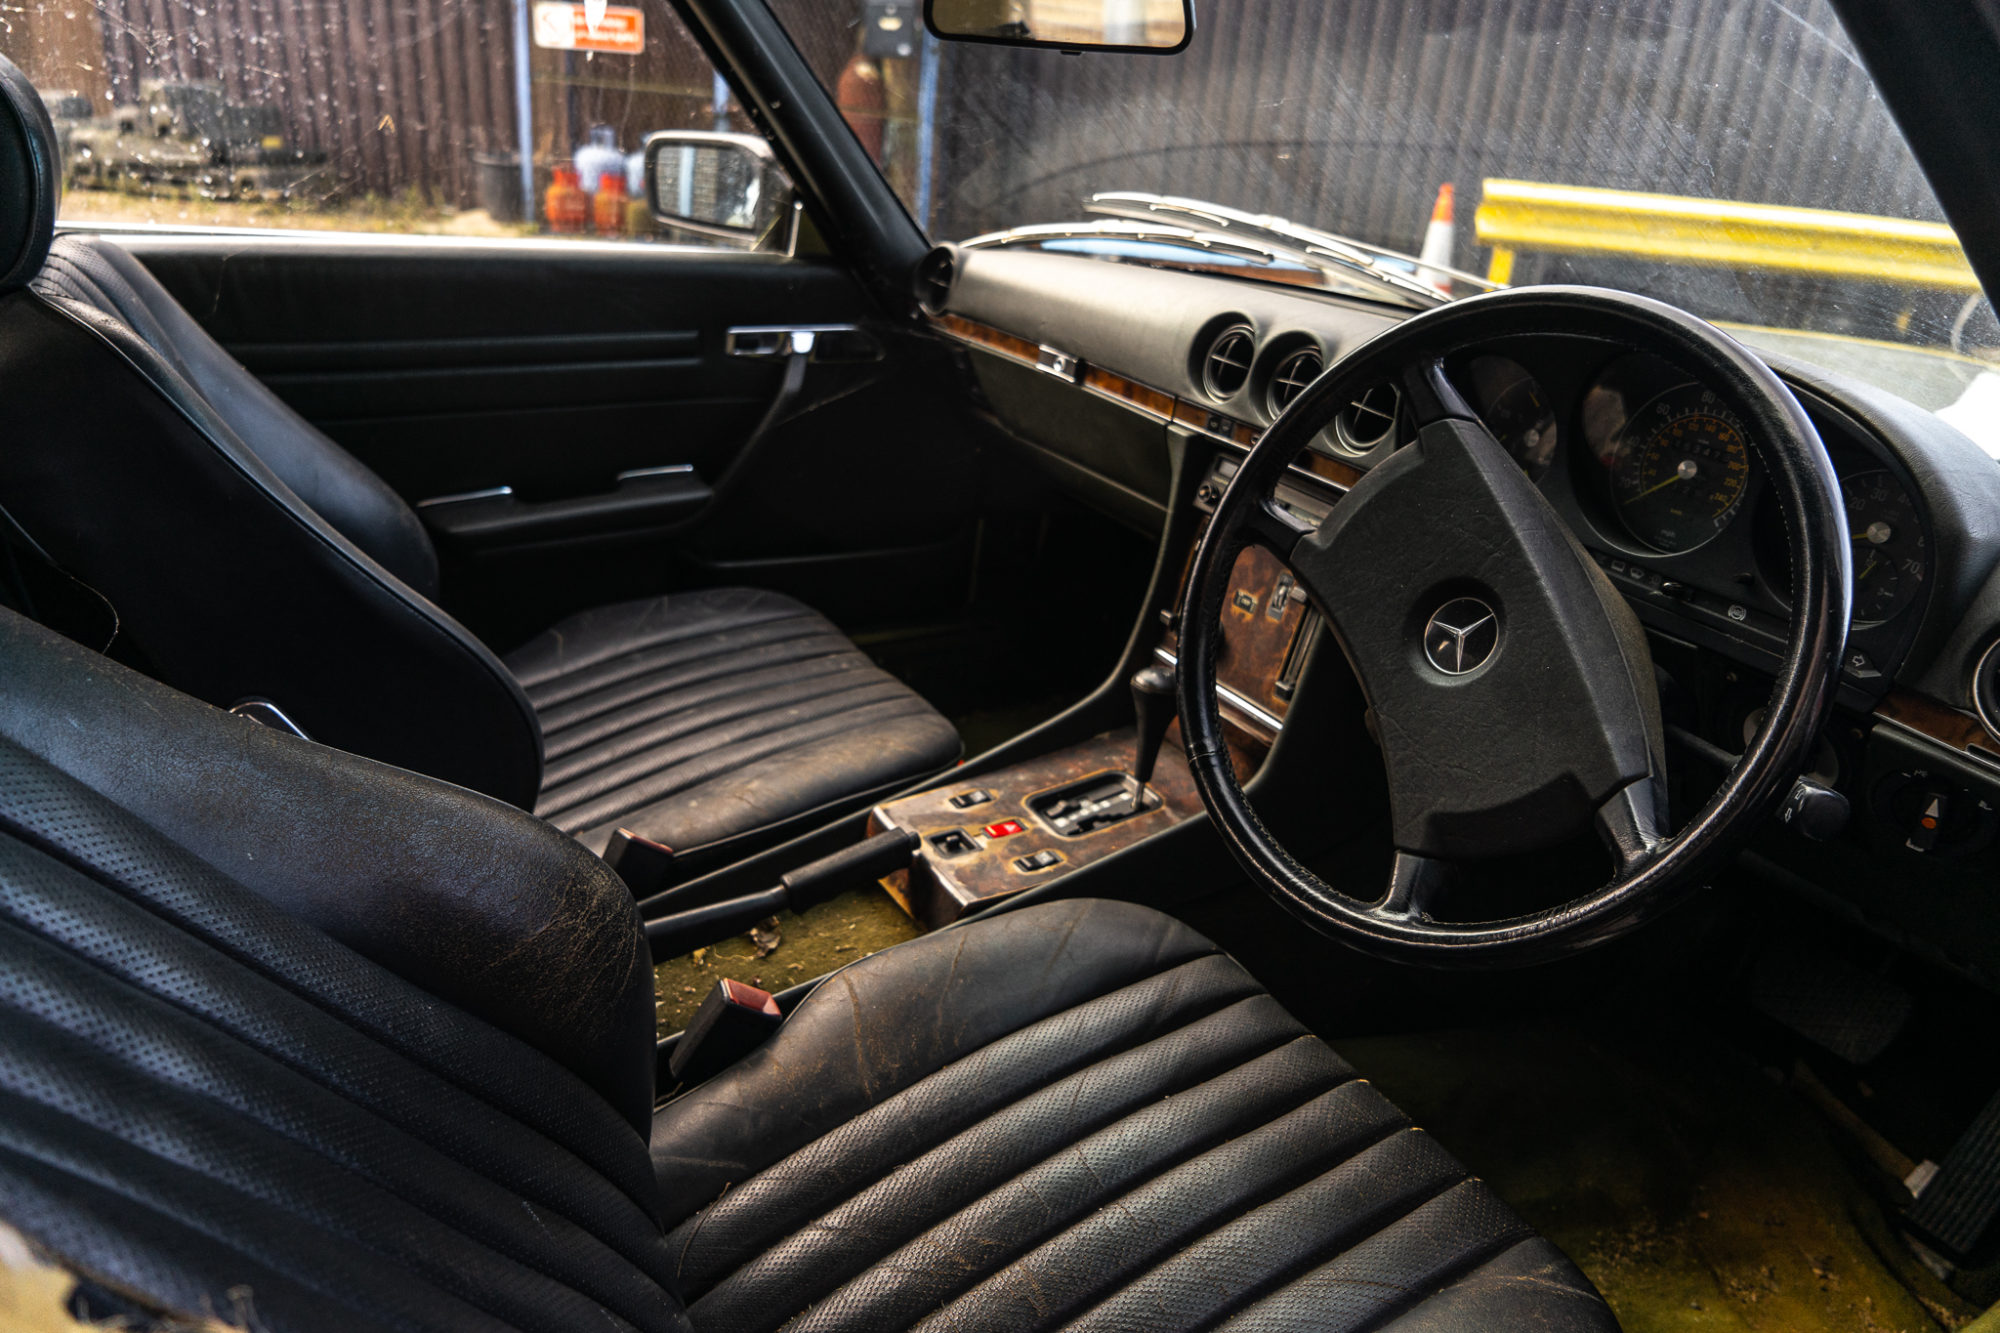
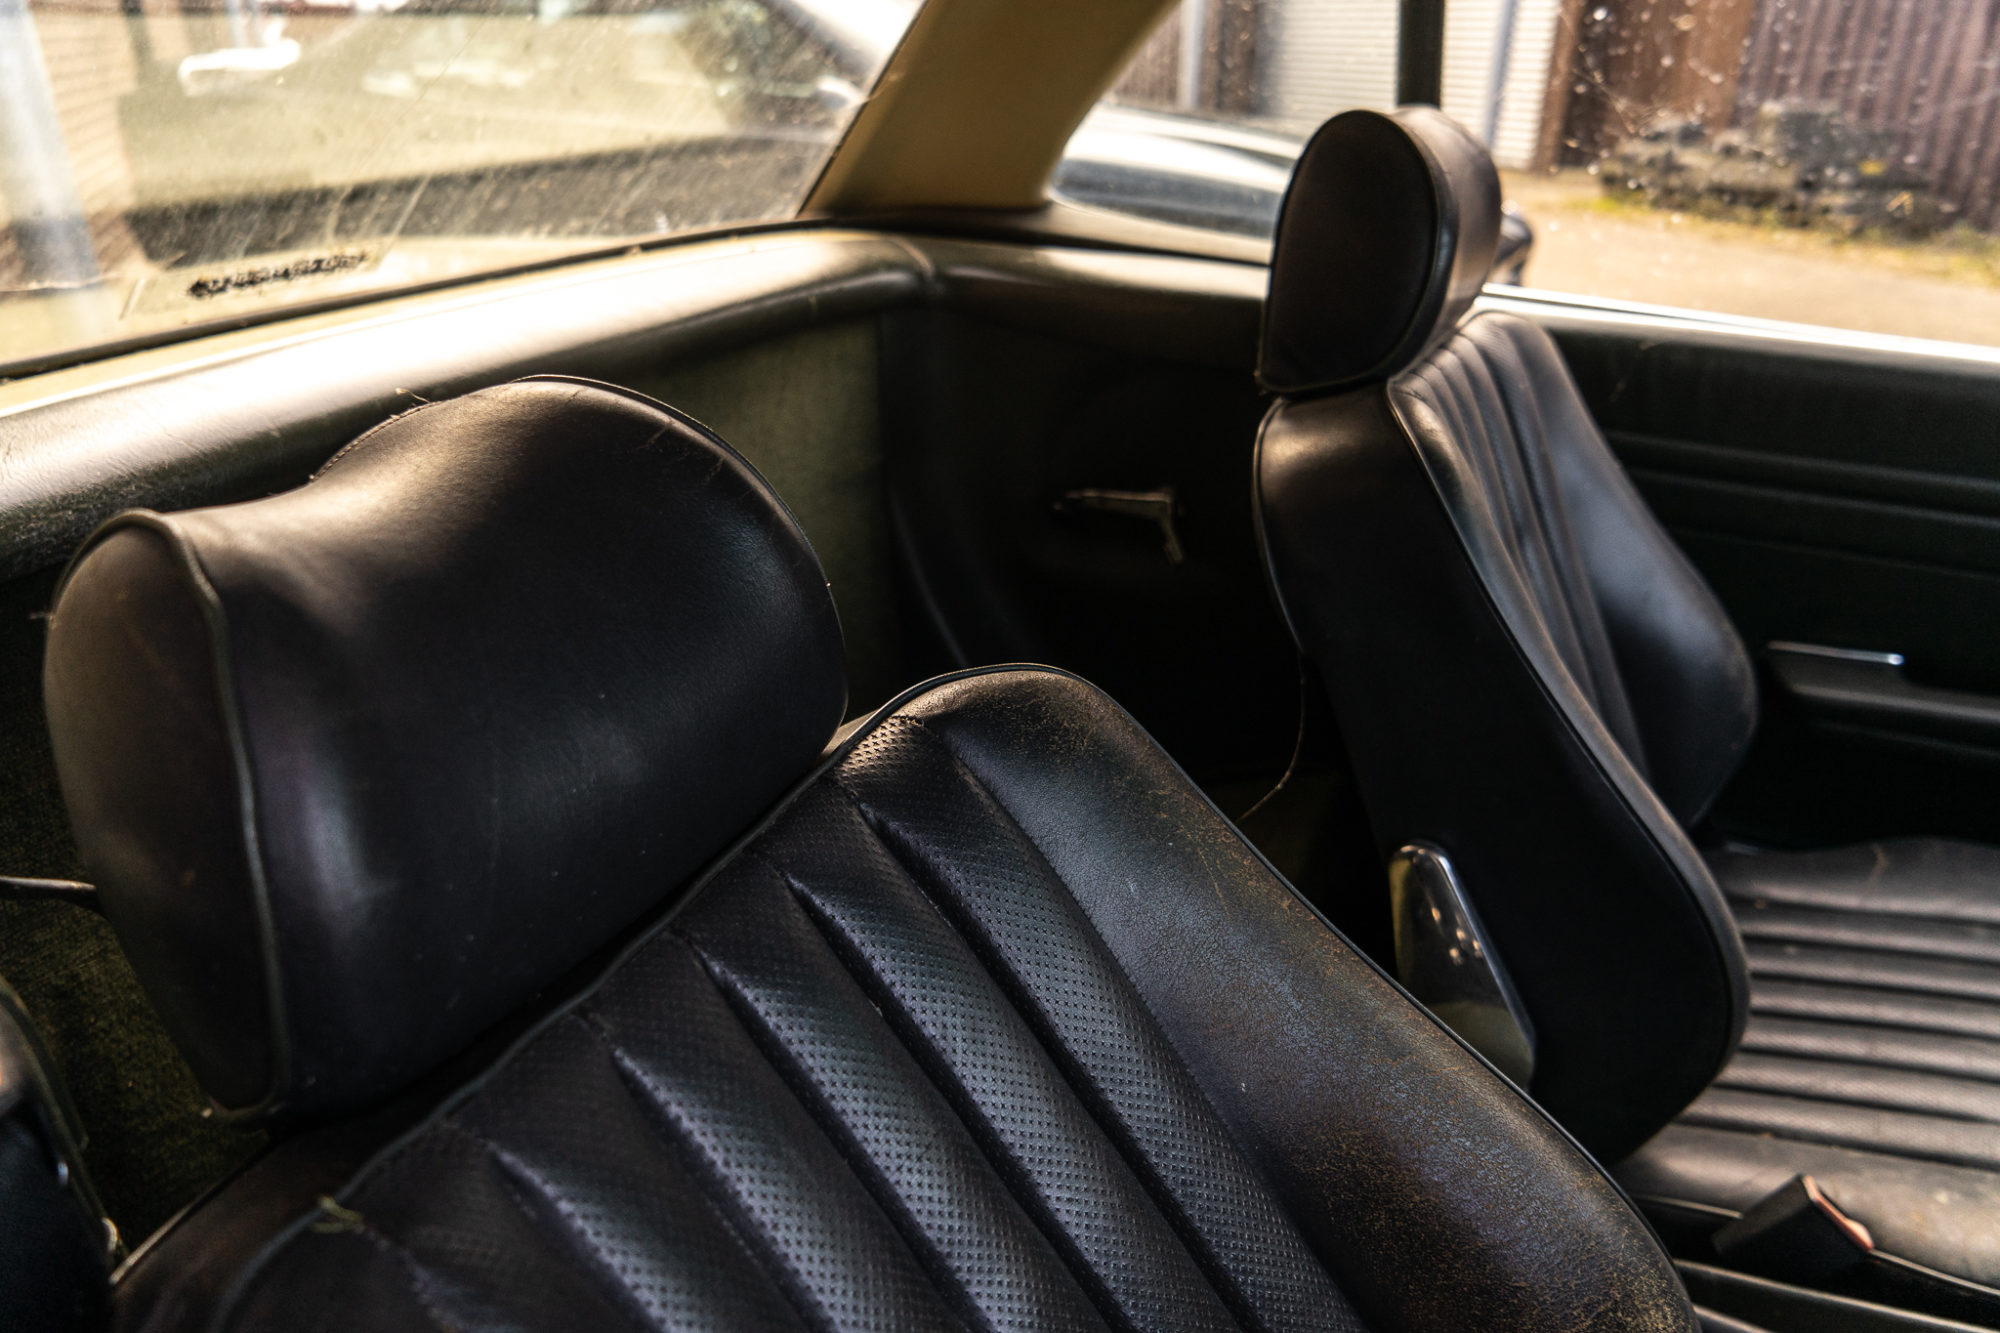
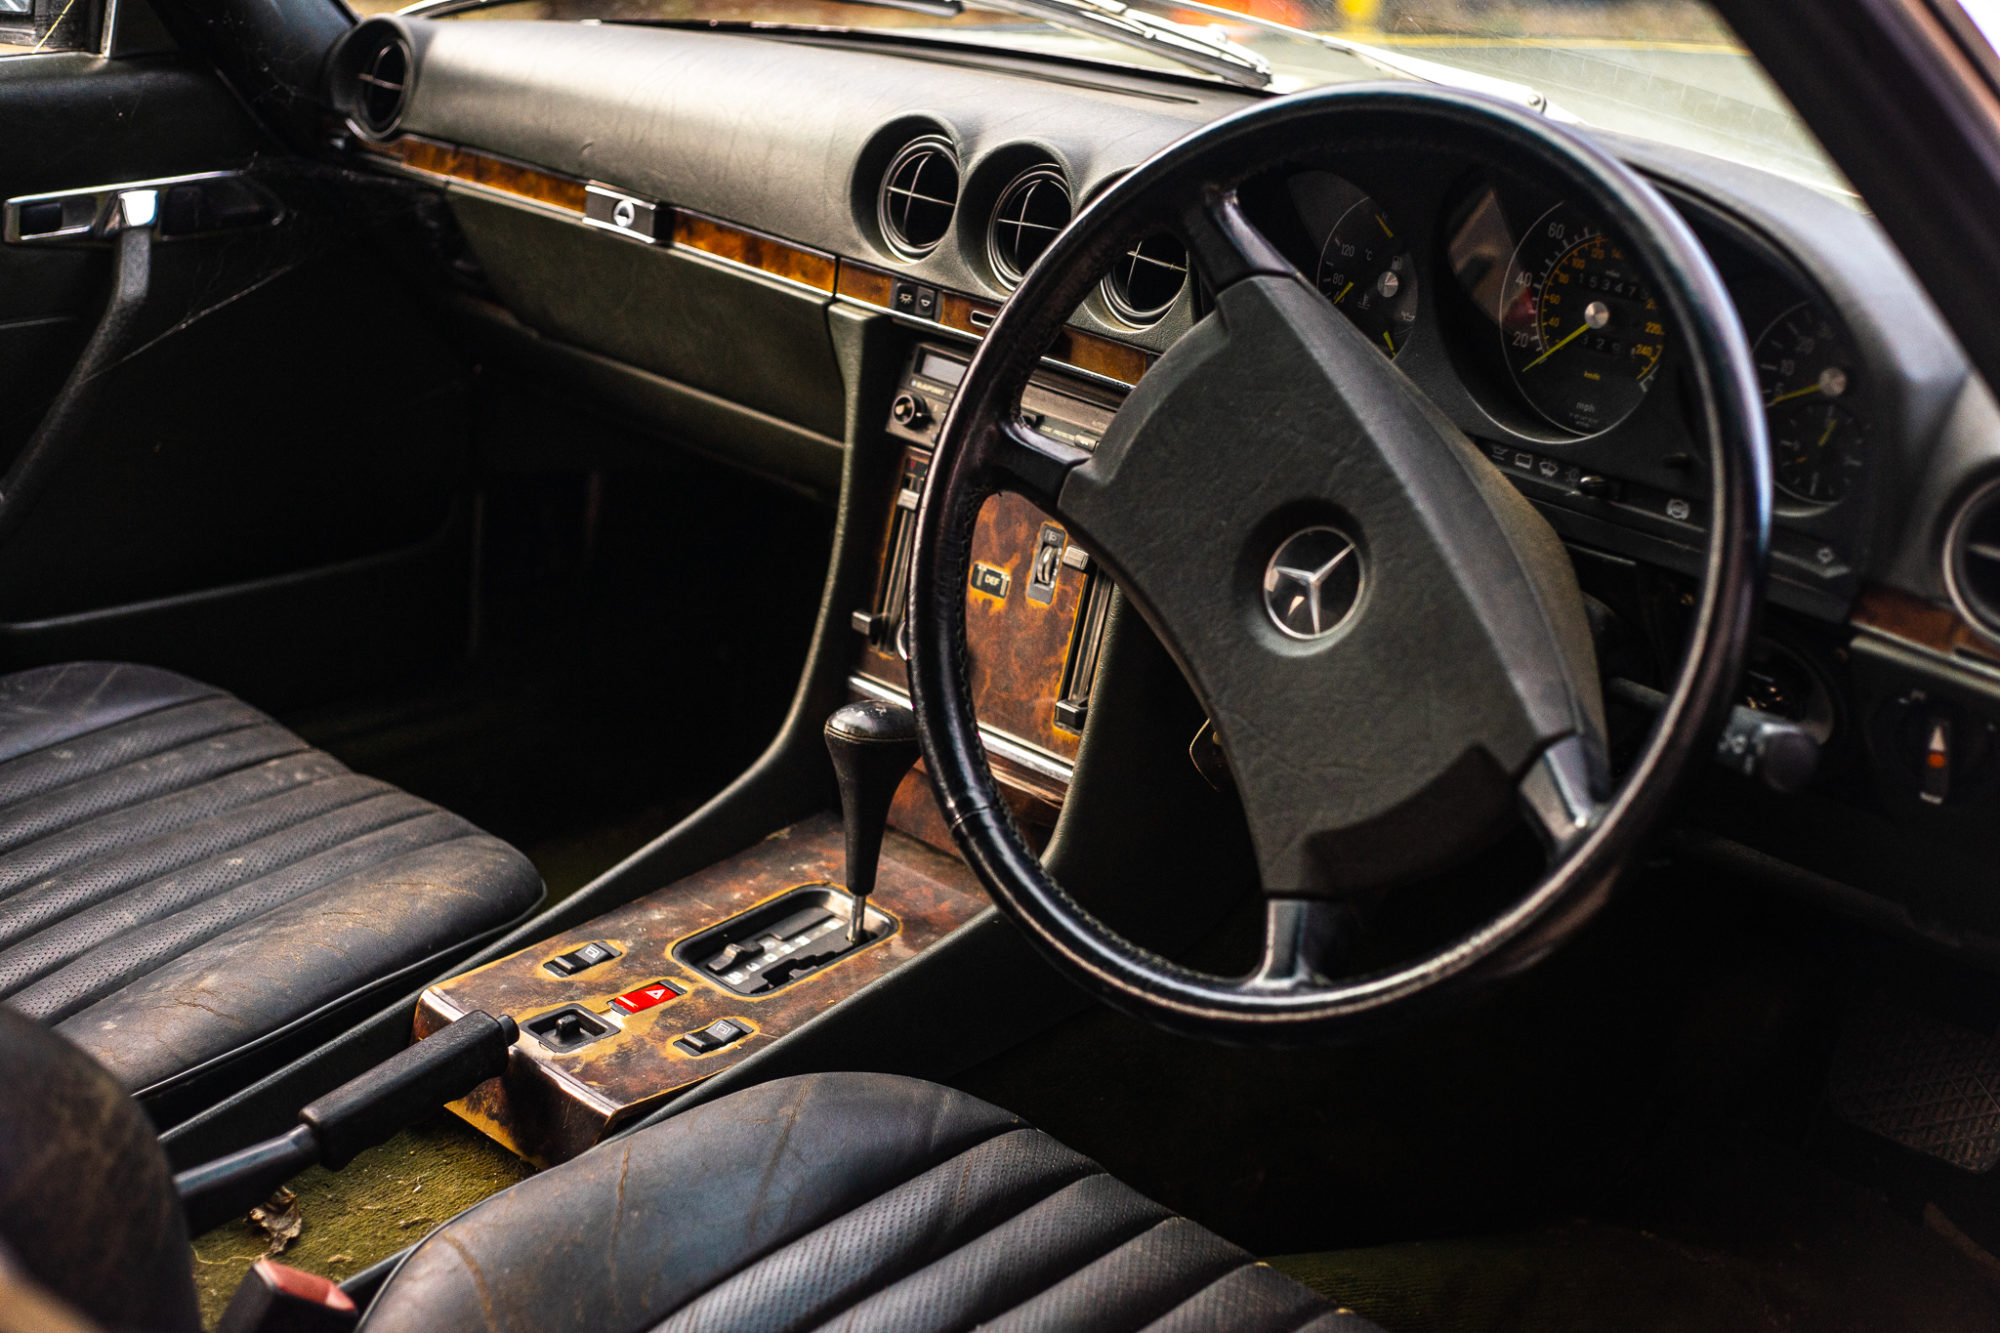
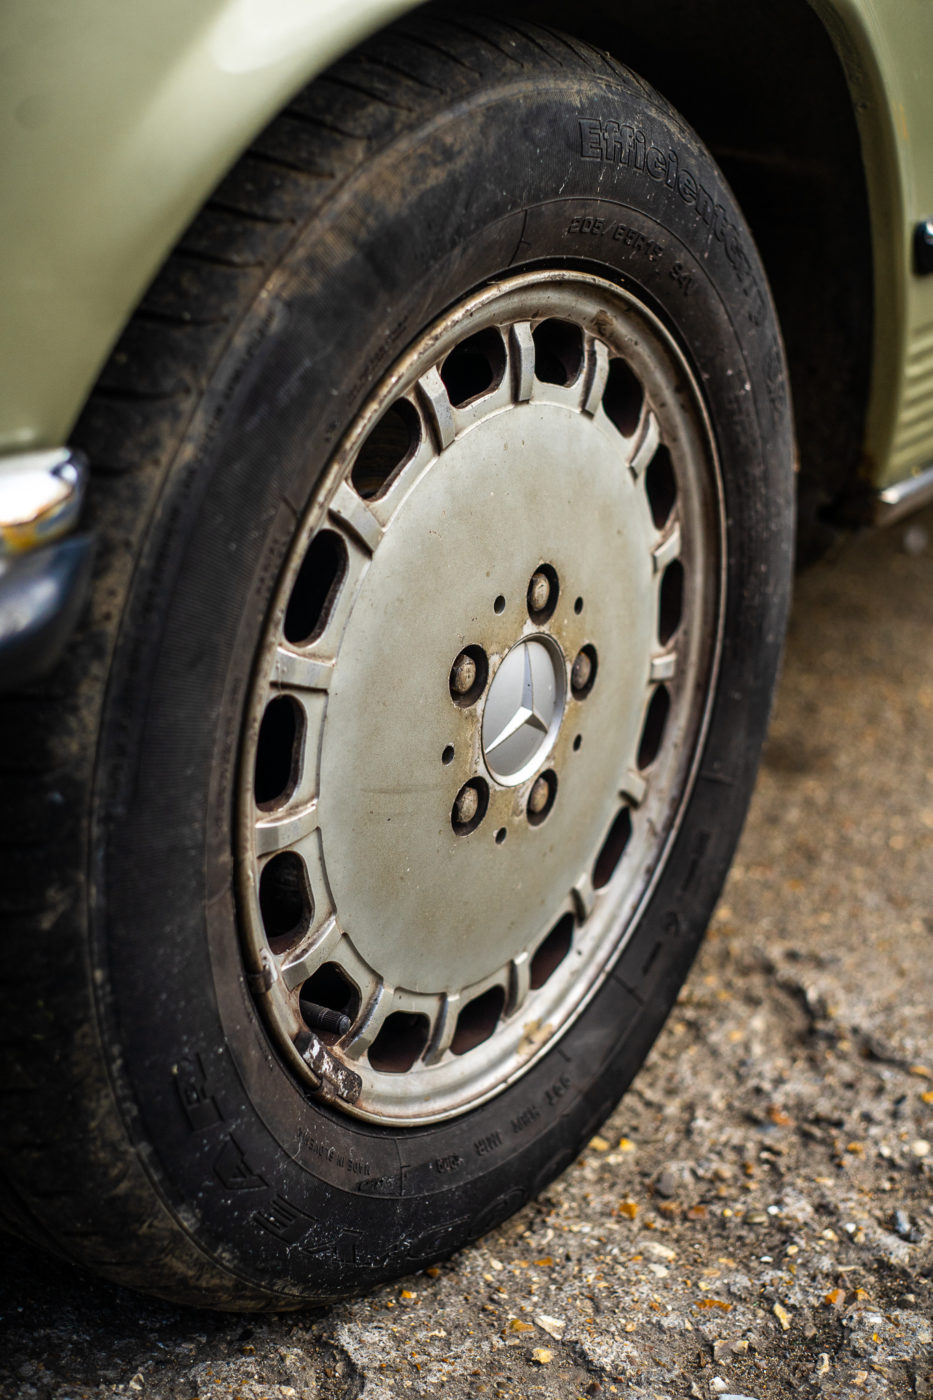
Our 1976 Mercedes Benz 350SL is back from Derrick Wells, a local Mercedes Specialist, to have a look into some electrical issues with the car.
Now that it is electrical working exactly as it should, it’s time for our Bridge Classic Cars in-house restoration teams to assess the car and come up with a plan to move forward with. First up, it will be mechanically inspected before moving to the other teams for their expert eyes to look over this incredible classic convertible.
The car has so many amazing and wonderful details it’s difficult to capture them but the original Aztec Gold paint looks incredible in the winter sun.
Expect to see more on this amazing 1976 Mercedes 350SL in at Bridge Classic Cars very soon.


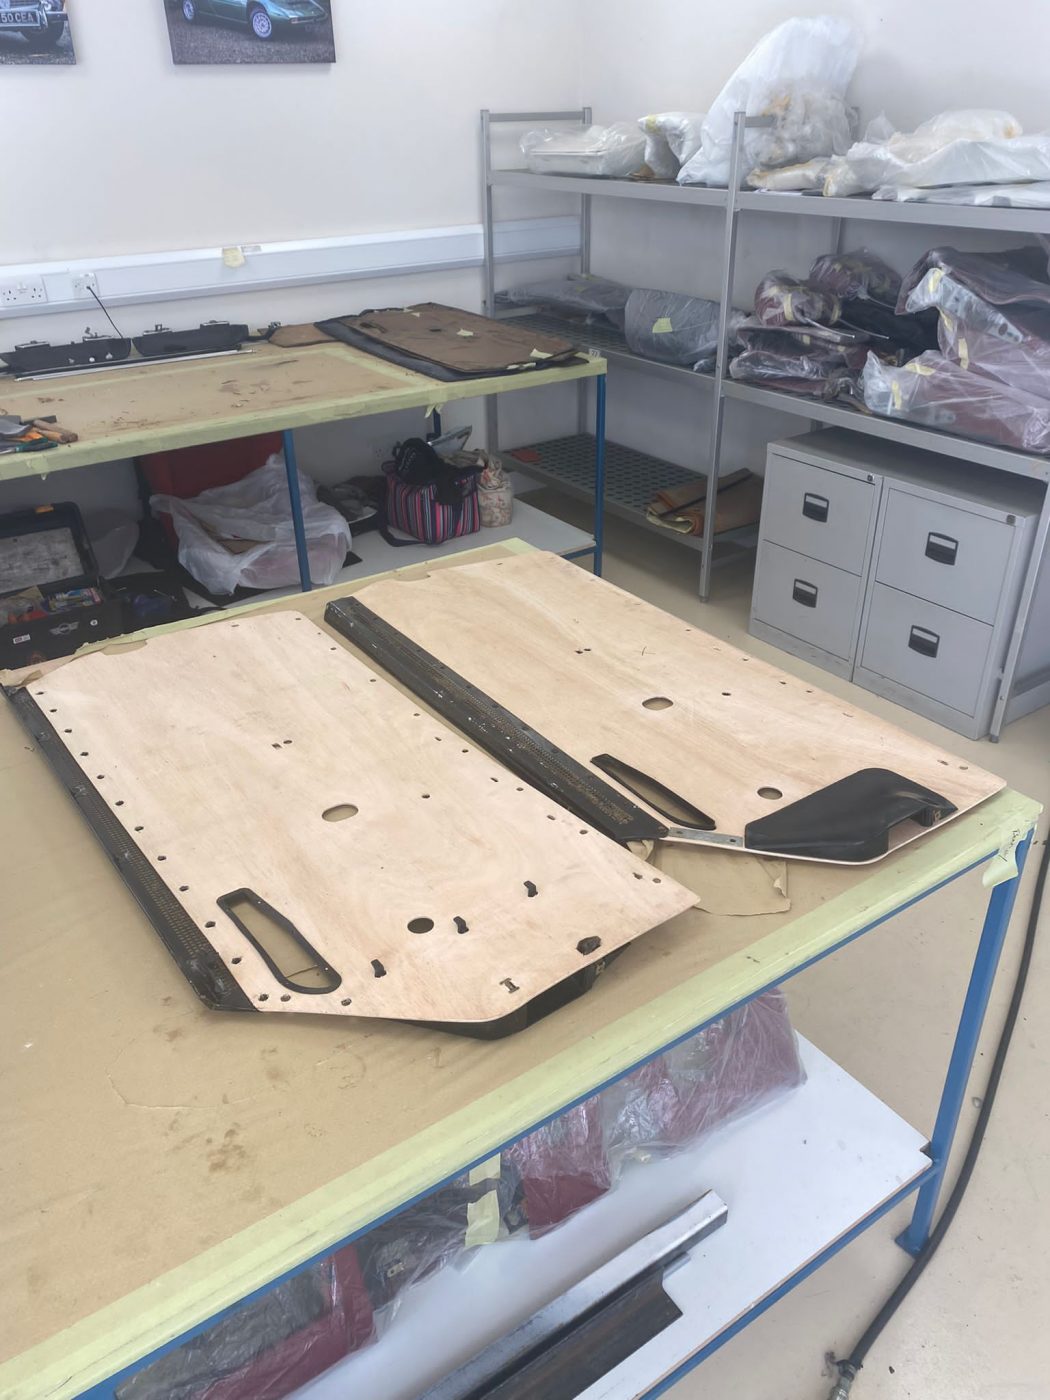


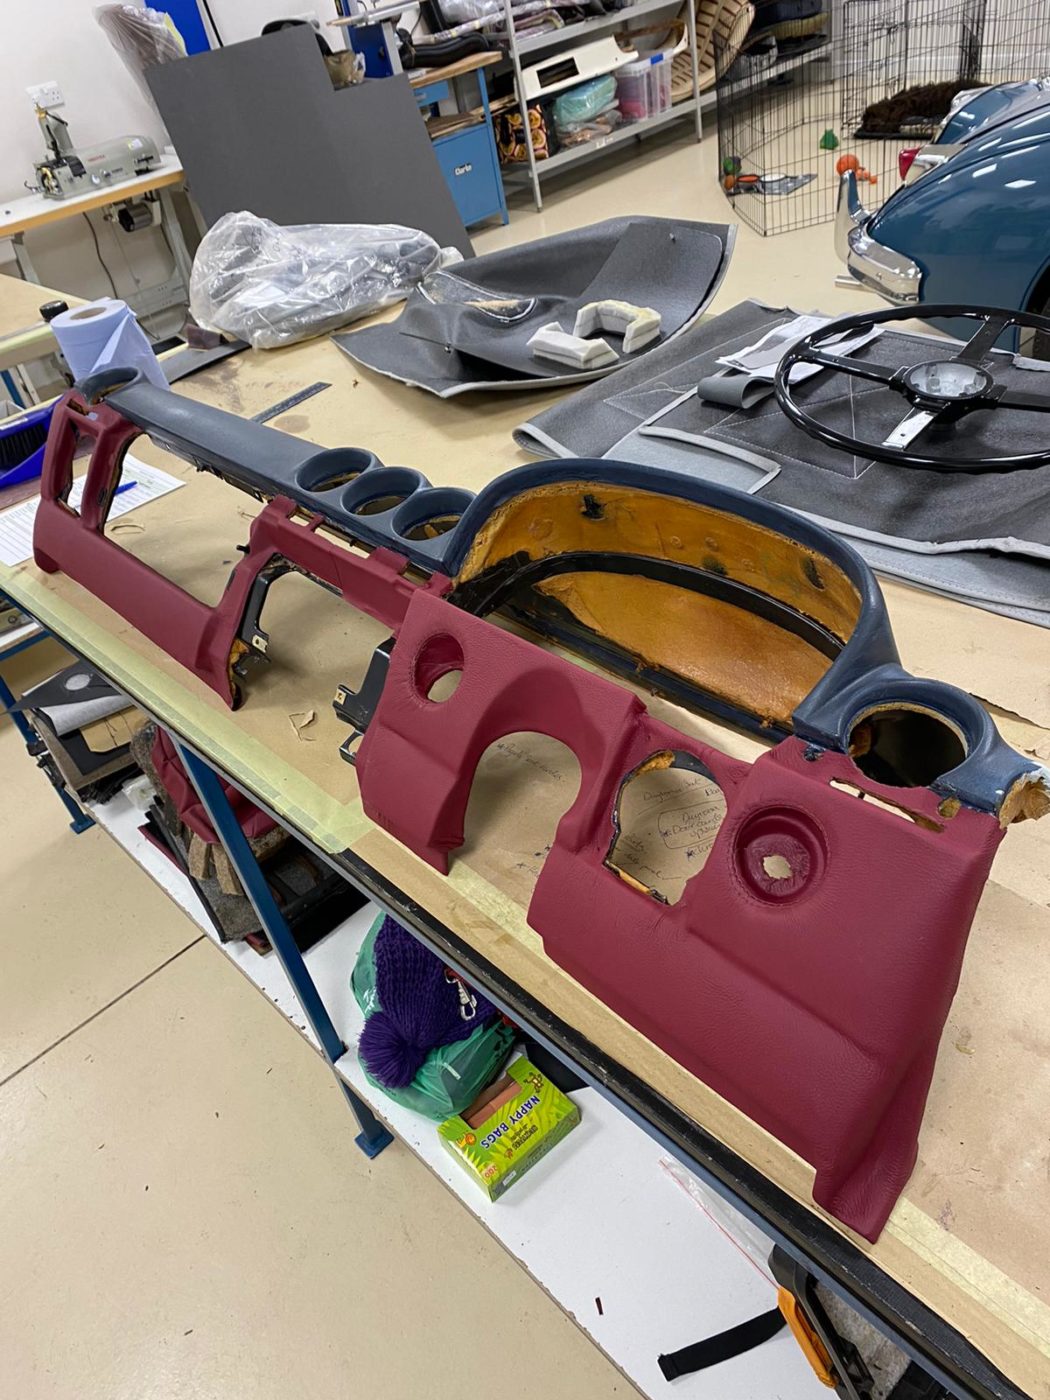
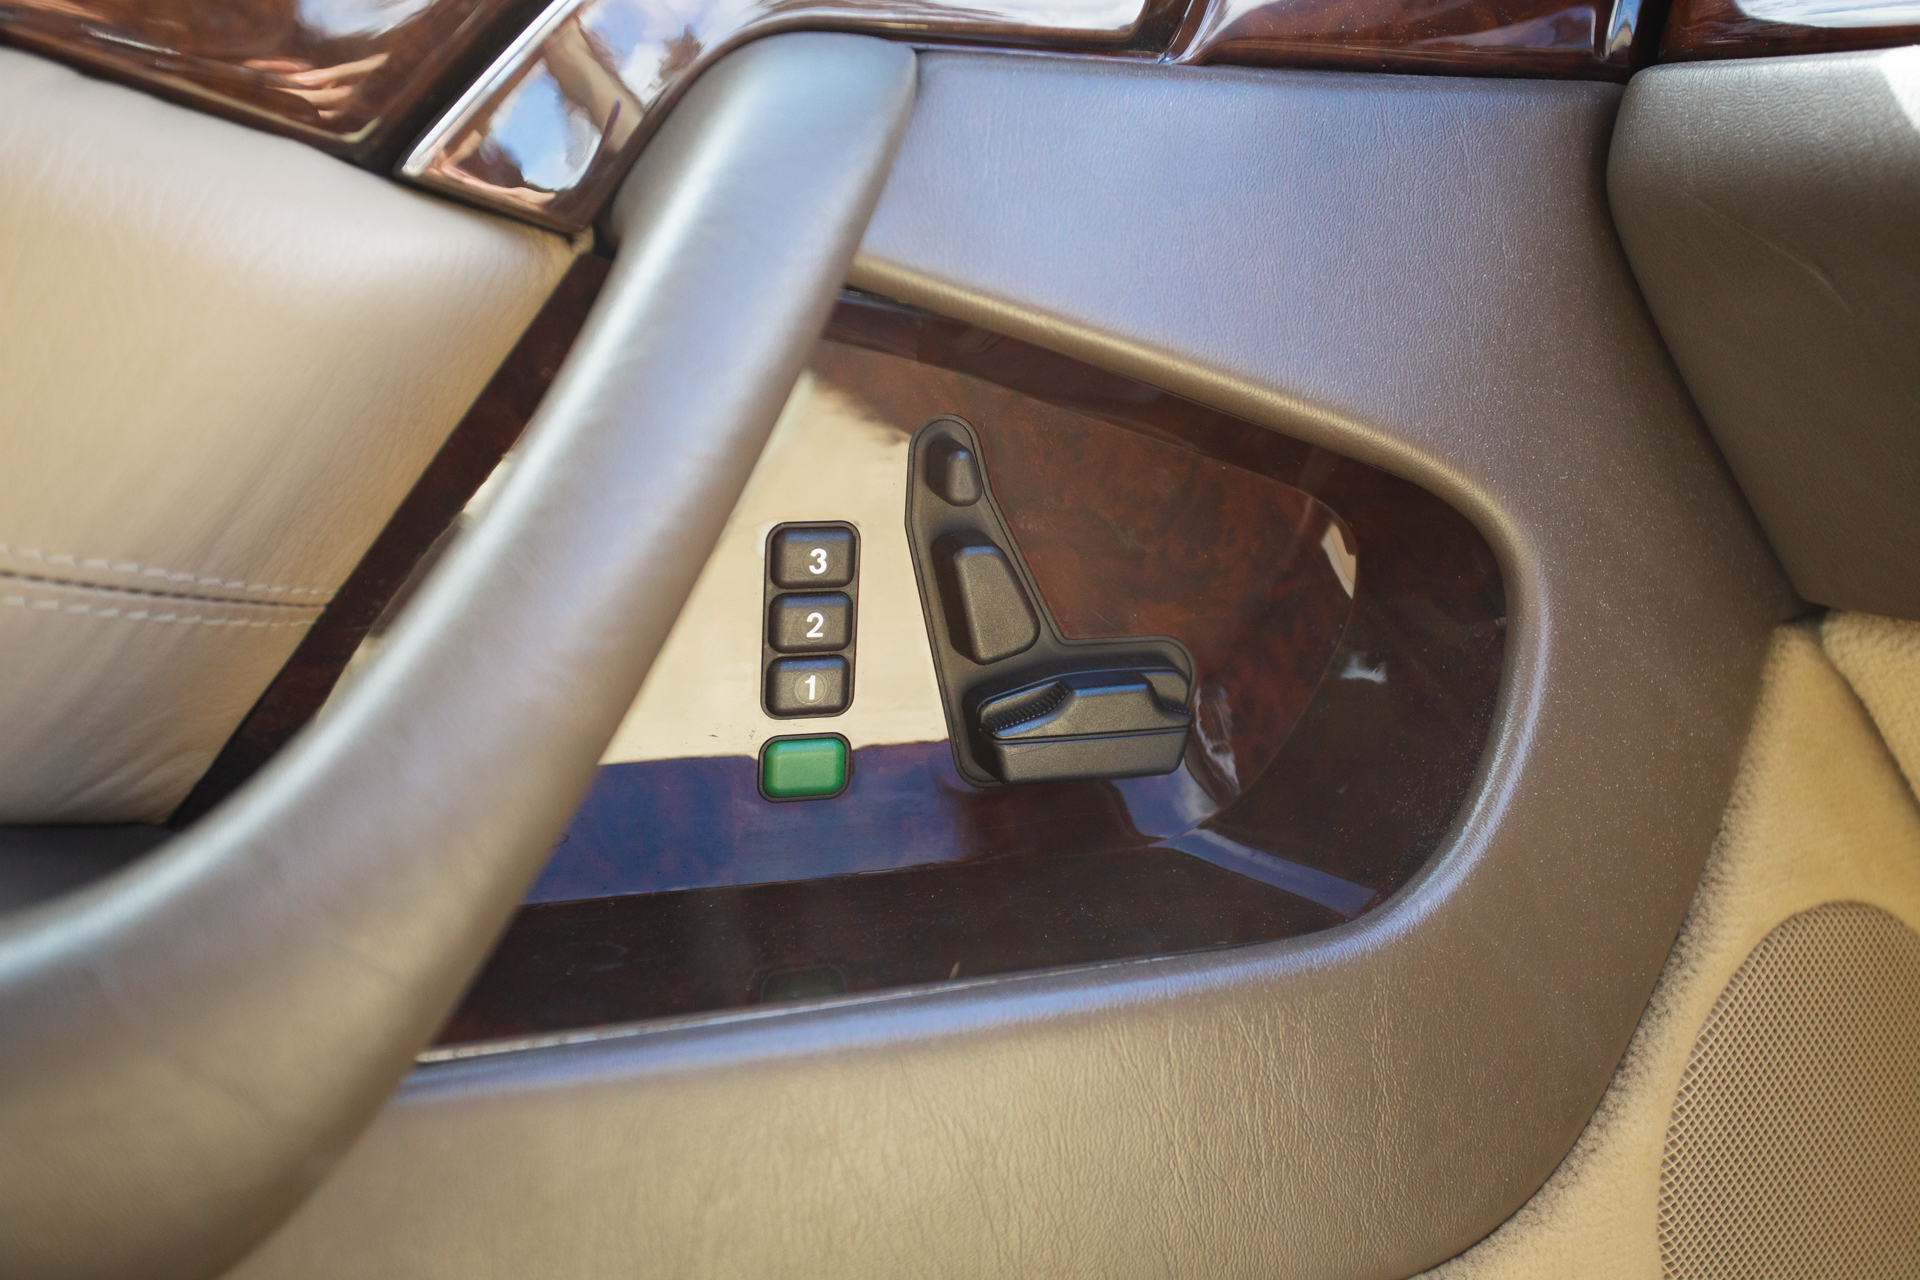
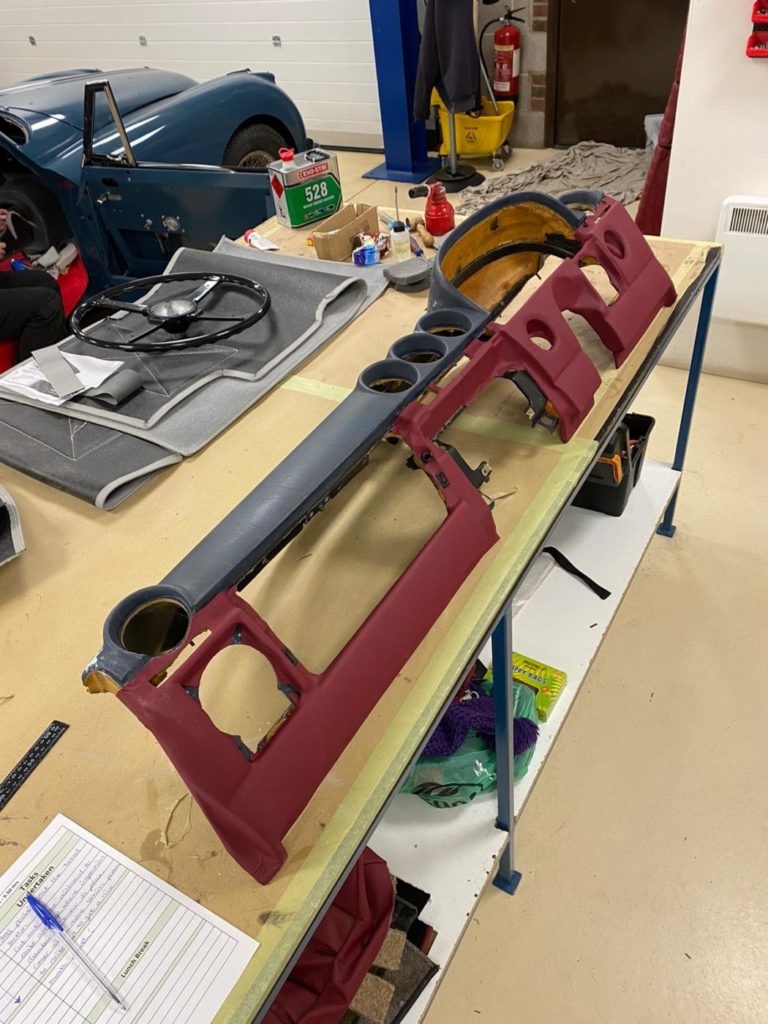
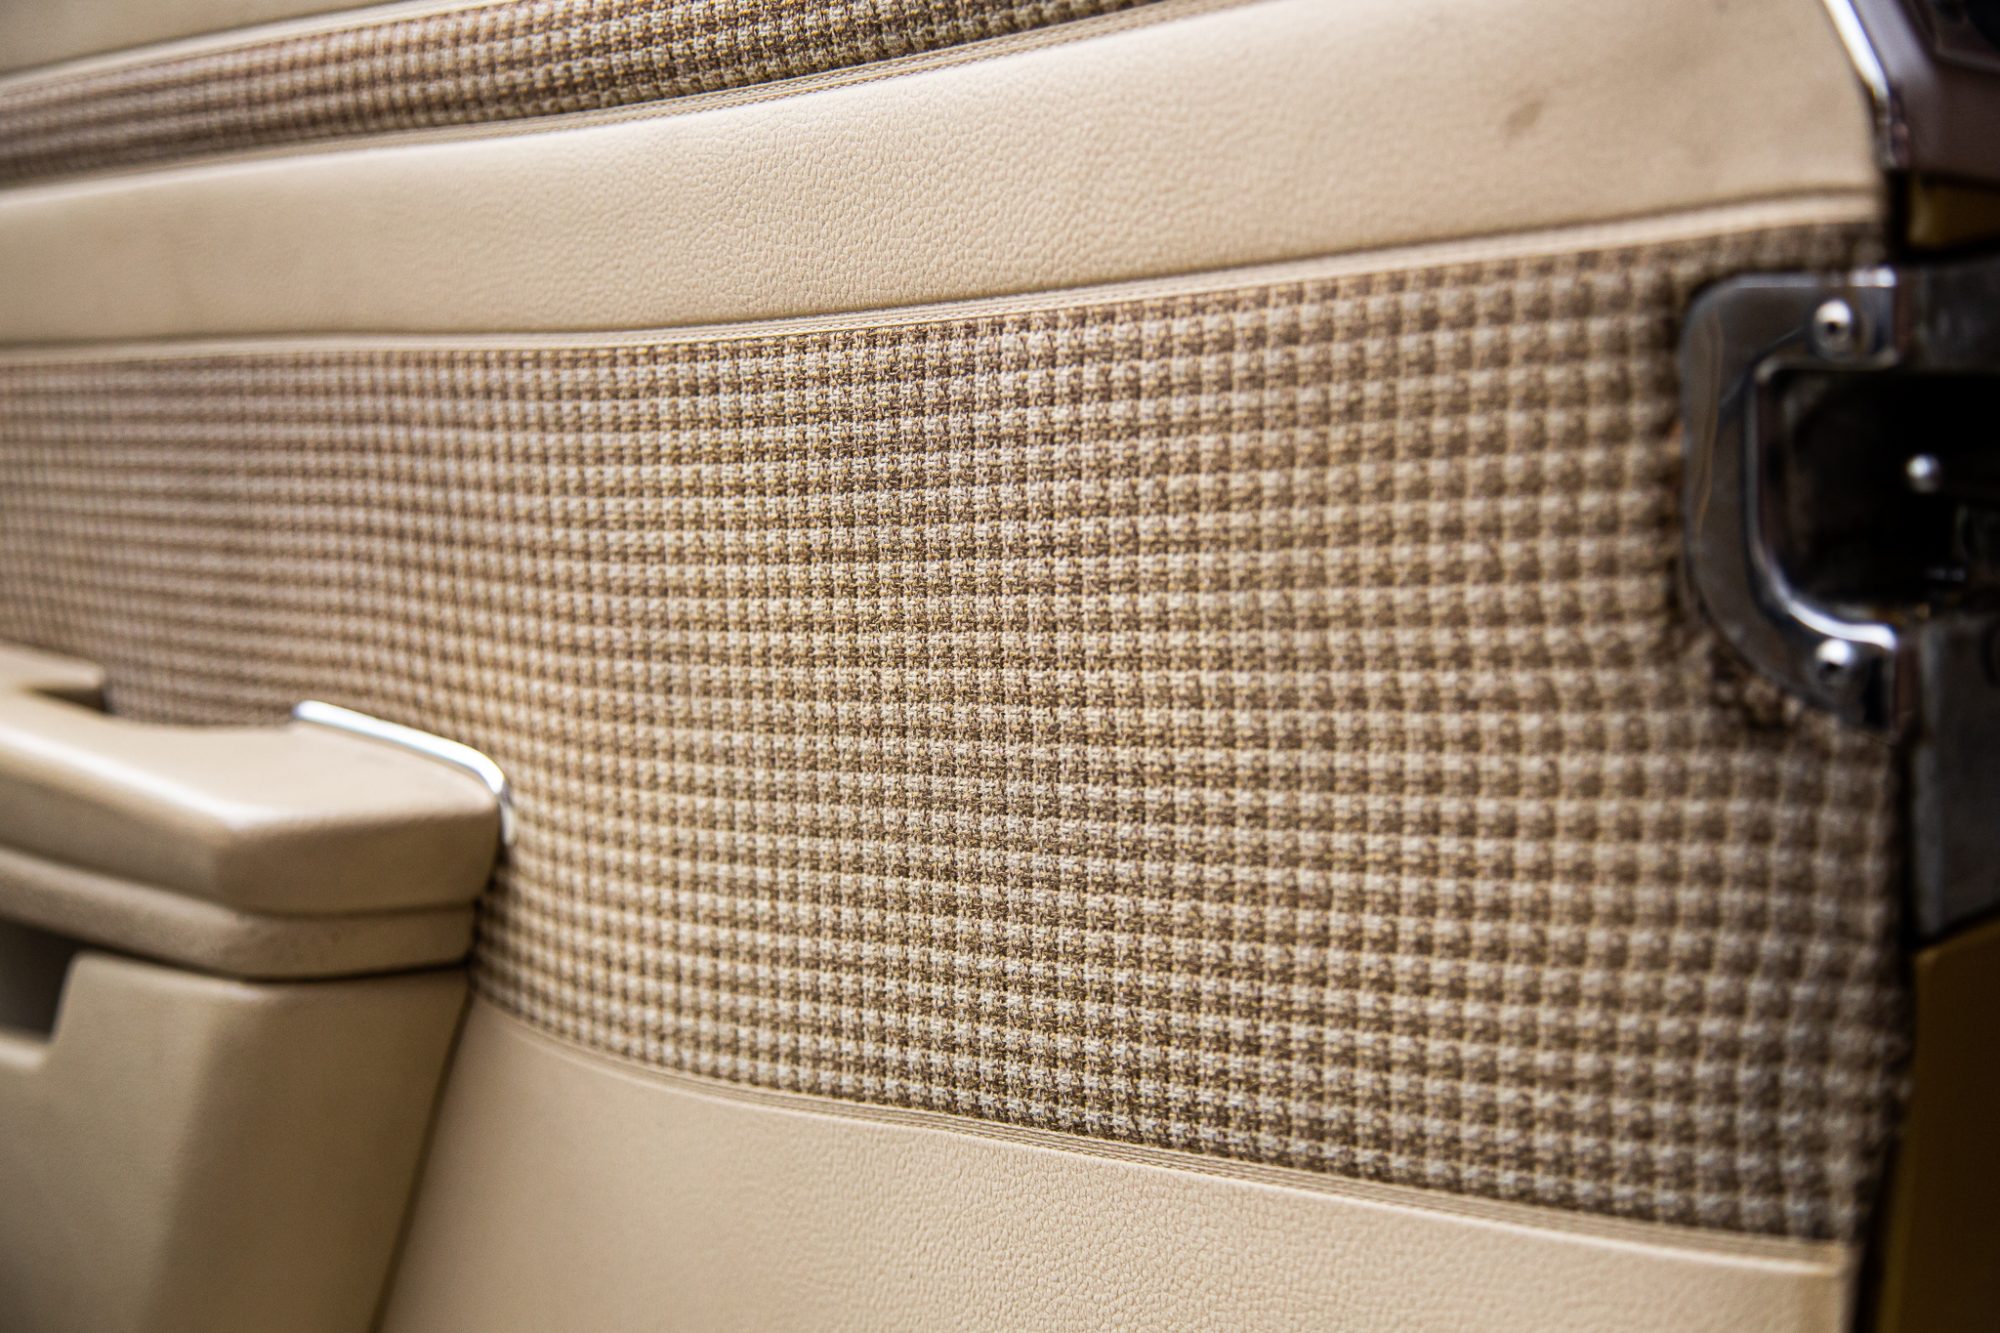
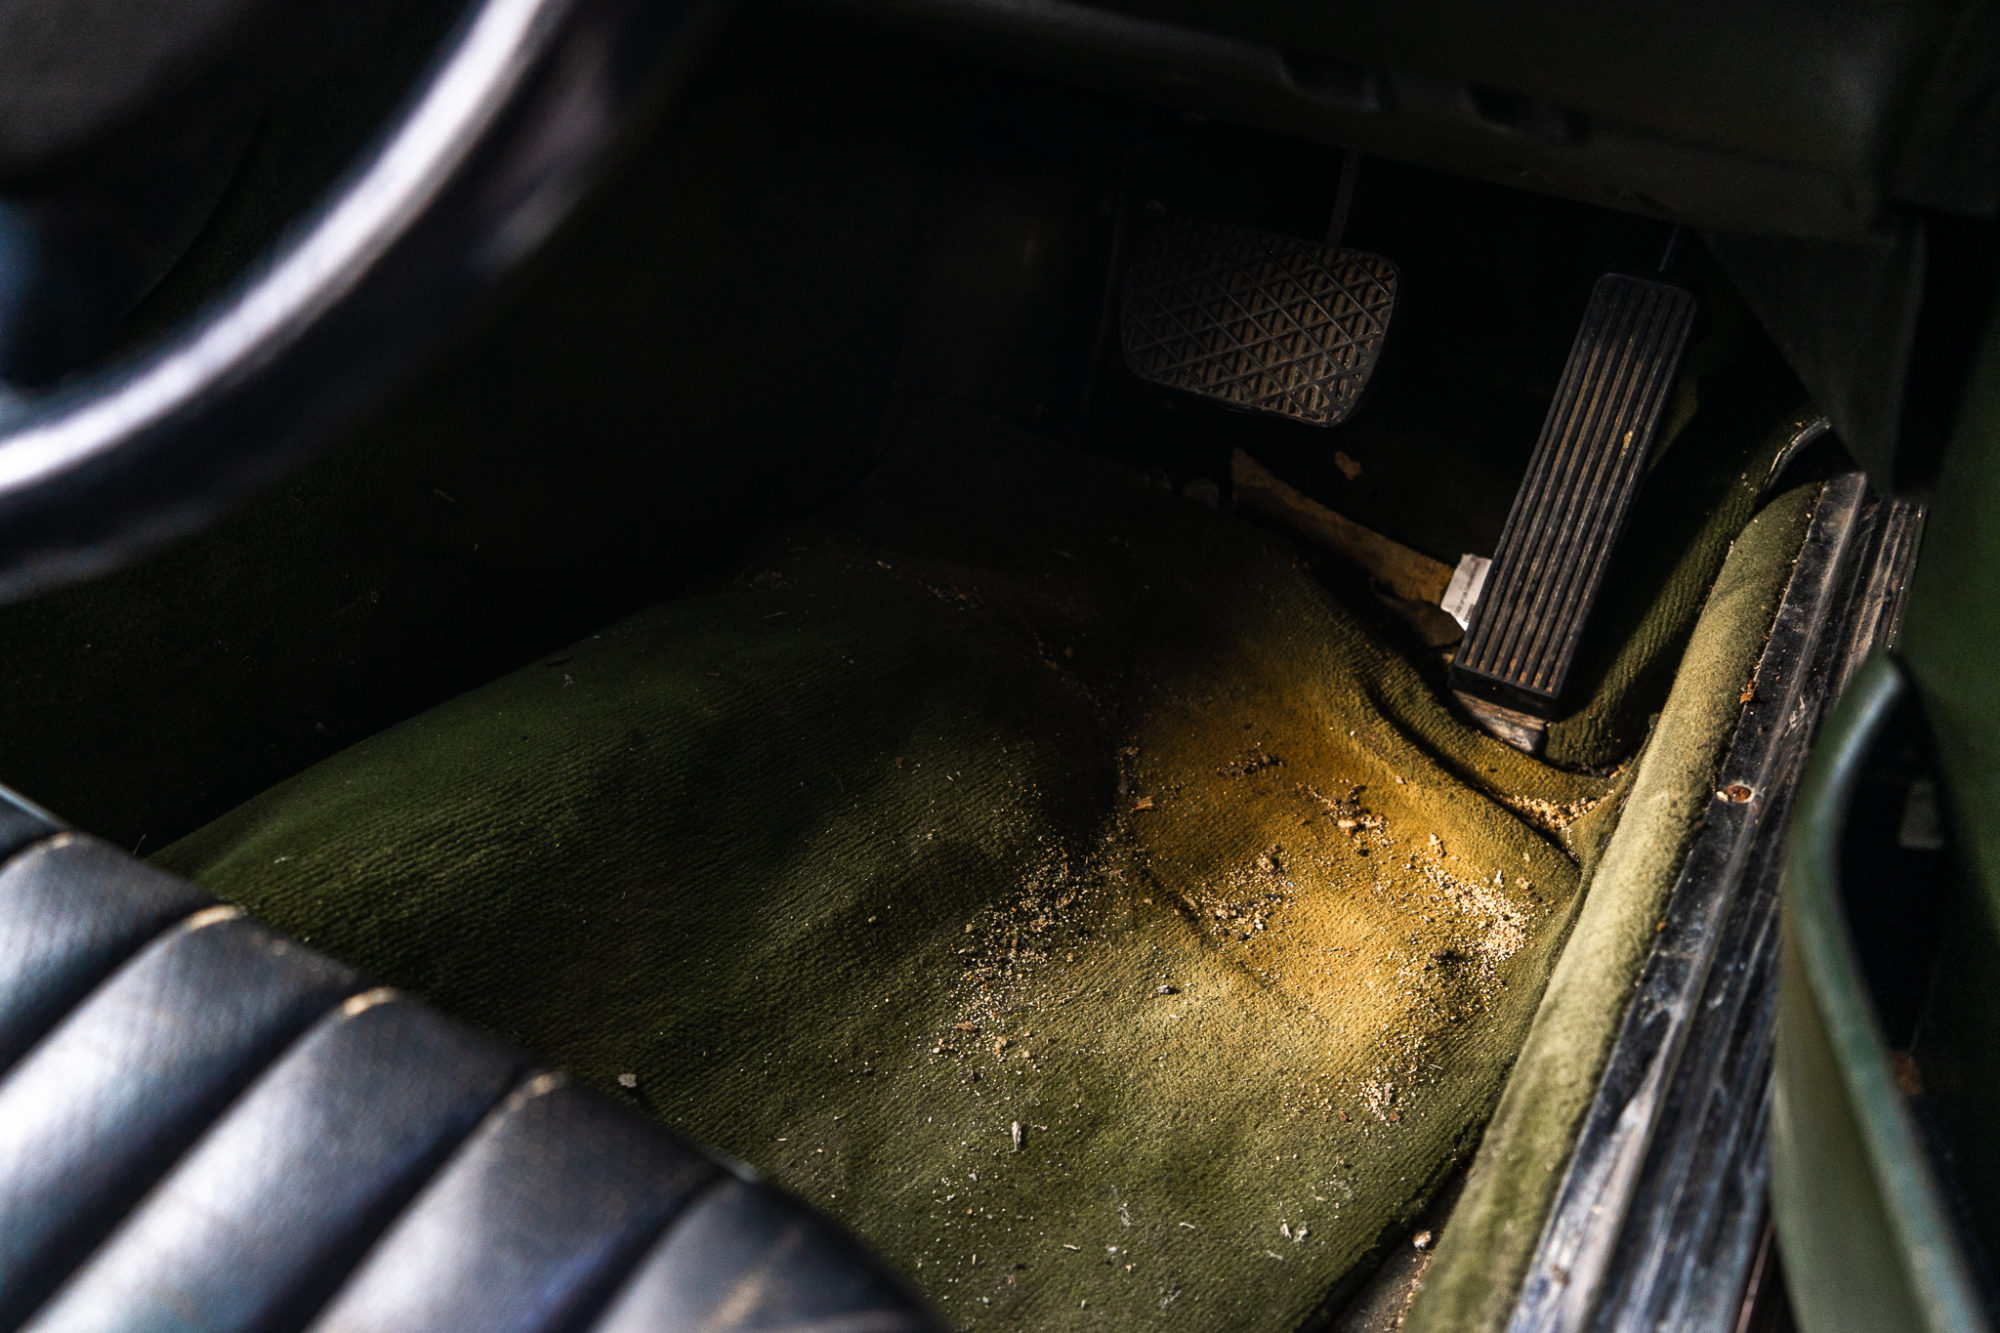
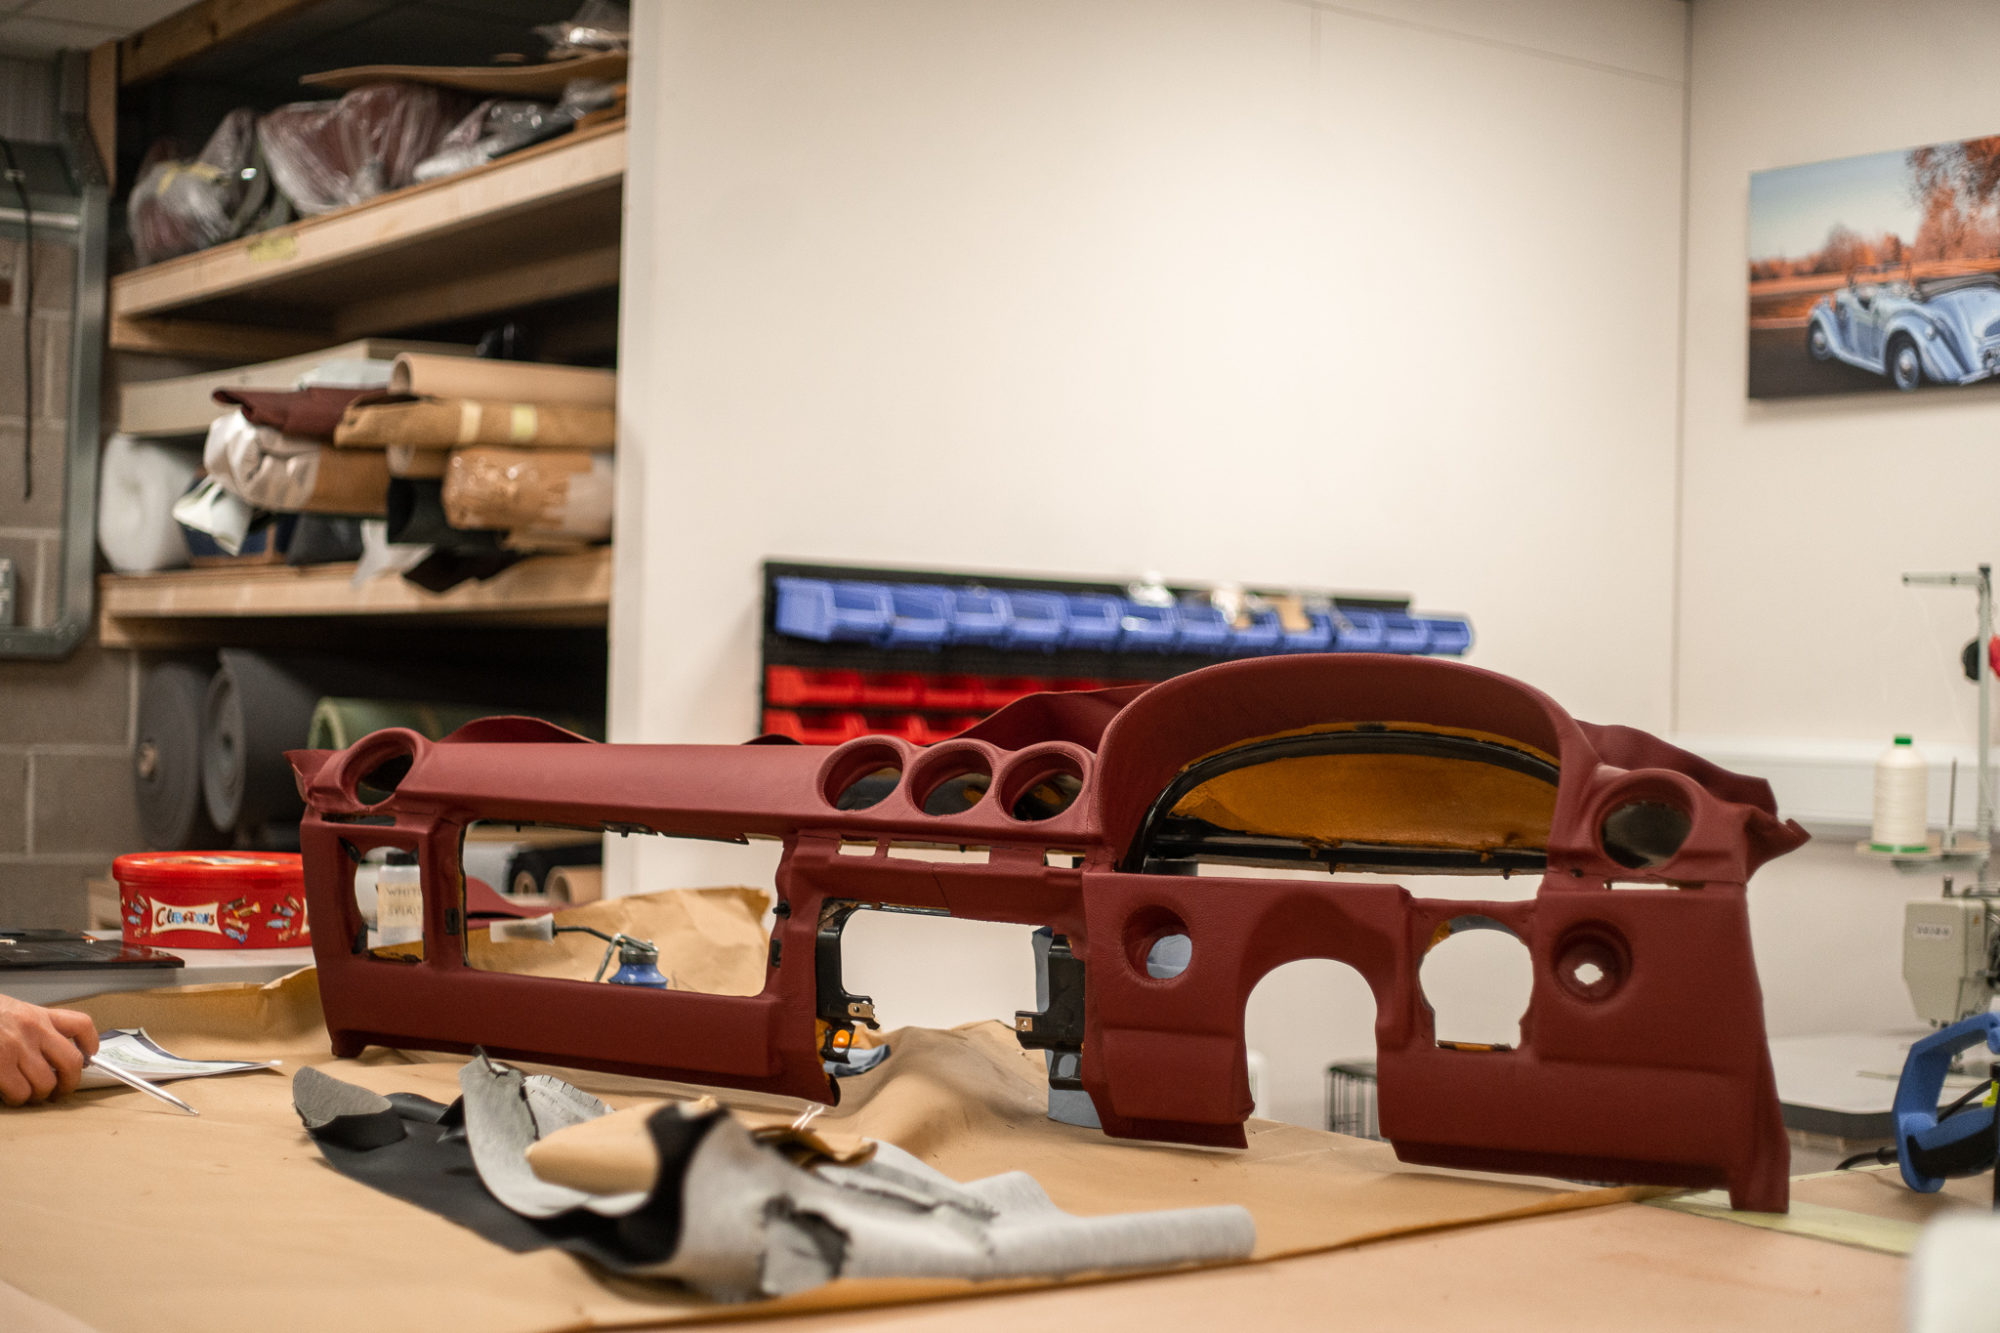
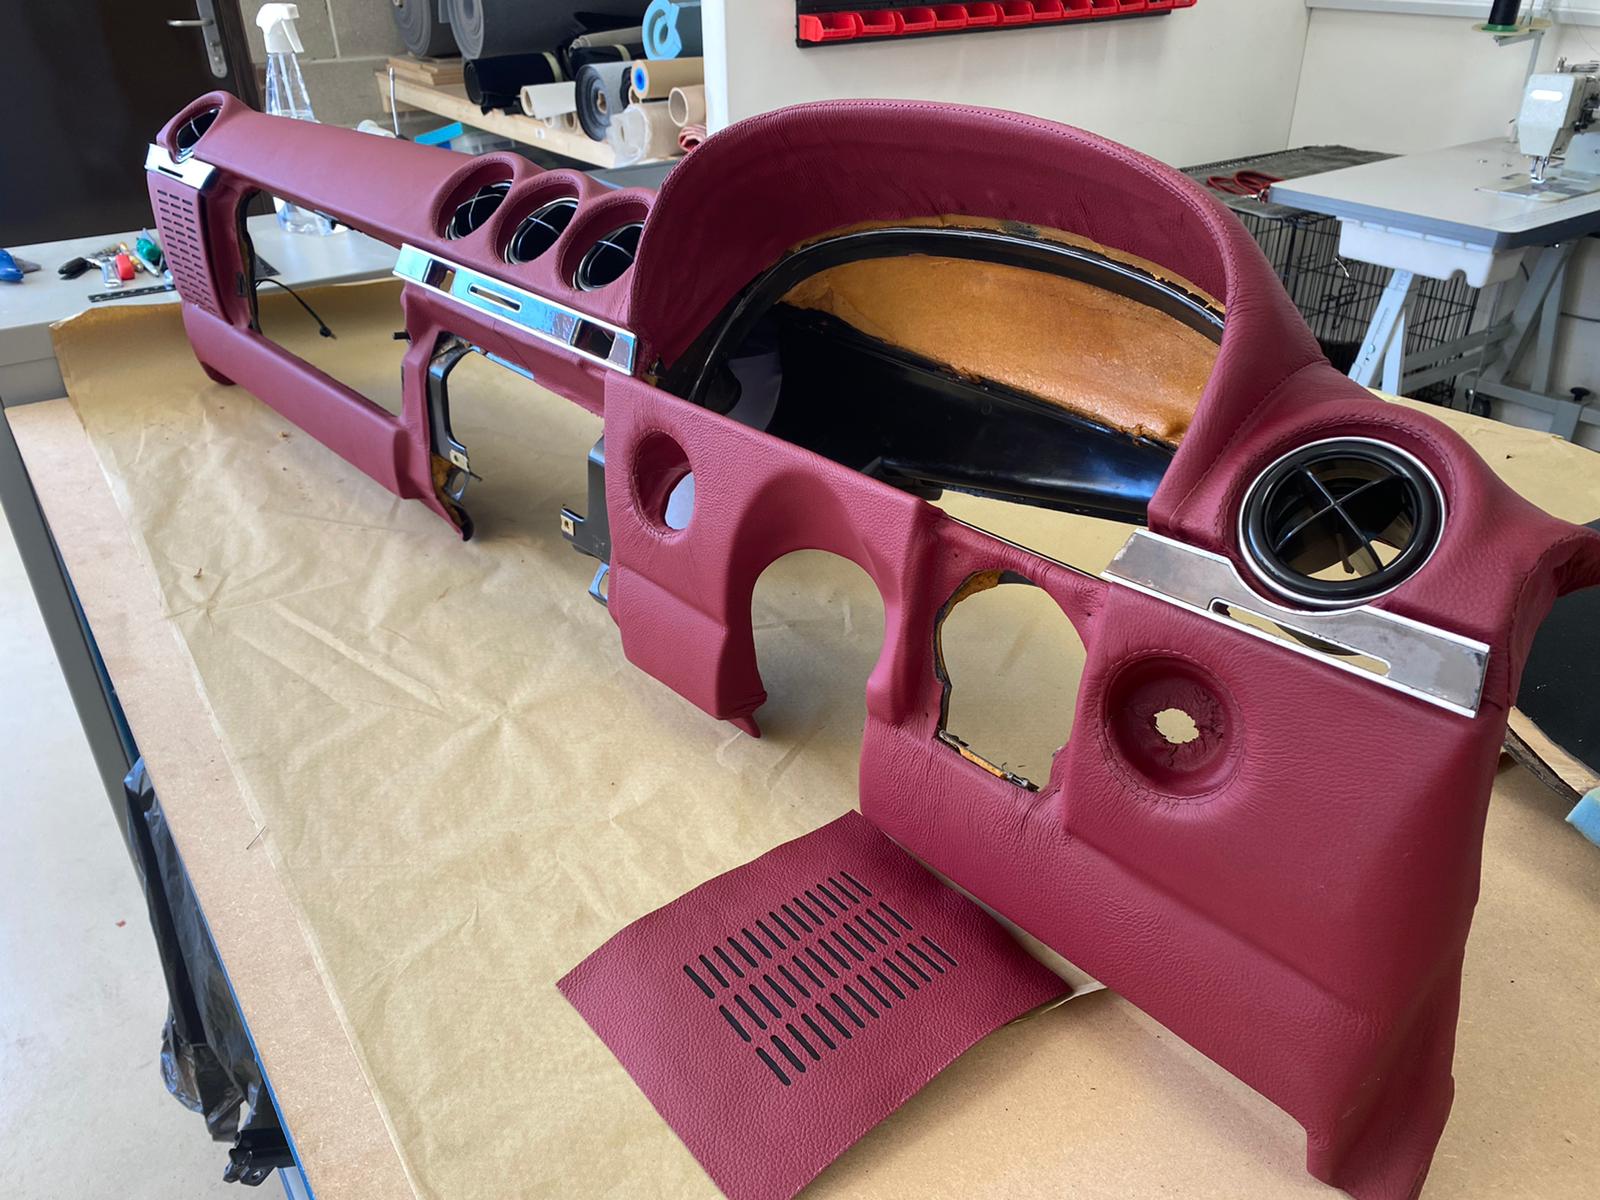
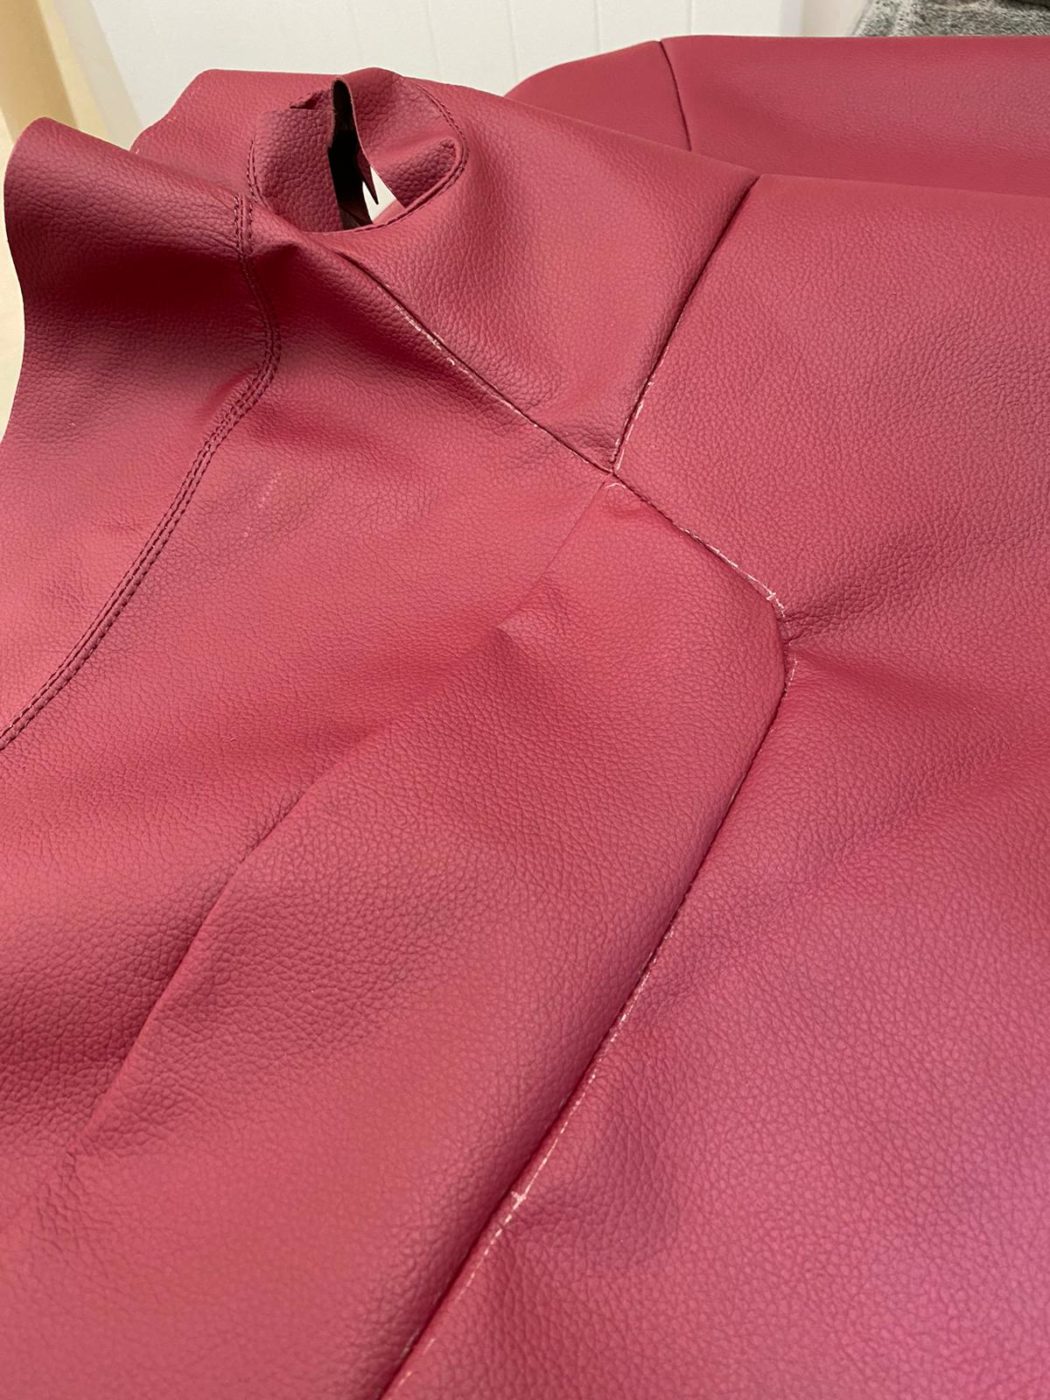
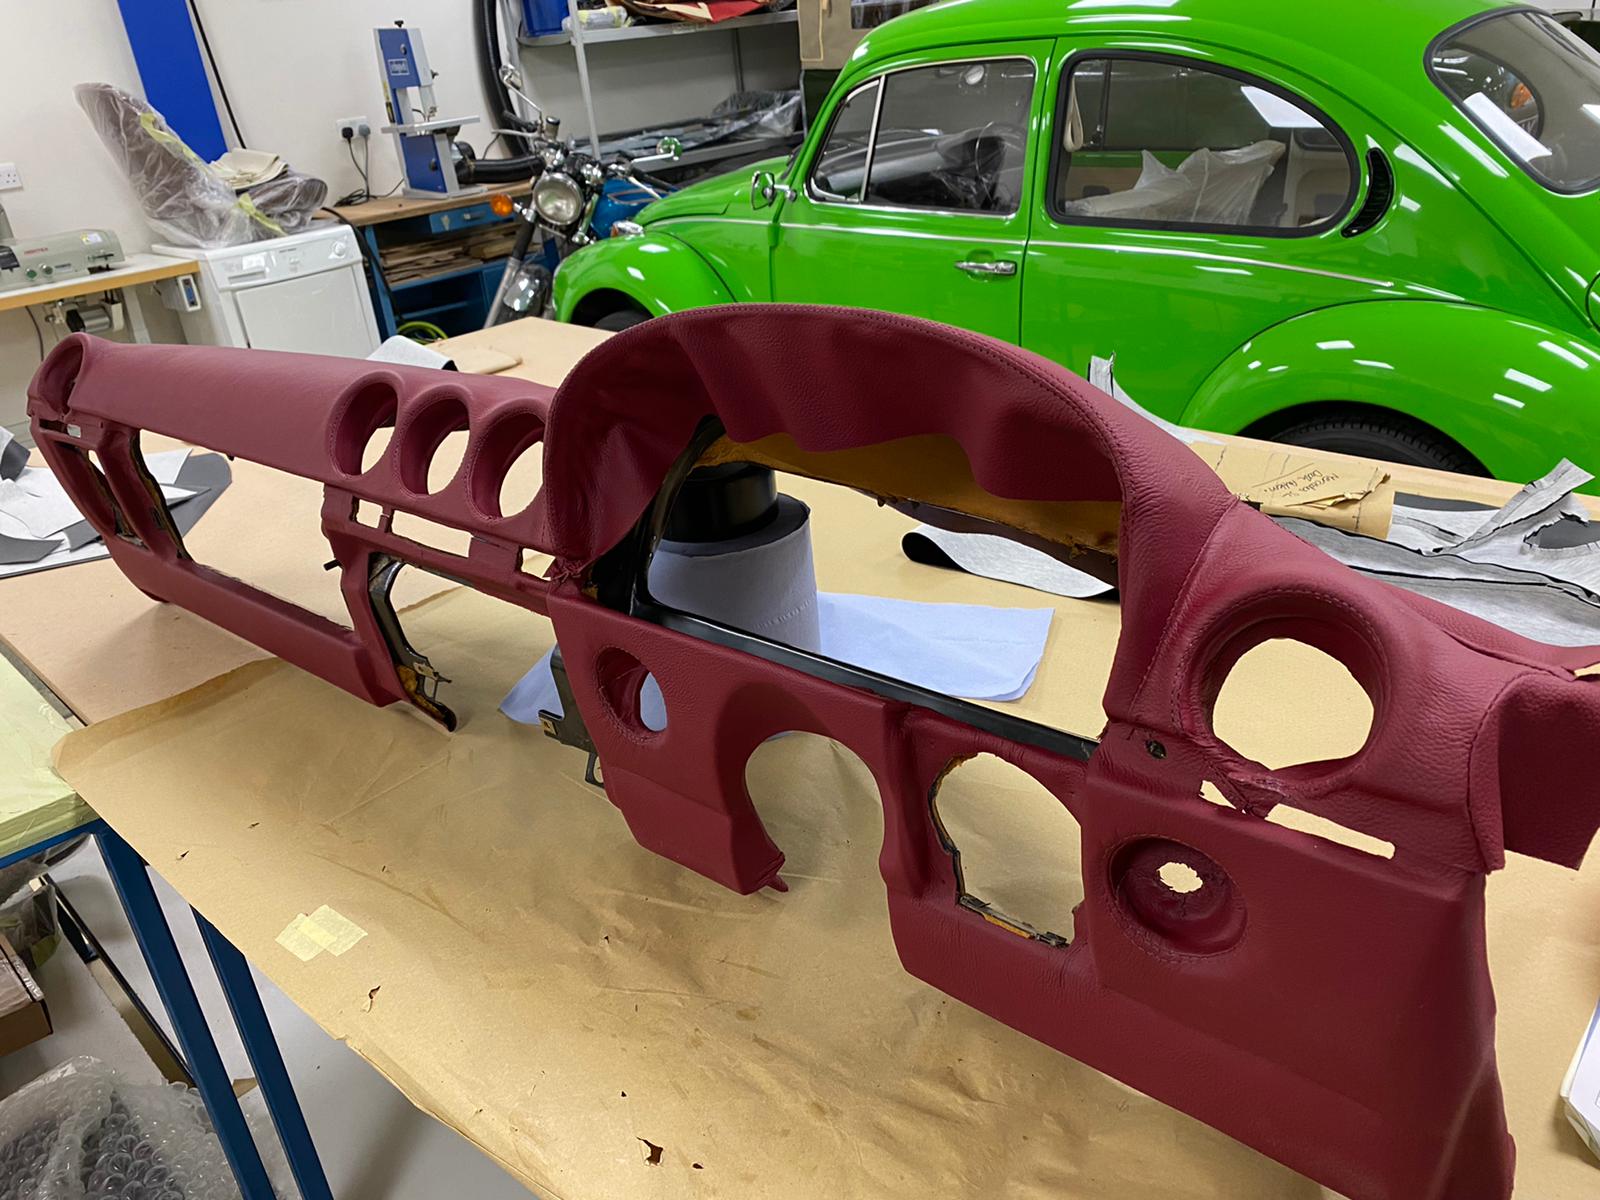
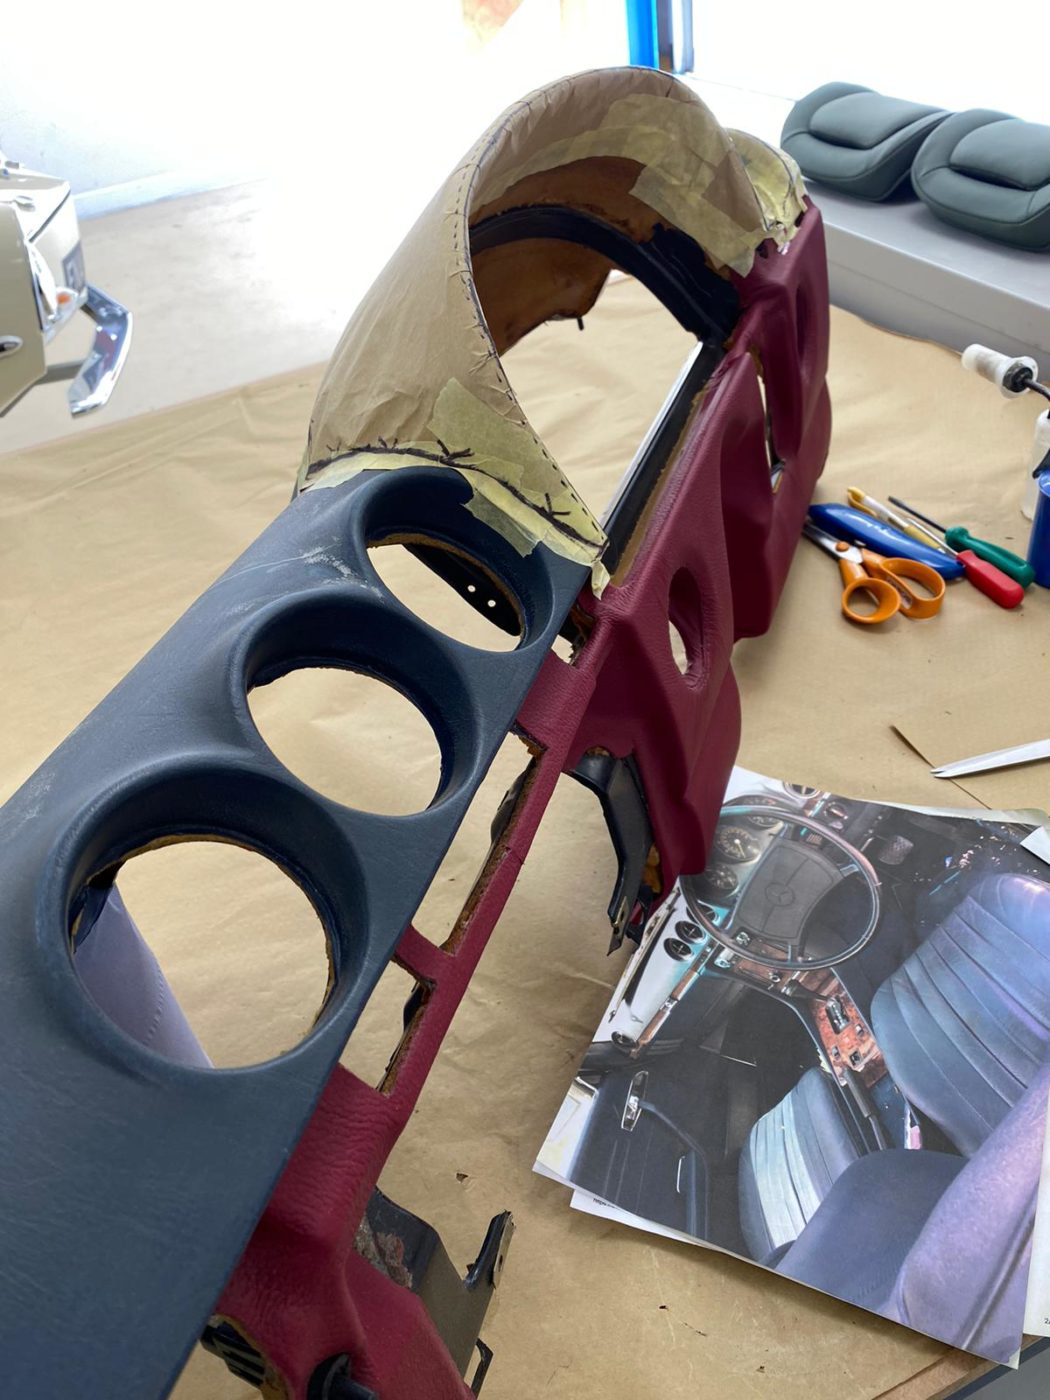
Interior trim is one of the key elements of any restoration, and we here at Bridge Classic Cars have got probably the best in-house trim shop bar none. Take for example this classic car, Craig’s 1987 Mercedes 500SL which is having a whole new interior done by our in-house trimmers. The fit and finish on these custom-made interior pieces are worthy of an article in themselves.
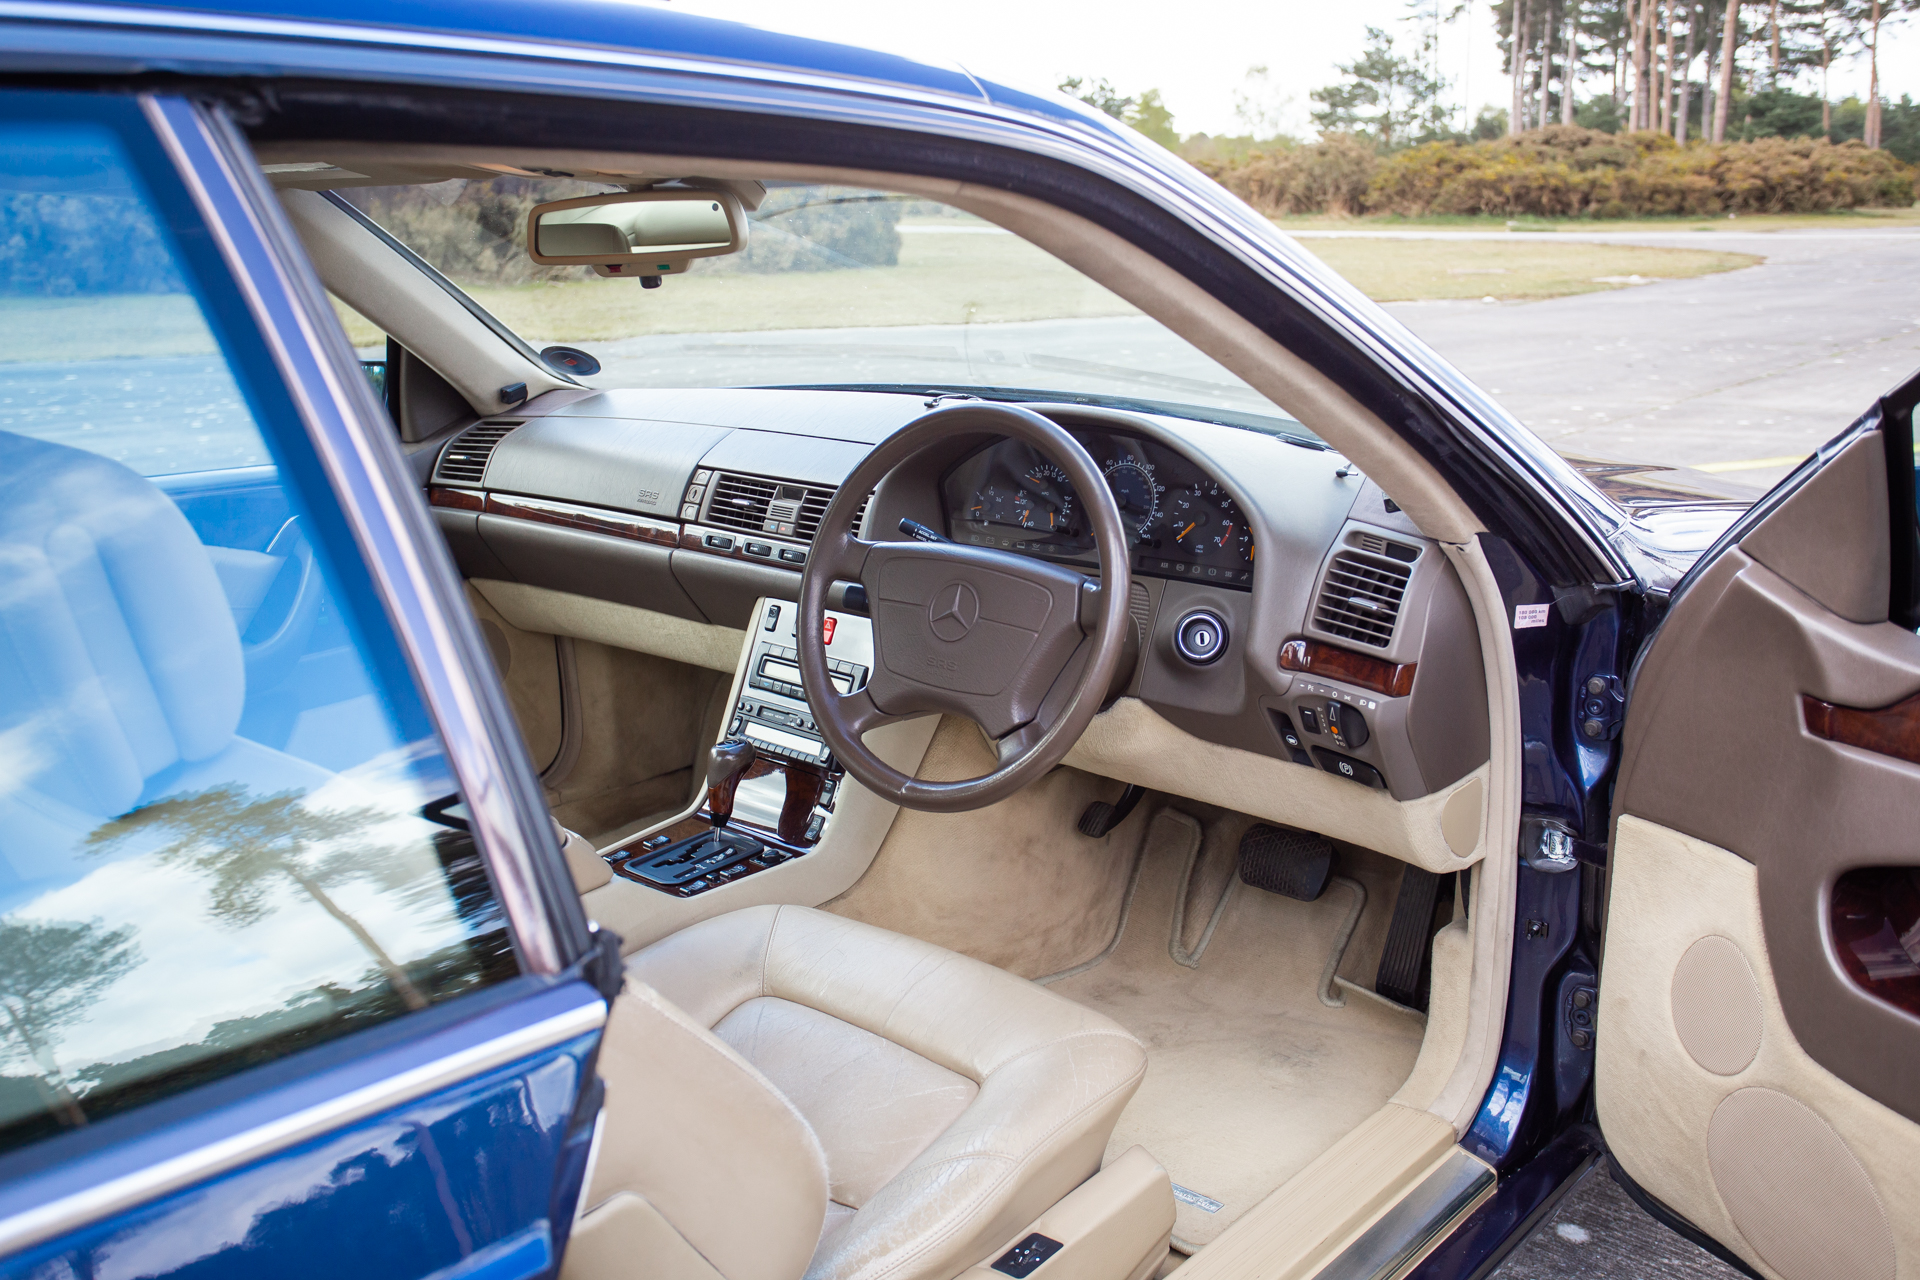
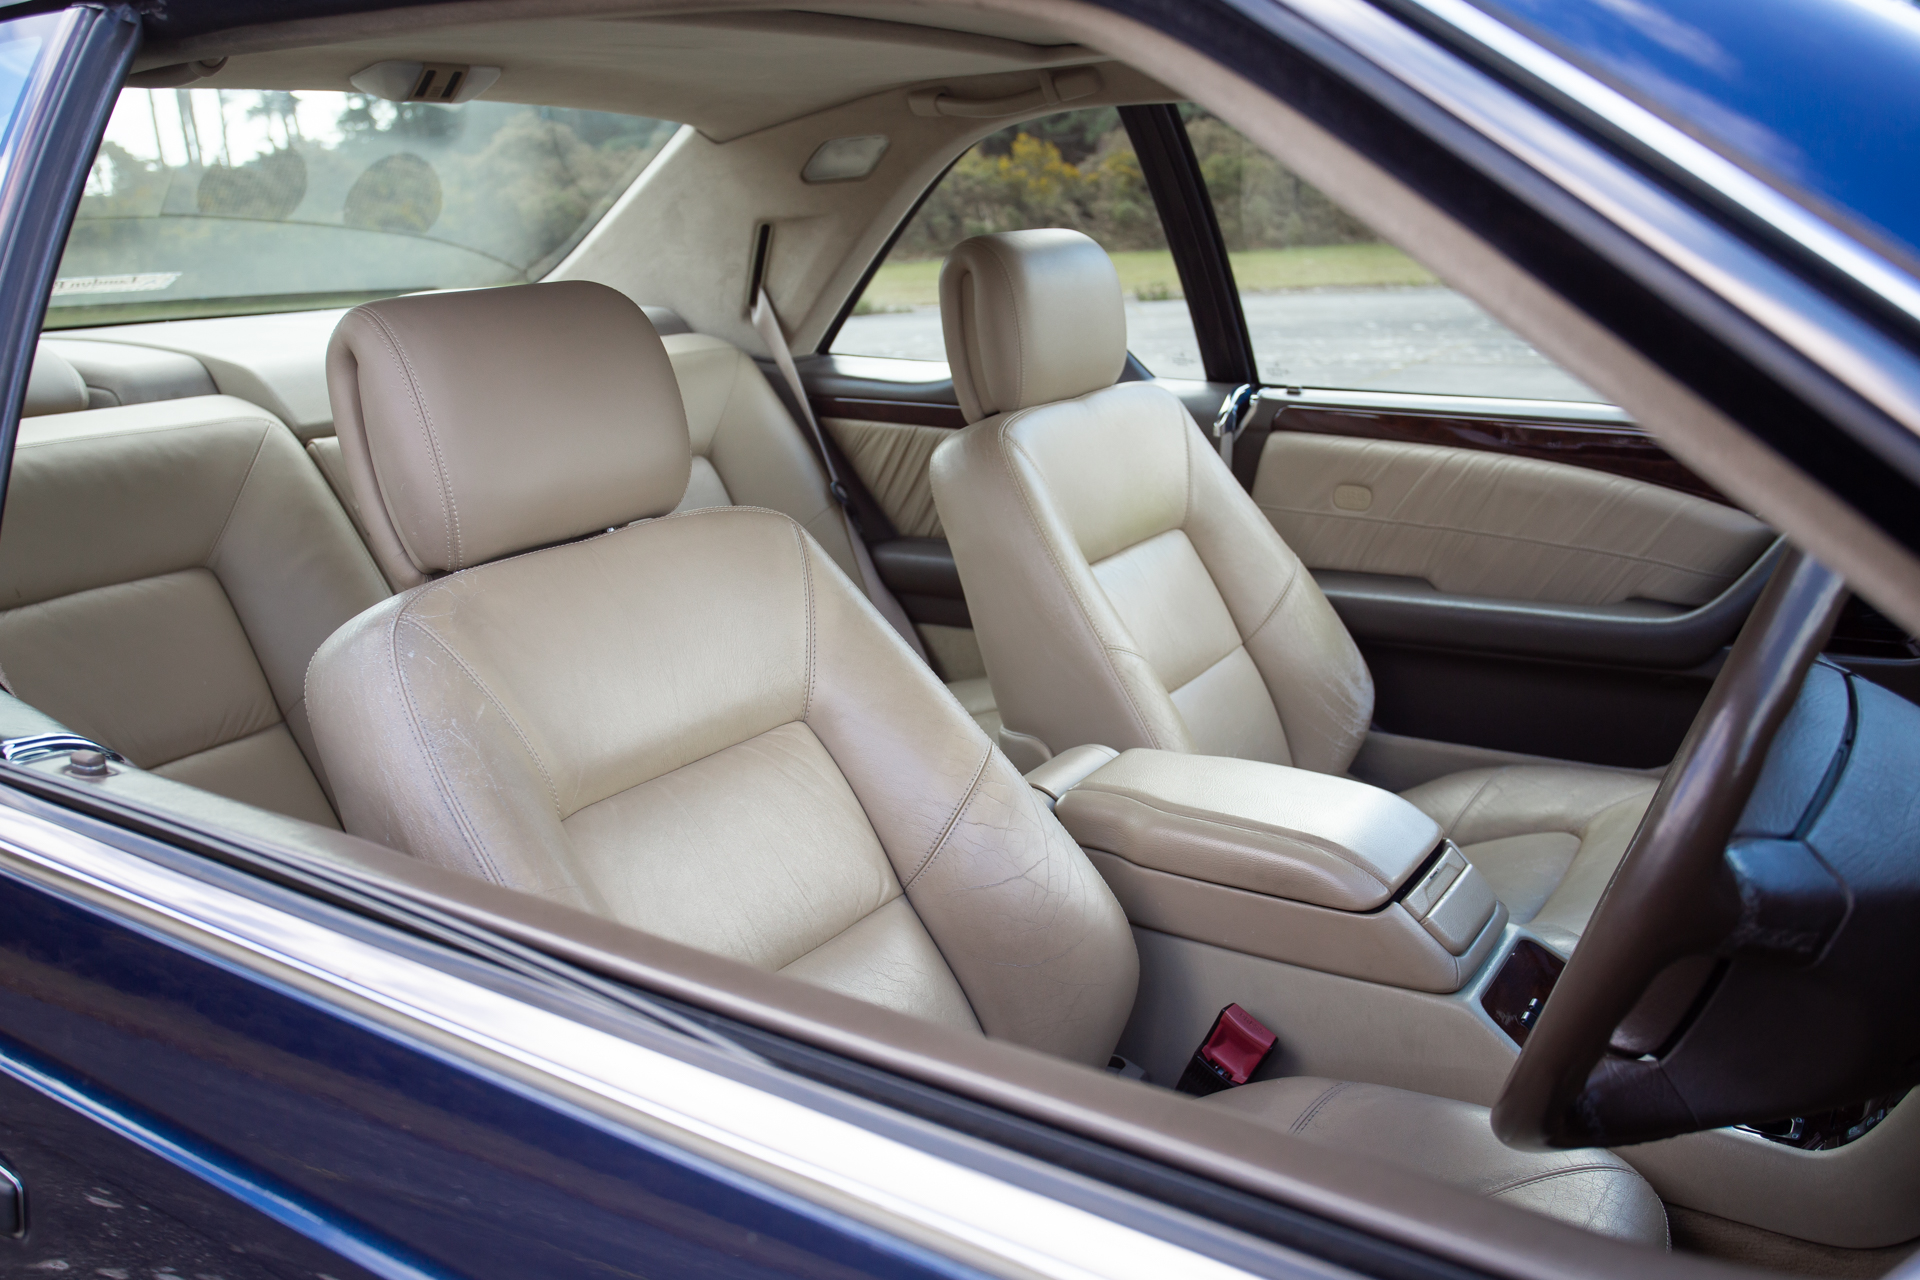
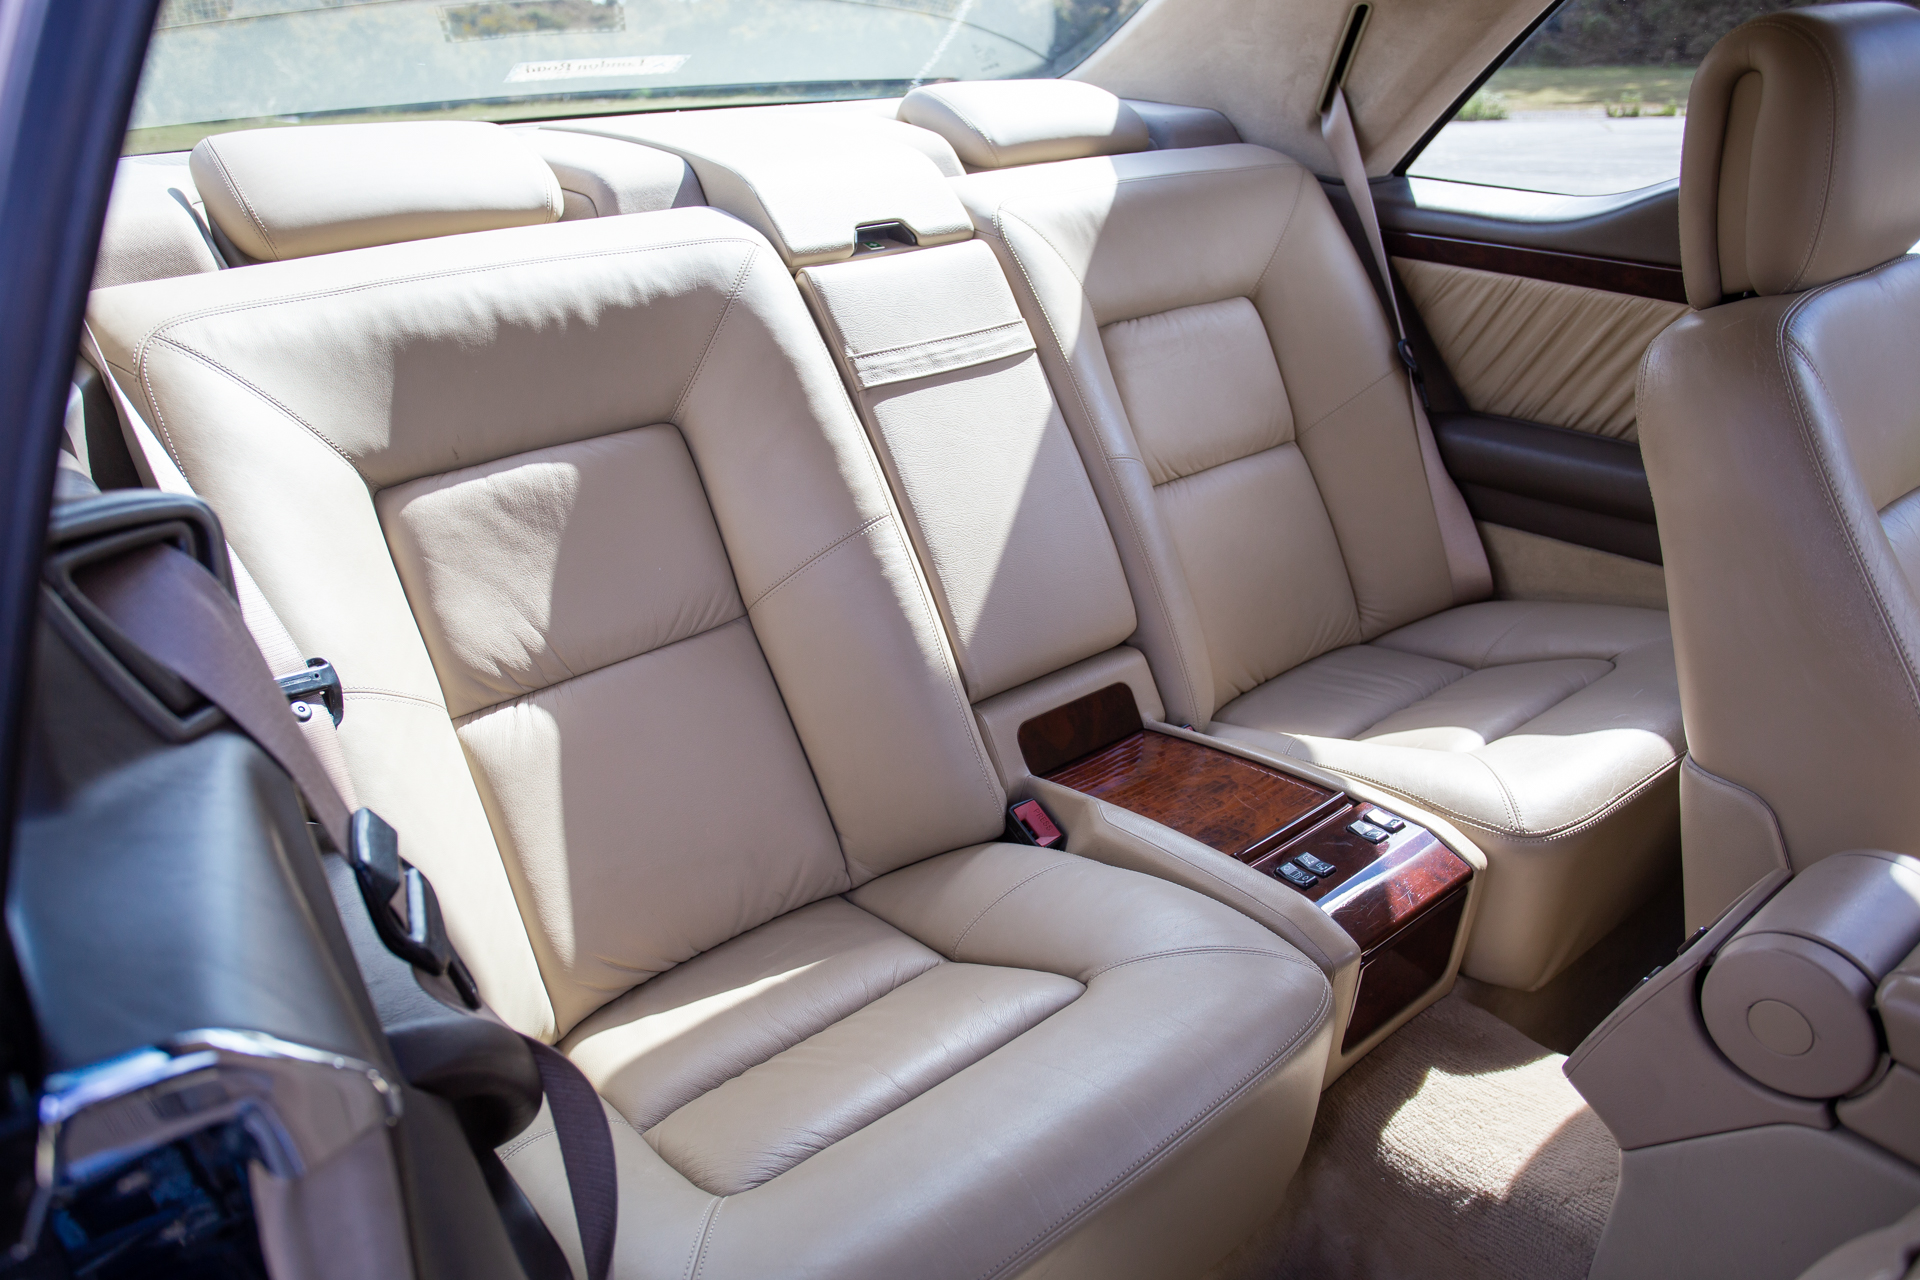
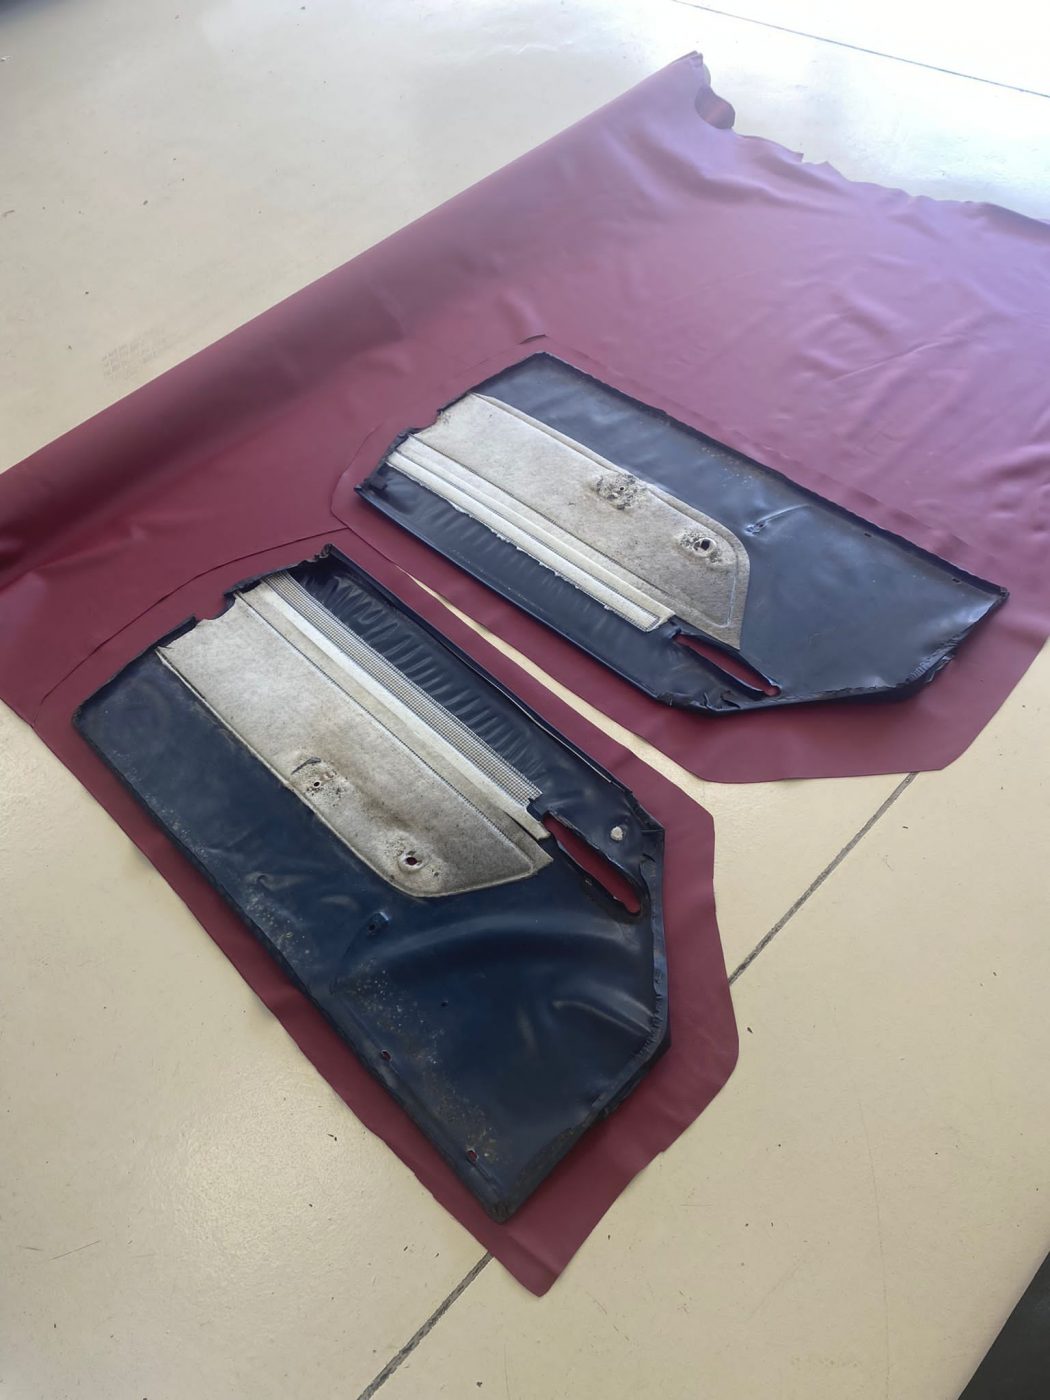
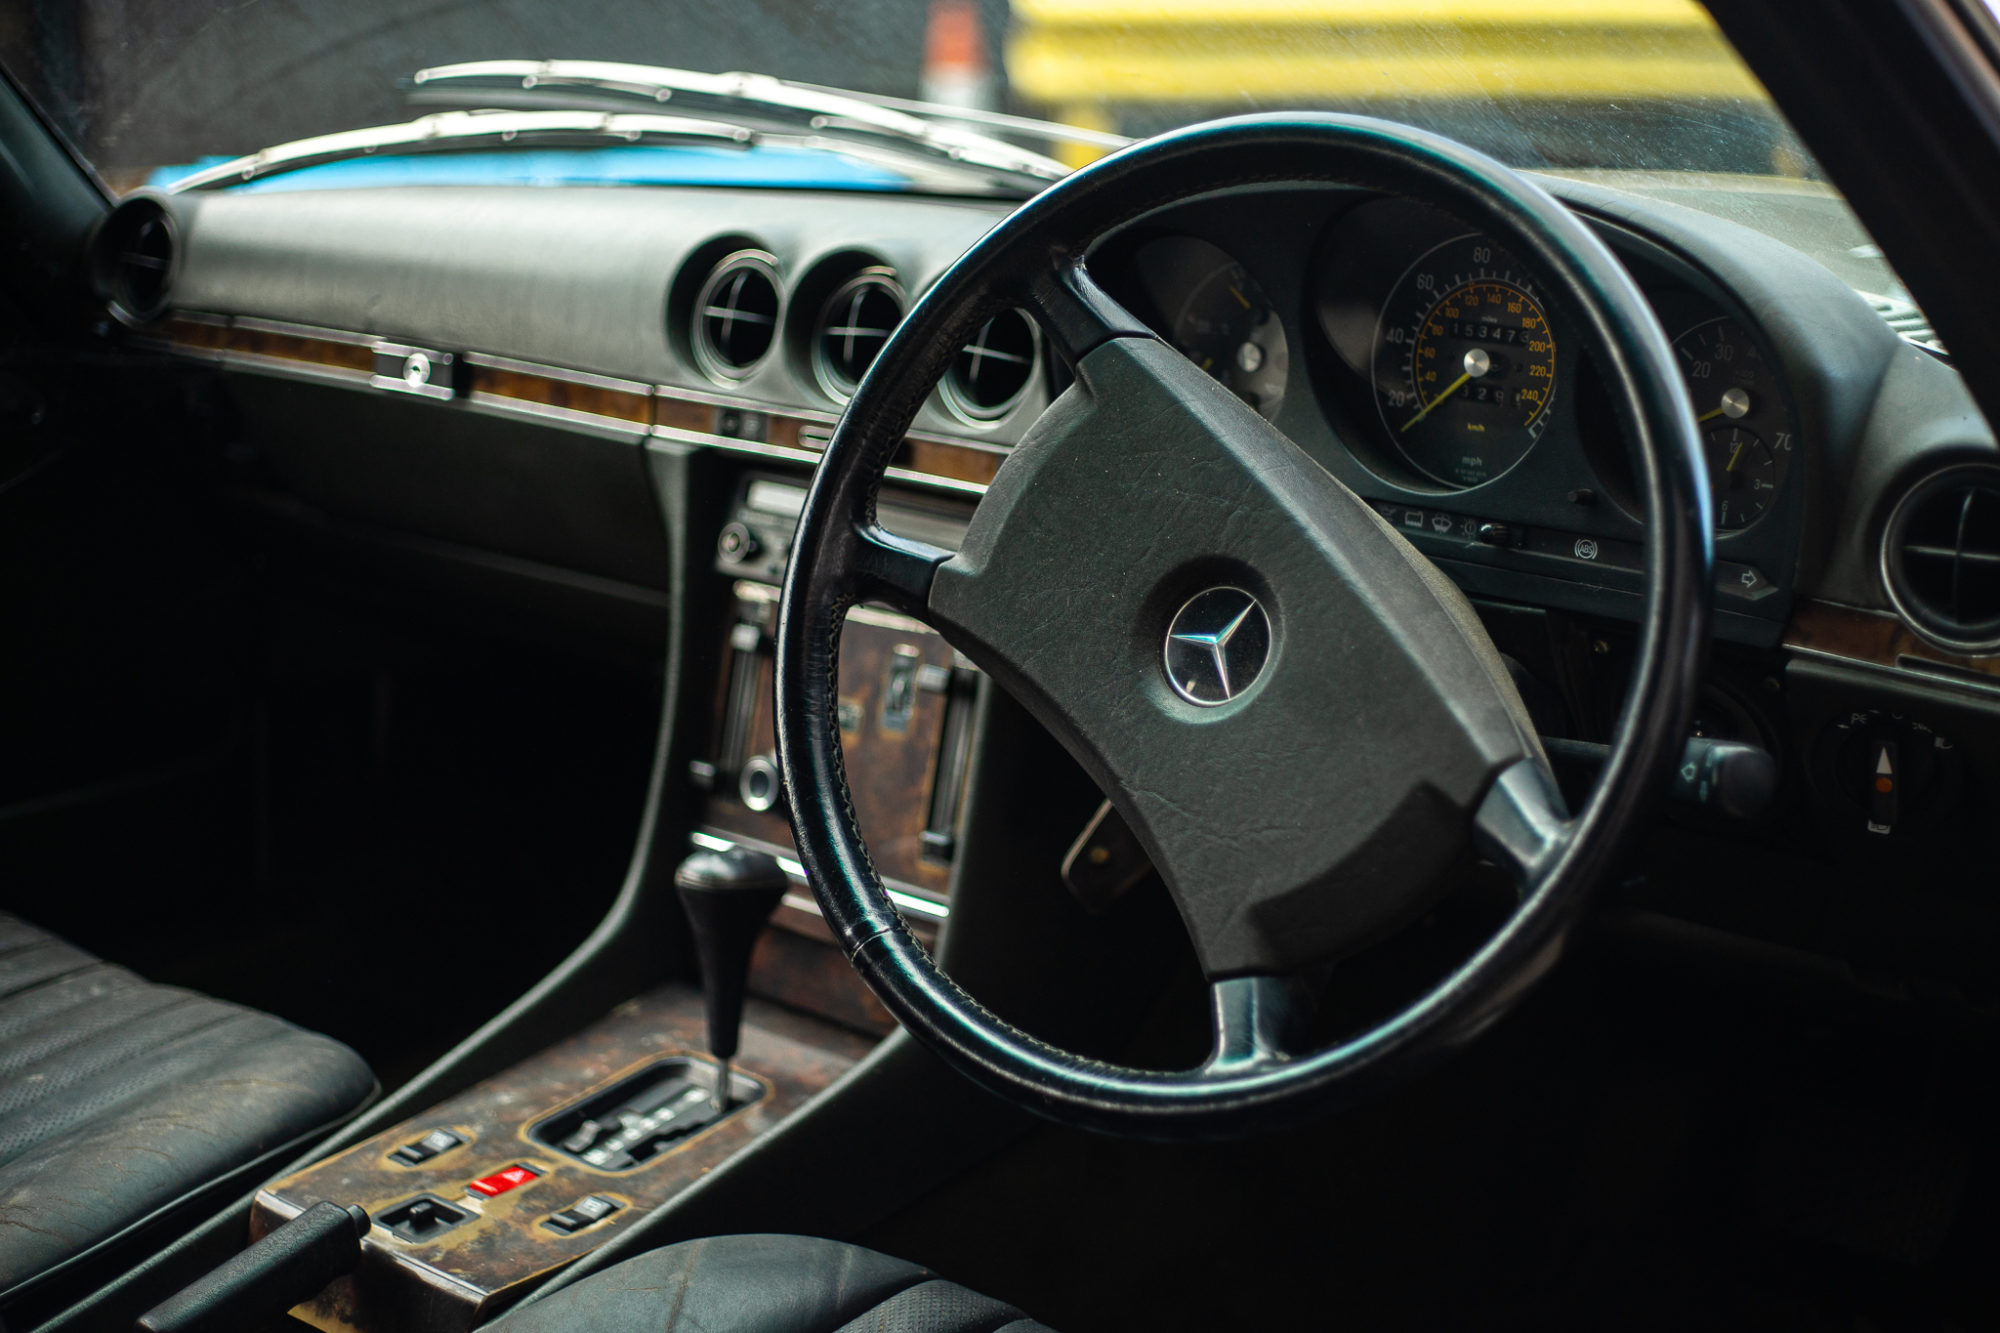
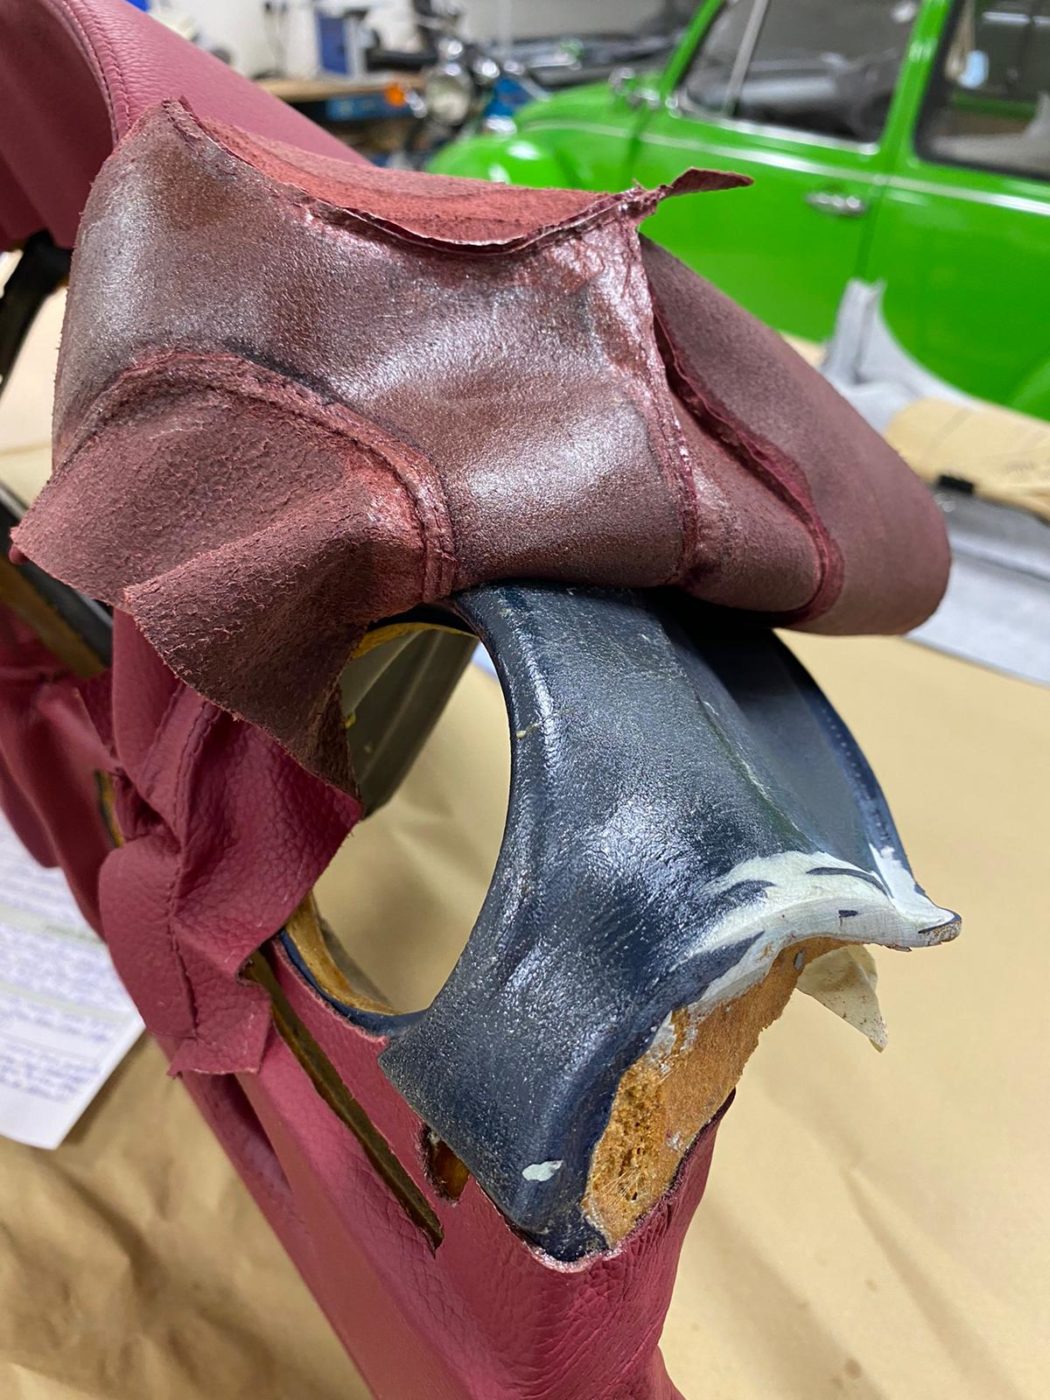
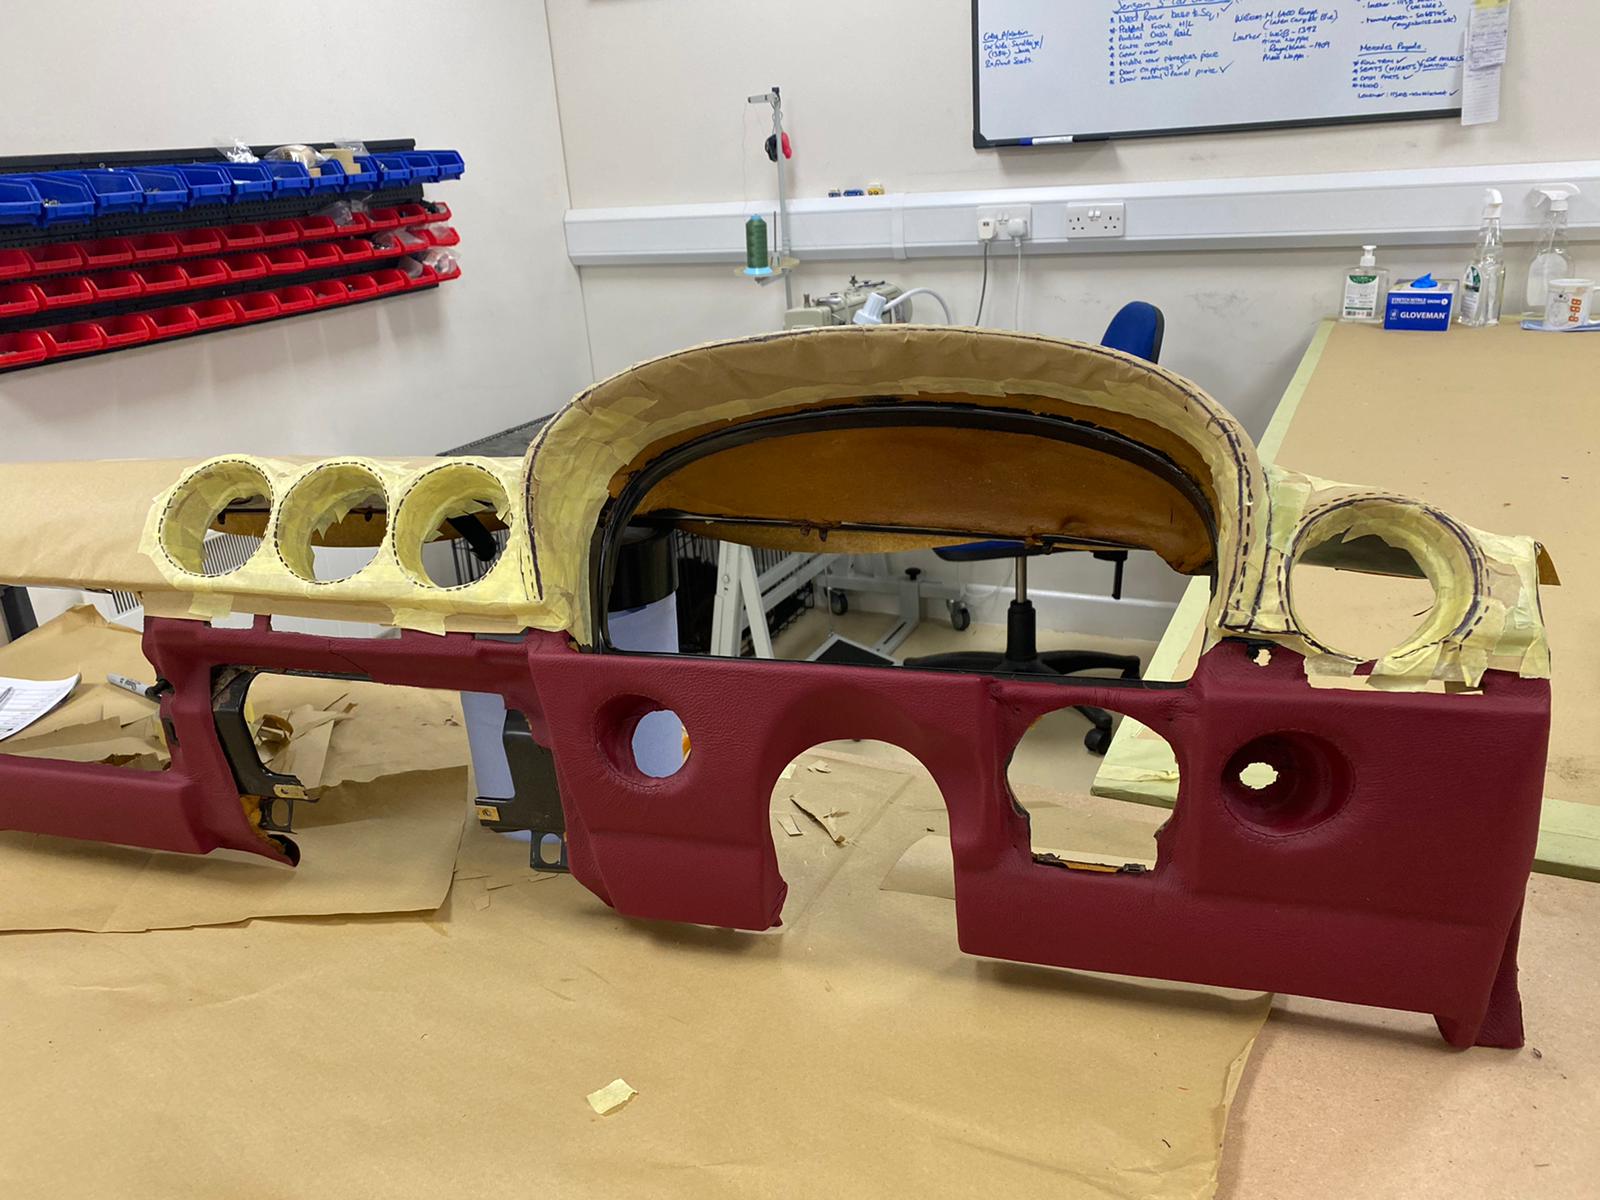
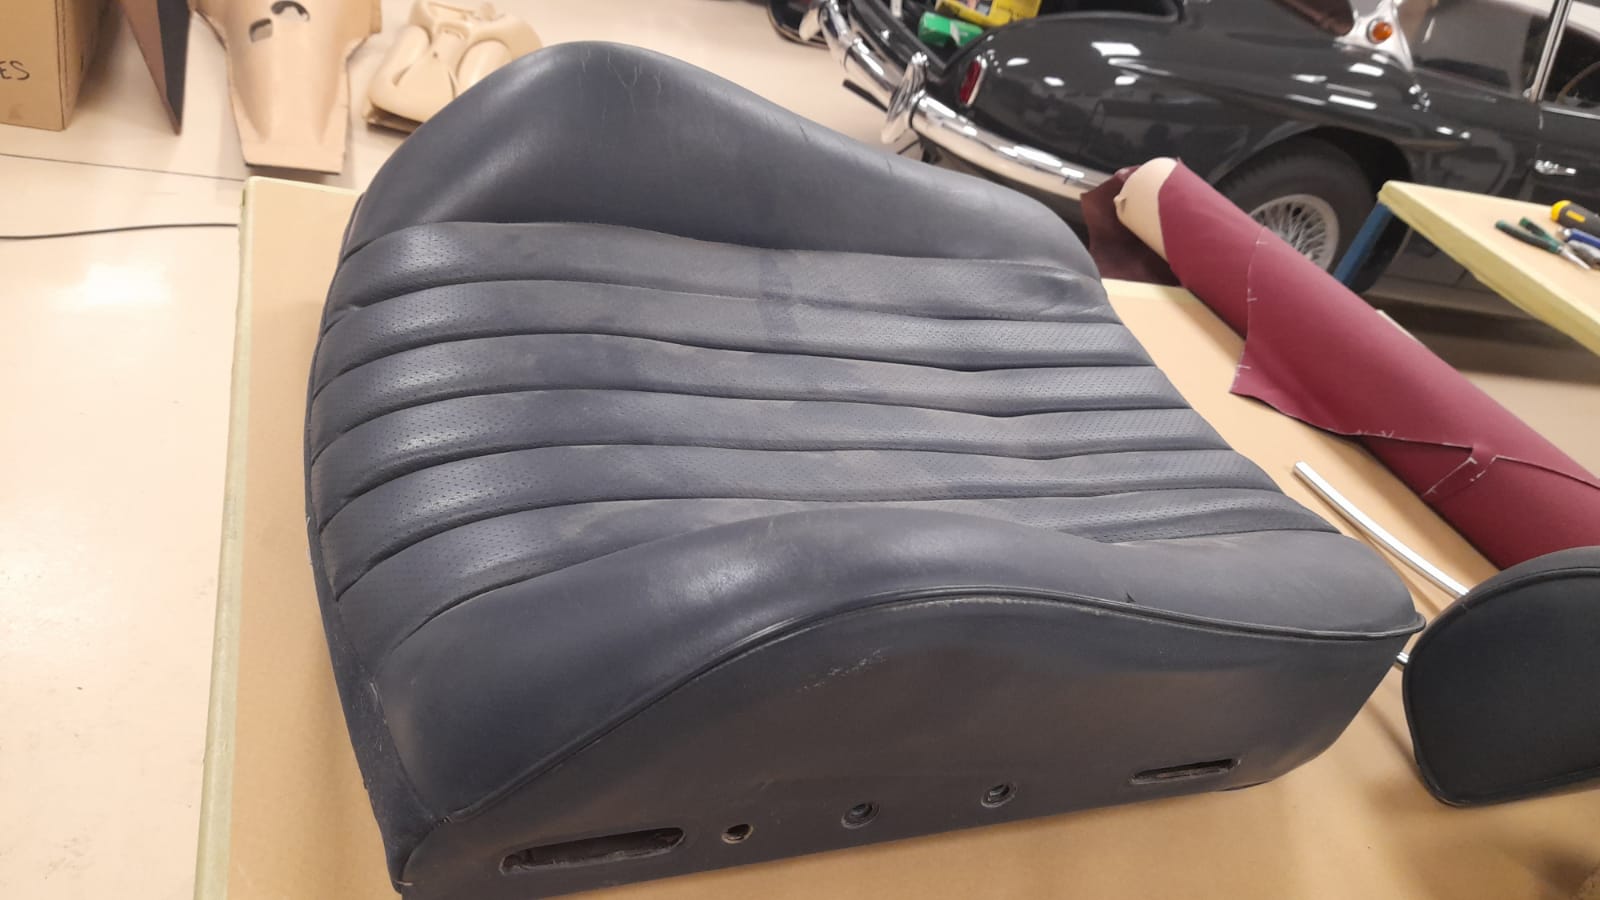
Those of you following the project will know that the original interior was a, once upon a time, dark royal blue but as part of the restoration of the car here at Bridge Classic Cars, the whole interior is being retrimmed in a deep and beautiful Claret Red.
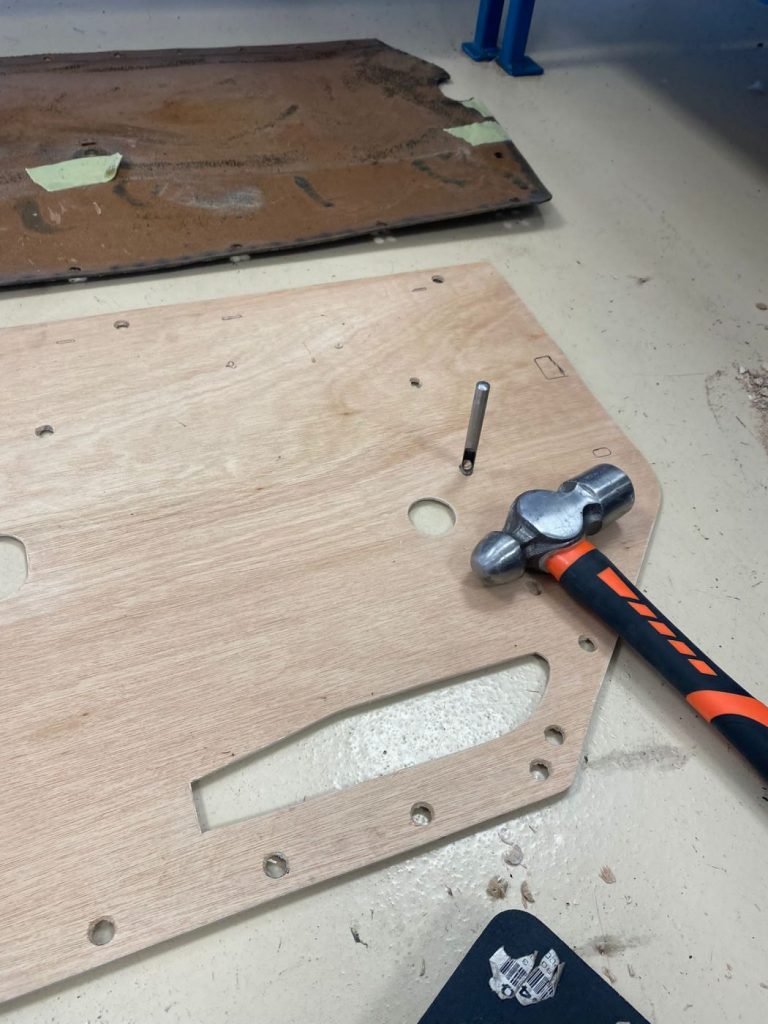
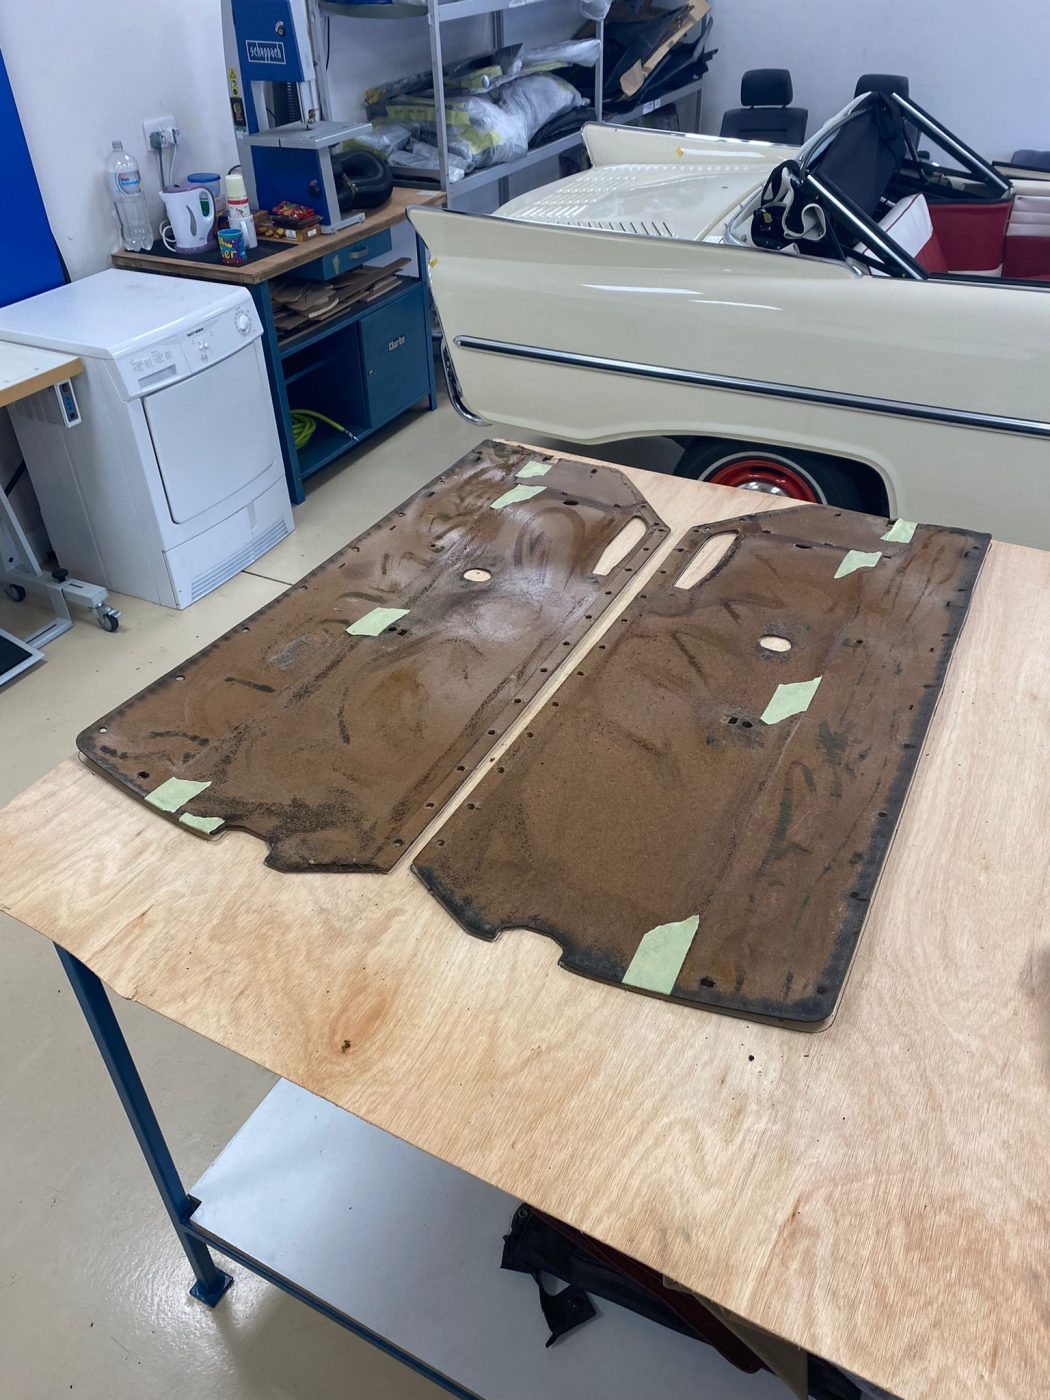
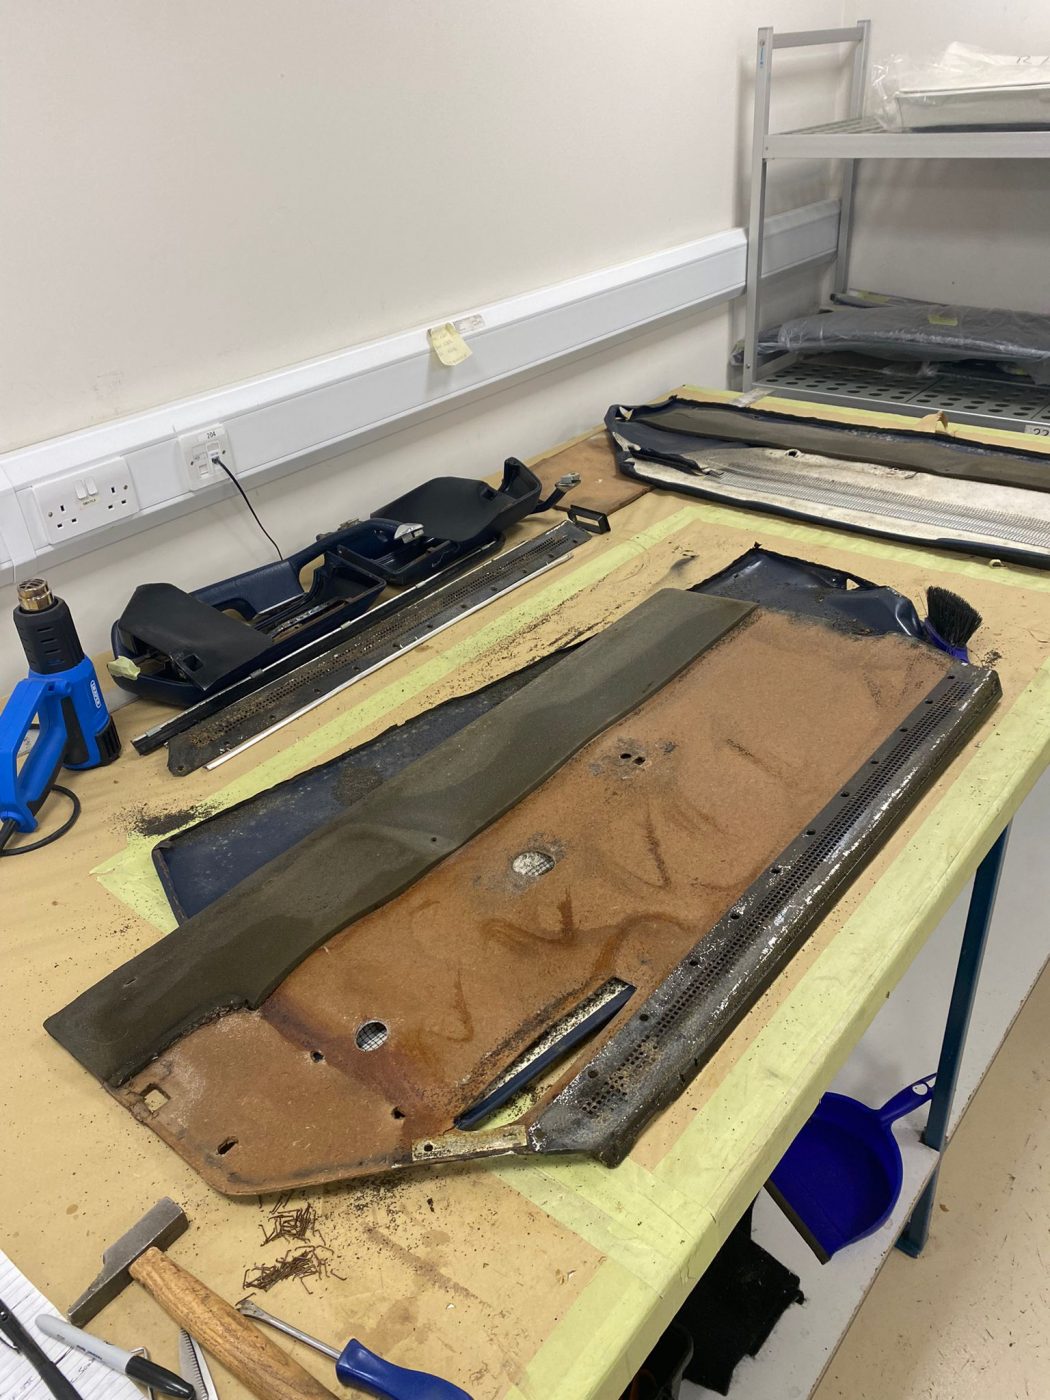
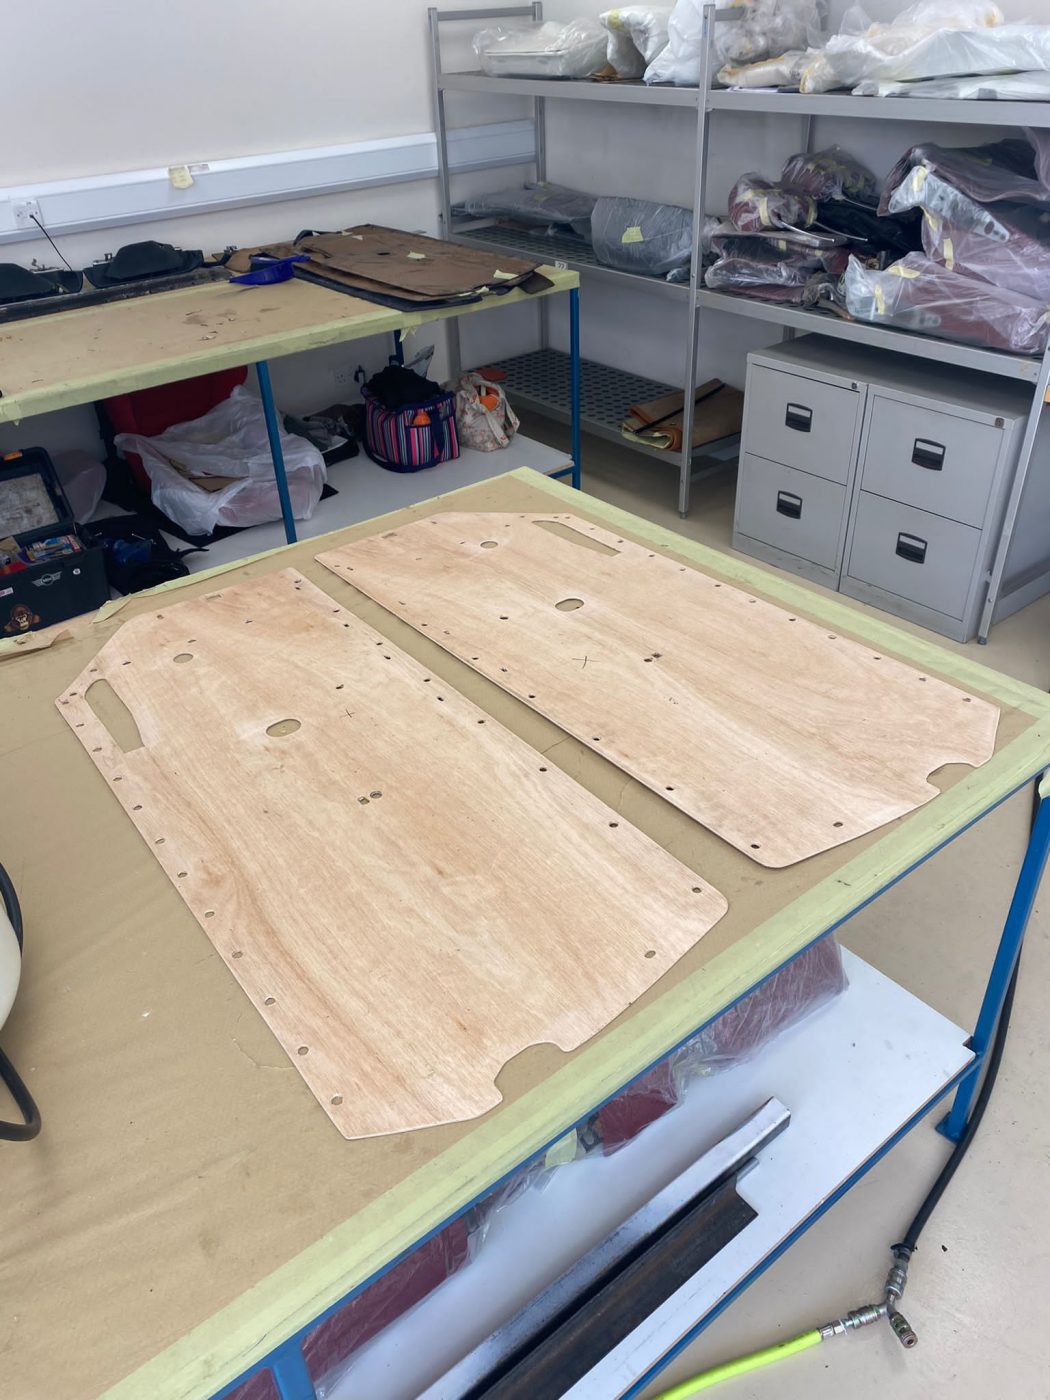
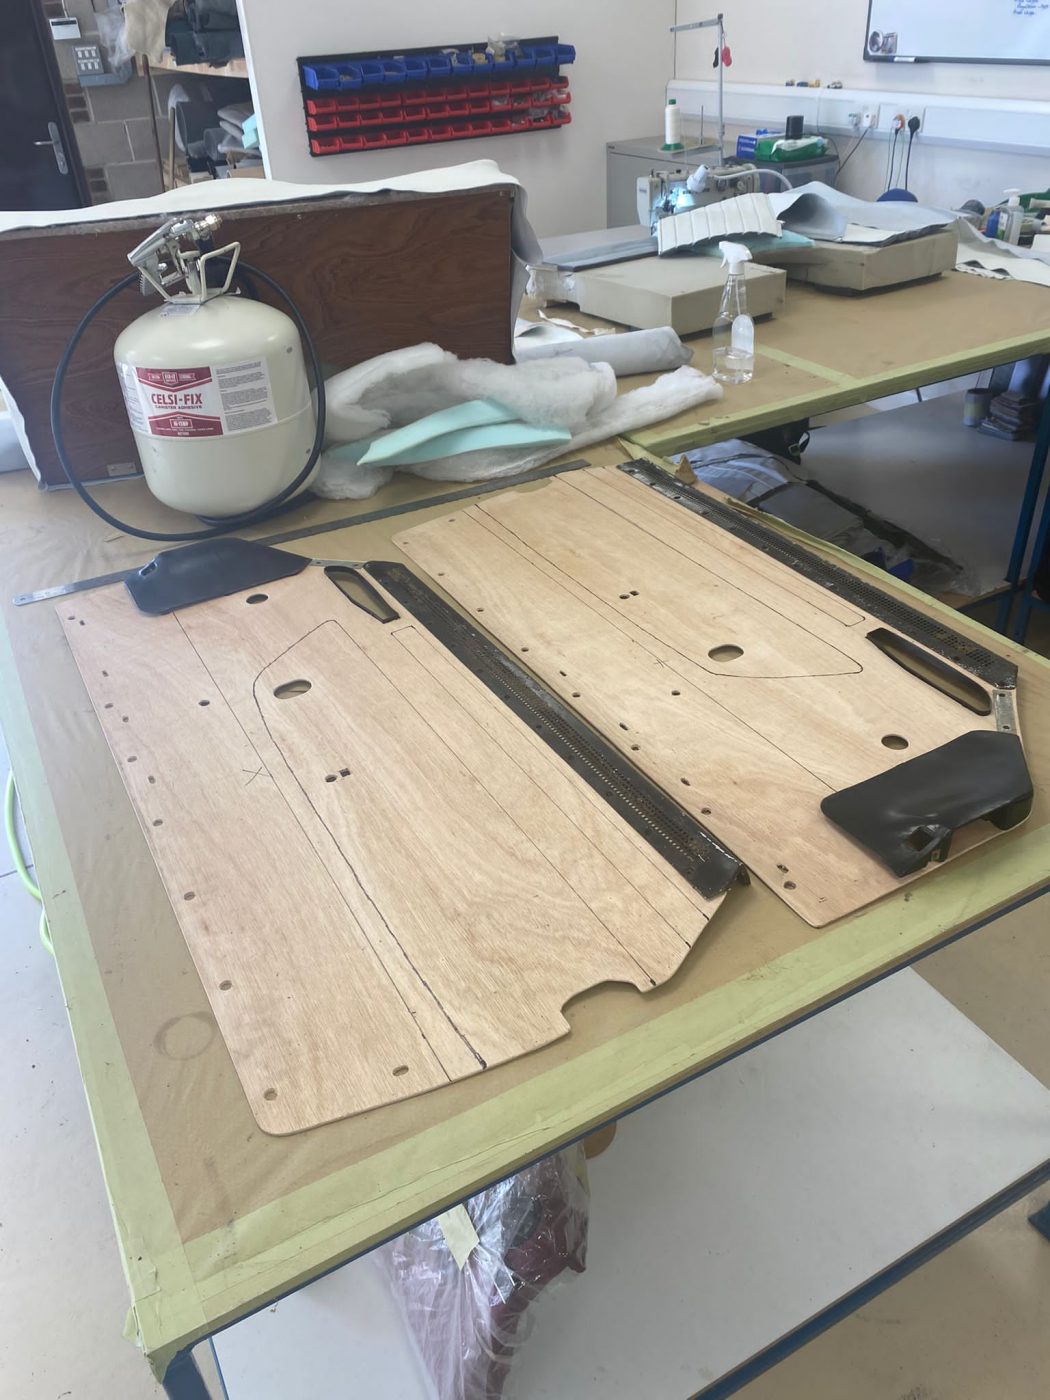
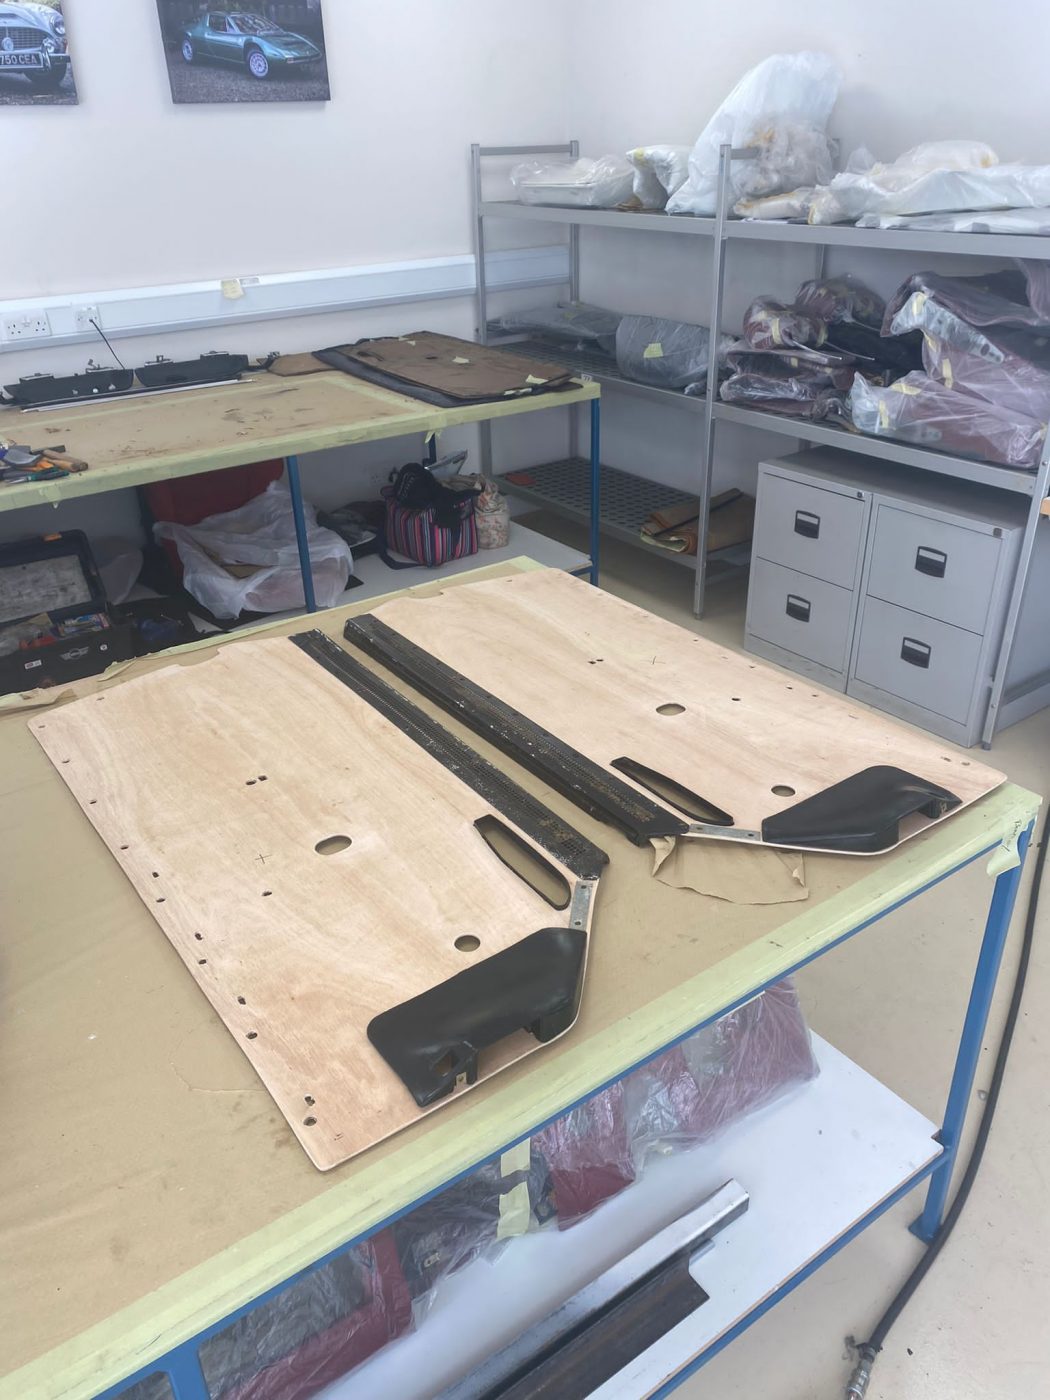
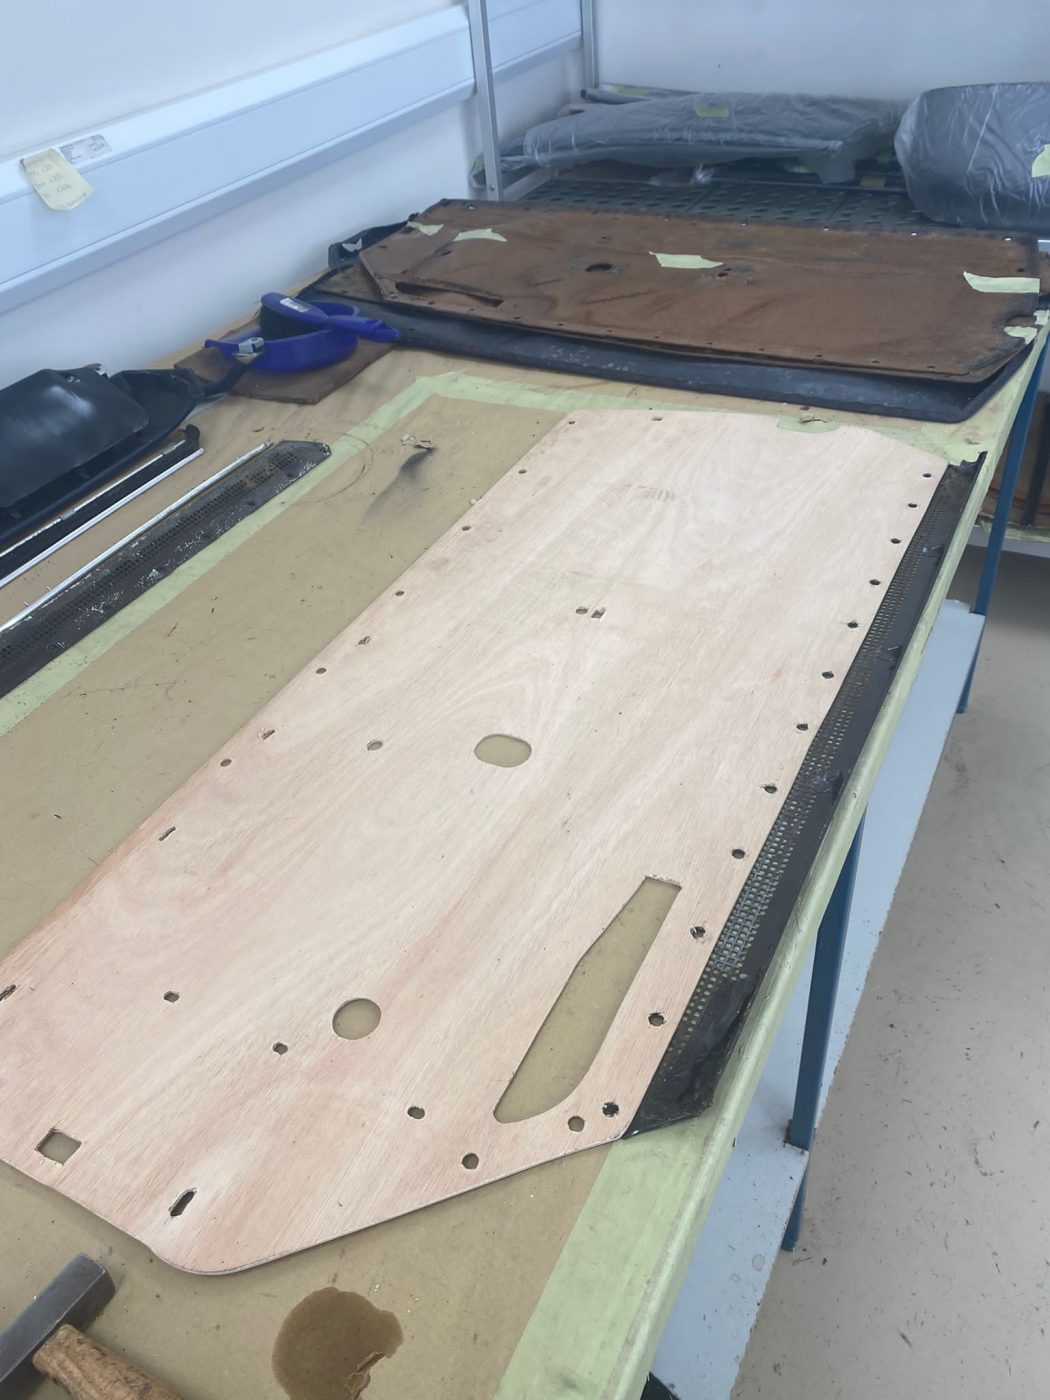
Starting with the original door cards as a template to work from, our in-house trim experts got to work creating new door cards from scratch in order to create the best fit and keep them as close to the originals as possible. Once the new door cards had been shaped, finessed and test fitted it was time to choose the right hide. Matched to this amazing example of 1980s German luxury performance was stunning deep Claret Red. Every mark, indent or locator was carefully and skillfully transferred onto the new door cards by hand to ensure they were an exact match for the existing interior trim pieces.
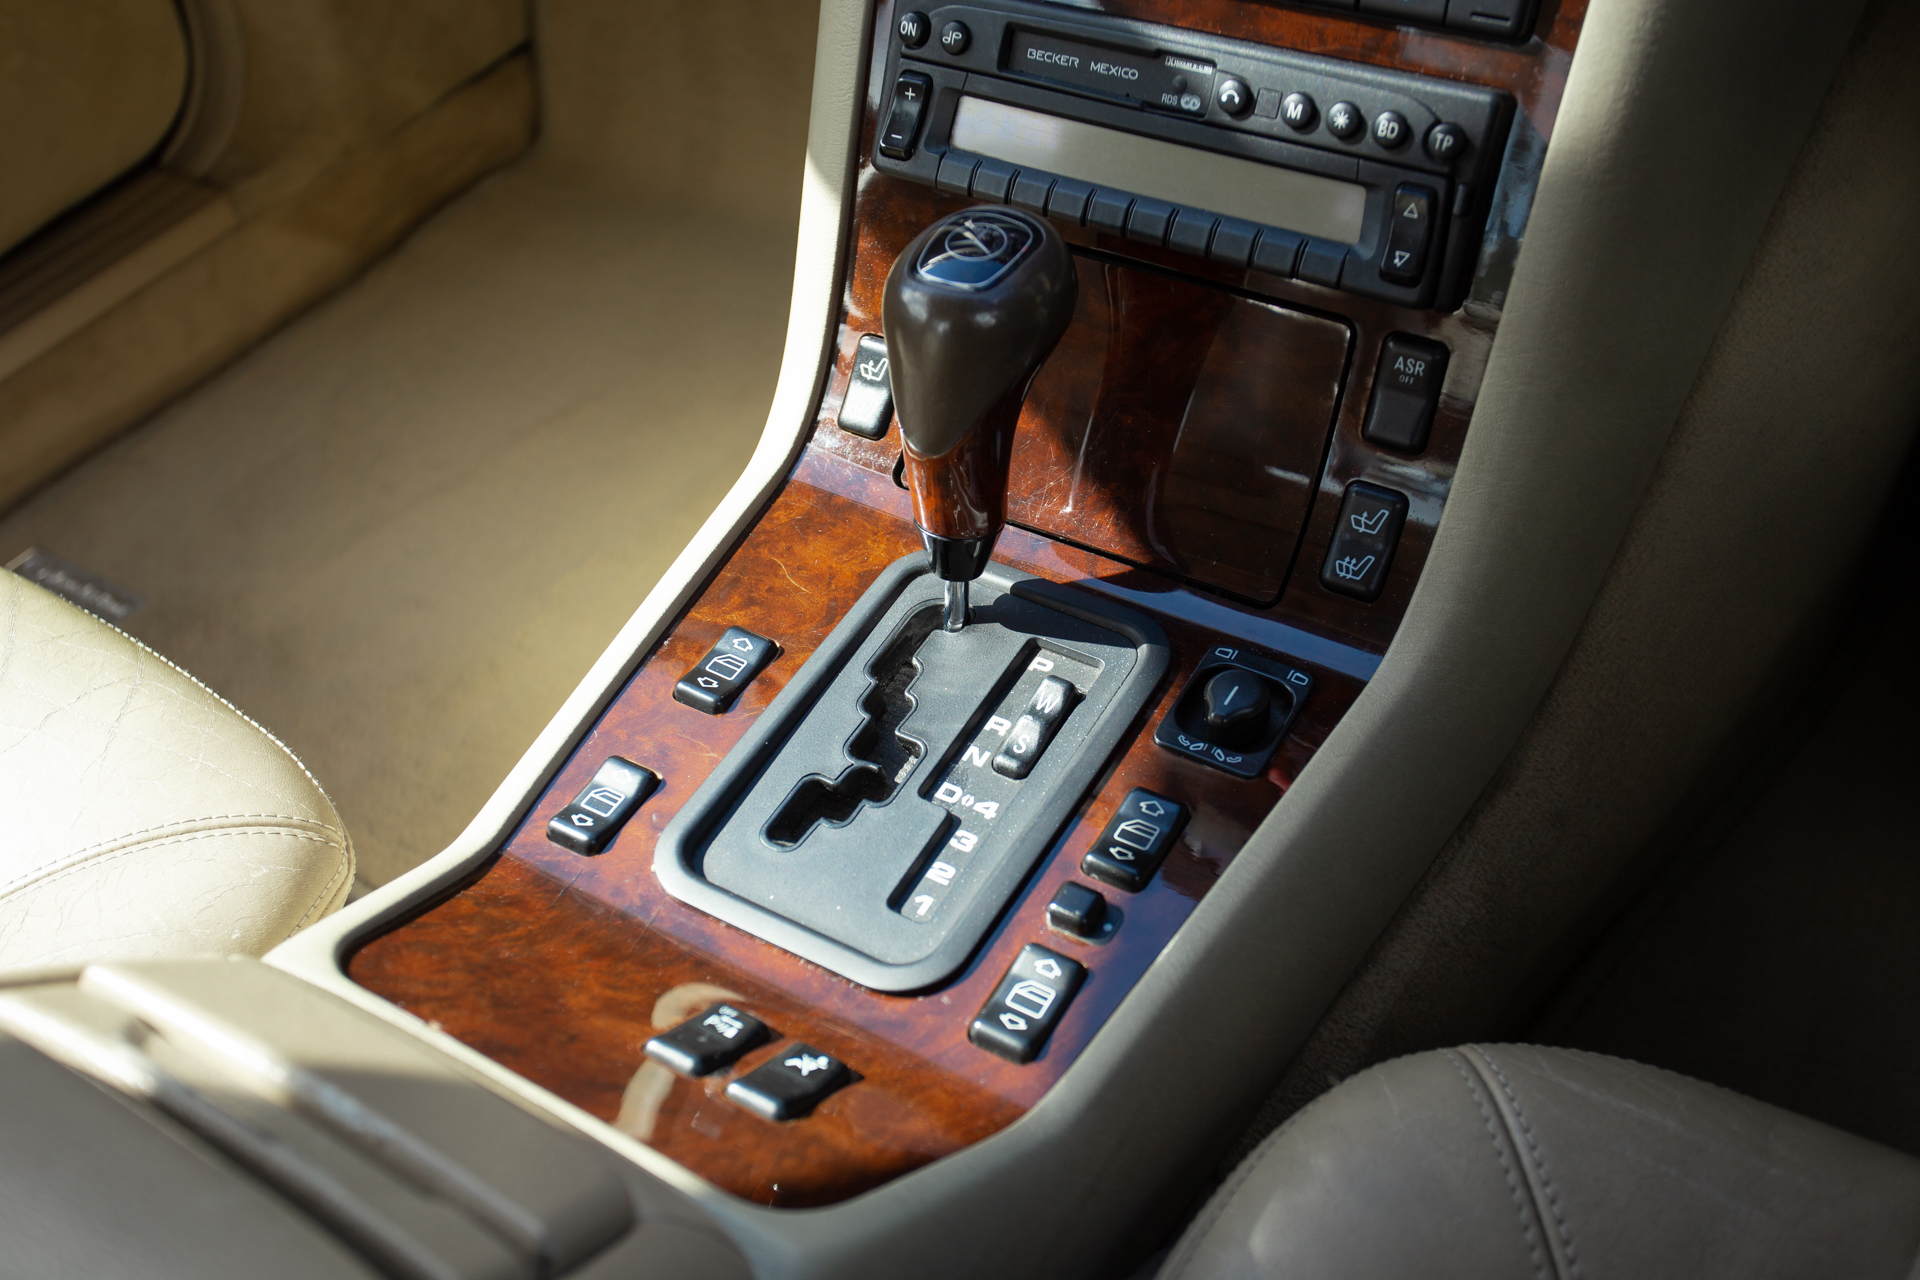
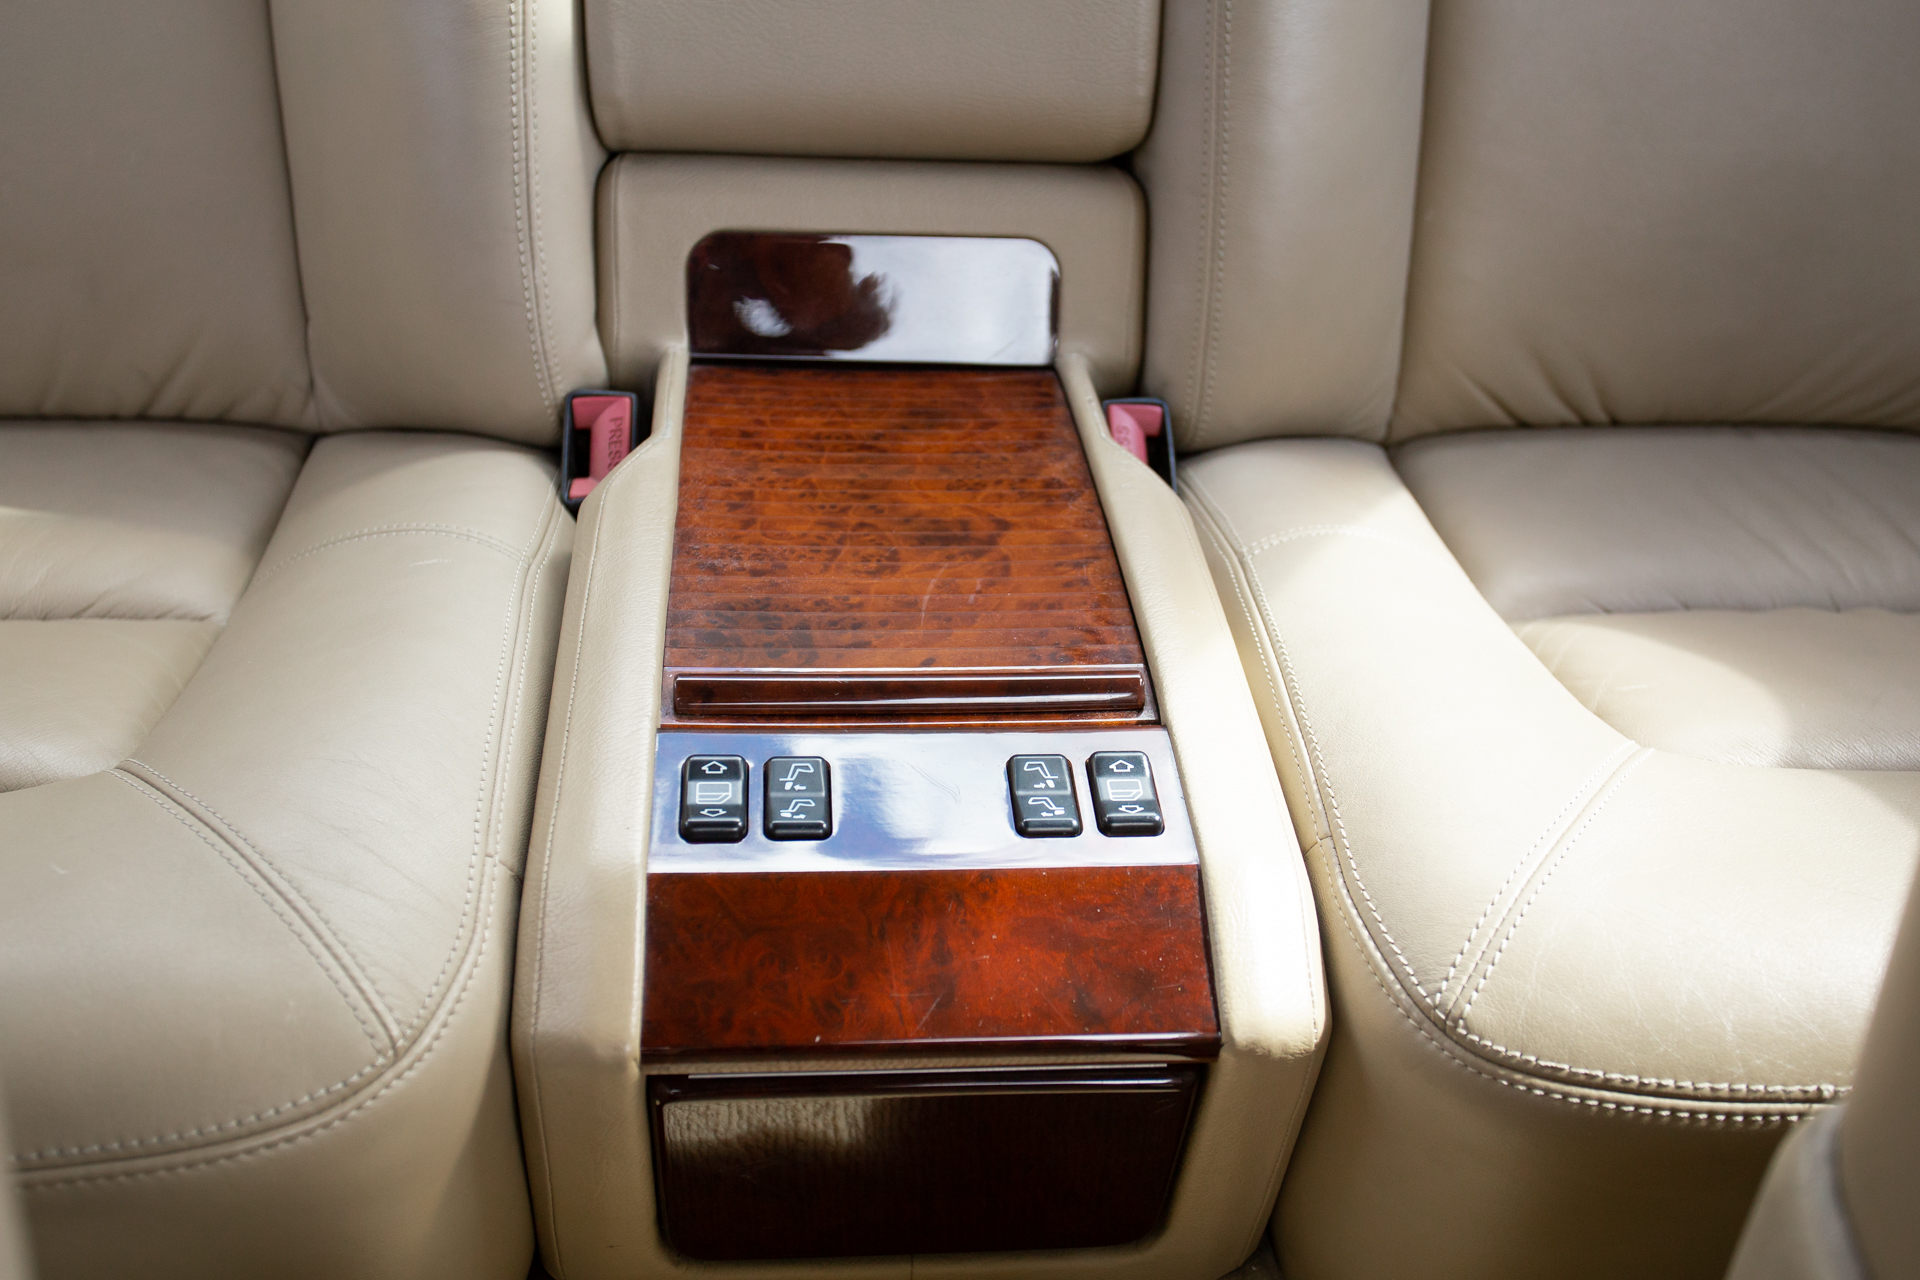
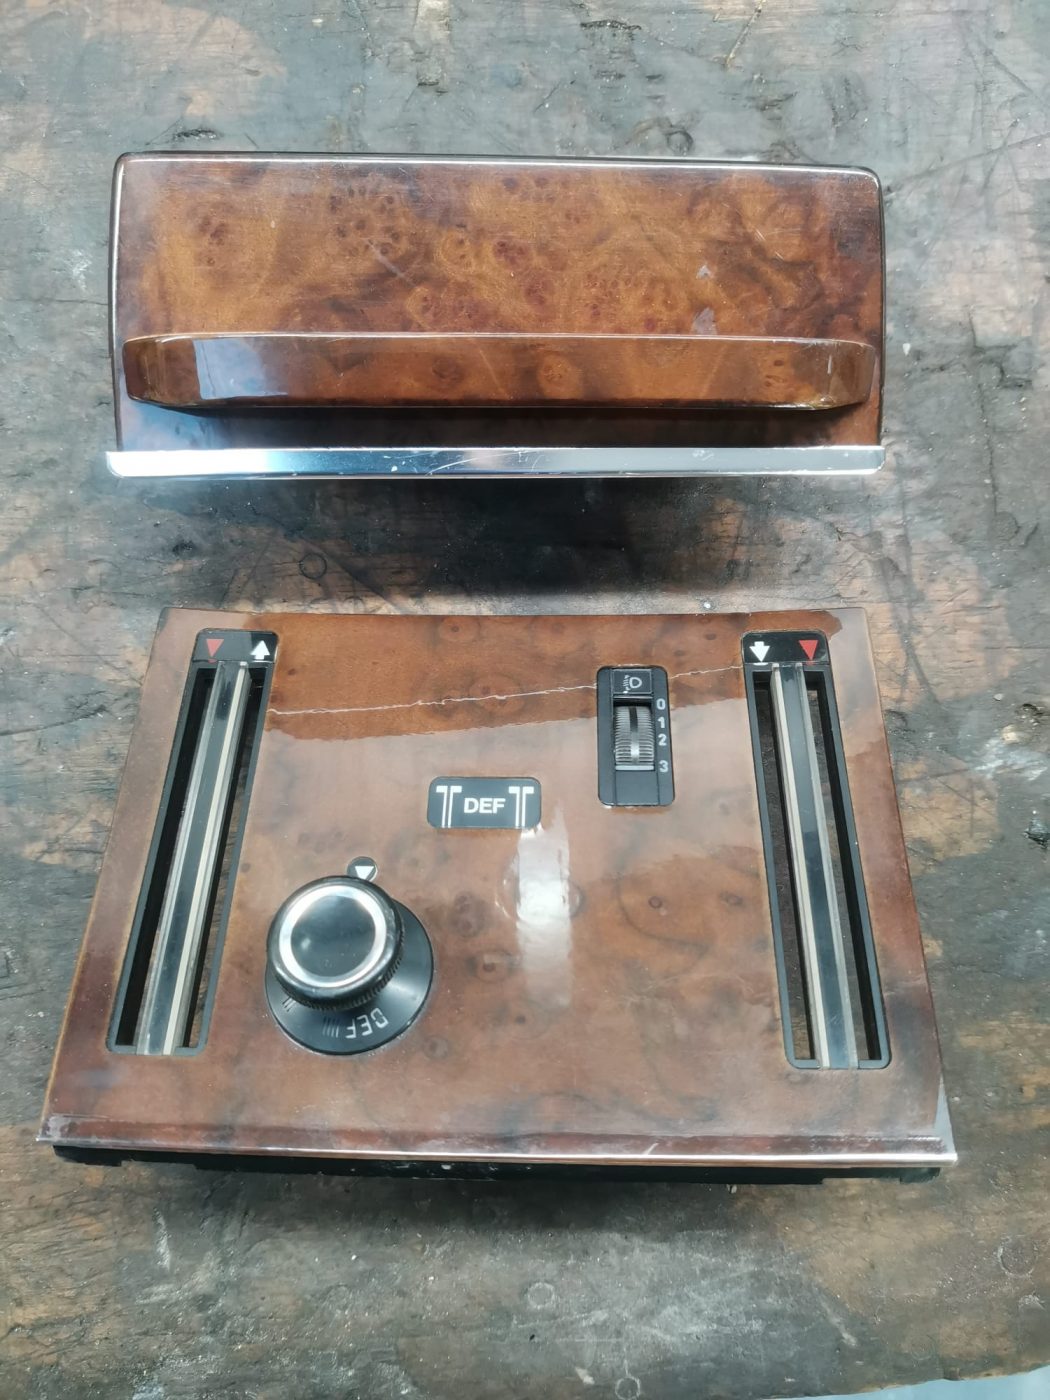
The deep red colour of the door cards was carefully selected to match the previous material used through the 500SL. The centre console, dash covering and all the other refinished trim work all match up thanks to the expertise and attention to detail that our interior team at Bridge Classic Cars has and the devotion to their craft.
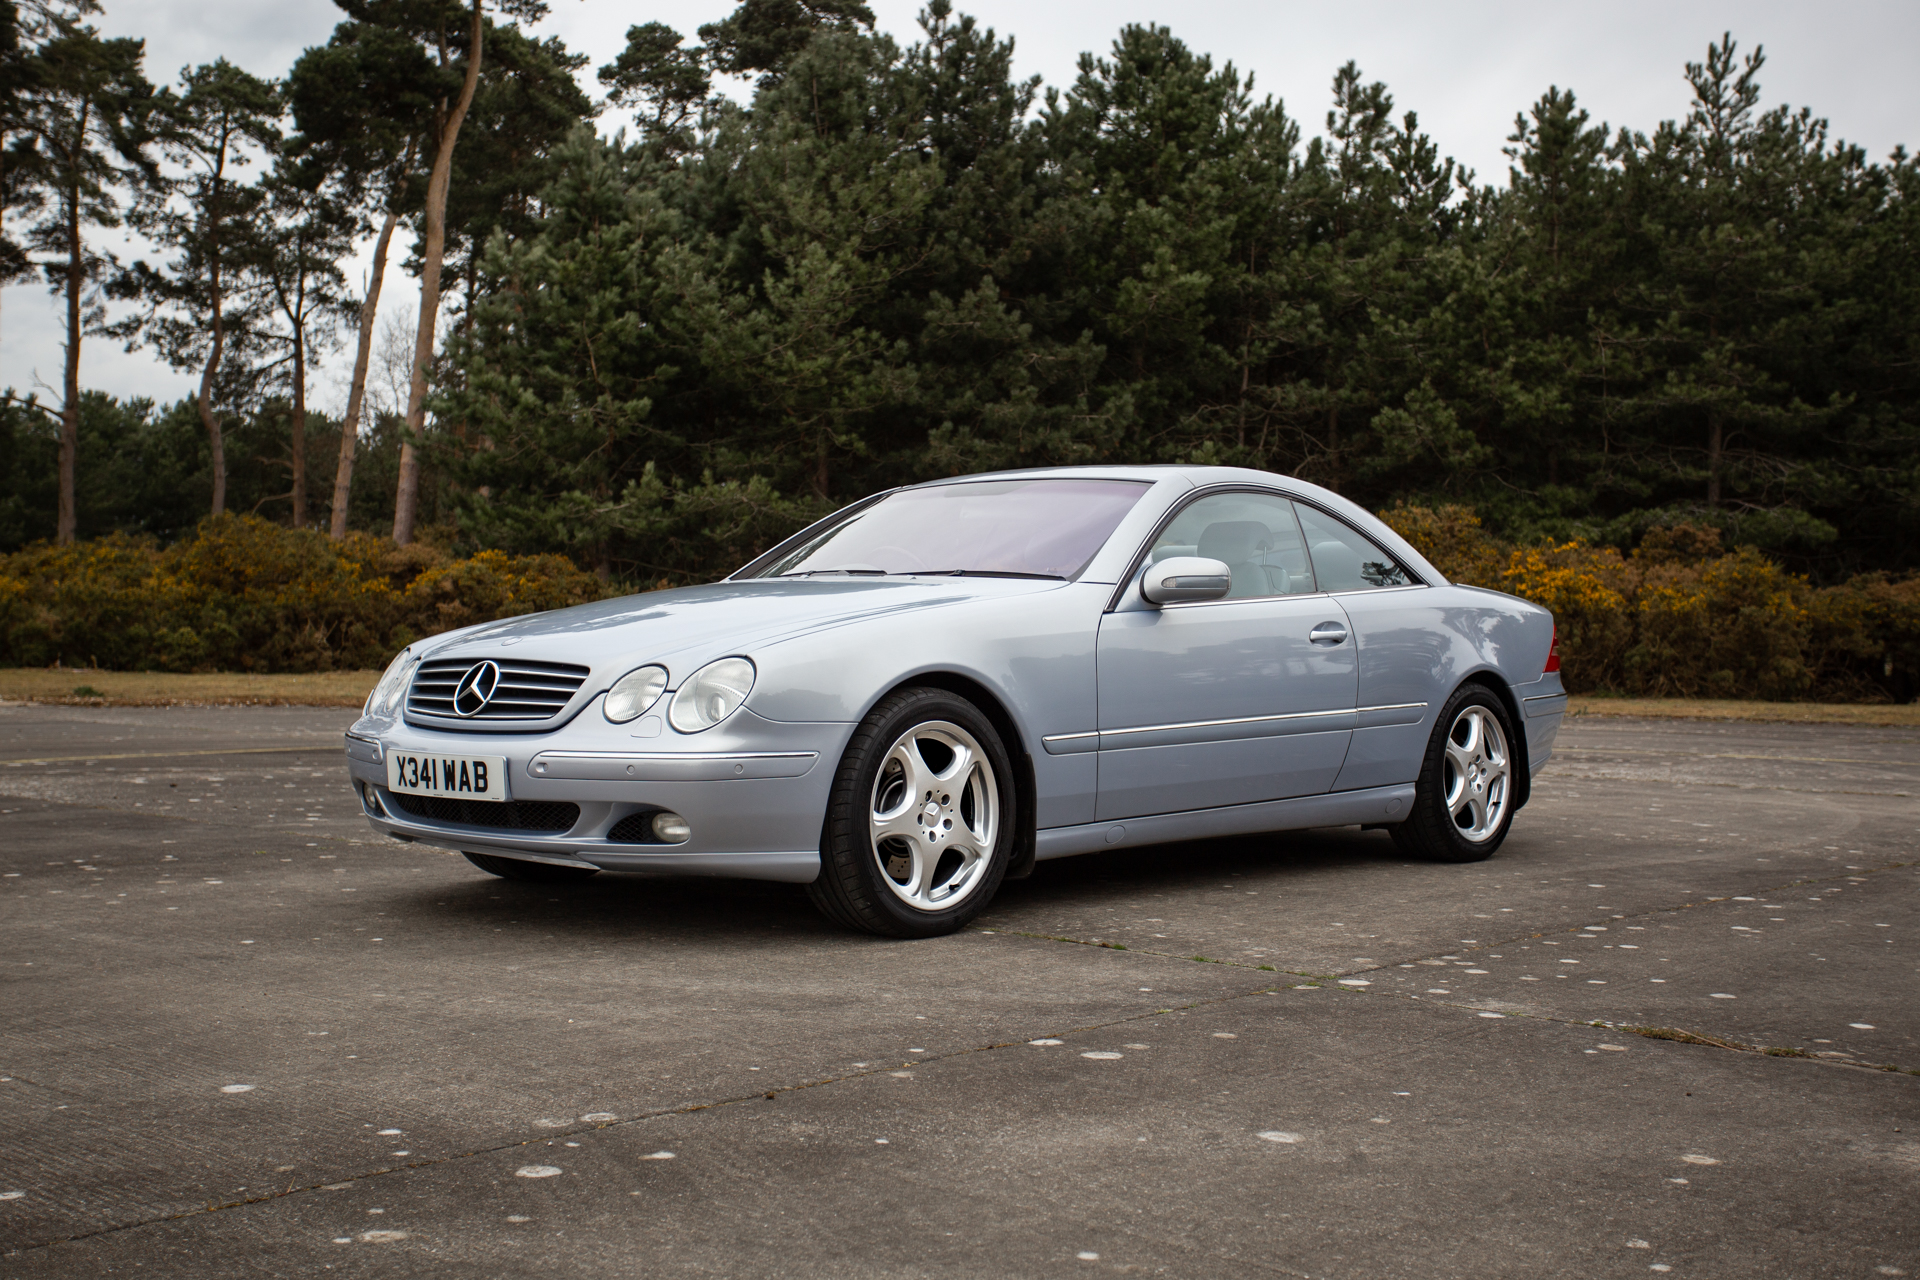
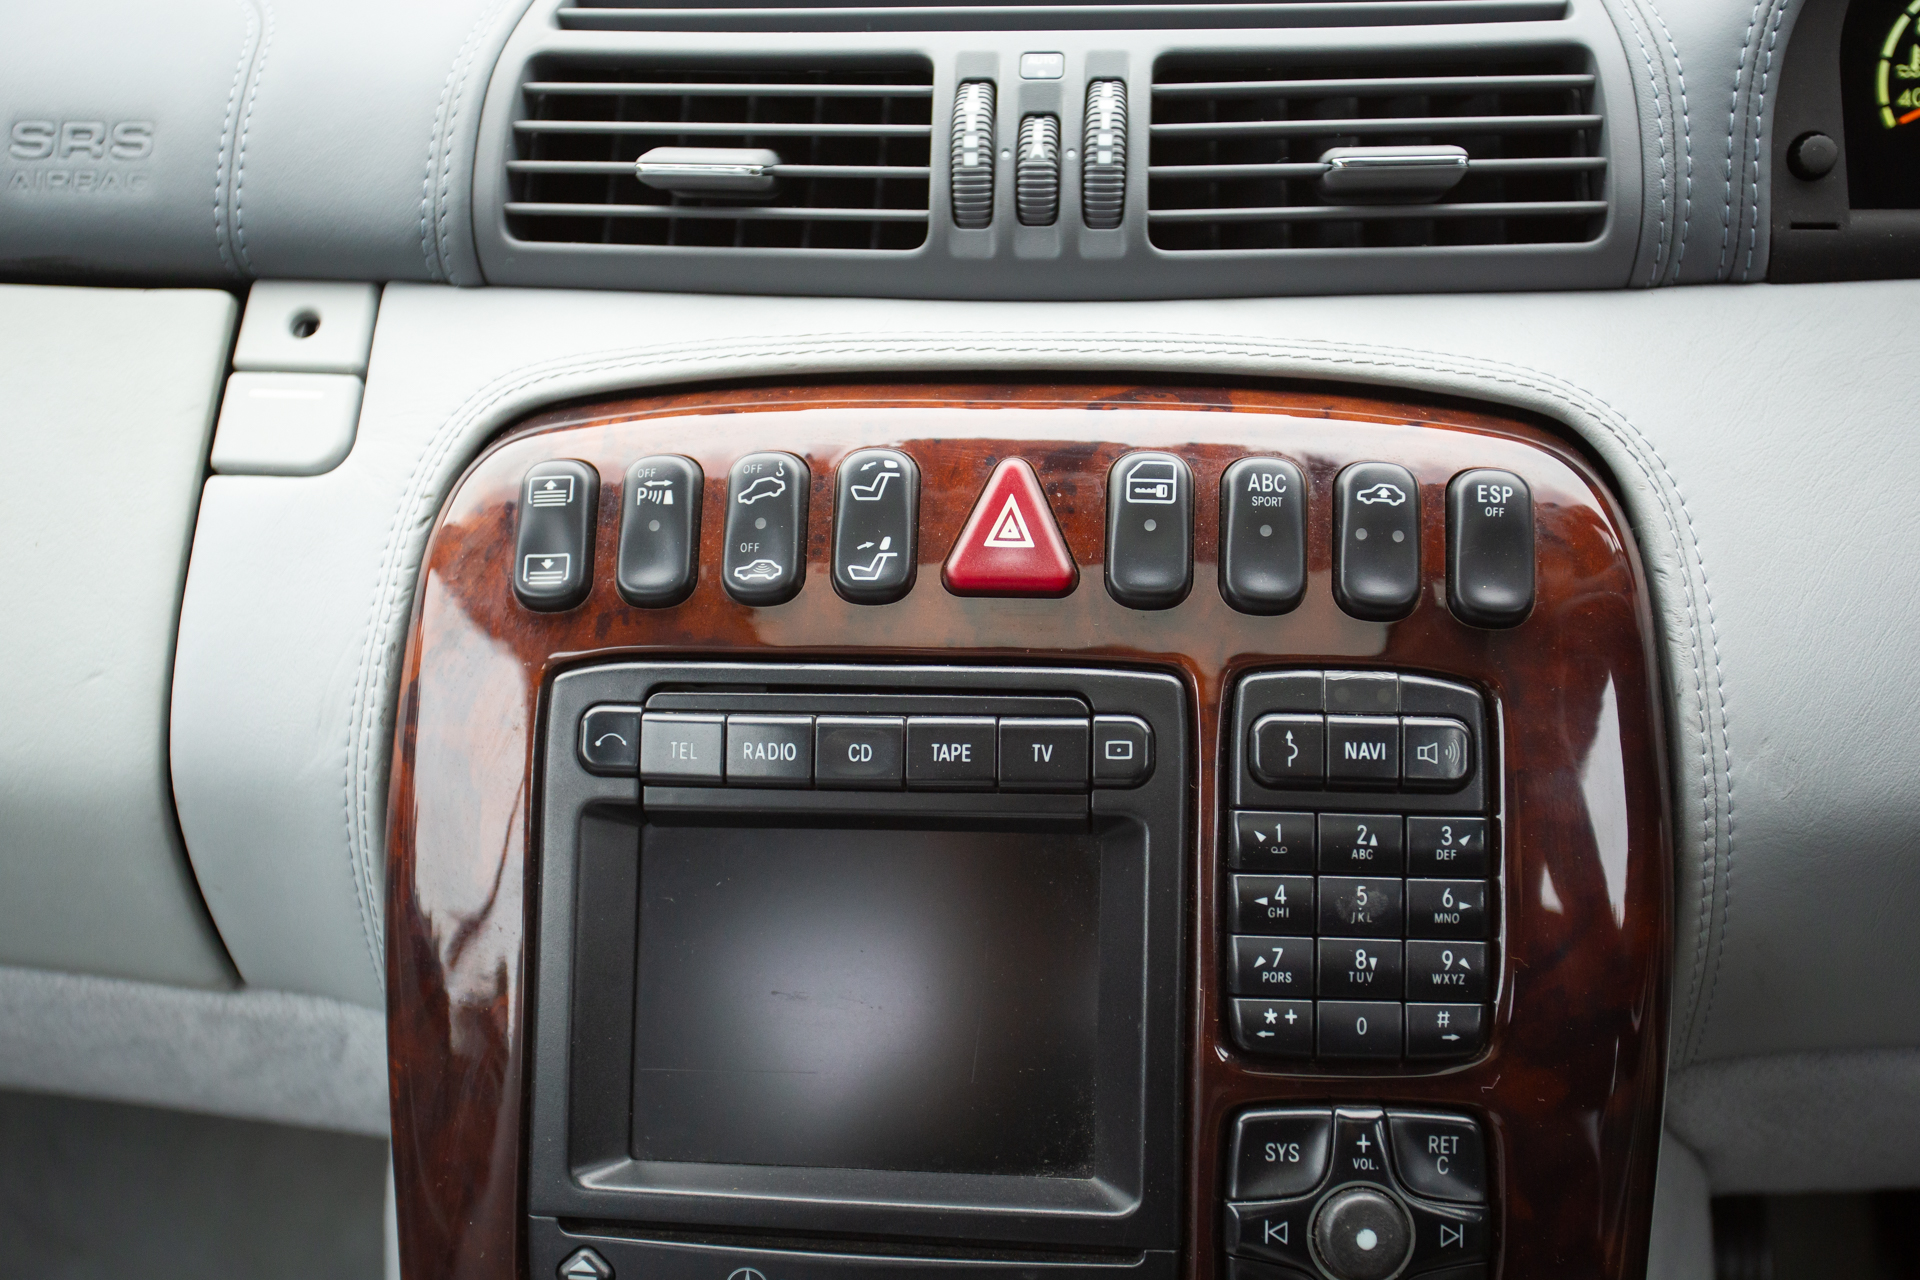
The team headed over to Bentwaters recently to shot our Mercedes CL600, our recent competition car. Although an overcast day, the lighting was perfect to capture the sheer light interior trim which contrasts with the mahogany beautifully. The paint, which is a subtle pale blue silver, sparkled under the light.


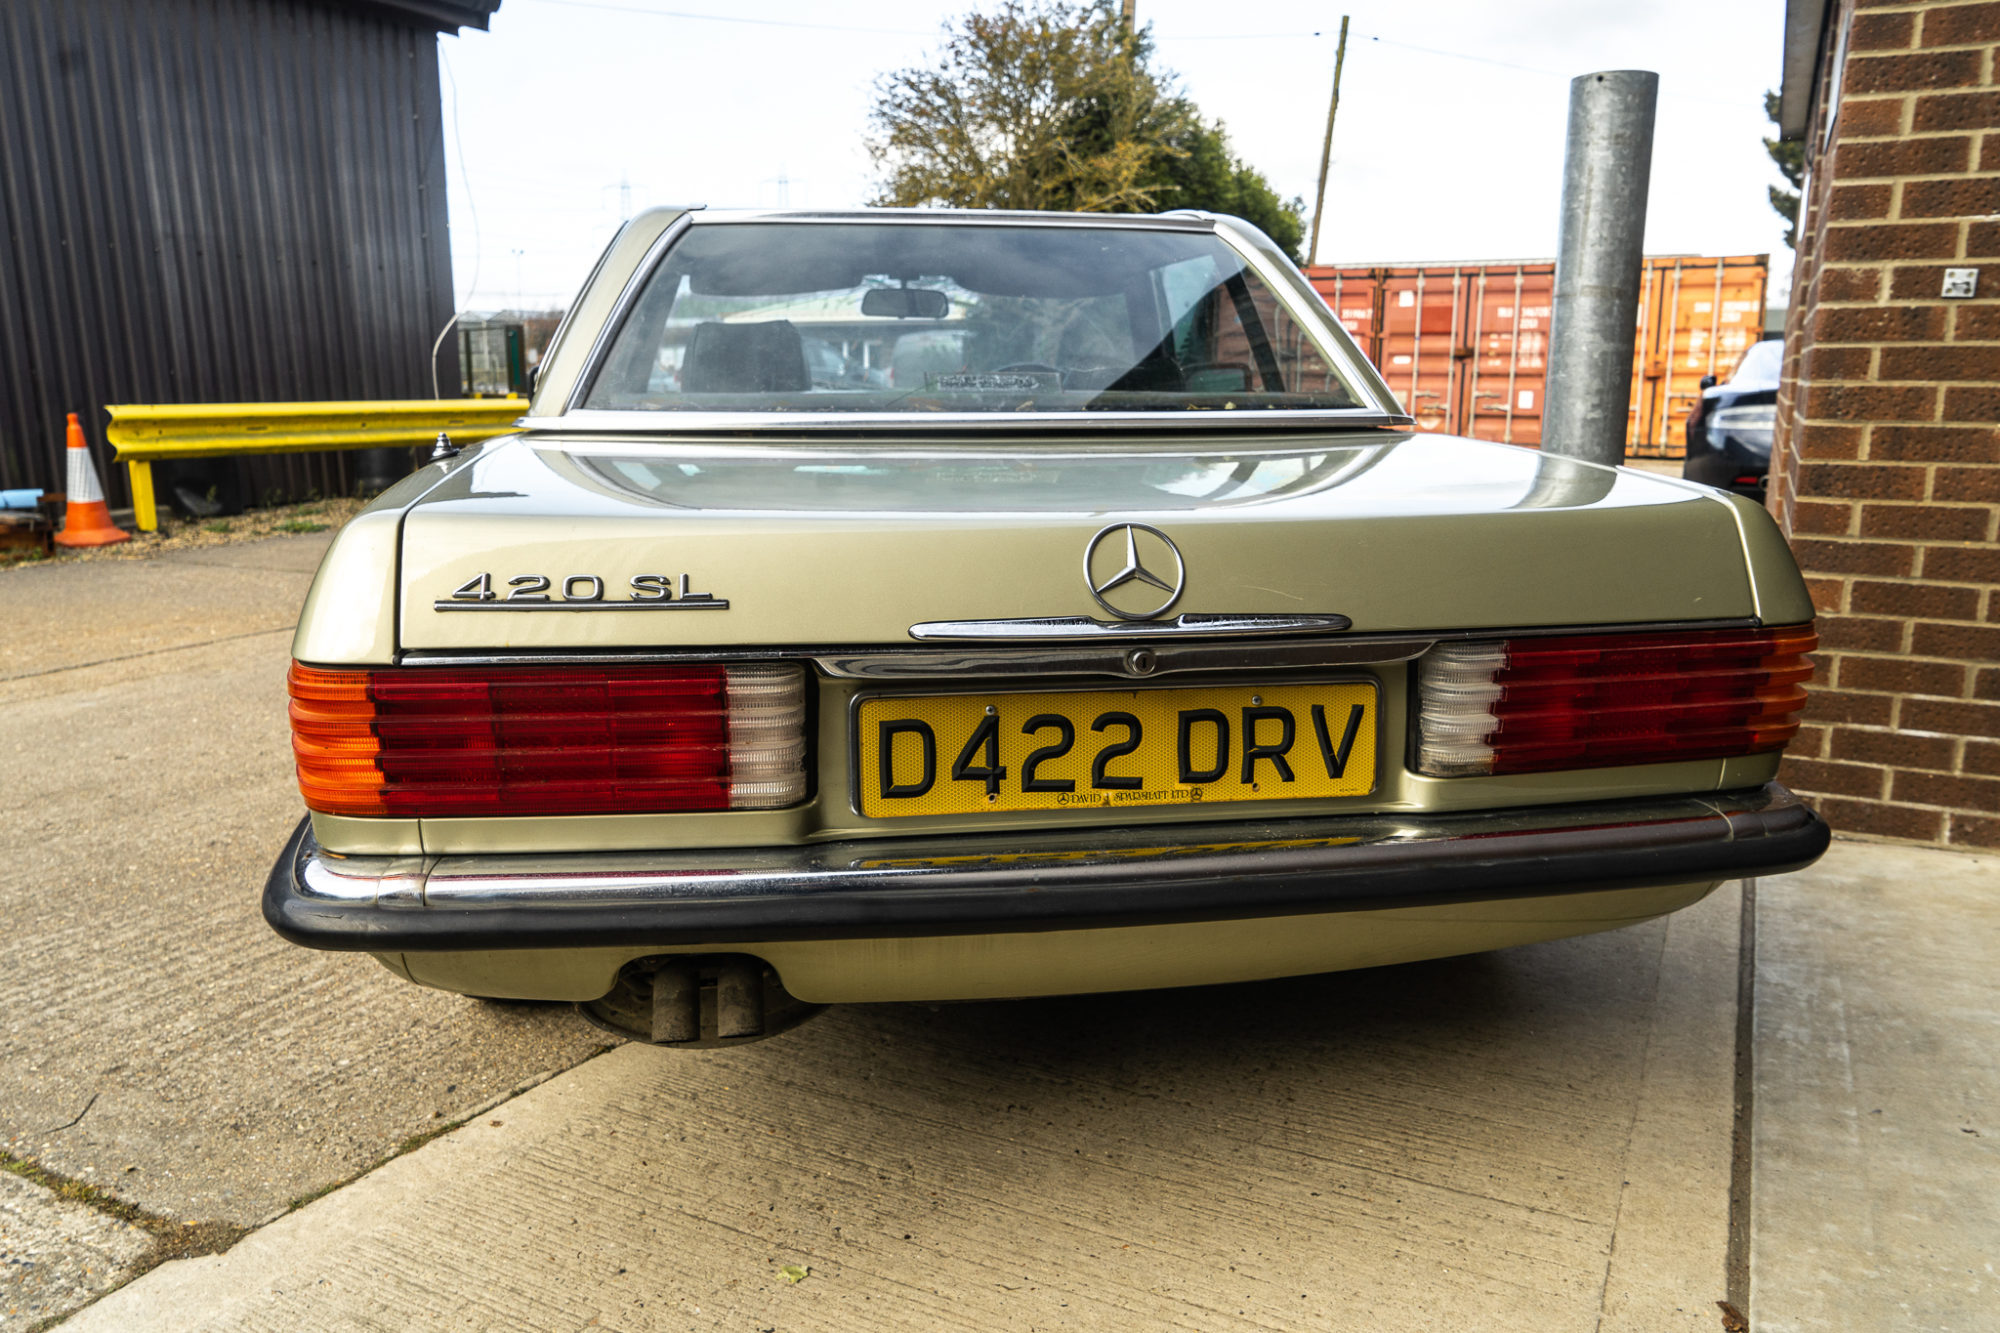
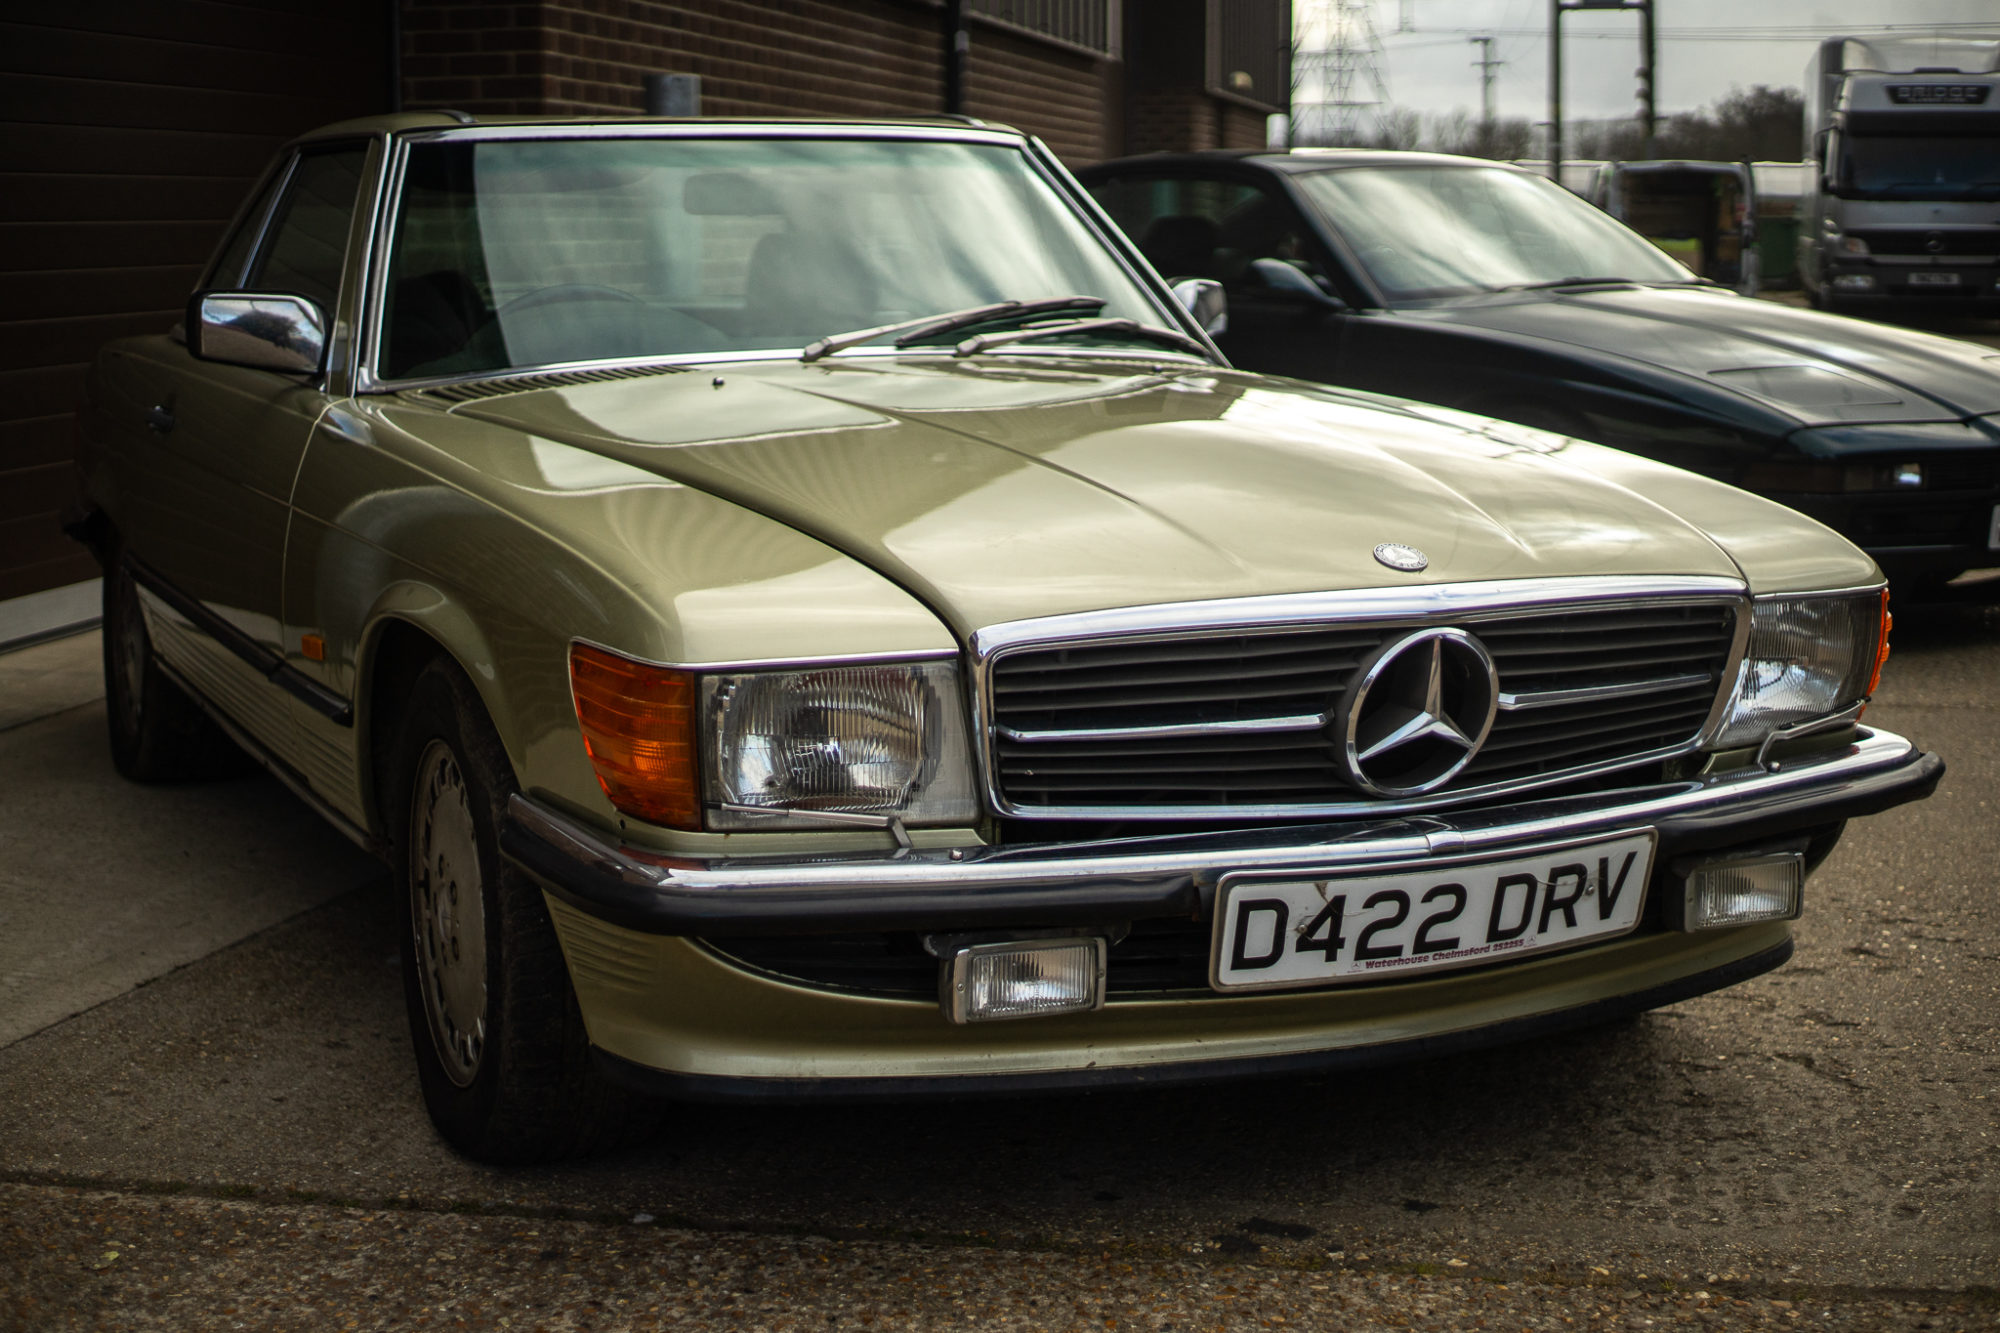
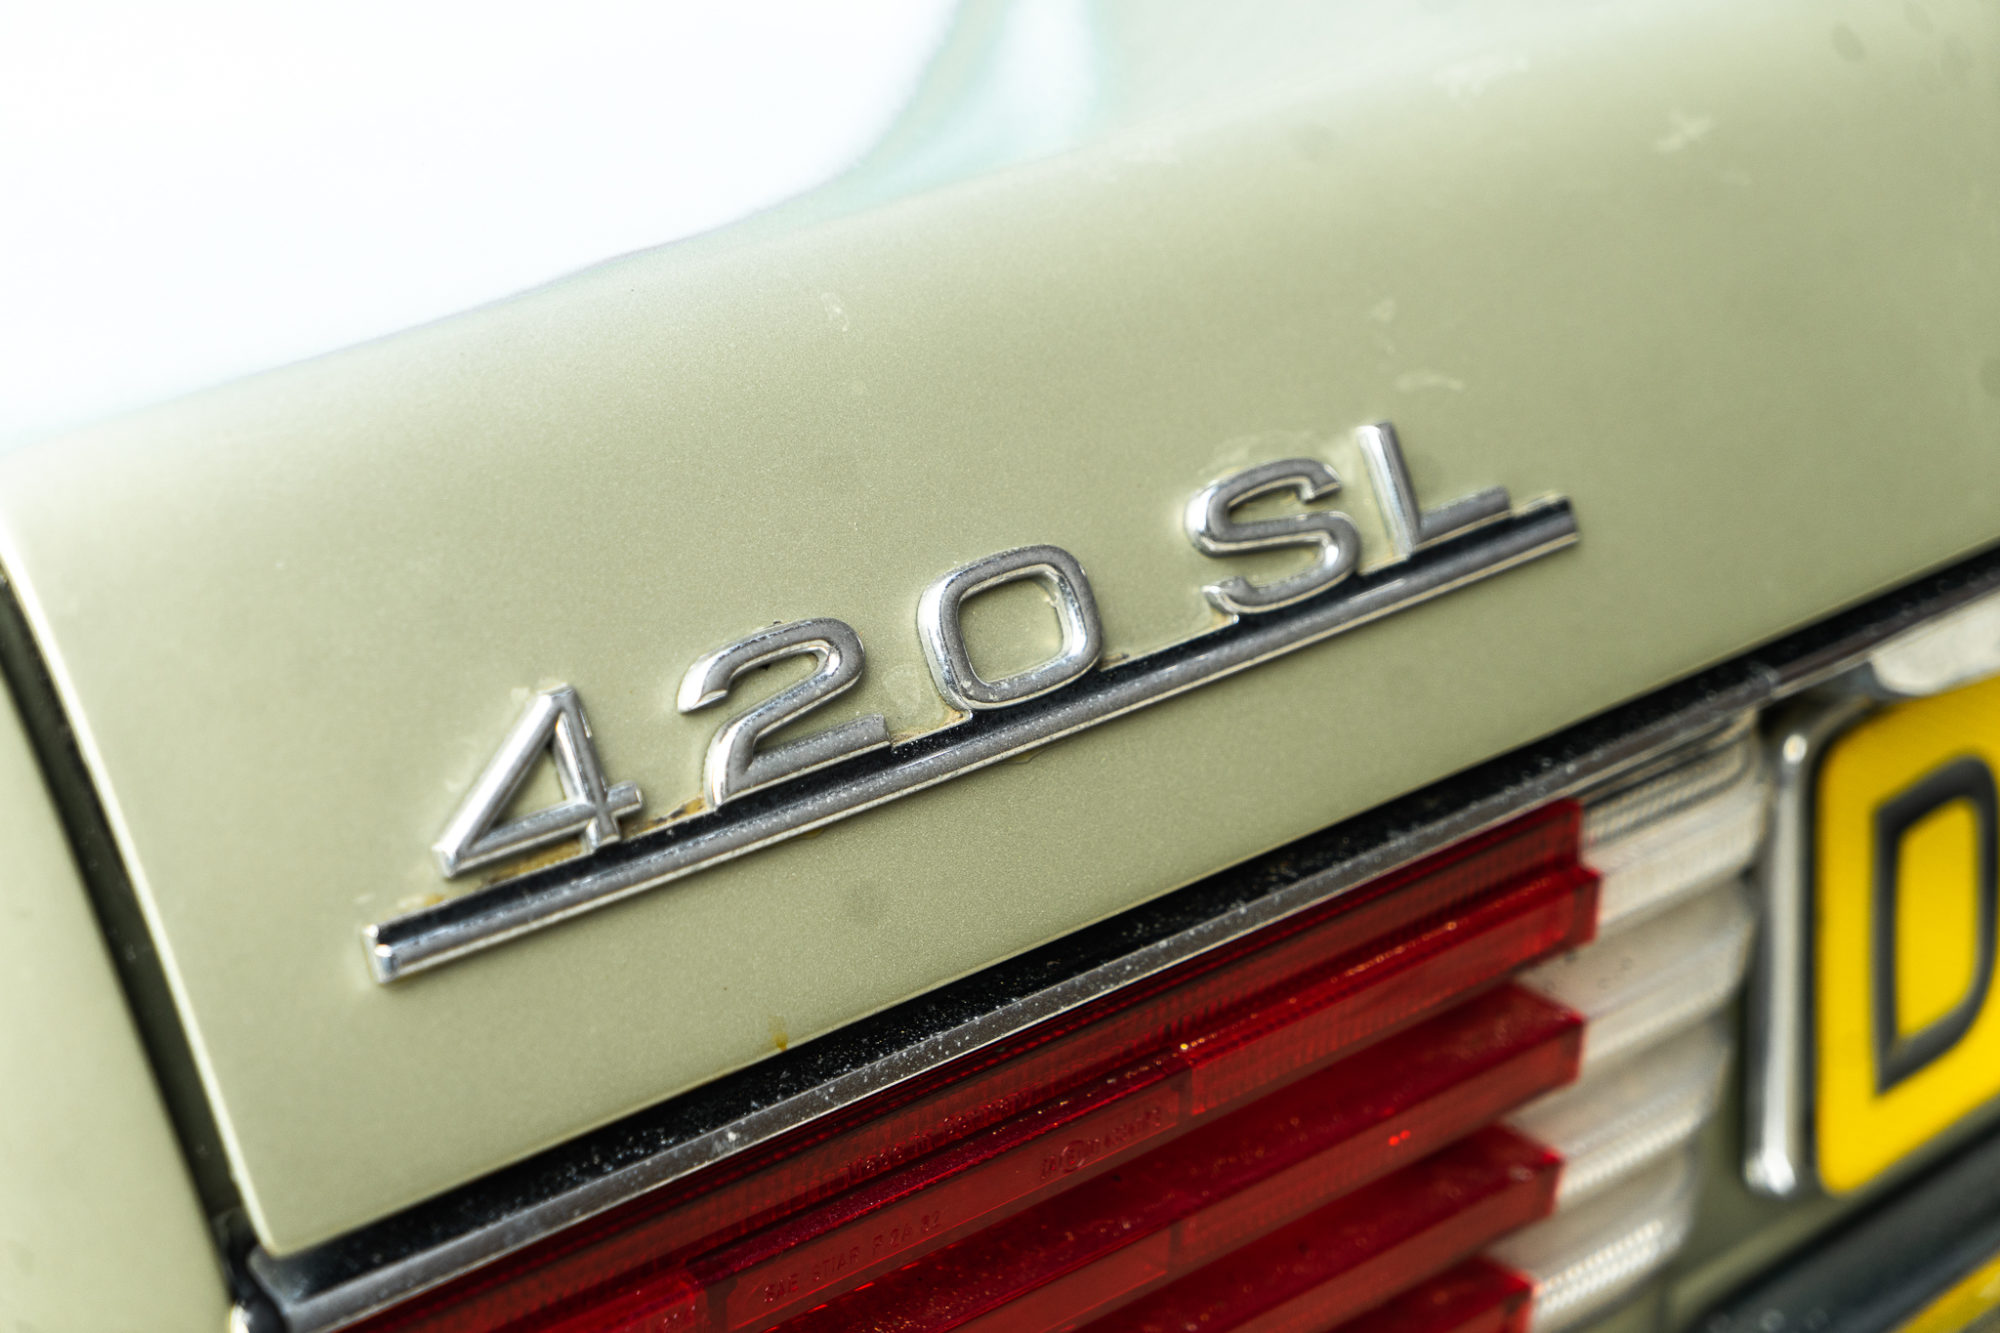
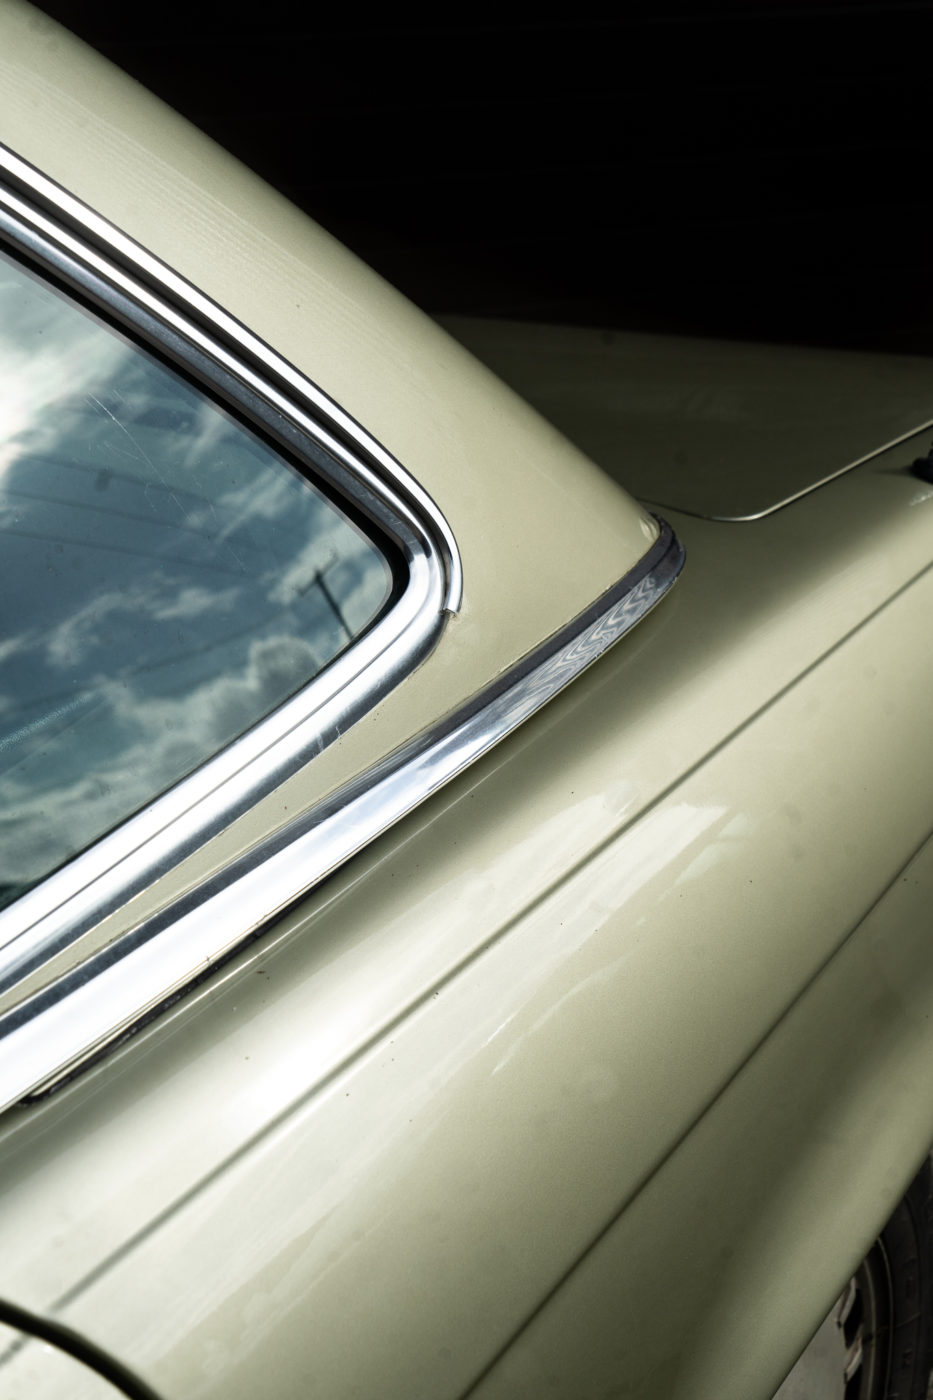
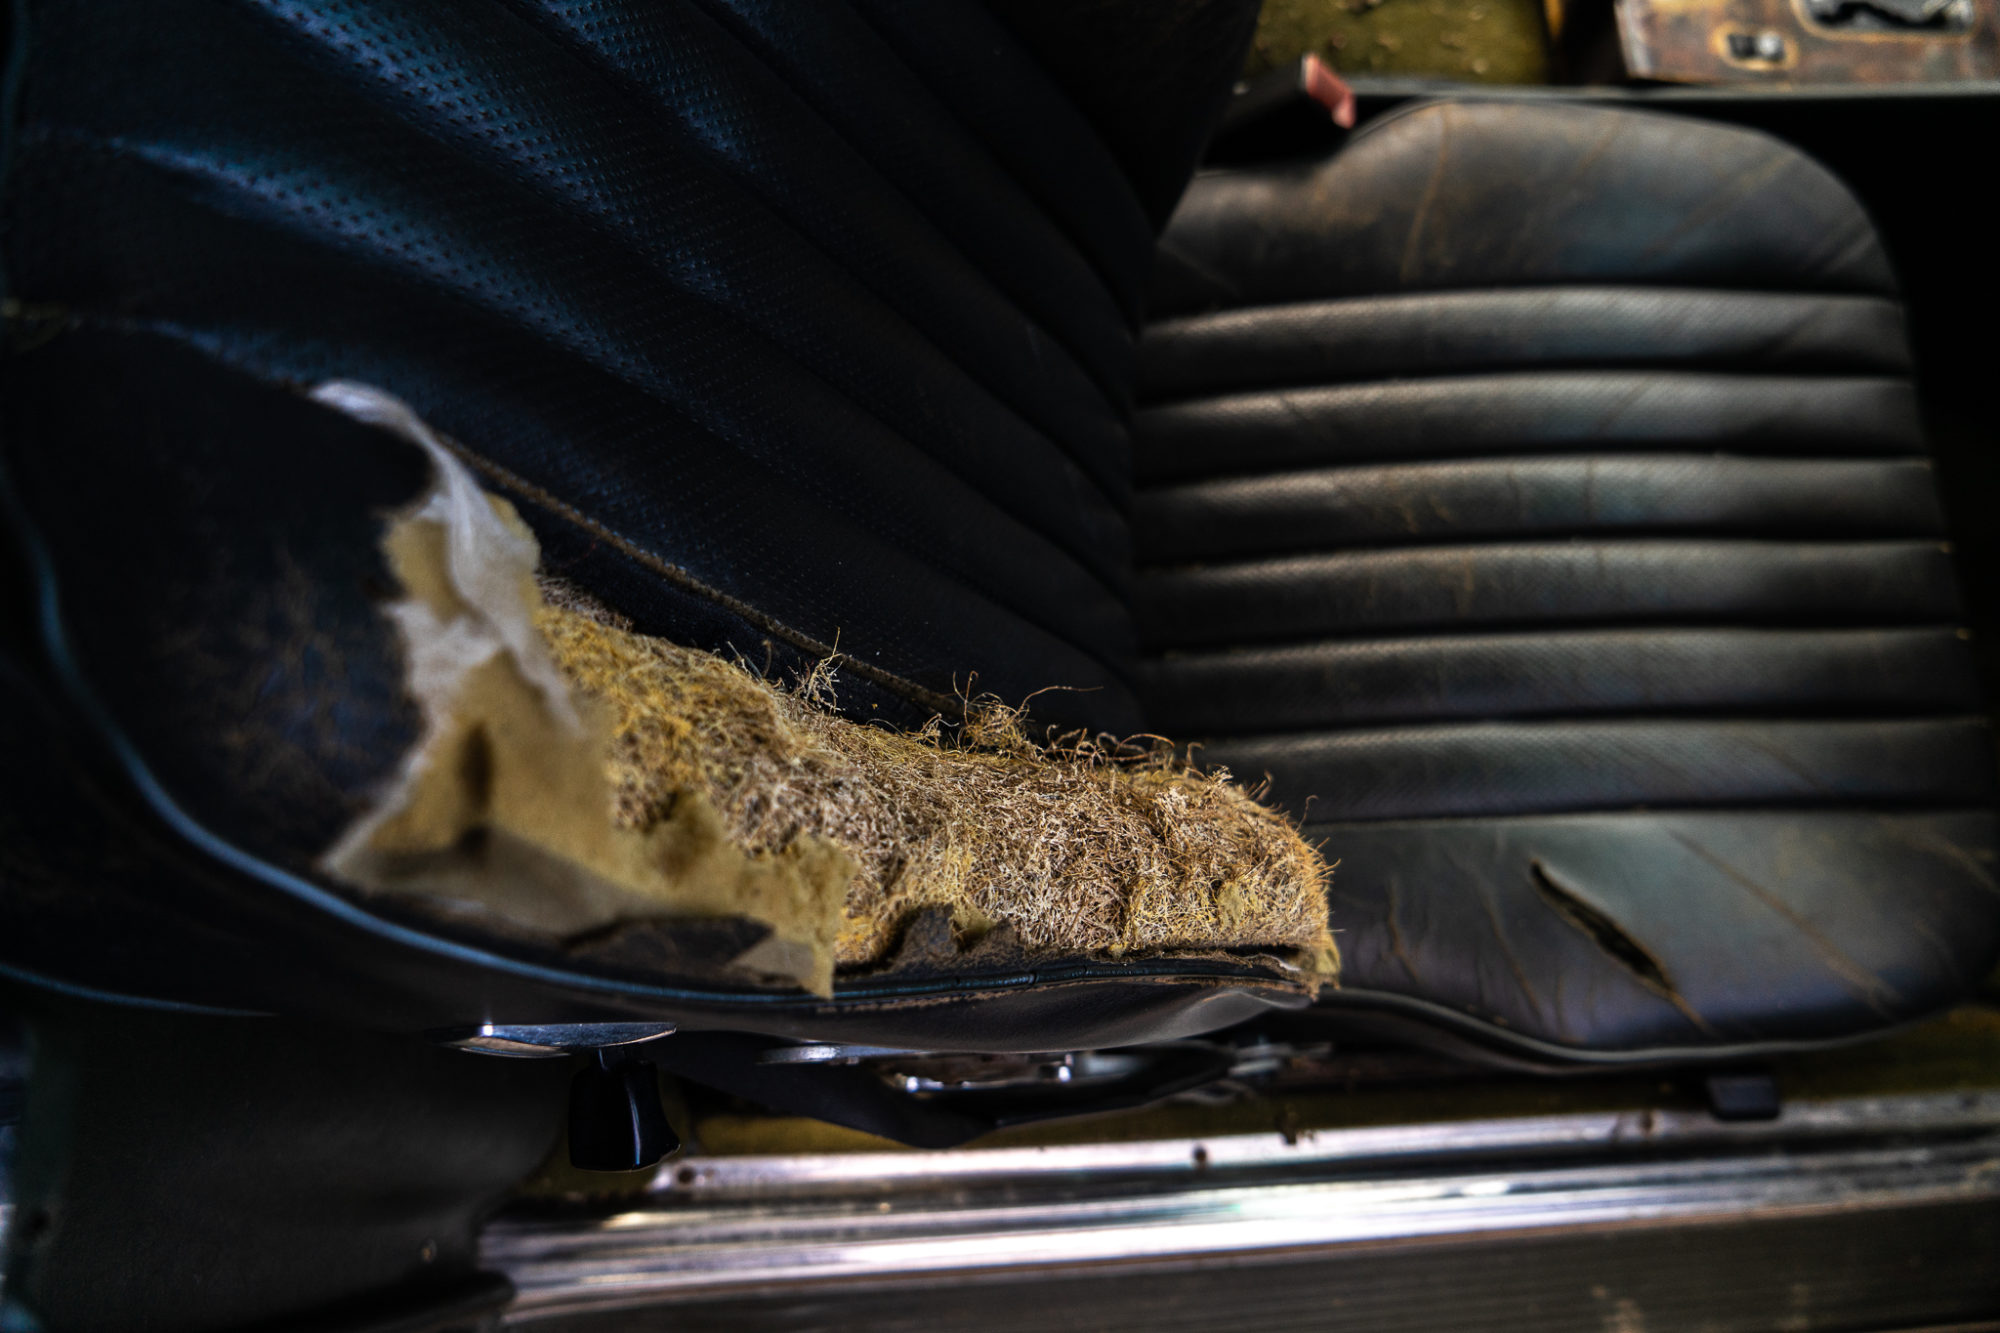
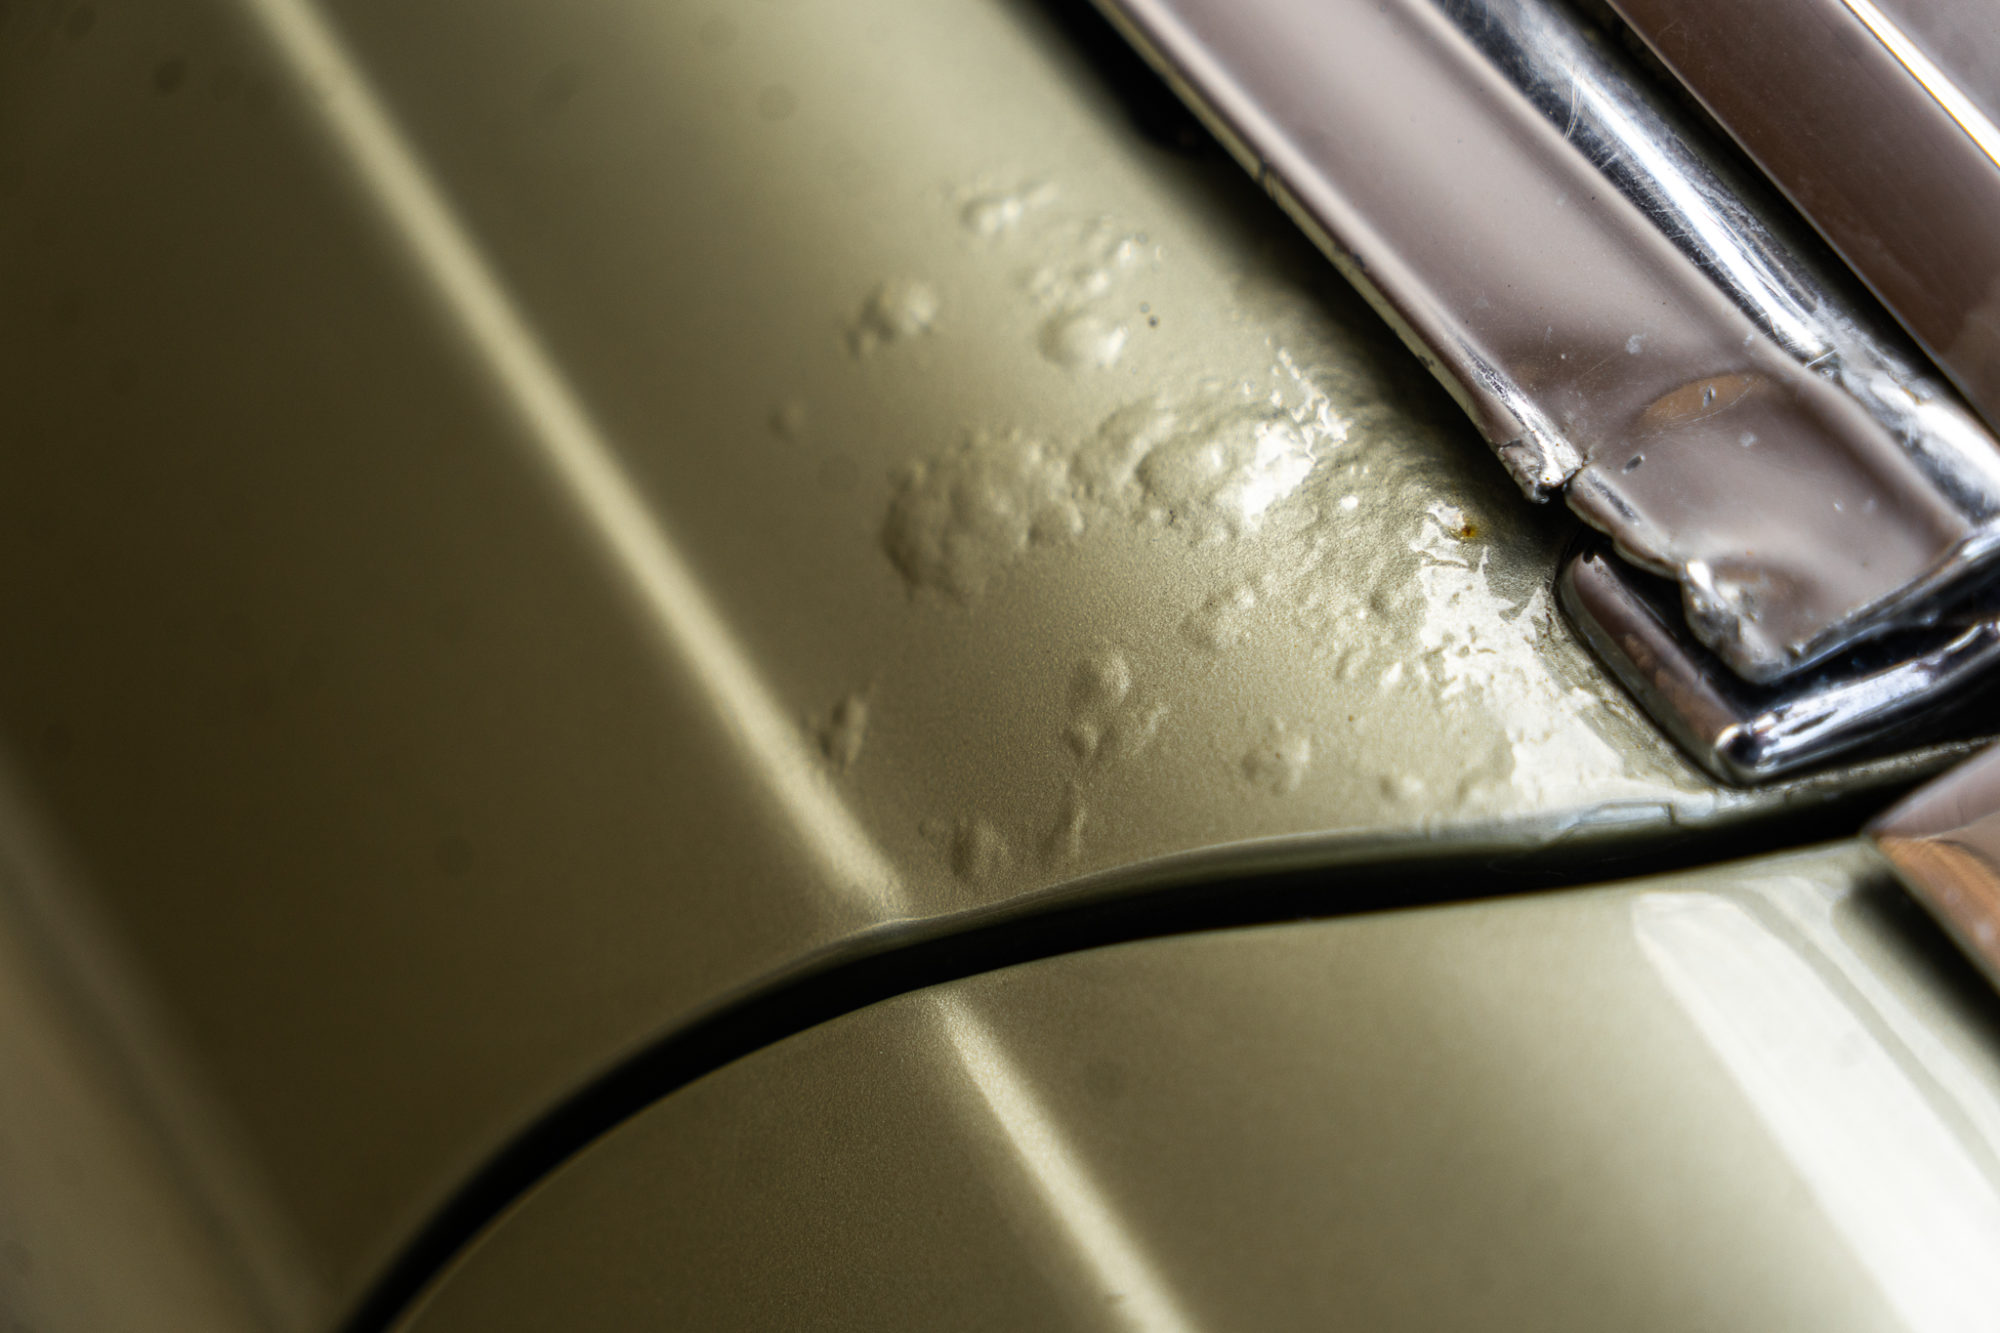
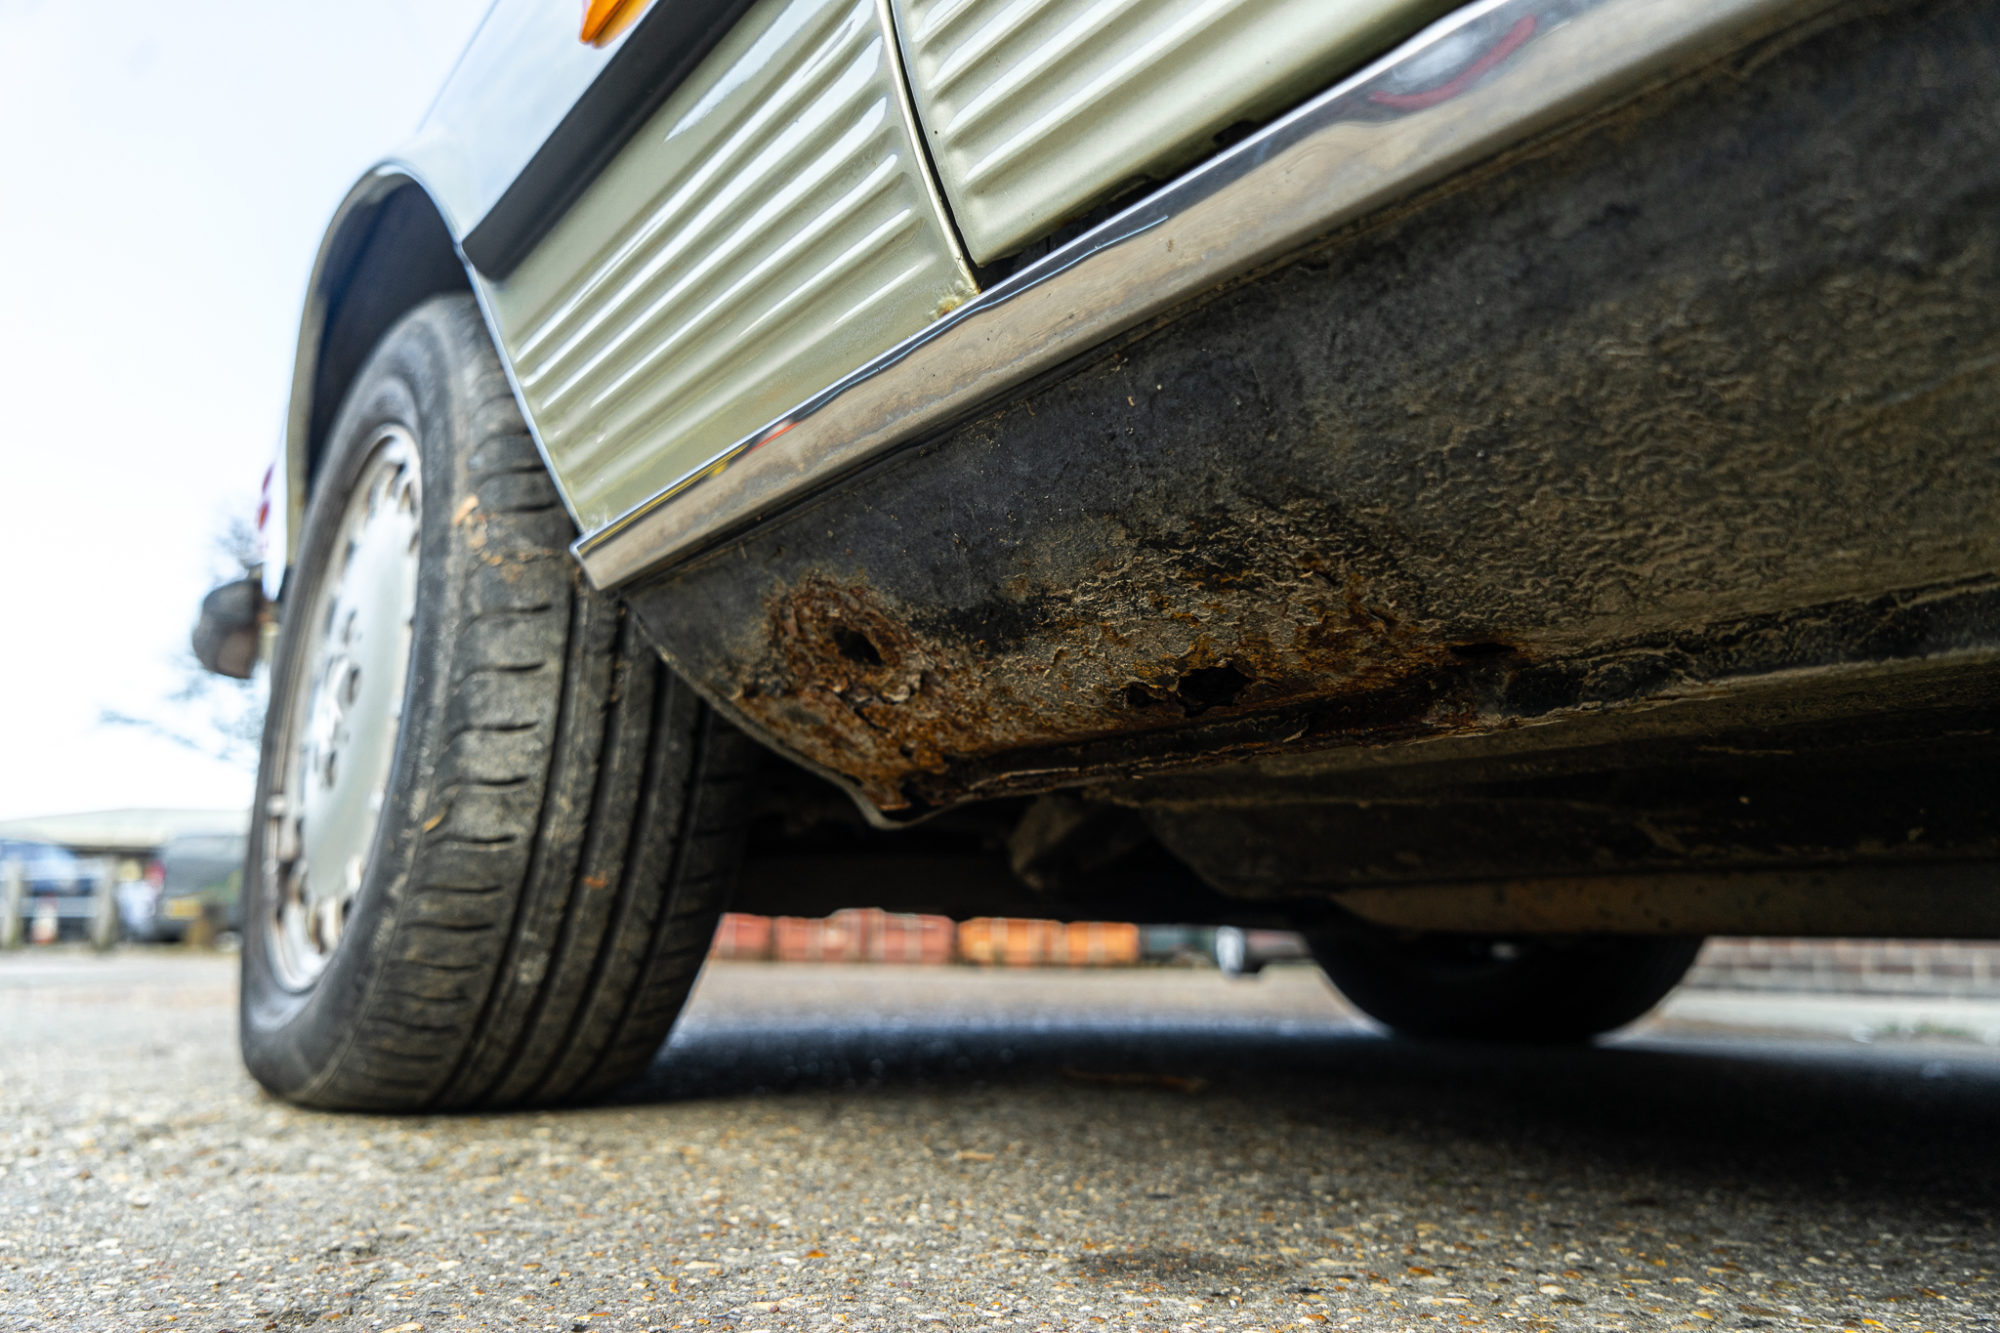
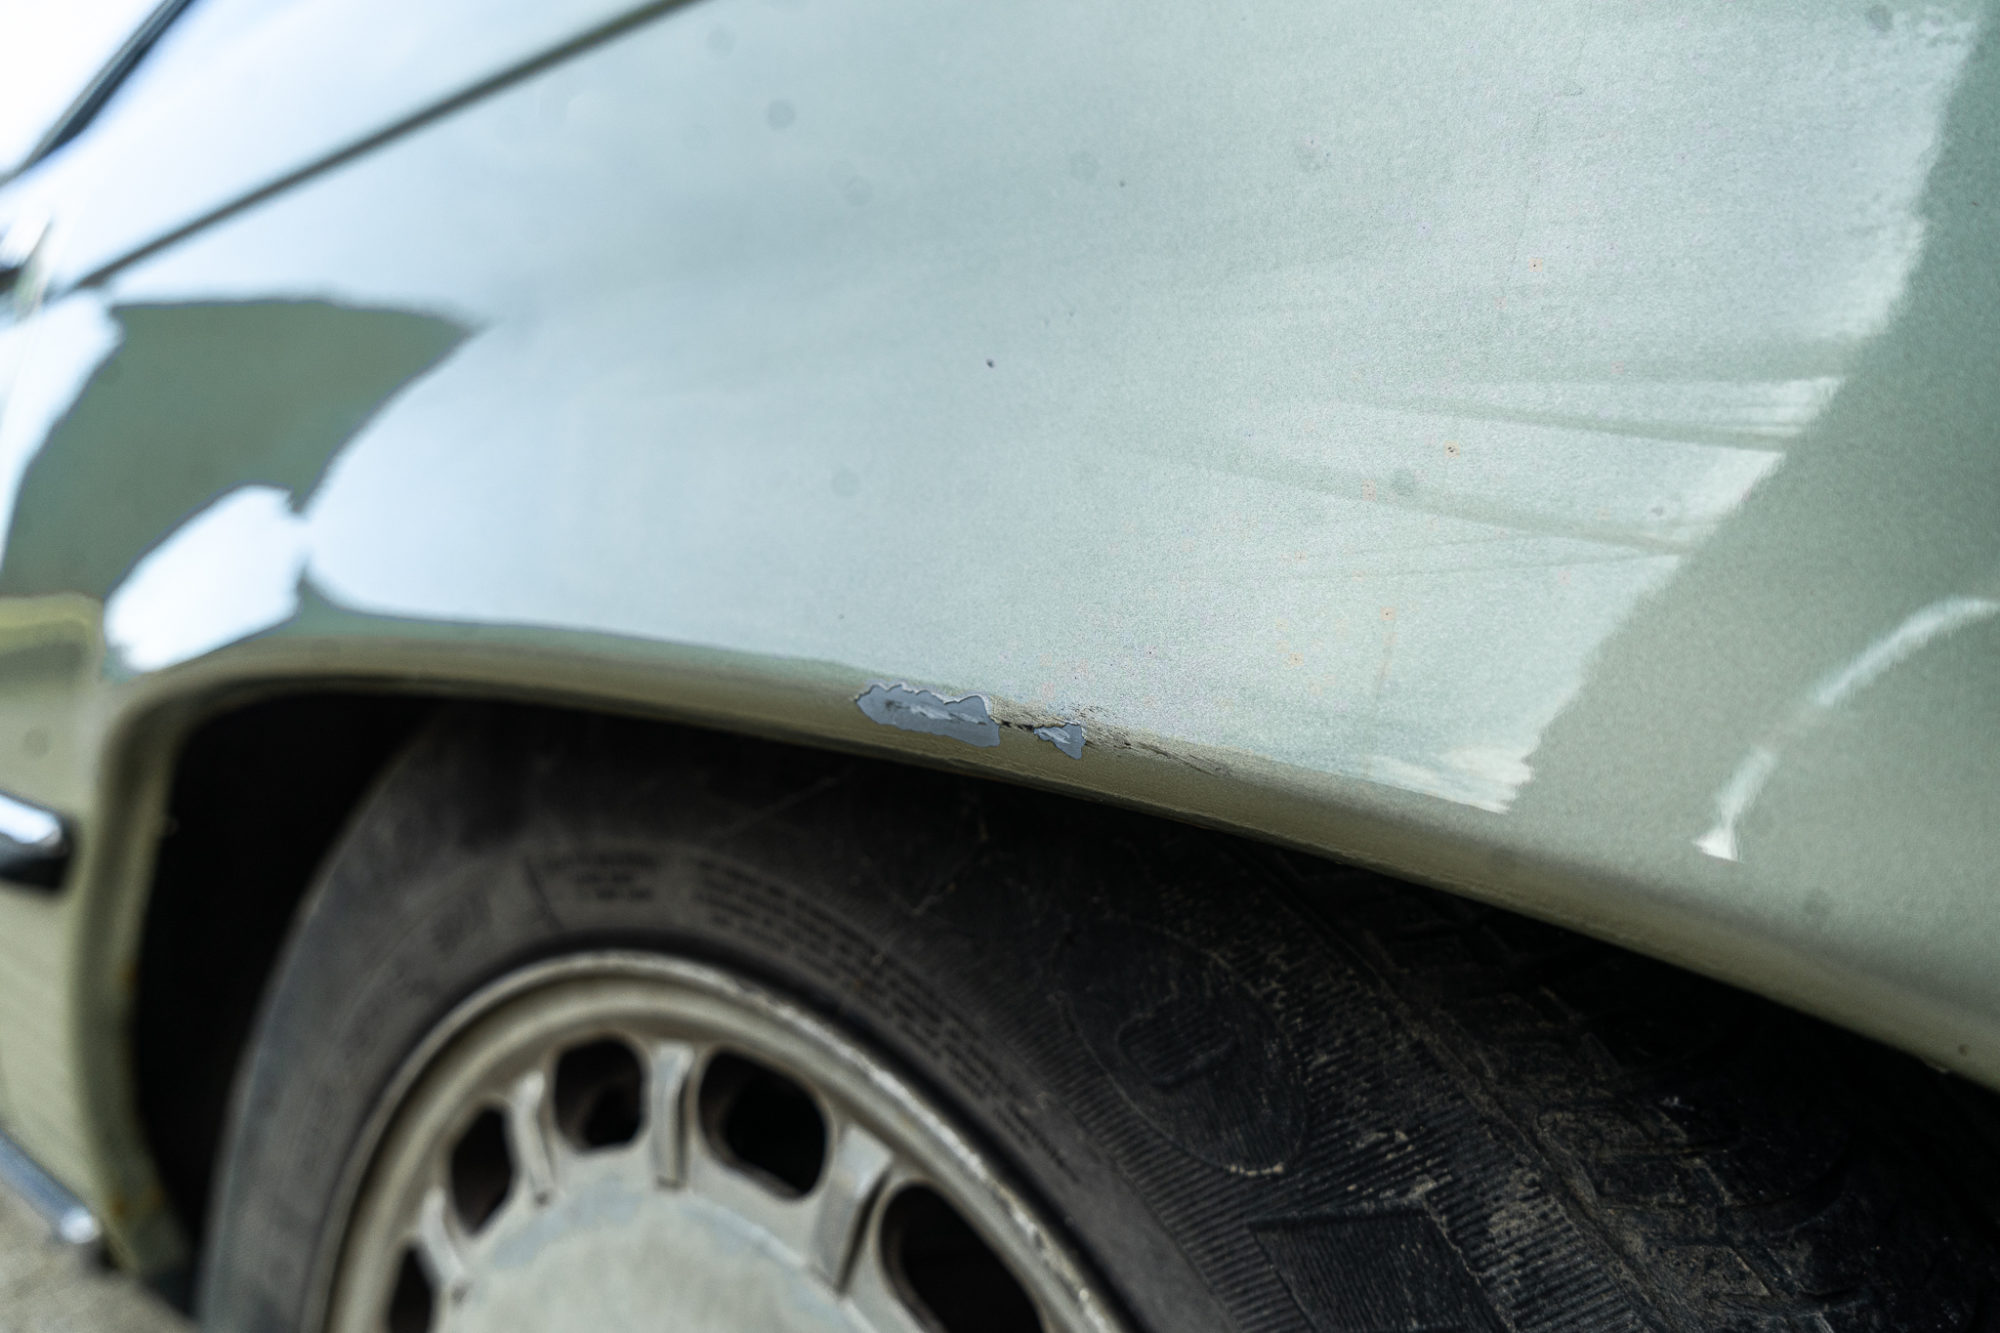
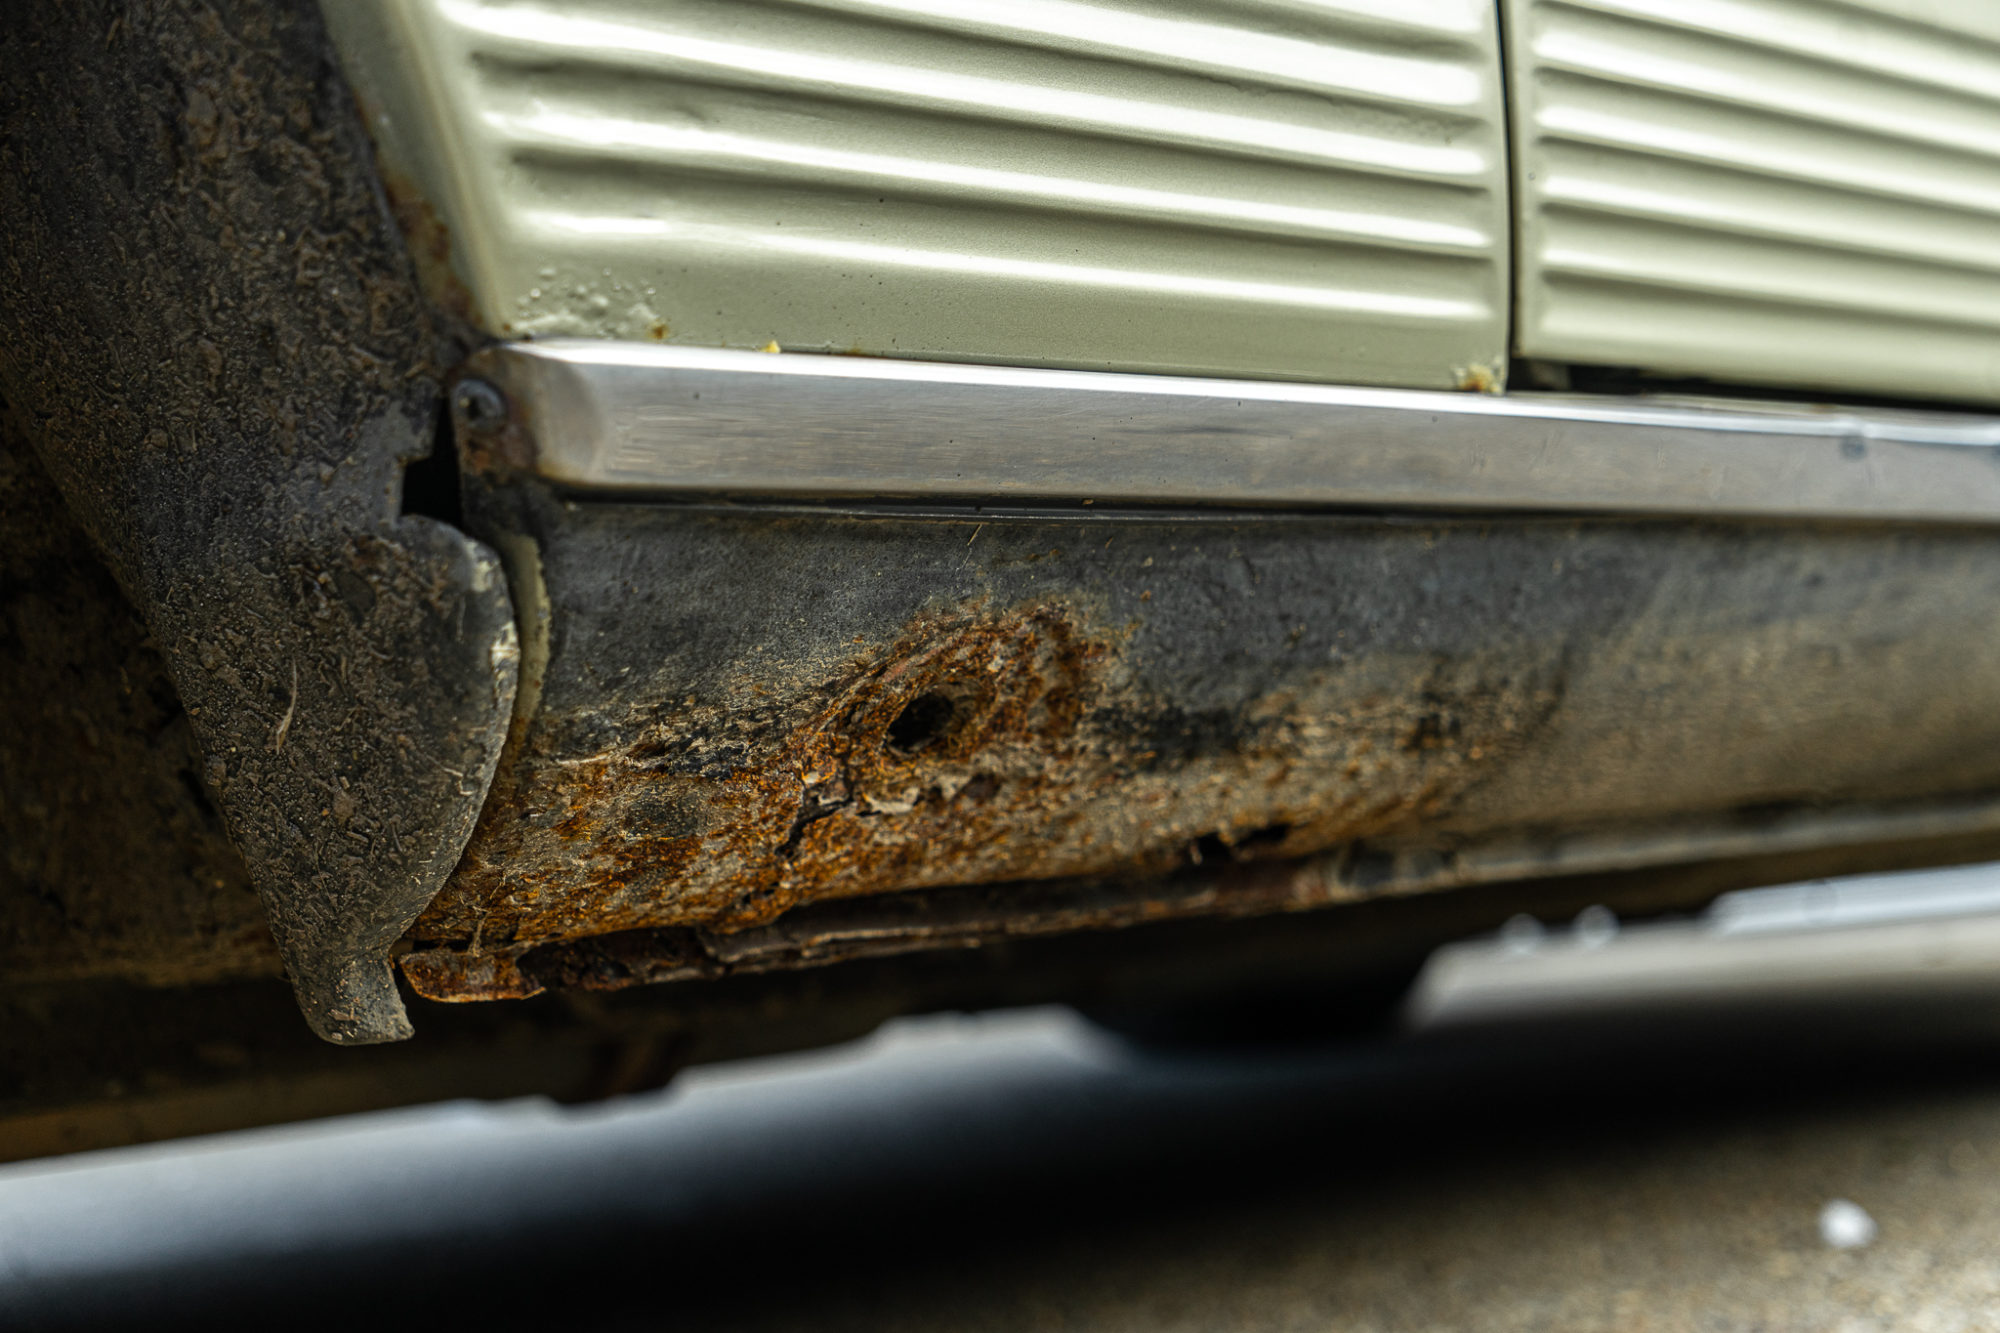
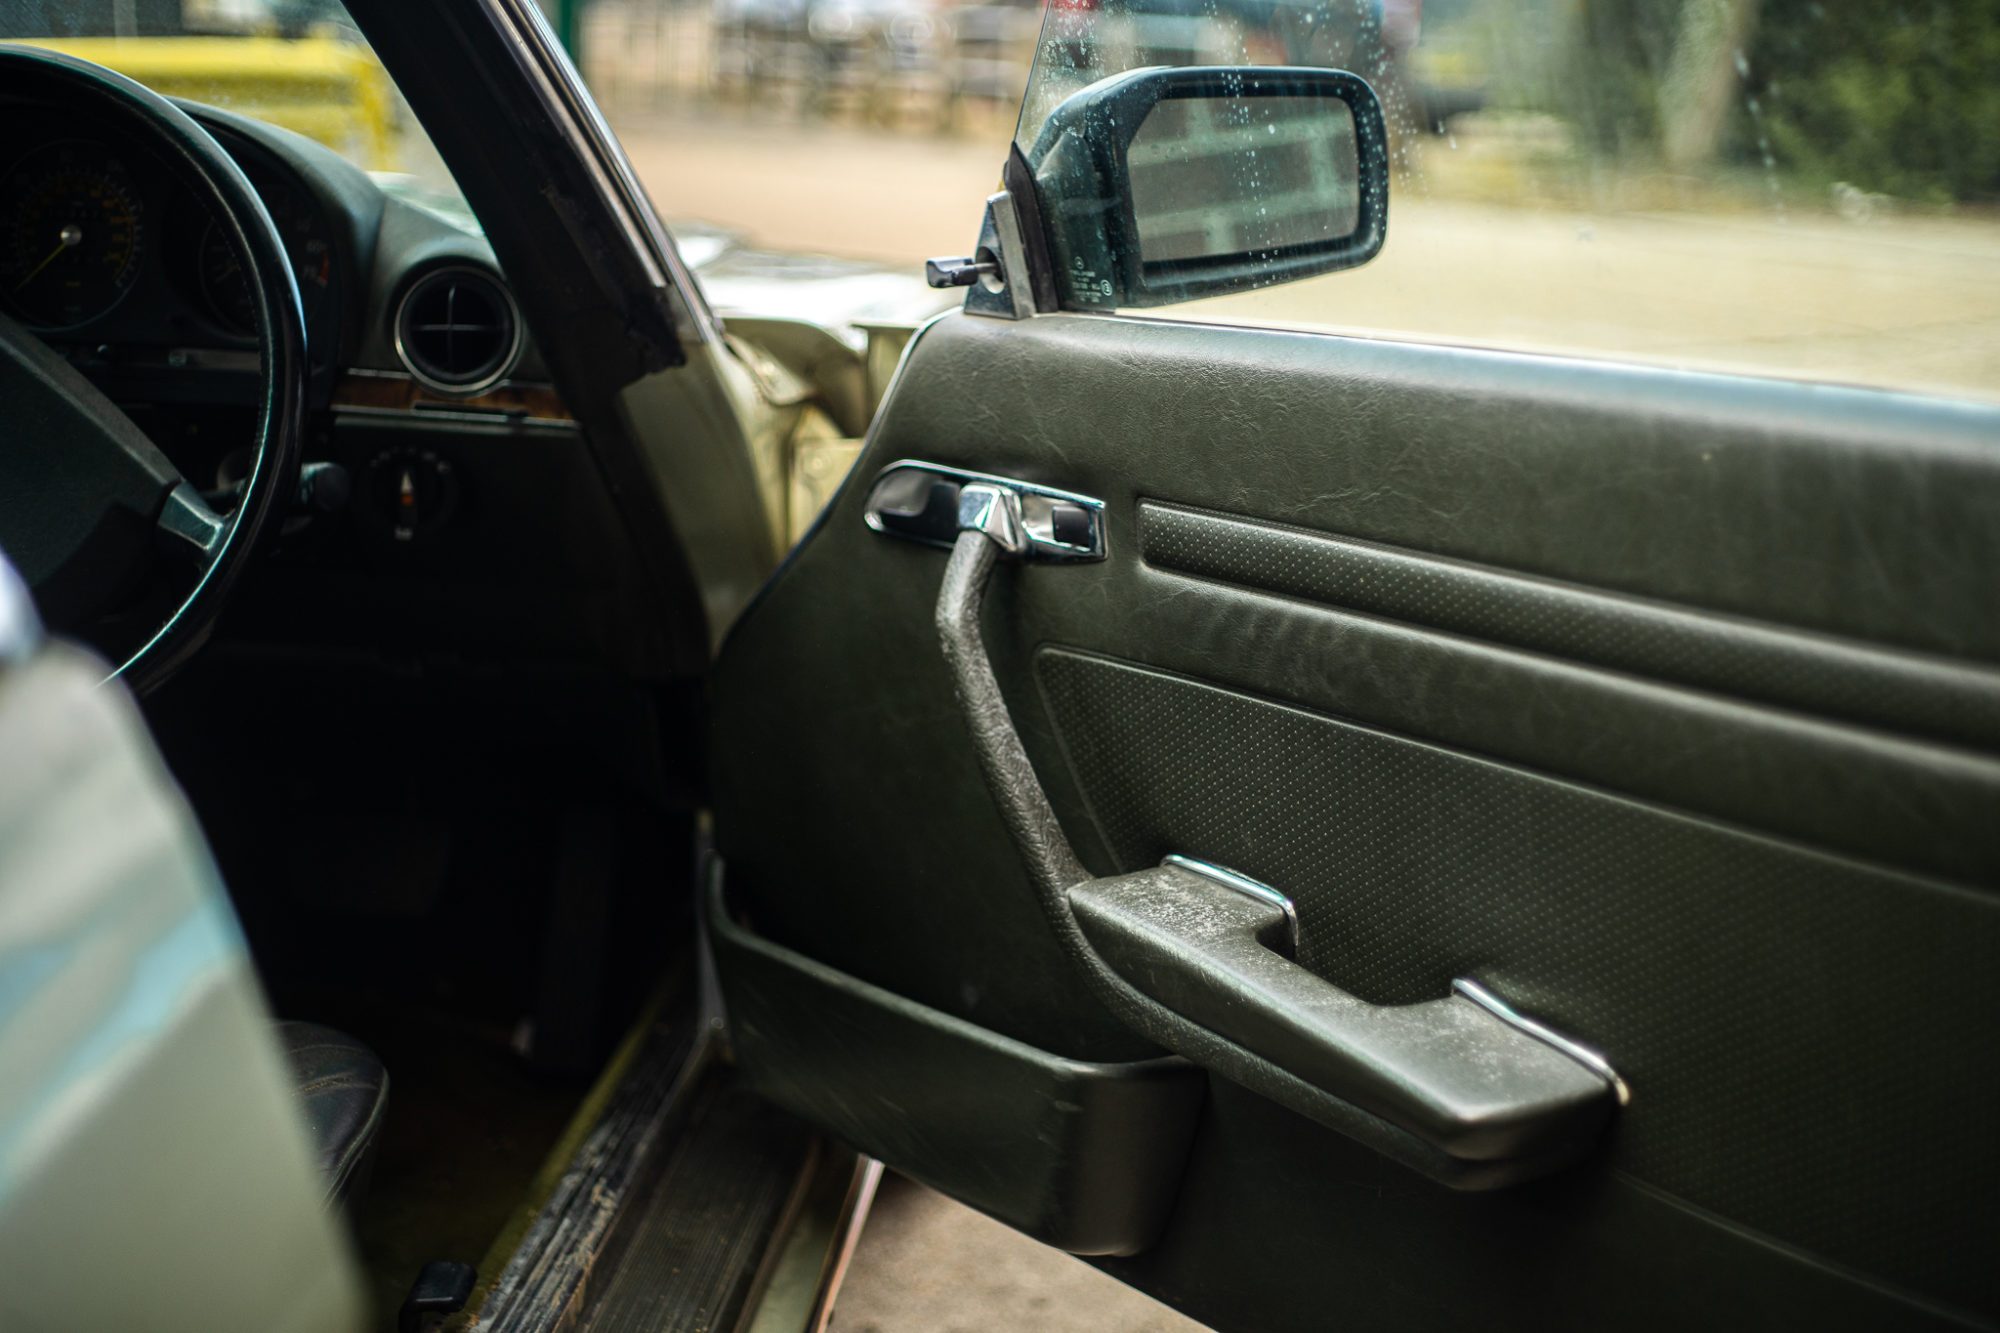
This stunning 1986 420SL has just come in for a re-commission. Our technicians will take a look over this classic to evaluate what needs to be done. At a first glance there are some serious signs of rust on the lower sills, worn and torn interior, paint bubbling, chips and blemishes as well as cracks in the glass. We’re looking forward to getting this charming classic back on the road and looking healthy again.


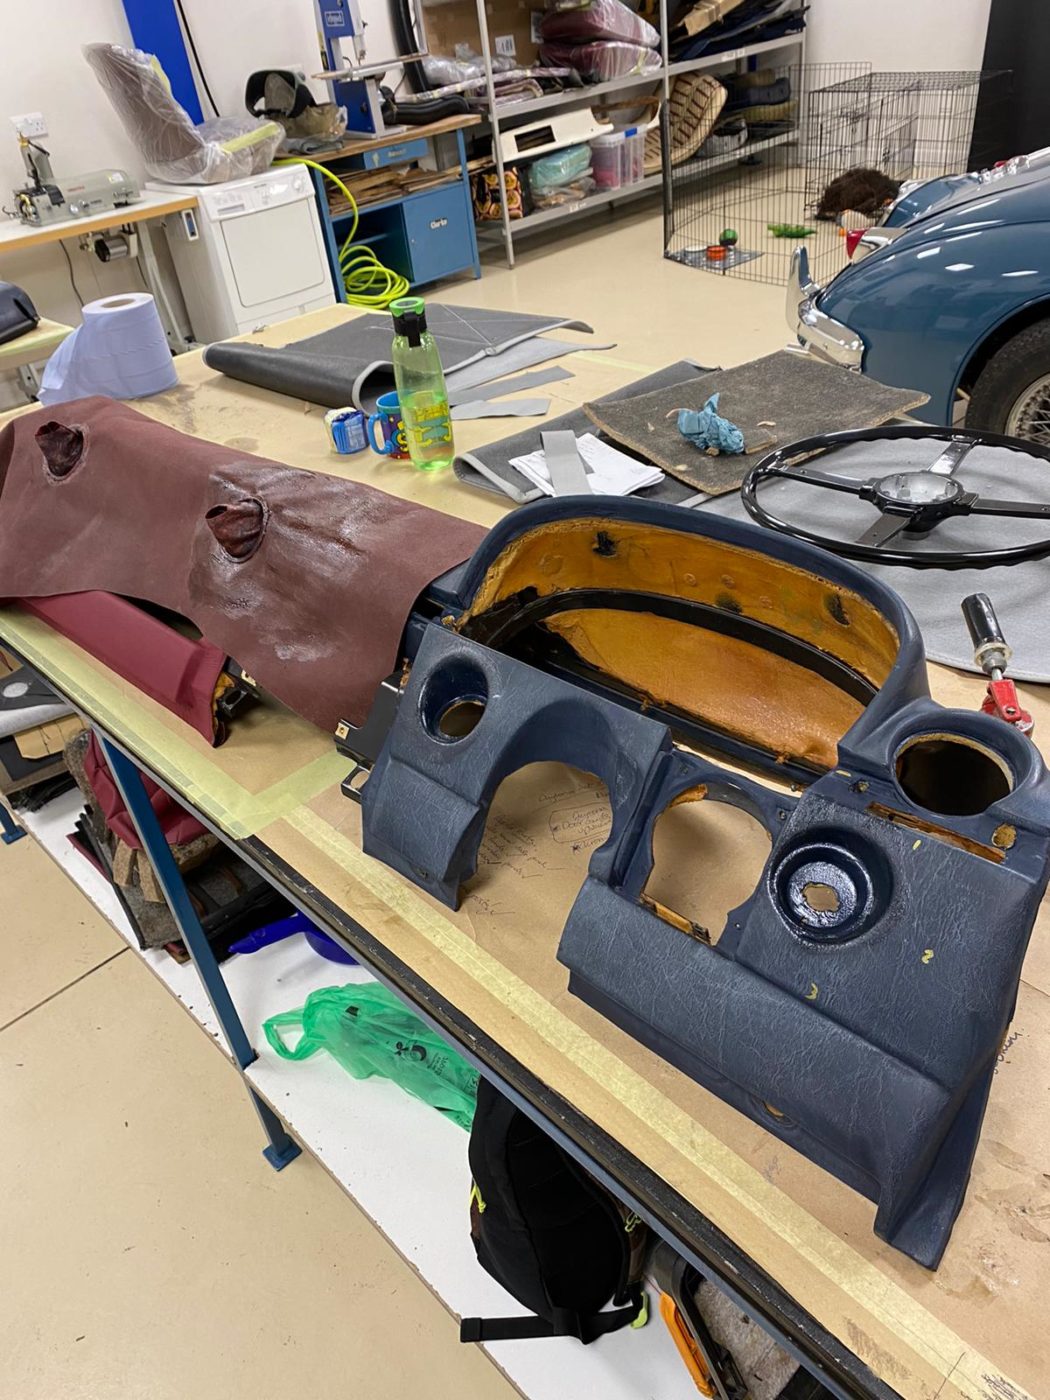
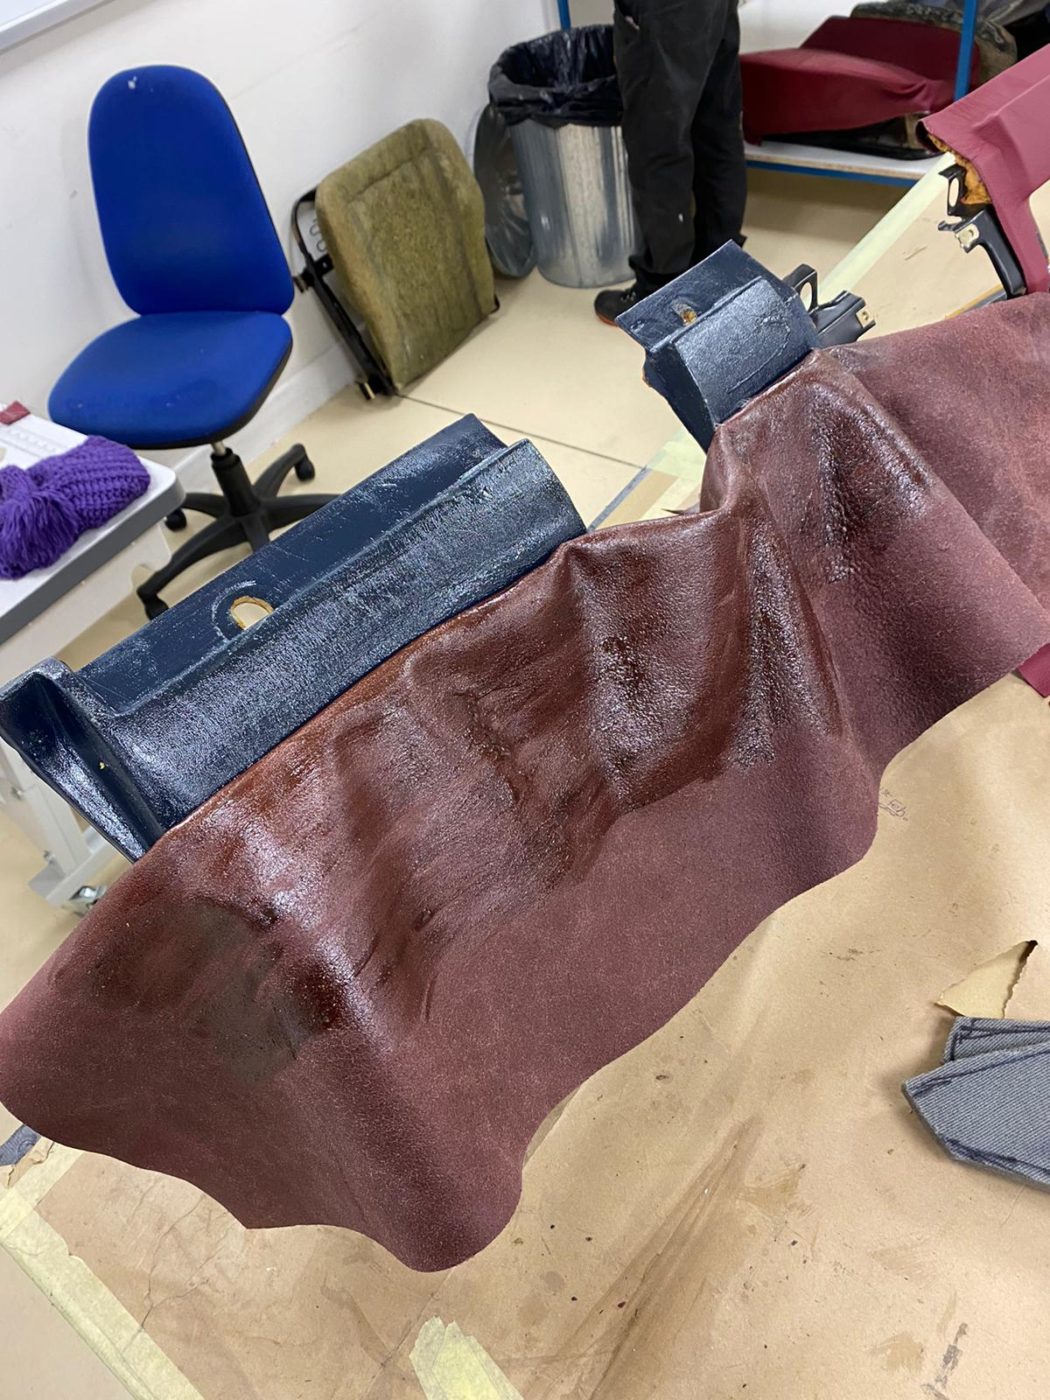
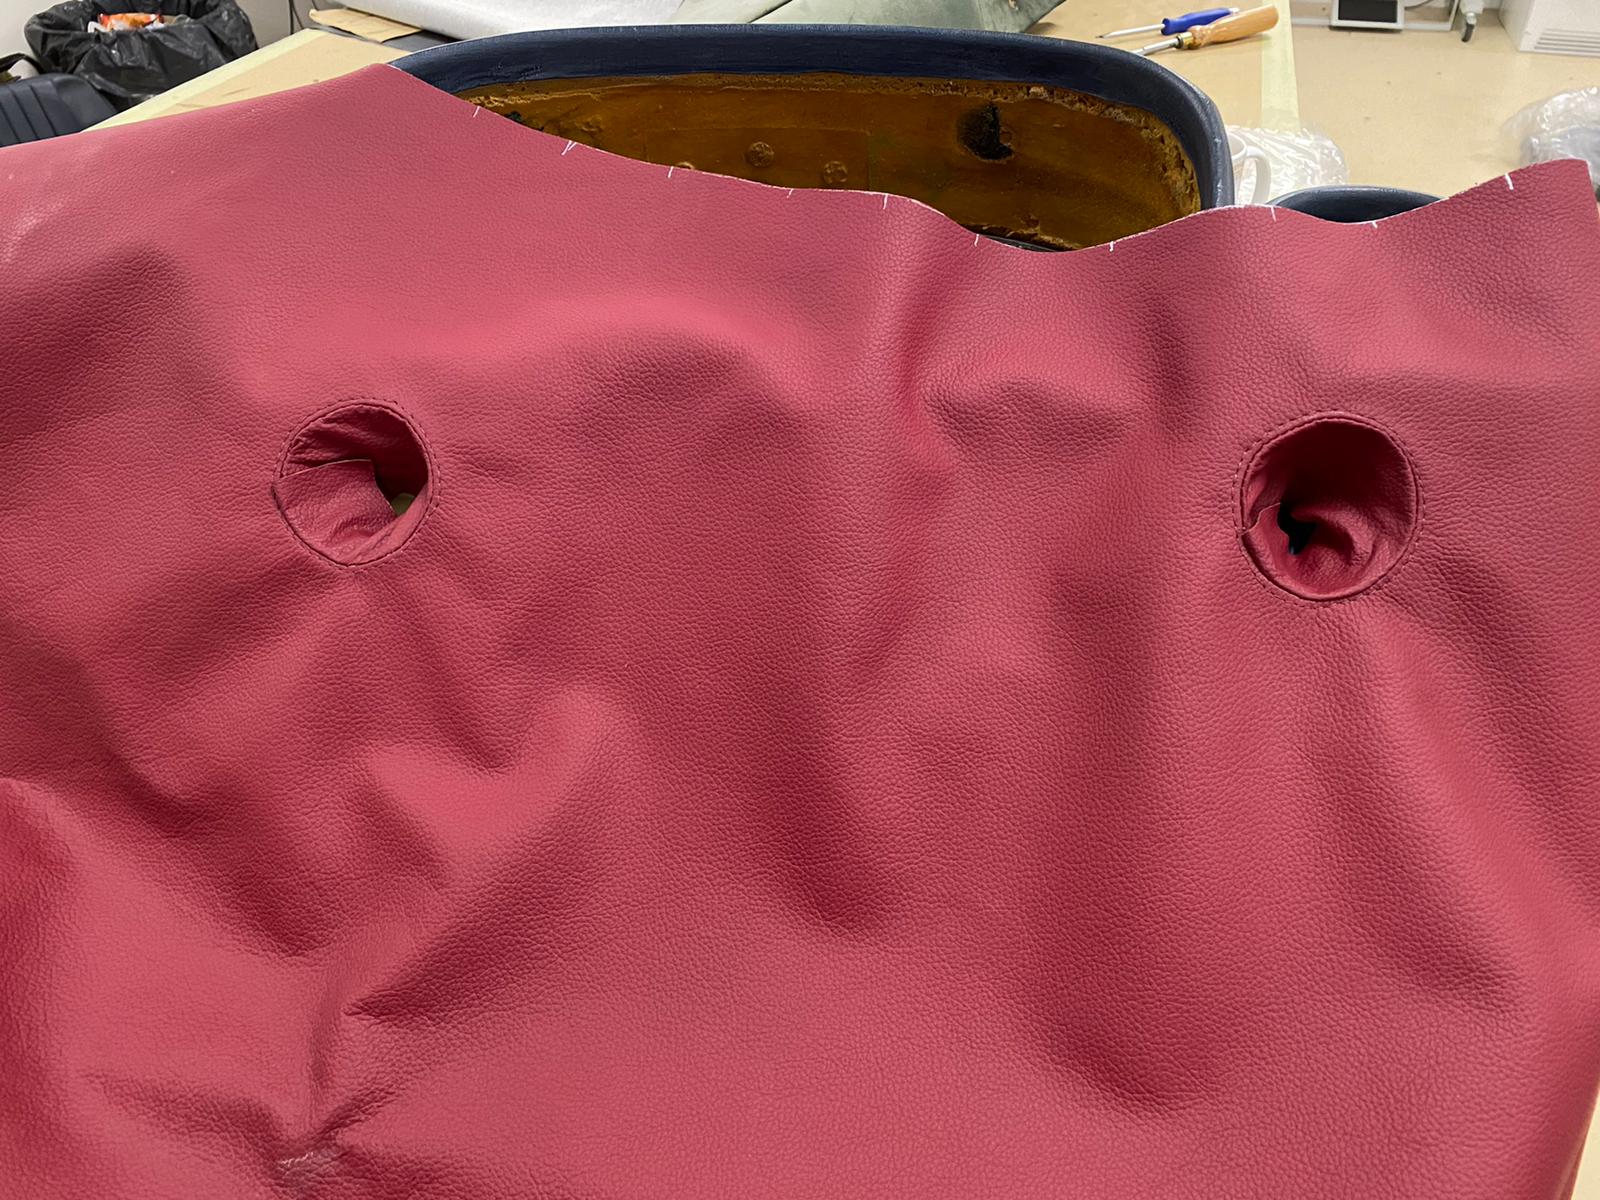
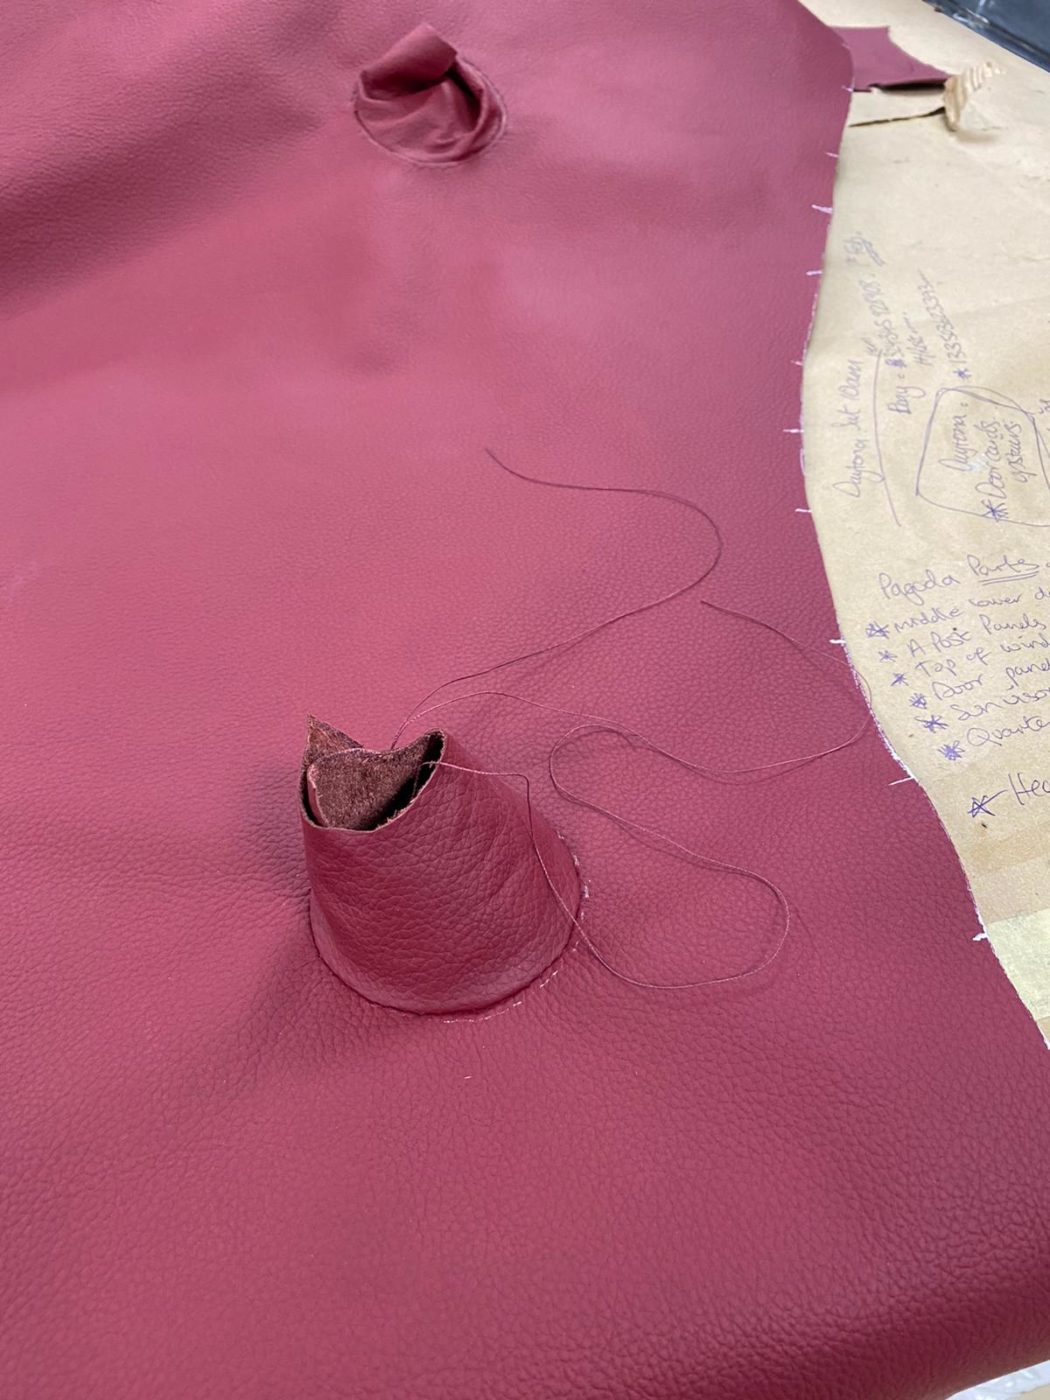
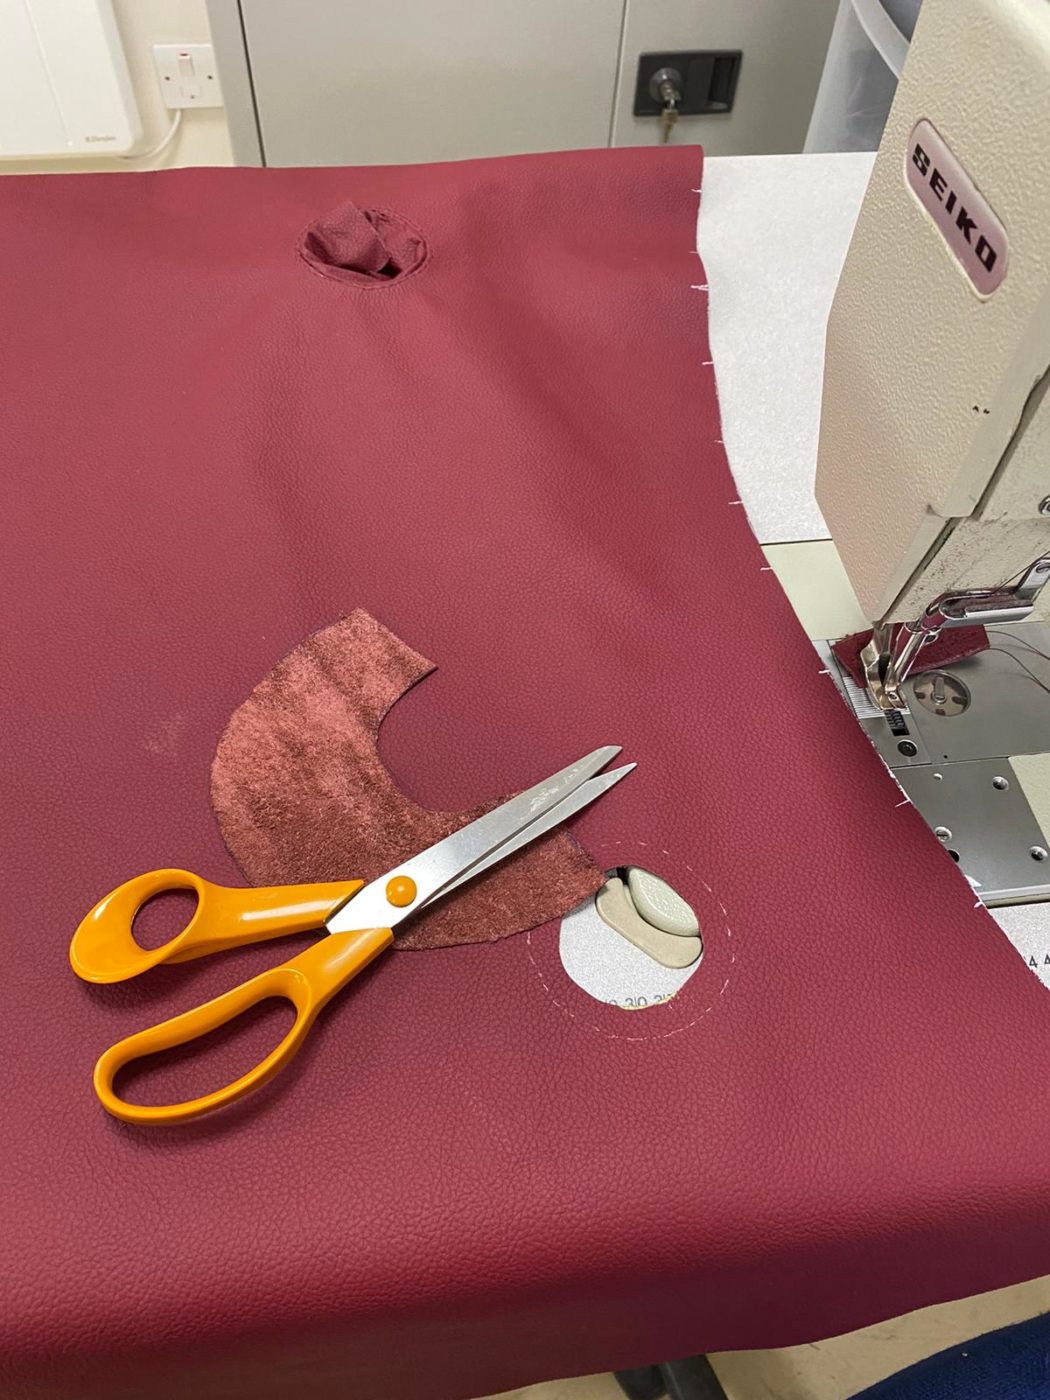
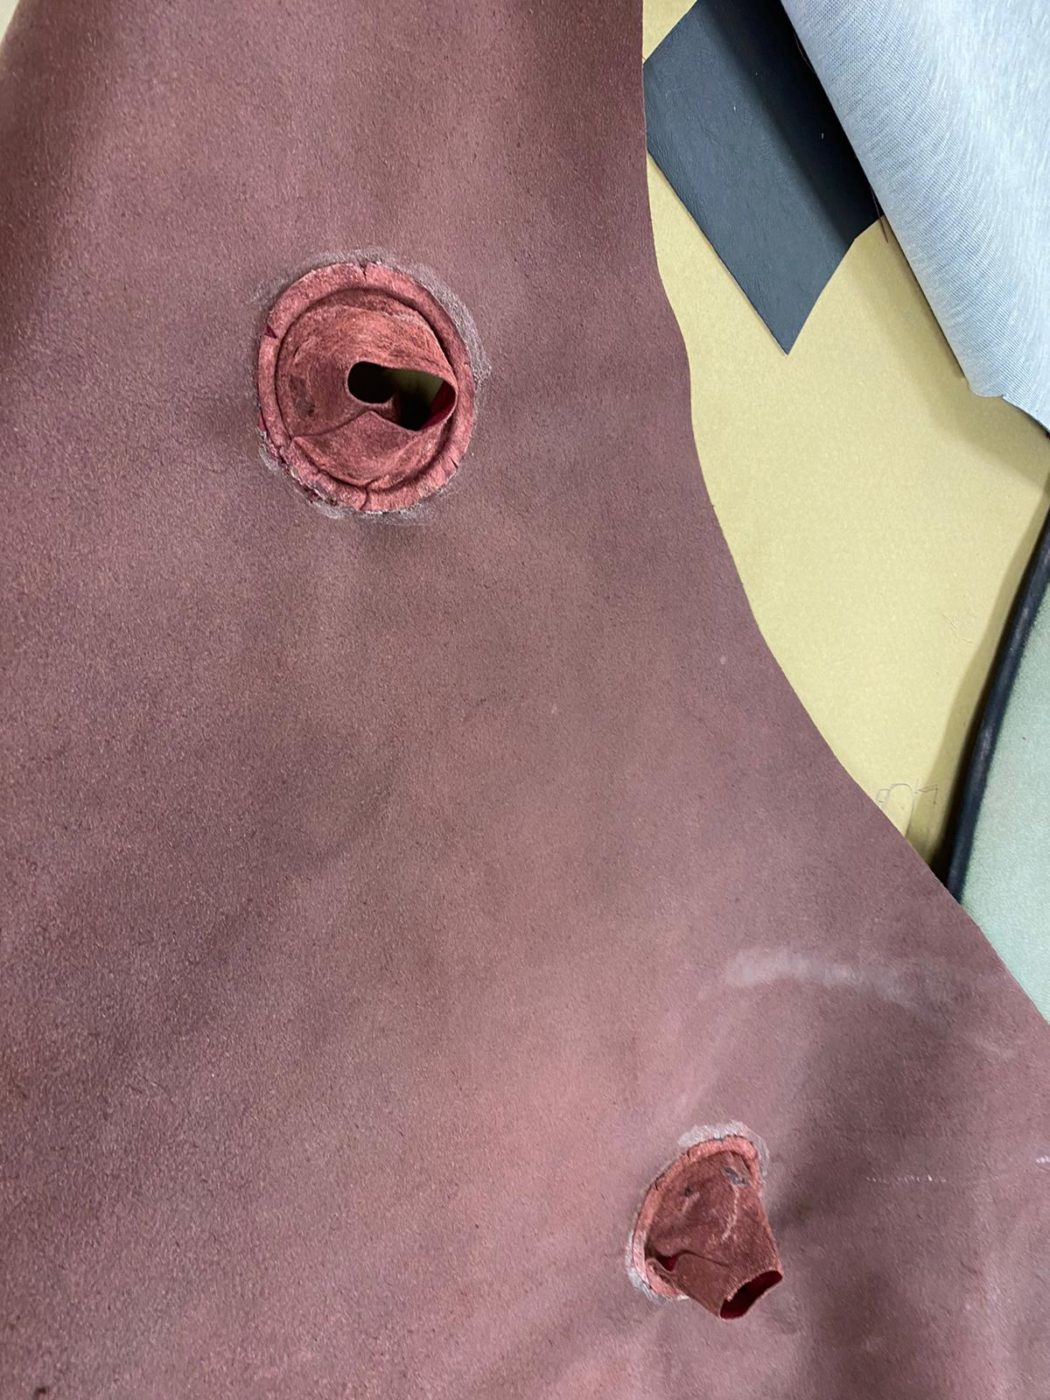
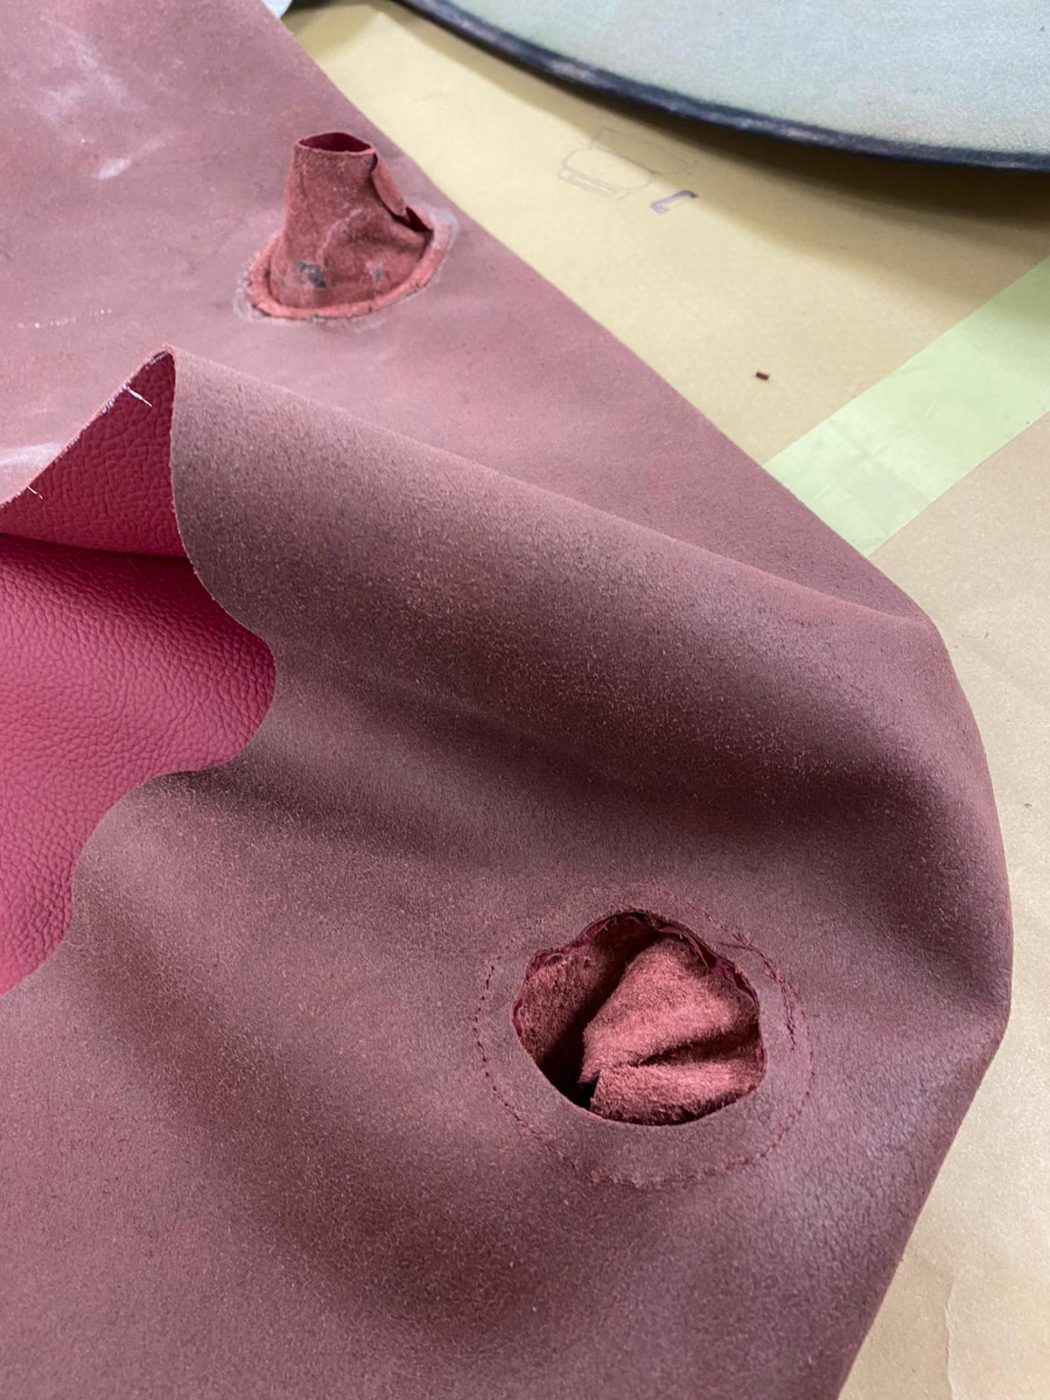
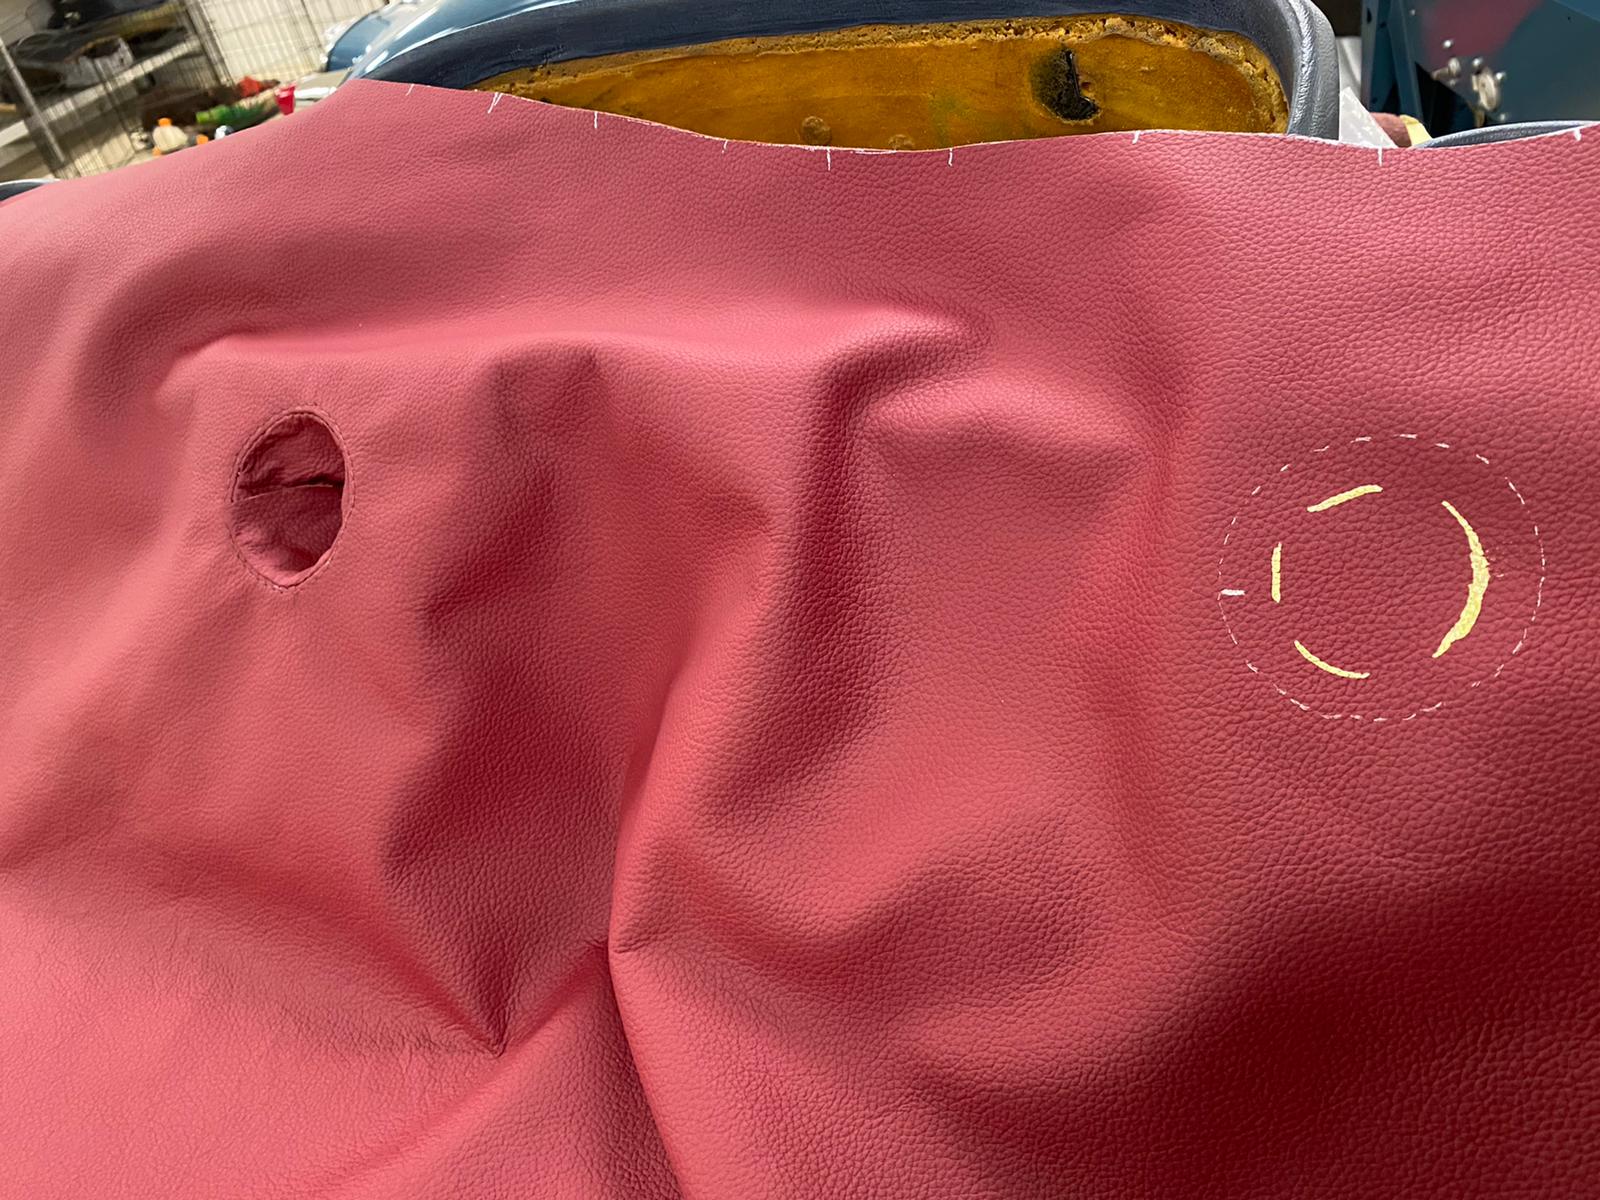
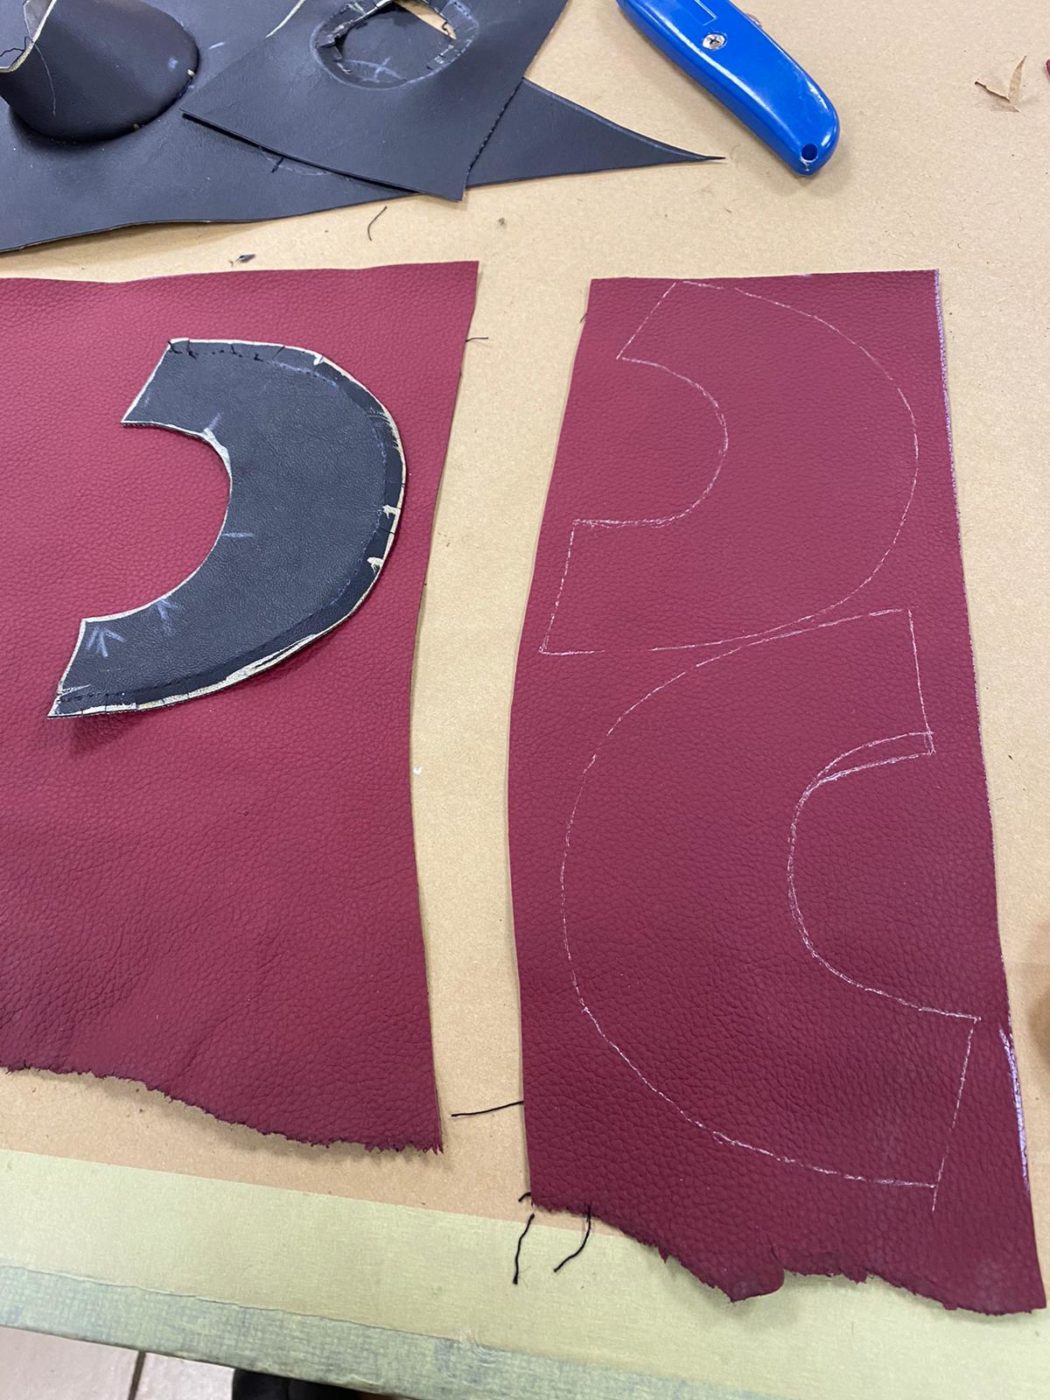
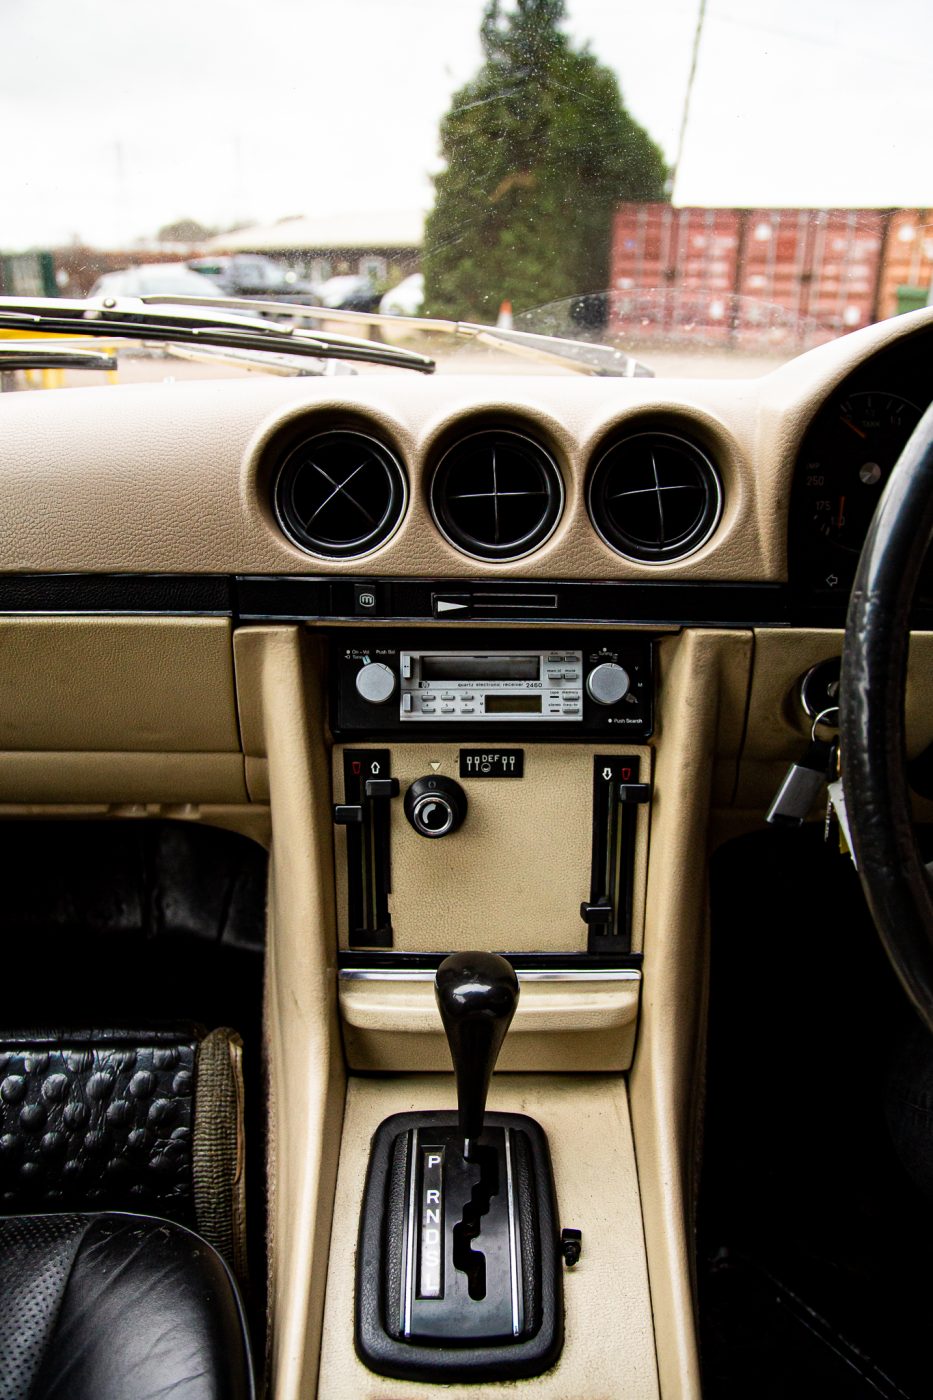
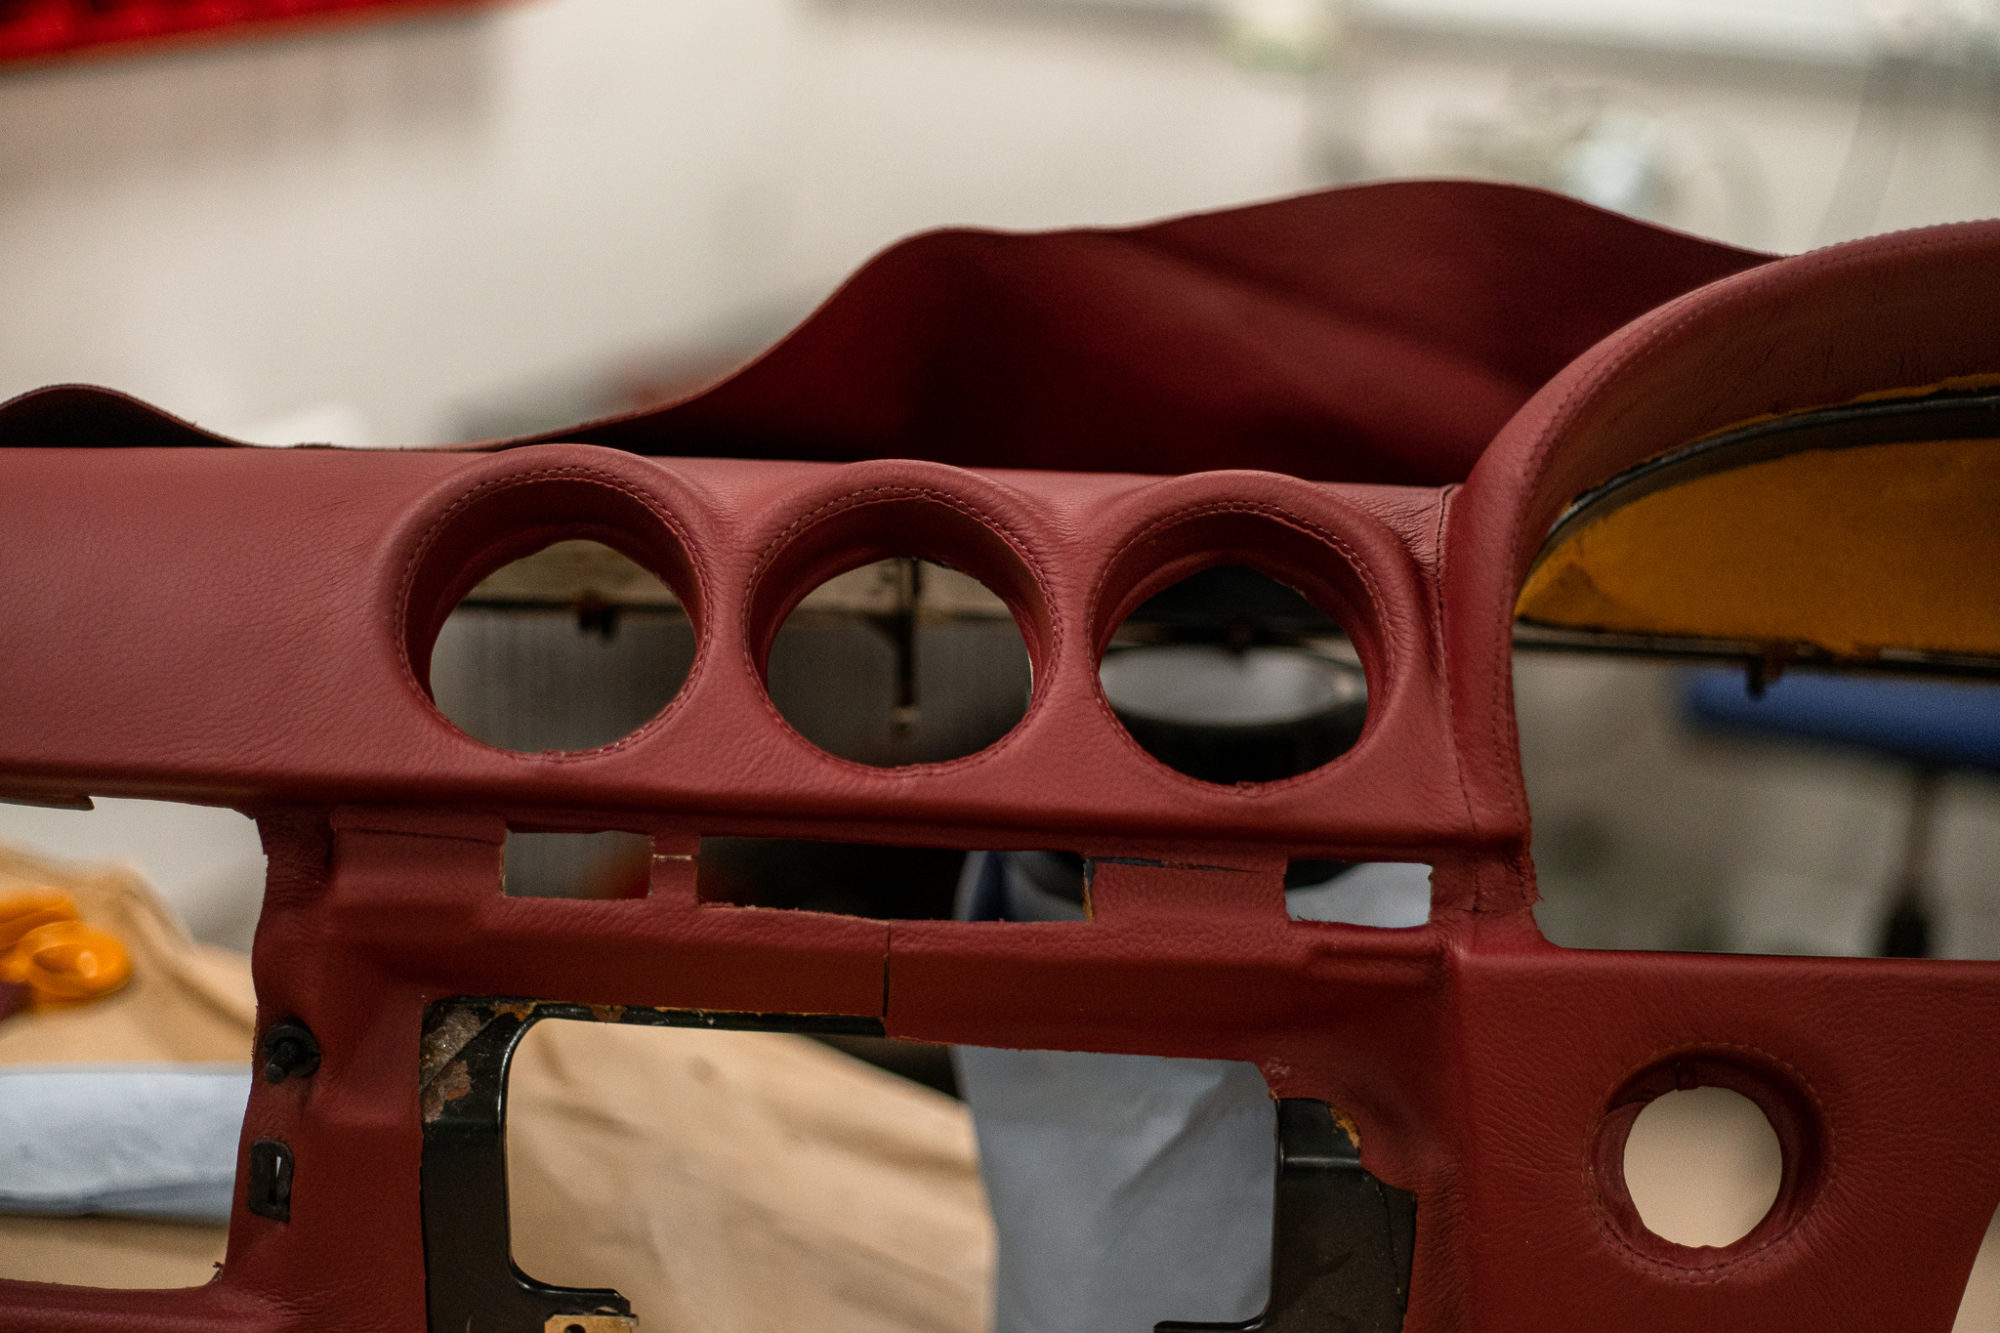
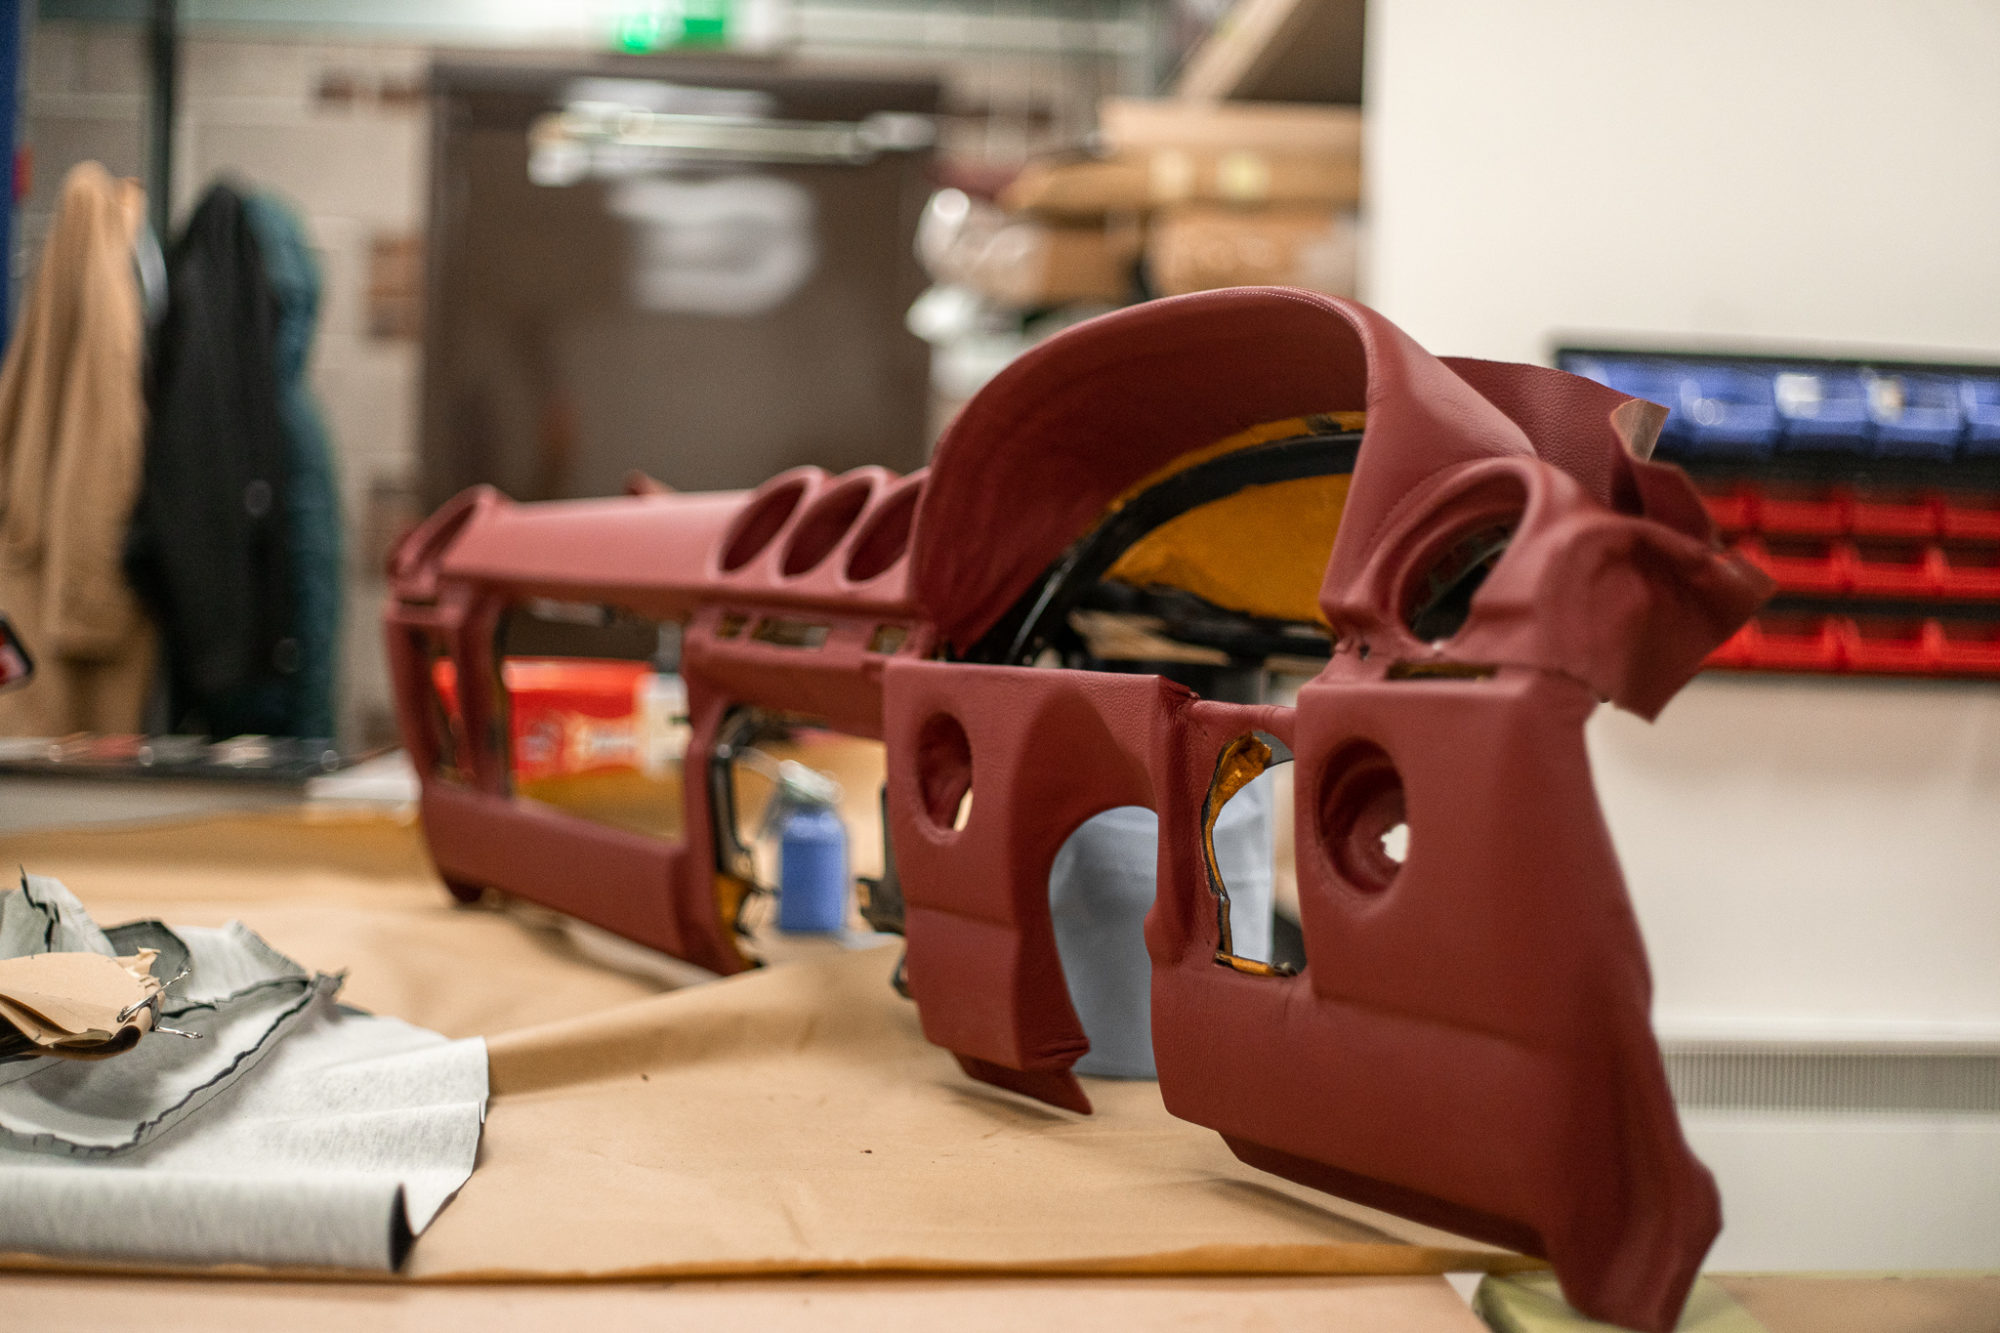
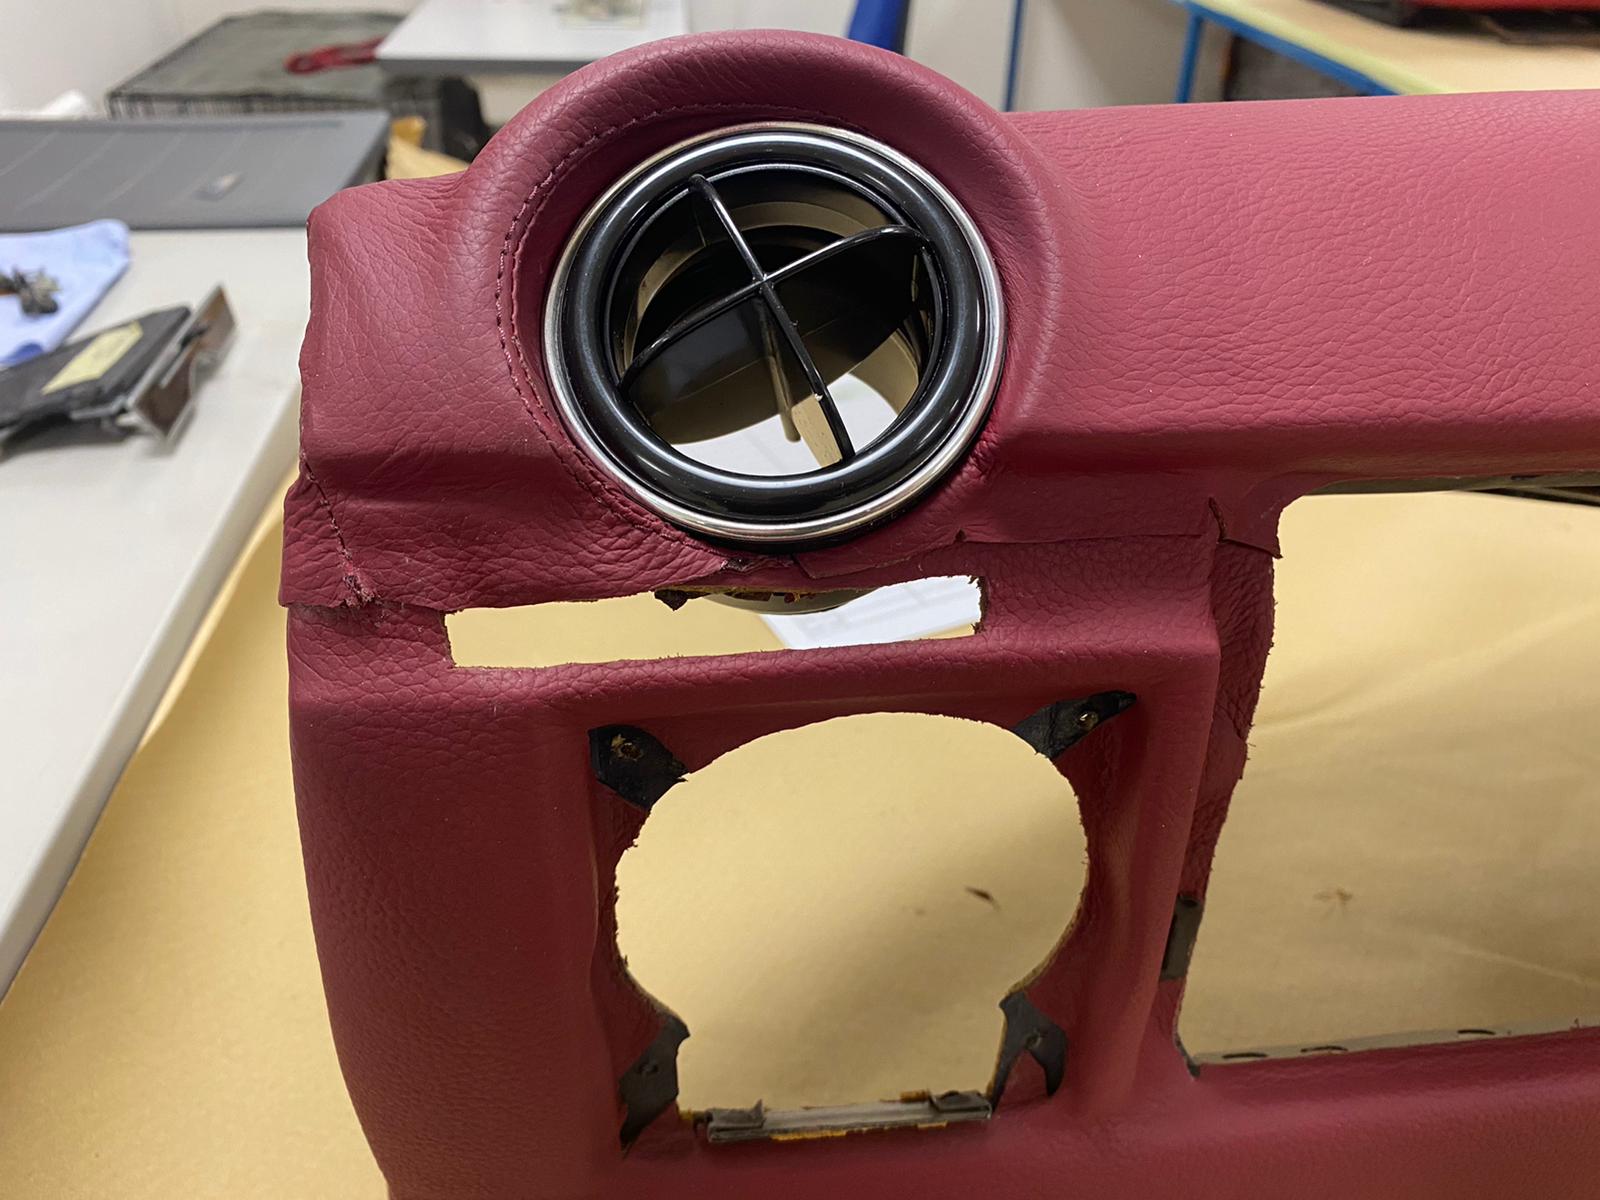
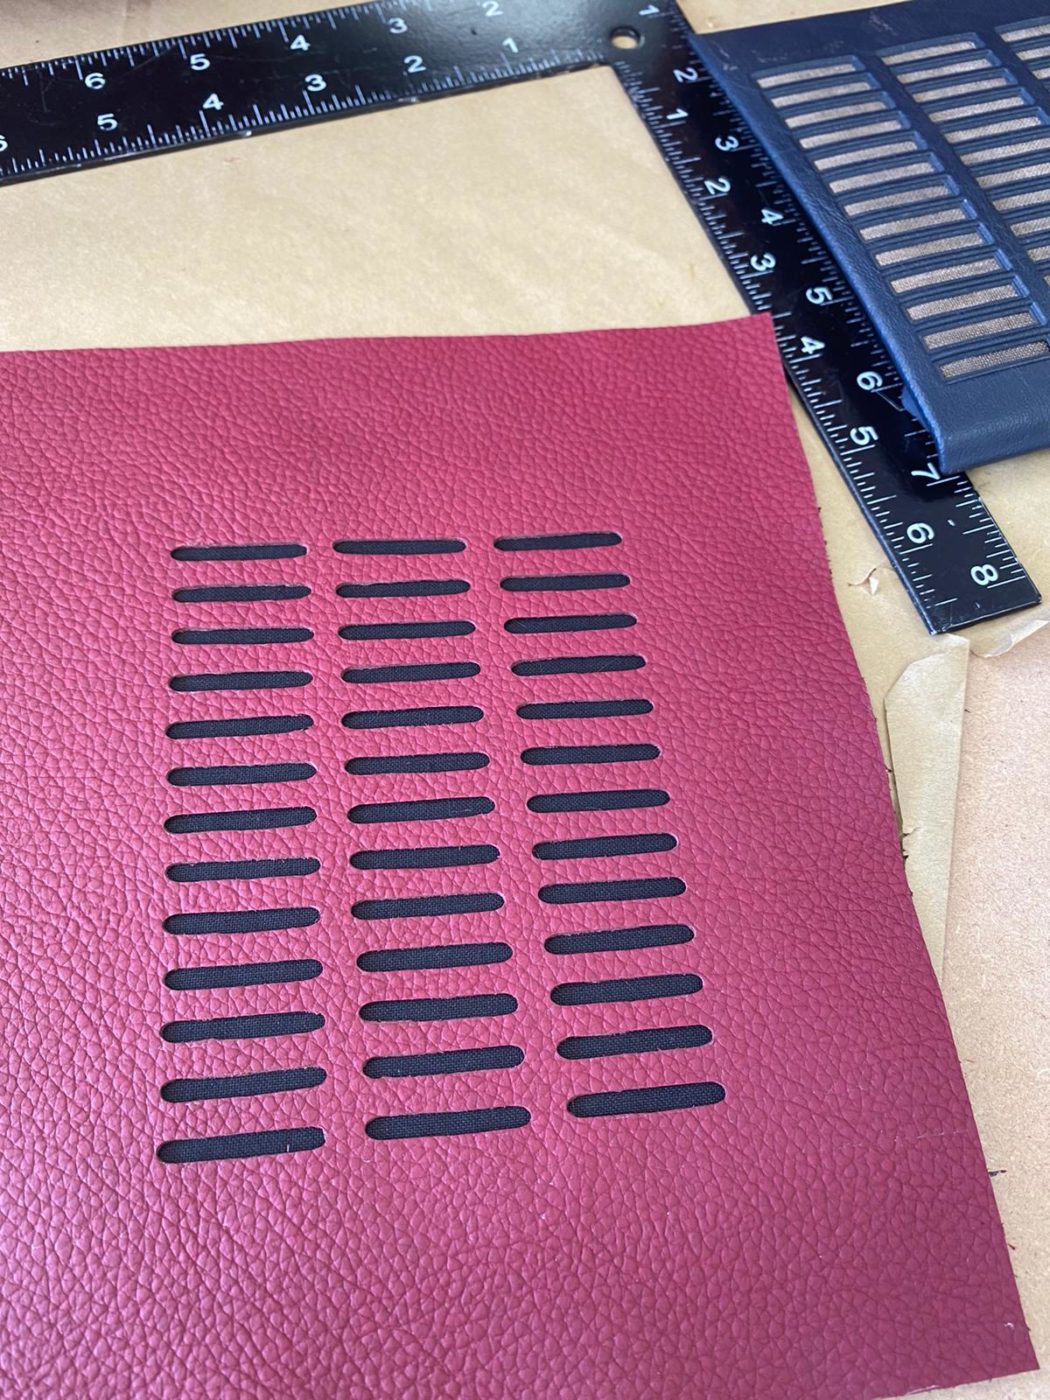
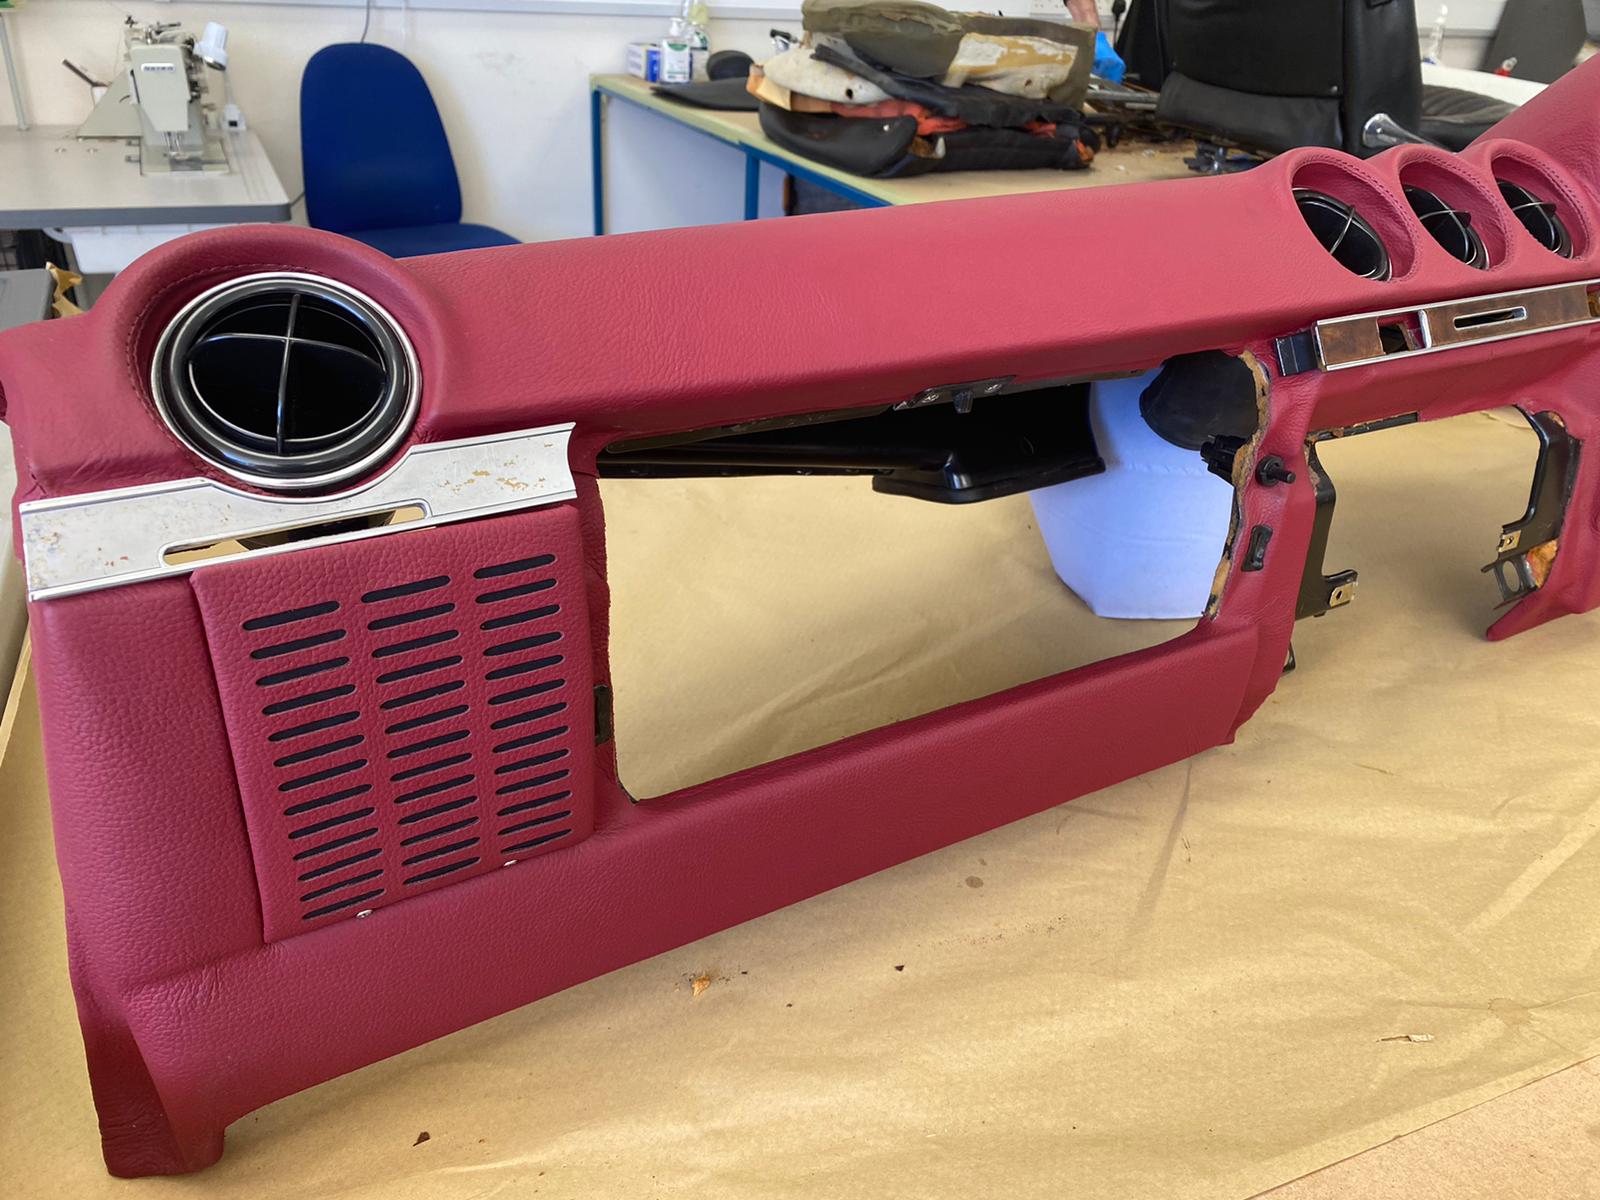
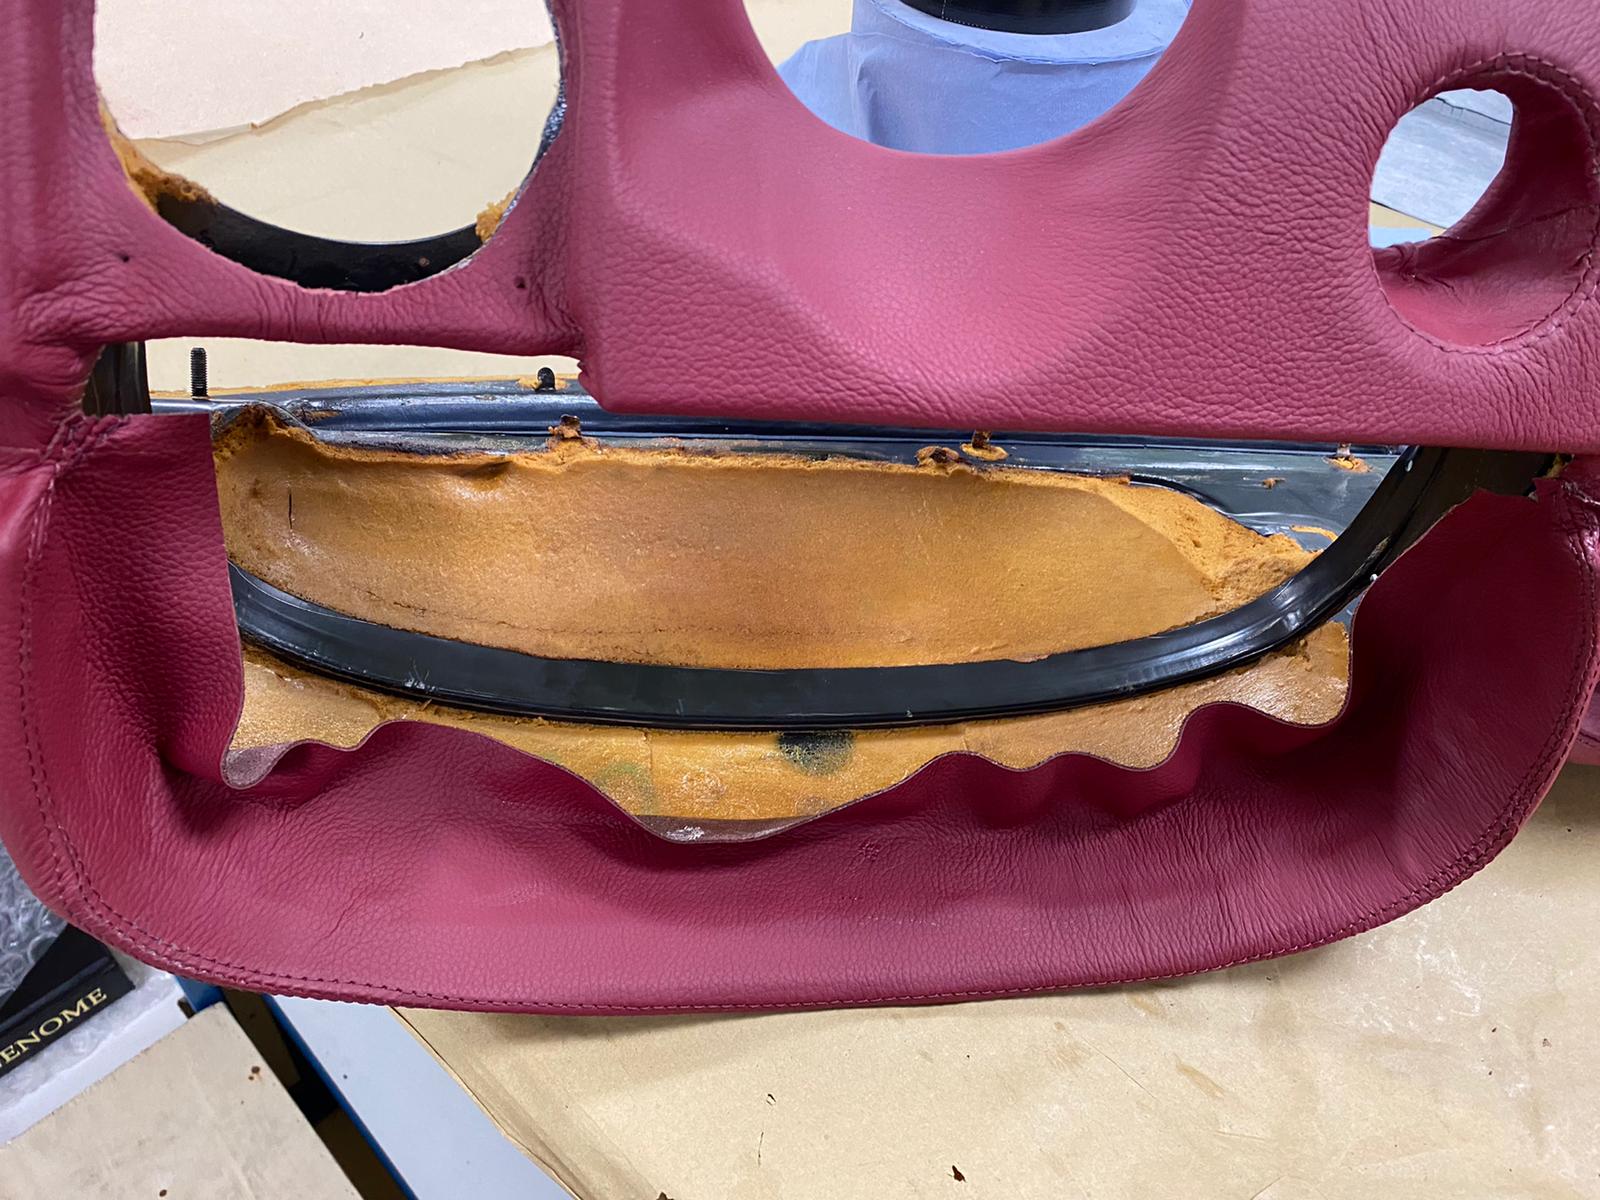
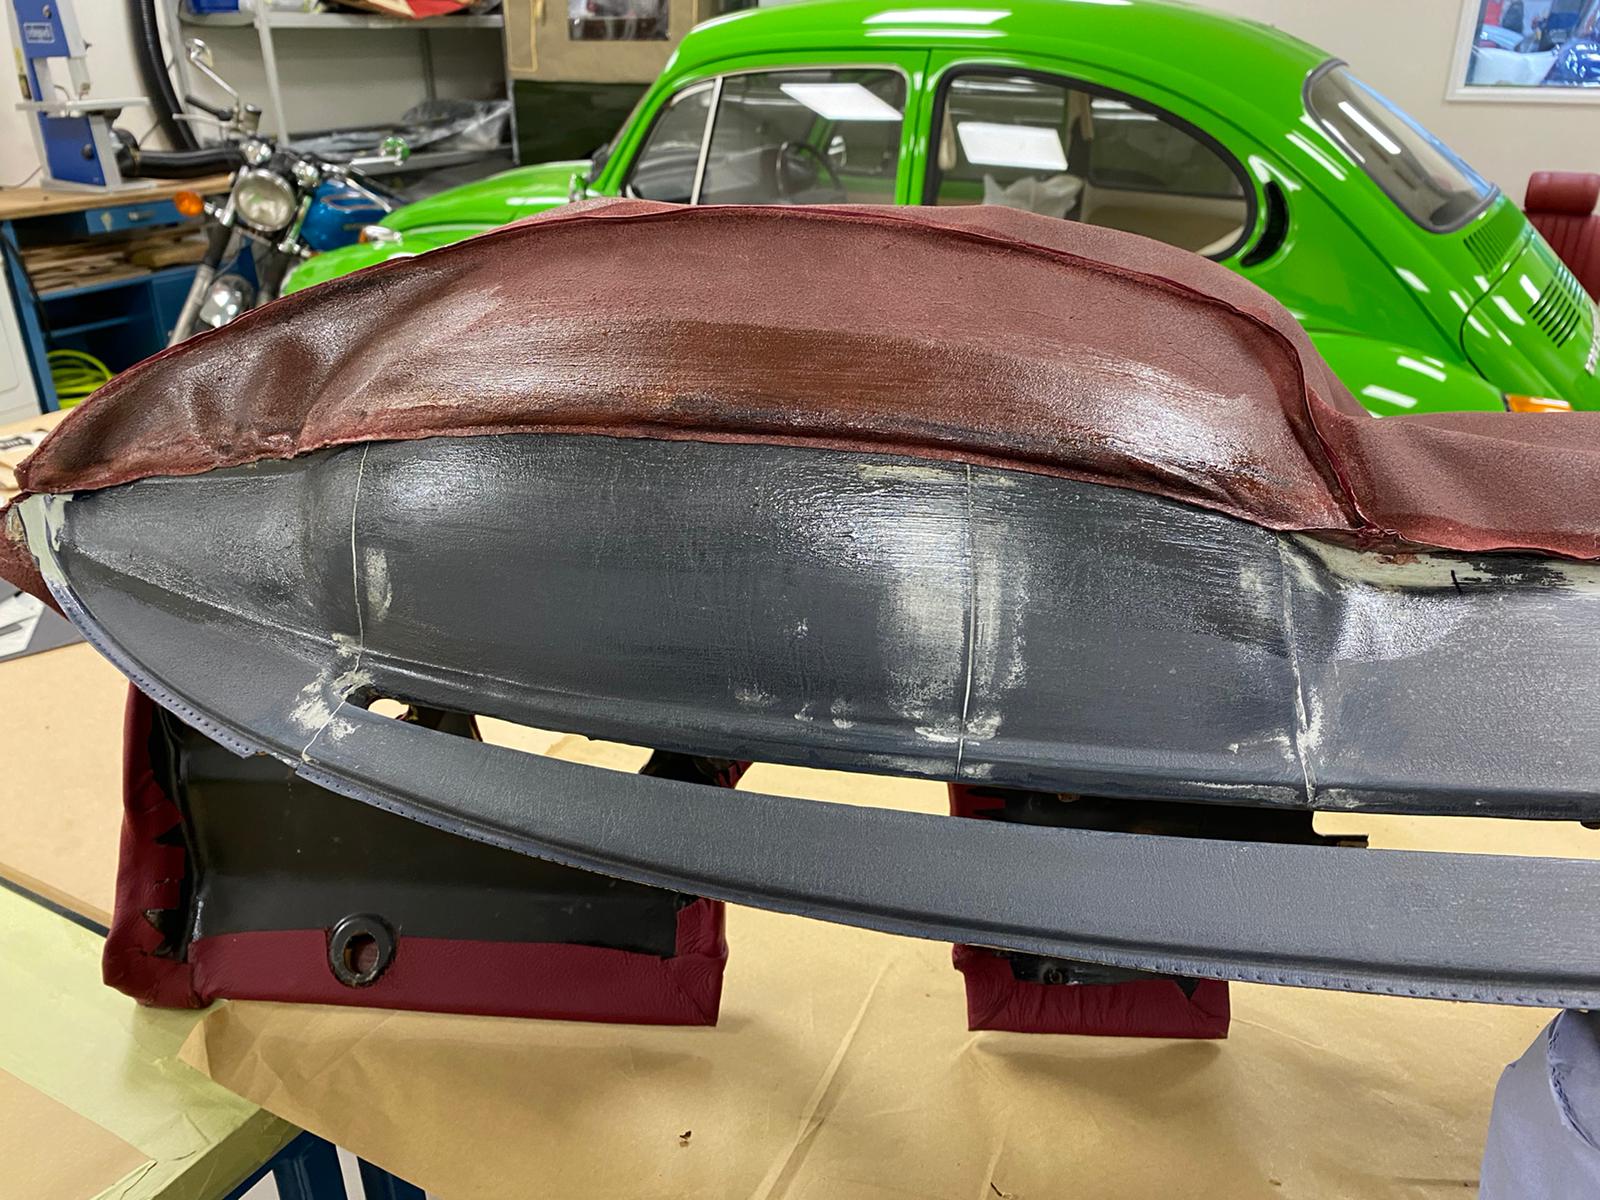
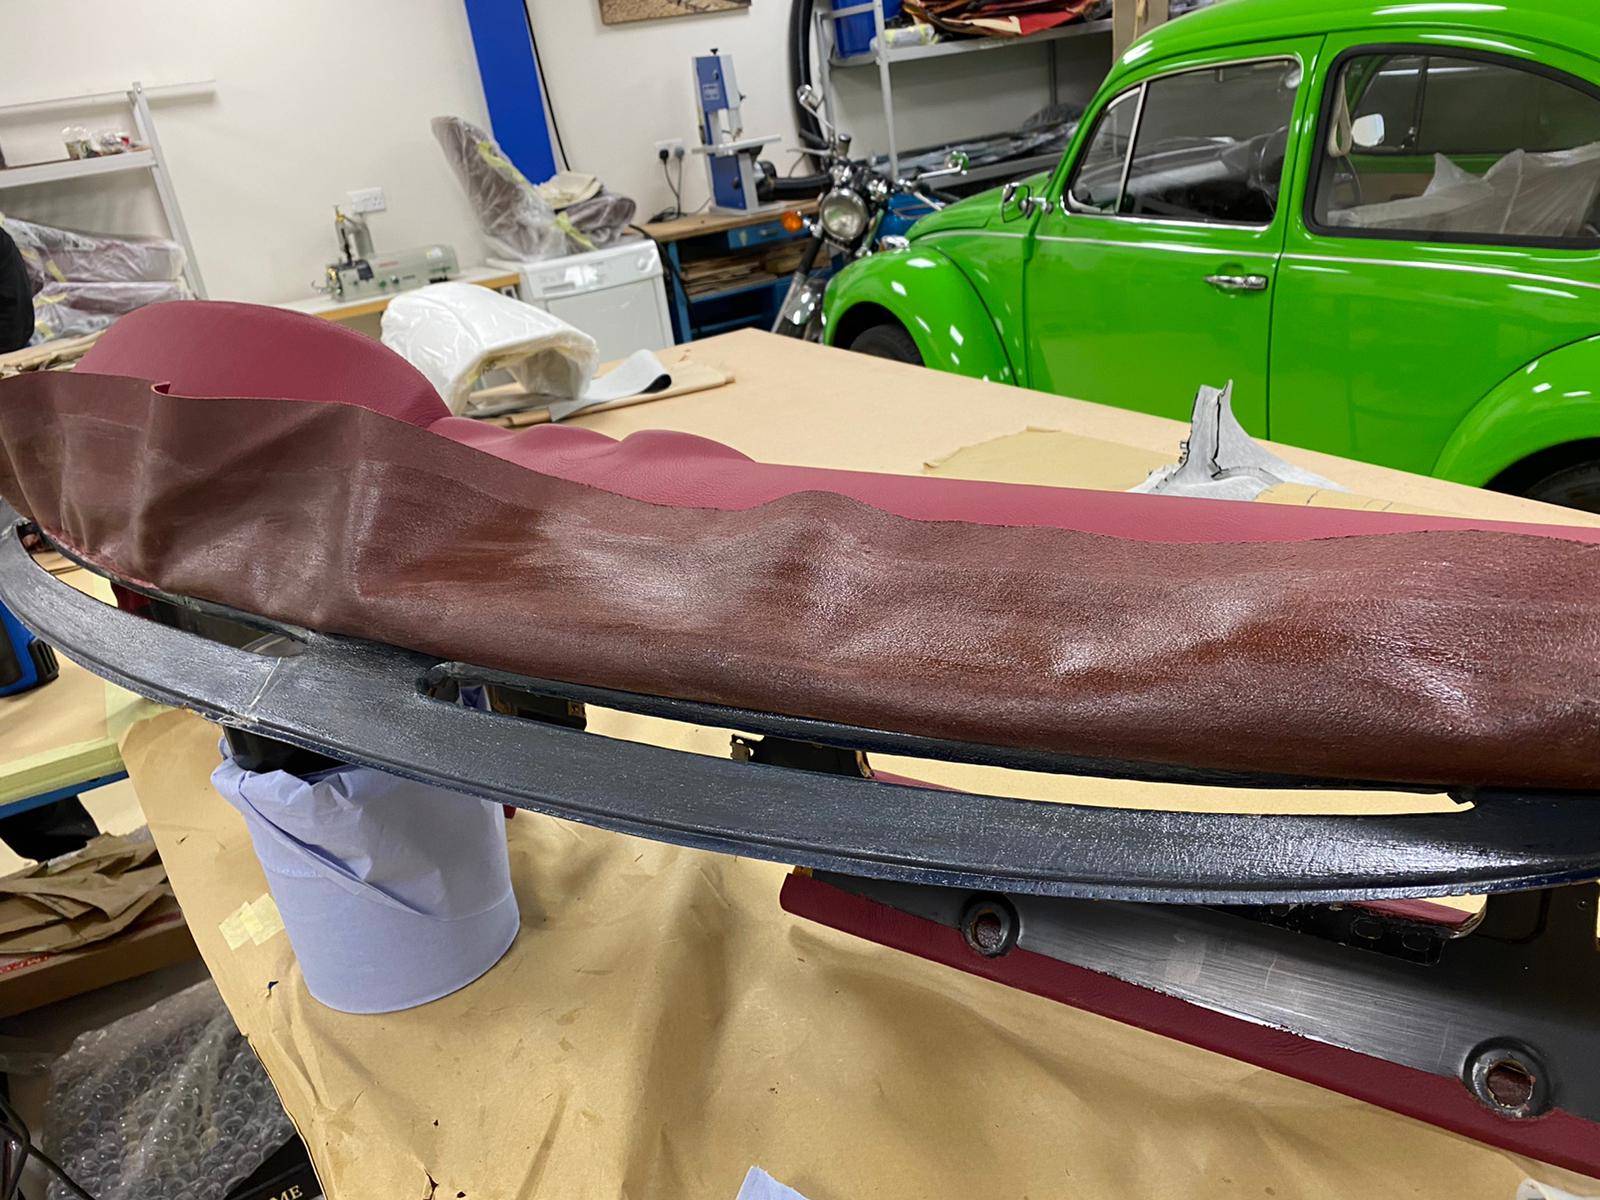
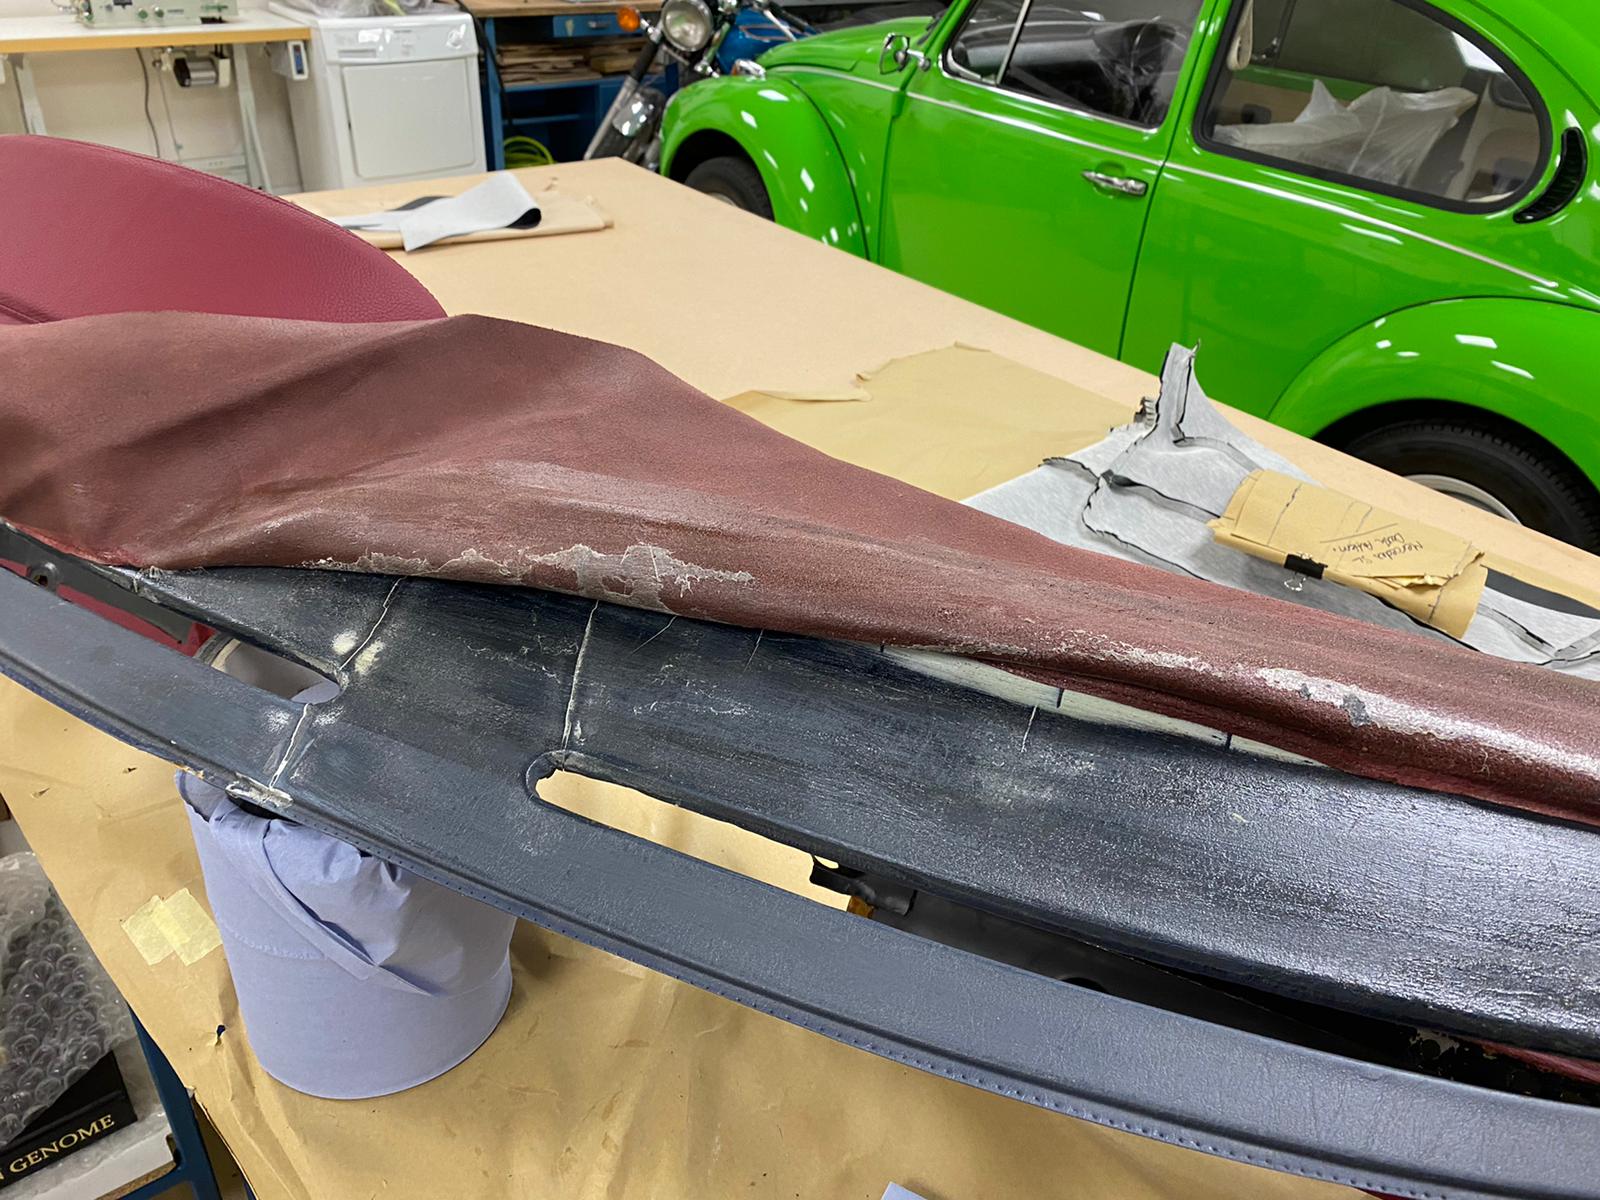
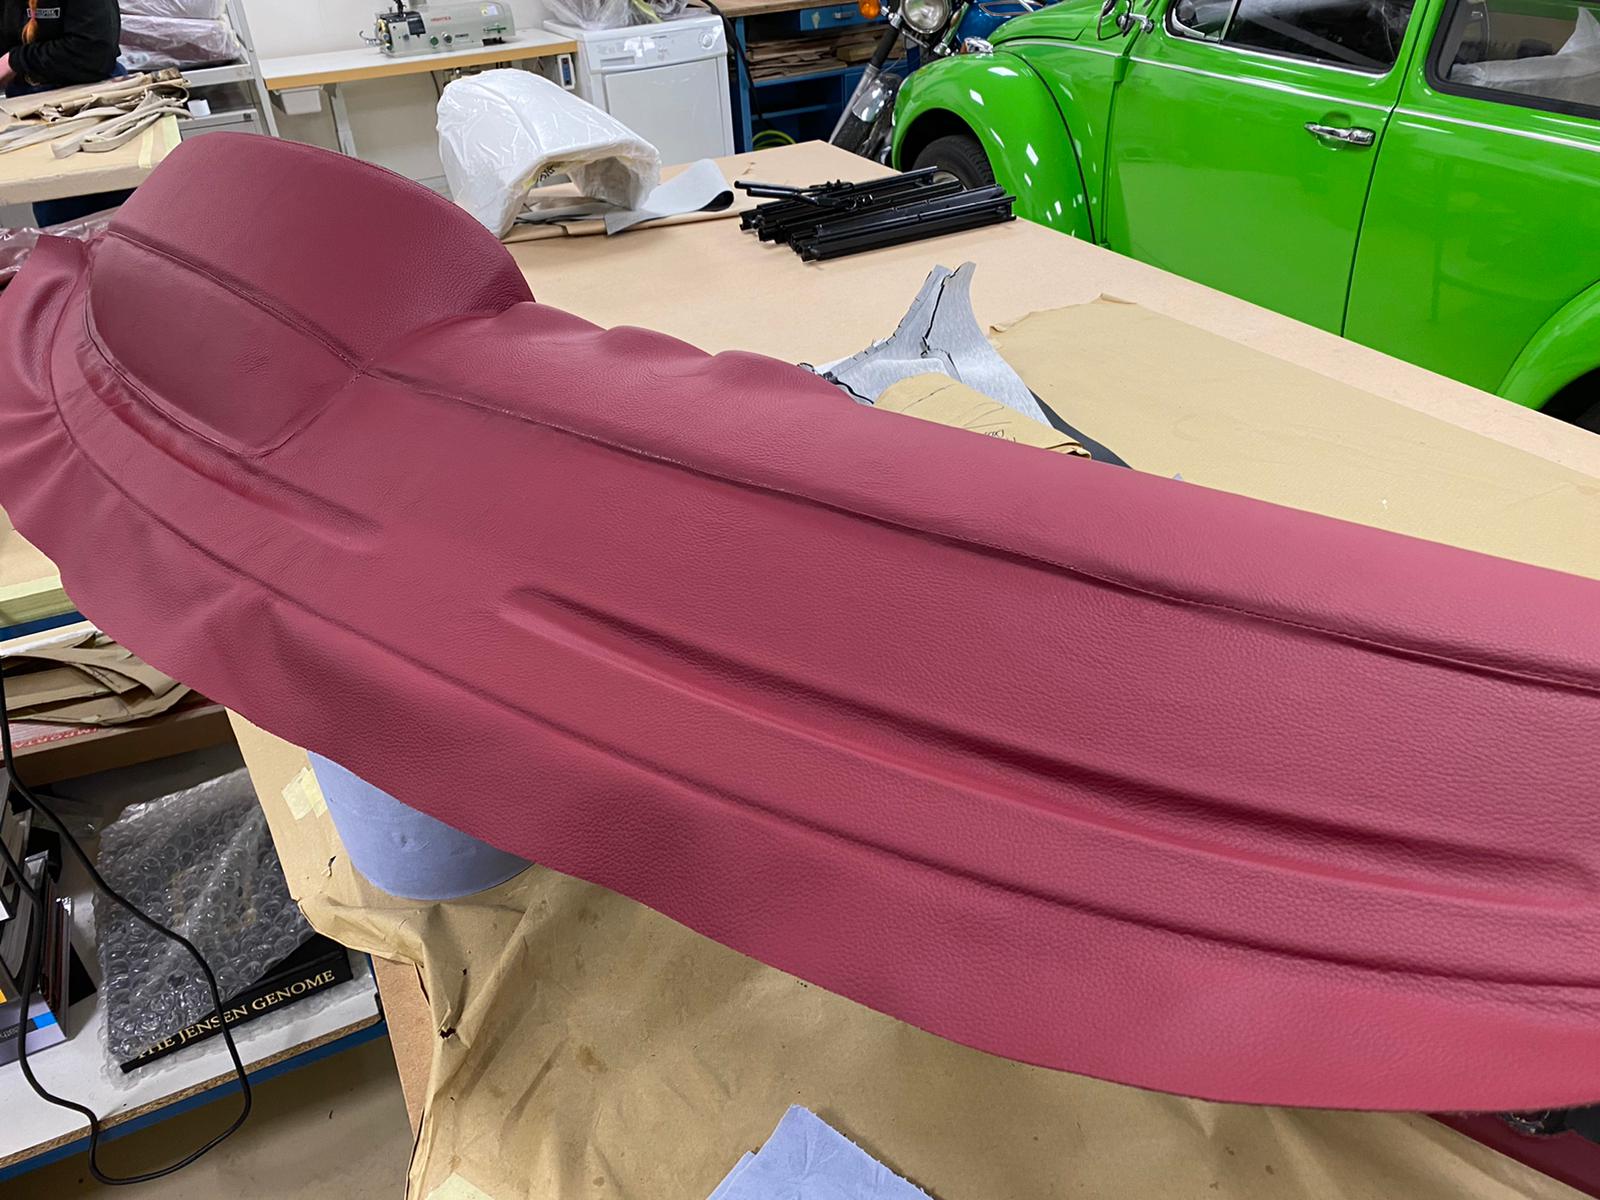
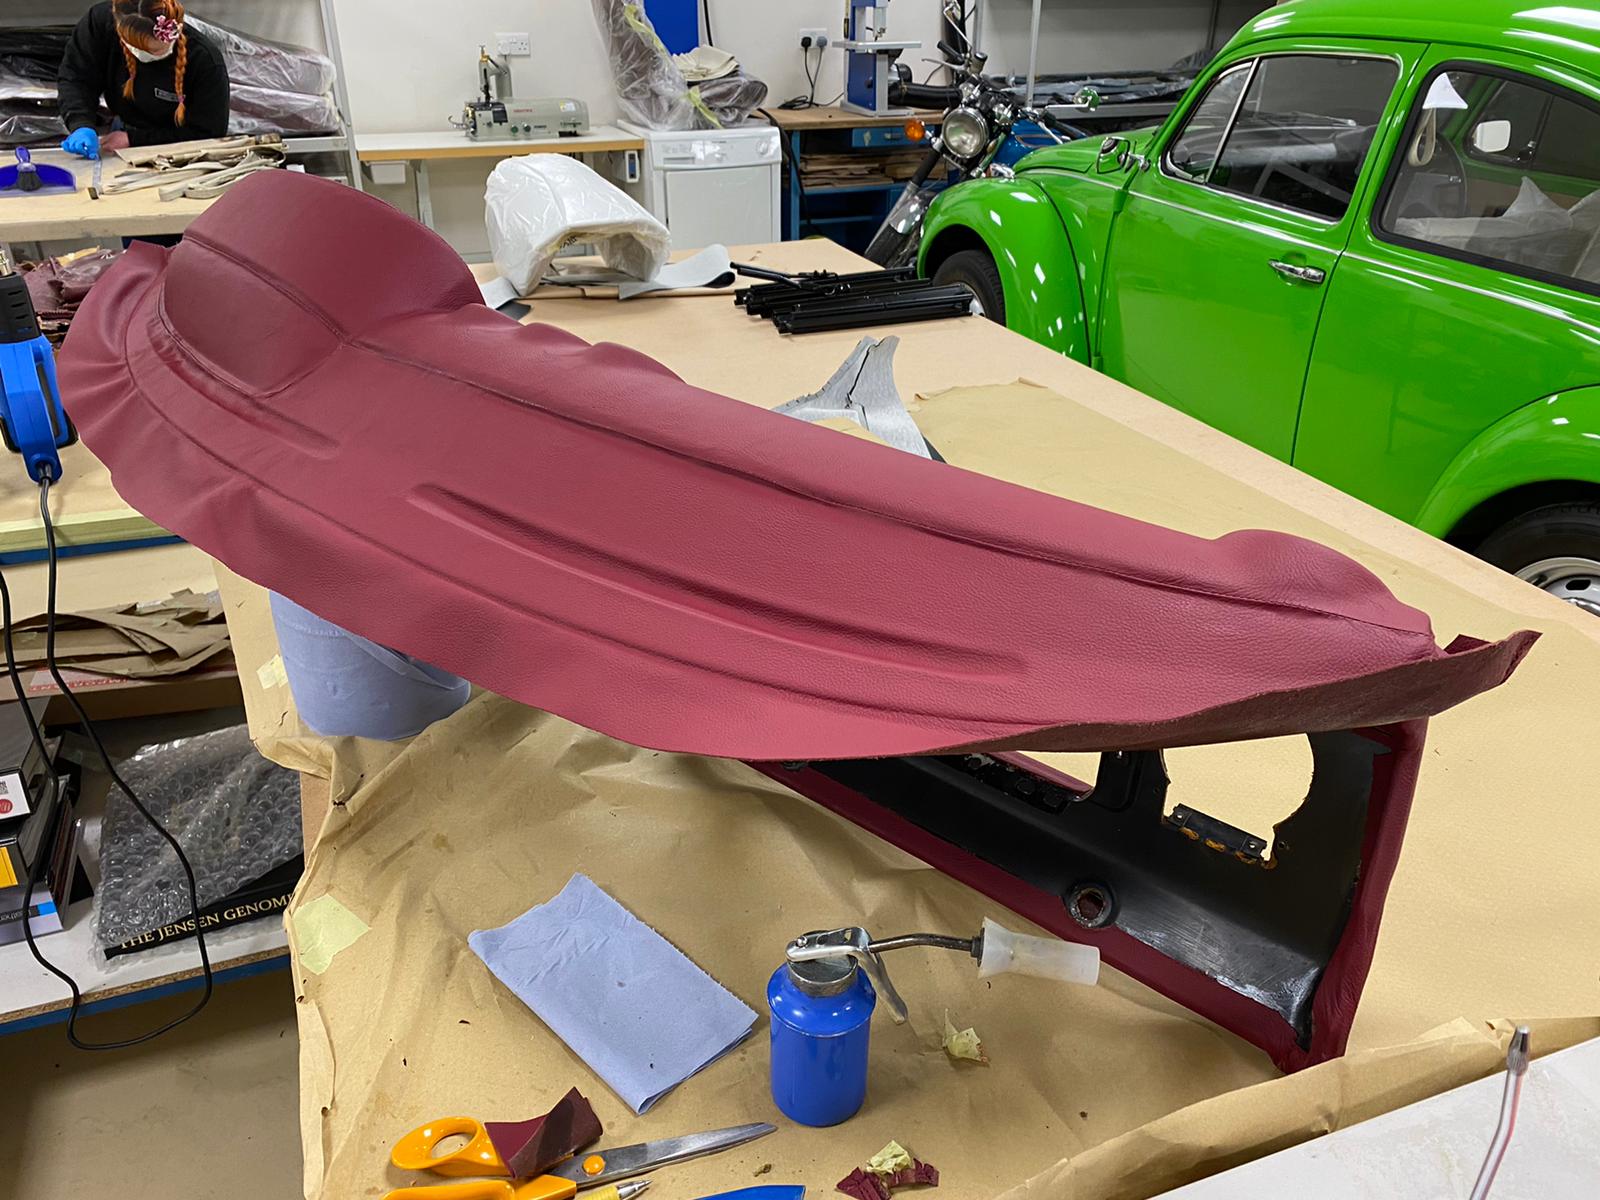
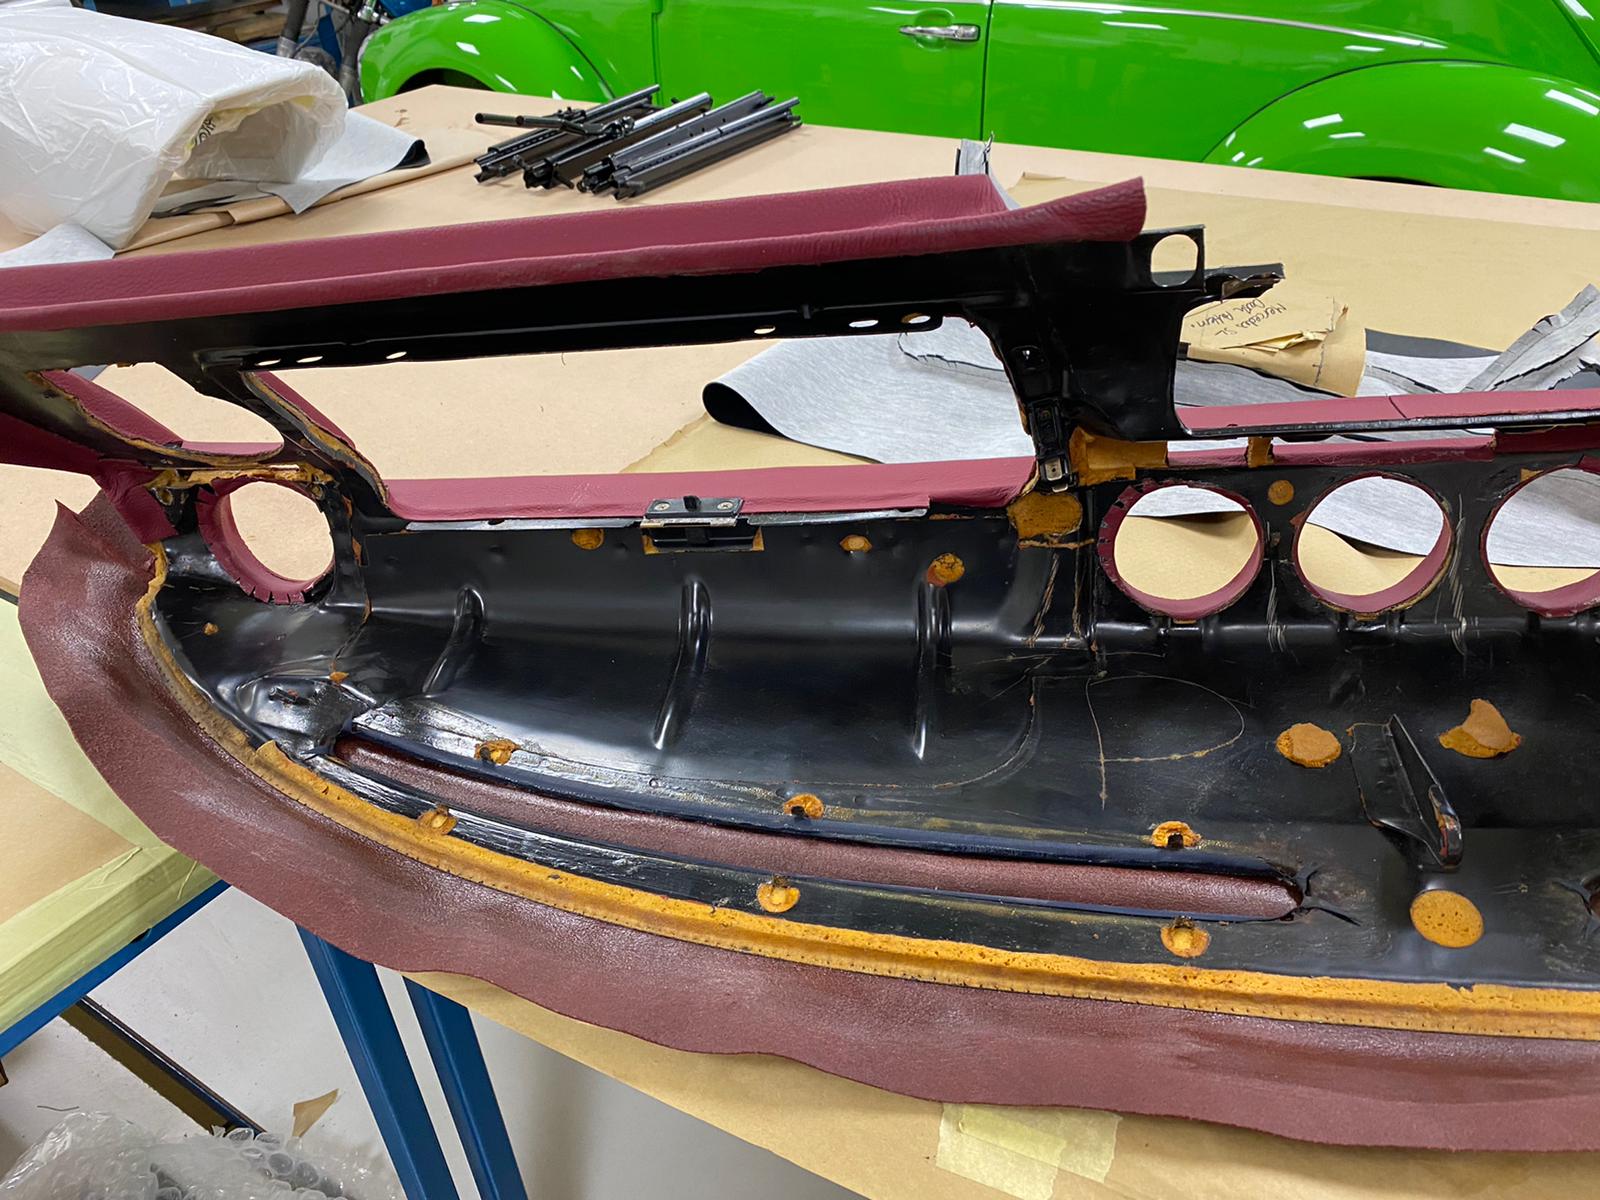
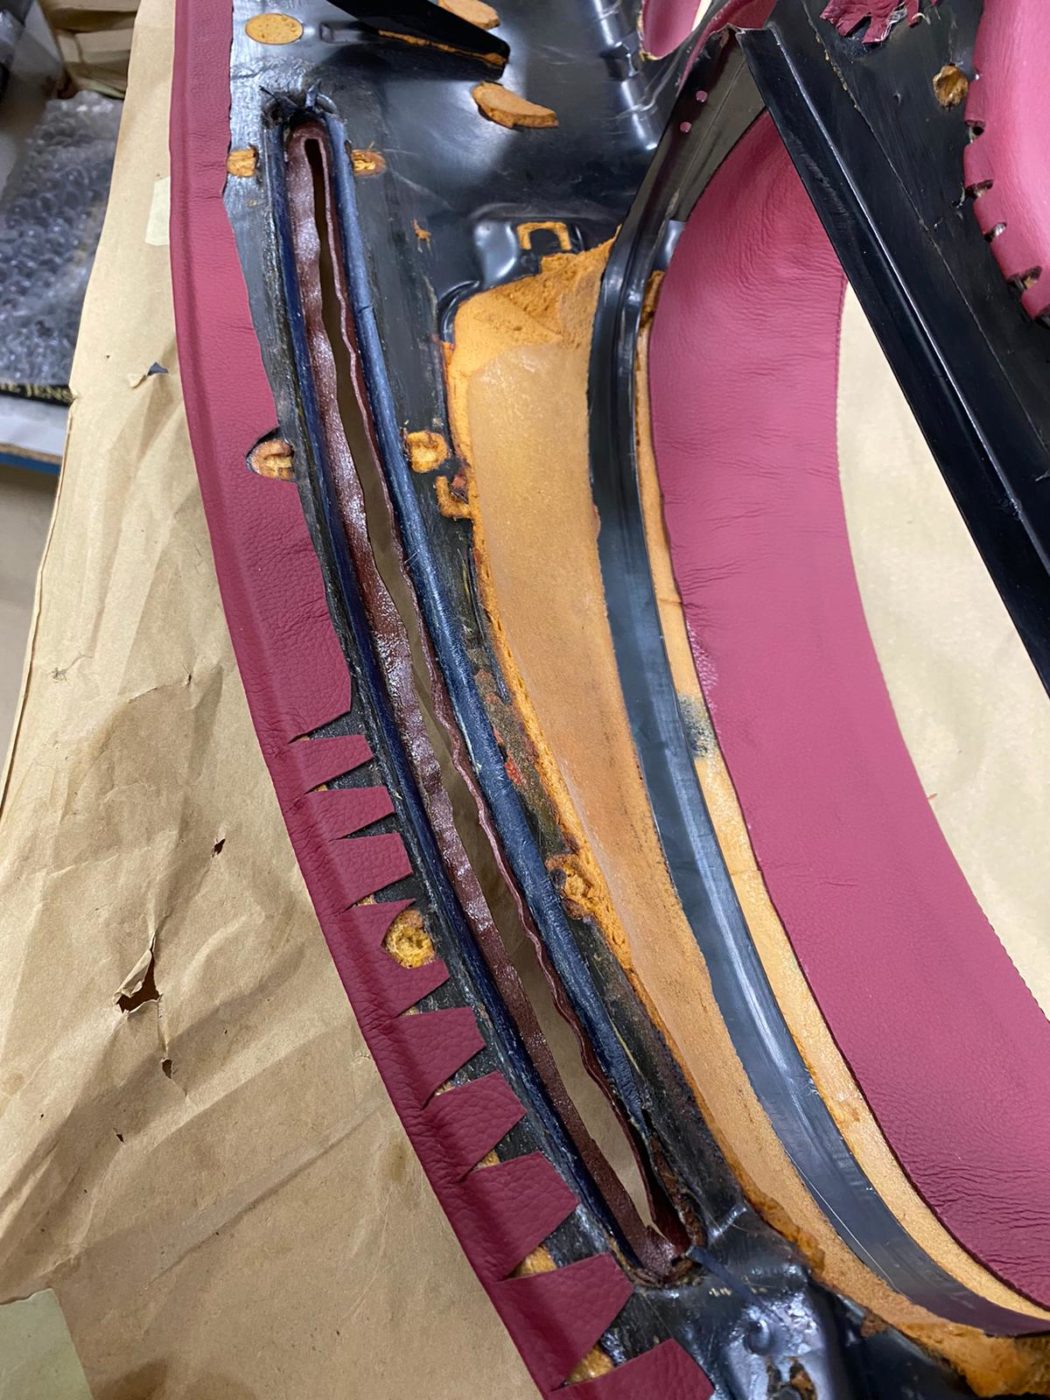
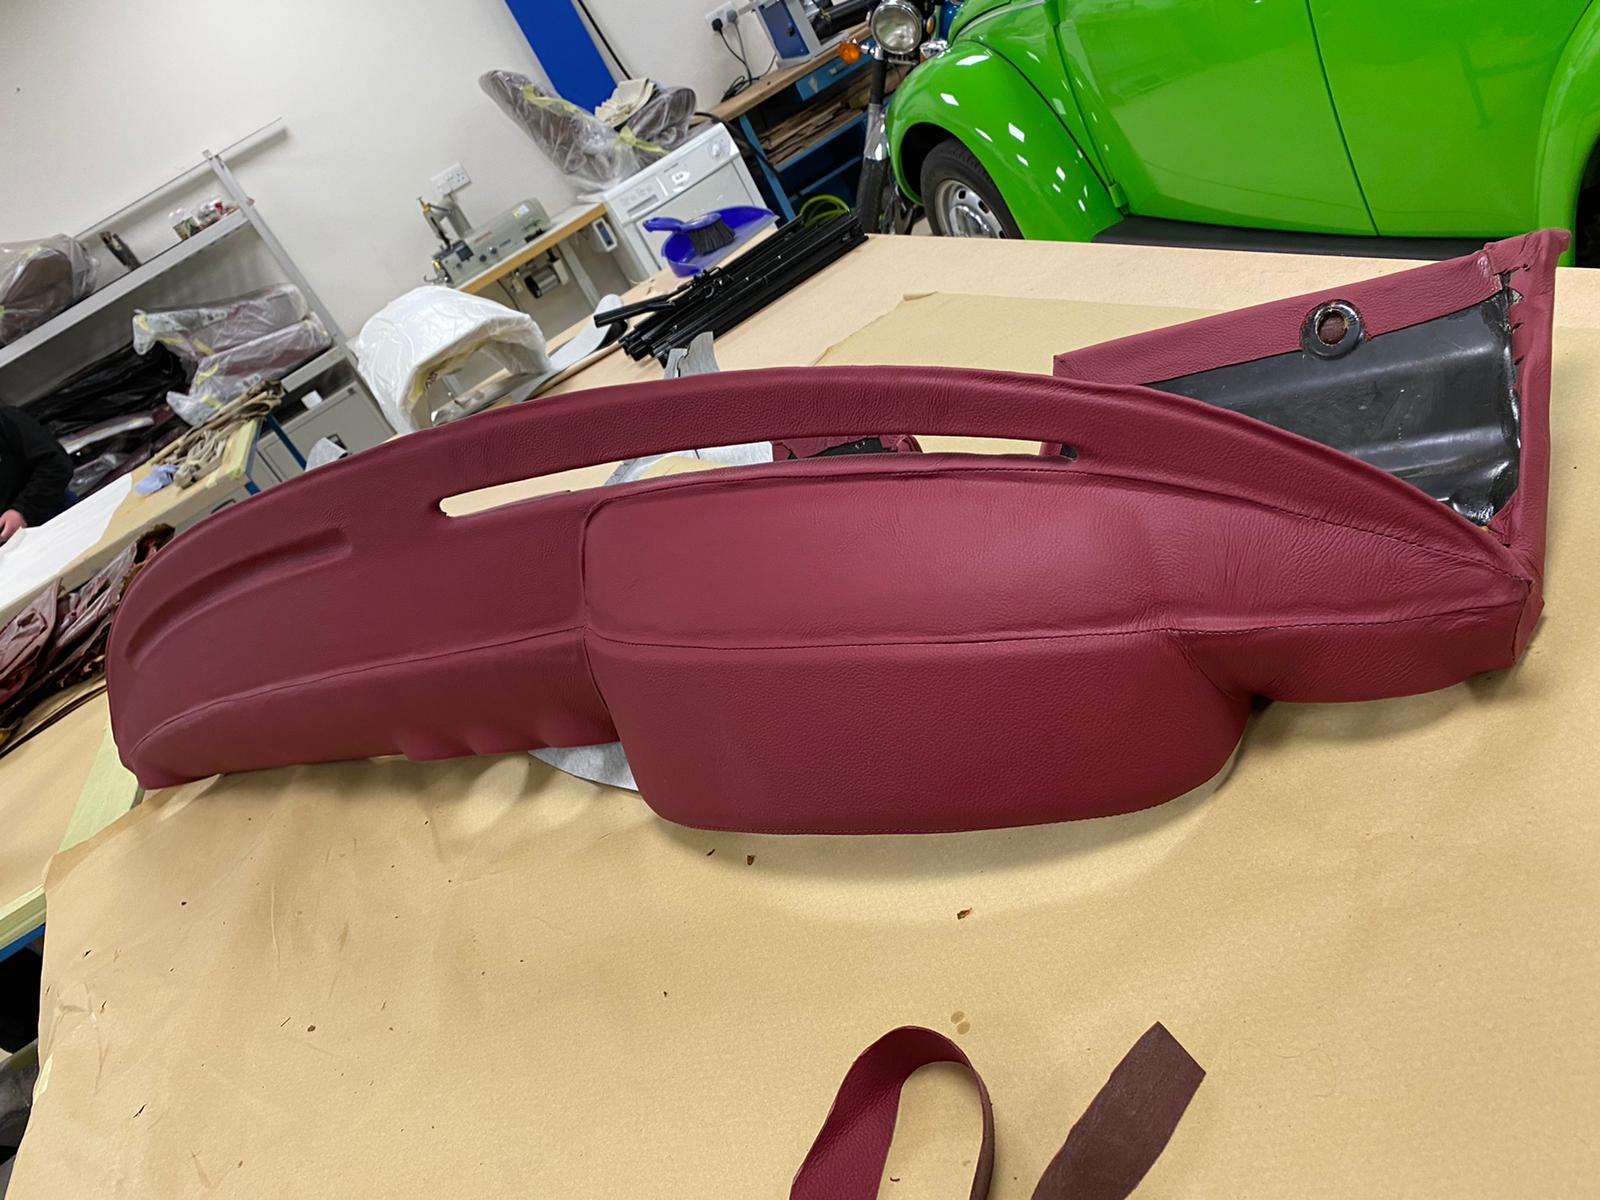
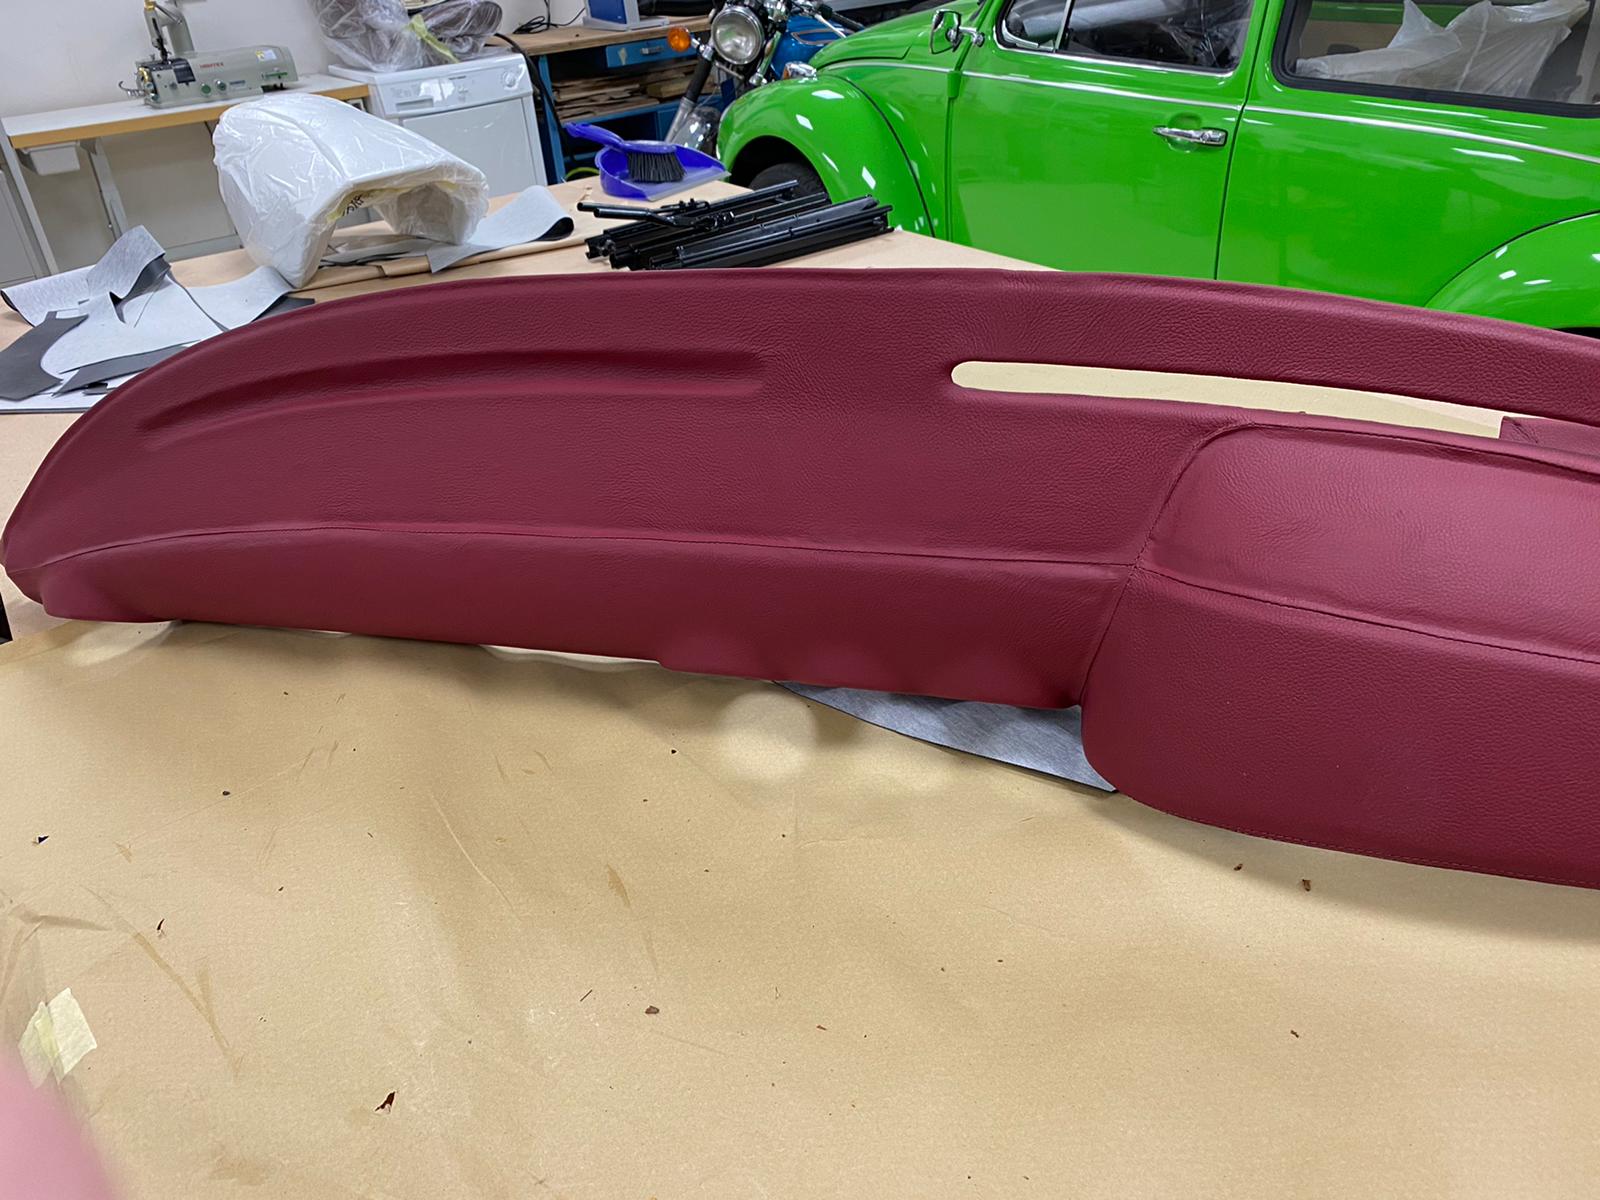
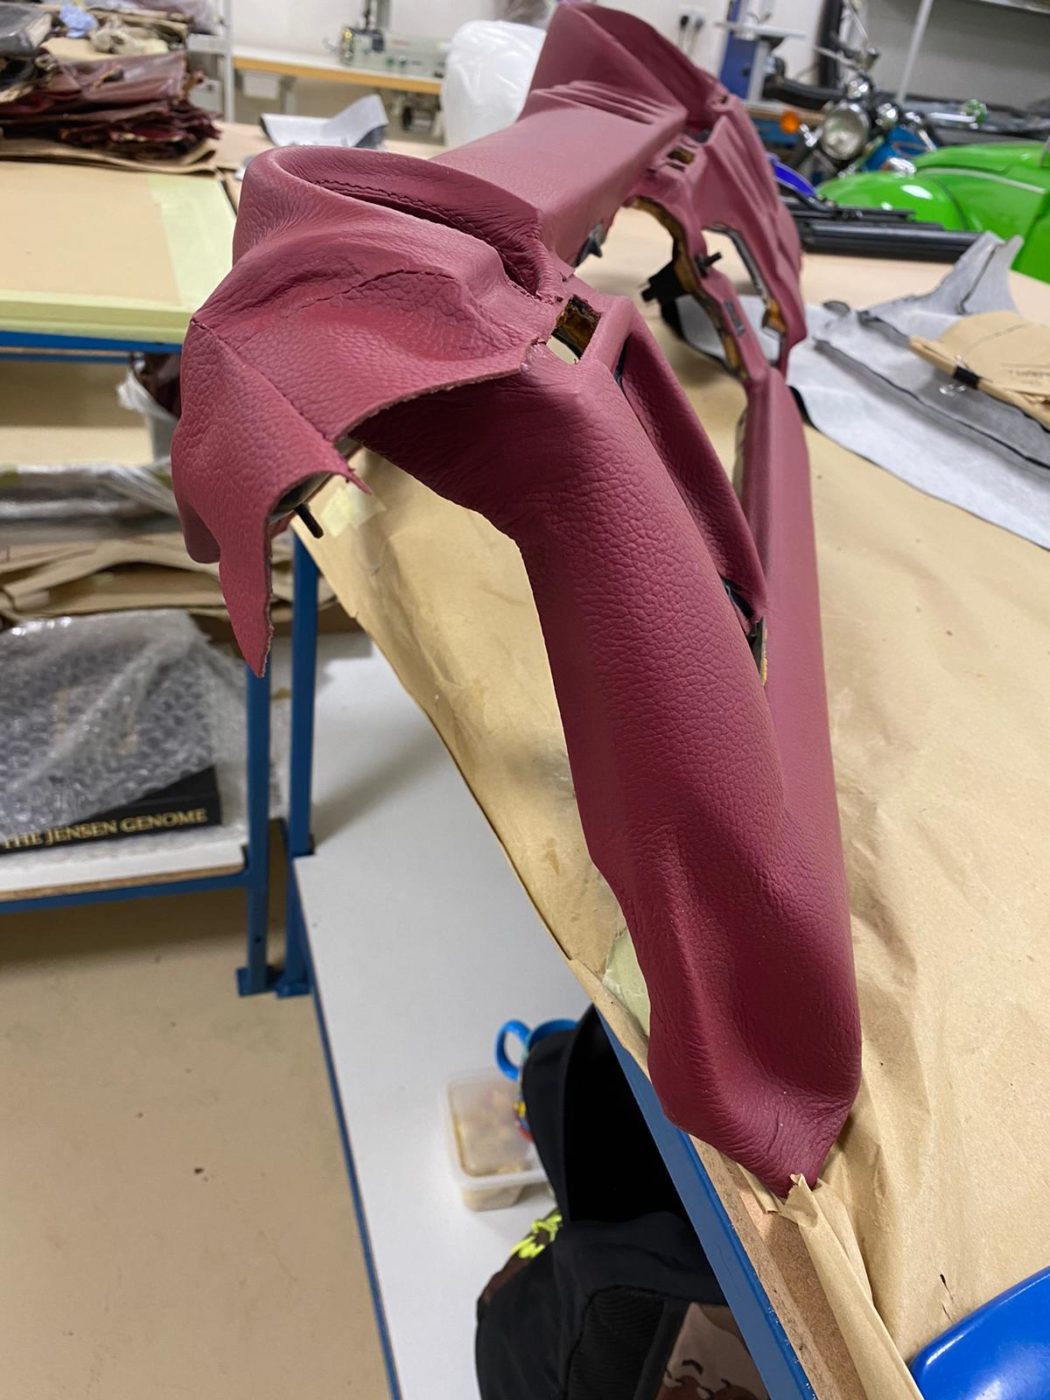
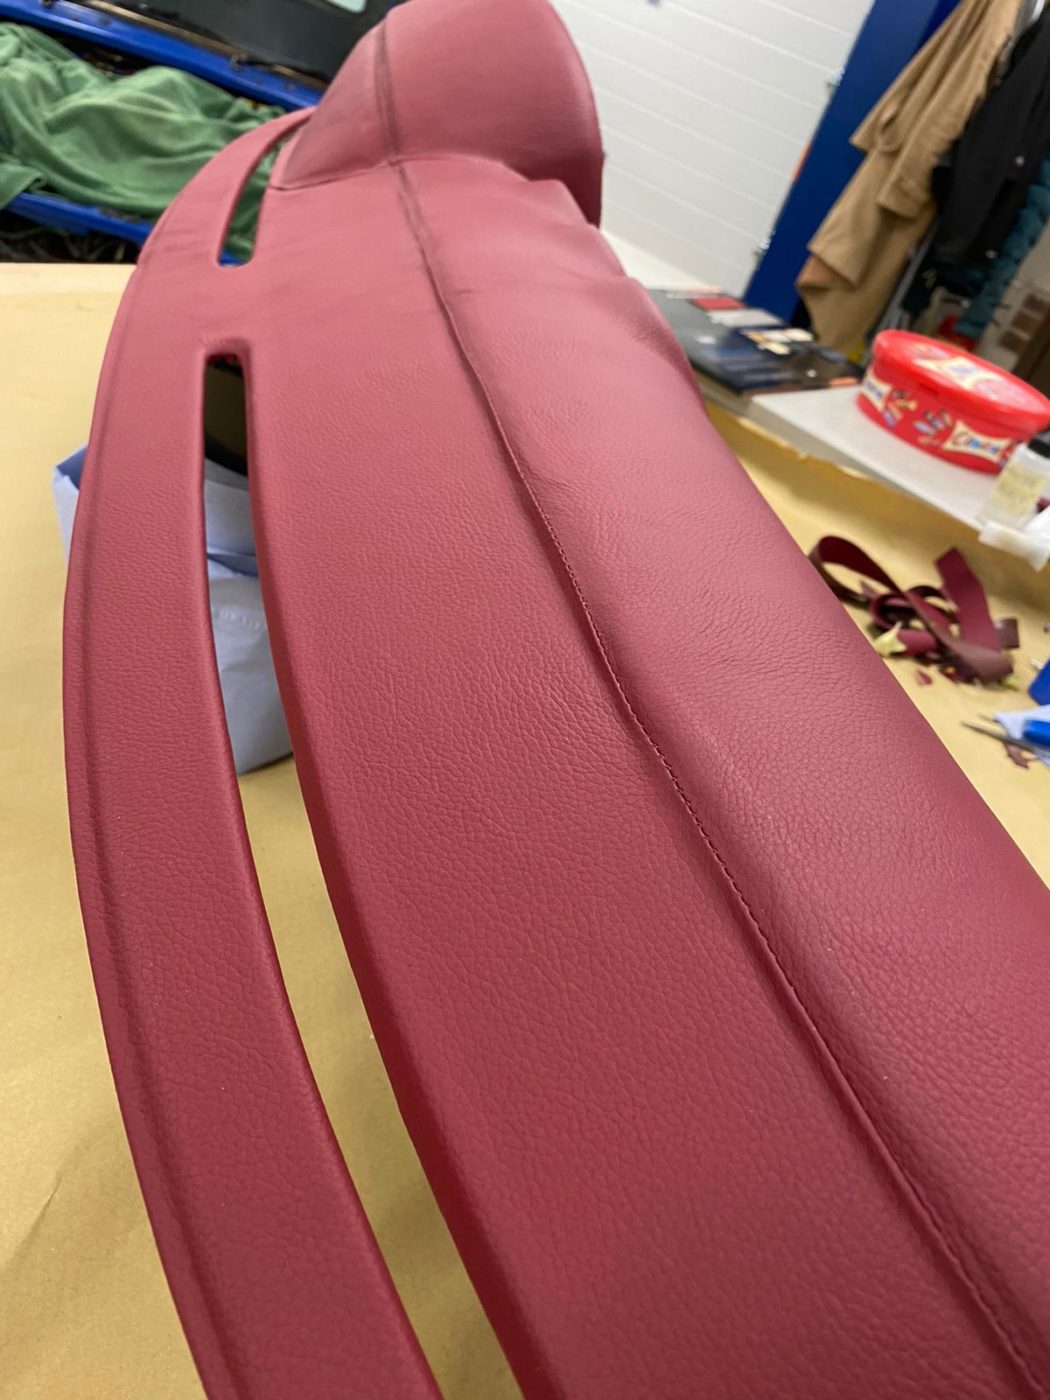
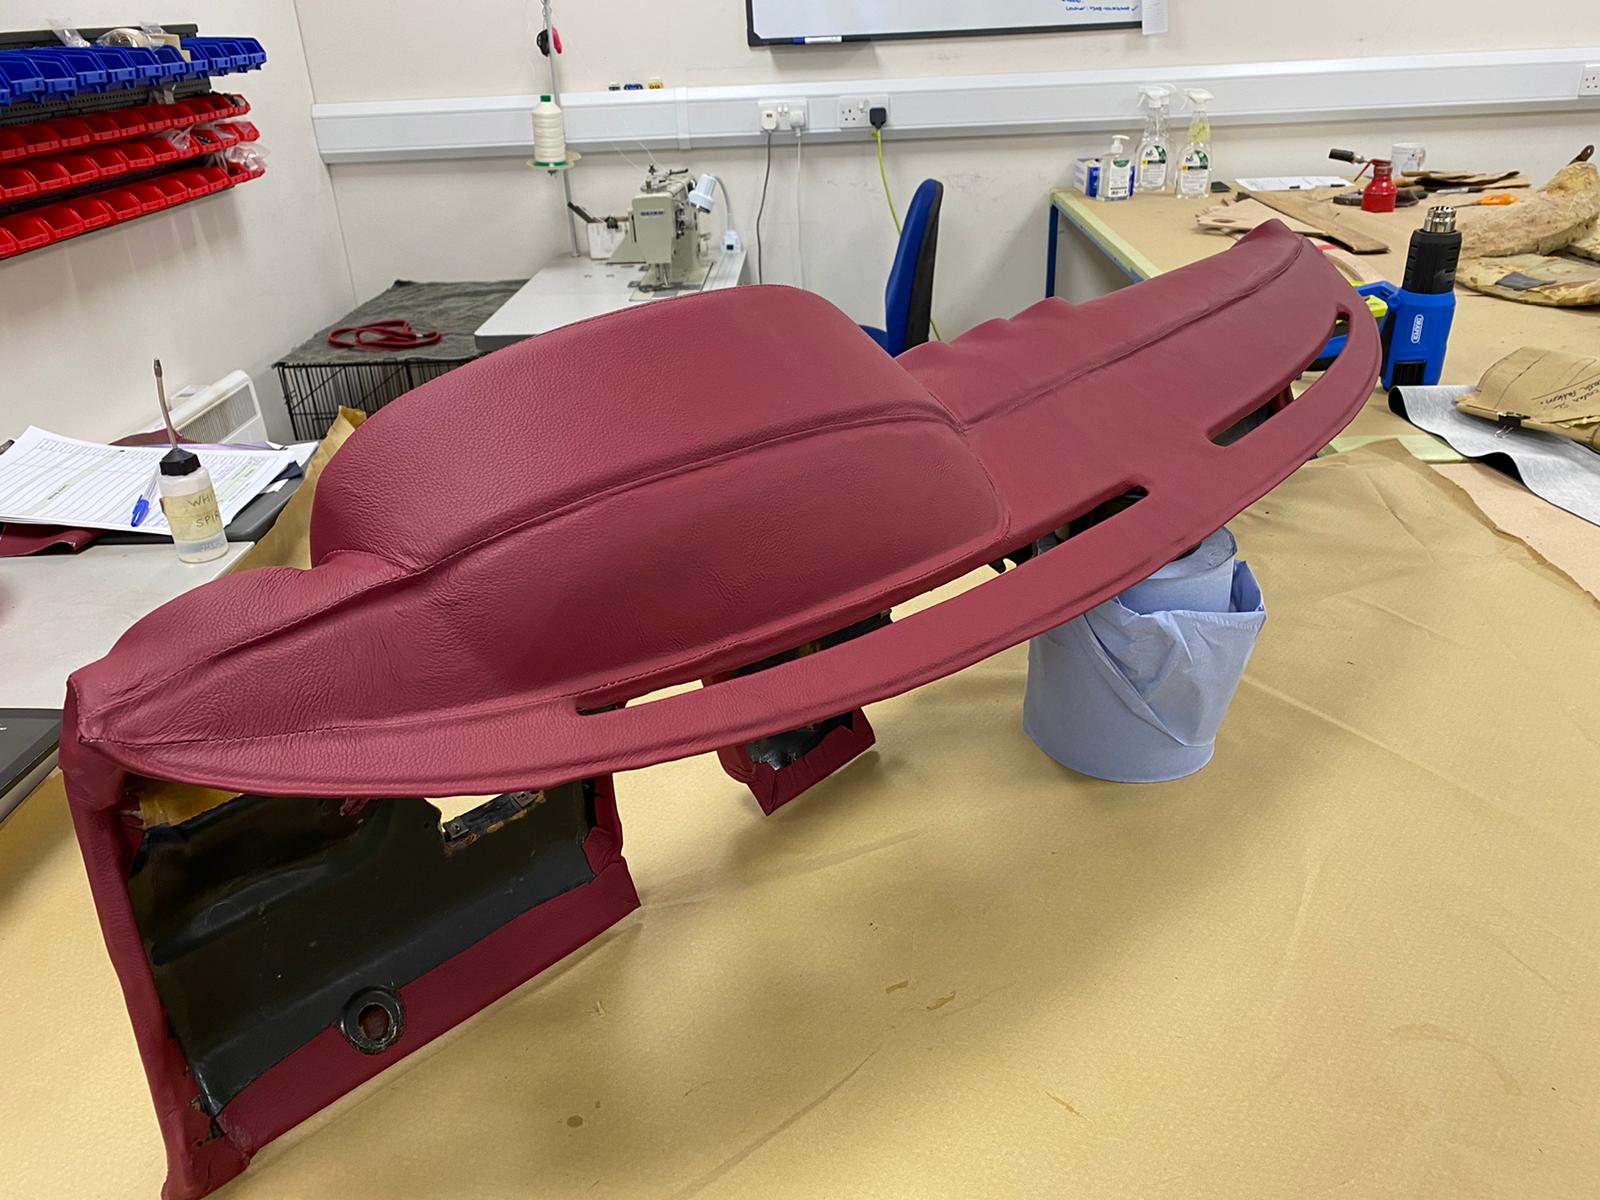
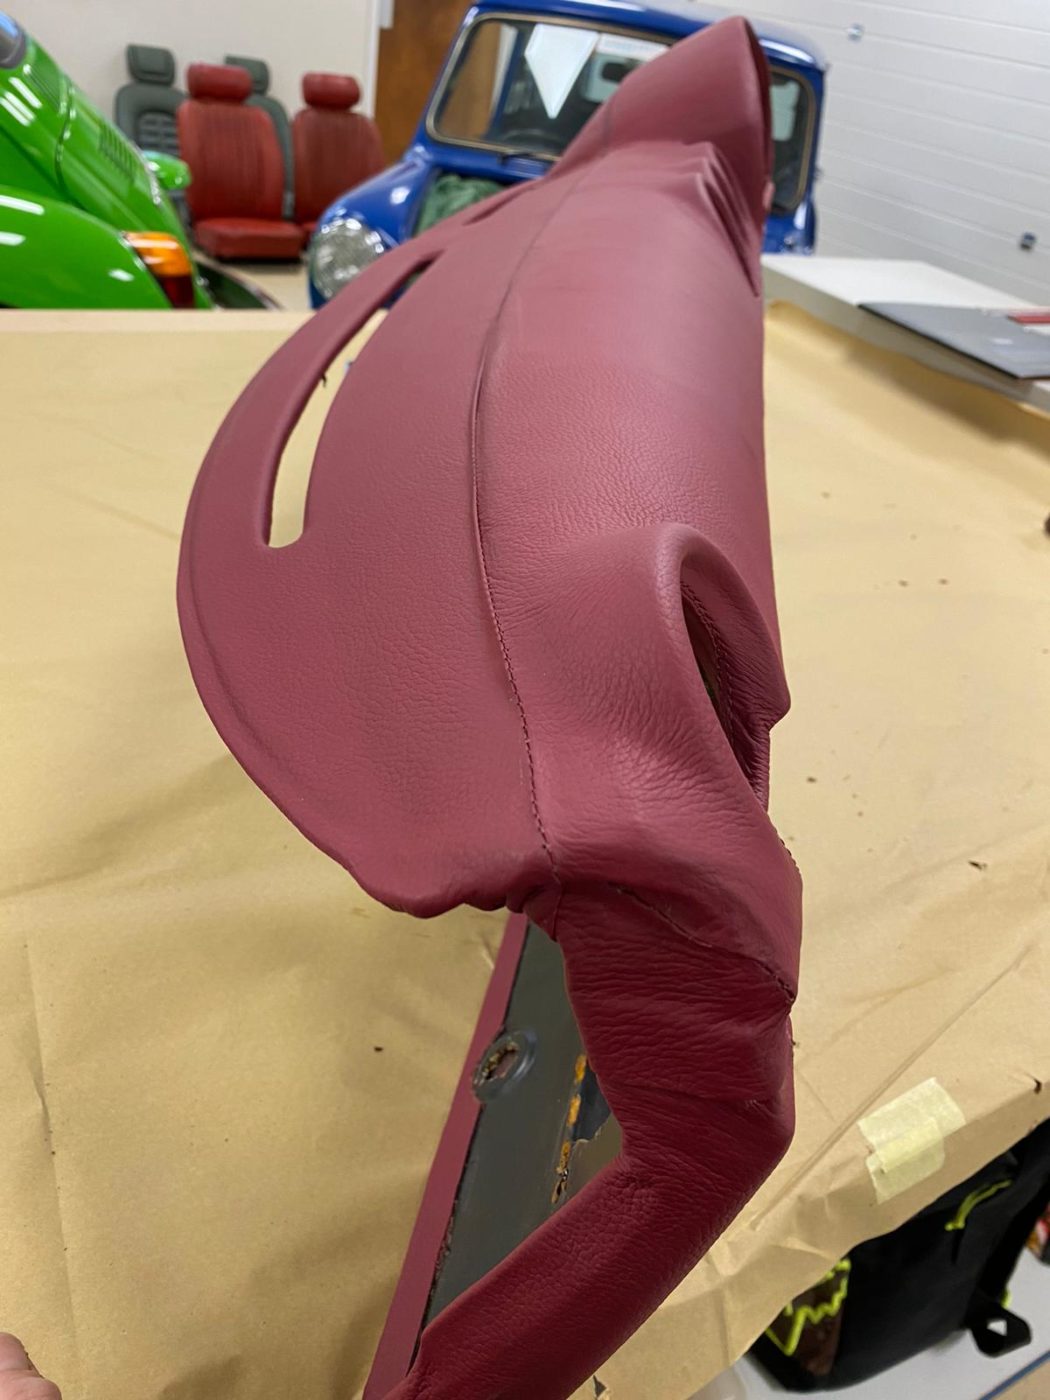
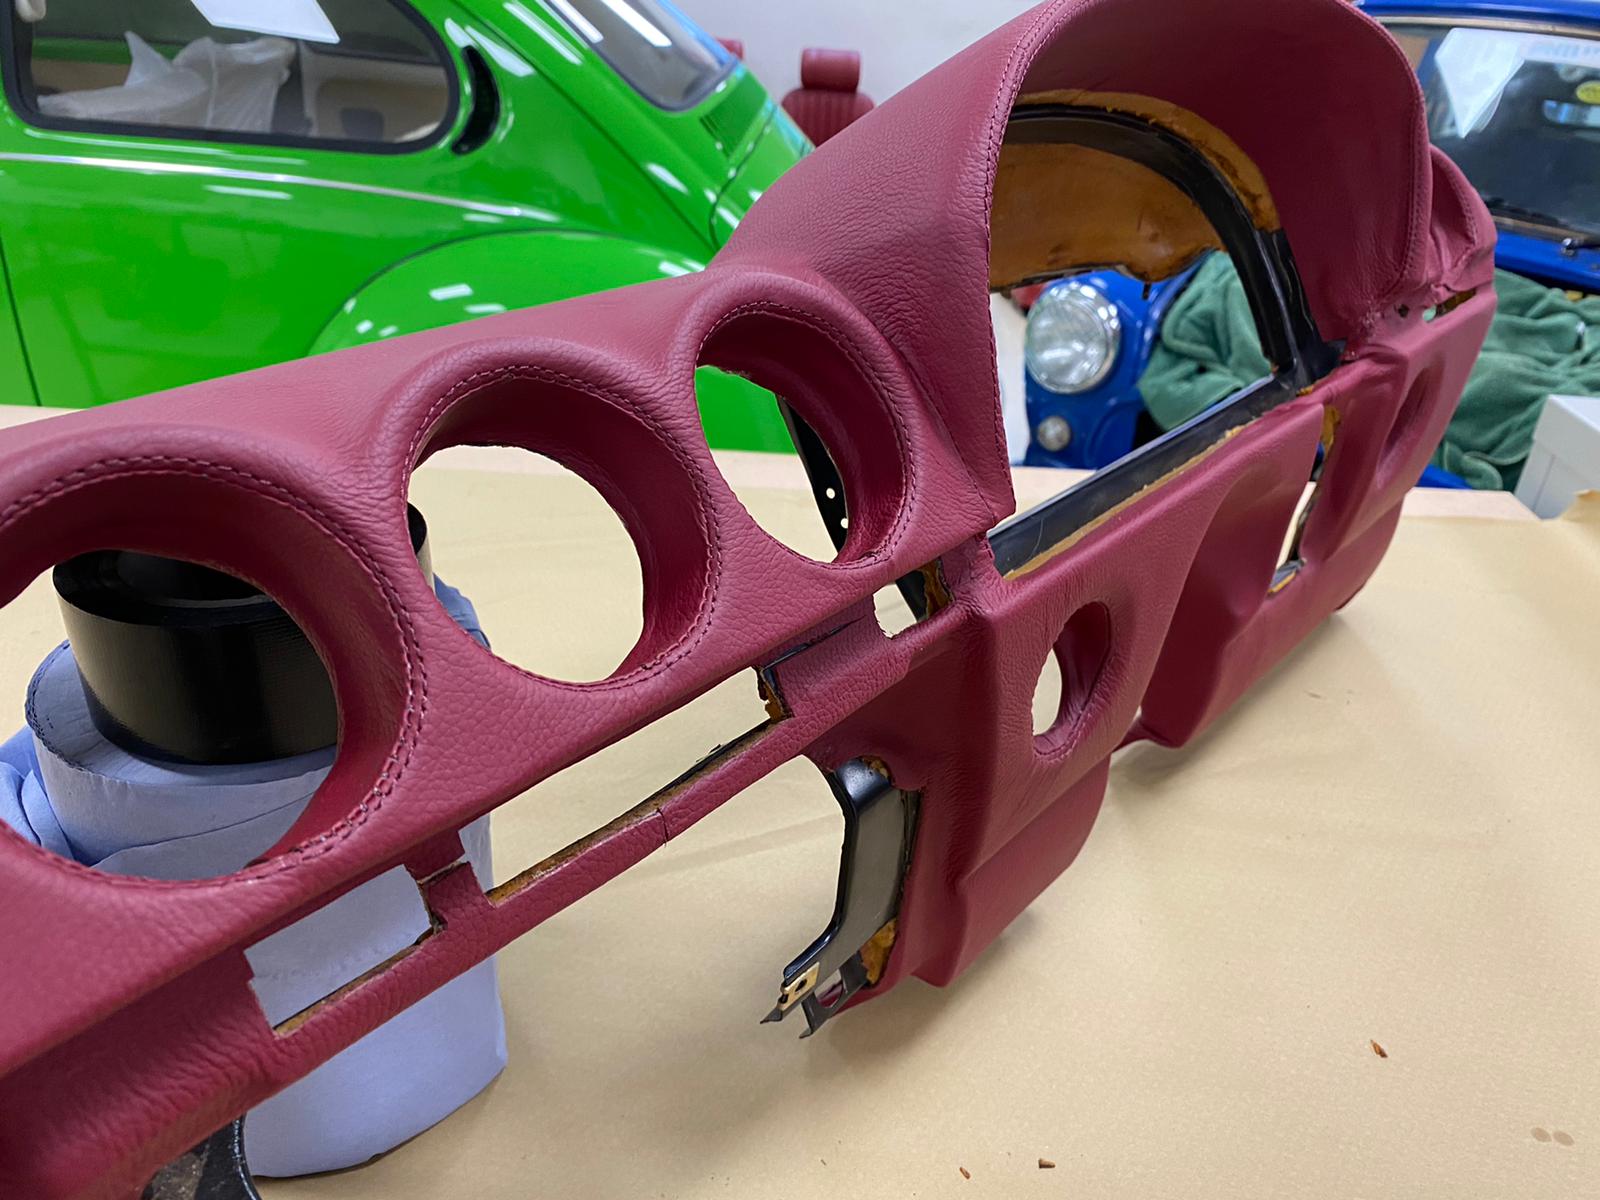
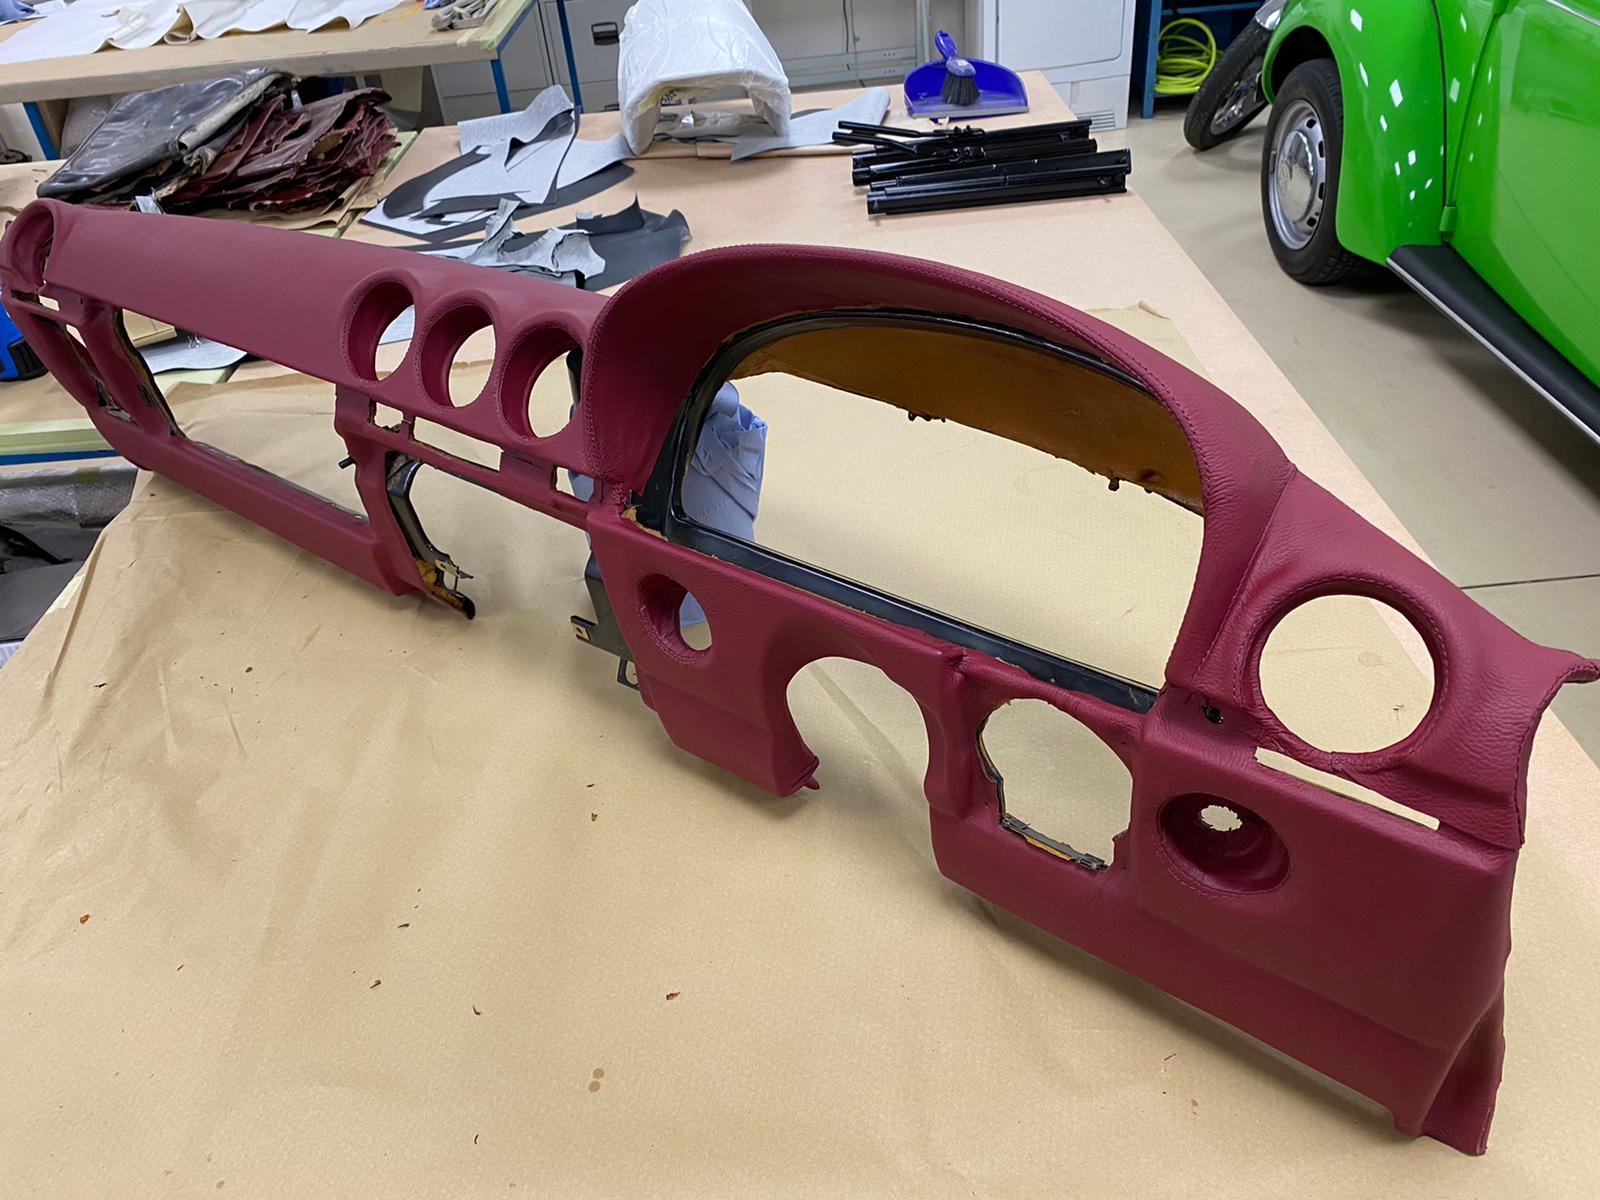
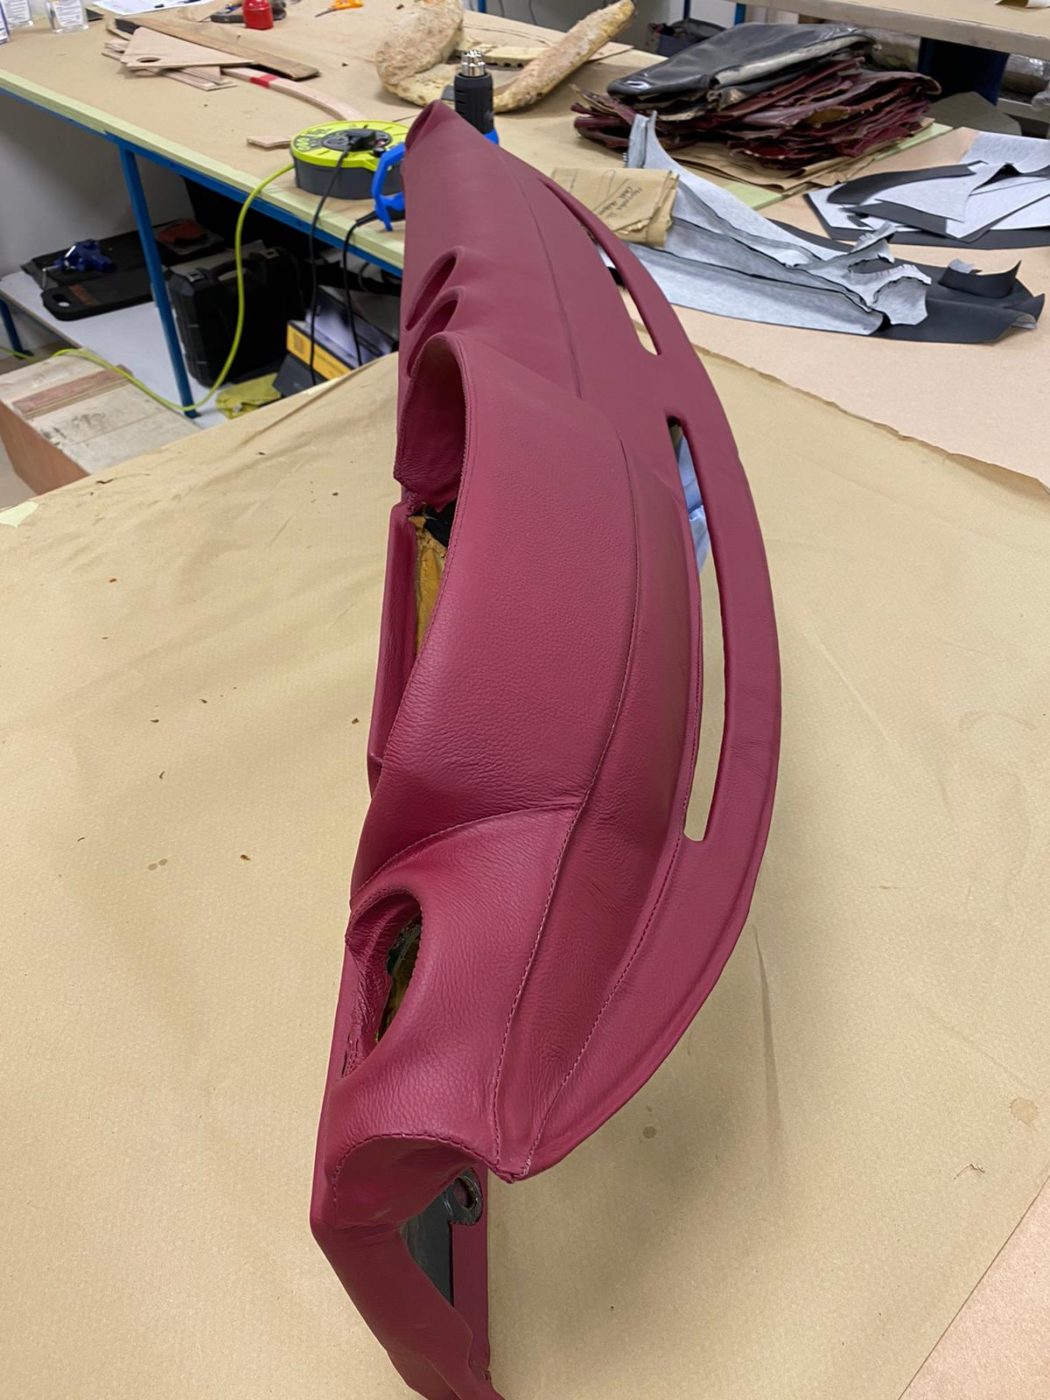
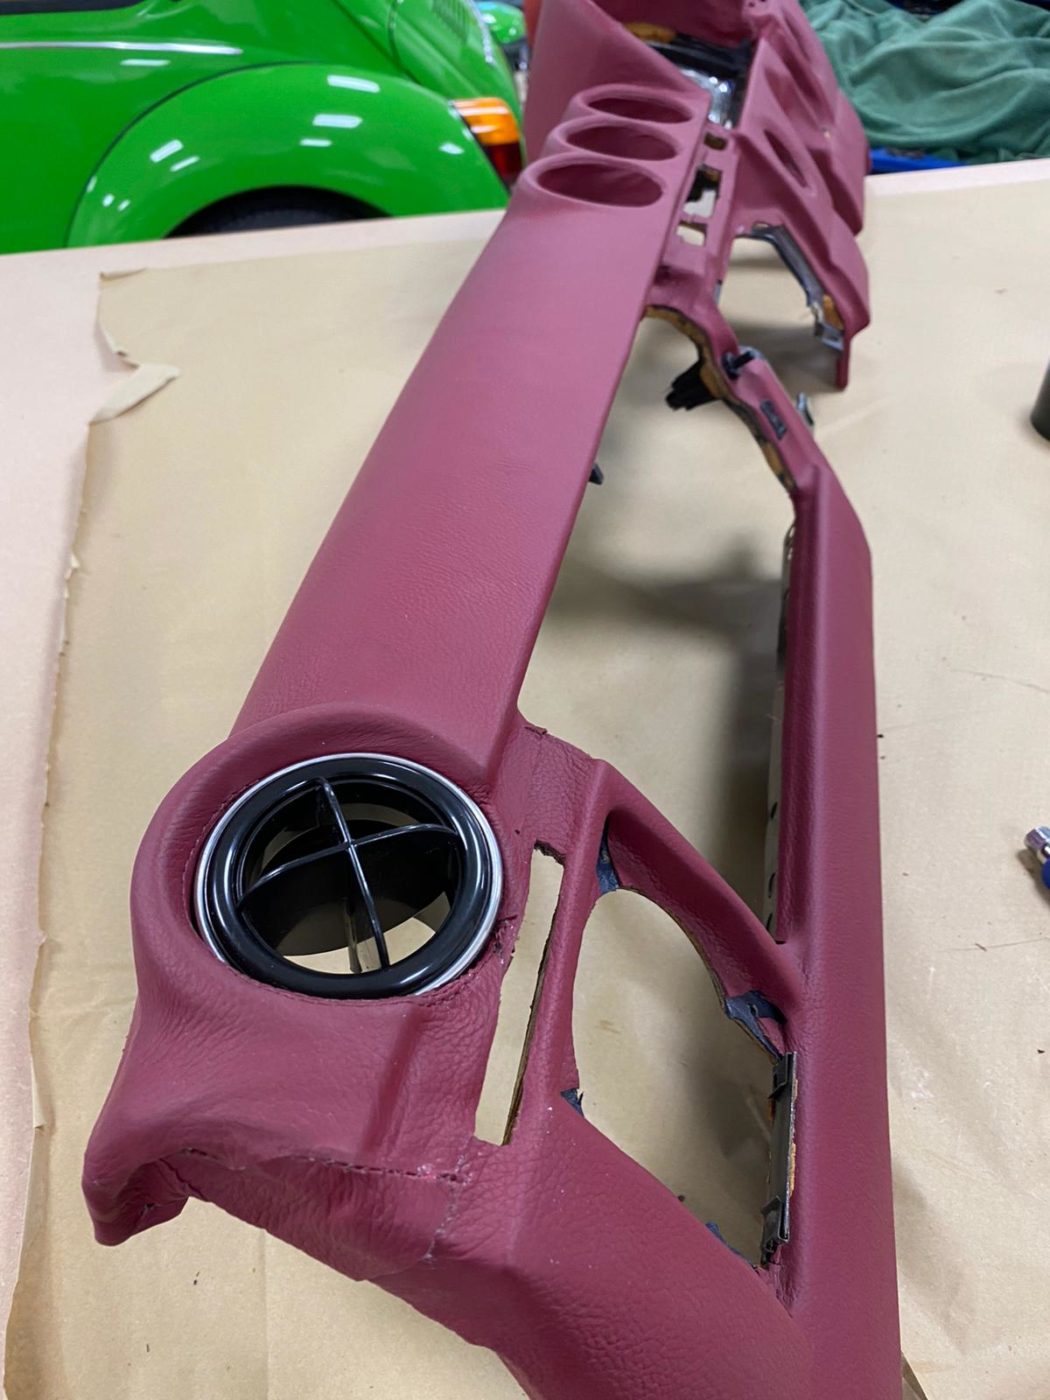
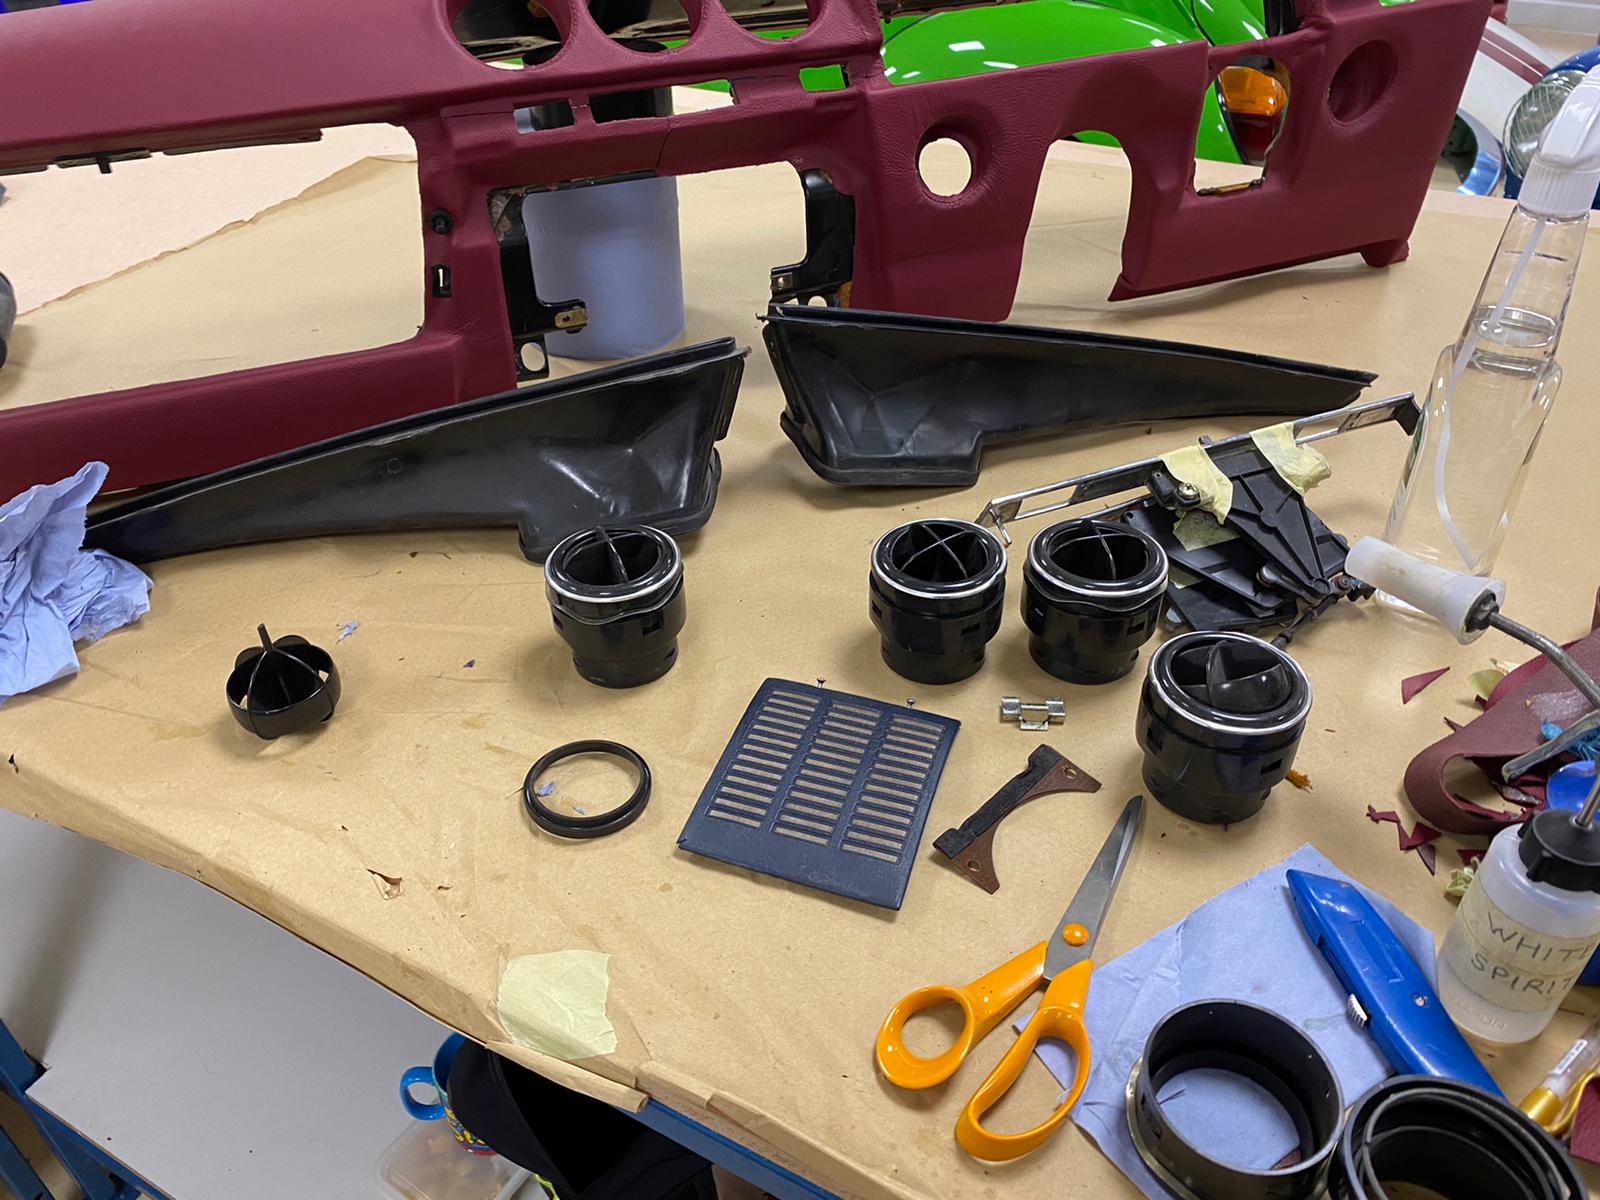
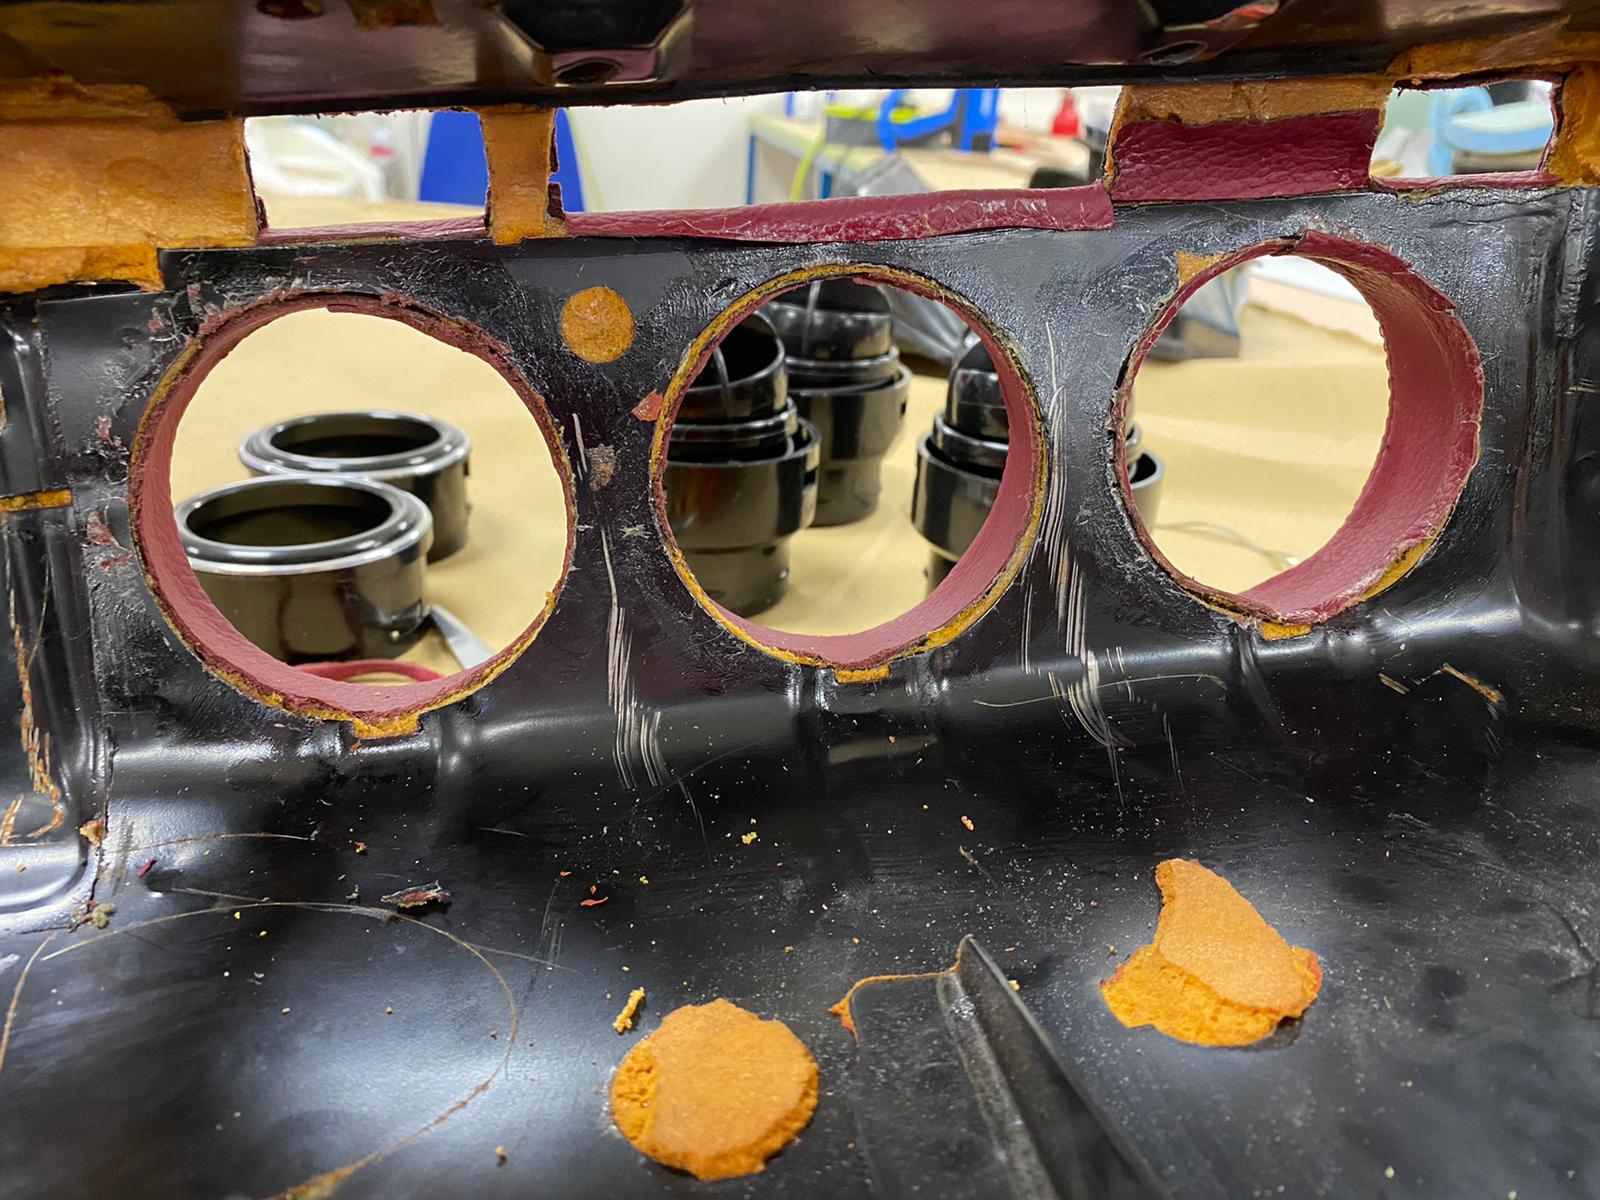
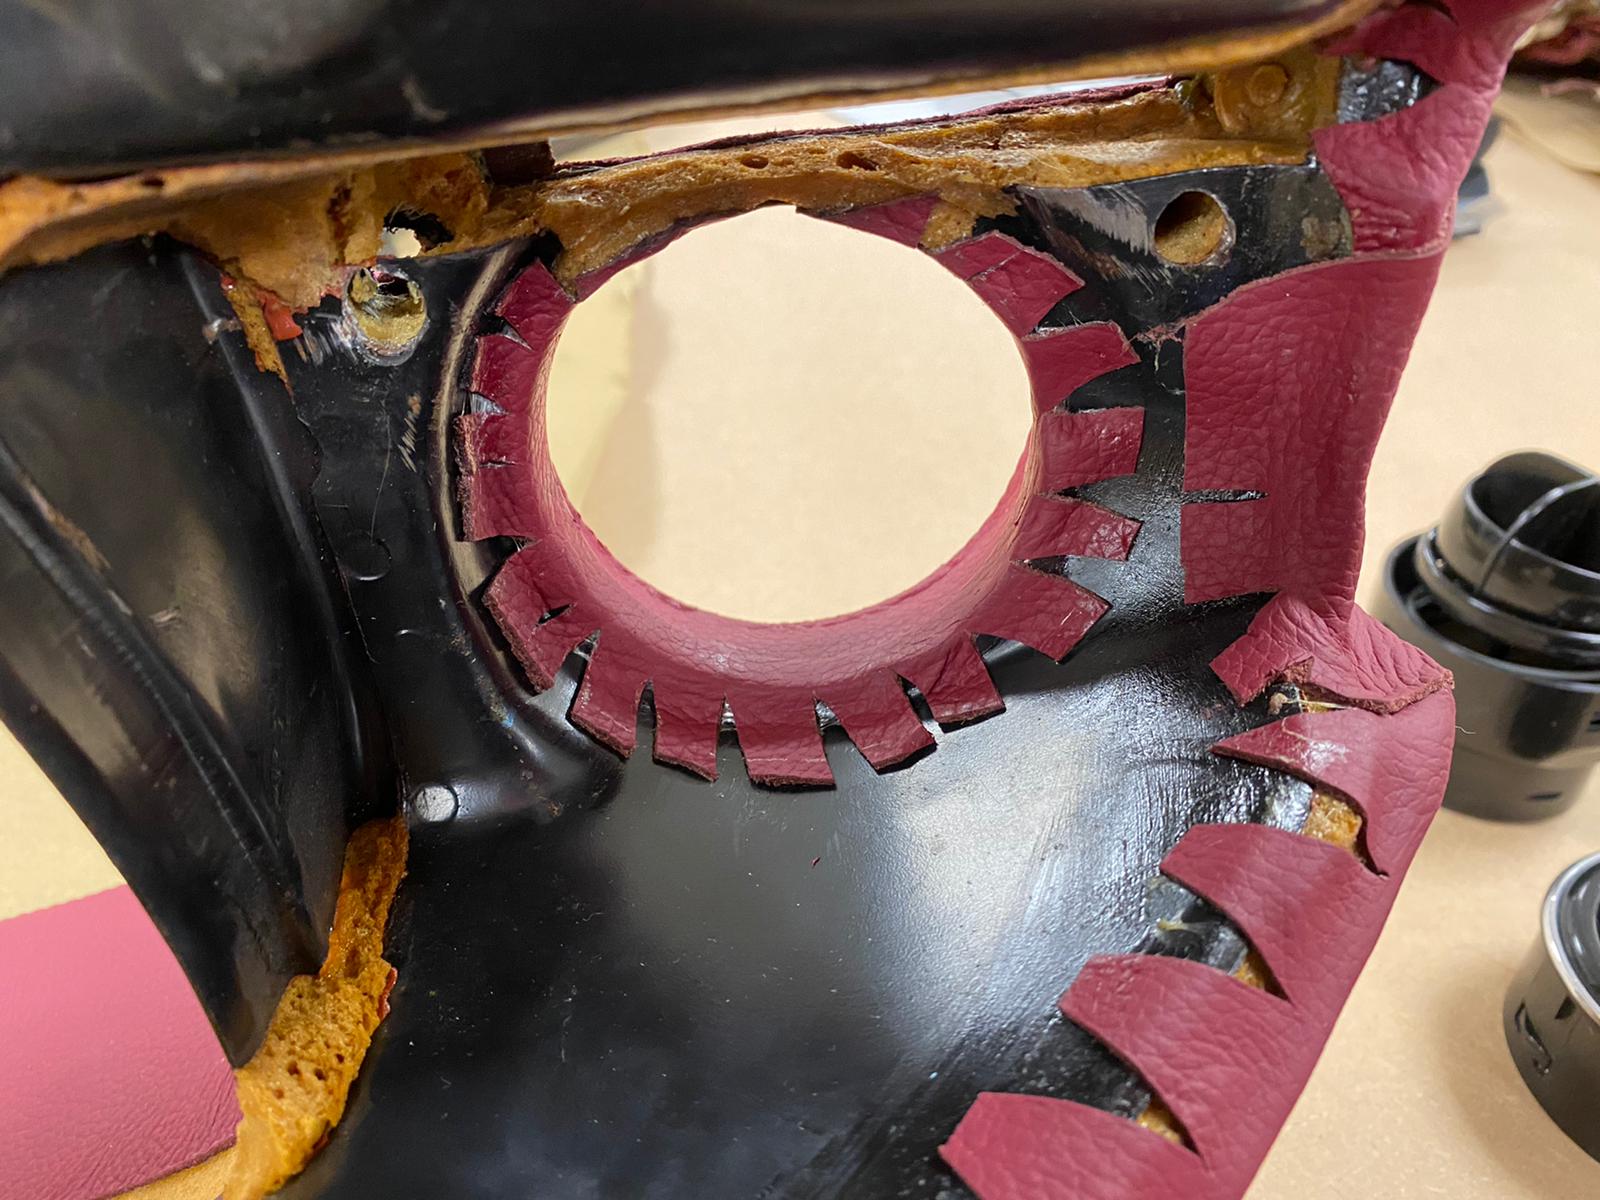
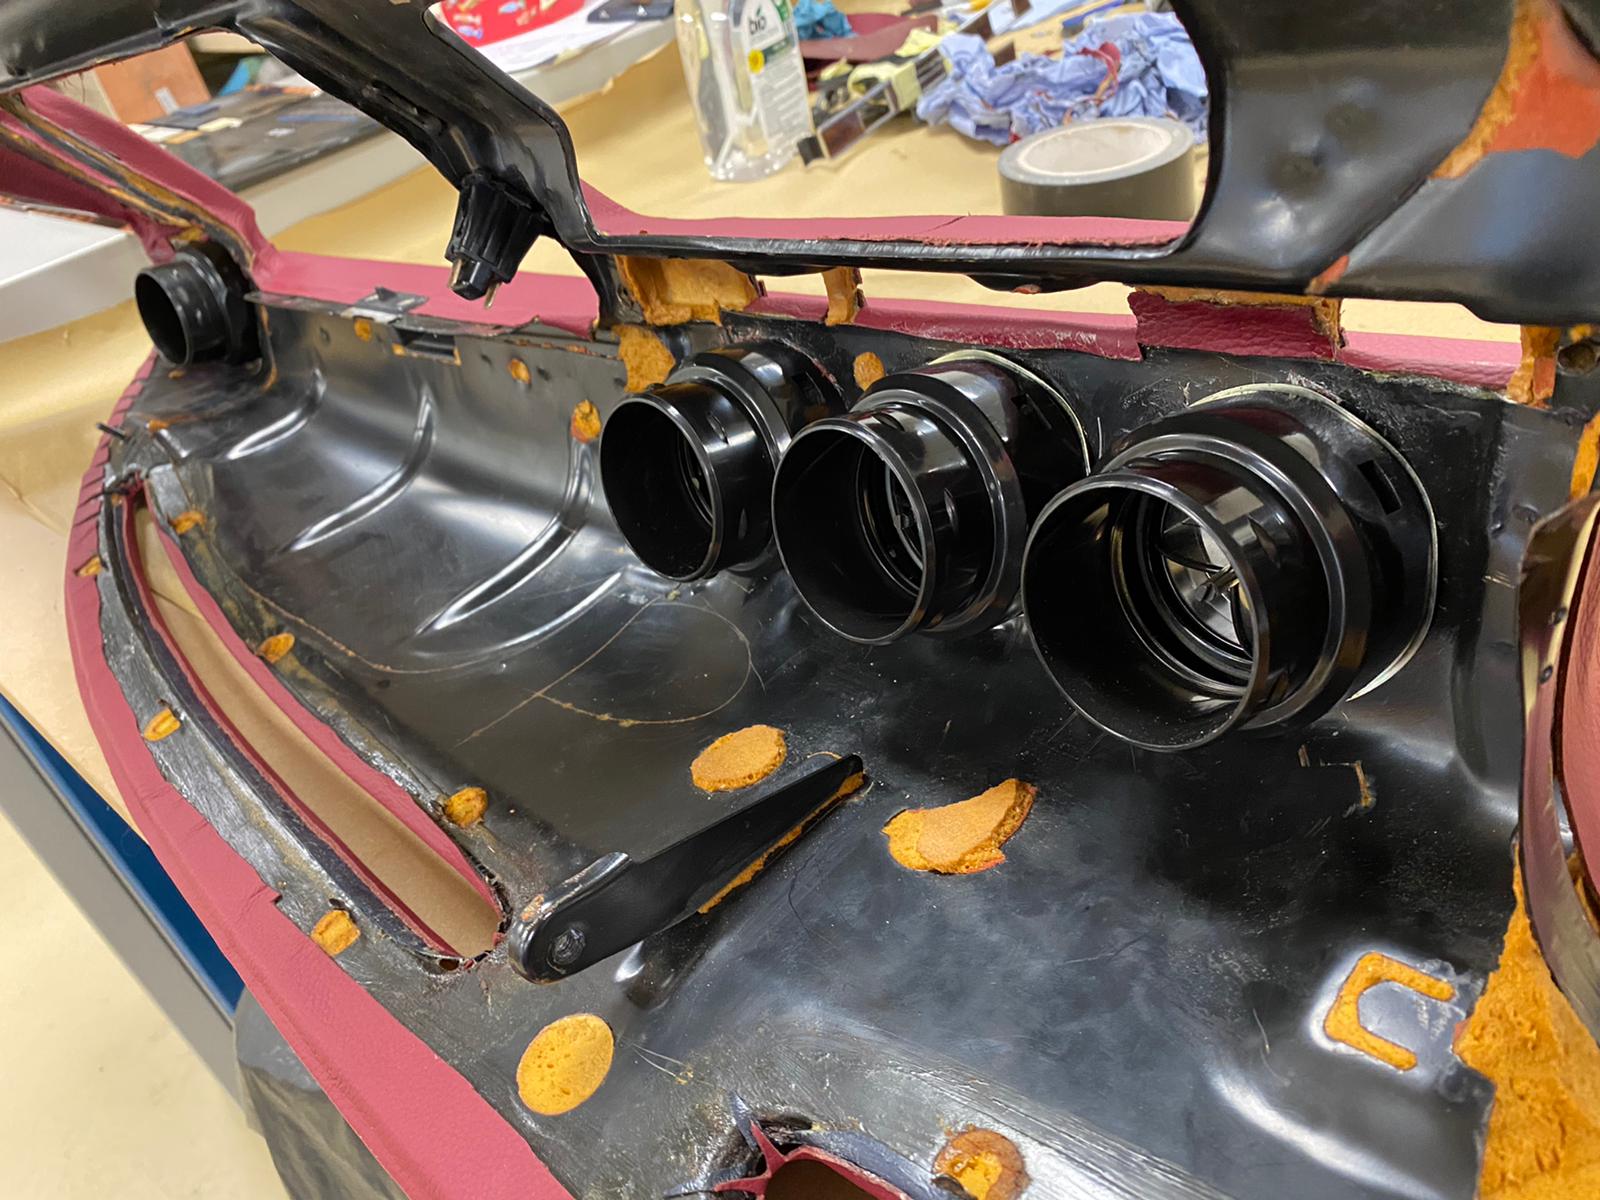
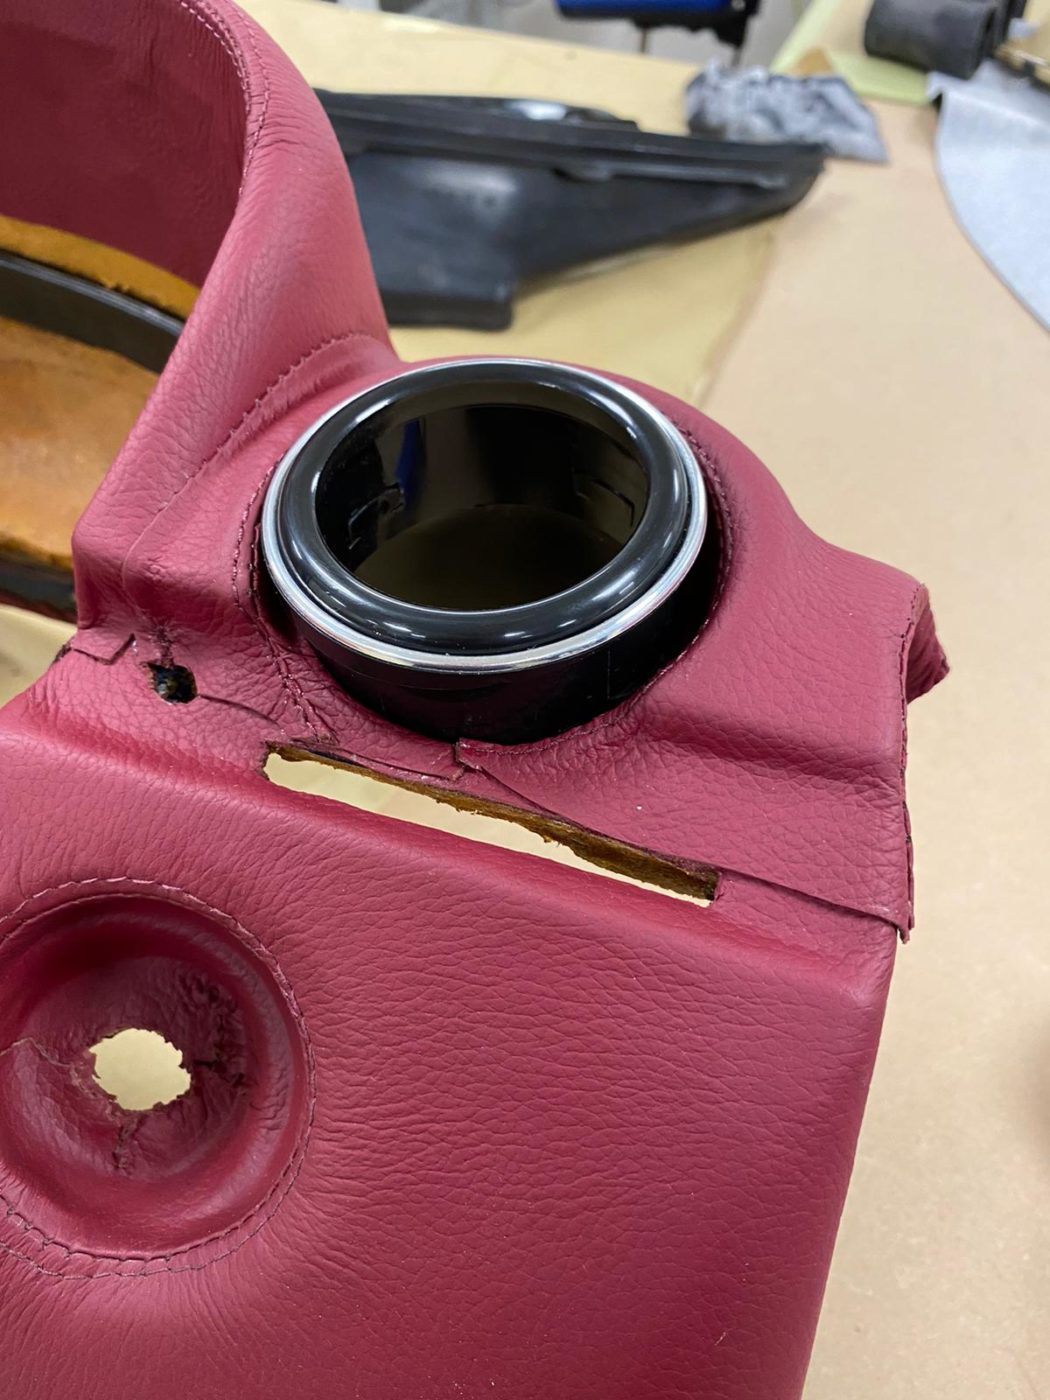
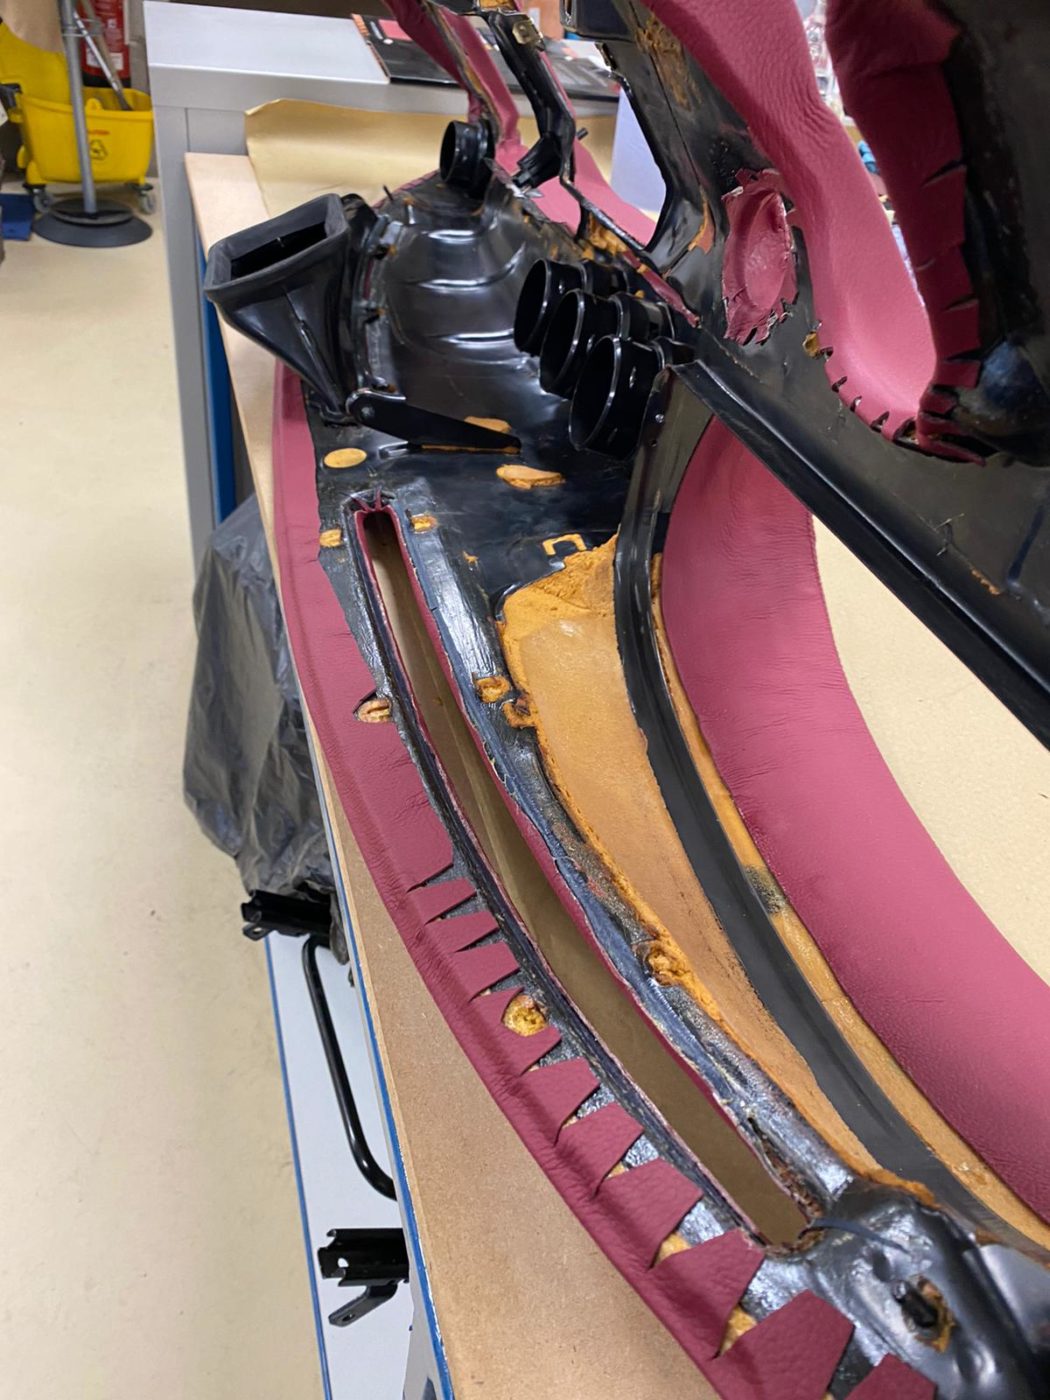
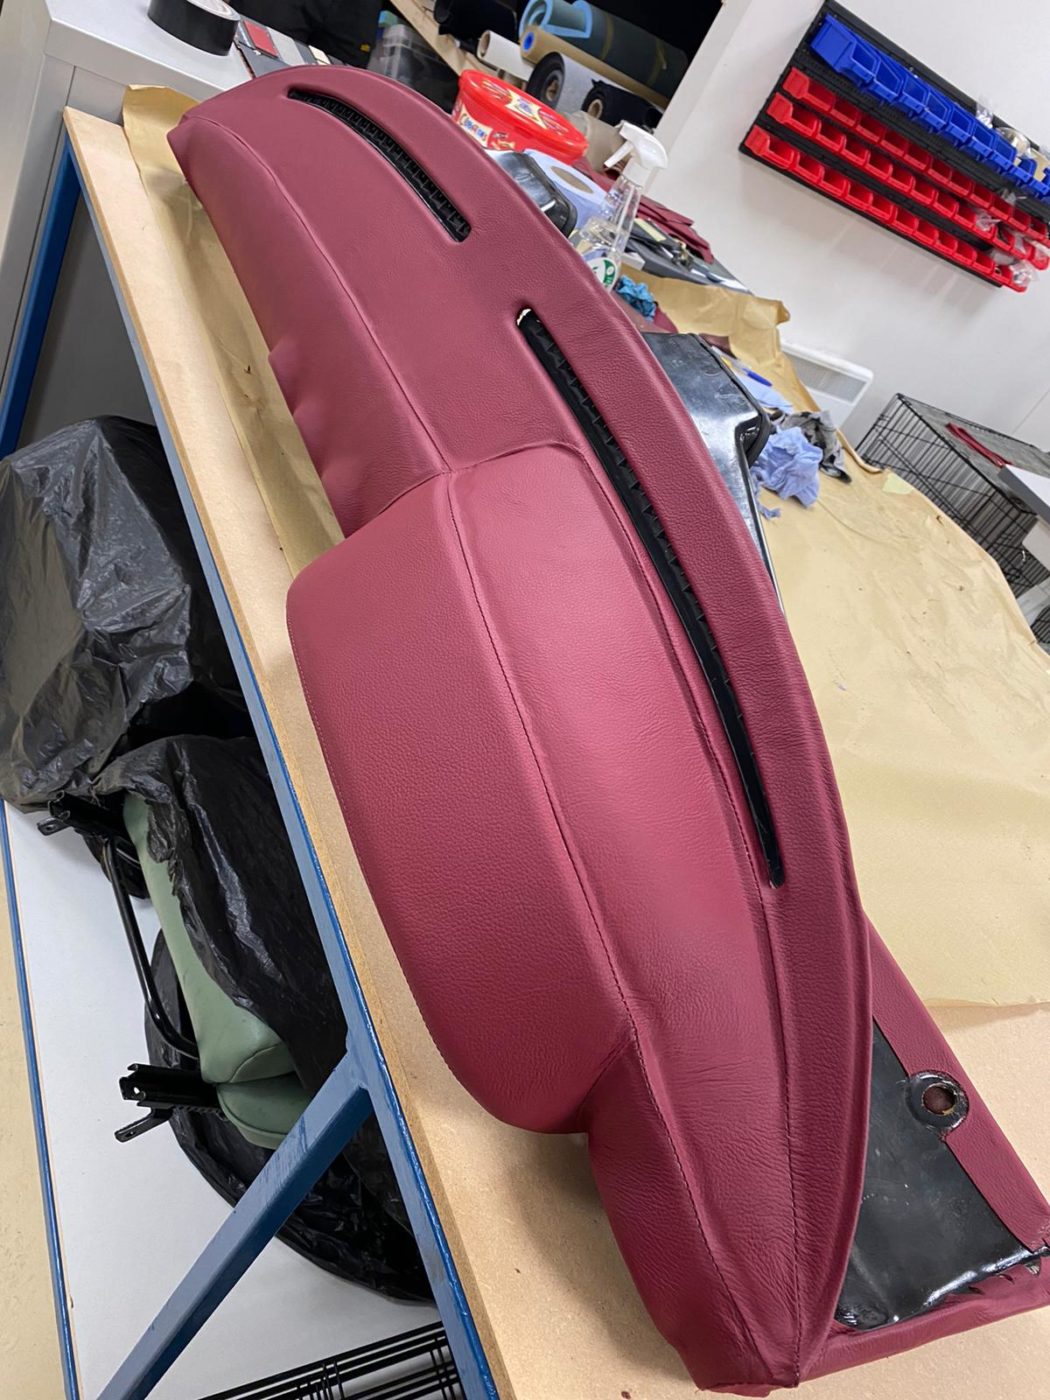
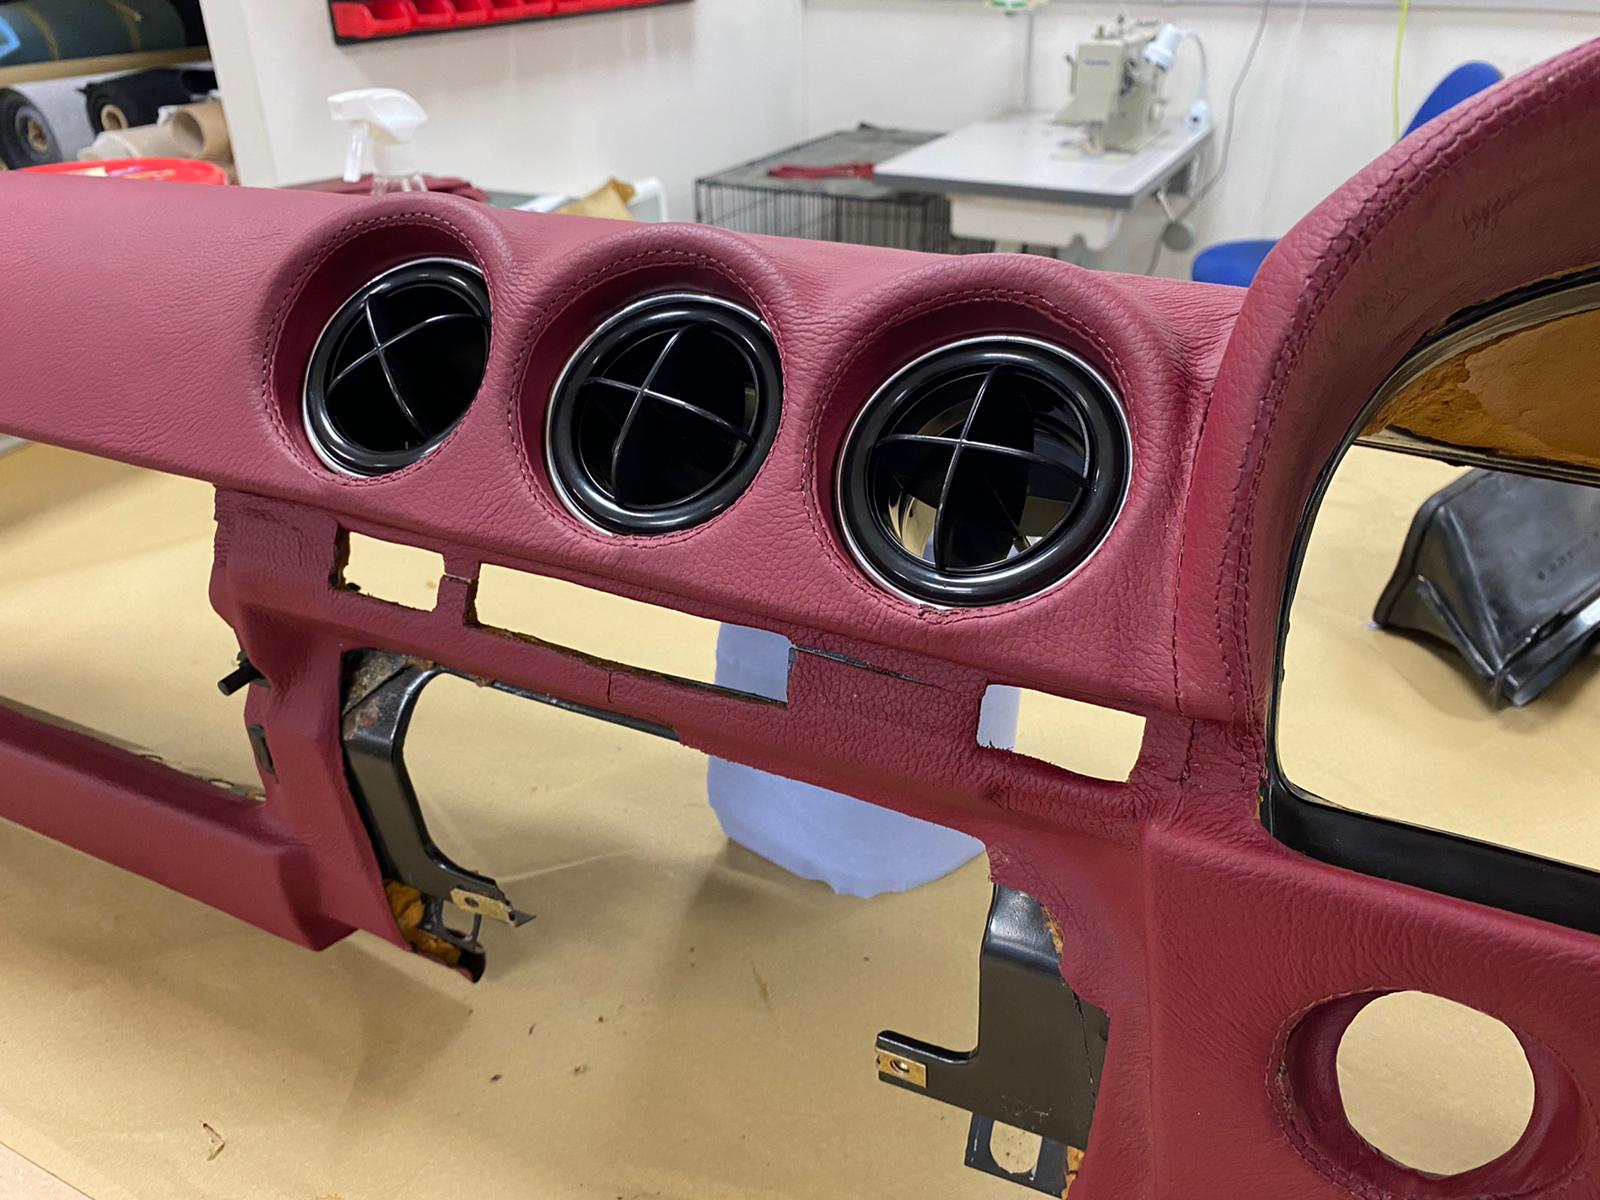
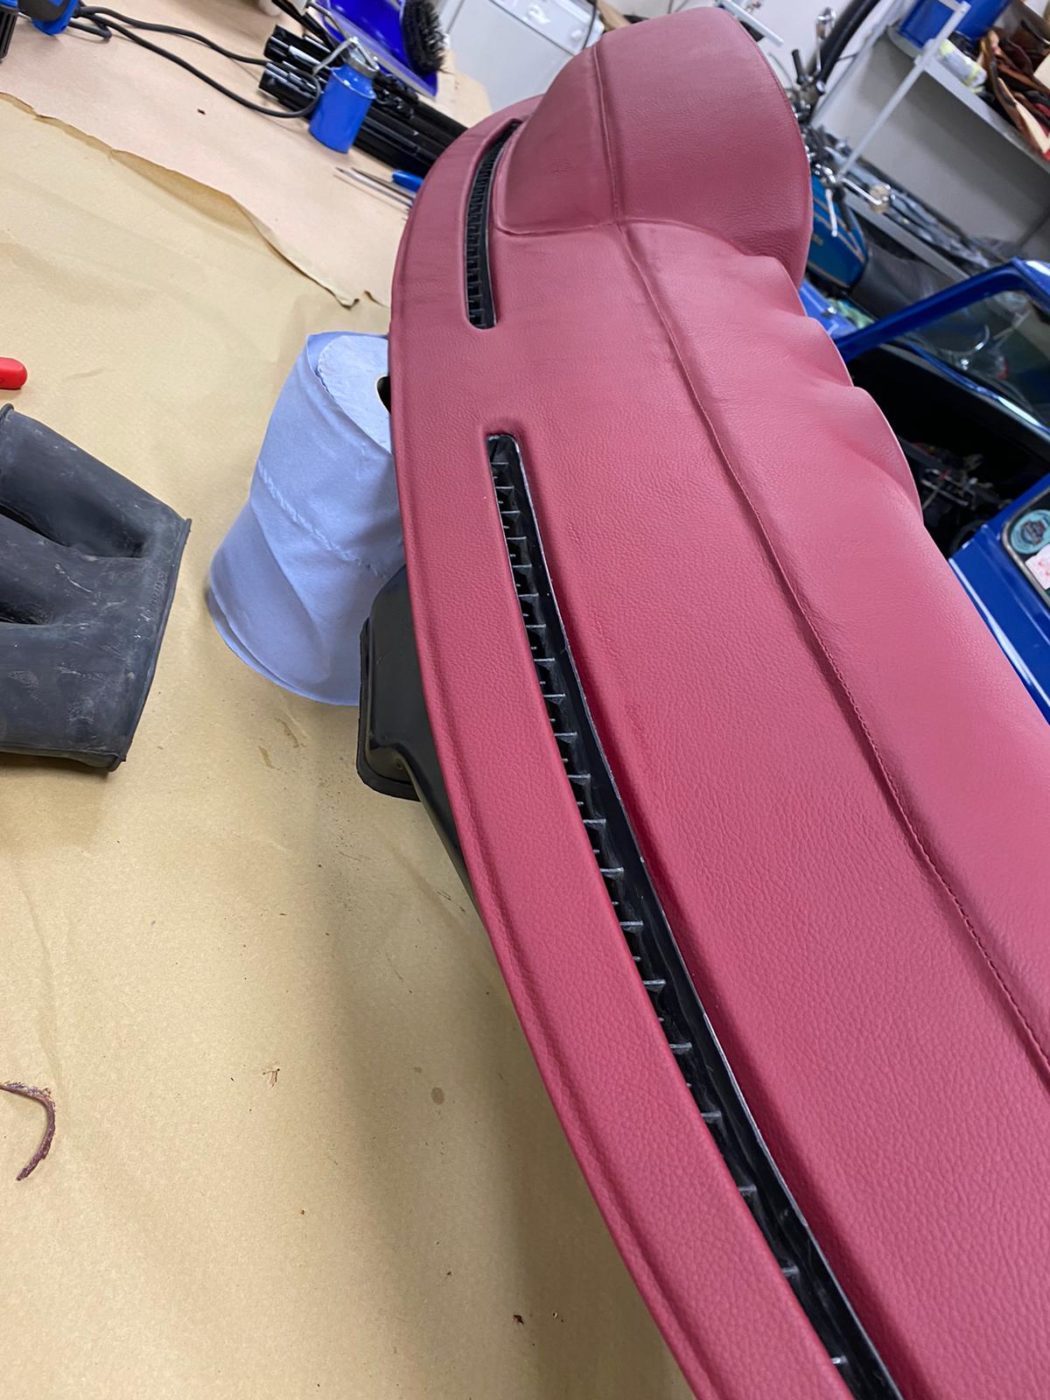
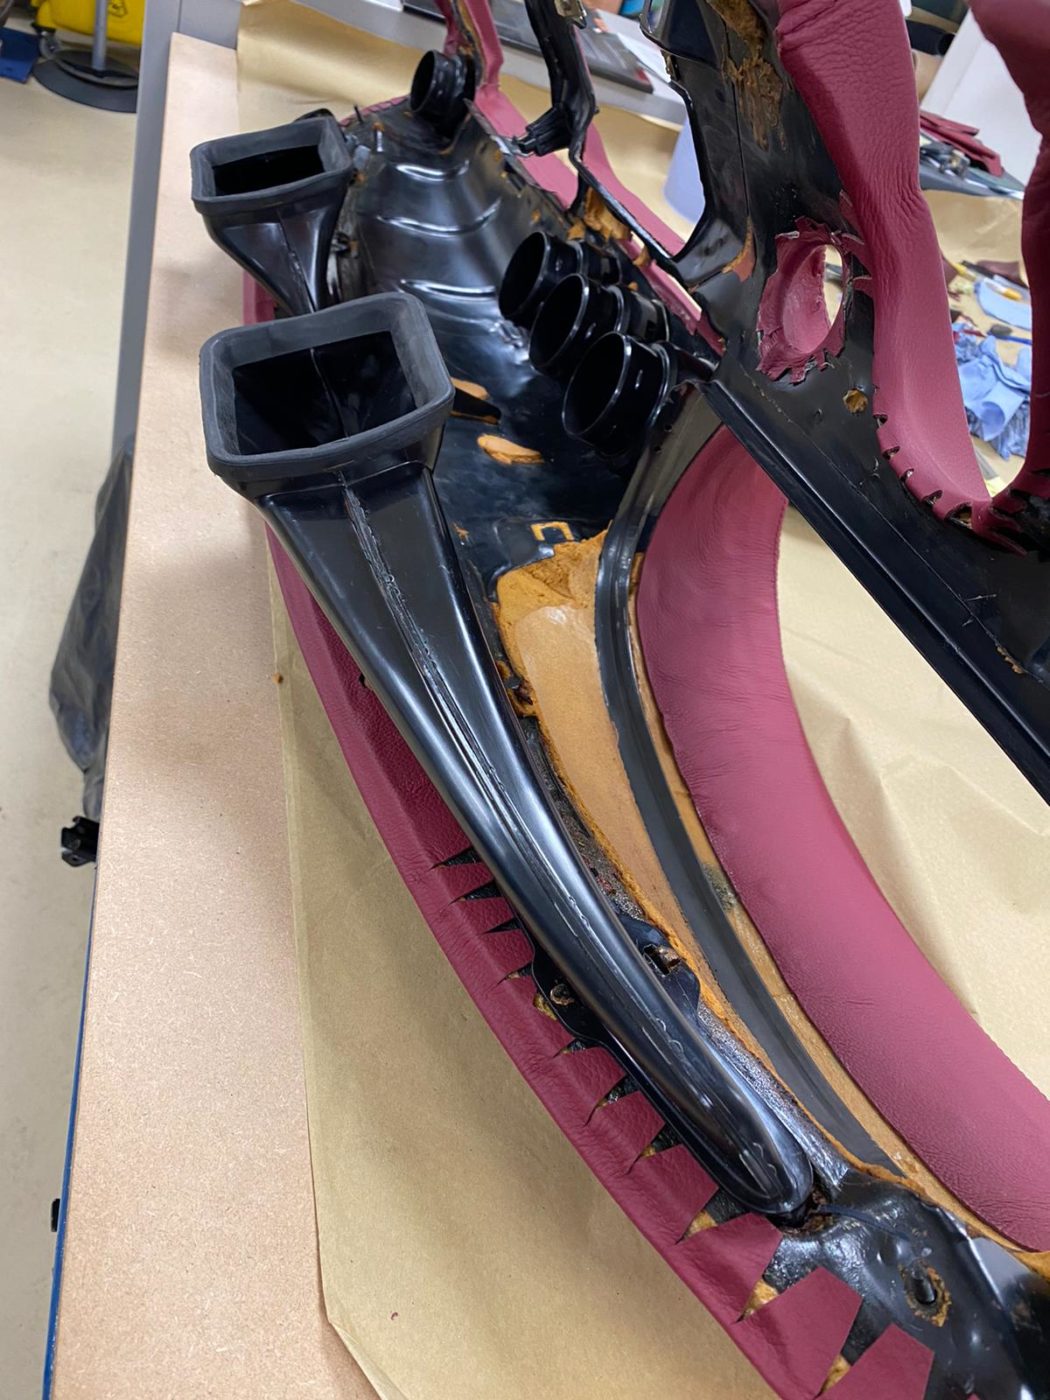
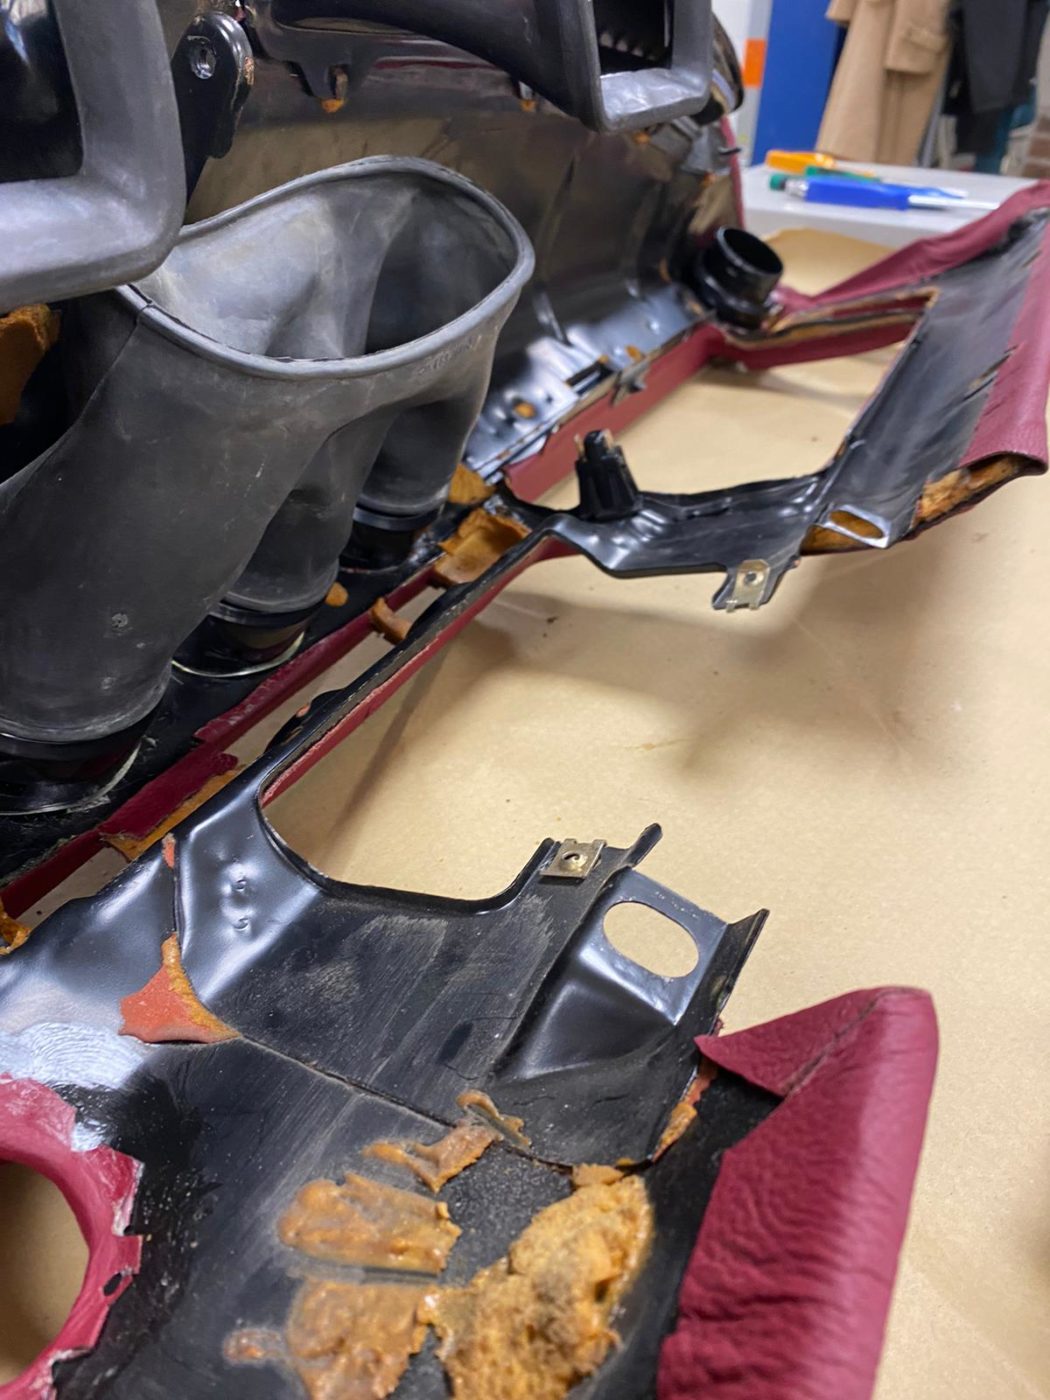
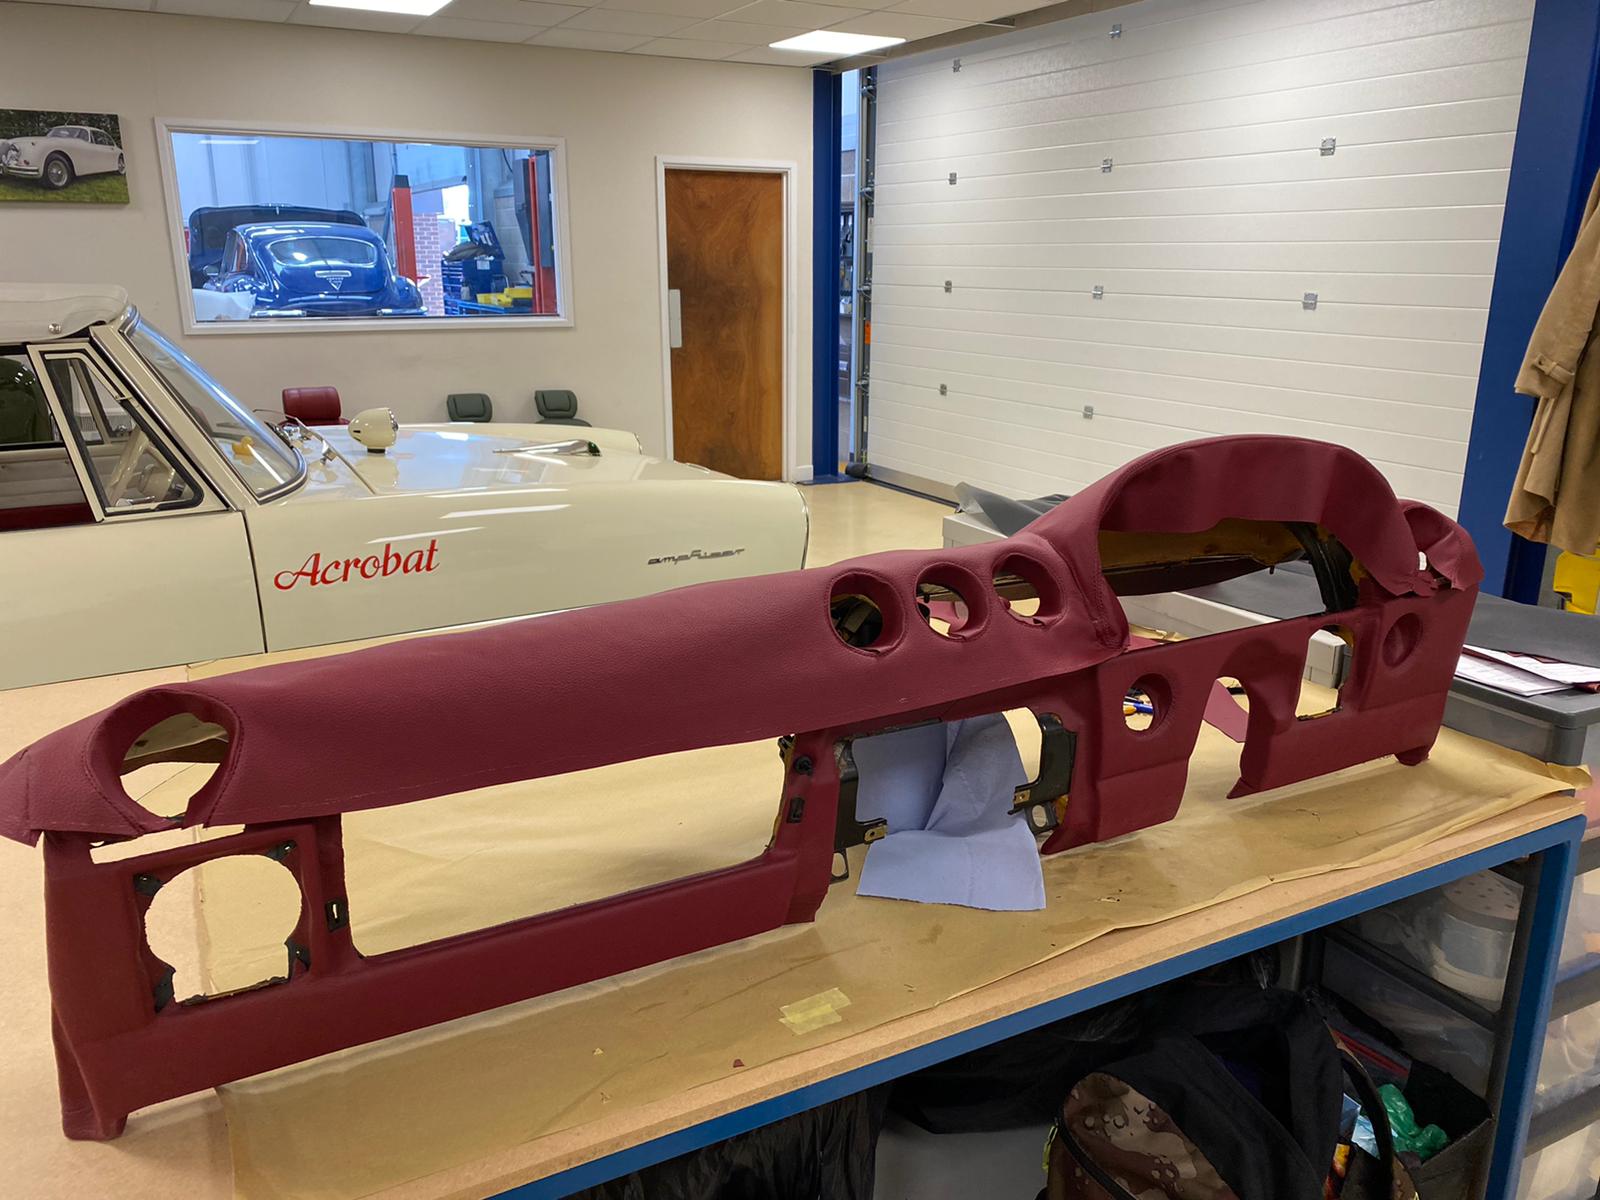
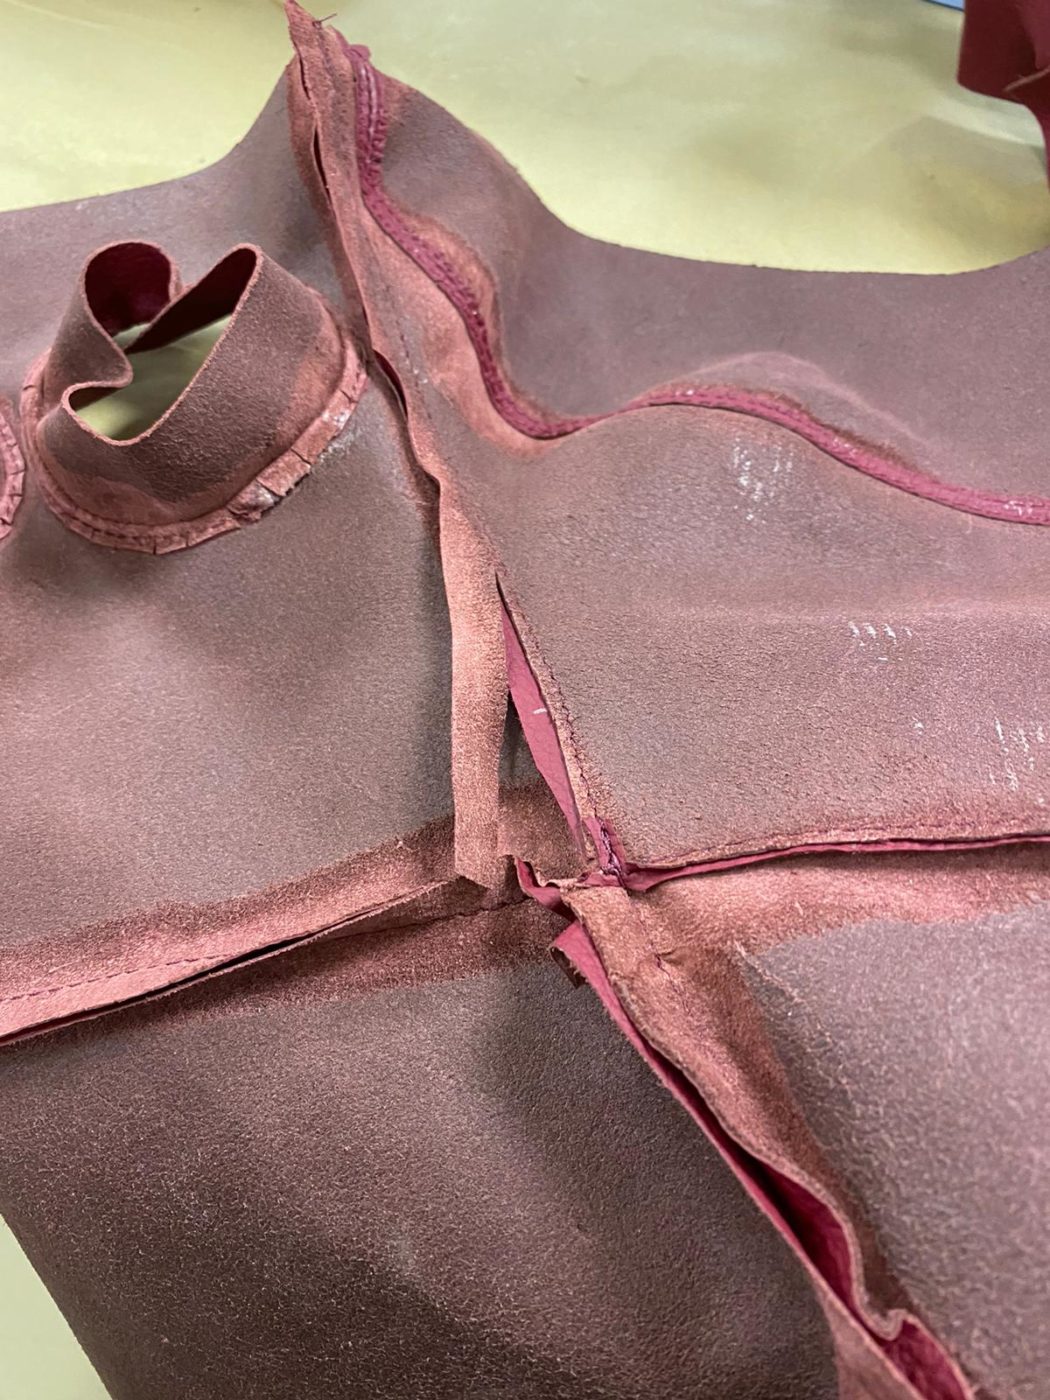
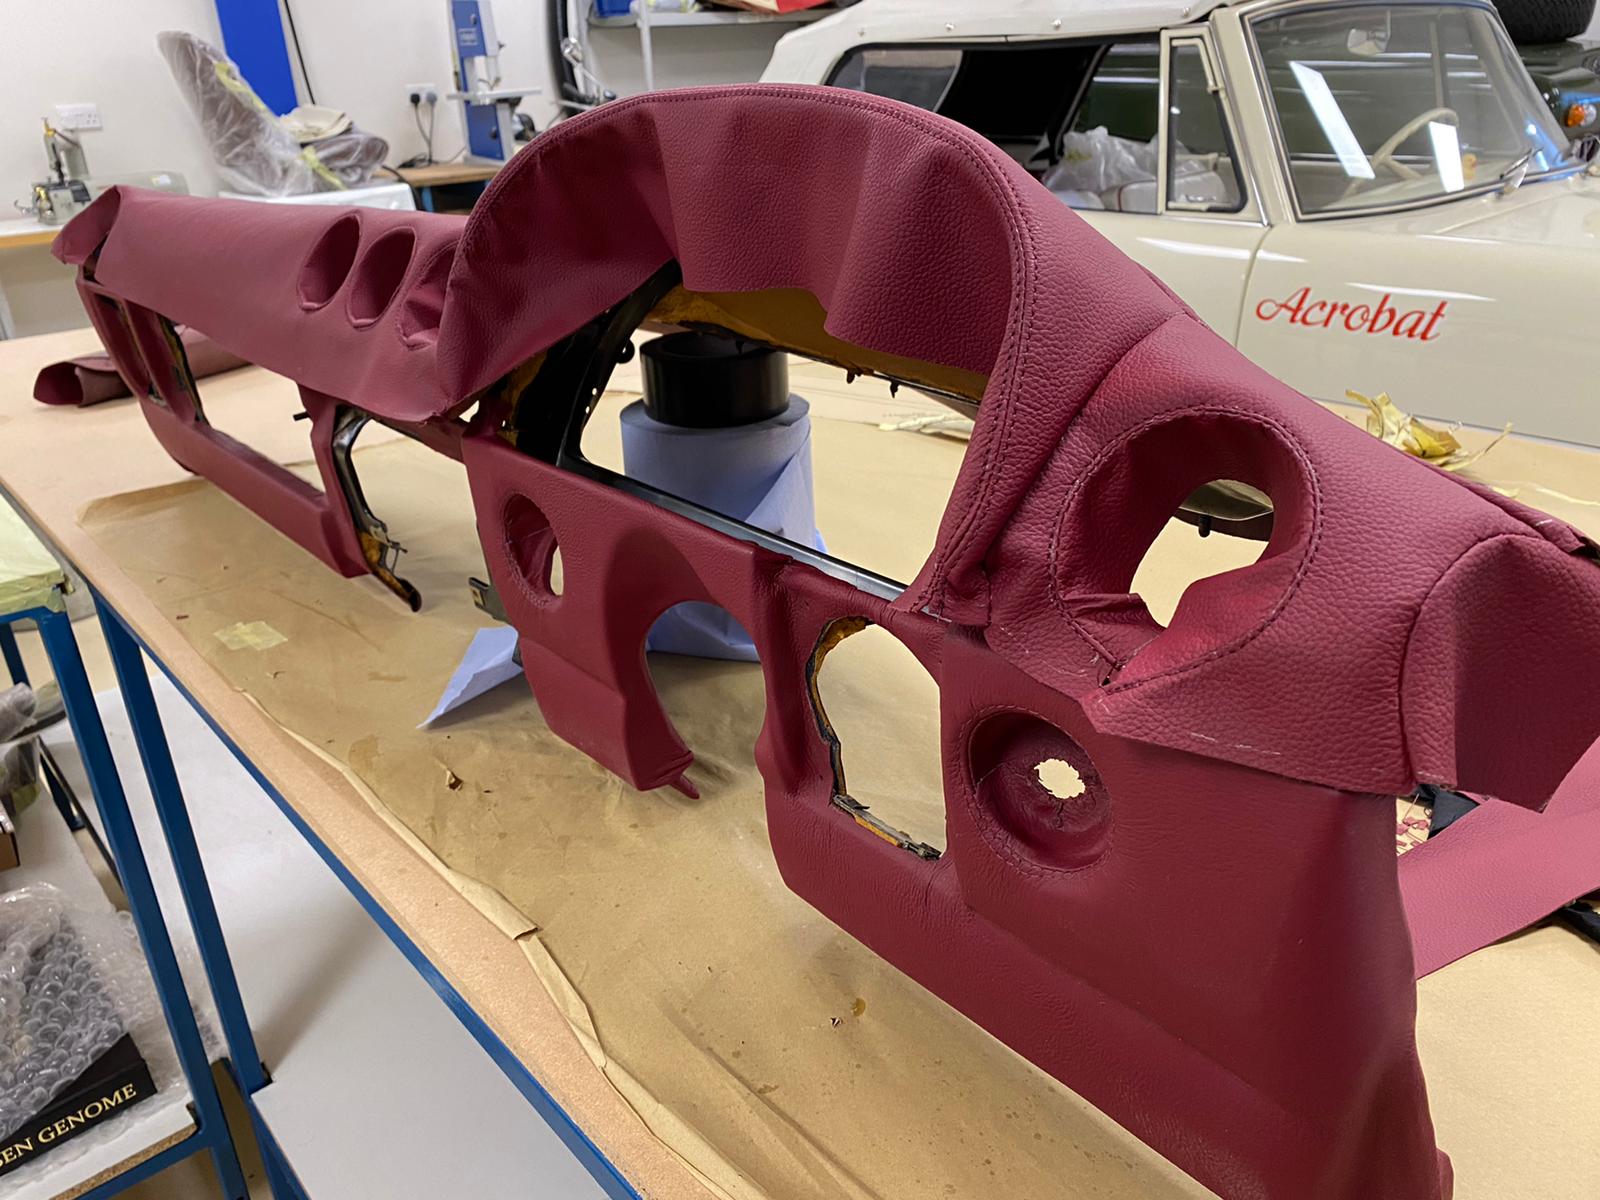
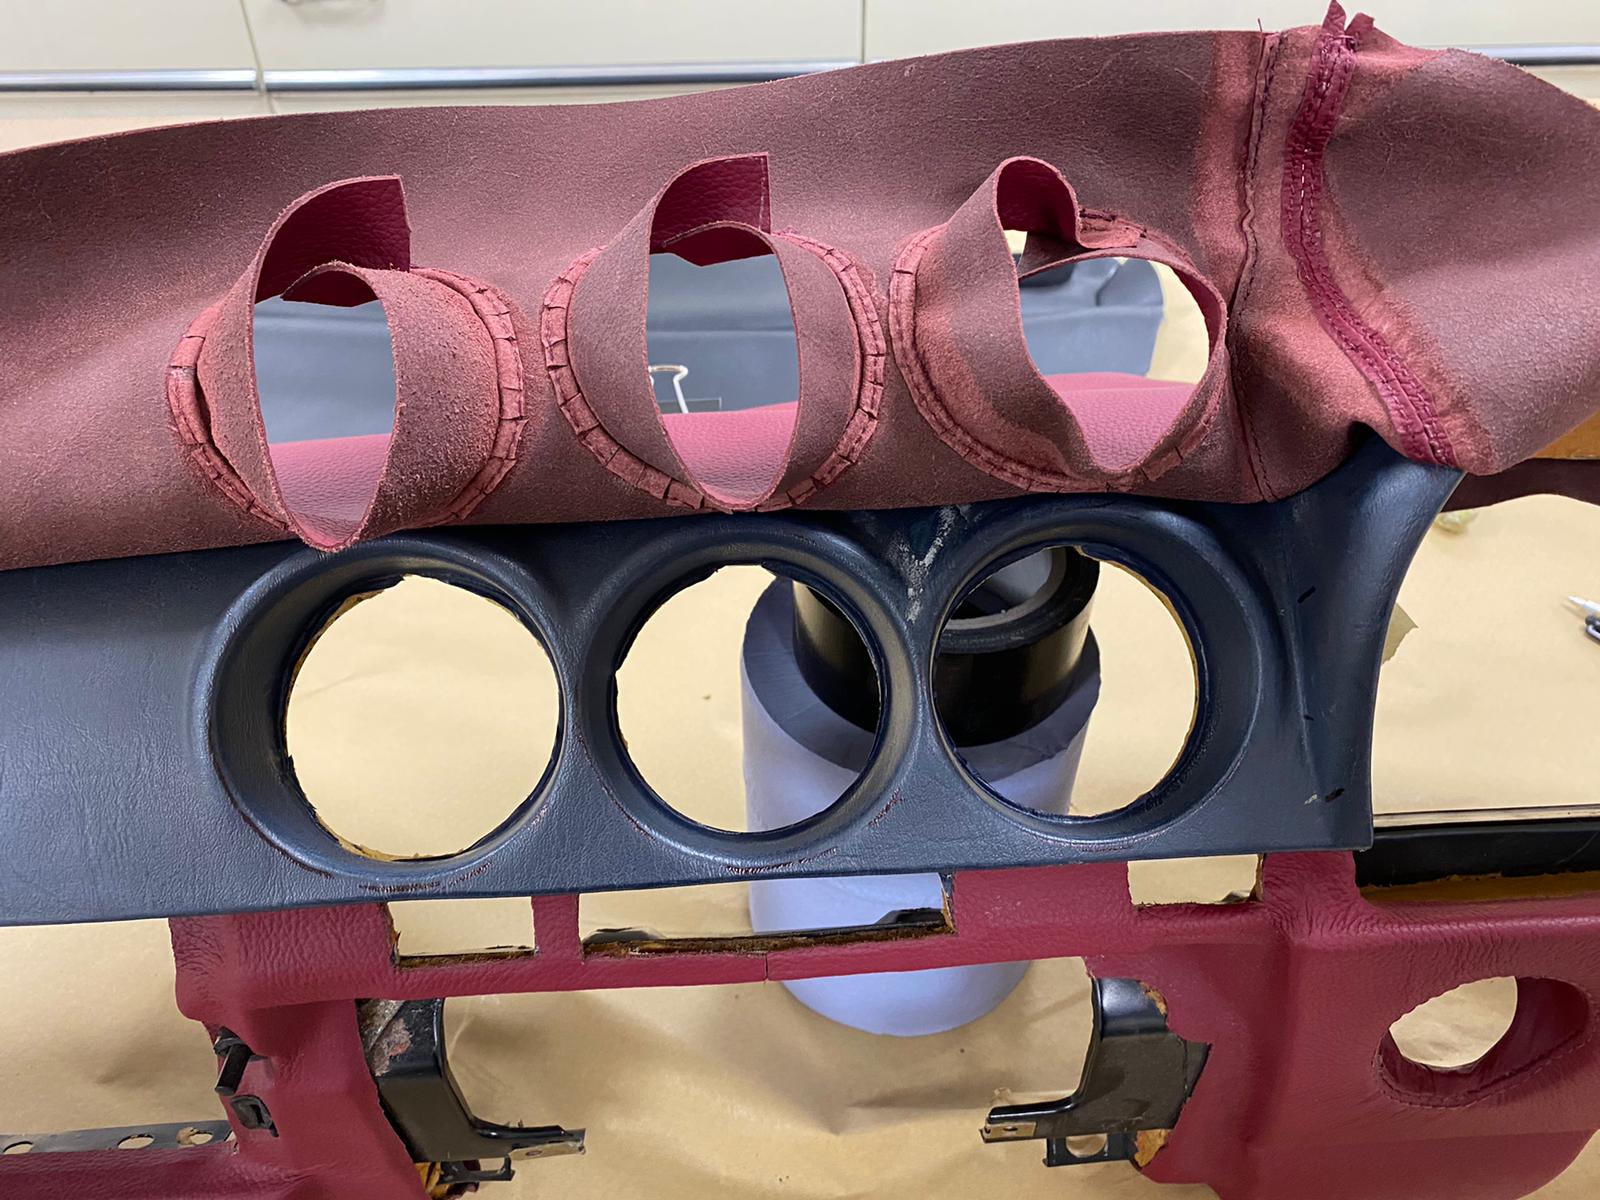
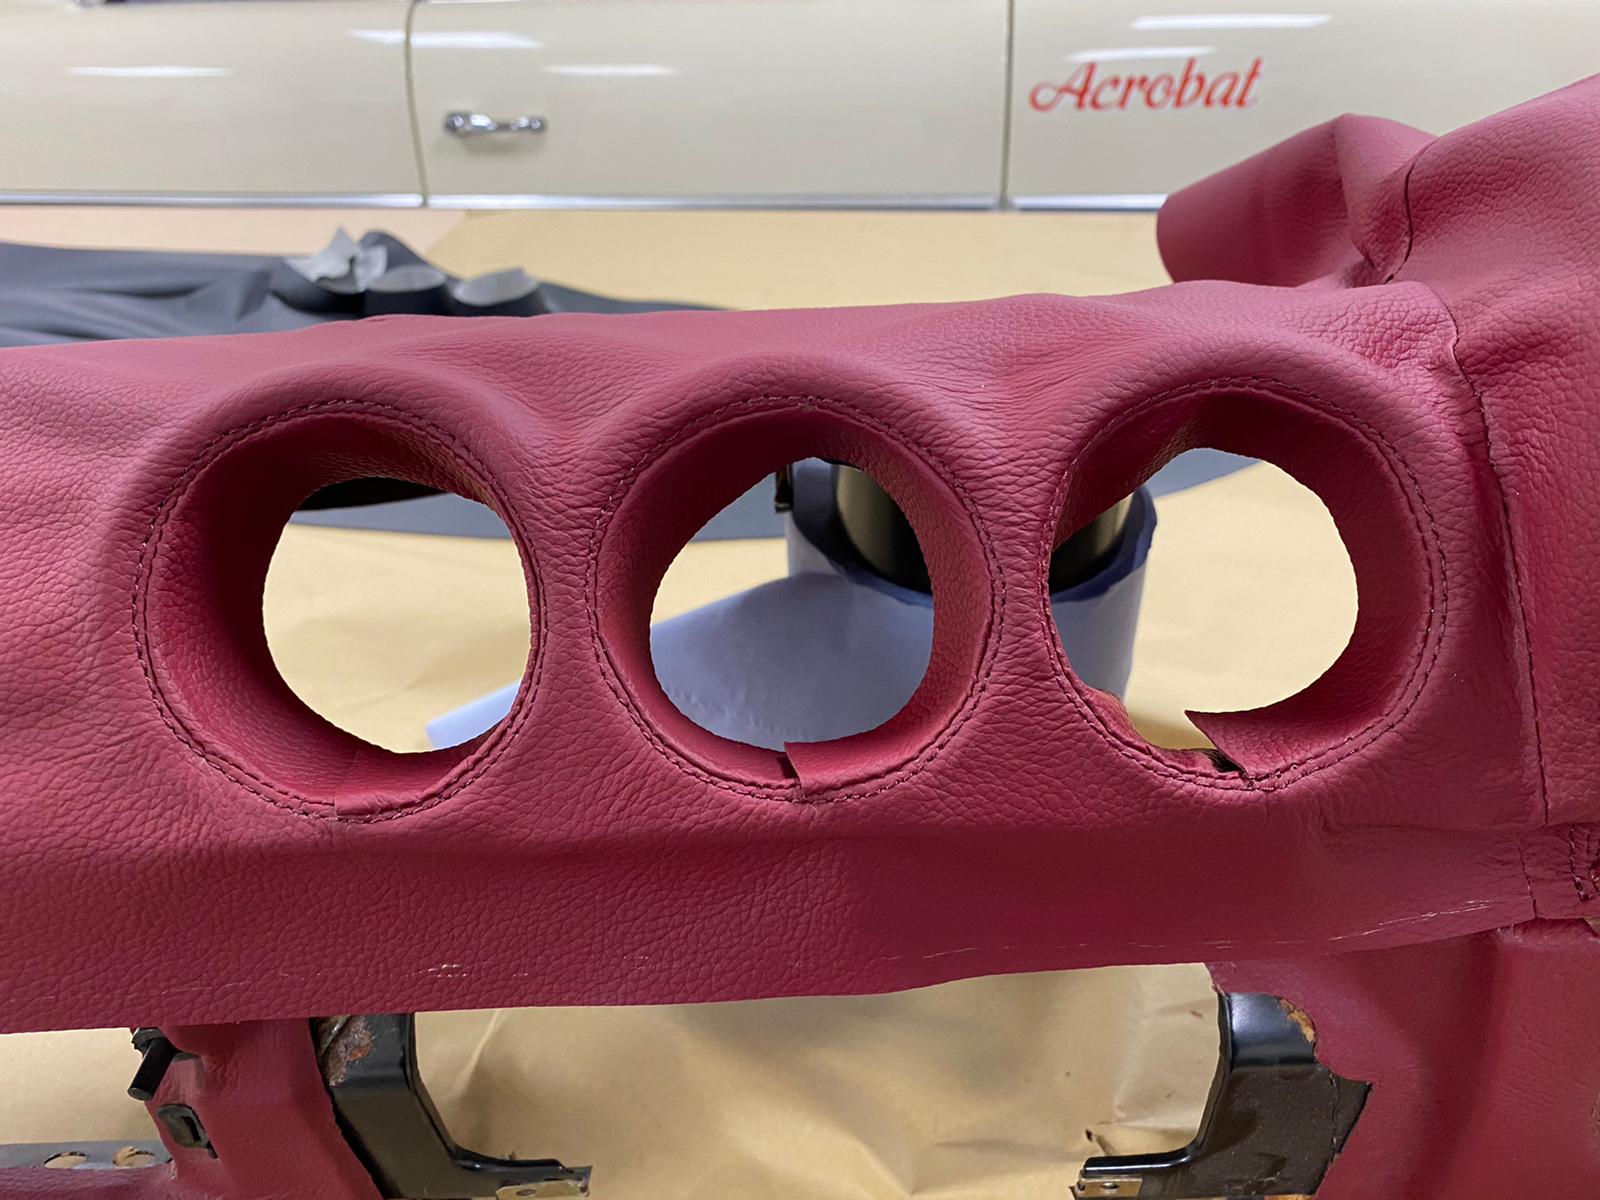
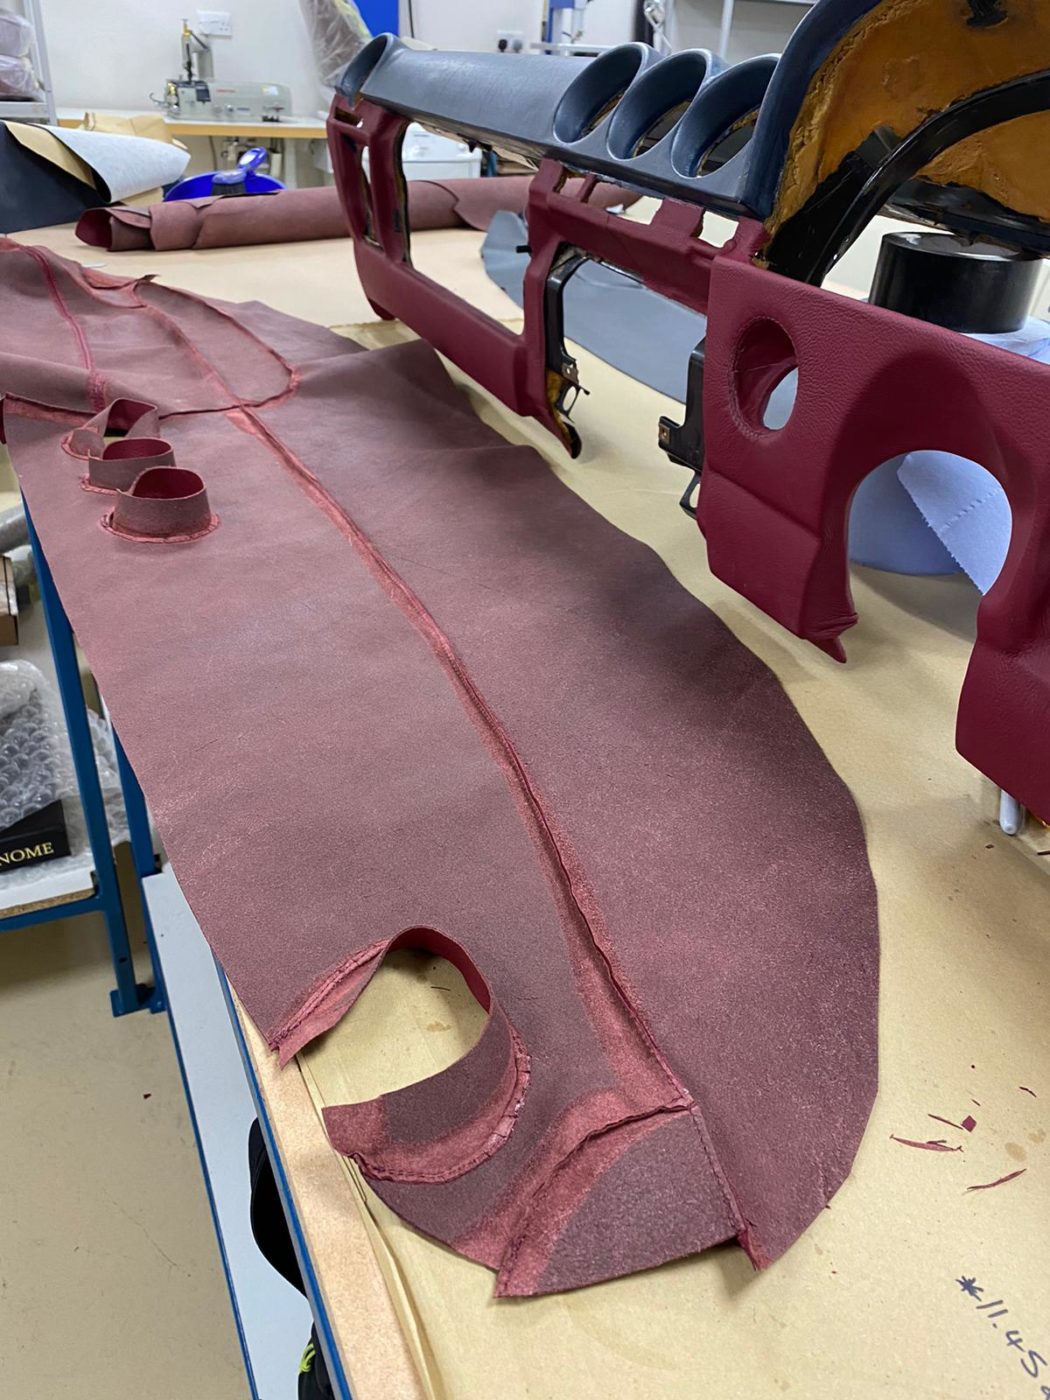
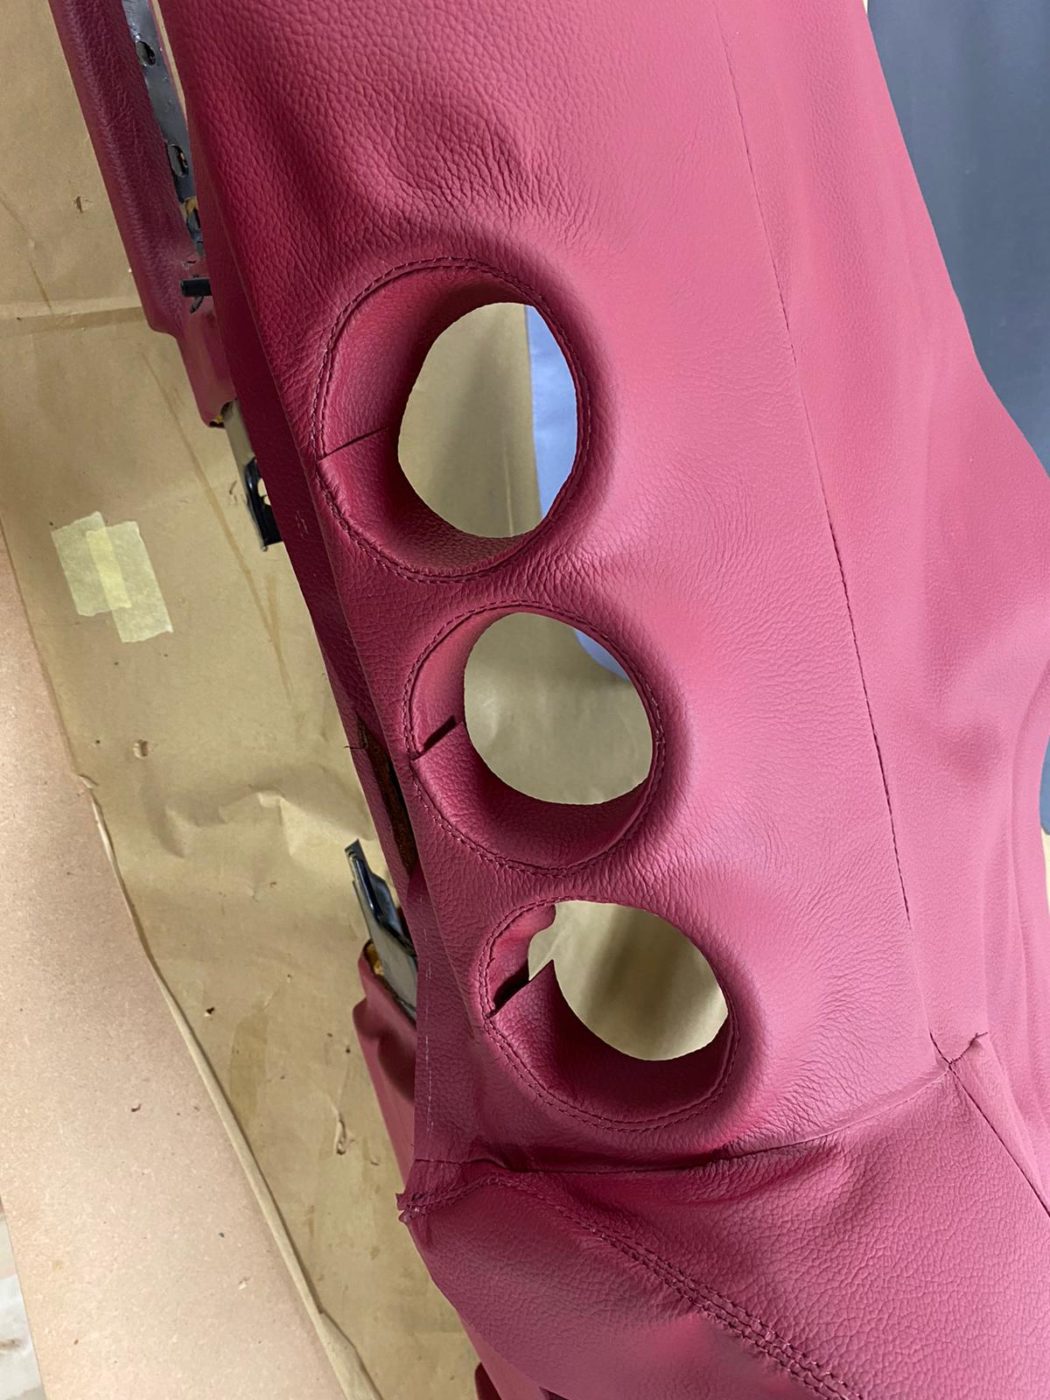
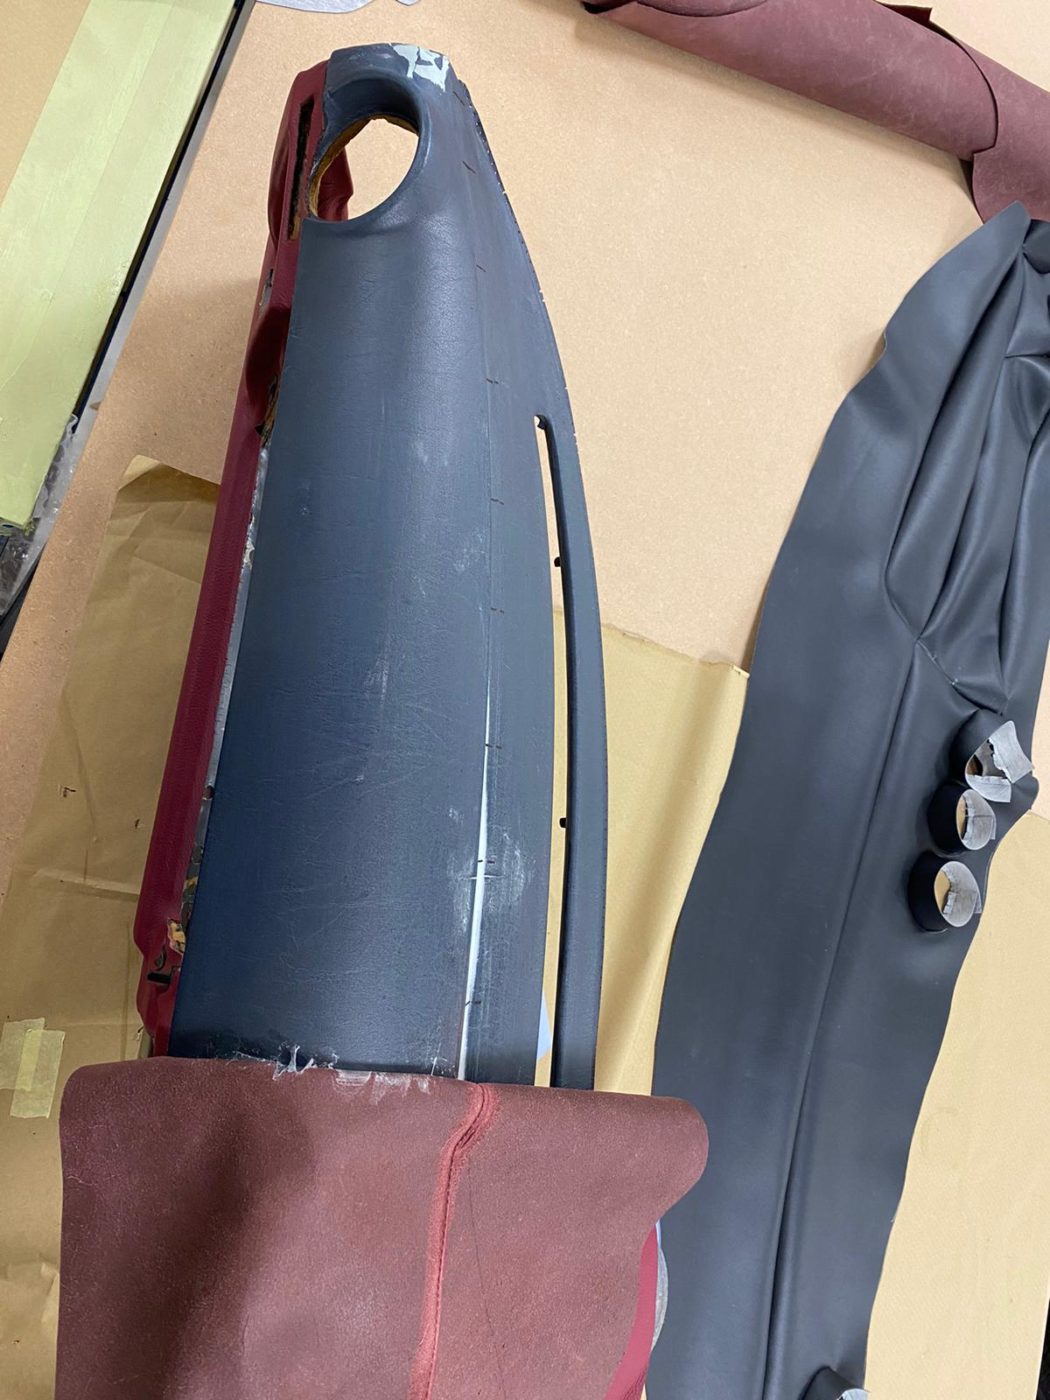
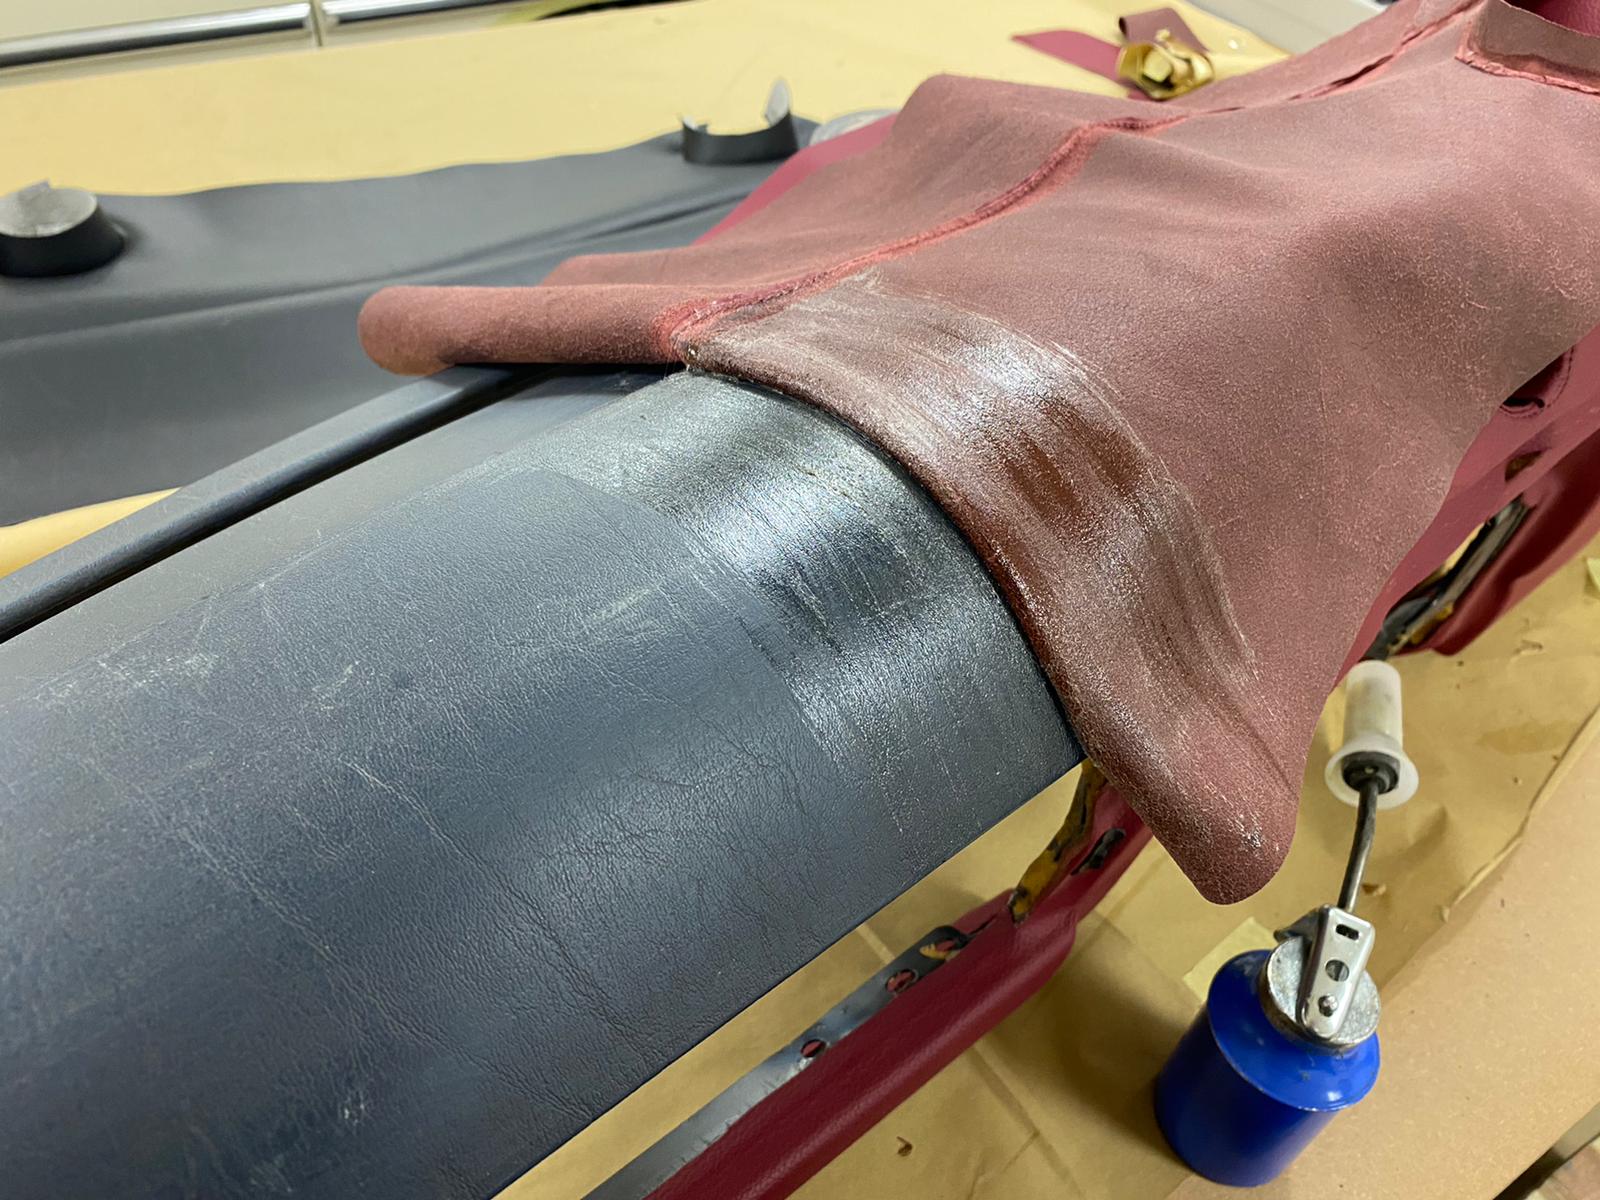
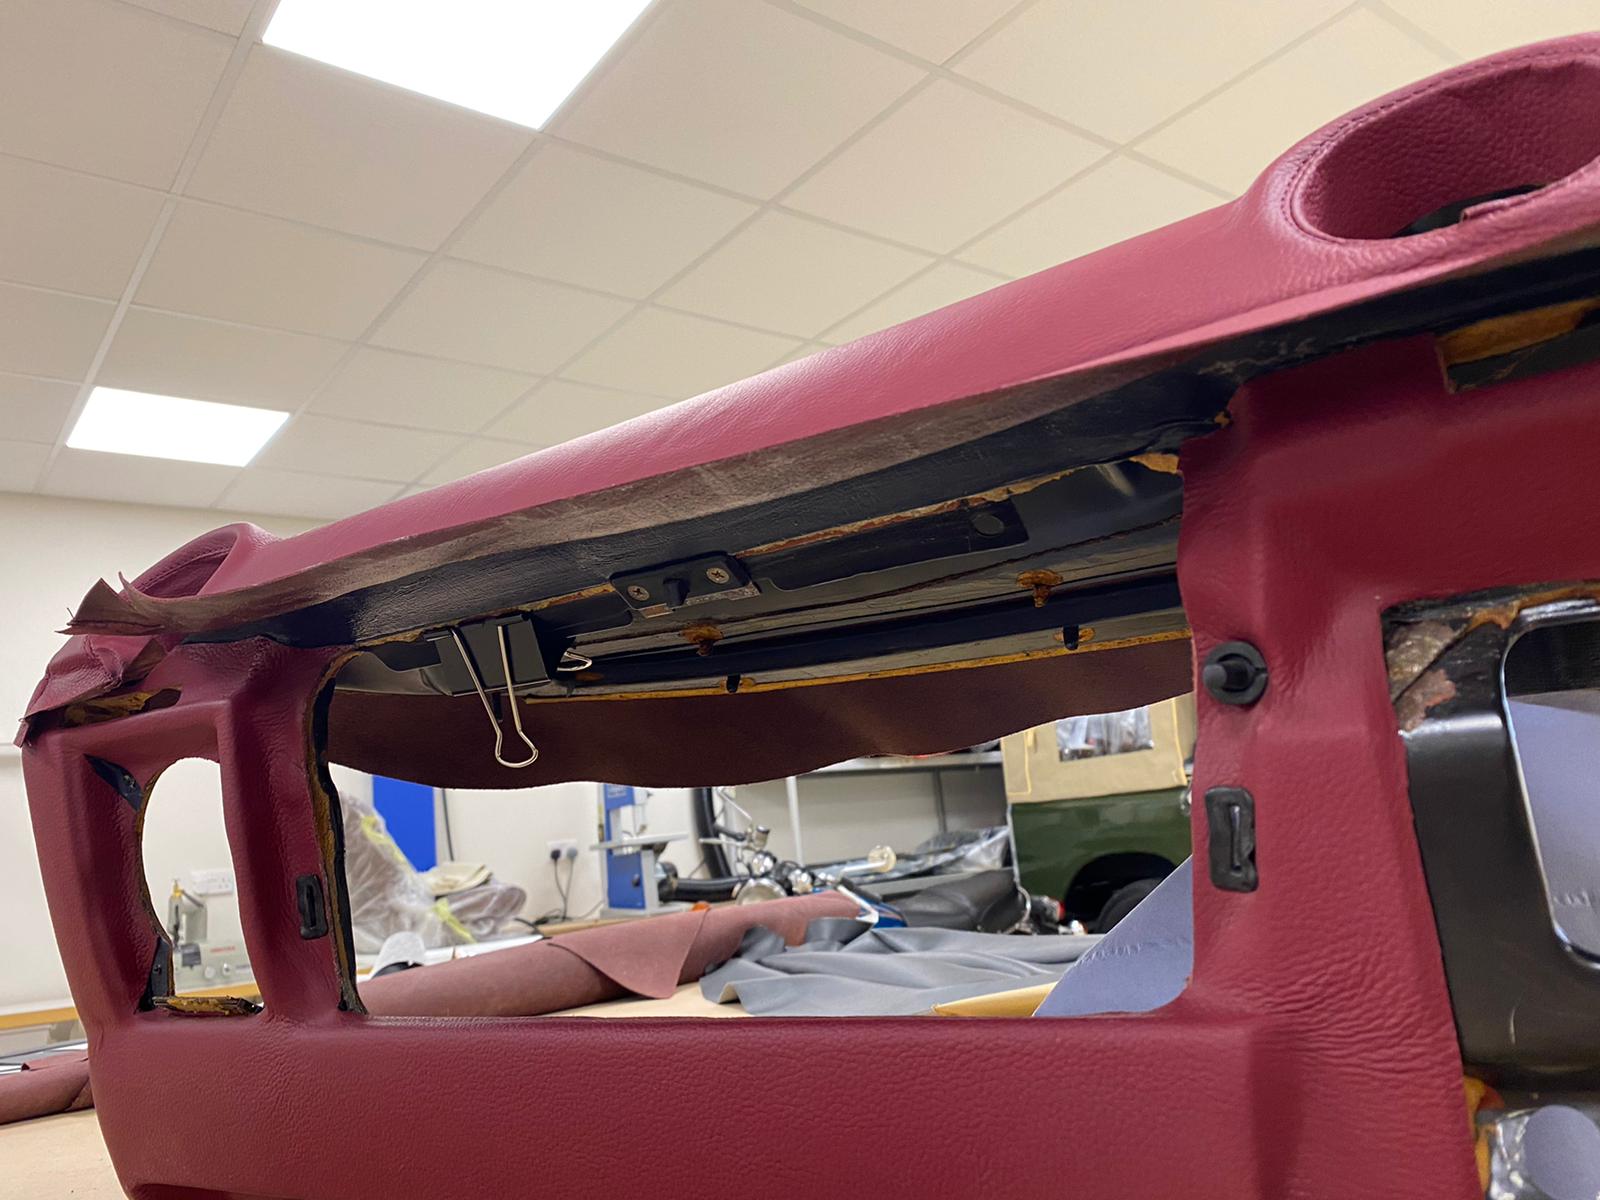
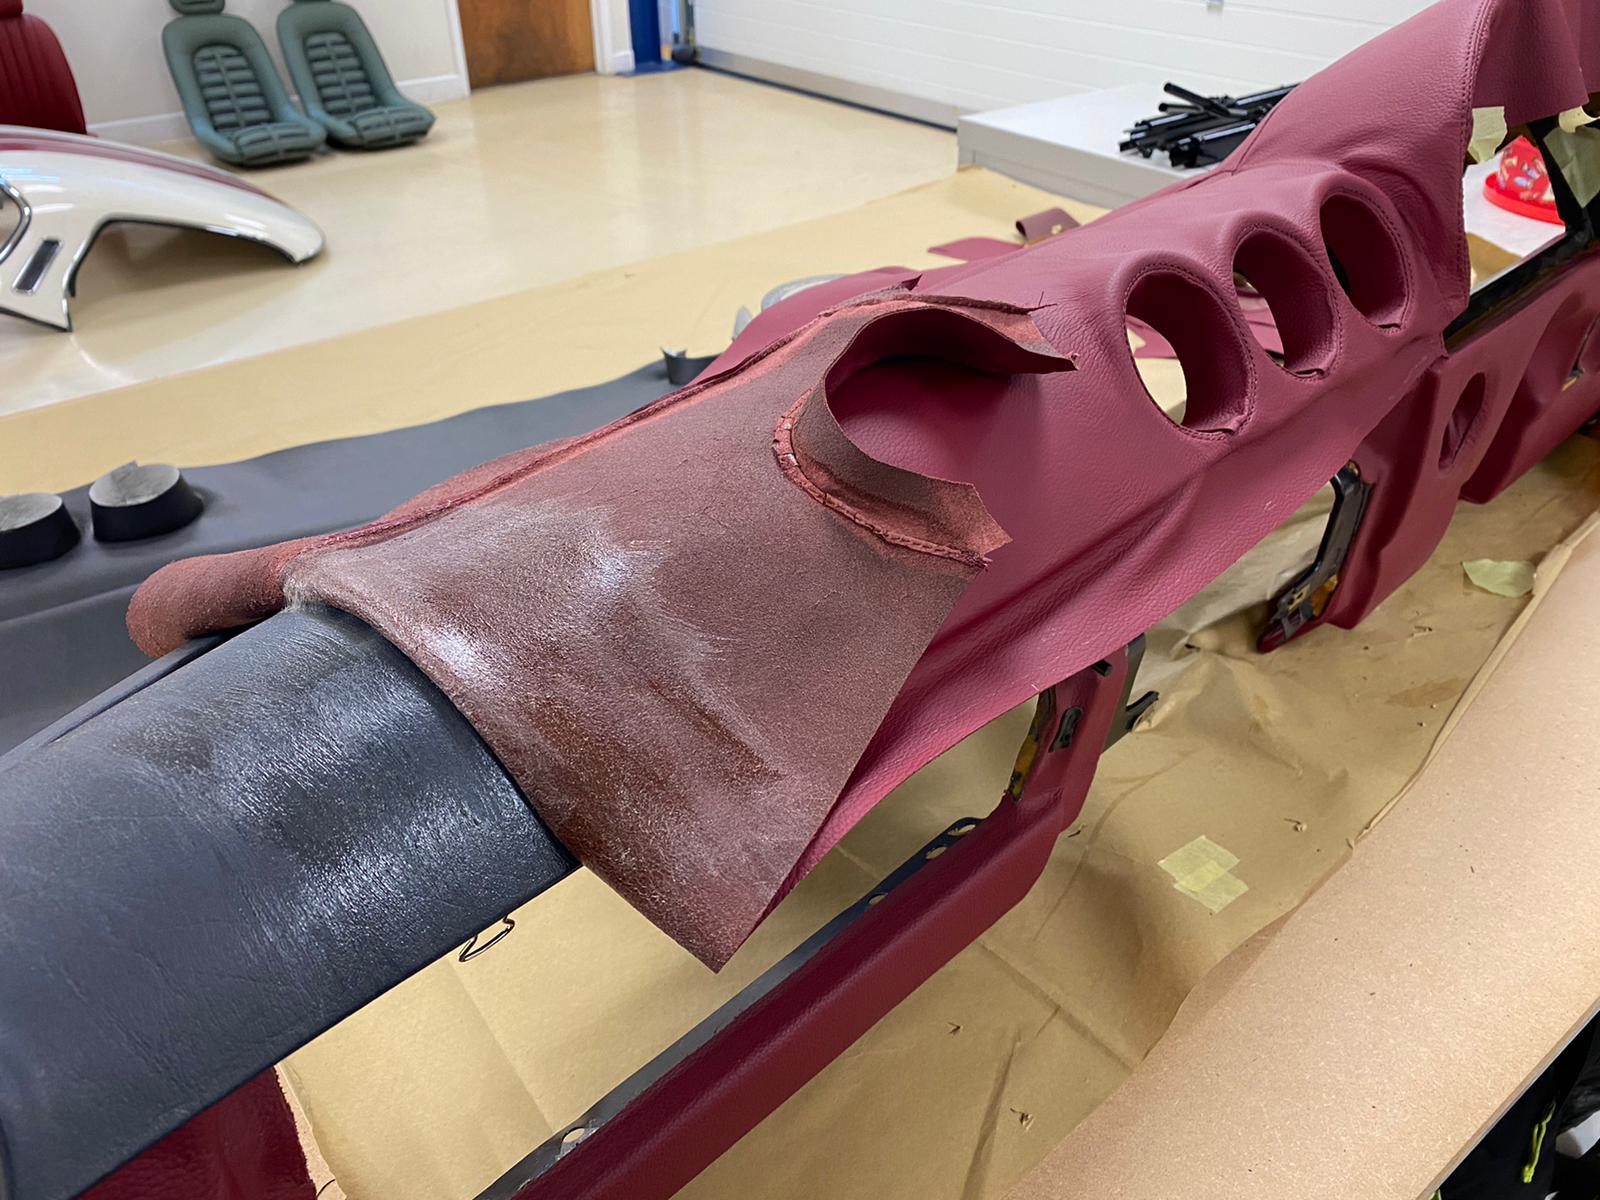
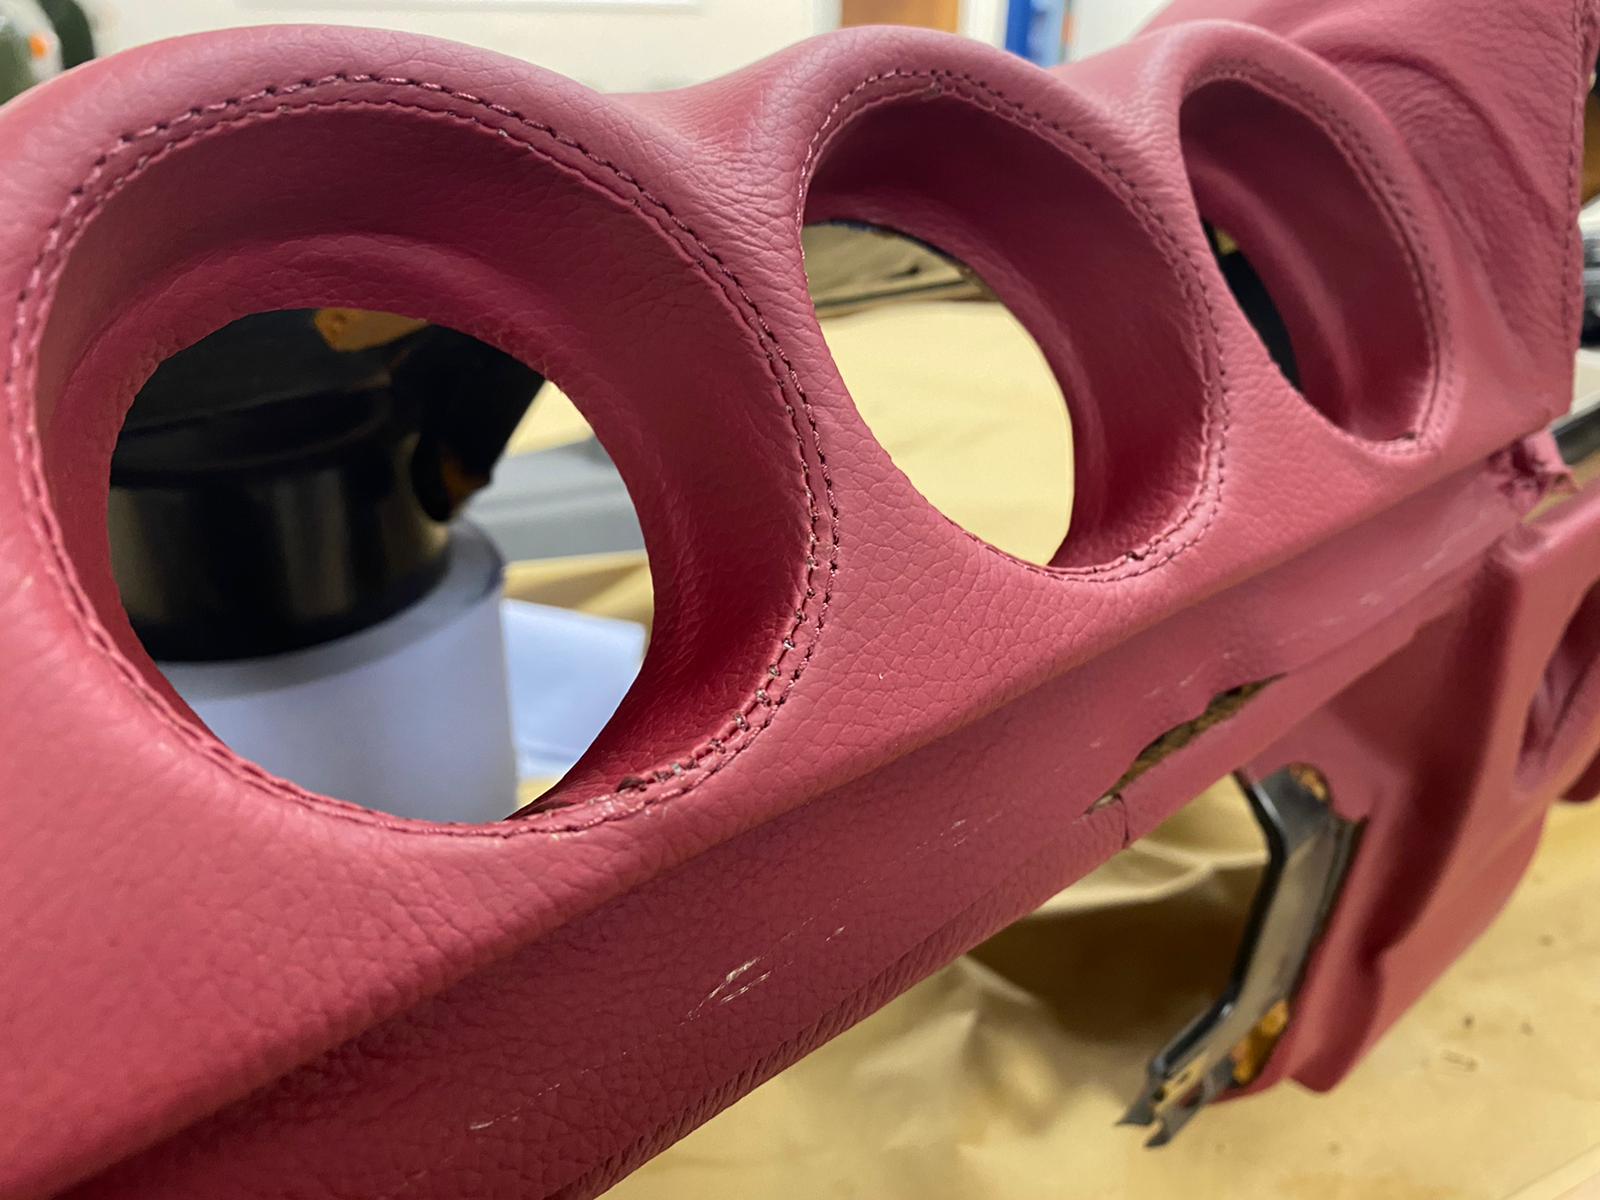
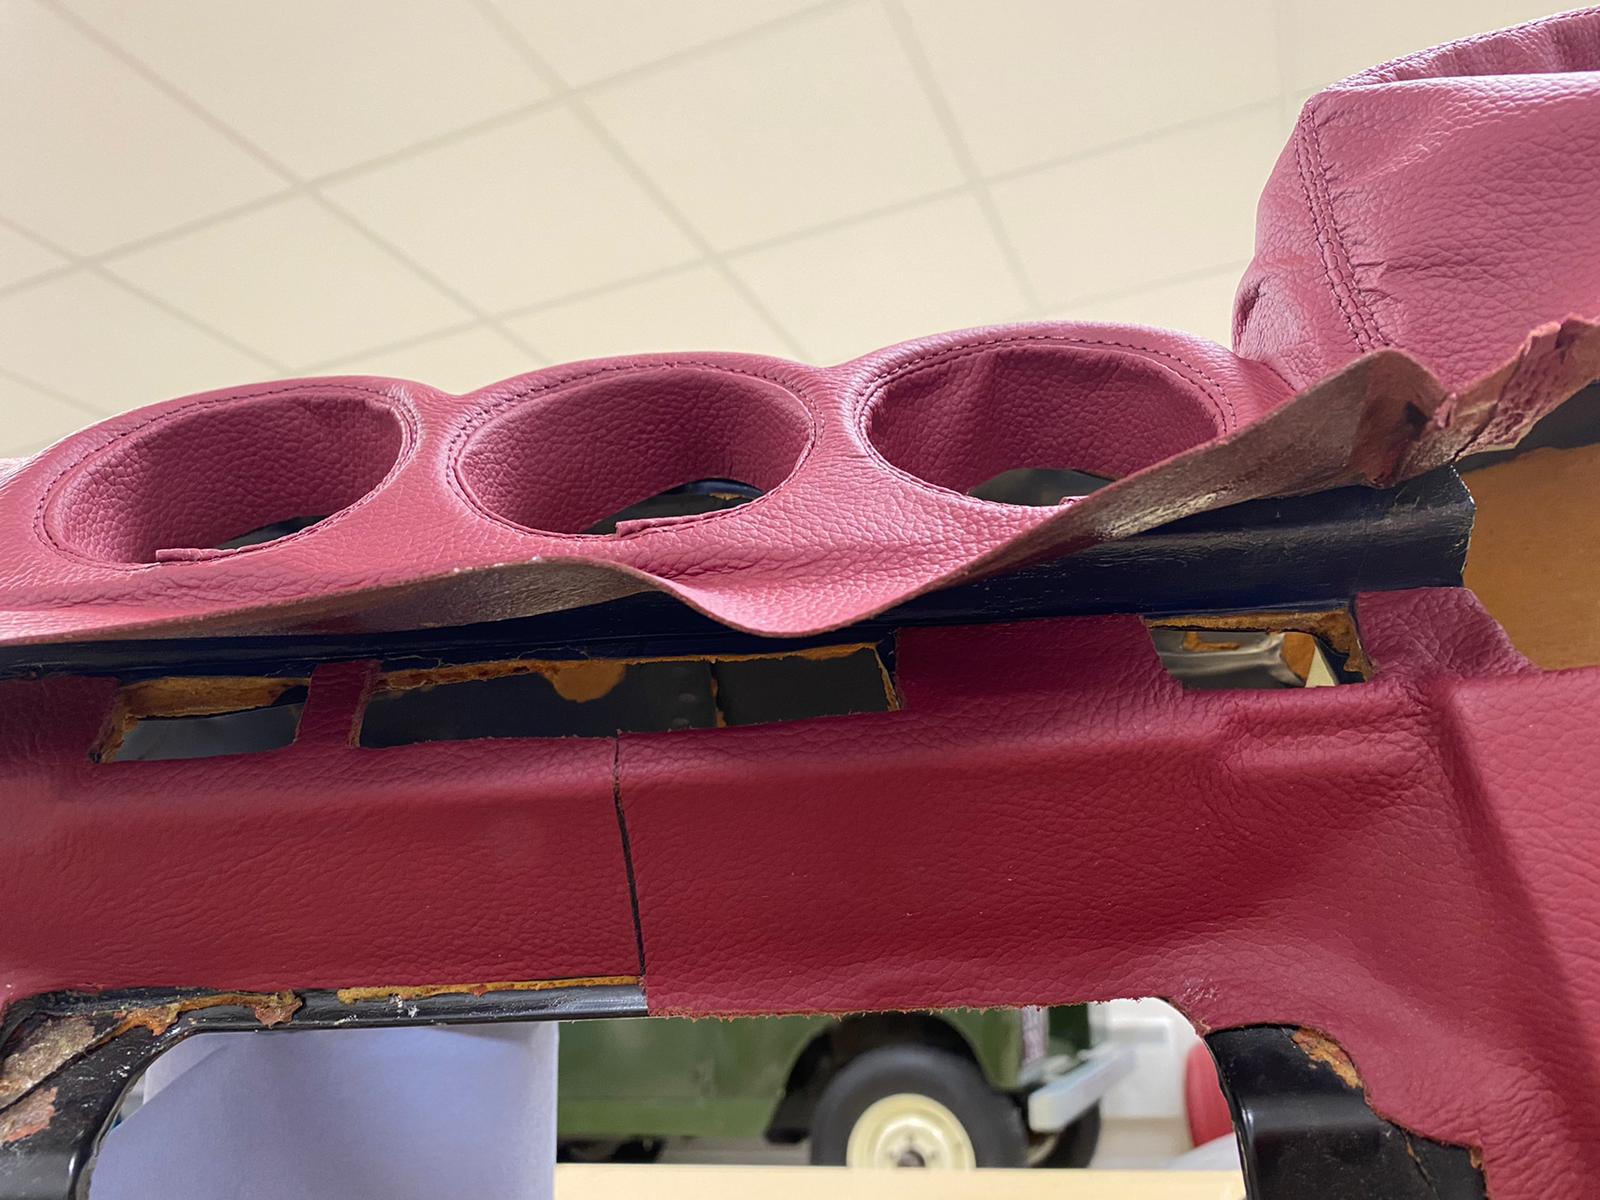
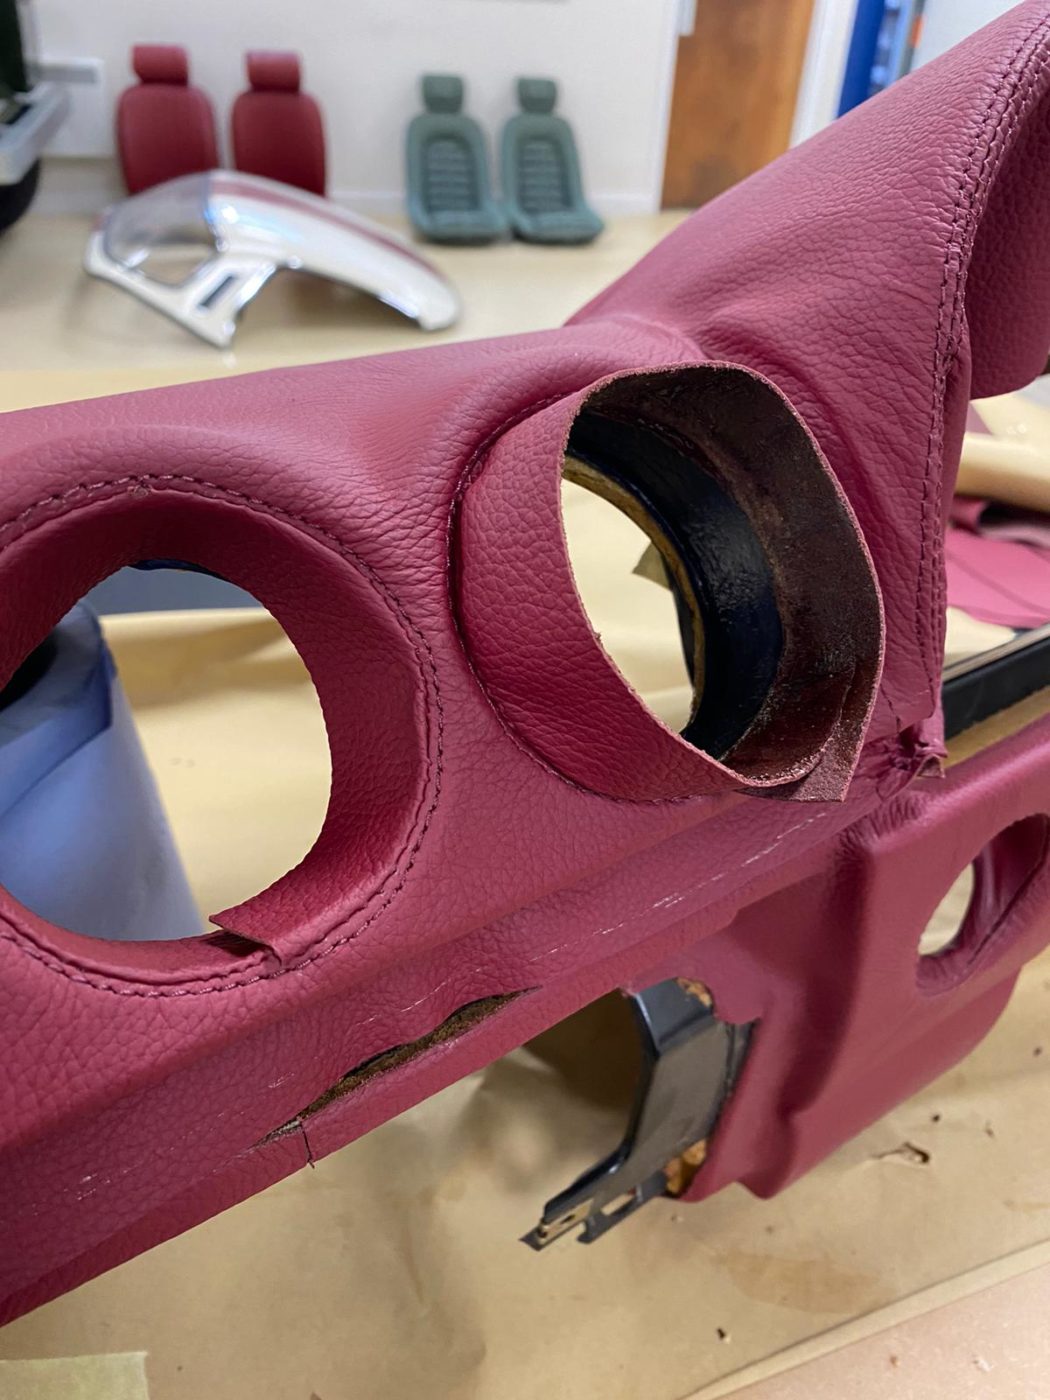
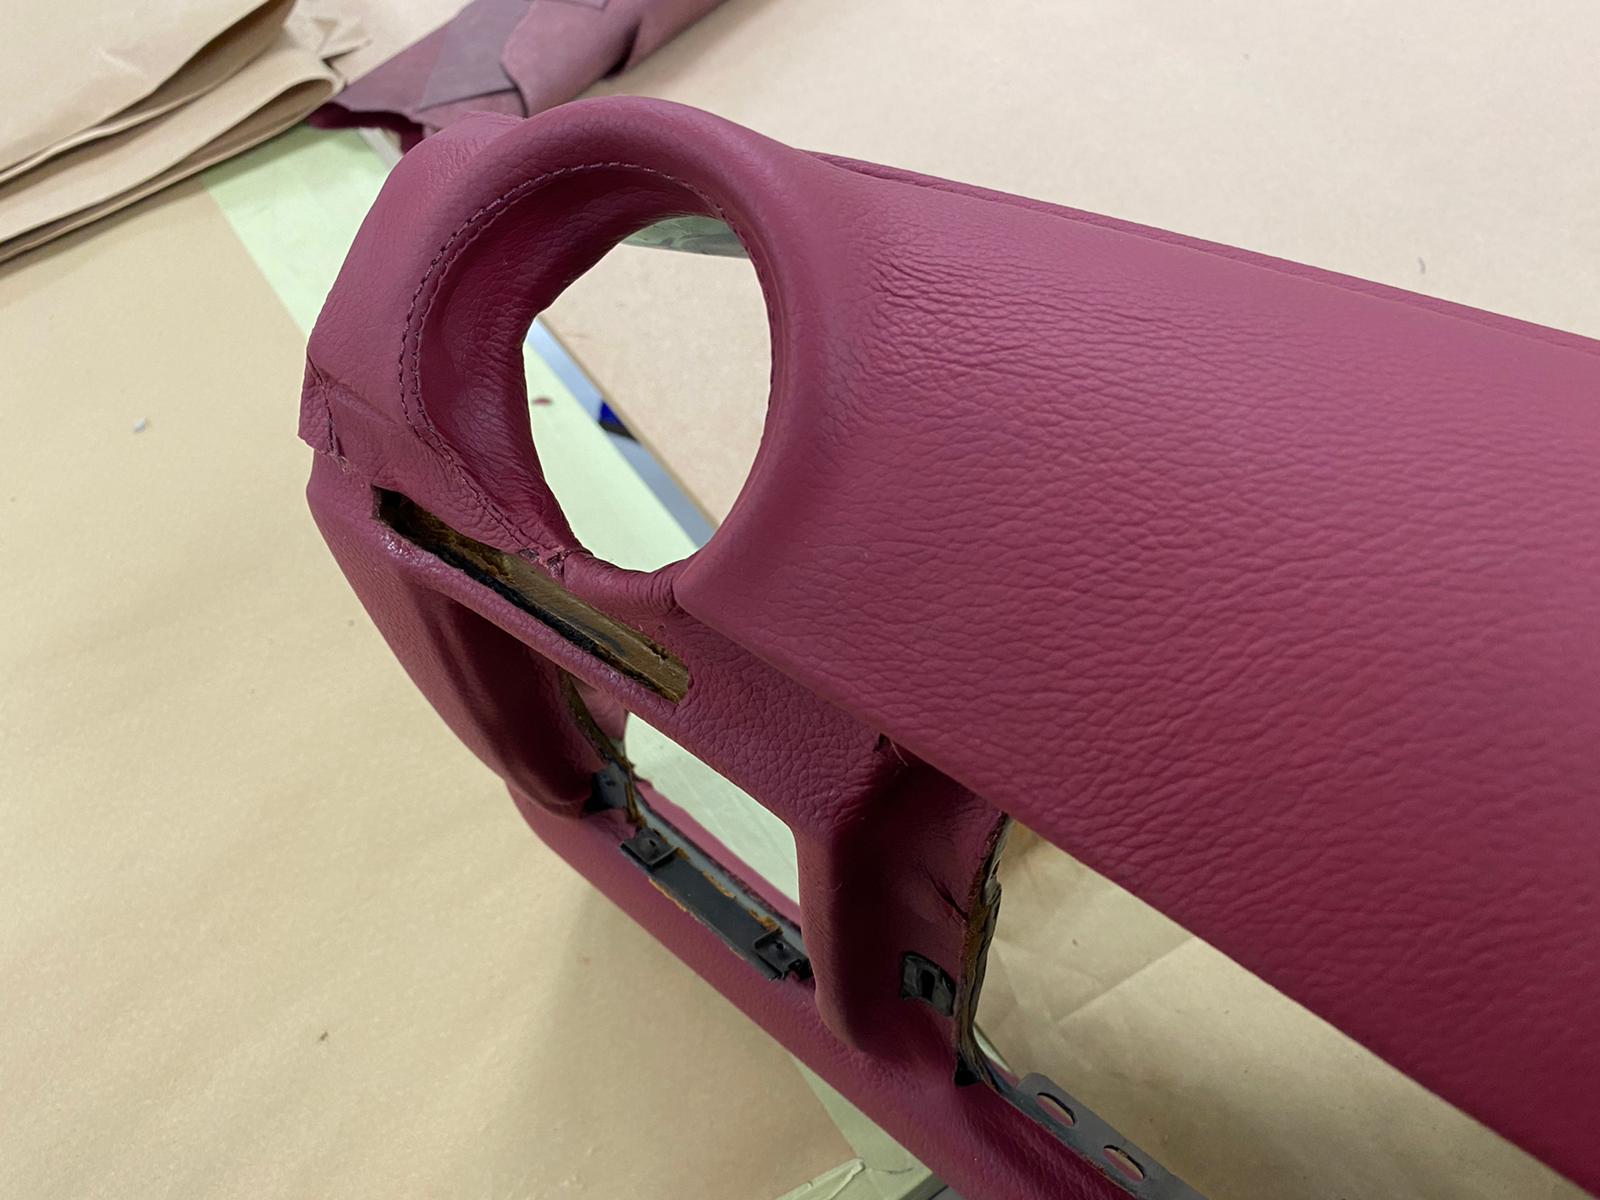
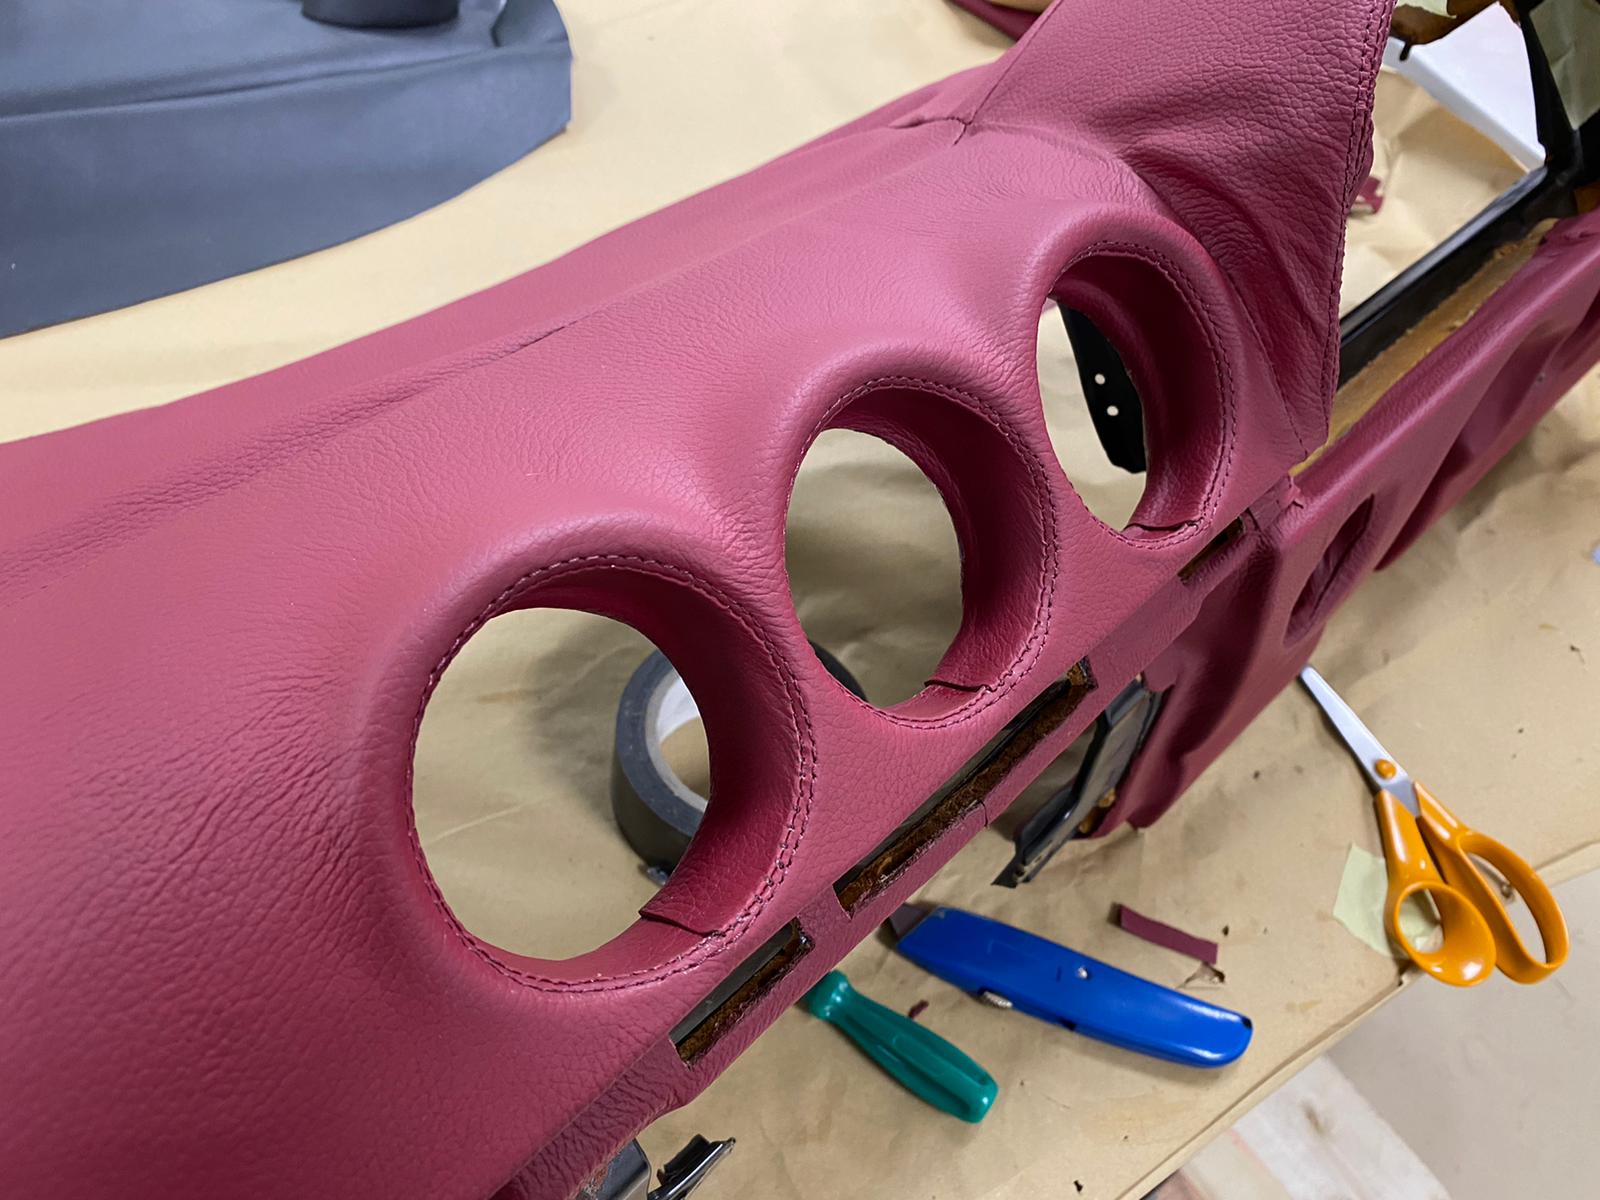
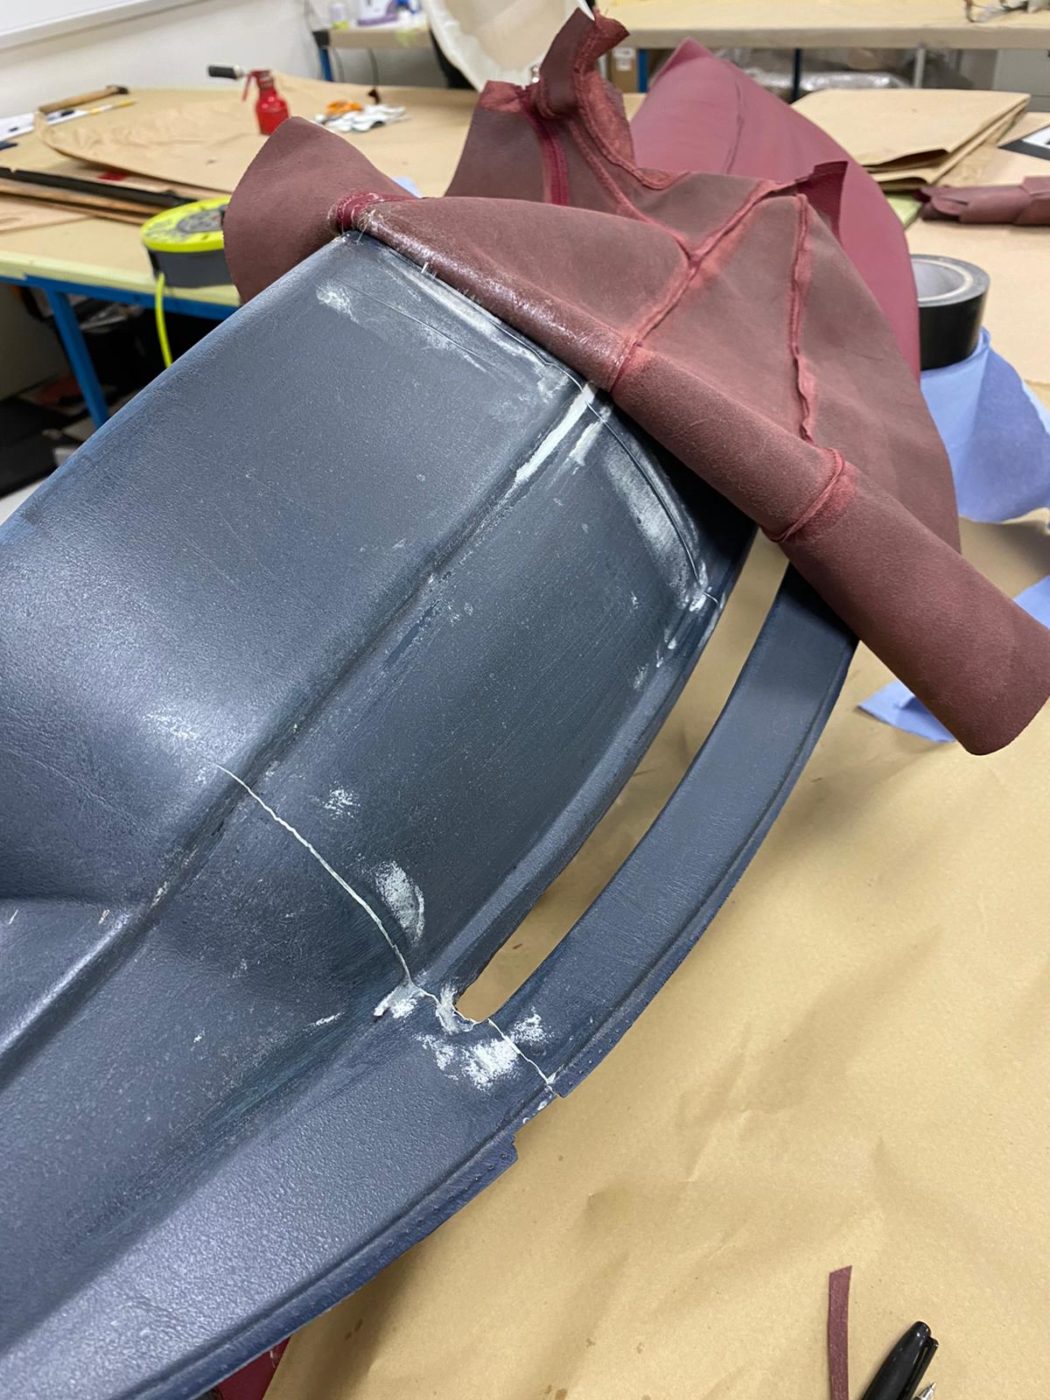
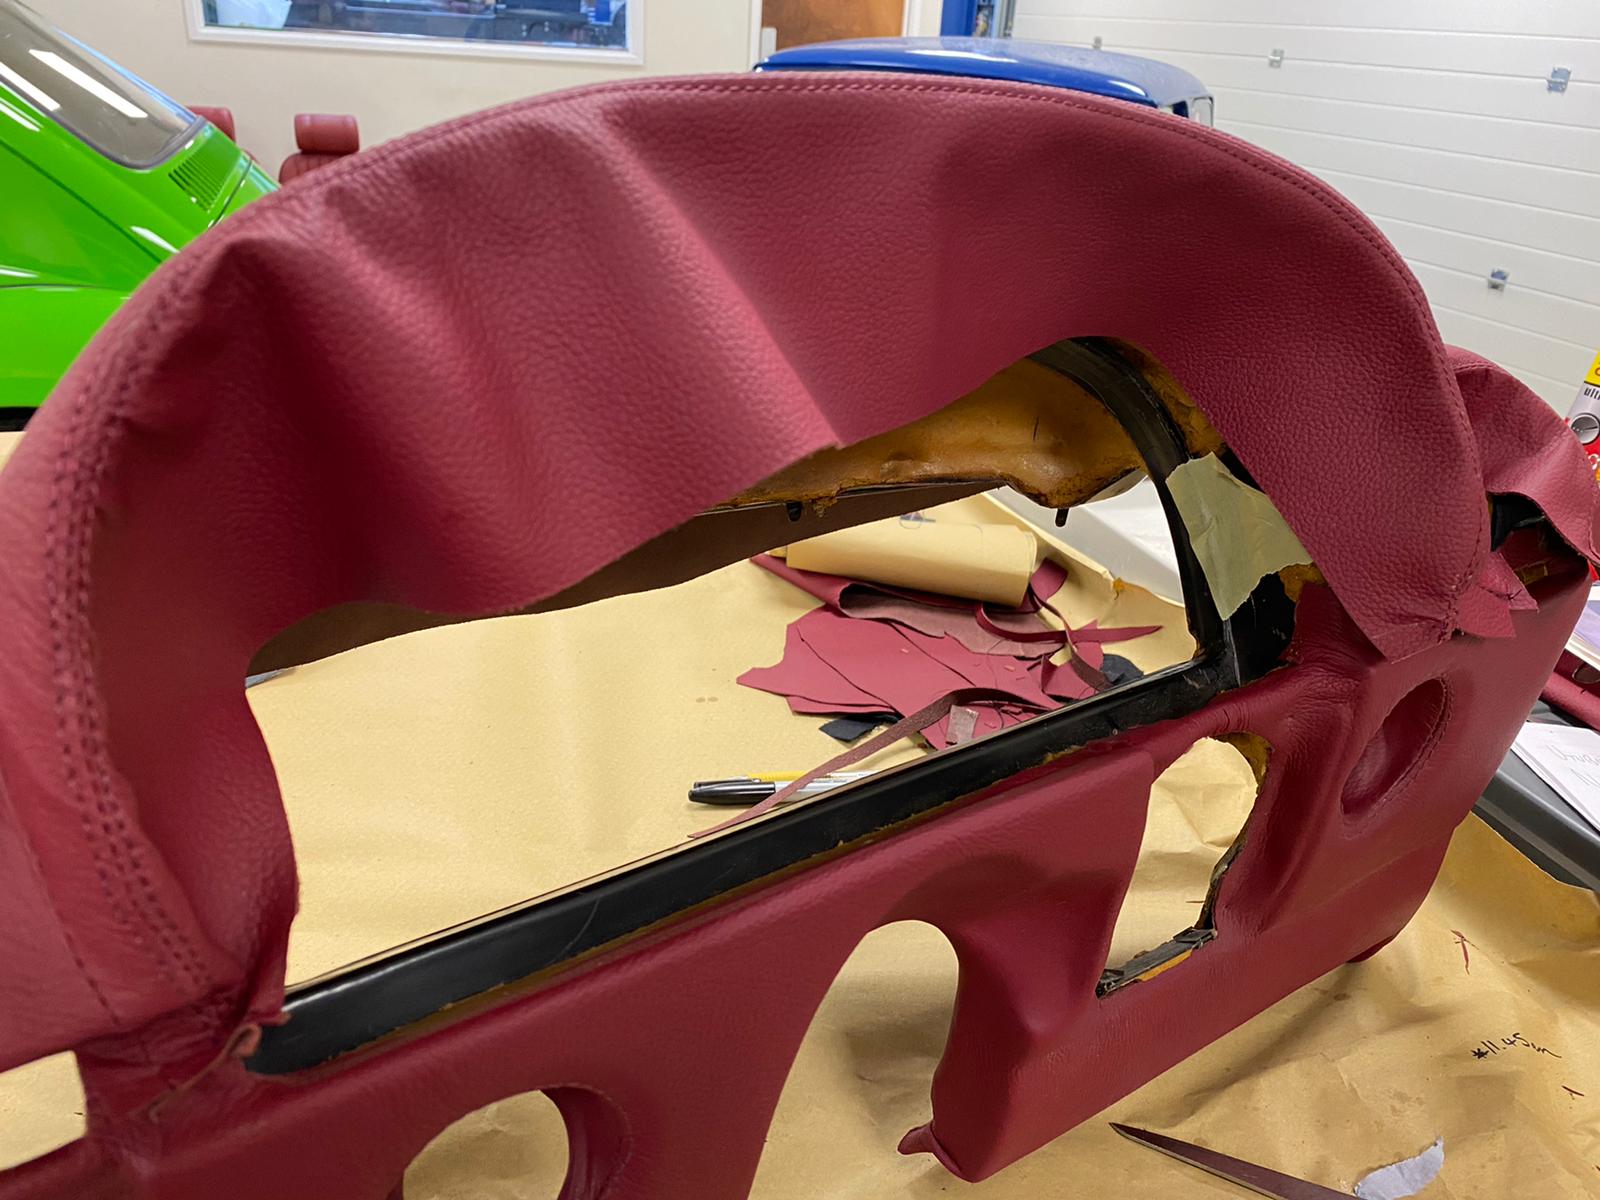
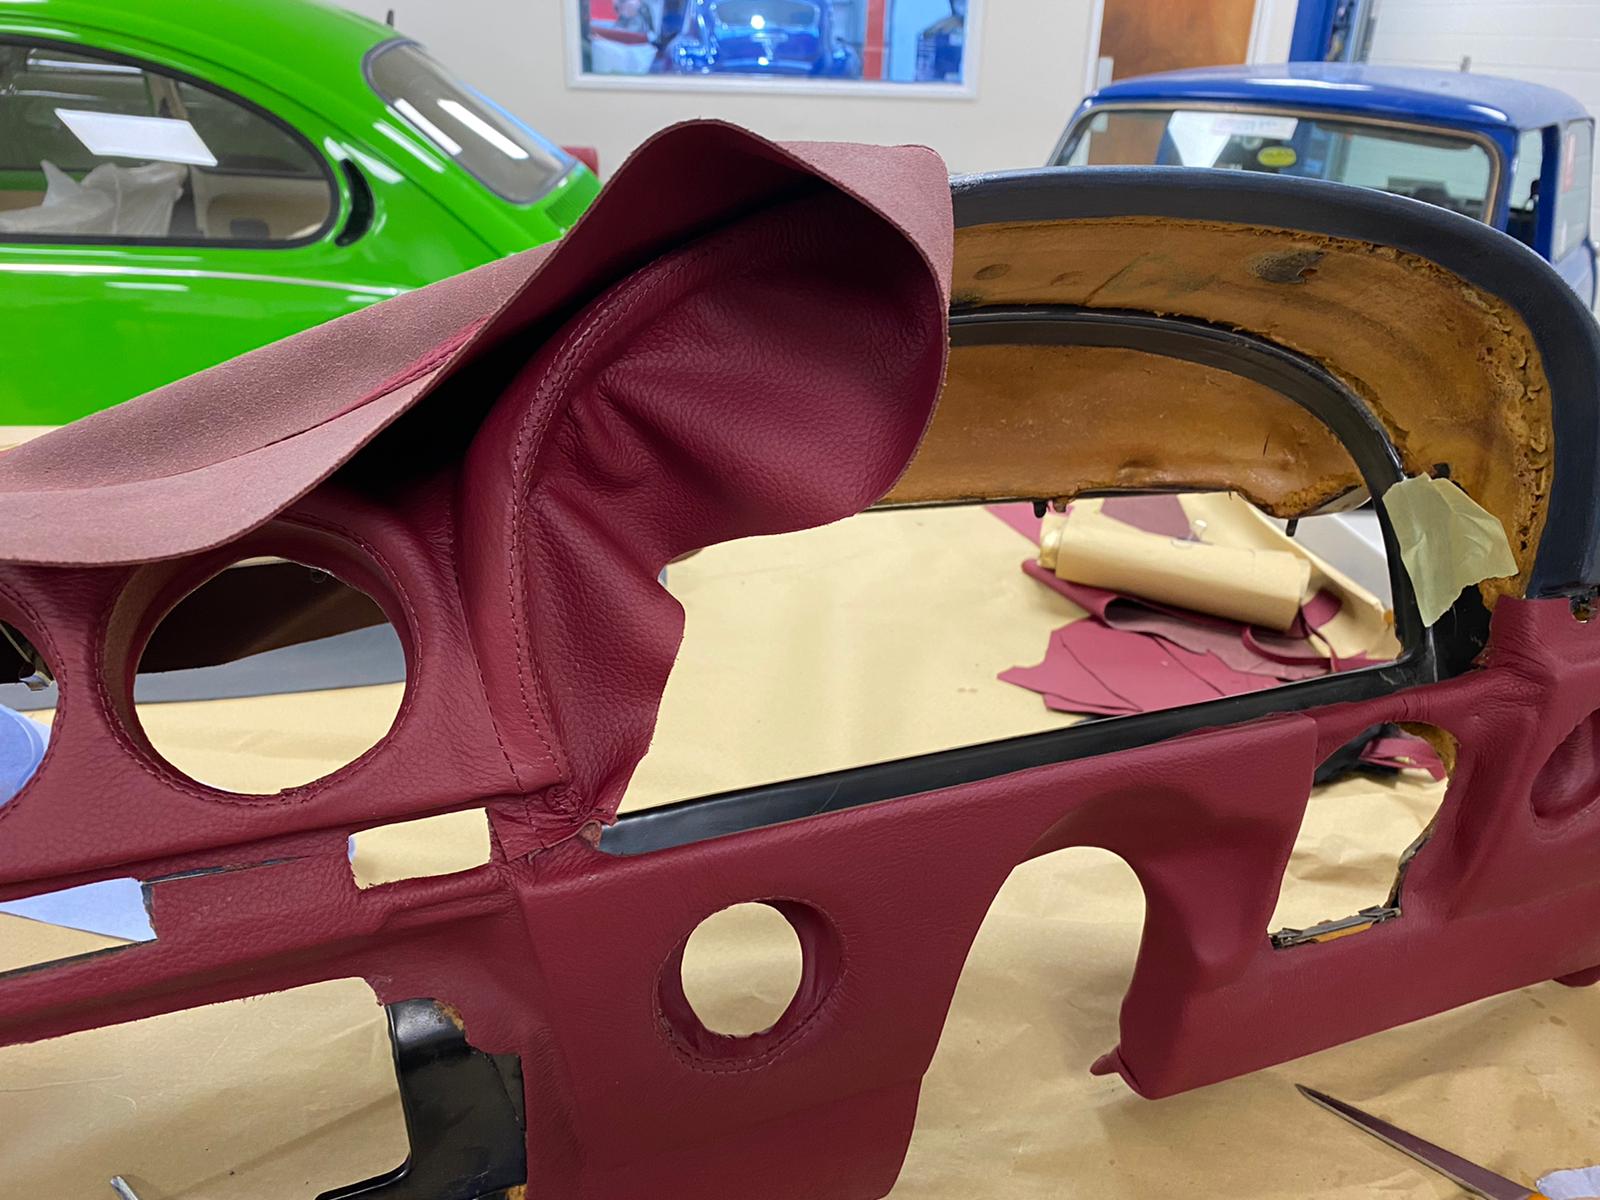
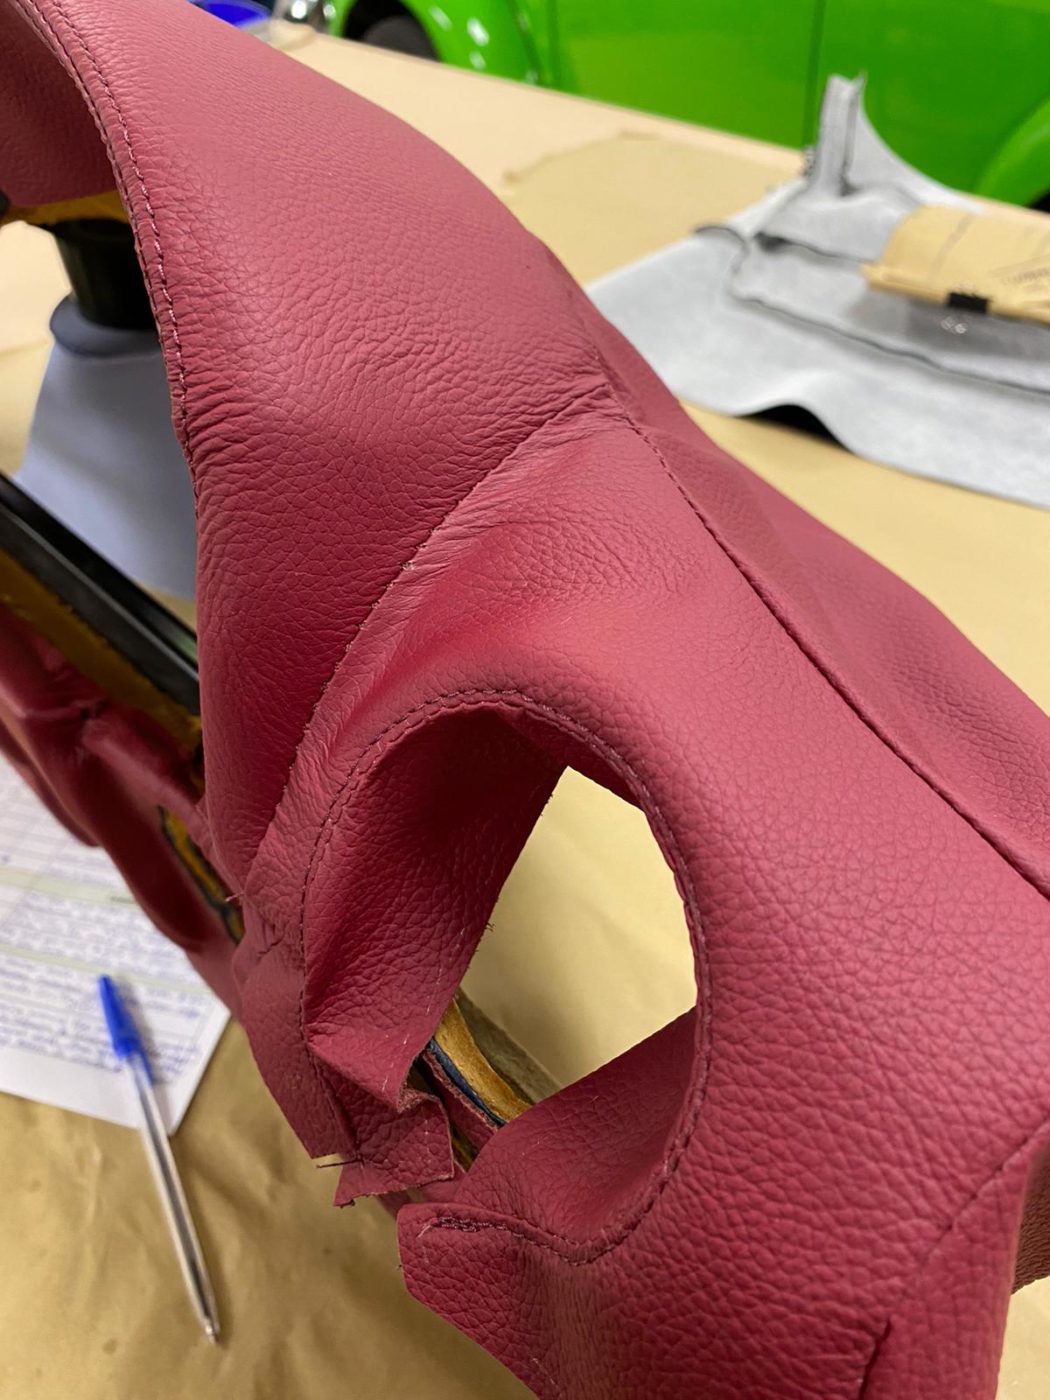
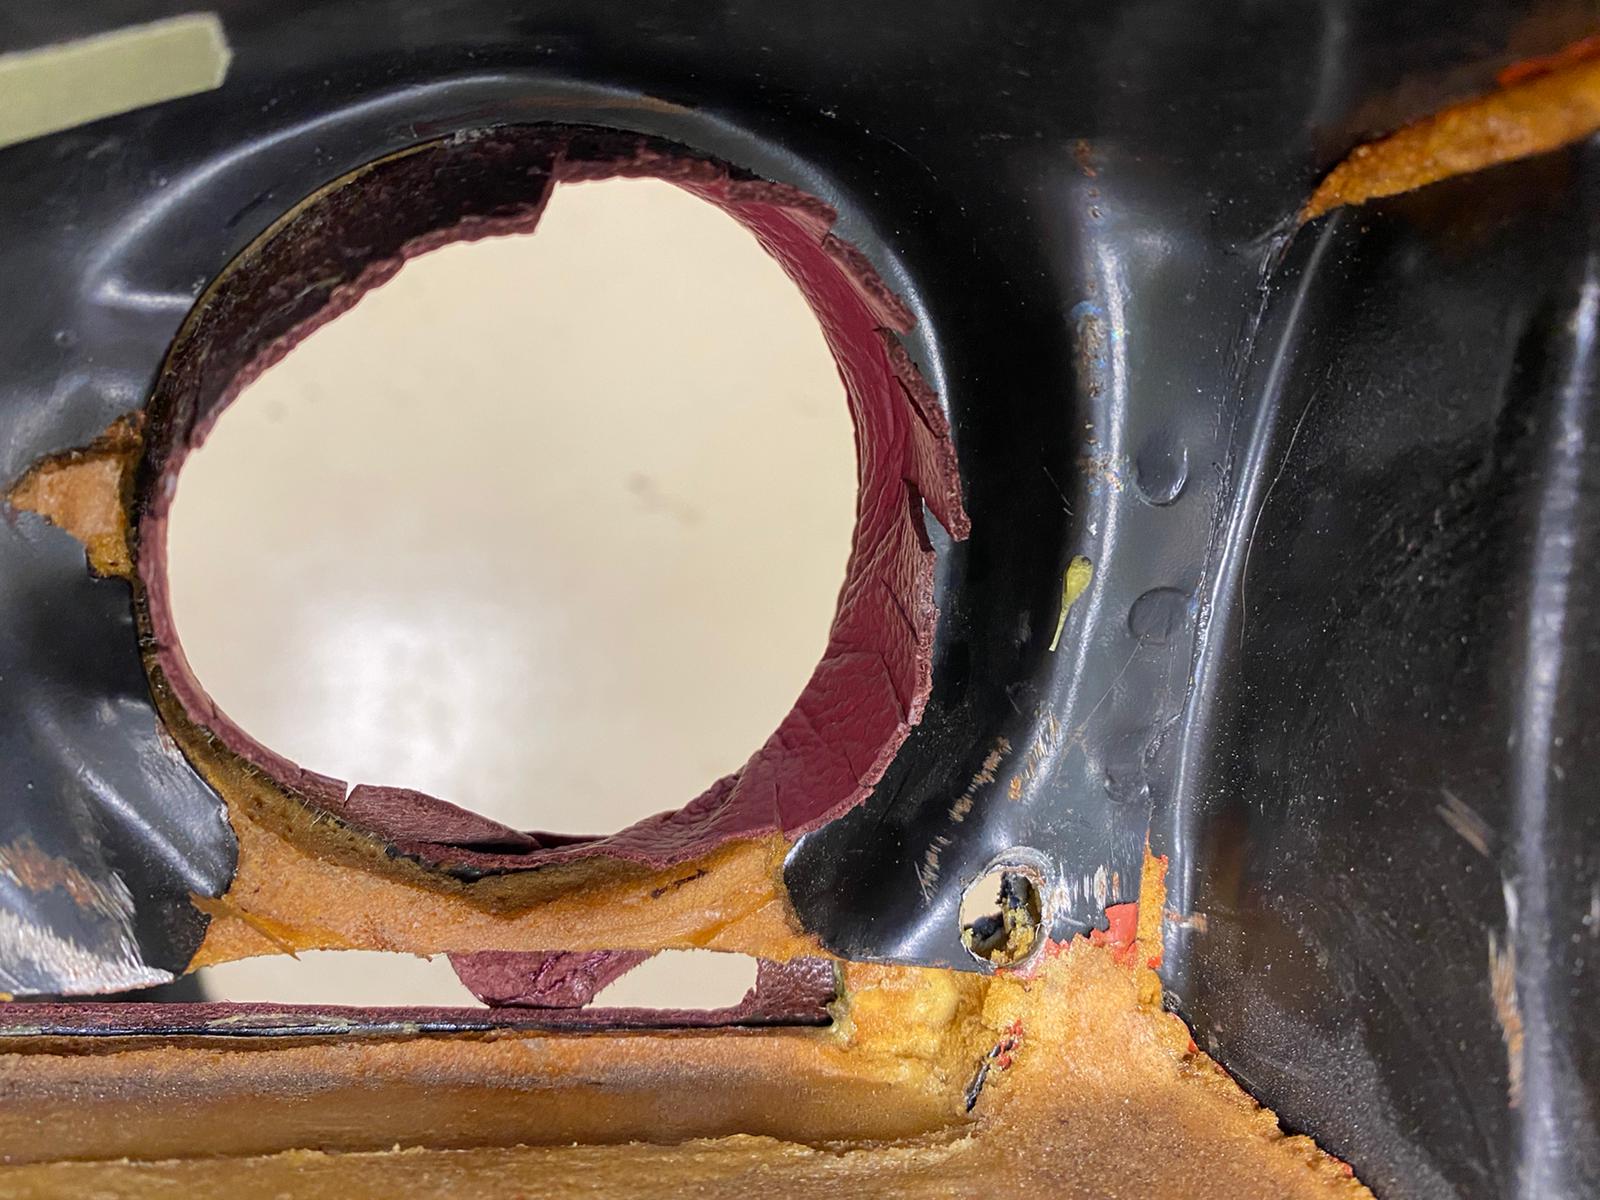
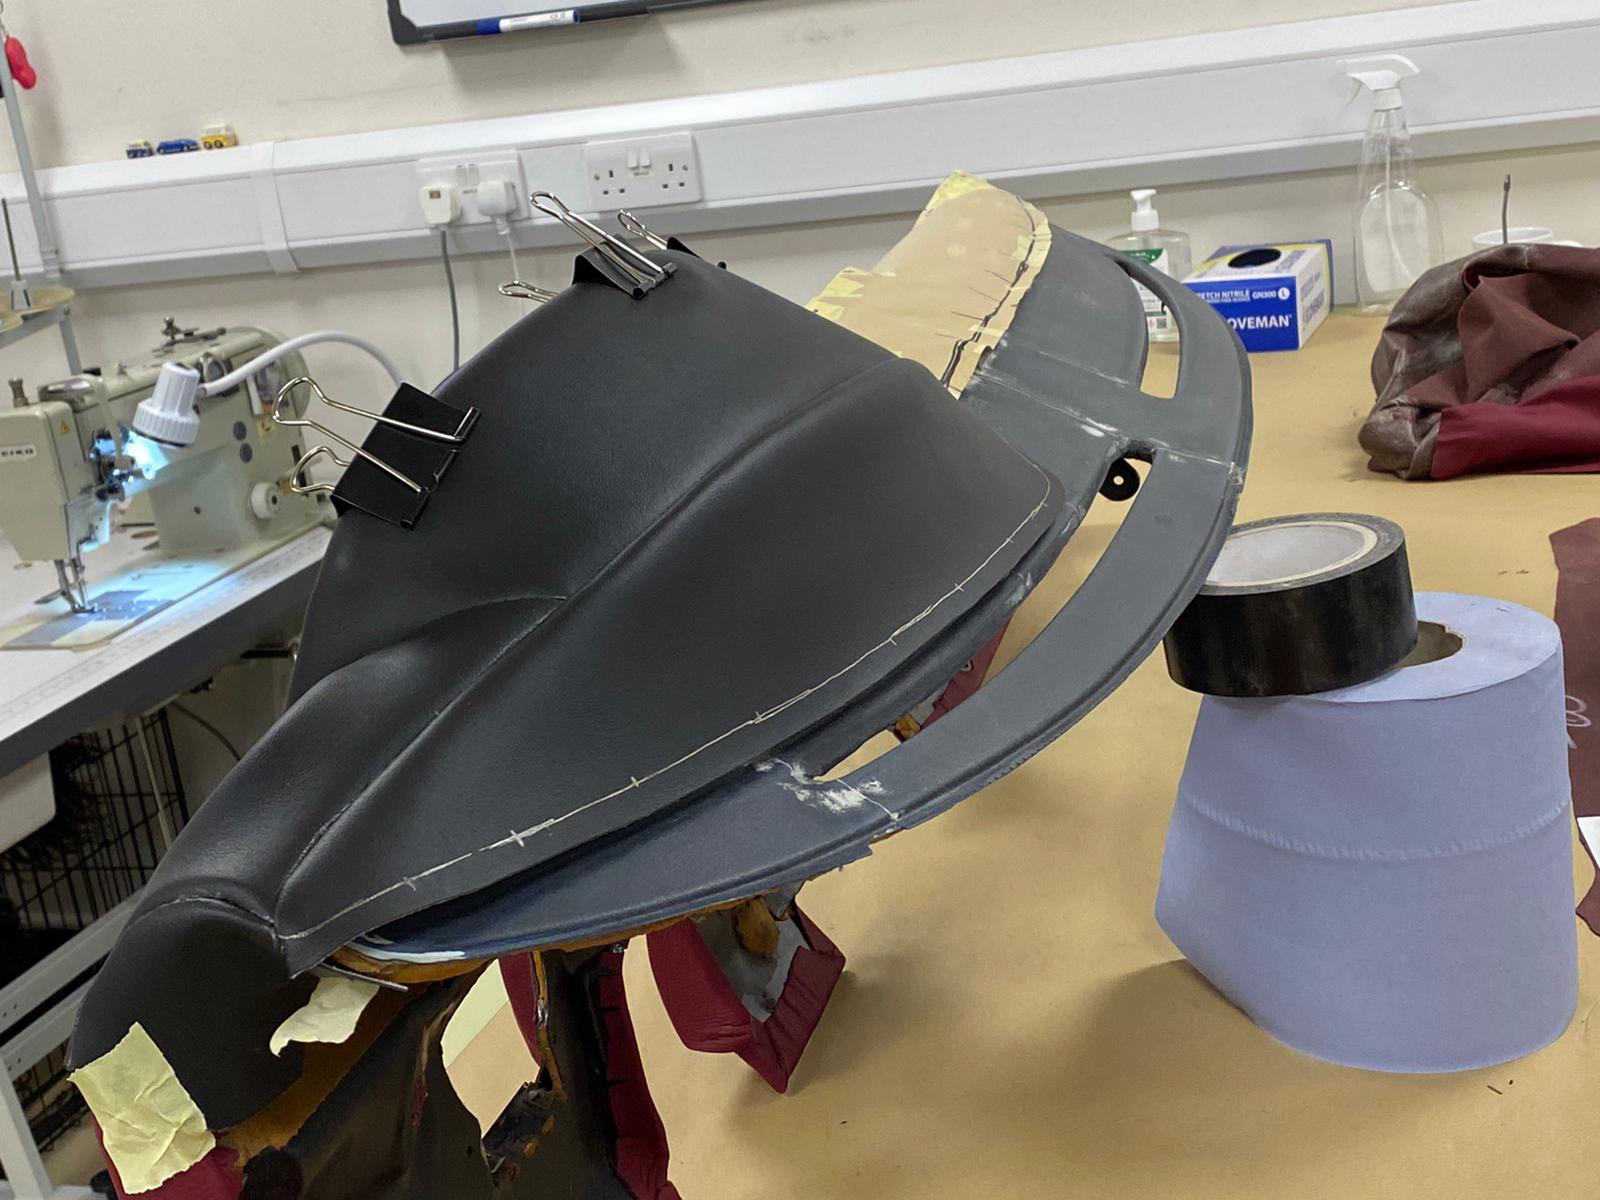
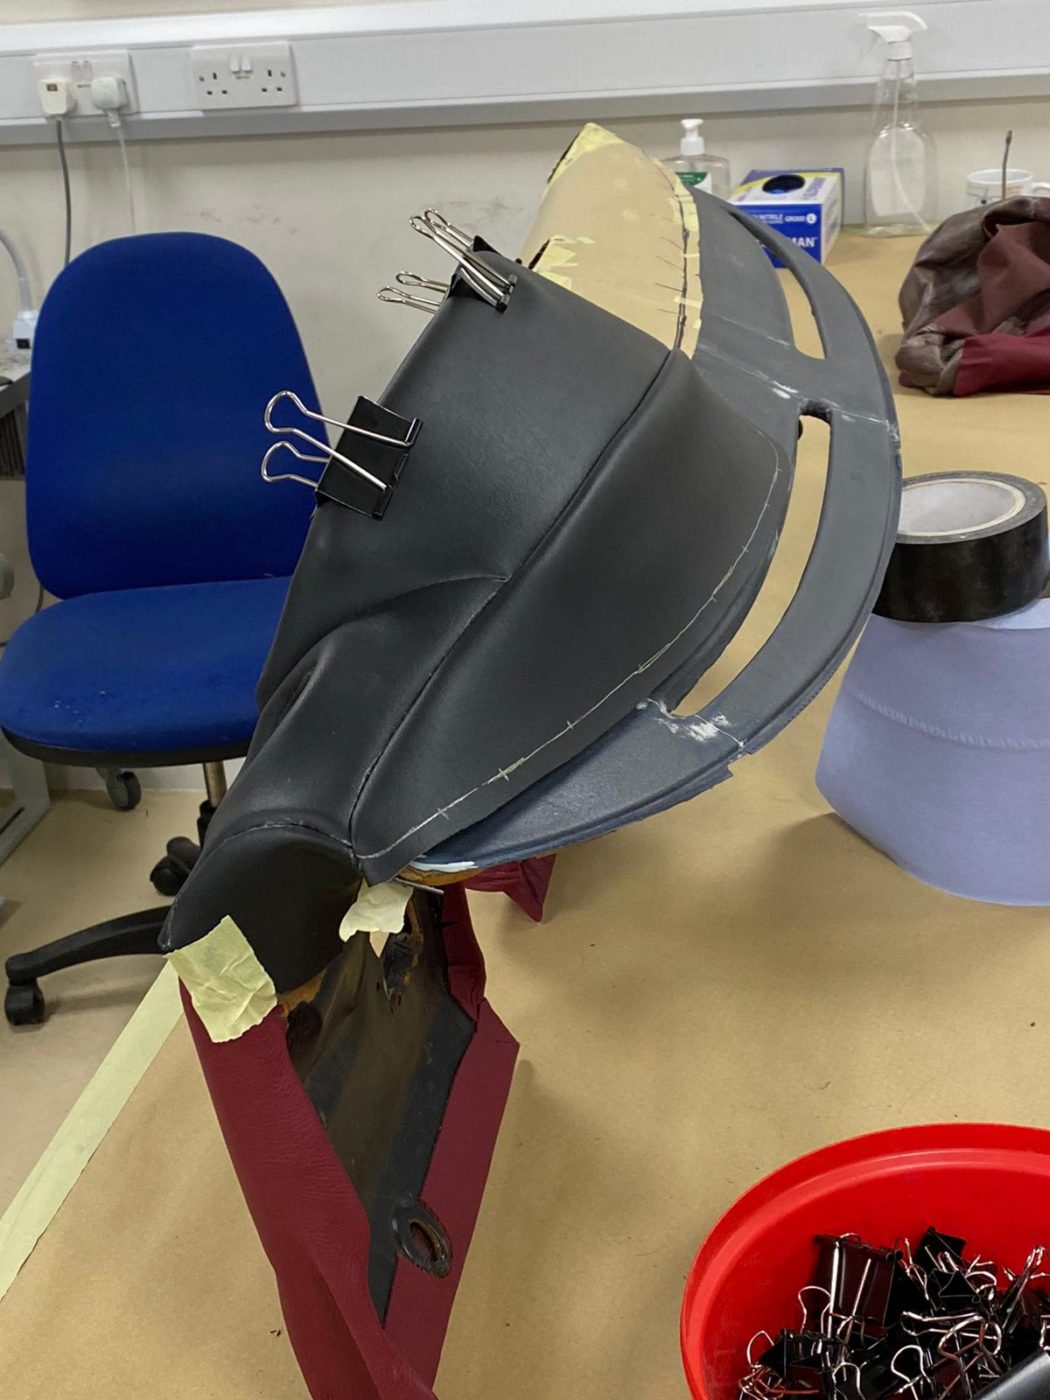
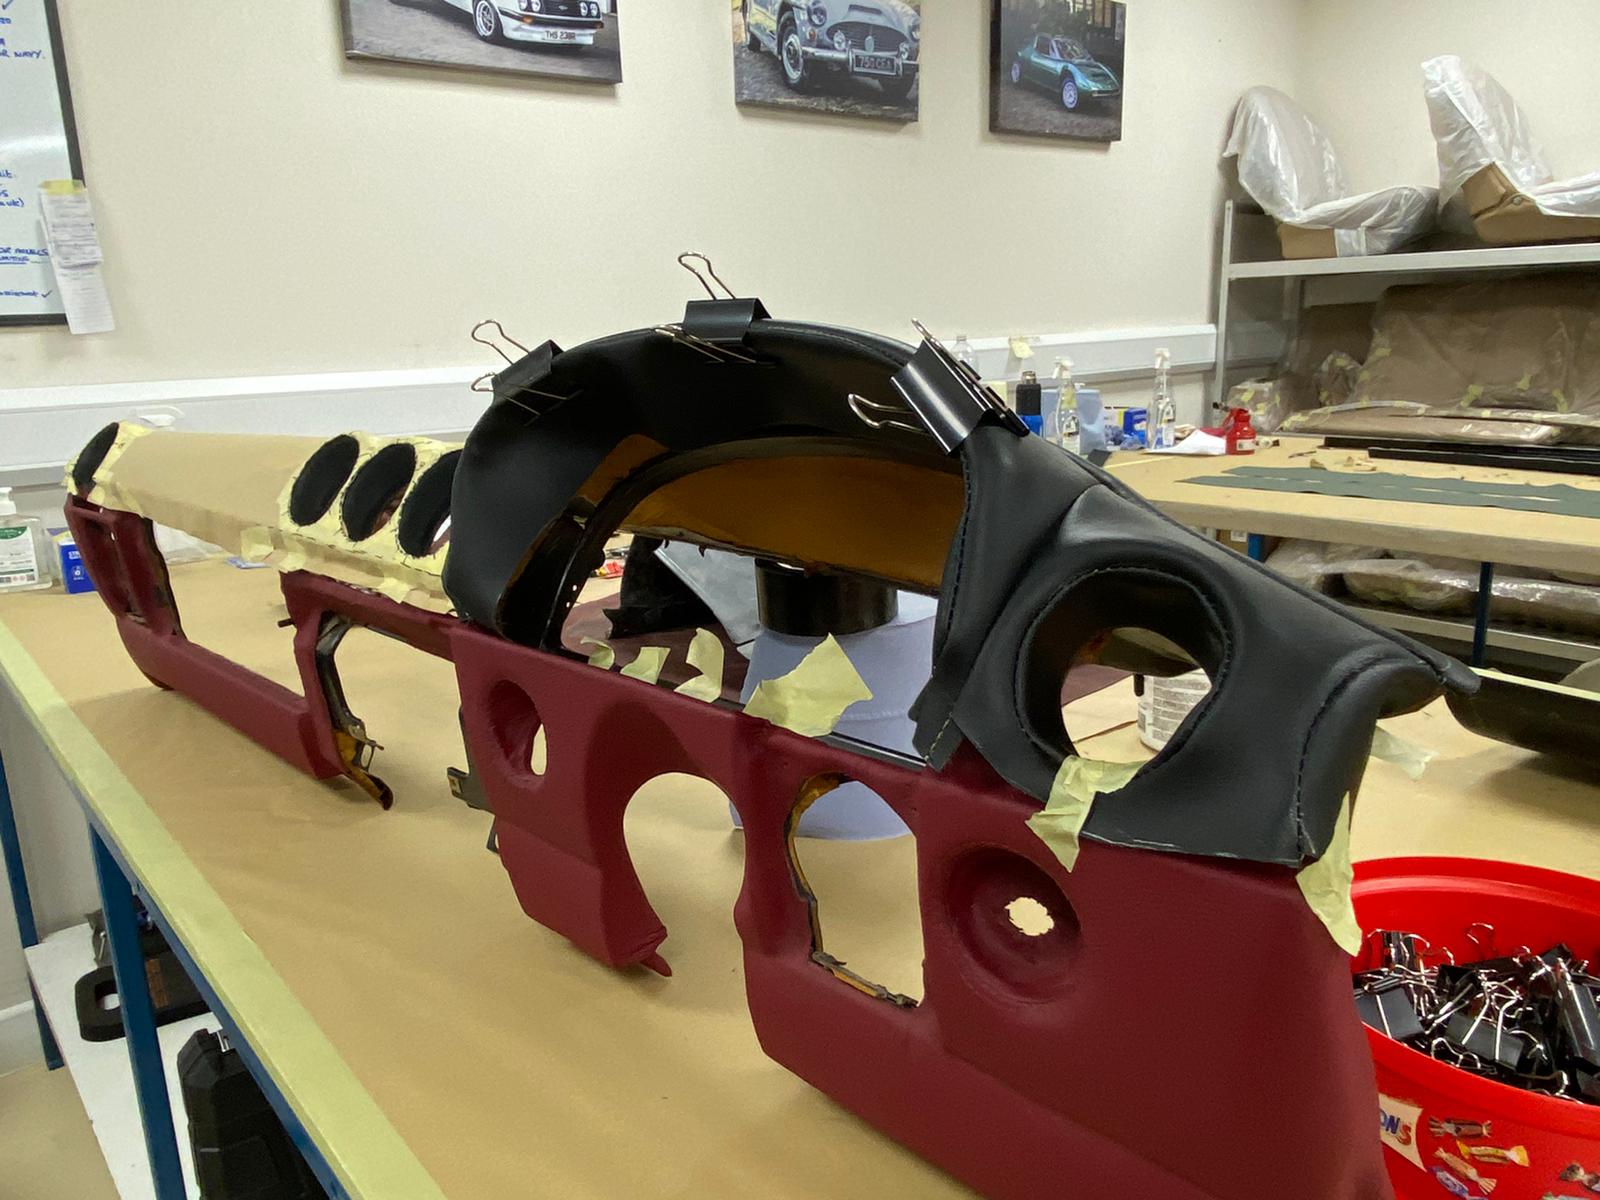
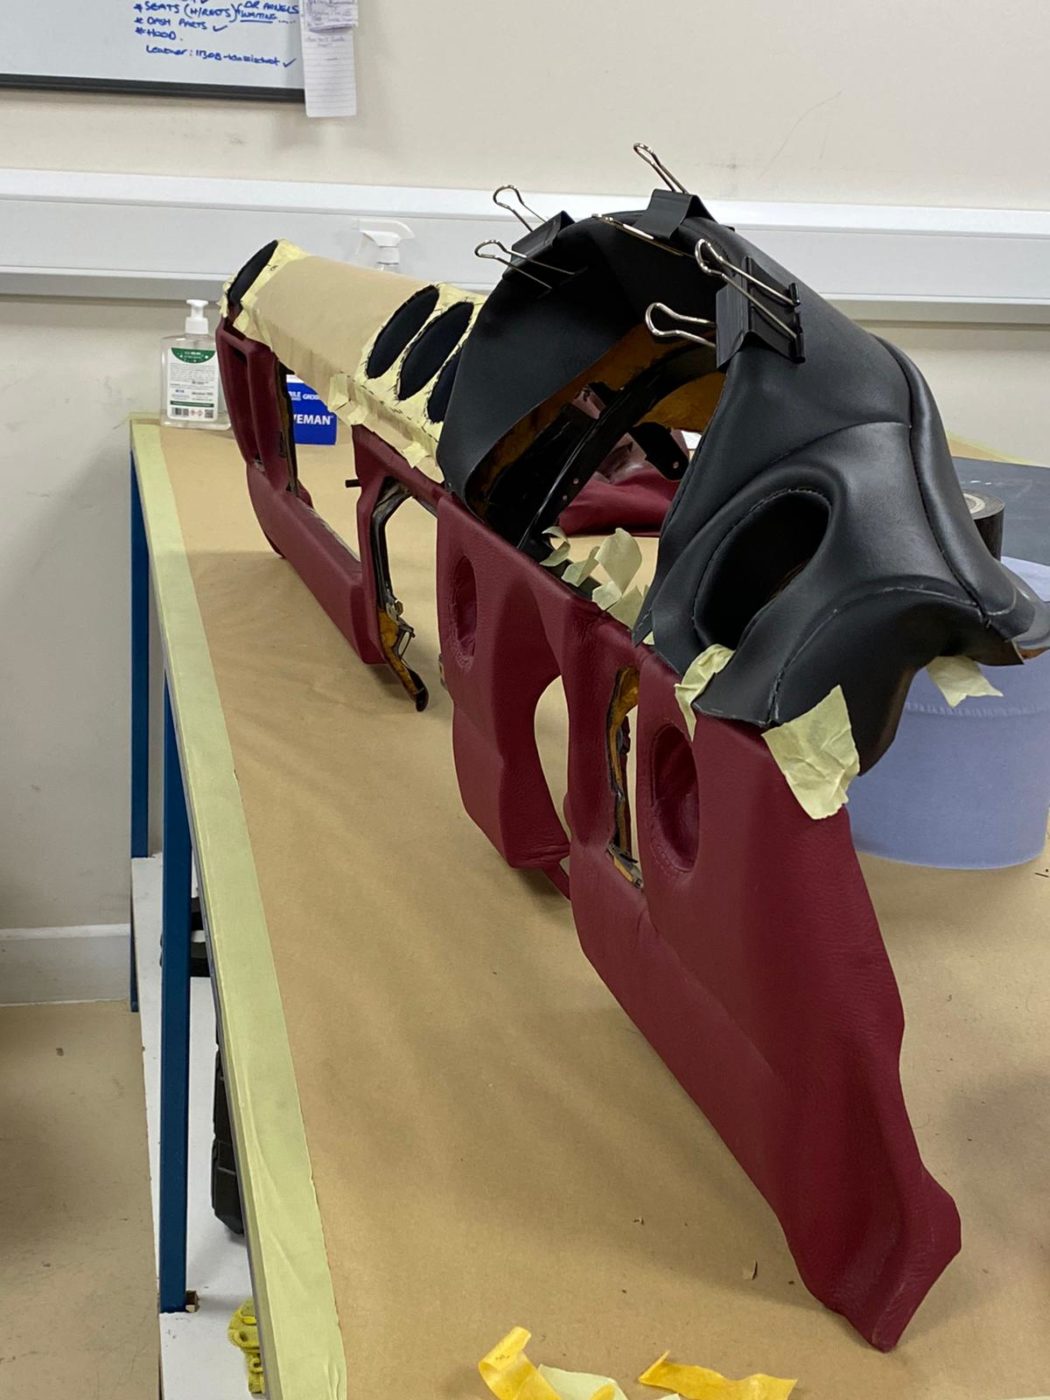
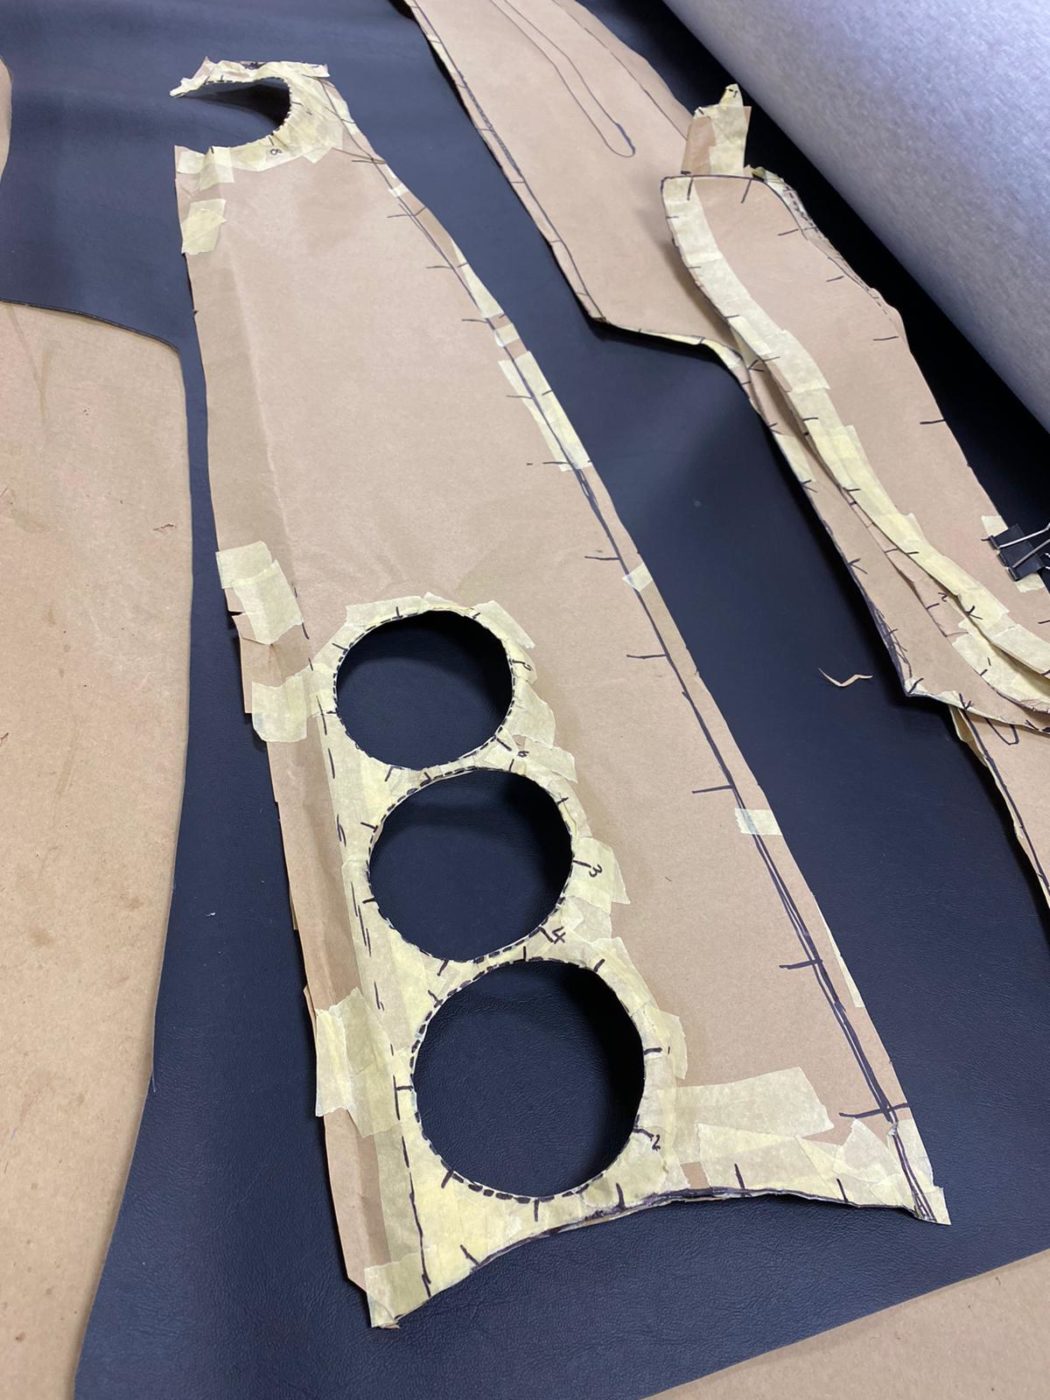
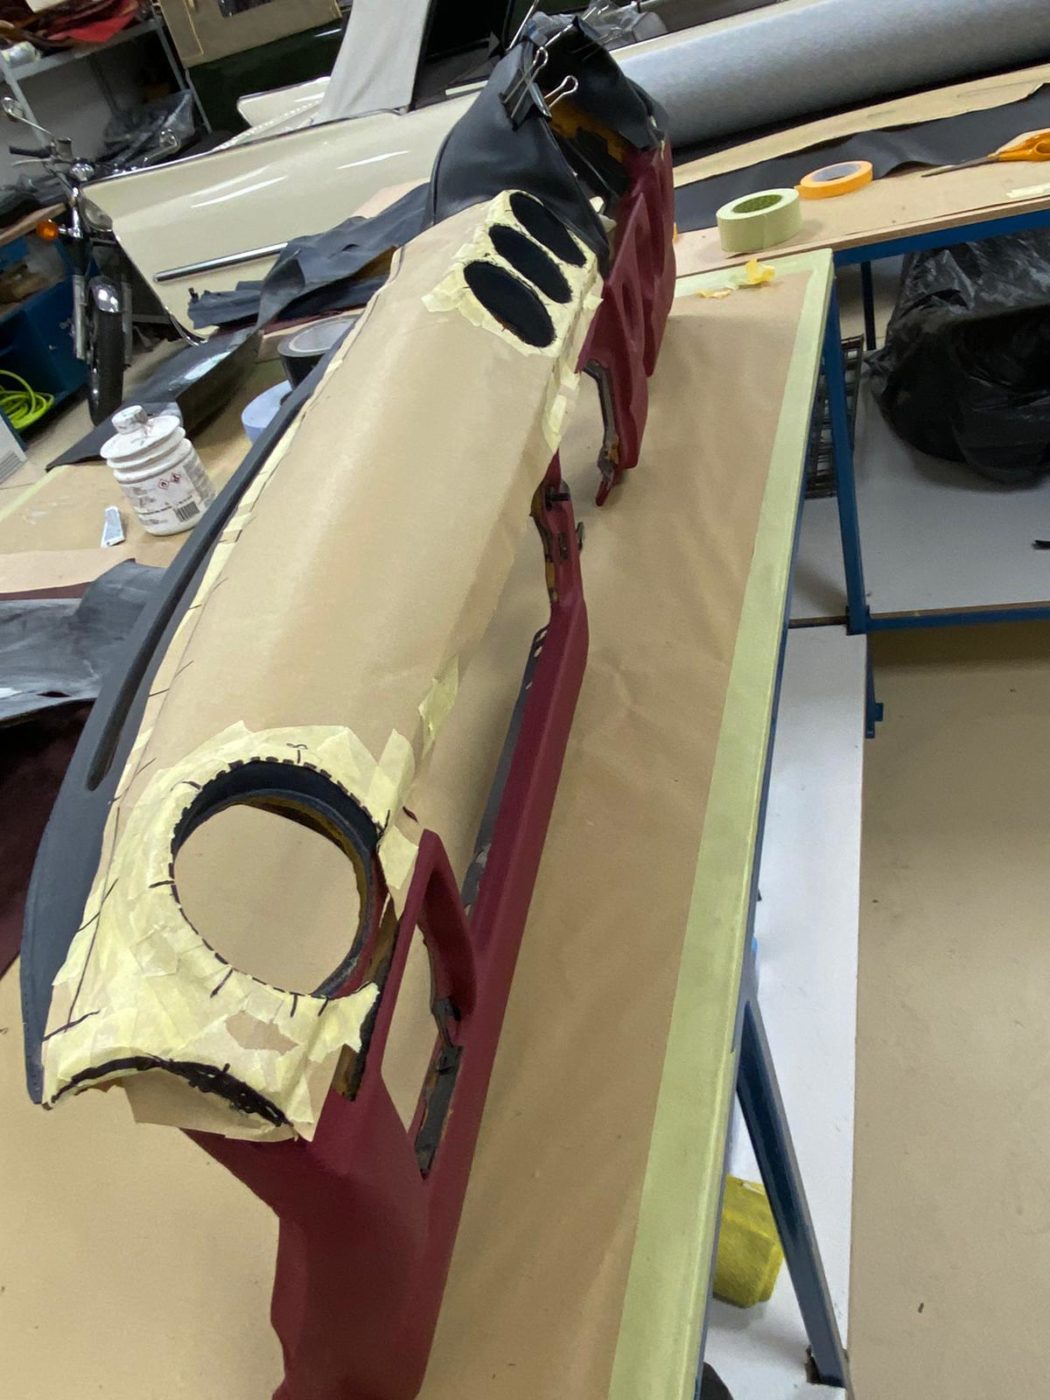
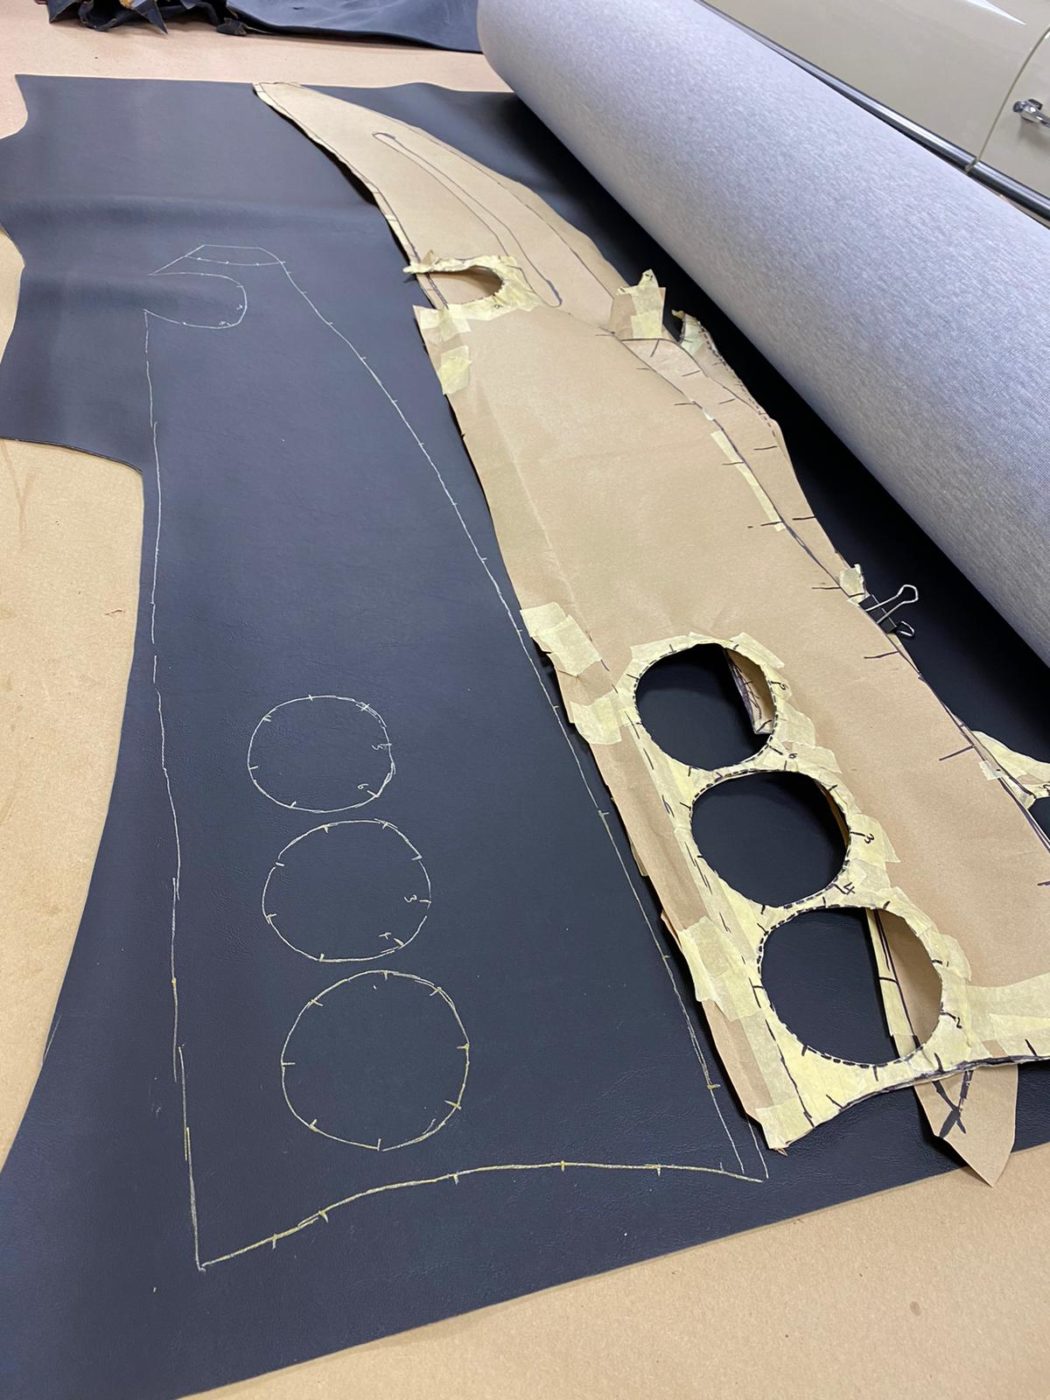
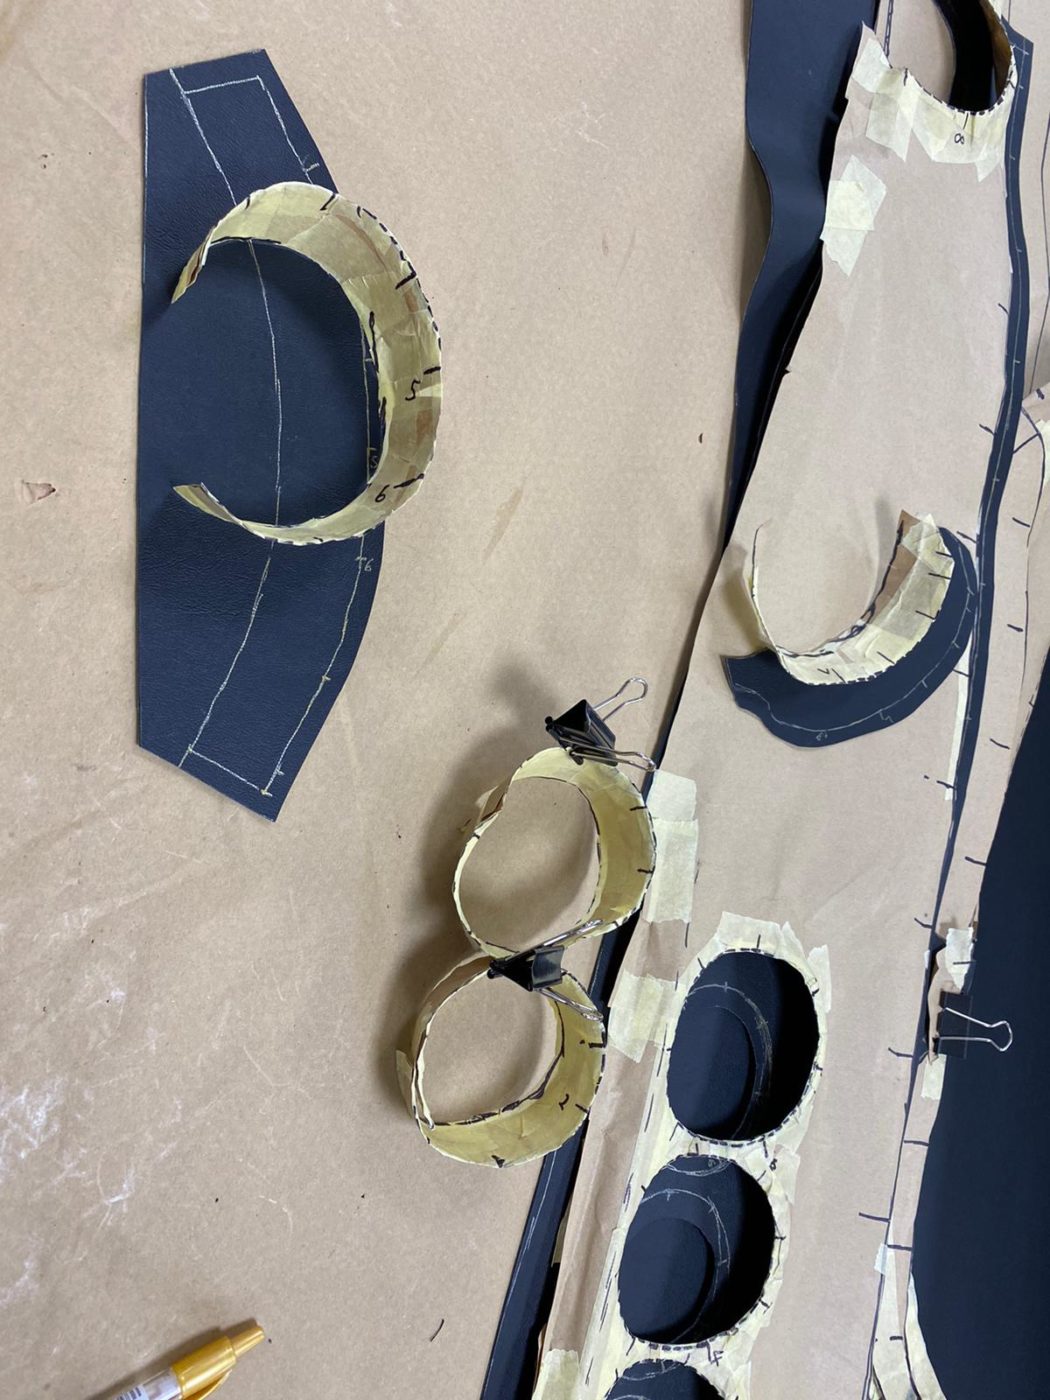
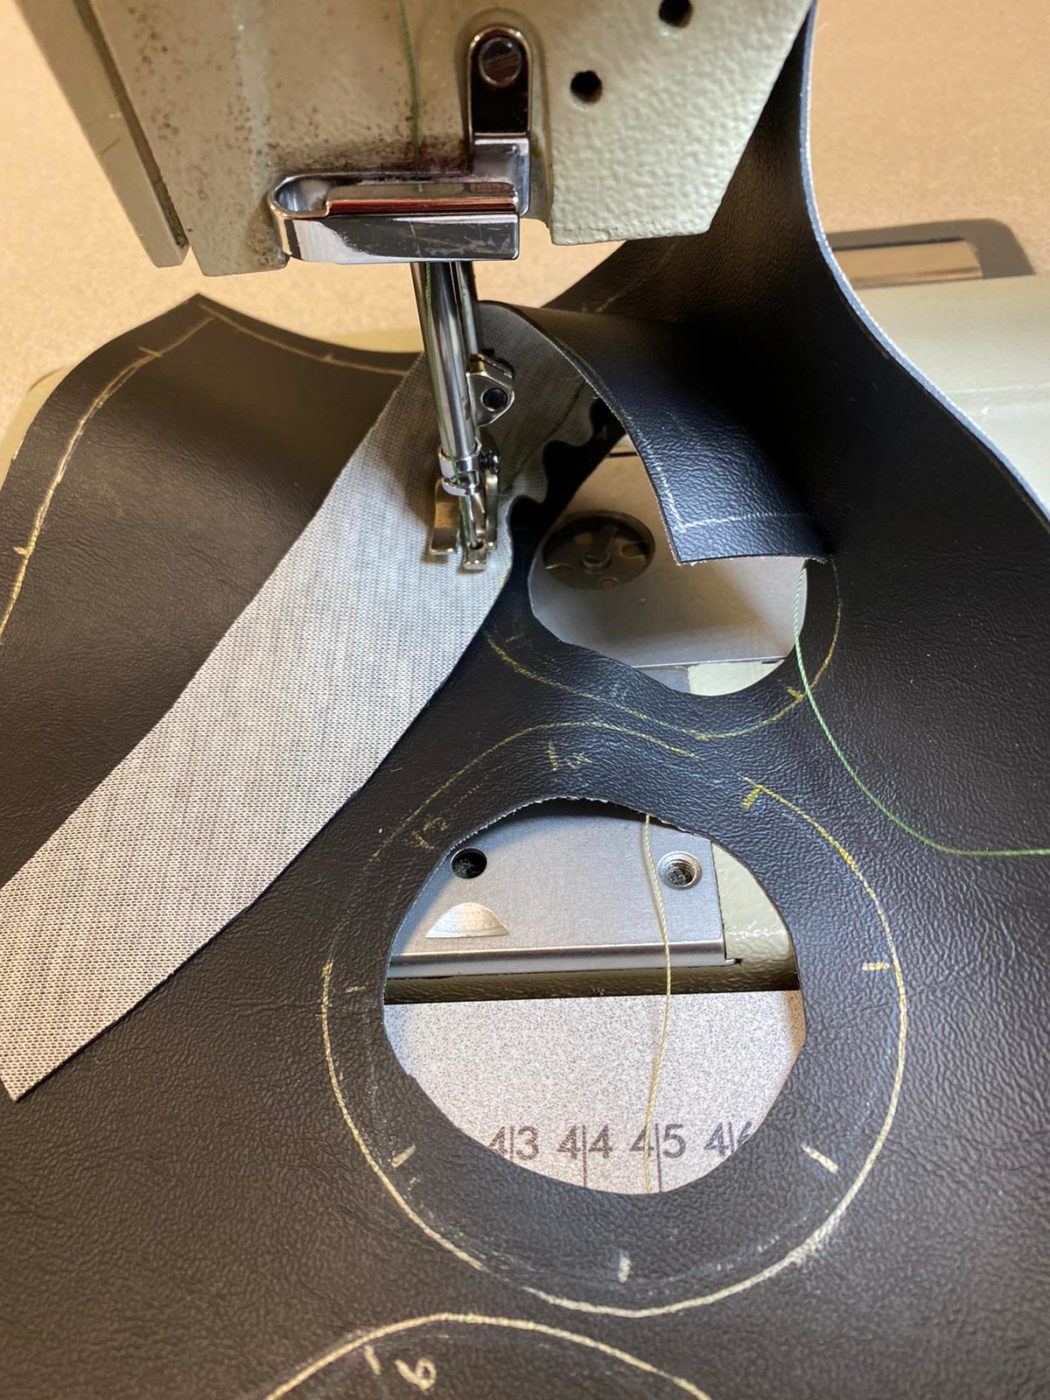
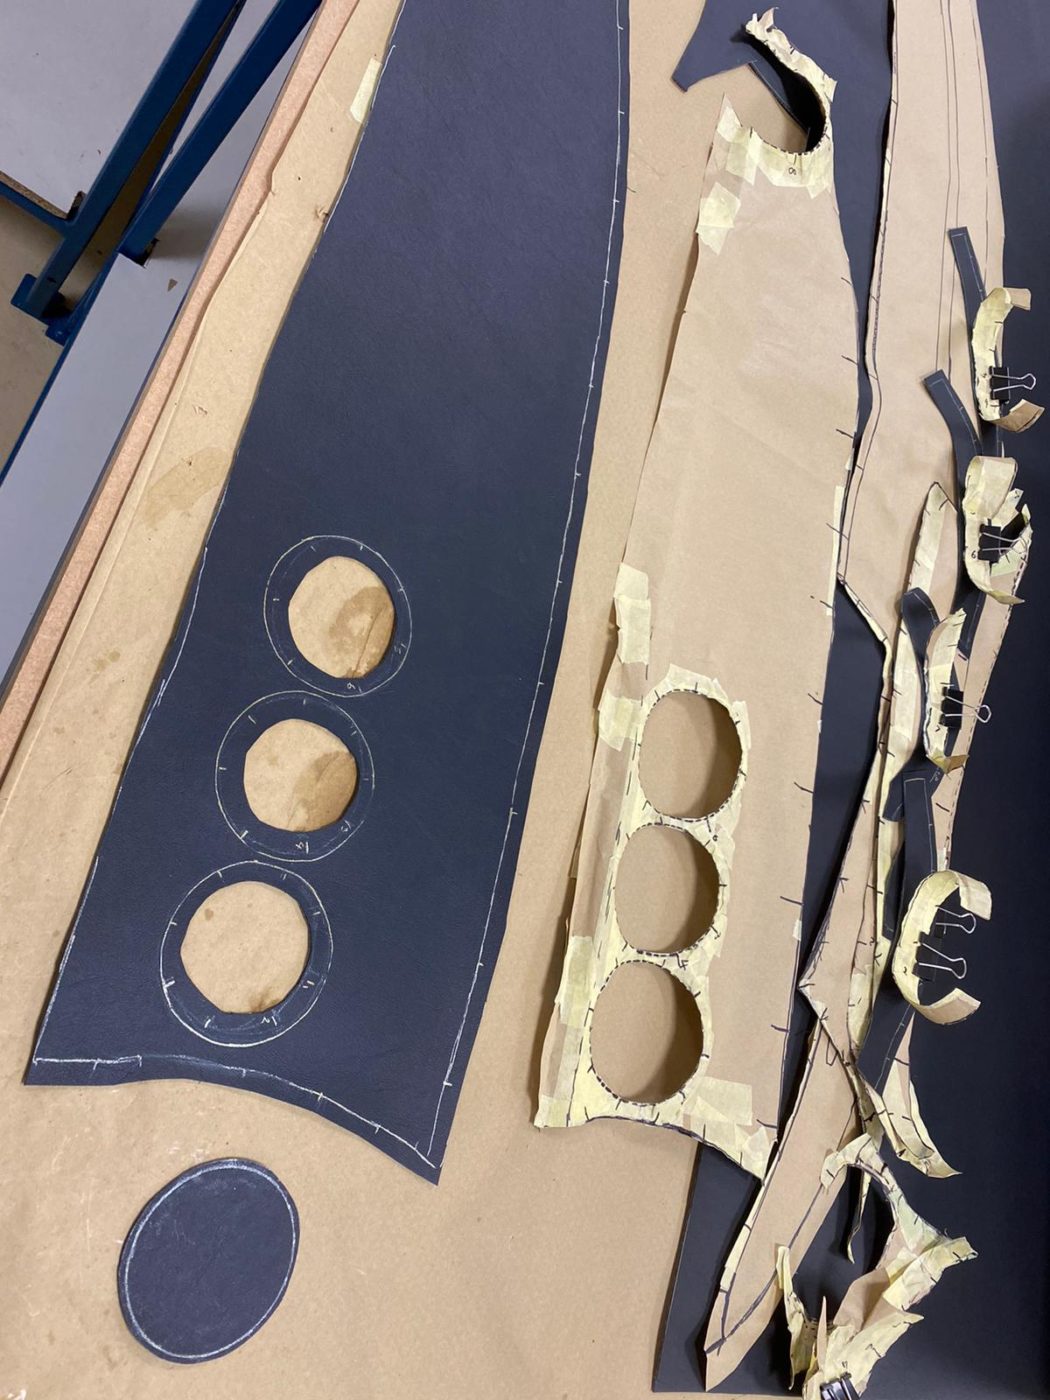
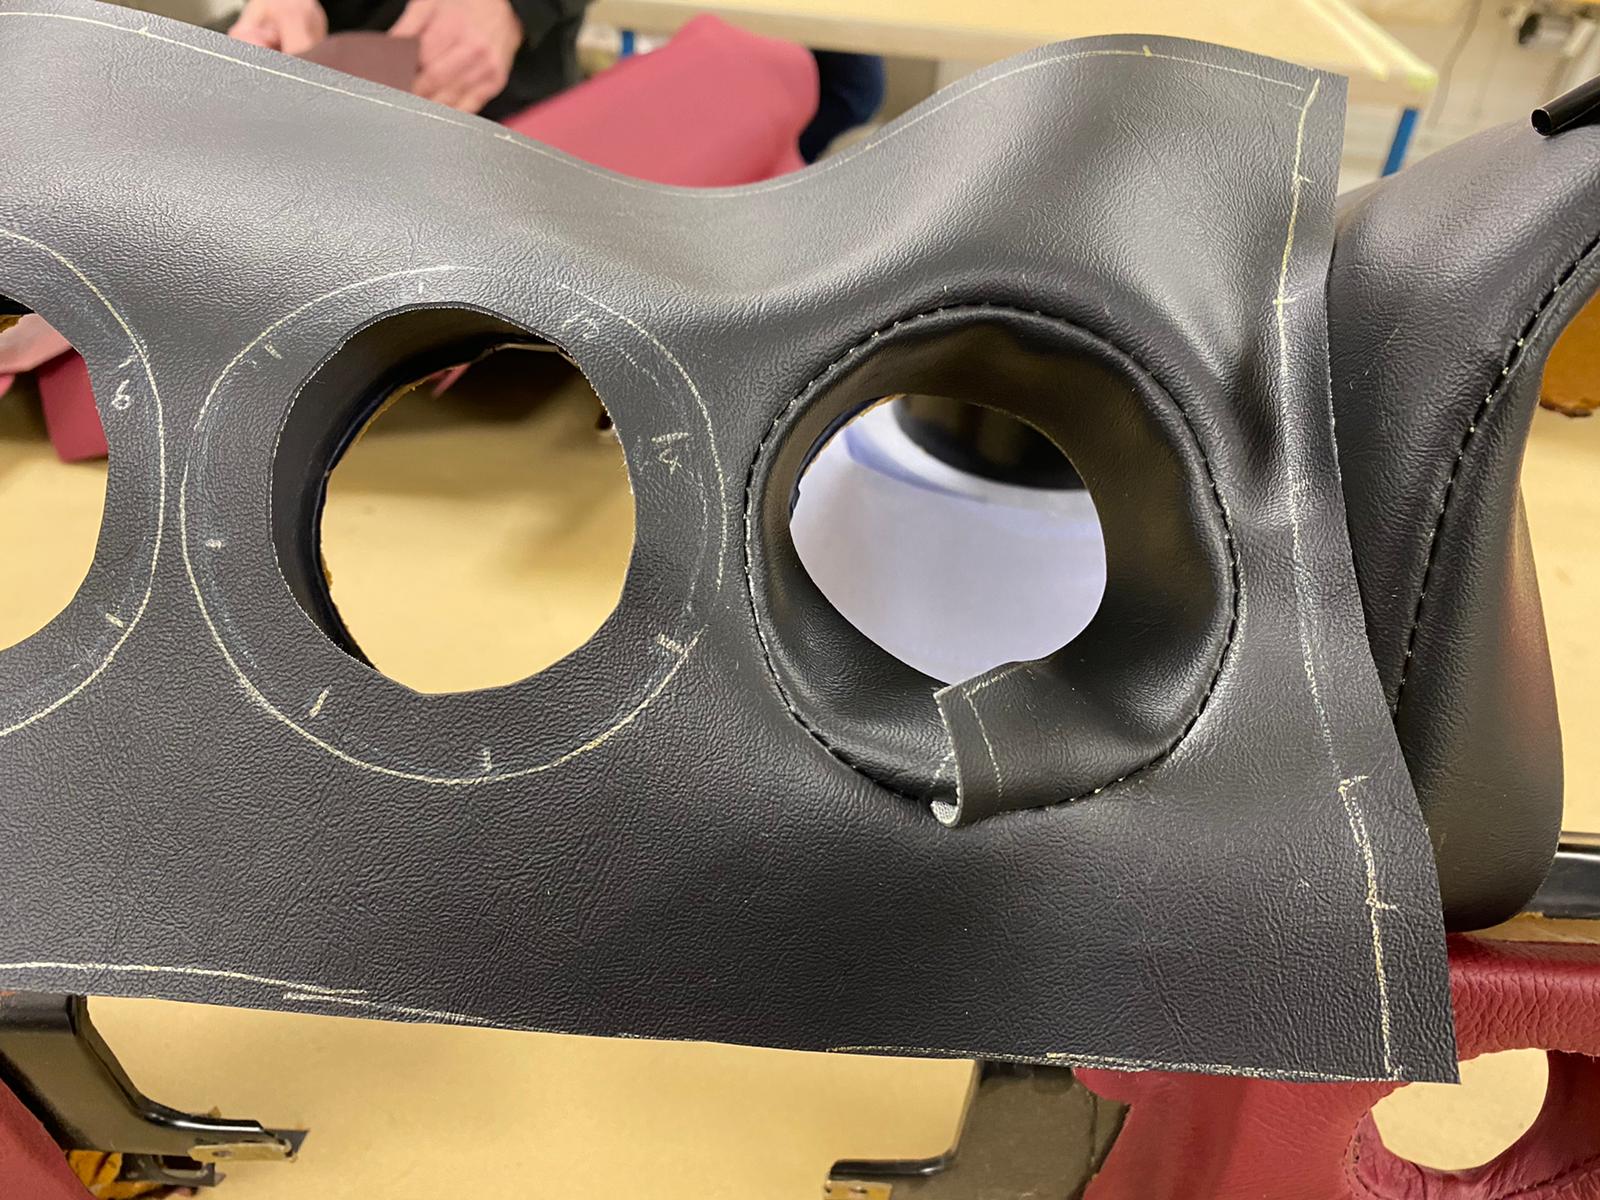
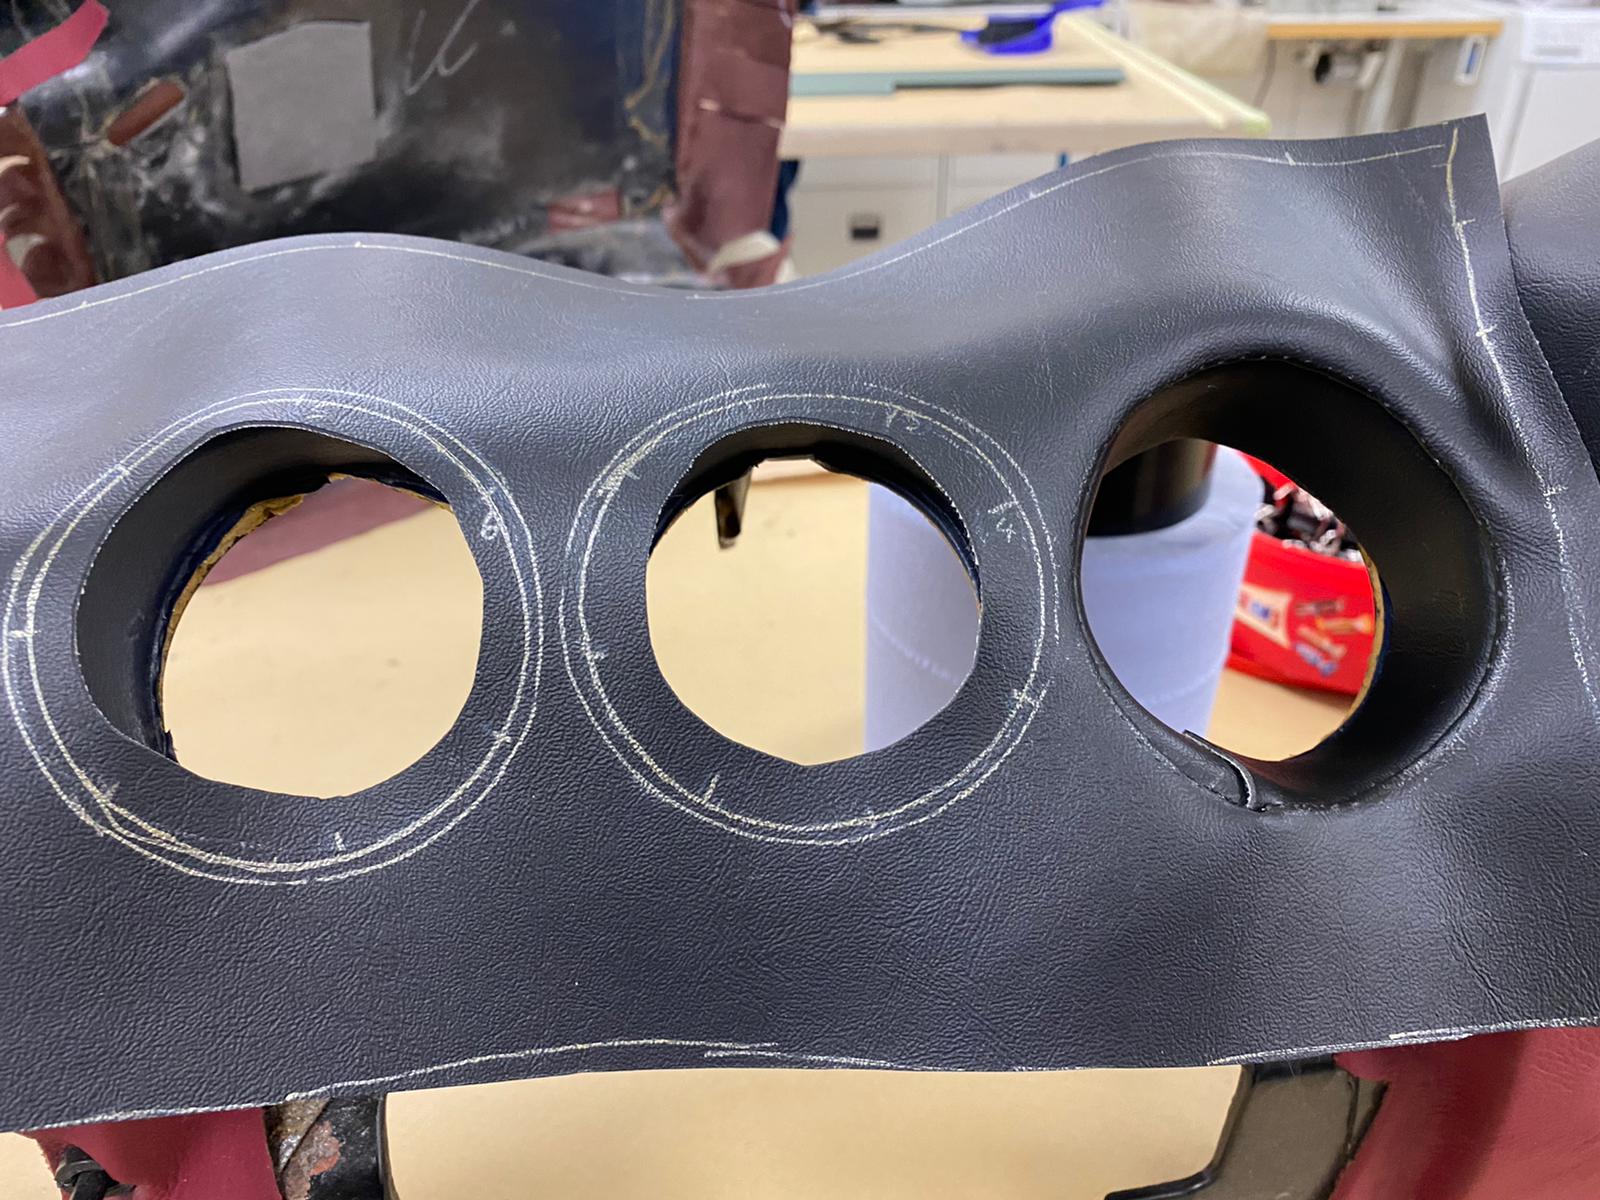
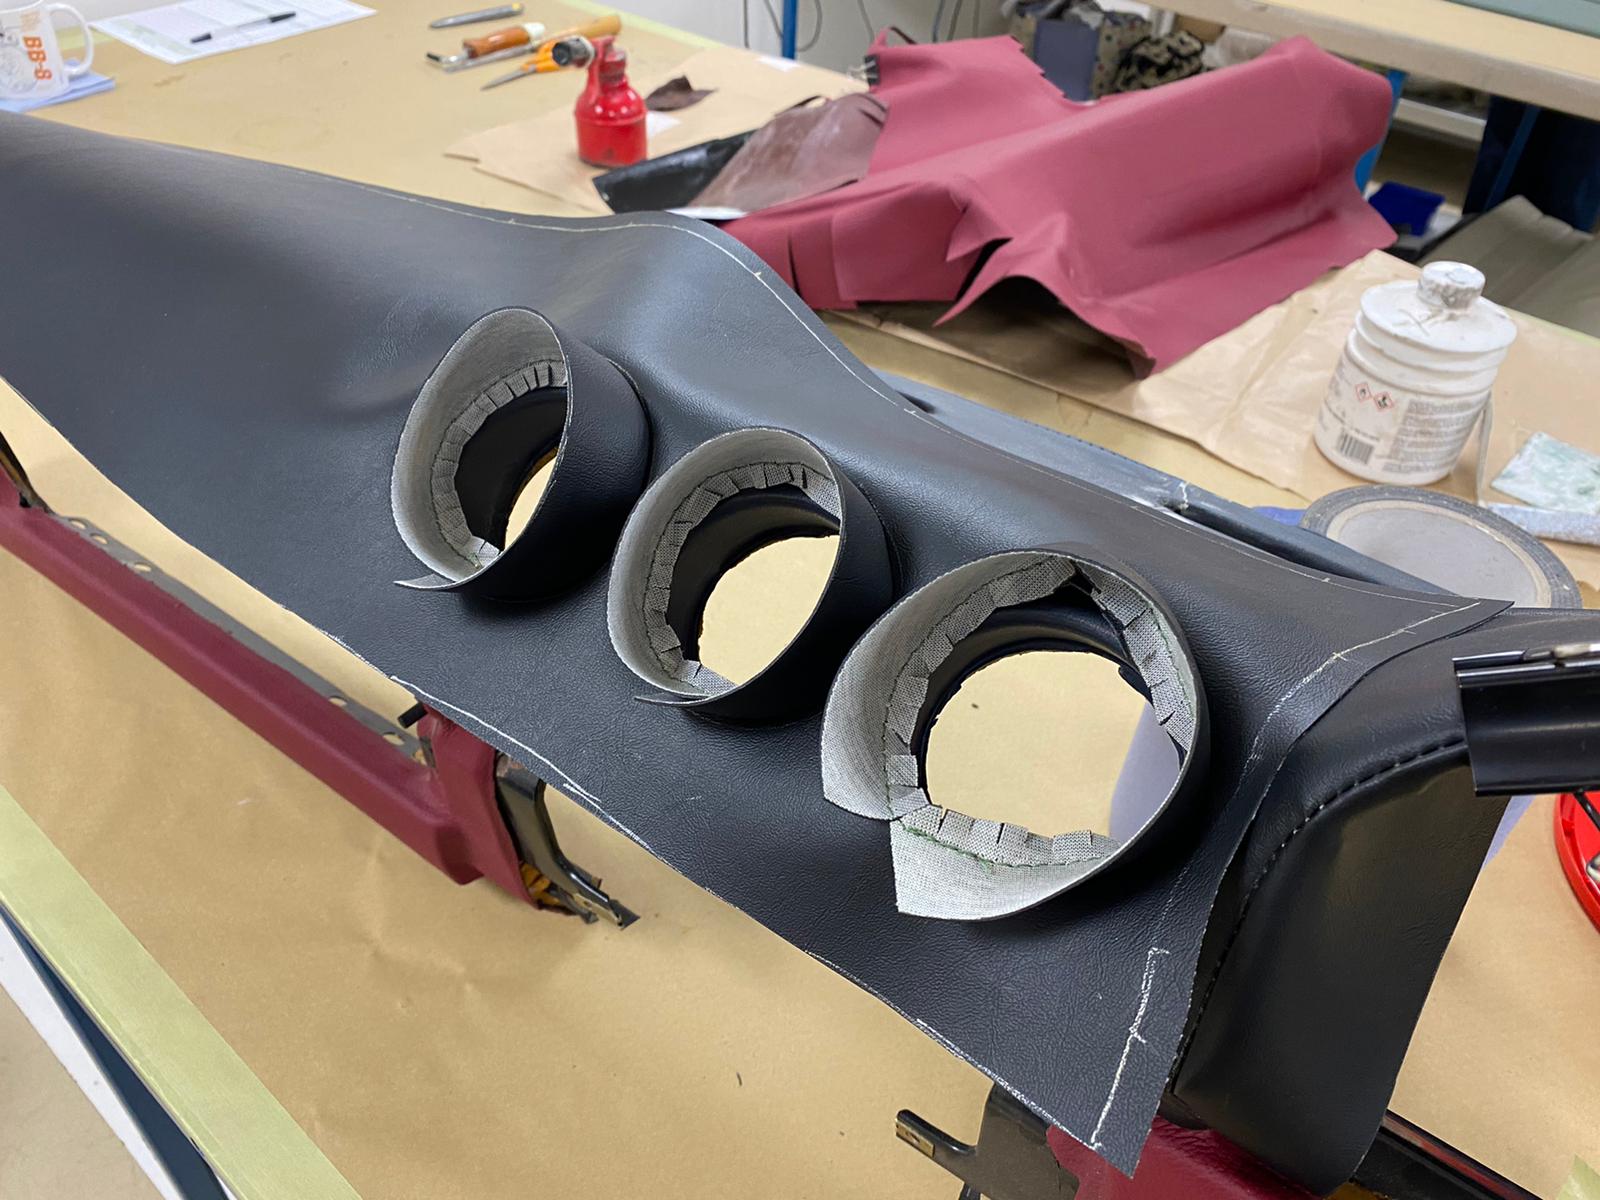
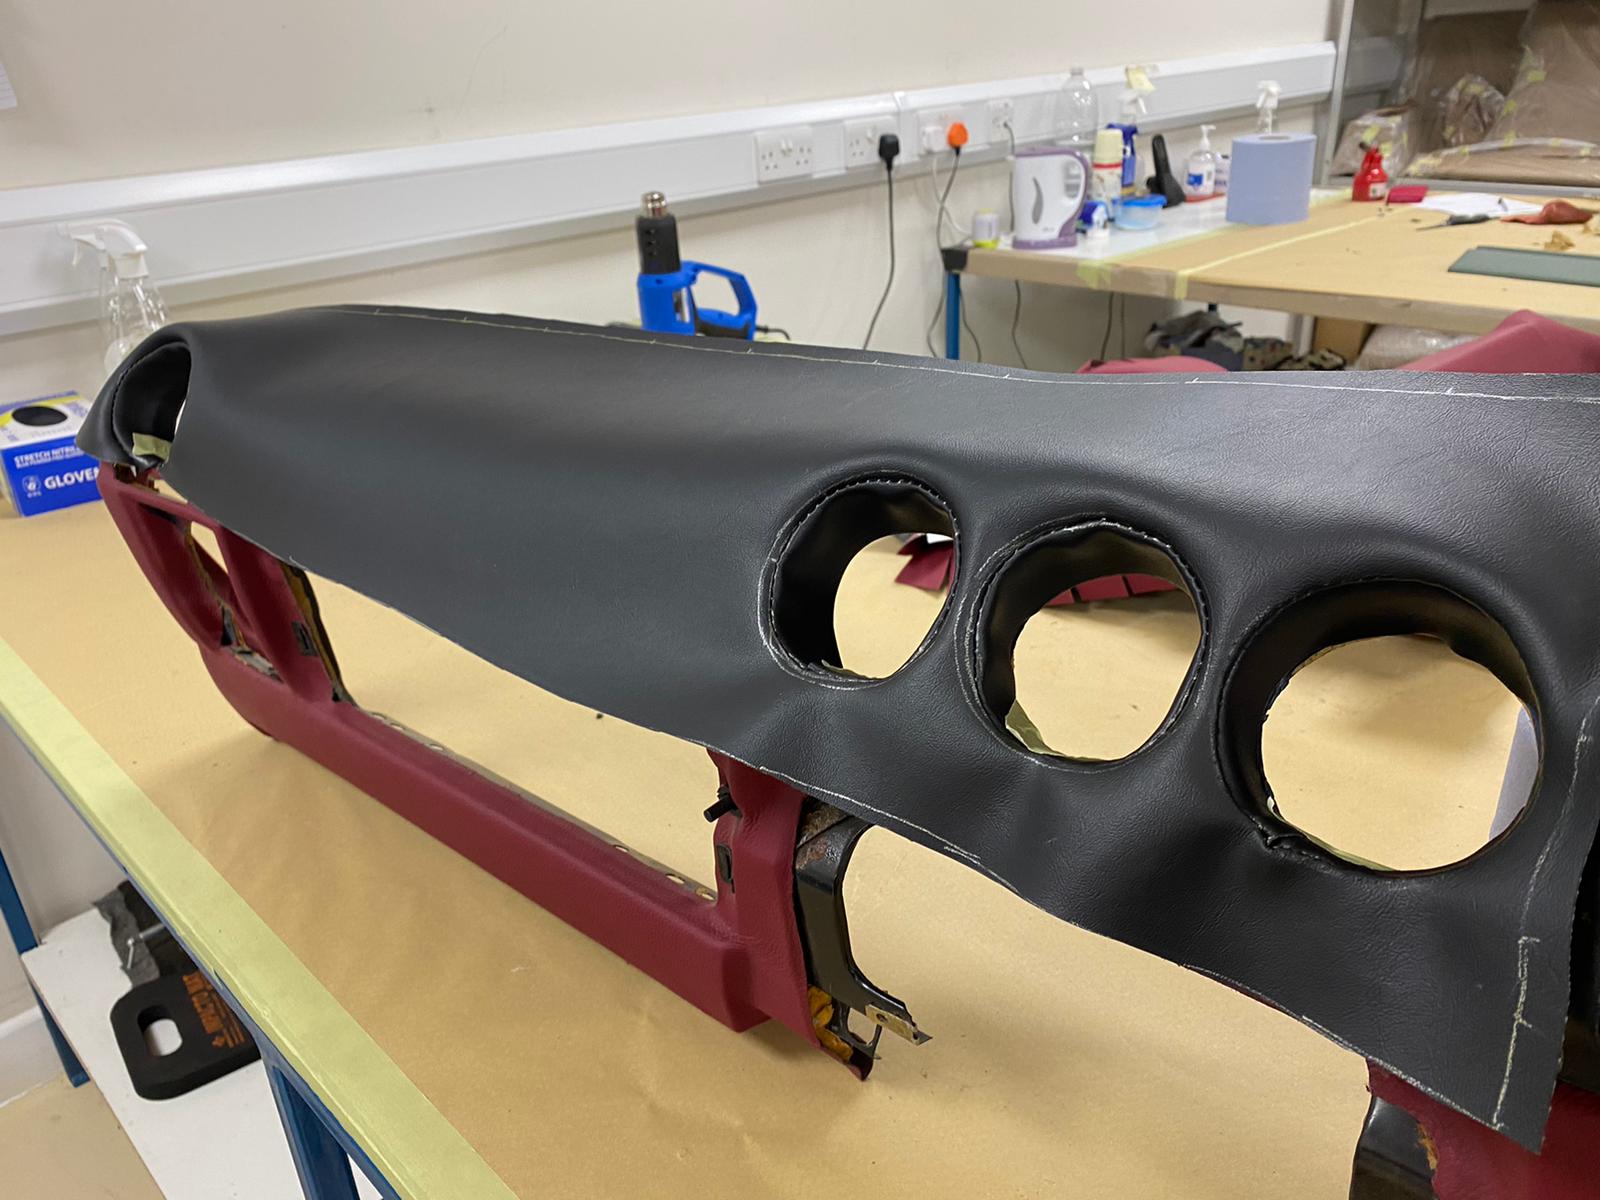
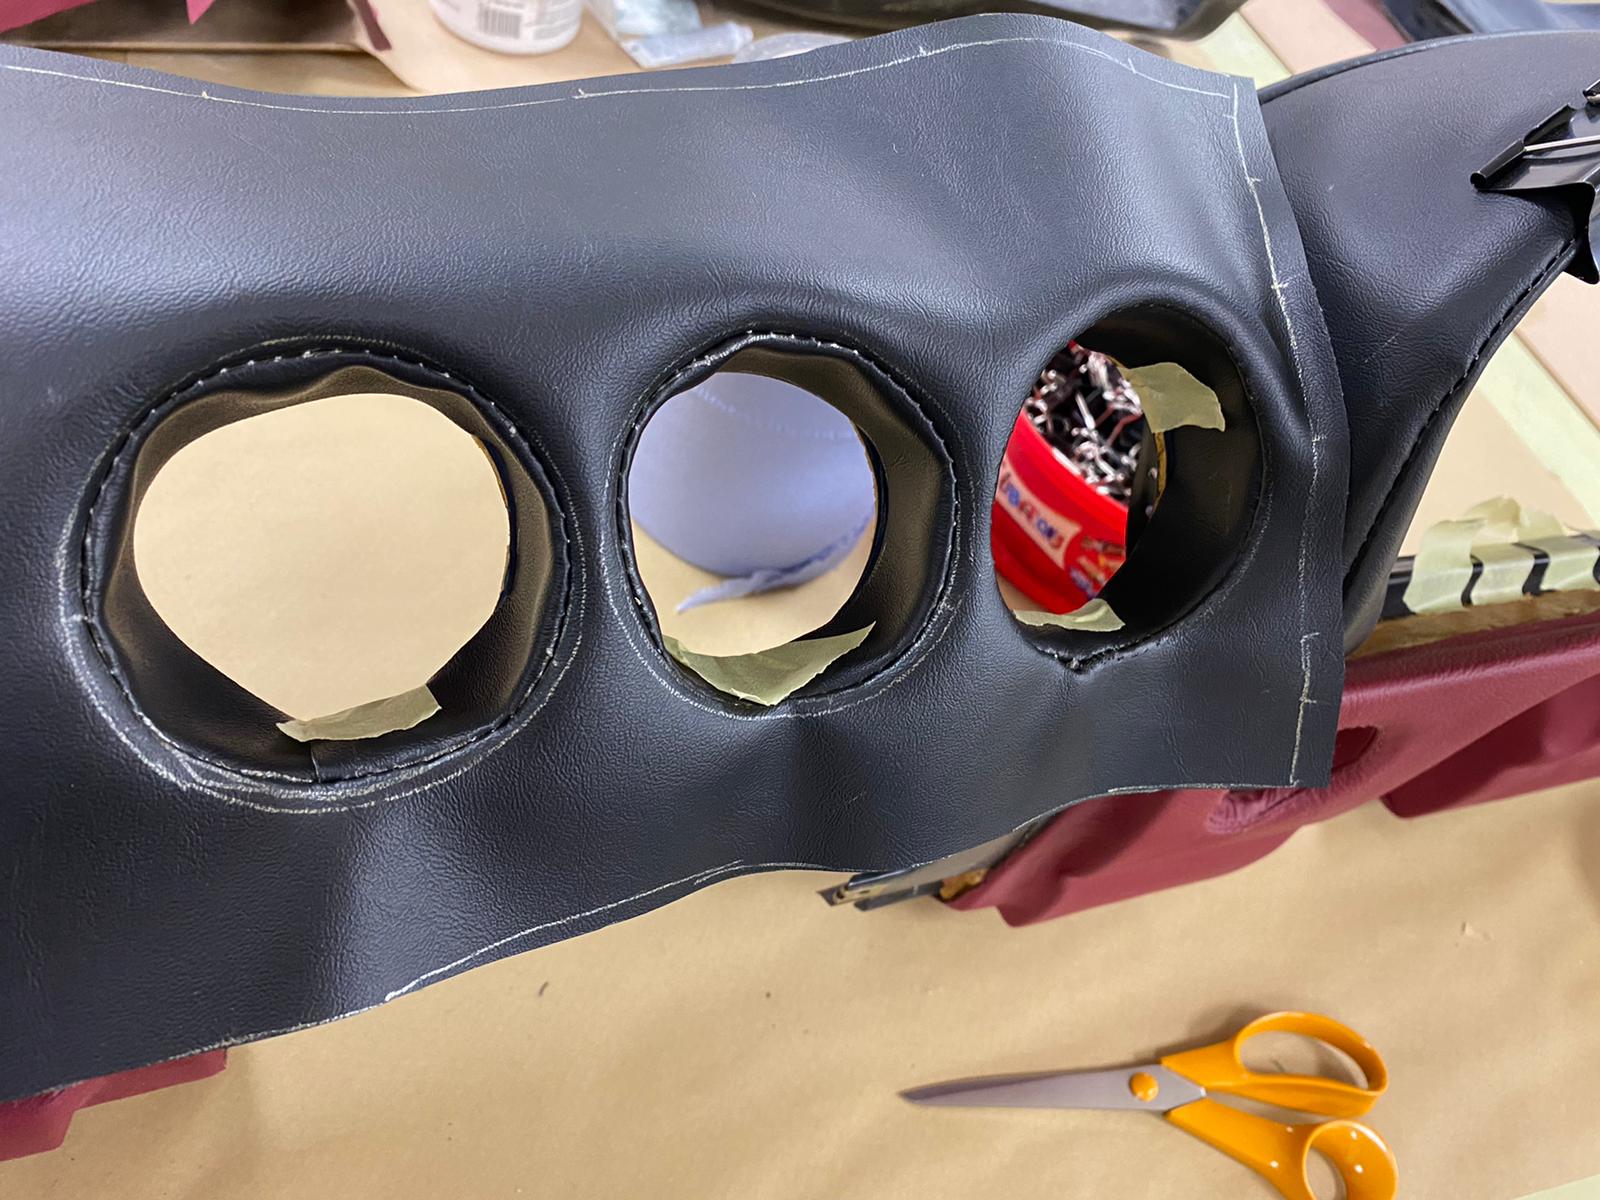
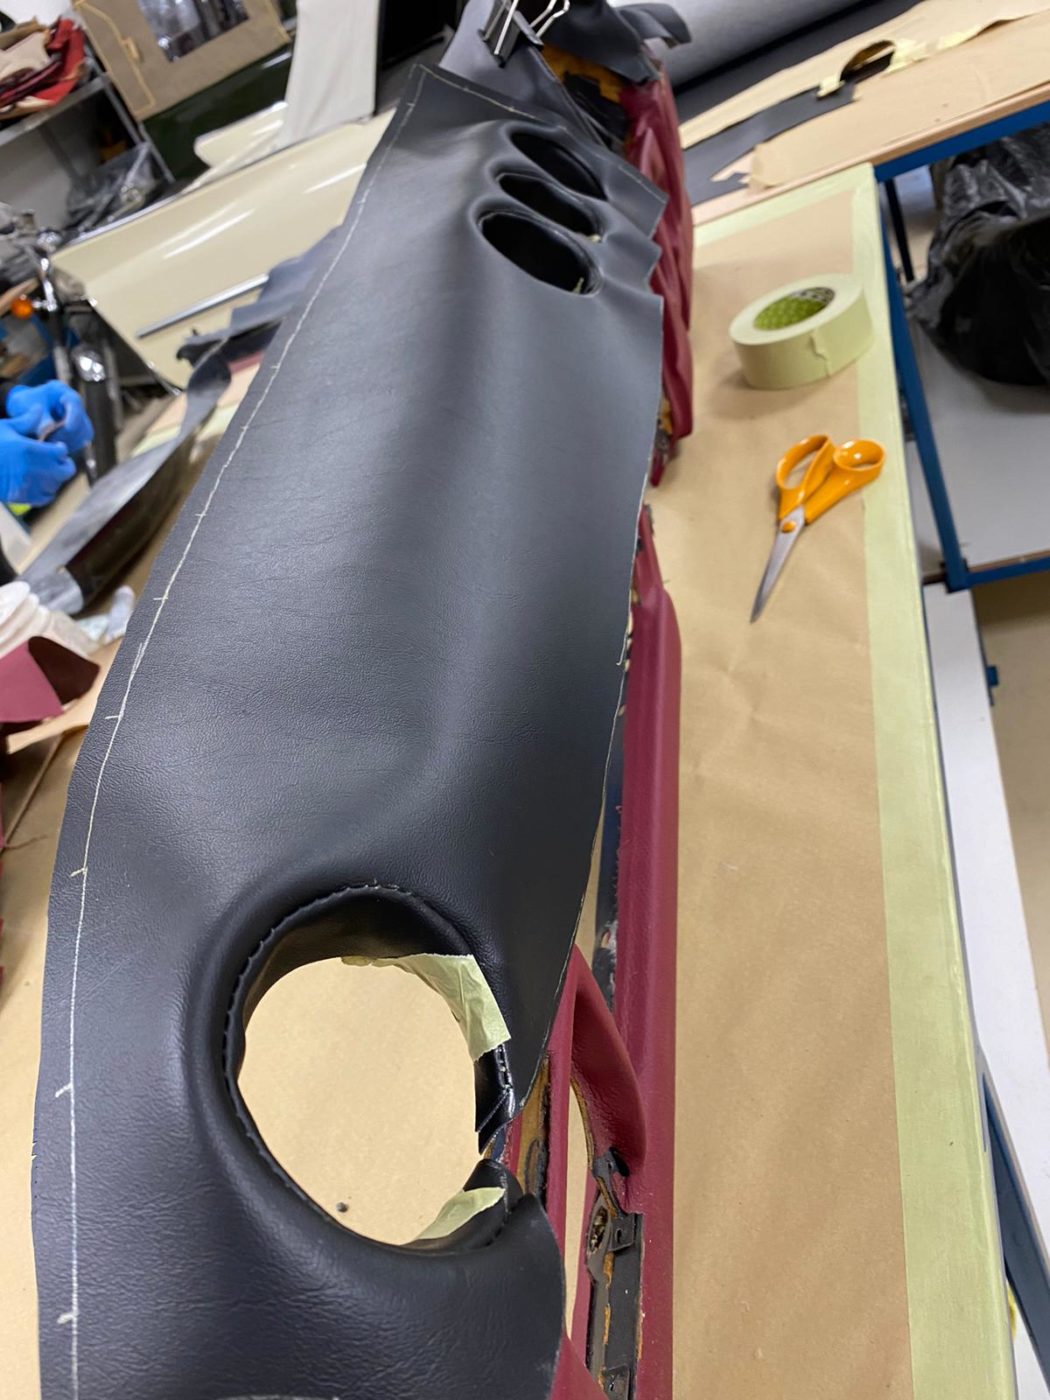
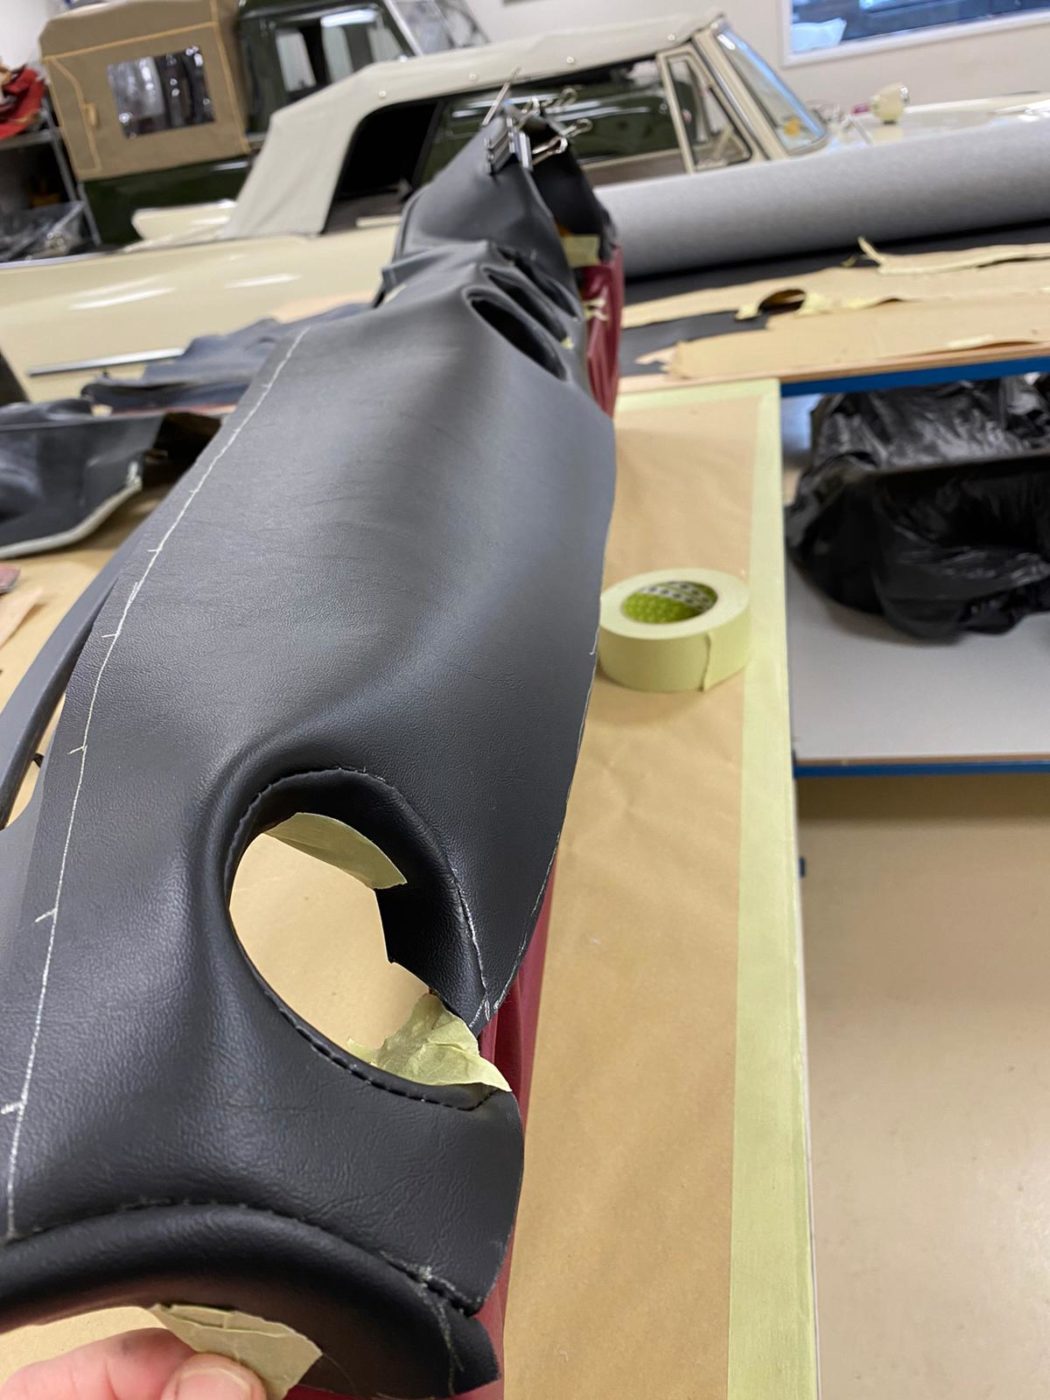
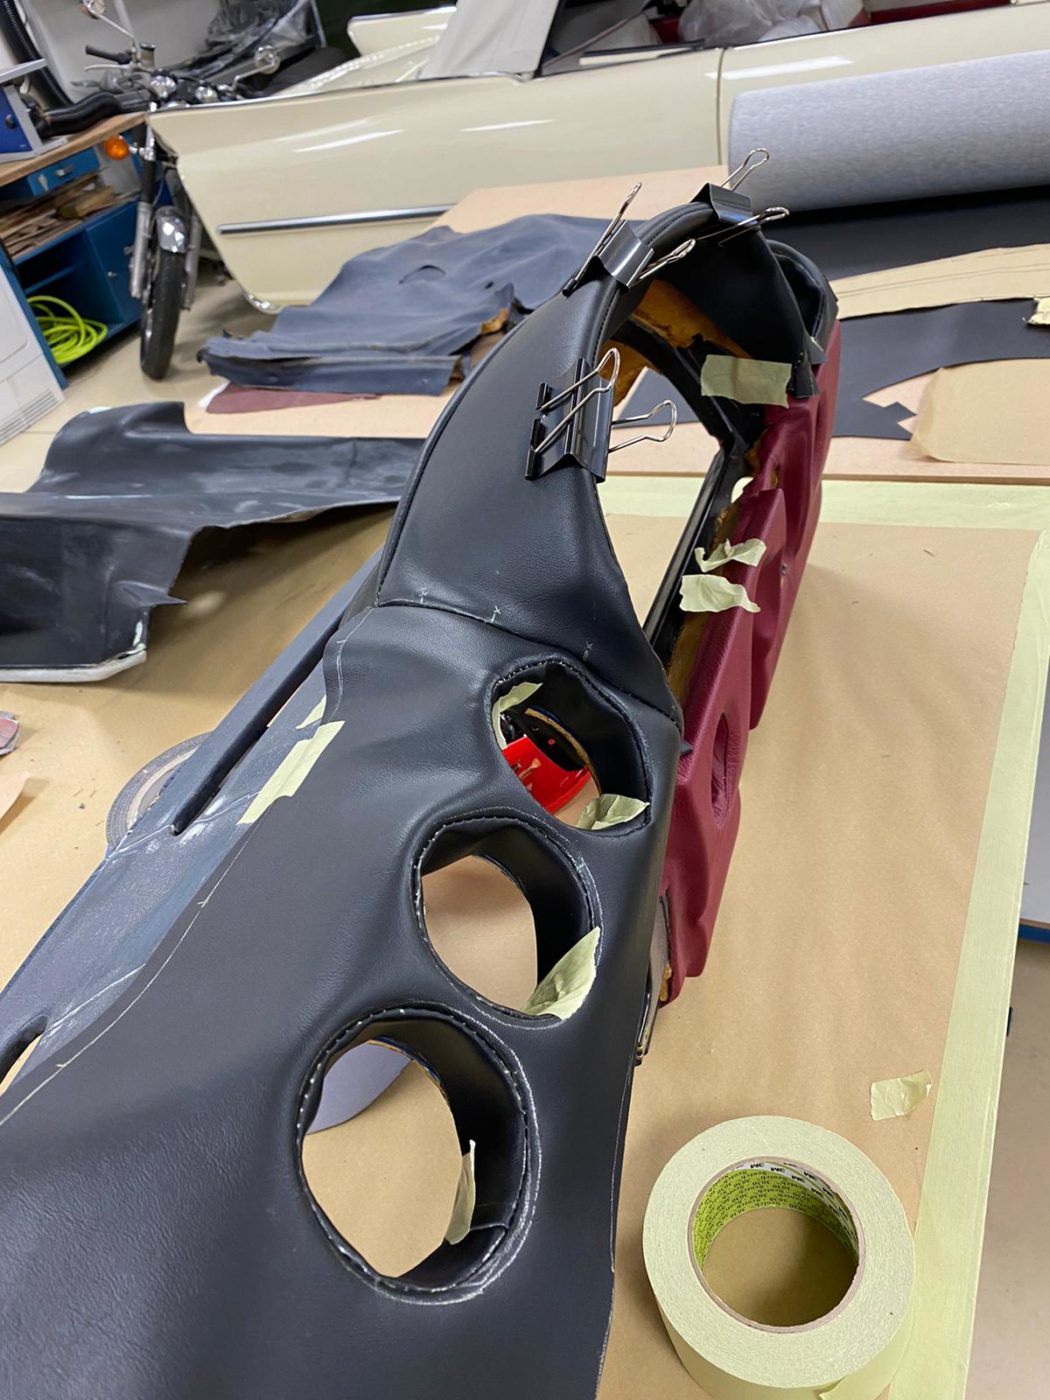
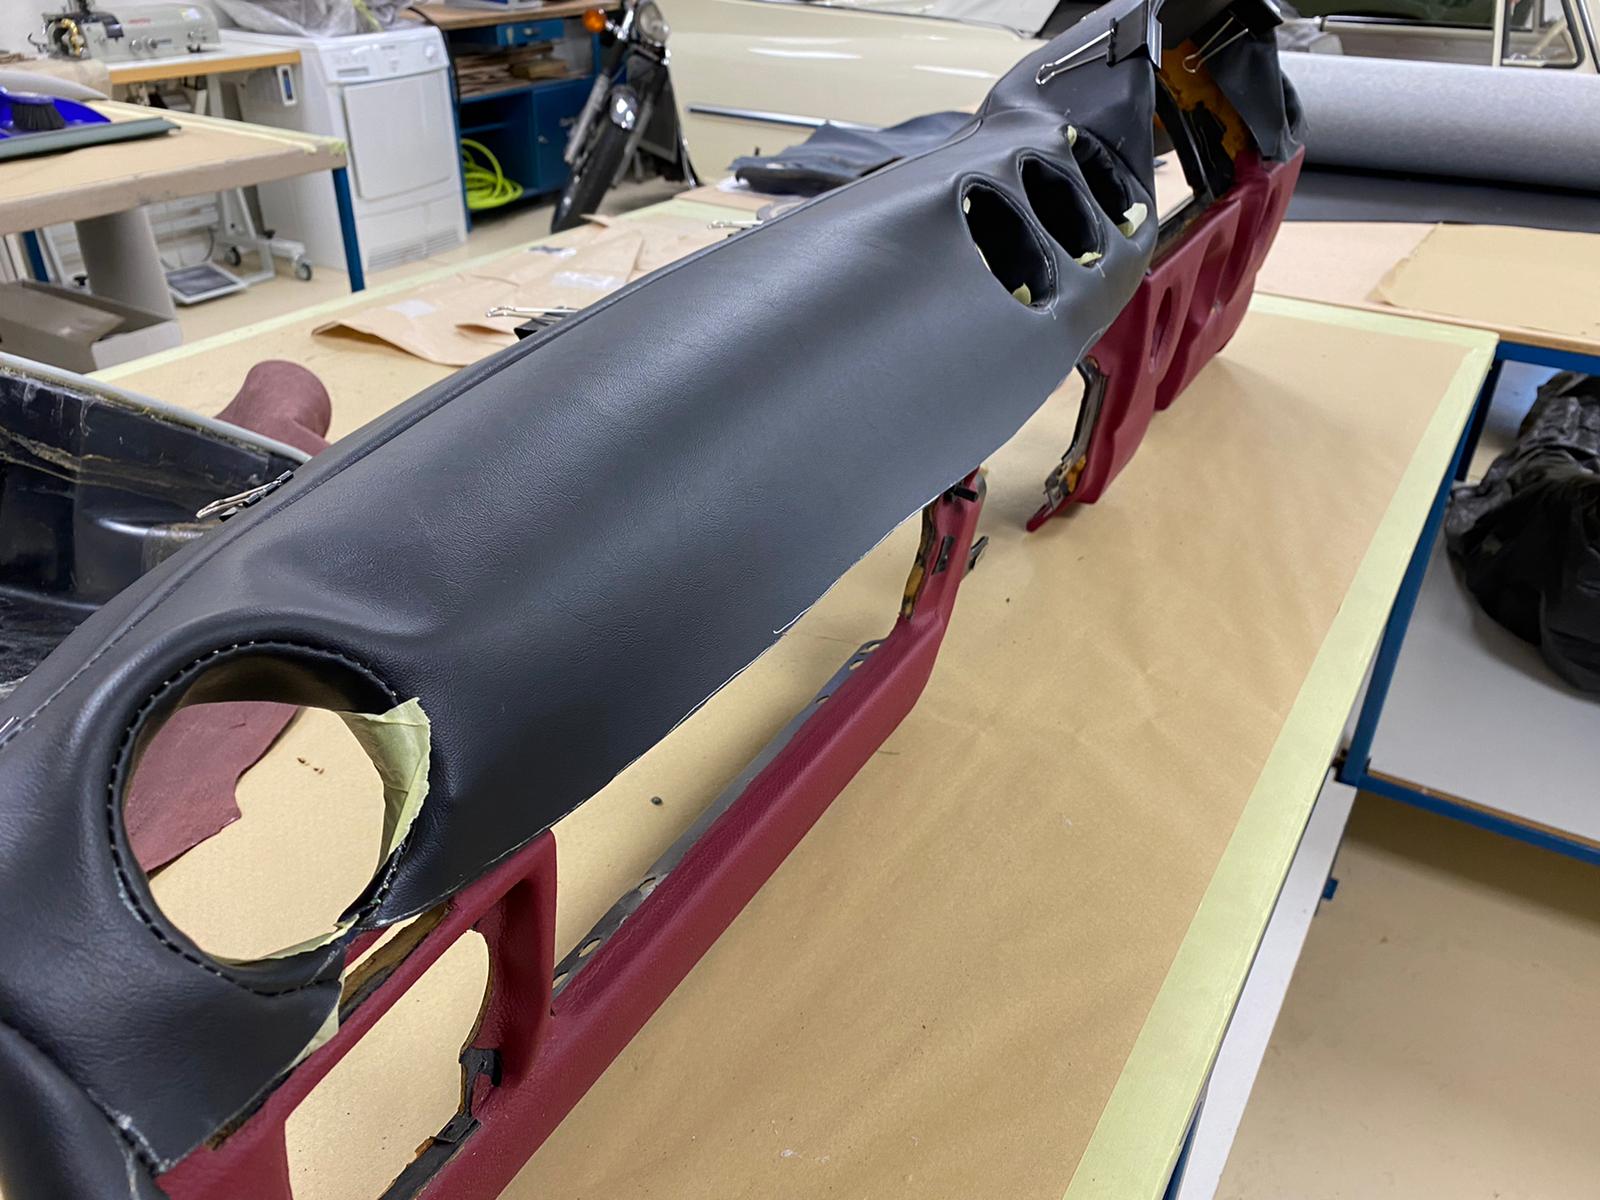
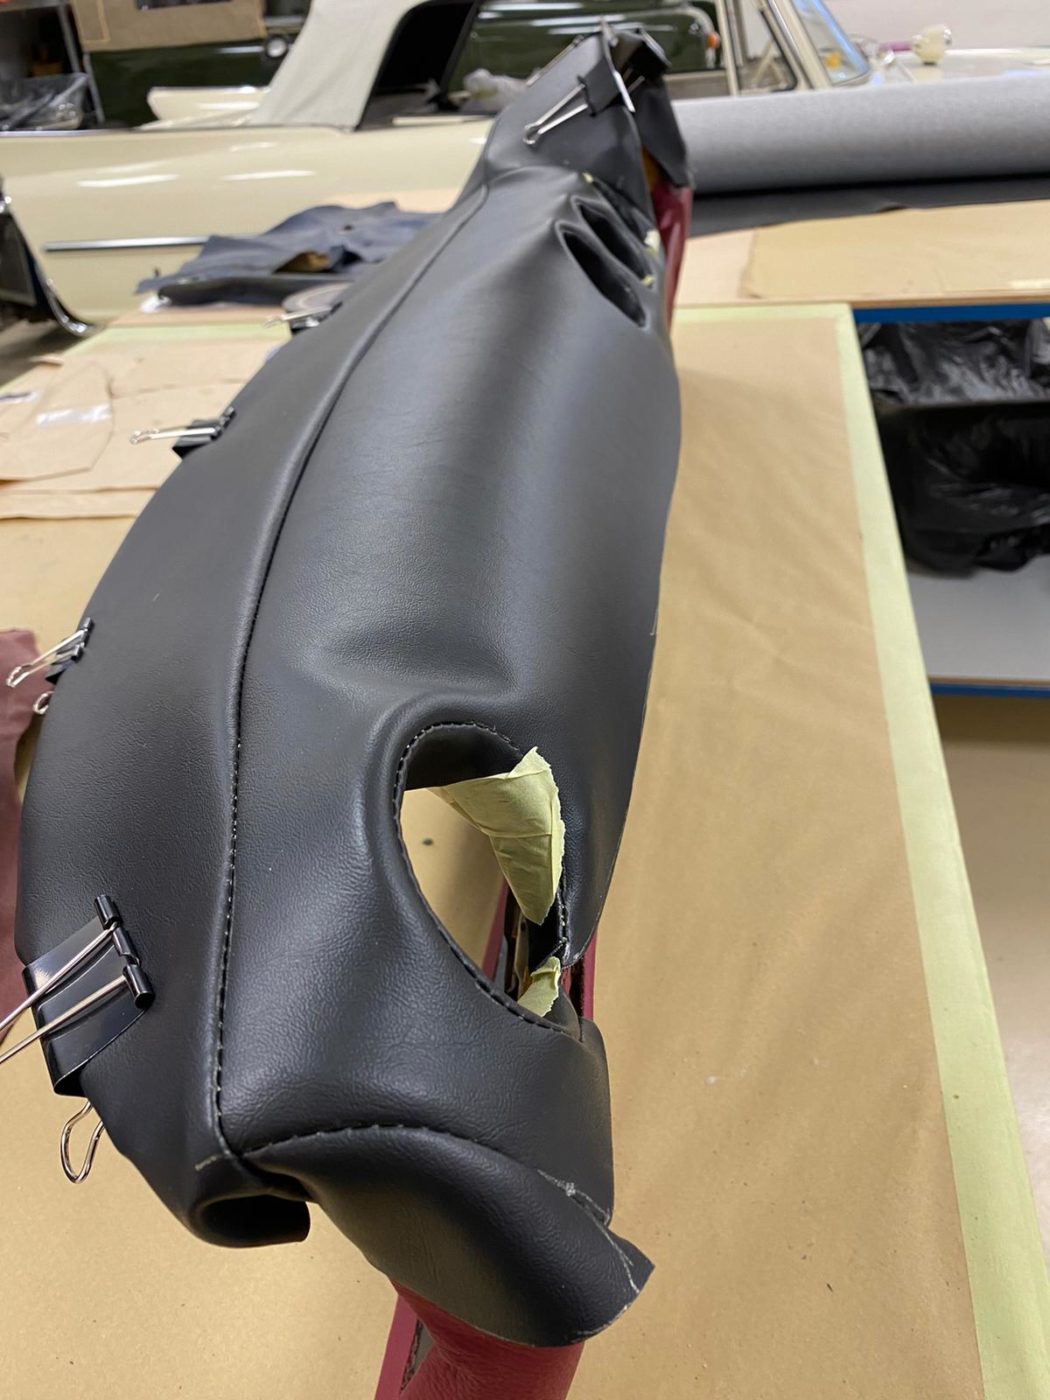
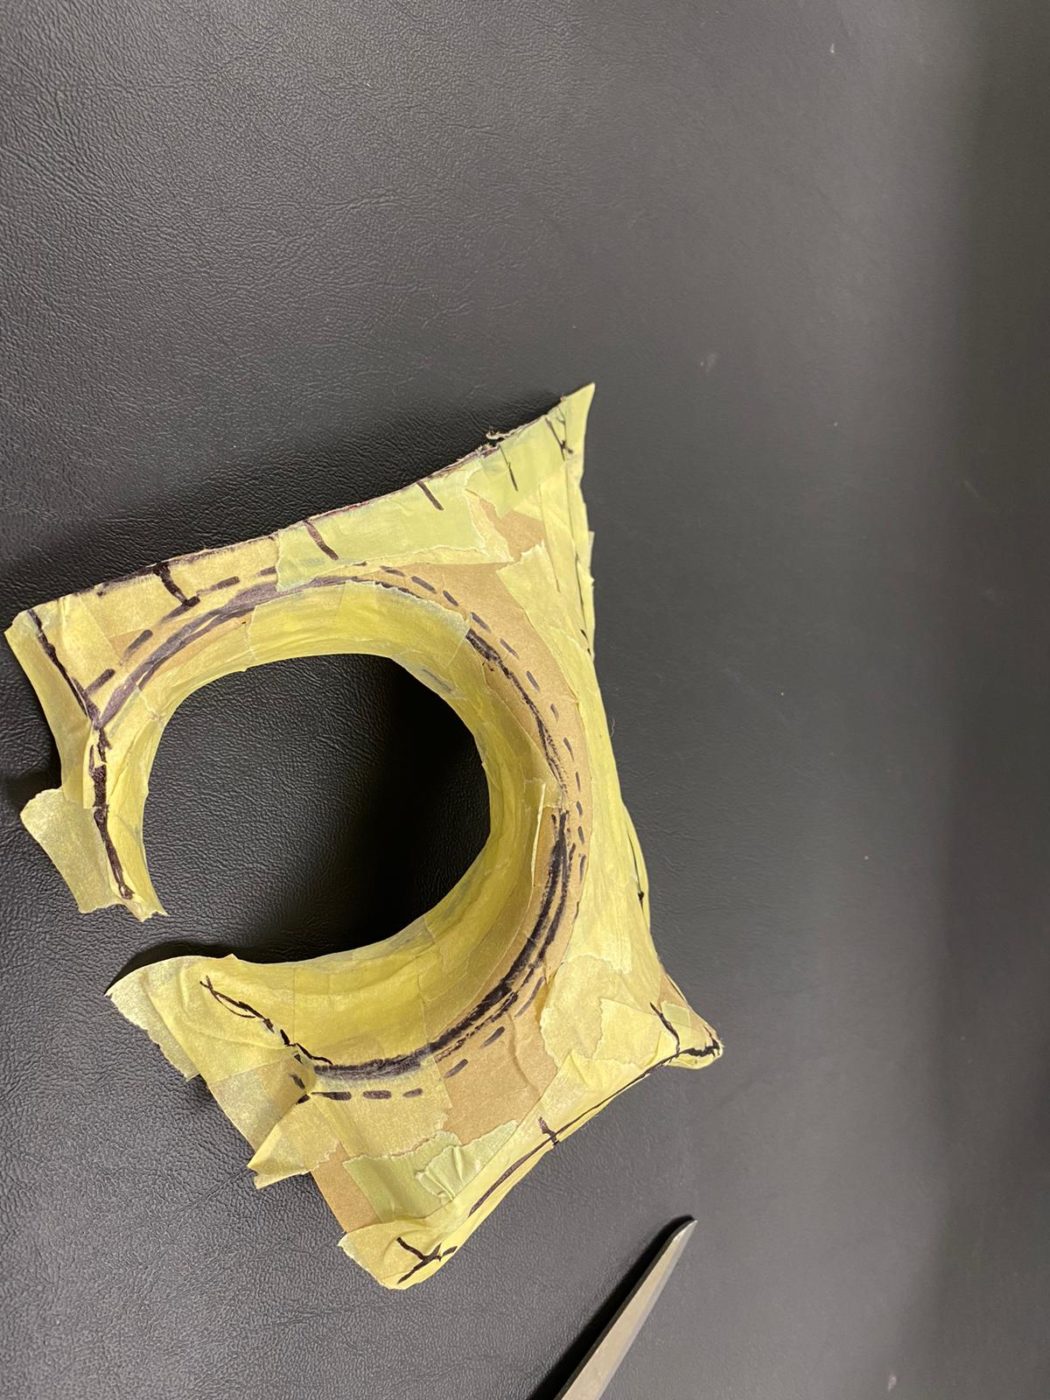
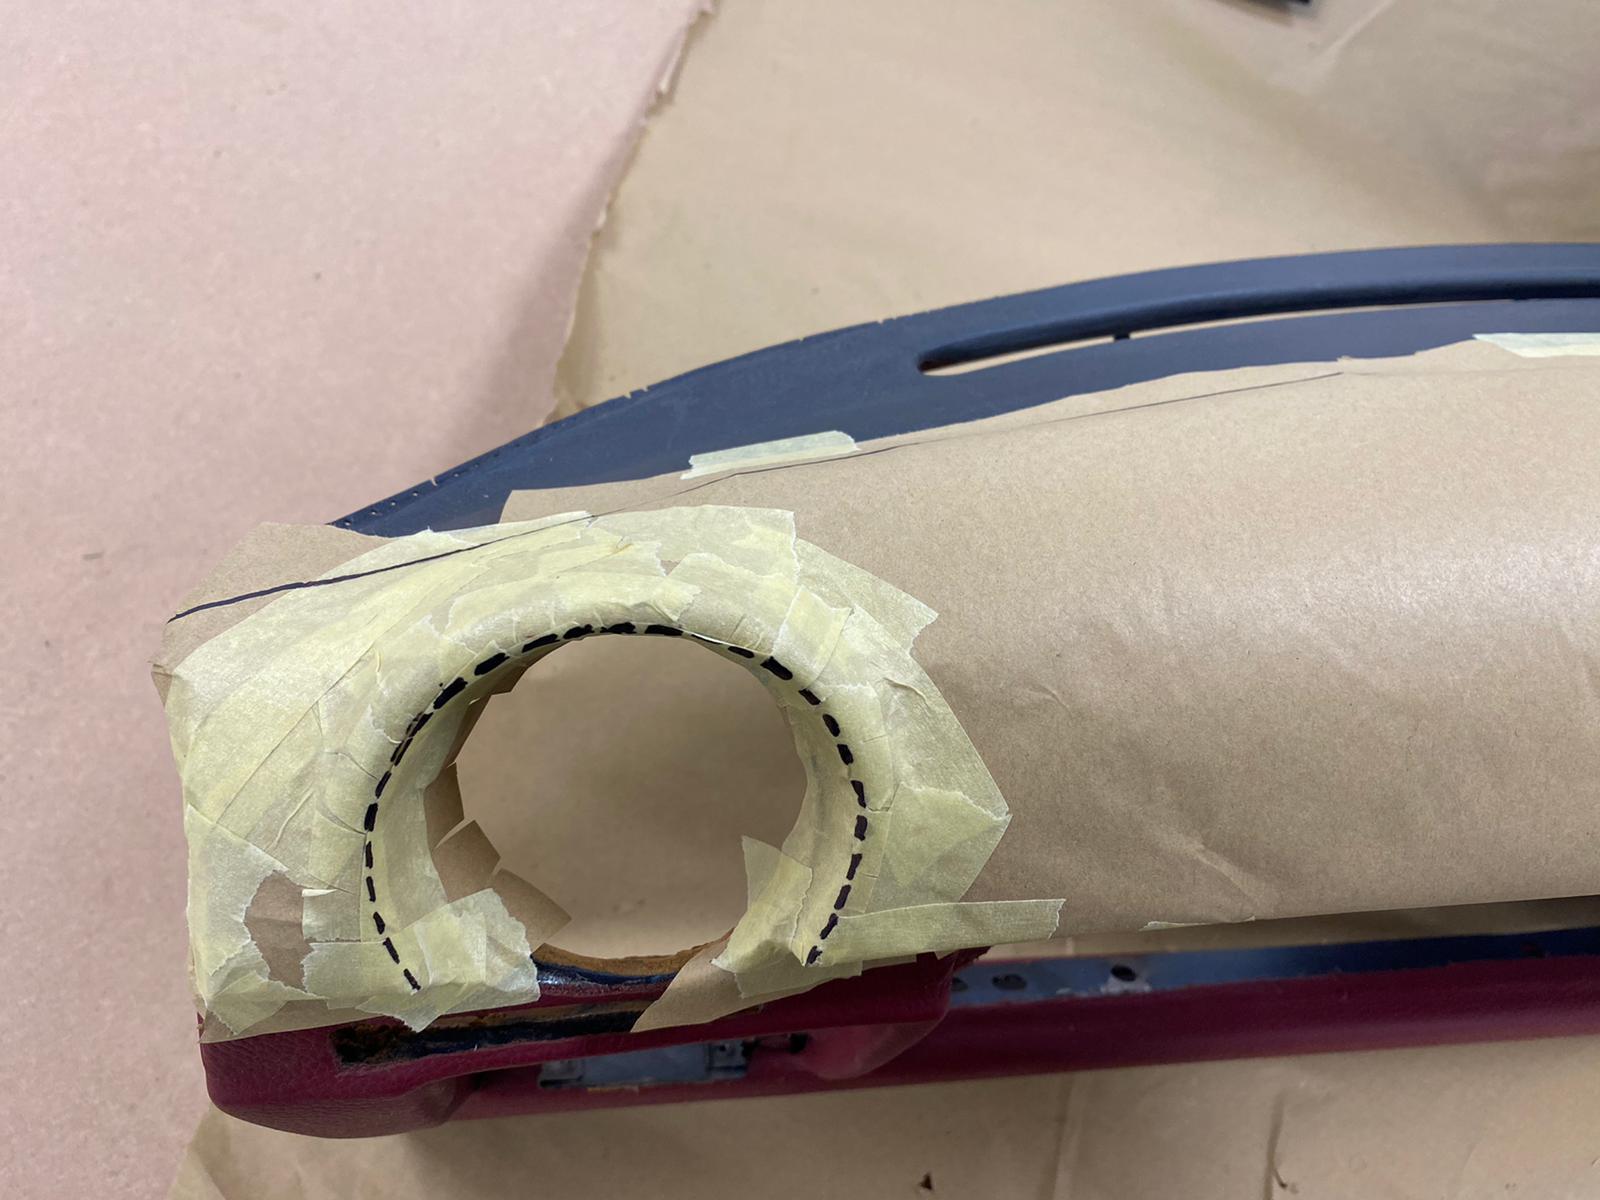
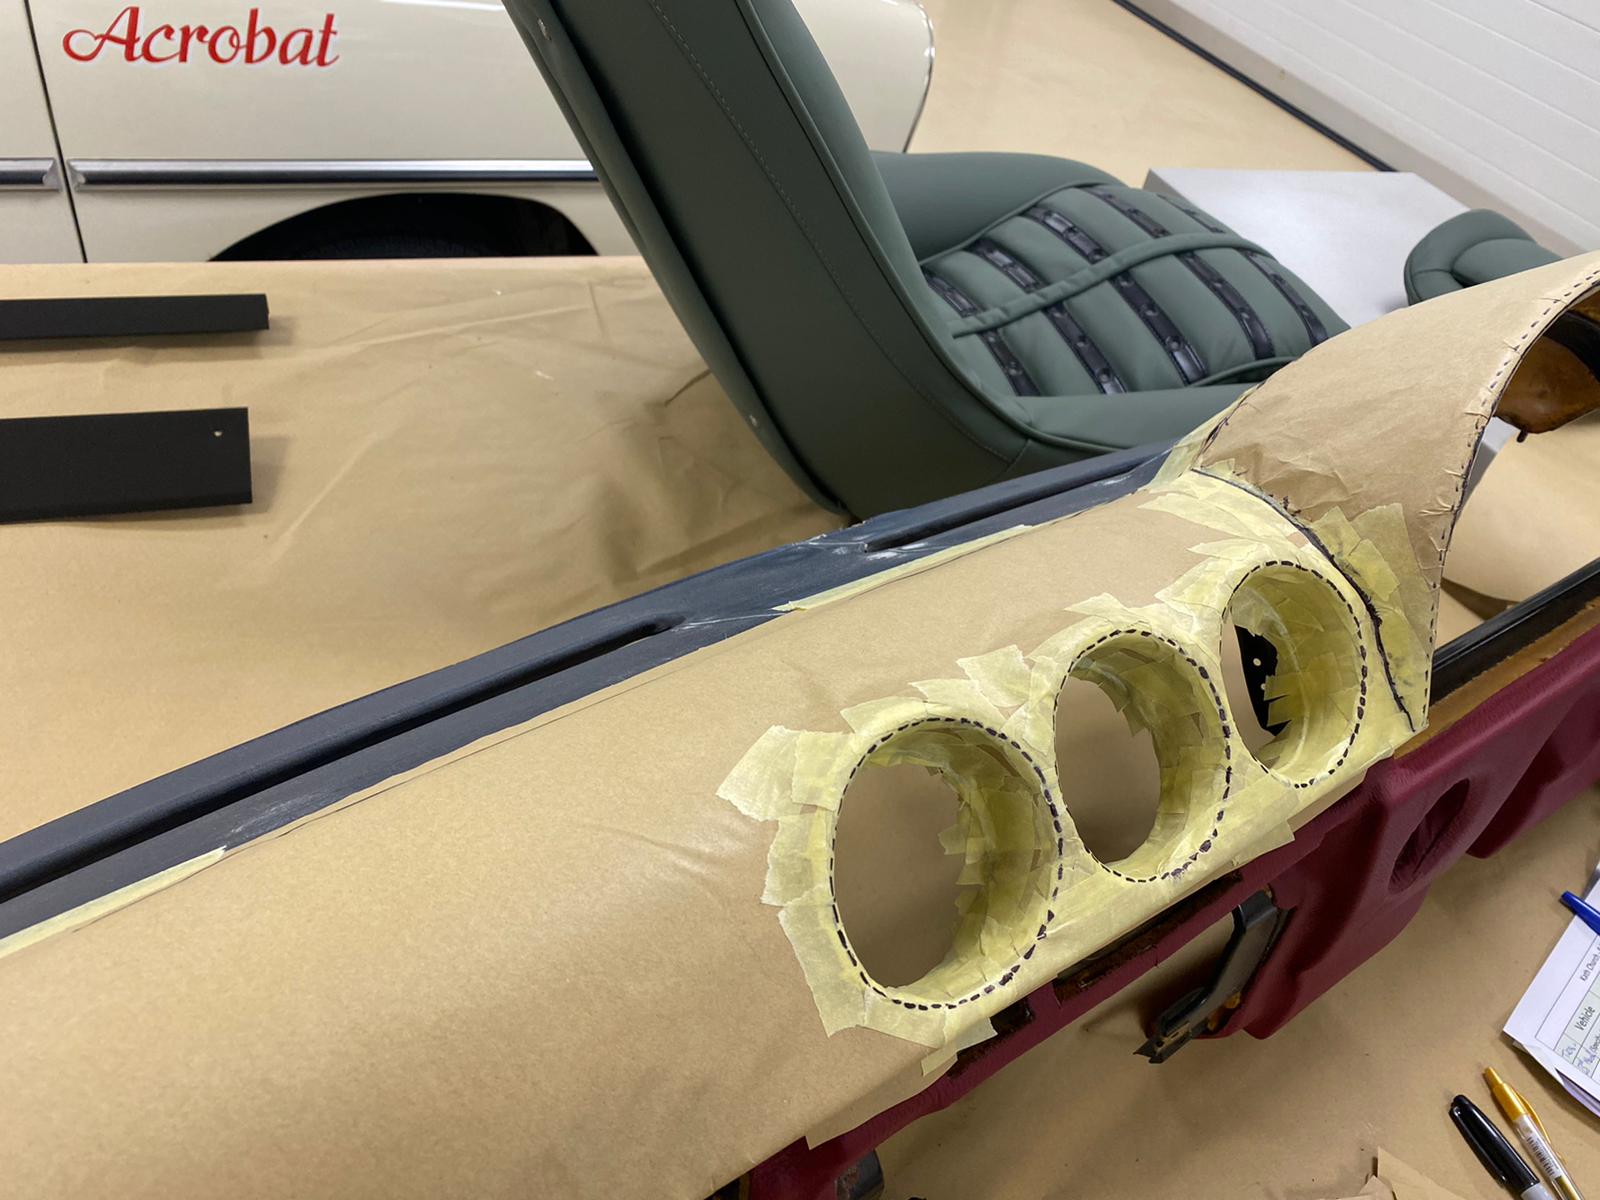
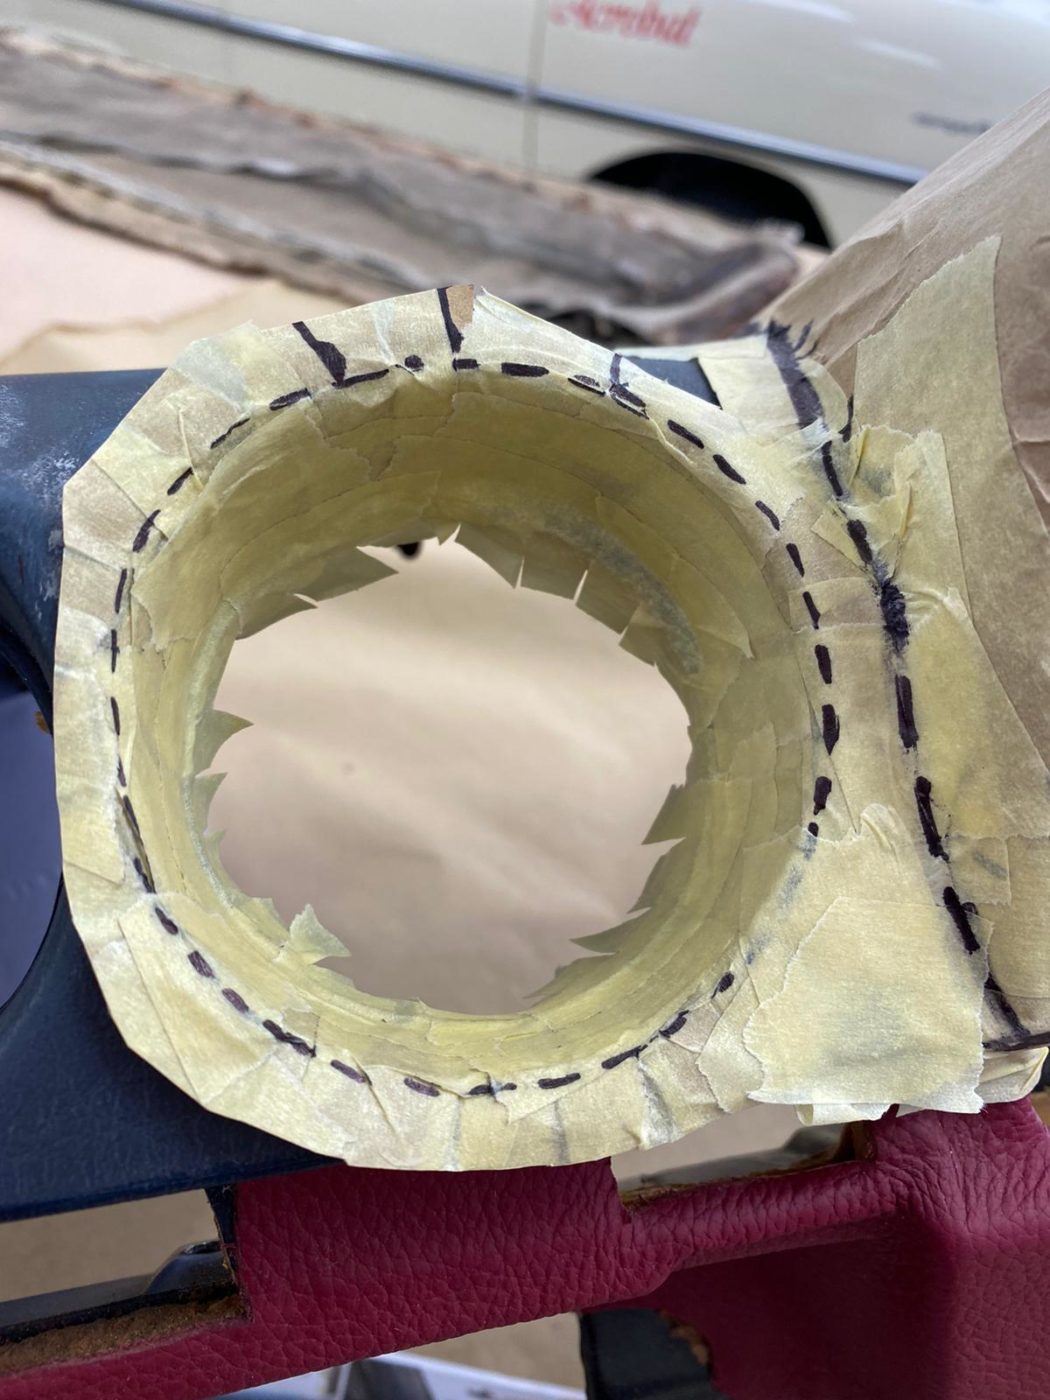
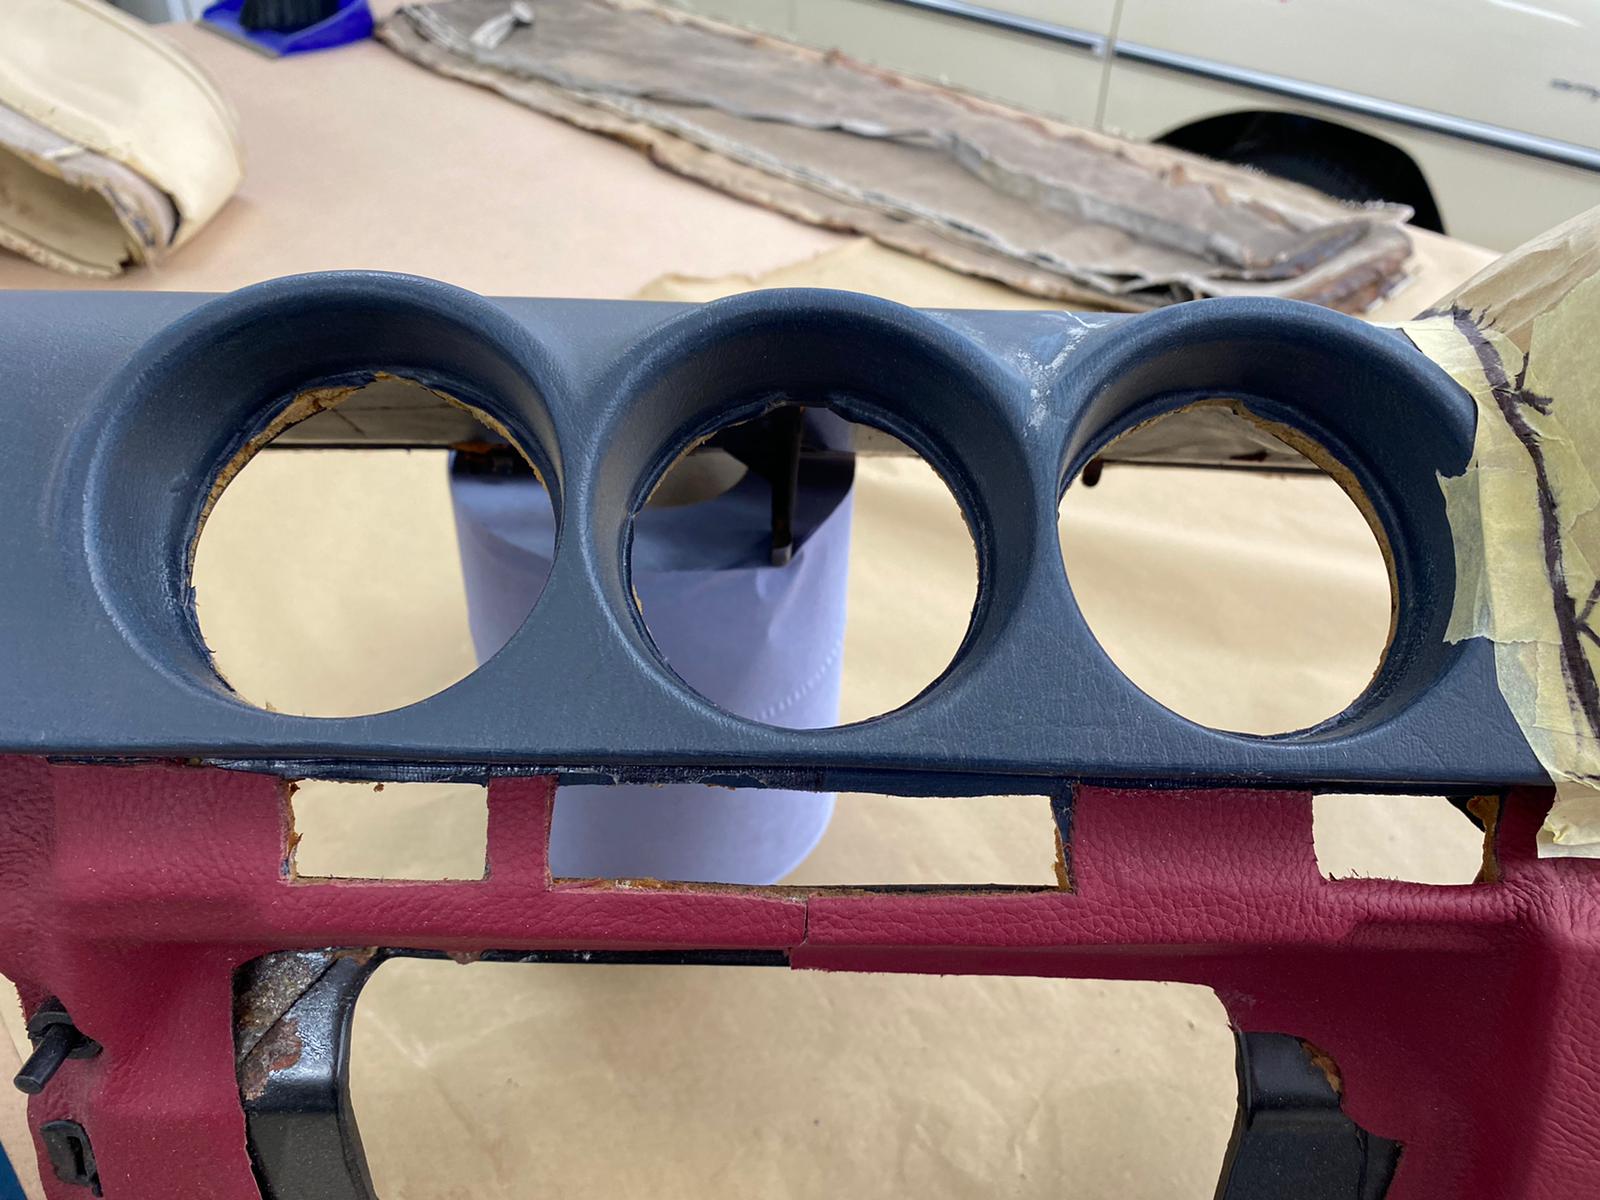
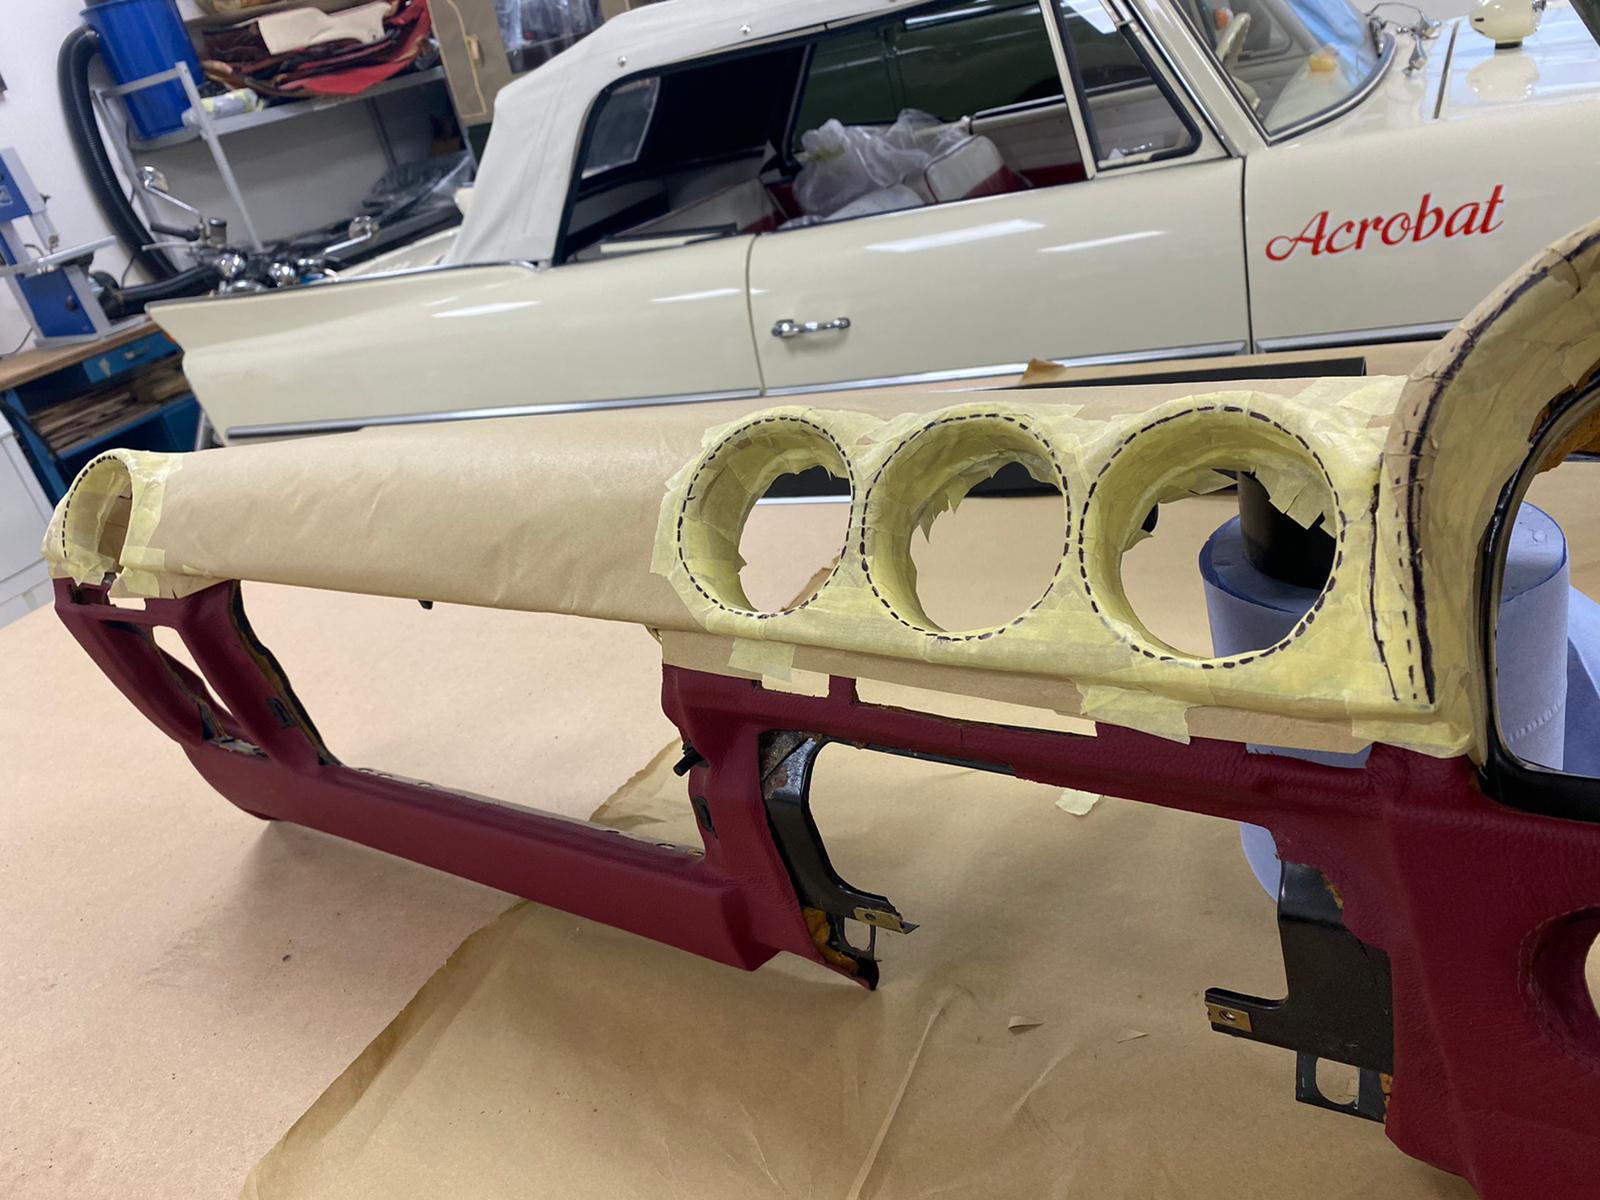
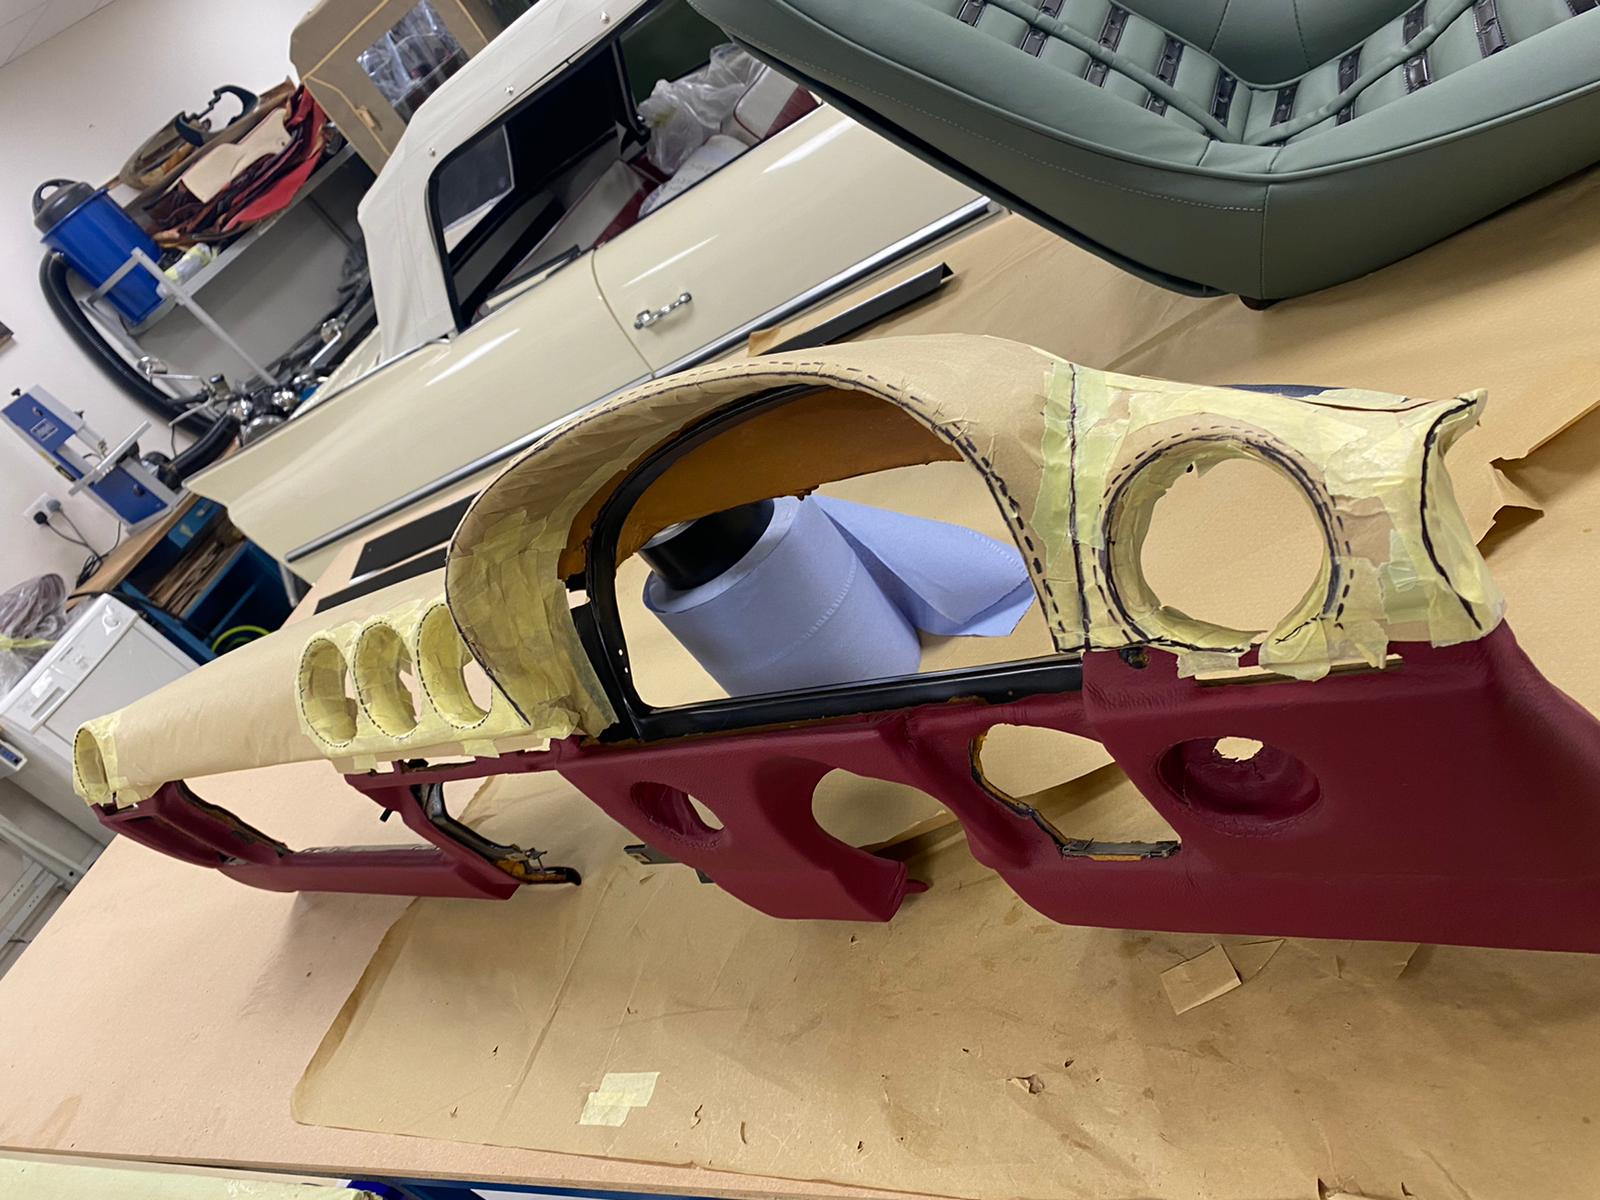
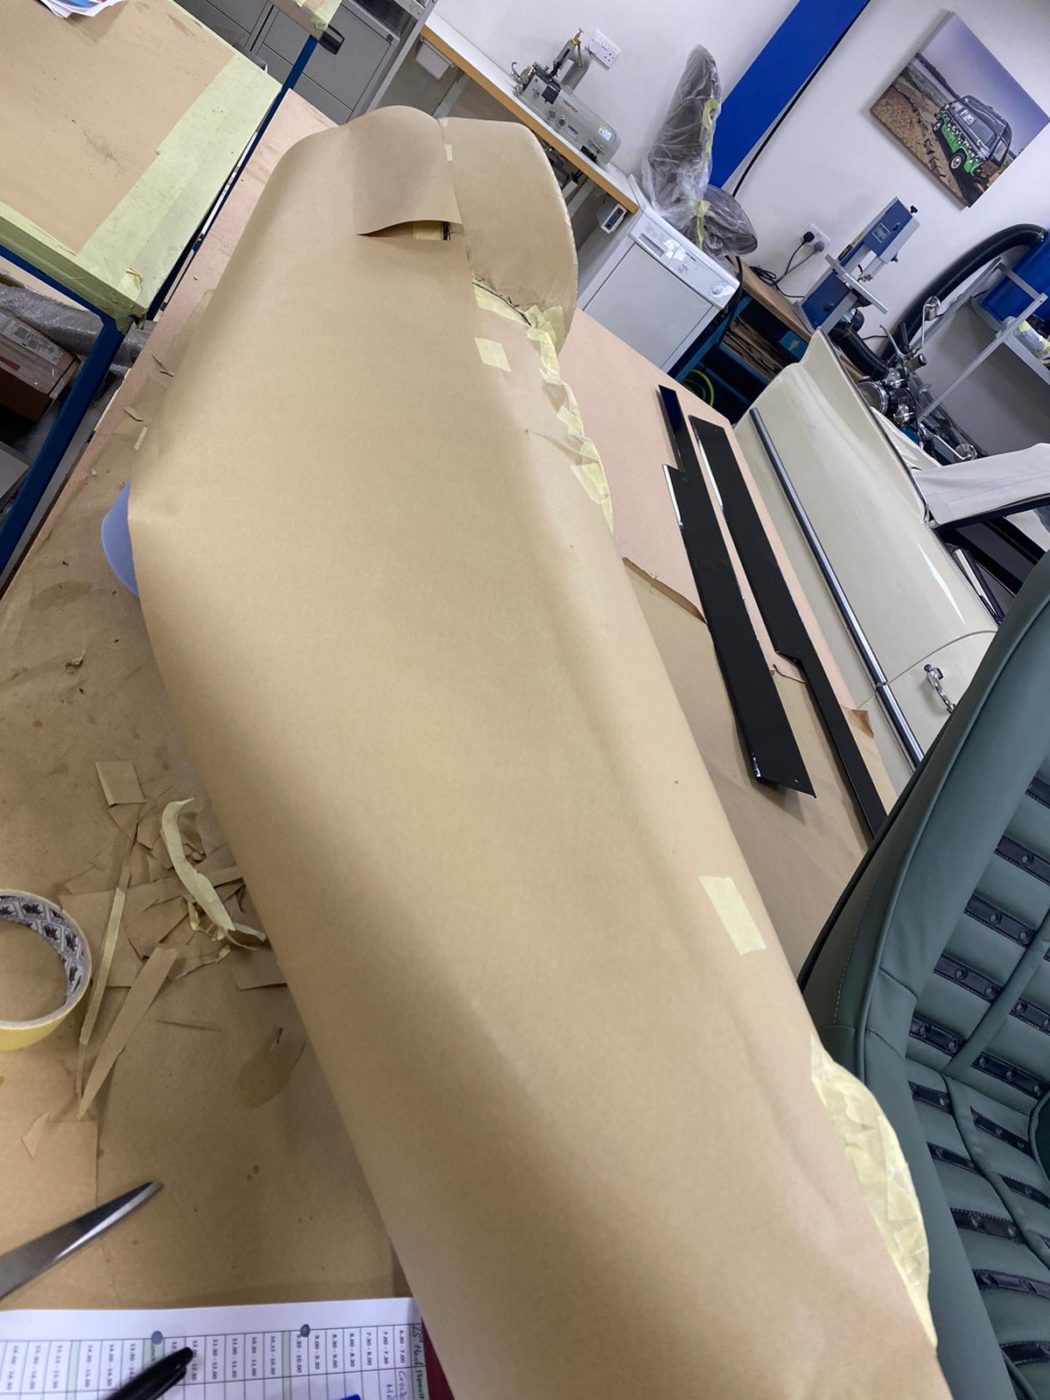
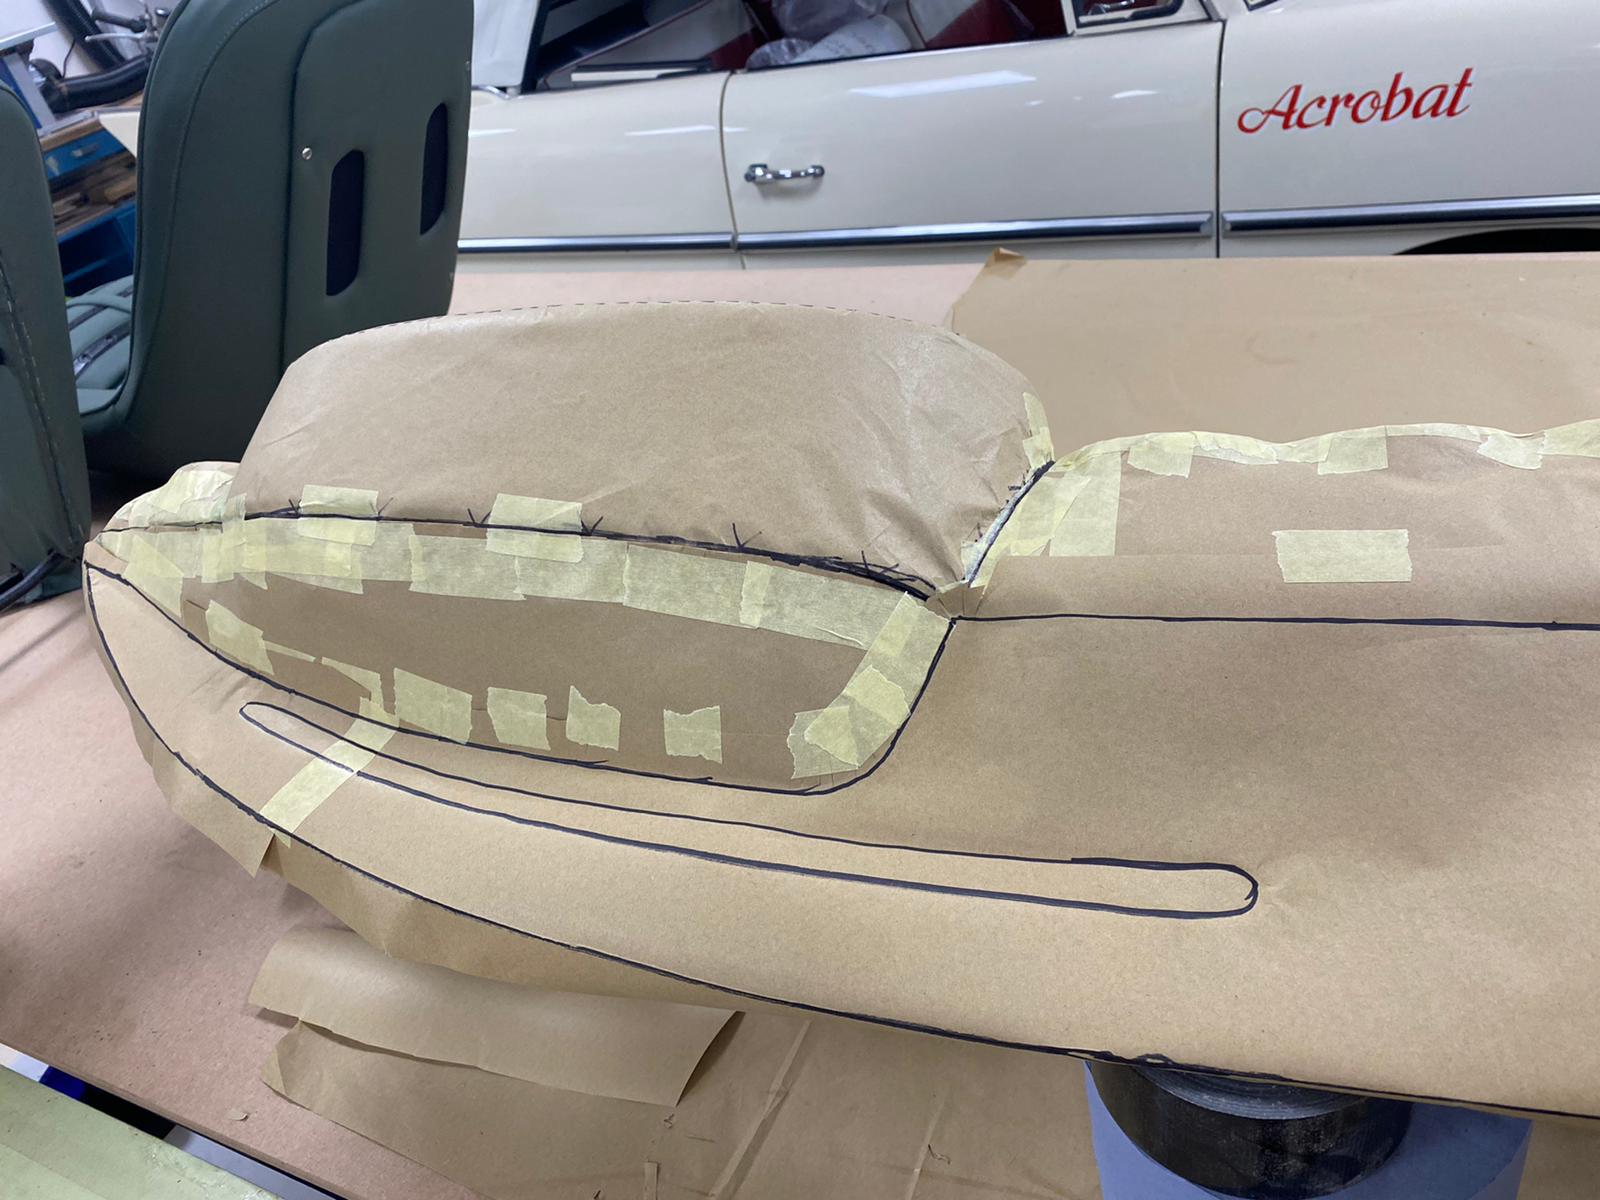
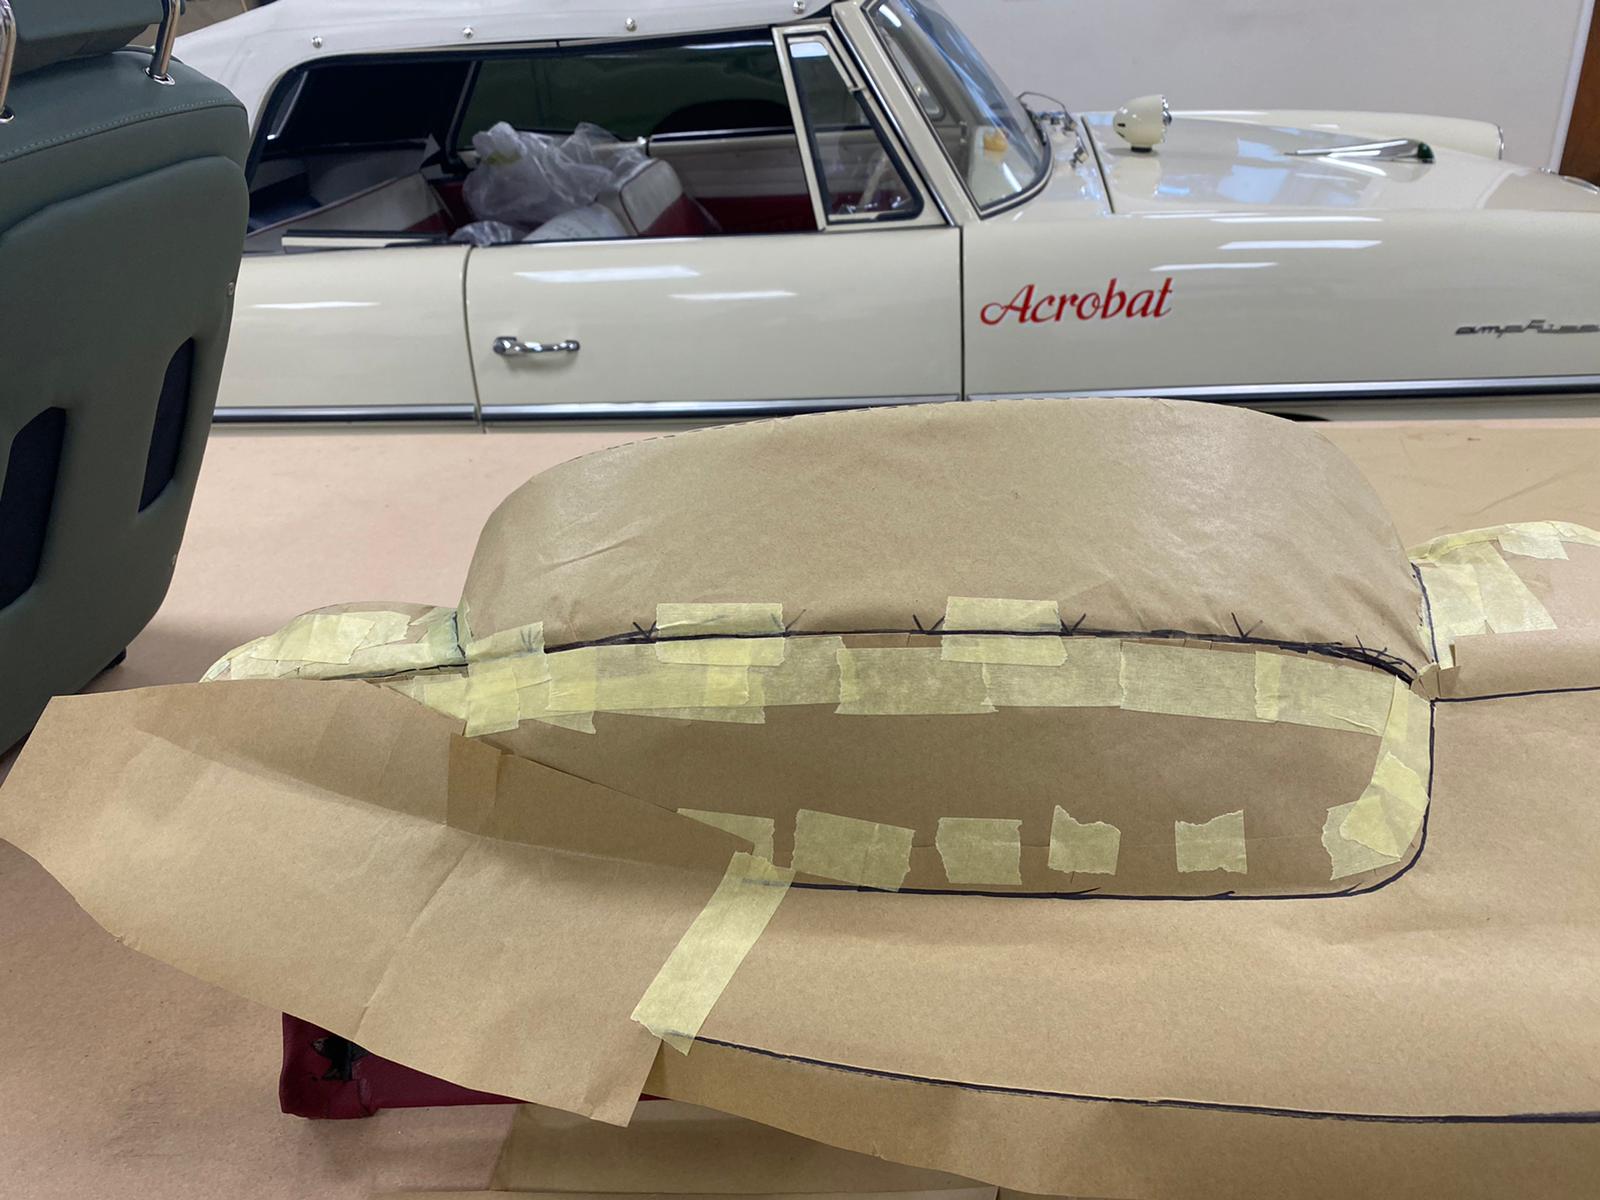
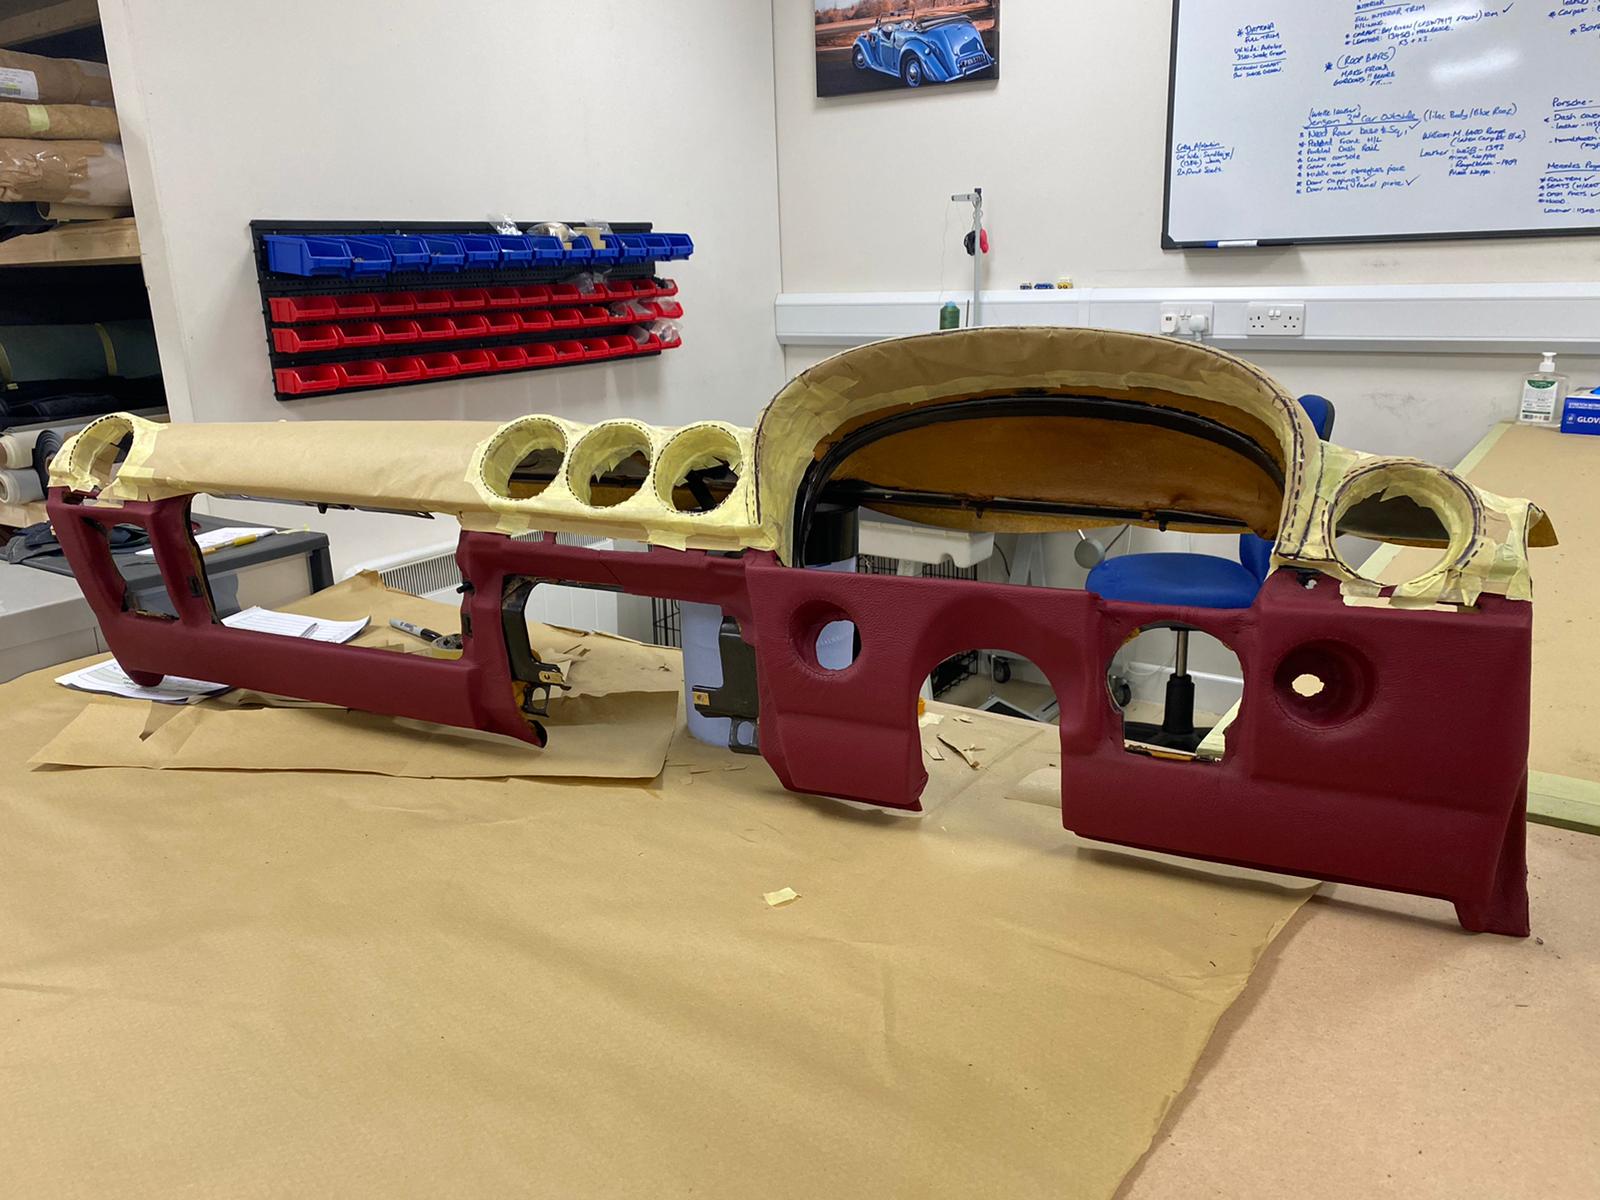
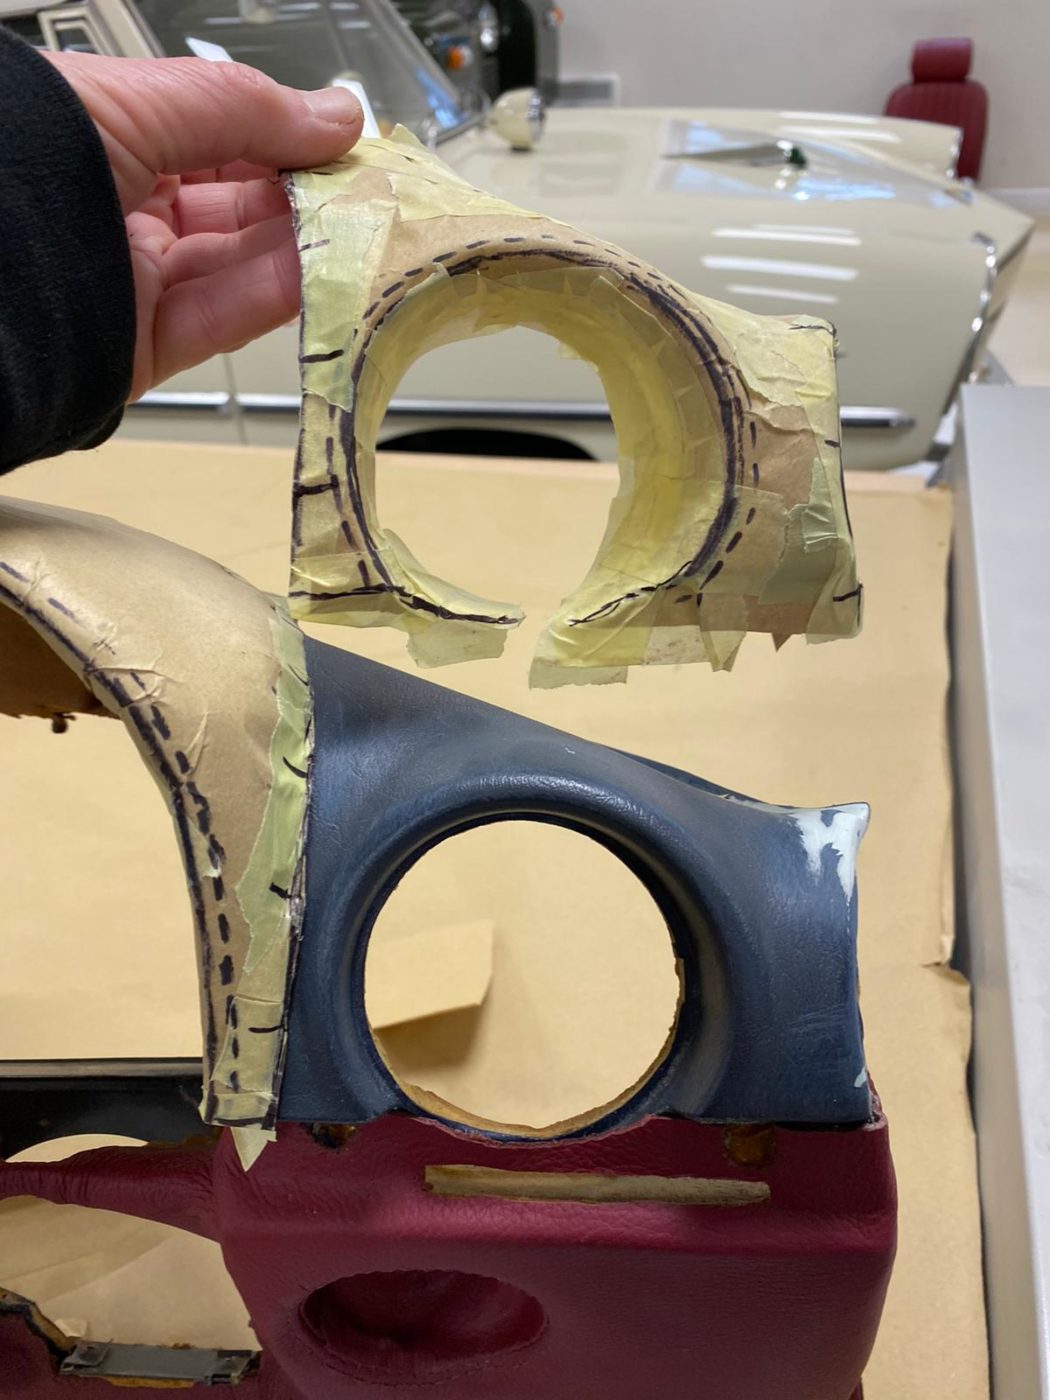
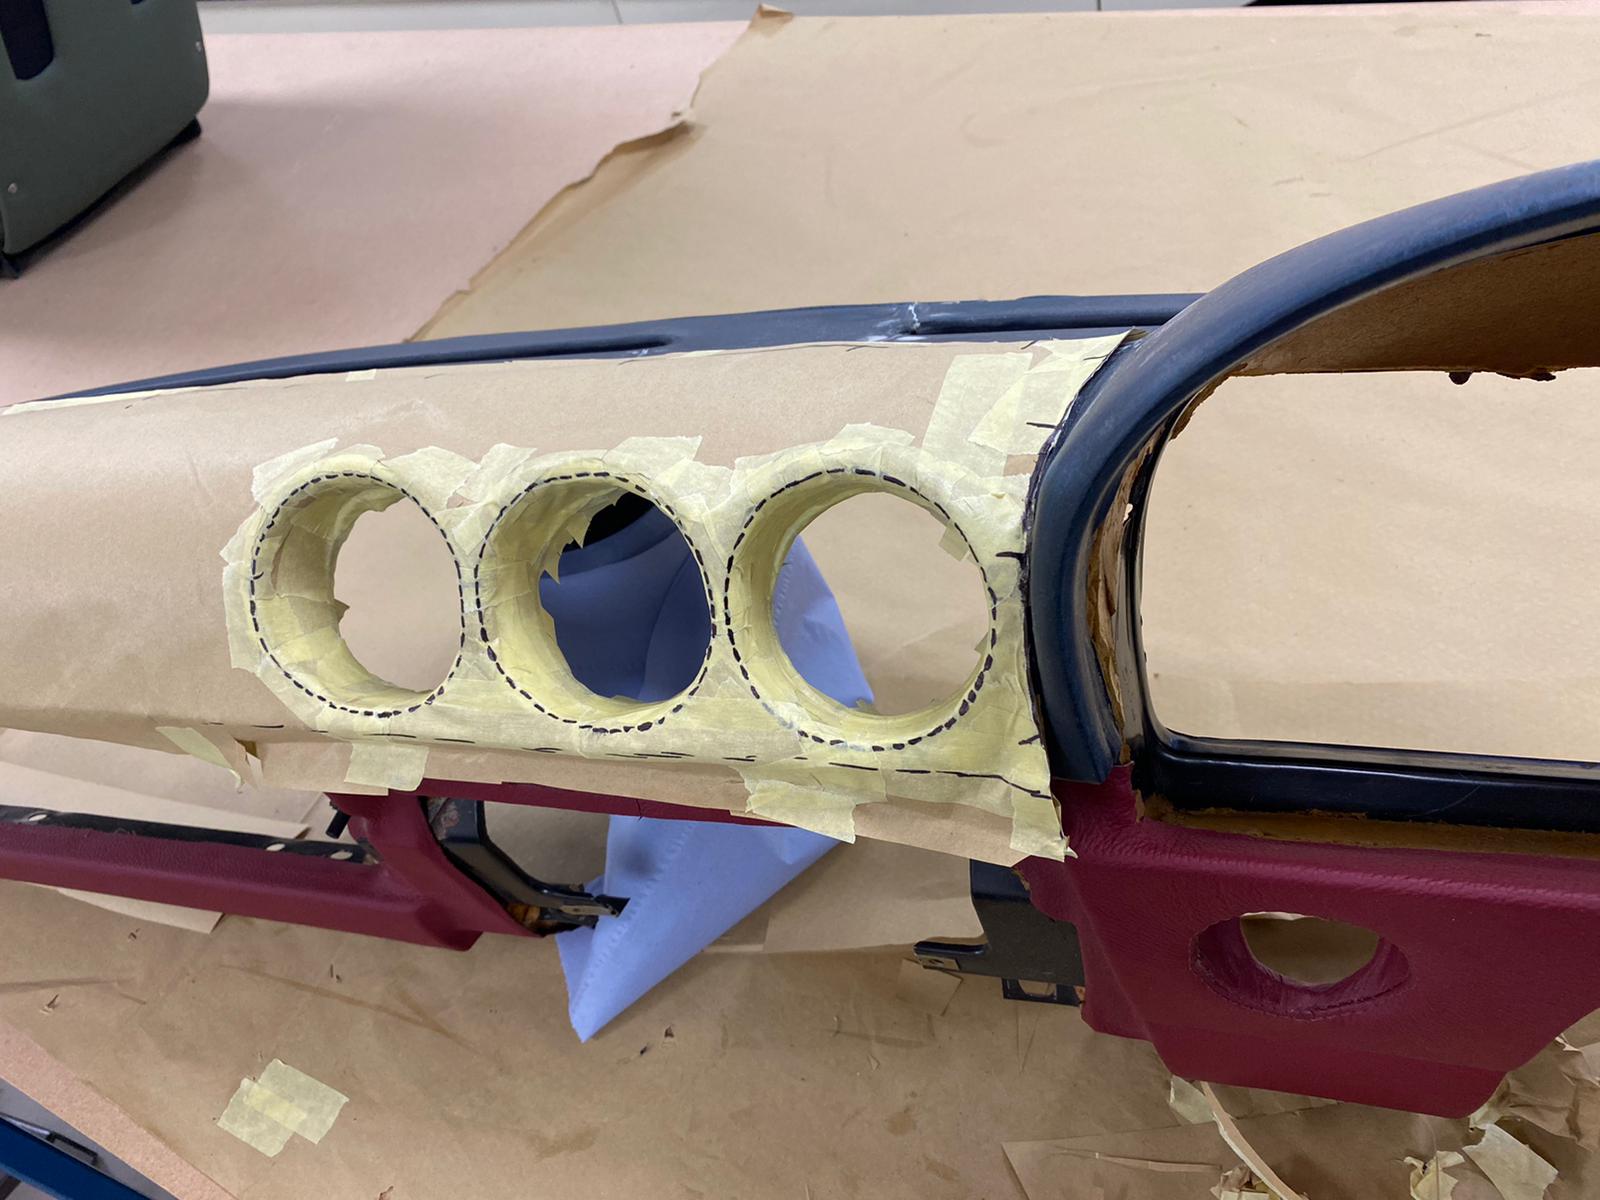
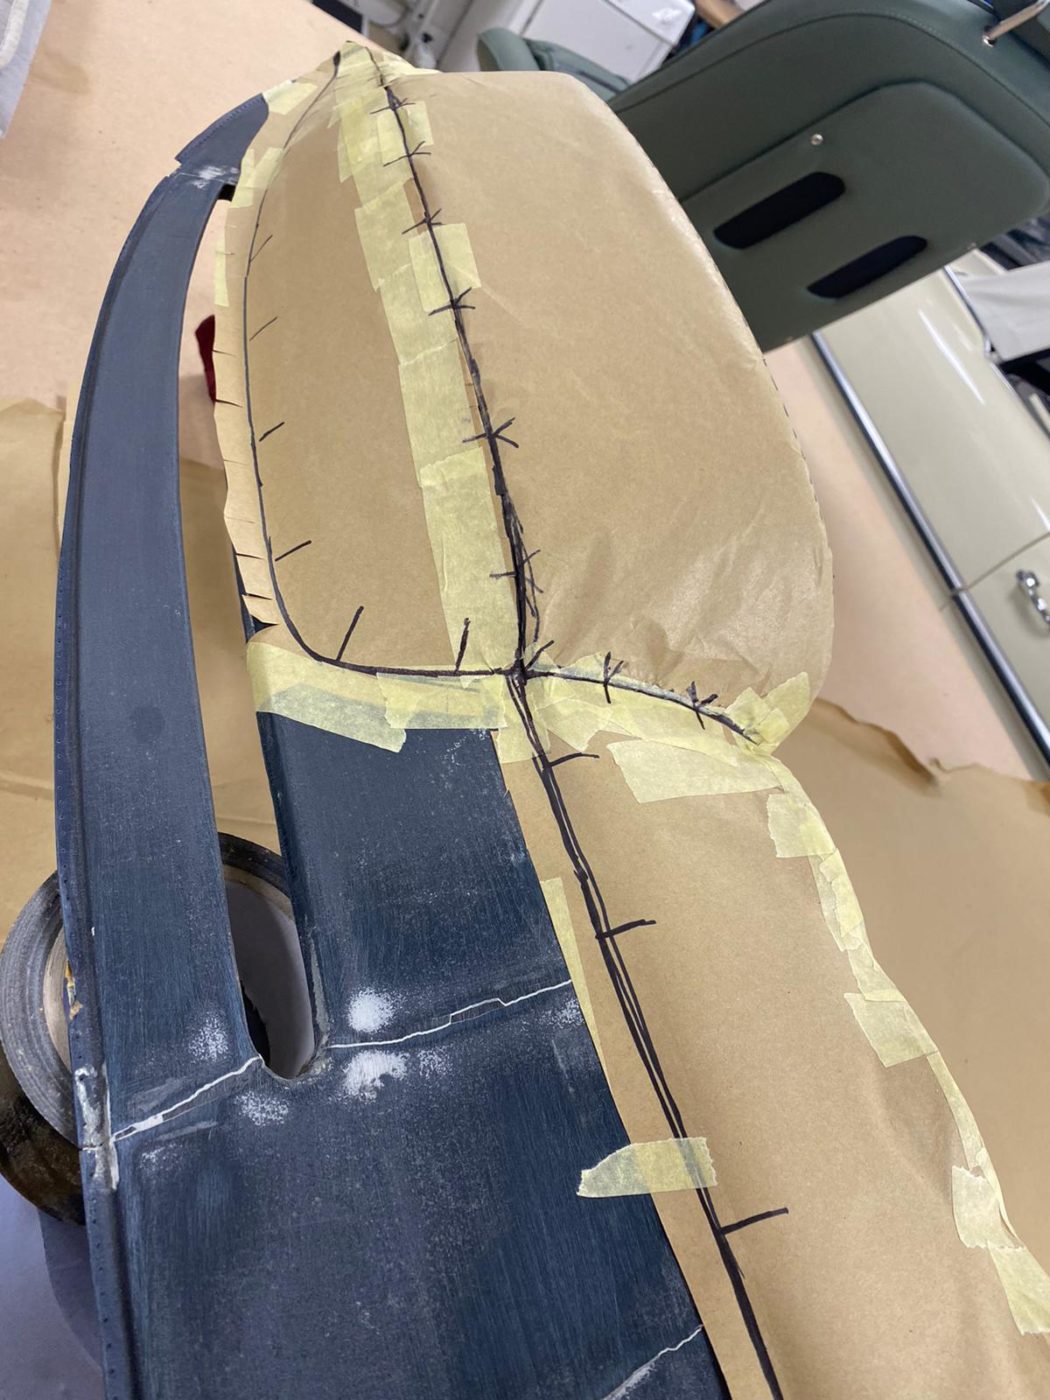
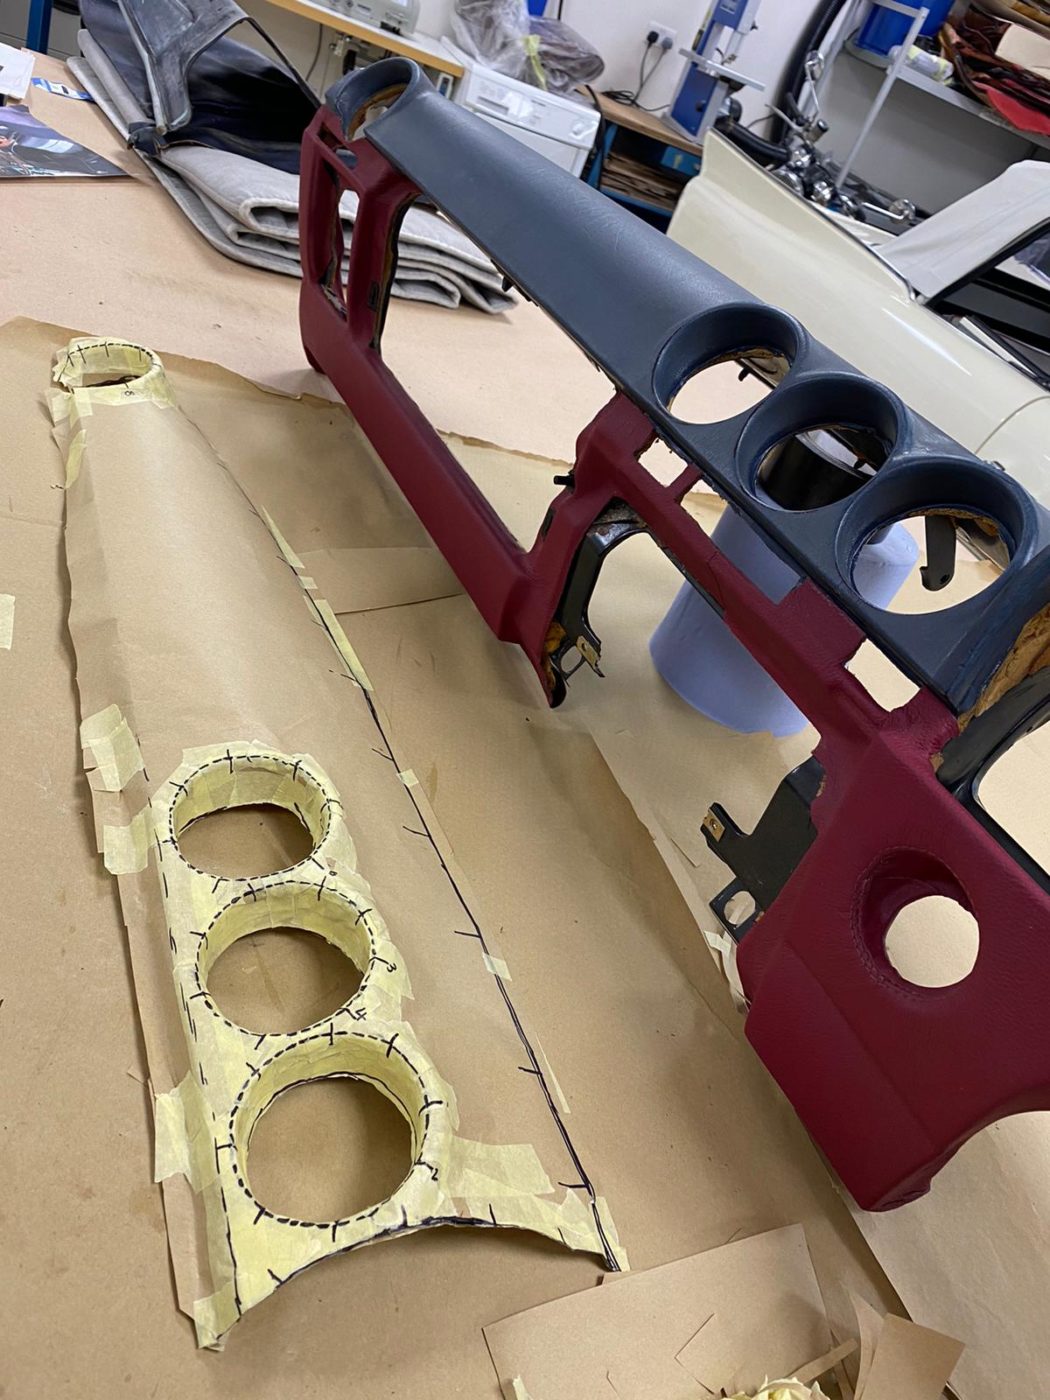
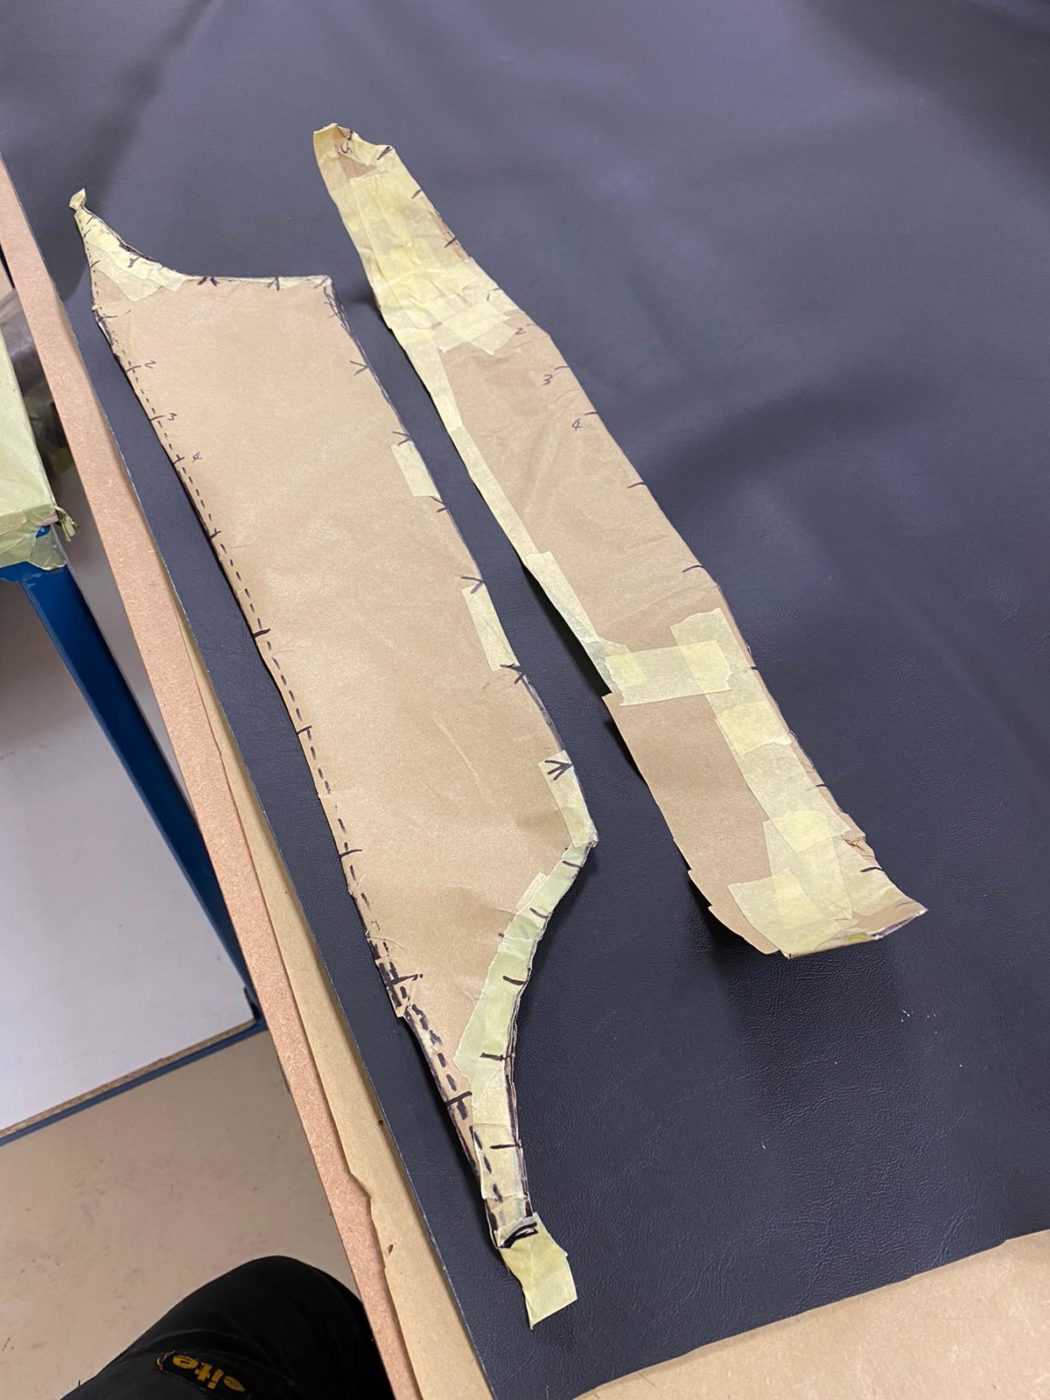
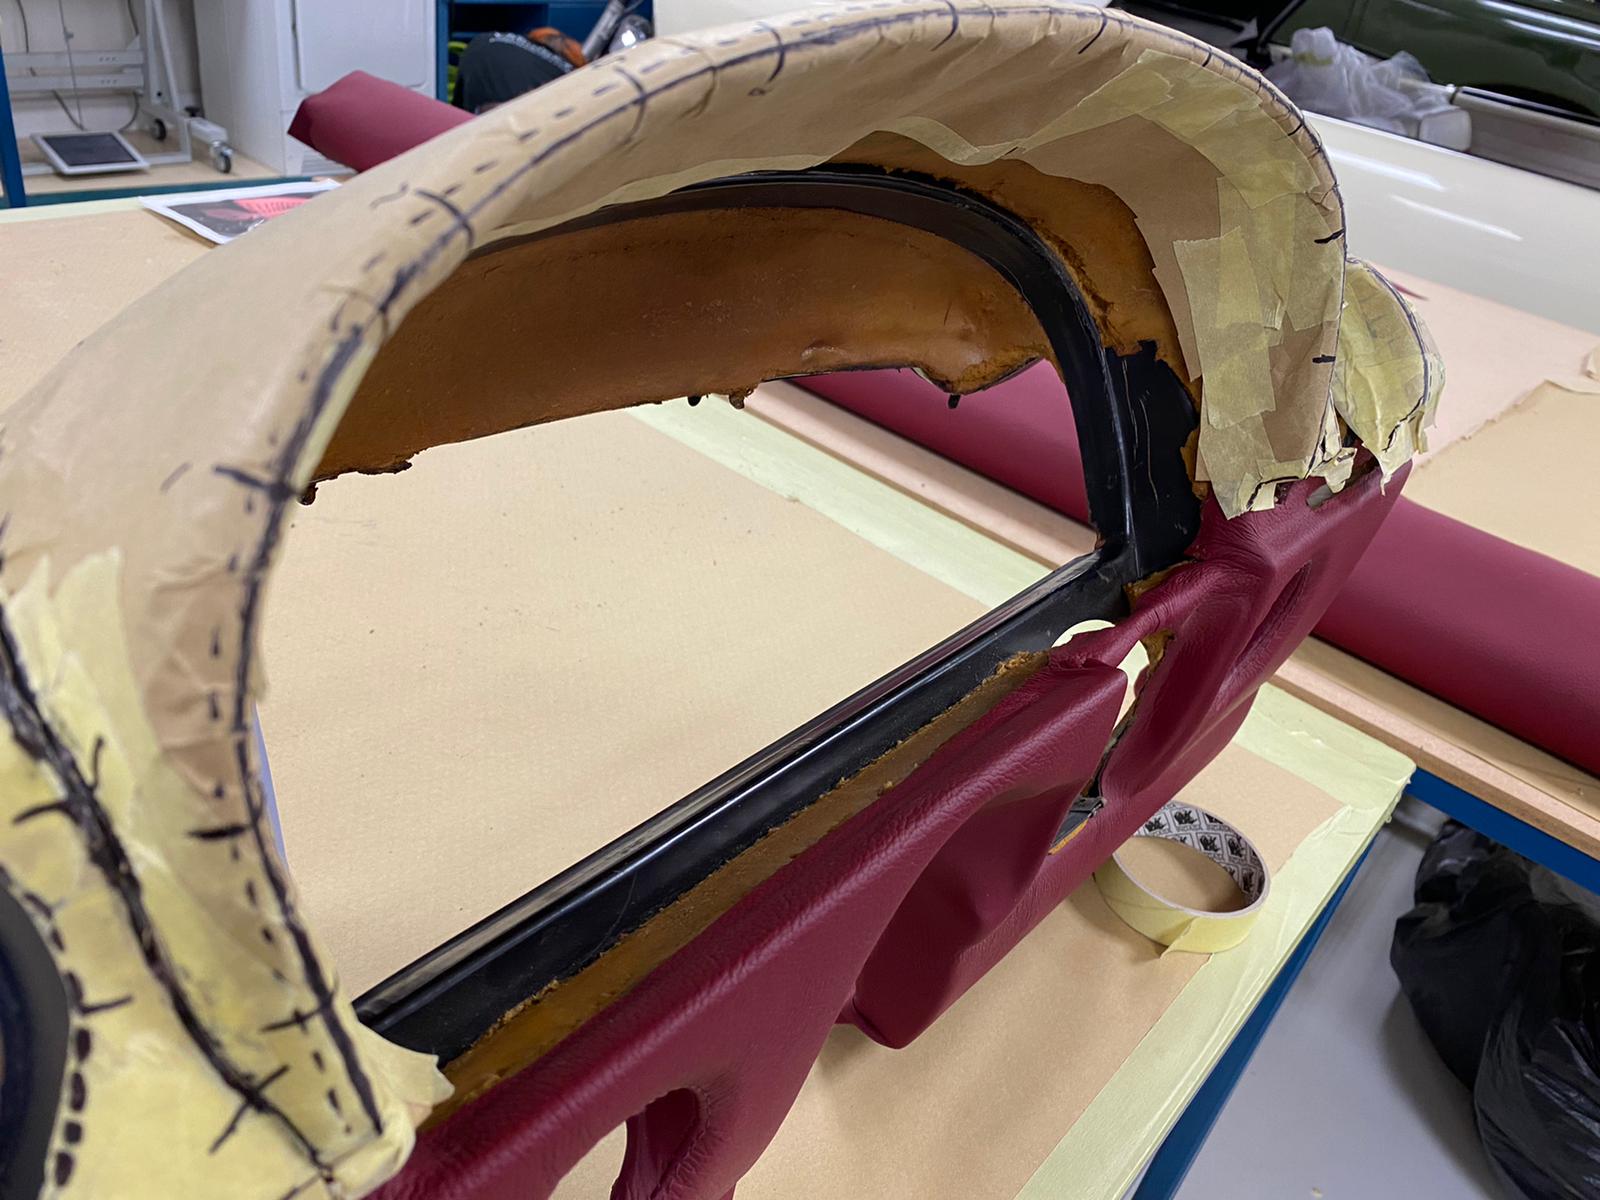
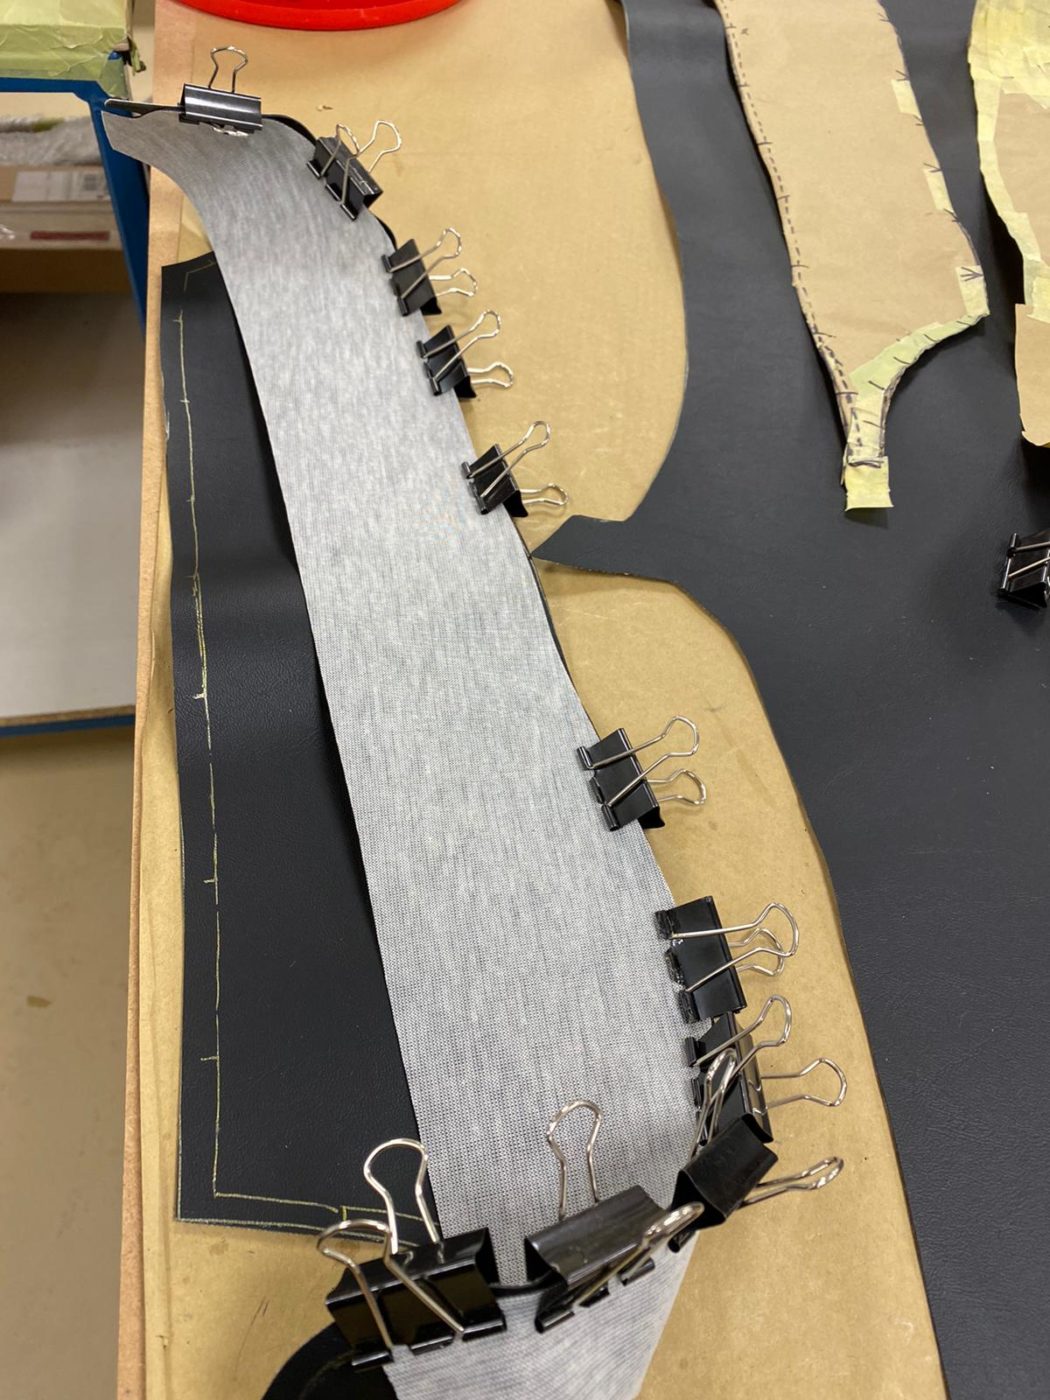
The trim shop has started on Craig’s 1987 Mercedes 500SL trim which is being done in a Claret red. Kath has been painstakingly pouring over the dash, making sure the intricate details of the holes and curves are perfectly catered for and covering in bespoke fabric, which has been pulled taught and glued back by hand. Dashboards are one of the interior details that many people forget about in their car but is the most likely to show signs of wear and sun damage. Being exposed to the sun and regularly act as a shelf for all kinds of ornaments, car dash’s can take quite the beating in their lives and often need re-covering to give it a new lease of life. Kath made a paper pattern first which she followed up by making a mock-up out of black vinyl before cutting and fitting the leather.
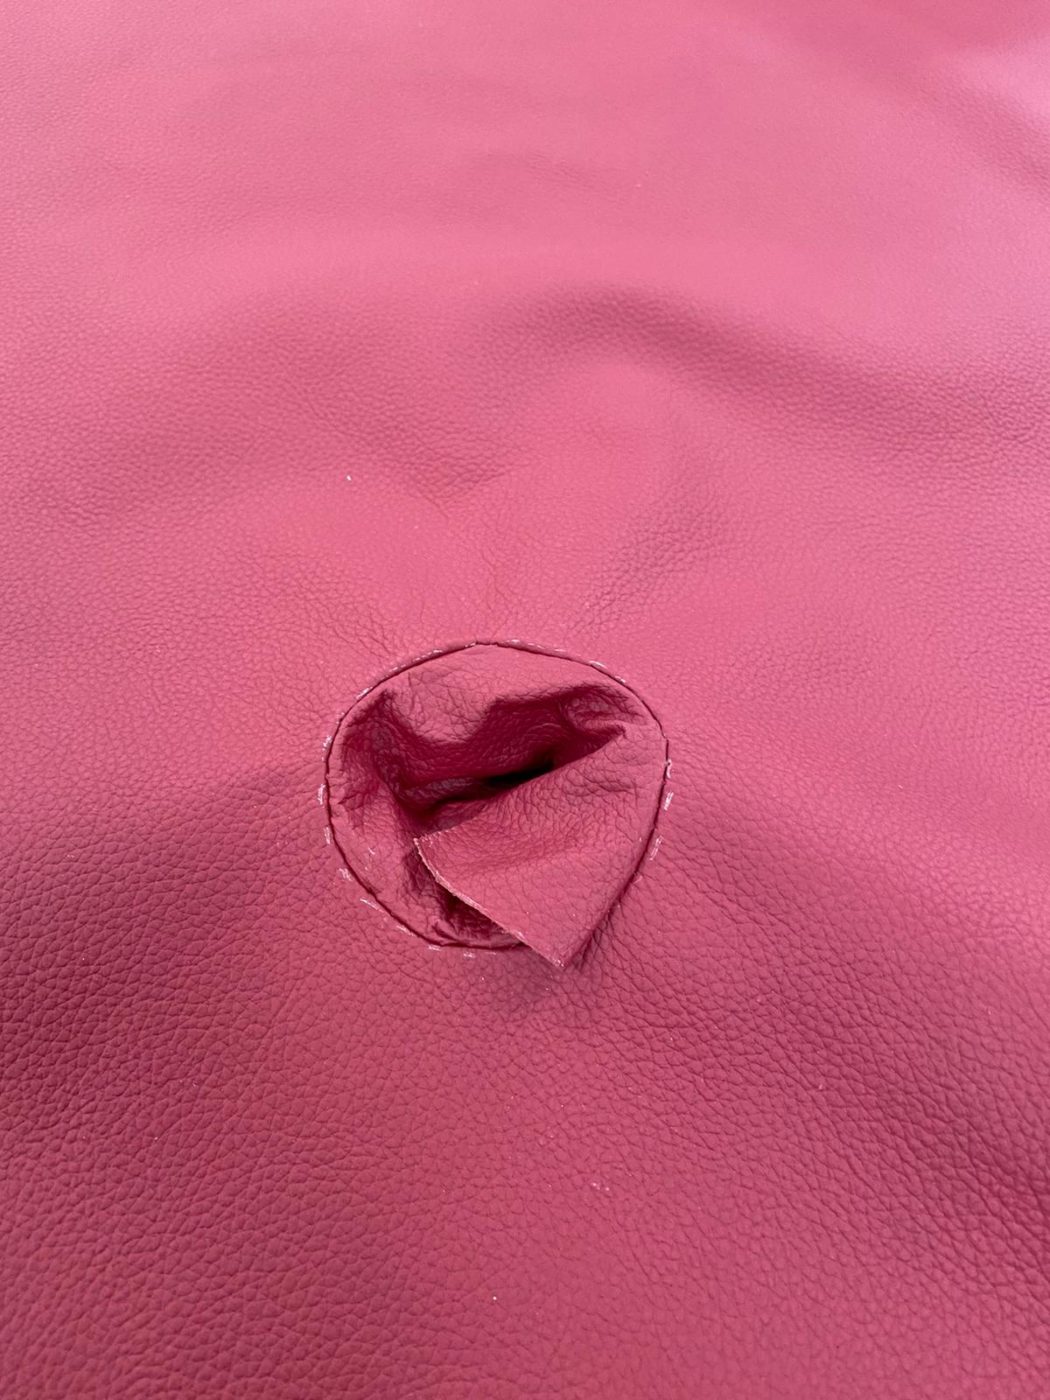
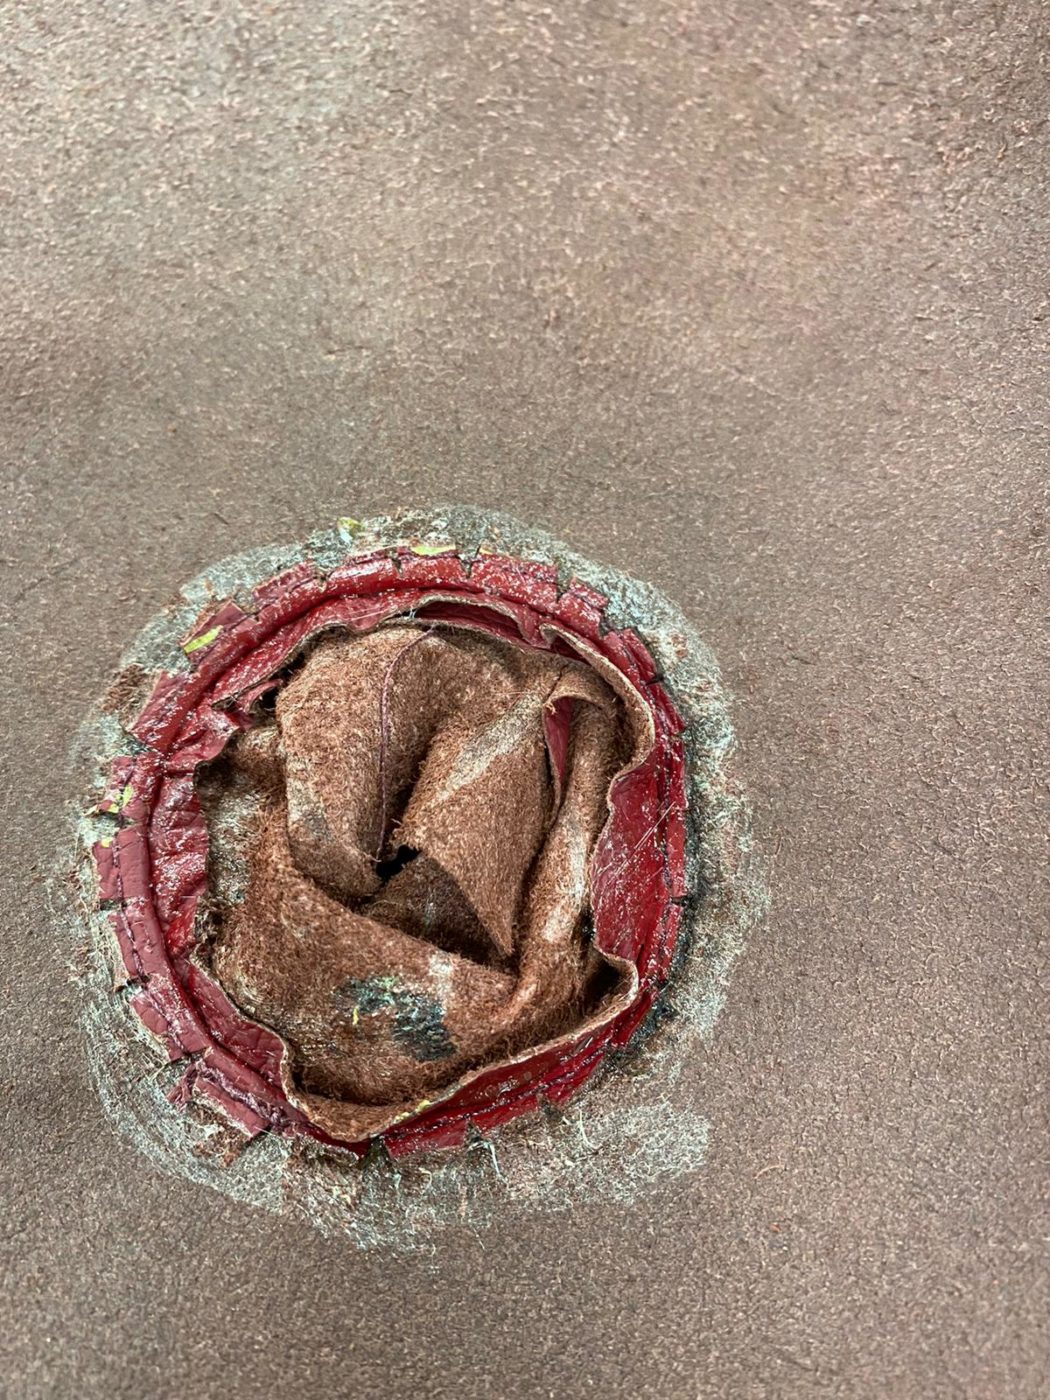
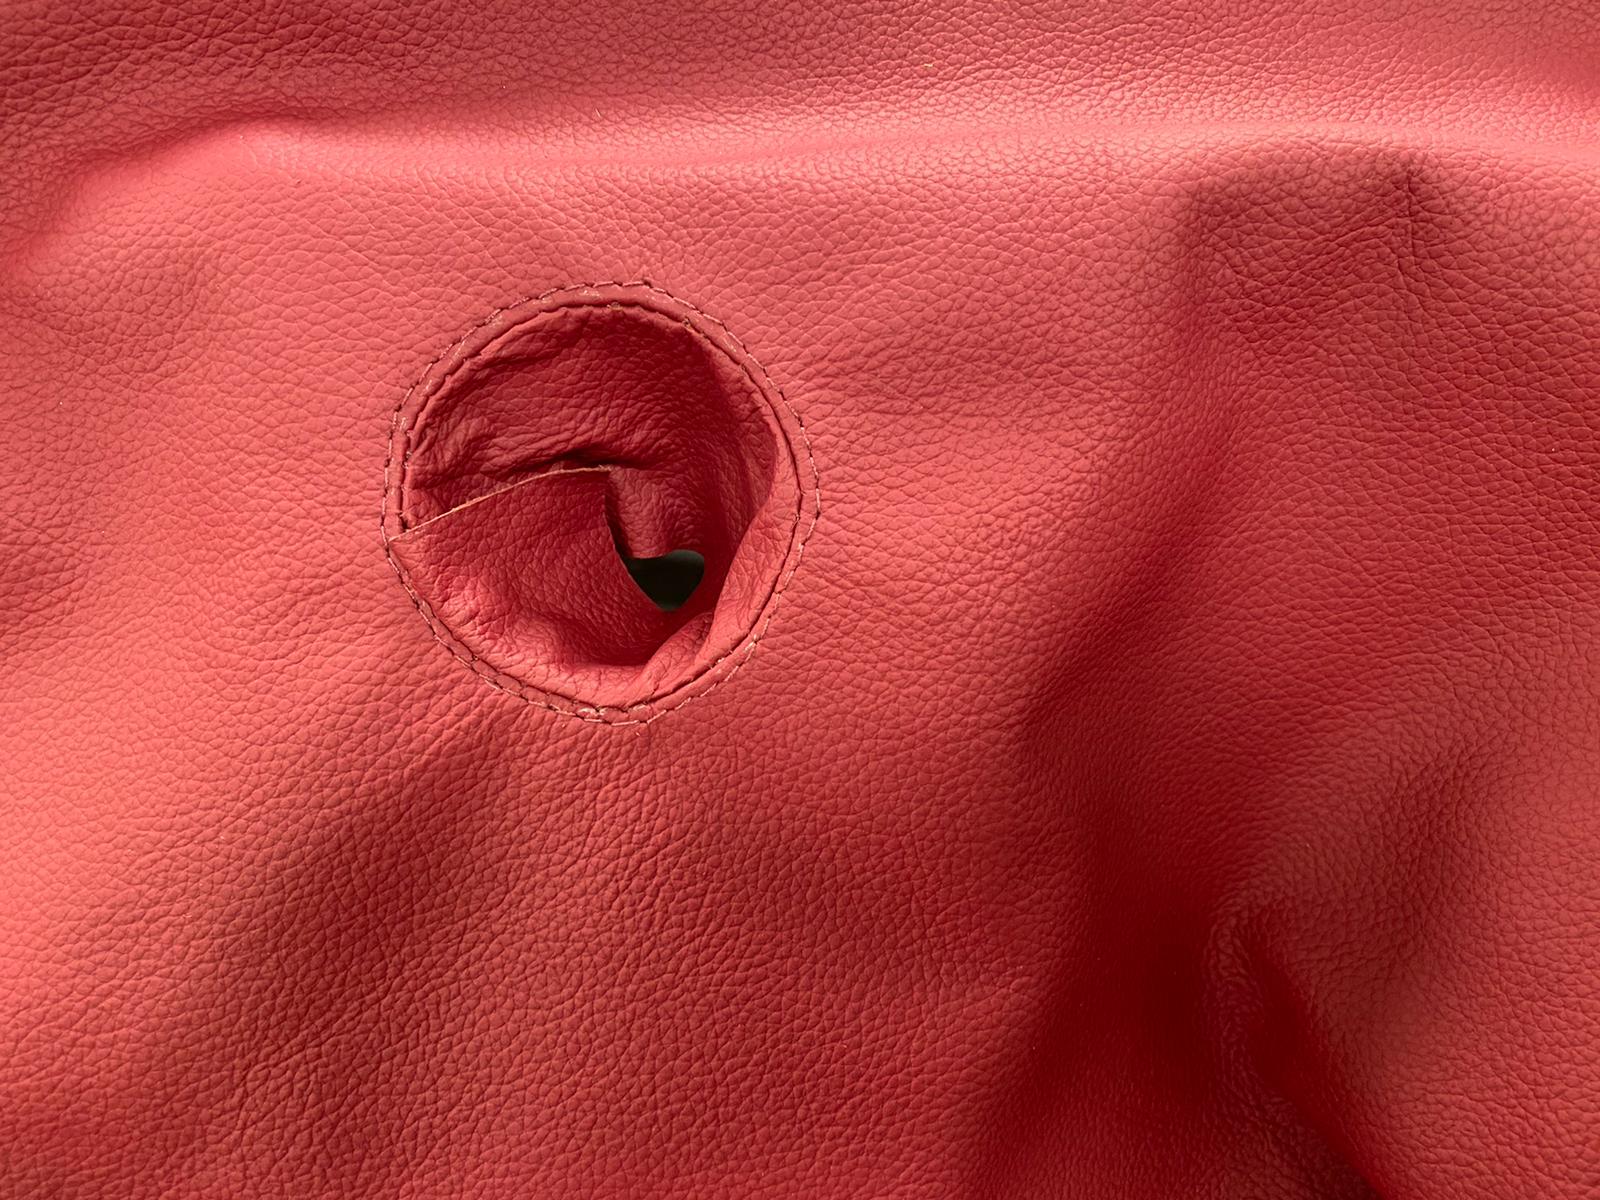
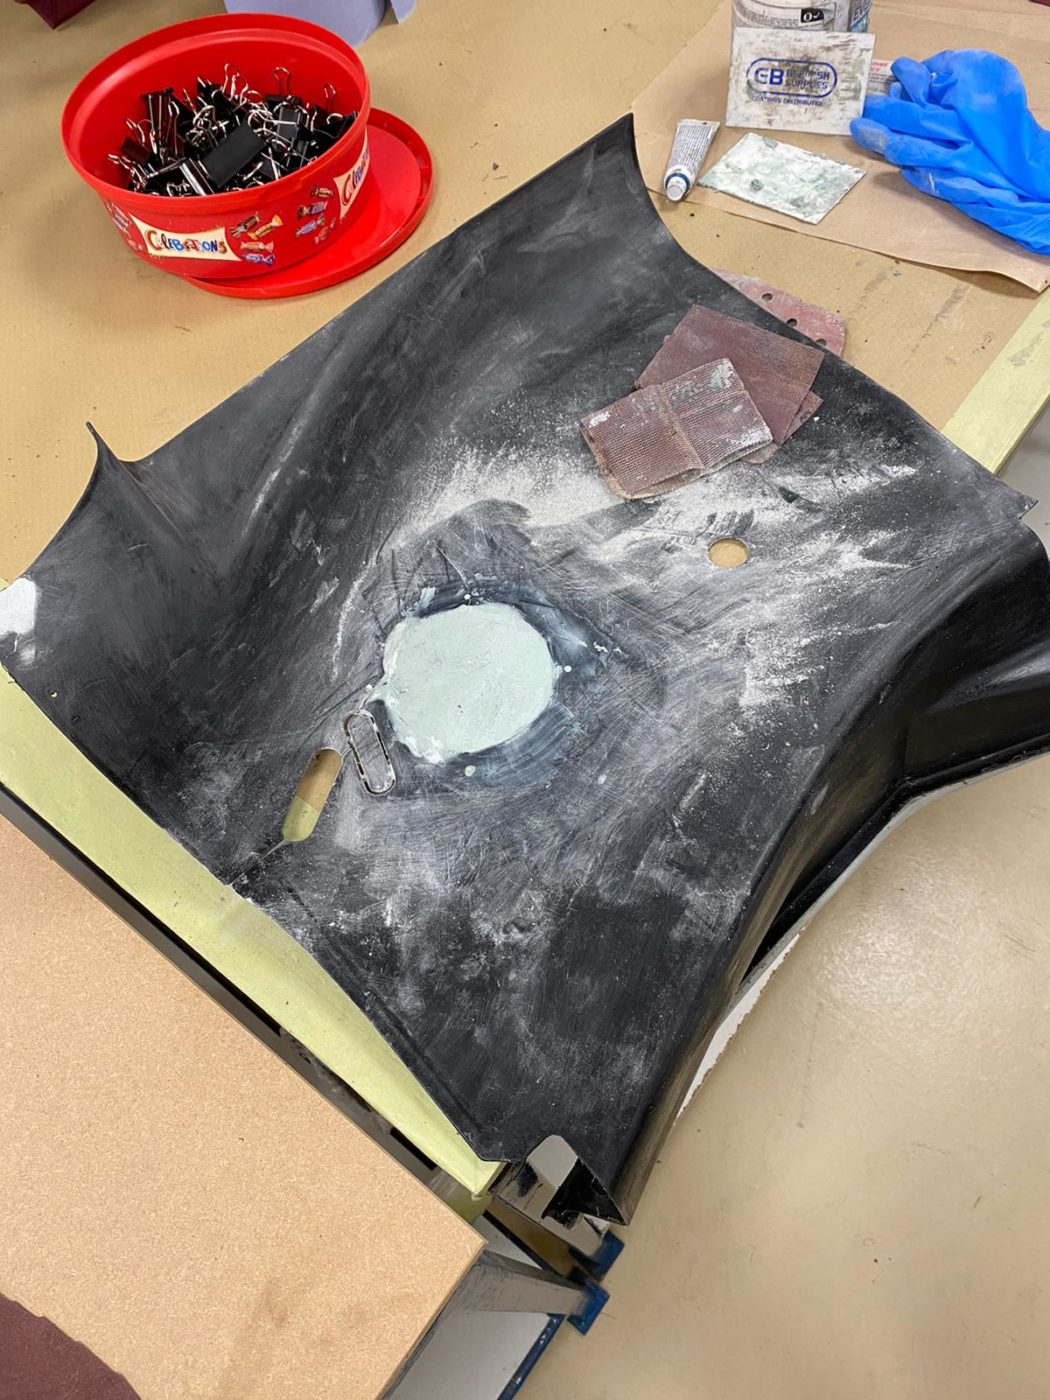
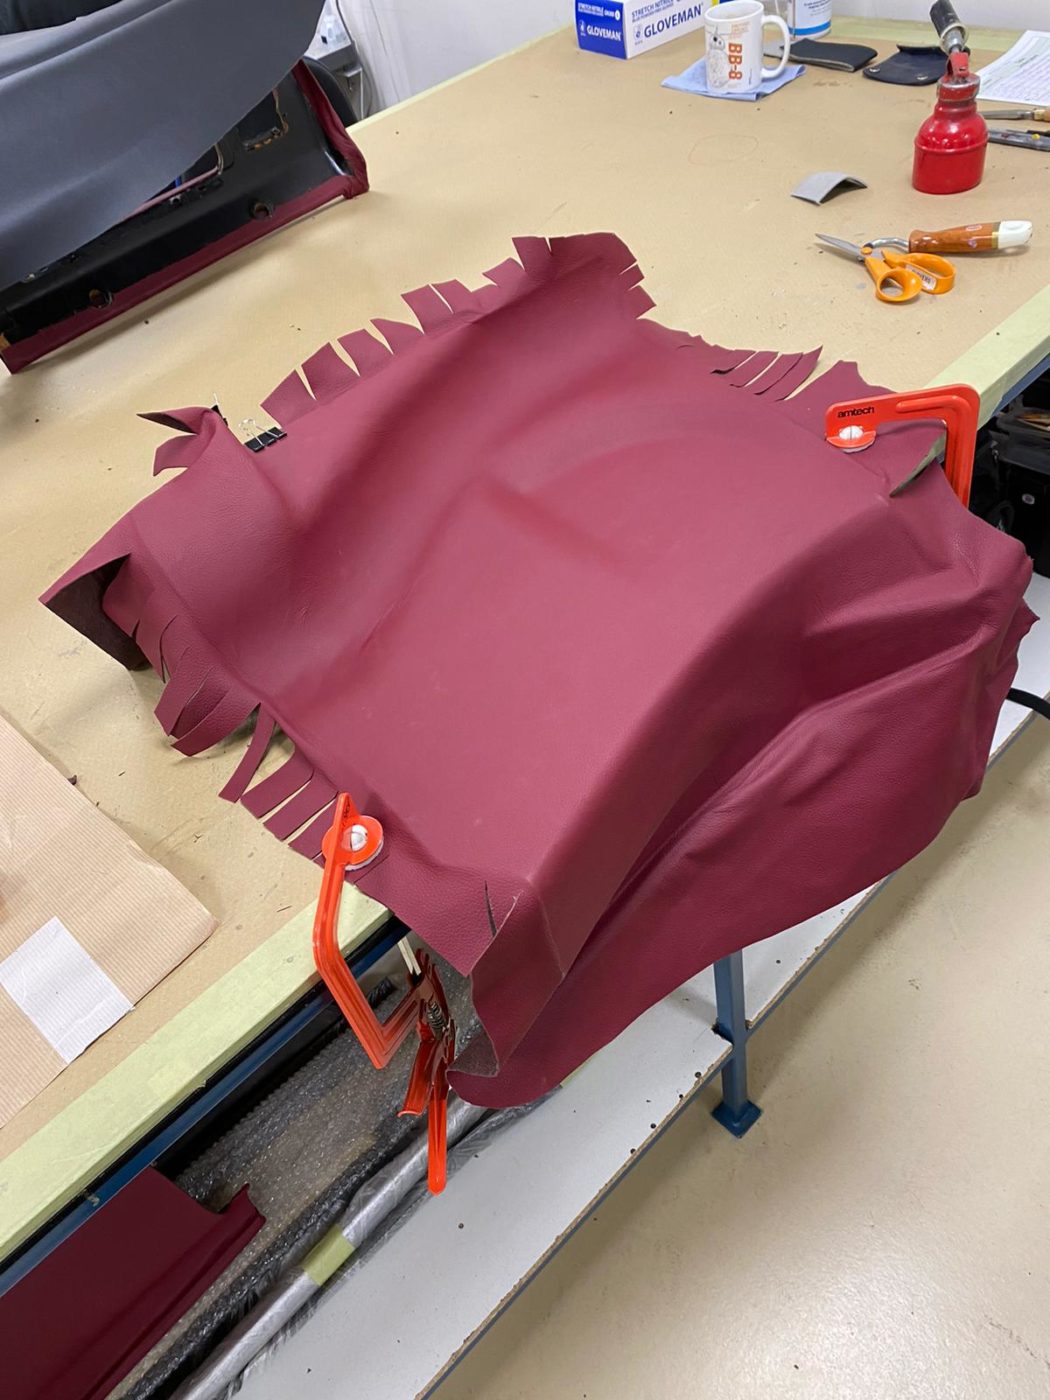
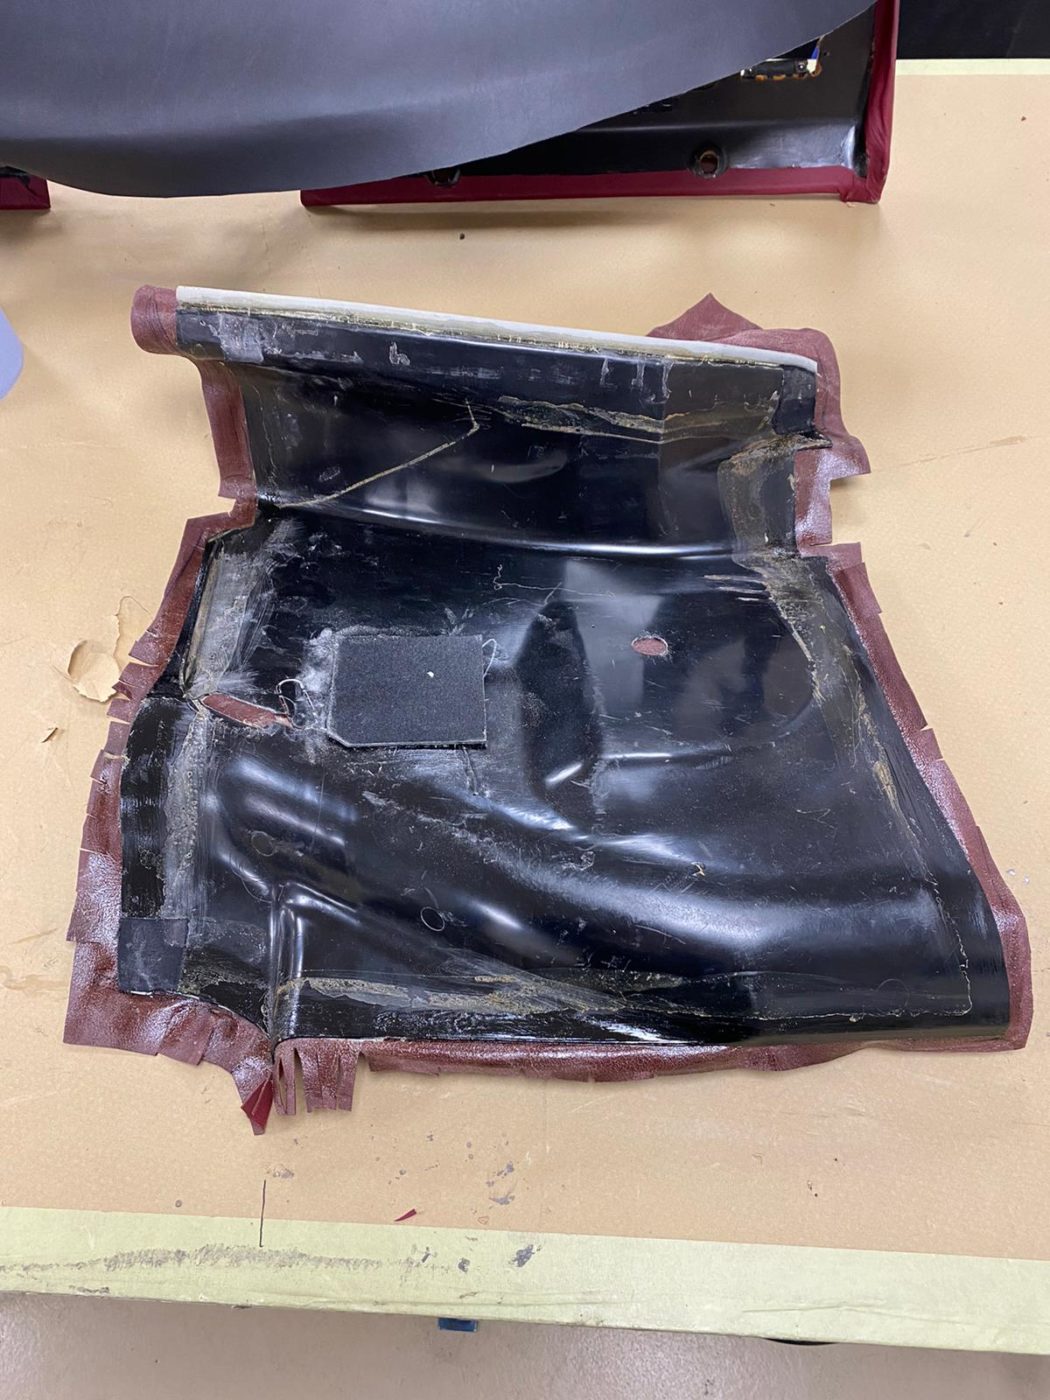
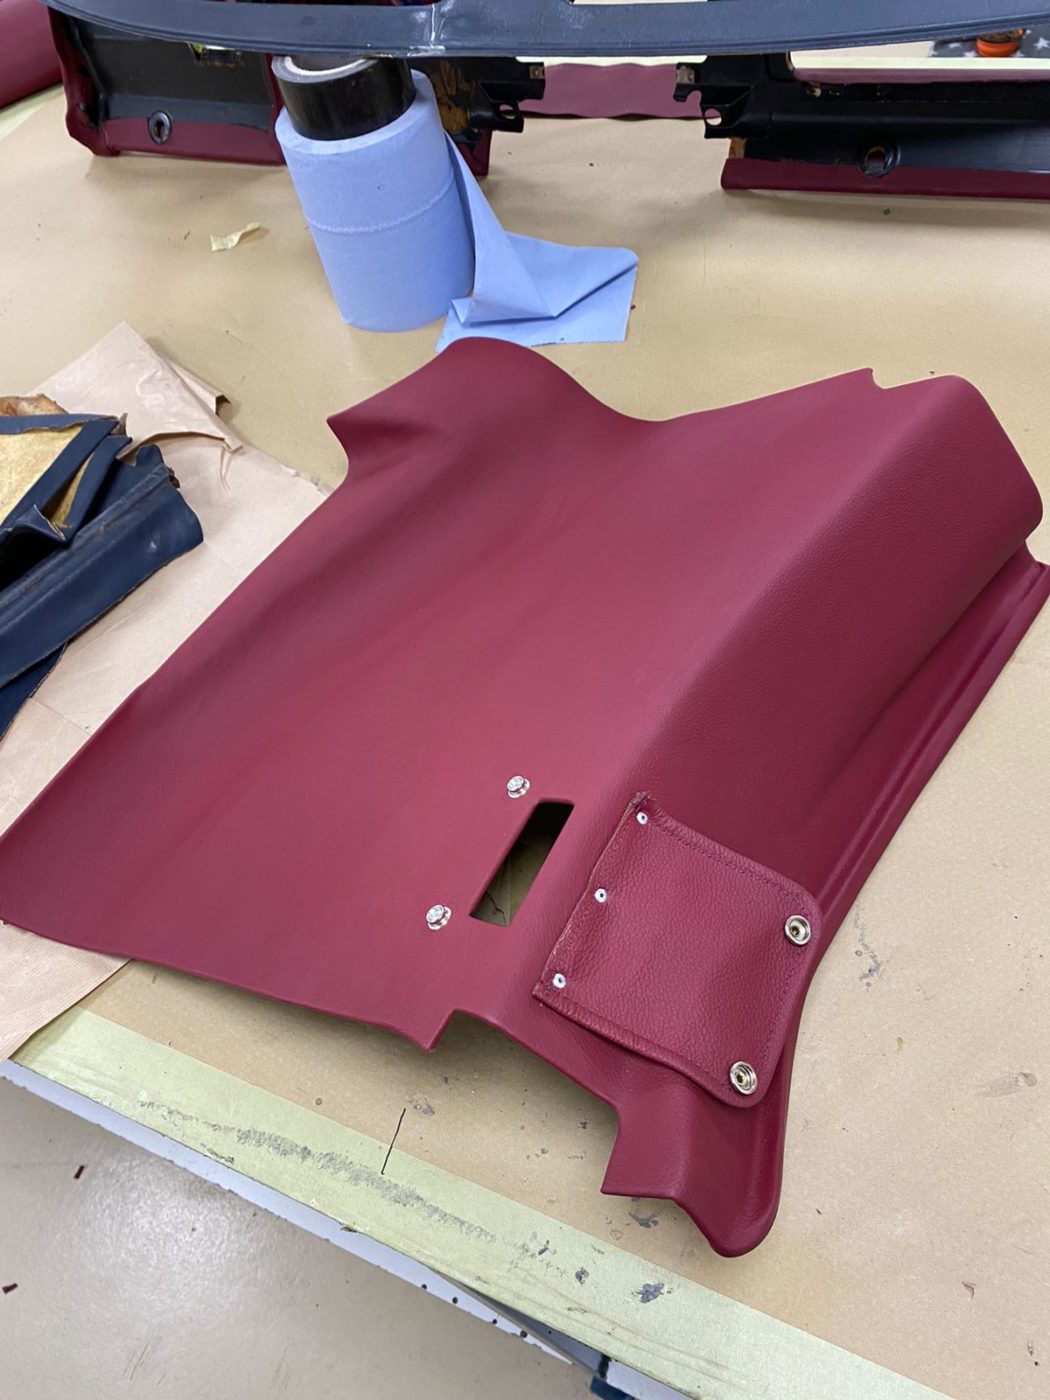
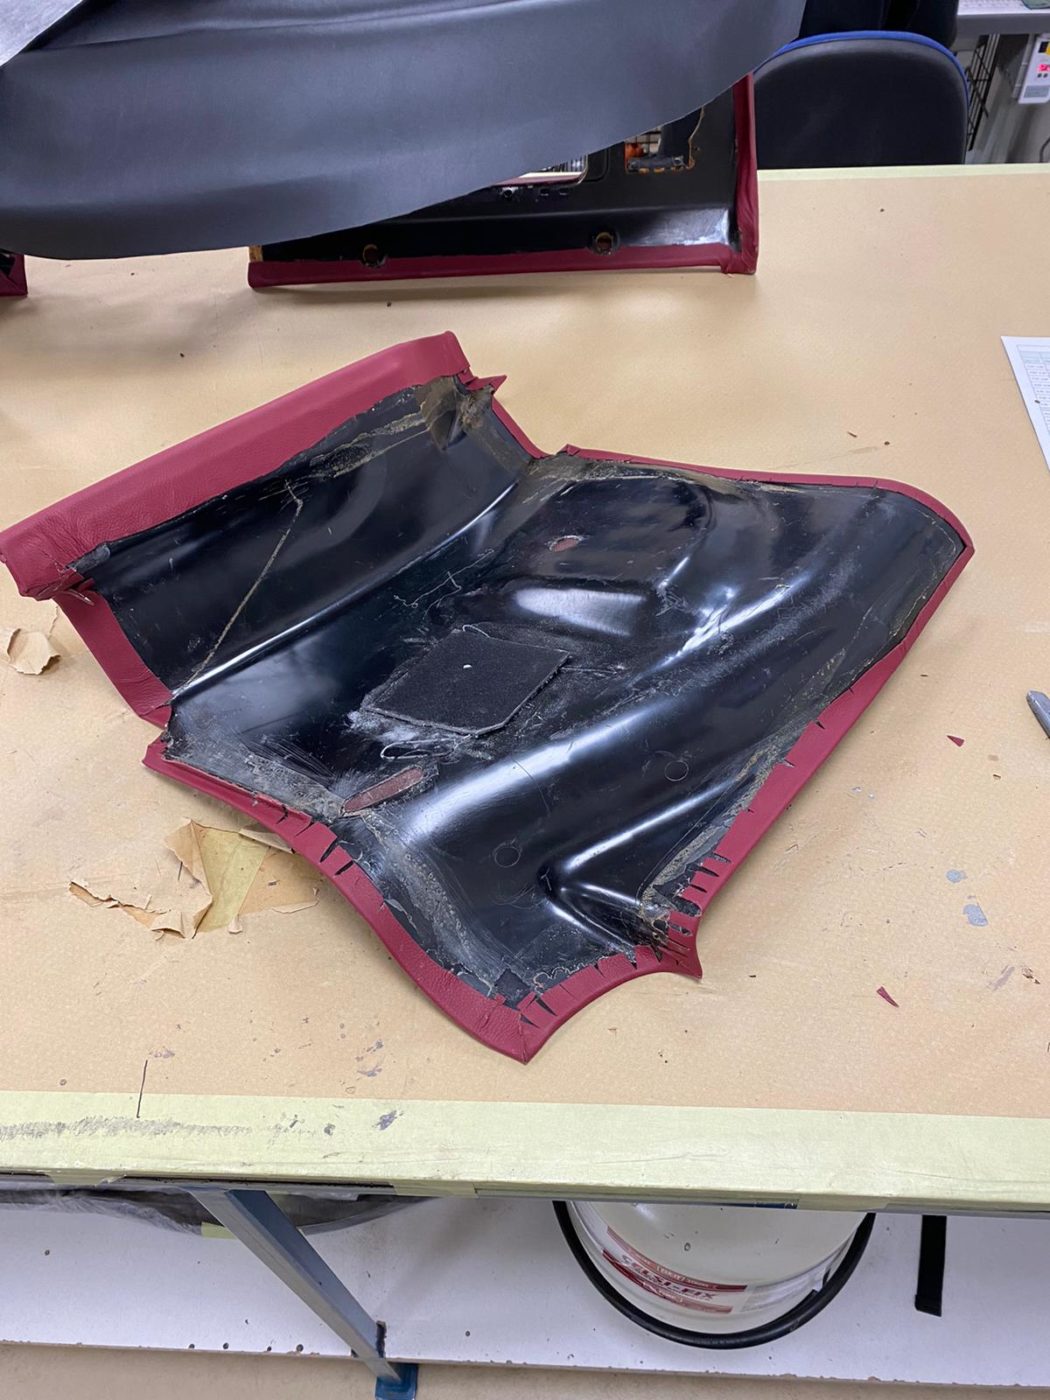
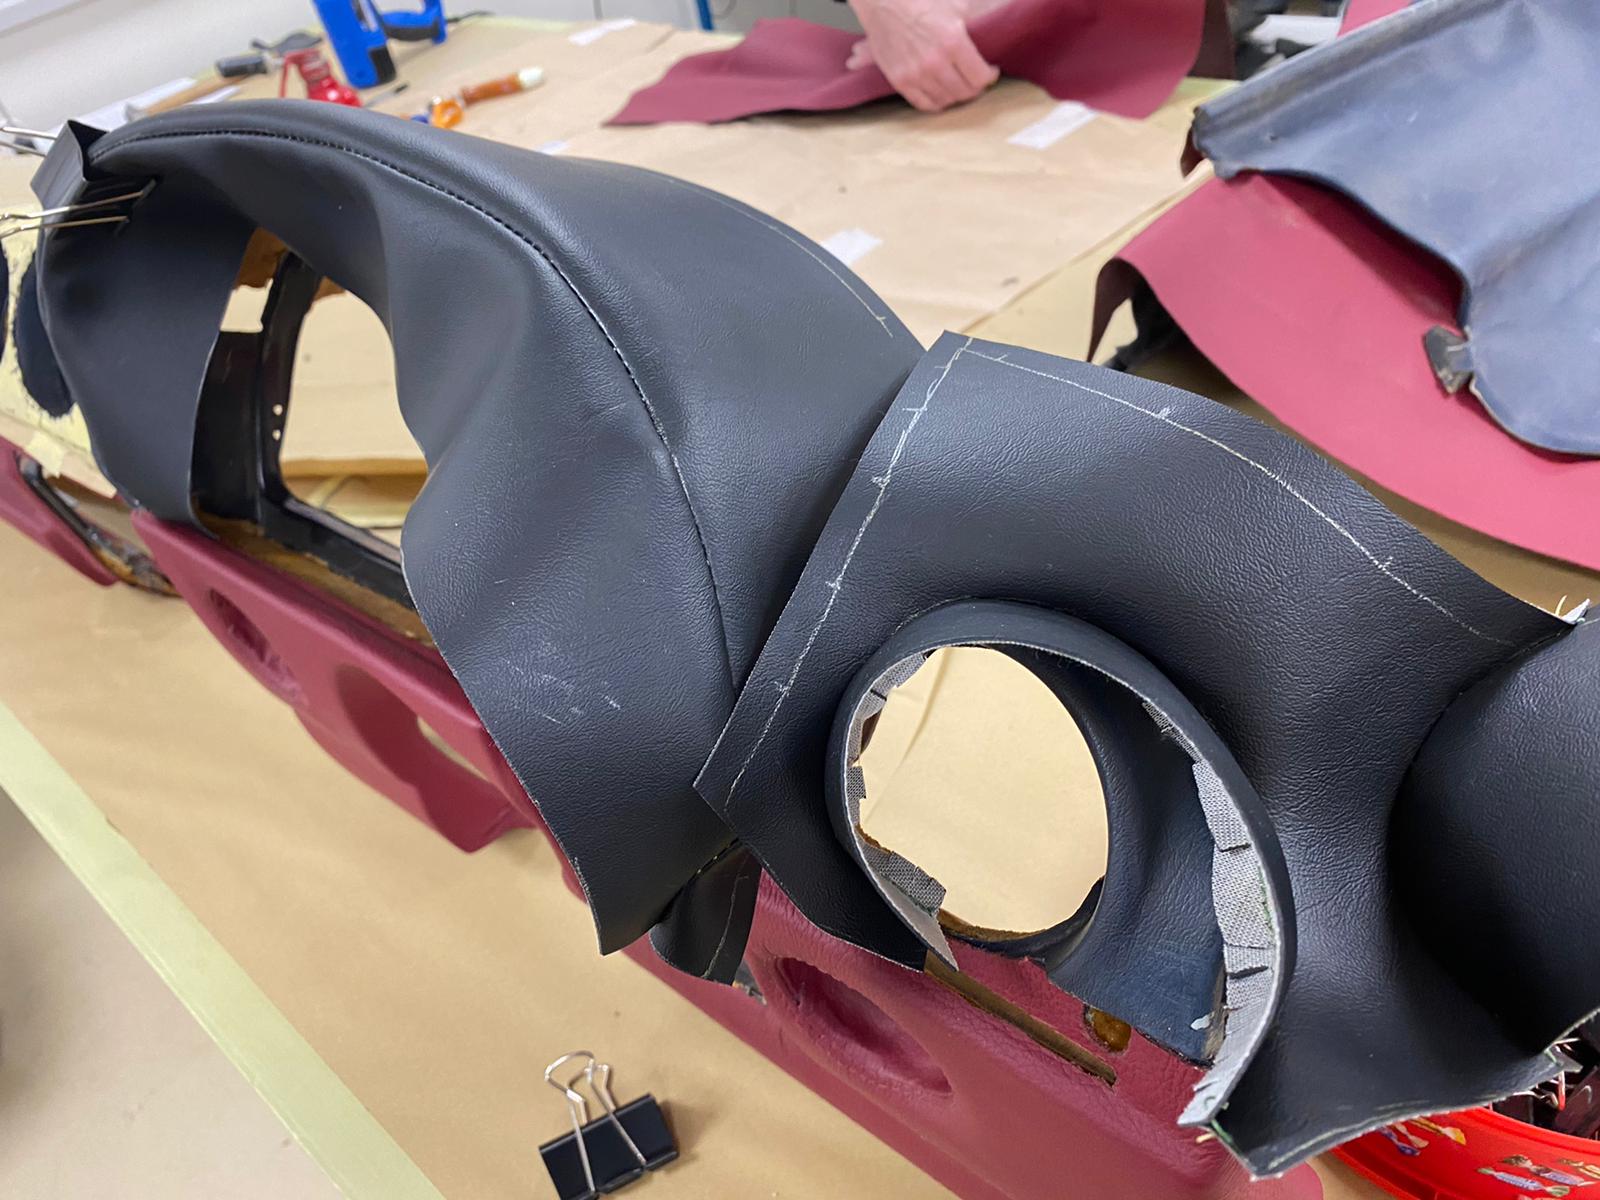
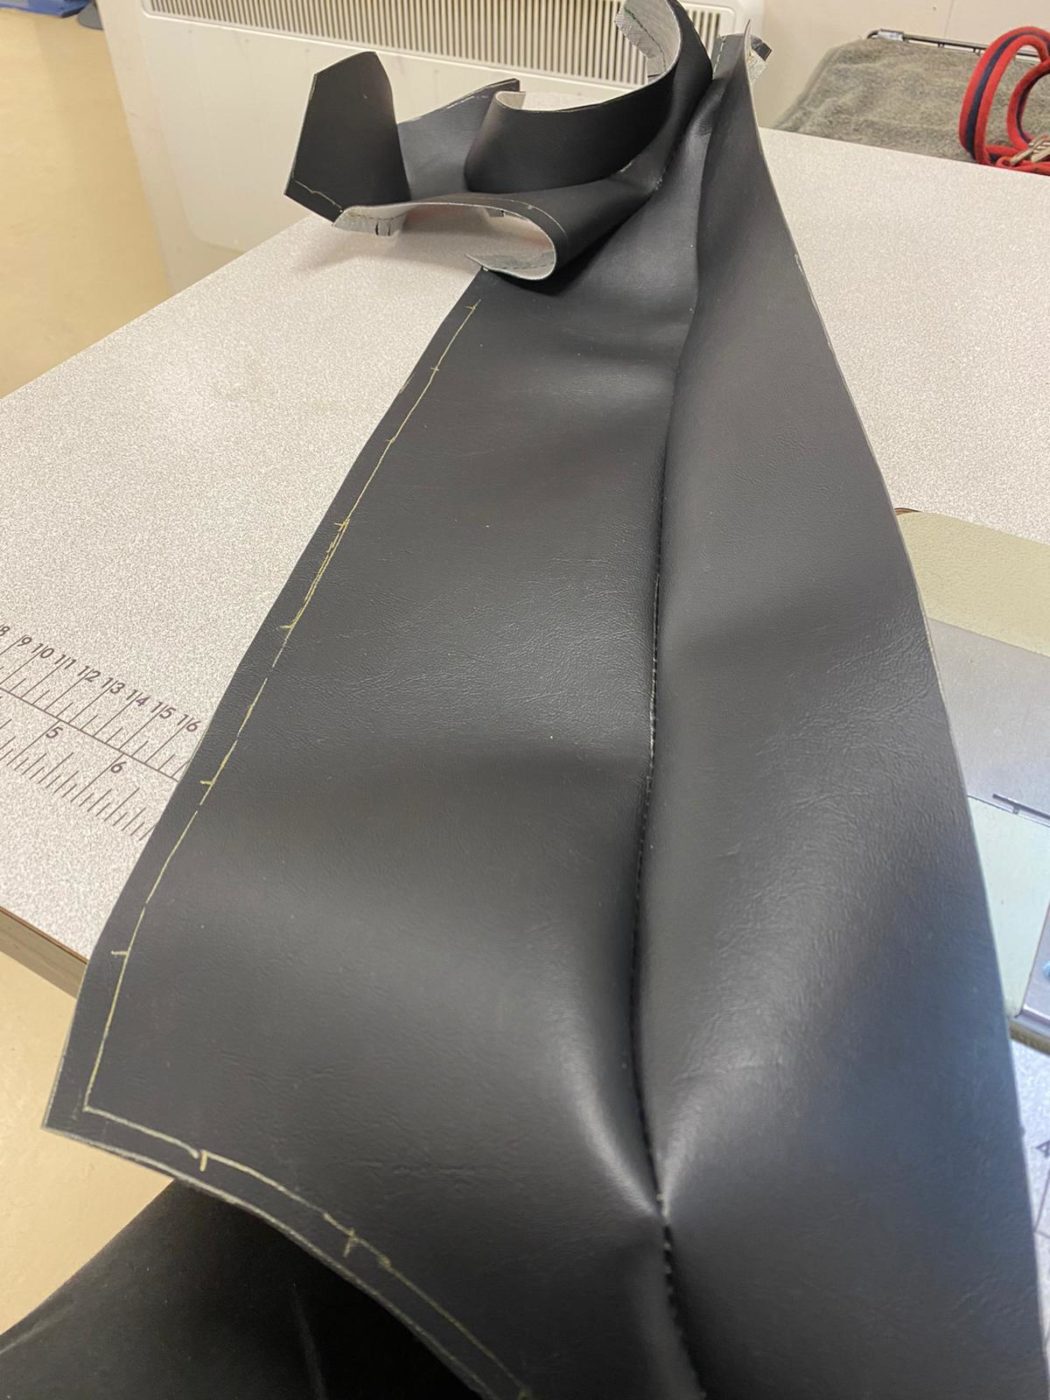
Brian has been working on removing the old covers from the rear quarter panels. Brian started at the end of the panel, glueing the leather cover onto the panel. He worked along with the panel slowly, glueing down parts one bit at a time to make sure the leather was pulled tight. Brian also had to work around details such as the speaker hole where he had to sand the edges of the board so it was smooth before applying the glue. Once it was sanded down, he glued the leather onto the back of the panel, sewing on flaps, fasteners and rivets to finish.
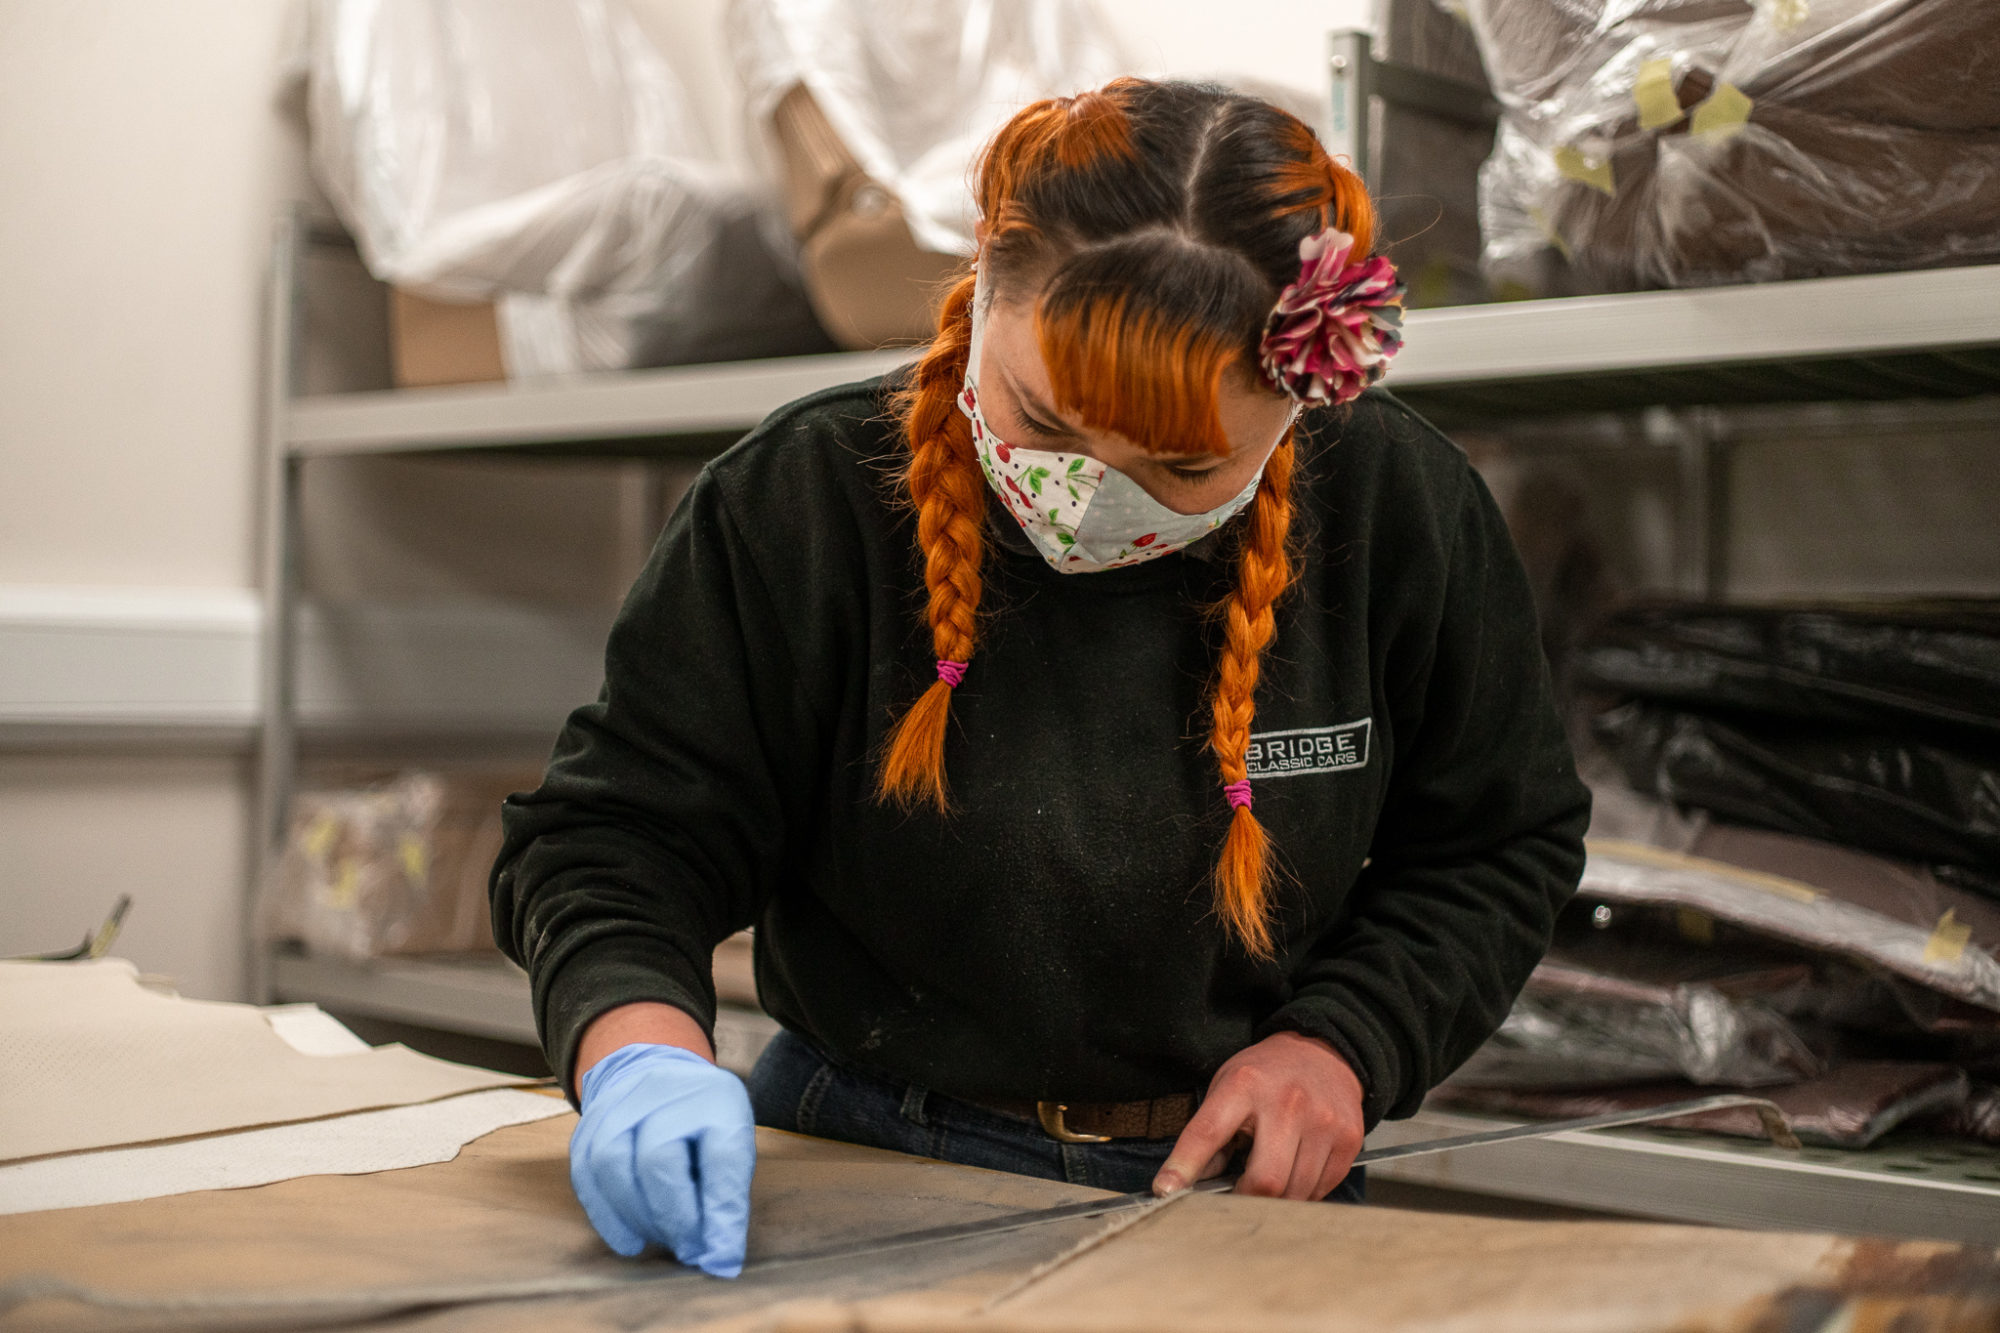
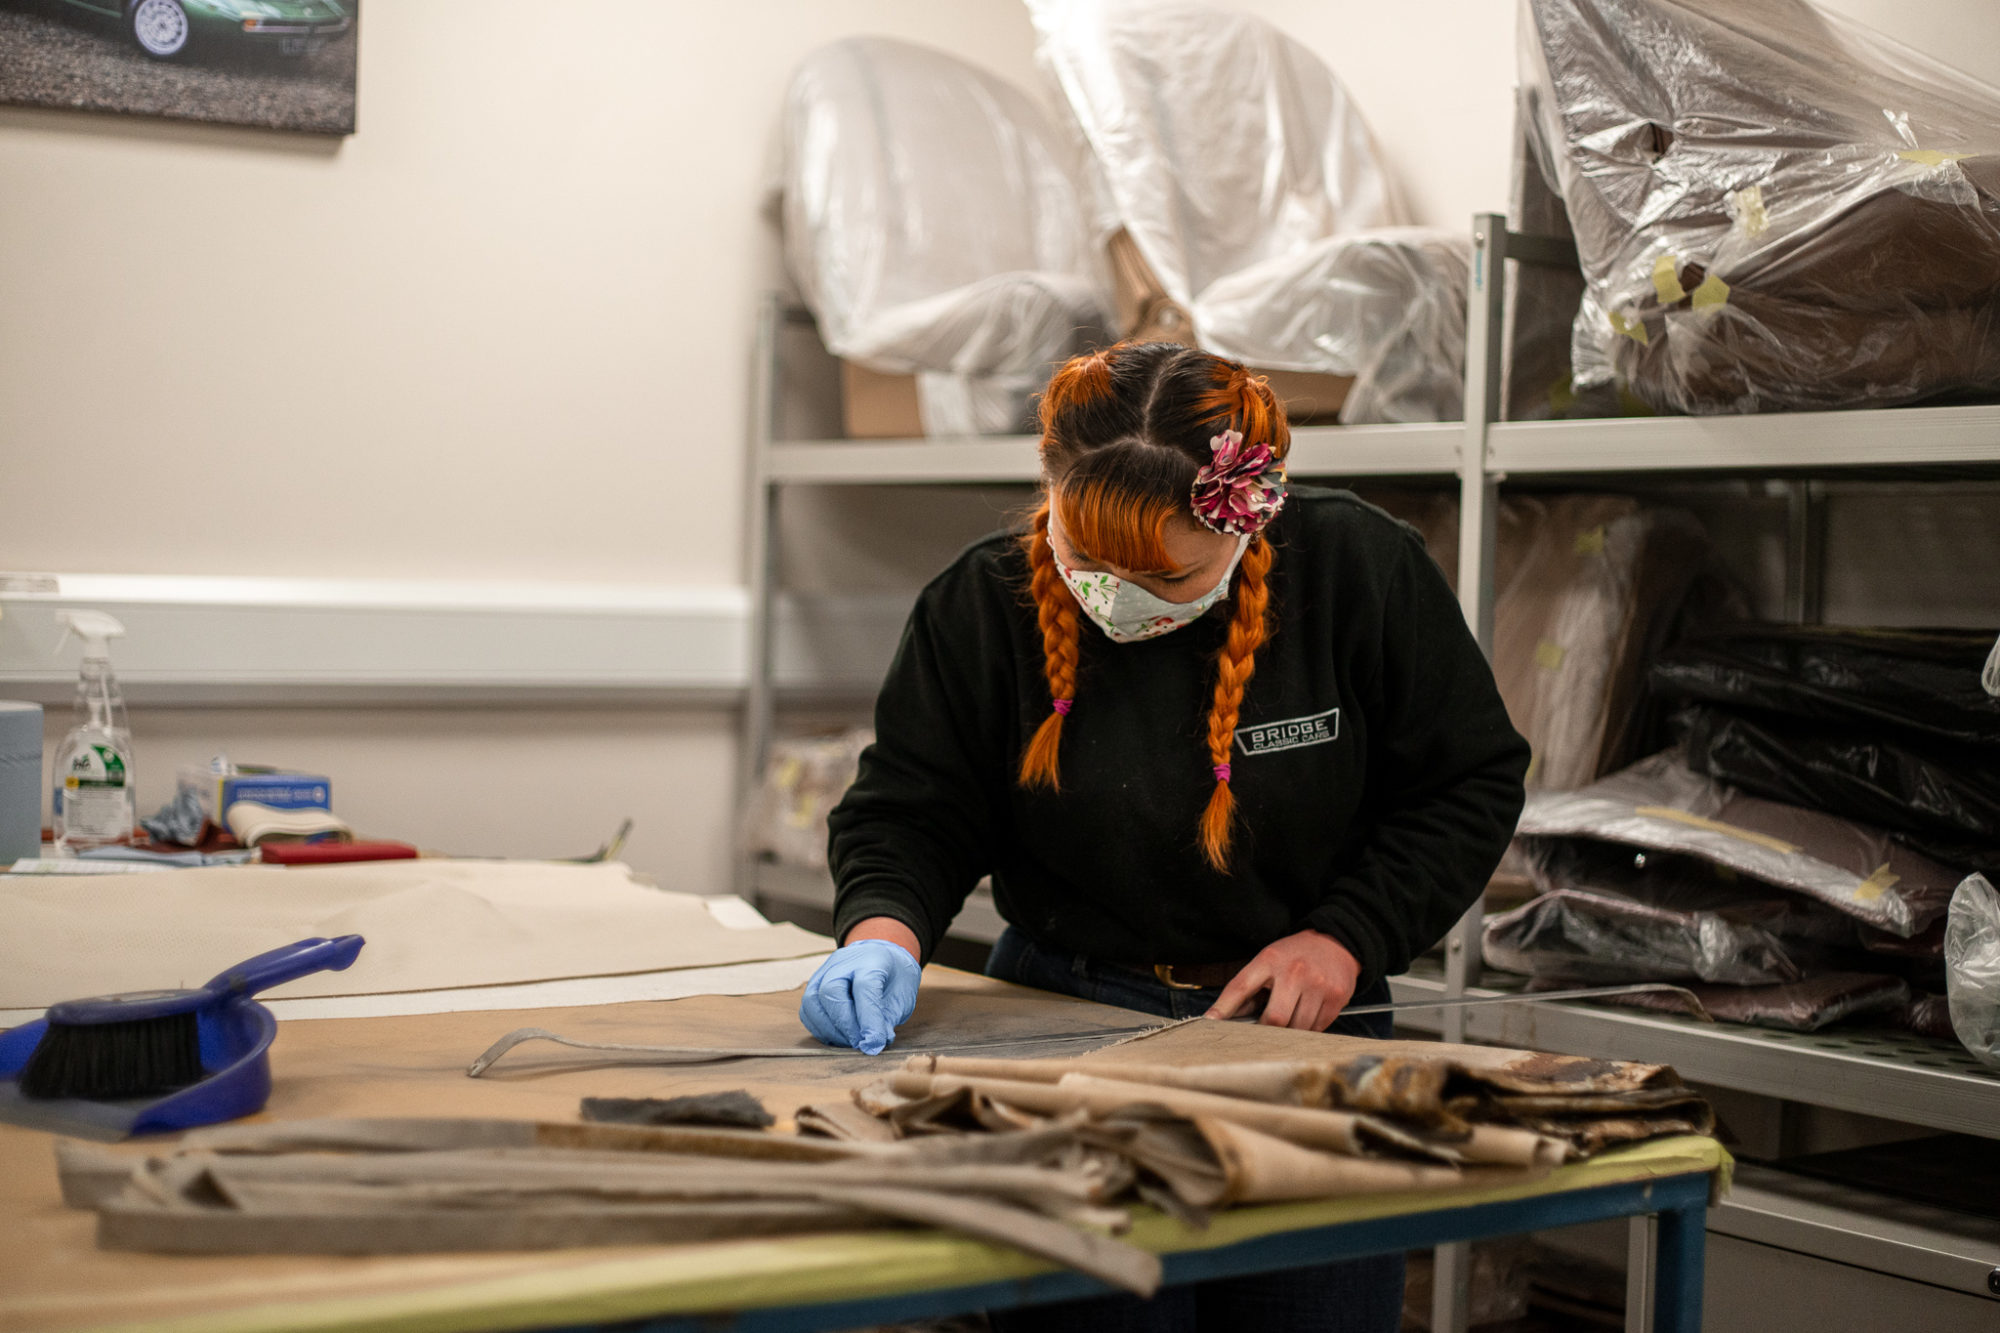


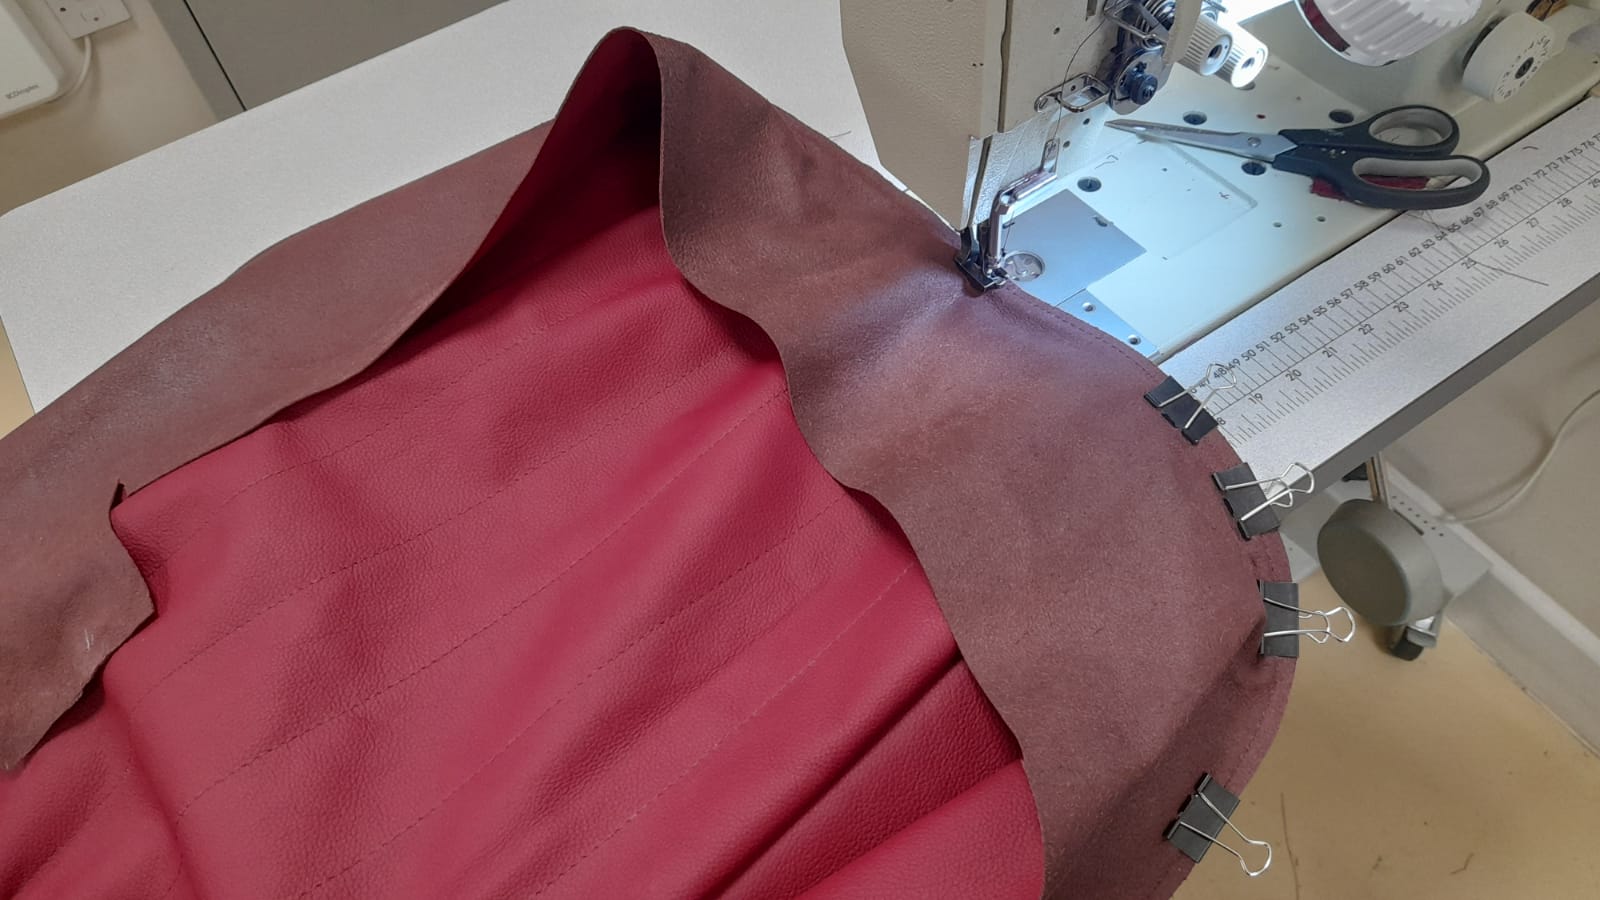
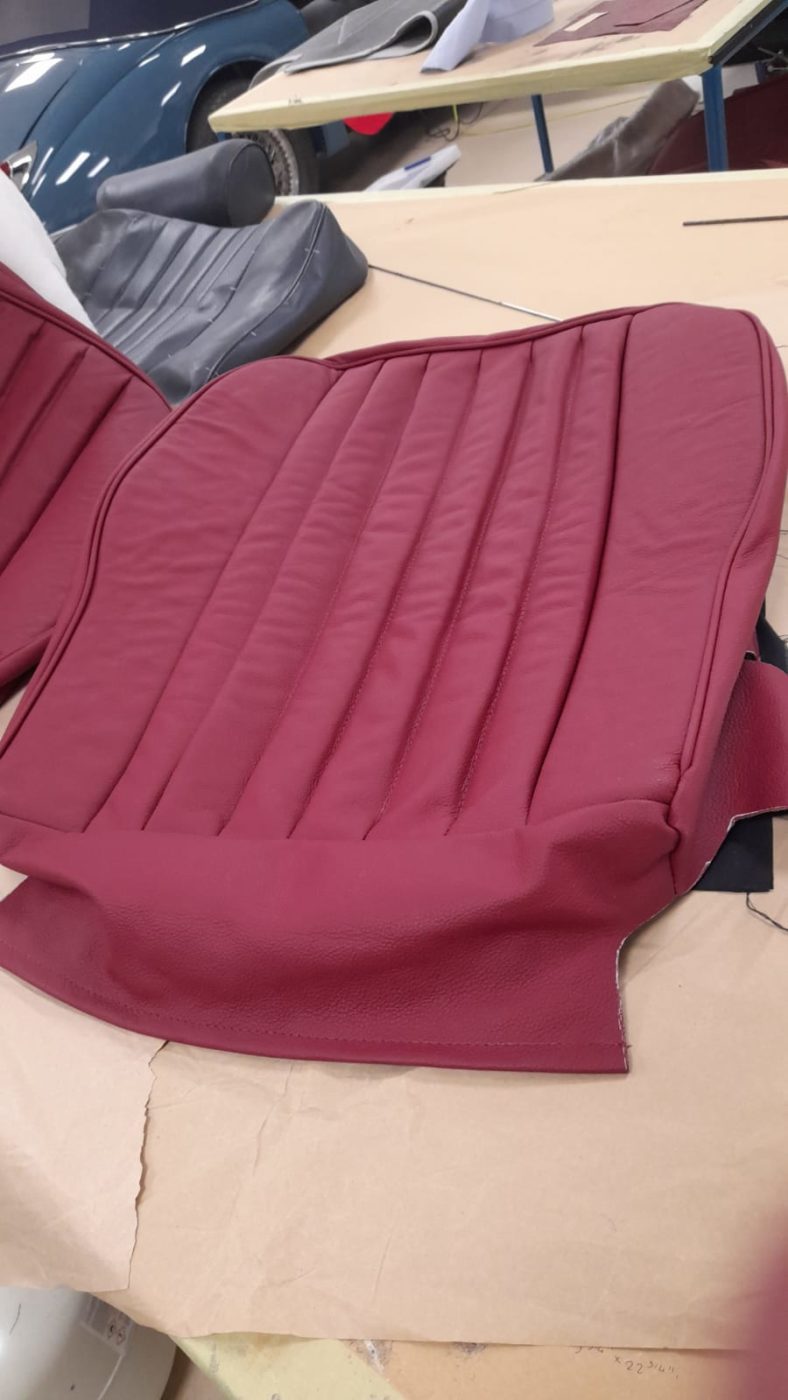
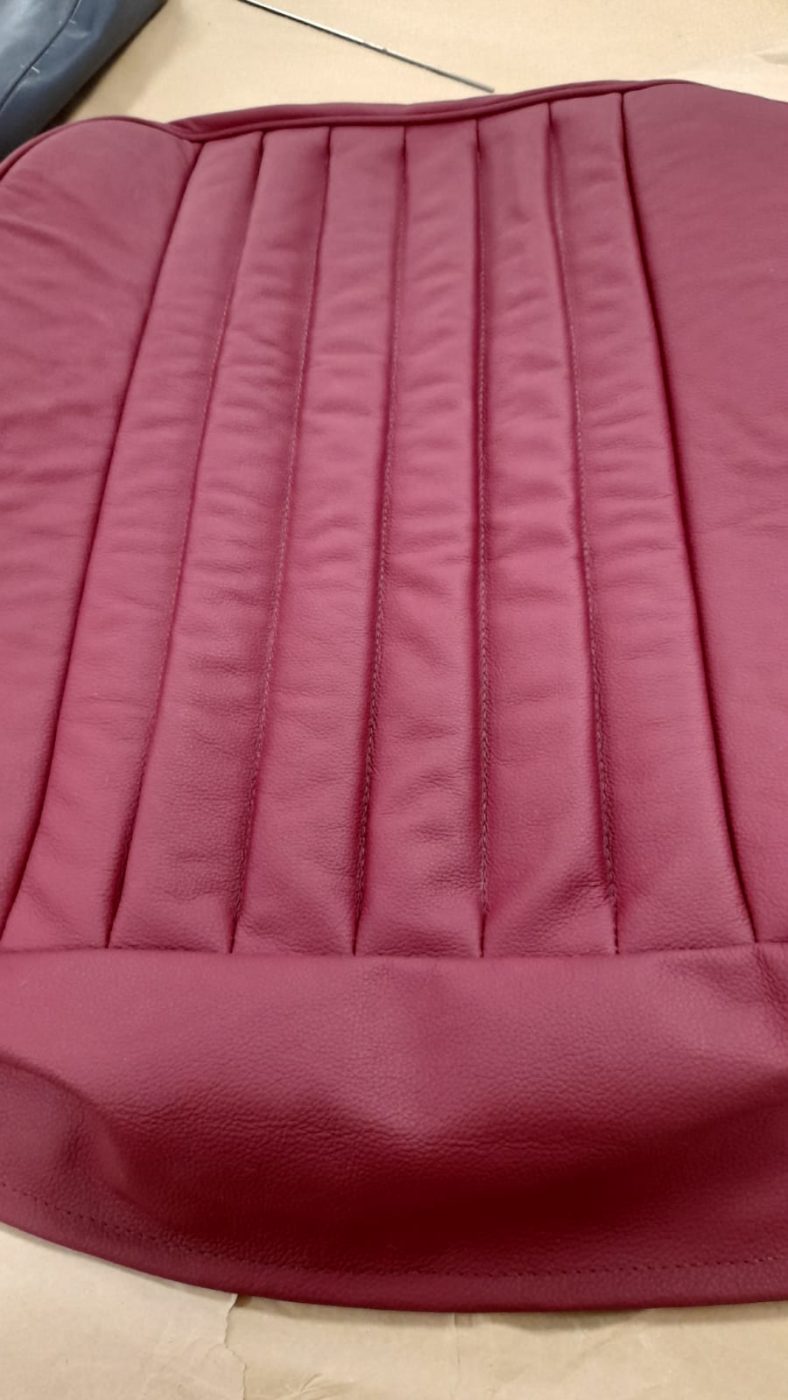
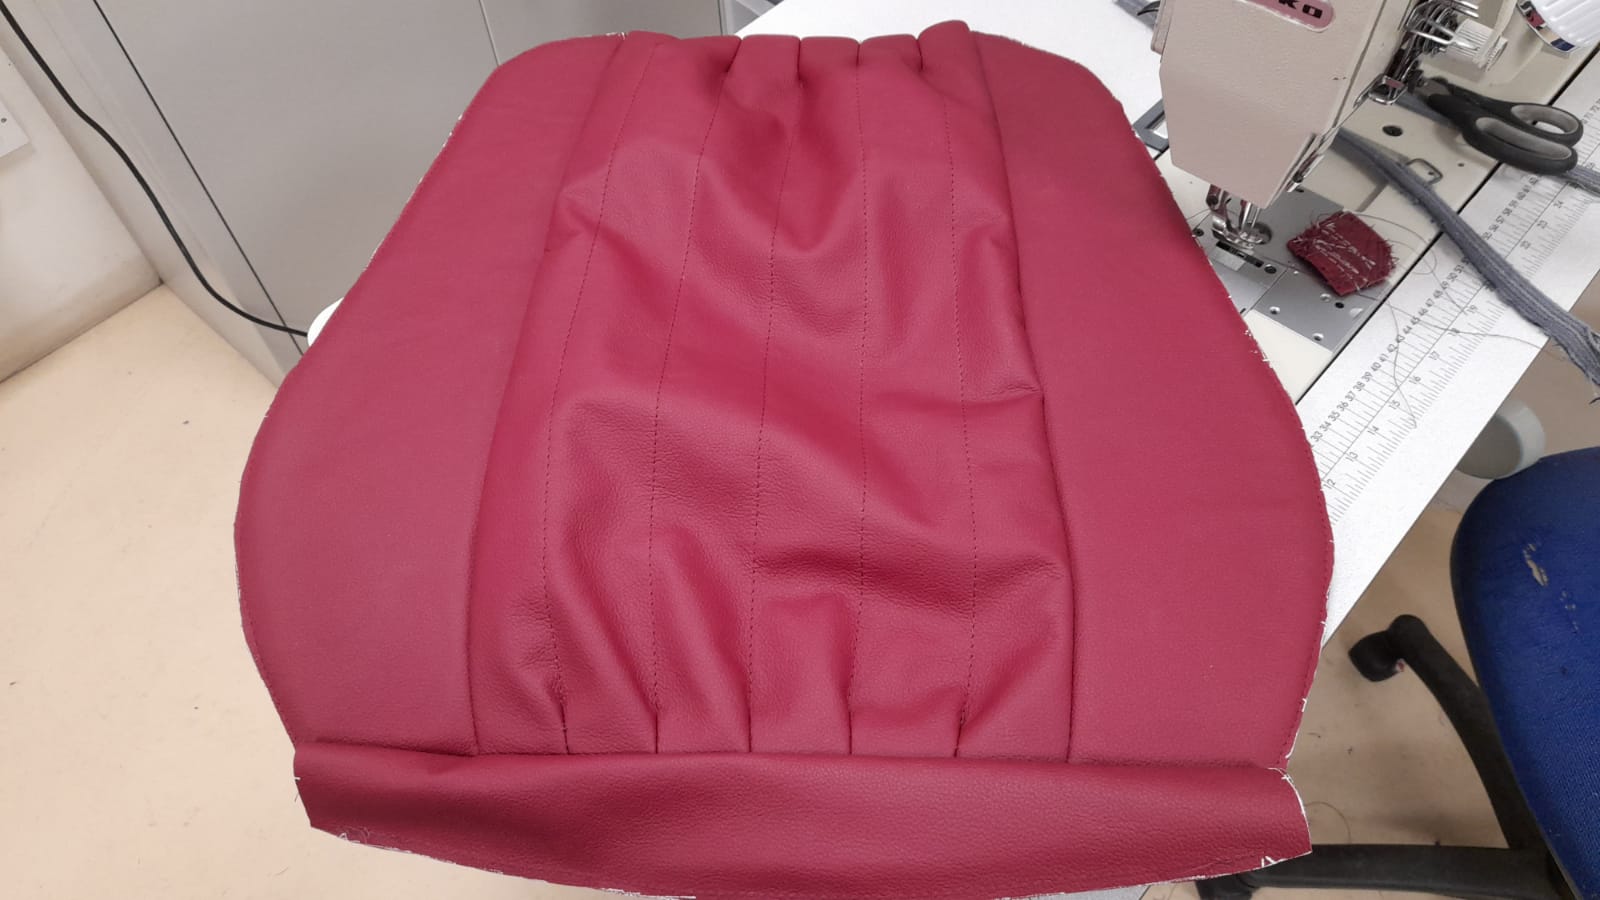
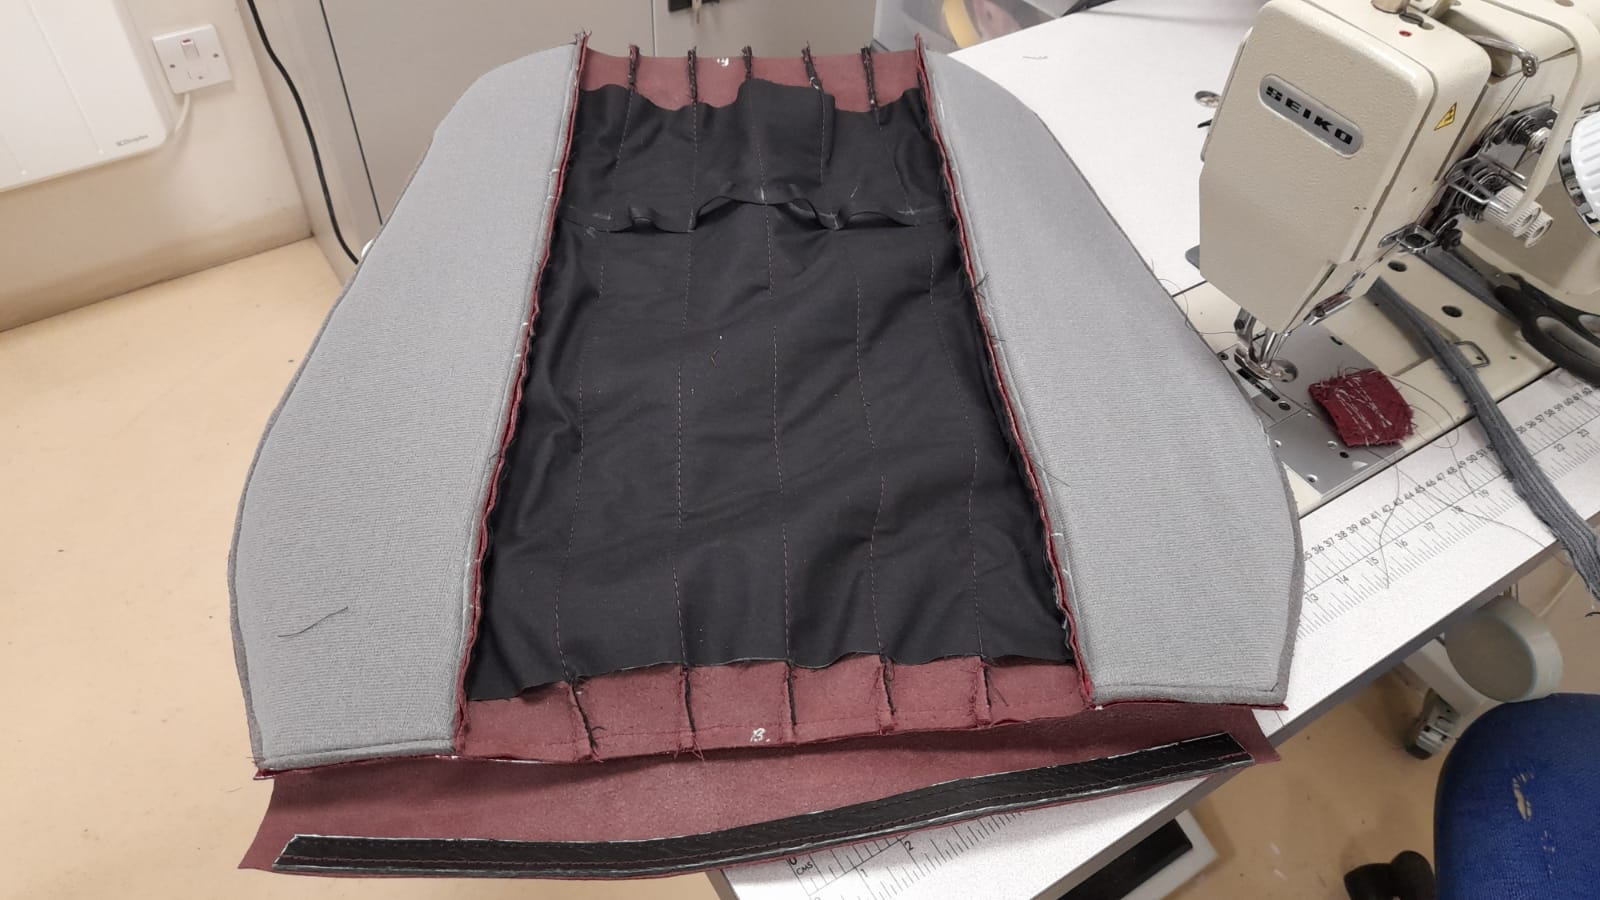
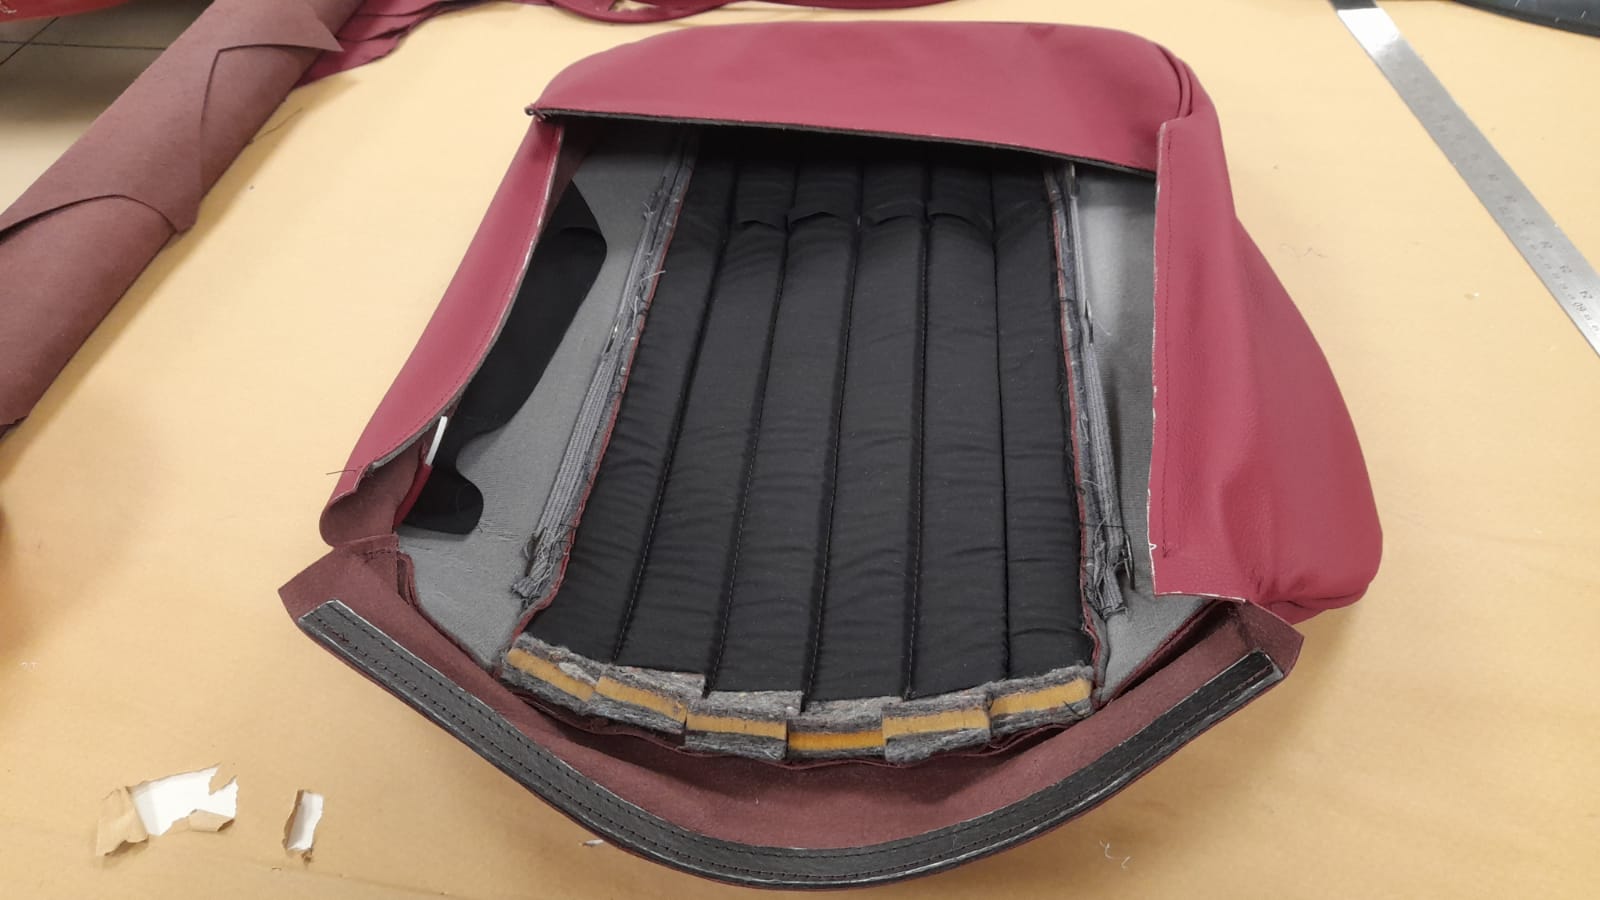
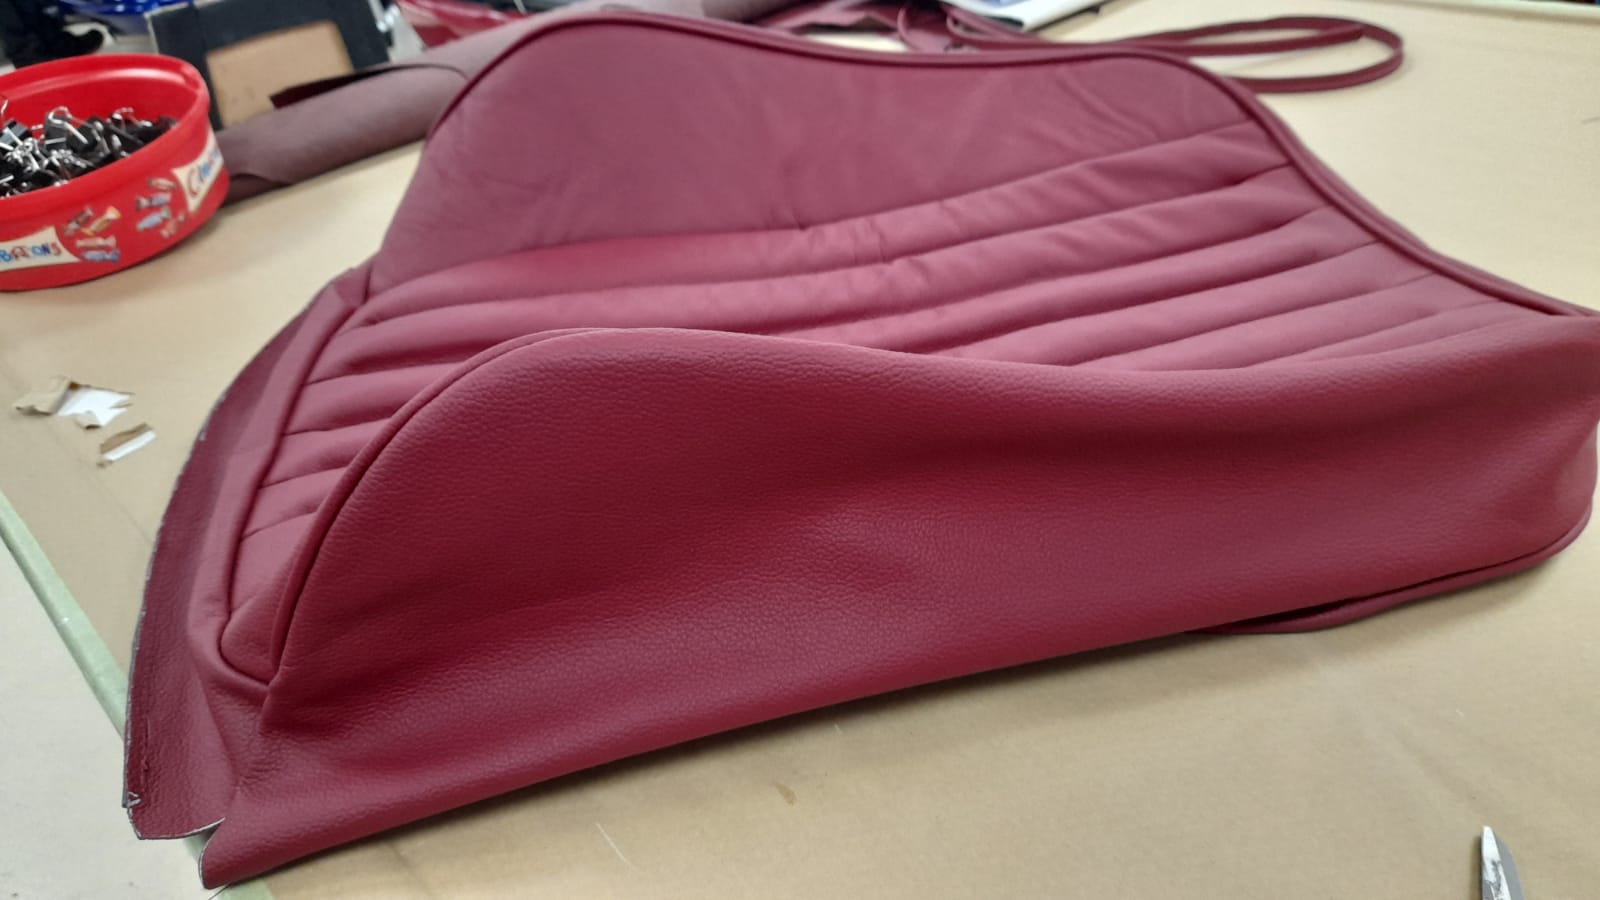
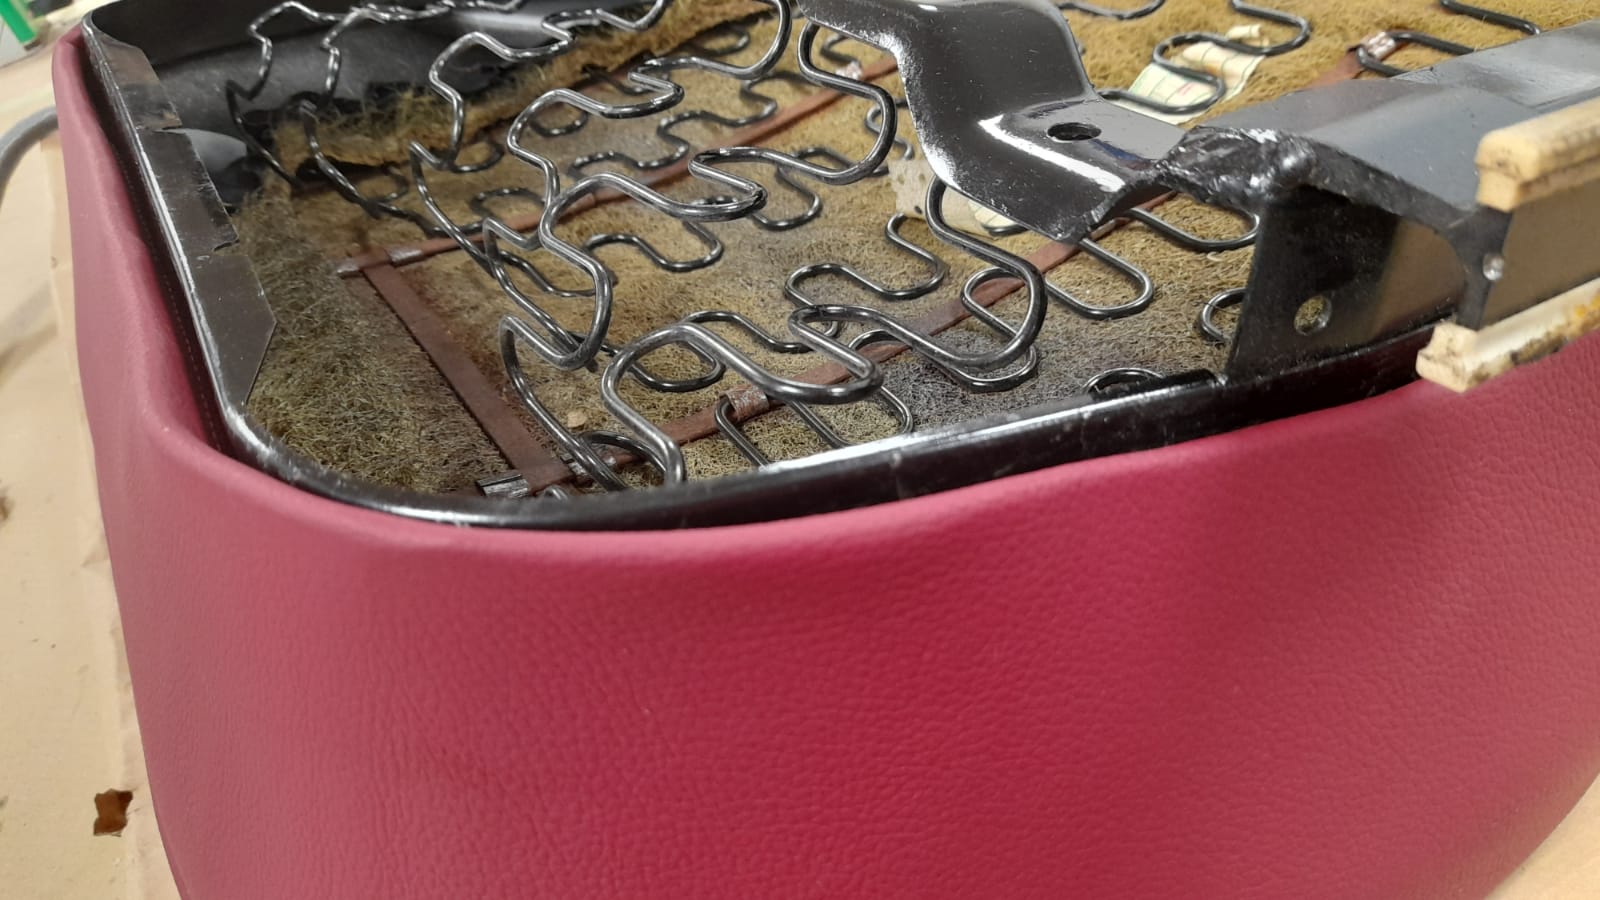
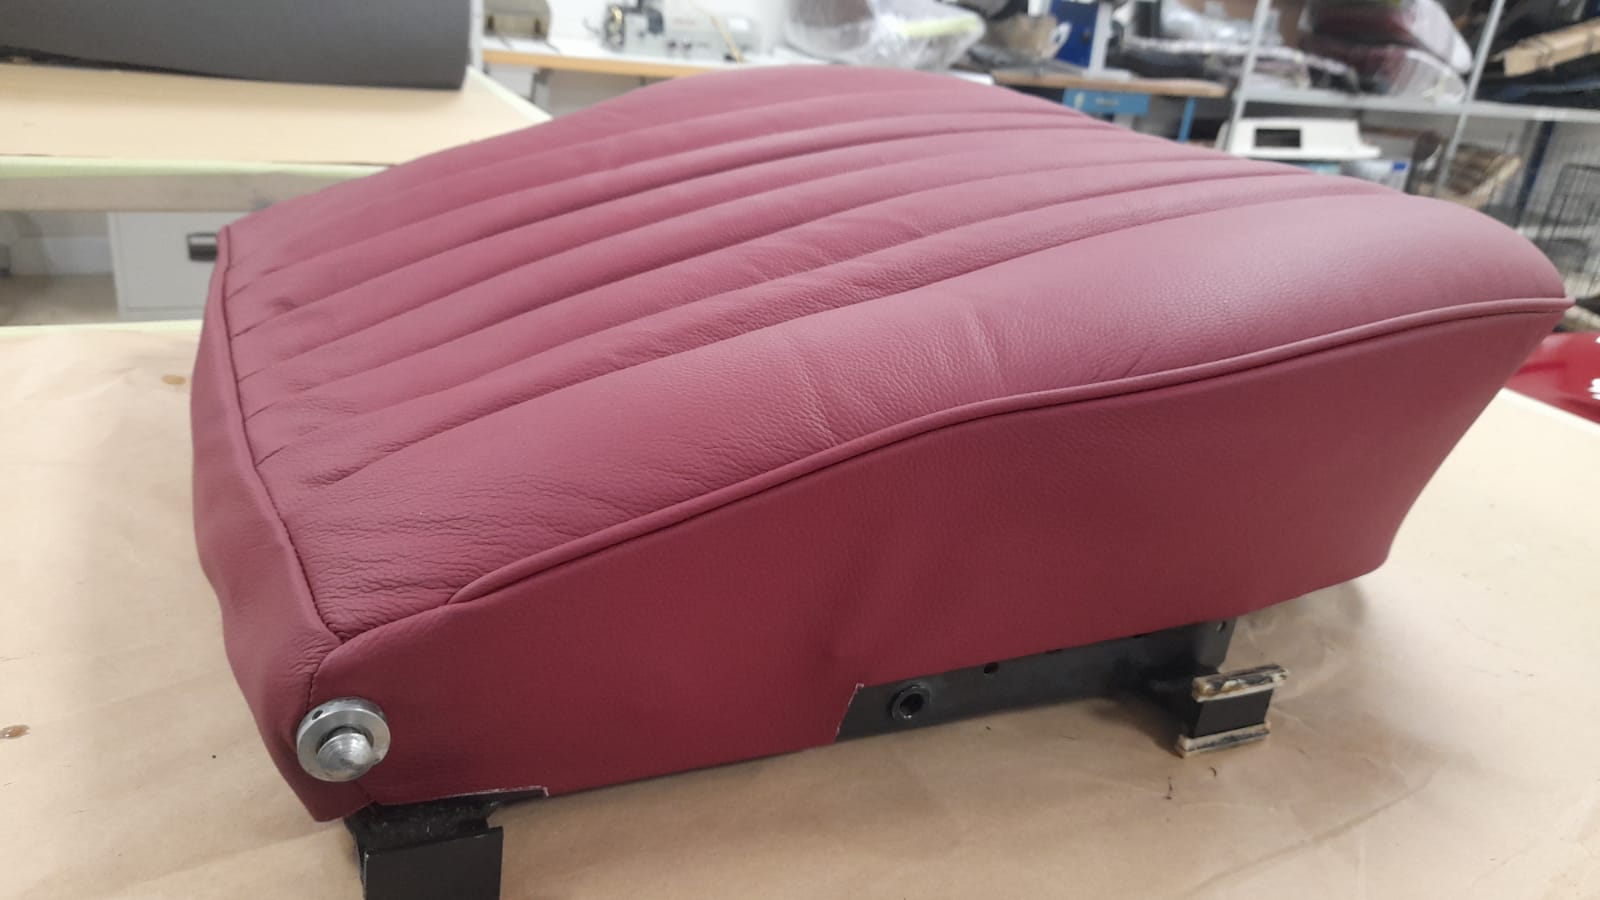
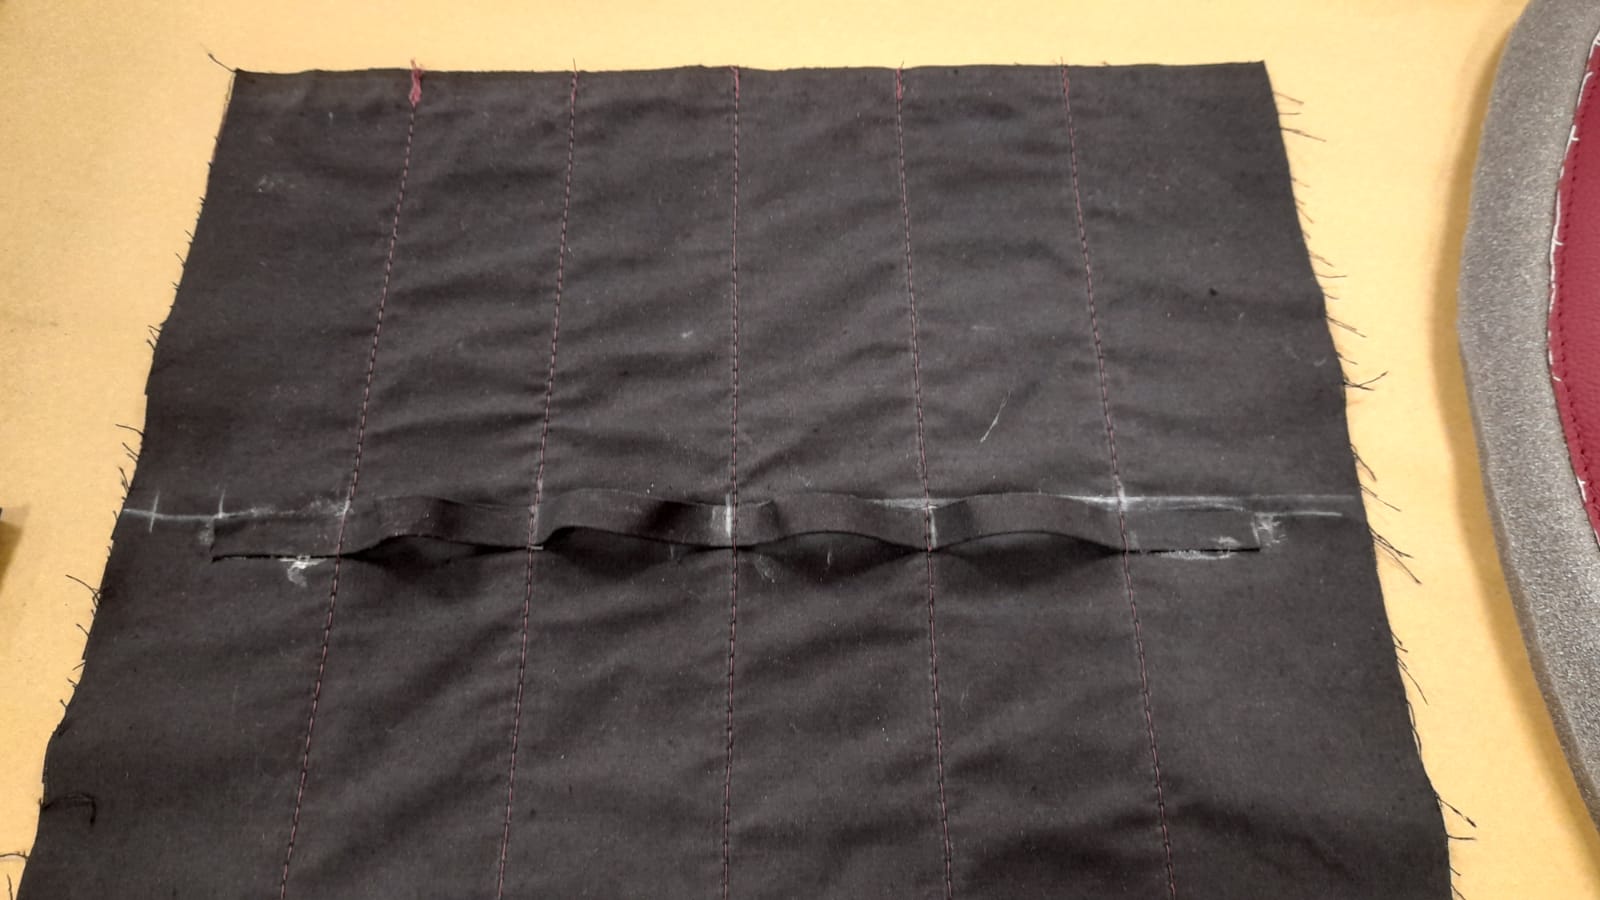
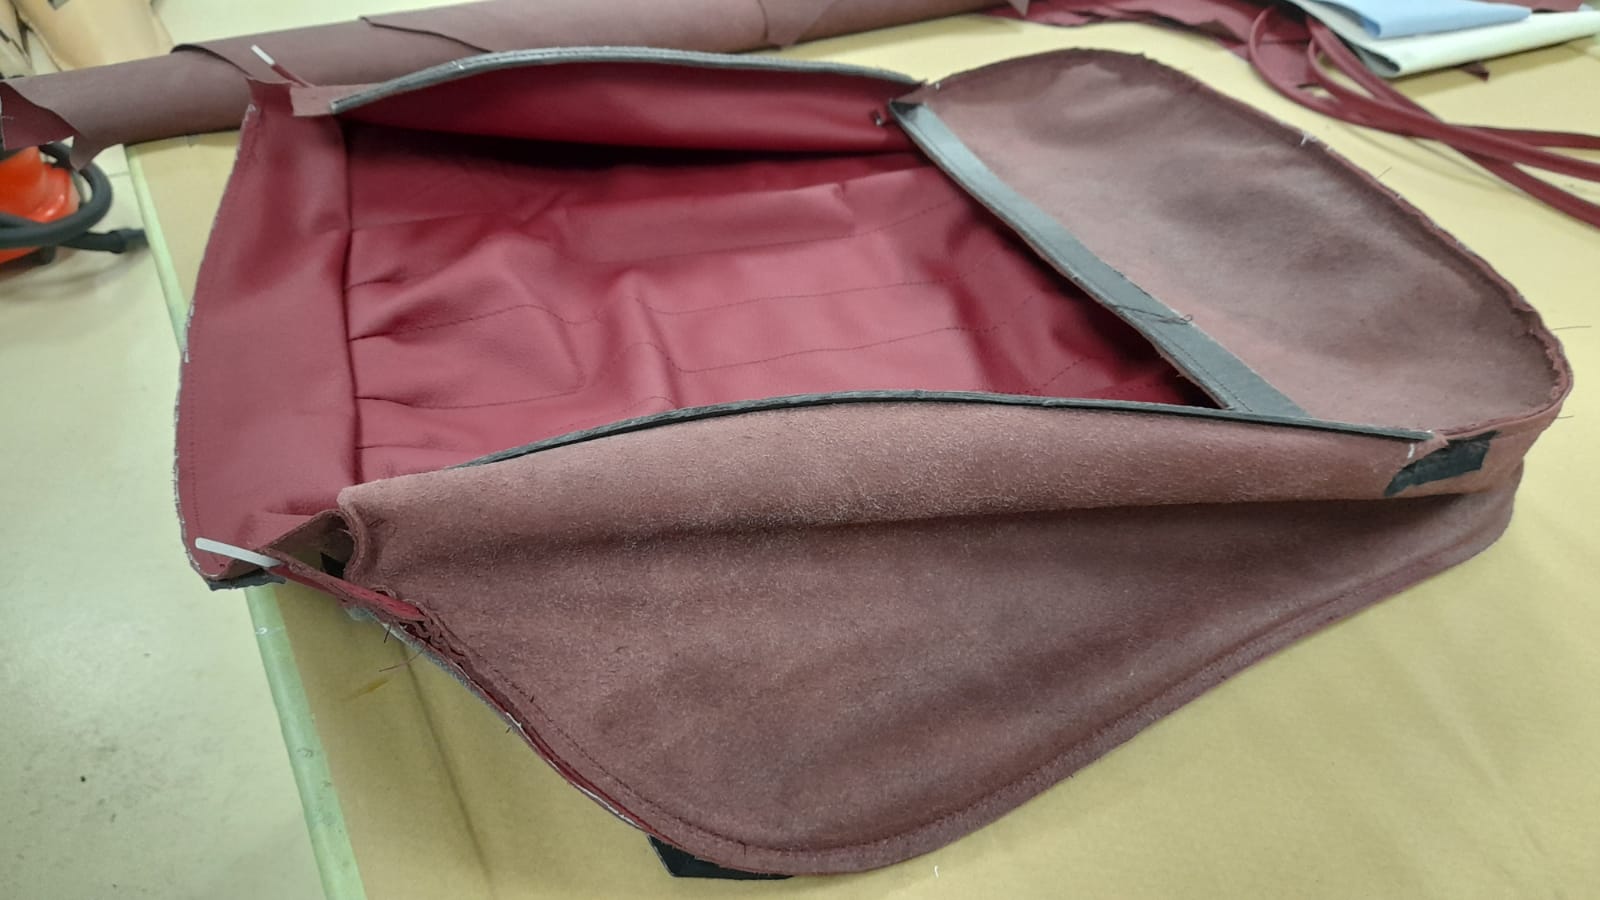
Lydia has been focusing exclusively on Craig’s 500SL Mercedes interior restoration. Over the last week or so shes been working on the seat covers, re-working the original material and creating new covers.
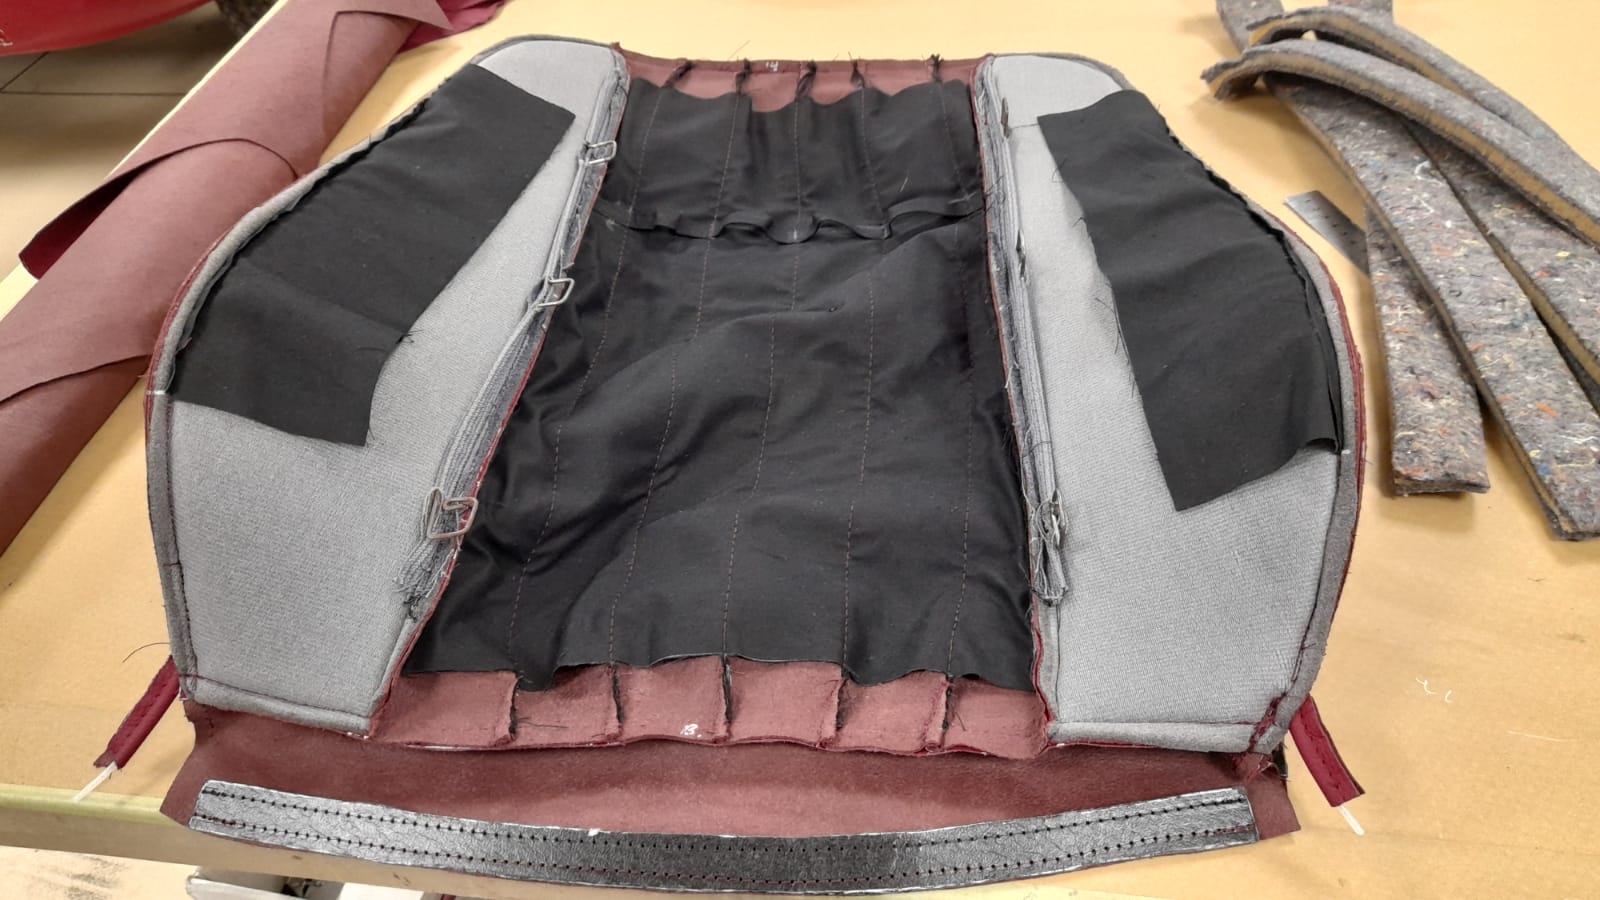
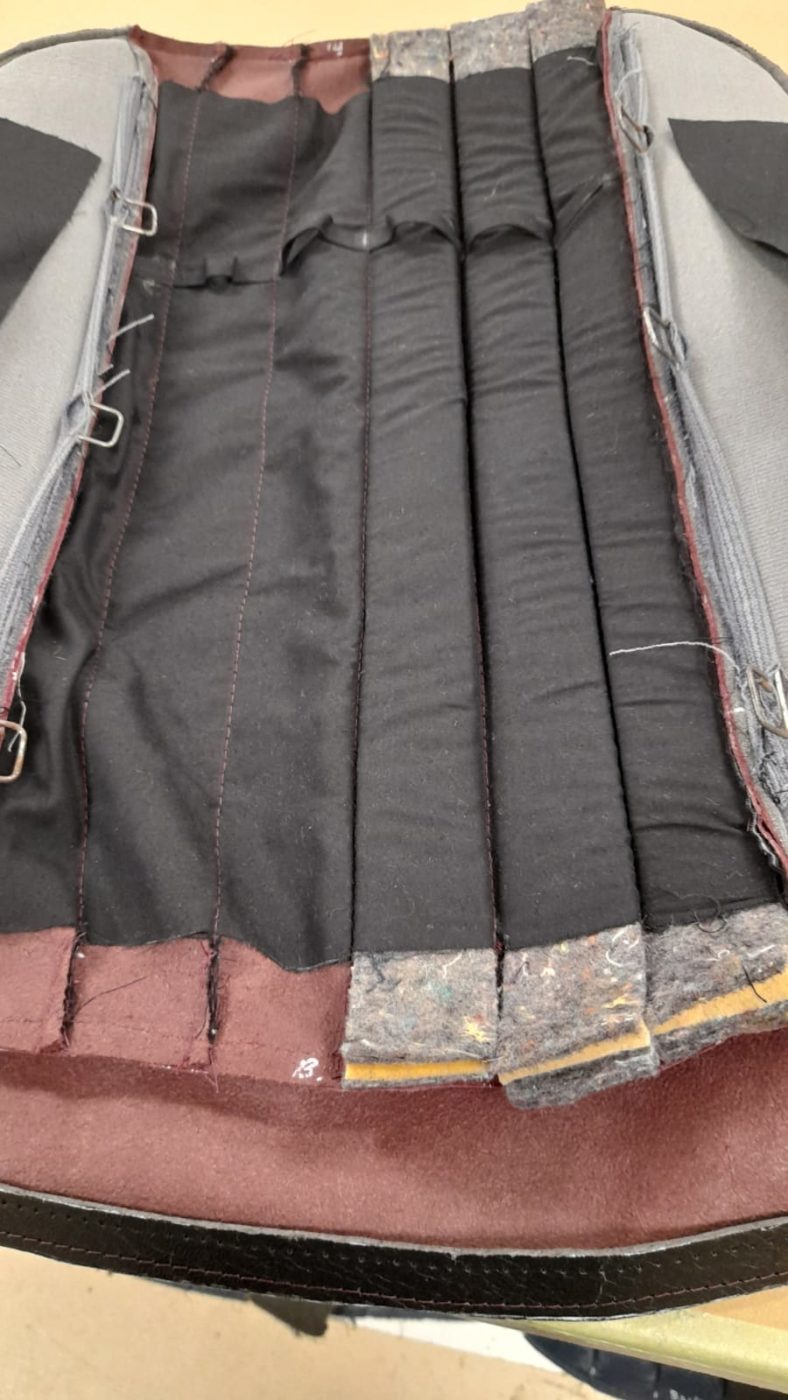
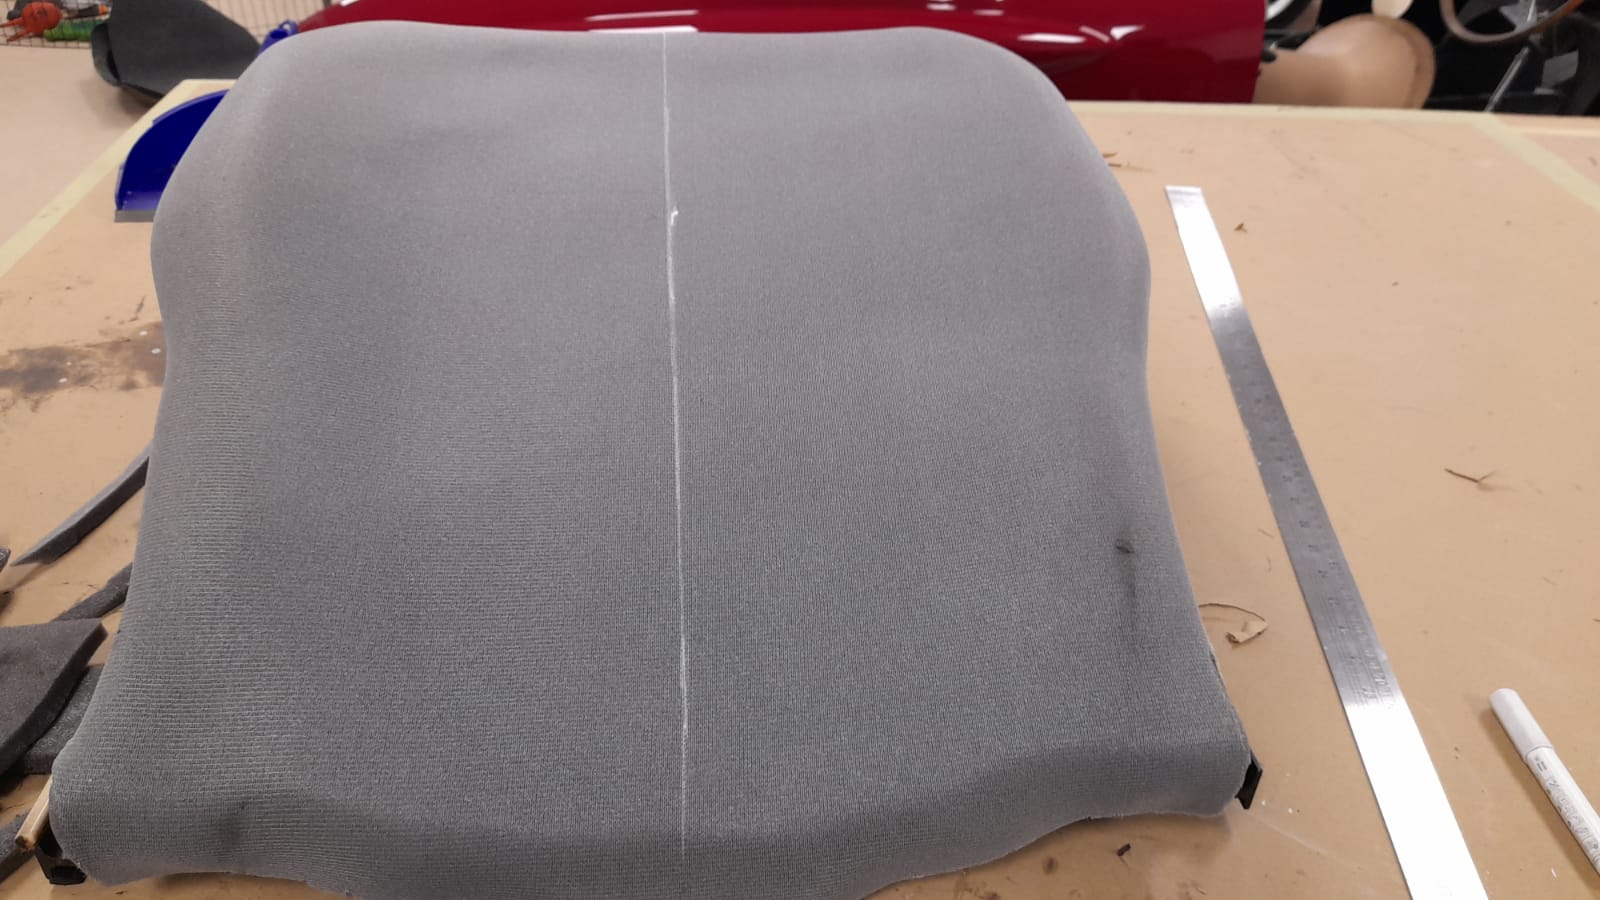
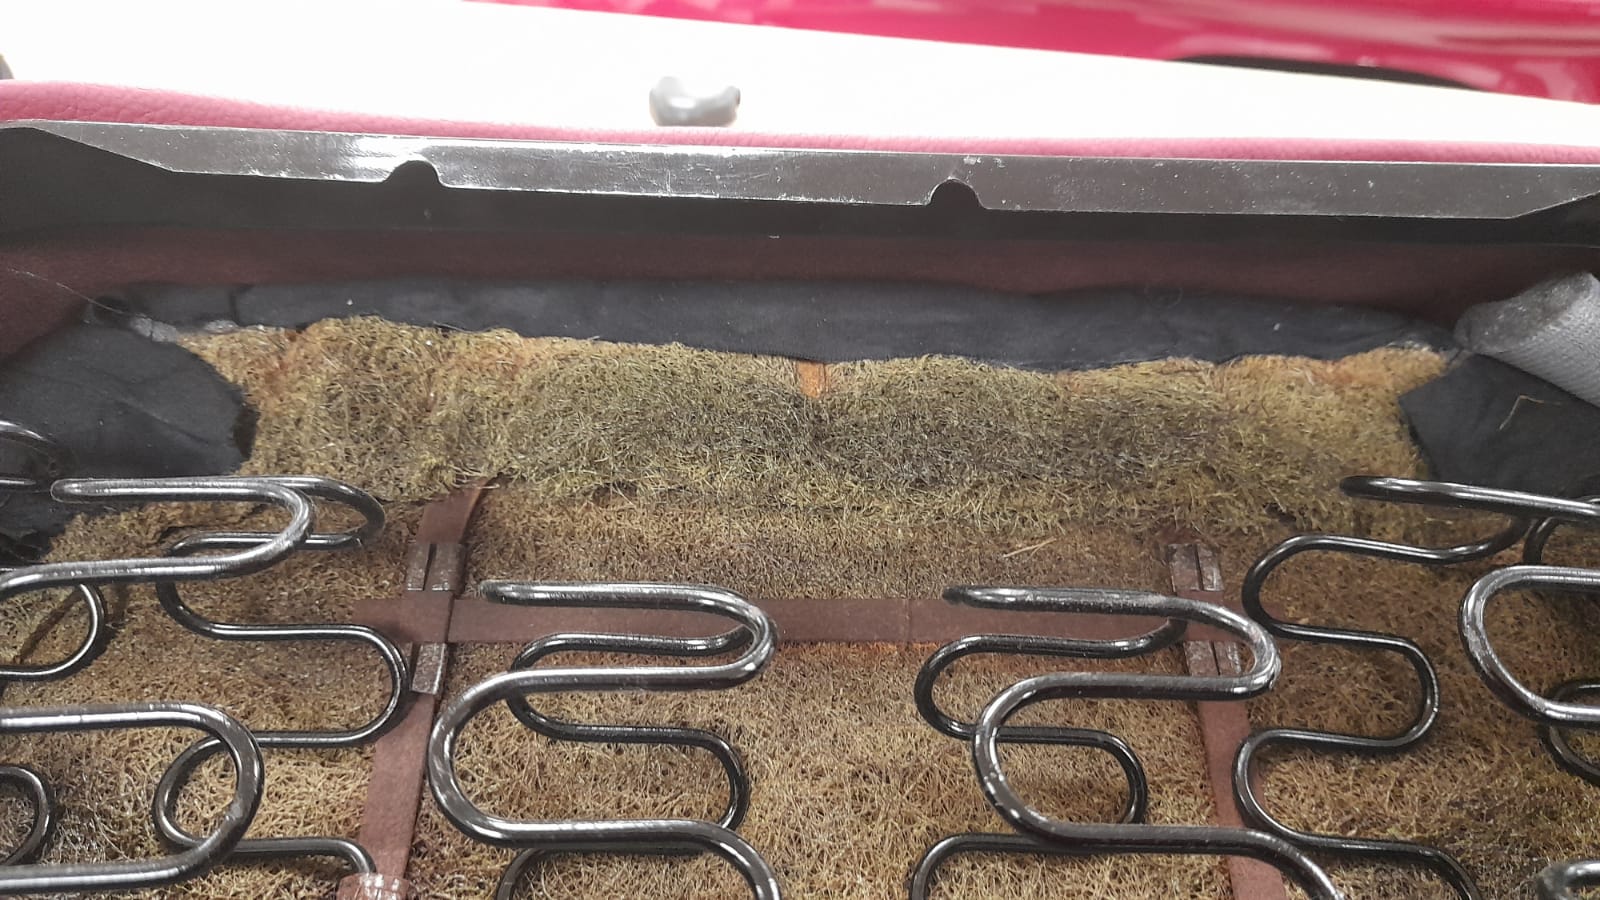
Lydia began by adding a layer of scrim foam over the top and sides of the frame to replace the old worn out padding which had turned hard. She then drew a line down the centre of the seat to make it easier to identify the middle of the cover. Once this is done, Lydia placed the cover over it and pull the calico inside it. Once fitted, she could pull it tight and glue it in place.
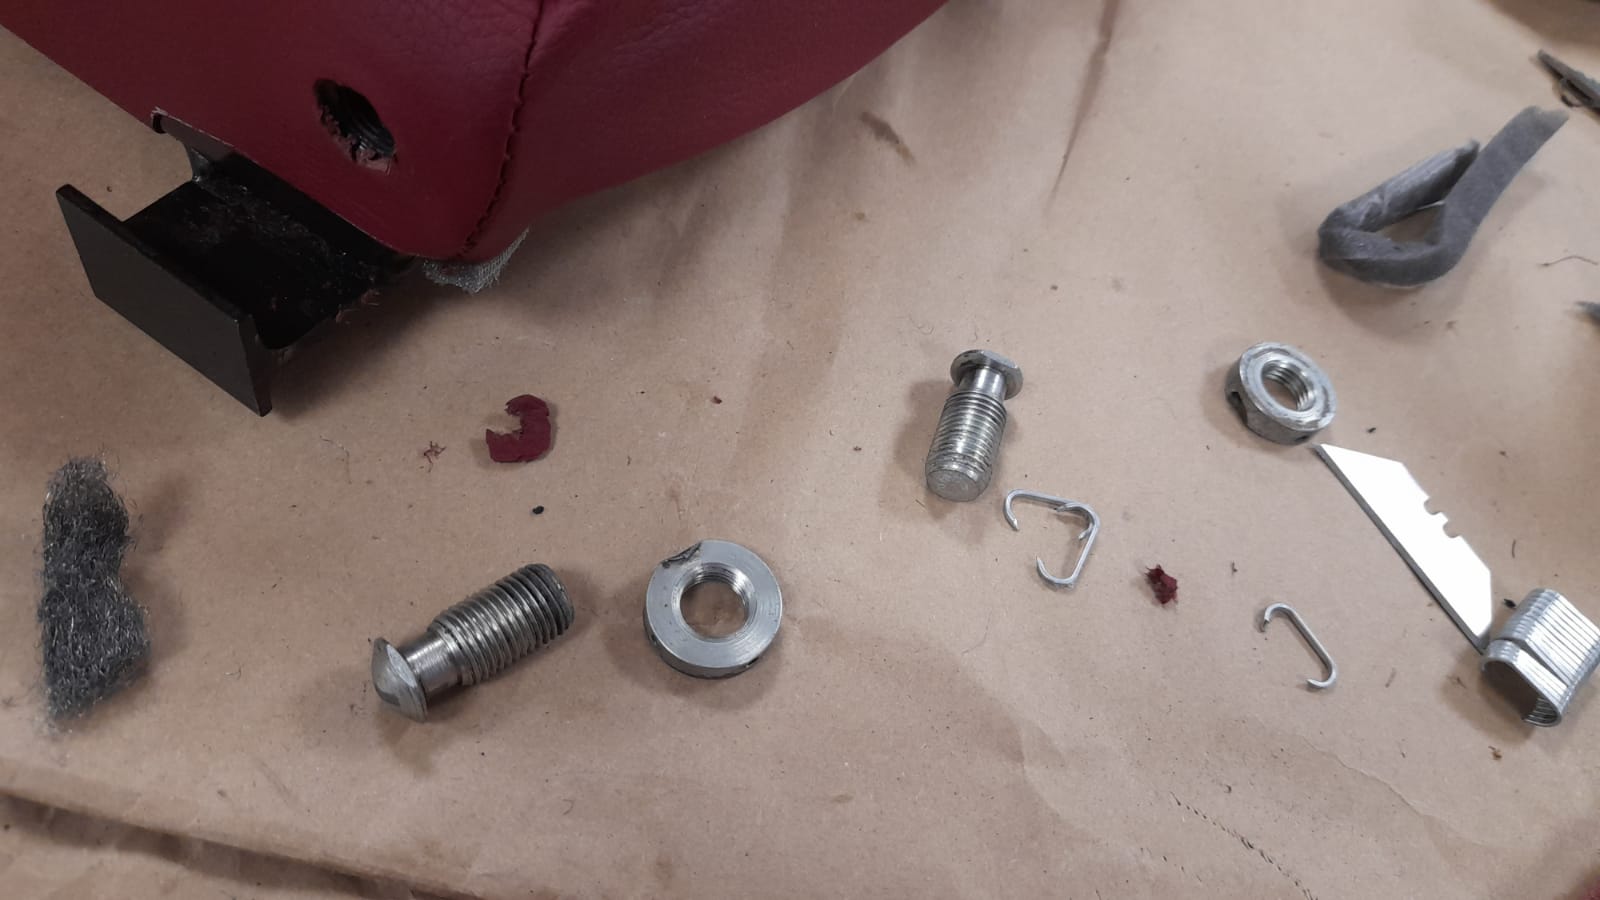
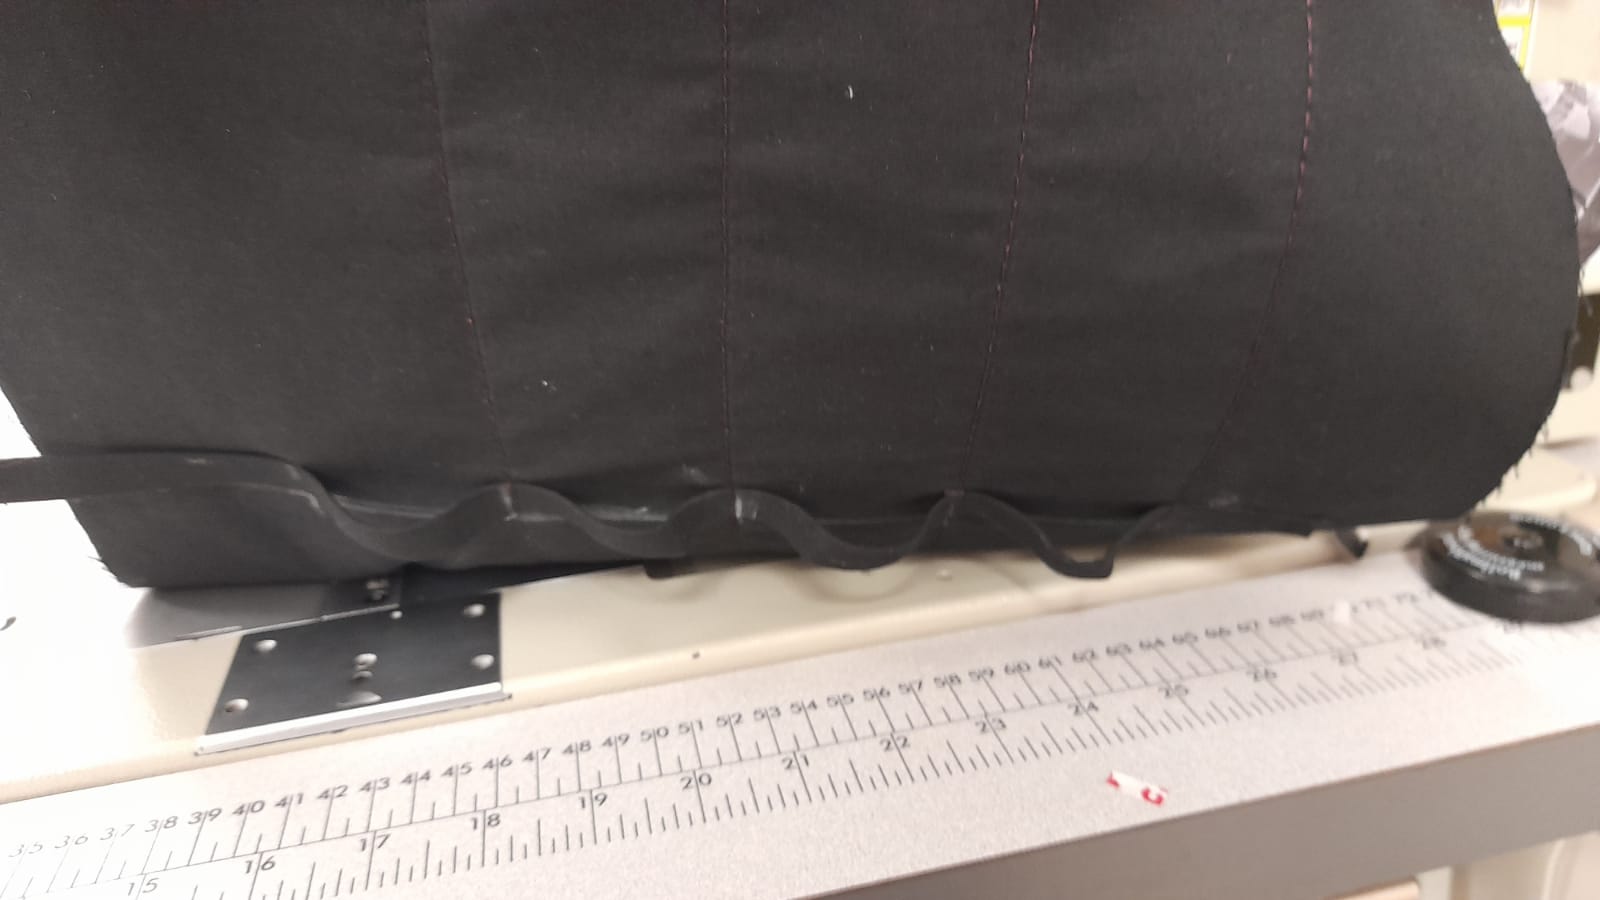
Lydia then applied weight to the frame springs and pulled the other edges of the cover over and under the frame. She then glued down the side flaps around the frame, cleaned up the bolts that screw into the bottom of the seat, and made a hole on each side for them.

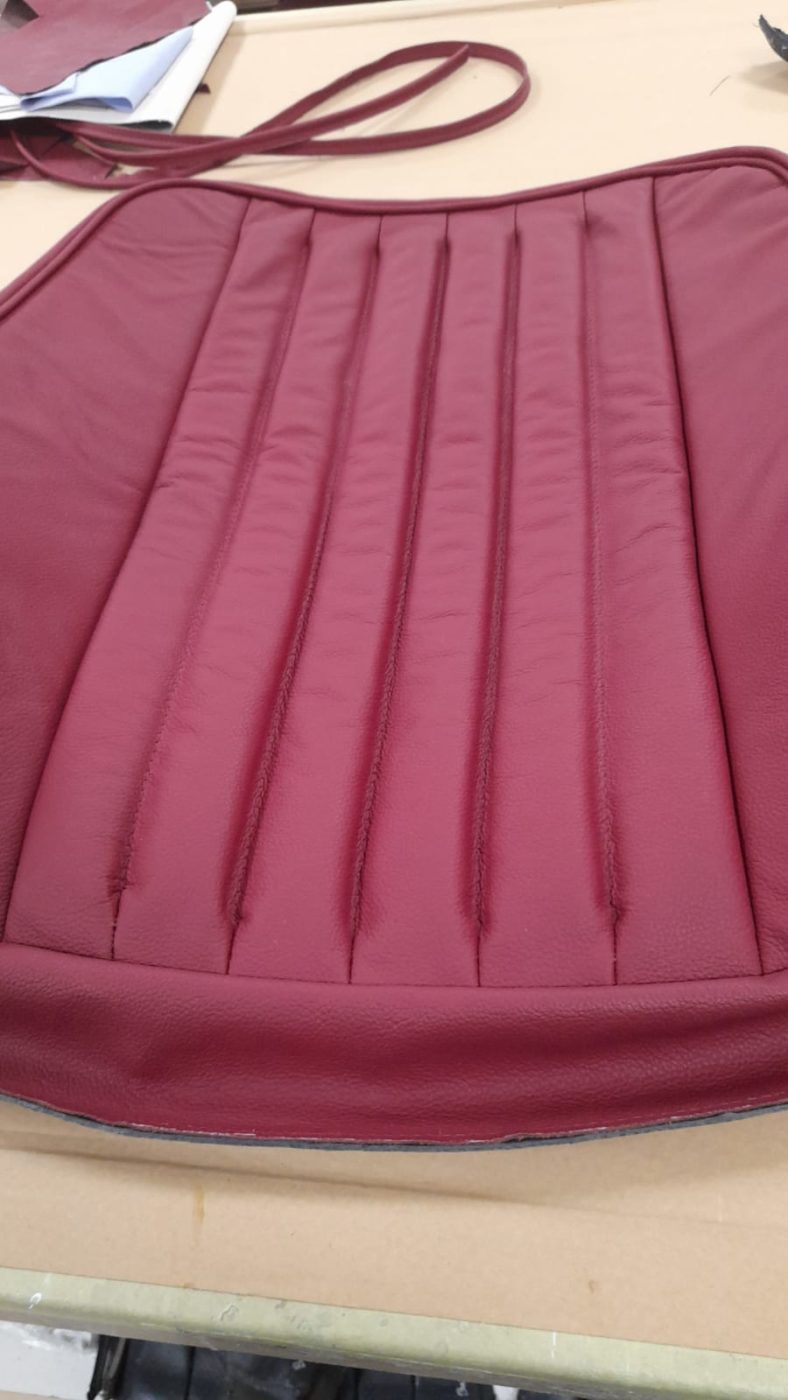
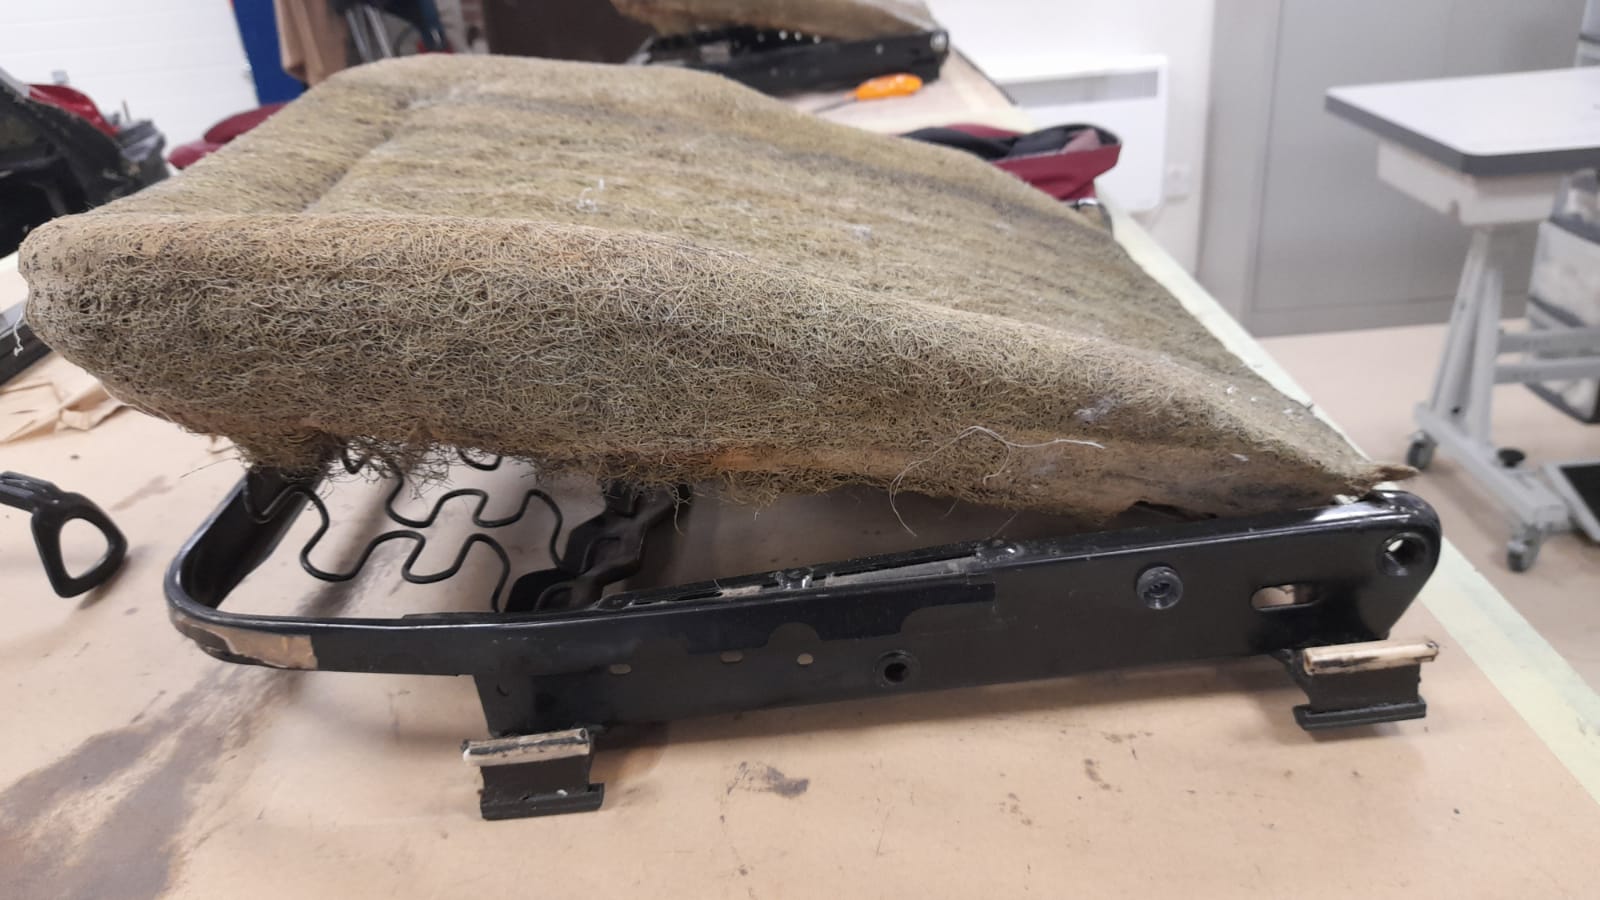
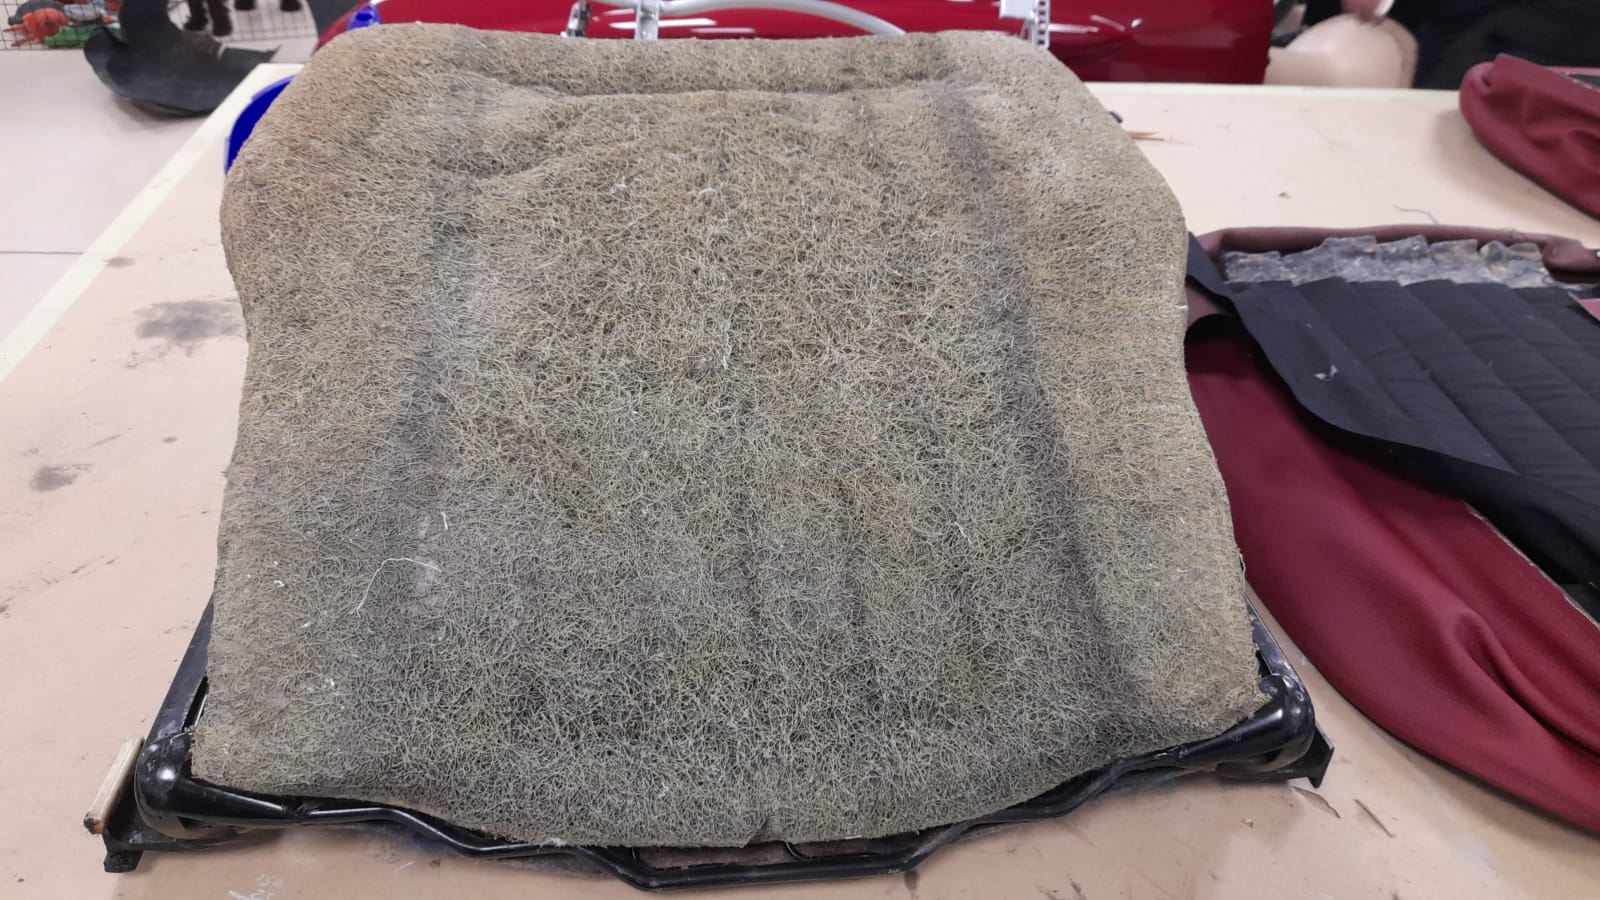
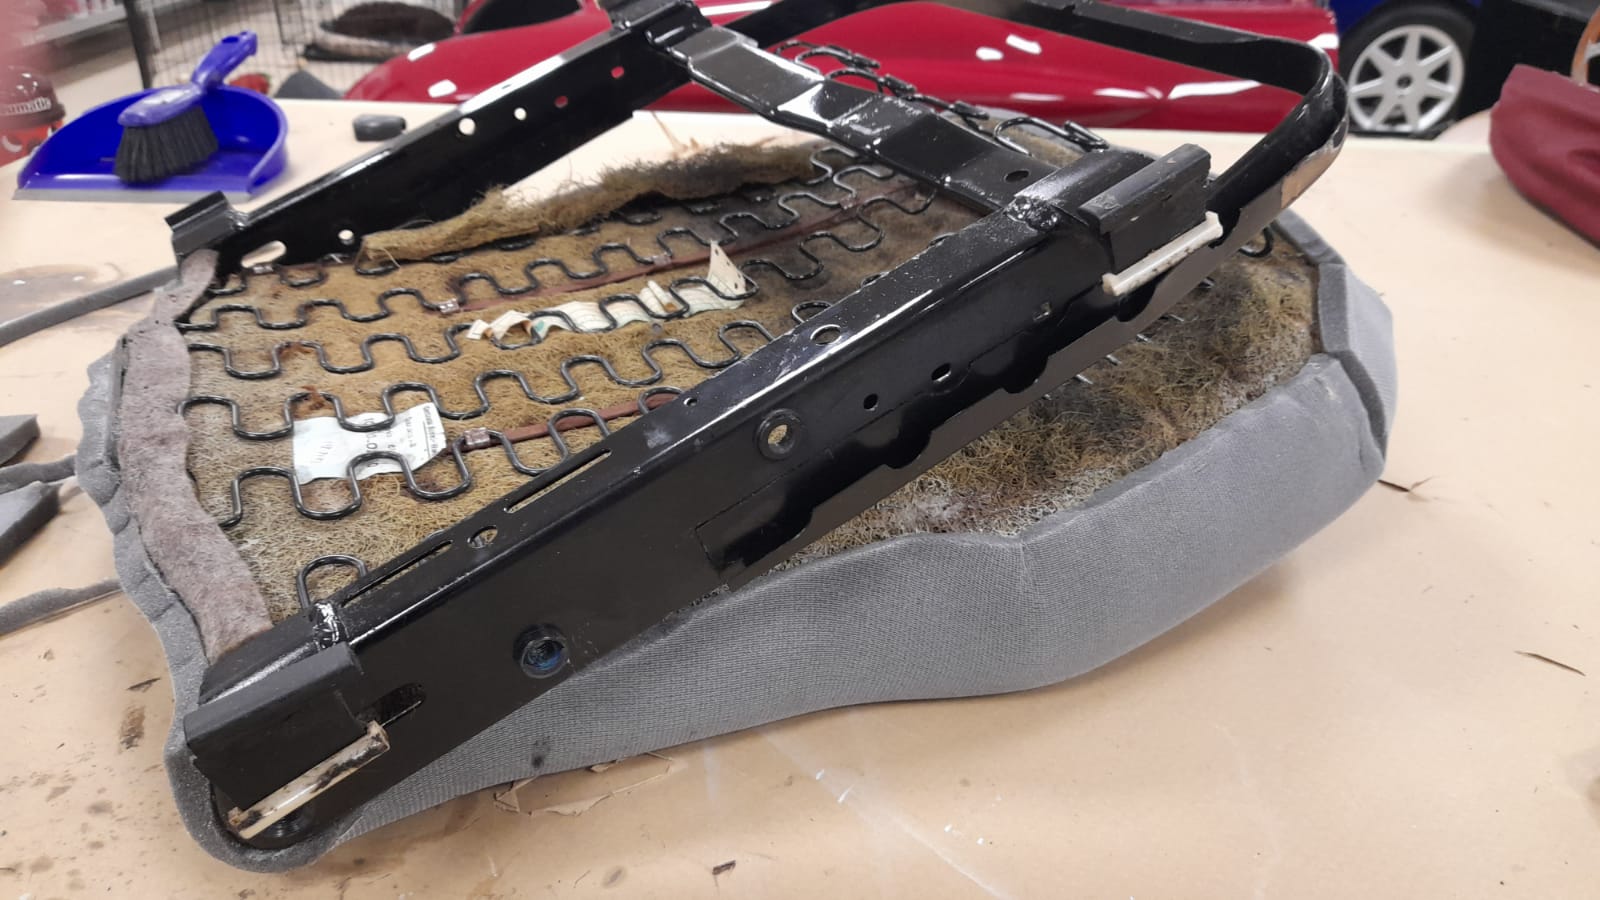
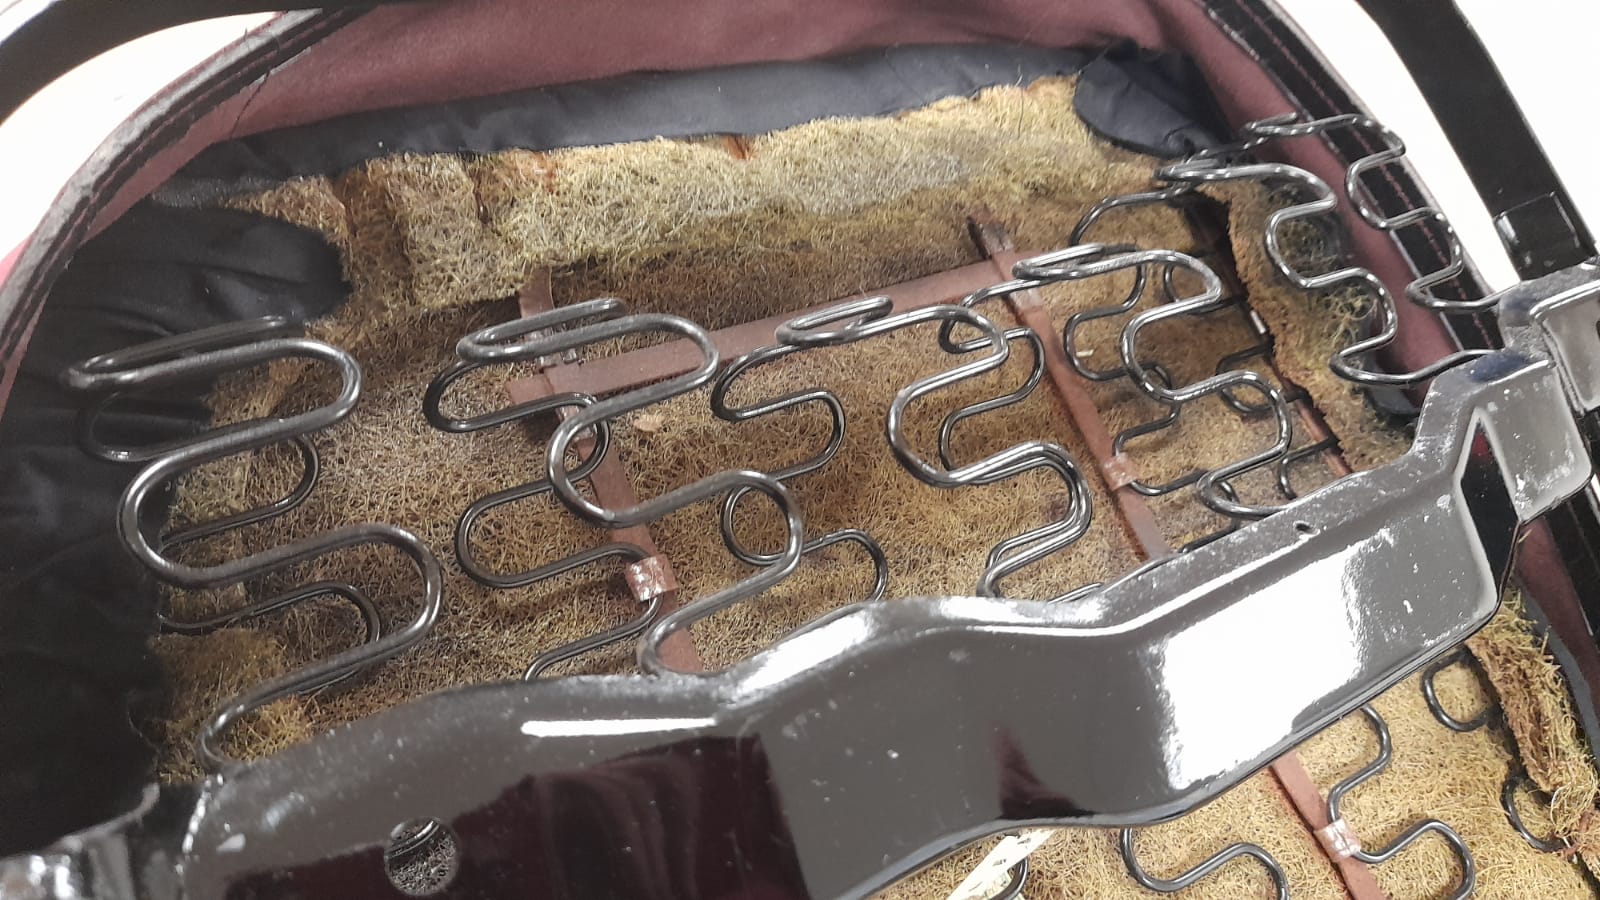
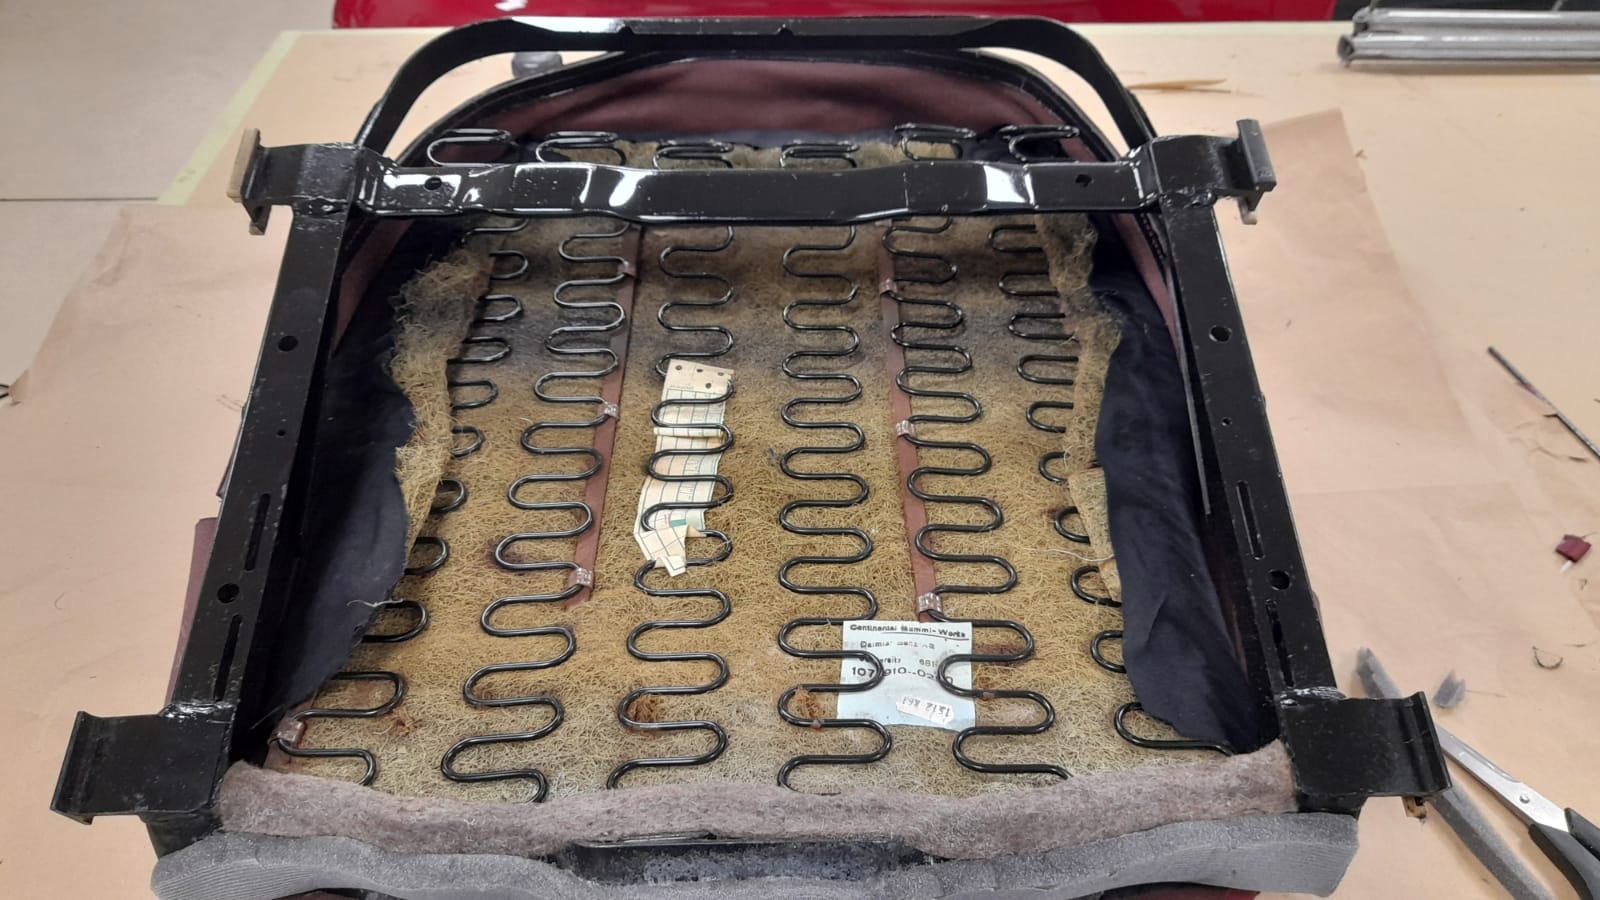
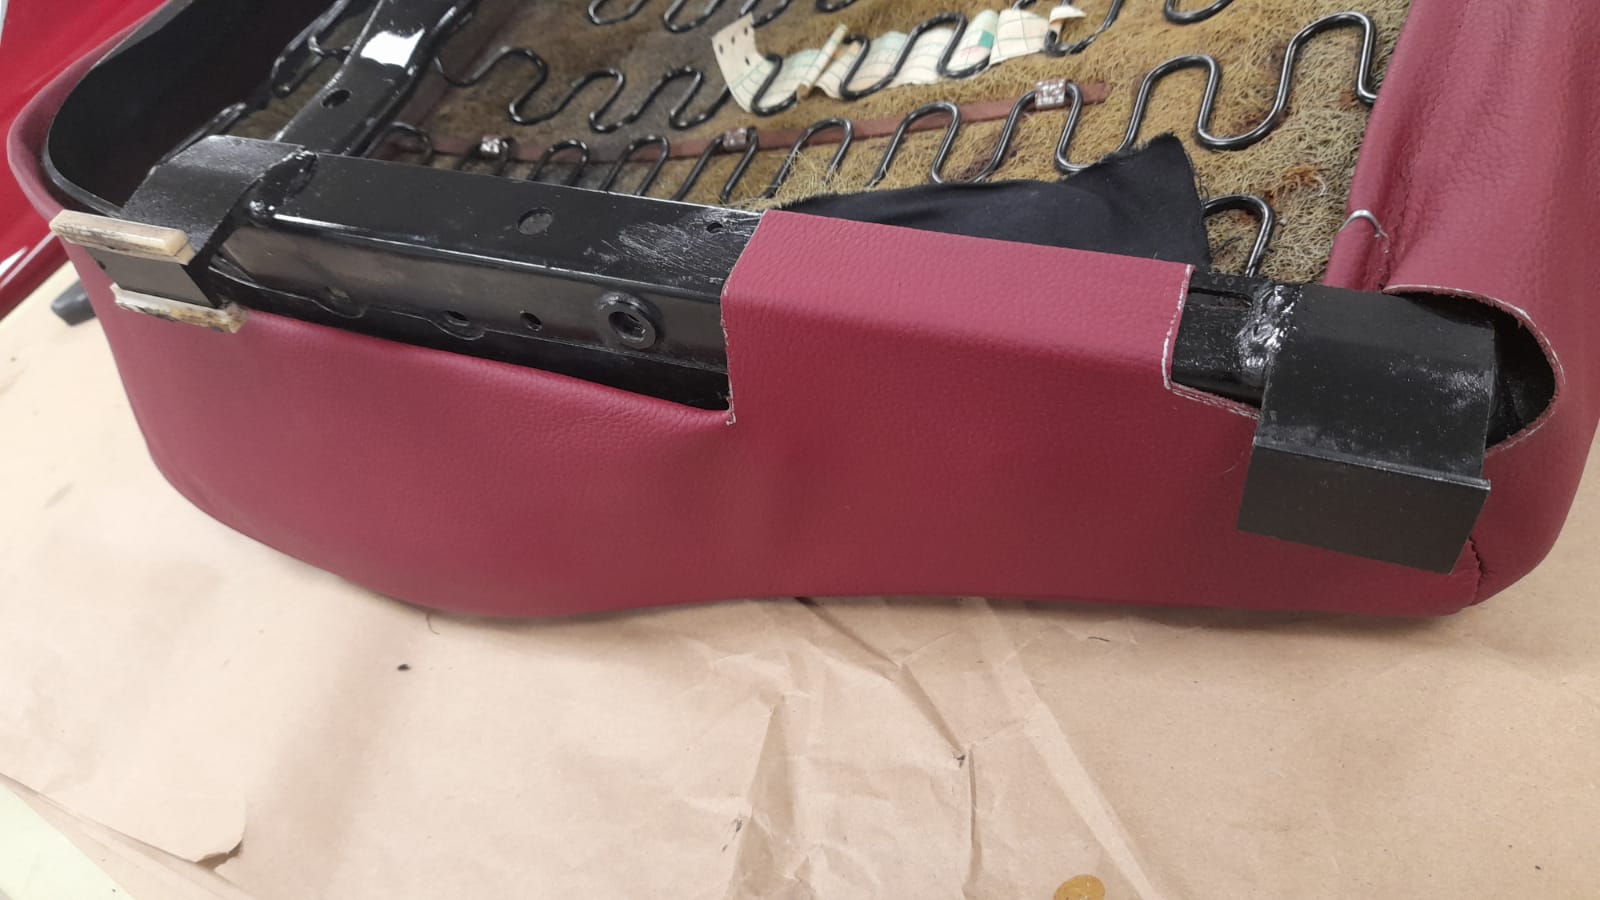
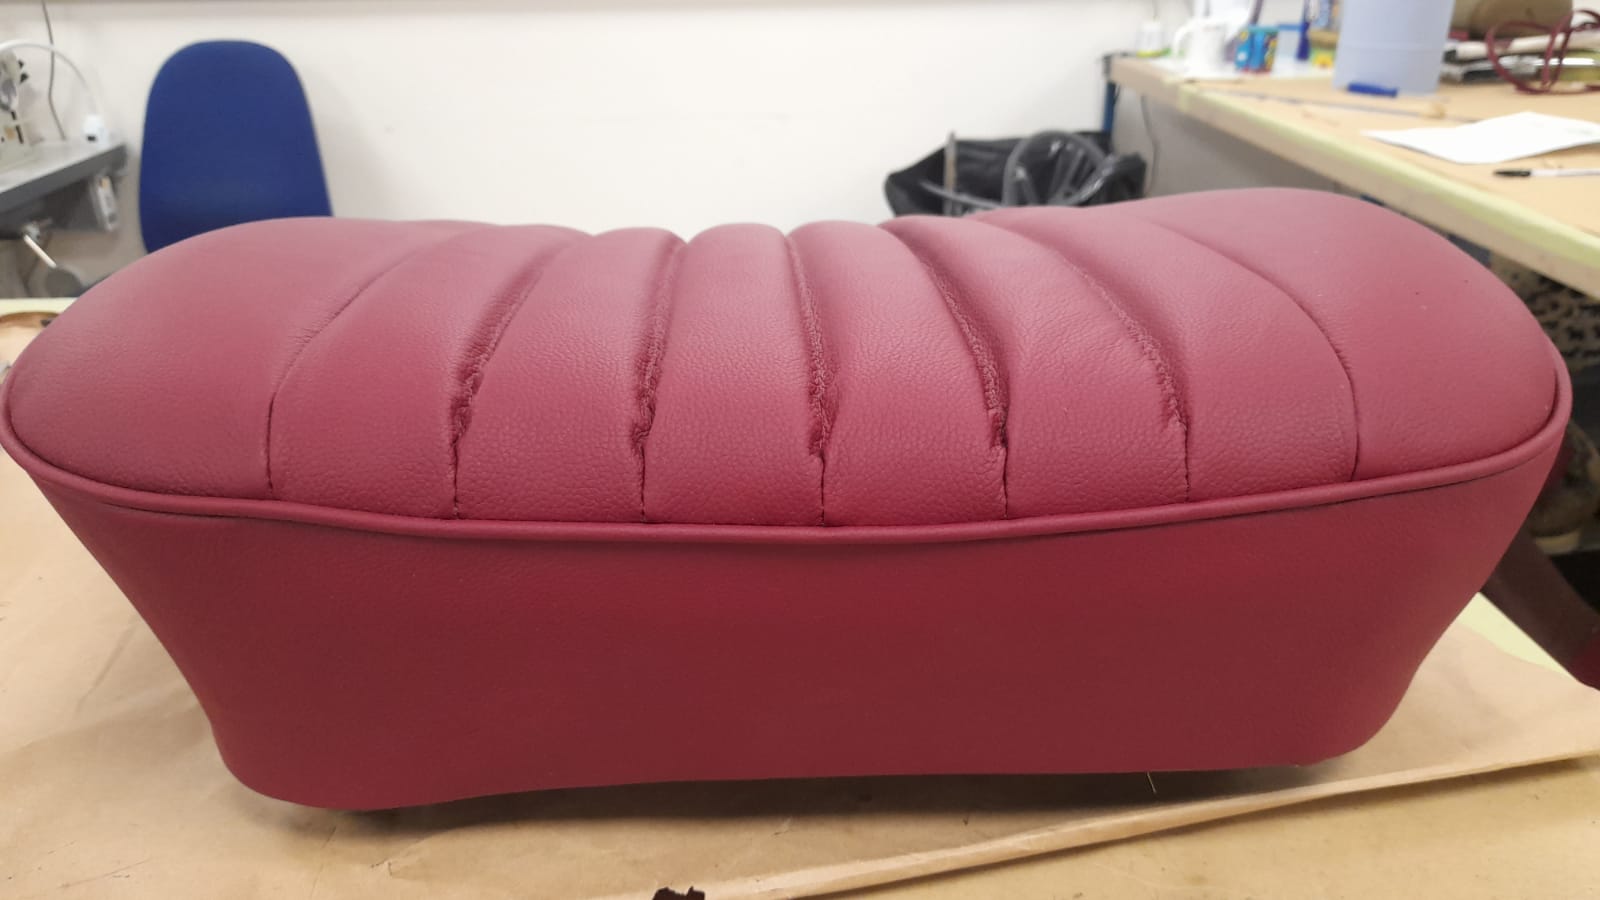
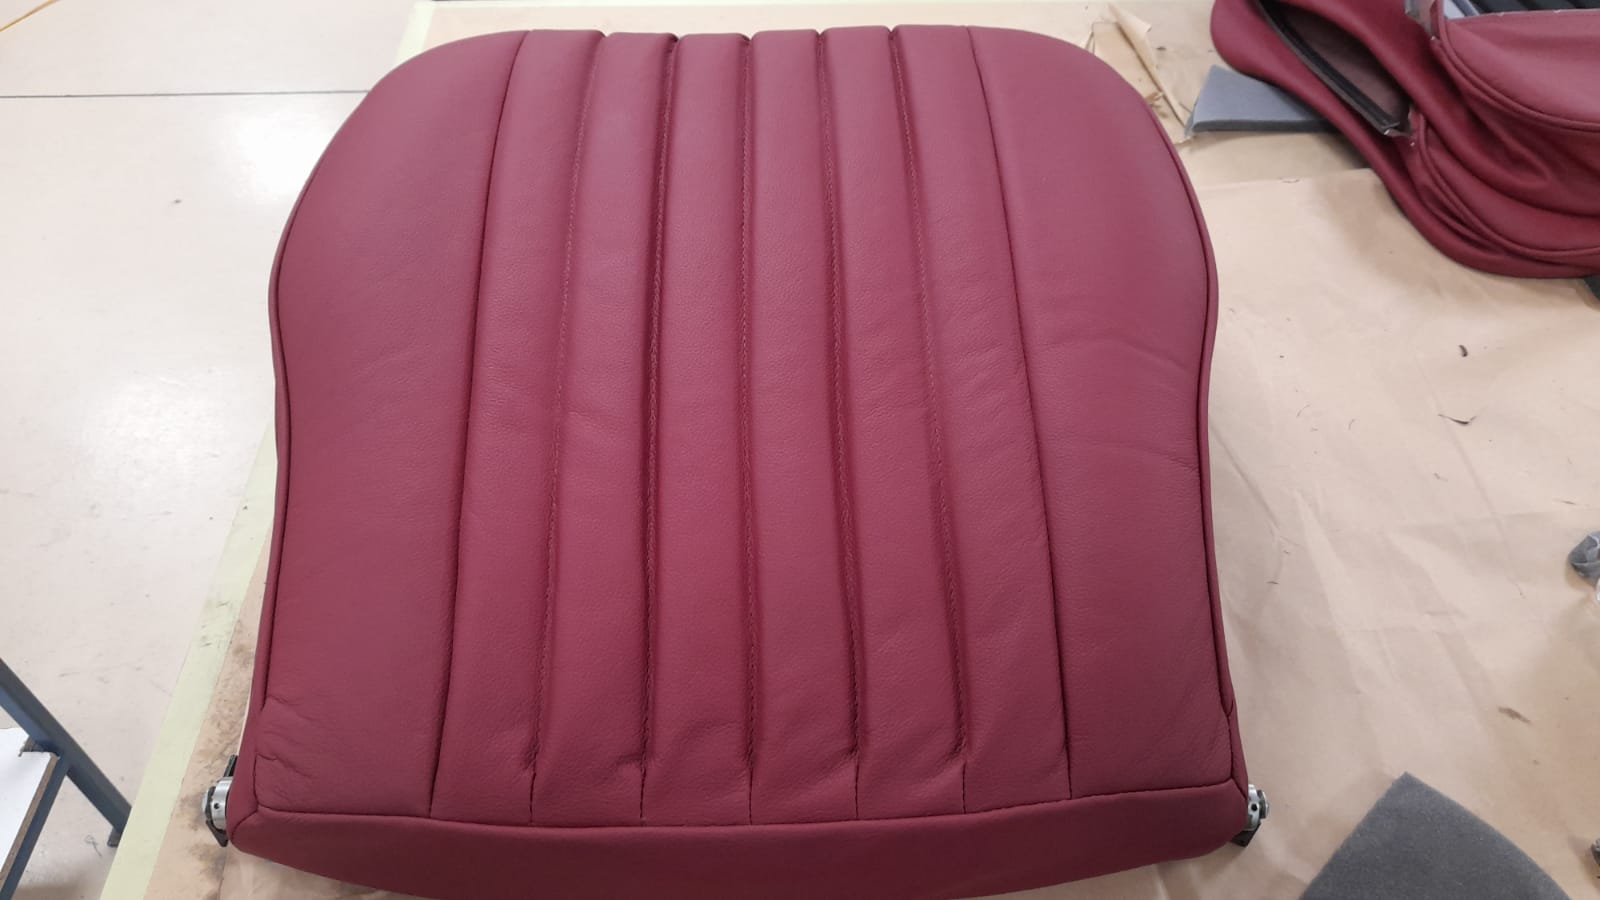

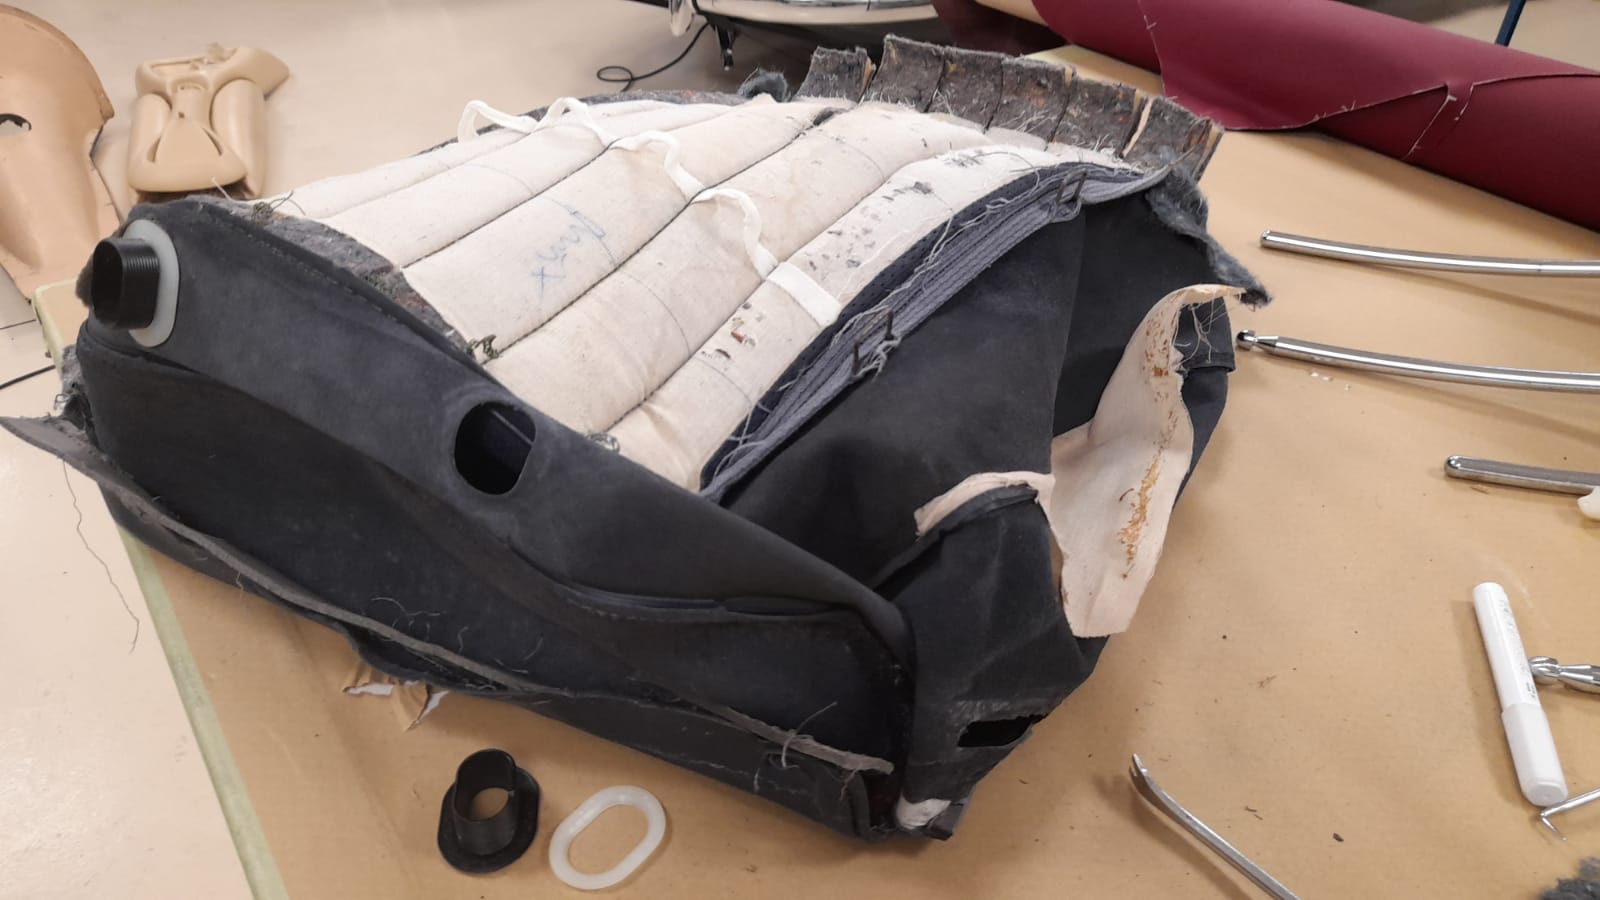


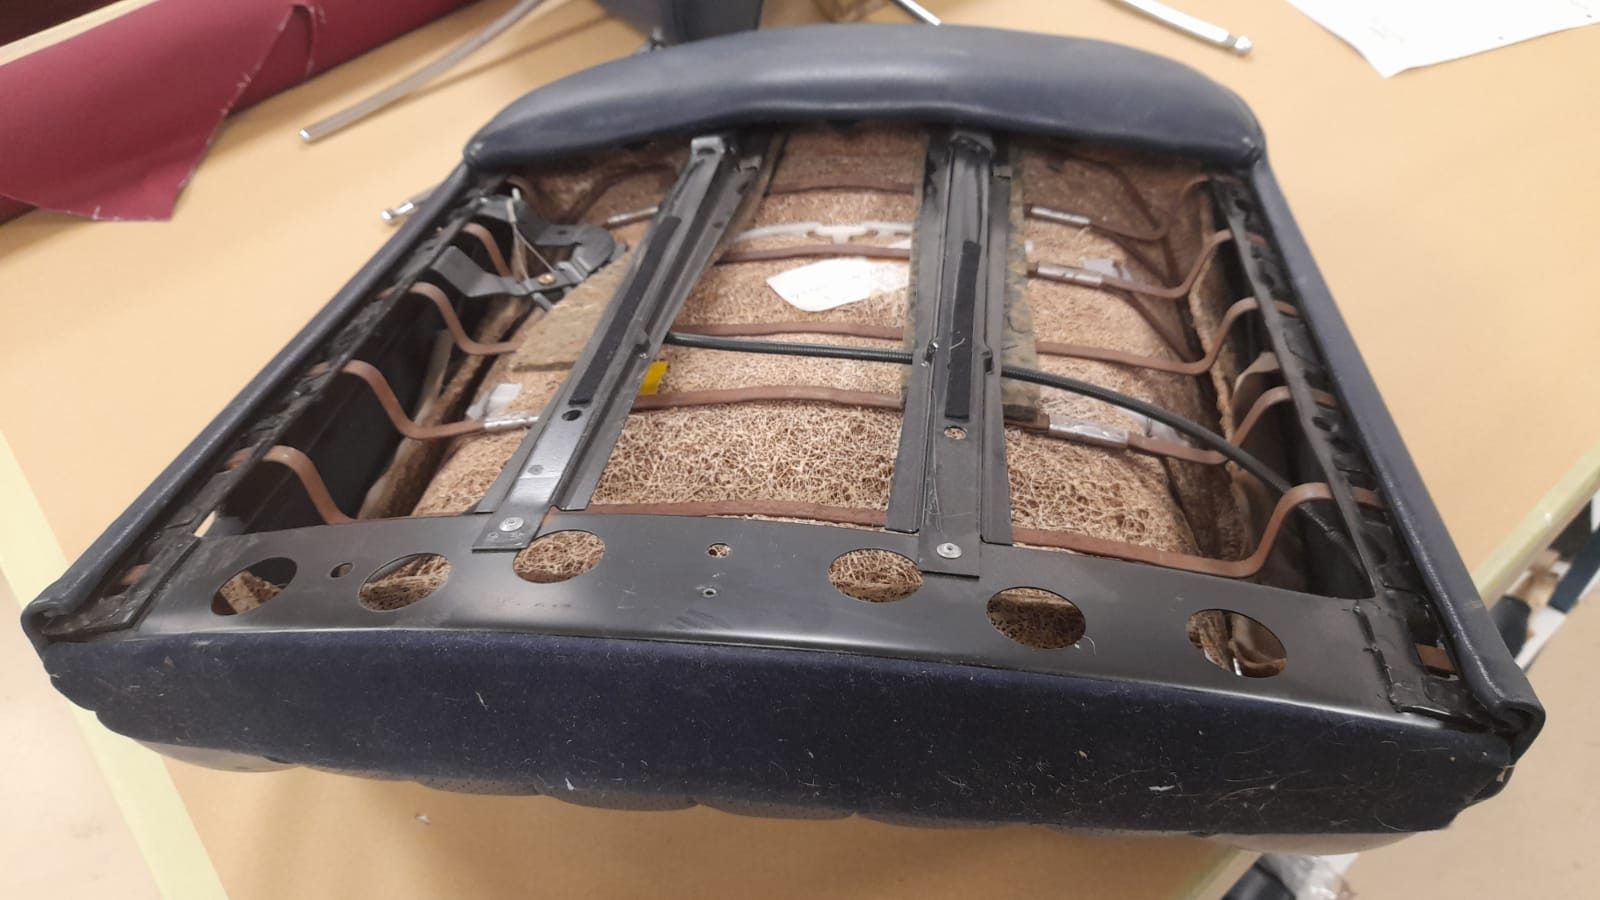
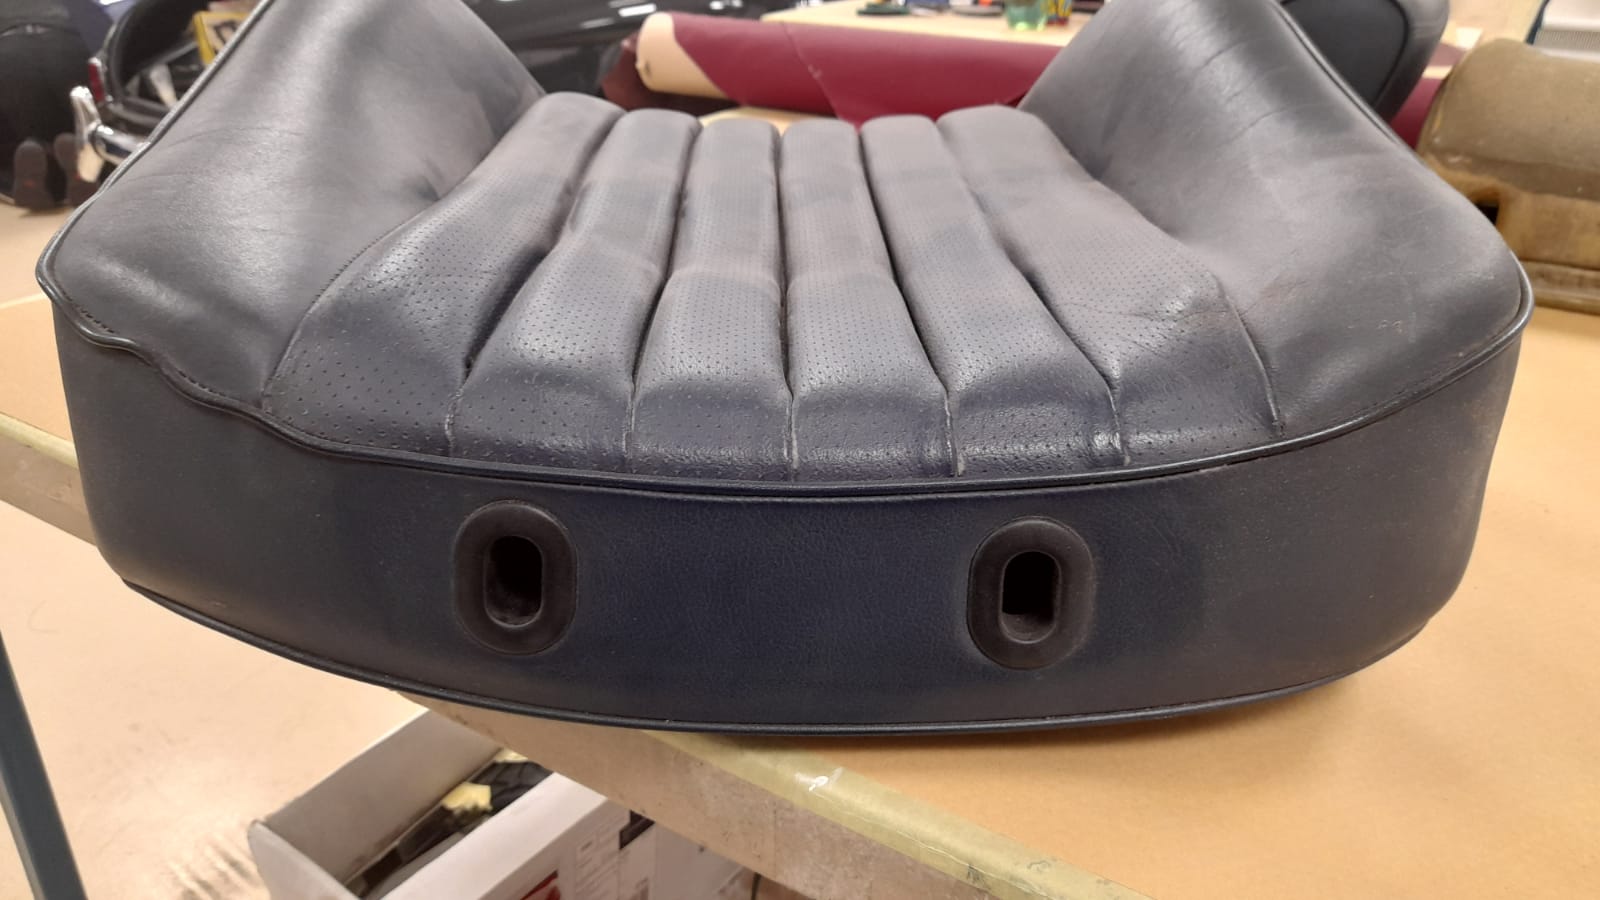
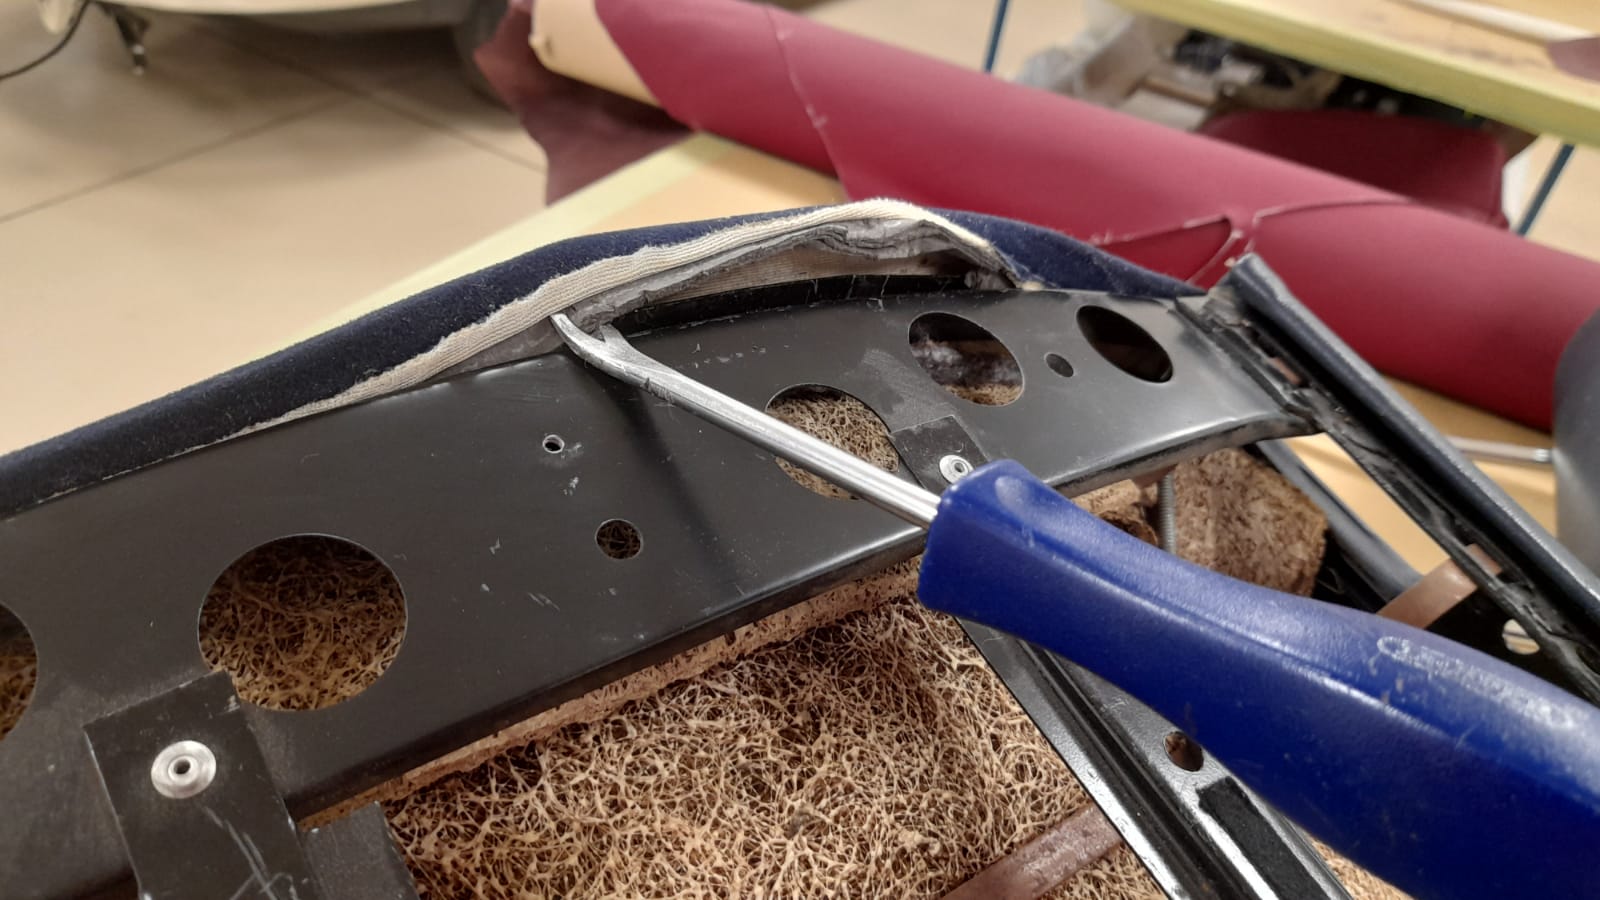

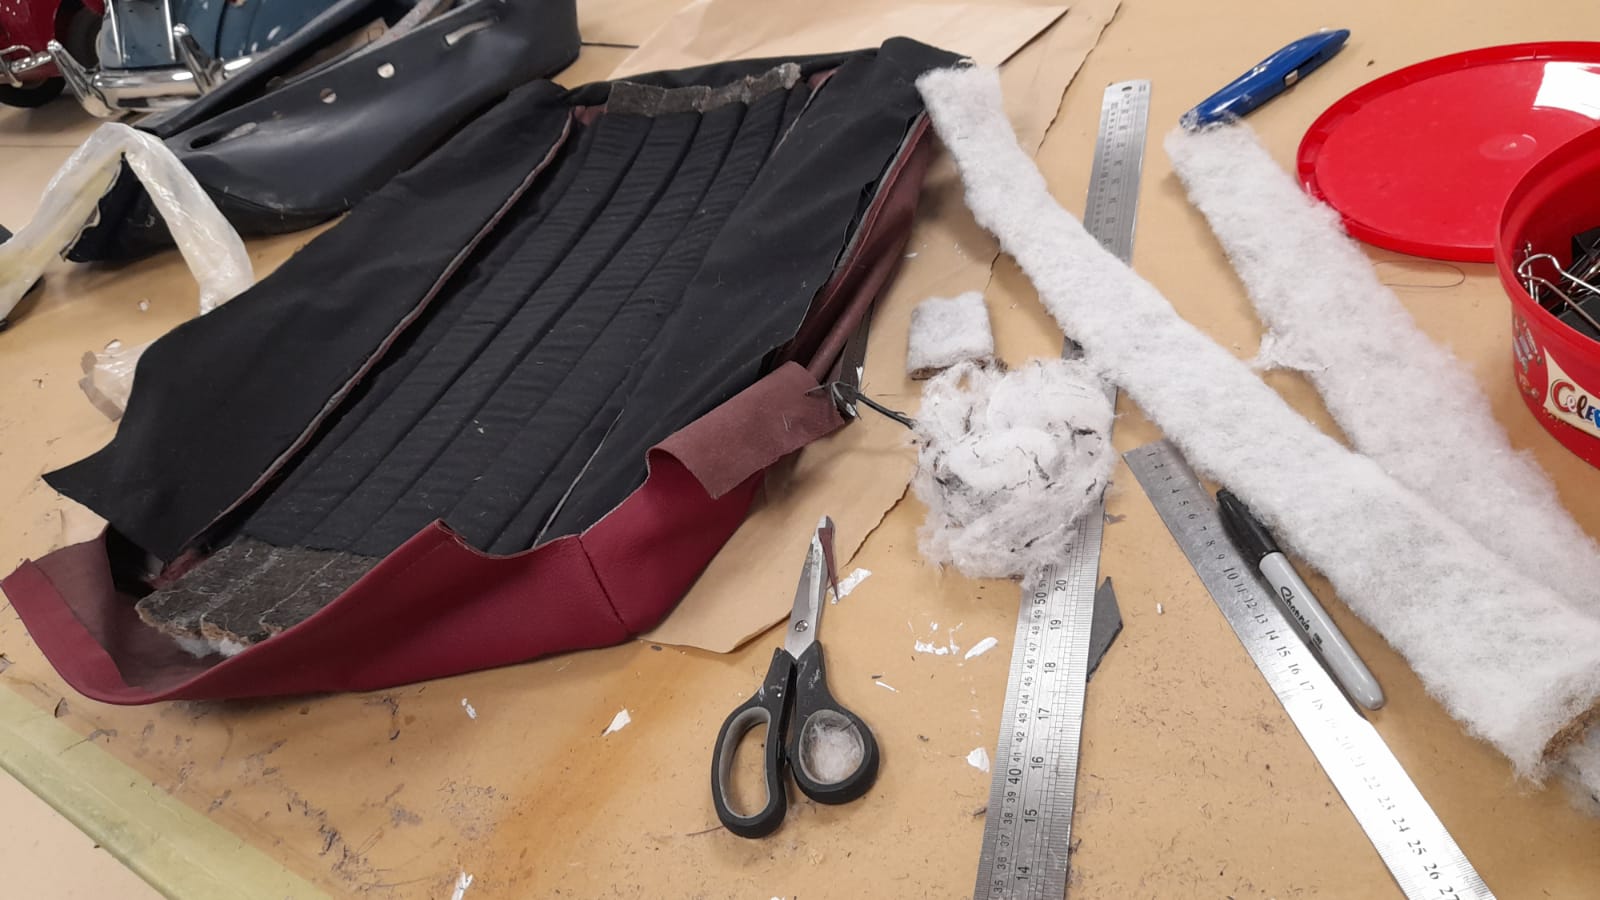
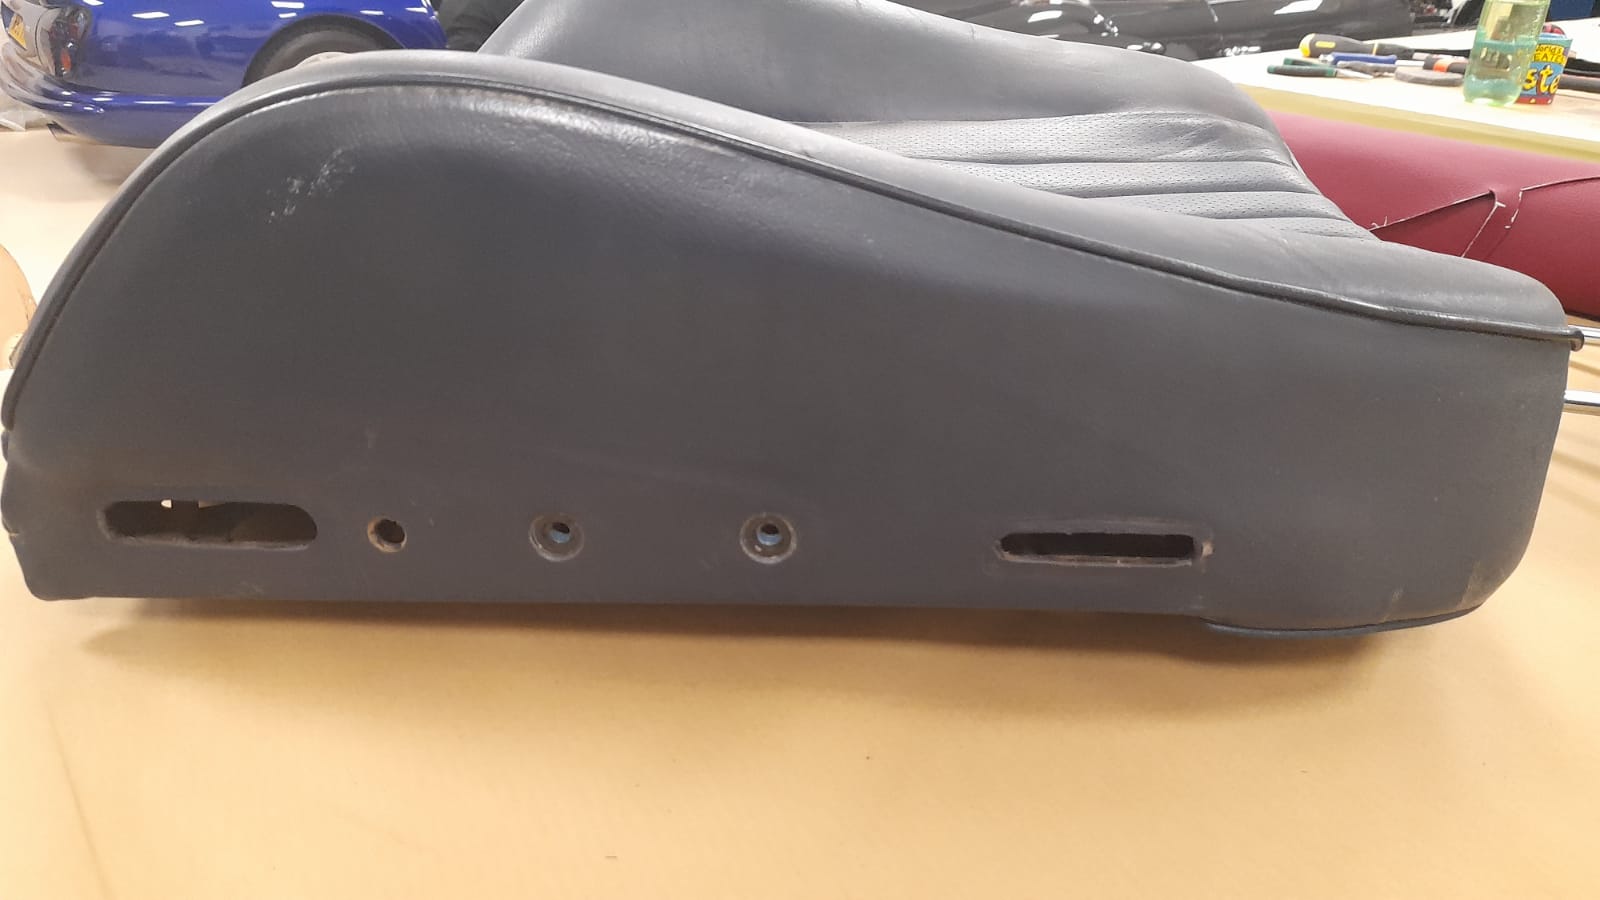
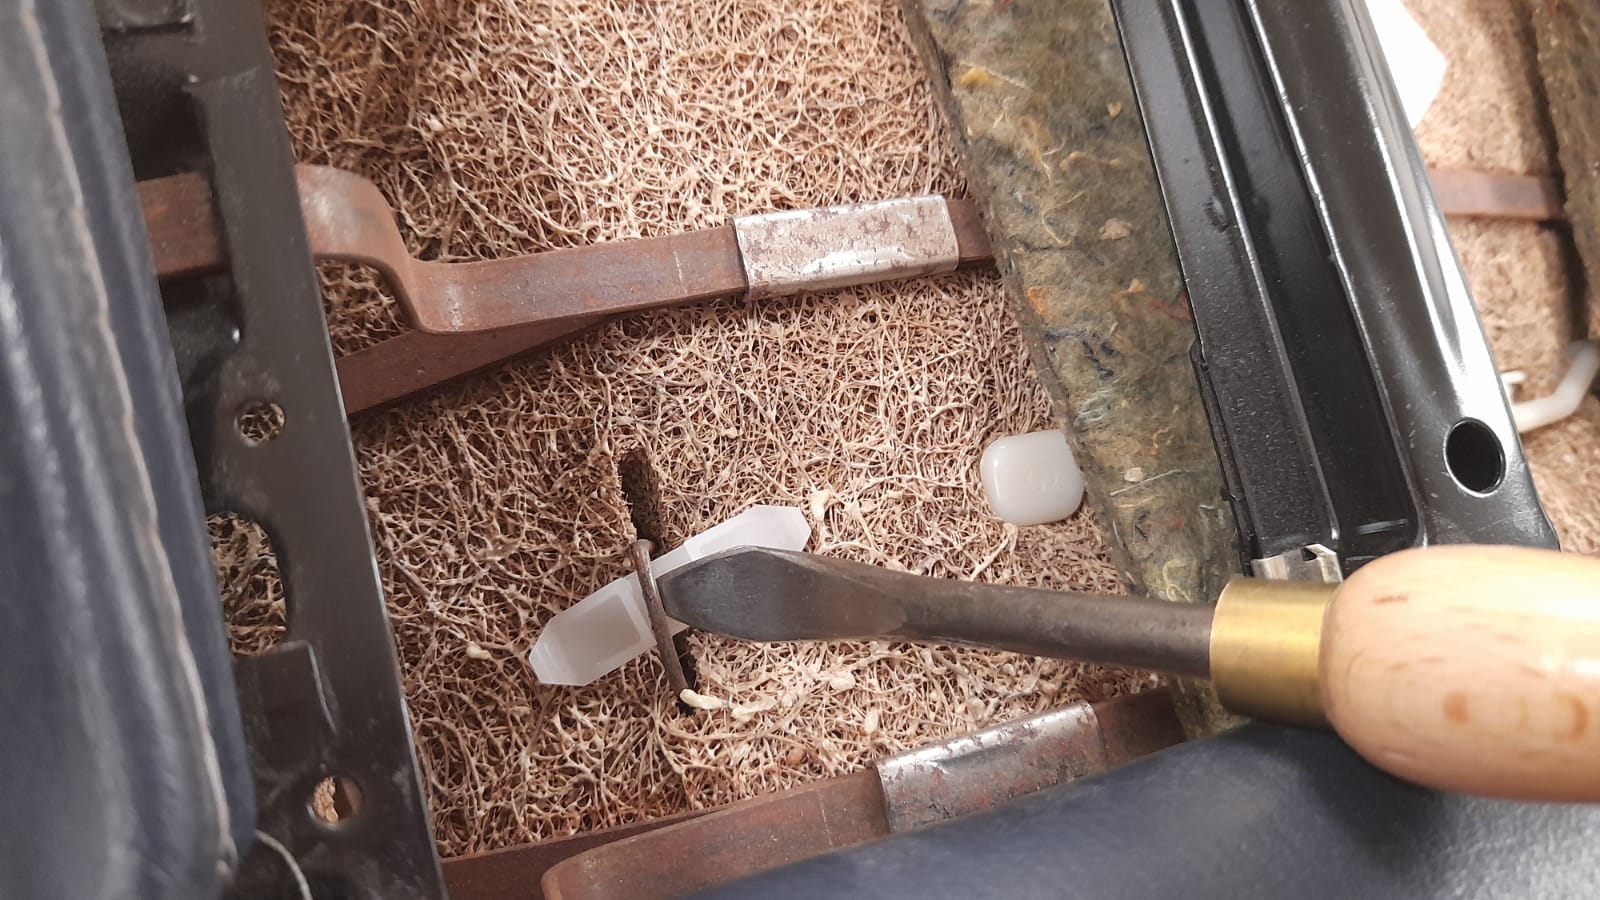
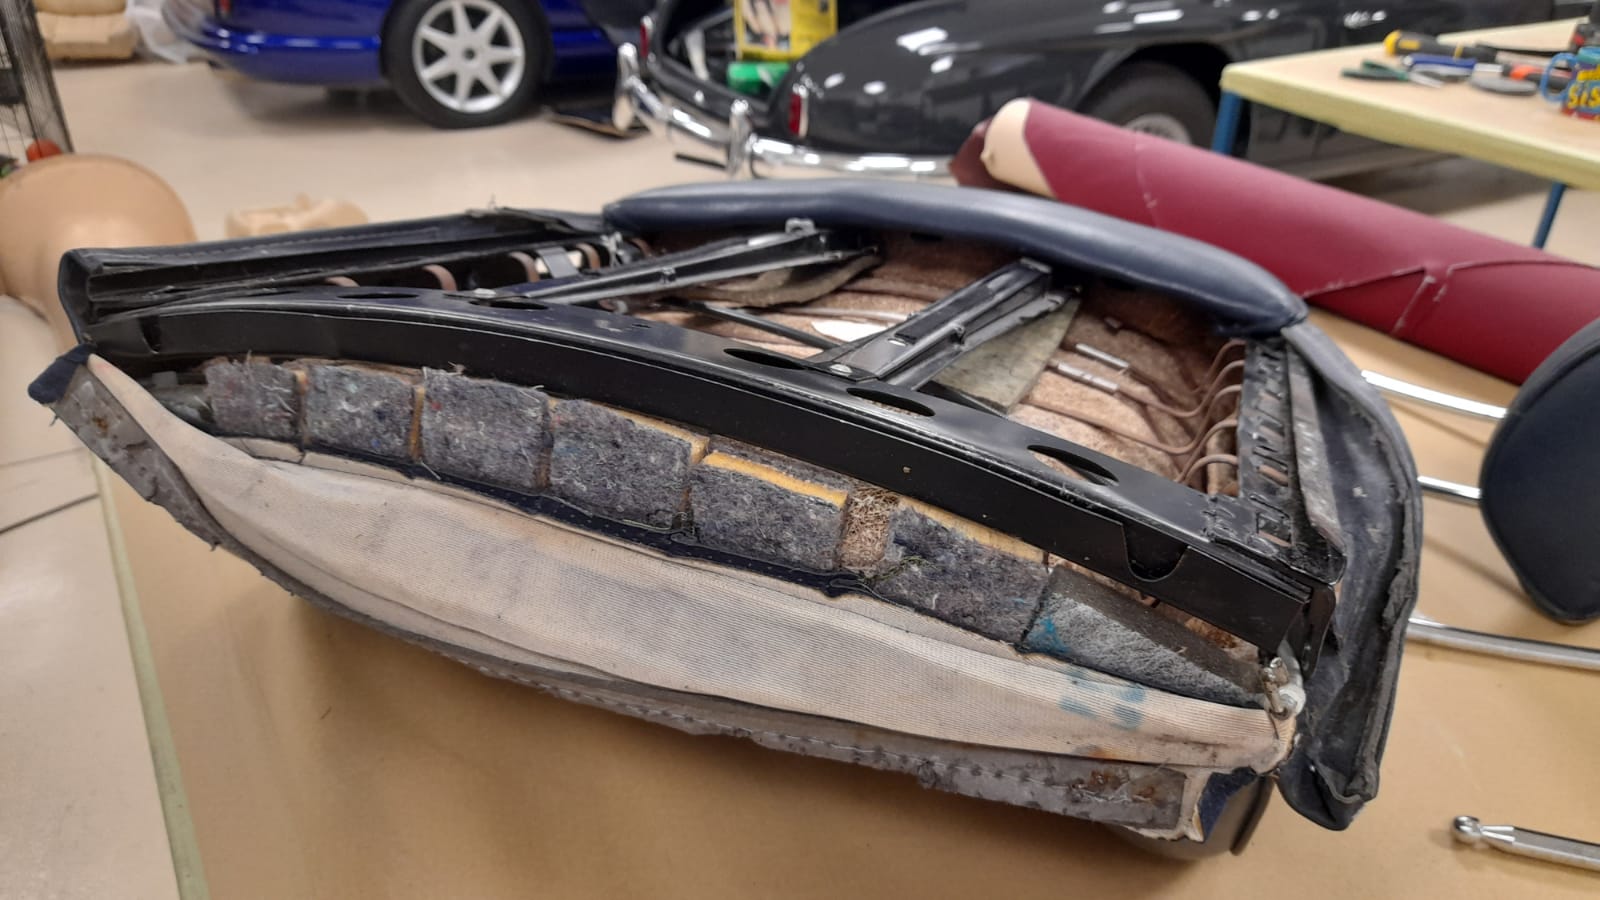
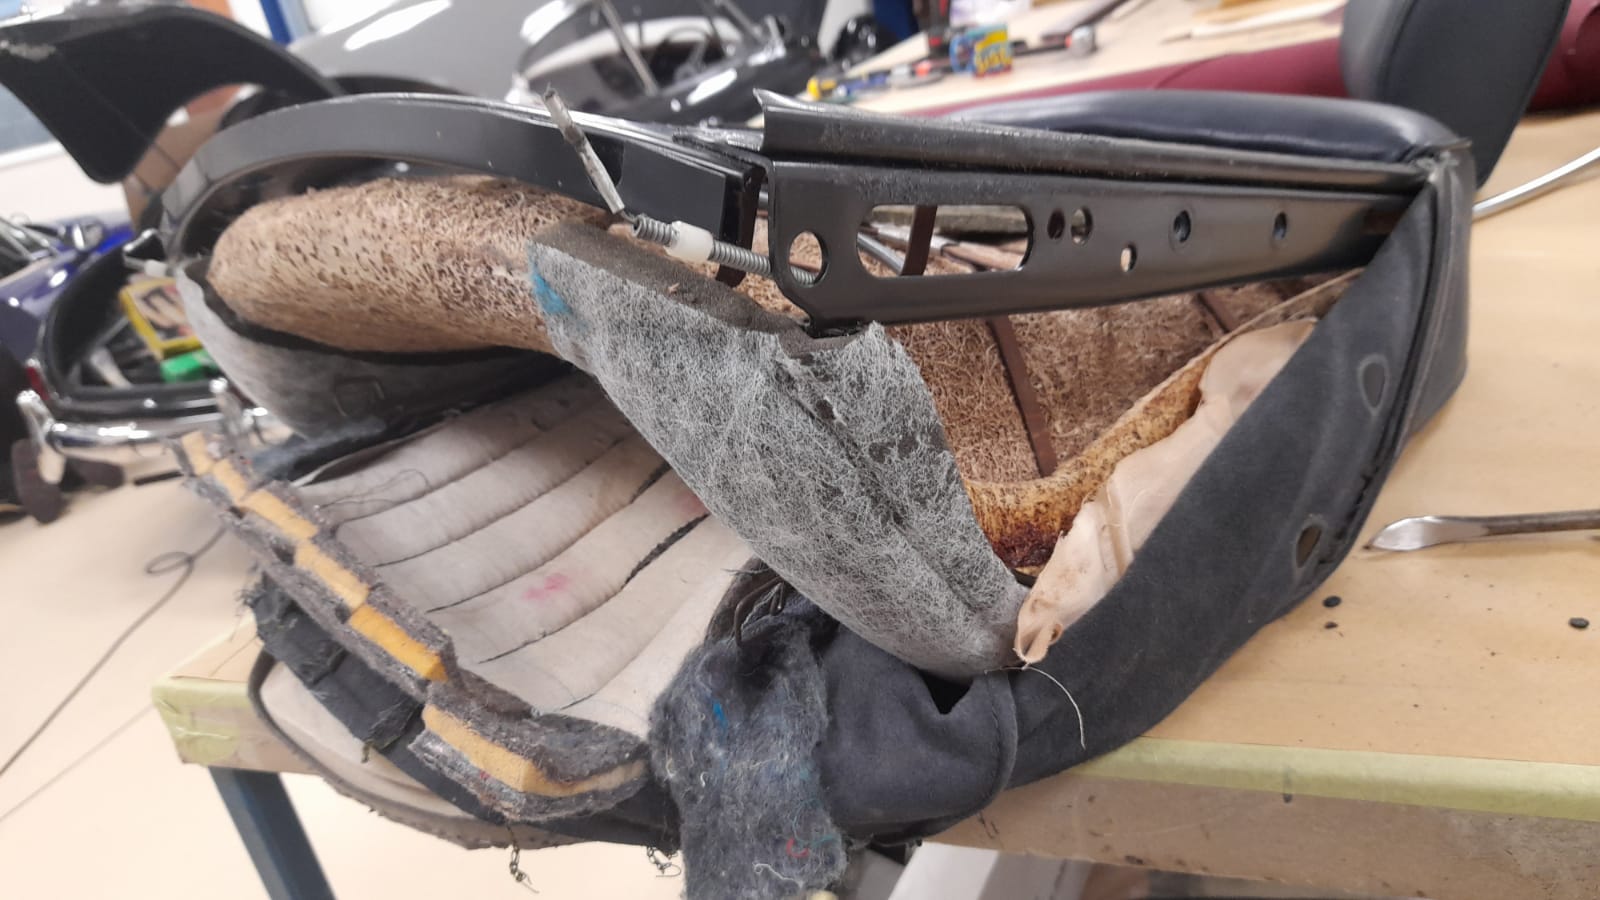
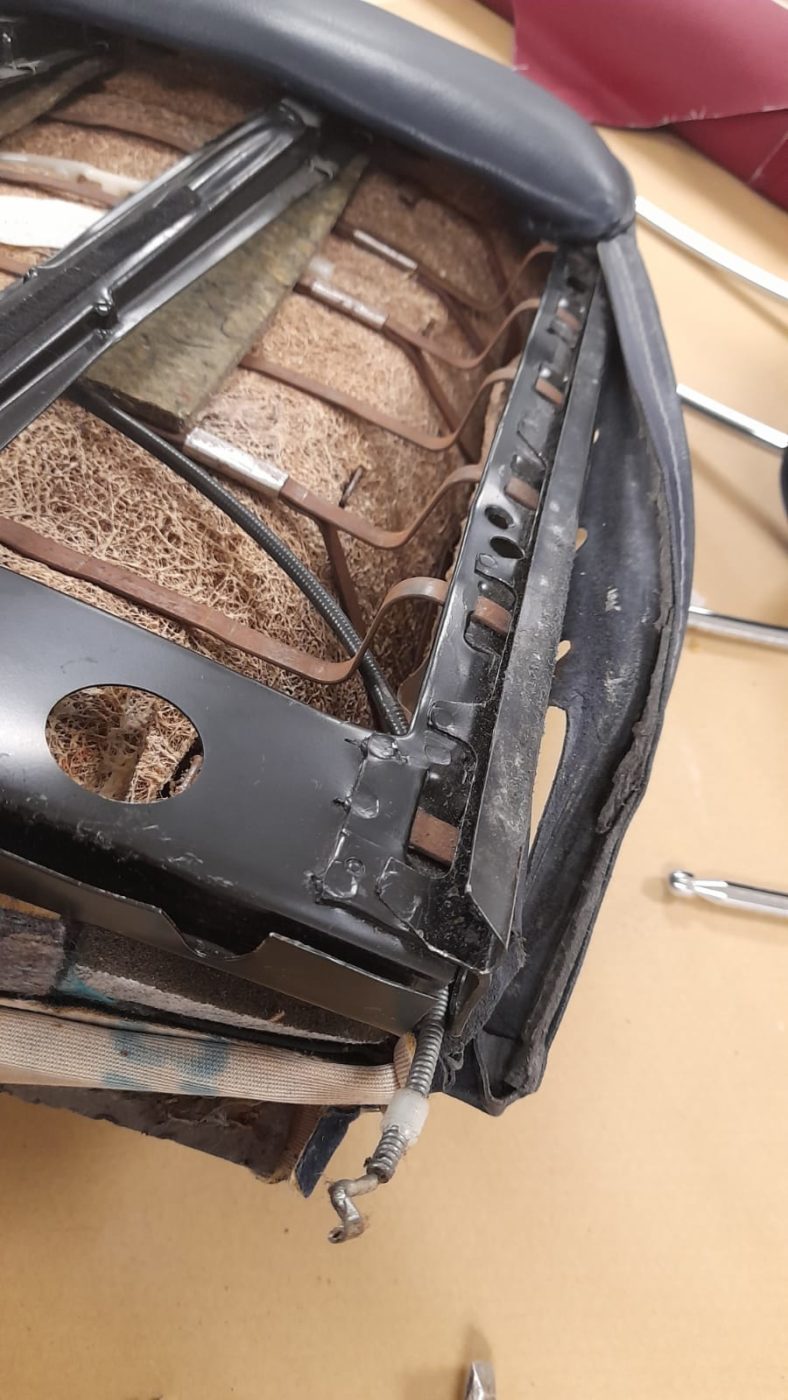
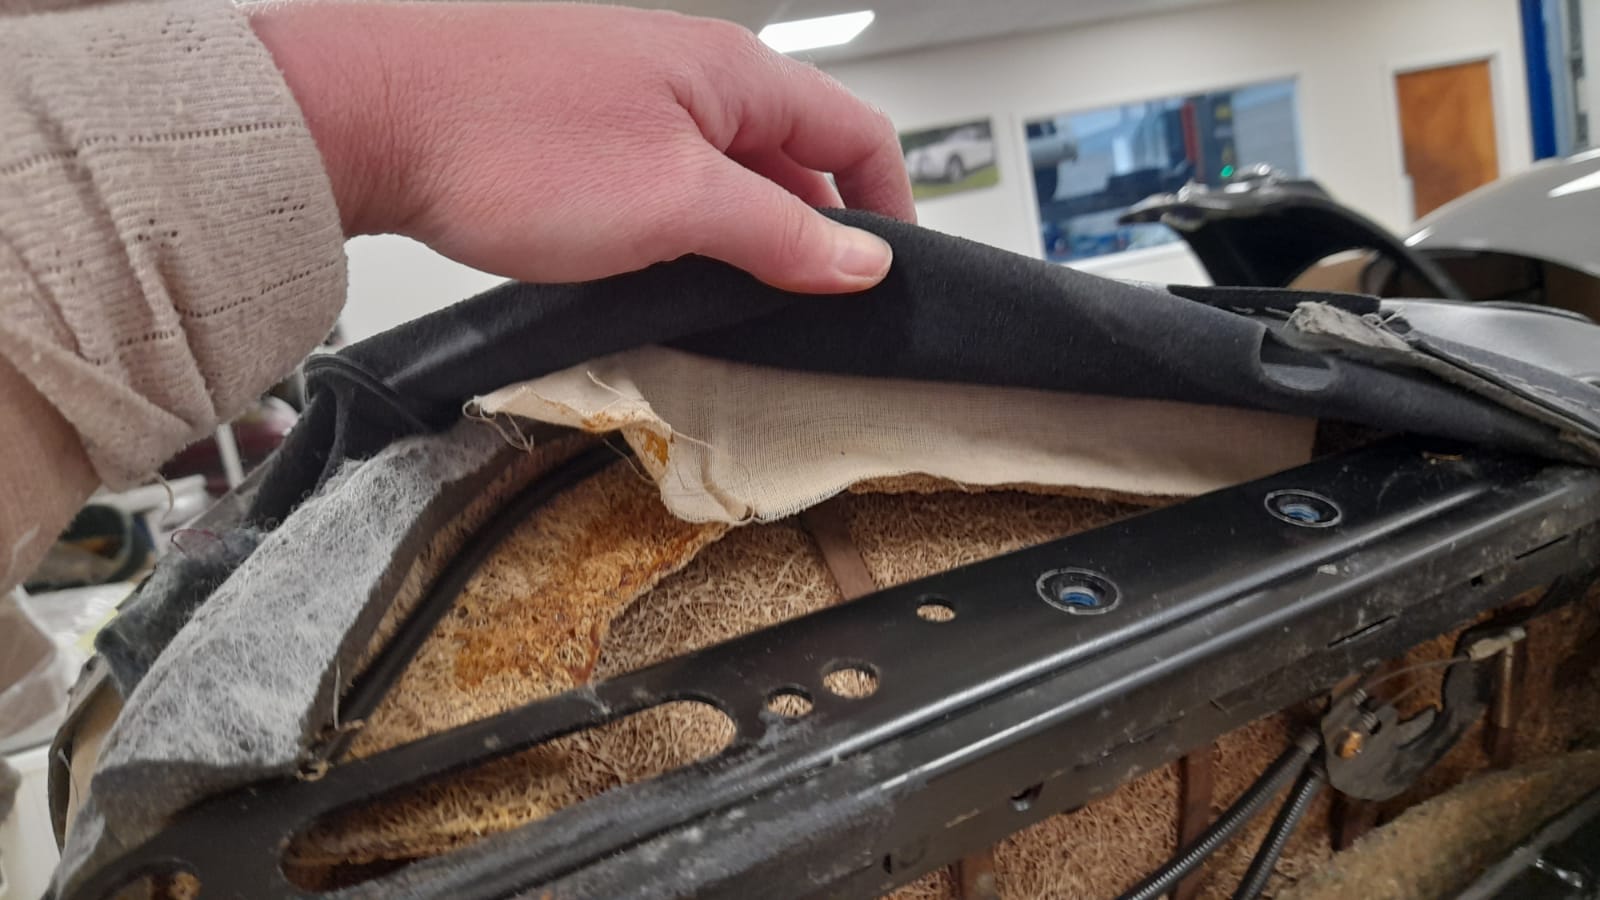
Lydia has been making the second front squab seat cover for our 1987 Mercedes 500SL. This included taking the cover off the frame which is something.
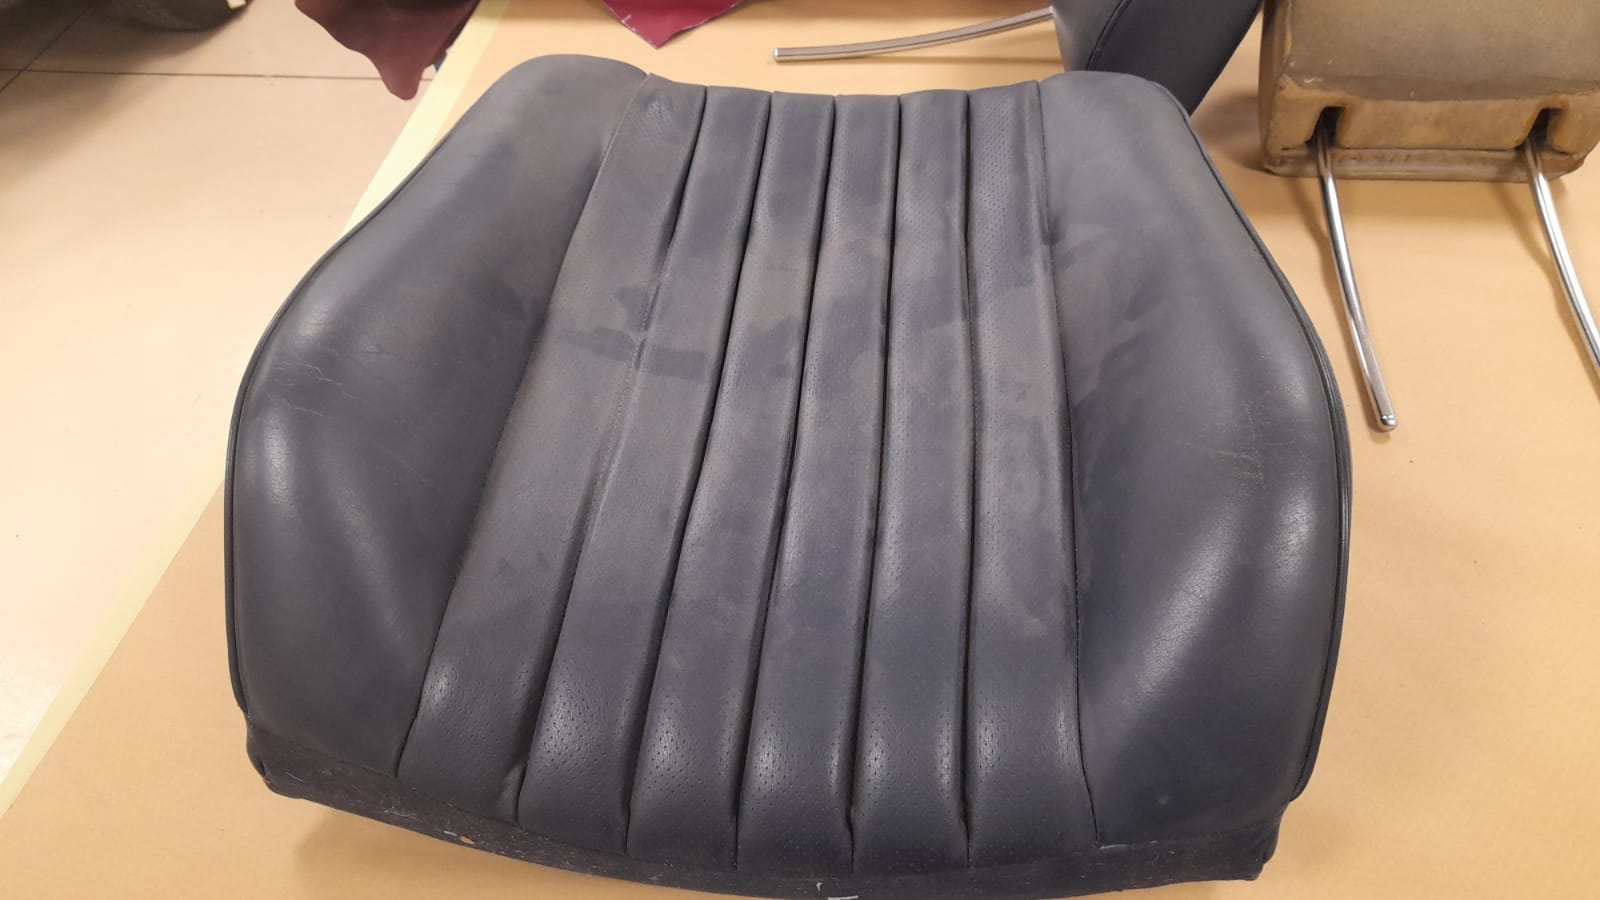
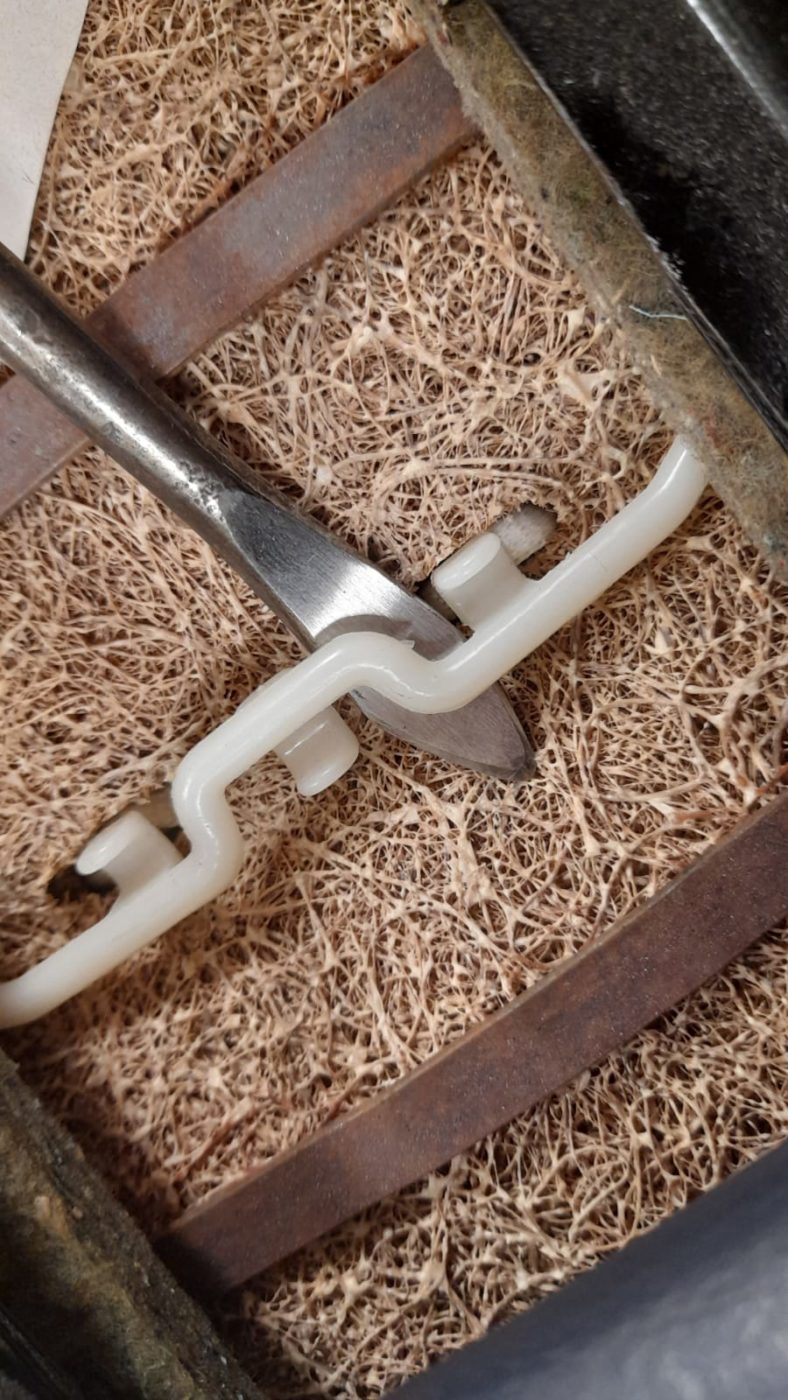
Lydia had to start with loosening the sides from the frame by levering the cover off. The next step was to remove the plastic parts by holding the cover down in the centre and shimming the components out. Lydia could then start peeling the cover off the frame completely and take off the plastic rings for the headrest at the top of the squab. The next step is to remove the leather cover and rework that.


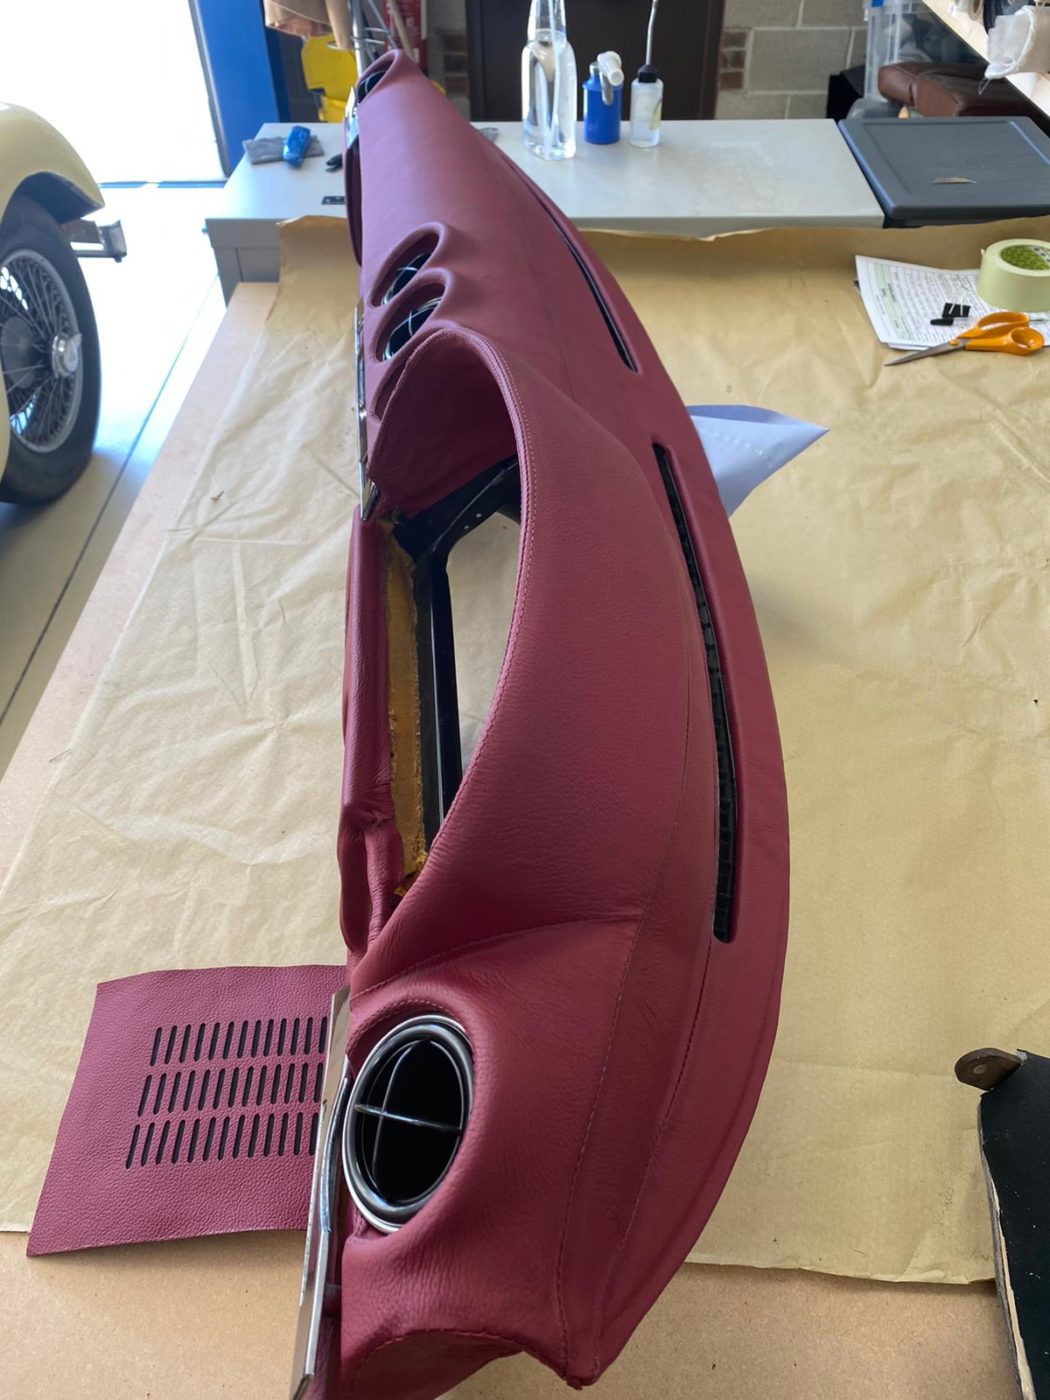
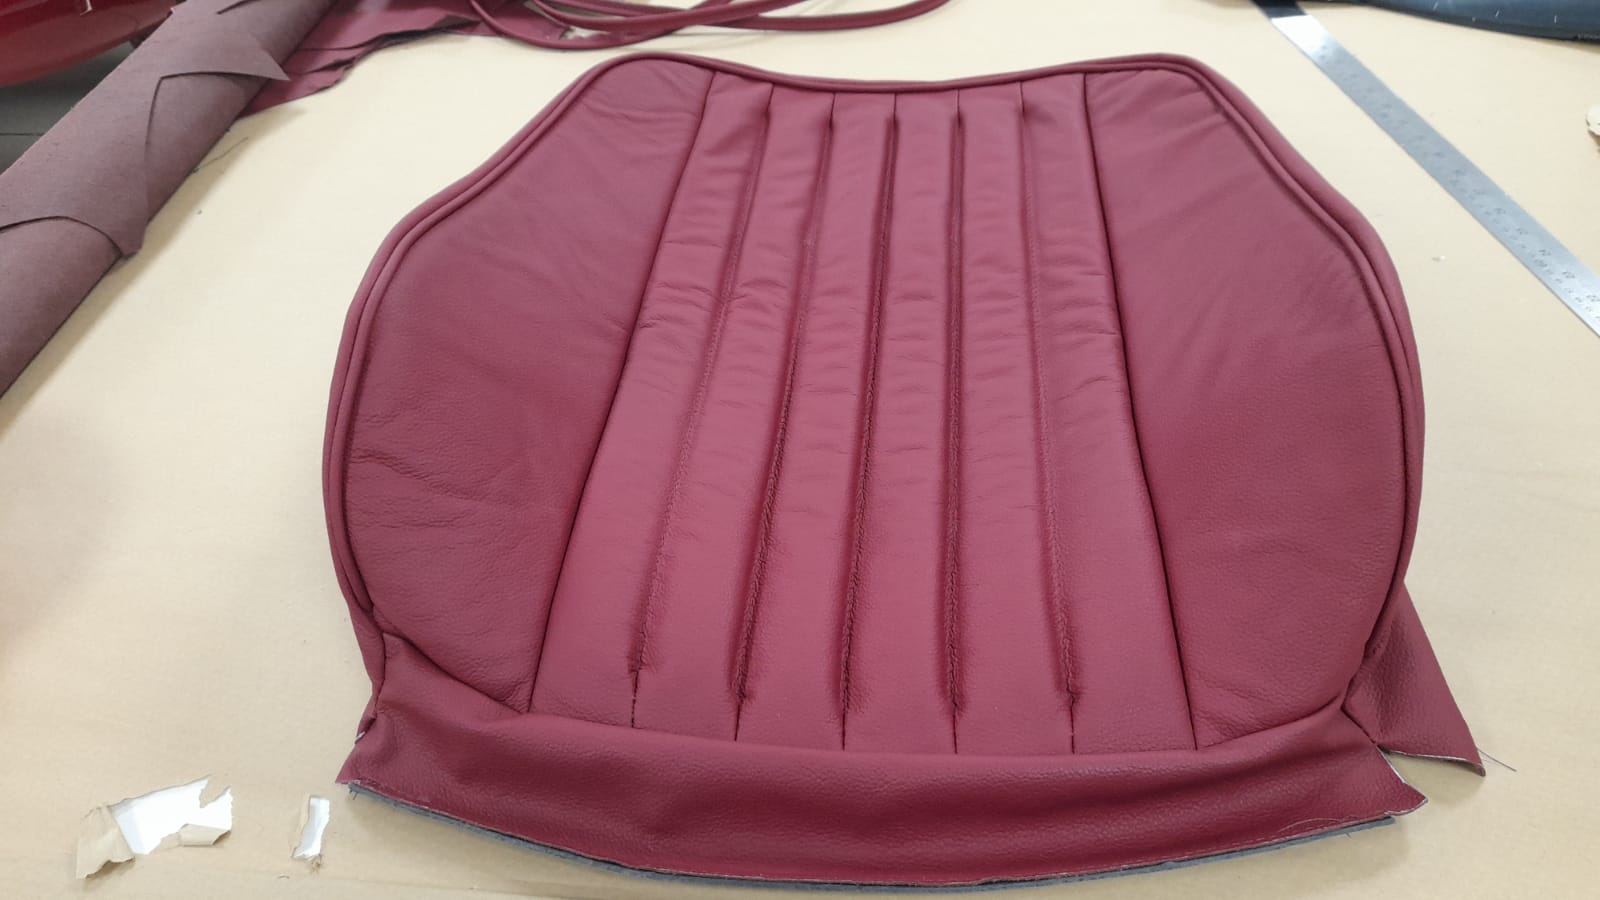
Lydia has completed another seat cover using the same process as before. Brian and Kath have also been working at creating a cover for the dashboard.
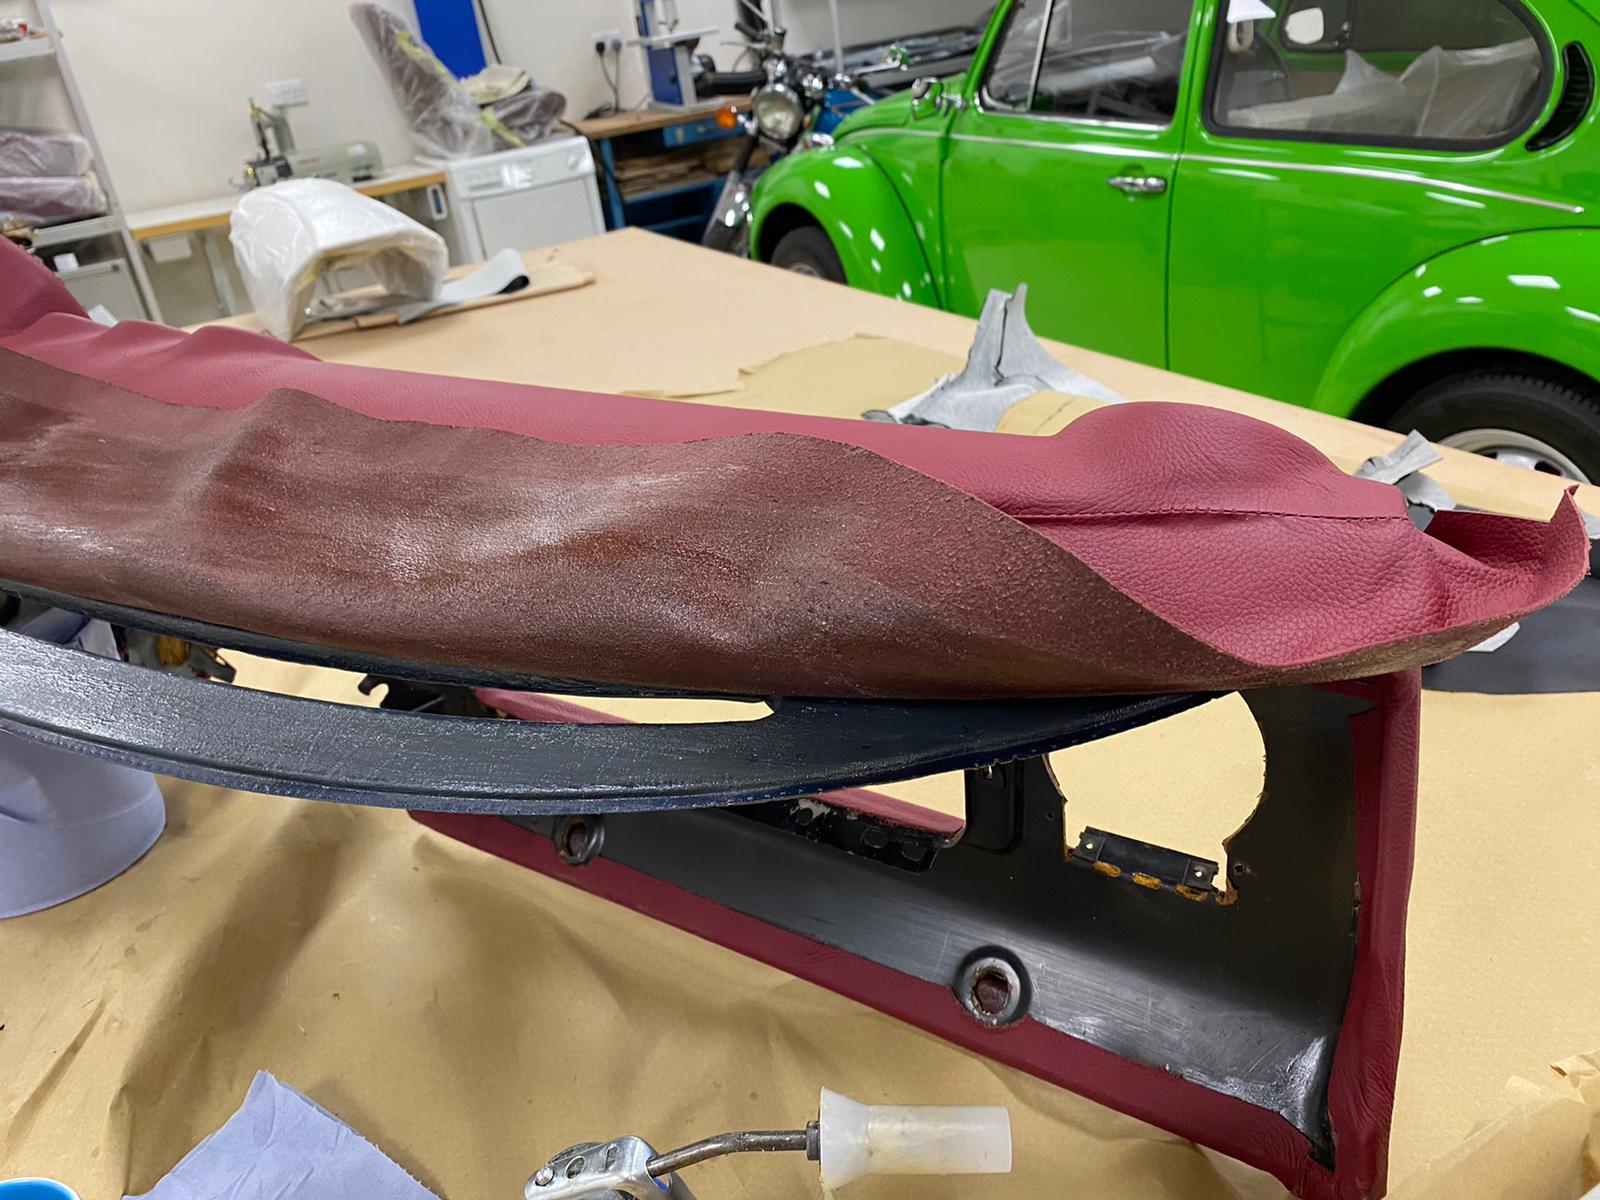
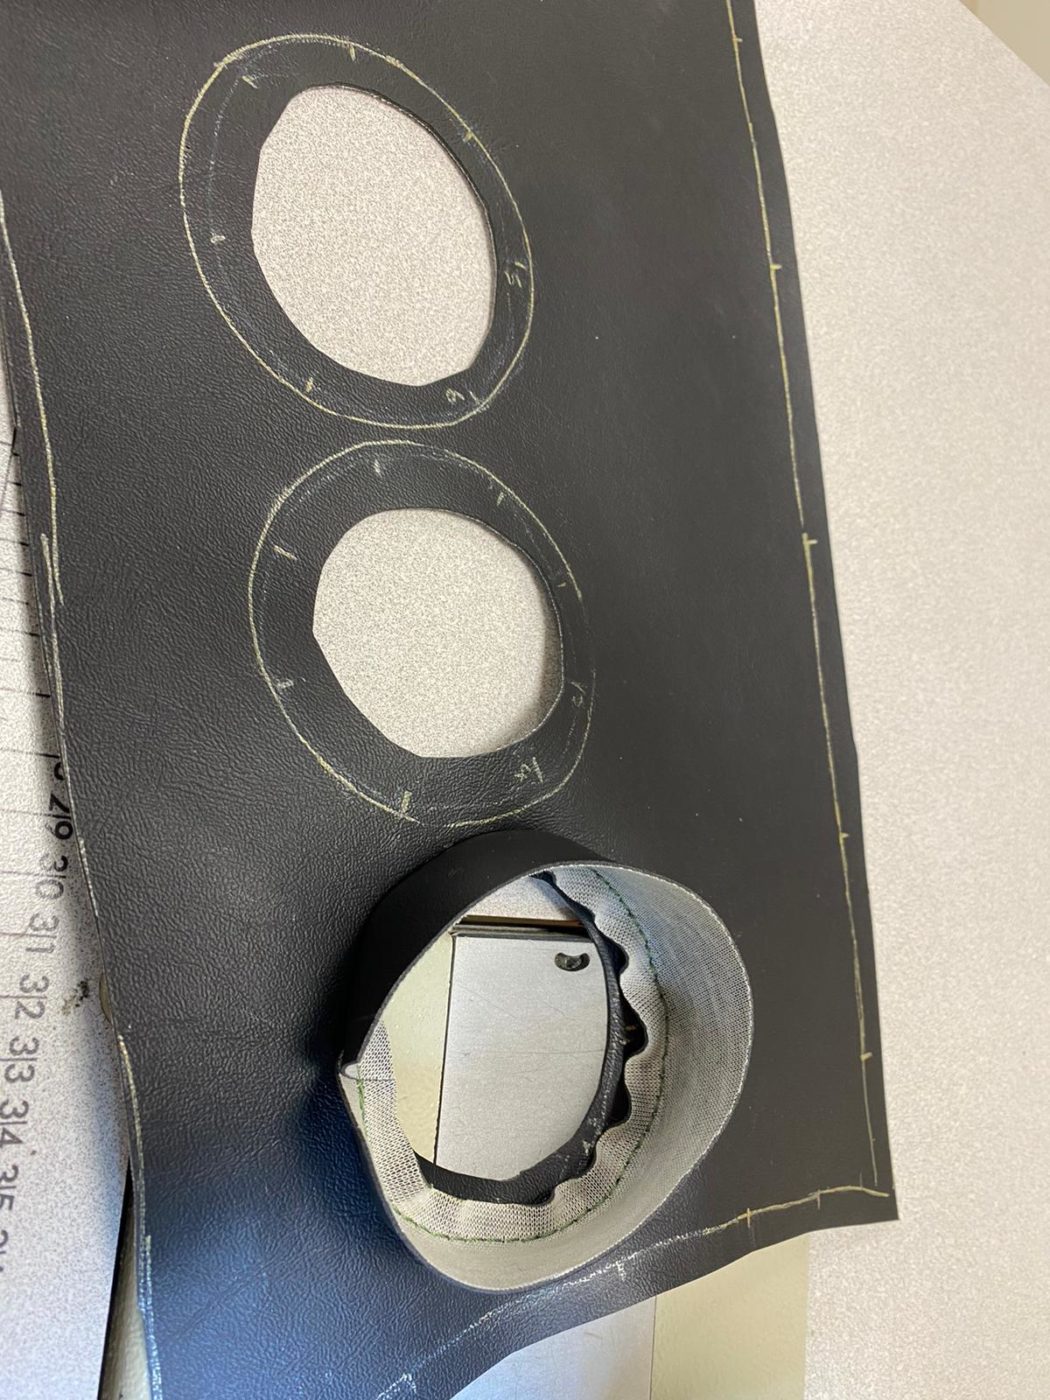
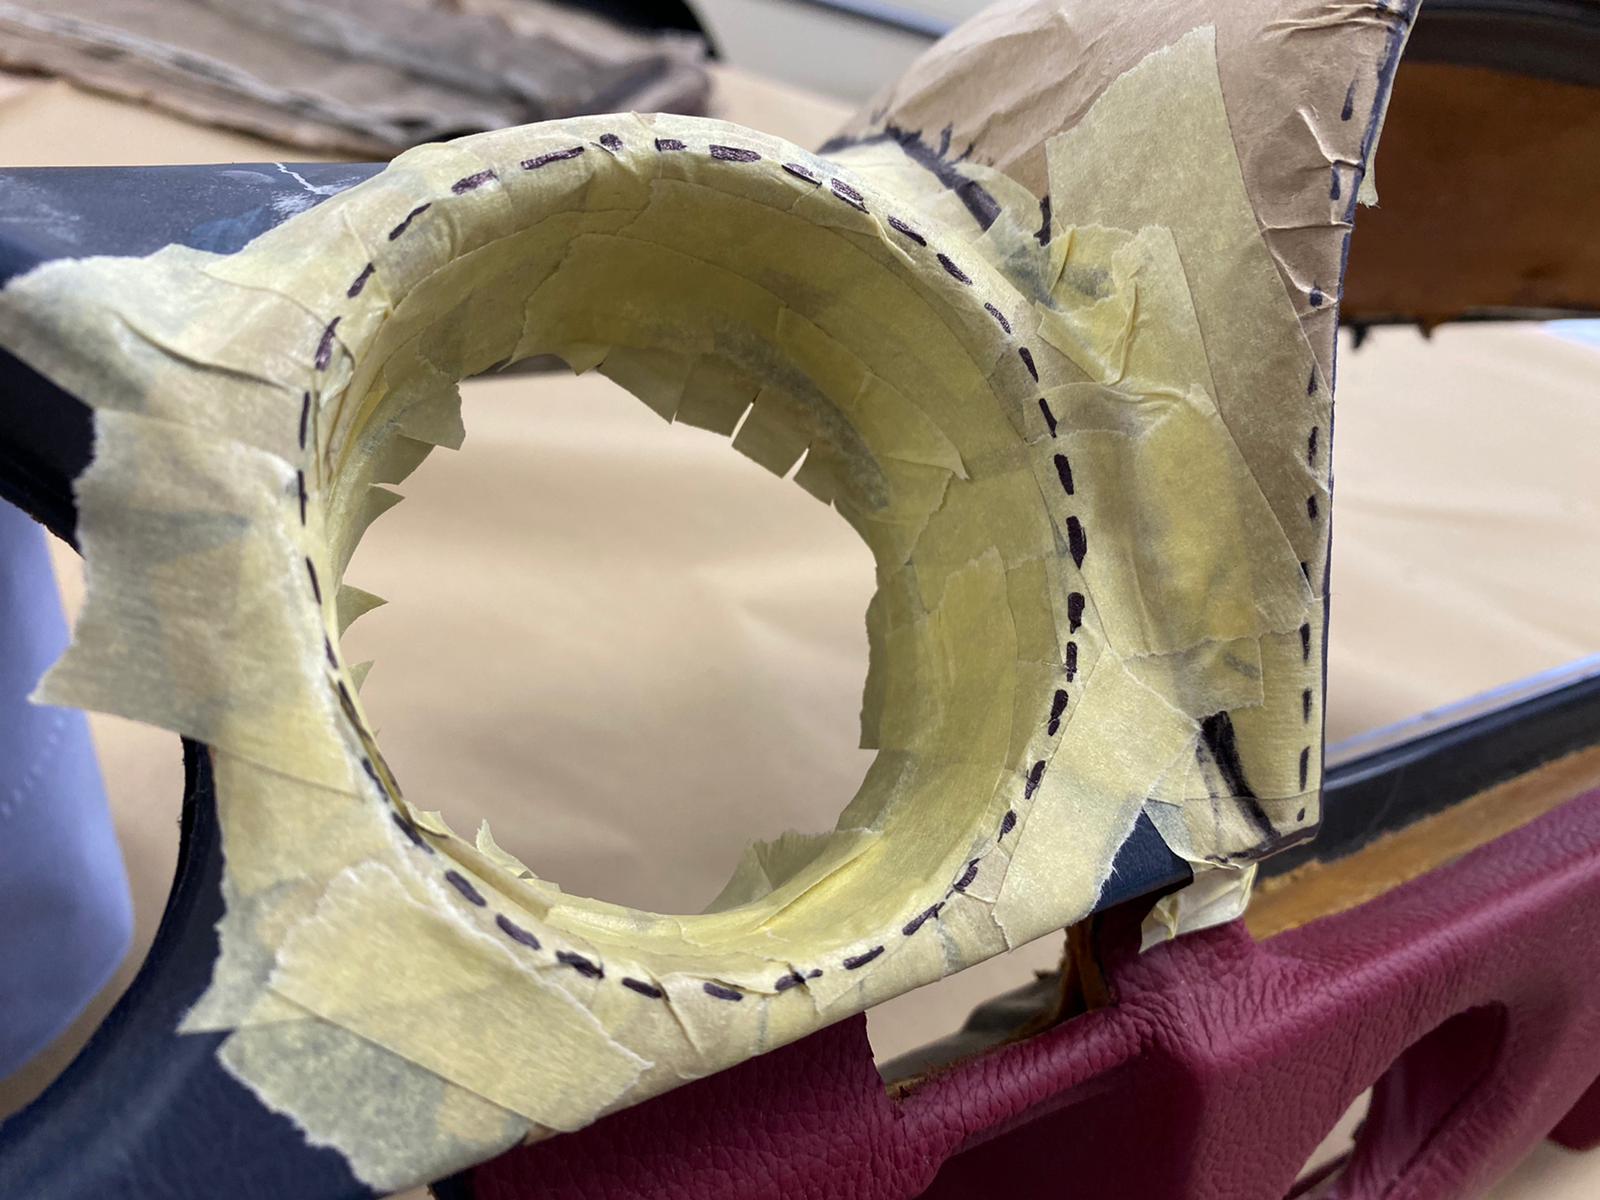
The dashboard process included measuring out and cutting the leather and cutting out holes for the dials, sewing around the edges to make for a neat fold and fit, and then sticking it all to the dash and then turning over the fabric, pulling it tight to create a neat fit.