By Rob Harvey
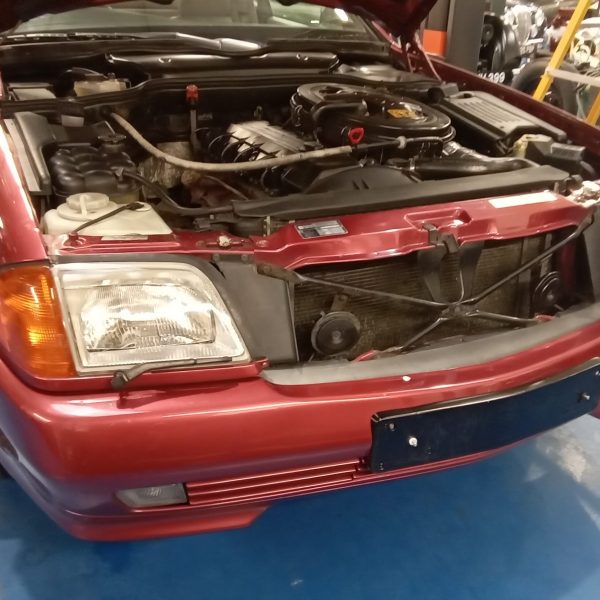
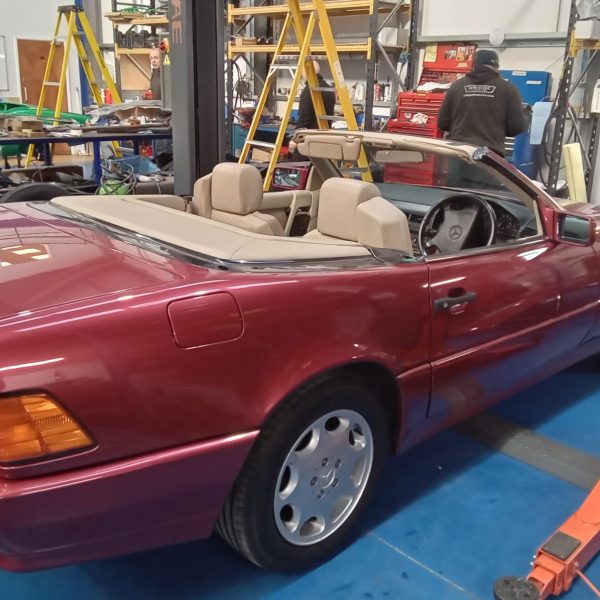
Jonn has been inspecting our 1992 Mercedes SL300 in preparation for it to be won next week through Bridge Classic Cars Competitions.
His notes were:
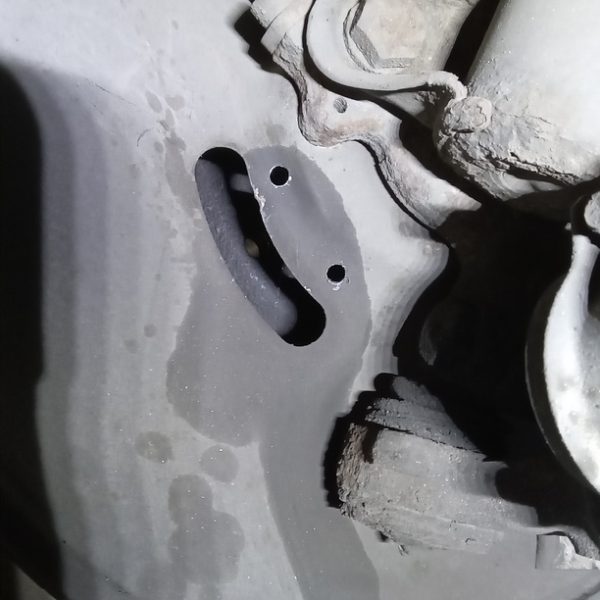
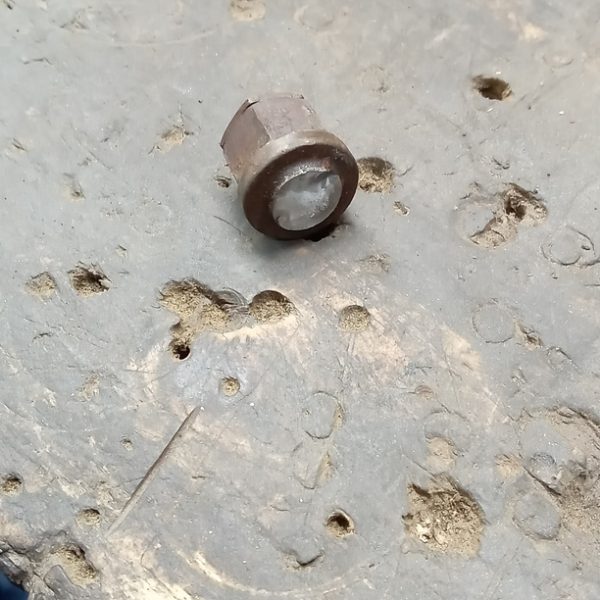
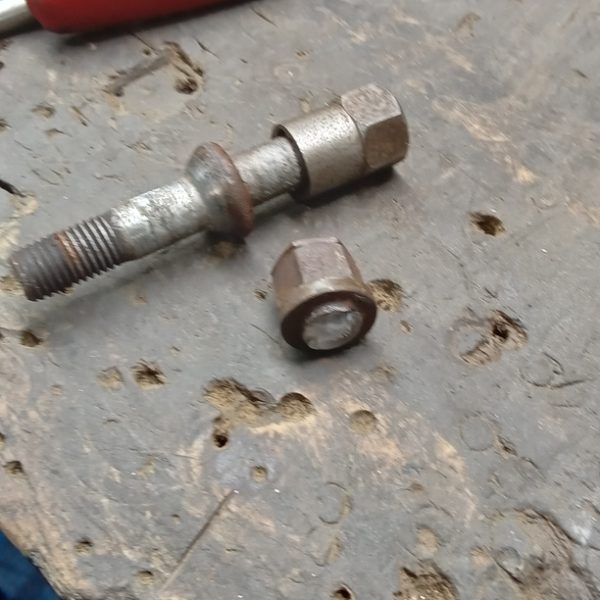
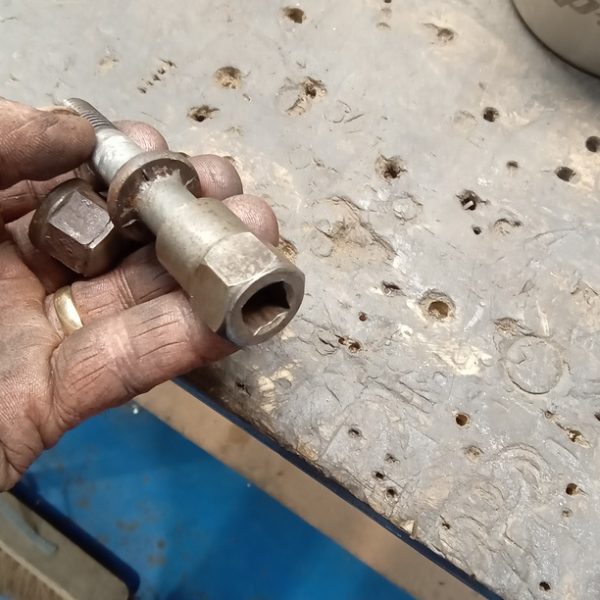
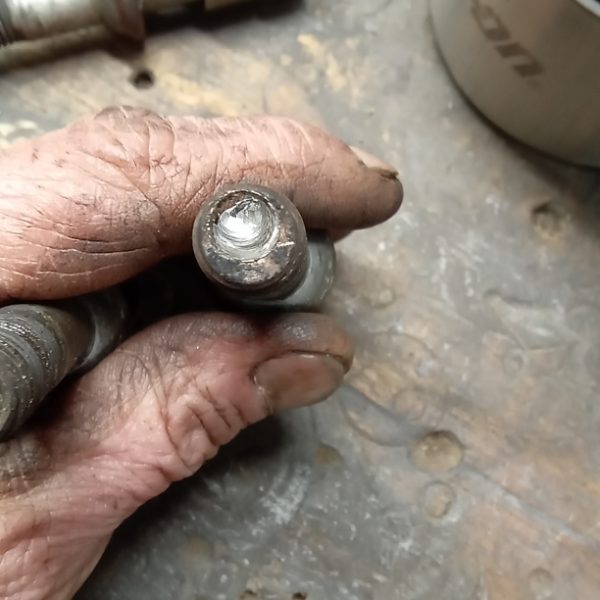
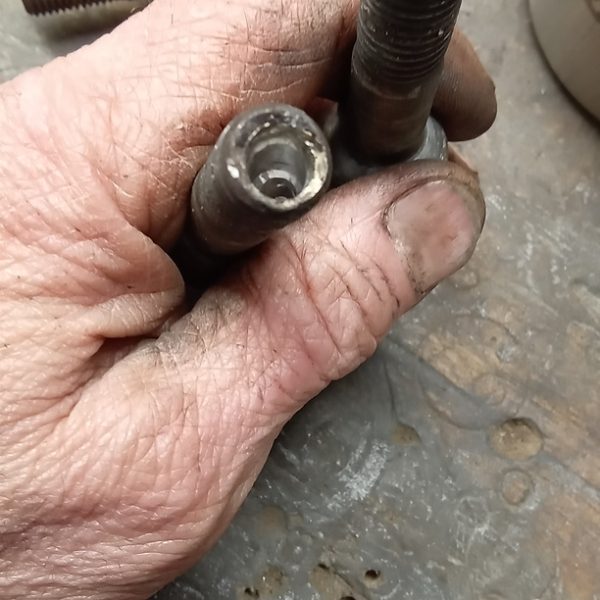
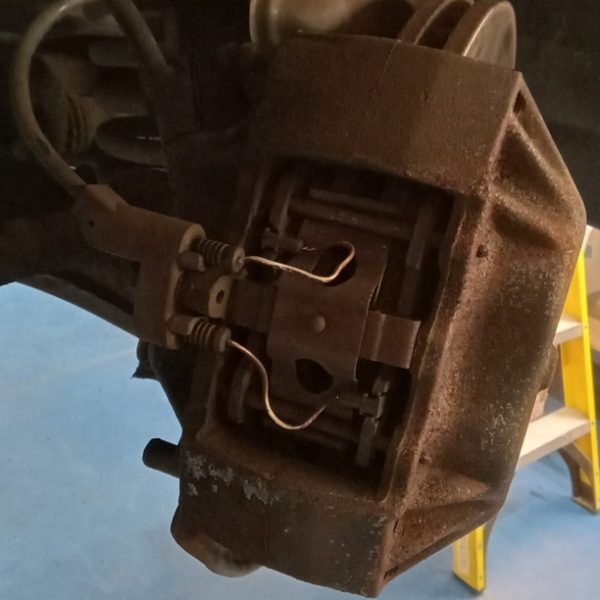
- Complete inspection. Remove rear wheels (wheel nuts extremely tight and hard to remove)and check, clean brakes and adjust handbrake shoes. Unable to remove front wheel studs at this stage. Knock each stud with hammer and lubricate and leave to penetrate. Attempt to remove but feel like they are going to break. Raise in air. Extend hole in brake backplate to access studs with drill. Drill the rear of each stud. Heat each stud and then lower to ground to hopefully remove.
- Repeat process for each stud. Managed to get all wheel studs out eventually without drilling into all. 1 broke upon removal. Replace 3 studs in the end that were damaged. Check and inspect front brakes and clean. Clean all,wheel studs and lubricate threads. Refit all wheels. Inflate tyres to correct pressure. Lower to ground and torque all wheel studs to 110nm. Drain radiator. Remove coolant header tank and clean out.
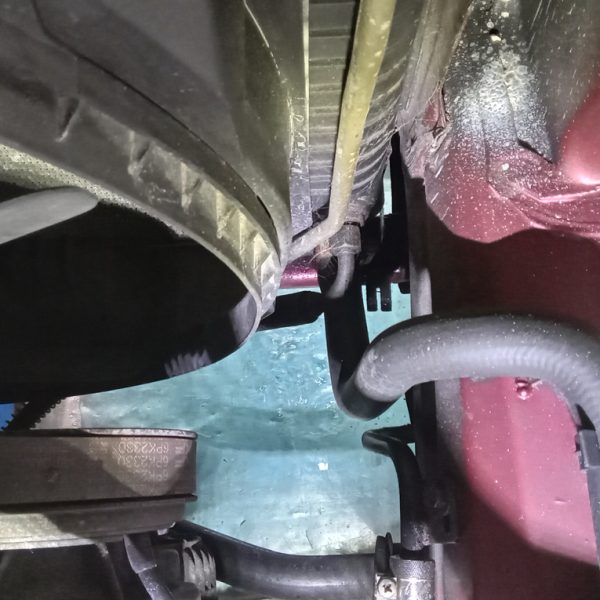
- Refit header tank. Change top hose, radiator overflow return to header tank. Use vacuum tool to refill cooling system with new antifreeze. Investigate offside front fog light not working. Check bulb and power supply. Bulb ok, but no power. Trace wiring up behind headlight. Remove headlight to gain access to loom. Found multiplug corroded. Clean and check light works. Ok. Reassemble headlight etc and test operation. Fit new bolts to undershield to secure. Top up automatic transmission and check, ok.
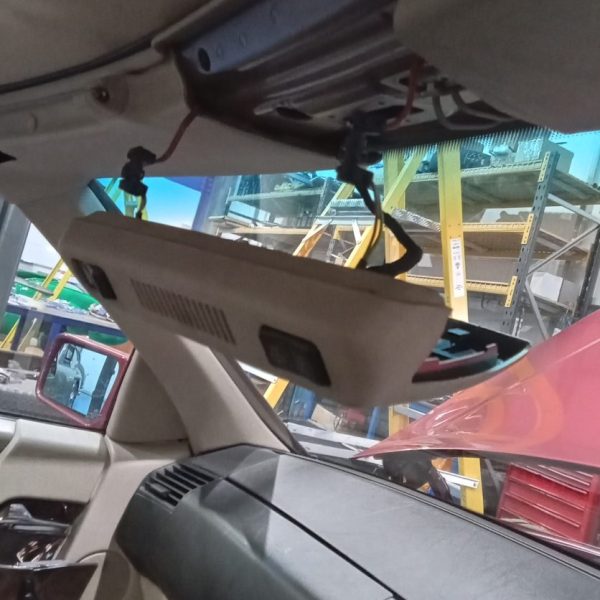
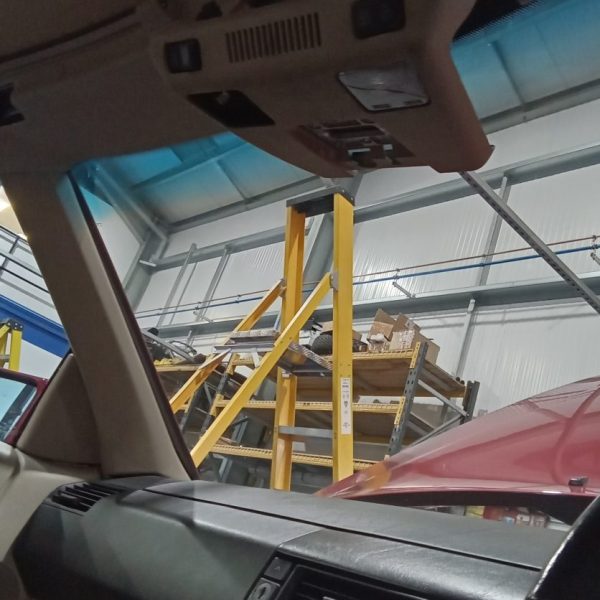
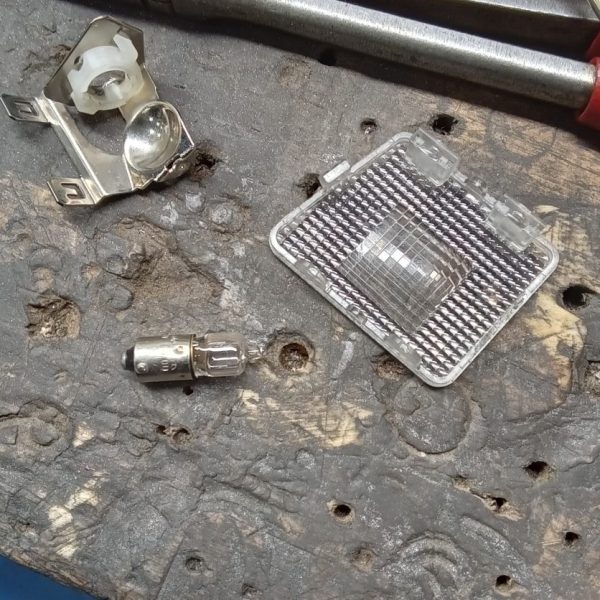
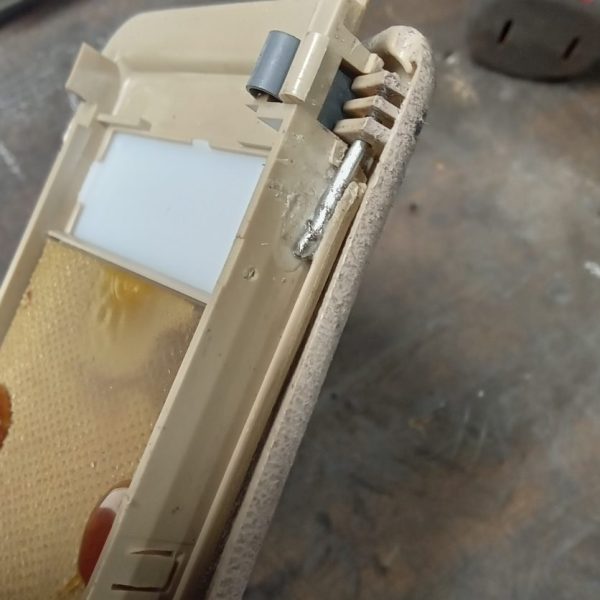
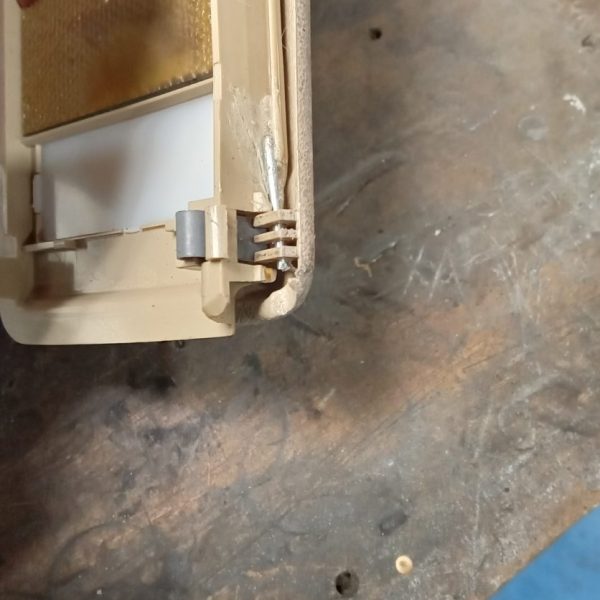
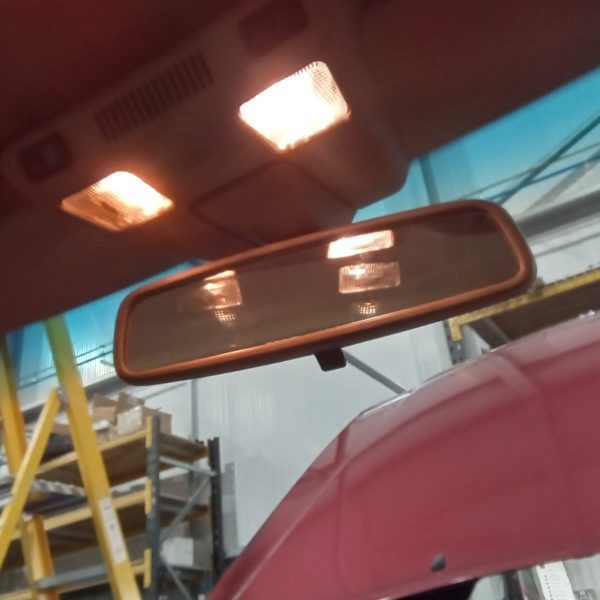
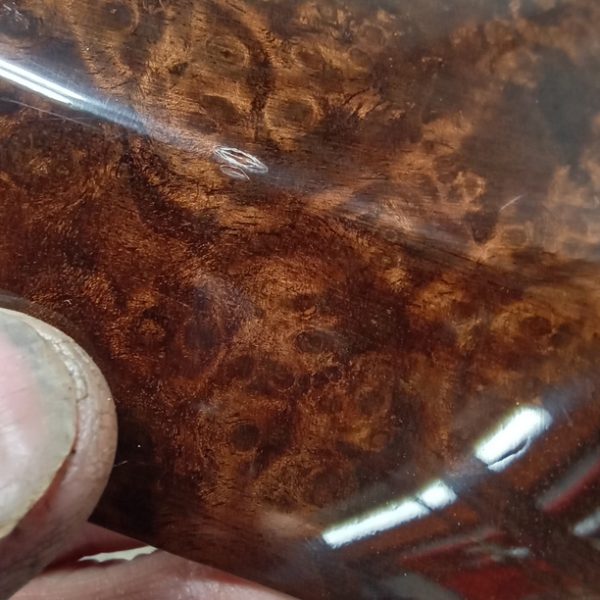
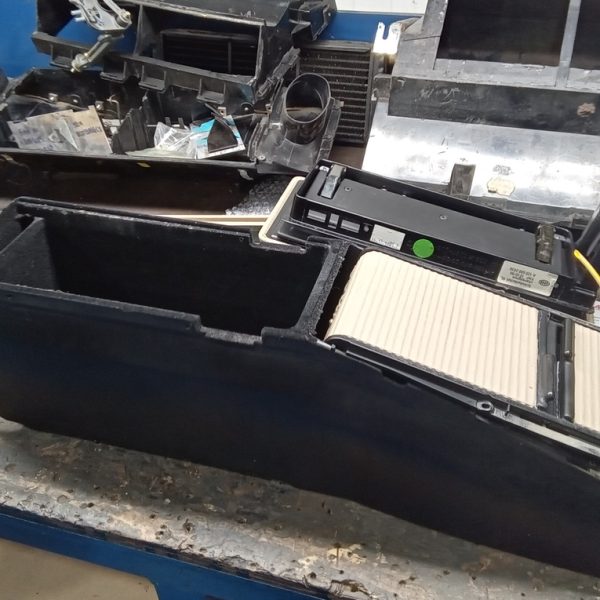
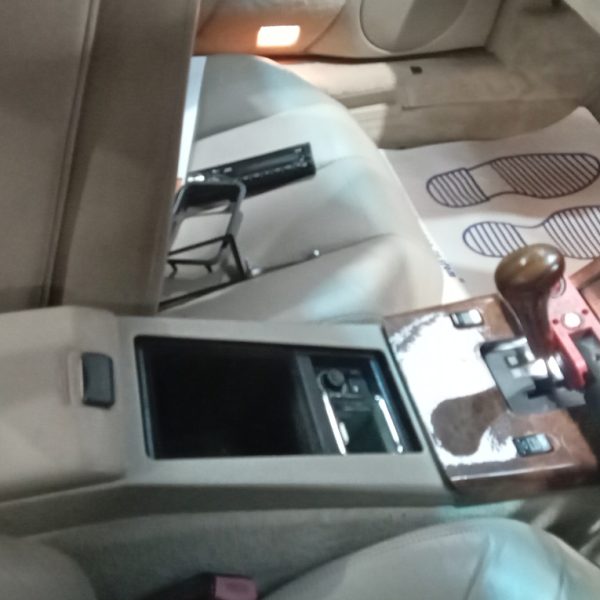
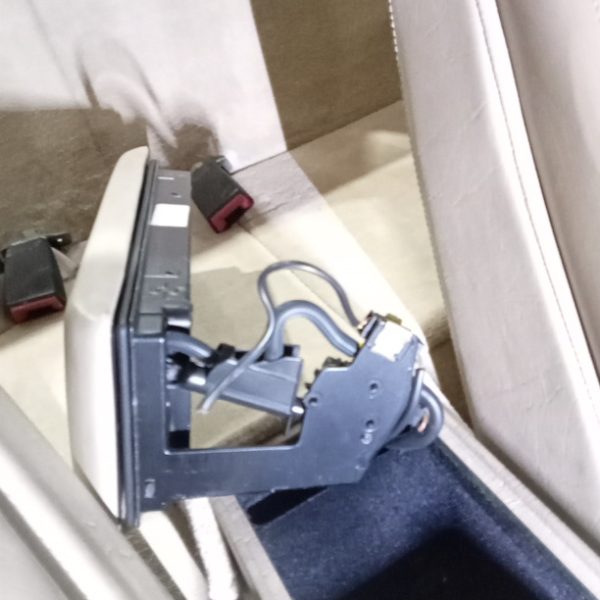
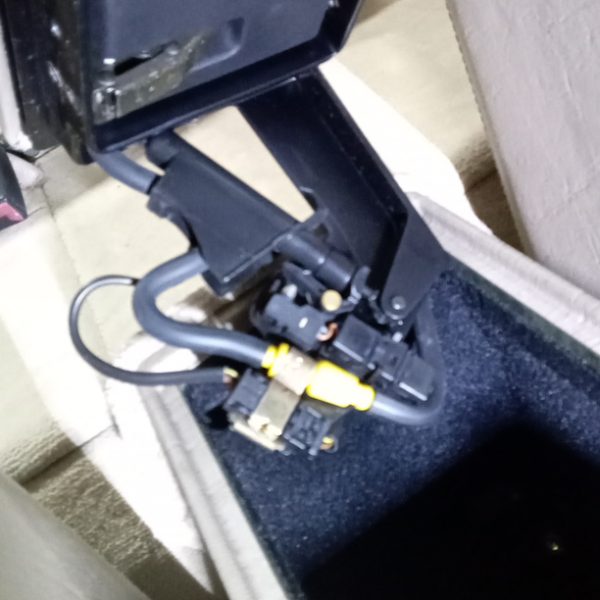
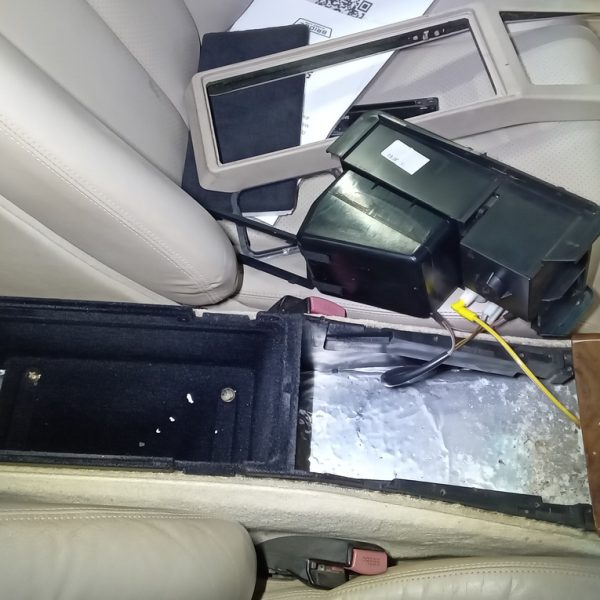
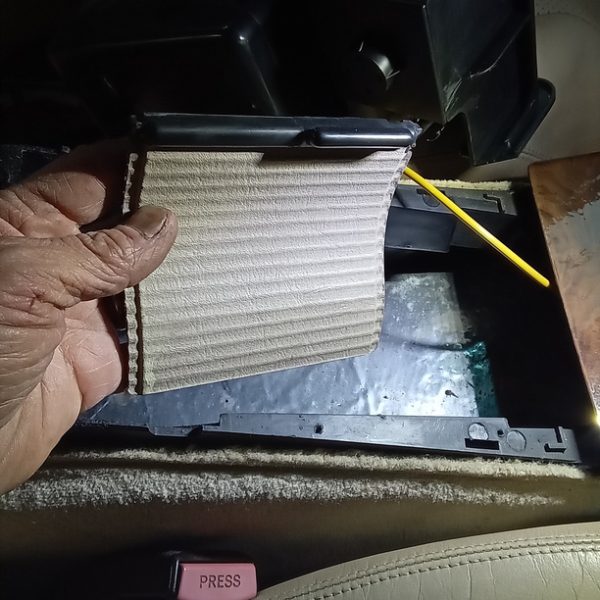
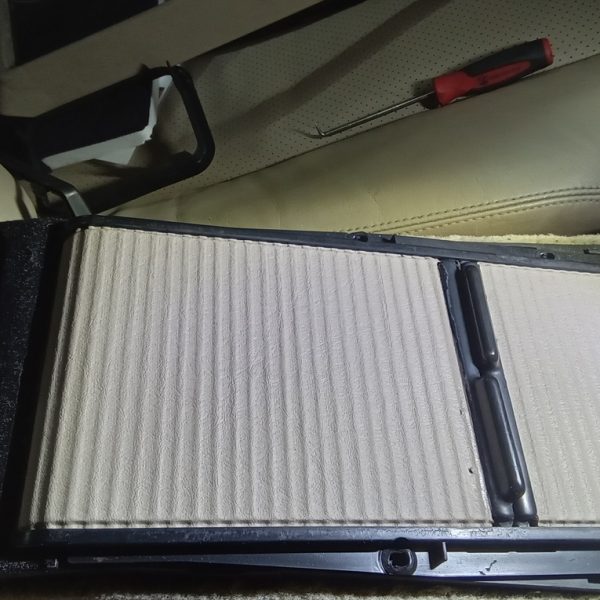
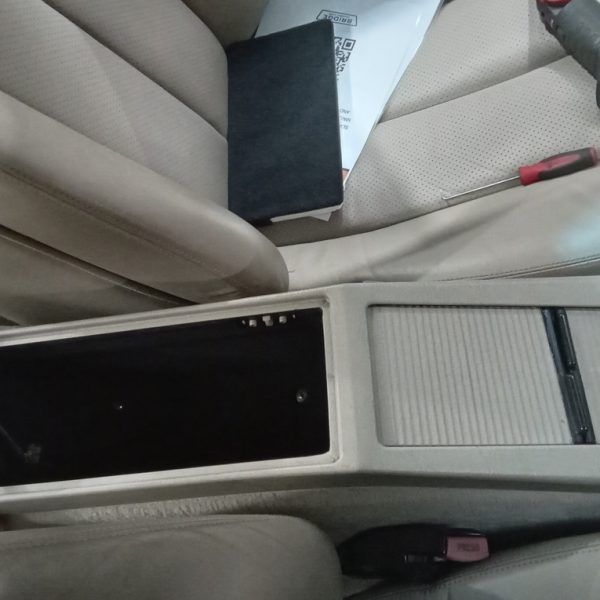
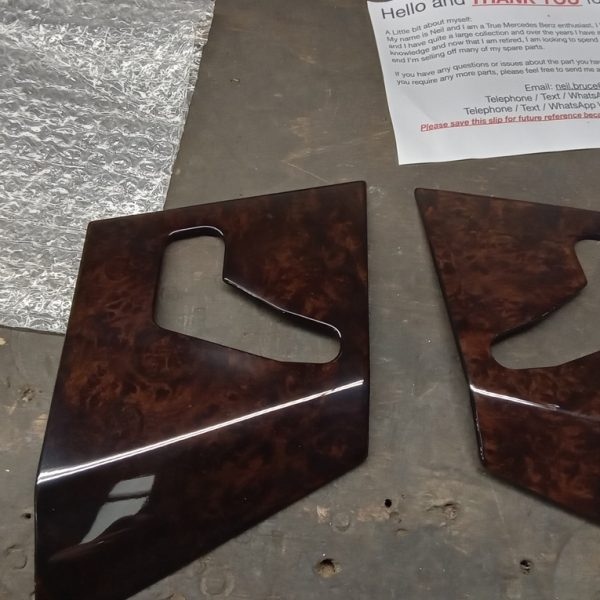
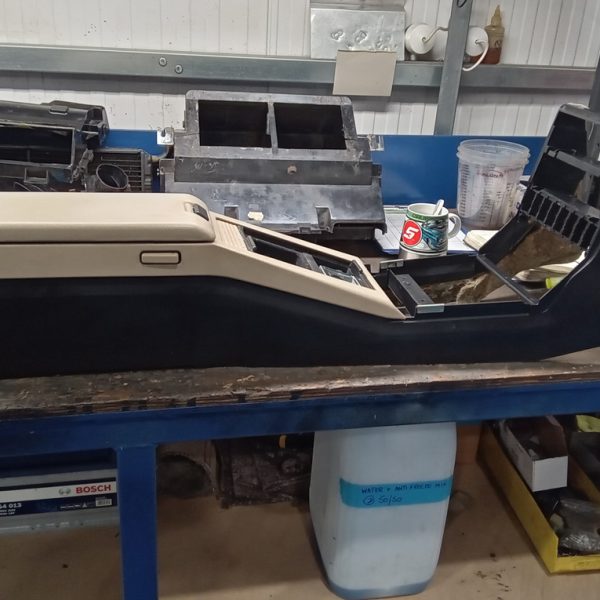
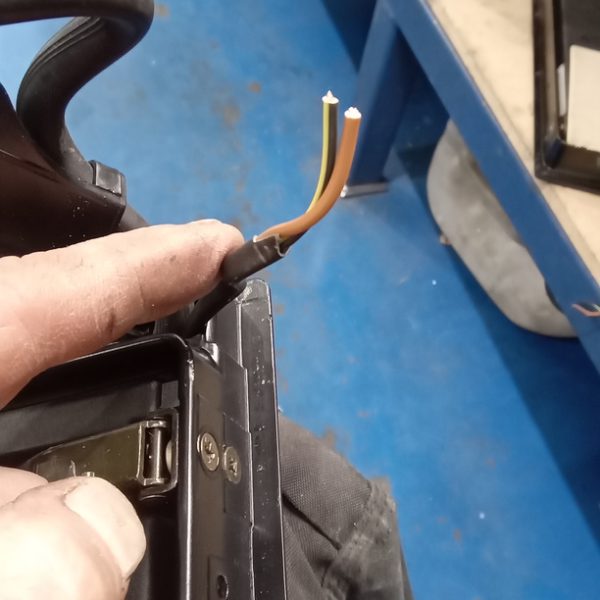
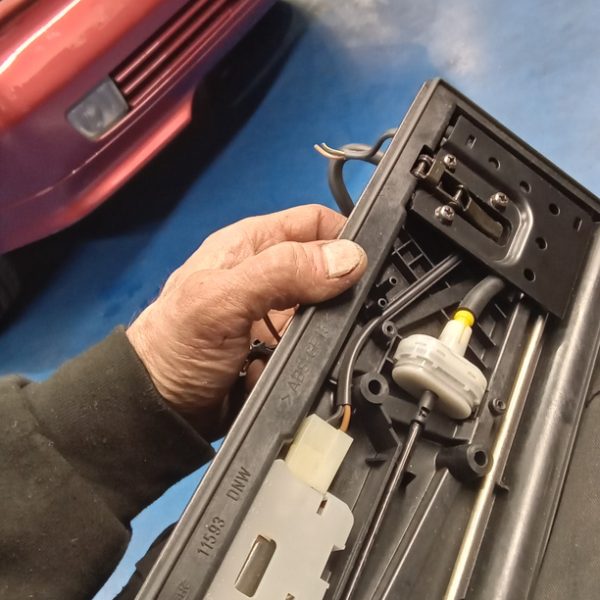
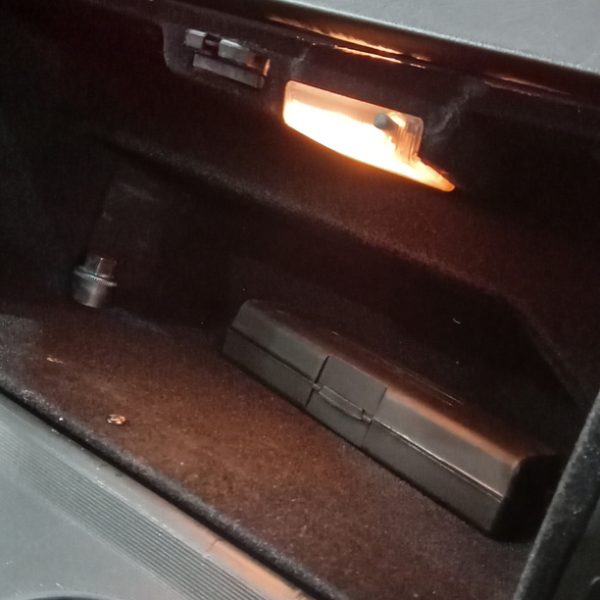
- Unwrap new pieces bought for interior. Strip both and swap required parts. Wrap sliding armrest pad. Solder repair wires to armrest storage light and fit to car. Test, ok. Remove glovebox light and fit bulb correctly. Lubricate as was sticking. Refit and test, ok. Remove internal mirror. Tighten ball socket joint to stop mirror wobbling. Remove mirror fixing and remove interior light. Investigate why nearside not working.
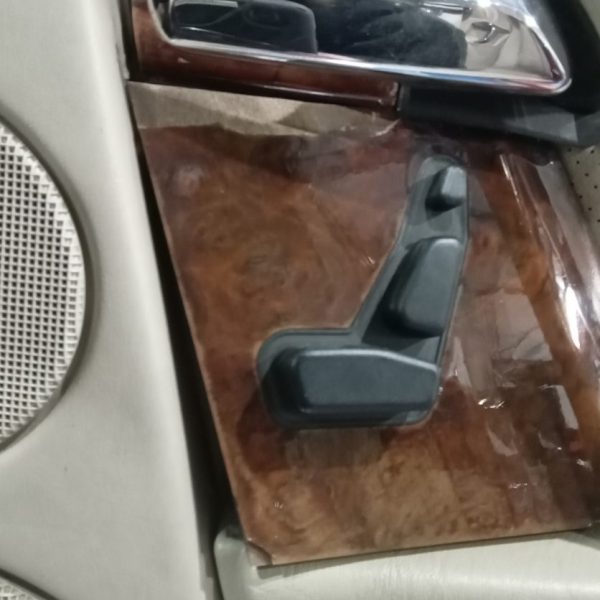
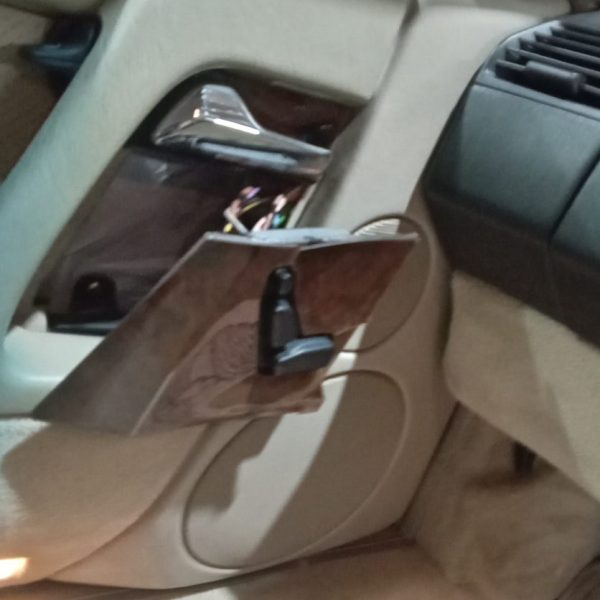
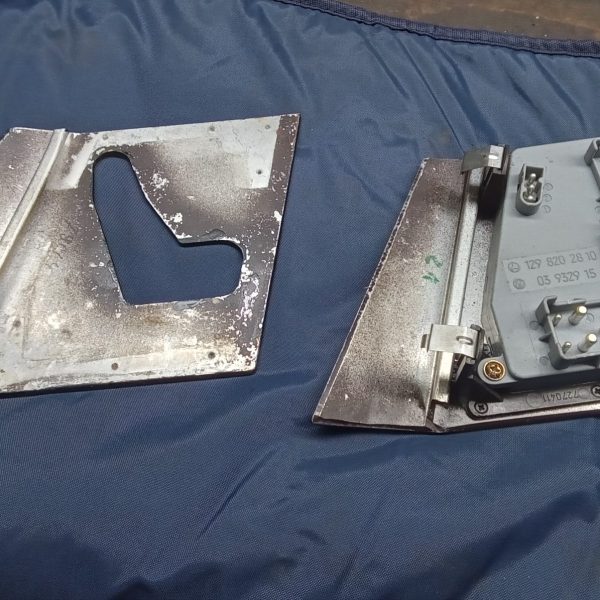
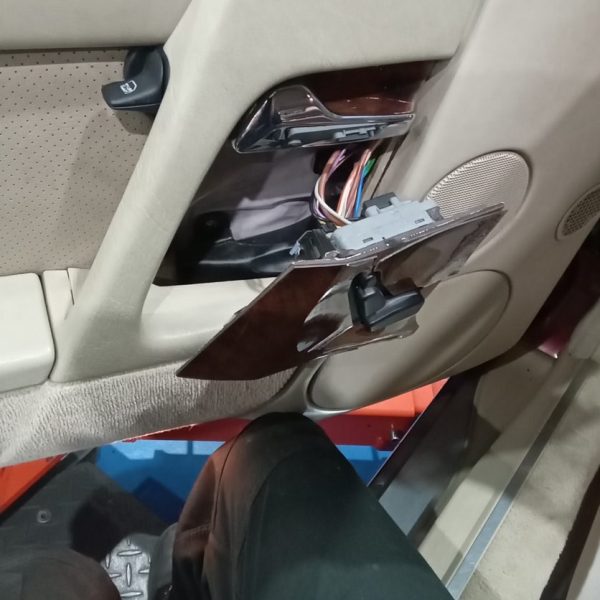
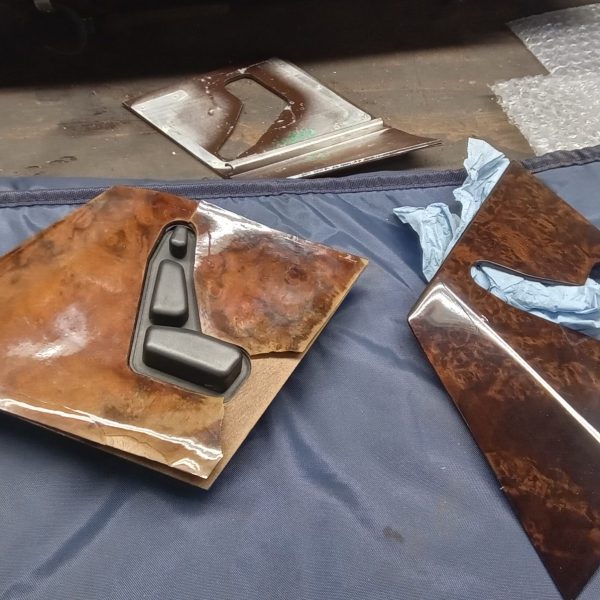
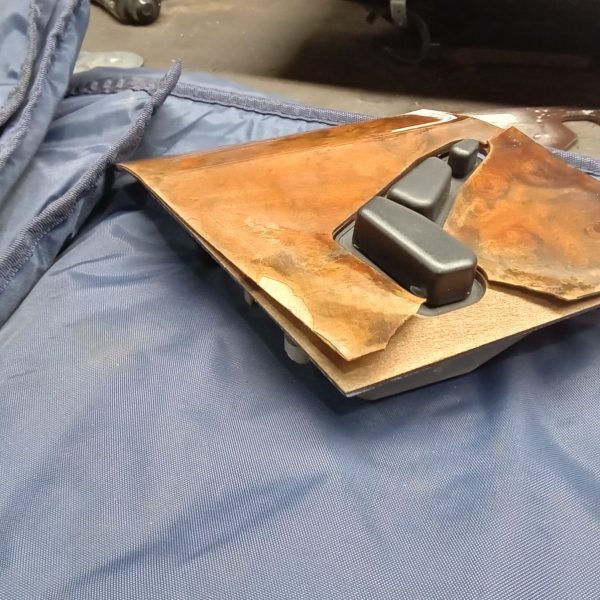
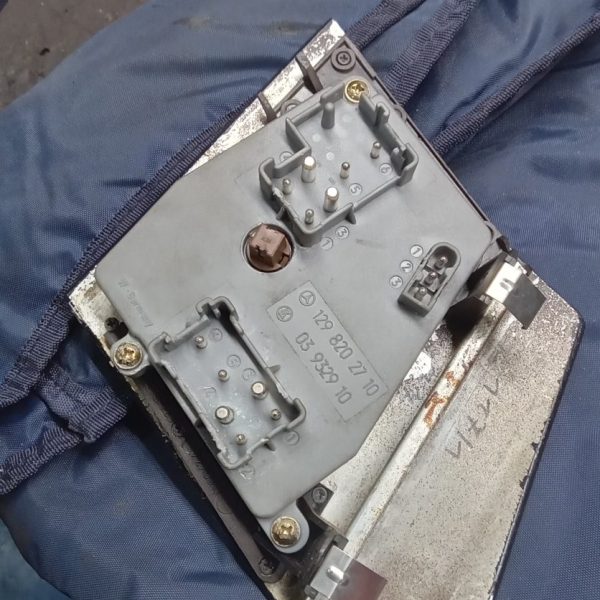
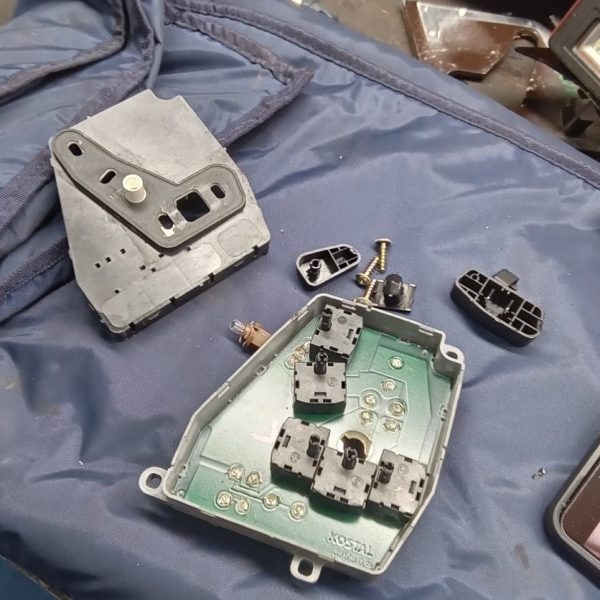
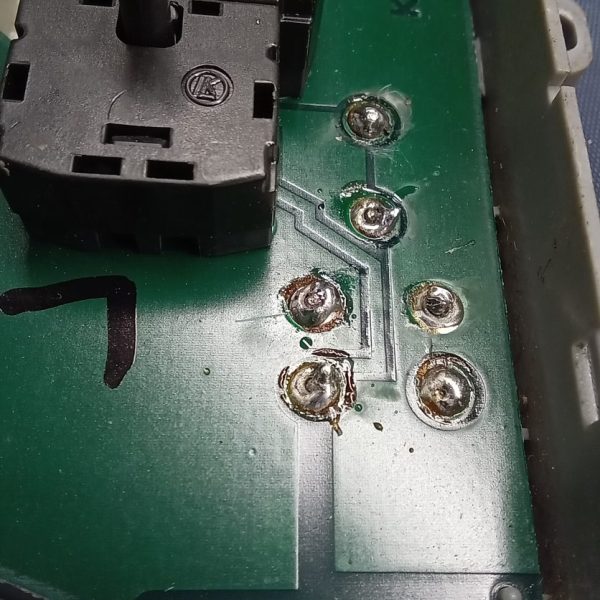
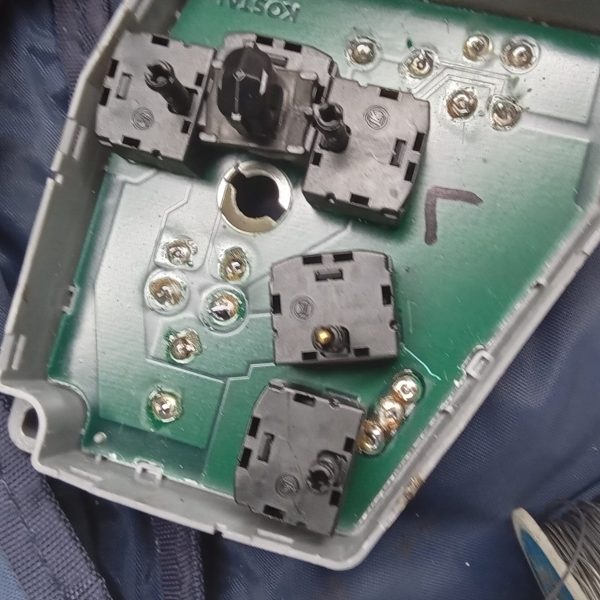
- Charge battery. Fit new bulb to interior light and bend tangs/connections and test, ok. Remove old drivers seat control panel. Swap switch pack to new veneered panel. Fit and test, all,ok. Repeat process for passengers seat control panel. But passengers seat doesn’t work. Investigate. Check and replace both fuses for seat control. Check for power to switches, ok. Remove and disassemble switch pack and visually inspect. Re solder all joints and test. Working now but packed up after fitting switch to panel. Remove and repeat solder but drop fresh solder onto each joint. Reassemble and fit. Disconnect roof wire and unlock roof with roof button. Lift off hard top and operate soft top. Working fine but roof tight. Manually assist in locking in rear section. Leave like this to stretch material out. Roof looks in really good condition. Just require jack to put in boot, new reg plates fitted when they arrive and a road test to finish.


















Share this post
Enjoyed this article by Rob Harvey?

