This Just In – 1977 MG B Roadster for Restoration
New to the Bridge Classic Cars workshop is this 1977 MG B Roadster. It is in with us for a full aesthetic restoration which will


New to the Bridge Classic Cars workshop is this 1977 MG B Roadster. It is in with us for a full aesthetic restoration which will

This is one of the seats from the 1971 Morris Traveller 1000 which has been announced as the latest car to be won on Bridge
The extension to the restoration workshop here at Bridge Classic Cars in Suffolk, UK goes full steam ahead. Now with the roof on the framework,
This 1974 Triumph was in with us to have a look into a wiring issue caused by a mouse while being stored in a customer’s
As with any classic car, you want to try and exercise a certain amount of reserve and caution when working on them. Try to be

Our dear friends at Calm Indian Cow have been in Cornwall recently! They were catering a wedding down in the West Country so of course,

The 1970 Morris Traveller 1000 has been revealed as our latest competition car! It is a smashing little car. It’s so quirky and full of
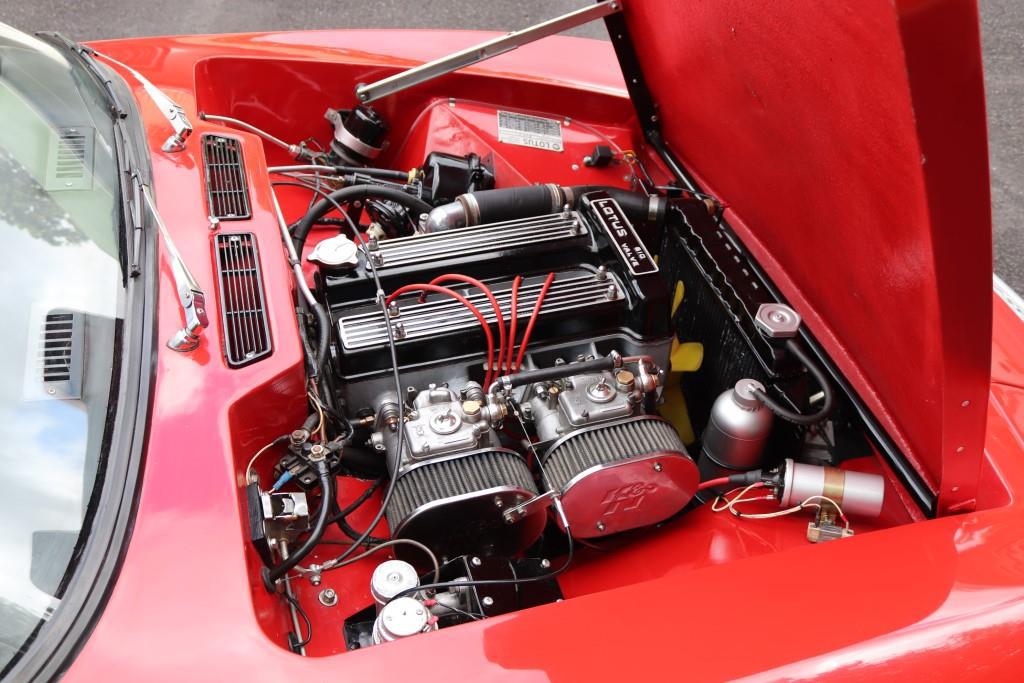
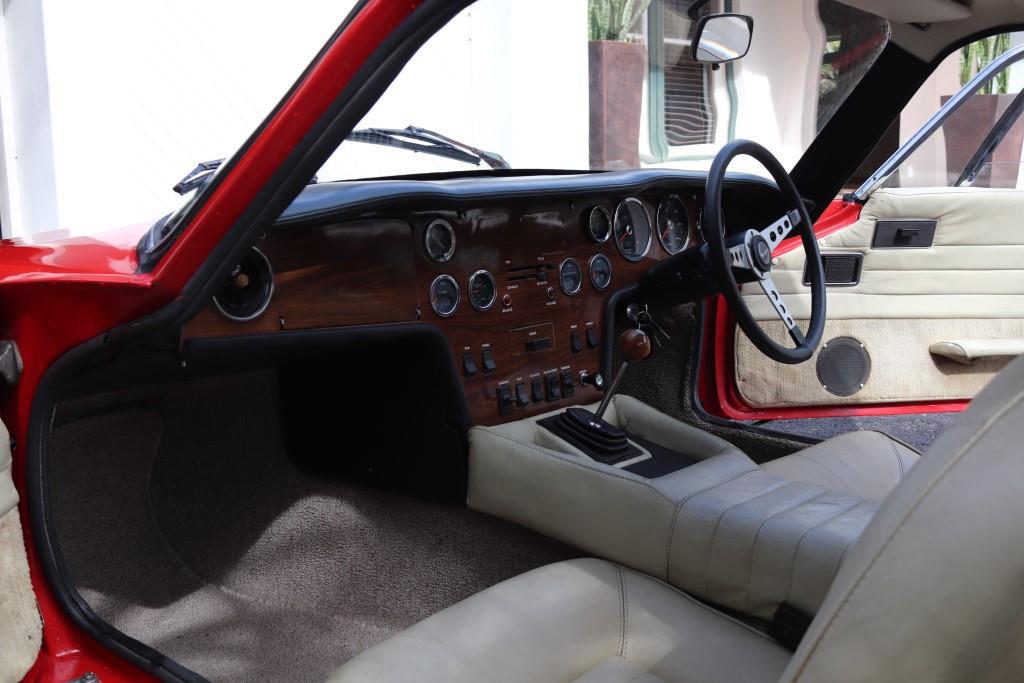
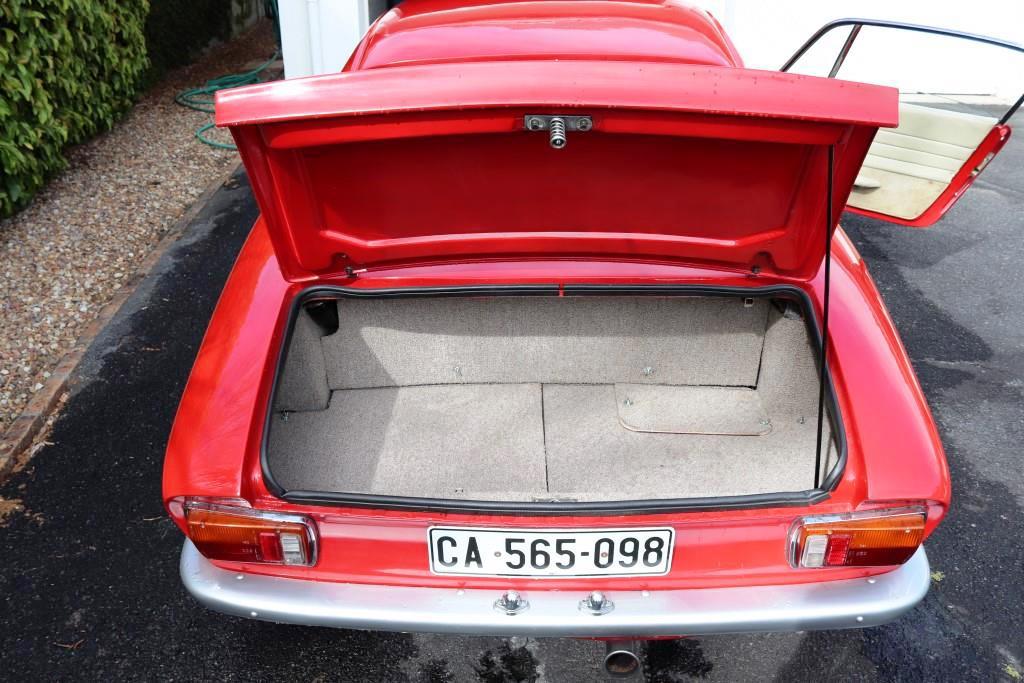
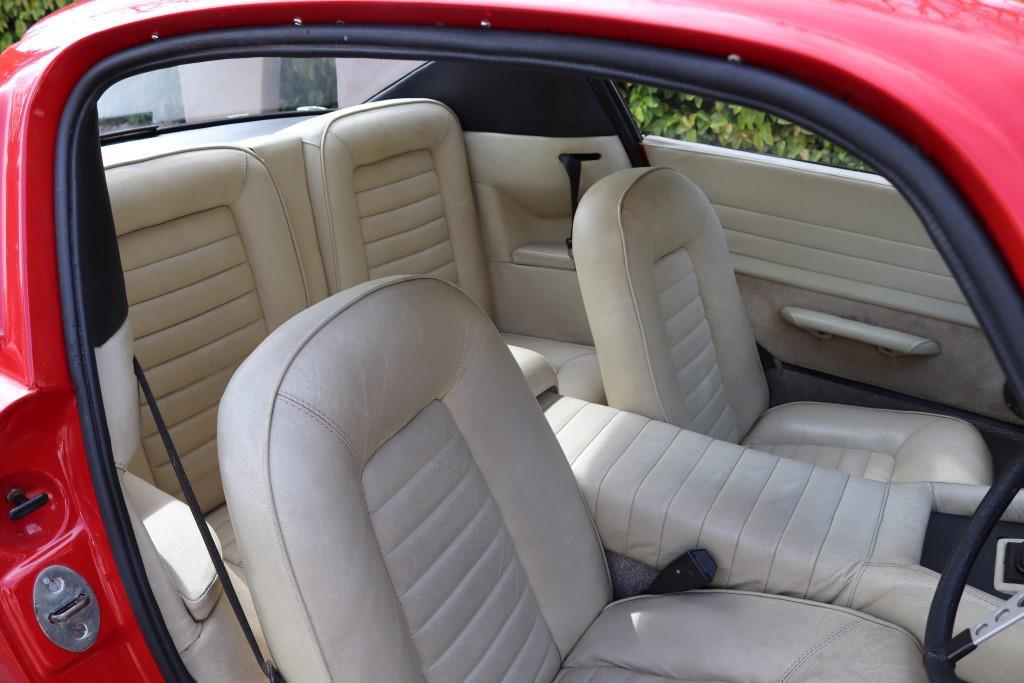
Bridge Classic Cars are soon going to be receiving a shipment of cars from South Africa. These have been sent to us by a collector

Our in-house trim team at Bridge Classic Cars have been working hard to get the interior of the 1970 Dodge Charger back together. One of

With a car as intricate and flowing as the 1951 Riley RMB, it’s important that our in-house metalwork craftsmen at Bridge Classic Cars apply all
After working so hard on the finish of the 1998 Honda Integra Type R, it is important to protect what has been done here at
Mauro, our in-house restoration technician, has been working on the 1967 Ford Mustang that we have in the Bridge Classic Cars workshop. As part of
Our 1965 Amphicar that is currently up for auction with Car & Classic Auctions has found its way onto the Top Gear website! The team
It’s been a little while since the last update on the 1977 Honda Goldwing. This is Gordon, our director’s, bike. Last we wrote, the carburettors
Our 2021 Lotus Elise Sport 240 Final Edition which is being given away to support the important work that the Norwich City Community Sports Foundation
Our in-house trim expert Kath has been fitting the door cards to the 1970 Dodge Charger we have in here at Bridge Classic Cars. Kath
When work began on this 1970 Land Rover Series IIA, there was a slight bit of confusion. Originally it was thought to be a Series
This beautiful 1974 Triumph TR6 arrived at the Bridge Classic Cars workshop this morning for John to begin looking into an issue with the wiring.

Our technician Mauro has been waiting on some parts for the 1967 Ford Mustang Convertible for some time now. These parts have all had to

Kath, our in-house trim expert has been hard at work finishing up the install of the headliner into the 1970 Dodge Charger we have here
On Sunday, October 10th, Bridge Classic Cars welcomed East Coast Retros to our Bentwaters and Pettistree sites to host one of their meets. Cars of
Bridge Classic Cars will be hosting the members from East Coast Retros on Sunday the 10th of October for their meet. Beginning at our Bentwaters

10 o’clock yesterday morning. Charlotte drew the winning number of 2343 and that happened to be this man. Jarlath Joyce. When we went to call

As its name suggests, E10 petrol contains up to 10 per cent ethanol, twice the proportion of the E5 grade which has been the standard
The carburettors on the 1973 Fern Grey Jaguar E Type Series 3 Roadster are freshly rebuilt. Our master engine builder Ady spent many hows carefully
It is now live! The auction of our 1965 Amphicar that was completely restored in-house by Bridge Classic Cars is live on the Car &
A bit of a change to our usual schedule, the live draw for the 1989 TVR S2 2.9 V6 was drawn during the day this
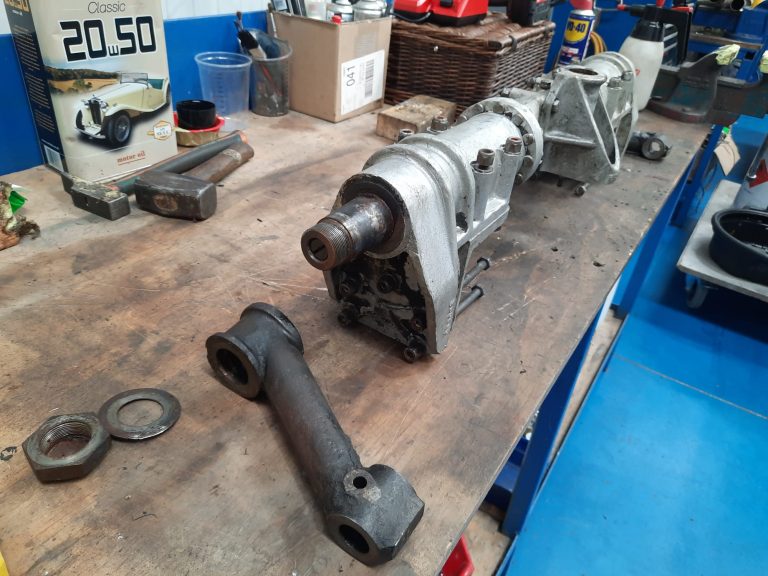
Here at Bridge Classic Cars, our in-house restoration technician Mauro is hard at work continuing to teardown, inspect and catalogue the front end parts of

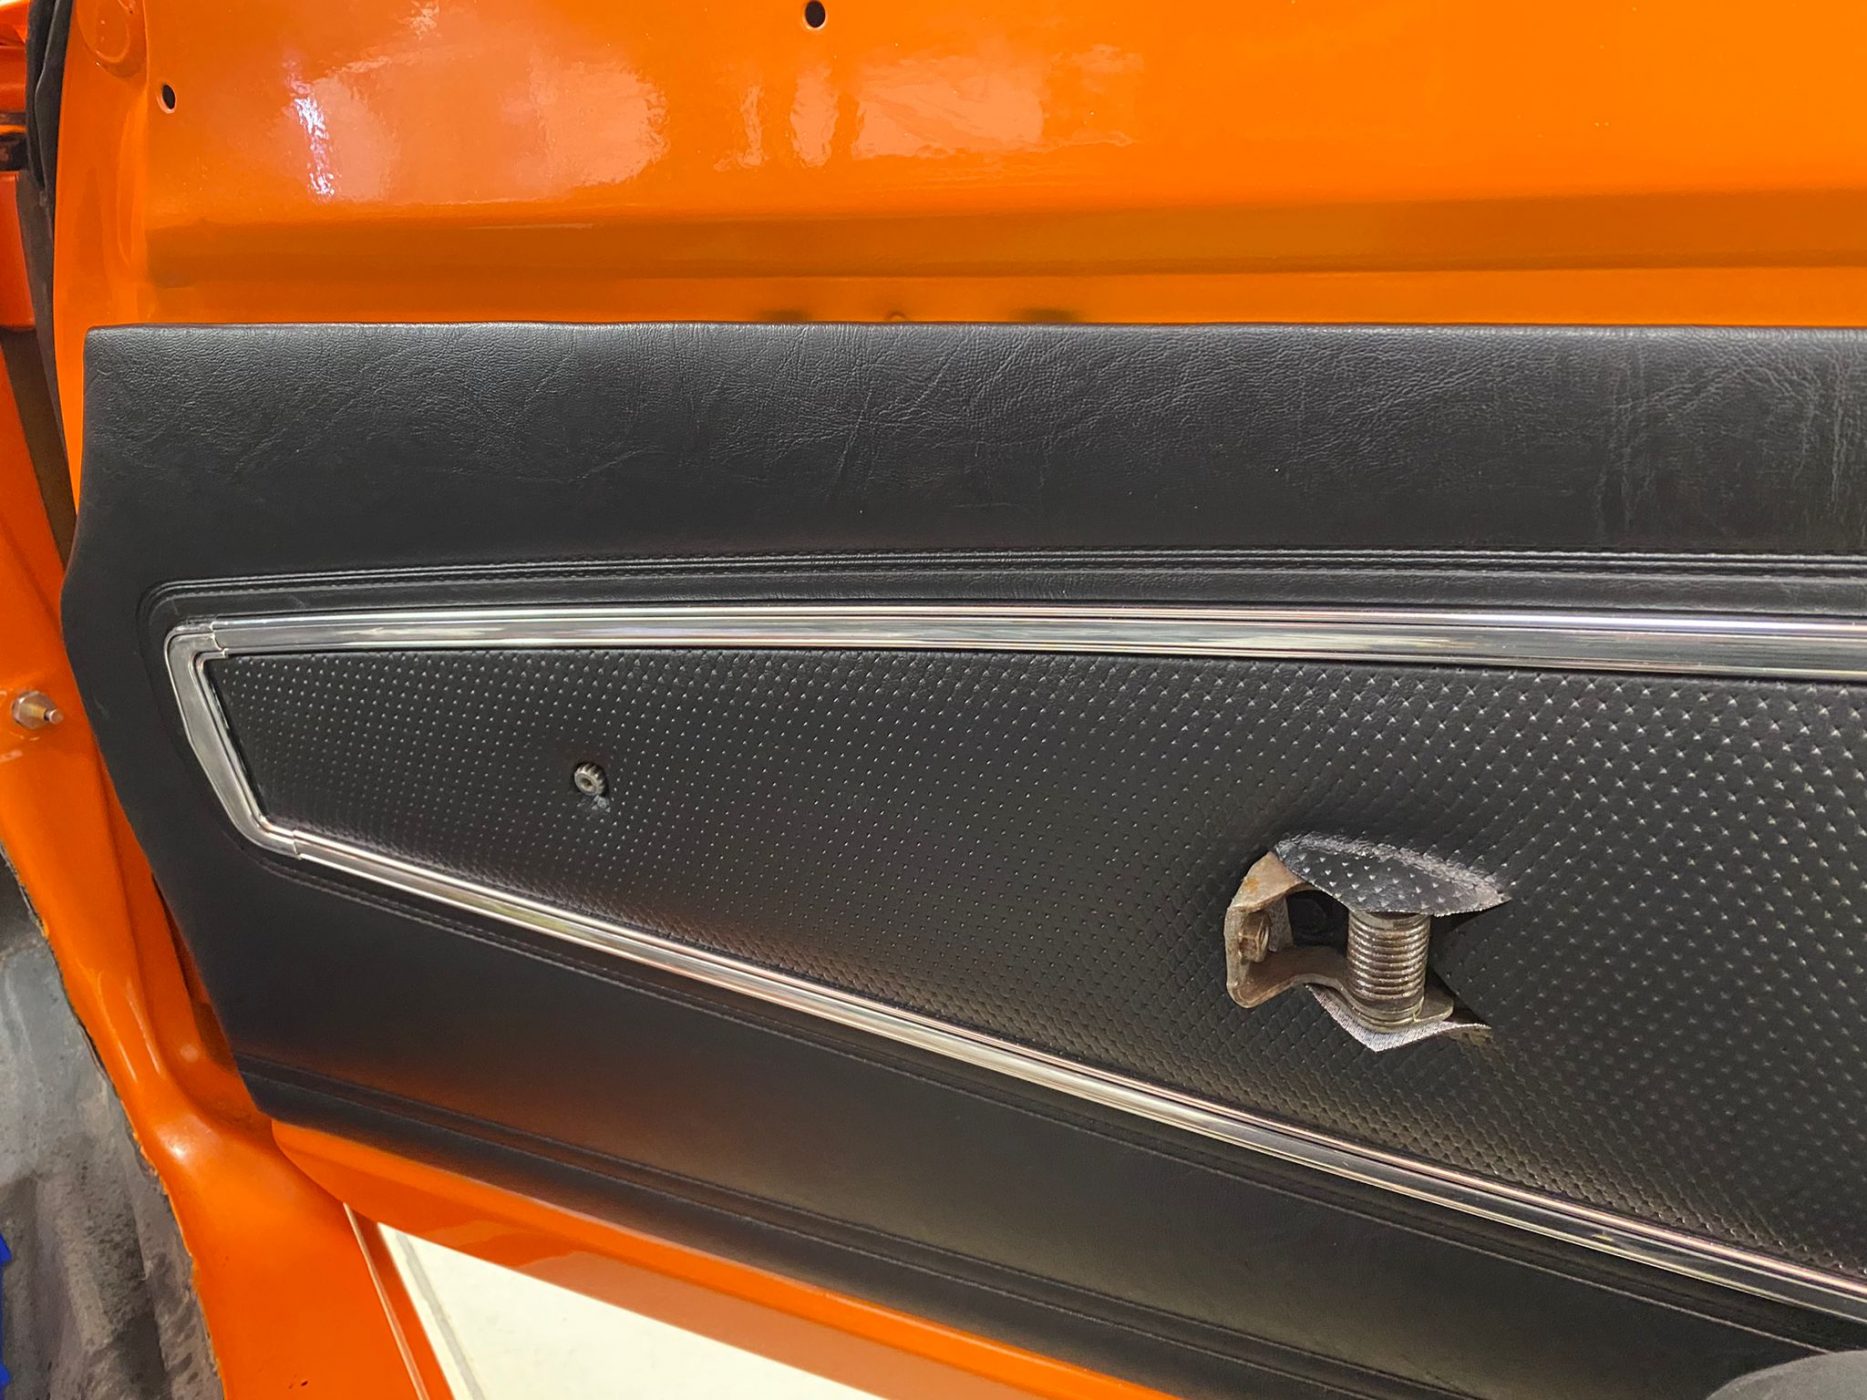
What do you do when you have the roof down on your 1960s sports car and all of the cubby hole it fits into is
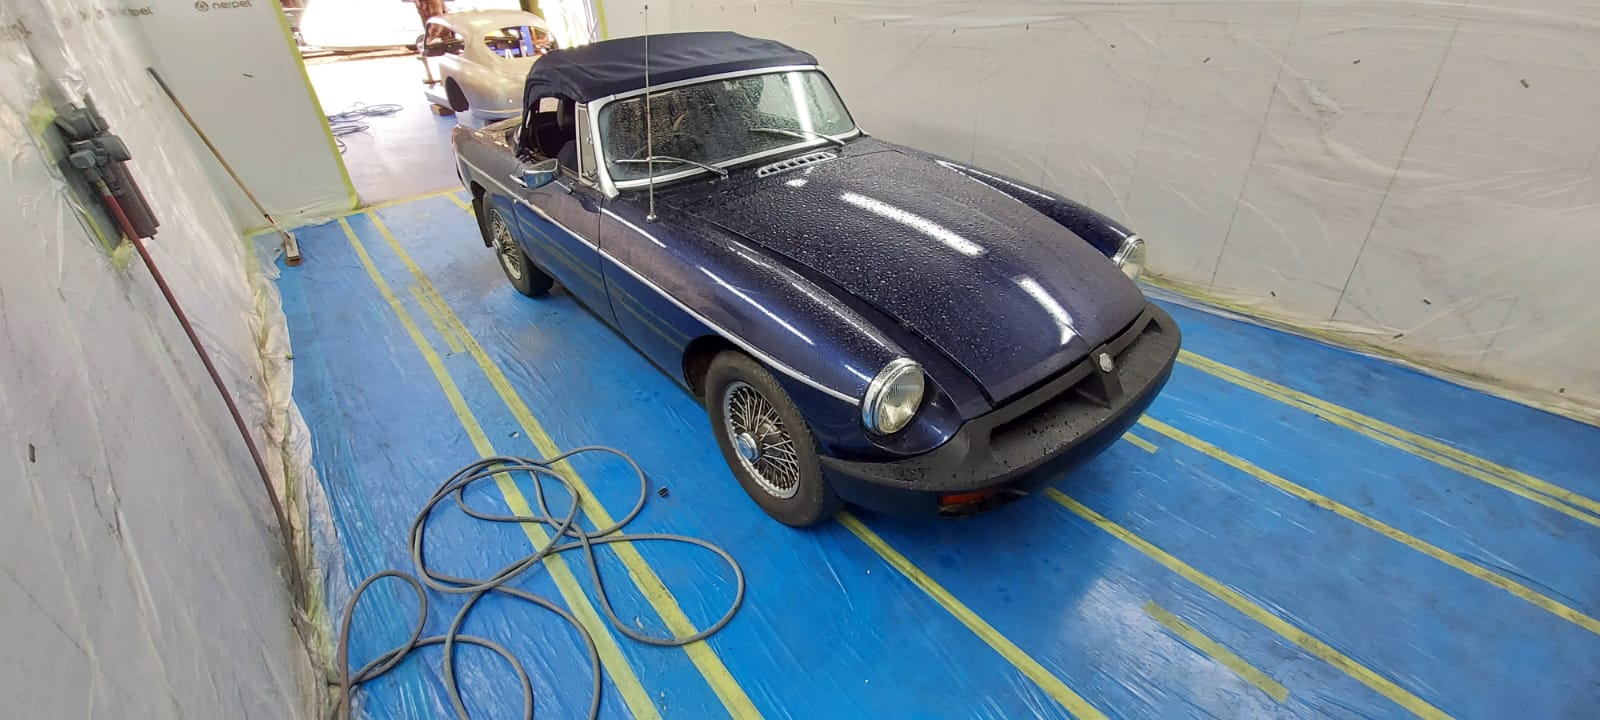
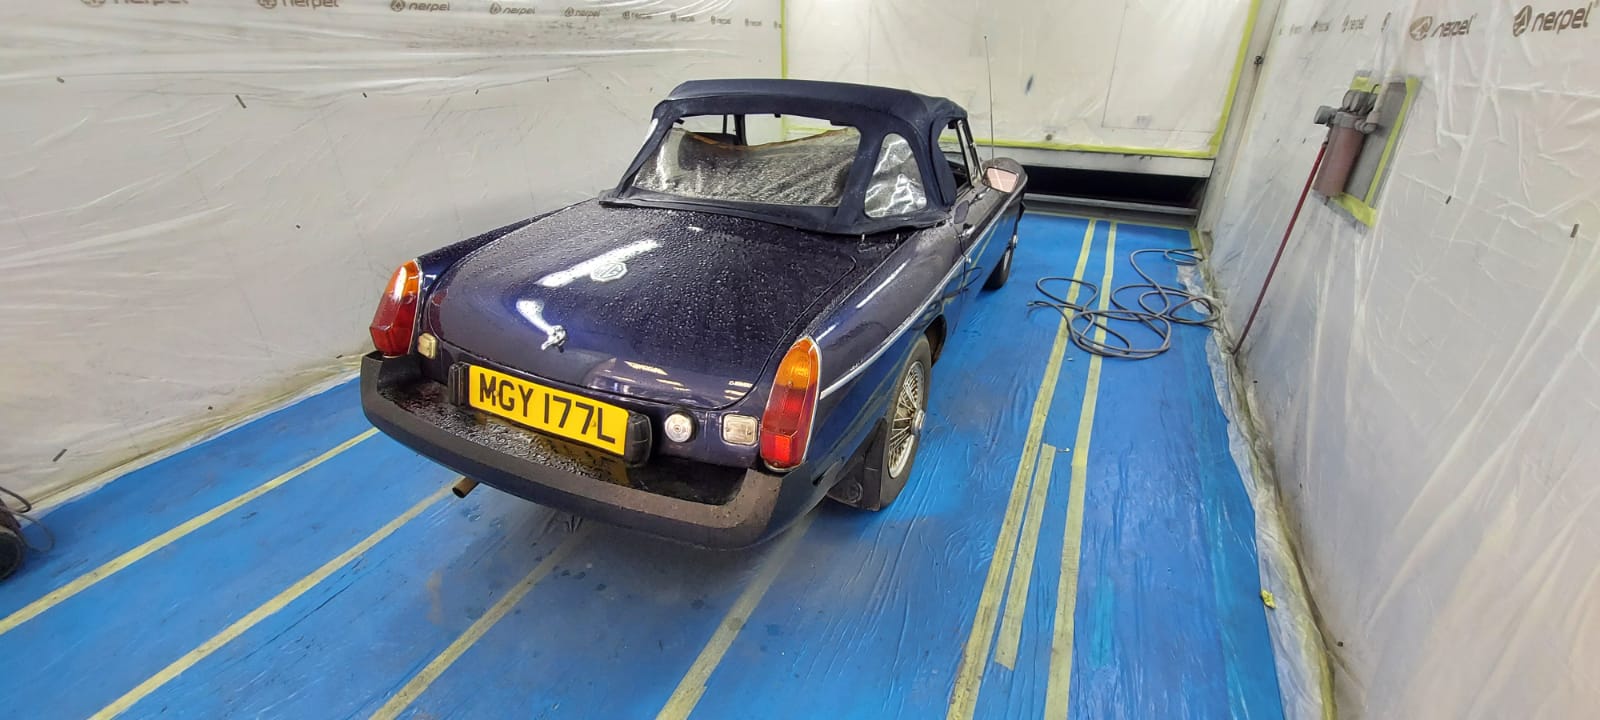


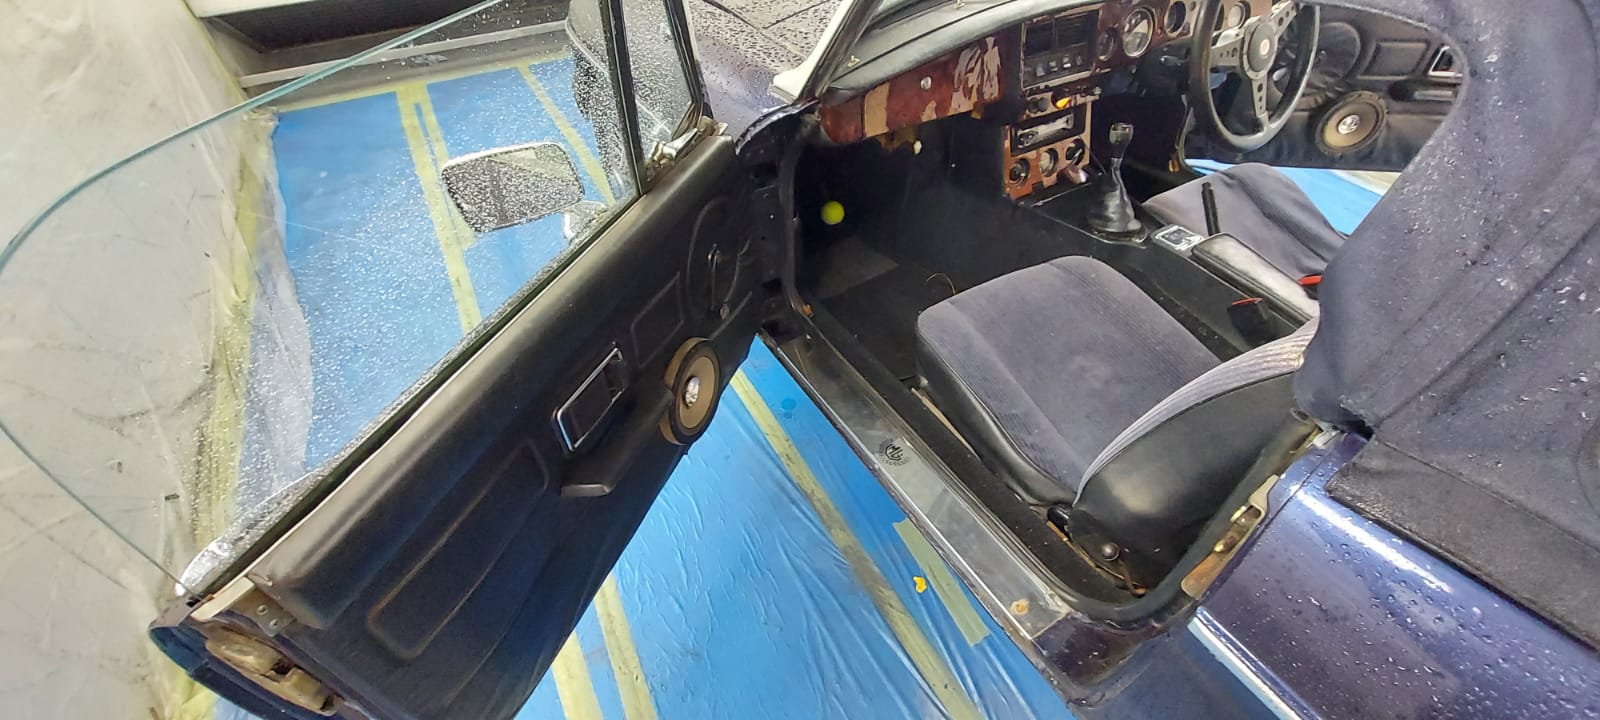
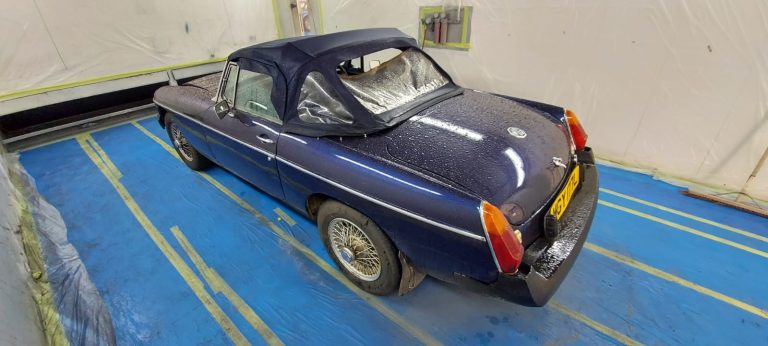
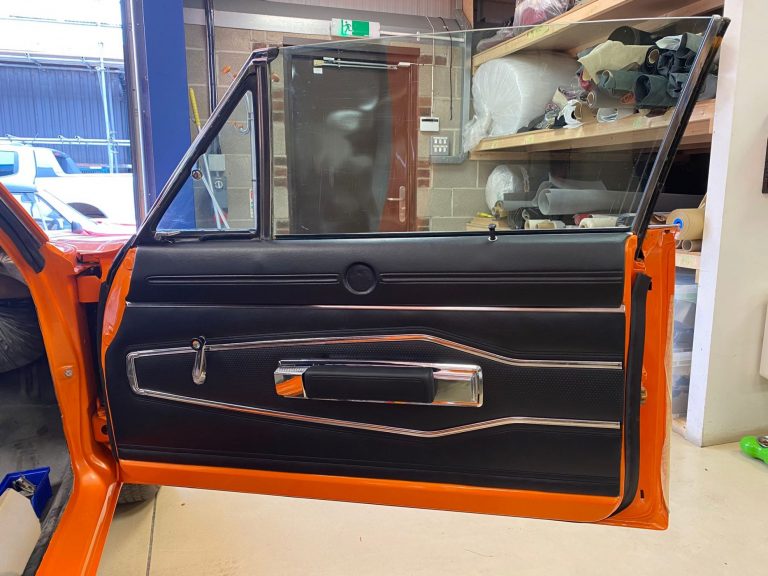
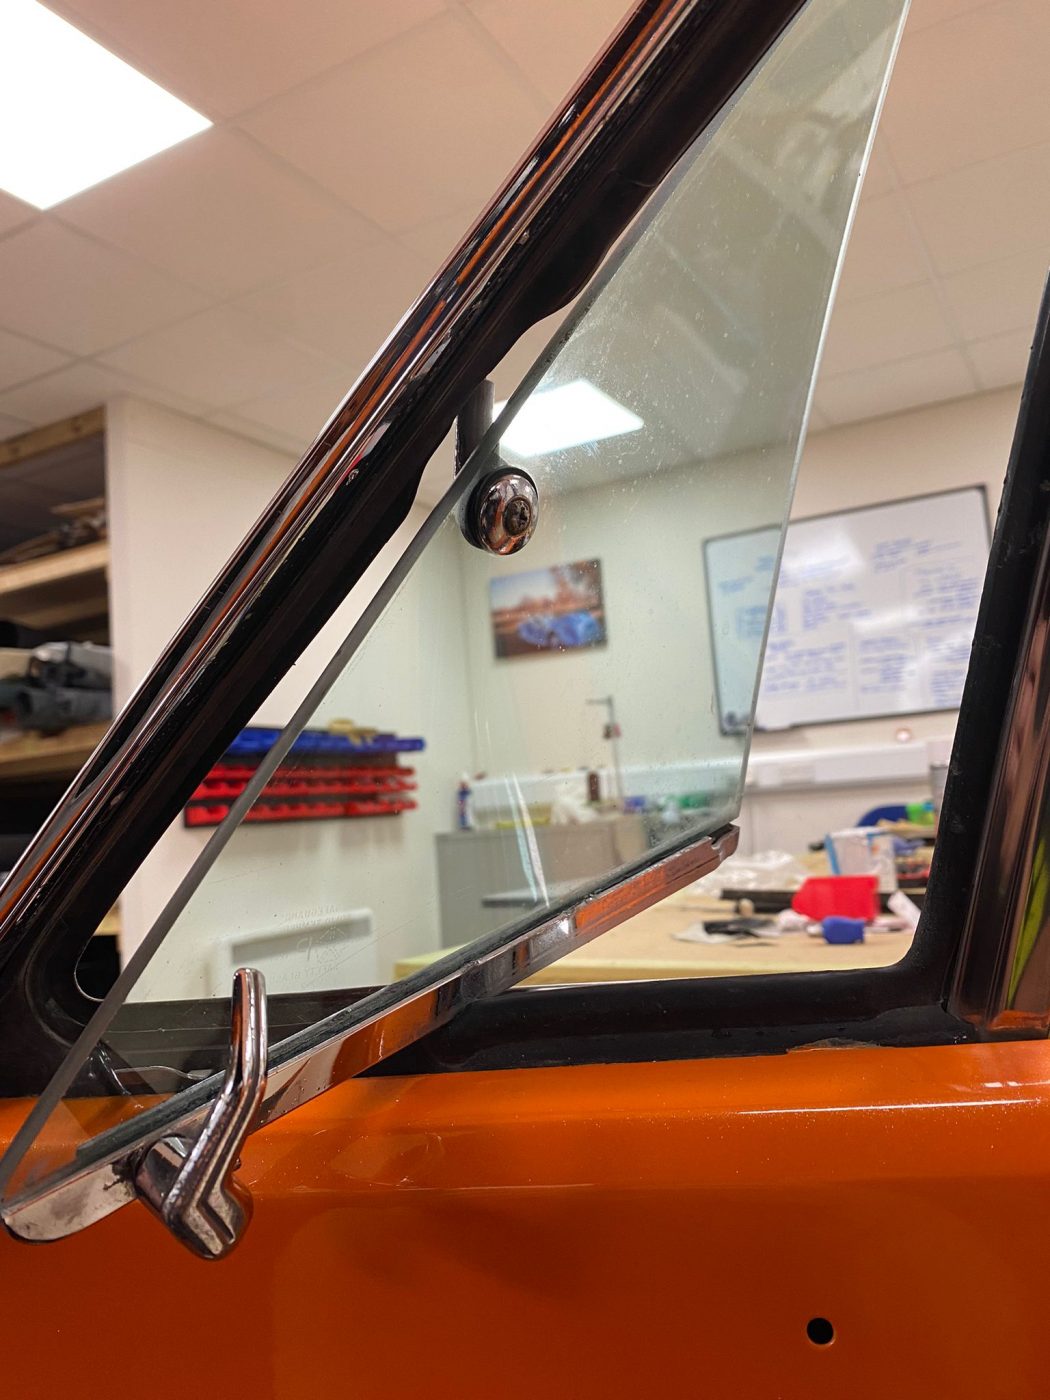
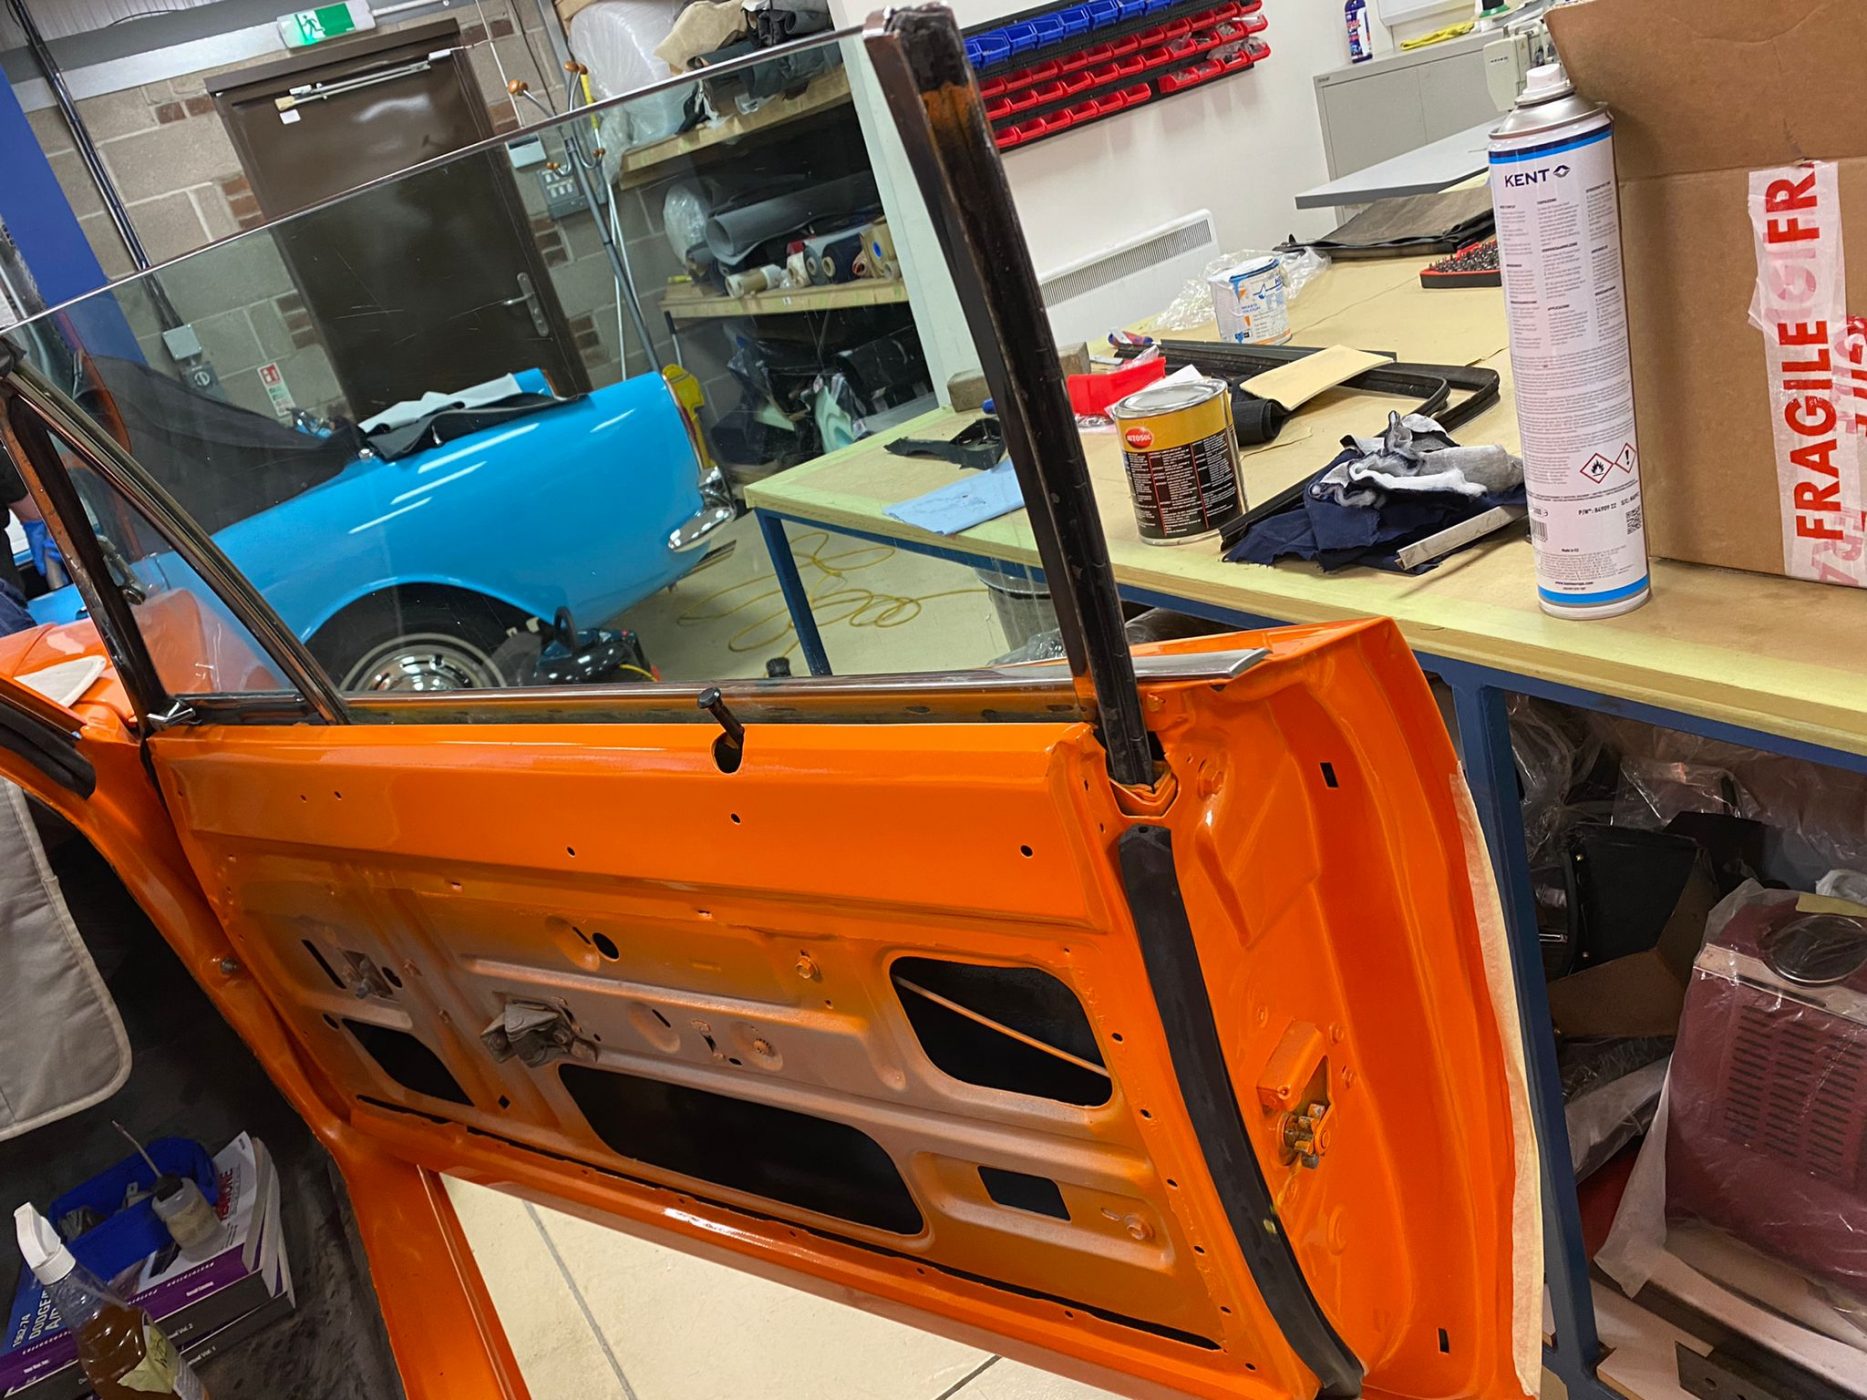
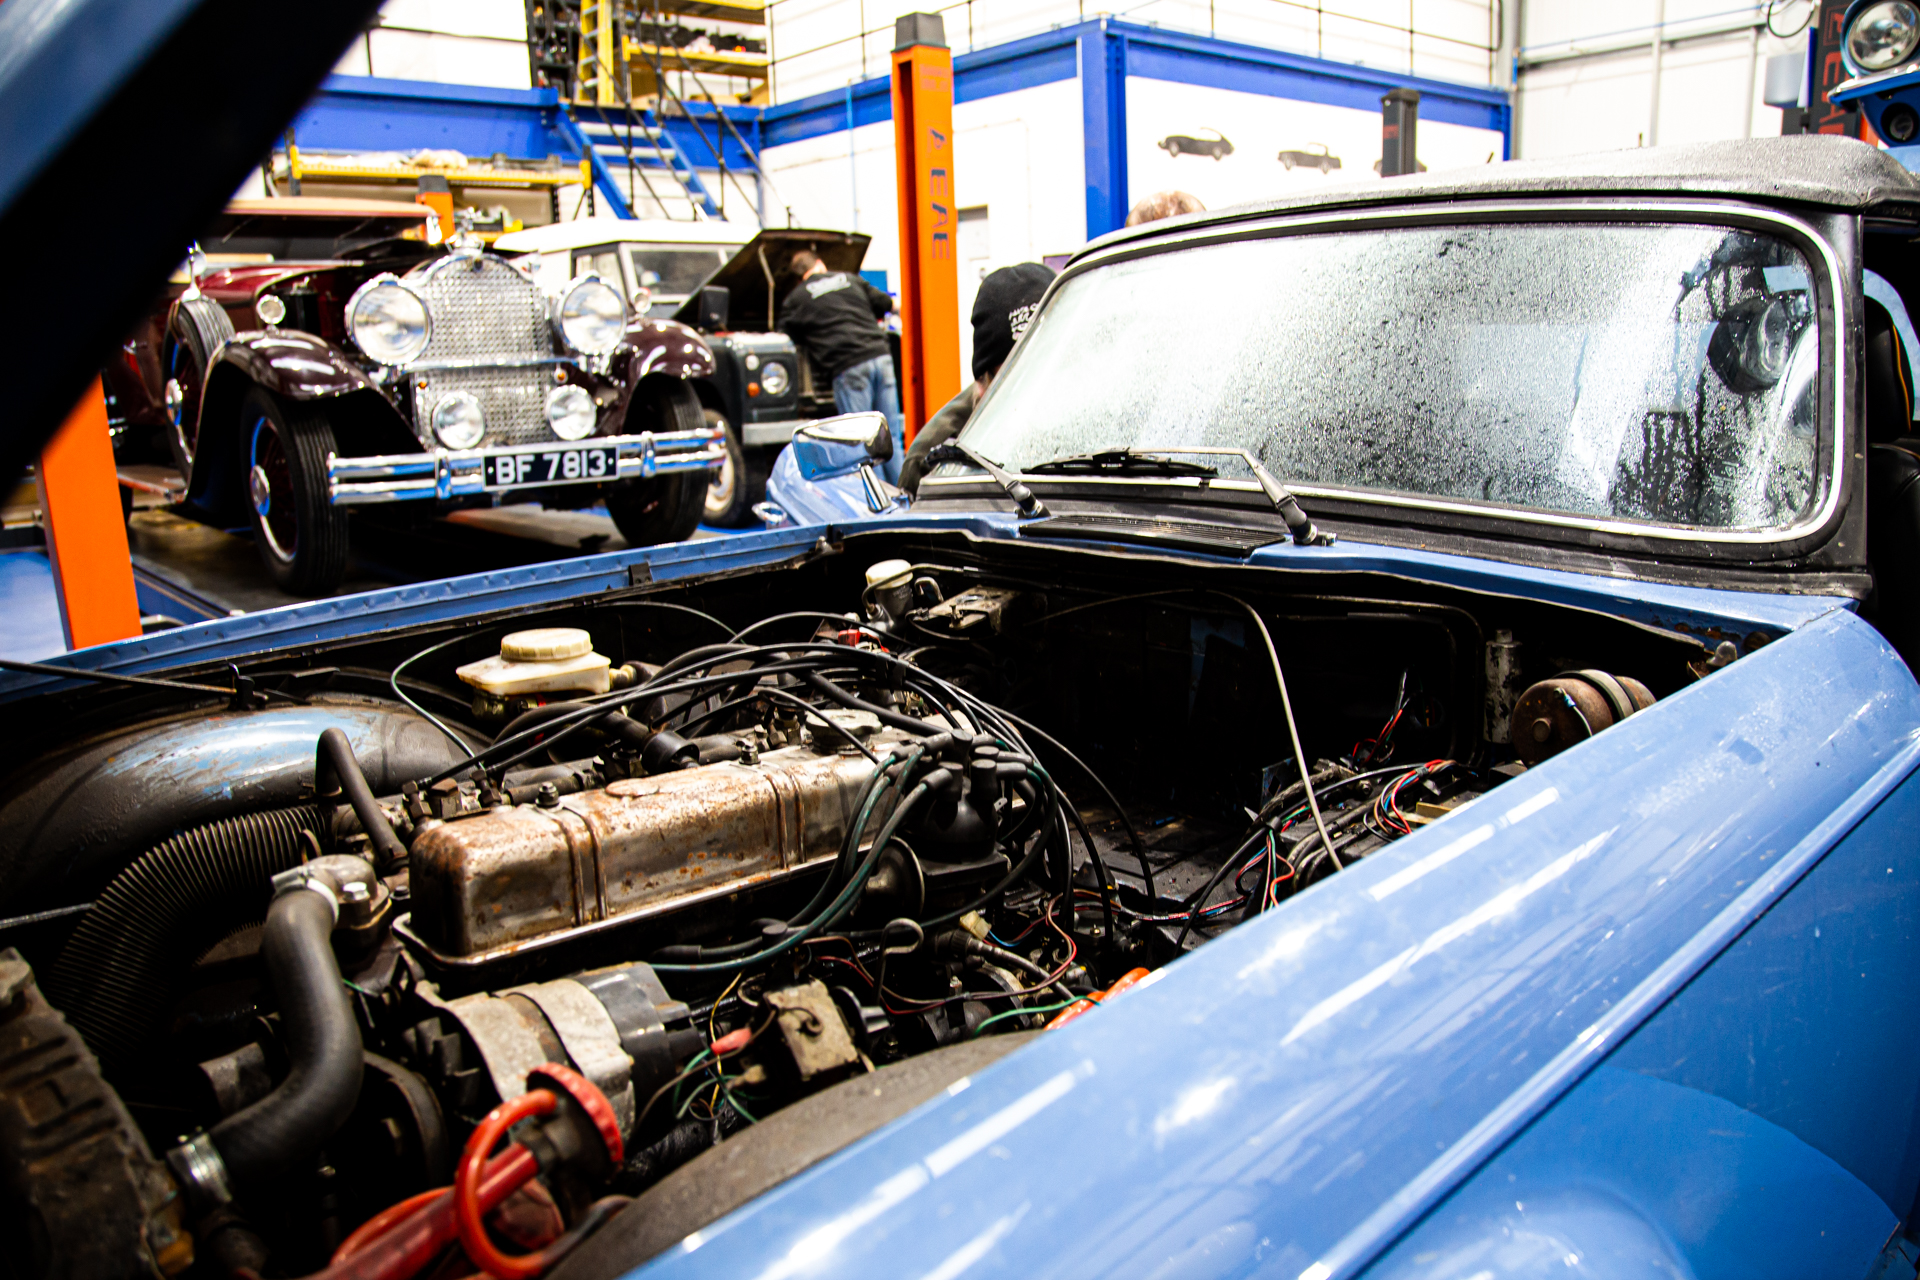
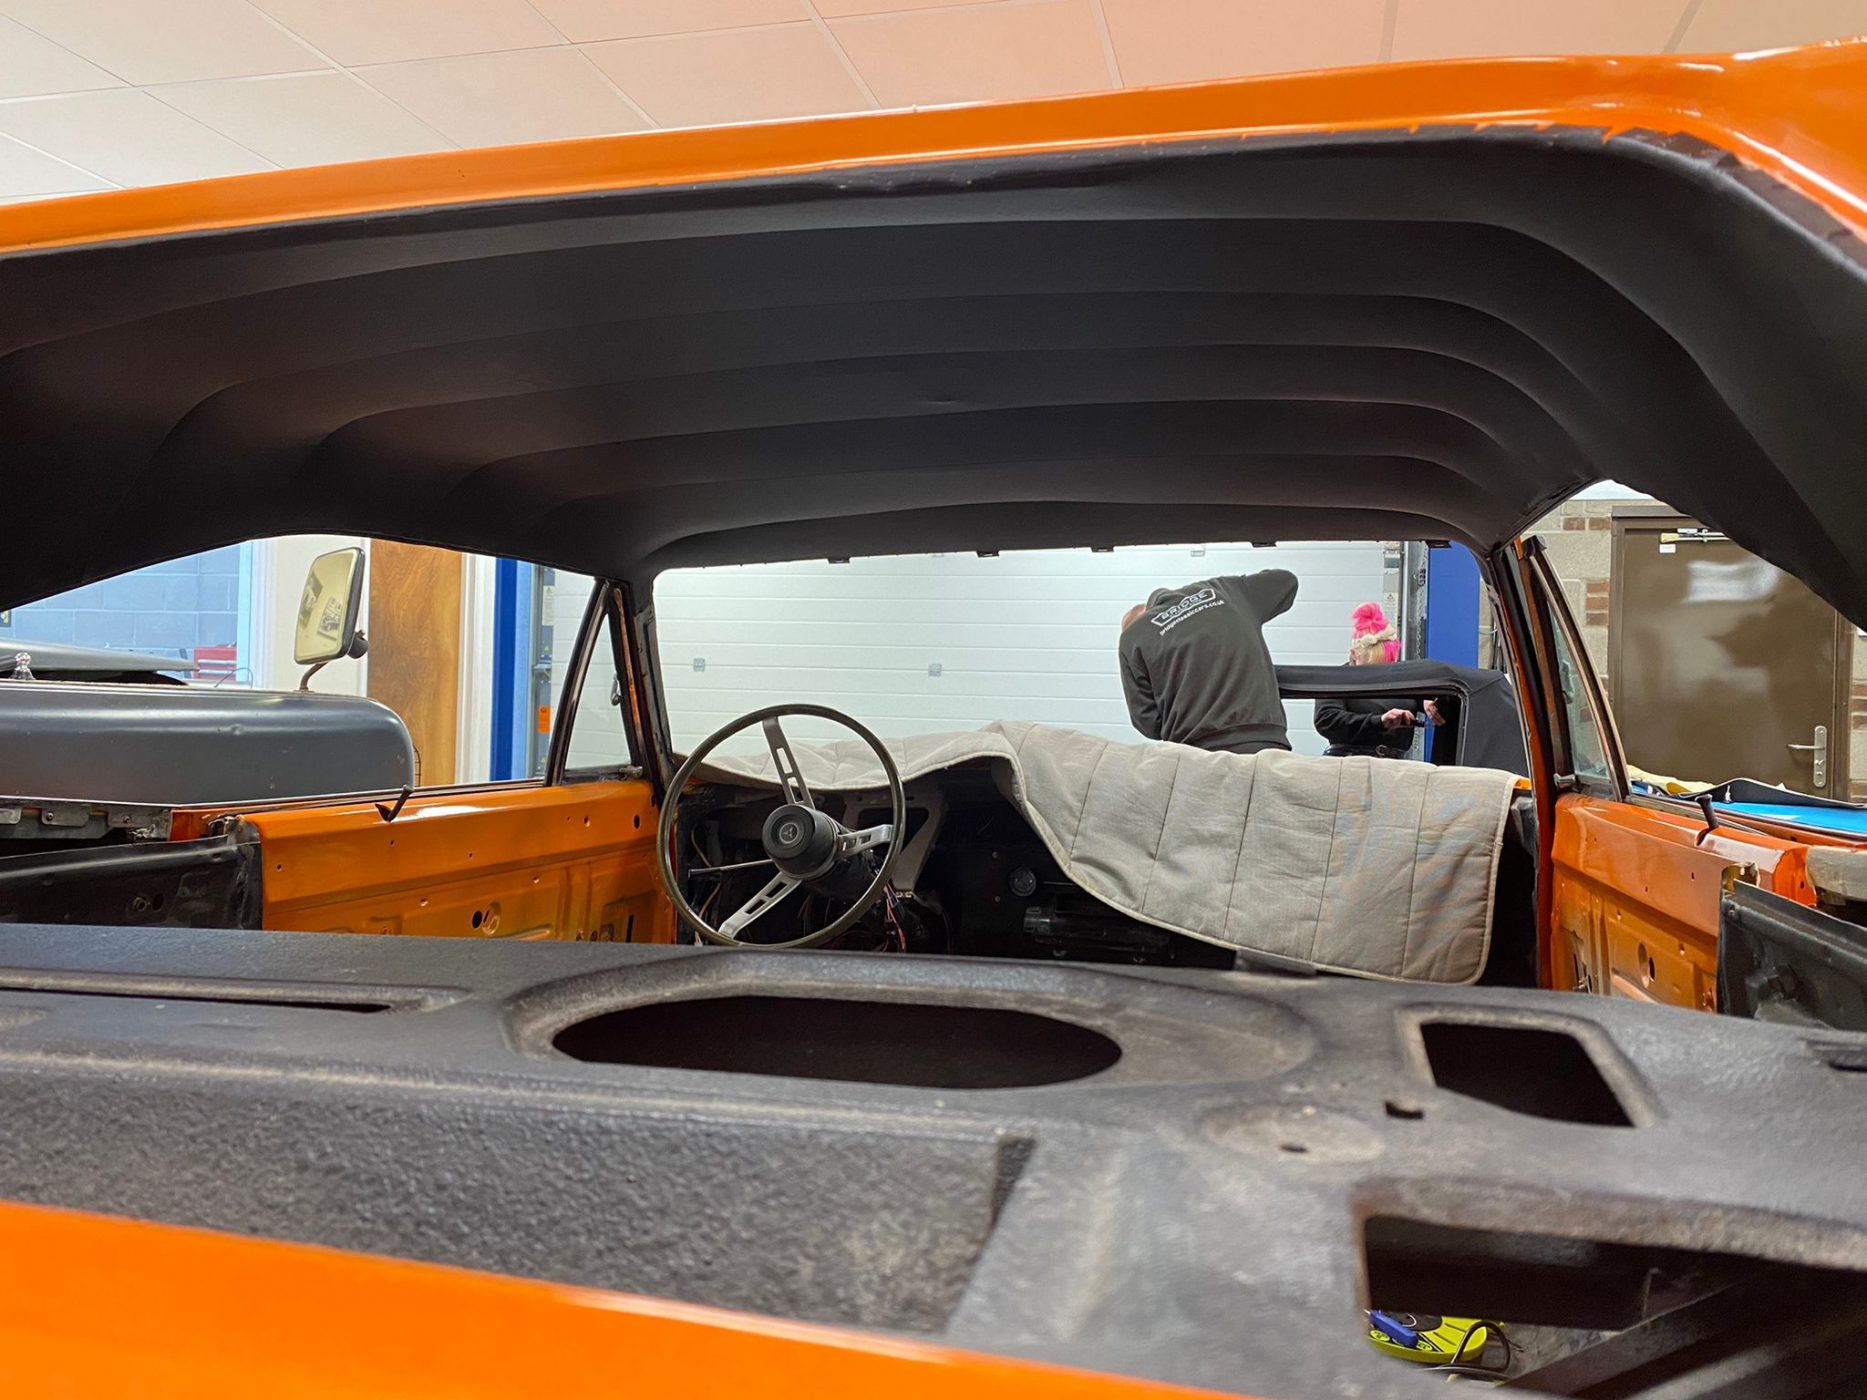
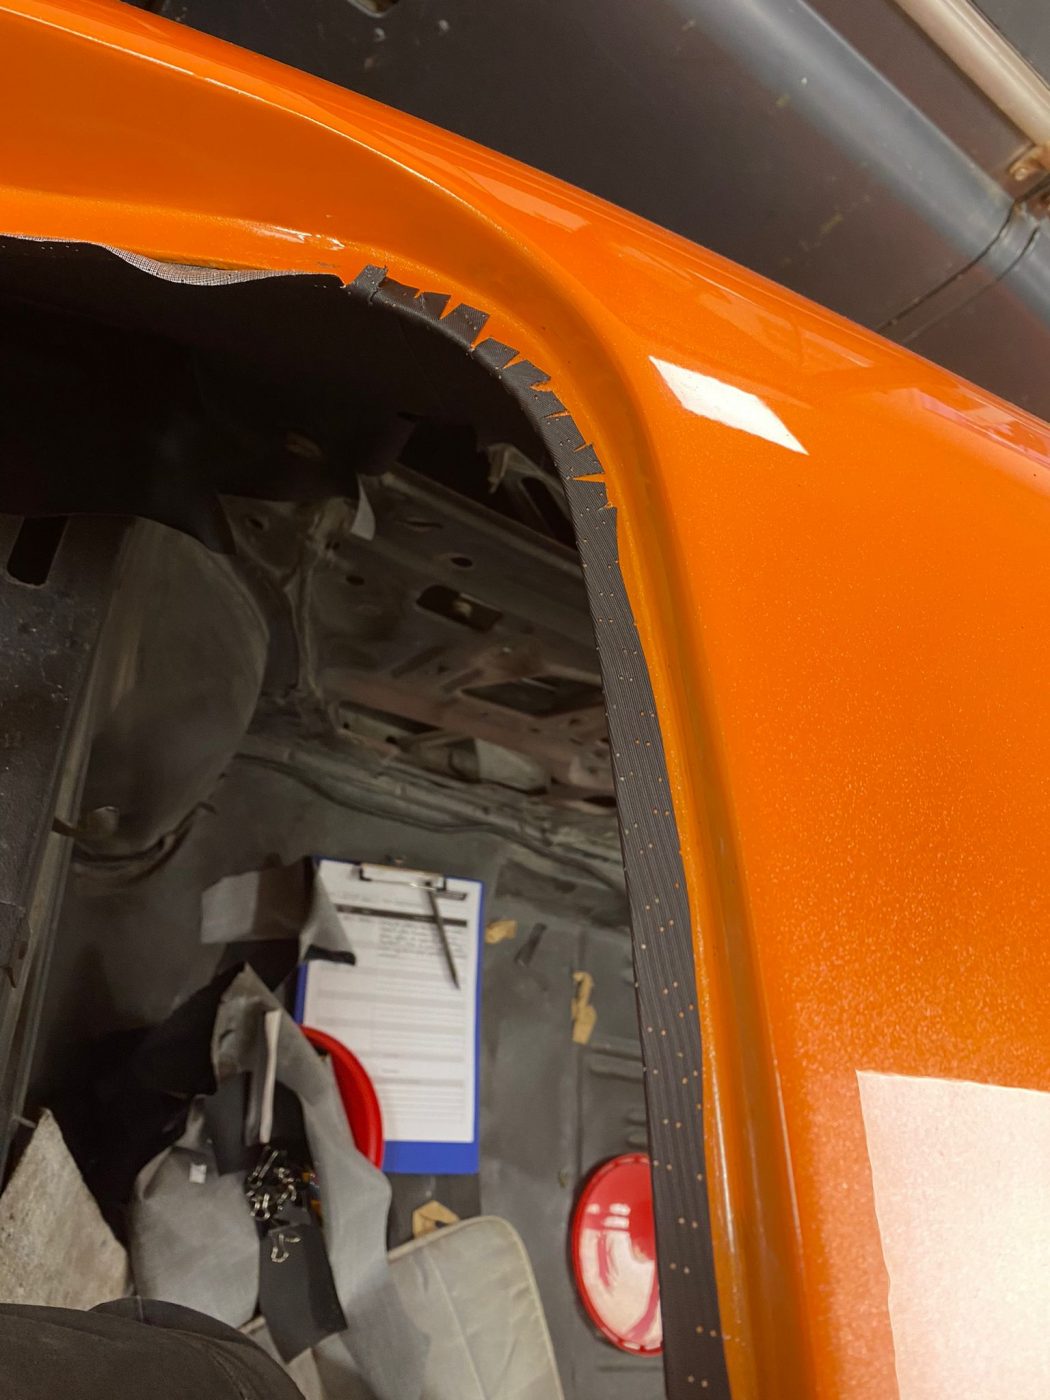
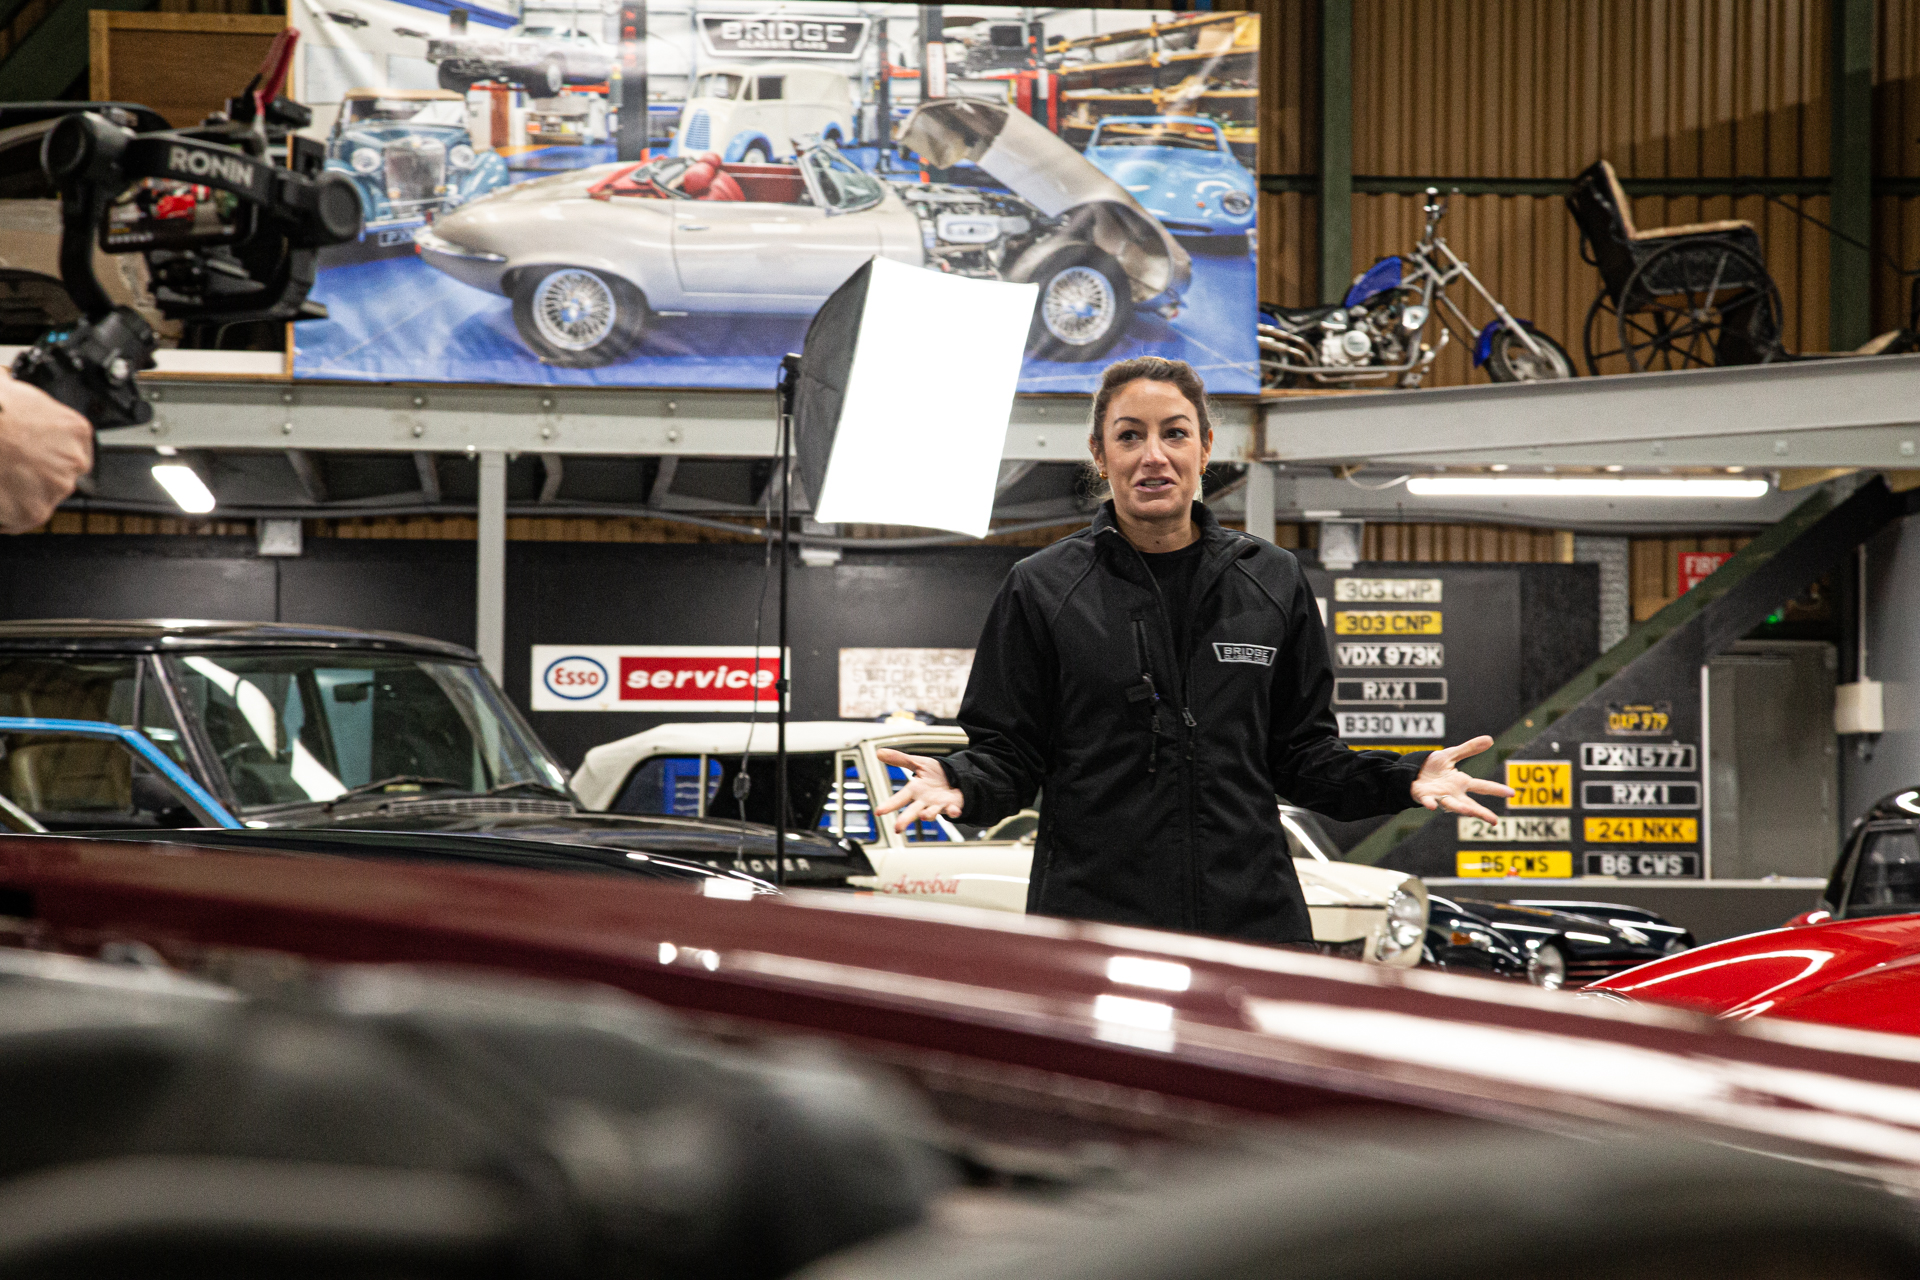
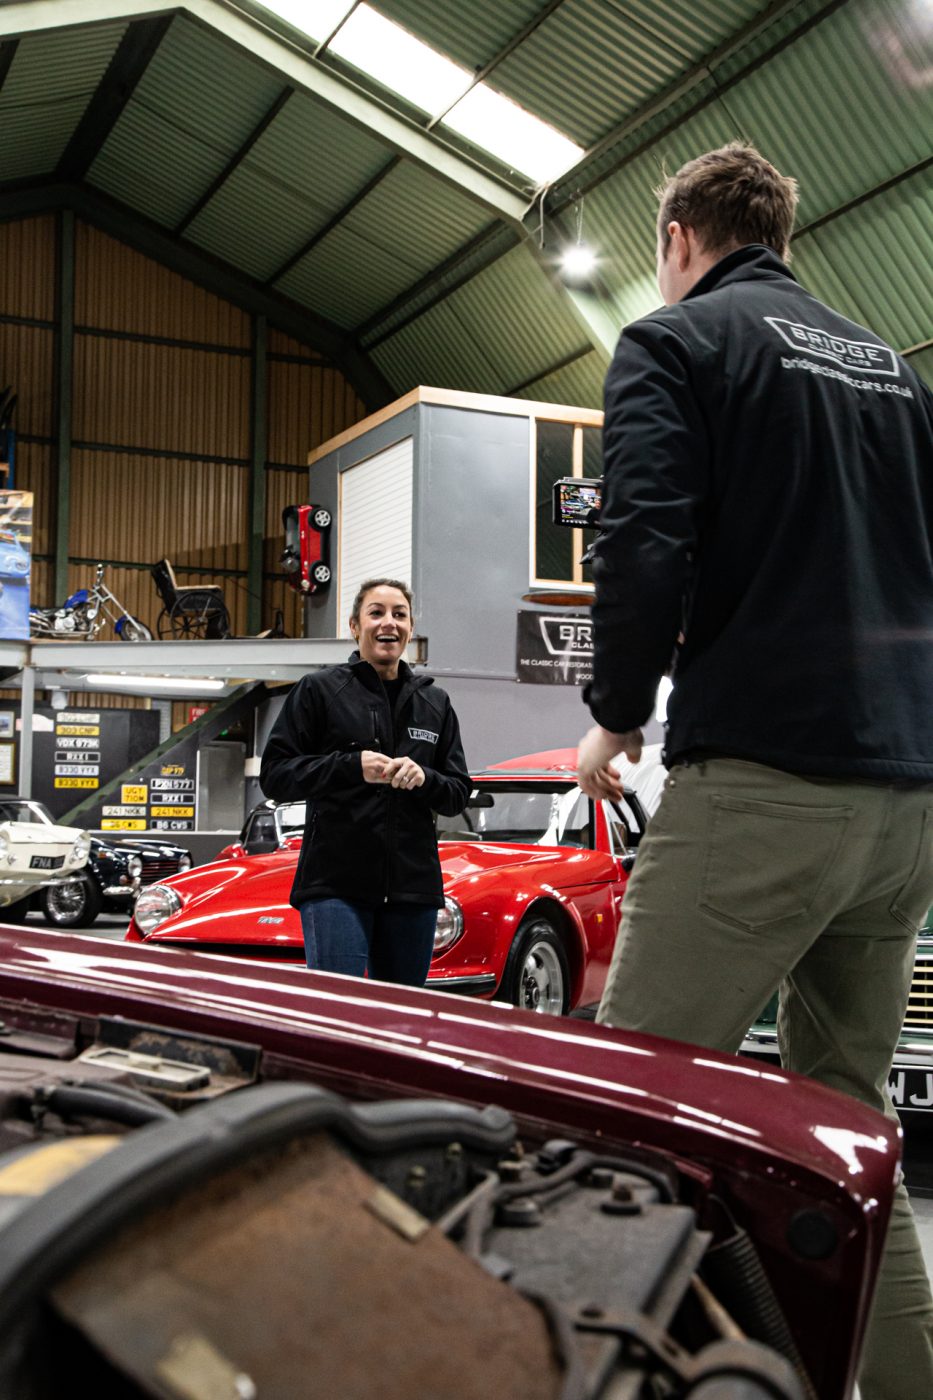
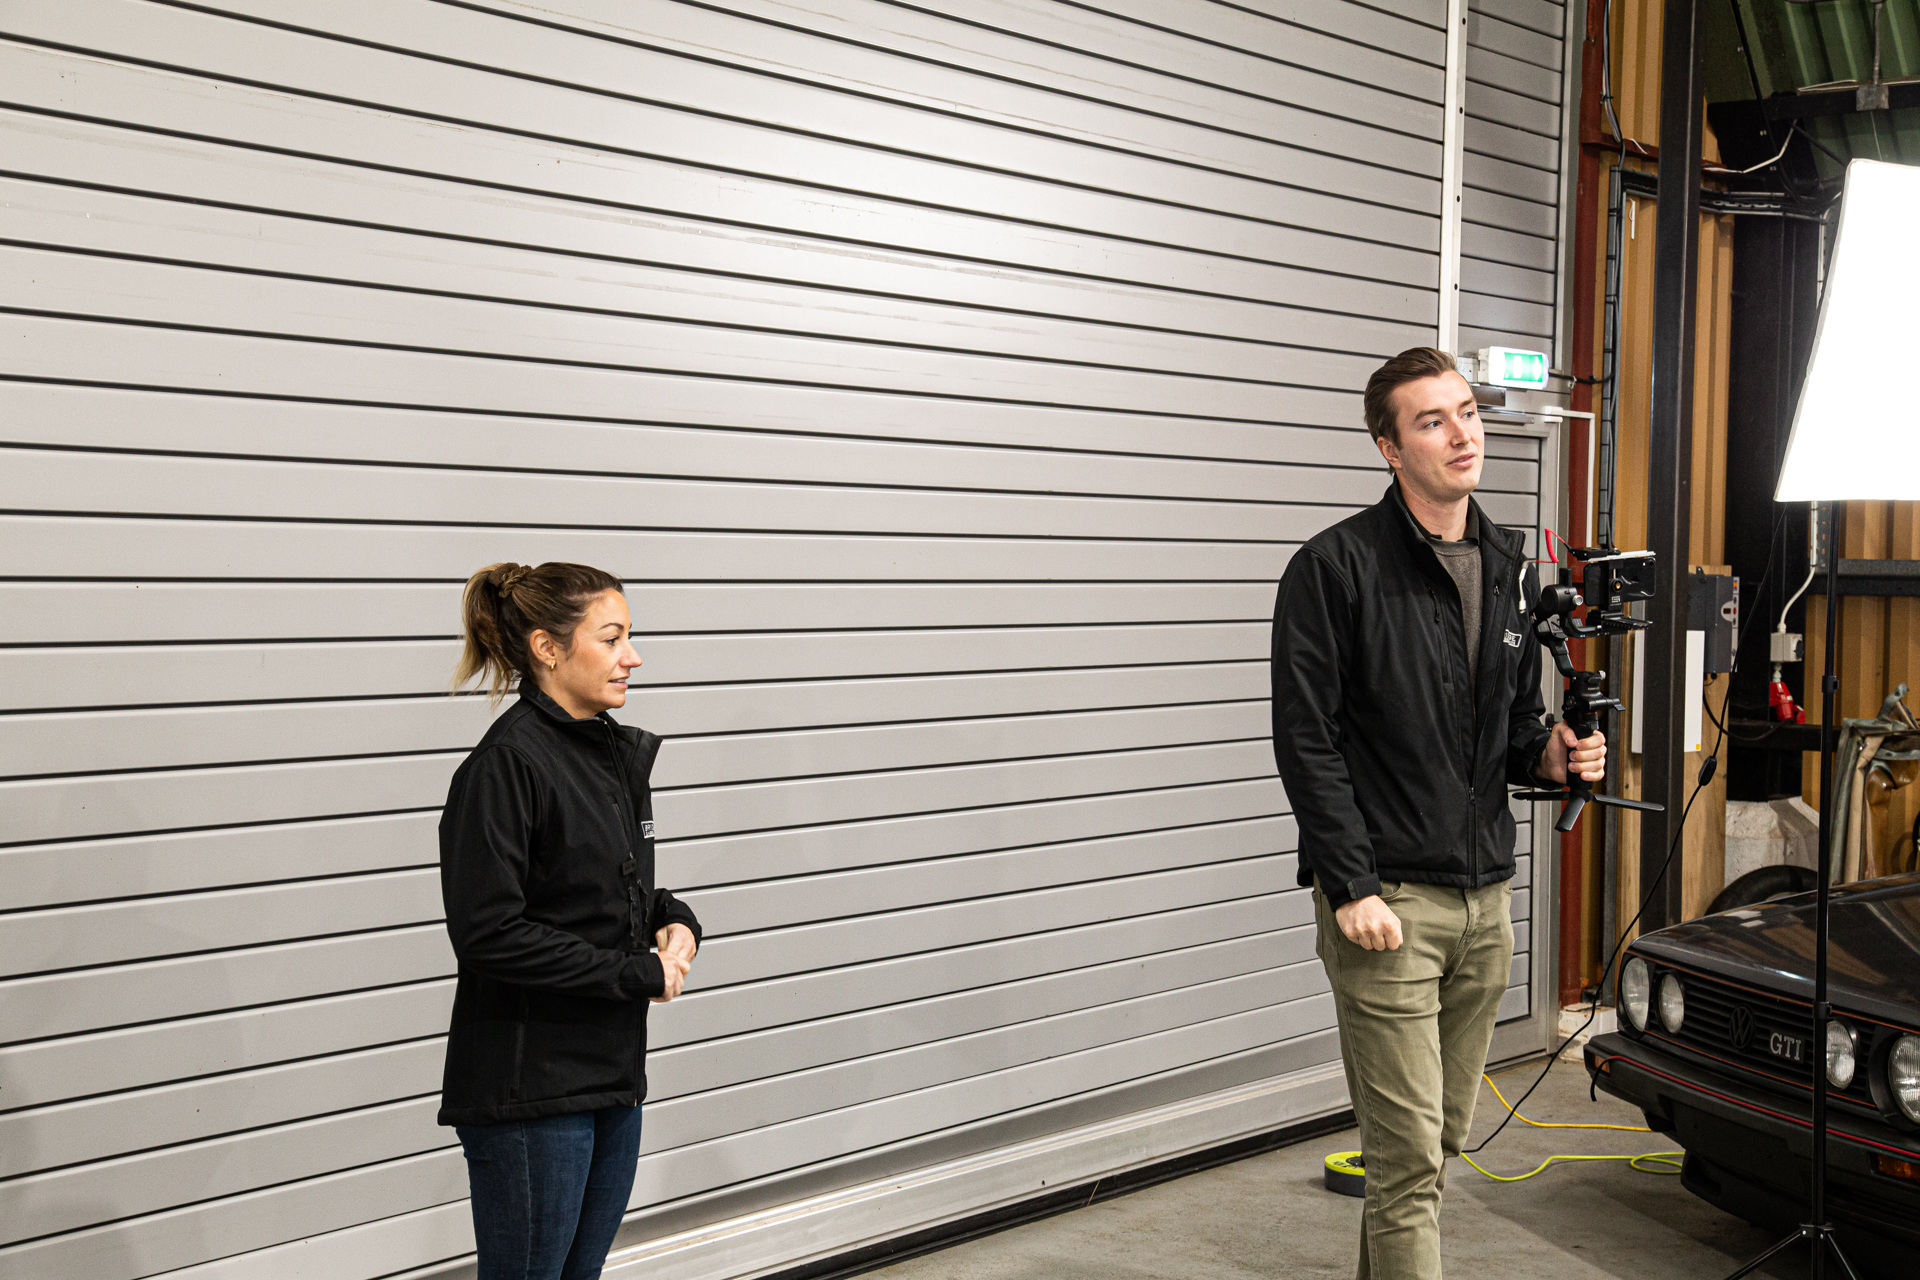
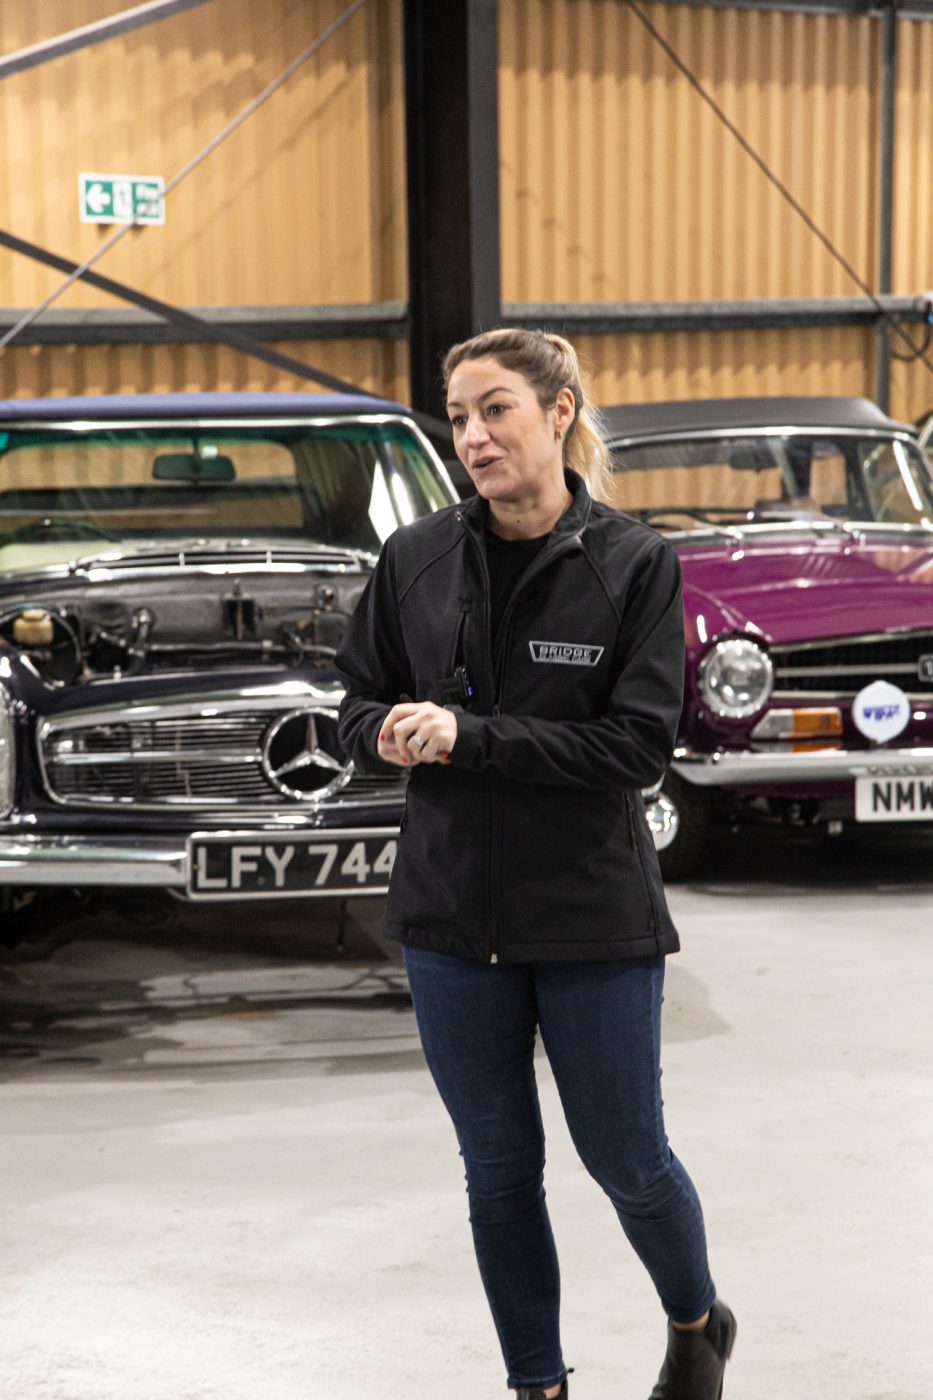
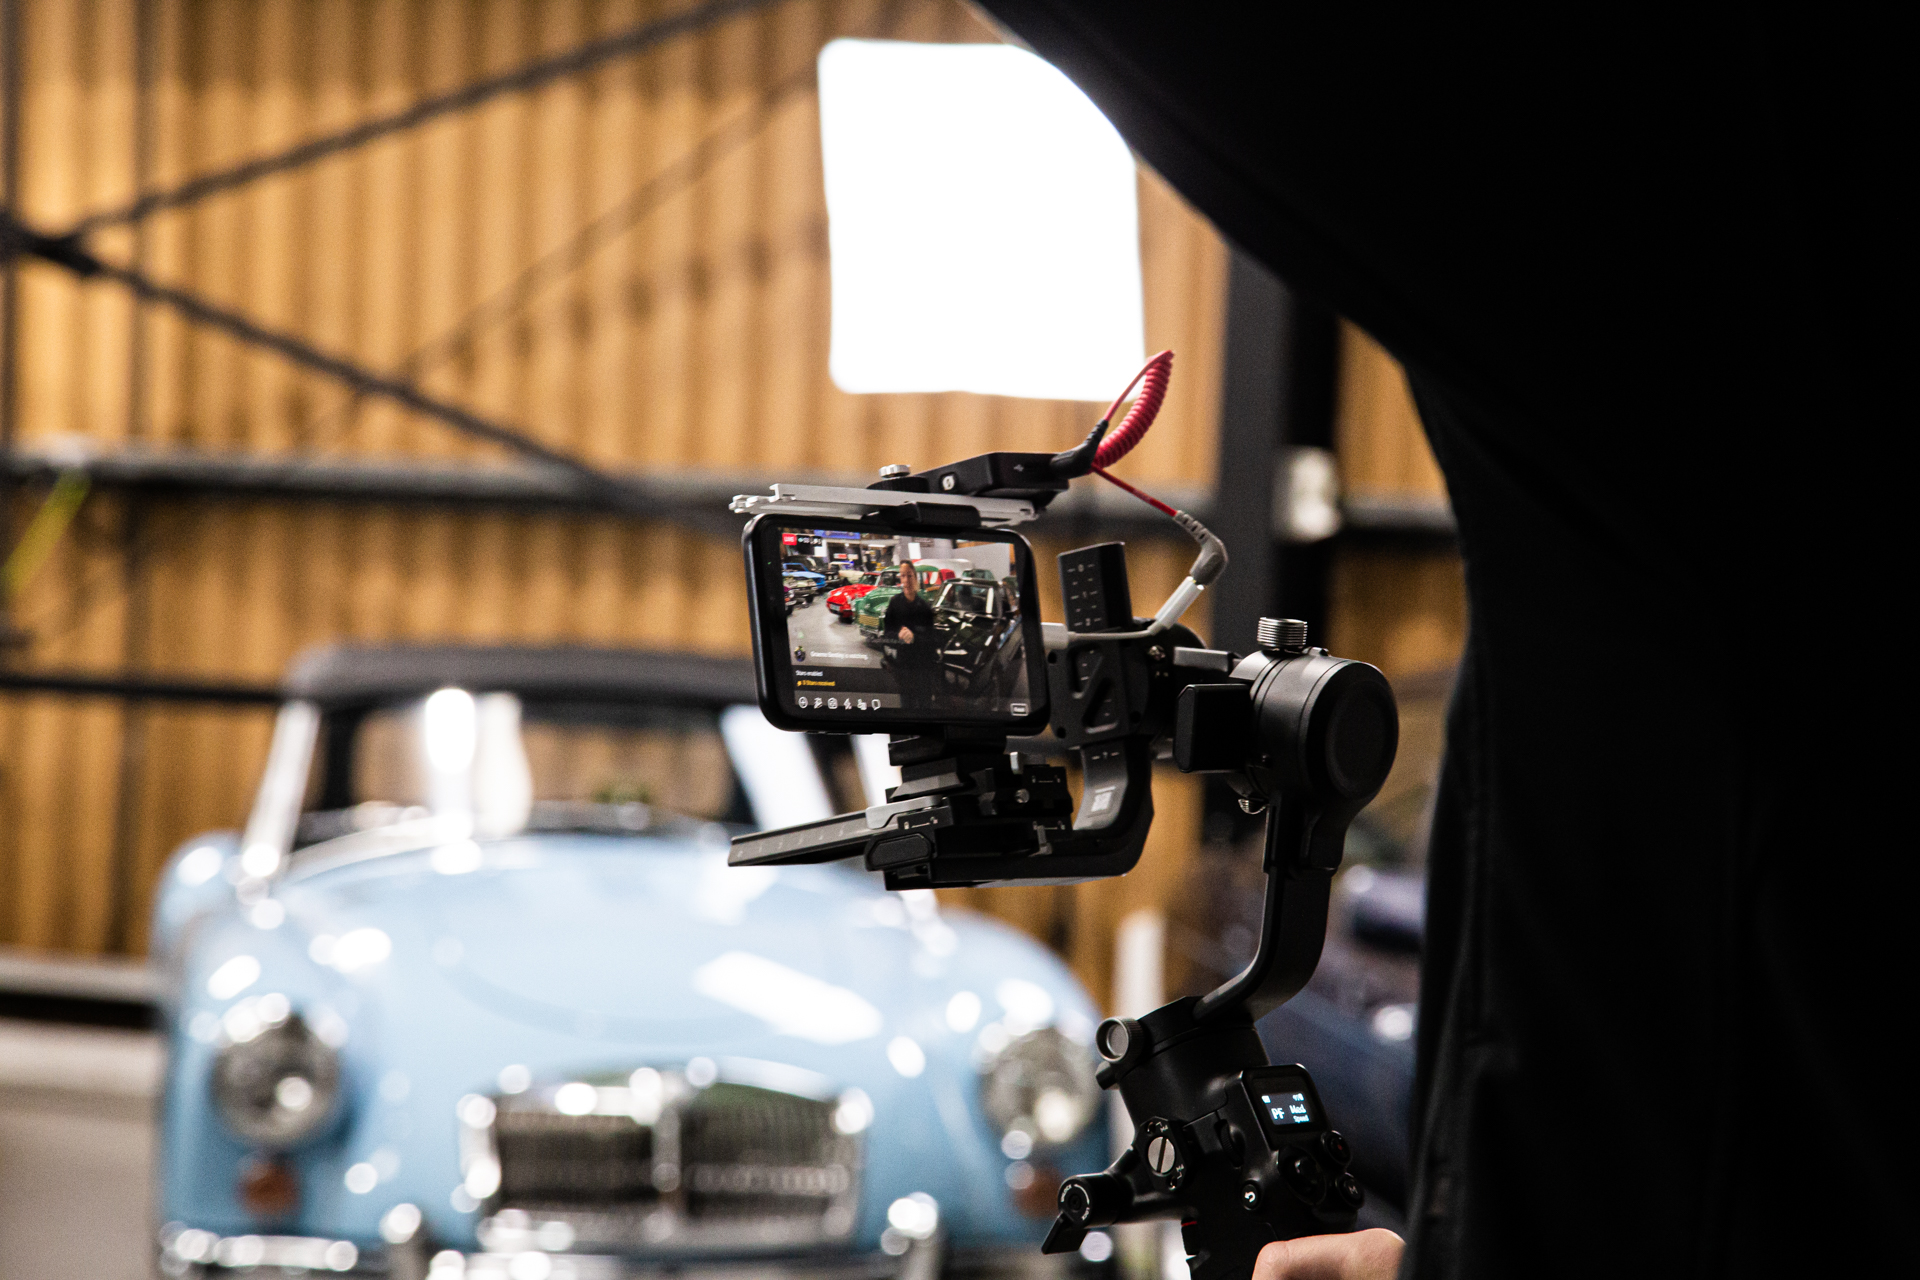
New to the Bridge Classic Cars workshop is this 1977 MG B Roadster. It is in with us for a full aesthetic restoration which will include a brand new paint job along with a full interior, a new convertible hood and a new radio.
Work will begin shortly and getting this iconic sportscar stripped down and ready for our in-house paint team to work their magic on the car.
Expect to see much more on this MG B Roadster on the news page on the Bridge Classic Cars blog.
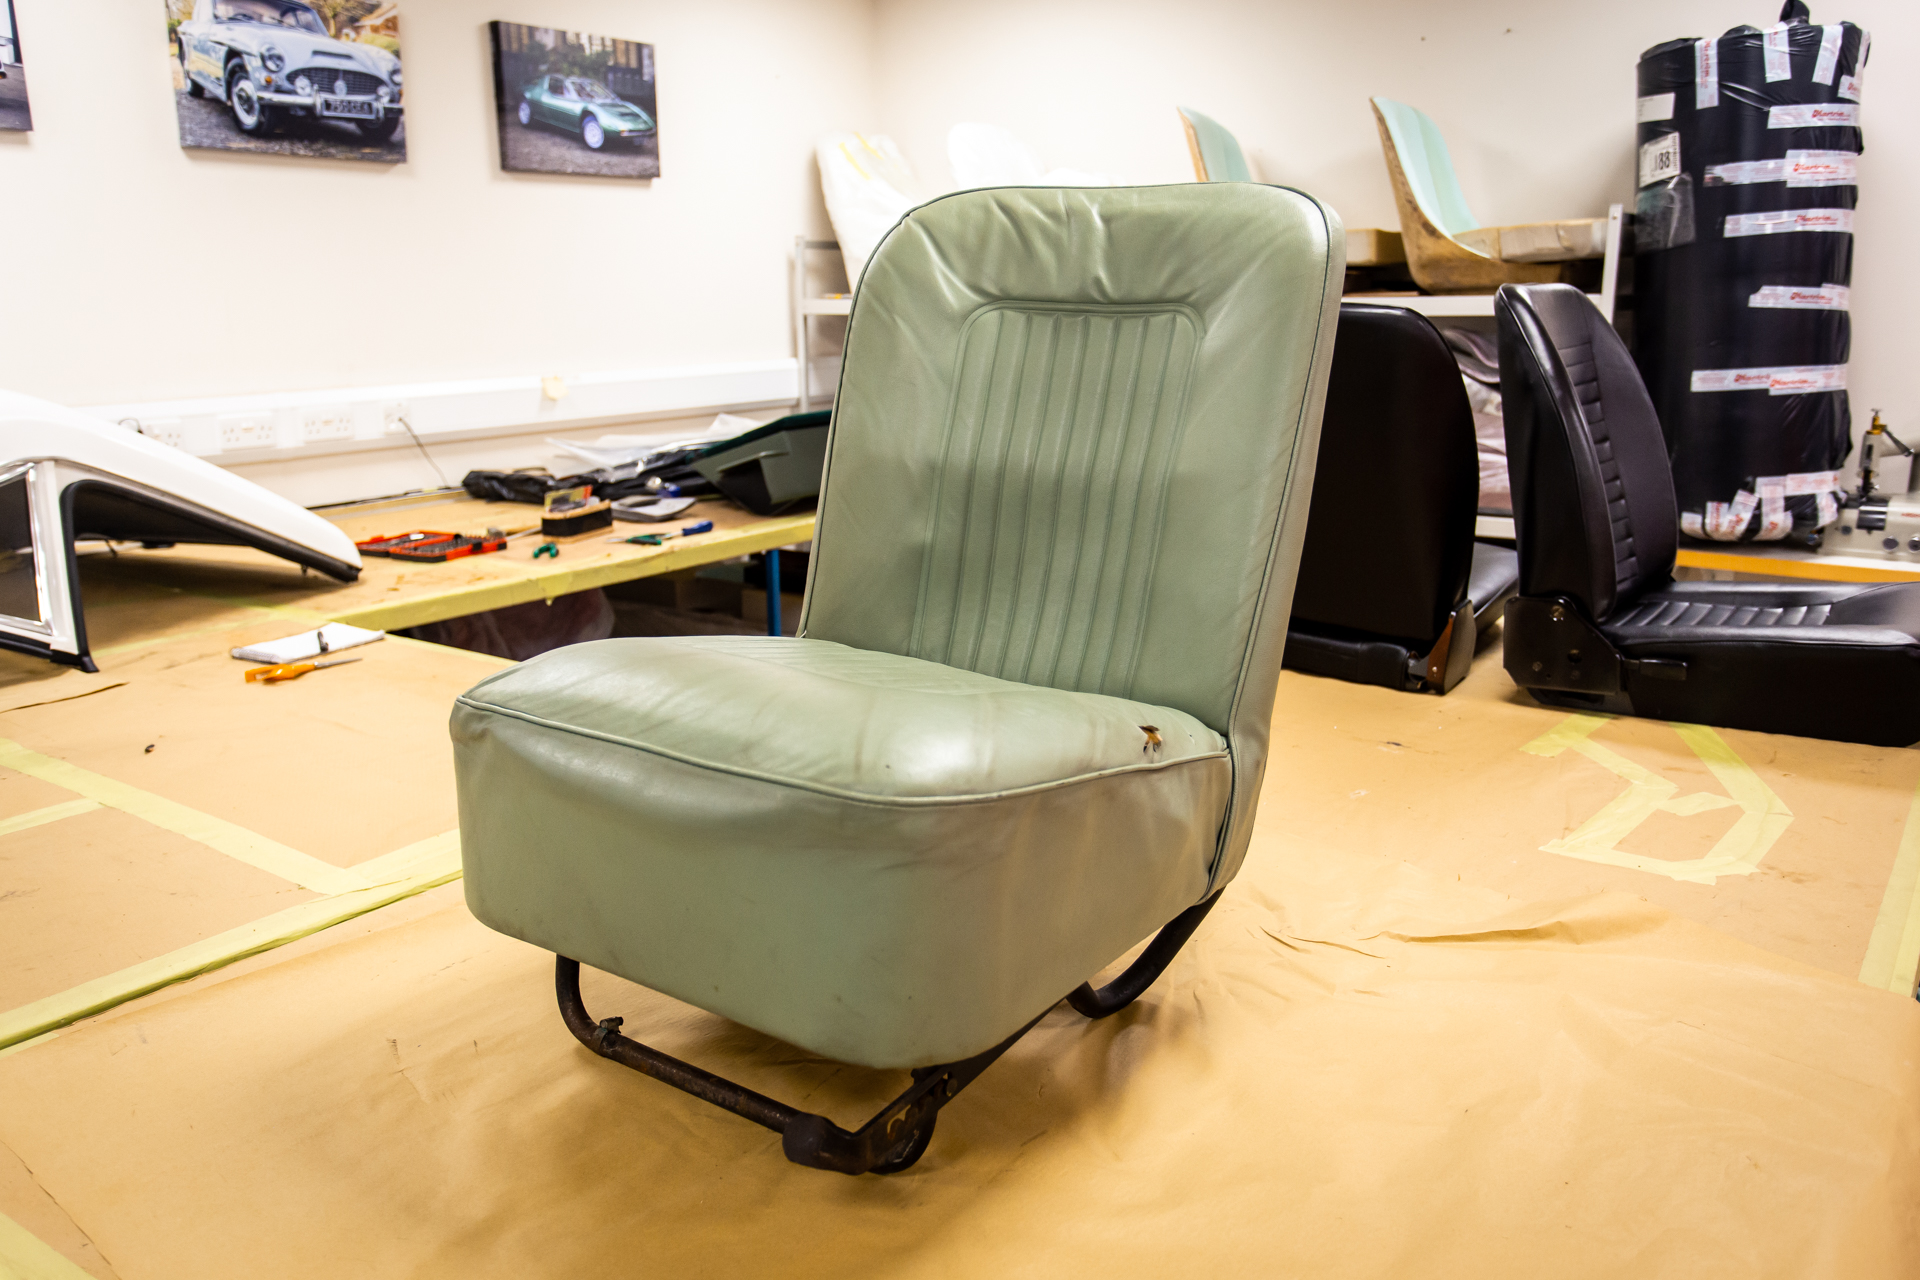
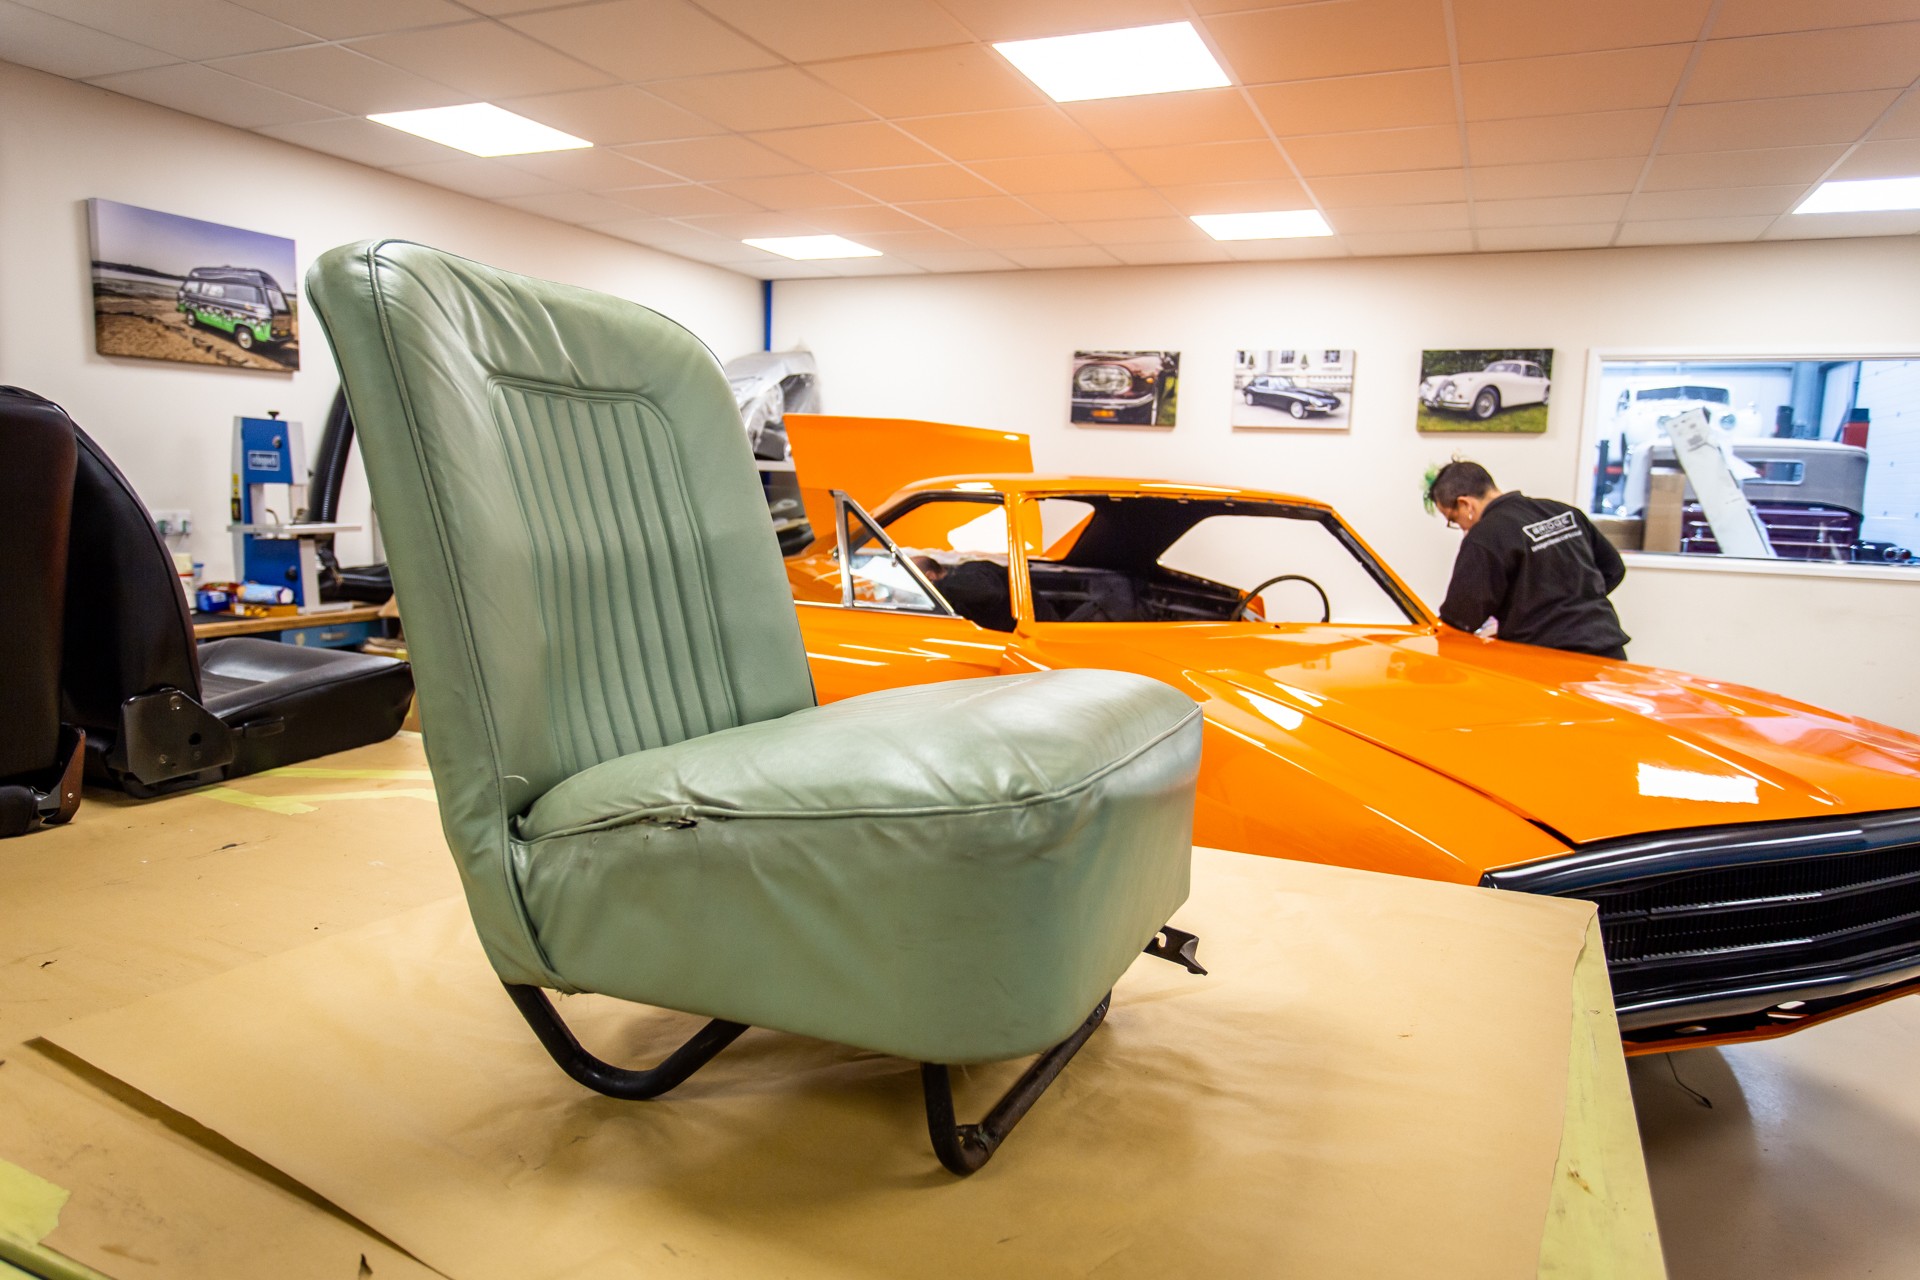
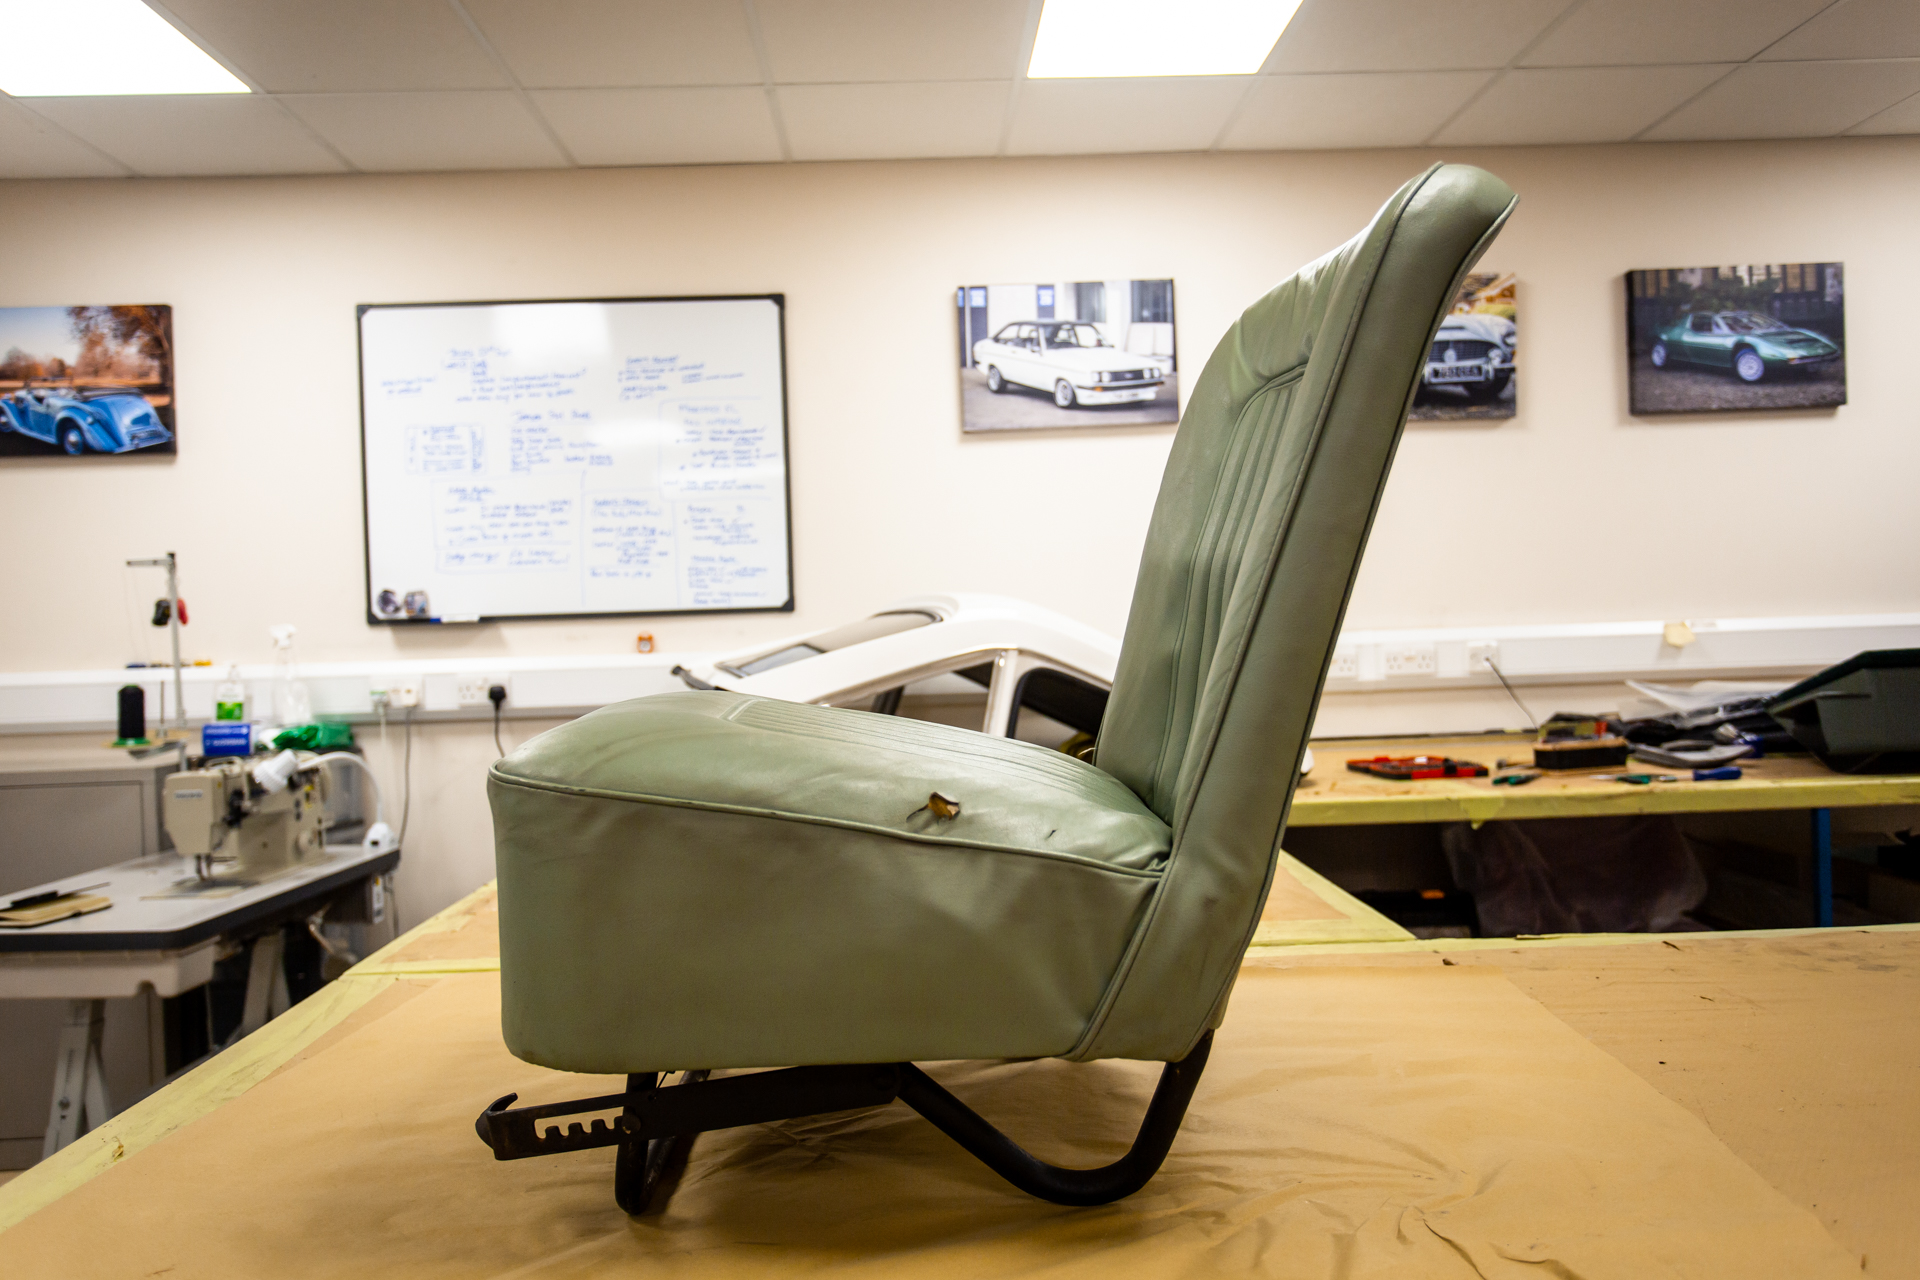
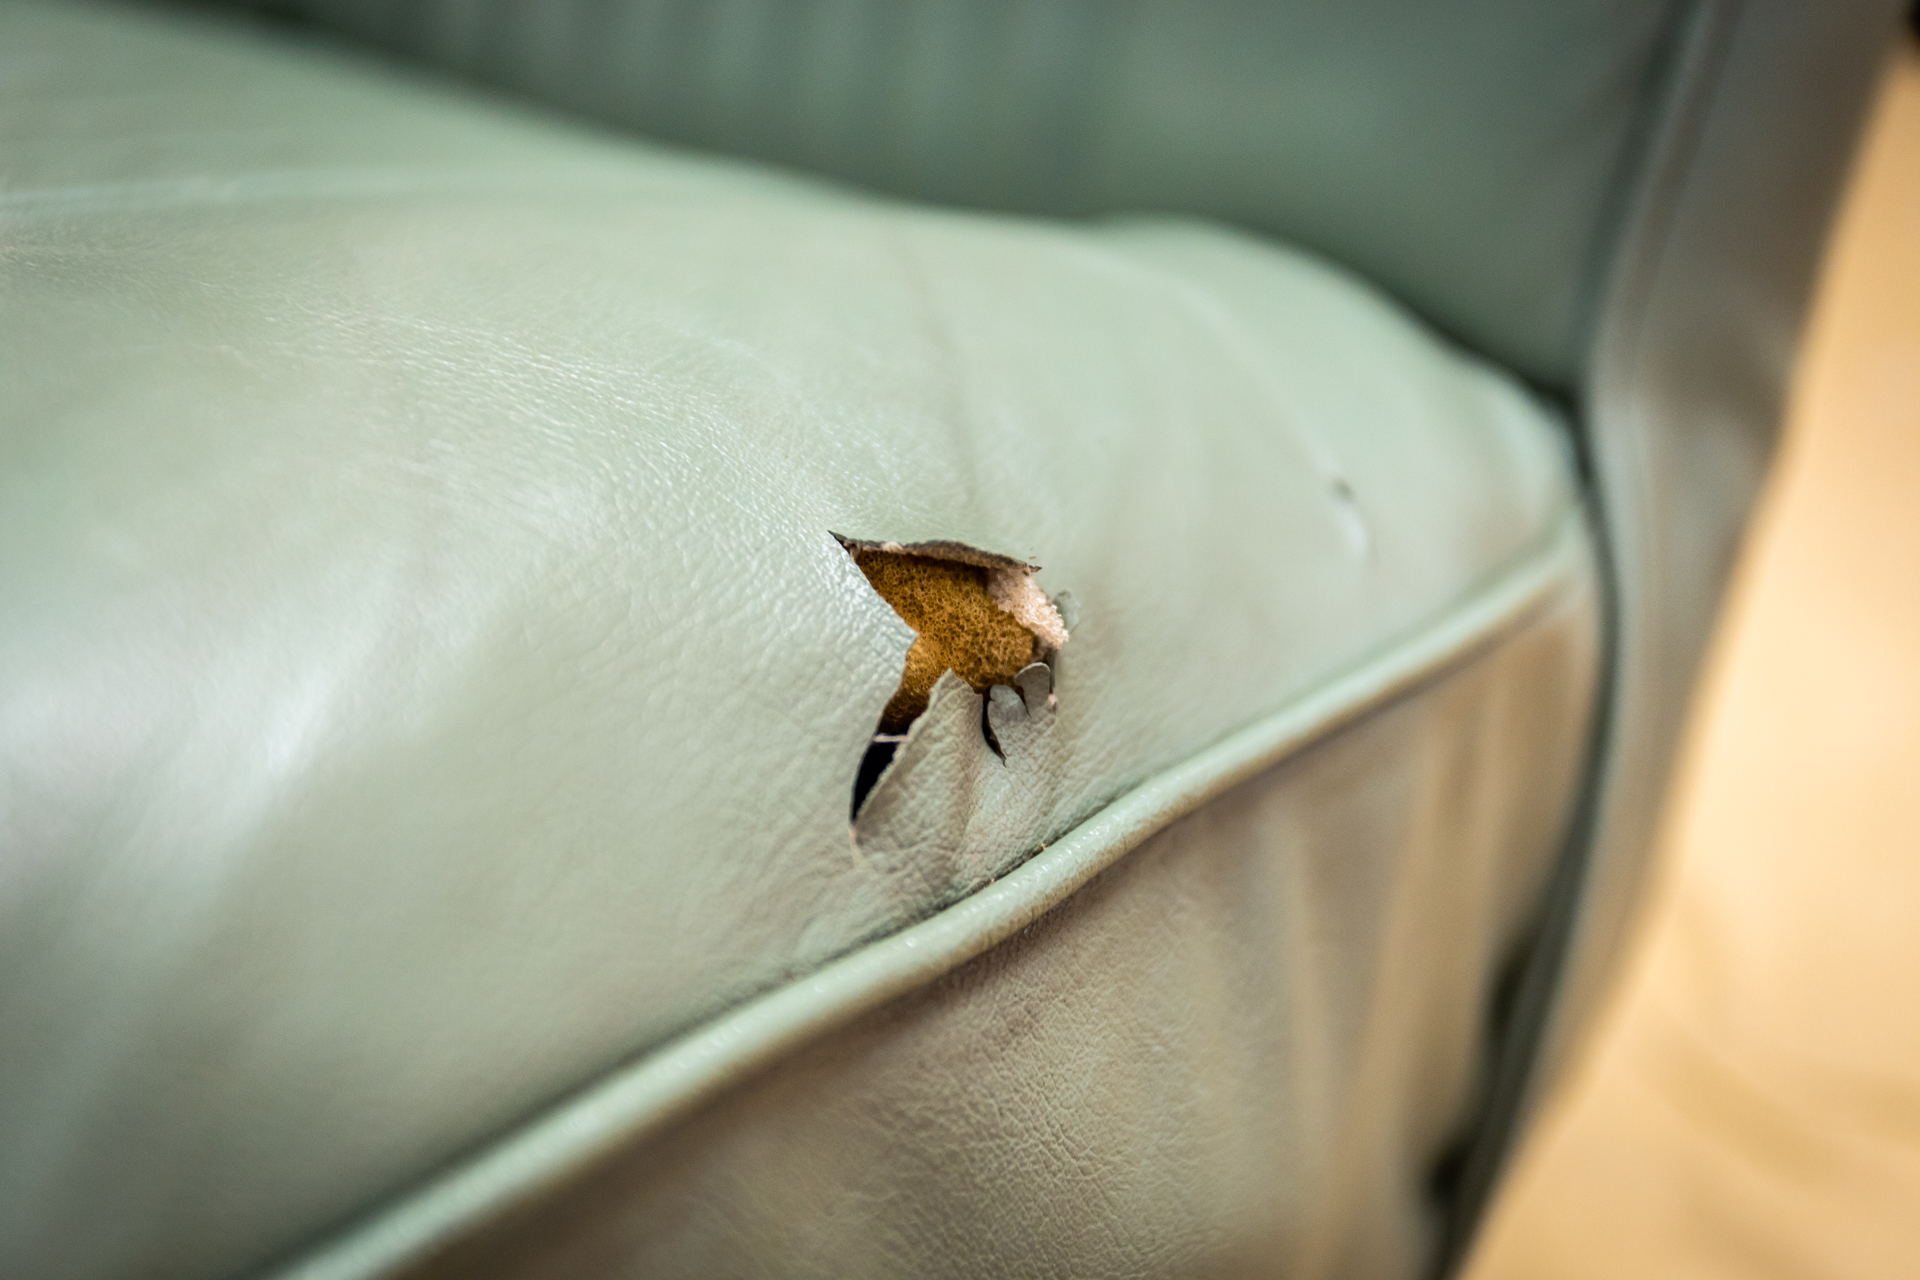
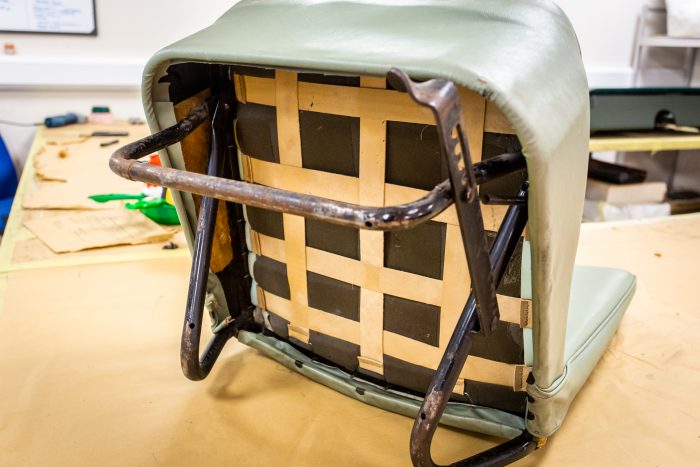
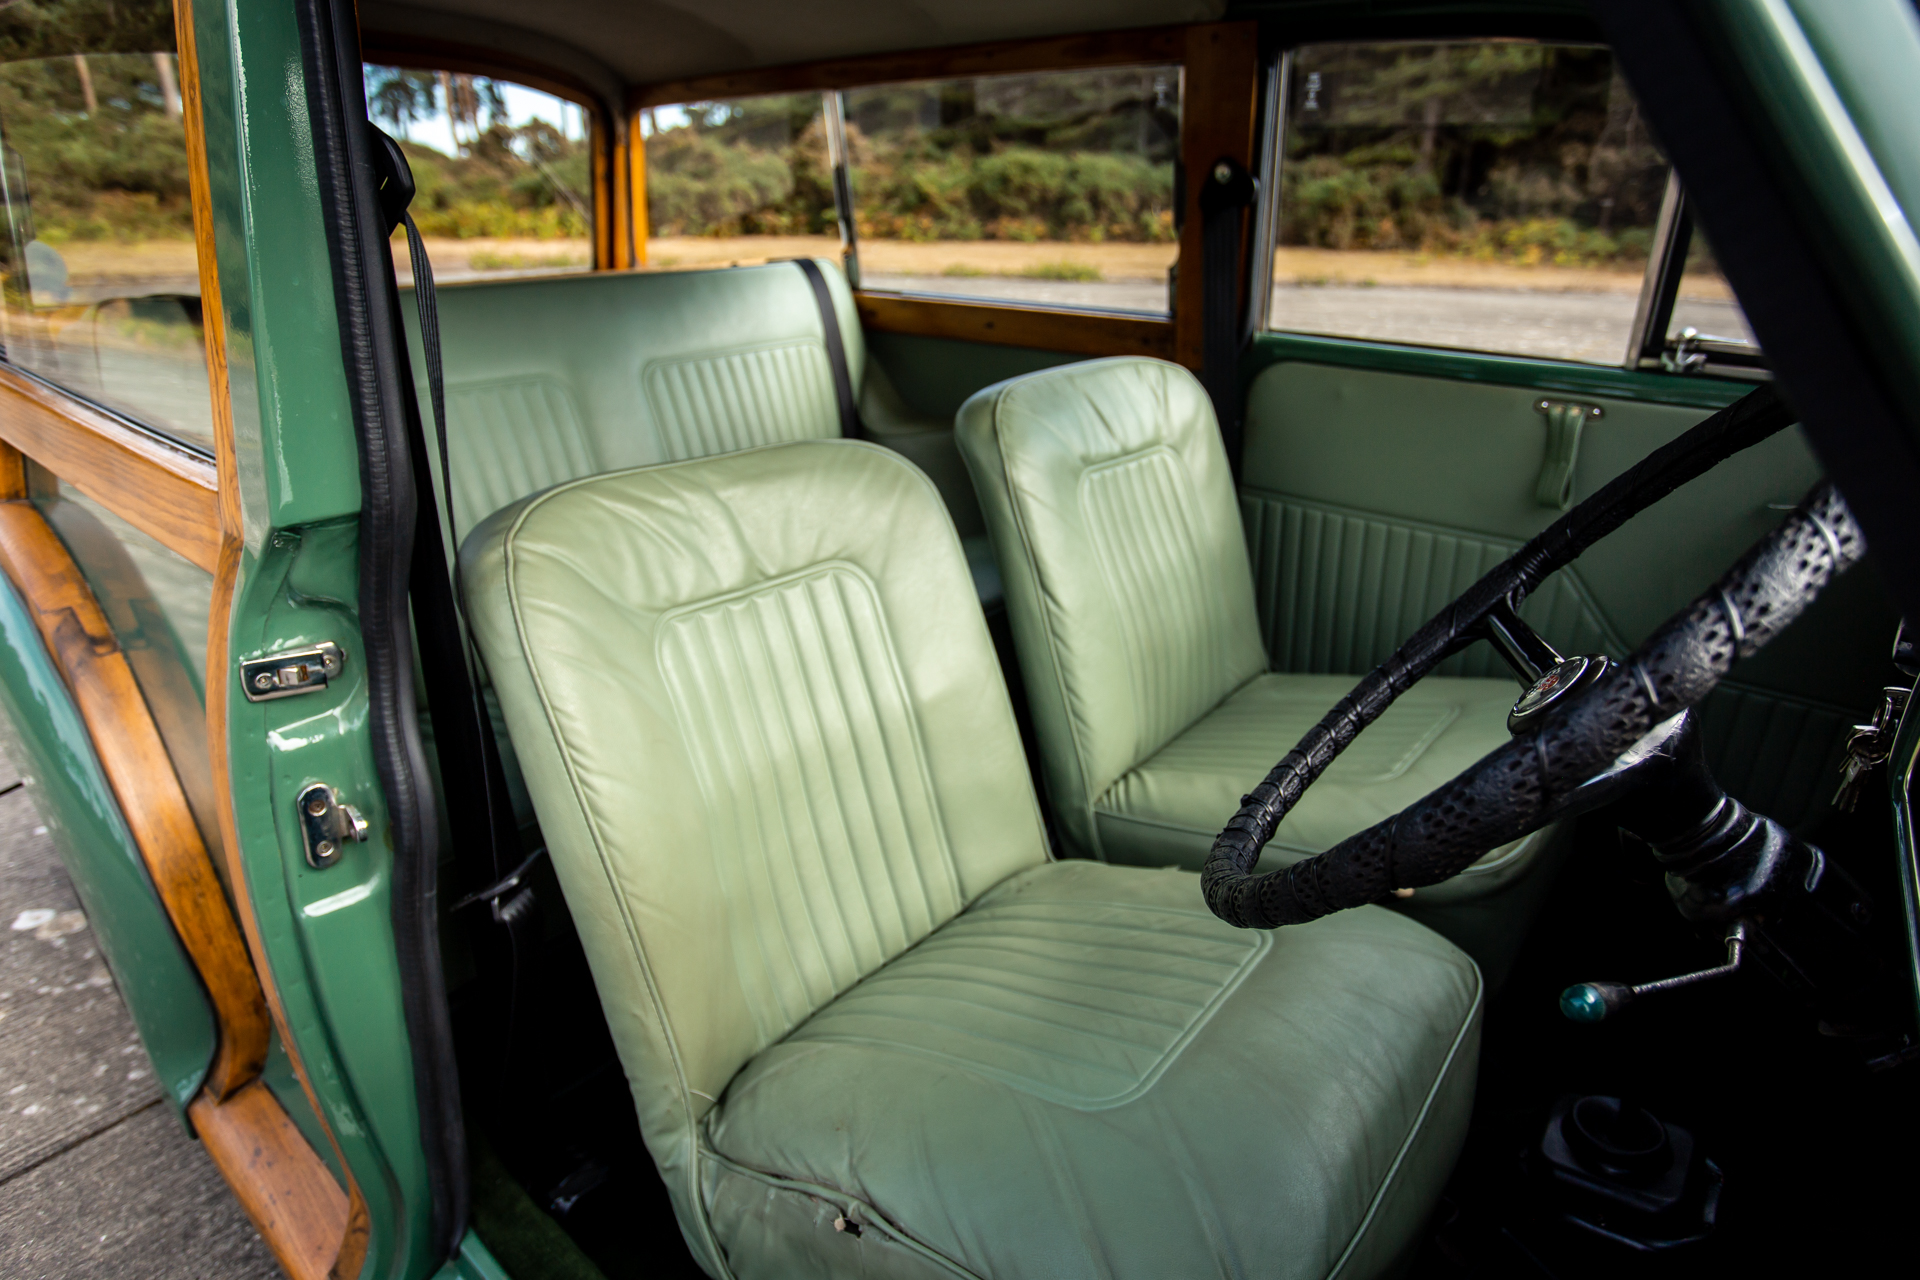
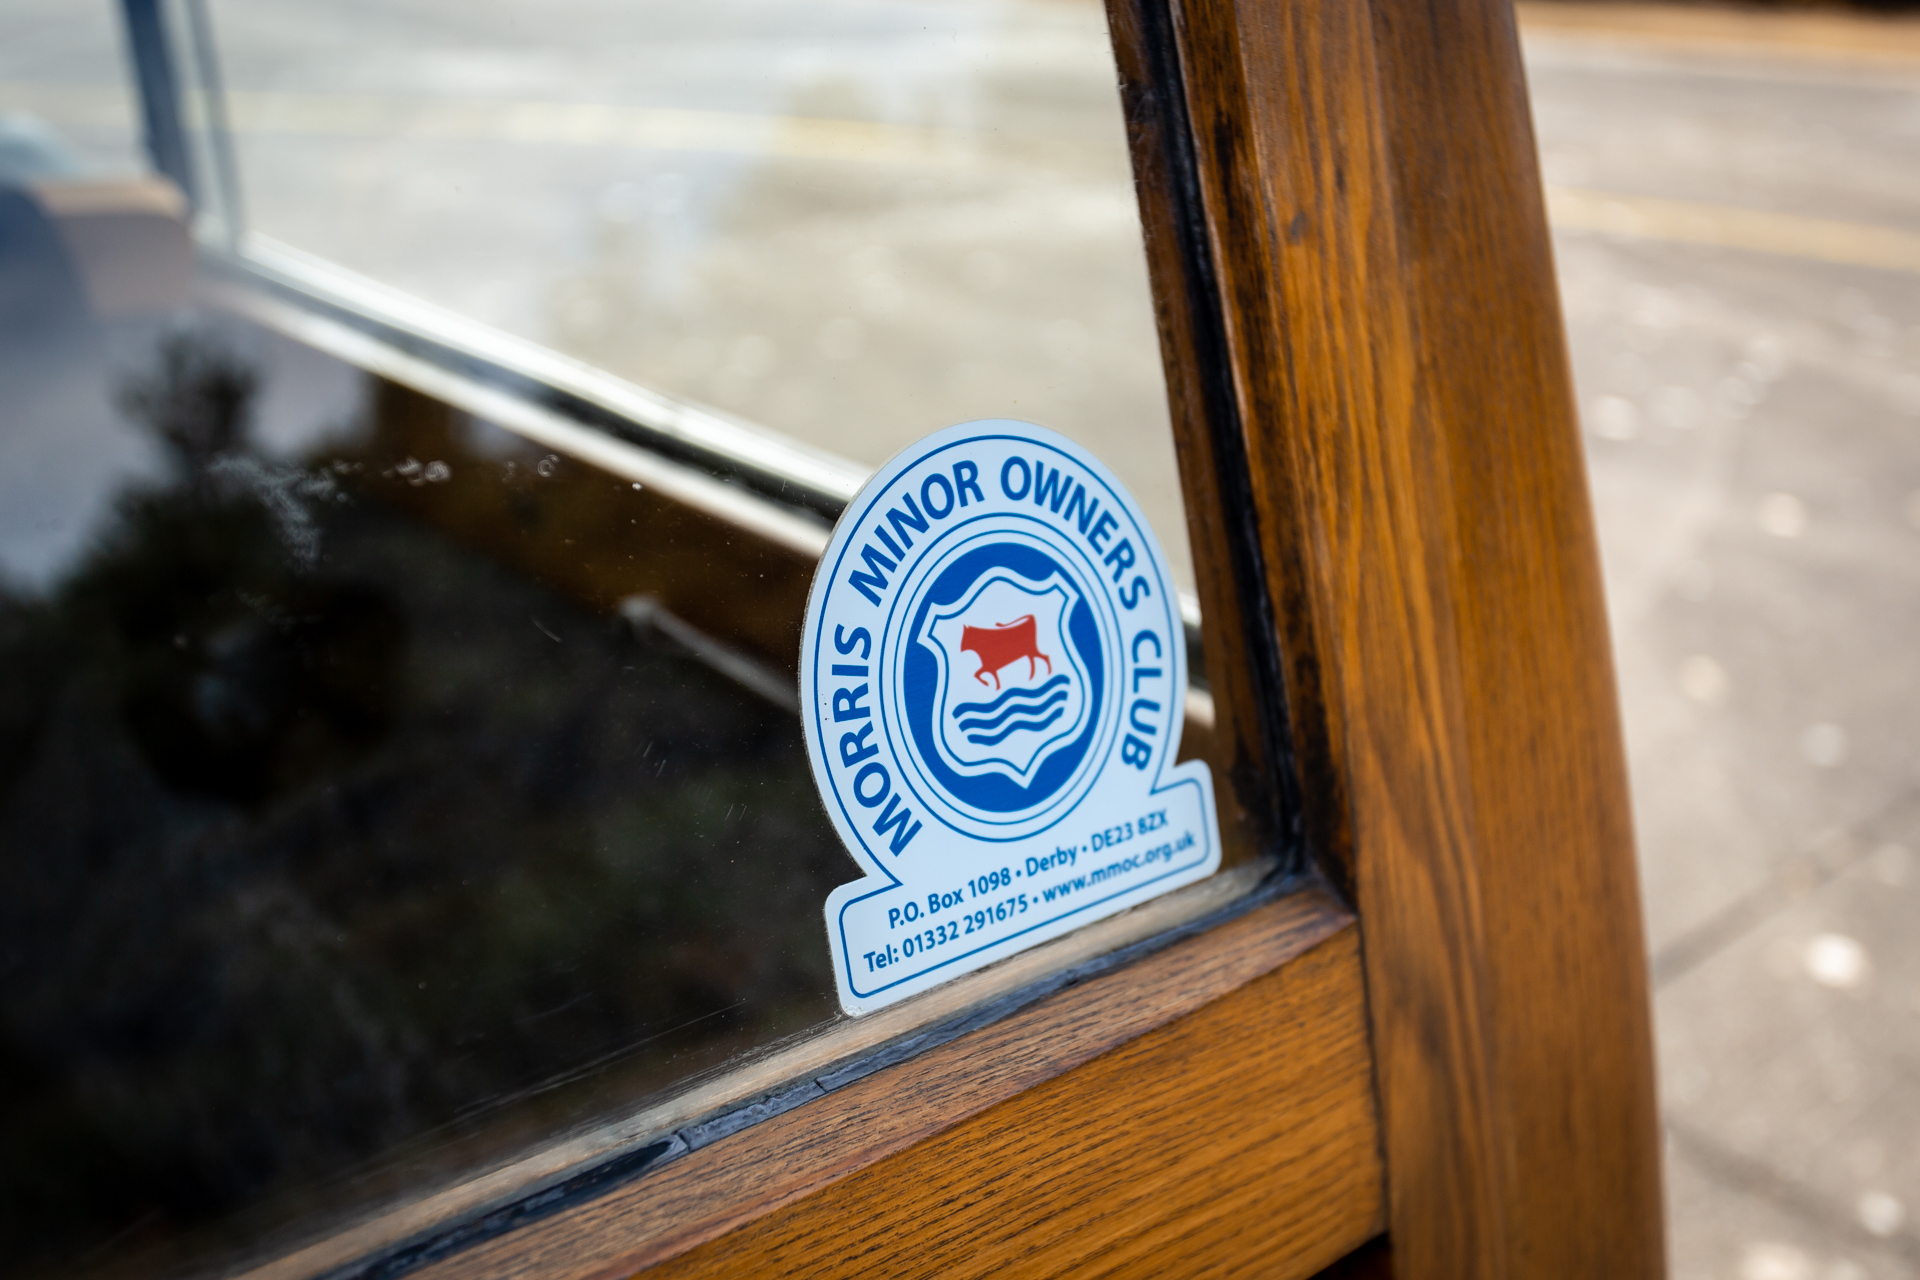
This is one of the seats from the 1971 Morris Traveller 1000 which has been announced as the latest car to be won on Bridge Classic Cars Competitions.
Before then, this seat is going to need to visit our in-house trim shop where Kath will work her magic.
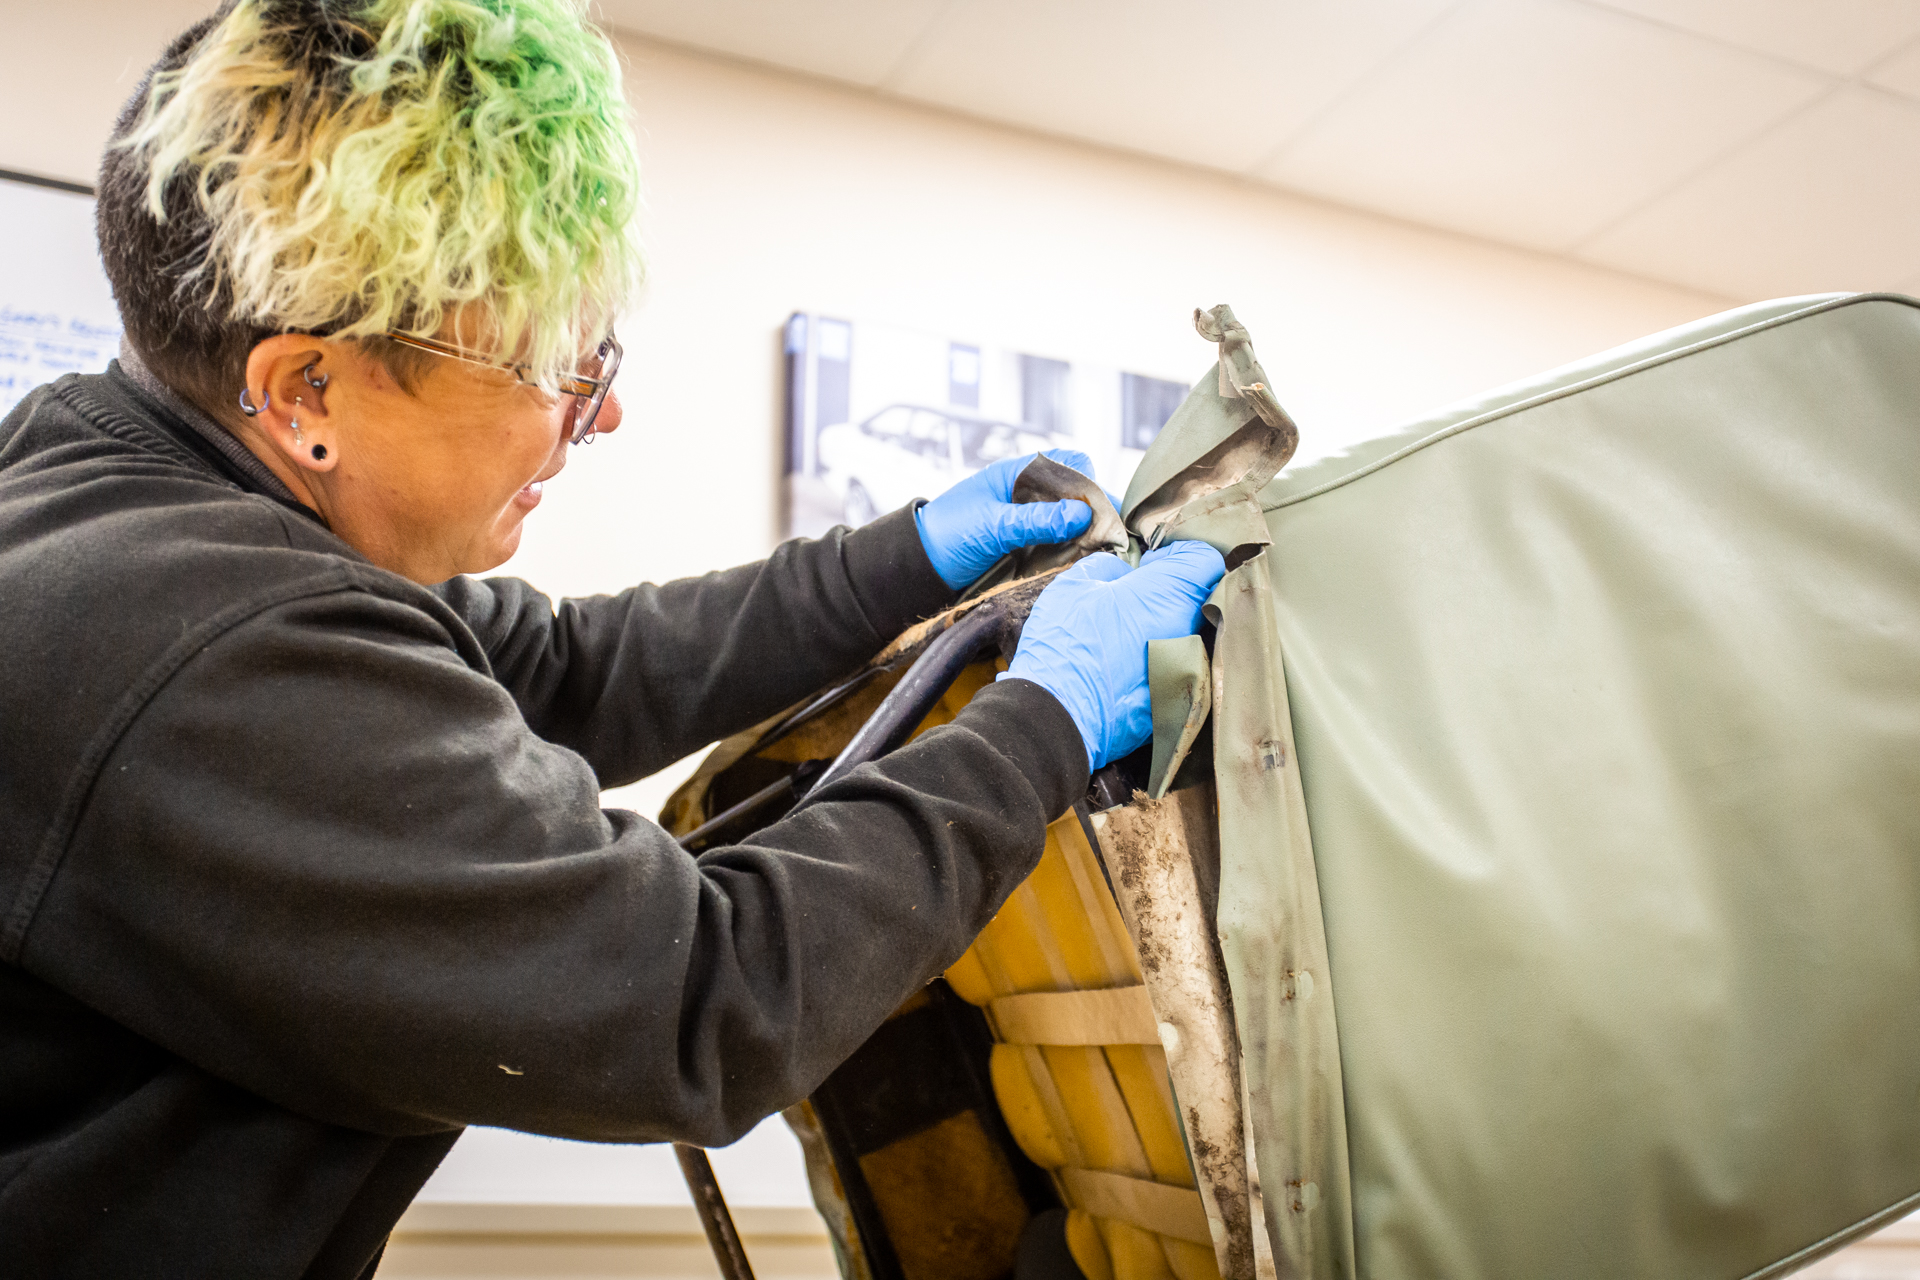

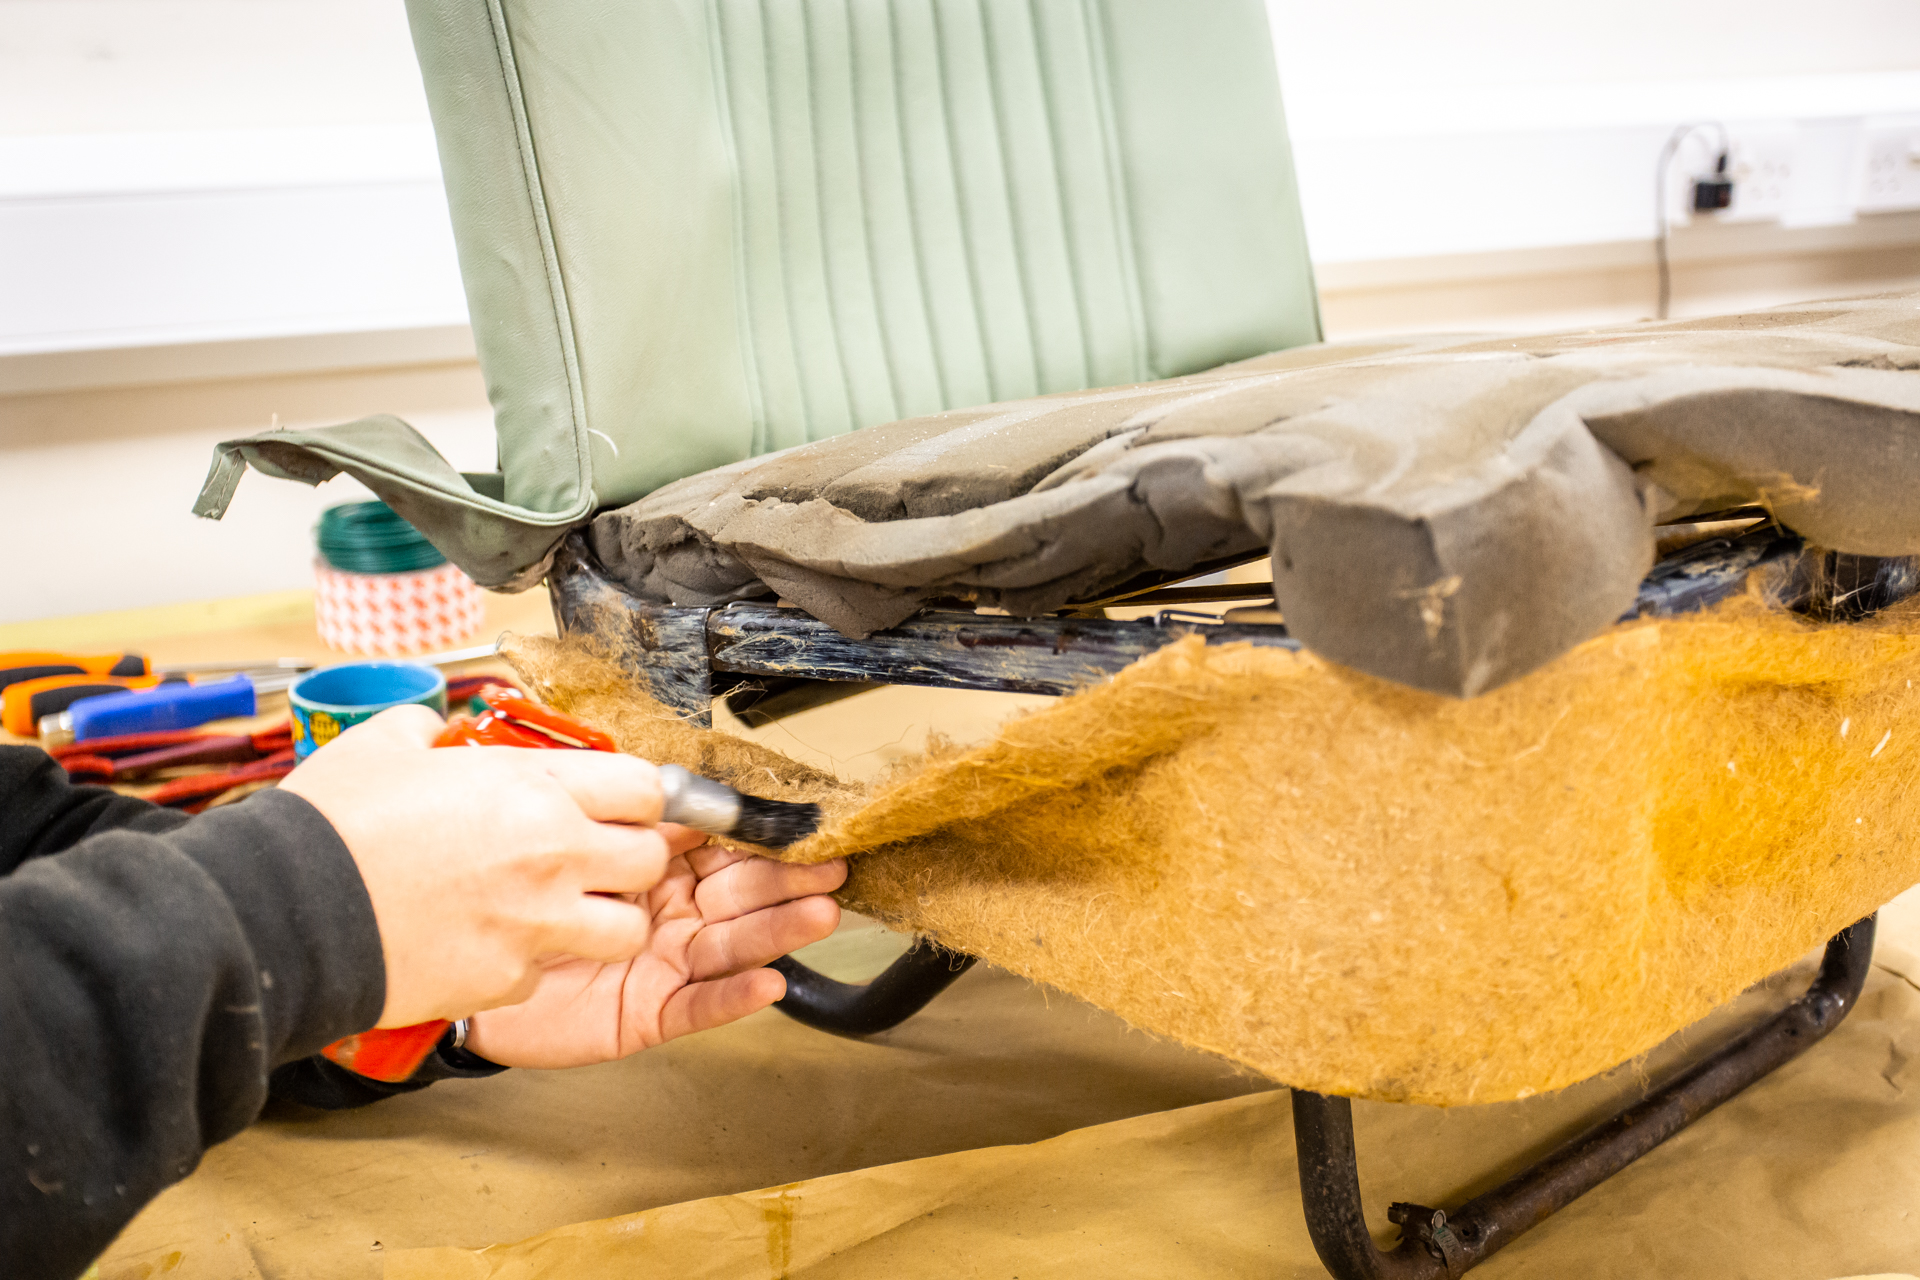

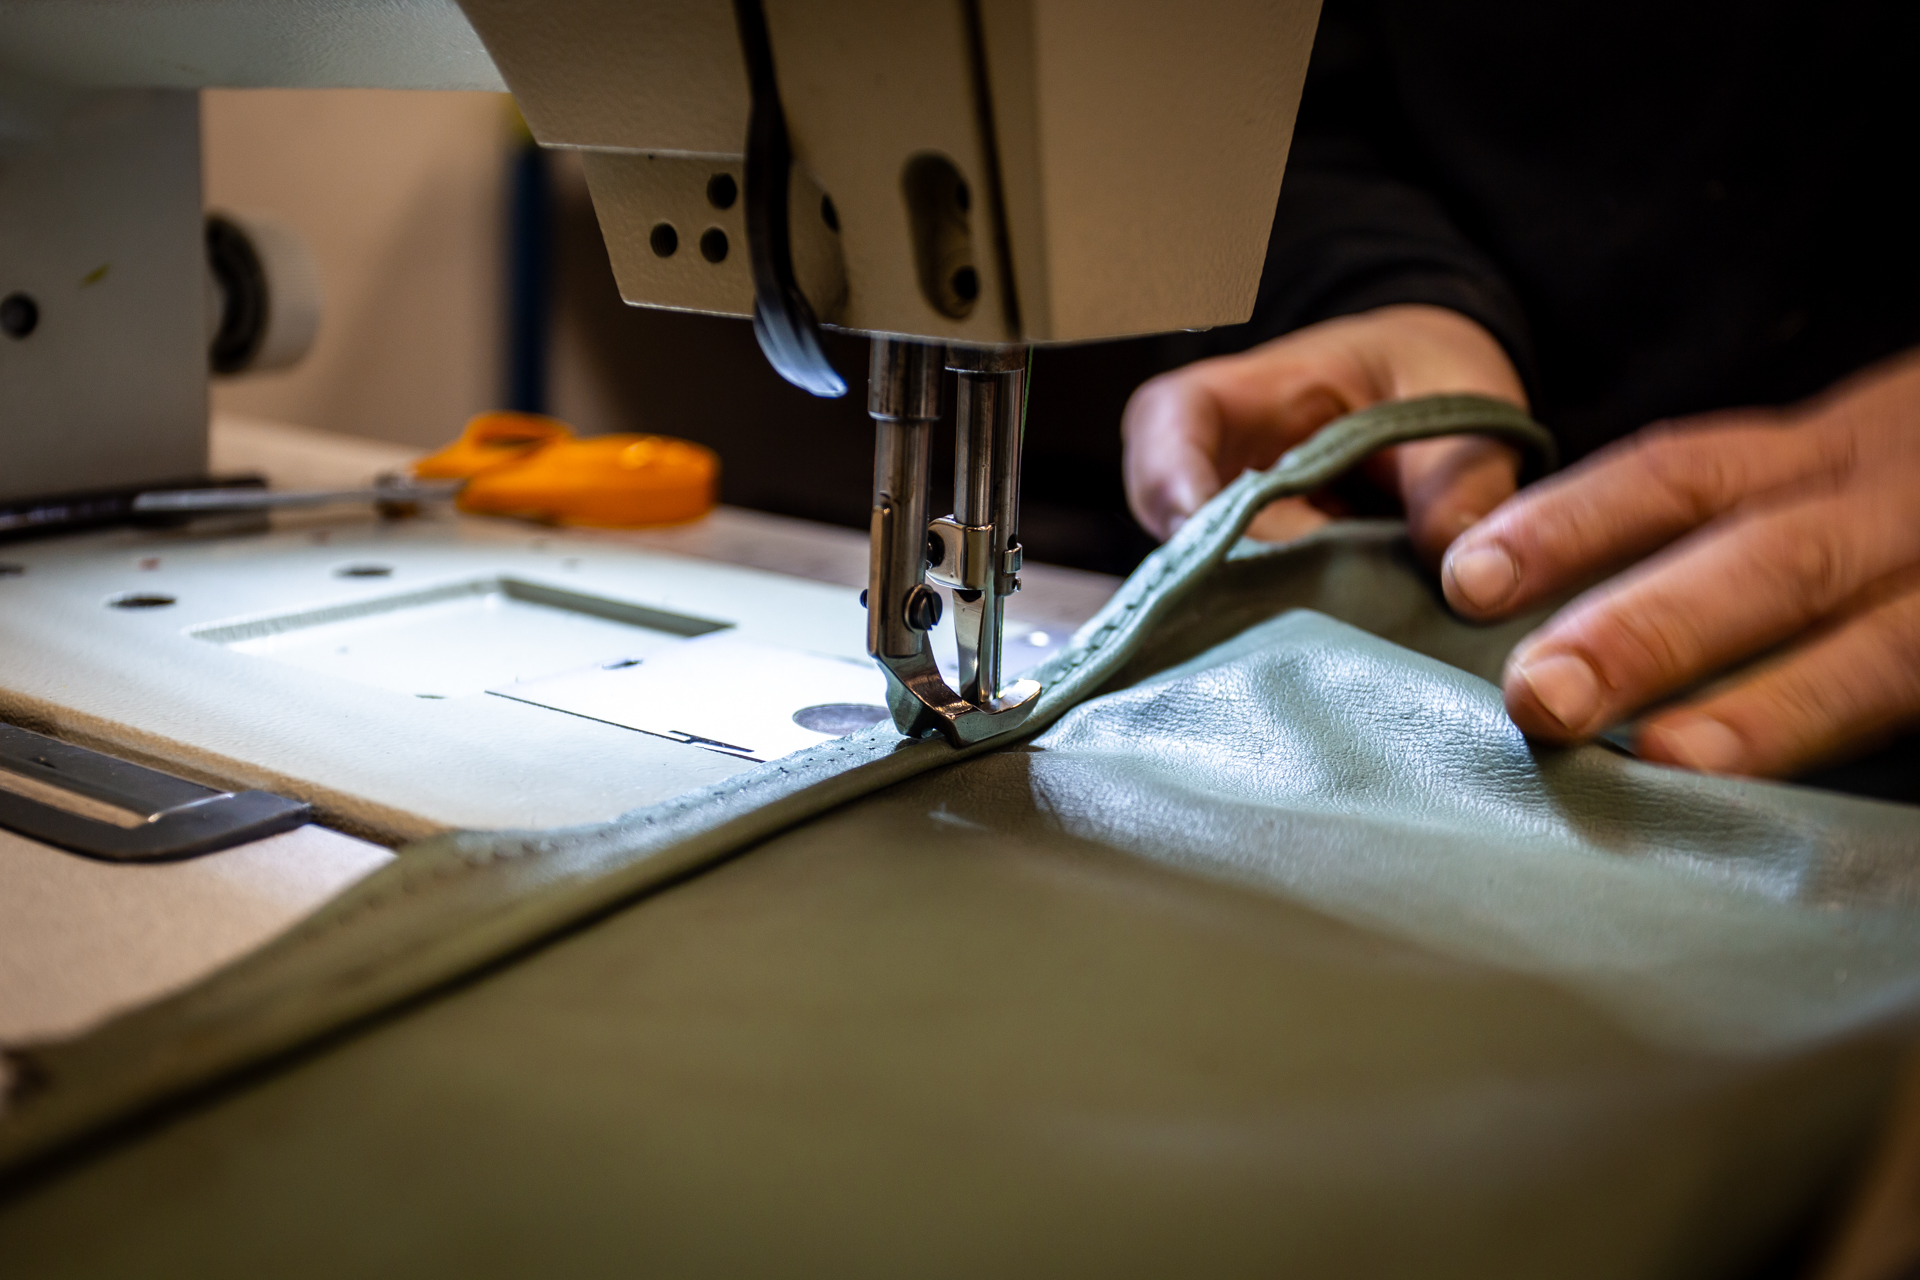
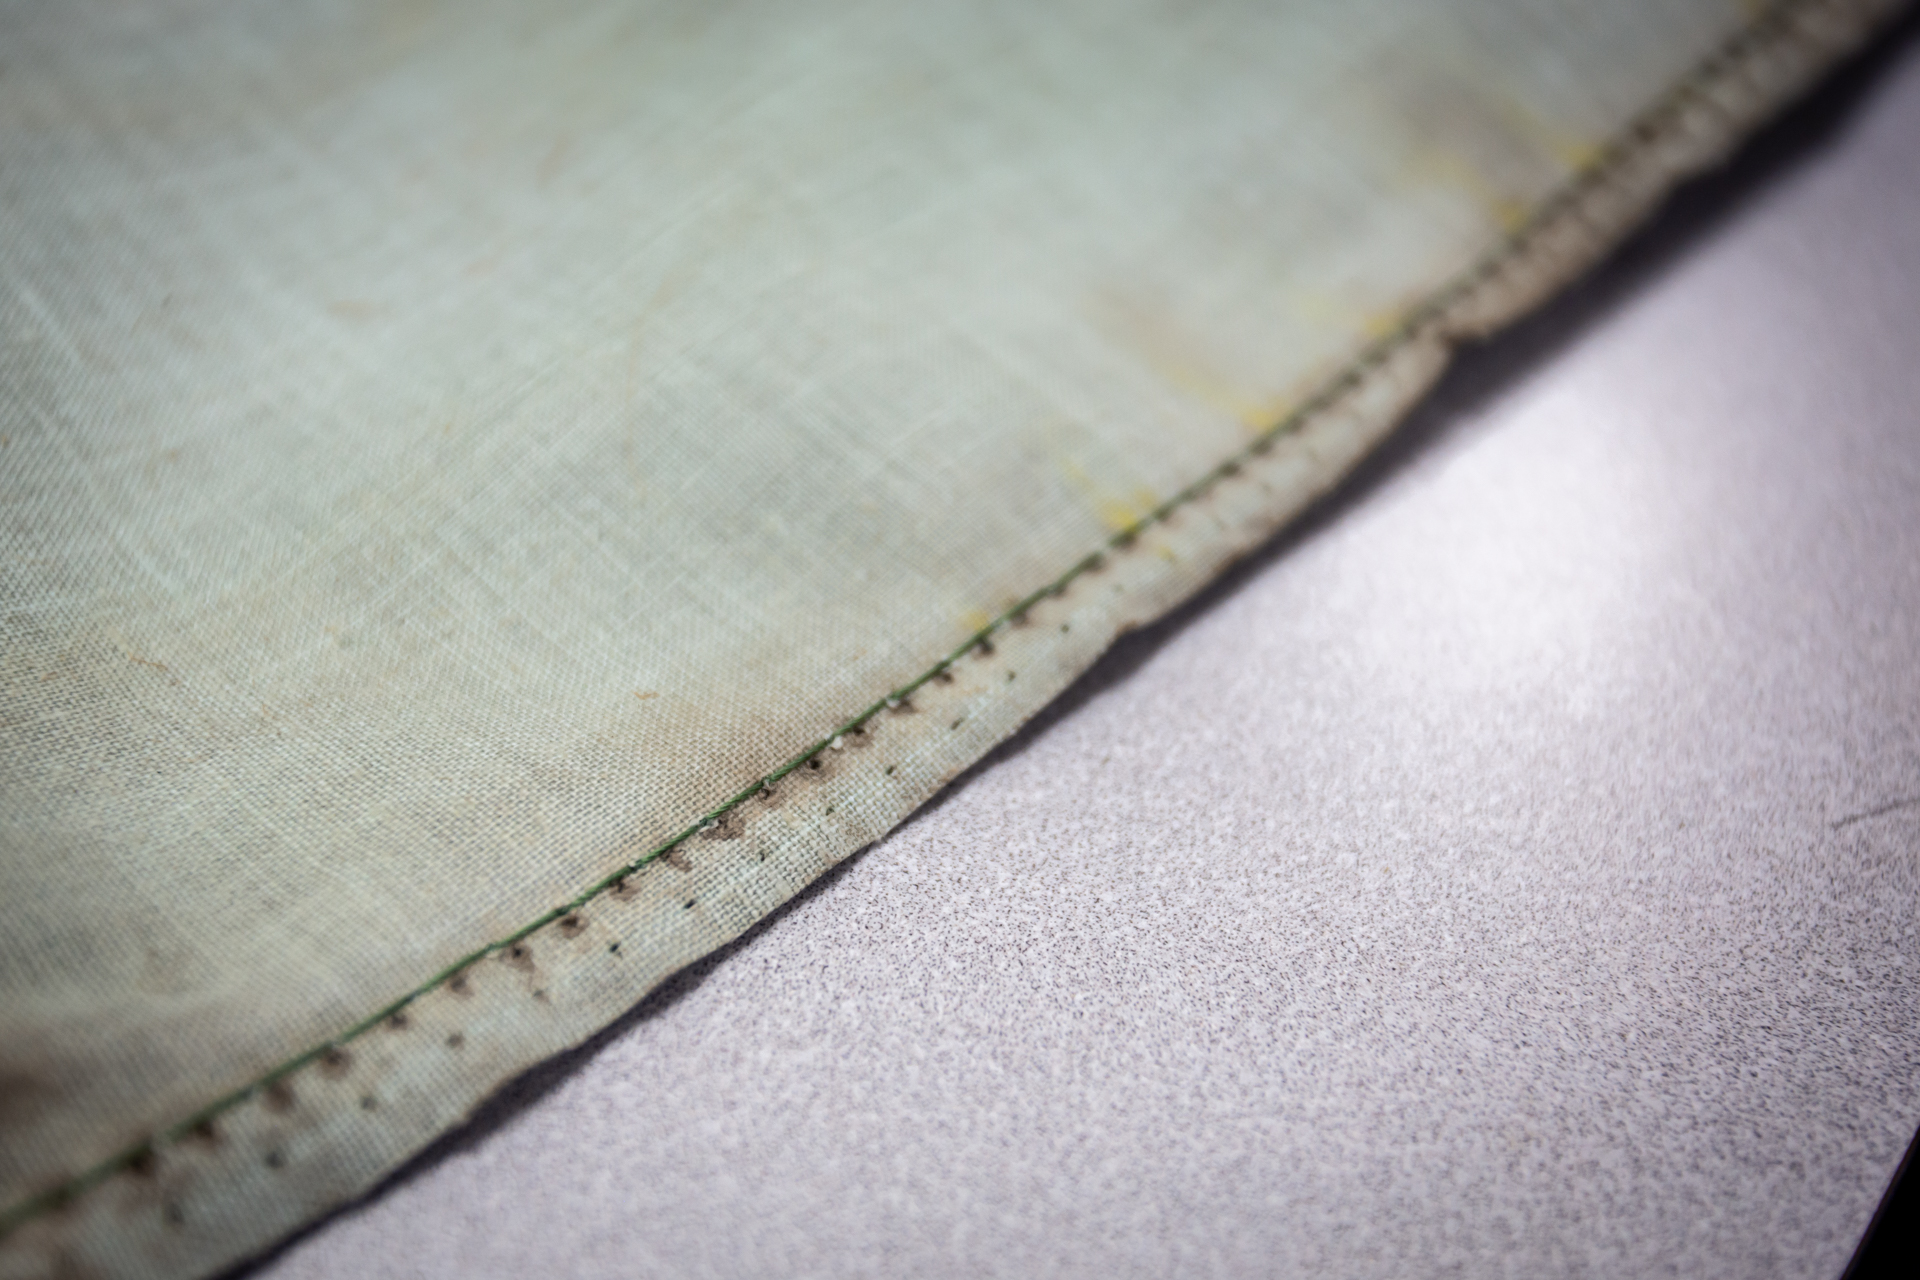
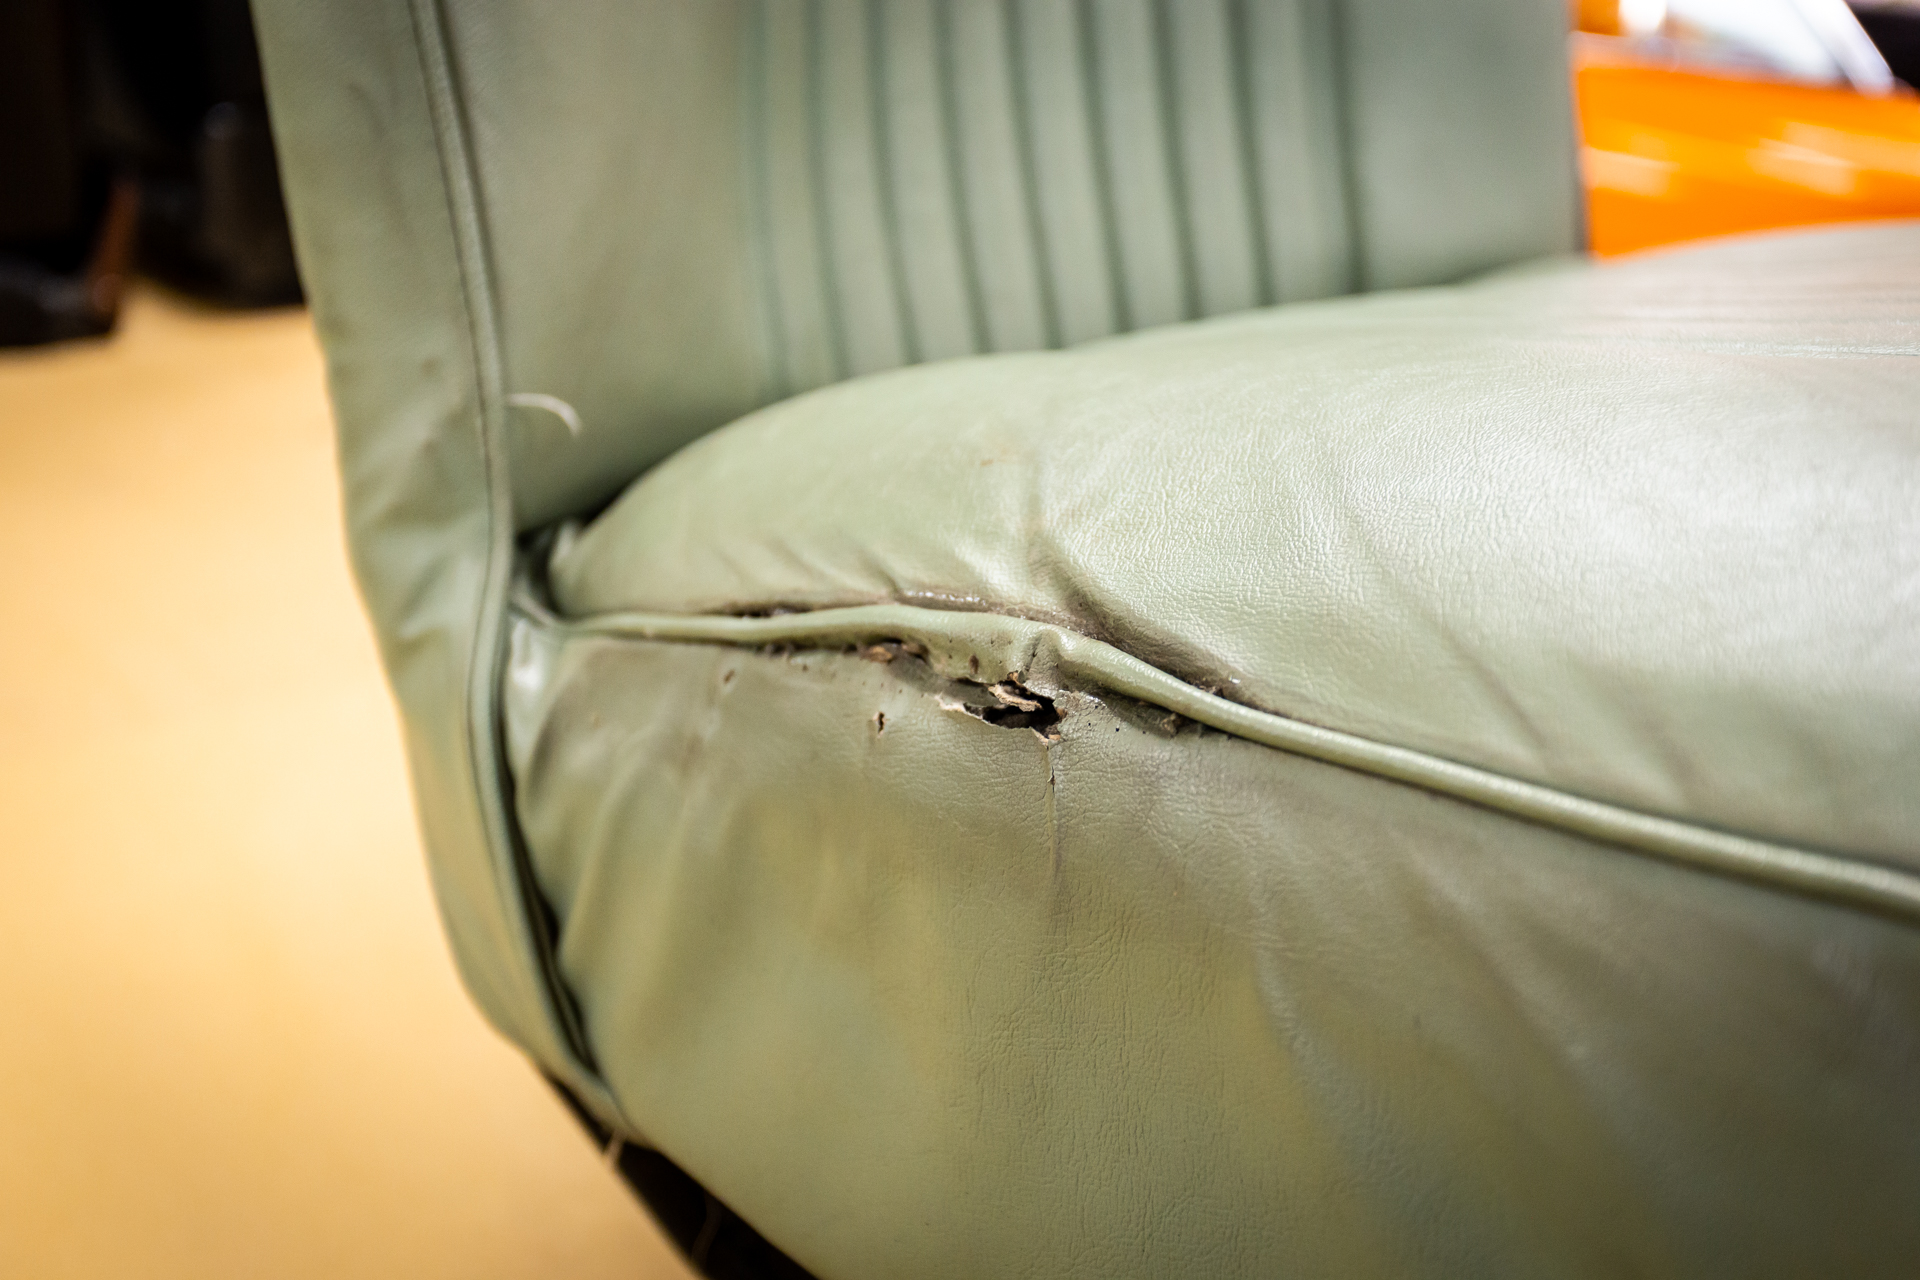
After assessing the damage to the top part of the seat, Kath said it could be repaired. Carefully, Kath removed the seat cover in order to have it laid out flat to come up with a plan to fix the tear.
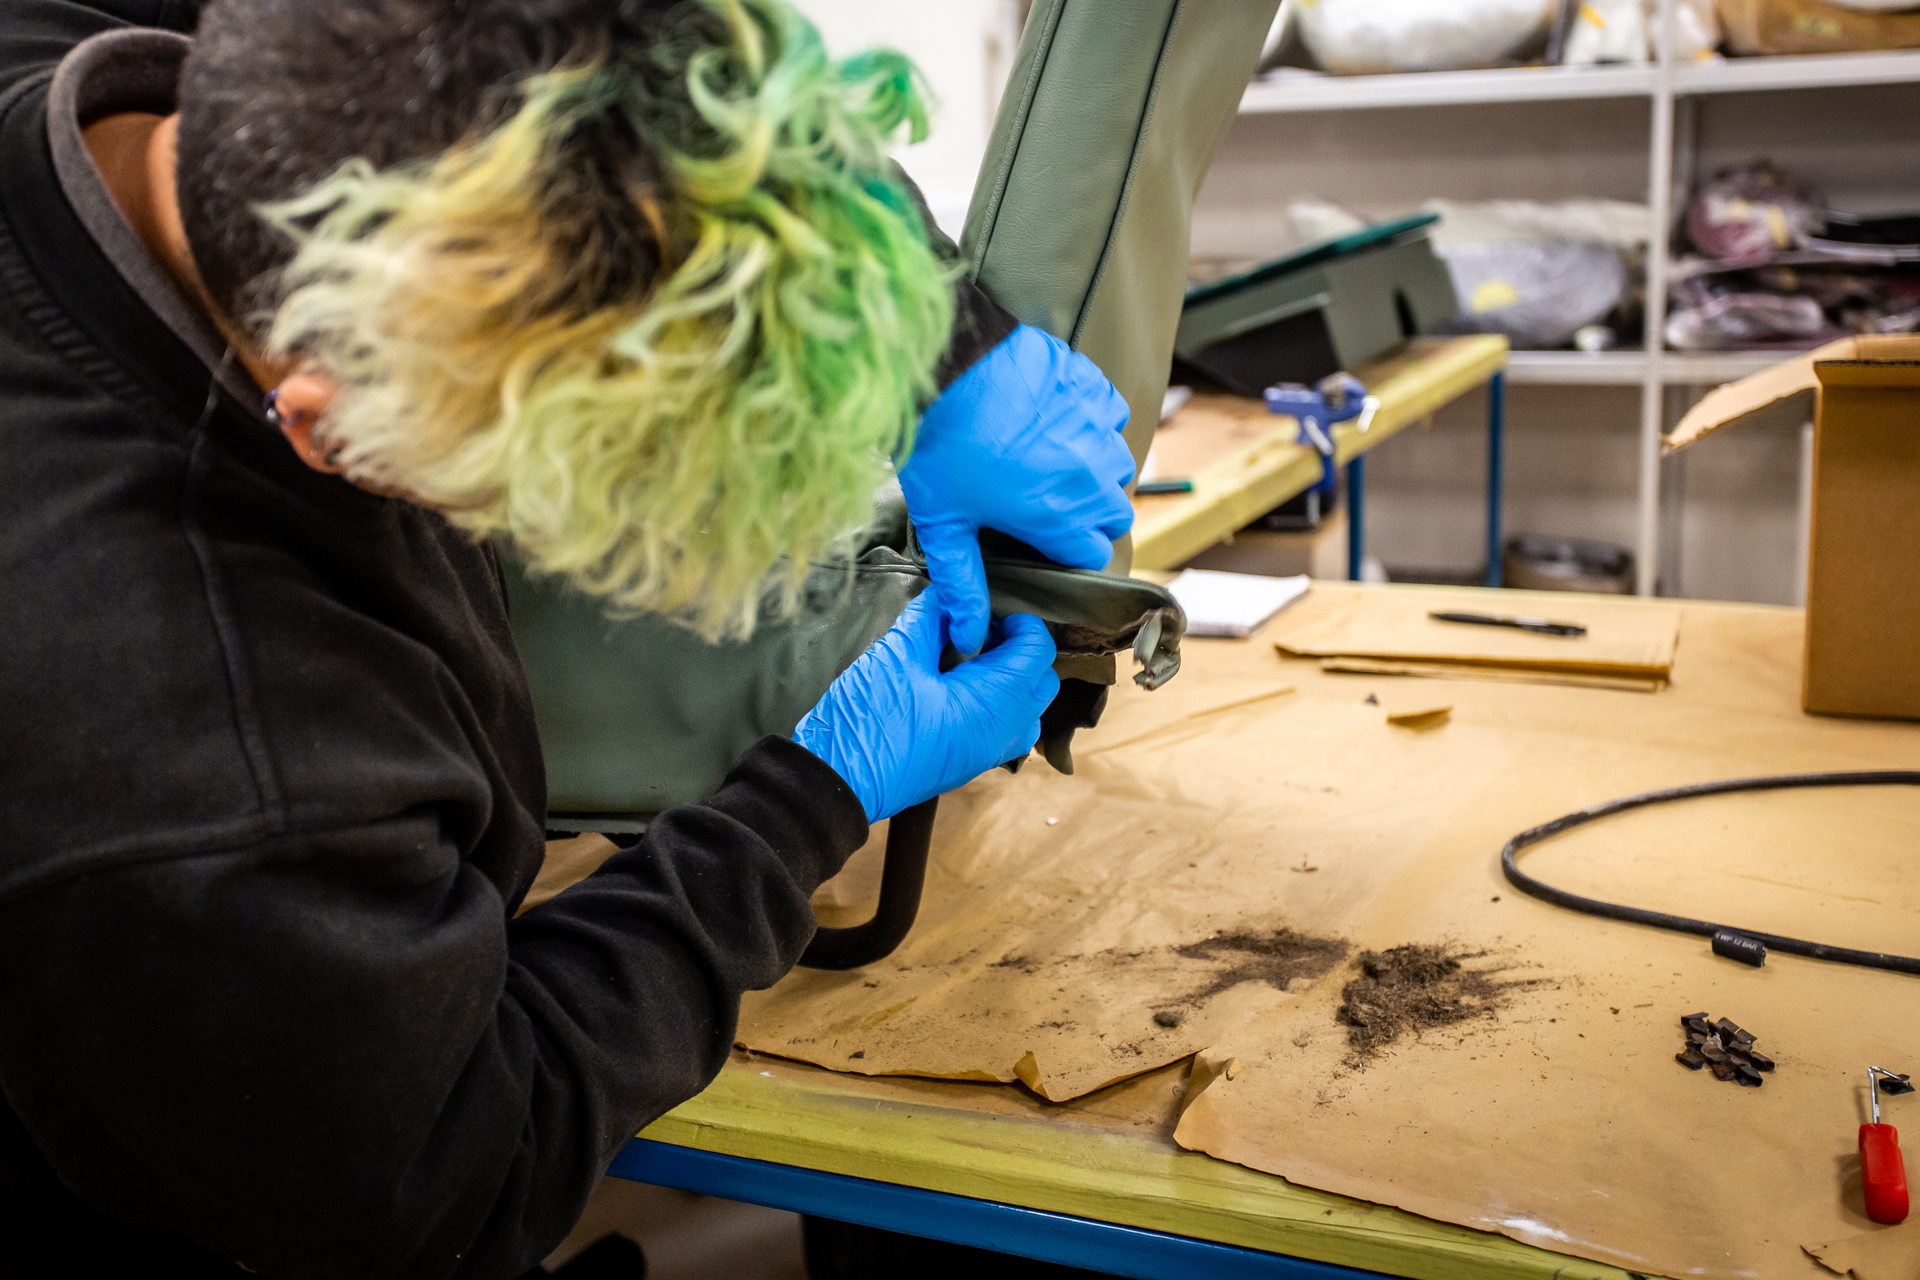
Each of the pieces was removed one by one and labelled for the reassembly. The tear was skillfully repaired by Kath, whose experience and knowledge of trim work meant that there is almost no evidence that it was ever there.
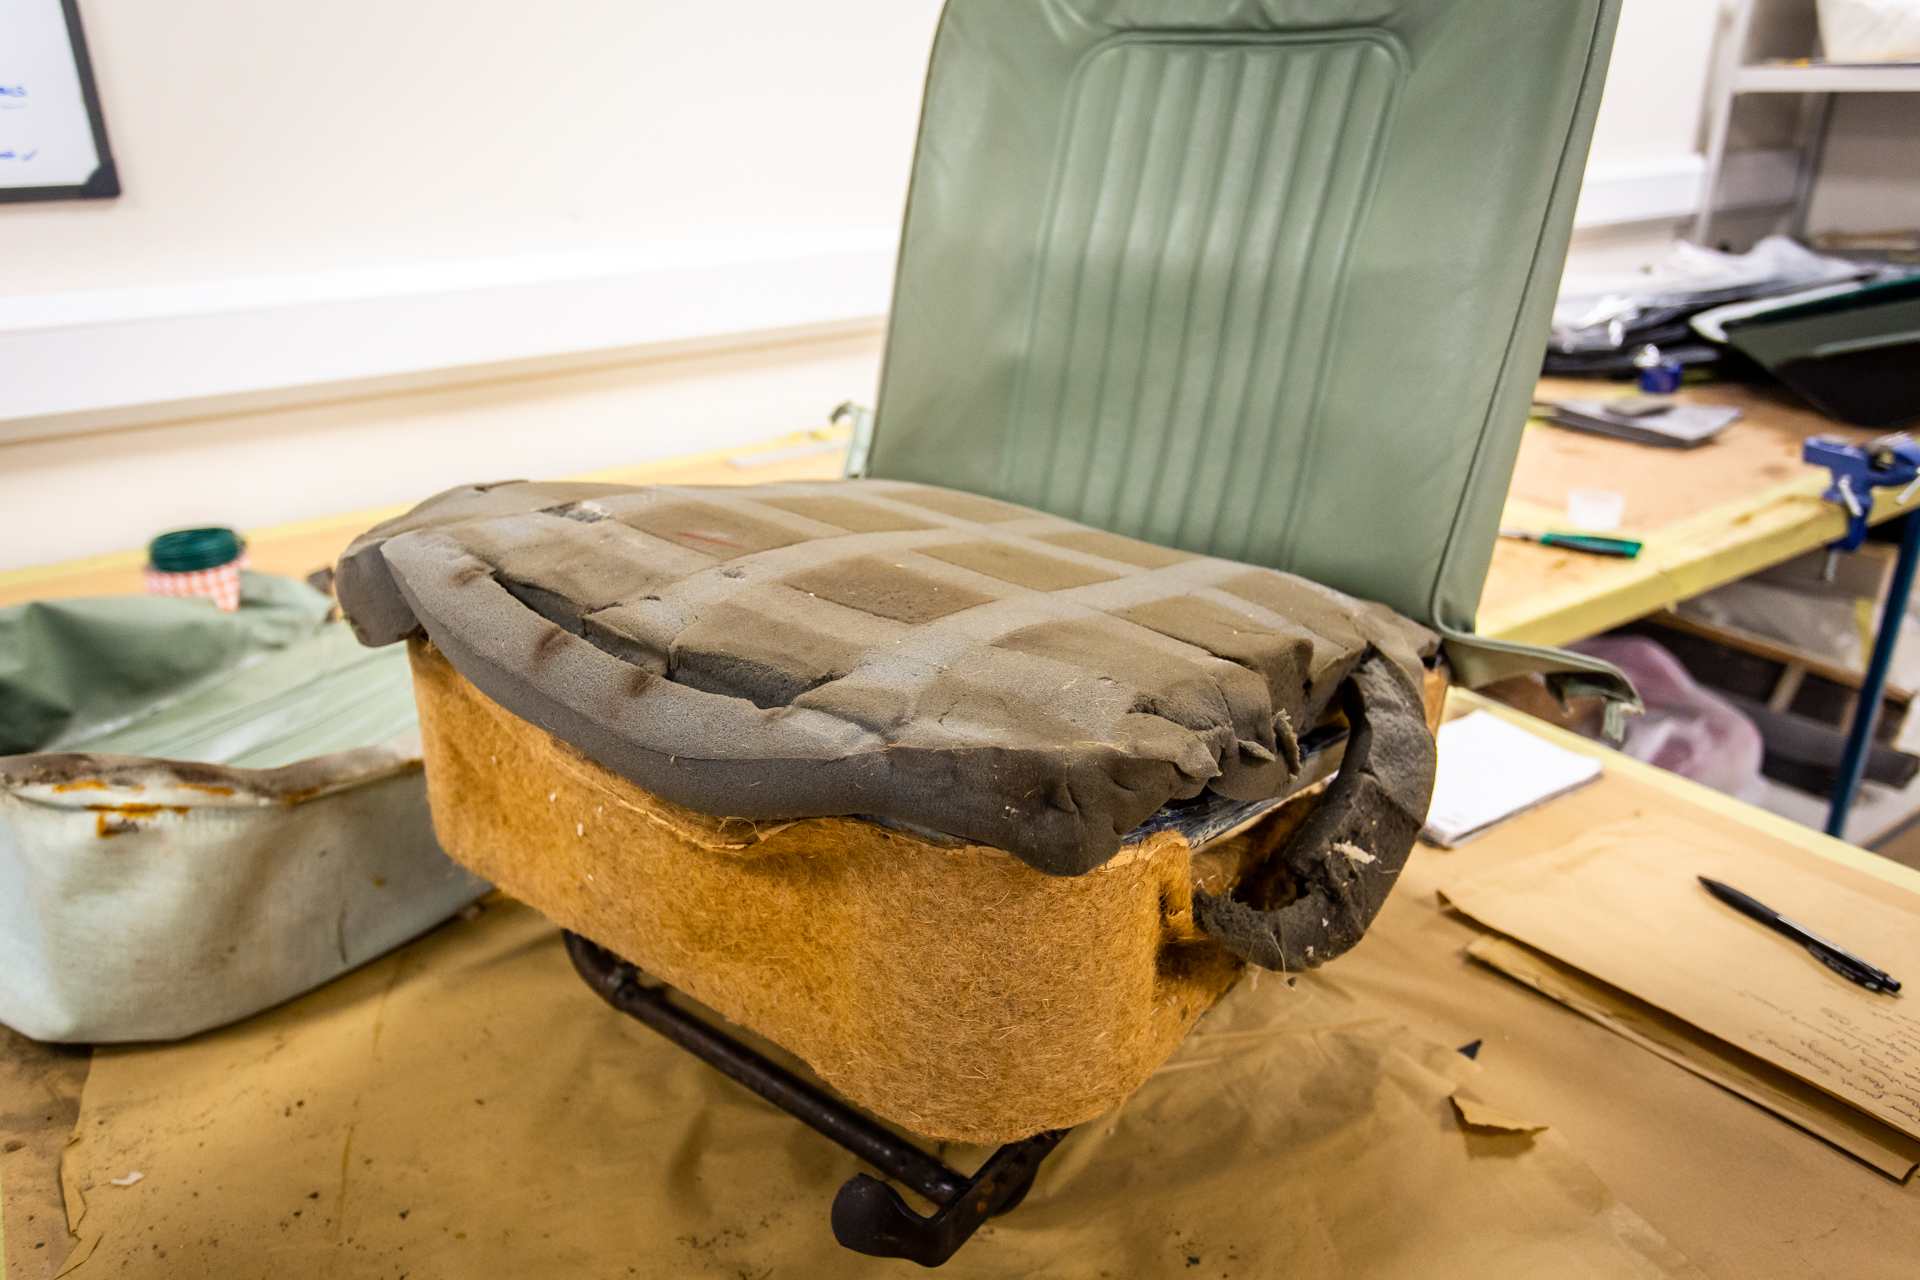
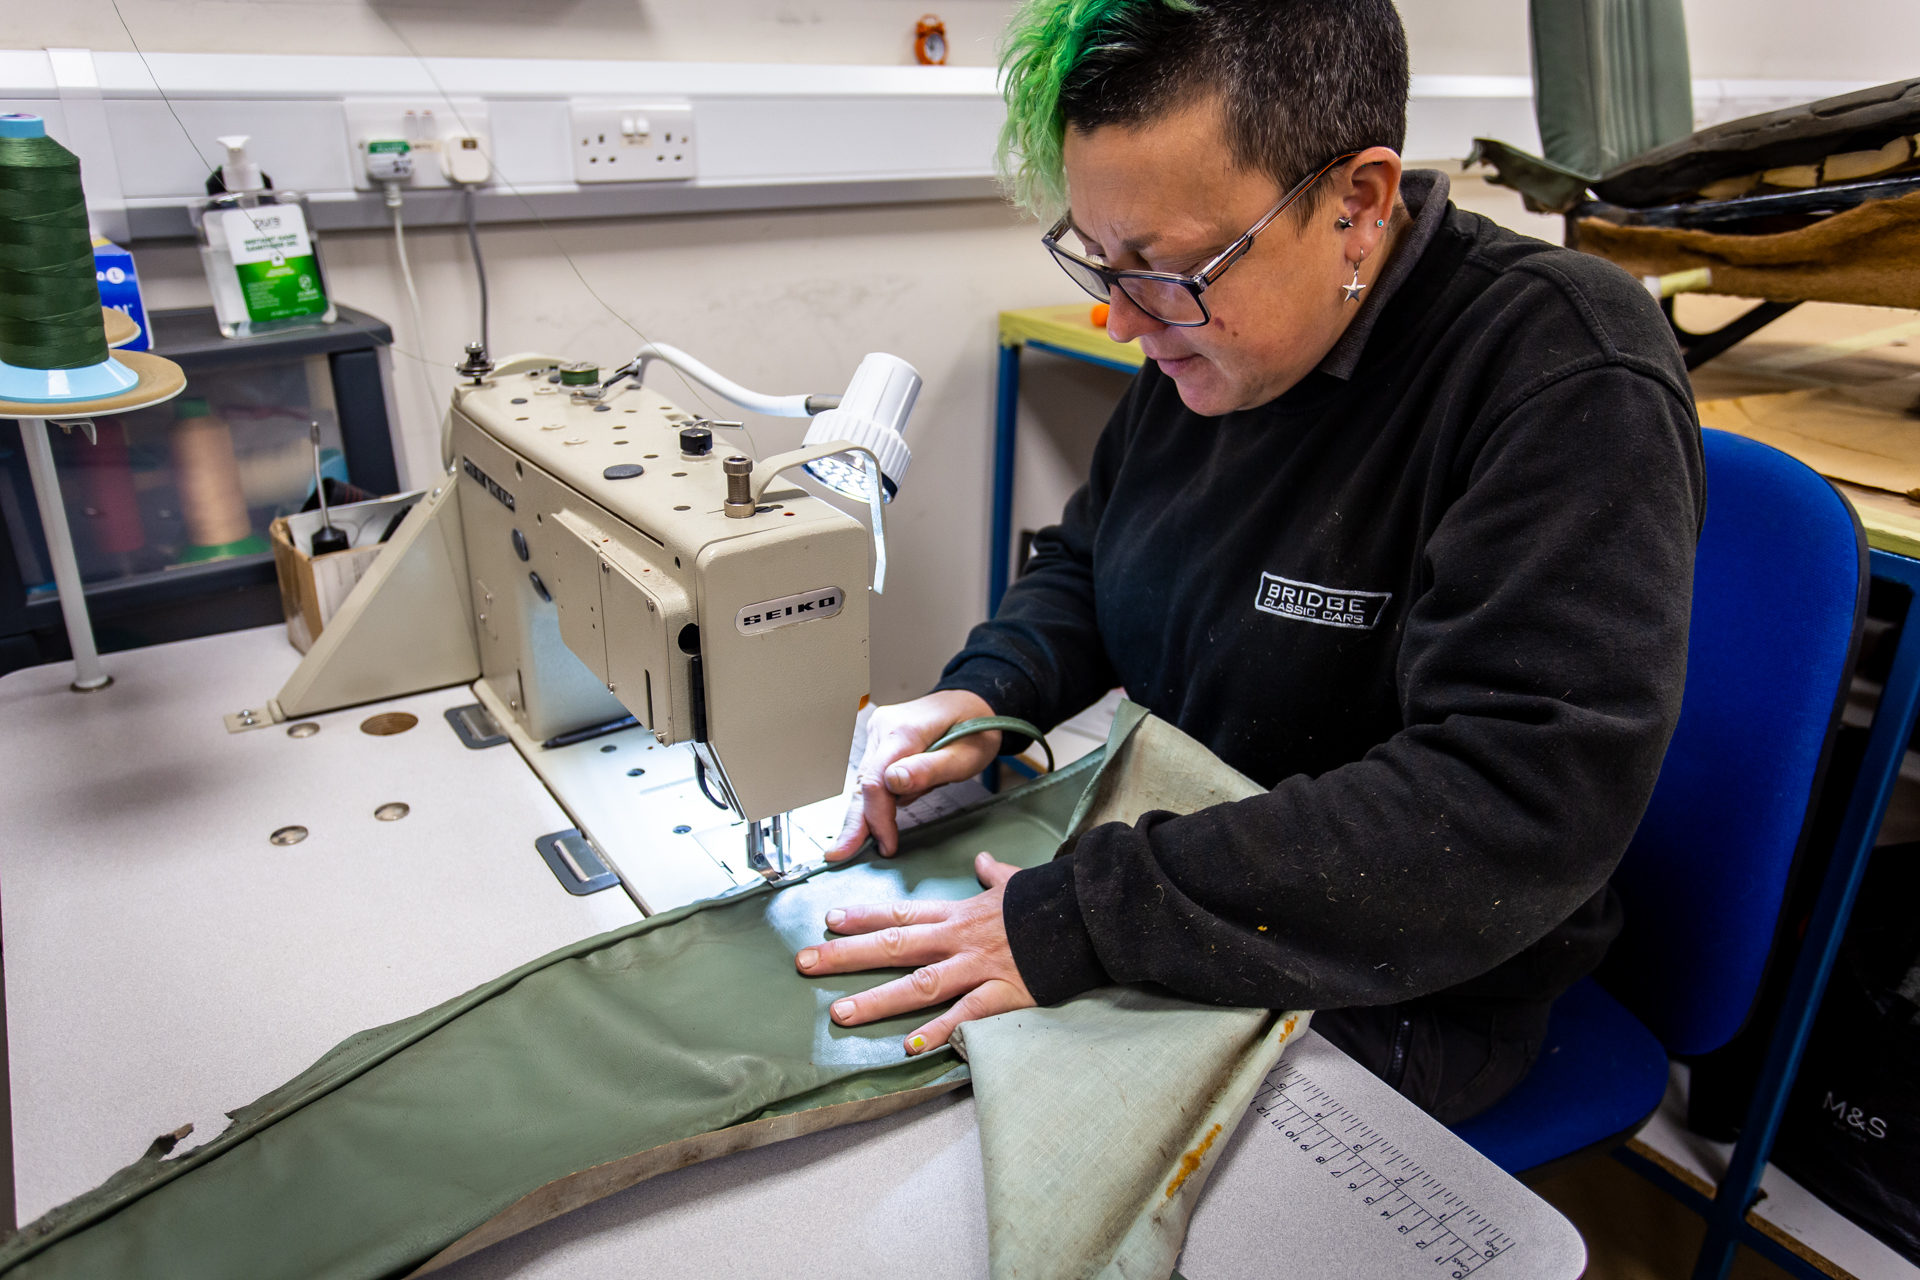
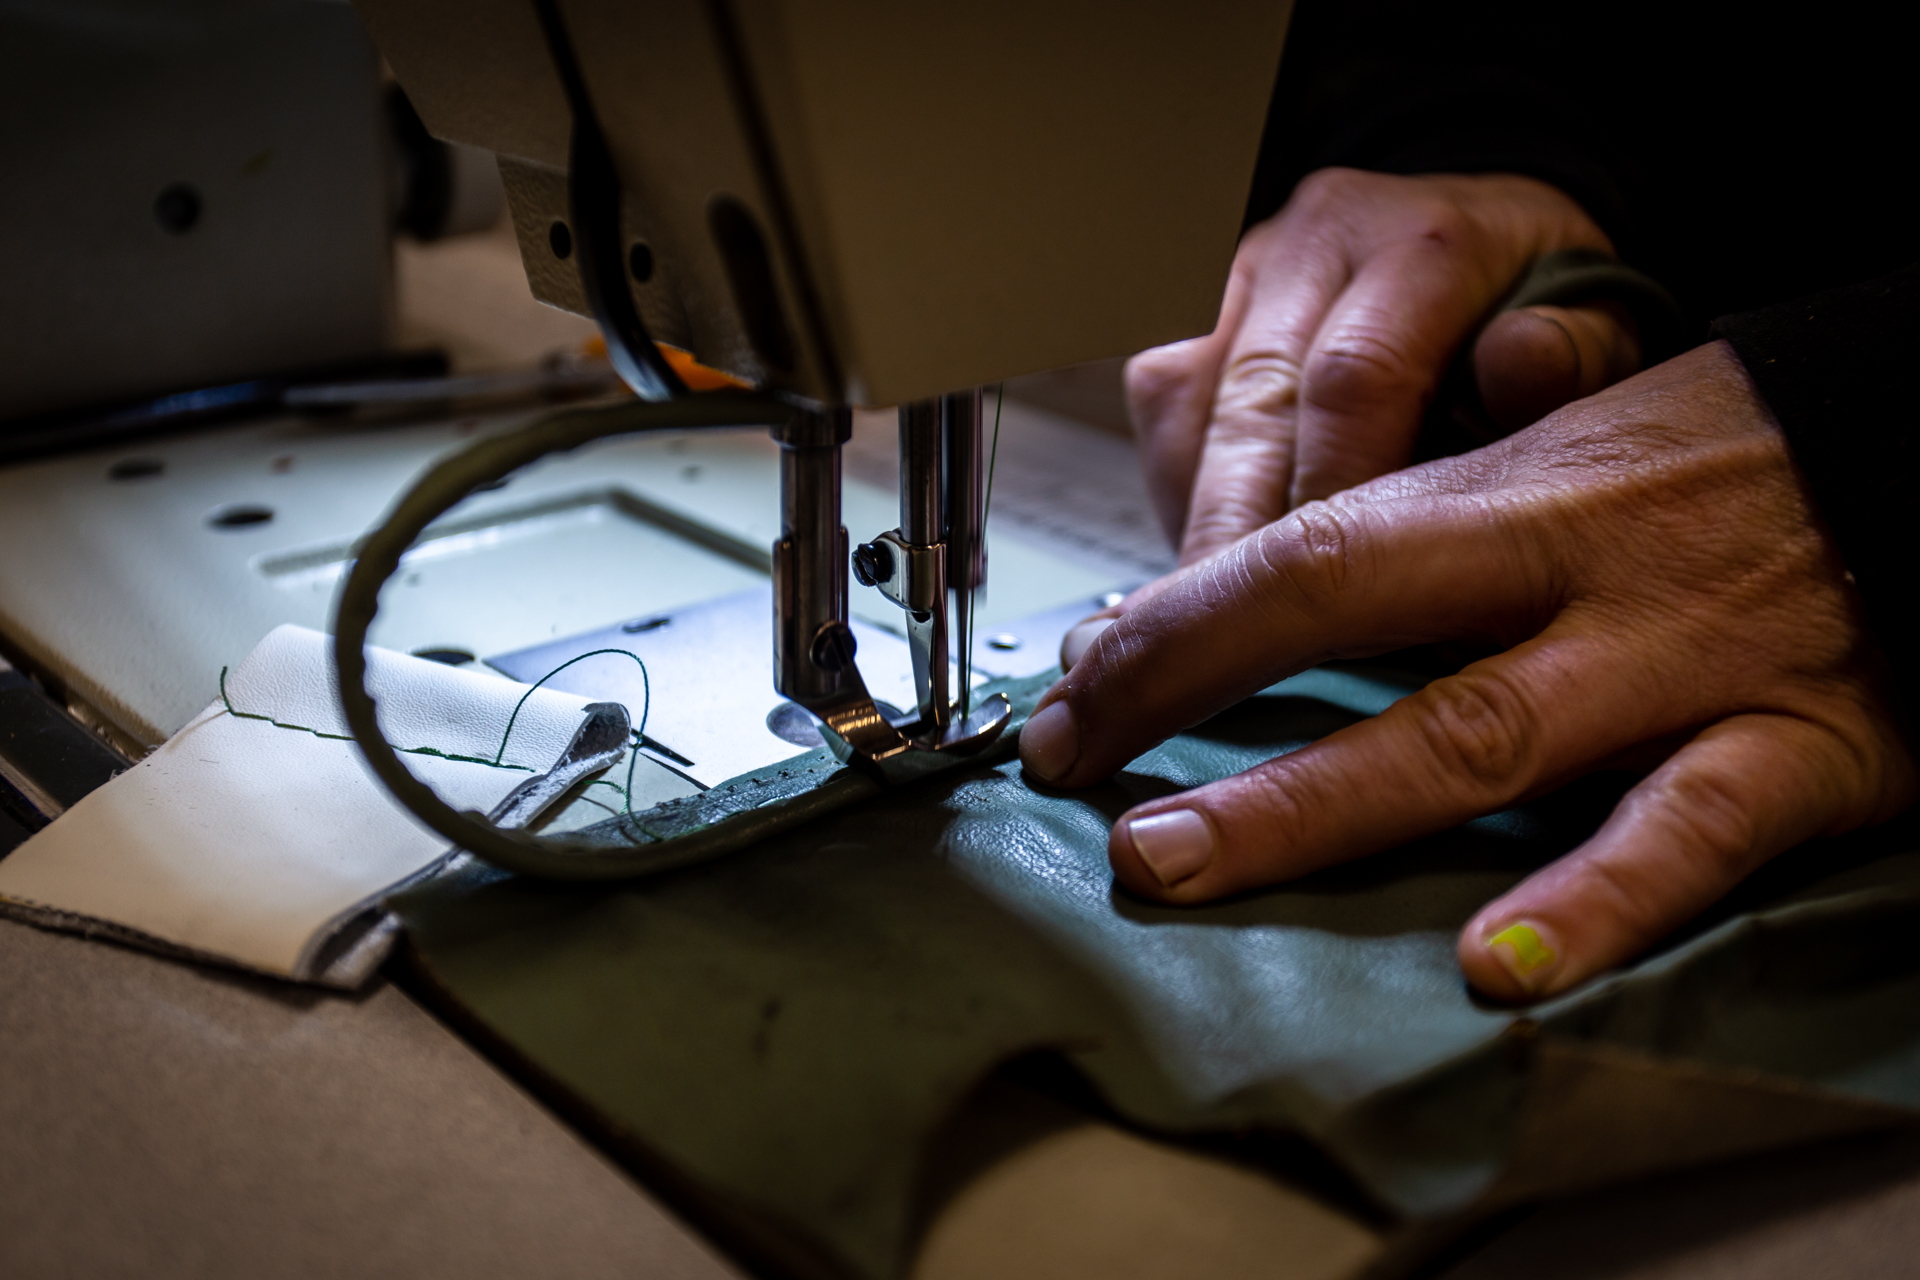
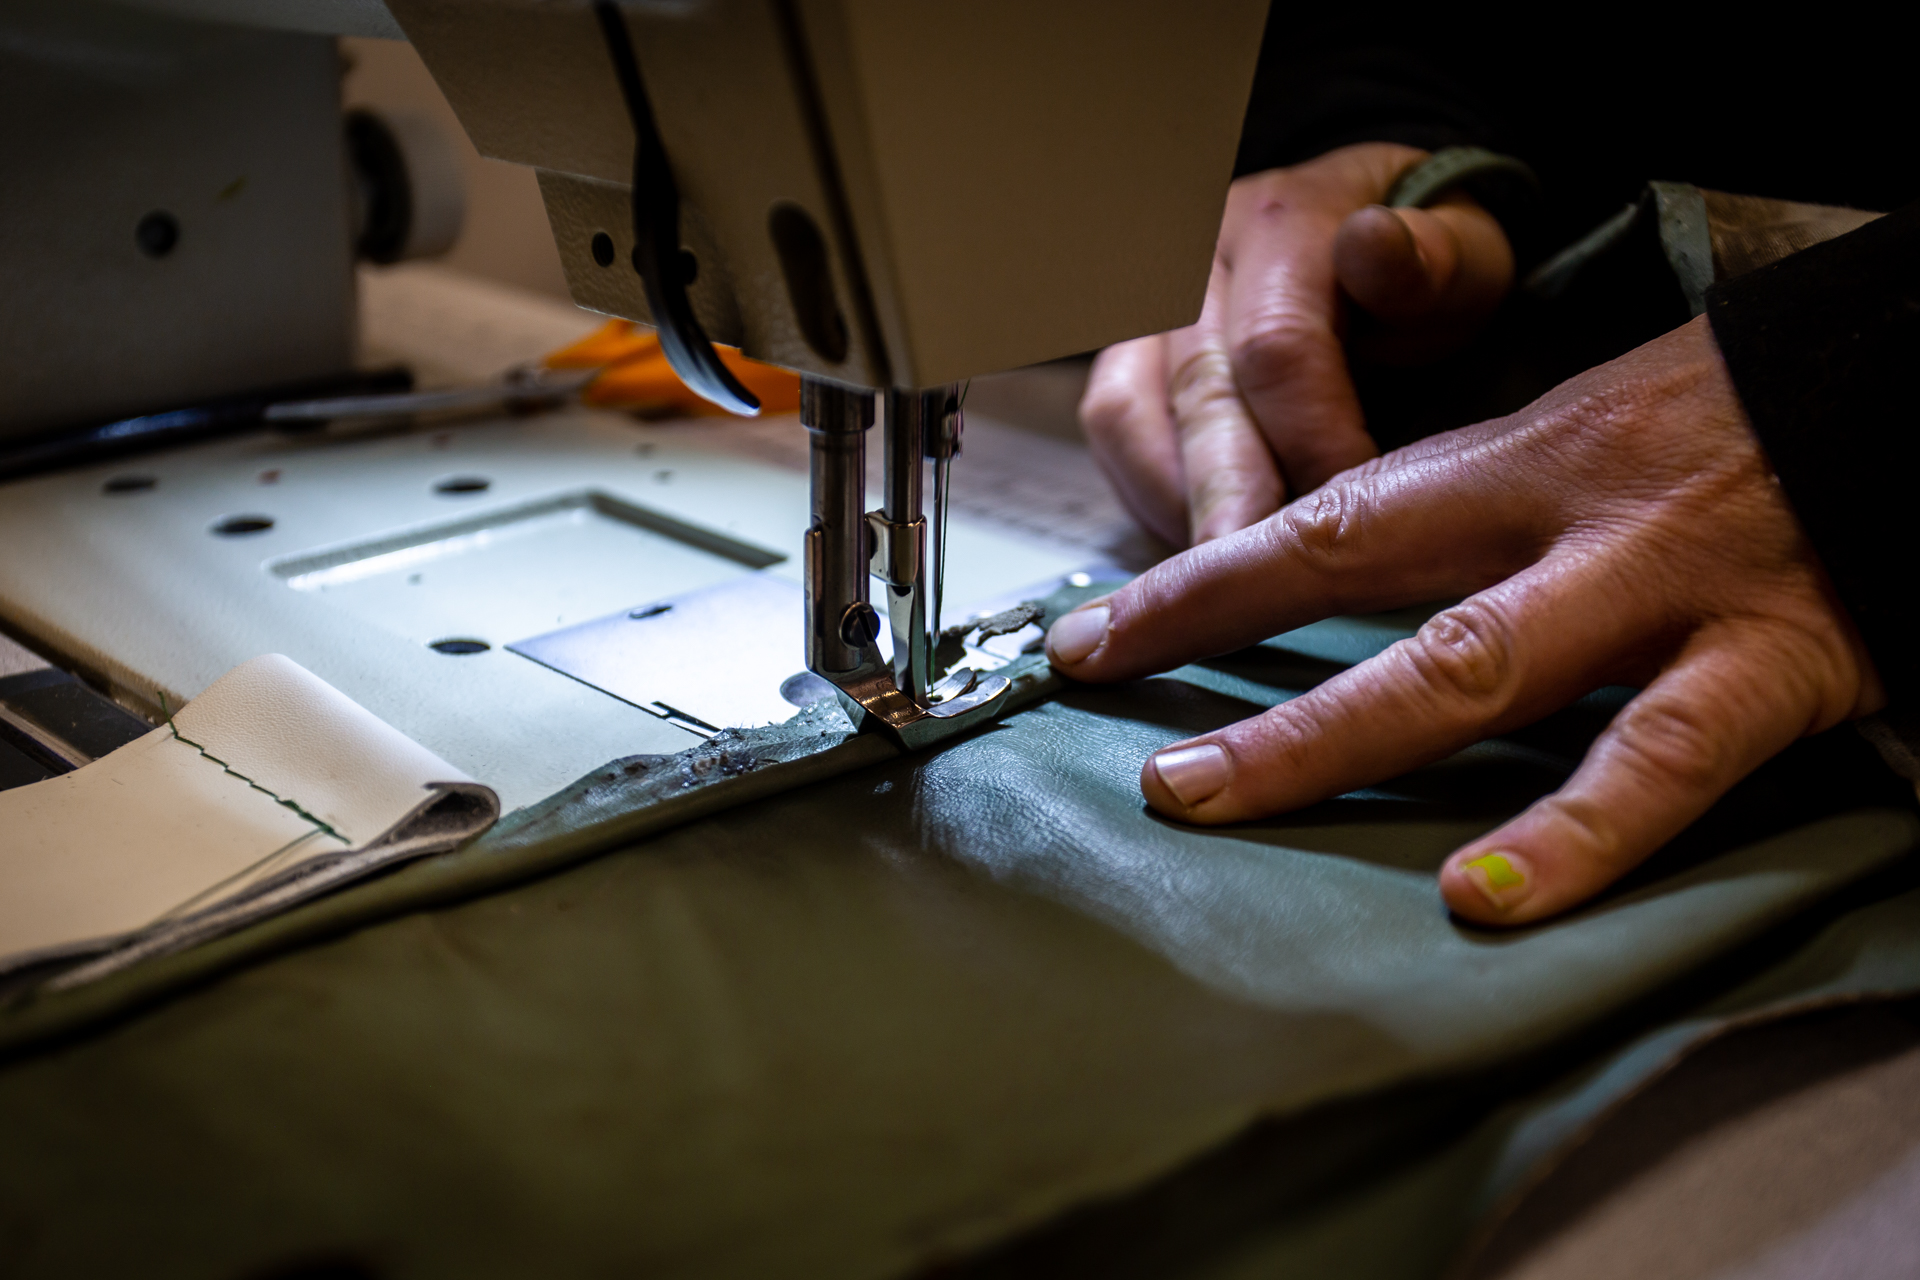
Then, it was time to start putting everything back together. Kath gathered the closest thread to the original and began to reseam the seat to match the rest of the seats.
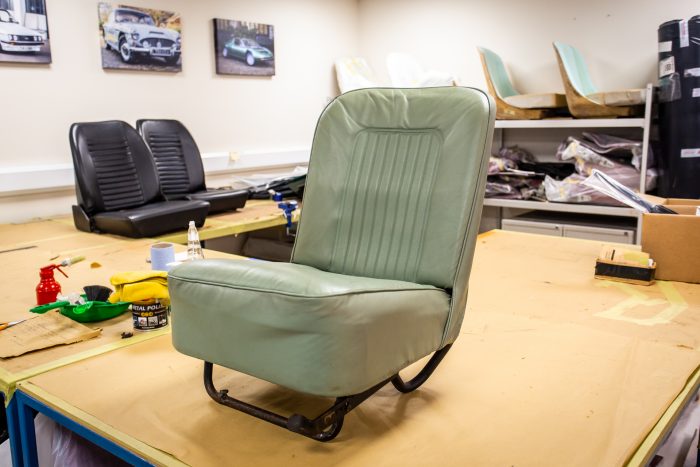
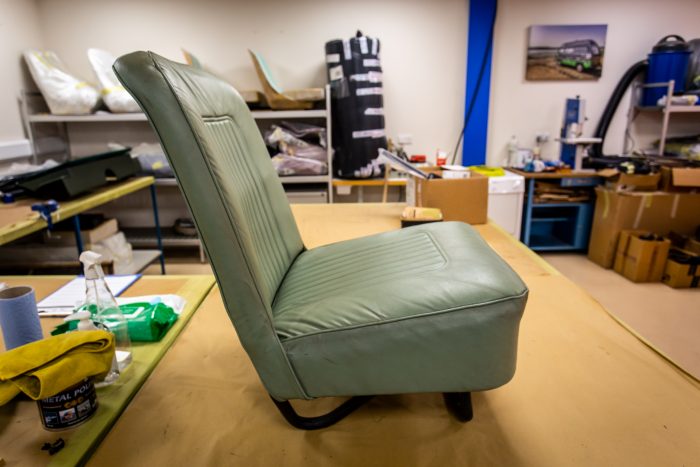
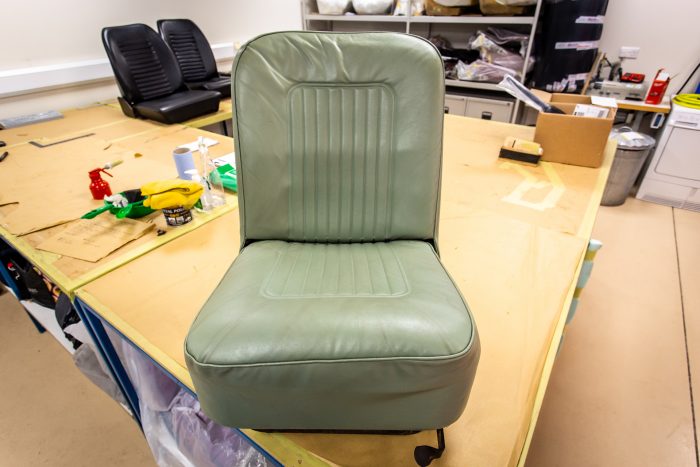
And here is the end result! Every part of the seat has been checked by Kath before its reassembly and all seemed to be ok. The finish on the repaired seat is fitting for the Traveller. It’s still original and perfectly useable for such a fun and quirky little car.
You can enter the draw for the 1971 Morris Traveller by clicking the link below!
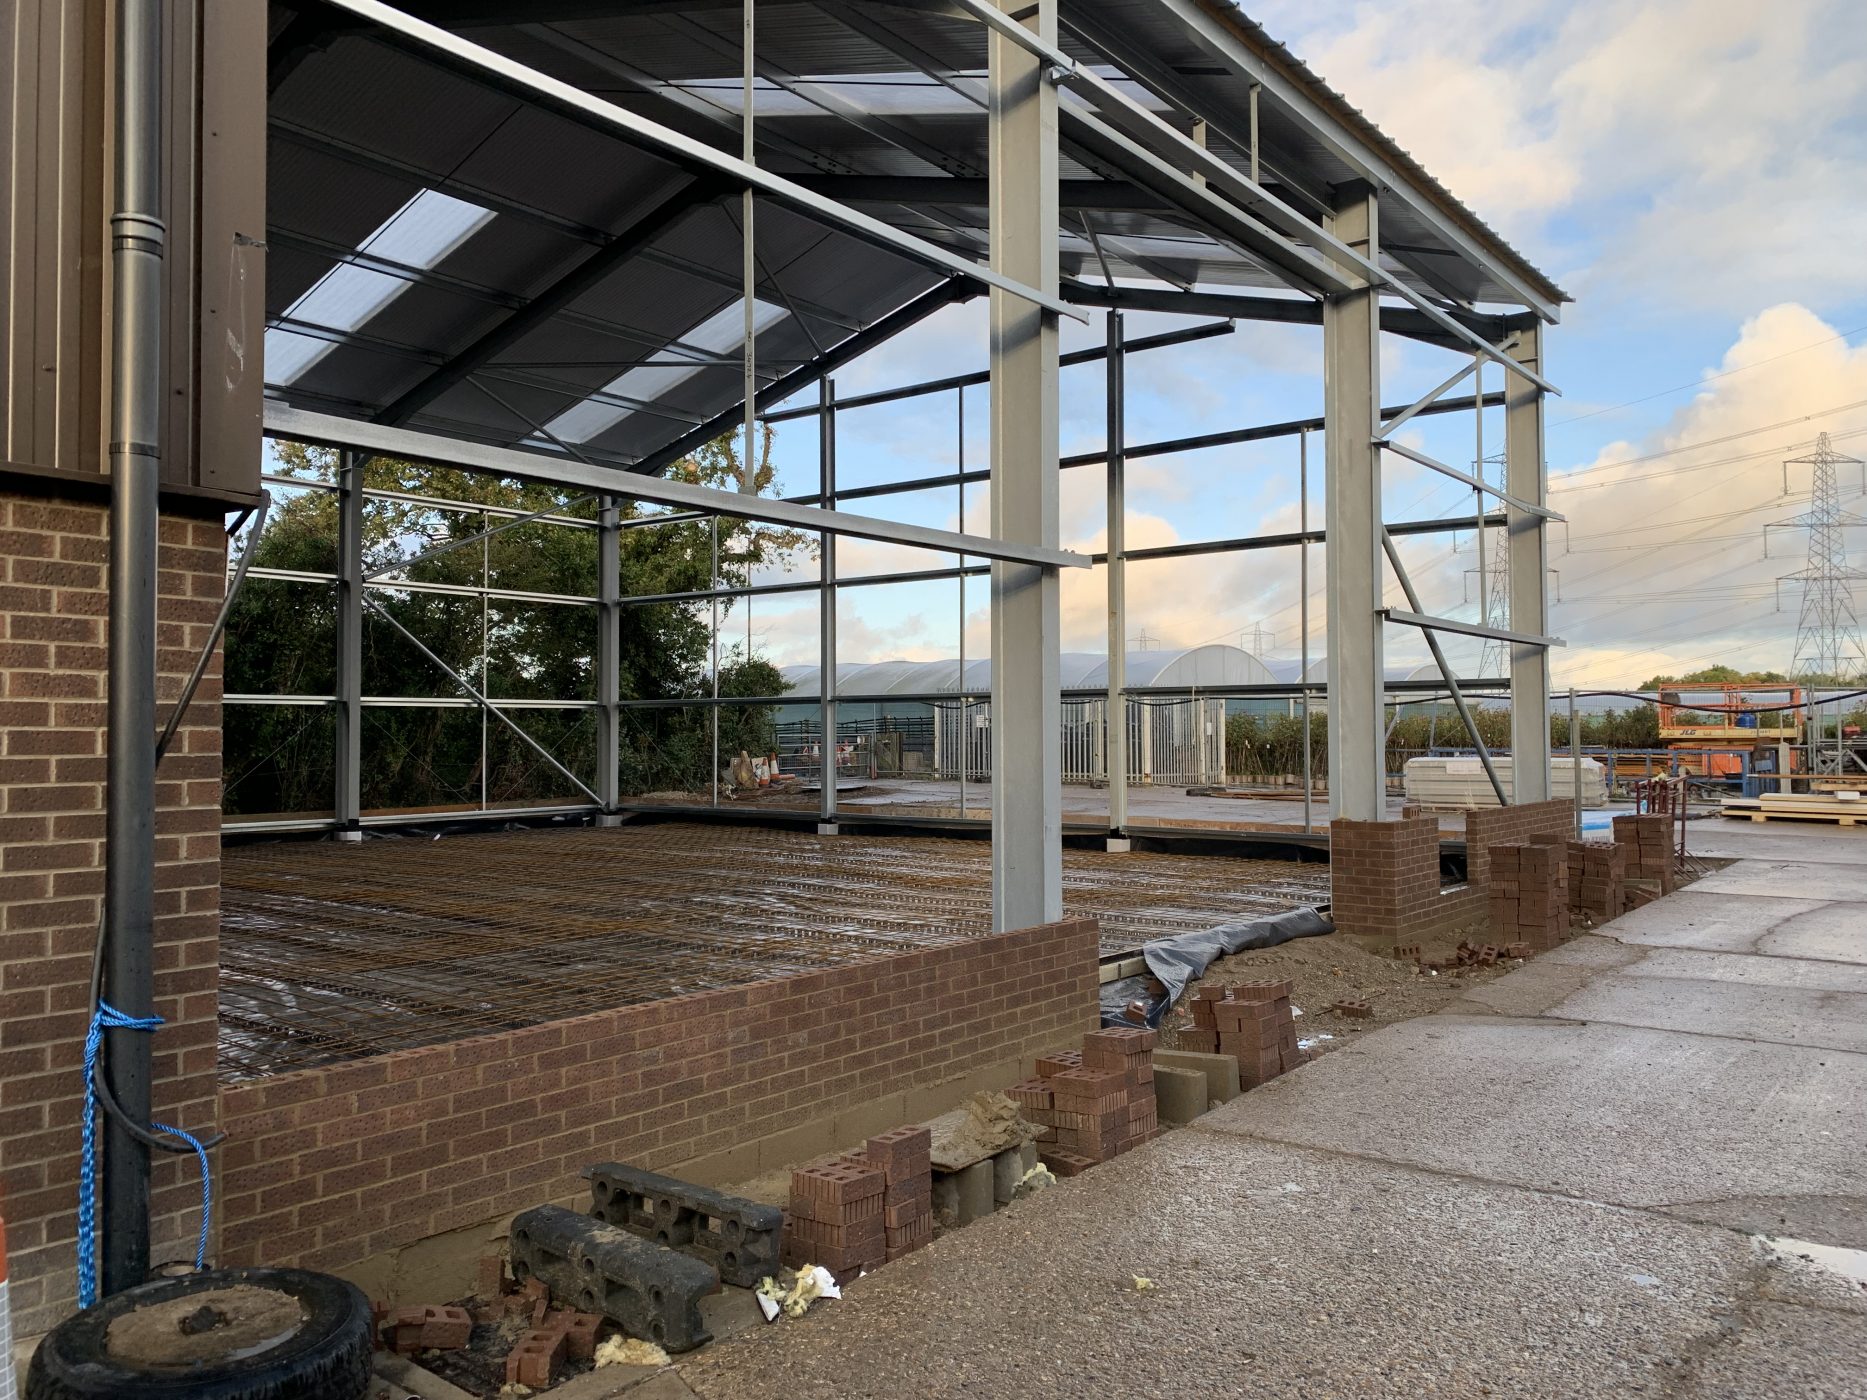
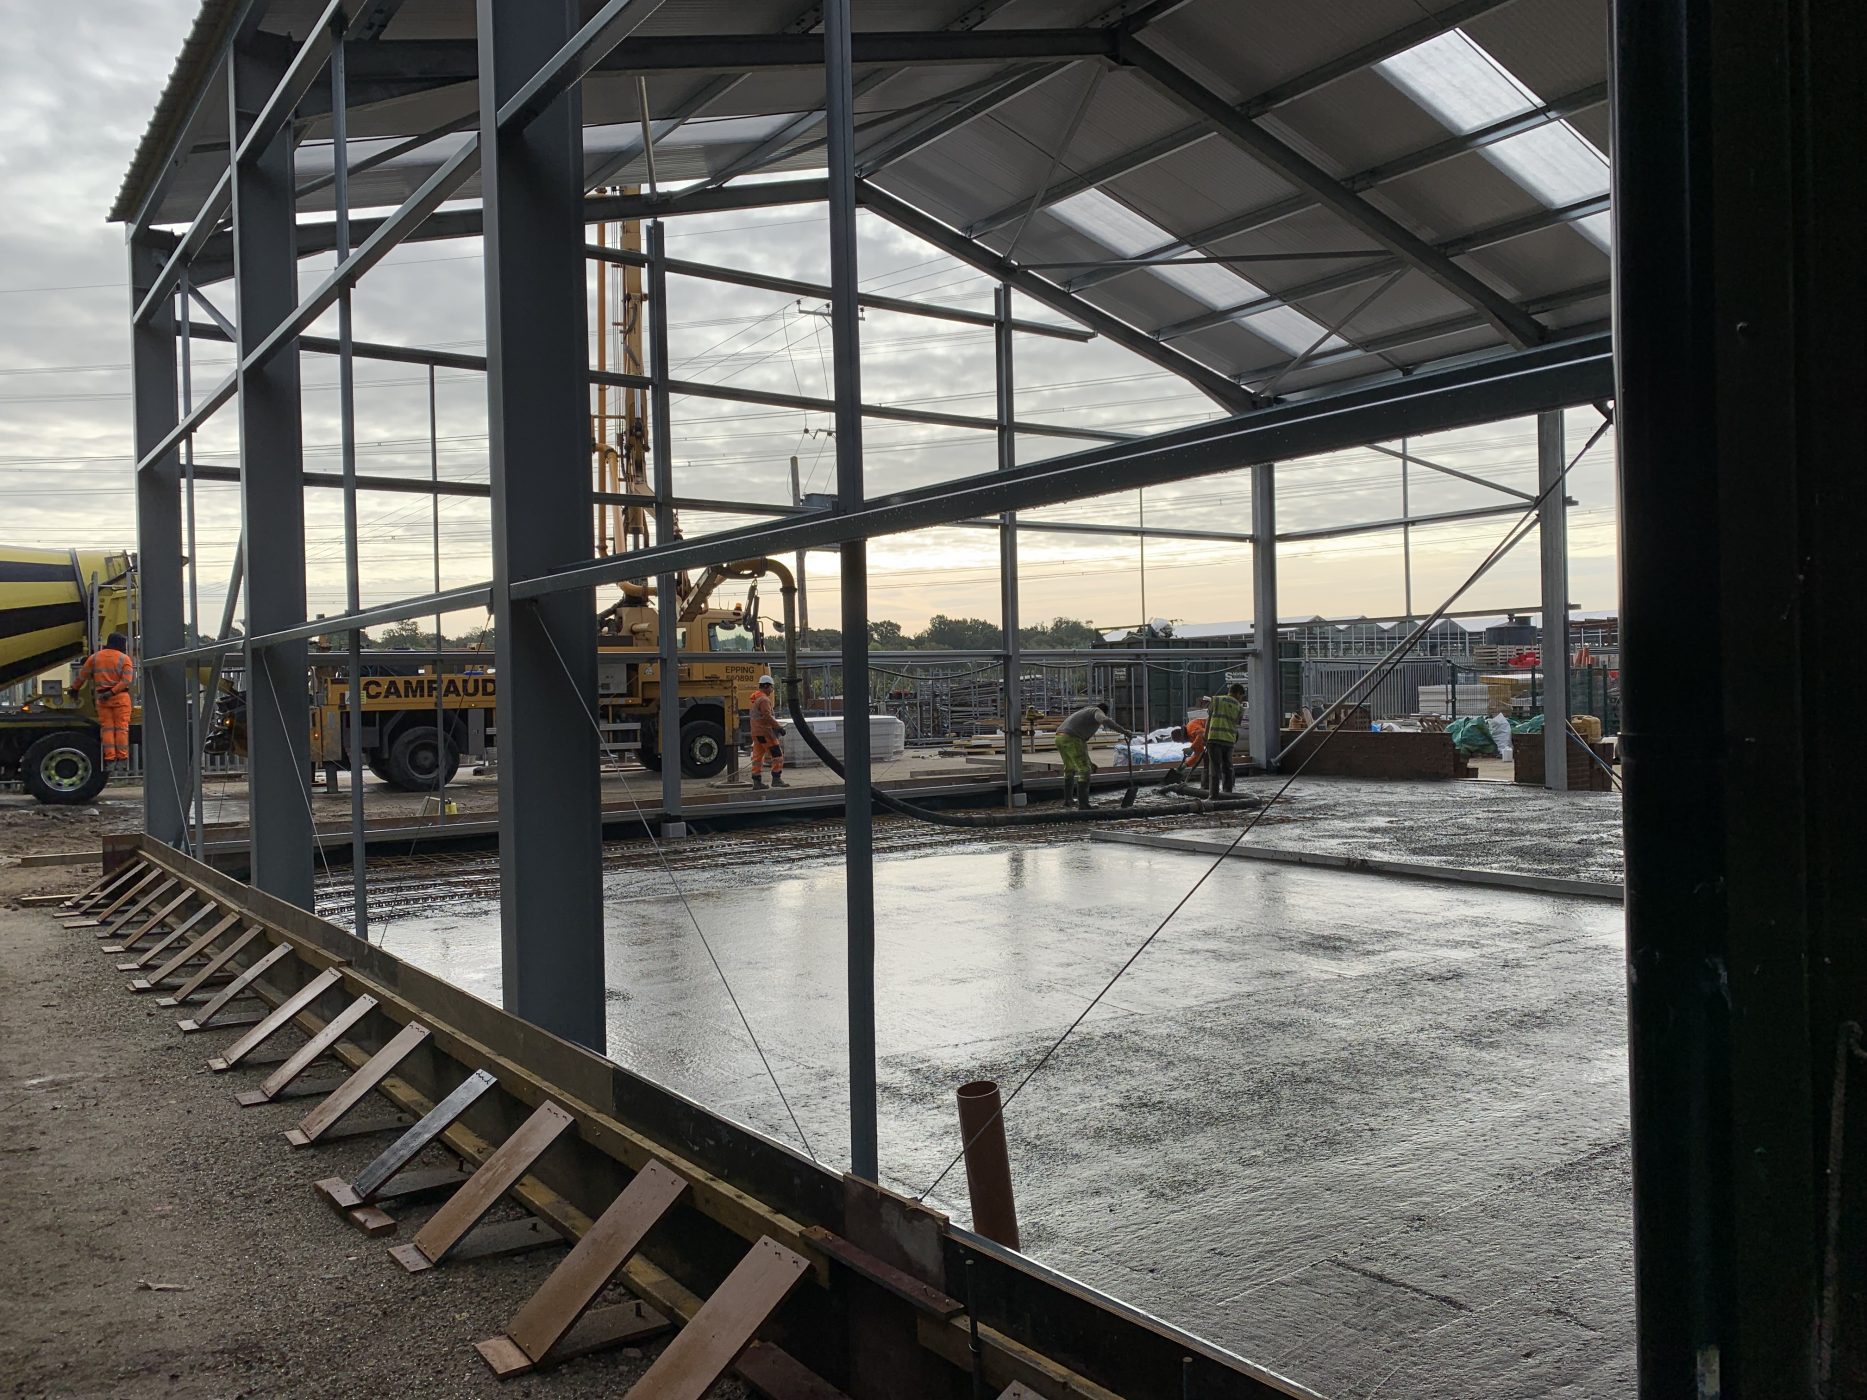
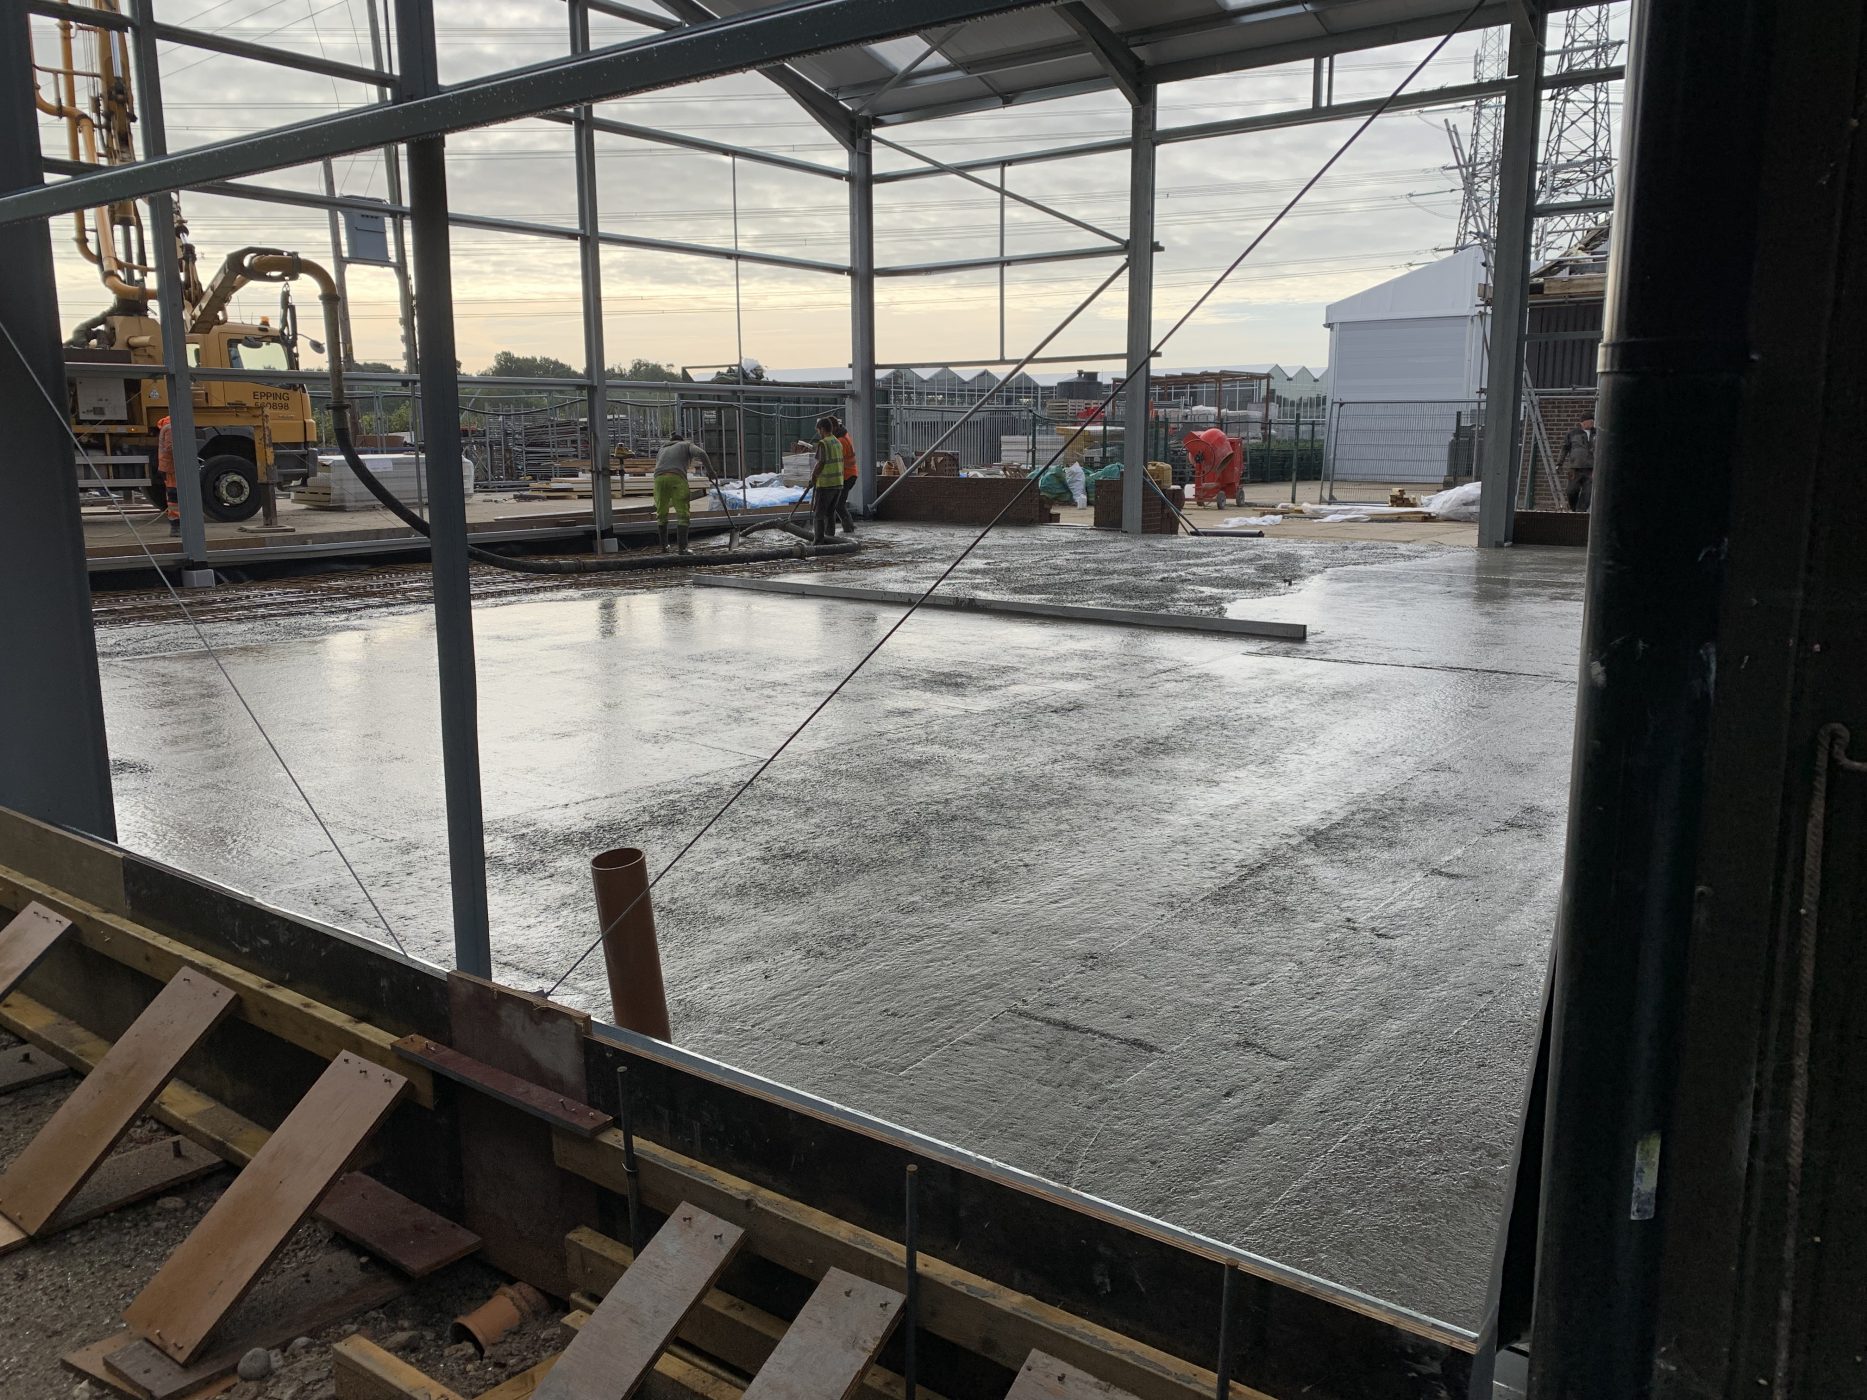
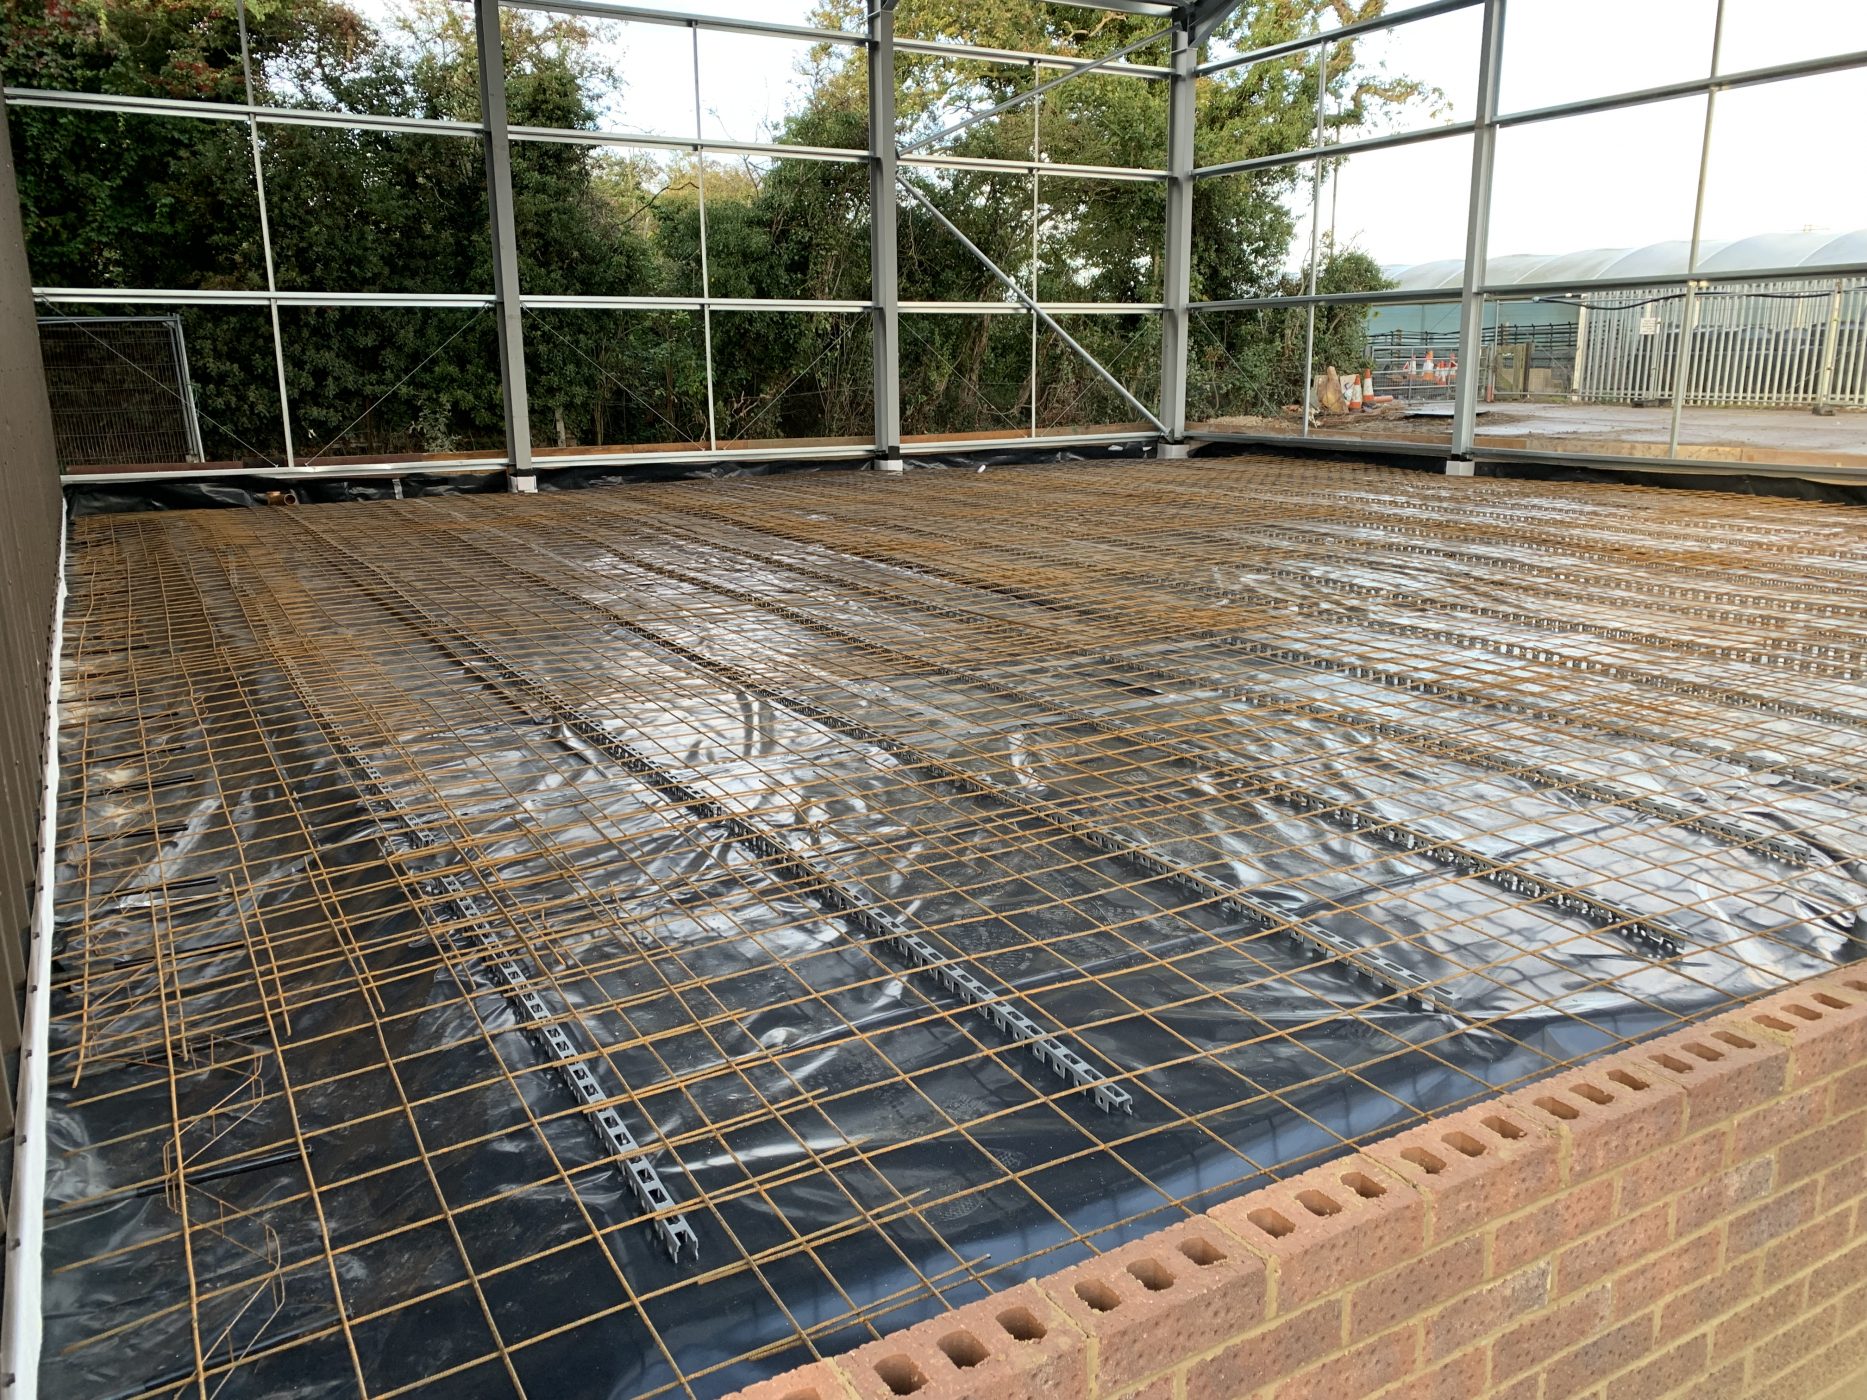
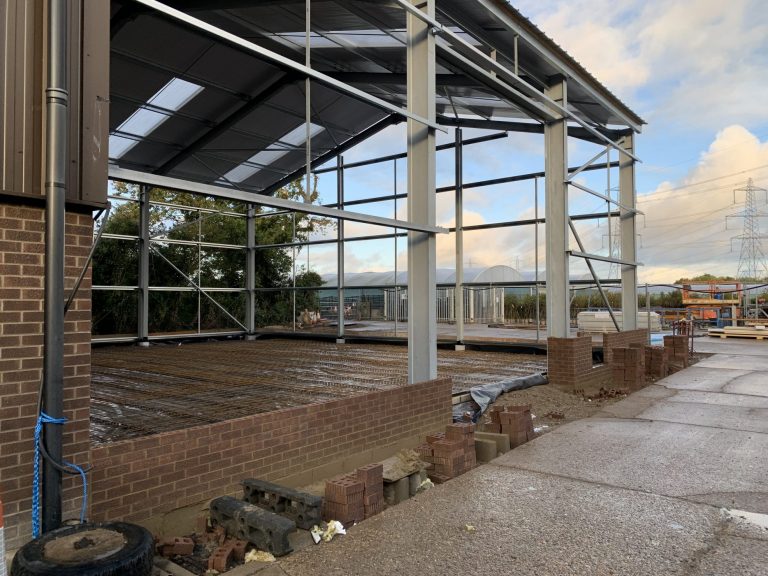
The extension to the restoration workshop here at Bridge Classic Cars in Suffolk, UK goes full steam ahead. Now with the roof on the framework, the walls and interiors can start to be put in.
The first few courses of brickwork around the edges of the extension are in place and along with that is the rebar and membrane are set.
The extension is really starting to come along!

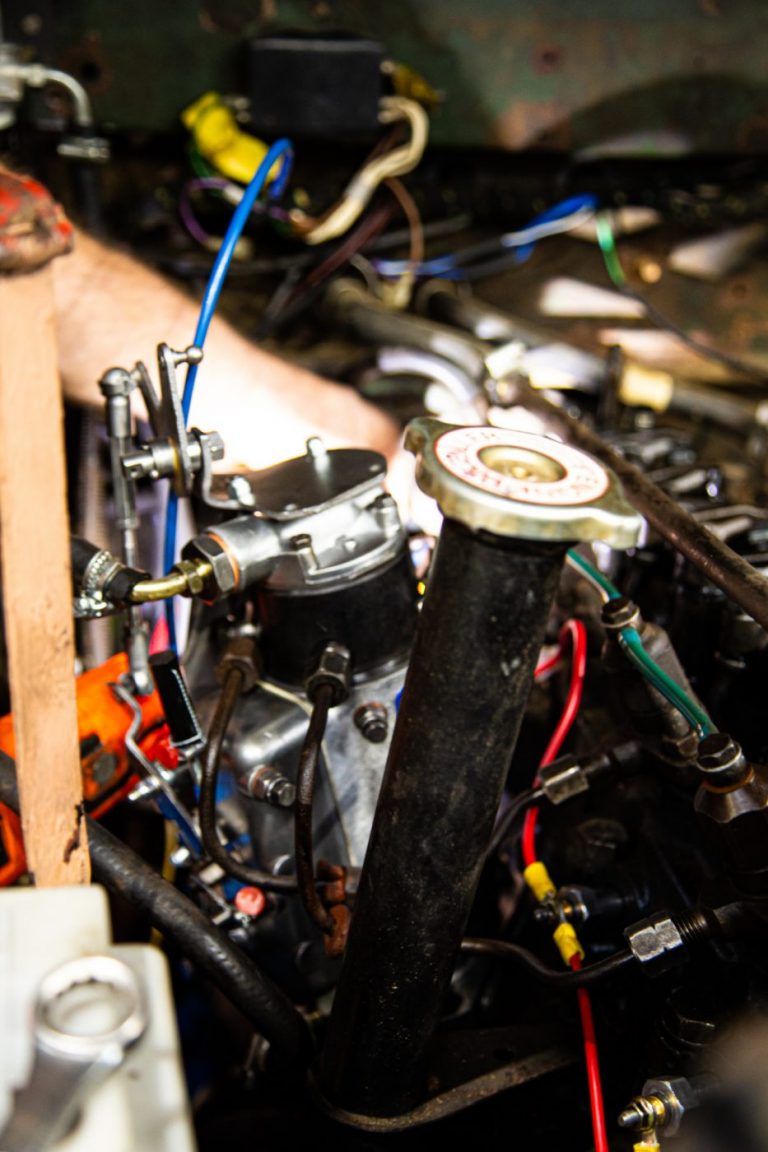
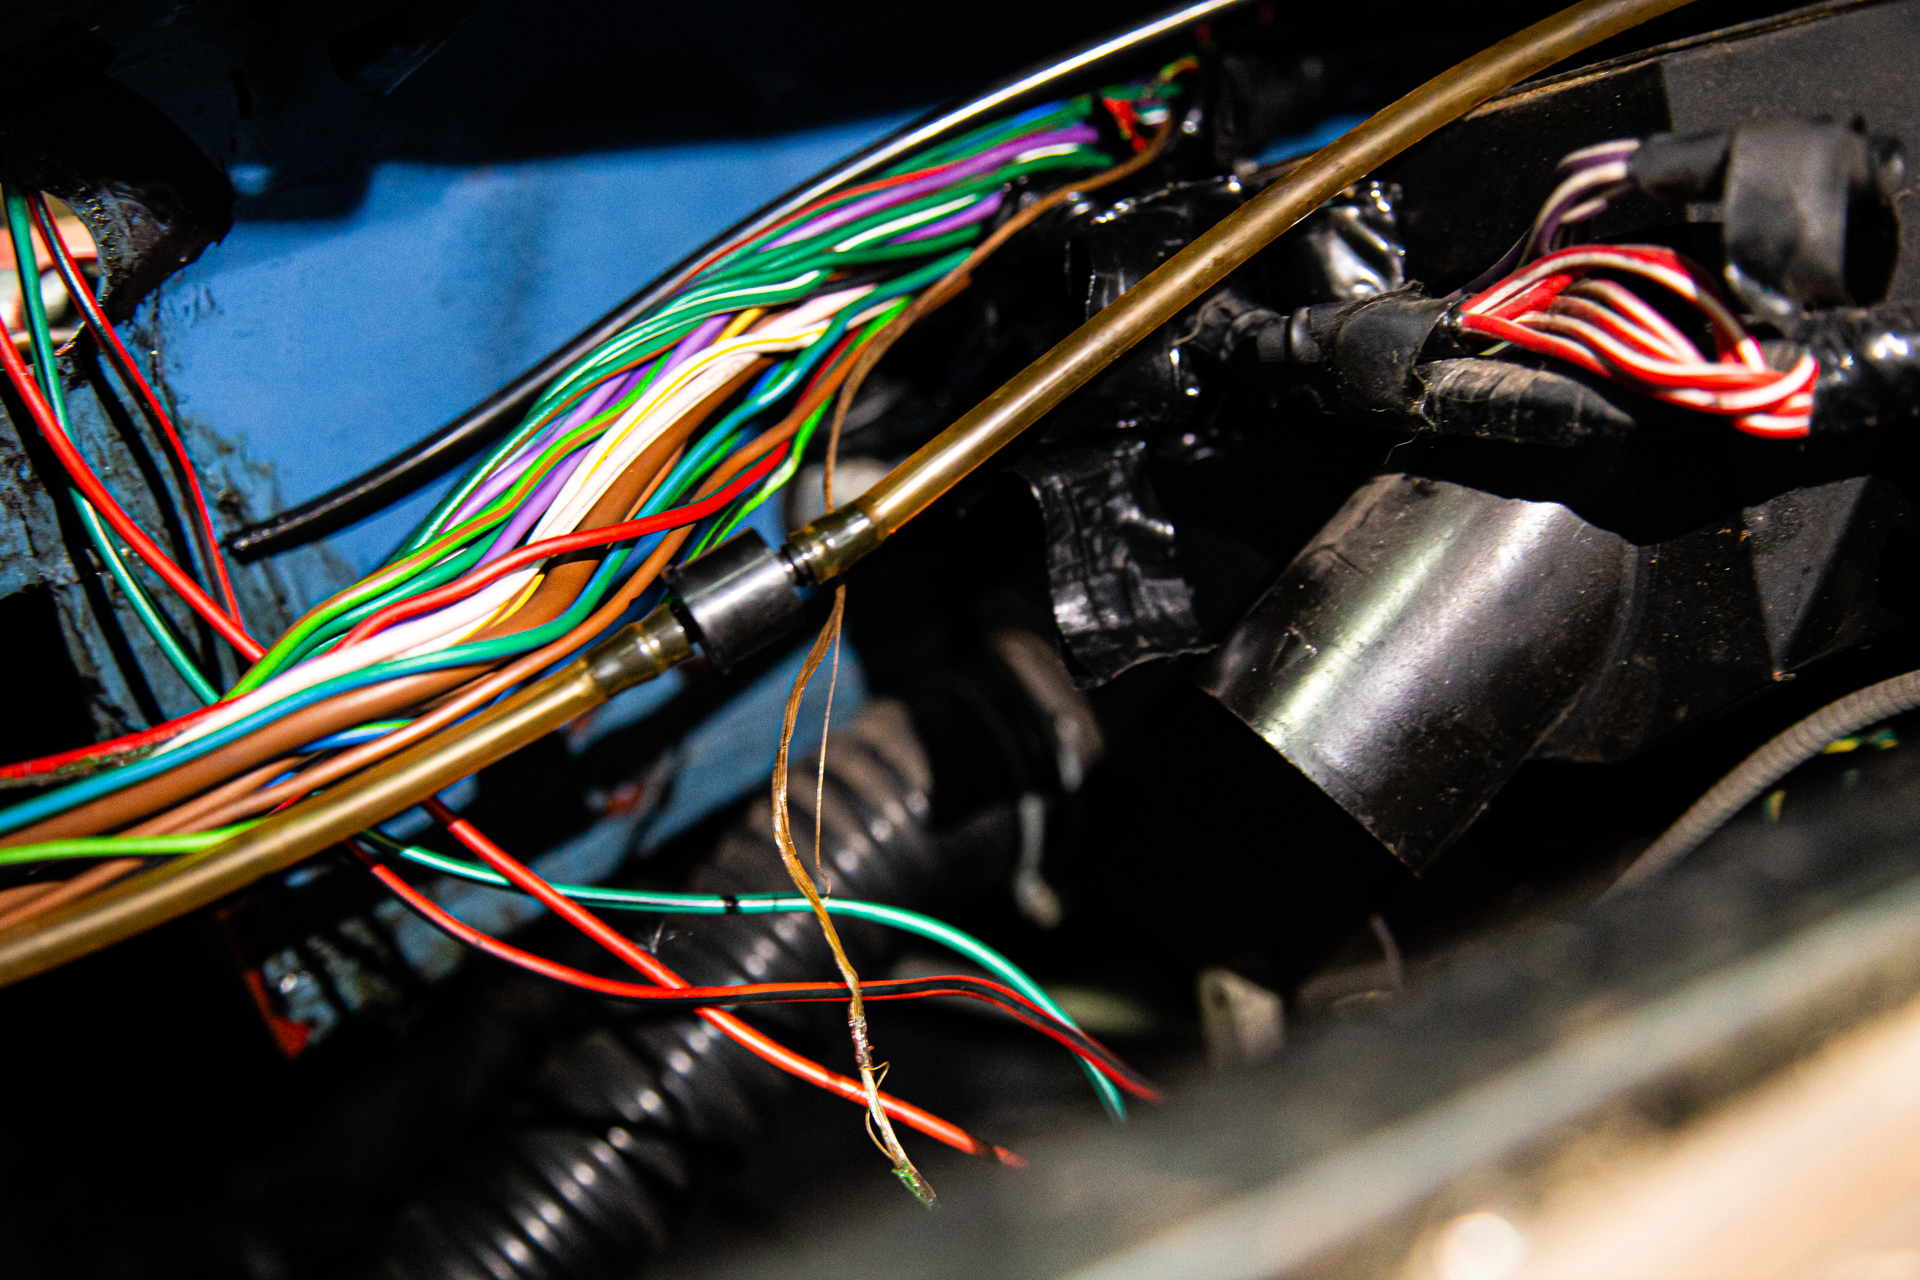
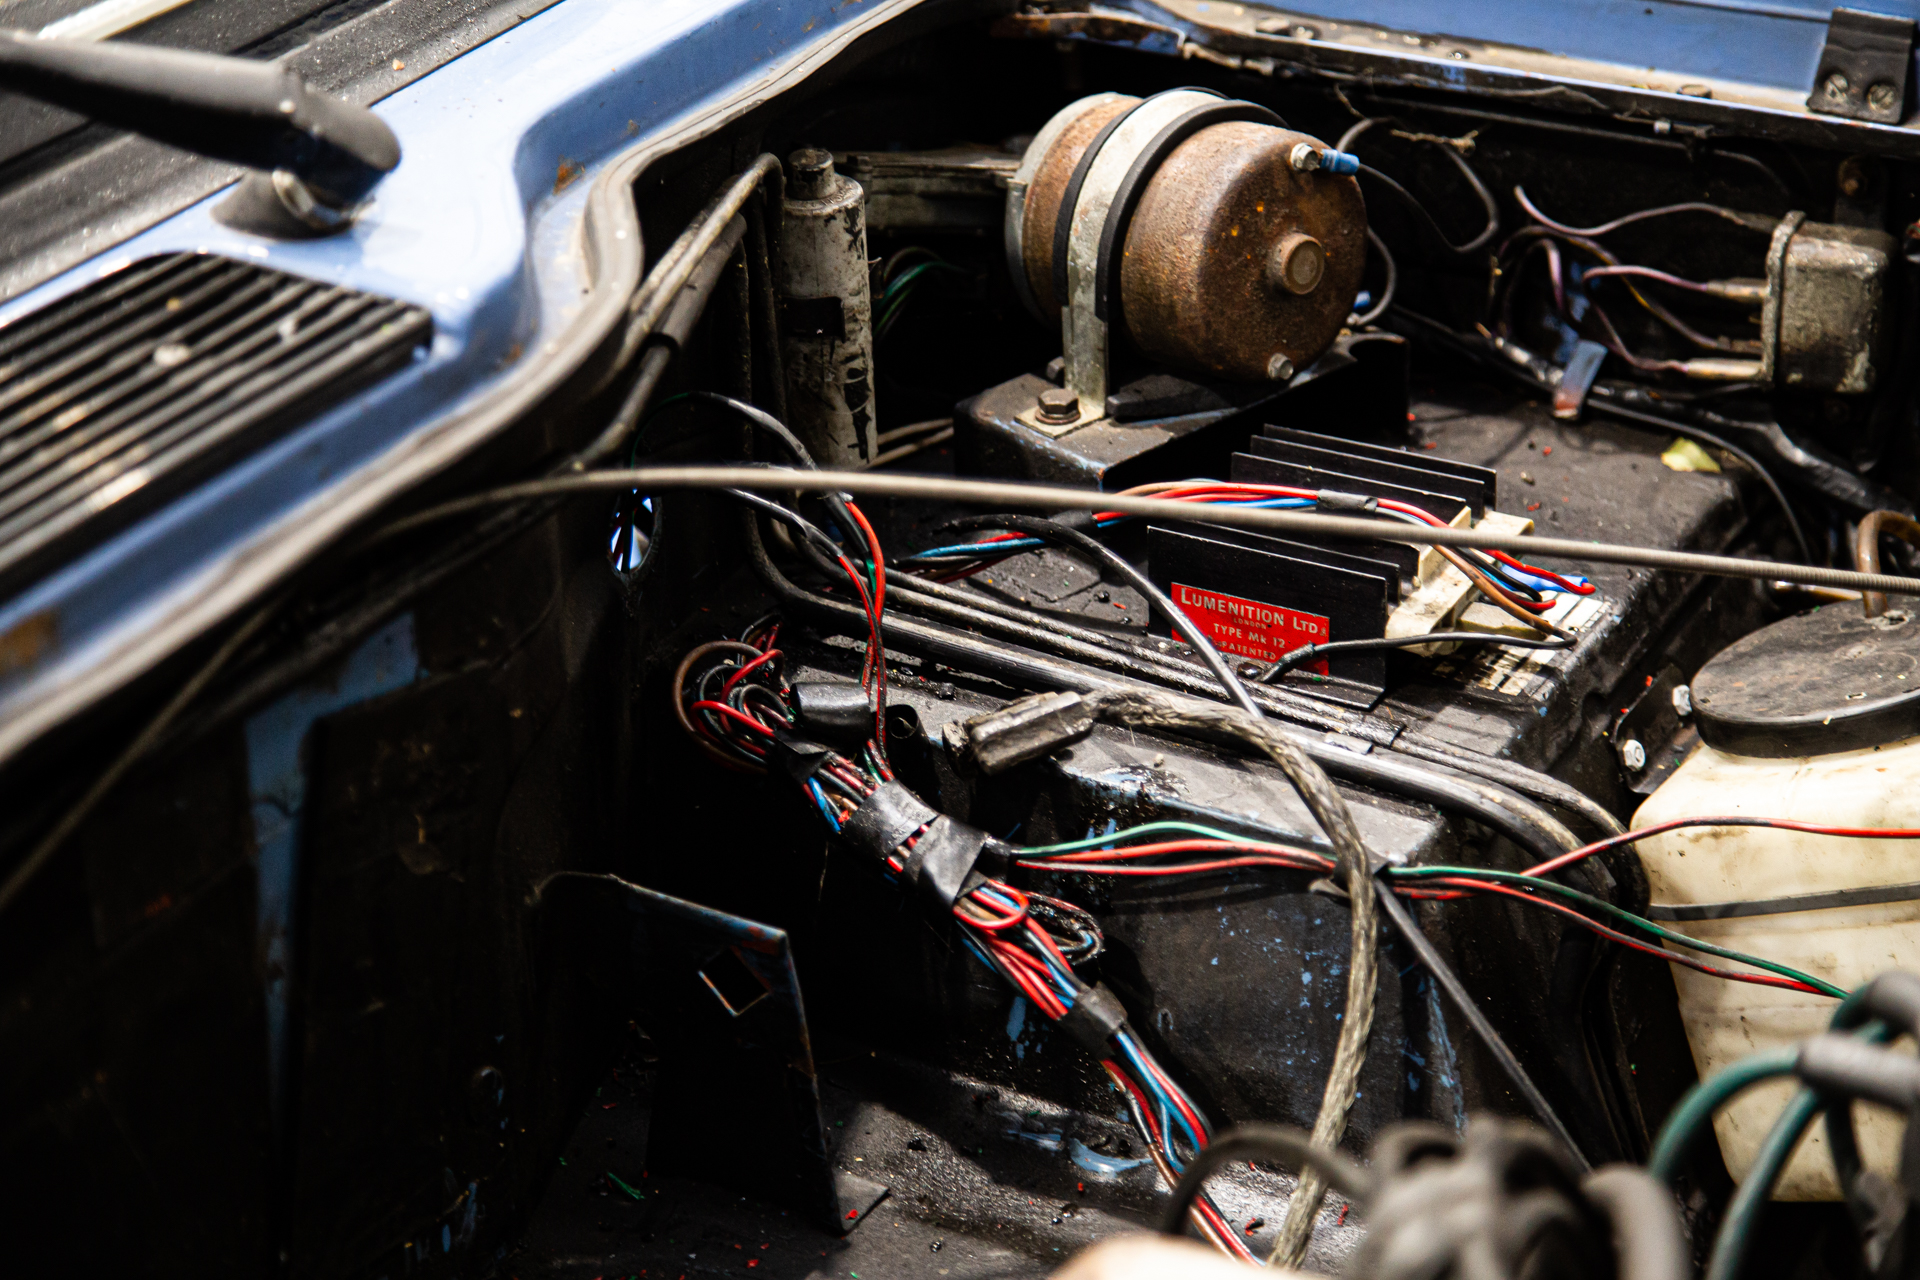
This 1974 Triumph was in with us to have a look into a wiring issue caused by a mouse while being stored in a customer’s Carcoon.
Well, after careful inspection and checks by our Workshop Manager and electrical specialist John, he found that nearly half the wiring loom behind the dashboard was affected. Because of this, it is best practice to replace the entire loom. Both for the sake of time to the customer and for peace of mind when it comes to the electrical system of the car.
The loom is now on order from a specialist in TR6 wiring looms and will be fitted and tested once it arrives with us here at Bridge Classic Cars.


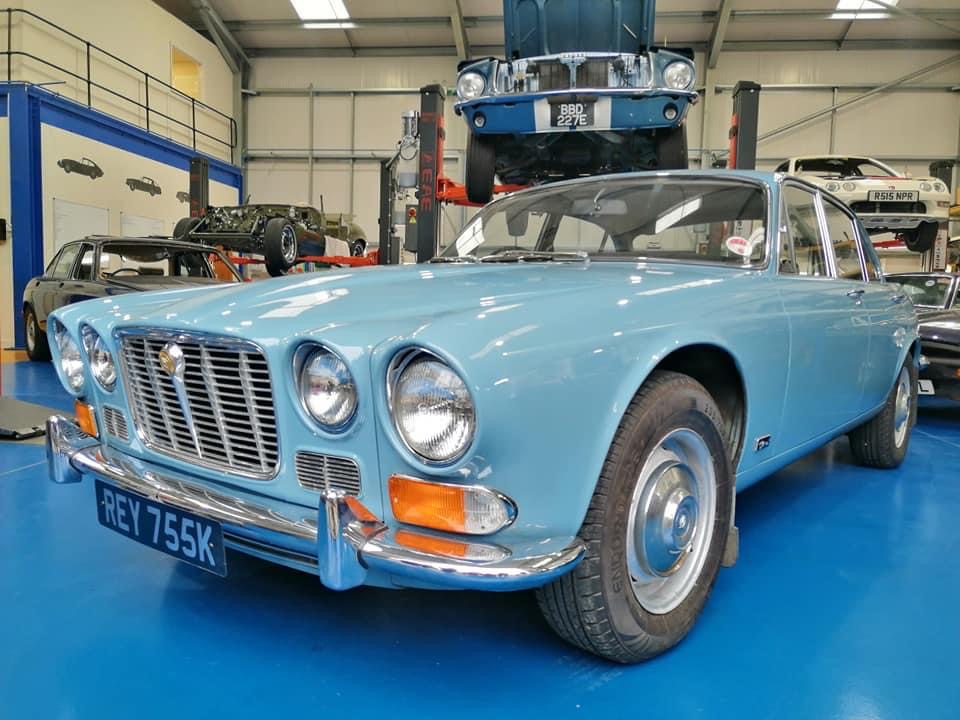
As with any classic car, you want to try and exercise a certain amount of reserve and caution when working on them. Try to be sympathetic to their age and their condition. So, when the 1971 Jaguar XJ6 that we have had in at Bridge Classic Cars developed a misfire our in-house restoration team did everything they could before having to dive deep.
The XJ6 has had its fuel tanks replaced, new fuel lines and was tested by our technicians. Before the tanks were replaced this classic Jaguar had real trouble staying running. Now though, it will run for as long as there is fuel in it. However, now that it was running long enough, Dave noticed a misfire on the big straight-six.
Originally Dave thought it to be connected to the ignition system. It would arc out to the nearest metal point. We also discovered exposed wires in the connectors that join the condenser. Those were all then replaced along with the HT leads but to no avail. It had got marginally better but the misfire was still rather prominent.
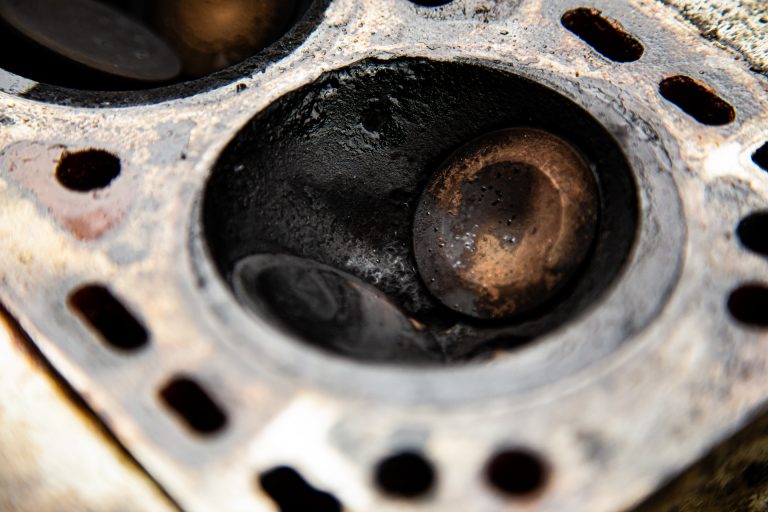
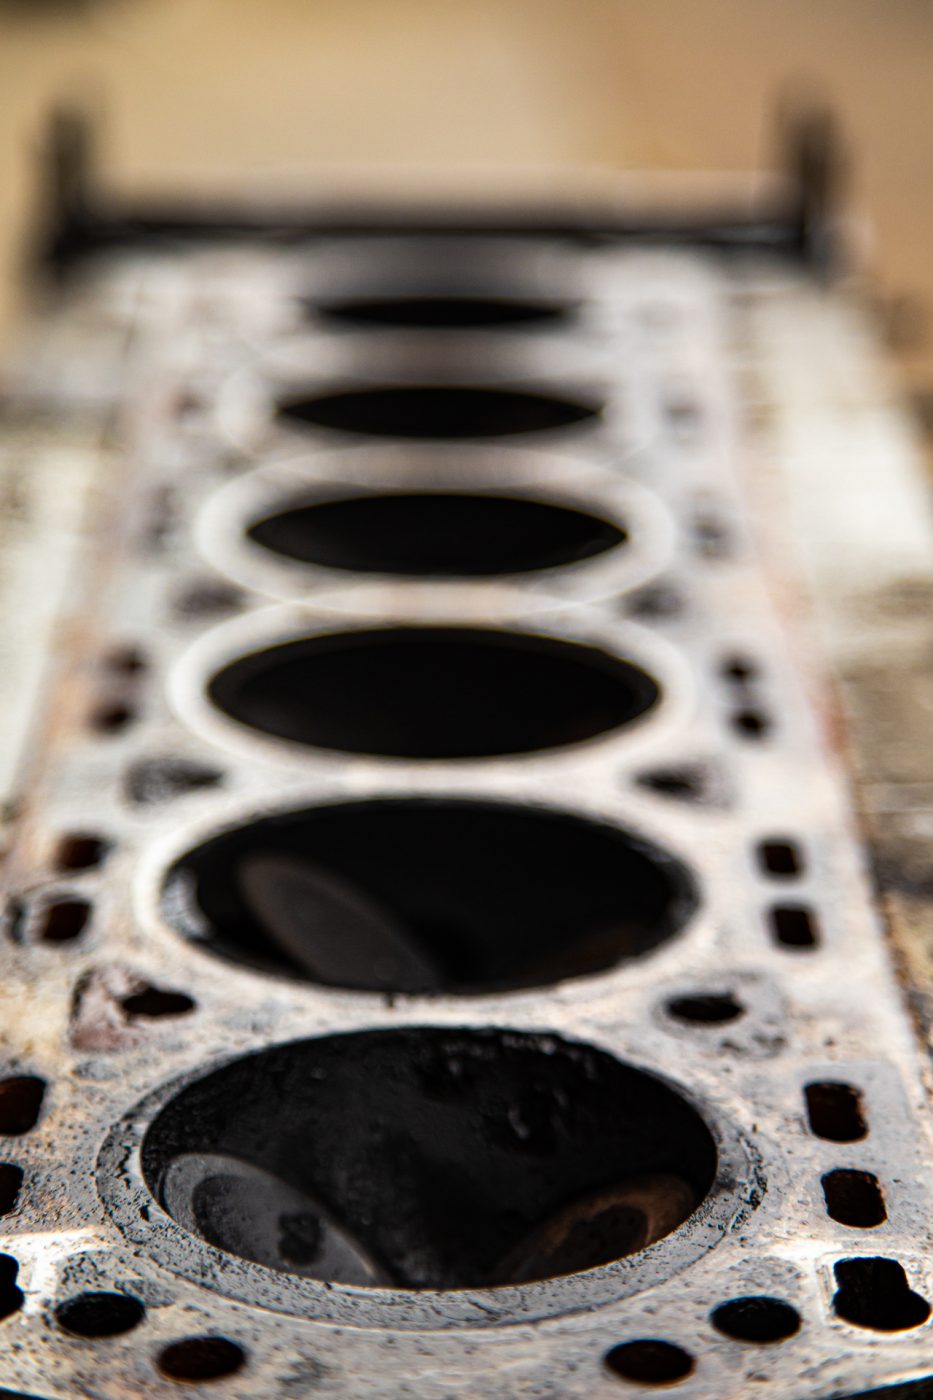
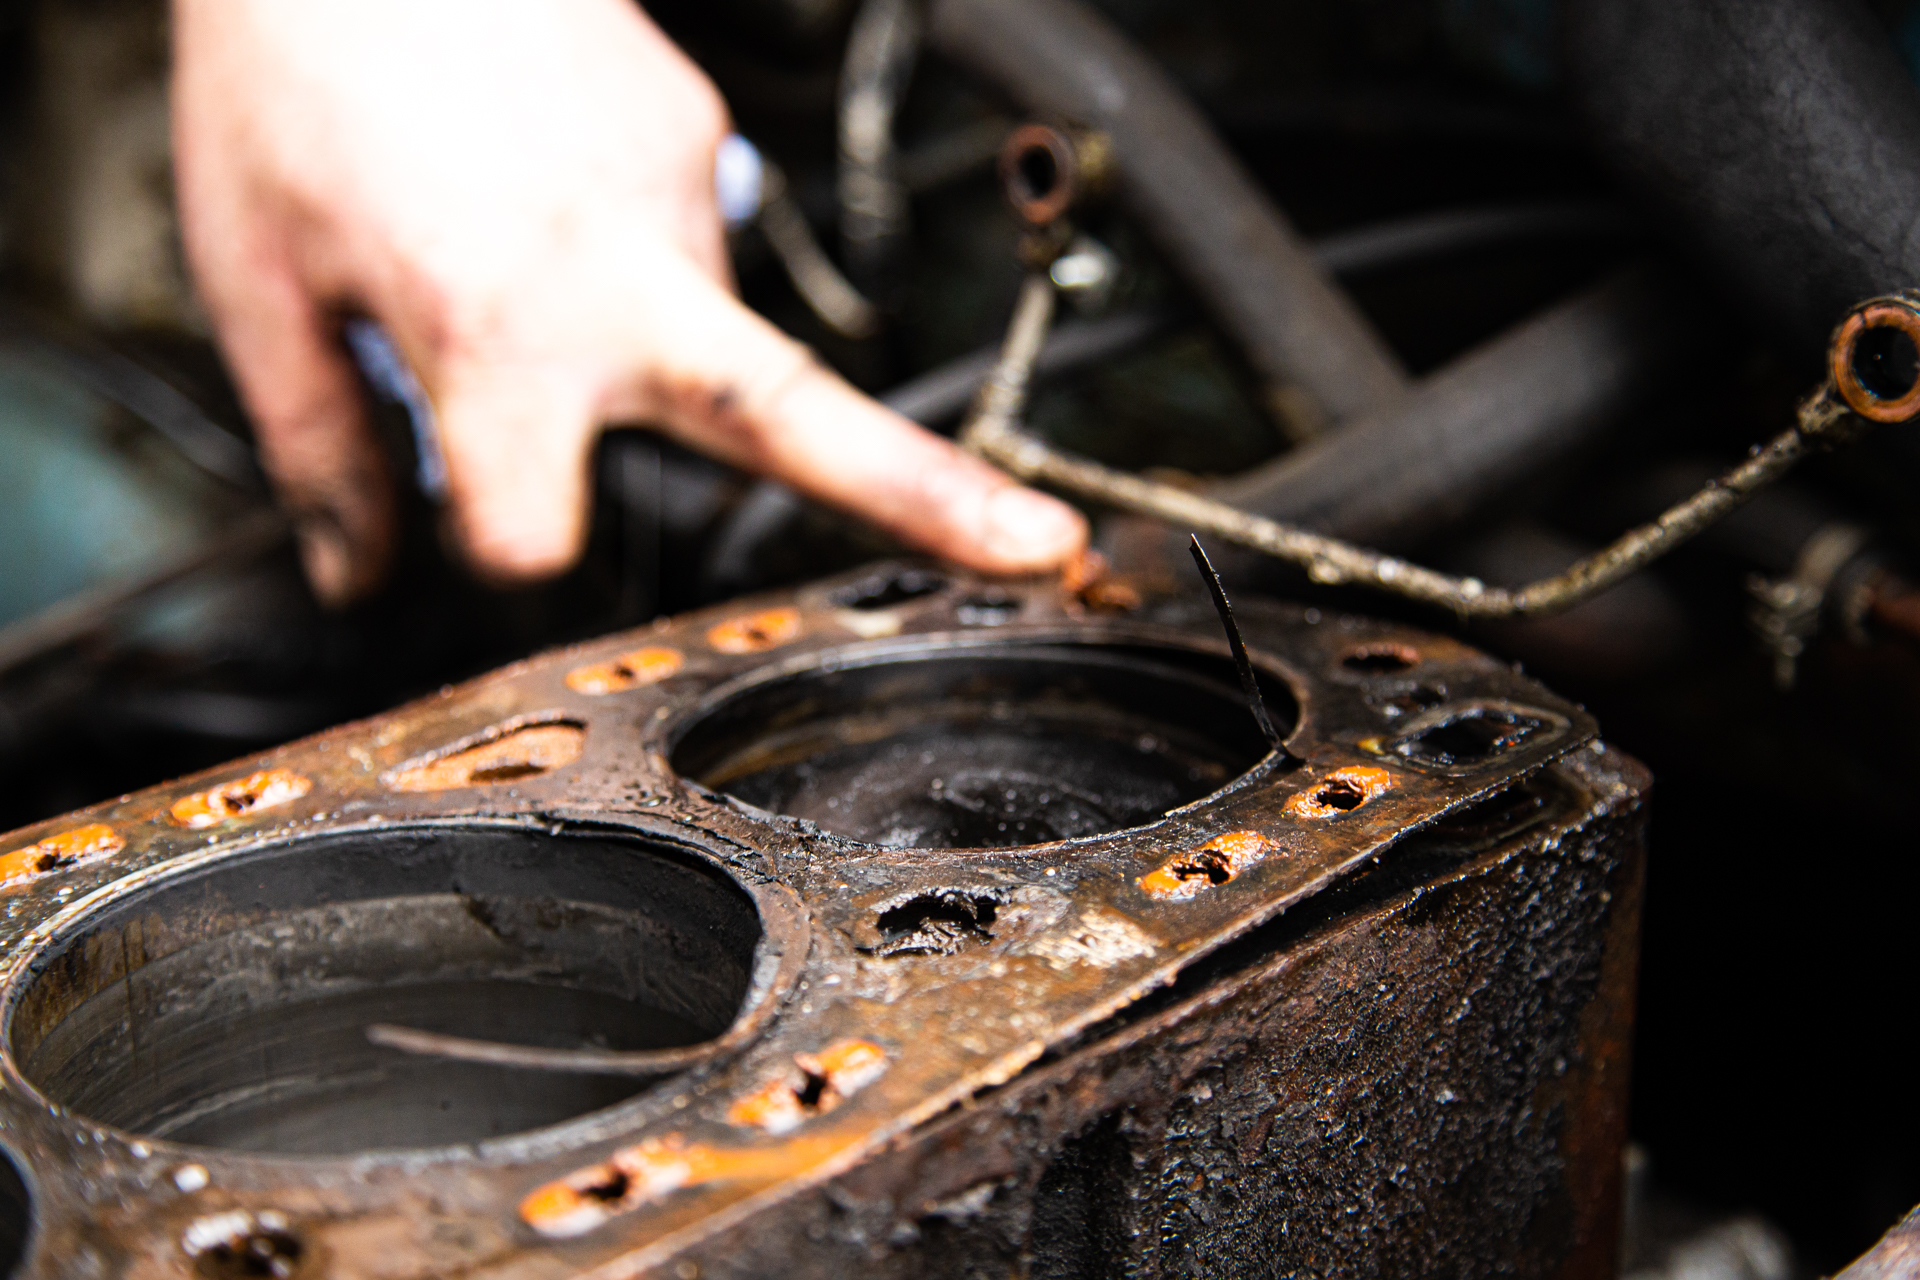
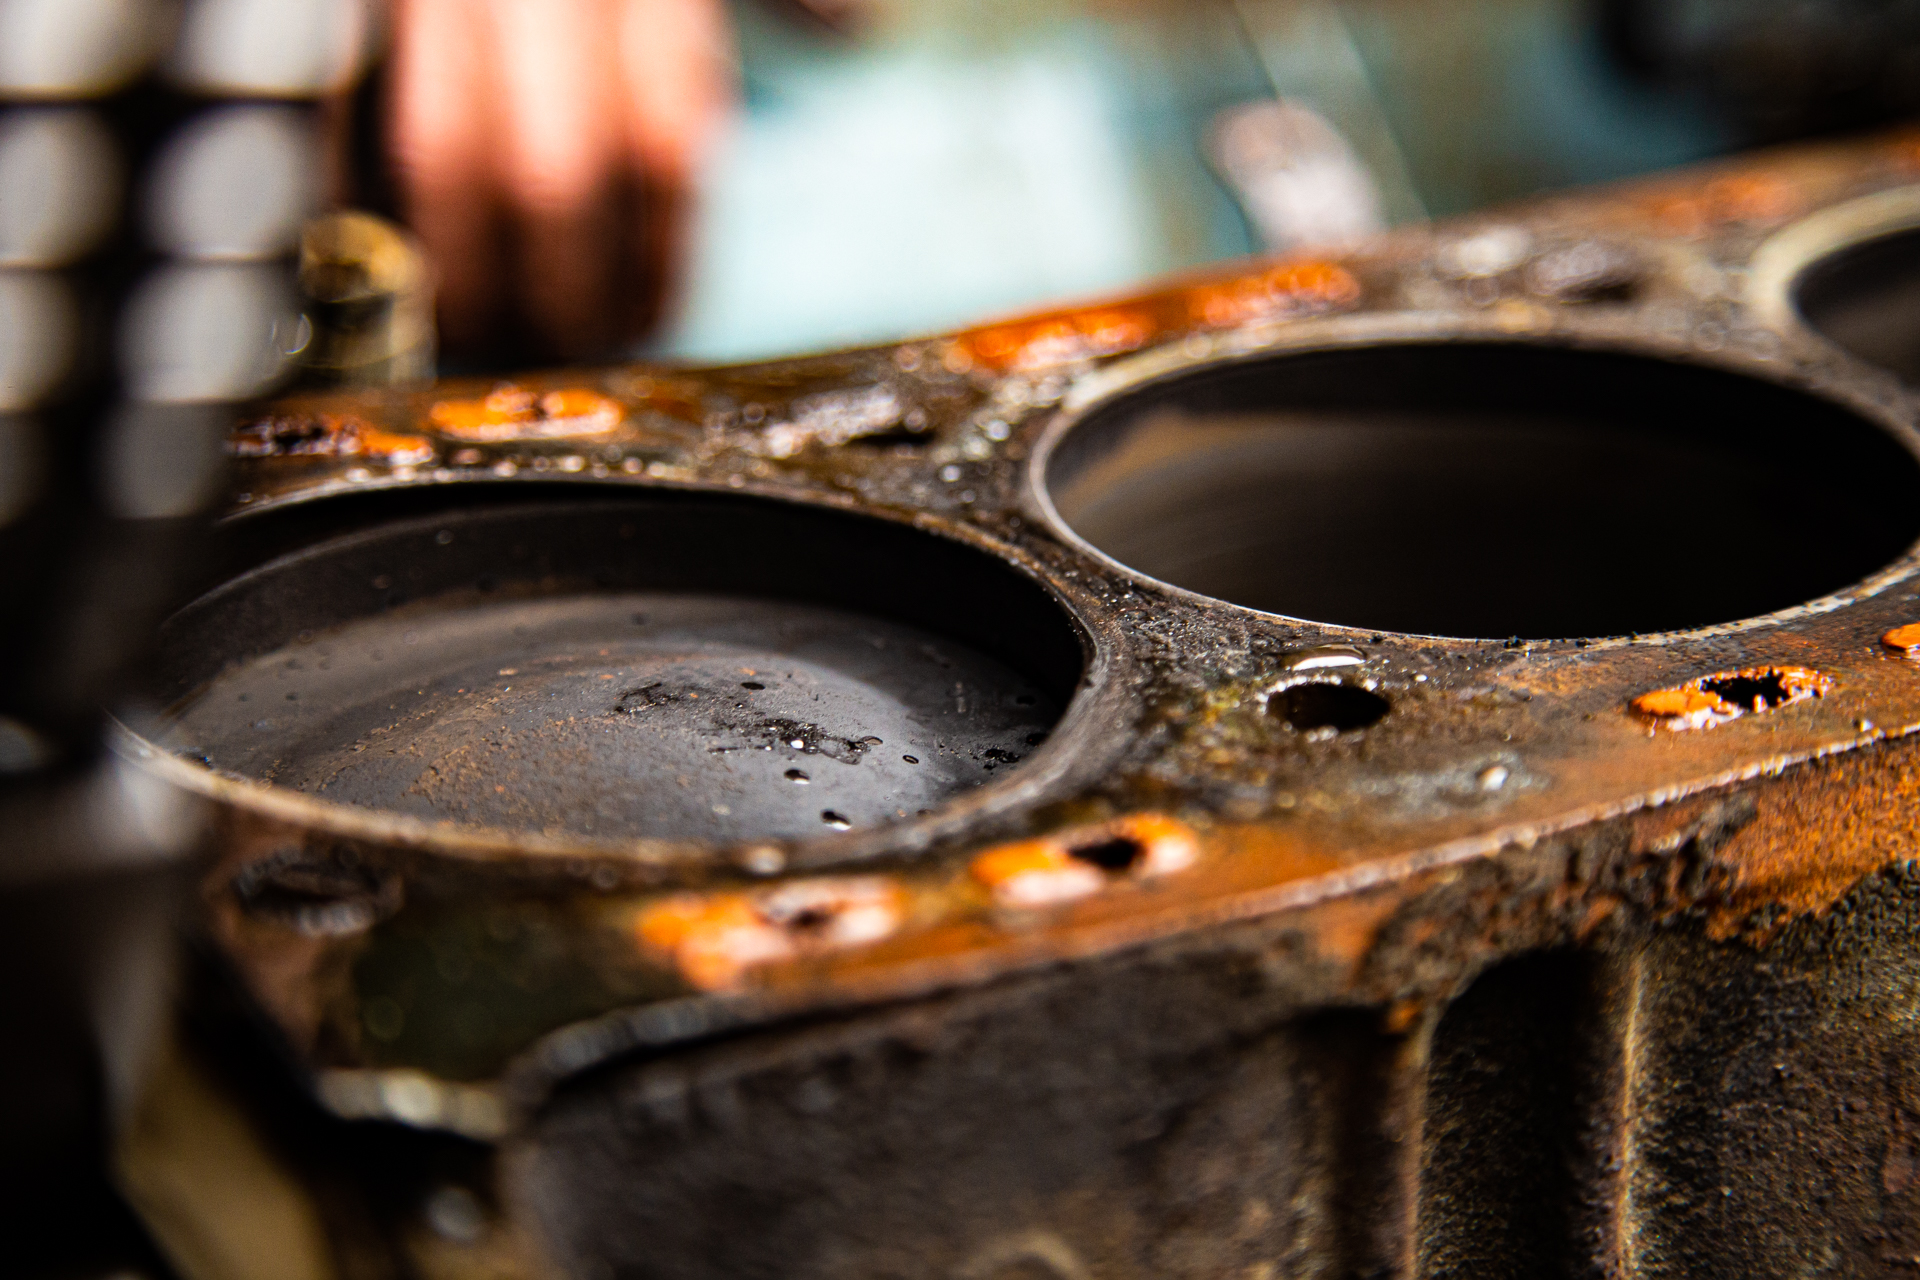
With that, our in-house engine guru Ady was called in to take a look at the straight-six. The only thing left to do was to gently remove the cylinder head. Carefully and patiently, Ady eased the head from the block to expose the pistons but more importantly the head gasket. On the cylinder closest to the firewall, the gasket was in tatters. The XJ6 had blown a head gasket. Also, Ady had noticed coolant marks down the side of the block. Another sign that the gasket is not sitting correctly between the cylinder head and the engine block.
With that, it also damaged the chamber of the corresponding cylinder in the head. A large chunk of material is missing from between the leading edges of the valve. But, all may not be lost. The head is currently in the process of being stripped down and assessed so that a plan can be made to get this wonderful straight-six back in action.
Once the plan for the XJ6 engine has been confirmed, work will begin to get the car back to its former glory.

Our dear friends at Calm Indian Cow have been in Cornwall recently!
They were catering a wedding down in the West Country so of course, they took their gorgeous blue truck with them.
Some of you may remember a while back when we helped to build this amazing 1971 Bedford J Type into the mobile home of Calm Indian Cow. So, it’s always lovely to see it and Mahesh out there spreading the love.
Safe trip!
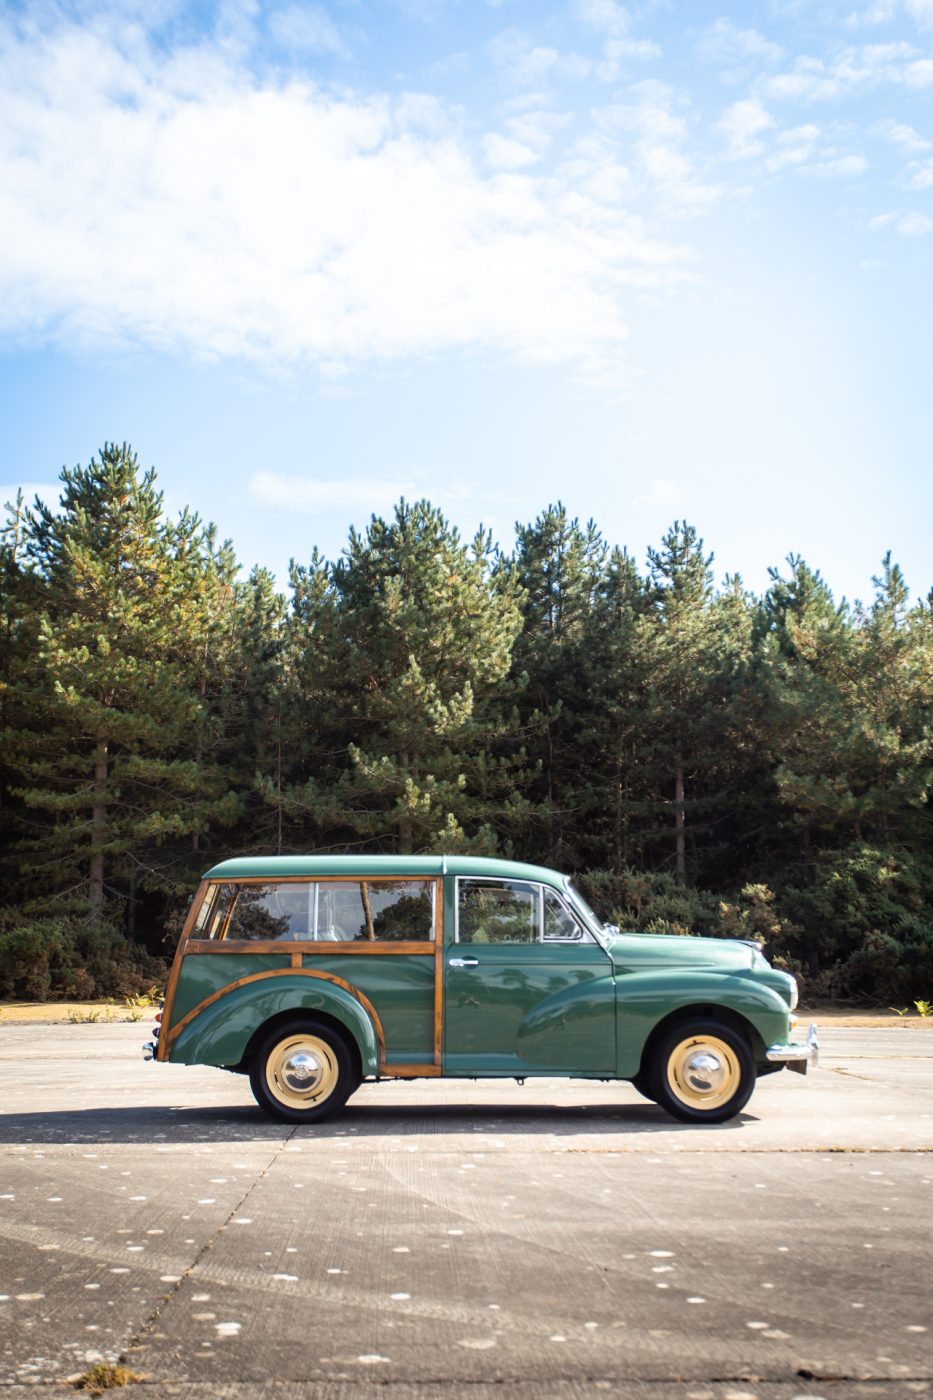
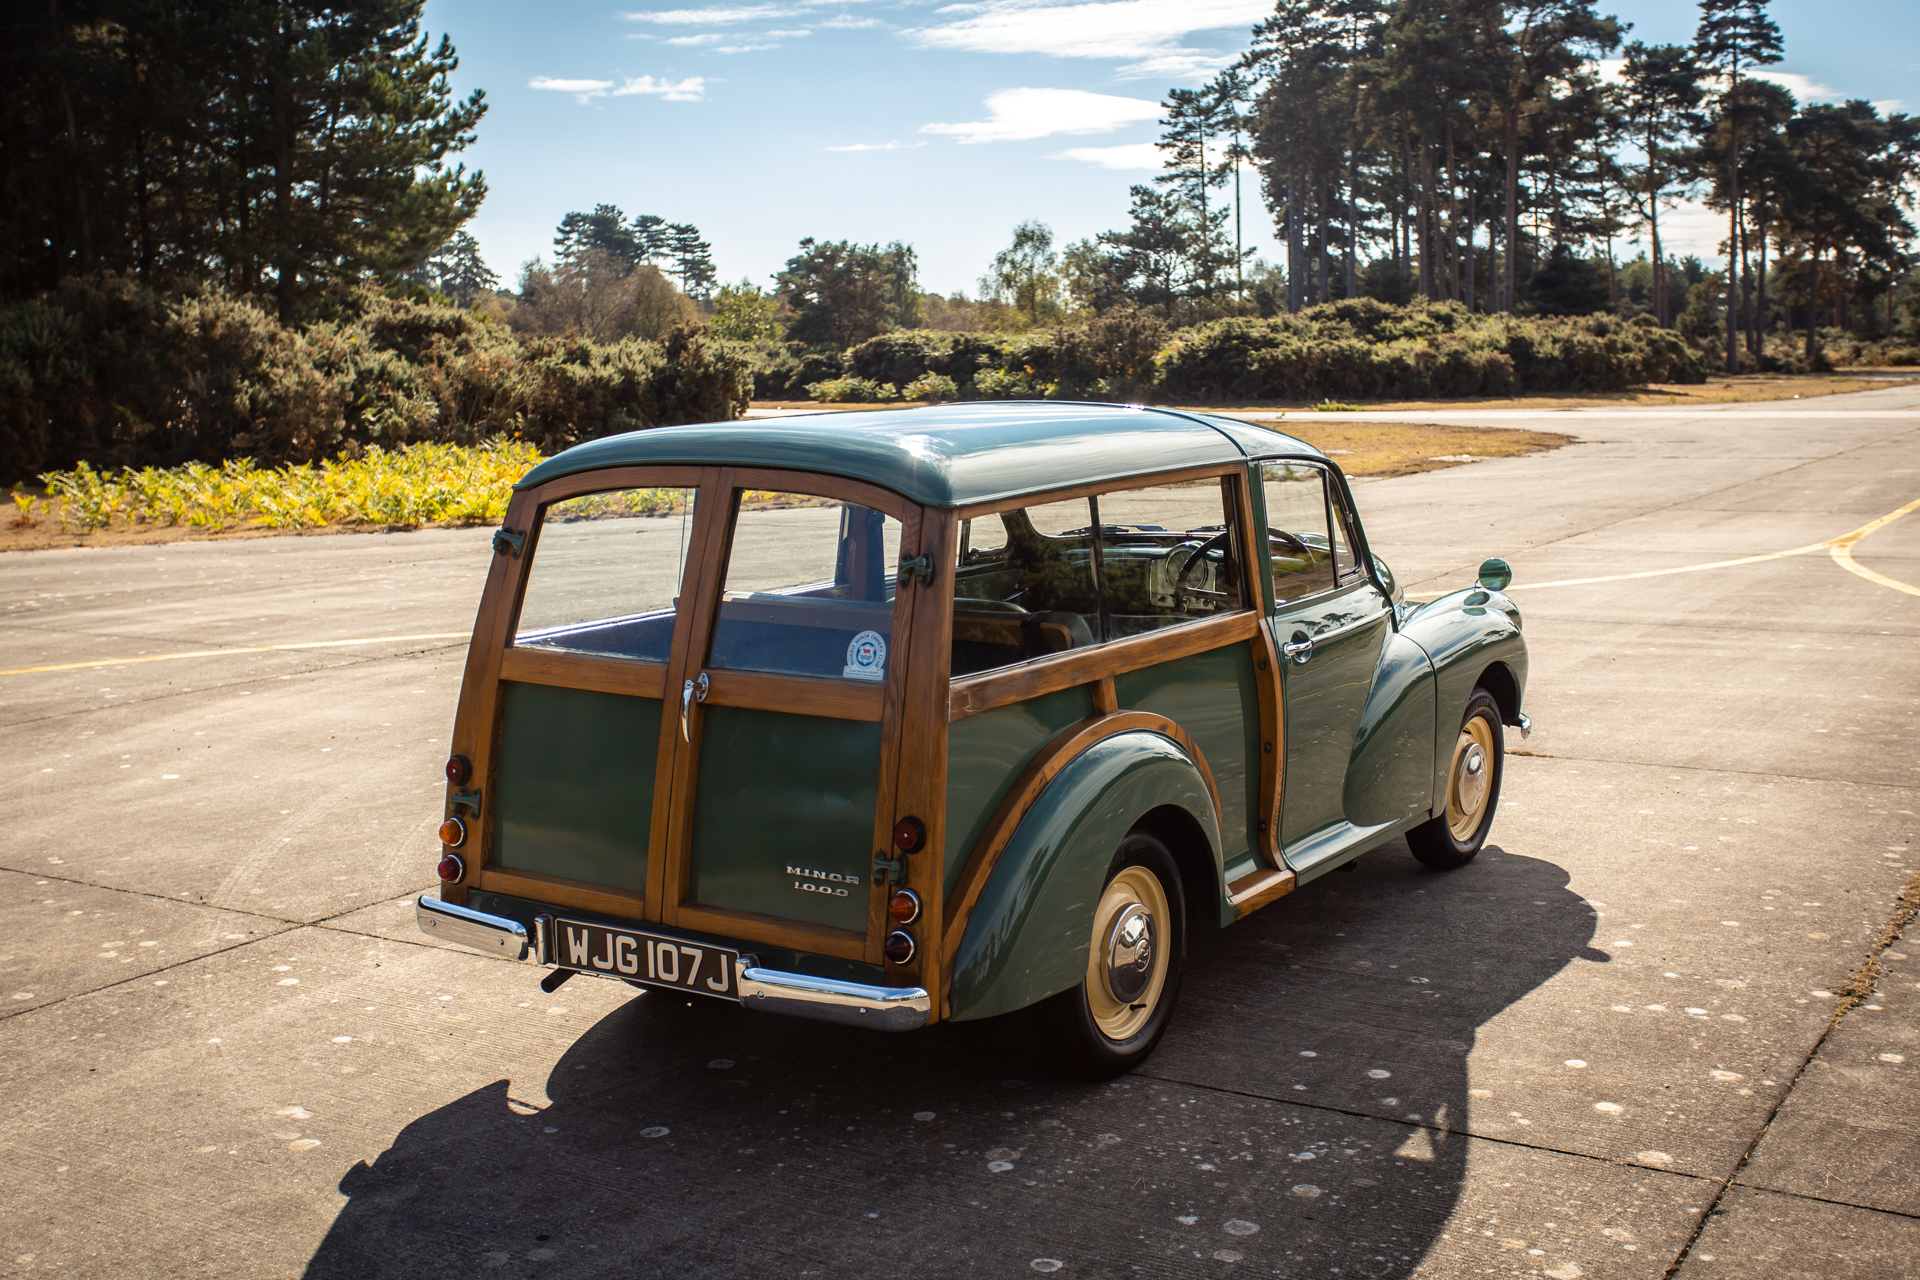
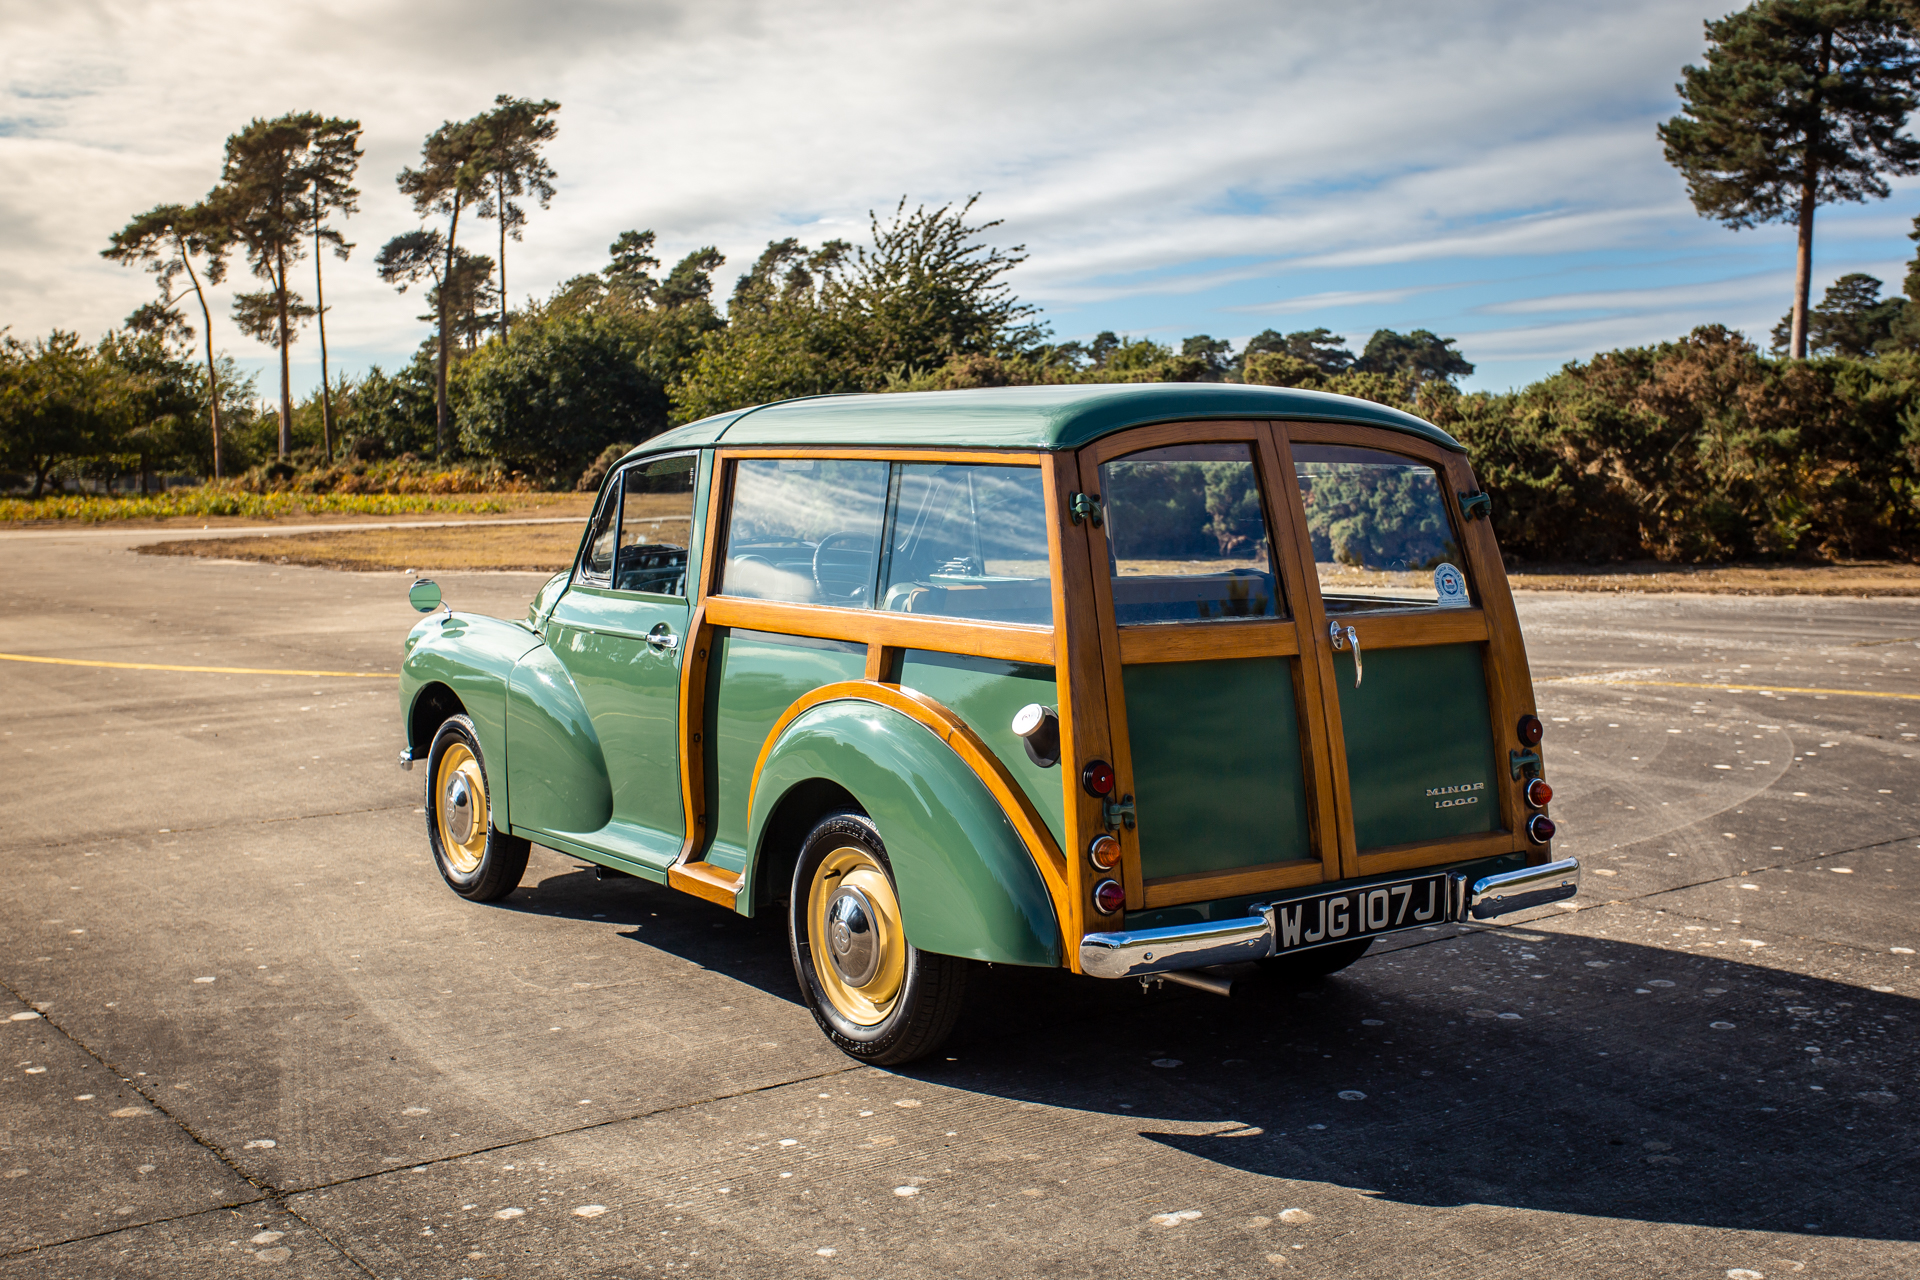
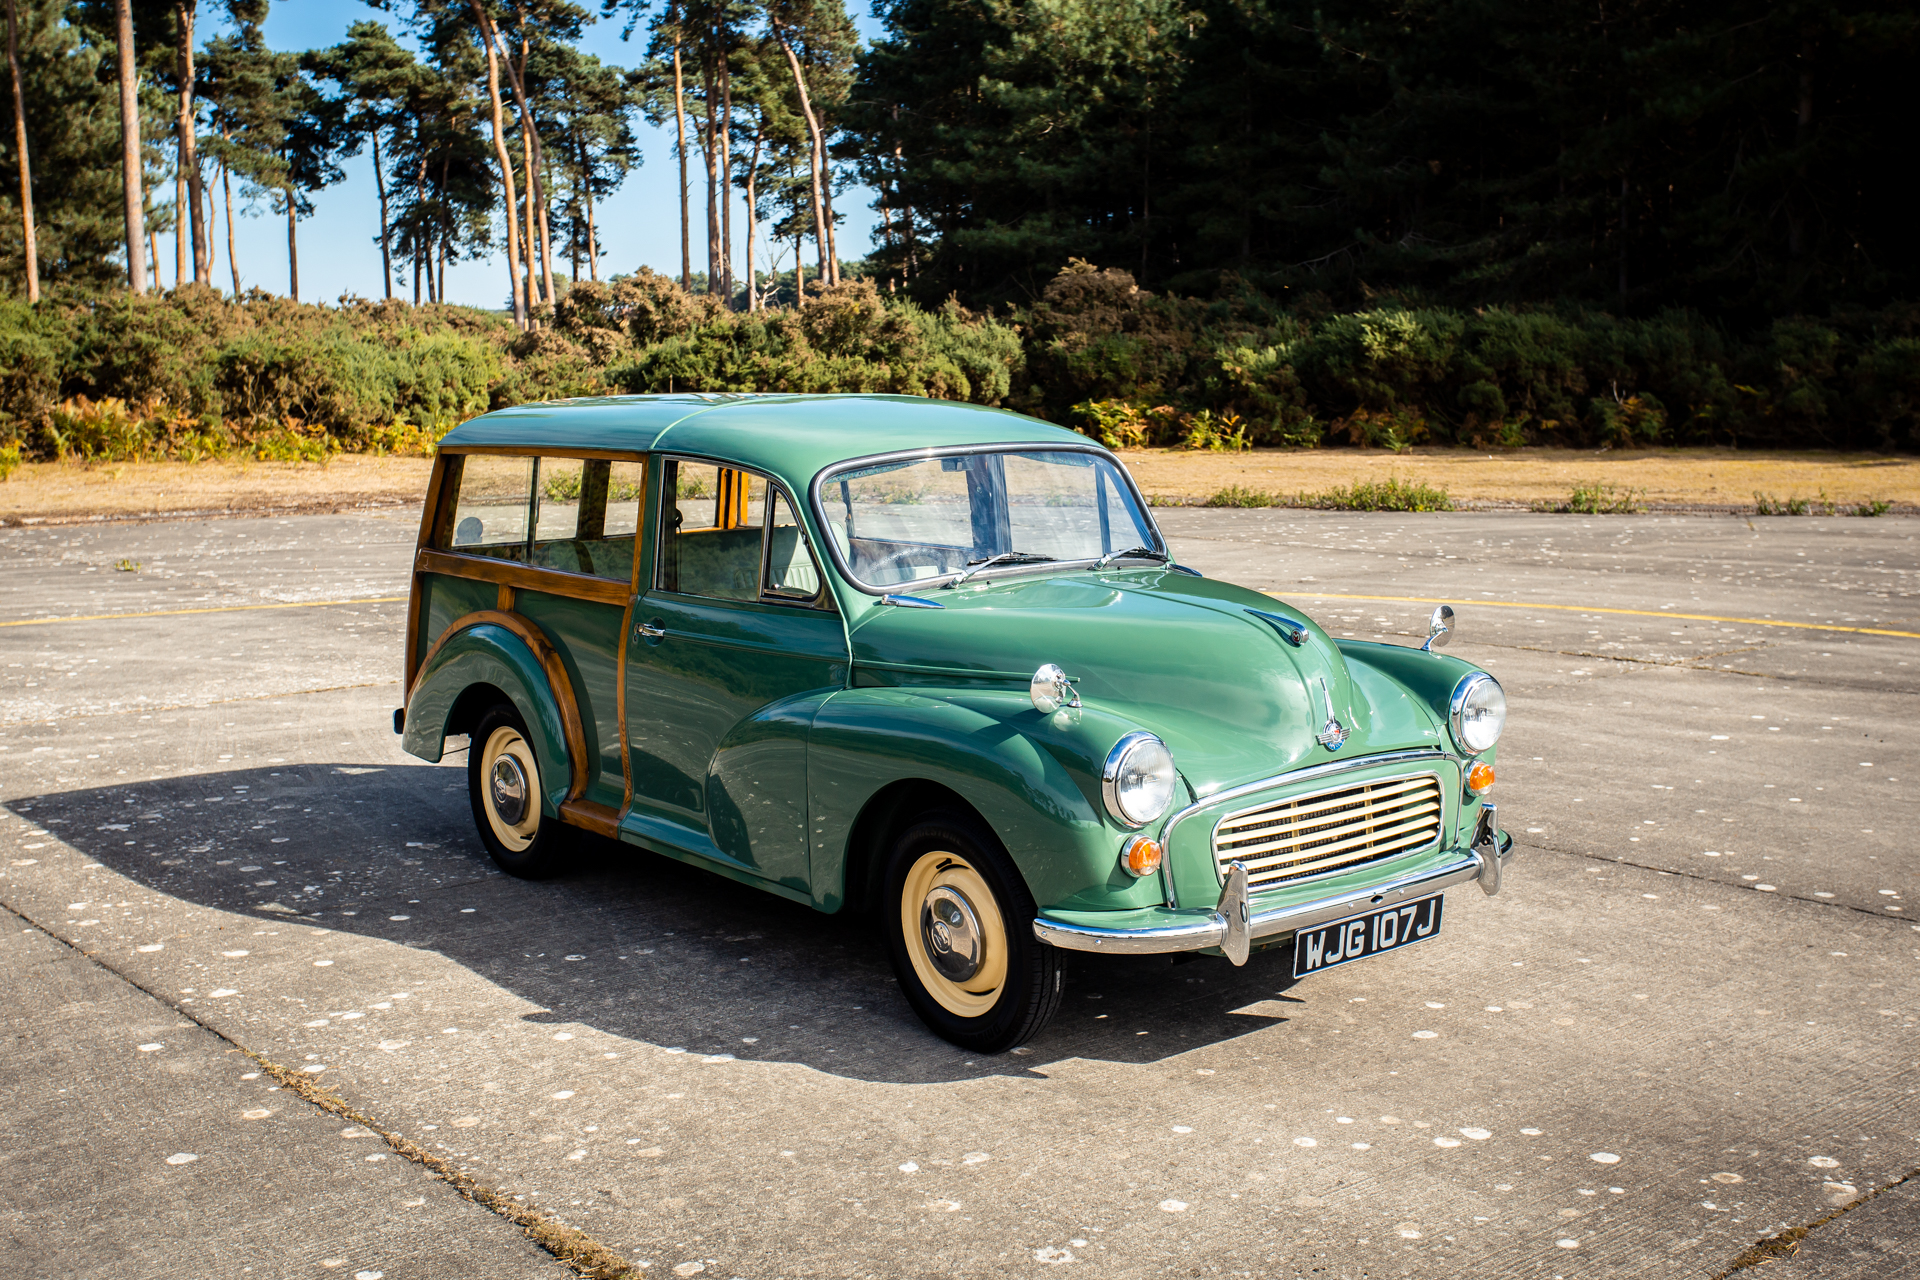
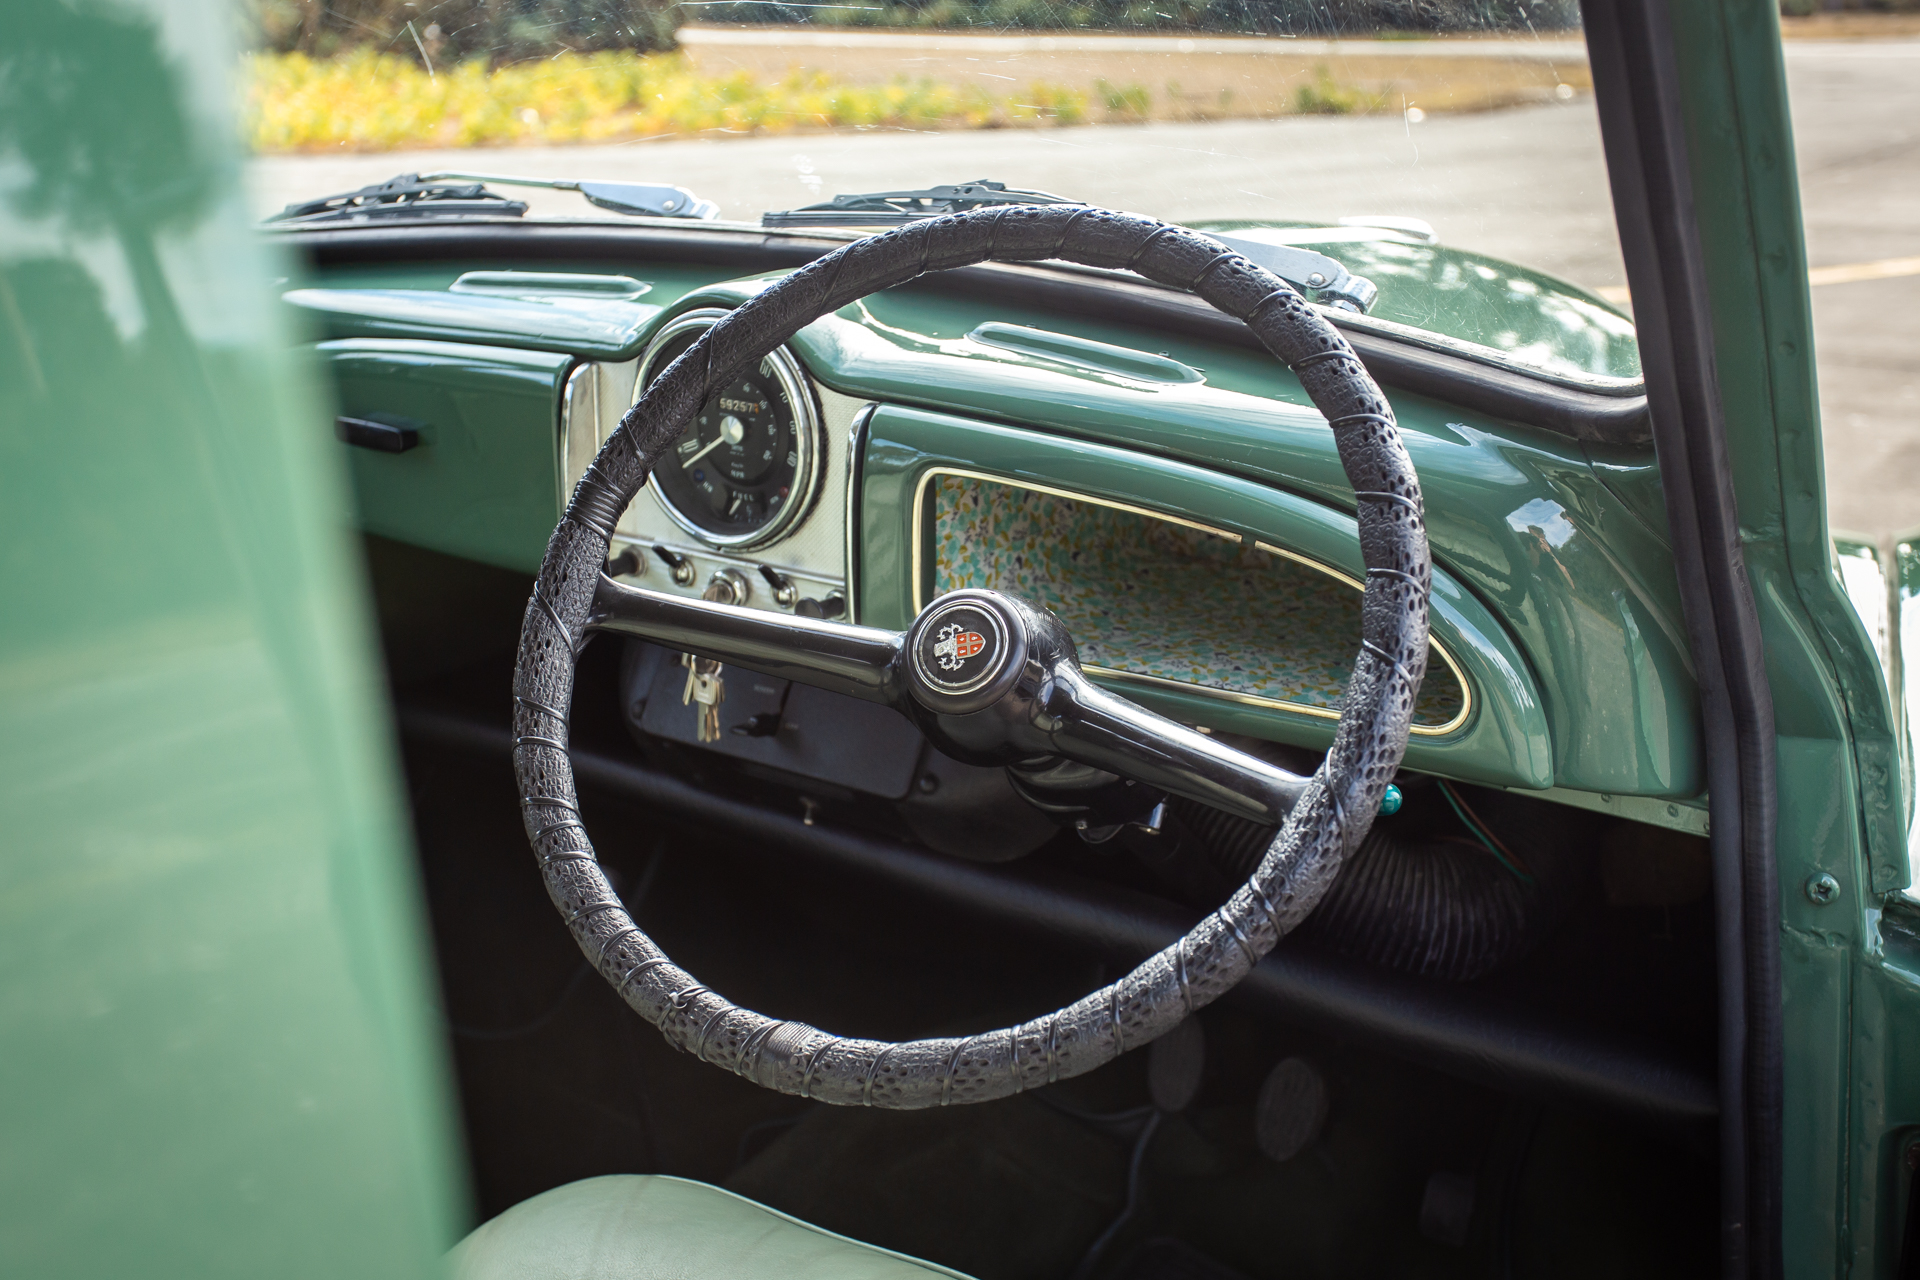
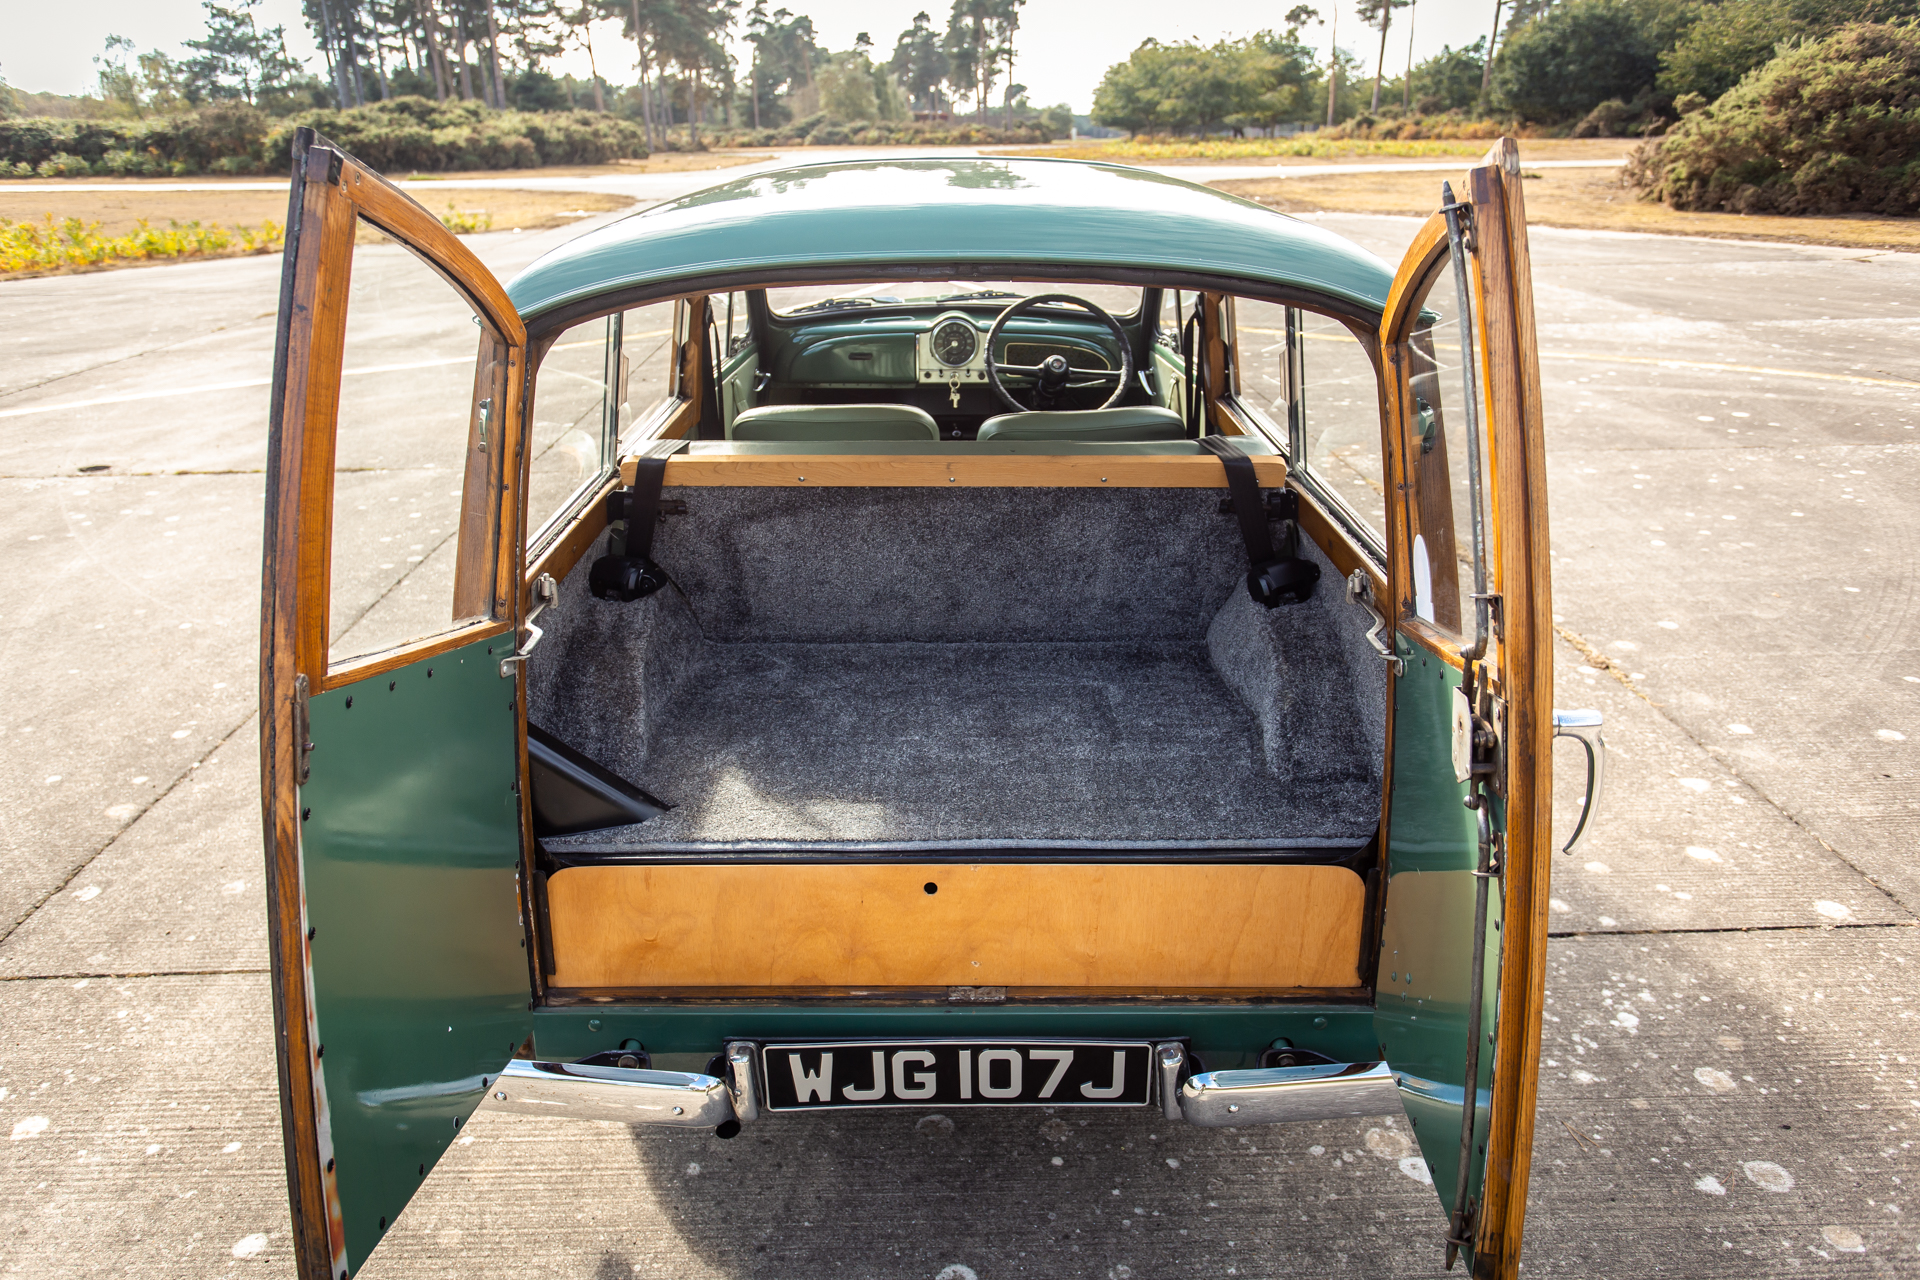
The 1970 Morris Traveller 1000 has been revealed as our latest competition car!
It is a smashing little car. It’s so quirky and full of character that you can help but smile and be happy when you’re around it. Who doesn’t love a Moggy Traveller!?
This particular car has been kept in amazing condition but has been loved and used by its previous owners. It has a massive file of history and paperwork that goes along with it. But, you could become the new lucky owner of this stunning Morris Traveller…
Just head over to the Bridge Classic Cars Competitions by clicking the link below and entering the draw.
Click here to enter the draw for this 1971 Morris Traveller 1000

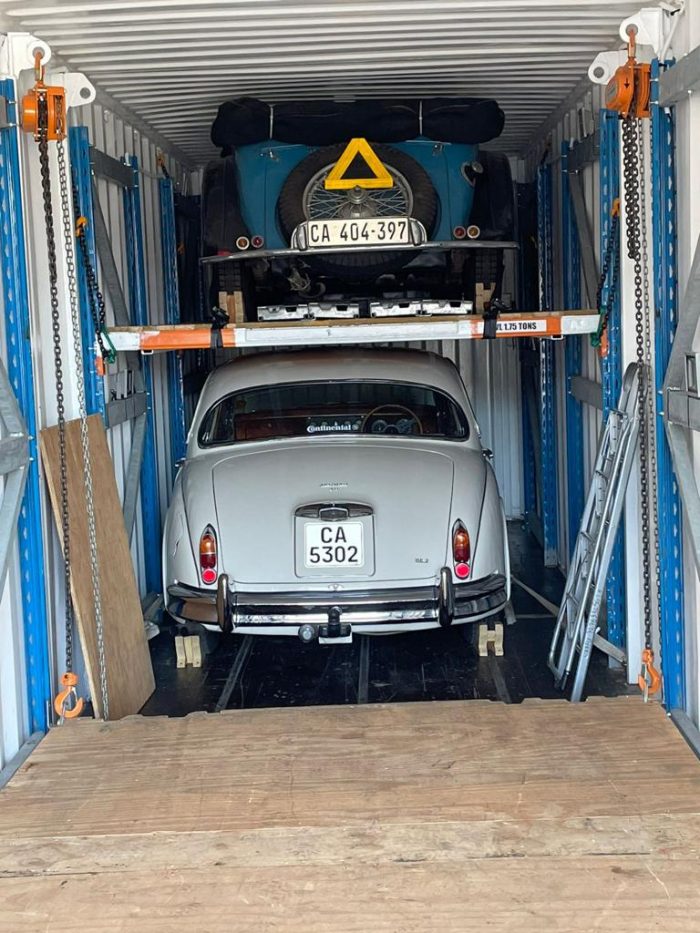
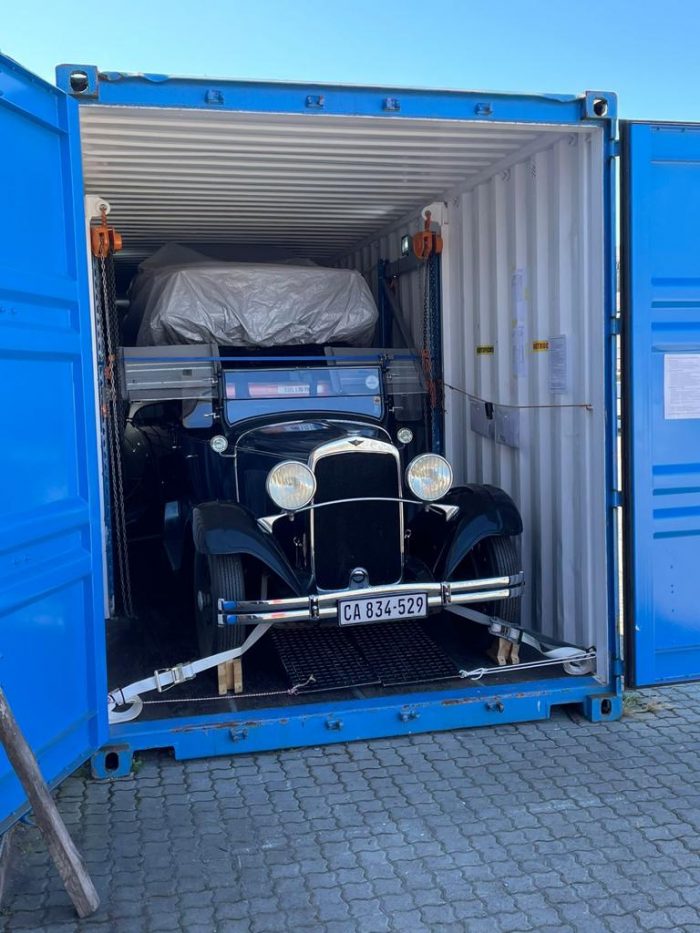
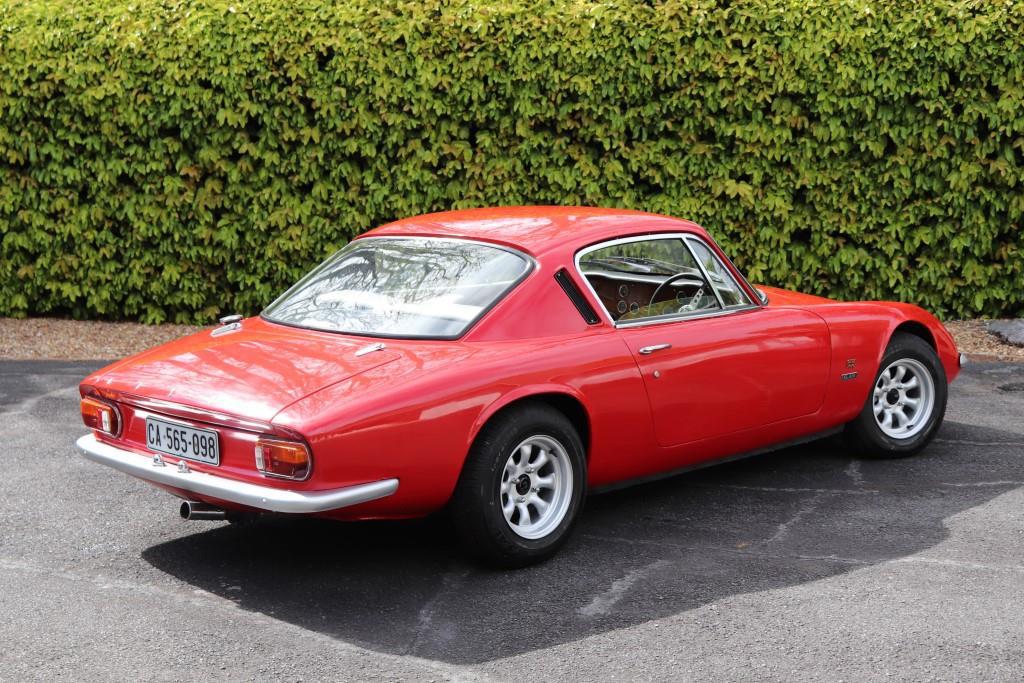
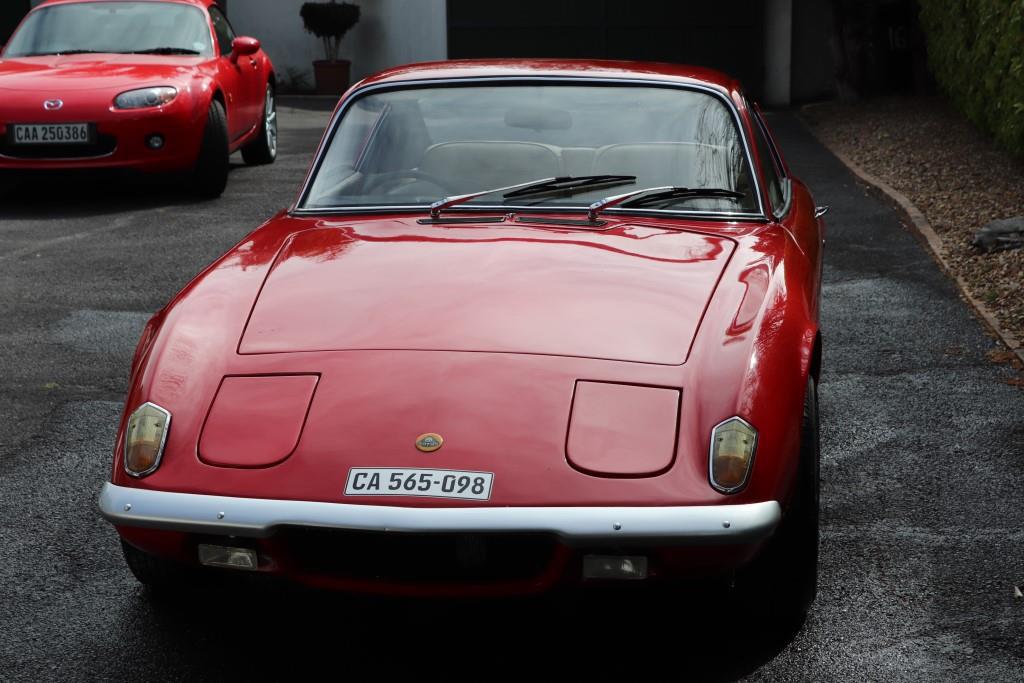
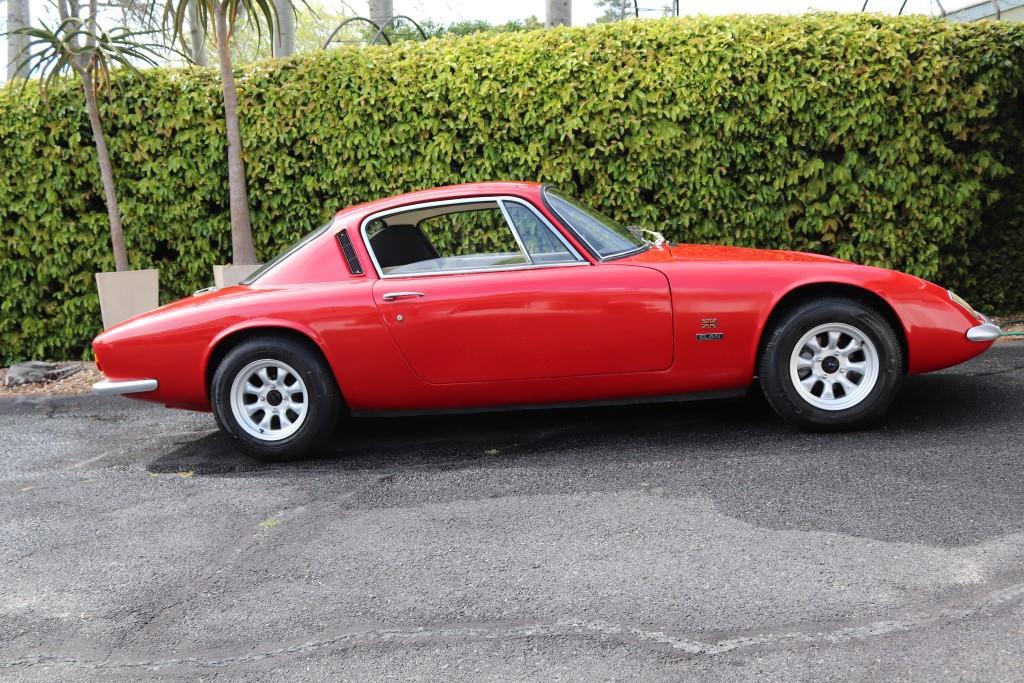
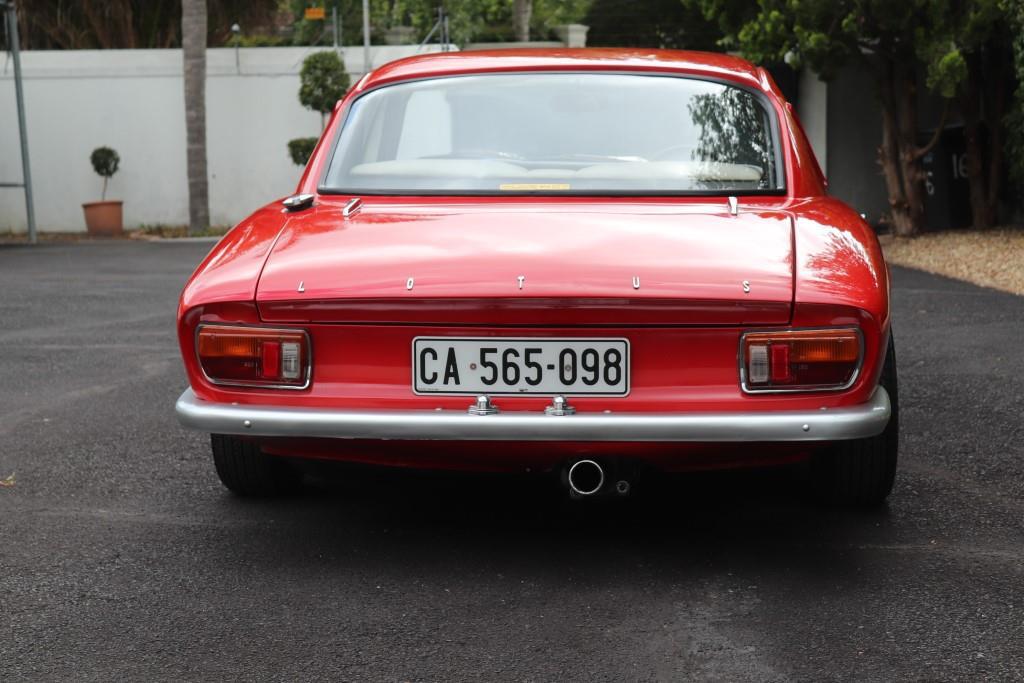
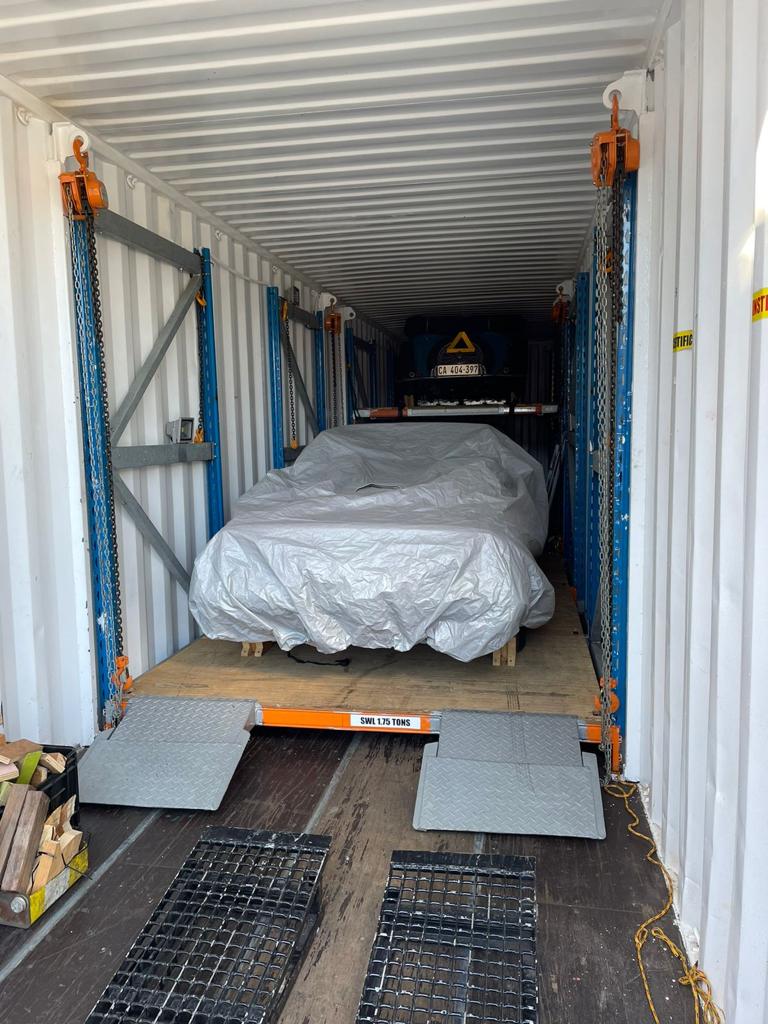
Bridge Classic Cars are soon going to be receiving a shipment of cars from South Africa.
These have been sent to us by a collector in South Africa to be assessed and looked into. Here you can see them being loaded into a specialised container for their voyage halfway across the world to get to us here in Suffolk.
Expect to see more bits in the future about this amazing collection when it reaches the shores of the UK.
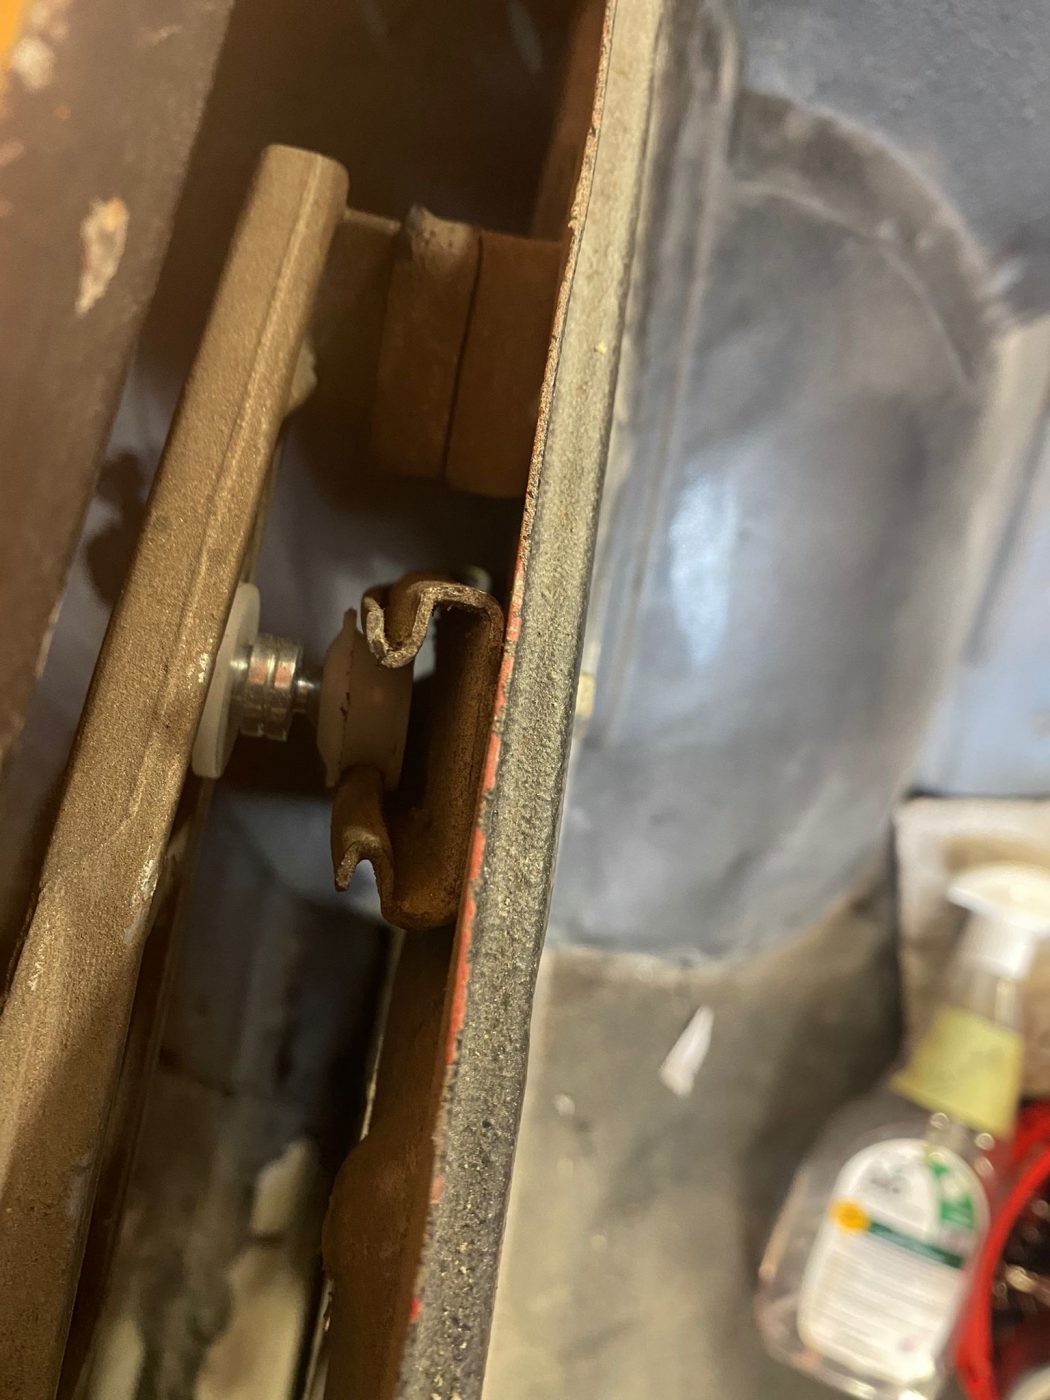
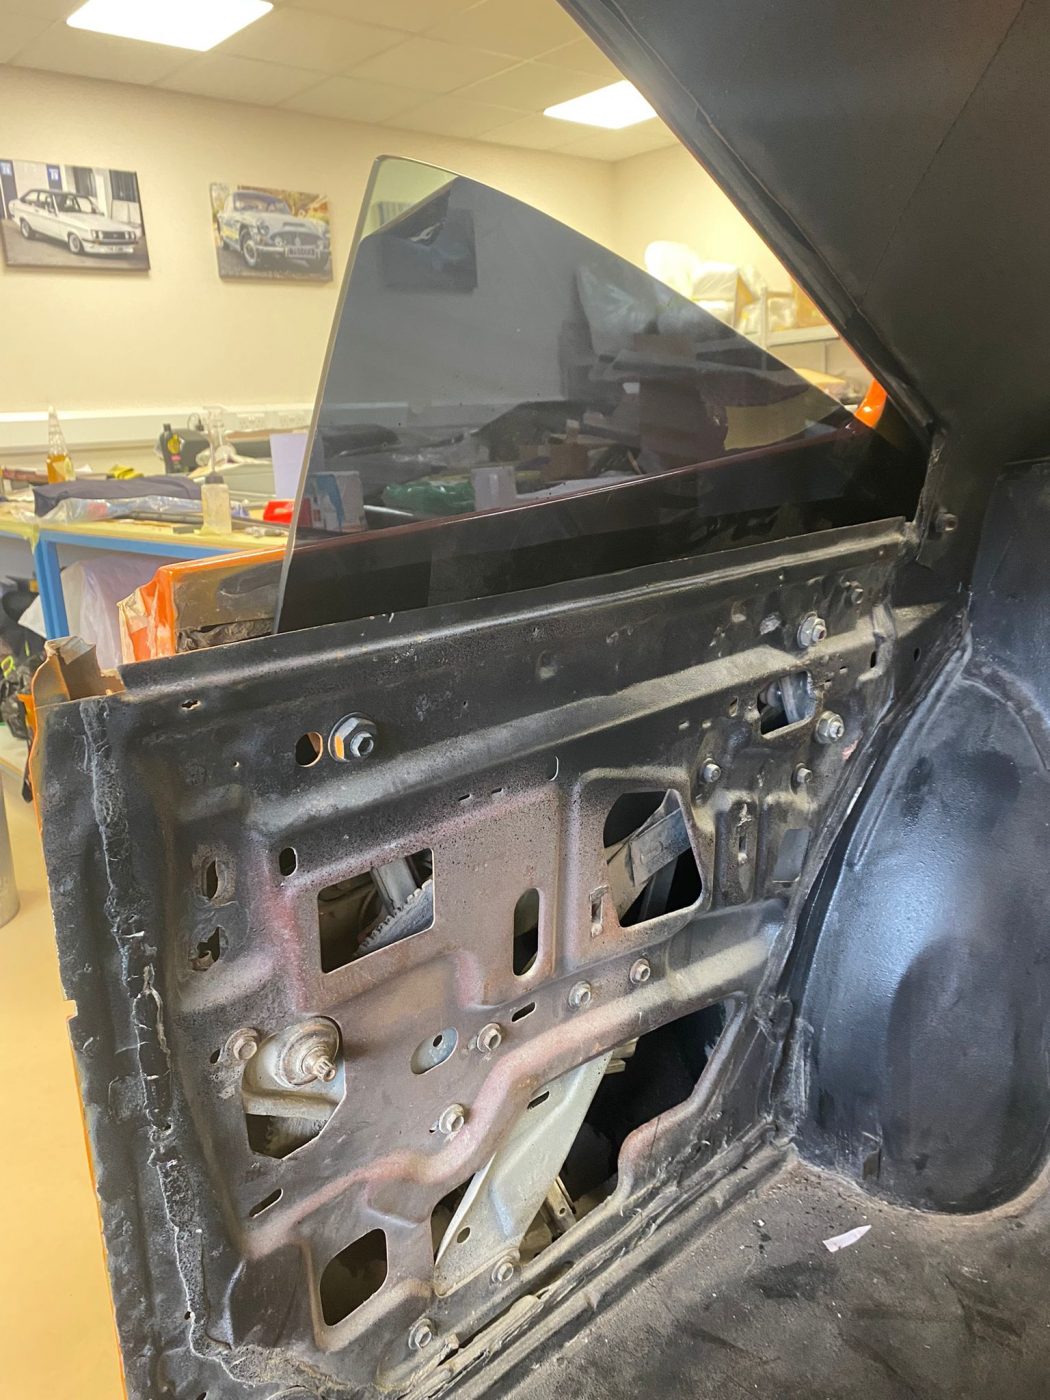
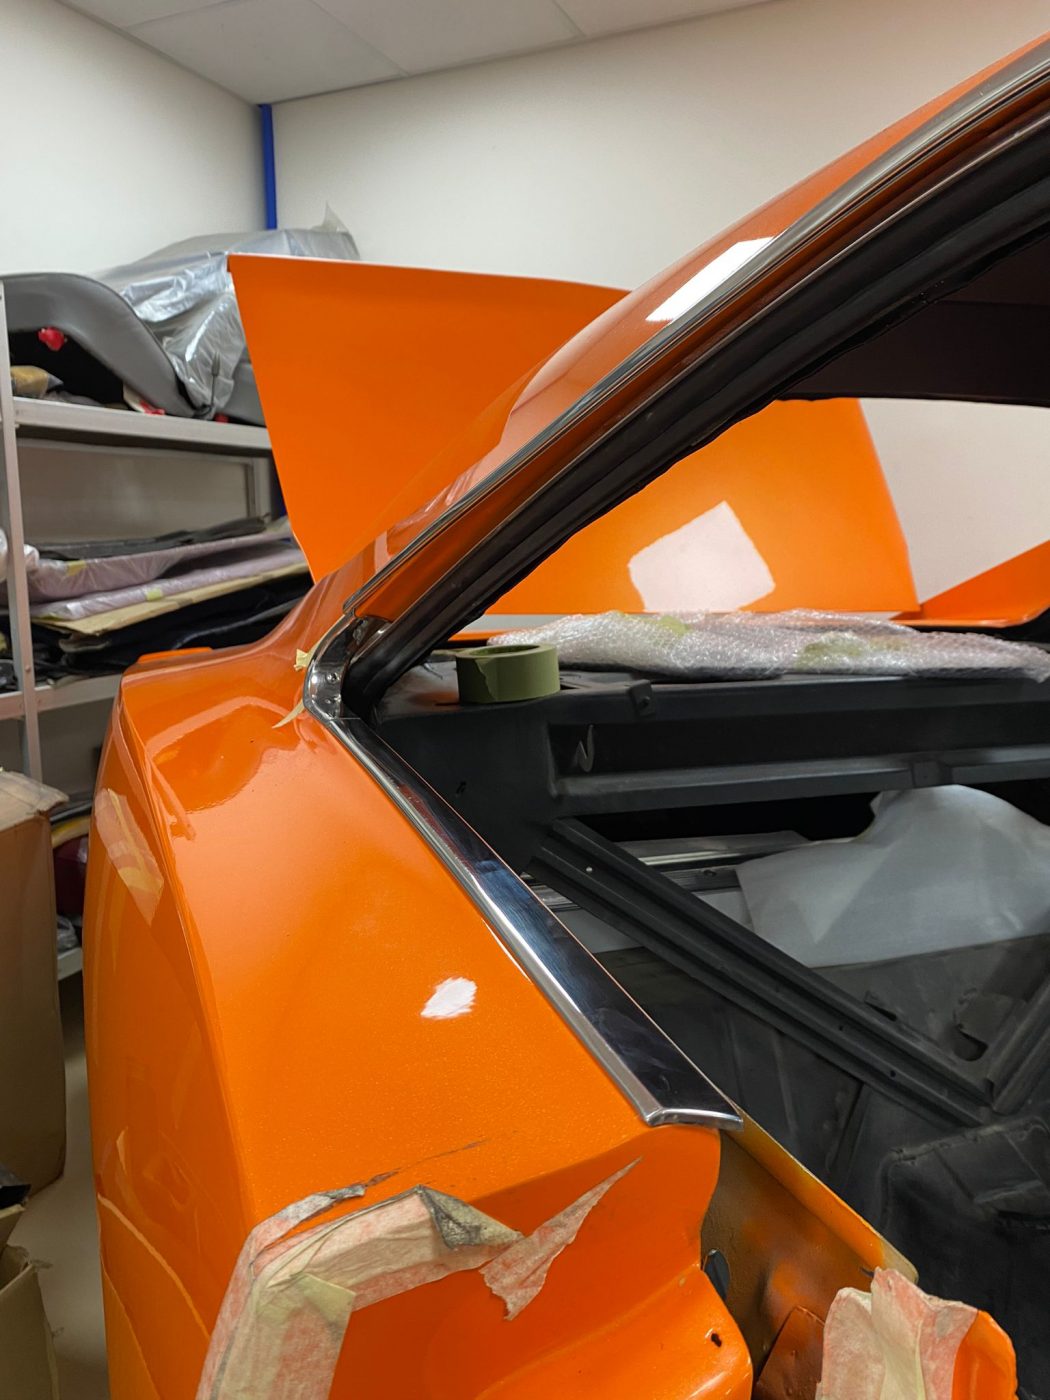
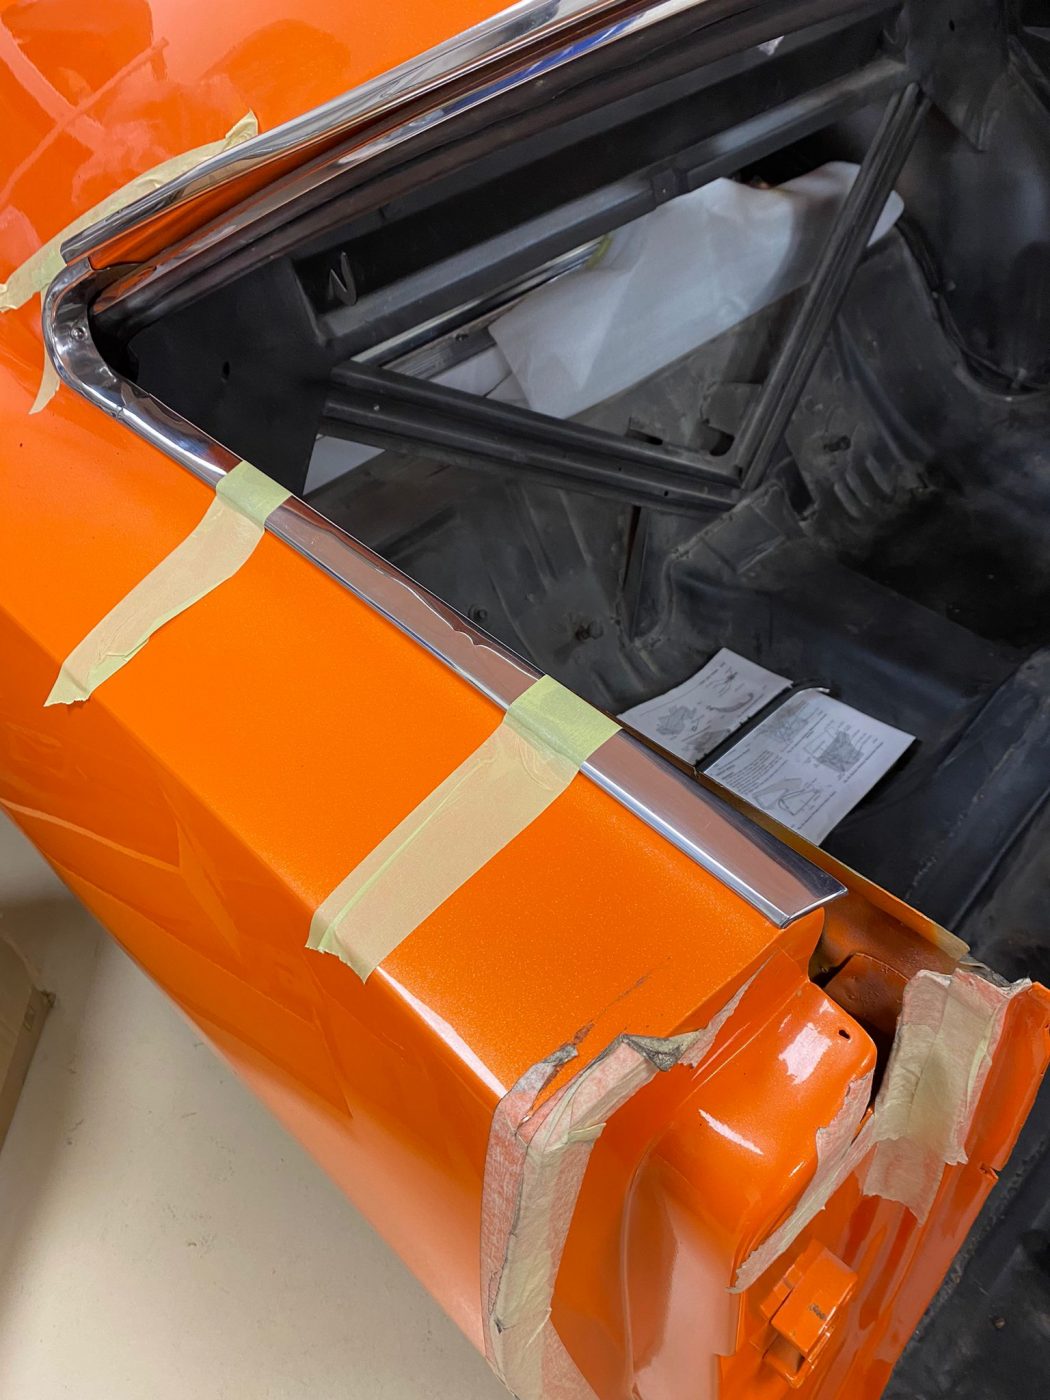
Our in-house trim team at Bridge Classic Cars have been working hard to get the interior of the 1970 Dodge Charger back together. One of the key points of the cars looks is the brightwork and the window lines.
The rear quarter windows are pillarless. They must fit up and move perfectly to the window in the door, so they give the best overall look to the car. It’s the speciality of the Bridge Classic Cars trim shop, the fit and finish which completes the look of the car.
Brian has been working on getting the rear quarter windows in the car so all the trim that accompanies it can be fitted. It’s important with these Mopars that the window components are set just right. Thankfully, everything that was needed was in the car. So, with the windows perfectly in place, Brian could now start to work on the trim.
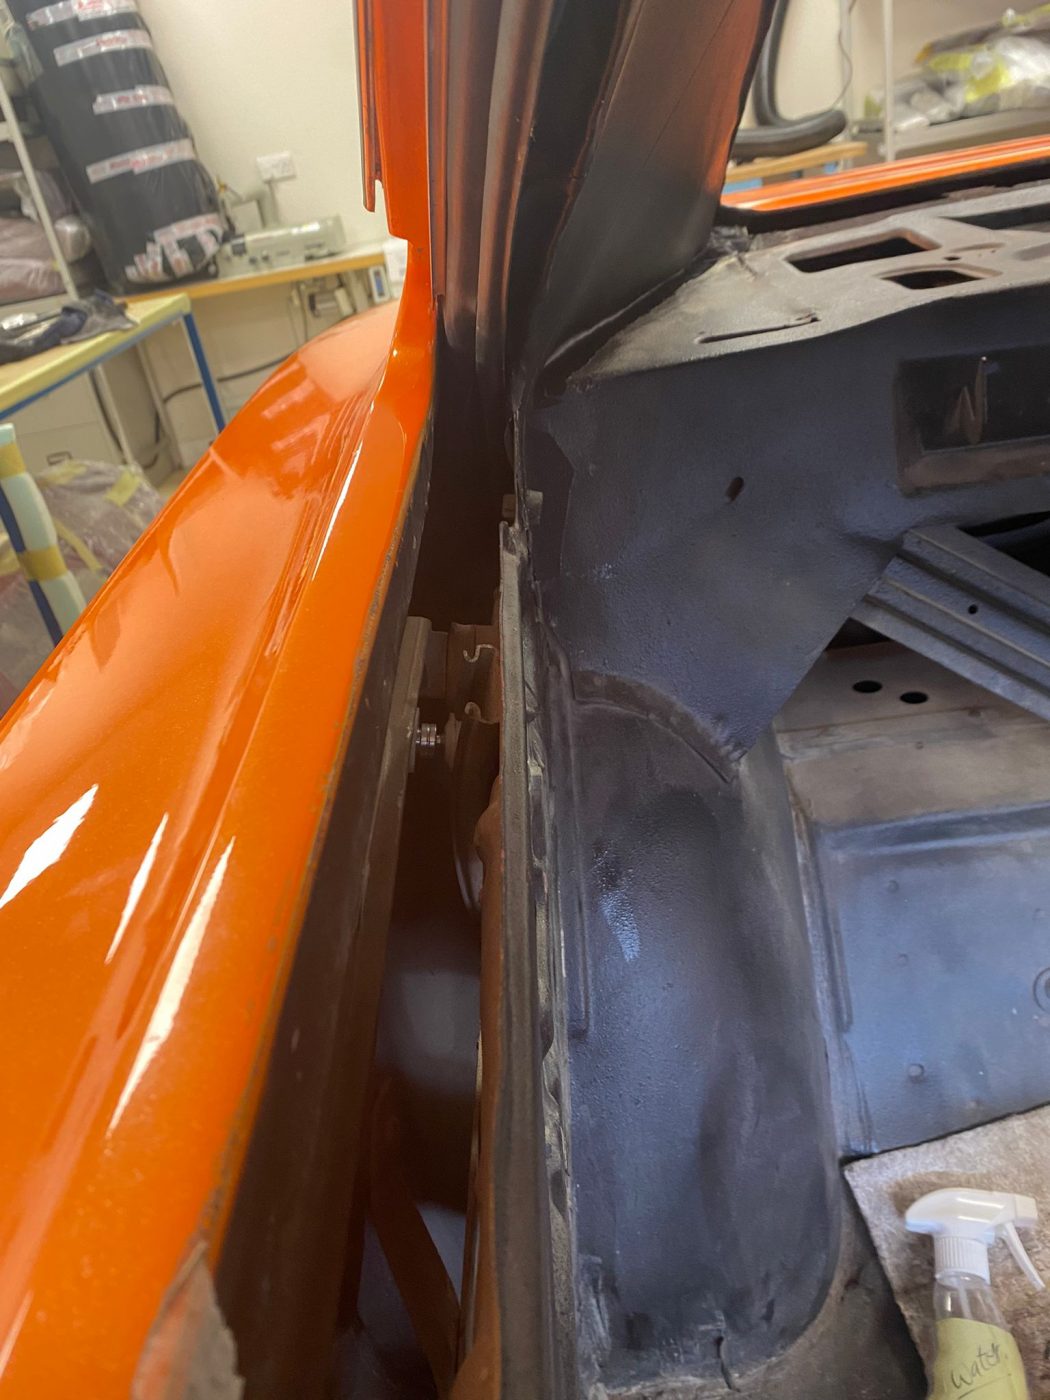
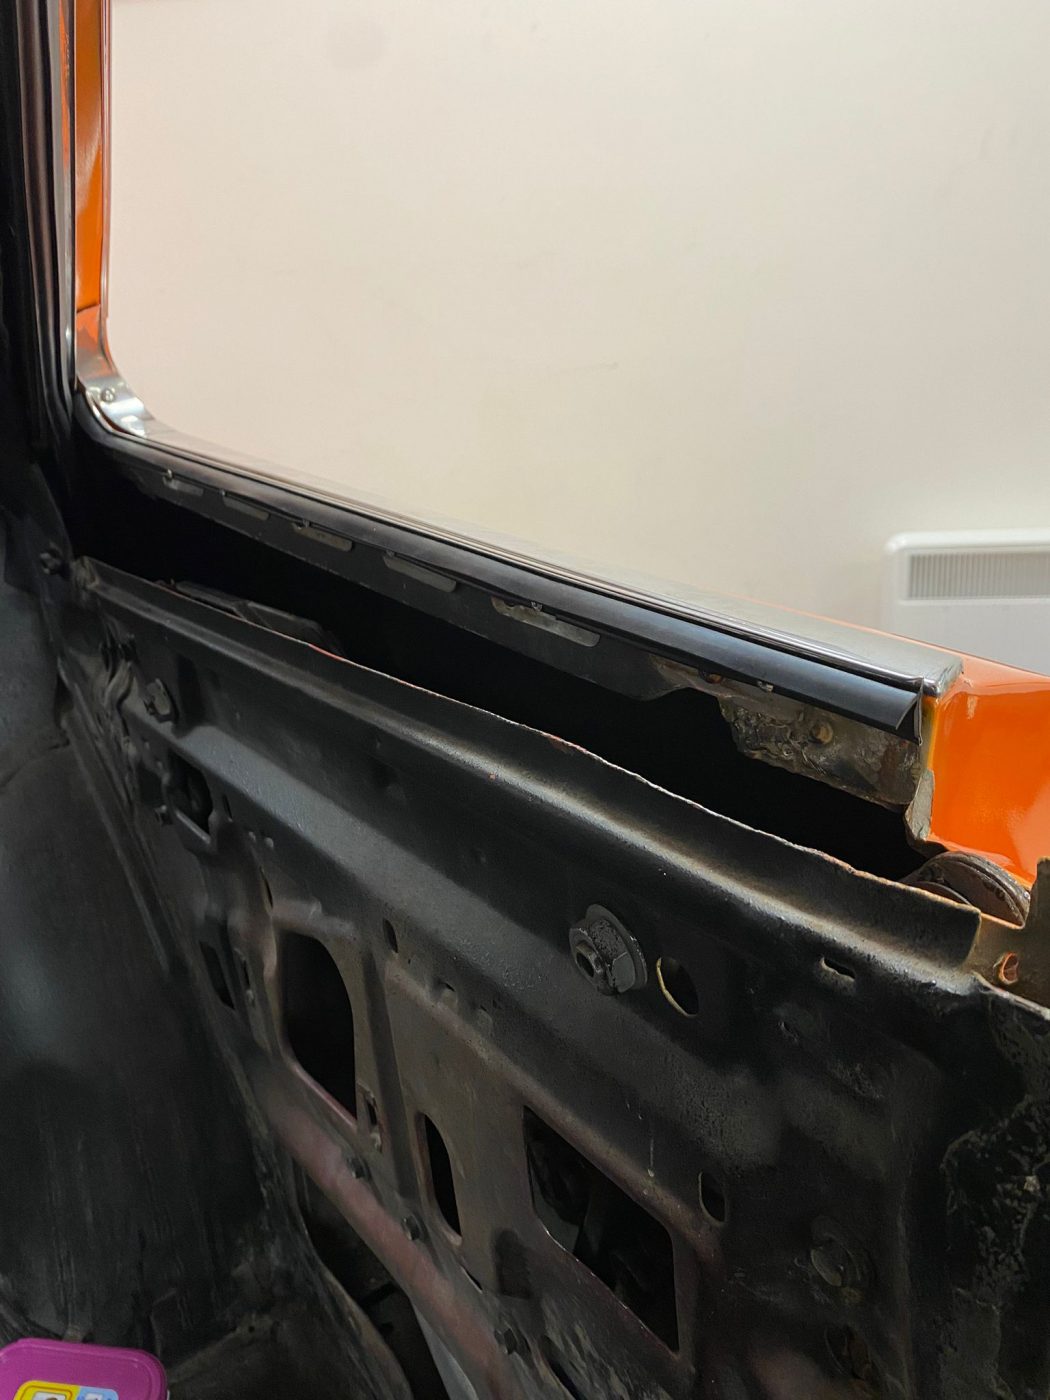
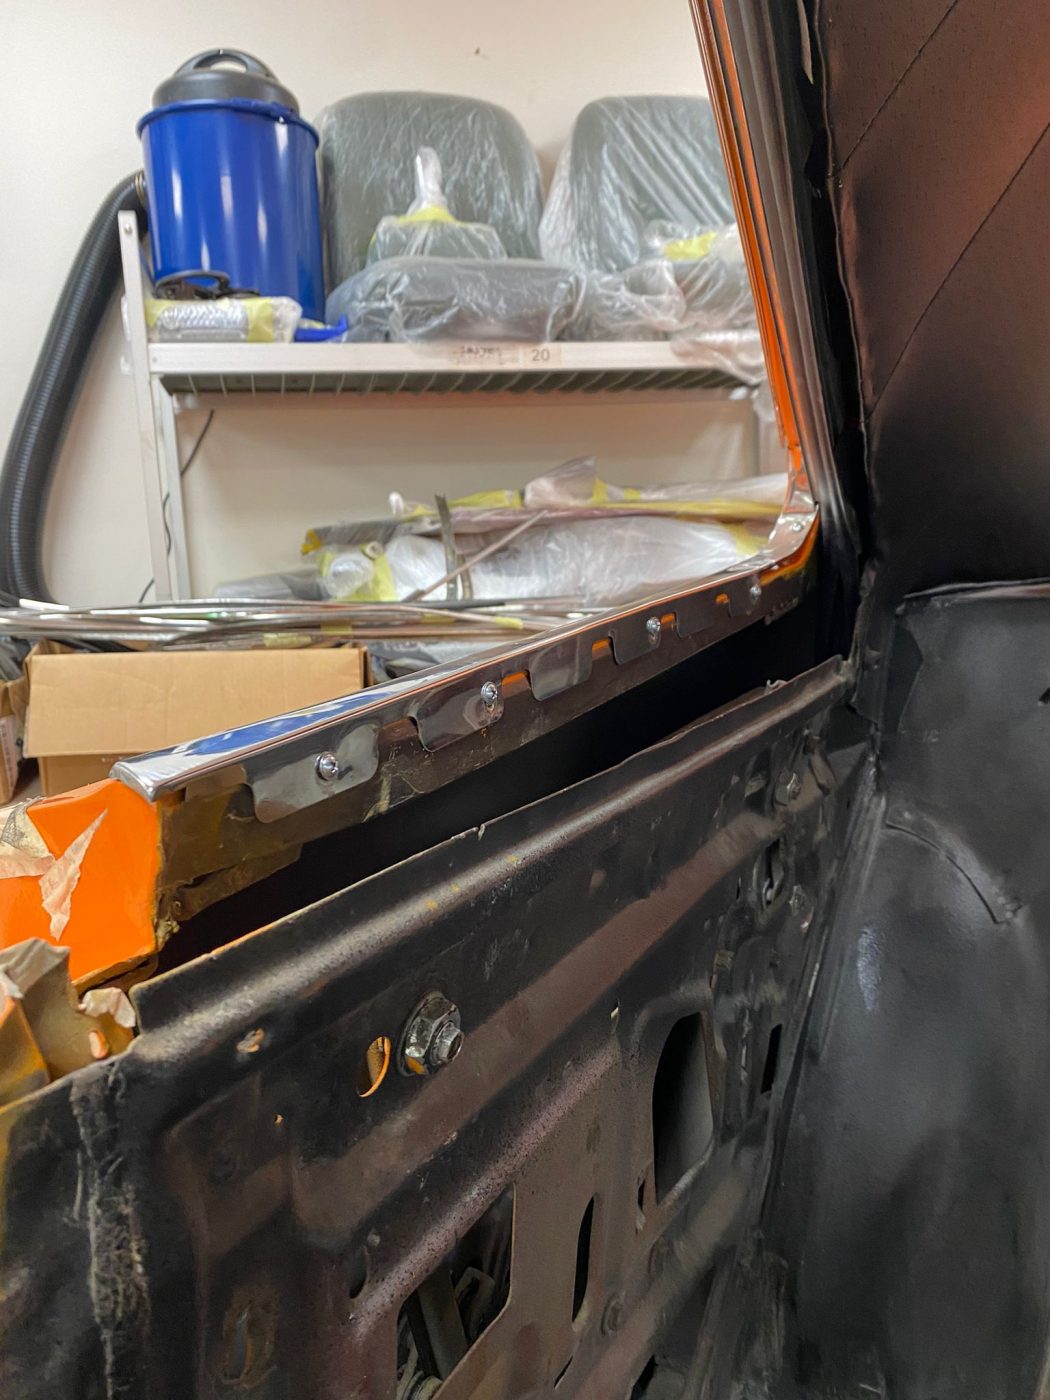
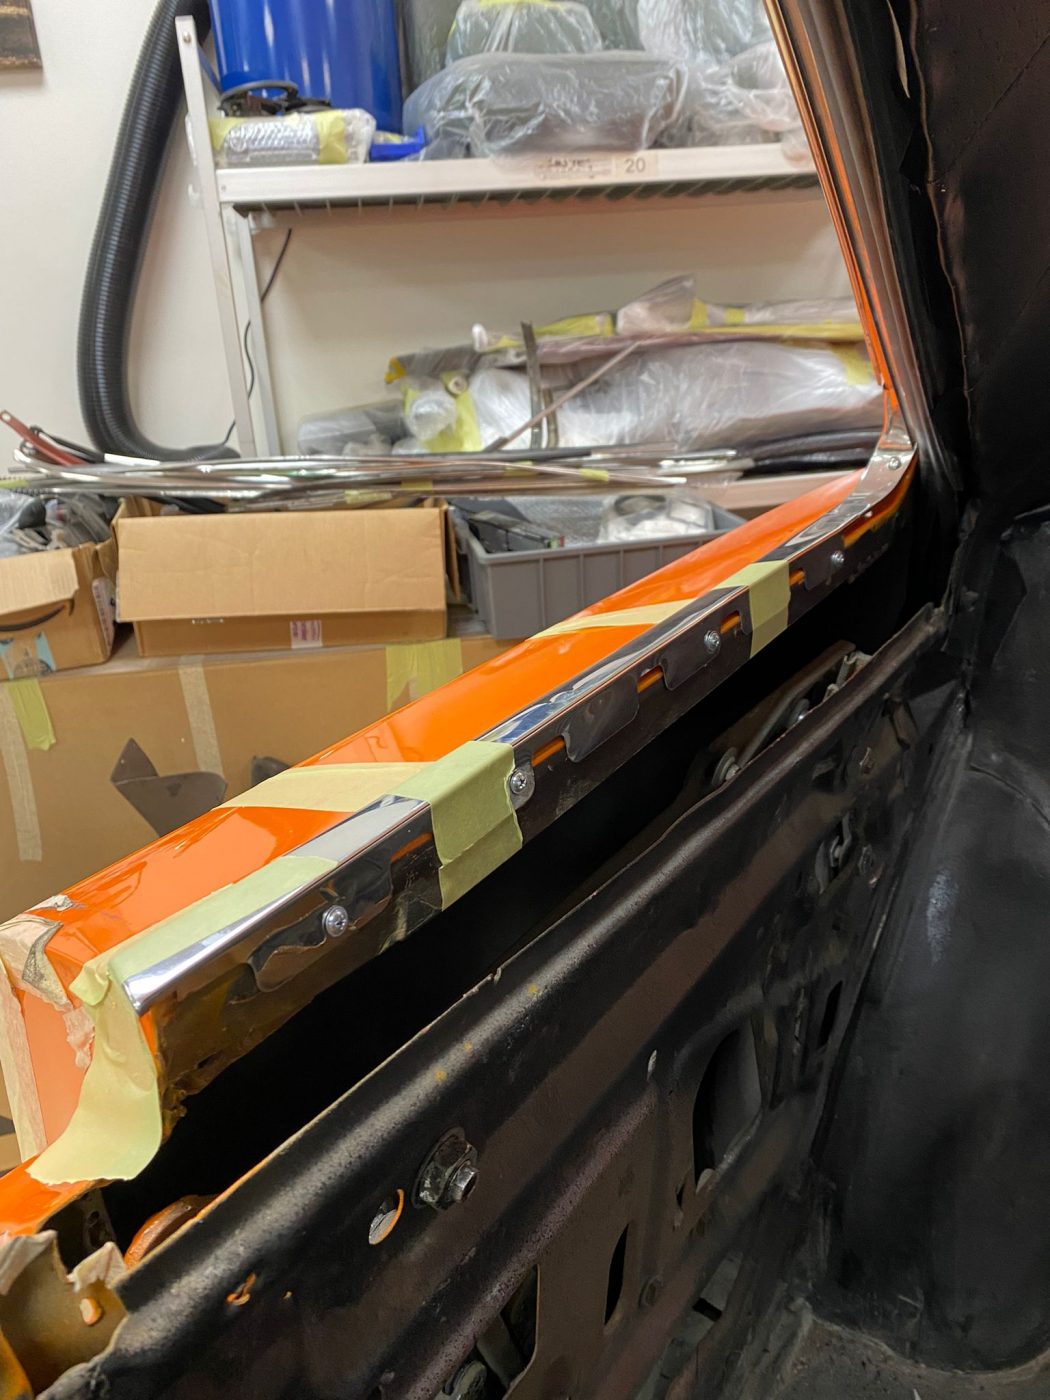
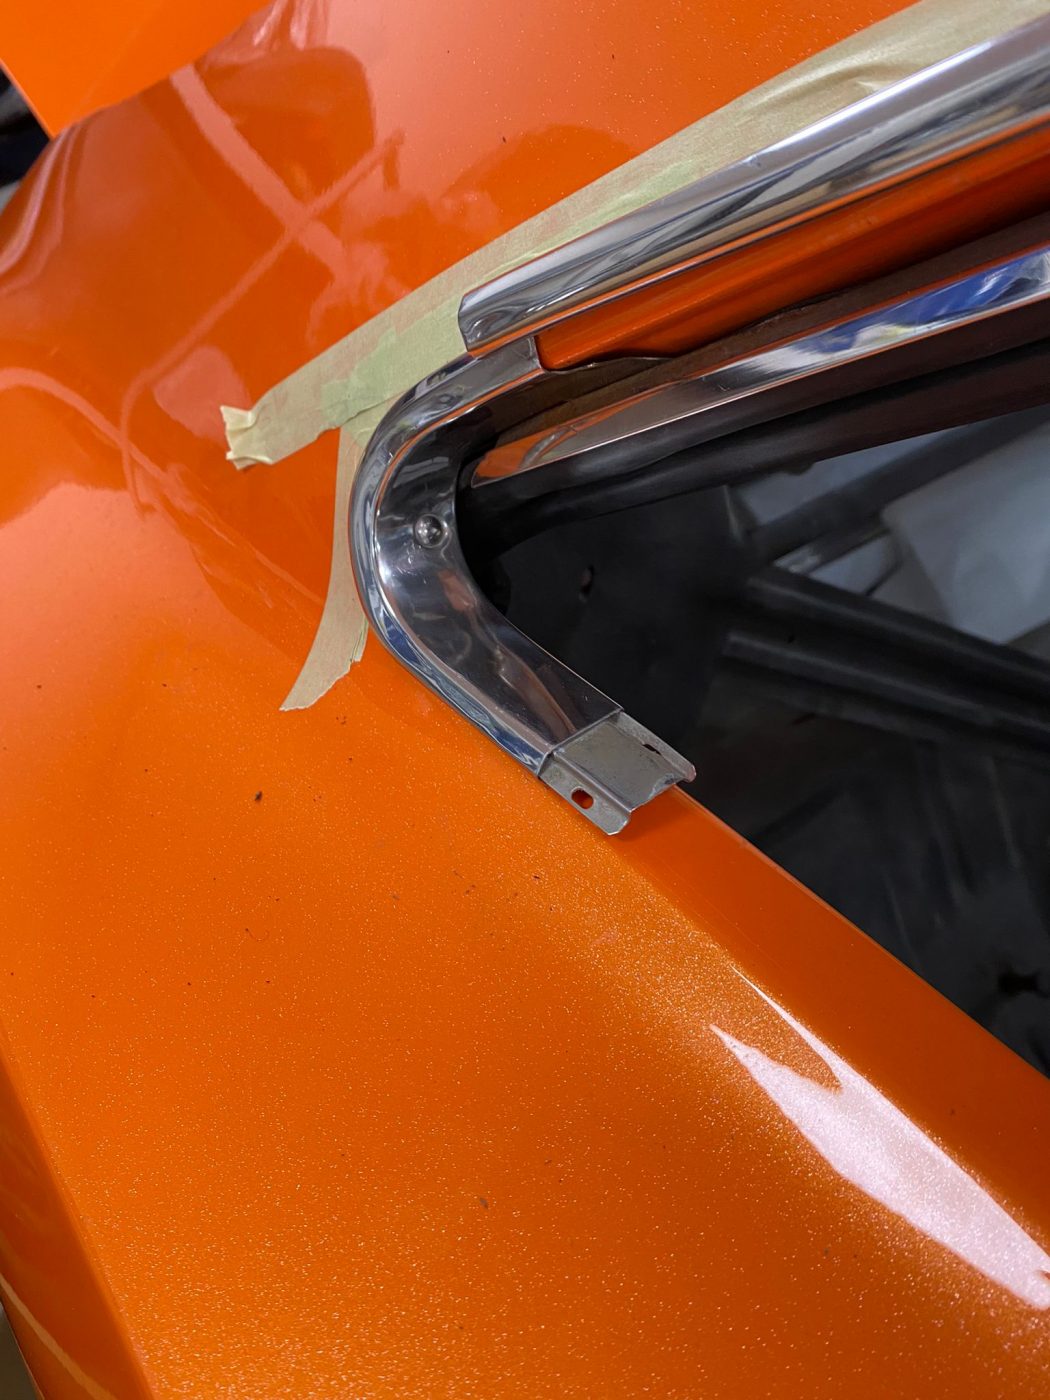
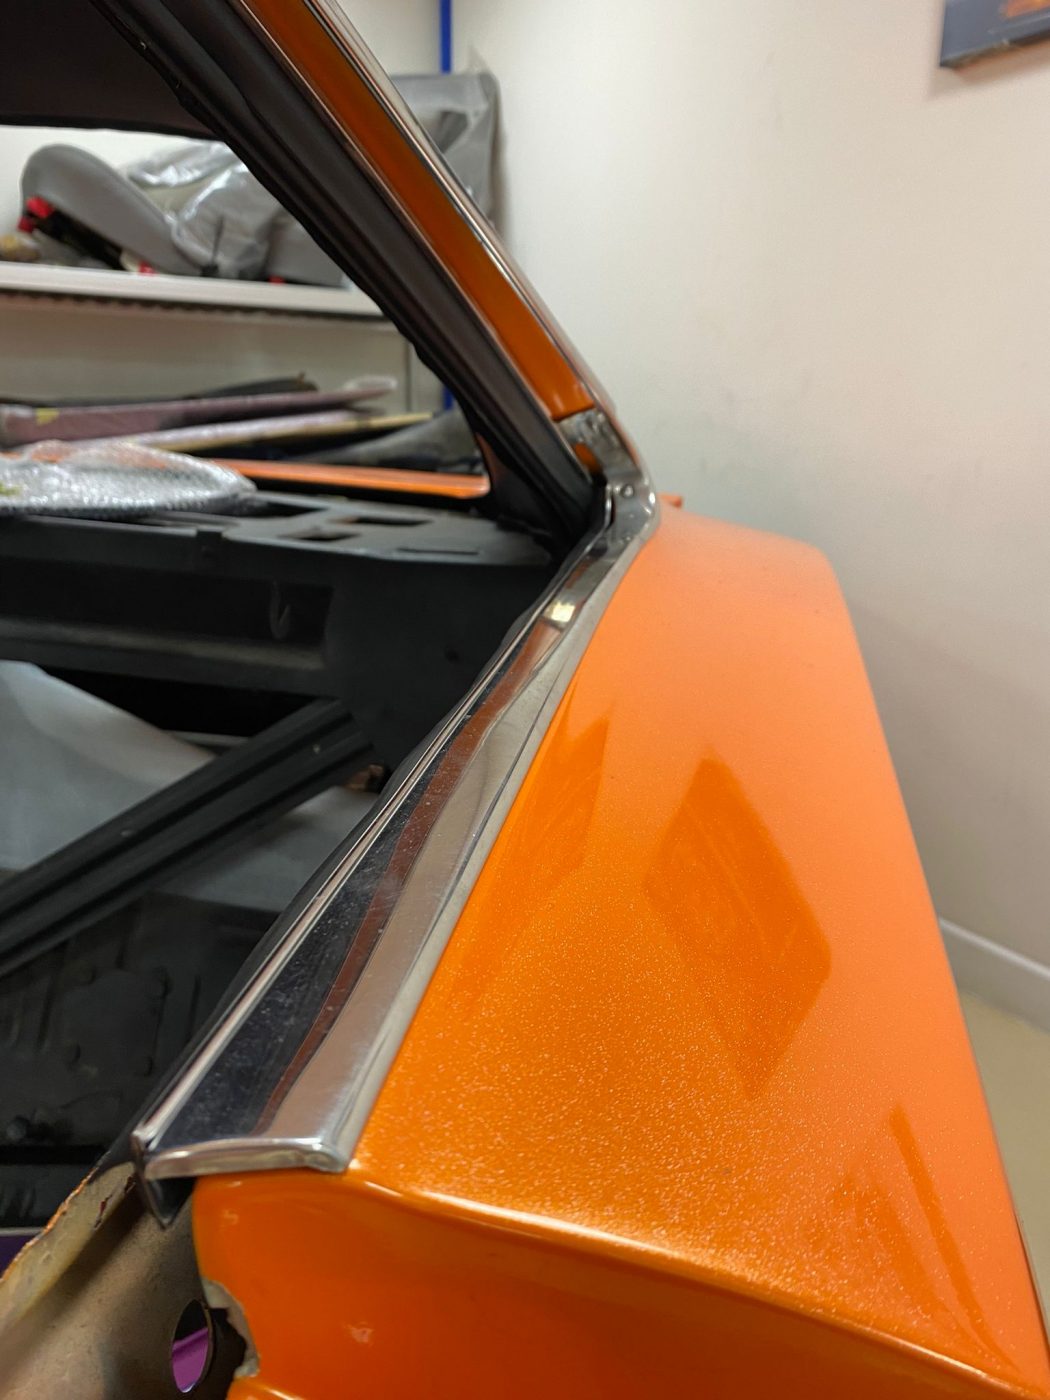
The trim pieces on the Charger come in multiple pieces which all need to be meticulously dry fit in such a way as to not damage either the pieces or the car. After test fitting, Brian then began the process of attaching them permanently onto the car.
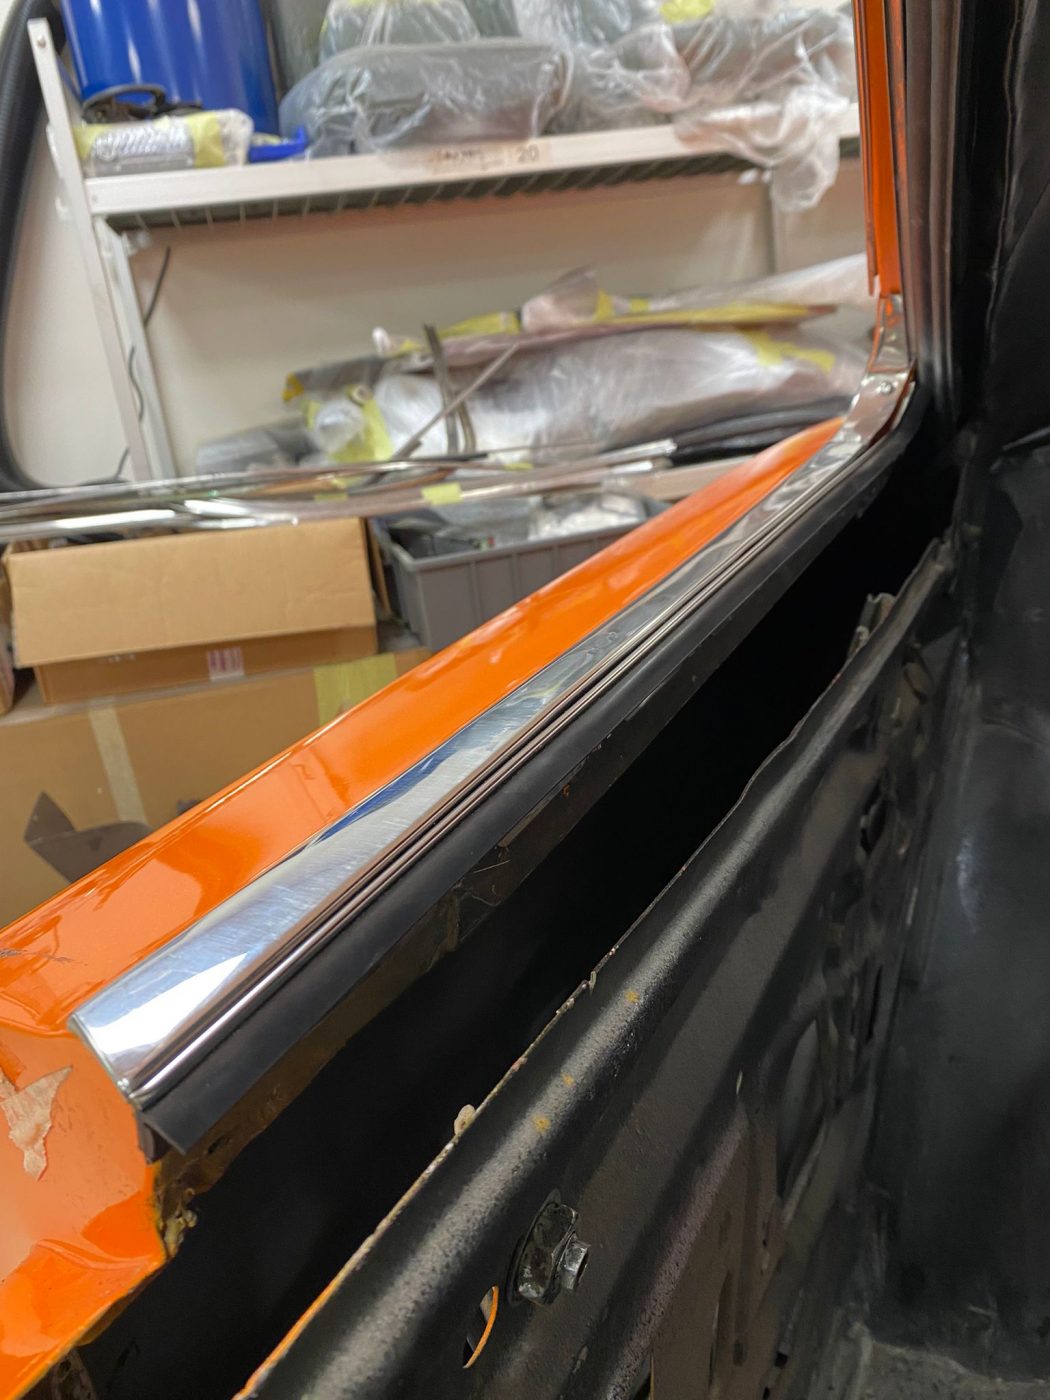
Parts of the inner trim structure actually need riveting to the body. Then the covers are put over them to hide the hardware, this takes some time and a steady hand.
Over the course of an afternoon, Brian managed to get all the rear trims and windows in place so it’s time to move on to the next job on the list for the interior of the Charger.
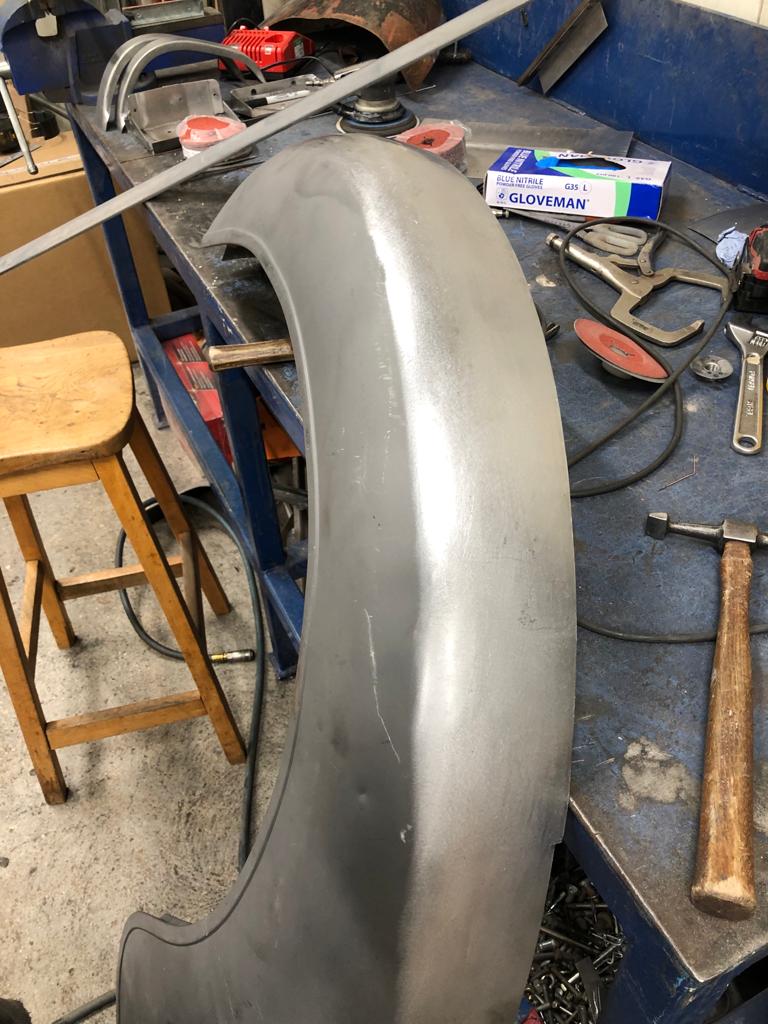
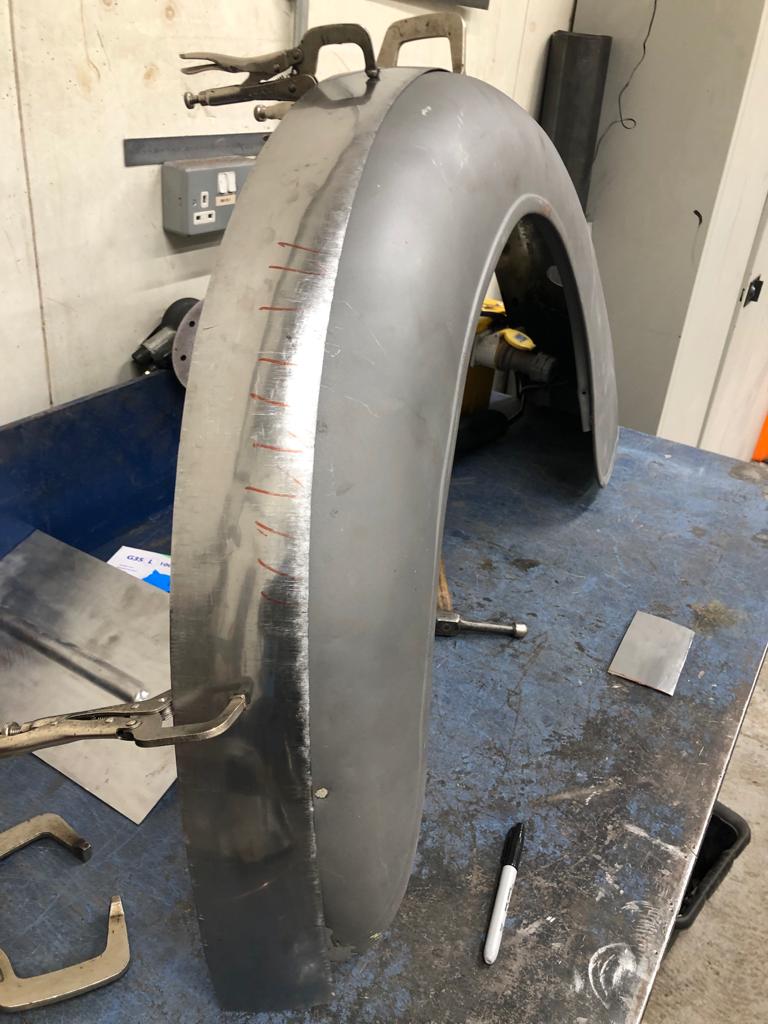
With a car as intricate and flowing as the 1951 Riley RMB, it’s important that our in-house metalwork craftsmen at Bridge Classic Cars apply all their skills and knowledge to ensure each flow, curve and line are exactly right on the car.
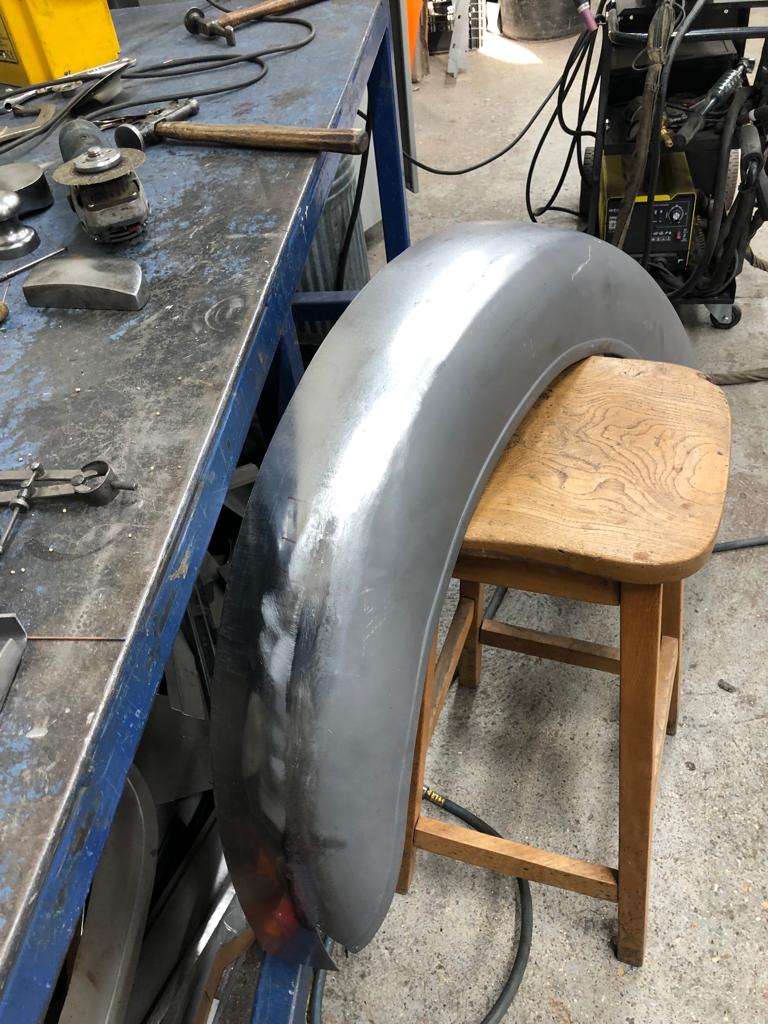
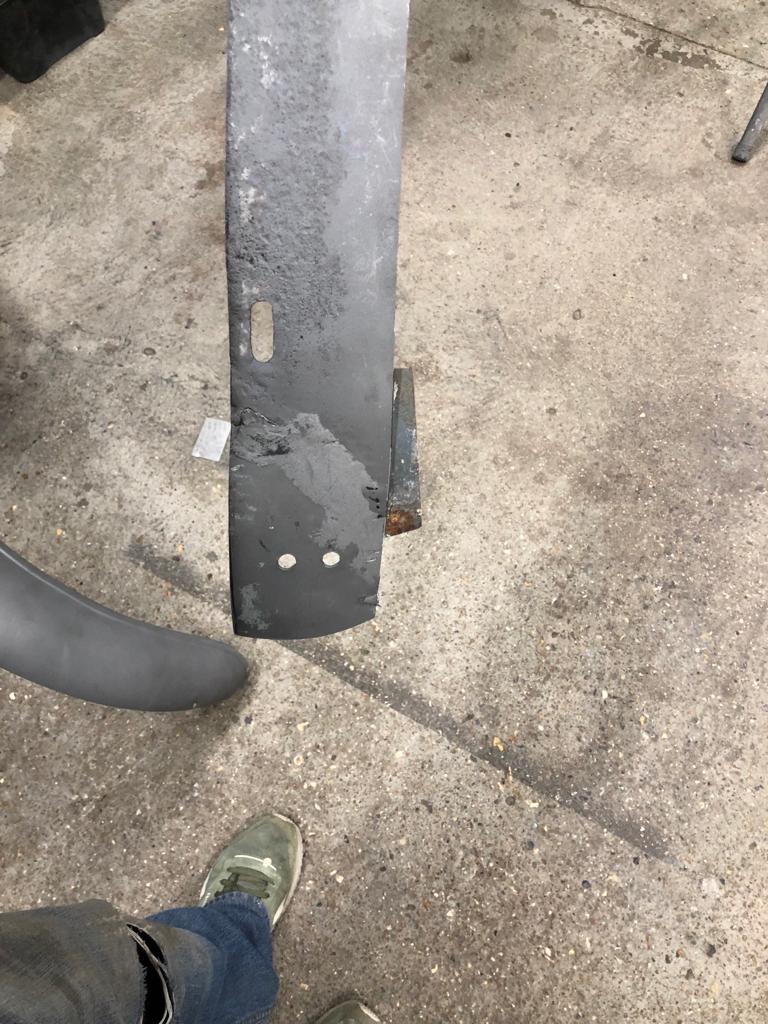
Highlighted in this post is the extensive work our fabricator James has done on the rear wing of the Riley RMB. Much of the original material had pitted in places, and in some places to the point of allowing holes to grow in the metal itself especially along the rear flange. This piece has been replaced before as can be seen by the various patches and pieces along the length of the panel.
Carefully and with much reserve, James began to remove the affected piece from the panel. Removing only what needed to be and keep as much of the original piece as possible. The new section would have to be entirely handmade for this wing but that is no problem for our fabrication shop.
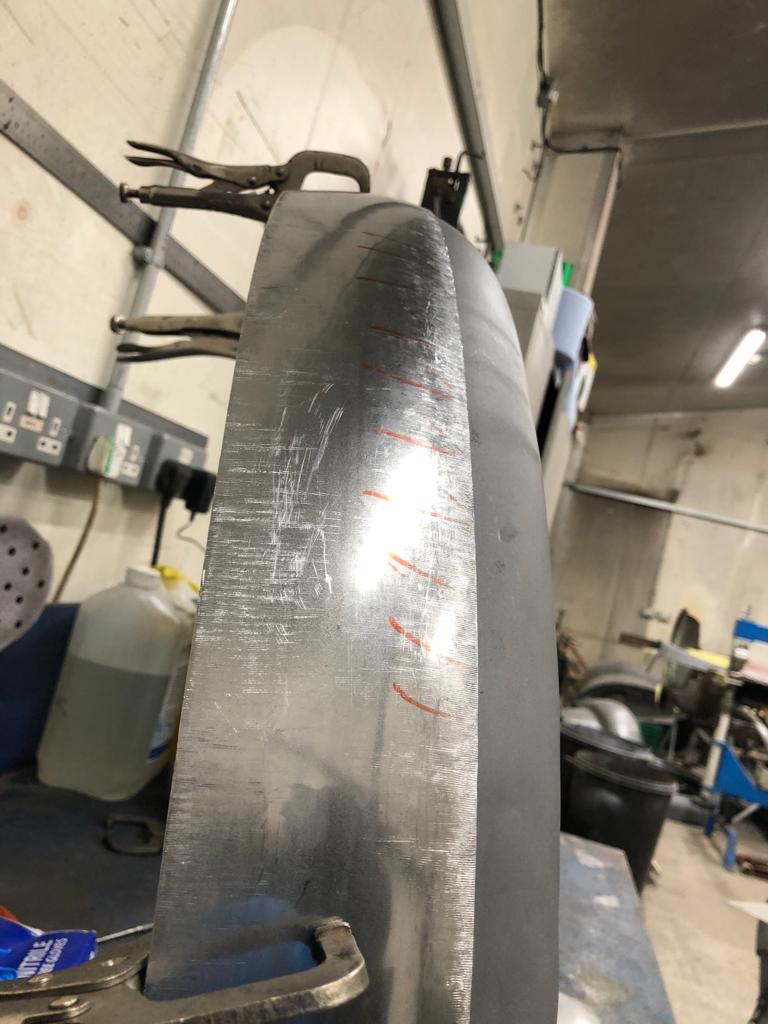
James measured not only the length but the thickness of the piece that would be needed to replace the original flange. Then, using the English wheel, James skillfully began to give the piece its shape and form. Constantly offering up the new piece and referring to the shape of the original. A combination of shrinking and stretching key areas of the panel allowed it to blend into the original piece.
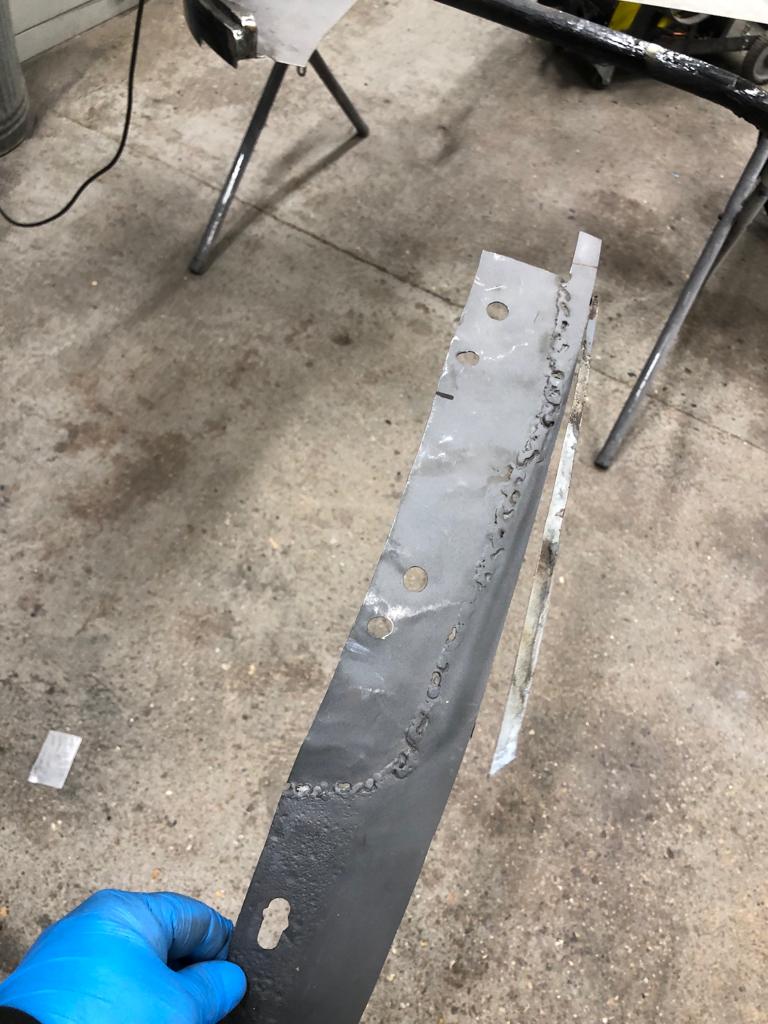
Then, it came time to join the two parts together. Slowly and precisely James TIG welded the parts together at strategic points, allowing the piece to cool at the correct rate and distributing the heat in such a way as to minimise the warp caused to the panel from the process. Once completely married up, James then began to finesse the join.
Using a planishing hammer and a selection of dollies, James began to smooth the joint between the two panels together until there little to no signs they had never been together their entire lives. That is craftsmanship…

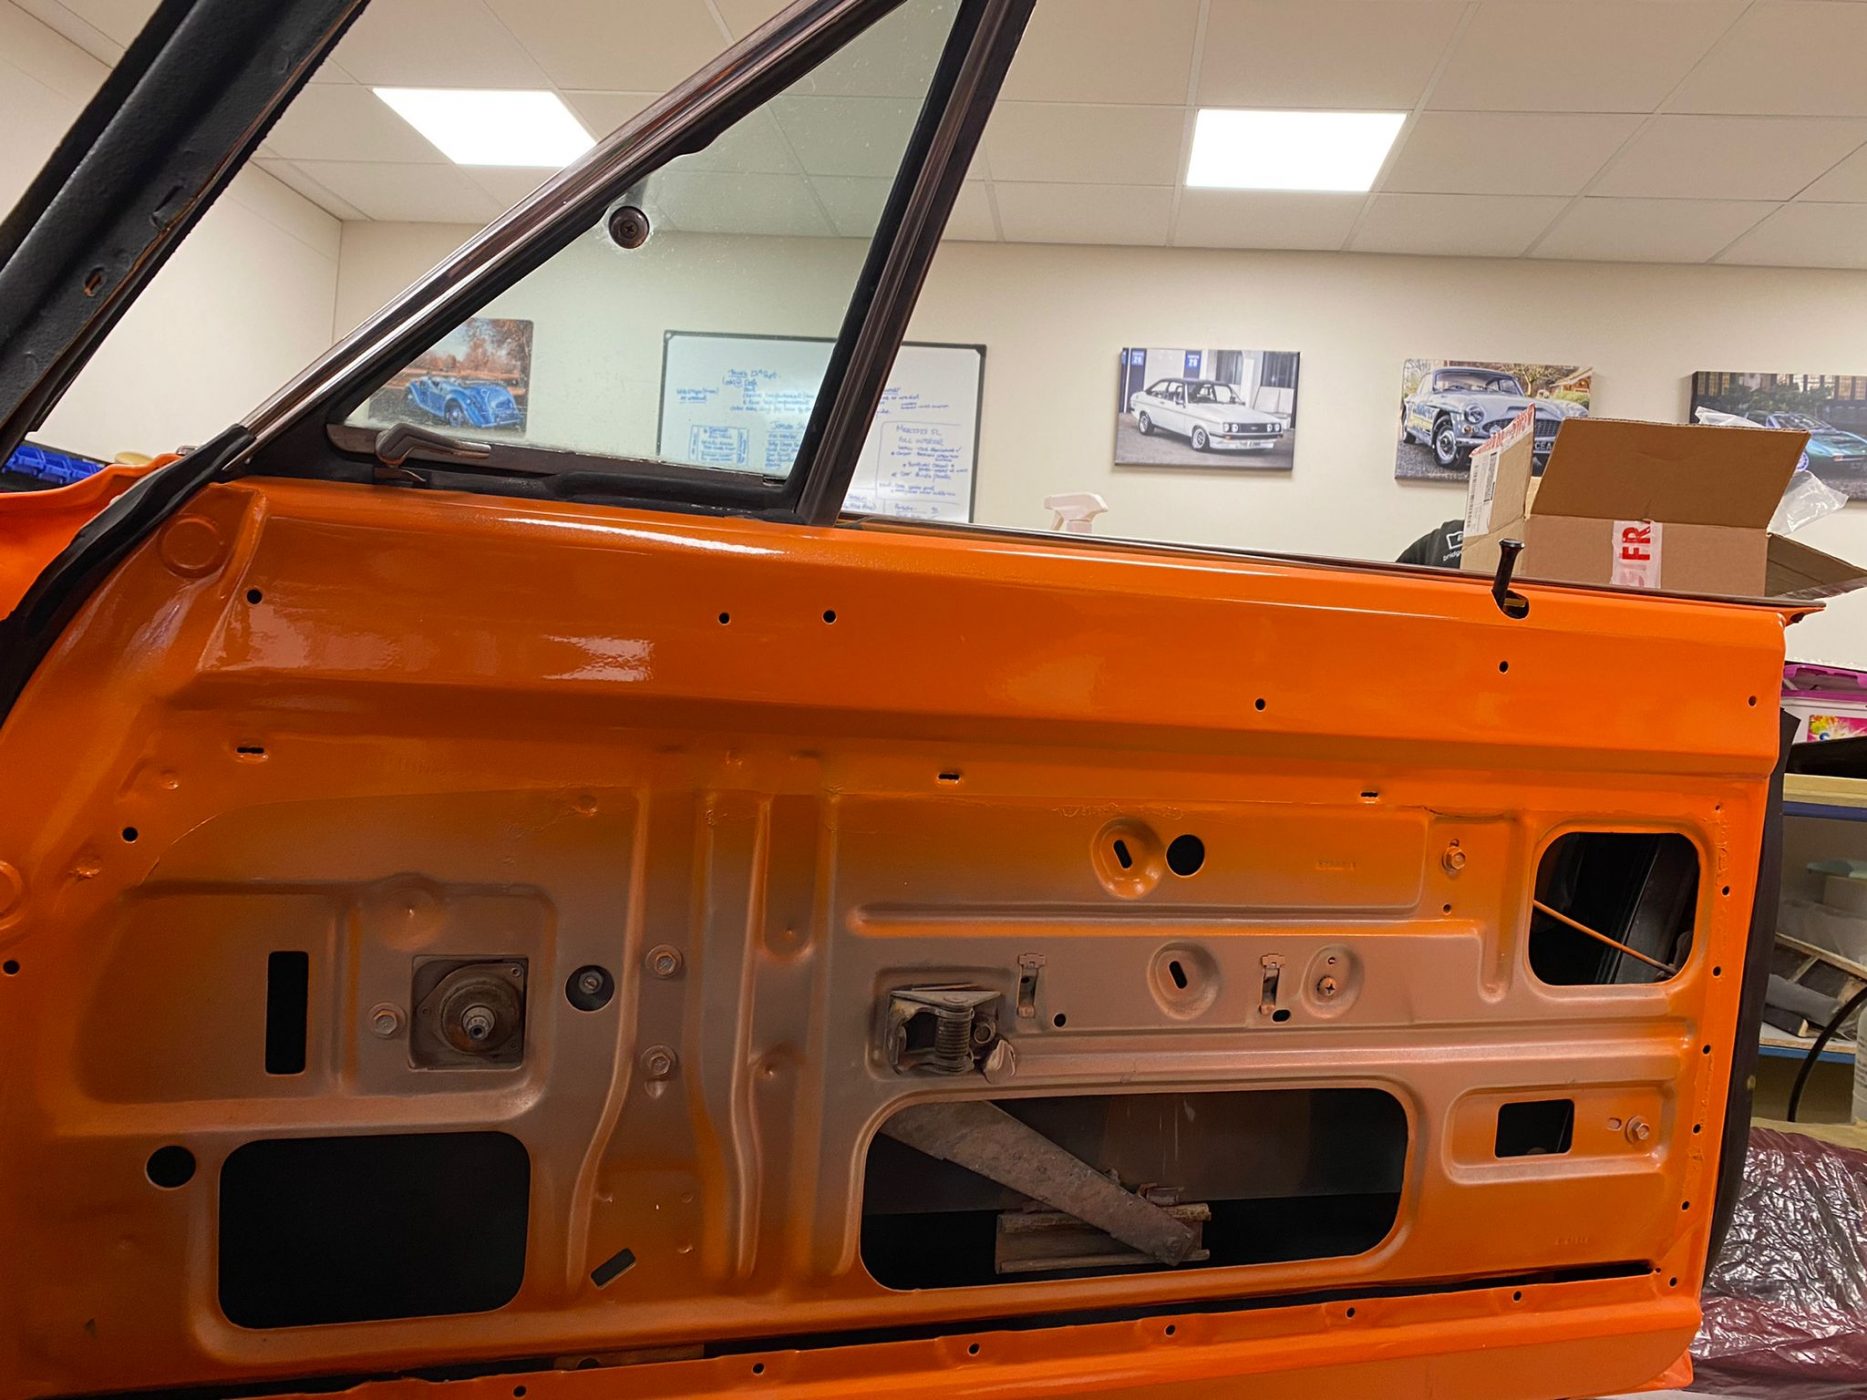
After working so hard on the finish of the 1998 Honda Integra Type R, it is important to protect what has been done here at Bridge Classic Cars.
Chris, our in-house paint expert, has been applying arch liner protection to the wheel arches of the Integra DC2. Chris has put many hours into ensuring that the finish on the paintwork we have done to the DC2 Integra is world-class. The front wings, as well as the engine bay, have been worked on for rust repair and paint so a few coats of arch liner will help to protect not just the paint but the metal work underneath.
This was also done by the factory when the car was new so it makes sense to redo the coating to make sure this Integra lasts for many years to come.
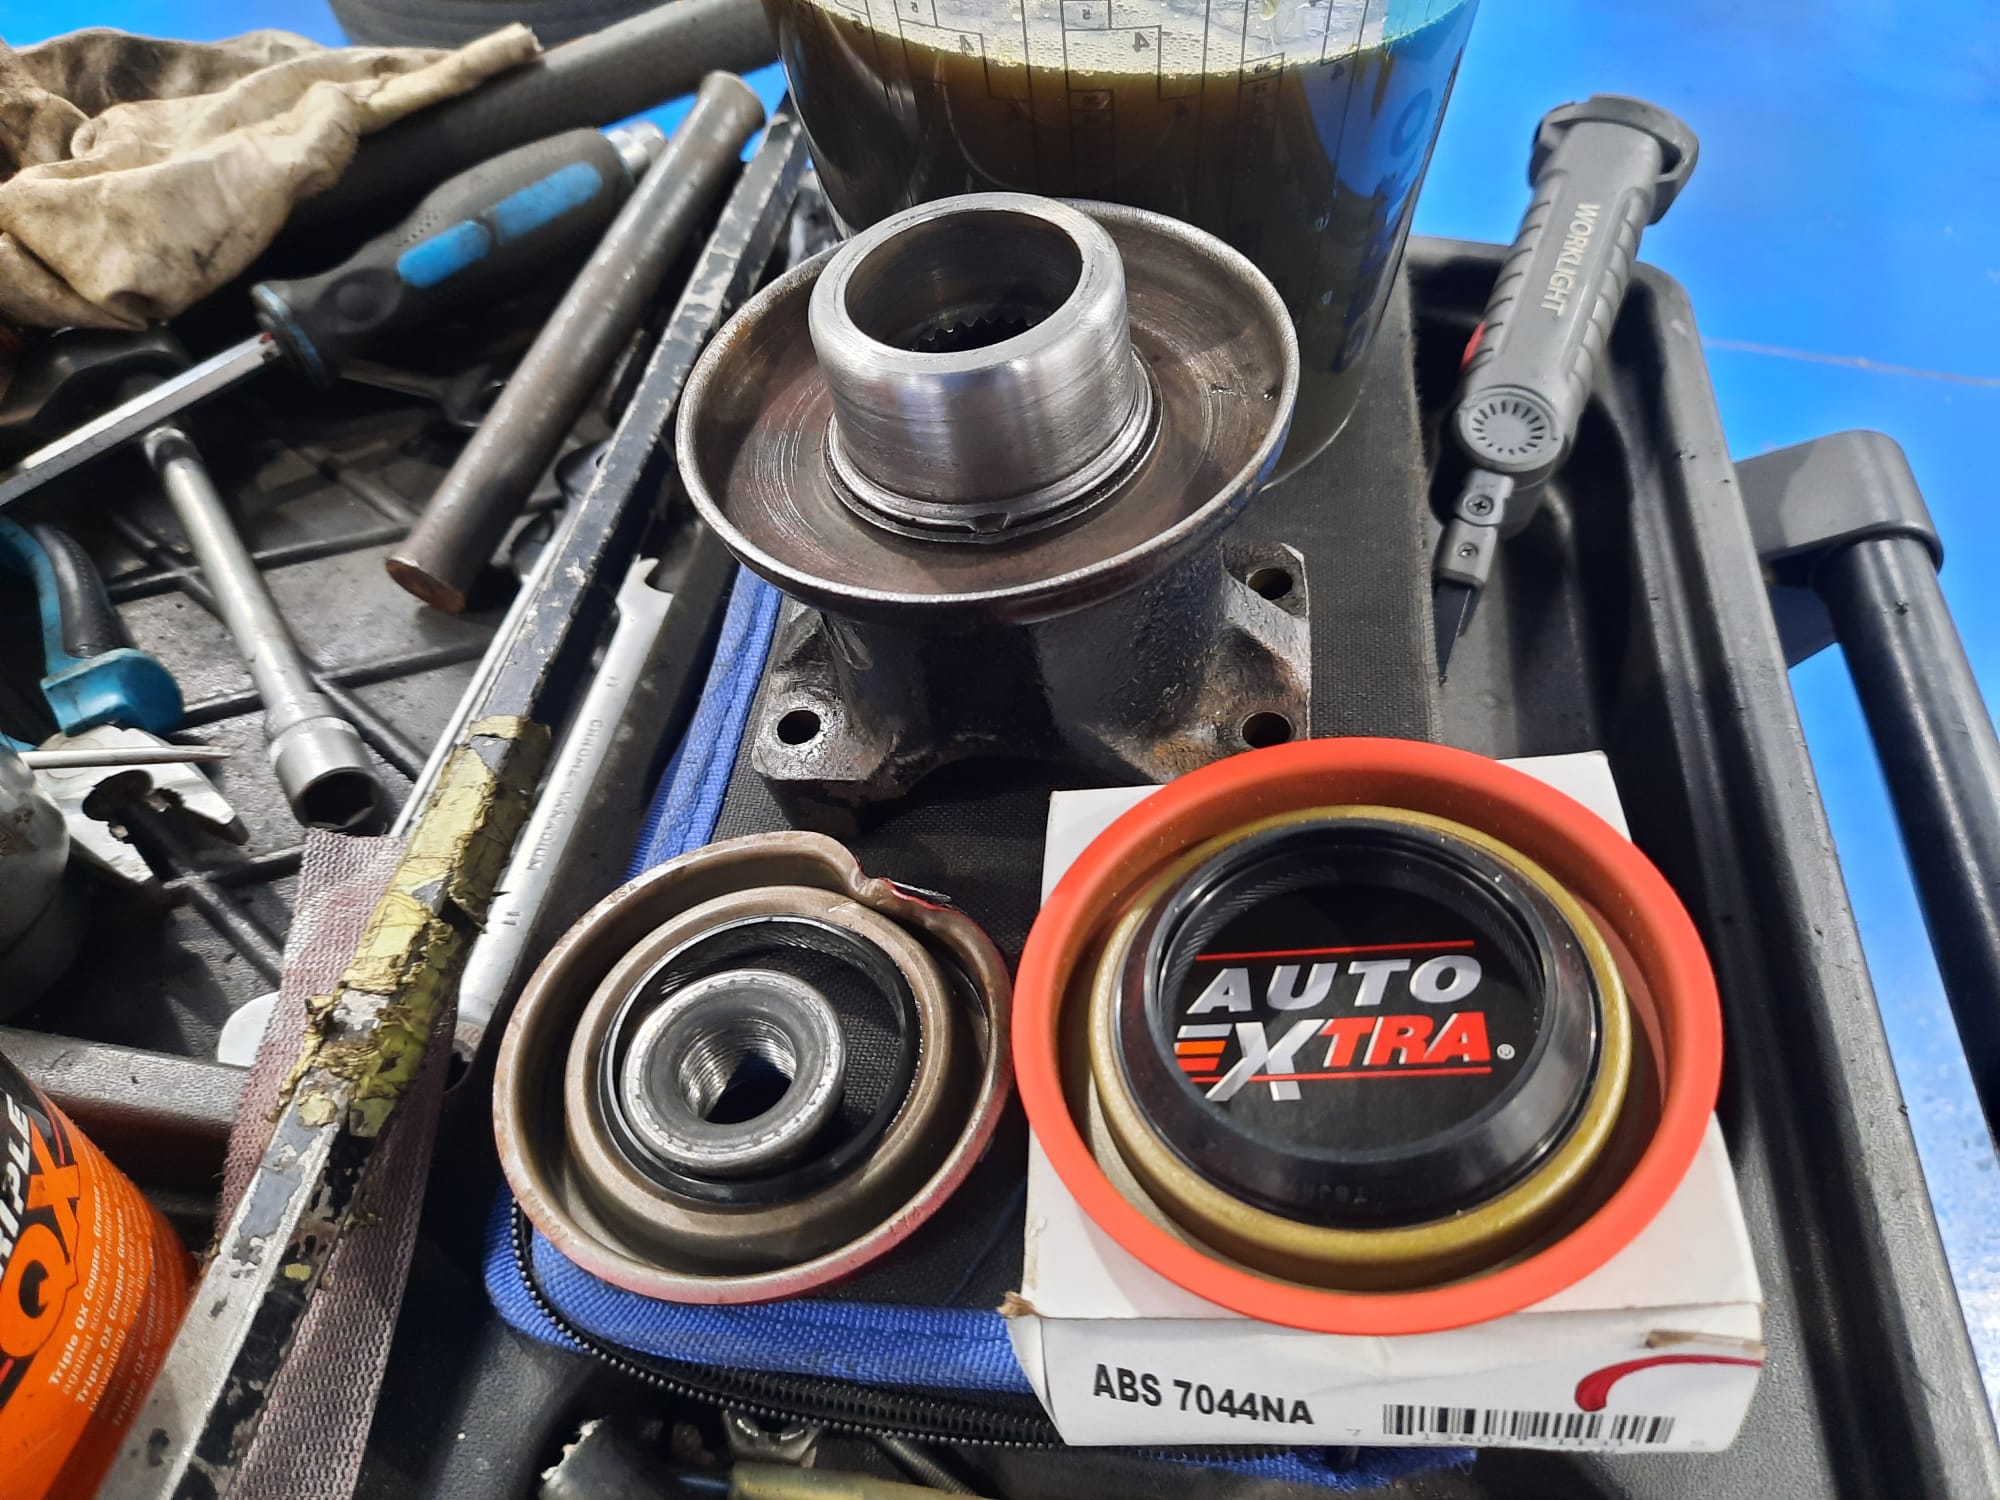
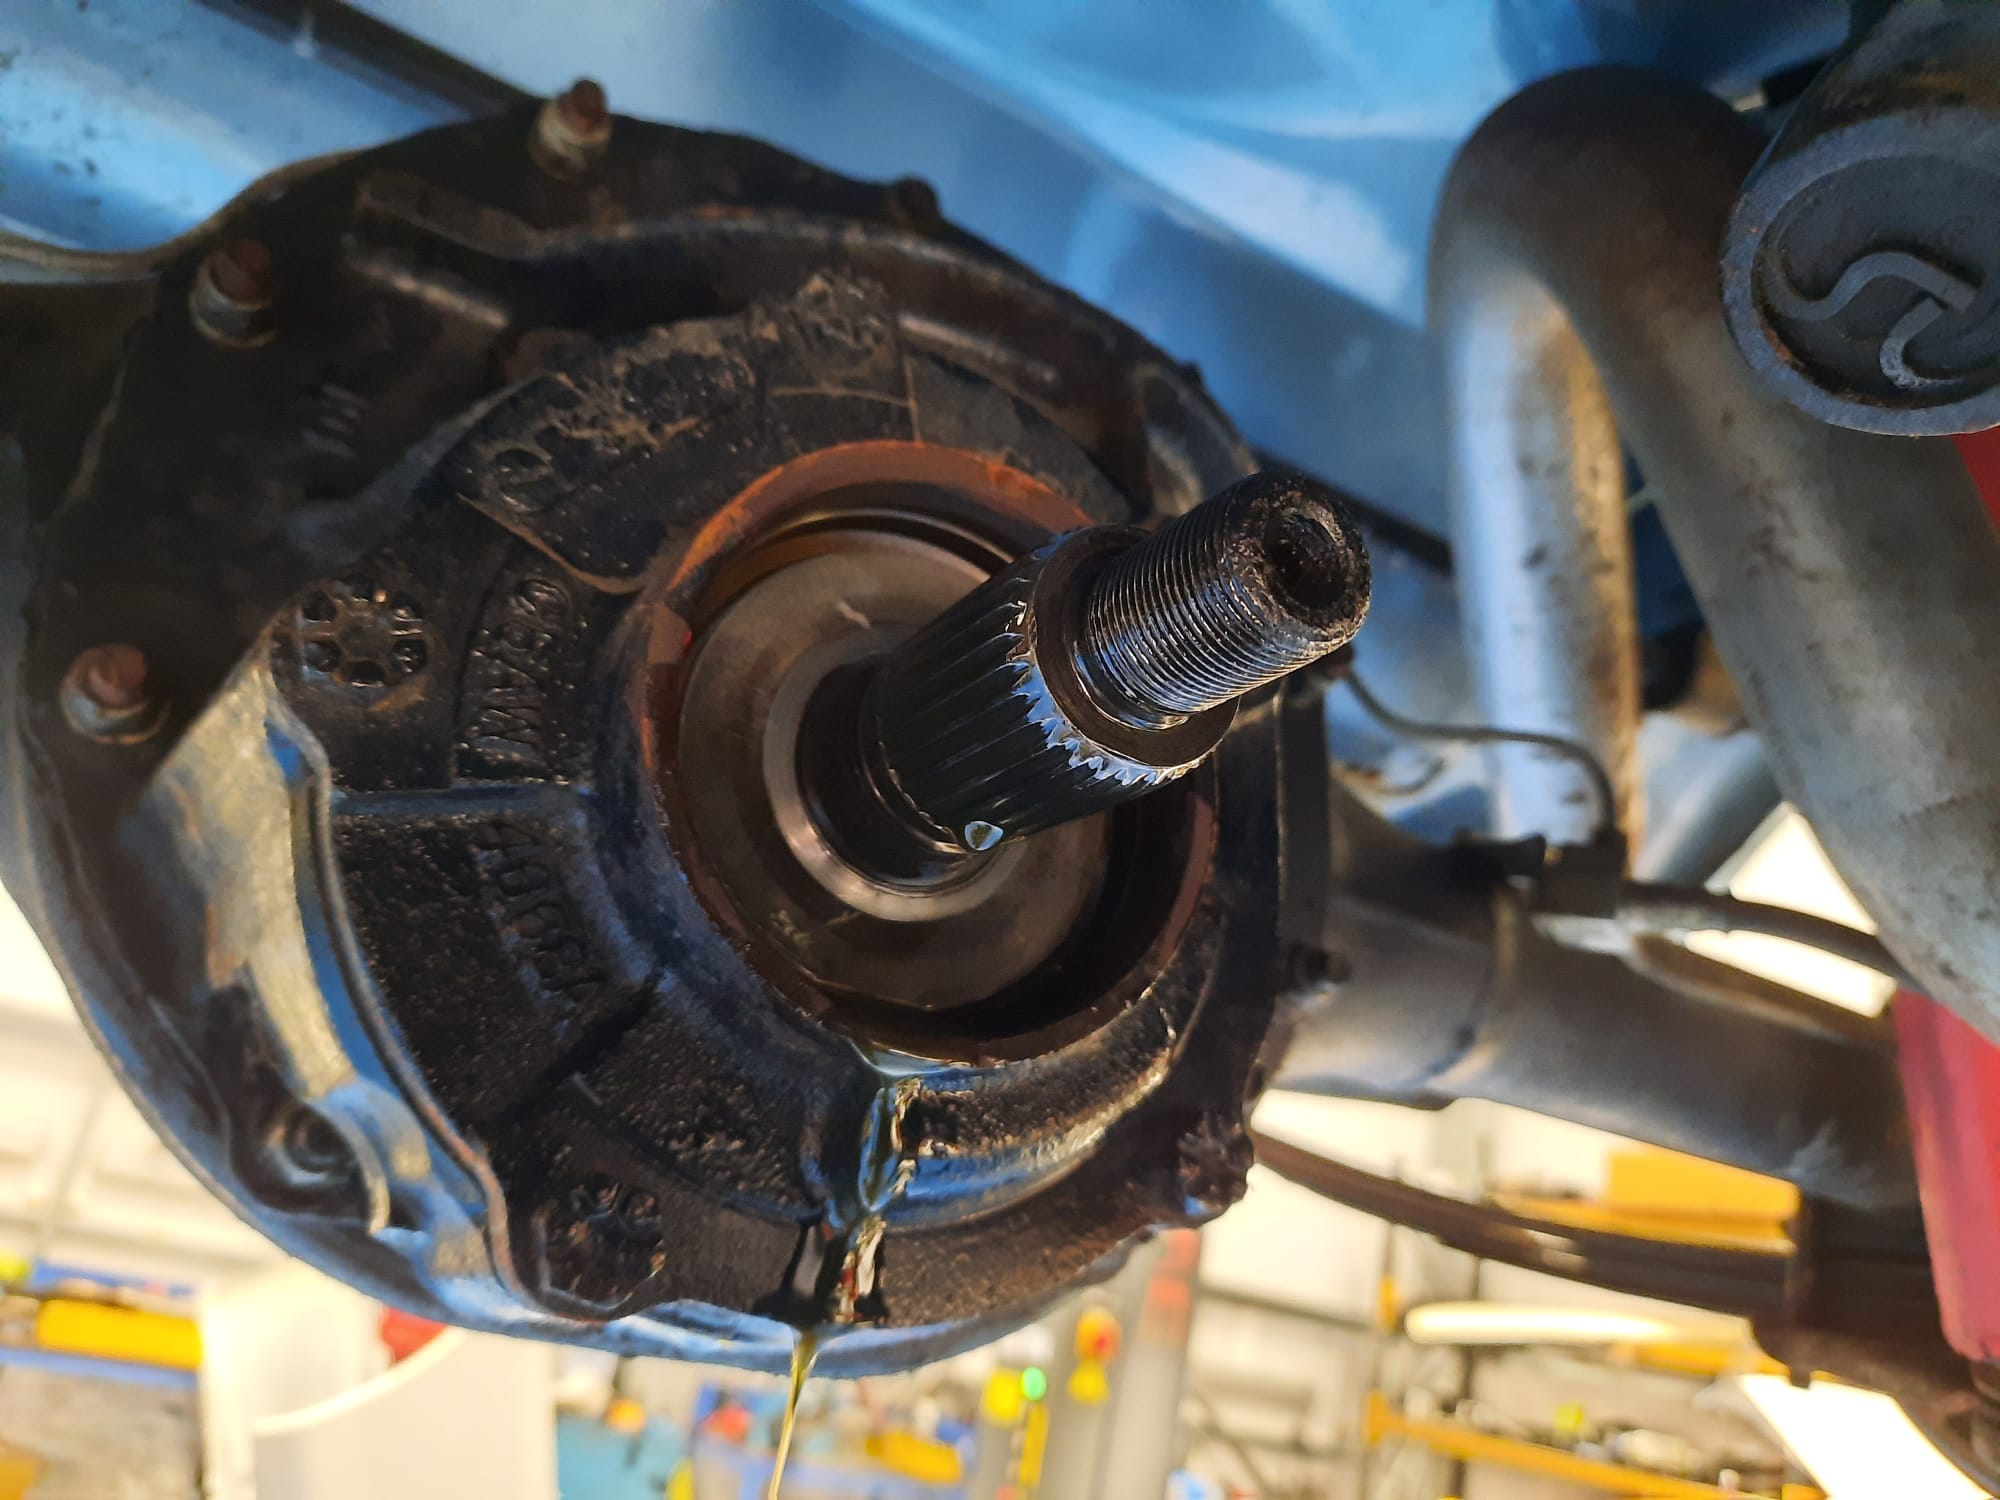

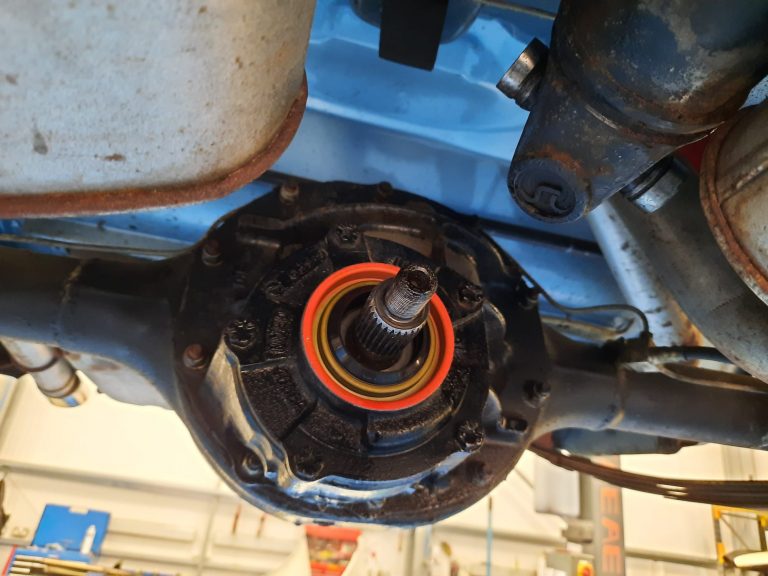
Mauro, our in-house restoration technician, has been working on the 1967 Ford Mustang that we have in the Bridge Classic Cars workshop.
As part of its mechanical refresh recently, Mauro replaced the rear axle seals and now it’s time to renew the rear pinion seal. A key part of the well being of any rear-wheel drive car.
After removing the old seal and inspecting the mounting surfaces, Mauro then put the new seal in place and check the pinion worked correctly. It all worked perfectly. So with that, the driveshaft and coupling were put back in place and it was time to move on to the next job on the list…
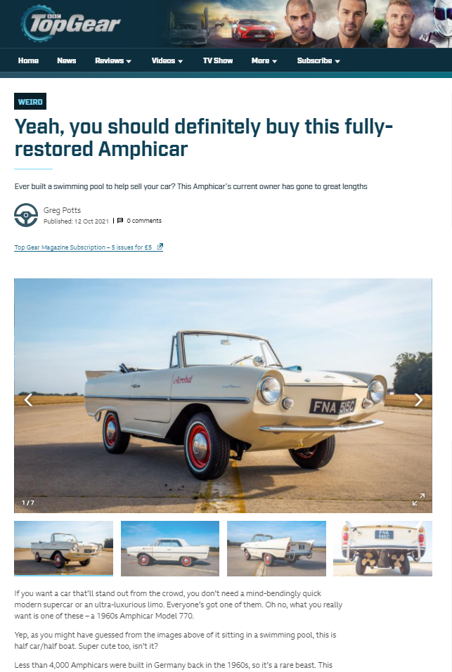
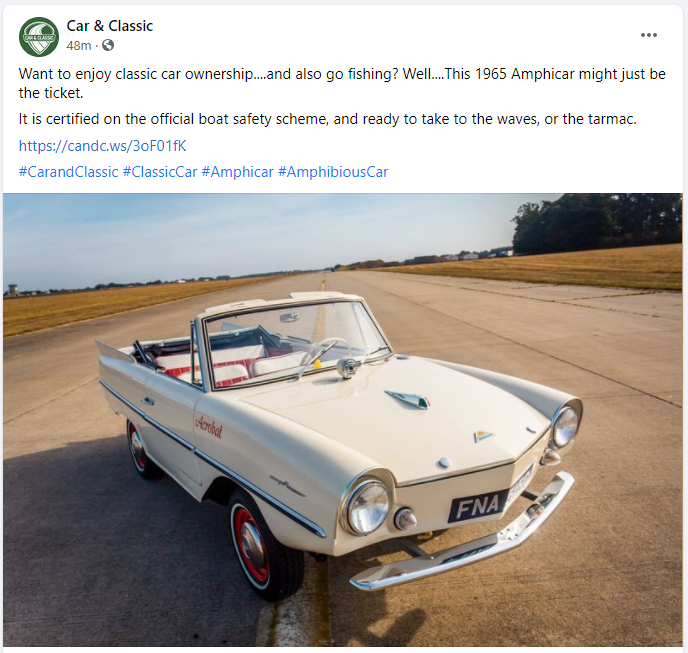
Our 1965 Amphicar that is currently up for auction with Car & Classic Auctions has found its way onto the Top Gear website!
The team here at Bridge Classic Cars painstakingly restored this car over countless hours into a full working, fully certified Amphicar.
Check out the article here or check out the auction with Car & Classic here!
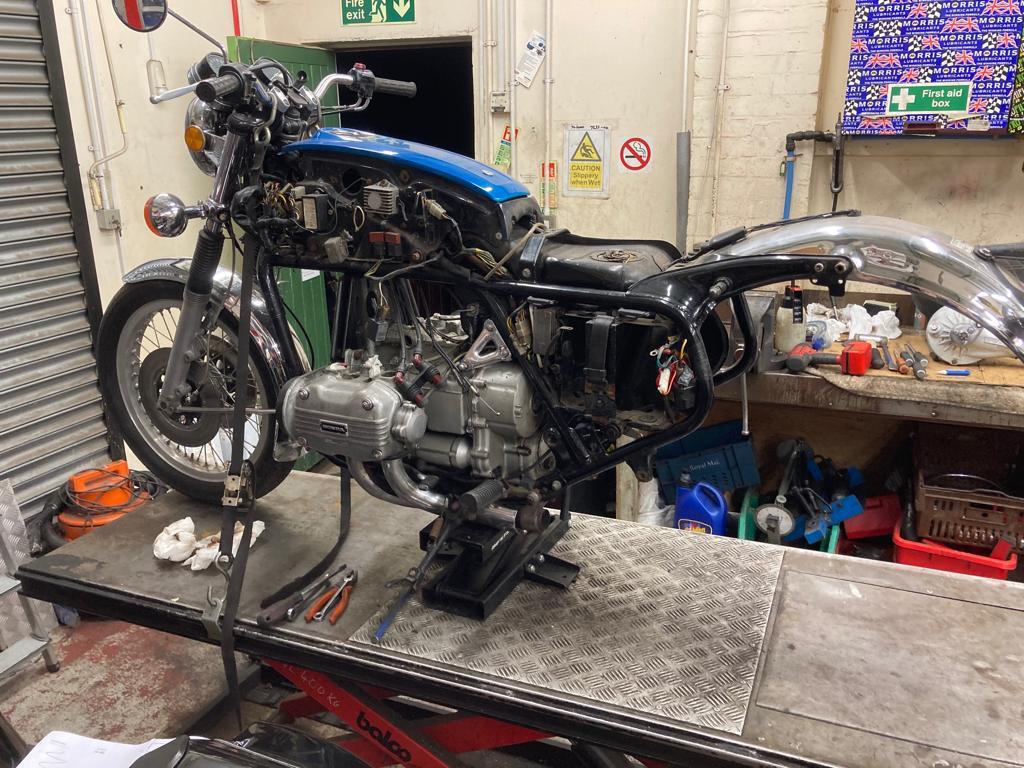
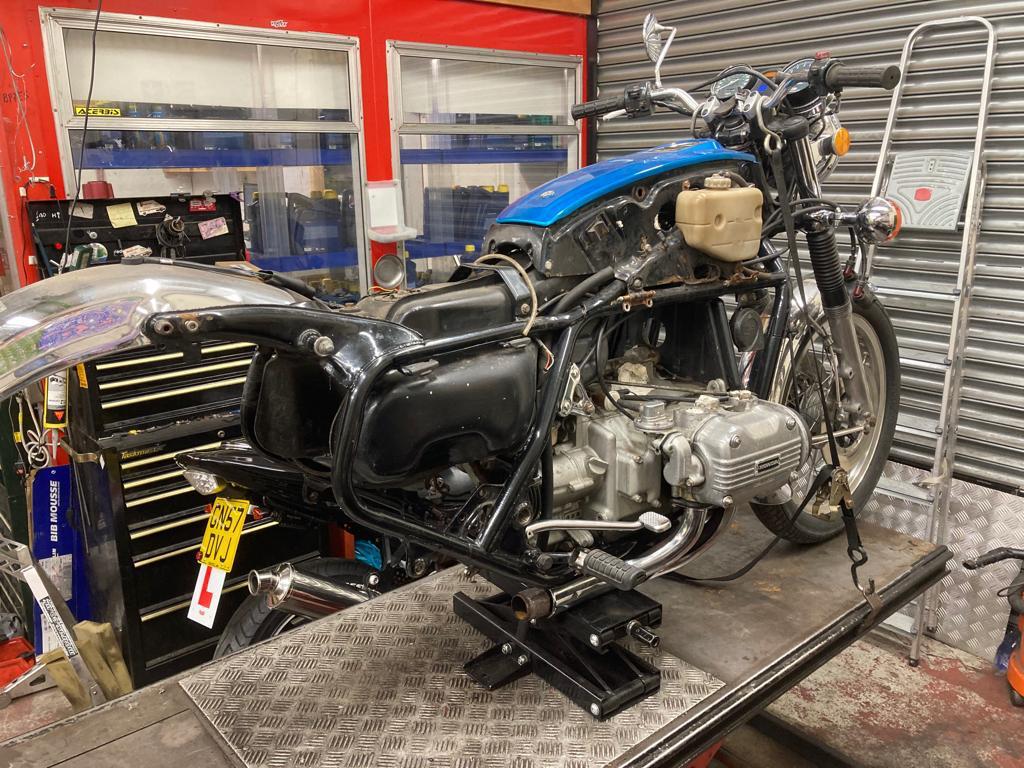
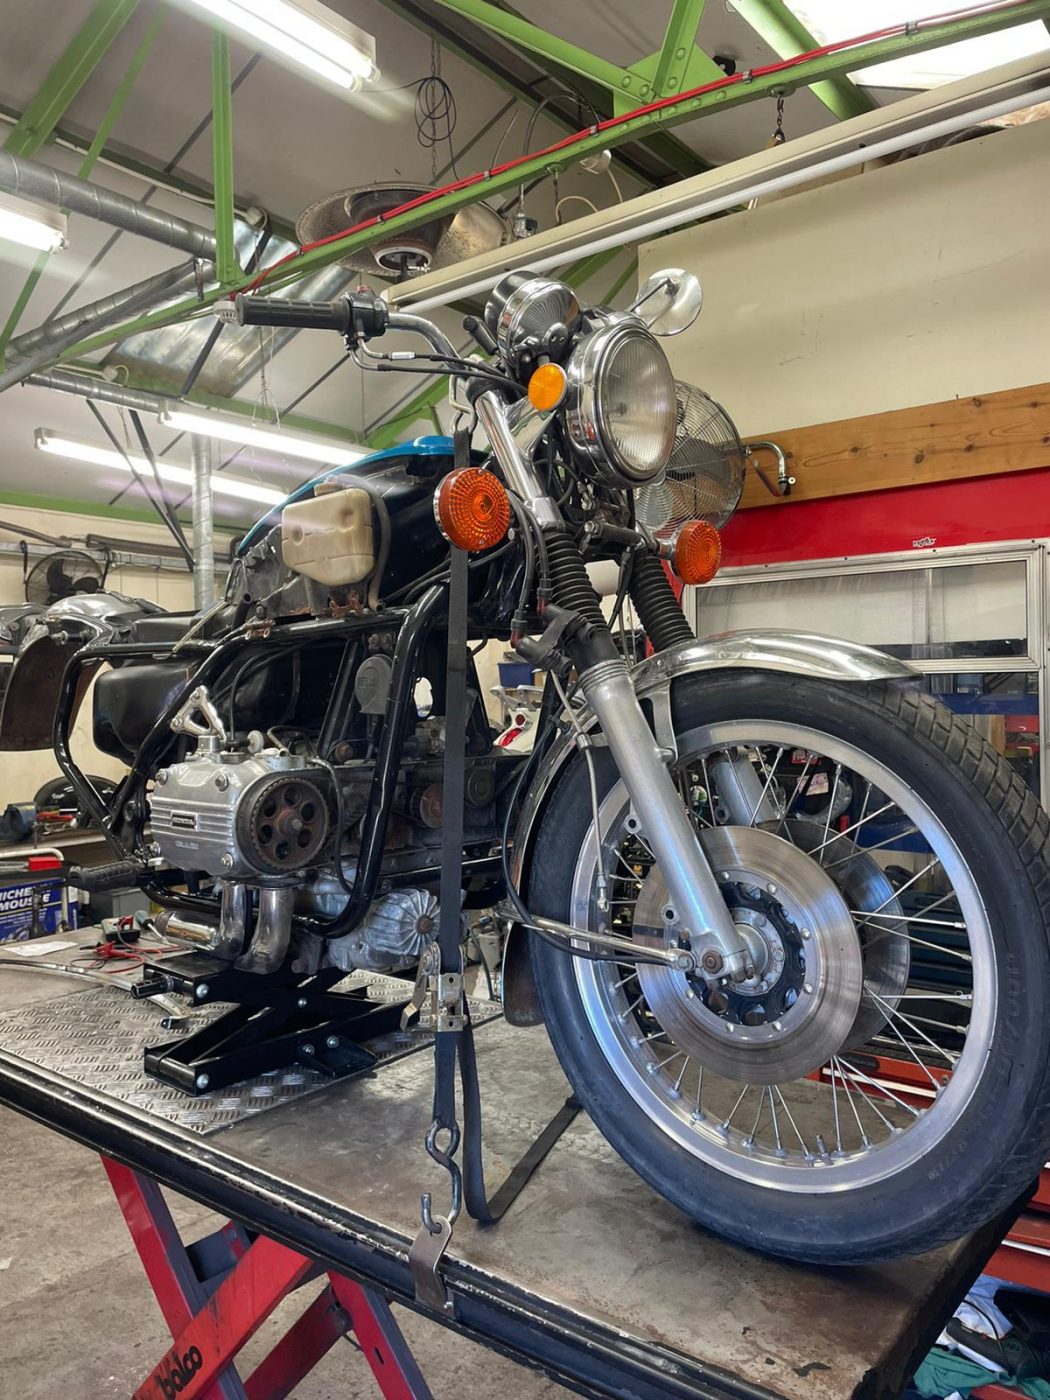
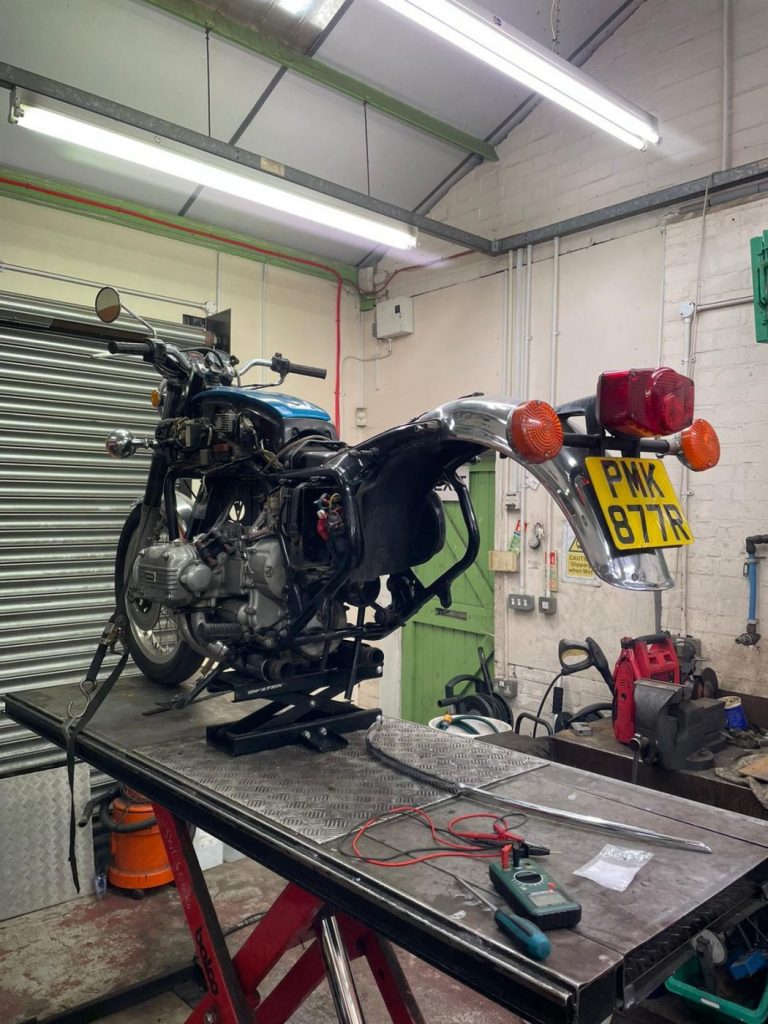
It’s been a little while since the last update on the 1977 Honda Goldwing.
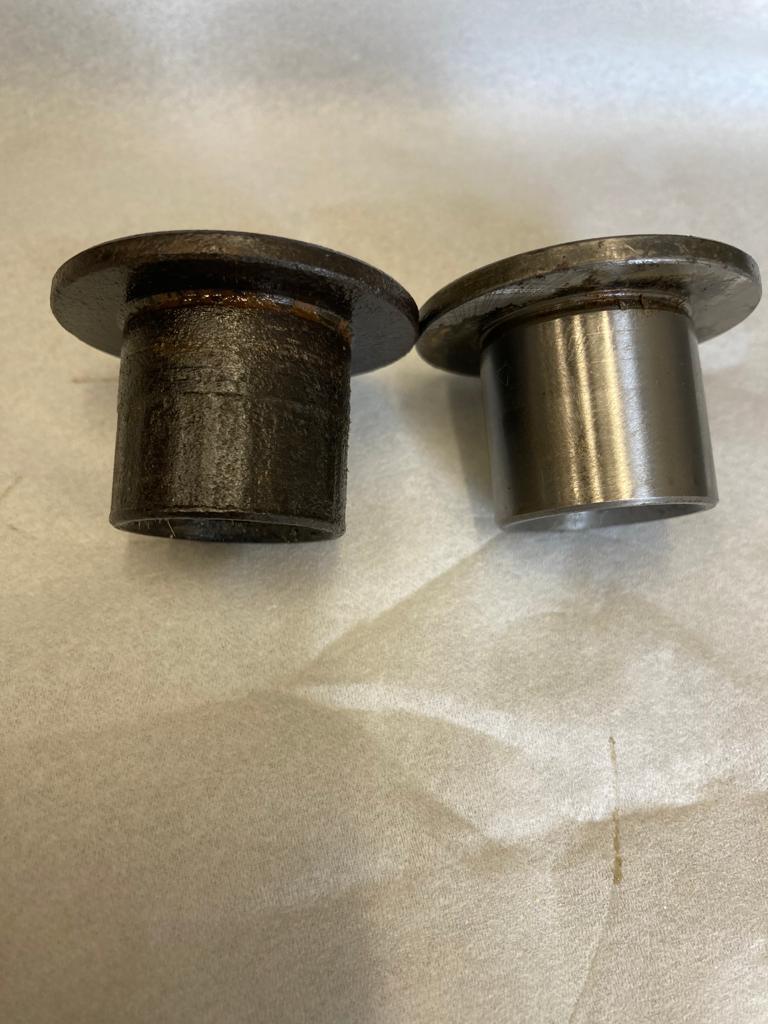
This is Gordon, our director’s, bike. Last we wrote, the carburettors had been sent off to be media blasted and now it’s time for the rear swing arm to be serviced and rebuilt. The progress on this classic Honda (mainly believe to be from golden age of Honda motorcycles) is steady and we are looking forward to having her back and being enjoyed.
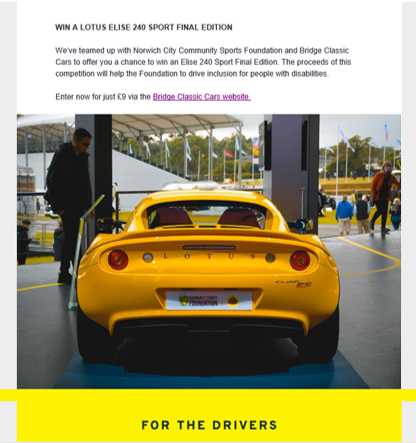
Our 2021 Lotus Elise Sport 240 Final Edition which is being given away to support the important work that the Norwich City Community Sports Foundation do was featured in the latest online Lotus email Newsletter.
The Lotus is still up for grabs to one lucky winner. And all the proceeds will go towards helping the work that NCCSF do with young people of different abilities and backgrounds to get involved in the amazing world of sport.
You can enter just by clicking the link below!
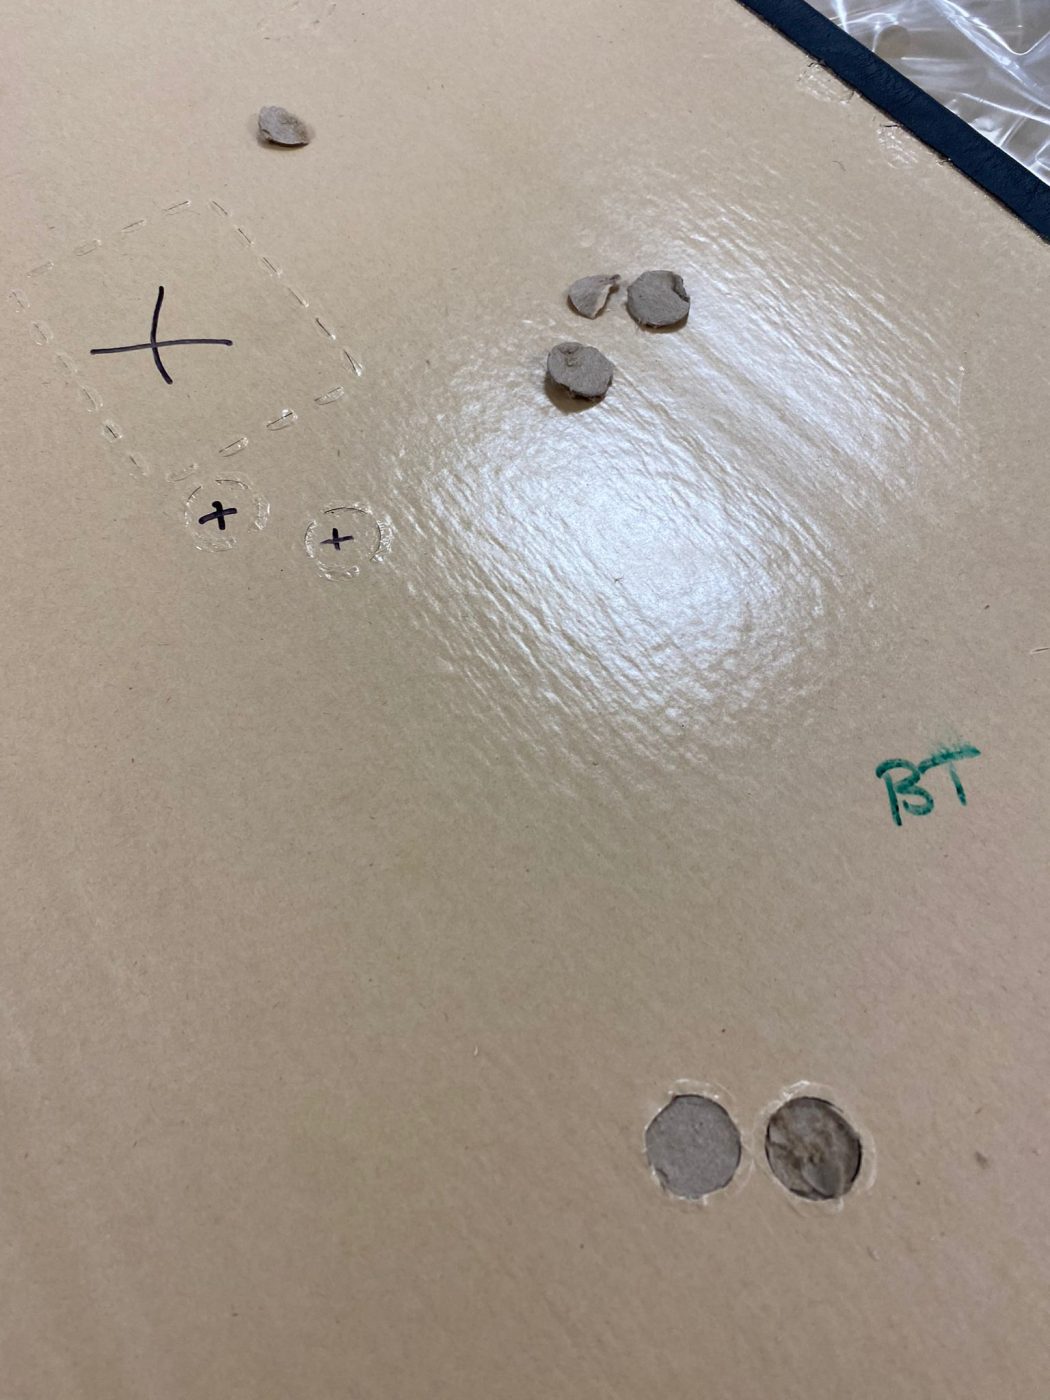
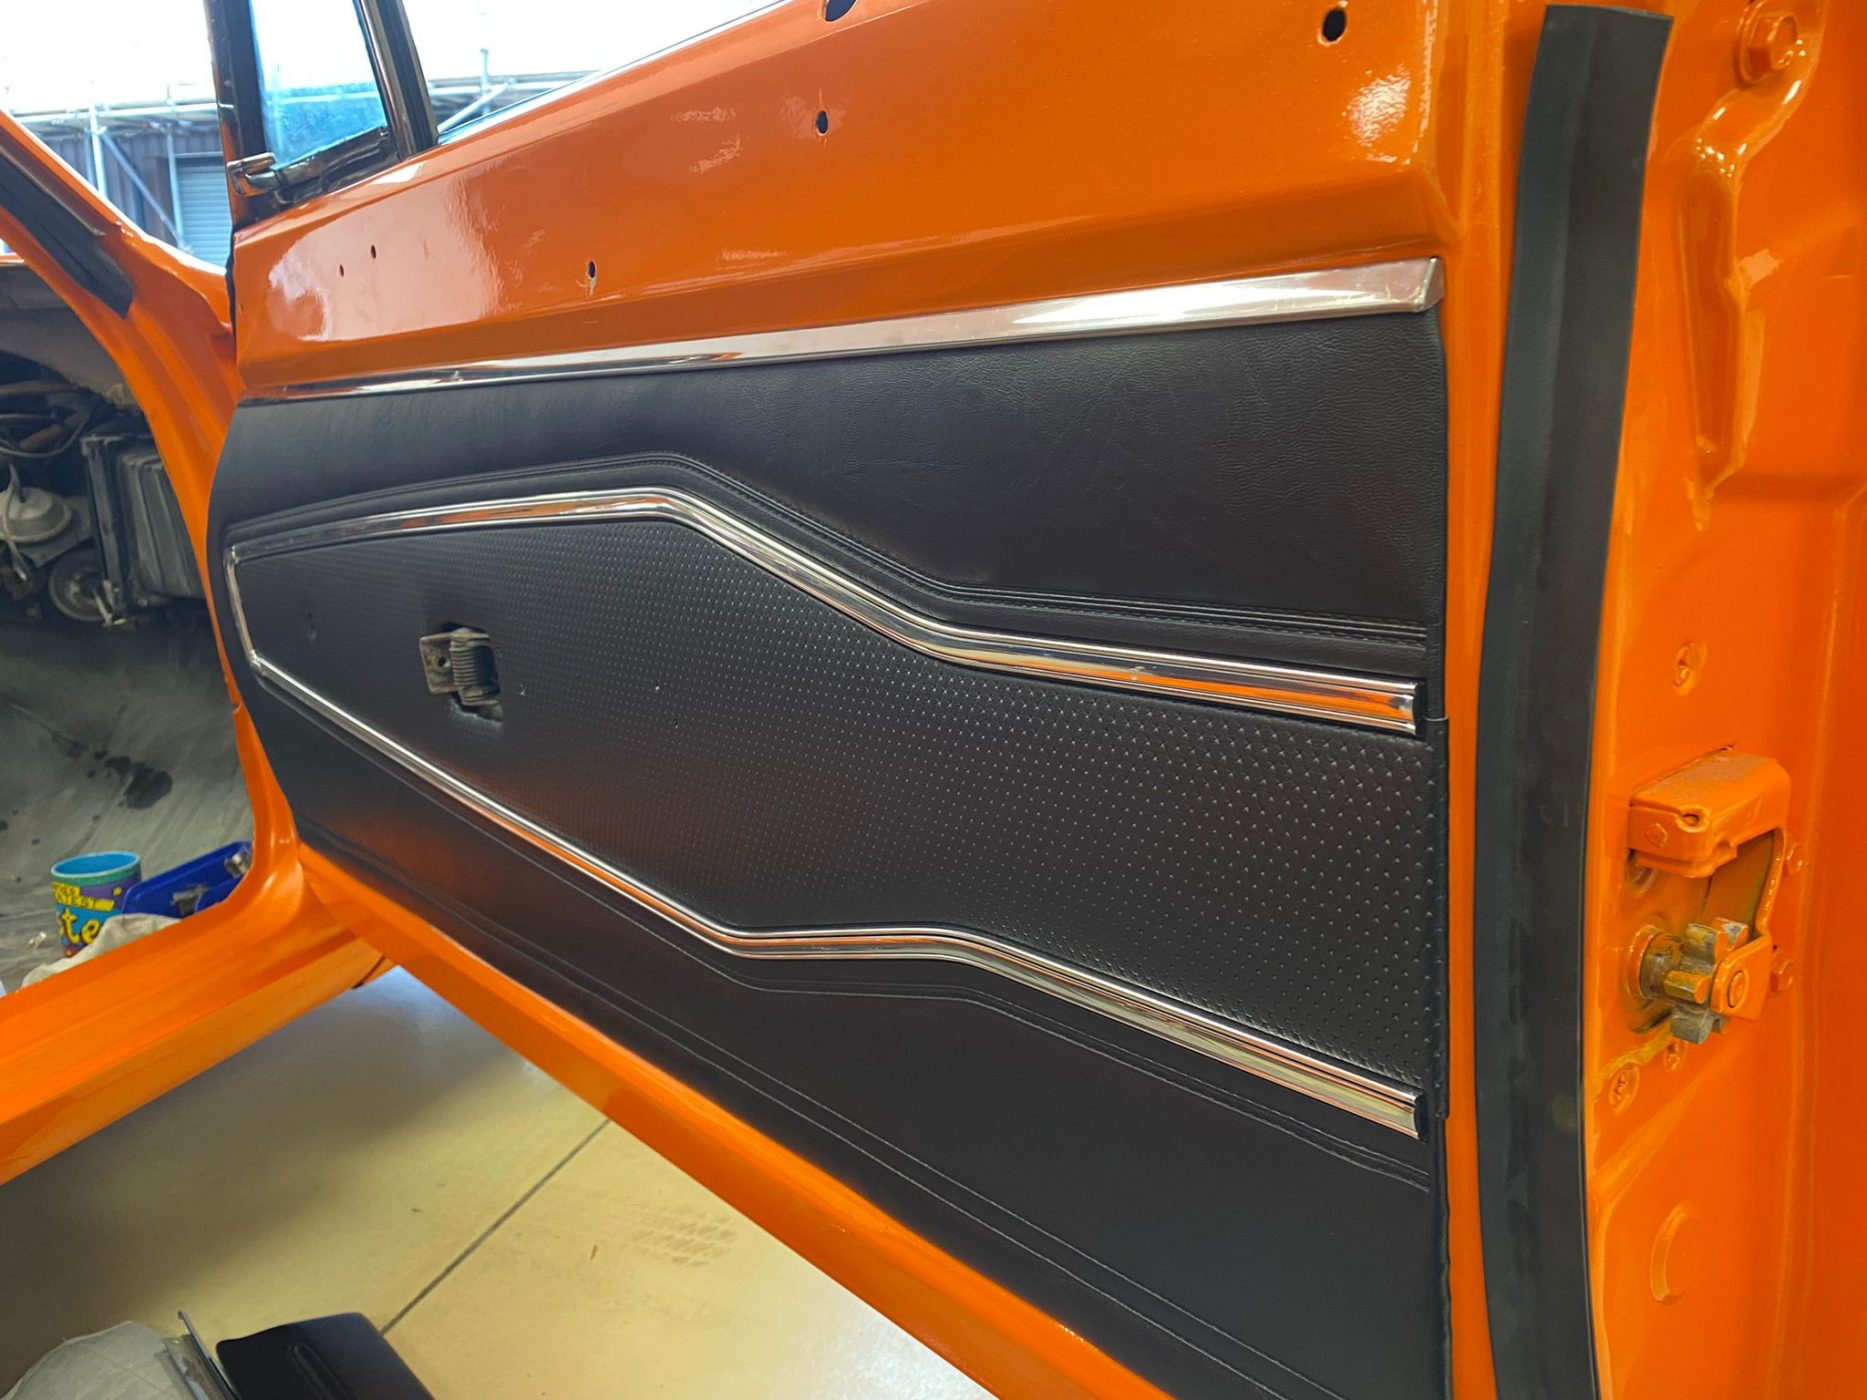
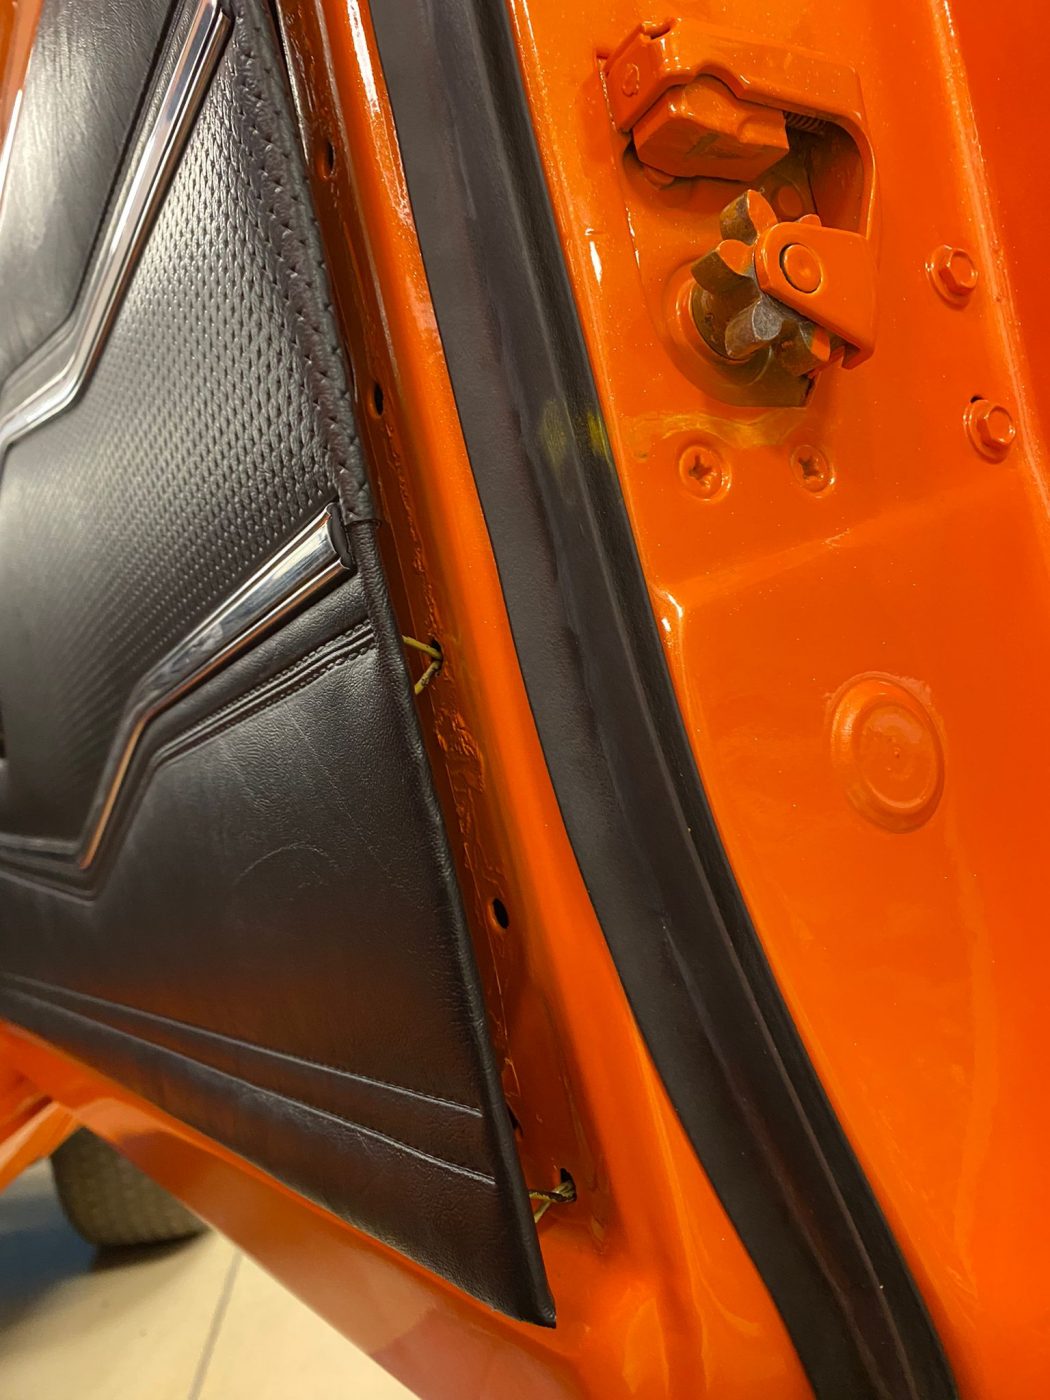
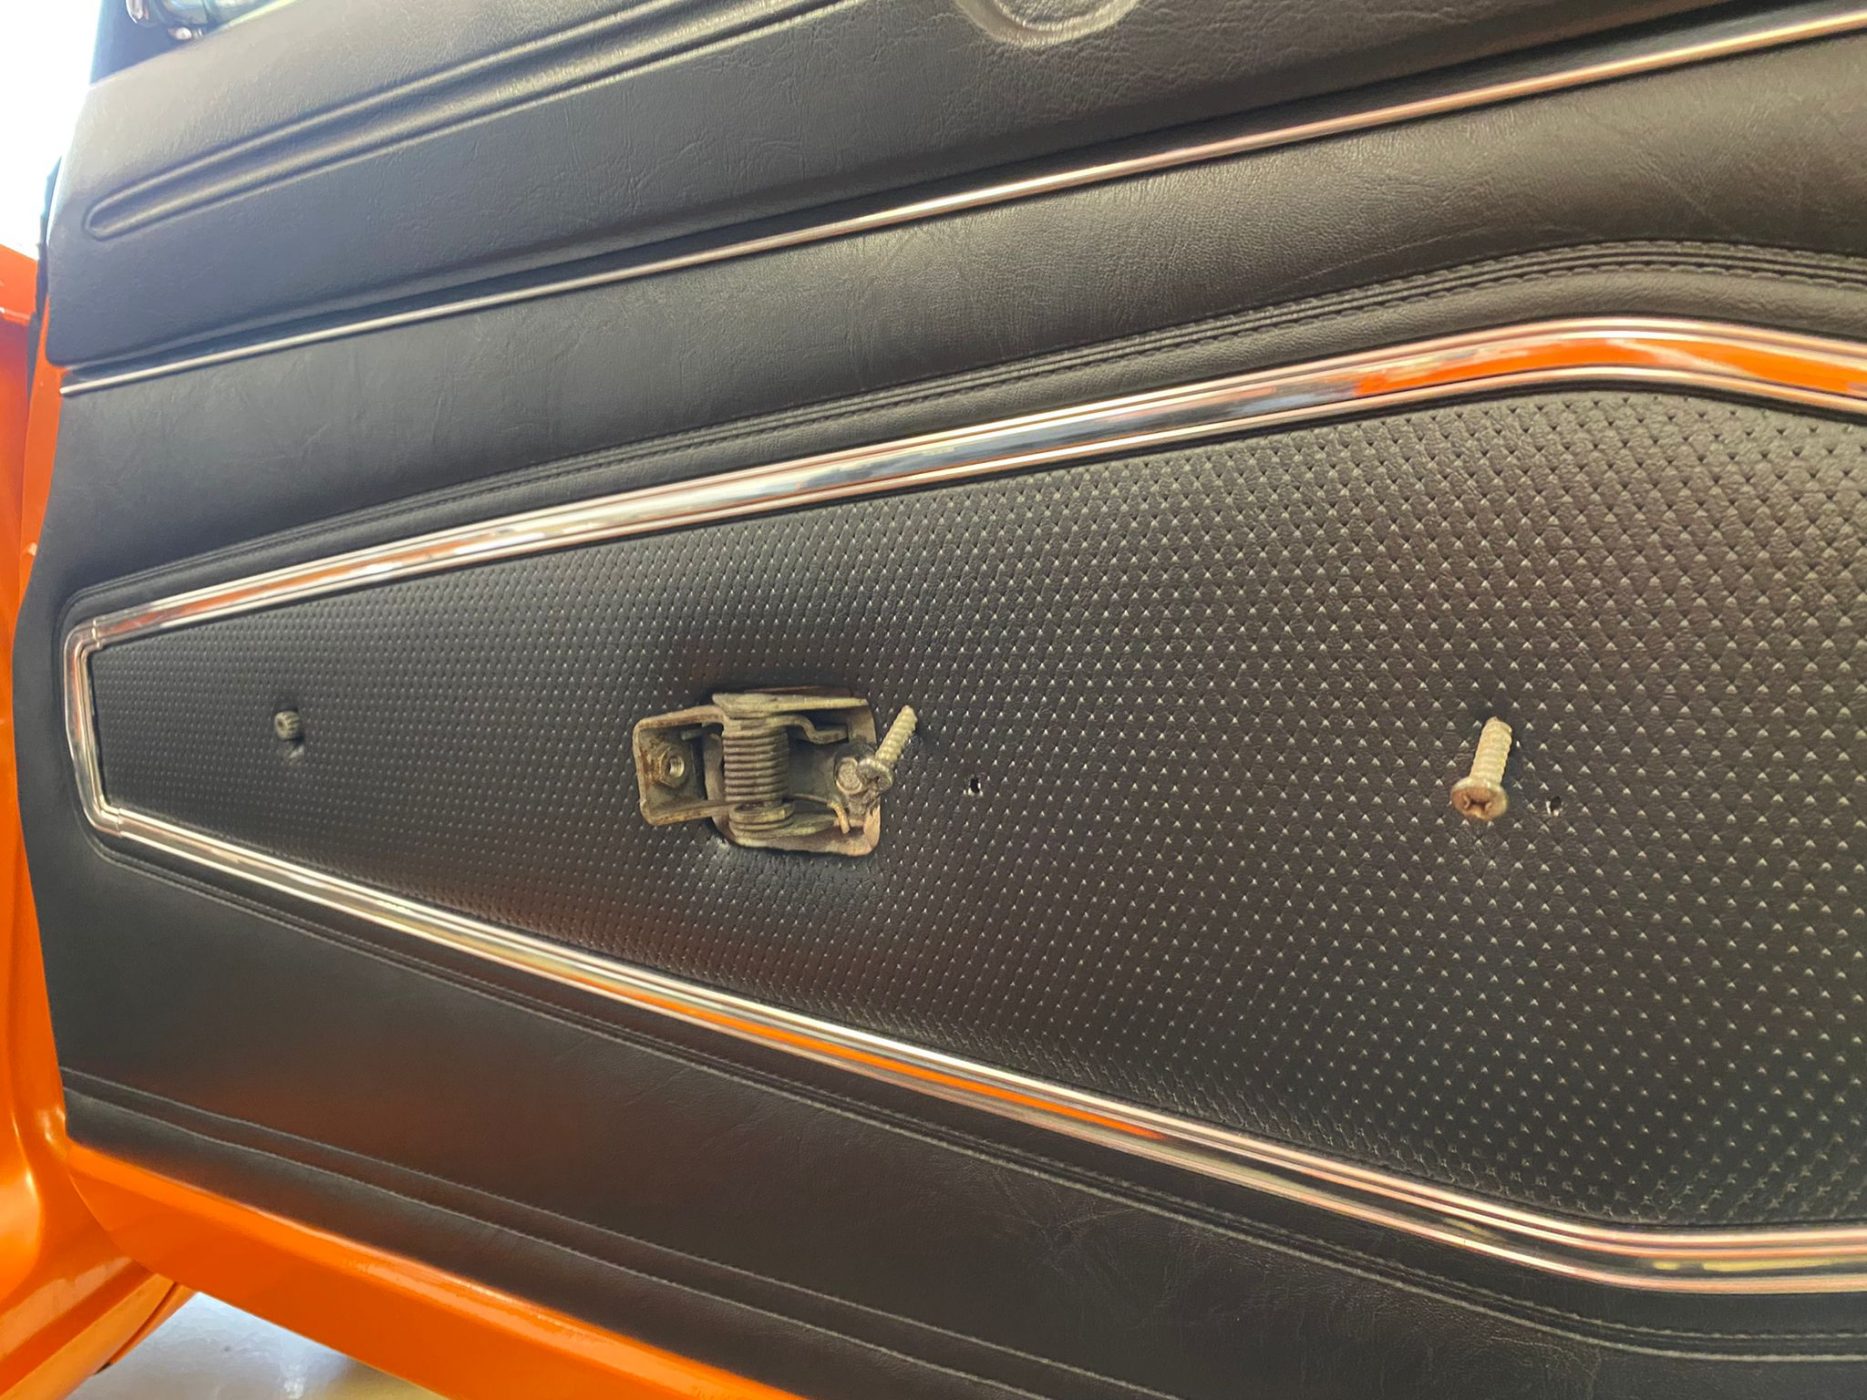

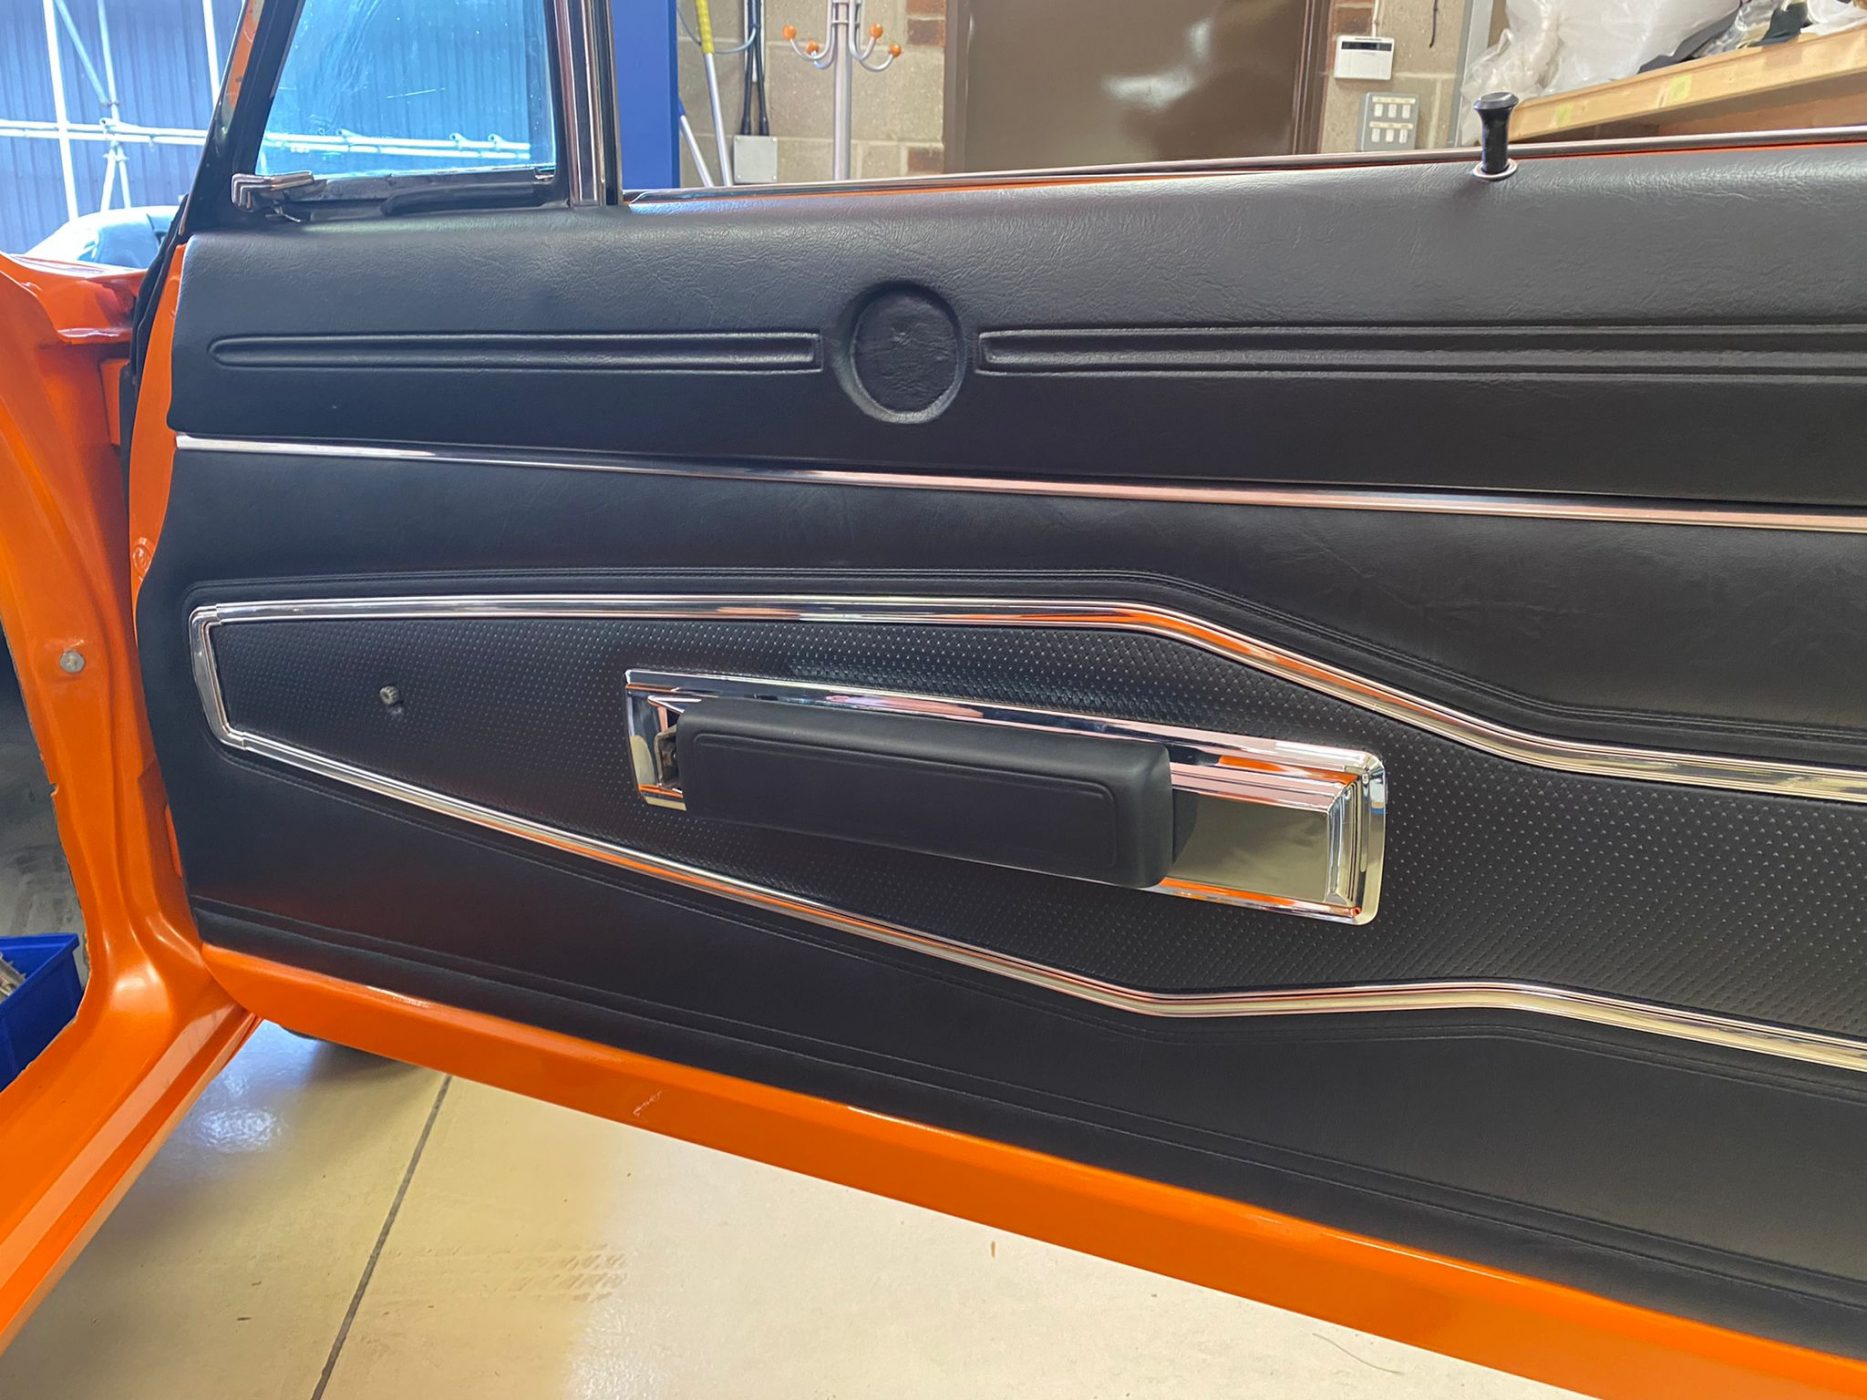
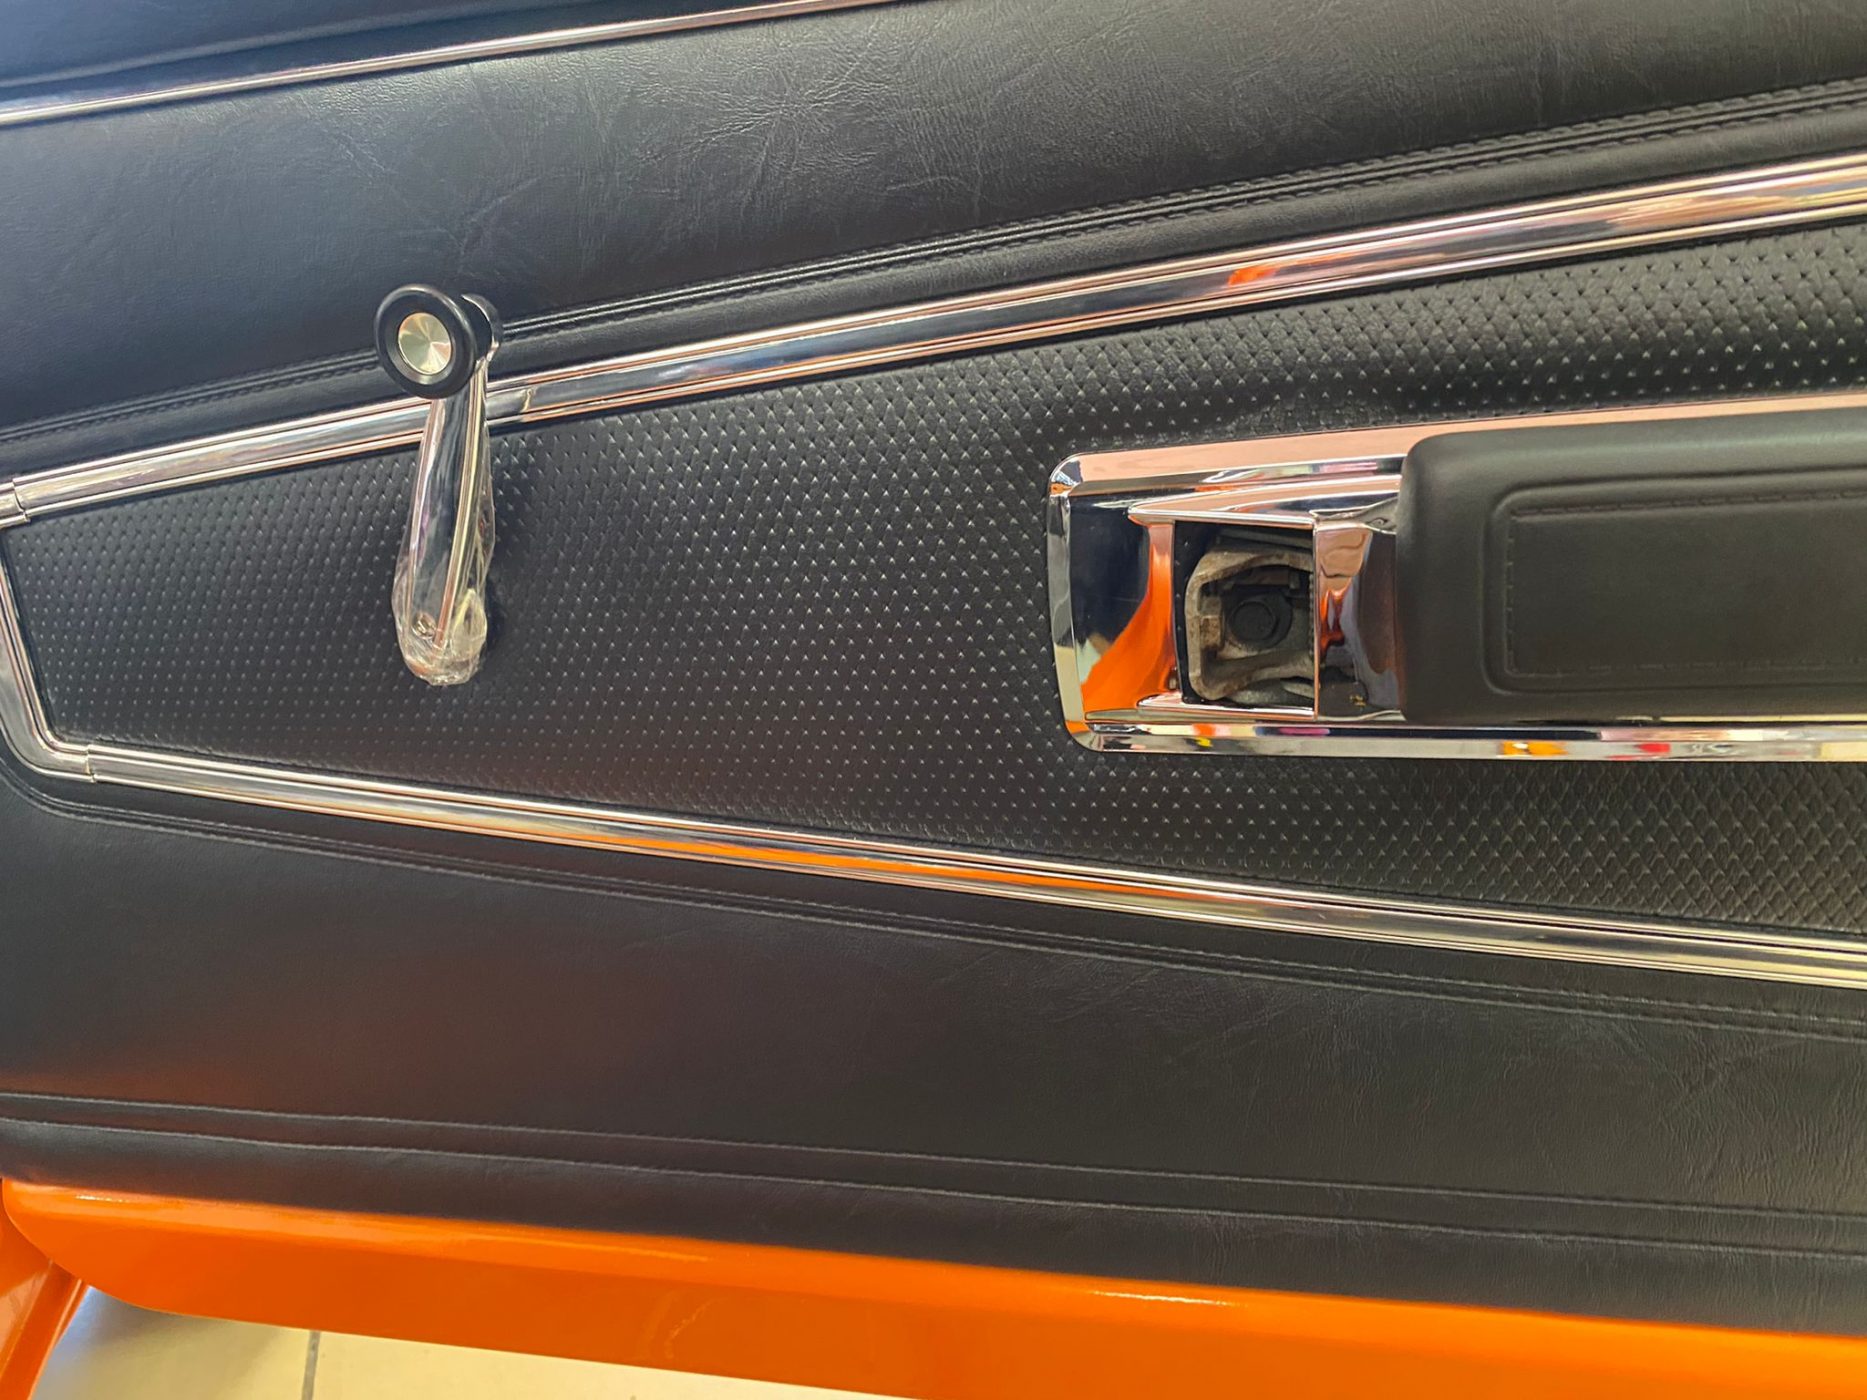

Our in-house trim expert Kath has been fitting the door cards to the 1970 Dodge Charger we have in here at Bridge Classic Cars.
Kath carefully put together the two-piece door cards which are a key feature on the interior of this glorious Mopar. Kath went through each component to check its fit and finish before anything was put on the car, painstakingly marking out any points that would need a skilled hand turned to them.
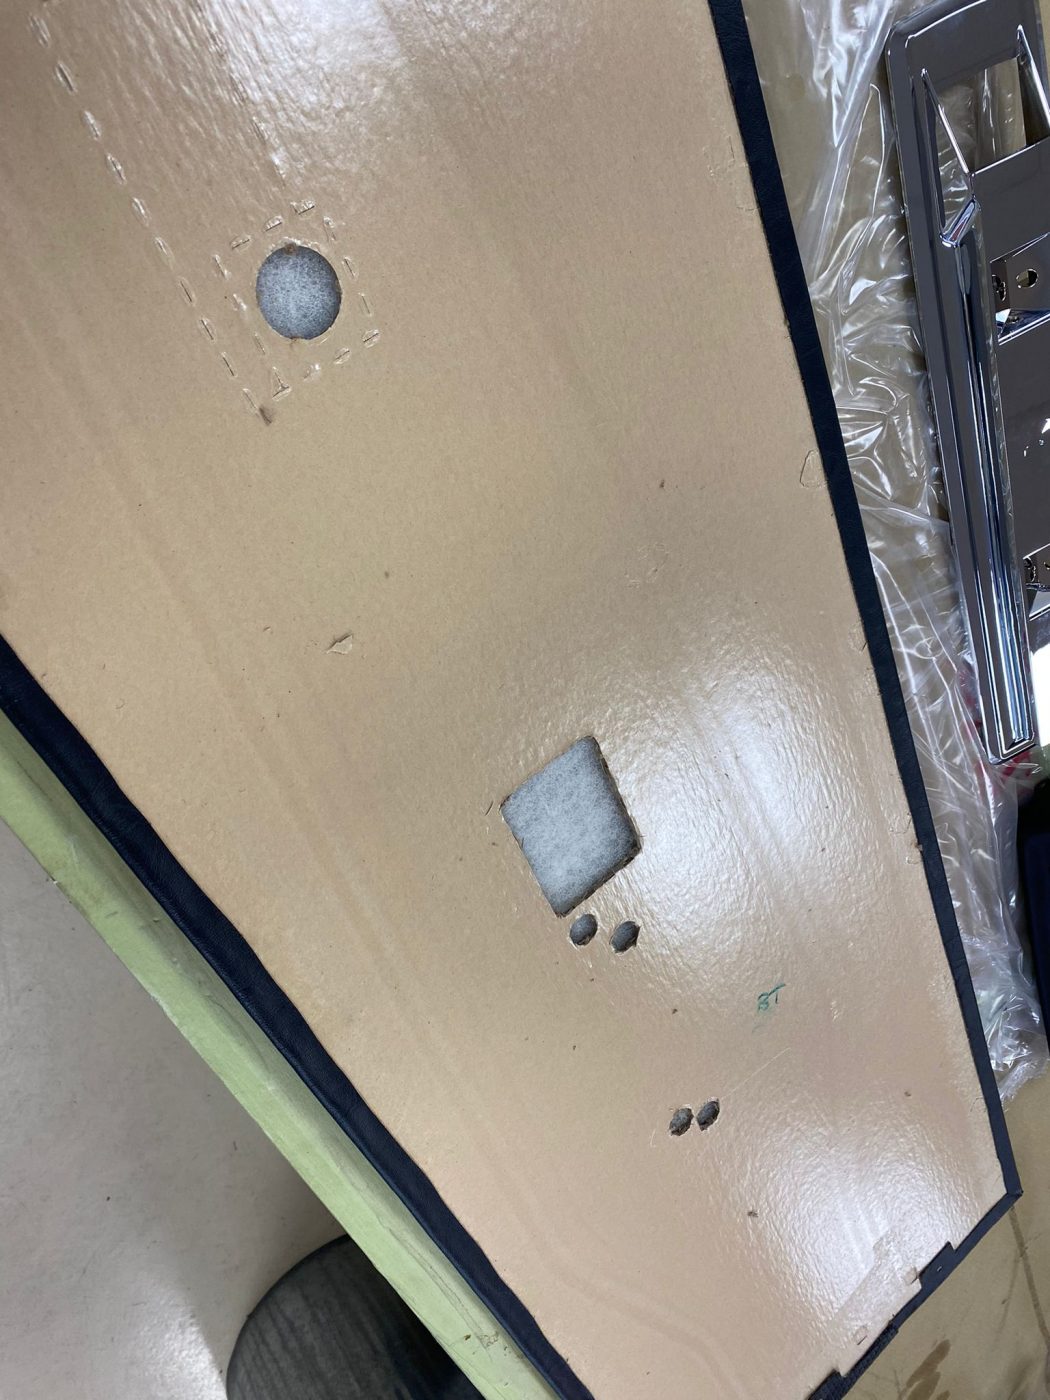
The door cards themselves needed the openings cut into them for different handles and fixings so Kath broke out the tape measure. Each of the cuts made was a case of measure 10 times and cut once as with all of our interior work. The best way to get the perfect finish is to work with the car and that’s why we have a world-class trim shop.
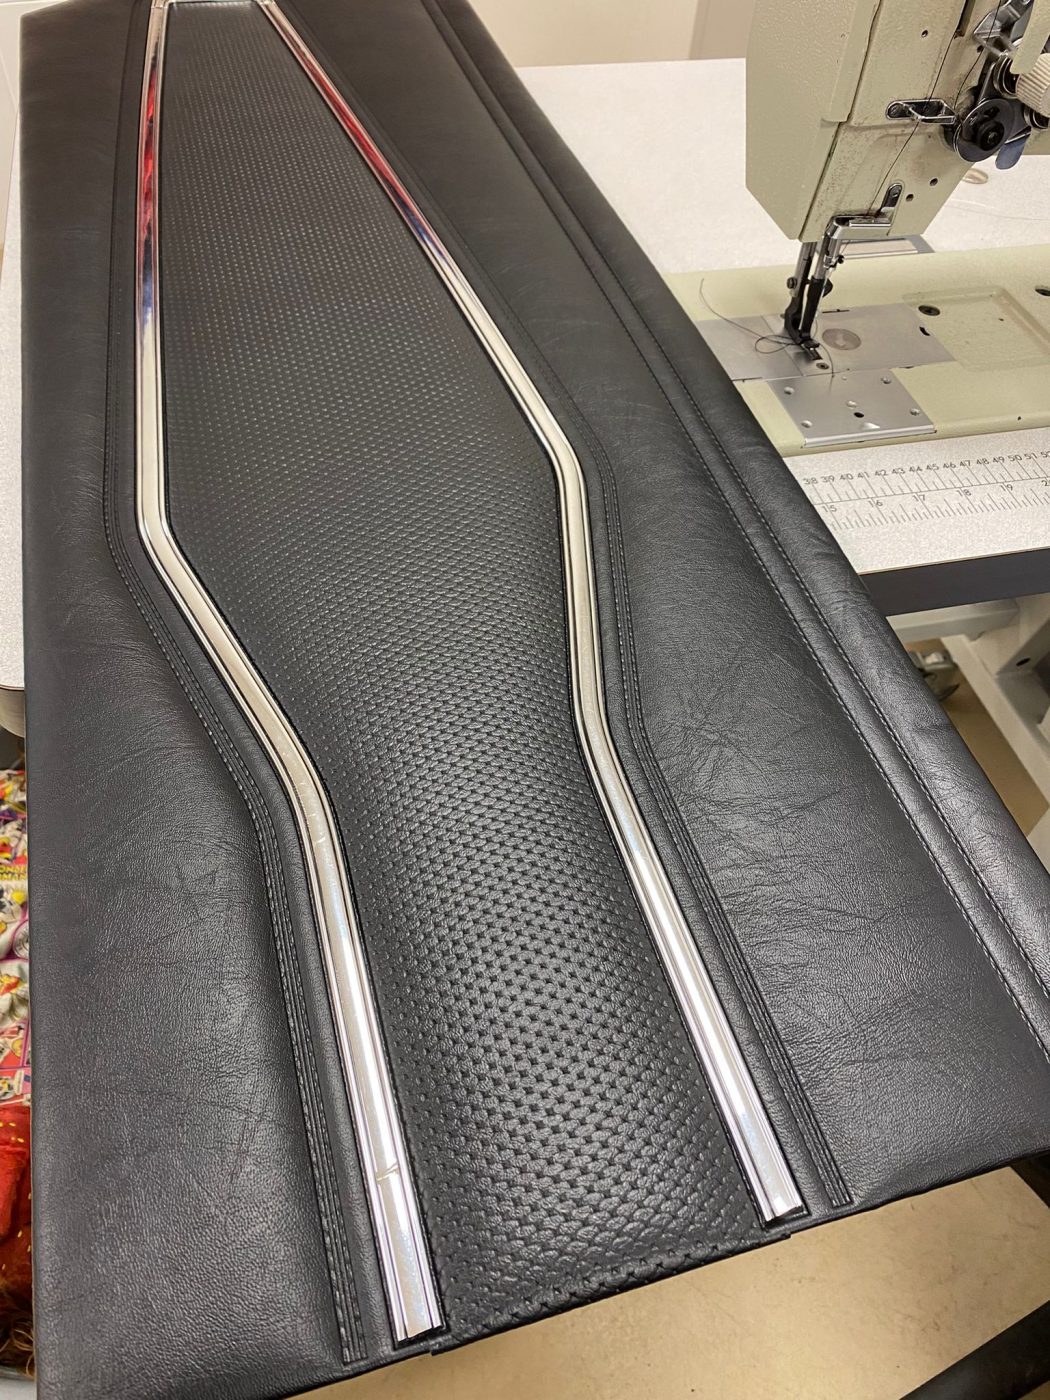
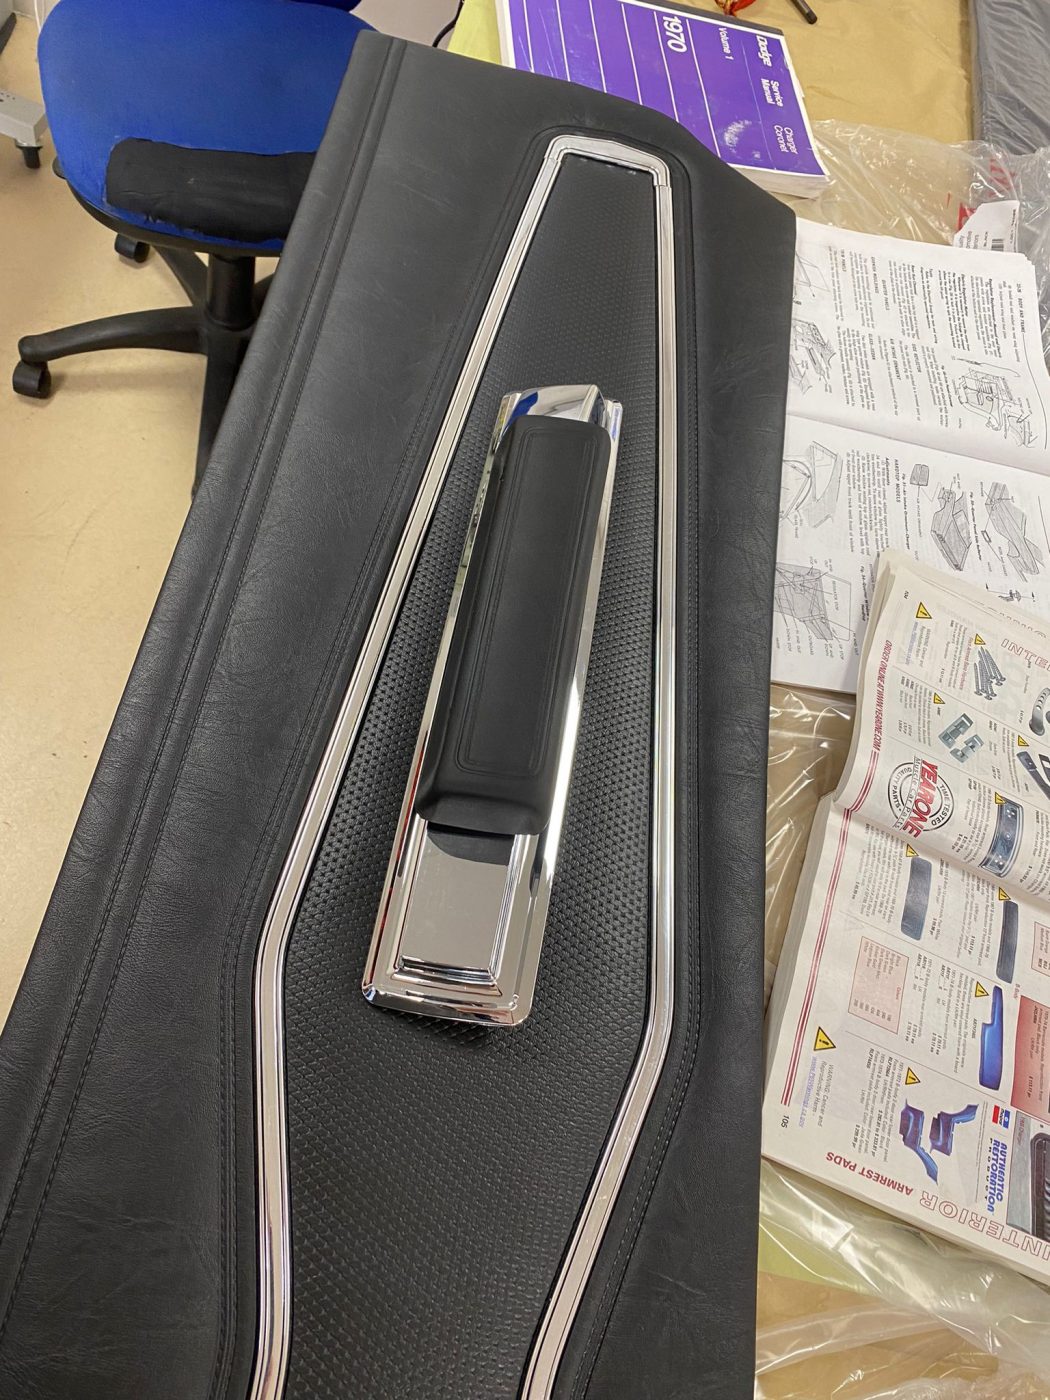
Piece by piece, Kath put together the parts onto the door itself with all its bright work. The clips that fix the card to the door have to be eased onto the door as to not become deformed or move out of alignment so clip by clip the door card was installed onto the car.
Work on the interior of the 1970 Dodge Charger will continue in the Bridge Classic Cars trim shop in our next update on the blog
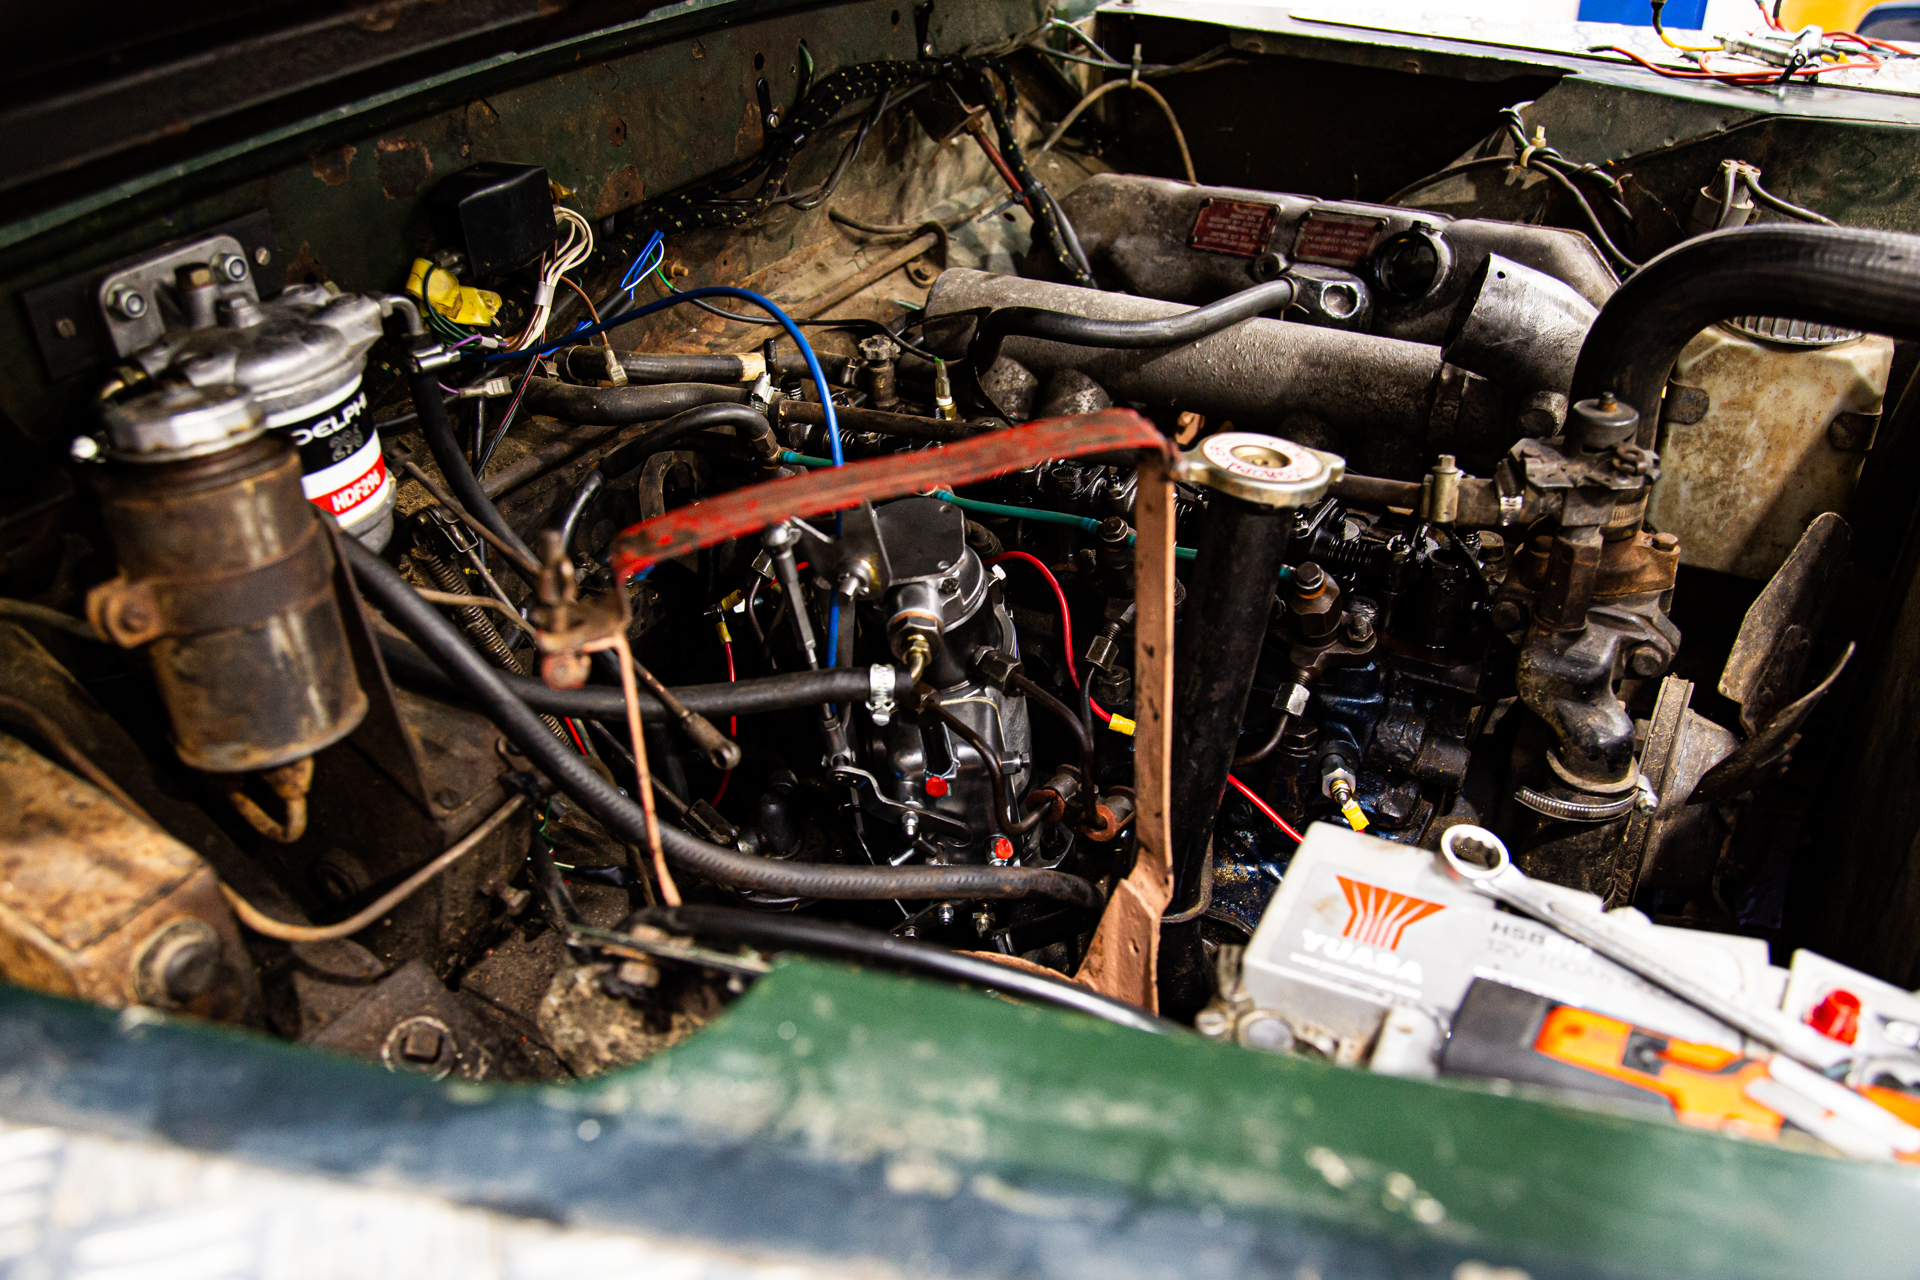
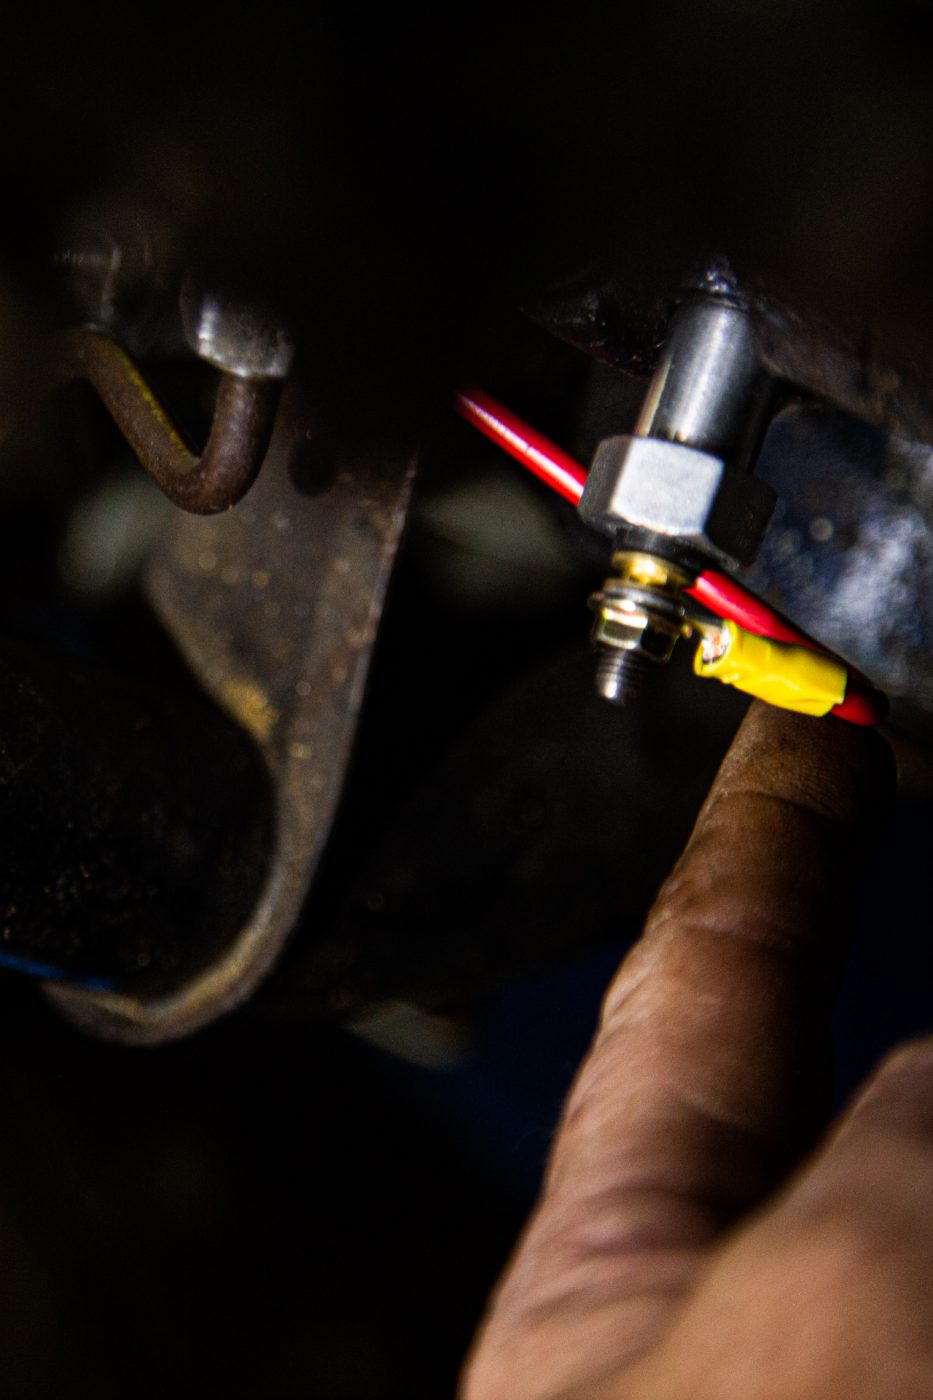
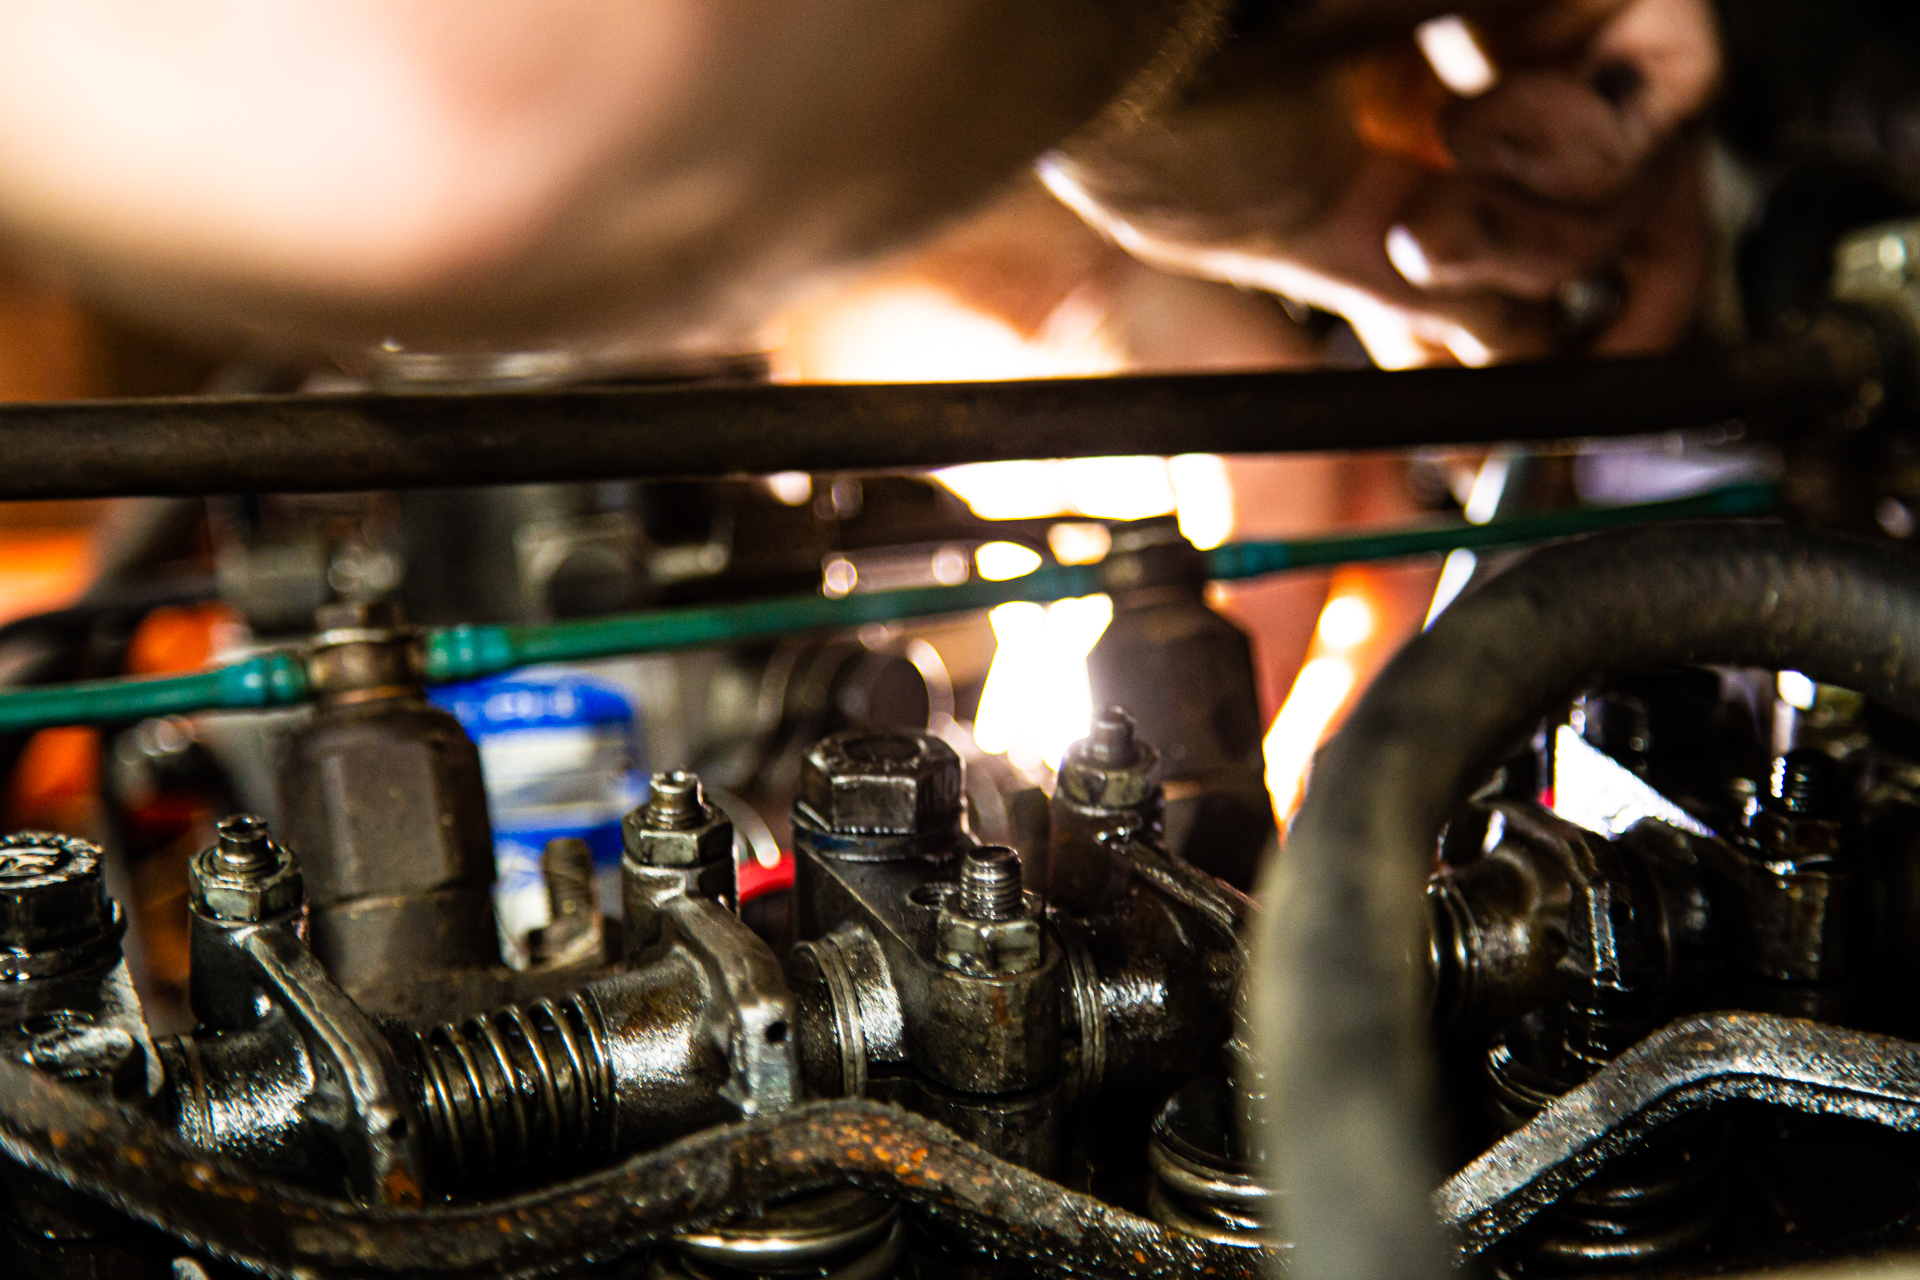
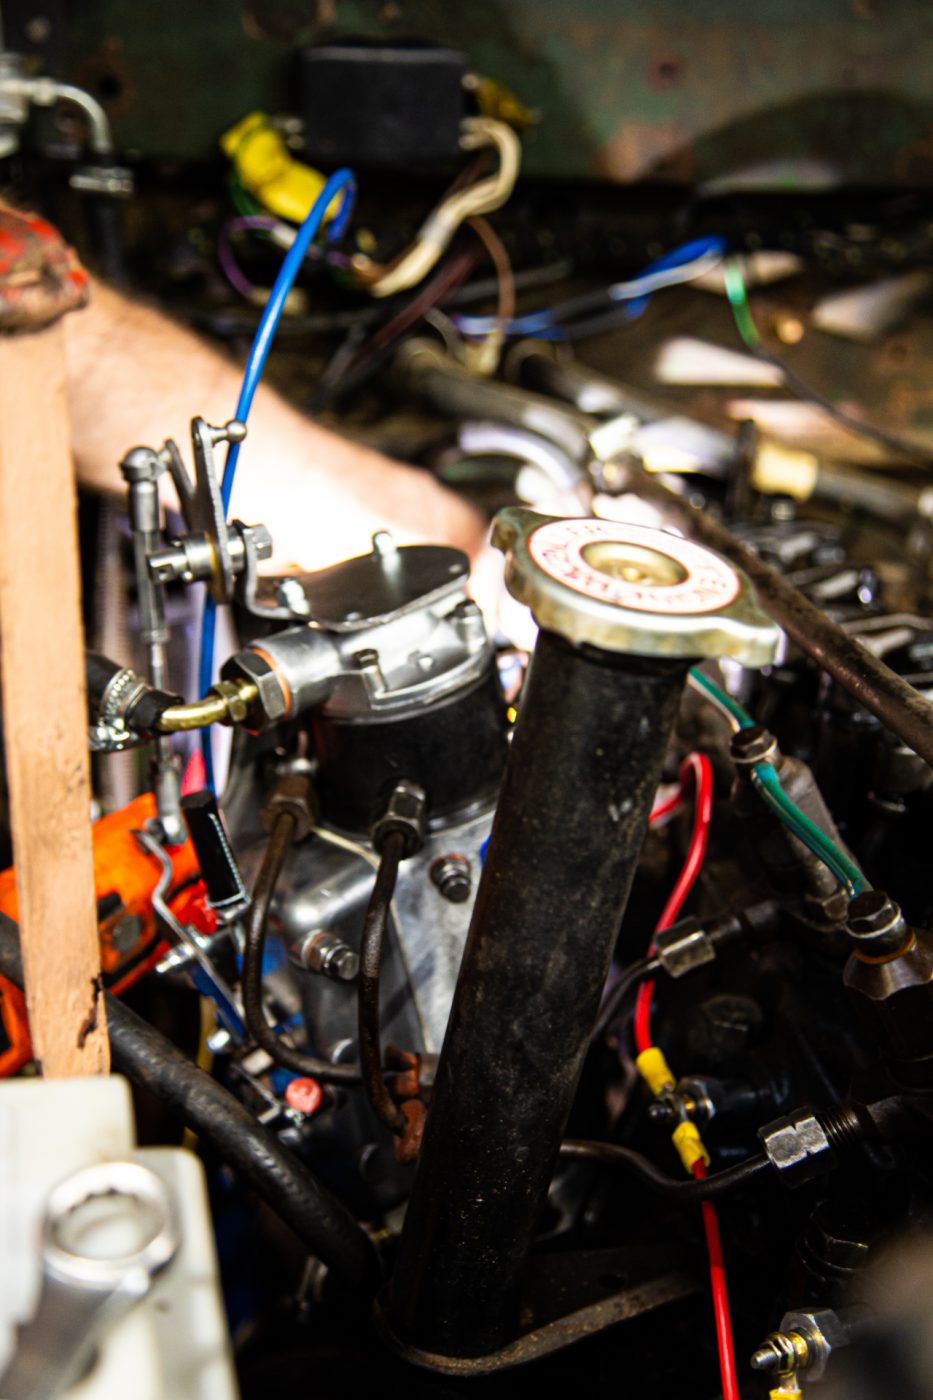
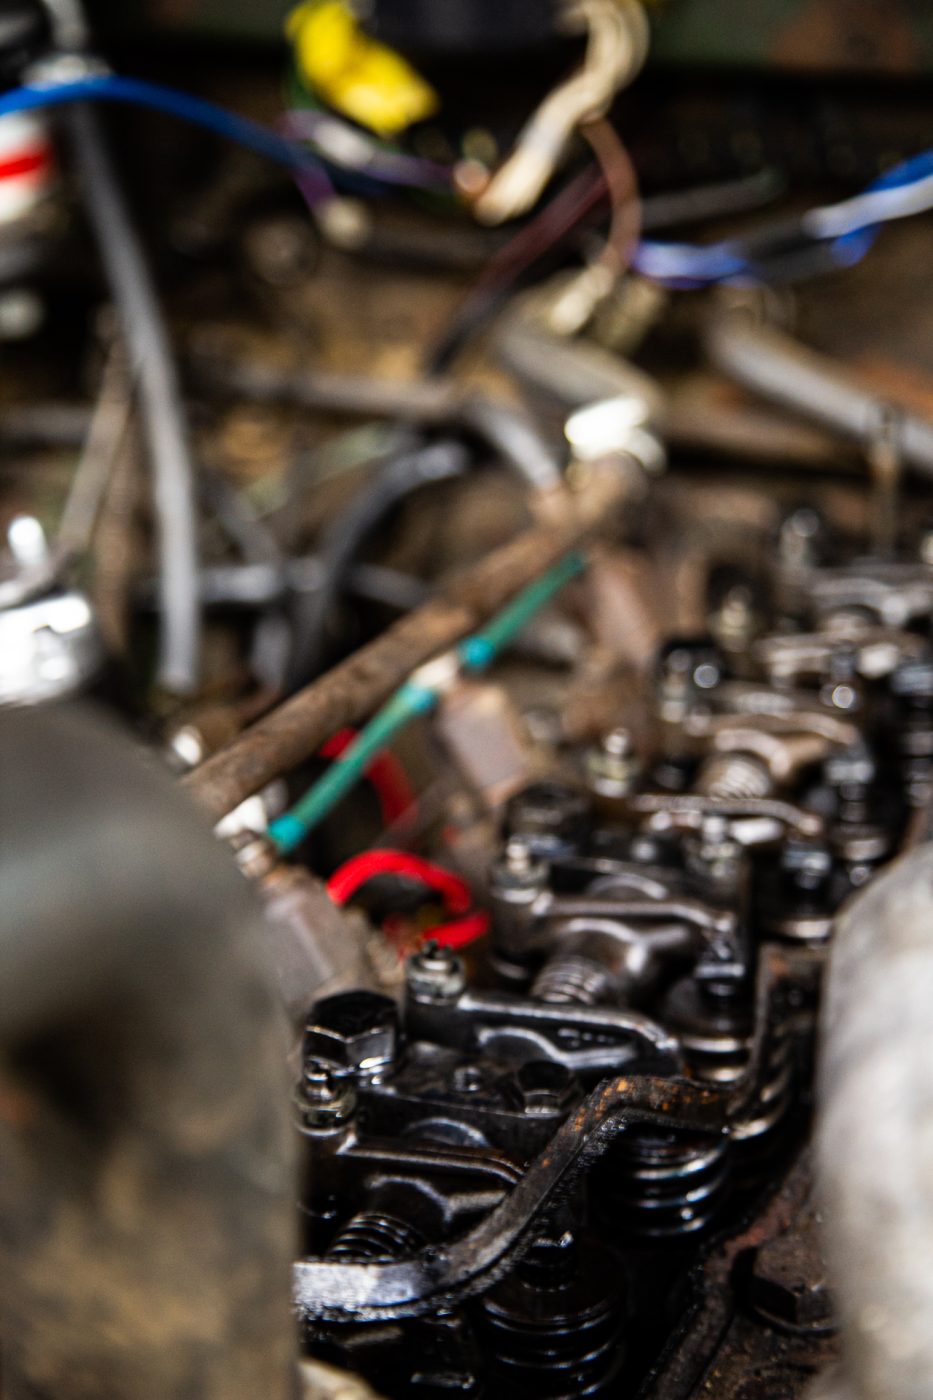
When work began on this 1970 Land Rover Series IIA, there was a slight bit of confusion. Originally it was thought to be a Series III but thankfully, we have Scott who drives a Series II every day to work.
The other bit that had us scratching our heads somewhat was working out what engine it. The last MOT certificate stated it was petrol, but once Ady opened up the bonnet he was faced with an Injection Pump and Glowplugs. Meaning that sometime between then and now, a diesel engine had been put in its place.
Either way, we need to get the Series IIA running. So, our in-house engine wizard Ady had the injection pump sent off to a nearby specialist to be rebuilt and tested. Within a couple of days, the pump was back here at Bridge Classic Cars.
Next Ady had noted some wiring that didn’t quite make sense. A positive cable leading from the glowplug to the frame, in the same way a ground would be routed. After looking into the matter to be double sure, Ady removed the old wiring and rewired up the glowplug to the correct set-up.
Now, it is time to prep the engine for its first fire-up since being with us. Which you will see very soon here on the Bridge Classic Cars blog
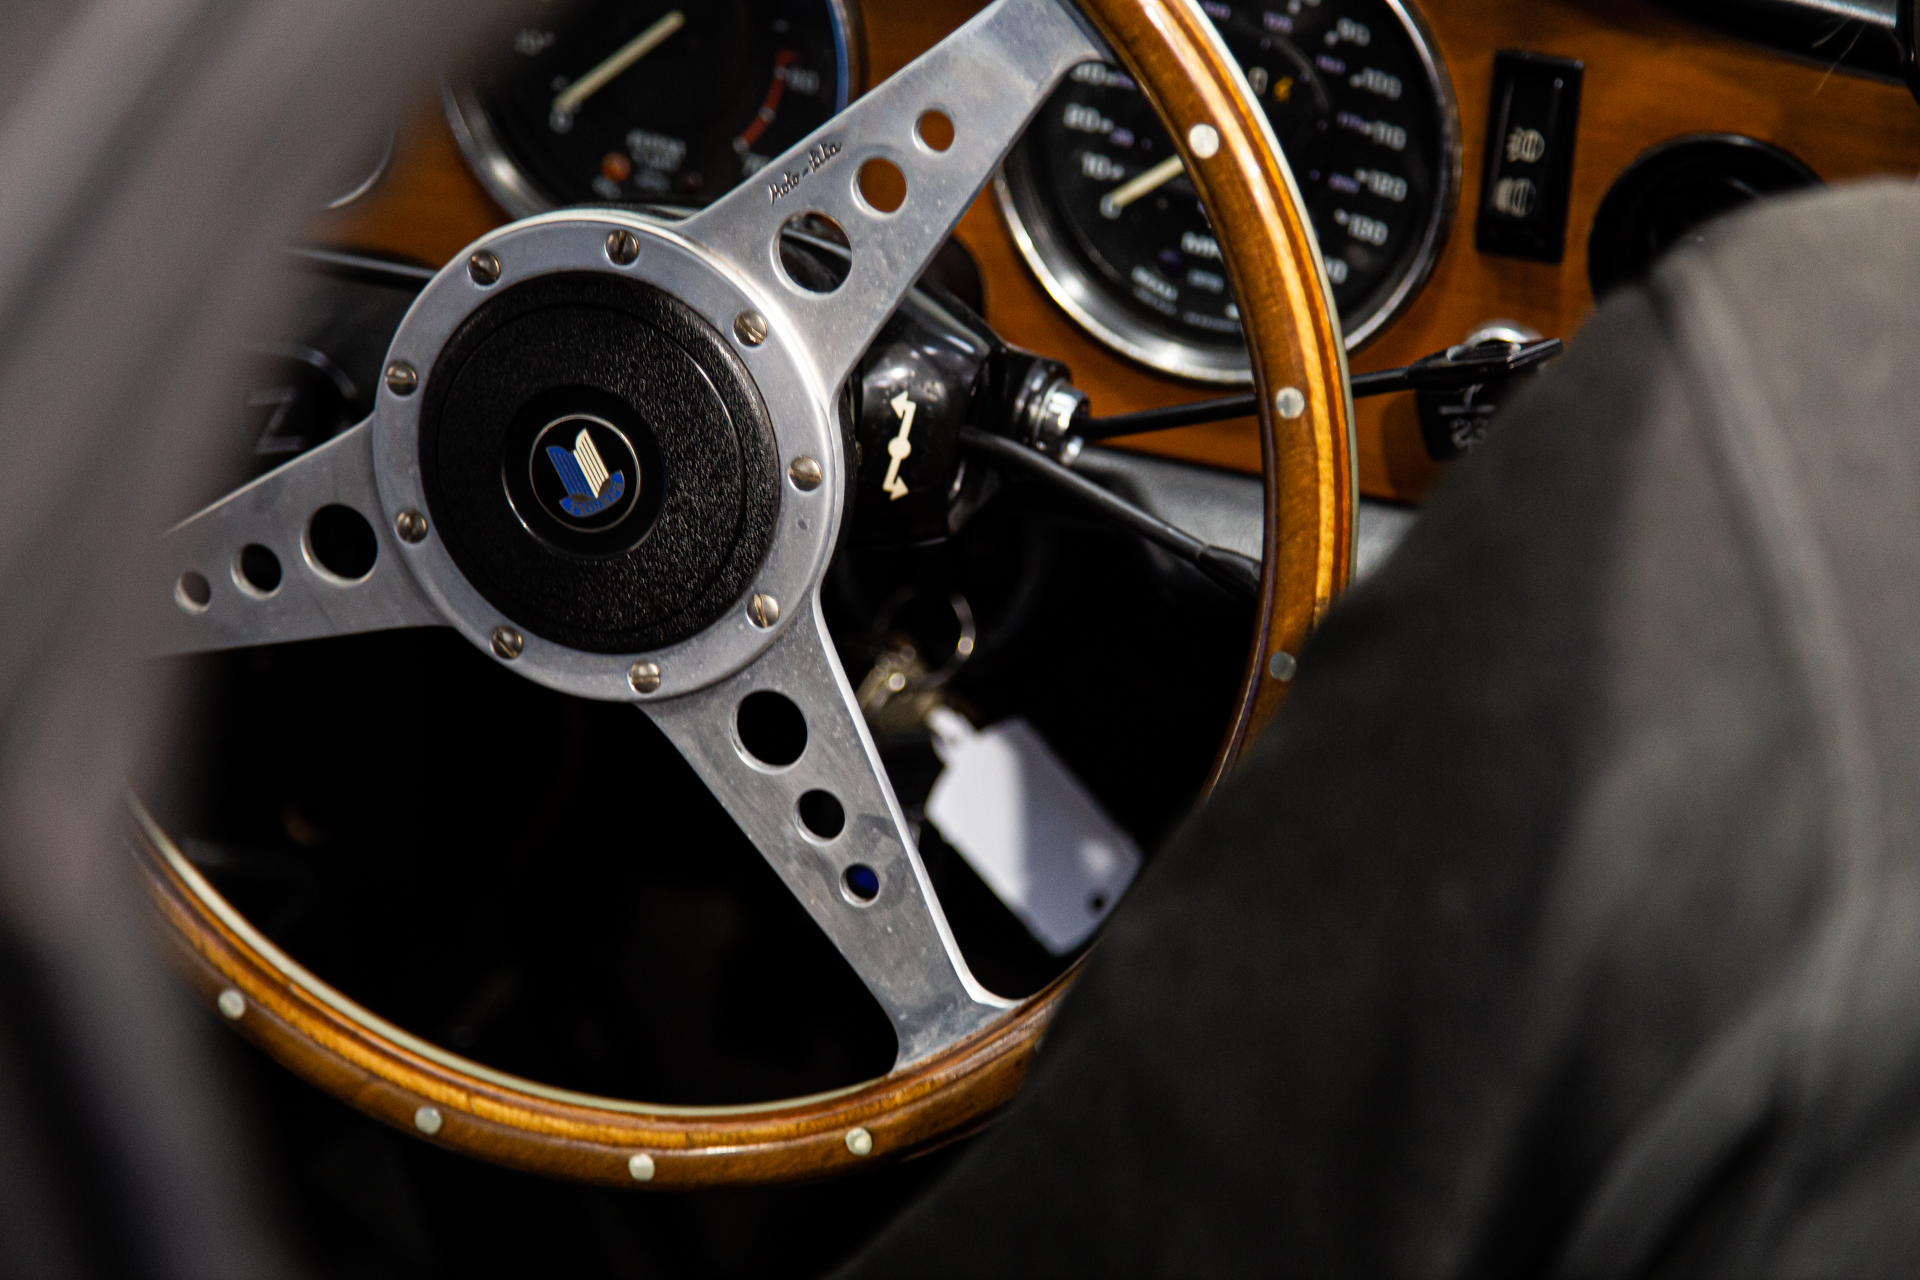
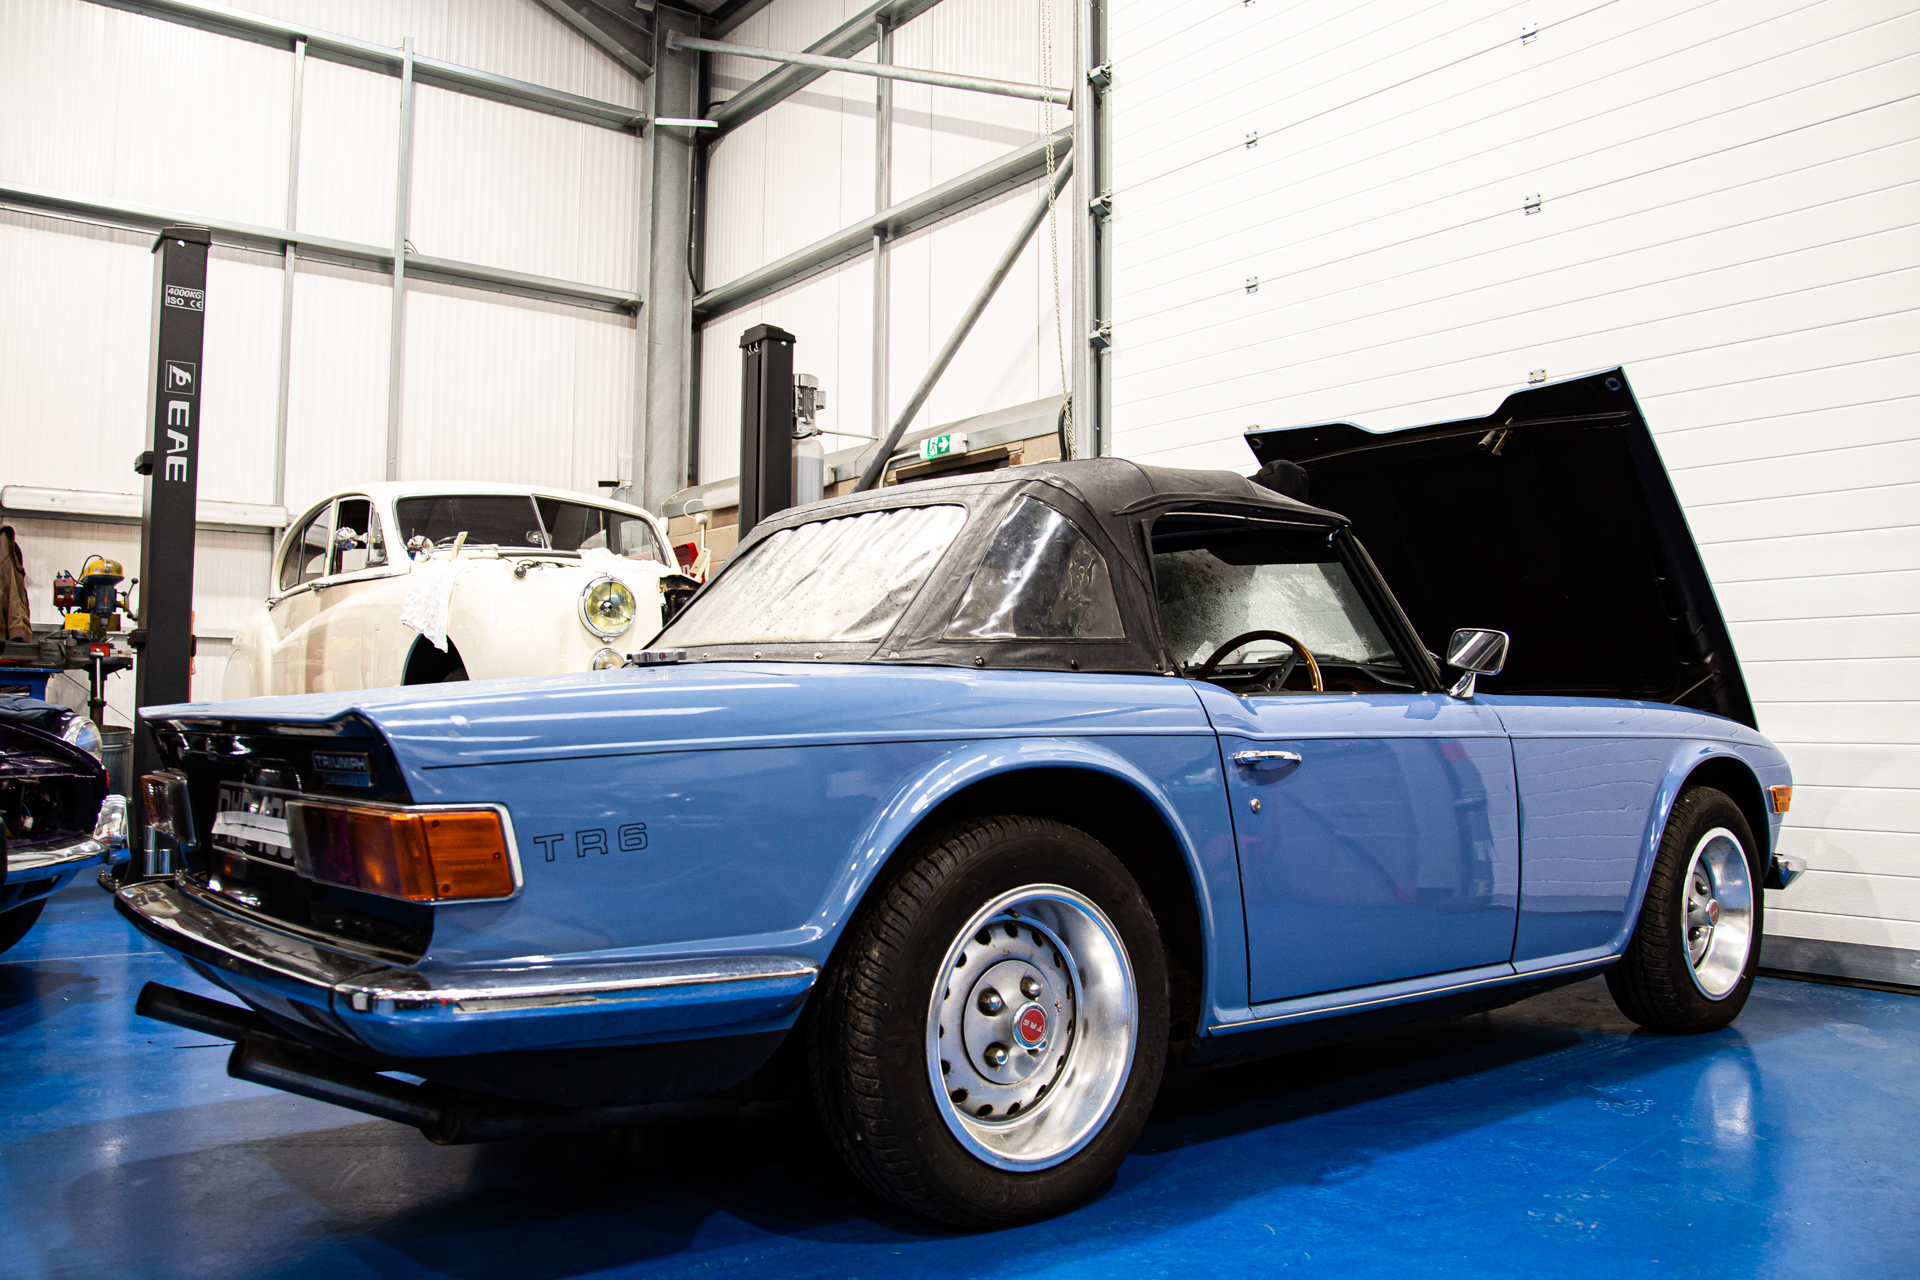
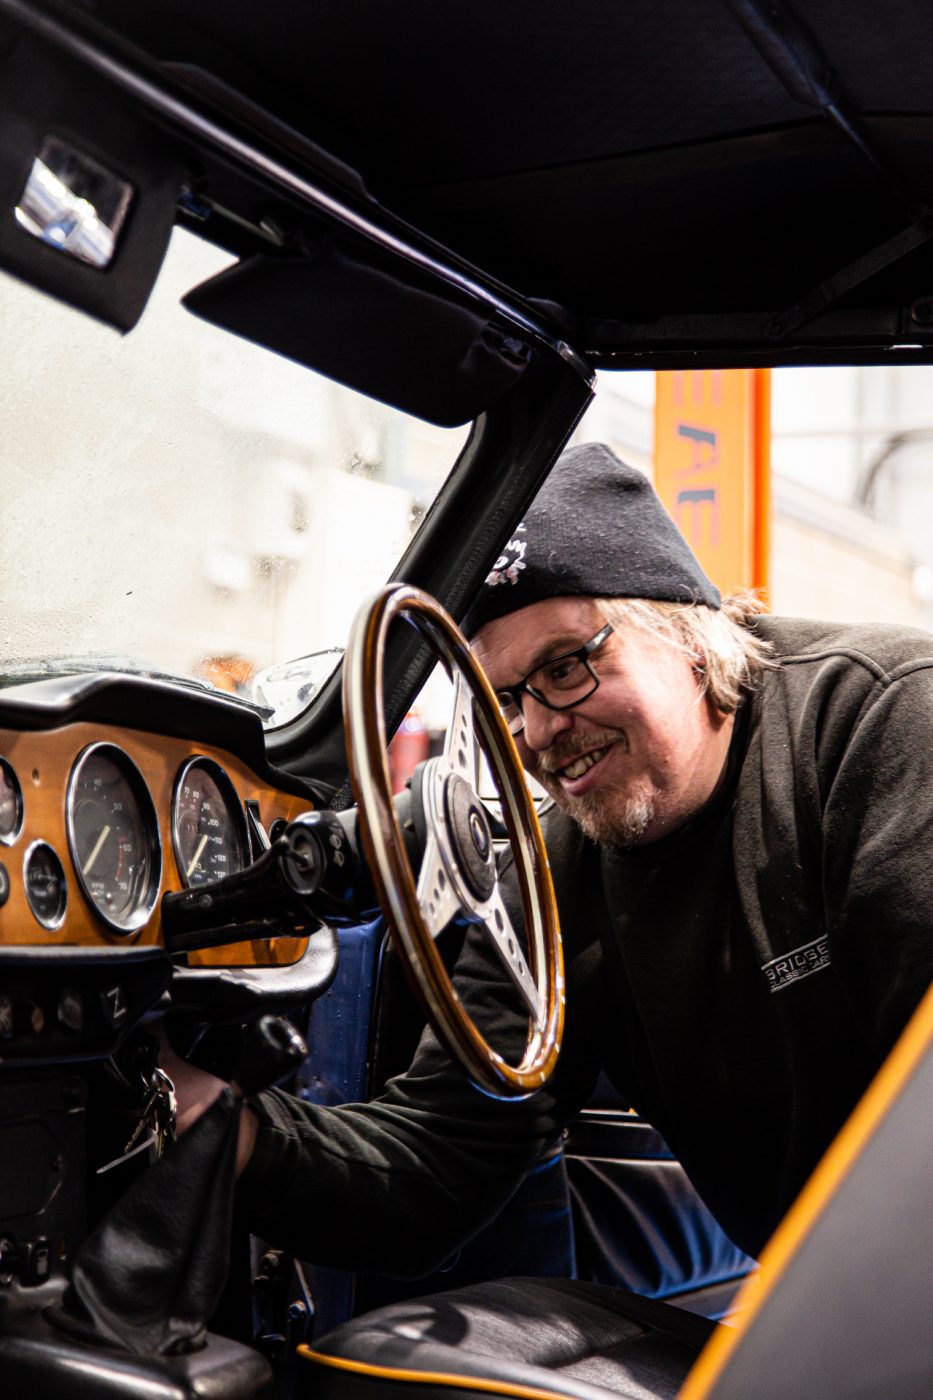
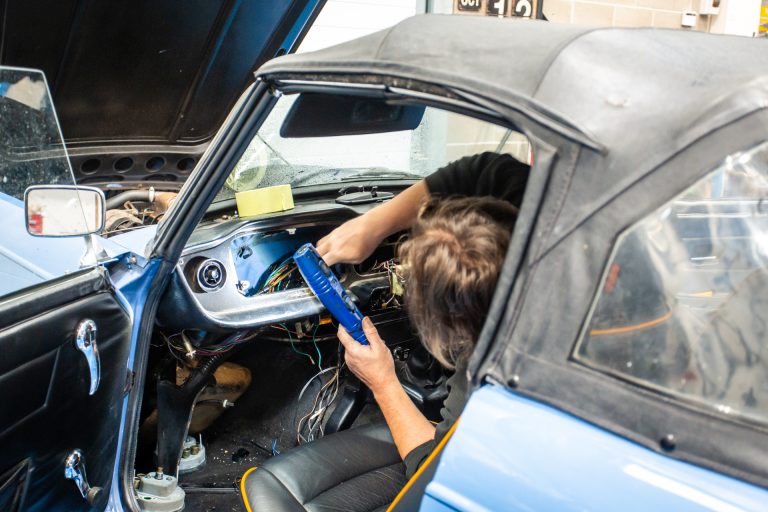
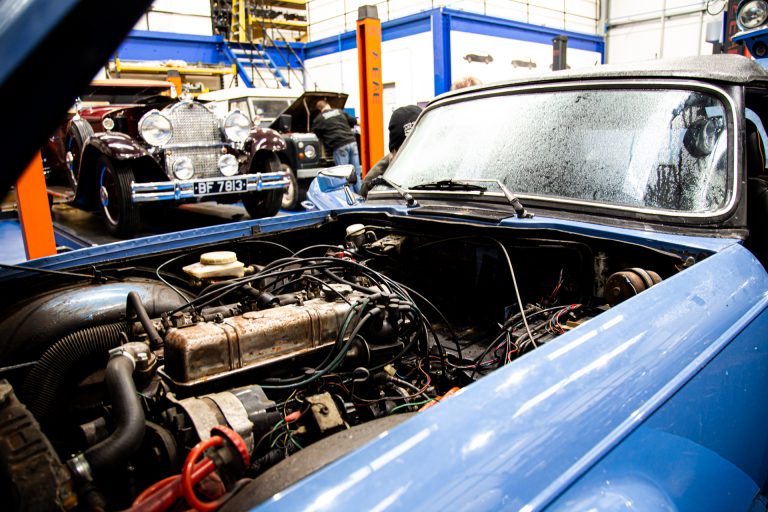
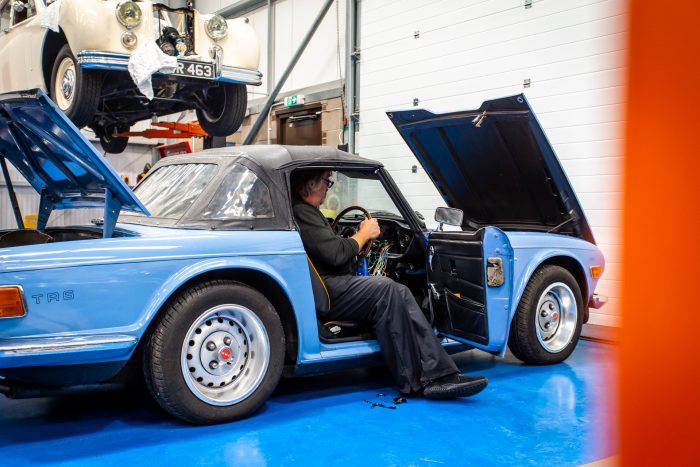
This beautiful 1974 Triumph TR6 arrived at the Bridge Classic Cars workshop this morning for John to begin looking into an issue with the wiring. The issue is that a mouse has managed to eat through part of the loom causing the car to have some issues.
The customer has told us that it was being stored in its Carcoon when he went to go and start the car but nothing would work.
So, our workshop manager and wiring guru John is having a look into the issue. Because of the damage done to one of the cables, as soon as the car was powered on, it melted several wires. Now, John must try and get access to the back of the dashboard to follow the trail…
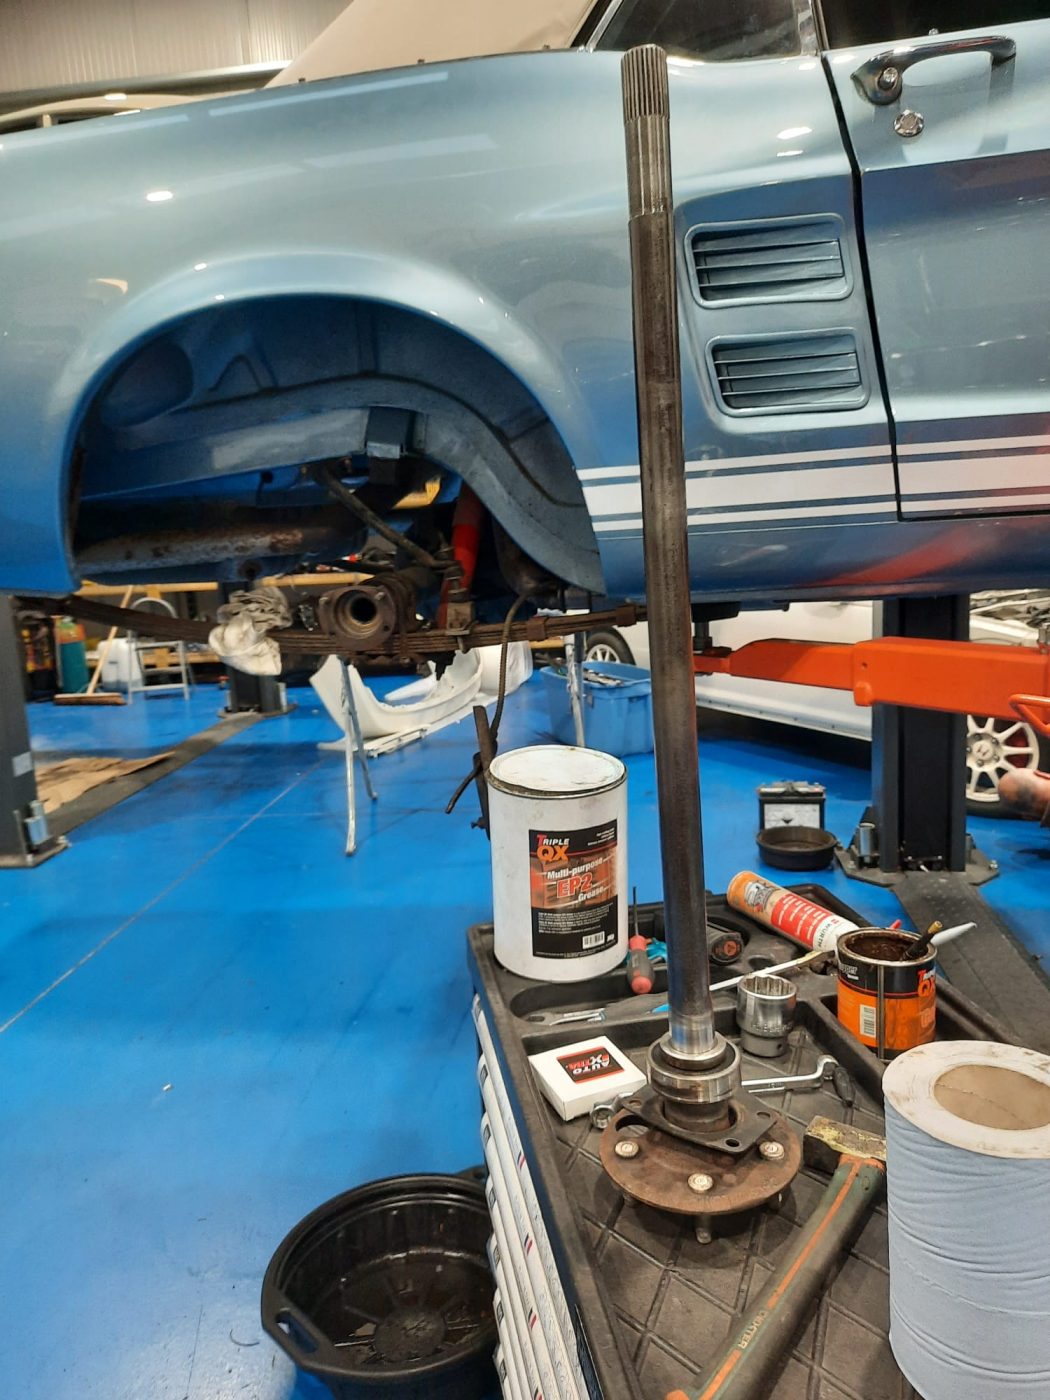
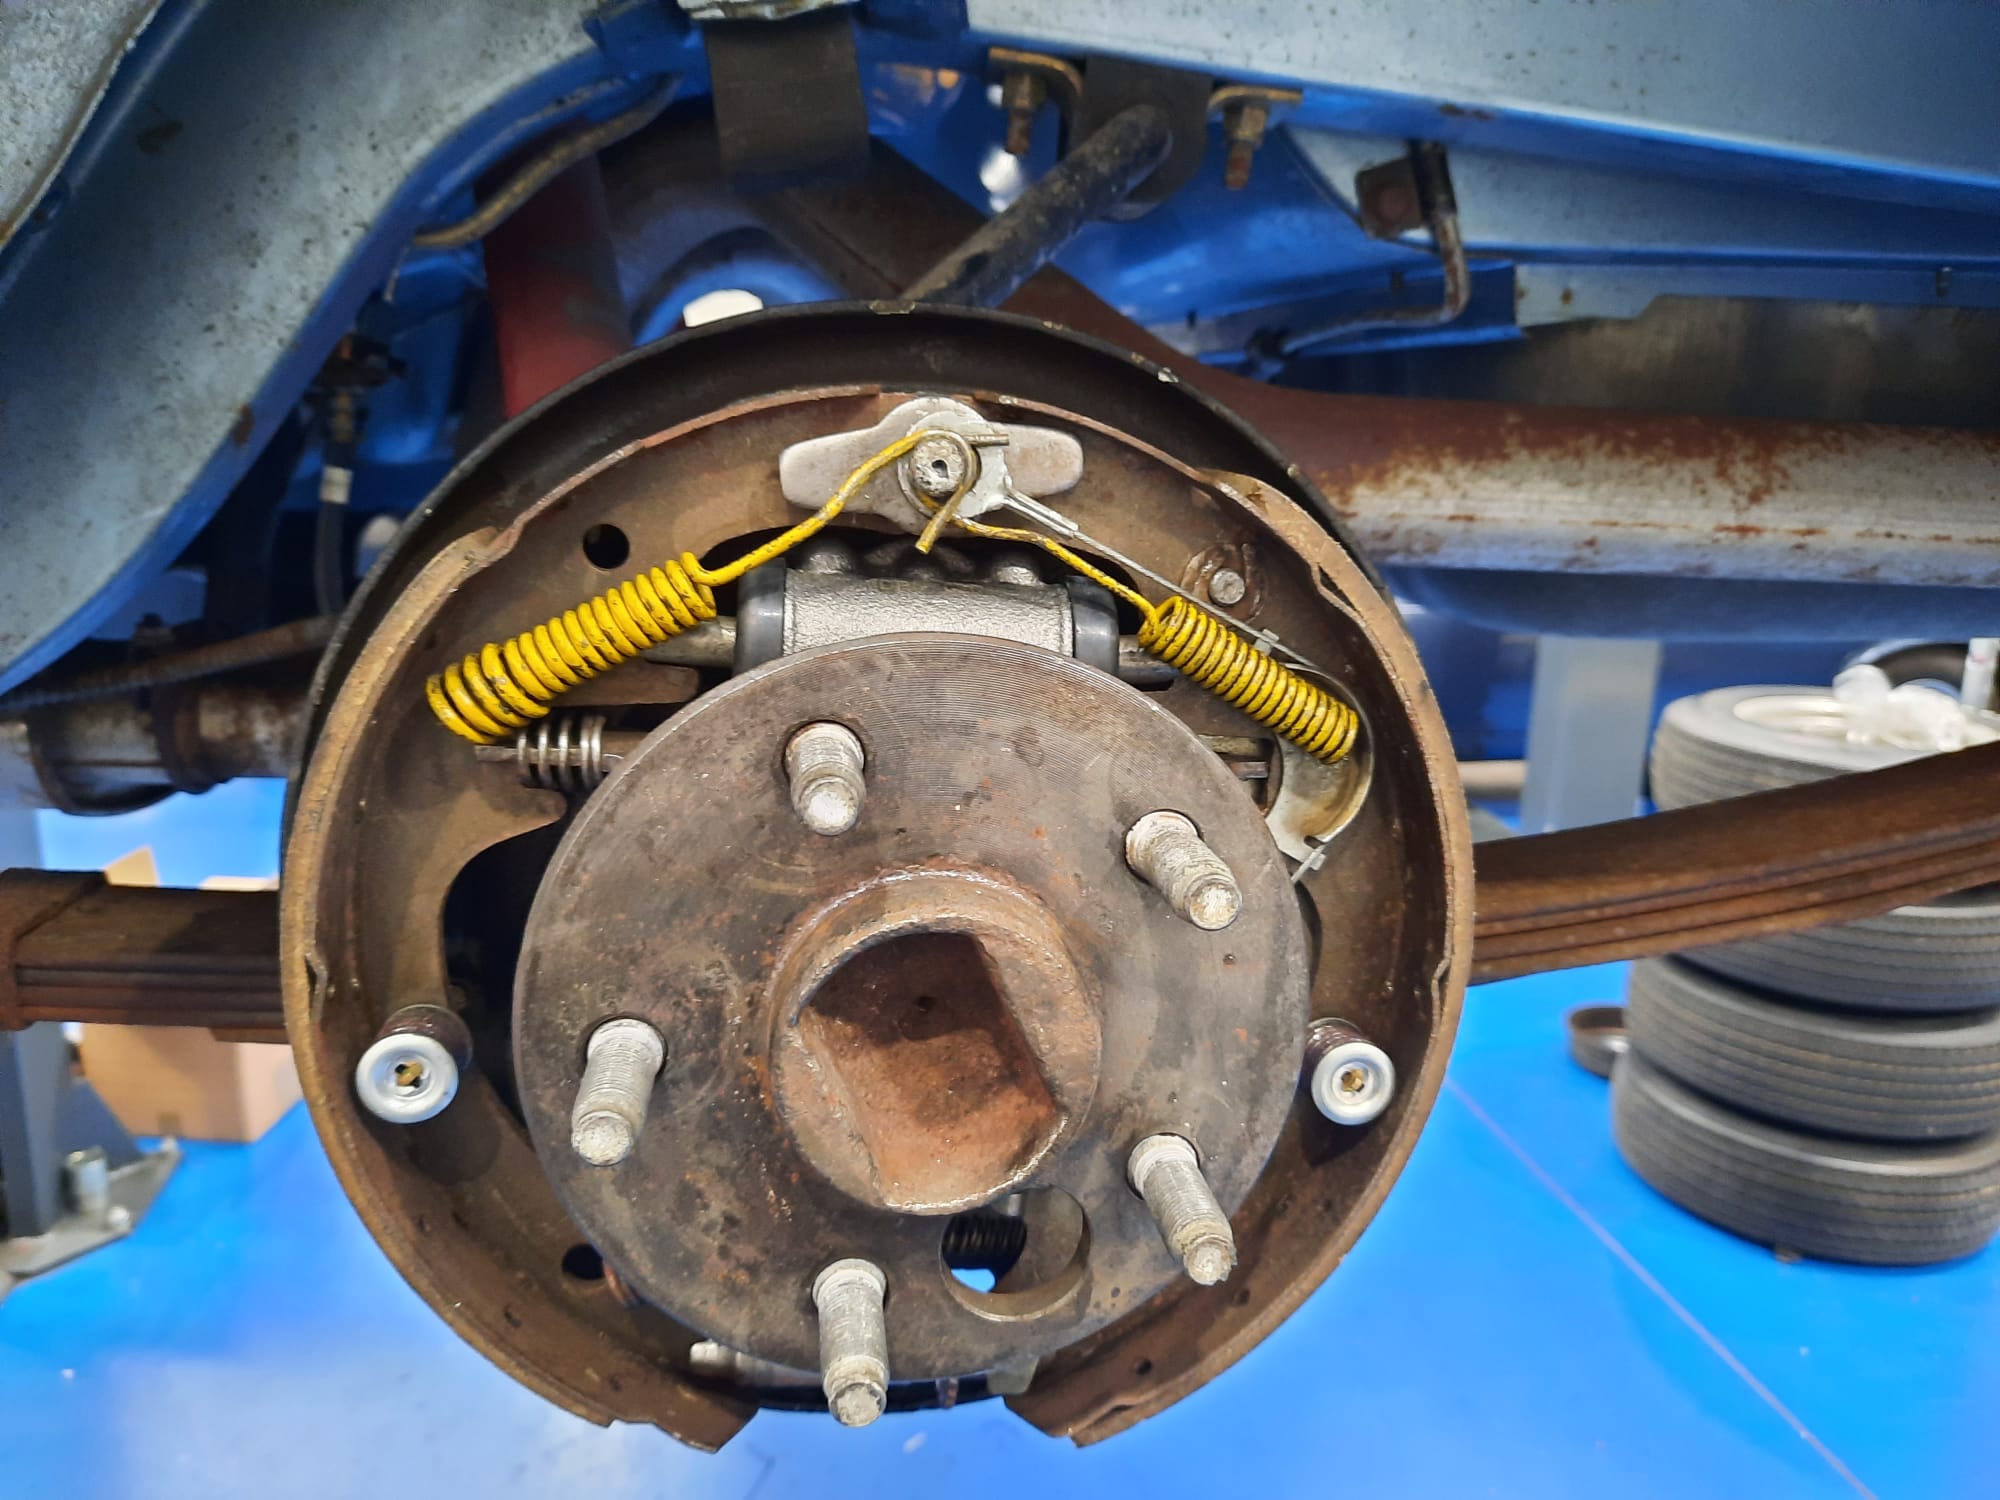
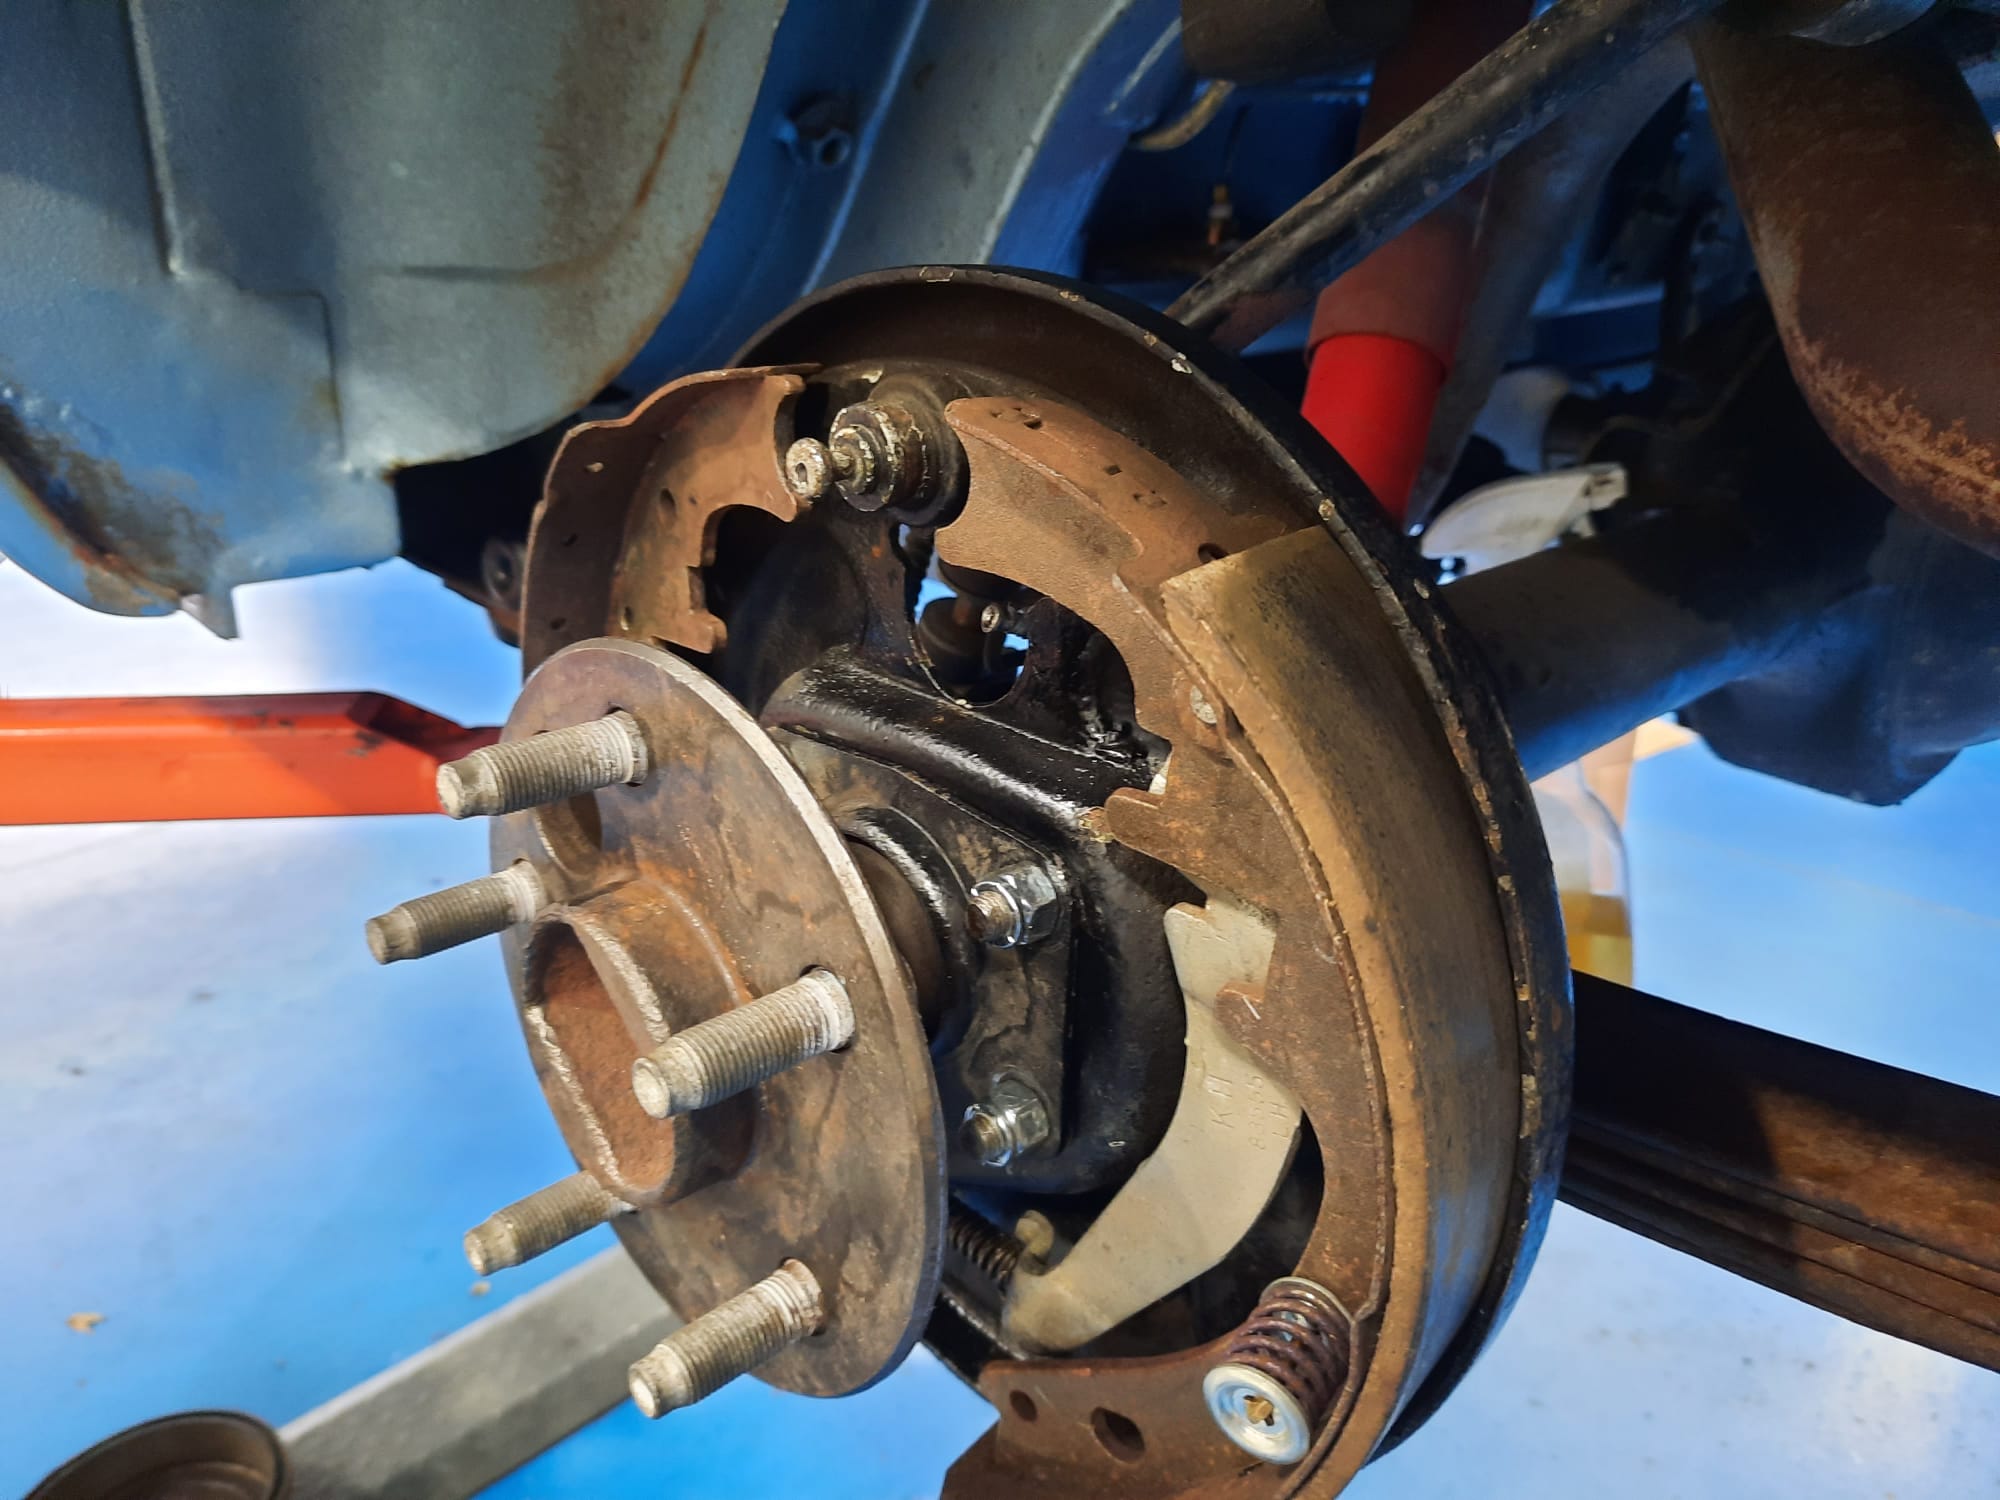

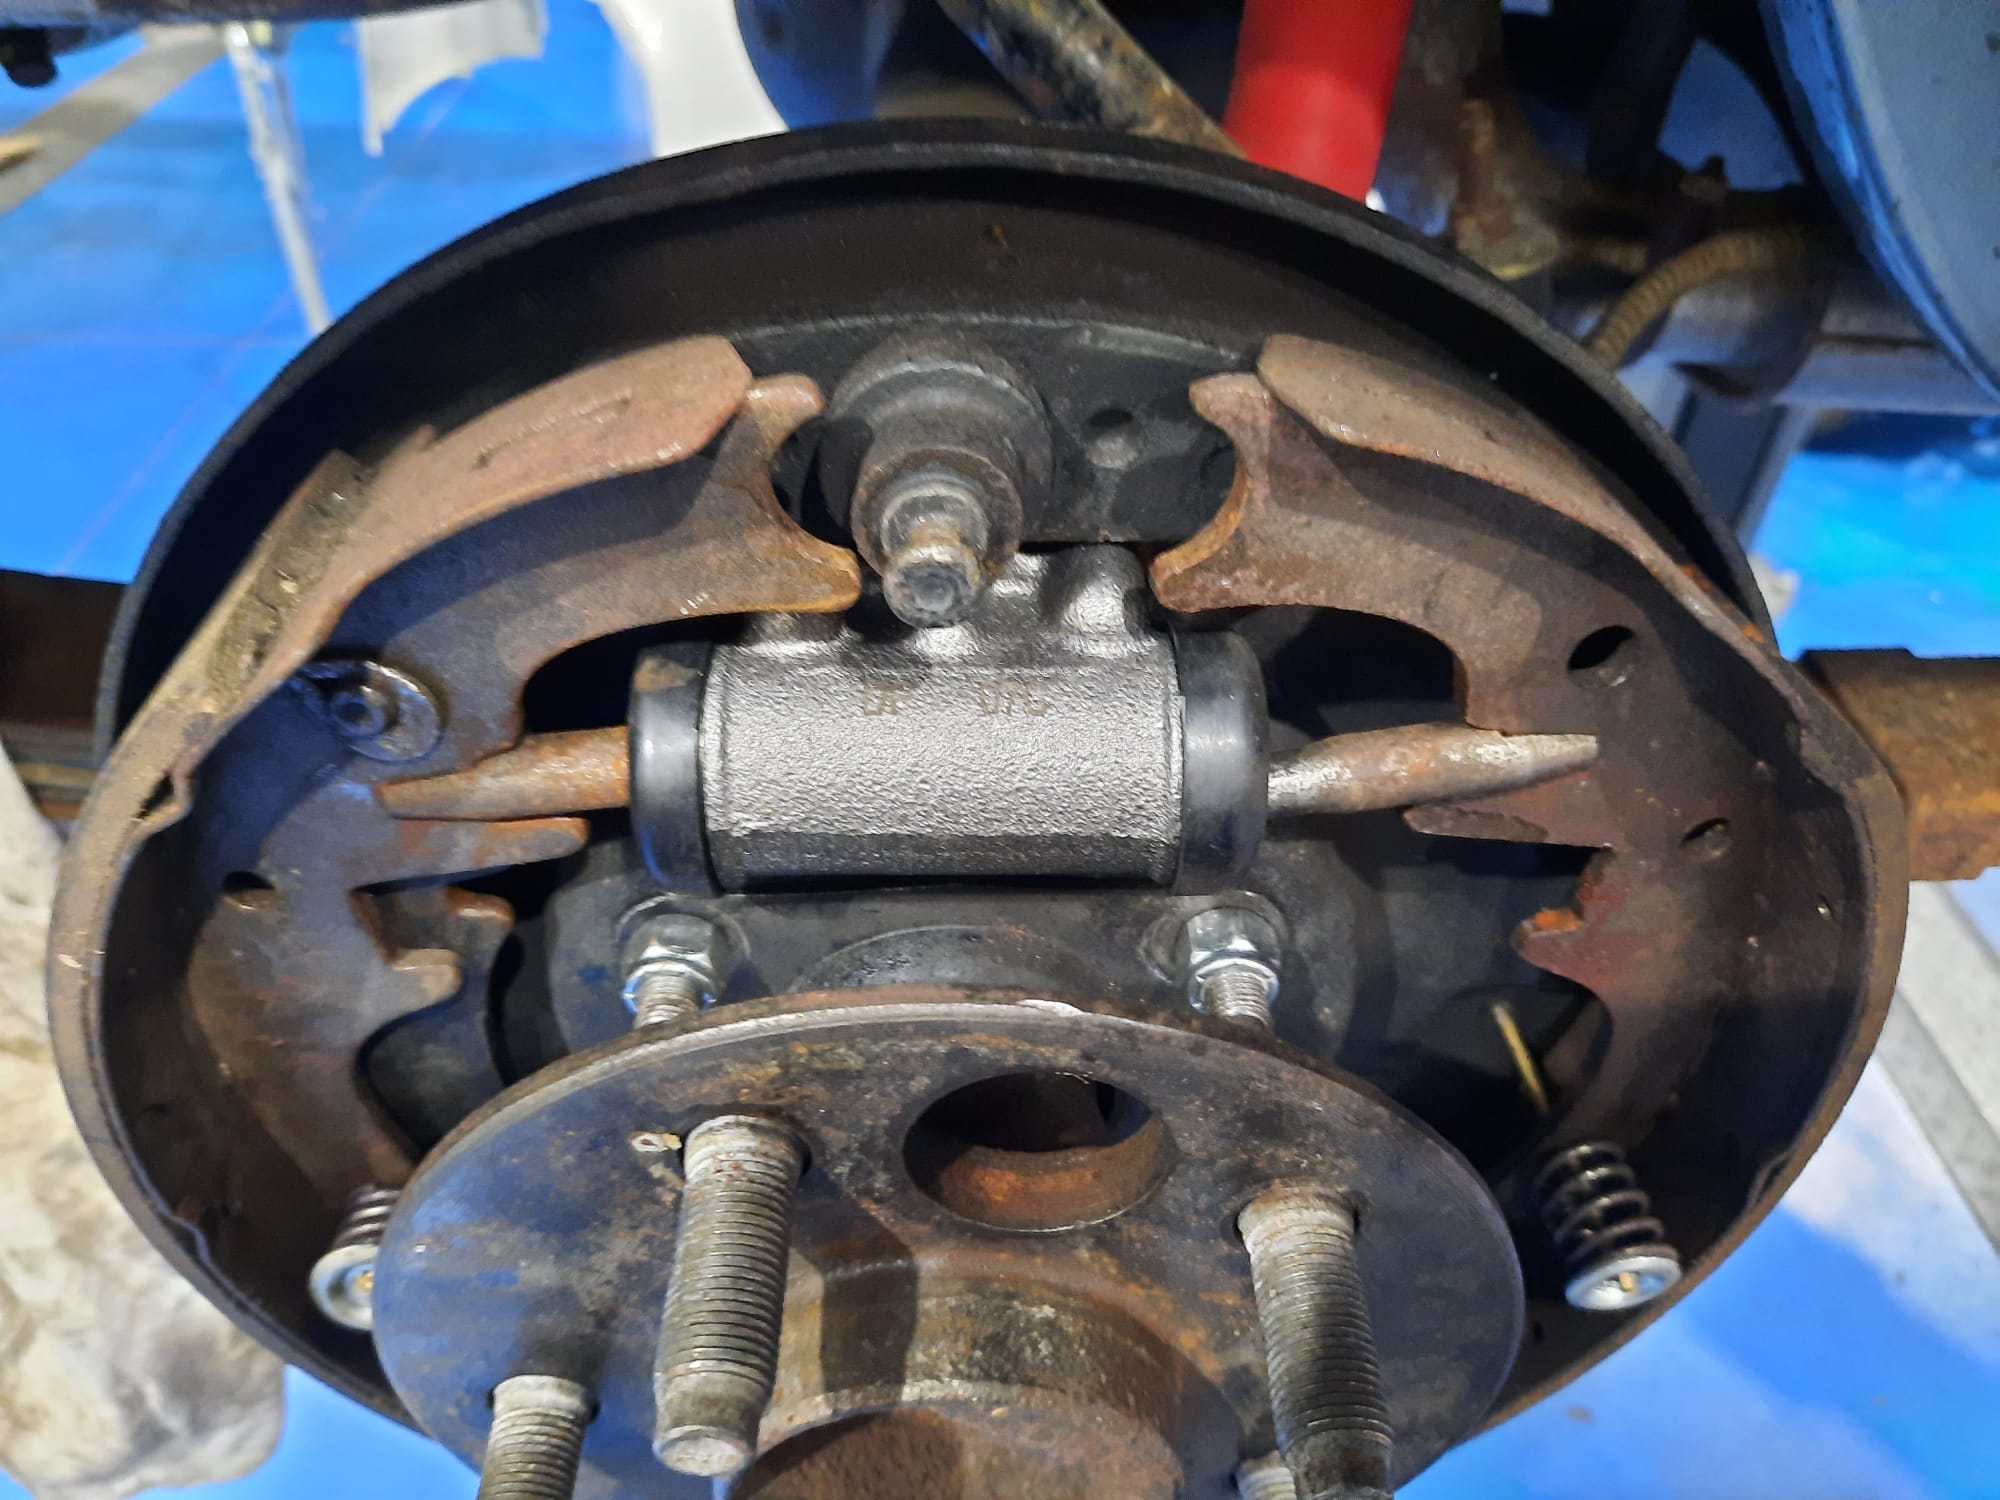
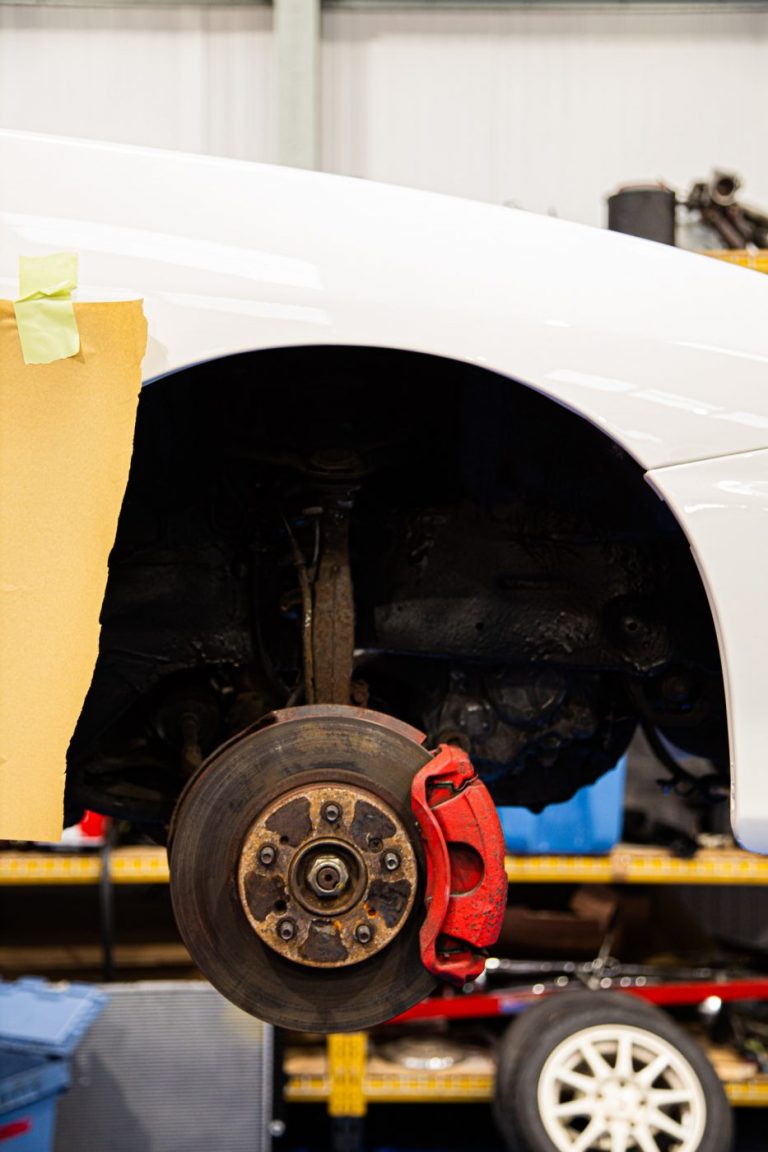
Our technician Mauro has been waiting on some parts for the 1967 Ford Mustang Convertible for some time now. These parts have all had to be sourced from the US so there is bound to be a bit of a wait for them.
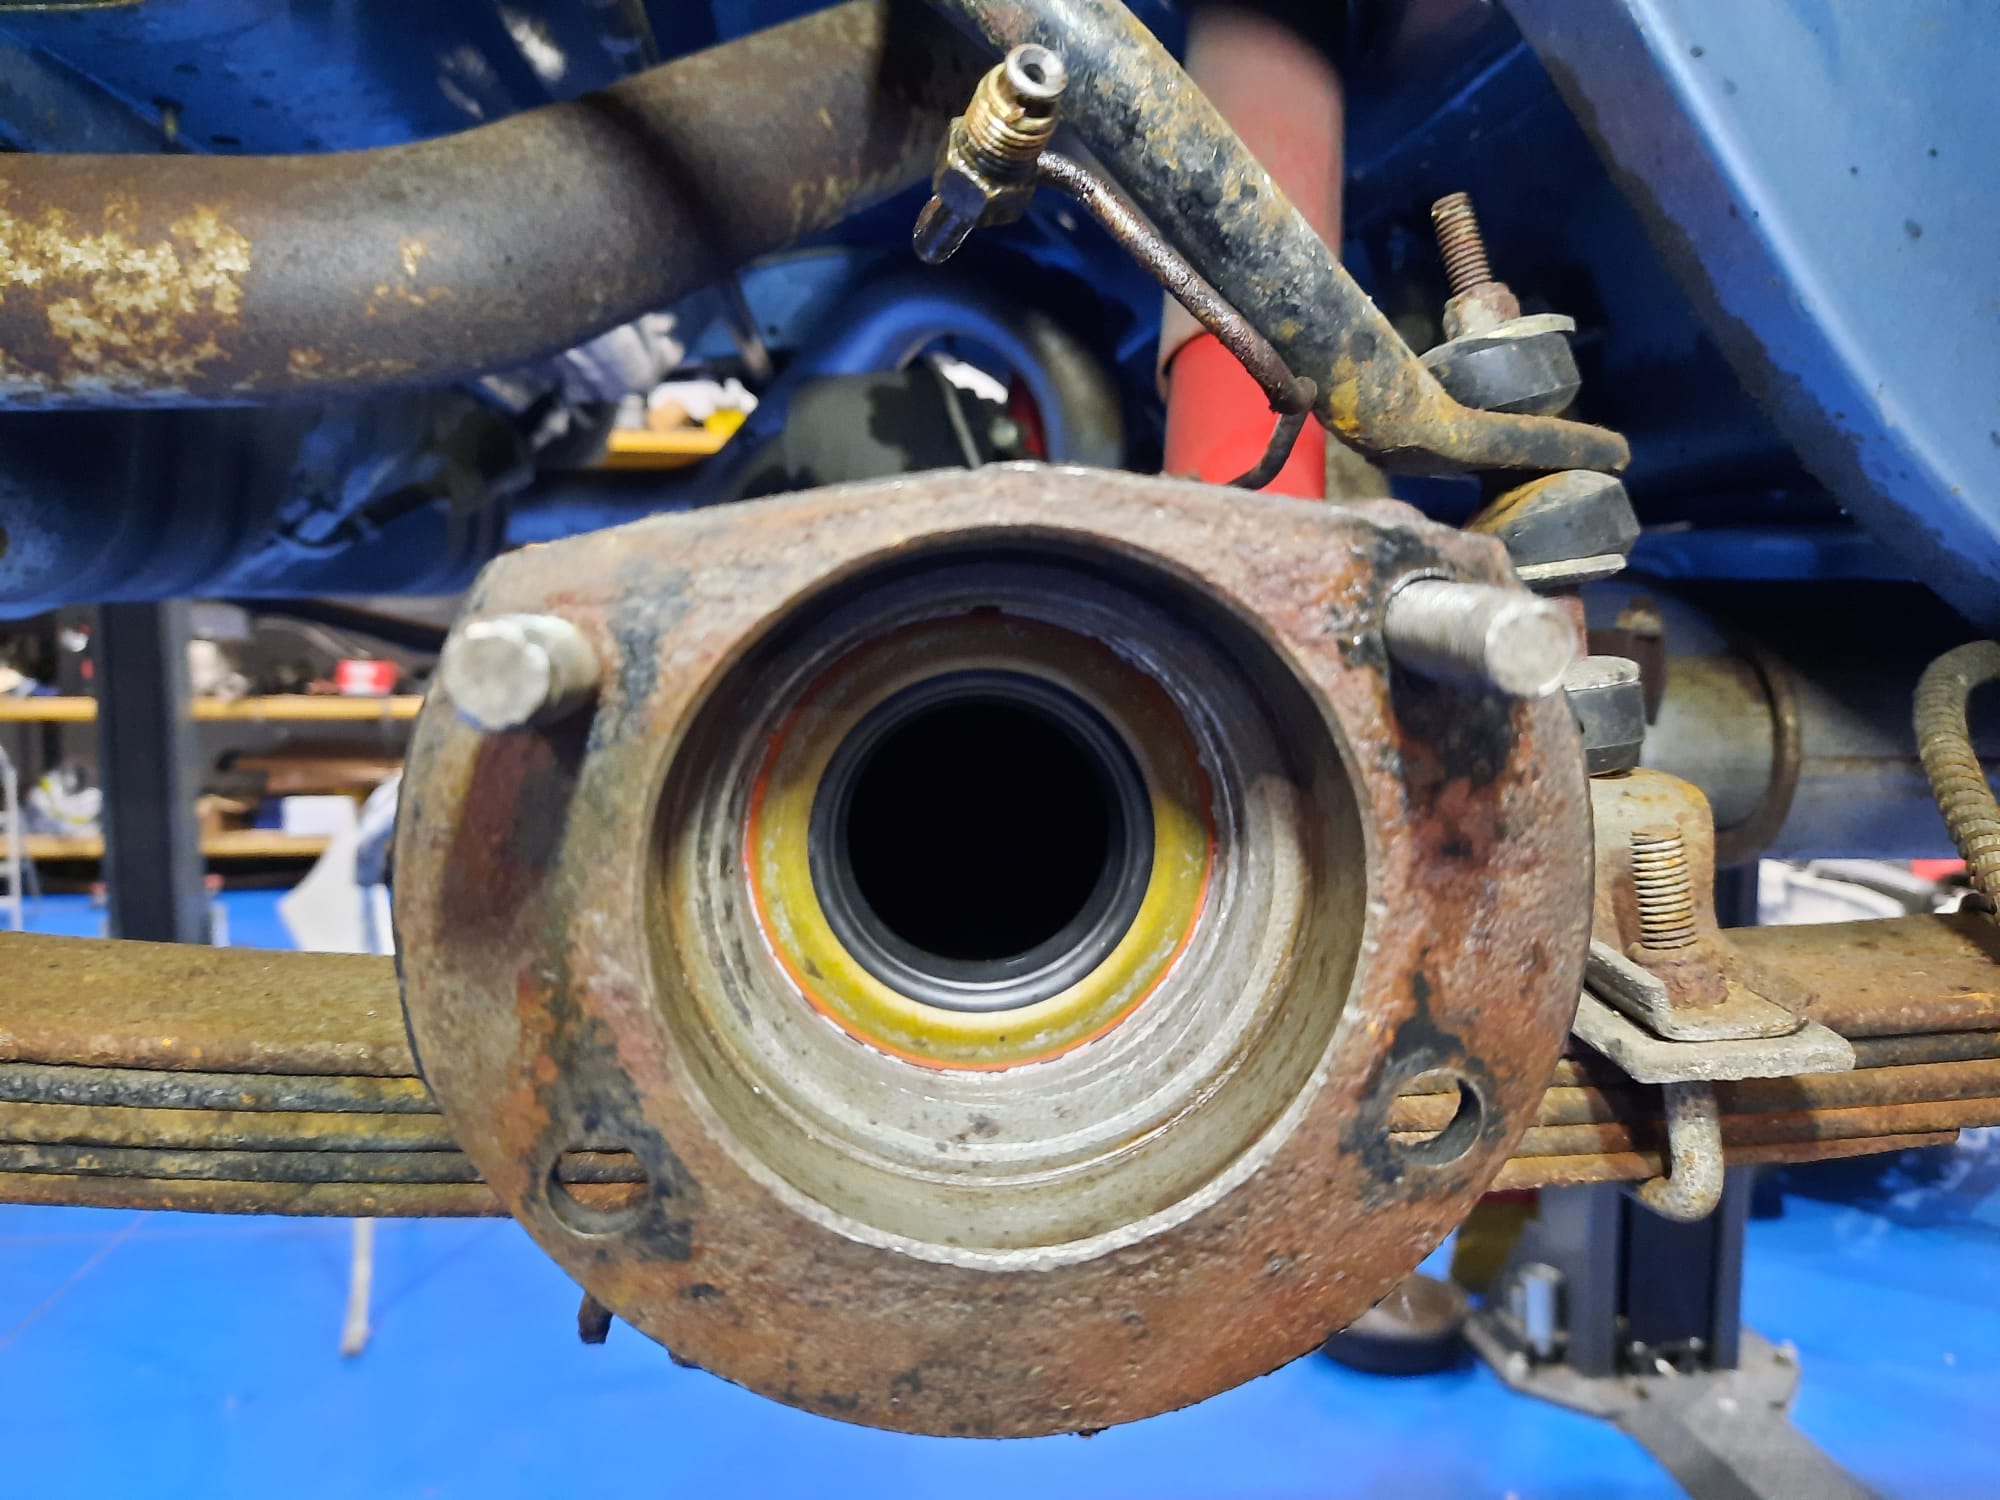
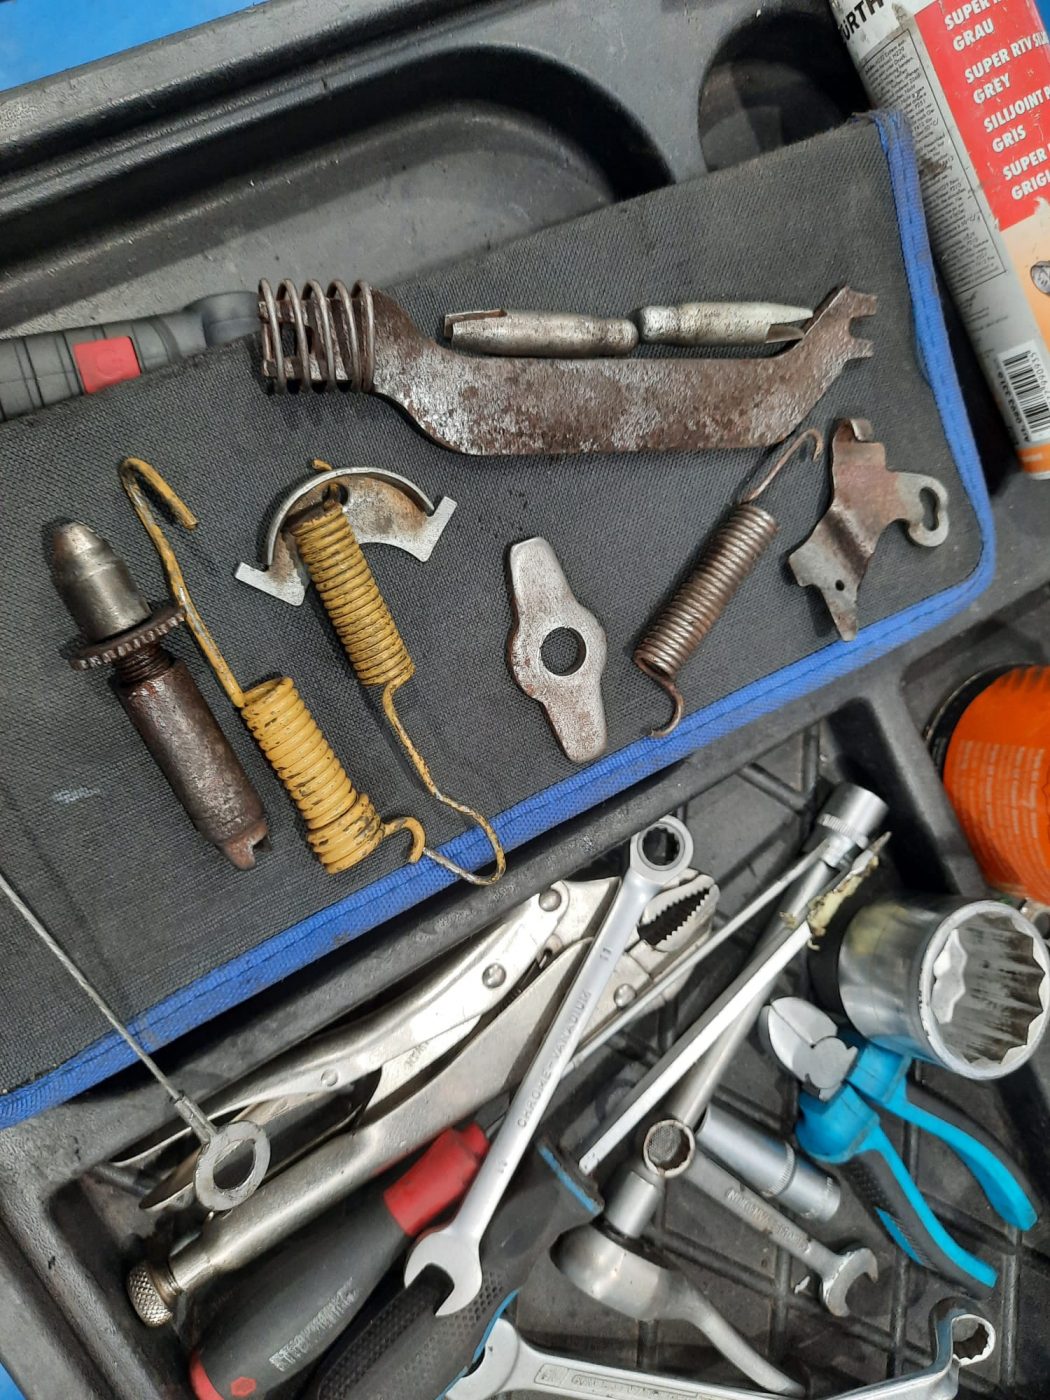
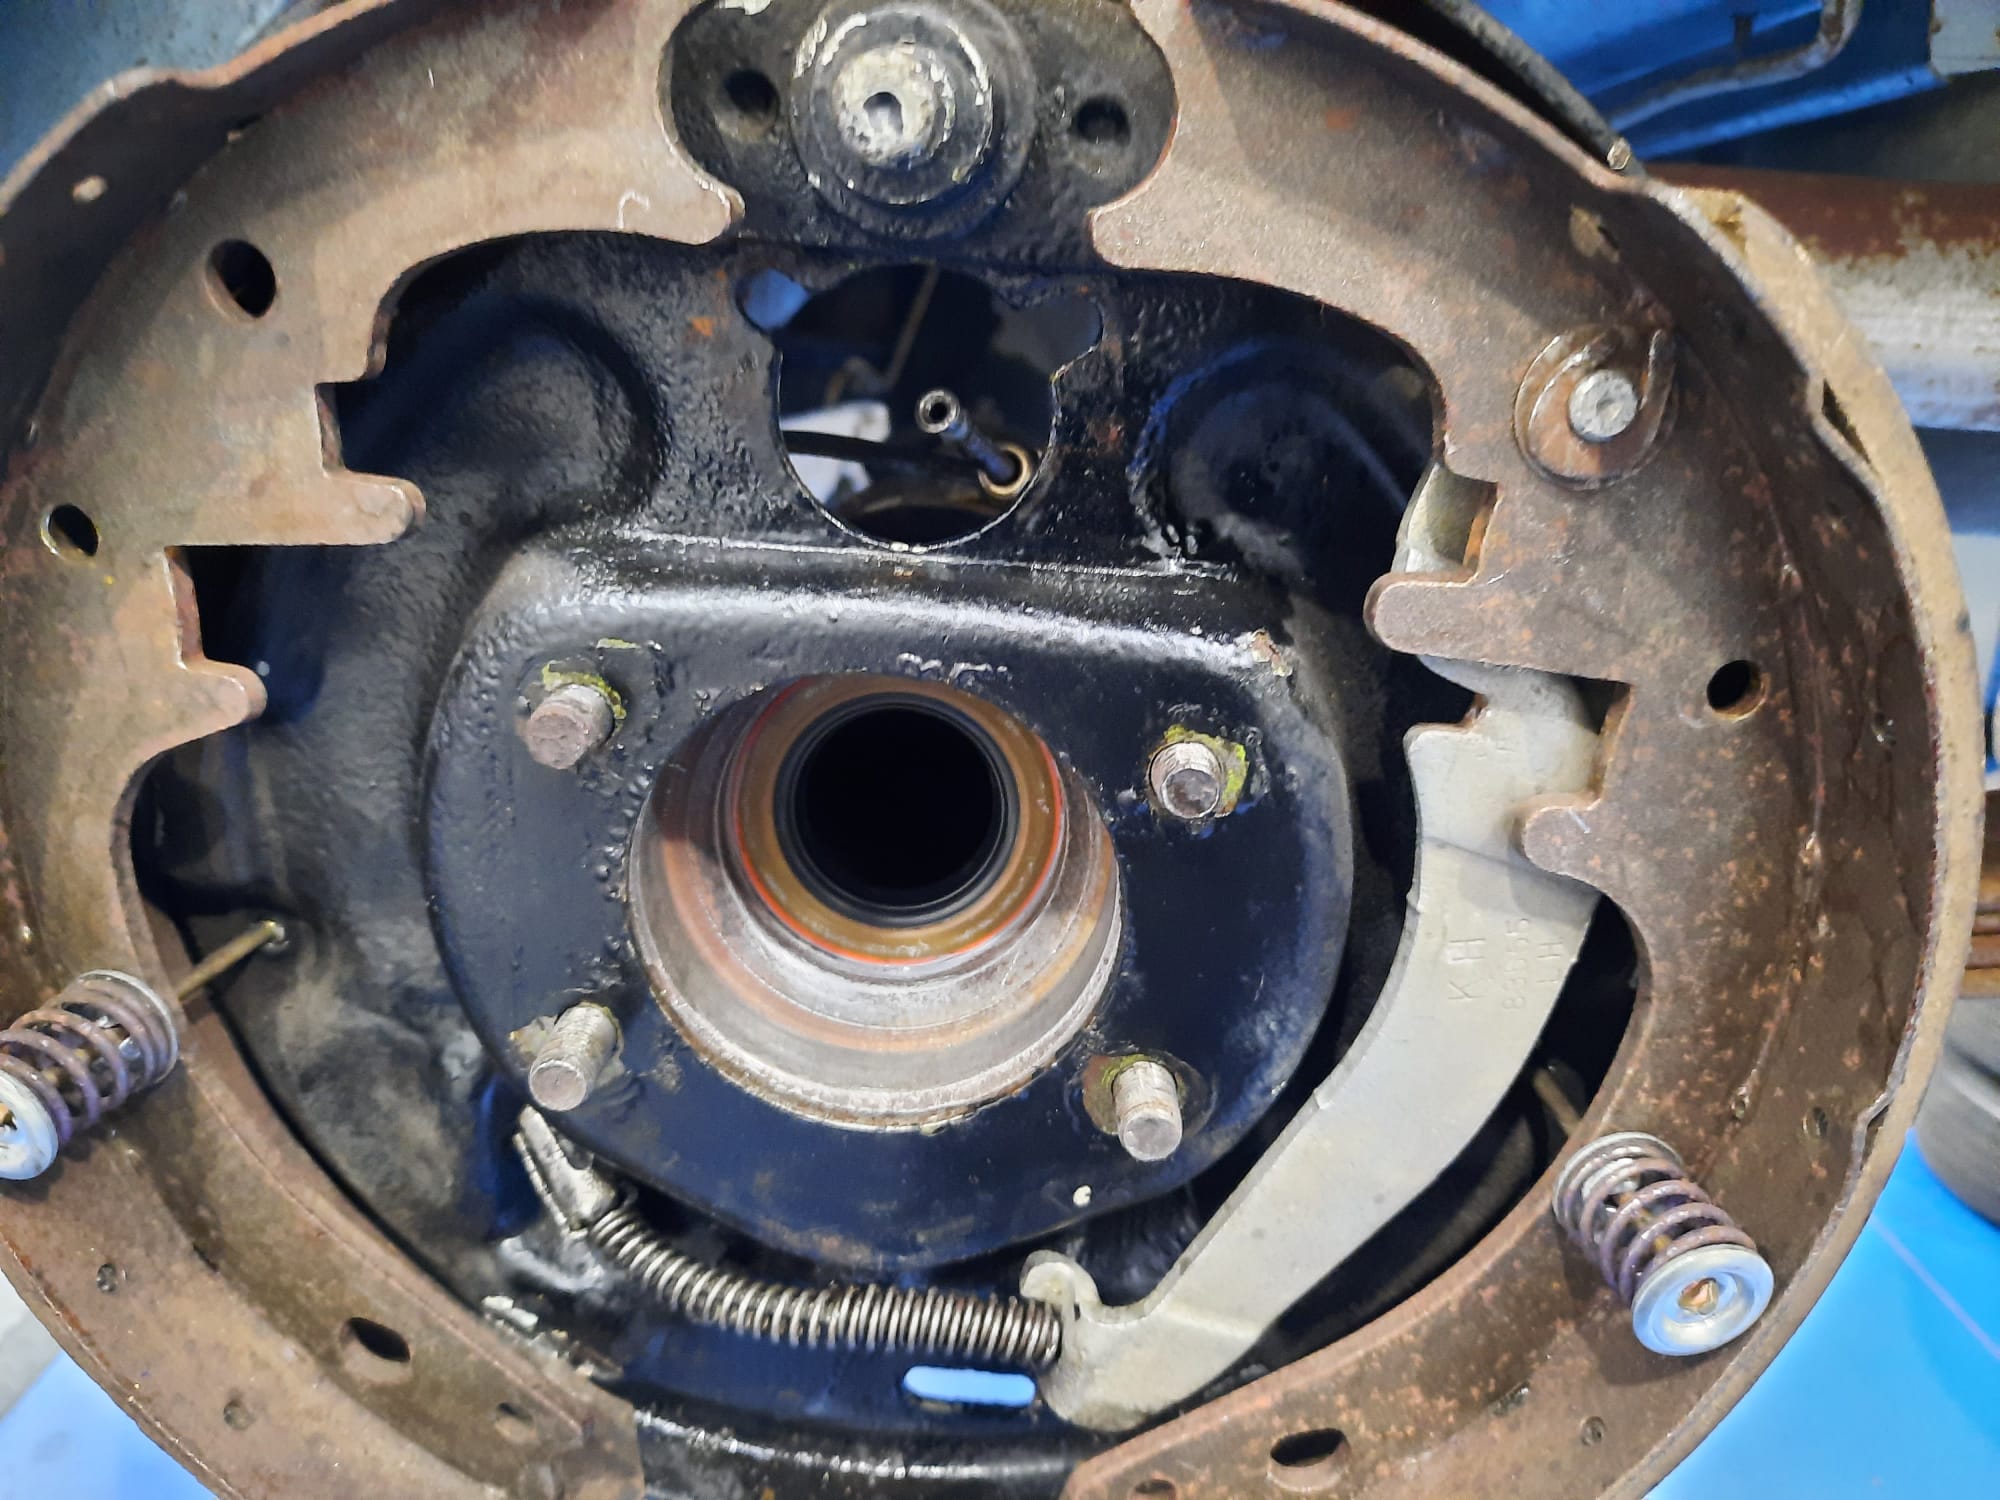
The car was assessed and inspected so that all the parts could be ordered in one go but first on the list is the rear axle seals and wheel cylinders. Mauro had noted down a small leak coming from the rear axle and while the rear drums have to be removed for the axles to come out, we thought it best practice to service the rear brakes. In all, their condition was fine. The shoes had plenty of material and all the hardware looked straight and in good order.
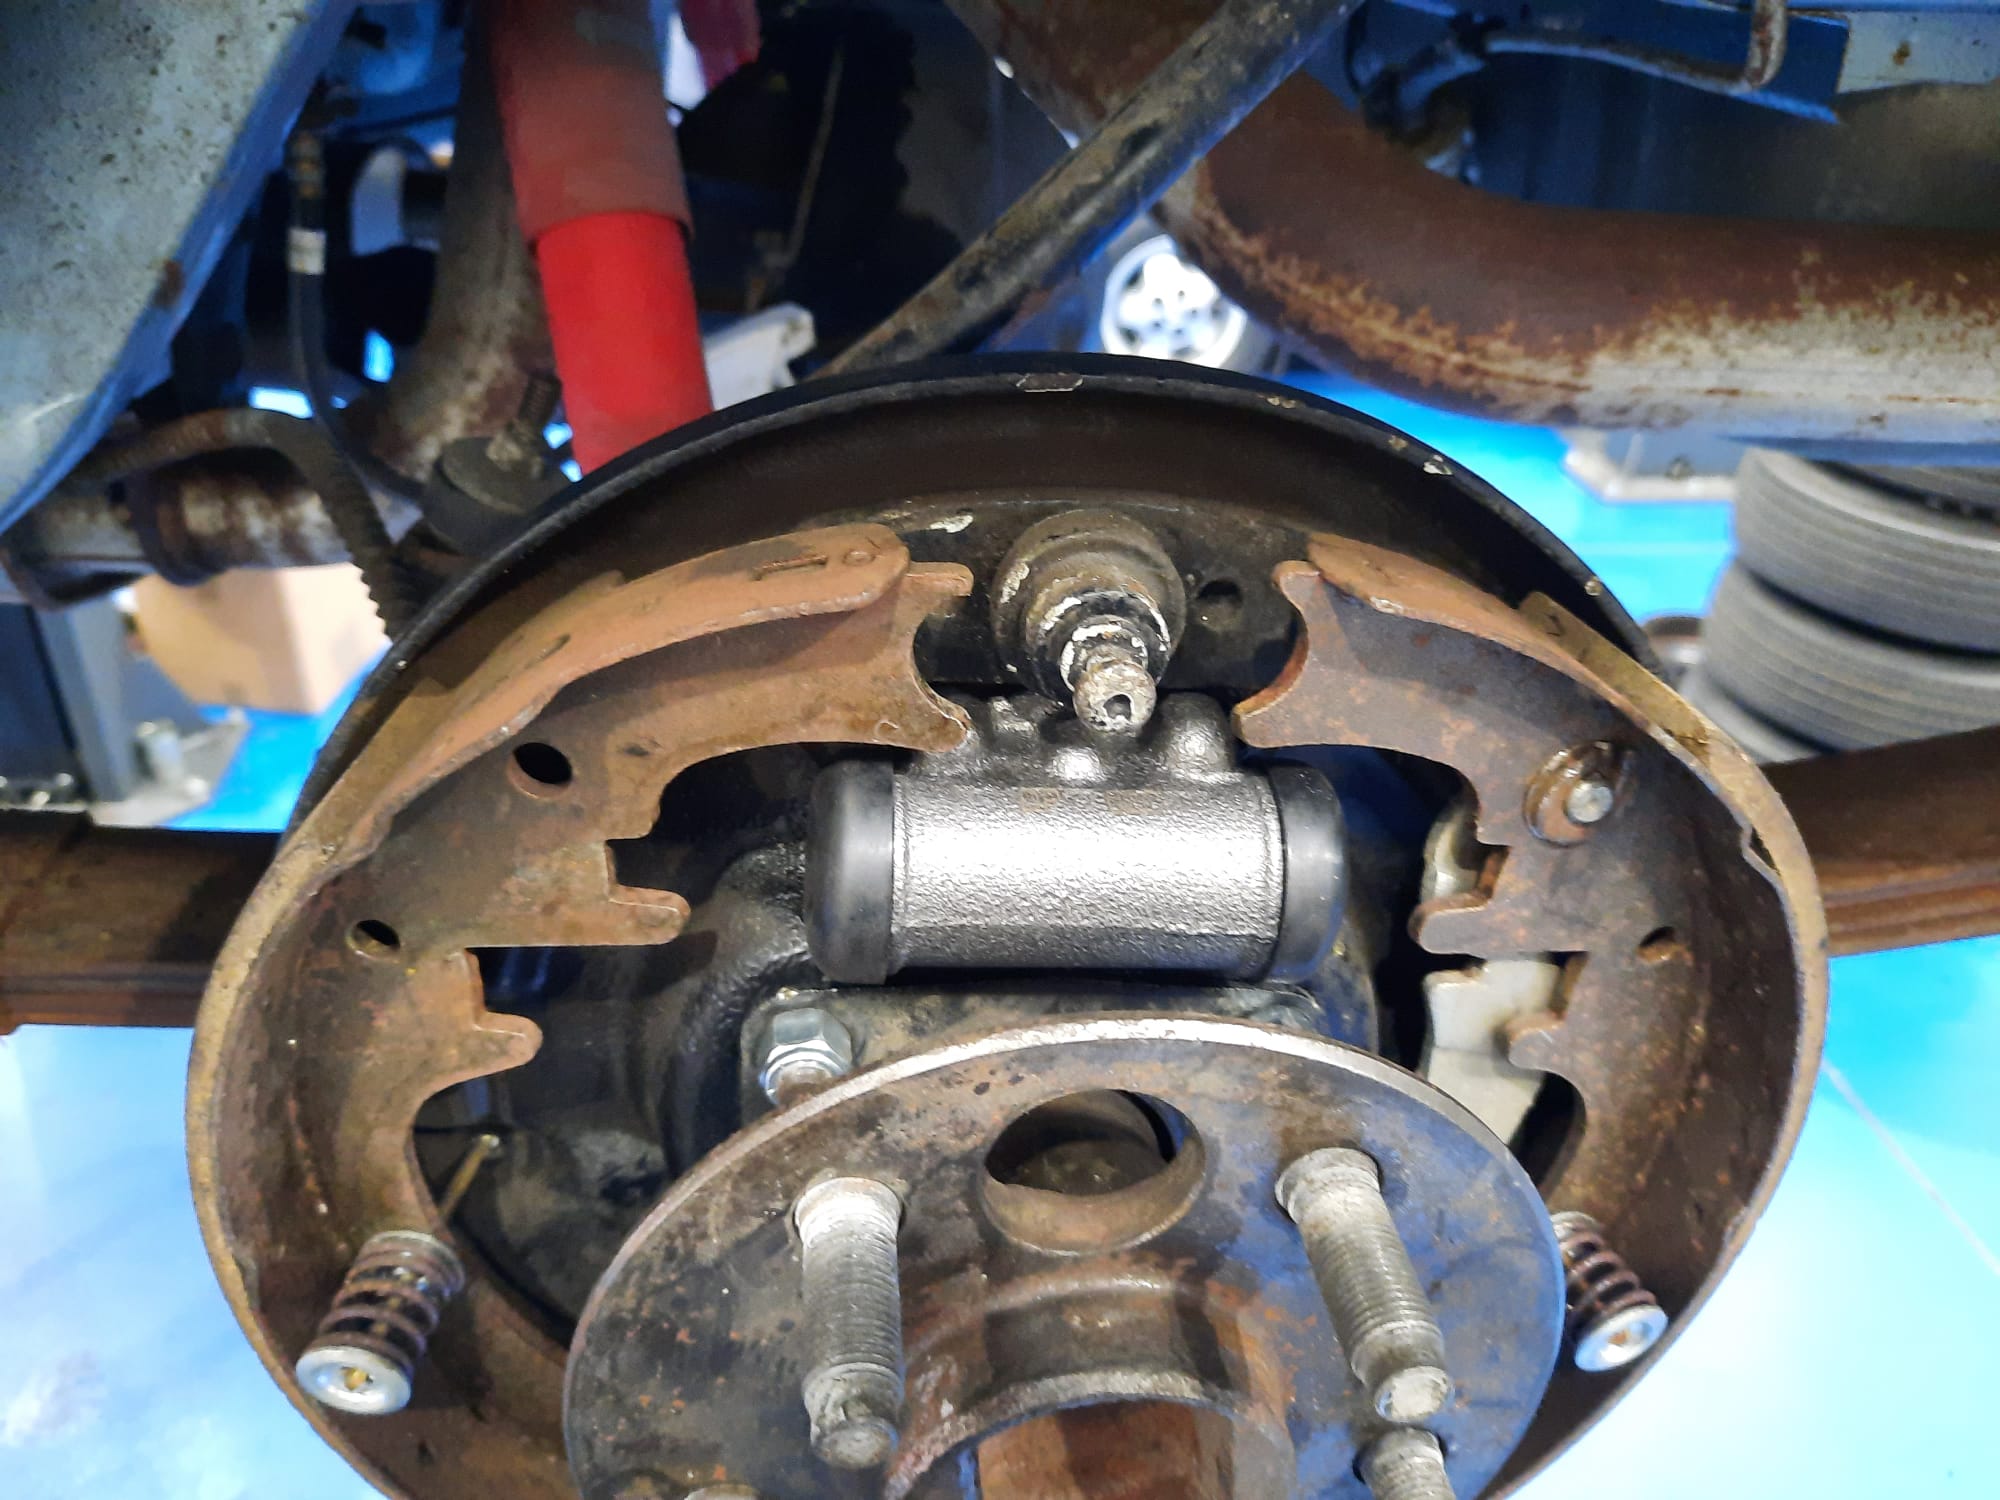
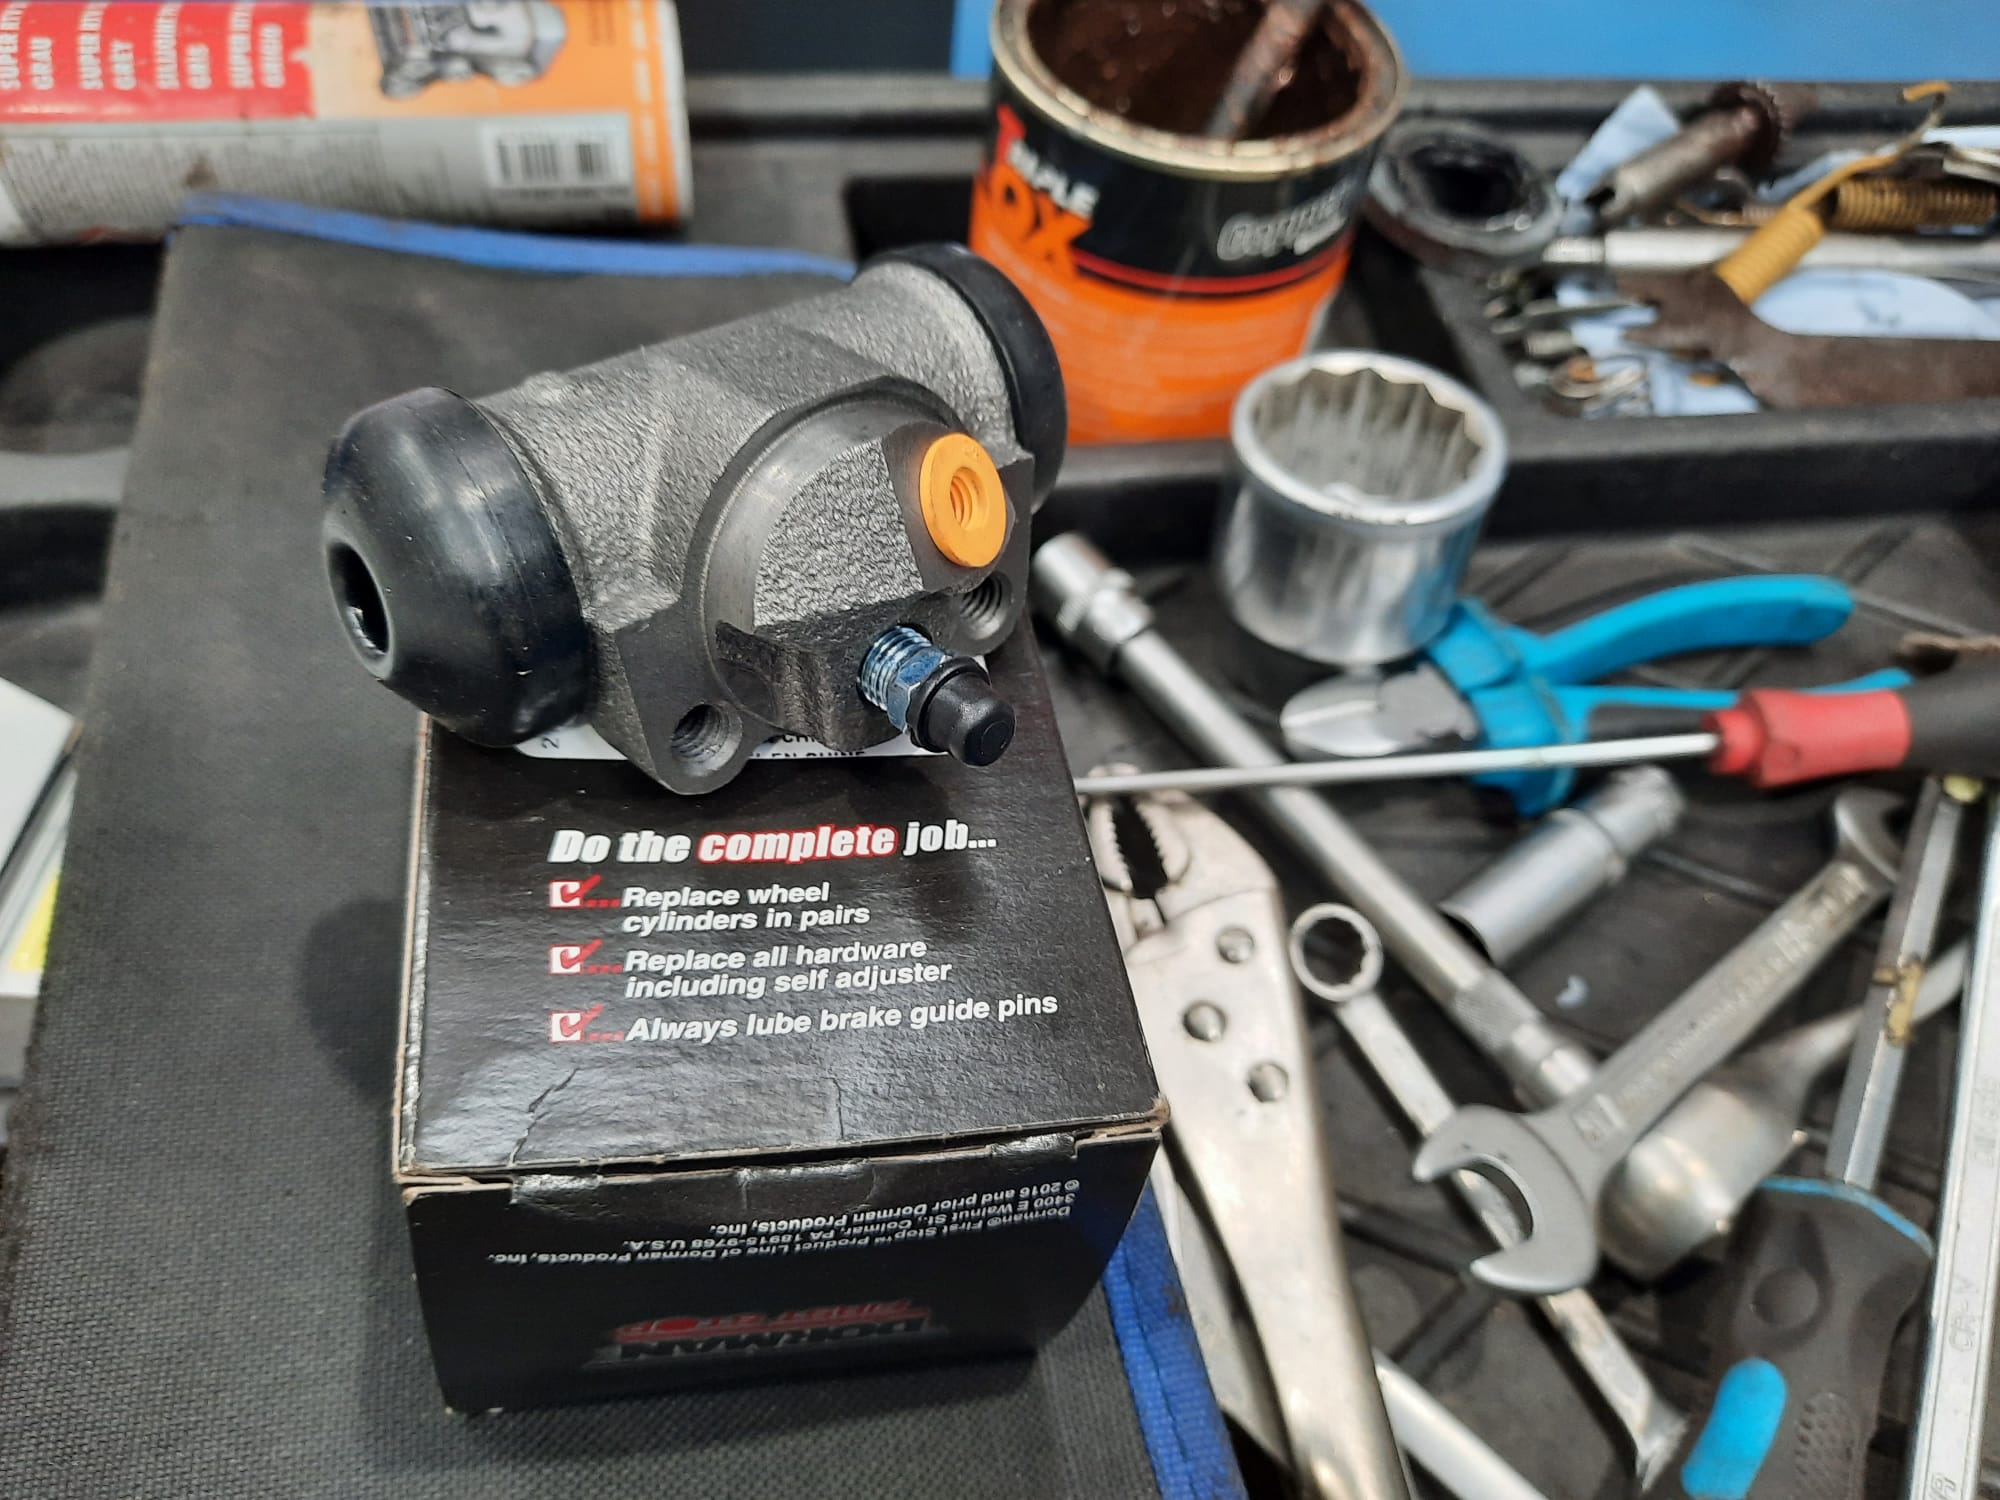
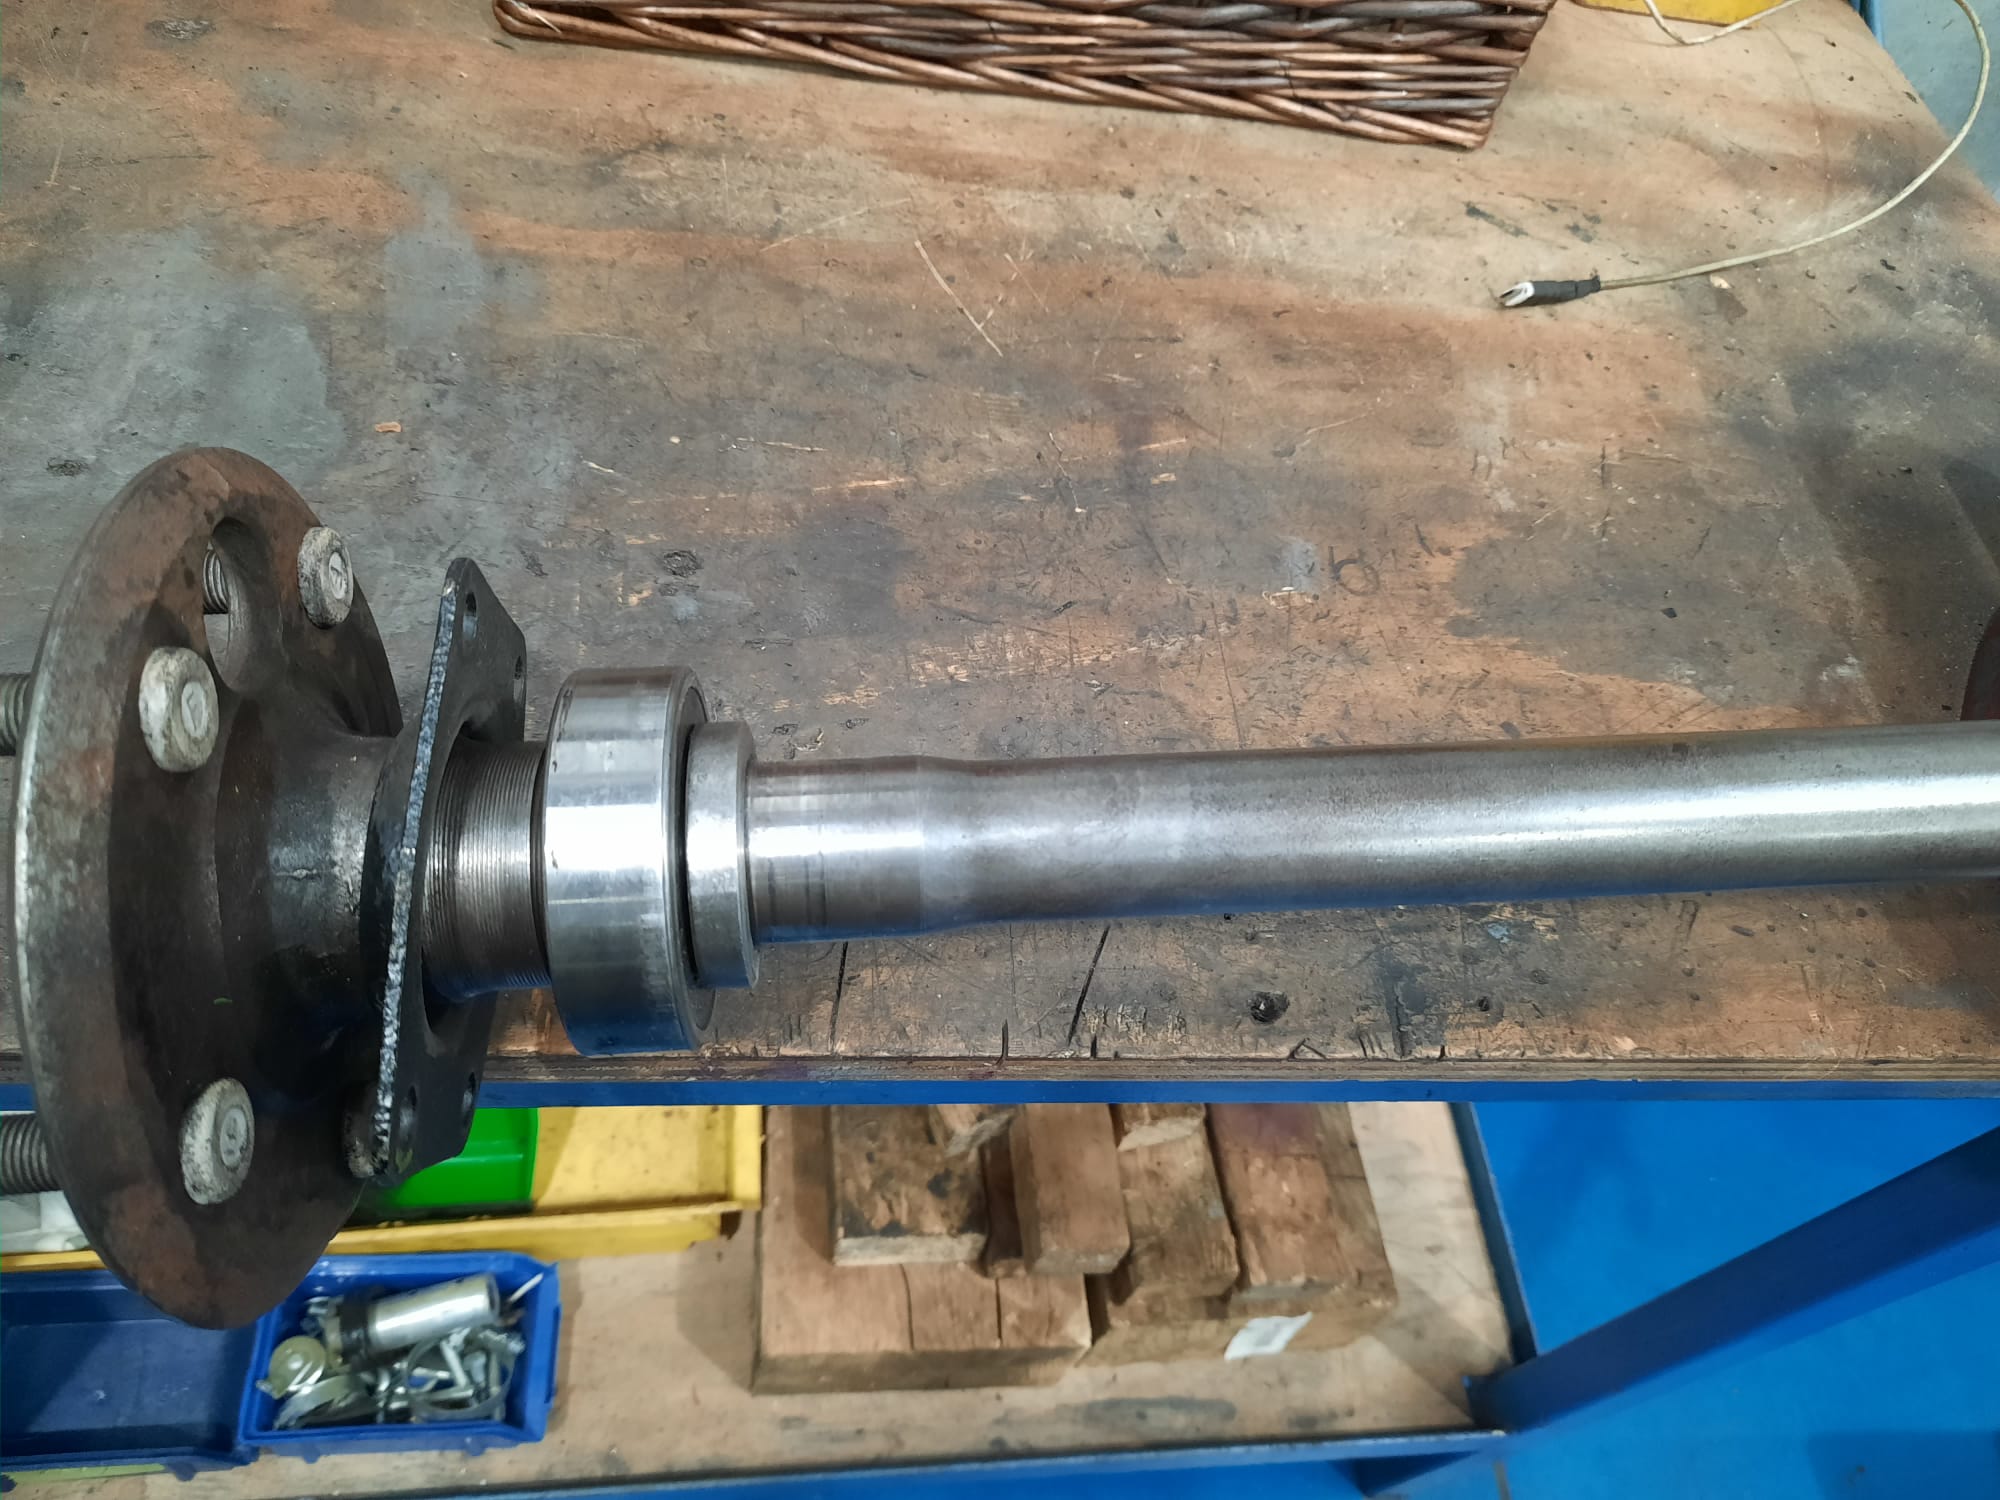
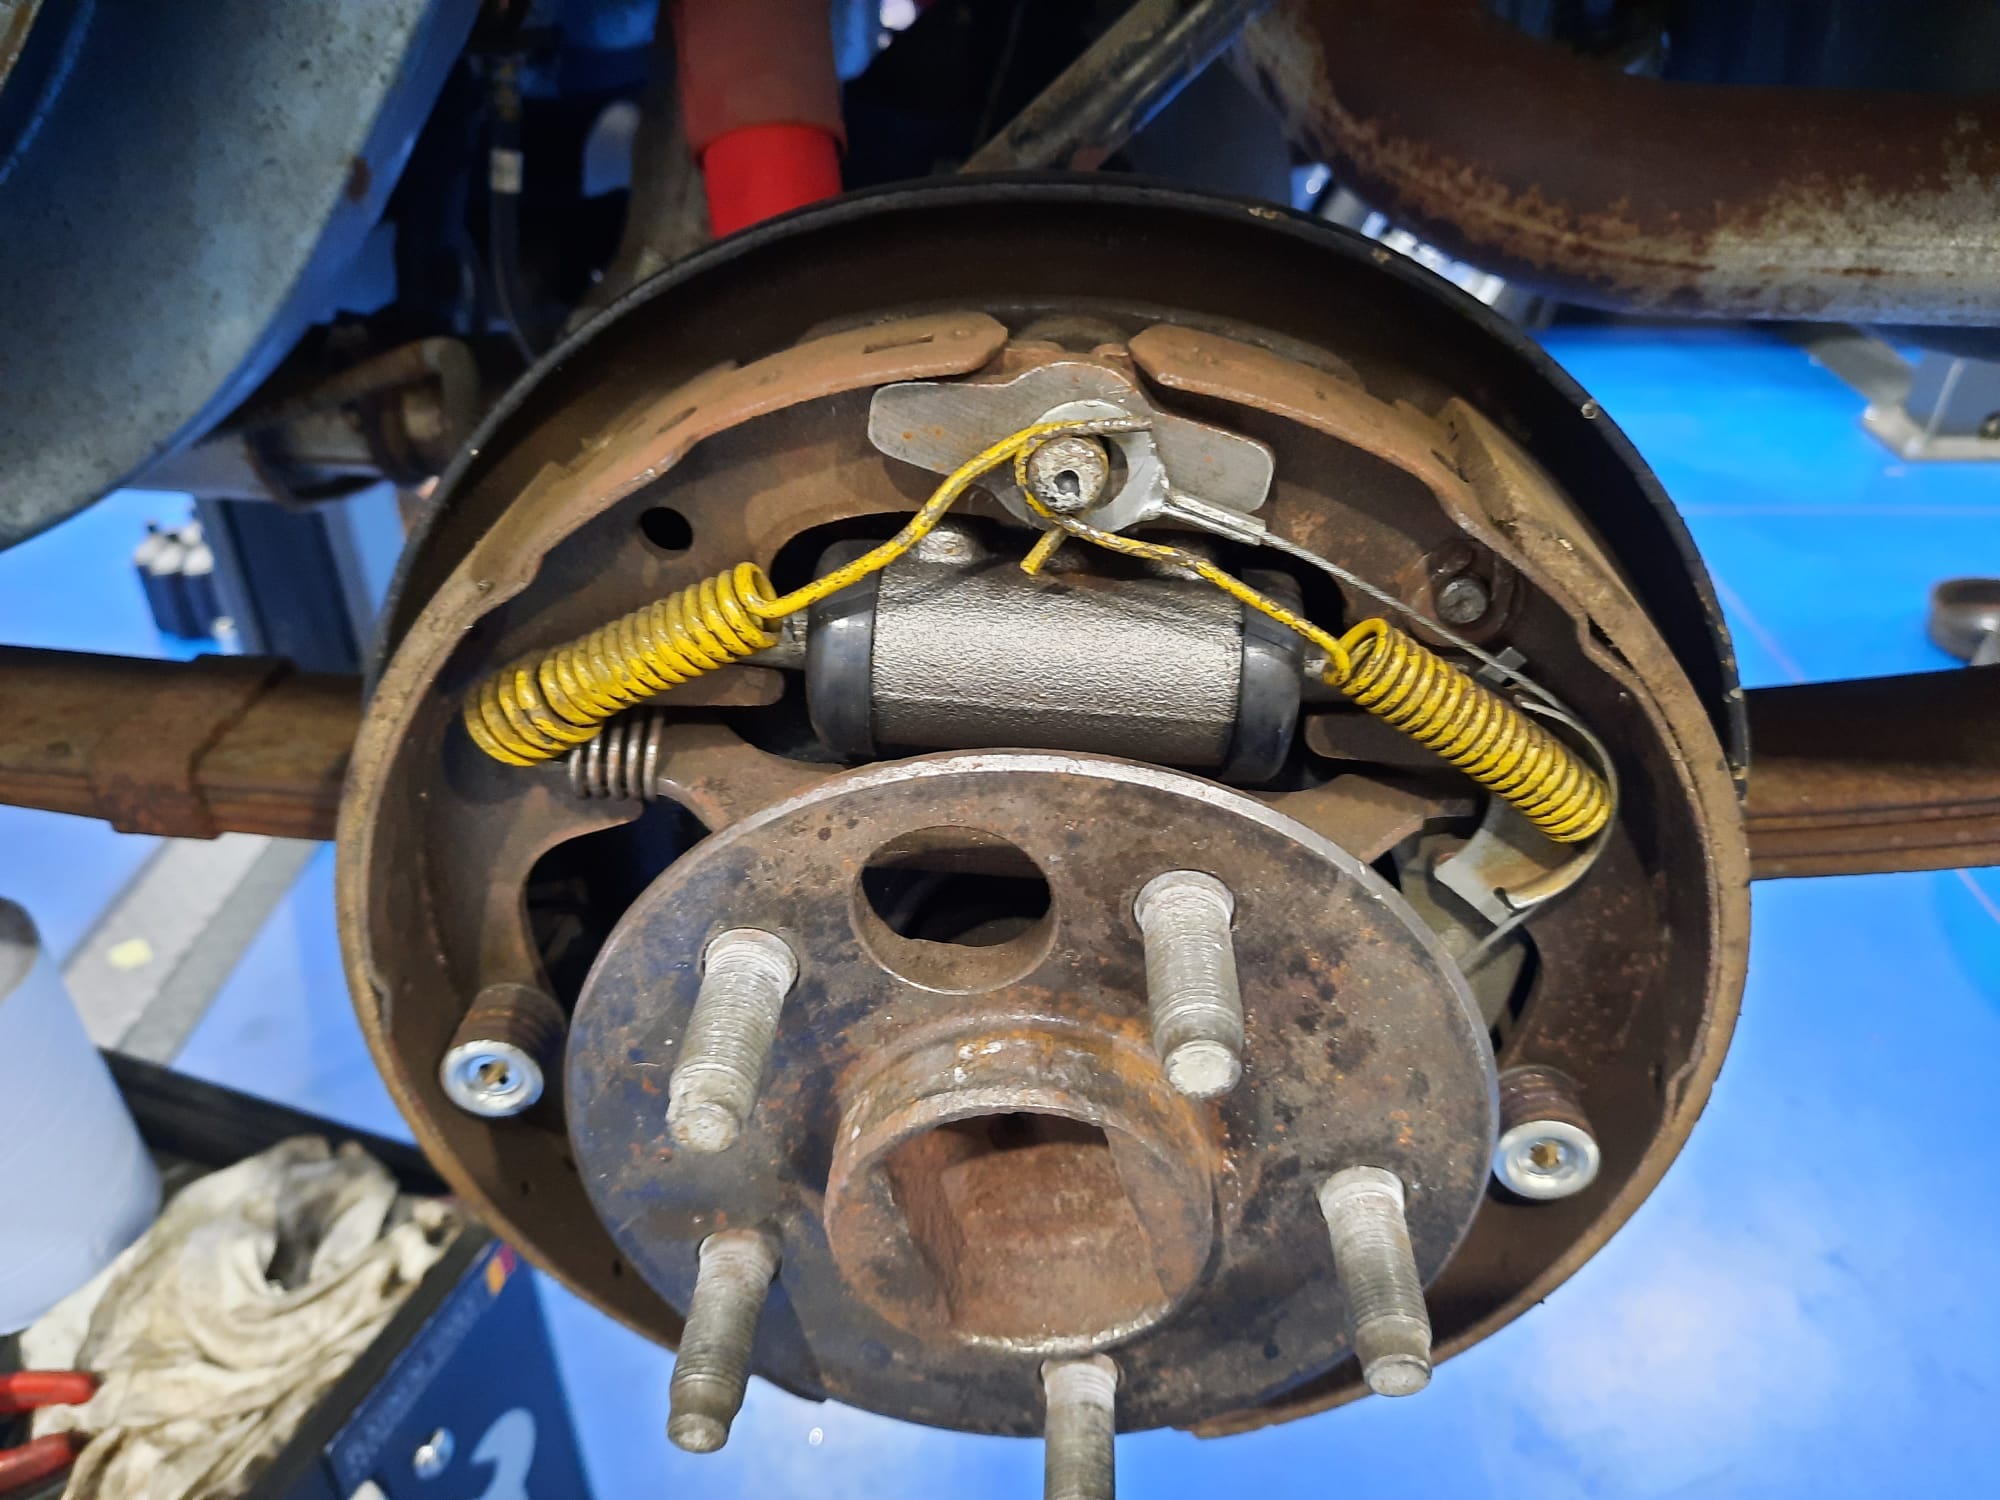
So, Mauro decided that just the wheel cylinders would need replacement. As we got the axle out, the backing plates off the drums it was time to pull the old leaking seals out. Carefully, Mauro removed the old seals and prepped the area to receive the brand new seals. They went in perfectly.
Working back out, Mauro began to put the drums back together. As he did, he replaced the wheel cylinders and bled the system. So now, there’s just one more job to do on the back end of the Mustang…
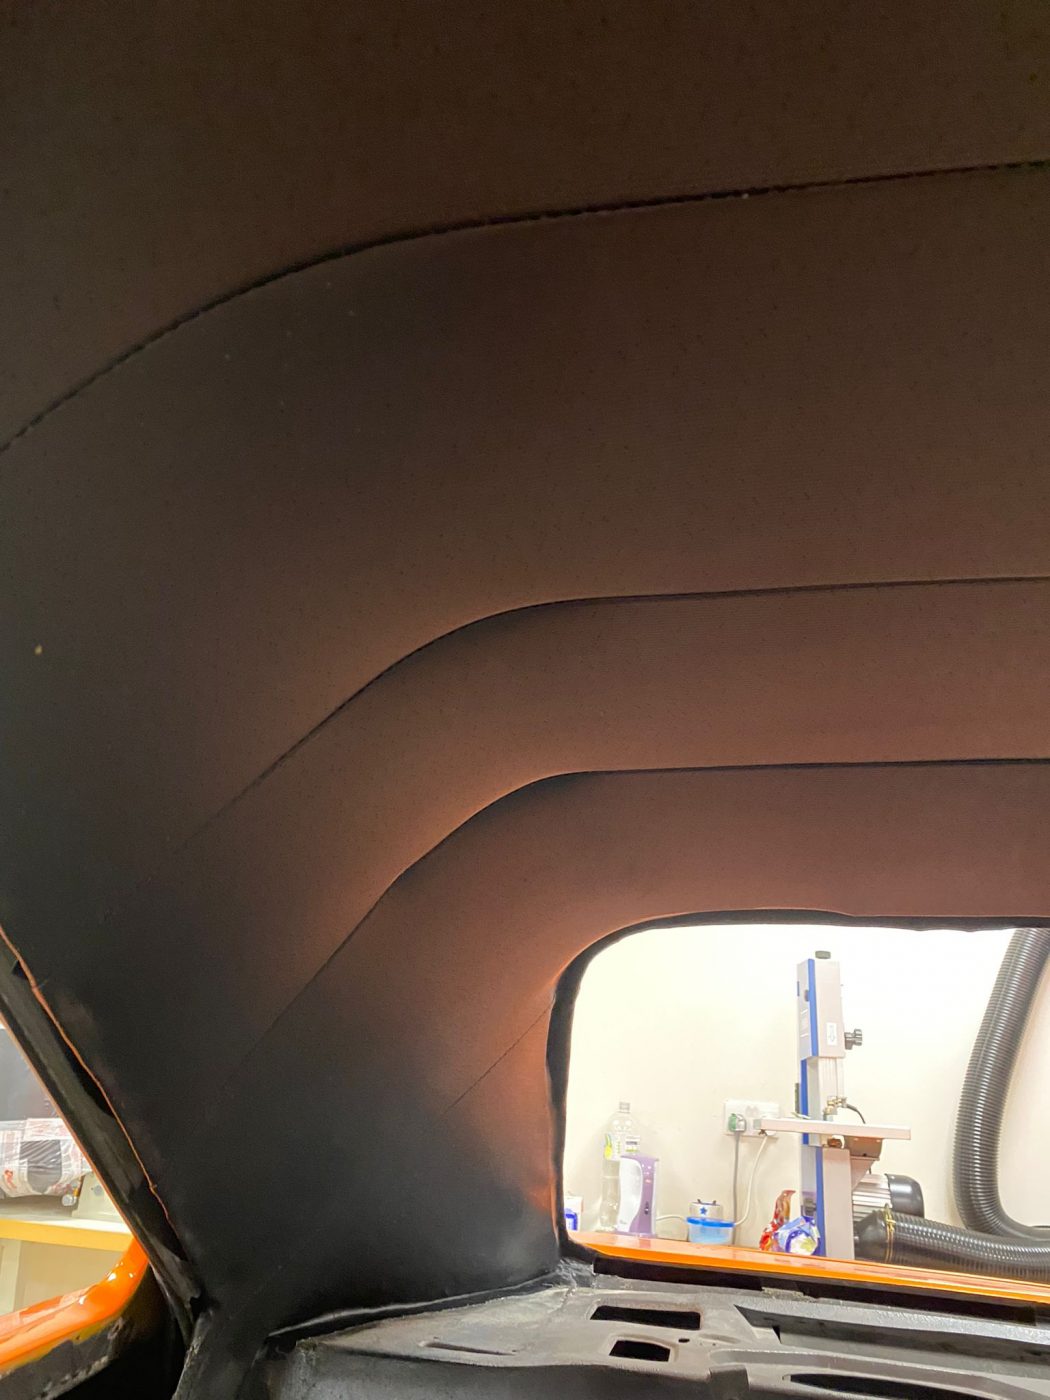
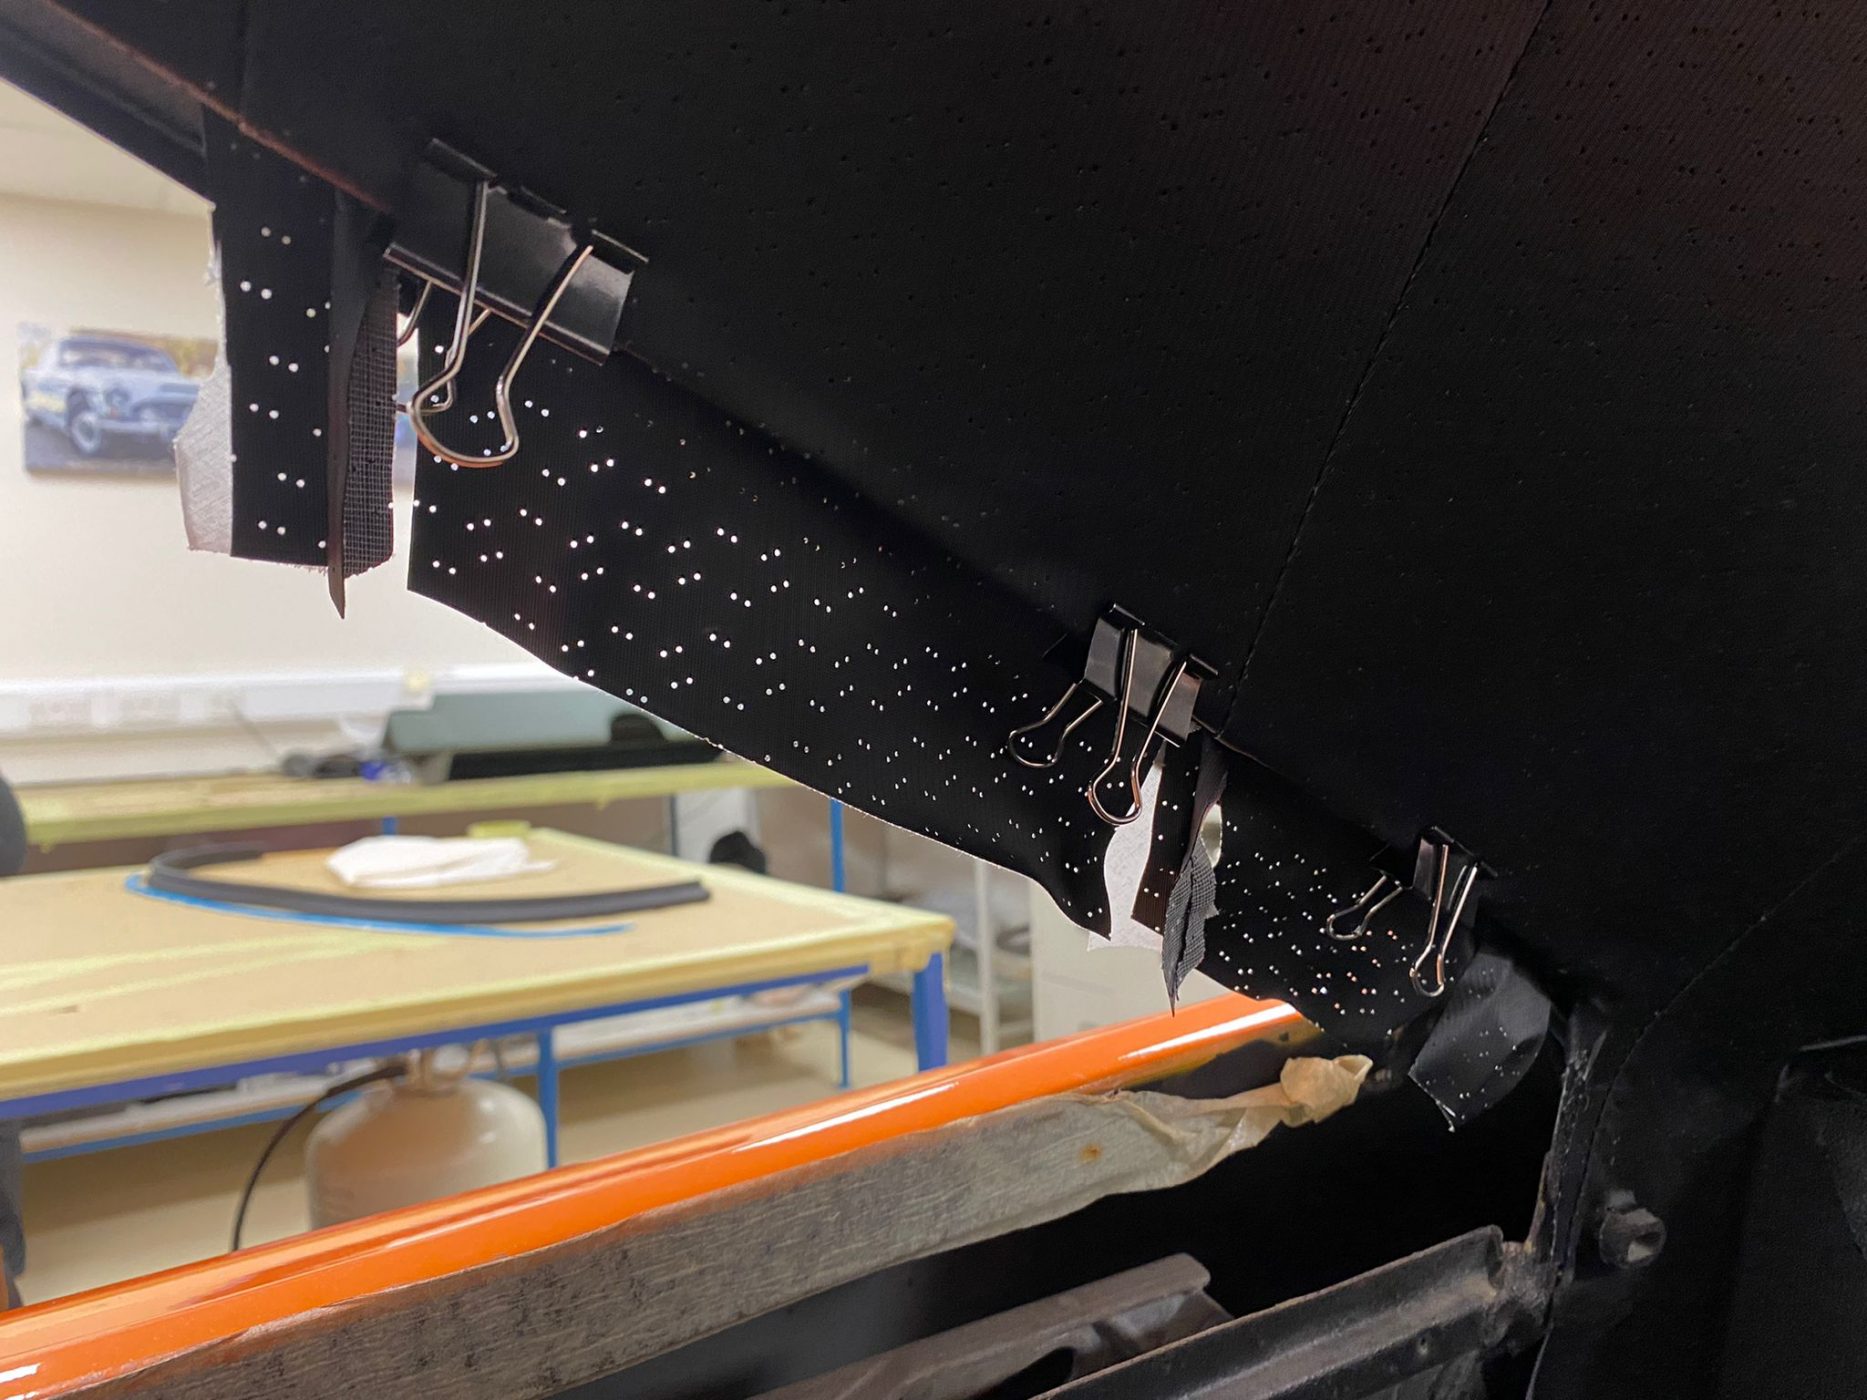
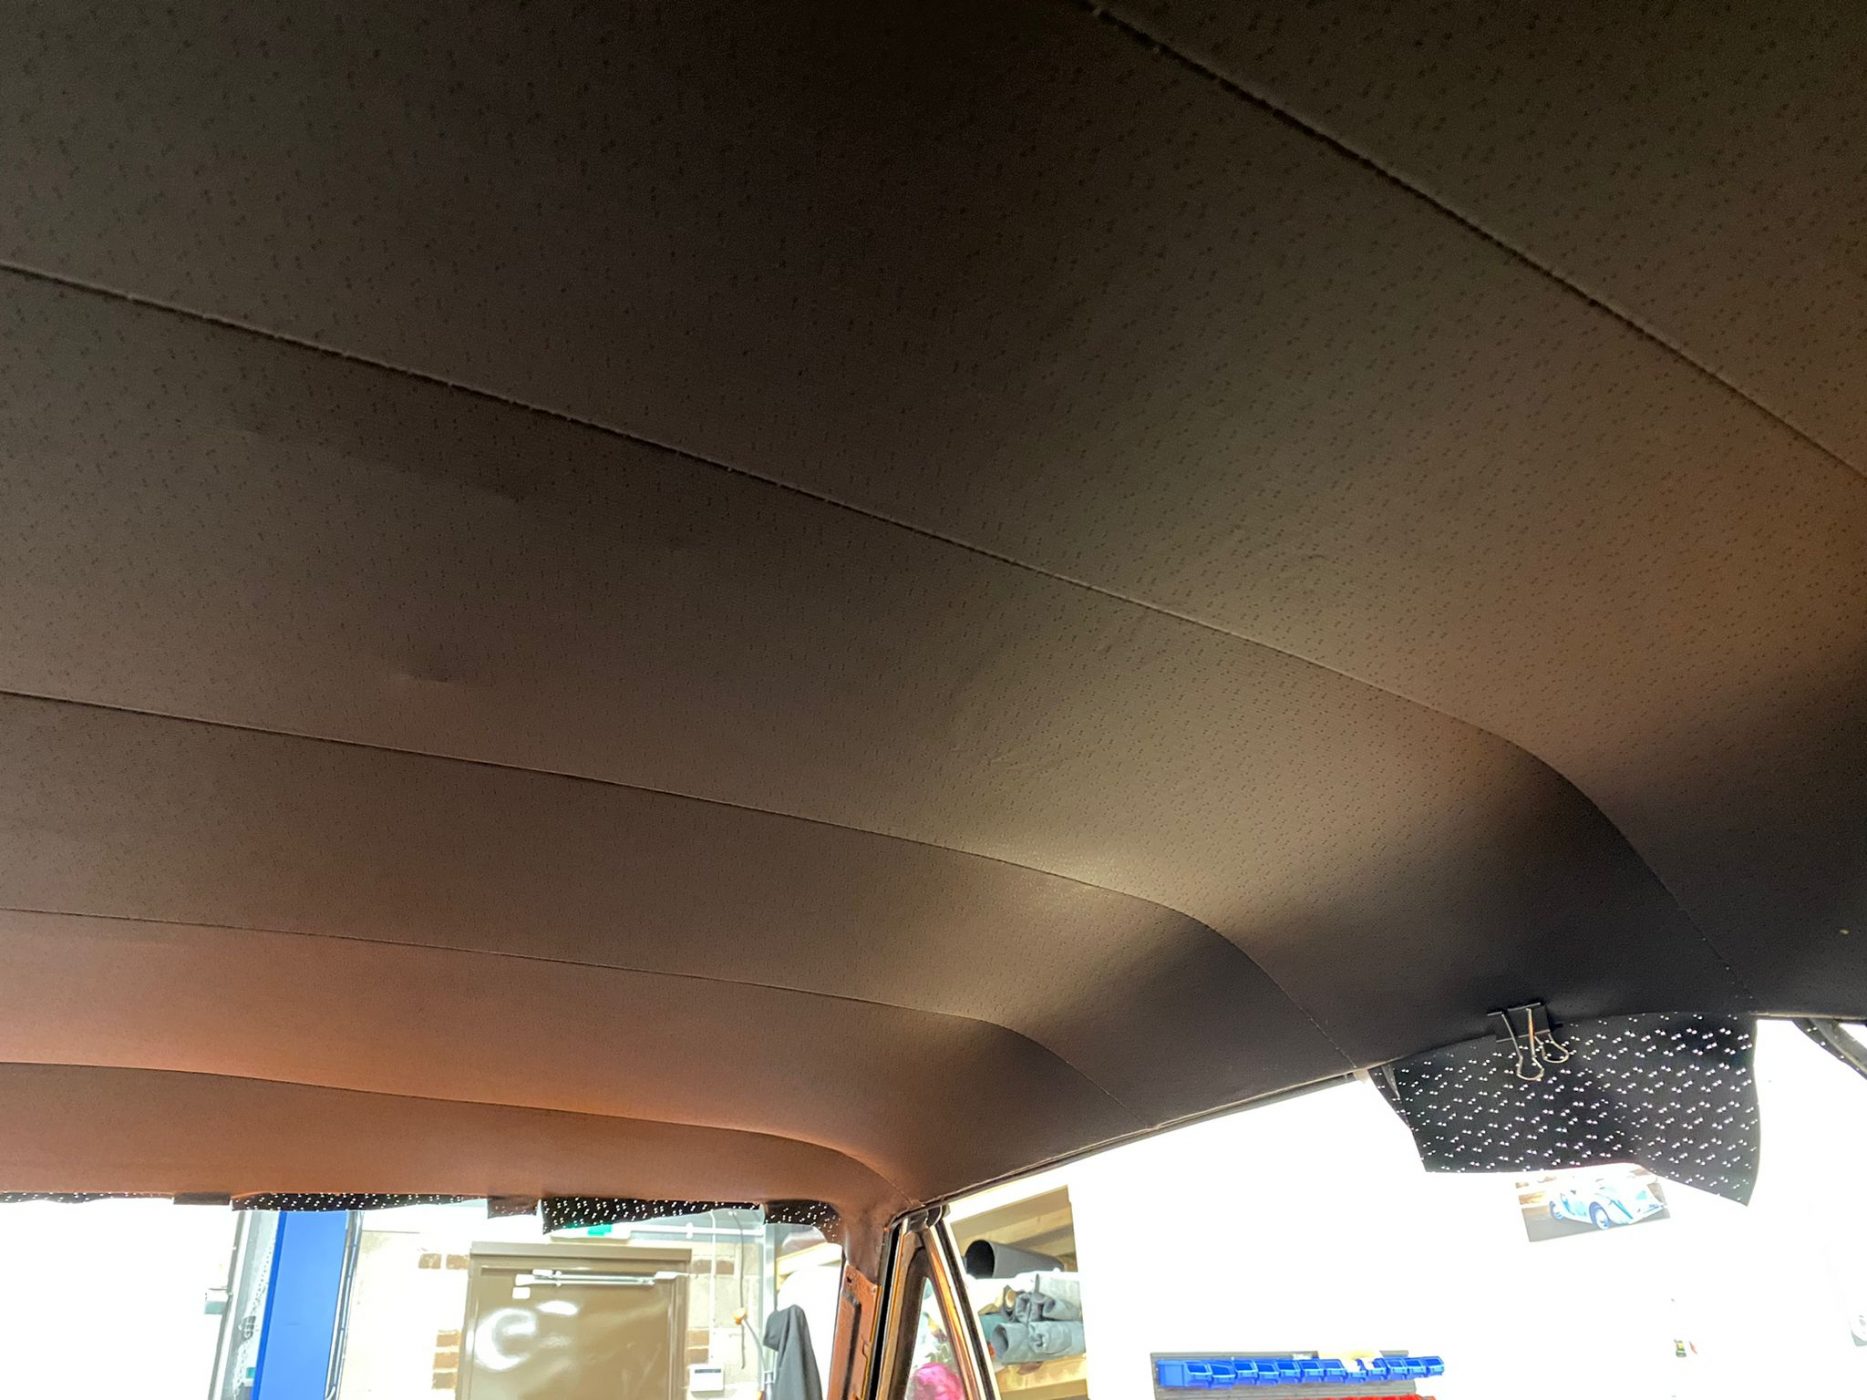

Kath, our in-house trim expert has been hard at work finishing up the install of the headliner into the 1970 Dodge Charger we have here at Bridge Classic Cars.
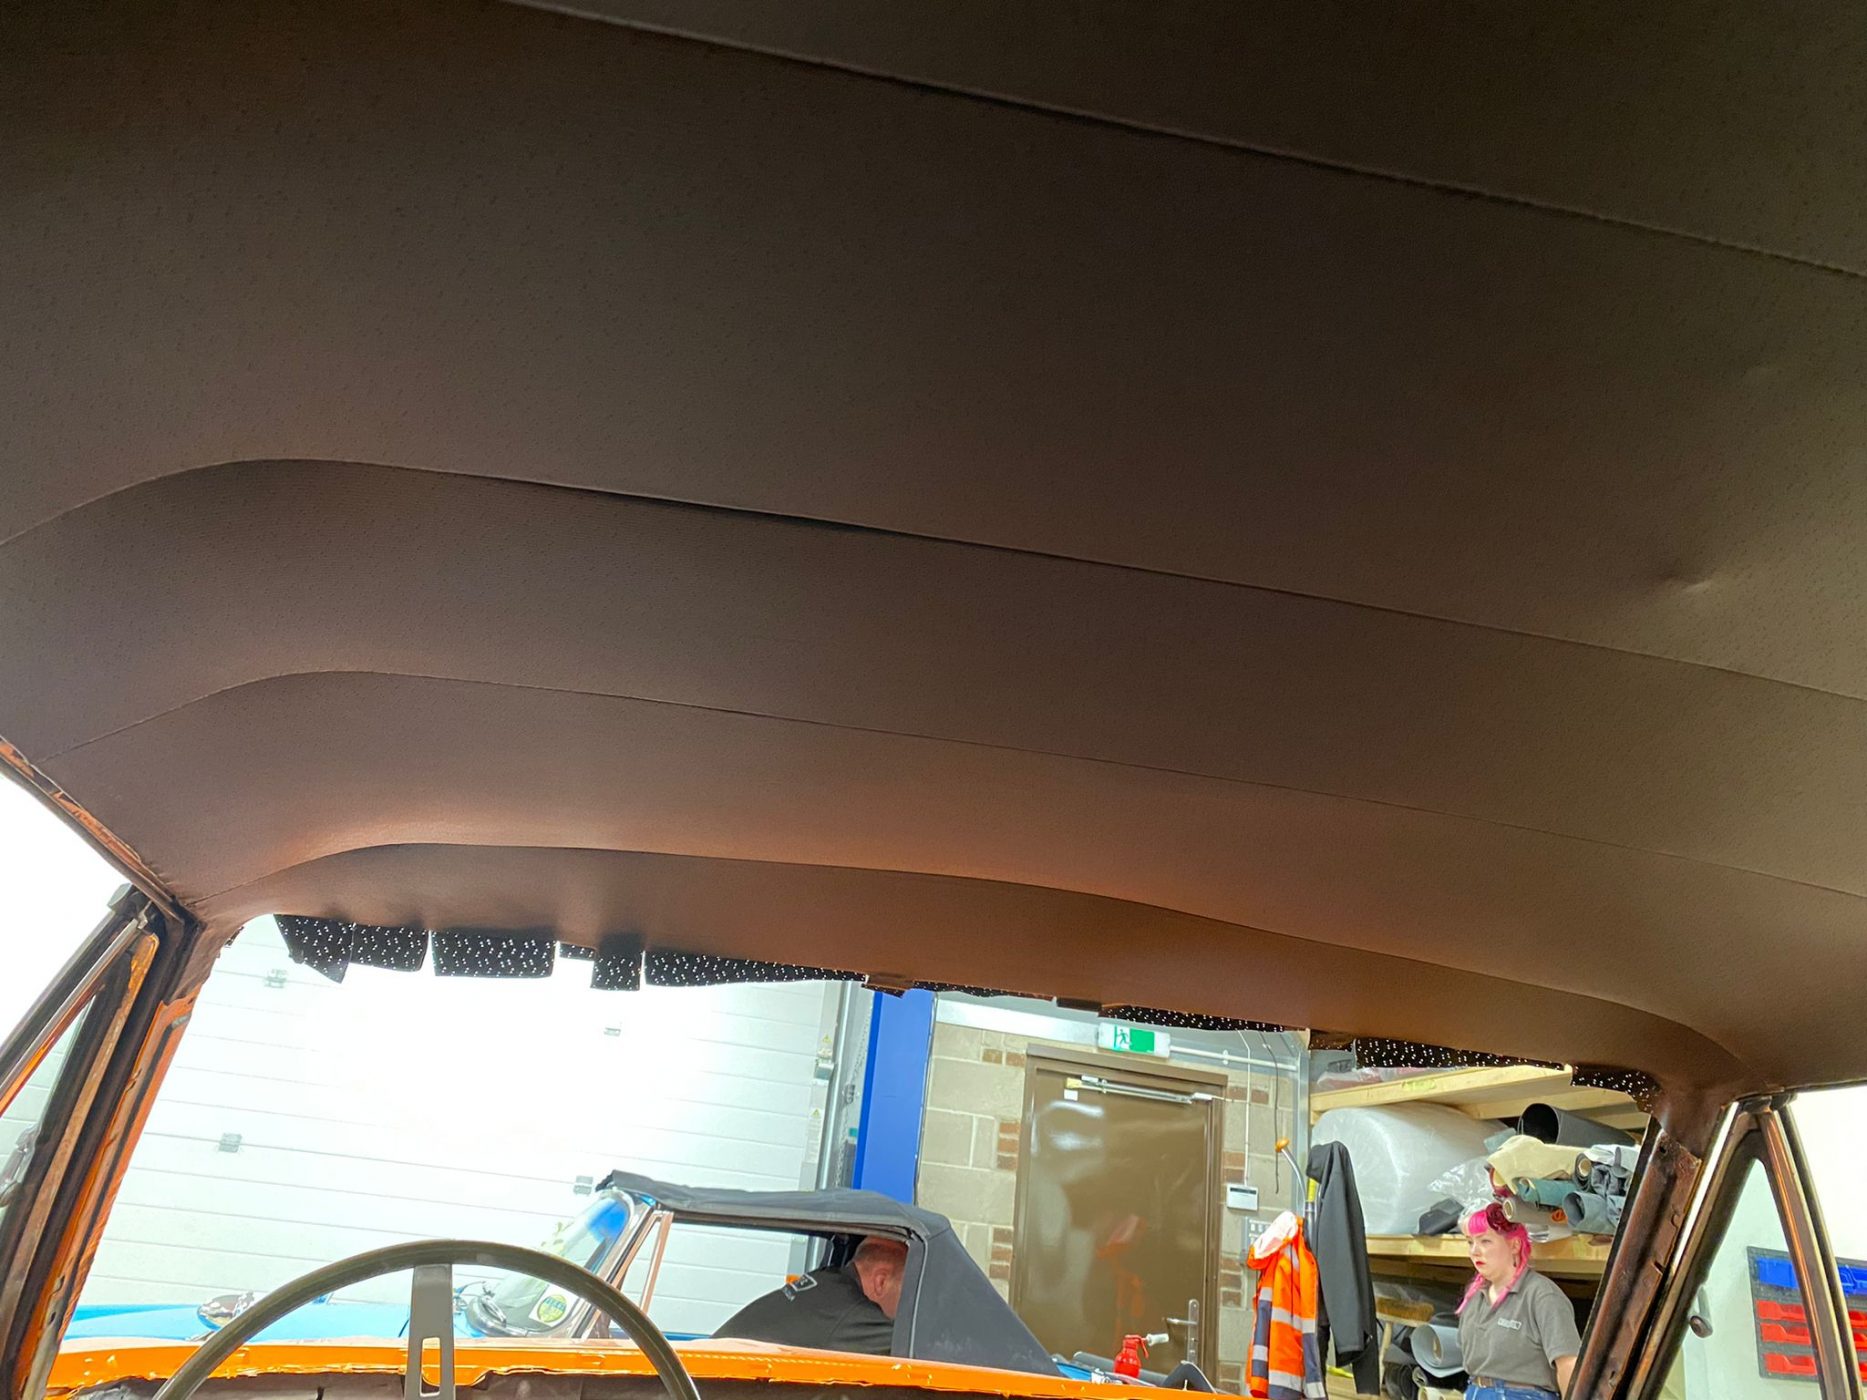
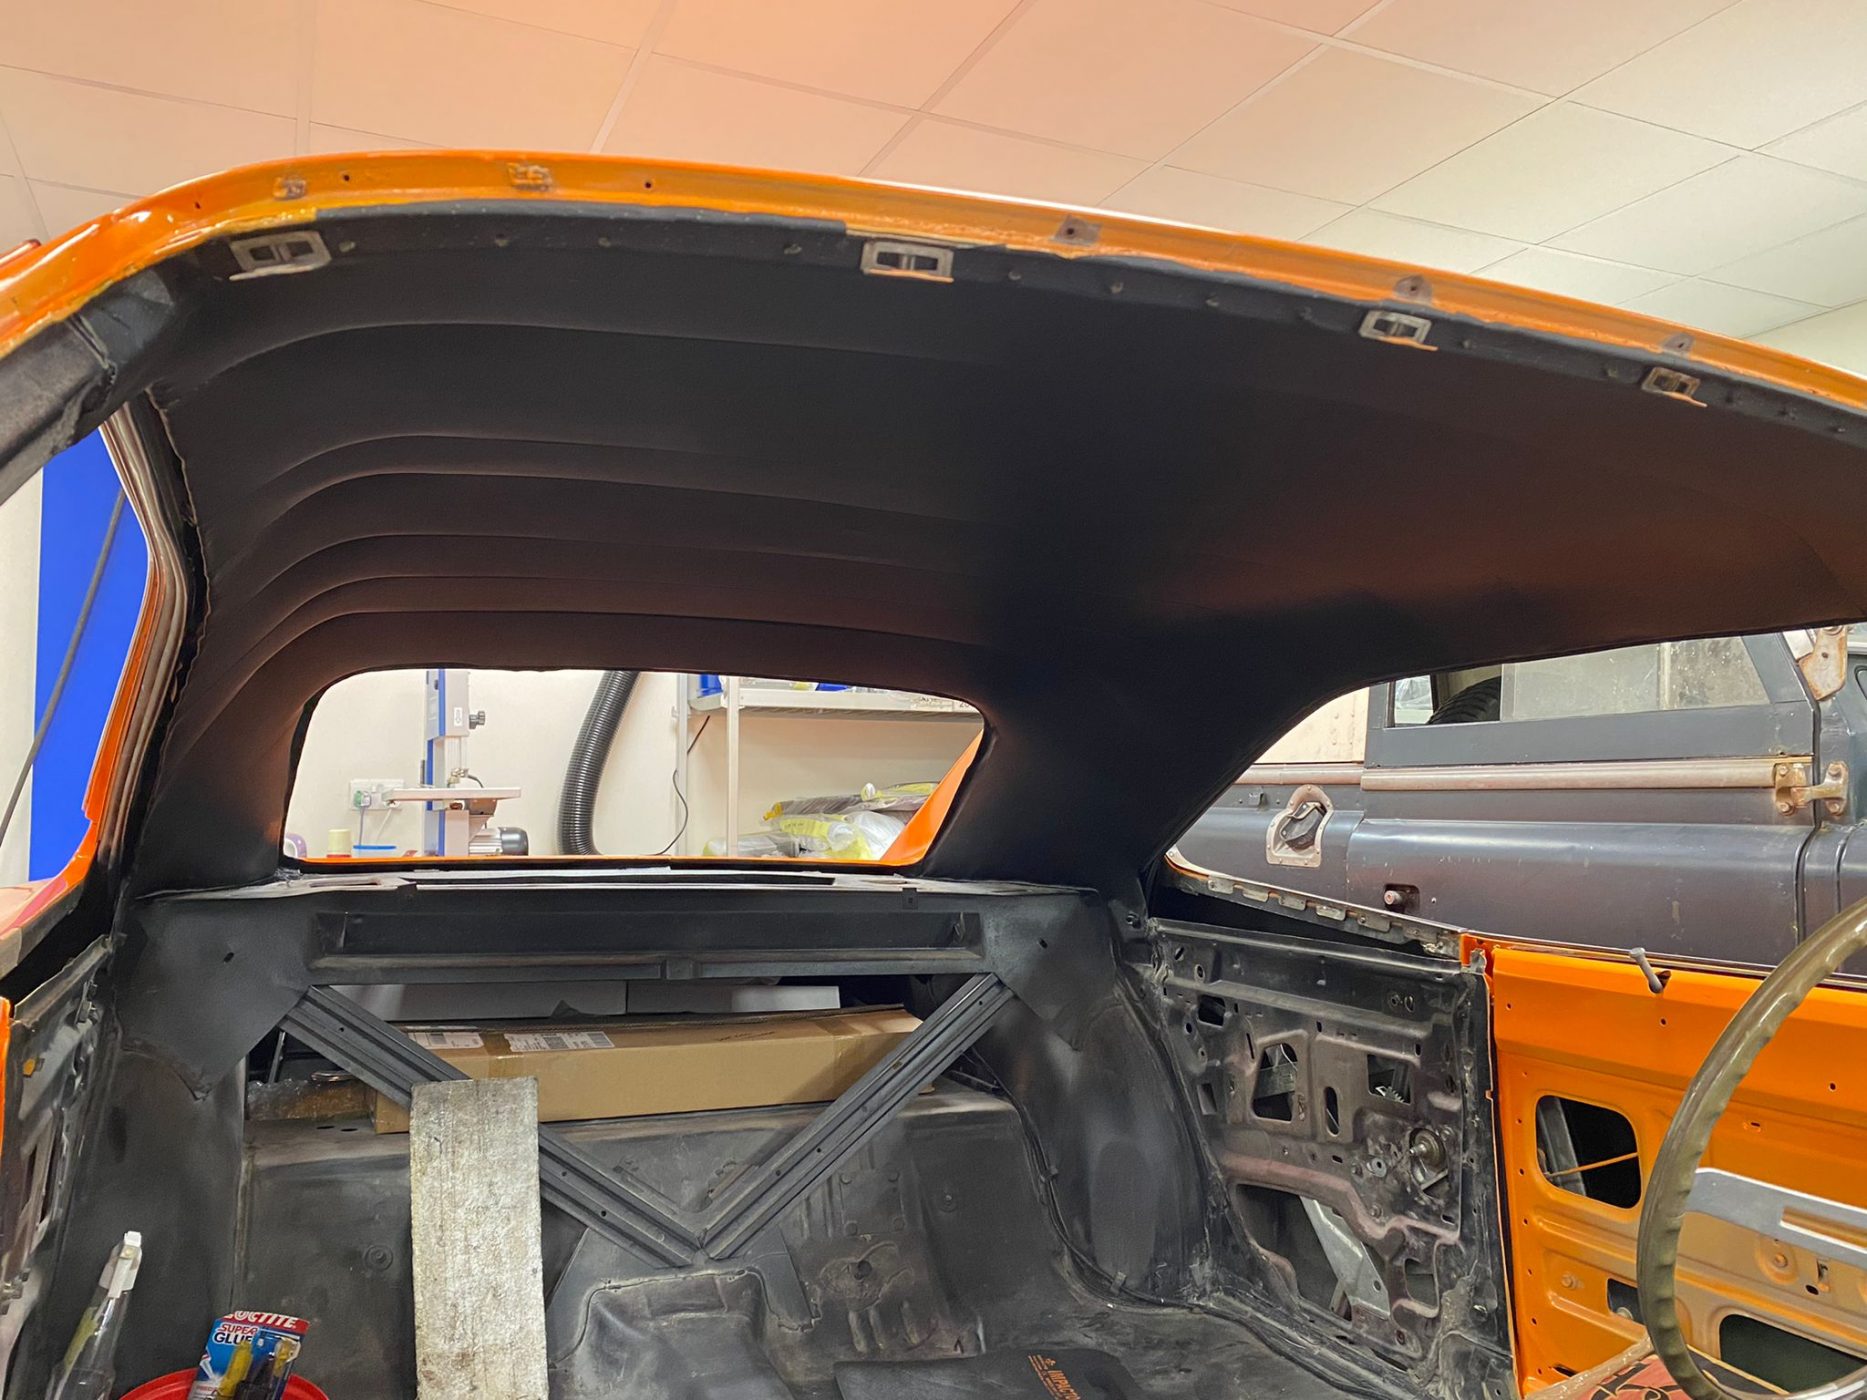
The headliner is such a crucial part of the interior of any car let alone a classic that its fit and finish must be as close to perfect as possible. Thankfully, that is what our in-house trim shop is known for. Kath has carefully stretched and secured the headliner into place to make sure that across the roof of this iconic muscle car, everything lines up.
The interior for this particular Charger is important as it must compliment the vibrant exterior colour scheme but also match the finish of the car. So, next up. Kath will be fitting the 2 piece door cars.
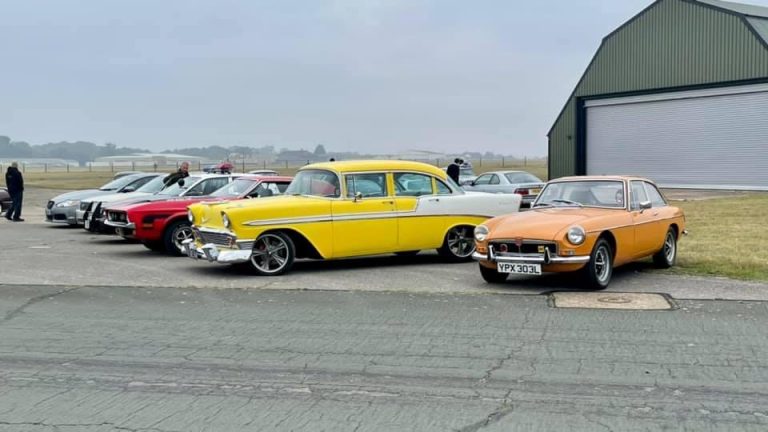
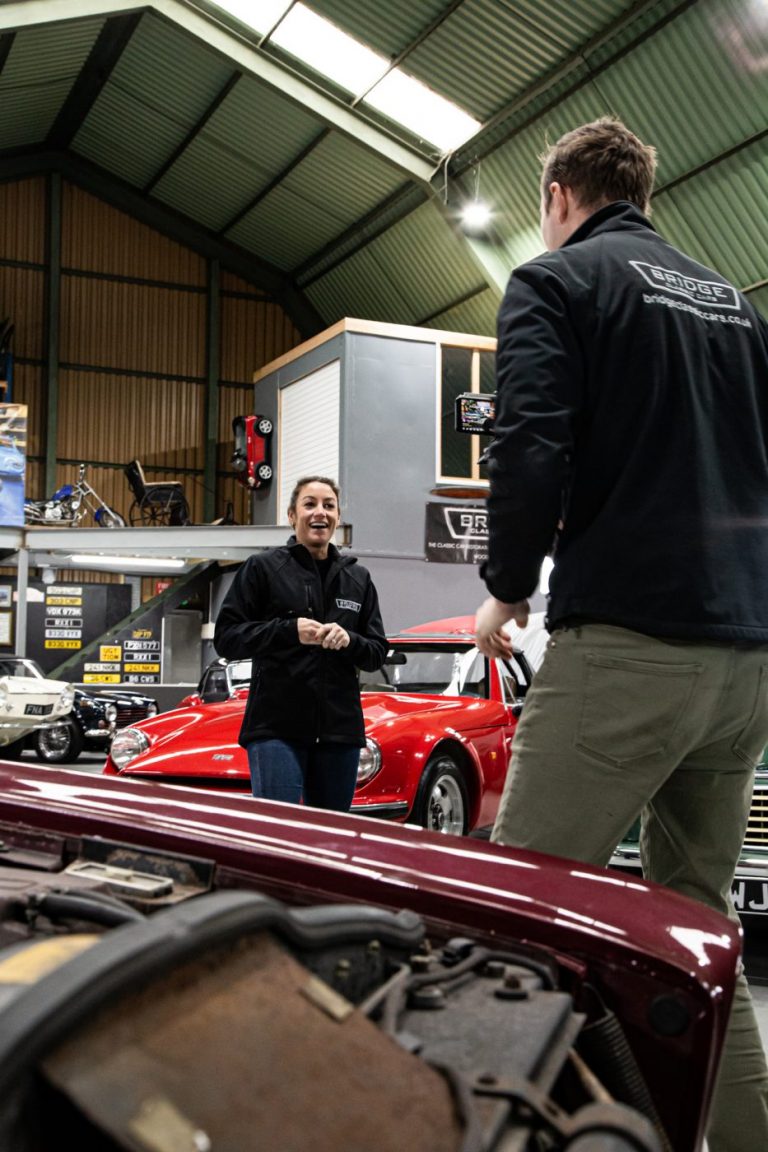
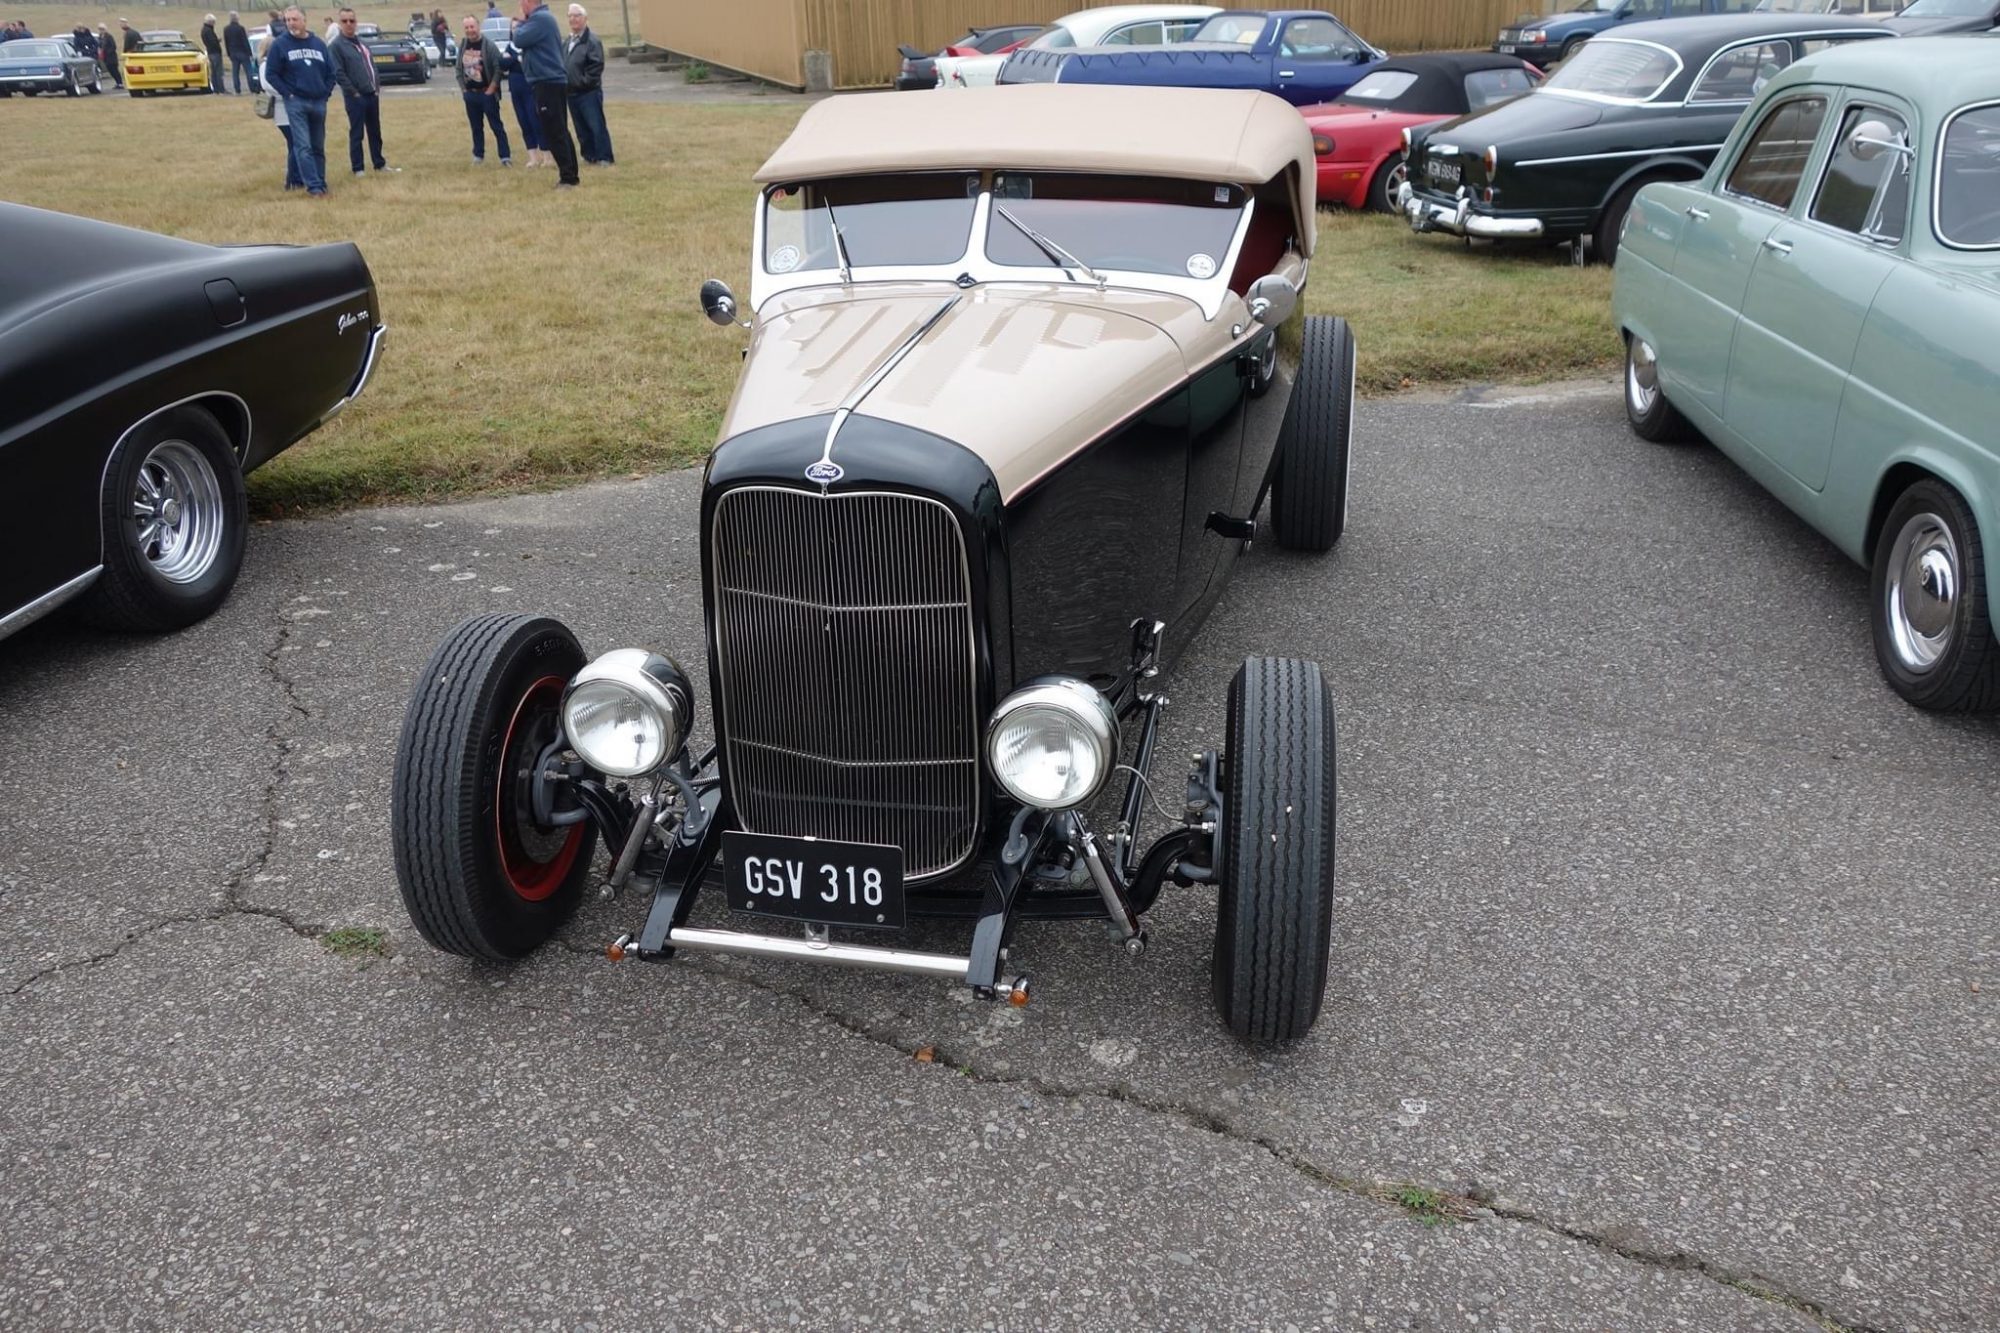
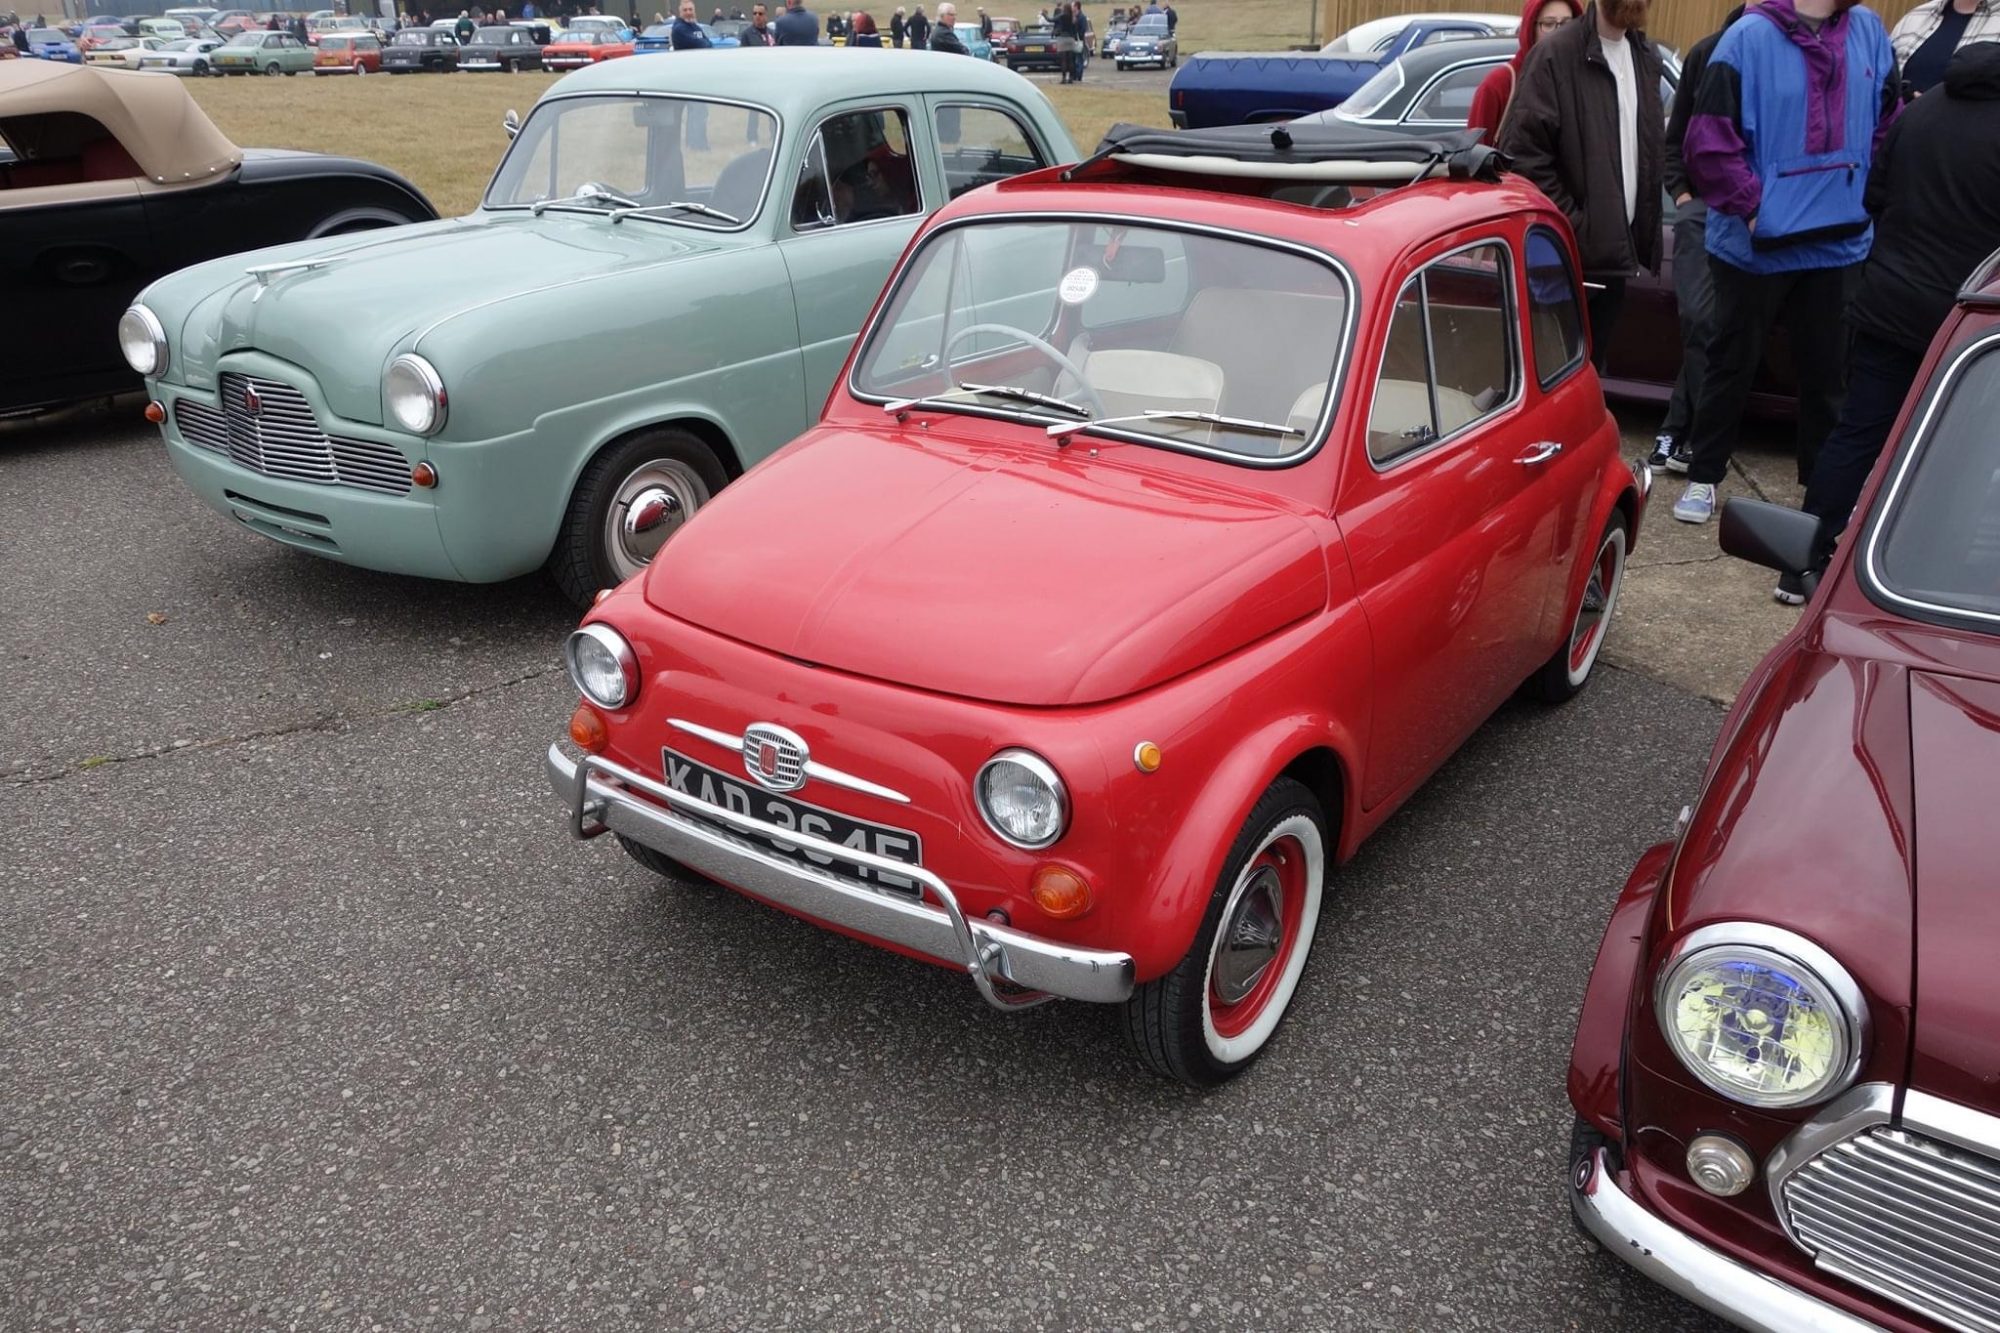
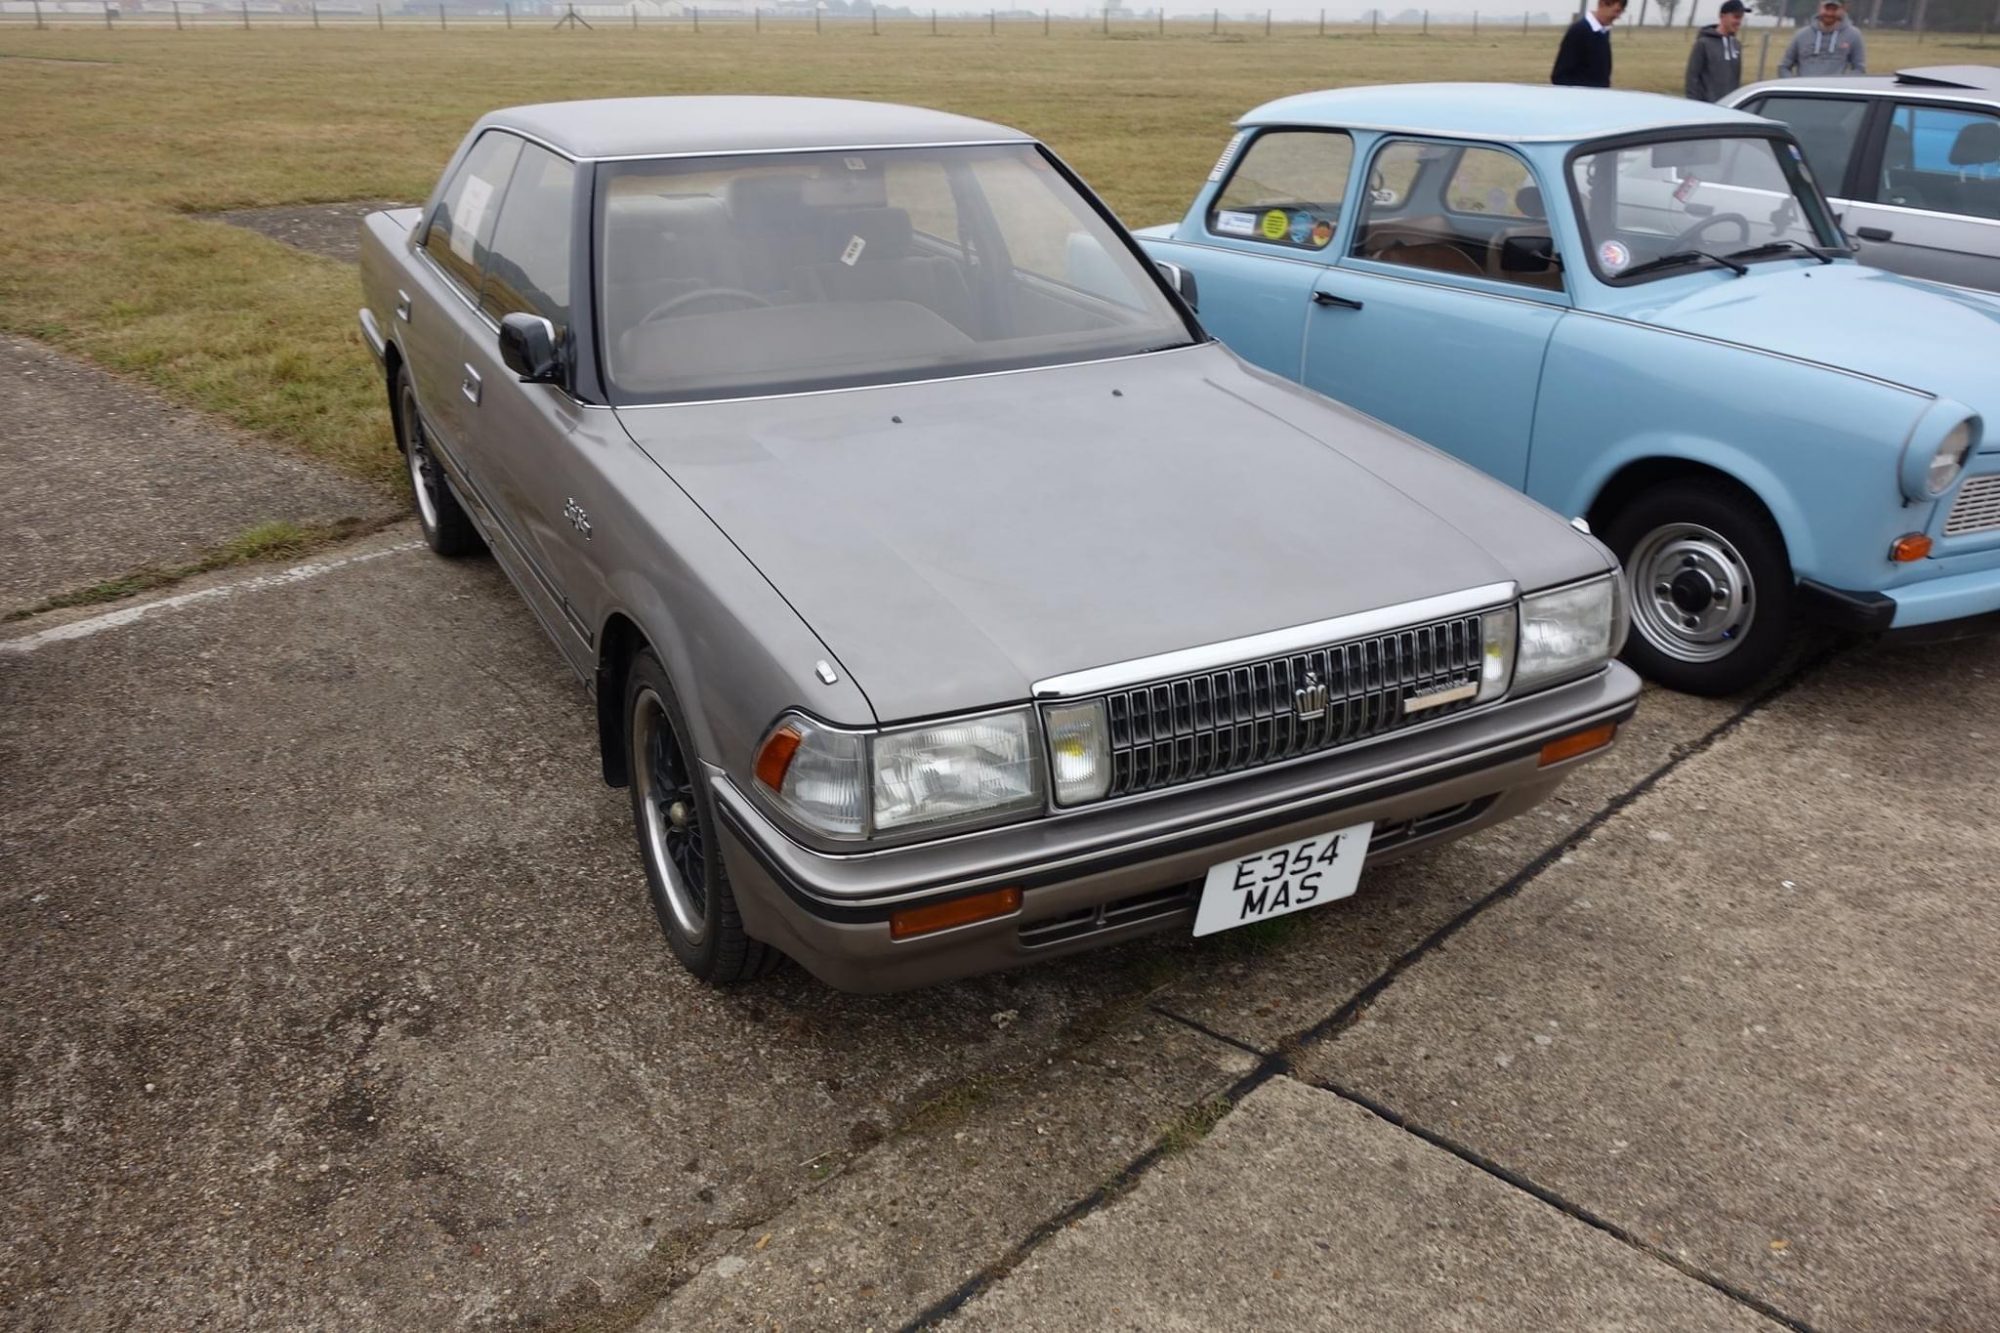
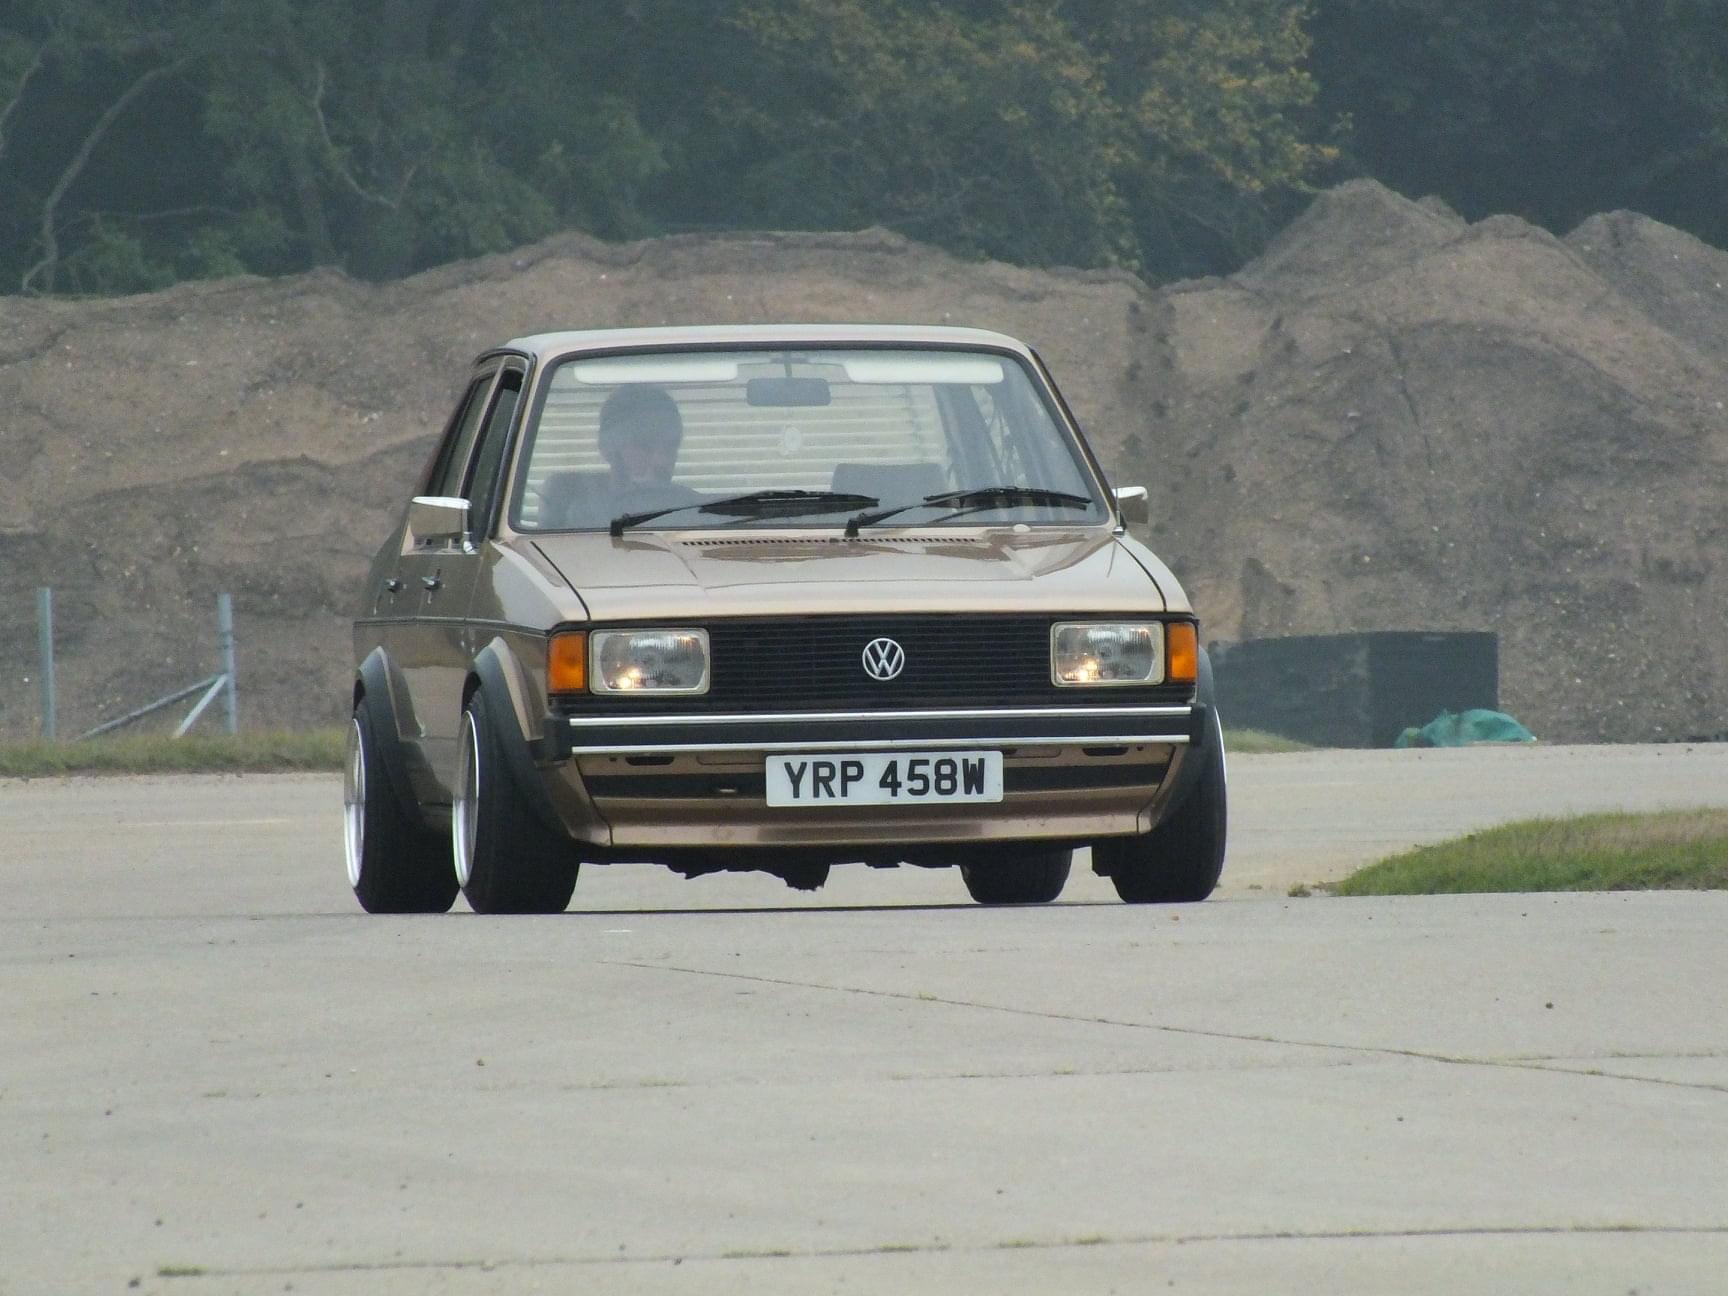
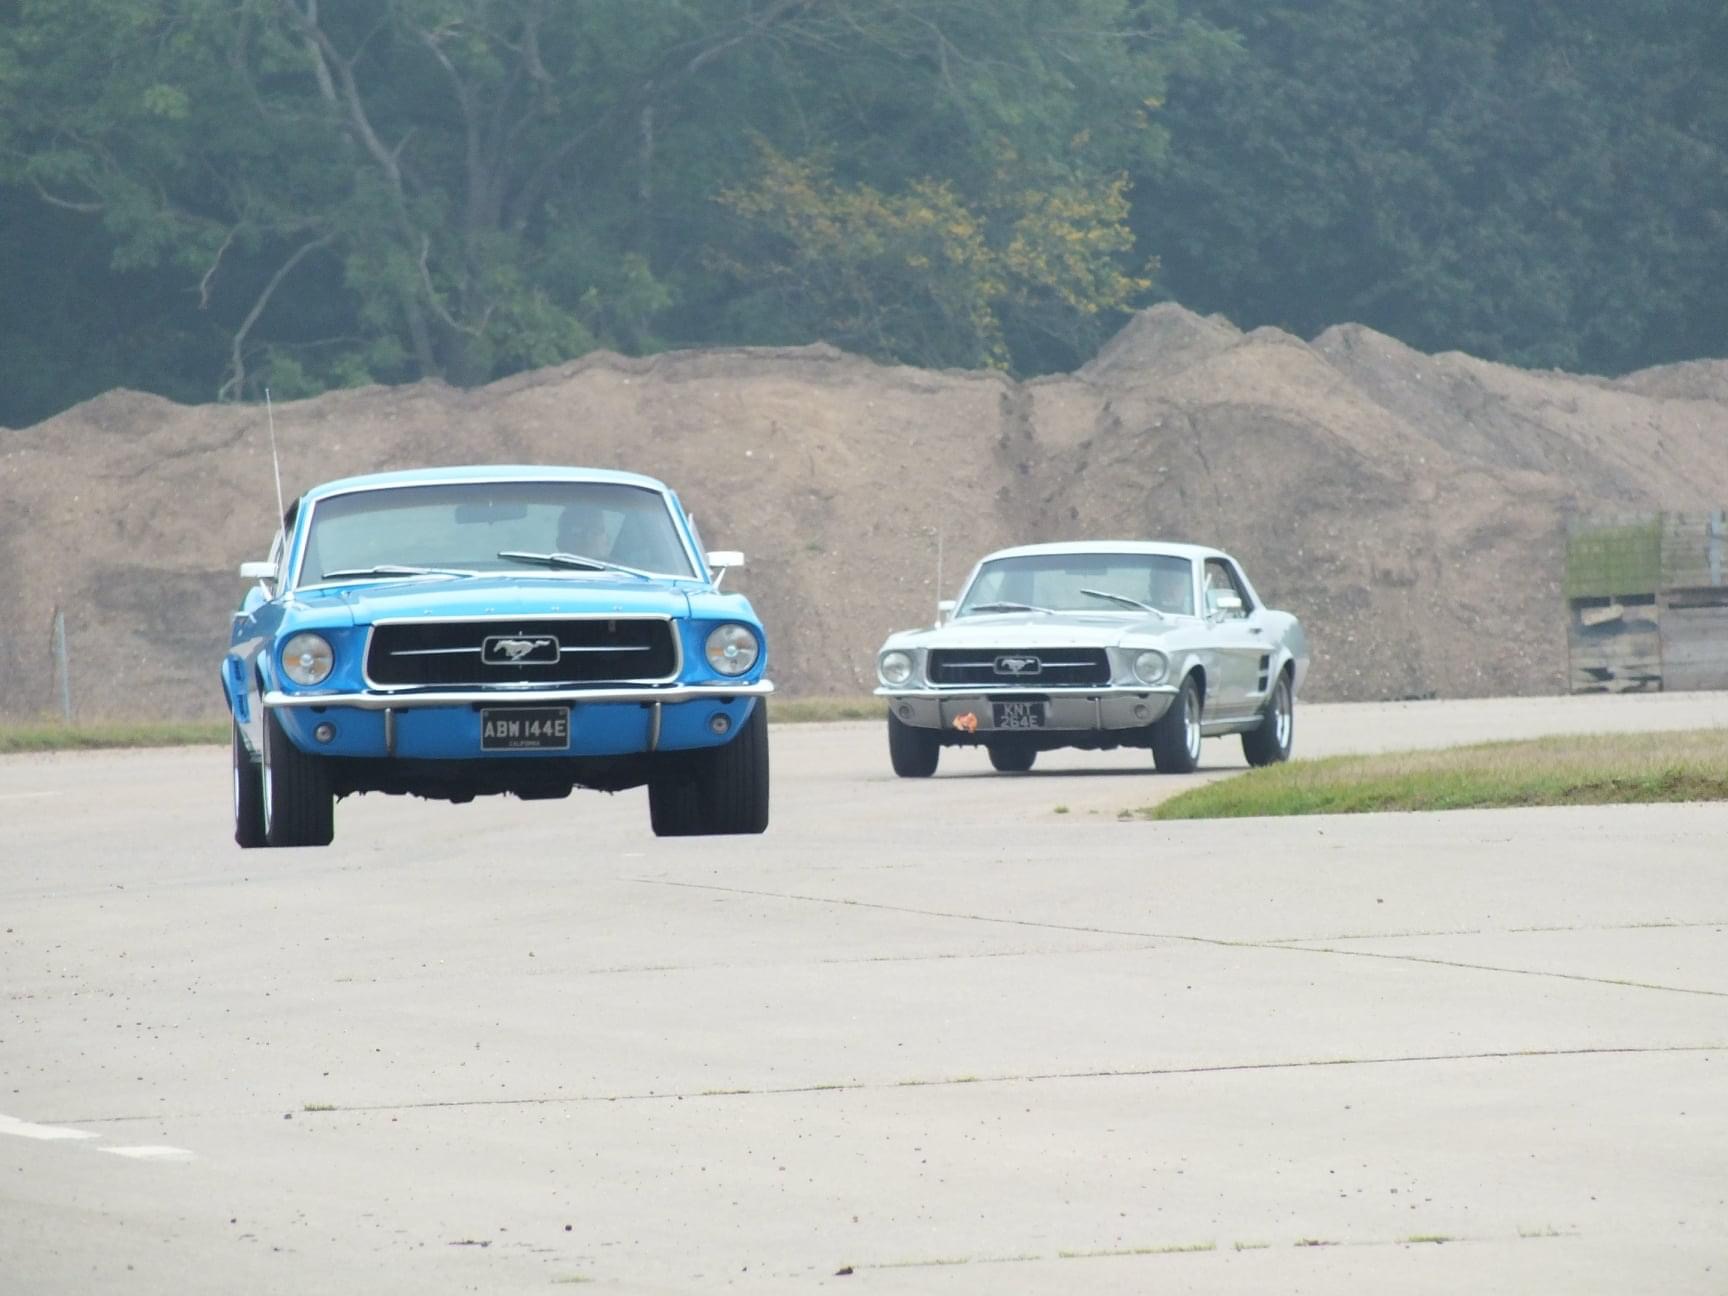
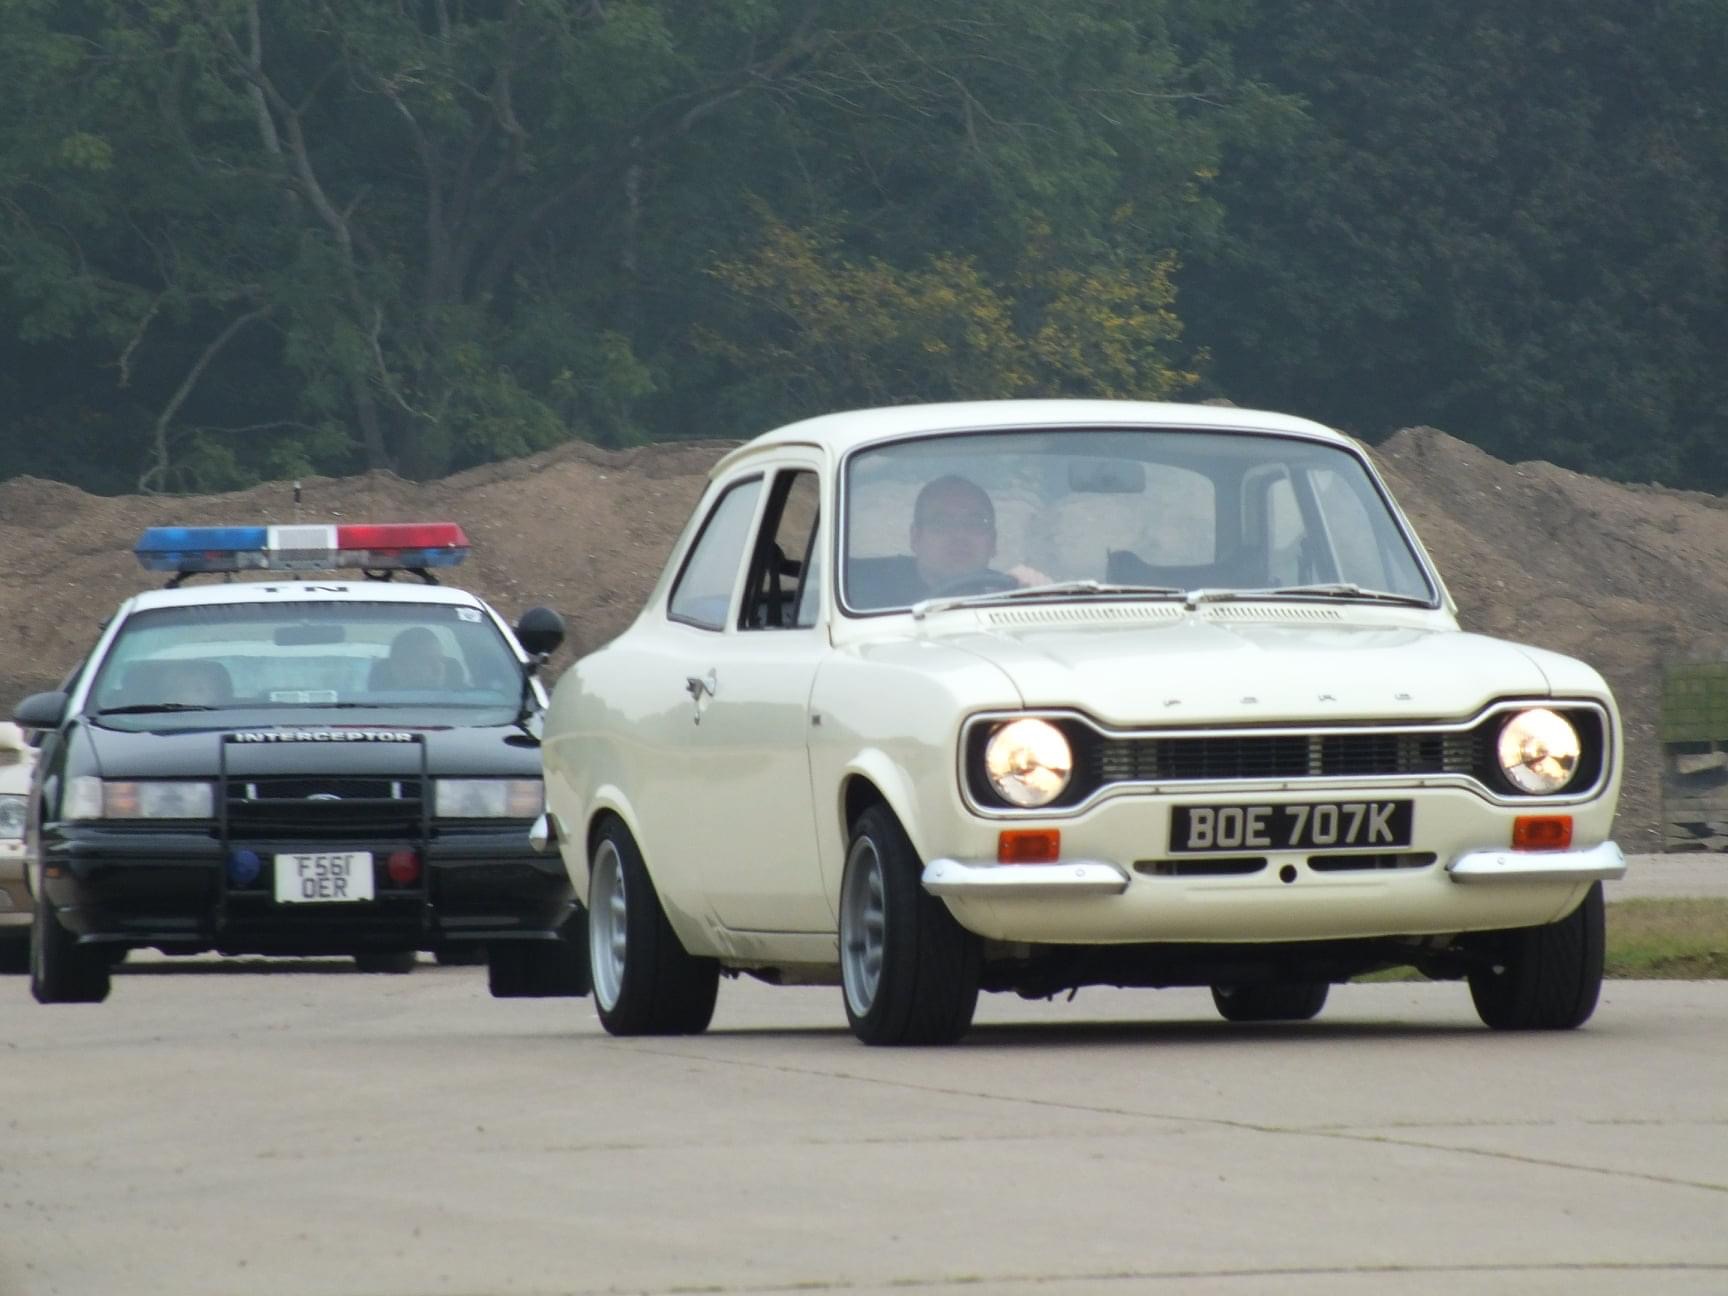
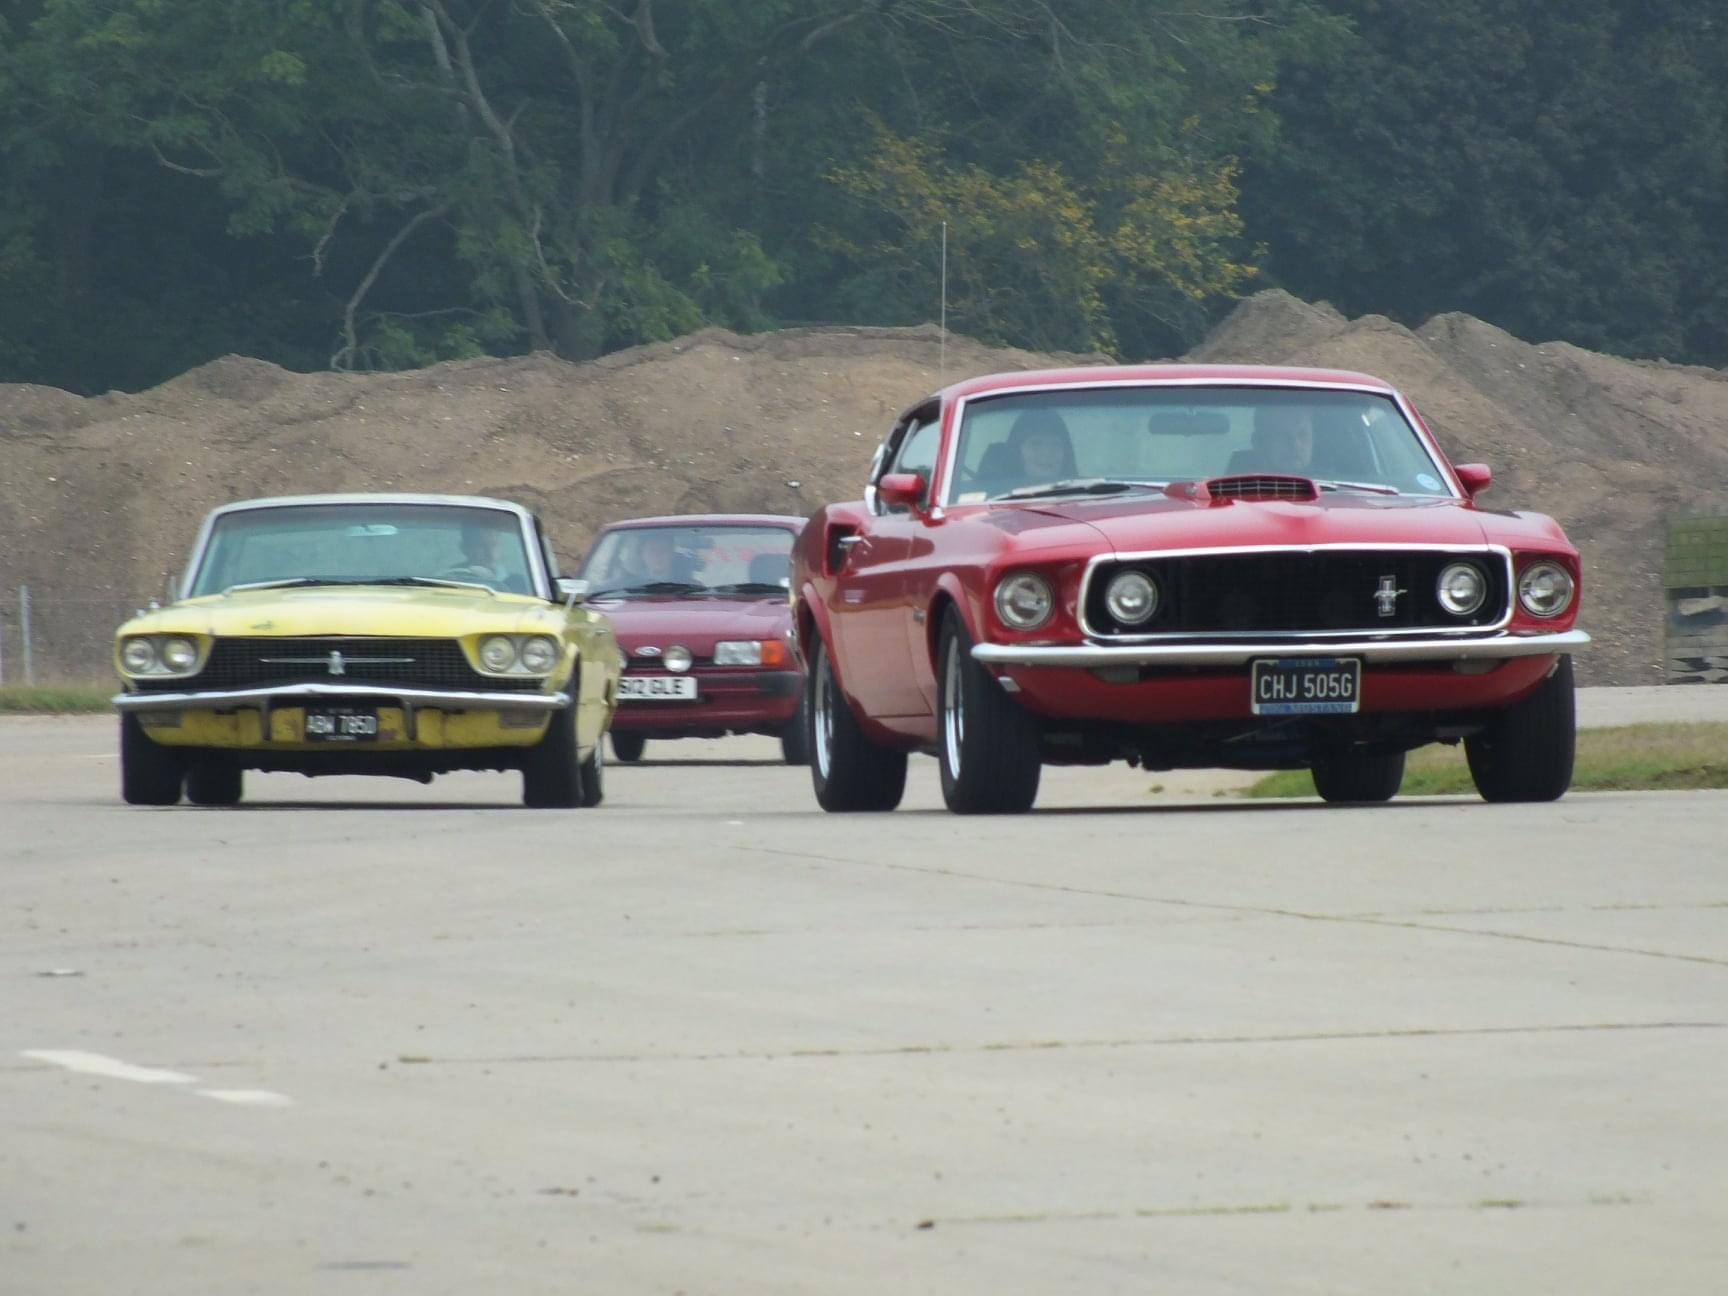
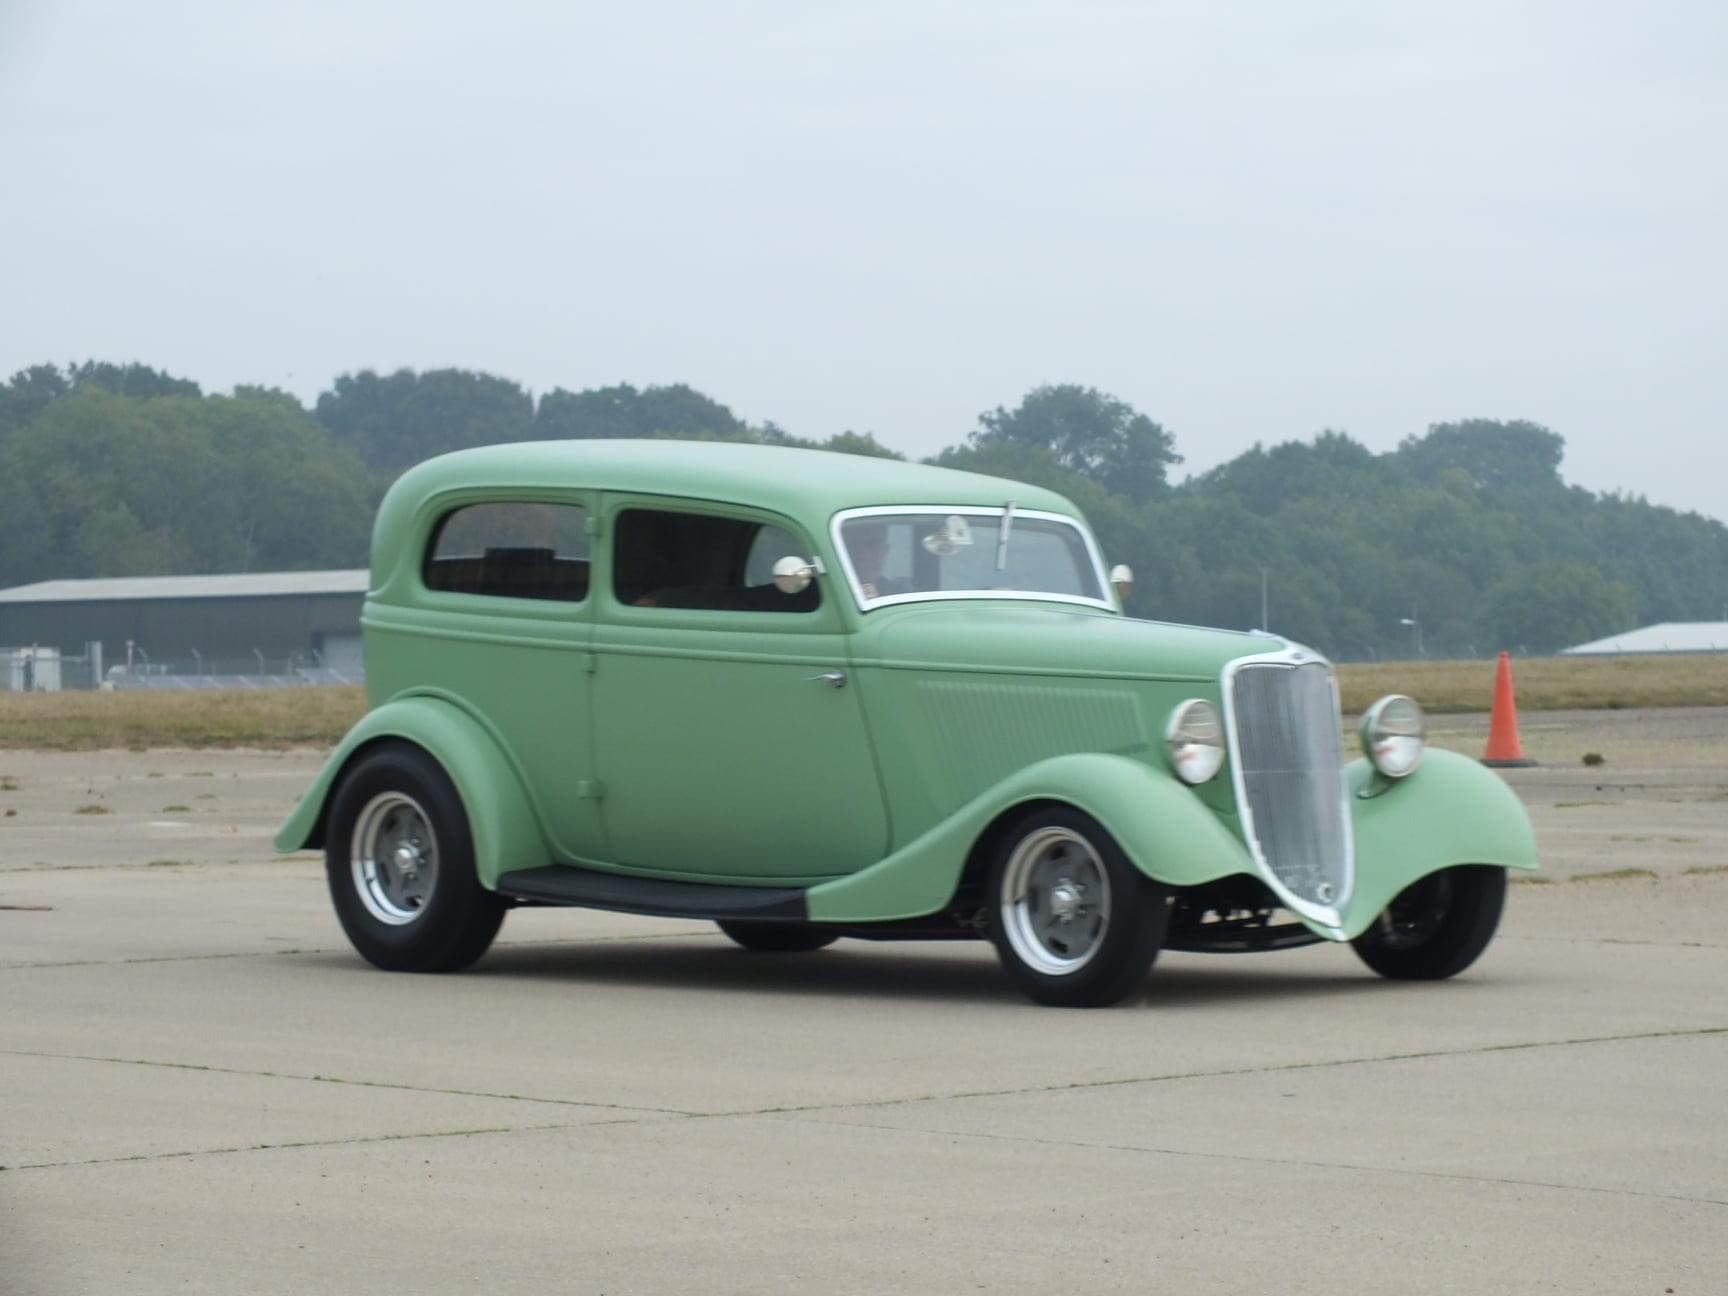
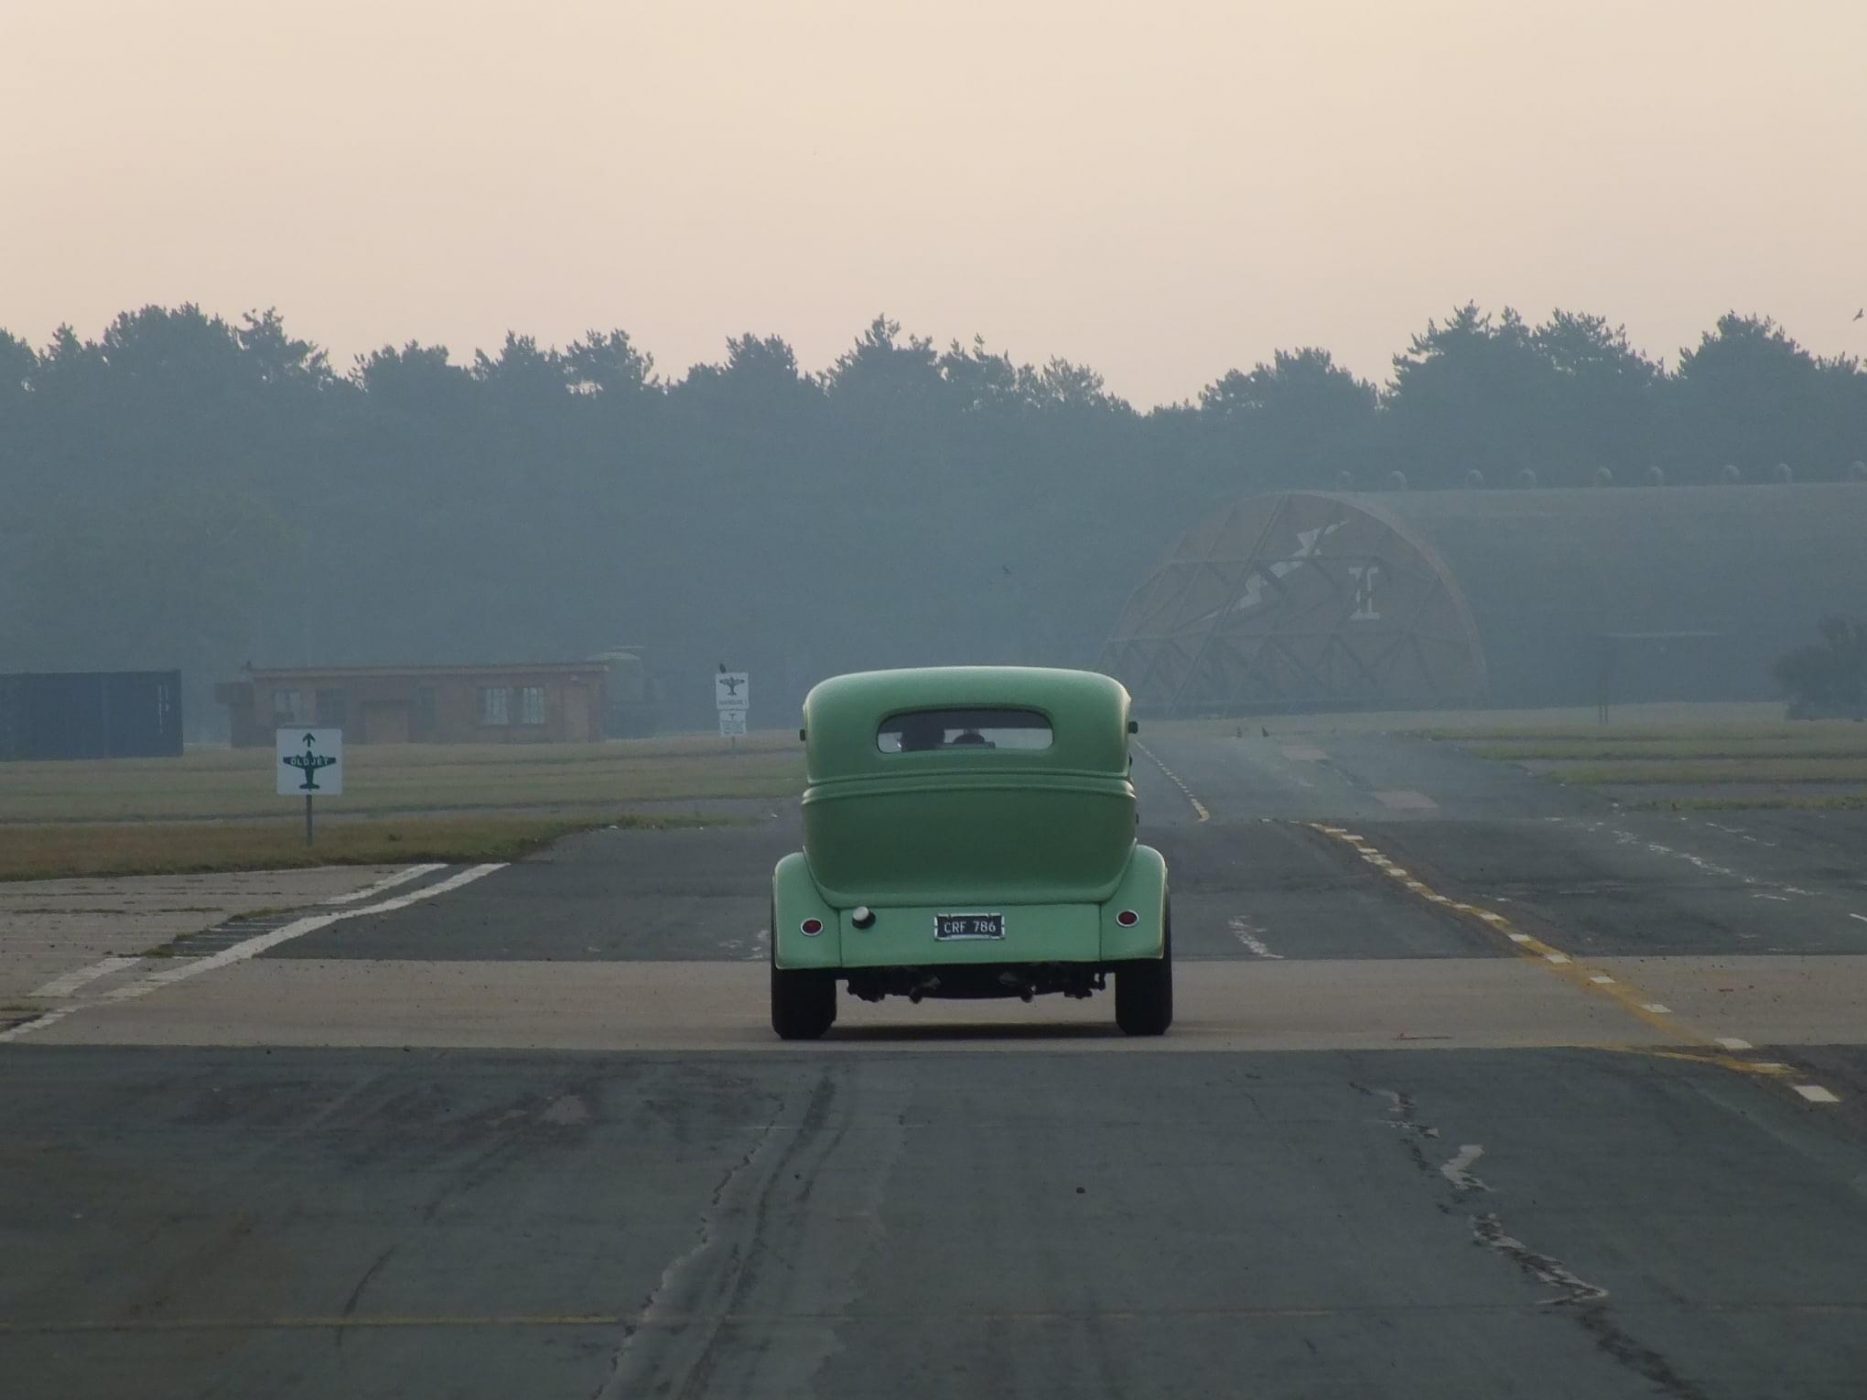
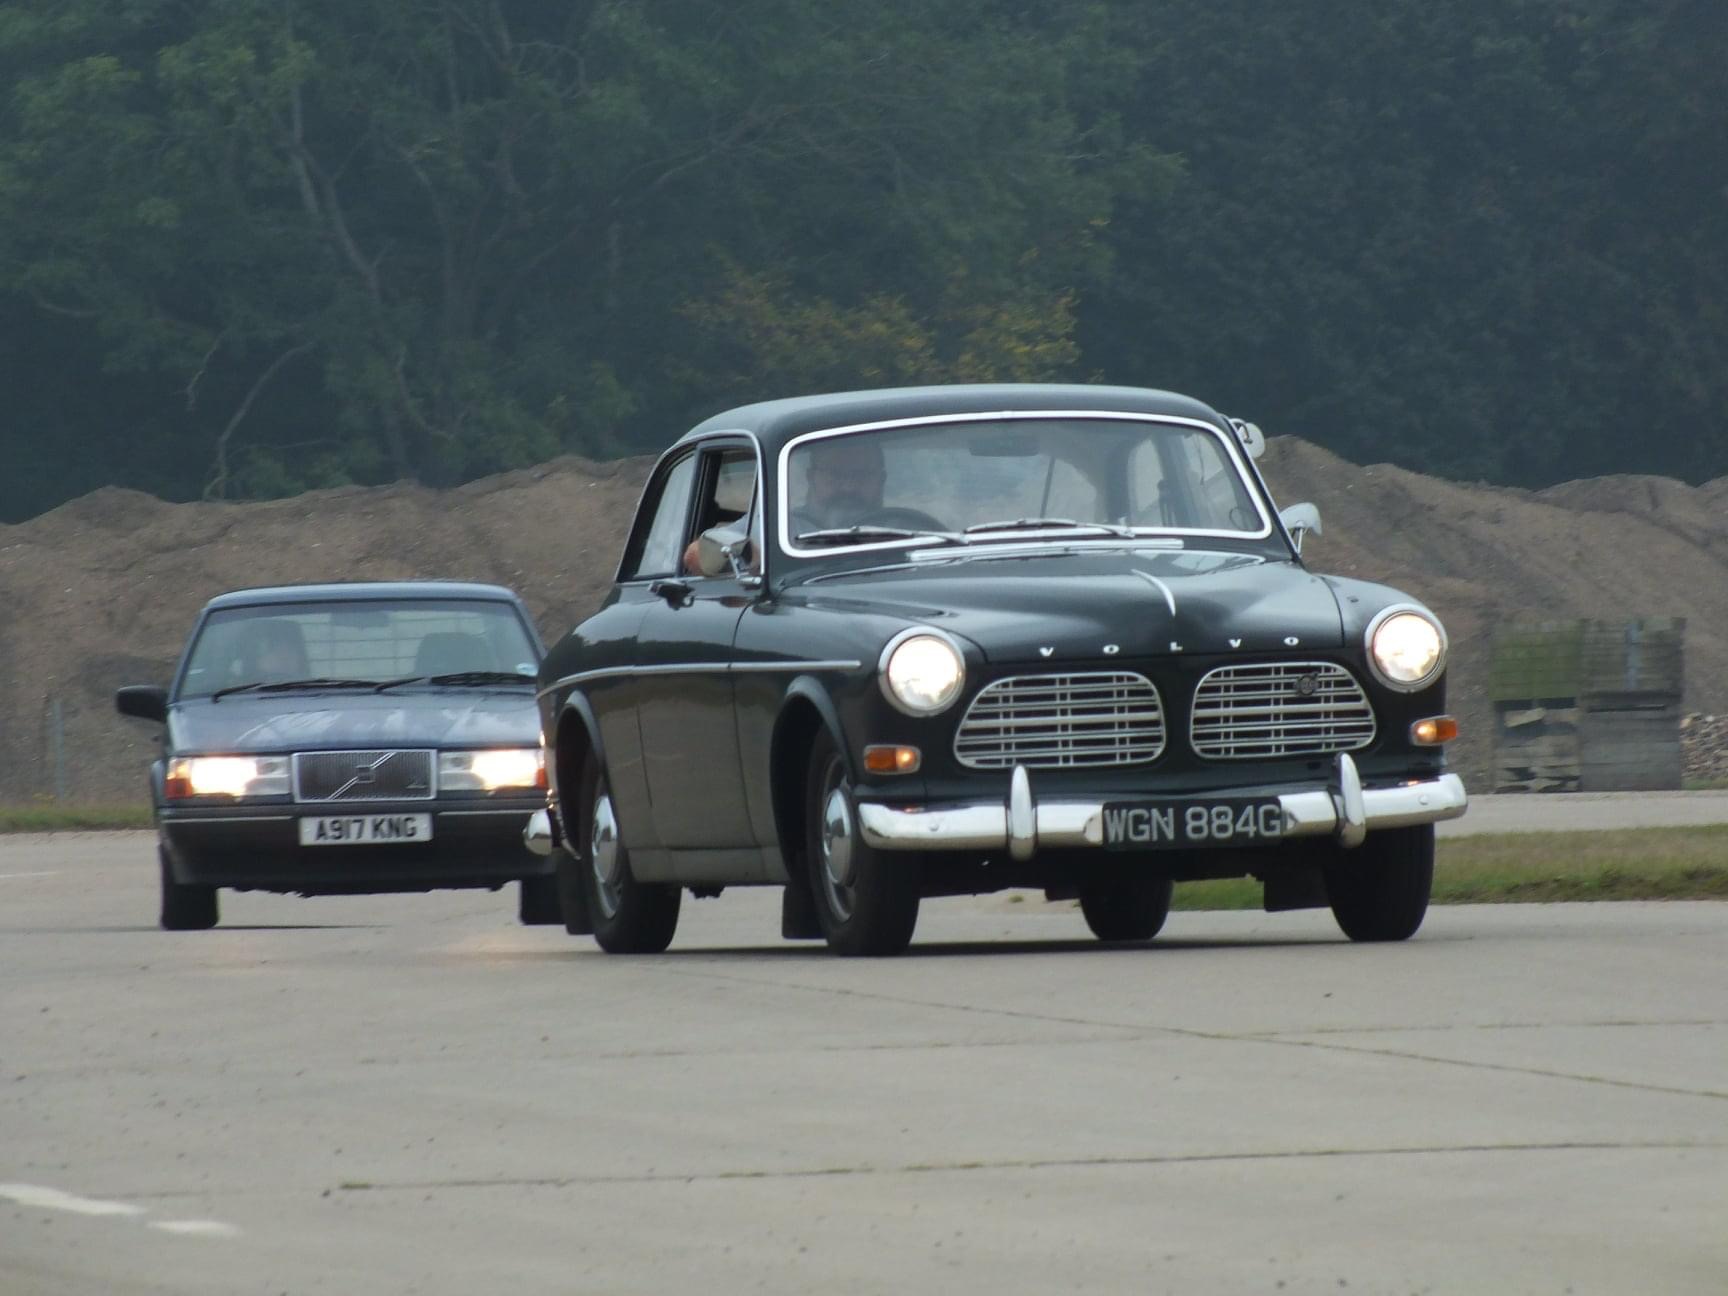
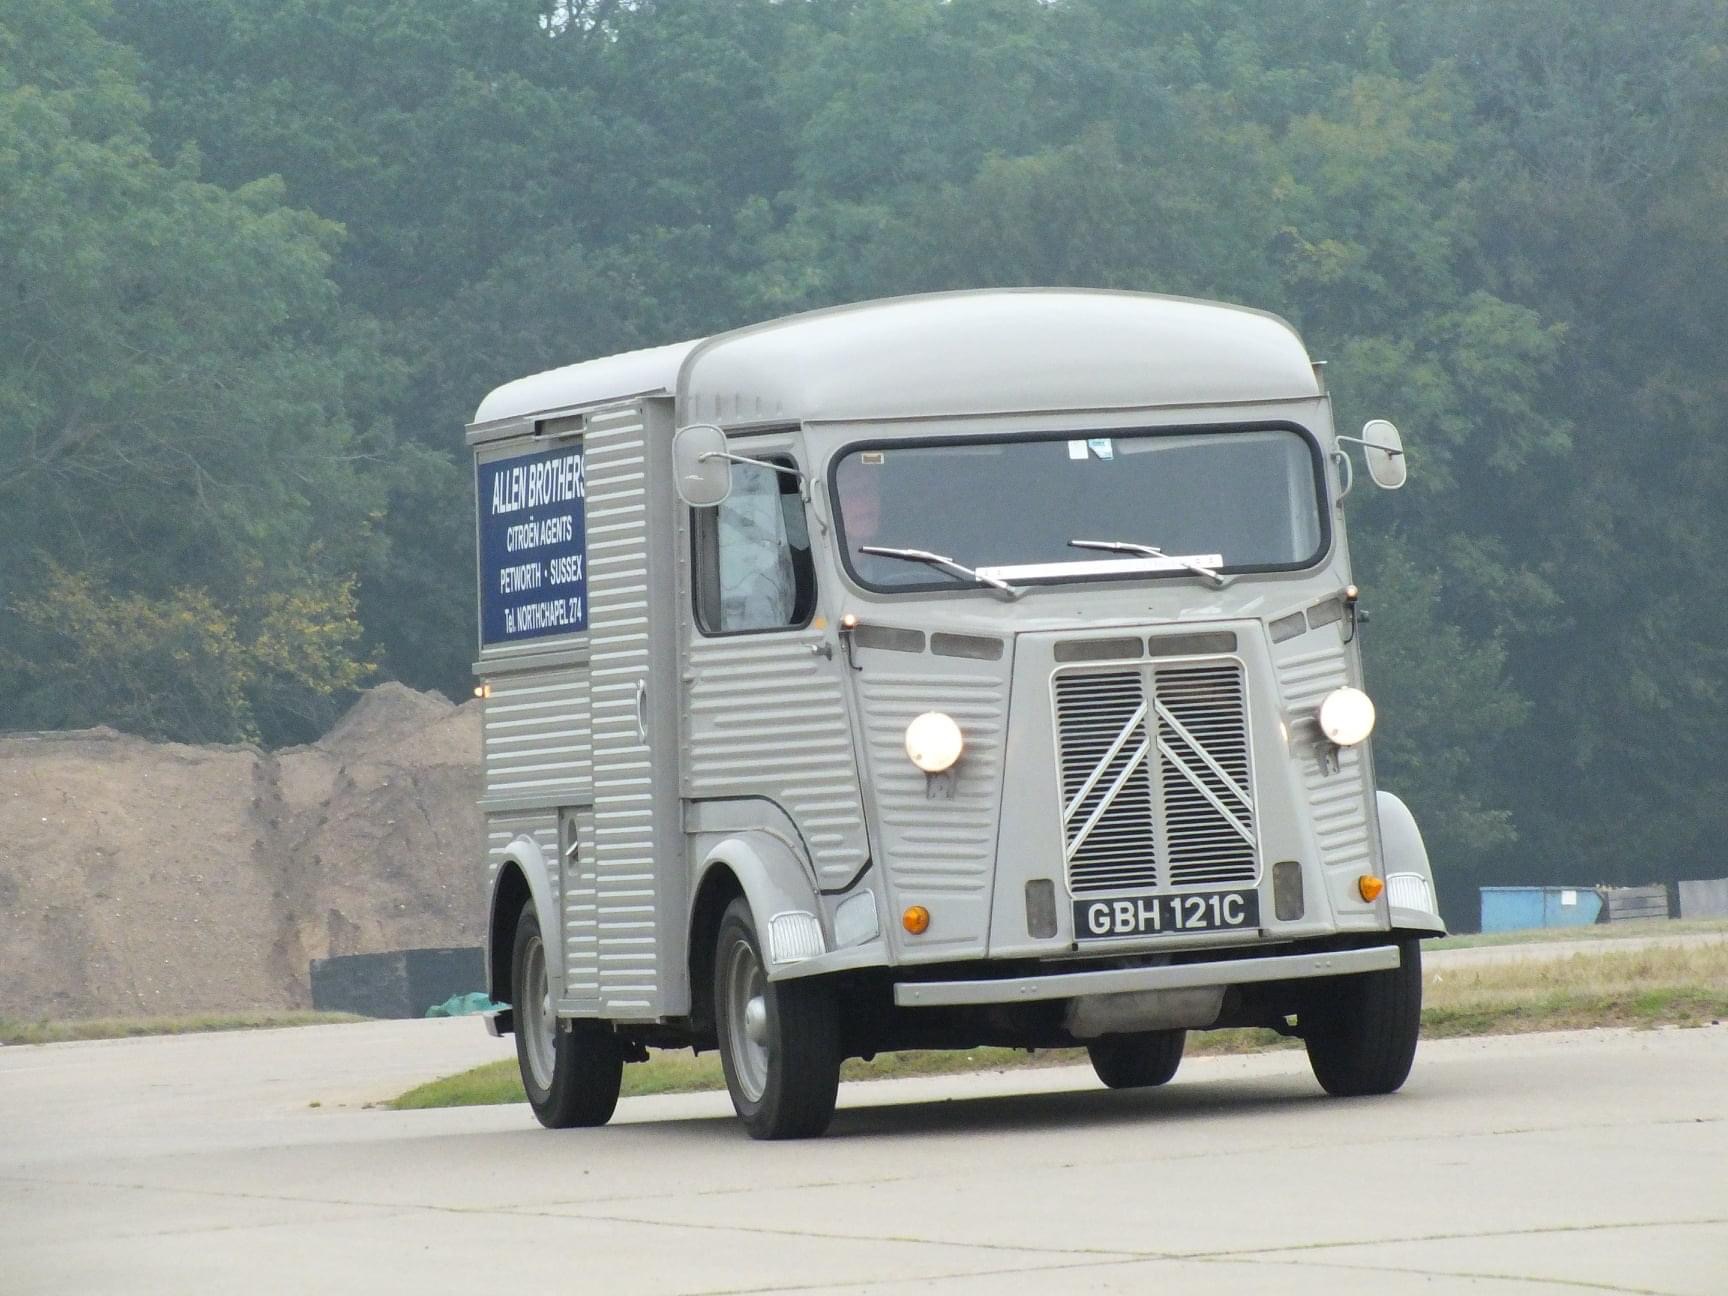
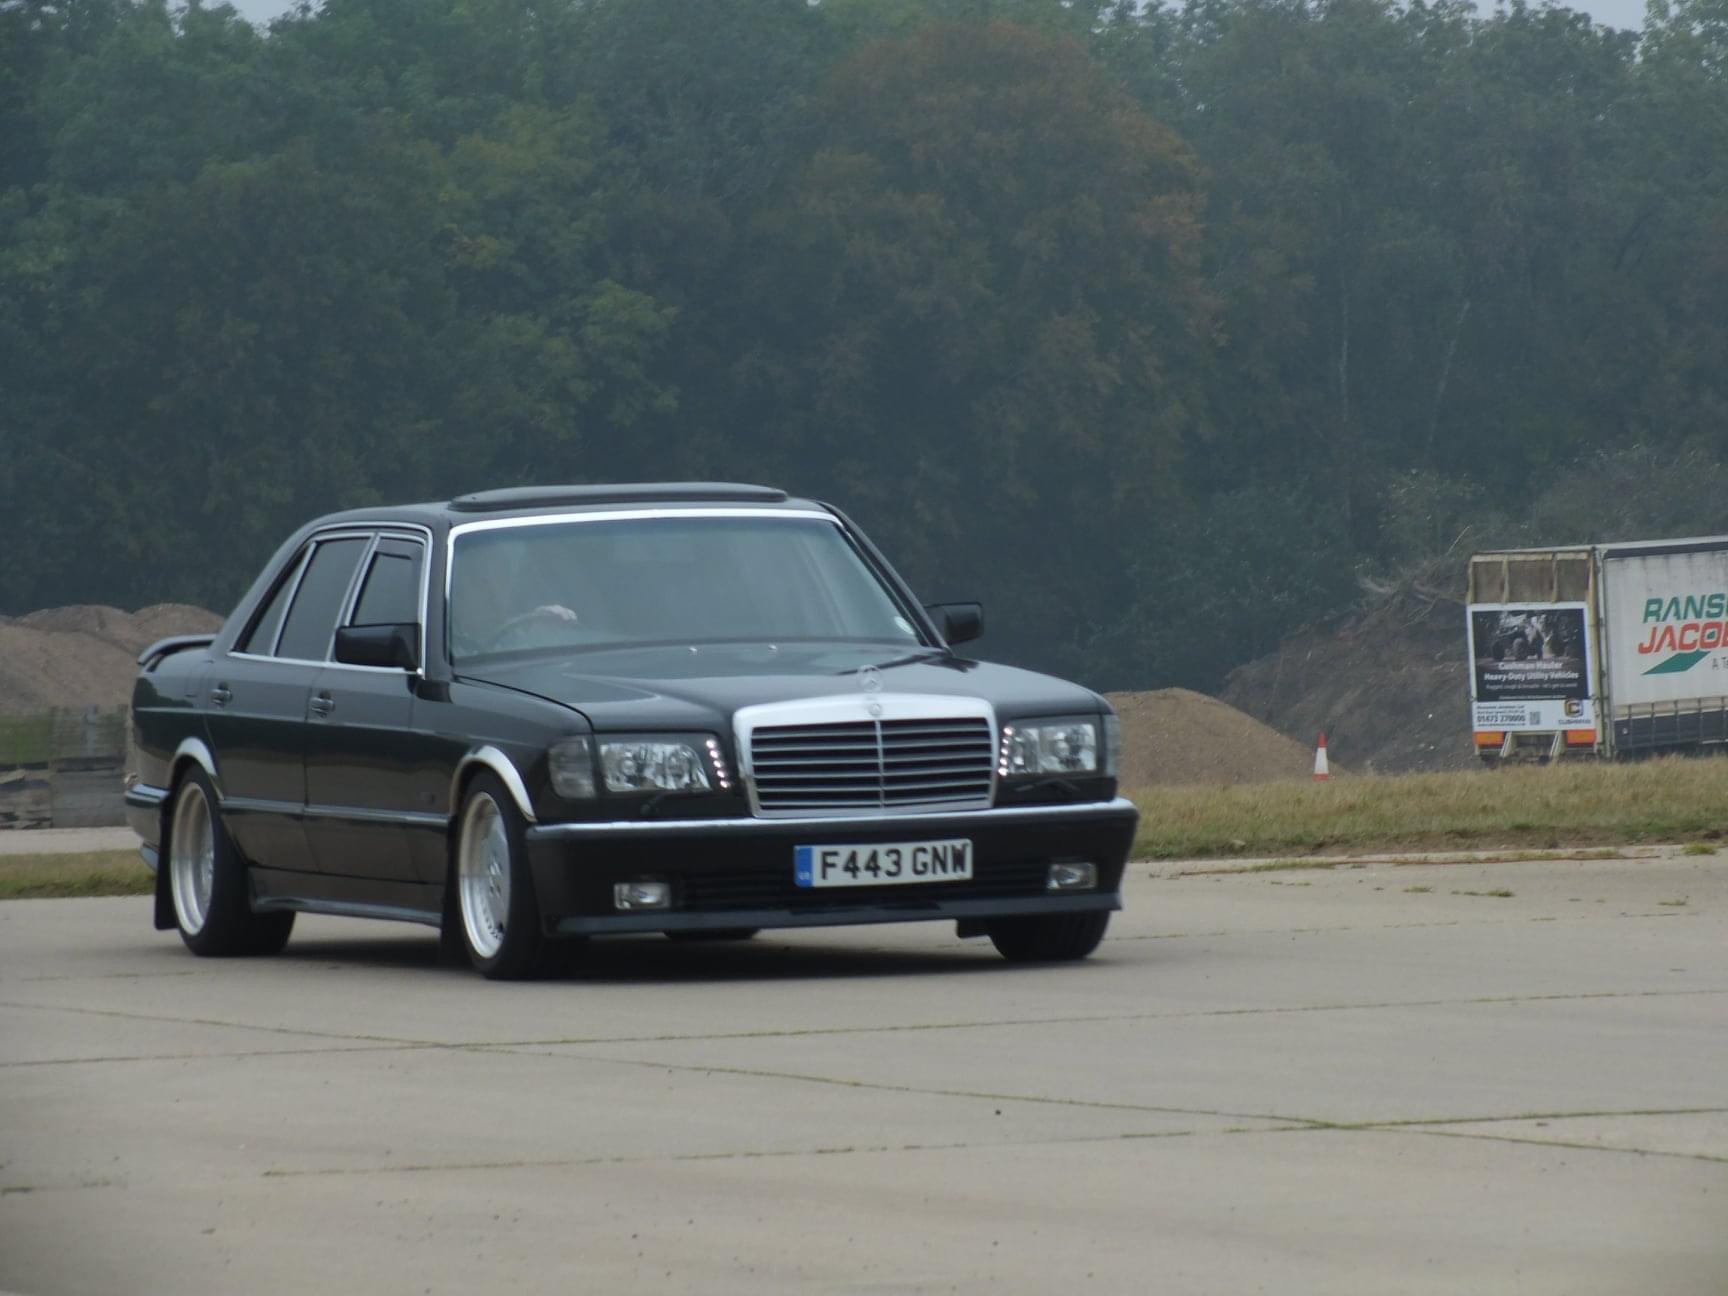
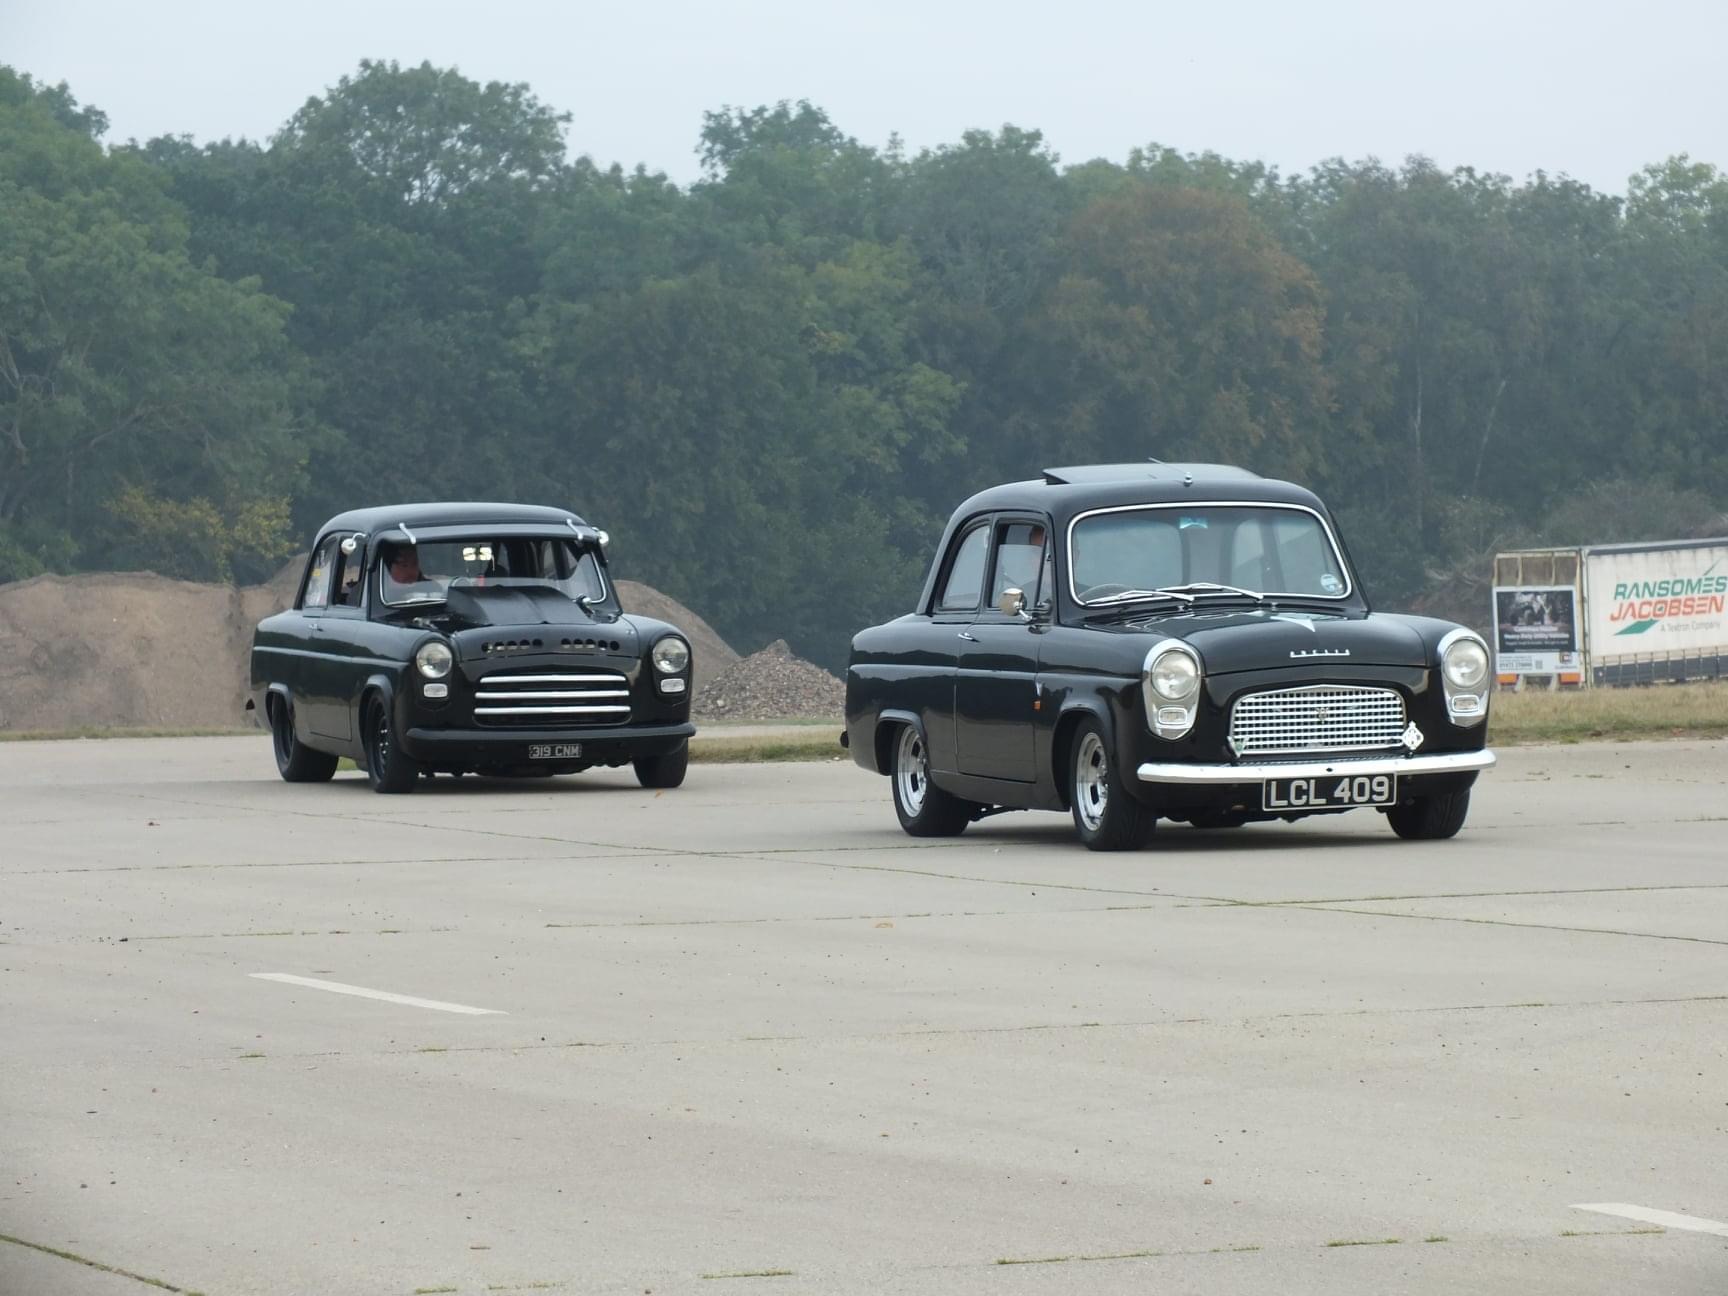
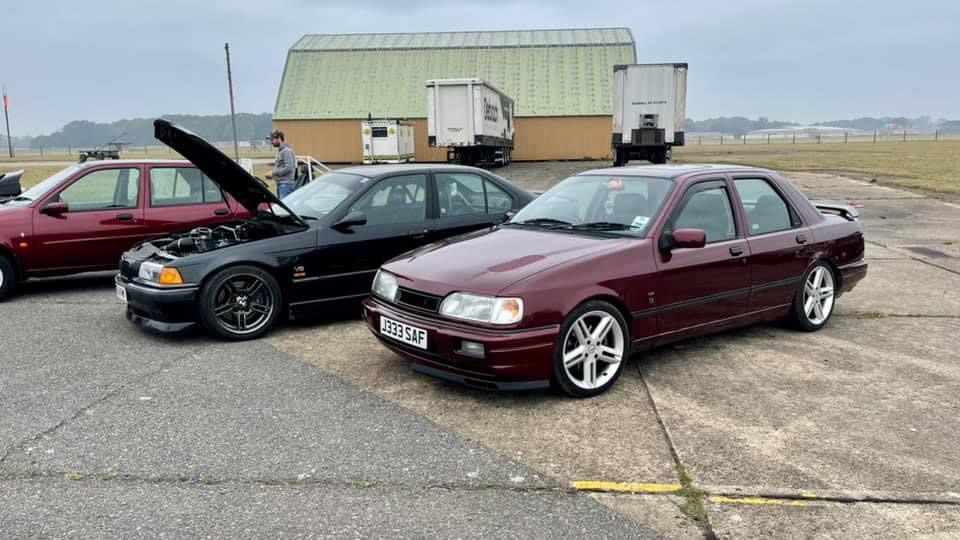
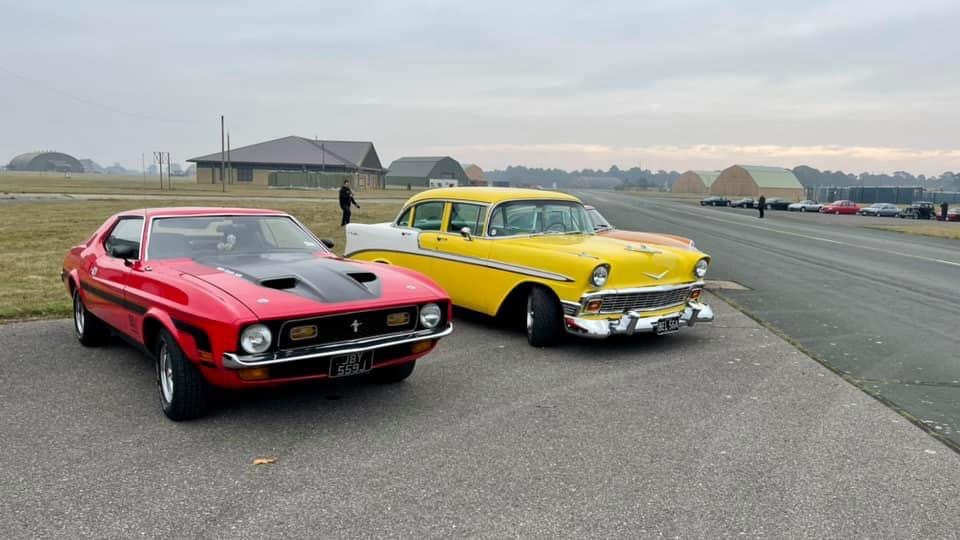
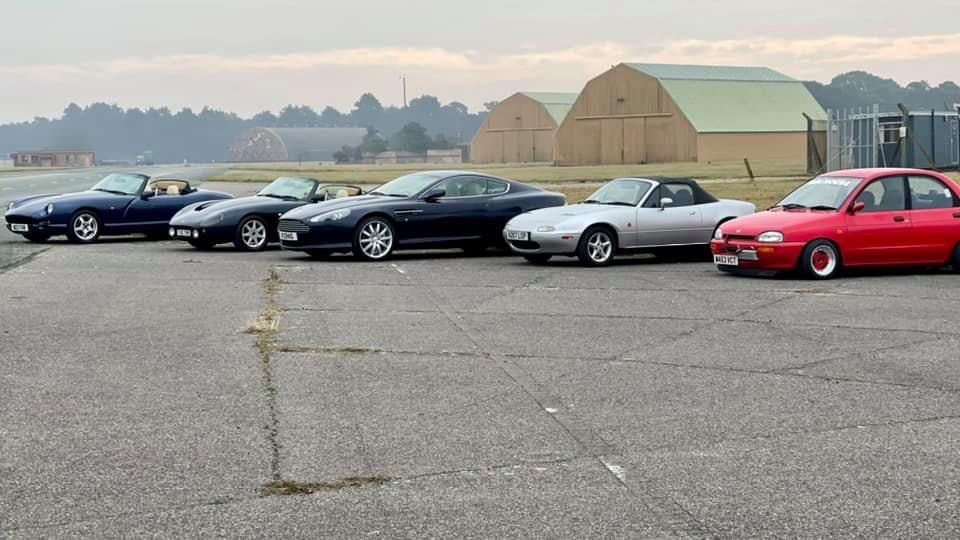
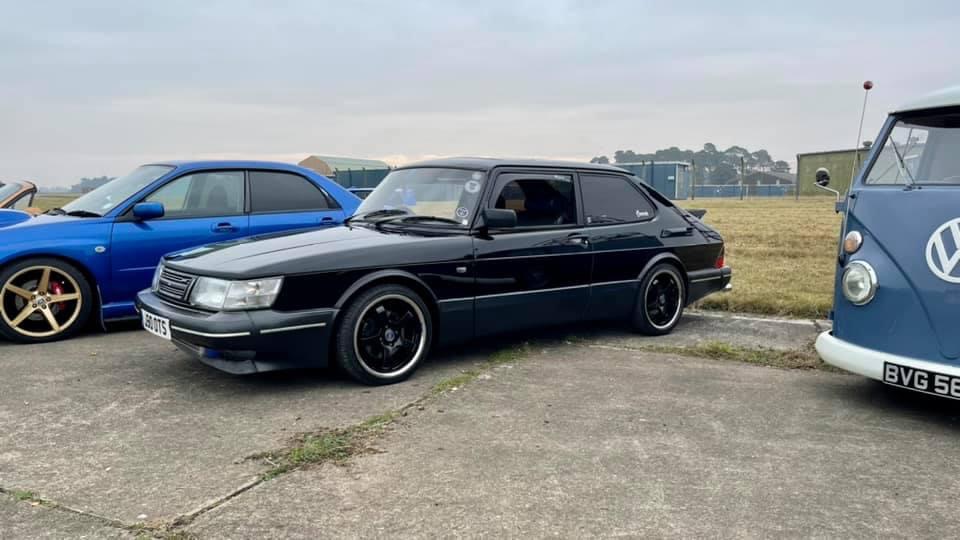
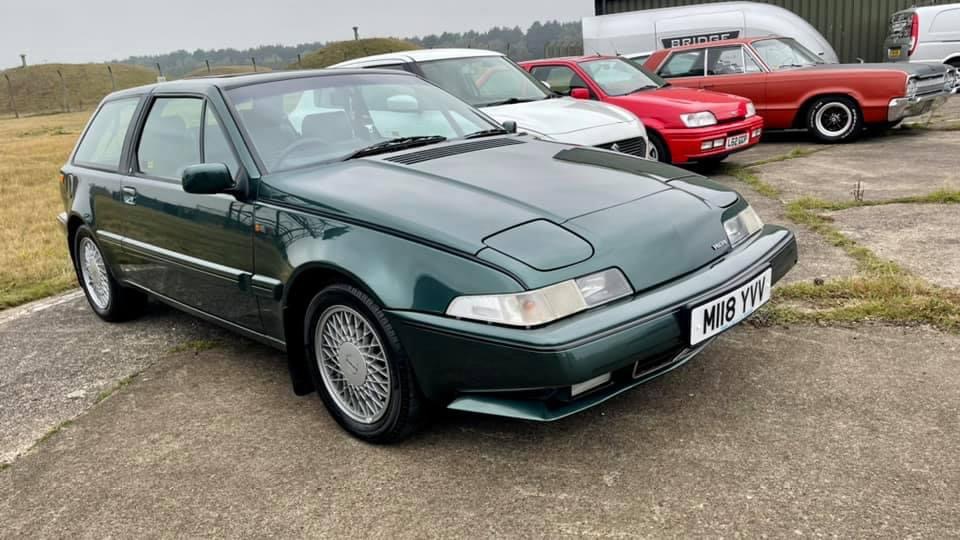
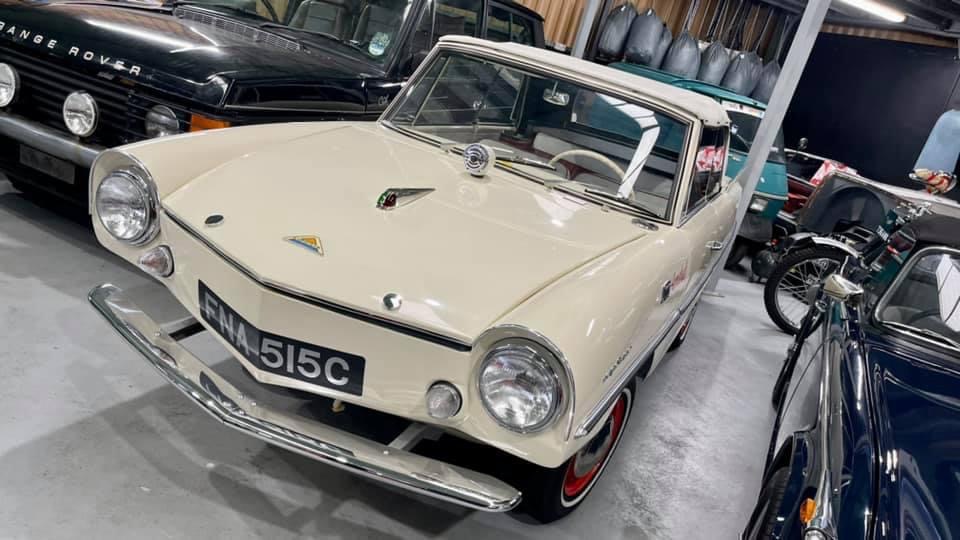
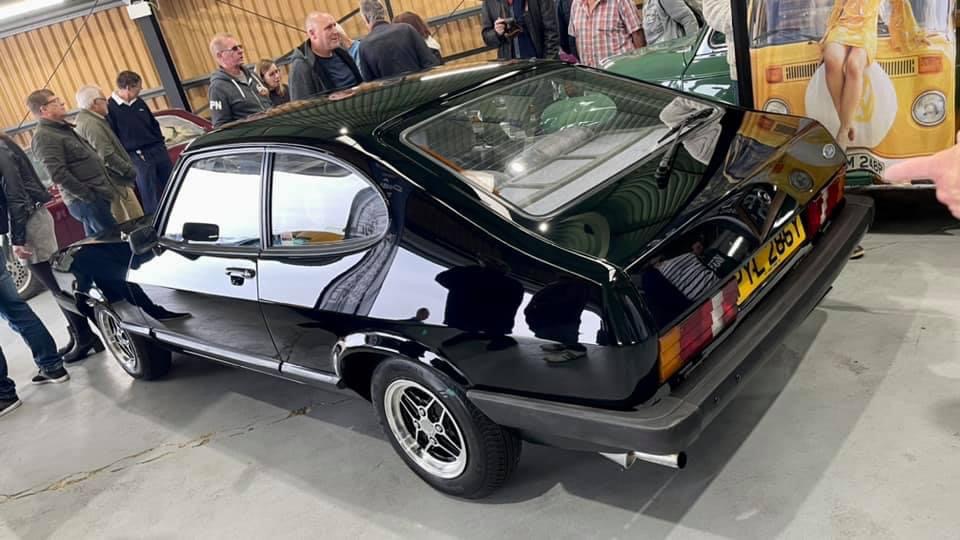
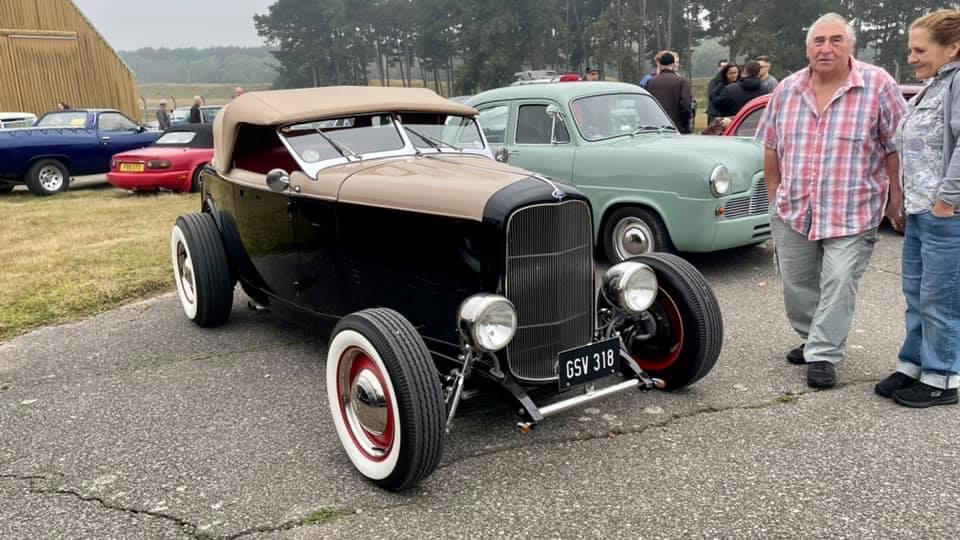
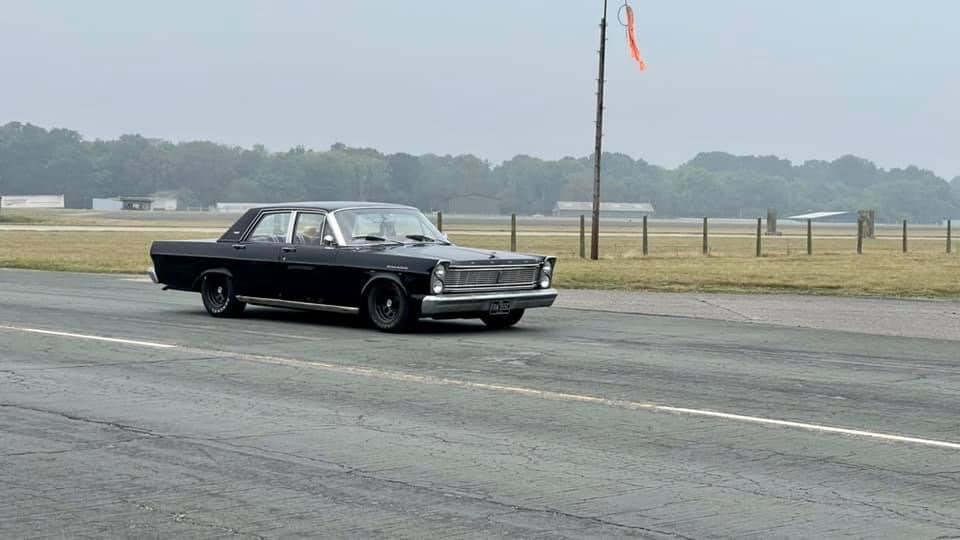
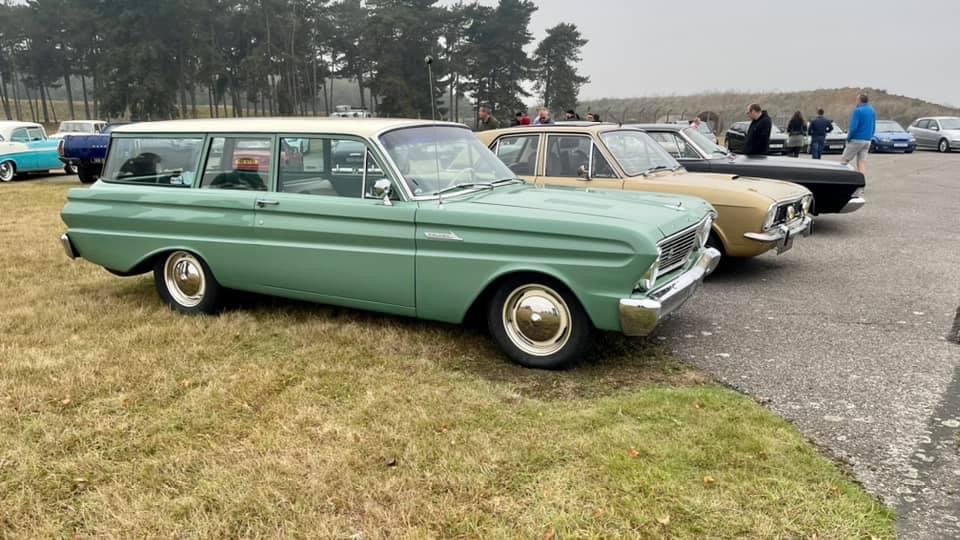
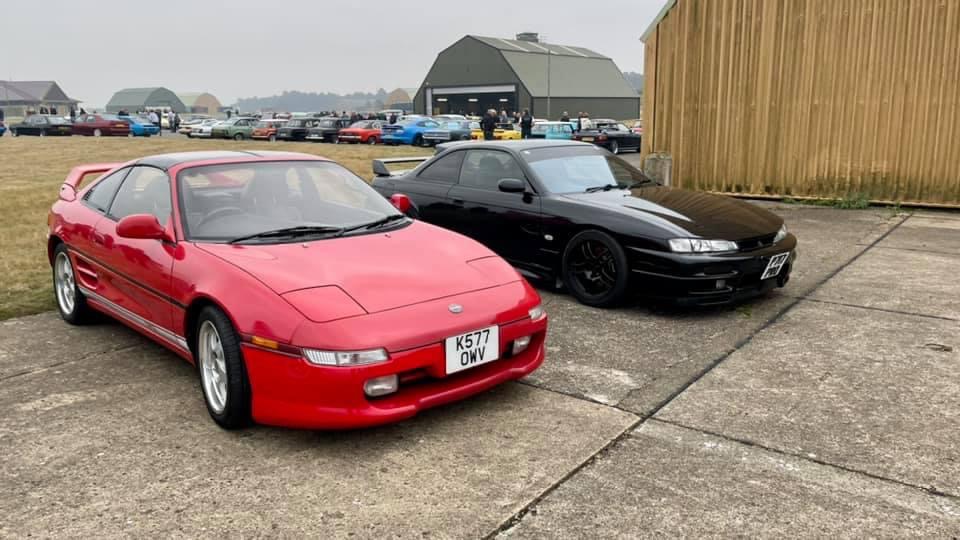
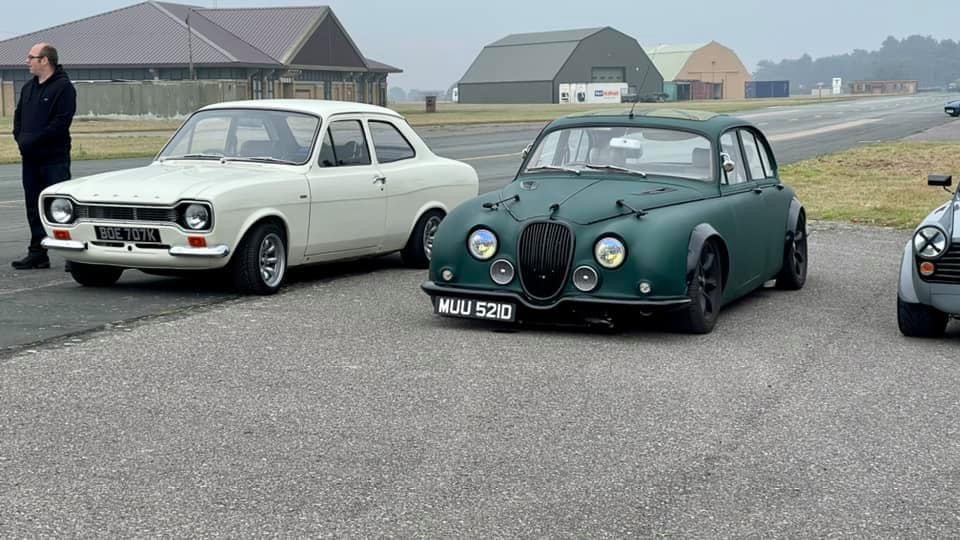
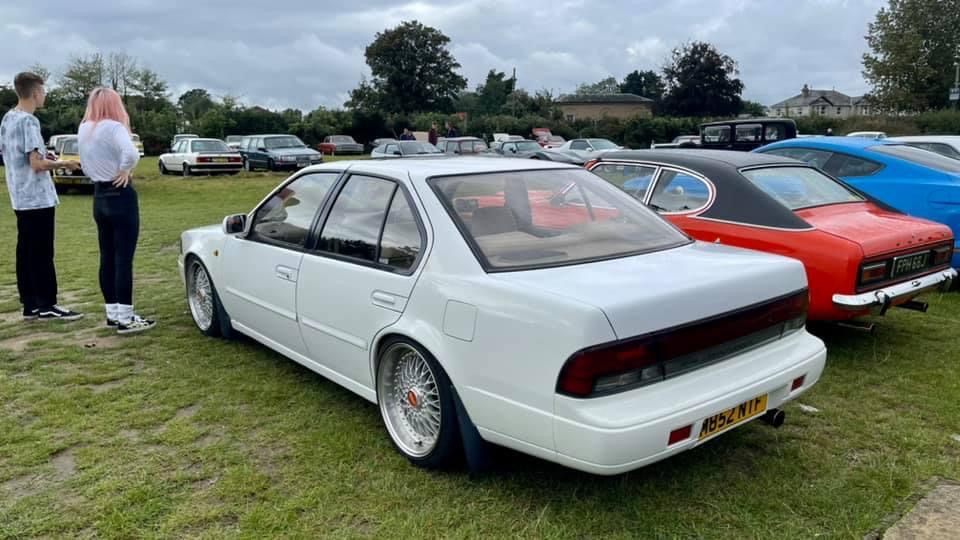
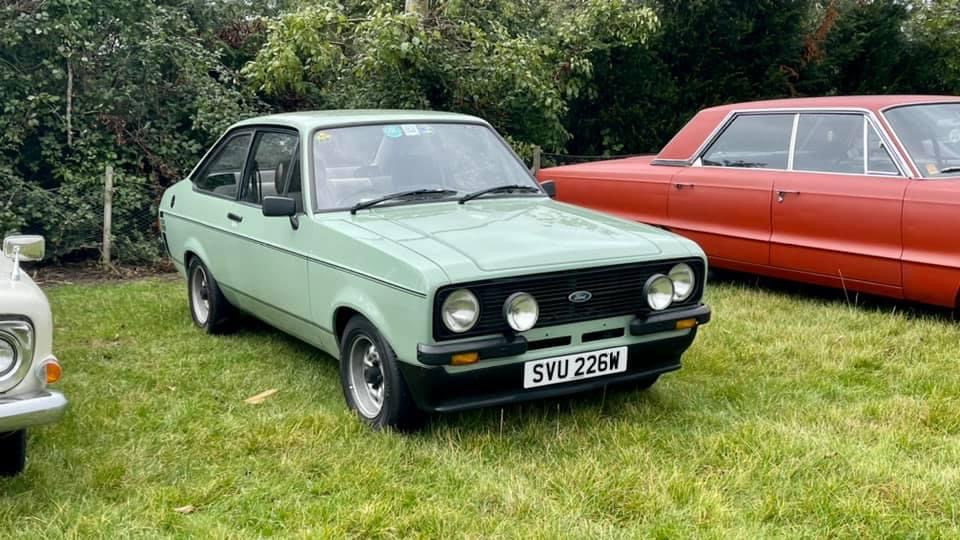
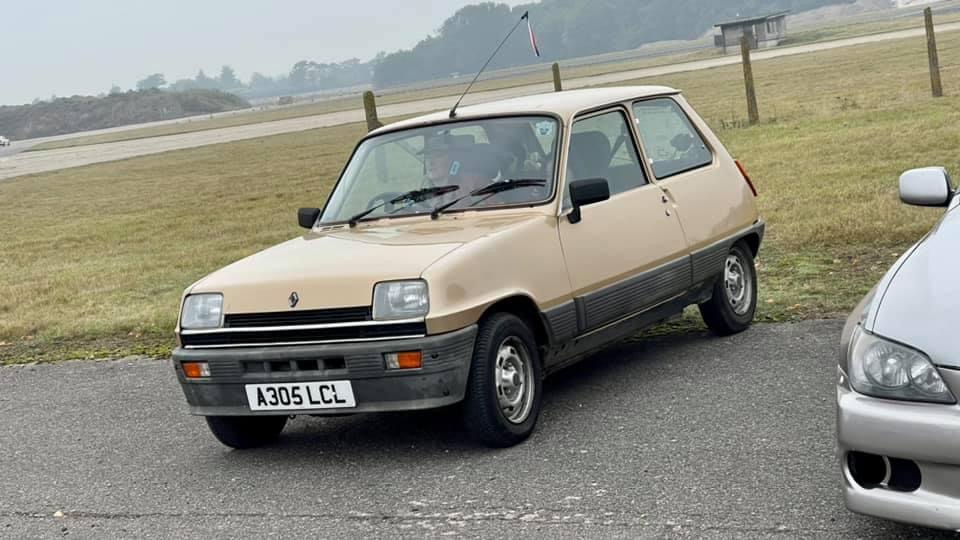
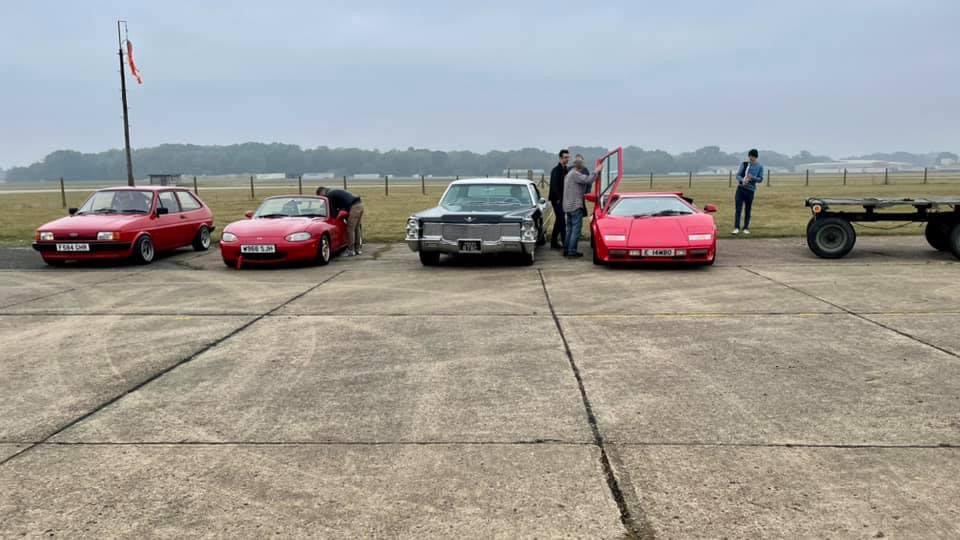
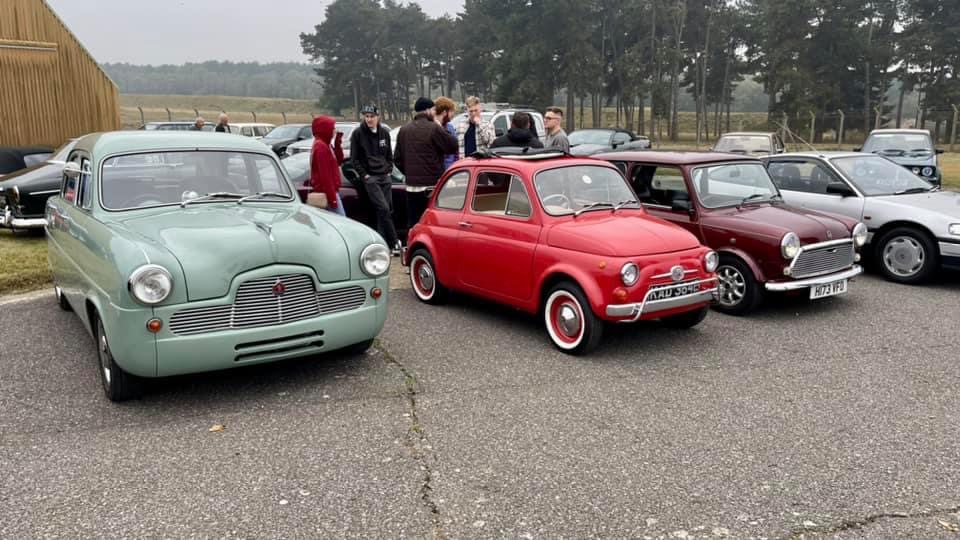
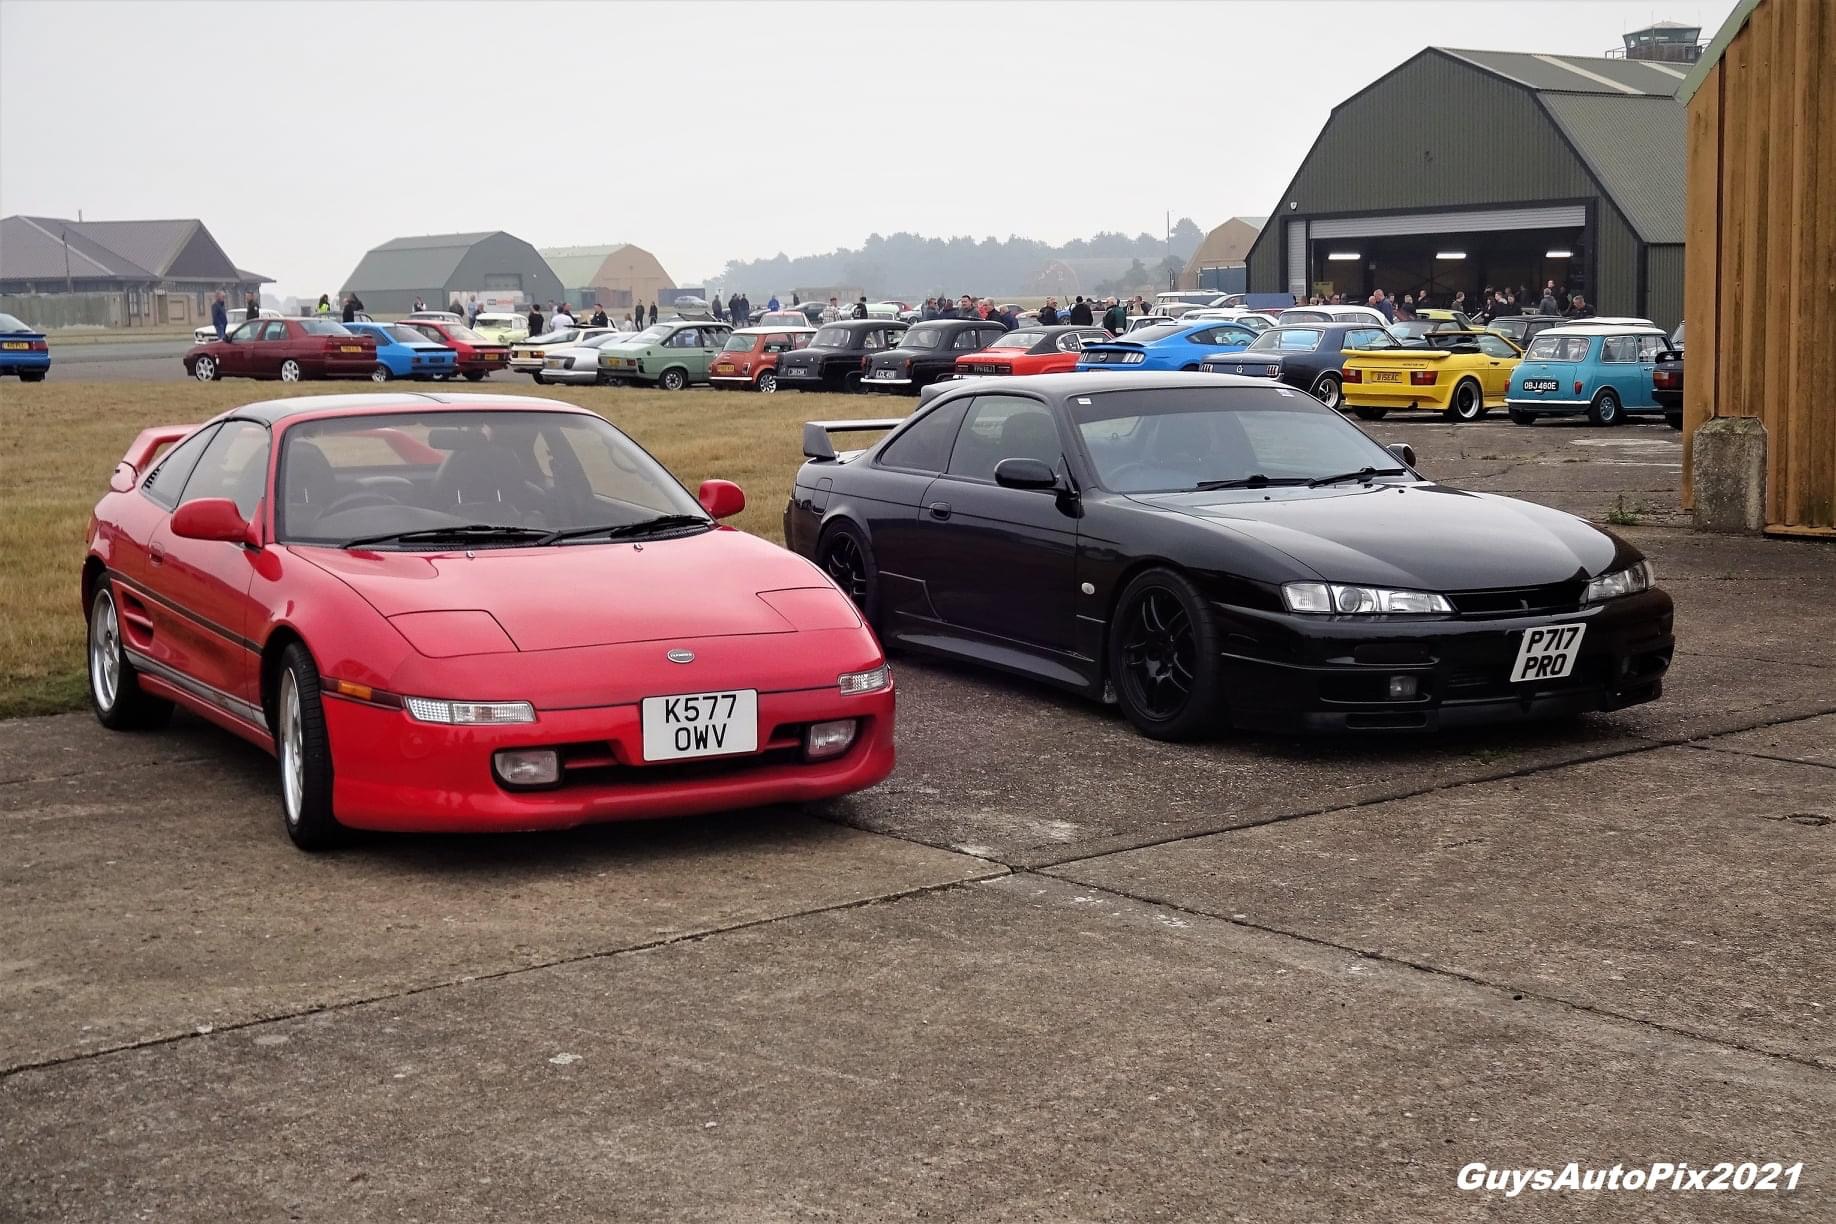
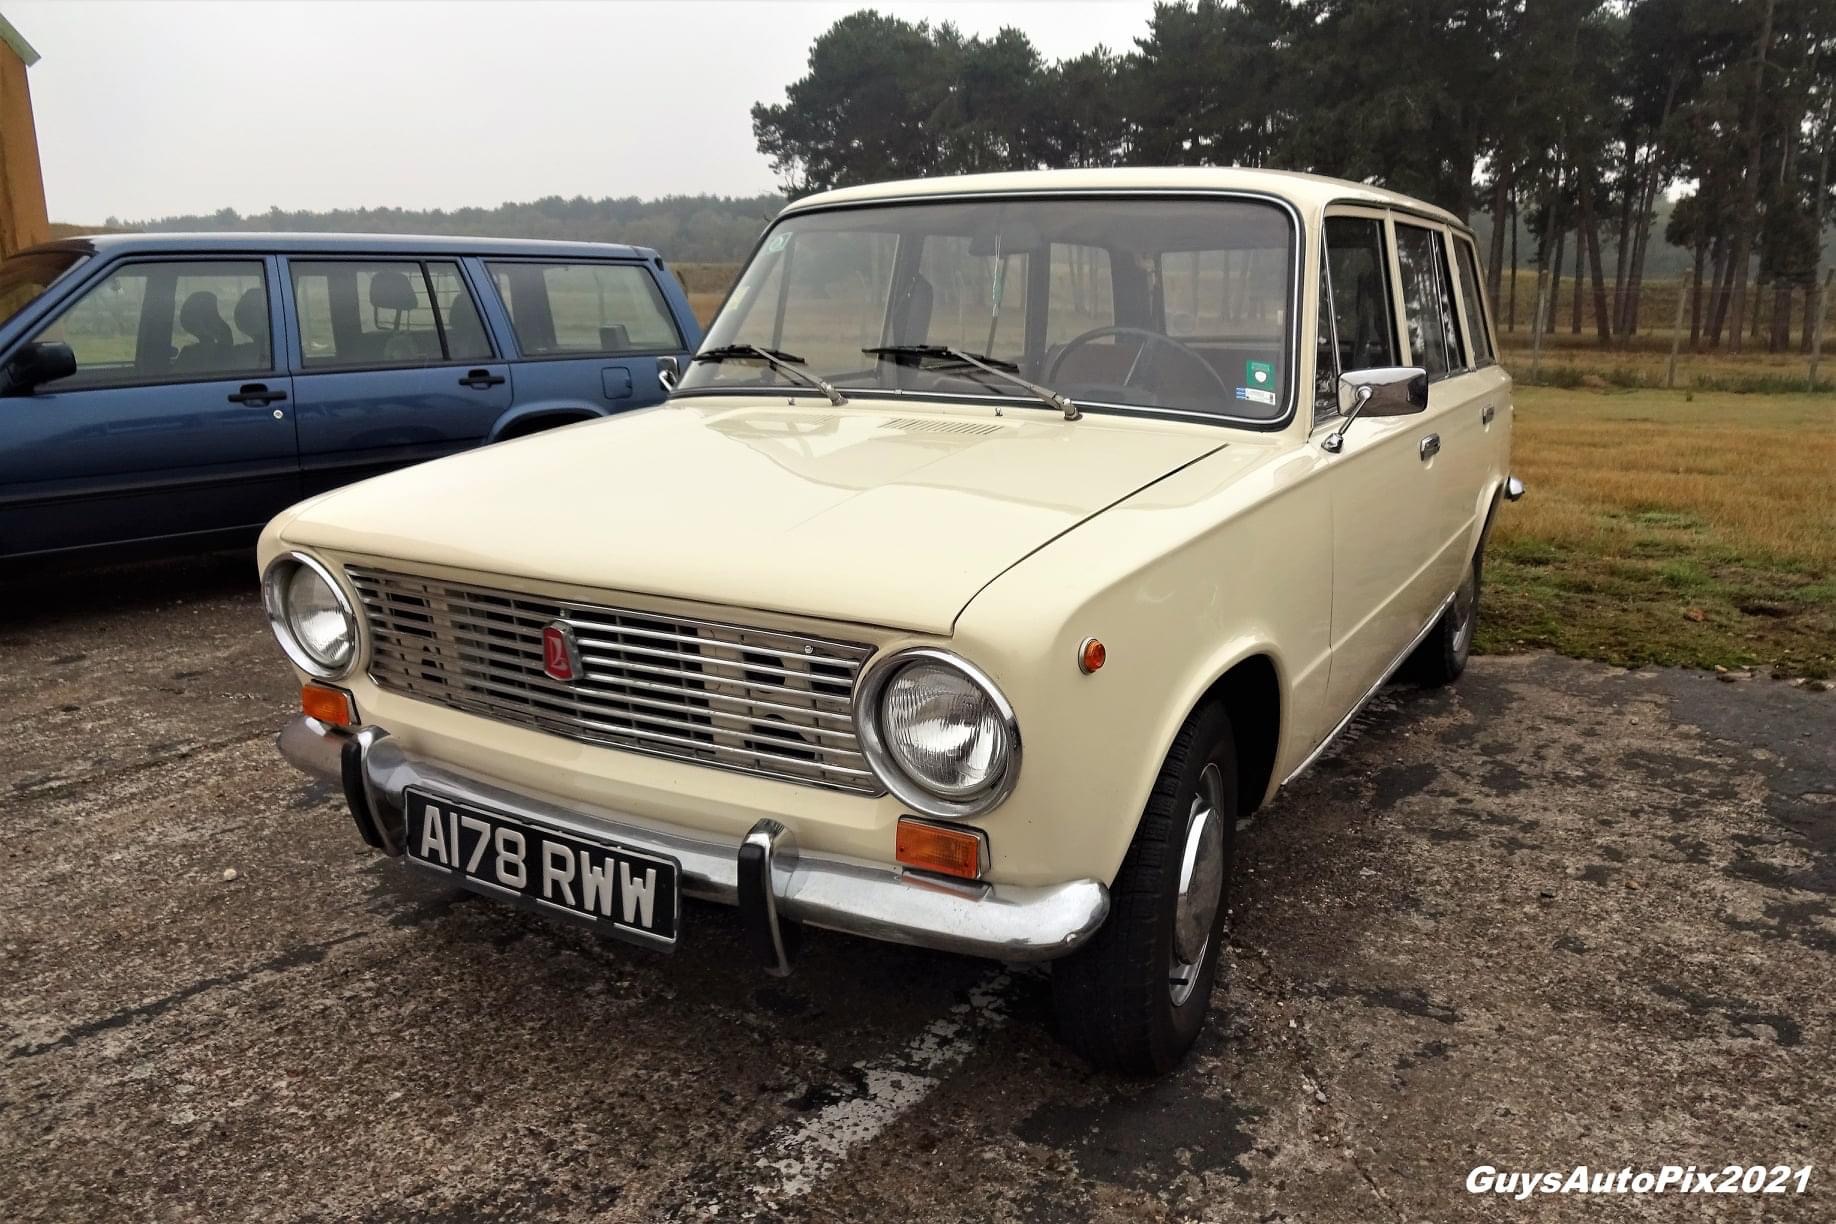
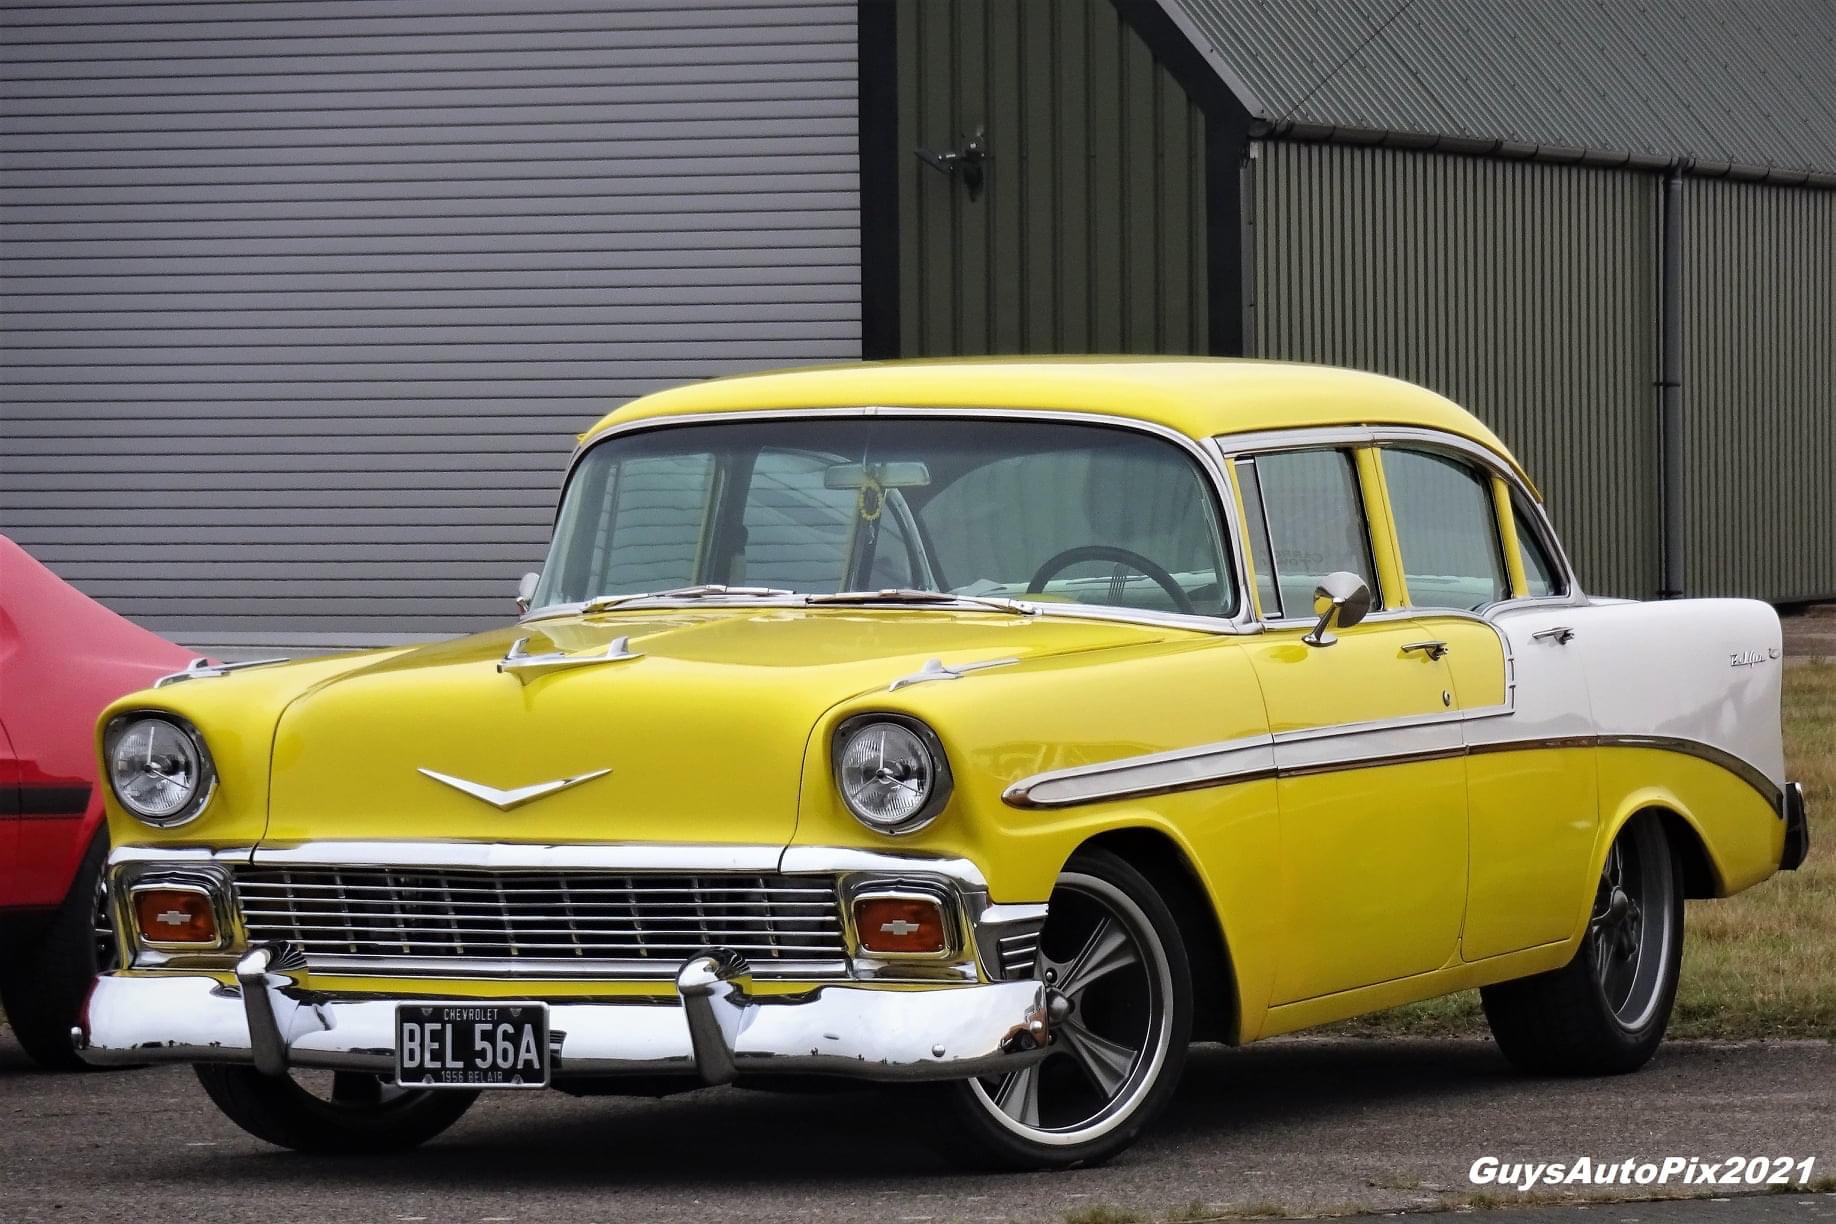
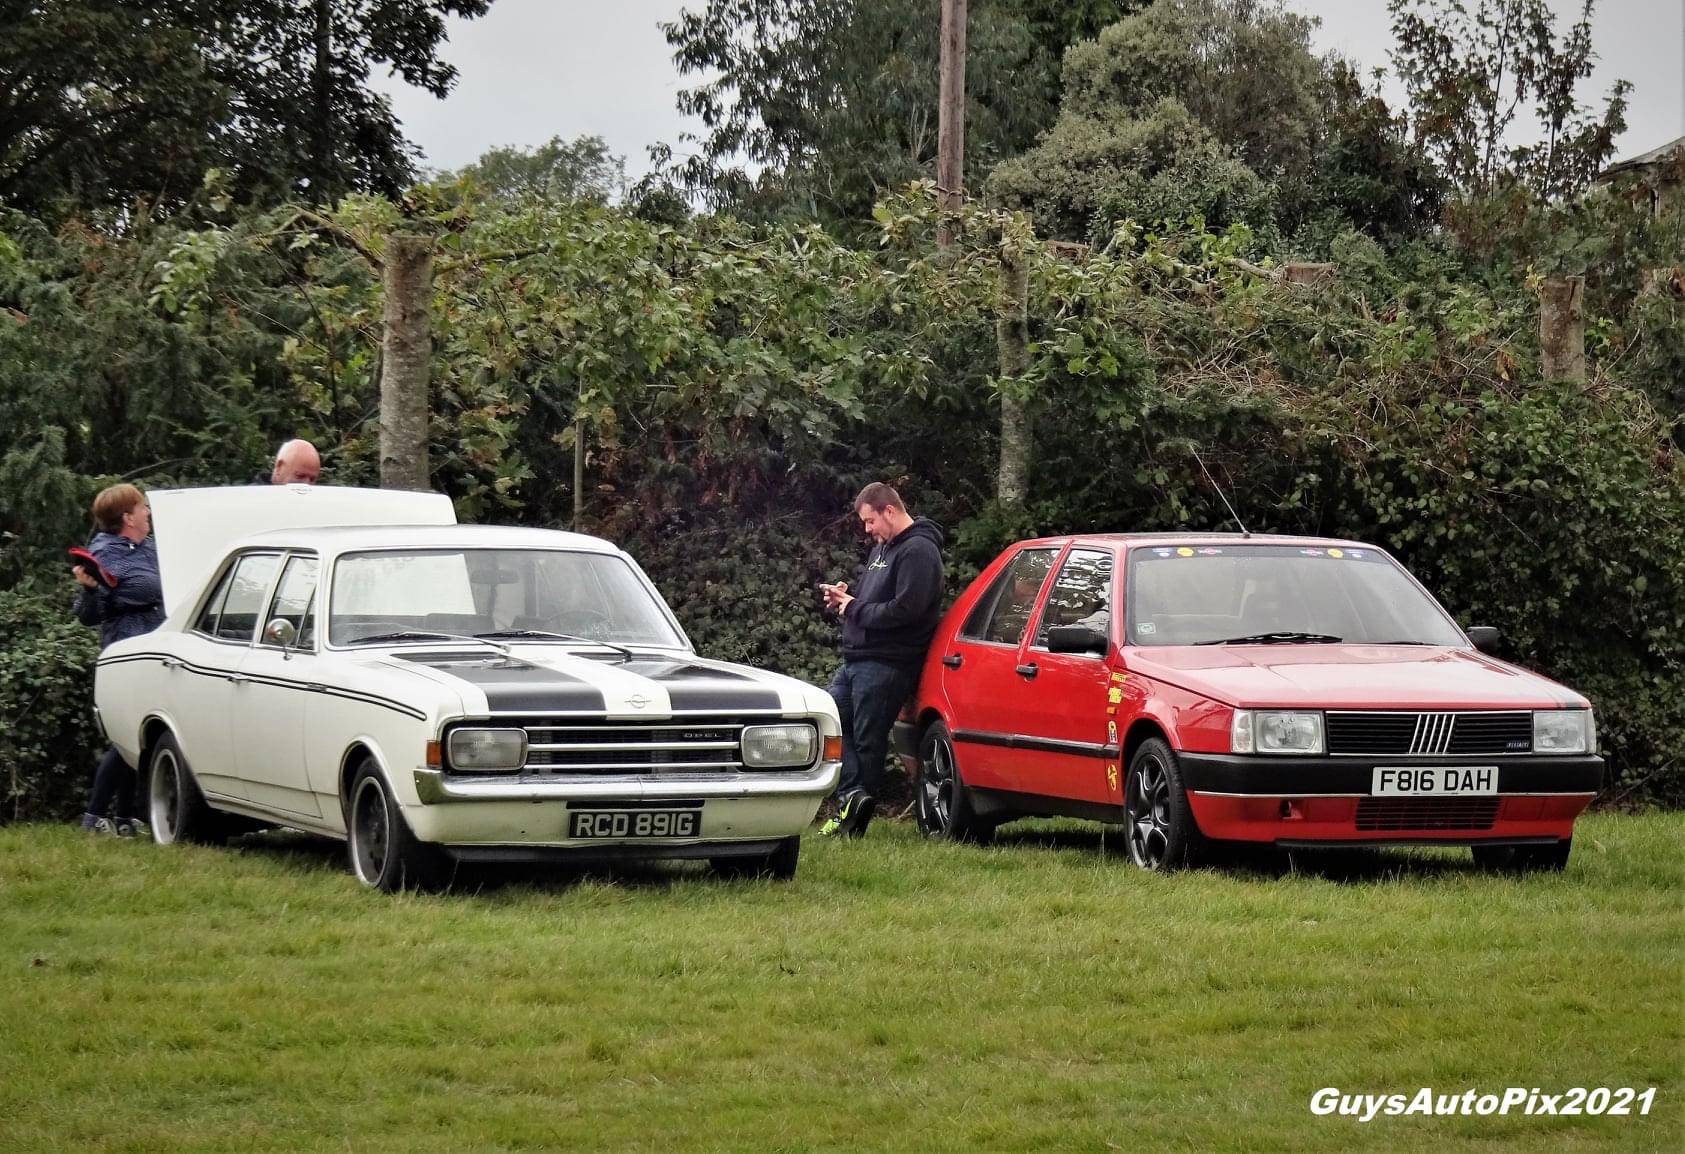
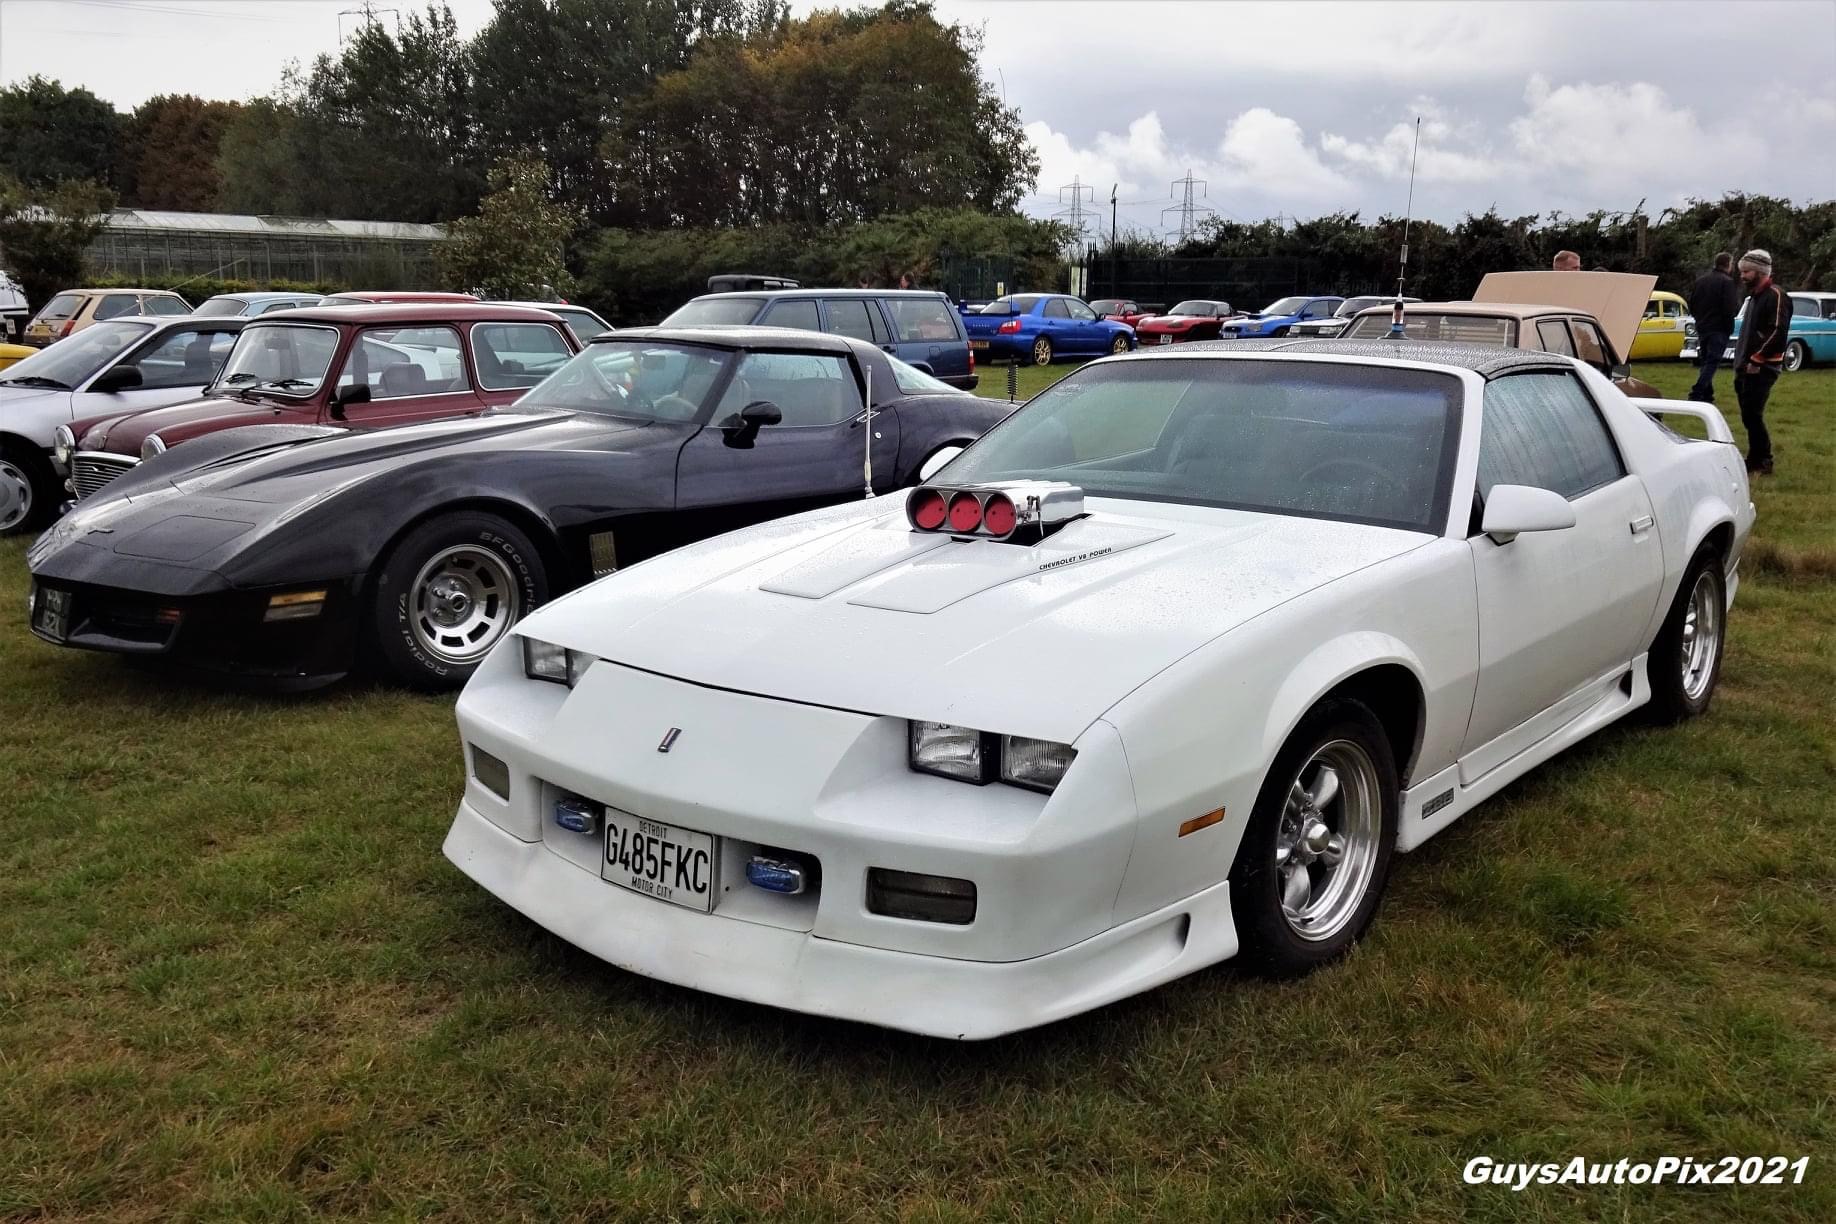
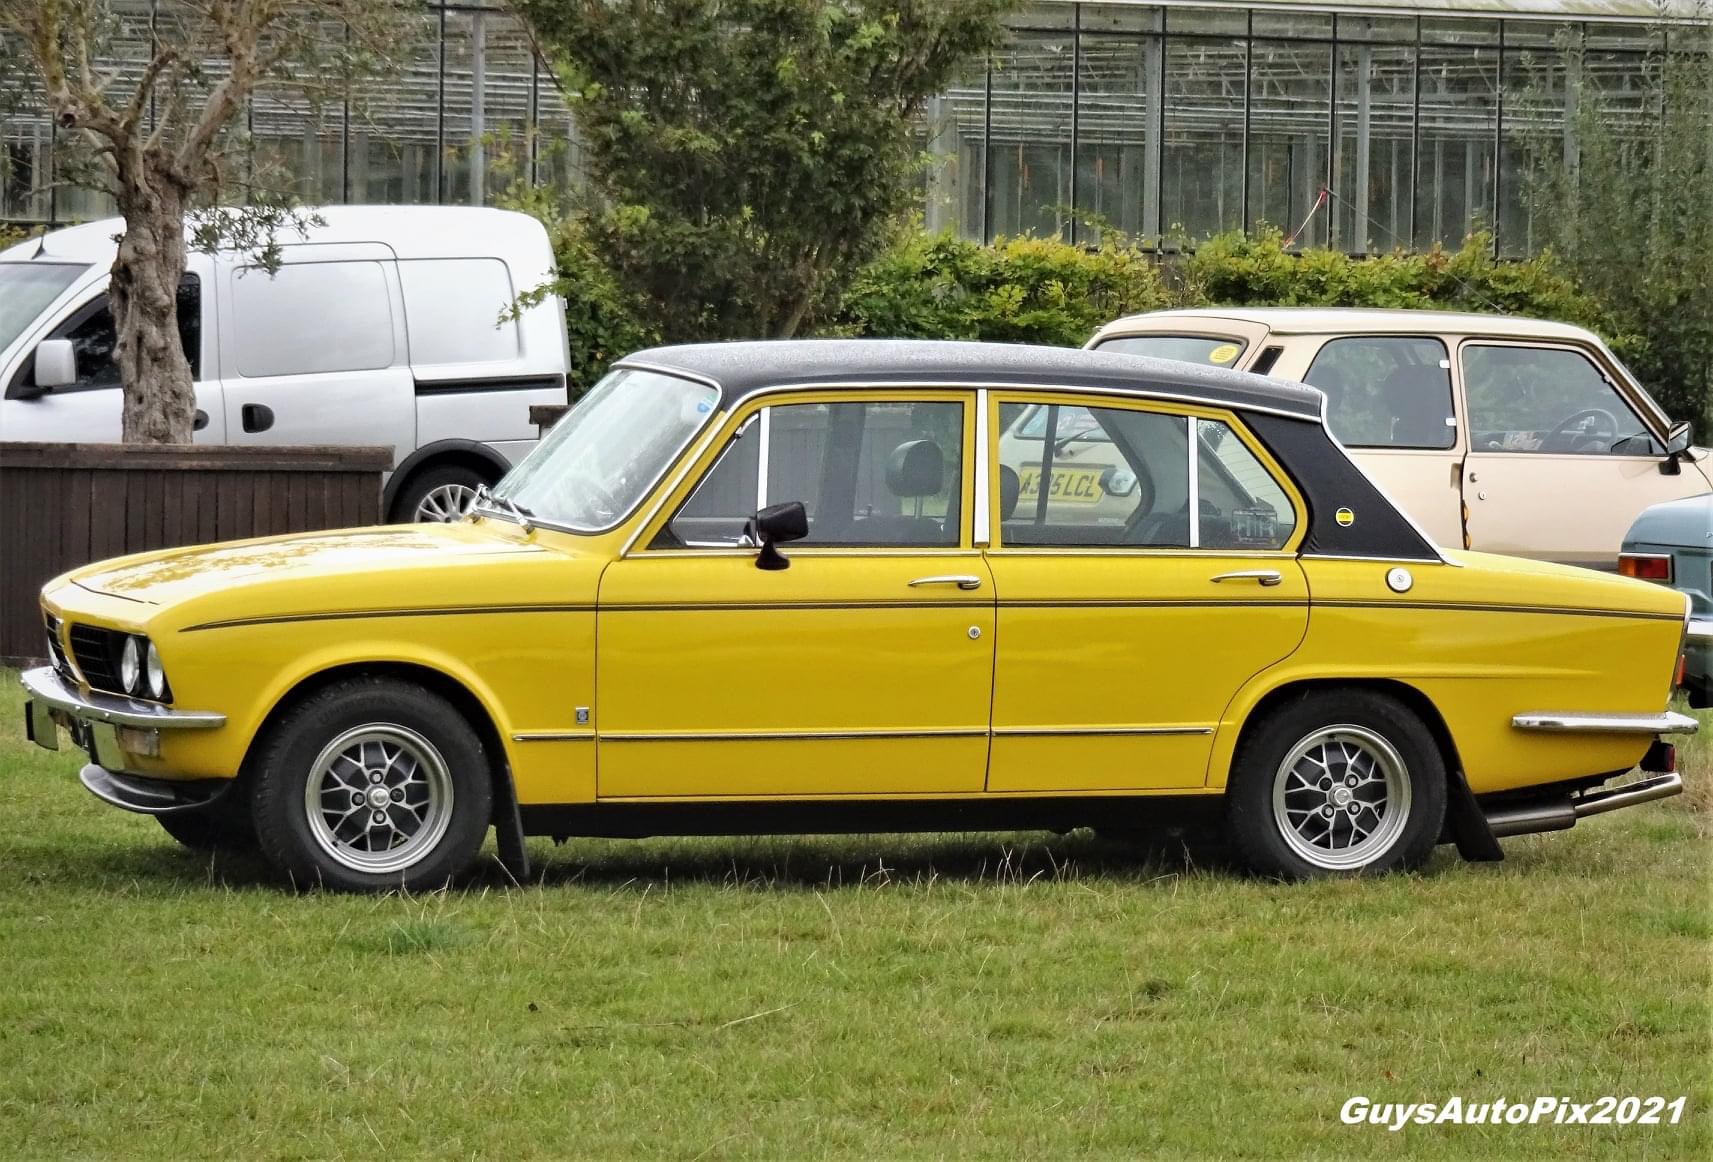
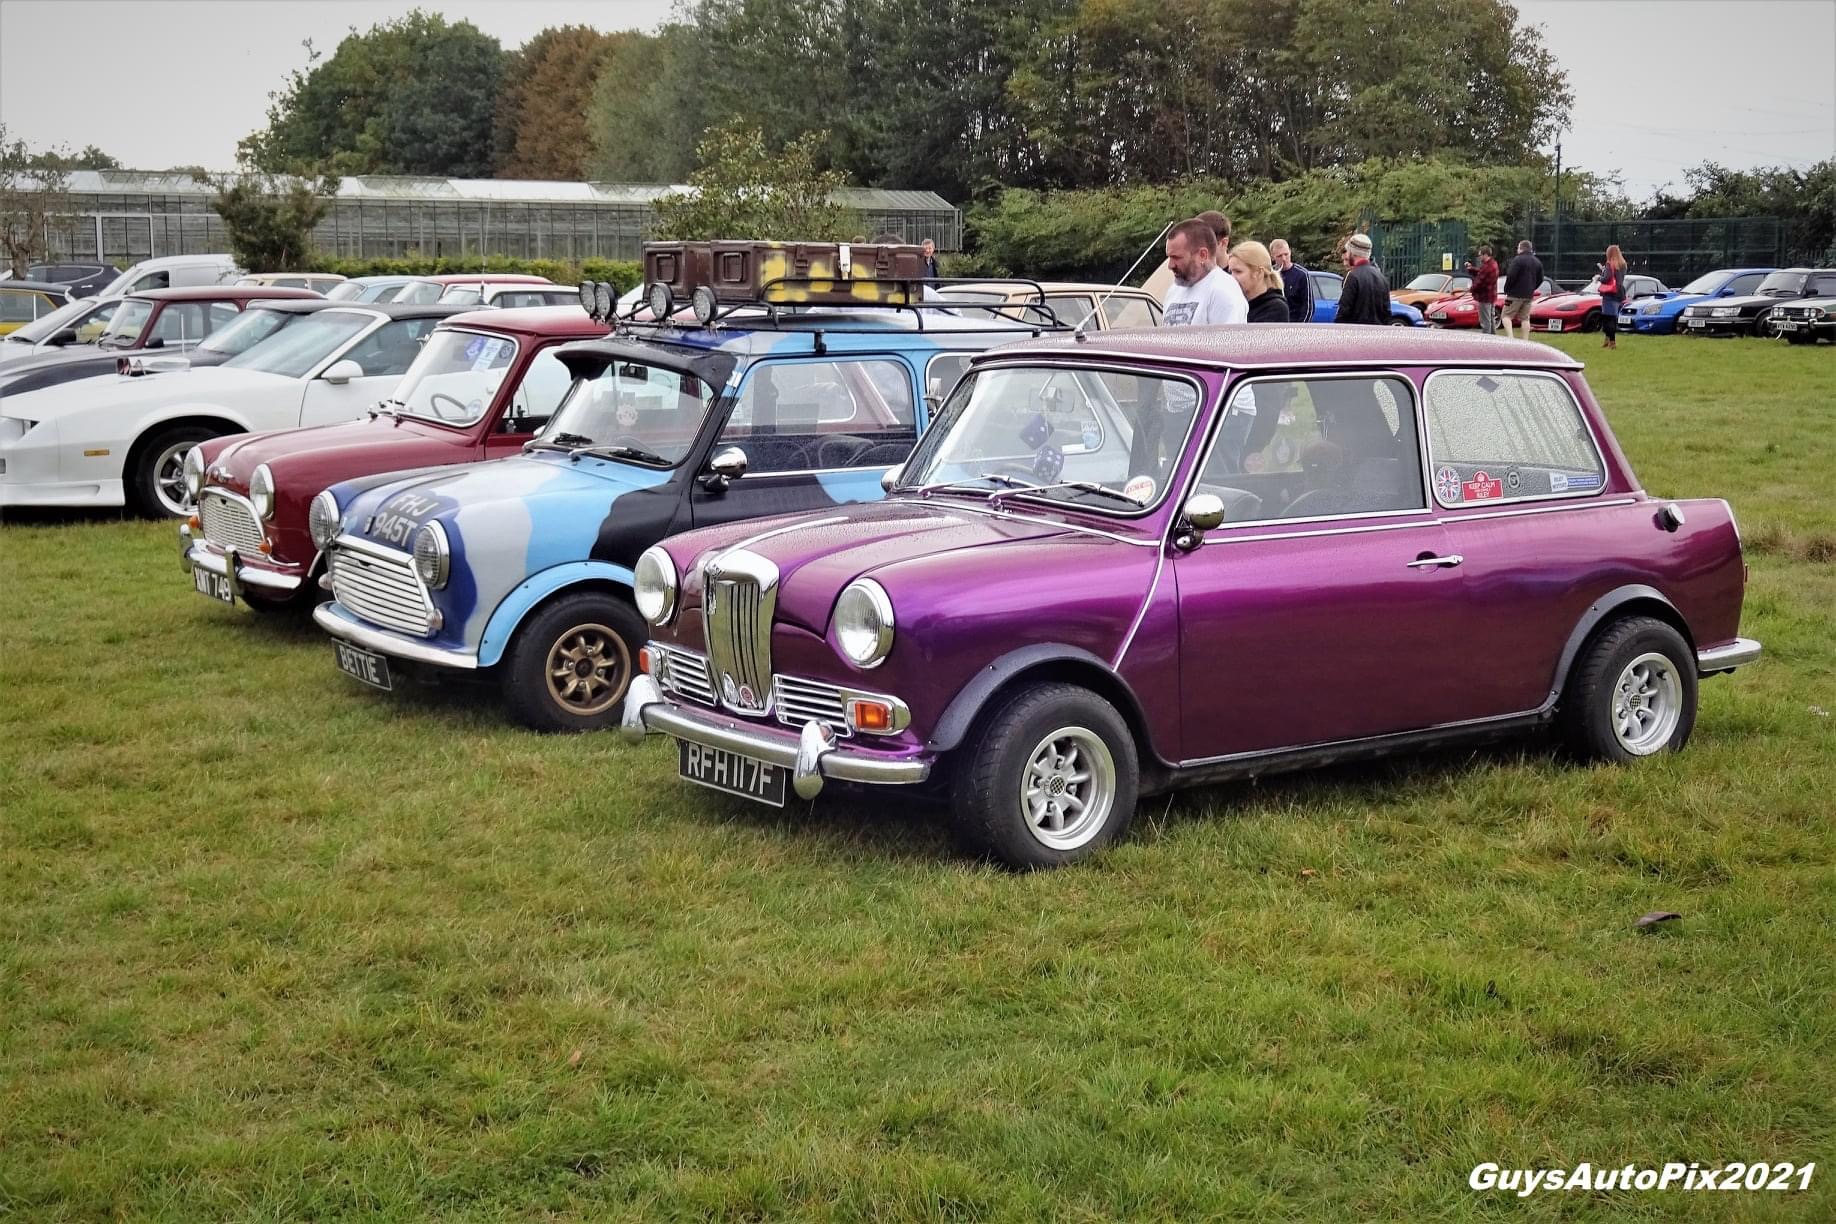
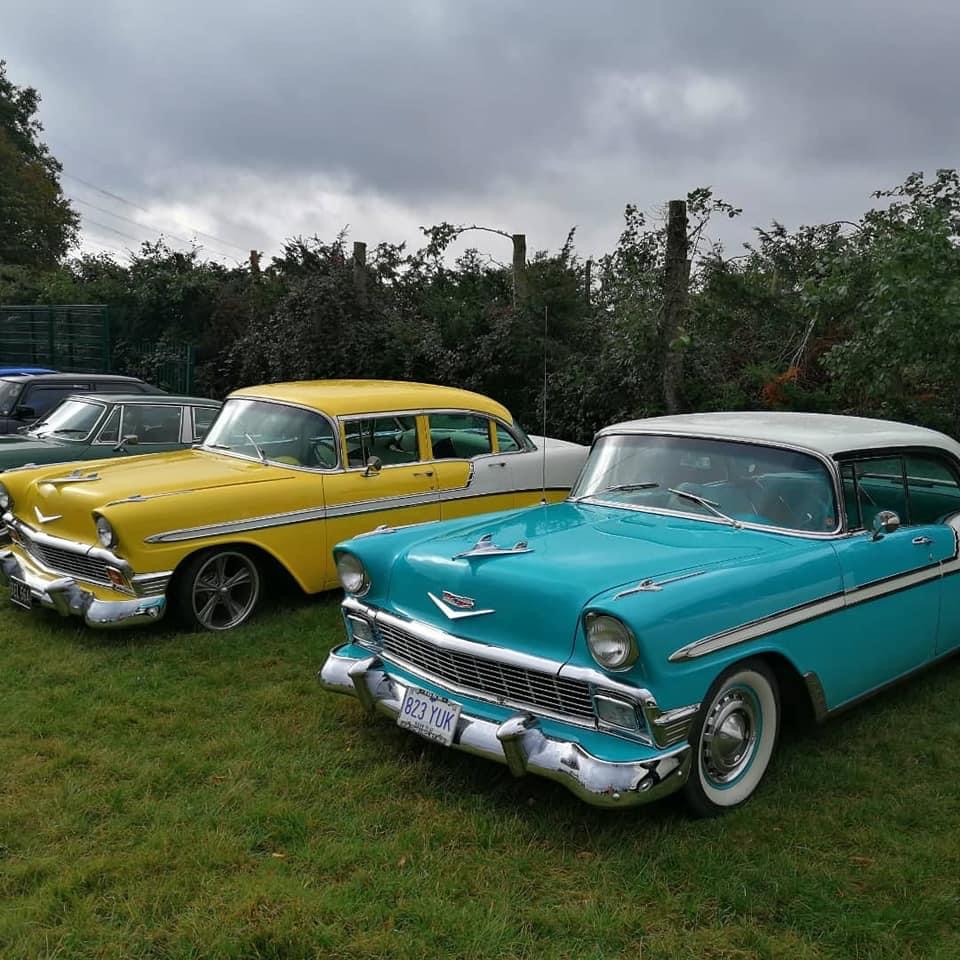
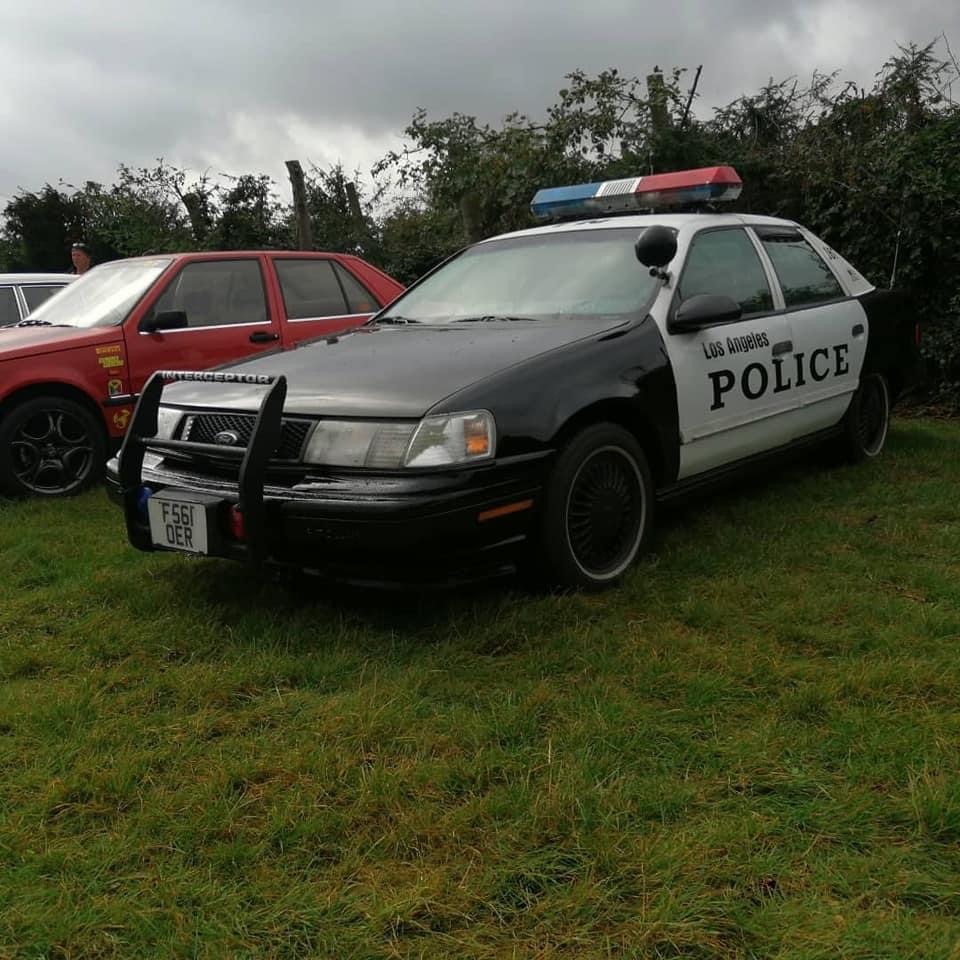
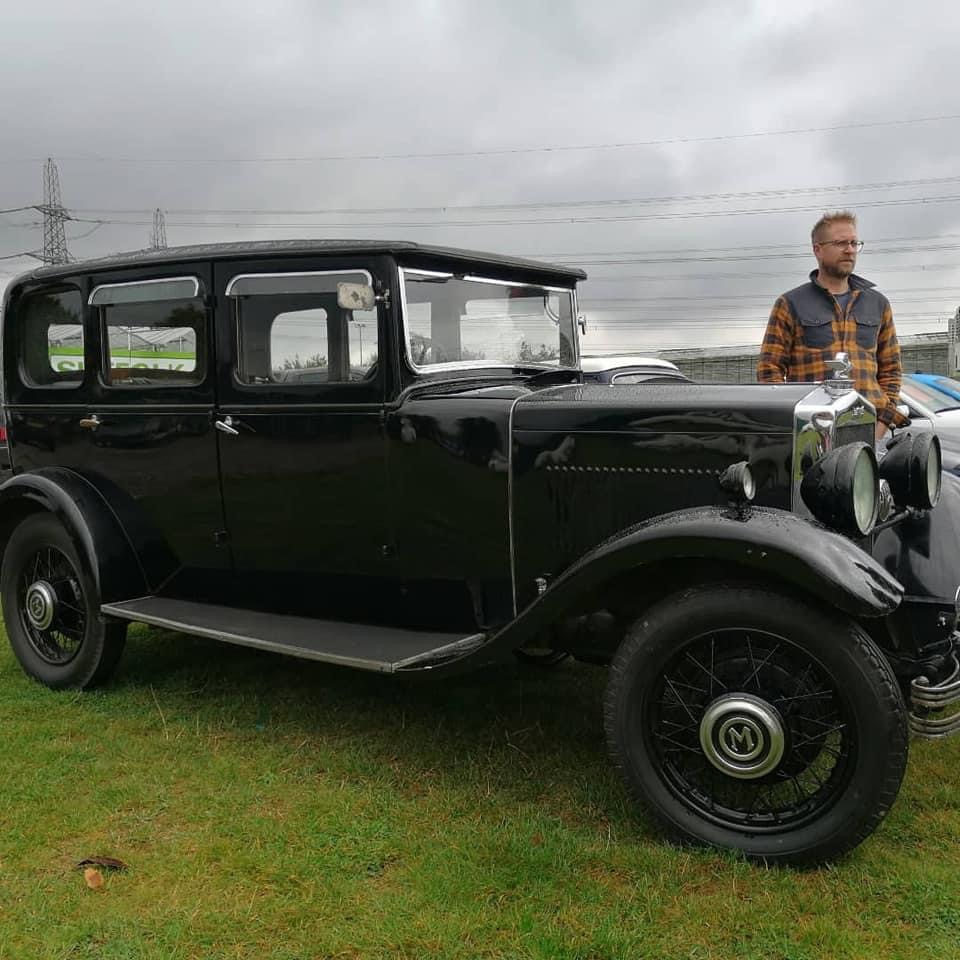
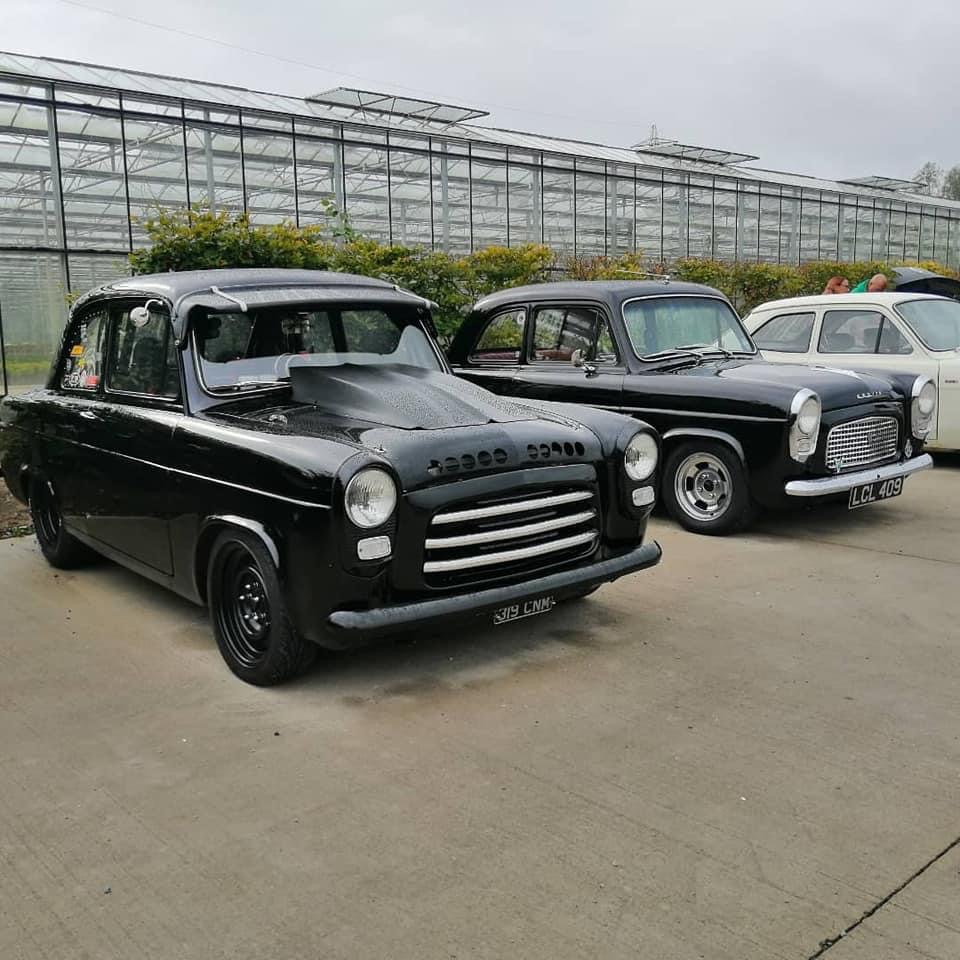
On Sunday, October 10th, Bridge Classic Cars welcomed East Coast Retros to our Bentwaters and Pettistree sites to host one of their meets. Cars of all shapes and sizes found their way onto the pads surrounding our hanger.
Although the weather turned throughout the day, there was an amazing turnout. The cars and their owners were invited into the hanger to see what we currently have in and also to look around the latest competition cars parked proudly in the centre of the hanger.
The whole day was free for anyone to attend but we did manage to raise over £450 for the Norwich City Community Sports Foundation!
There was an incredible atmosphere around the event as people from all over the area came to be amongst friends and fellow petrolheads so we look forward to welcoming East Coast Retros back very soon!
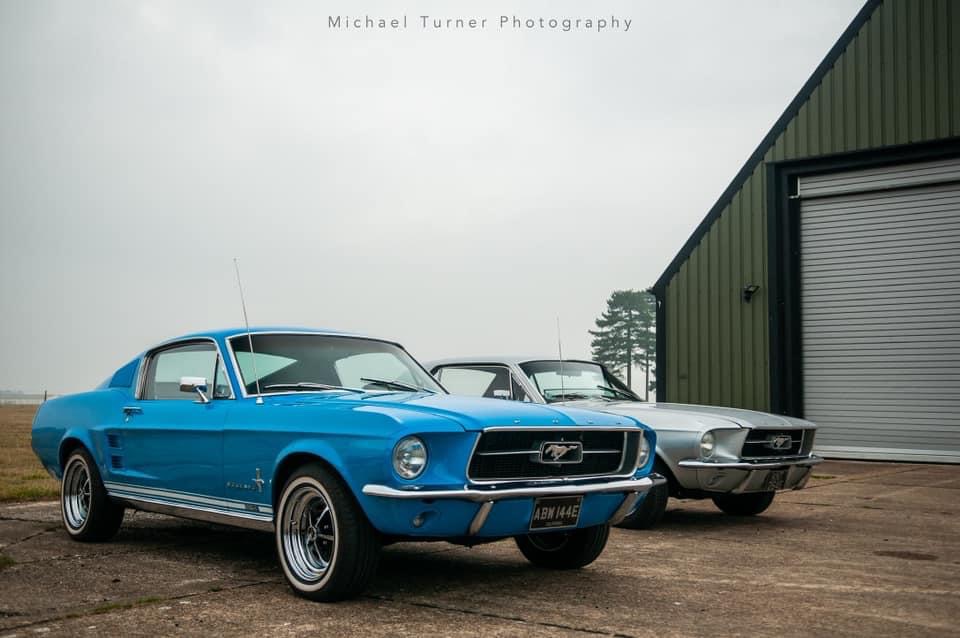

Michael Turner – Gallery from East Coast Retros Facebook Page

Andrew Rodgers – Gallery from East Coast Retros Facebook Page

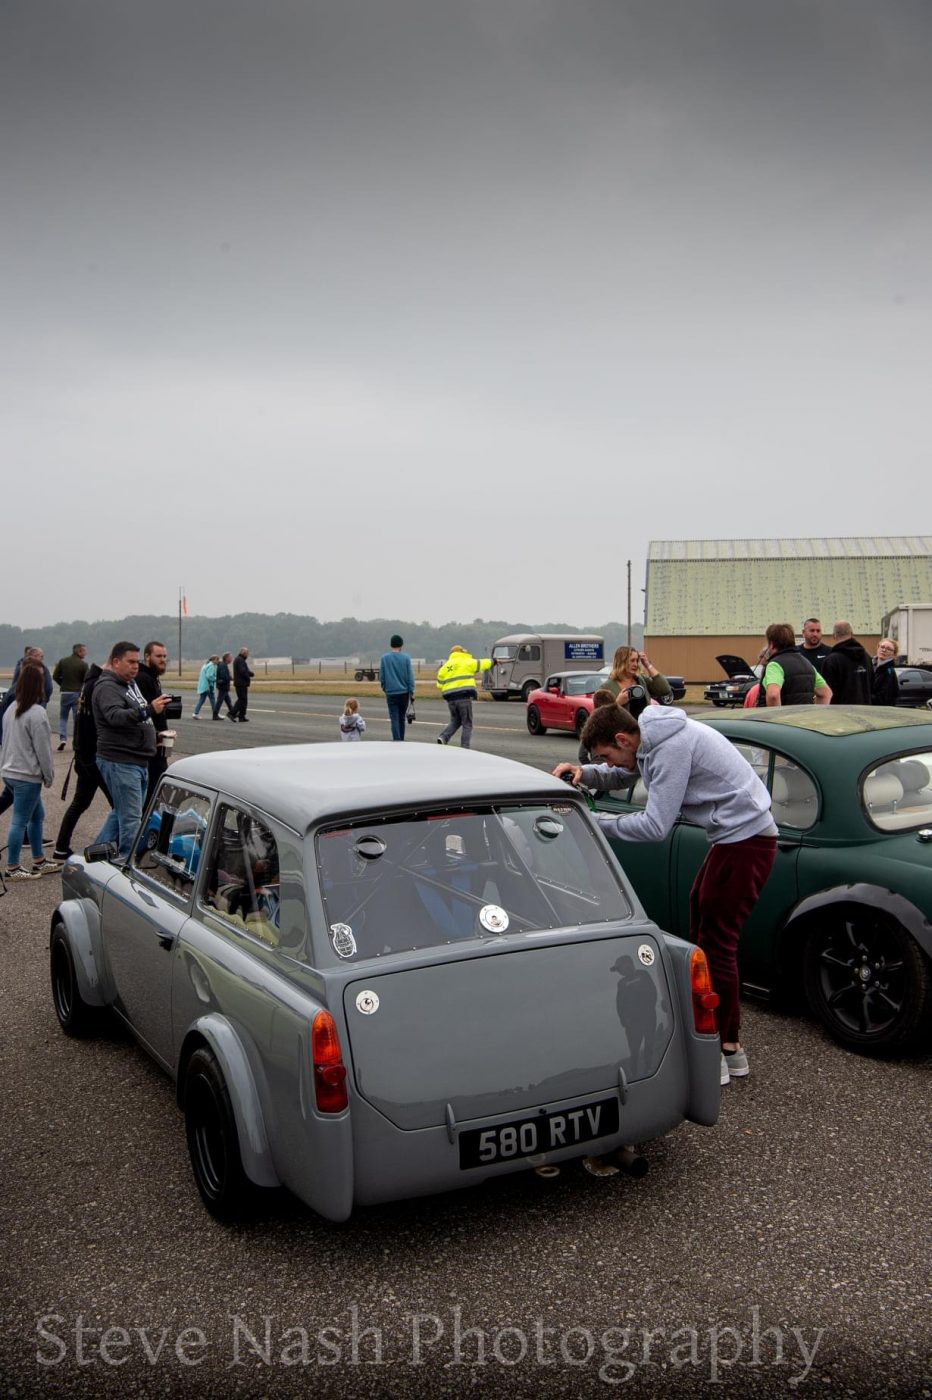
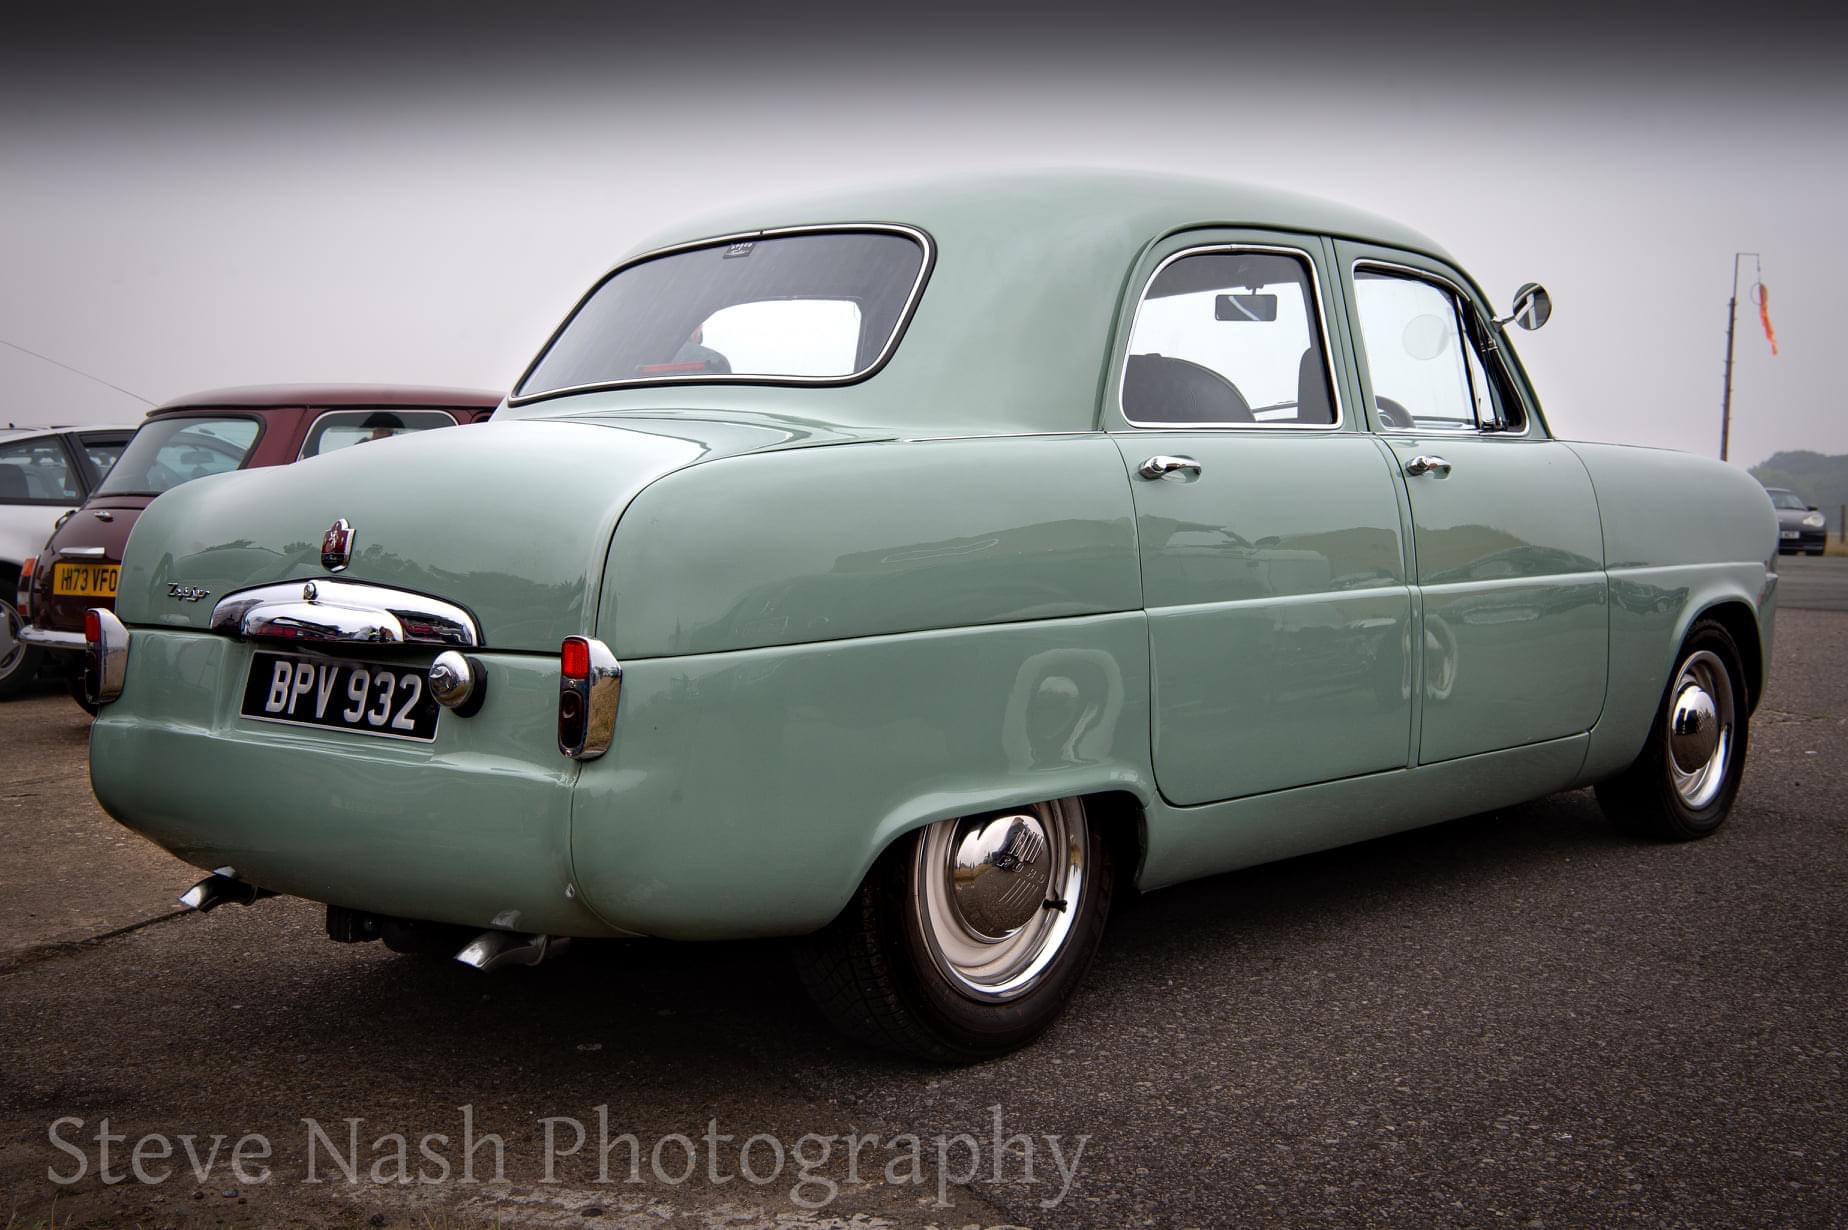
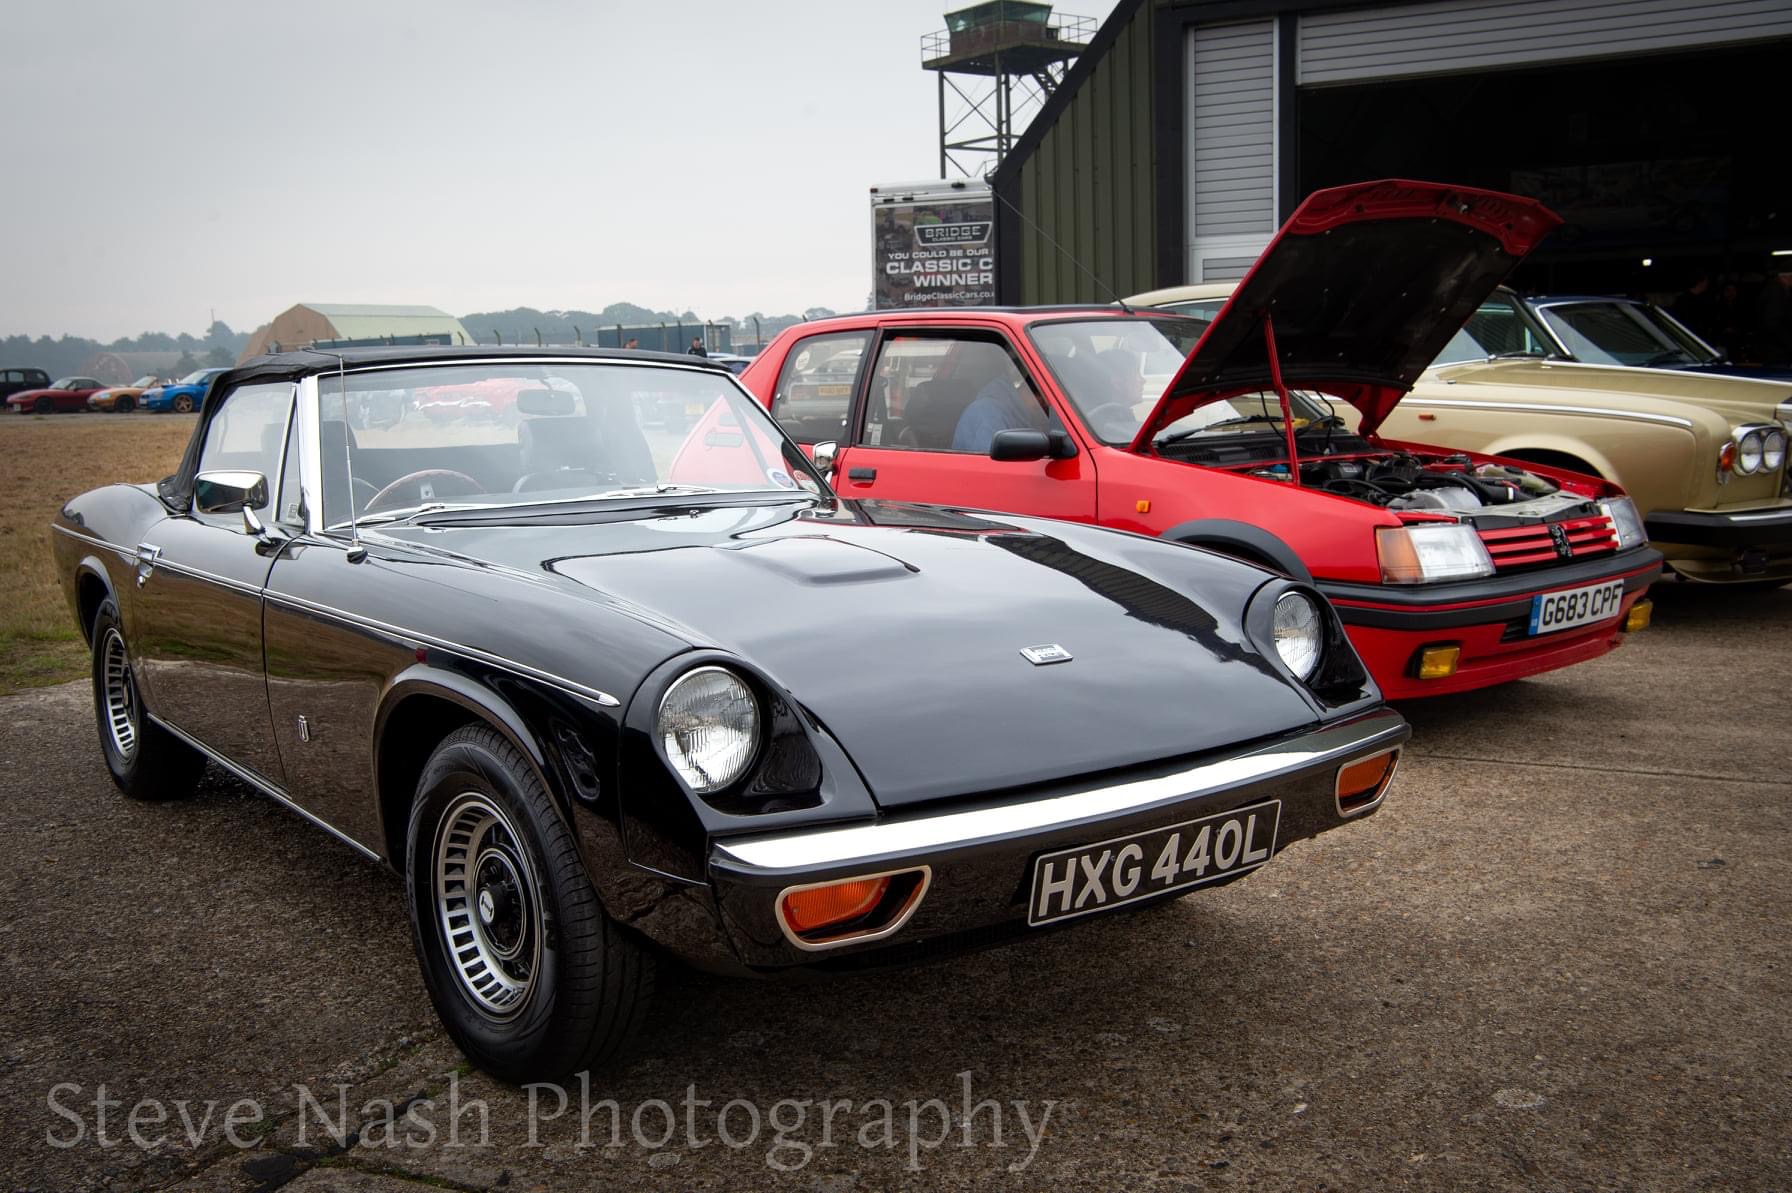
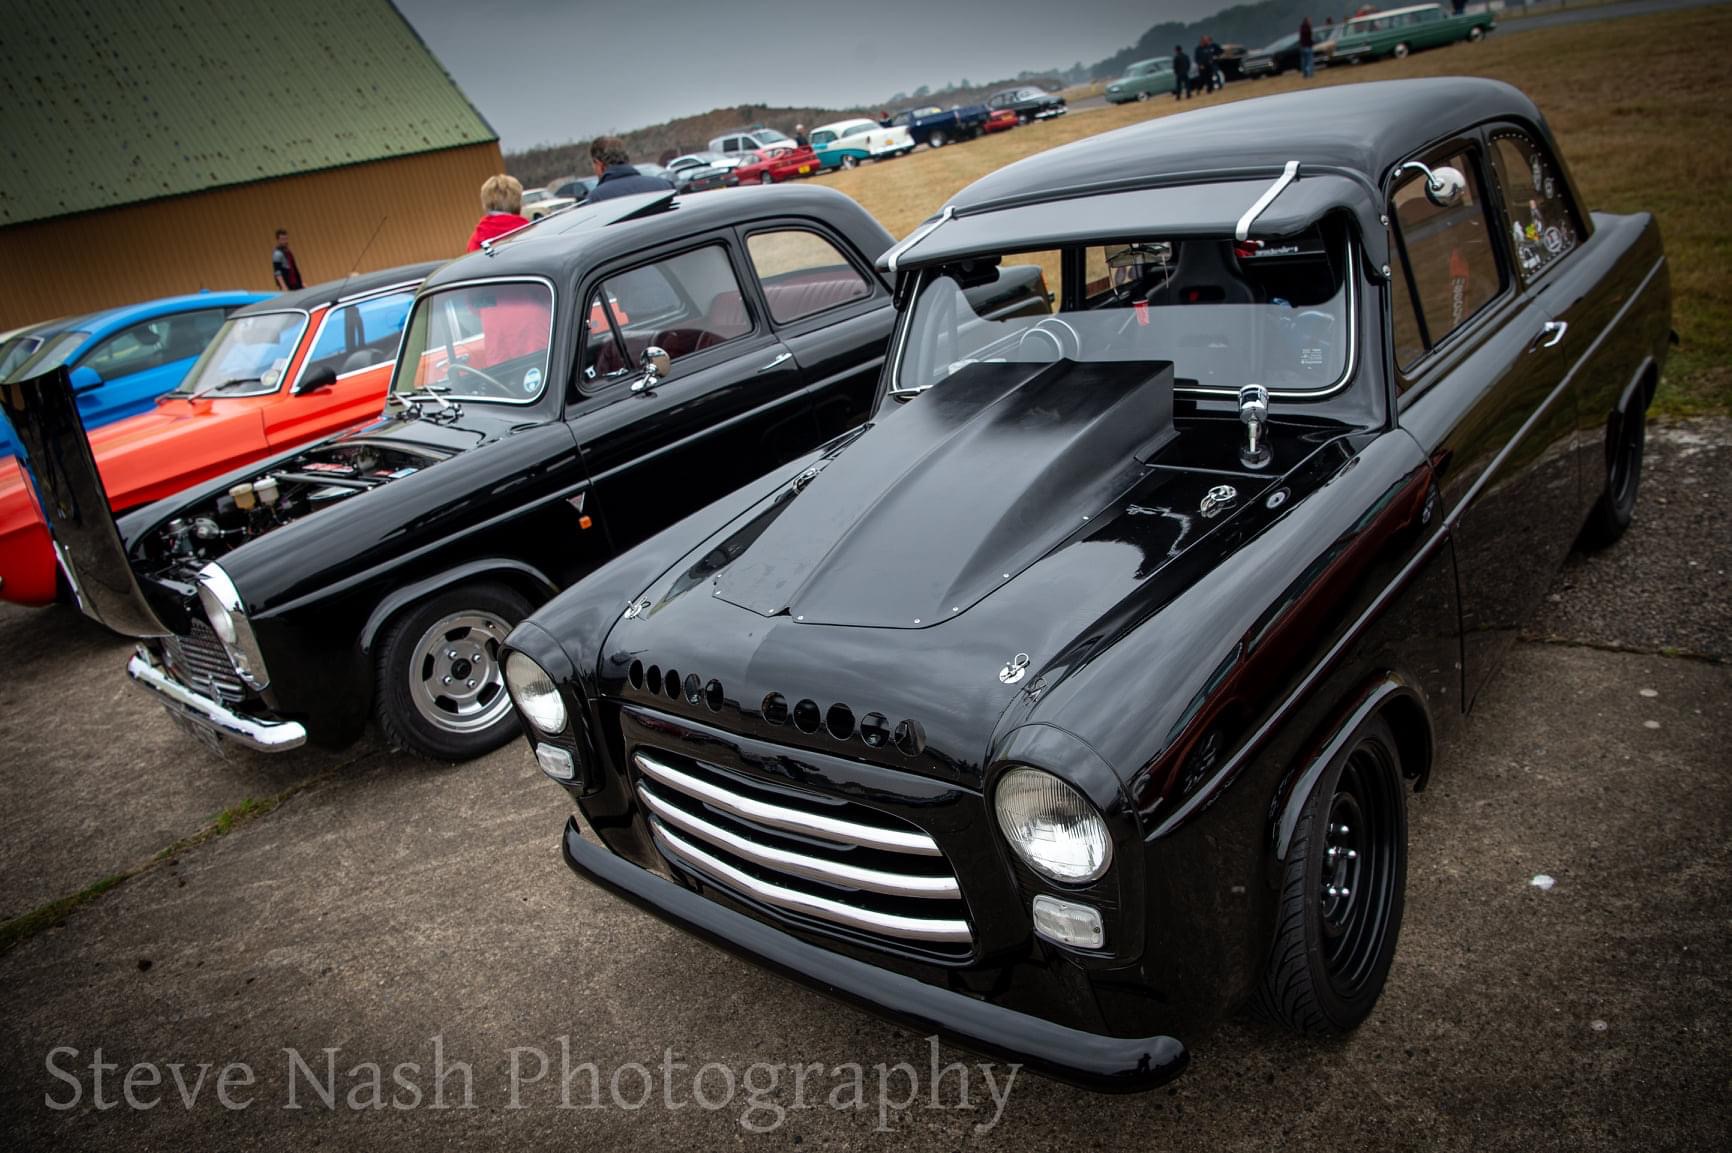
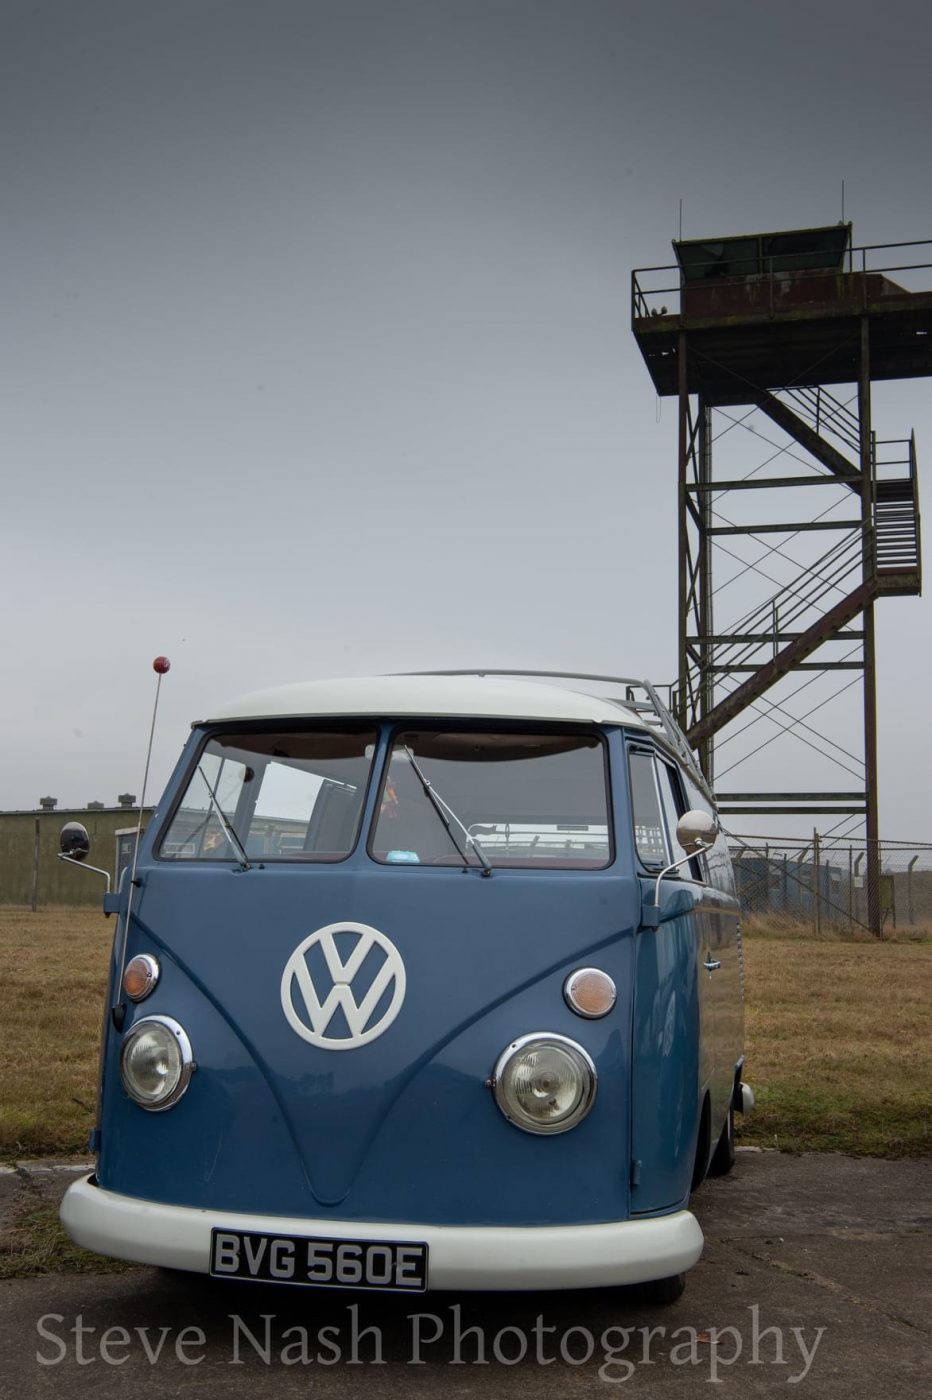
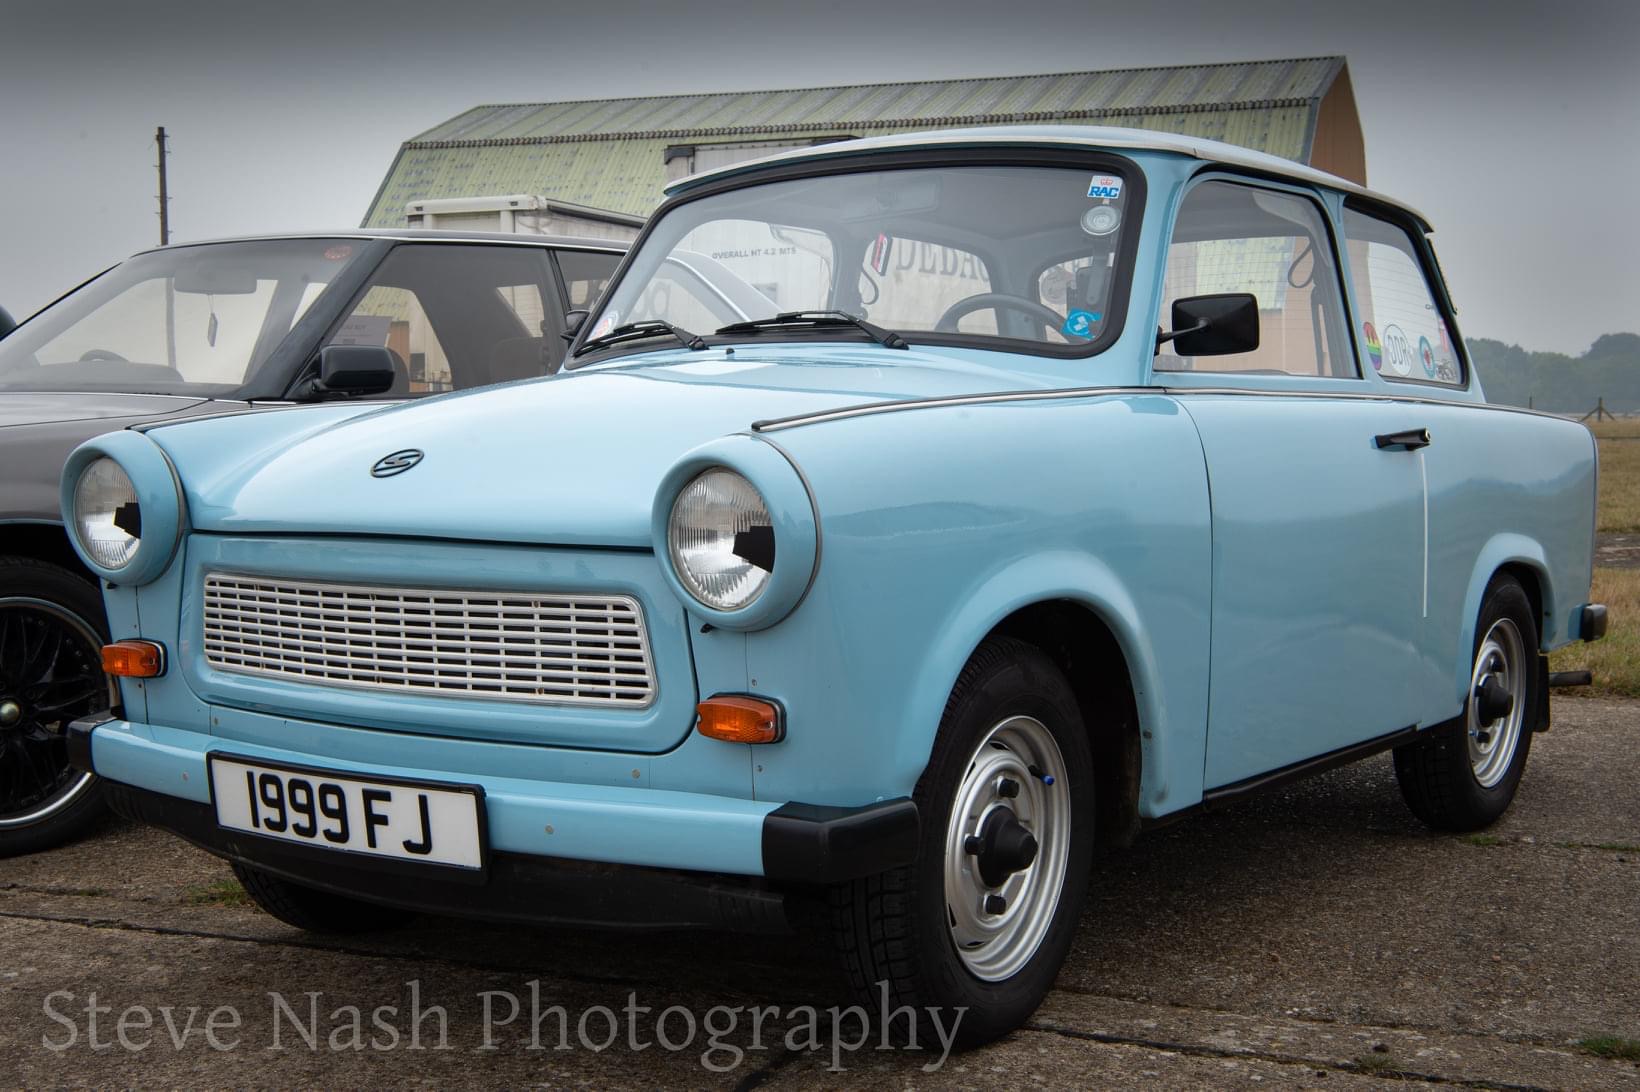

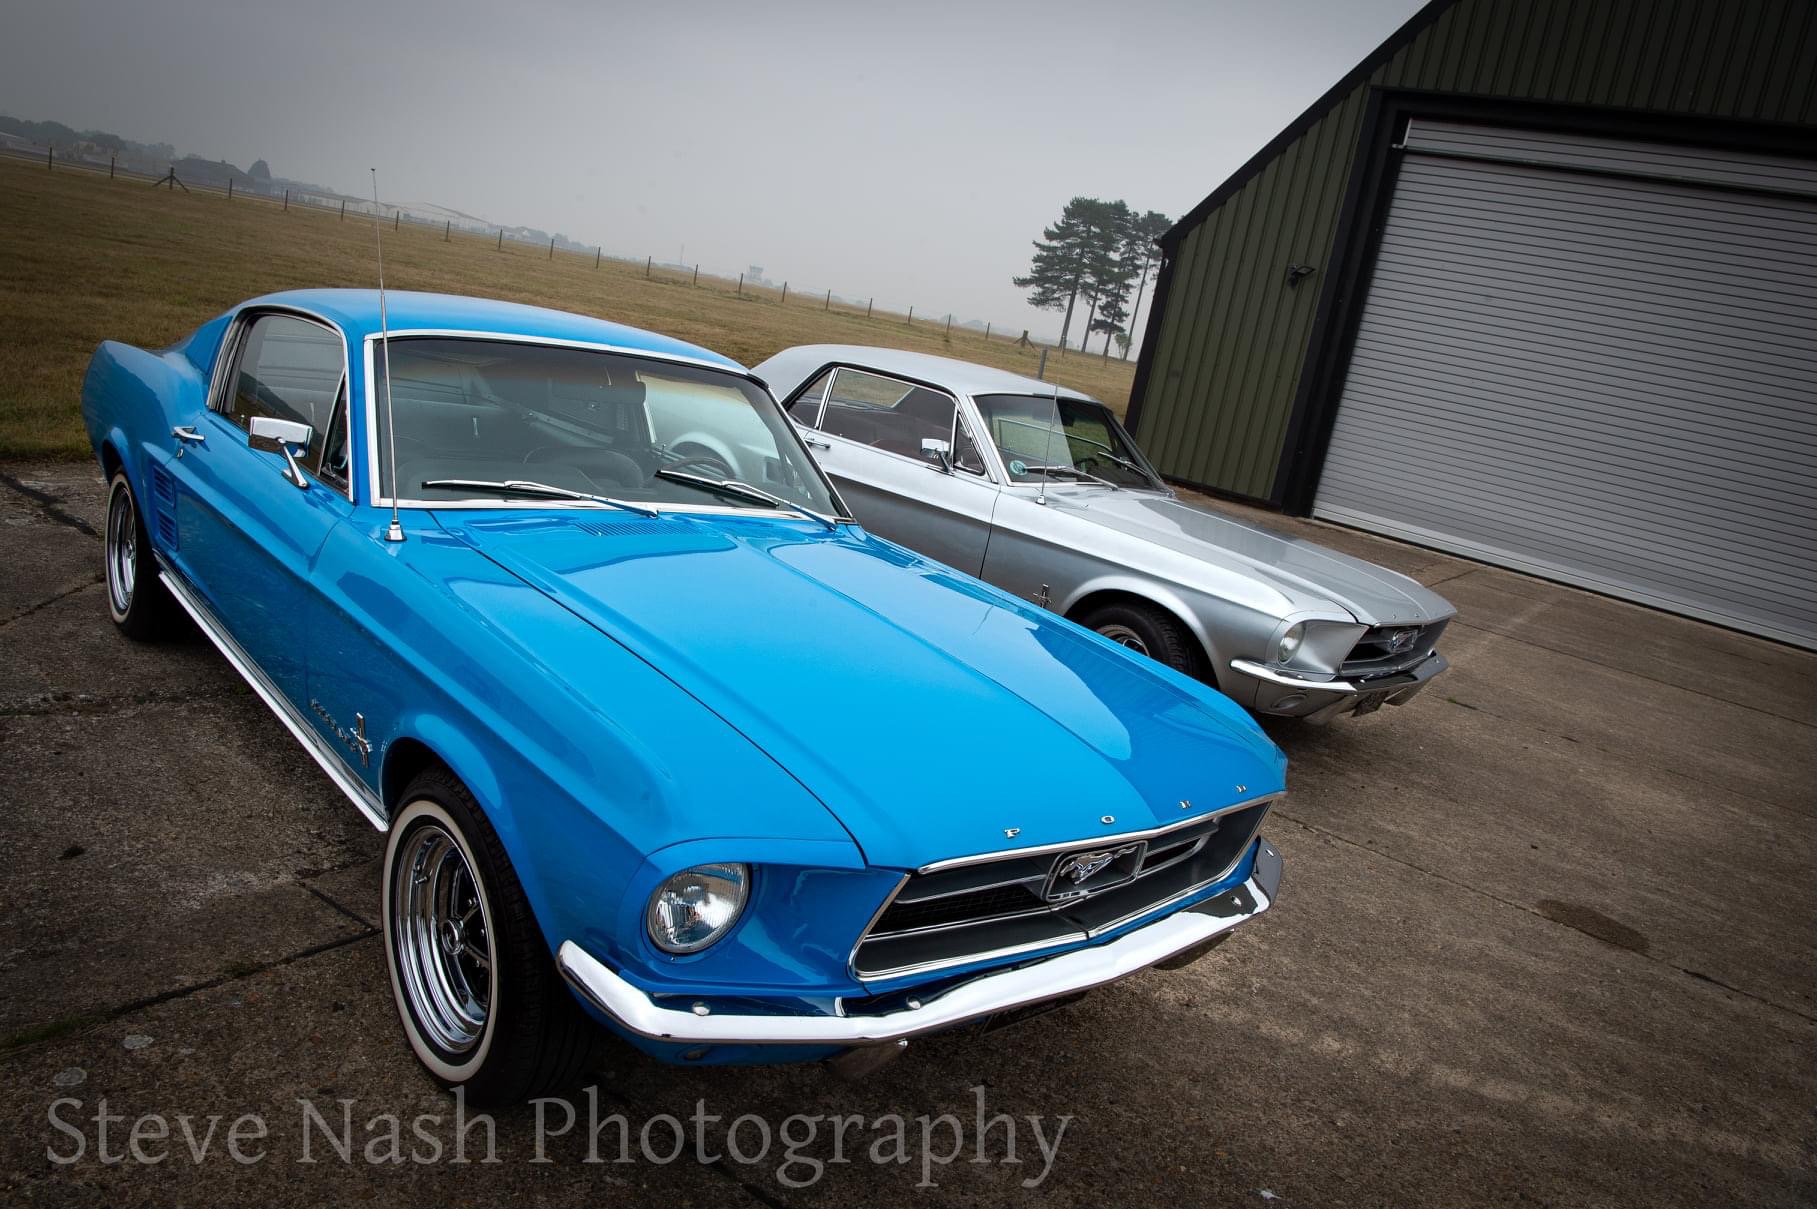
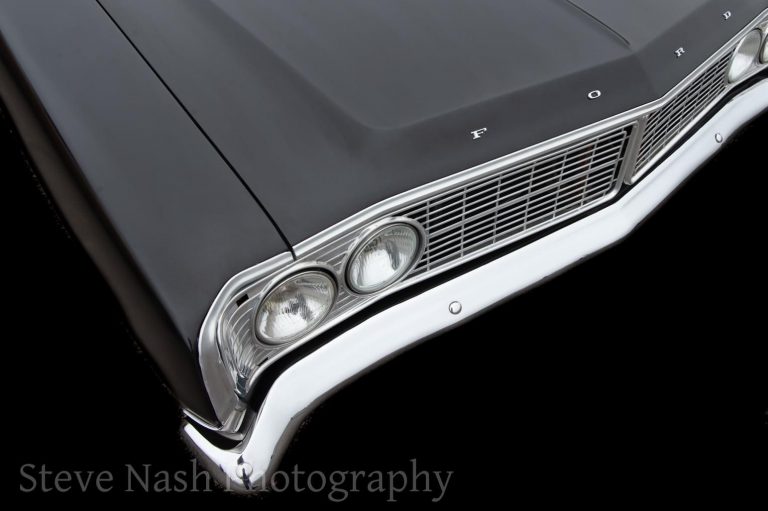
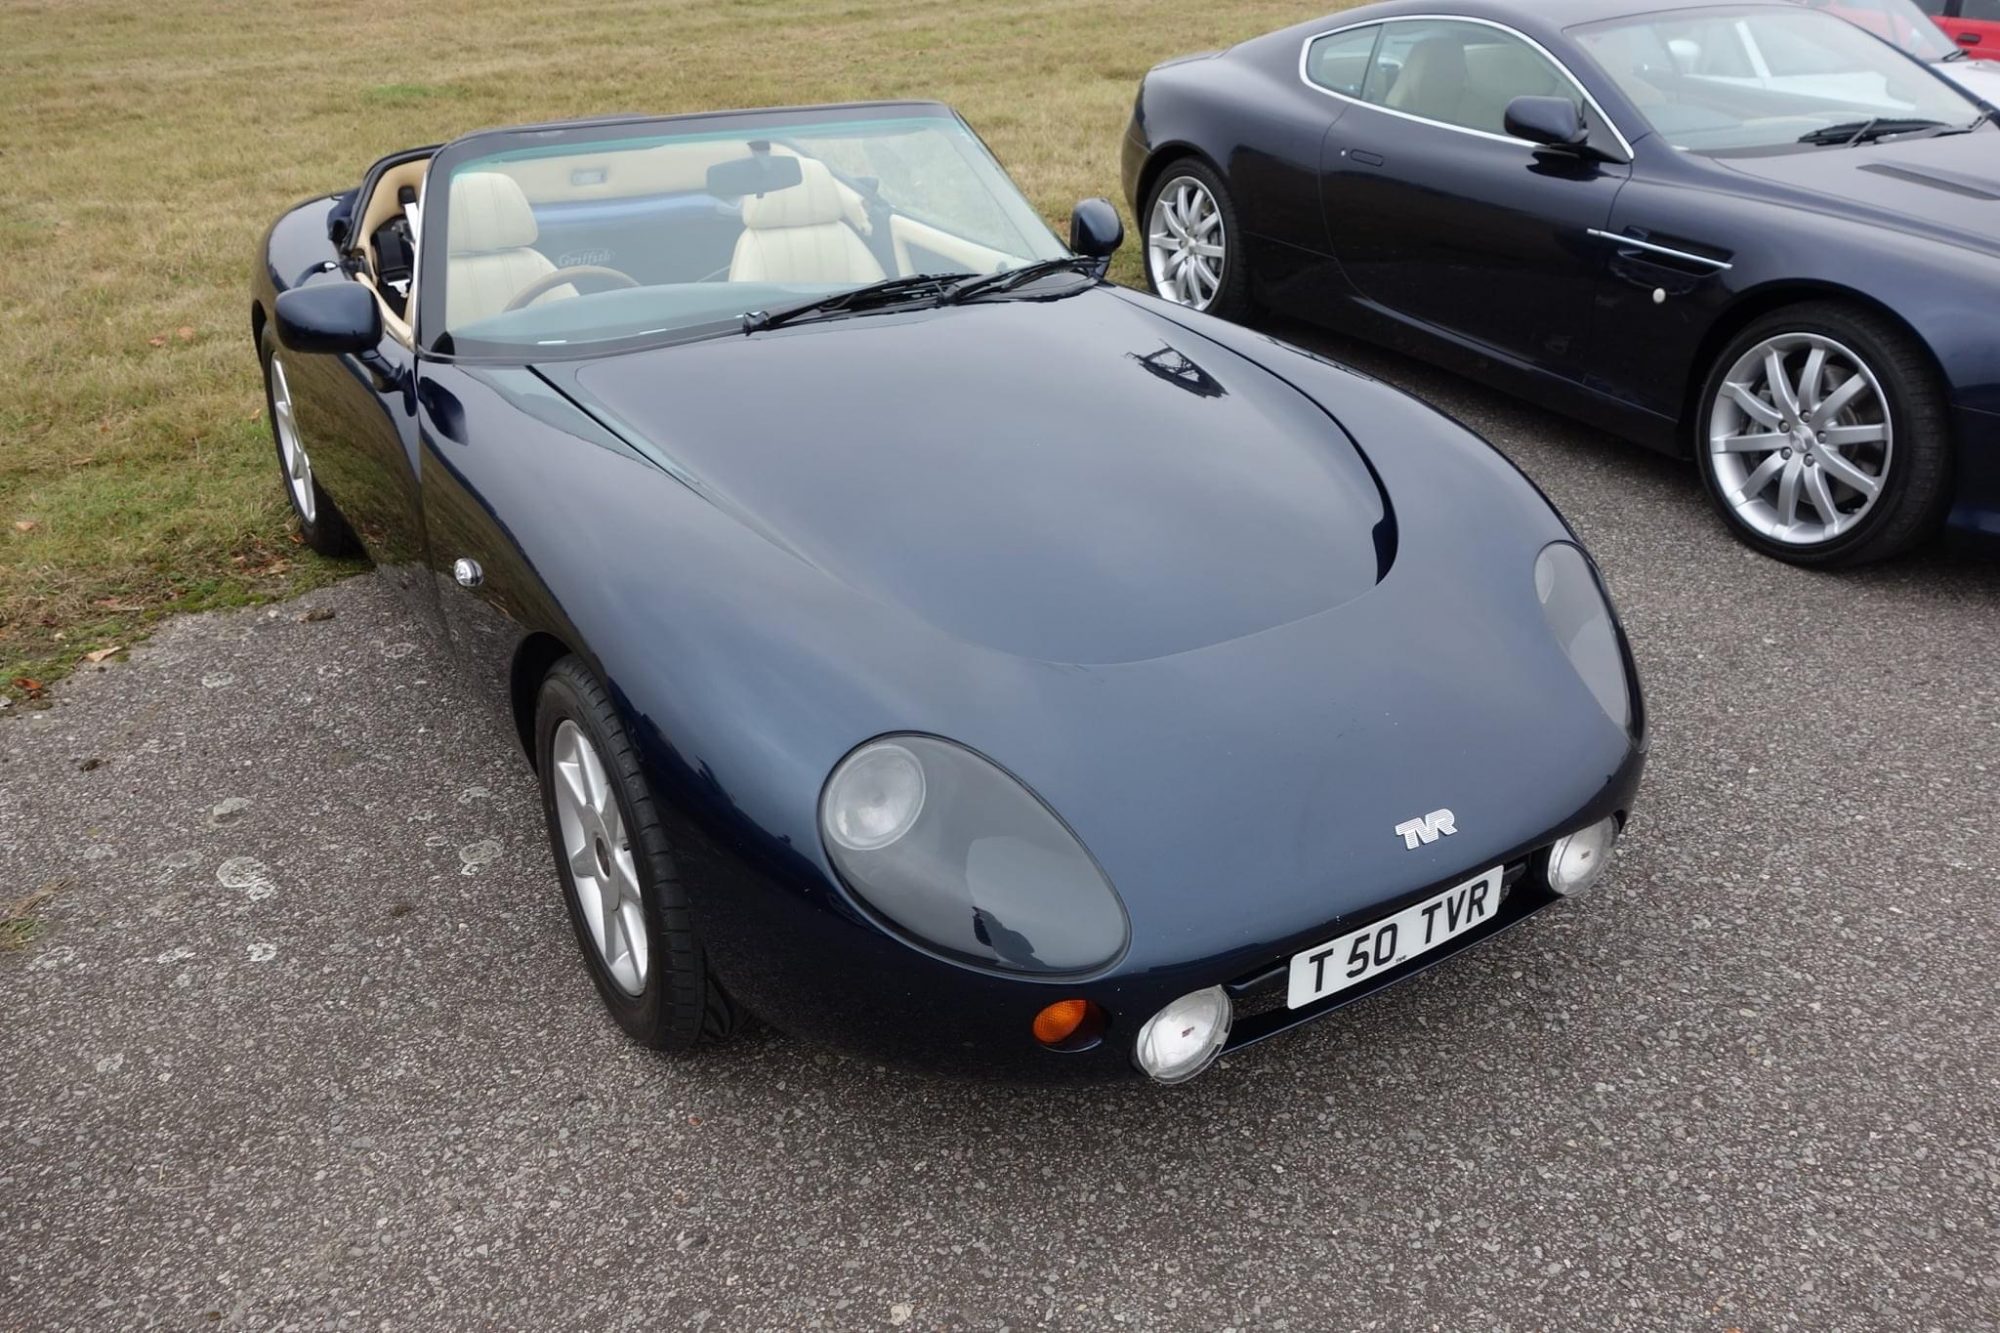
Steve Nash Photography – Gallery from East Coast Retros Facebook Page

Scott Keeble – Gallery from East Coast Retros Facebook Page

Scott Greening – Gallery from East Coast Retros Facebook Page


Guy Valentino – Gallery from East Coast Retros Facebook Page
Bridge Classic Cars will be hosting the members from East Coast Retros on Sunday the 10th of October for their meet.
Beginning at our Bentwaters start around 10am, we all then head over to our workshop space in Pettistree where everyone can show off their pride and joy.
Food and drinks will be at Pettistree which is all going to help support the Norwich Community Sports Foundation.
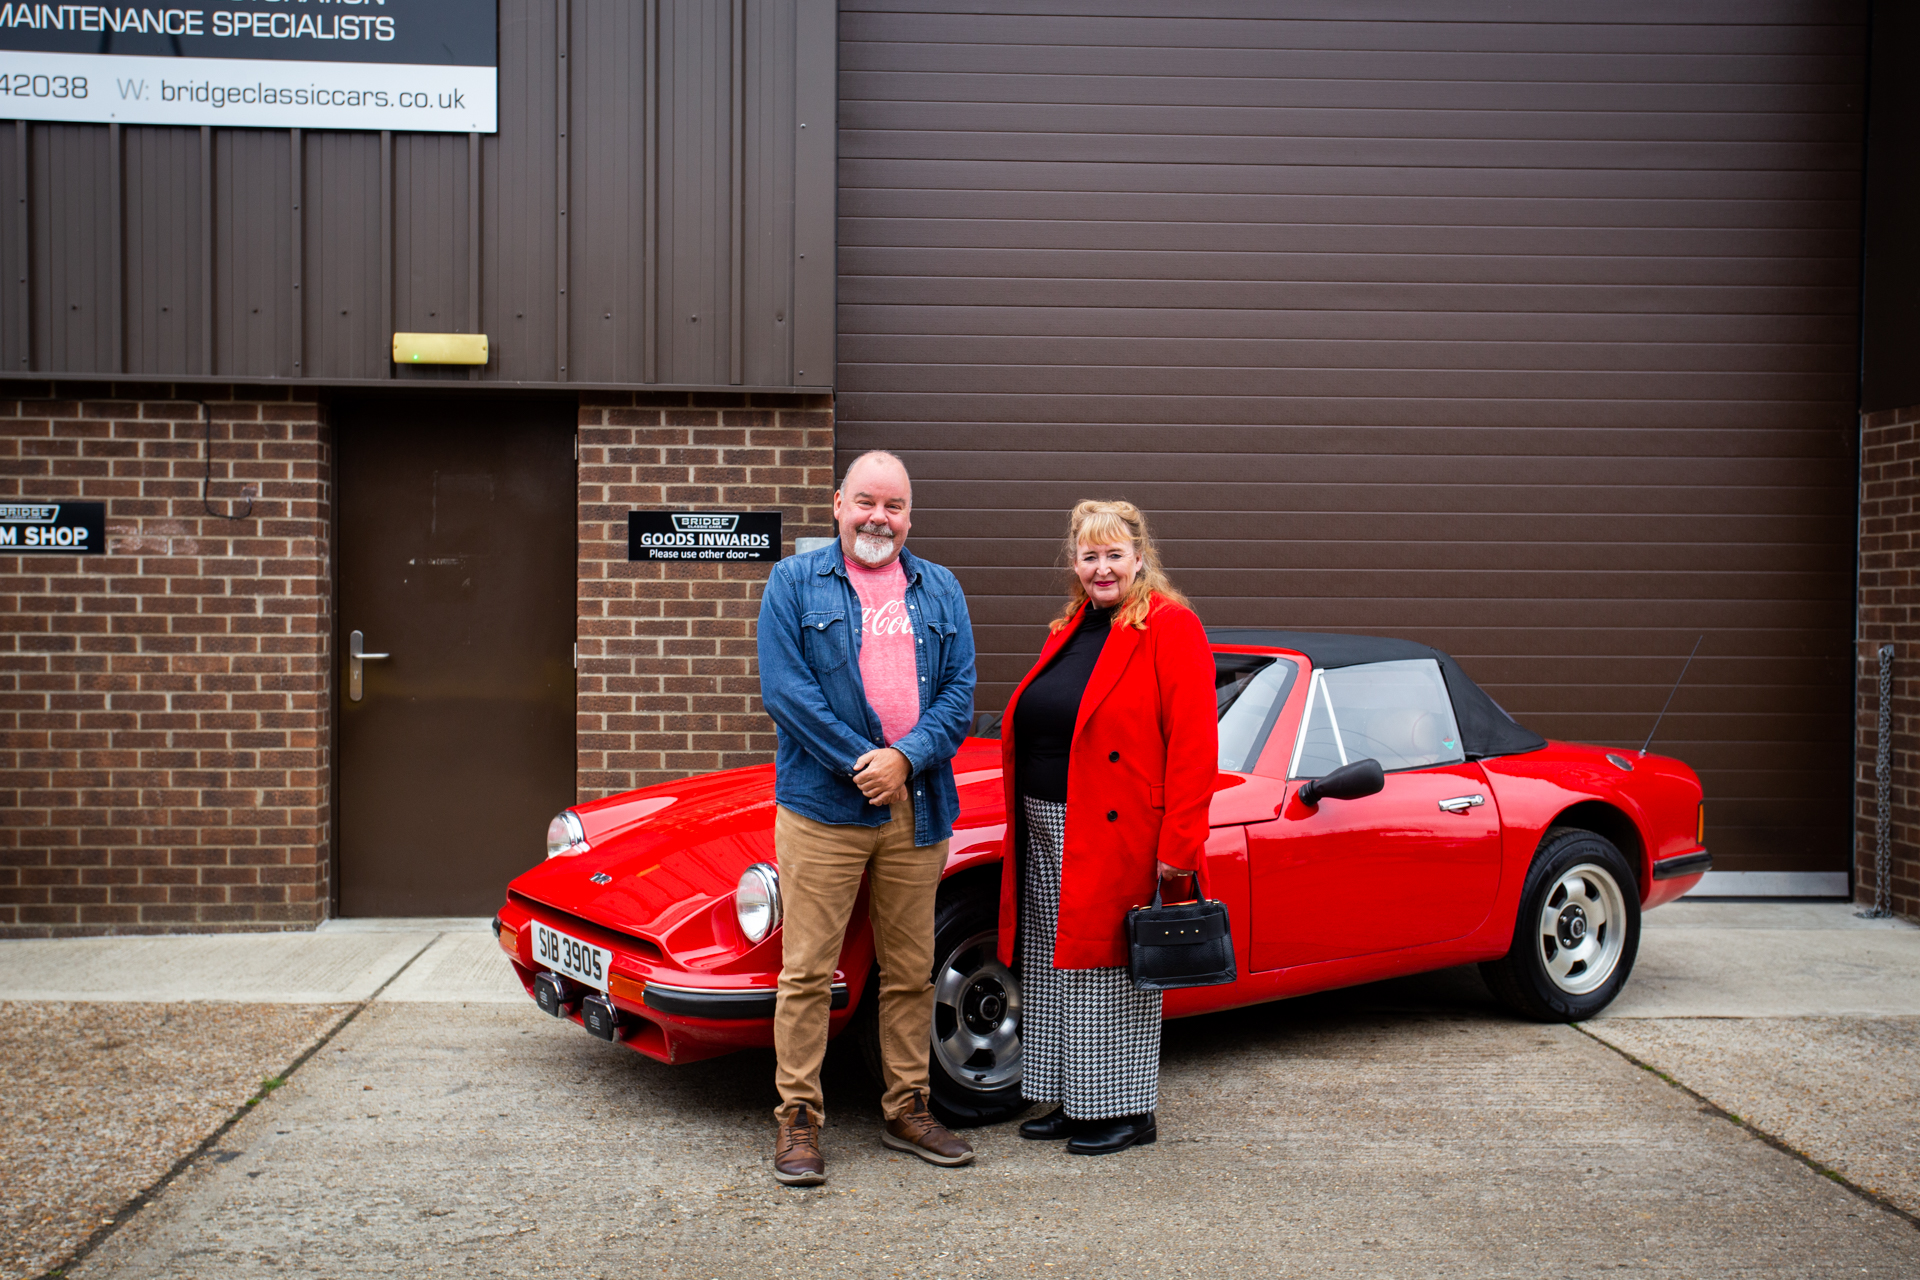
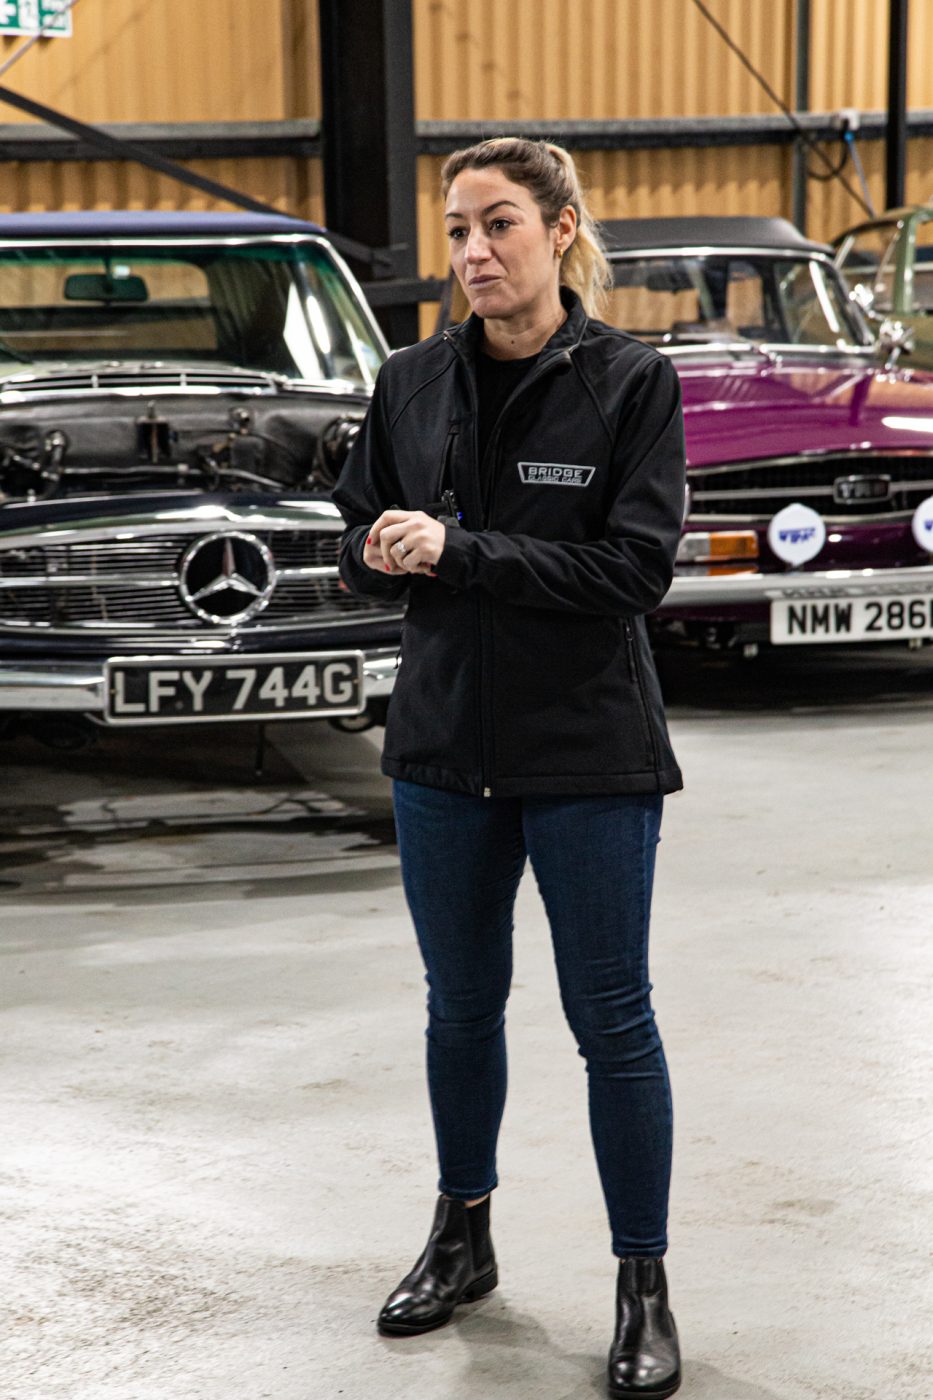
10 o’clock yesterday morning. Charlotte drew the winning number of 2343 and that happened to be this man. Jarlath Joyce. When we went to call him during the live stream it went to answerphone but as we found he wasn’t too far away.
When we called him later in the day to explain he was now the new owner of the 1989 TVR S2 2.9 V6, we discovered he was only in Felixstowe! So, it was arranged for himself and his wife to come down to the workshop in Pettistree to view their prize.
Always nice to see our winners at the workshop!
As its name suggests, E10 petrol contains up to 10 per cent ethanol, twice the proportion of the E5 grade which has been the standard for the last decade.
Worry not, the Government has pledged that there will be continued supplies of E5 petrol when E10 goes on sale, however, it may only be sold in the form of ‘Super’ grade unleaded and for how long, we haven’t had confirmed.

What are the effects on classic cars?
The main issues of increased Ethanol in the fuel are corrosion based. It degrades older rubber pipes and diaphragms, as well as cork, Zinc and Aluminium.
If the correct procedures have not been made, cars in long term storage can be affected too; fuel left in the tank, tubes and carbs will corrode them so therefore should be removed.
One of the other key concerns is how Ethanol will turn water acidic. Any water in the fuel system will draw out the Ethanol, which will then corrode metals such as fuel tanks and carburettor bowls. Ethanol breaks down sludge deposits in fuel tanks and pipes, which can then become blockages in filters and jets.
Ethanol contains oxygen, the increase in Ethanol means an increase in oxygen percentage, which in turn effectively reduces the fuel/air mixture and makes the engine run slightly lean. In a modern car, this is automatically adjusted by the ECU, whereas a classic with no ECU, needs further assistance.
E10 conversion by Bridge Classic Cars
All classic cars can run on E10 but all will need certain adjustments and changes to be made. No two are the same so it is impossible to offer a set figure to carry out a conversion but doing a relatively inexpensive upgrade will increase the life of your classic car and provide you with many more years of pleasurable driving.
The use of high-grade Nitrile pipes in place of the existing rubber ones will prevent pipe wear and replacement of fuel pumps for E10 rated will ensure you are safely preserving the components.
The fuel tank/s are removed, cleaned and assessed. The in-tank filter is replaced with a new, E10 compliant alternative.
All fuel lines are subjected to a full Nitrile pipe upgrade.
The in-line fuel filter and the fuel pump are replaced with an E10 rated component.
Our in-house technicians will strip, clean and service the carburettors. Cork gaskets are replaced with E10 rated alternatives (where possible)
The carburettors are altered to provide a slightly richer mixture, either by adjustment where the units allow, or the replacement of jets and emulsion tubes.
If you would like to talk about the conversion or need any more information on converting your classic car to run E10 fuel, then please get in touch!
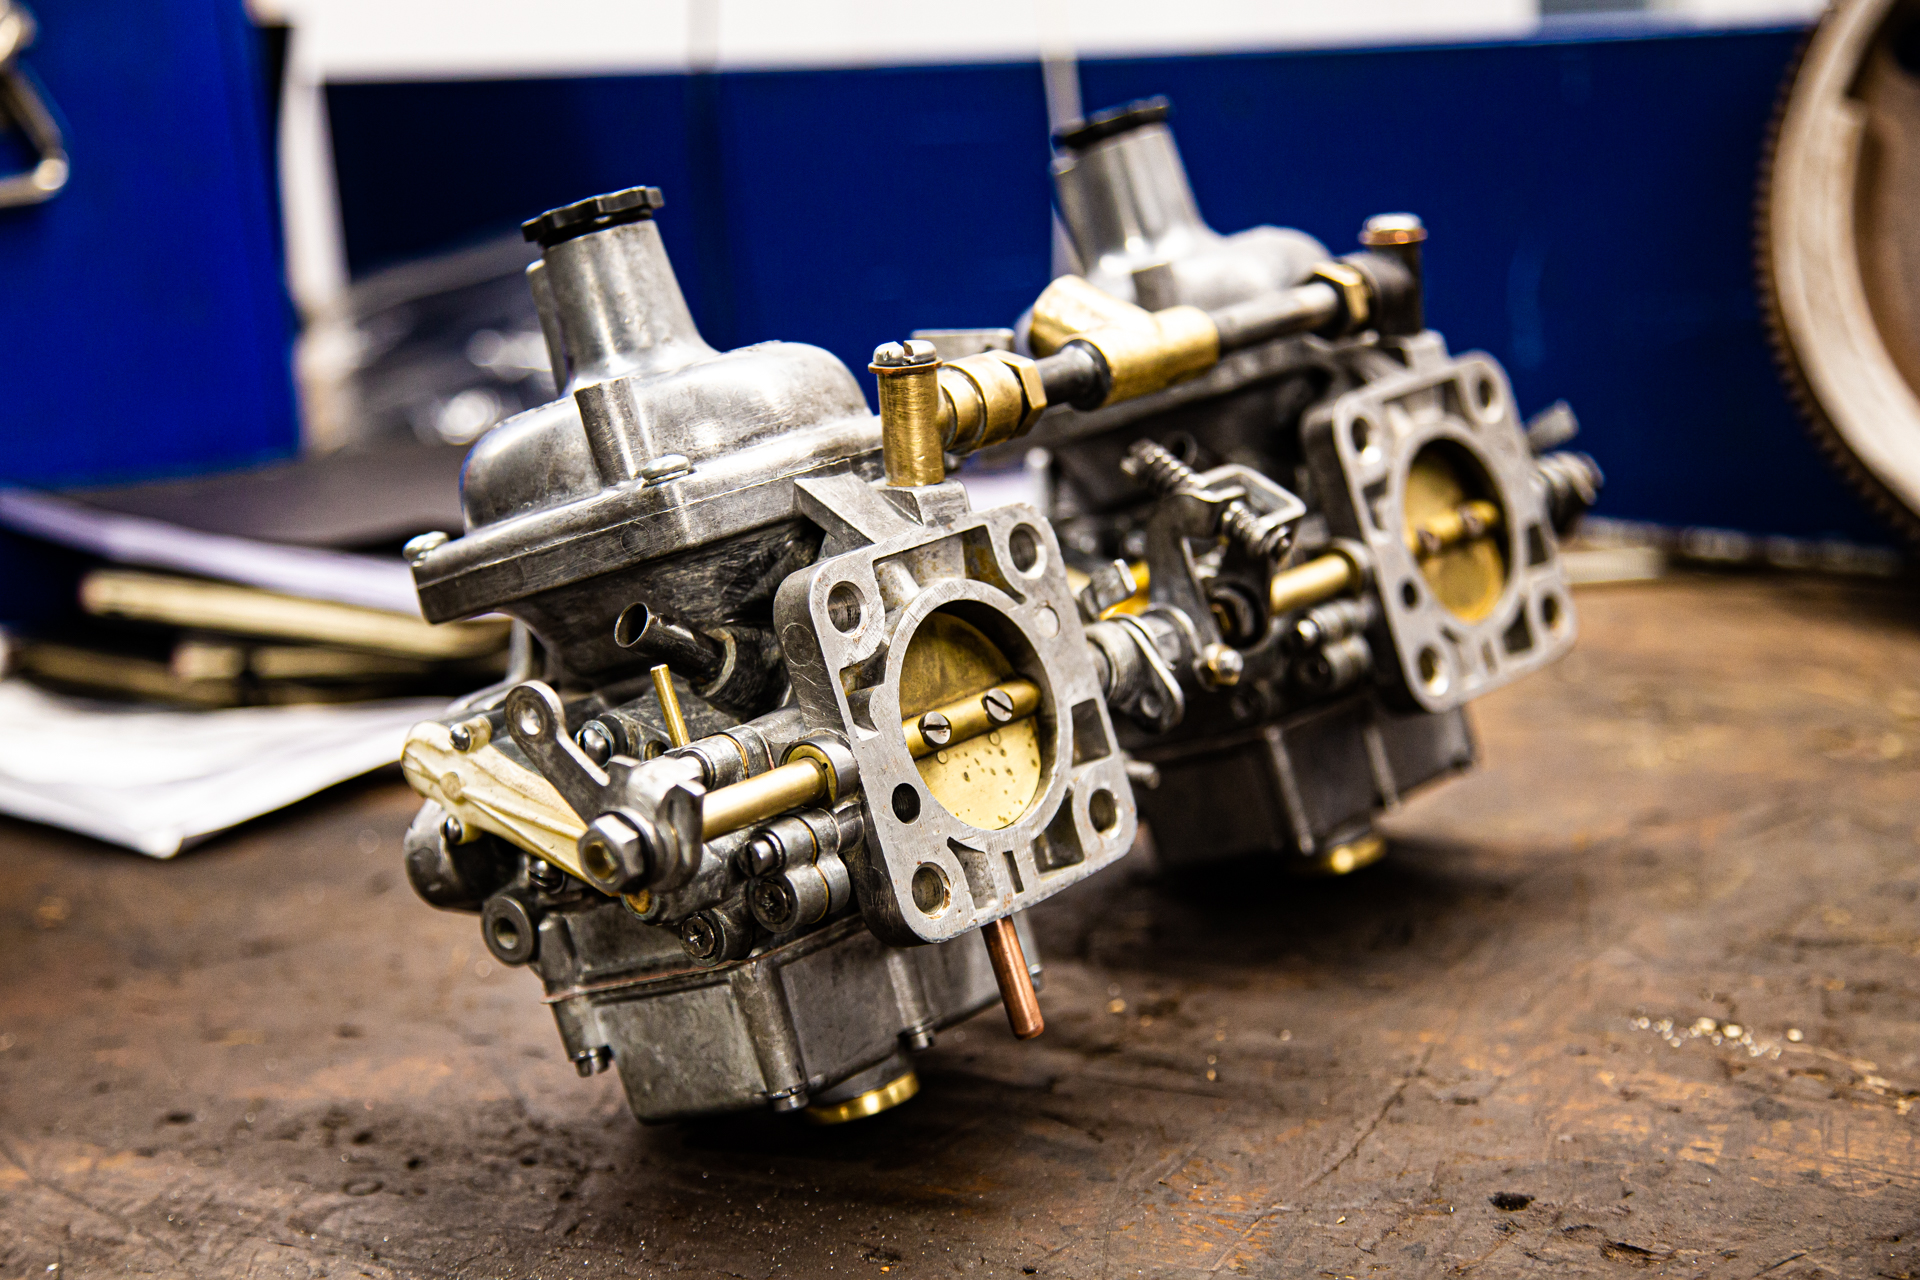
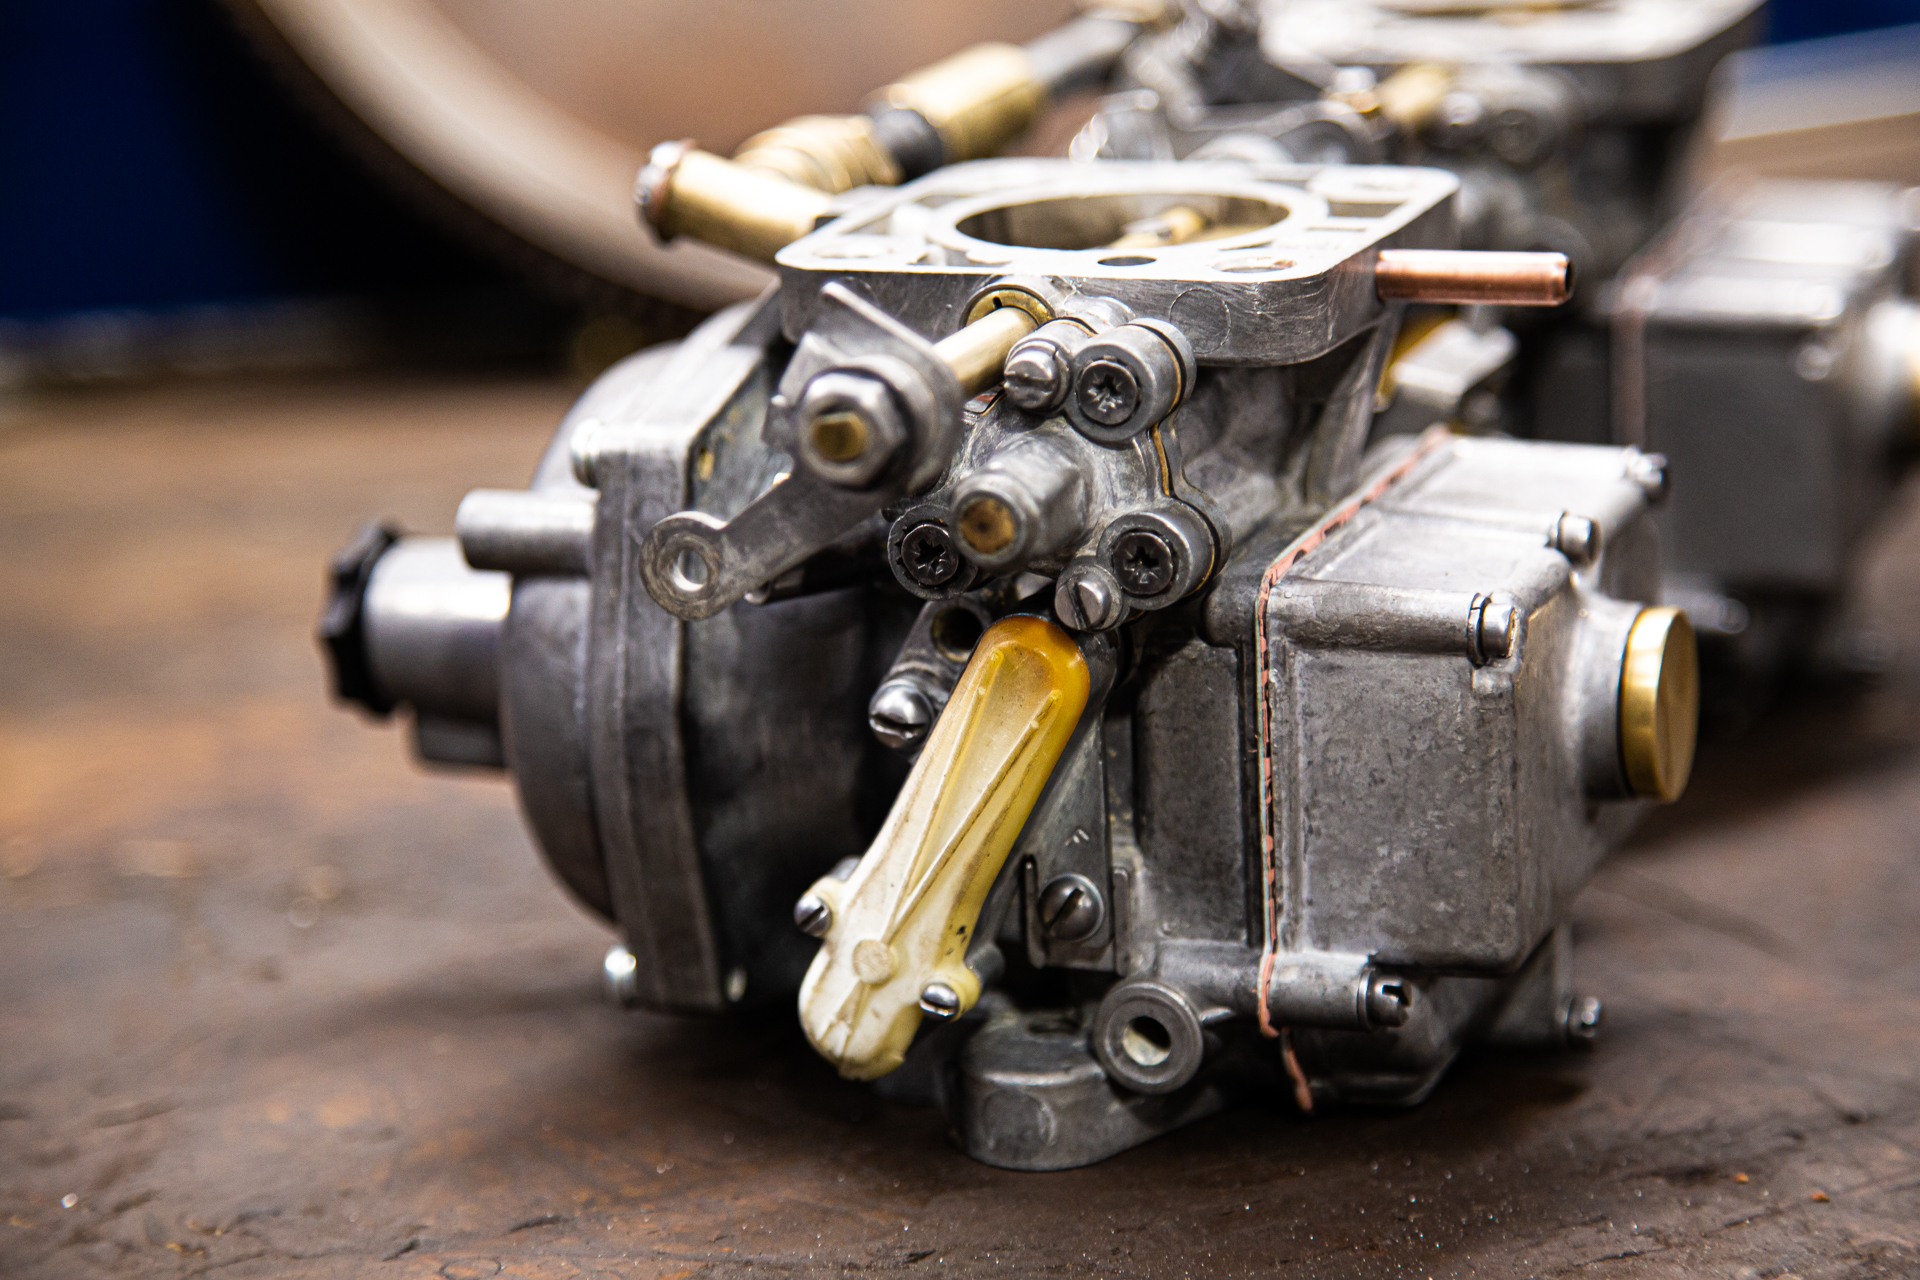

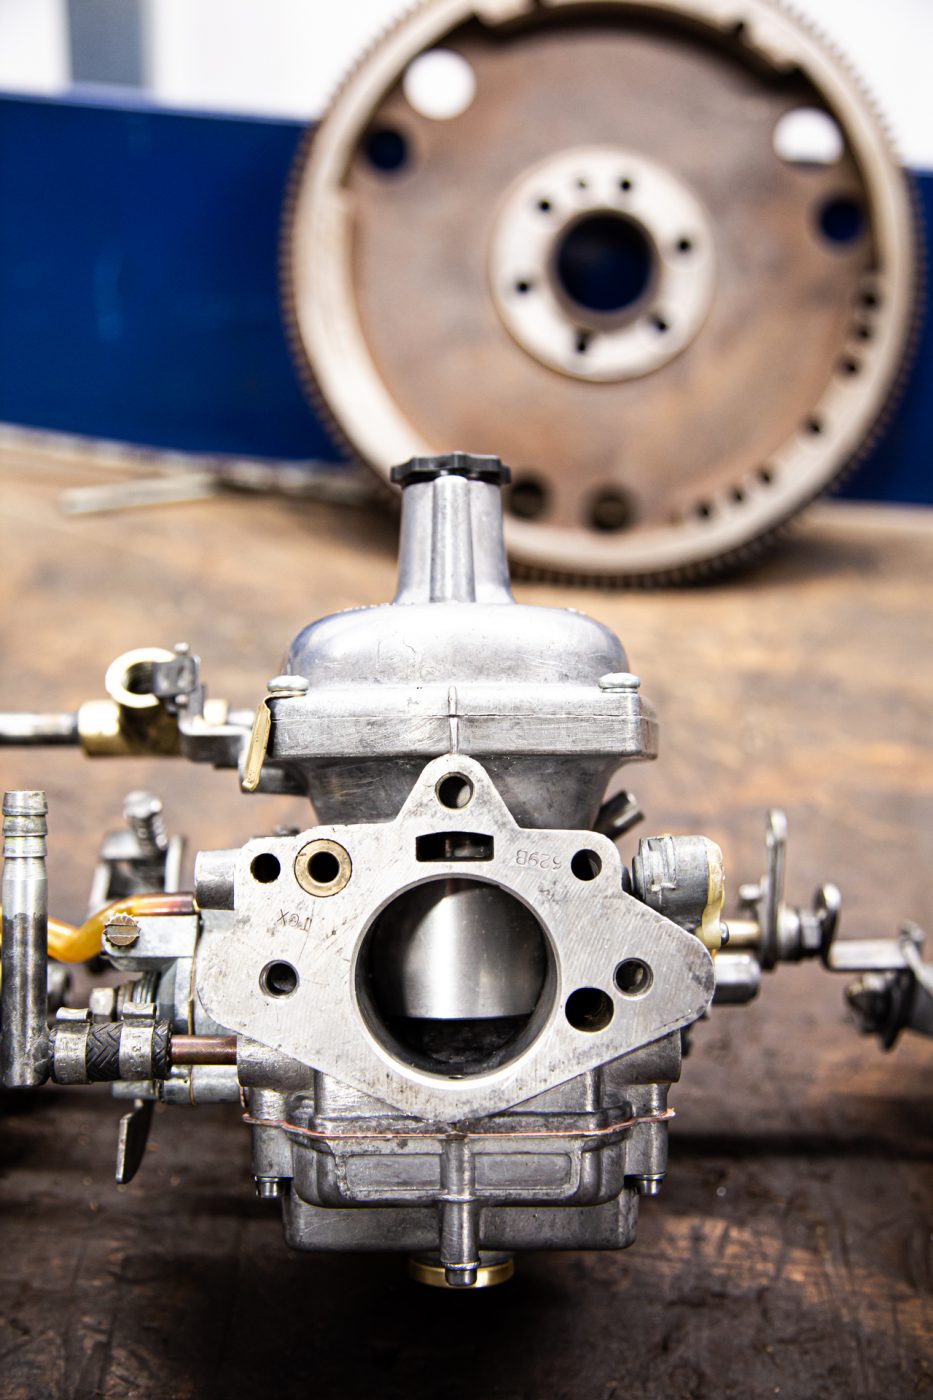
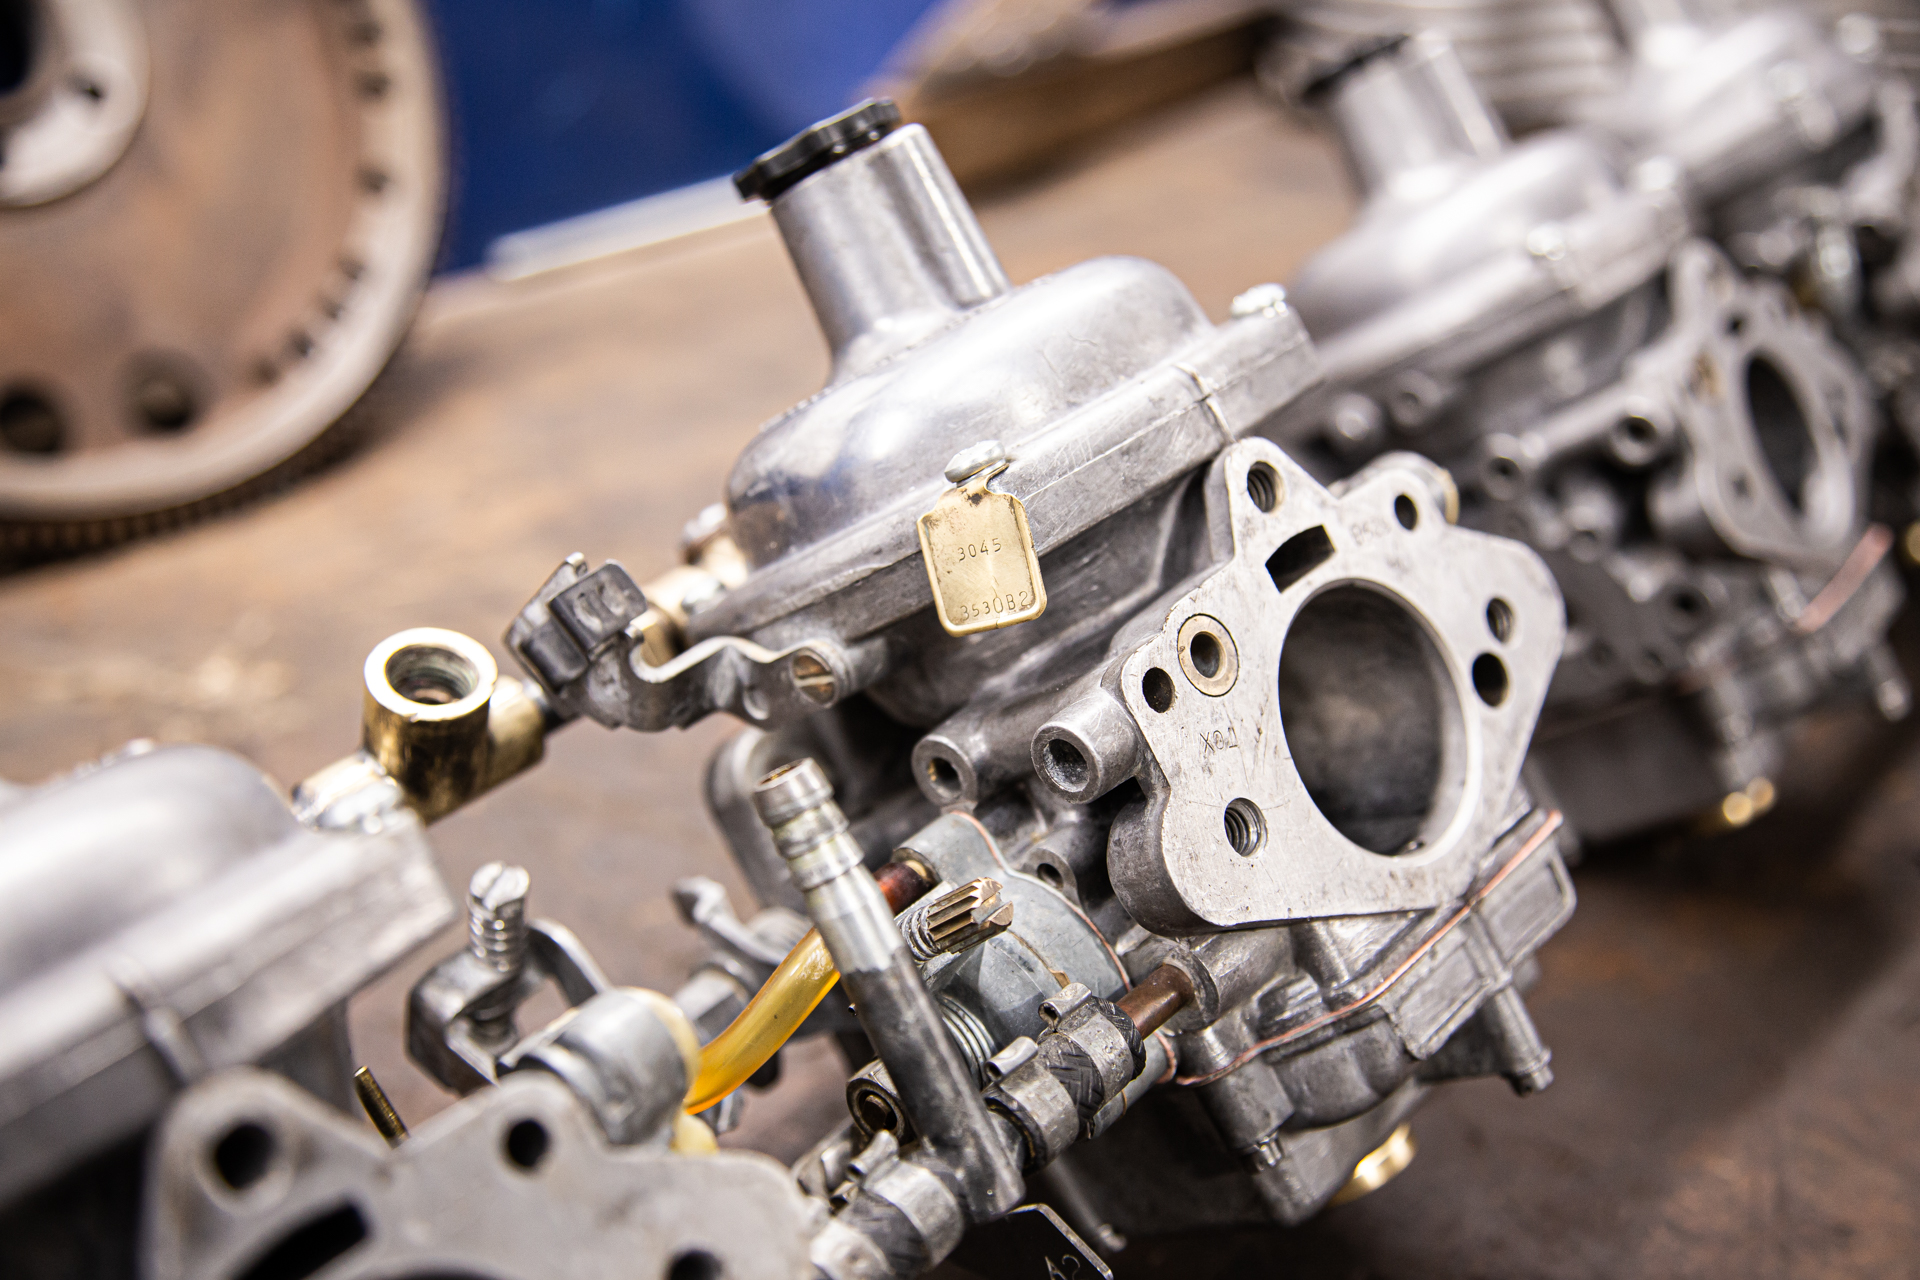
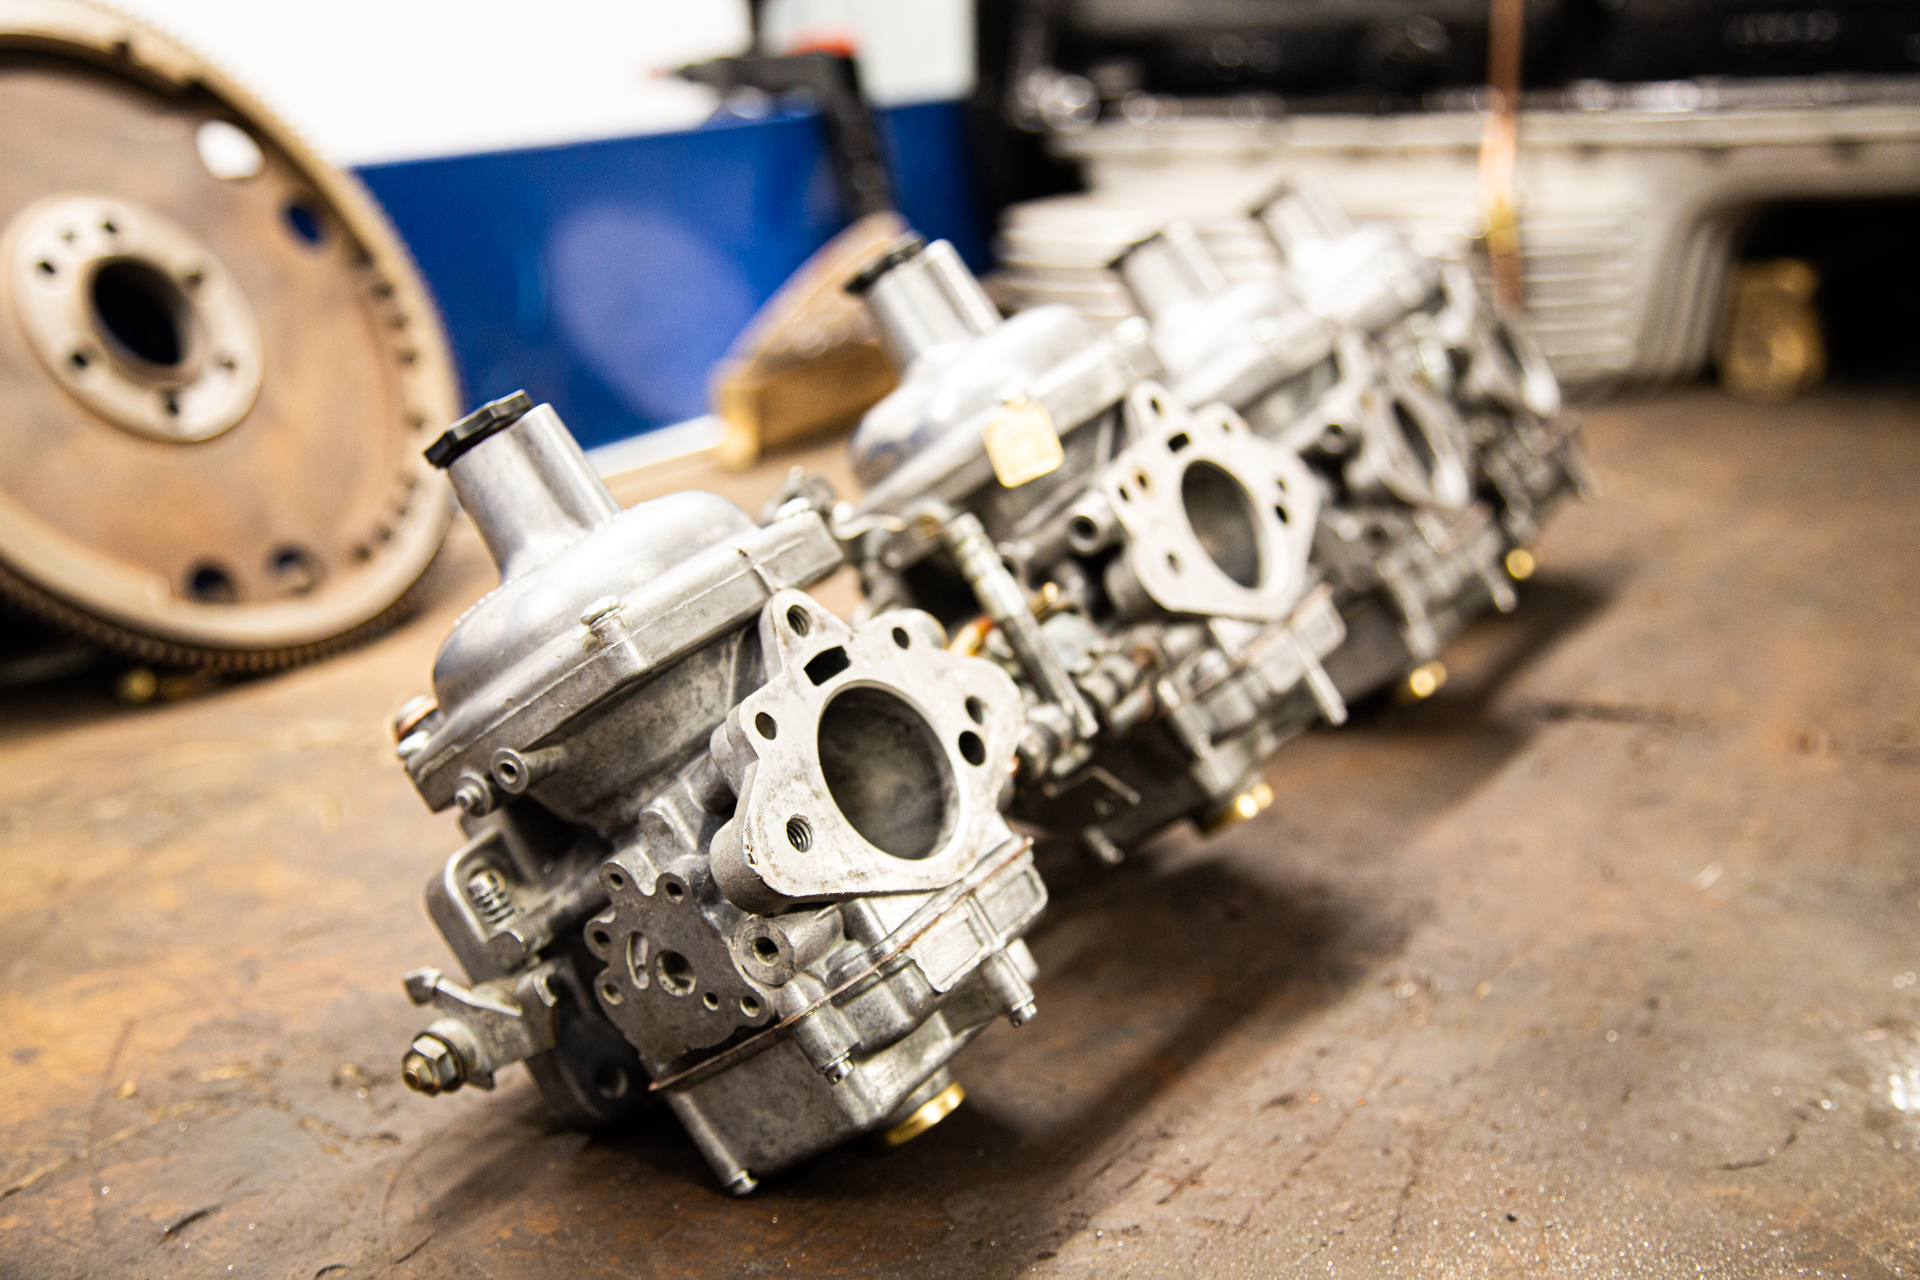

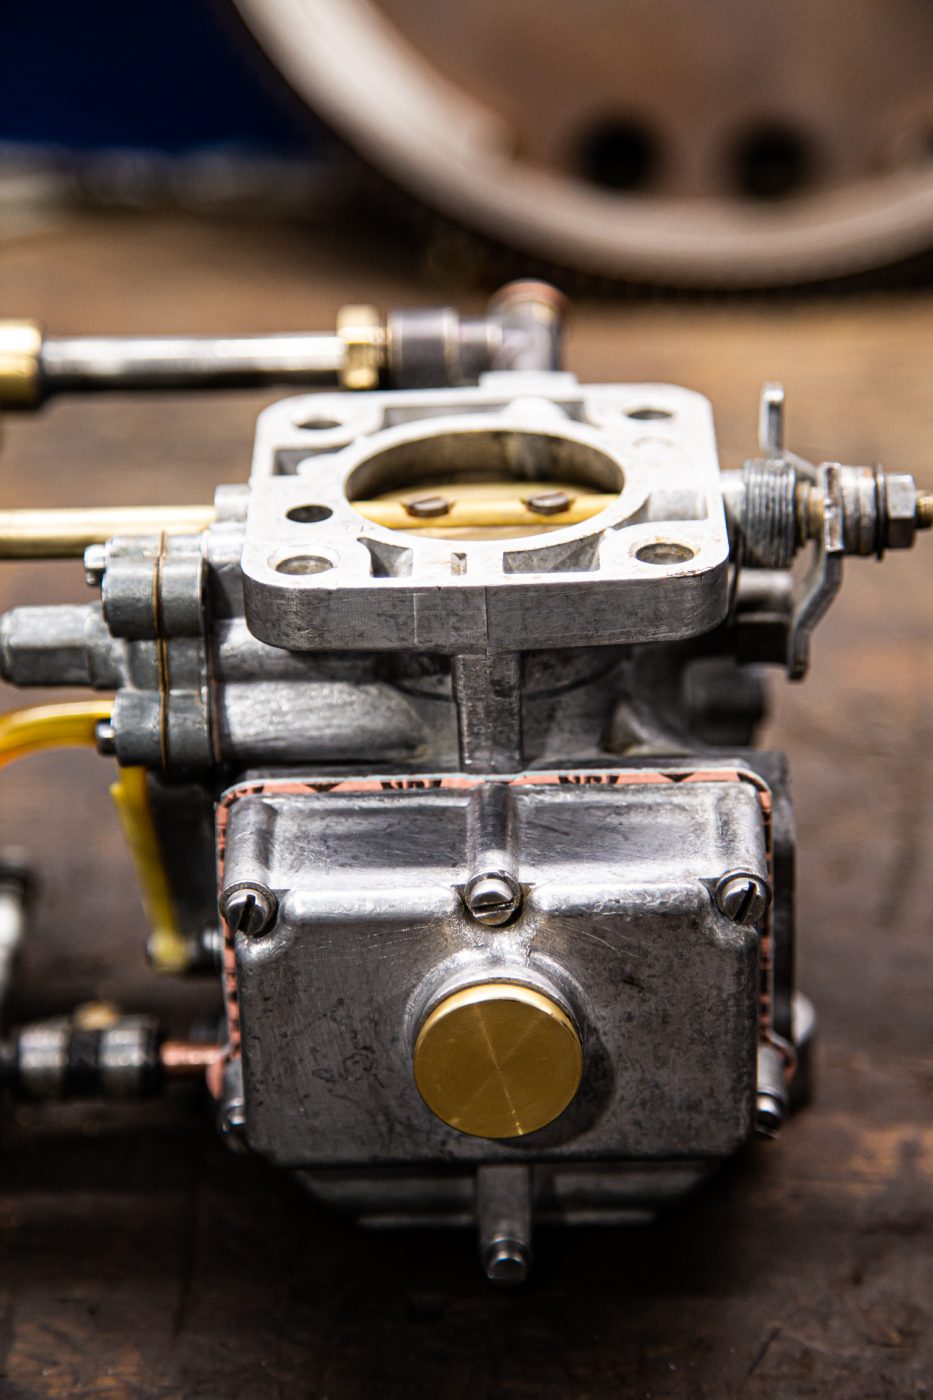

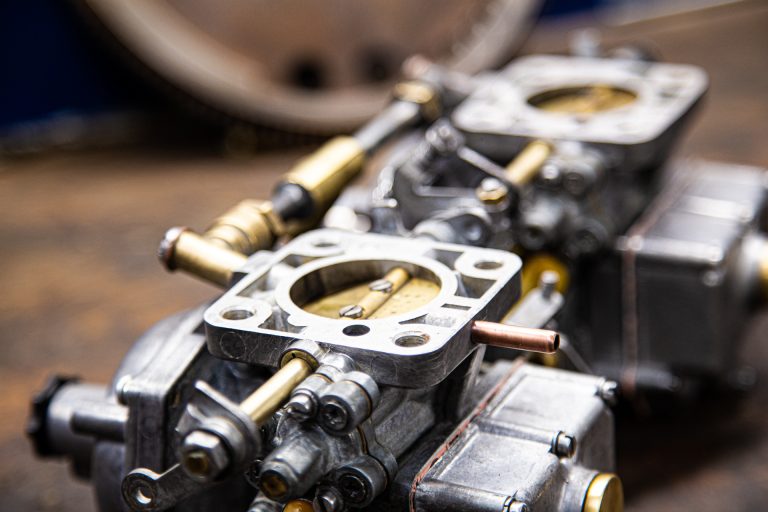
The carburettors on the 1973 Fern Grey Jaguar E Type Series 3 Roadster are freshly rebuilt. Our master engine builder Ady spent many hows carefully dismantling each and every component to check for any damage.
Each of the pieces was given a clean bill of health by Ady. From there it was time to clean down every surface of the giant Strombergs. Ady always takes great pride in his work, he sat there and hand cleaned every individual part to continuously inspect the component while he cleaned away years of dirt.
With a full gasket rebuild kit, Ady managed to get the Carburettors back together in an afternoon, performing a small part of the set-up while still on the bench.
Next up for the carburettors is to be bolted up the manifold and put back on that glorious V12. Expect to see that very soon on the Bridge Classic Cars website.
It is now live! The auction of our 1965 Amphicar that was completely restored in-house by Bridge Classic Cars is live on the Car & Classic website.
This car has had everything imaginable done to it. Not a single system hasn’t been made the best it can possibly be. To the point where it is completely road legal and water certified.
Also, this particular Amphicar (one of just 4000 built) is one of the first known to be completely E10 compliant. Meaning this is really the most useable classic car and a classic boat you could find.
Head over to the Car & Classic Auction by clicking the link below!
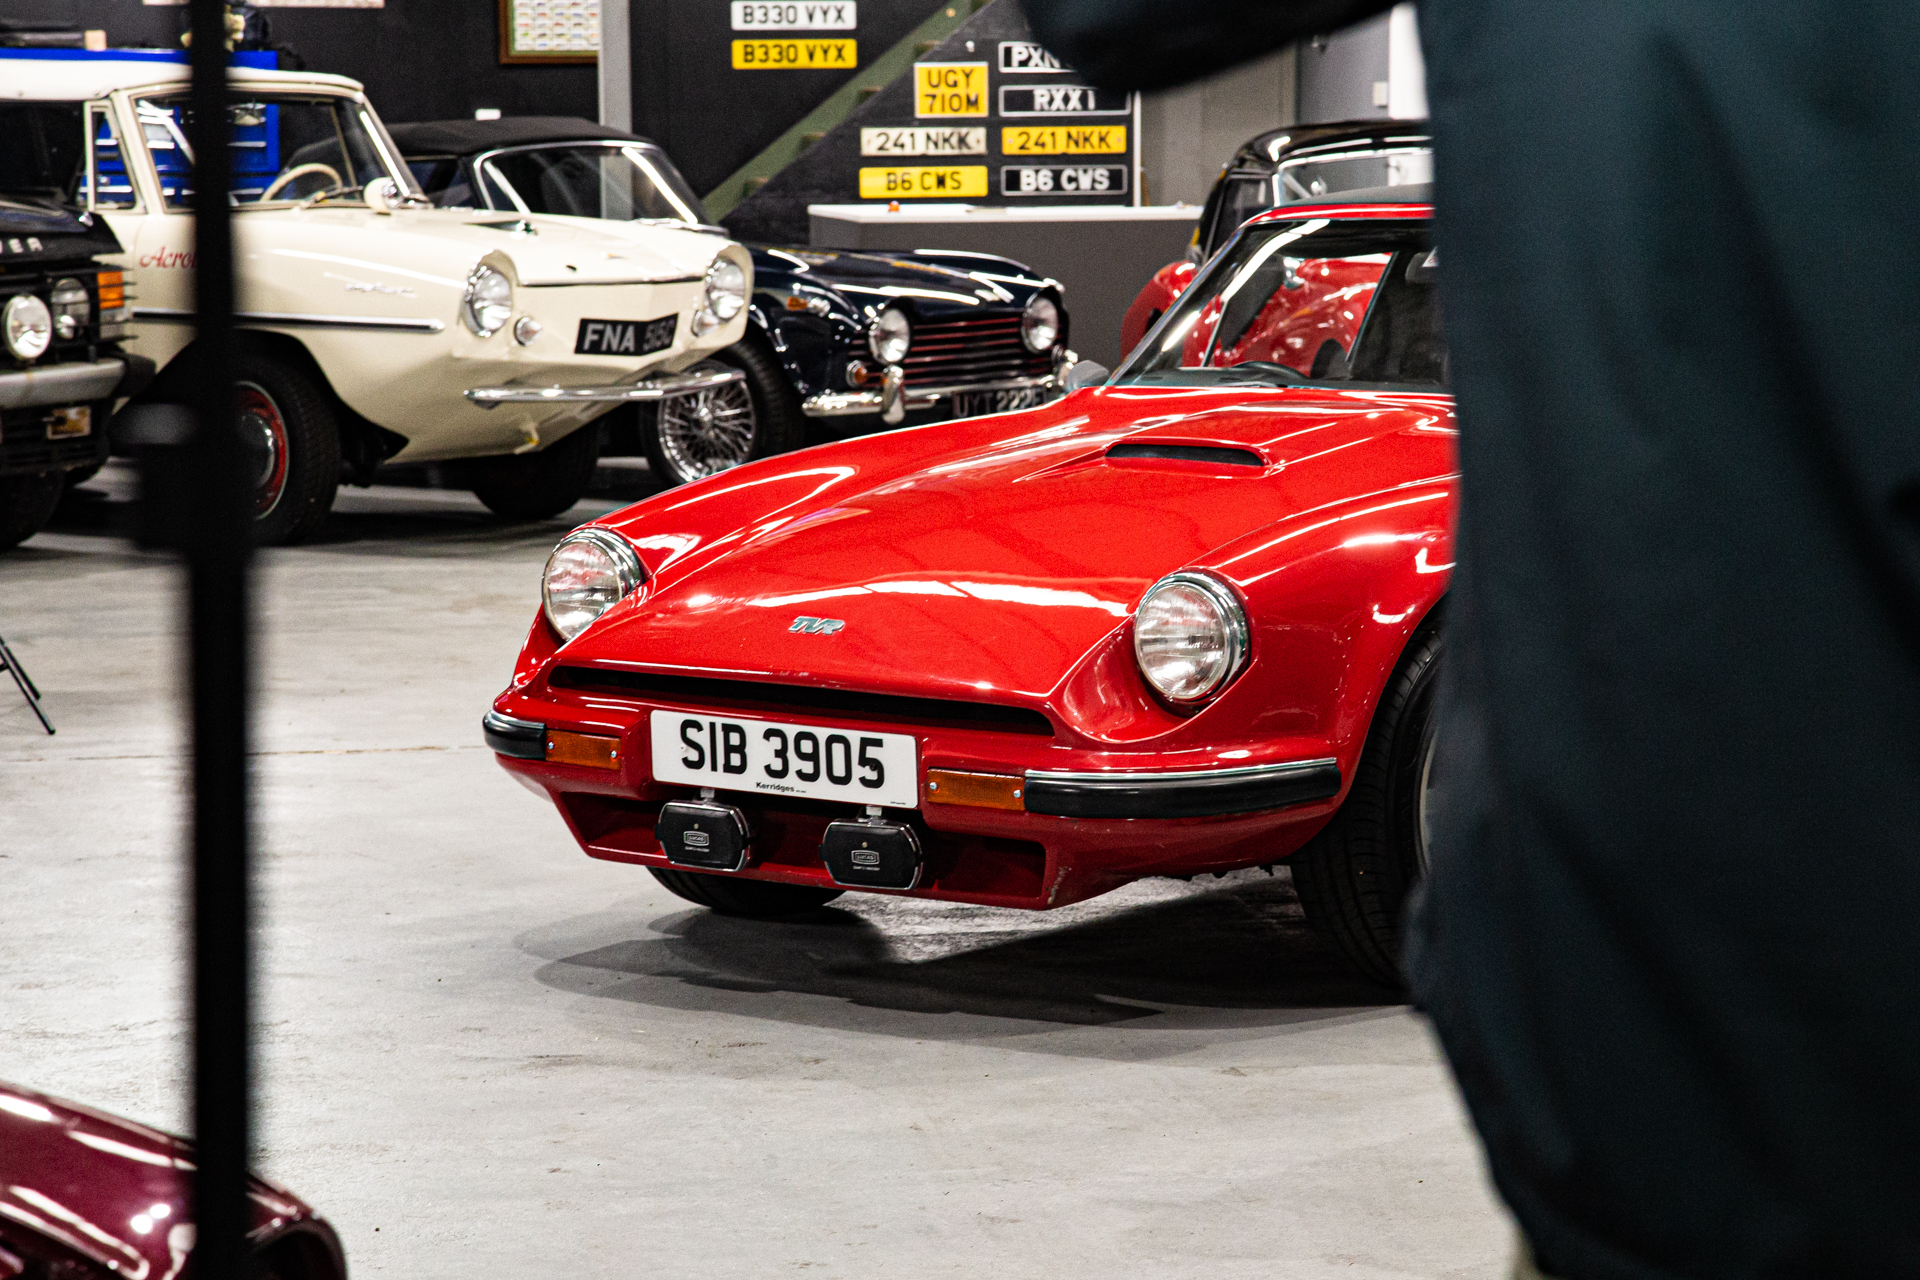


A bit of a change to our usual schedule, the live draw for the 1989 TVR S2 2.9 V6 was drawn during the day this time. A start time of 10 am saw many tuned in from home to find out if they were the lucky winner of this bright red bruiser.
The car itself was being valeted by Viper Auto Valet as we set up for the draw. All three of the latest competition cars were put into place for Charlotte and Freddie to guide the viewers through what to expect in the coming weeks.
As the random number generator span away. It was ticket 2343. After cross-checking the number against the entry lists (which are published on our website before each draw) it was found to be Jarlath Joyce who was now the new owner of this 1989 TVR S2 2.9 V6.
Thank you to everyone who entered this amazing draw and if you didn’t win, we hope you have better luck next time on future cars from Bridge Classic Cars Competitions.
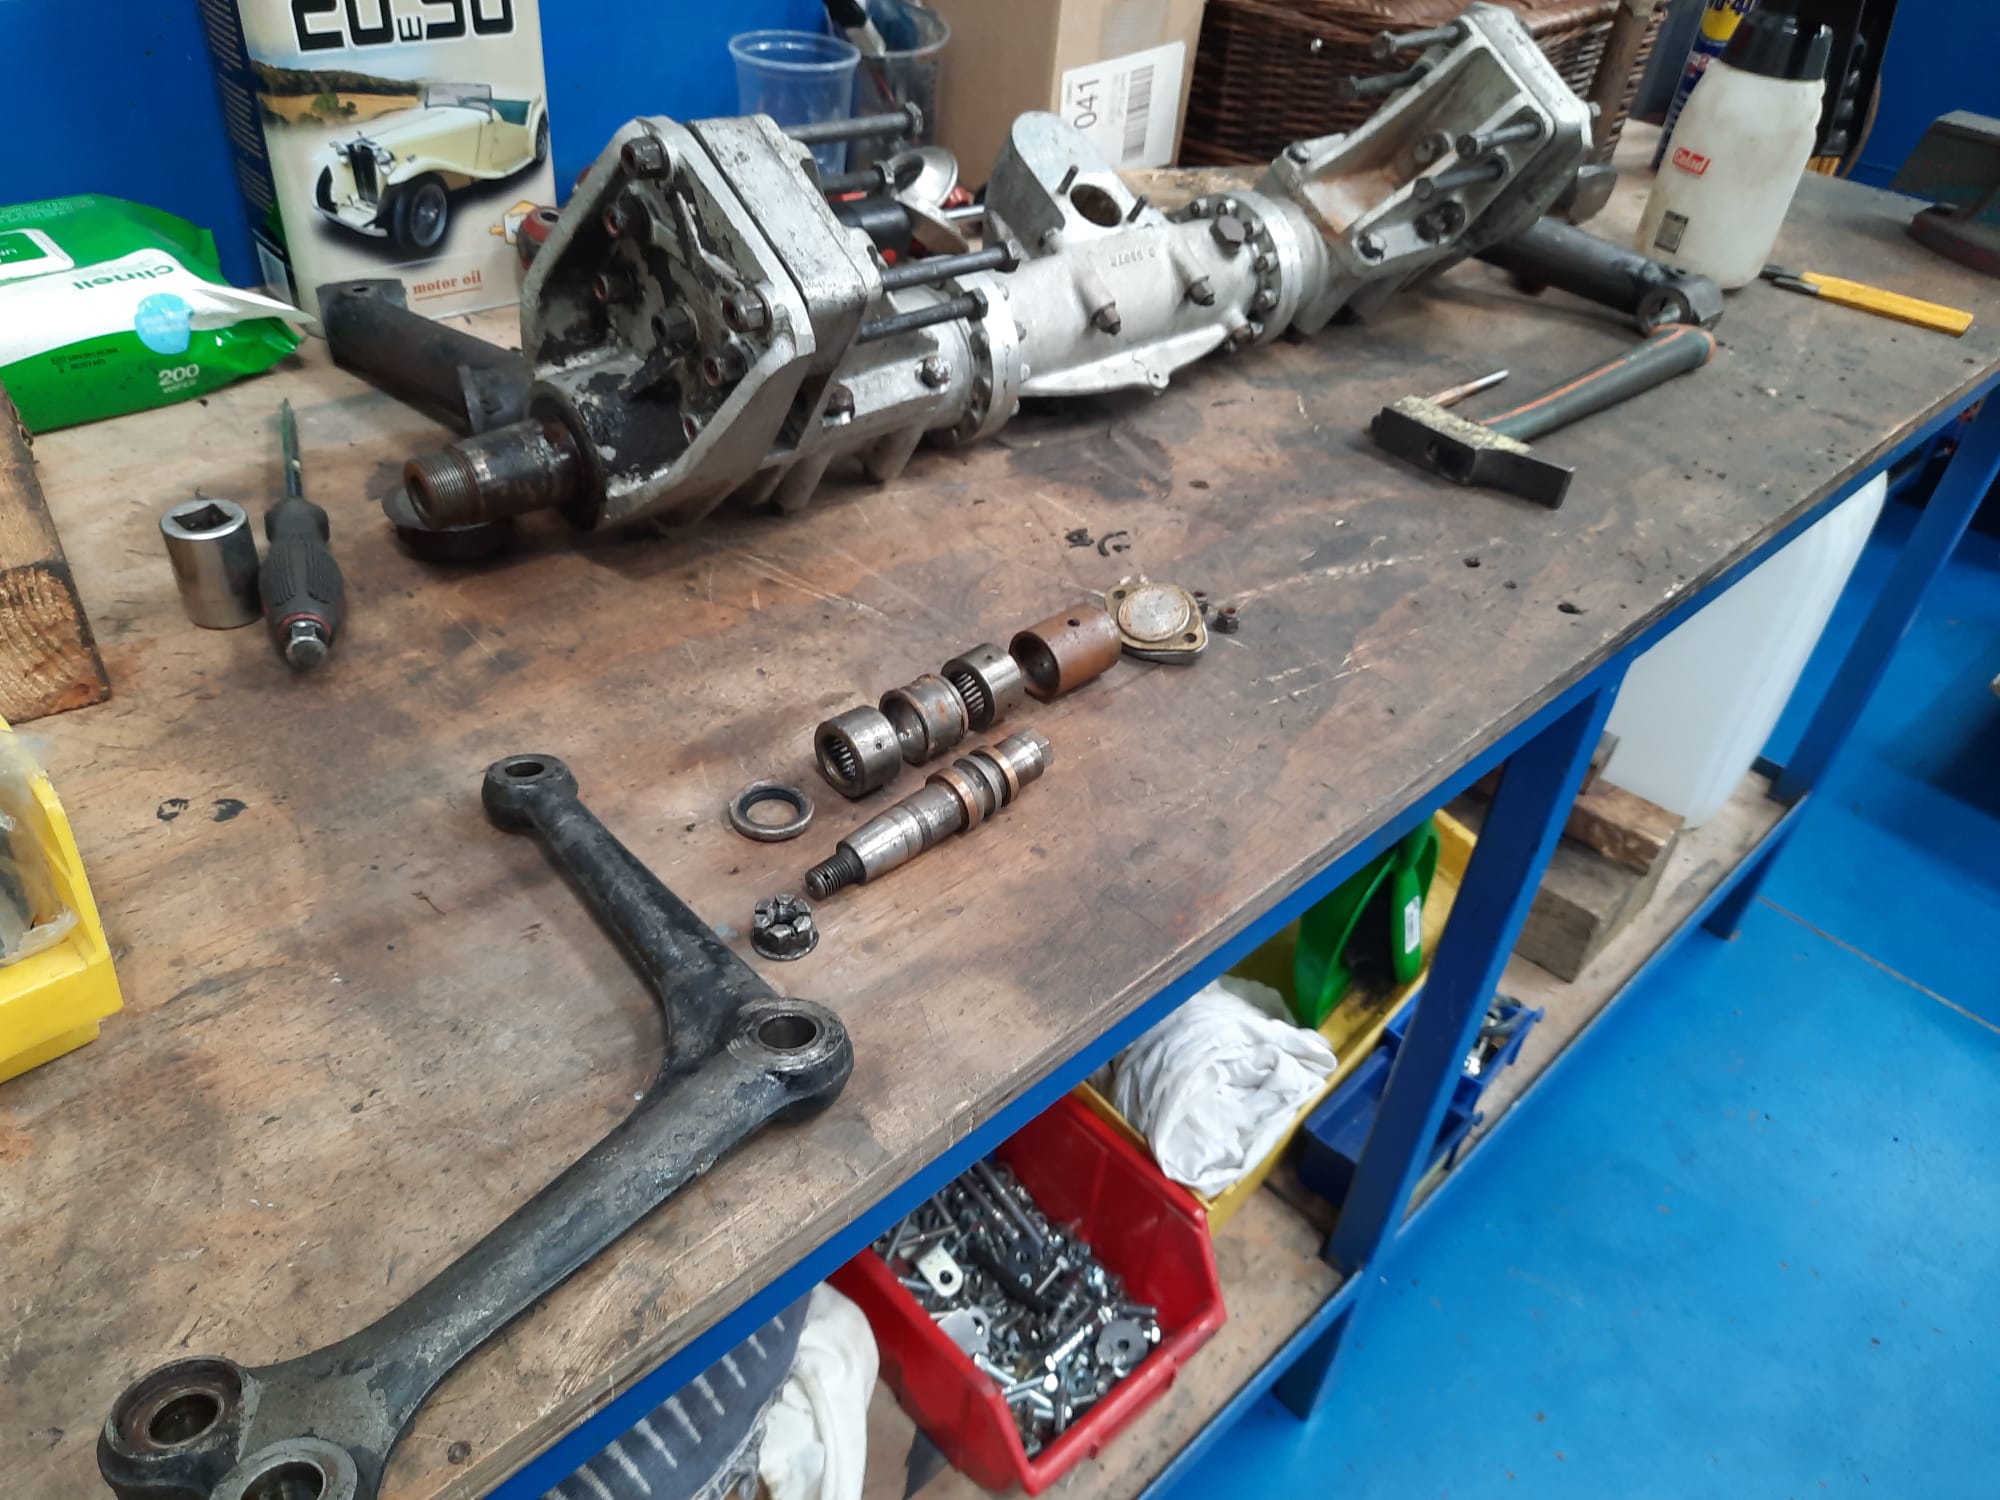
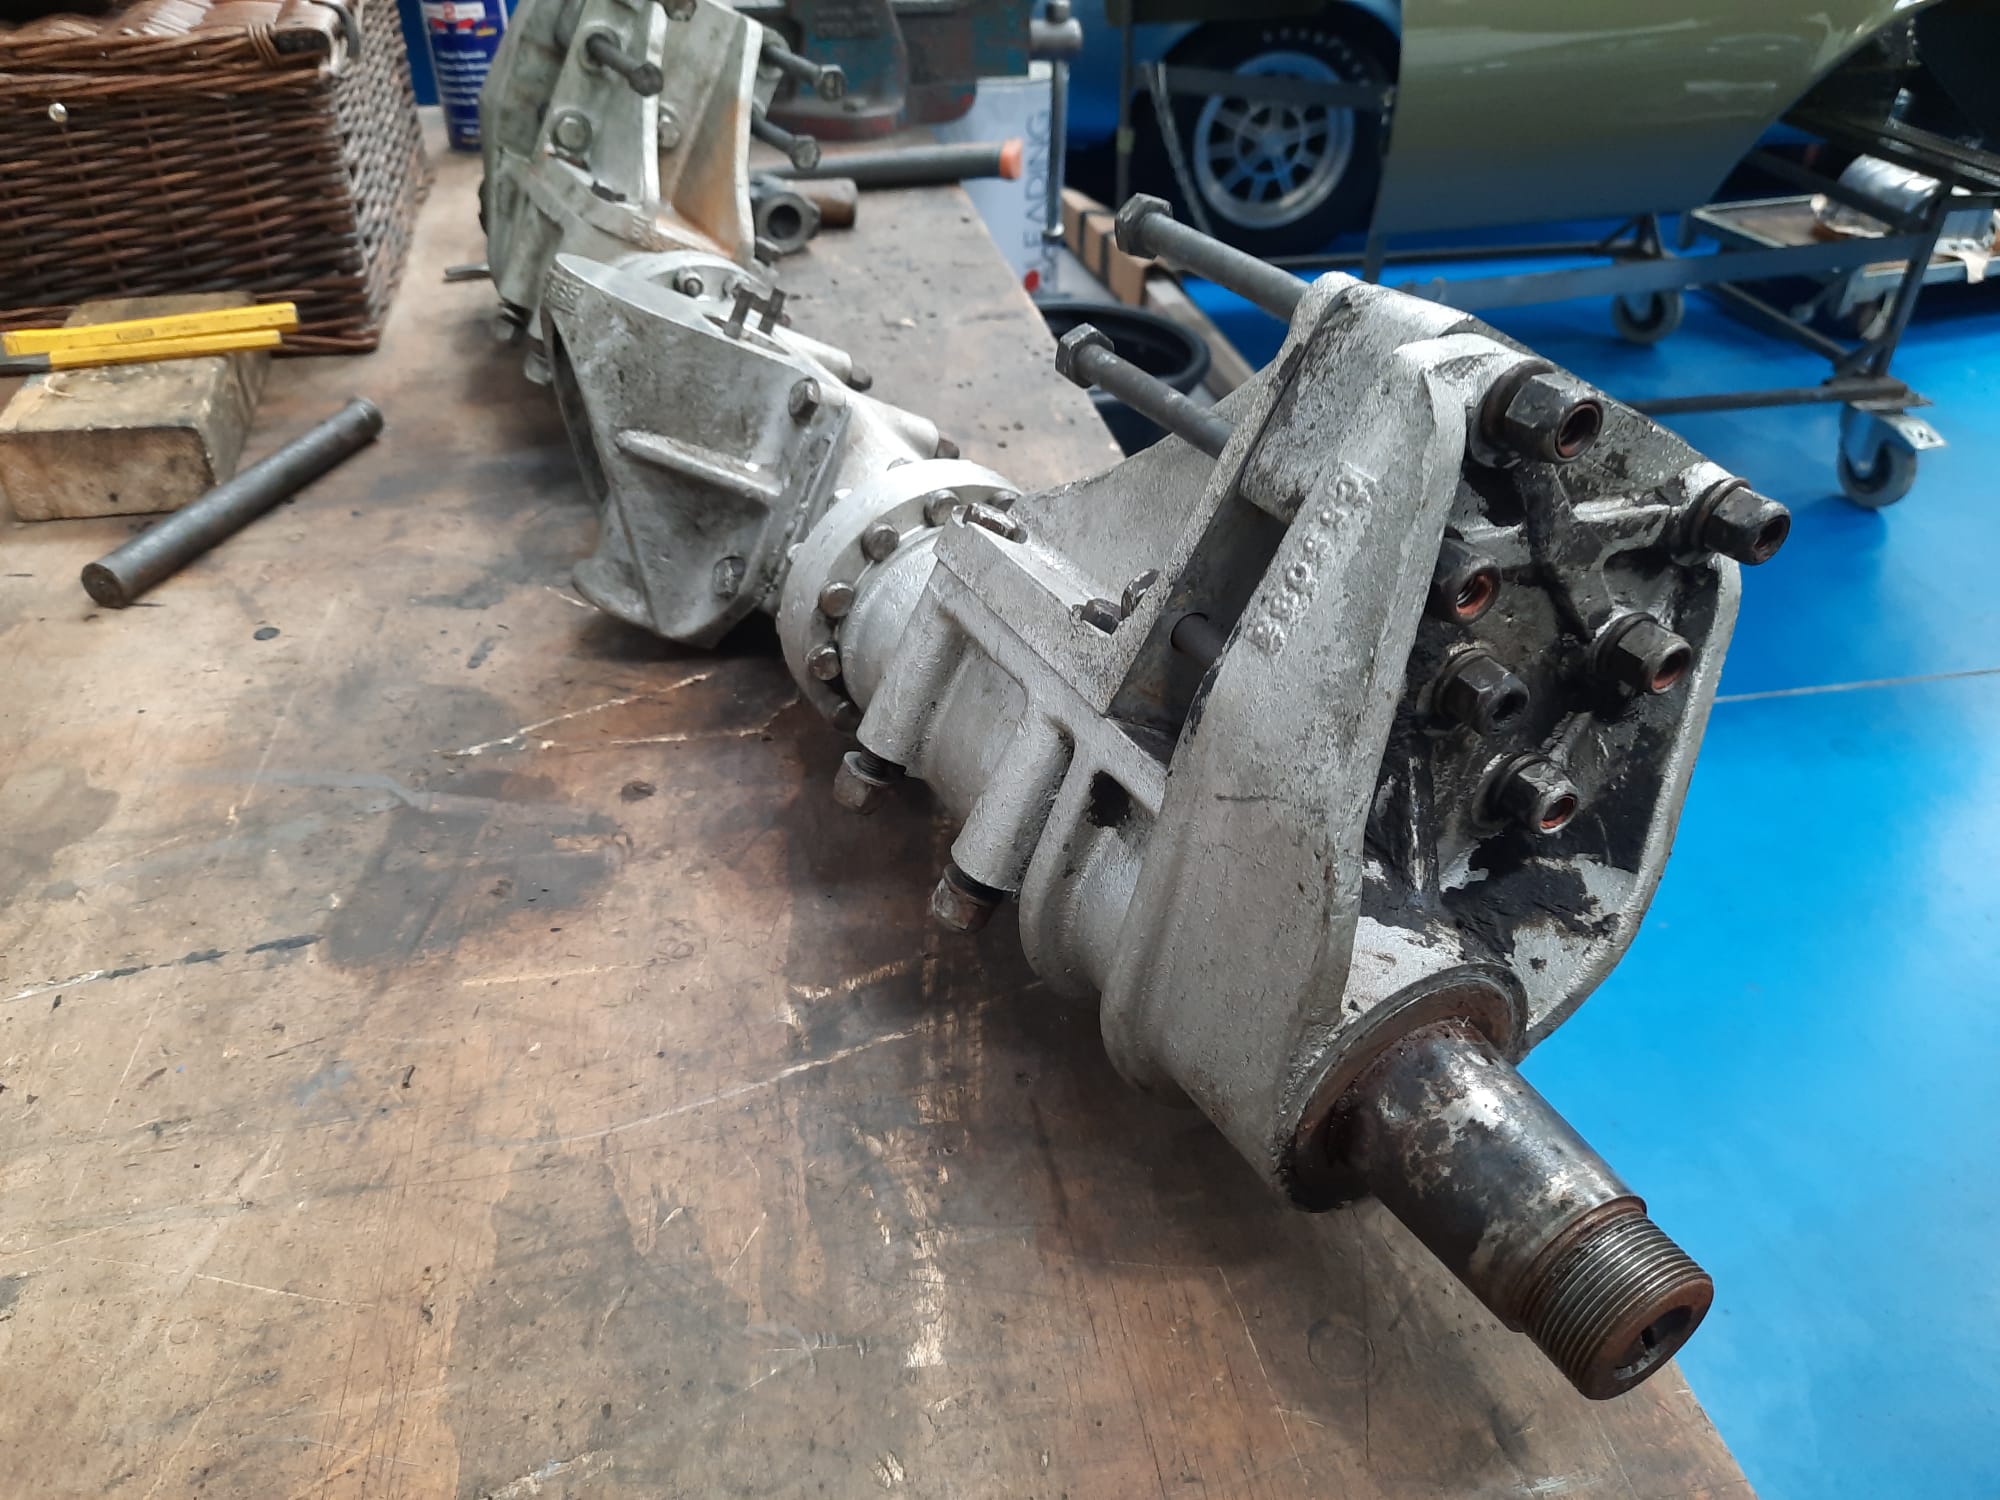
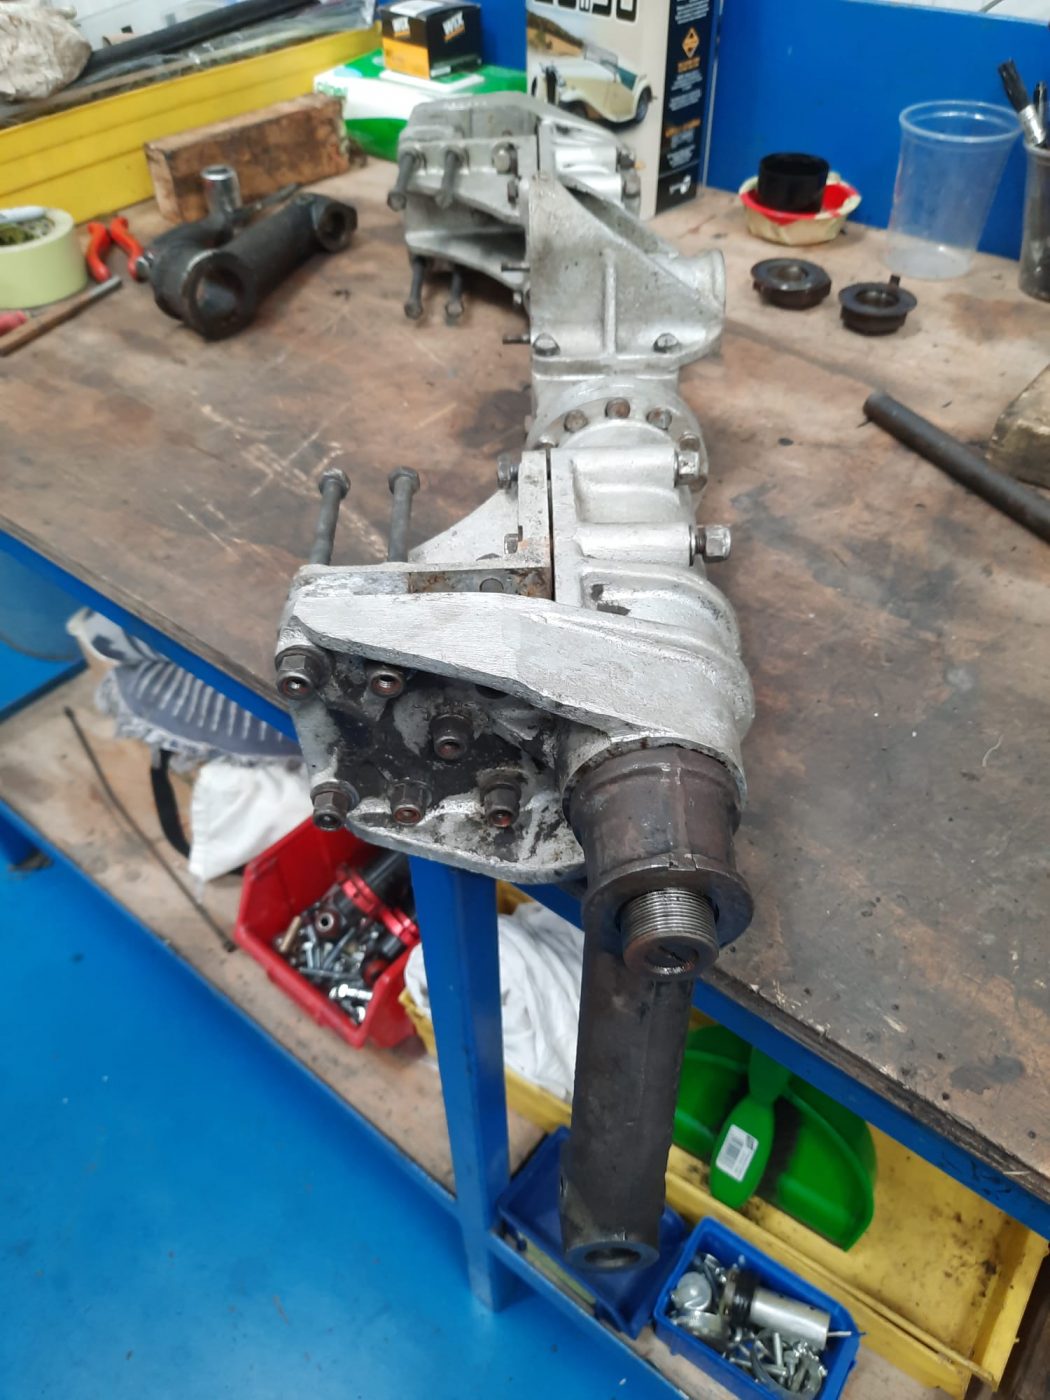
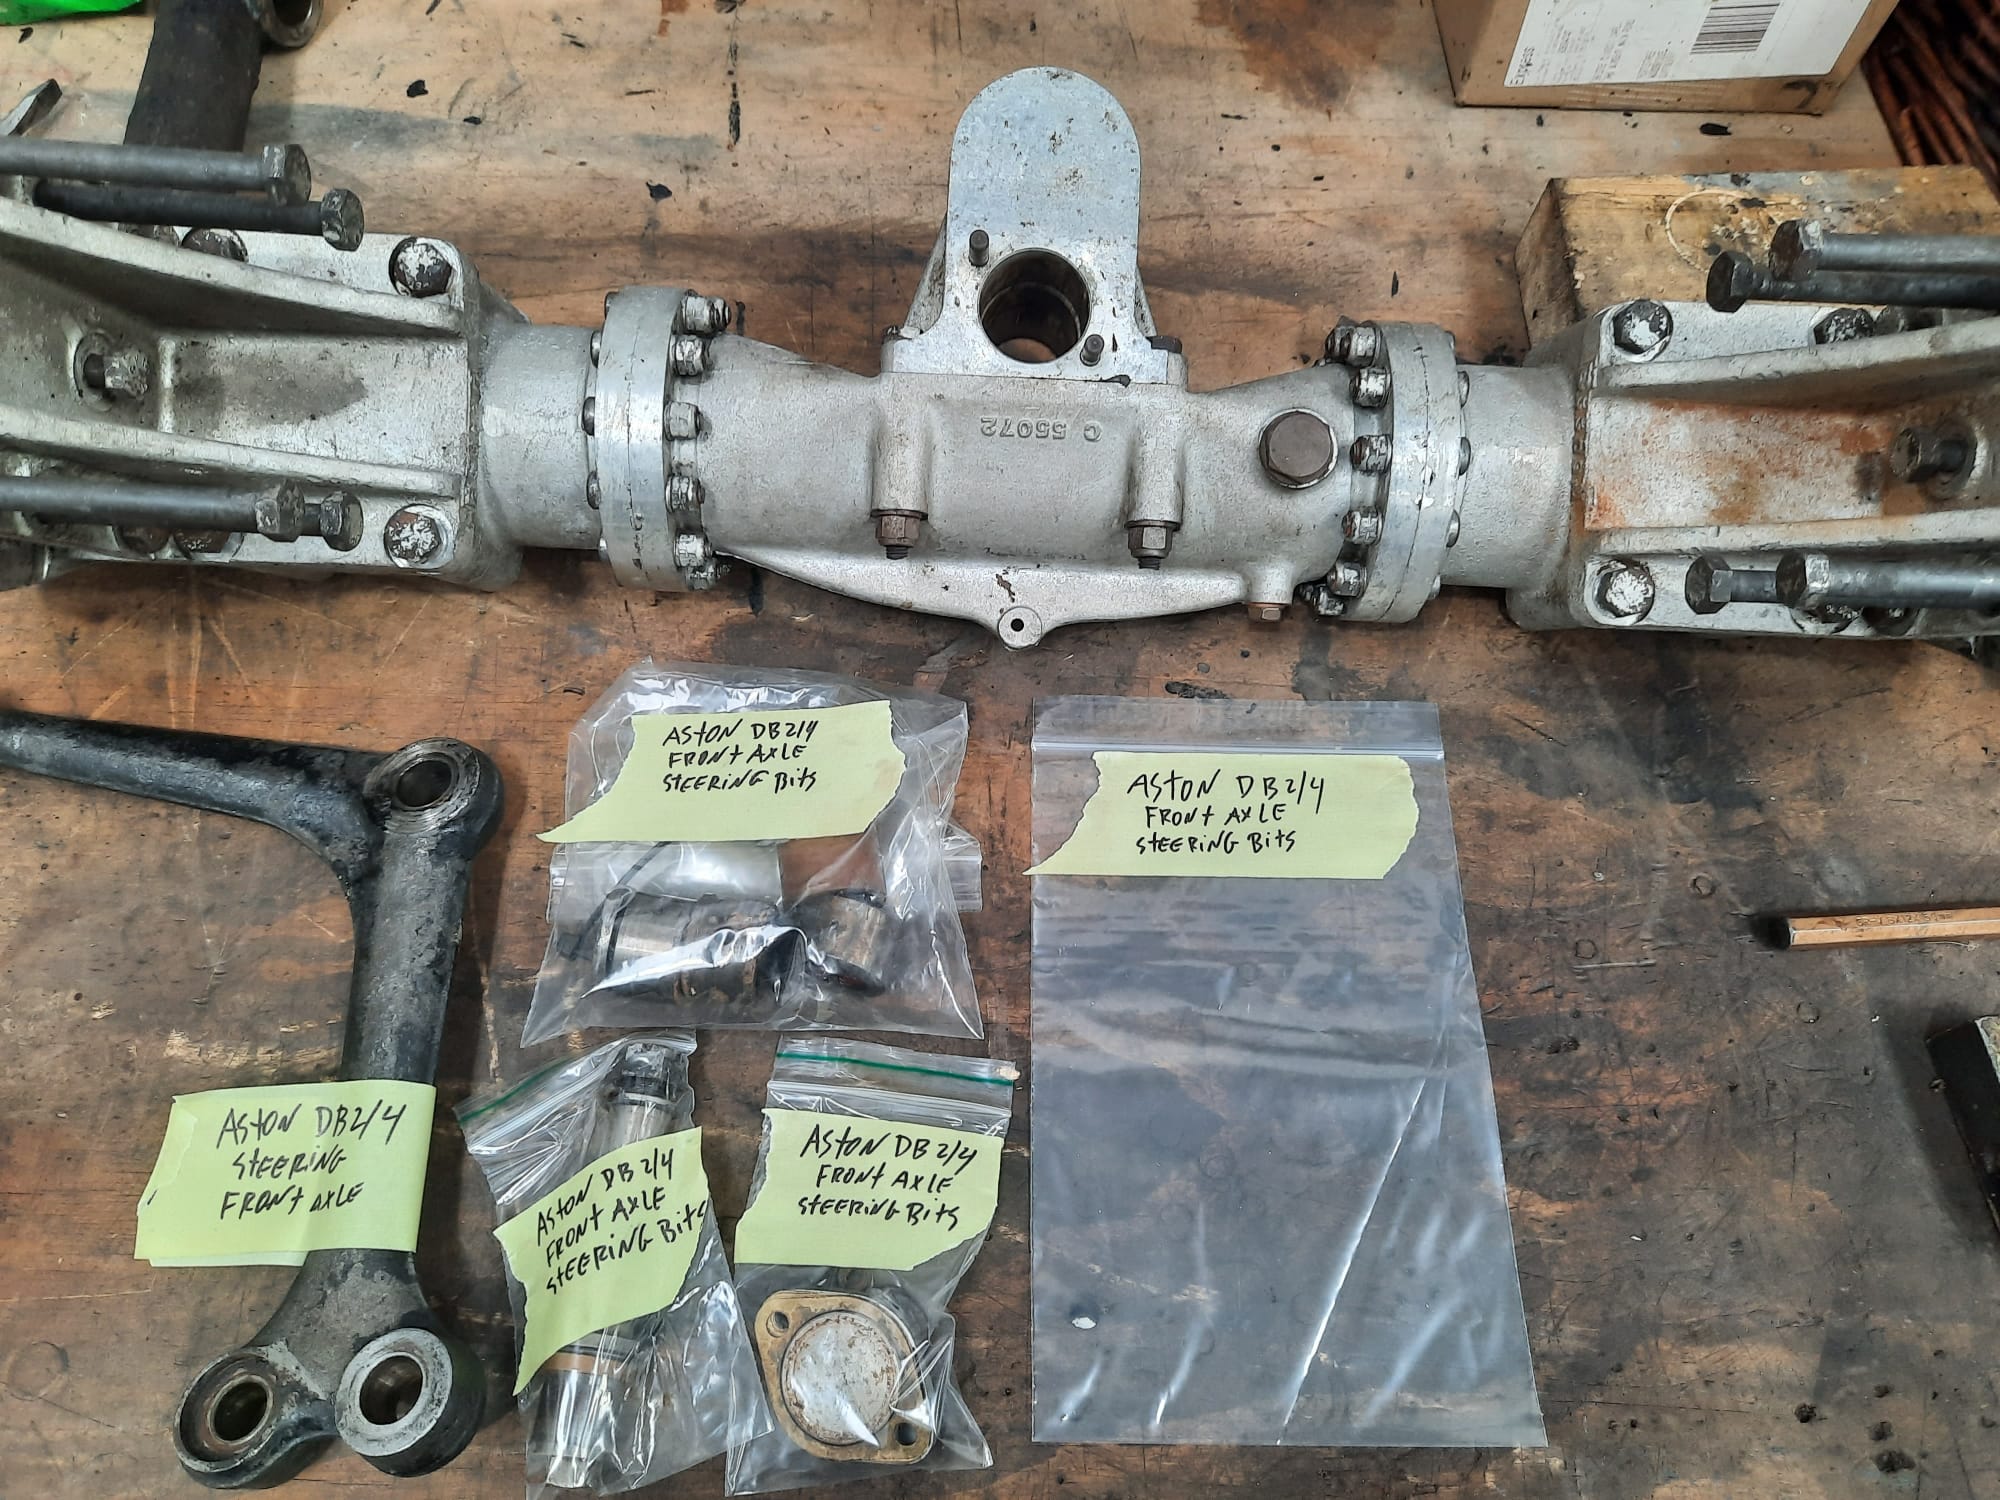

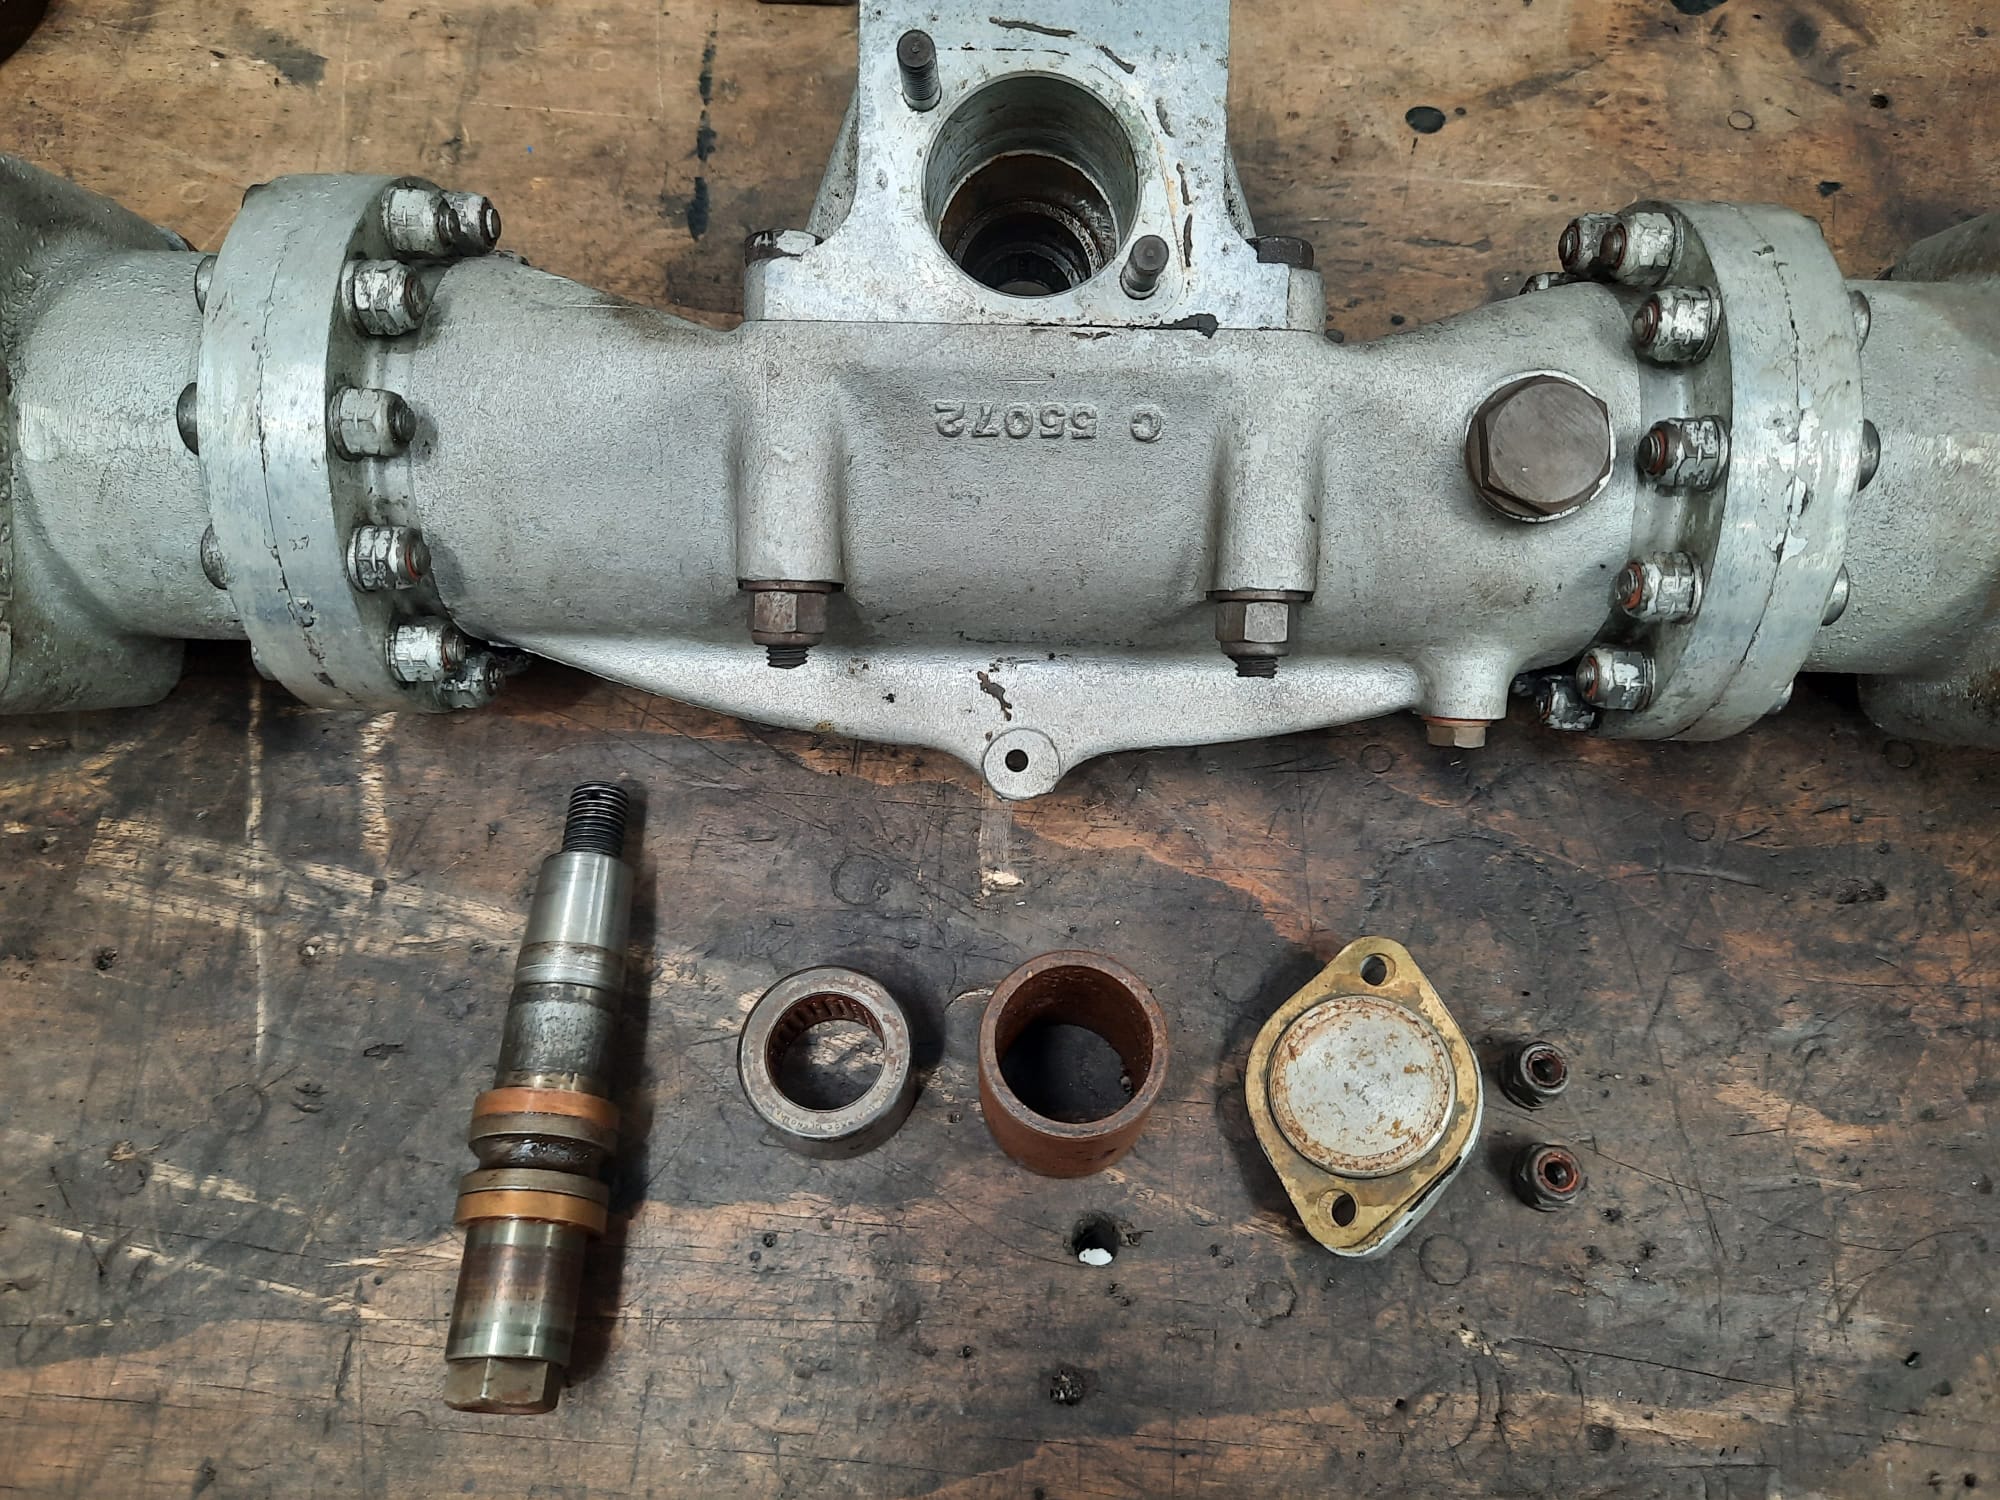


Here at Bridge Classic Cars, our in-house restoration technician Mauro is hard at work continuing to teardown, inspect and catalogue the front end parts of the 1955 Aston Martin DB2.
The steering on any sportscar is what is known to give that feel we all know and love. And for that, it needs to be in perfect shape. So, it’s now the turn of the steering rack of the DB2. Mauro has carefully removed each component from the rack itself.
These will be inspected thoroughly before refurbishment begins.
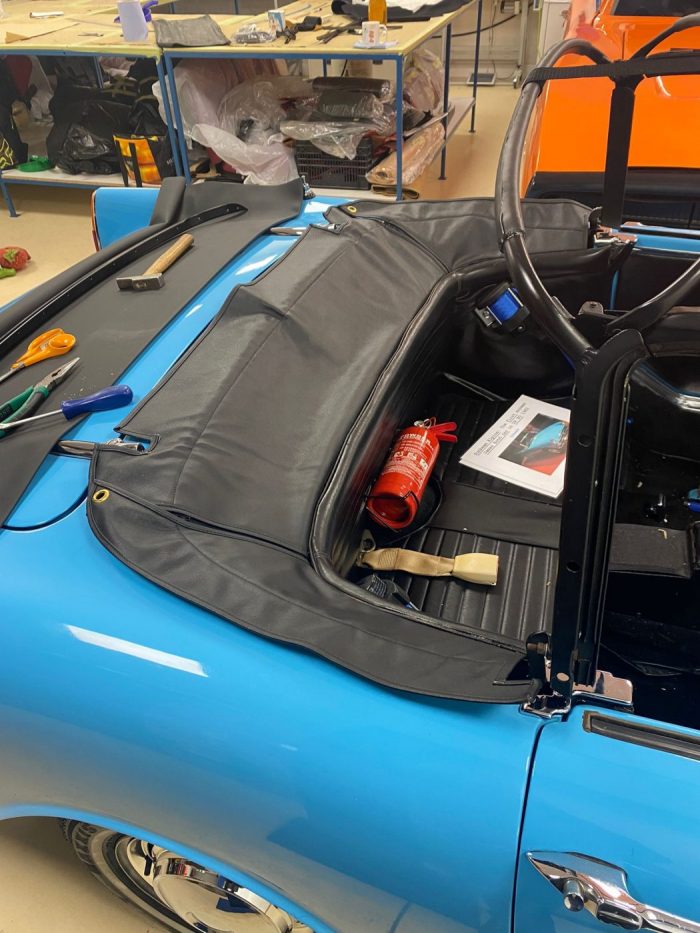
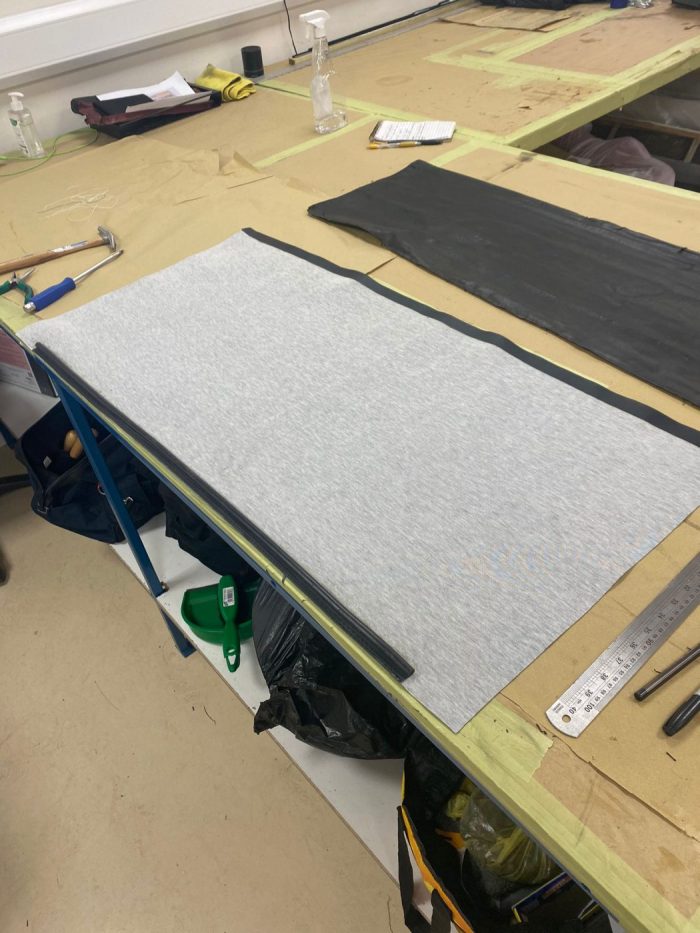

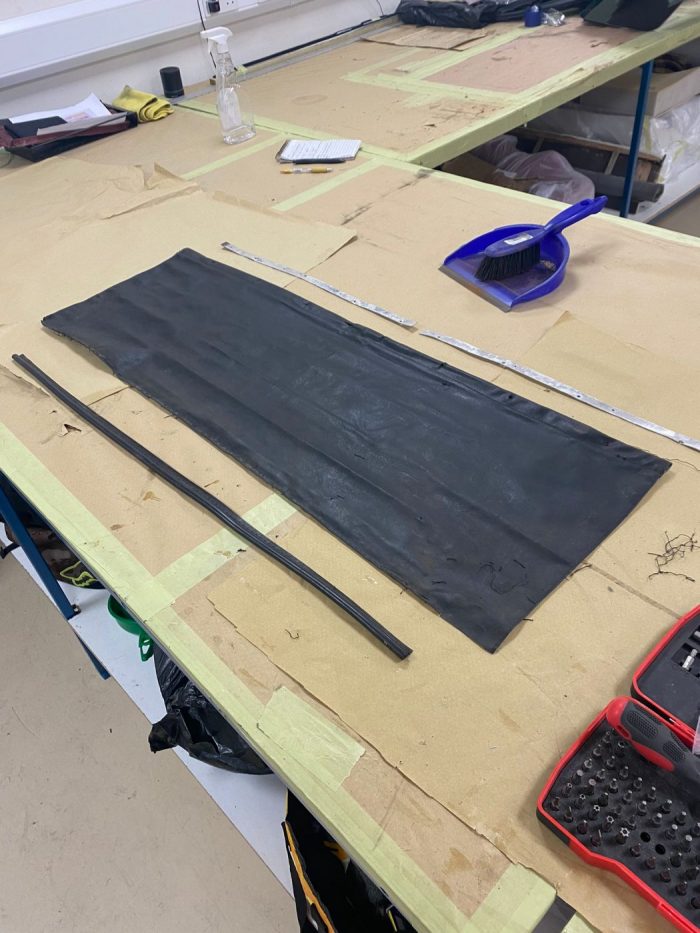
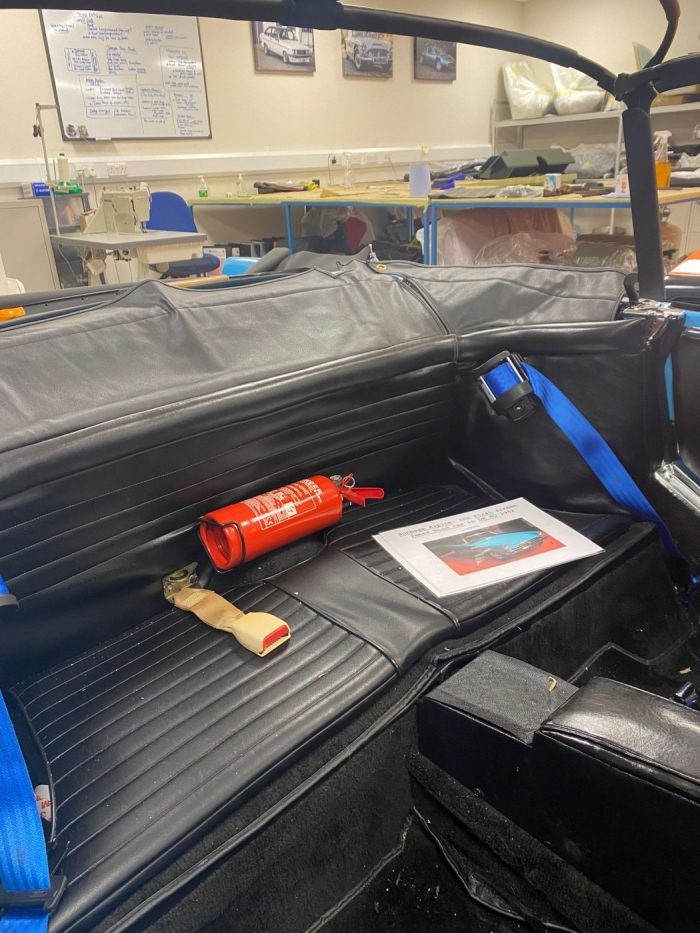
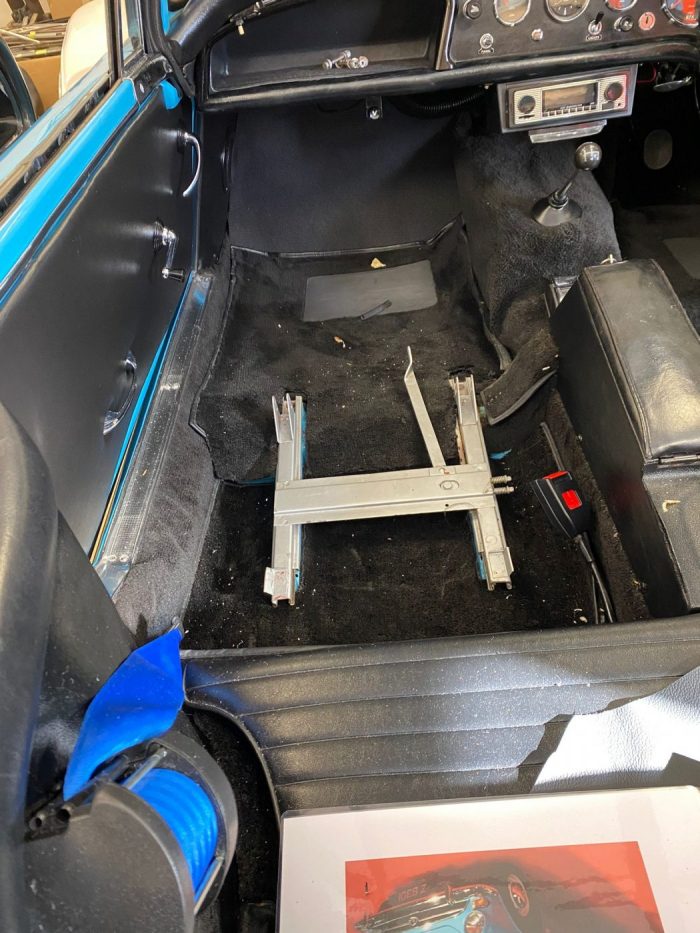
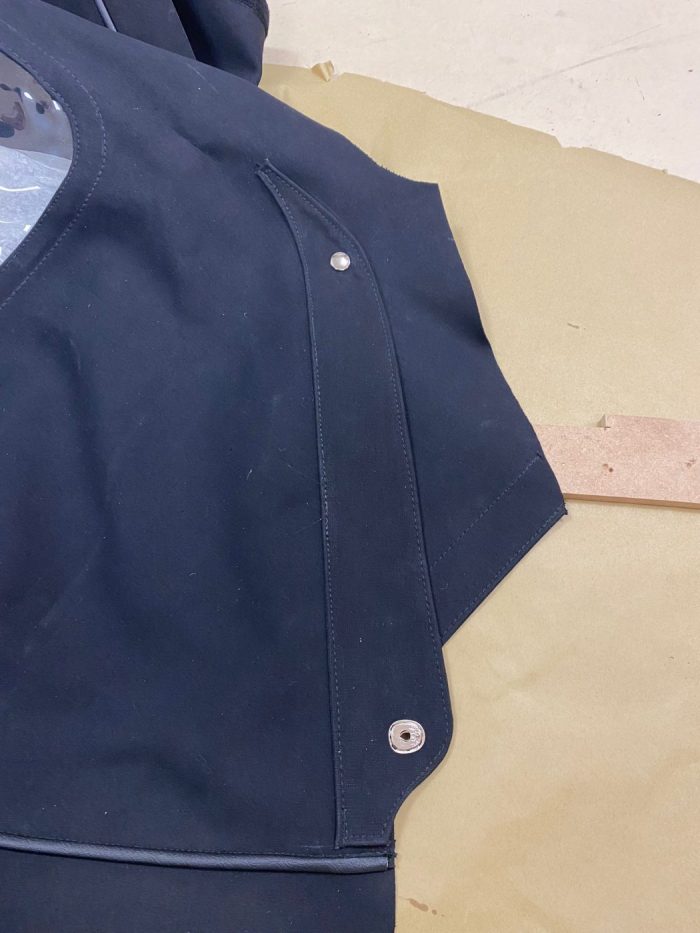
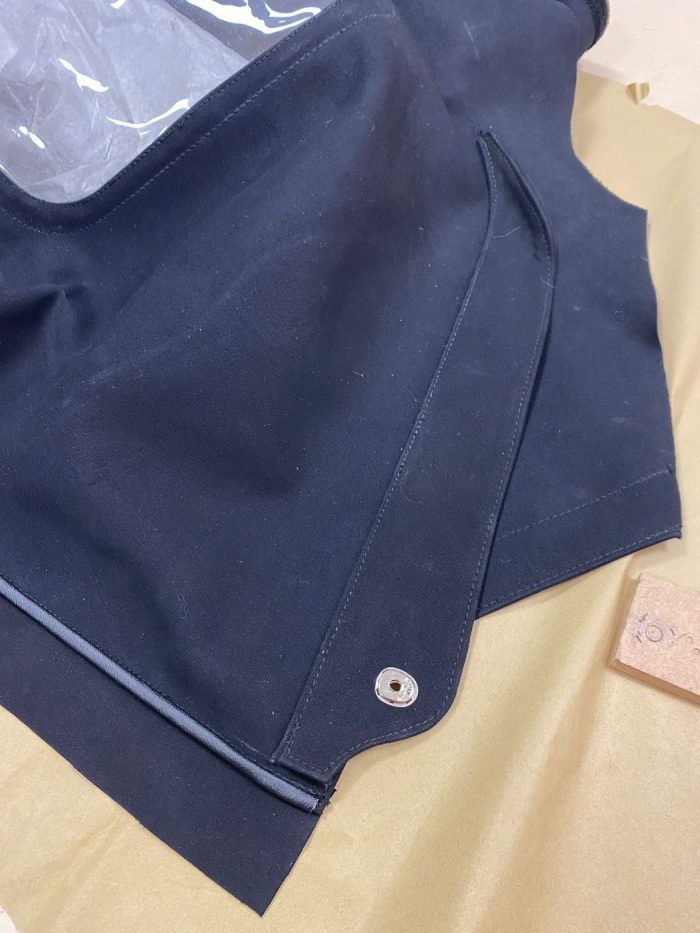
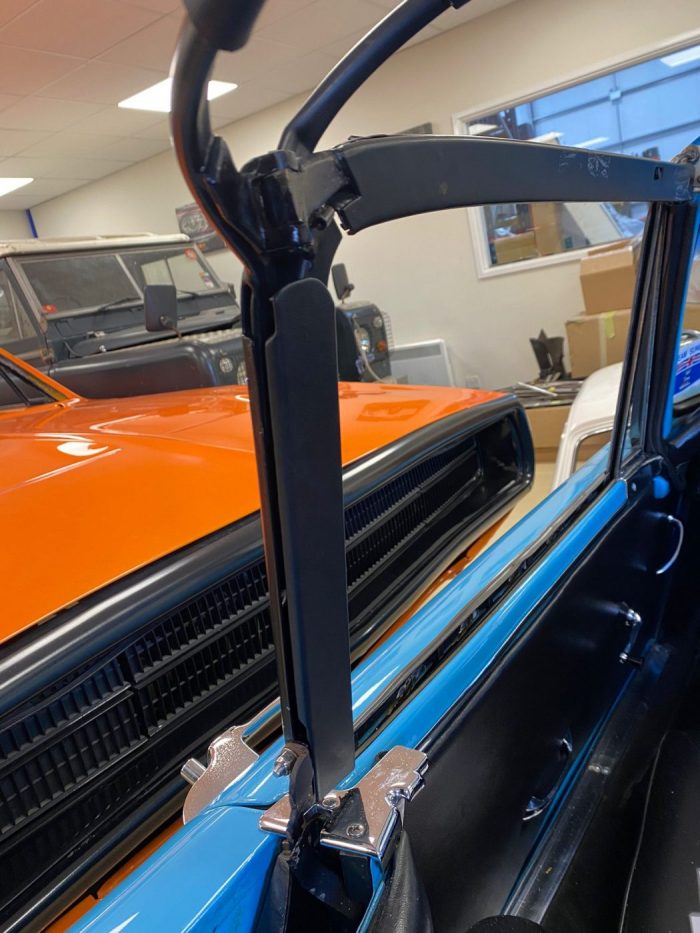

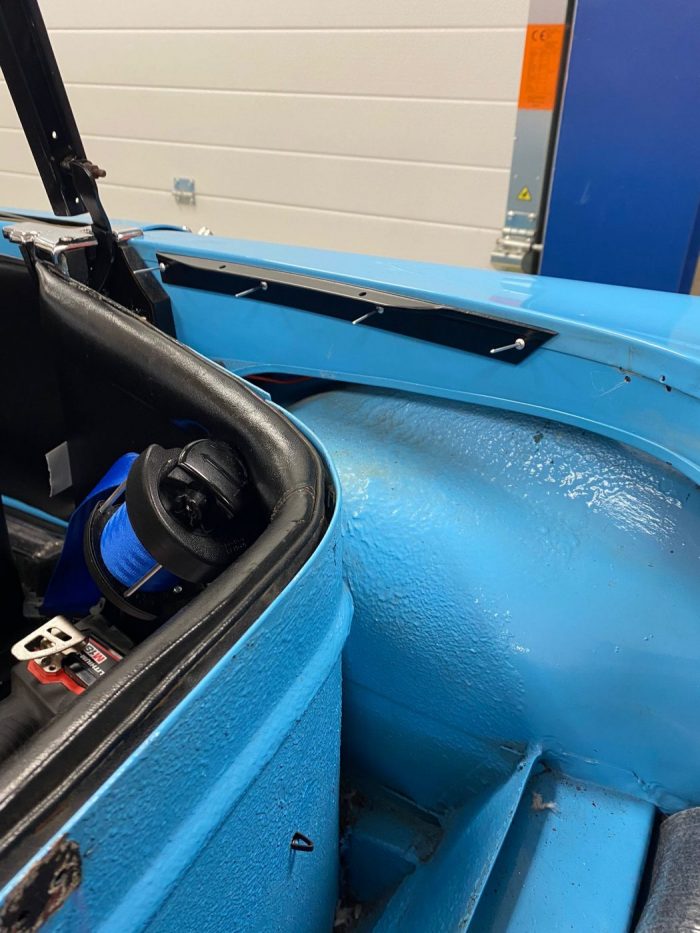
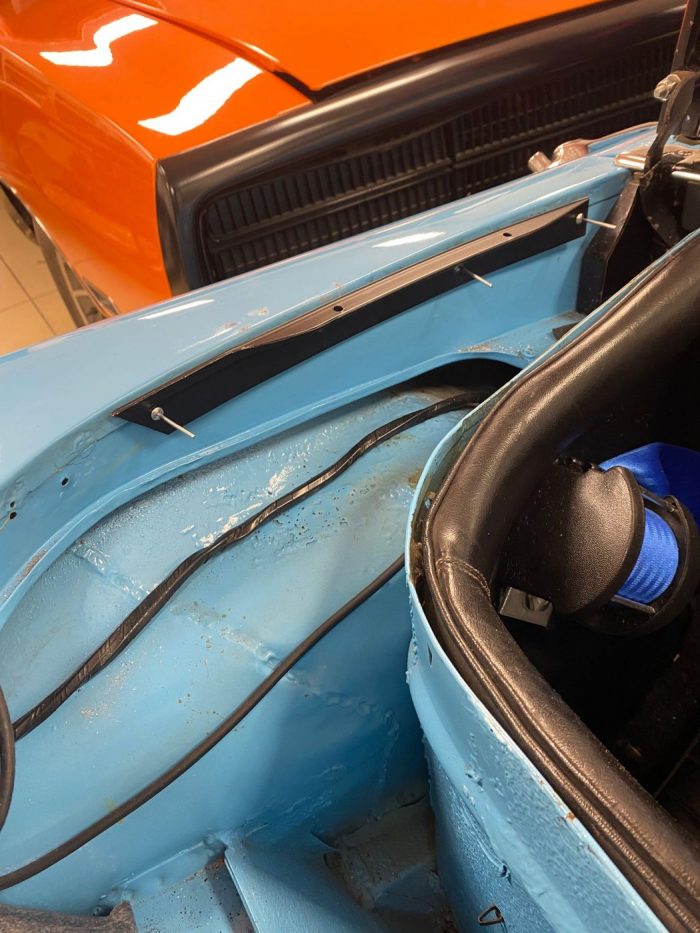
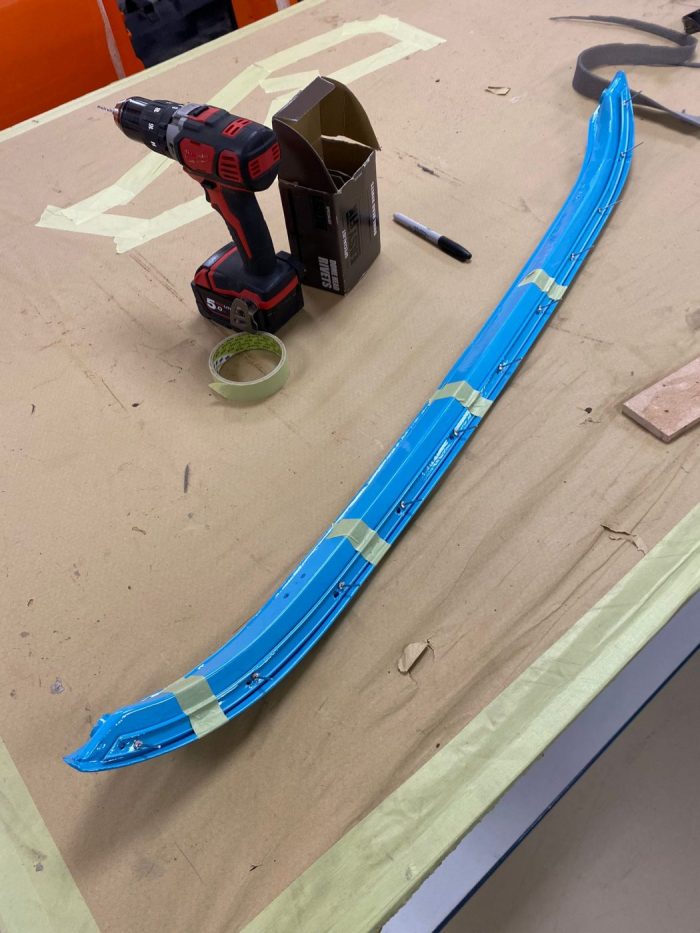
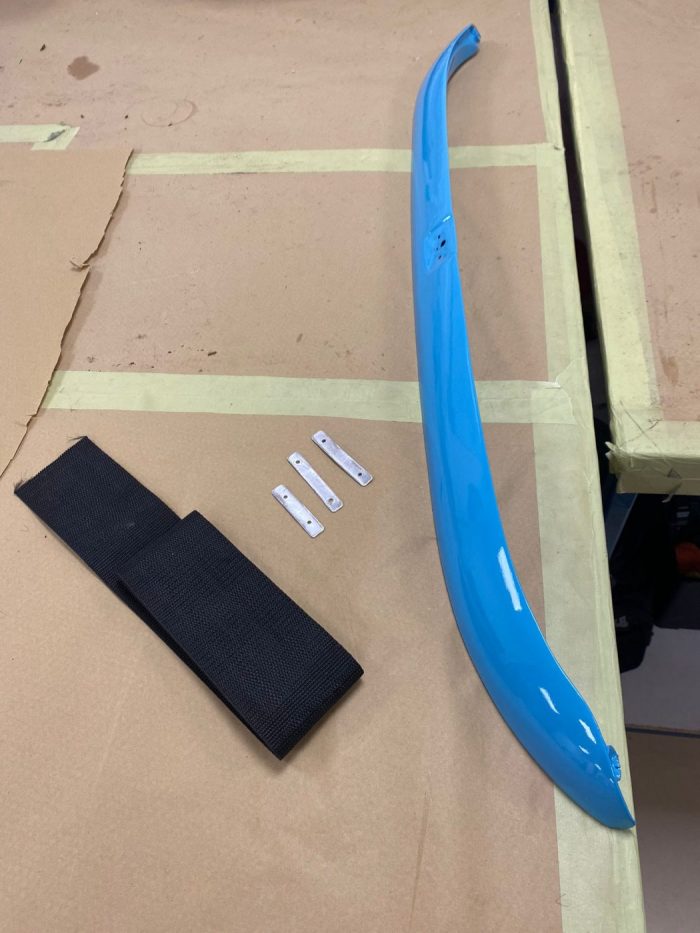
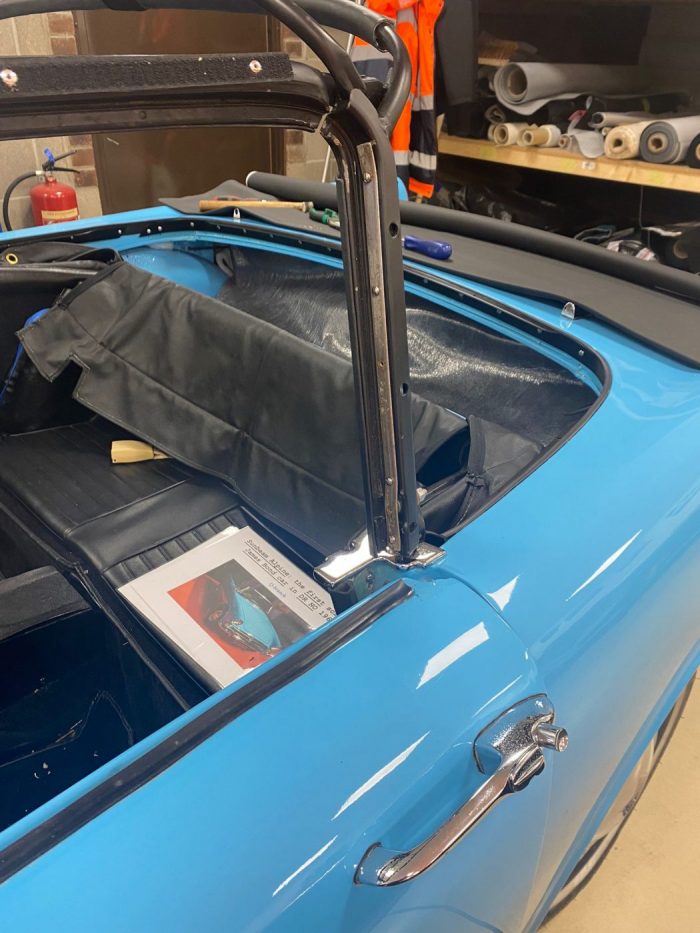
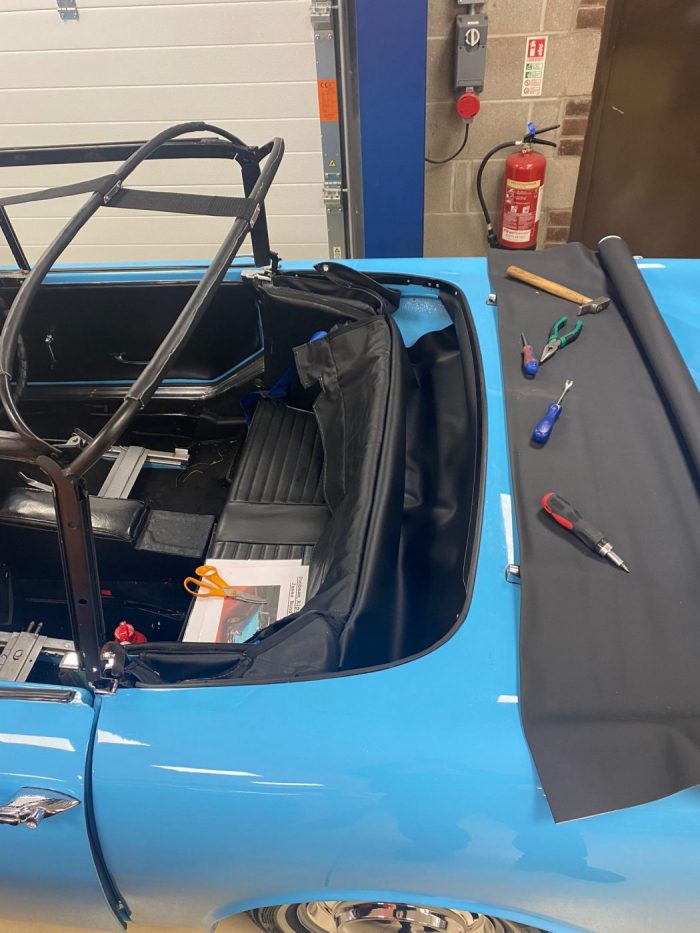
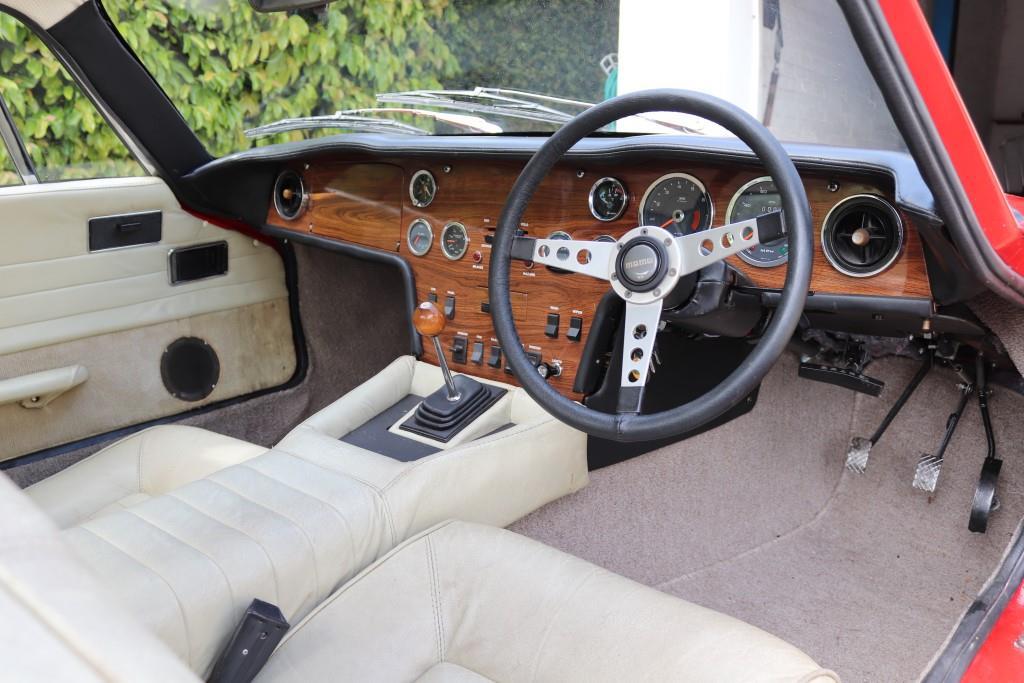
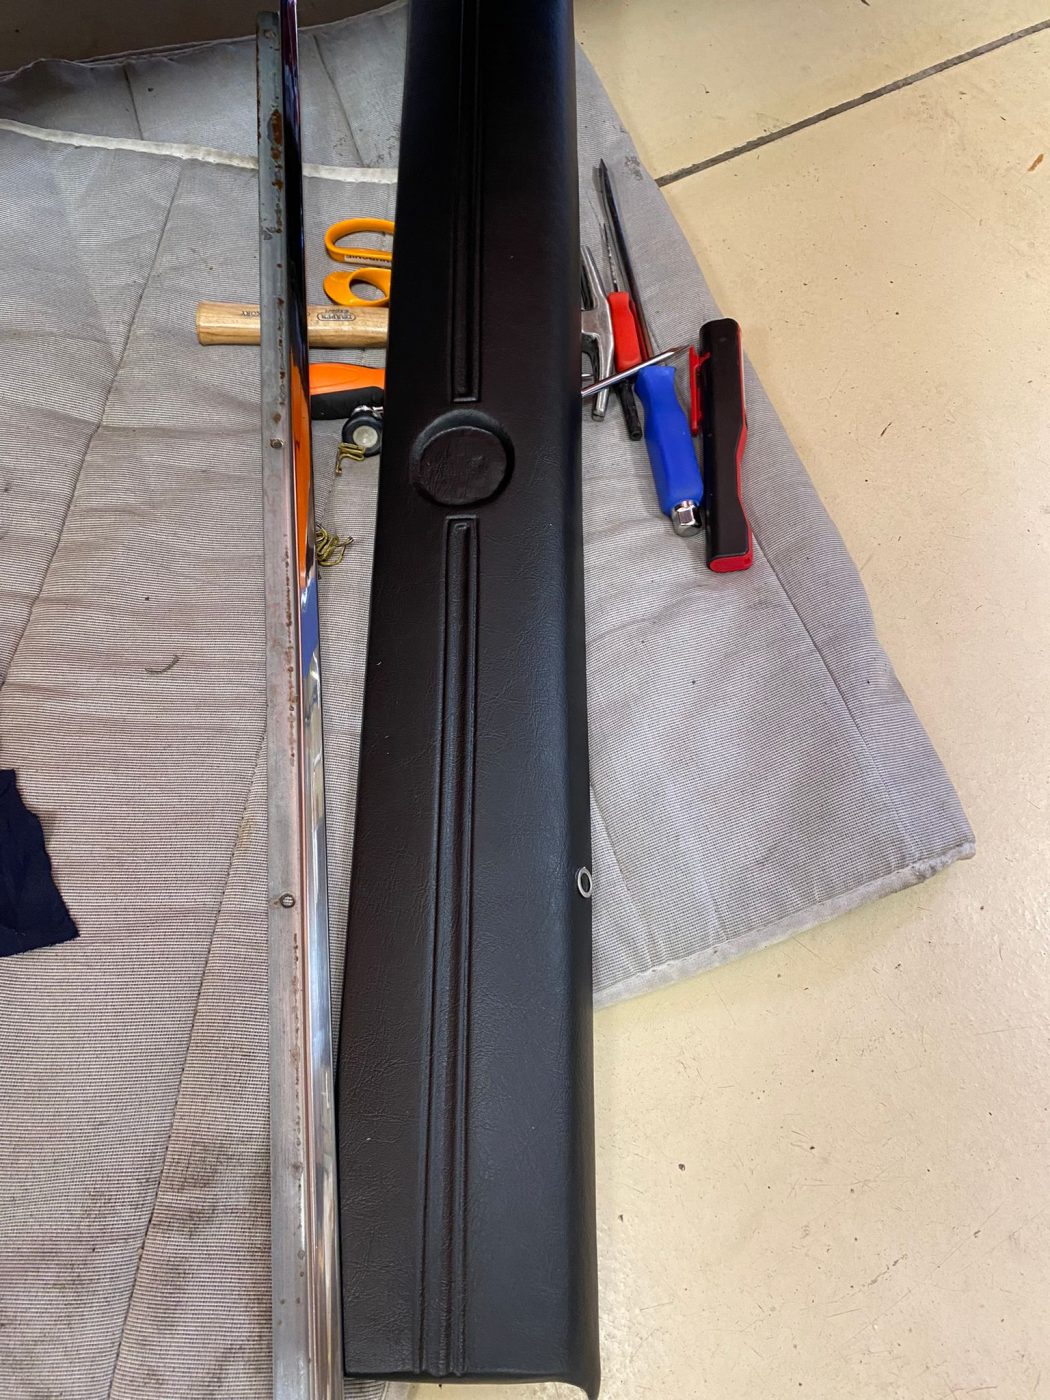
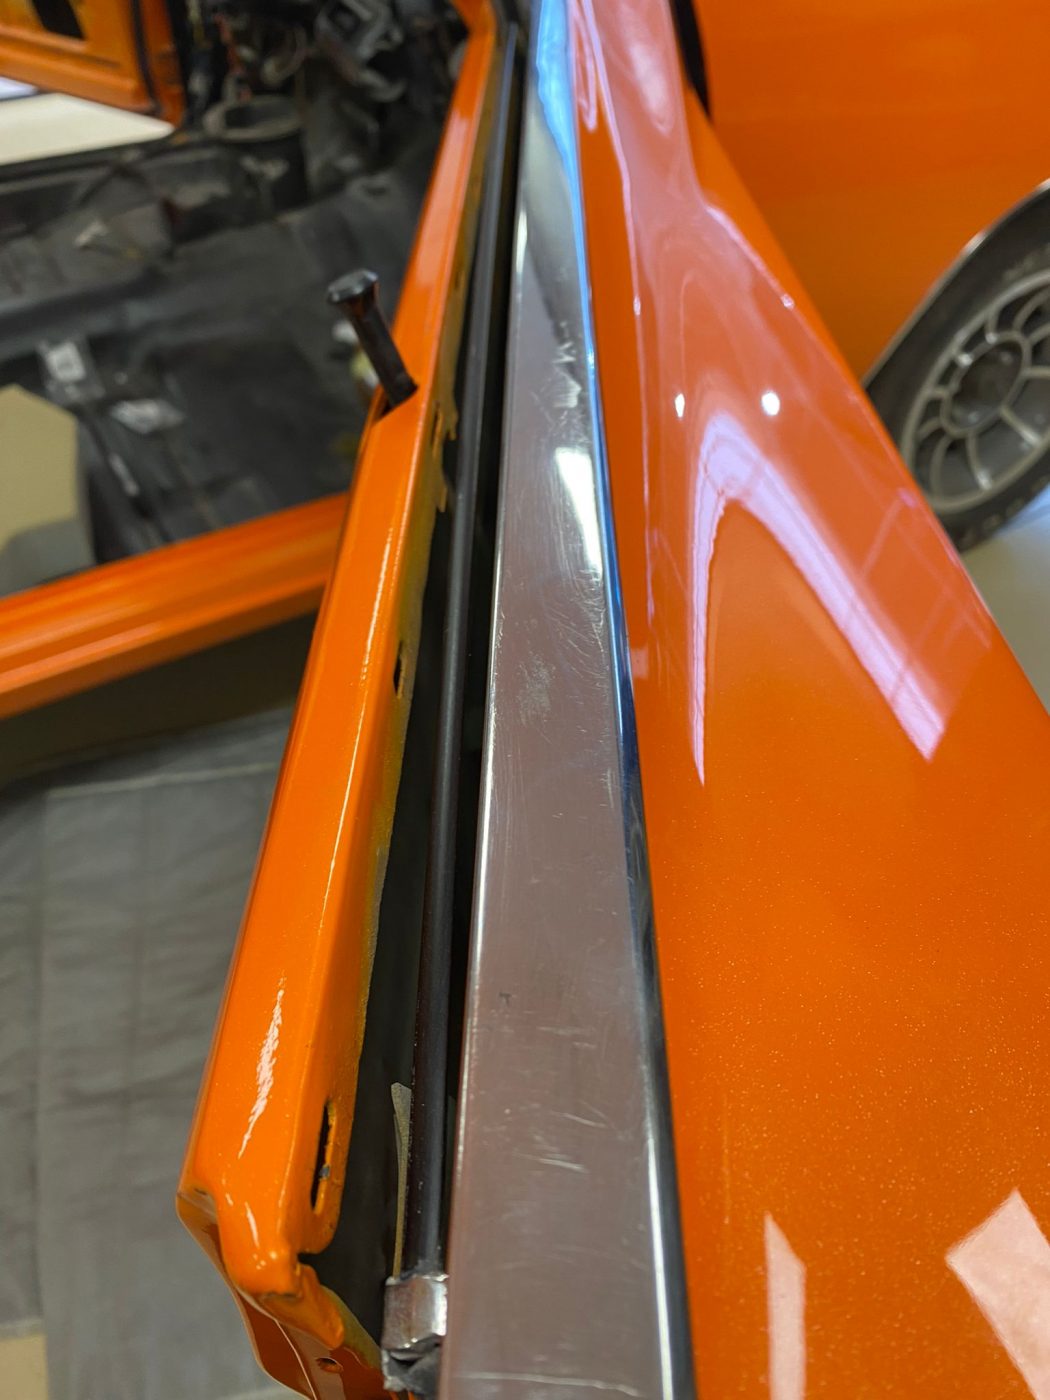
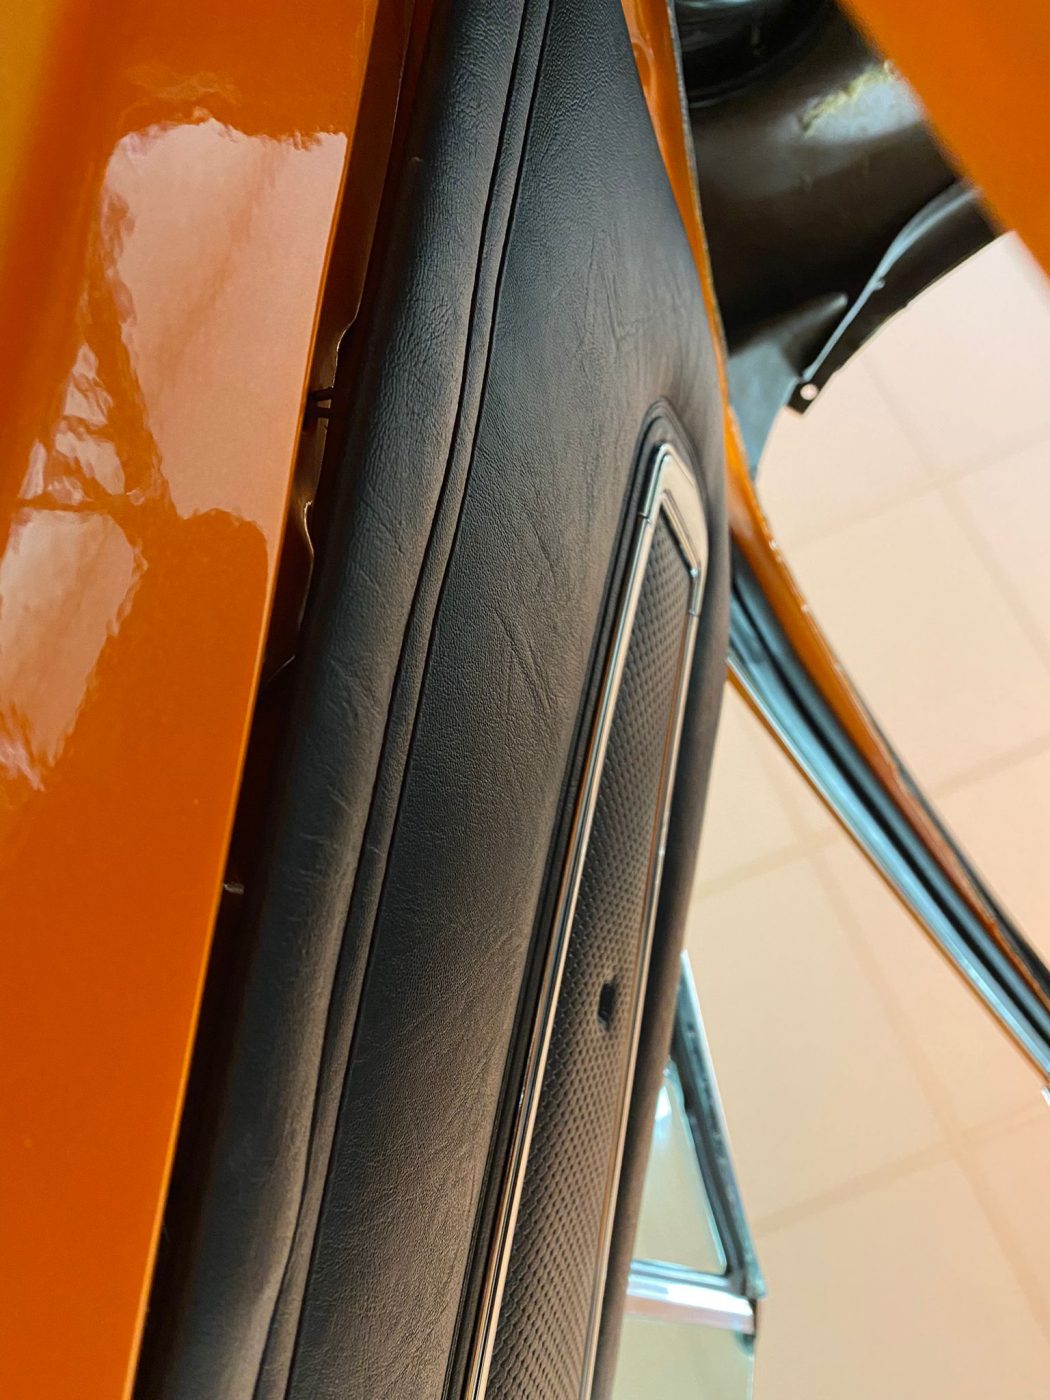
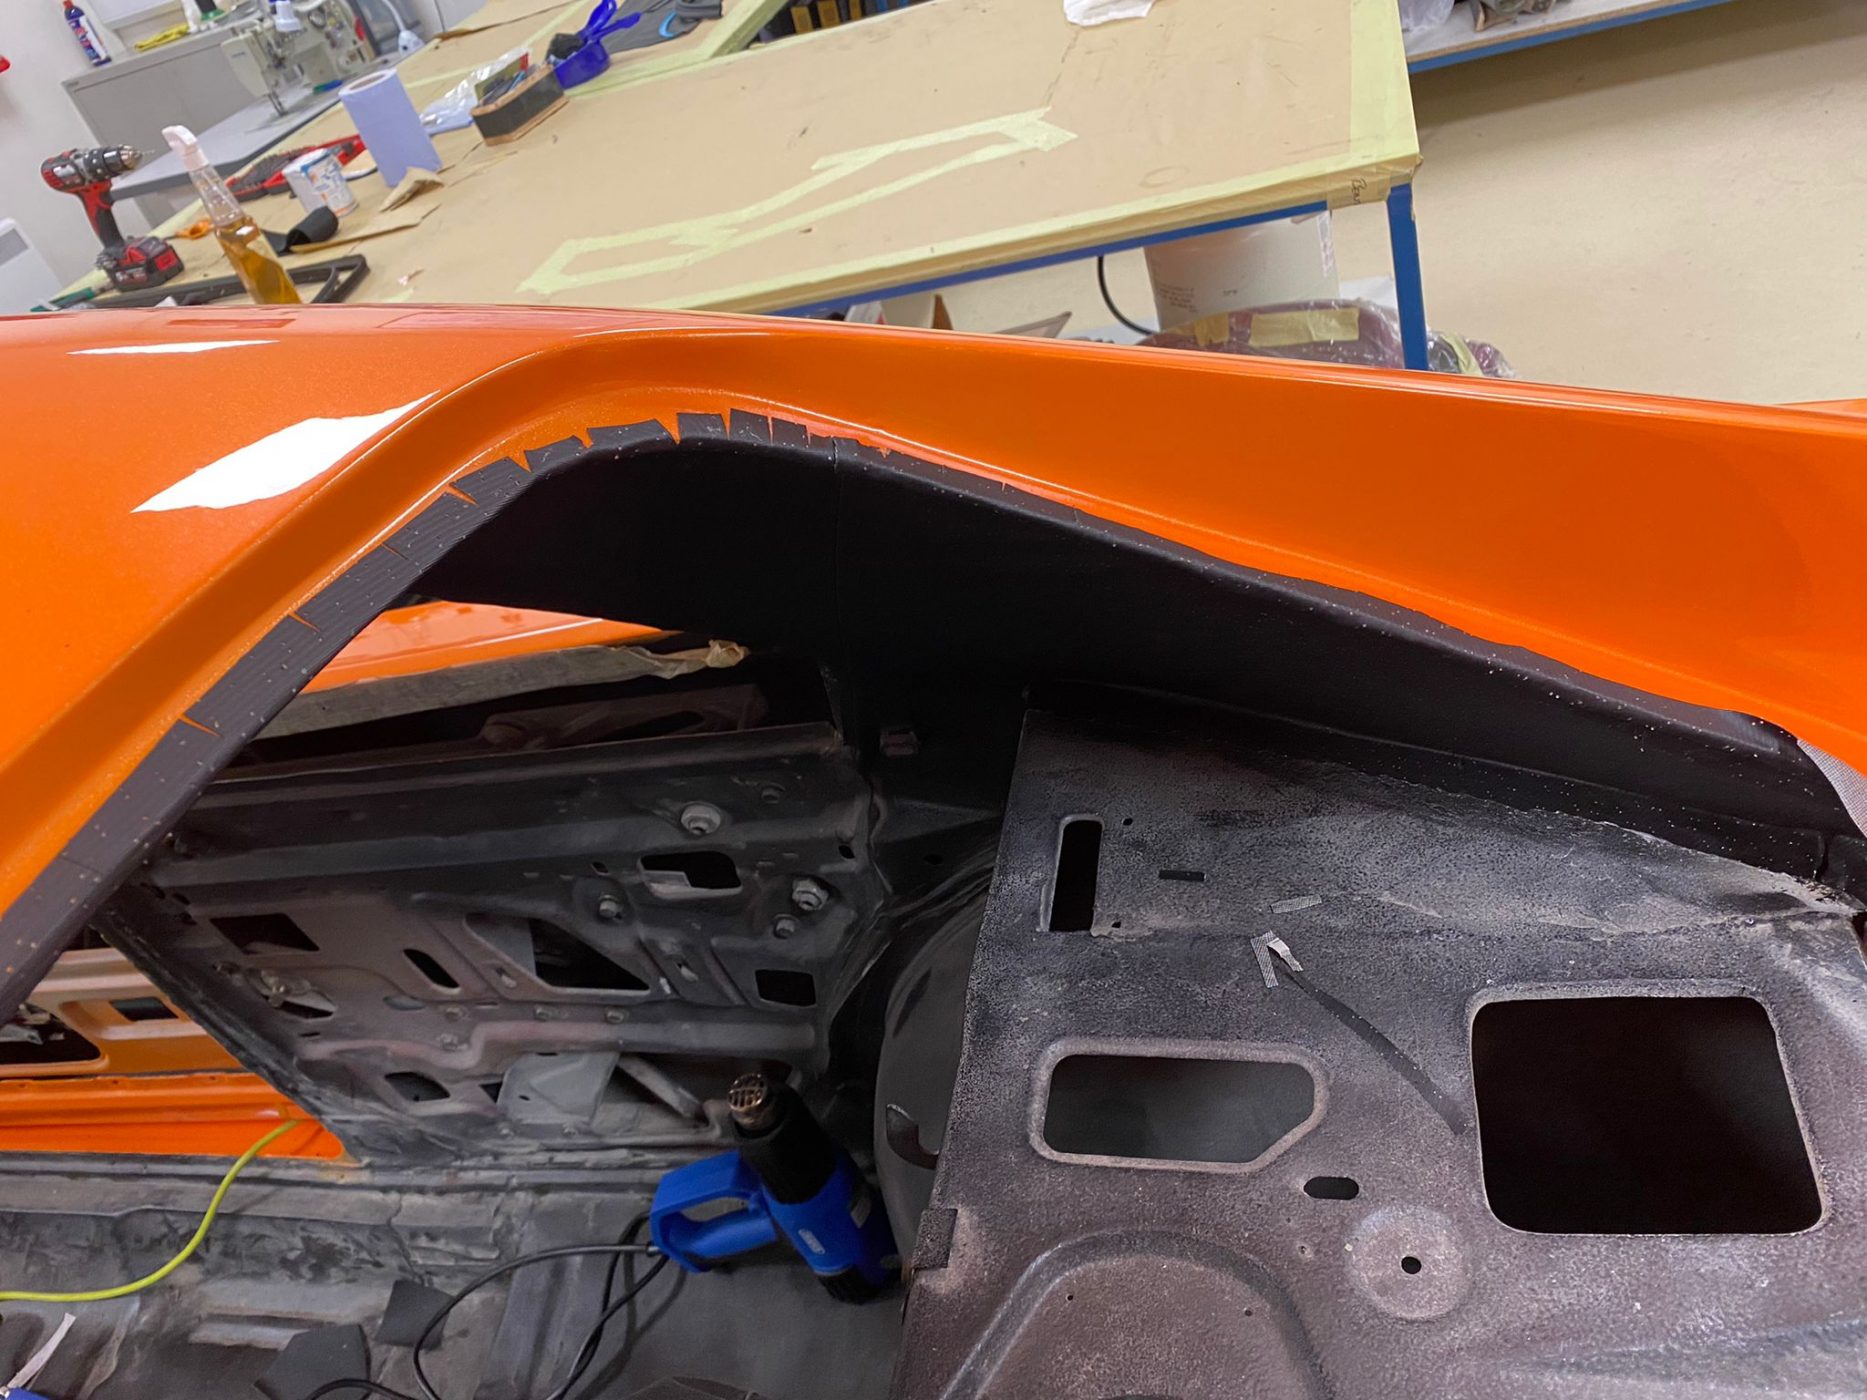
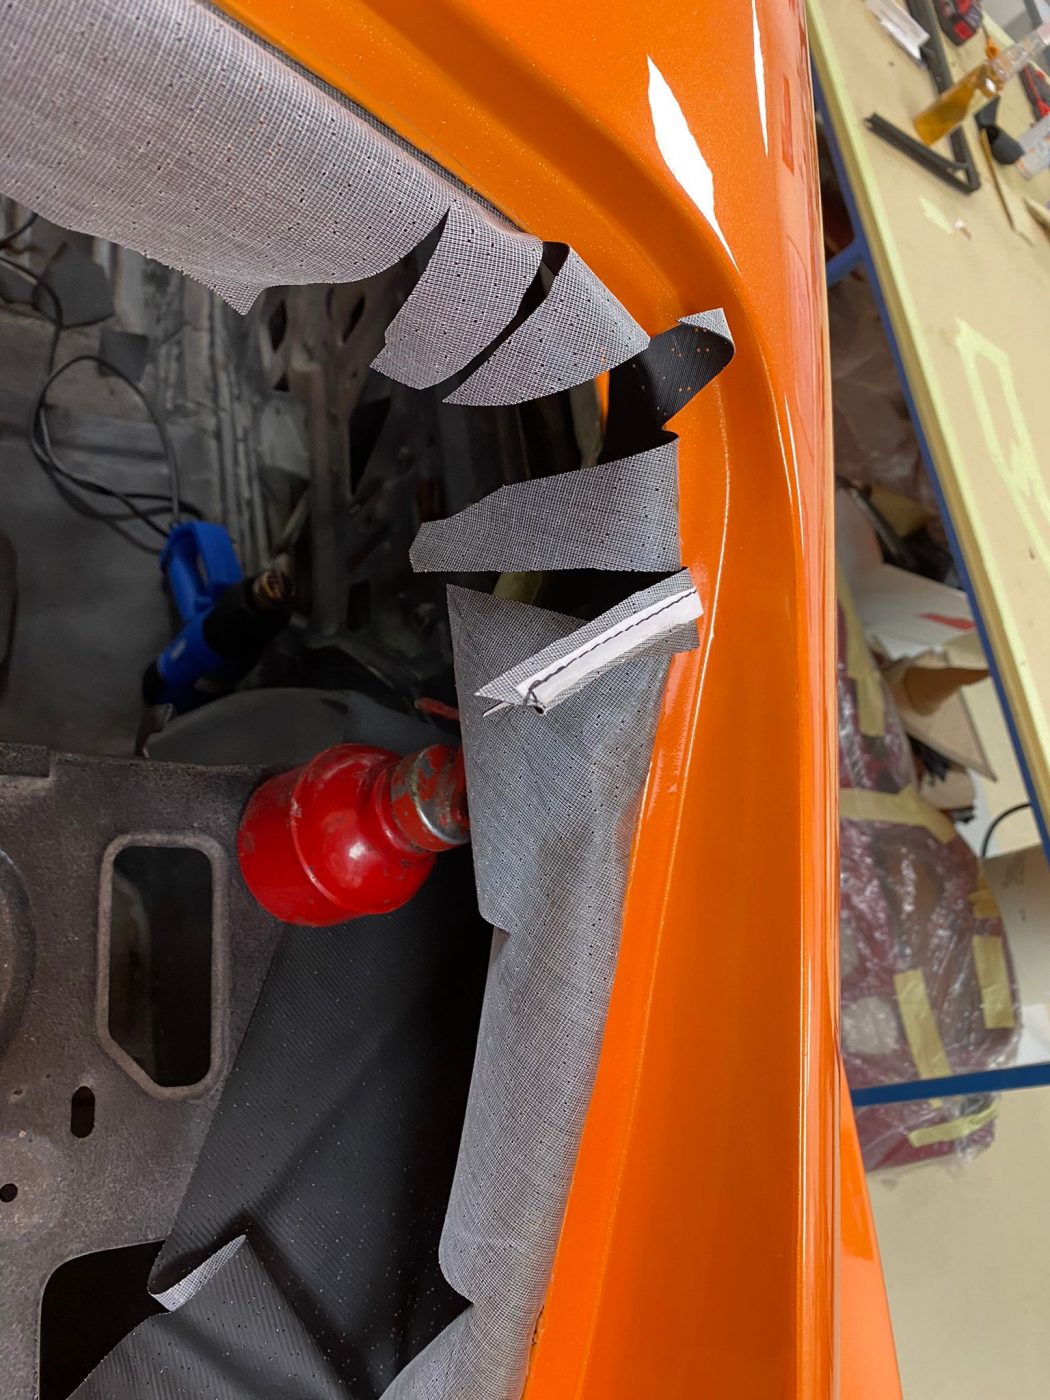
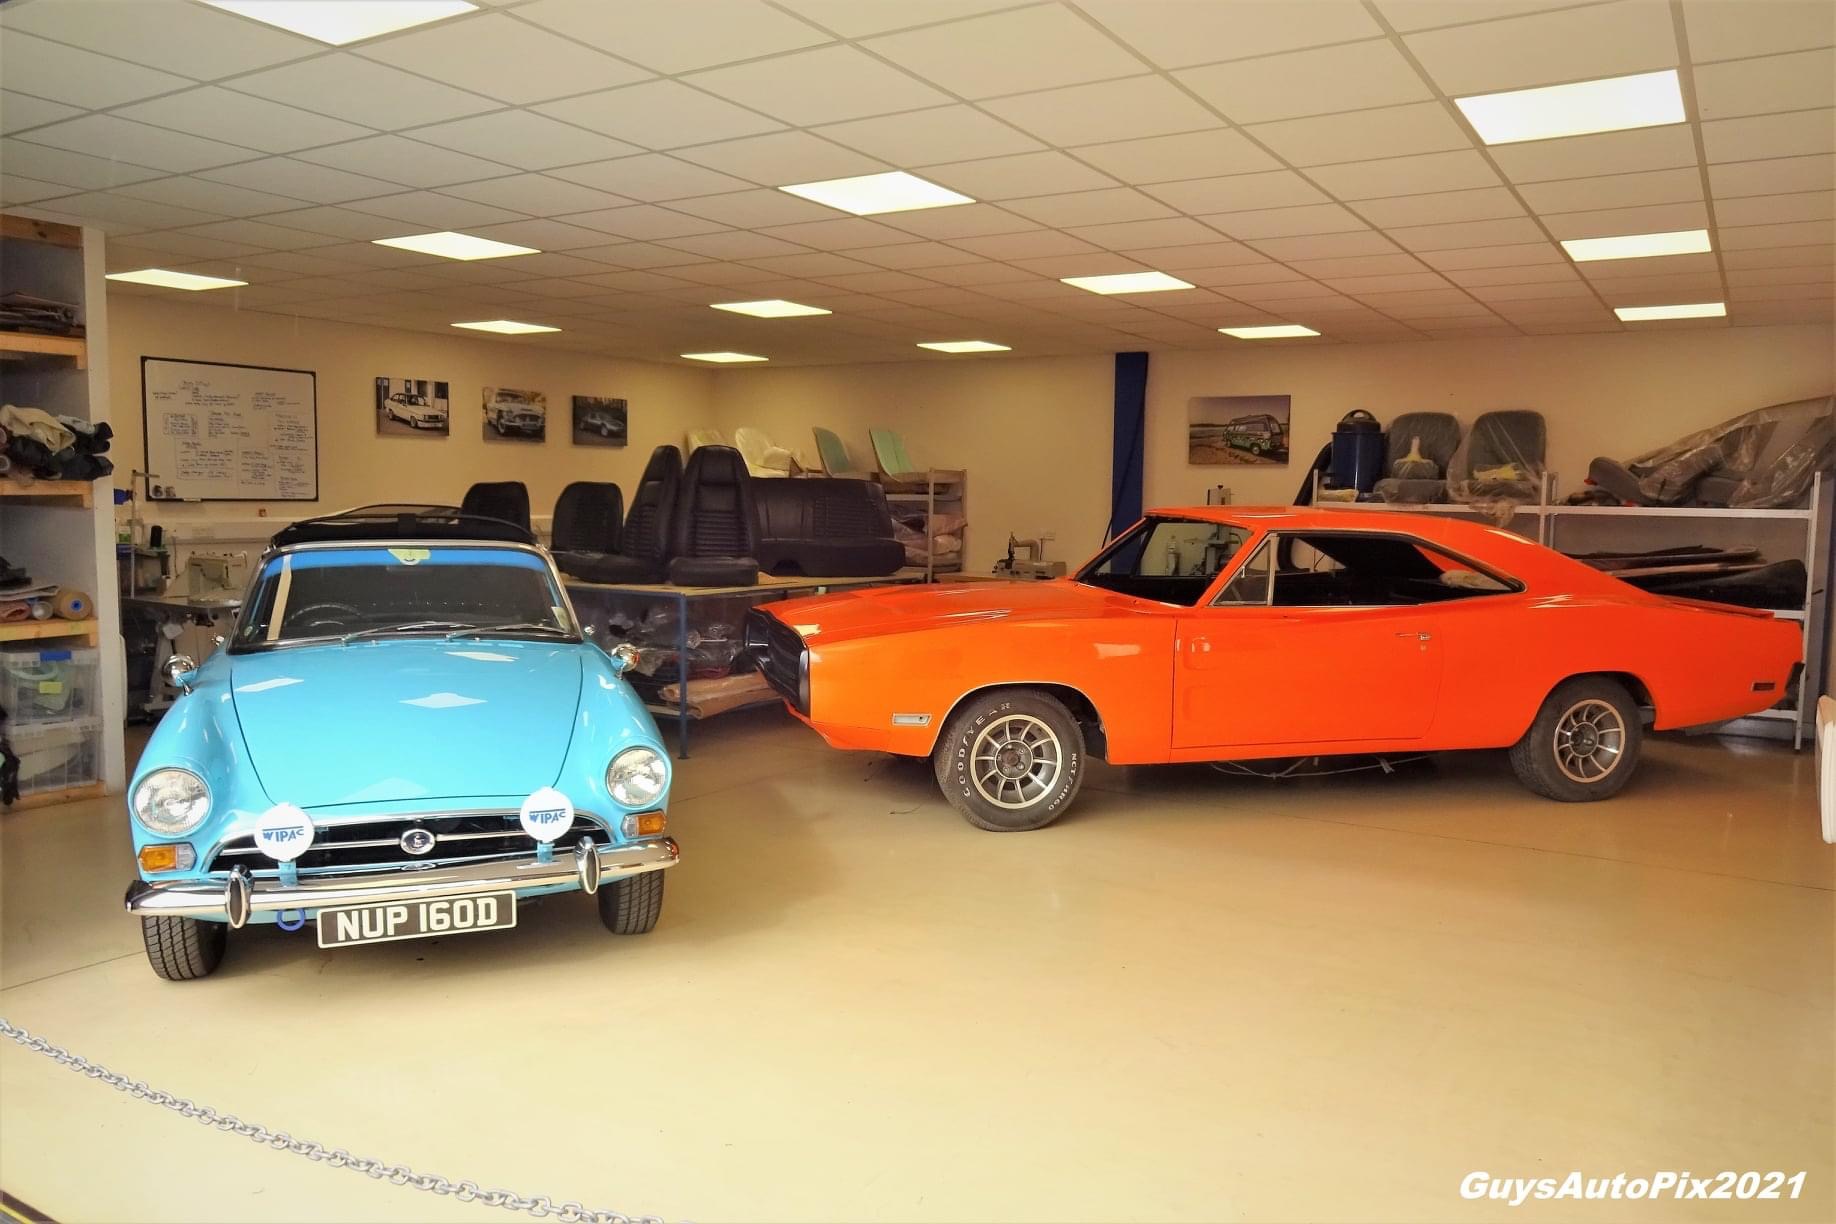
What do you do when you have the roof down on your 1960s sports car and all of the cubby hole it fits into is on display? You have a cover made. Thankfully, our in-house trim shop was on hand to get the Sunbeam sorted.
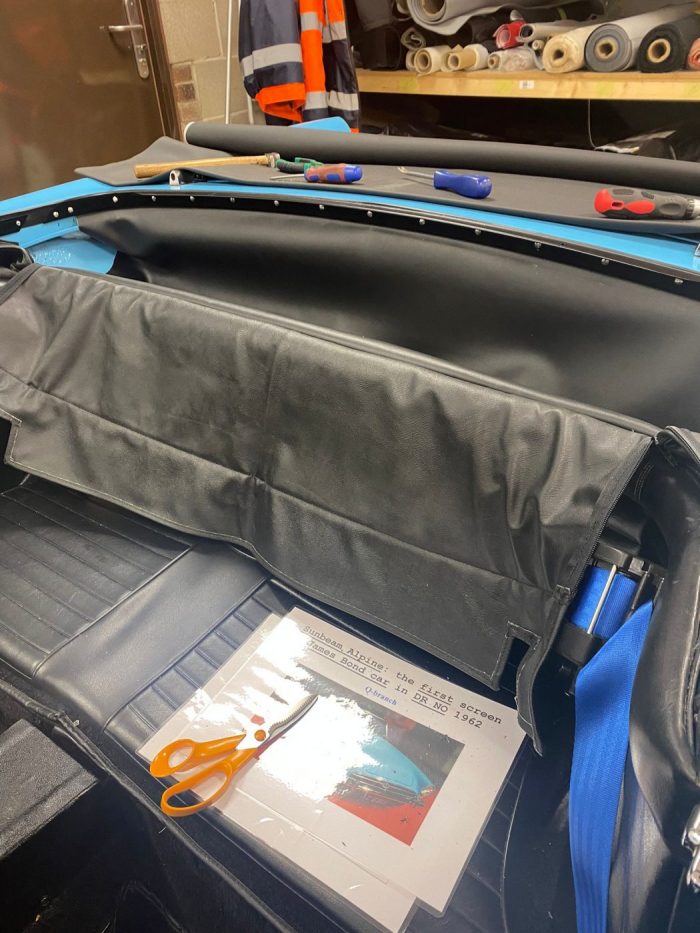
You may know by now but this is our next Bridge Classic Cars Competitions car. It’s a 1966 Sunbeam Alpine just like the one Sean Connery drove in the James Bond film, Dr No.
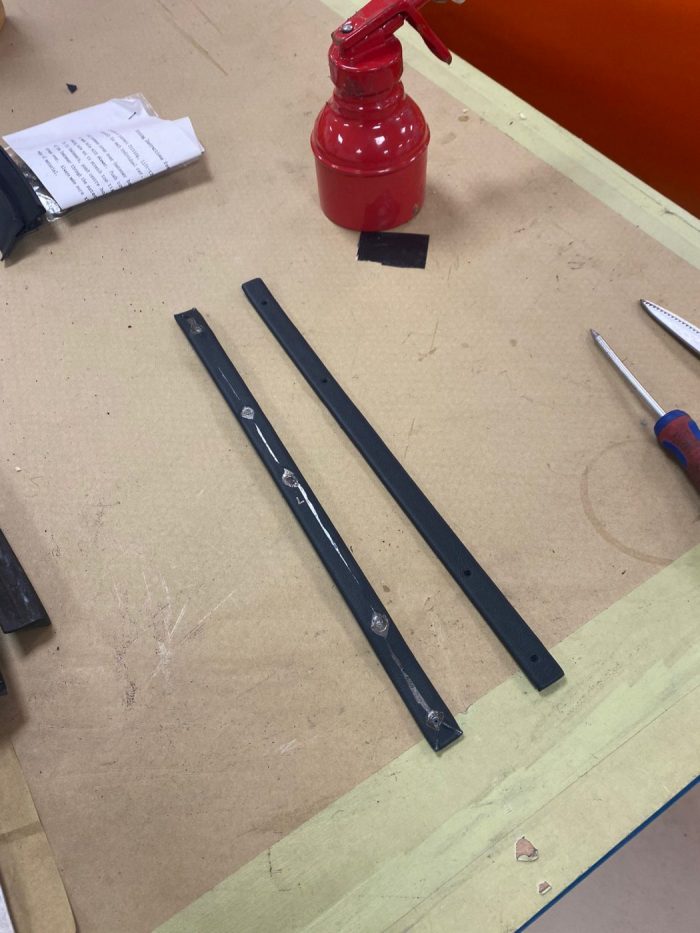
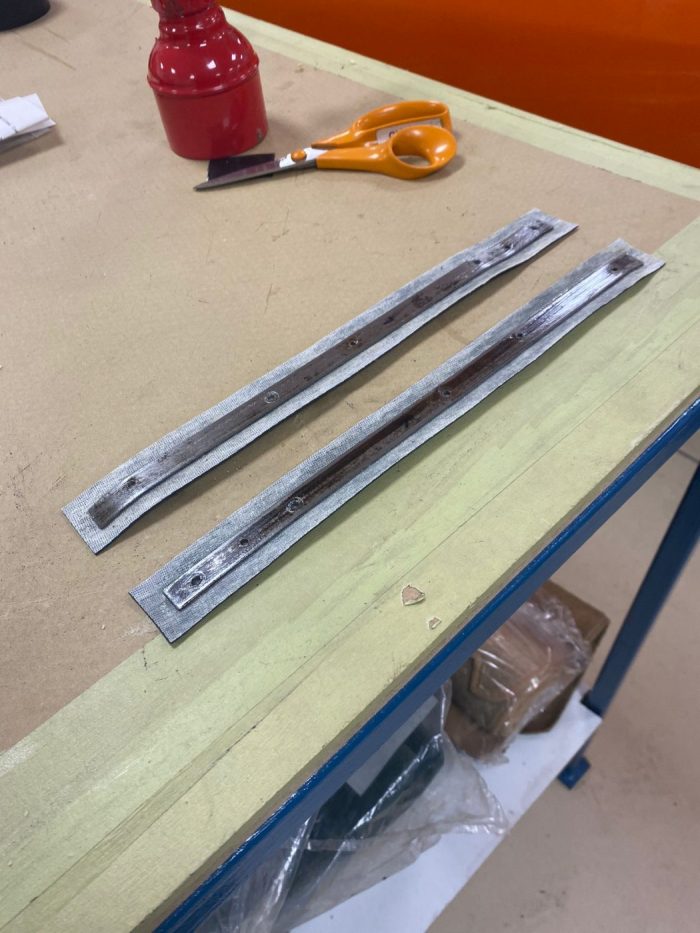
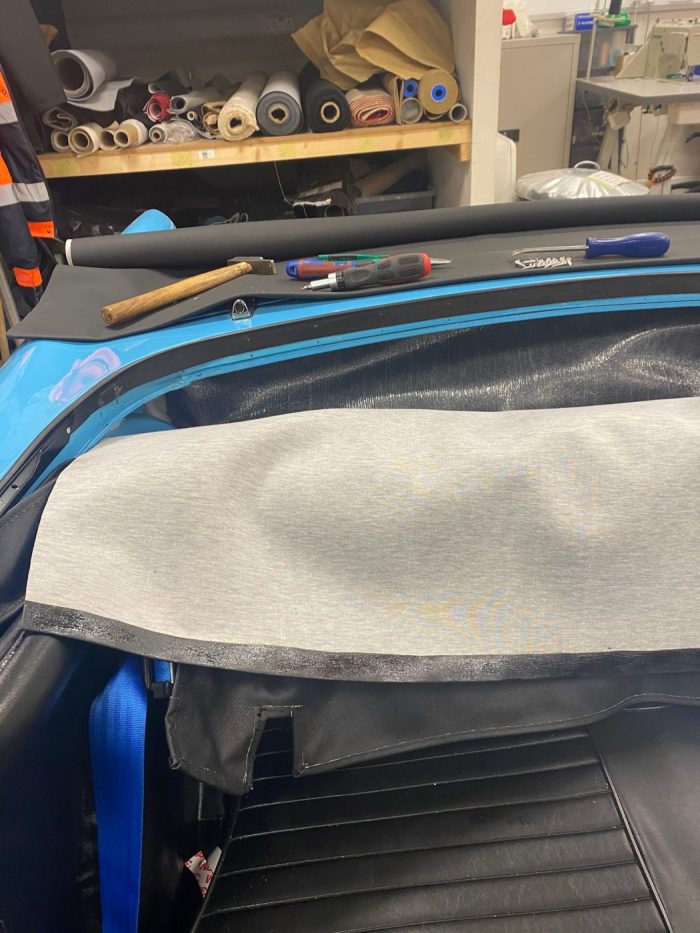
The cover was made by our trim expert Brian, who also headed up the installation with the help of our other trimmer Lydia. The cover is there to give a finishing touch to the cars convertible hood stowaway when the roof is down. Each piece was carefully offered up to the car to ensure the best fit and finish for this amazing classic.
All of this is in preparation for the install of the new convertible hood which we will have an update on very soon!