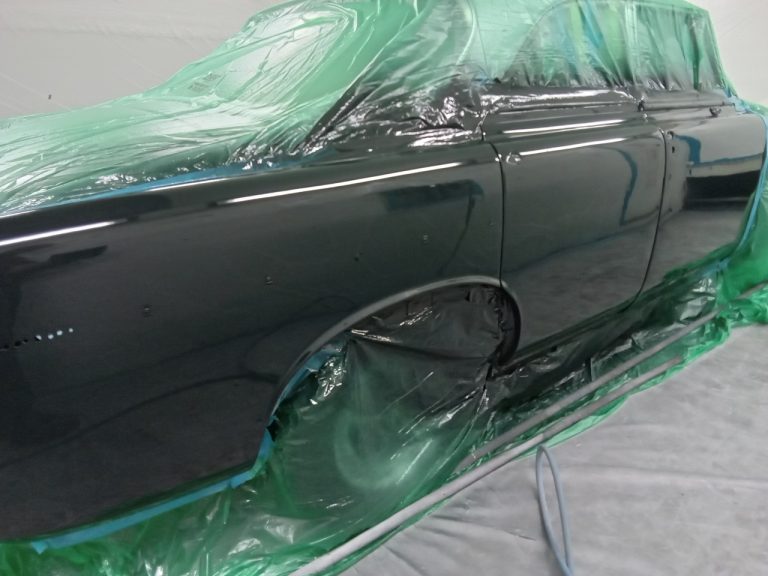
Preparing the new door
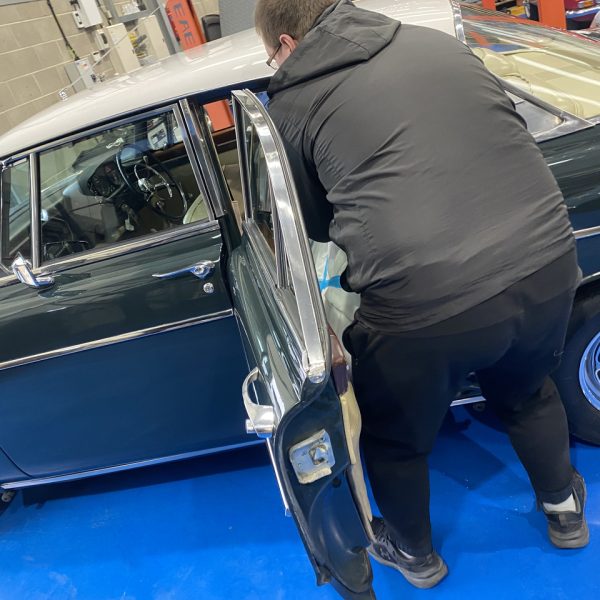
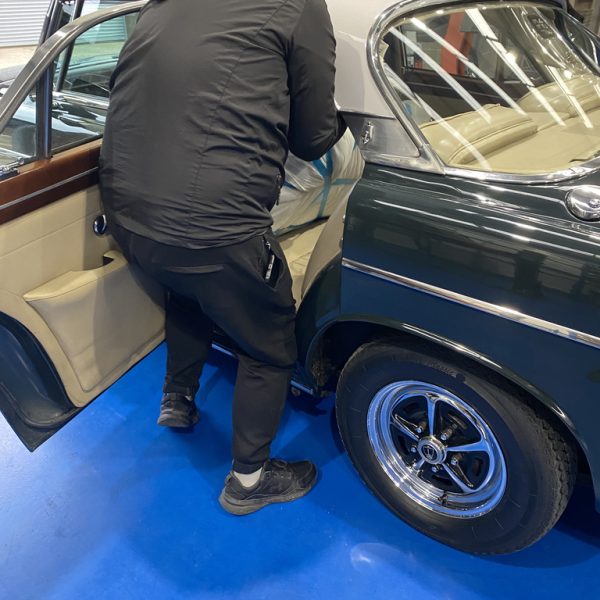
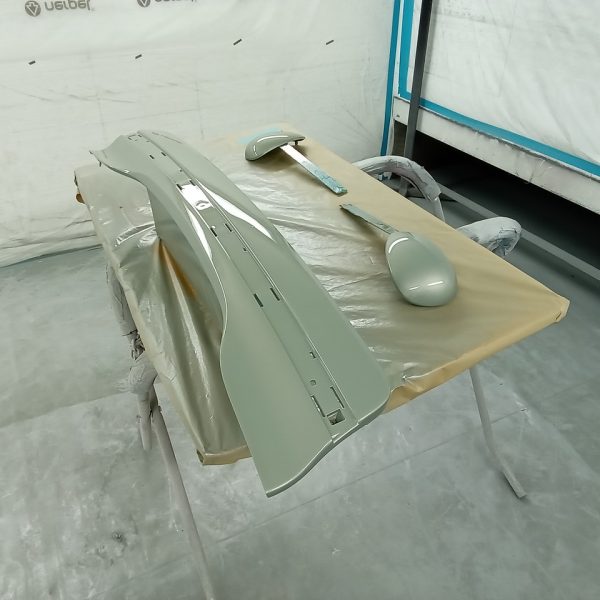
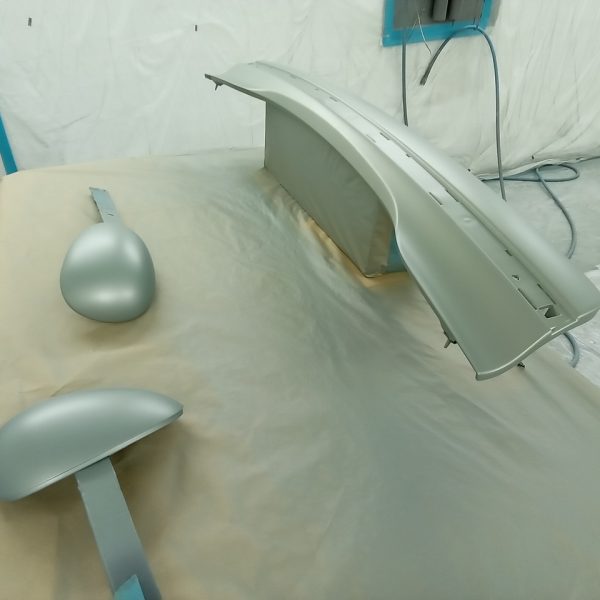
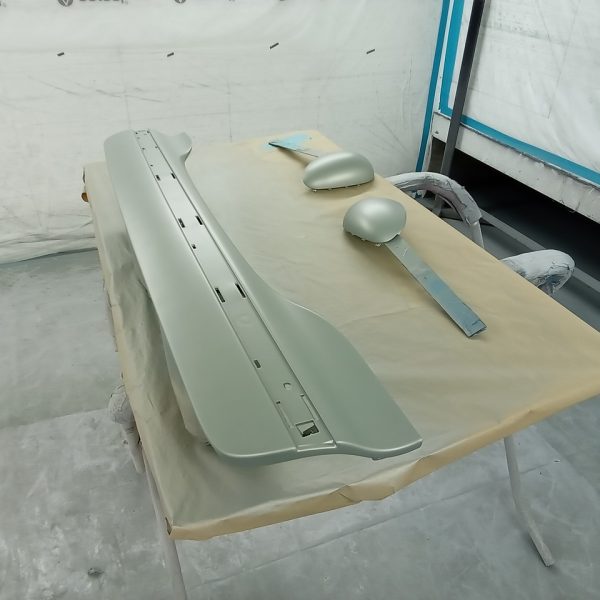
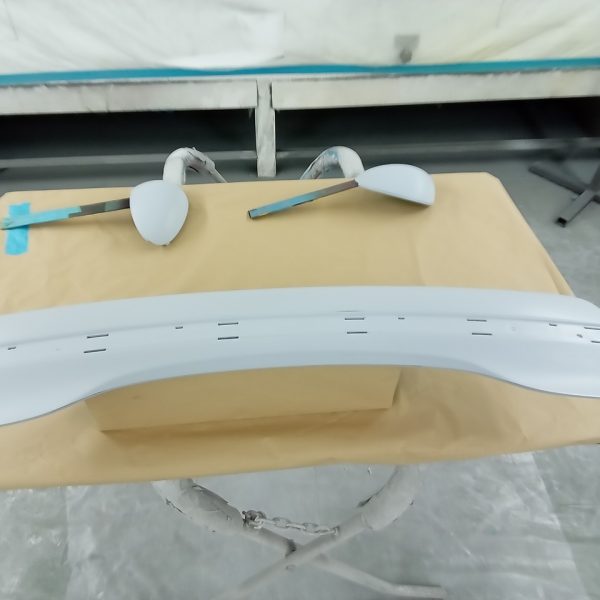
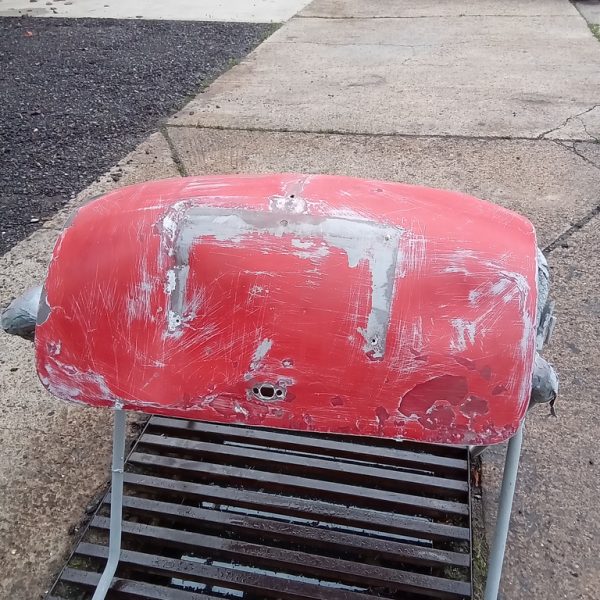
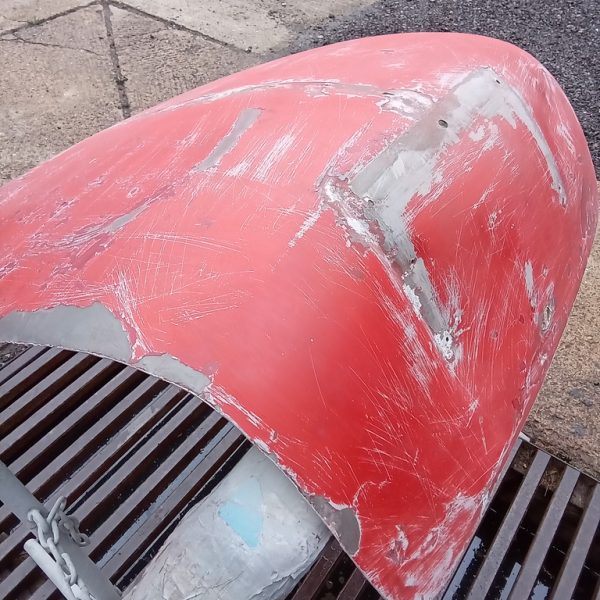
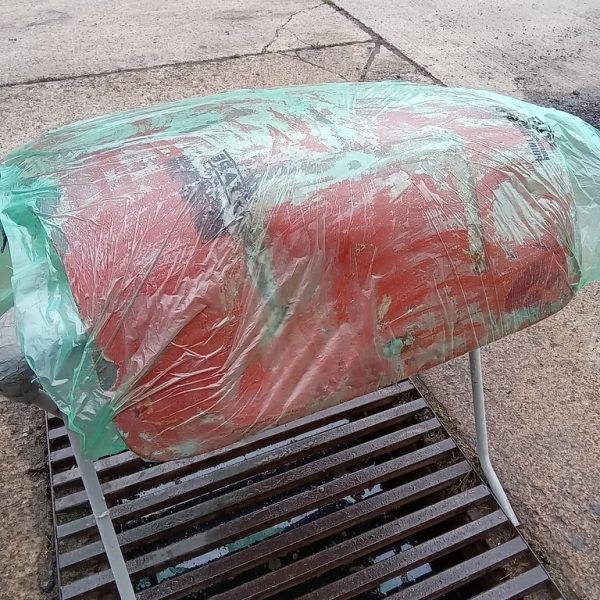
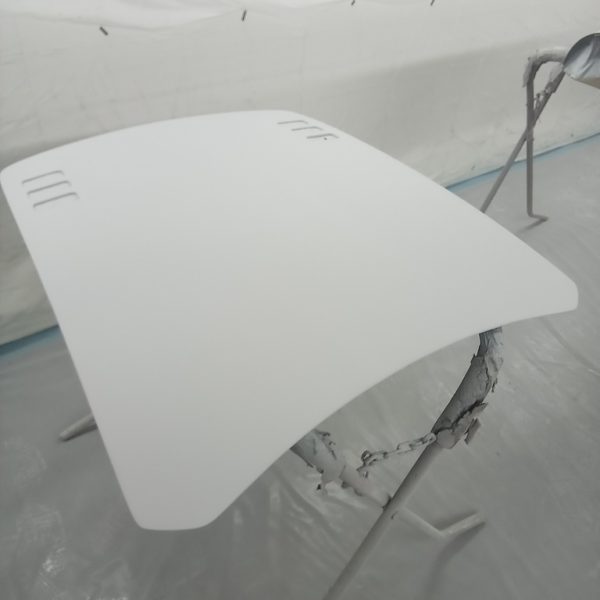
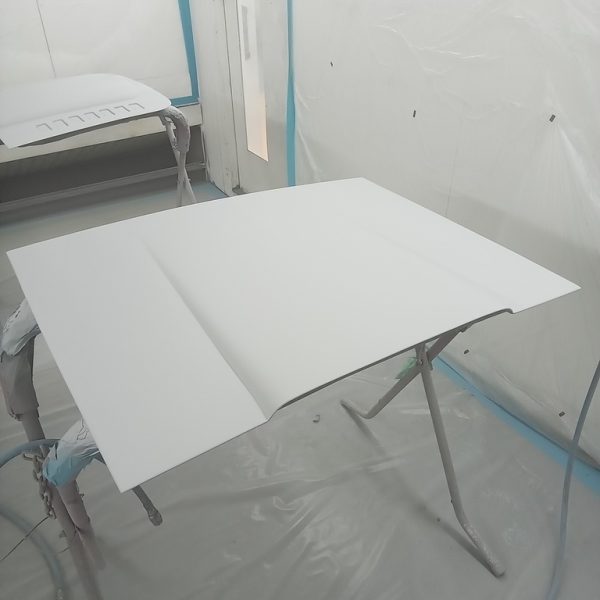
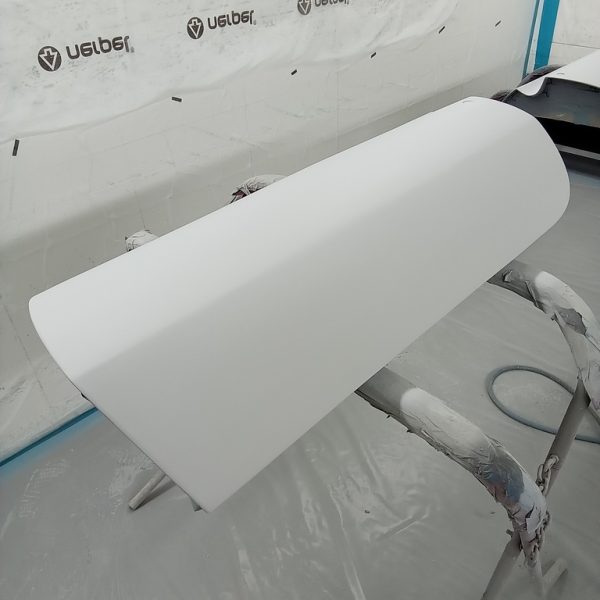
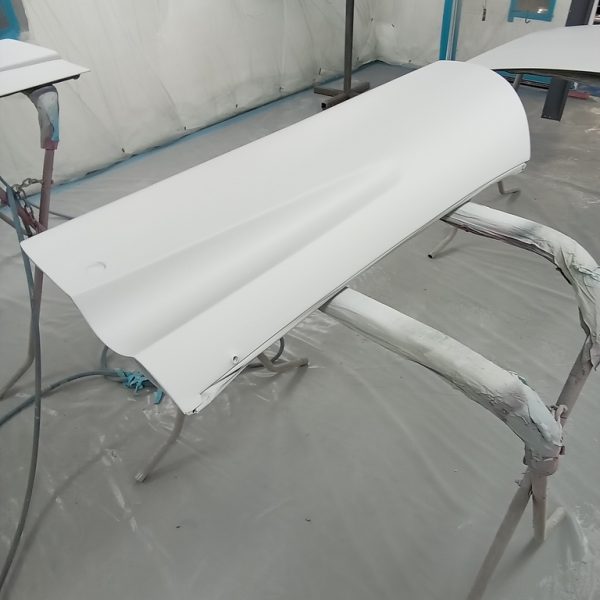
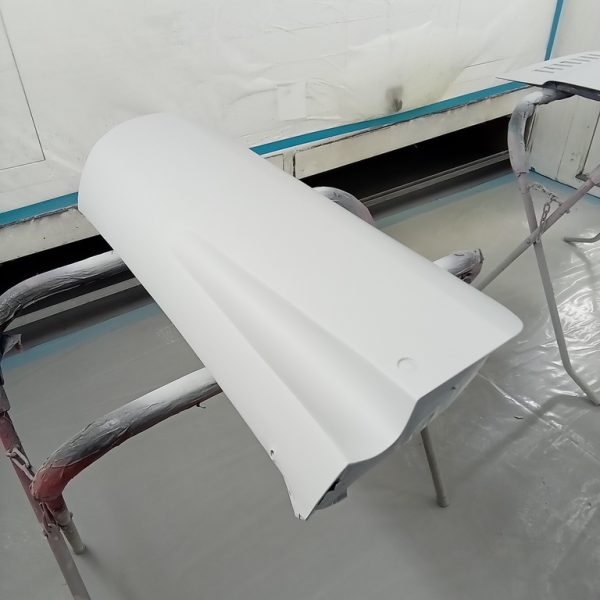
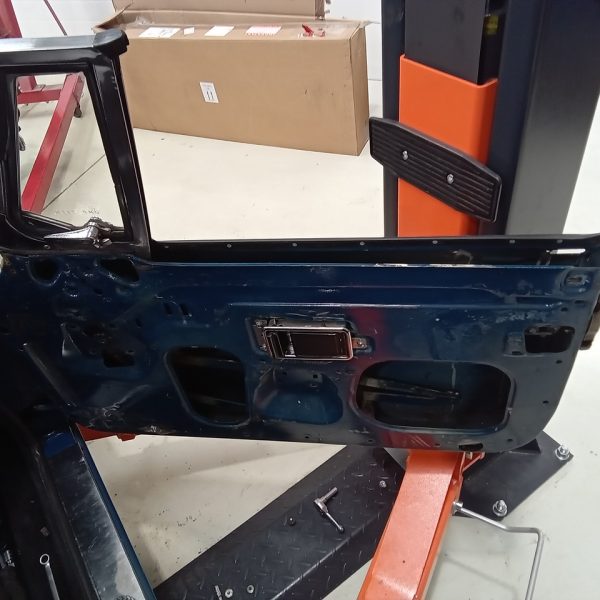
Chris has now prepared and painted the new/old stock Rover P5 replacement door.

Managing Director – Bridge Classic Cars

Chris has now prepared and painted the new/old stock Rover P5 replacement door.
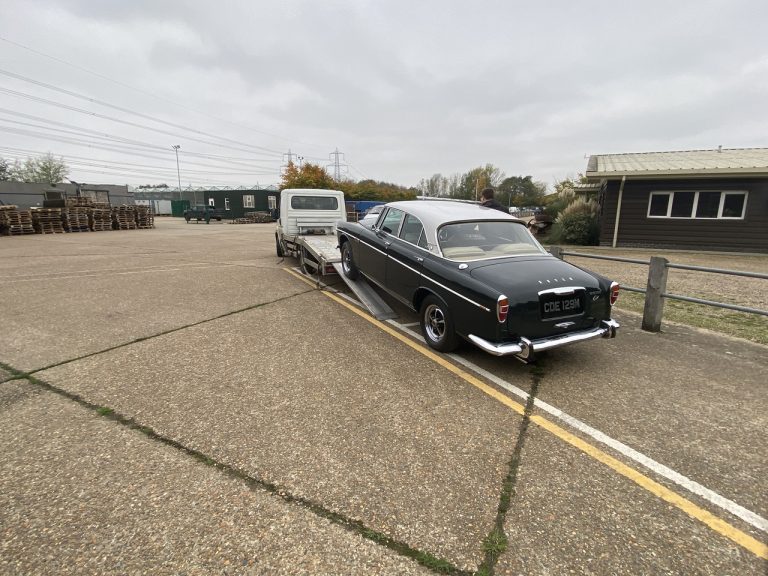
Monday morning we saw the Rover P5 leave us to head off for some gearbox work to be done. Prior to the car leaving our
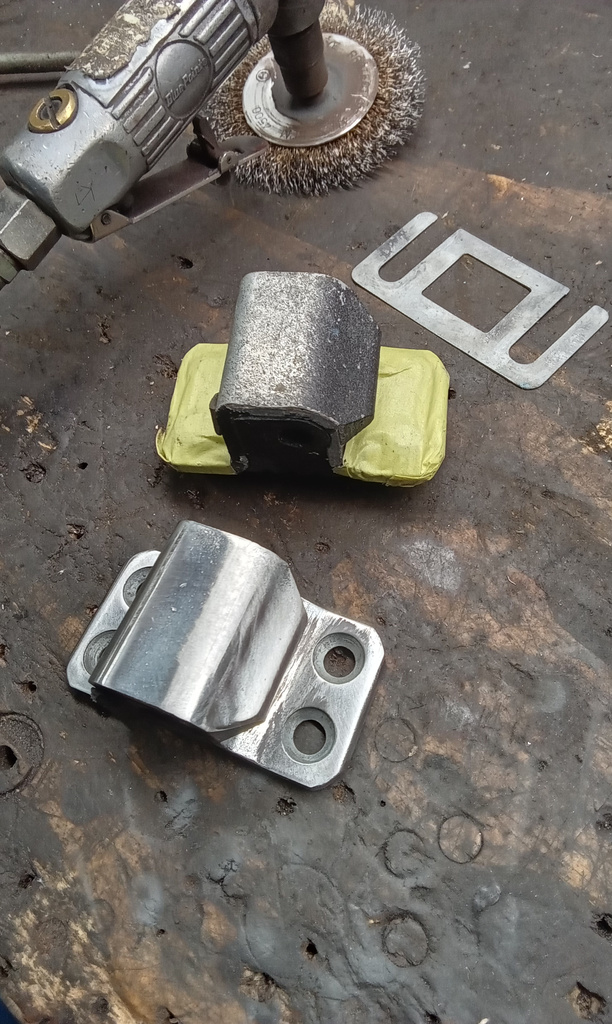
John and Jon have done a few more hours on the Merc this weekend. Fitted new clips to all fuel pipes in the boot heading
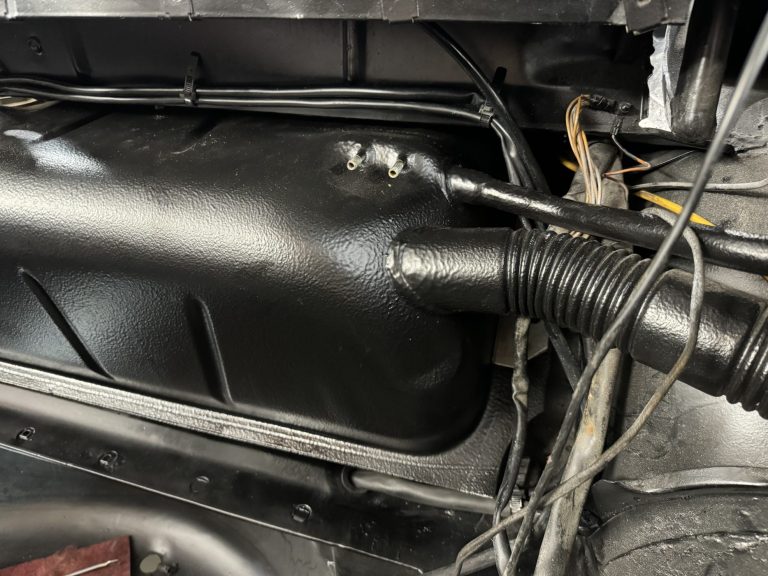
John was expecting this to be a tougher job than it turned out to be. The tank fitted into position nicely. It’s great when a
Looking lovely sitting in the middle of The Atelier. The final touches are being made to the door and the car is hopefully only days
We secure all the bolts and tried the clutch and it feels good. Re-fit oil filter housing and new filter. Fill with oil and run
Who doesn’t love a little Fiat 500? One of the quirkiest and most iconic of classics has now arrived at Bridge Classic Cars and we’re
Our Rover 75 has been though paint and is now back in colour having been prepared by paint technician Mauro. Next job is to flat
A trip to our storage facility first off to start to get our Jensen Interceptor ready for arrival into the workshops. A few boxes of
Today’s the day we get our 1960 TR3A on the ramp for it’s full appraisal. Jon is working on this one. He has fully greased
John’s still in the process of getting our Ford Thunderbird running but no luck so far. A brand new fuel pump is what we need
IVA (Individual Vehicle Approval) is edging closer and closer for our Cobra project. Every step of the way it is vital that the rules are
So we closed the week off with Dave having finished stripping the MG B Roadster in order for Chris to prepare the car for underseal.
Progress is being made on my 1987 Mercedes 500 SL. I keep hoping and wishing that there is not much longer to go but time
On Tuesday we called up Garry Smith to tell him the amazing news that he’s now the proud owner of our 2010 Land Rover Defender
Rob has relocated for now from the main workshops to the fabrication shop as he gets stuck in to the fabrication of the boot-lid. He
Work continues on our 1977 Triumph 2500 TC. Jon is still busy getting the car ready for the oad. He has clean out the thermostat
Chris is now finishing off the final few areas of panel levelling and preparing the car for Polyfan. Polyfan is spray polyester putty, used as
Having been in storage, within a CarCoon for almost a year, I have decided to get my 2000 Peugeot 306 Cabriolet back on the road…just
Week 1 for new guy Dave has already been a busy one as his first project is our 1973 MG B Roadster. Gordon has not
Here is a picture of old the distributor that had lots of play in the bearings causing the points to open inconsistently. We have fitted
Karl Reilly is one very lucky man having bagged himself his second prize in our competitions. Back in October 2020 Karl received the call that
Continue to build up from photos. Find engine steady shock for engine mounts and strip and clean and prep for painting. Clean stripped door mirrors,
What an incredibly exciting start to the week this week at Bridge Classic Cars HQ. Tony set up bright and early to delivery our first
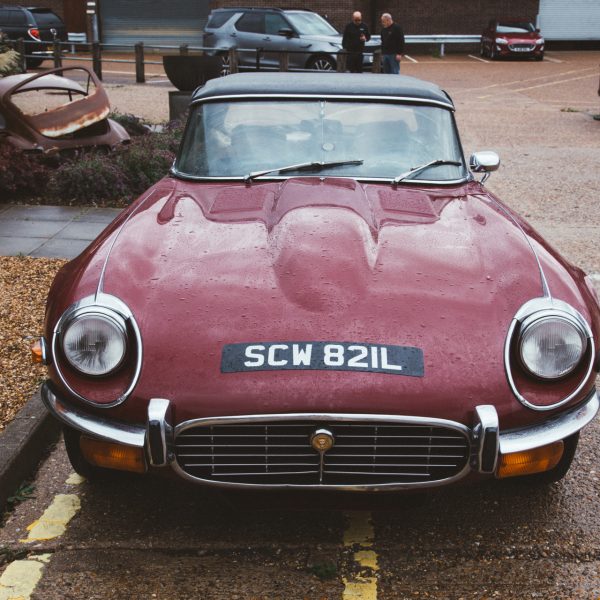
Today, we received delivery of our 1973 Jaguar E-Type Roadster unexpectedly. Having recently been purchased and subsequently imported, the new owner has taken on the
Welcome to Bridge Classic Cars! Our latest arrival is our 2002 Ford Thunderbird very much in need of some TLC. The car has been in
Work in progress on our gearbox and overdrive unit rebuild.
Tony is very much used to spending his time out on the road, delivering and collecting vehicles in our own covered transport. More often than
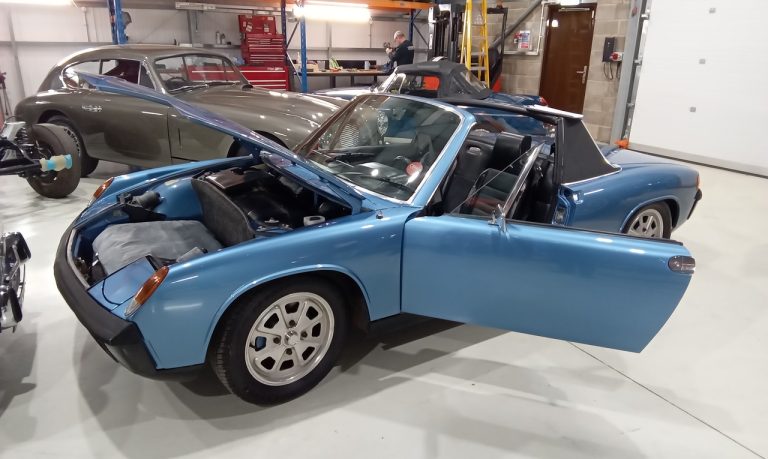
Our Porsche 914 is currently awaiting collection from Karl, our recent double winner, having scooped the first prize of our Triumph TR3 back in 2020.
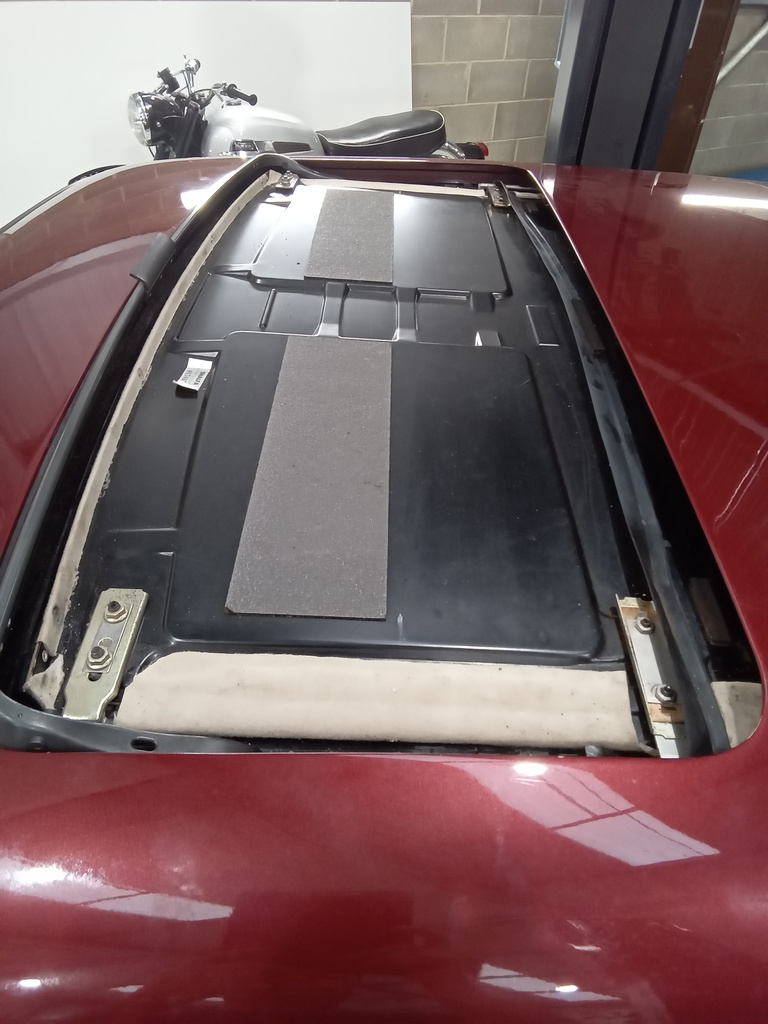
No sooner had the car arrived with the new owner were we back on the road going to collect it. As with all classic cars
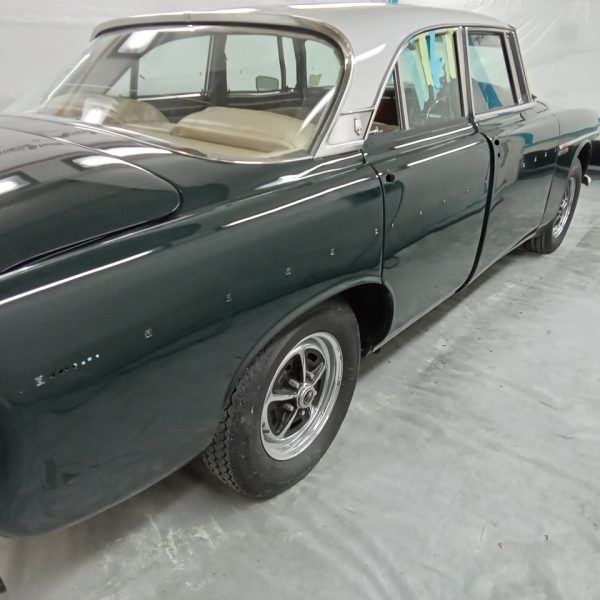
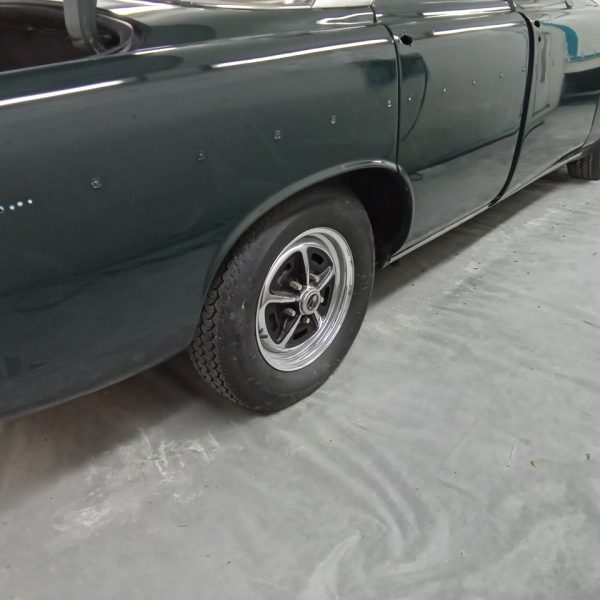
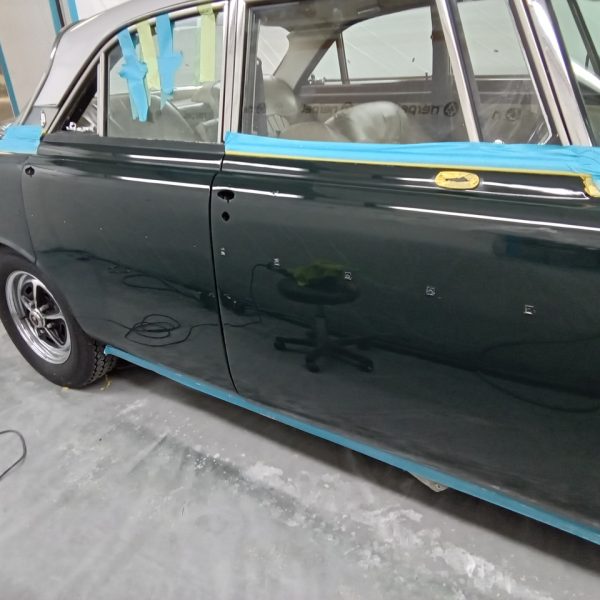
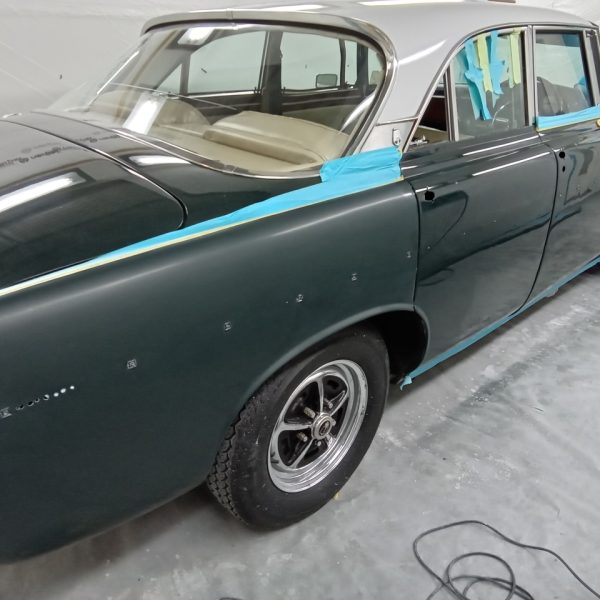
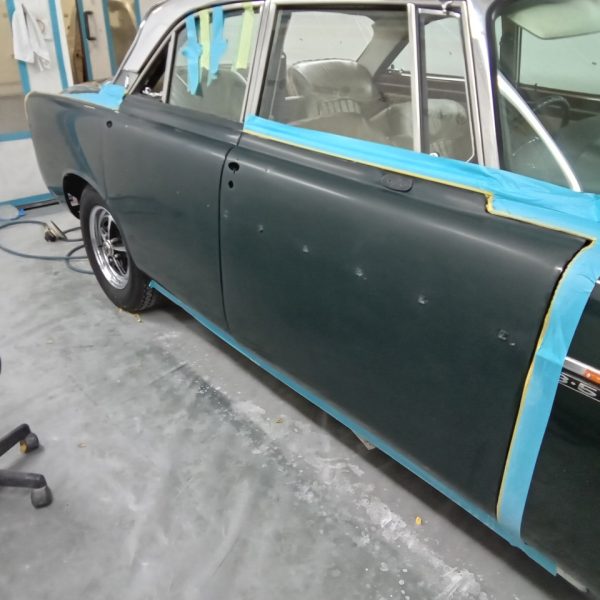
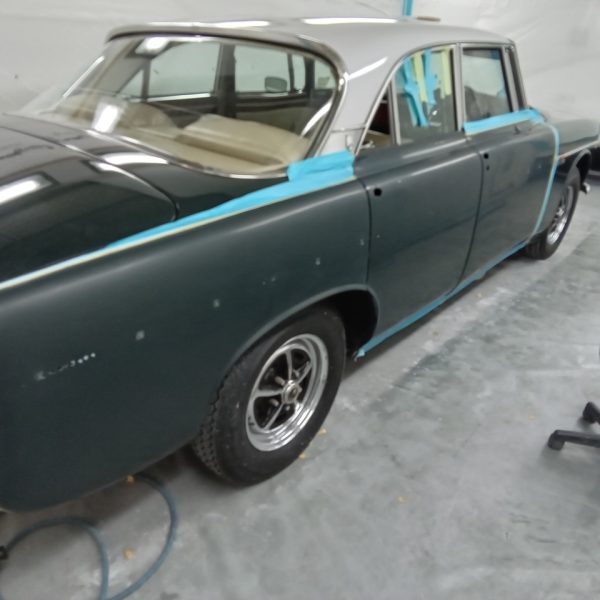
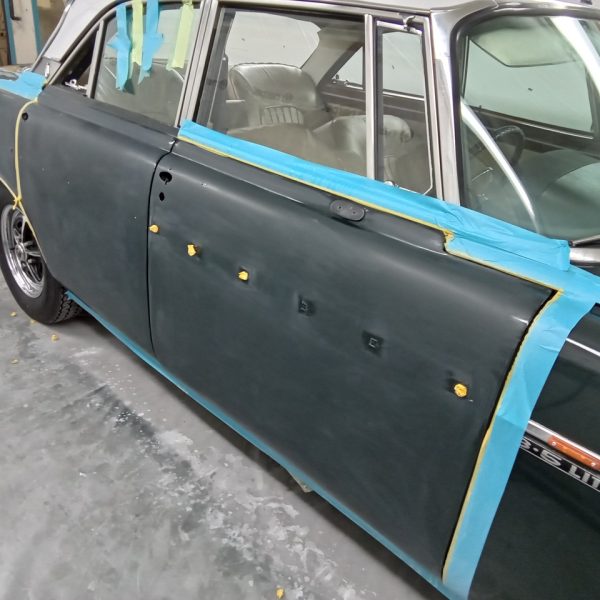
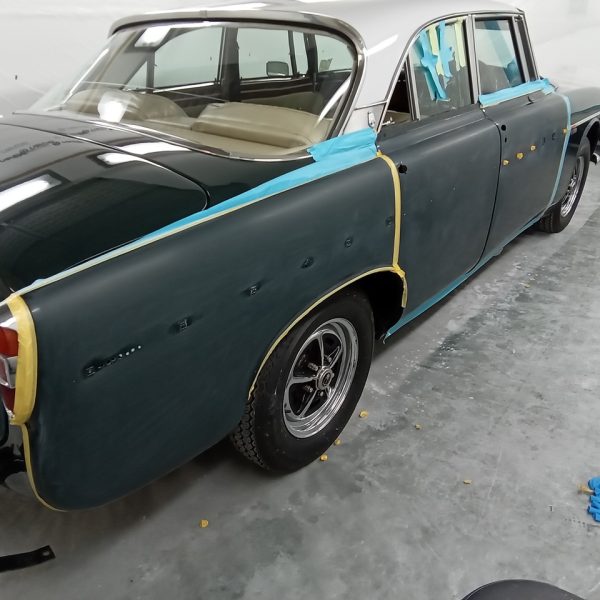
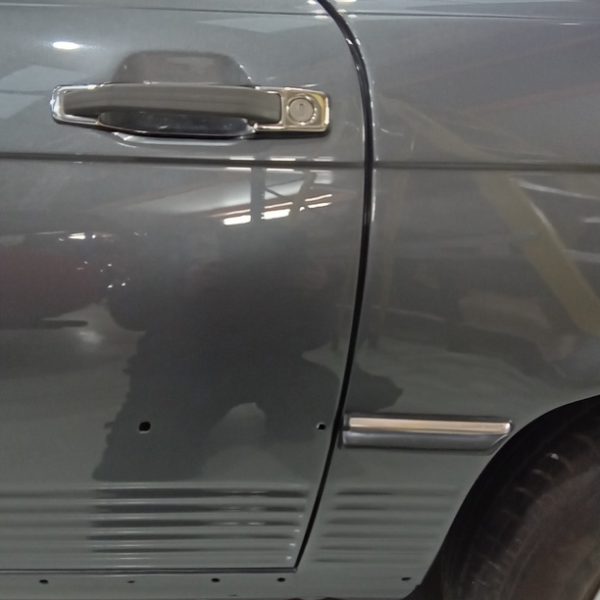
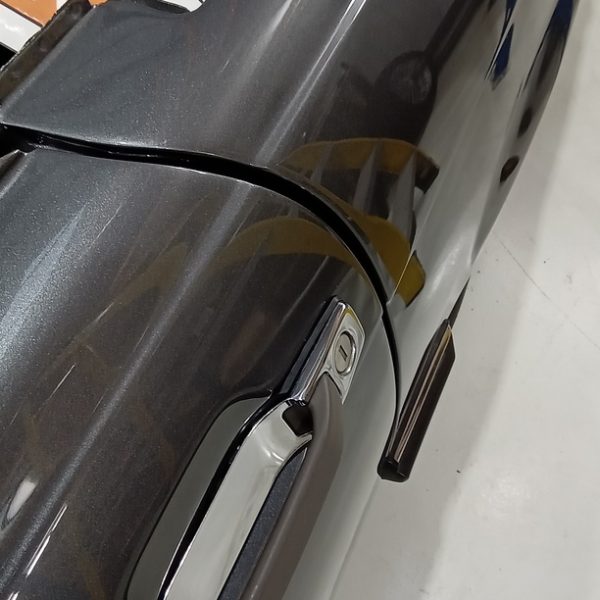
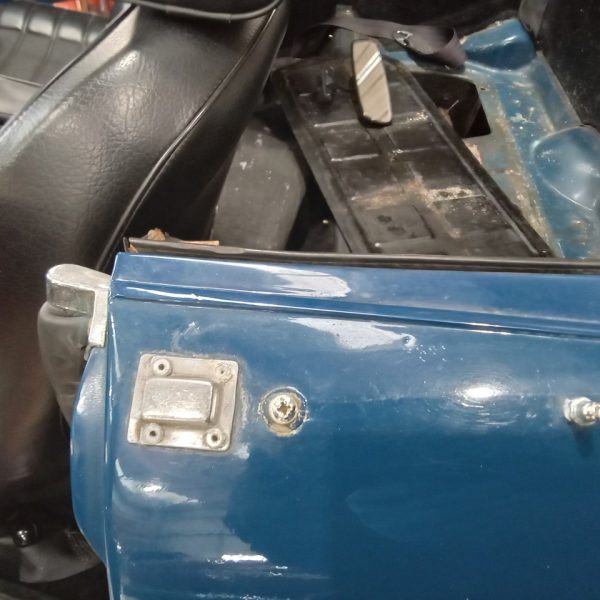
Chris has now prepared and painted the new/old stock Rover P5 replacement door.
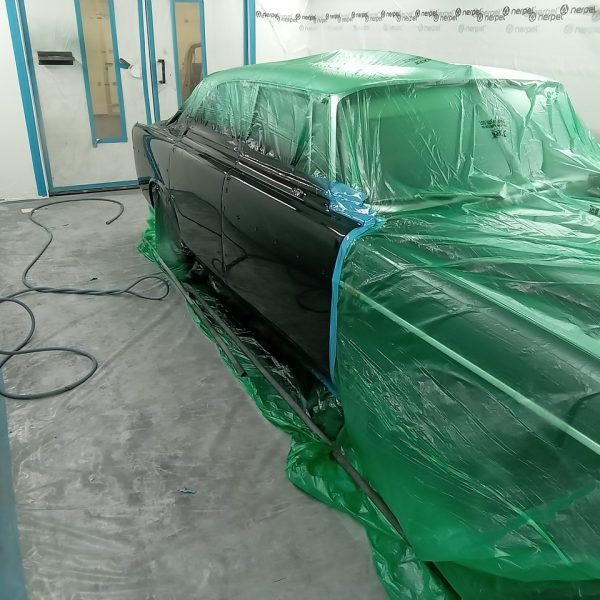
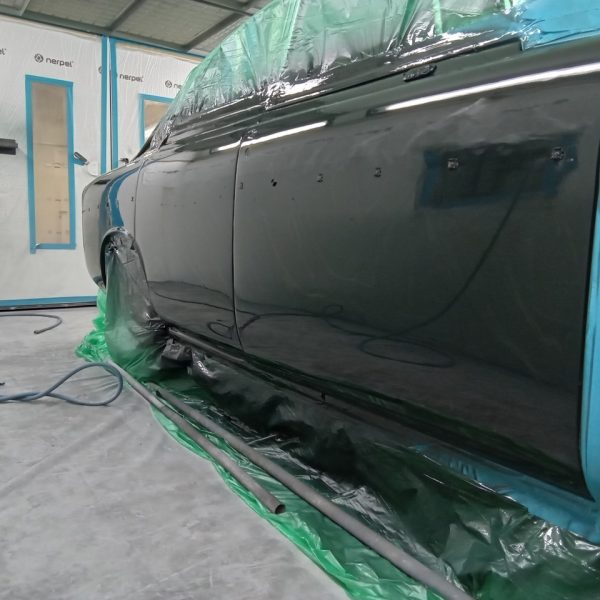
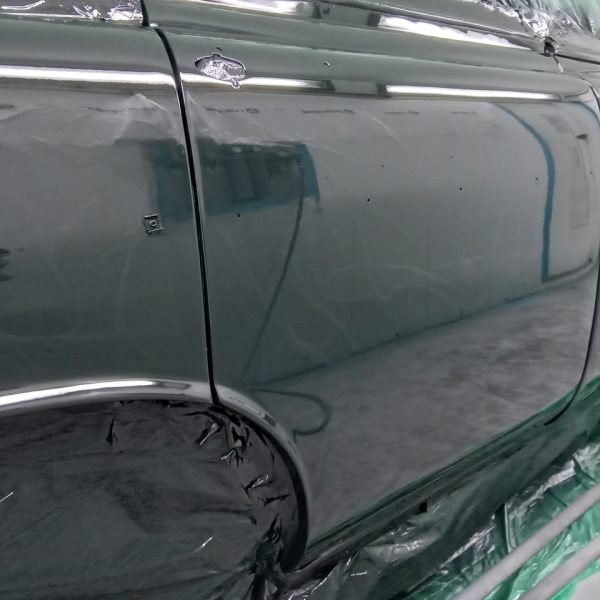
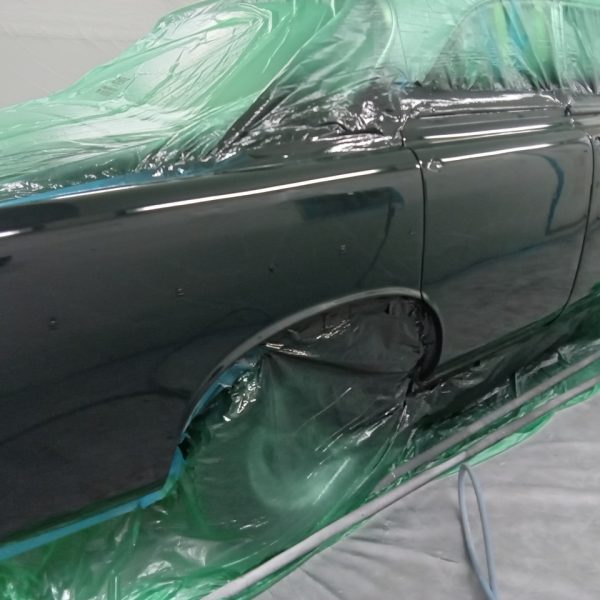
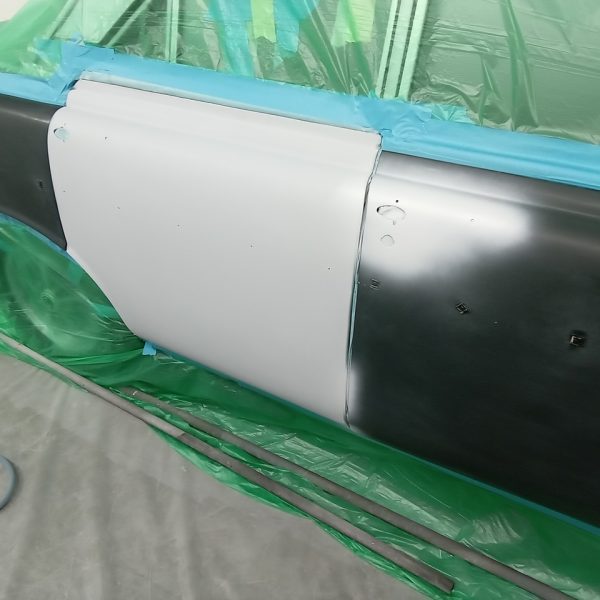
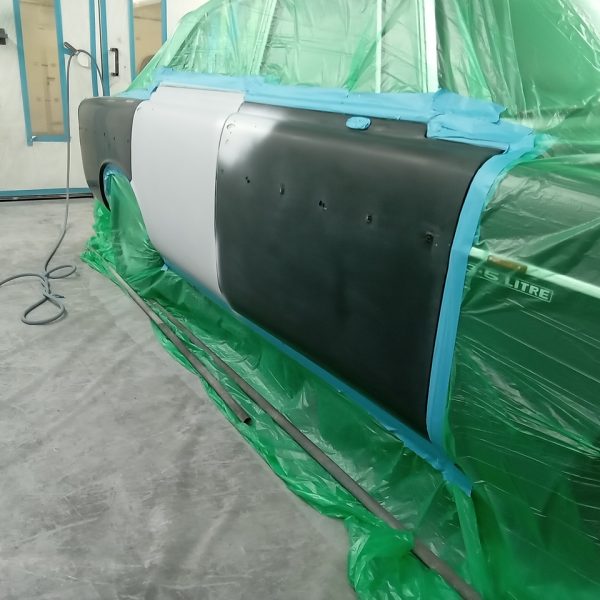
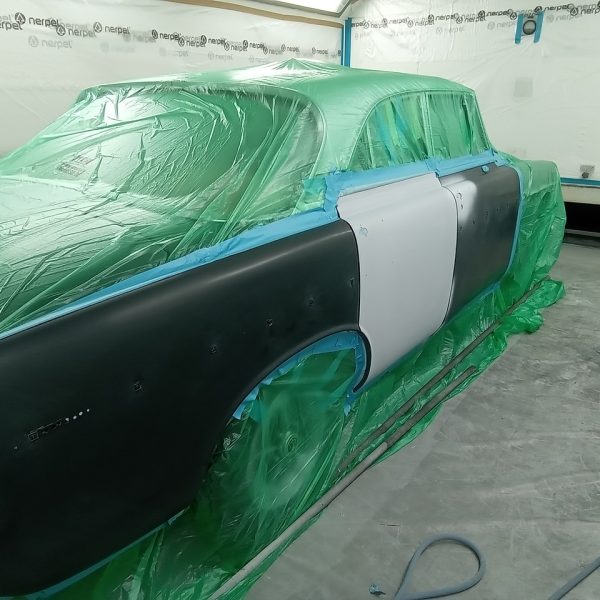
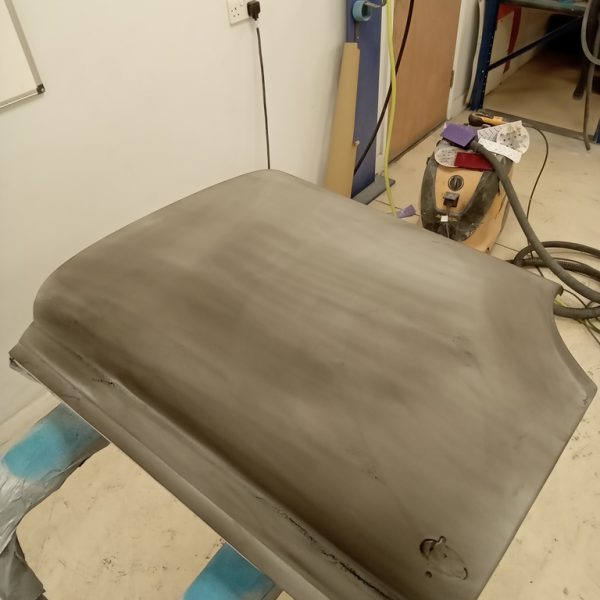
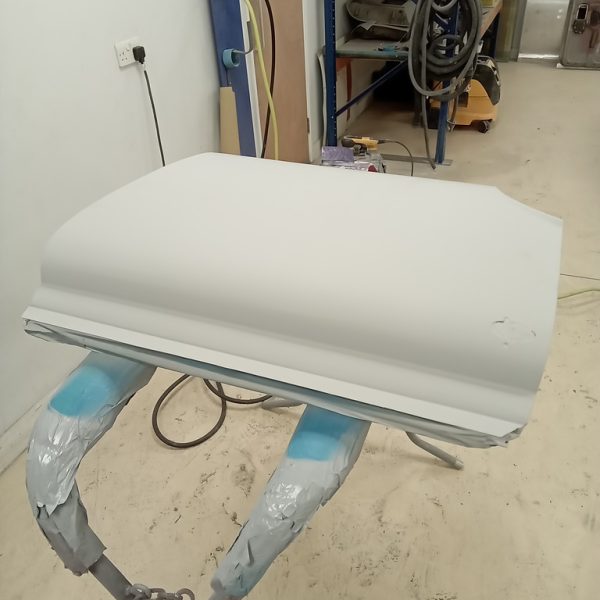
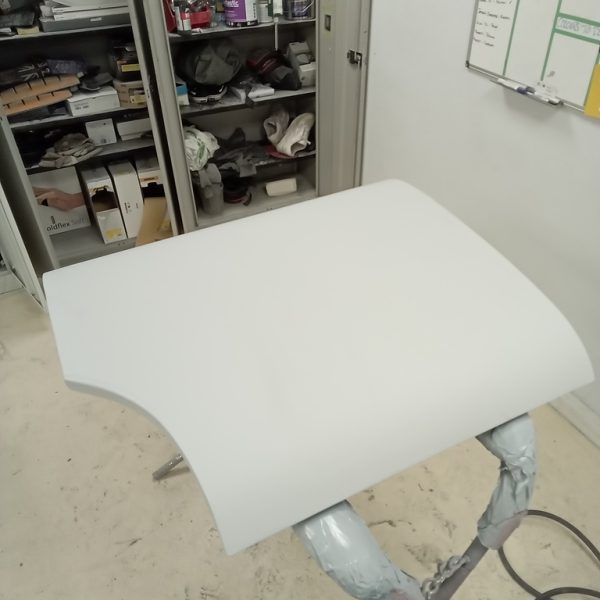
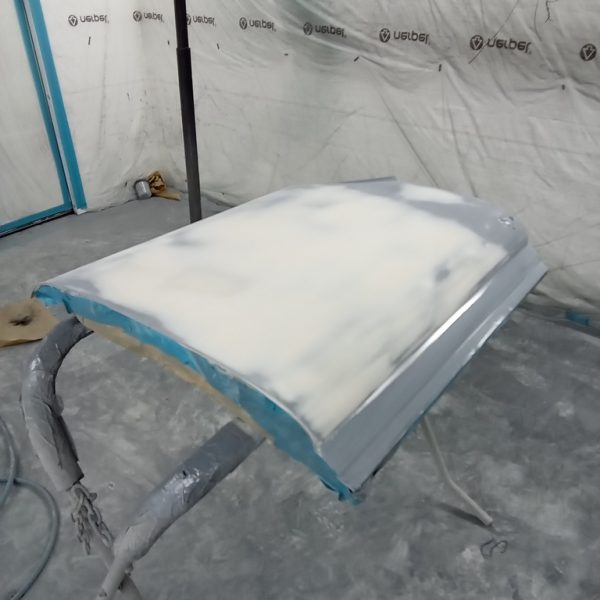
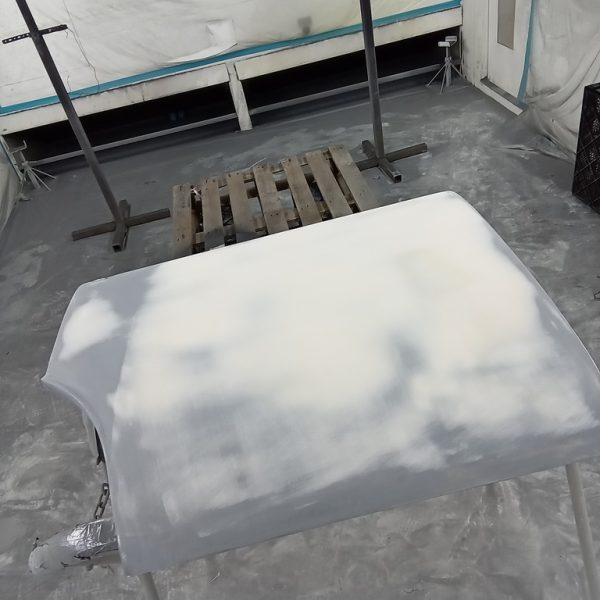
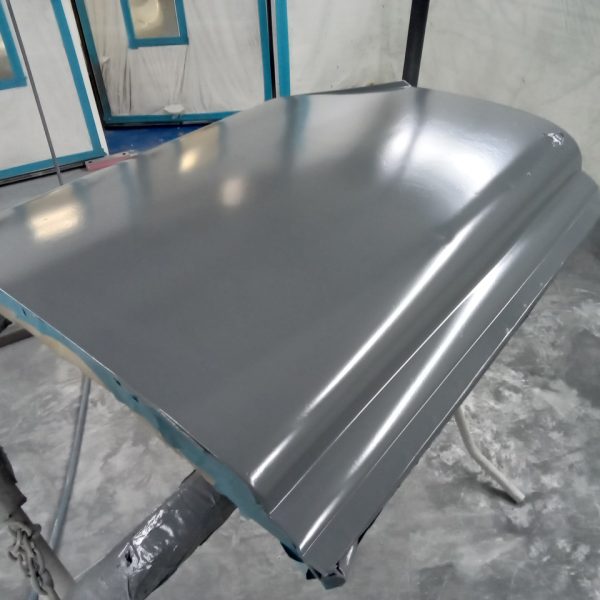
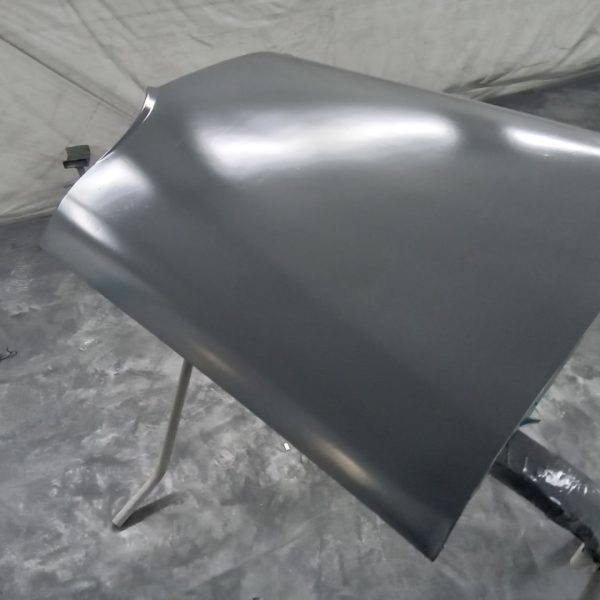
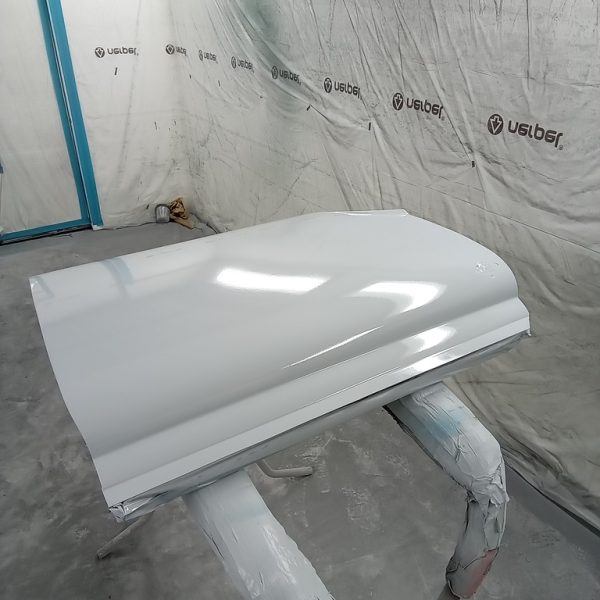
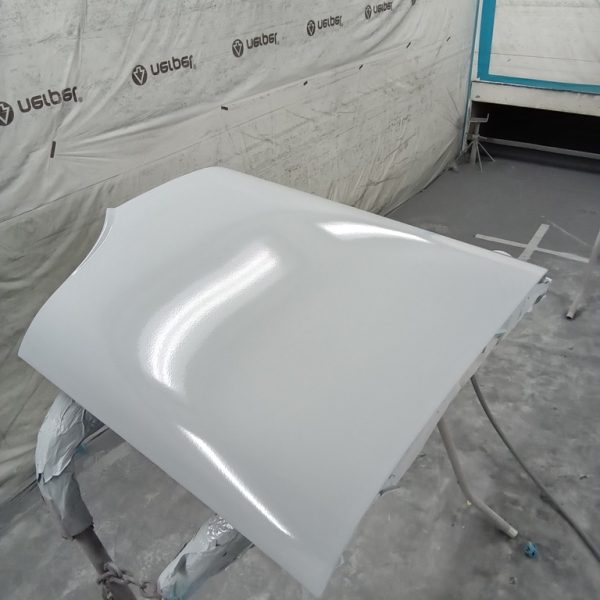
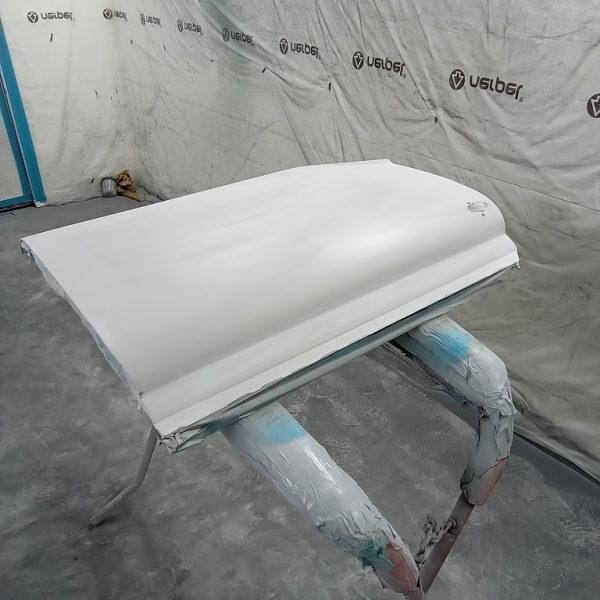
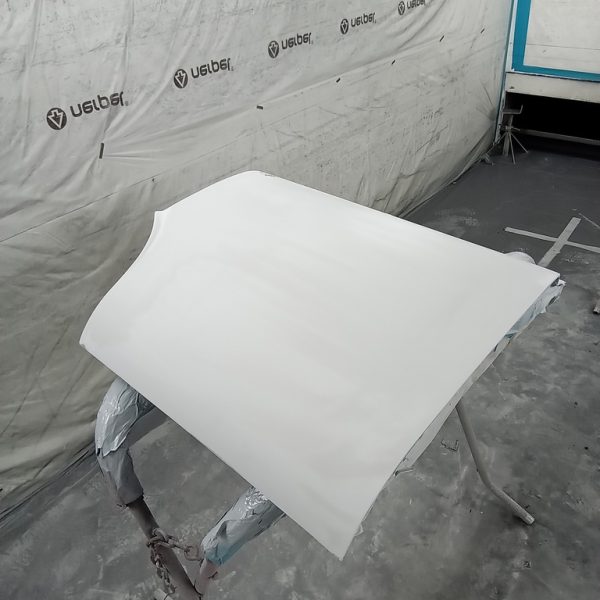
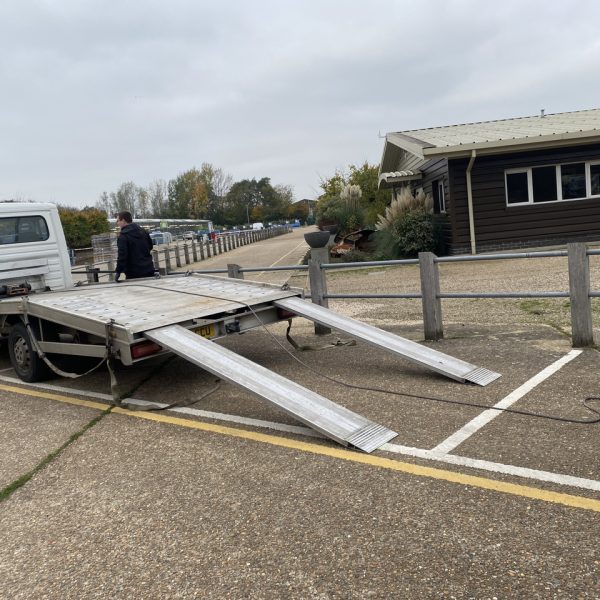
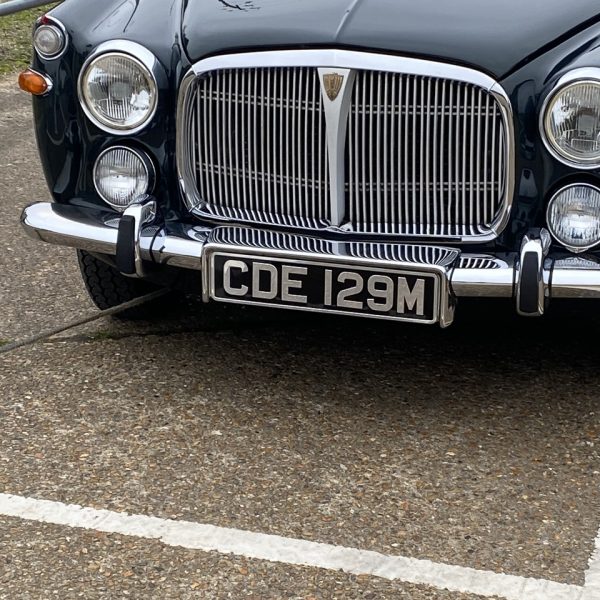
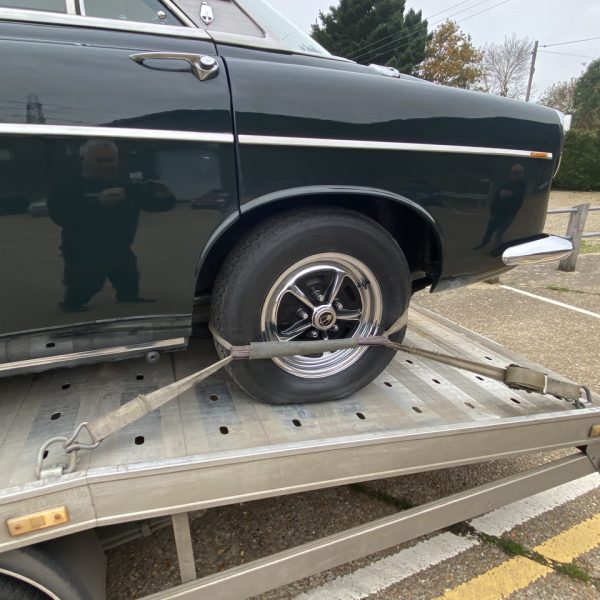
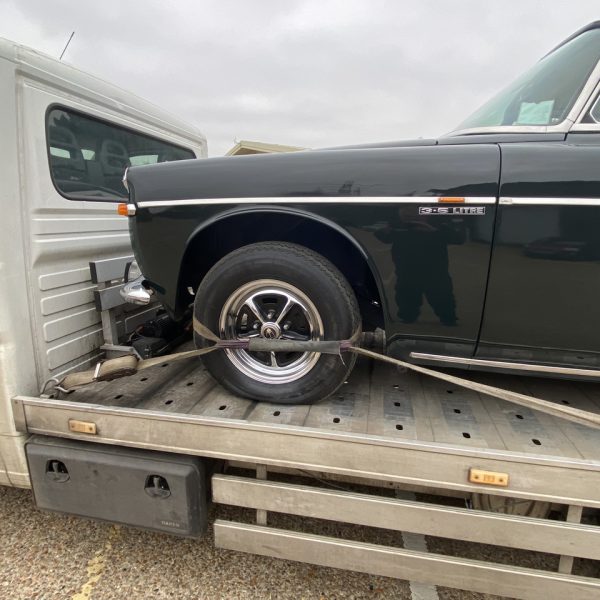
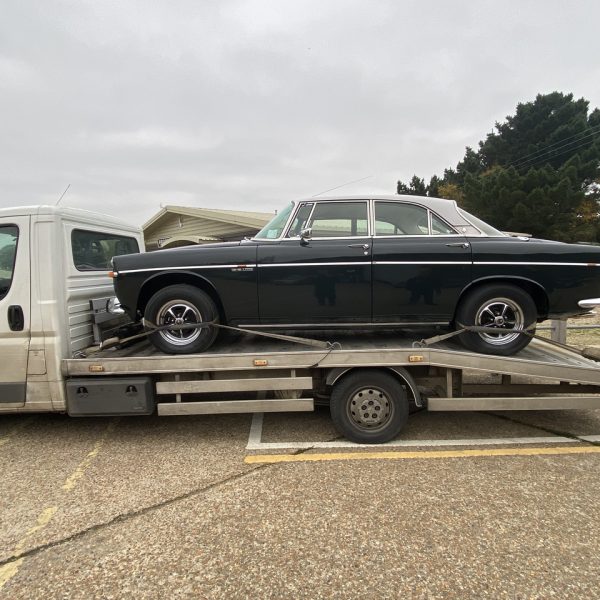
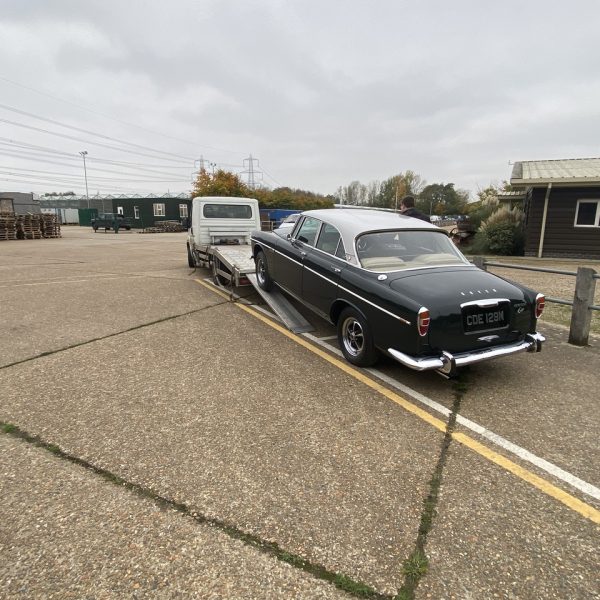
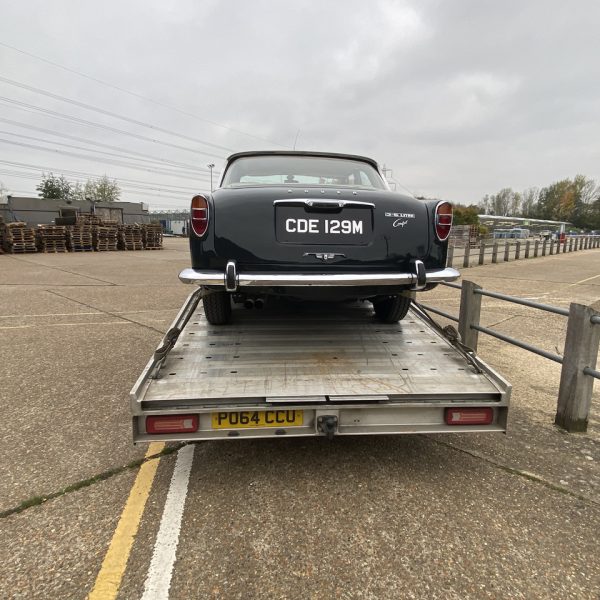
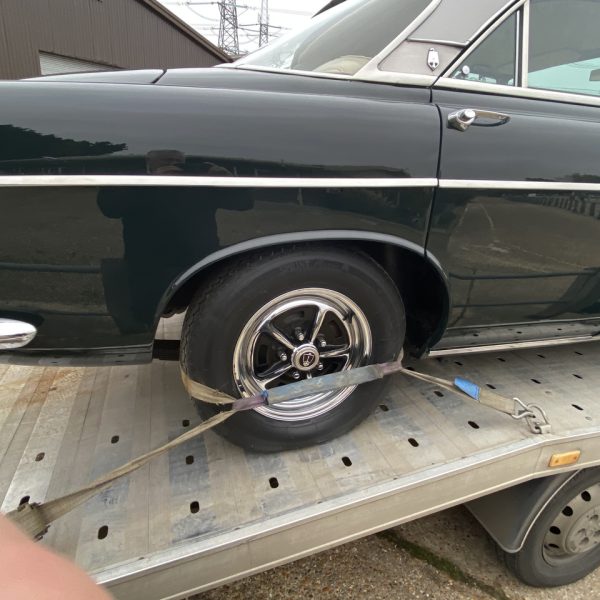
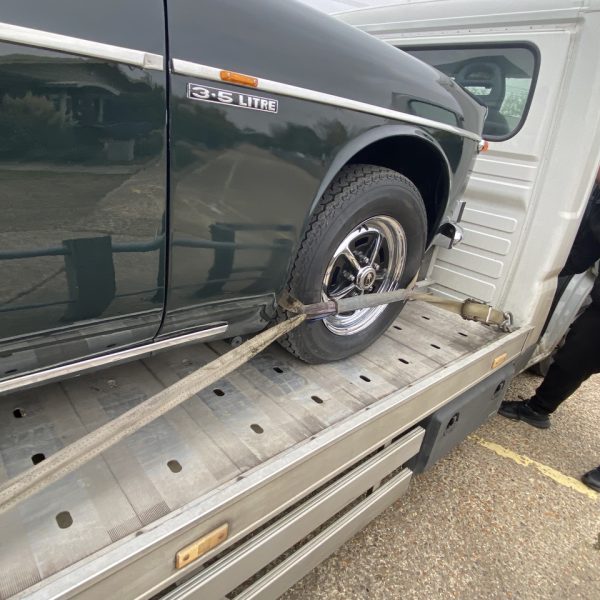
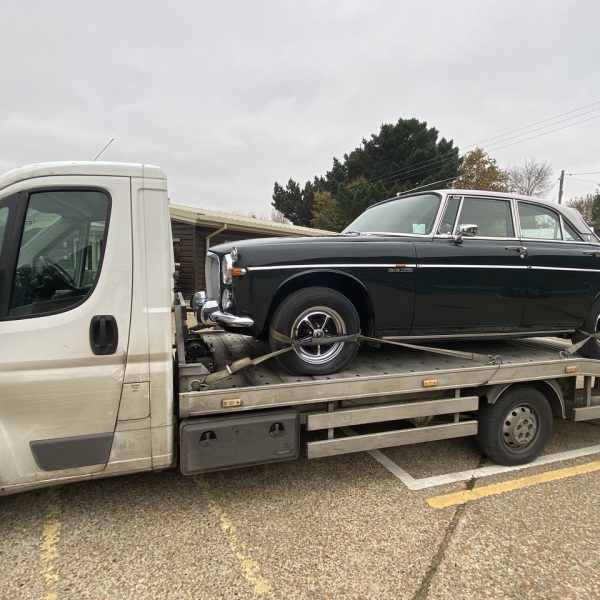
Monday morning we saw the Rover P5 leave us to head off for some gearbox work to be done. Prior to the car leaving our workshops we had a replacement door to prepare and fit.
Rather than spending many hours perfecting the existing door and replacing all of the corrosion with new metal, we were supplied with new/old stock replacement doors.
These still needed to be prepared, painted and fitted. But of-course, it is never as easy as it sounds. The door didn’t fit properly so more work was required than we expected but we got there in time for collection on Monday.
Here is Mauro flattening and polishing the paintwork.
And away she goes…
The driver arrived on time, bright and early so the car leaves us now for a little while.
John and Jon have done a few more hours on the Merc this weekend.
Fitted new clips to all fuel pipes in the boot heading to the expansion tank. At the same time, they’ve tidied up the boot area.
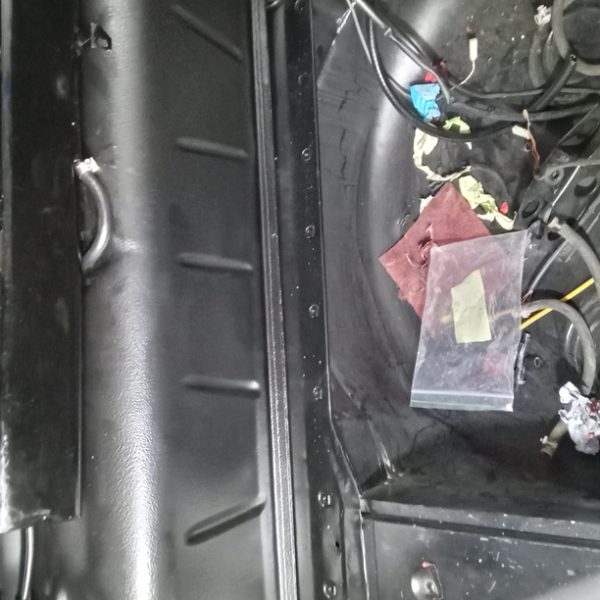
Route wiring around rear of boot and screw into place using original clips.
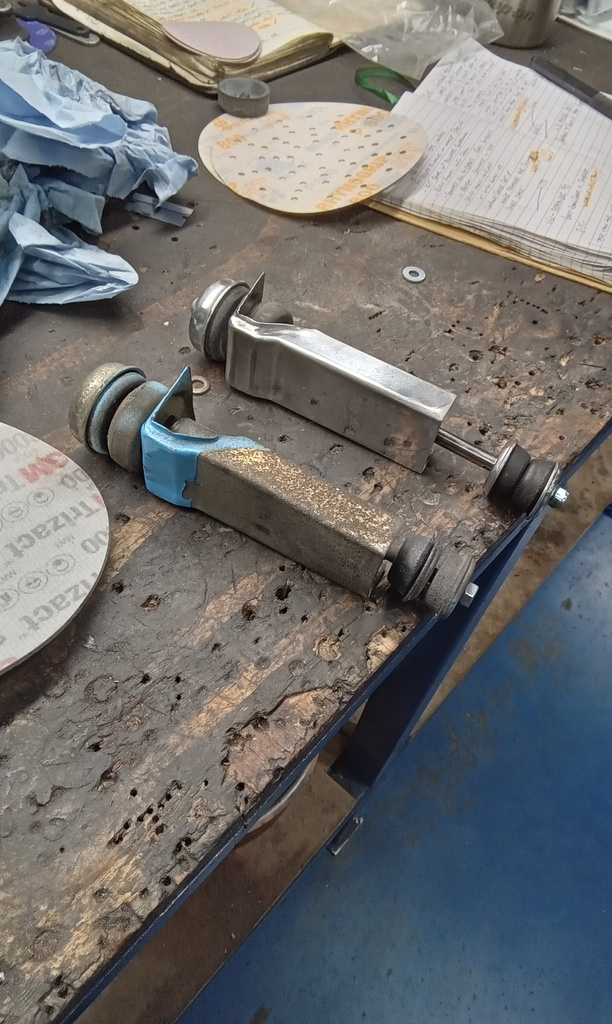
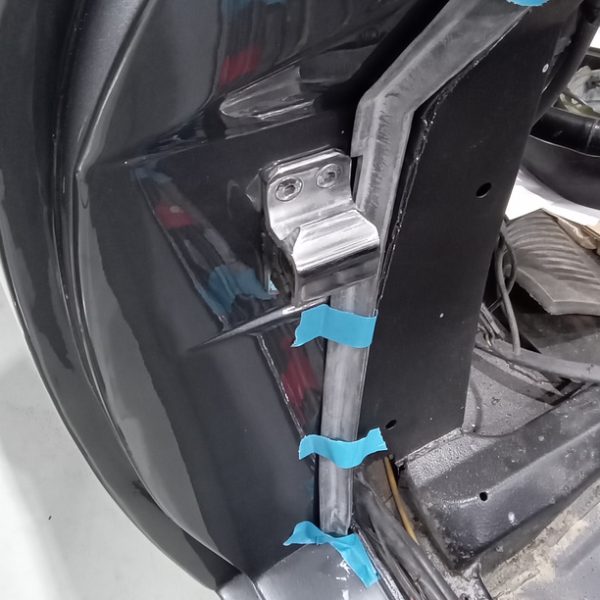
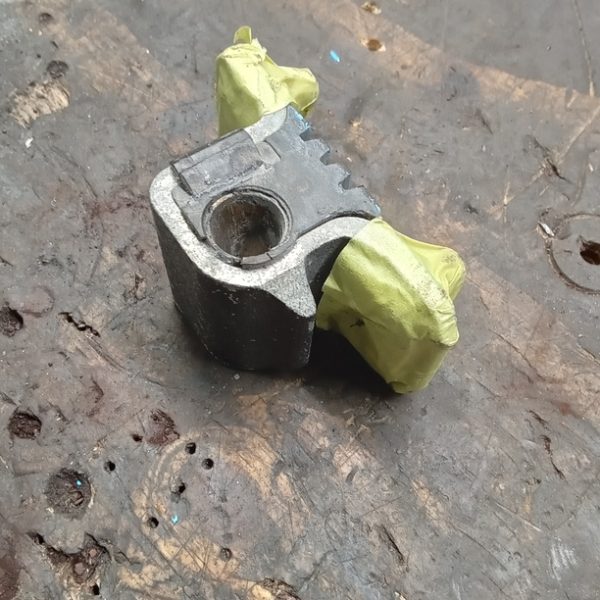
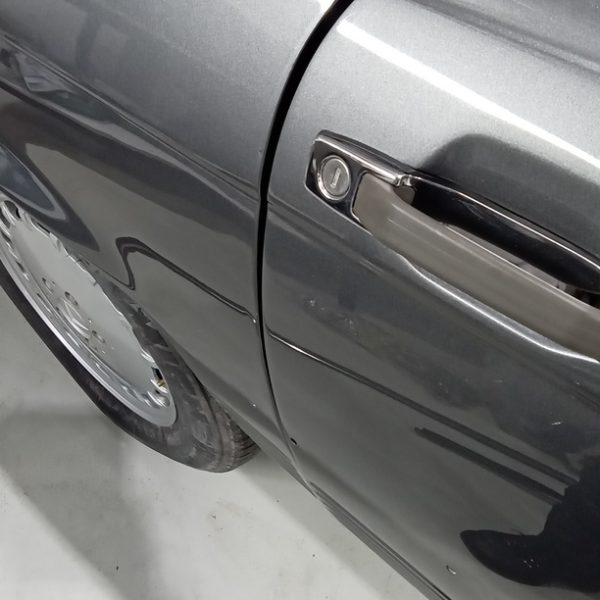
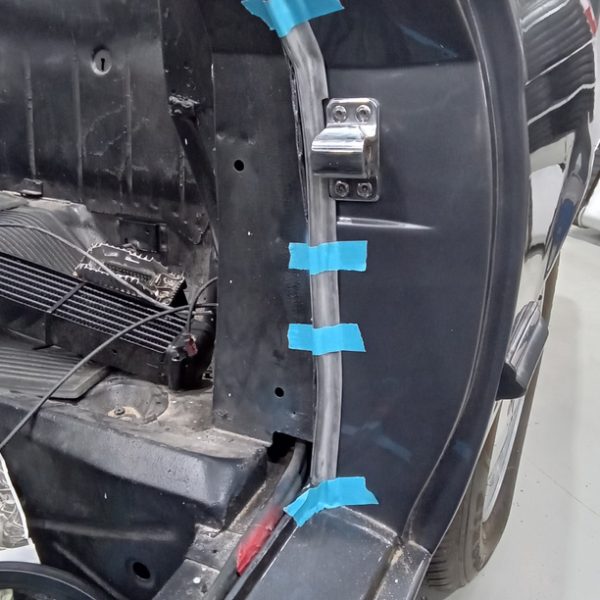
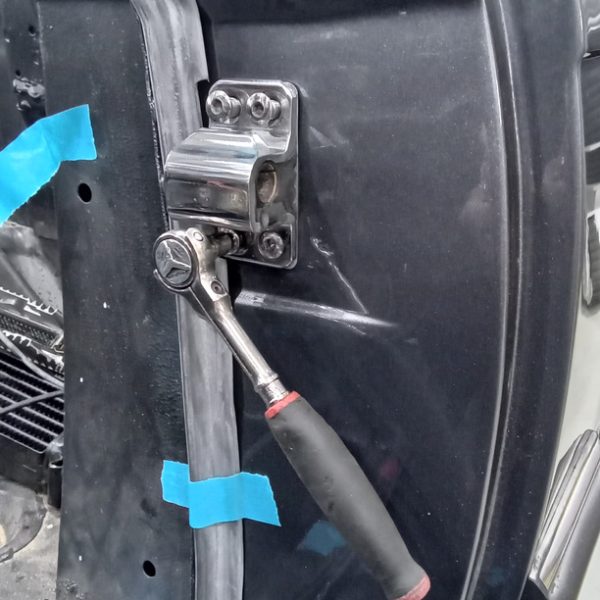
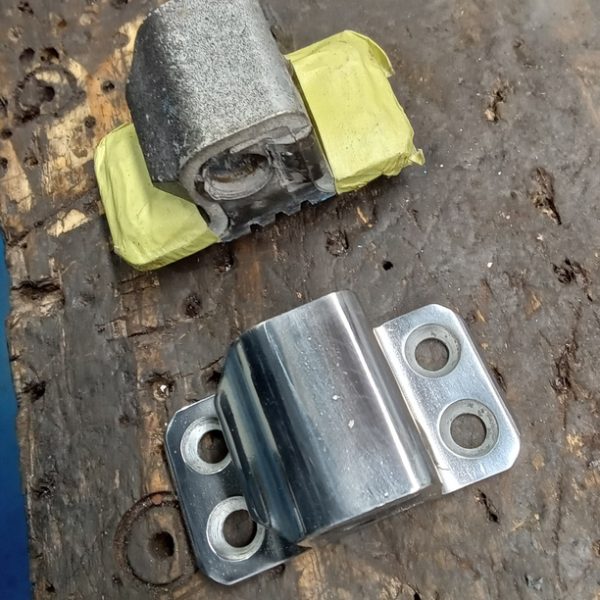
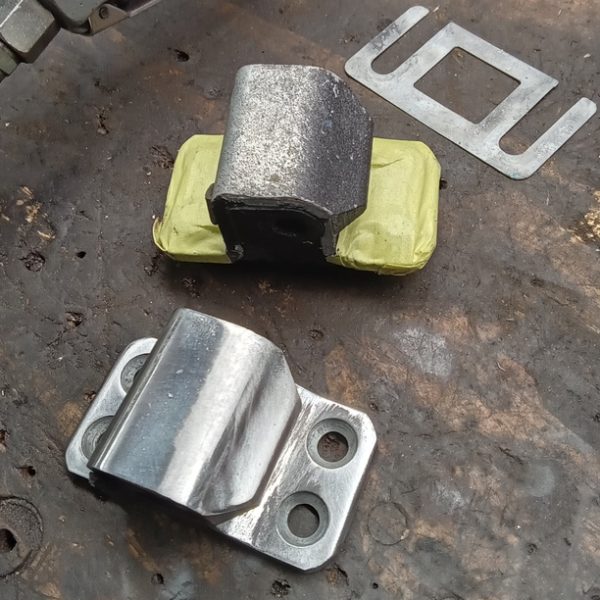
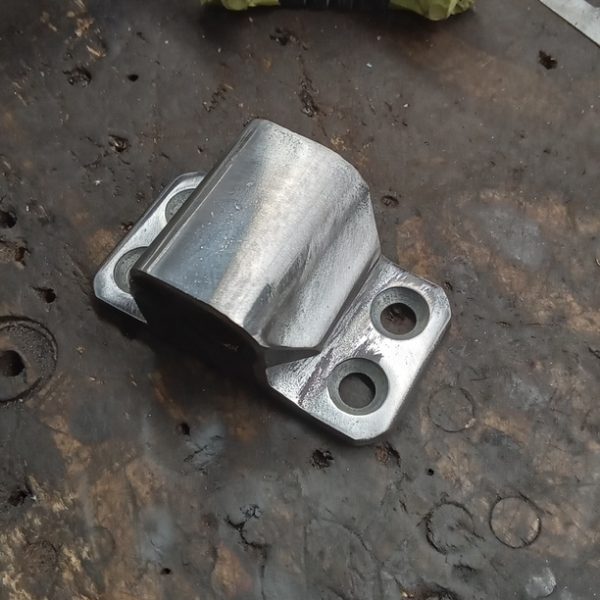
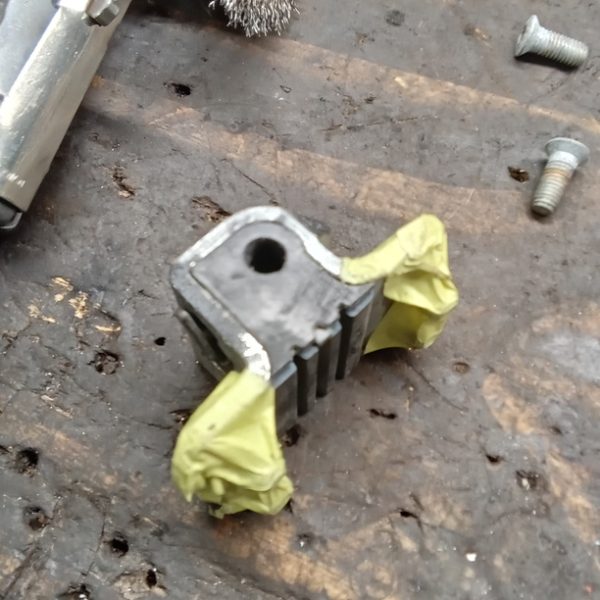
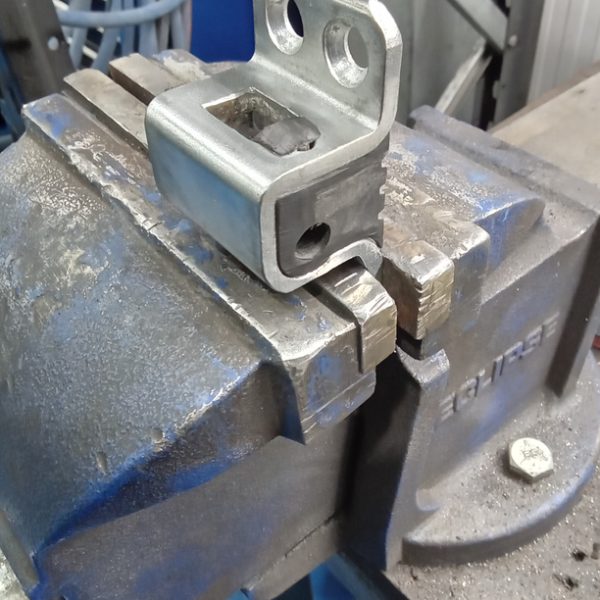
They’ve then moved on to the door strikers. Strip, cleaned and polished both before fitting back on to the car. Adjustment made to both doors are only rough approximates at the moment as no seals have been fitted as yet.
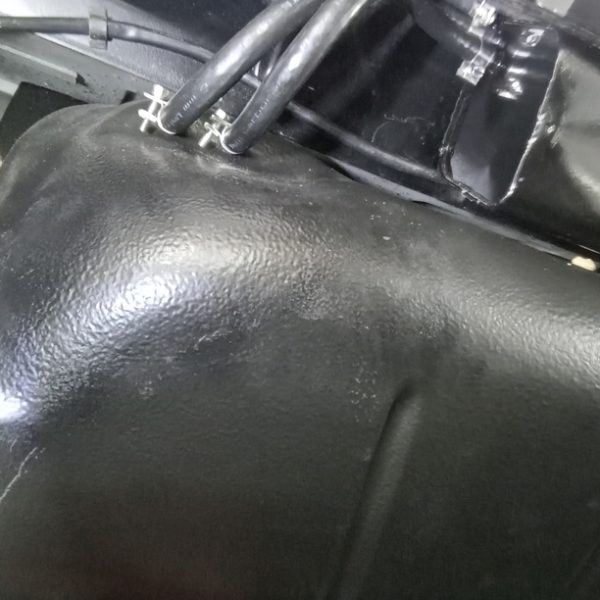
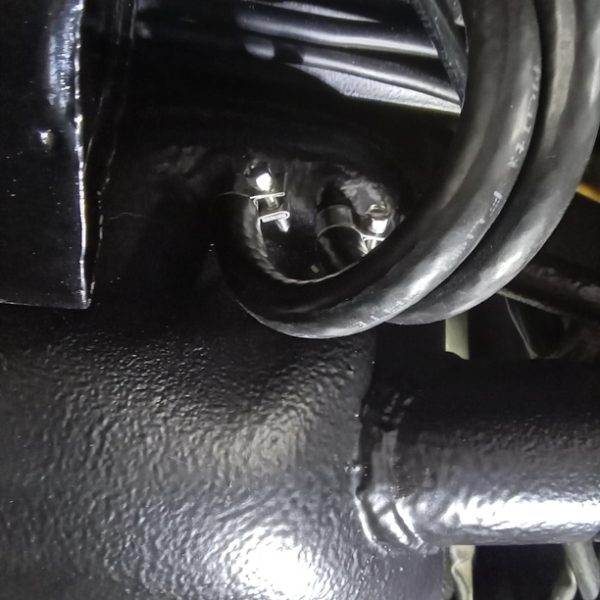
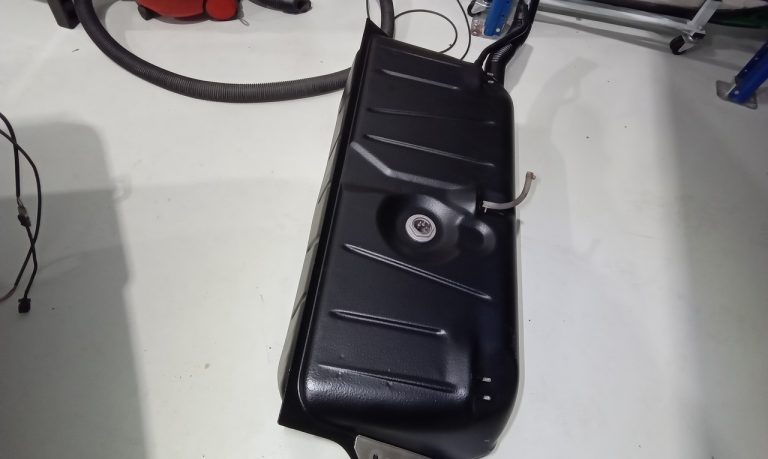
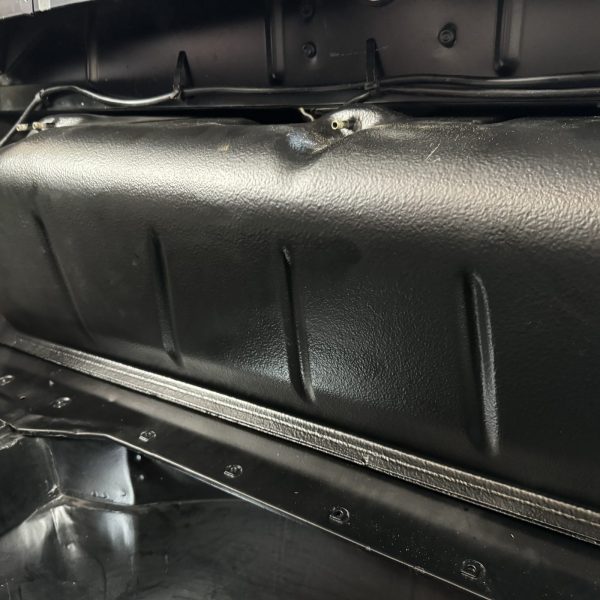
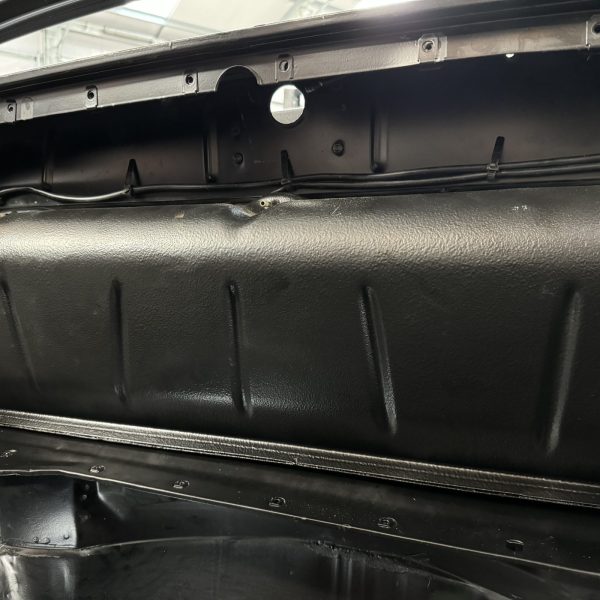
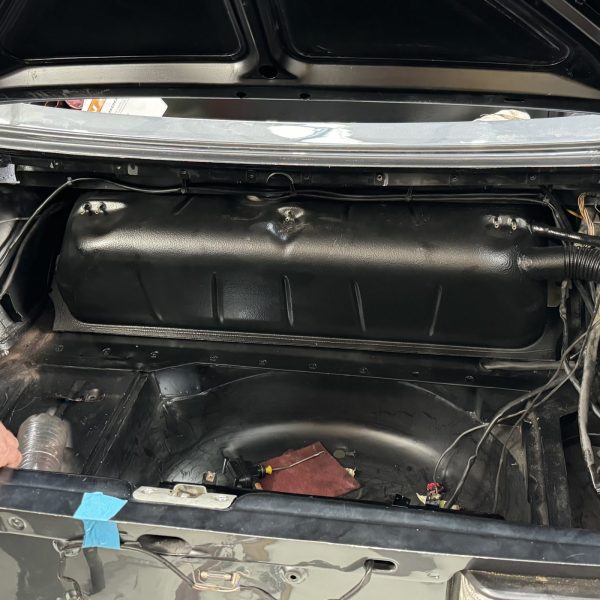
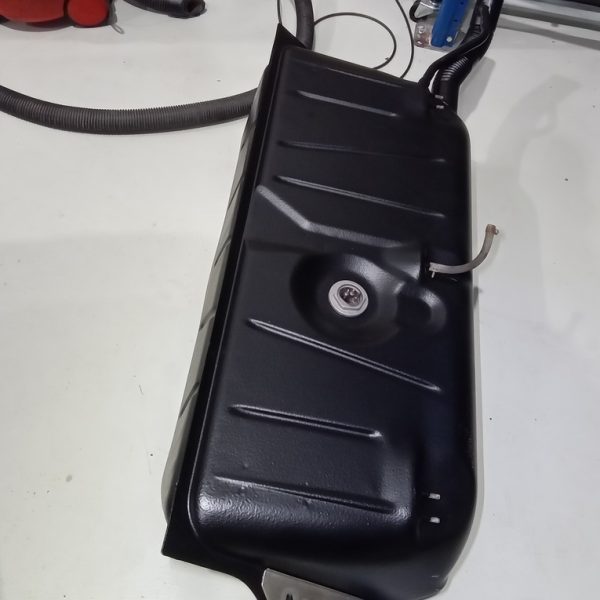
John was expecting this to be a tougher job than it turned out to be. The tank fitted into position nicely. It’s great when a plan comes together!
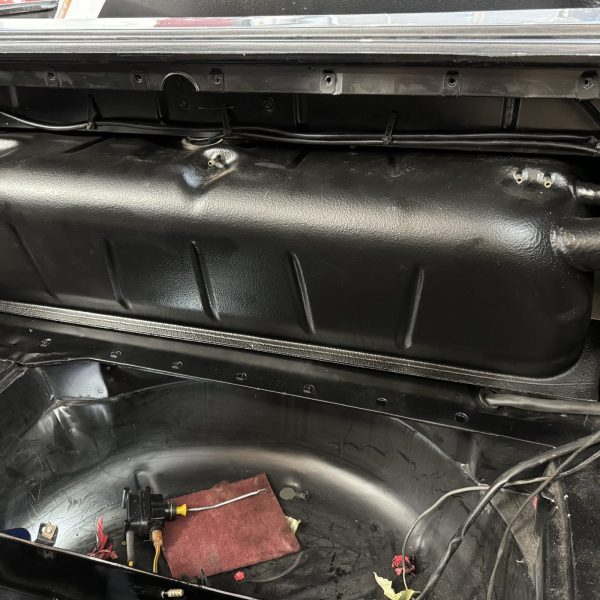
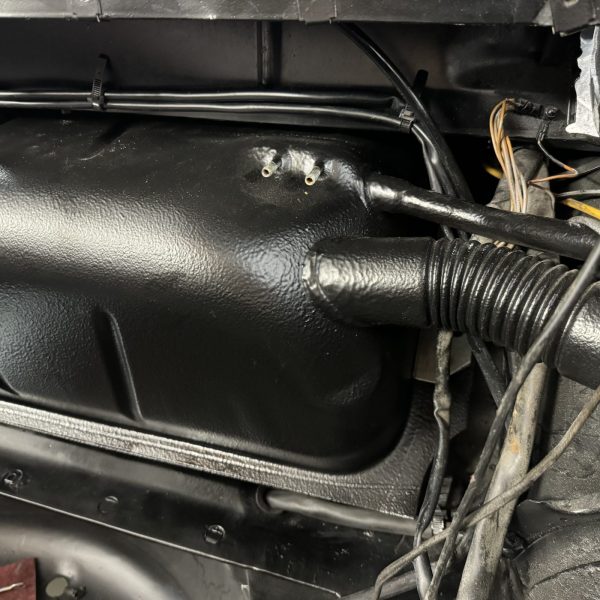
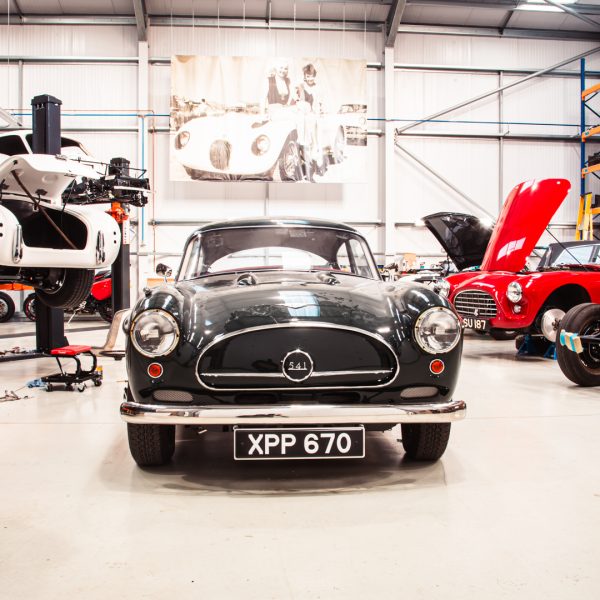
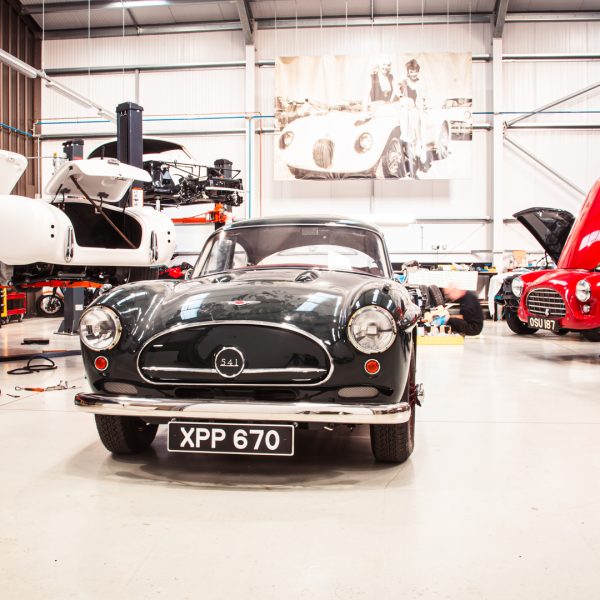
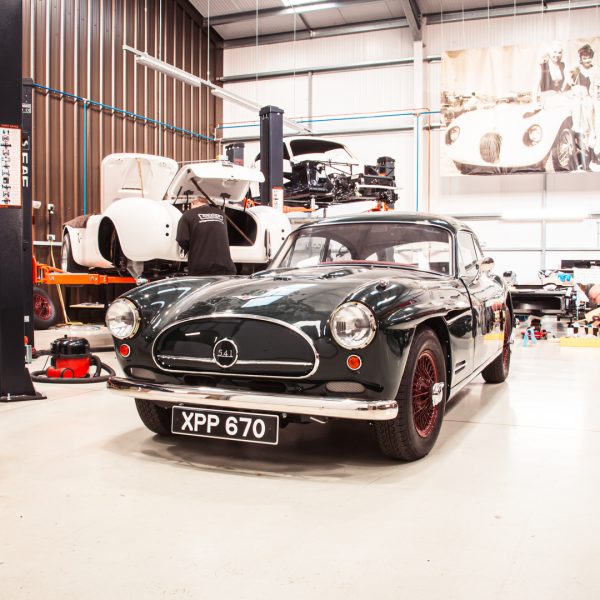
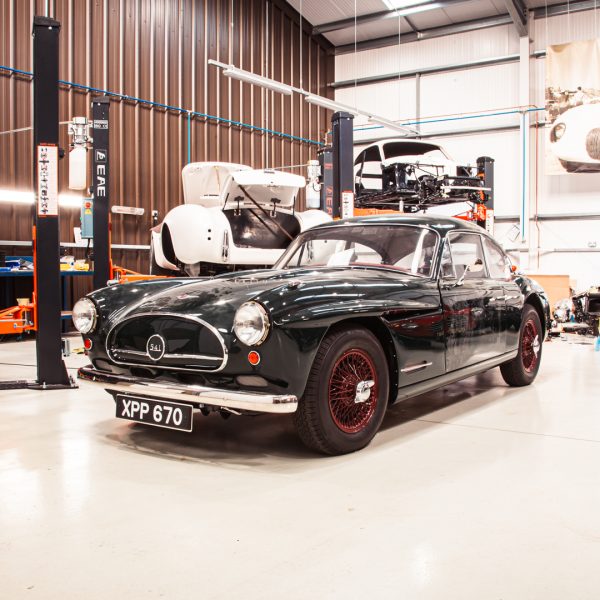
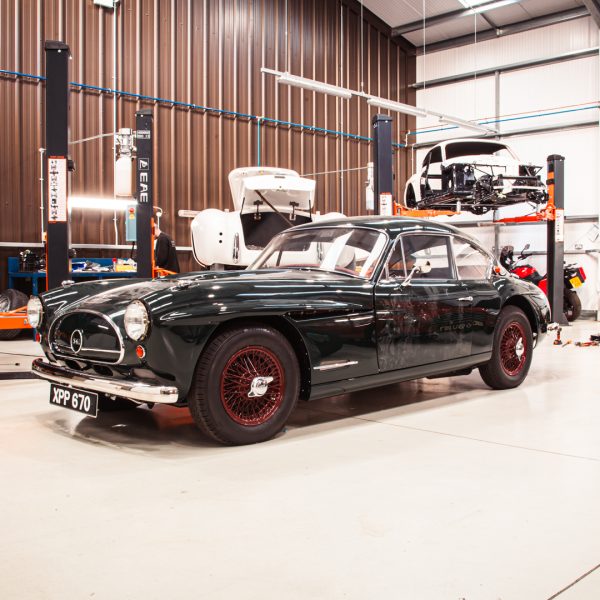
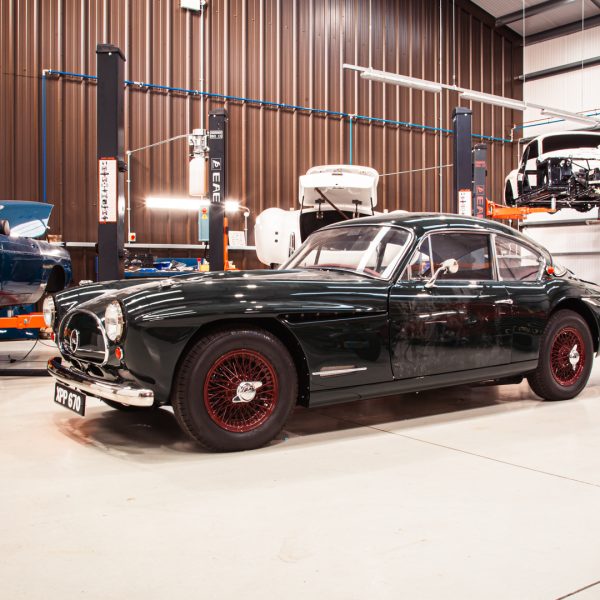
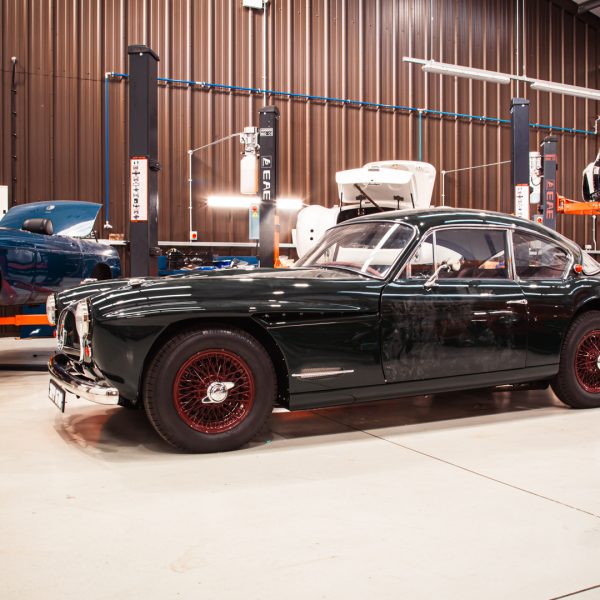
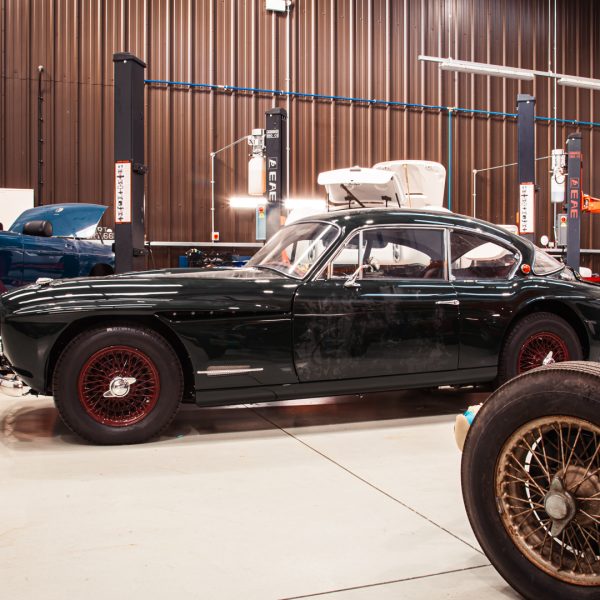
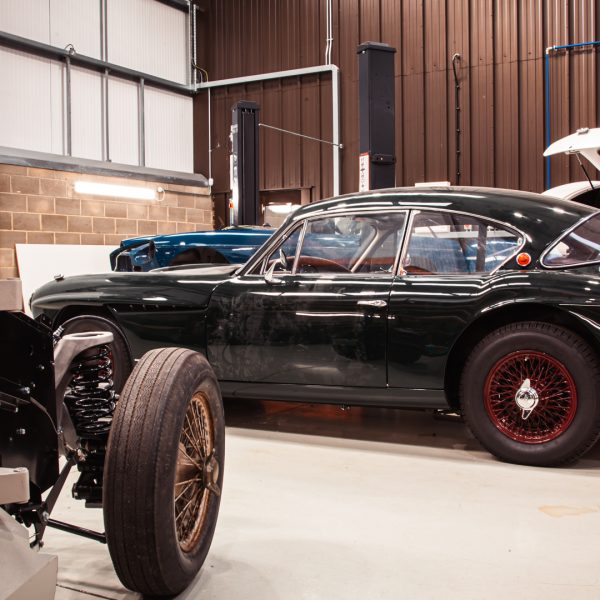
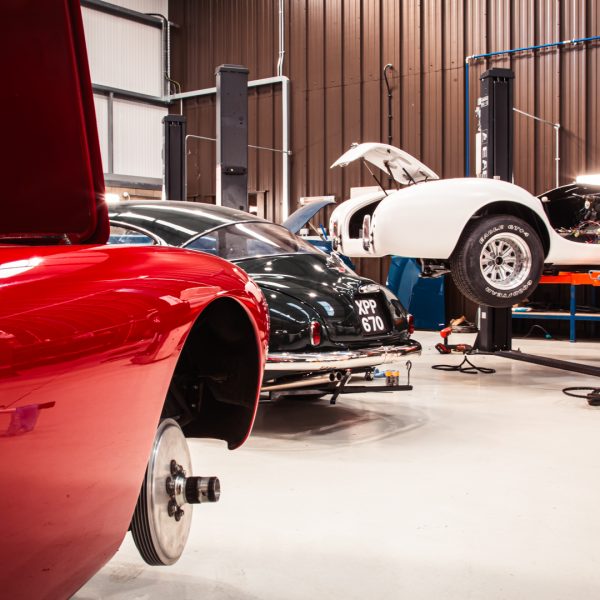
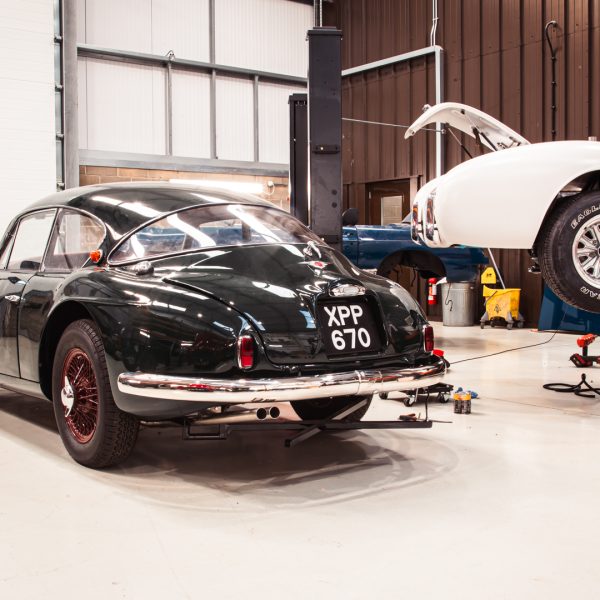
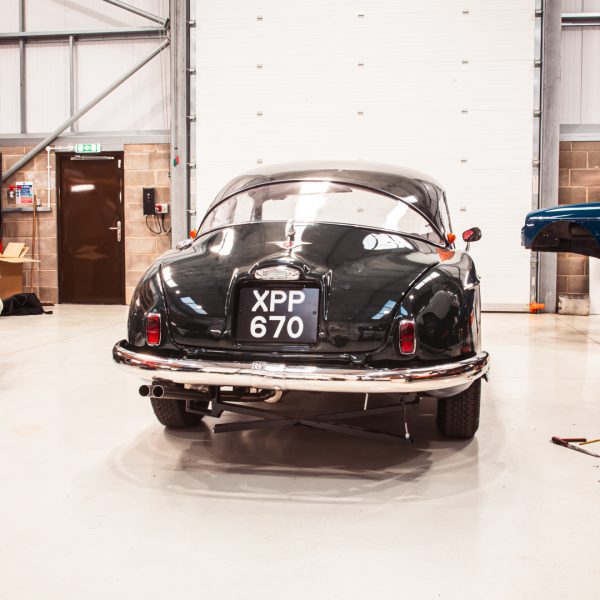
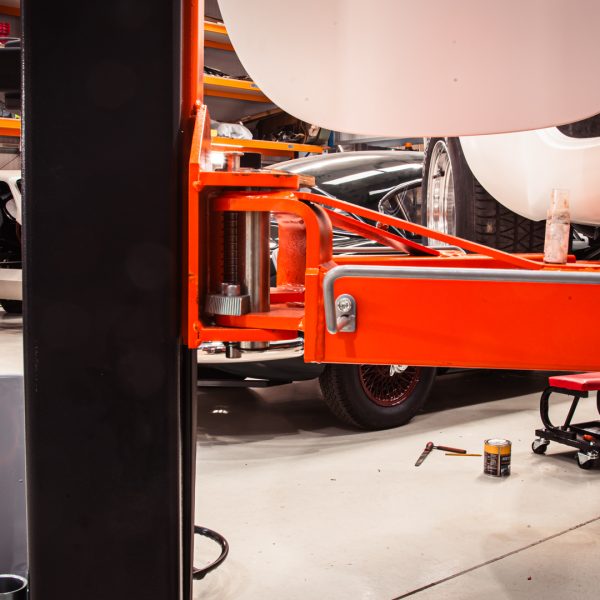
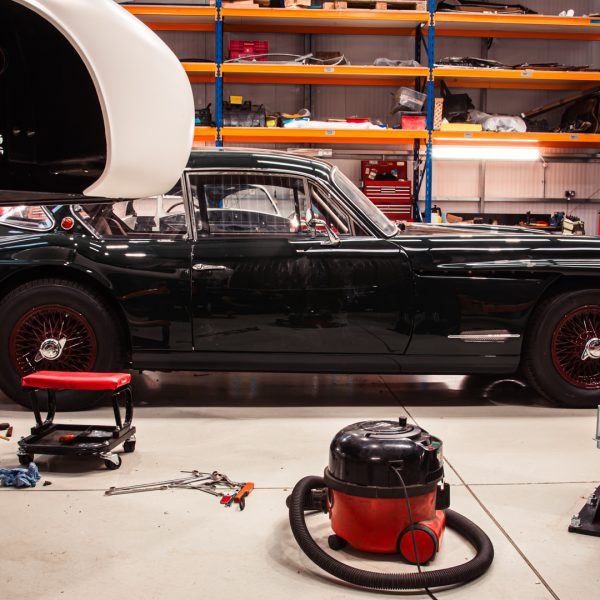
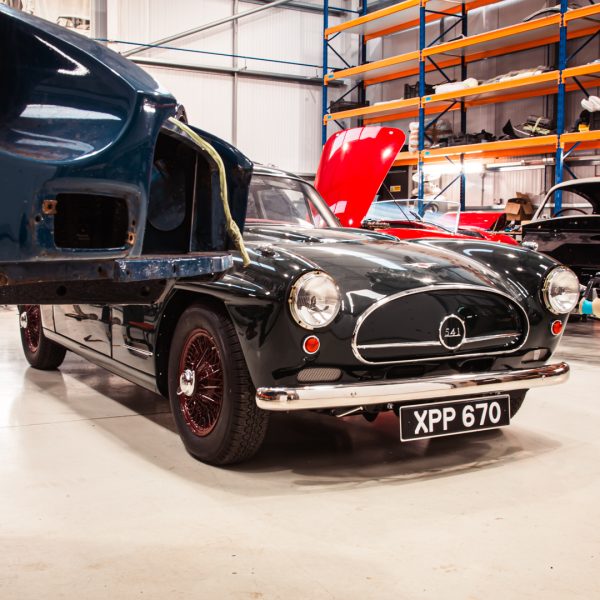
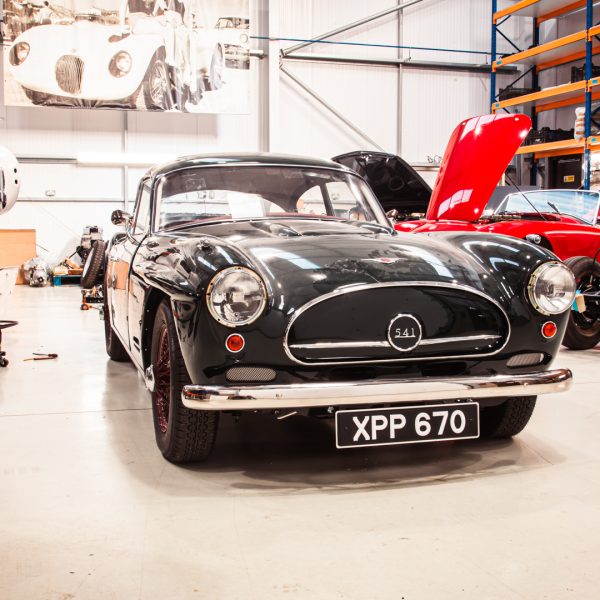
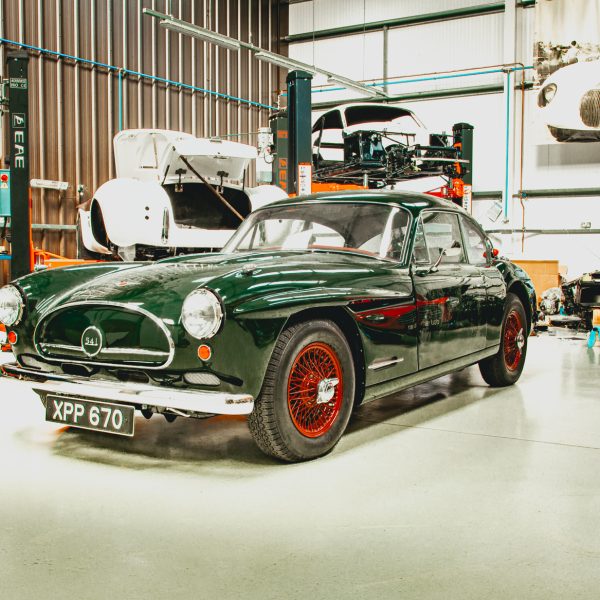
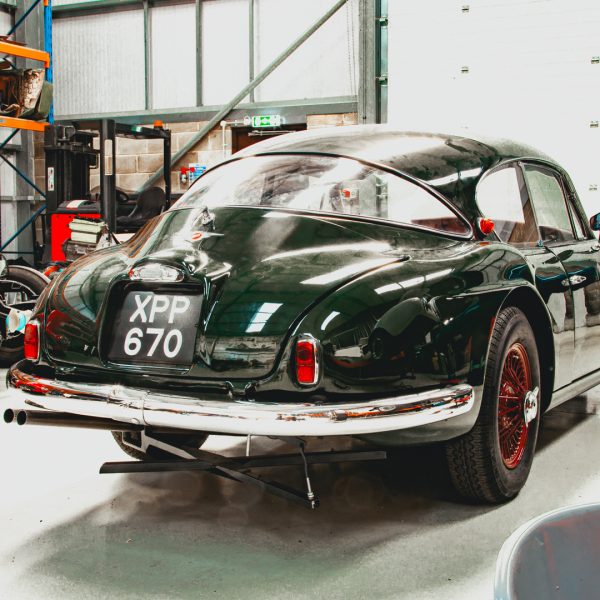
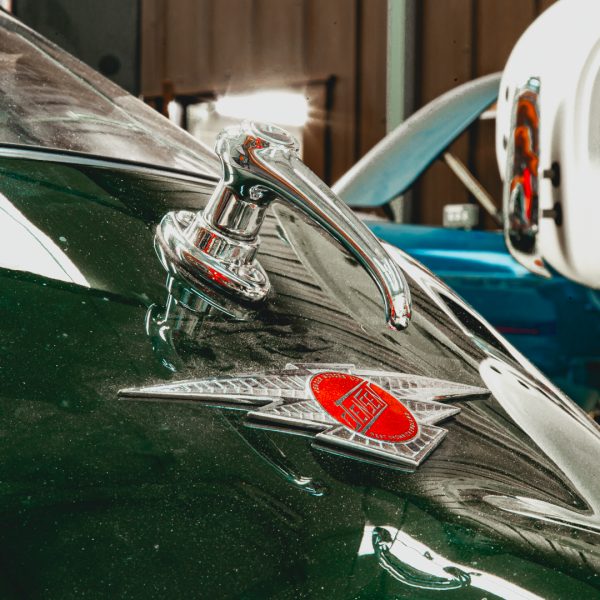
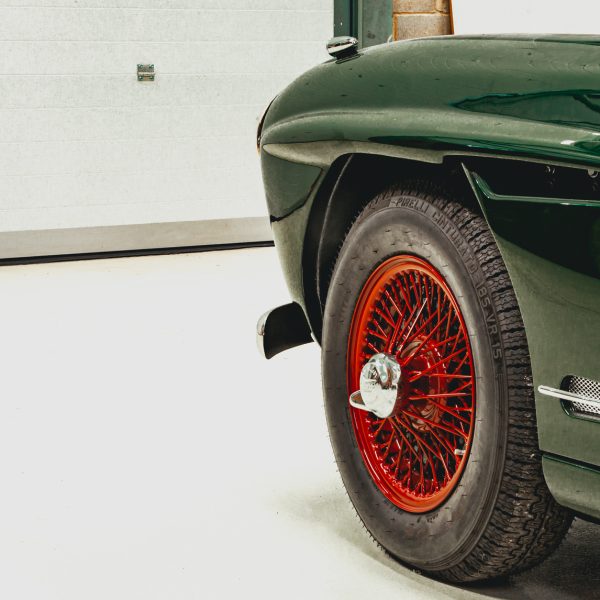
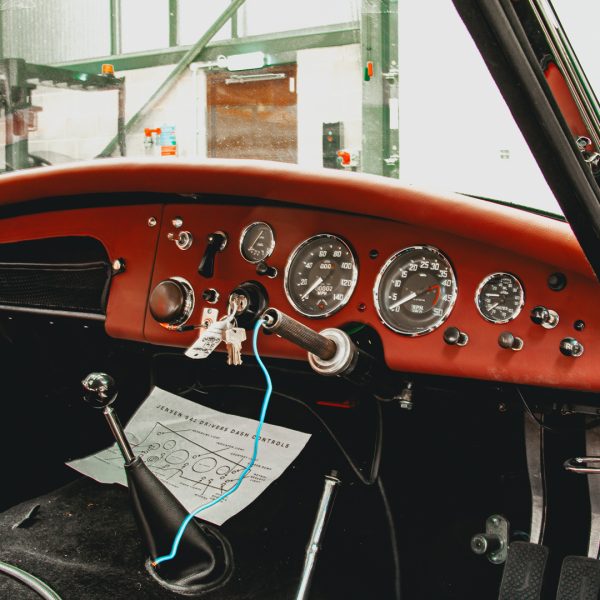
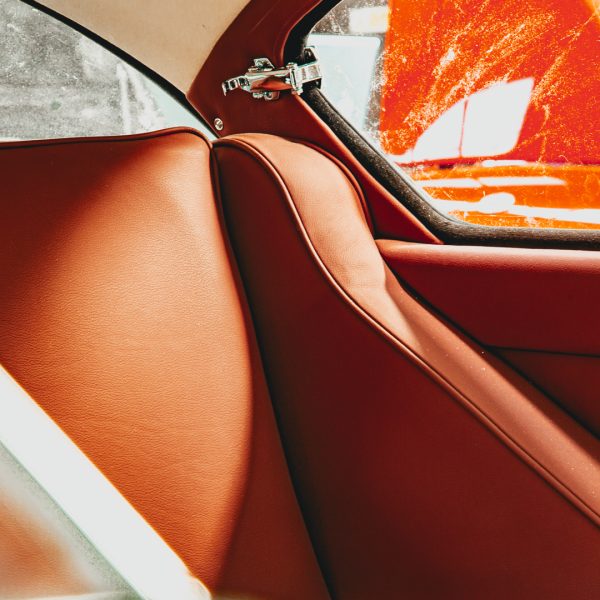
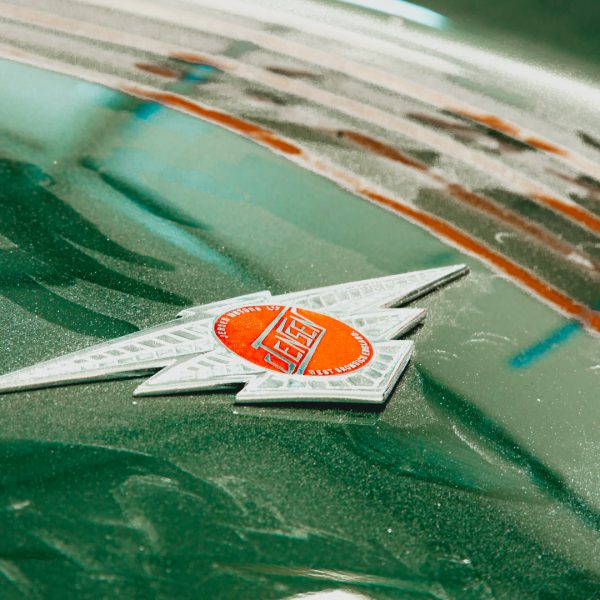
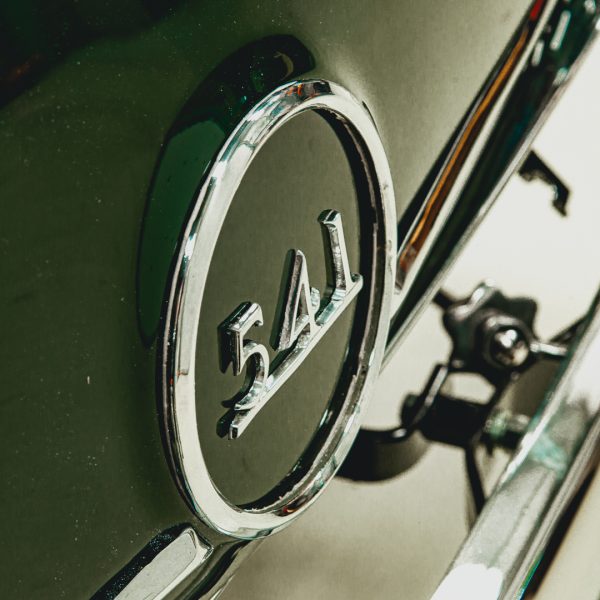
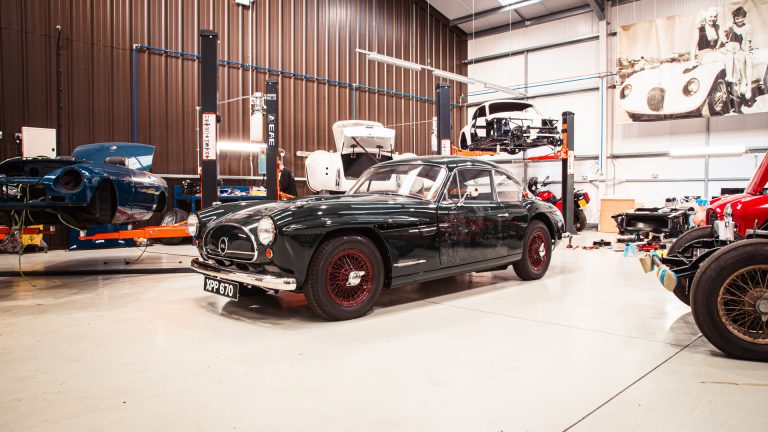
Looking lovely sitting in the middle of The Atelier. The final touches are being made to the door and the car is hopefully only days away from the testing stage.
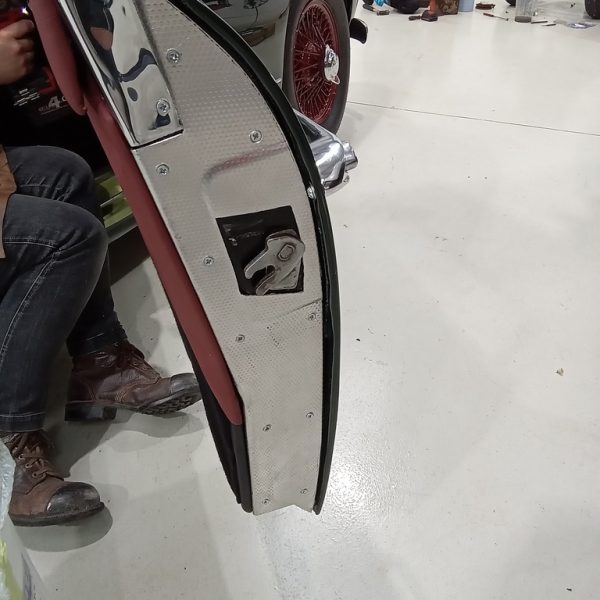
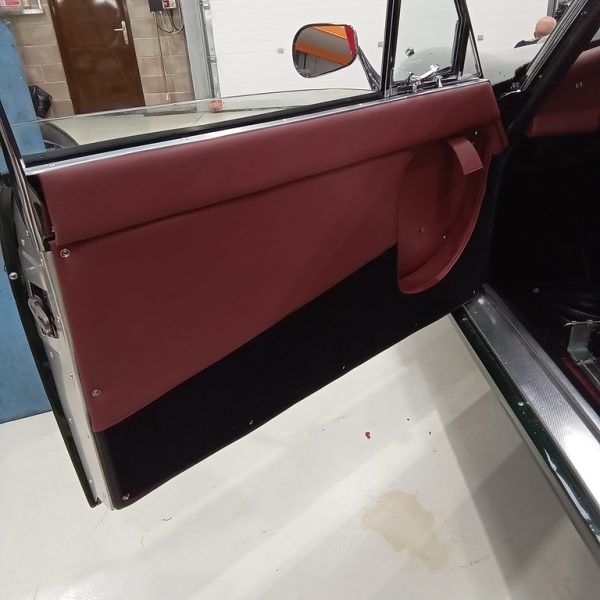
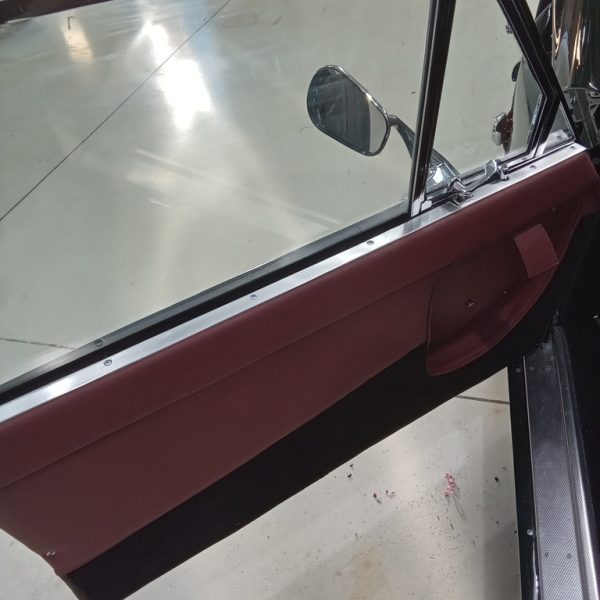
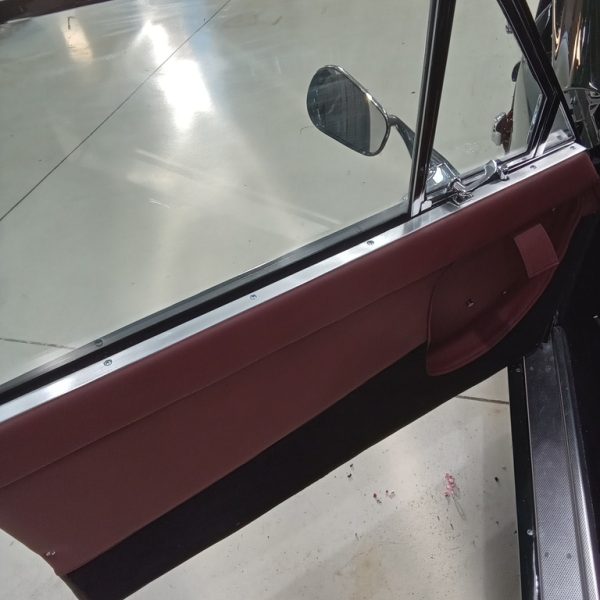
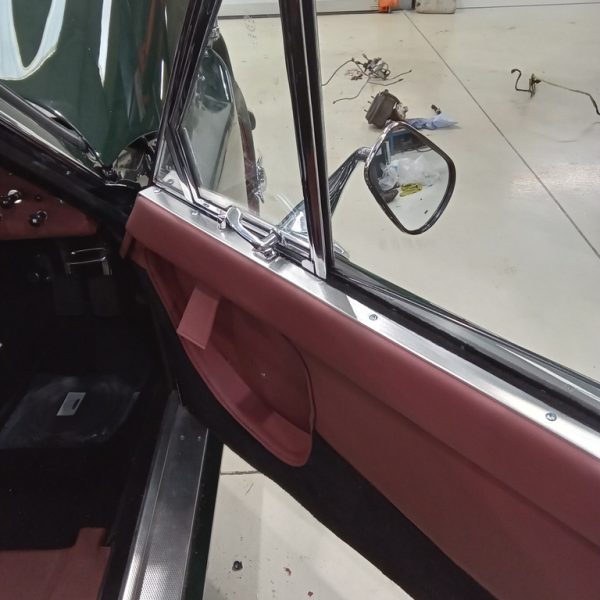
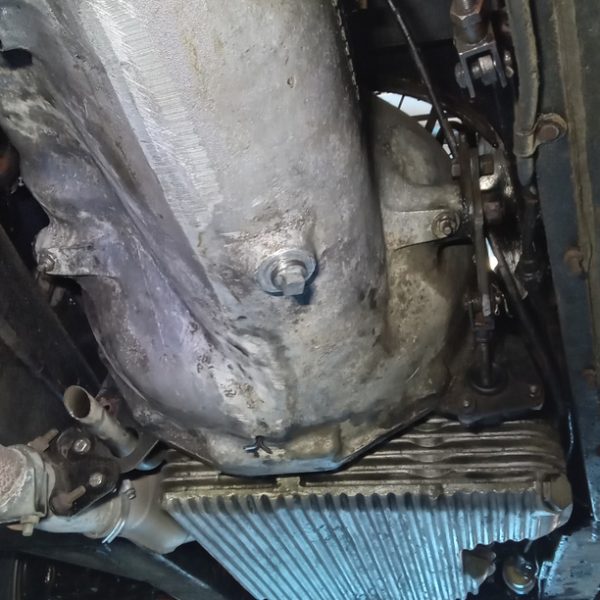
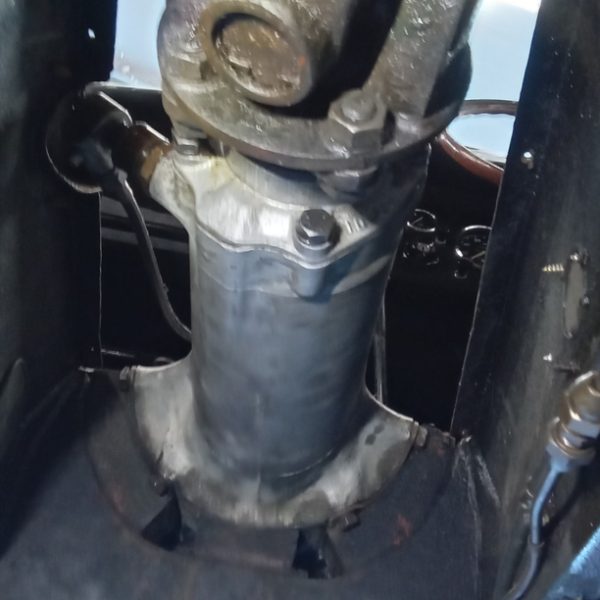
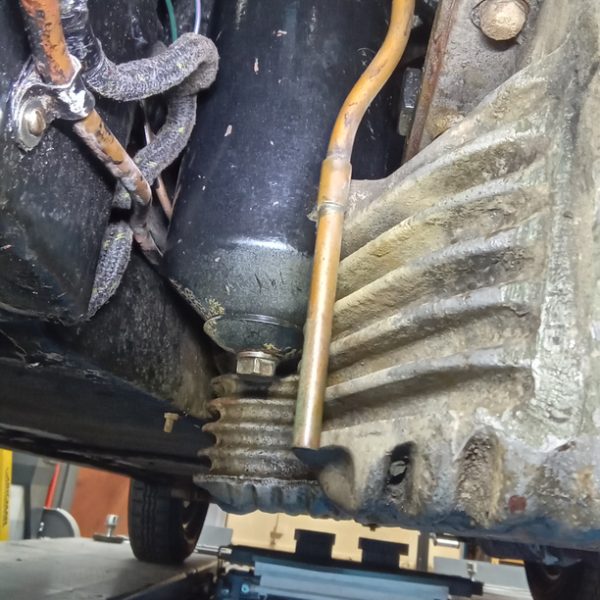
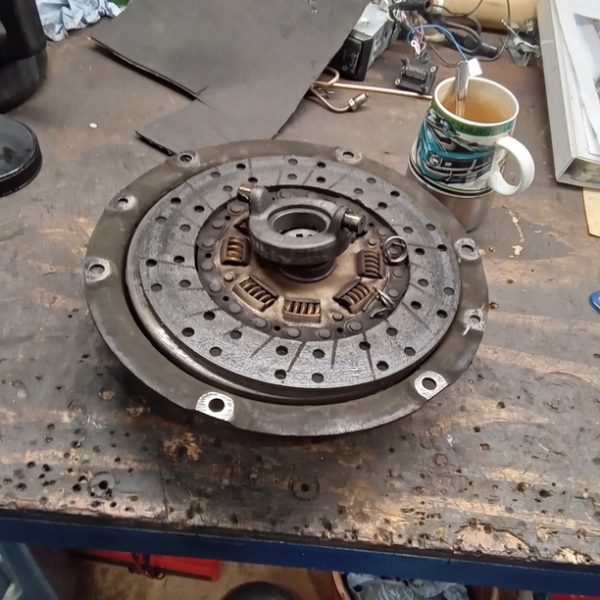
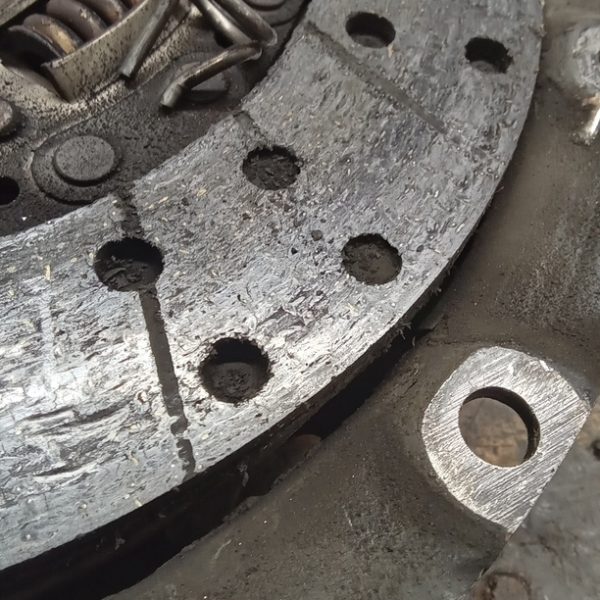
We secure all the bolts and tried the clutch and it feels good. Re-fit oil filter housing and new filter. Fill with oil and run up. We’ve then topped up the oil.
Tested clutch bite point on the ramp before refitting interior and the bite point seems a little high. We’ve adjusted the arm to the thrust bearing, re-test and all is now ok.
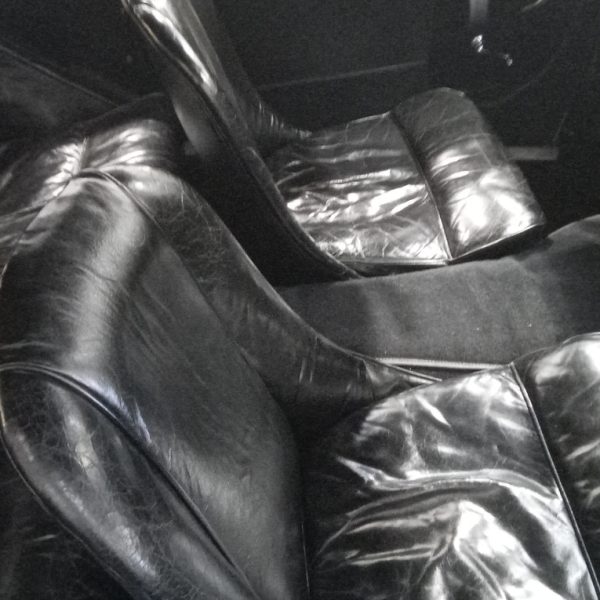
Refit tunnel, carpet and both front seats.
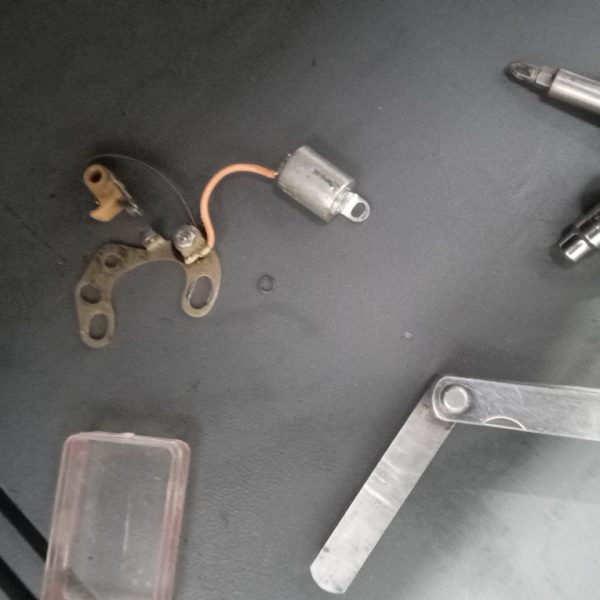
Then we’ve back on to the service items. Stripped and fitted new points and condenser but can’t get them to spark.
Removed and isolated the base plate with fibre washer and tested but still not insulated.
Remove contacts and isolate with fibre washer and test. All is now ok so we’ve set the points to 0.016″ and refitted cap and rotor before retesting. Starts and runs ok.
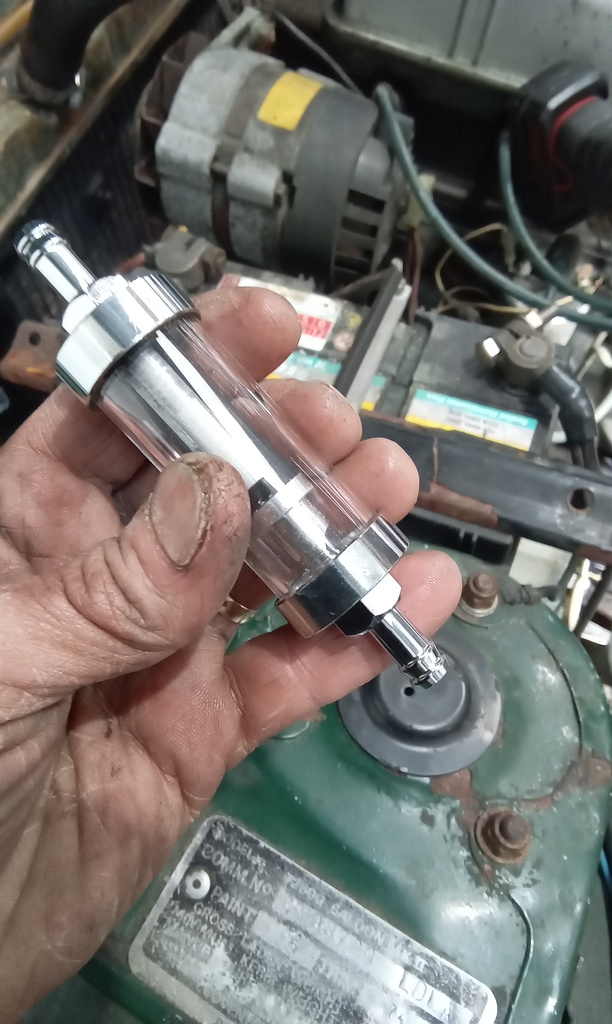
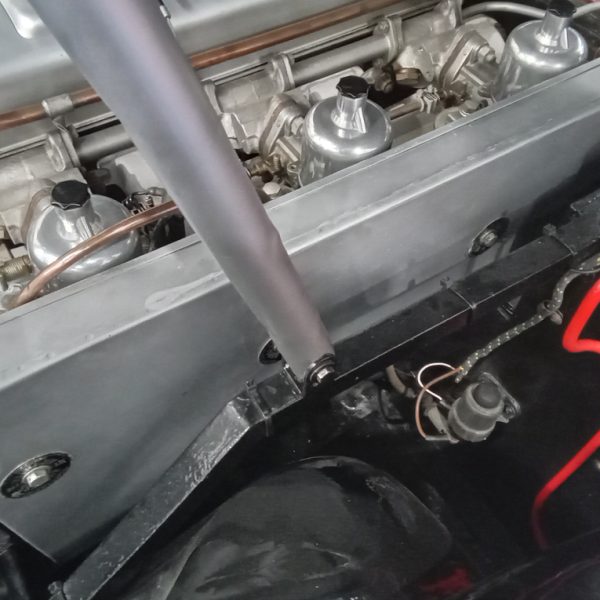
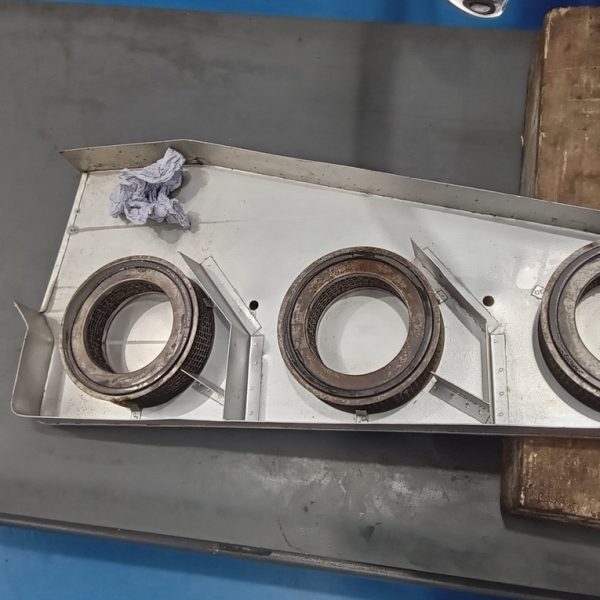
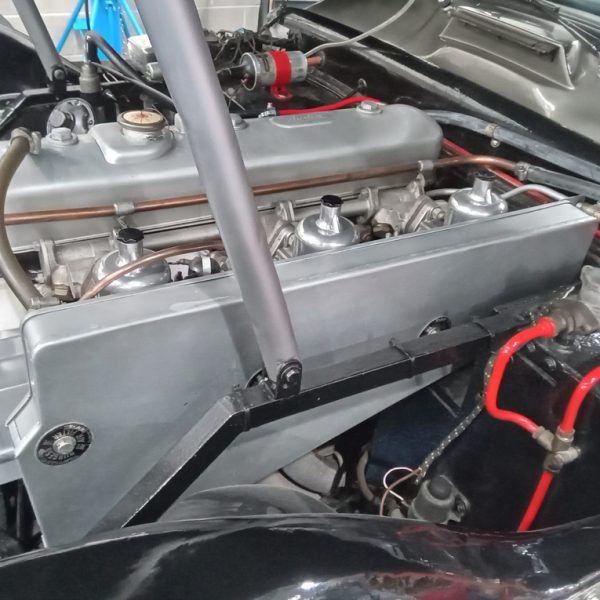
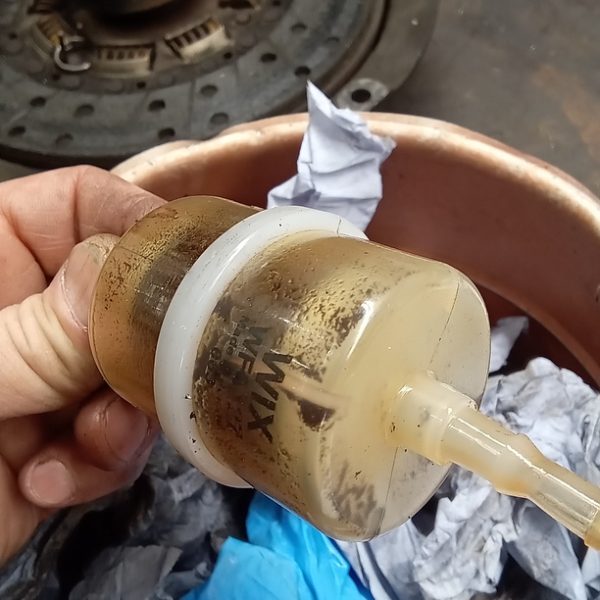
Fitted a new inline fuel filter underneath. Remove and blow out air filters and clean casing. Refit and secure.
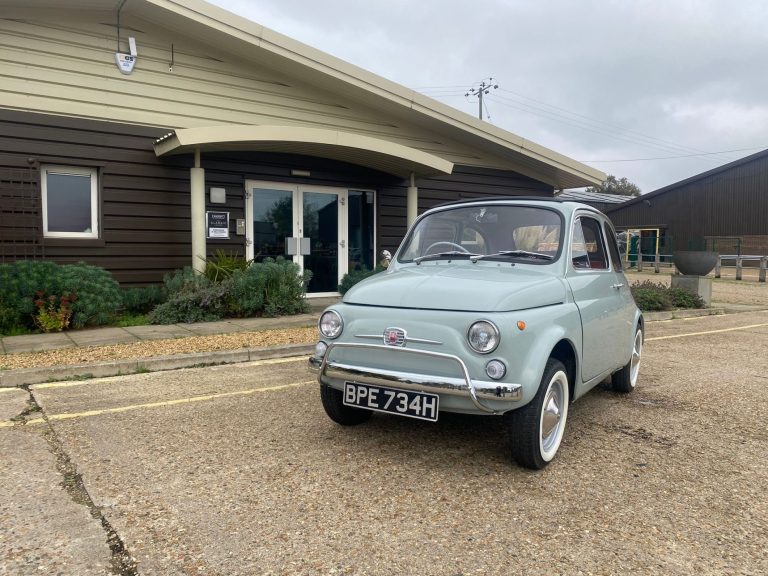
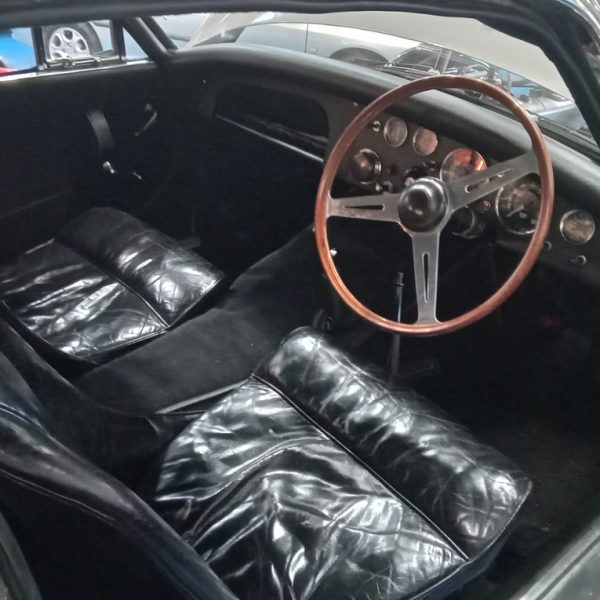
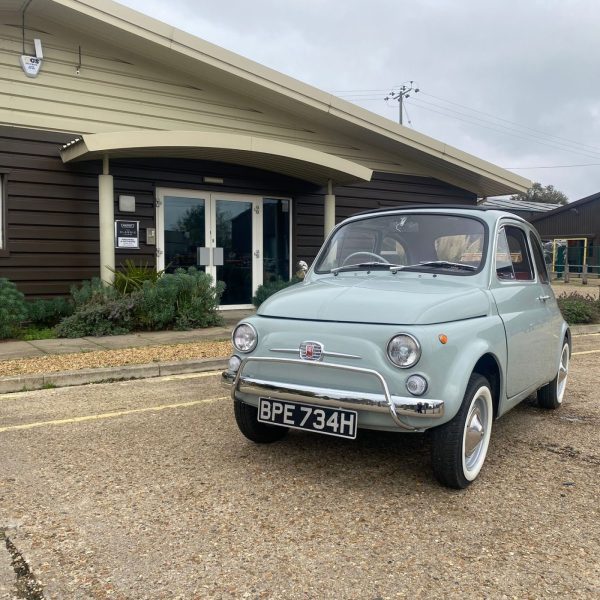
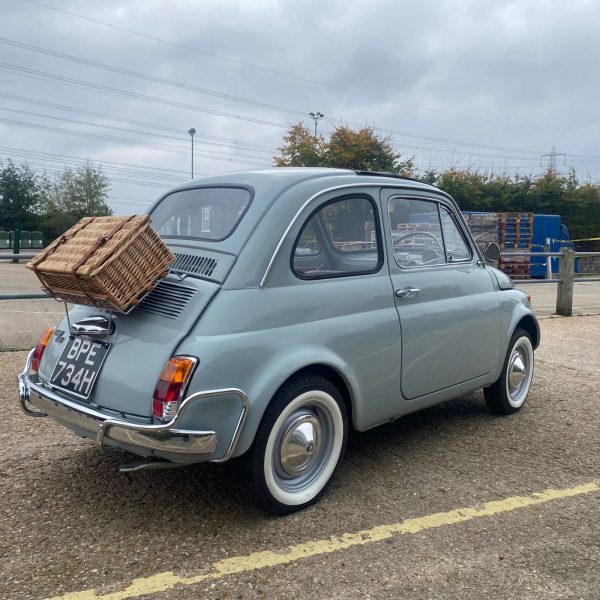
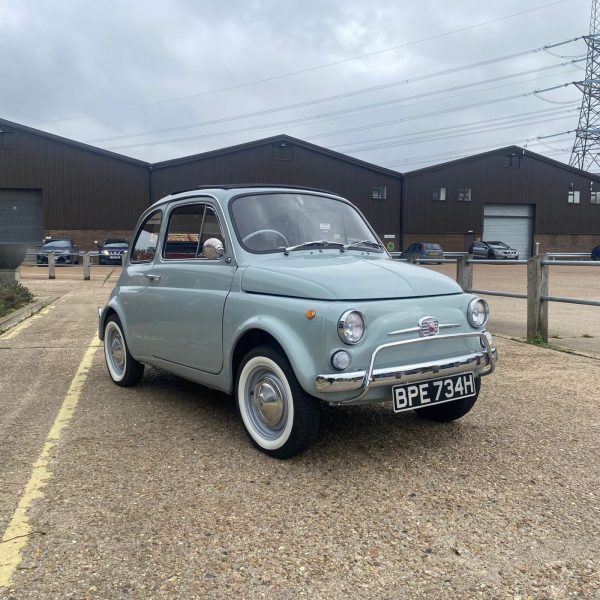
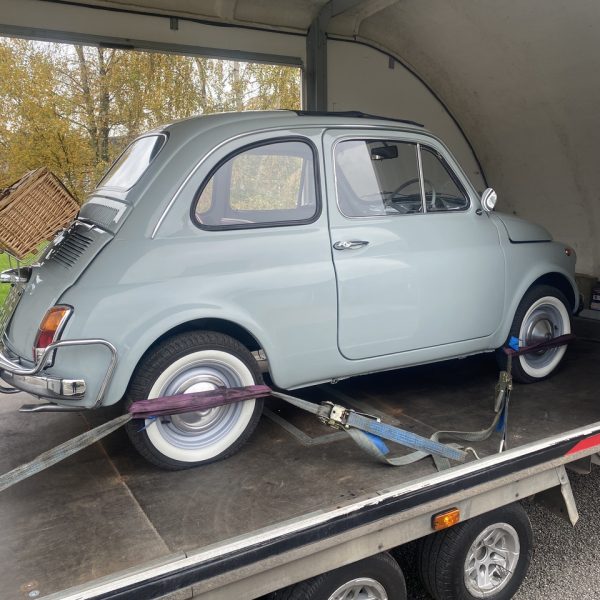
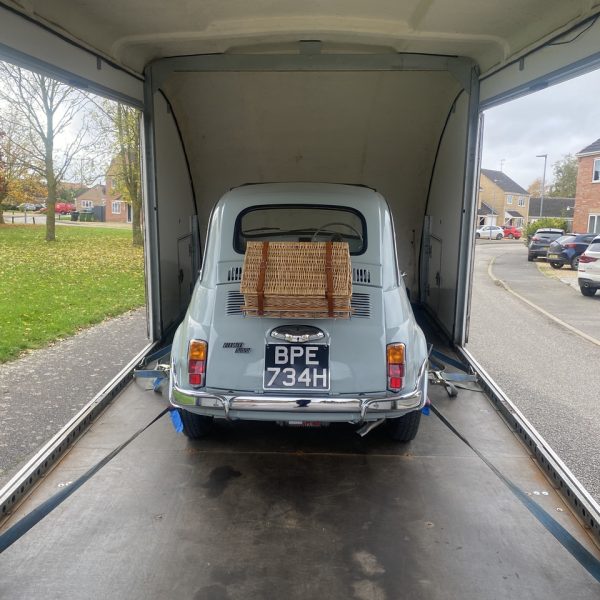
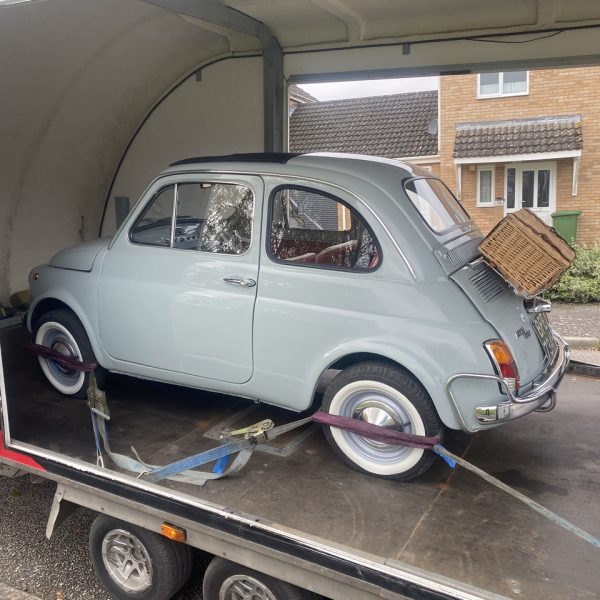
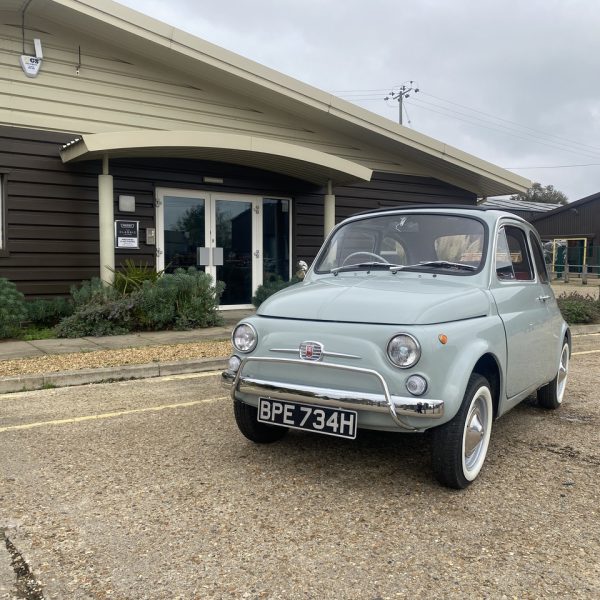
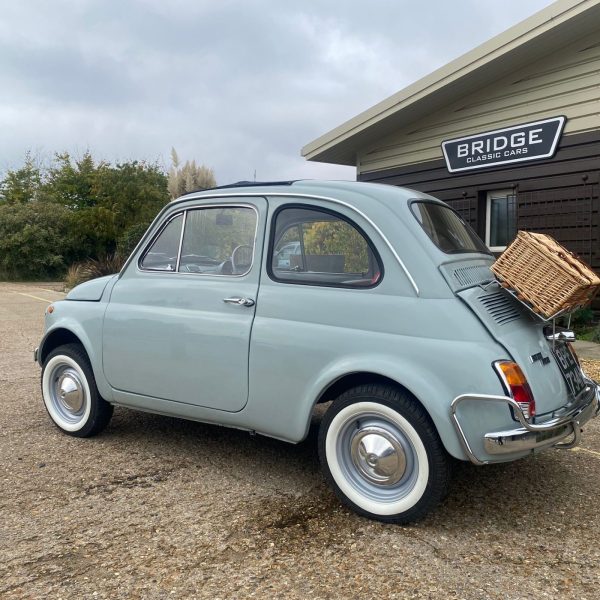
Who doesn’t love a little Fiat 500? One of the quirkiest and most iconic of classics has now arrived at Bridge Classic Cars and we’re not keeping this one a secret…of course it’s a future competition.
We’ve been looking for a nice one for some time and when this little gem was offered to us as an original RHD example, beautifully restored we couldn’t say no!
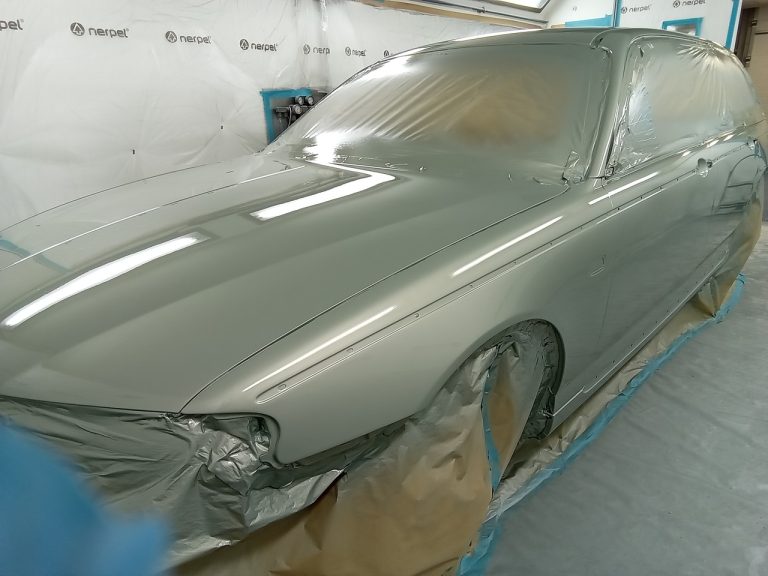
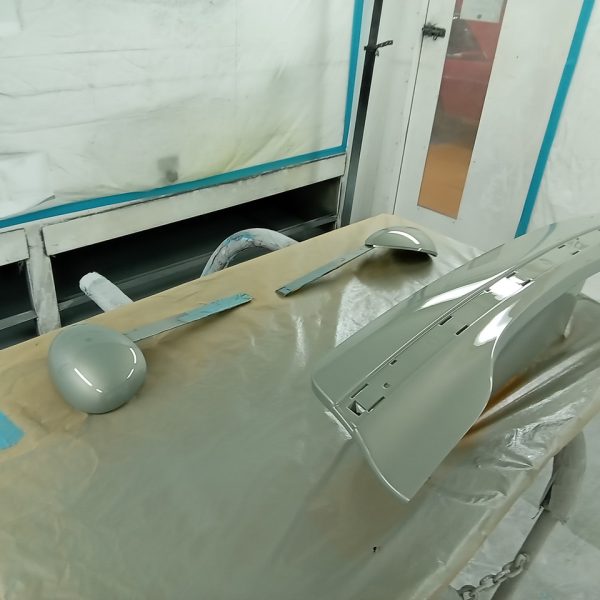
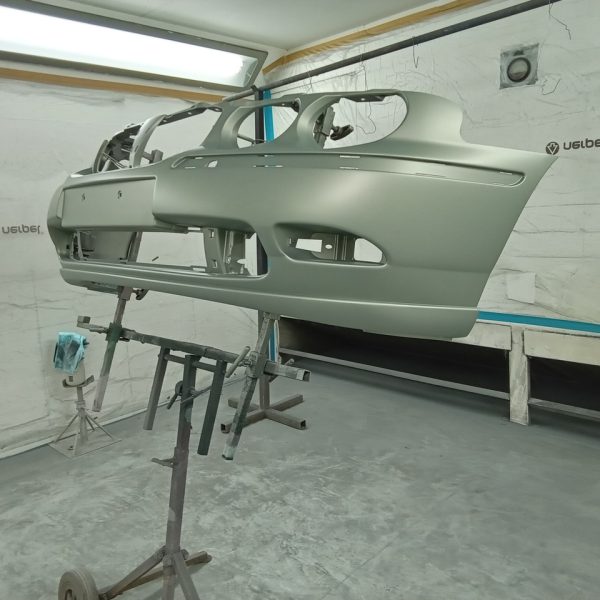
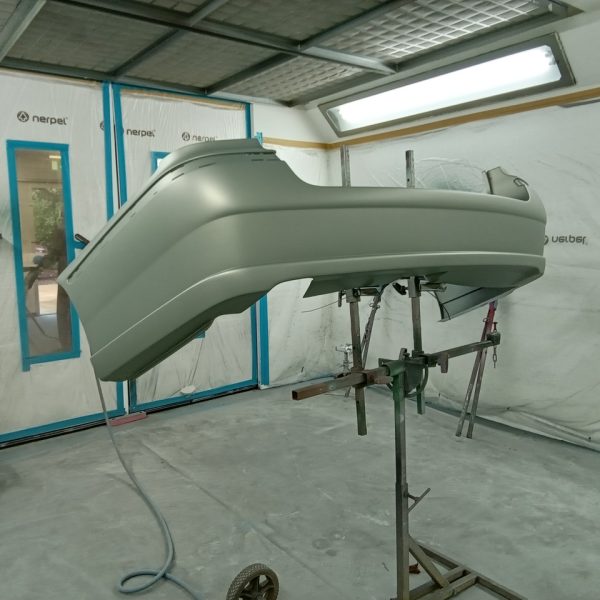
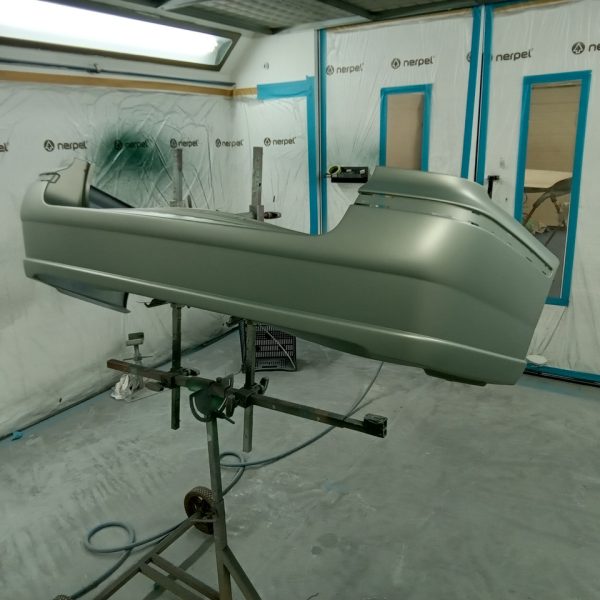
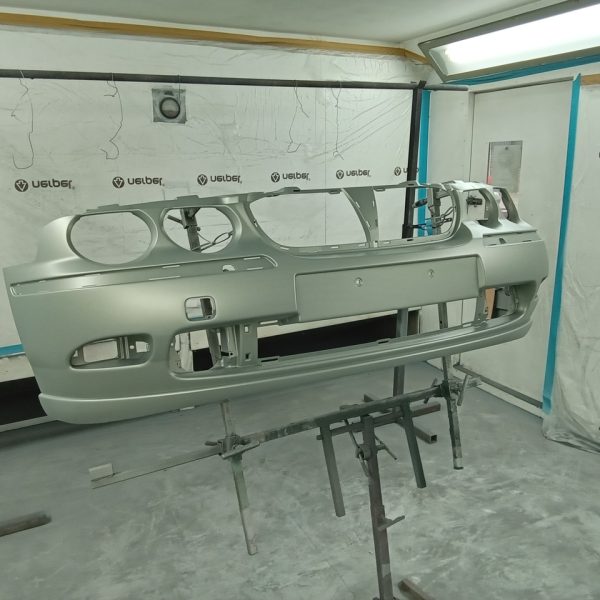
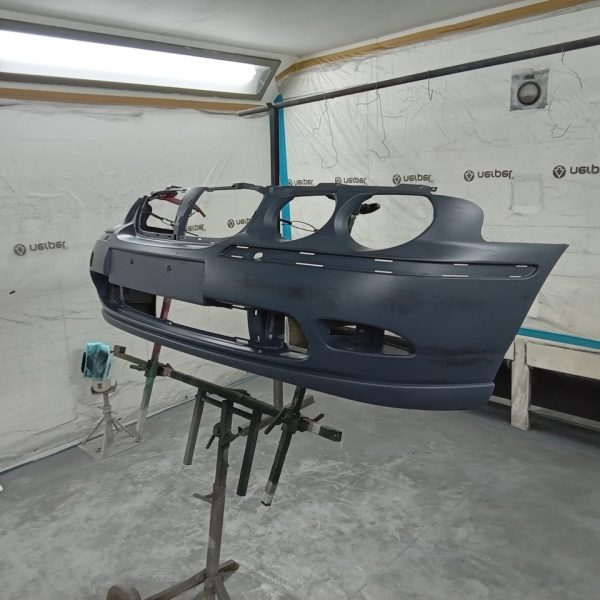
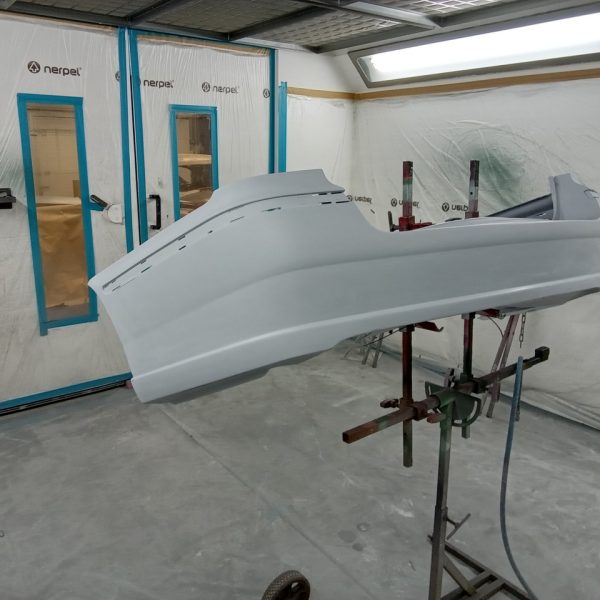
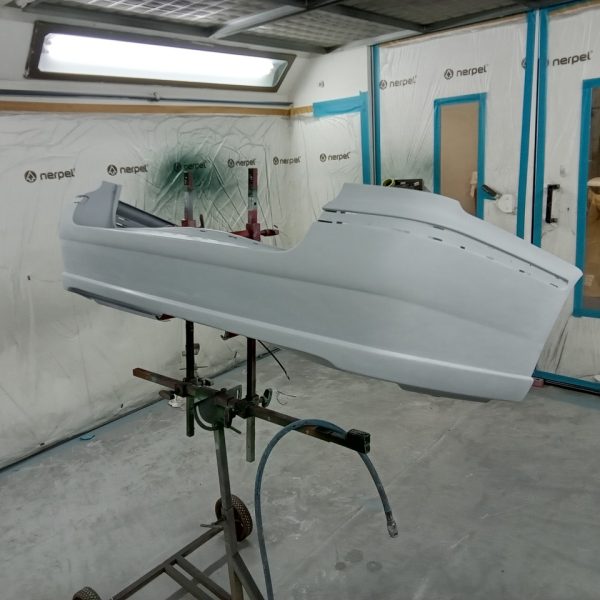
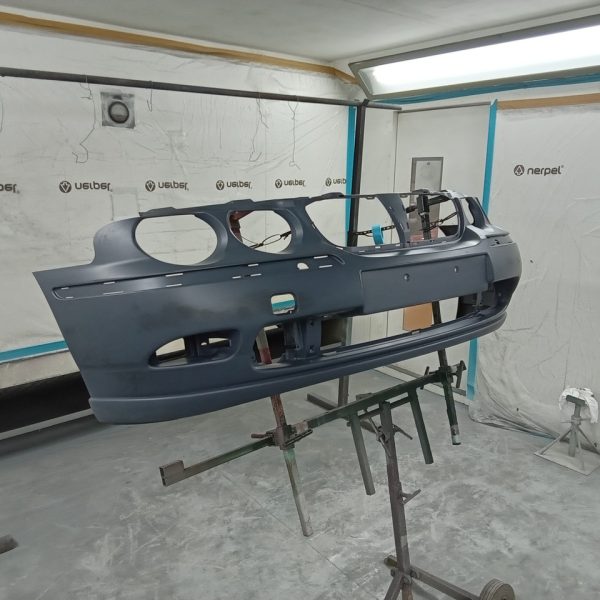
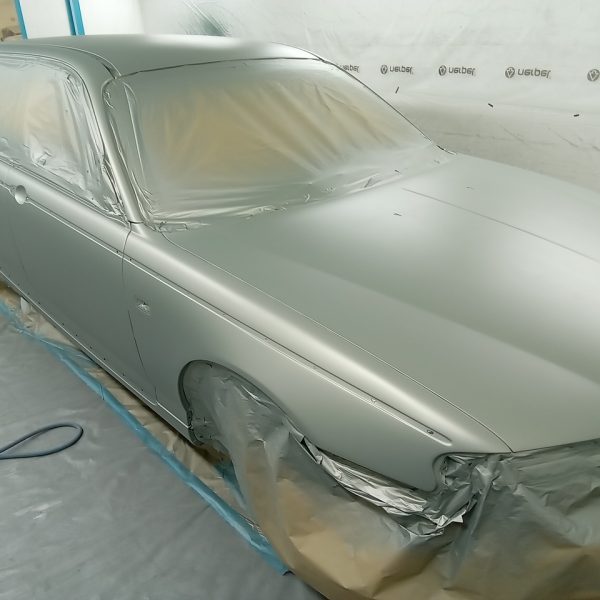
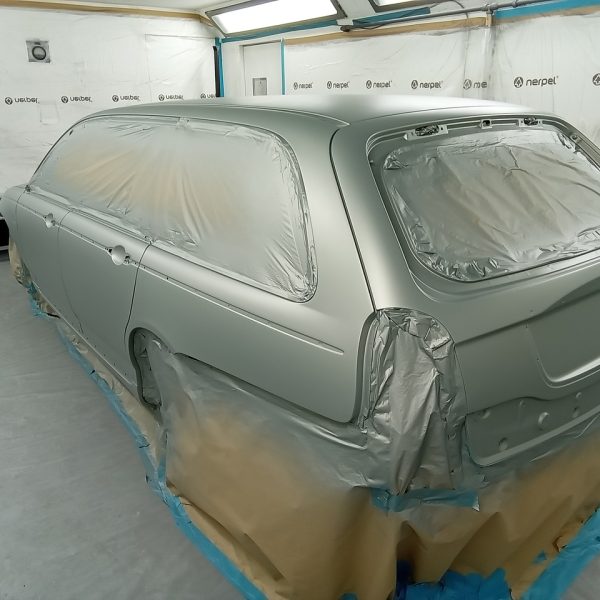
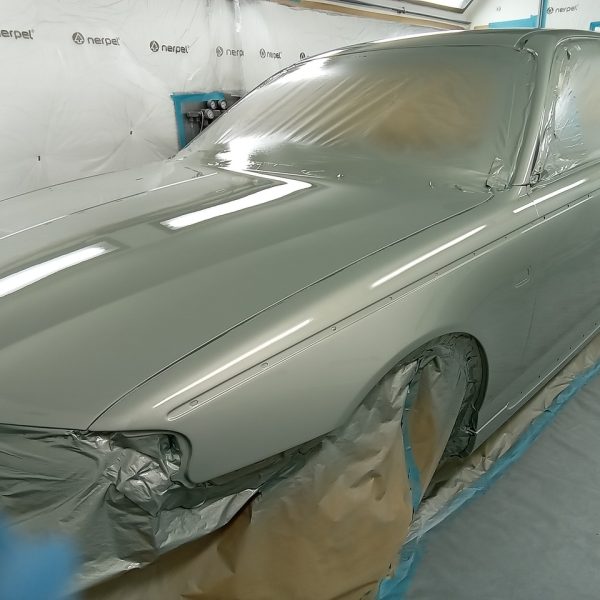
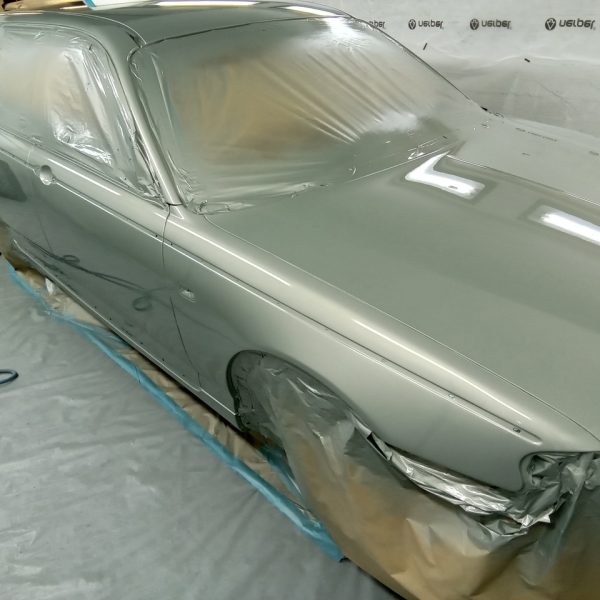
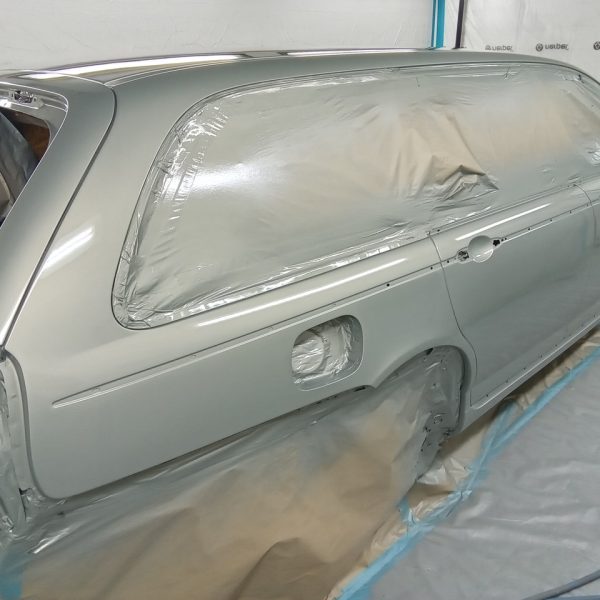
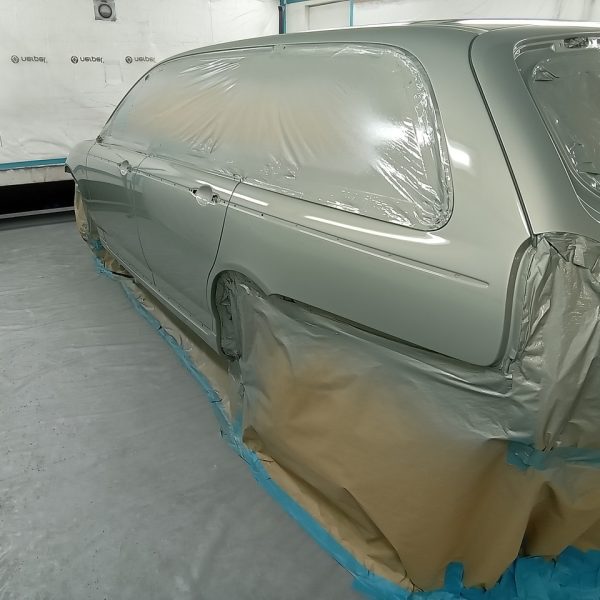
Our Rover 75 has been though paint and is now back in colour having been prepared by paint technician Mauro.
Next job is to flat and polish the car before reassembly in the coming weeks.
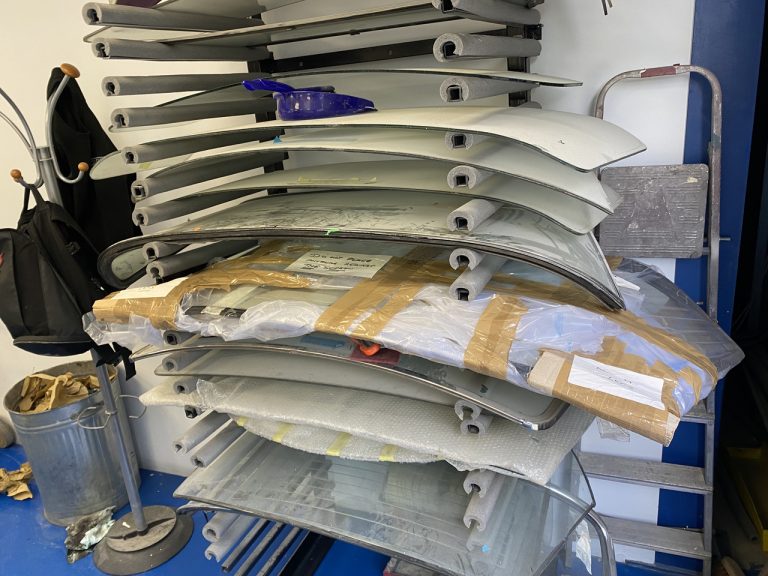
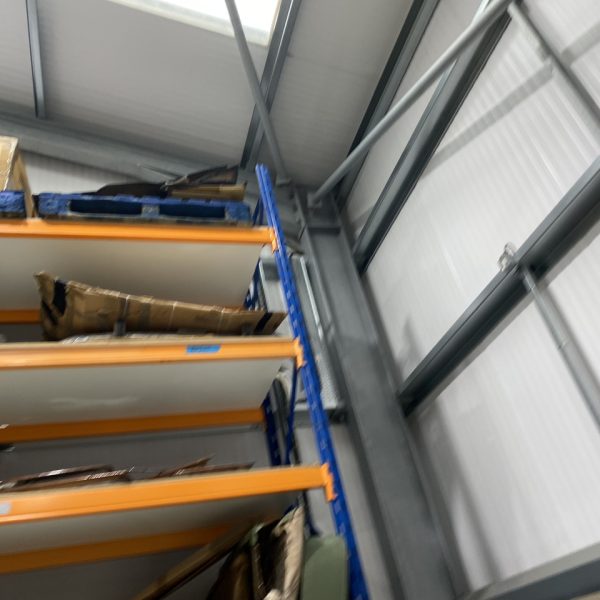
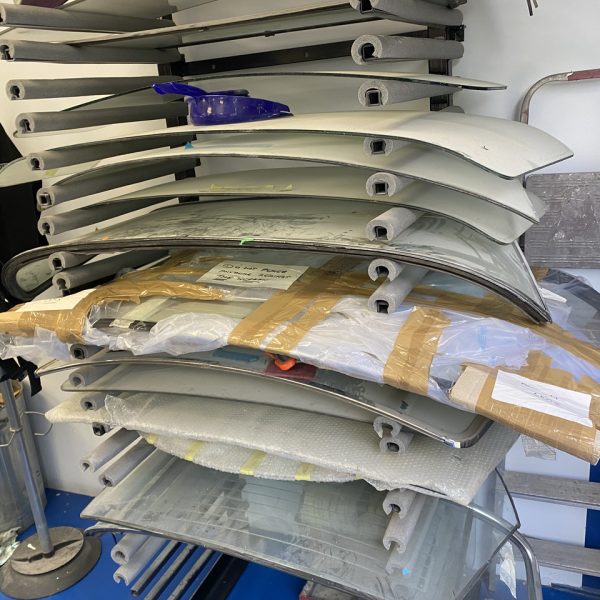
A trip to our storage facility first off to start to get our Jensen Interceptor ready for arrival into the workshops. A few boxes of parts and the windscreen are now back in the workshops and on the shelves.
Then on to Orwell Precision to collect some parts for our SS100 that need to be de-greased.
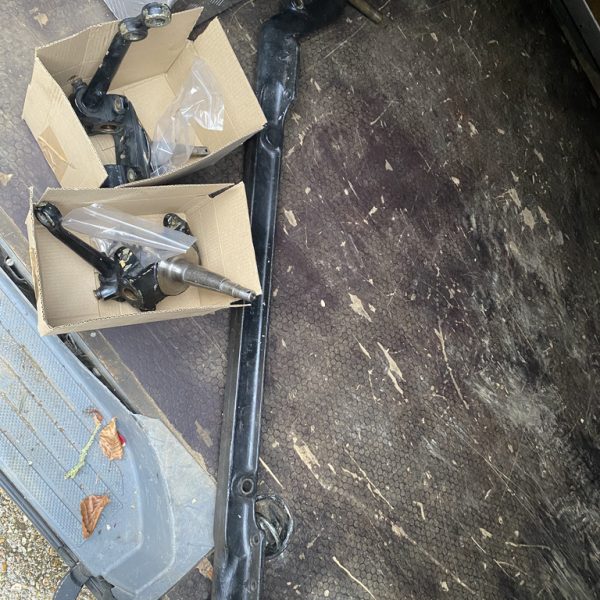
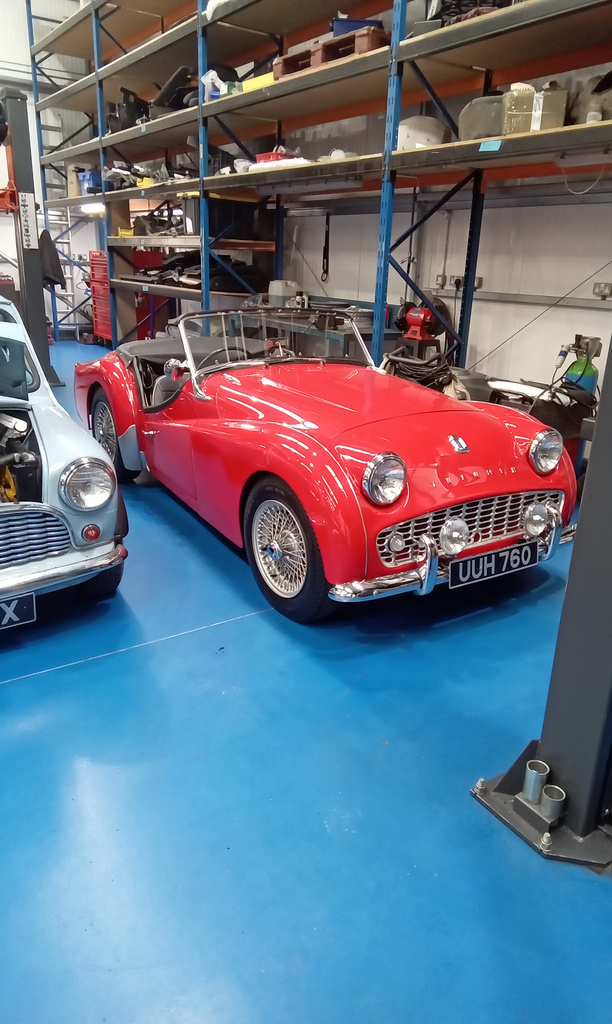
Today’s the day we get our 1960 TR3A on the ramp for it’s full appraisal.
Jon is working on this one. He has fully greased all points, adjust the nearside front wheel bearing, stripped, cleaned and checked brakes. The drums, wheels have been refitted and knocked up tight.
All tyres required a little air.
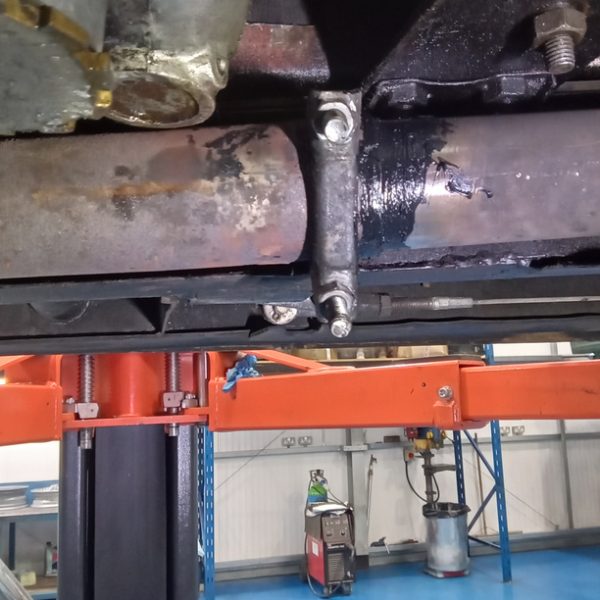
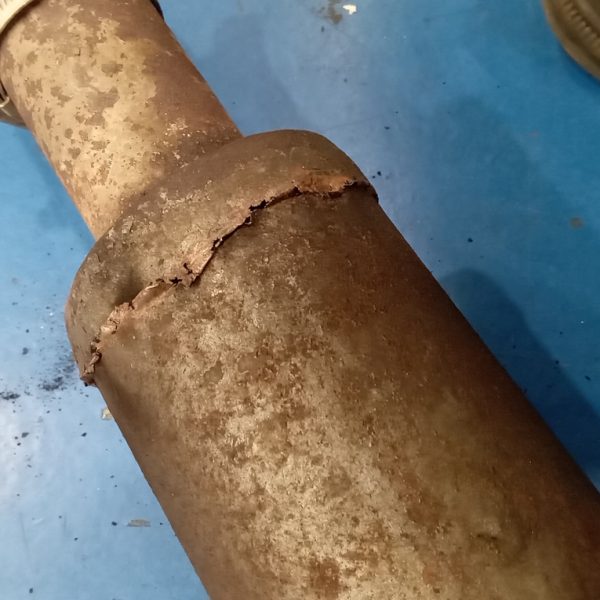
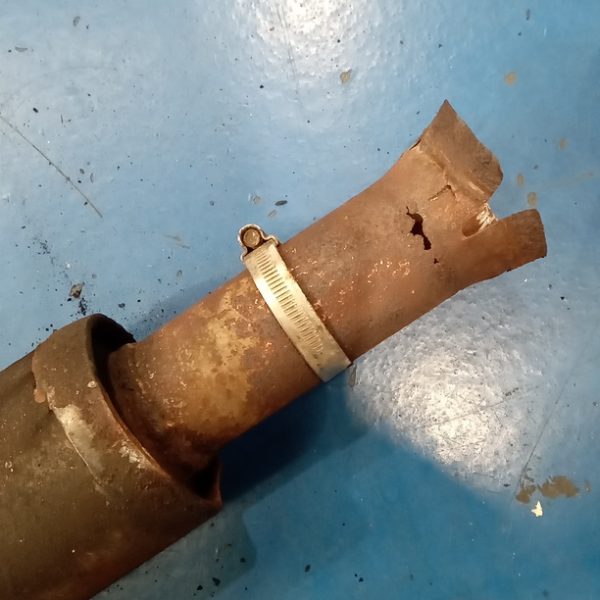
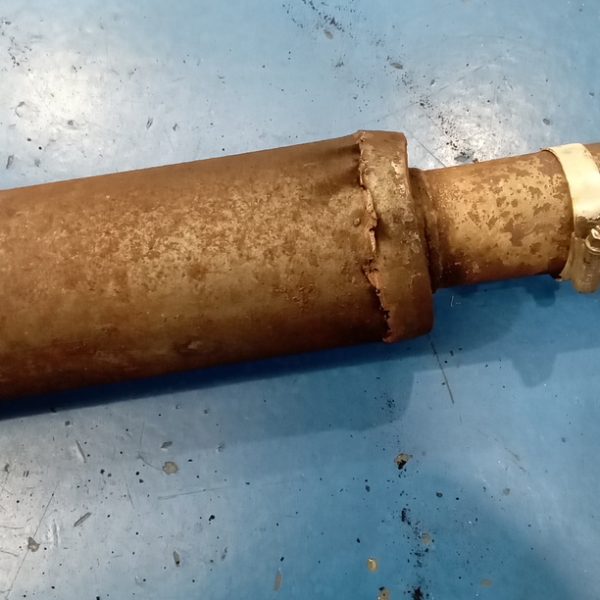
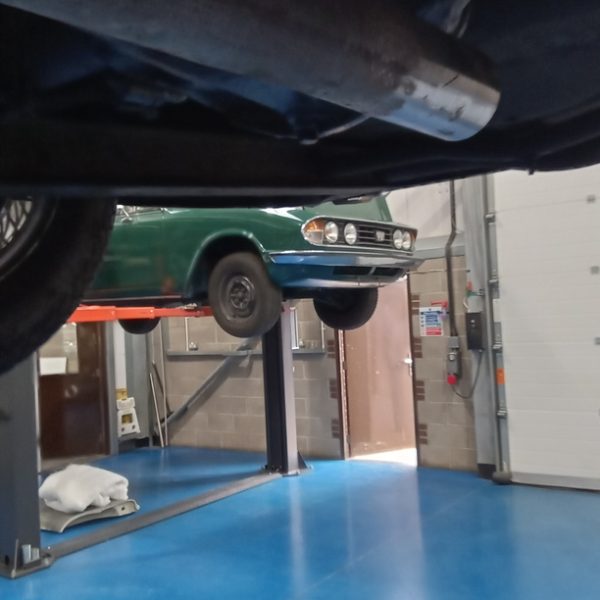
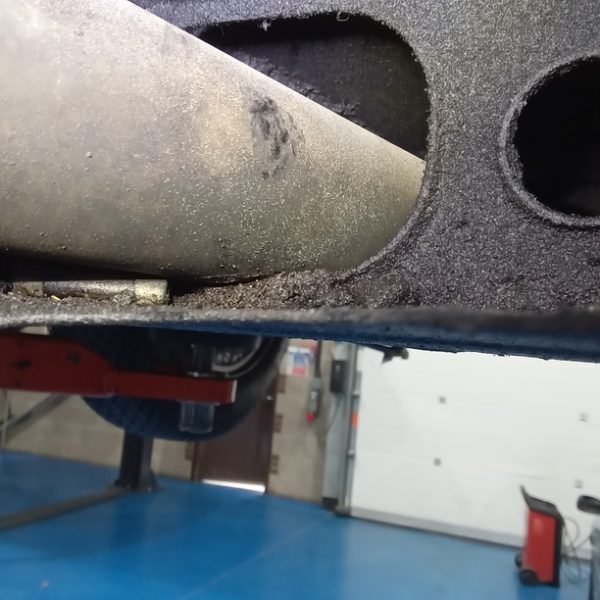
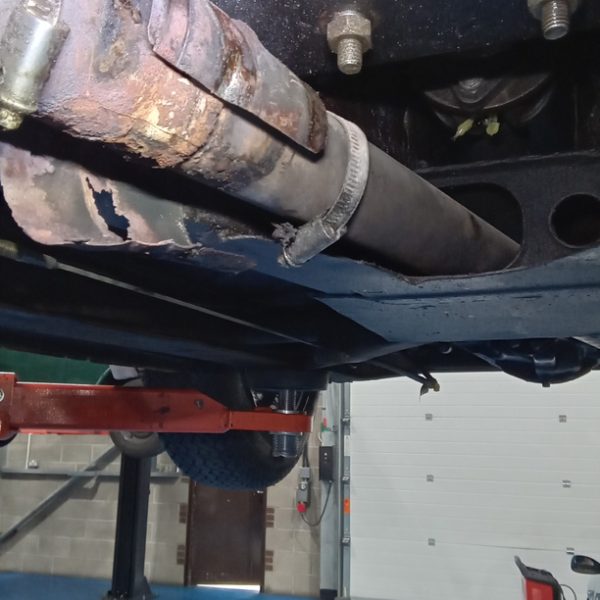
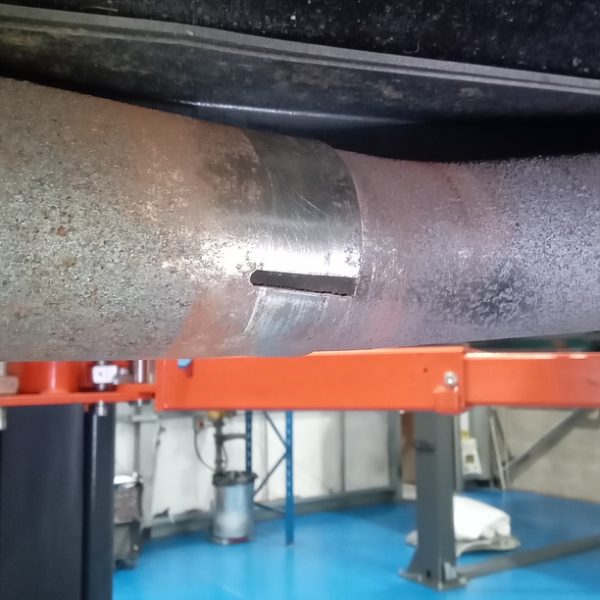
Next job was to attend to the very poor and noisy exhaust system. We’ve remove the centre and rear where we found the rear silencer split and in bad condition.
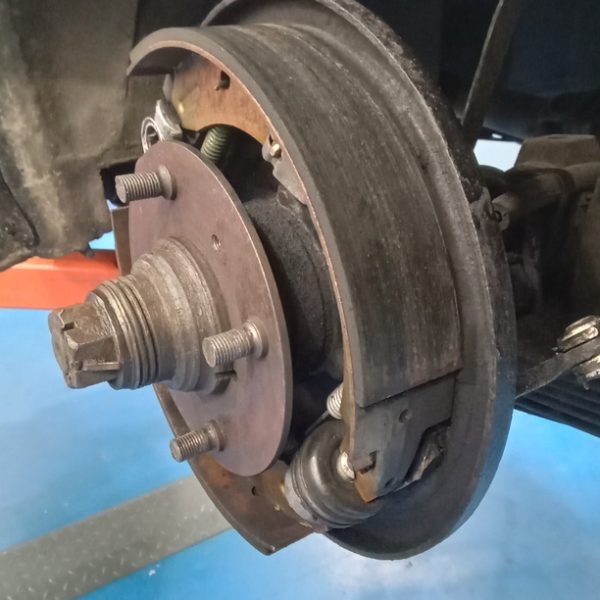
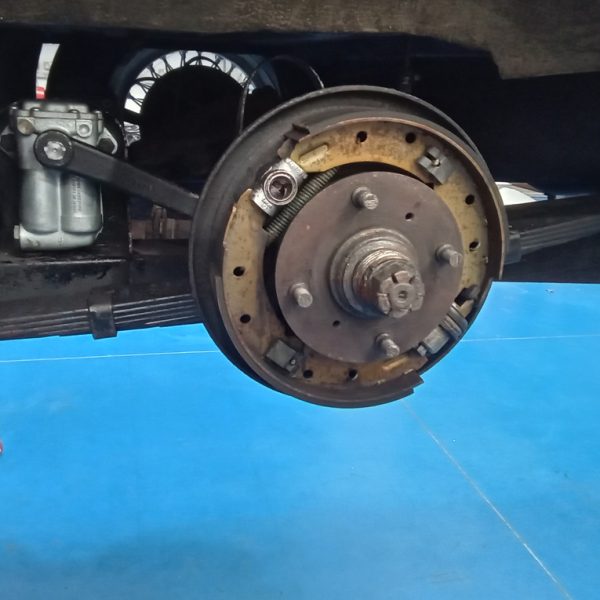
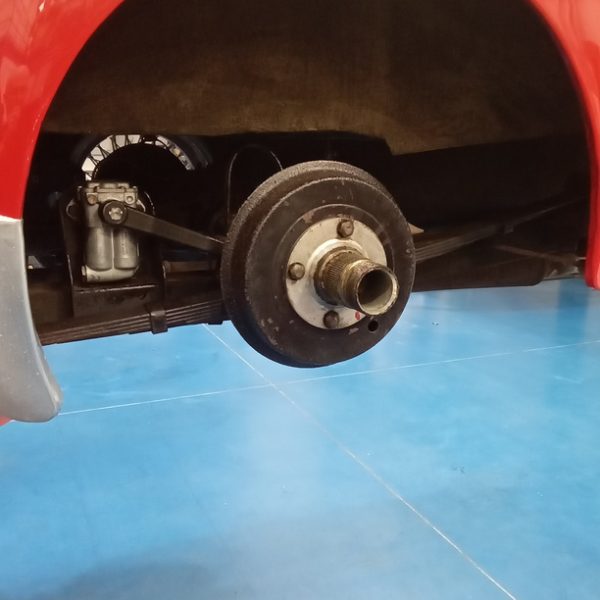
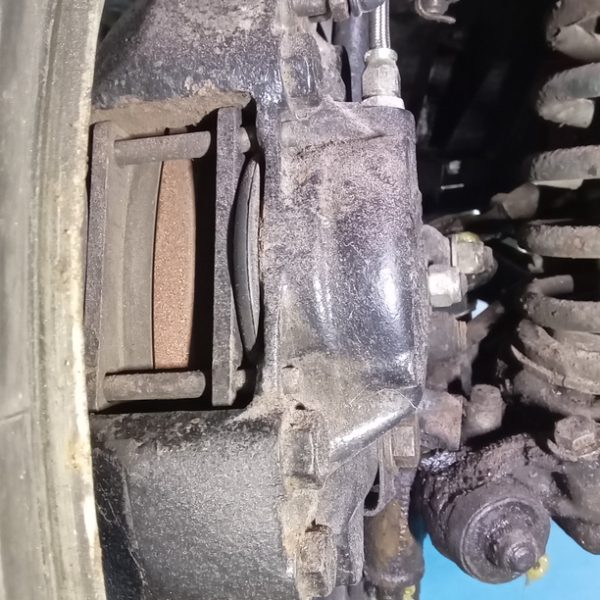
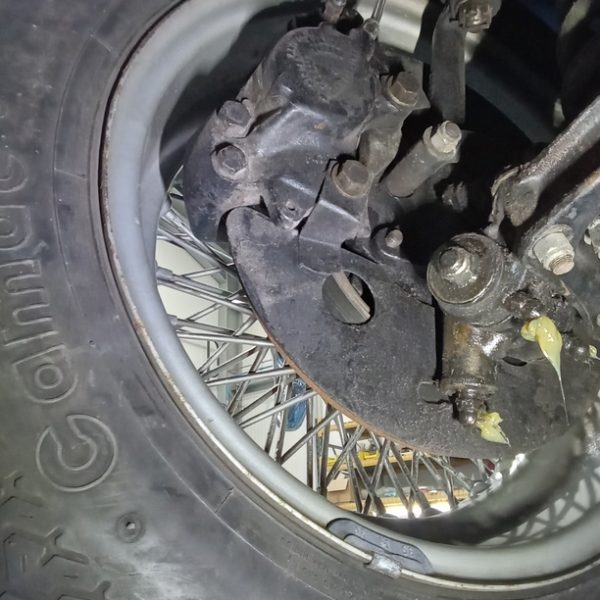
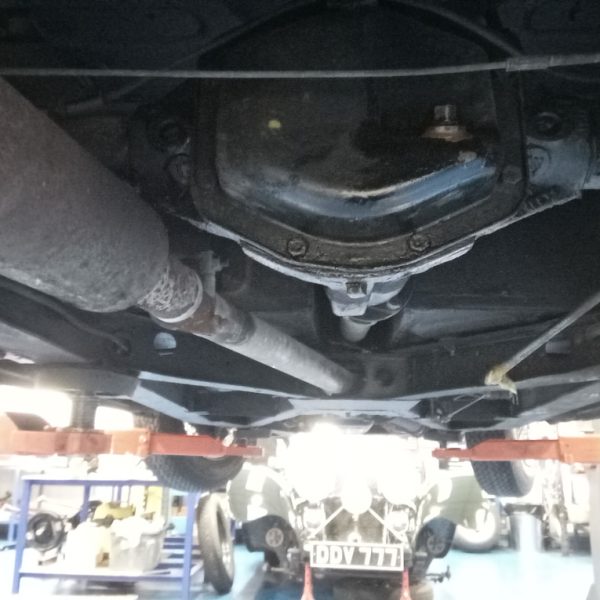
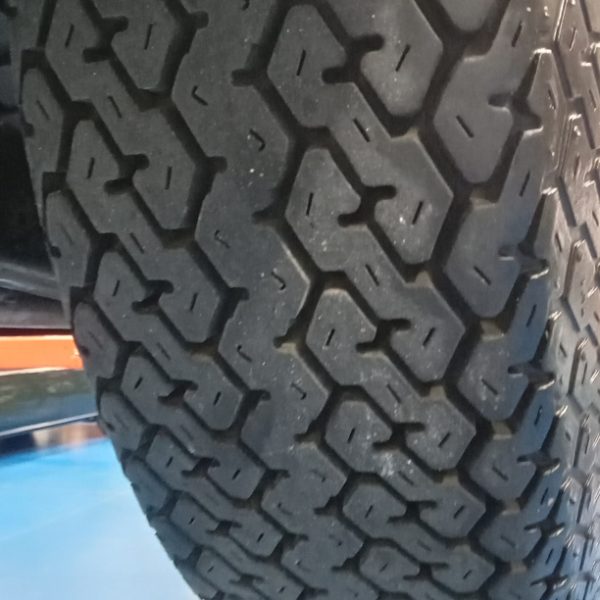
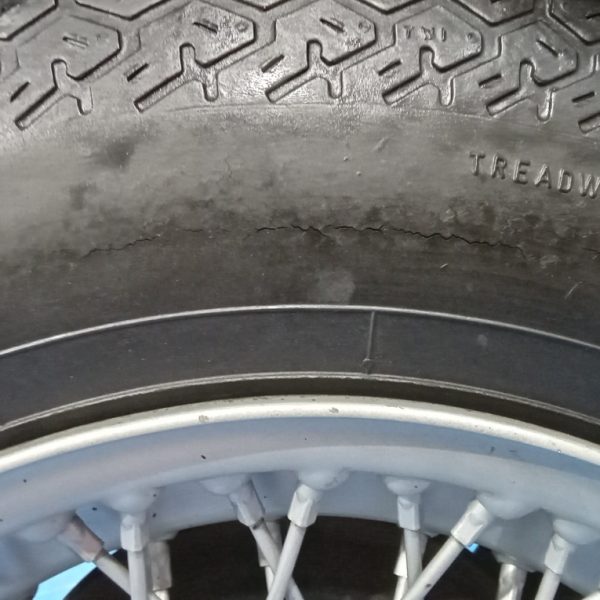
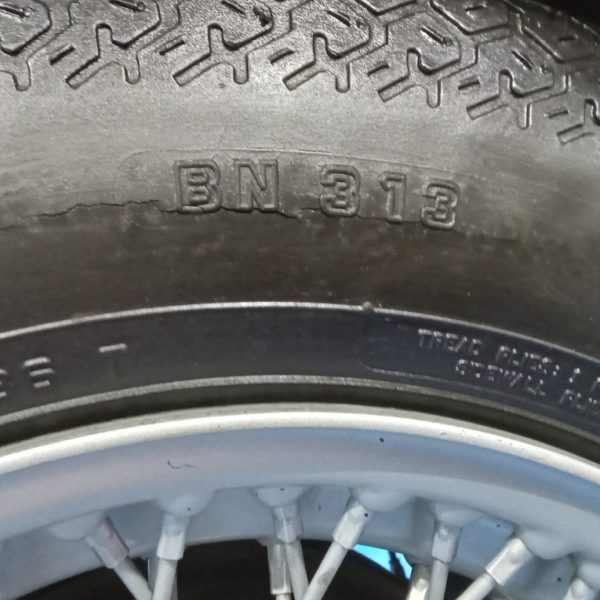
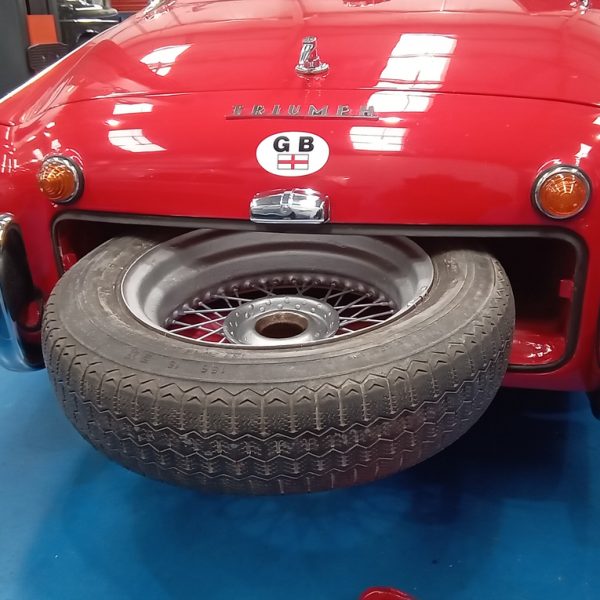
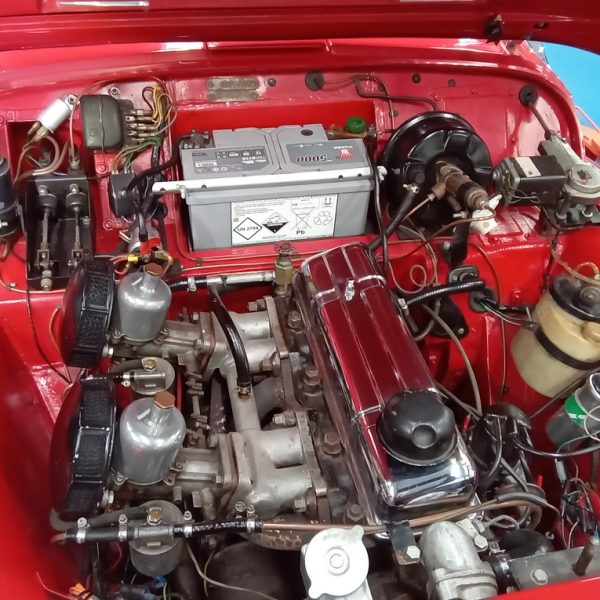
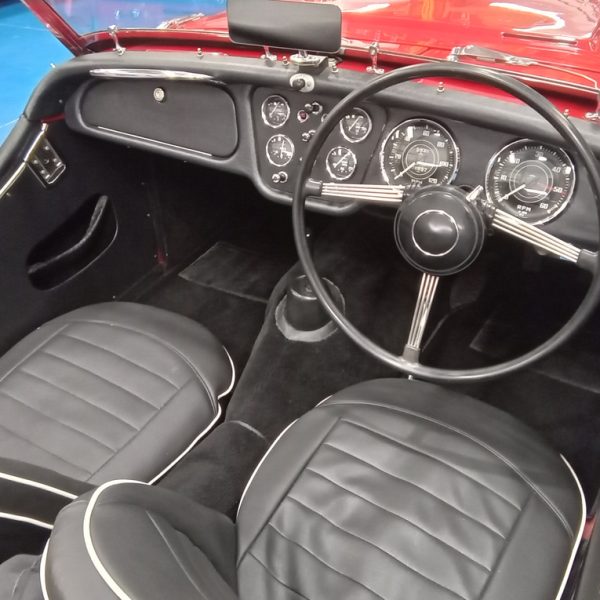
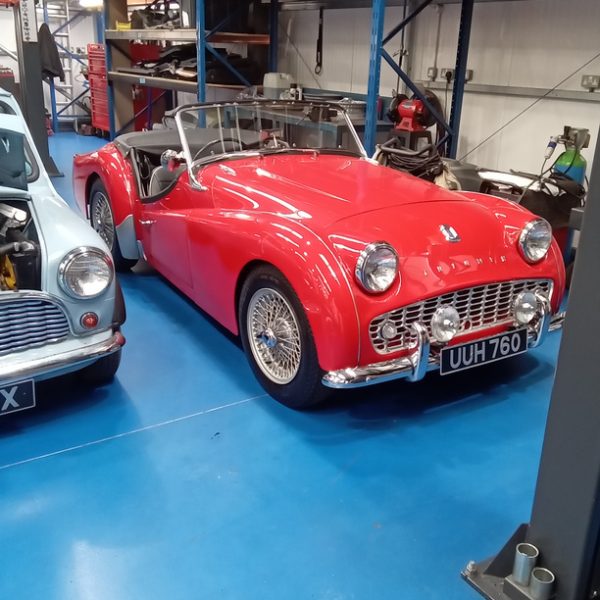
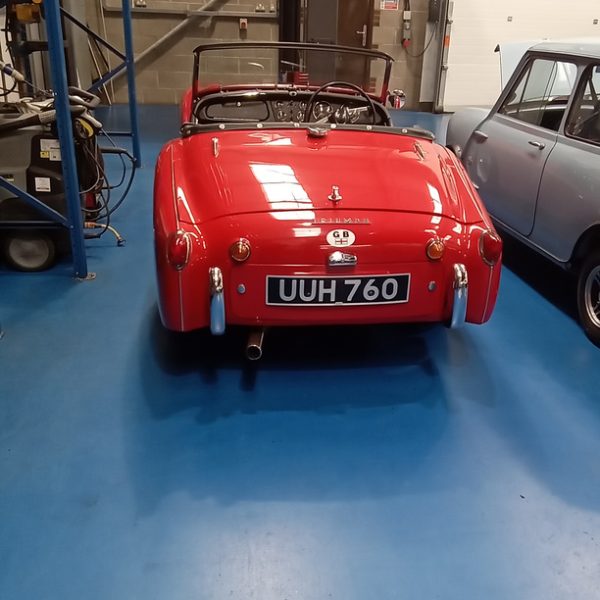
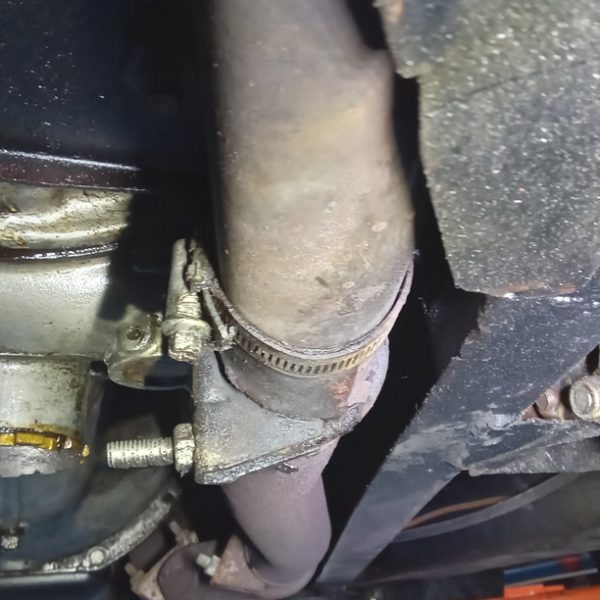
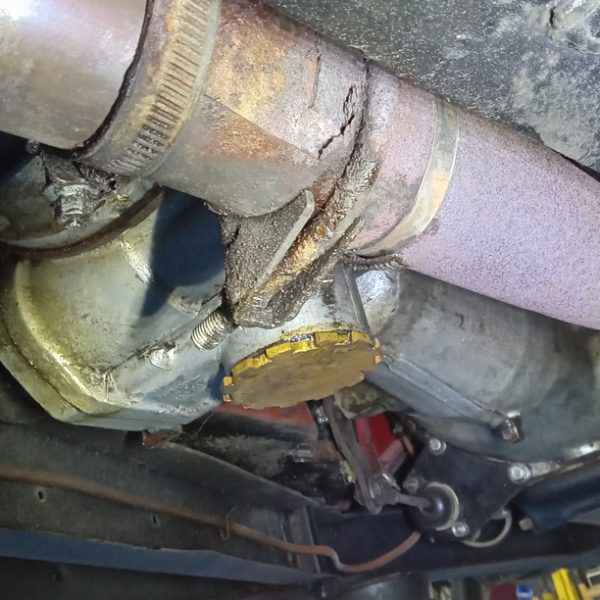
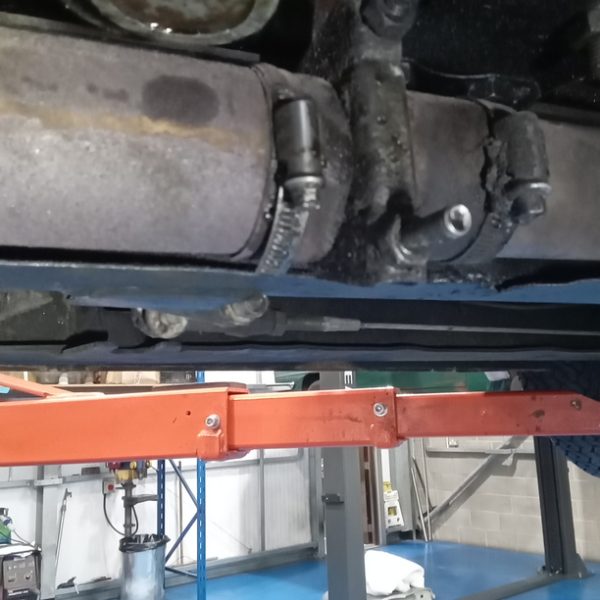
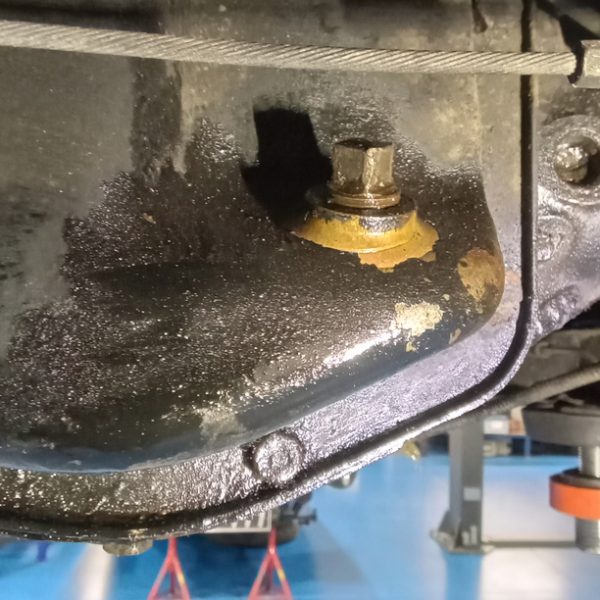
Back on with the exhaust system. We have resealed and secured the centre pipes. A new silencer has had to be ordered.
Jon has addressed the issue with it hitting chassis.
Then on to unblocking the offside washer jet before re-test. The front fog lights are not working and the issues has been traced back to the wiring not being connected and nowhere to connect it too. We have used a power probe to test lights. Powered them up and the lights work fine.
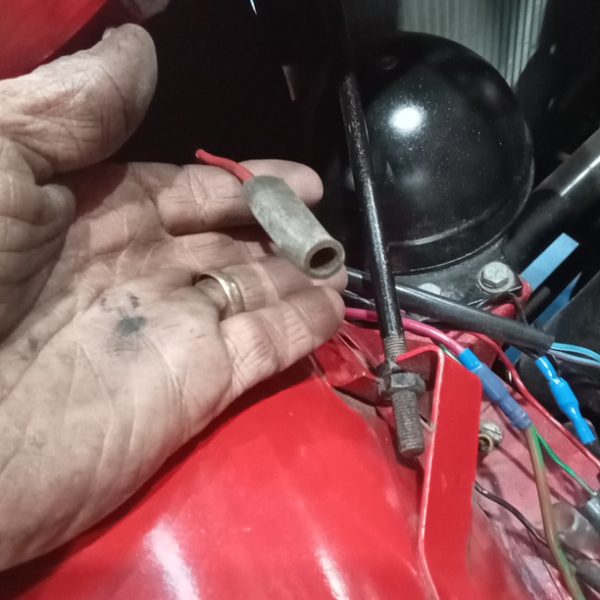
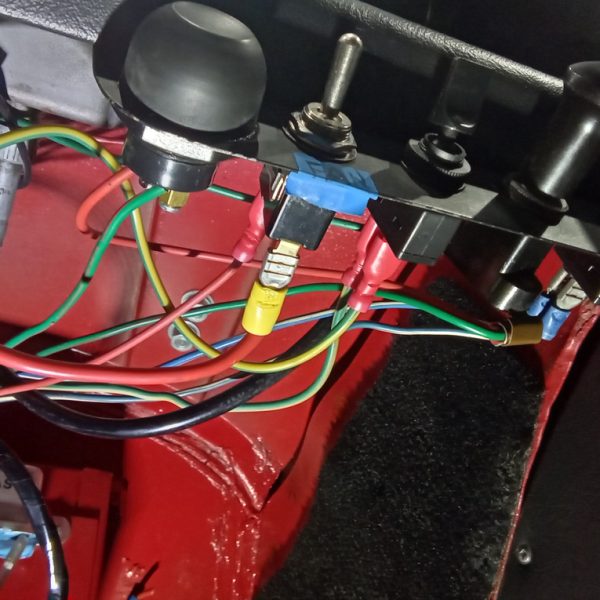
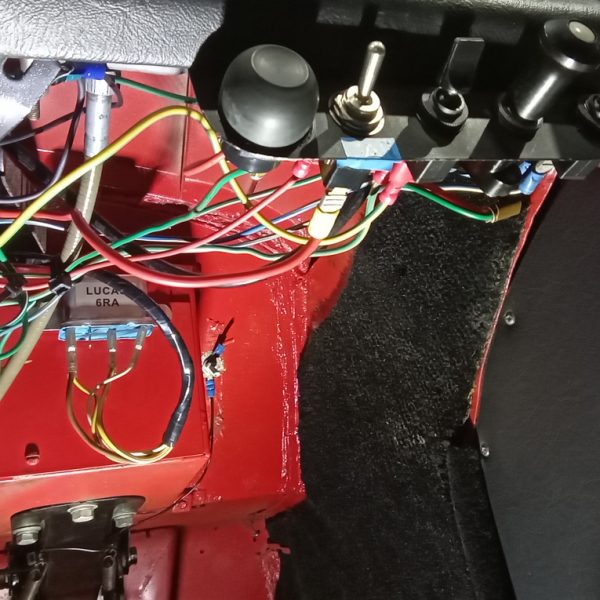
We have a switch on the dash which we are unaware of it’s use. Jon has traced the wiring out through bulkhead but wire terminates at another connector. What makes this one particularly difficult is that the wiring has been done in a previous life by using any colour they could get their hands on and is a bit confusing to follow but we’ll get there and sort it out properly. They’ve used the same colours as the indicator and main beam wiring.
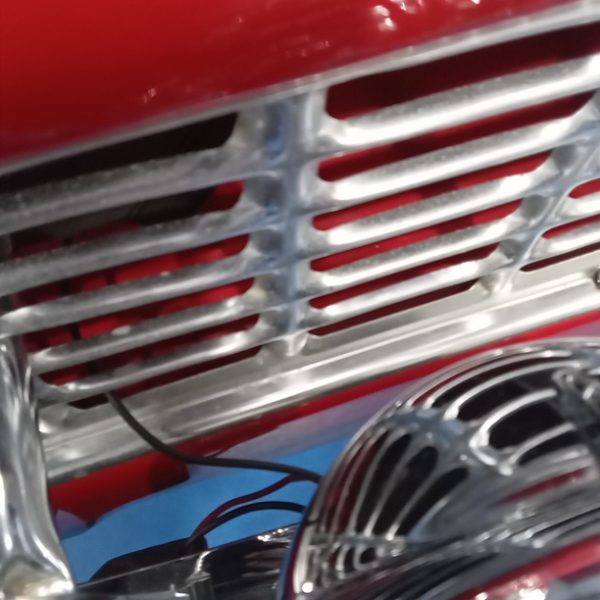
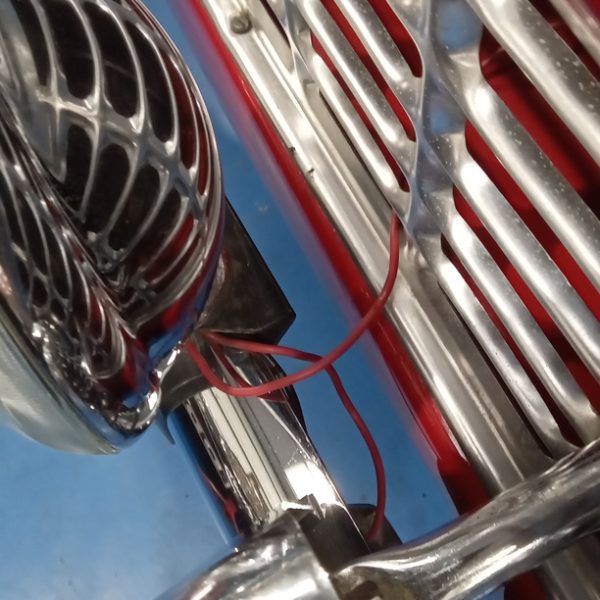
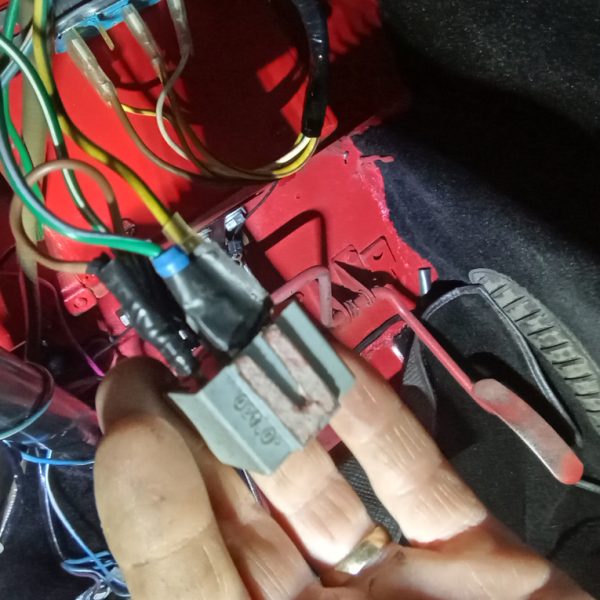
Cut cable tie securing the relay under the dash to ease tracing of the wires.
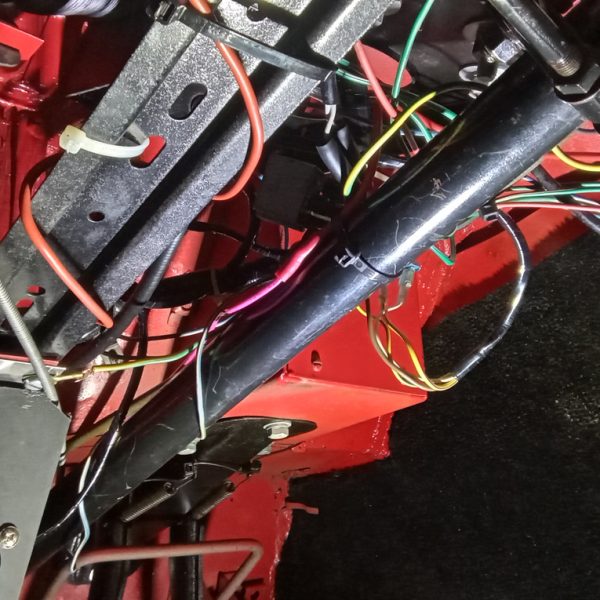
Work out how they’ve wired it and trace wire across dash to nearside.
Turn on lights and check power to relay. There is no power at present. Turn on ignition and main beam now has power.
Trace wire from nearside under dash and into engine bay.
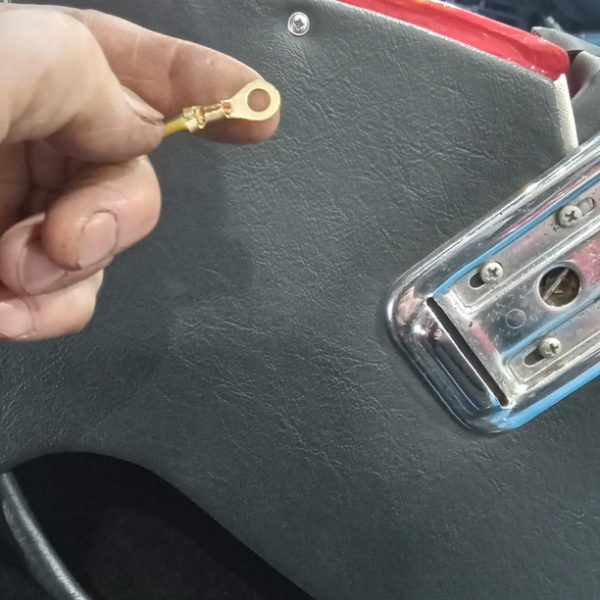
Disconnect from current connector and connect to fog light connector to test. It is now working when main beam in and switch activated. Time to tidy up under the dash. Re-secure relay, wires and re-crimp earth terminal. Recheck all lights and now all is working ok.
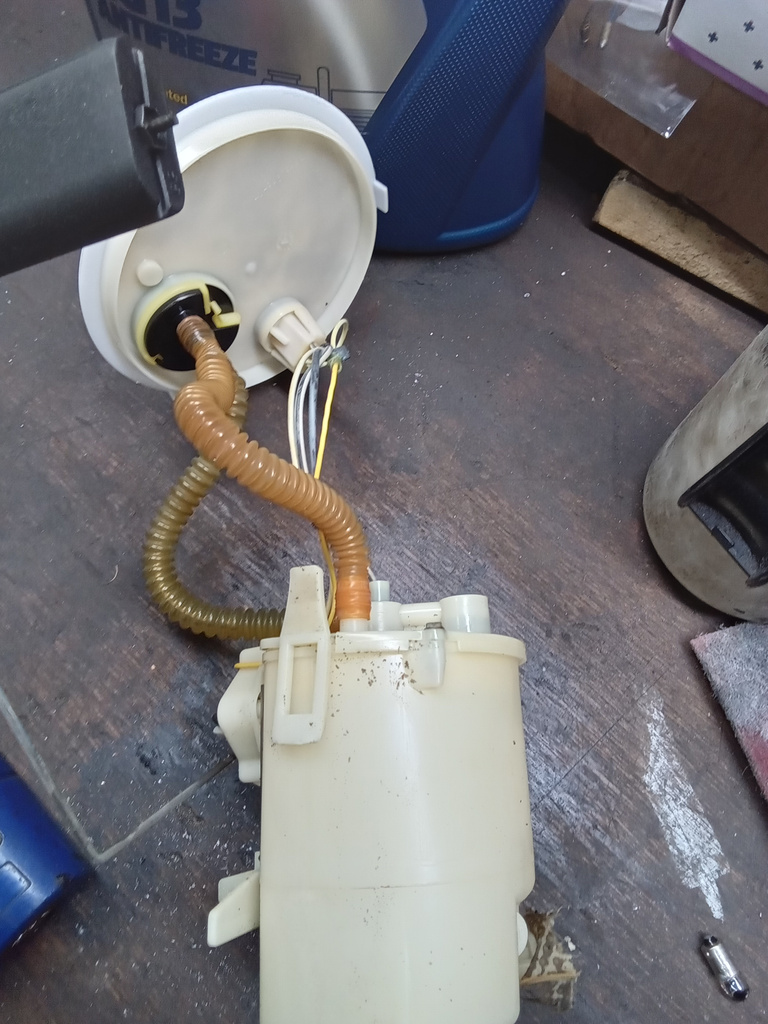
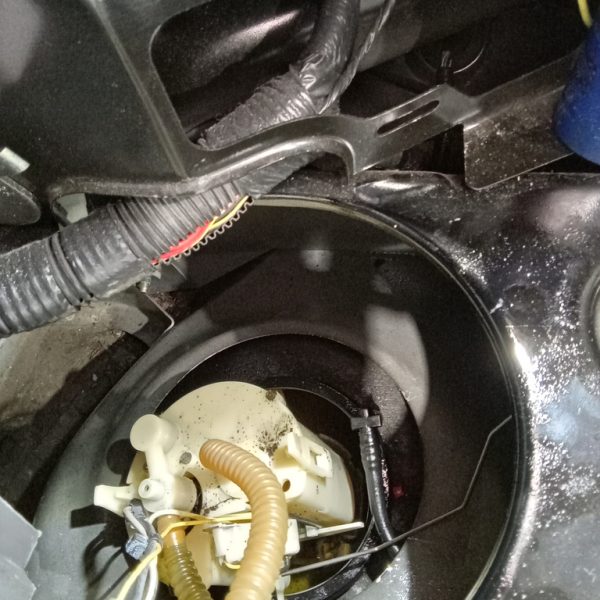
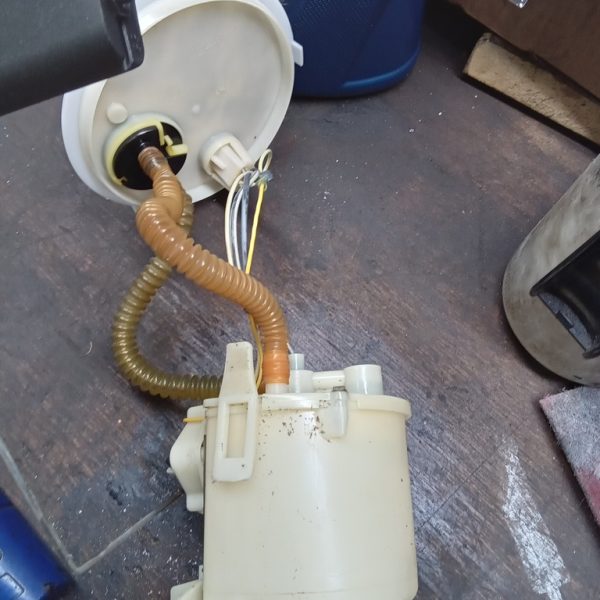
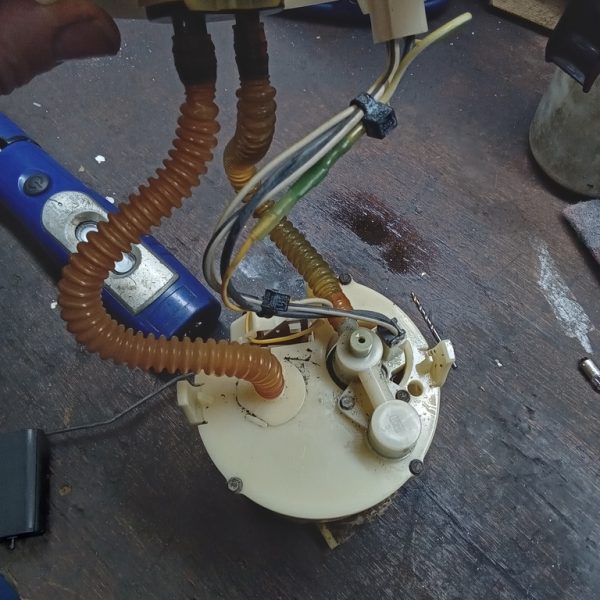
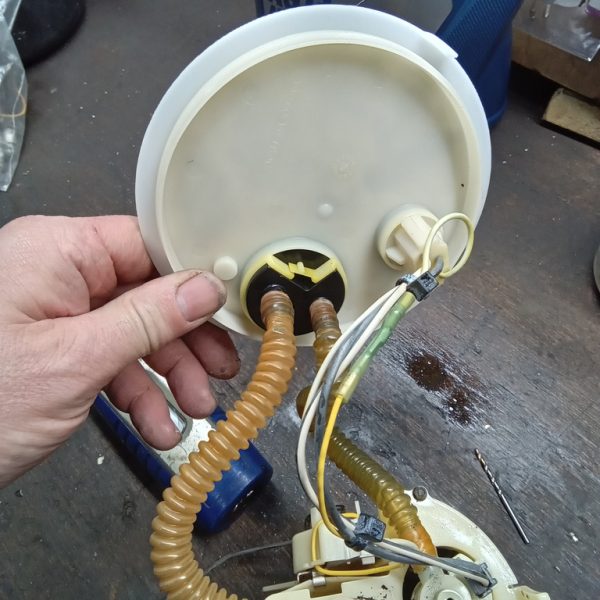
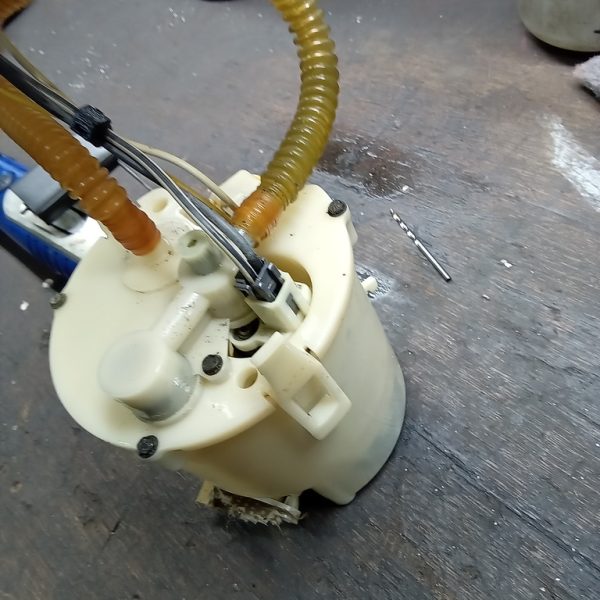
John’s still in the process of getting our Ford Thunderbird running but no luck so far. A brand new fuel pump is what we need so we have removing the existing to make sure we order up the correct replacement. Now we wait for the arrival…
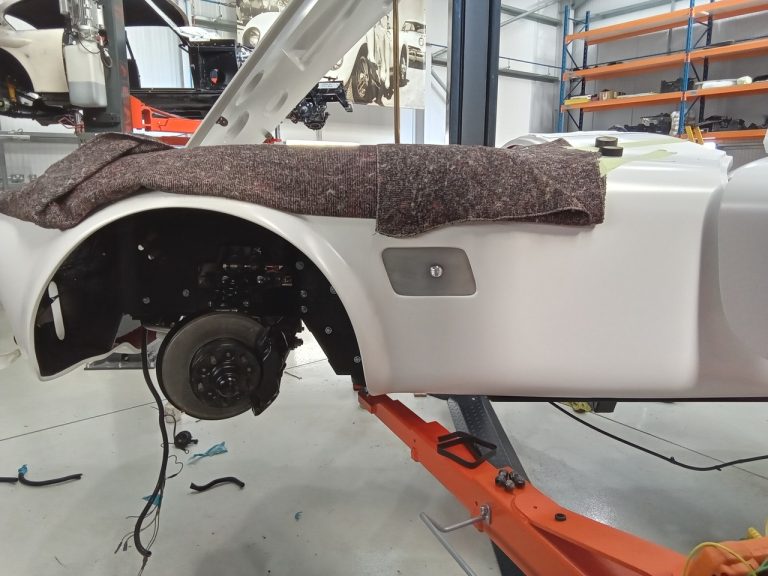
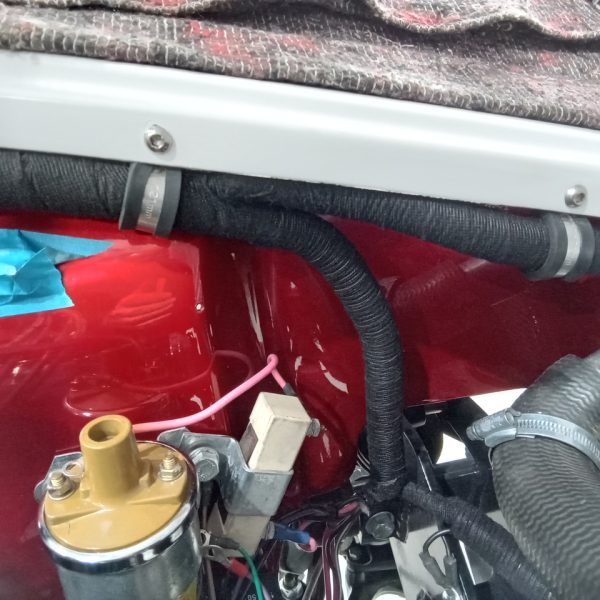
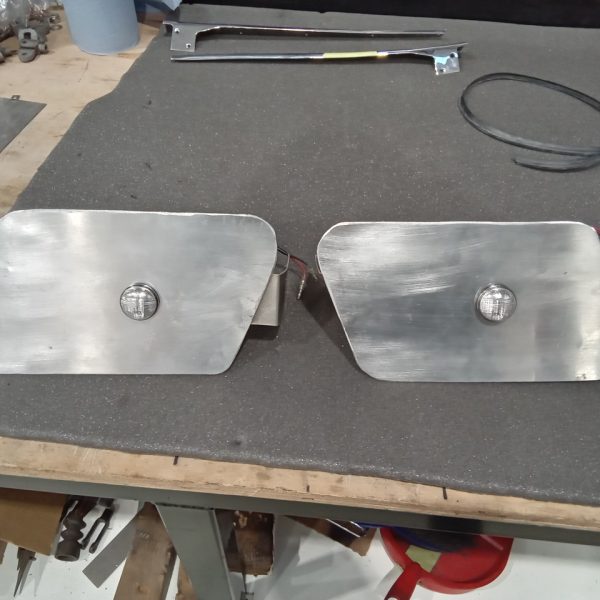
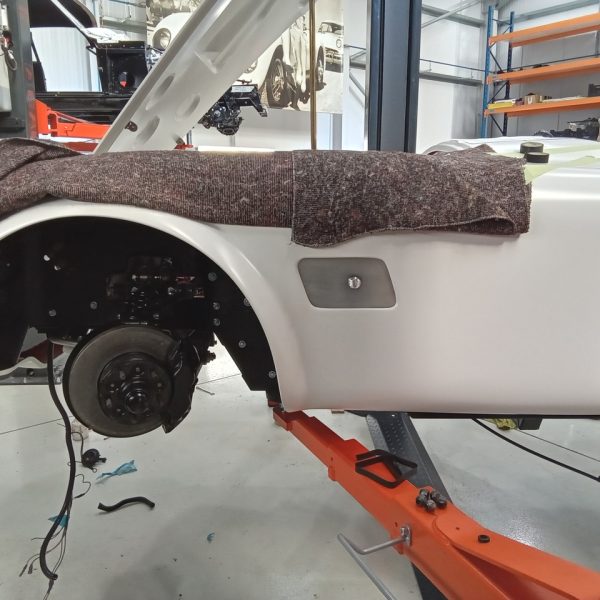
IVA (Individual Vehicle Approval) is edging closer and closer for our Cobra project. Every step of the way it is vital that the rules are met in order for the car to pass. The front part of the wiring loom was very untidy and too long so we have now cut it down to length, run inside the conduit, taped and ‘P’ clipped every 25cm or less to meet with the IVA guidelines..
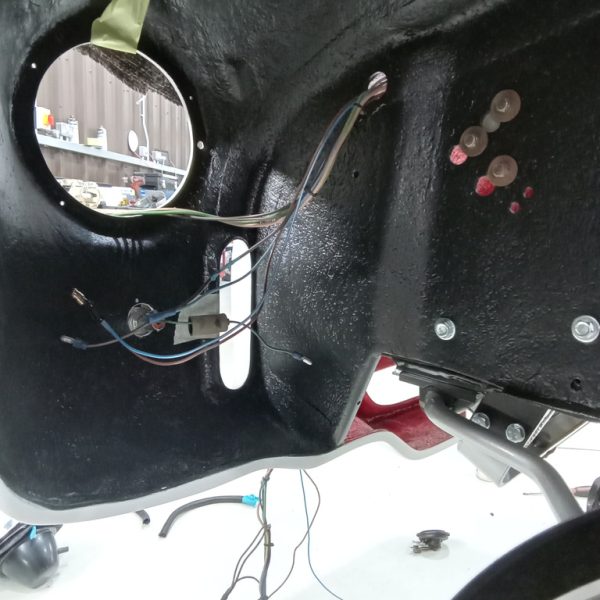
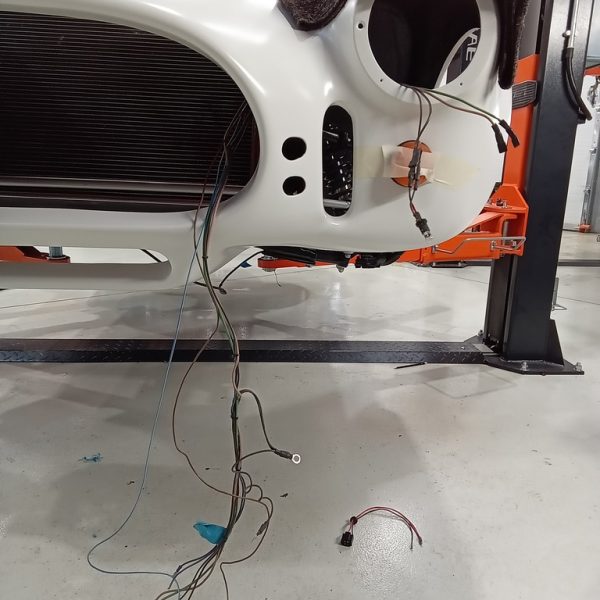
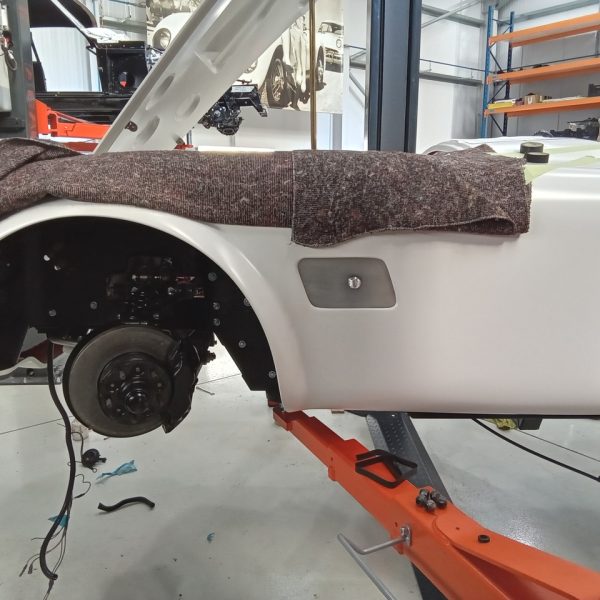
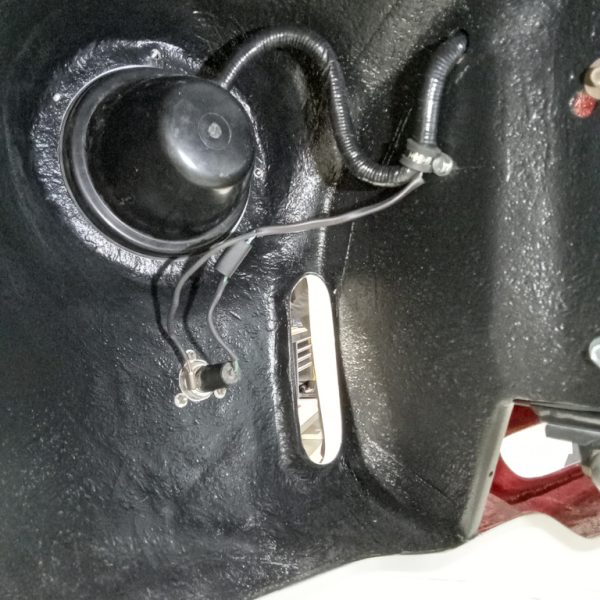
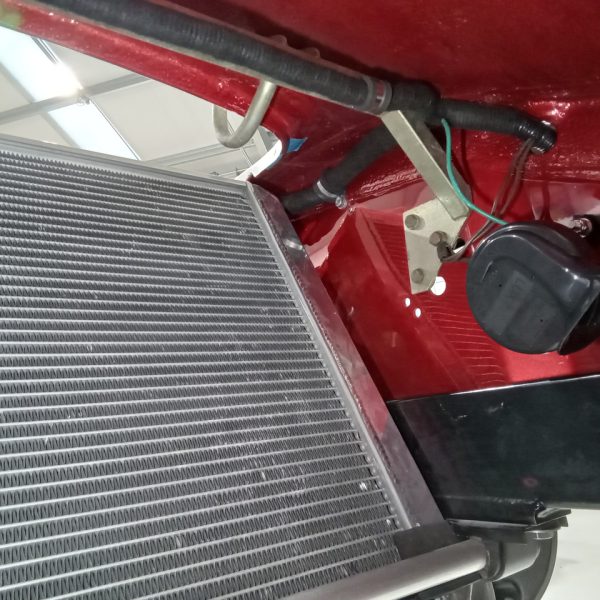
We’ve also made and fitted the side repeater indicator mounts to fit in wing vents to meet with IVA regulations.
The DVSA Individual Vehicle Approval (IVA) test is a UK requirement for particular vehicles to ensure they meet necessary safety and environmental standards before being registered for road use.
Vehicles requiring an IVA test include:
During the IVA test, a certified inspector thoroughly examines the vehicle to confirm compliance with UK regulations. The inspection usually covers:
Once a vehicle passes the IVA test, it receives an IVA certificate, which allows it to be registered and used on UK roads.
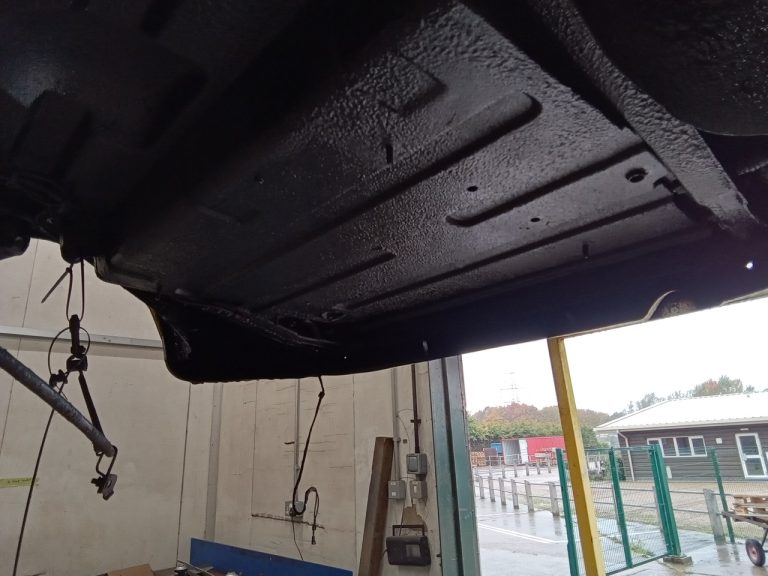
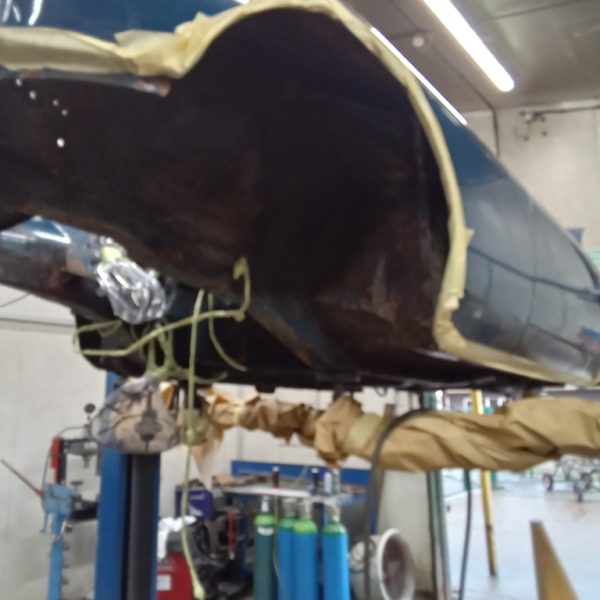
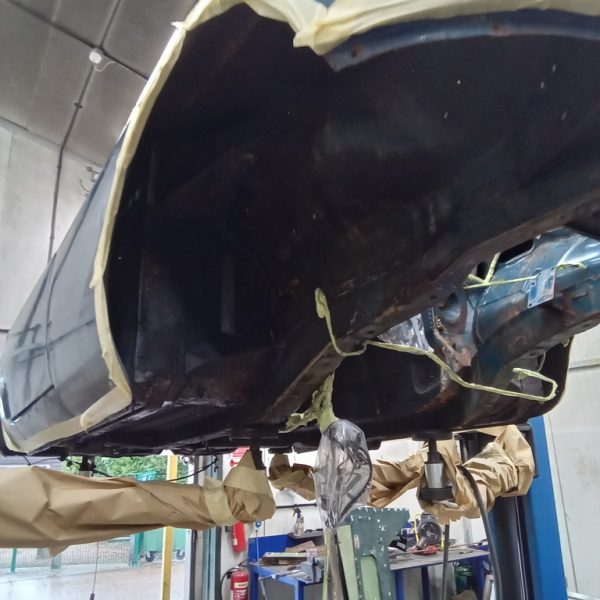
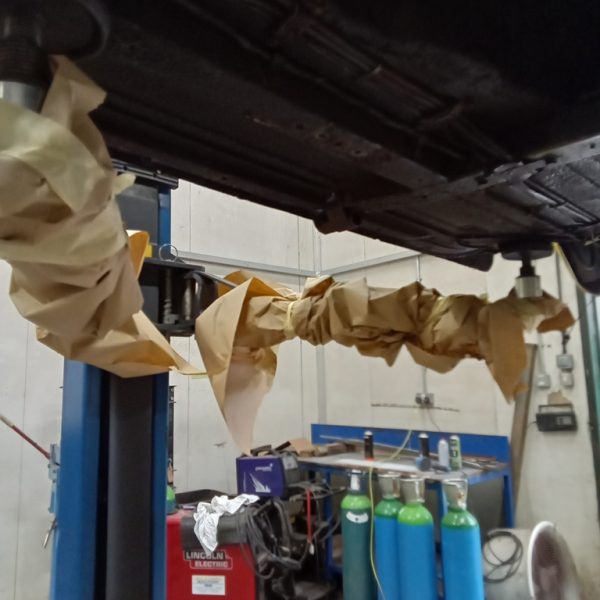
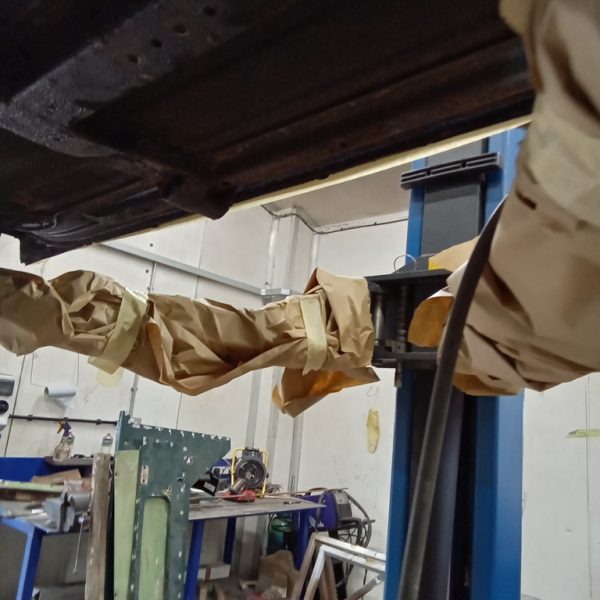
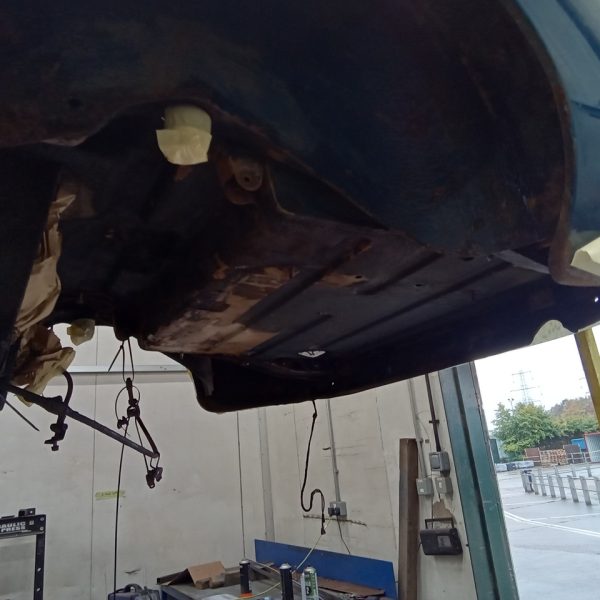
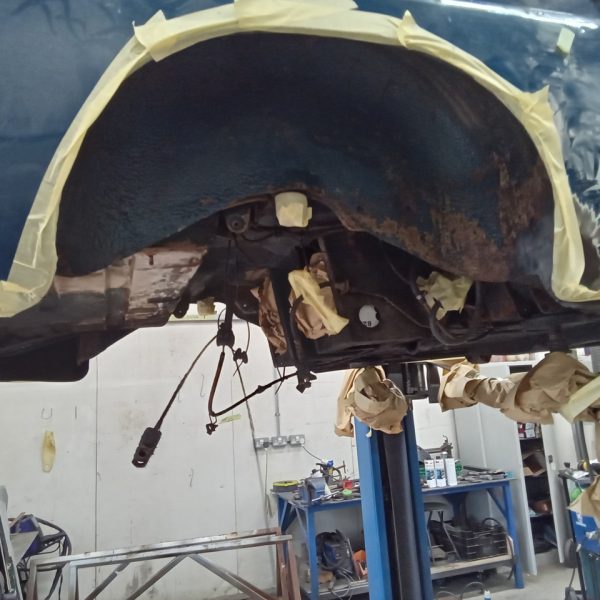
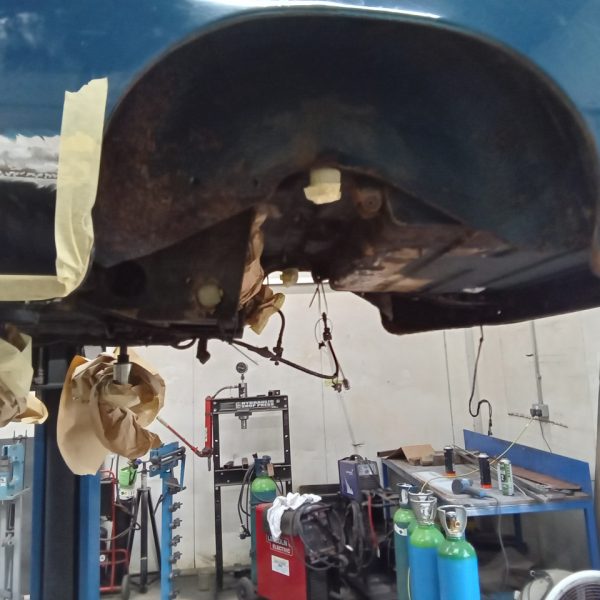
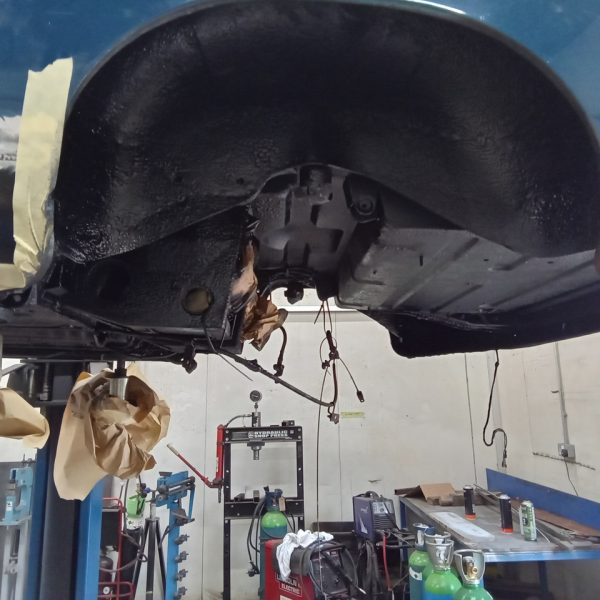
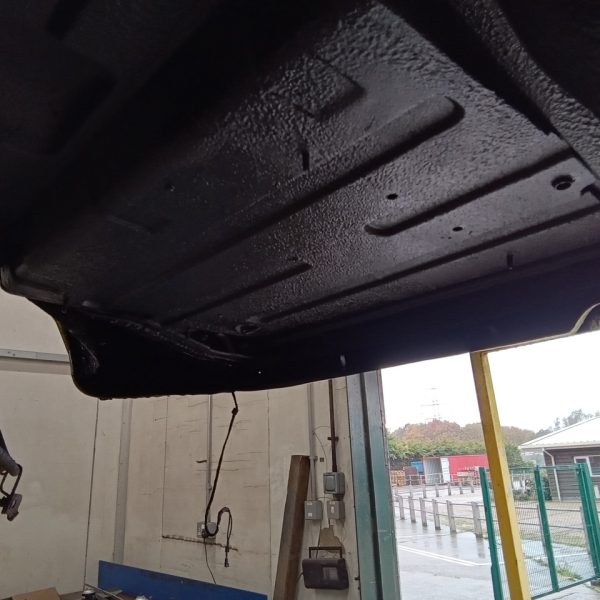
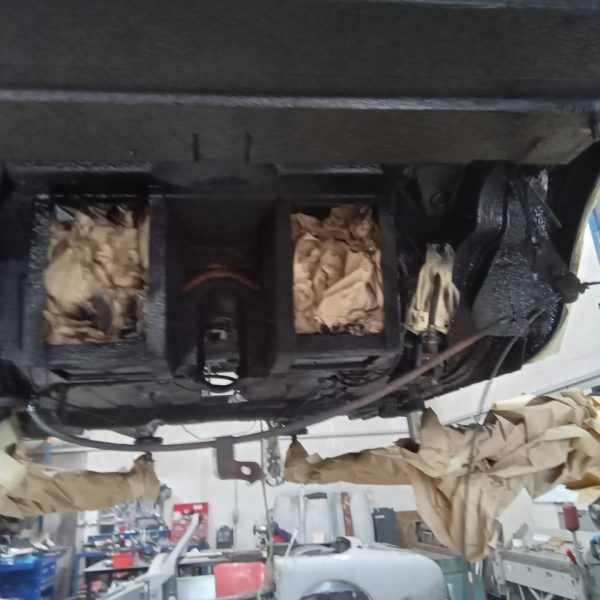
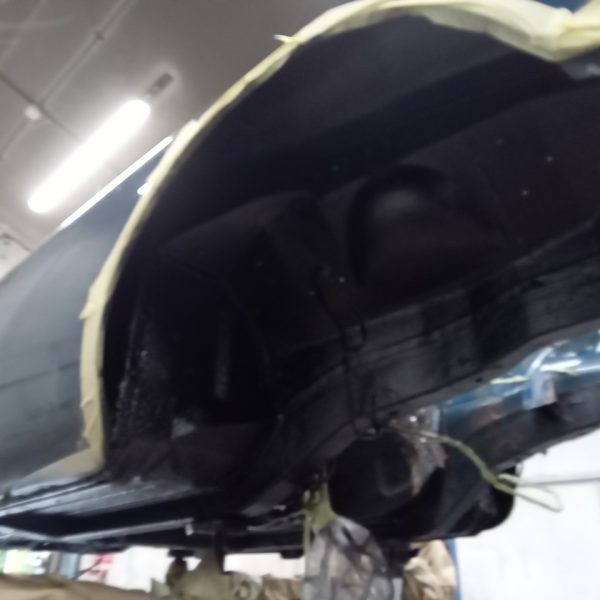
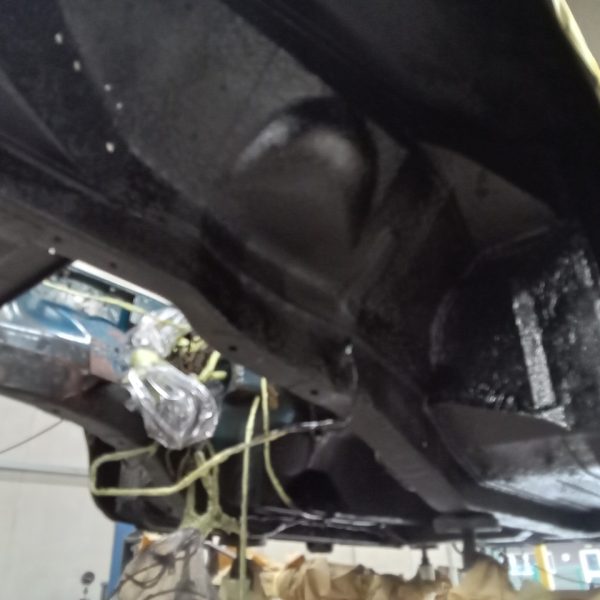
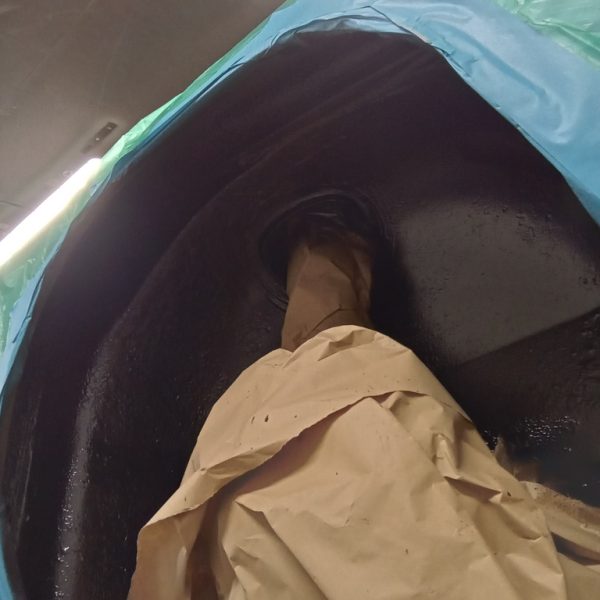
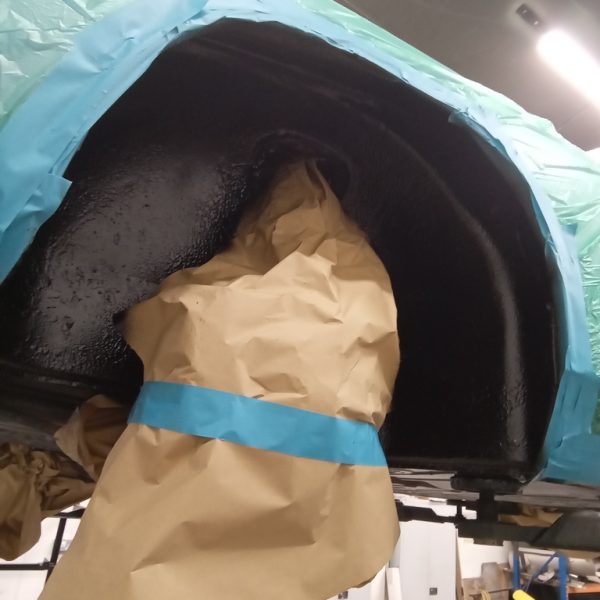
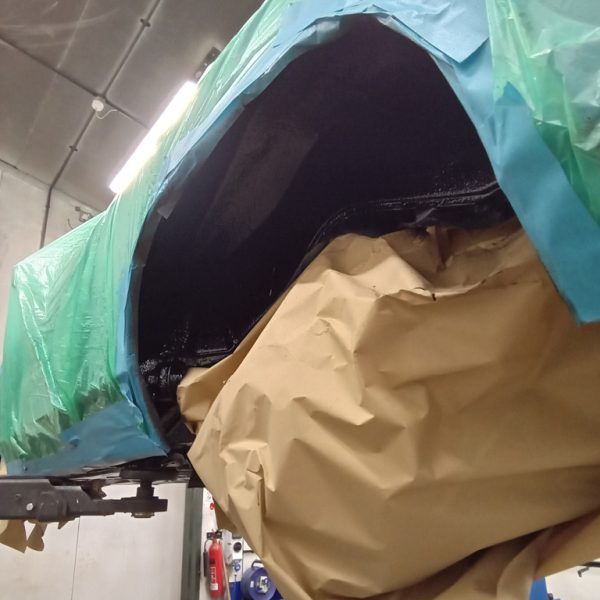
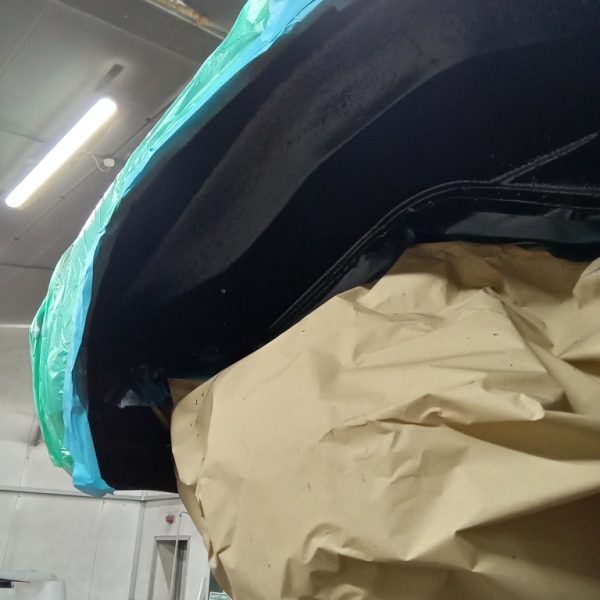
So we closed the week off with Dave having finished stripping the MG B Roadster in order for Chris to prepare the car for underseal.
All of this took place over the weekend which meant that Chris could successfully seal the underside with Schutz and let it settle through to the Tuesday when the technicians return from their weekend breaks.
Progress is being made on my 1987 Mercedes 500 SL. I keep hoping and wishing that there is not much longer to go but time seems to be forever running away.
Both John’s/Jon’s are working on the car on Saturdays so as to not affect the scheduling in the busy Bridge Classic Cars workshops but that does mean it is taking it’s time. And both being avid Ipswich Town fans means I can only benefit from their expertise on a Saturday morning as they have ‘more important’ things to be doing now on a Saturday afternoon…haha!
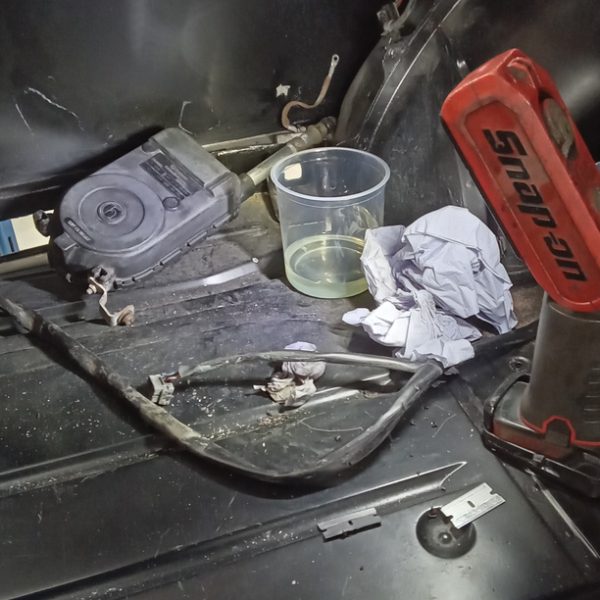
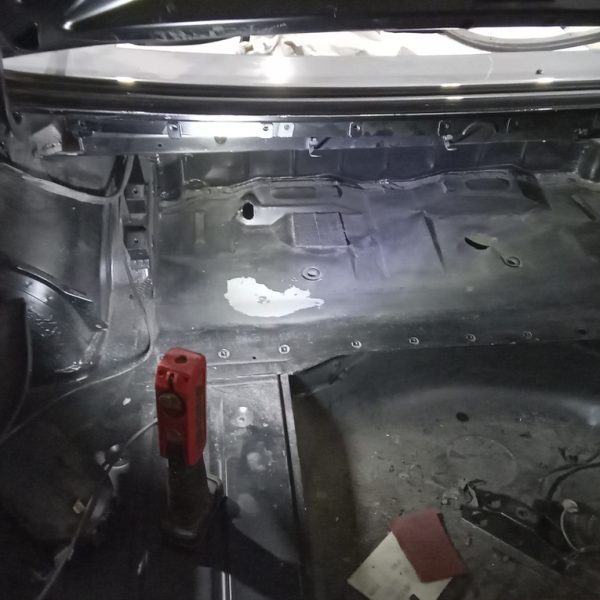
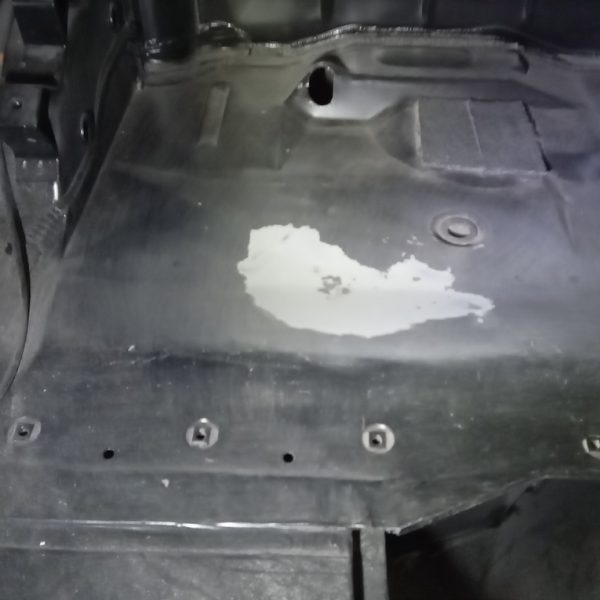
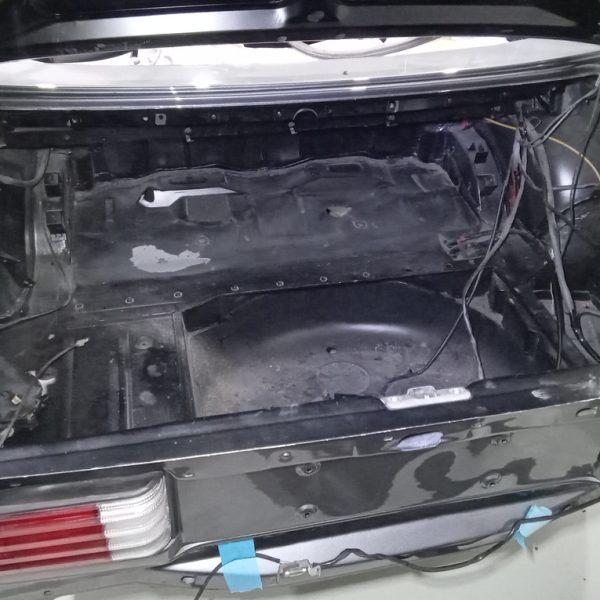
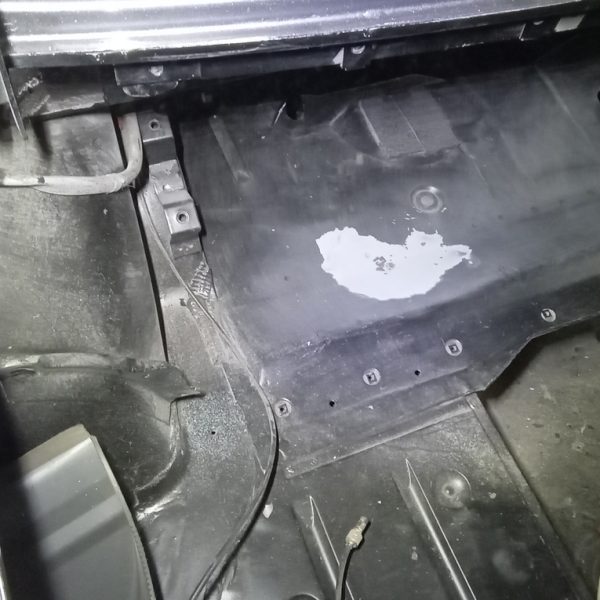
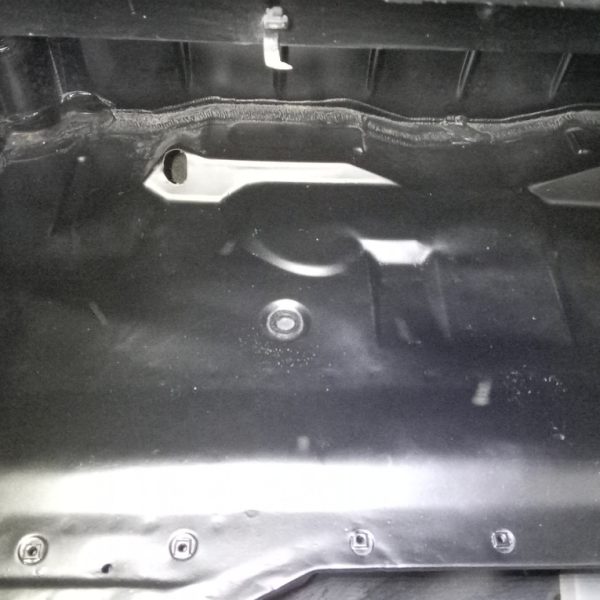
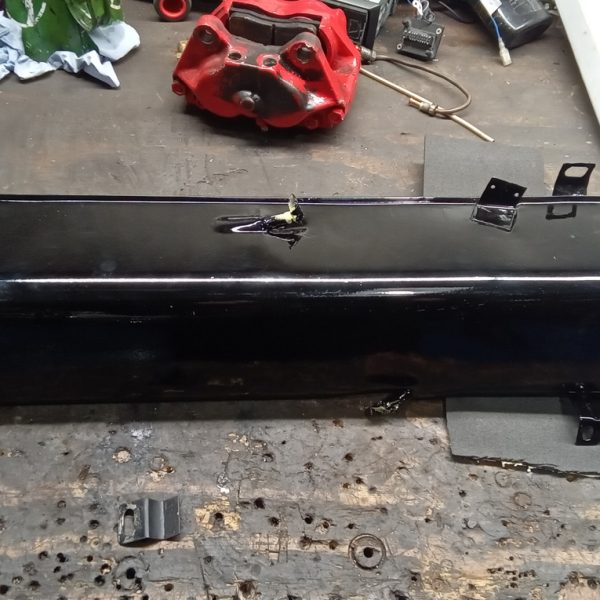
However, the wiring is really taking shape now. They have been working on the boot area and hope to have the fuel tank in my close of play today. They’ve rubbed down the boot floor, exposed the areas and painted in matt black.
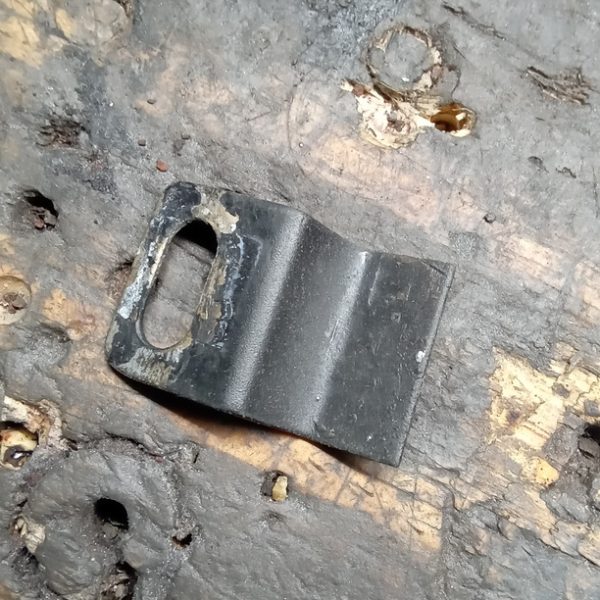
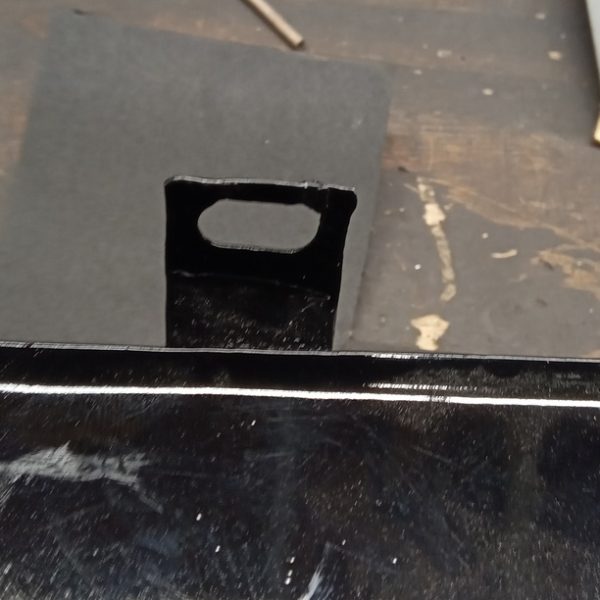
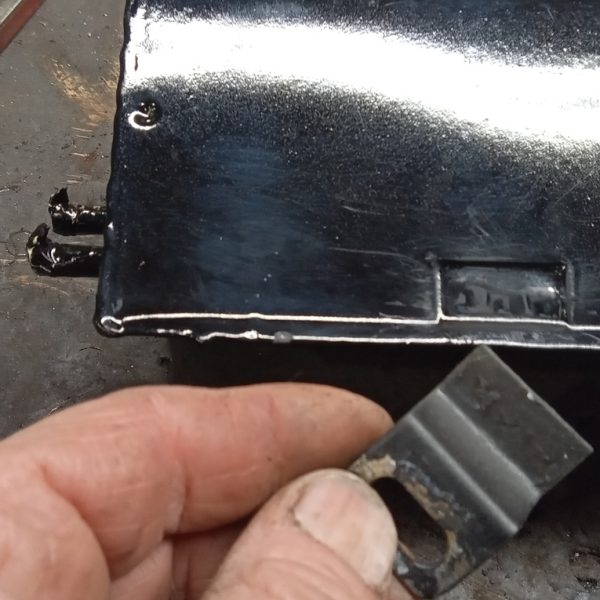
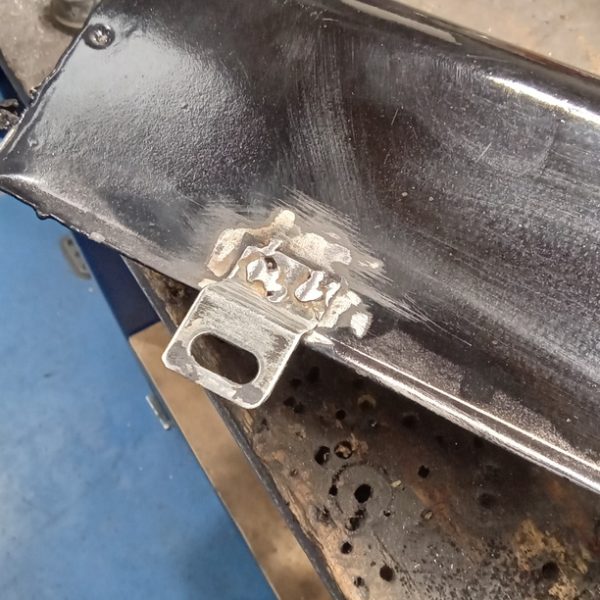
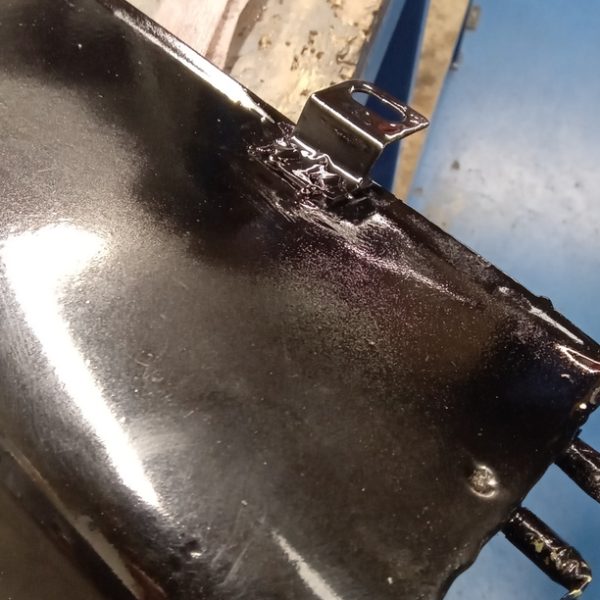
Remove broken lug from body for fuel expansion tank, cleaned, drilled and spot welded lug back onto tank and paint gloss black.
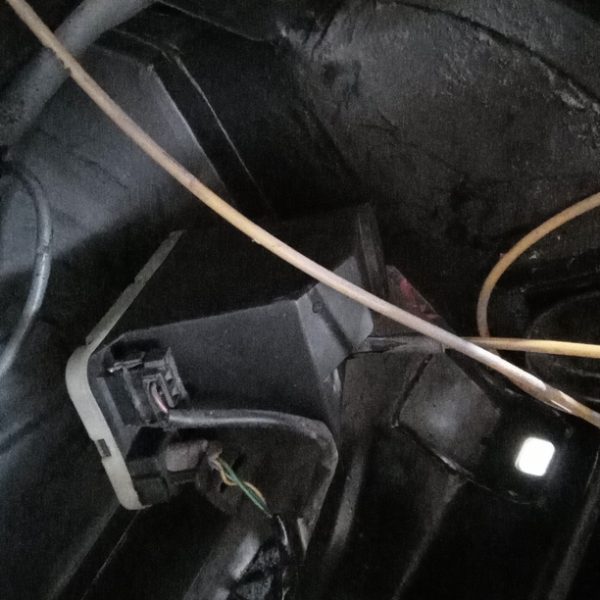
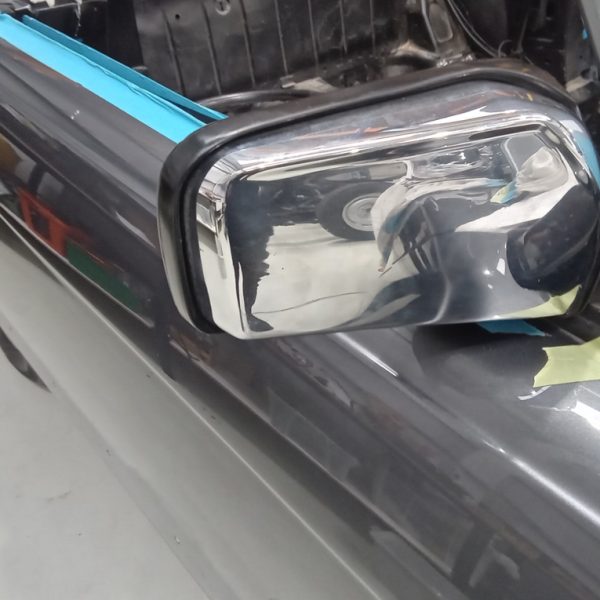
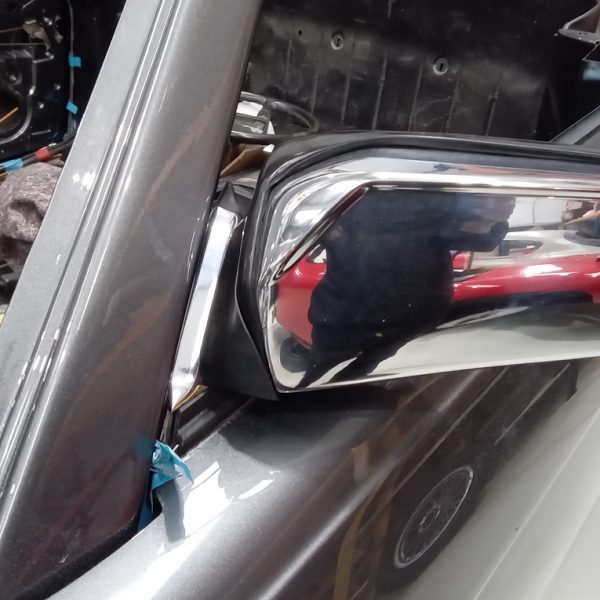
The heater box is now in, wiring has been laid out in the bonnet area and the wing mirrors are now back on.
Next thing to do is install a large TV with Sky Sports on so that the John’s/Jon’s would sooner work than be anywhere else!!
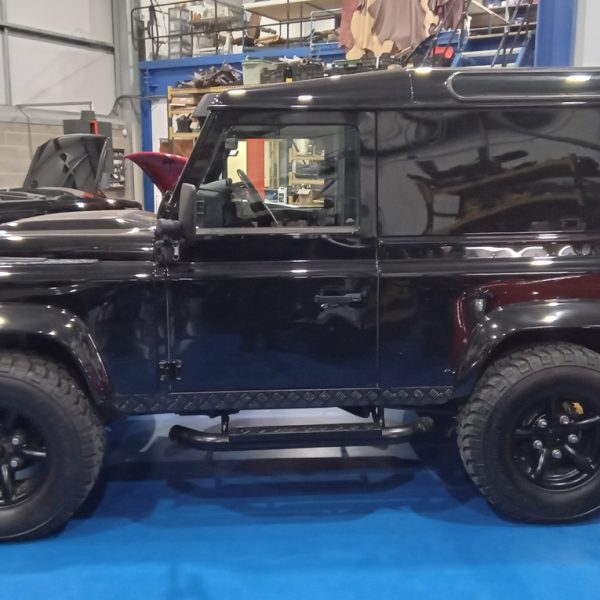
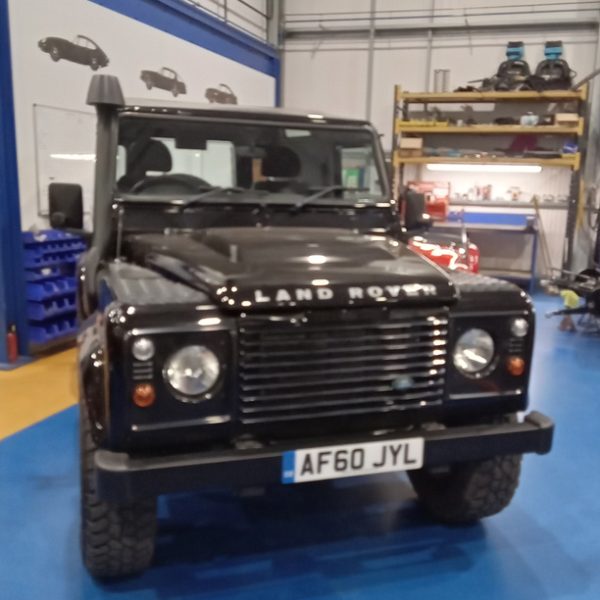
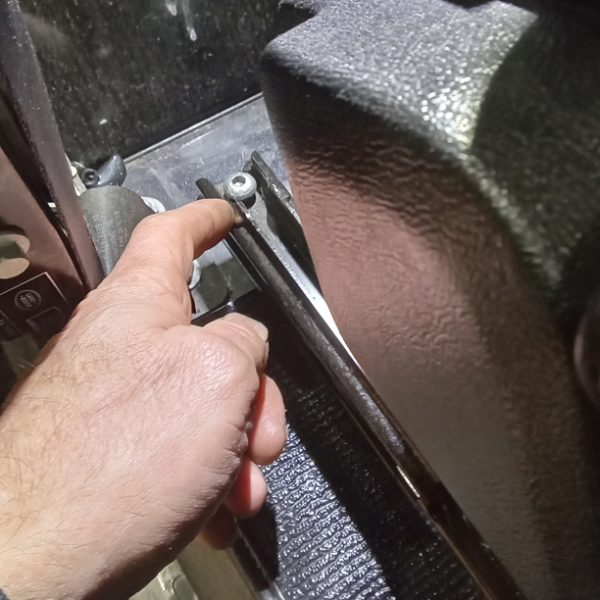
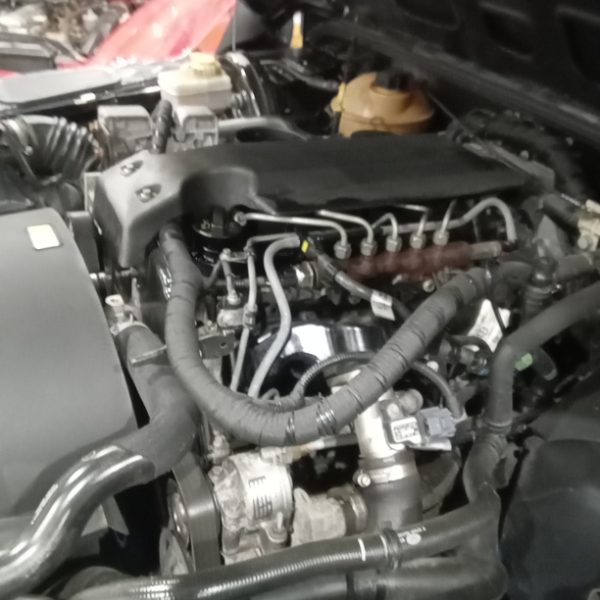
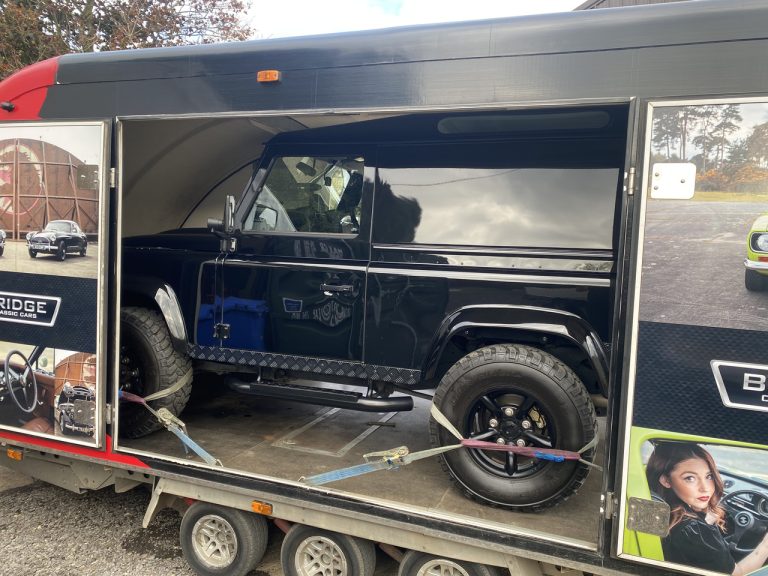
On Tuesday we called up Garry Smith to tell him the amazing news that he’s now the proud owner of our 2010 Land Rover Defender 90. Having been with us here at Bridge Classic Cars for a number of years this car was an exciting but emotional give away for us…especially me! This has been my daily now for a few years and I’ve loved it. I’ve been on many adventures in the Defender…camping, road trips. It even got me through the mud at this year’s Goodwood Revival.
But all good things have to come to an end and now it’s time for Garry to enjoy the car.
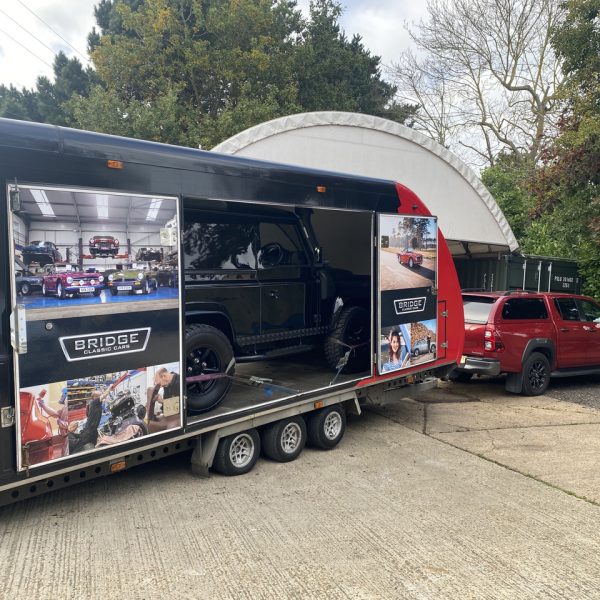
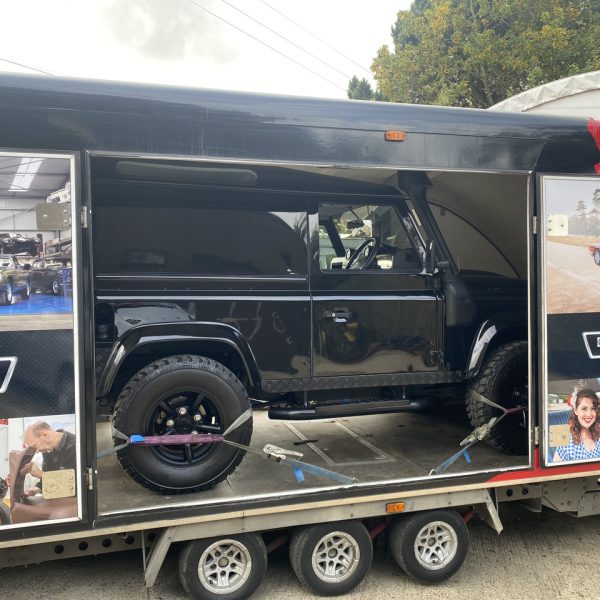
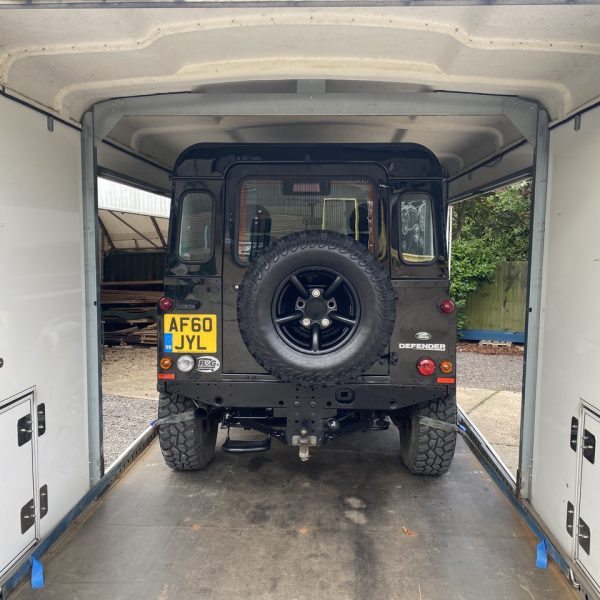
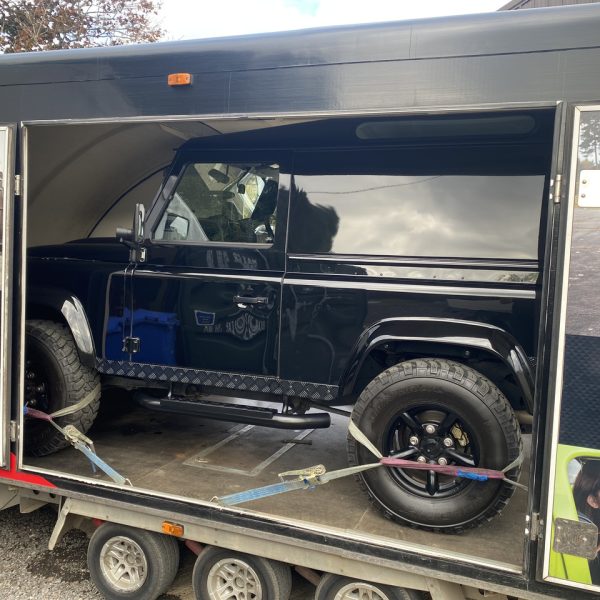
The pre delivery inspection has been completed and as I write this post, the car is currently on it’s way to Garry in the back of our trailer.
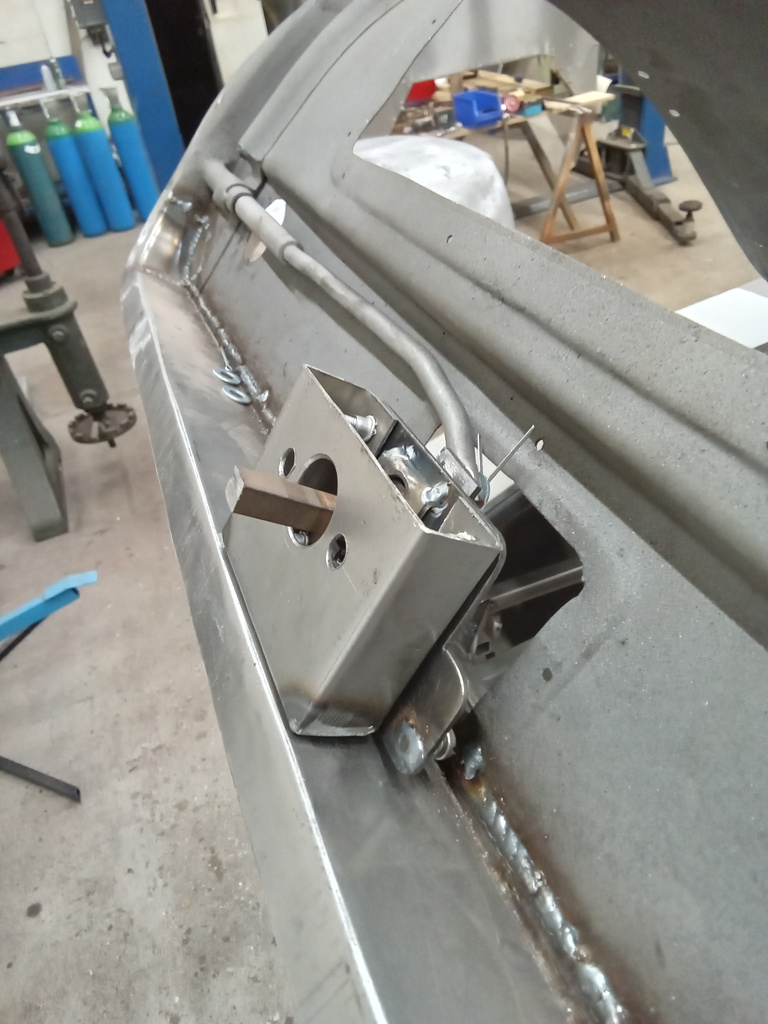
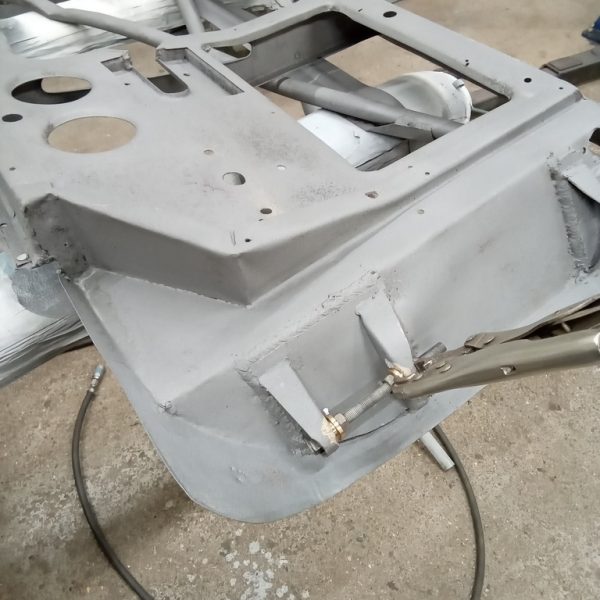
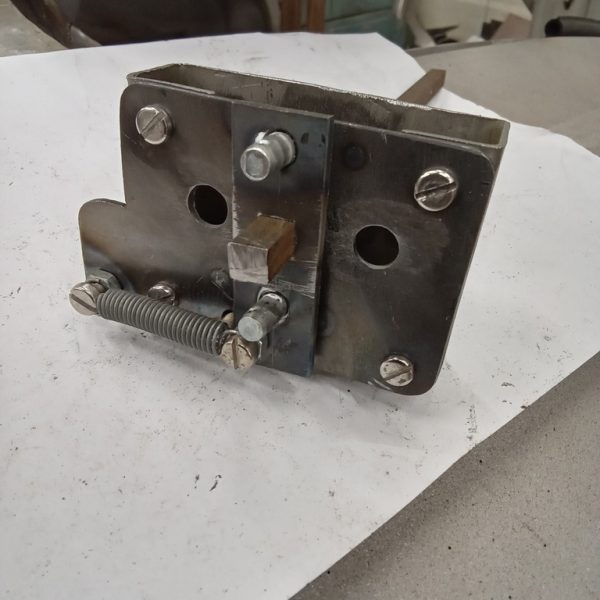
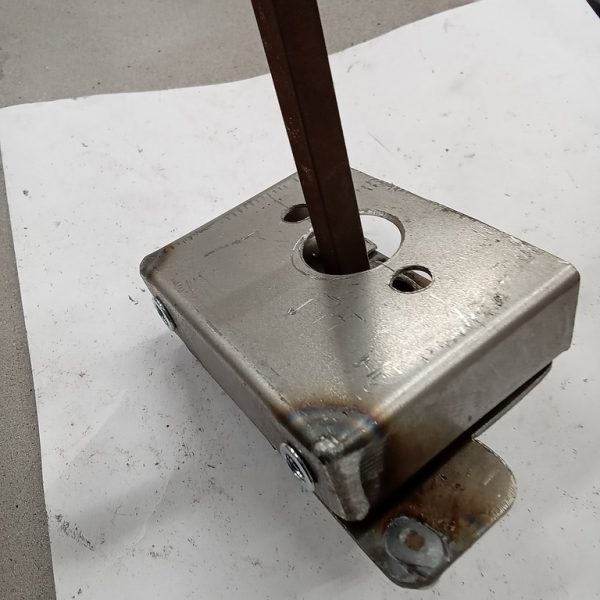
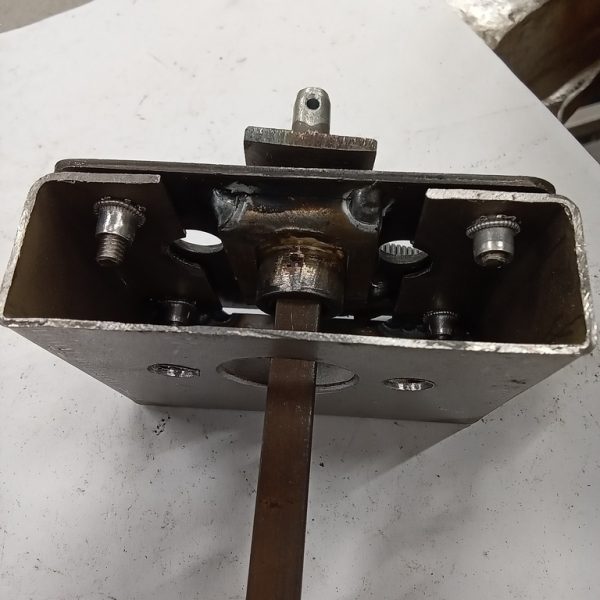
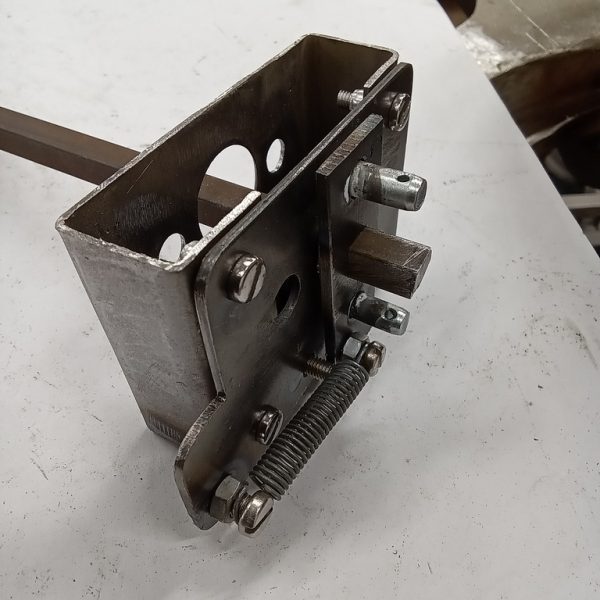
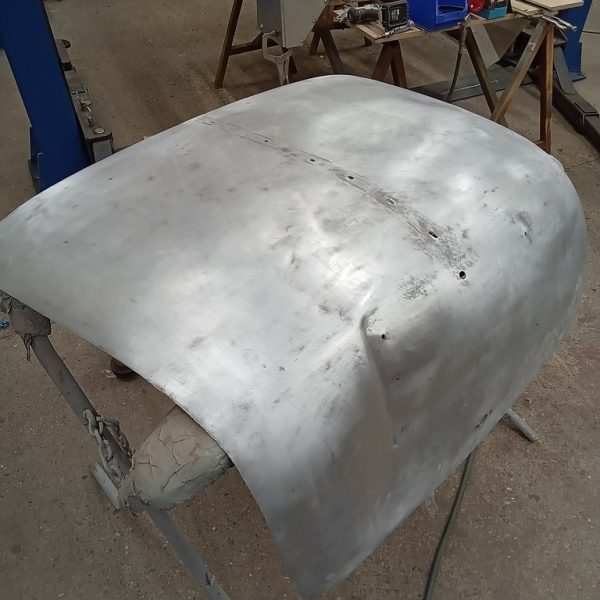
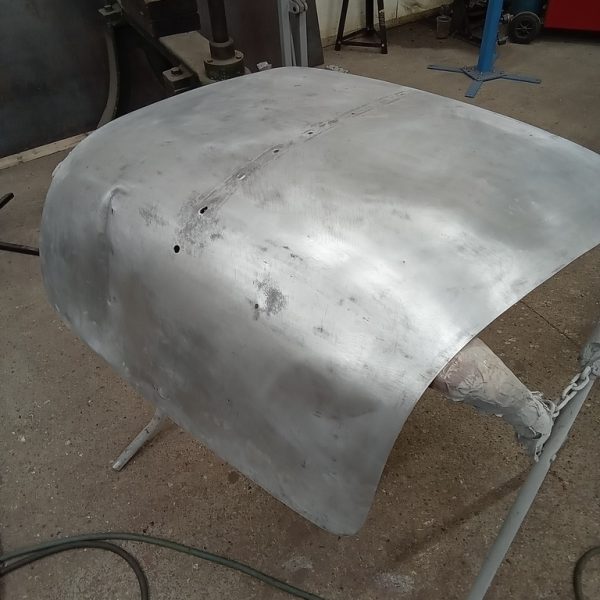
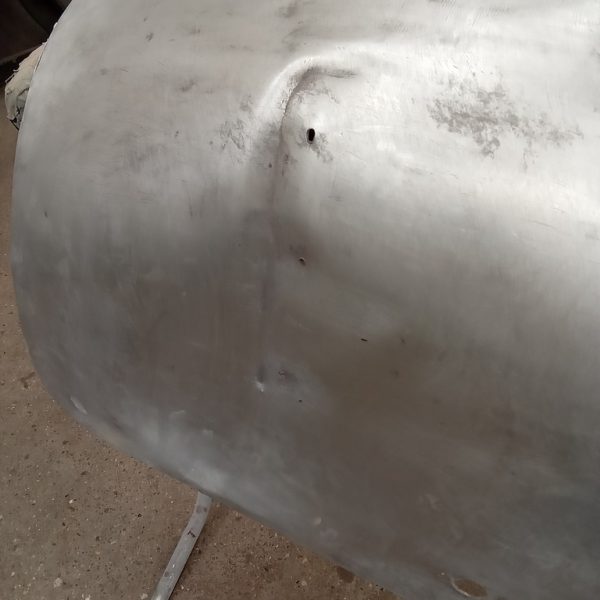
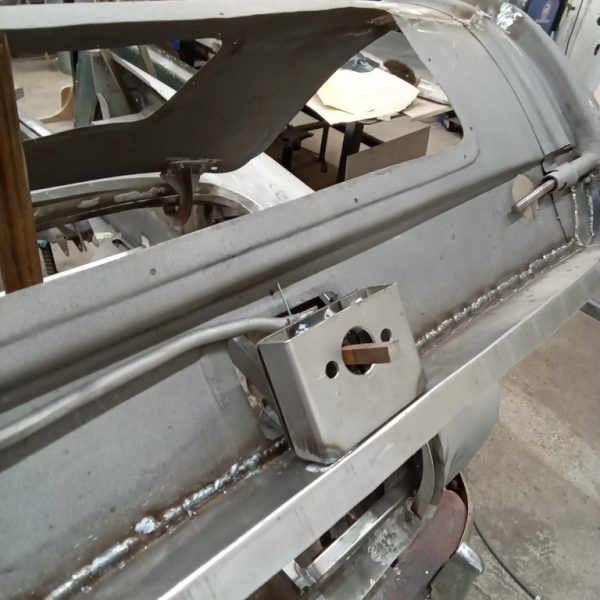
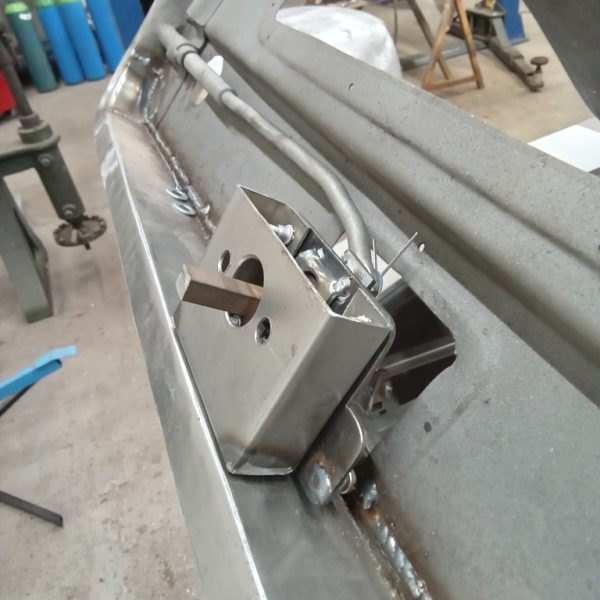
Rob has relocated for now from the main workshops to the fabrication shop as he gets stuck in to the fabrication of the boot-lid. He has cut off the lower half of existing boot lid, remove the lower section due to corrosion. He has then started work on fabricating new panels and welded the lower half back into position. The height has been adjusted so that the boot lid fits correctly. He has then gone on to strip the boot catch assembly and sandblast all of the parts but has decided to make a new one as this will be the best option.
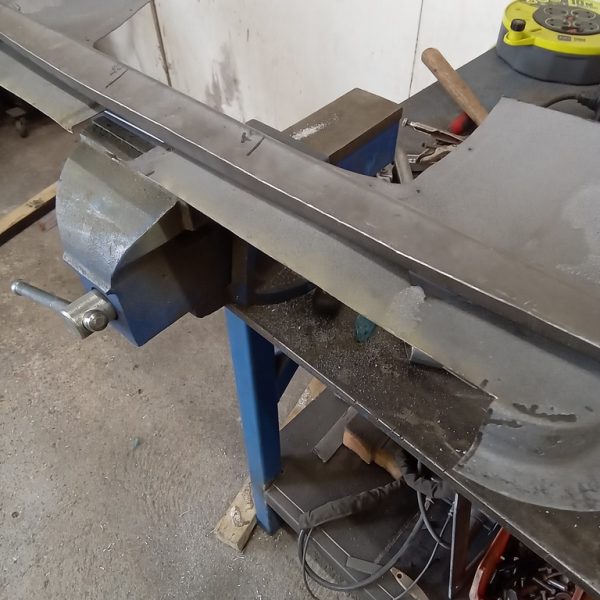
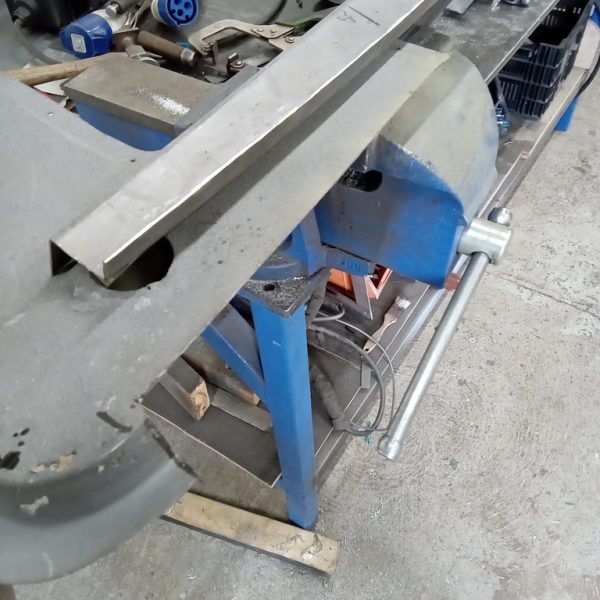
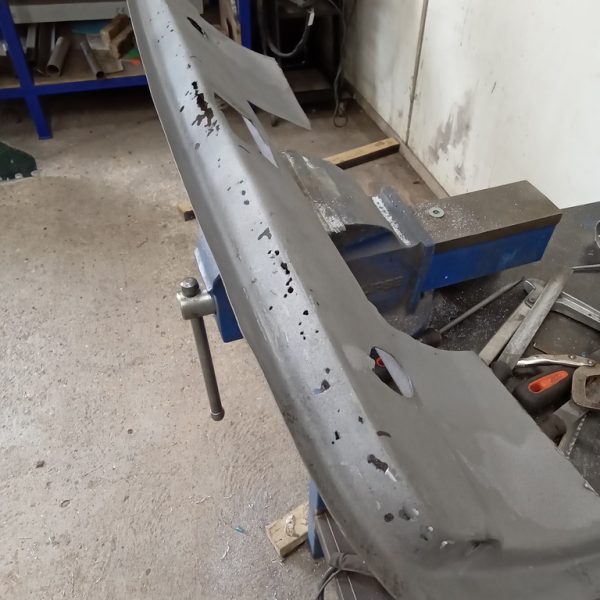
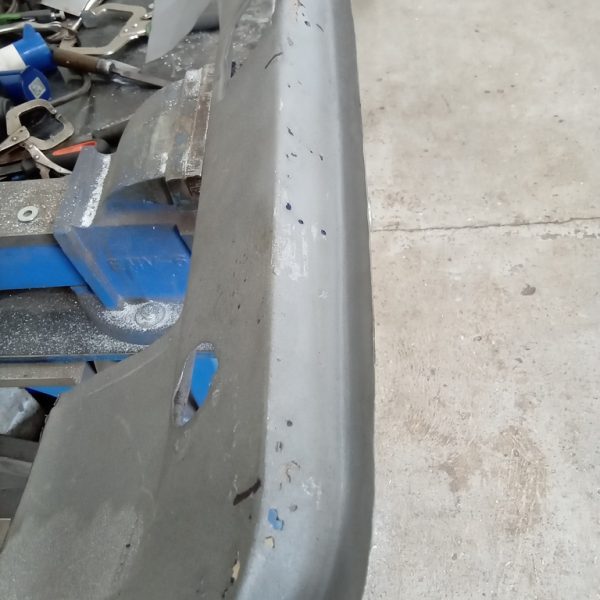
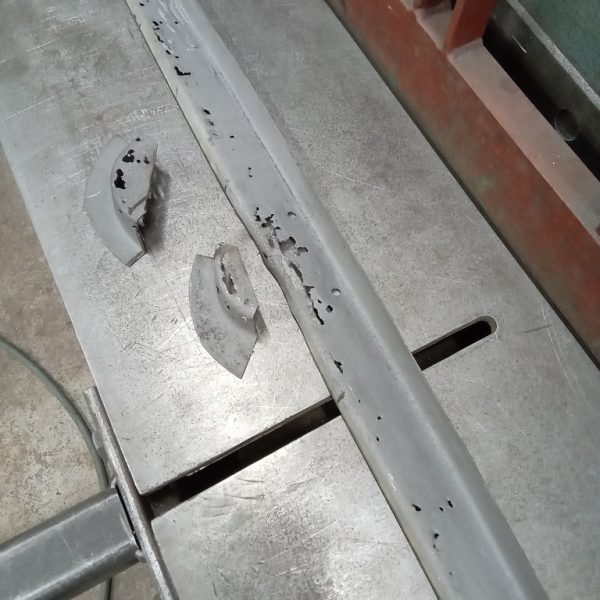
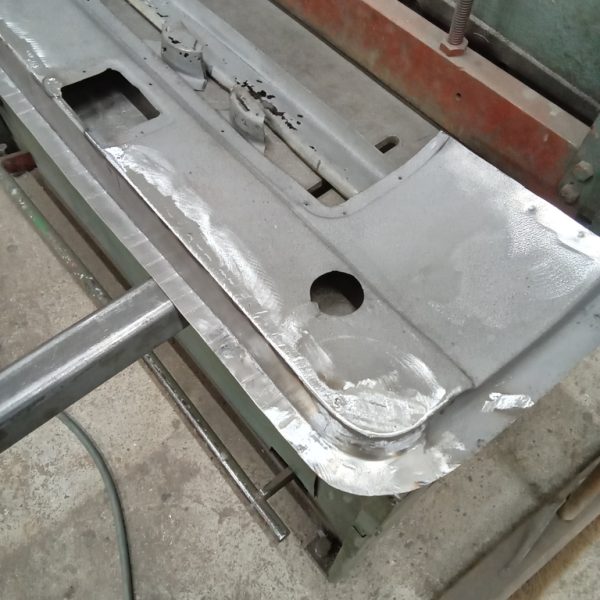
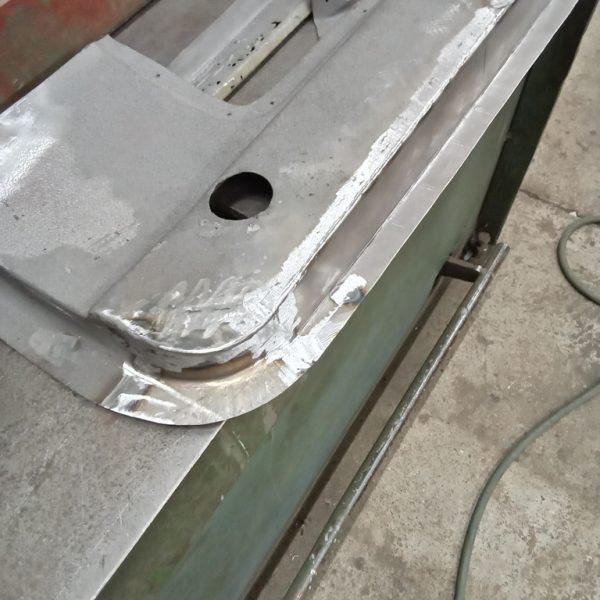
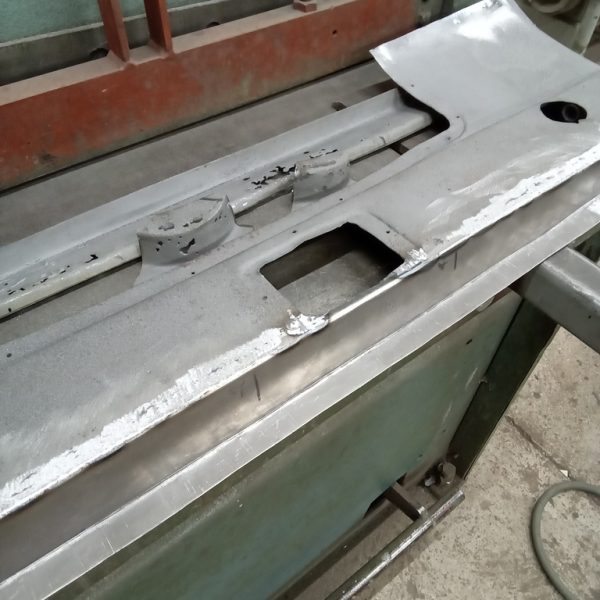
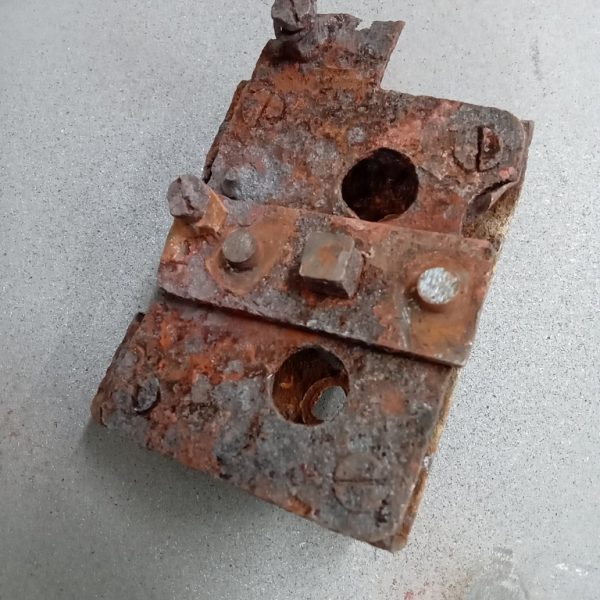
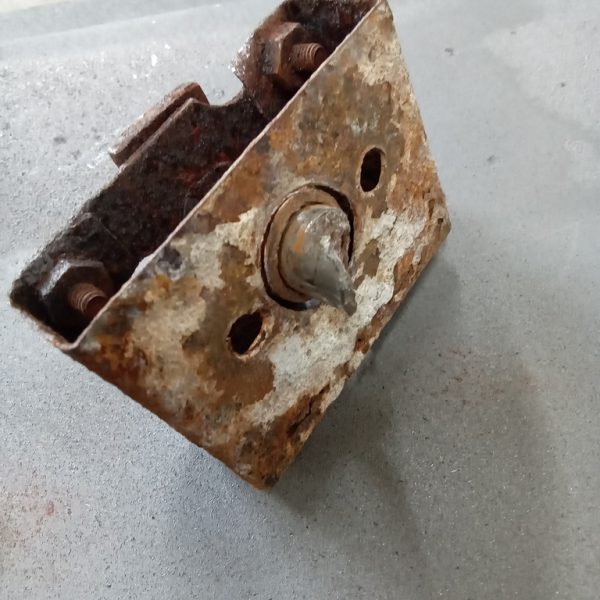
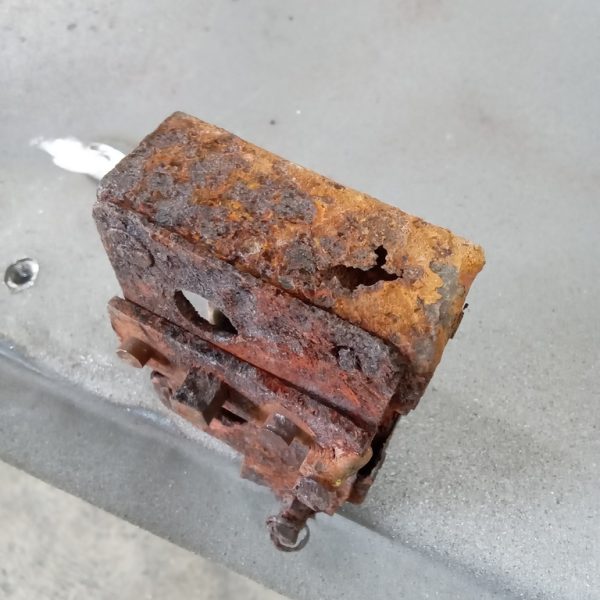
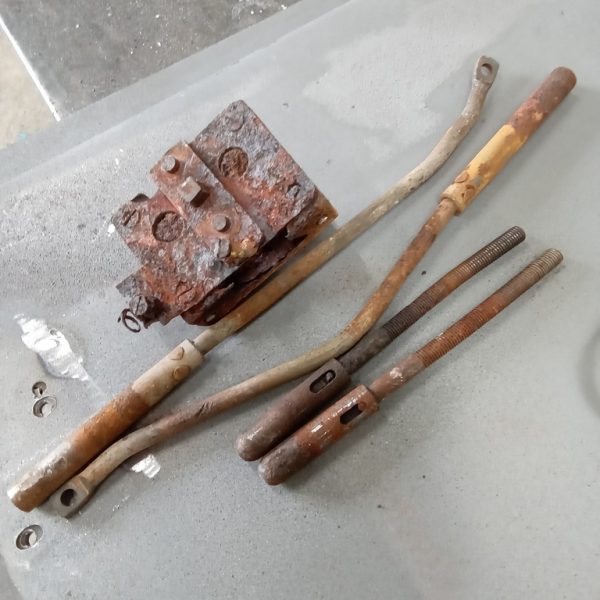
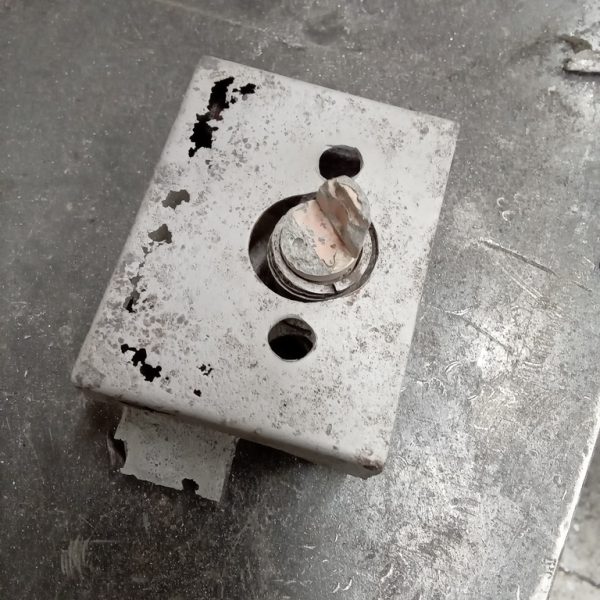
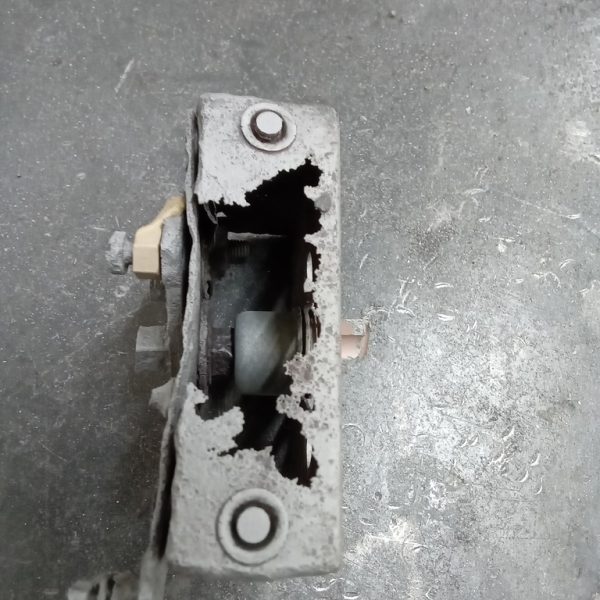
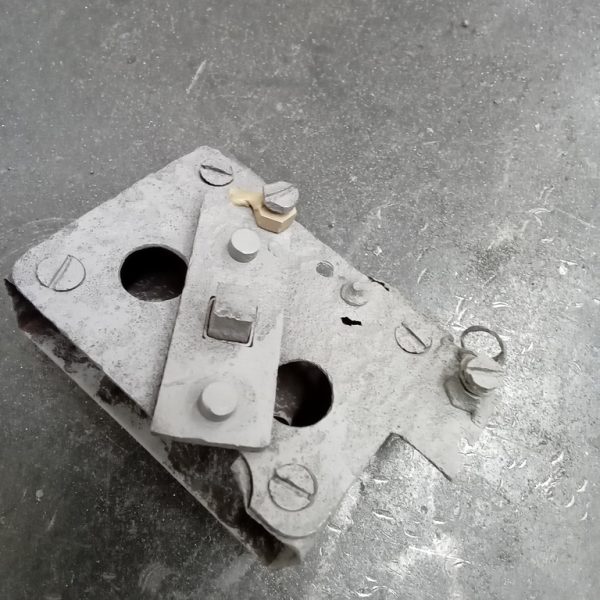
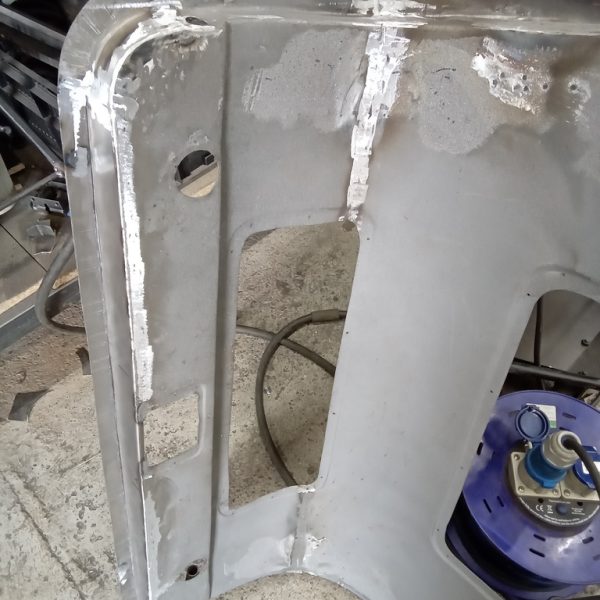
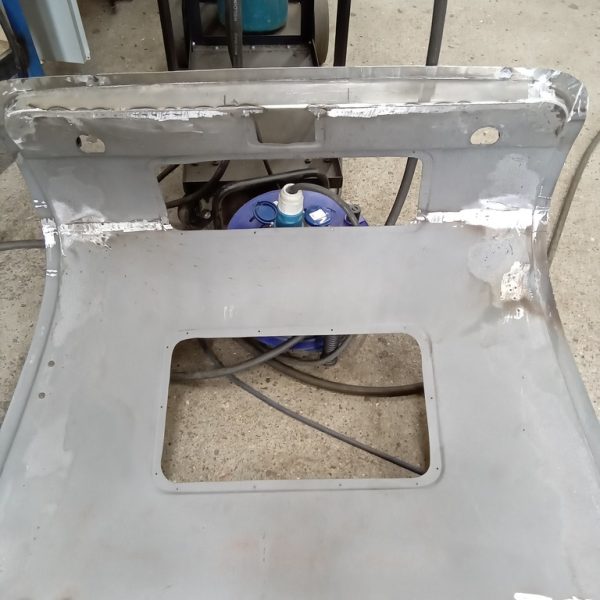
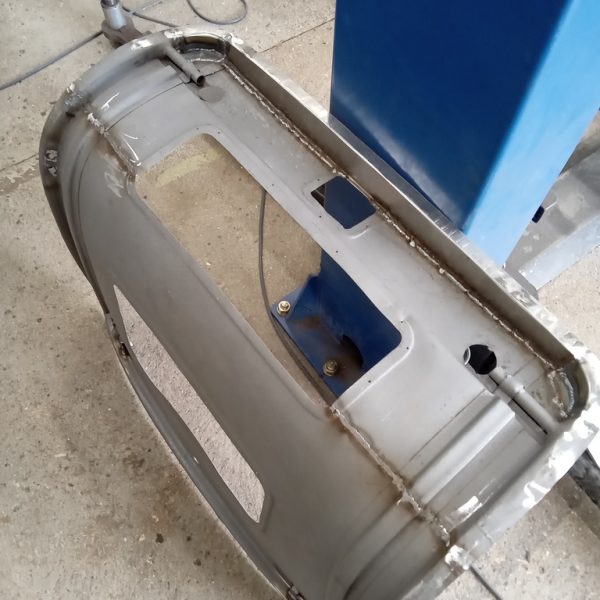
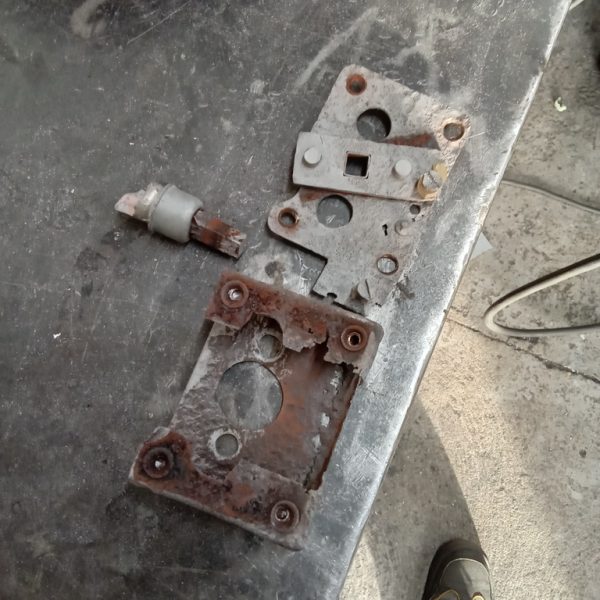
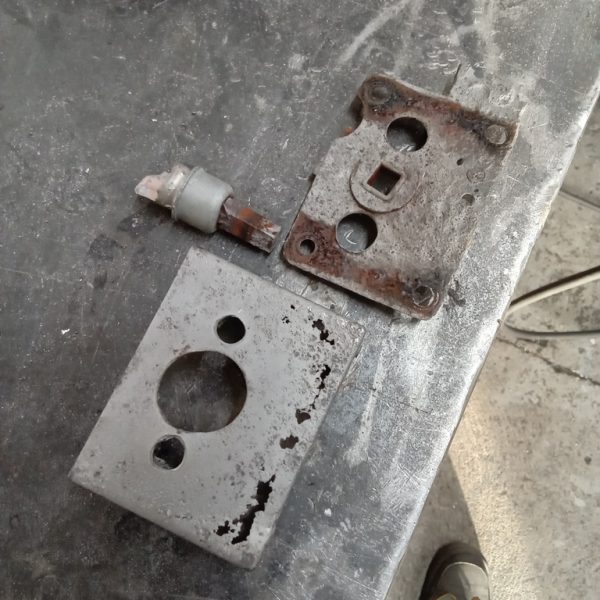
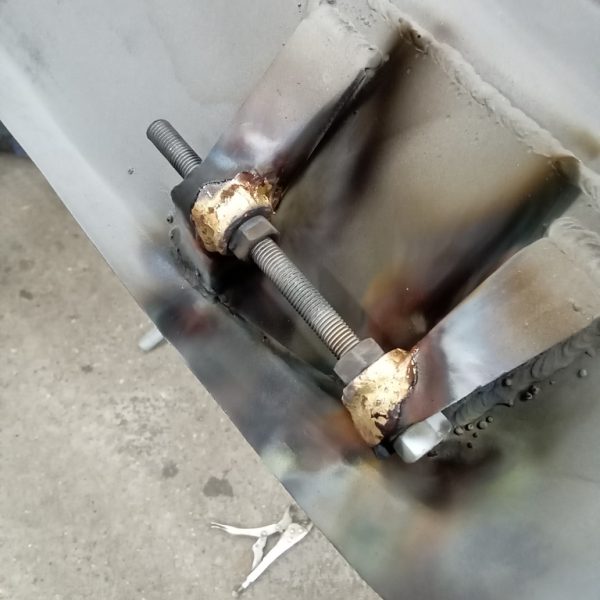
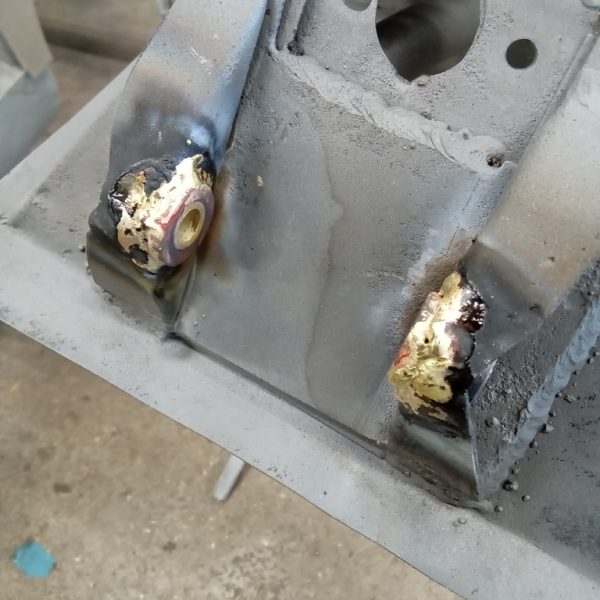
The paint has been stripped off the boot lid skin. The left hand door hinge bushes brazed in and the door hung to check alignment. New boot lock mechanism made and fitted.
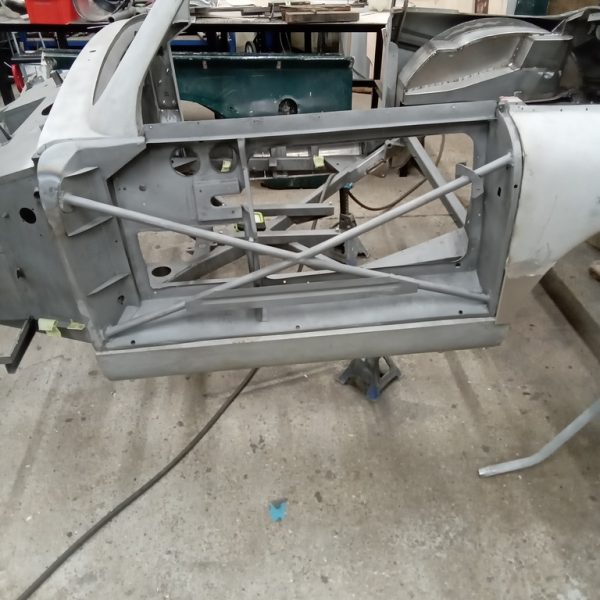
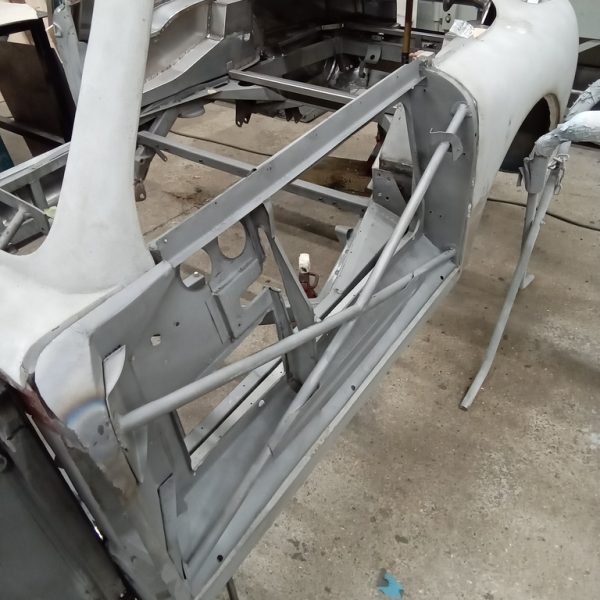
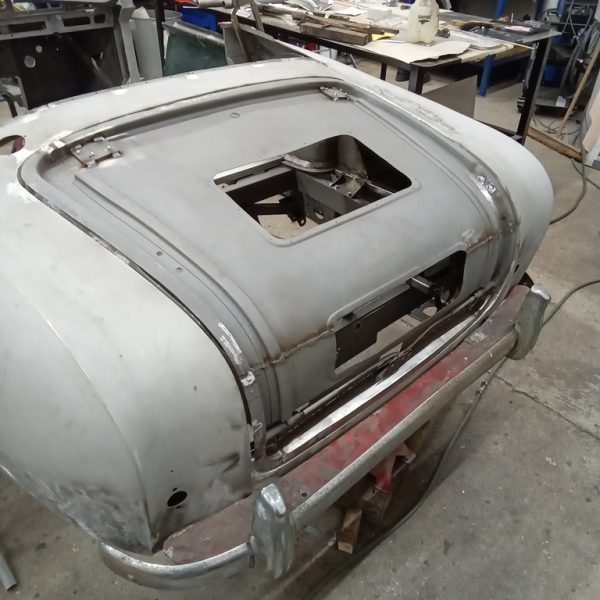
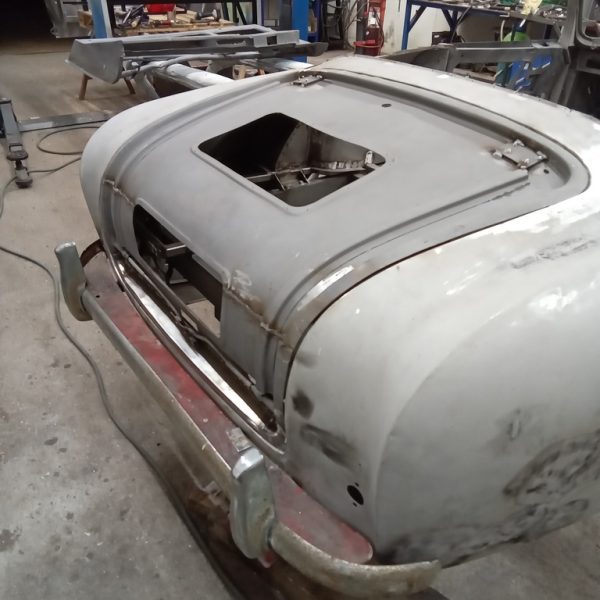
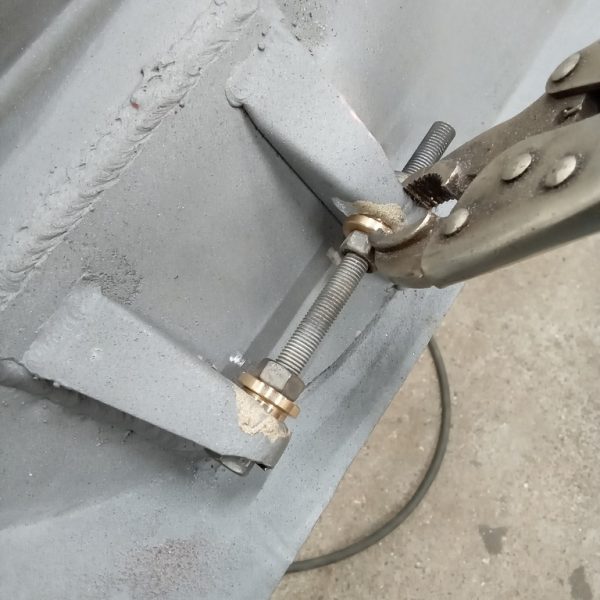
Work continues on our 1977 Triumph 2500 TC. Jon is still busy getting the car ready for the oad.
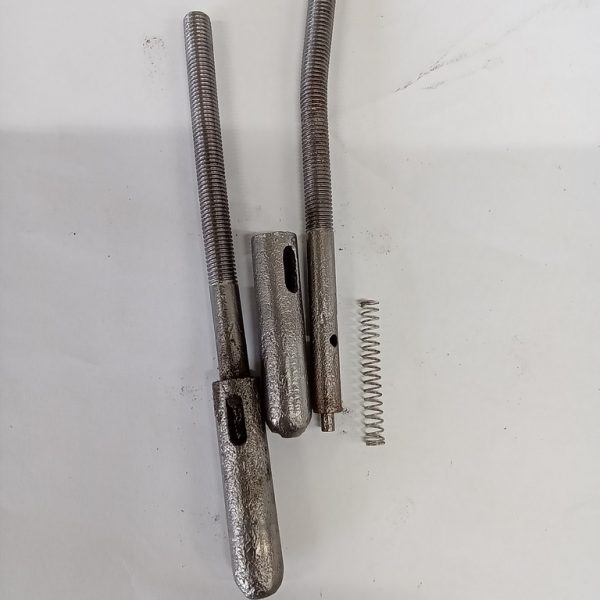
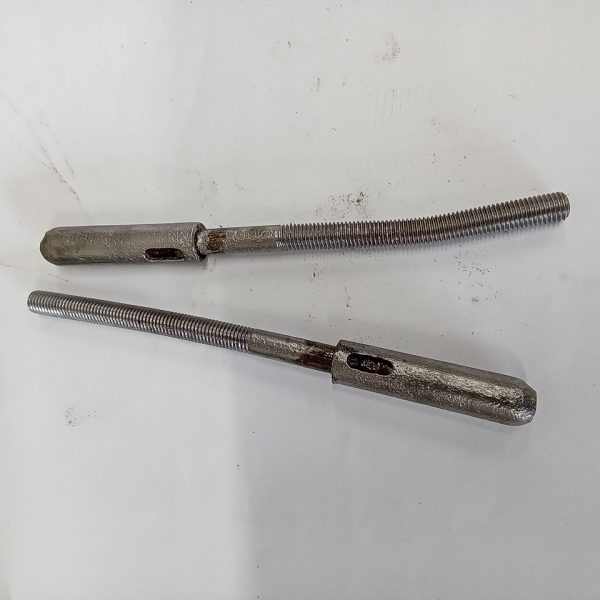
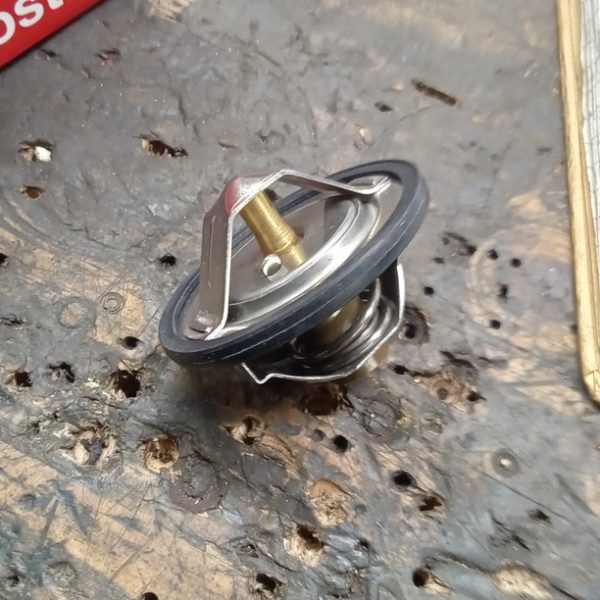
He has clean out the thermostat housing and fitted a new thermostat. The top rad hose and temp sender bulb have been fitted. We have noticed the vacuum system has a slight pressure loss so Jon has tightened all the hose clips and re-vacuumed the system. We still have a slight loss and are unable to trace it so we fill system with new coolant.
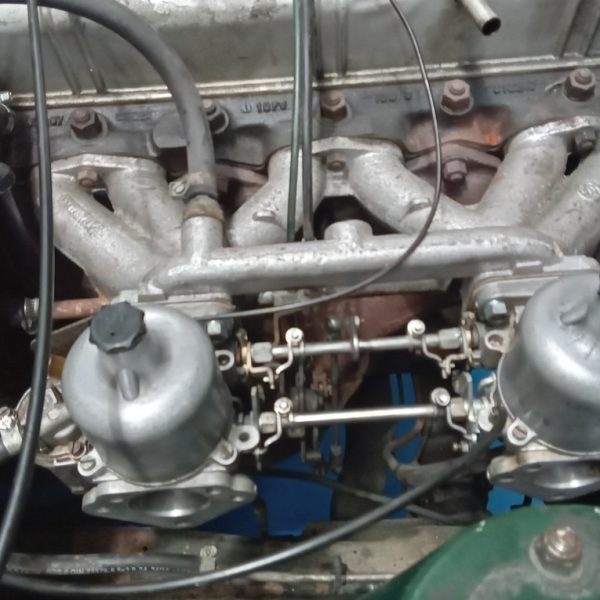
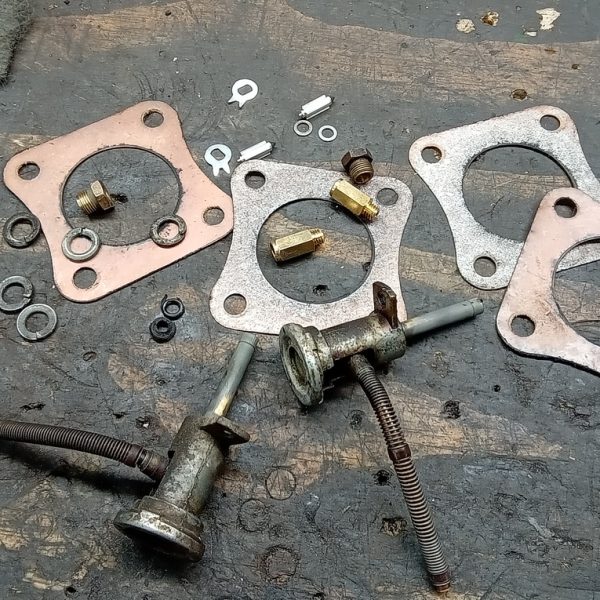
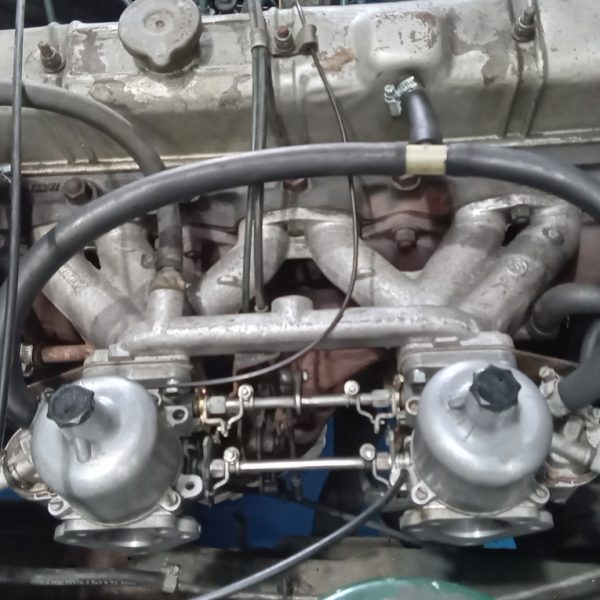
The carbs have been removed and stripped so we can clean each one in turn and fit new wax stat type jet tubes and new needle valves. We have then gone on to rebuild and refit both carbs.
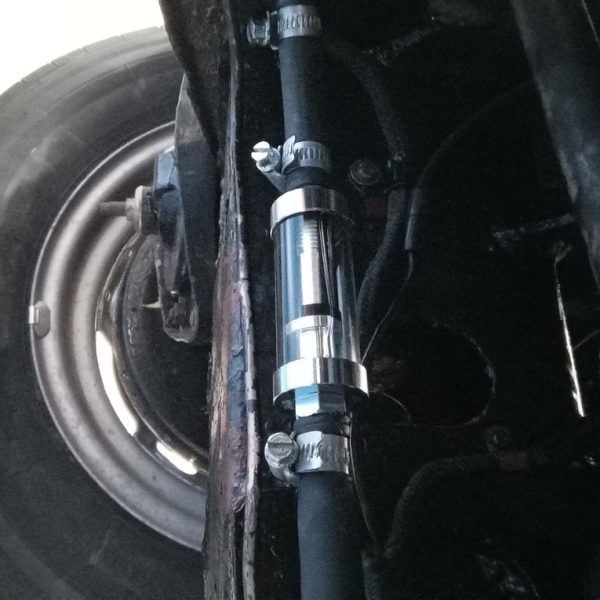
Drain lift pump and cleaned out the sight glass and filter before fitting a new inline fuel filter.
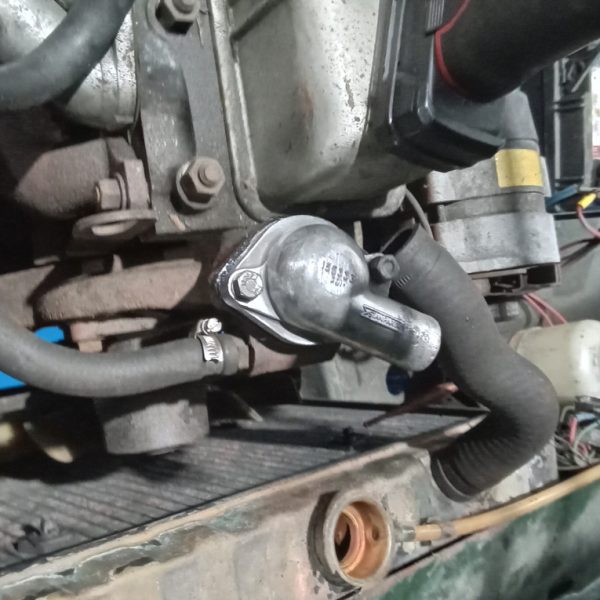
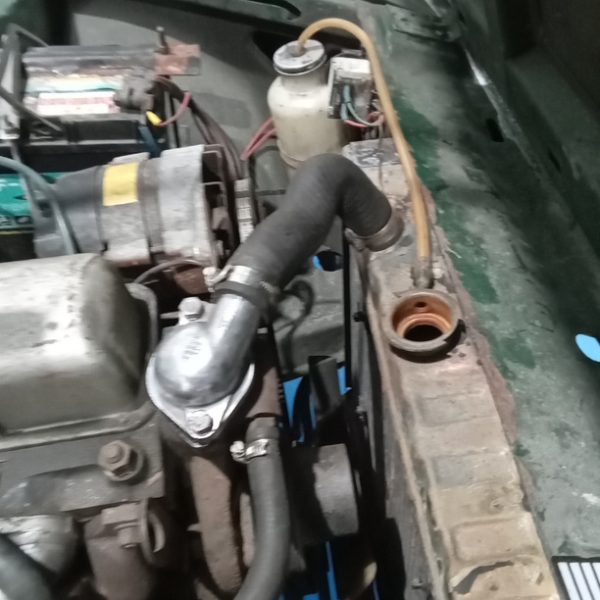
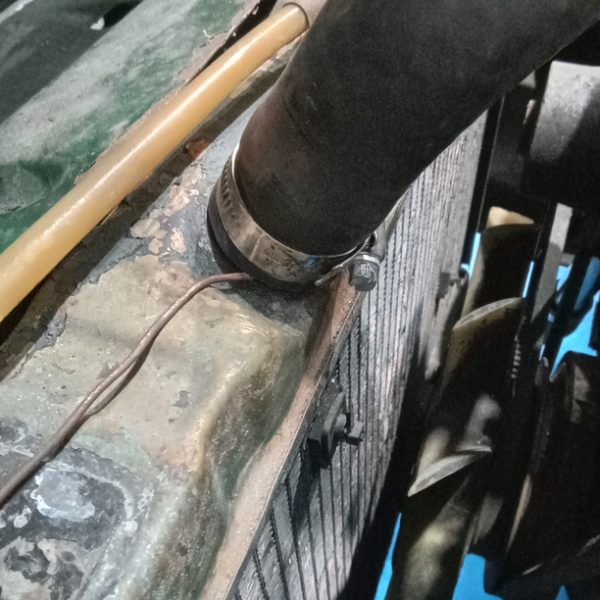
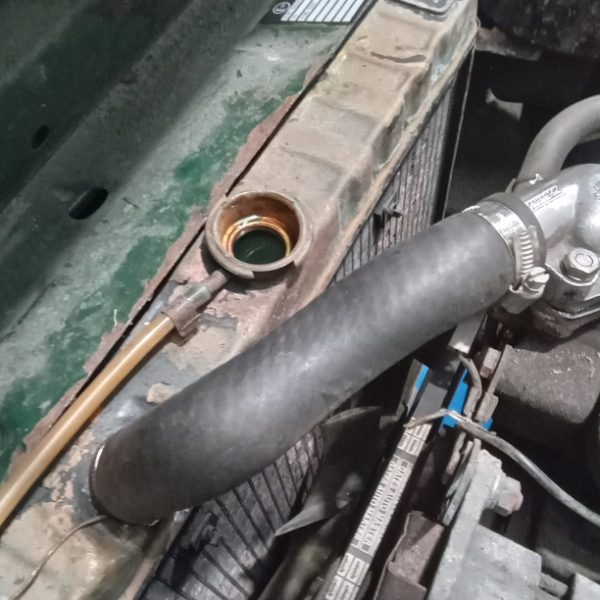
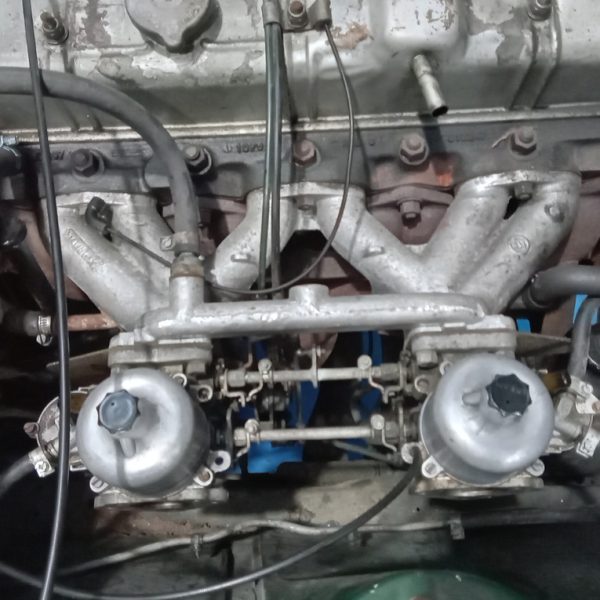
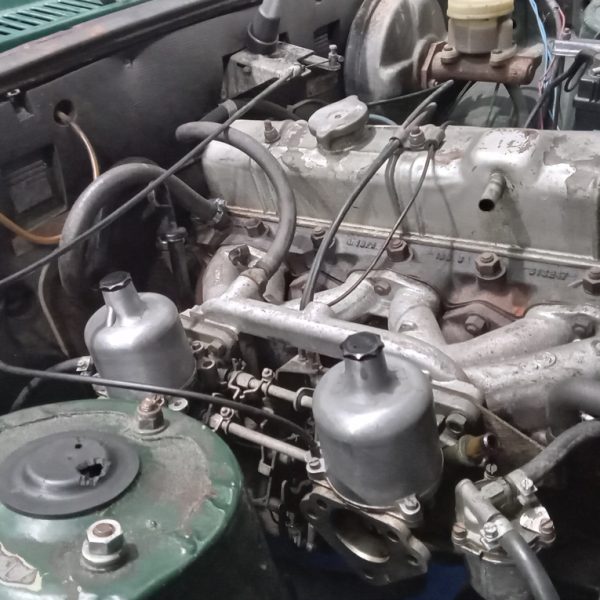
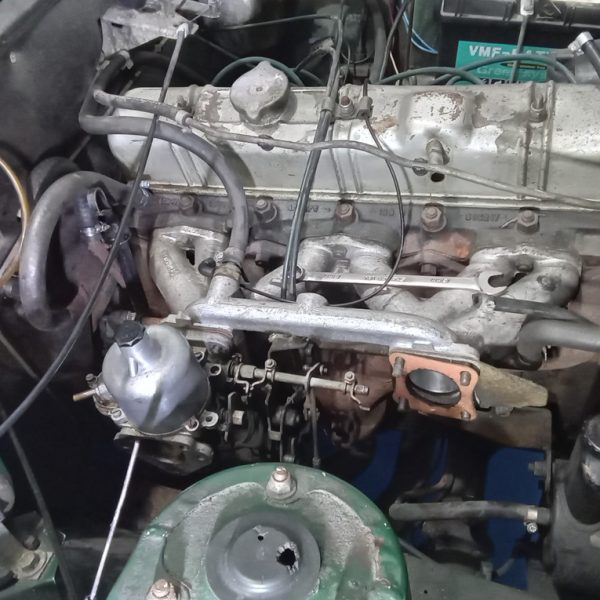
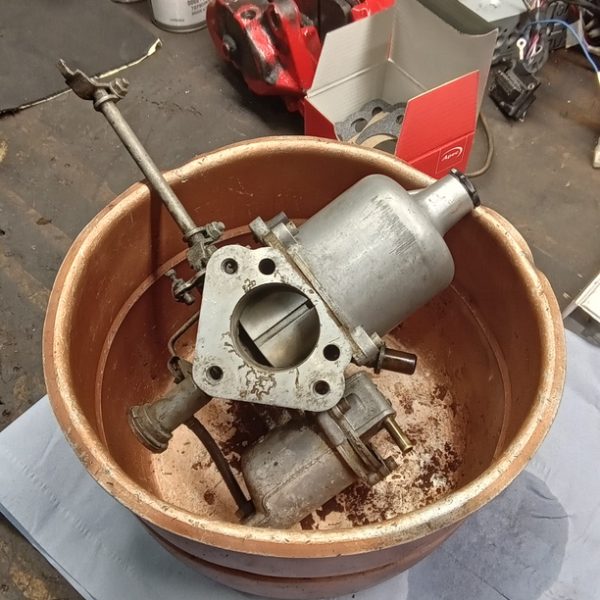
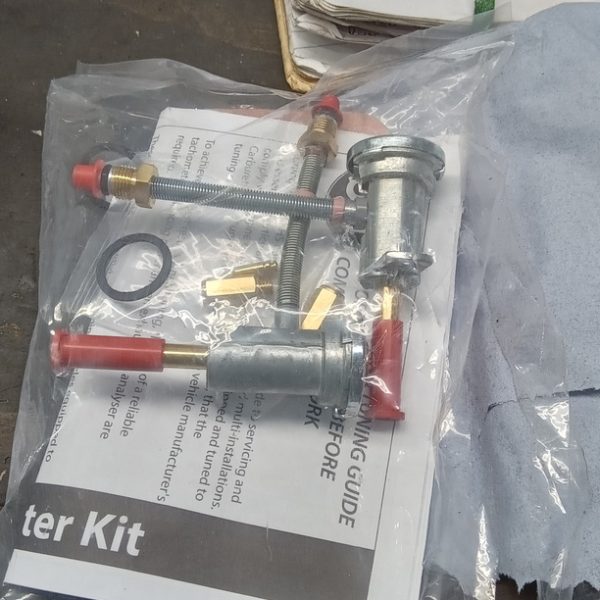
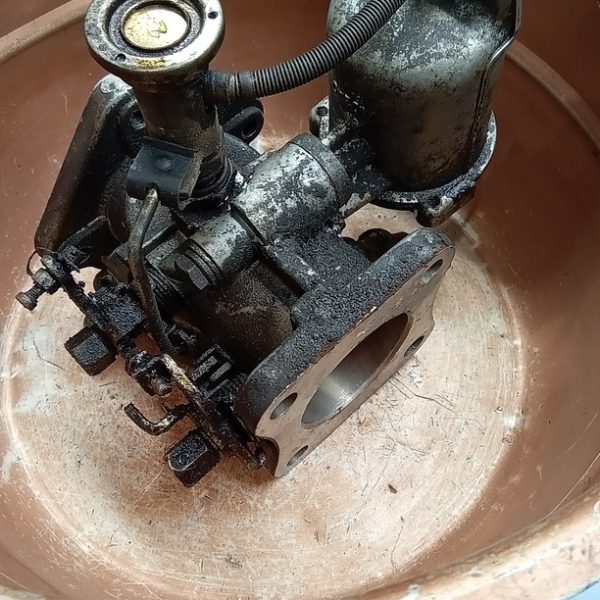
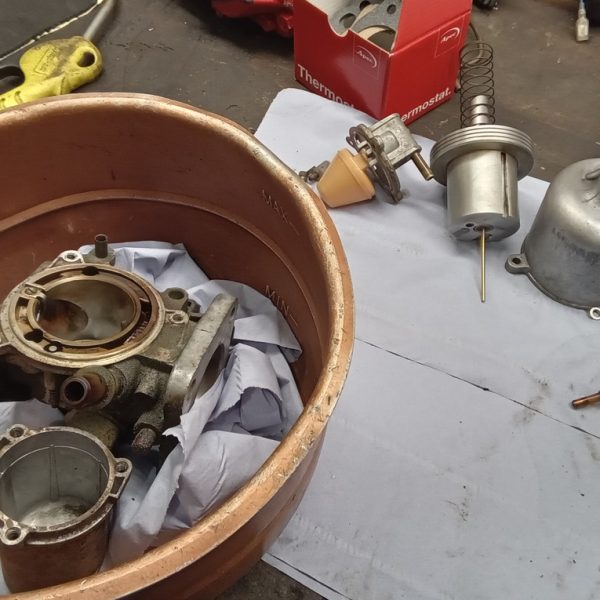
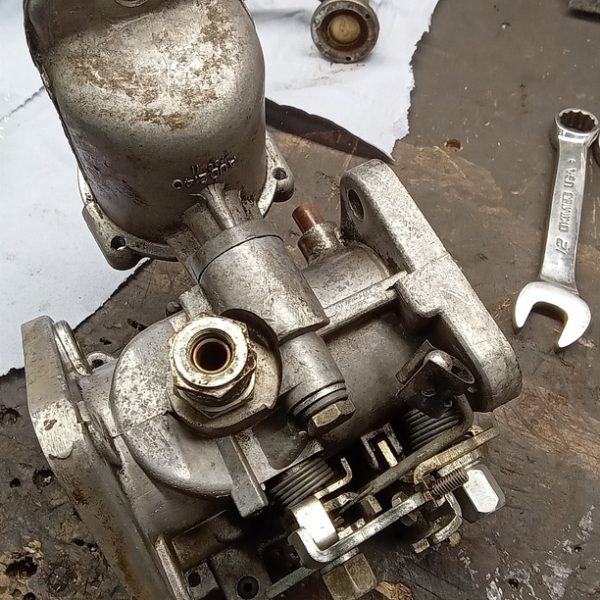
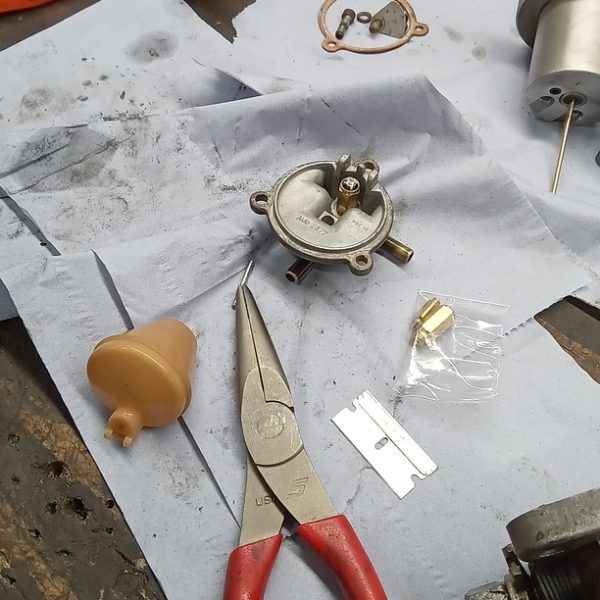
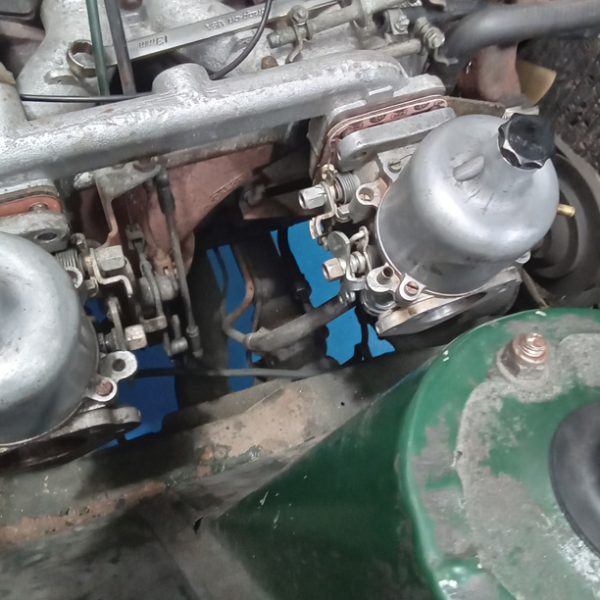
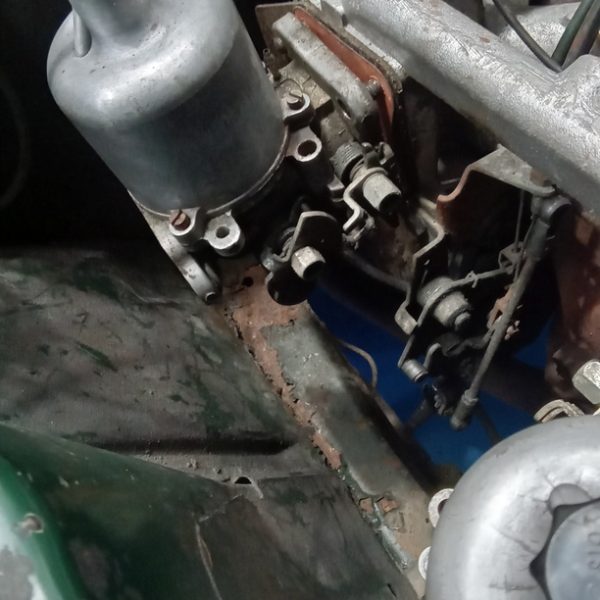
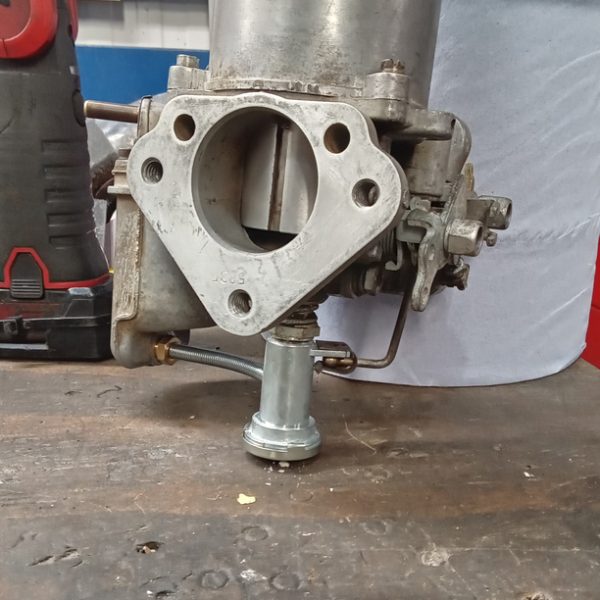
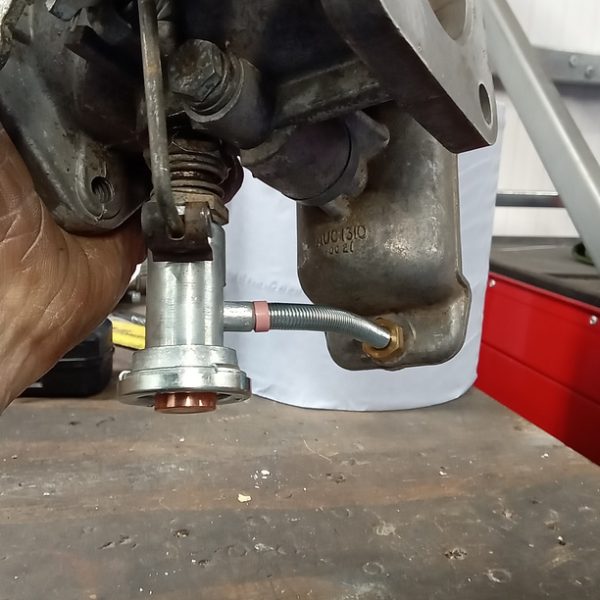
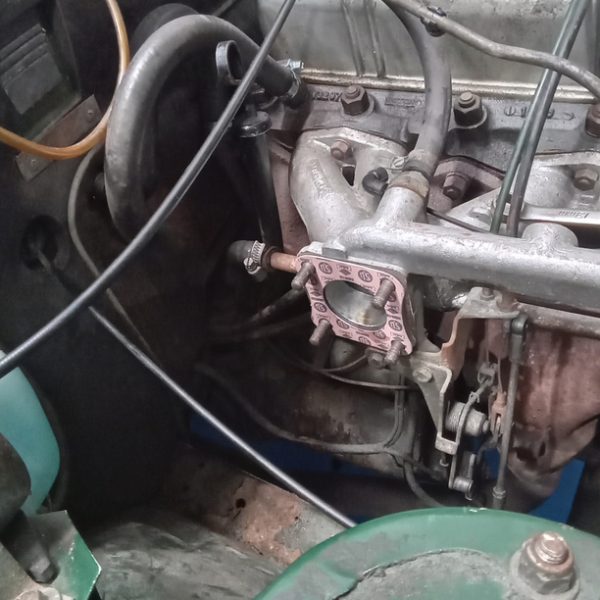
The tank requires draining.
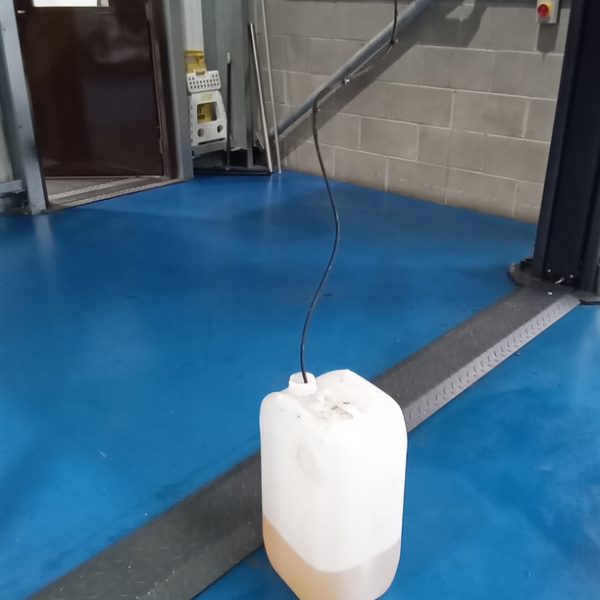
Jon has cut to length and fitted new carb breather pipes. He has remove fuel pipe from the clips and disconnected from the fuel filter. Drain fuel tank into drum and reconnect pipe.
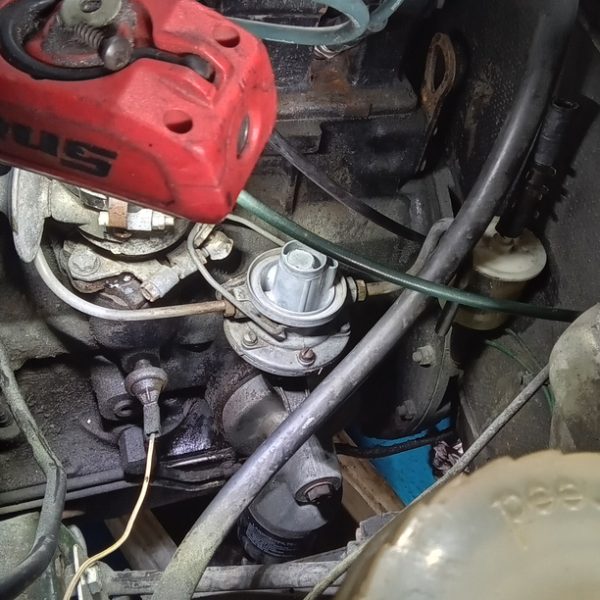
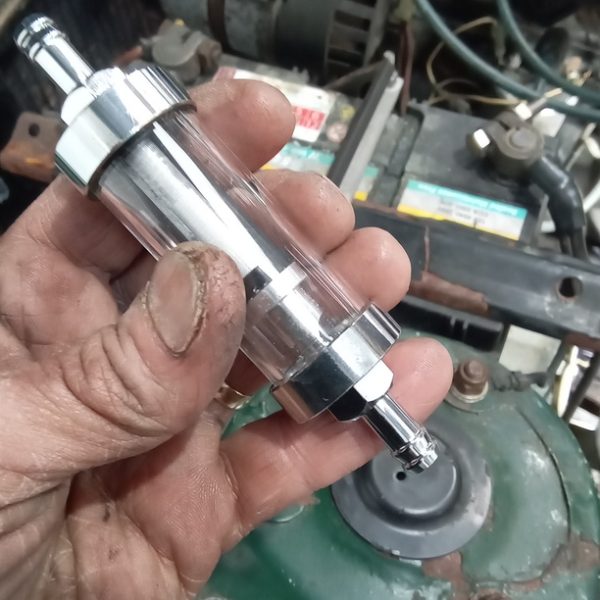
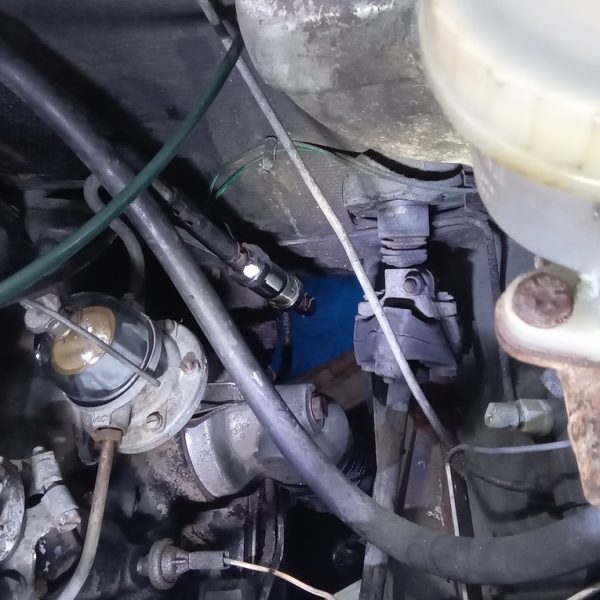
The repairs continue as we strip and fit new off-side front bottom ball joint rubber.
Strip and fit new front pads.
Jon has adjusted both front wheel bearings and refitted wheels. We have had to investigate why the reverse lights are not working. In order to do this, we have turned ignition on and short out wiring at switch on gearbox but the lights still not working. Check power supply at switch and all is ok. Check bulbs. Replace nearside rear bulb and tighten connections to offside rear bulb and all is working ok now.
Investigate indicators not flashing and nearside front not working. Found wires to nearside light not connected so we have reconnected and tested. All ok, flashing now.
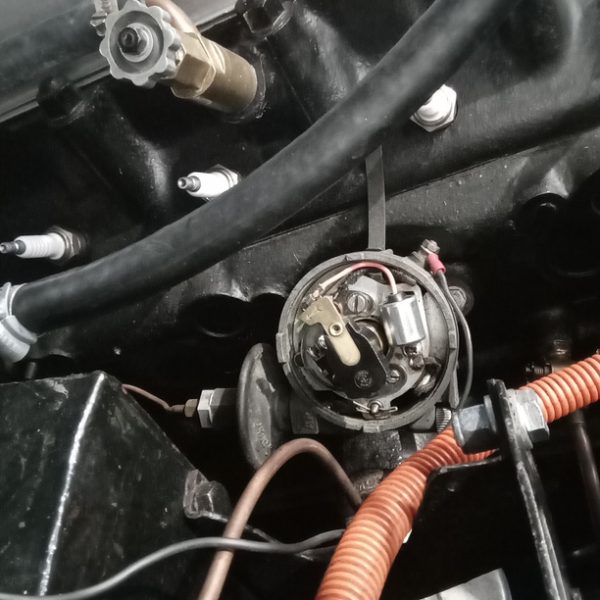
Strip and fit new points and condenser. Wire to coil to short so make an extension wire and solder ends. Fit new spark plugs. Suck out old brake fluid from reservoir and clean out.
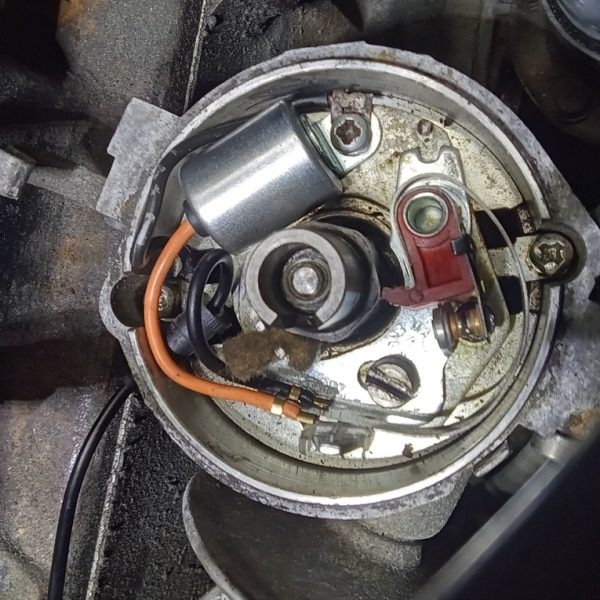
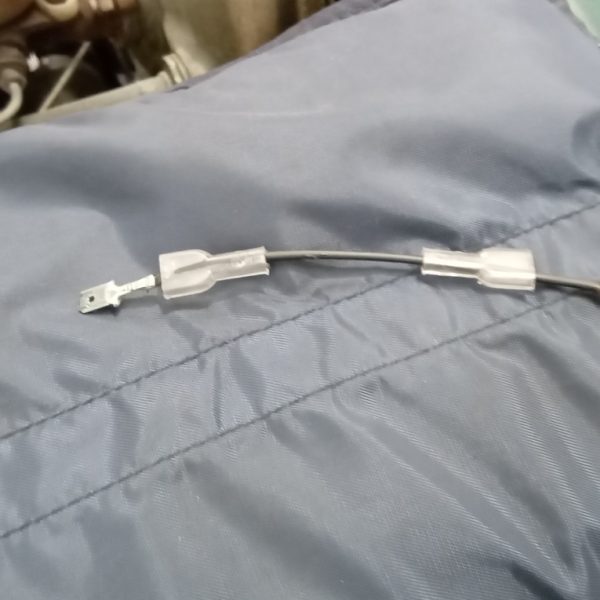
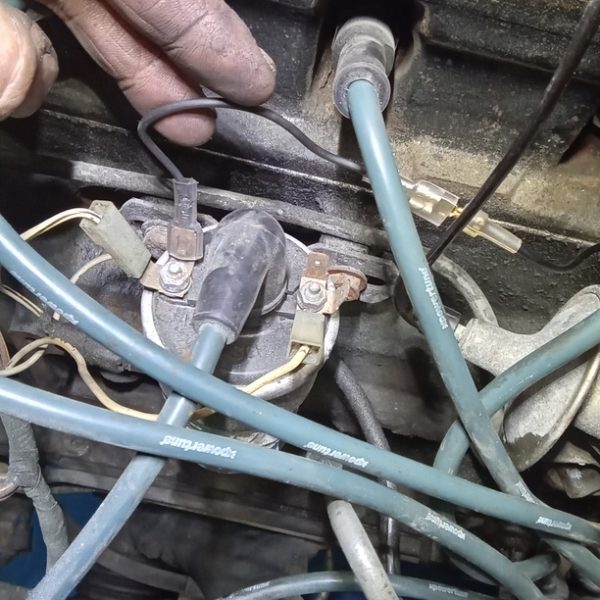
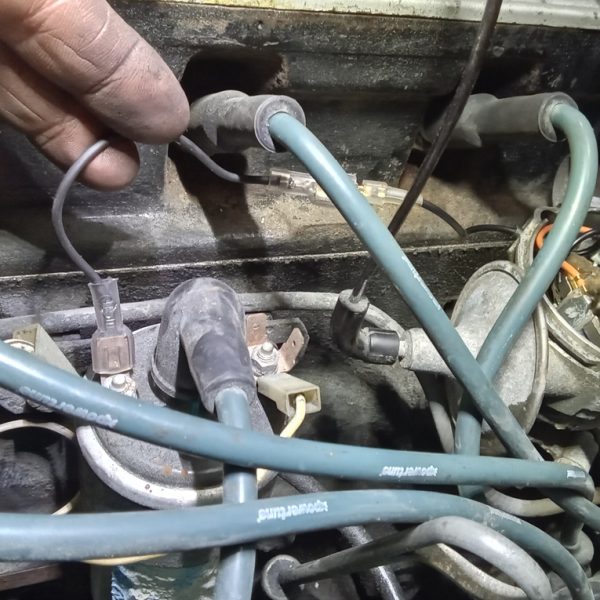
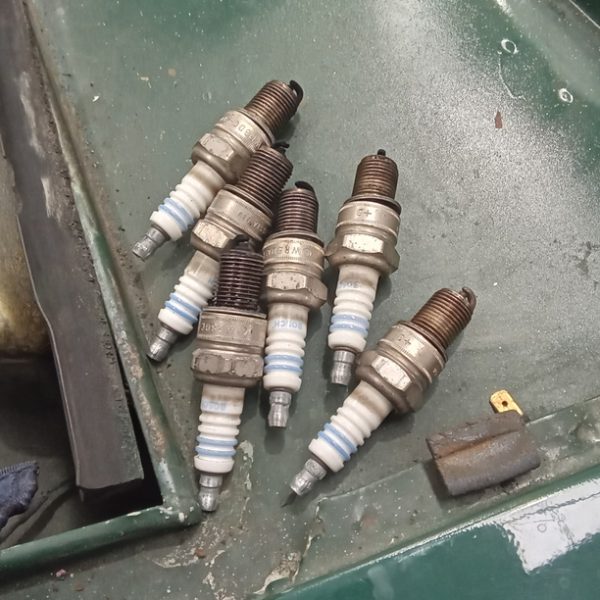
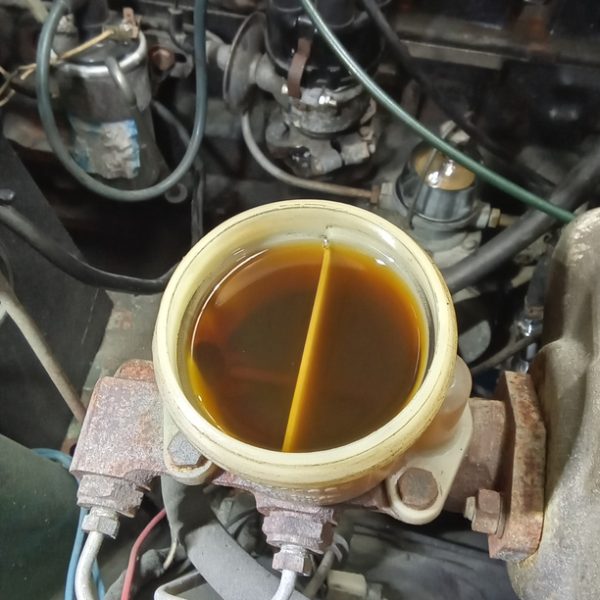
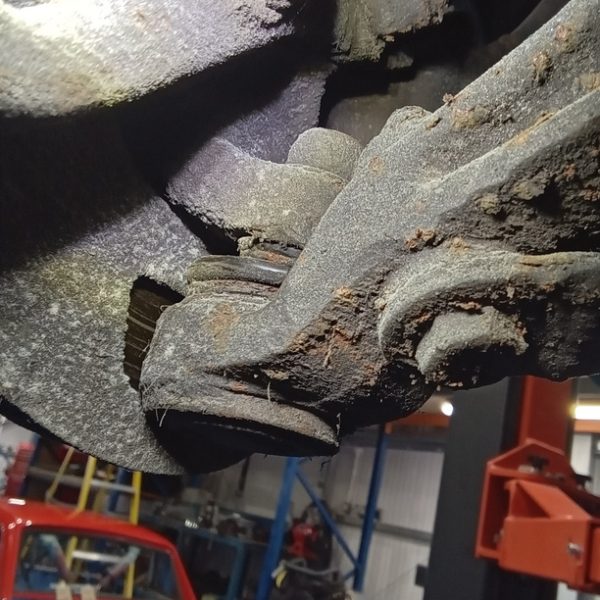
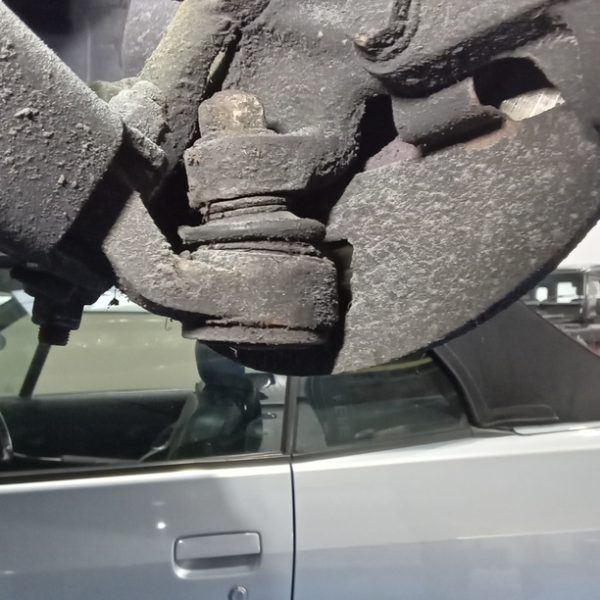
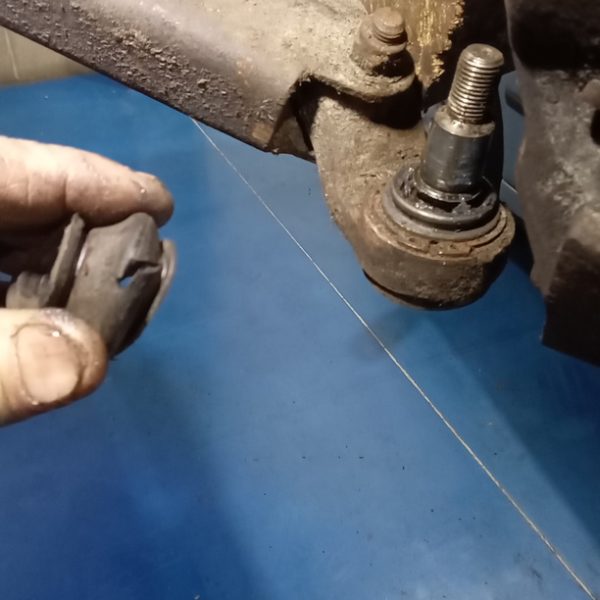
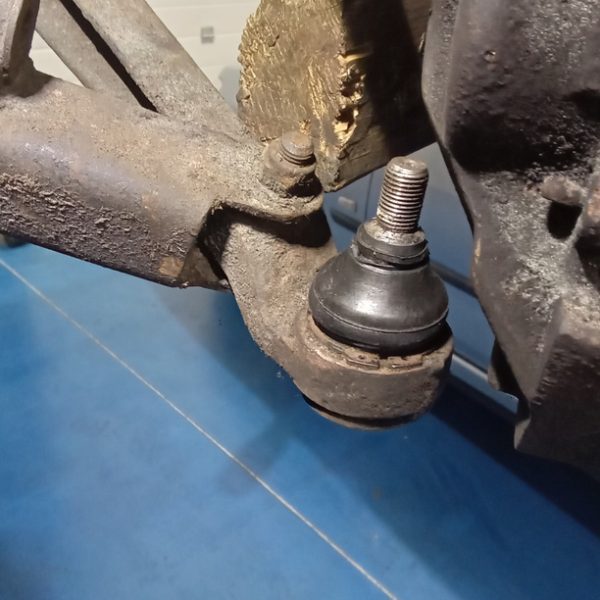
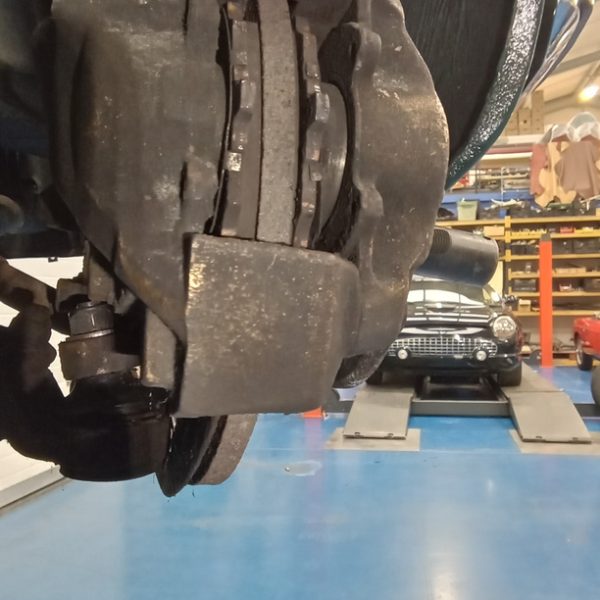
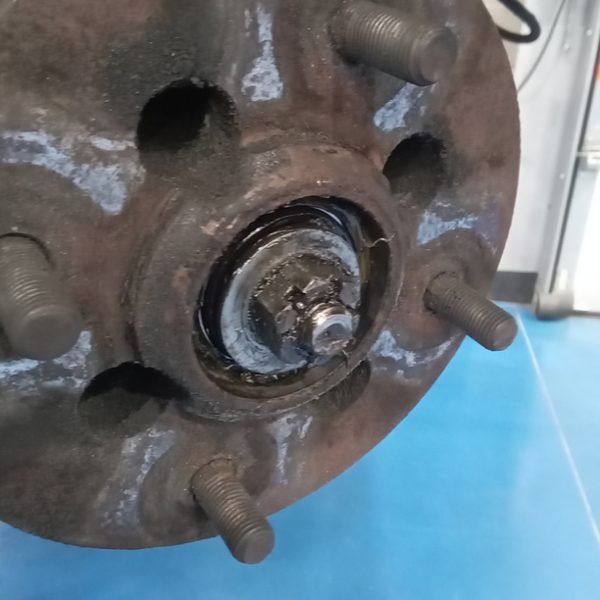
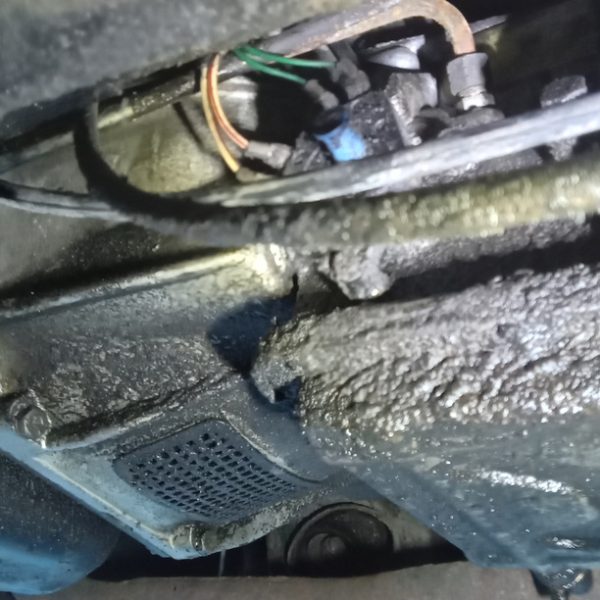
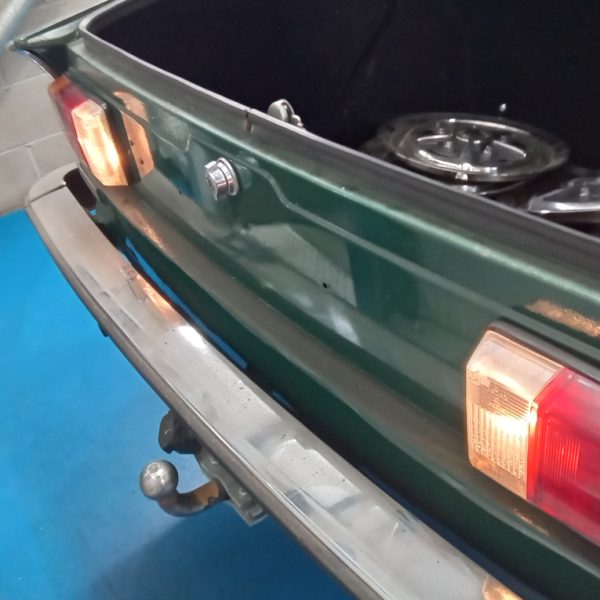
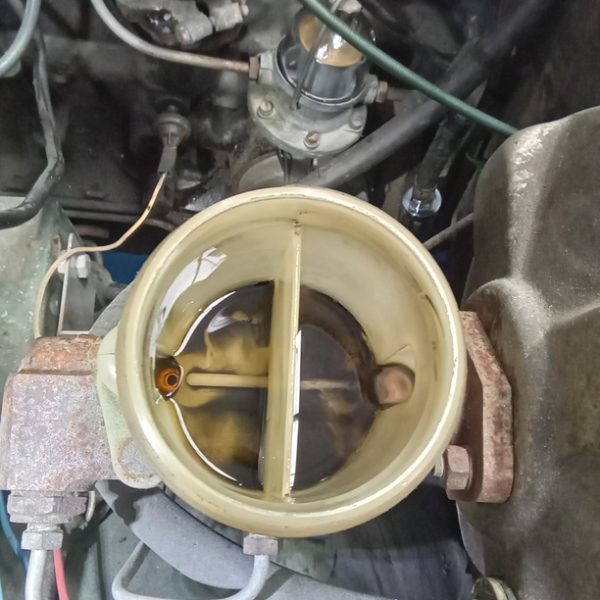
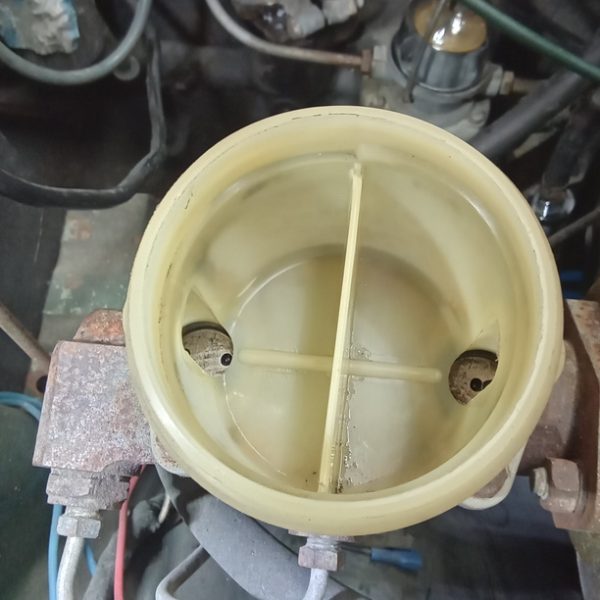
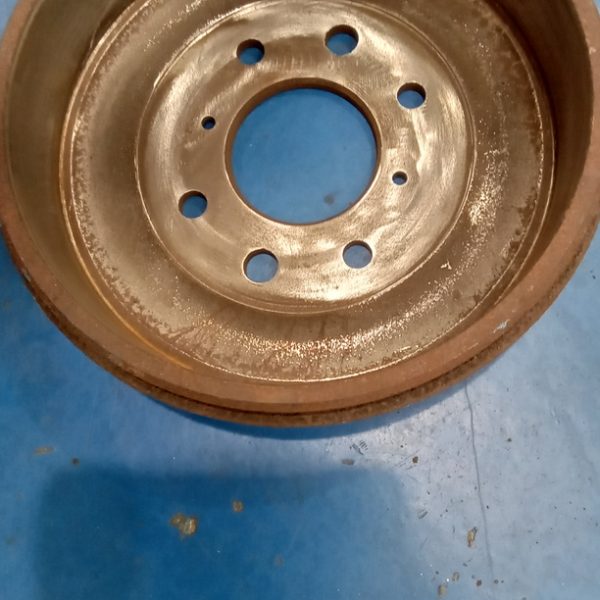
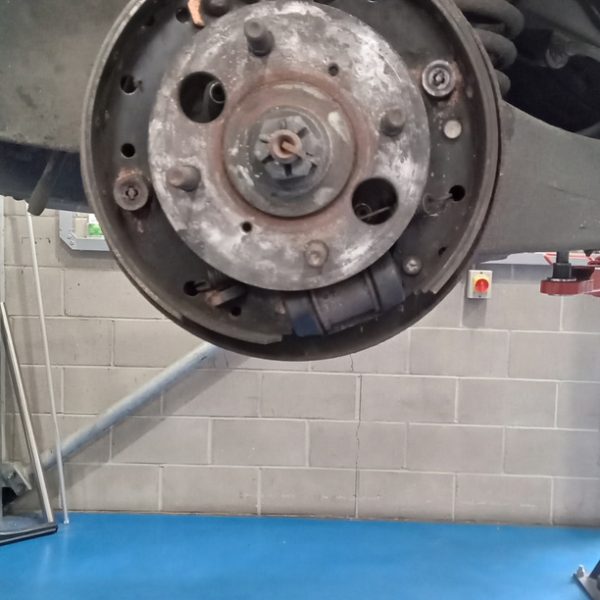
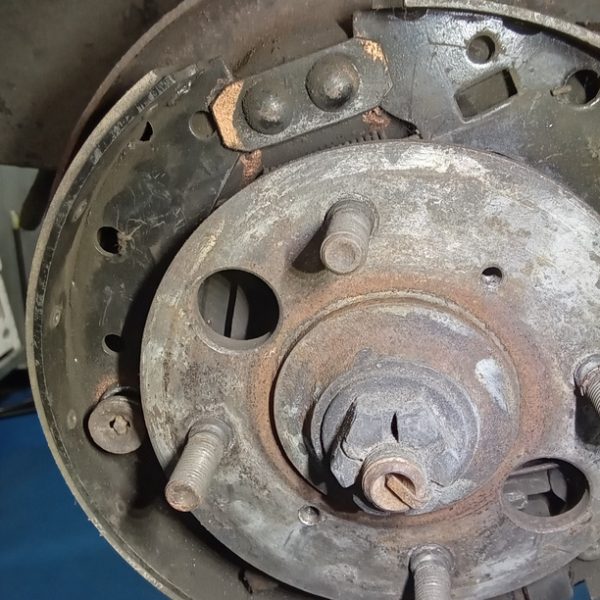
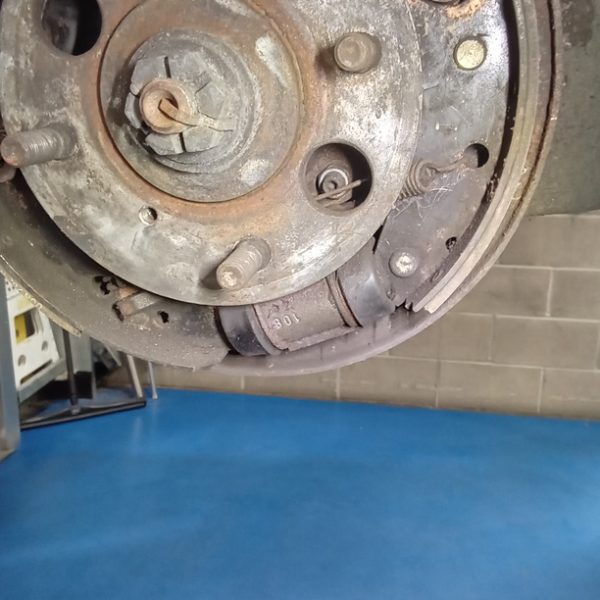
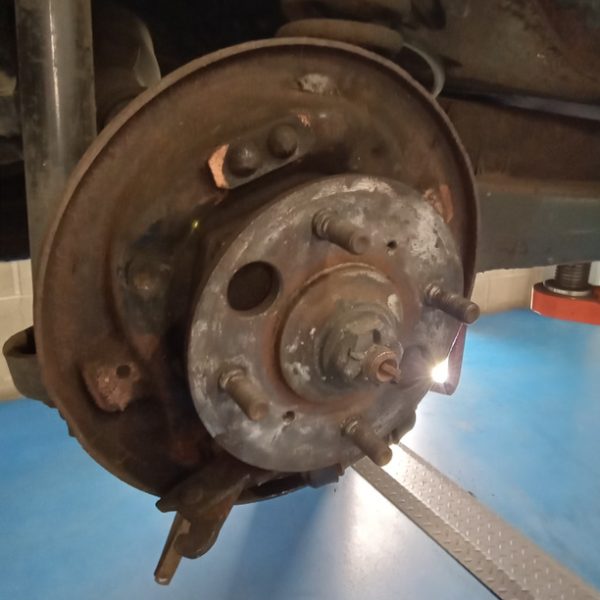
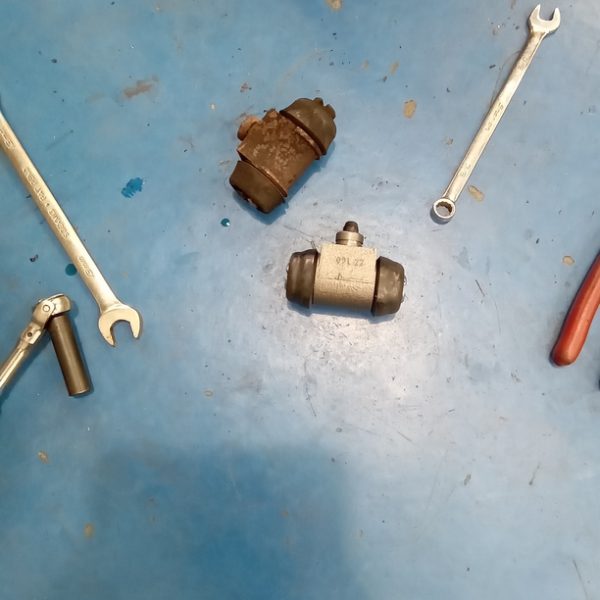
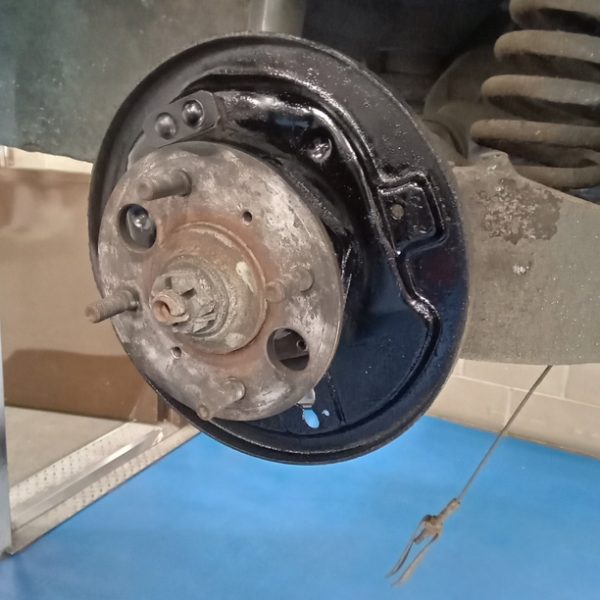
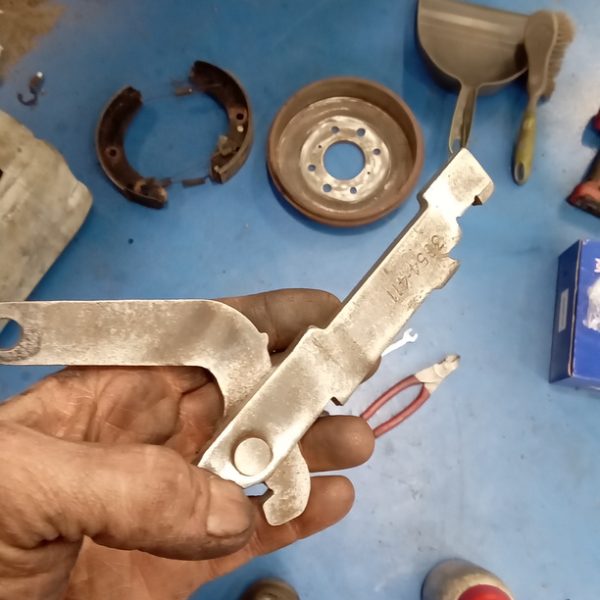
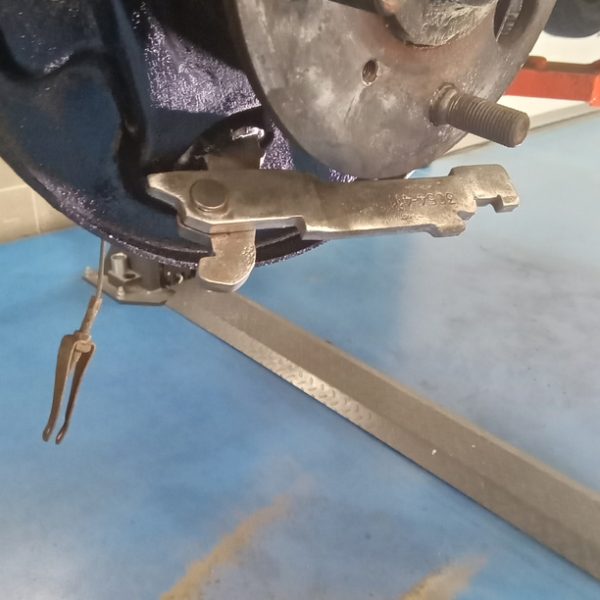
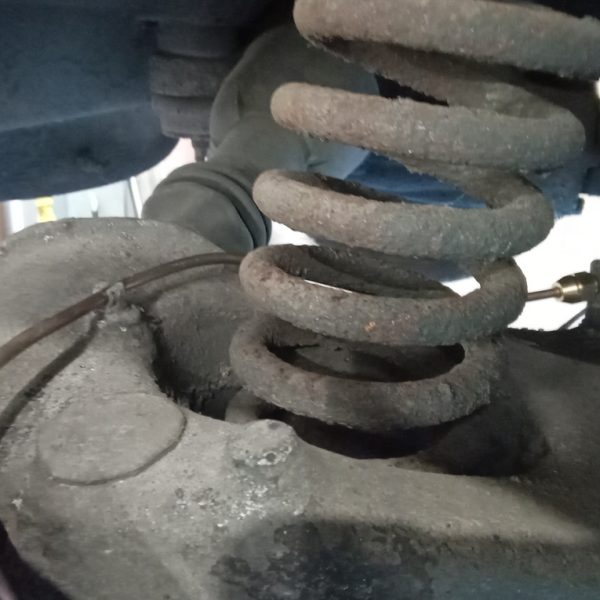
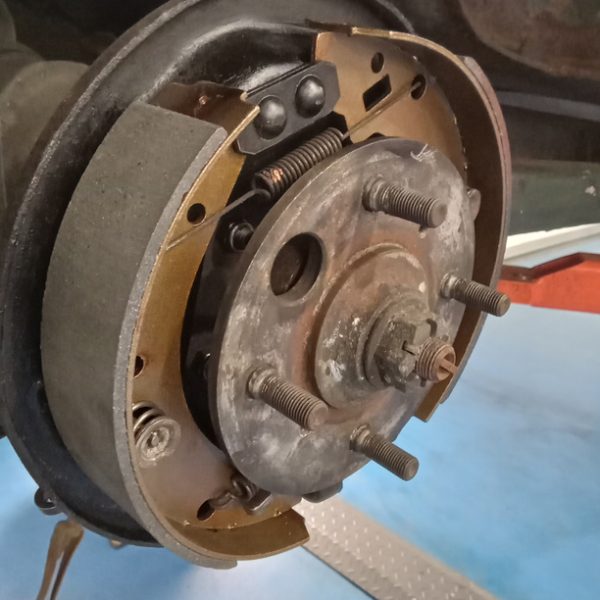
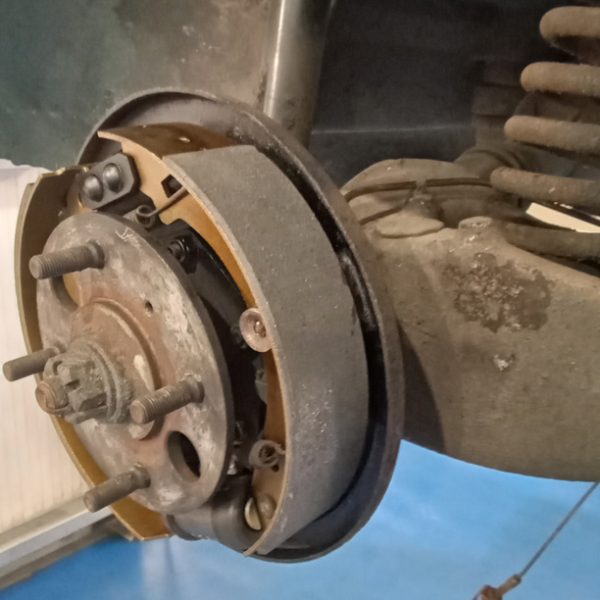
We have removed the rear wheels and stripped the rear brakes. Cut off old brake pipe. Clean all components to be reused. Paint backplate black. Fit new cylinder and make new pipe. Swap automatic adjusters to new shoes and fit. Free off handbrake adjuster and clean. Re-adjust handbrake and fit drum. Strip nearside and start to repeat process.
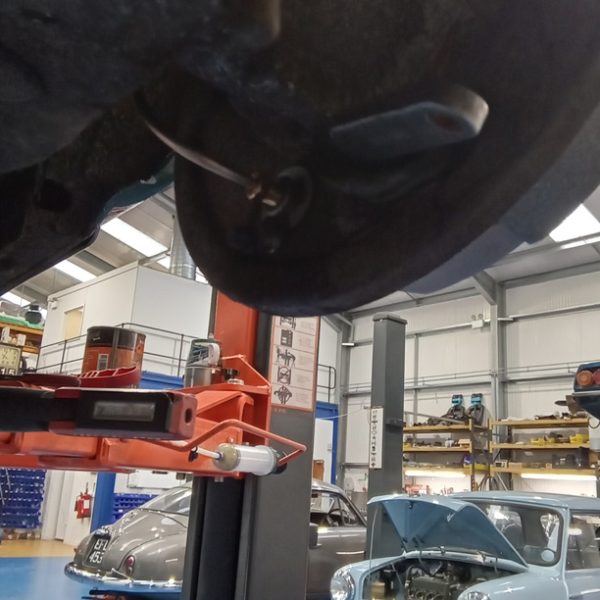
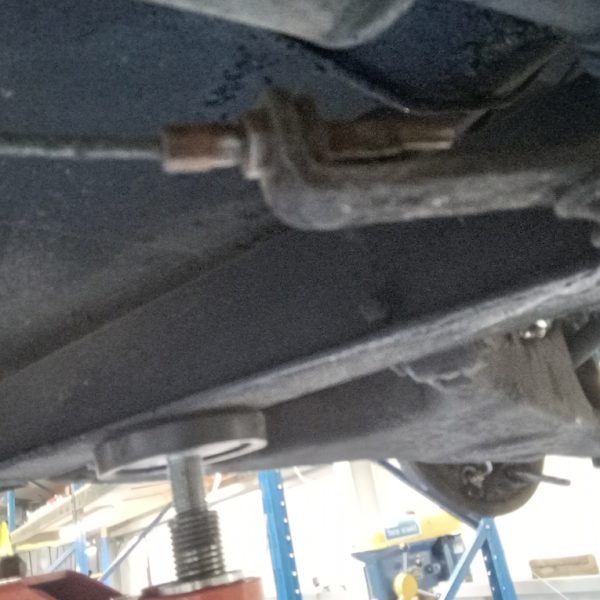
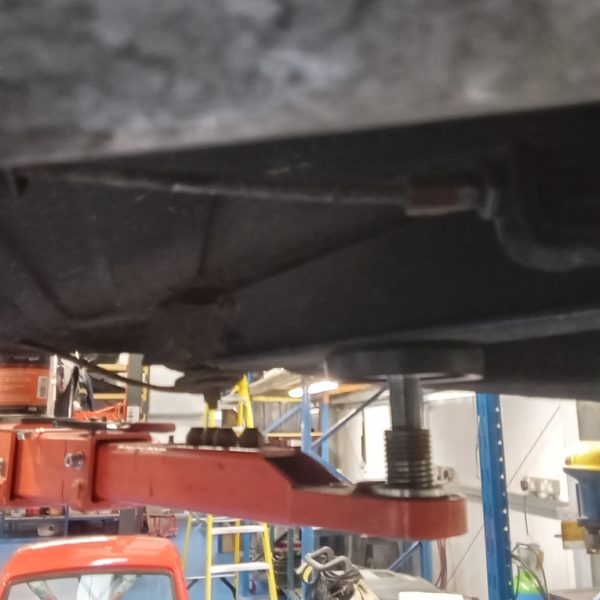
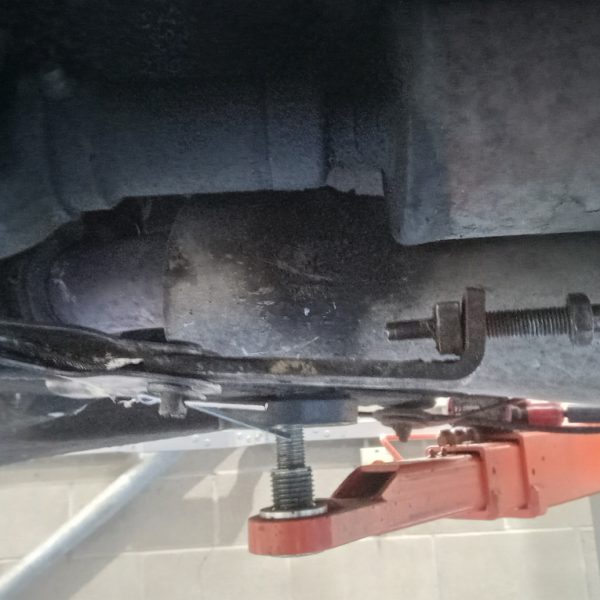
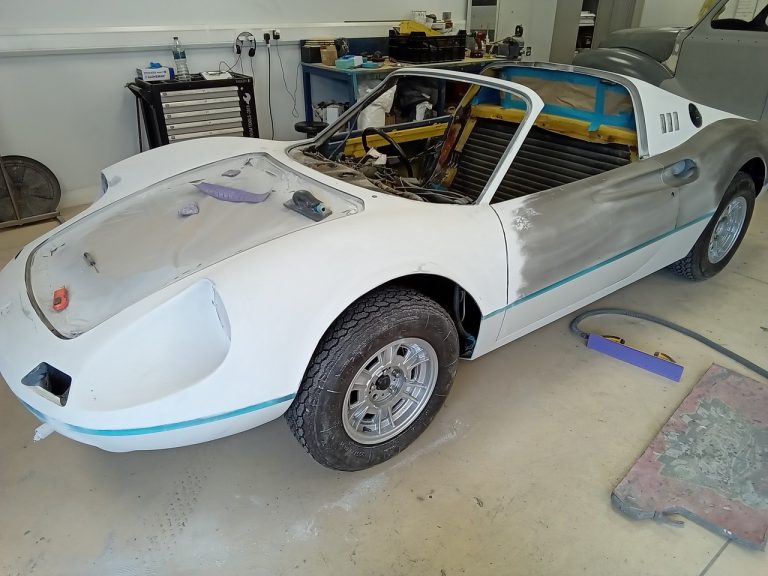
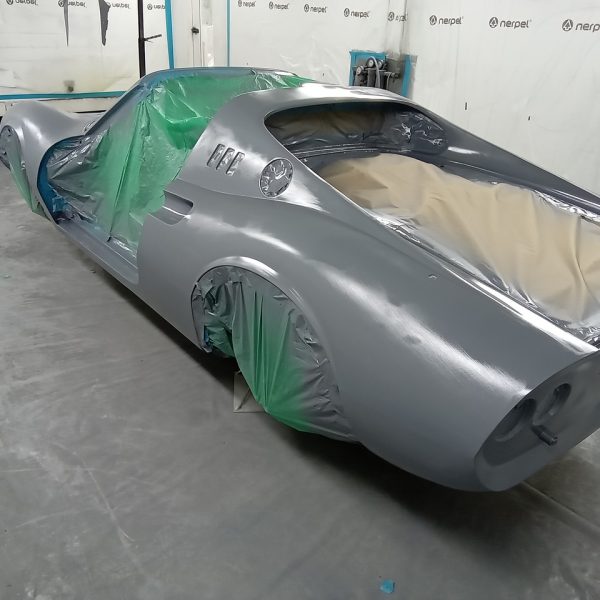
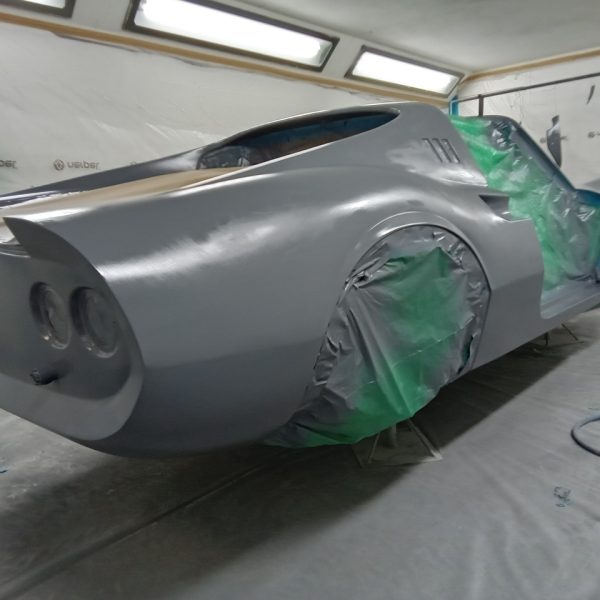
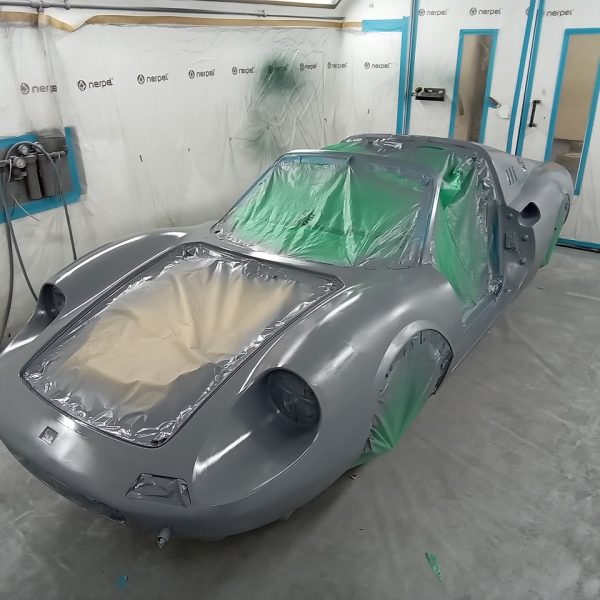
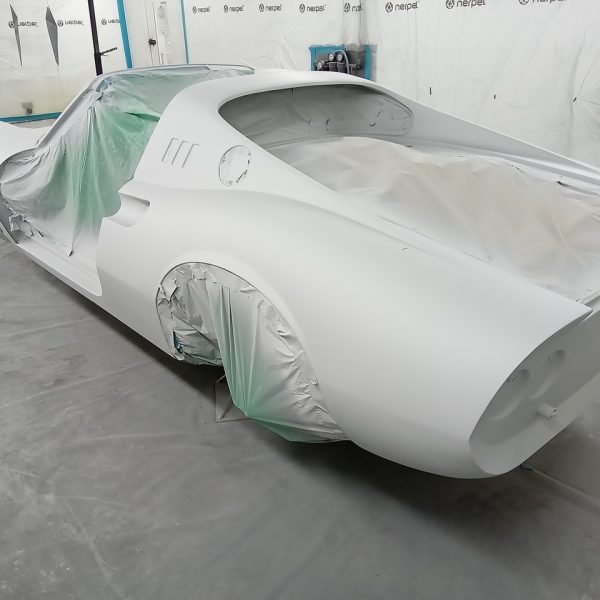
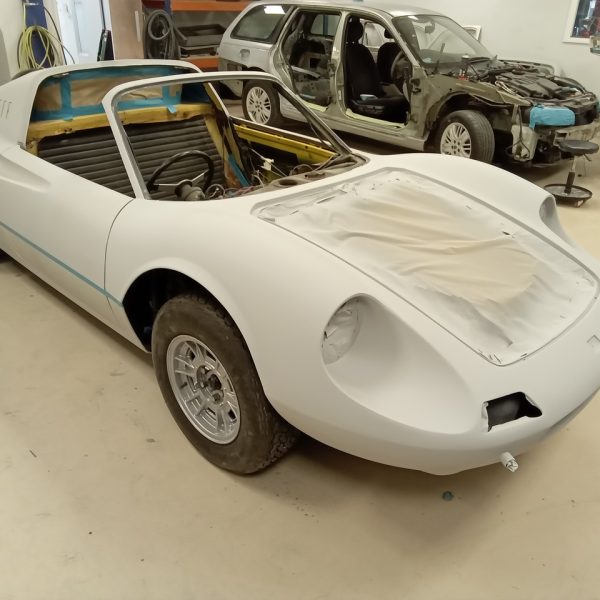
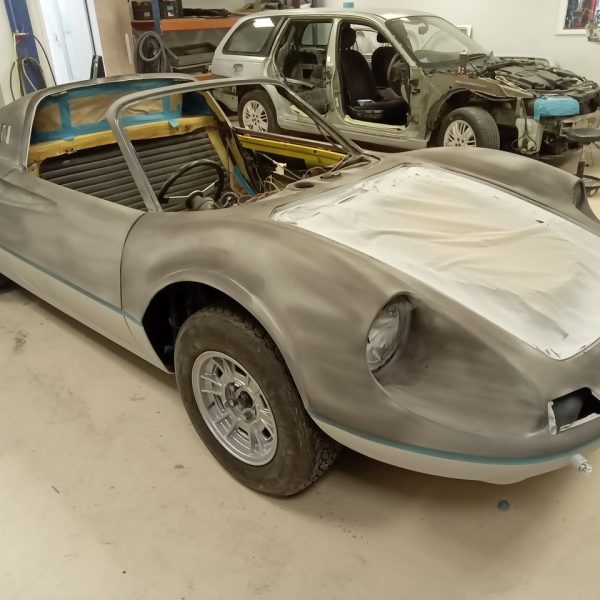
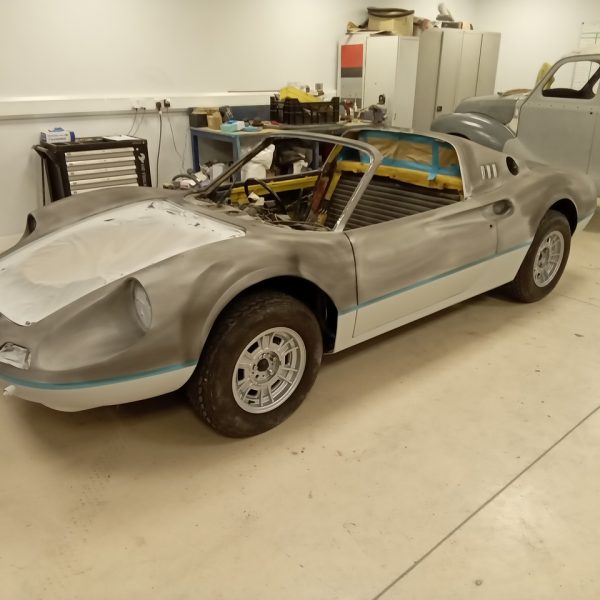
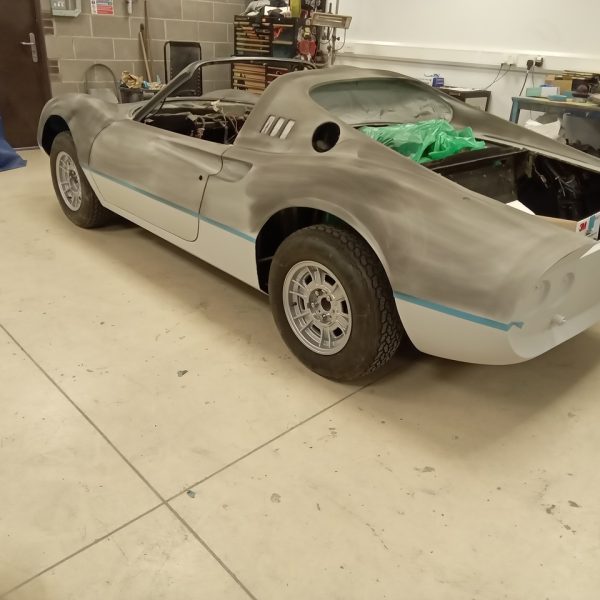
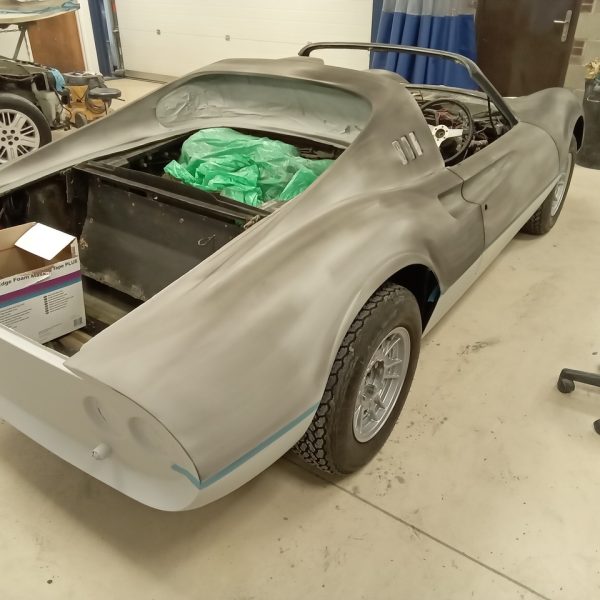
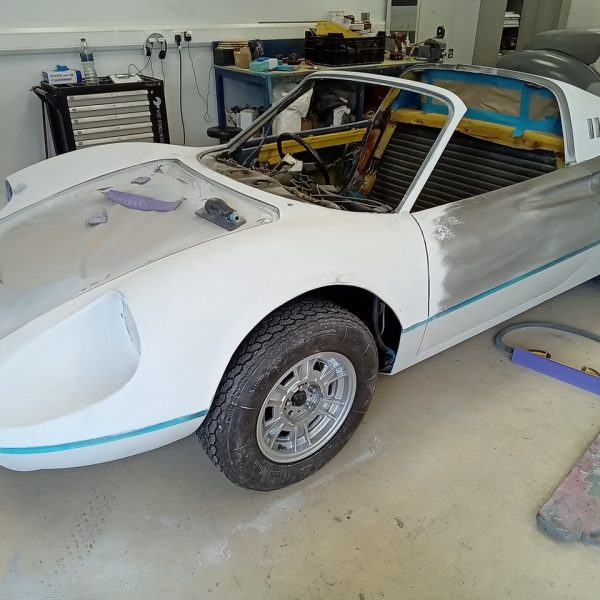
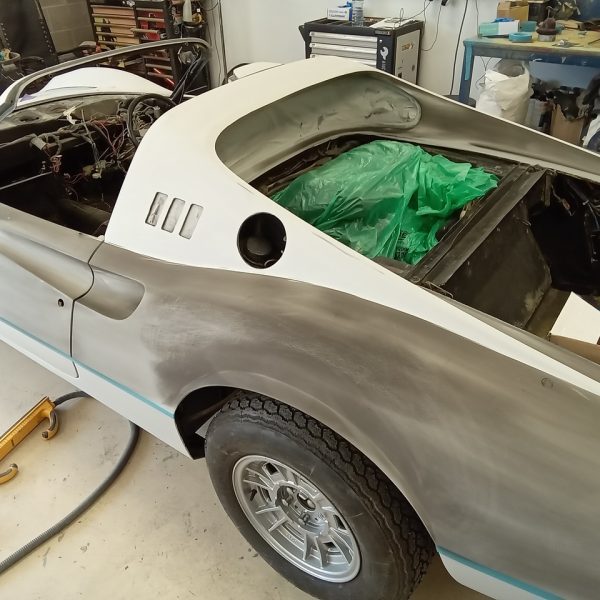
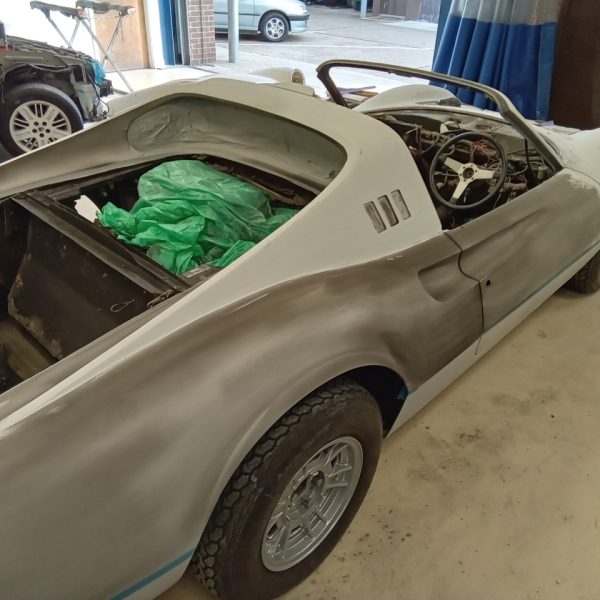
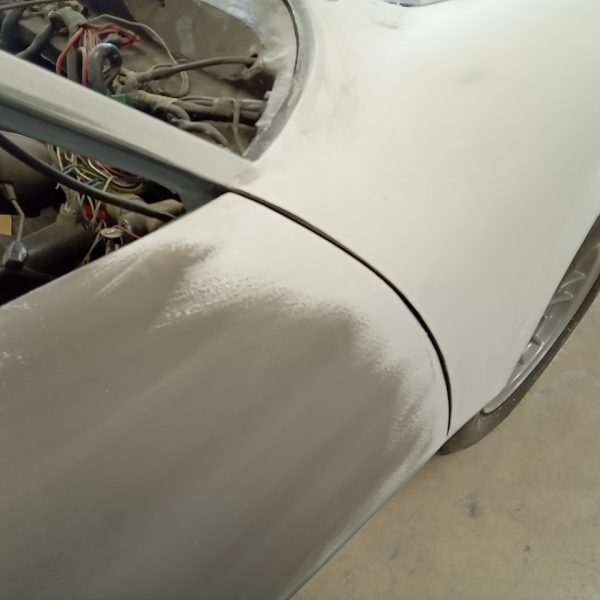
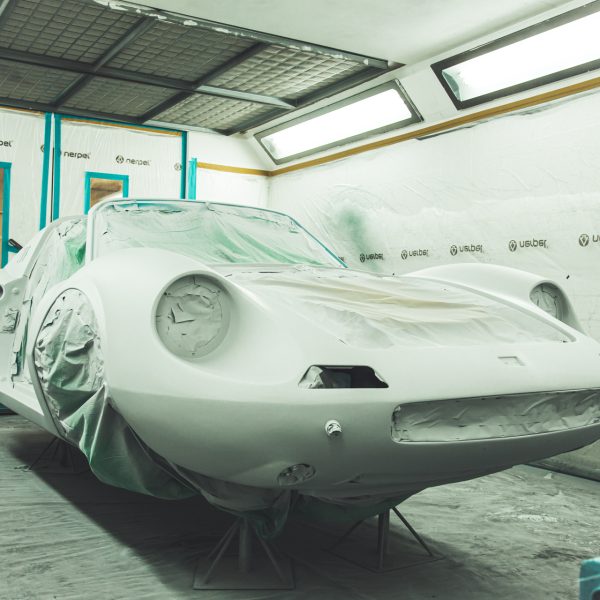
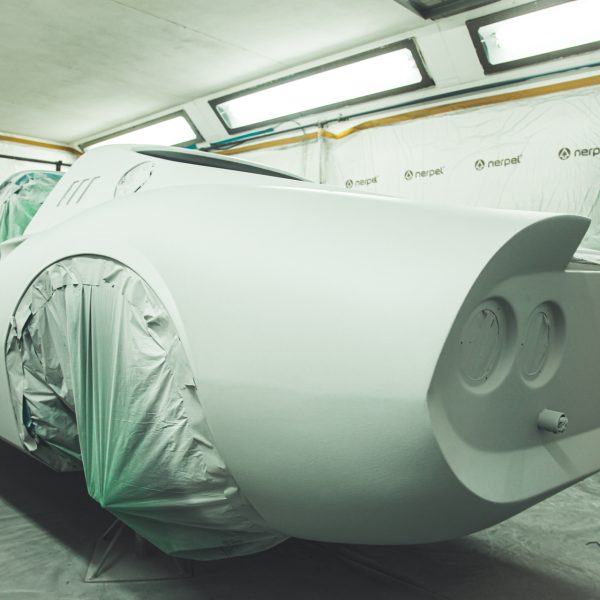
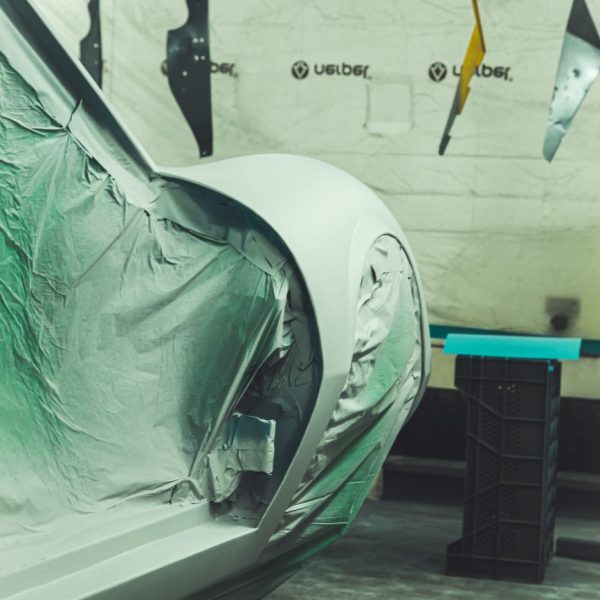
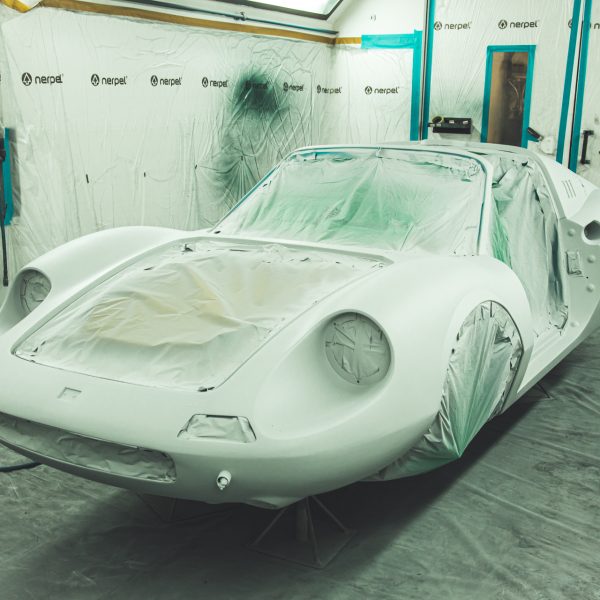
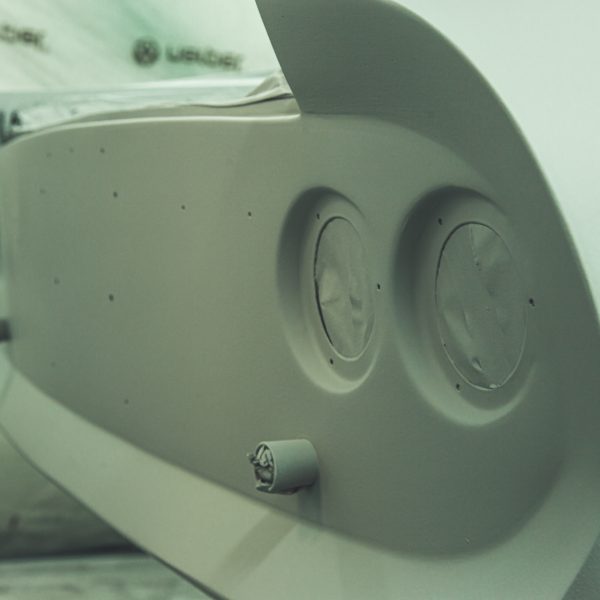
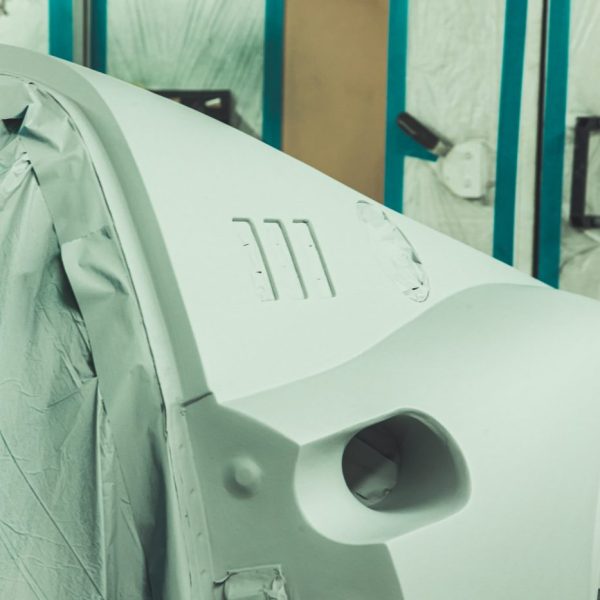
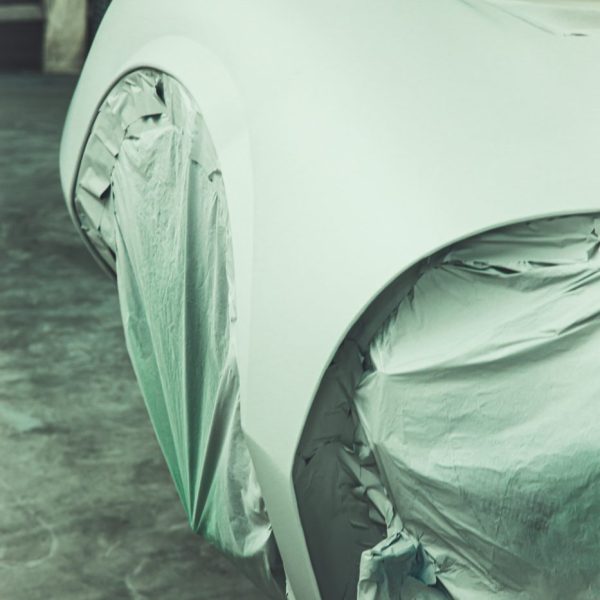
Chris is now finishing off the final few areas of panel levelling and preparing the car for Polyfan.
Polyfan is spray polyester putty, used as a levelling primer with high filling properties. t is very easy to work with a great for sanding.
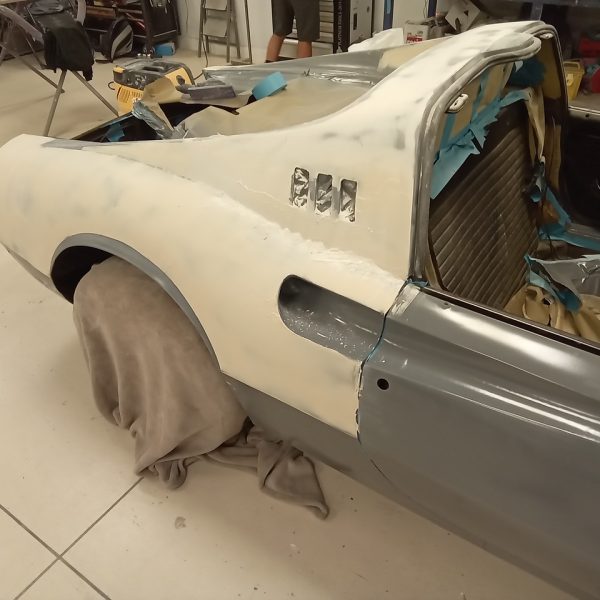
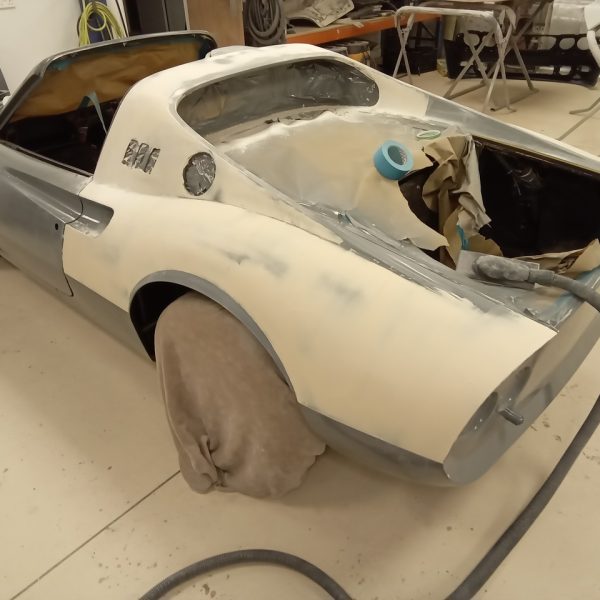
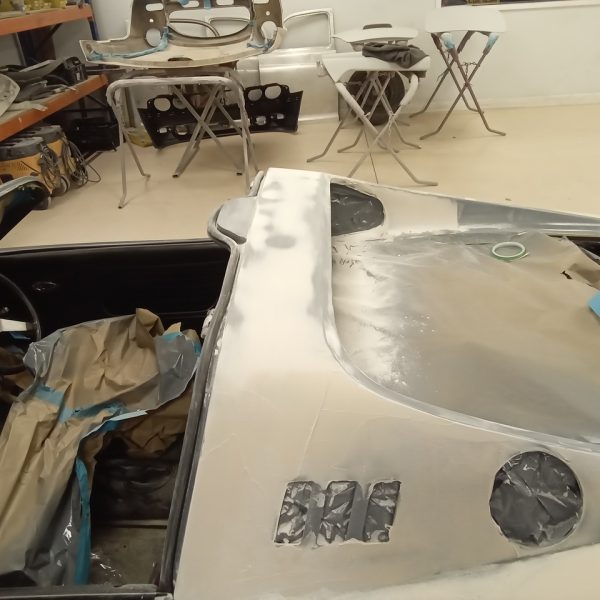
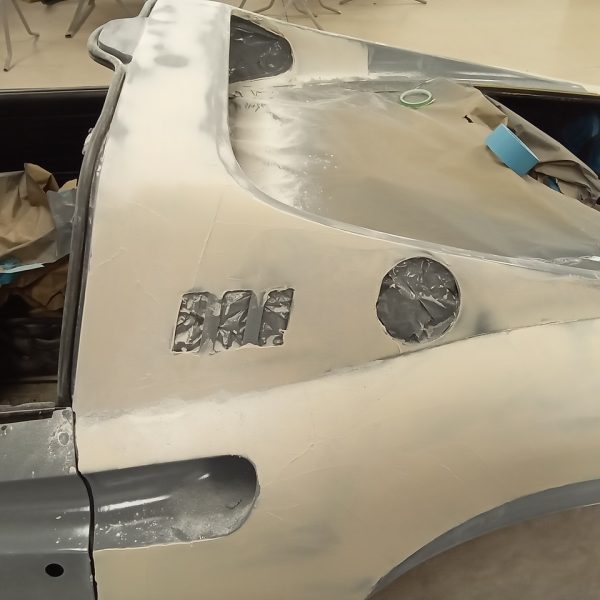
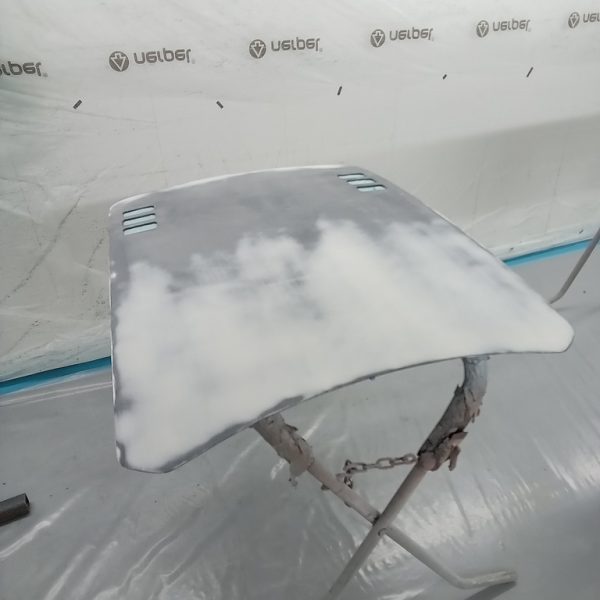
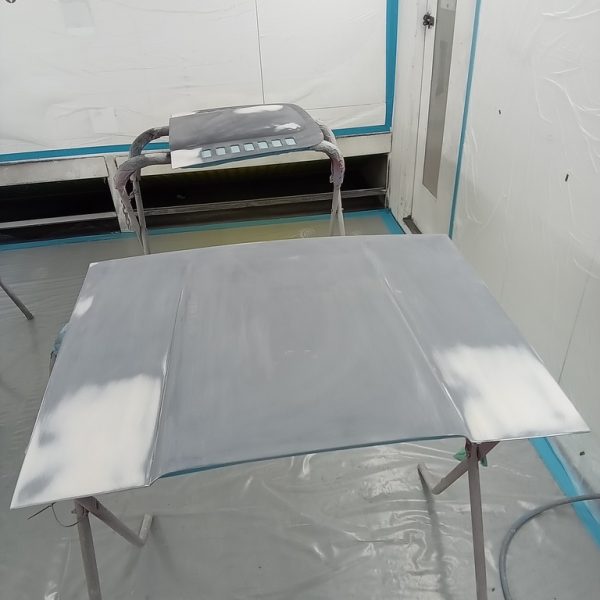
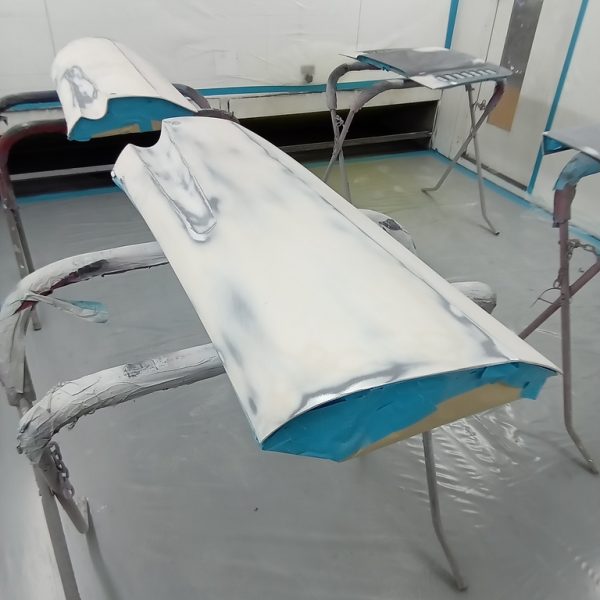
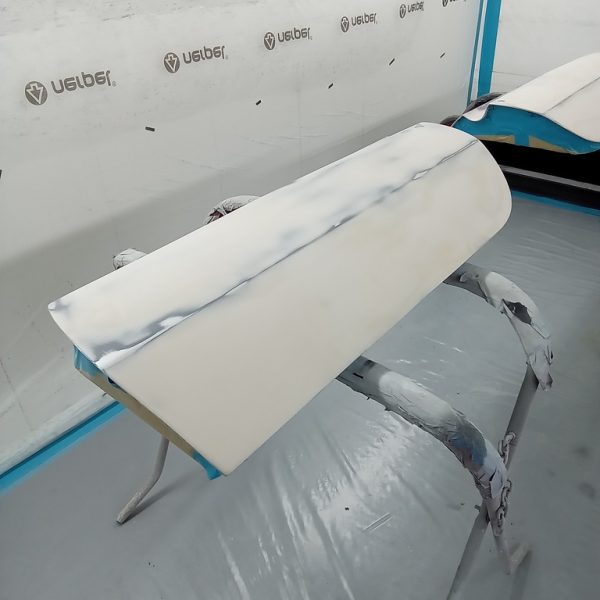
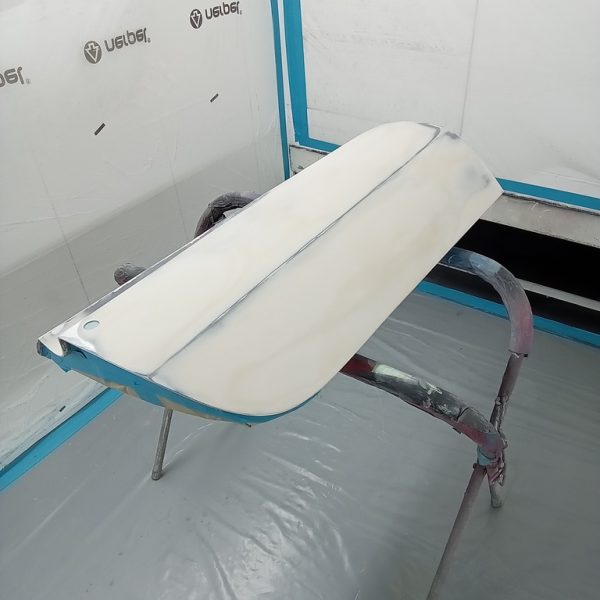
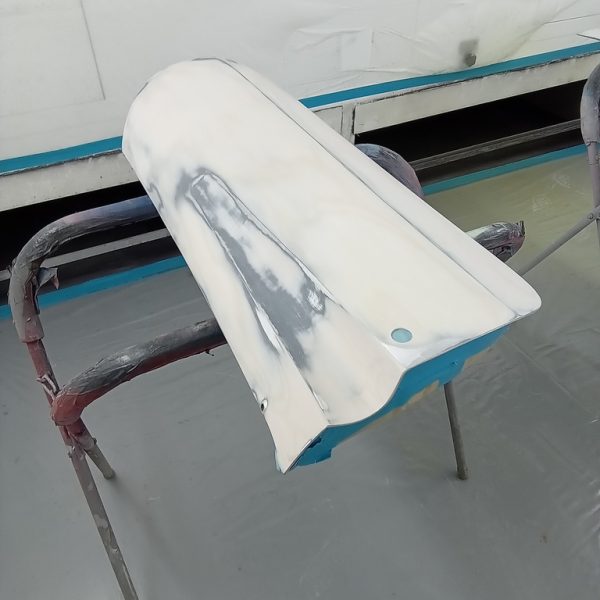
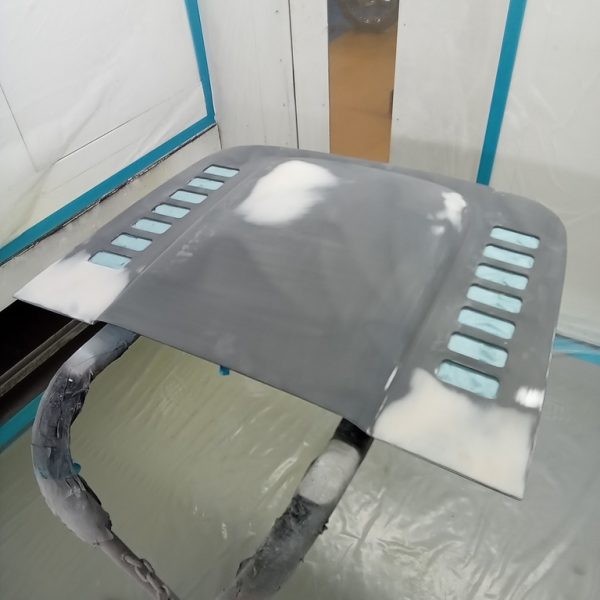
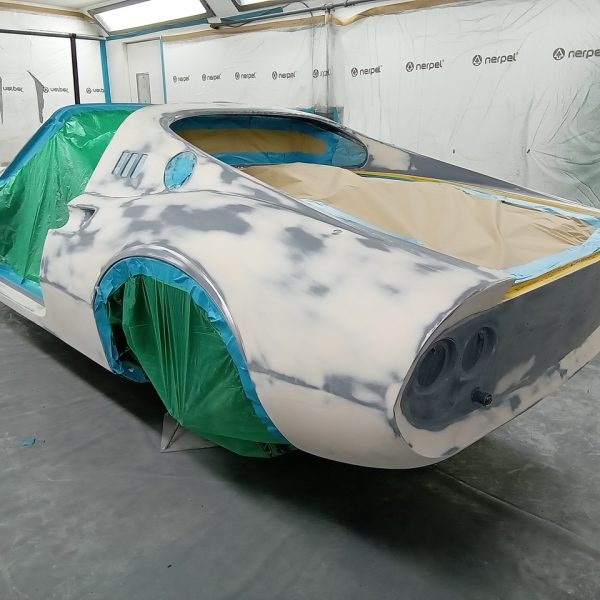
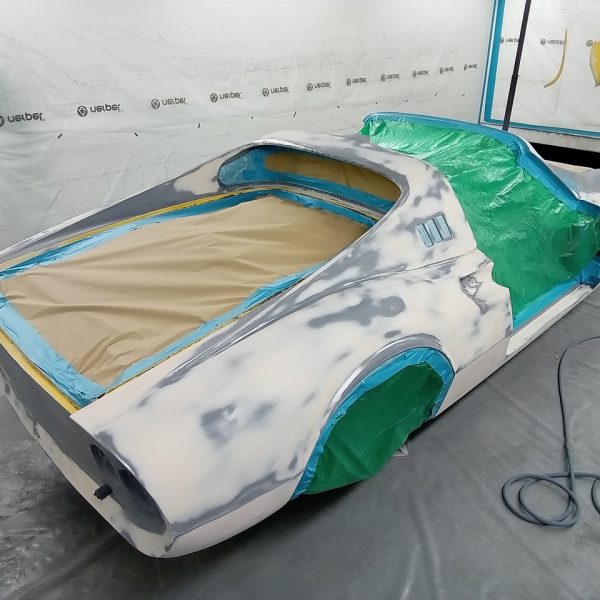
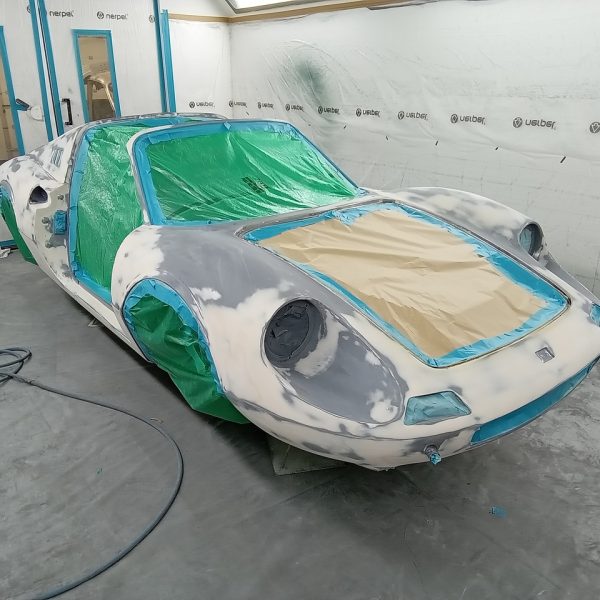
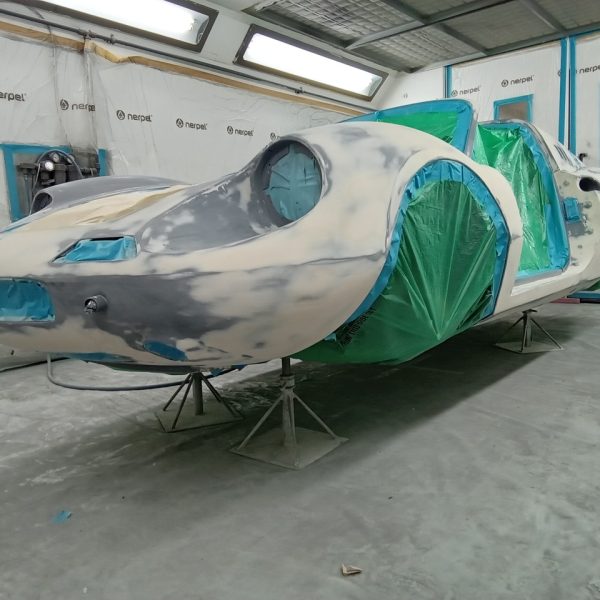
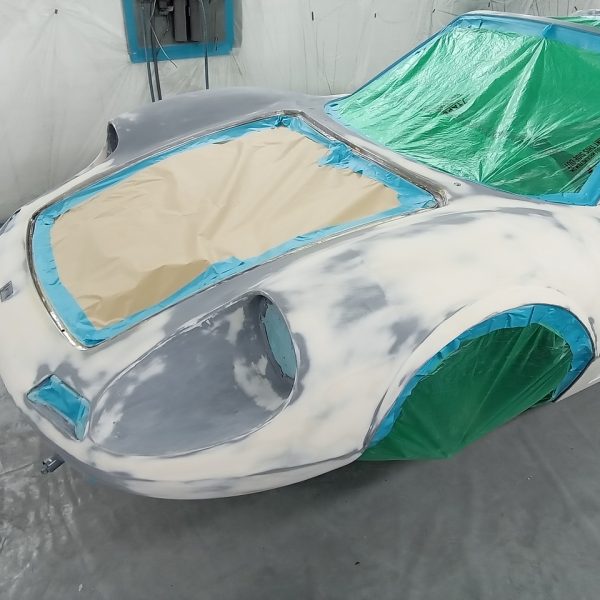
The parts and shell are now all in Polyfan.
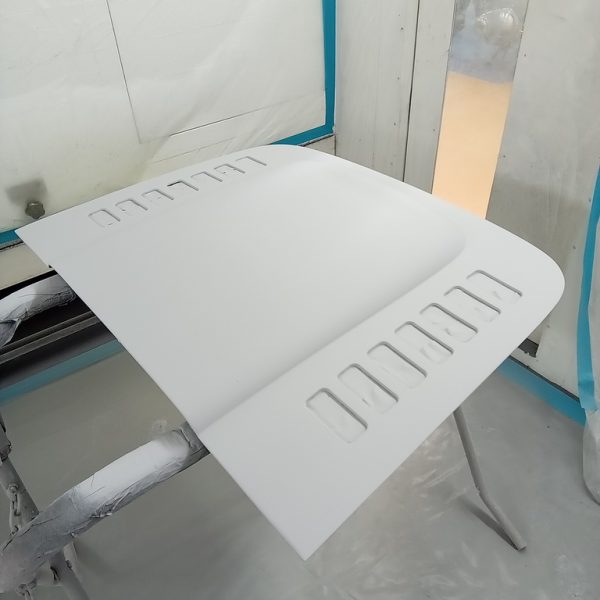
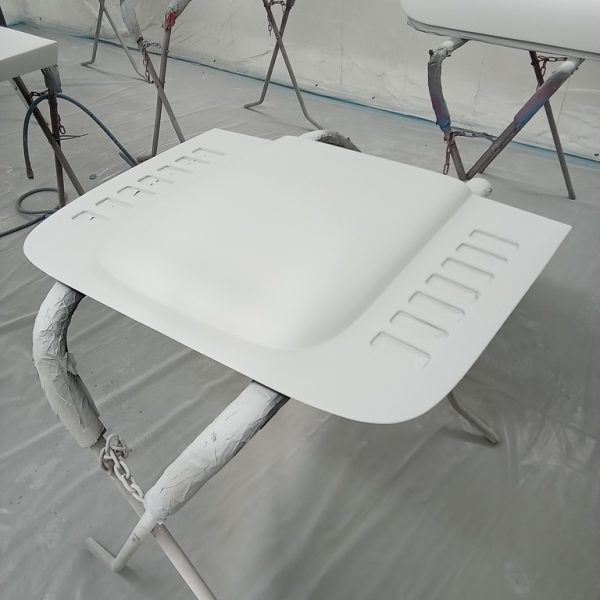
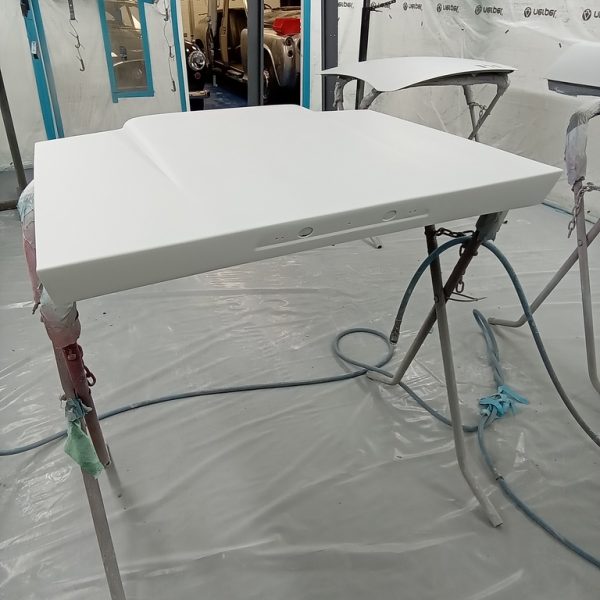
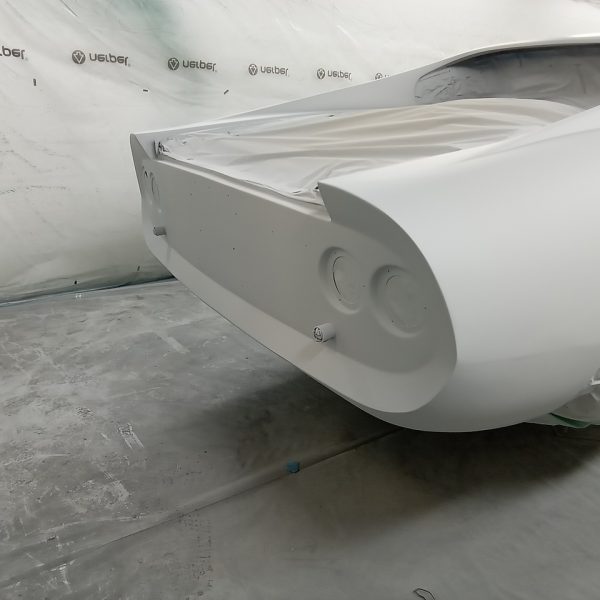
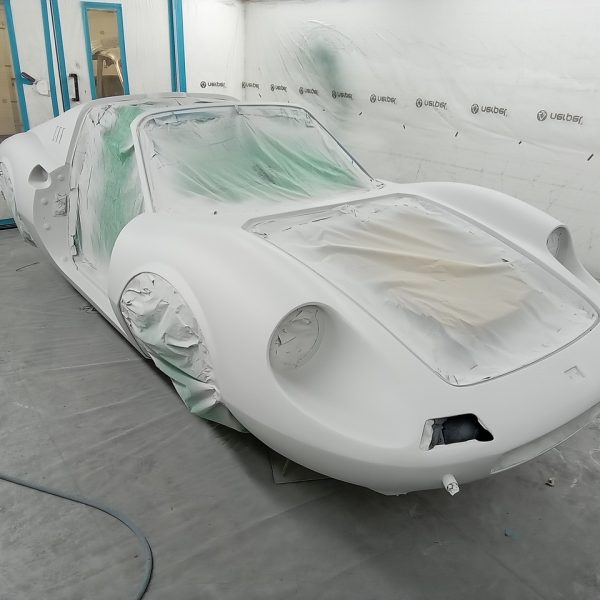
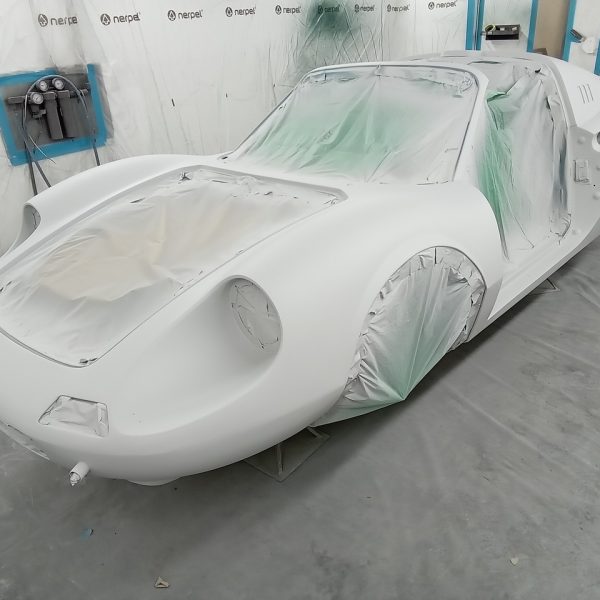
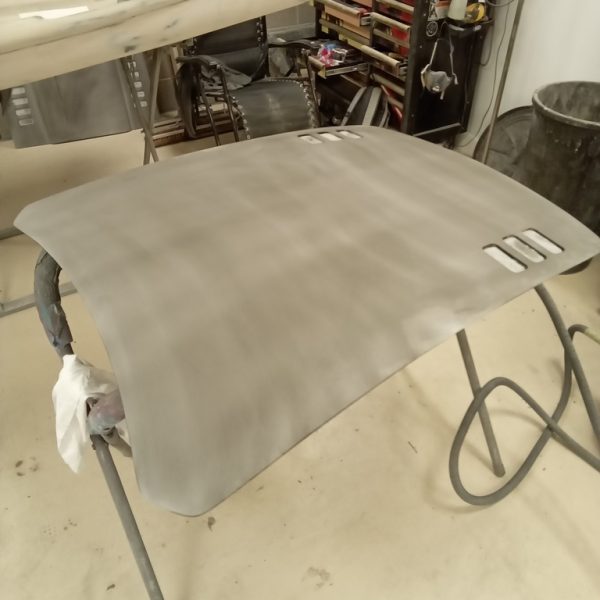
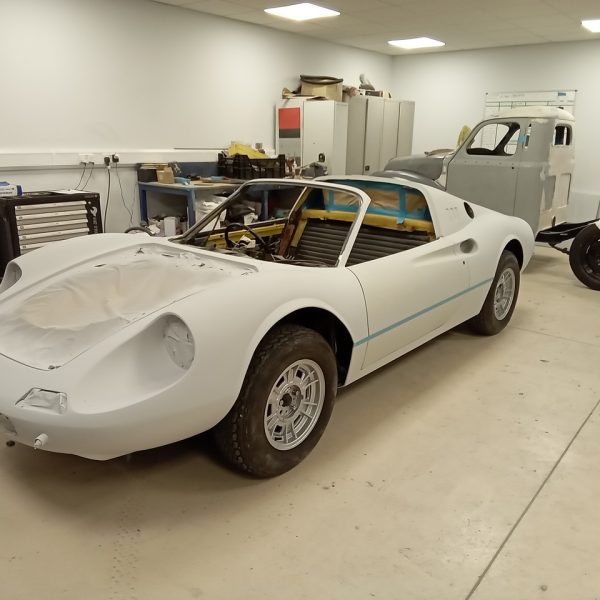
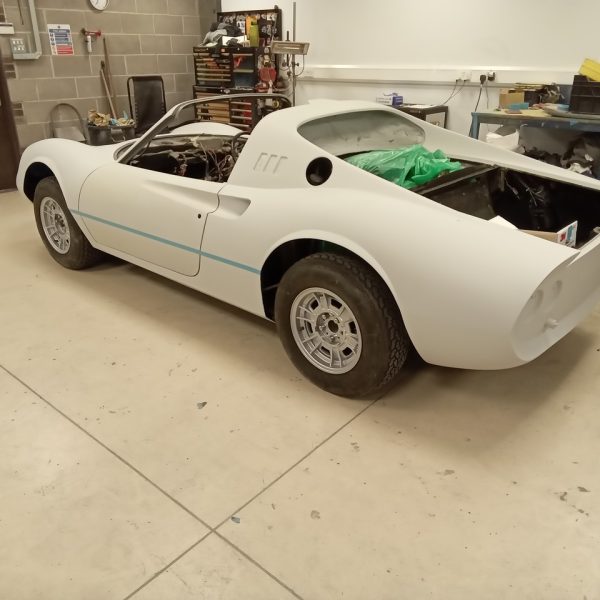
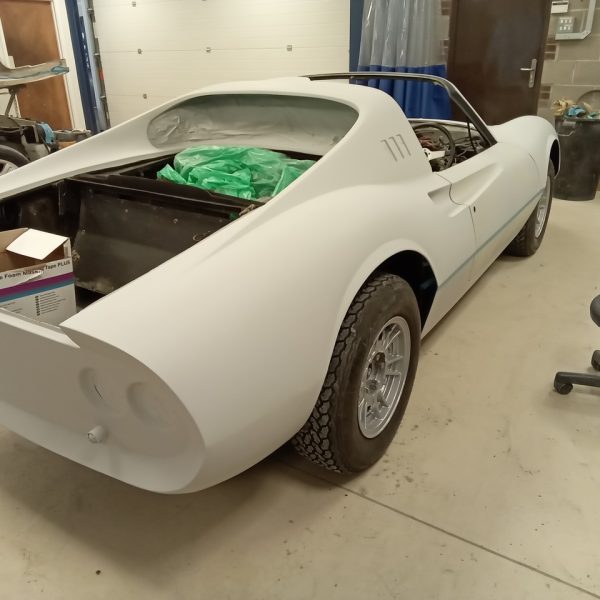
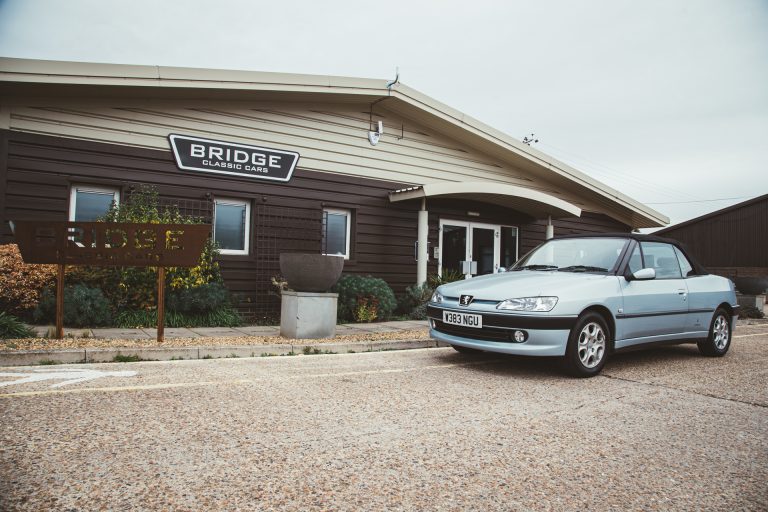
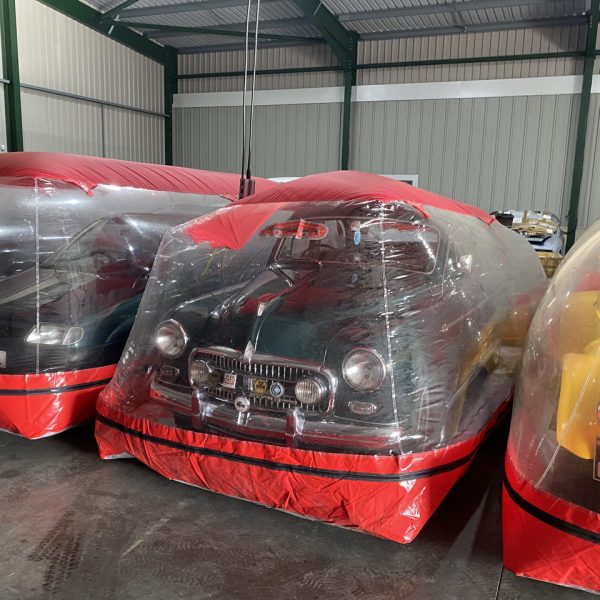
Having been in storage, within a CarCoon for almost a year, I have decided to get my 2000 Peugeot 306 Cabriolet back on the road…just in time for the WINTER!!
Sure, it maybe isn’t the best time for the convertible to come out of hibernation but due to the fact that we are making a few large changes to our storage facilities, it kinda made sense fore the car to come out for a check over.
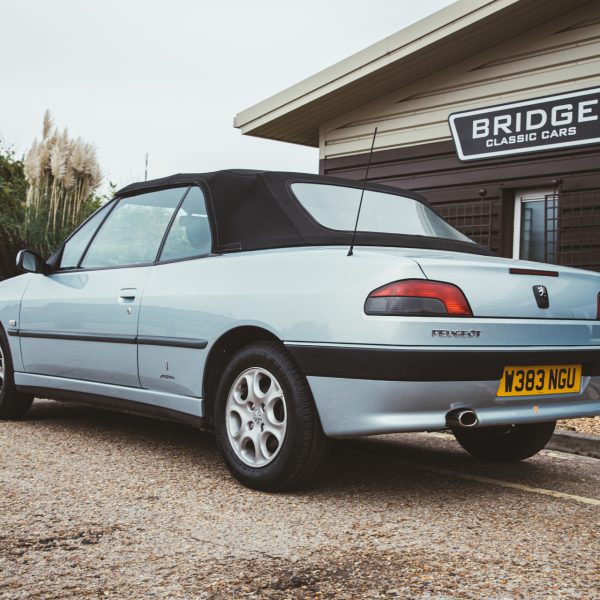
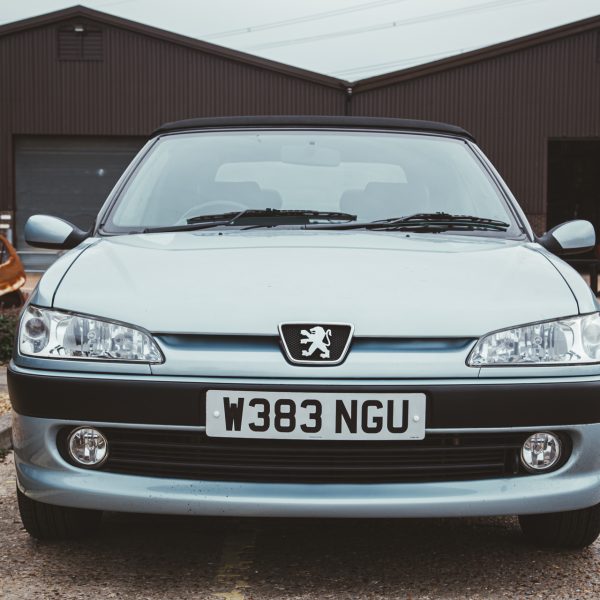
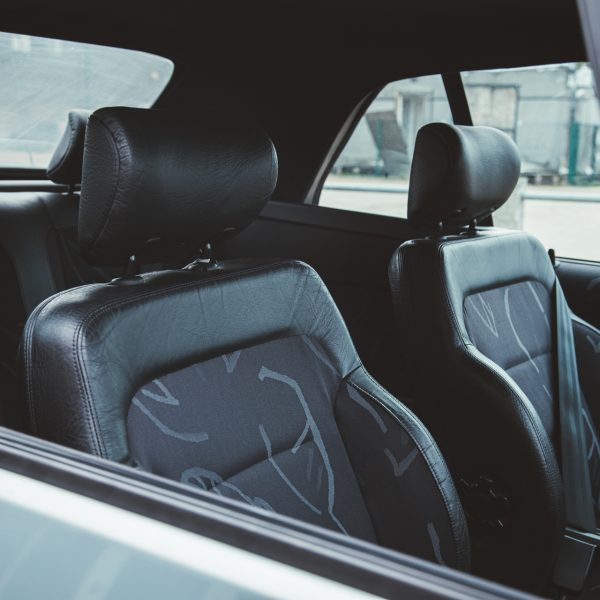
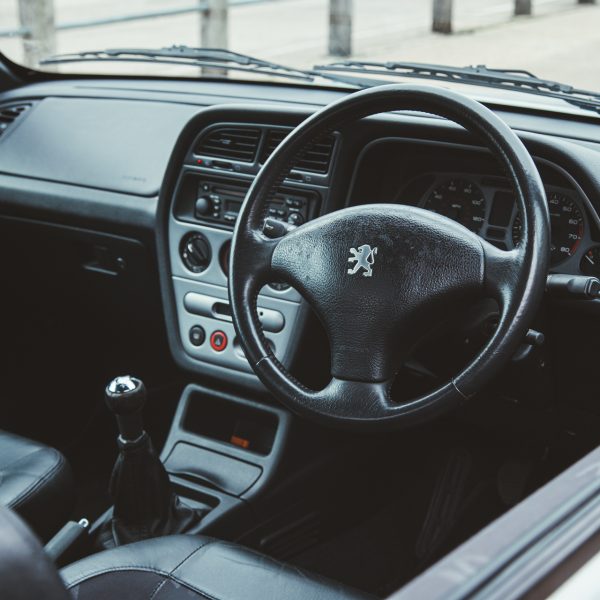
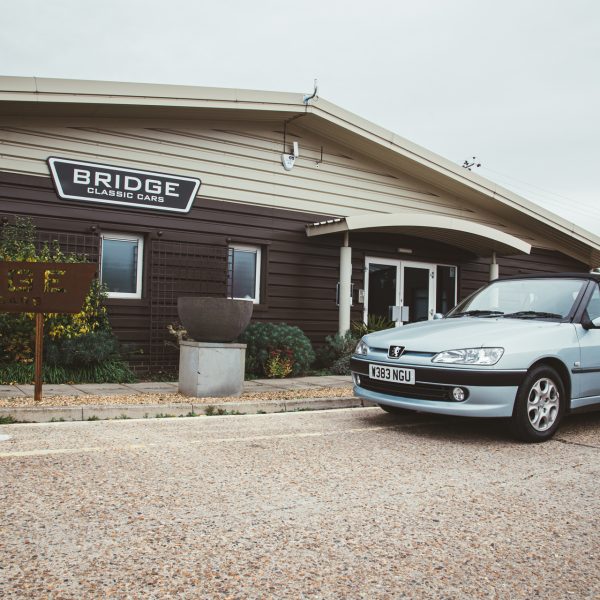
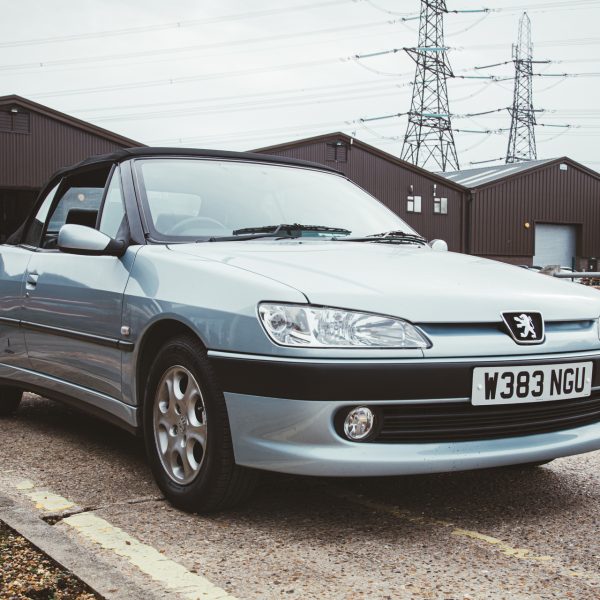
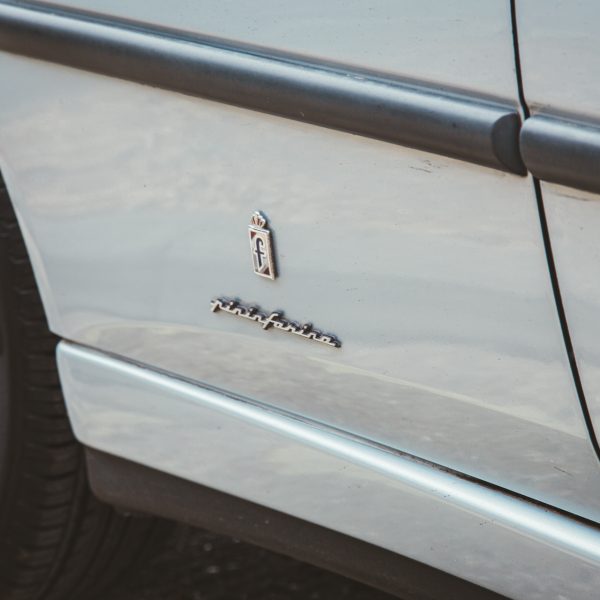
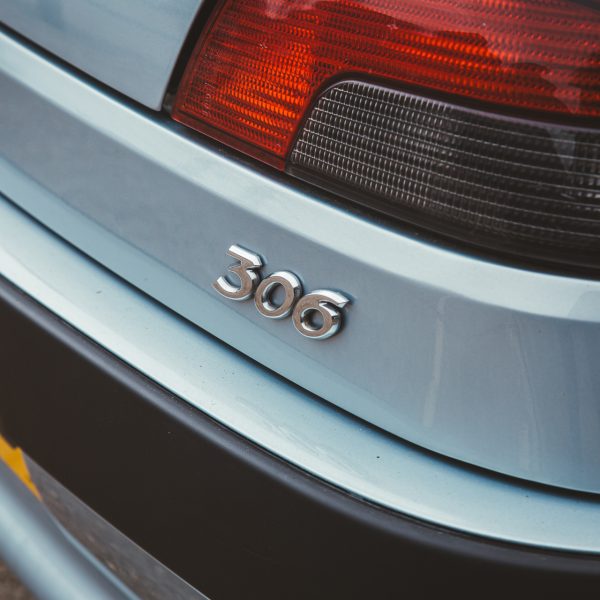
We’ll give it a once over in preparation for the MOT which is scheduled for a few weeks time. Jon has carried out a full check over and road test. We’ve topped up the levels, inflated the tyres, torqued up the wheel nuts and put 5ltrs of clean fuel in. Everything seems ok and she’s ready for the MOT.
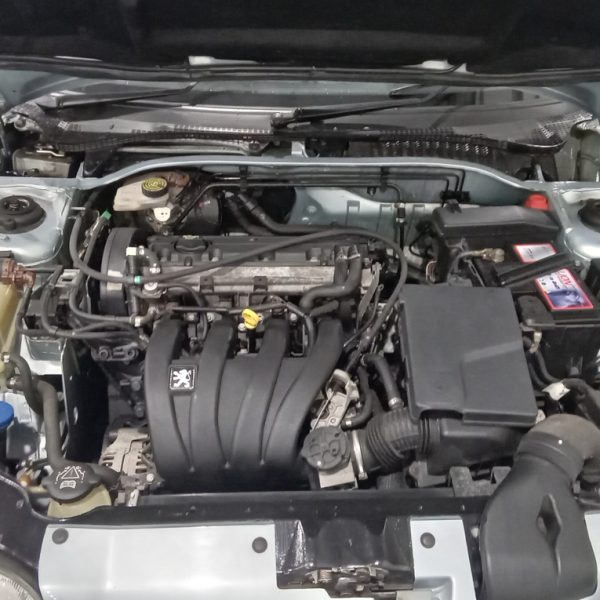
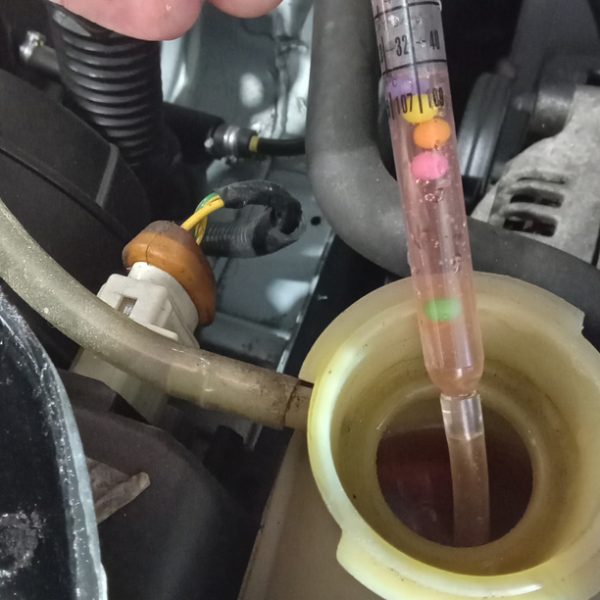
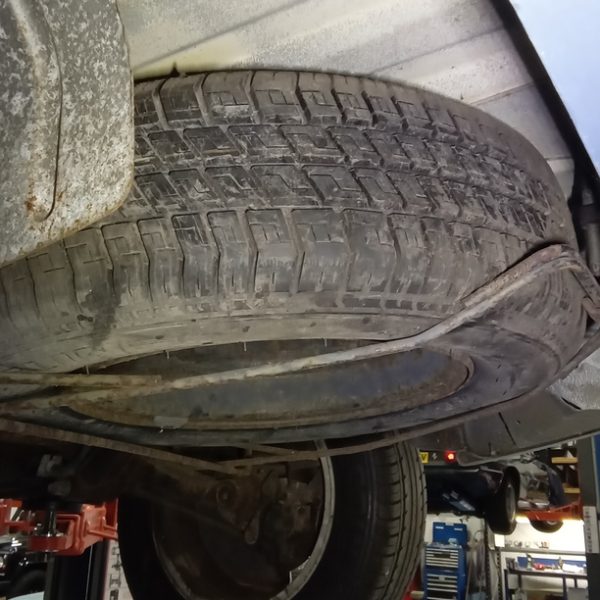
As we bring our Peugeot 306 Cabriolet out of storage, we welcome our 1952 Fiat 1900A in. It’ll only be for a few weeks until we can make some space in The Classic Lounge.
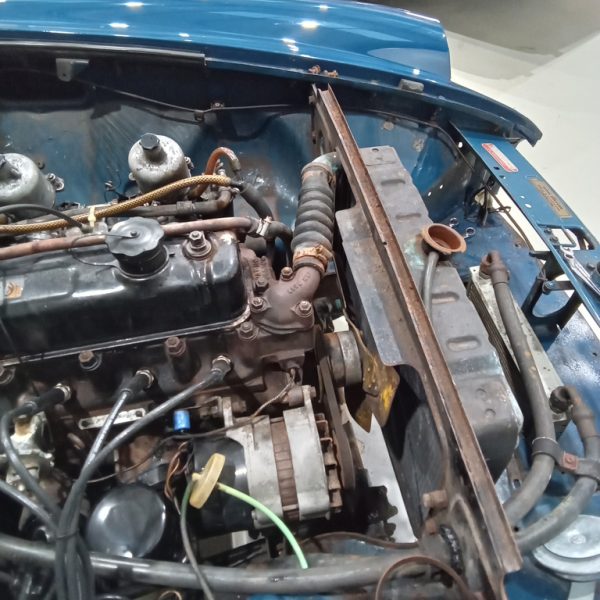
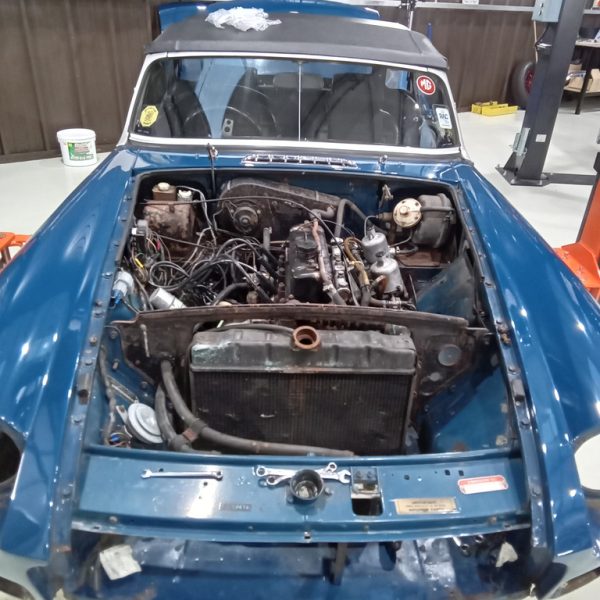
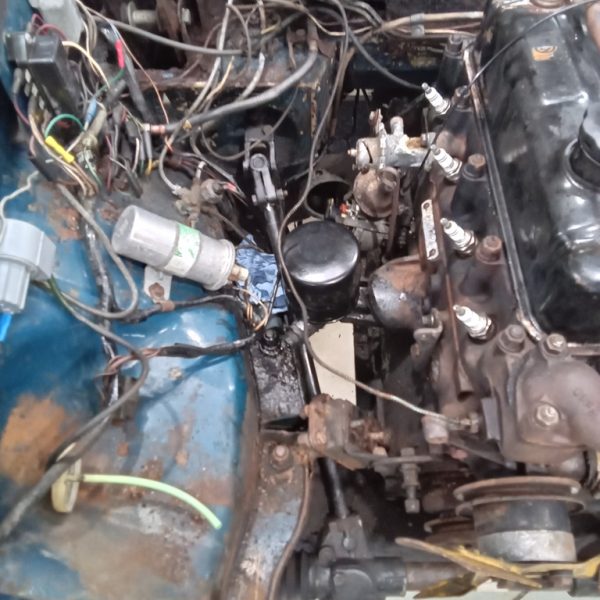
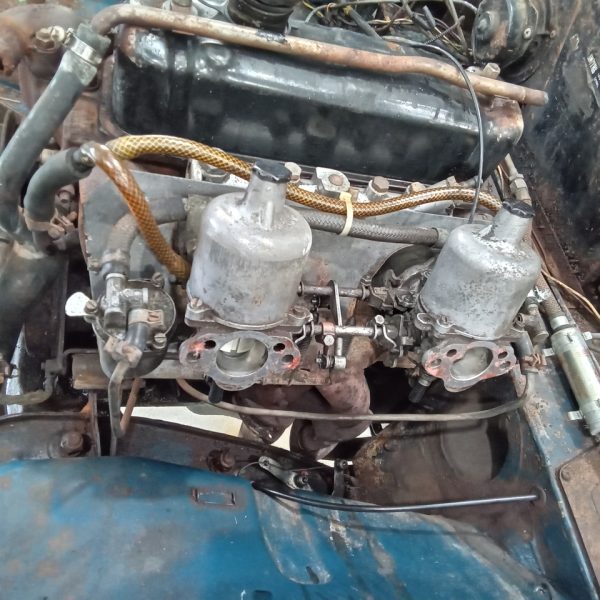
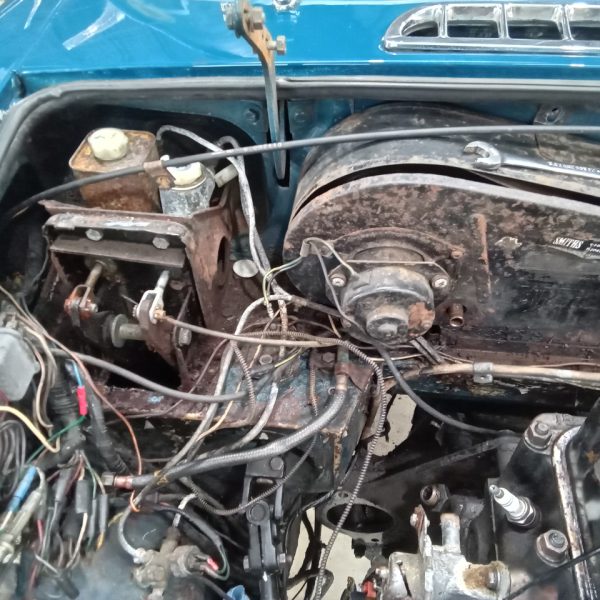
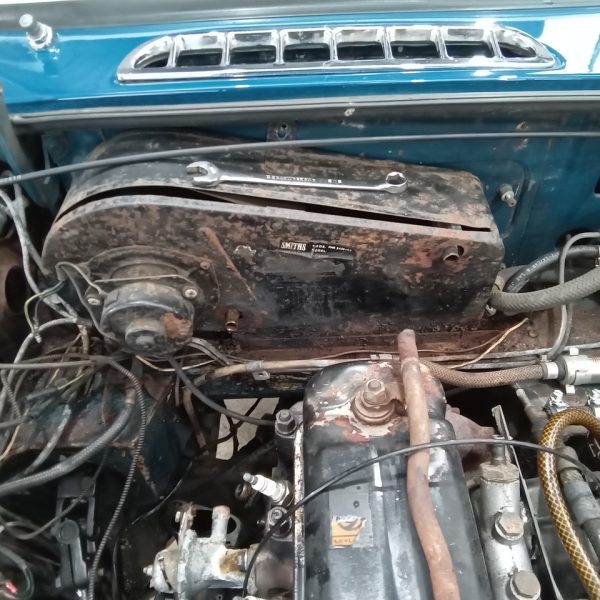
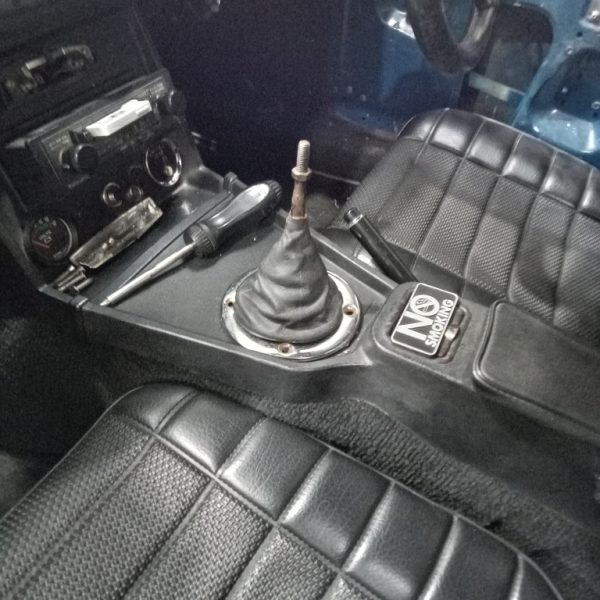
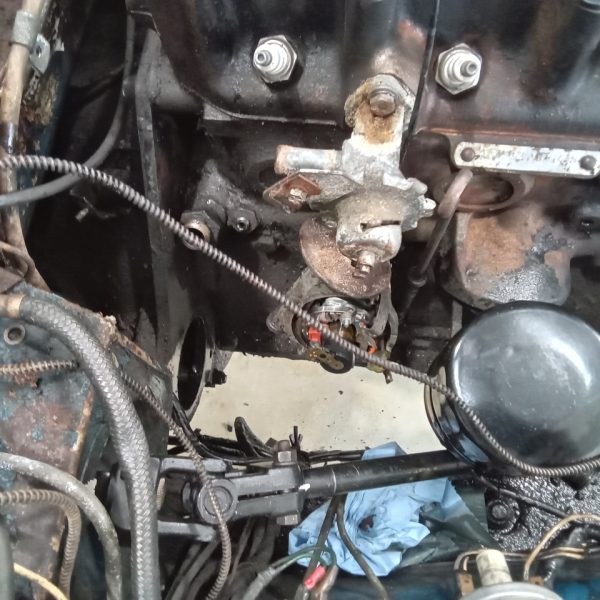
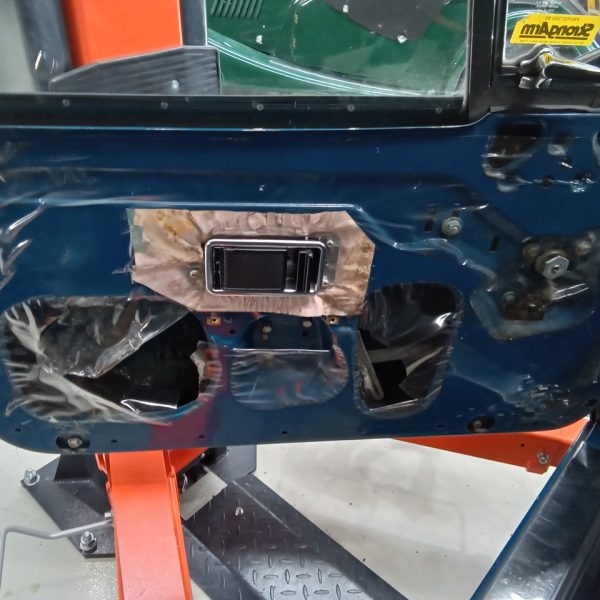
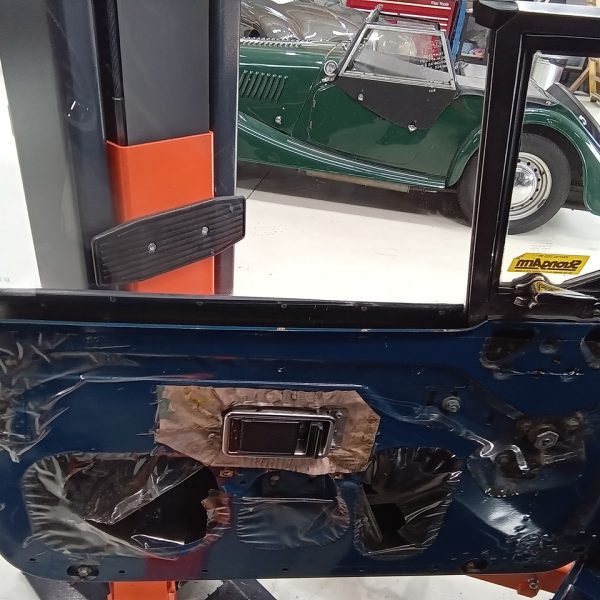
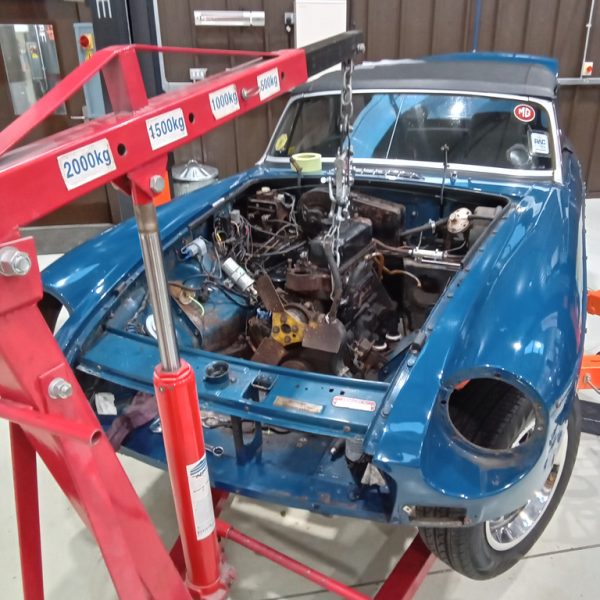
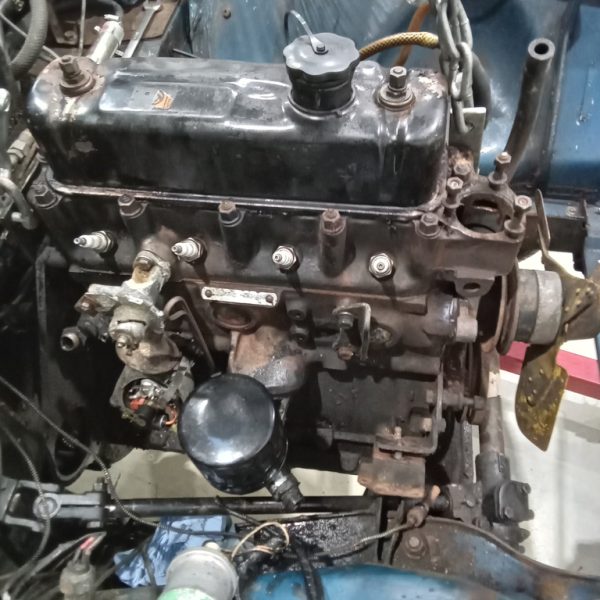
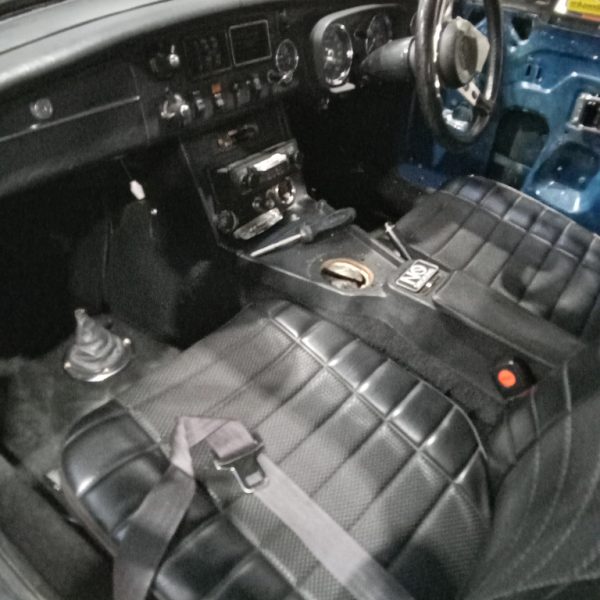
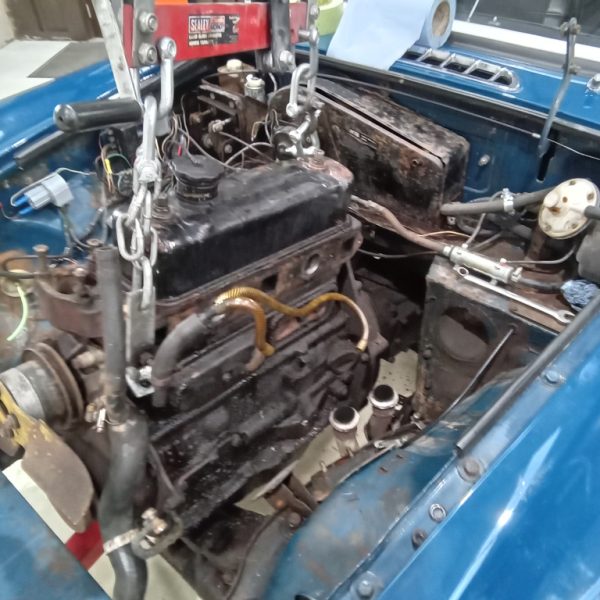
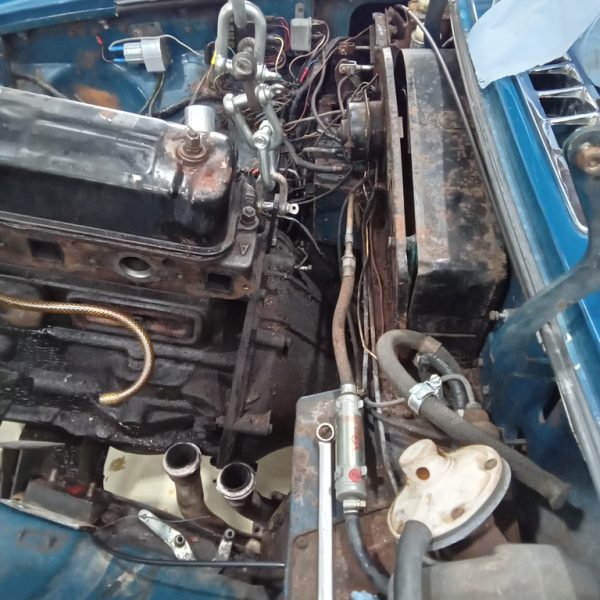
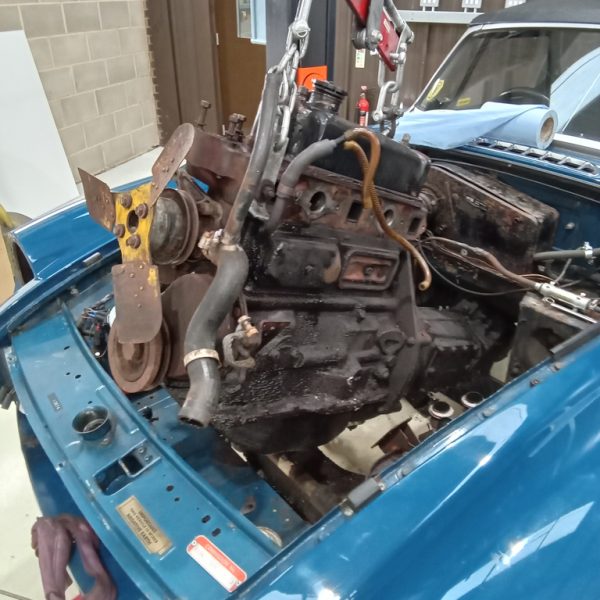
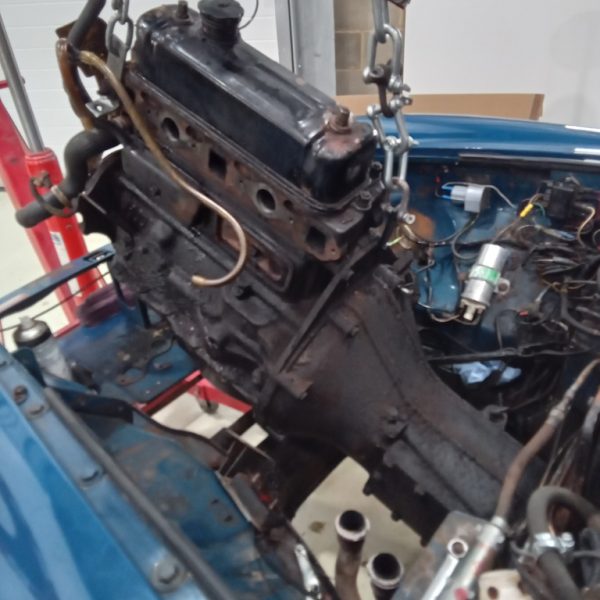
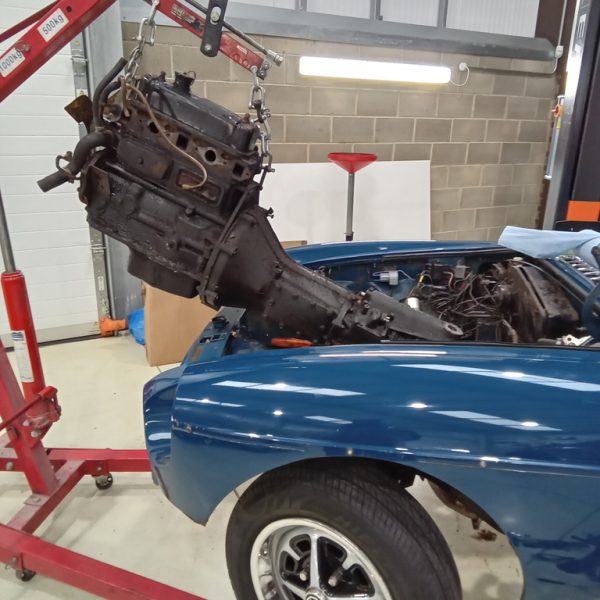
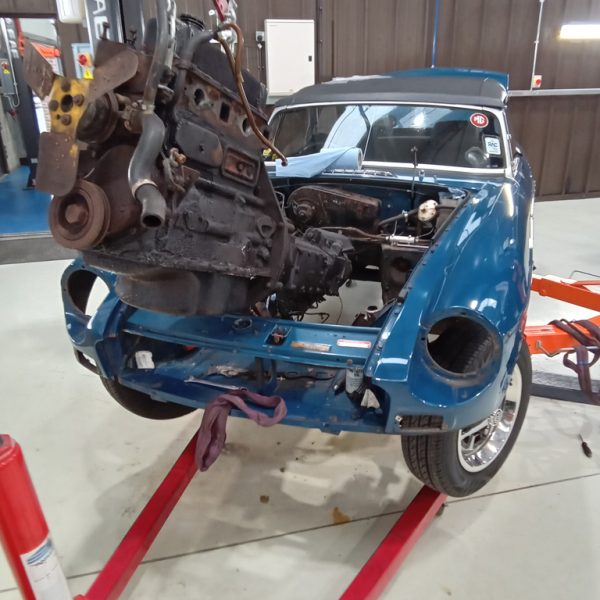
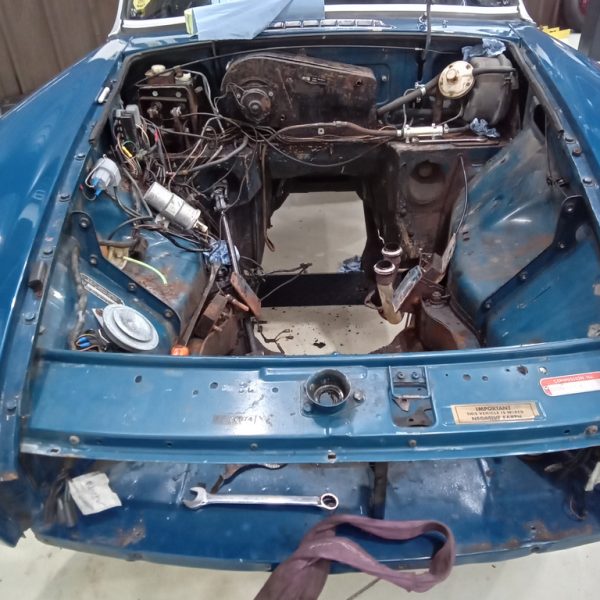
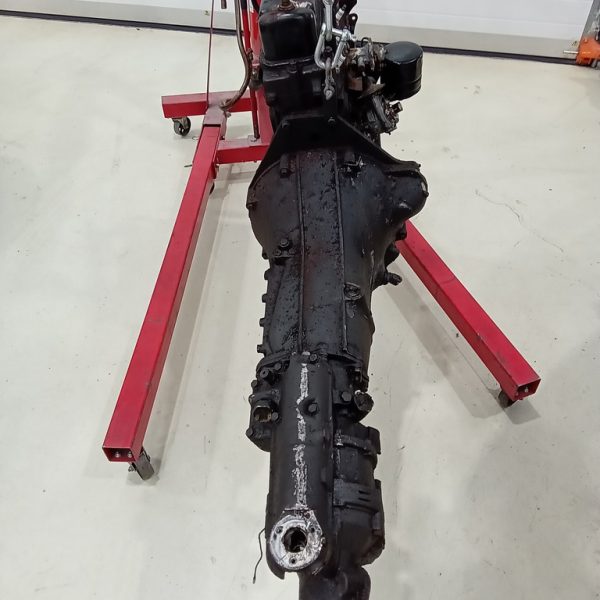
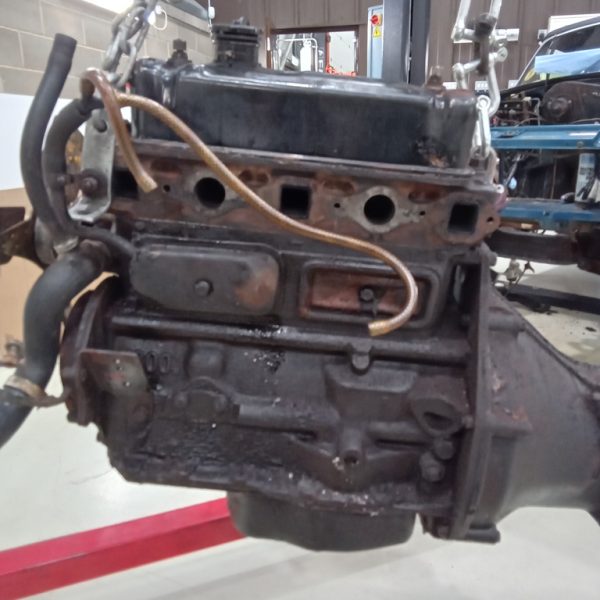
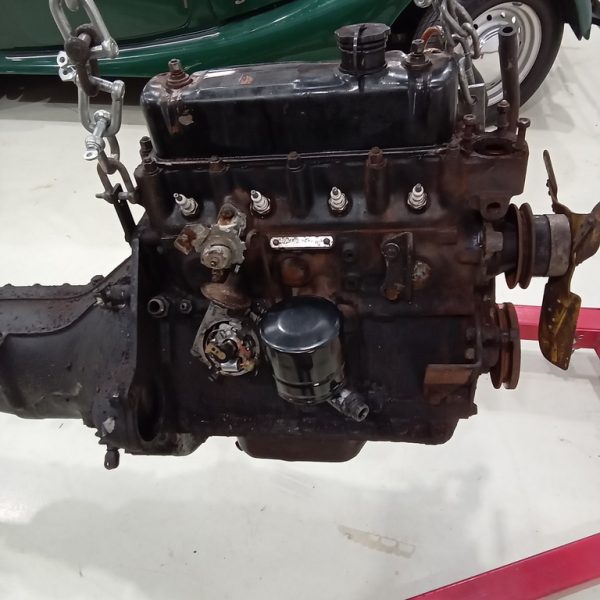
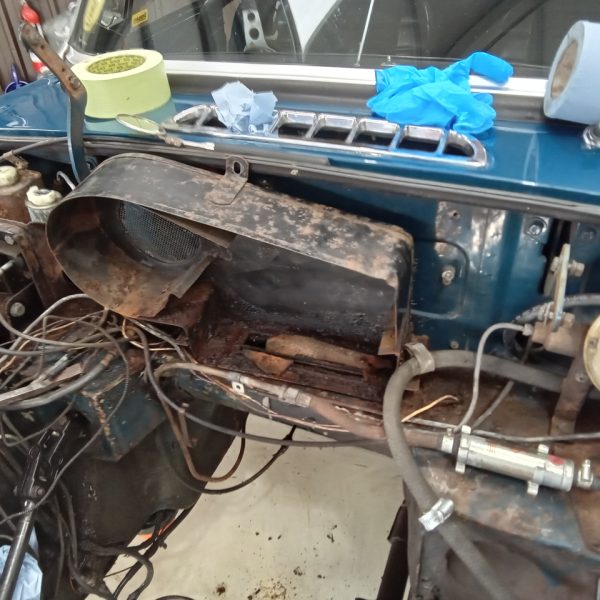
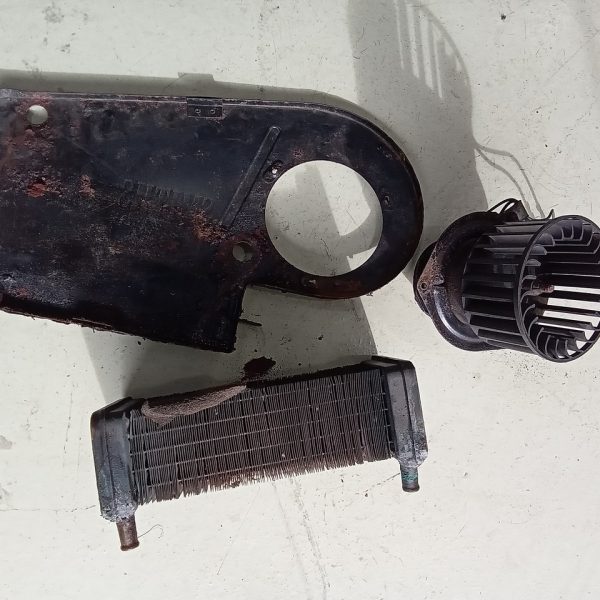
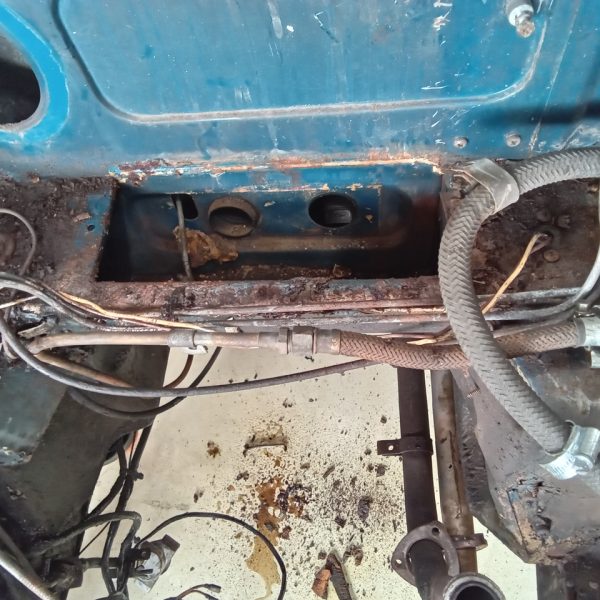
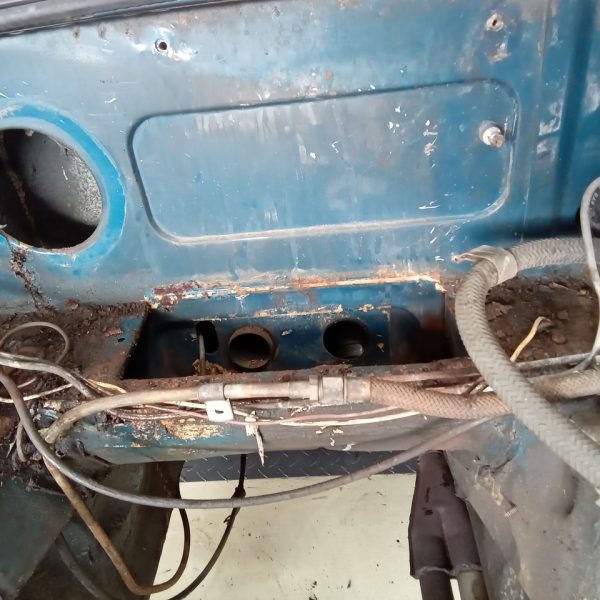
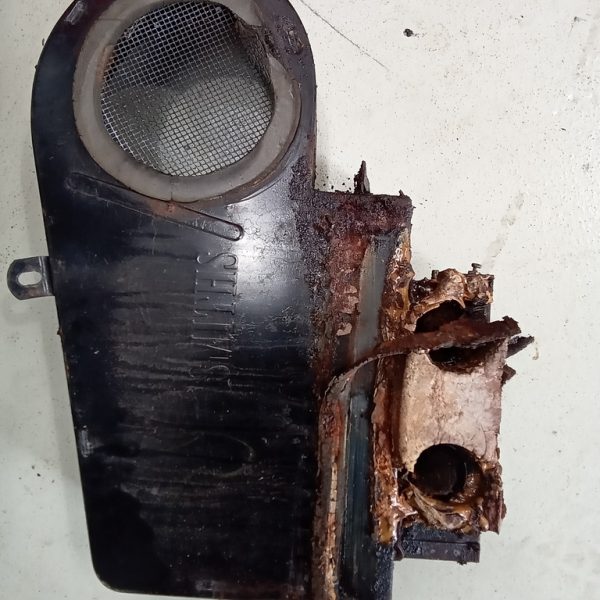
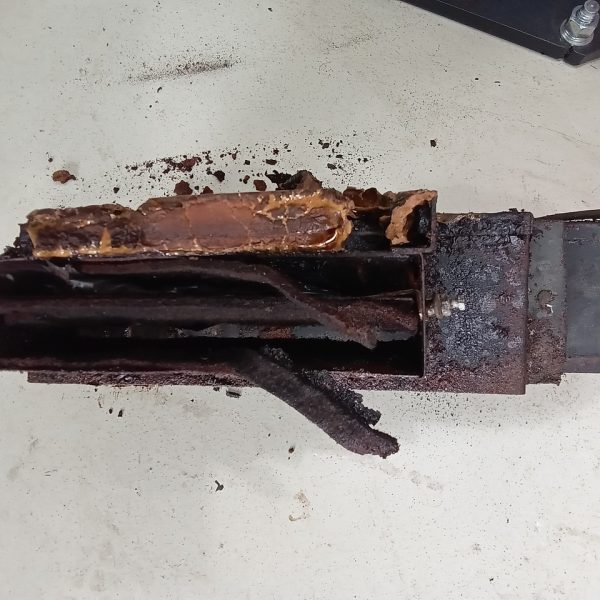
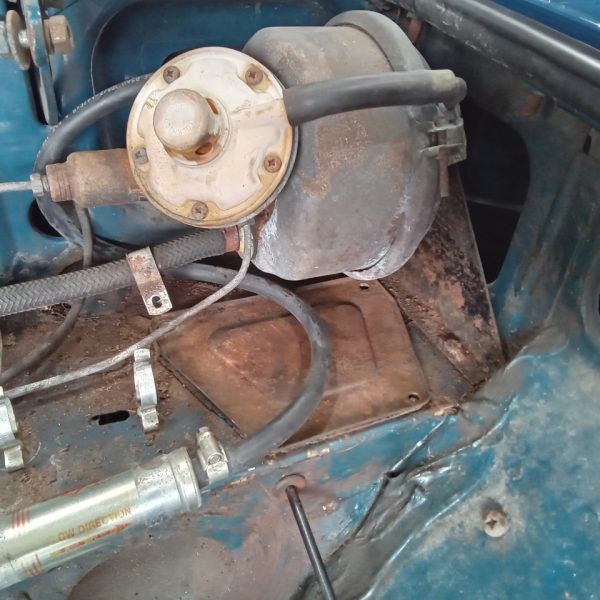
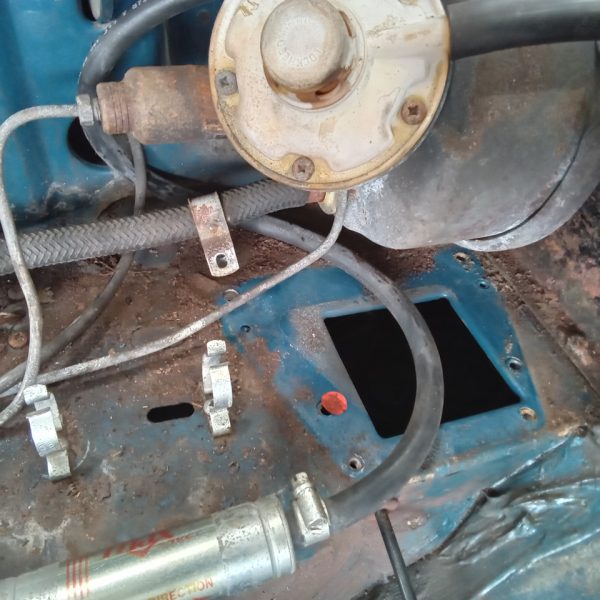
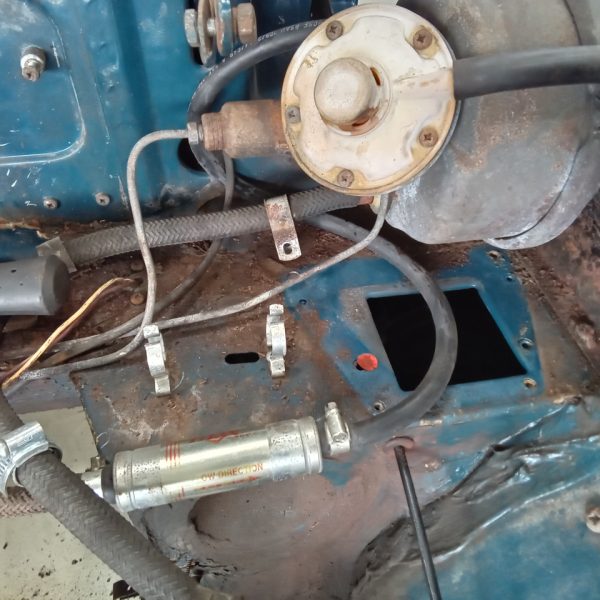
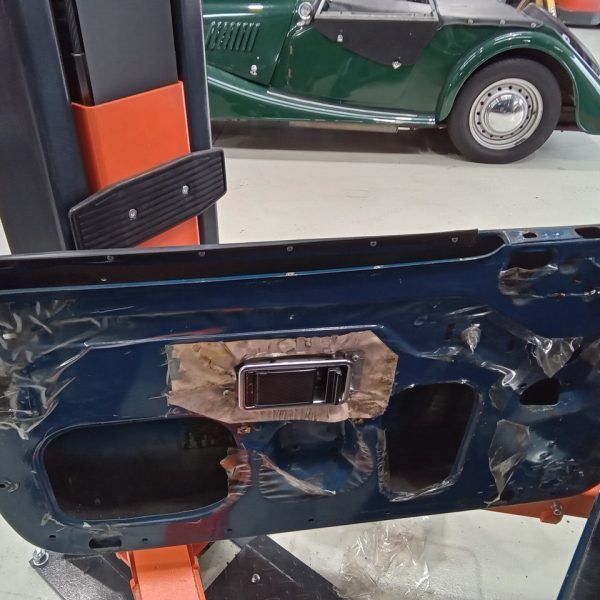
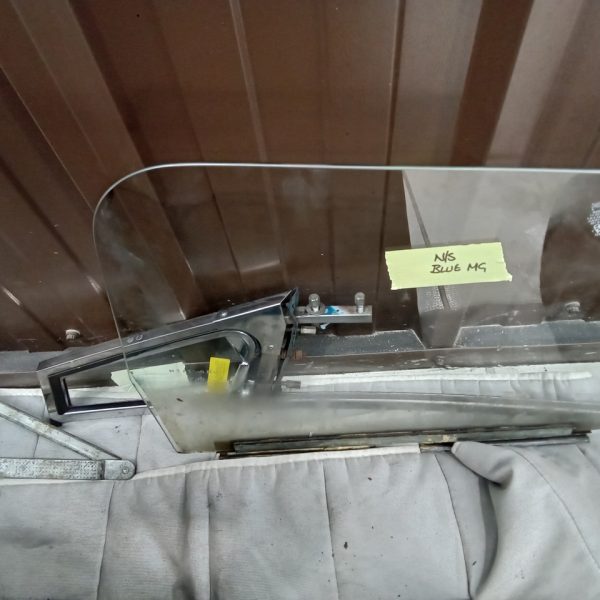
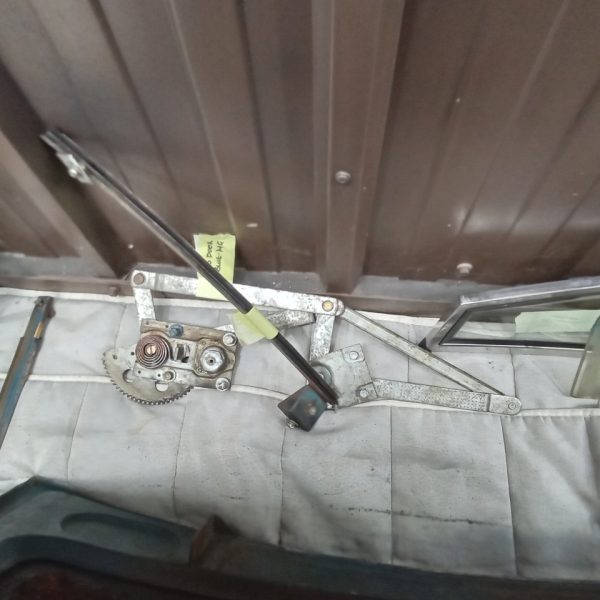
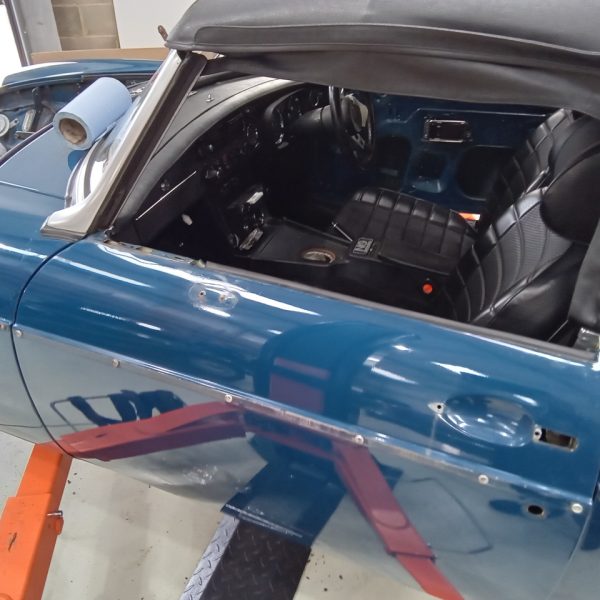
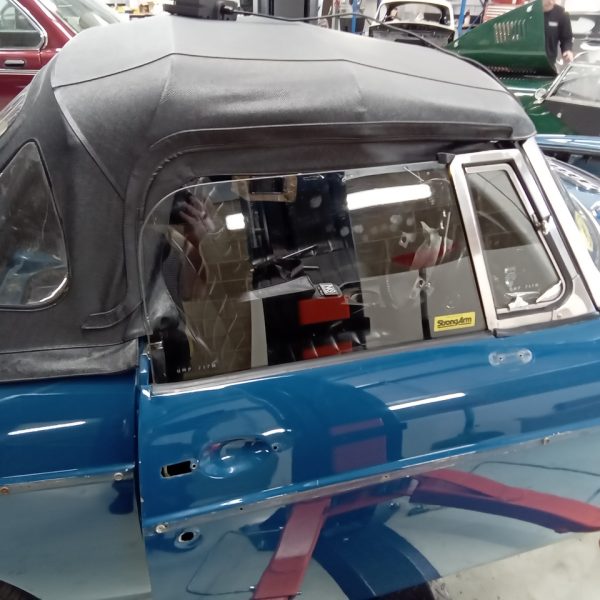
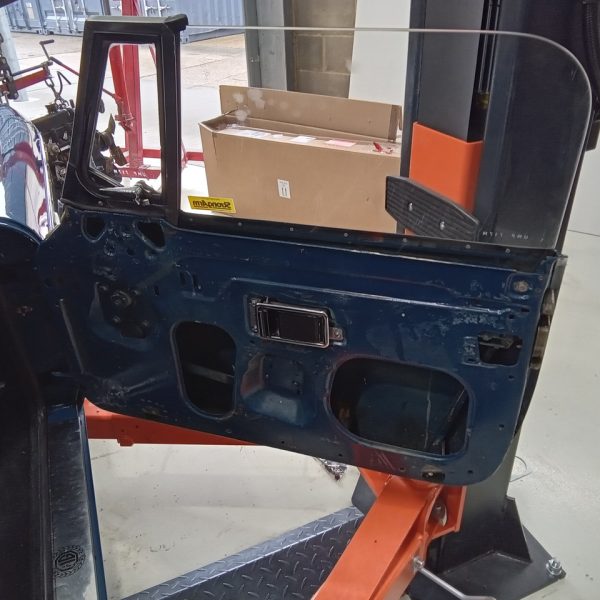
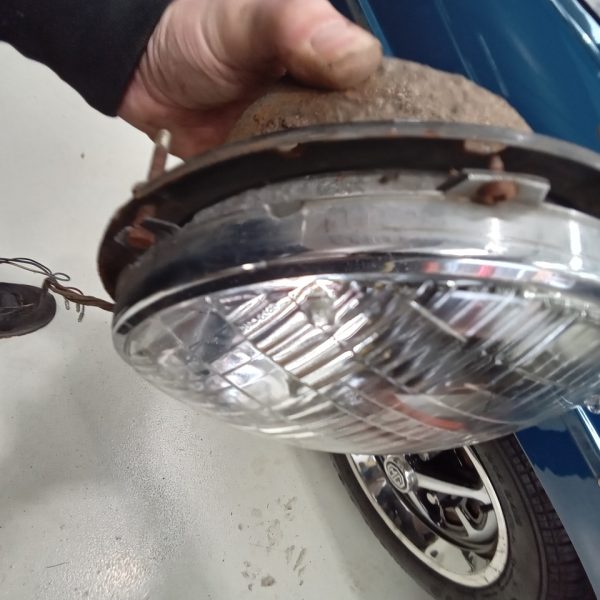
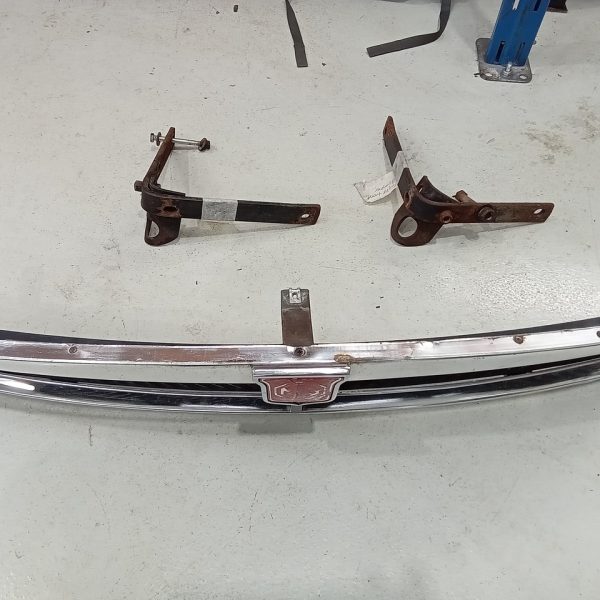
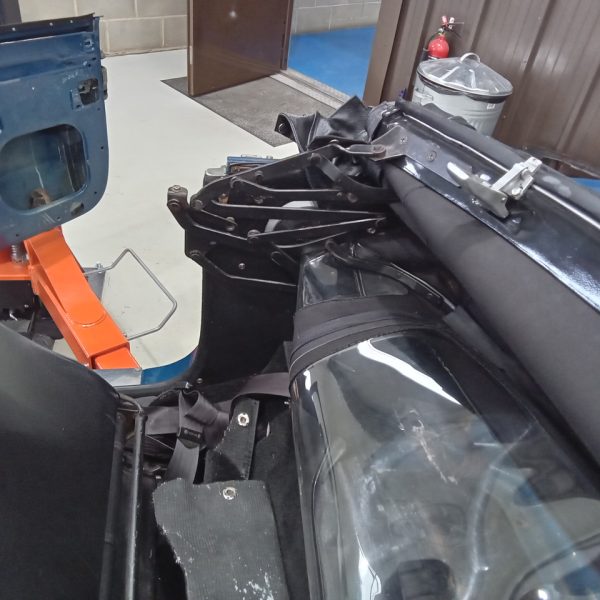
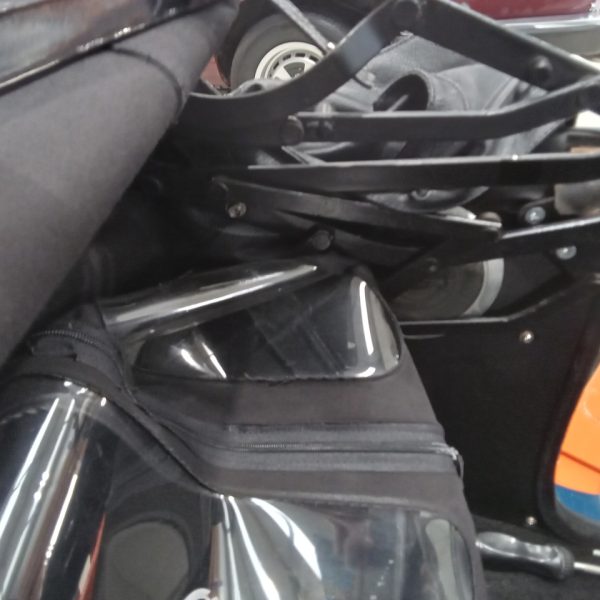
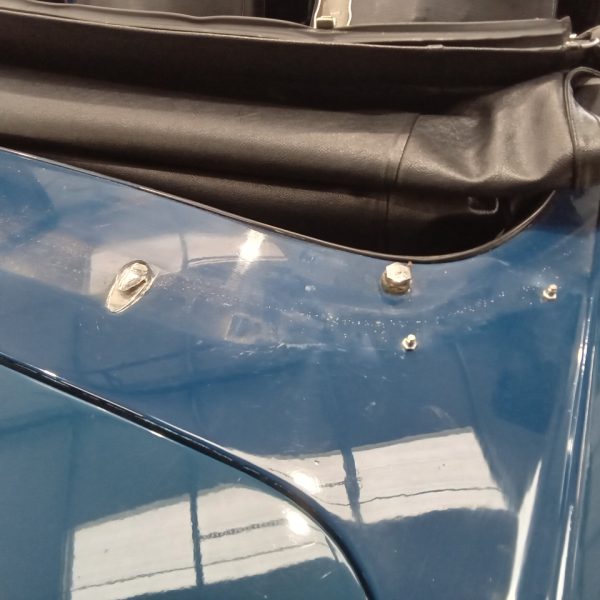
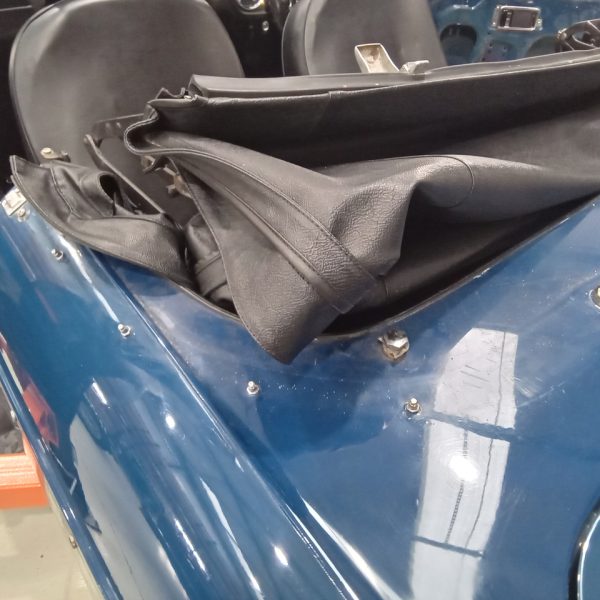
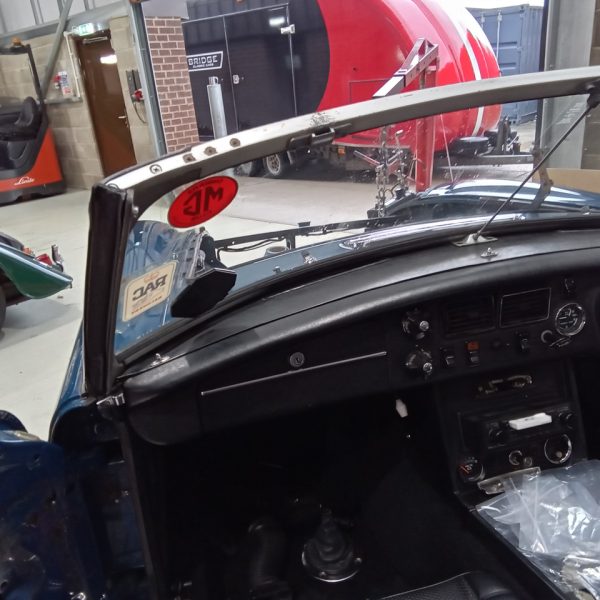
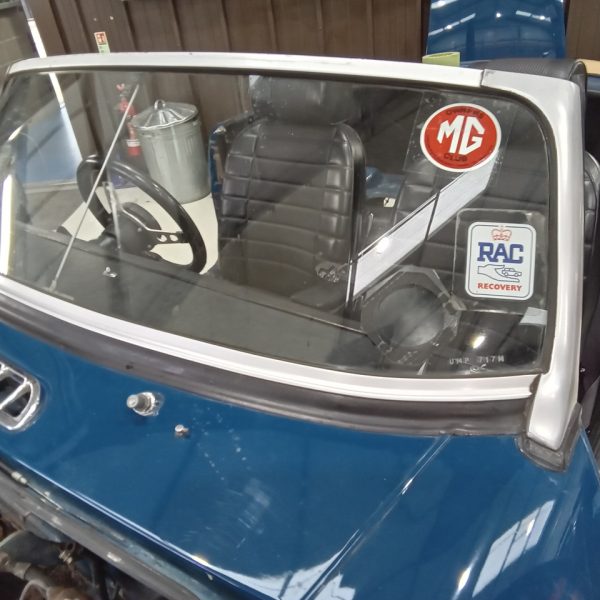
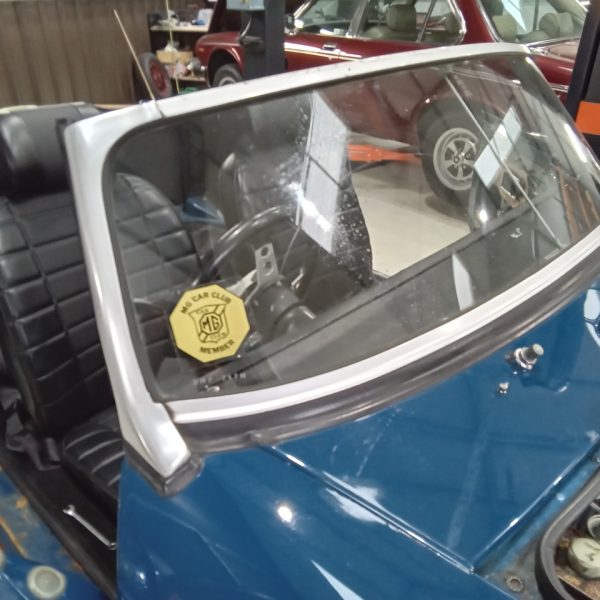
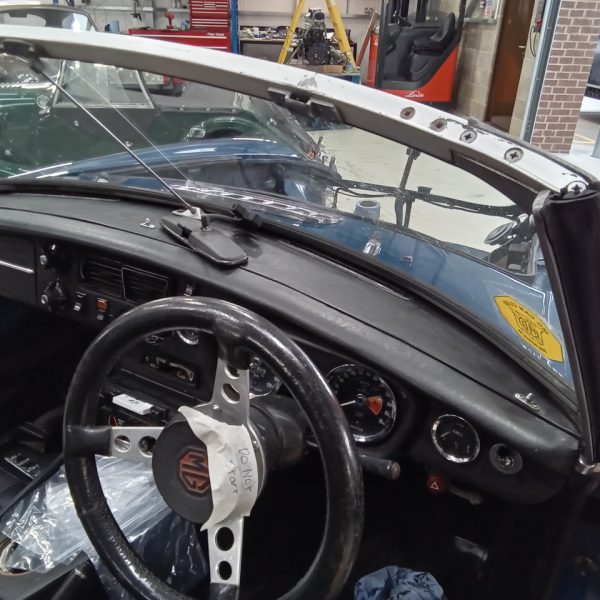
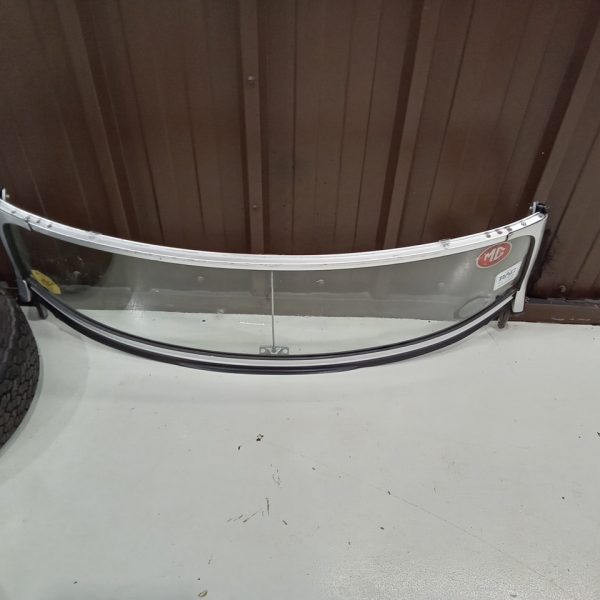
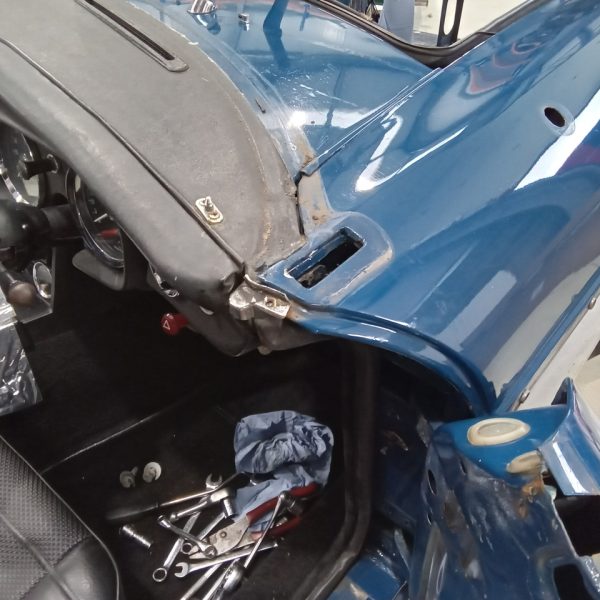
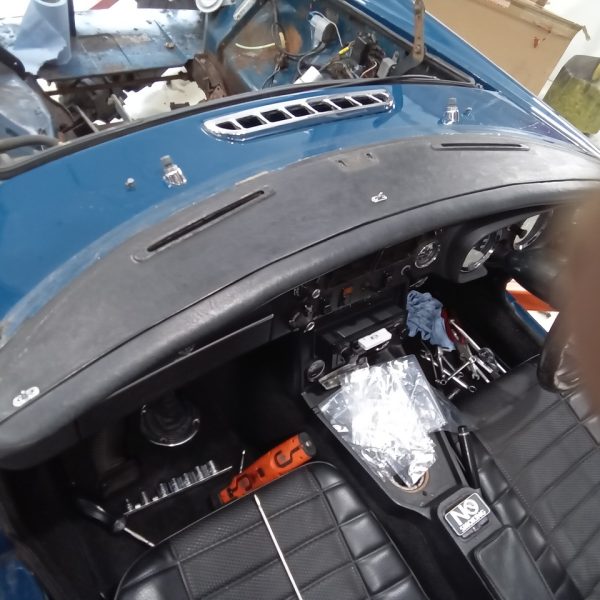
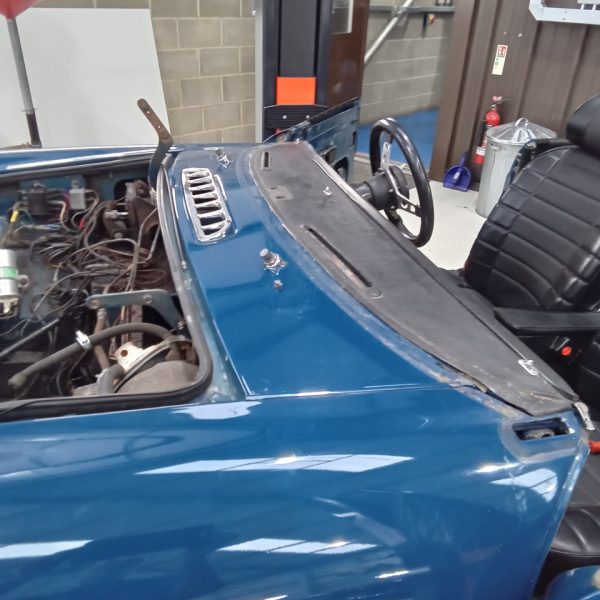
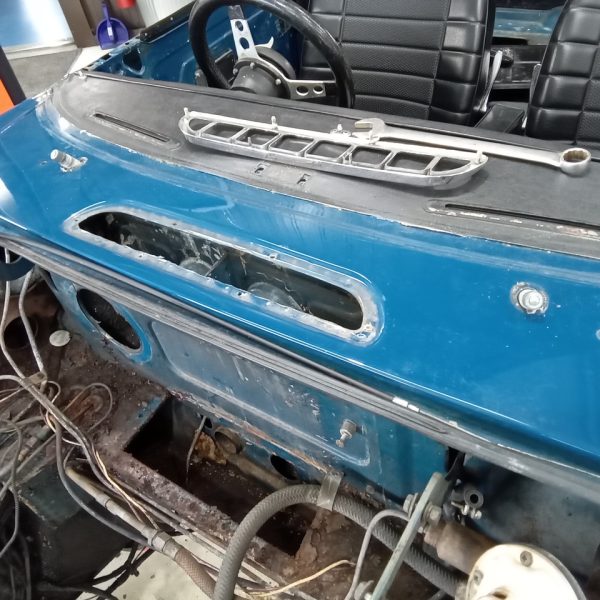
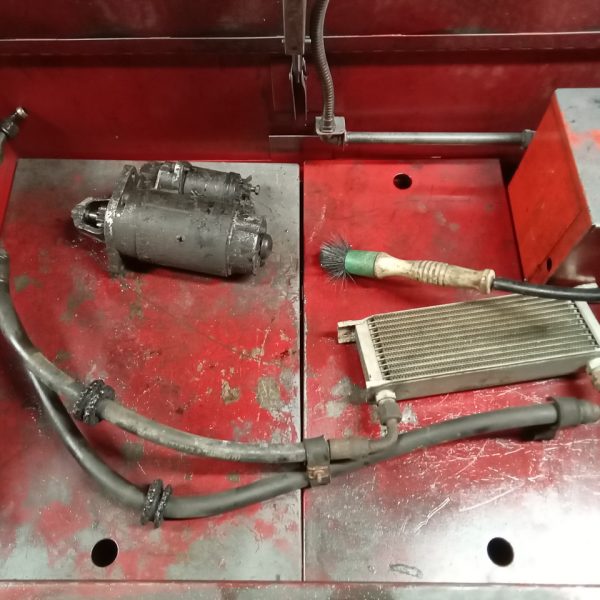
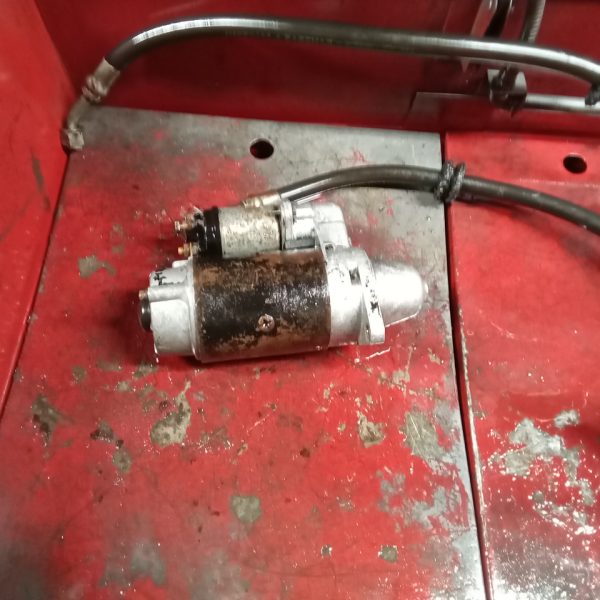
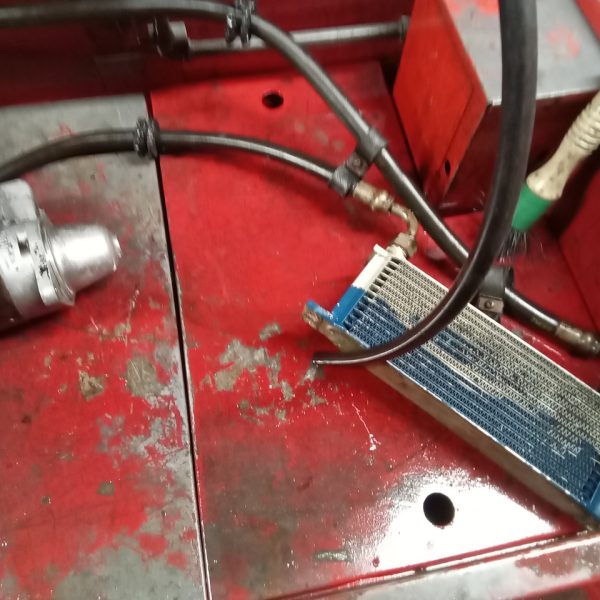
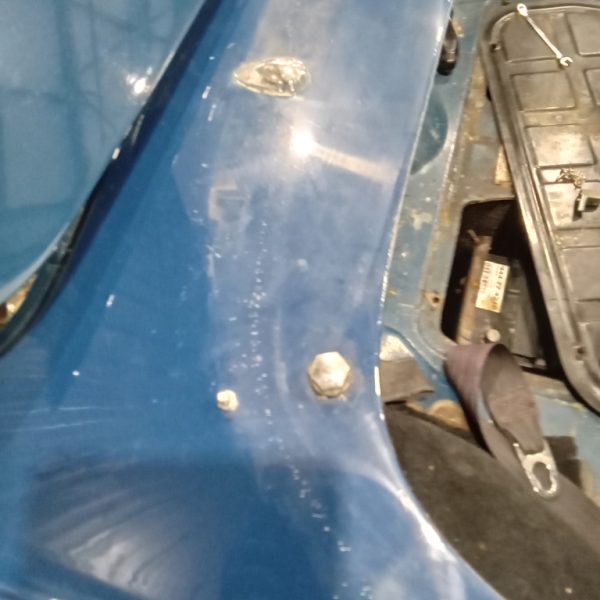
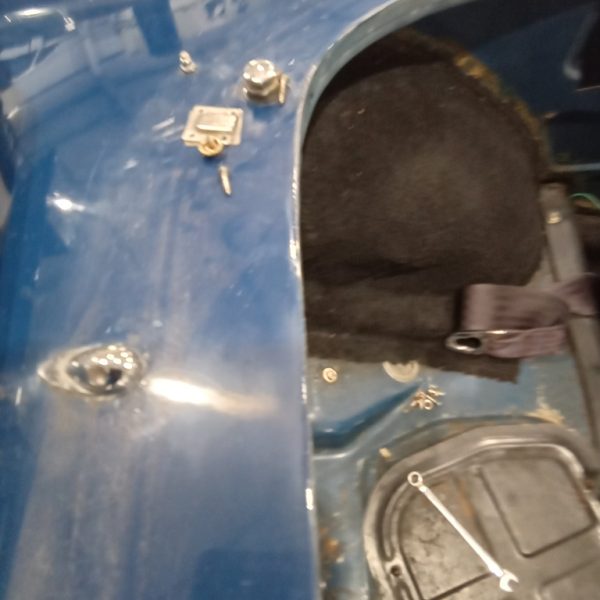
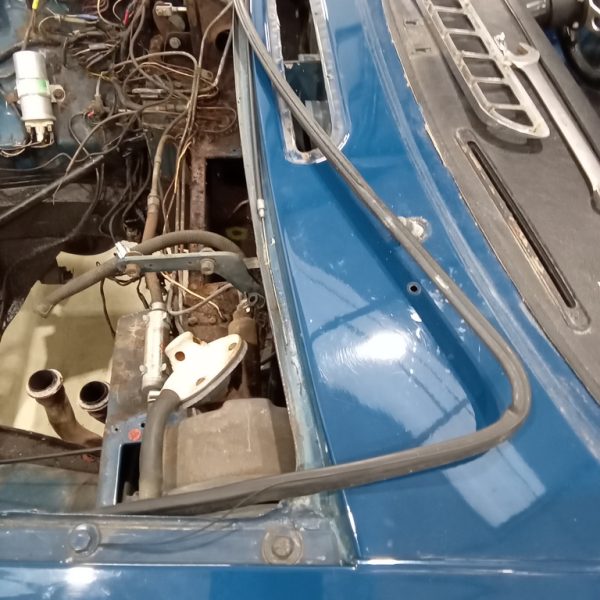
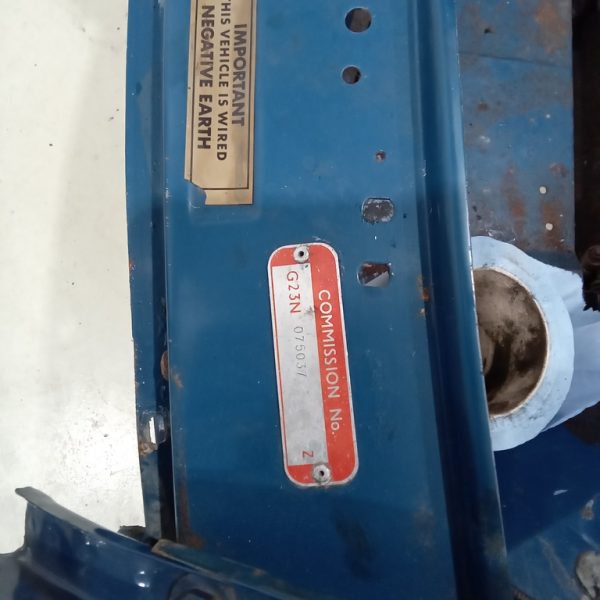
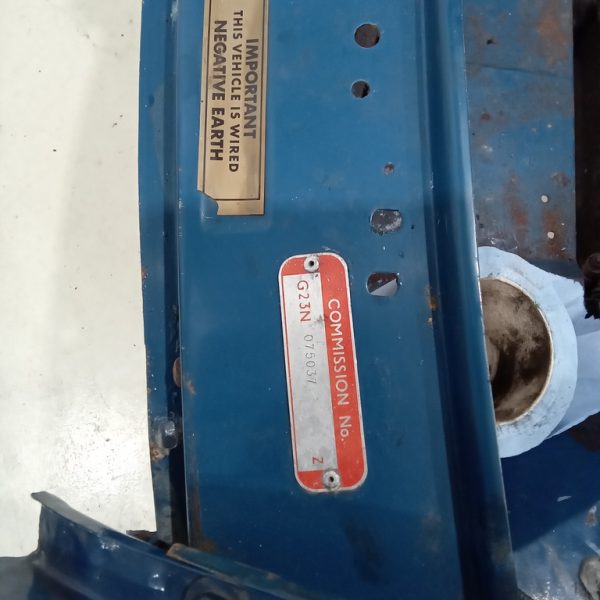
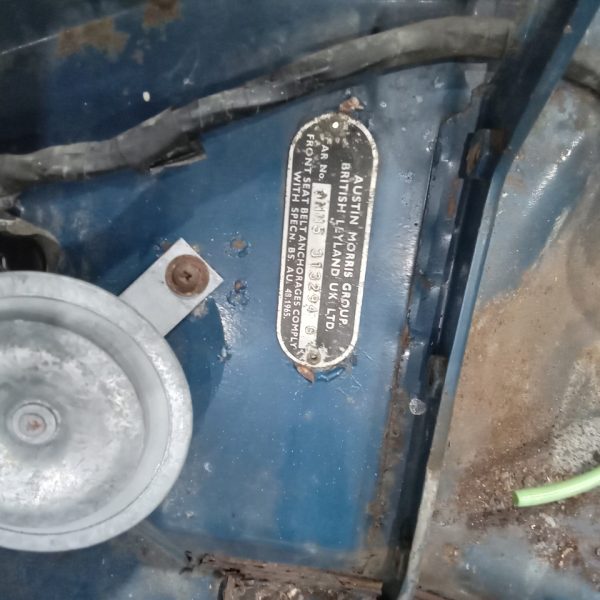
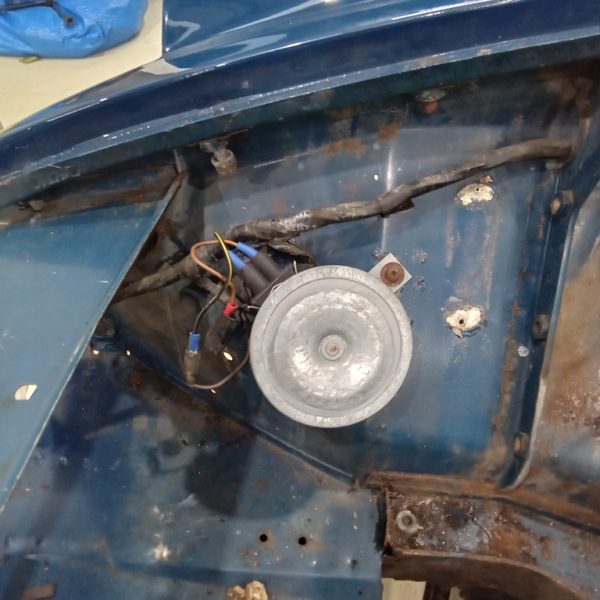
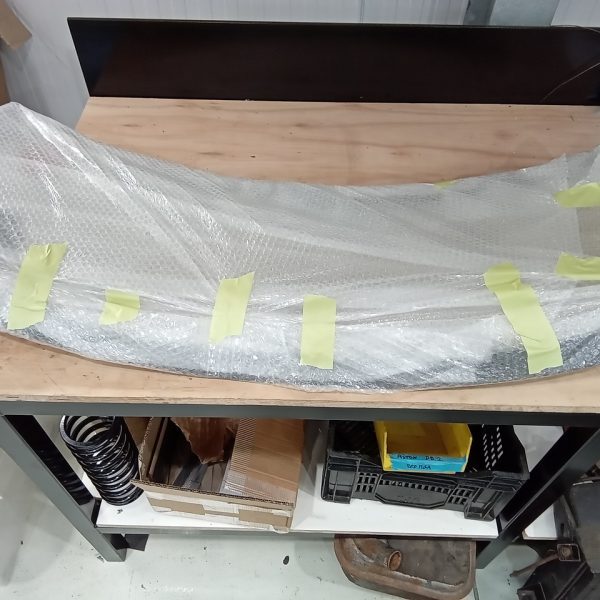
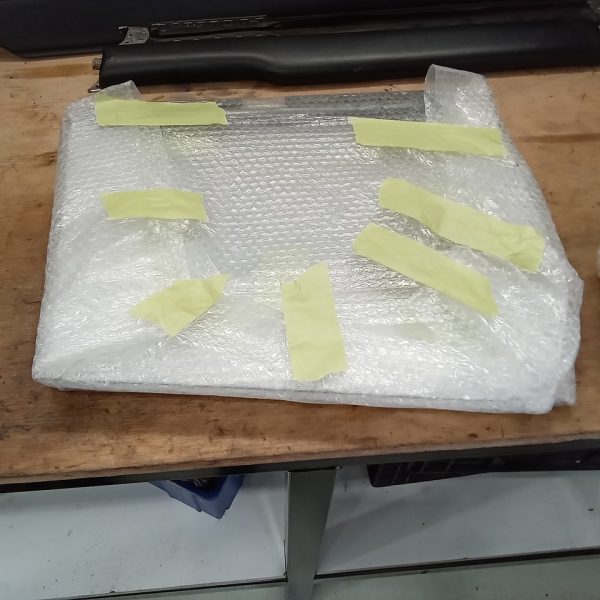
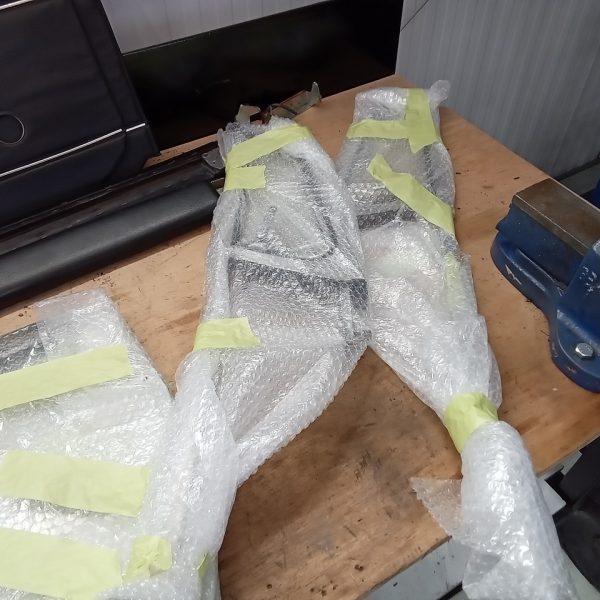
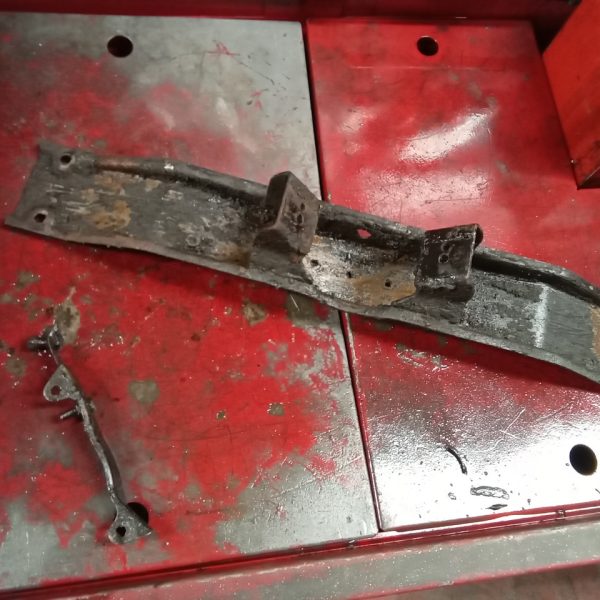
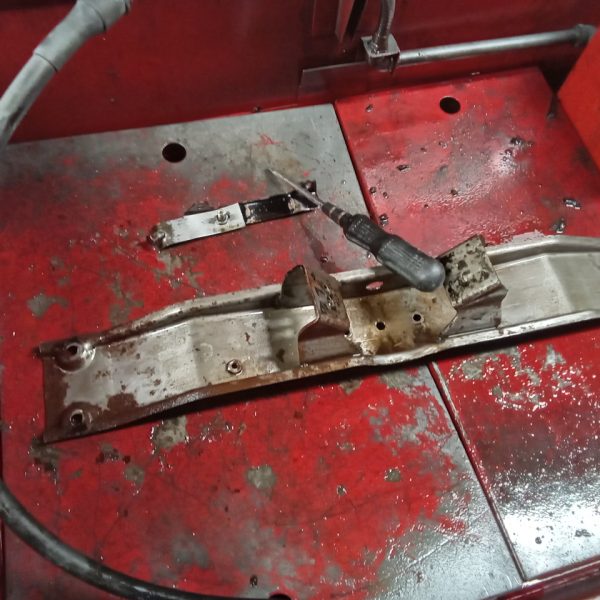
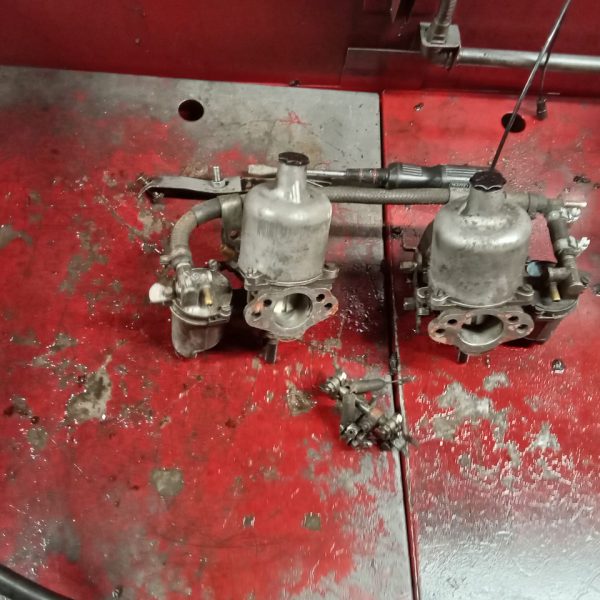
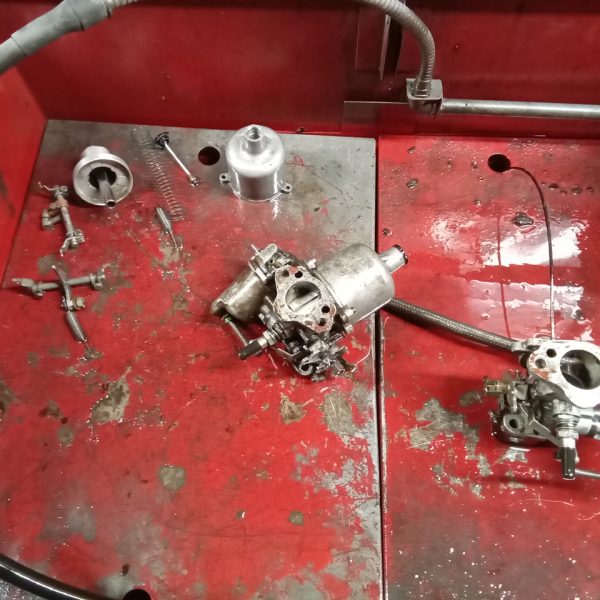
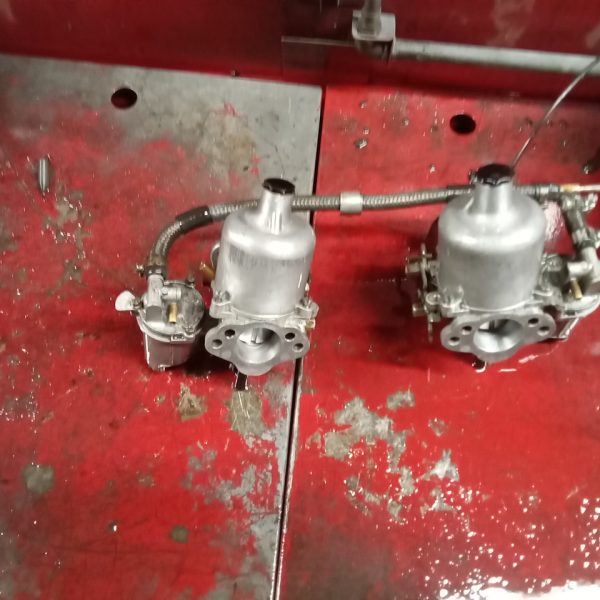
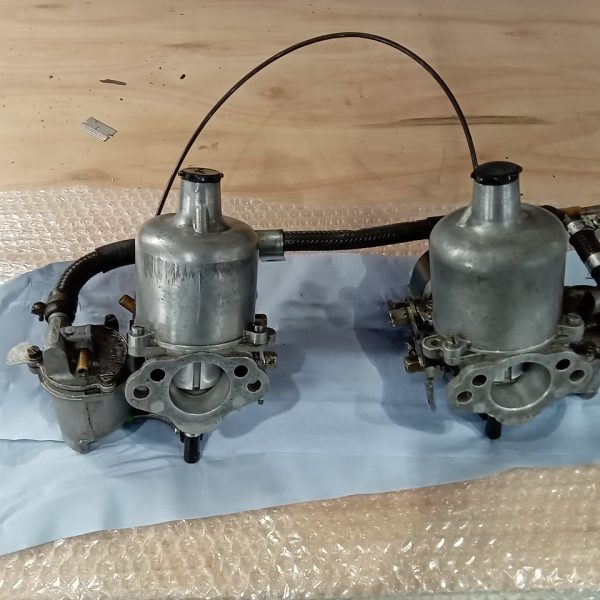
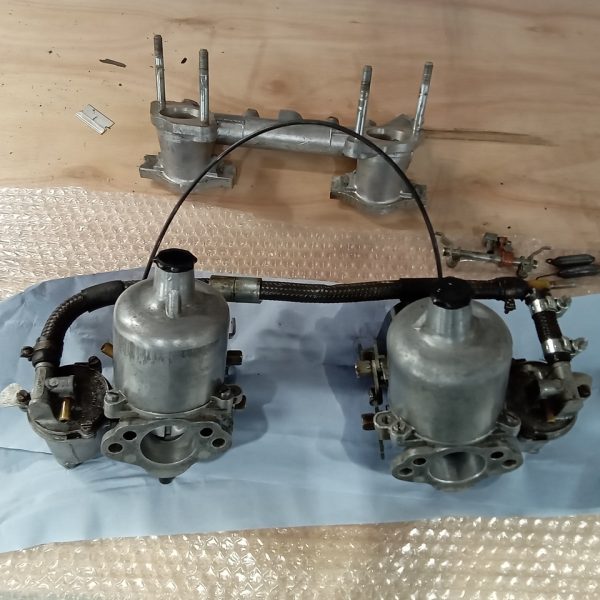
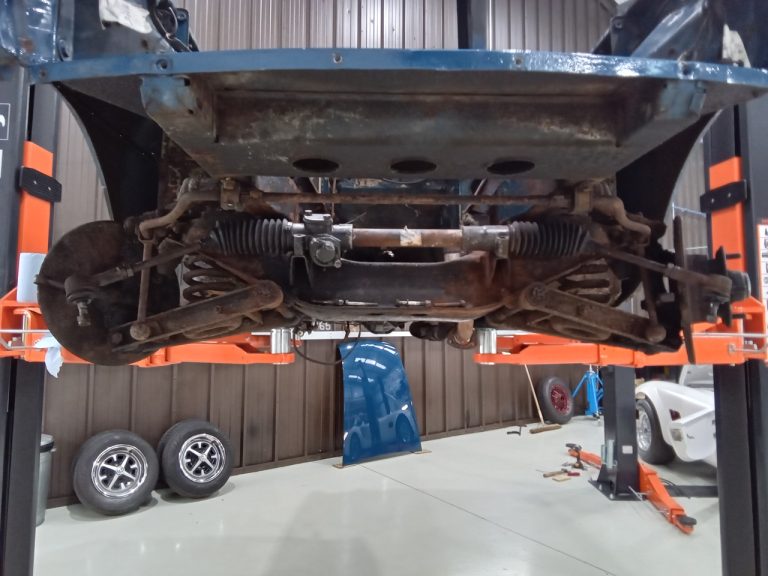
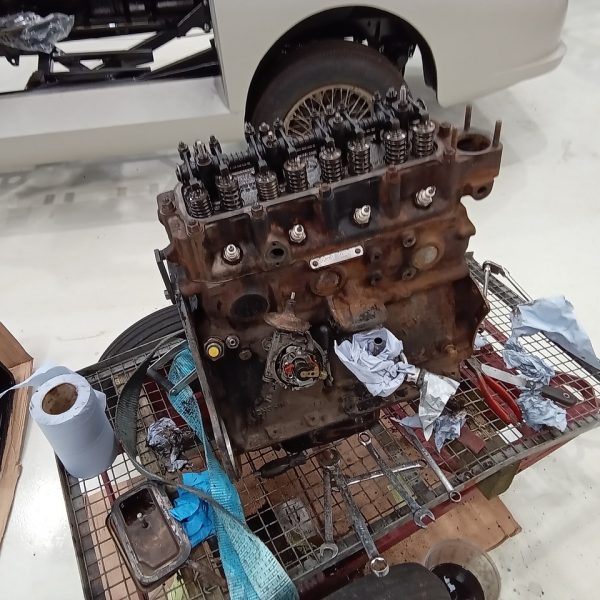
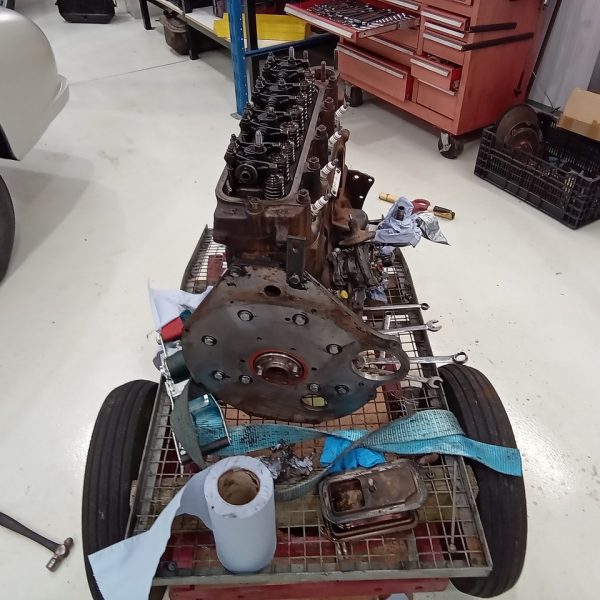
Week 1 for new guy Dave has already been a busy one as his first project is our 1973 MG B Roadster. Gordon has not started Dave off lightly. The MG B is needing a serious amount of attention but that hasn’t seemed to phase Dave so far. The engine and gearbox have been removed. The radiator and surrounding panels and hoses are all now out. We have removed the heater box, bulkhead parts, blanking plates and covers. The body is now stripped ready for welding, the windscreen, door glass, all chrome and trims, soft top and rear trims are all removed.
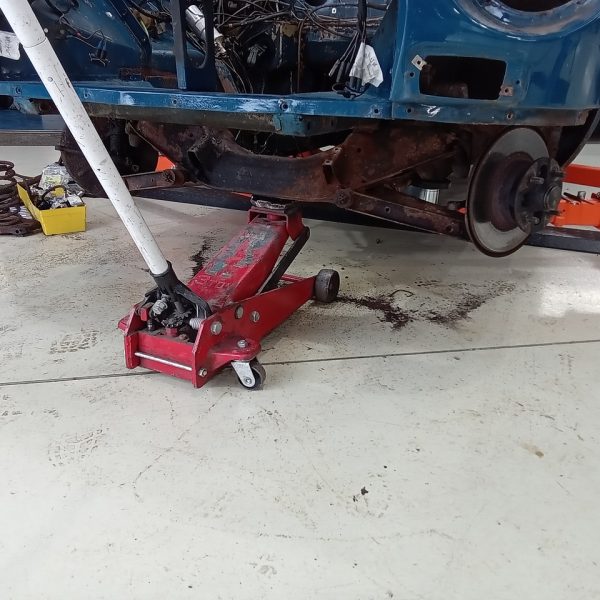
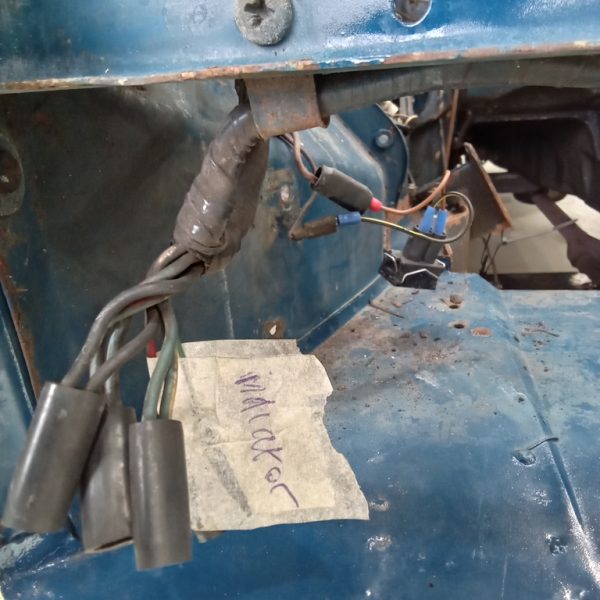
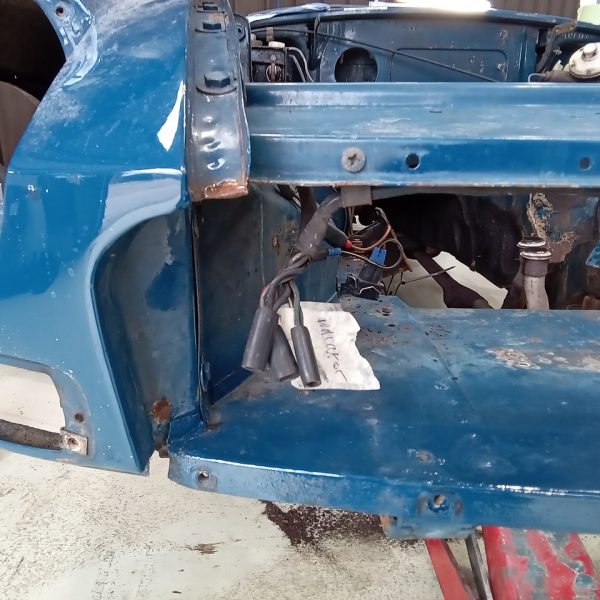
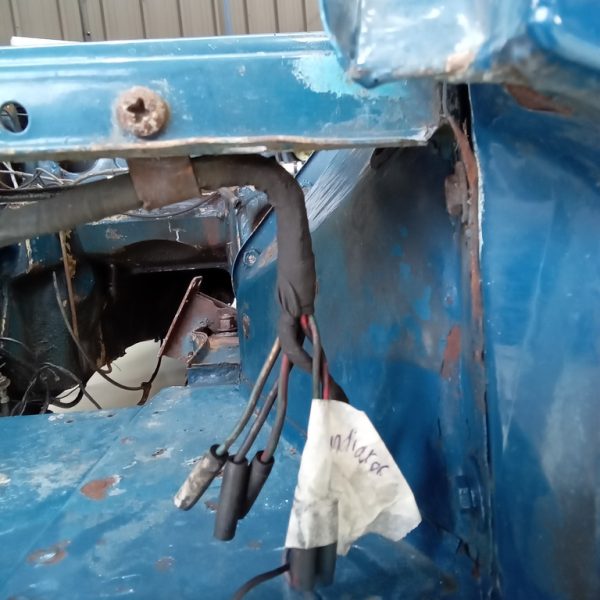
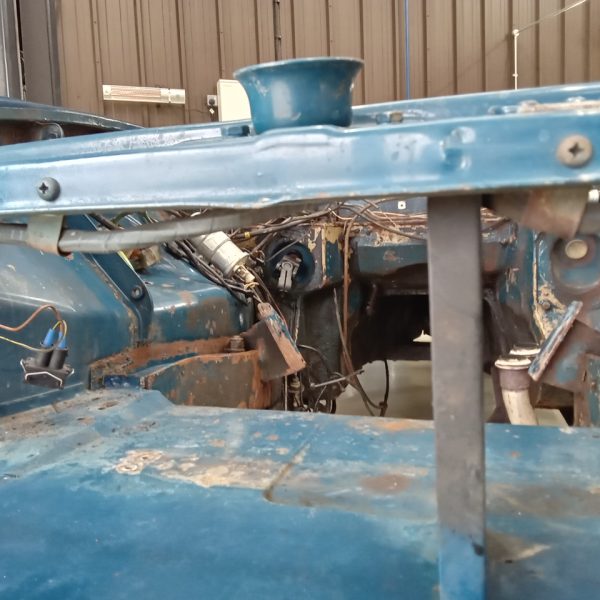
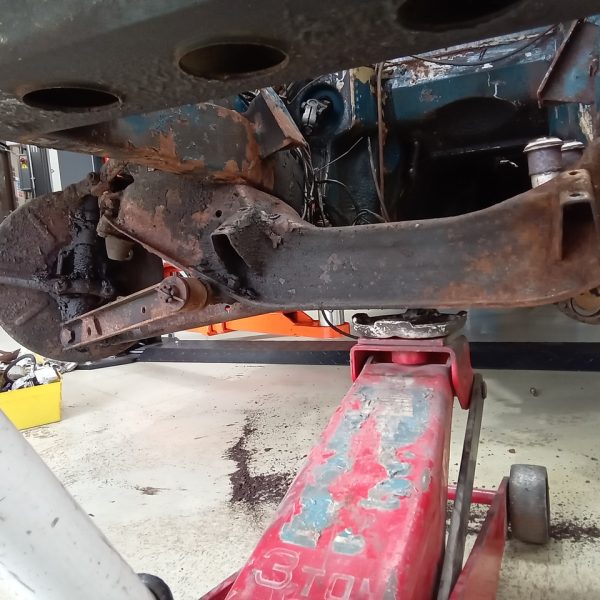
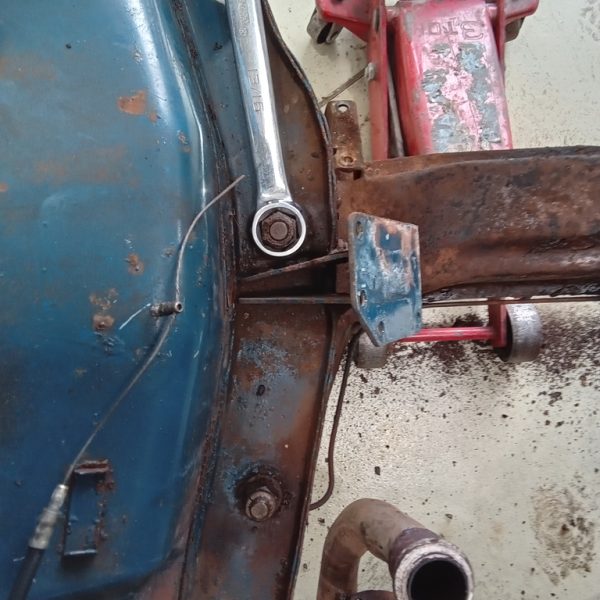
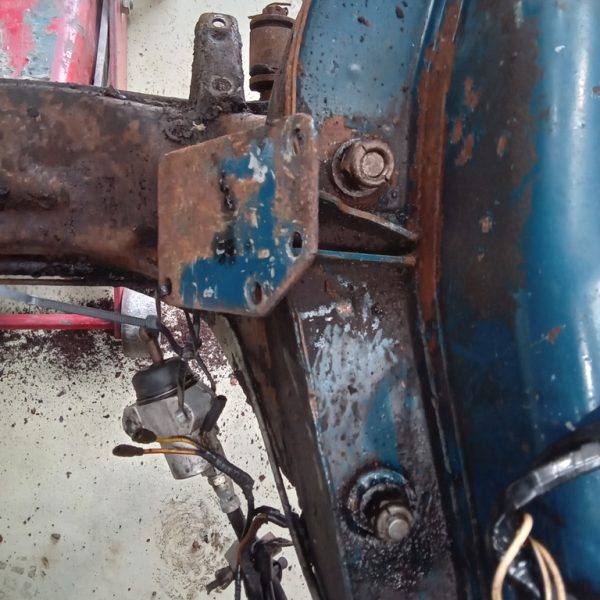
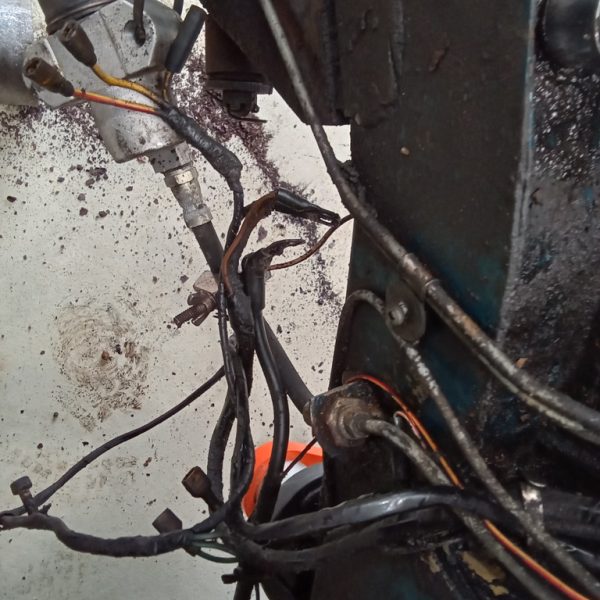
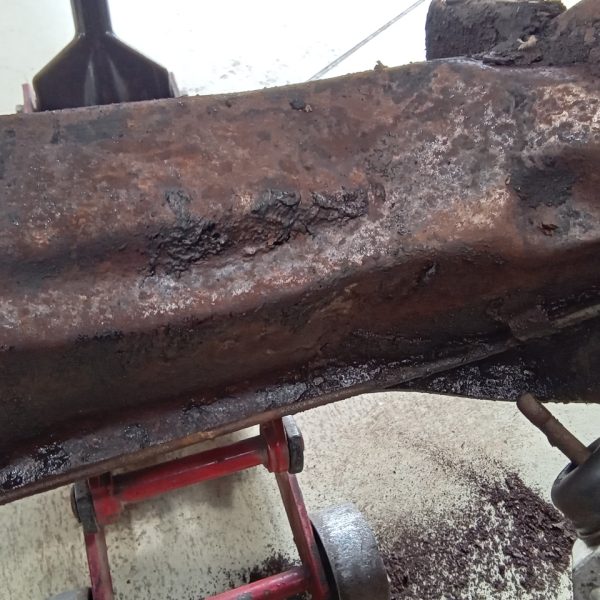
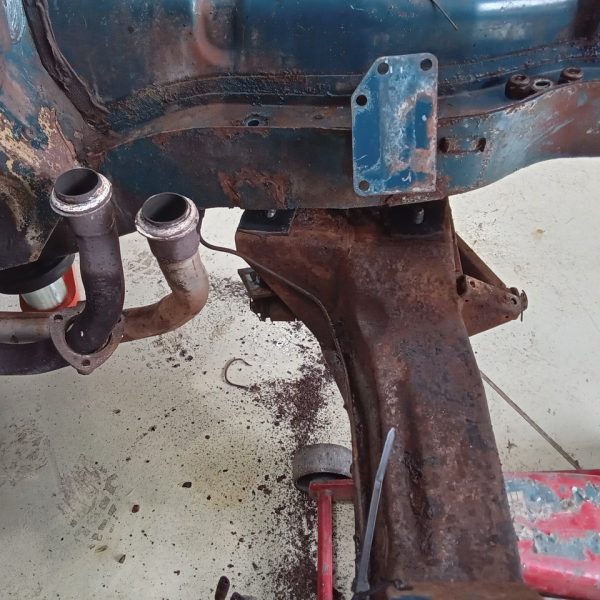
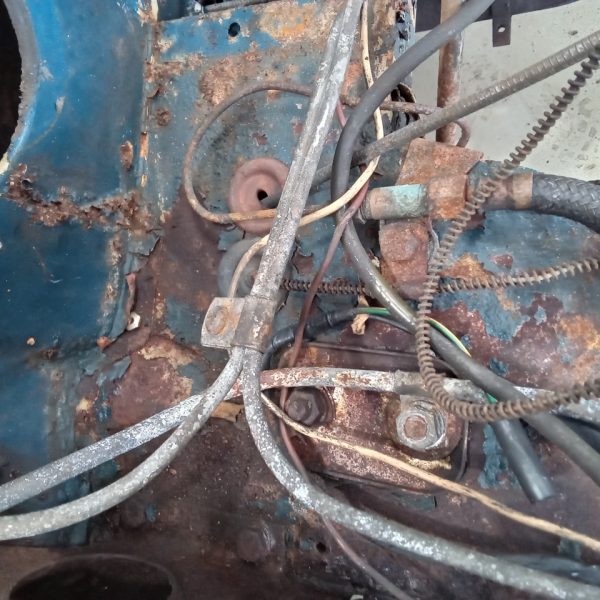
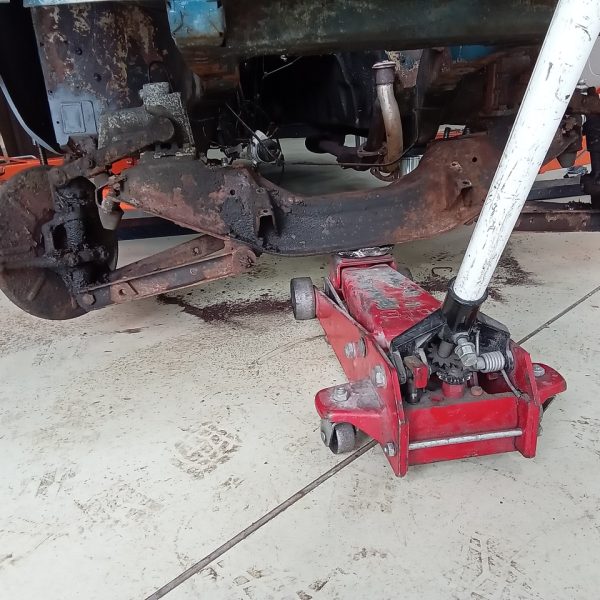
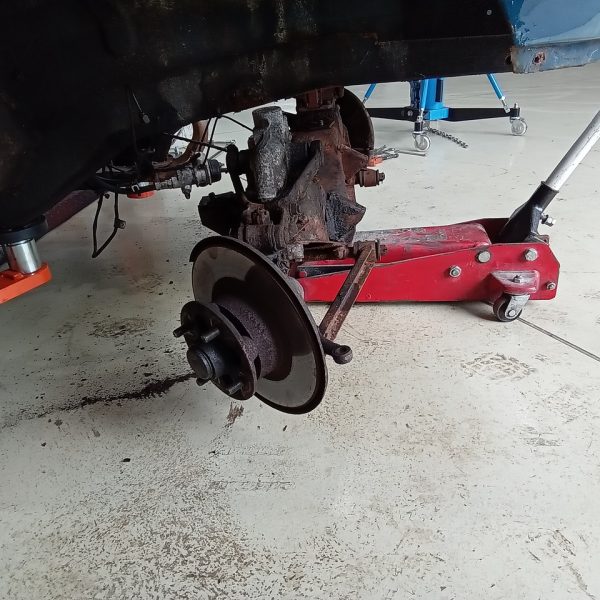
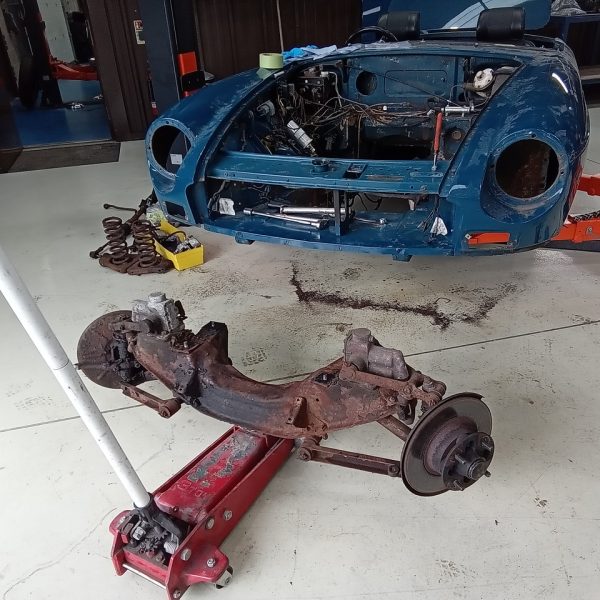
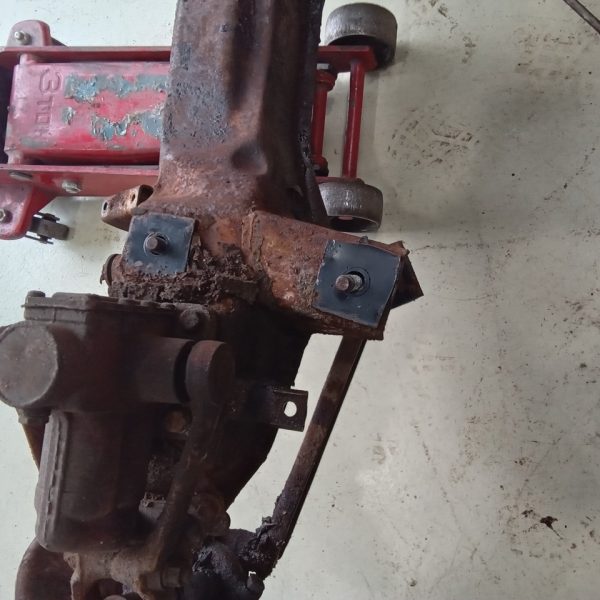
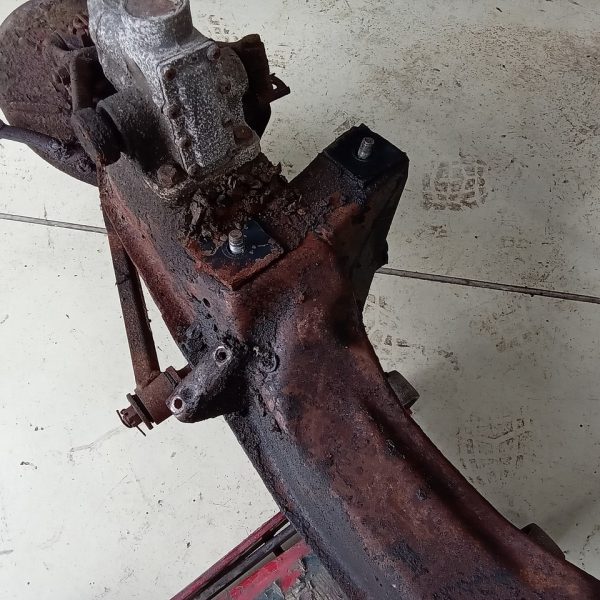
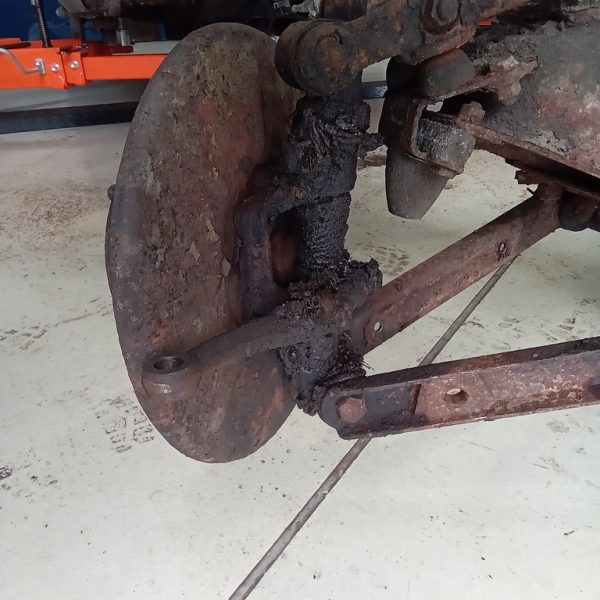
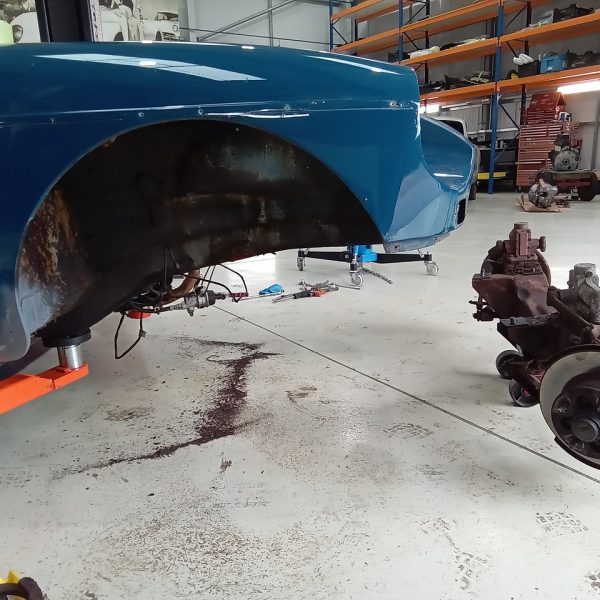
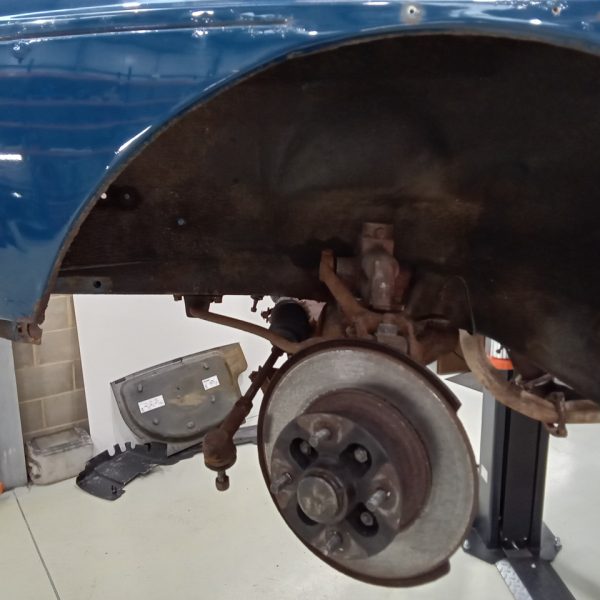
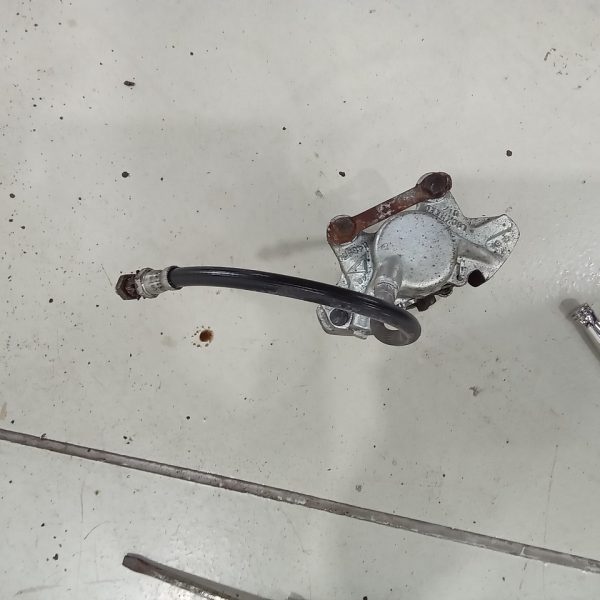
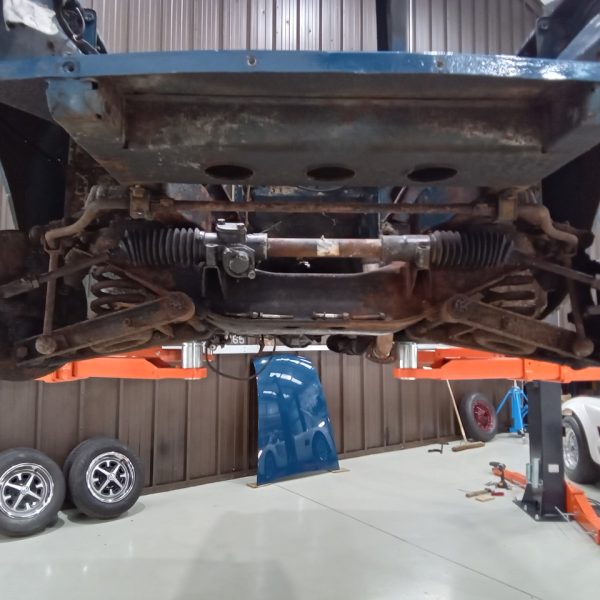
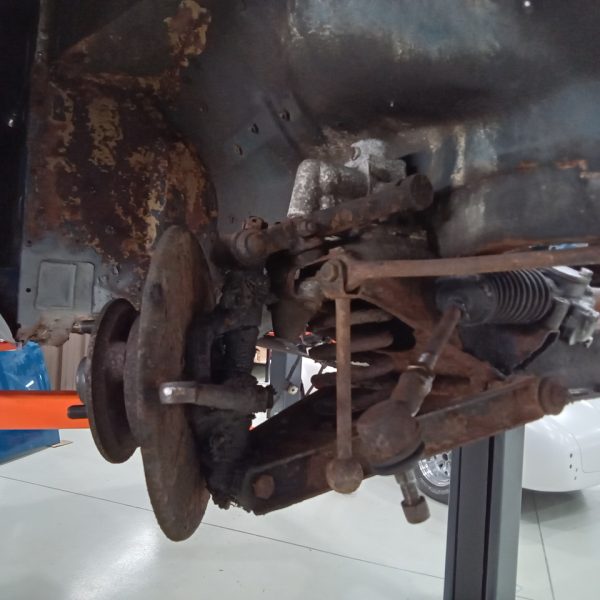
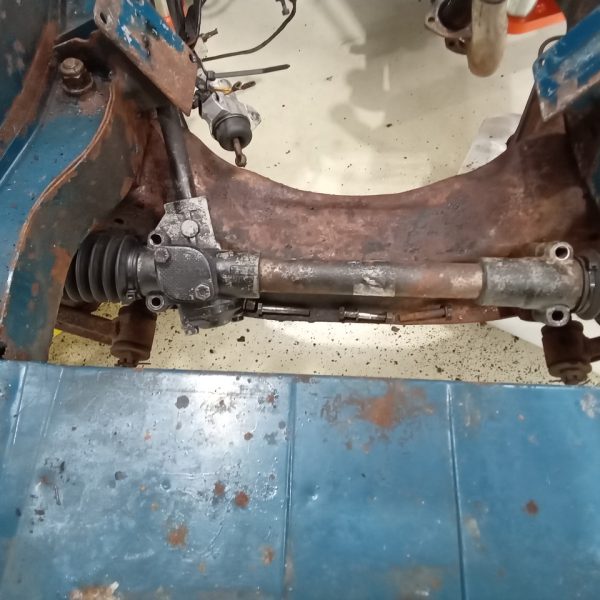
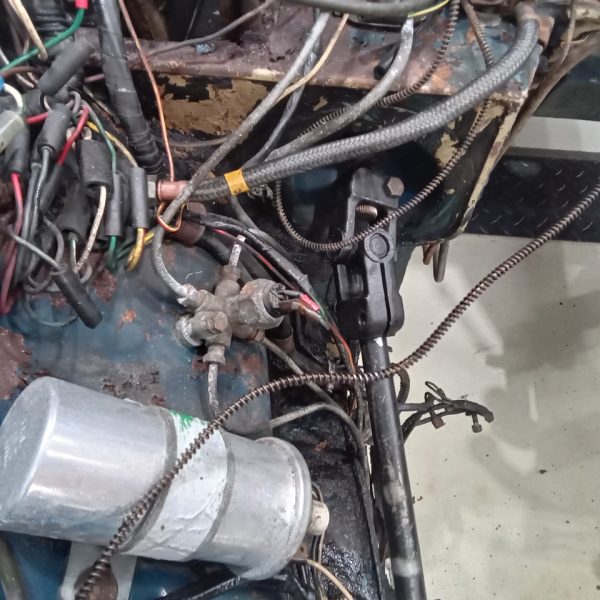
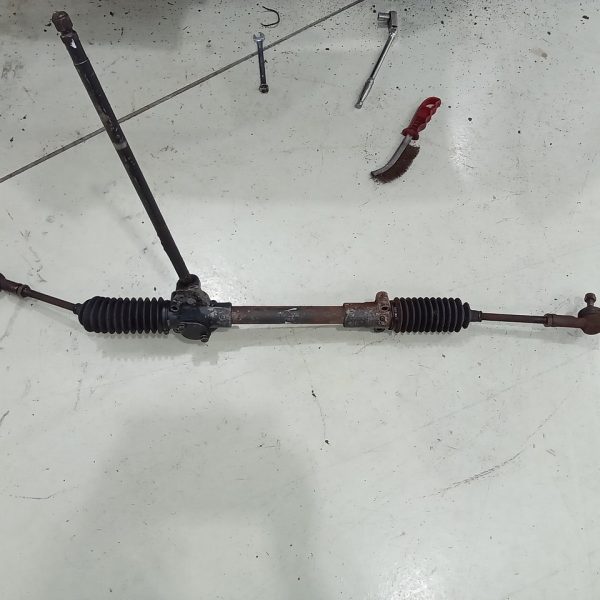
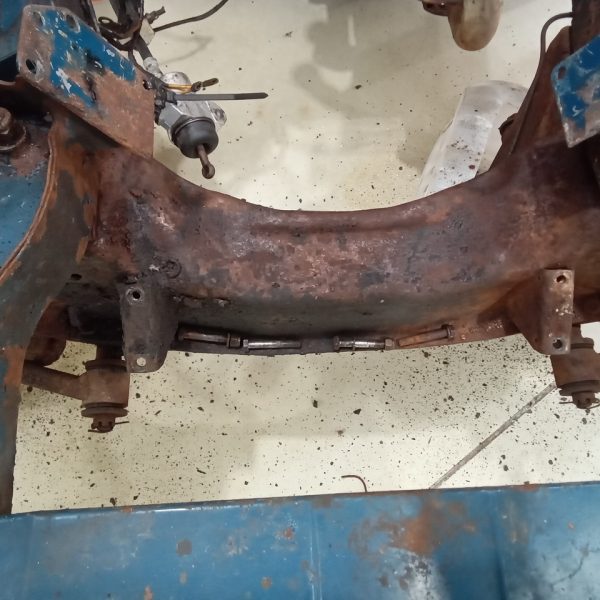
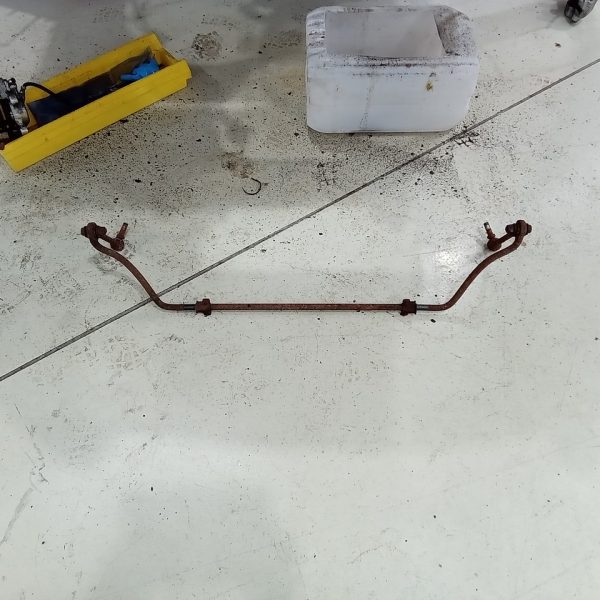
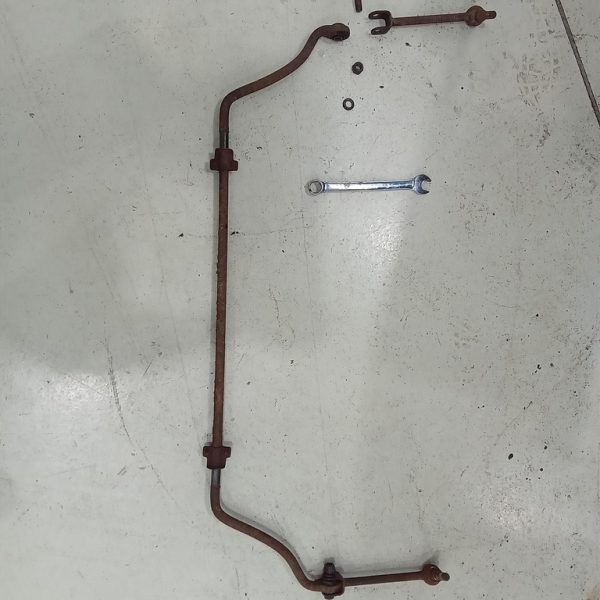
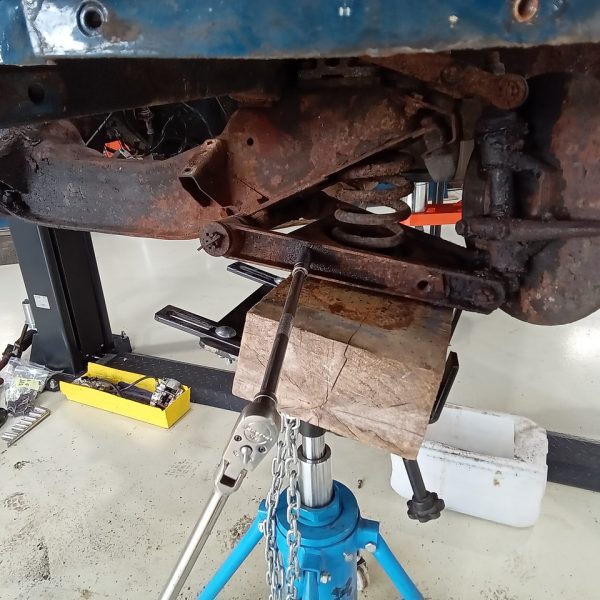
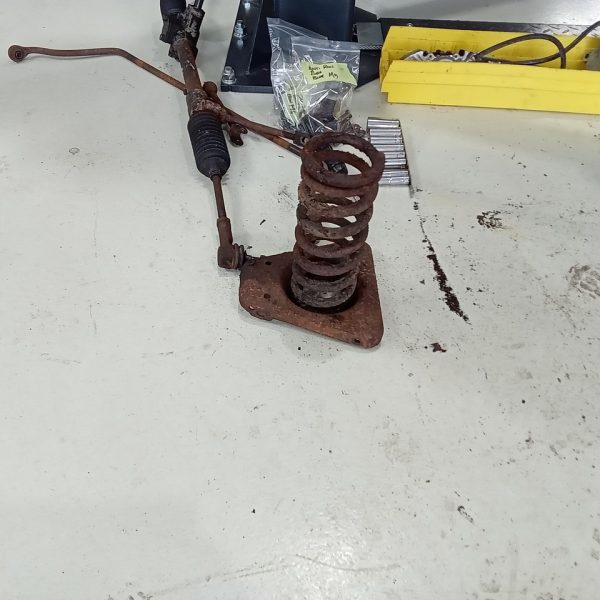
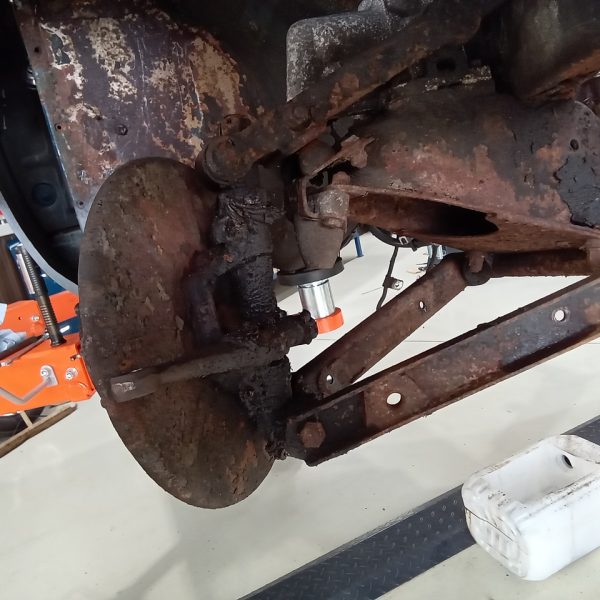
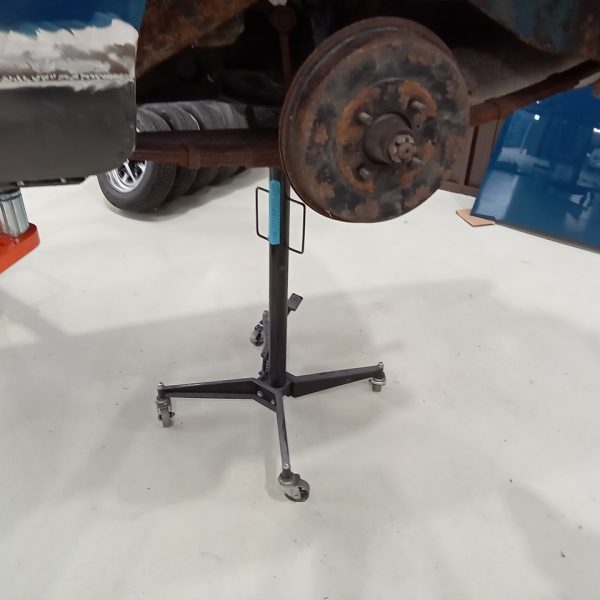
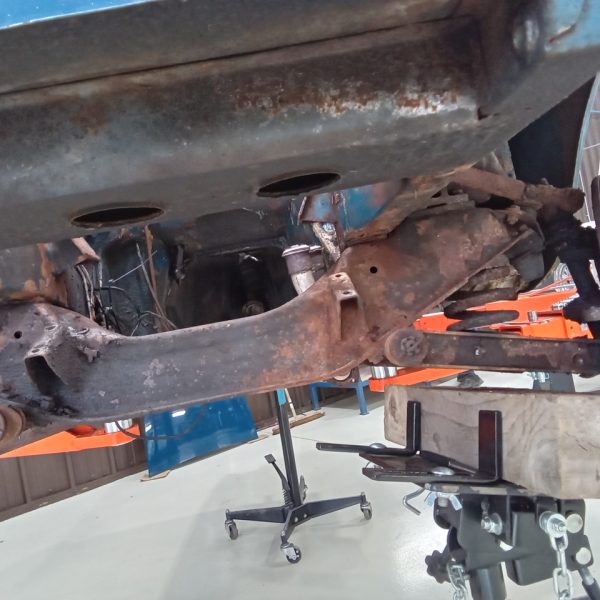
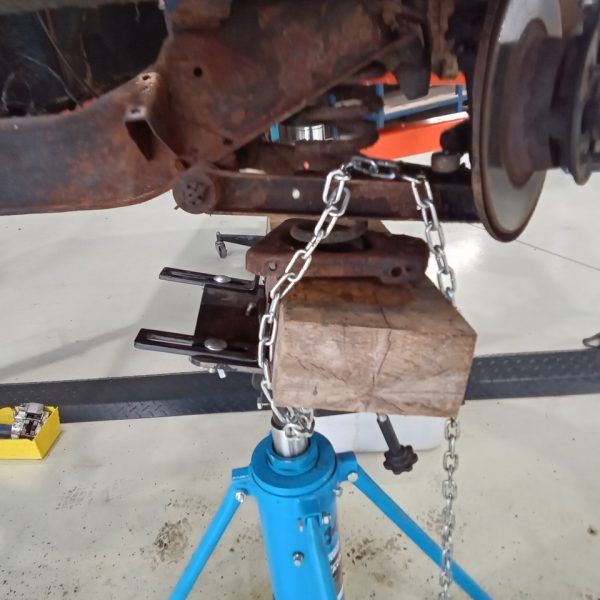
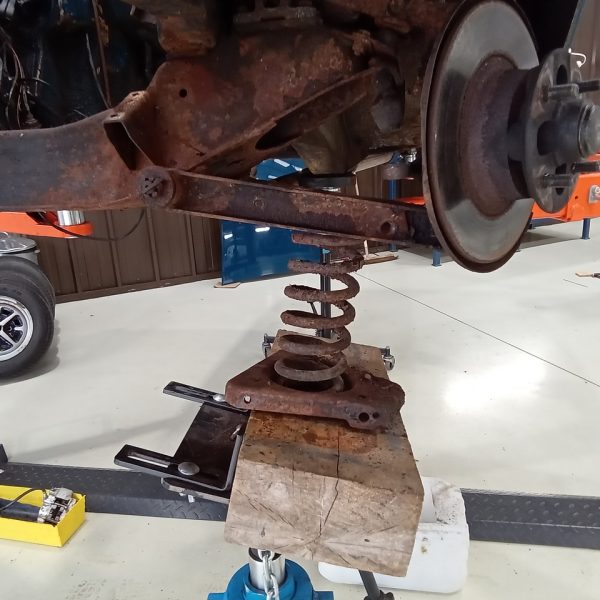
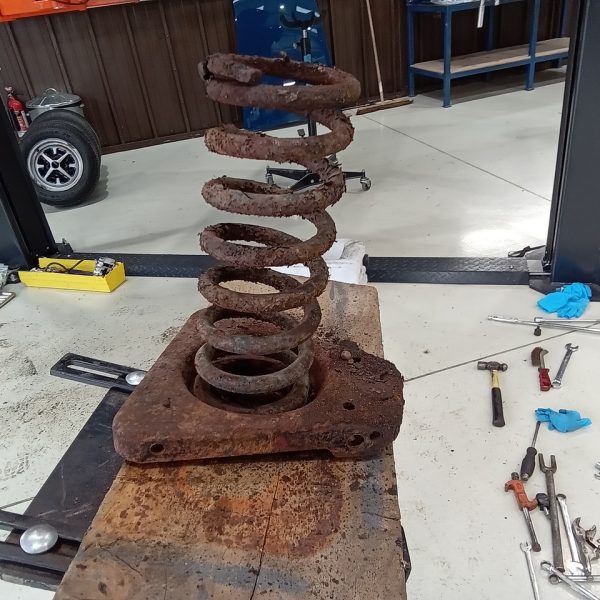
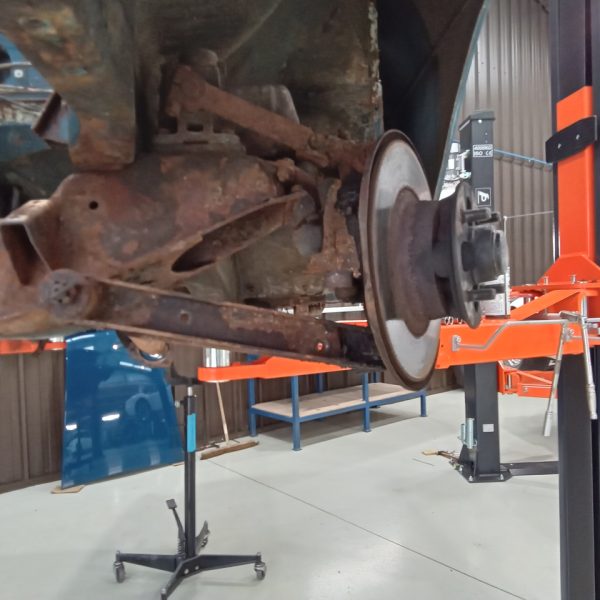
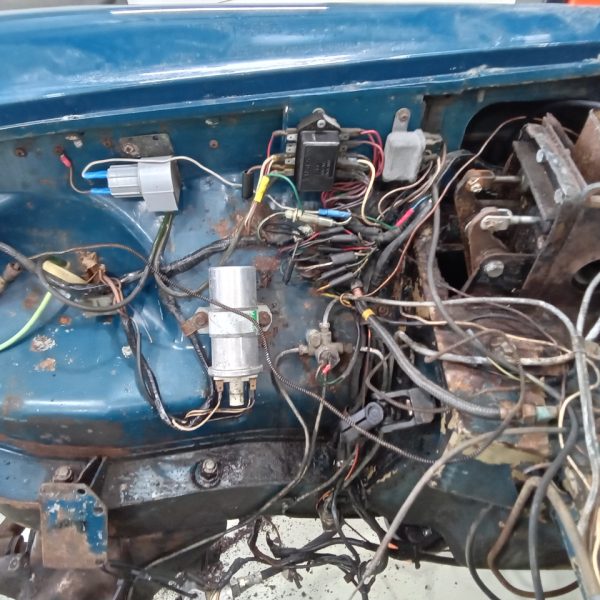
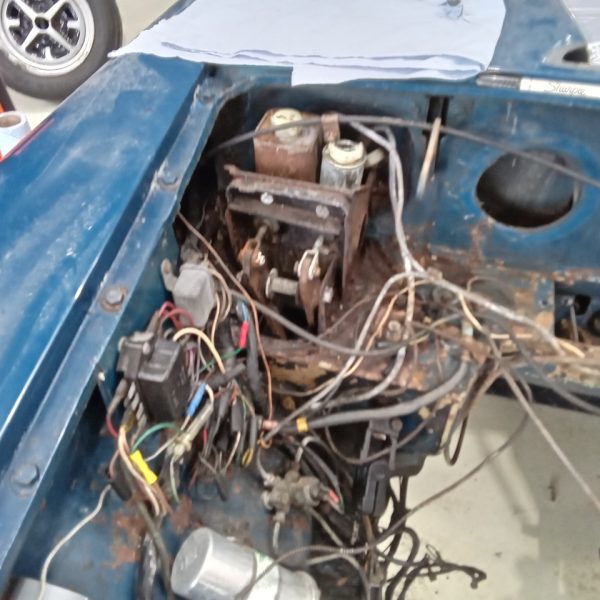
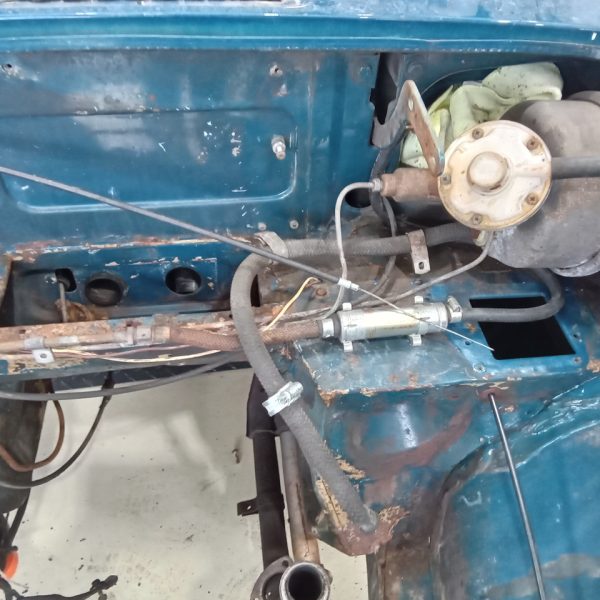
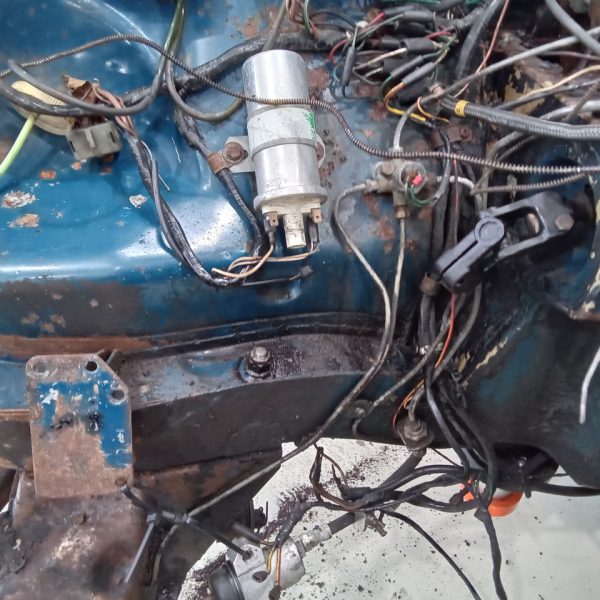
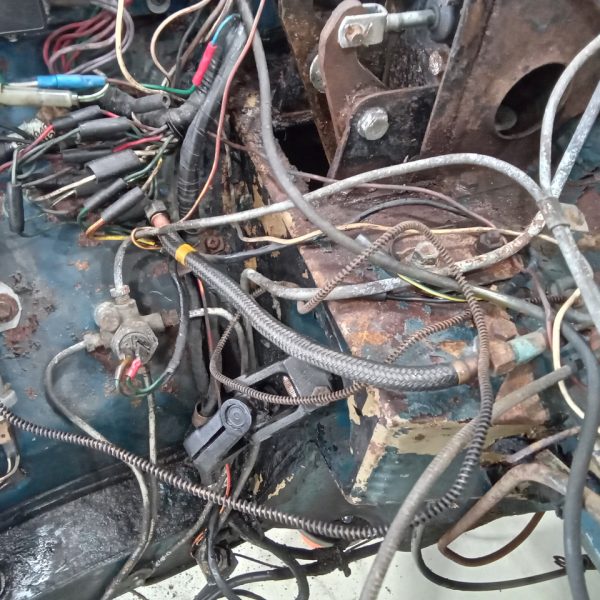
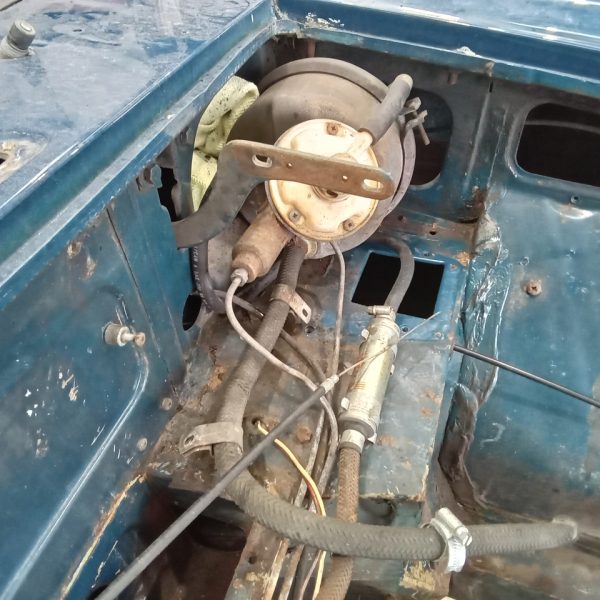
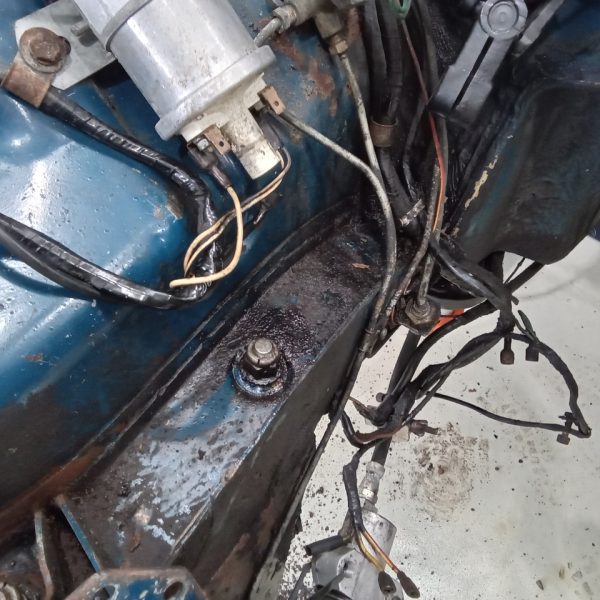
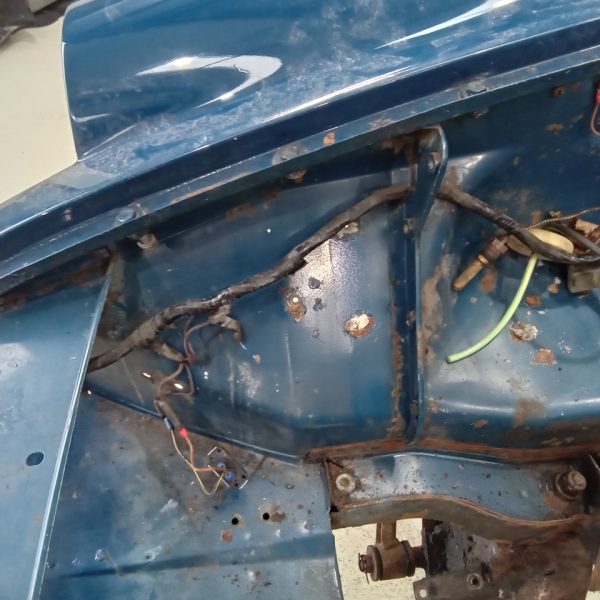
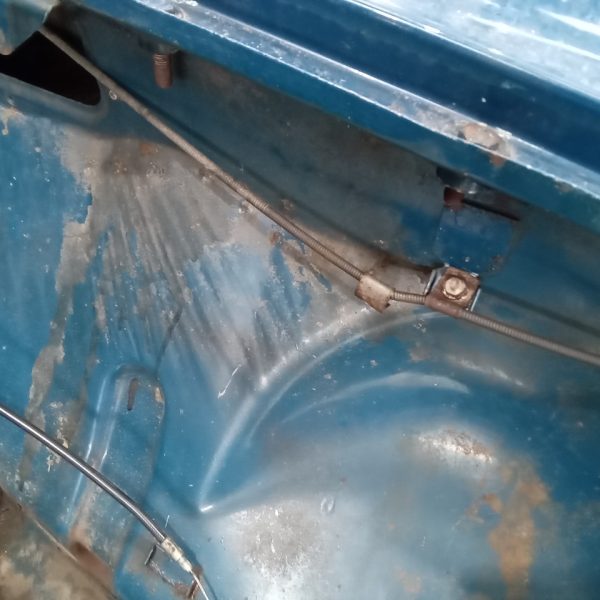
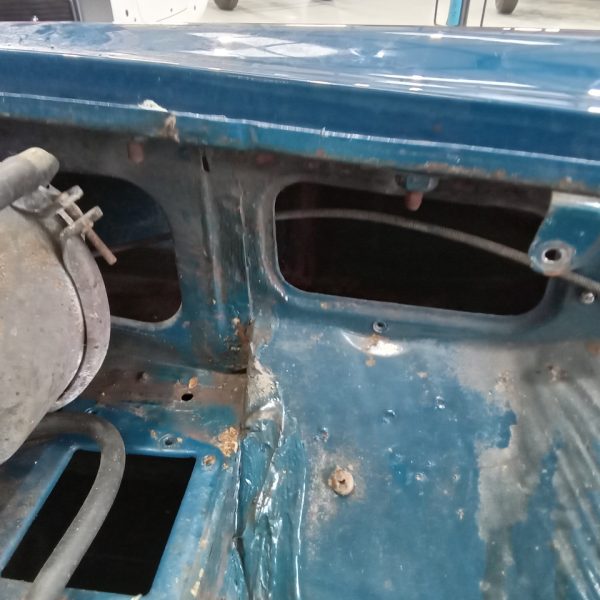
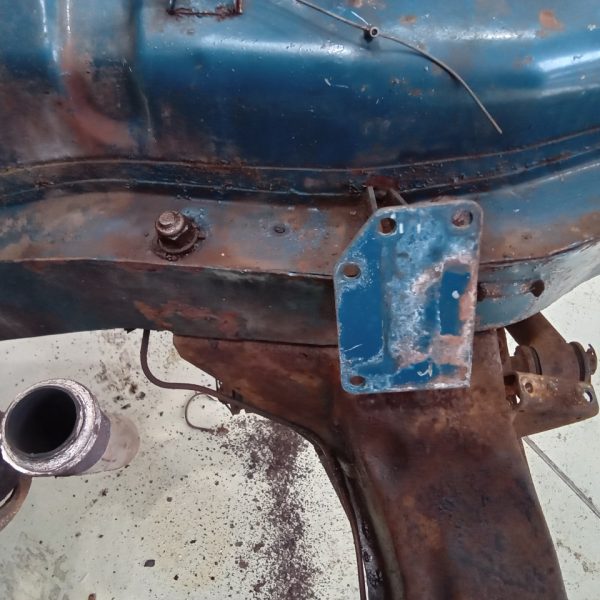
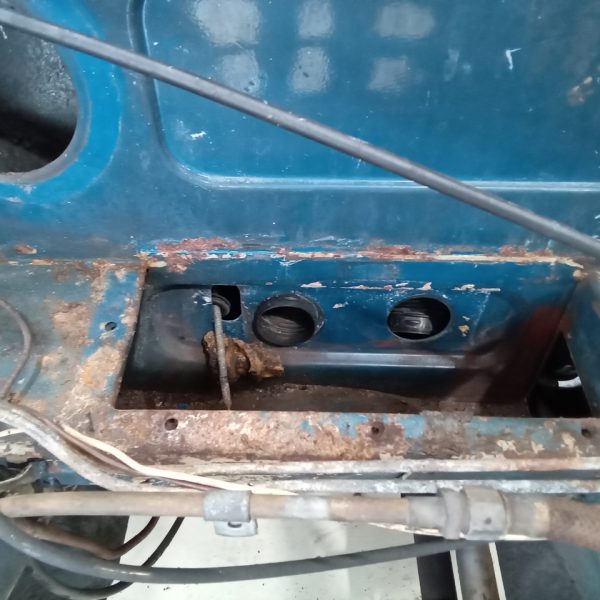
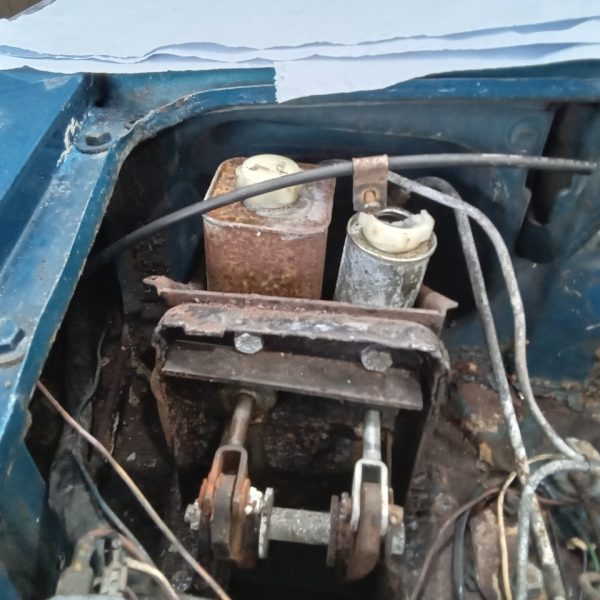
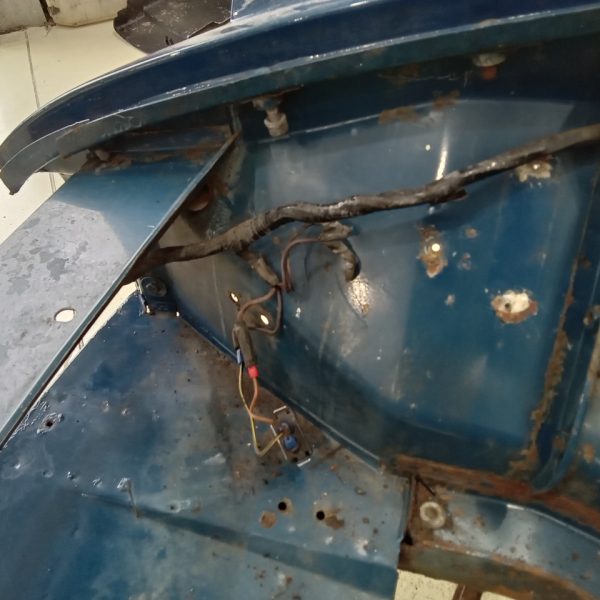
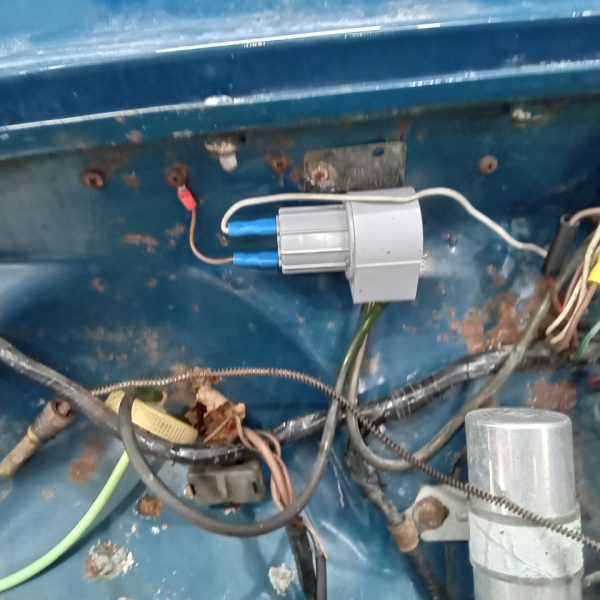
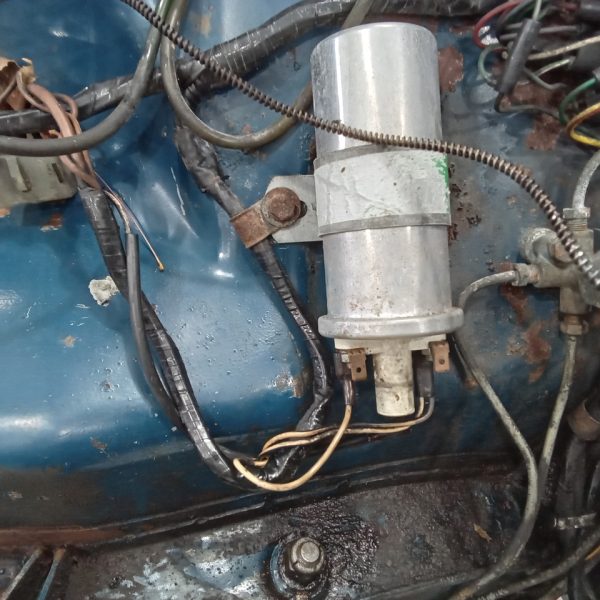
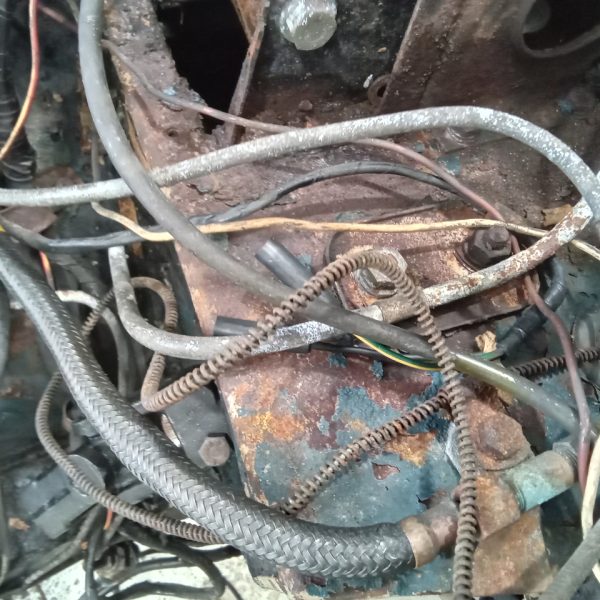
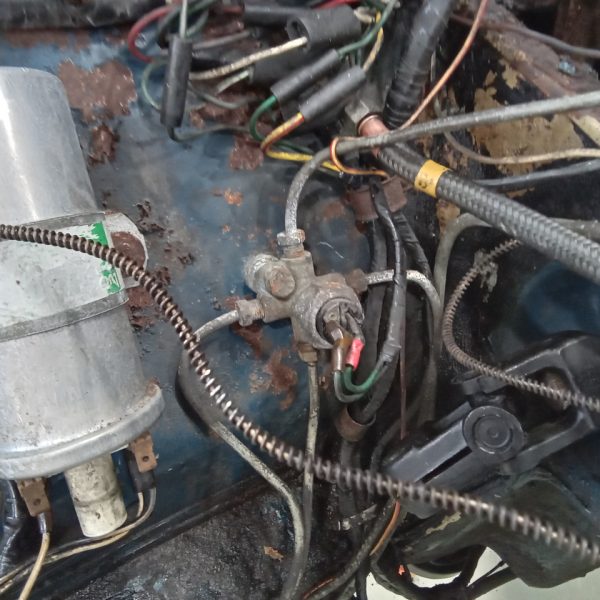
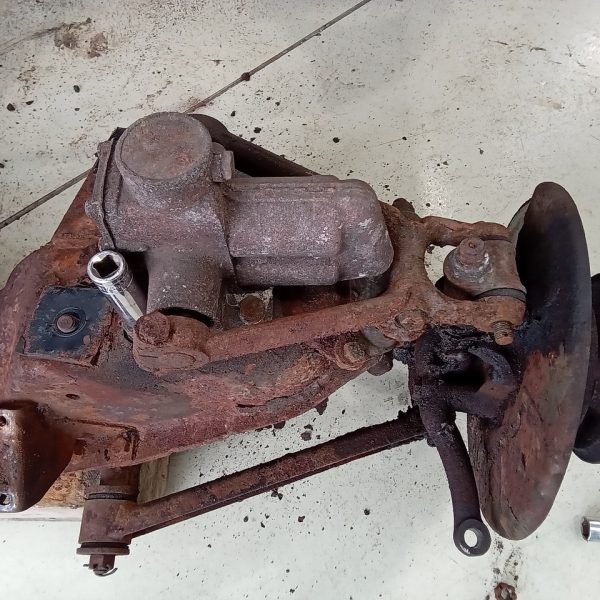
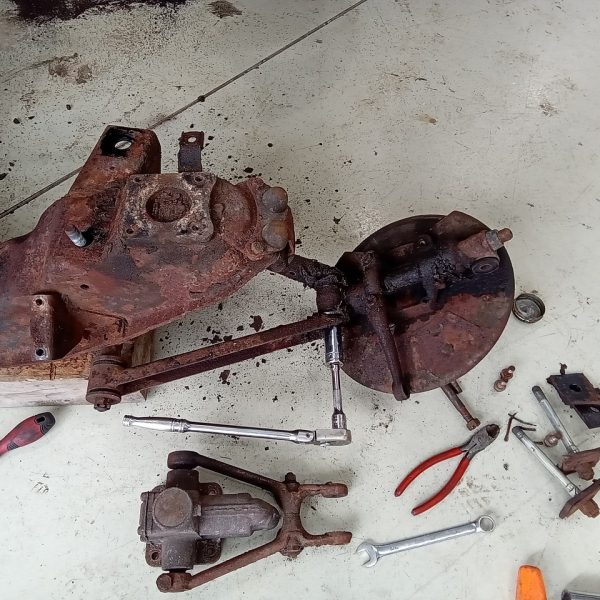
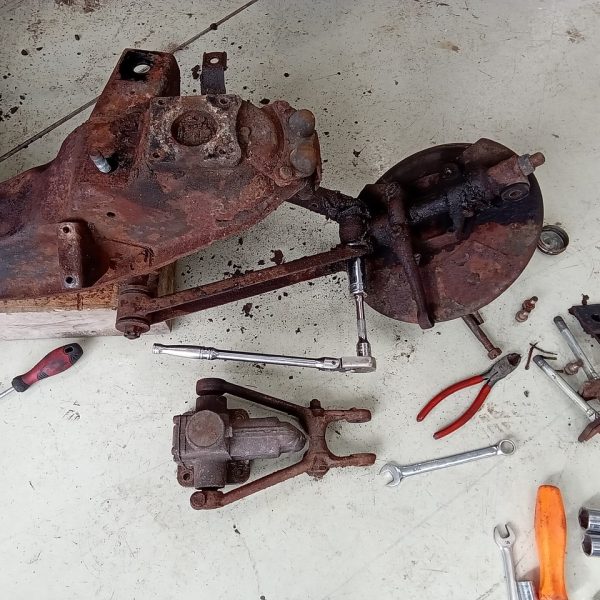
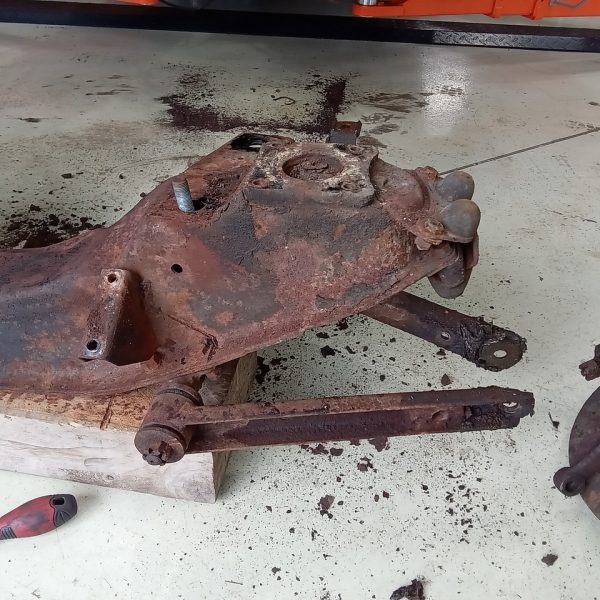
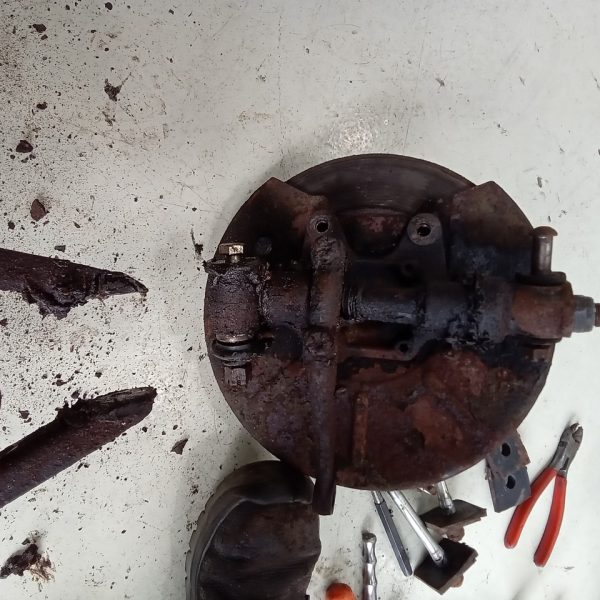
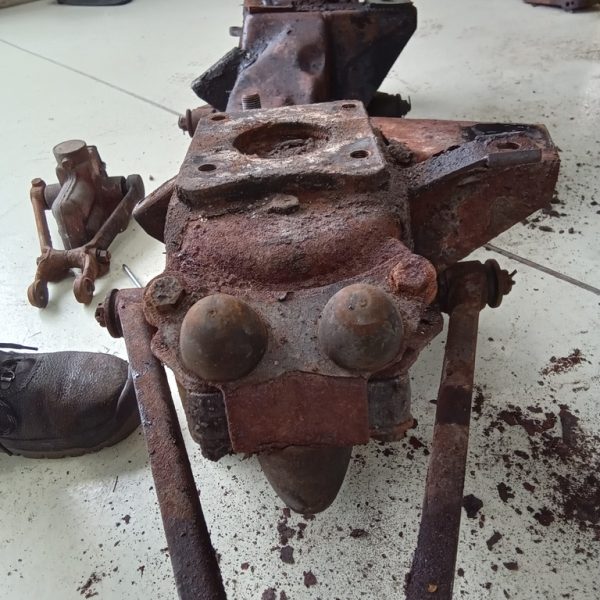
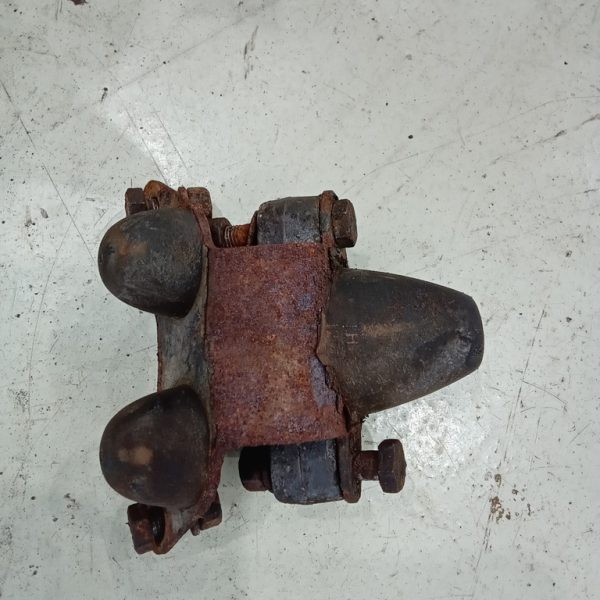
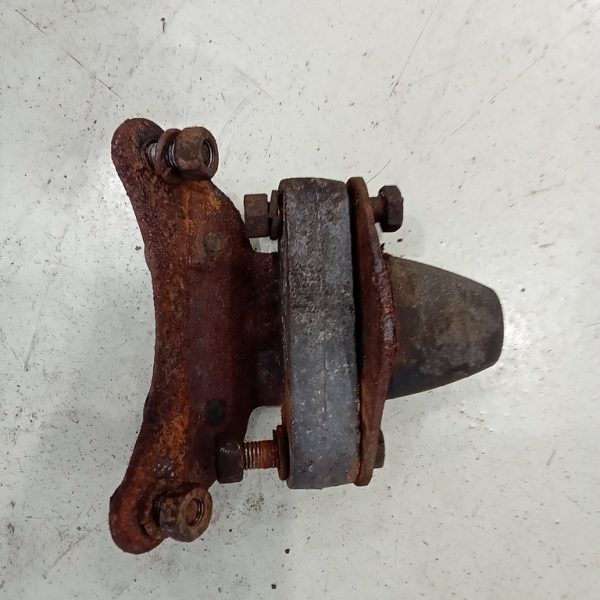
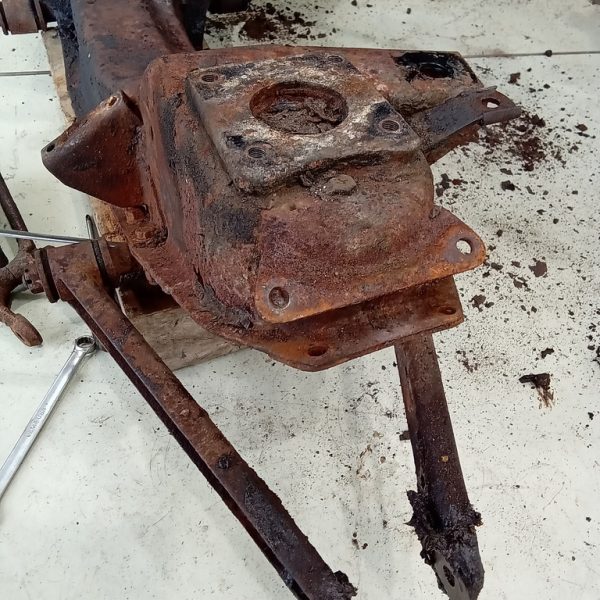
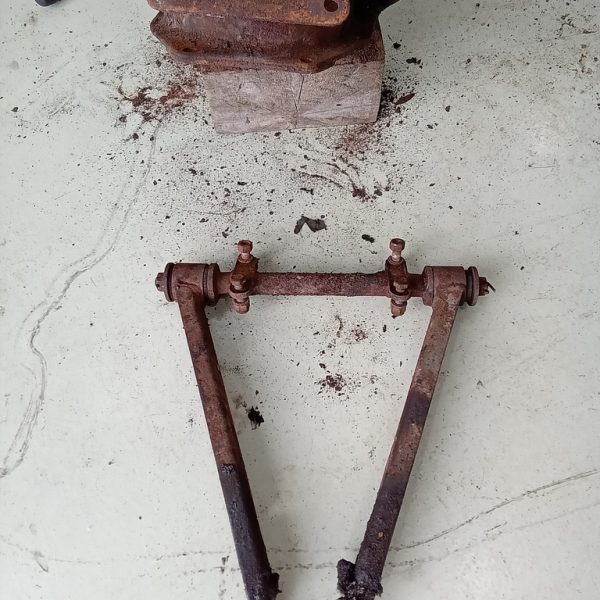
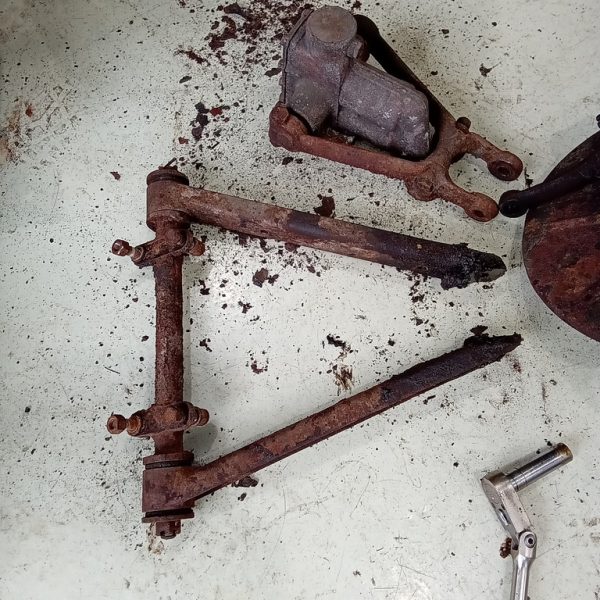
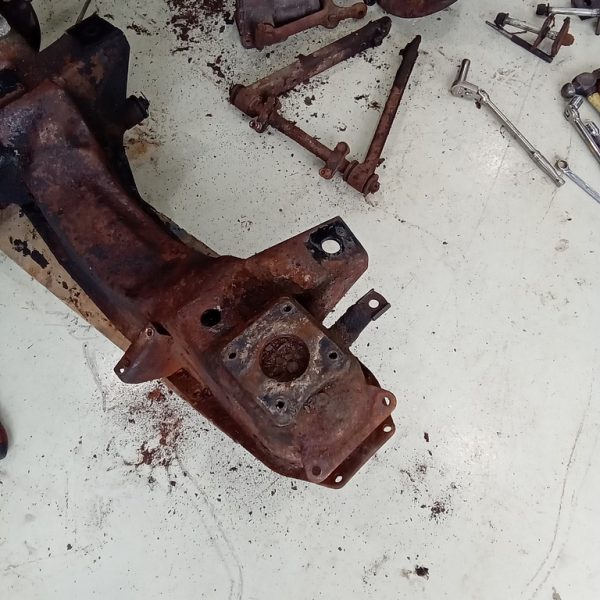
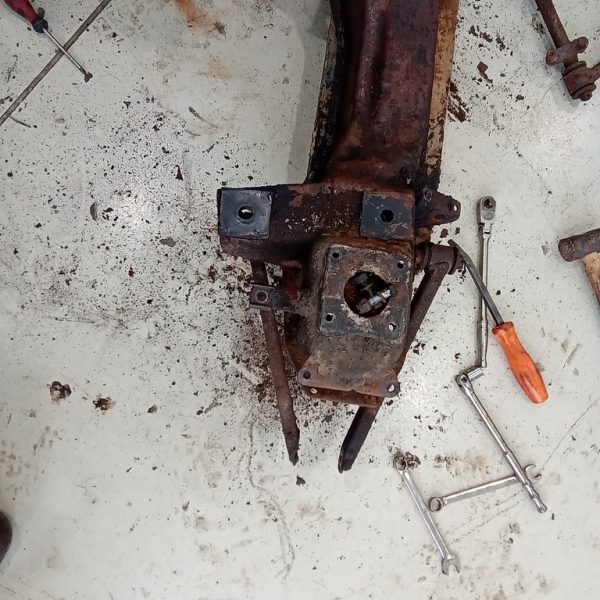
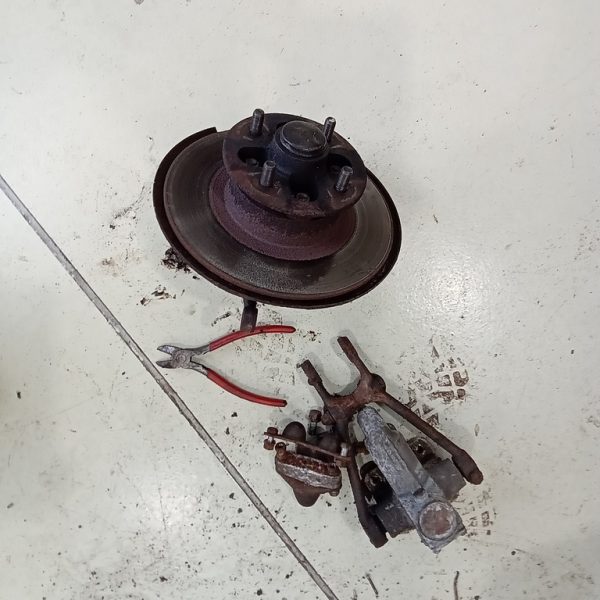
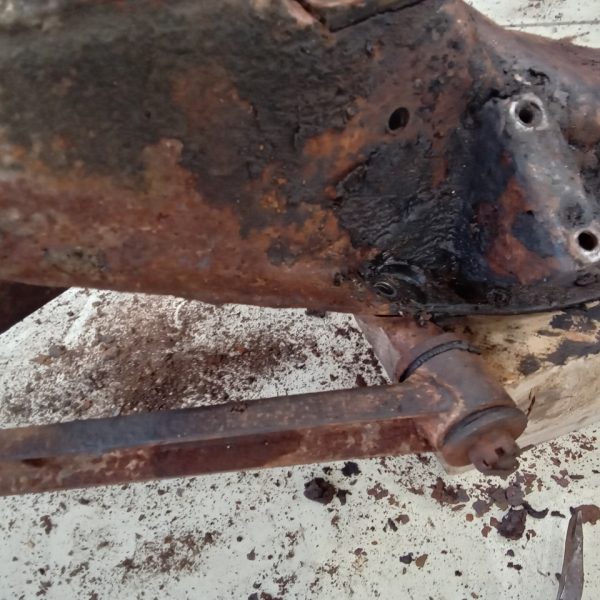
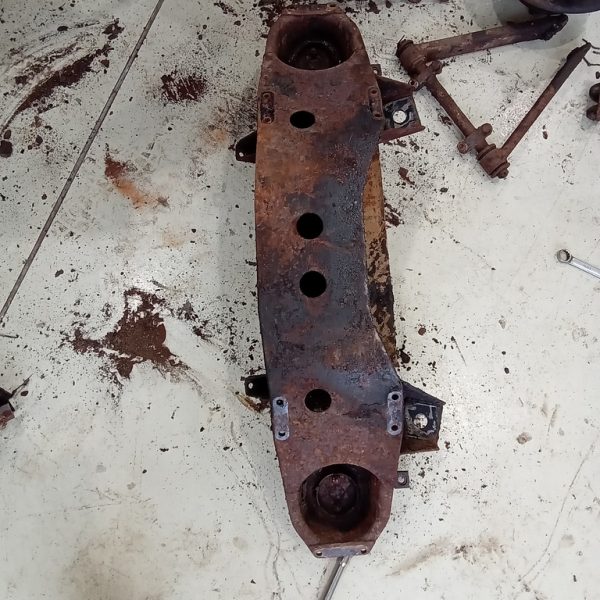
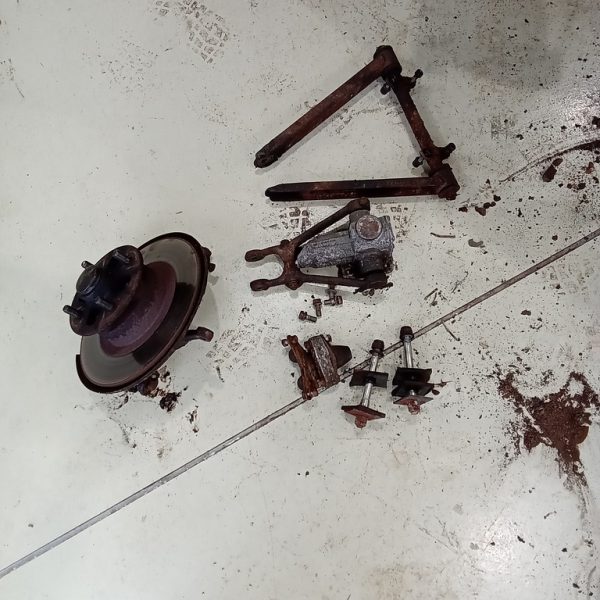
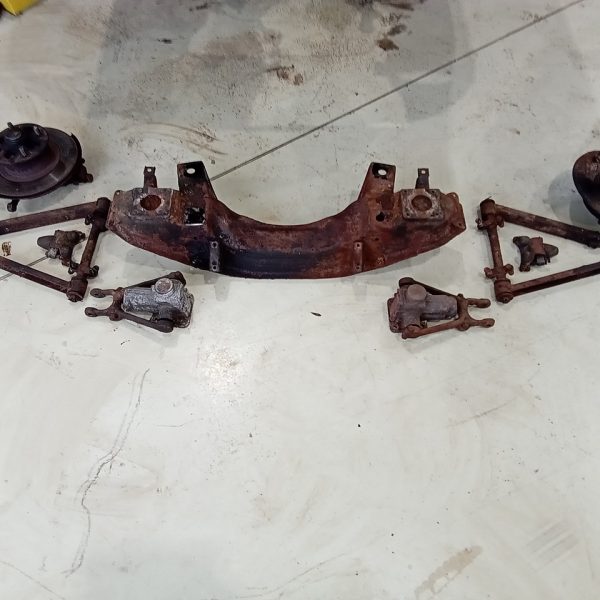
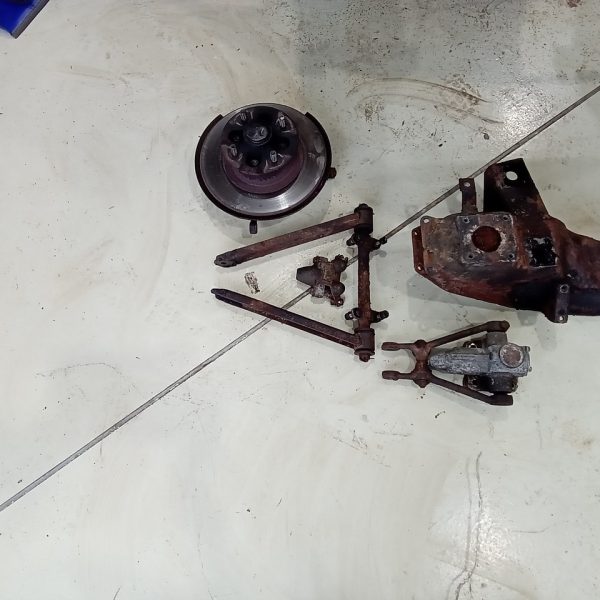
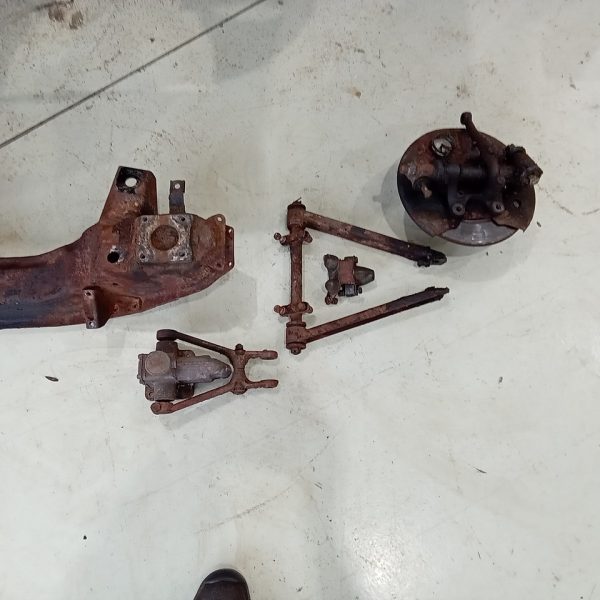
The suspension has been removed and will be completely rebuilt. The engine is out and work has begun on stripping down to component level.
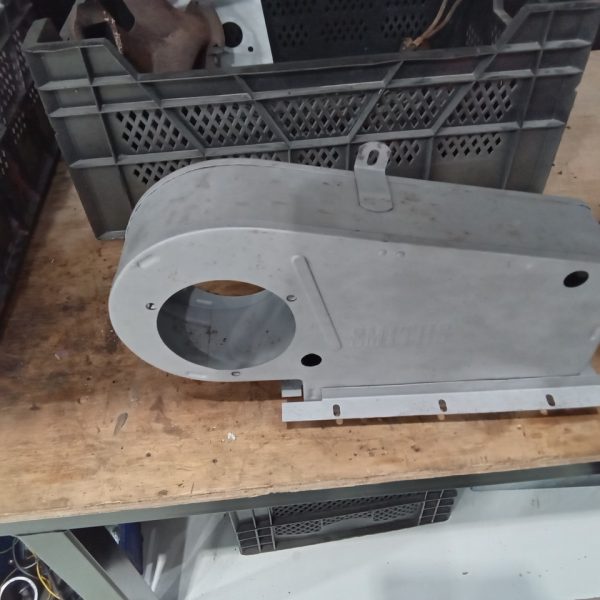
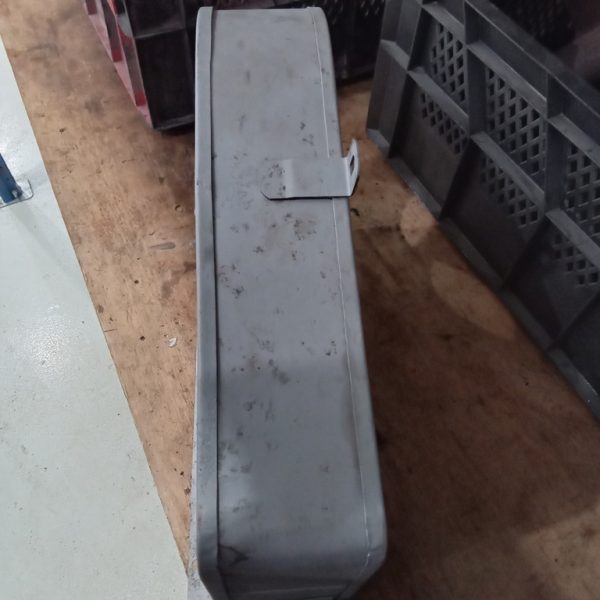
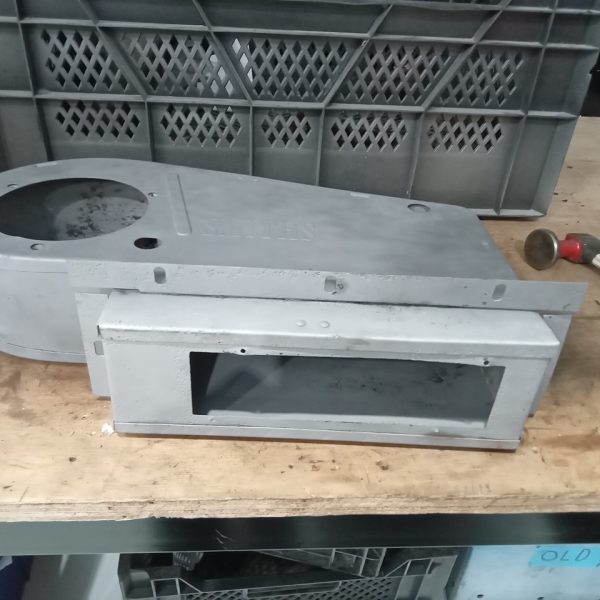
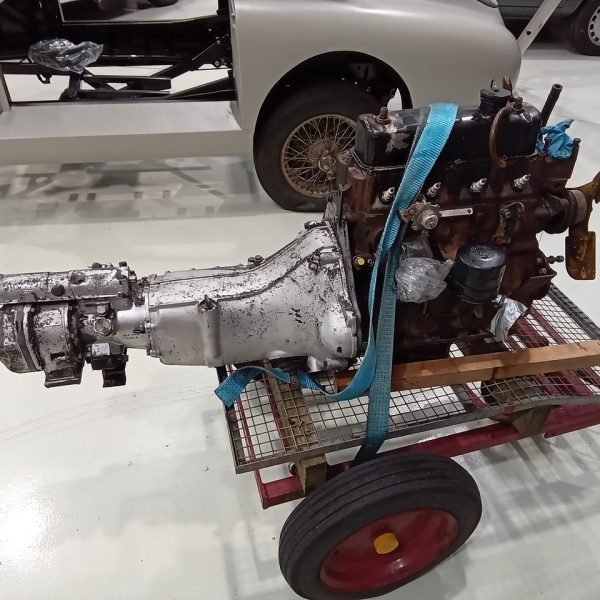
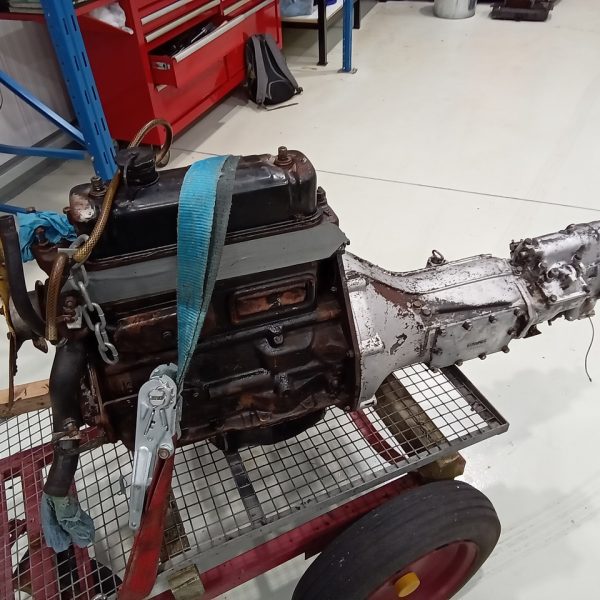
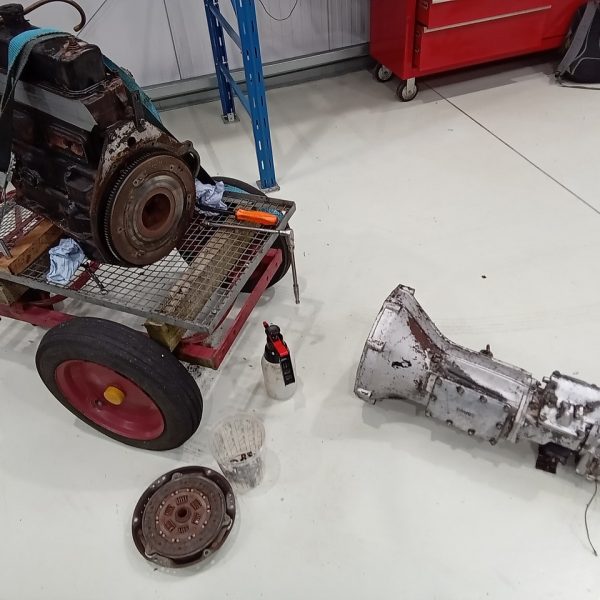
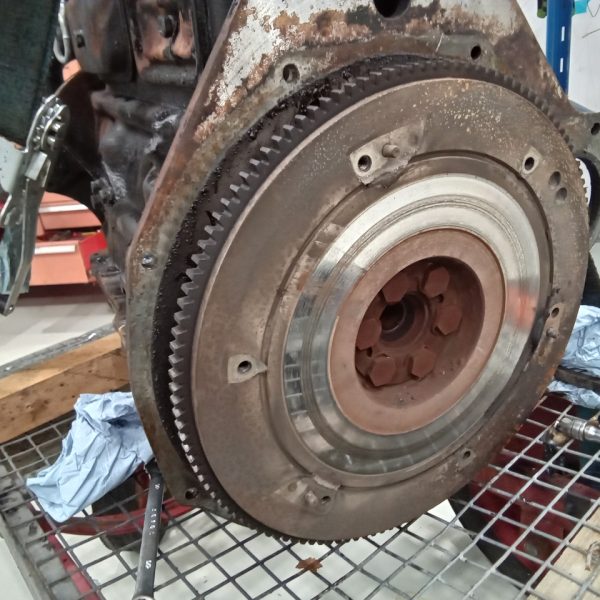
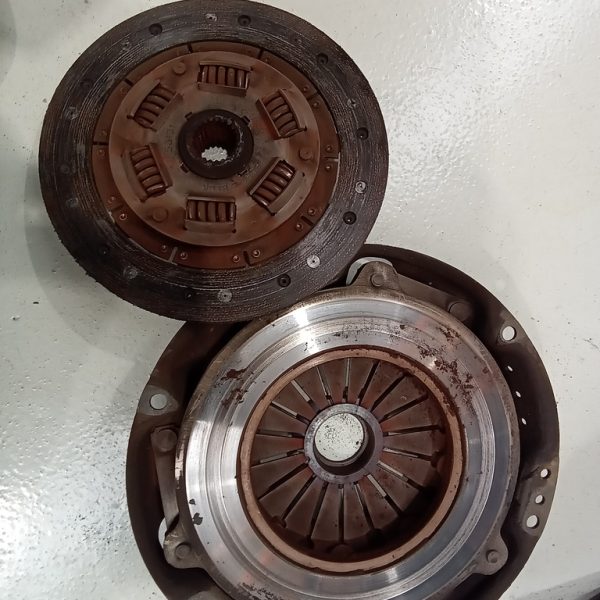
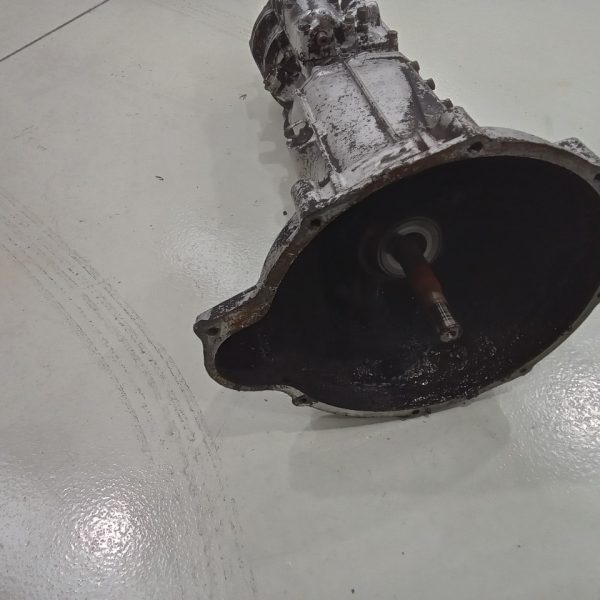
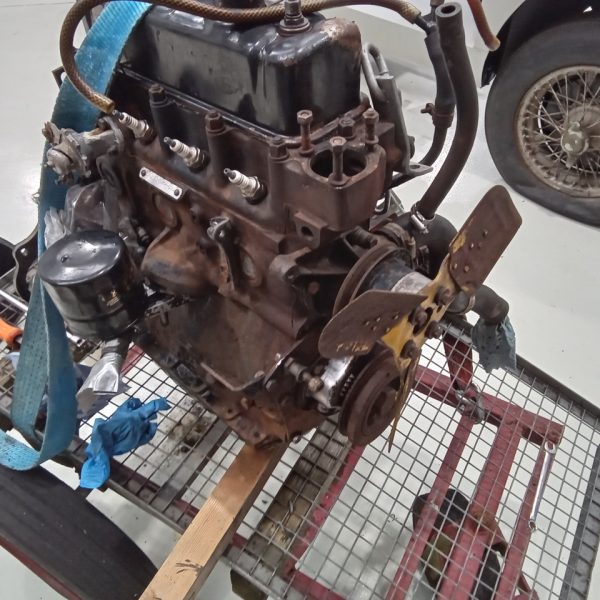
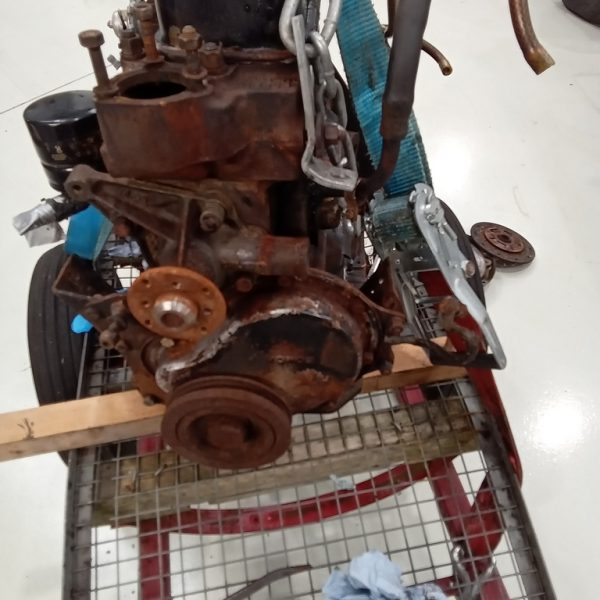
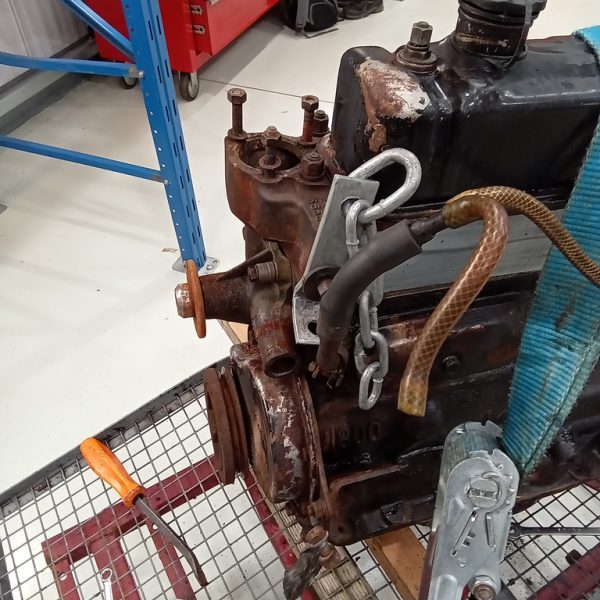
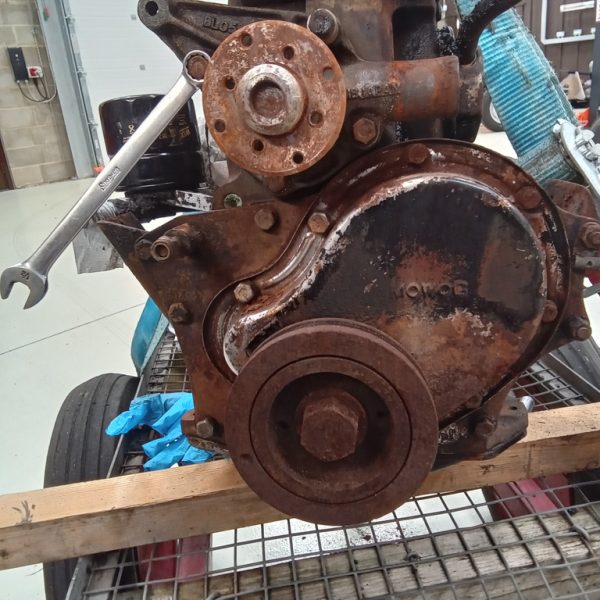
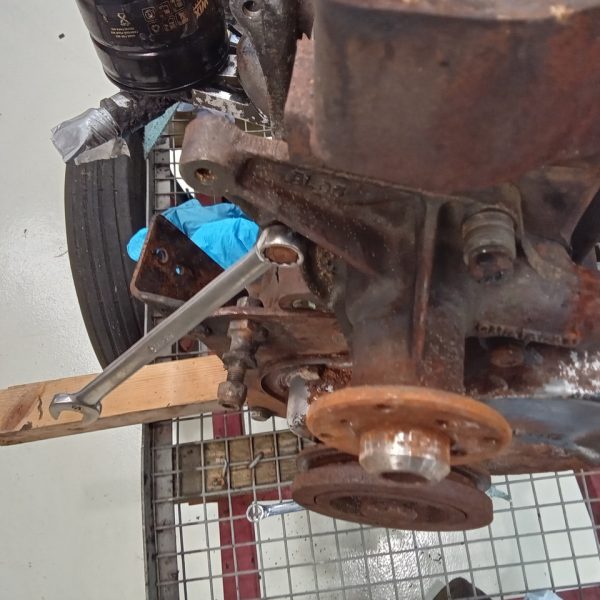
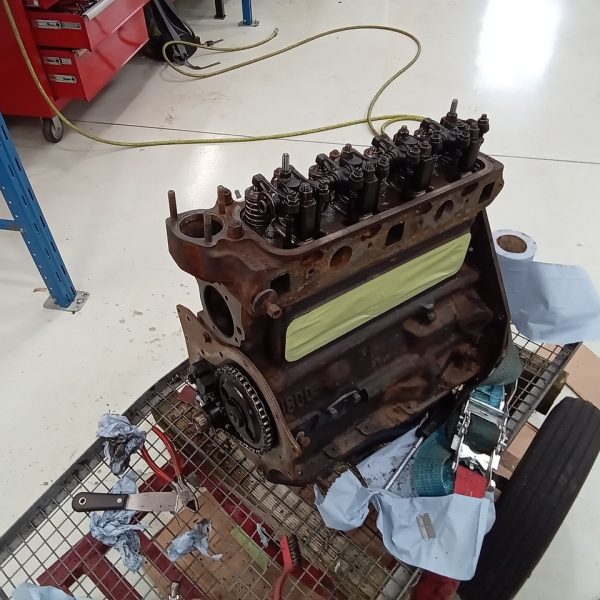
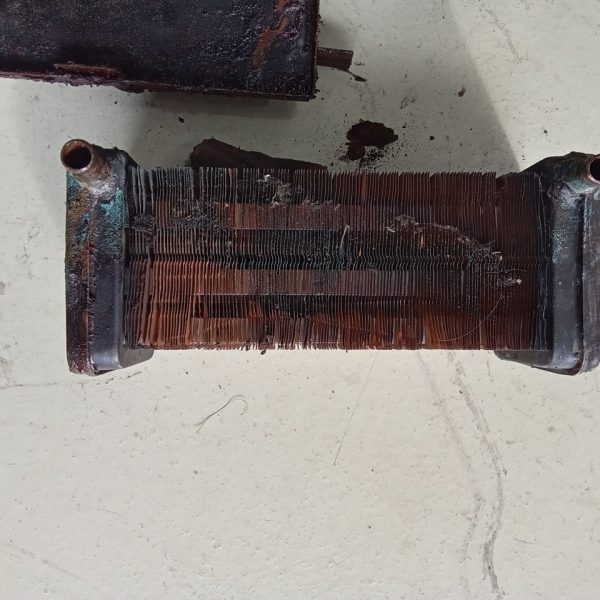
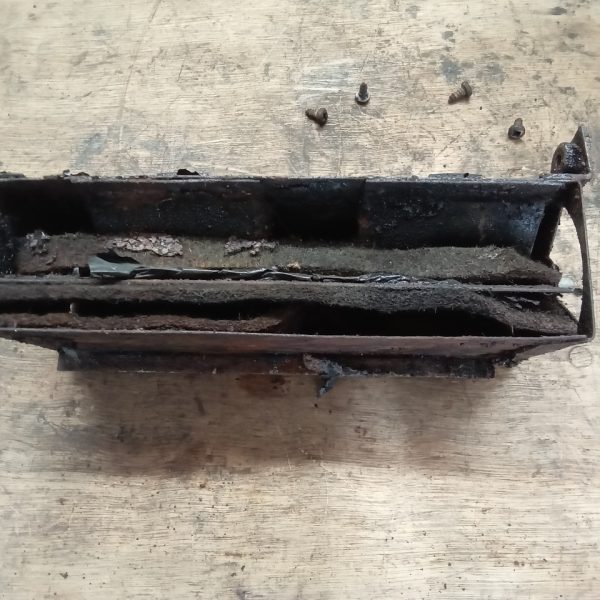
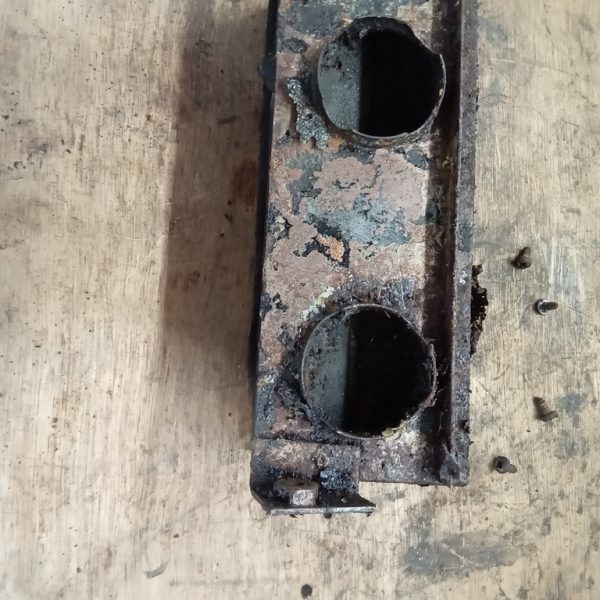
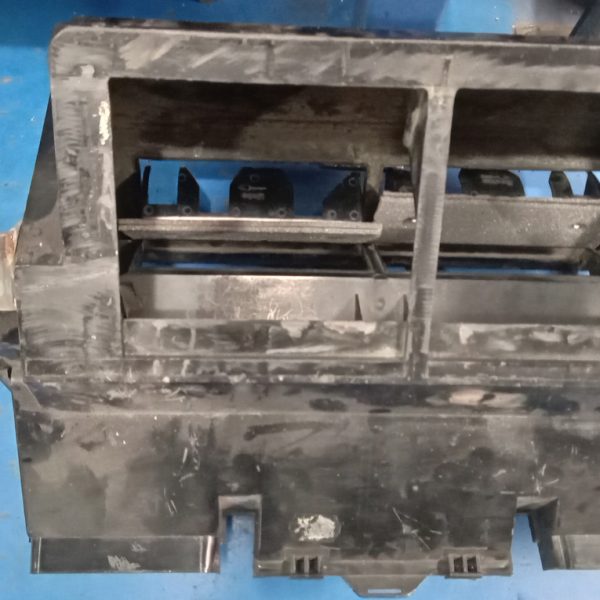
The heater box has been stripped down to component level and will be prepared for rebuild.
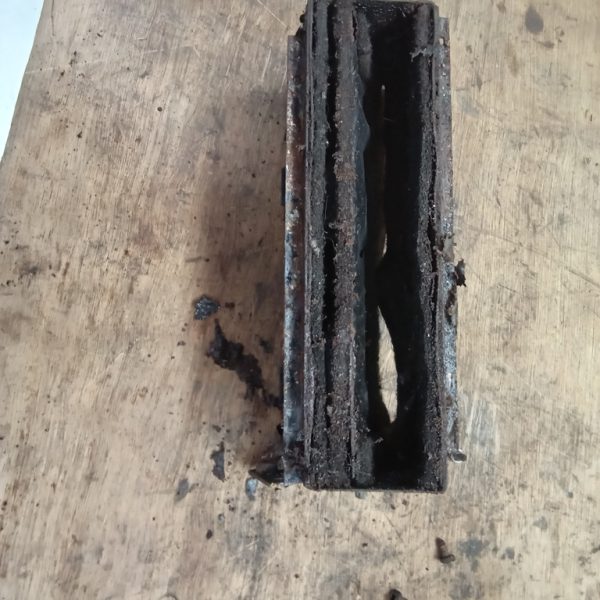
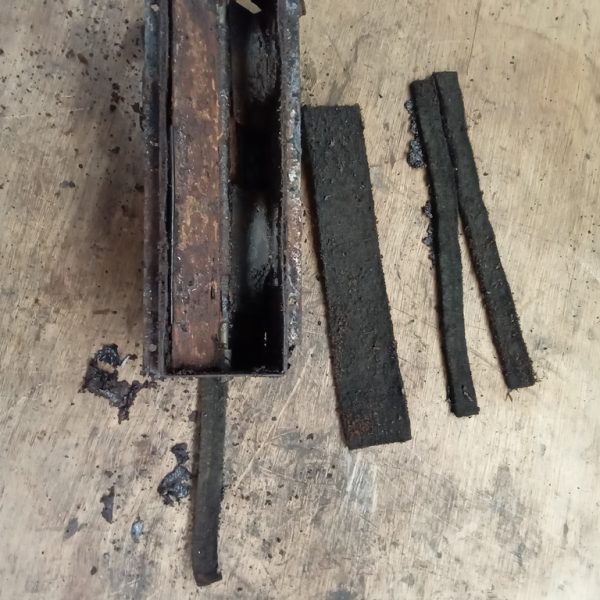
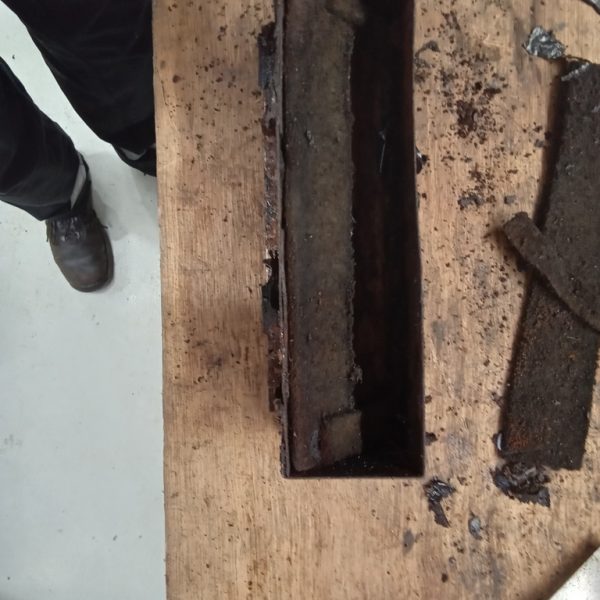
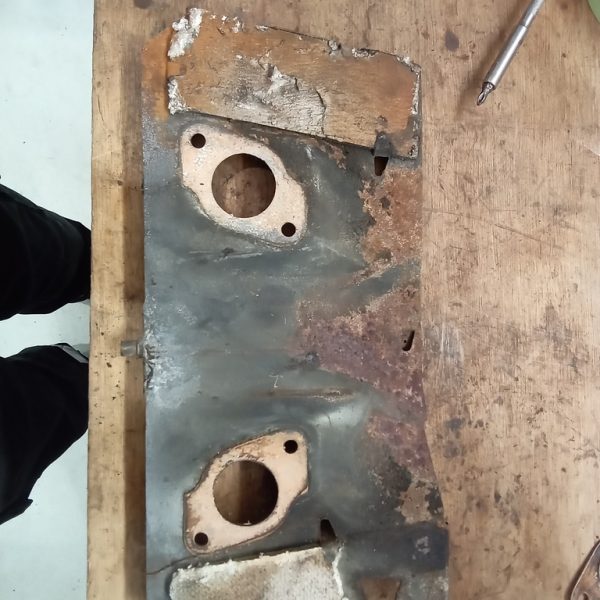
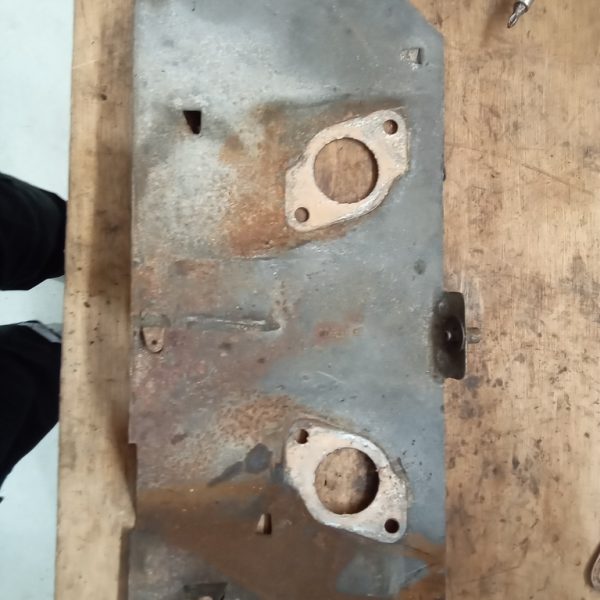
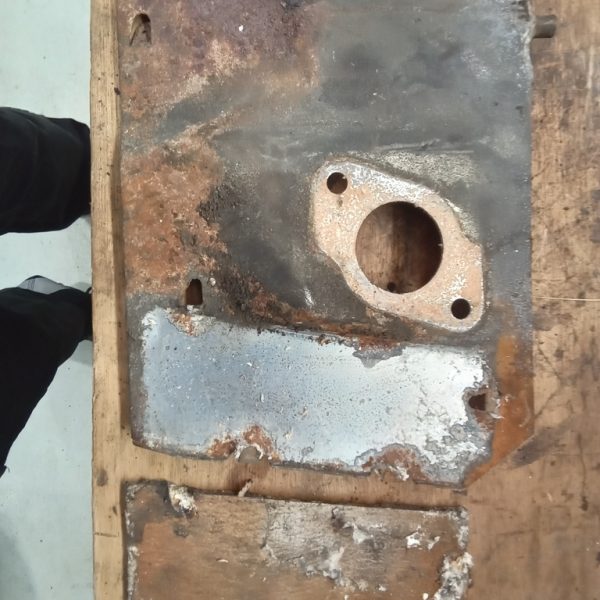
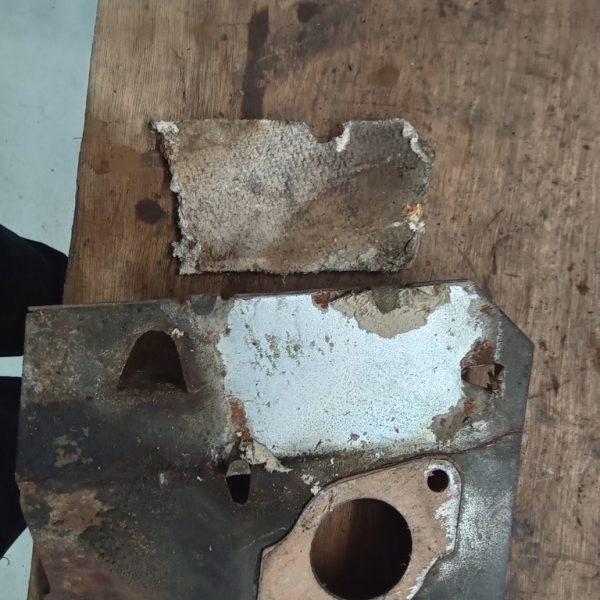
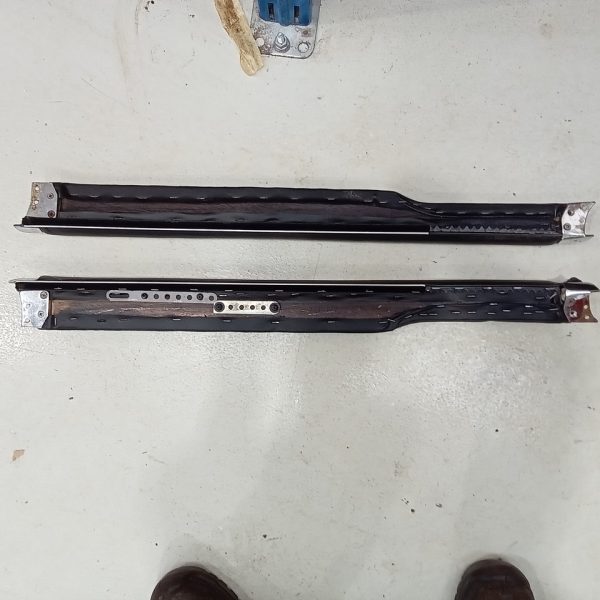
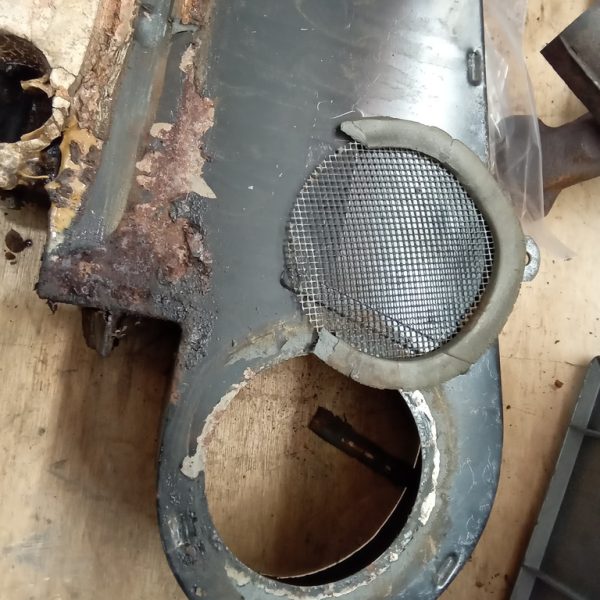
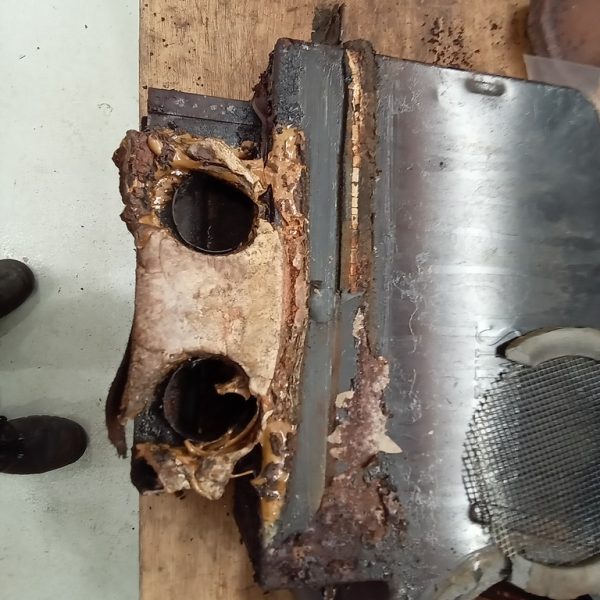
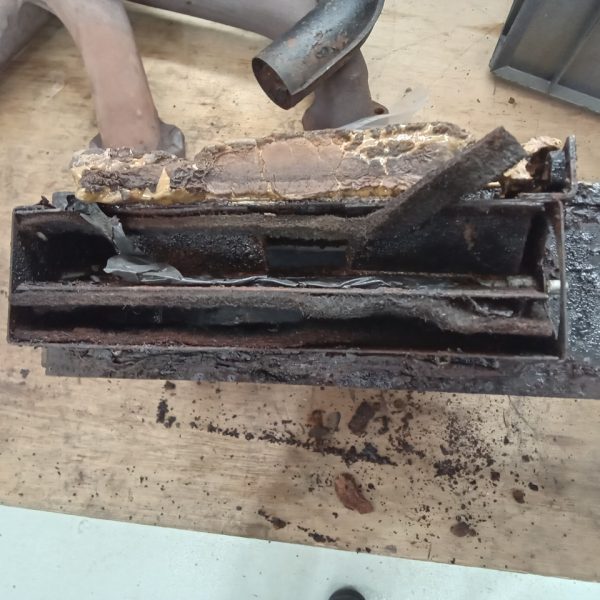
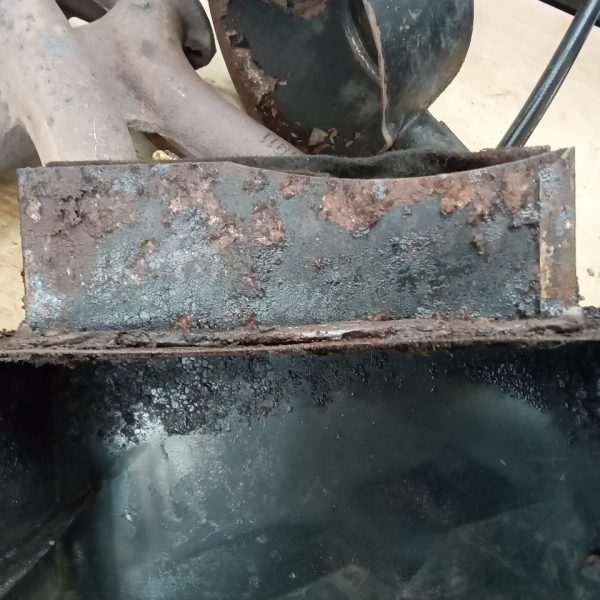
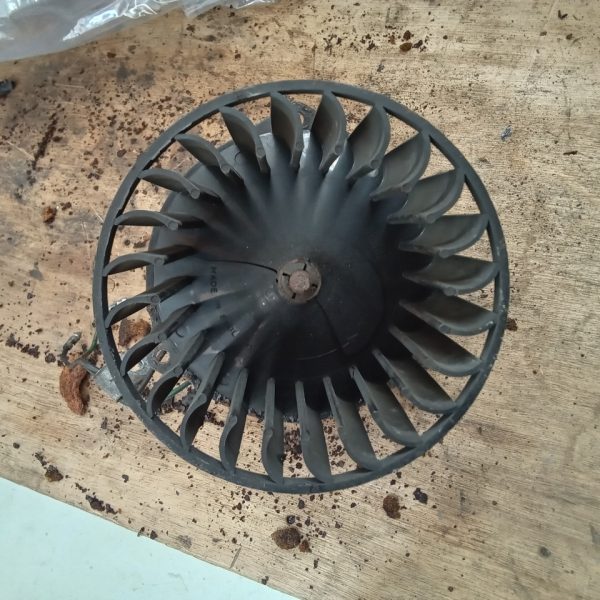
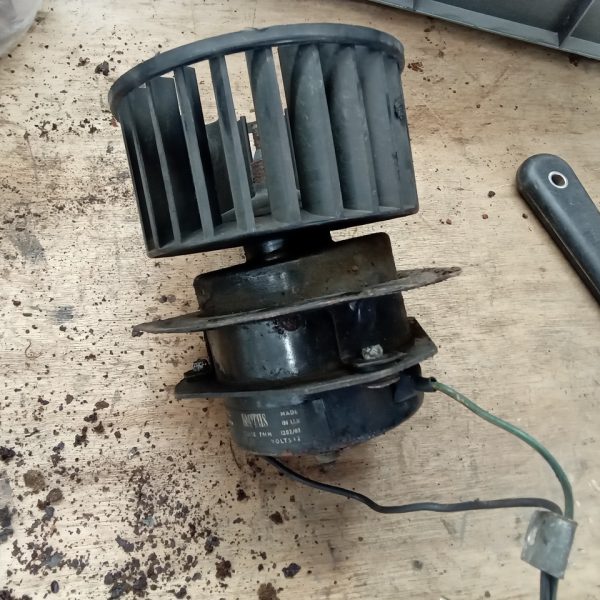
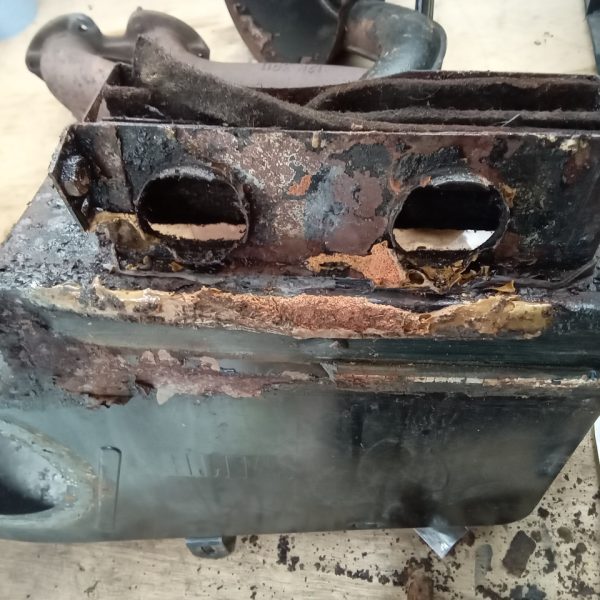
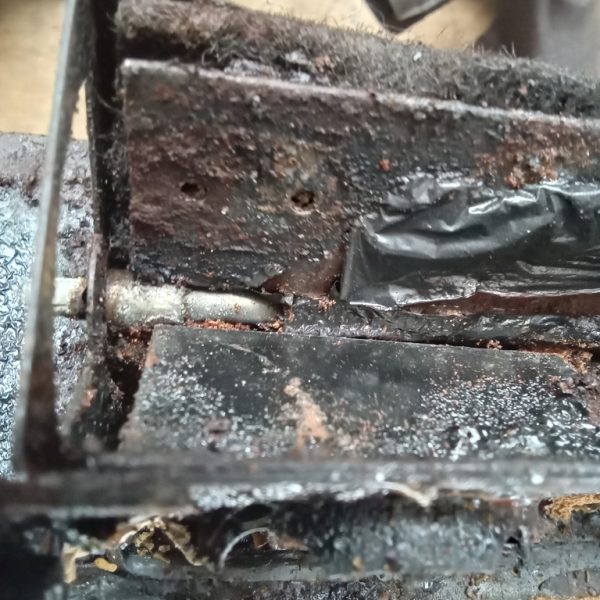
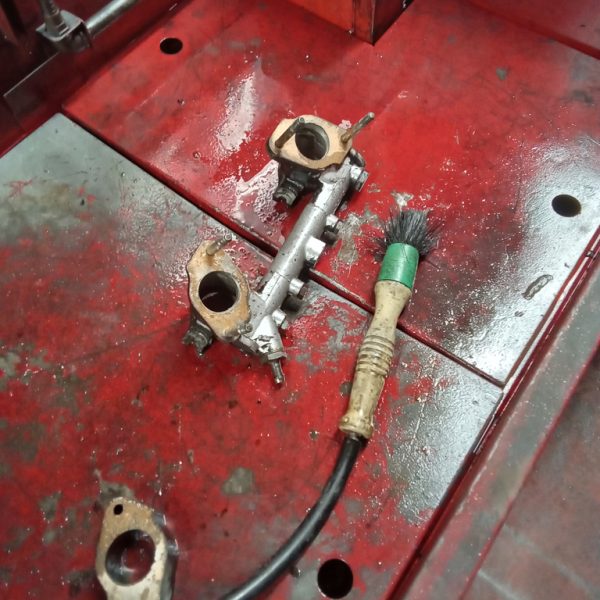
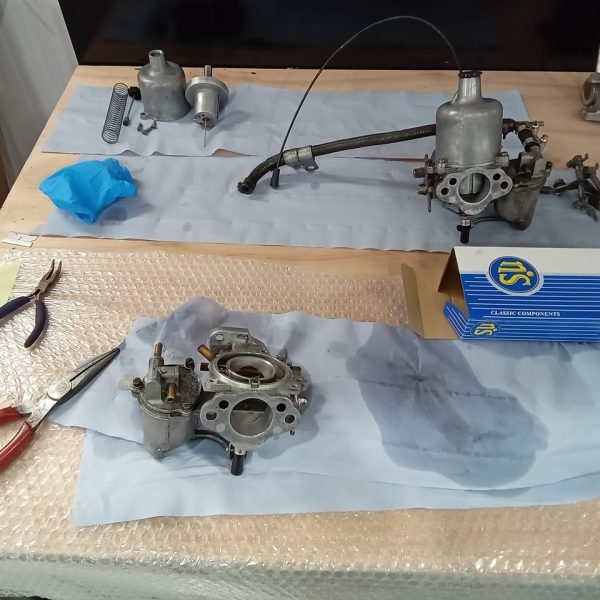
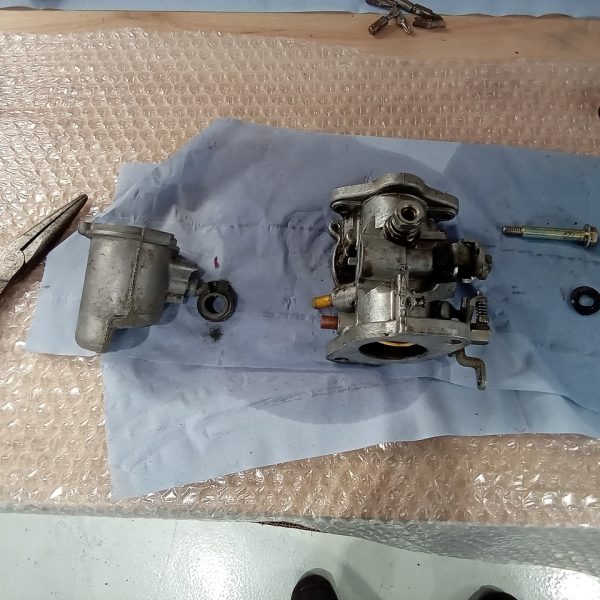
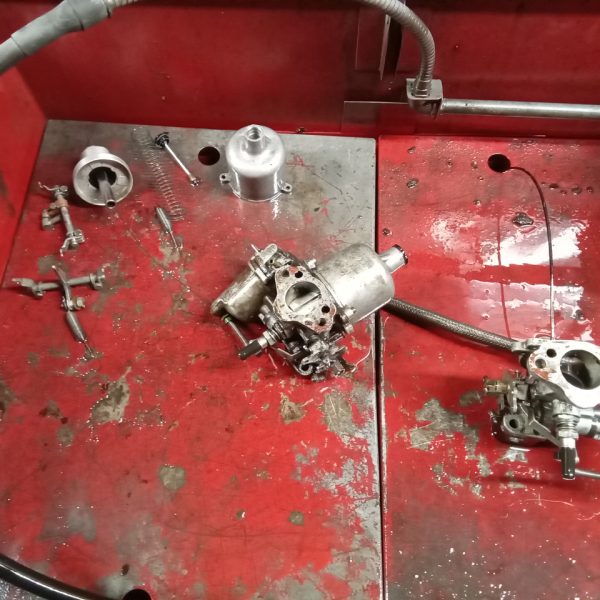
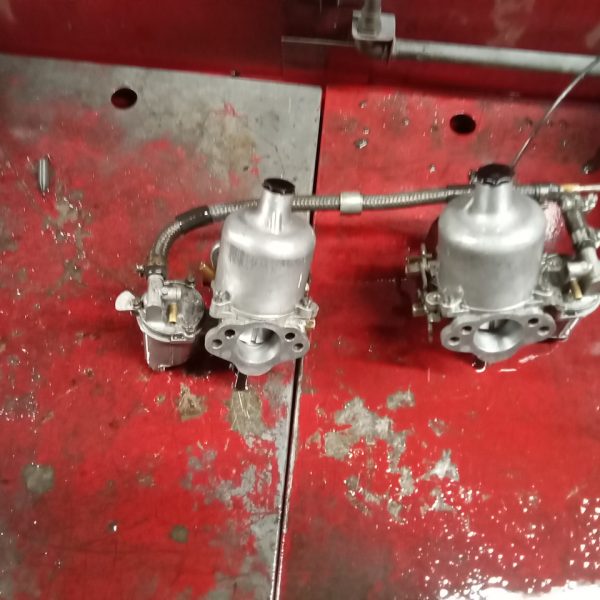
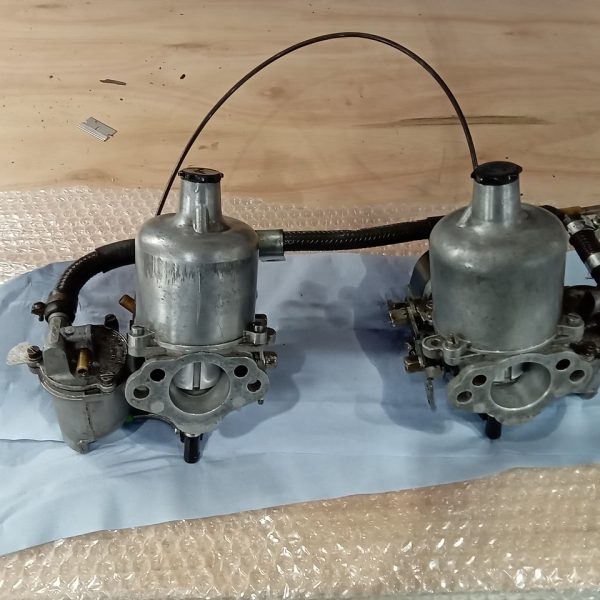
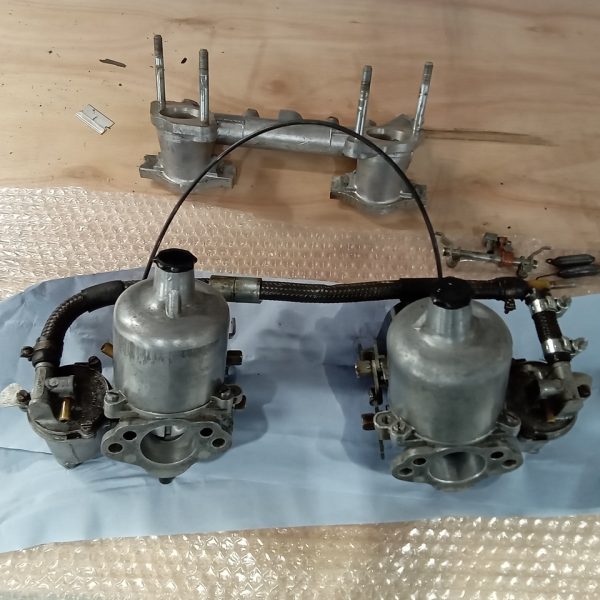
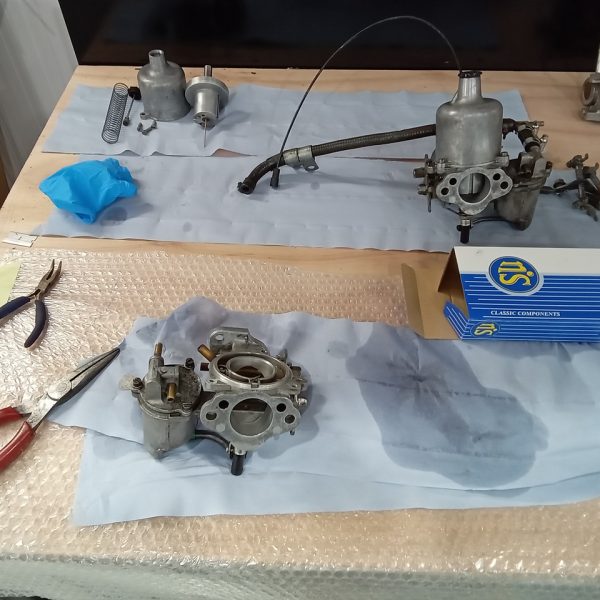
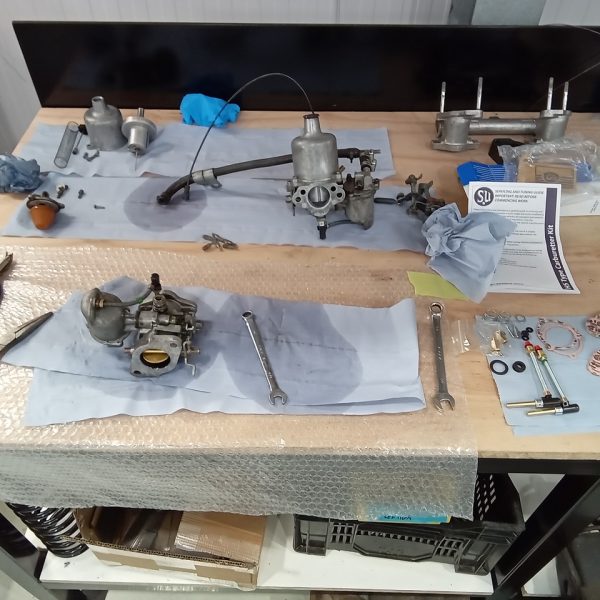
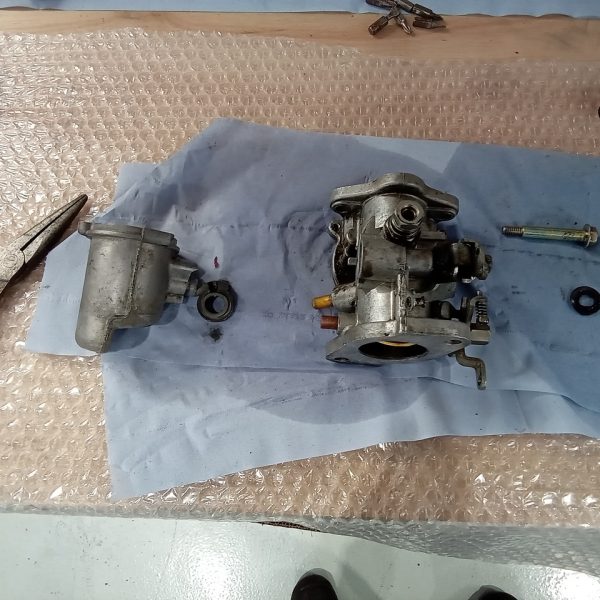
Stripped down carburettors, cleaned manifold gasket surfaces, cleaned carburettors, polished dash pots and rebuilt carburettors new jets and fuel line’s replaced gaskets.
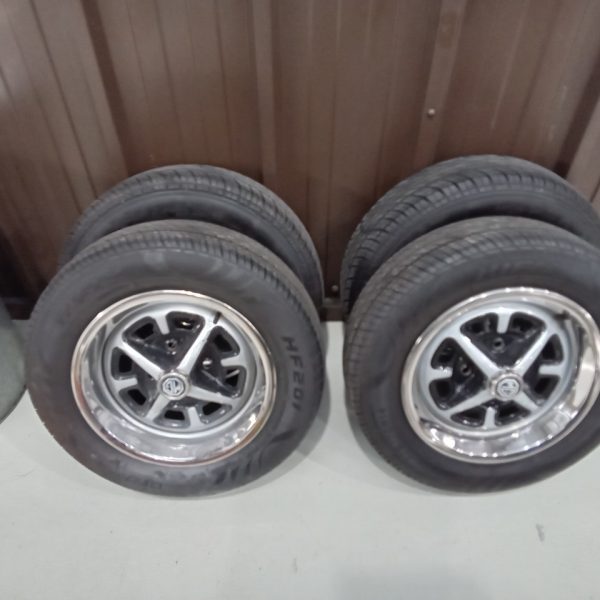
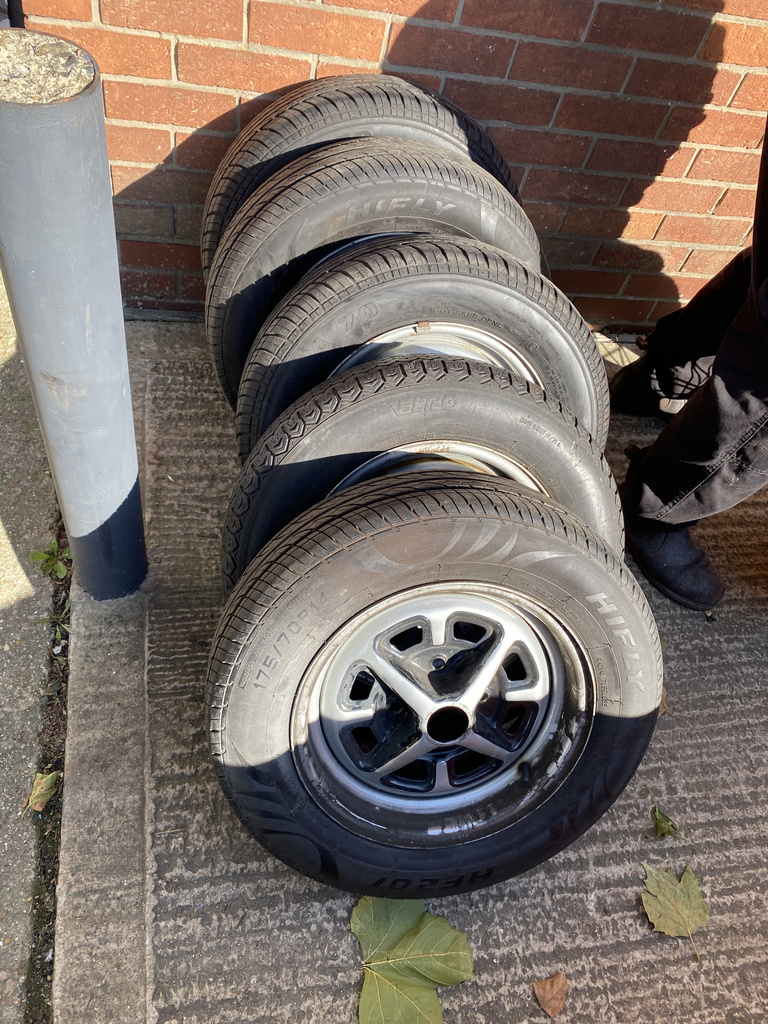
Wheel refurb
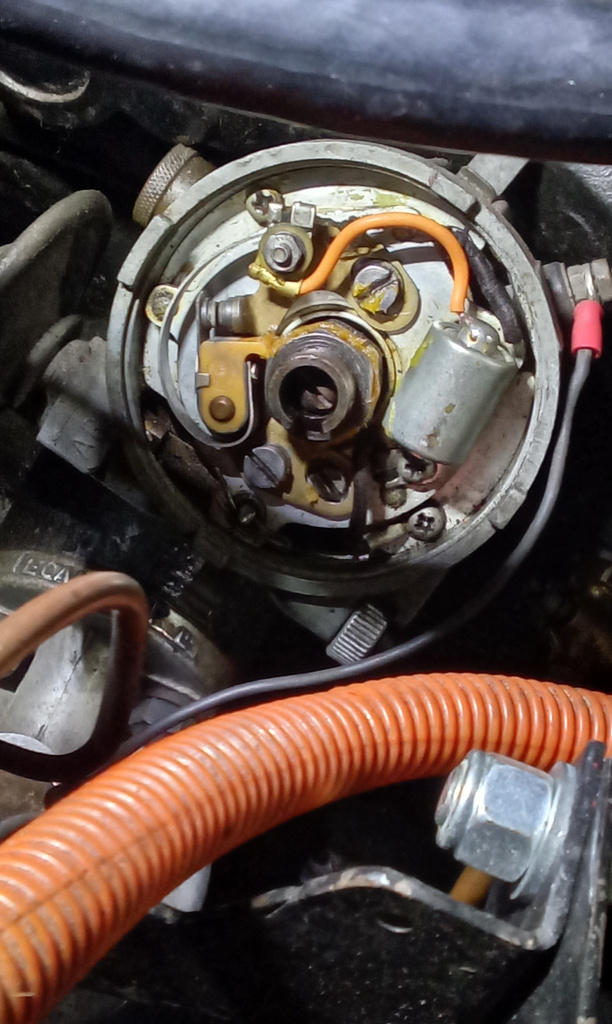
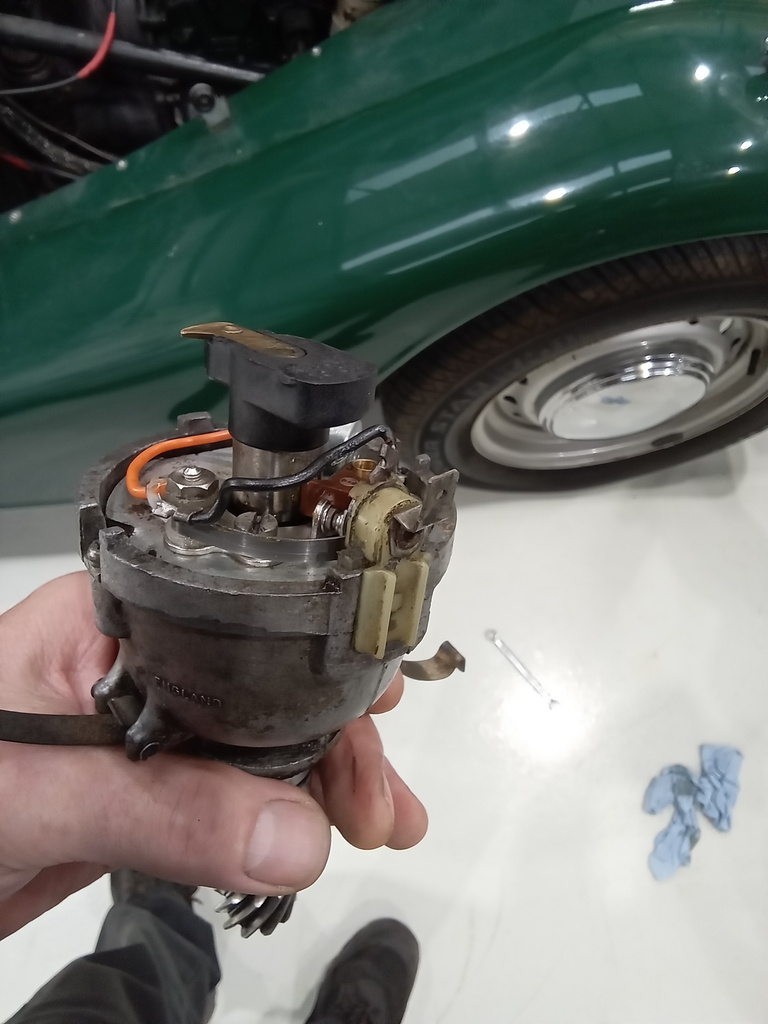
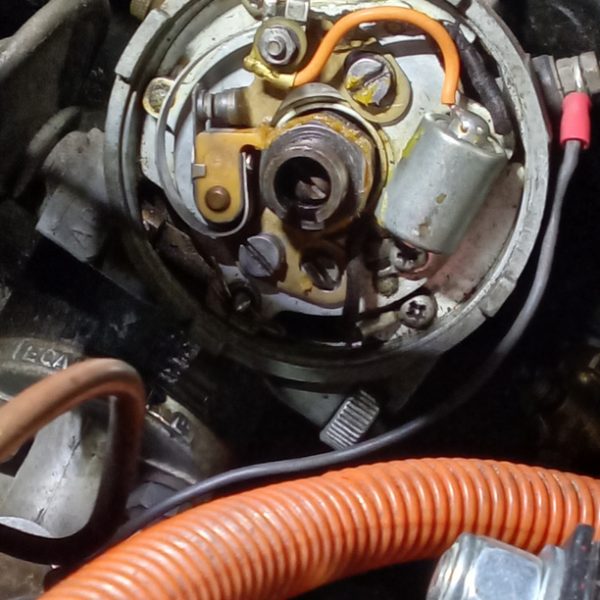
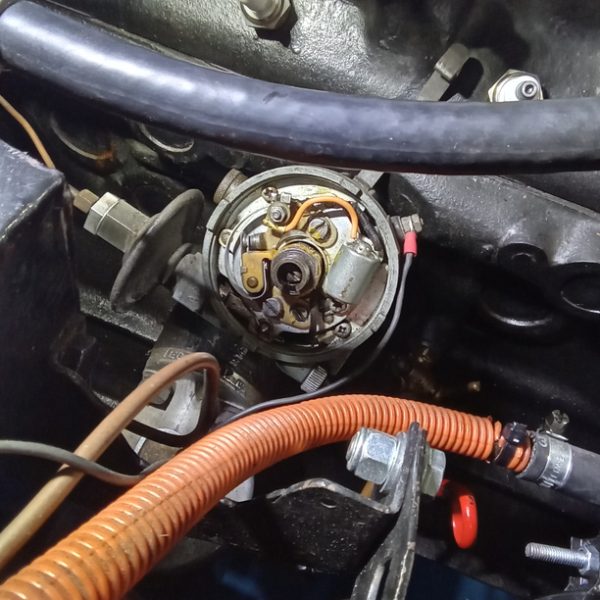
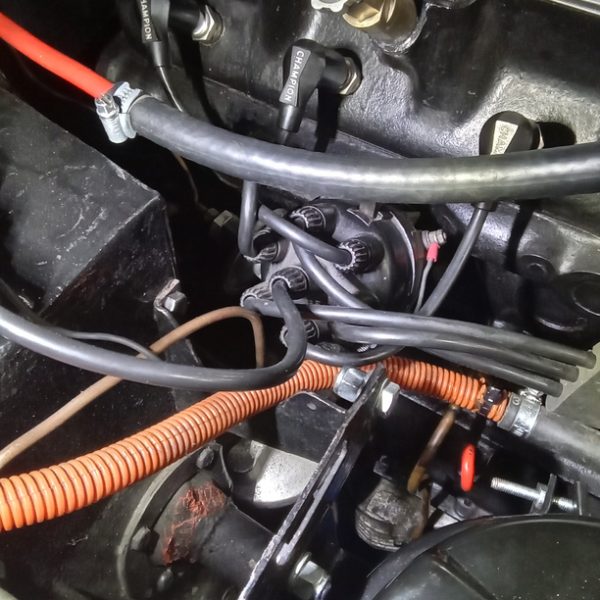
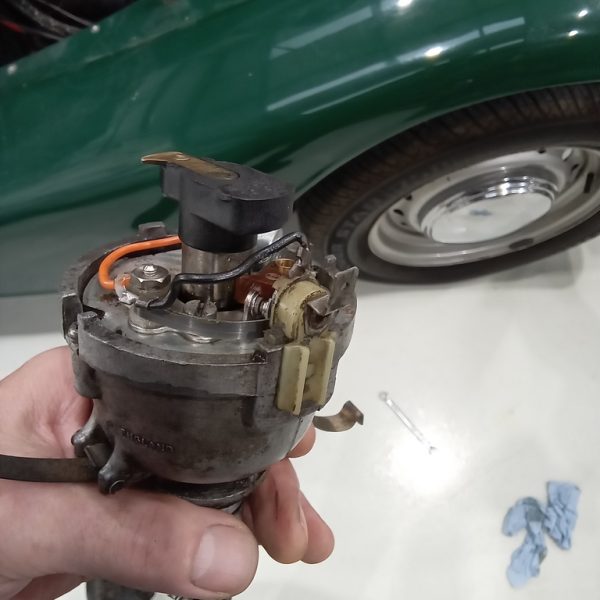
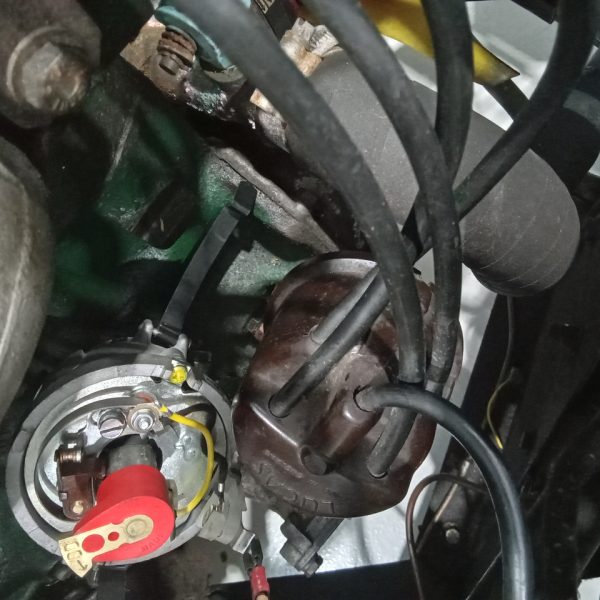
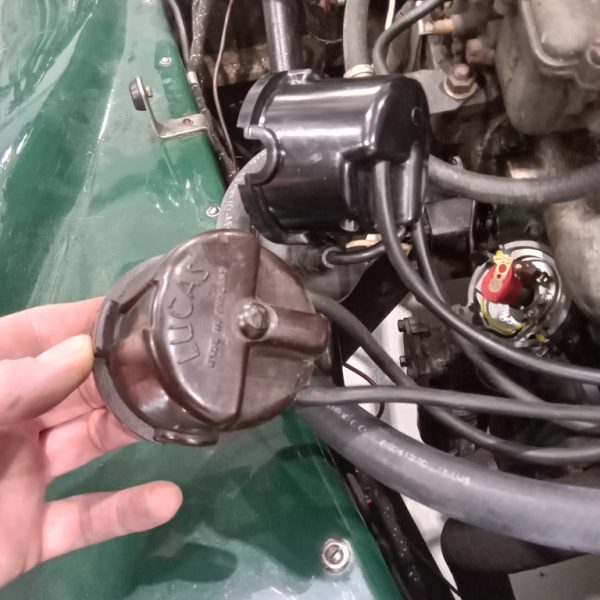
Here is a picture of old the distributor that had lots of play in the bearings causing the points to open inconsistently. We have fitted a replacement distributor and cap.
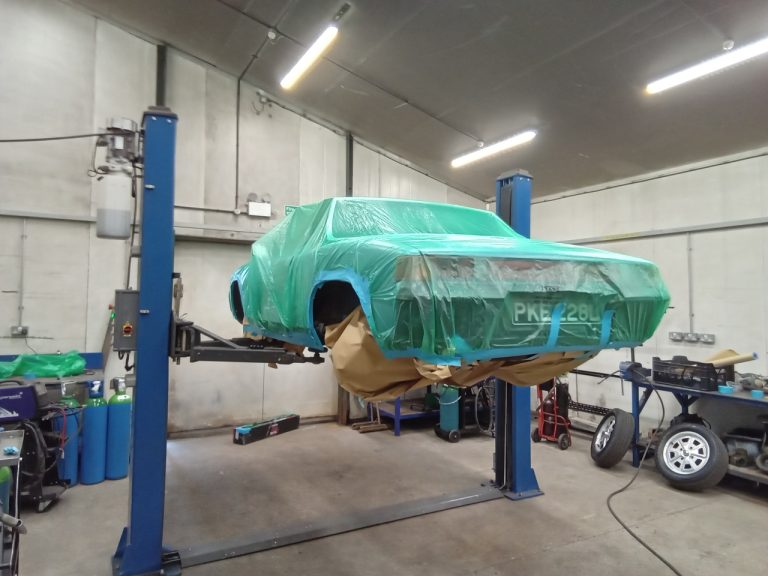
Karl Reilly is one very lucky man having bagged himself his second prize in our competitions. Back in October 2020 Karl received the call that he had won the Triumph TR3. 4 years on, he still owns the TR3 and is now the proud owner of prize number 2, our Porsche 914.
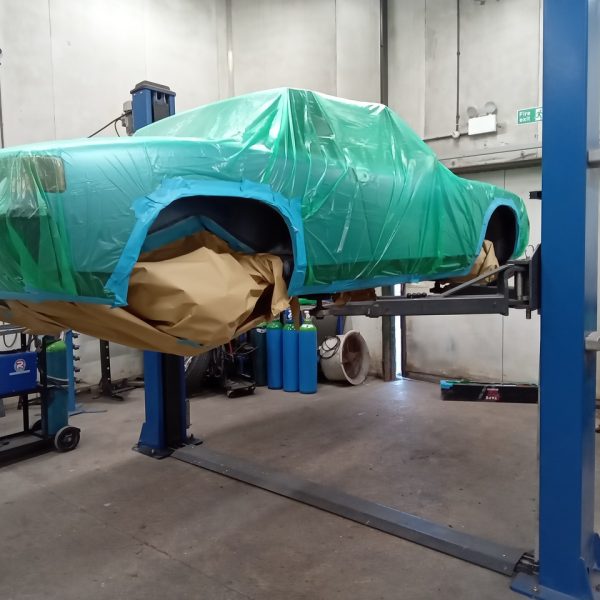
But before the car can leave our workshops we have tidied up the underneath by cleaning up any loose debris and giving a fresh coat of underseal.
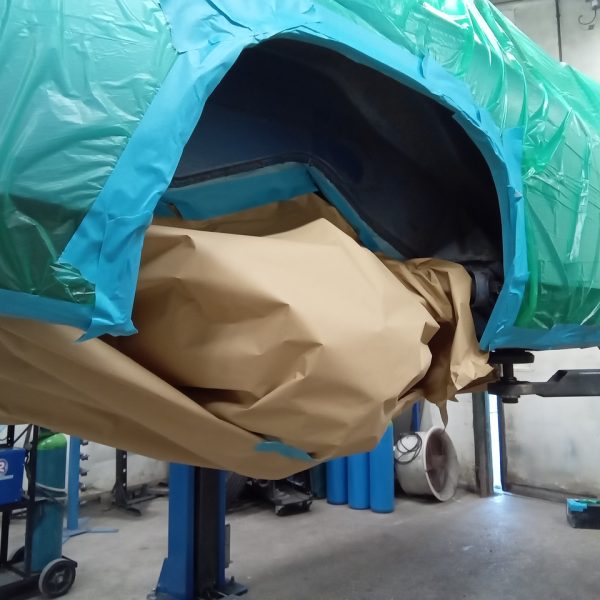
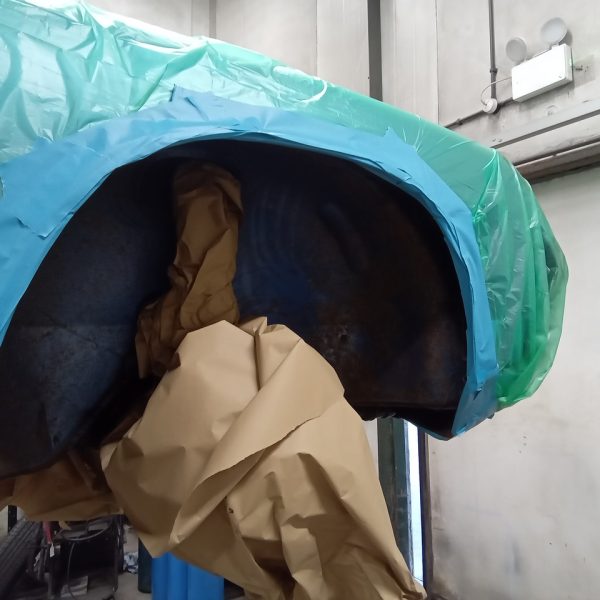
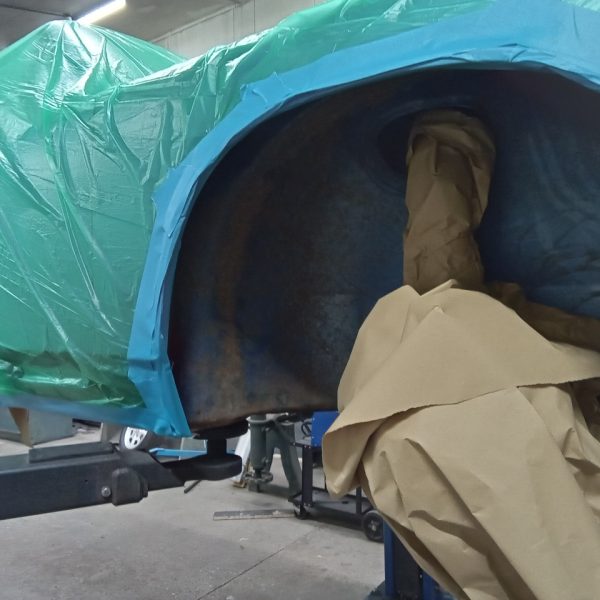
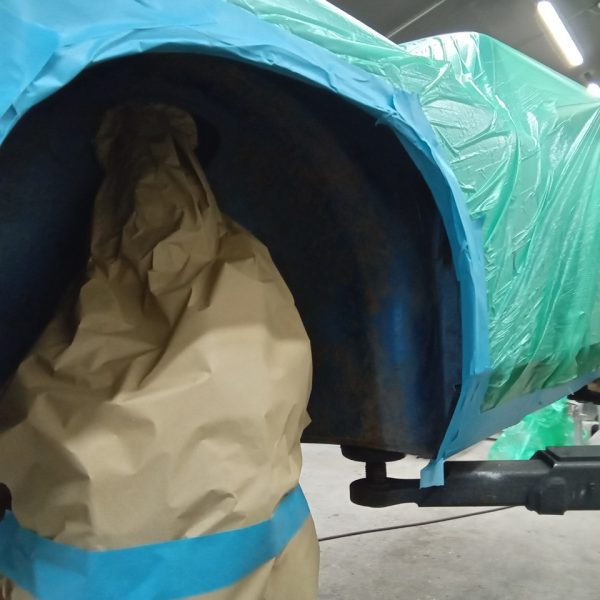
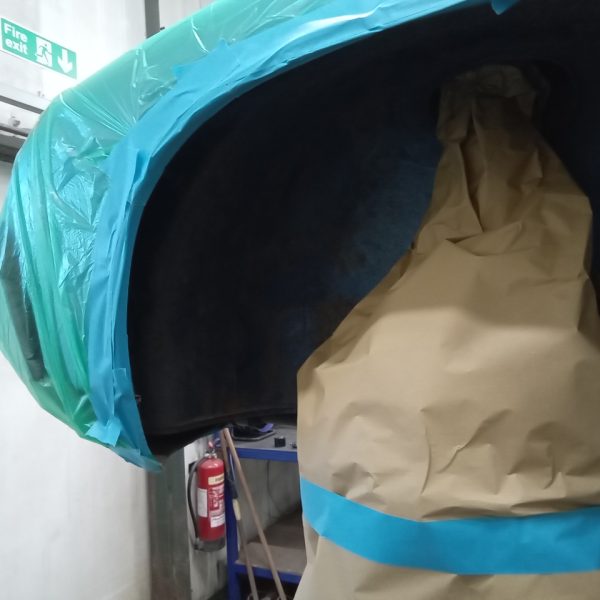
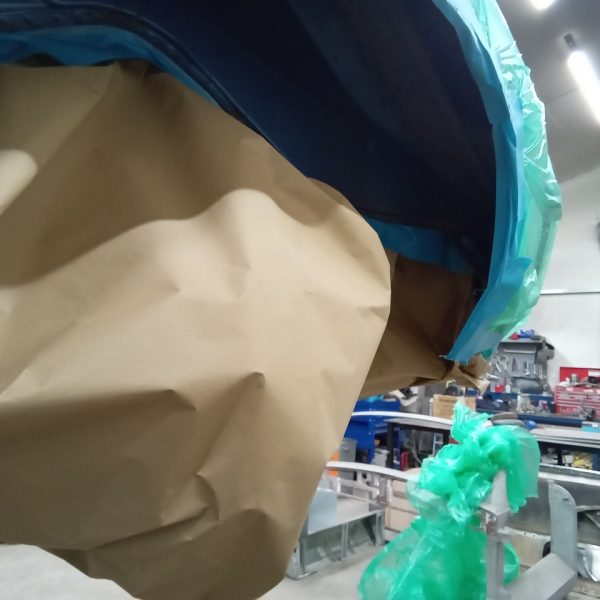
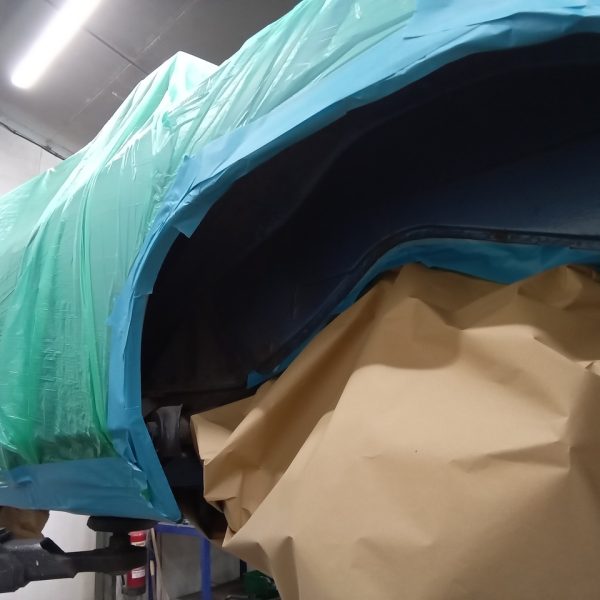
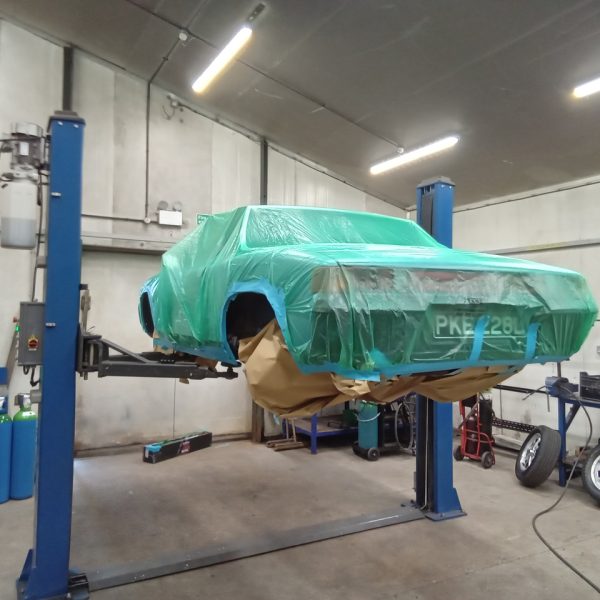
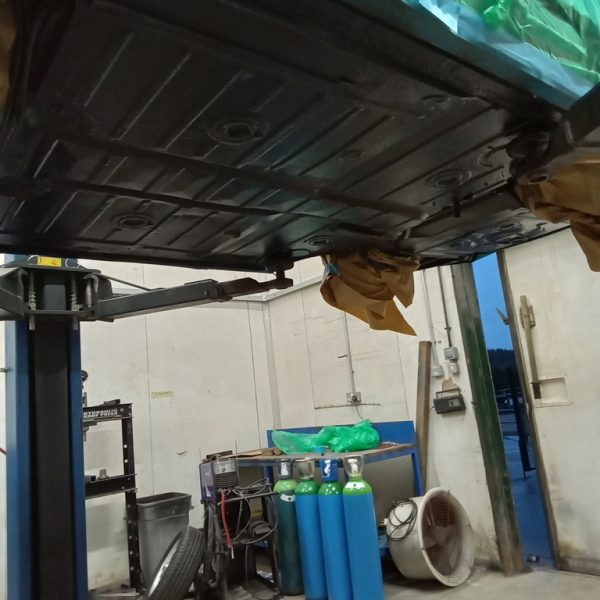
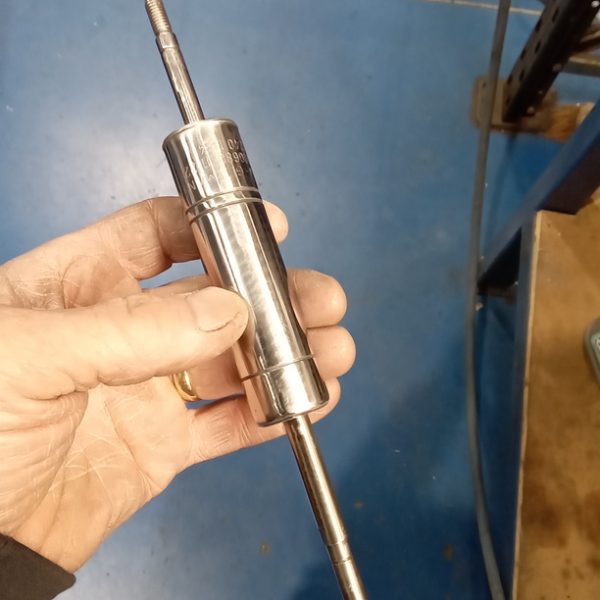
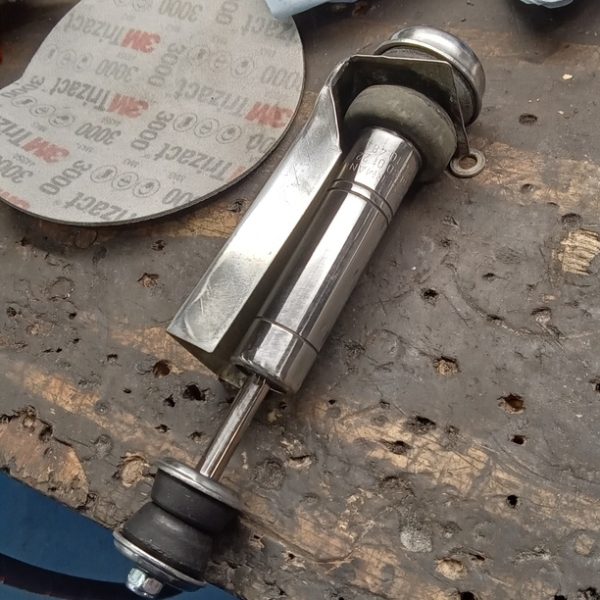
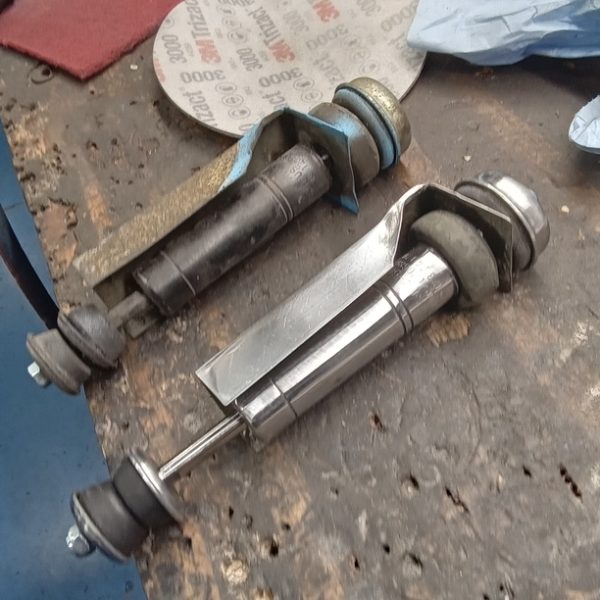
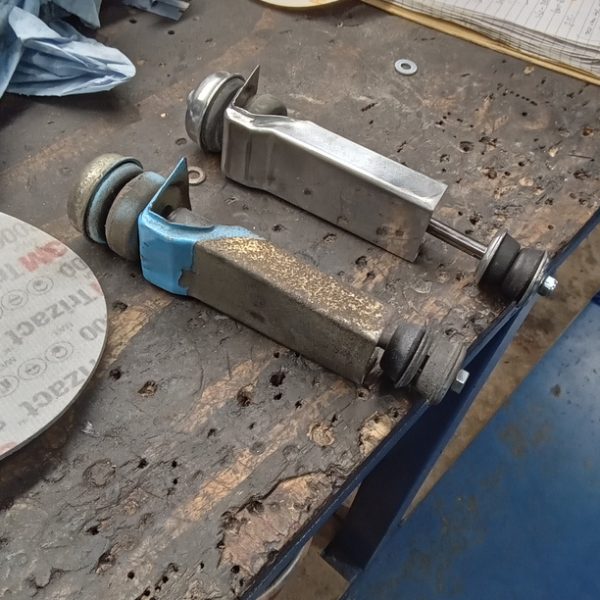
Continue to build up from photos. Find engine steady shock for engine mounts and strip and clean and prep for painting. Clean stripped door mirrors, Polish chrome and back to black rubber edging. Pop over to Classic lounge to take some reference photos of doors. Find door seal and tape to place. Find fixings and all chrome trims for offside door. Unable to find all parts for nearside door as of yet. Still sorting through stuff.
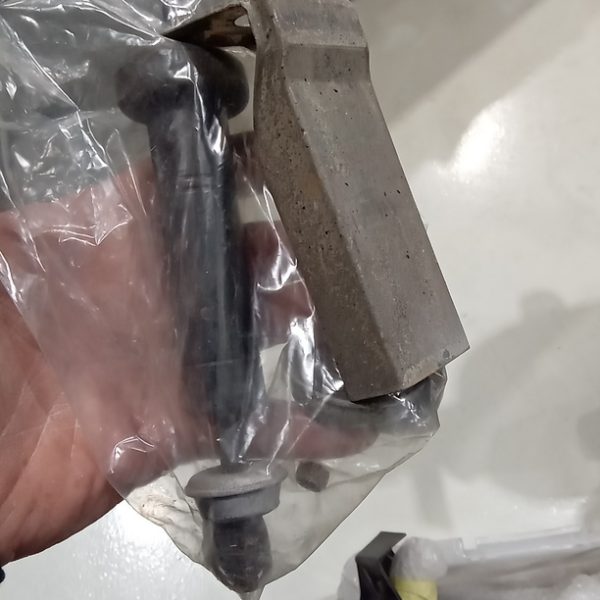
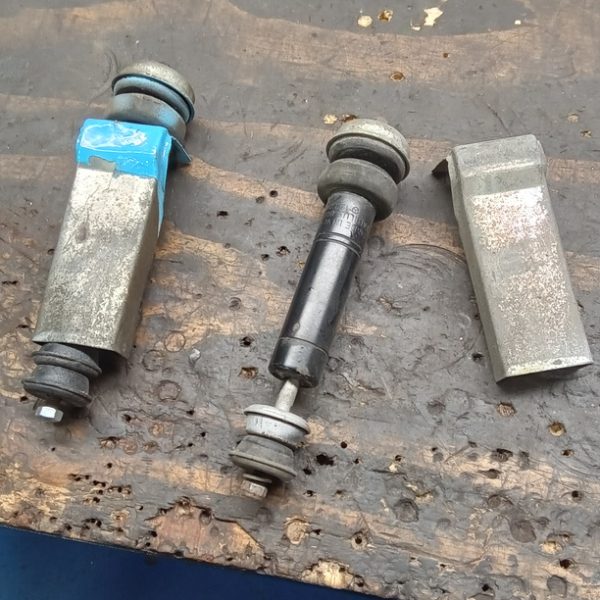
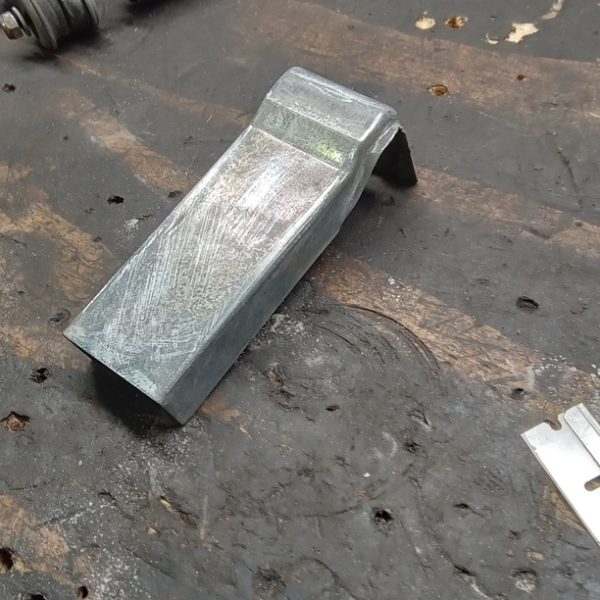
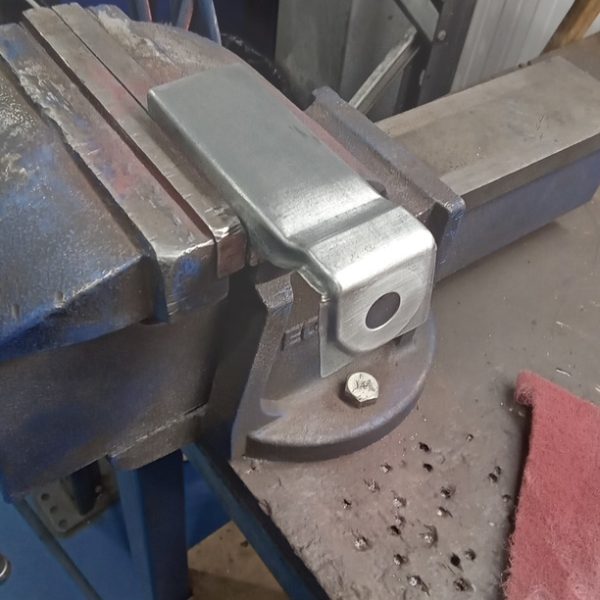
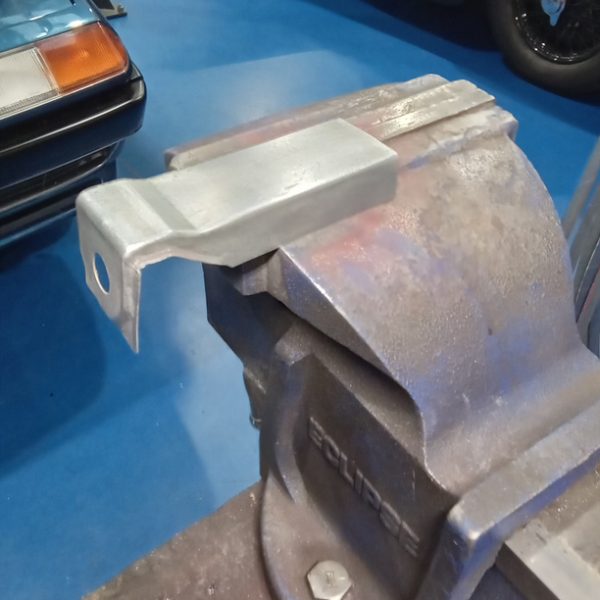
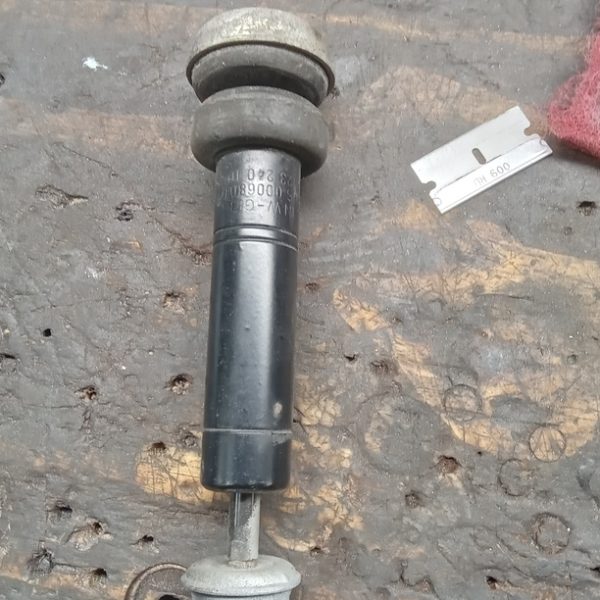
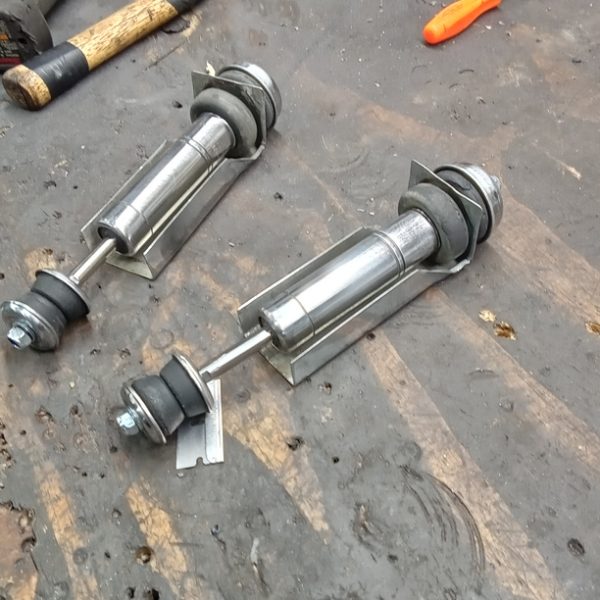
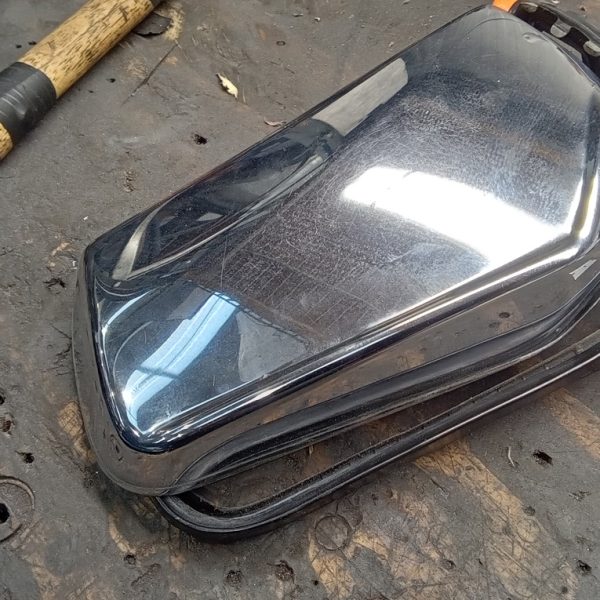
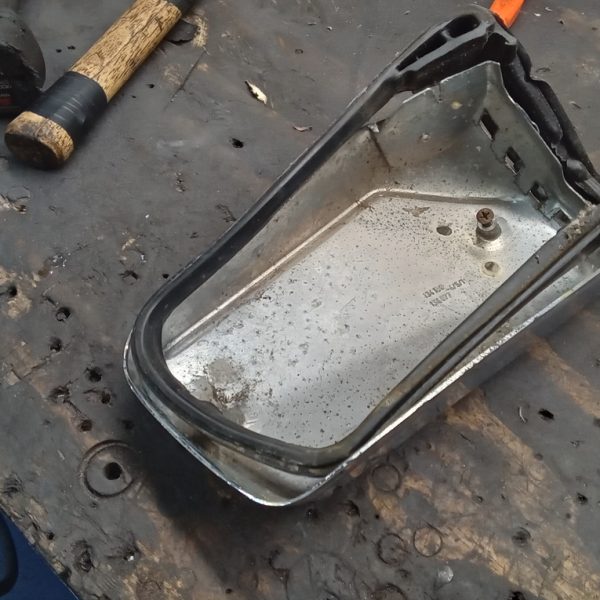
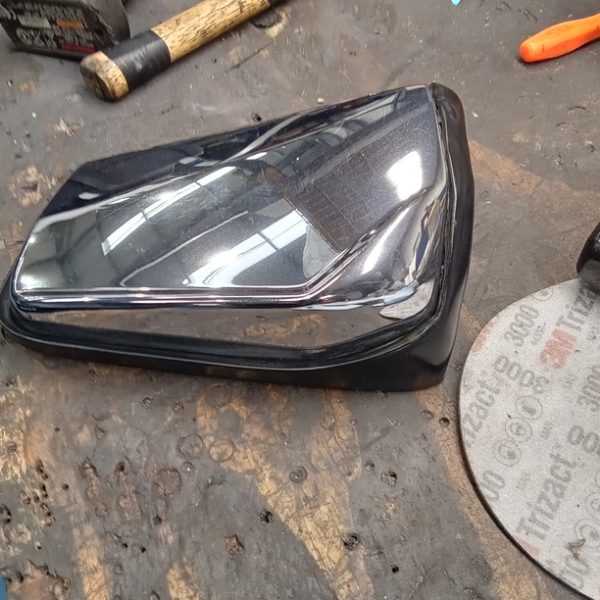
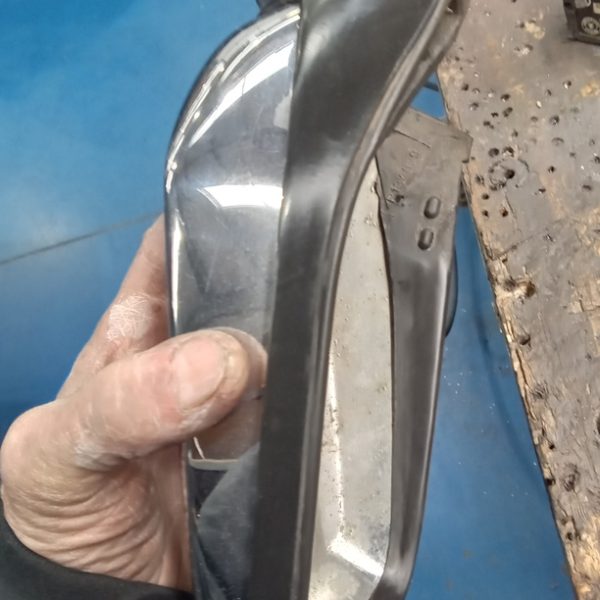
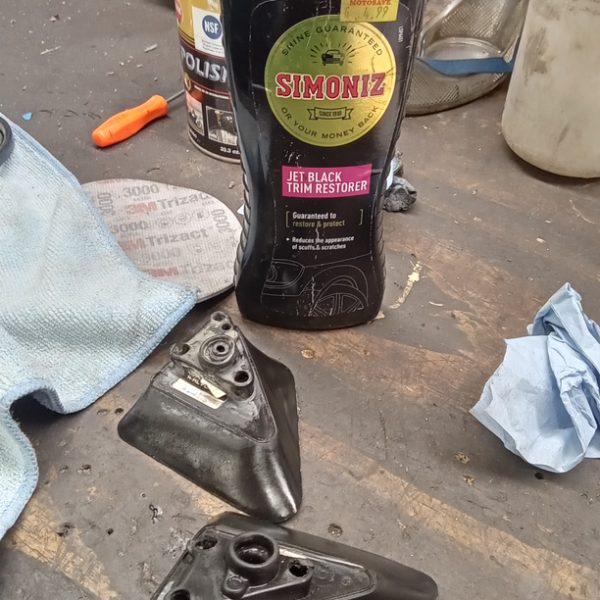
View wiring diagram for wire colurs and termination points. Route and pull wiring through body to front grill area. Label wiring ready.
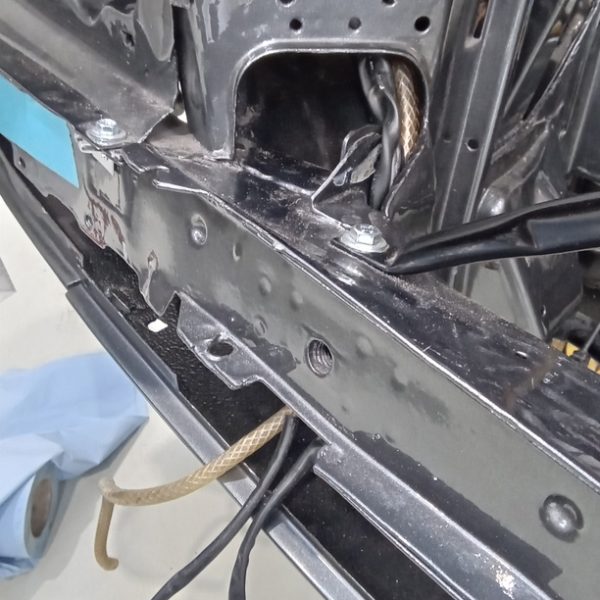
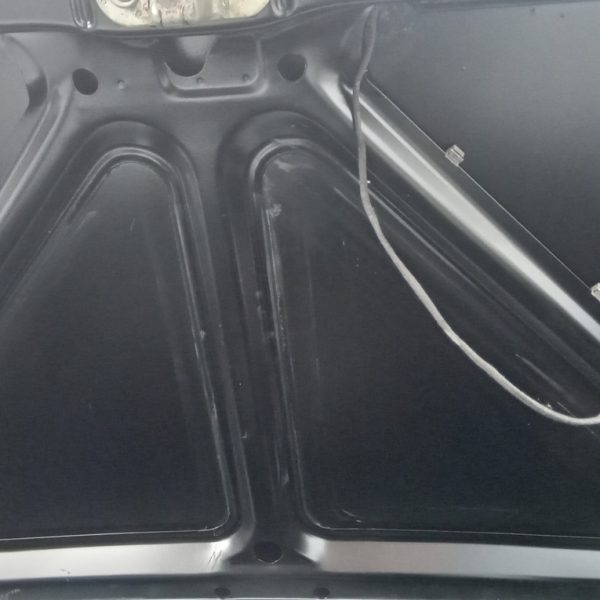
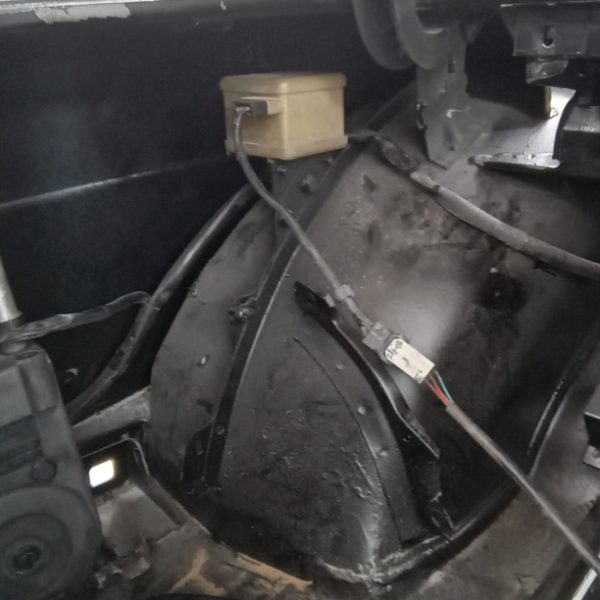
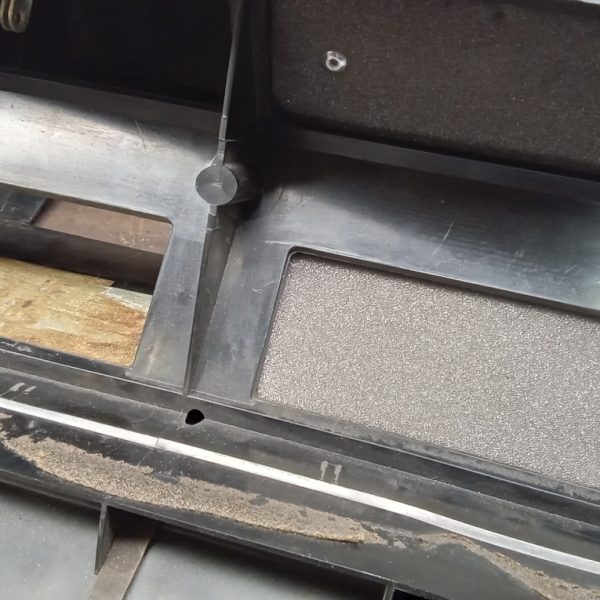
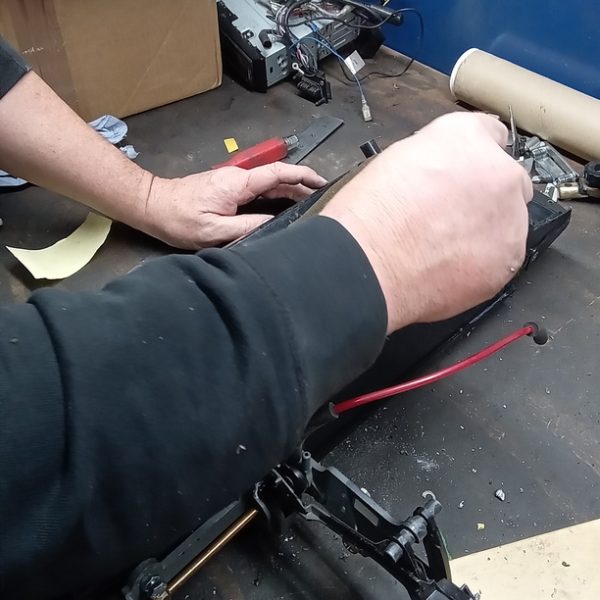
We’ve sourced some foam from Lydia in the upholstery department which can be used for the heater flaps. The old foam flaps have been cleaned up and we’ve applied double sided tape.
Cut foam to size and stick to the flaps. Jon has refitted the flaps to the heater box and tested each one as its fitted. The process has been repeat for all flaps inside the heater.
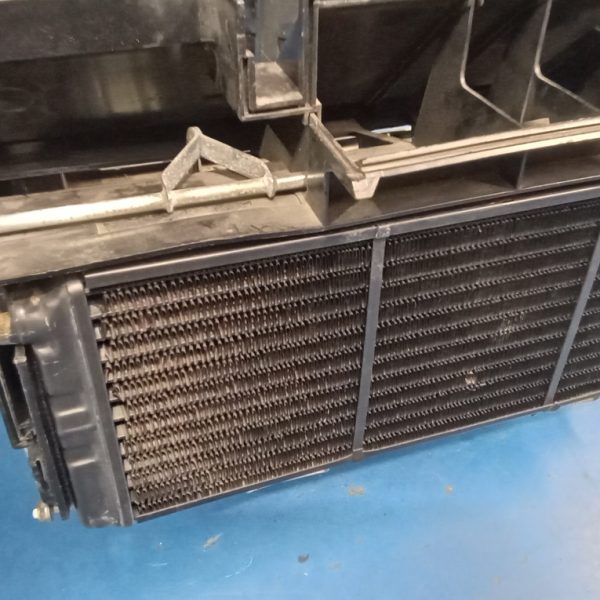
Apply foam to heater matrix and fit to heater box.
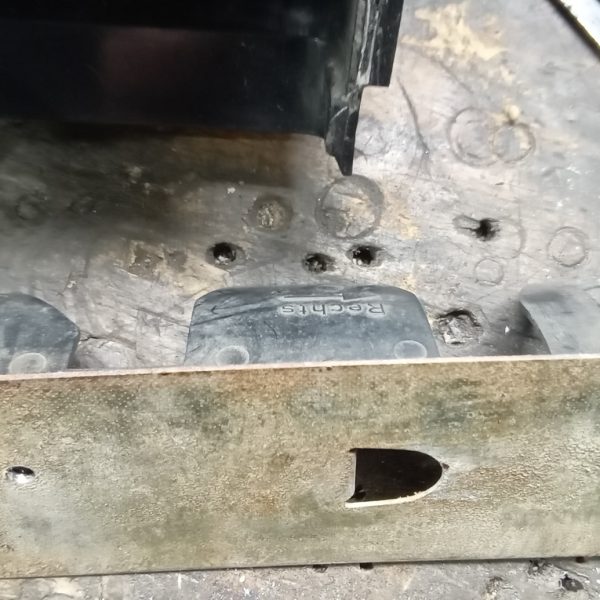
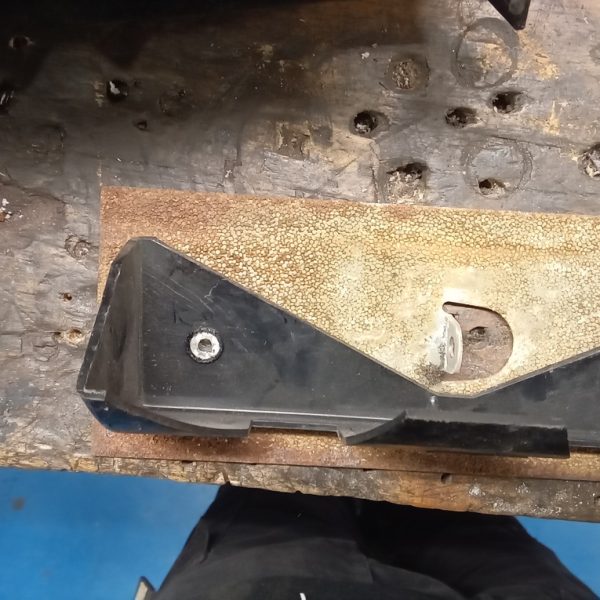
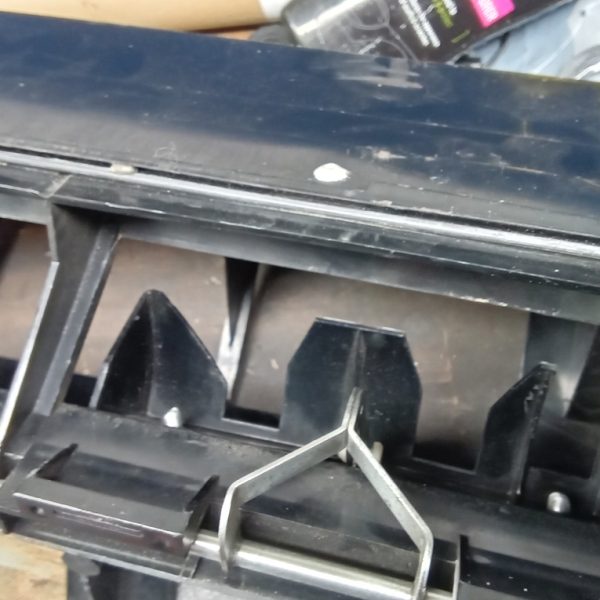
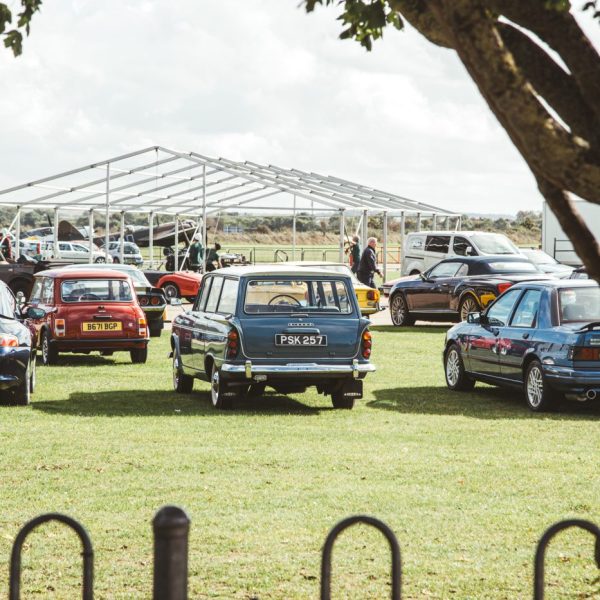
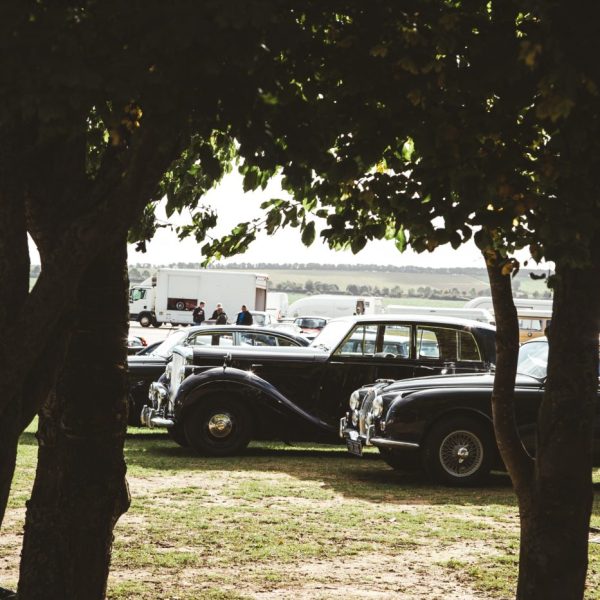
What an incredibly exciting start to the week this week at Bridge Classic Cars HQ. Tony set up bright and early to delivery our first car, the Dodge DA to Duxford for this weeks H&H Classic Auctions.
Then it was a return to the workshops to pick up car number two, our Vauxhall Wingham to get that safely over to Duxford too.
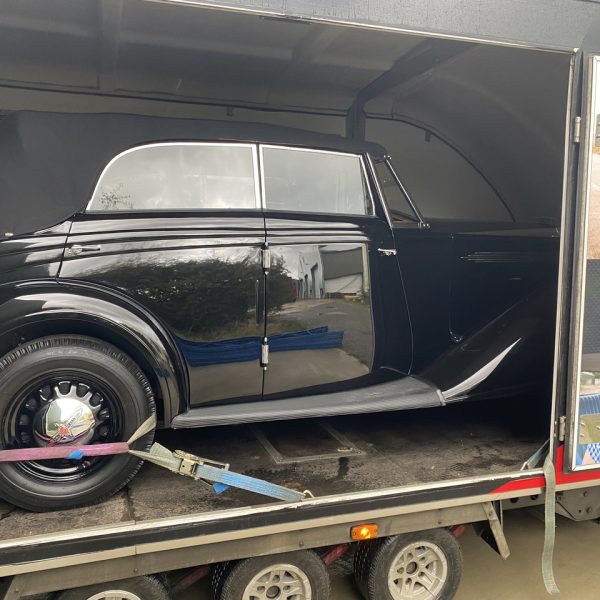
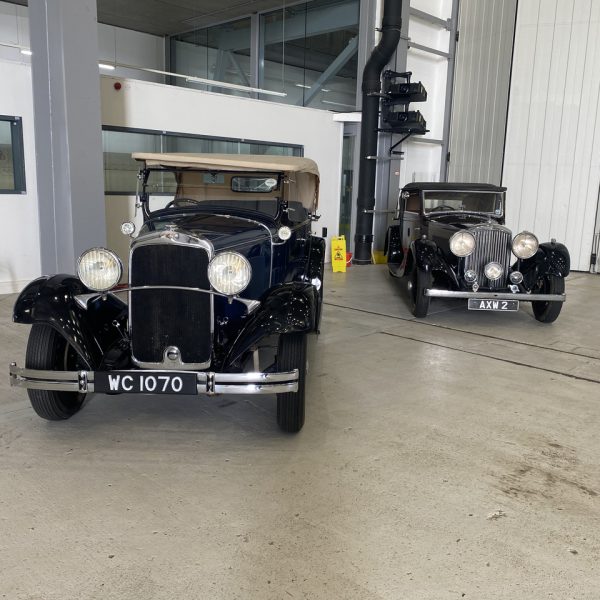
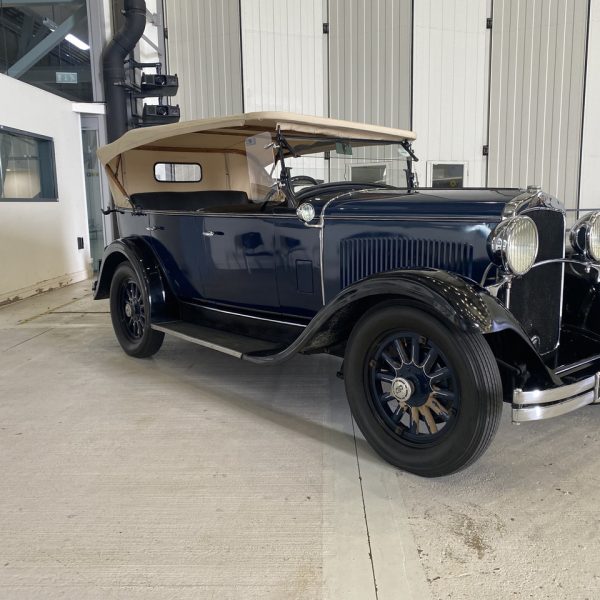
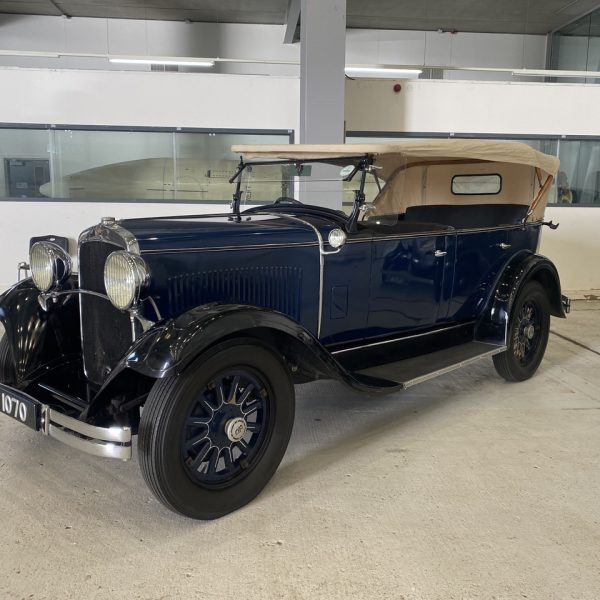
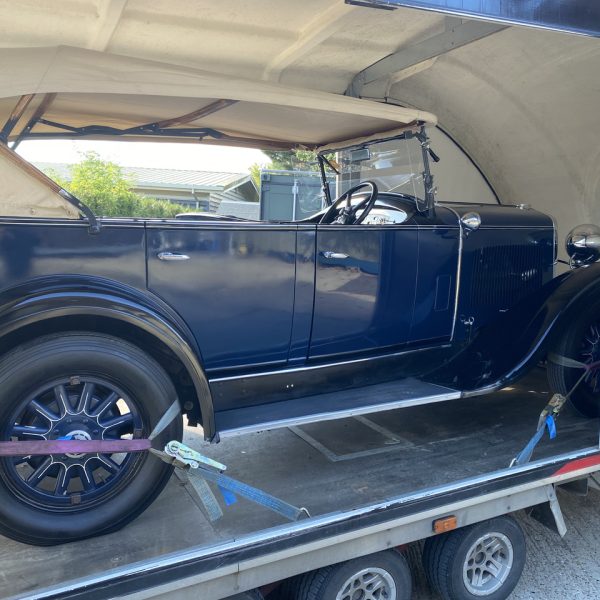
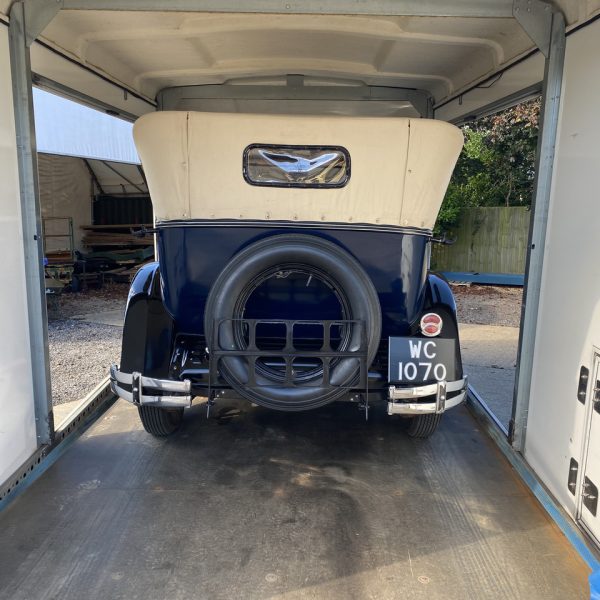
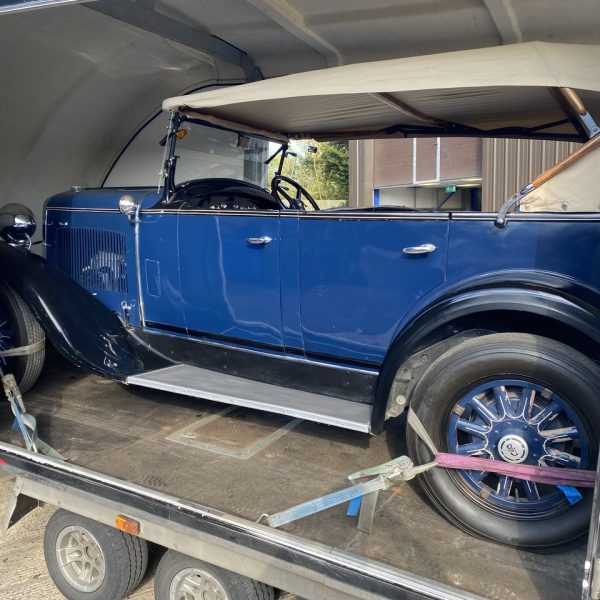
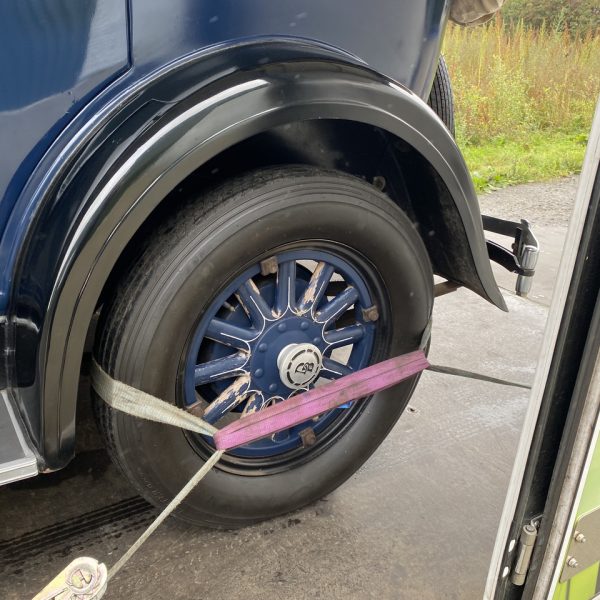
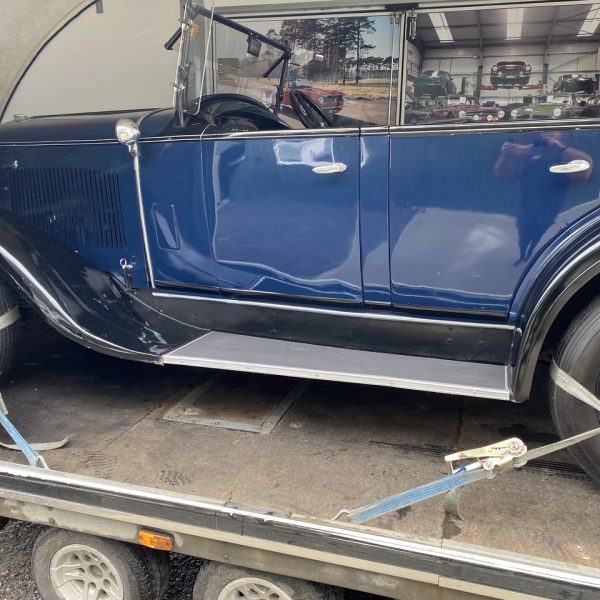
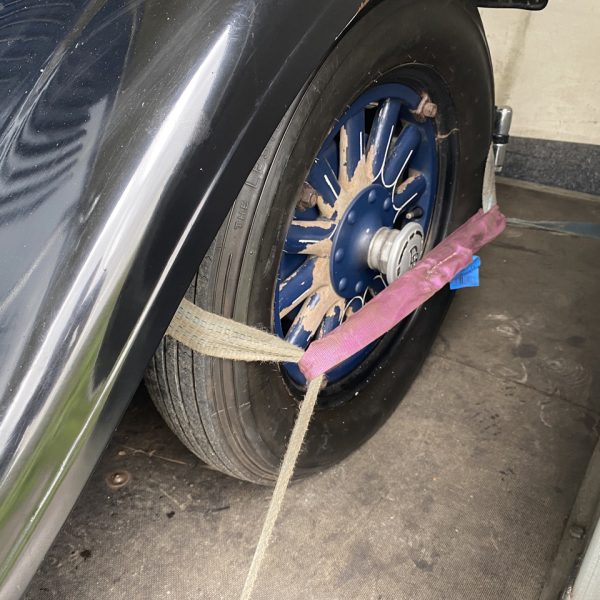
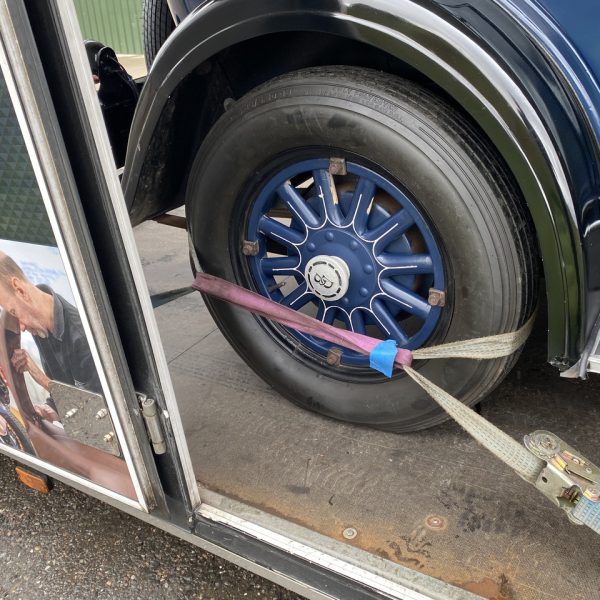
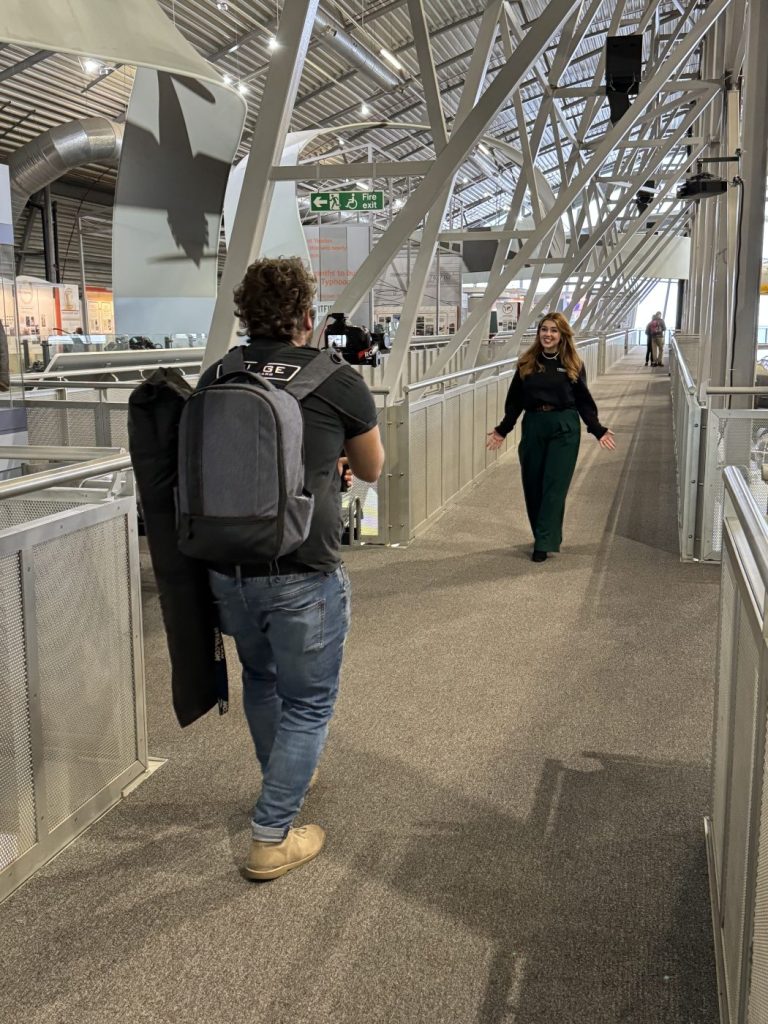
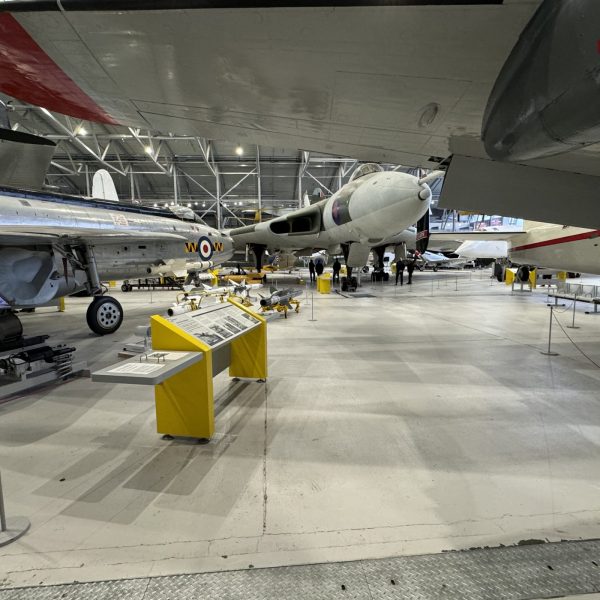
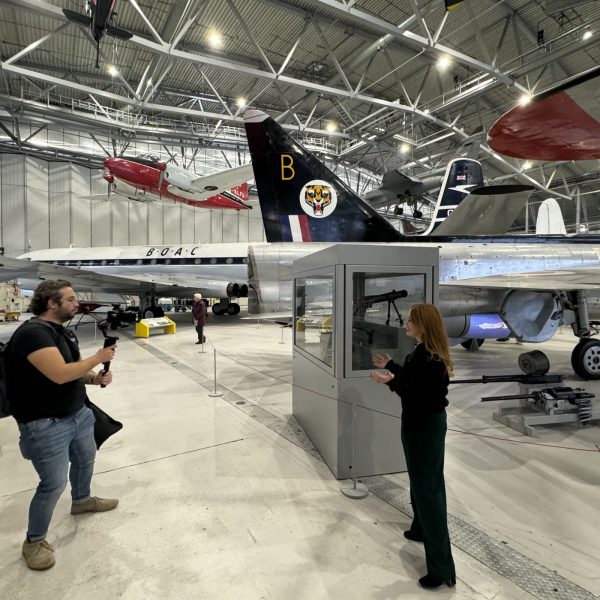
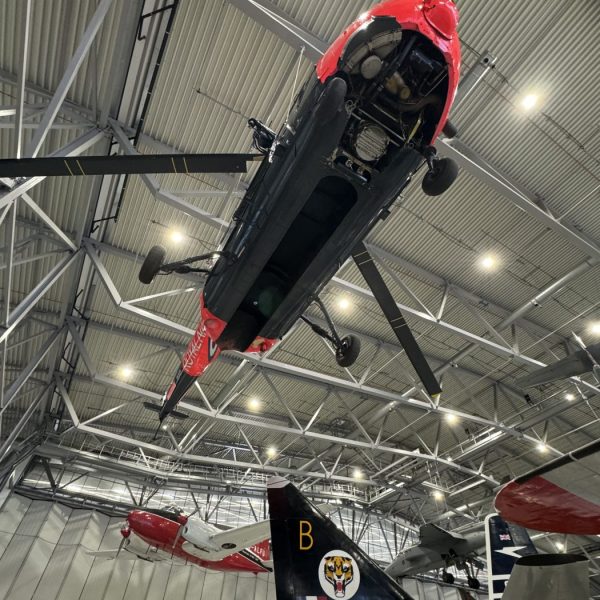
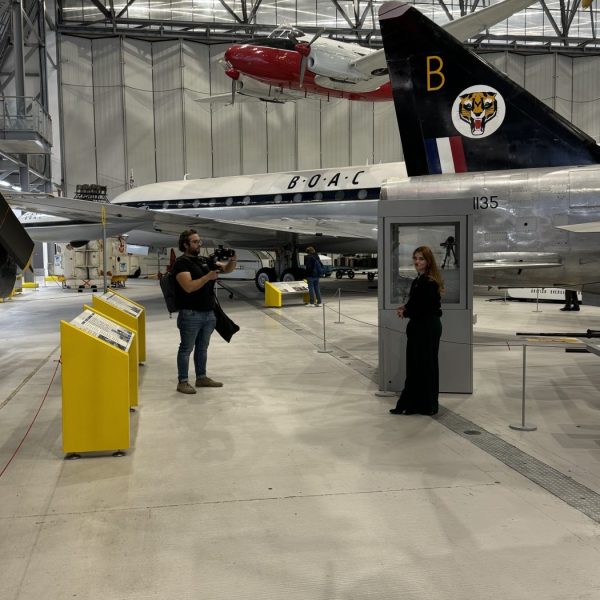
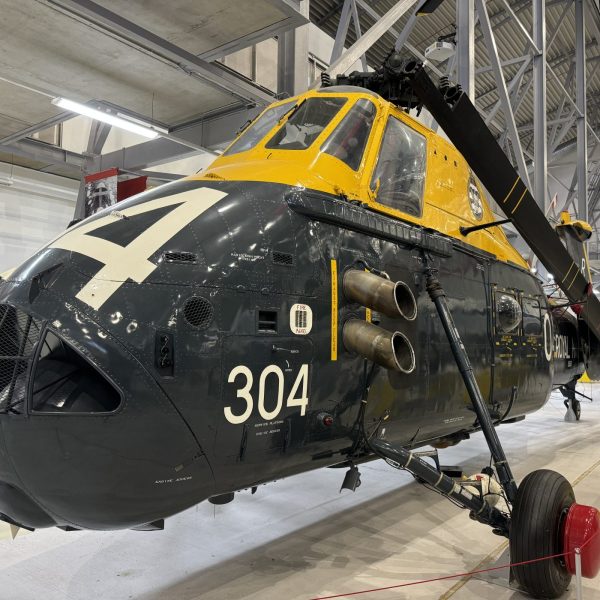
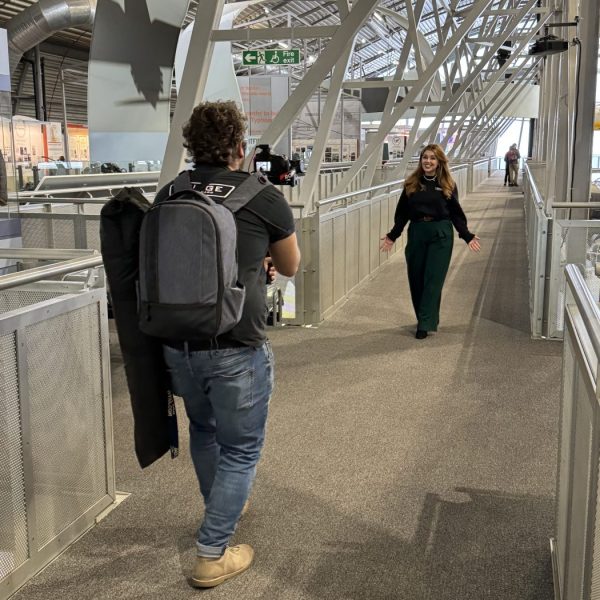
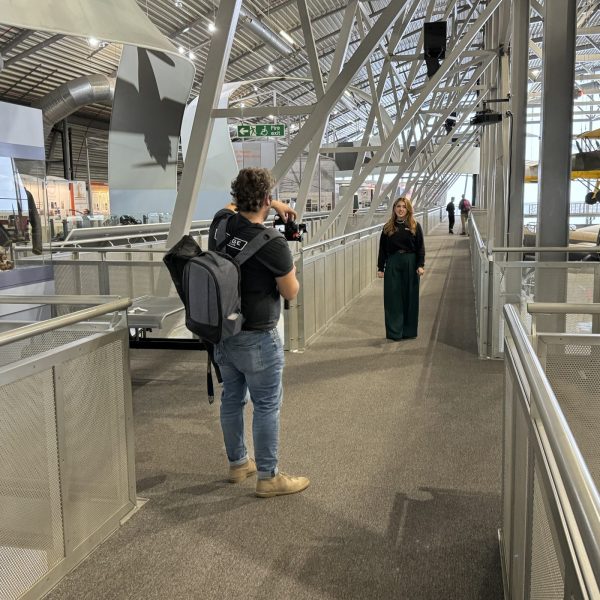
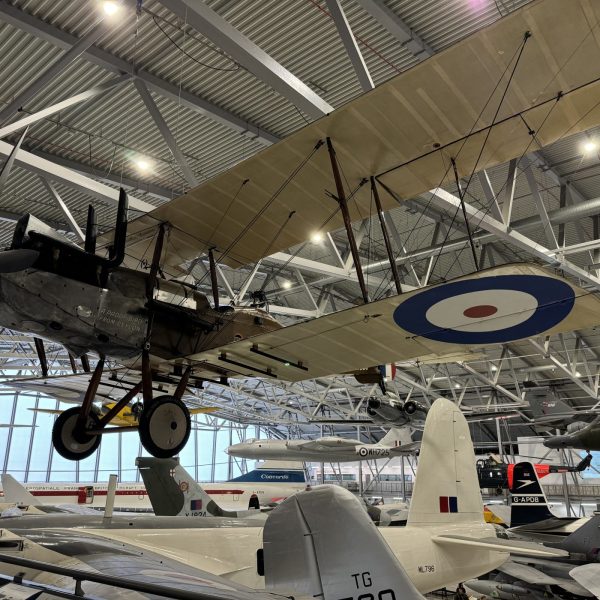
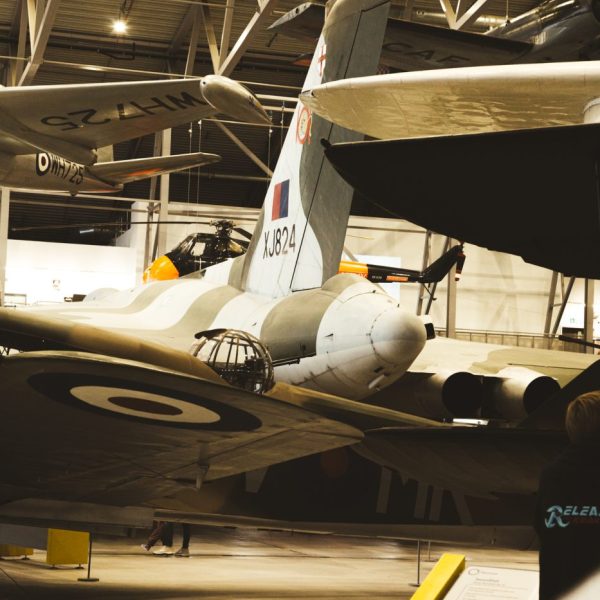
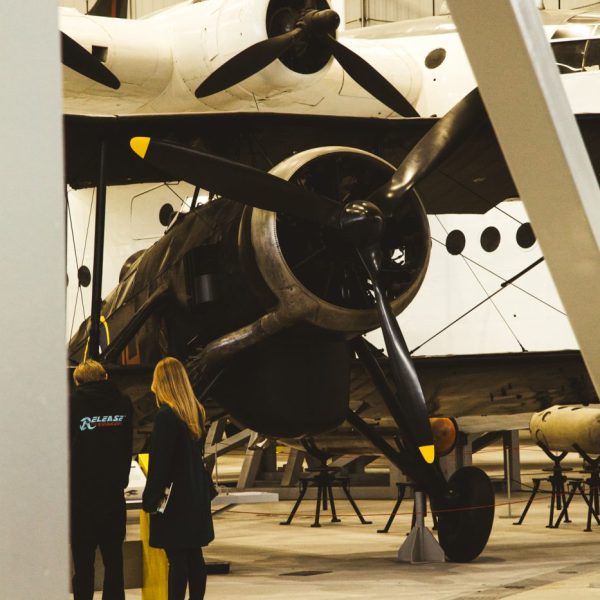
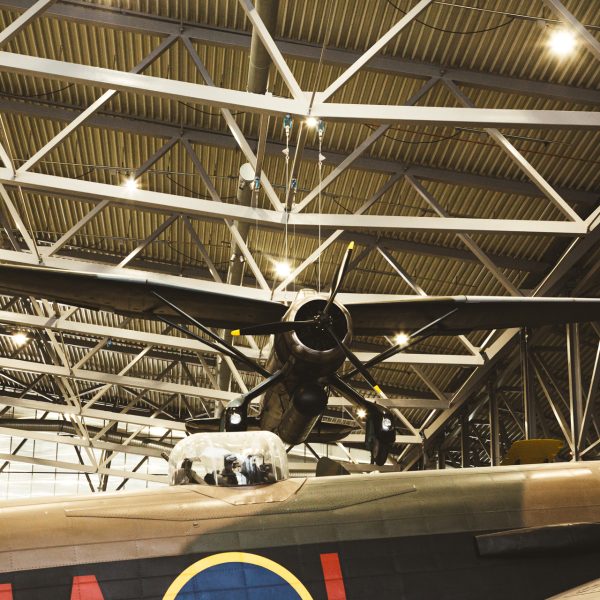
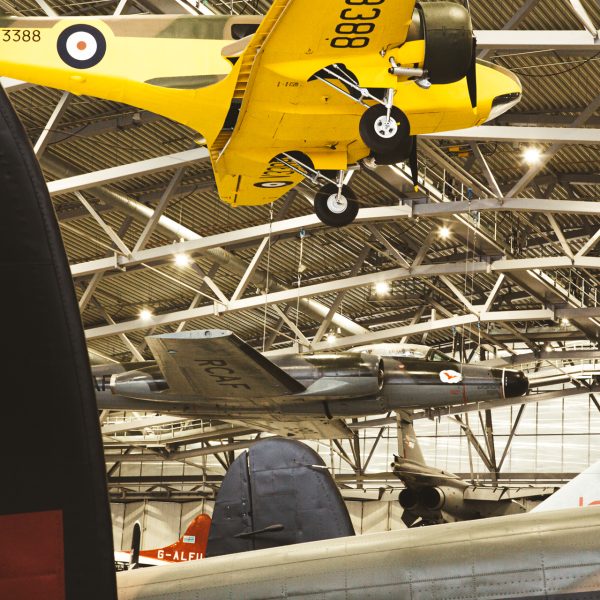
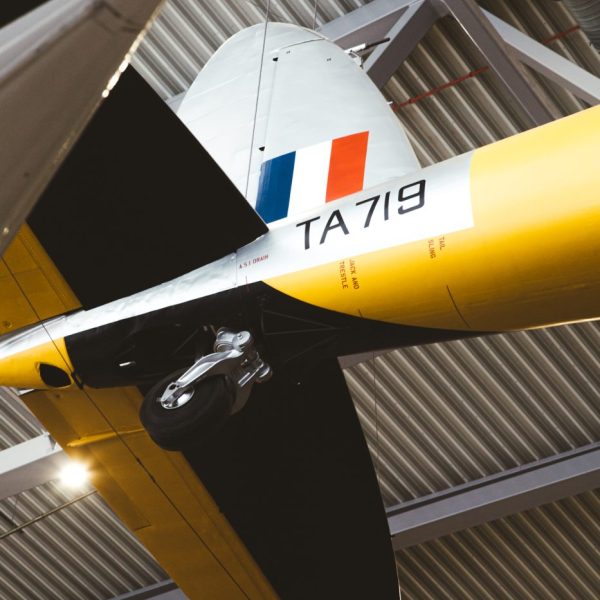
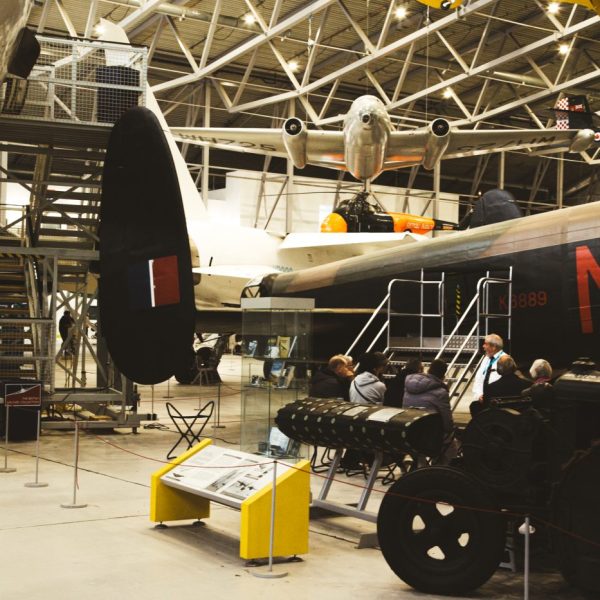
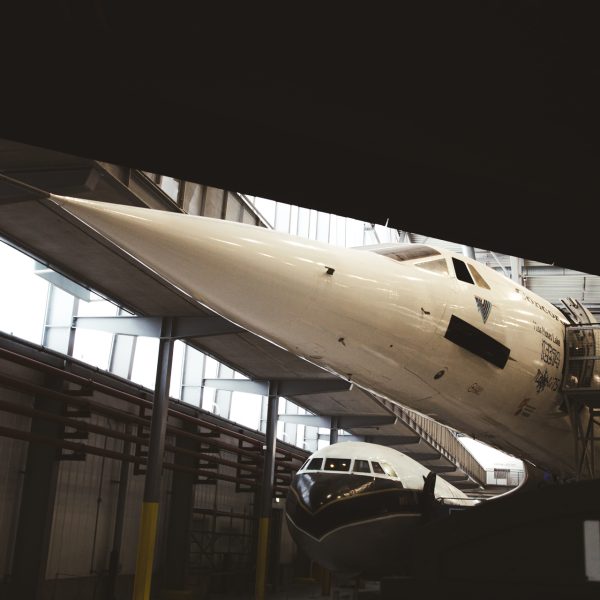
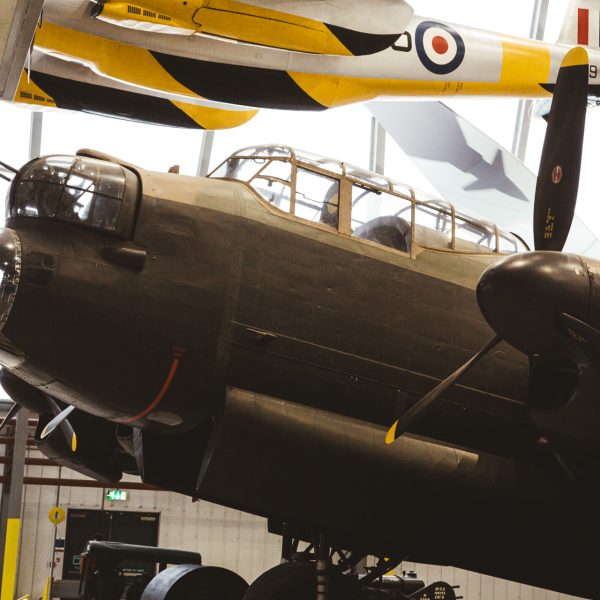
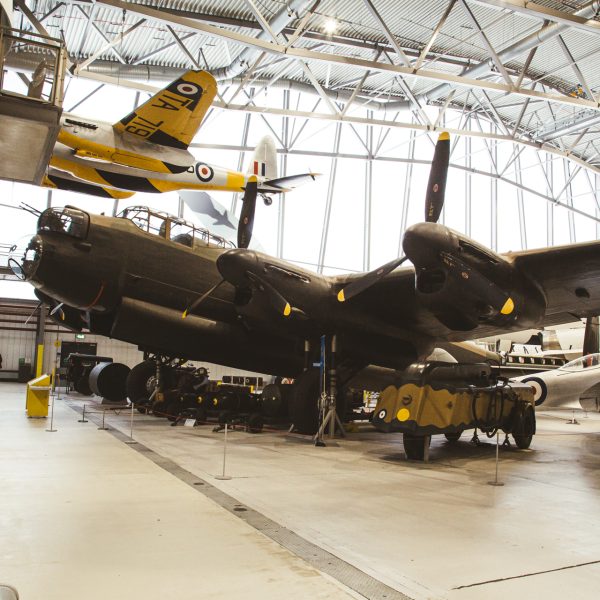
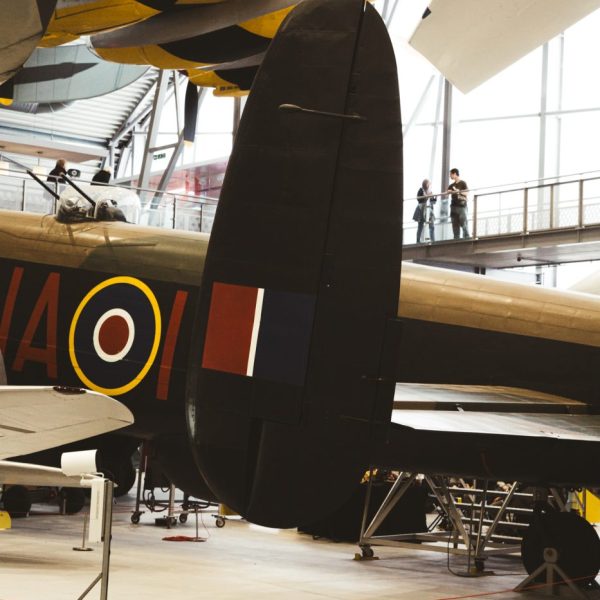
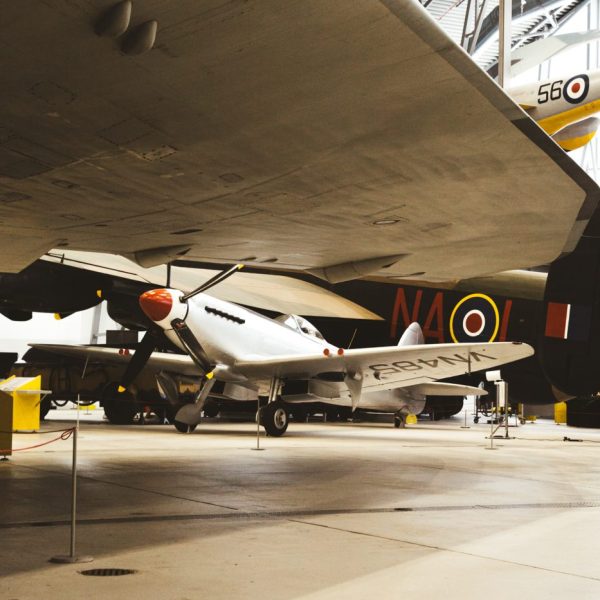
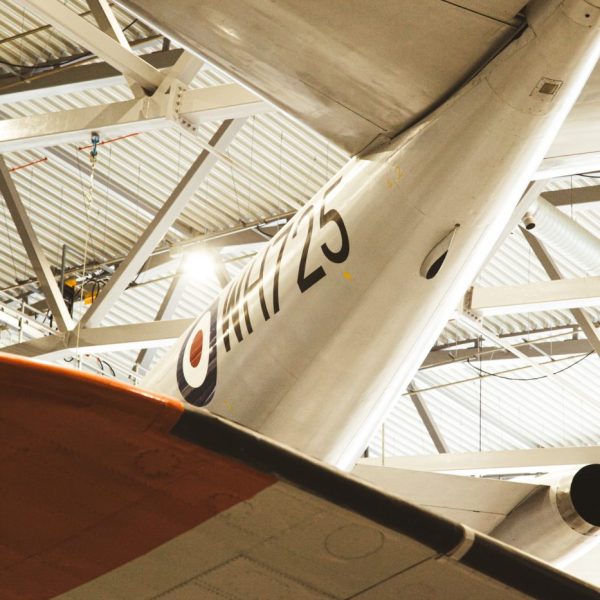
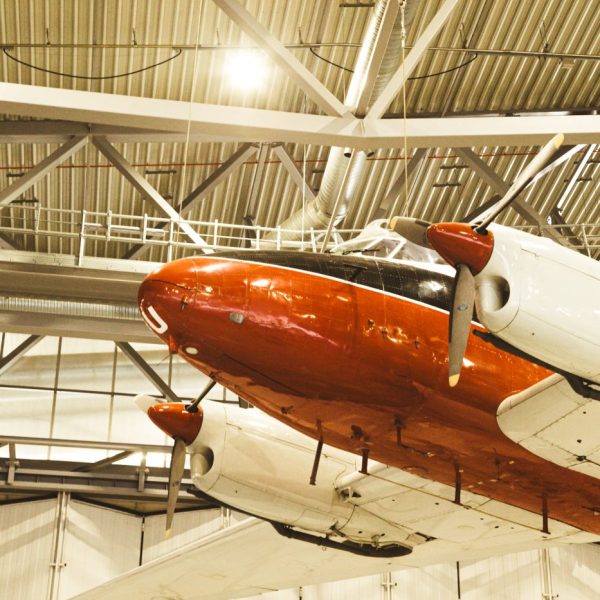
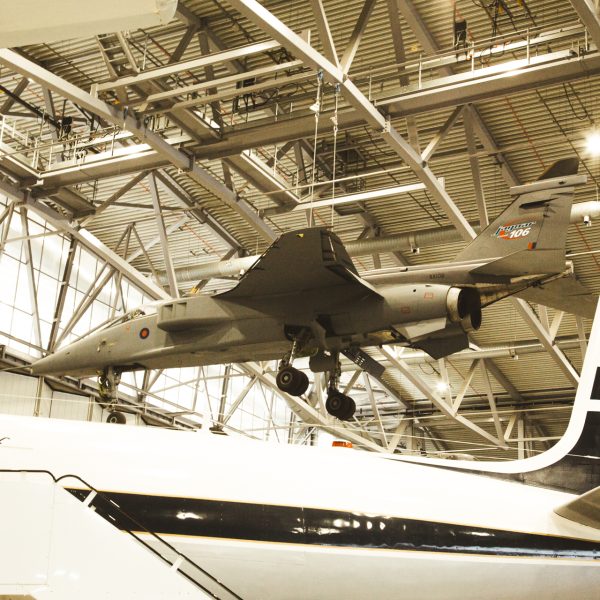
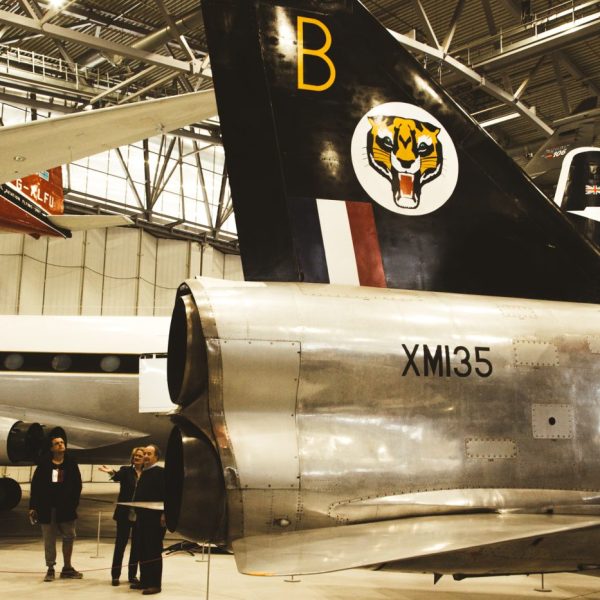
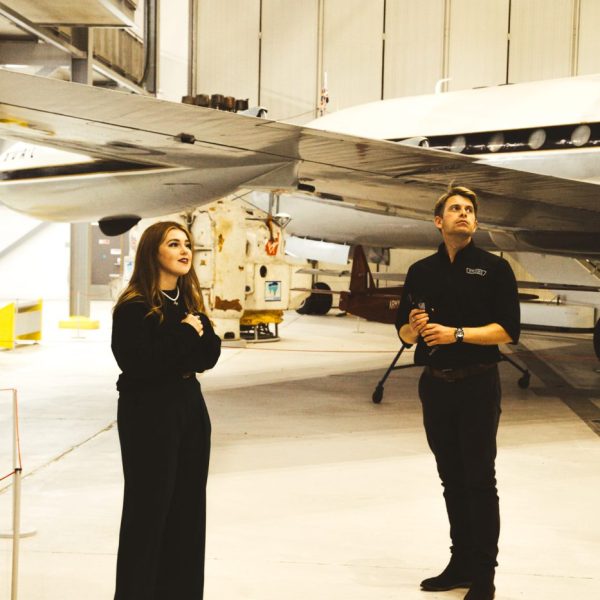
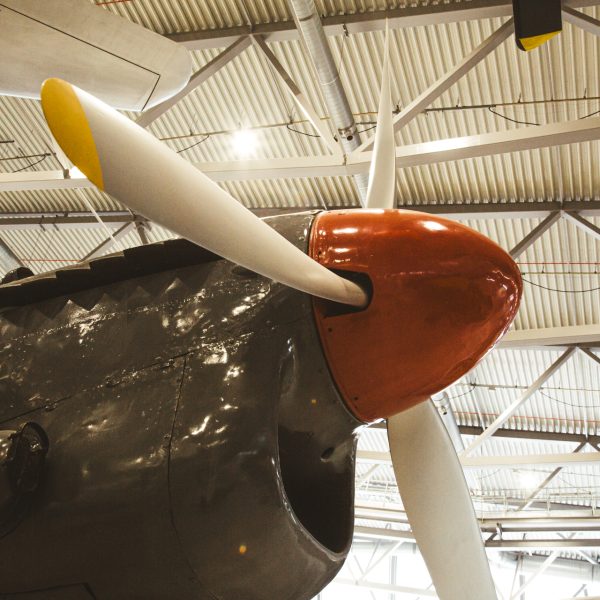
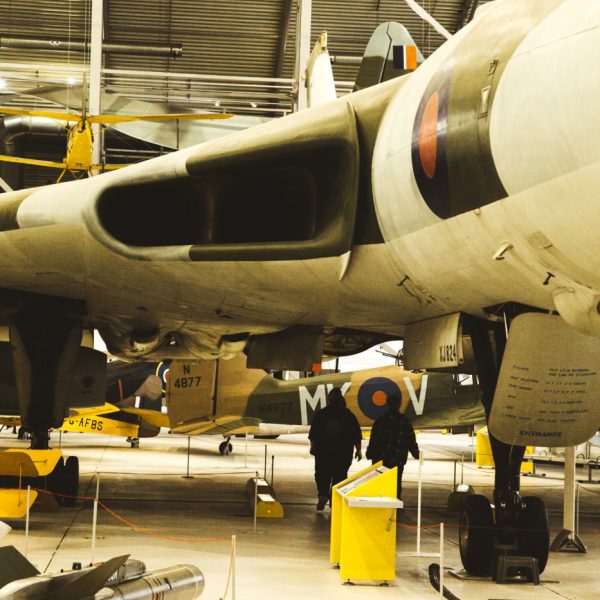
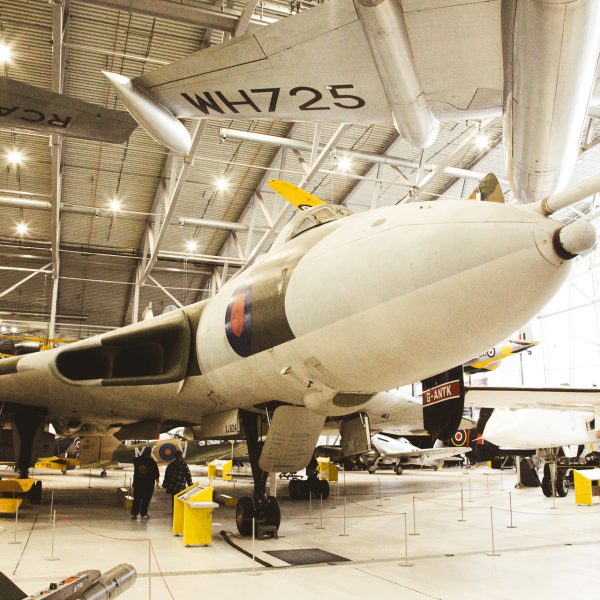
Meanwhile I joined Molly and nick over at Duxford to record this week Torque Show. We caught up with Paul from H&H Classic Auctions and had a little wander around the aircrafts. The full episode will be out later this week on our YouTube channel.
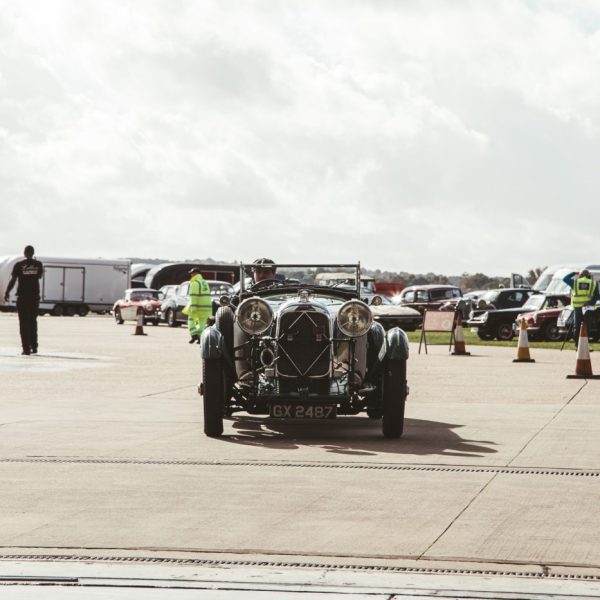
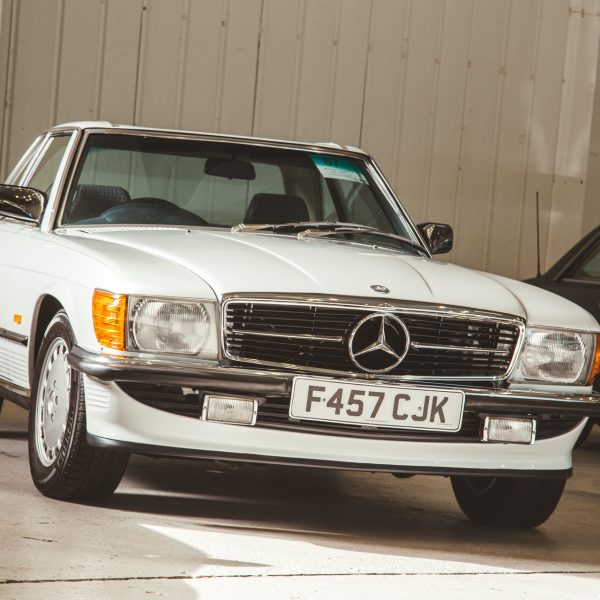
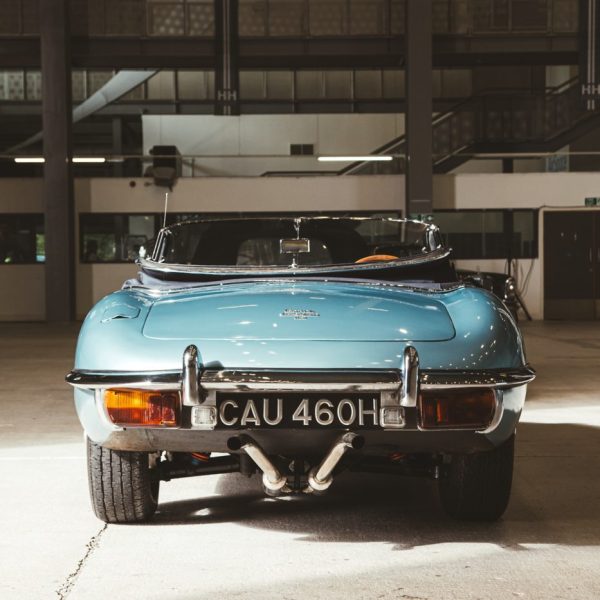
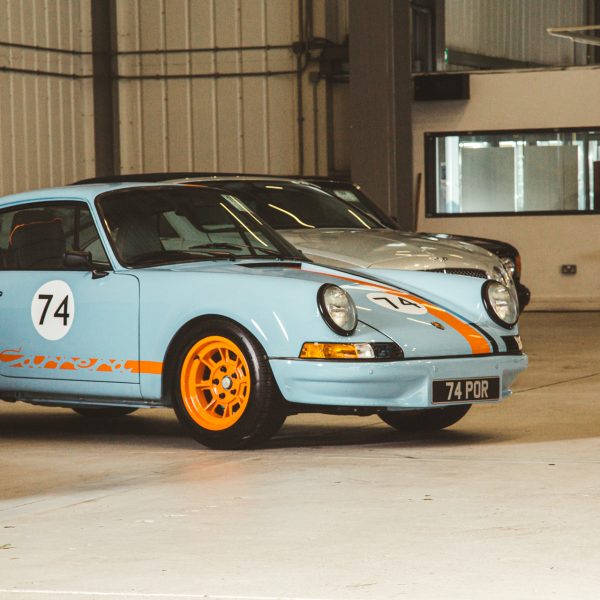
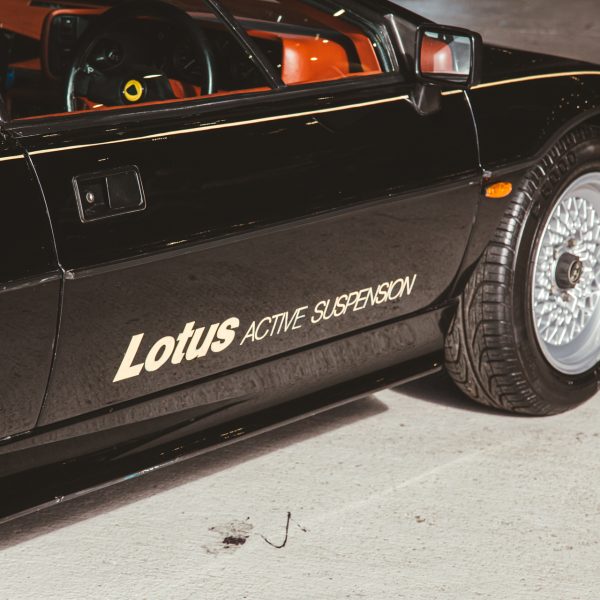
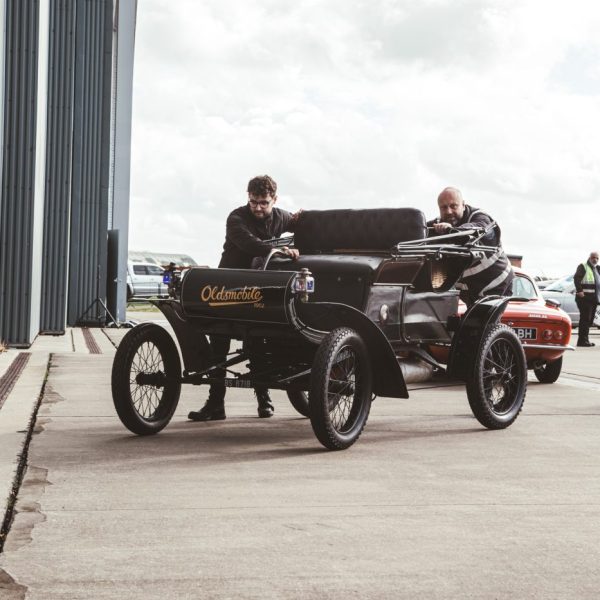
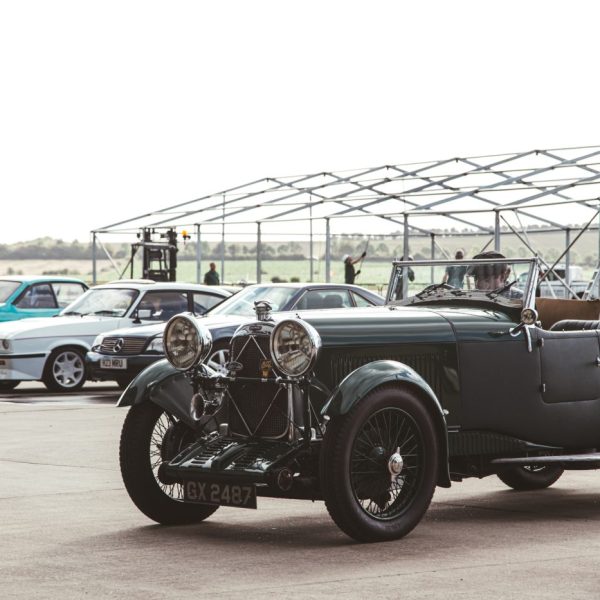
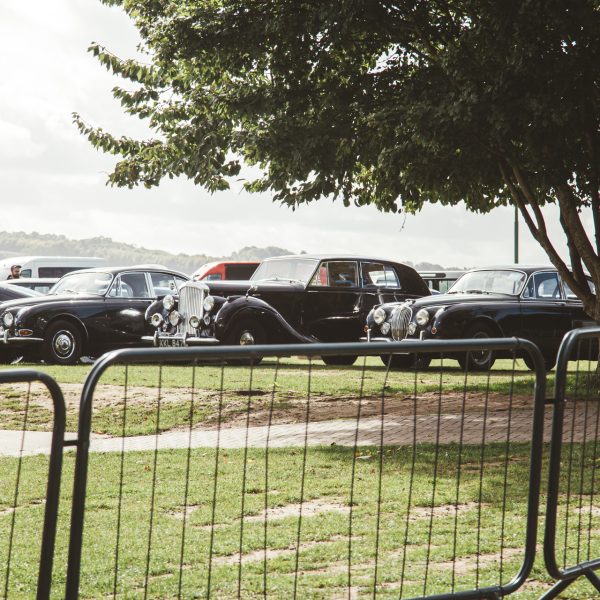
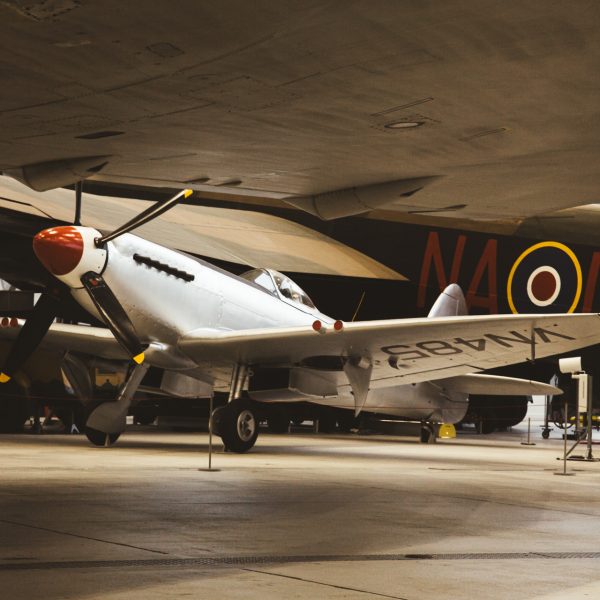
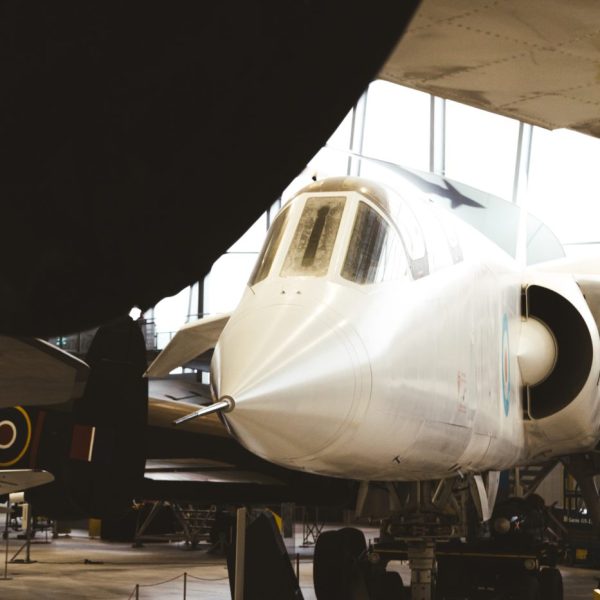
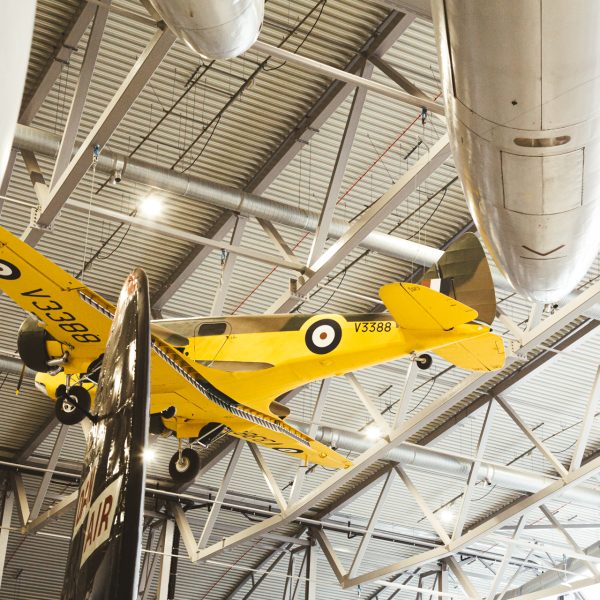
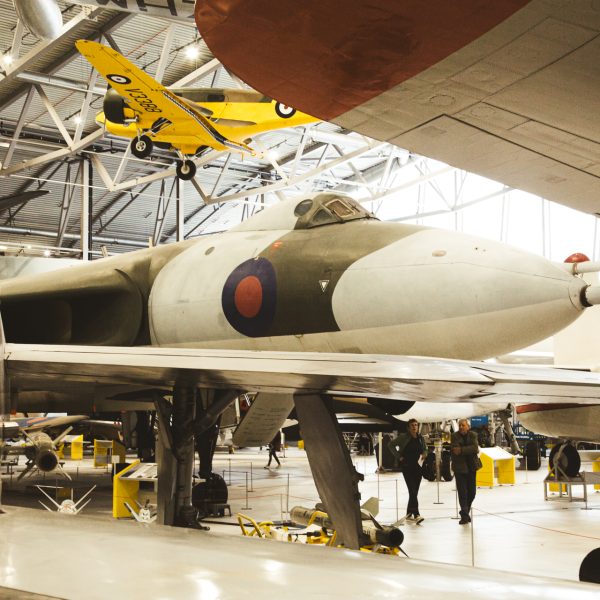
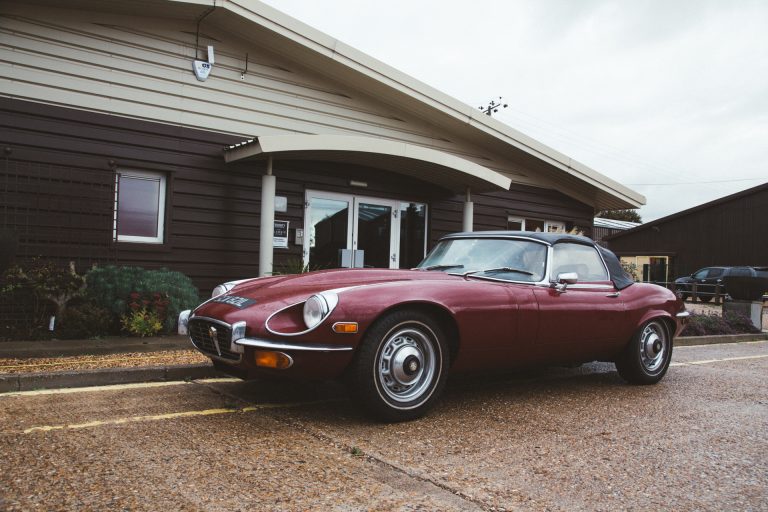
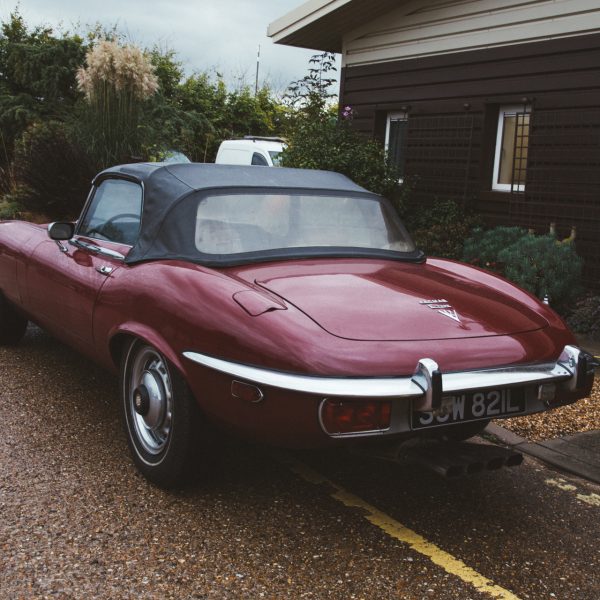
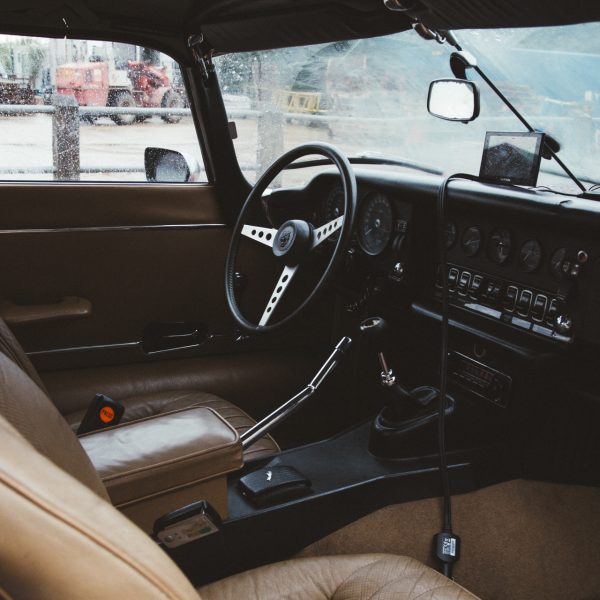
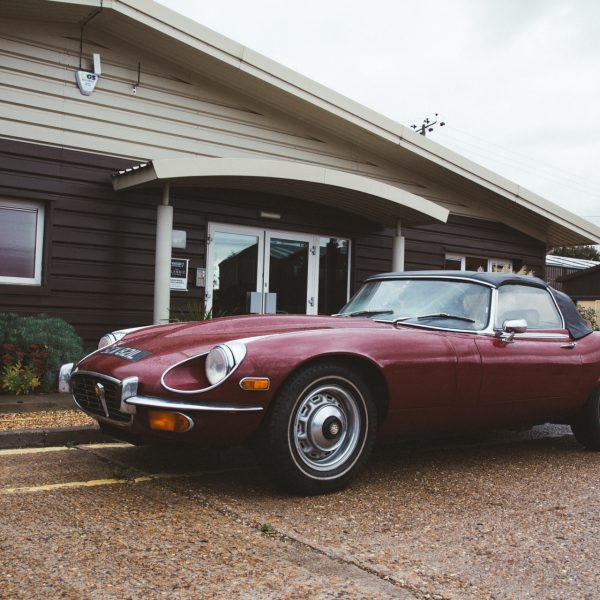
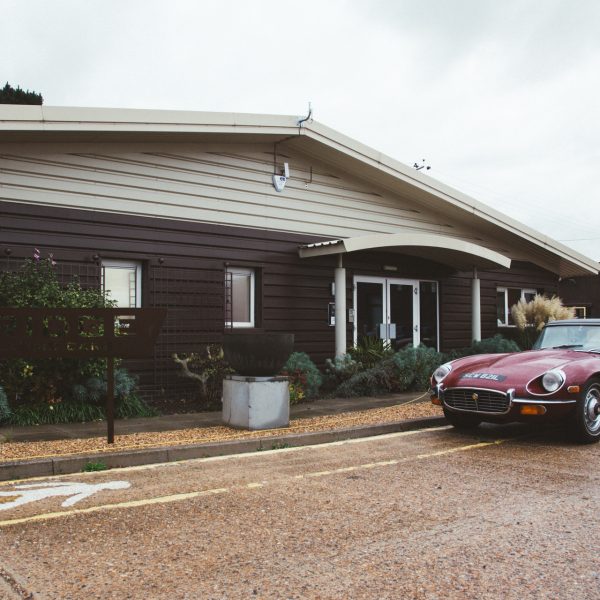
Today, we received delivery of our 1973 Jaguar E-Type Roadster unexpectedly. Having recently been purchased and subsequently imported, the new owner has taken on the car with the hopes and dreams of working on it himself now he celebrates his retirement.
Two and a half hours in to a very pleasant drive back home the car started to cough and splutter before eventually giving up on the A14.
Our good friend Bradley from Vehicles2Go happened to be passing by when all of this happened and as he was driving with an empty trailer offered his assistance.
Jaguar in Cambridge were unable to assist in getting the car running so Bradley called us to see whether we could take on the task.
The car is now with us at the workshops and the customer continued on with his 250 mils journey without his car but aims to come and collect it and and when we have discovered the problem.

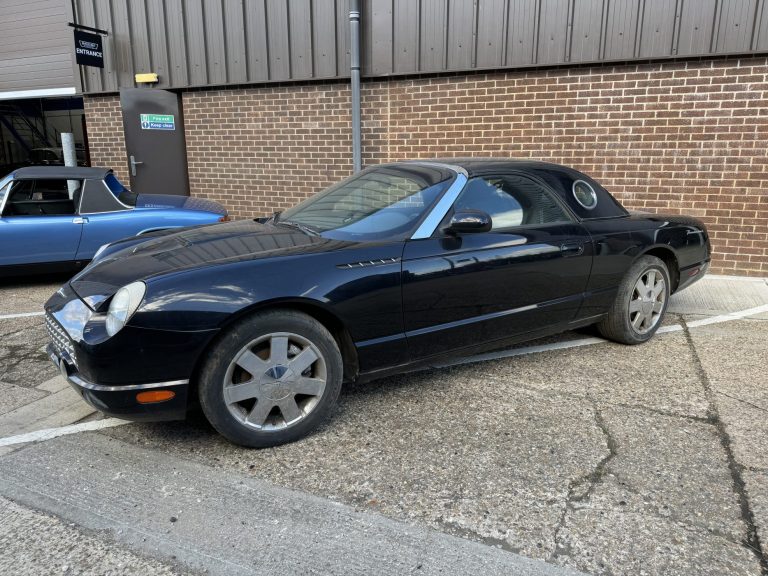
Welcome to Bridge Classic Cars! Our latest arrival is our 2002 Ford Thunderbird very much in need of some TLC. The car has been in dry storage for some time now and has made it’s way into our possession from the storage company. What do you think?
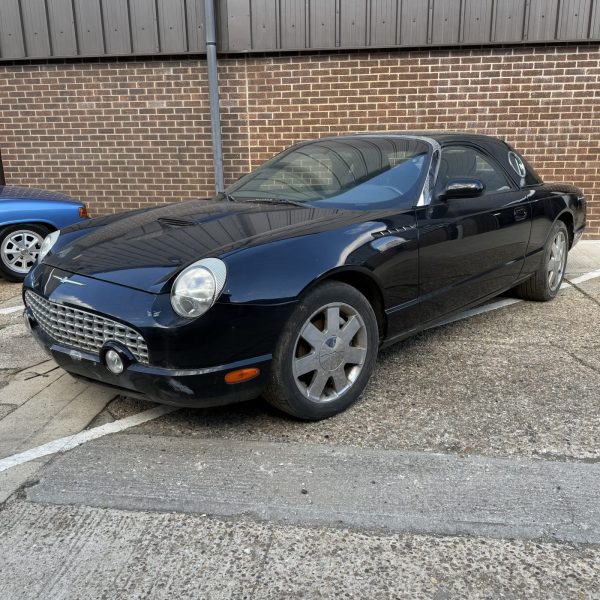
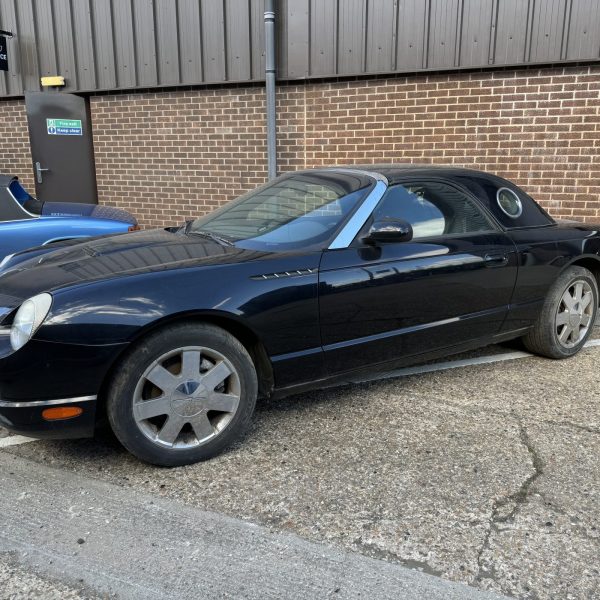
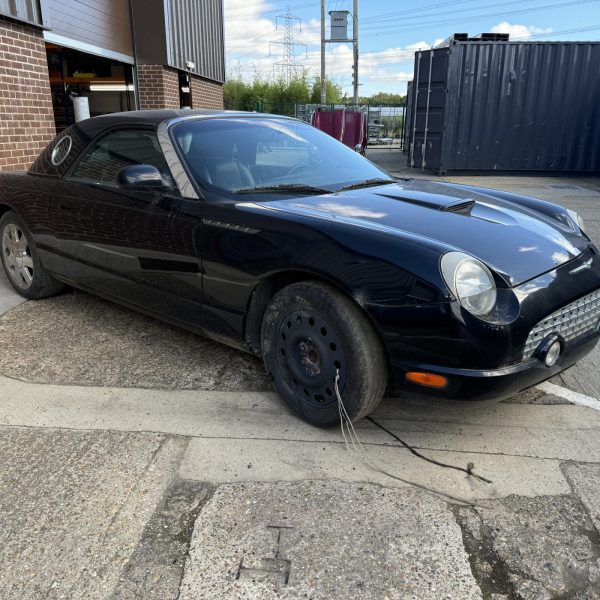
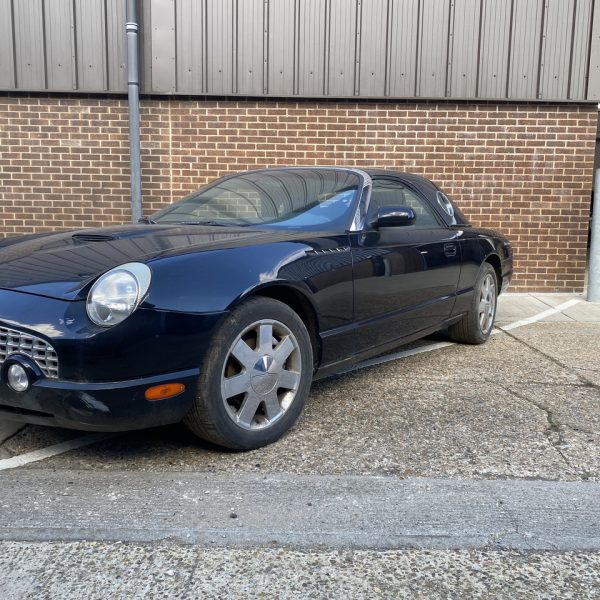
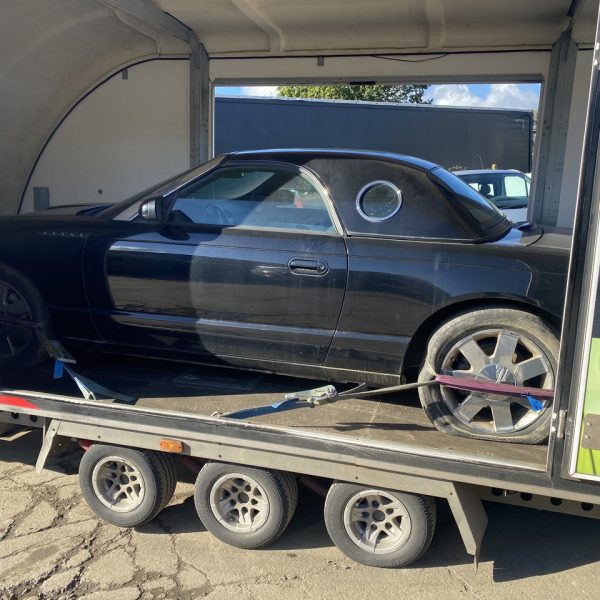
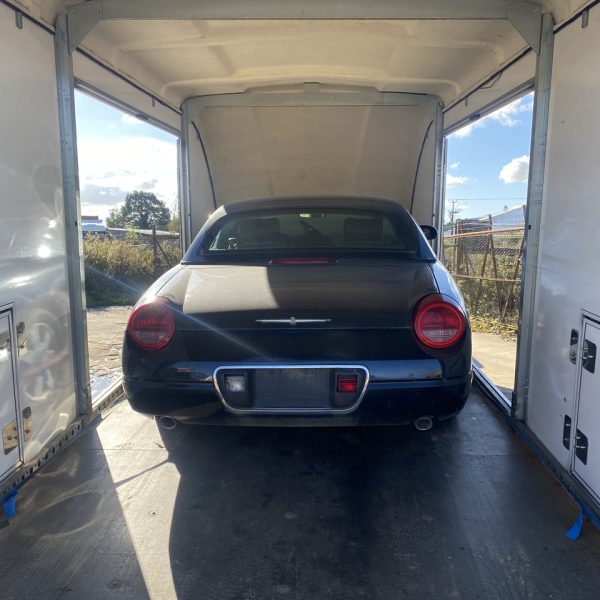
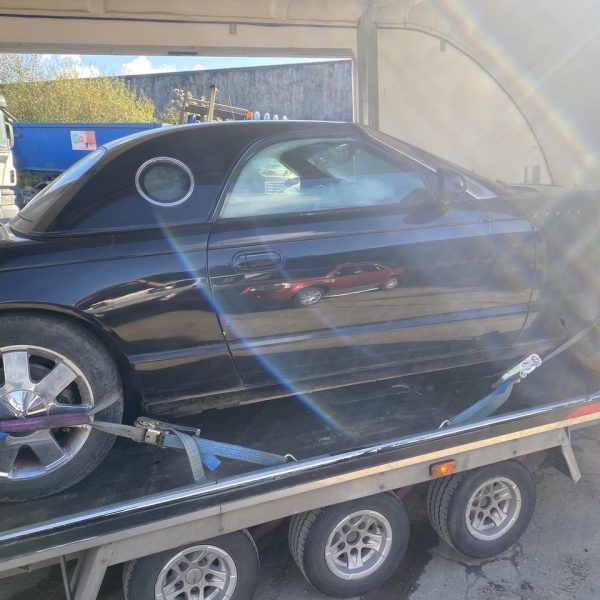
The Ford Thunderbird was manufactured and marketed by the Ford Motor Company as a personal luxury car from model years 1955 to 2005 (with a 1998–2001 hiatus), across 11 generations.
This model being from the 11th generation, the styling reverted to its original two-passenger personal convertible configuration. The eleventh-generation Thunderbird uses the Ford DEW platform also used by the Lincoln LS sedan (and the Jaguar S-Type); the Ford Mustang is loosely based on it.
With sales dropping significantly after its first model year, Ford discontinued the eleventh-generation Thunderbird after the 2005 model year; the final vehicle was manufactured on July 1, 2005.
From its introduction in 1955 to its final phaseout in 2005, Ford produced over 4.4 million Thunderbirds.
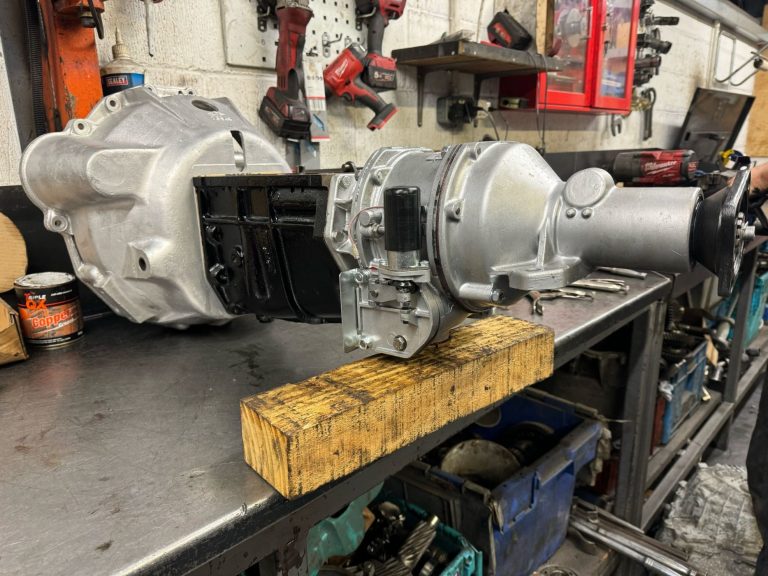
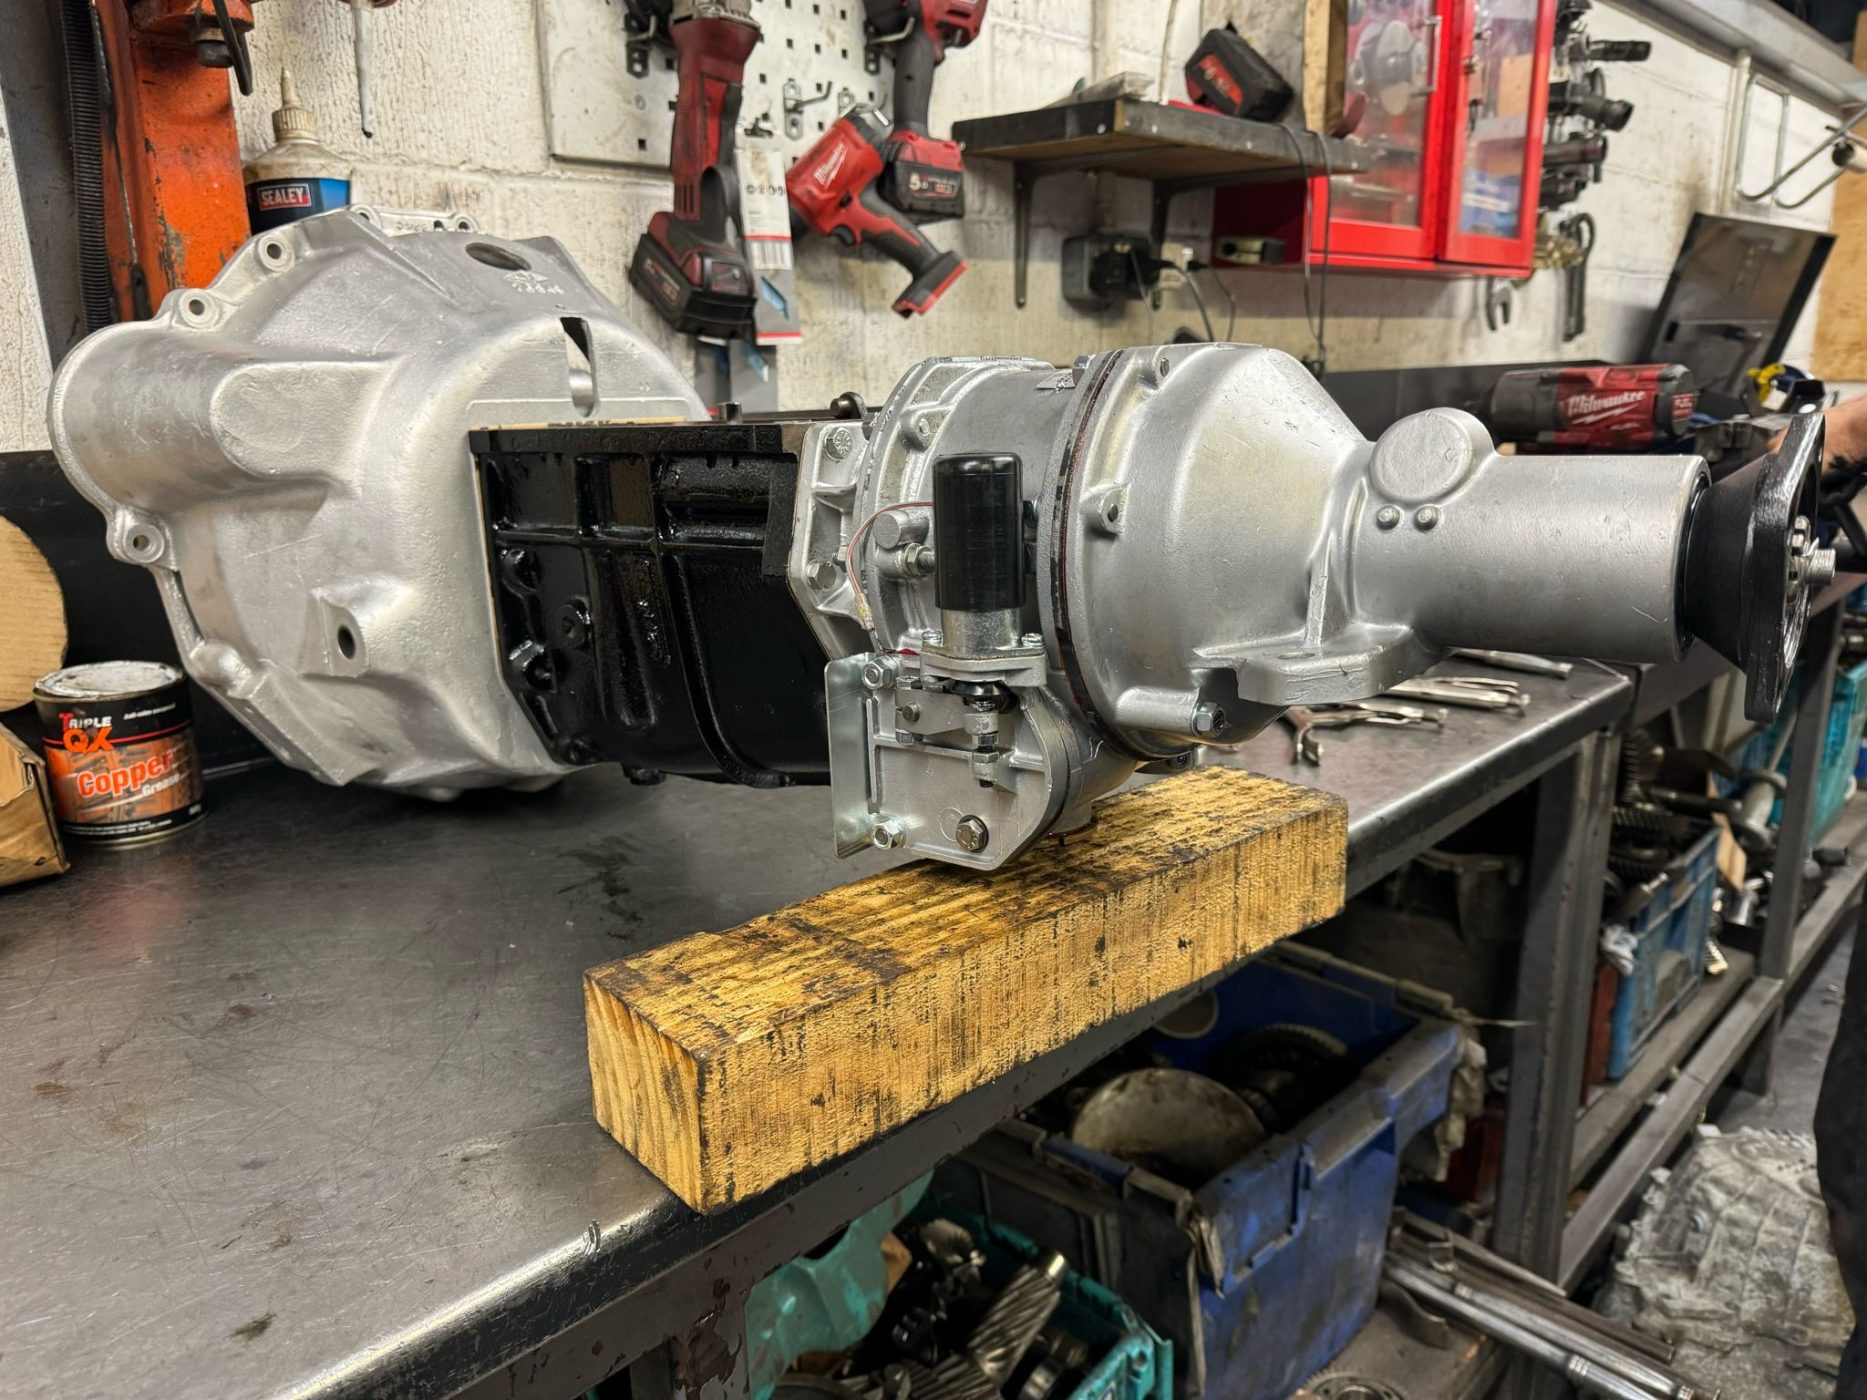
Work in progress on our gearbox and overdrive unit rebuild.
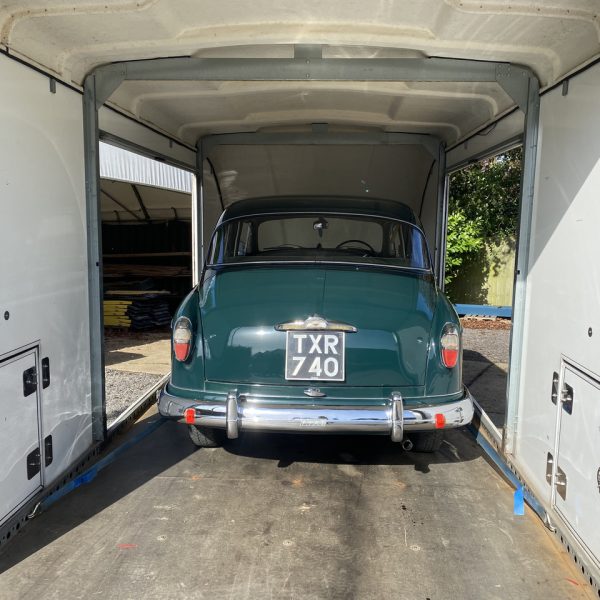
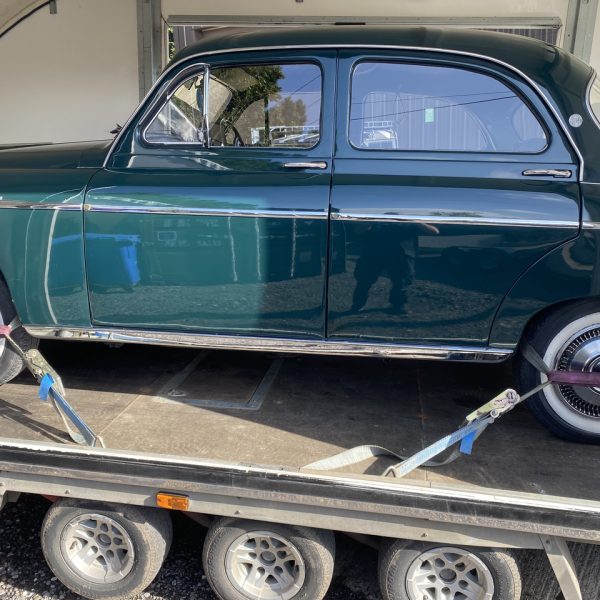
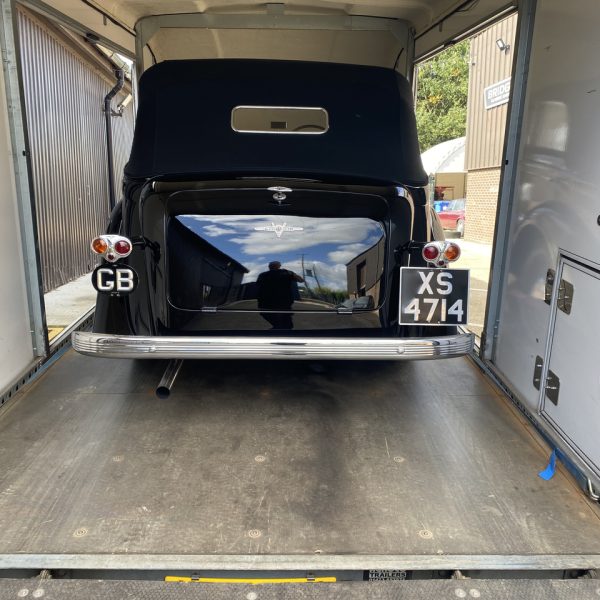
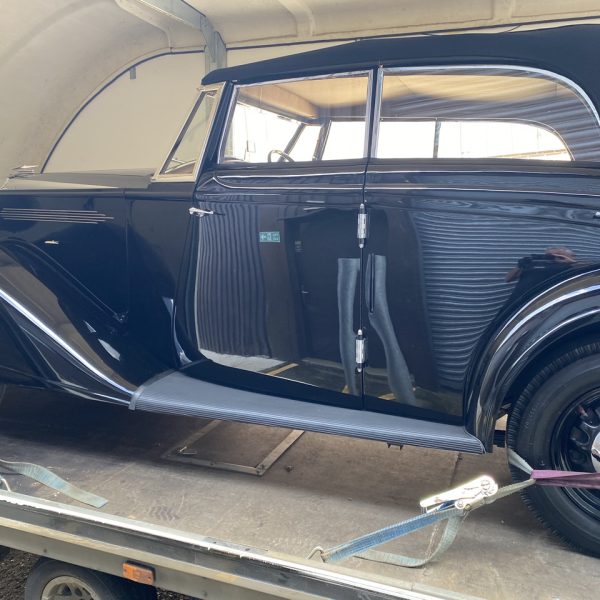
Tony is very much used to spending his time out on the road, delivering and collecting vehicles in our own covered transport. More often than not it may be an early start or a late finish for Tony but we aim, as best as we can to return home at the end of every trip. Sometimes however, that’s just not possible.
Last week, Sheila, winner of our Ford Zephyr received her vehicle from Tony at the far north of Wales before he headed on to Runcorn to collect one of two vehicles from Manor Park Classics.
The trip saw Tony cover just under 700 miles which is far more than what was achievable in one day.
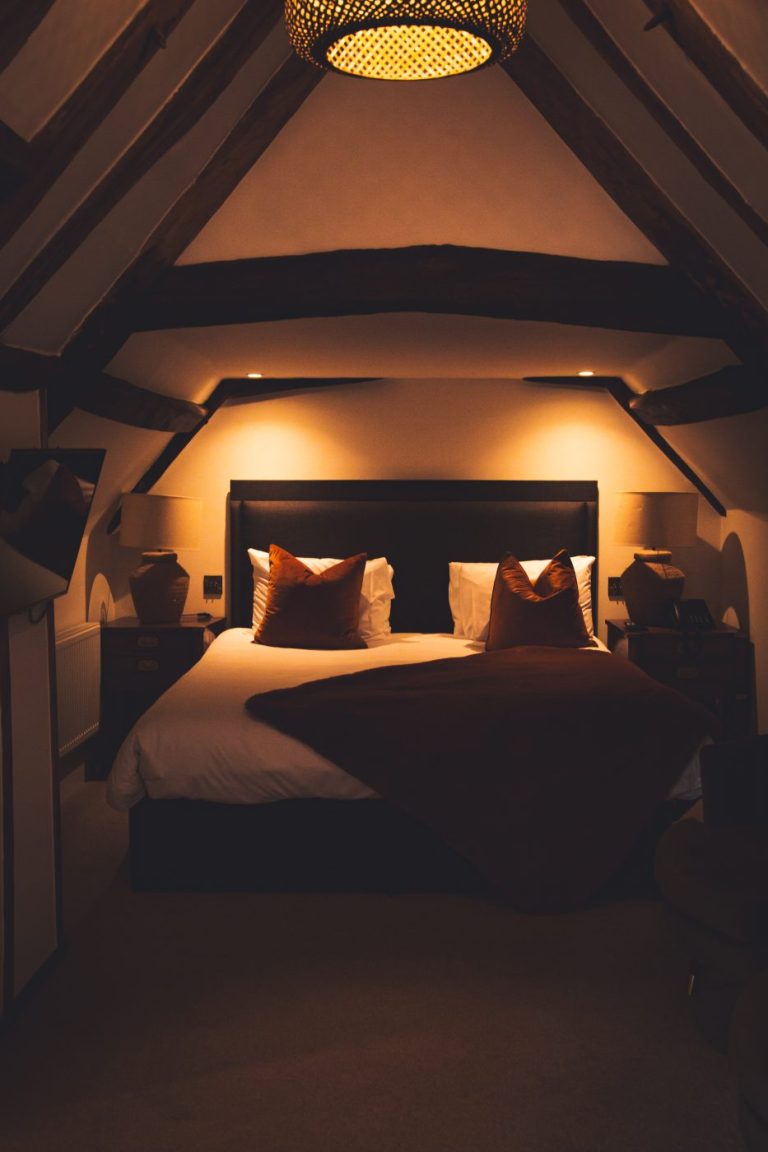
So we called upon the assistance of Lyndsay at Hospitality Answers. Lyndsay has a wealth of experience in the hospitality field and is quick to help us source good, quality hotels. For us, it is not about looking for the cheapest hotel, it’s about looking for quality, convenience and practicality. If you’ve been on the road all day and are towing a trailer the size of a coach you want to be able to relax in a nice comfortable environment. Grab yourself a drink!
Thank you as always to Hospitality Answers for finding somewhere lovely for Tony to stay.
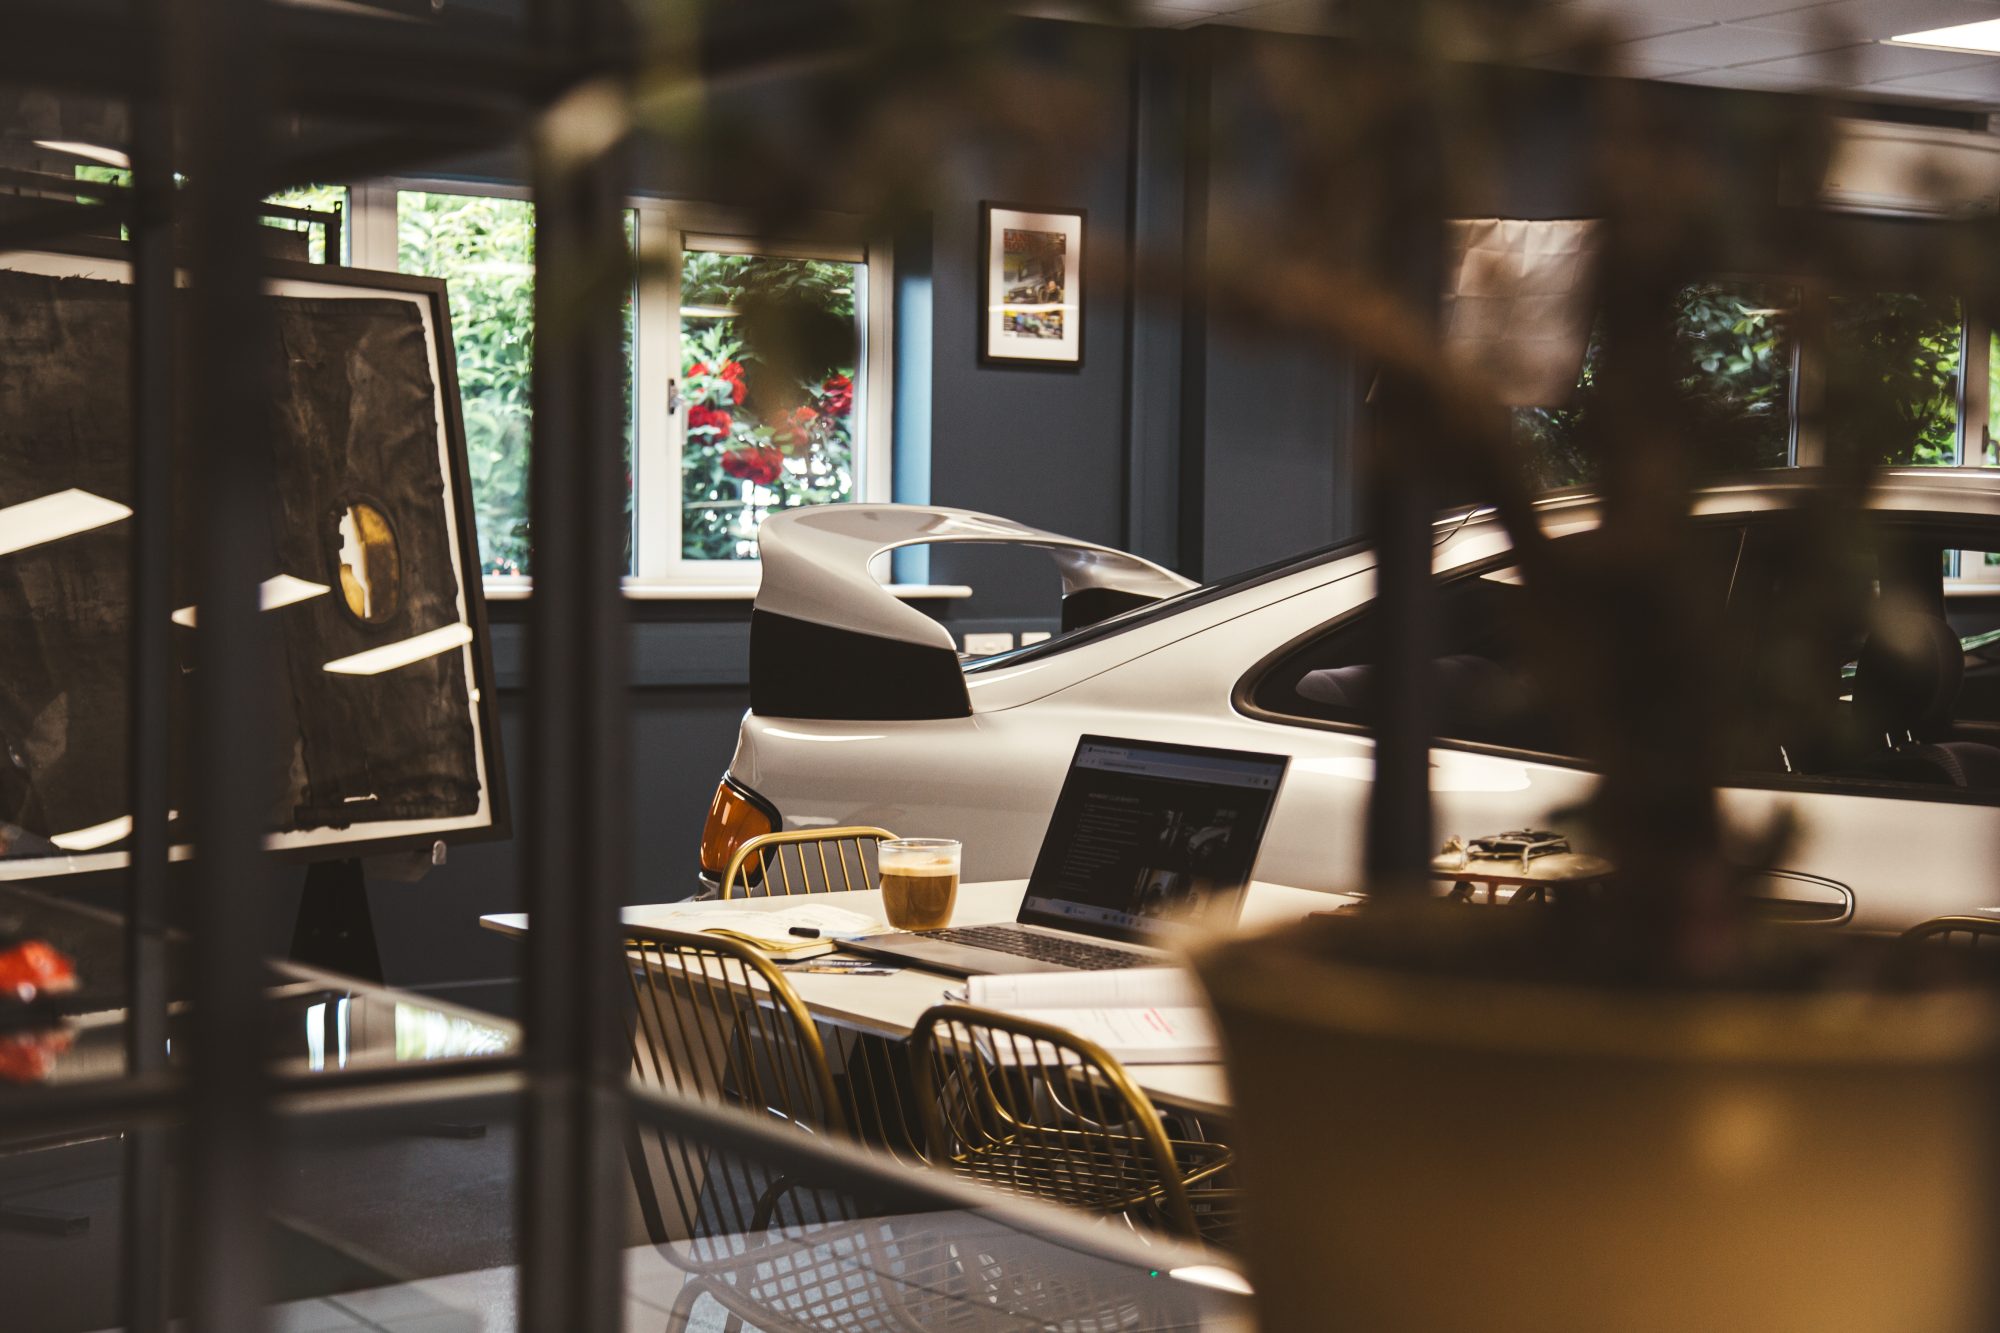
Our Porsche 914 is currently awaiting collection from Karl, our recent double winner, having scooped the first prize of our Triumph TR3 back in 2020.
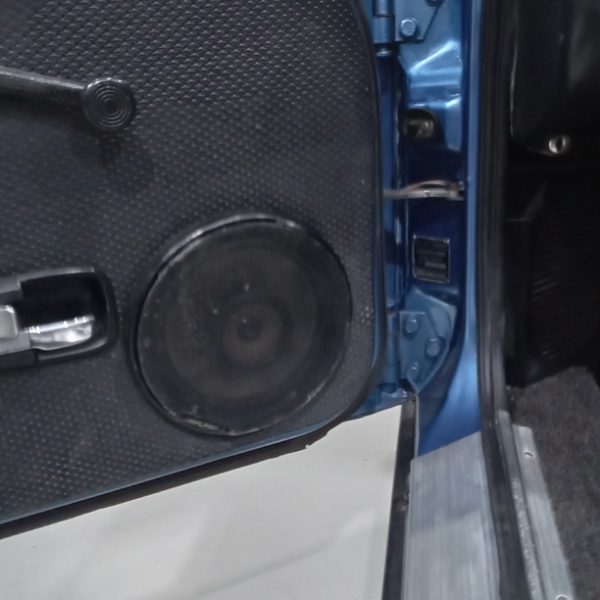
The pre delivery inspection has been completed. We have re-shaped and fitted the driver’s door speaker cover as it had a tendency of popping off.
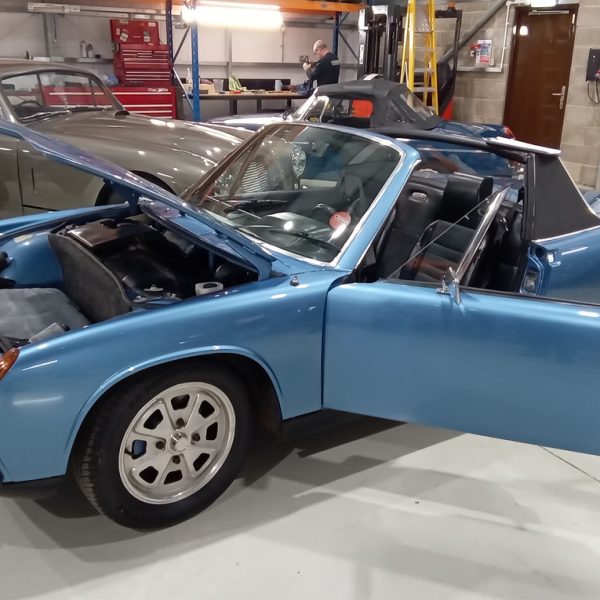
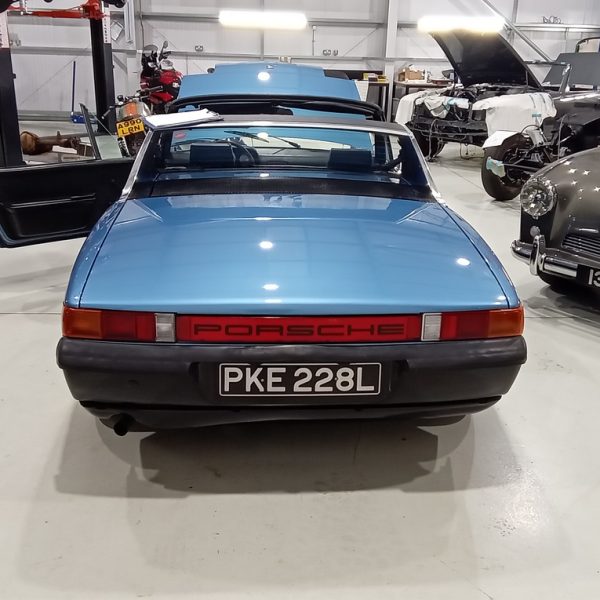
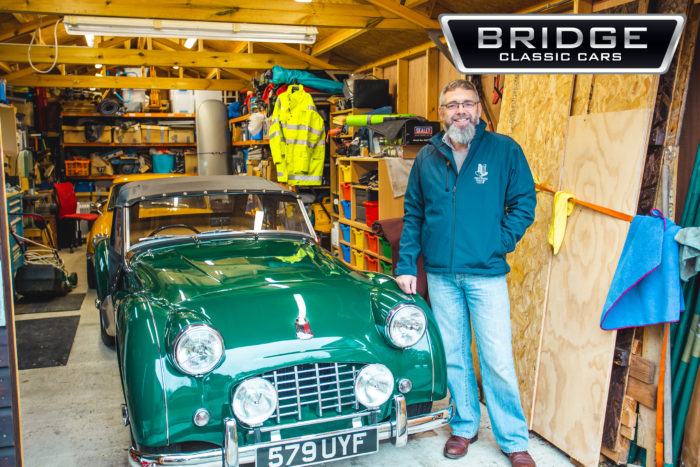
Karl still owns his TR3 and has visited our workshops many times to enjoy our car shows and events.
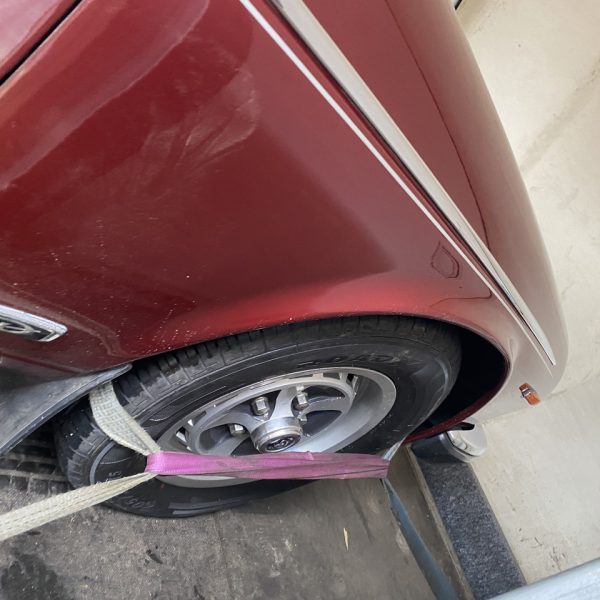
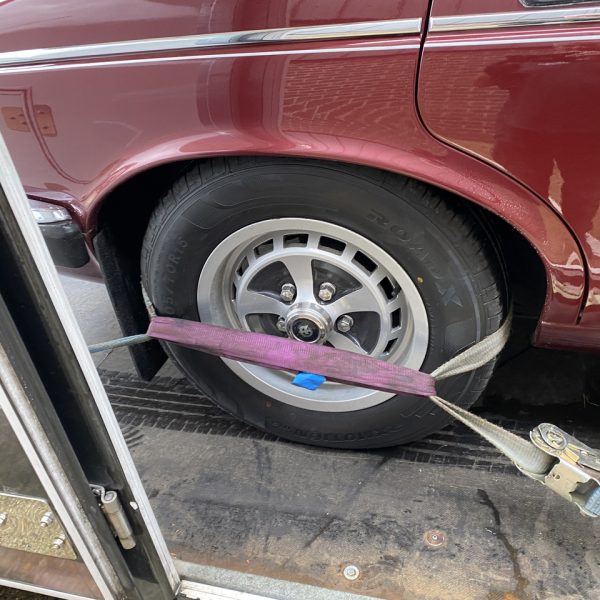
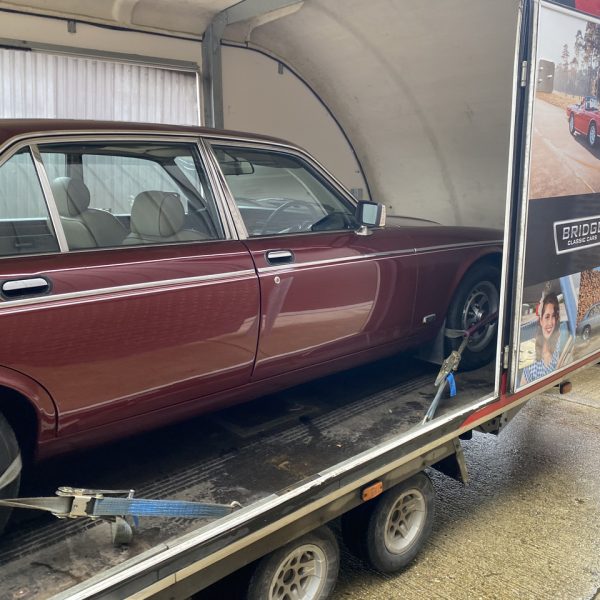
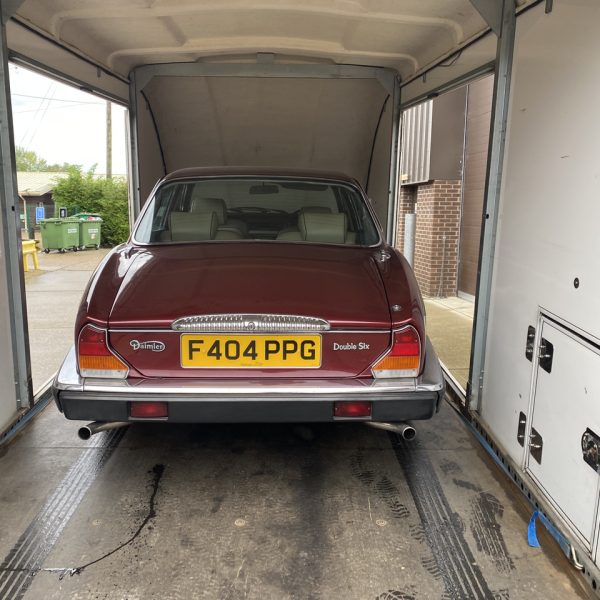
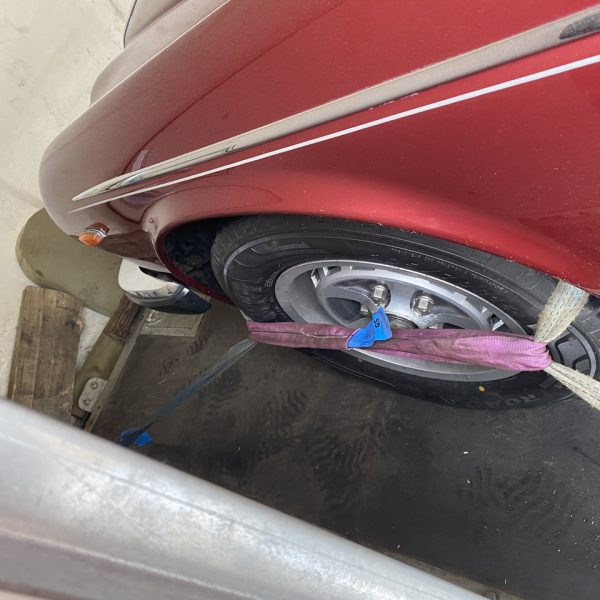
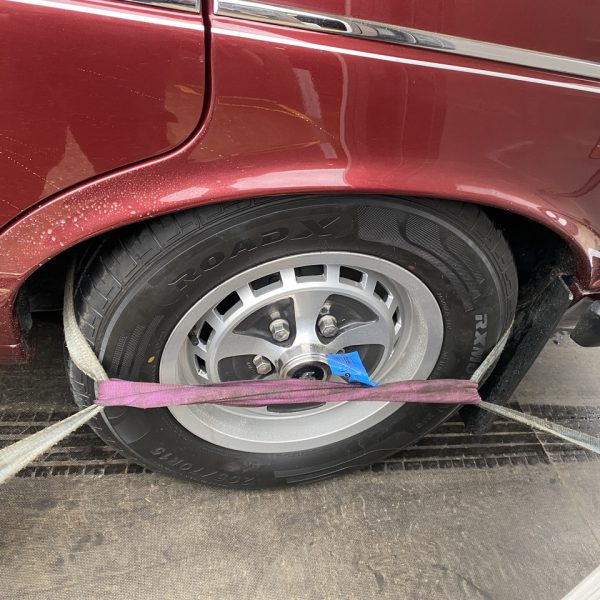
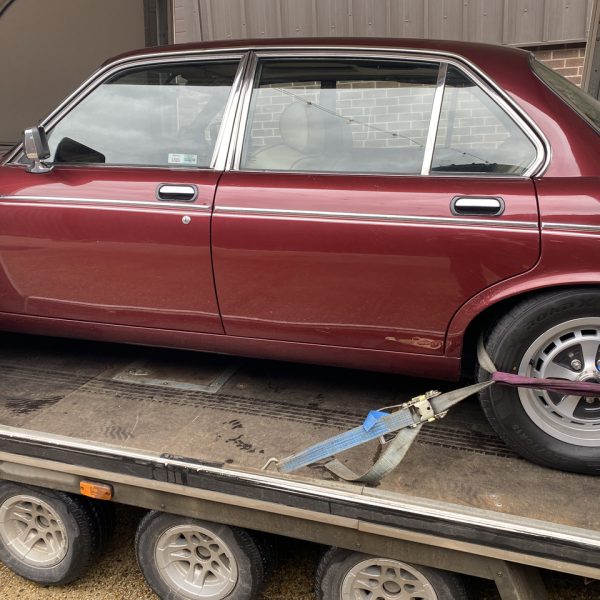
No sooner had the car arrived with the new owner were we back on the road going to collect it. As with all classic cars there are often trials and tribulations that have to be overcome. Things that go un-noticed or issues that develop when you least expect them.
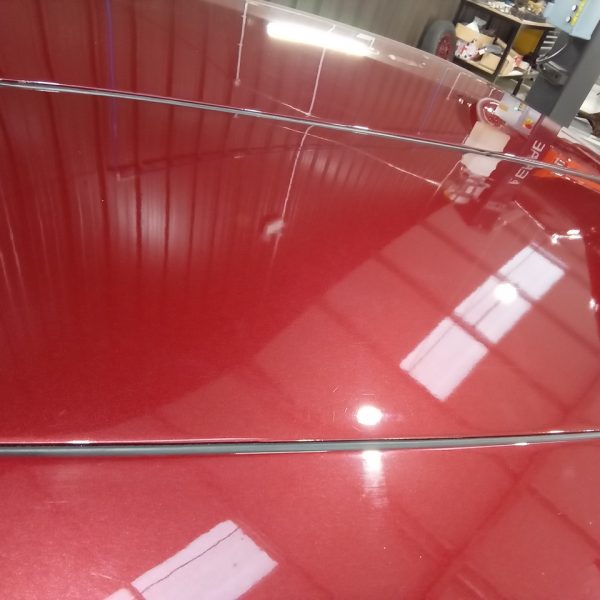
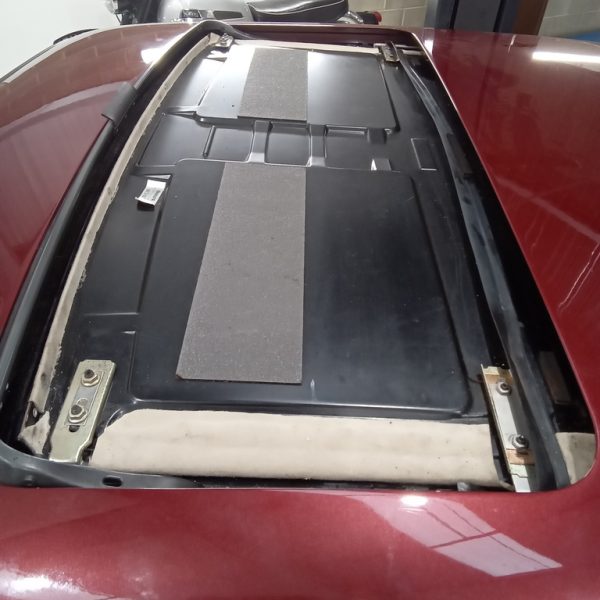
The customer had reported that the sunroof was rubbing slightly when it was being opened so Steve removed the panel, adjusted and refitted. It now works perfectly and the rubbing has stopped.
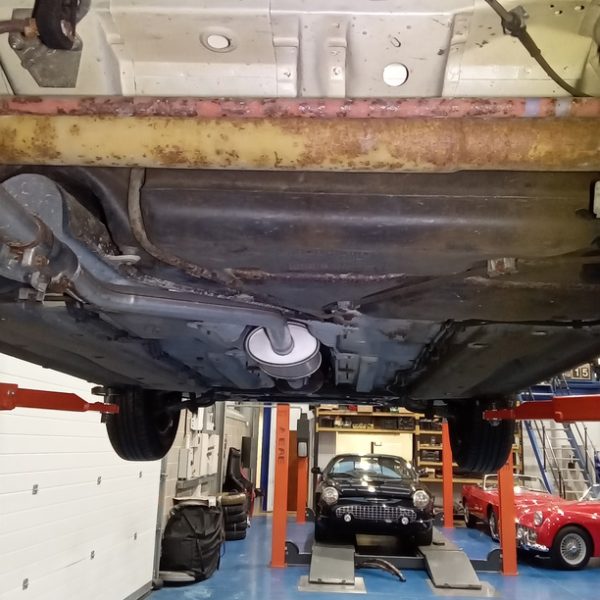
We were also told of a slight rubbing/catching sound coming from underneath so some further investigation was required. The exhaust down pipe flange that had been welded in the wrong position and was hanging down too low could be the culprit. We have replaced the down pipe with the flange swivelled up for more clearance.
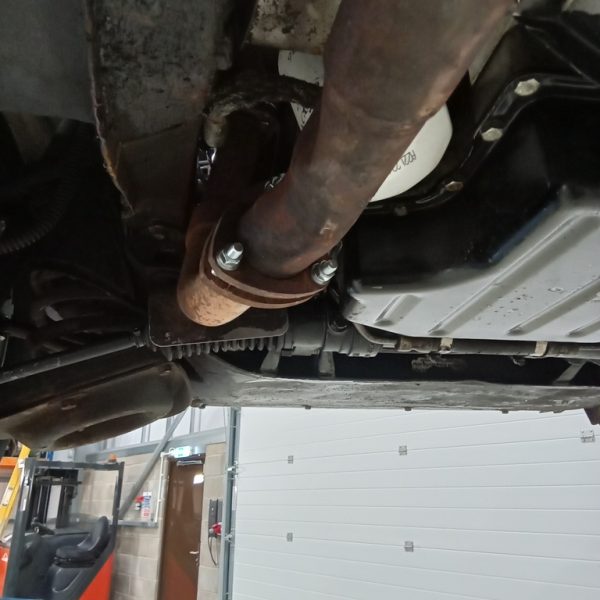
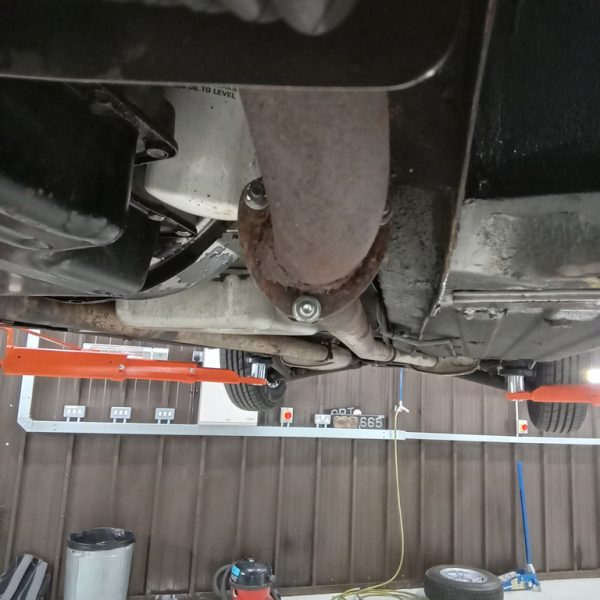
Fitted new front discs, pads and hose to cure to cure brake imbalance.
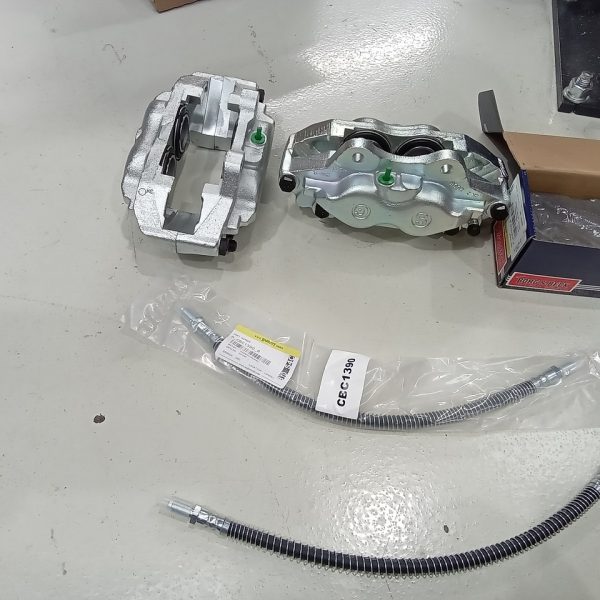
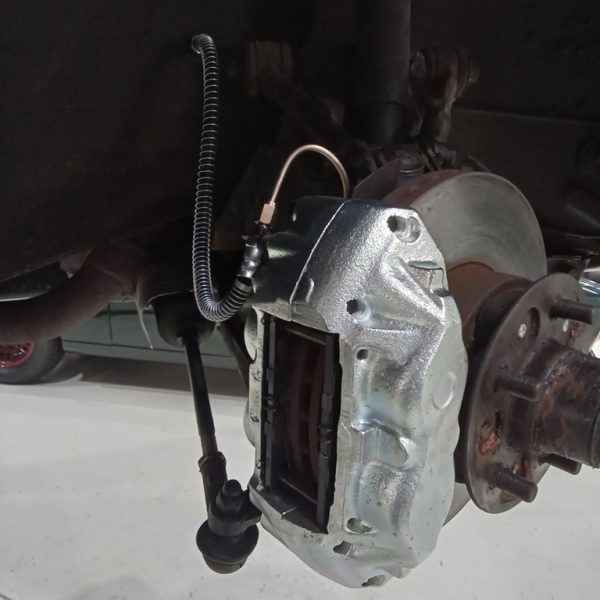
Having tested the car none of the reported problems are present so the car is good to return home.
We use cookies to deliver the best possible experience whilst visiting our website. By clicking "Accept All", you consent to our use of cookies, or you can manage your preferences by clicking the link below. You can manage your preferences at any time from out Cookie Policy page.