
Put in Place – Fitting the Interior Panels and Carpet into the 1970 Dodge Charger
Kath and the in-house trim team have been busy working on the insides of the 1970 Dodge Charger that’s in here at Bridge Classic Cars.


Kath and the in-house trim team have been busy working on the insides of the 1970 Dodge Charger that’s in here at Bridge Classic Cars.

The new throttle cable for our 1994 Piaggio TM P50 Ape is on the car! Our restoration technician Mauro has got a long and personal
Bridge Classic Cars will soon be welcoming this stunning 1969 MGB GT into our Pettistree workshop for a list of jobs to get this beautiful

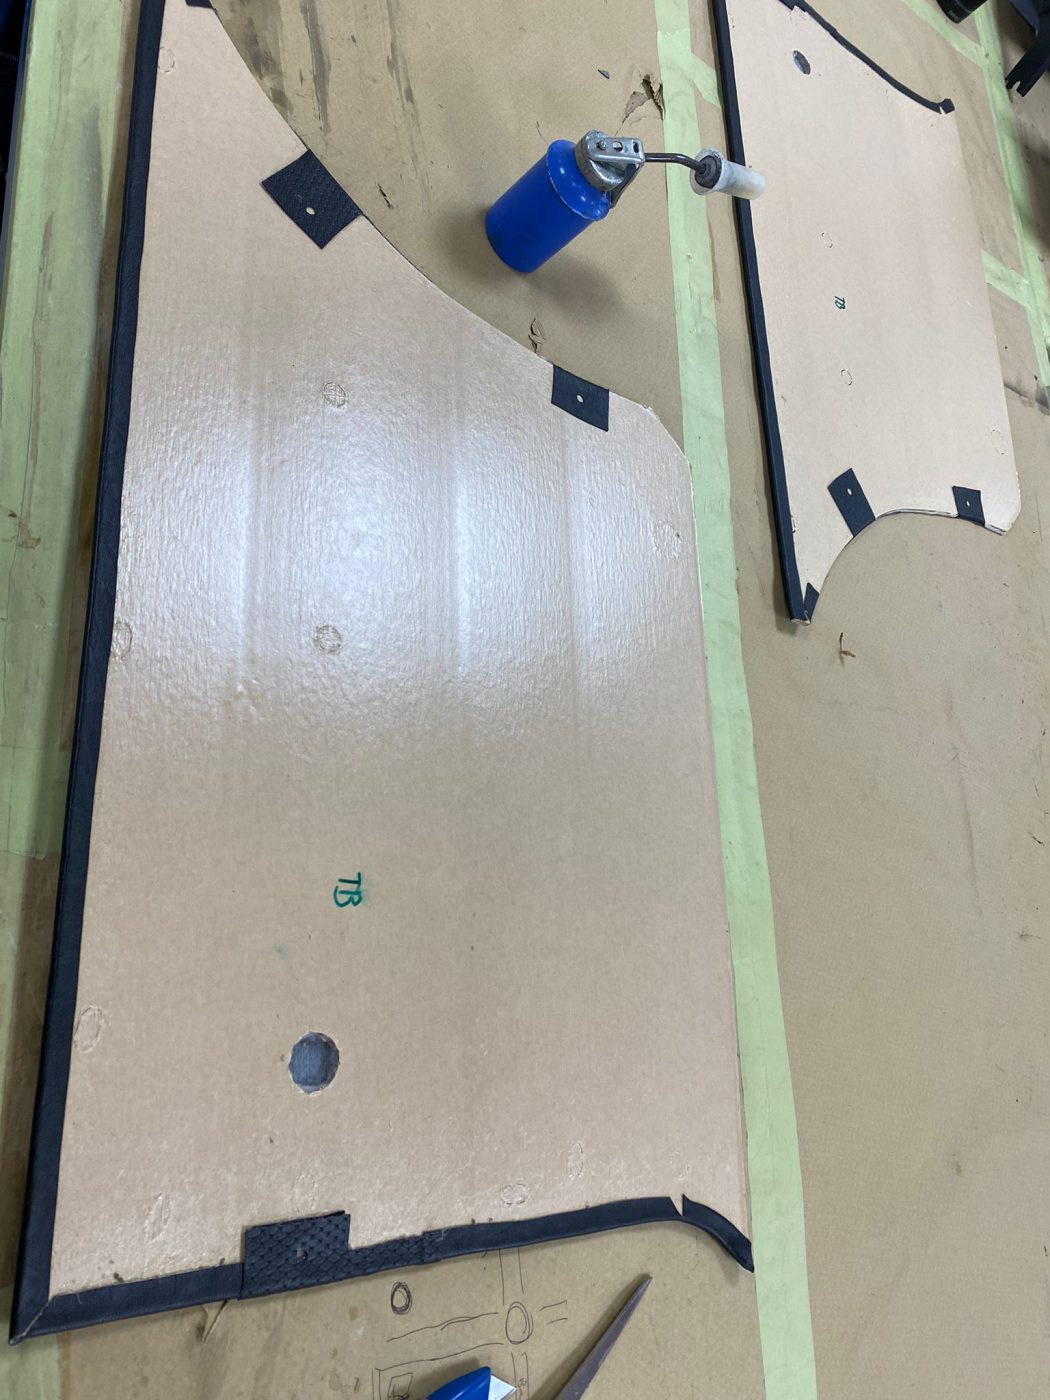
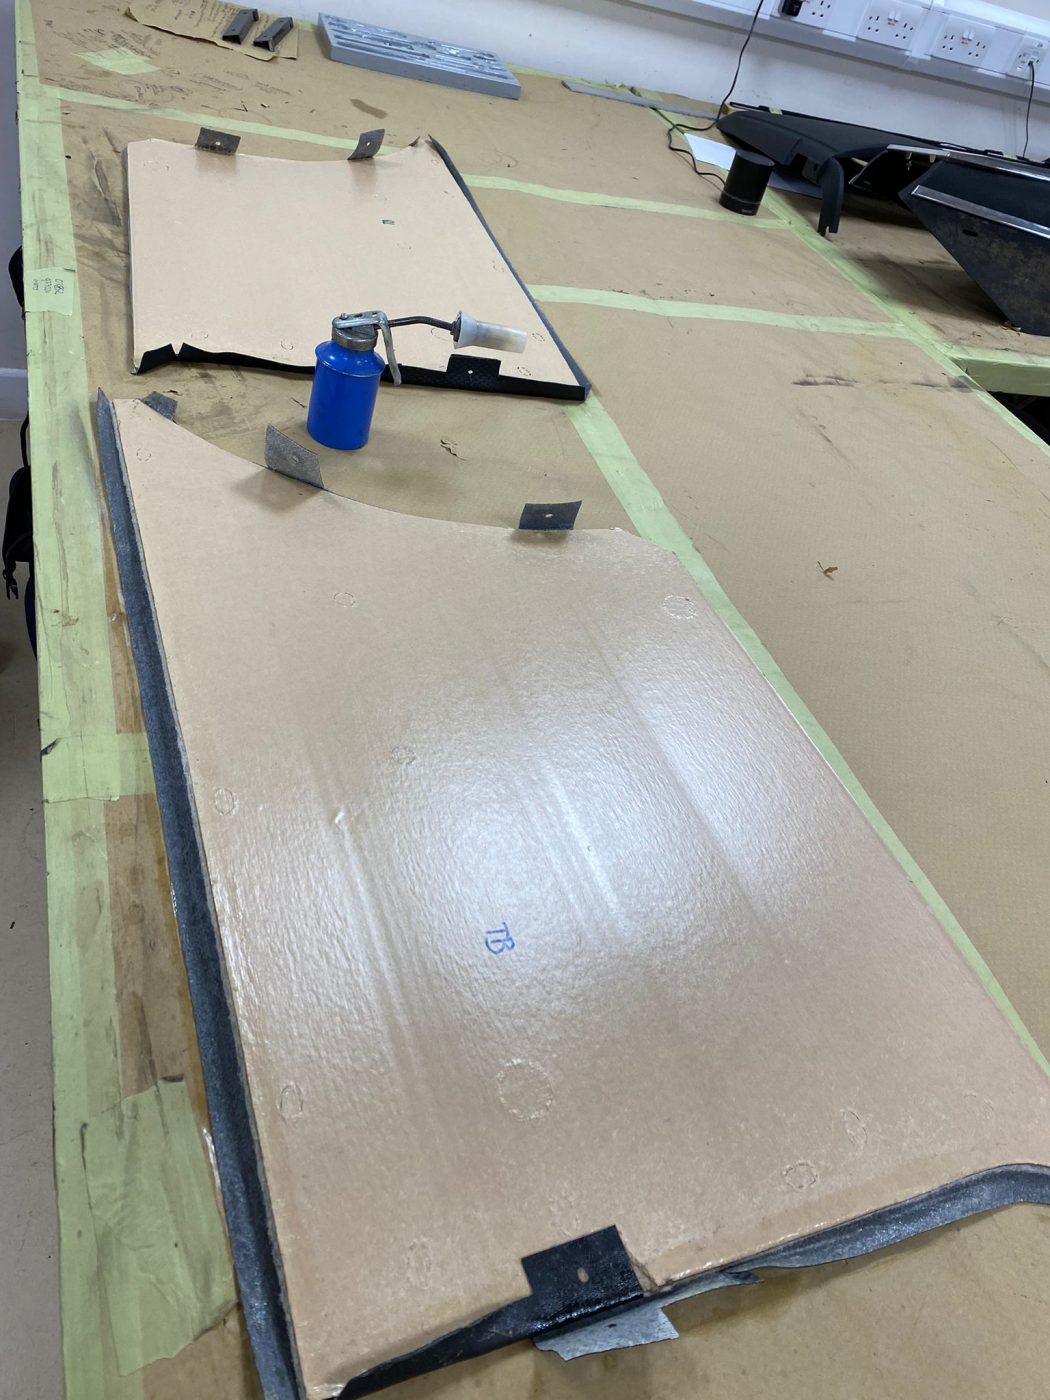
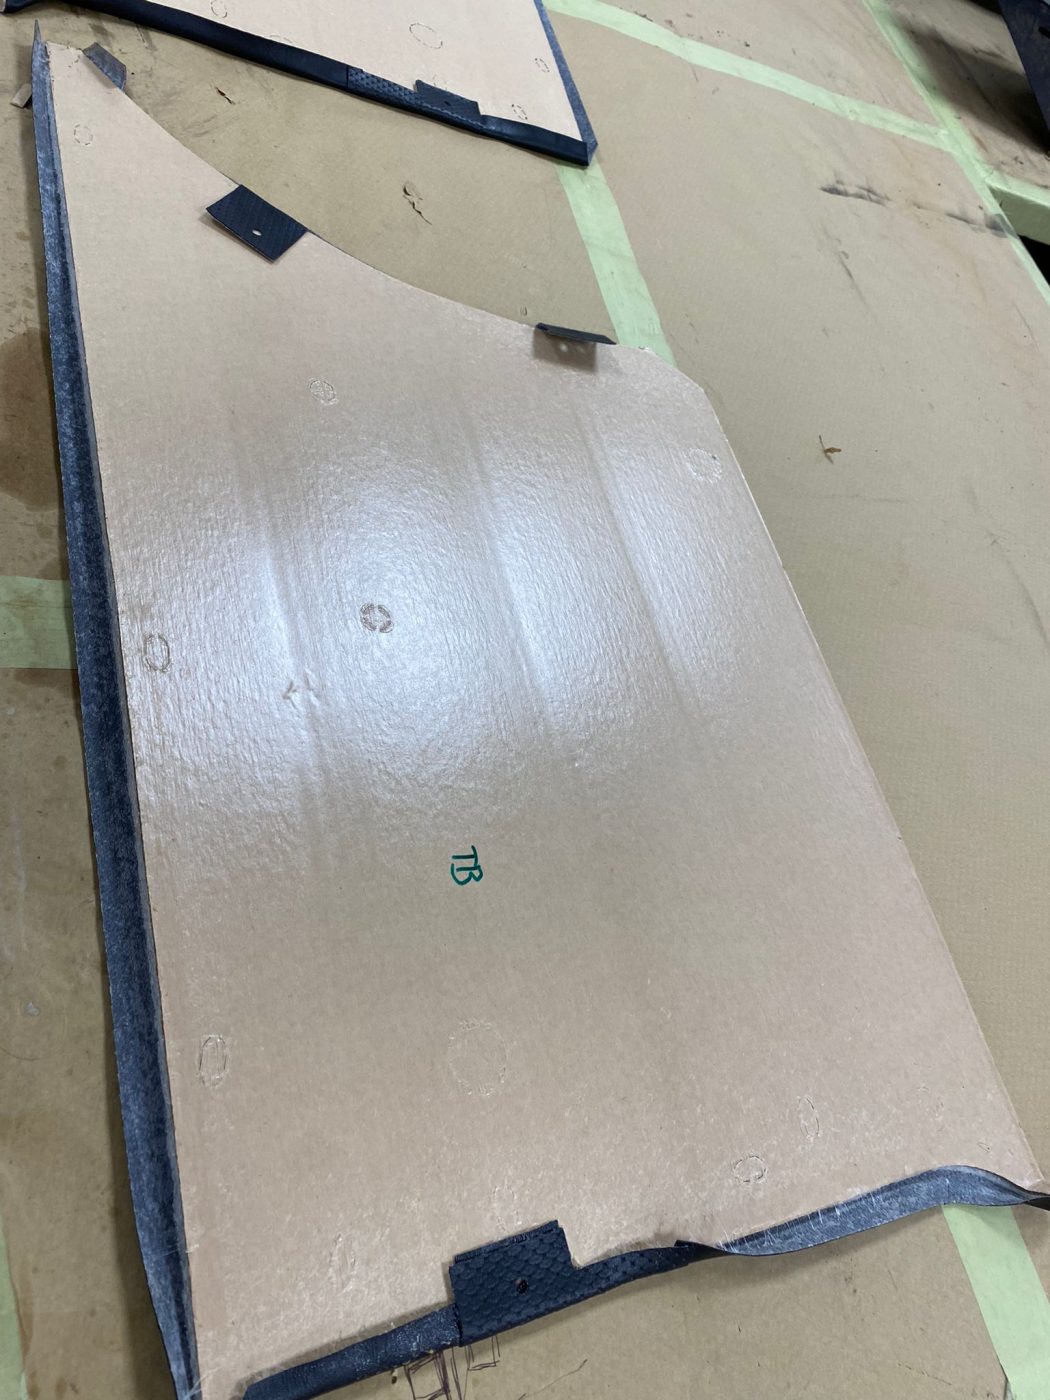
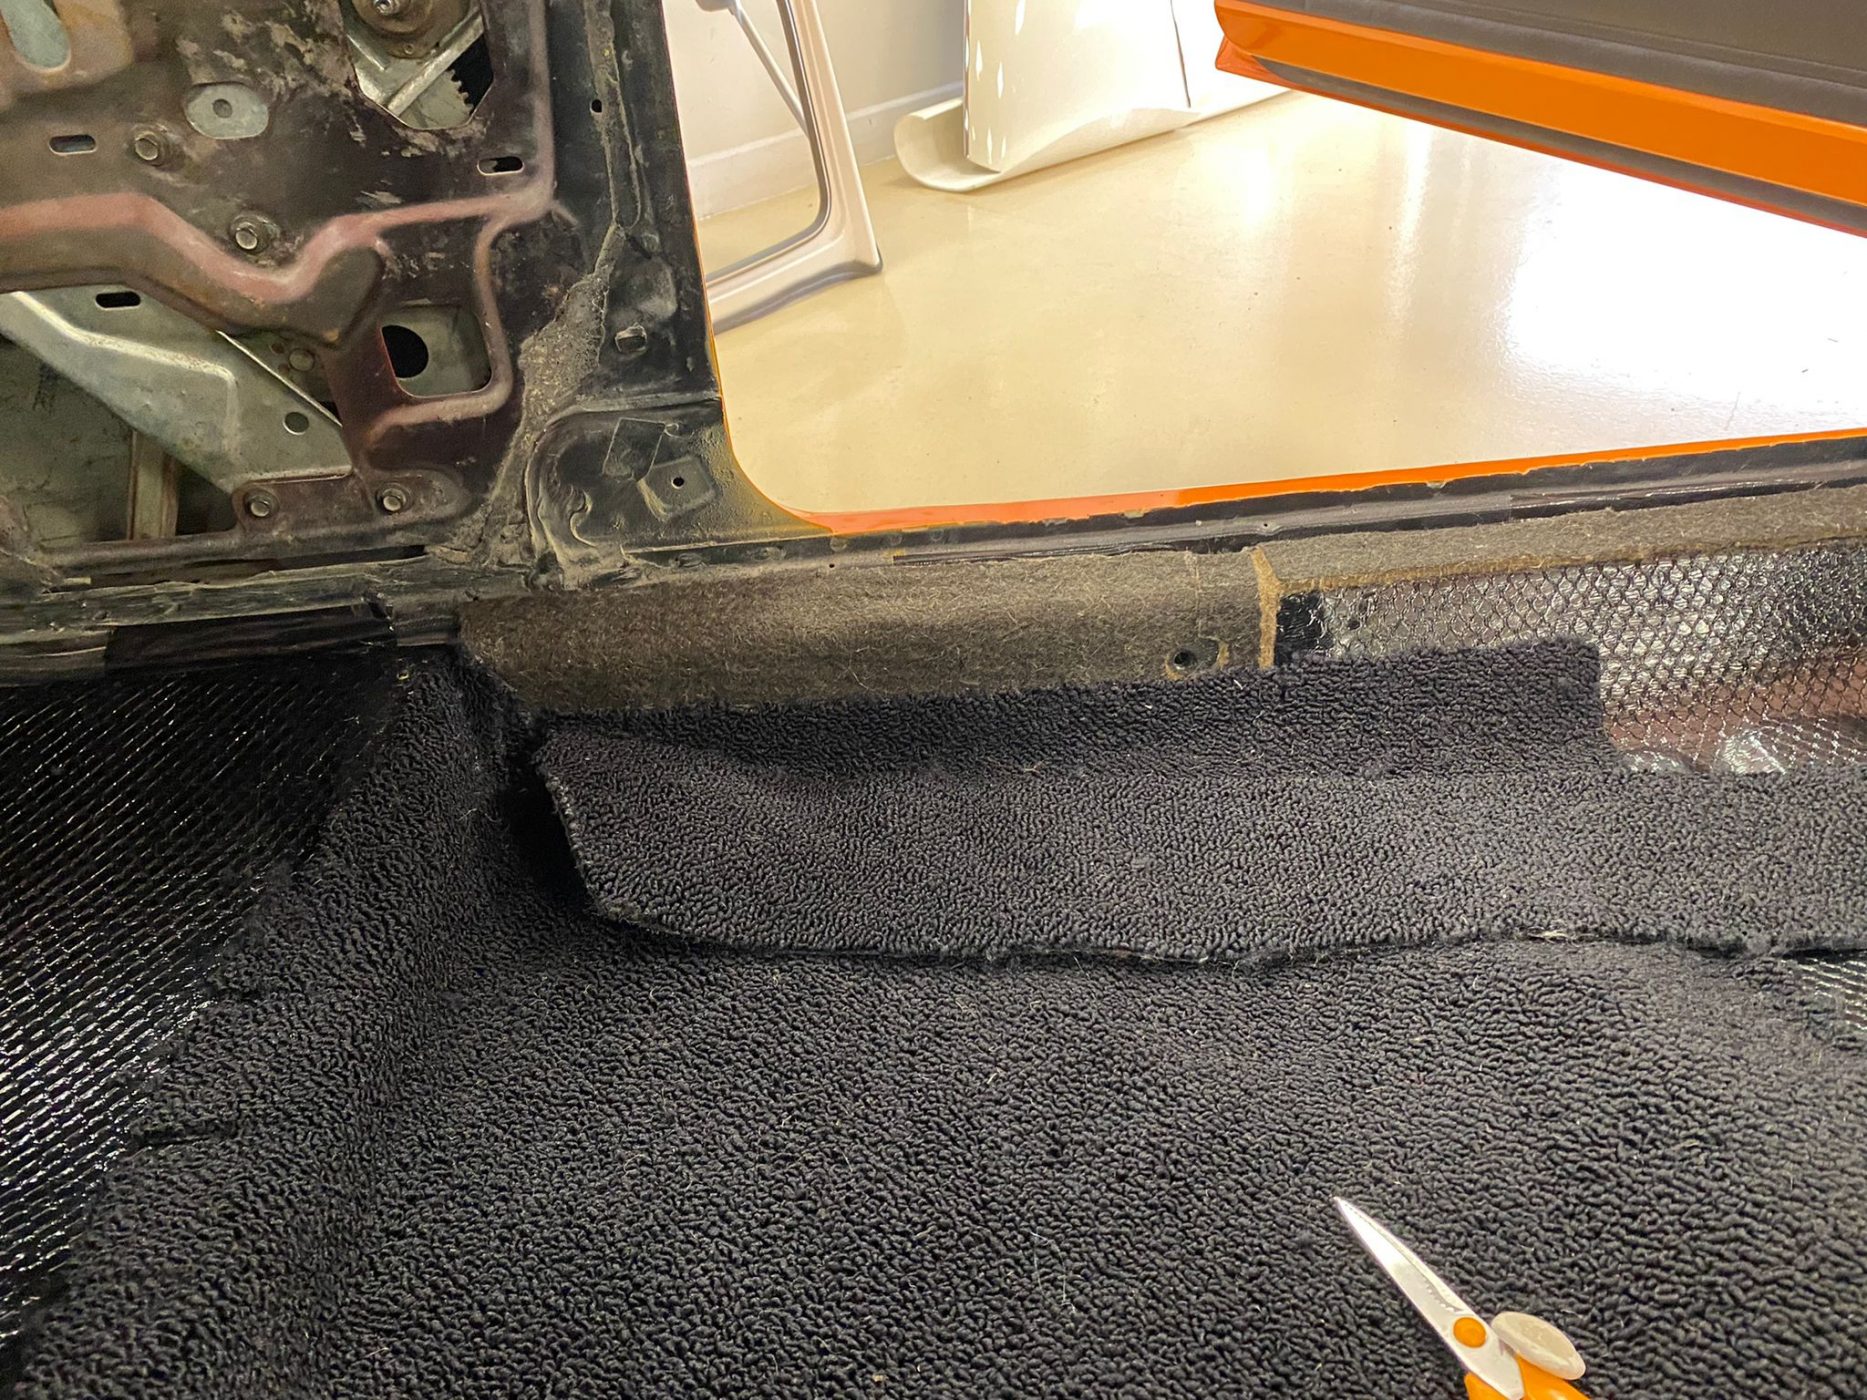
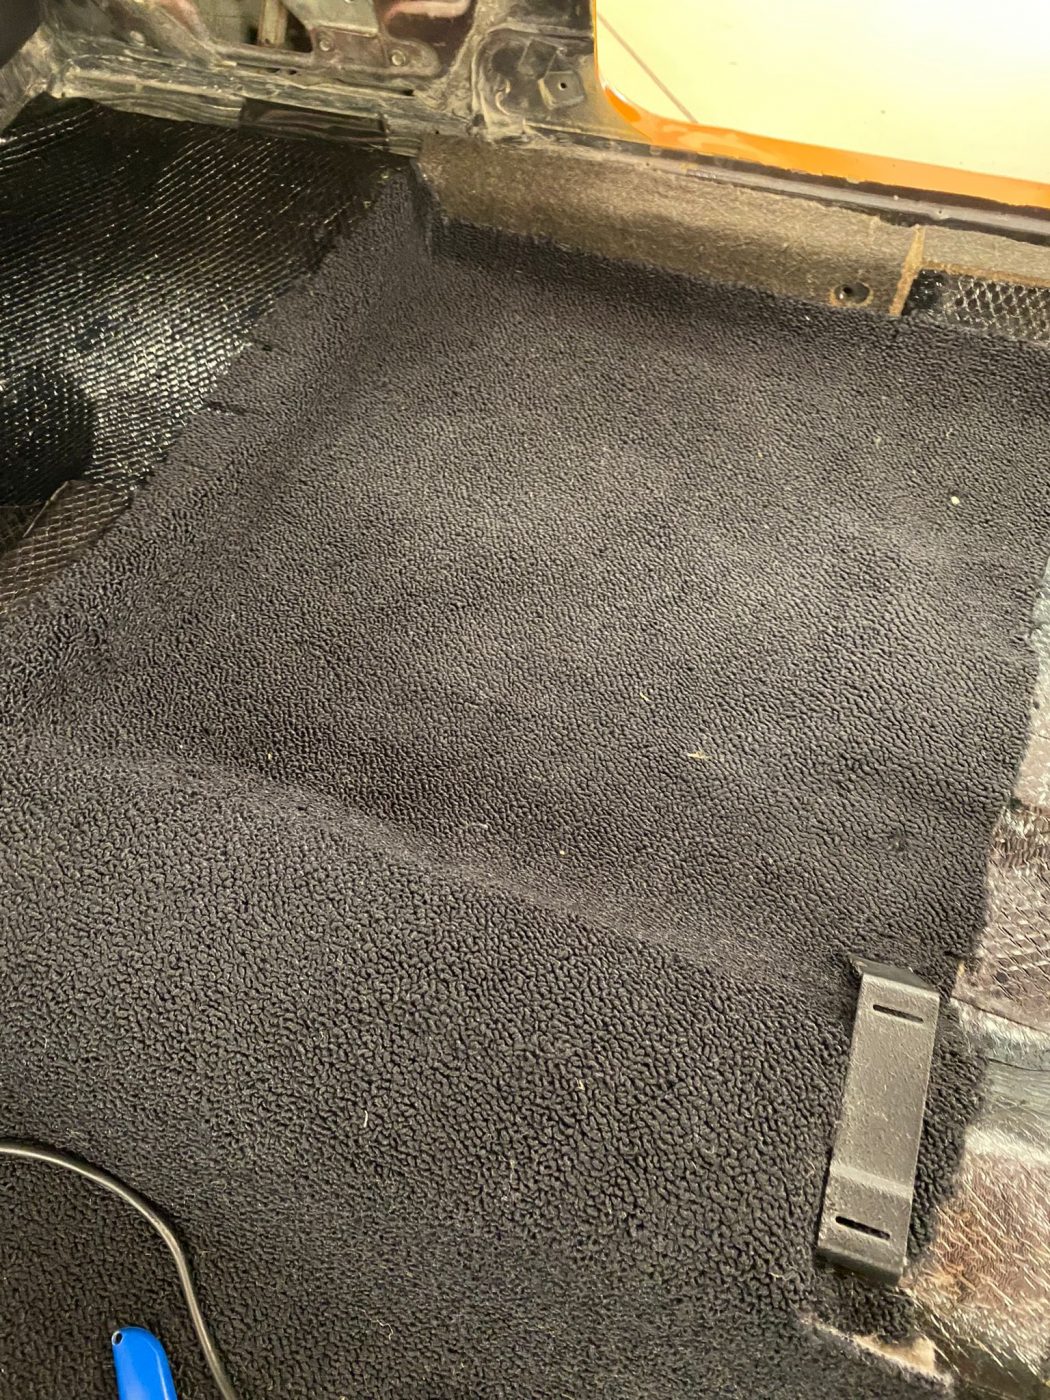
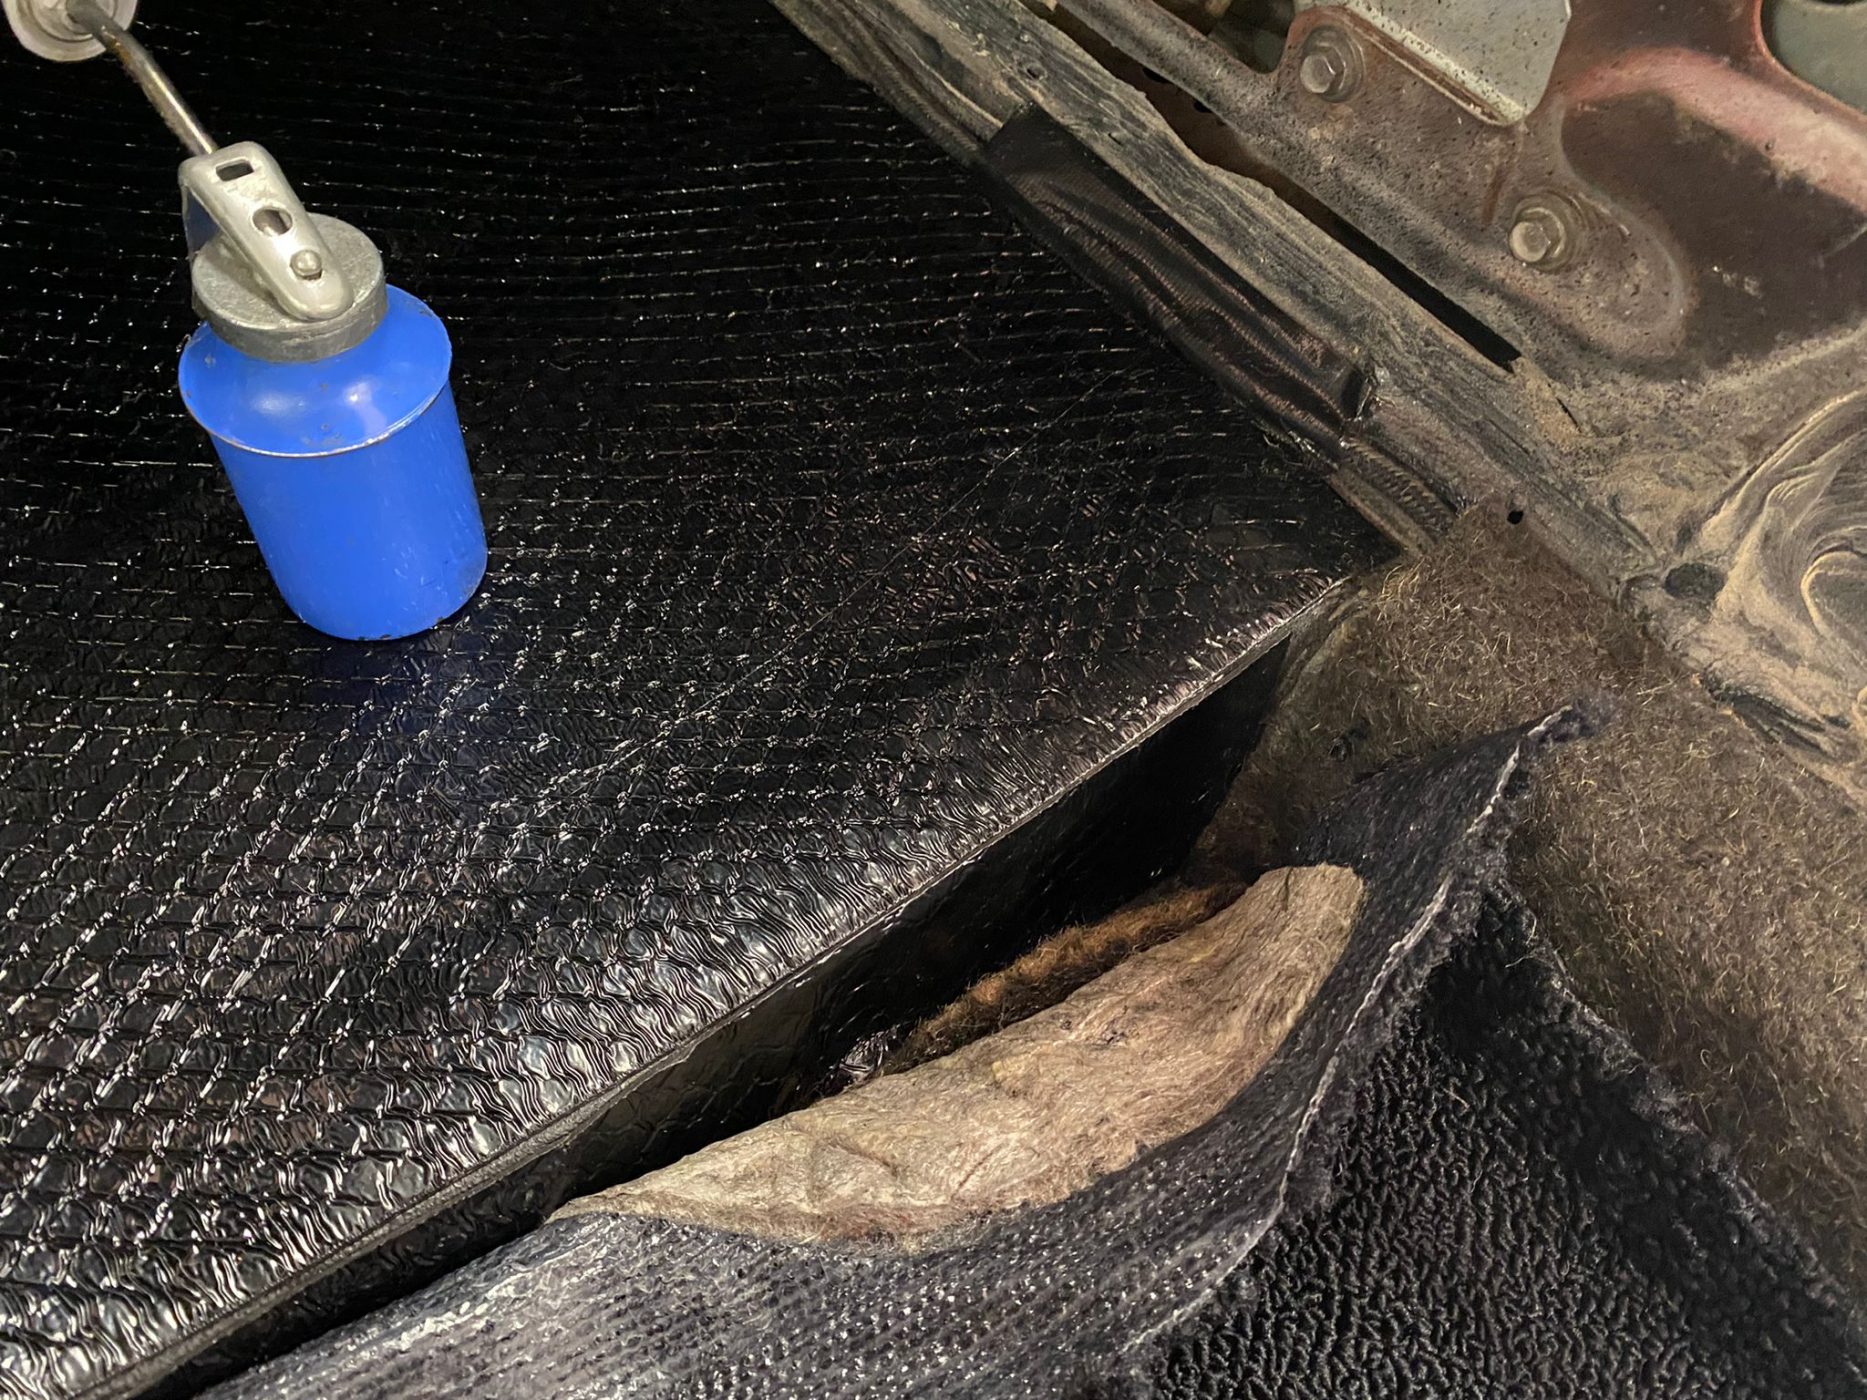
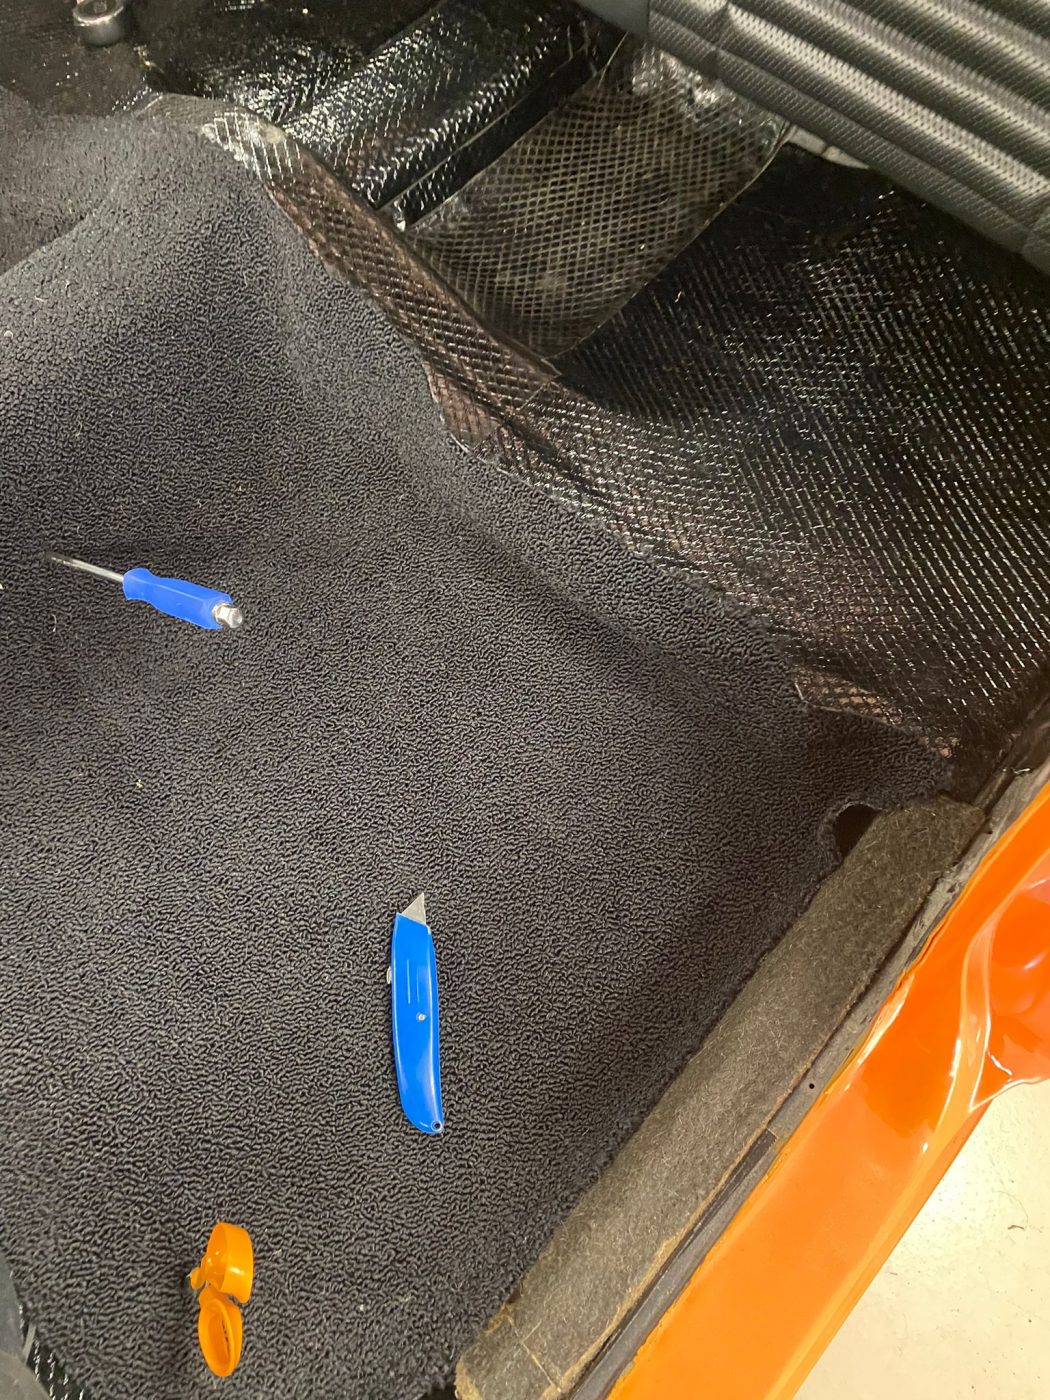
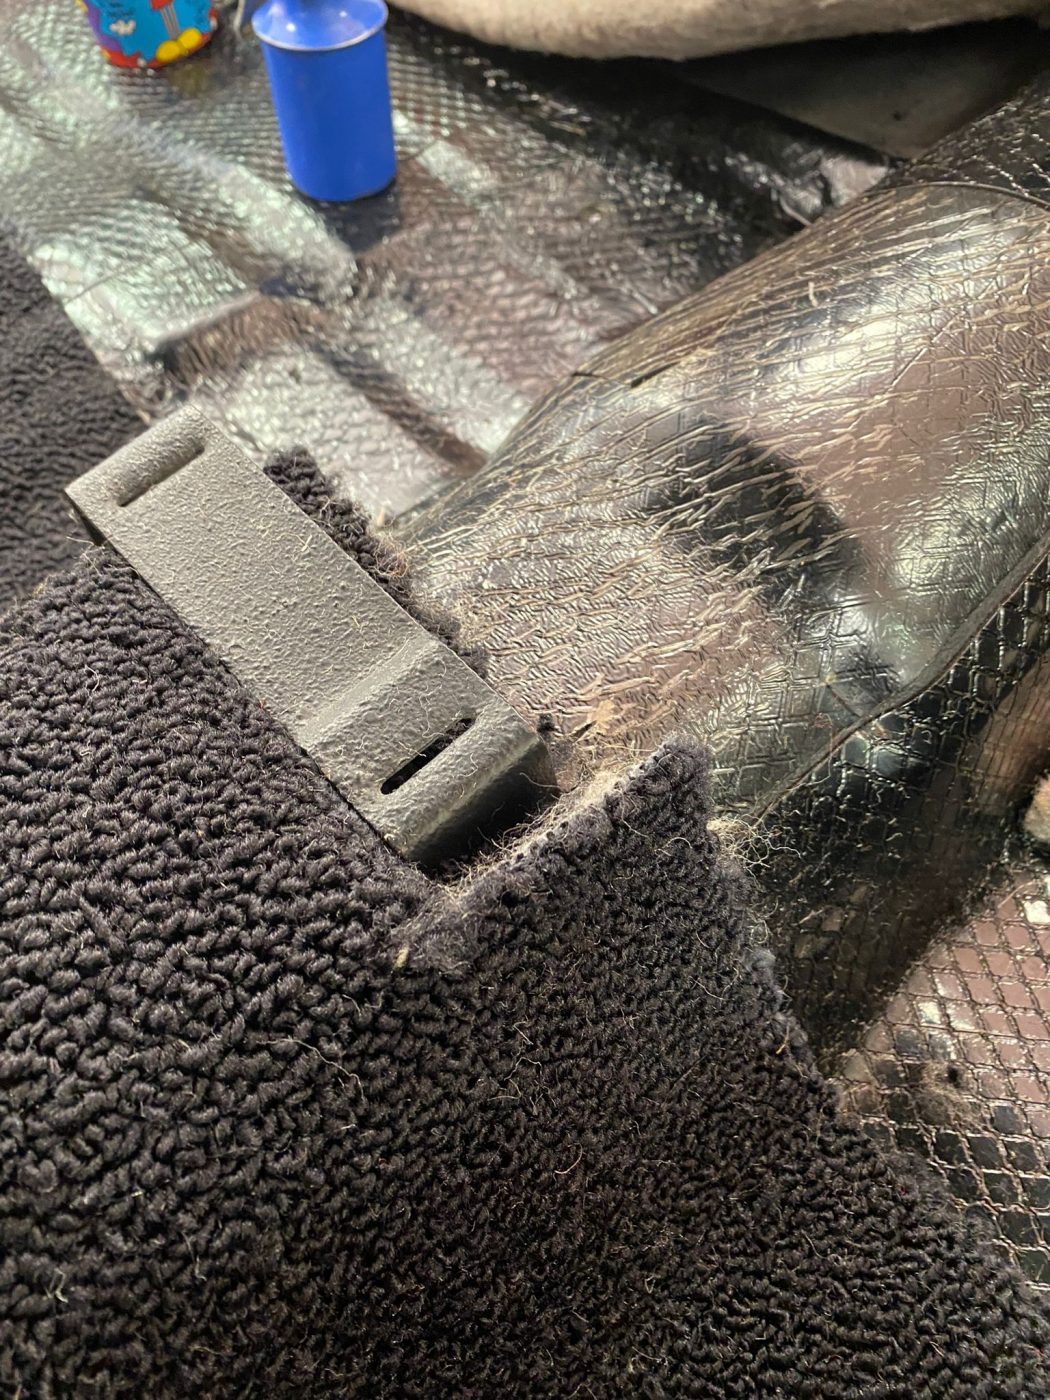
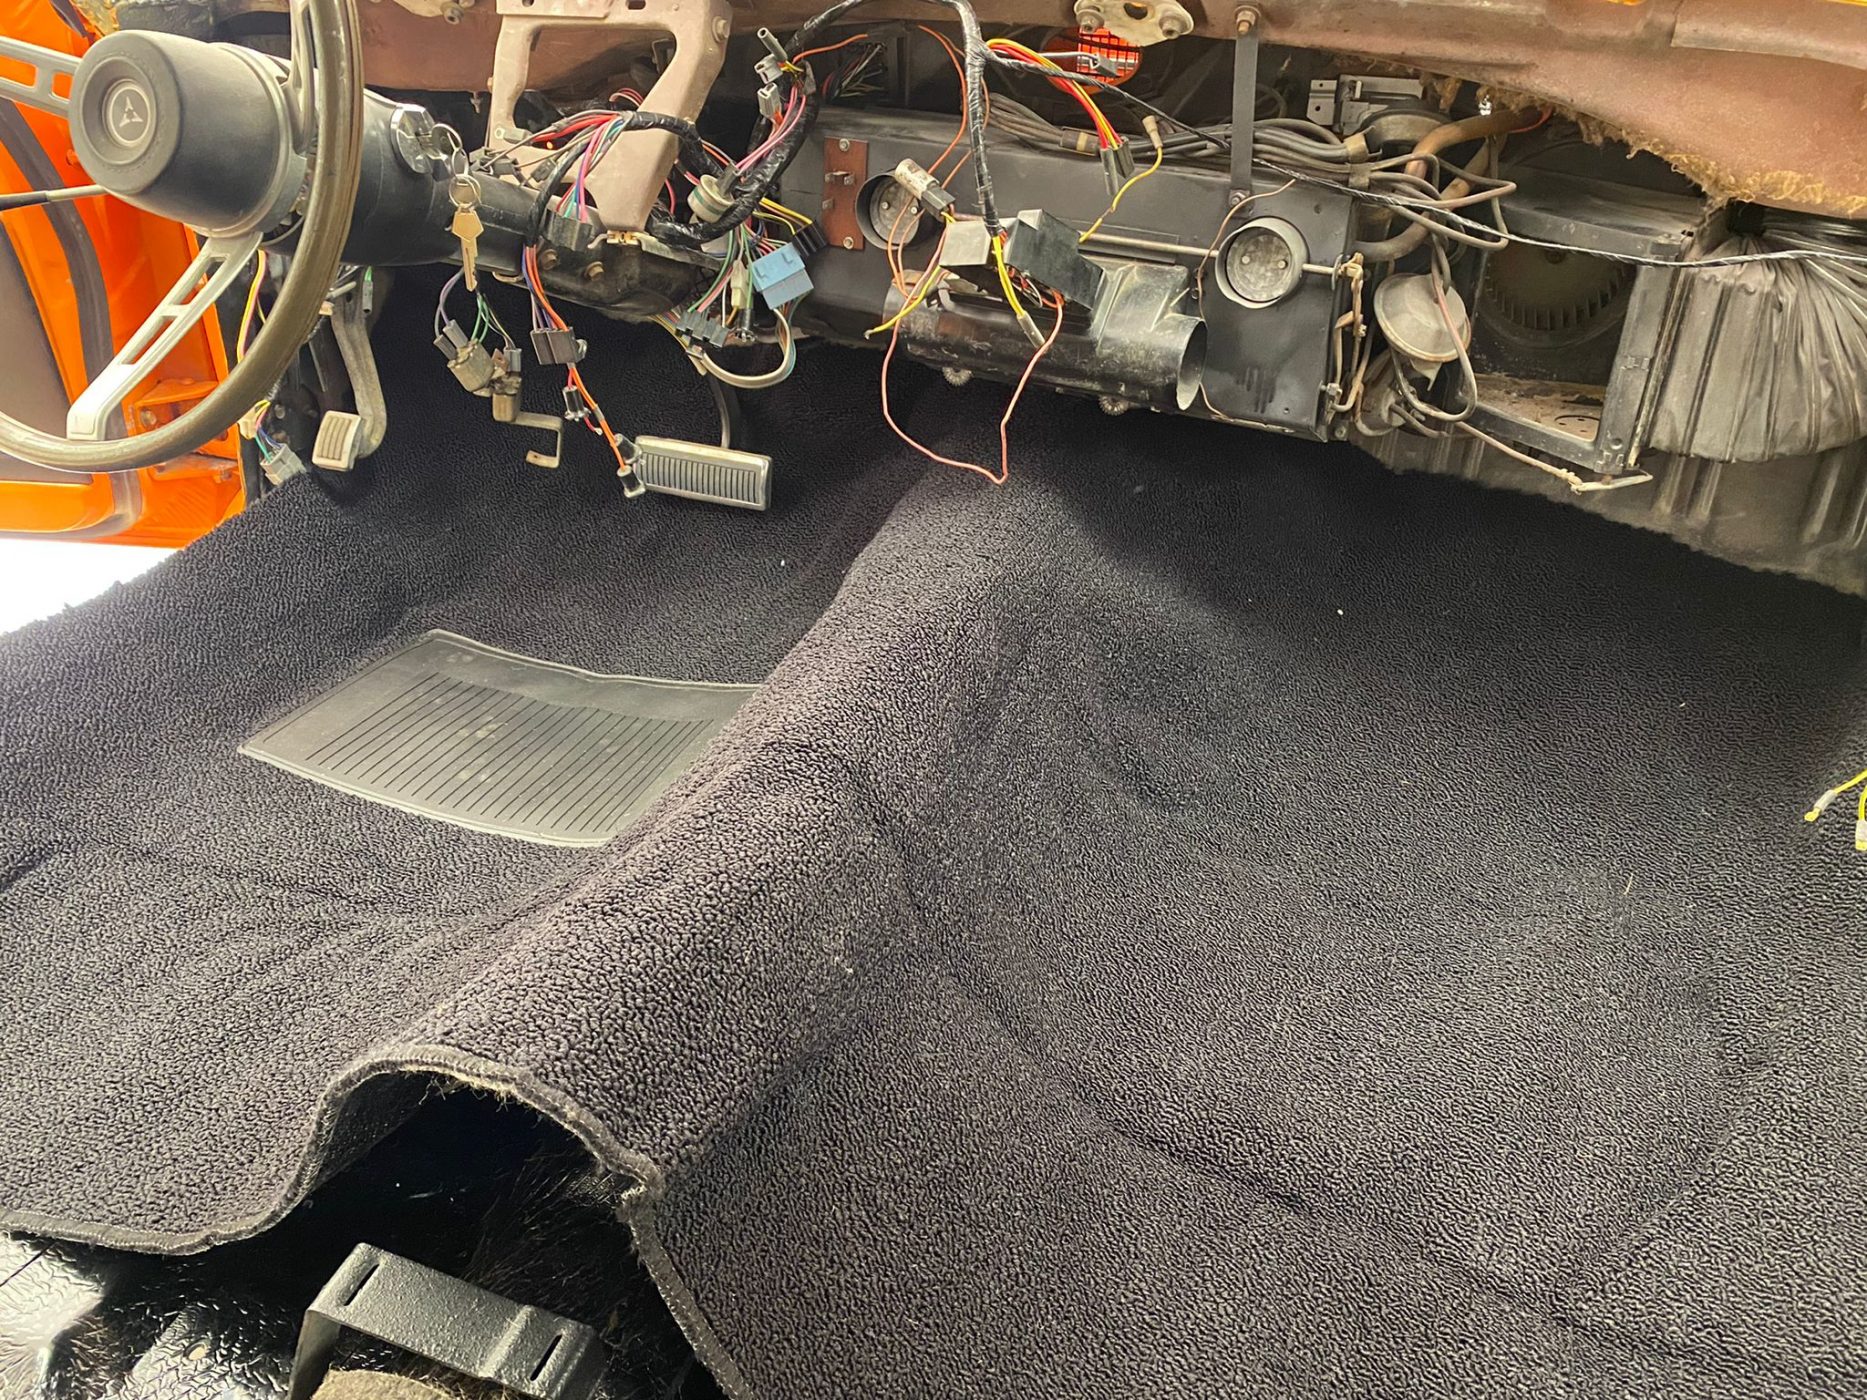
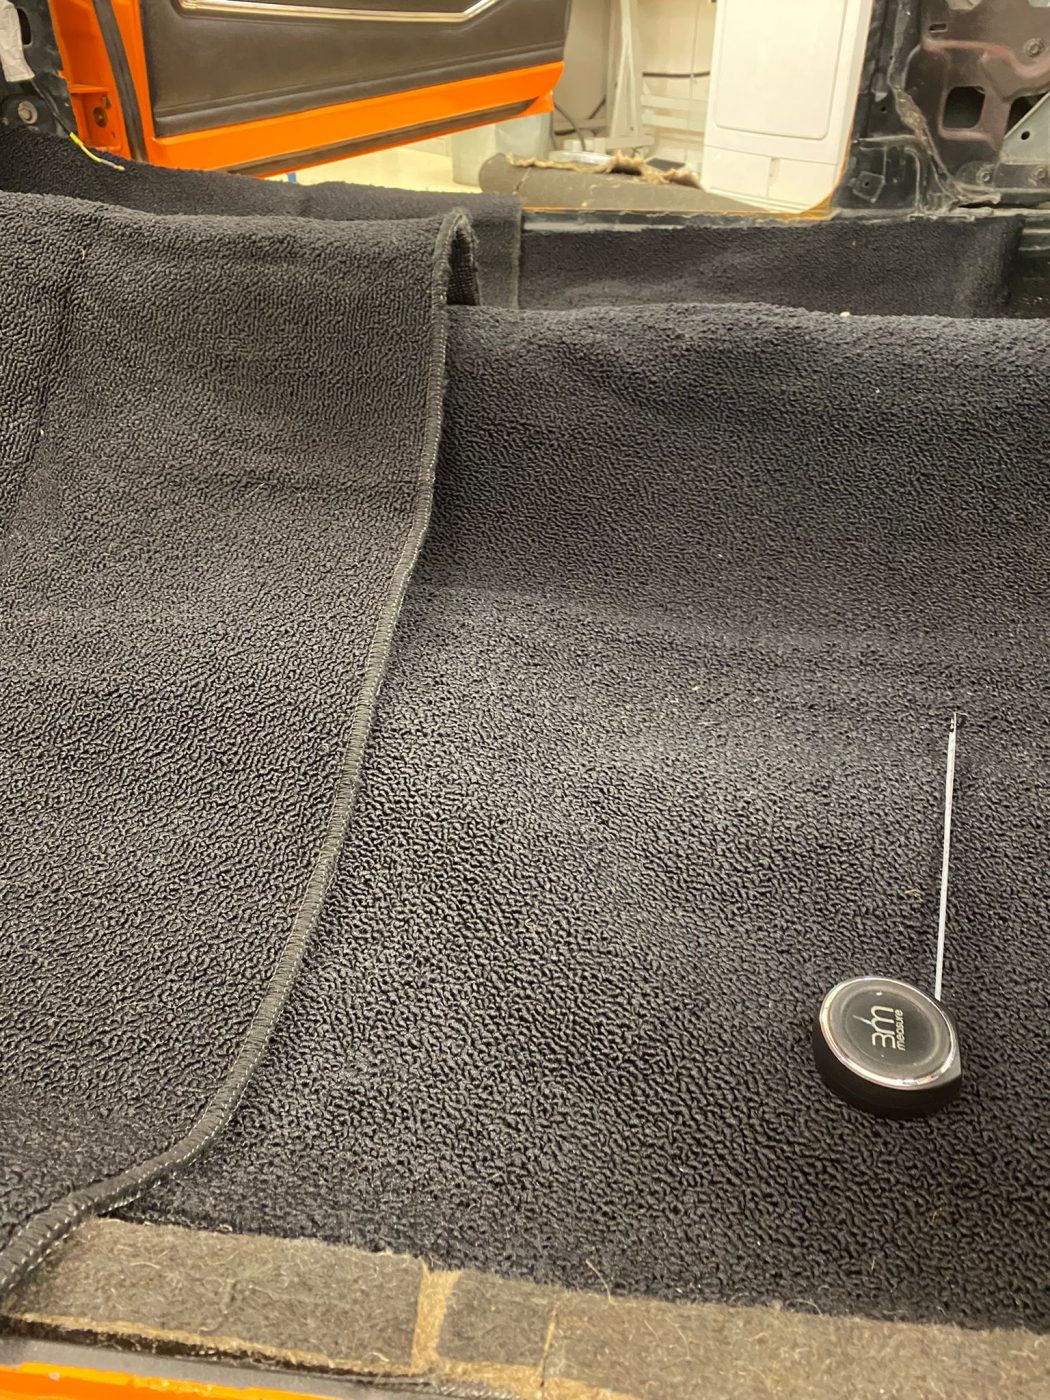
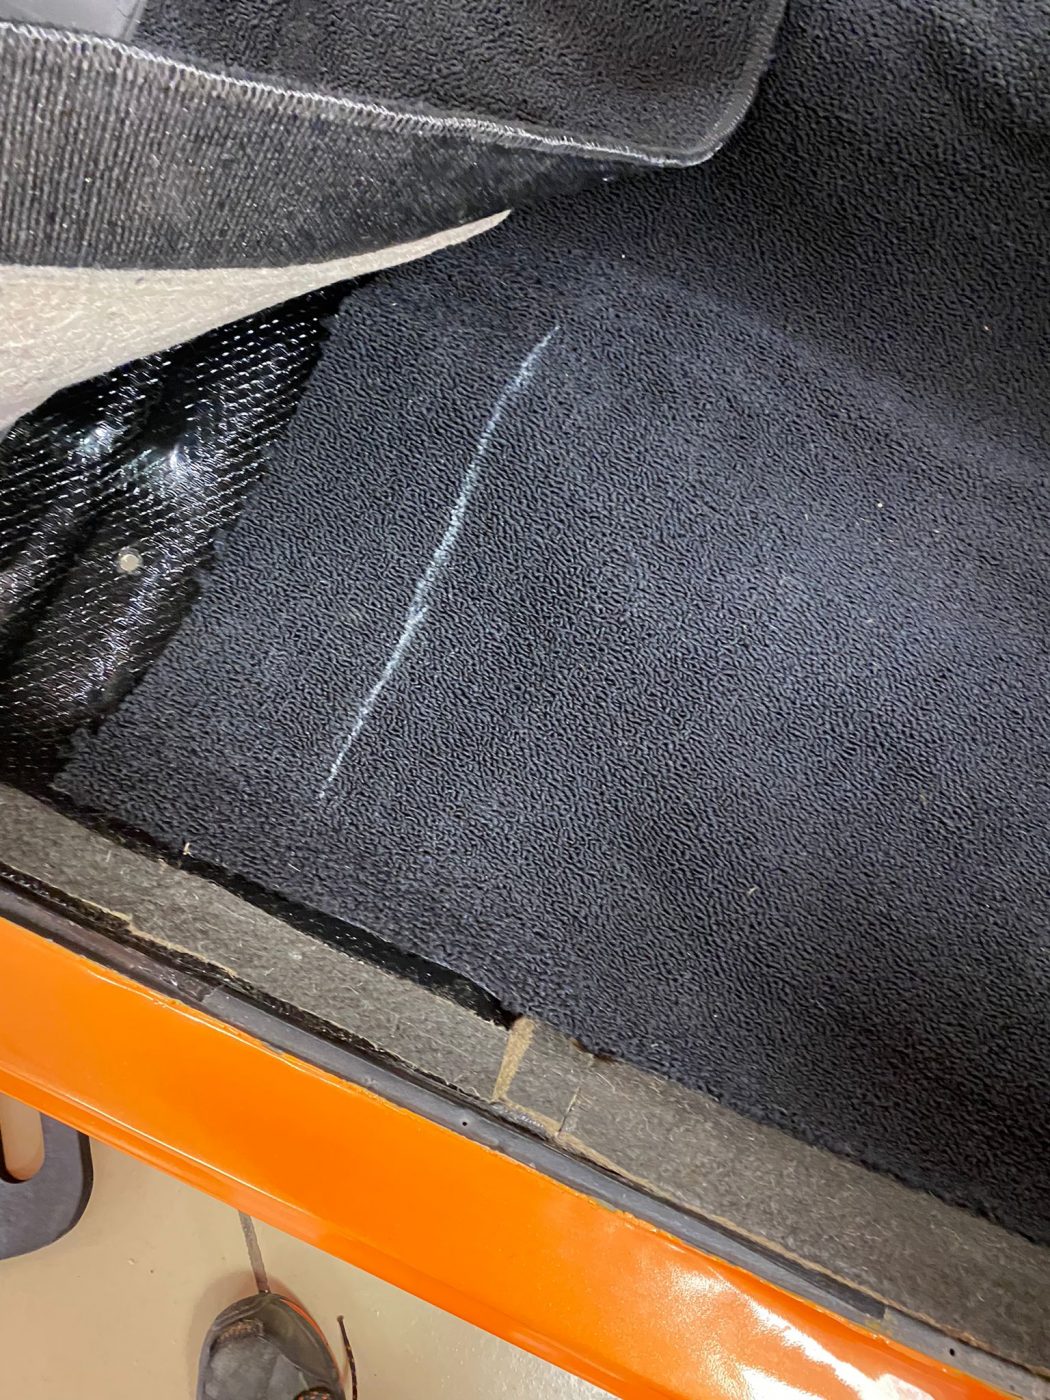
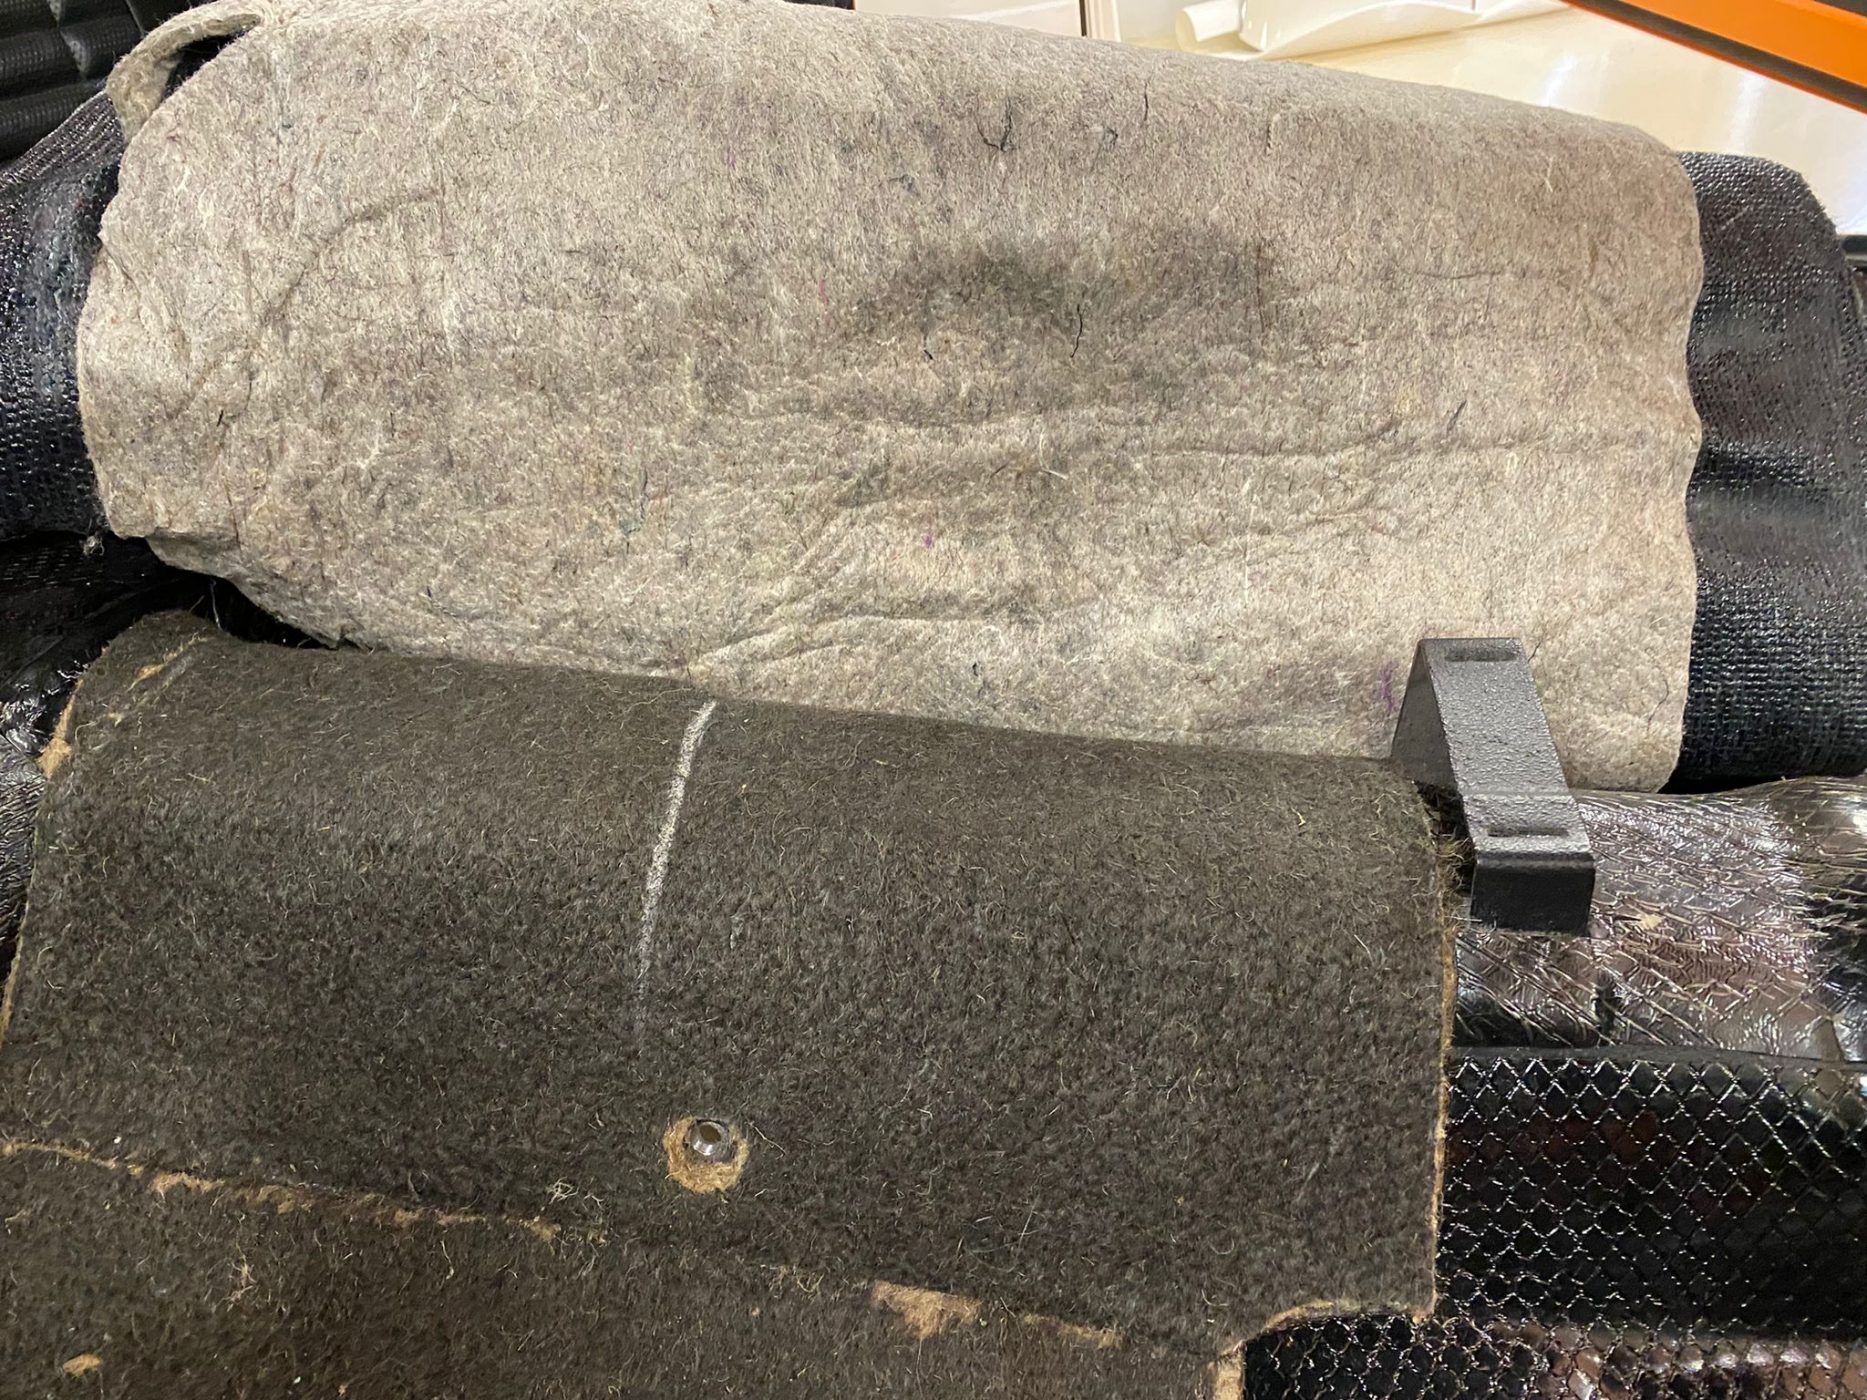
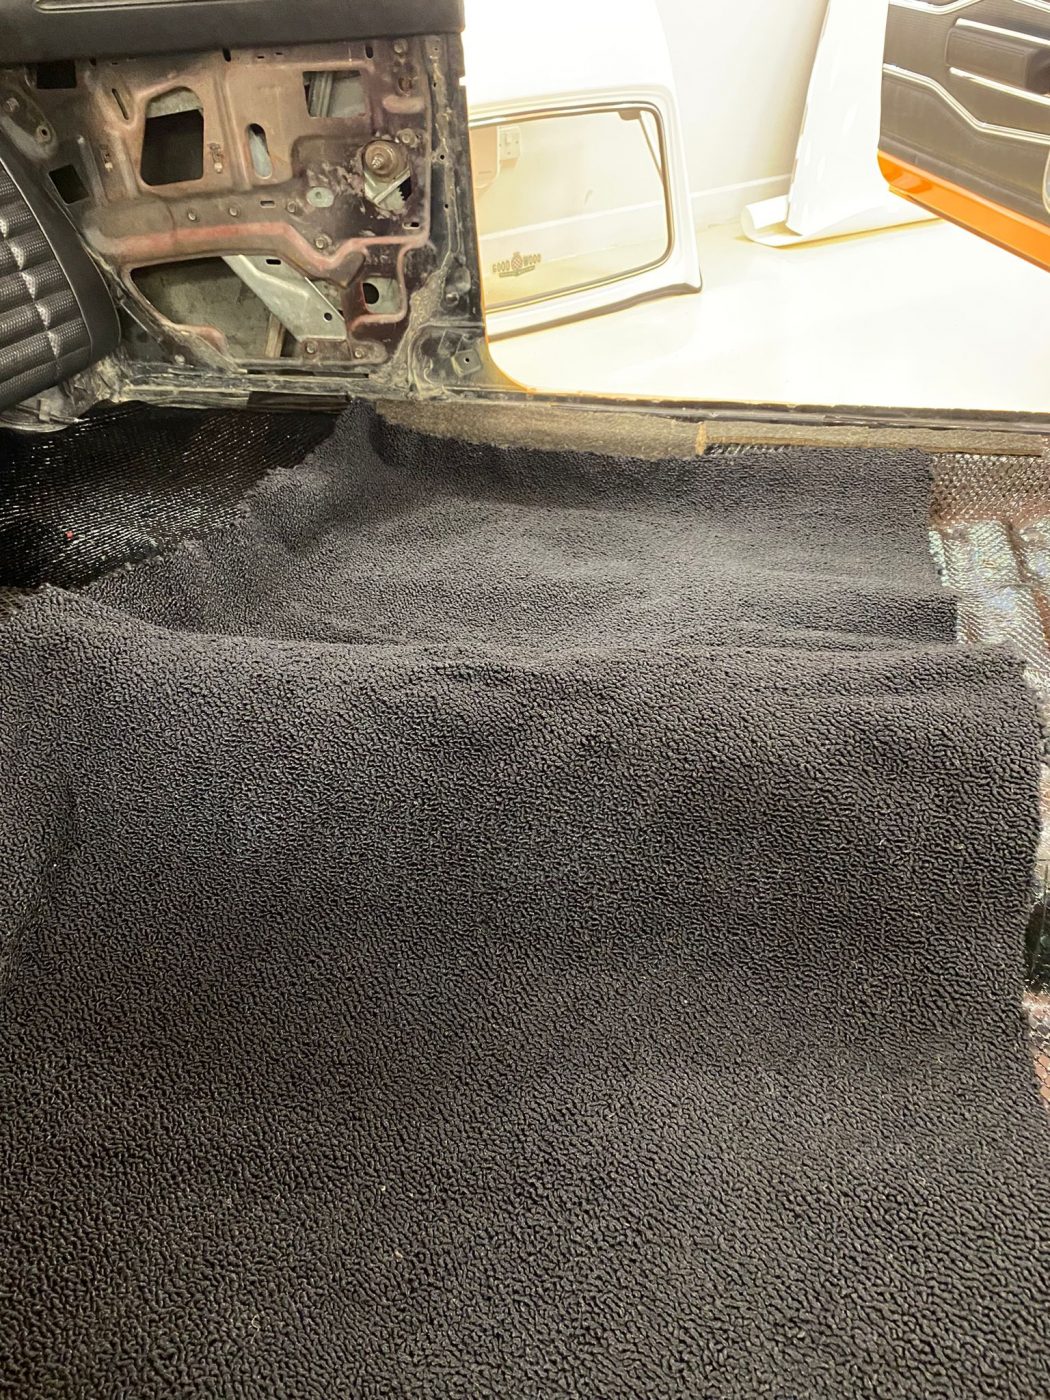
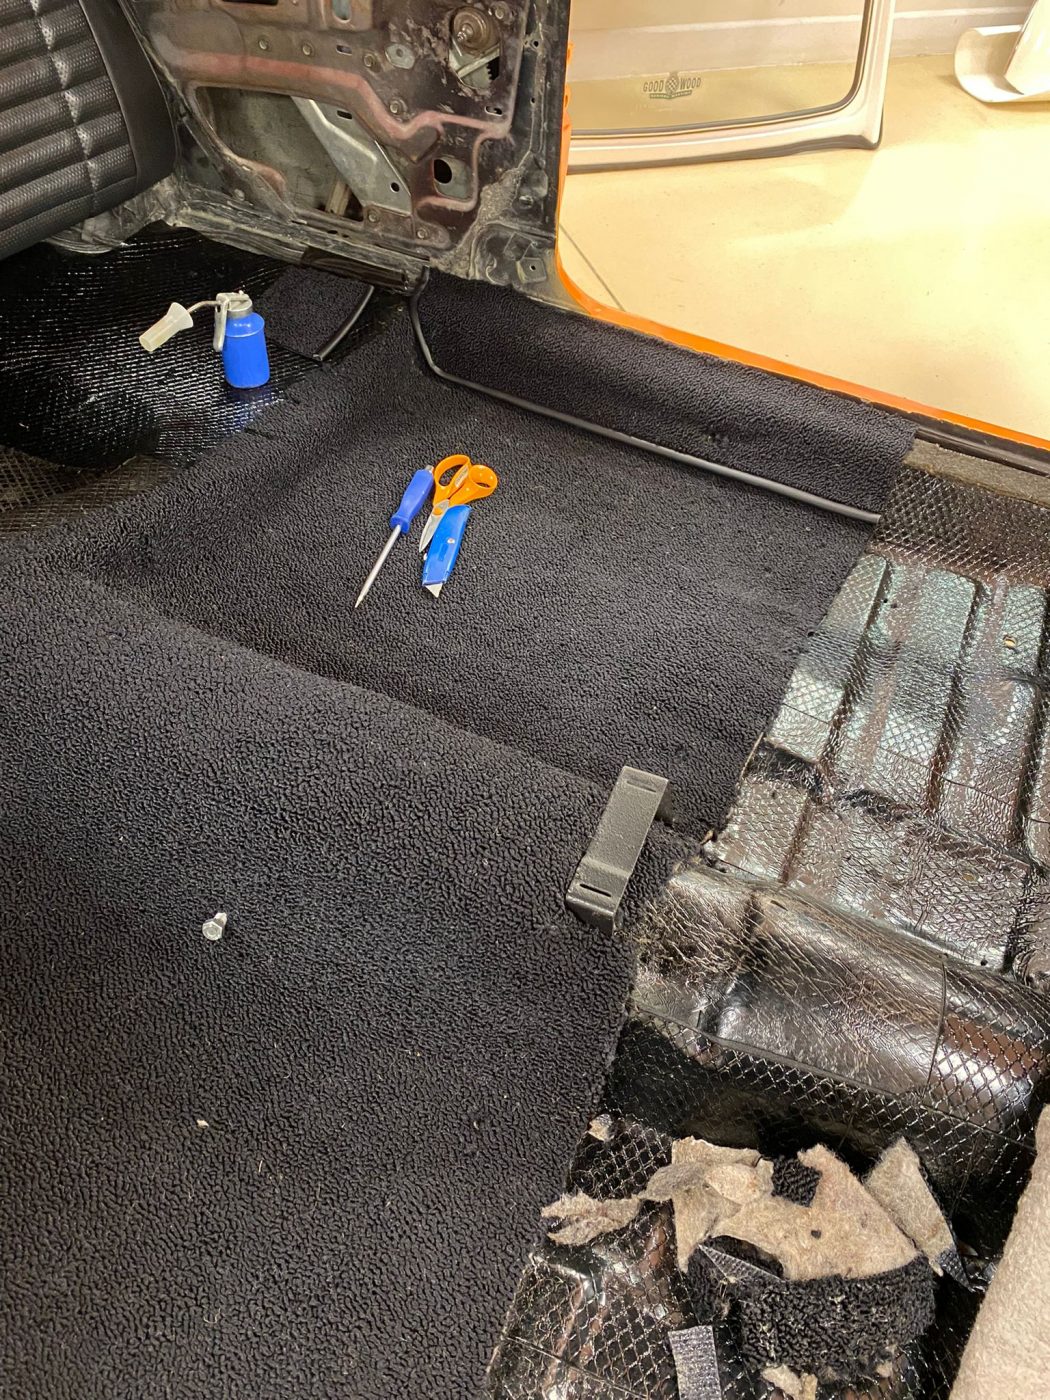
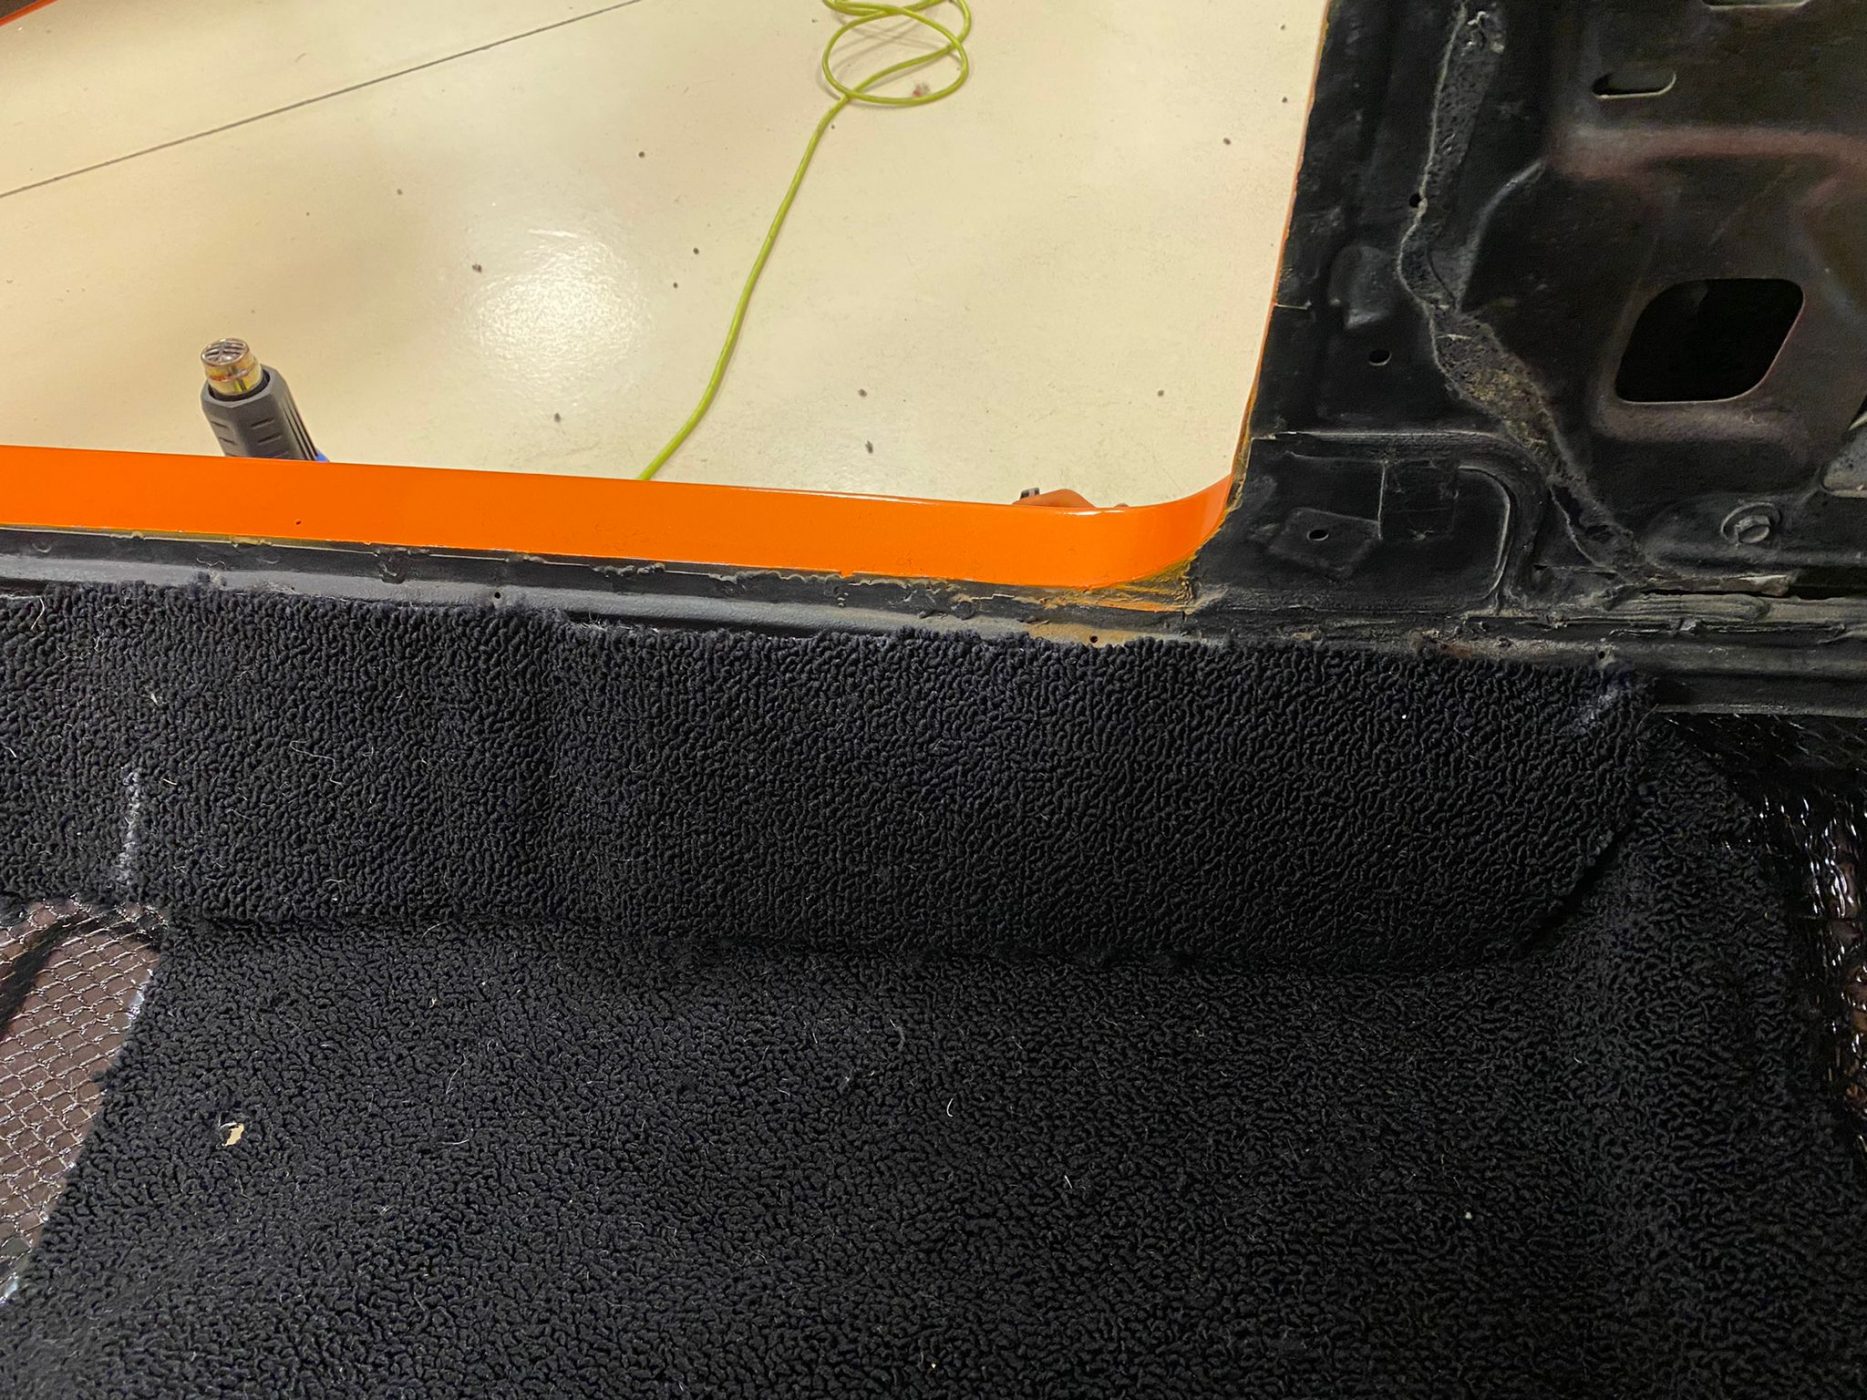
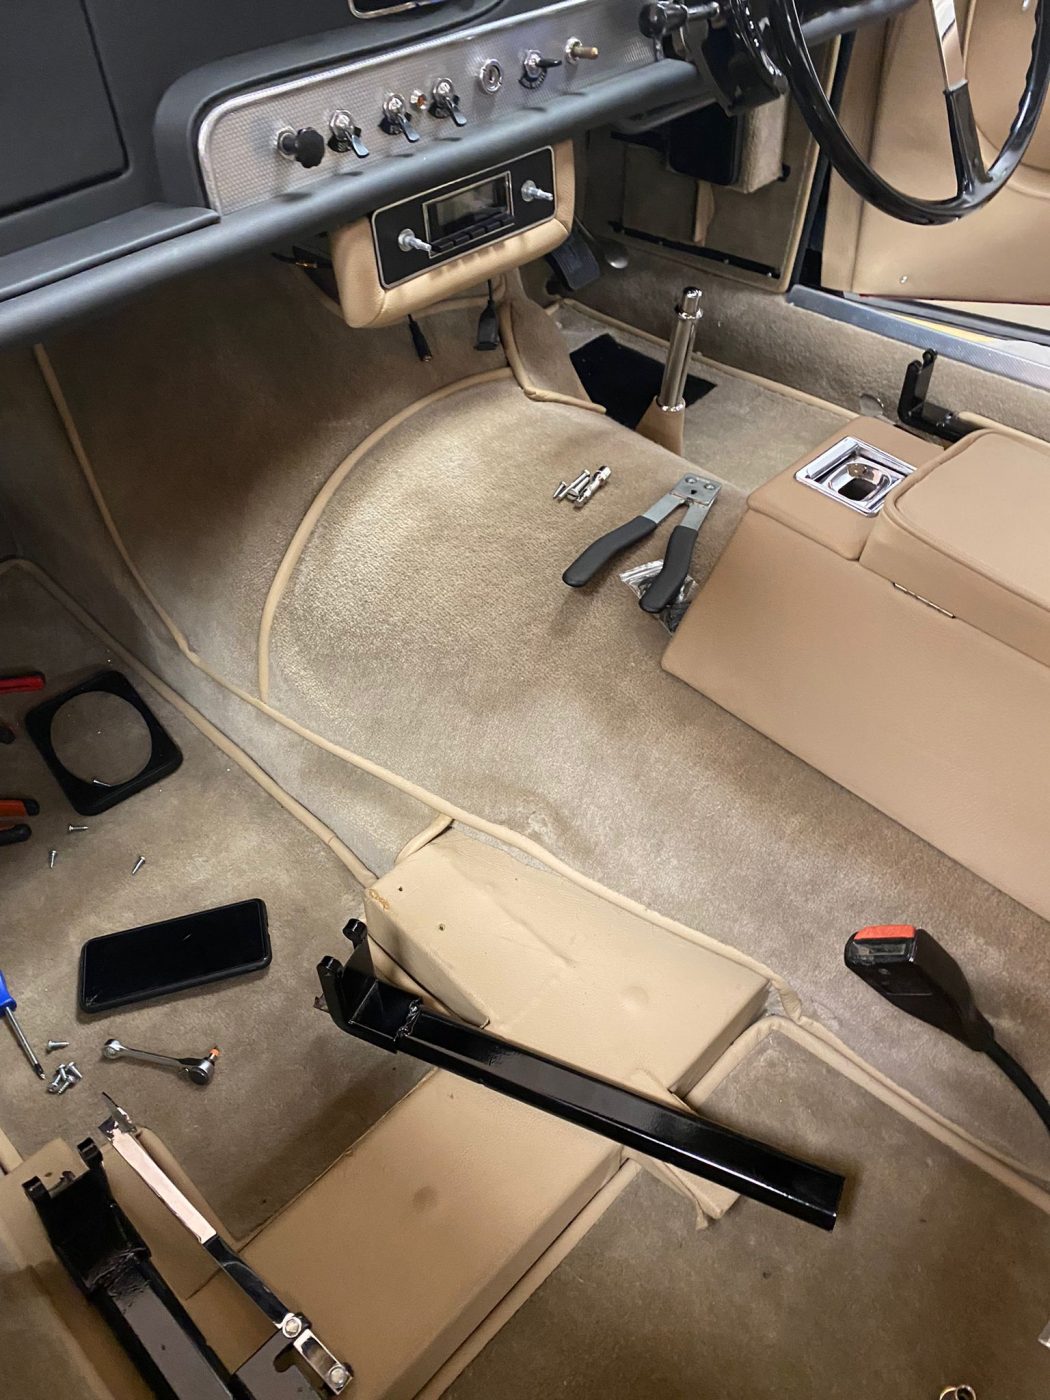
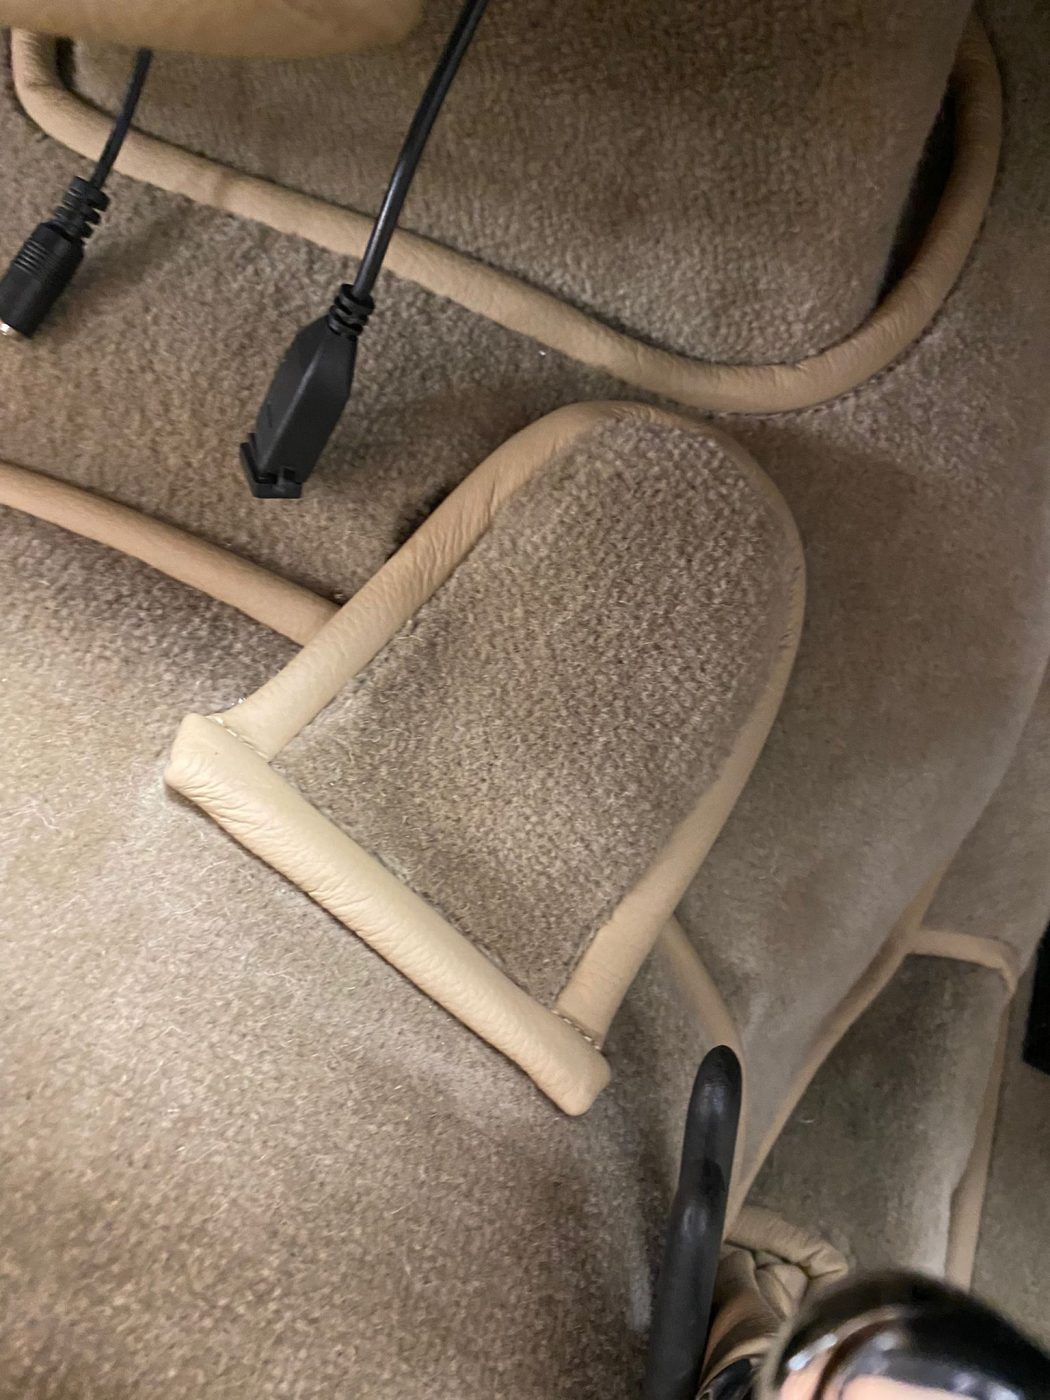
After Kath had mocked up the rear seats into the Charger, it was time to start getting the carpets into the car. However, underneath the

As part of Peony Red’s pre-delivery inspection, our in-house trim team have been busy finishing off parts of the interior. Mainly the tunnel carpet. This

John has been hard at work on the 1974 Triumph TR6 that is in with us at Bridge Classic Cars for a wiring issue. A
Some of you may remember the 1984 Jaguar XJ bonnet and boot that a customer had asked us to refinish. The rest of the car
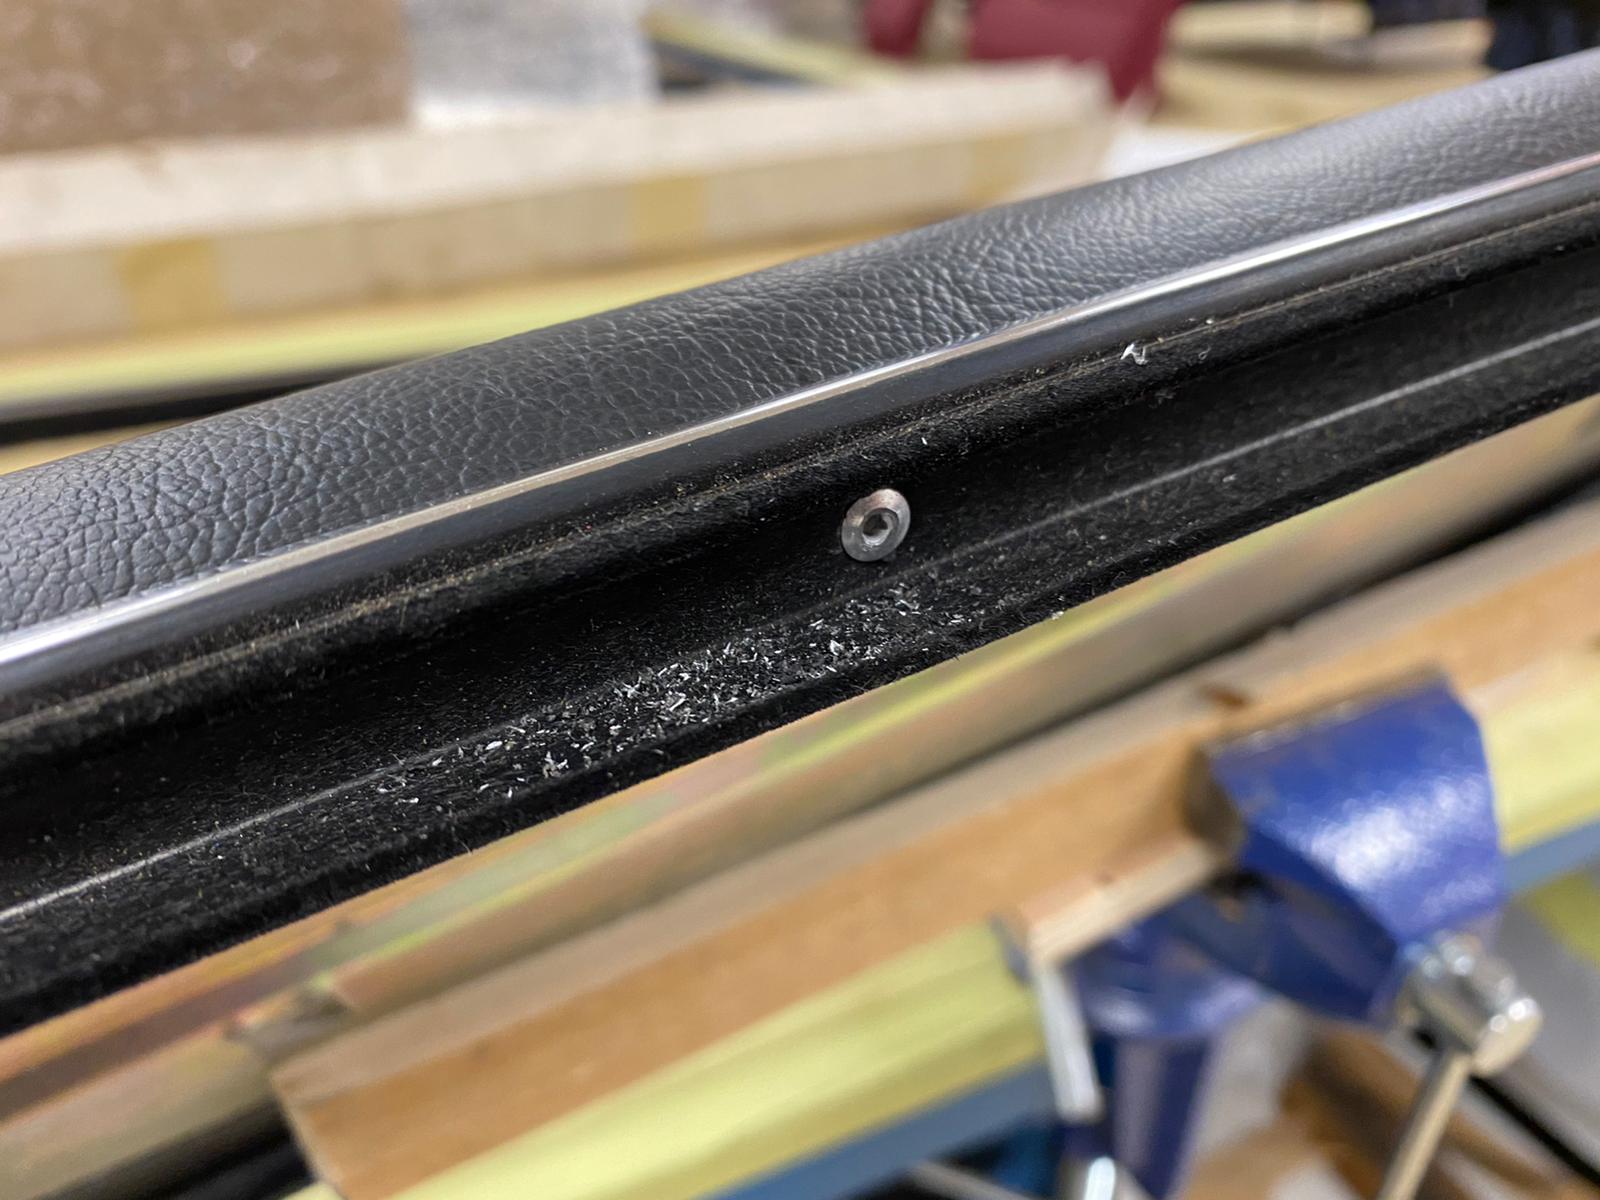
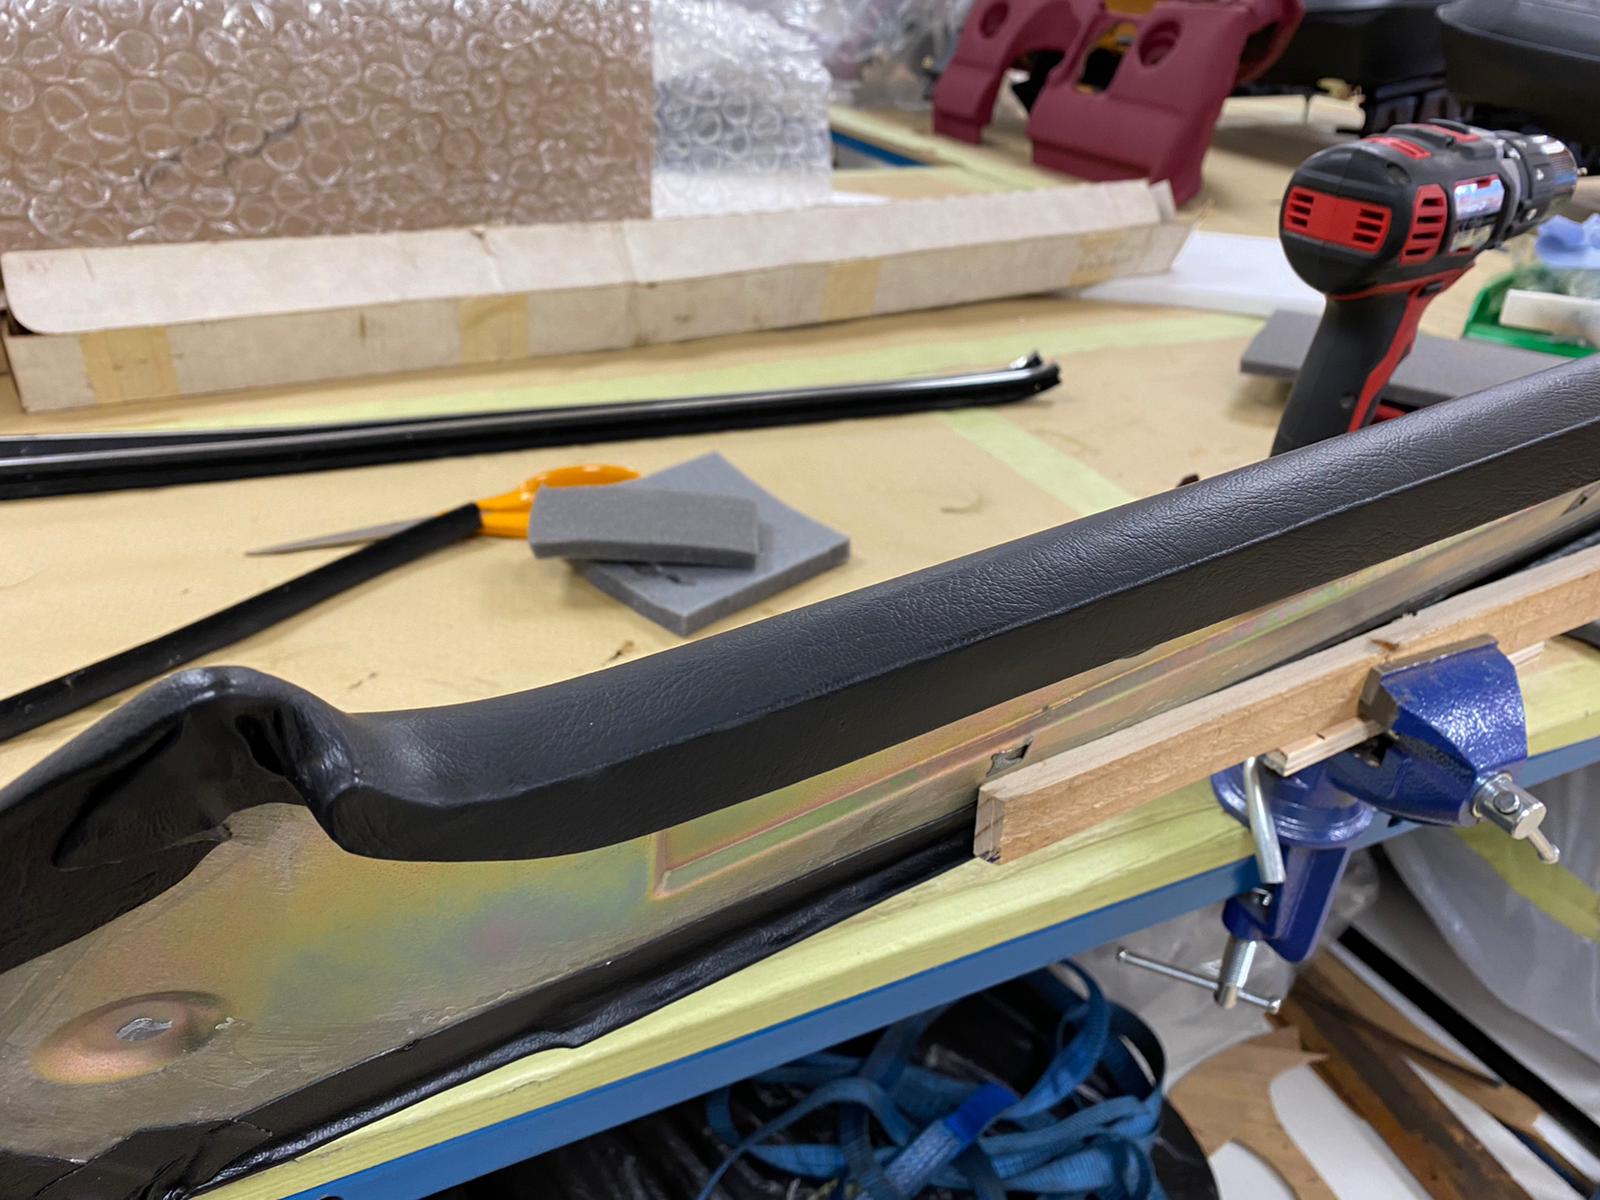
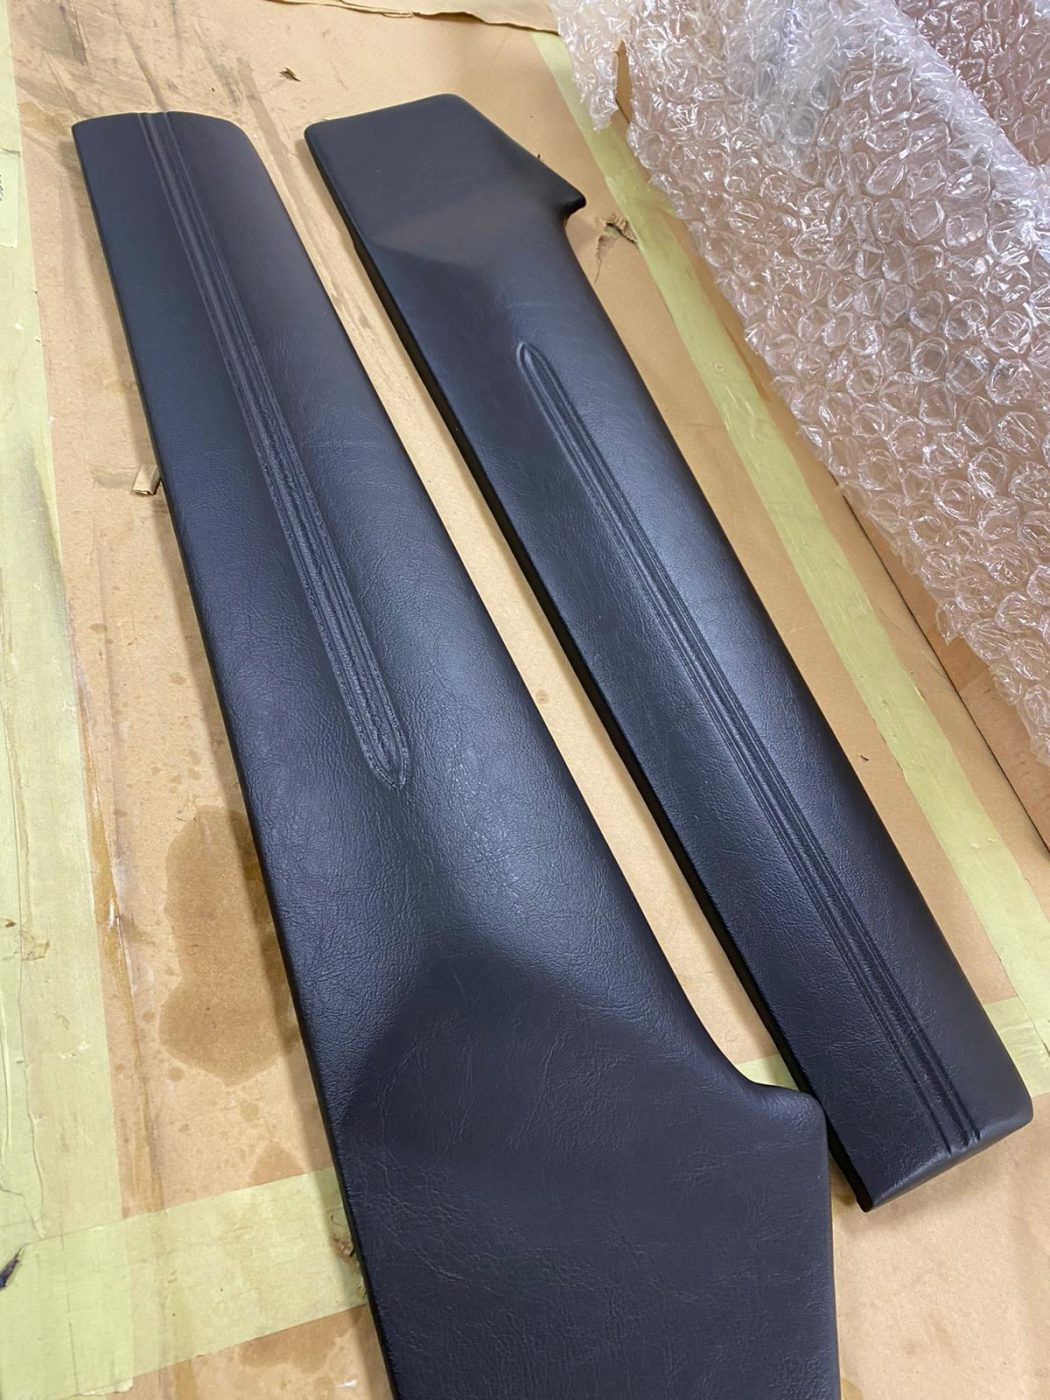
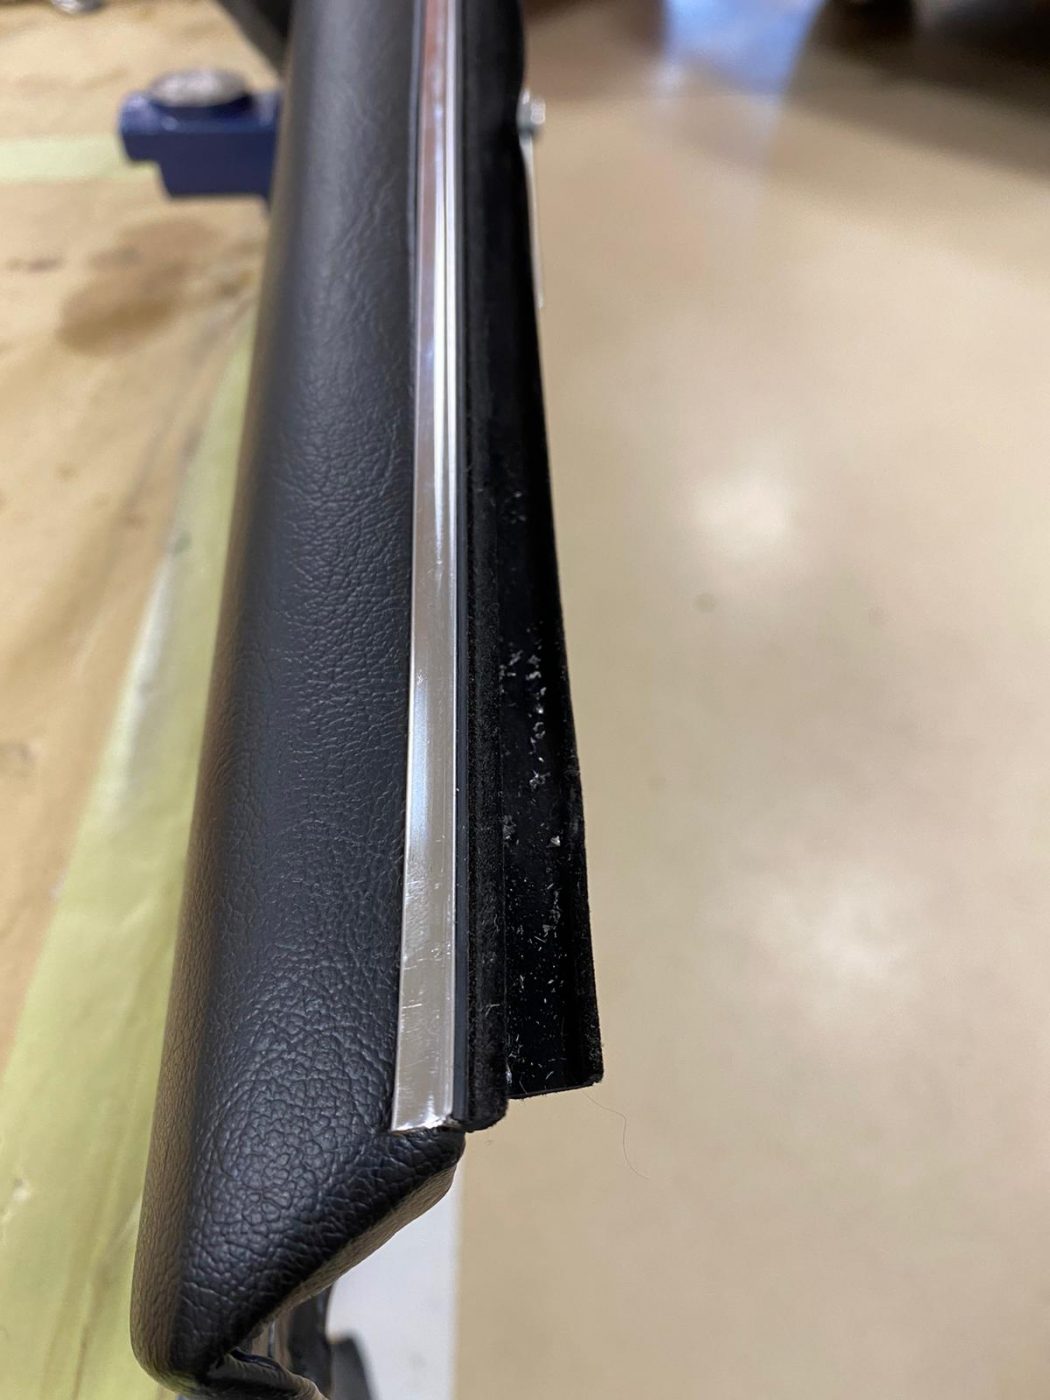
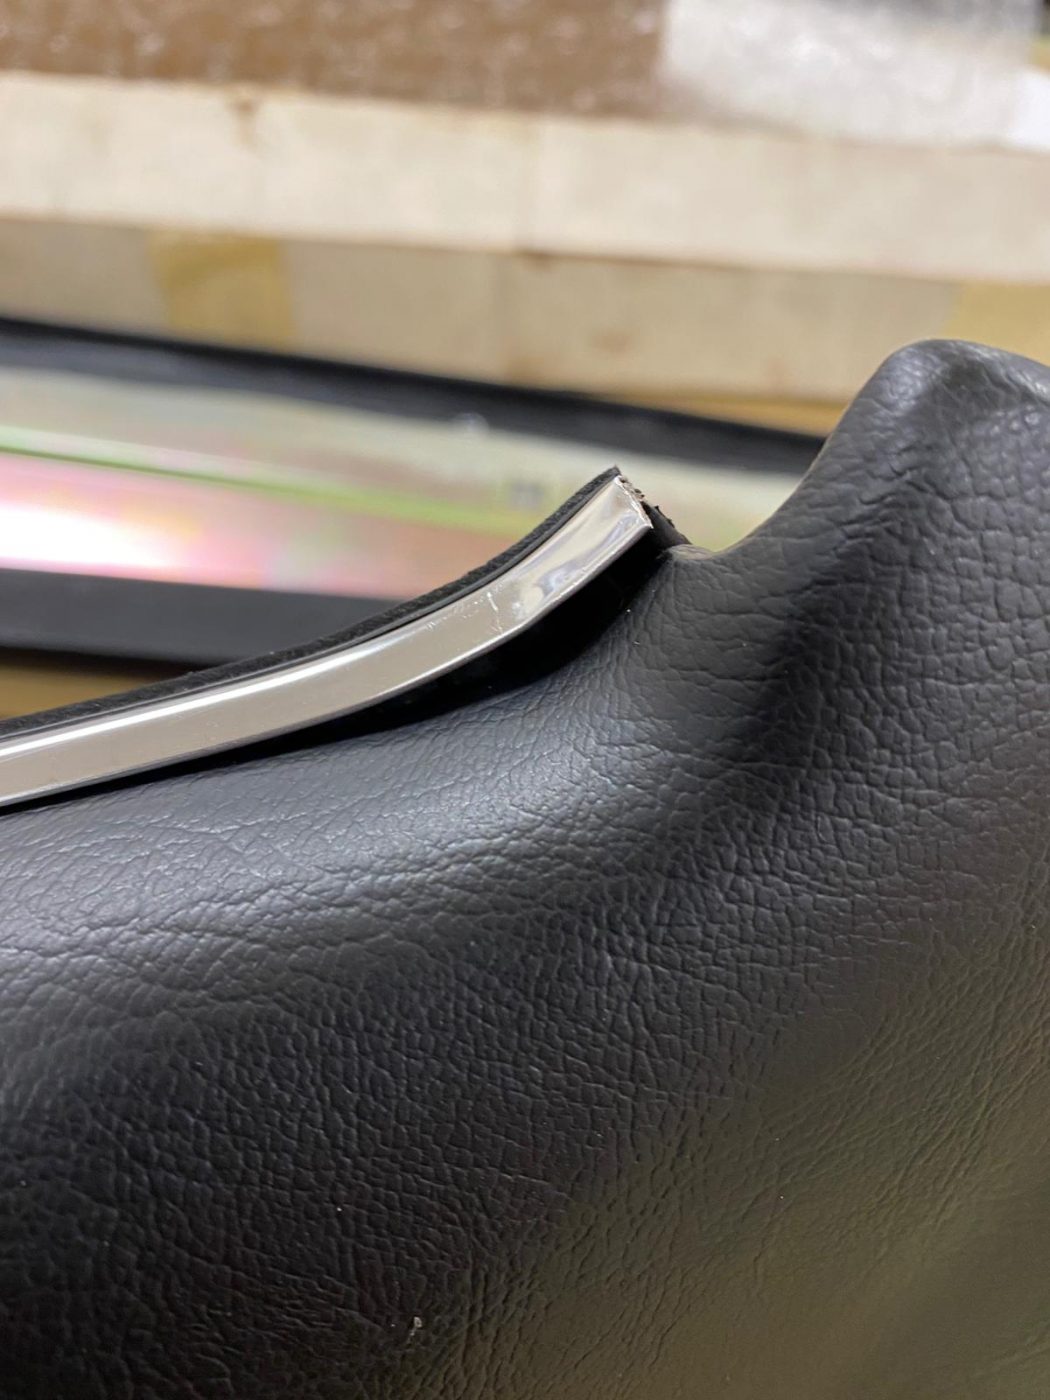

Kath and the in-house trim team have been busy working on the insides of the 1970 Dodge Charger that’s in here at Bridge Classic Cars.
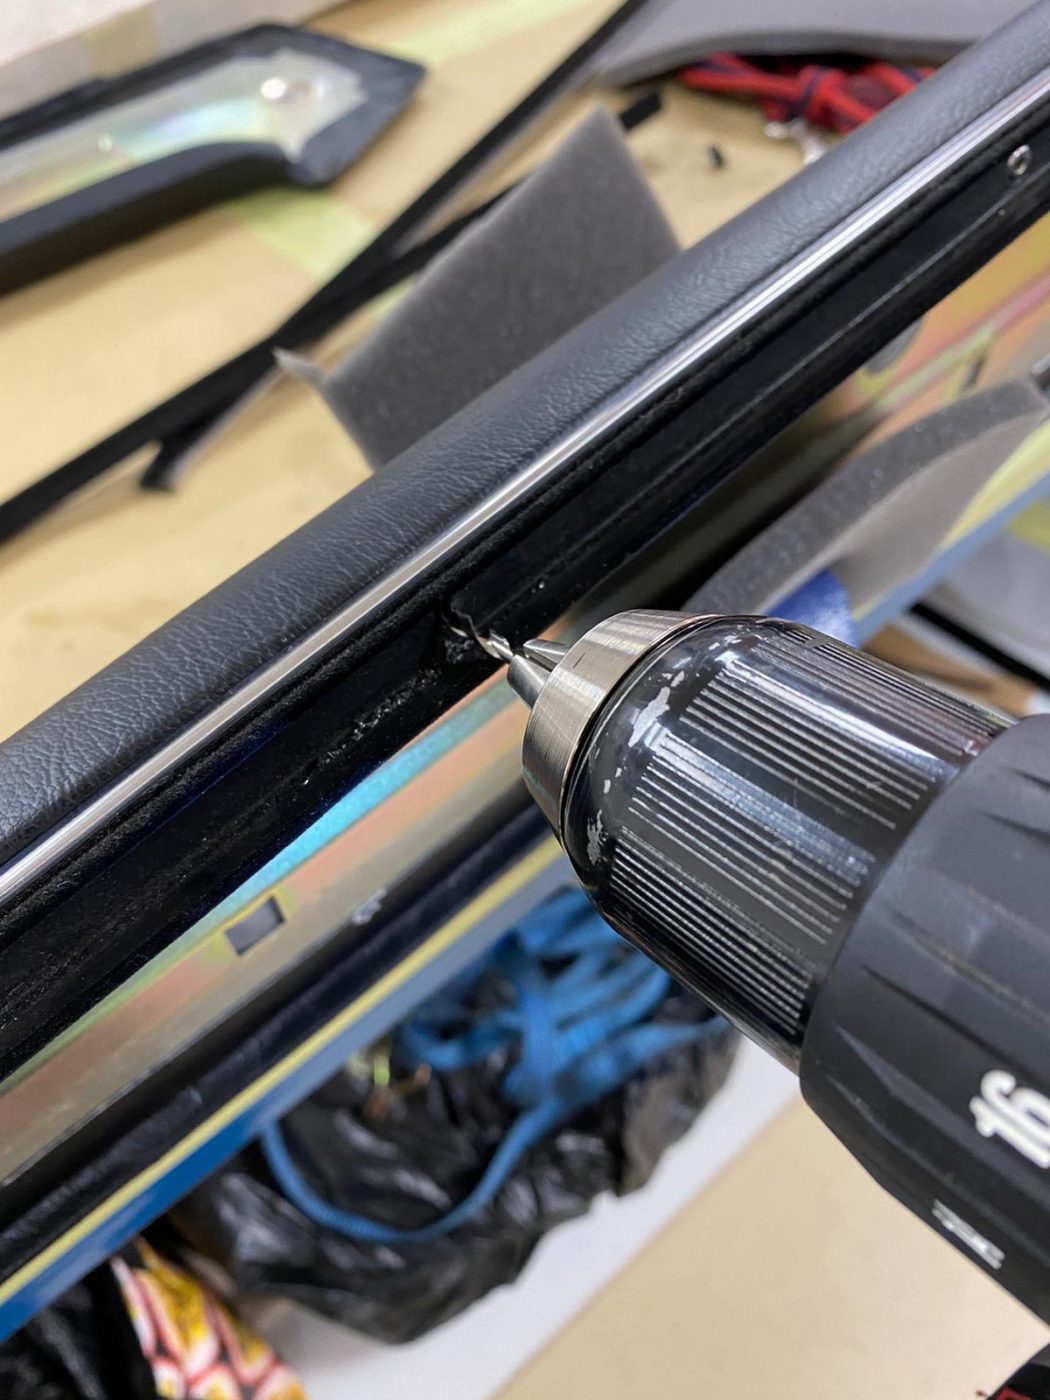
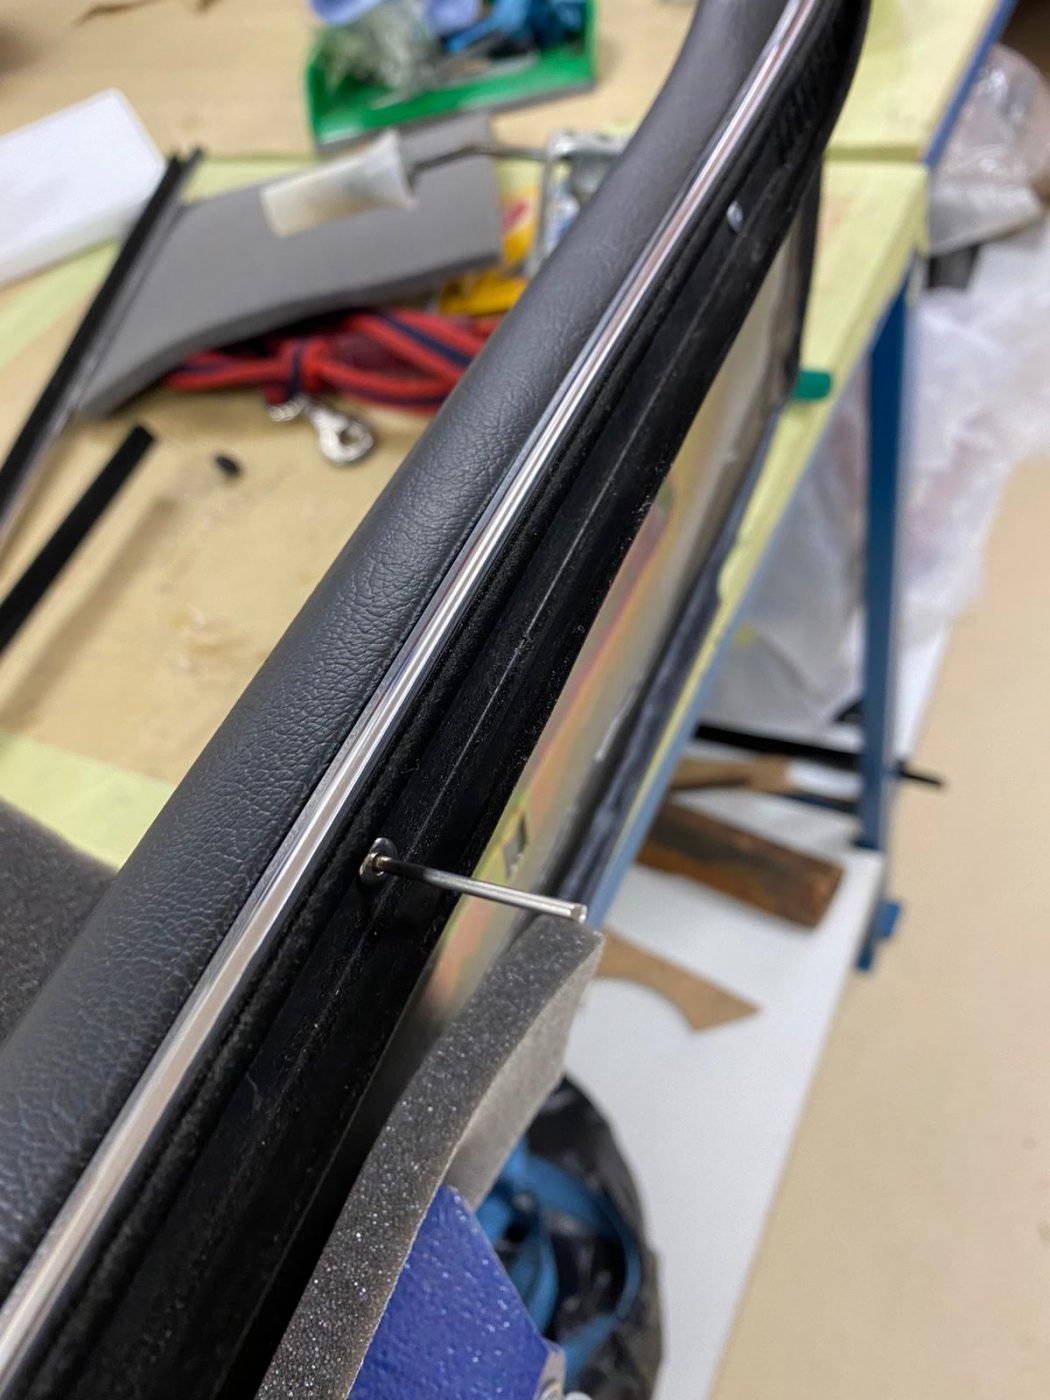
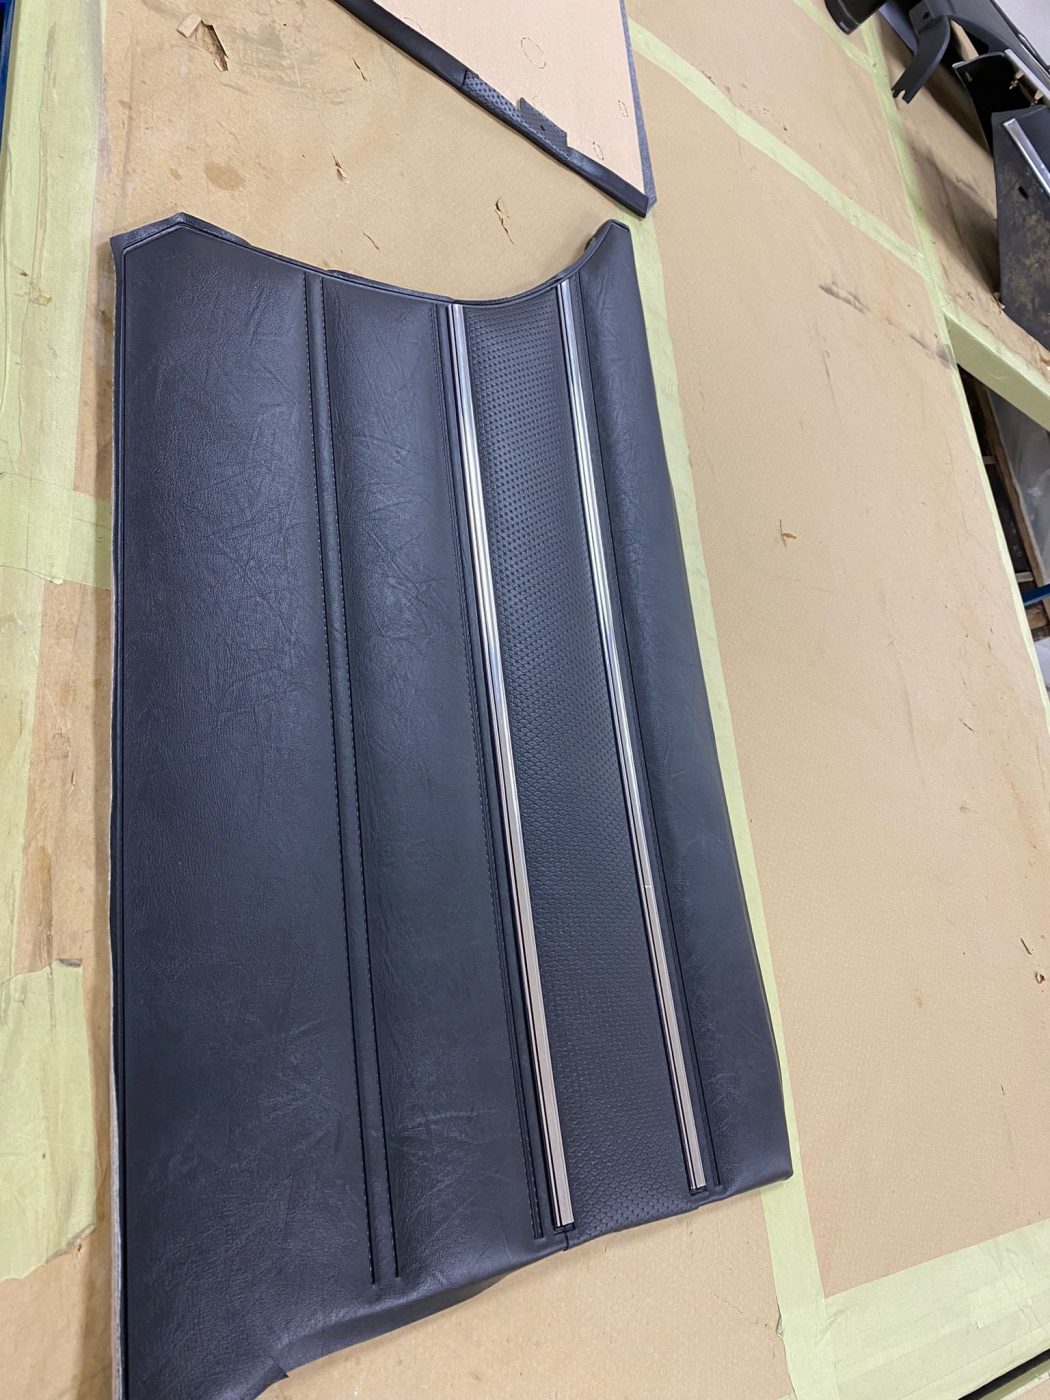
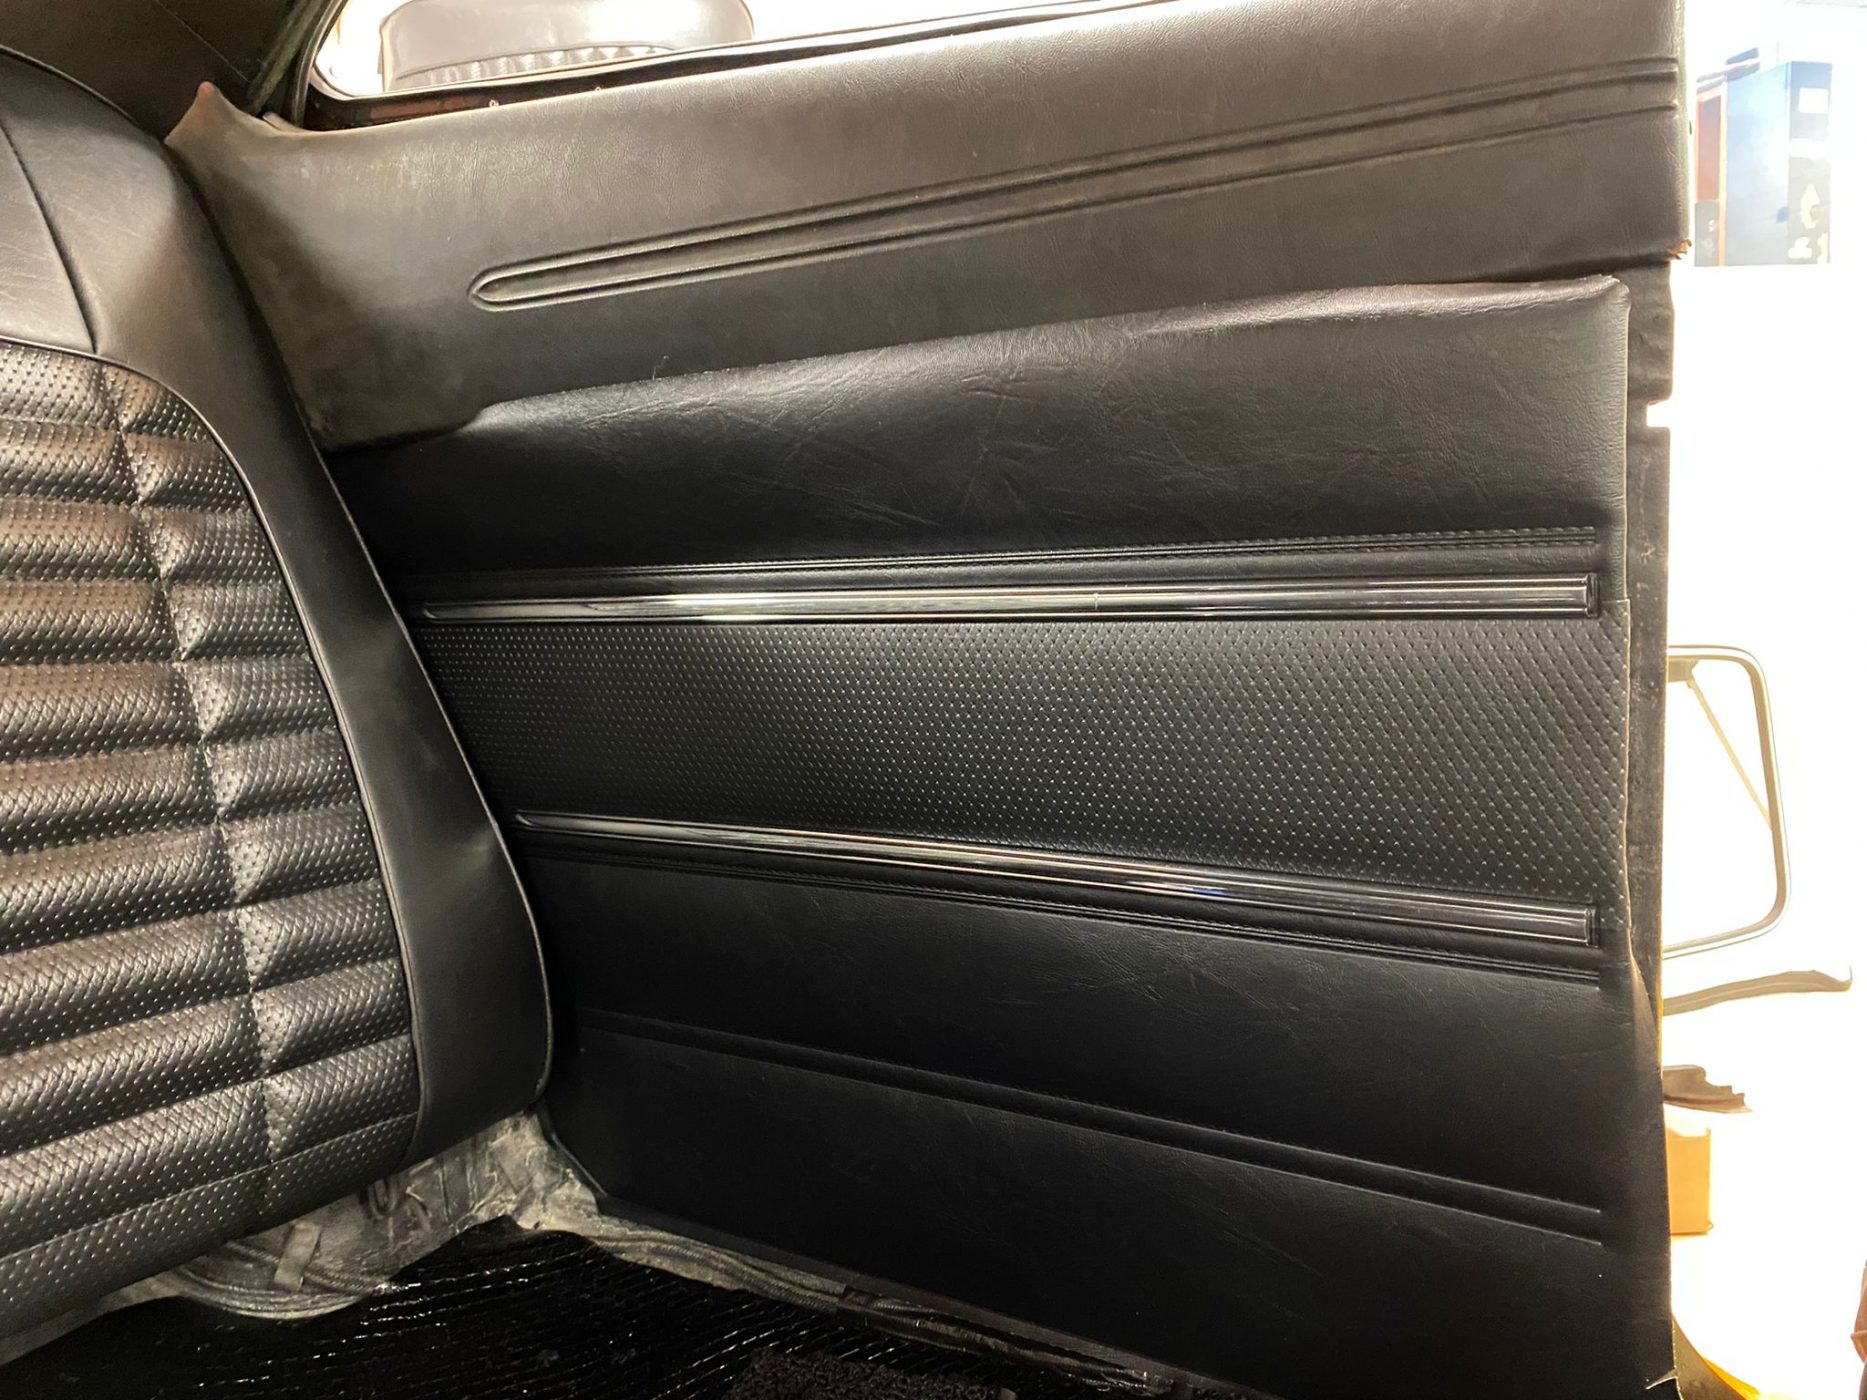
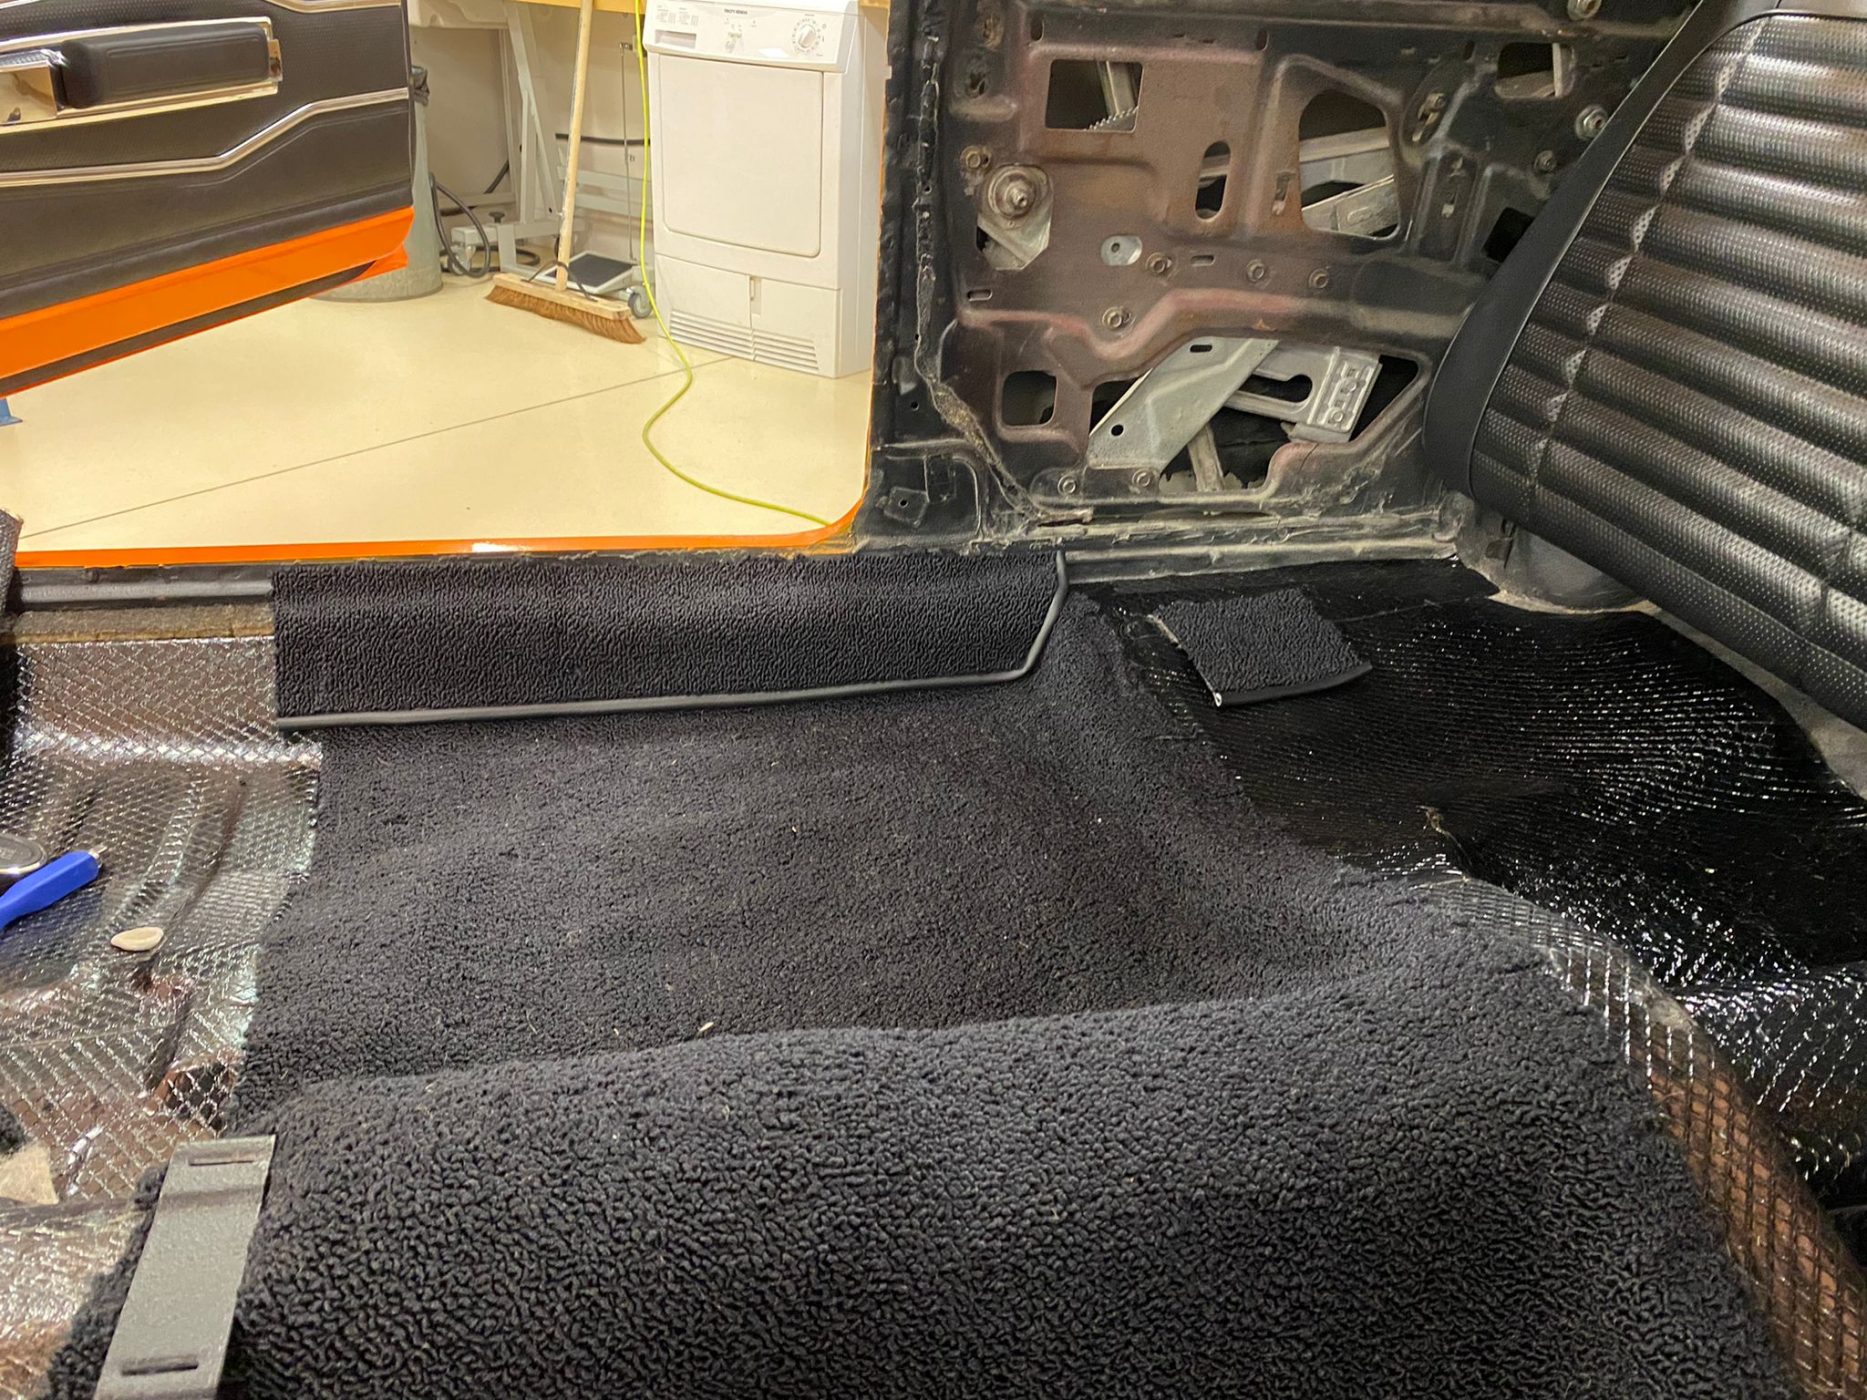
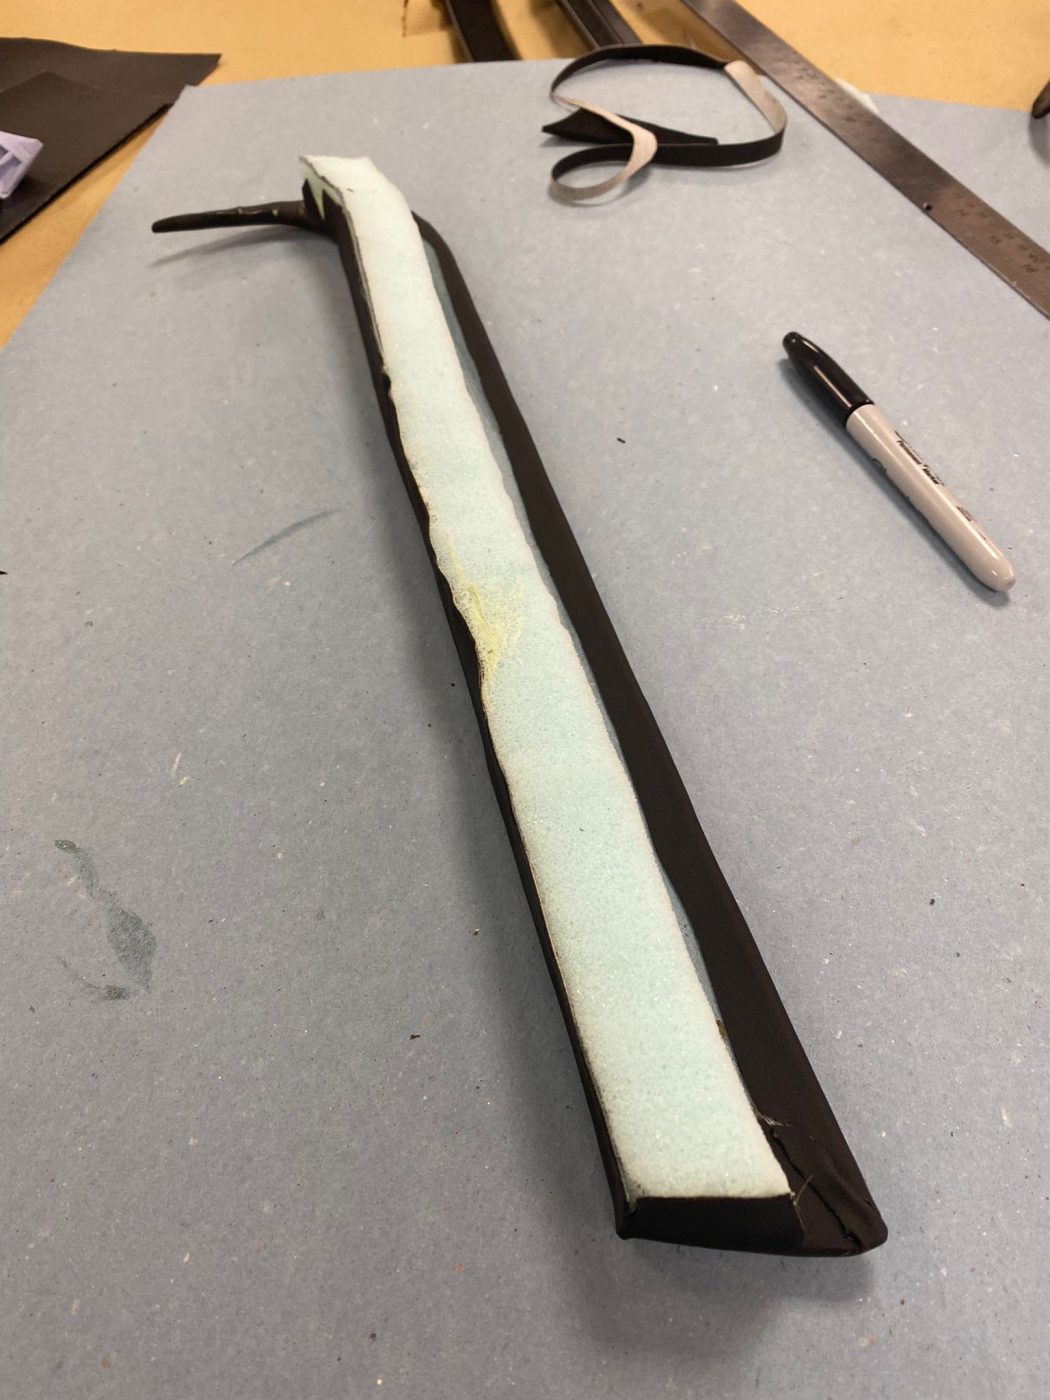
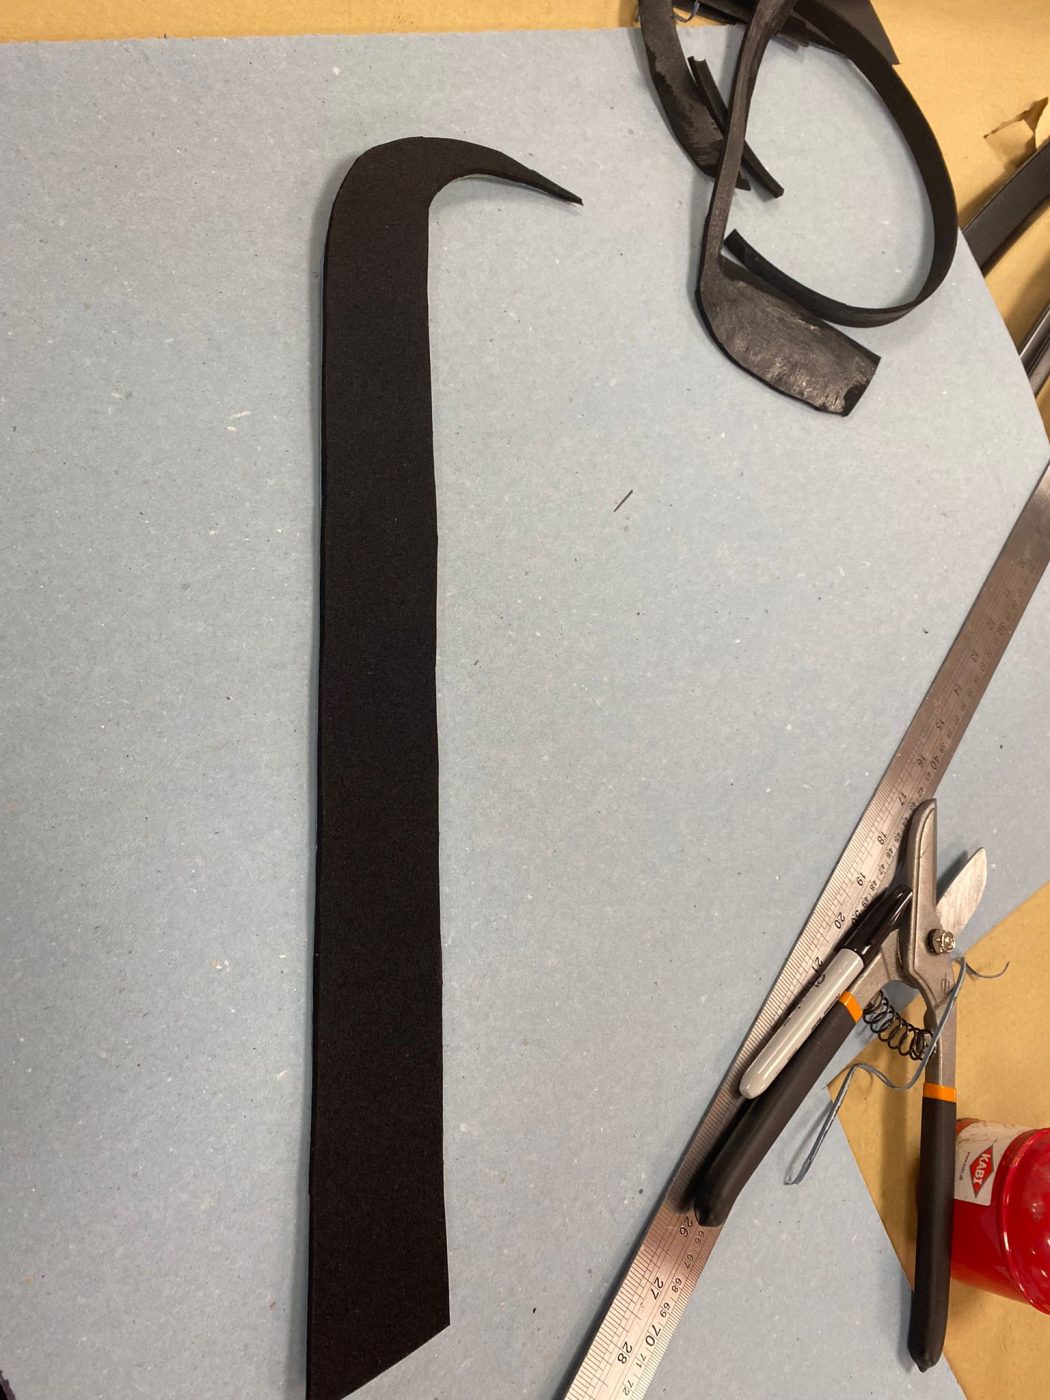
Kath has been working on getting the rear panels ready and into the car. The weatherstrip has been riveted to the bottom of the window opening along with the chrome strips that make up the ribbing for the panel.
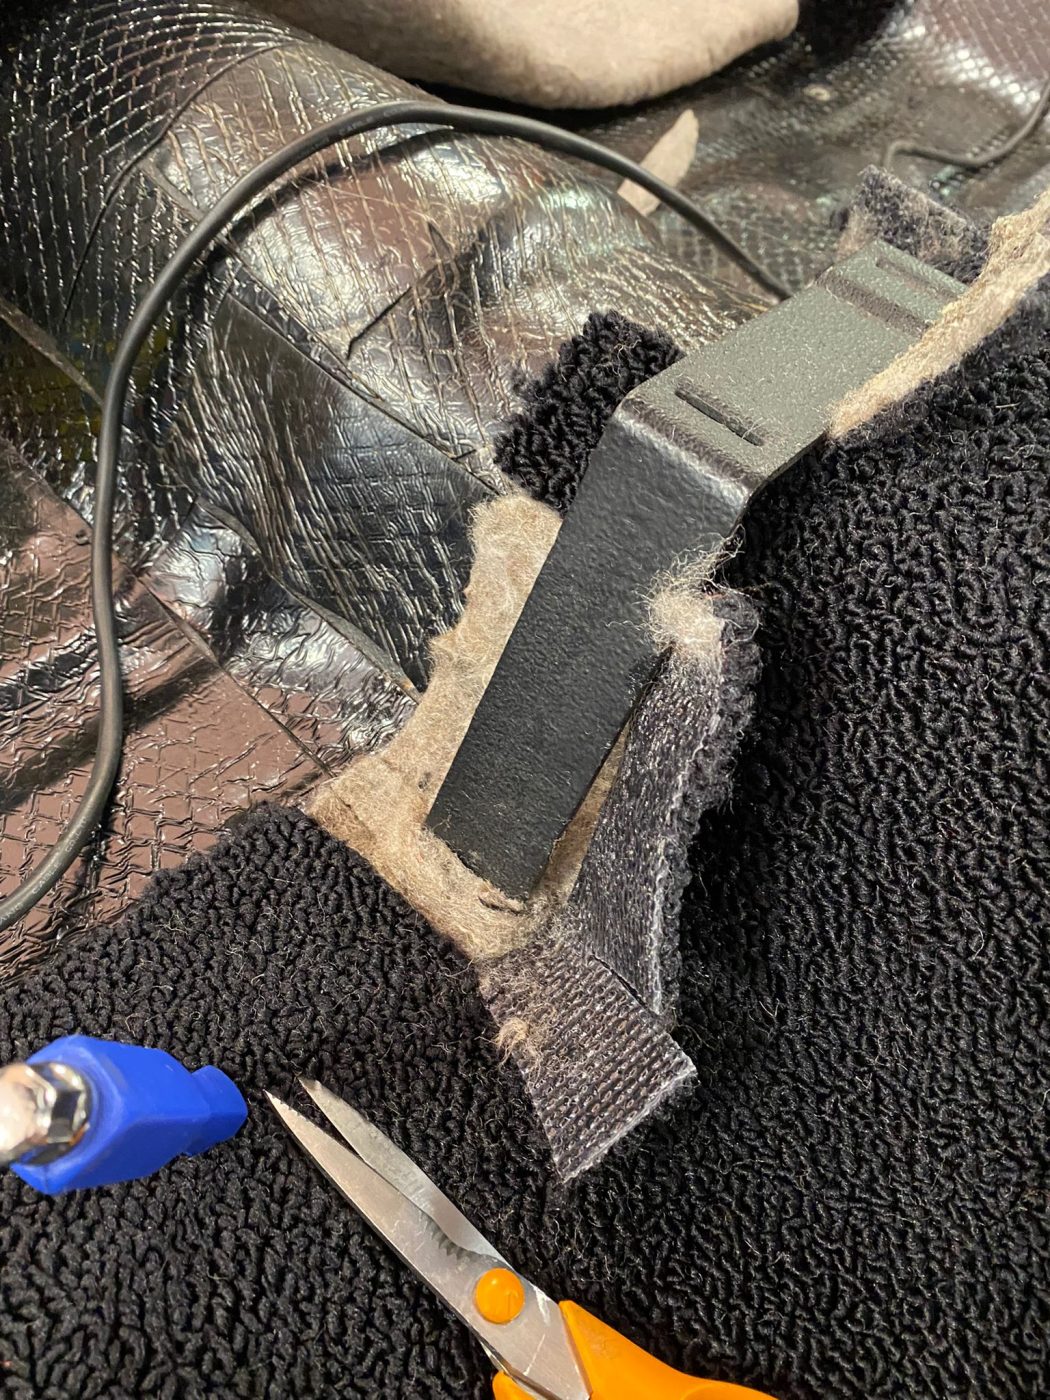
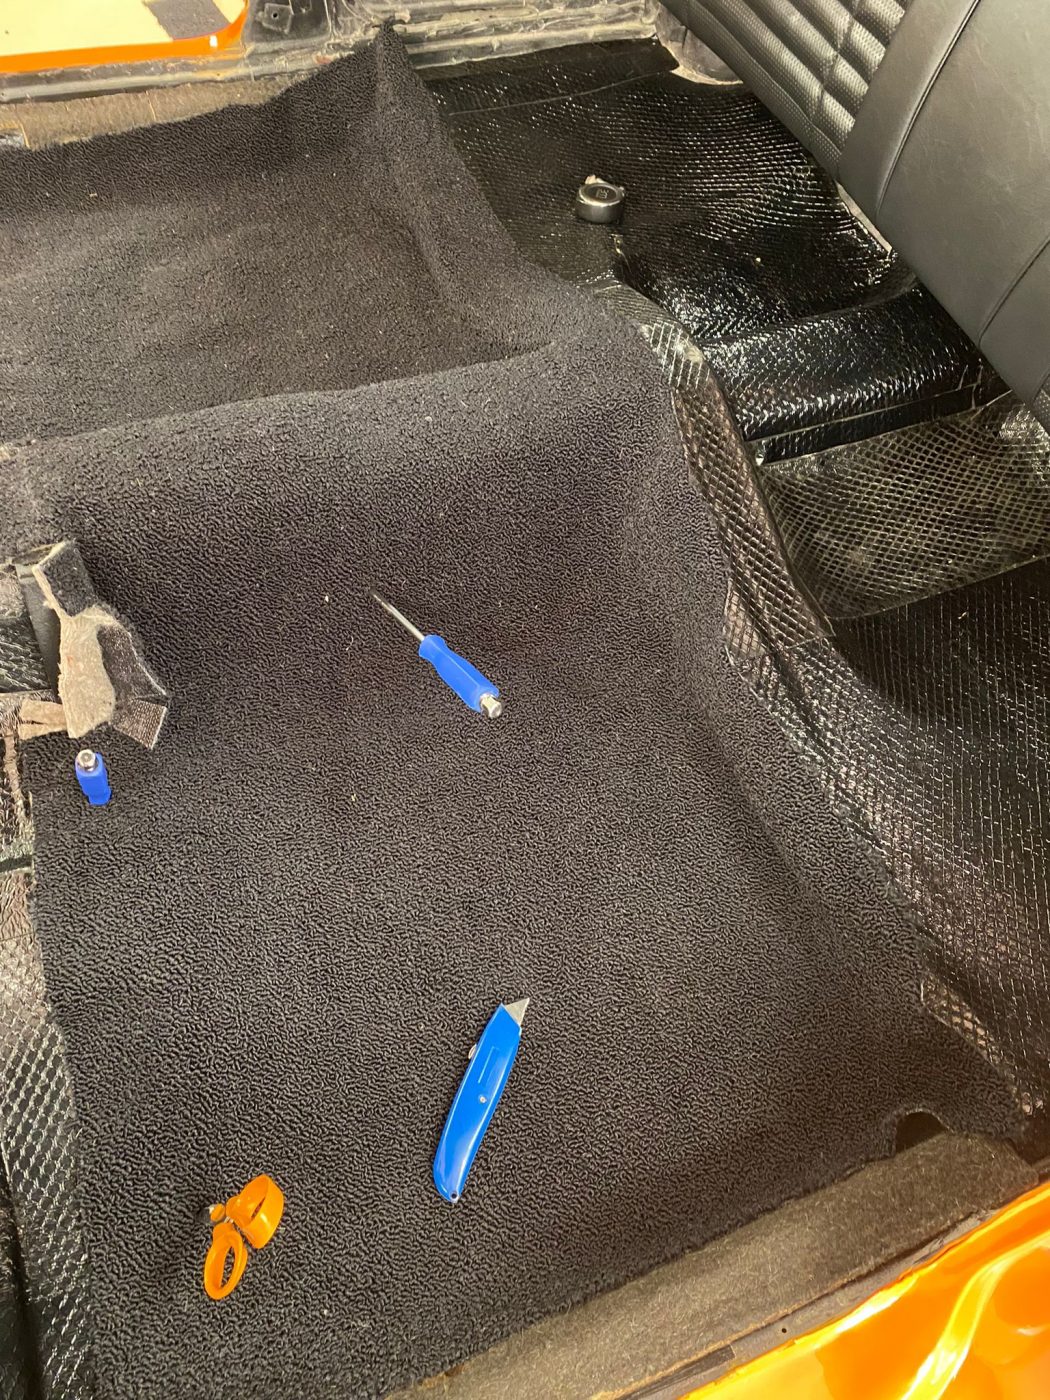
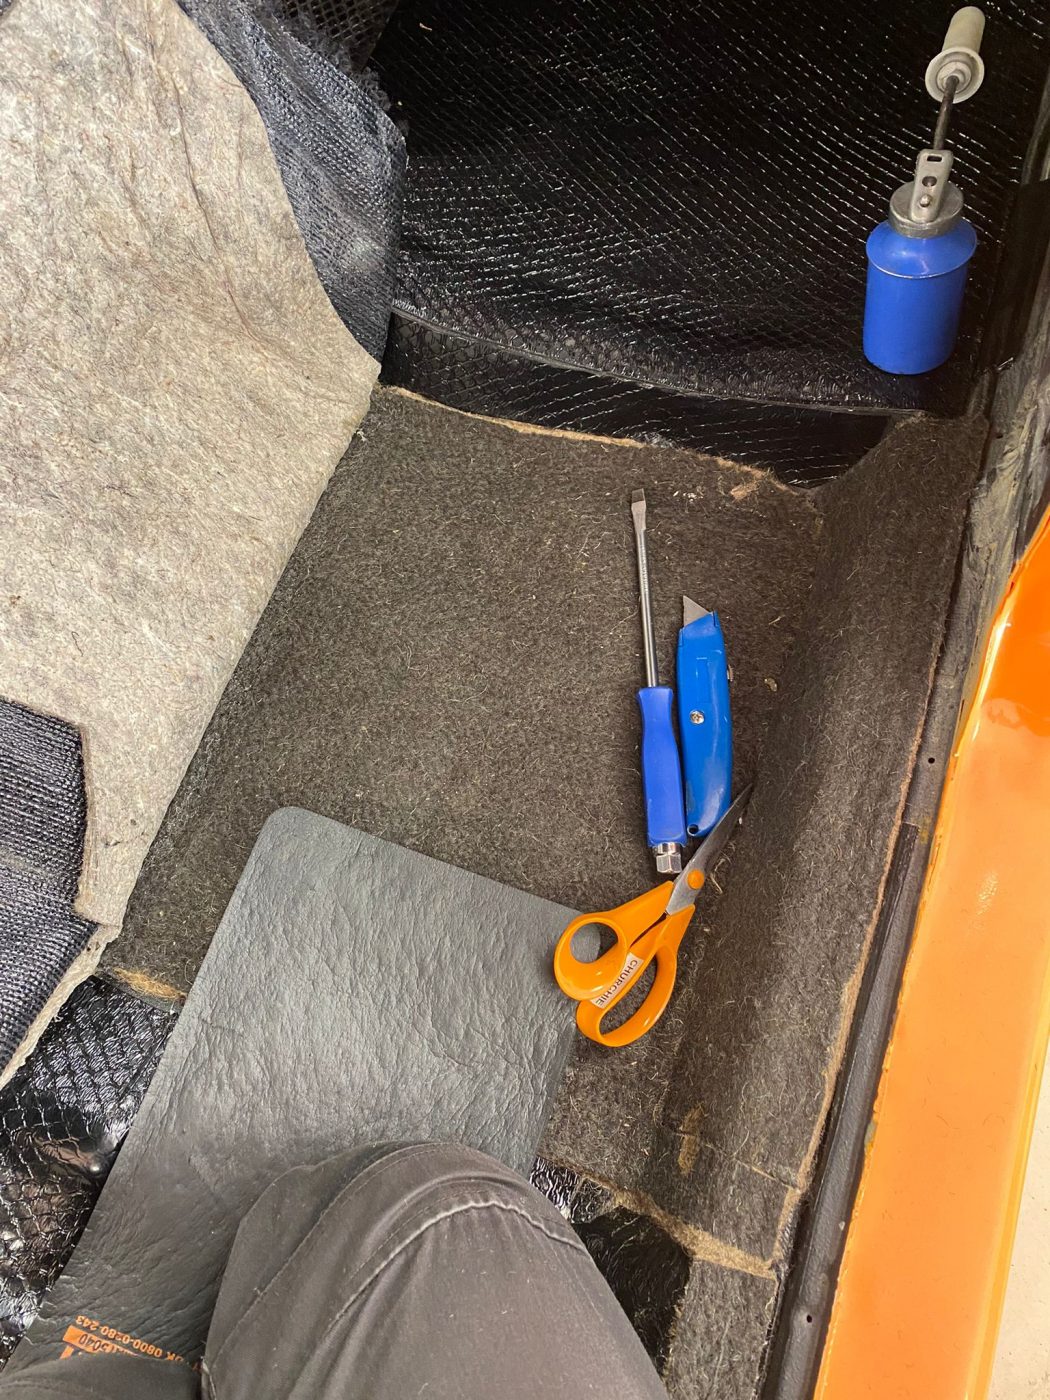
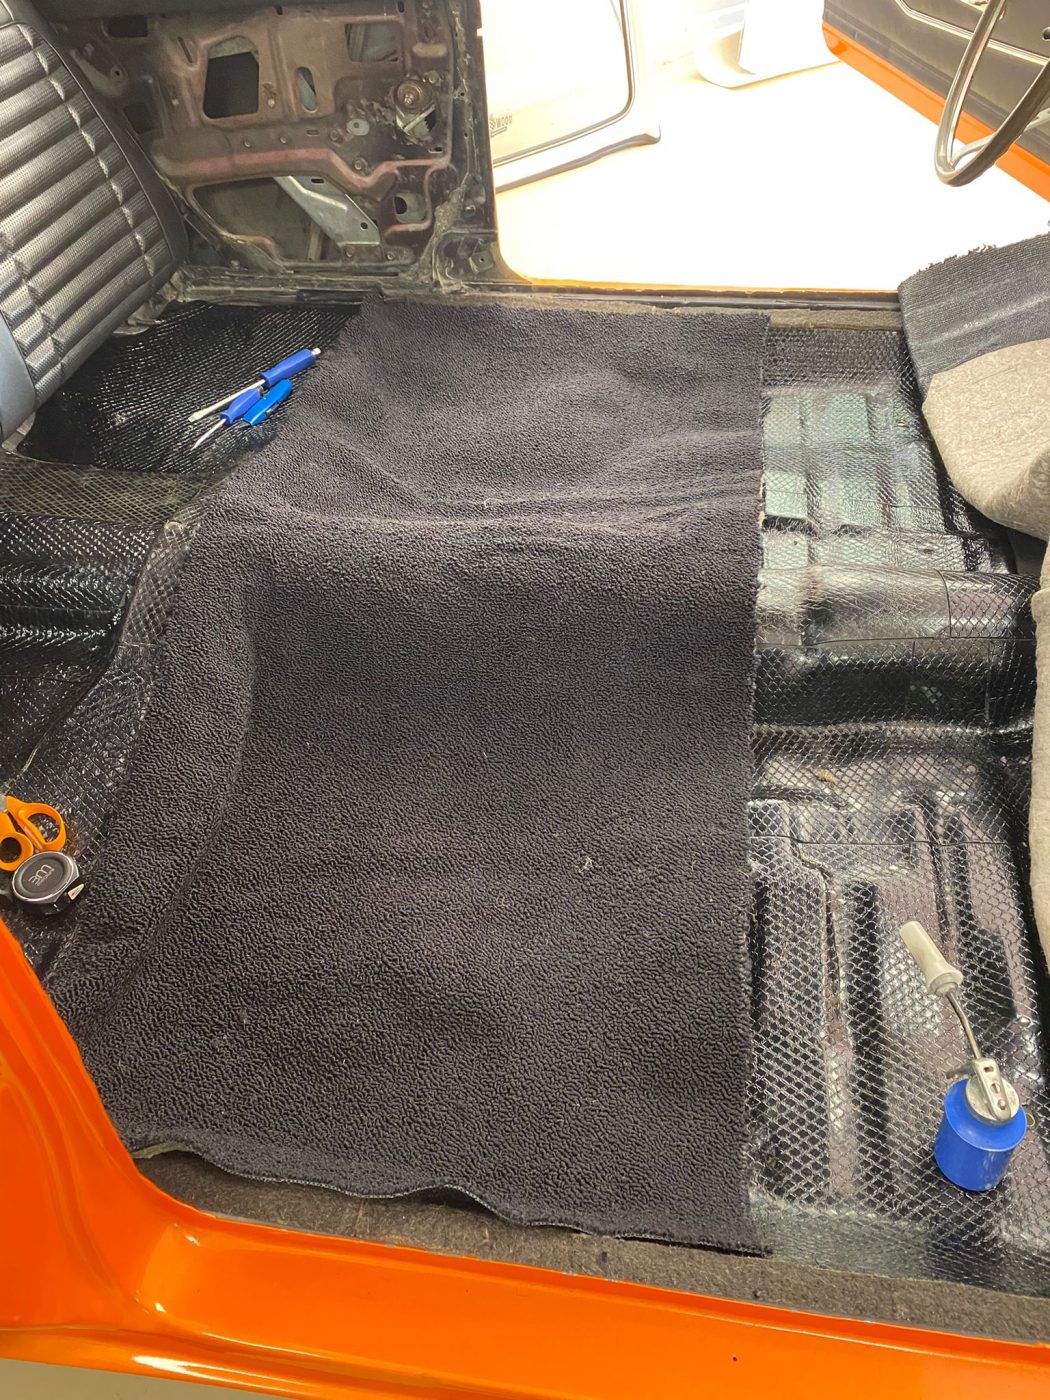
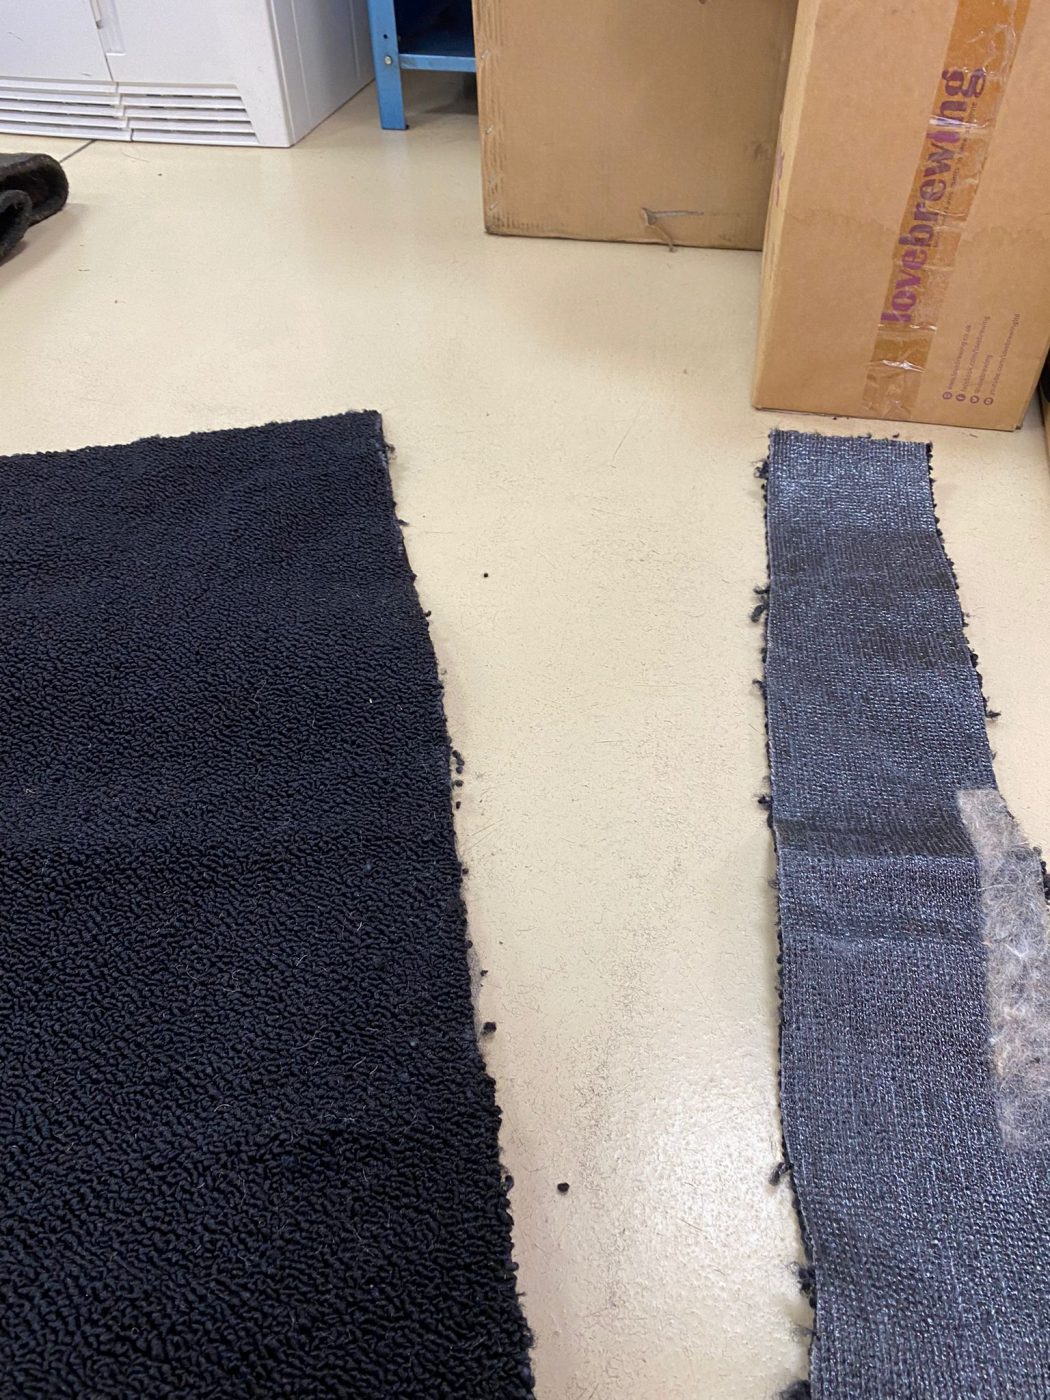
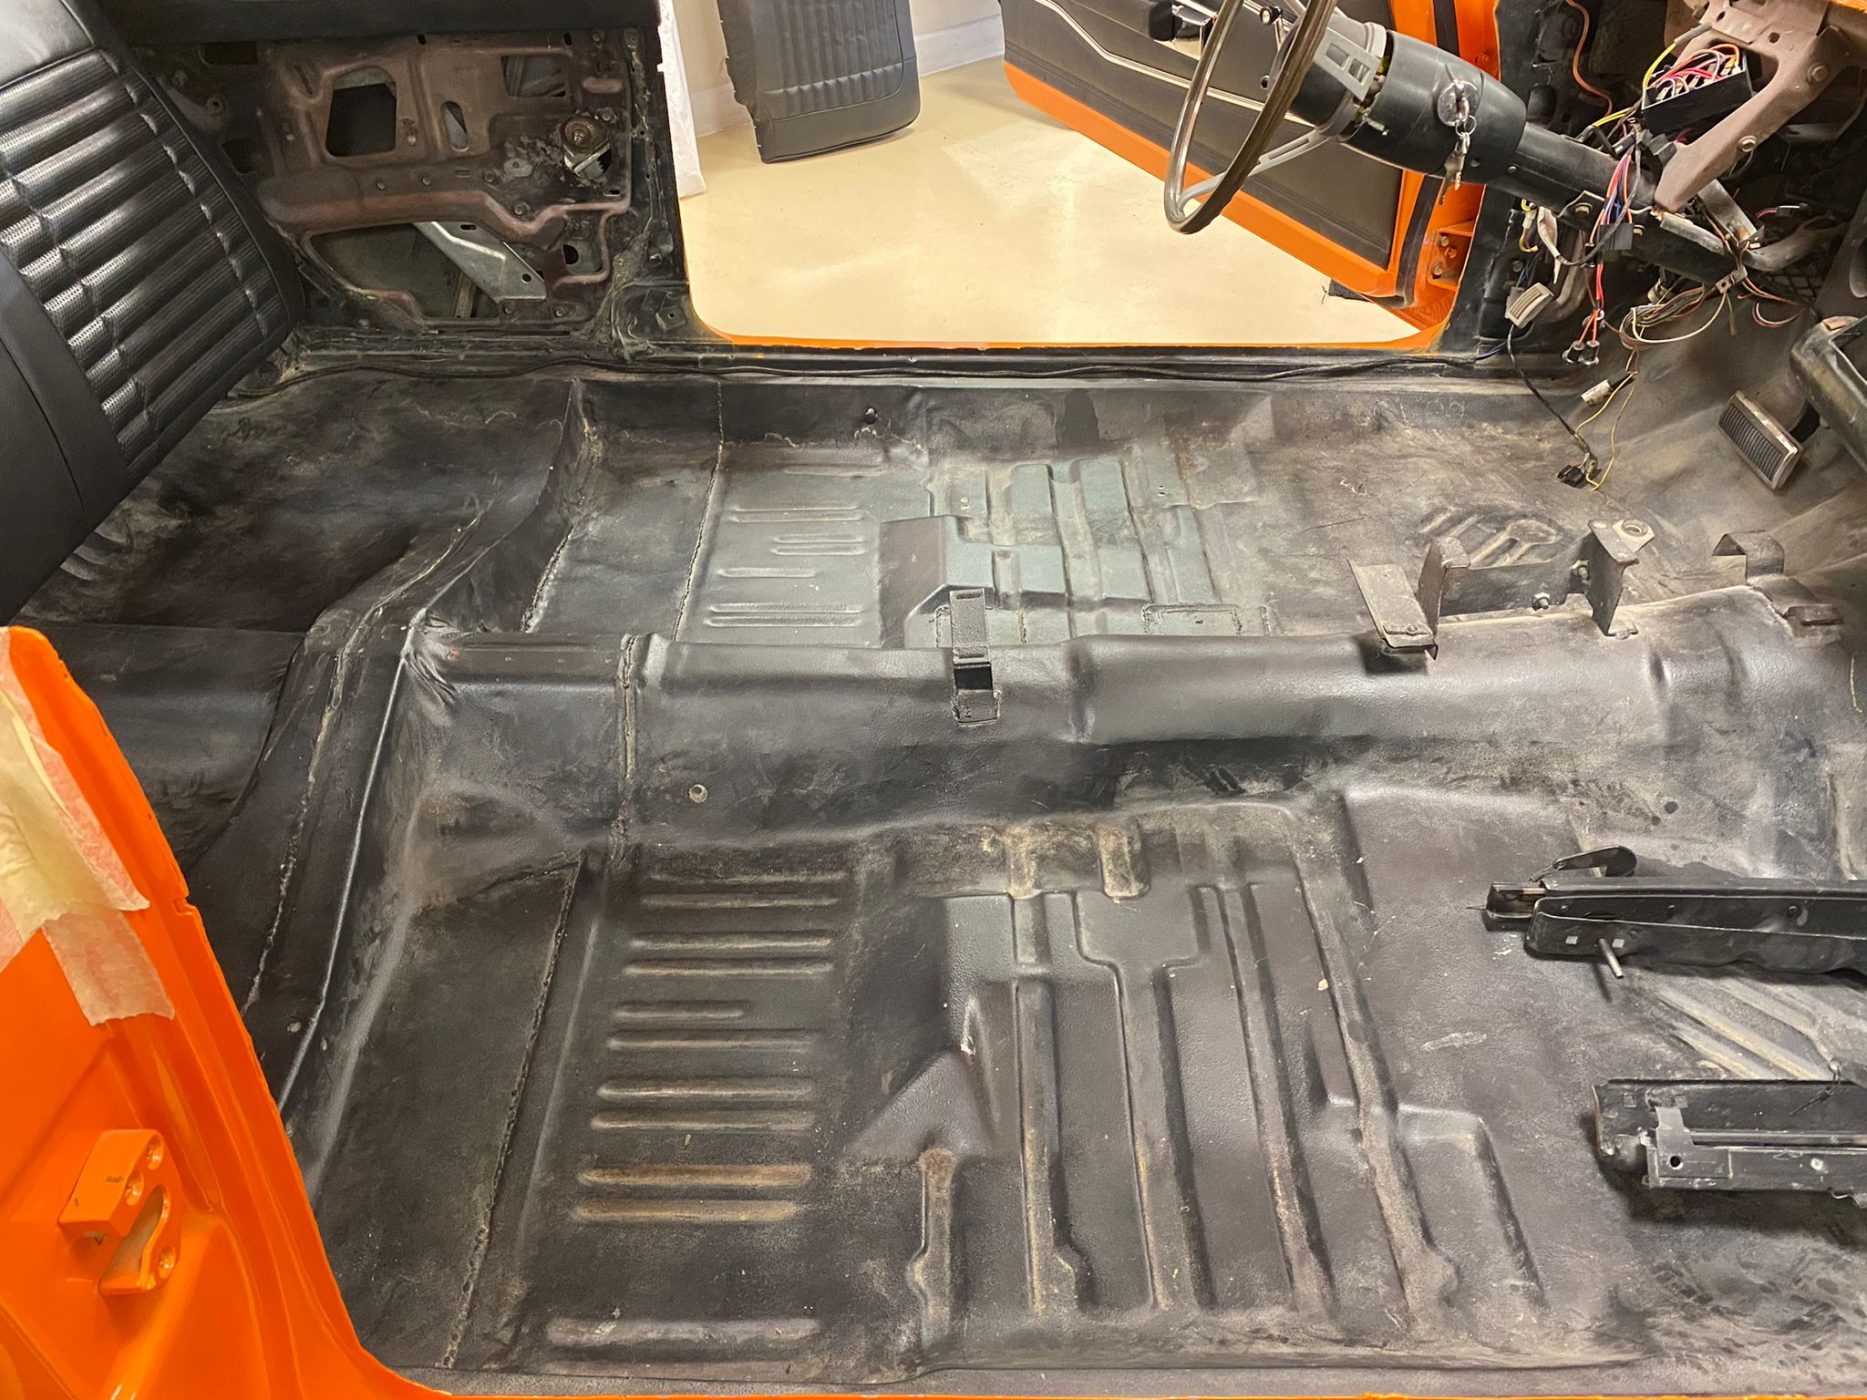
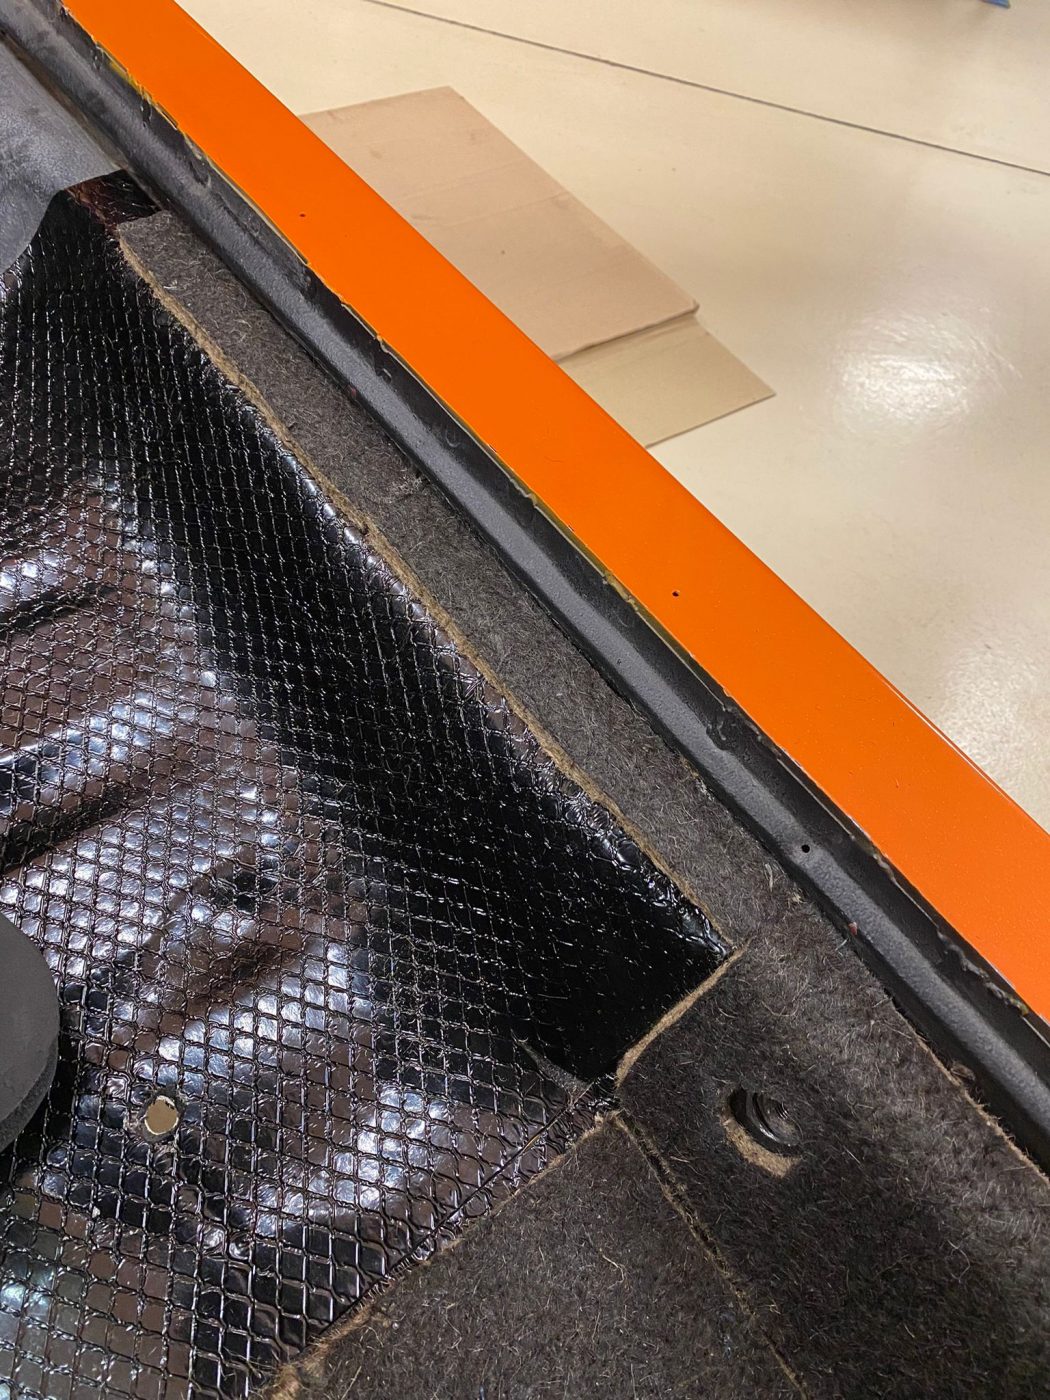
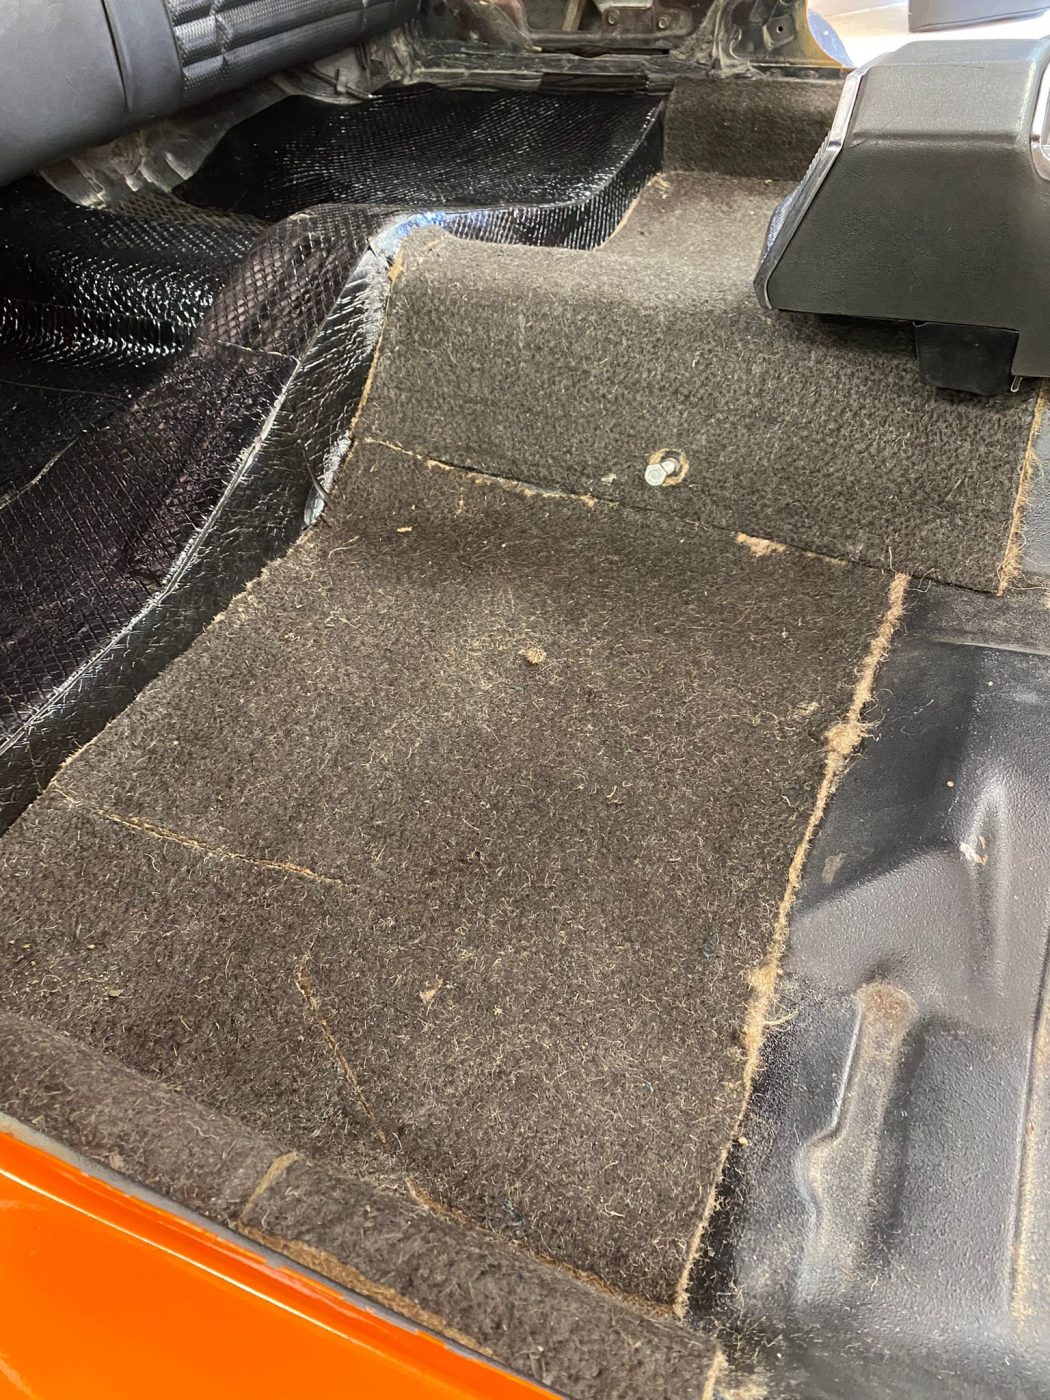
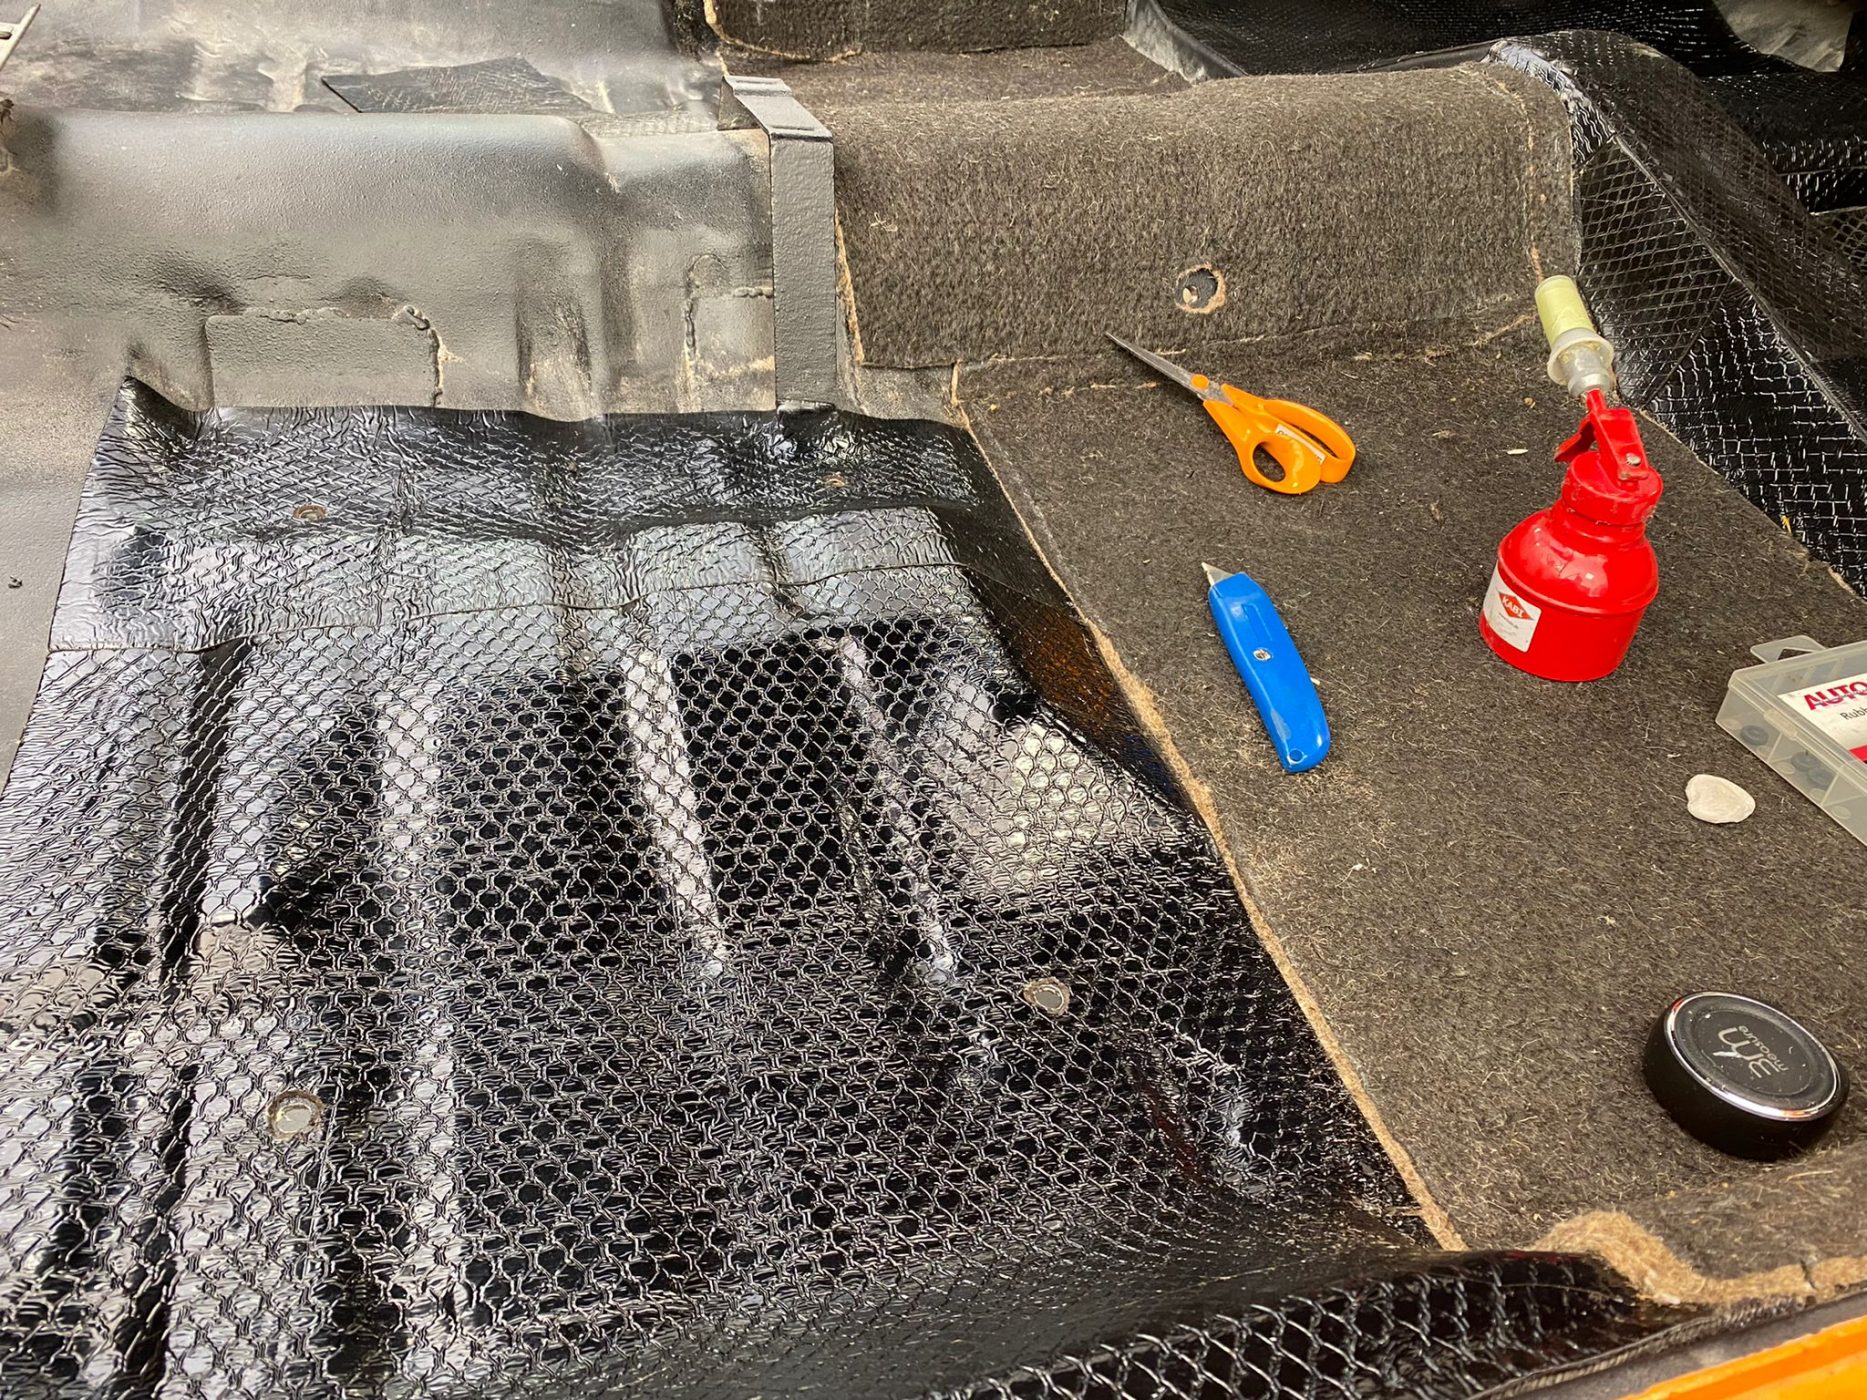
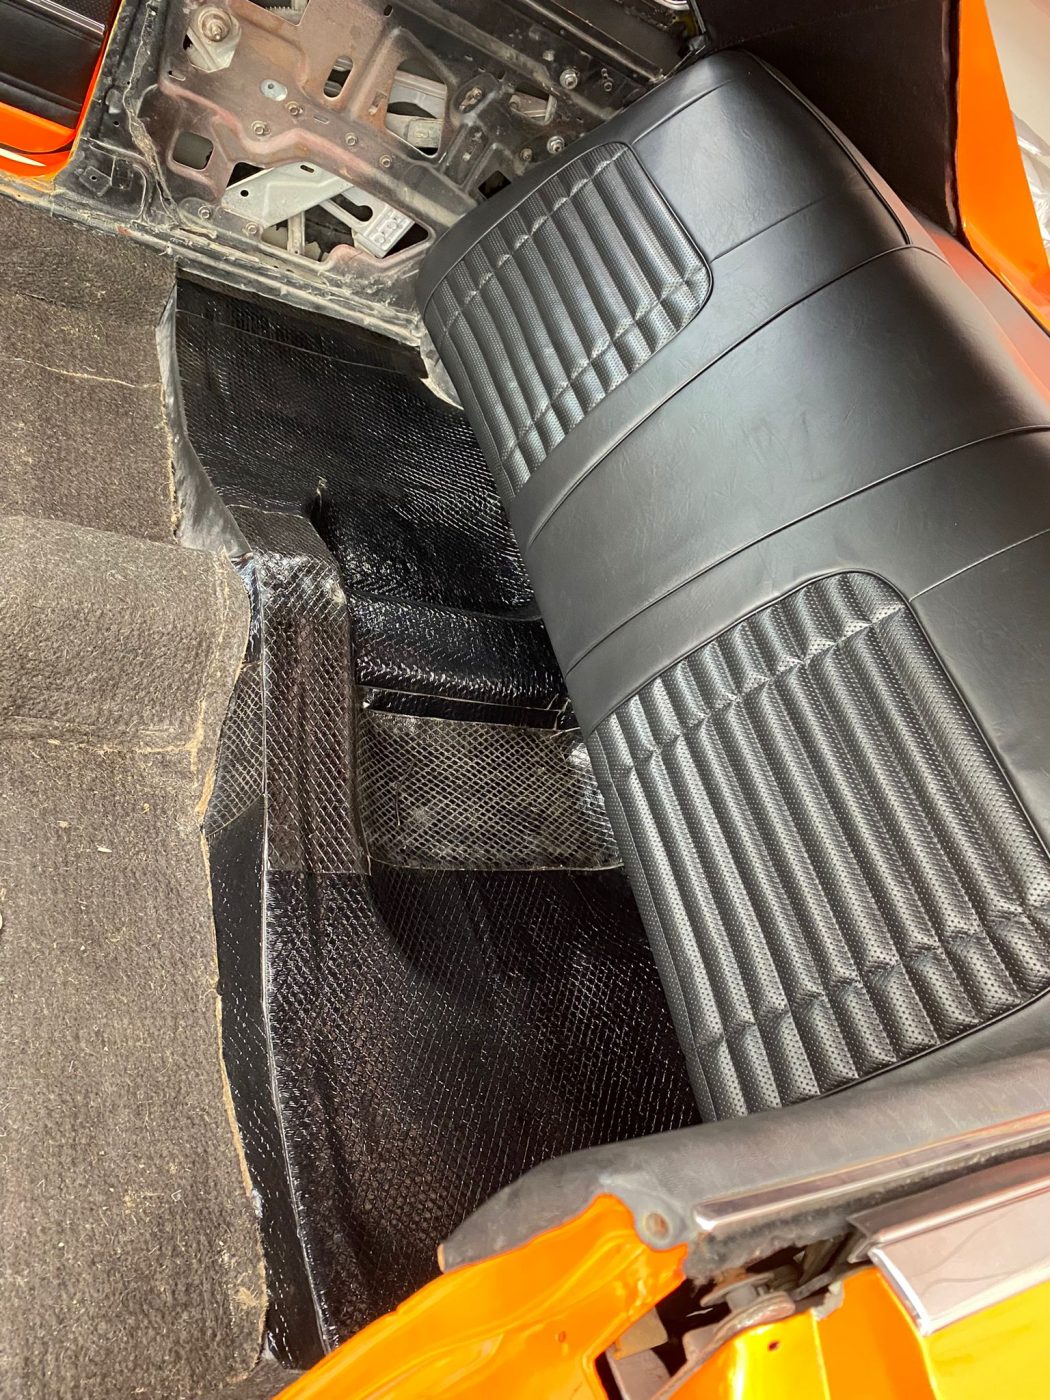
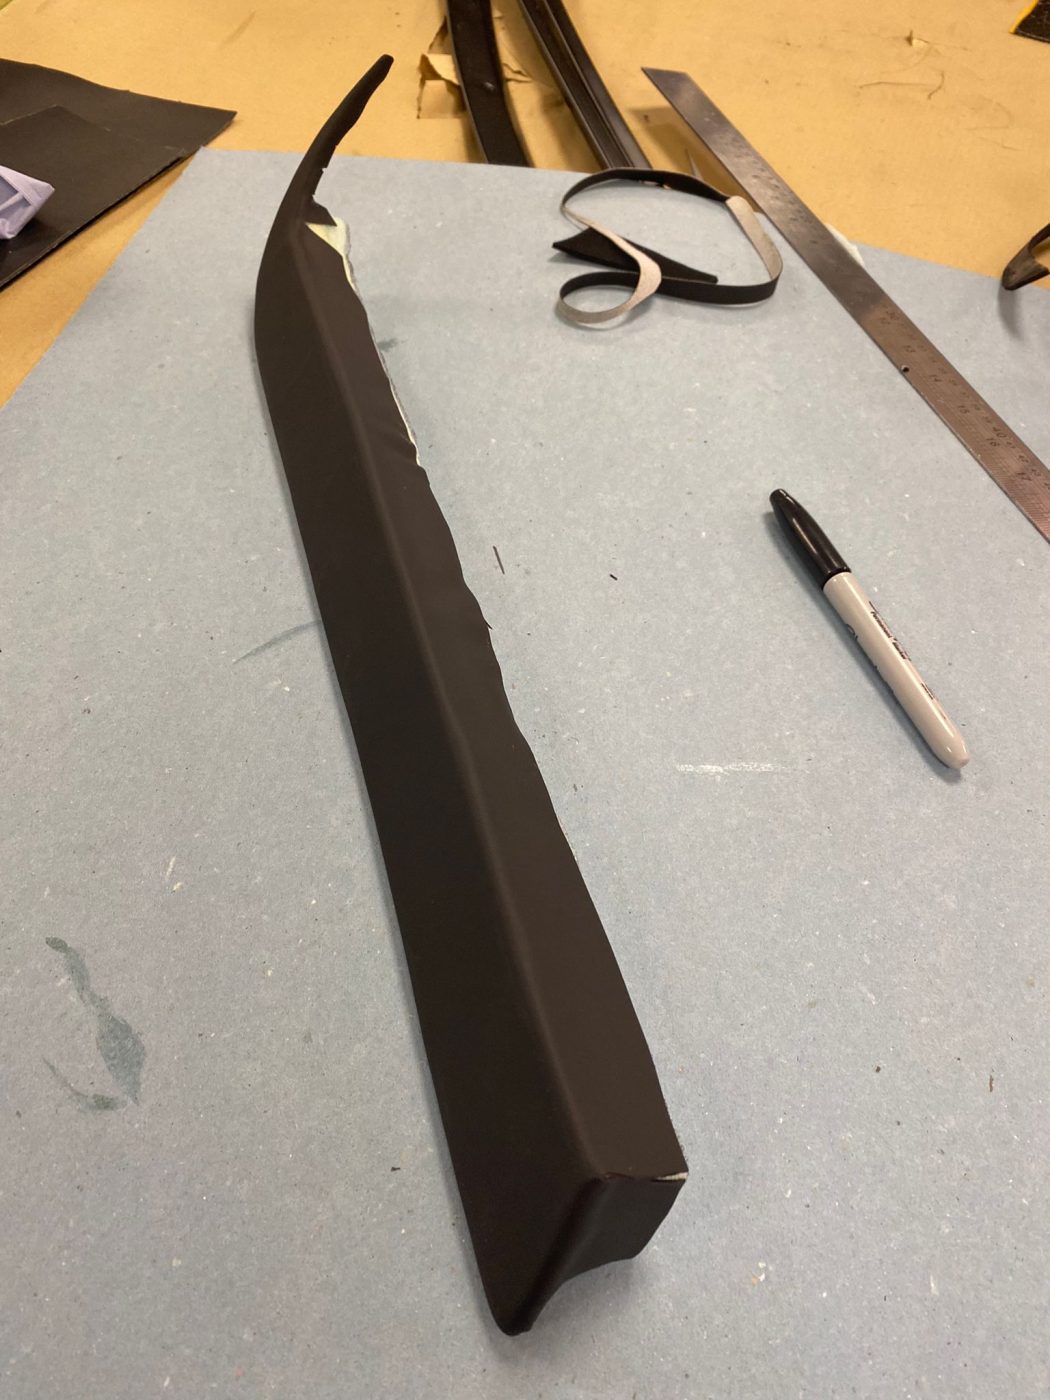
Before that, Kath and the team had tested fitted the carpet and found that in place it didn’t sit quite right. In places, the carpet was actually too long. Not a problem for the Bridge Classic Cars trim-shop! Kath simply cut the carpet and then re-edged it to fit the car perfectly (more on that in the next post)
This meant that the carpet now sat where and exactly how it should in the iconic muscle car, taking extra care and attention to make sure any brackets or holes needed for trim work were neatly and discreetly cut.
Next time, we’ll take you behind the scenes of how Kath cut and rebound the carpet for the Charger!
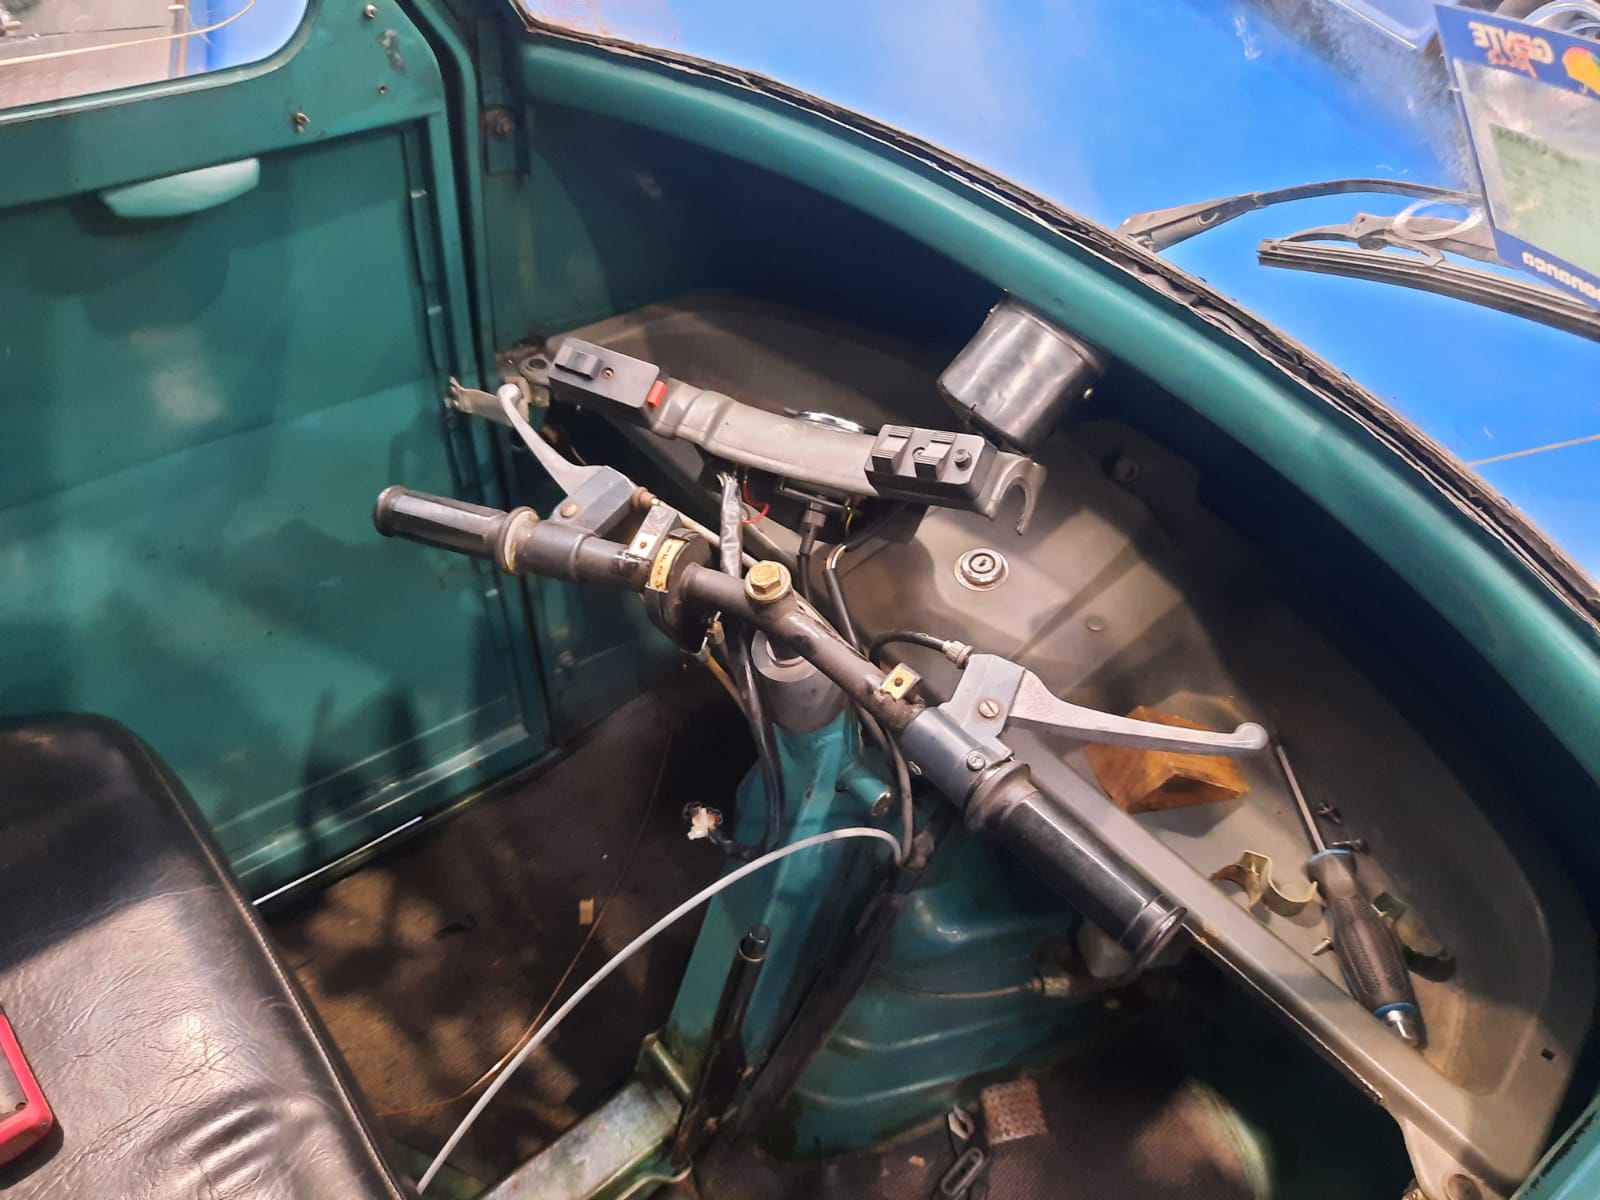
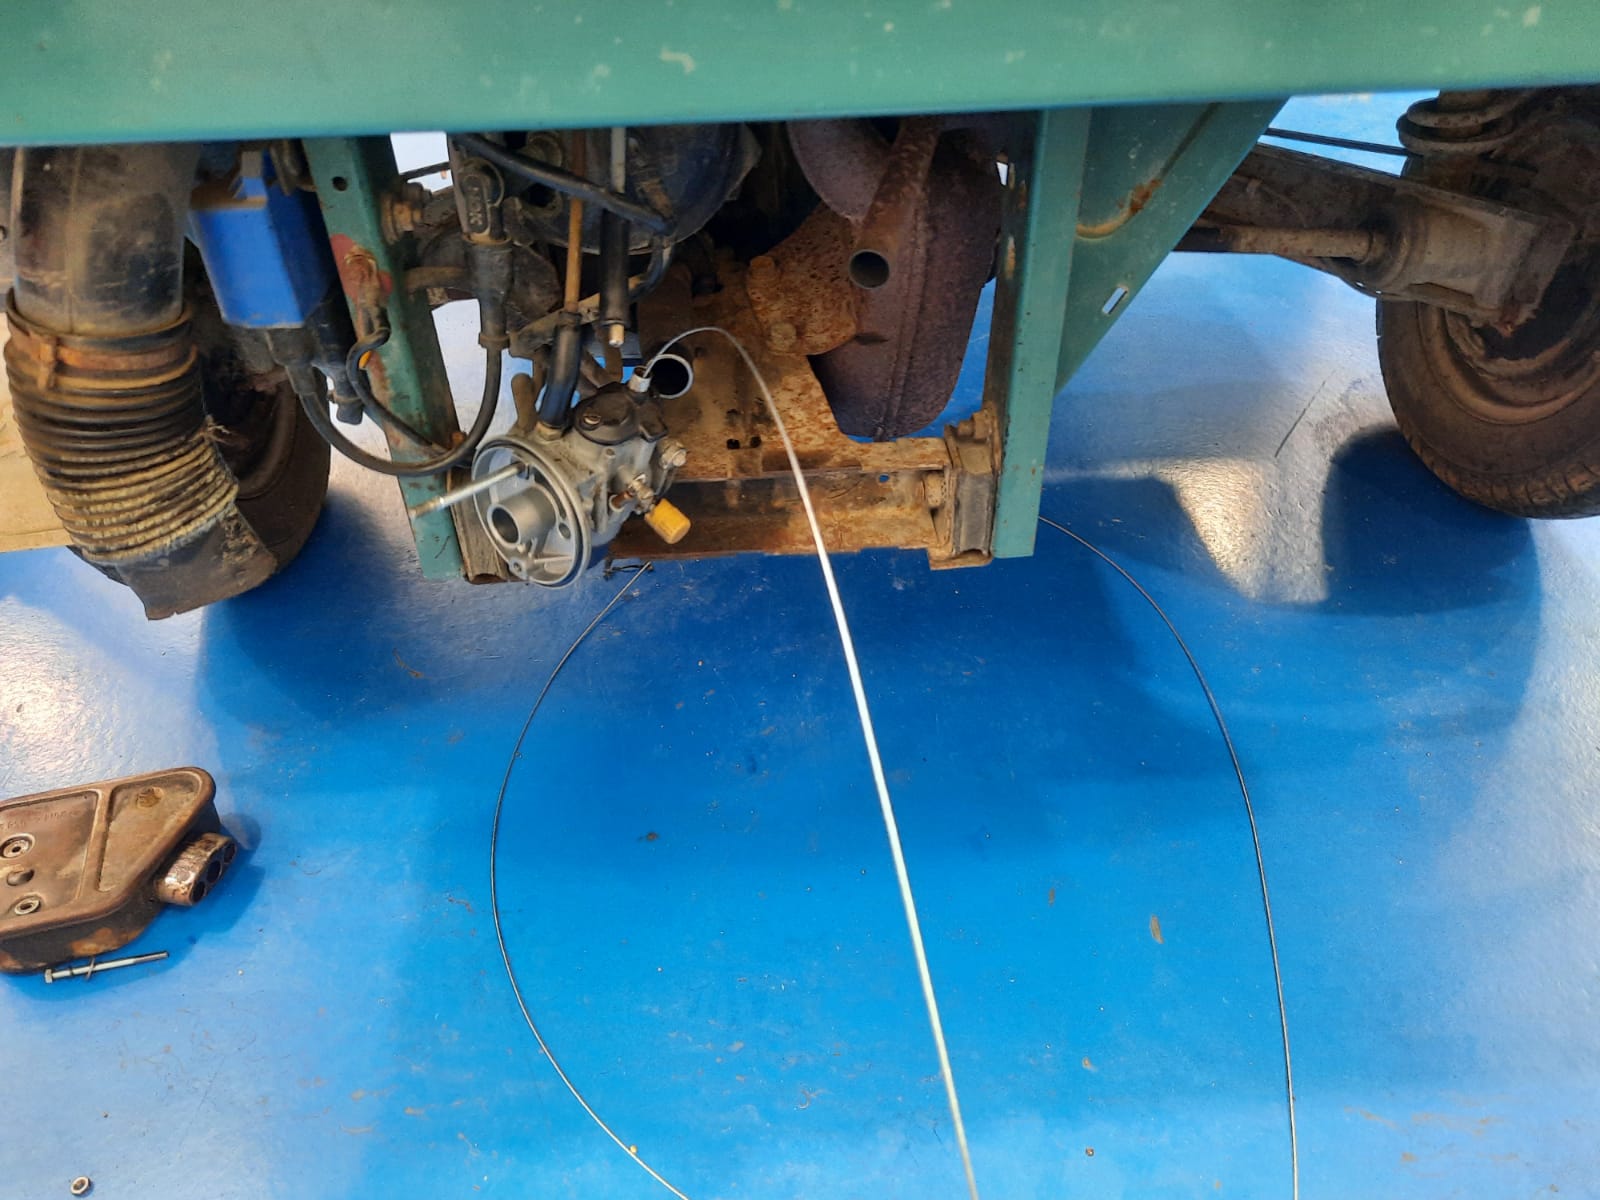
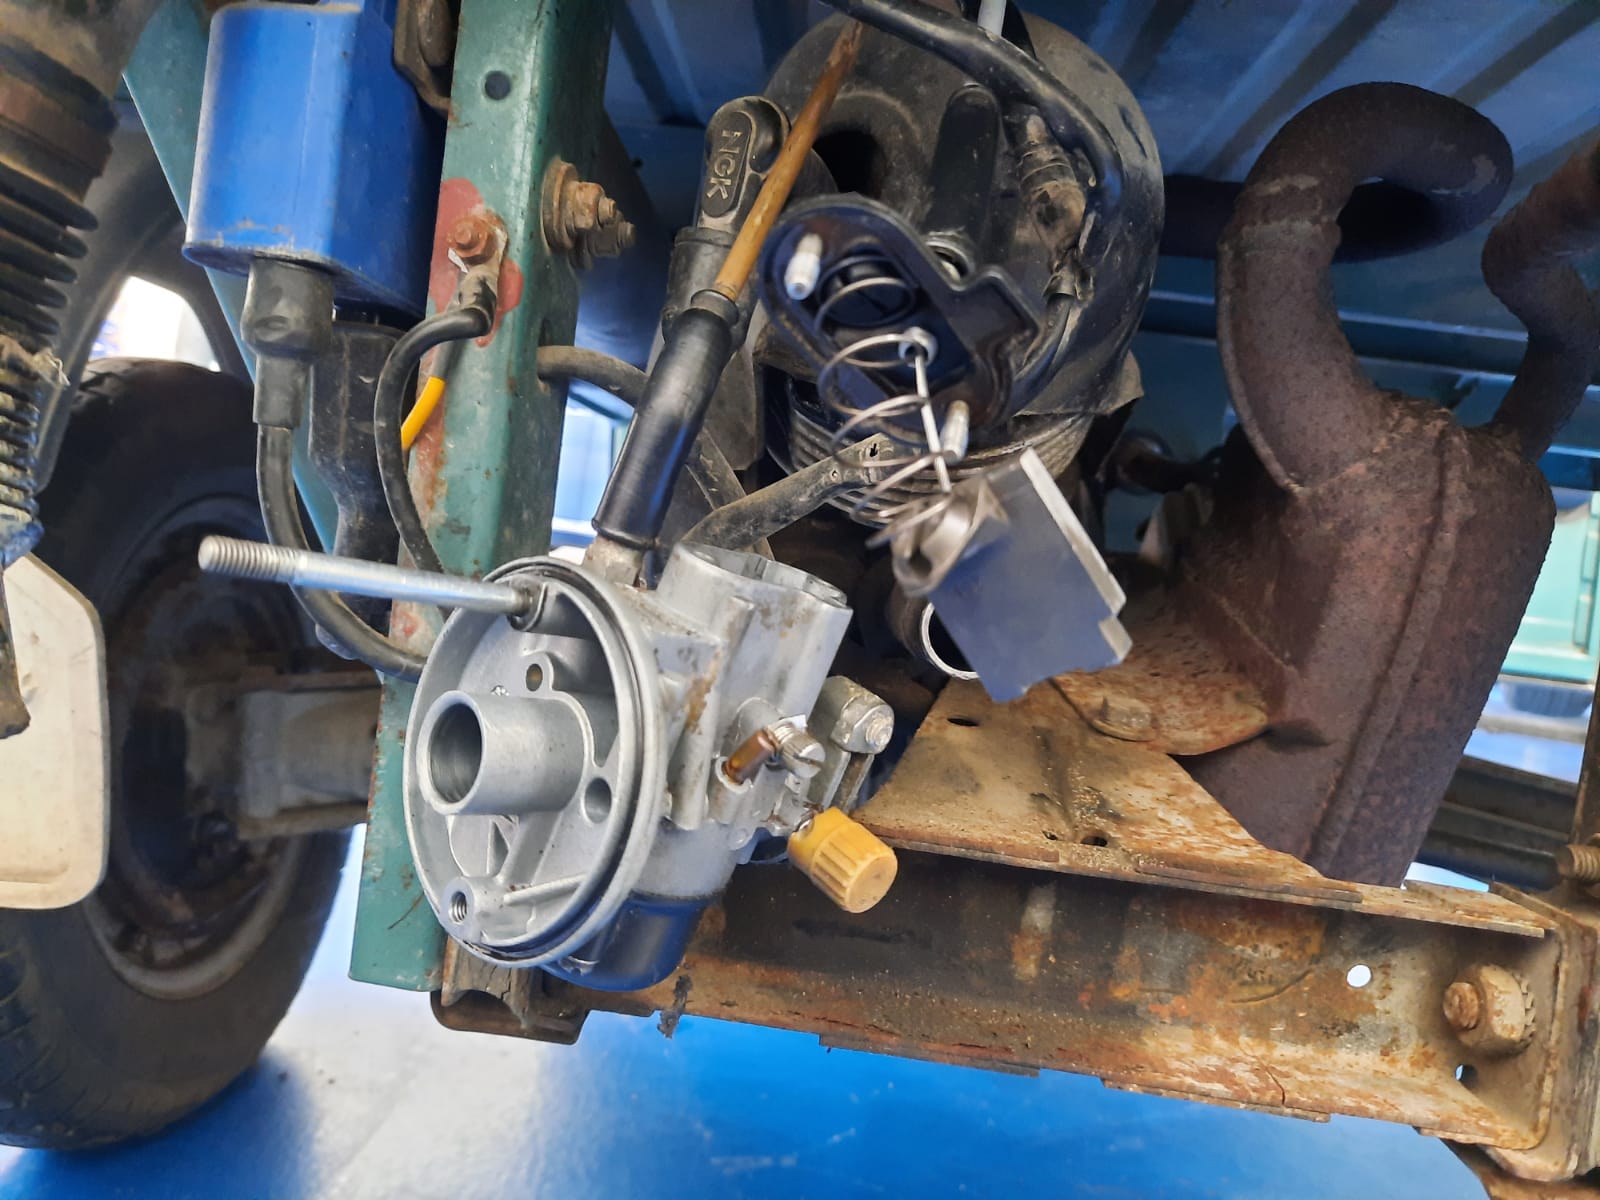
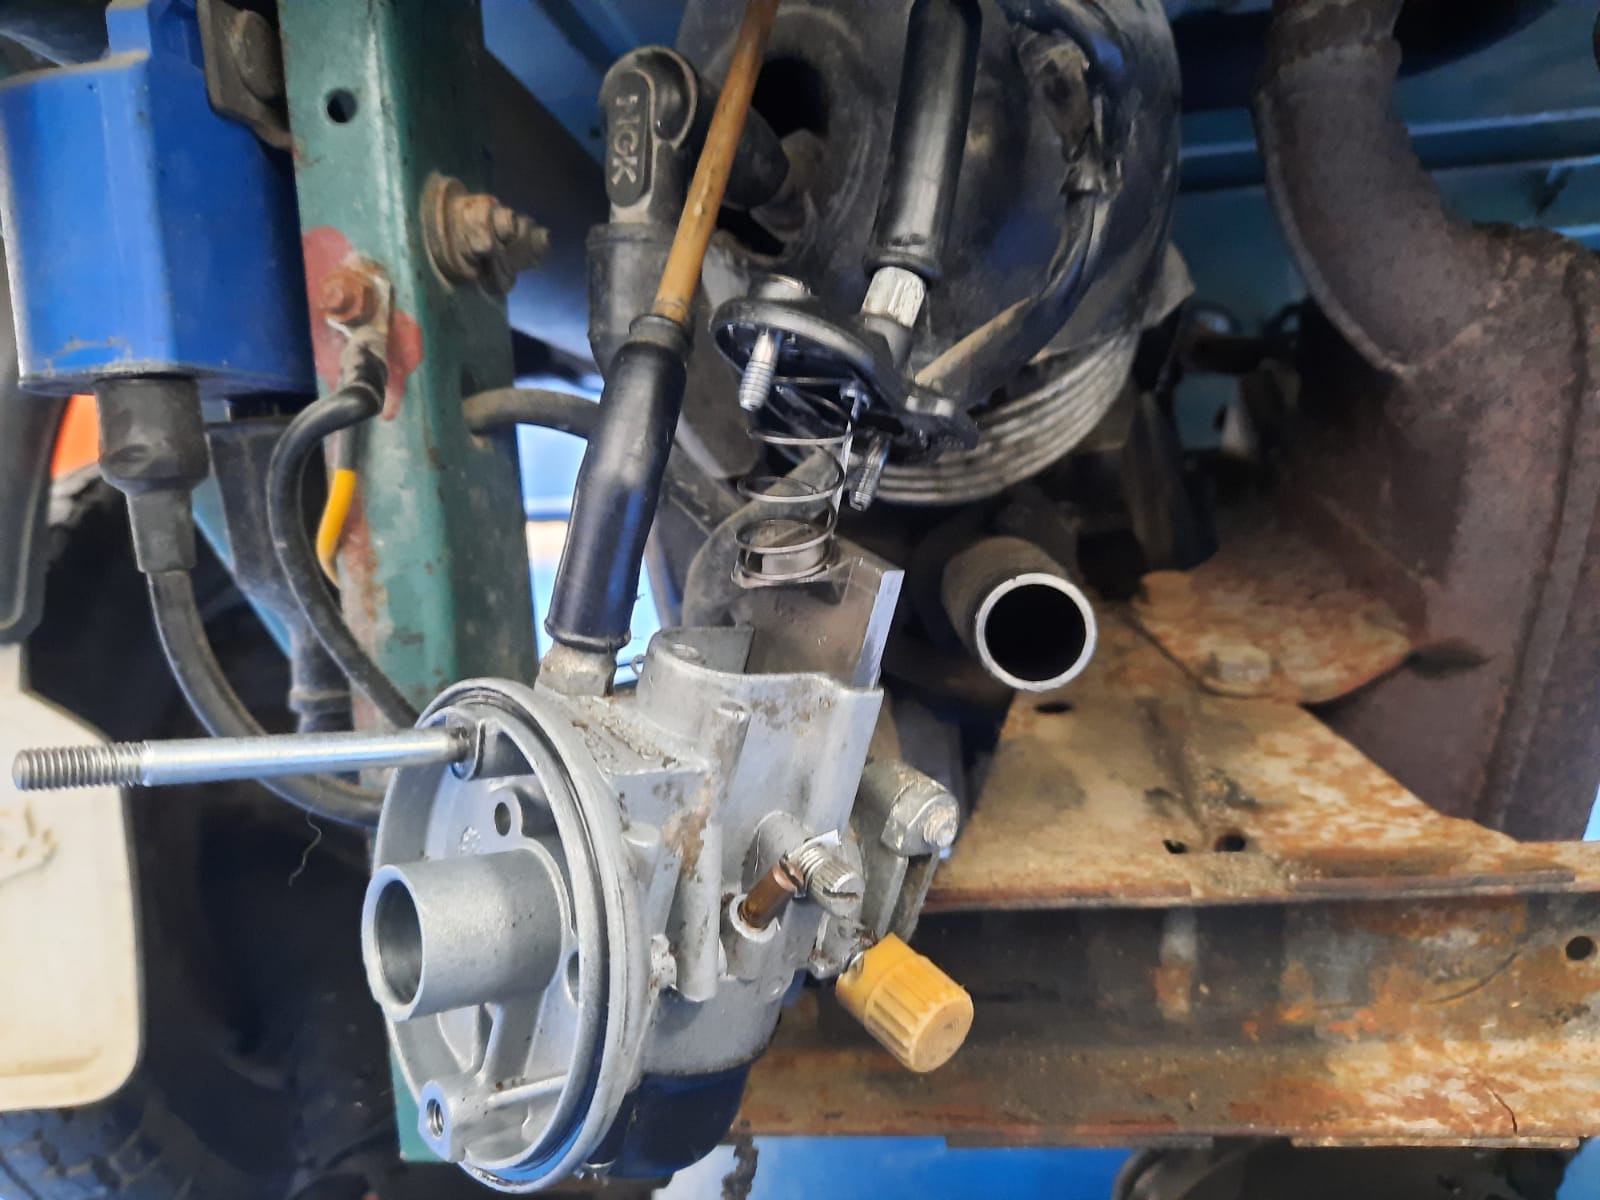

The new throttle cable for our 1994 Piaggio TM P50 Ape is on the car!
Our restoration technician Mauro has got a long and personal history with this car so it makes sense for him to be the technician to be working on the car. The throttle cable for the Ape is much like a motorcycle throttle cable and it’s routed carefully through the car down to the little single carb at the back.
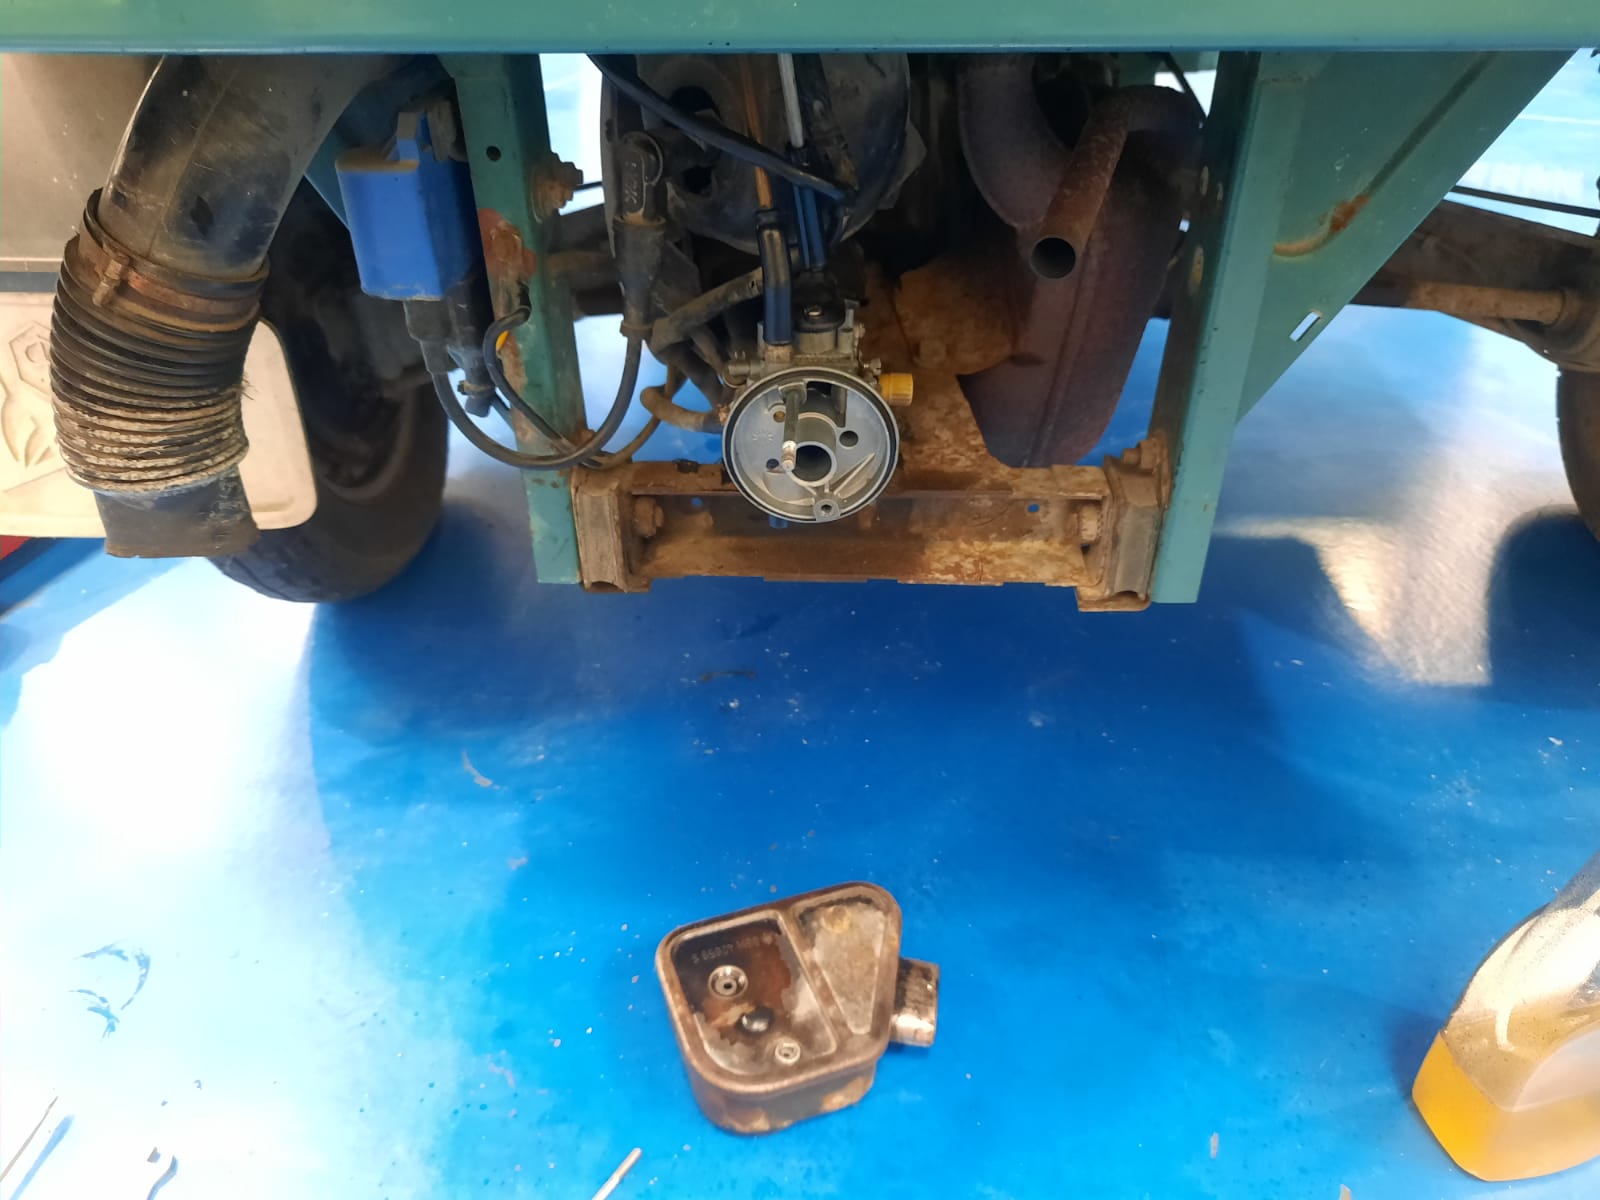
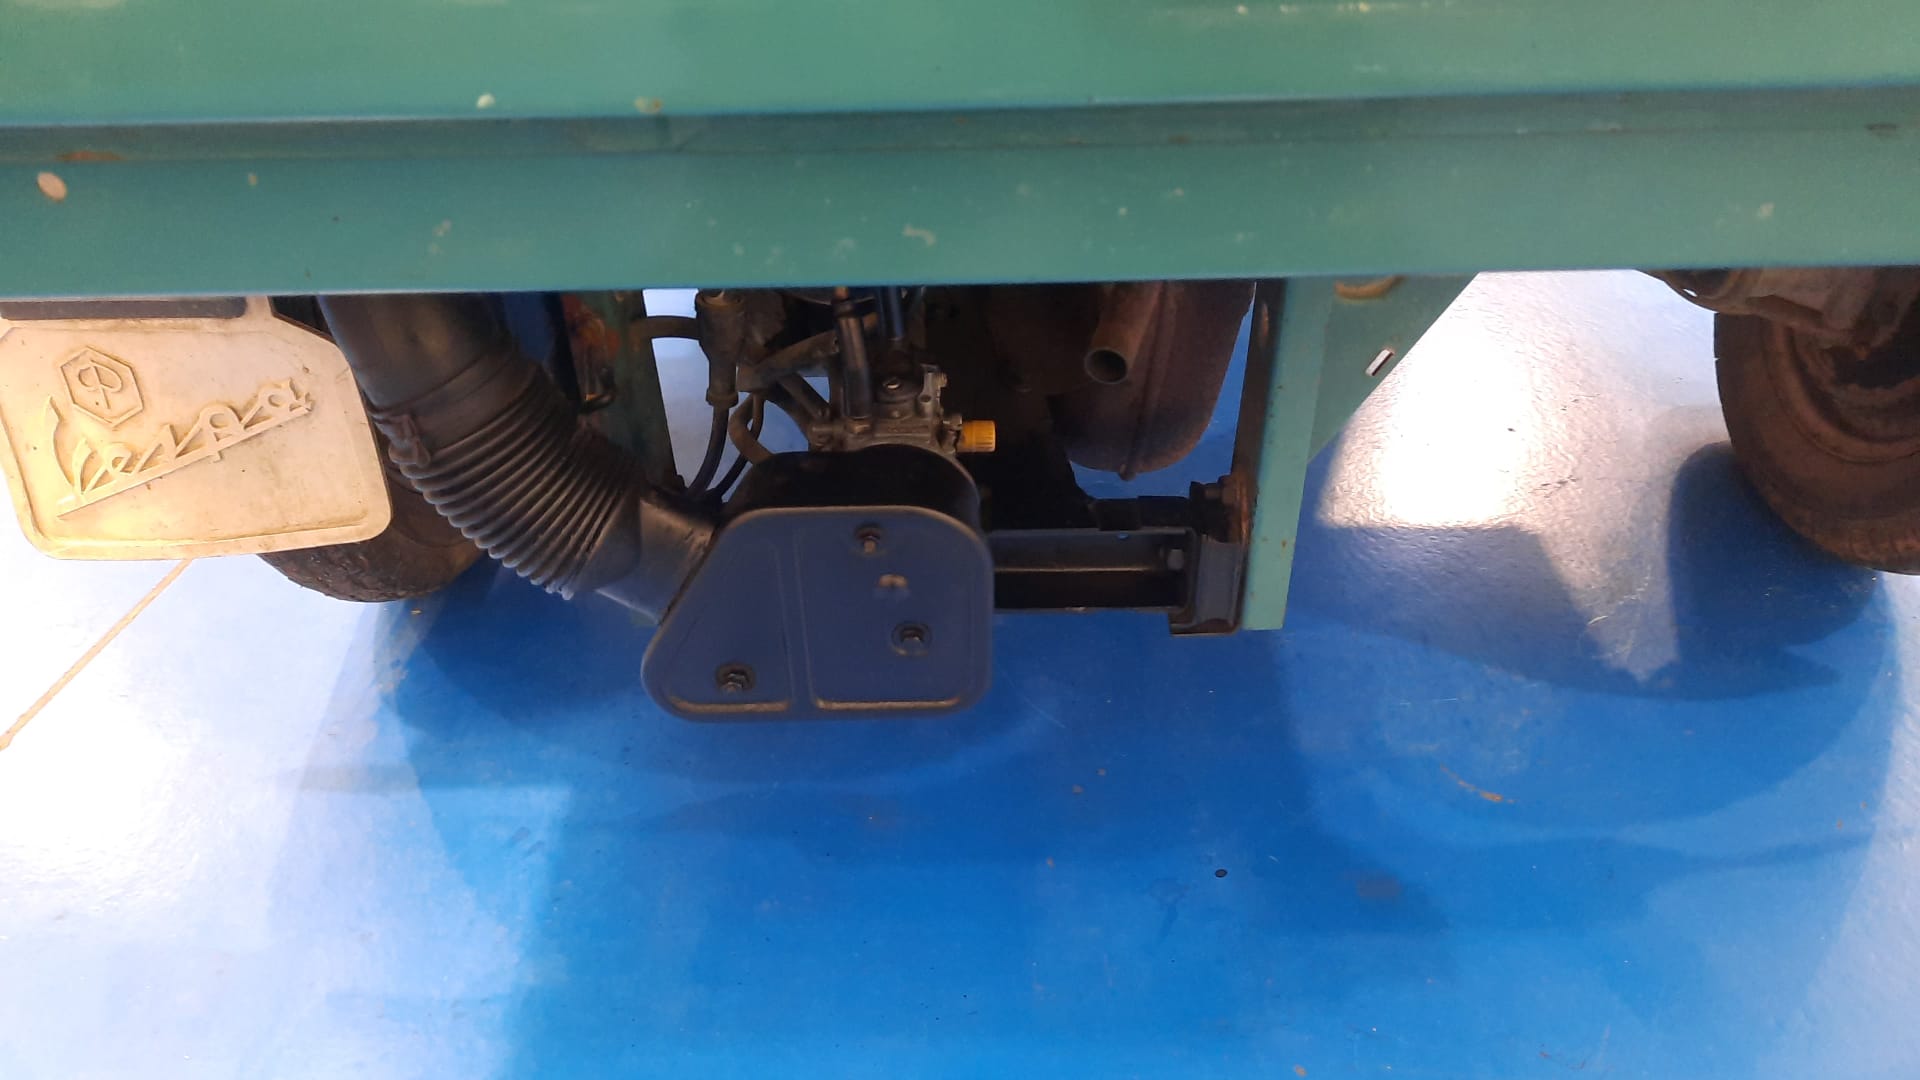
Now that it is all in place and back together, we can start to test the Ape ready for it’s MOT soon!

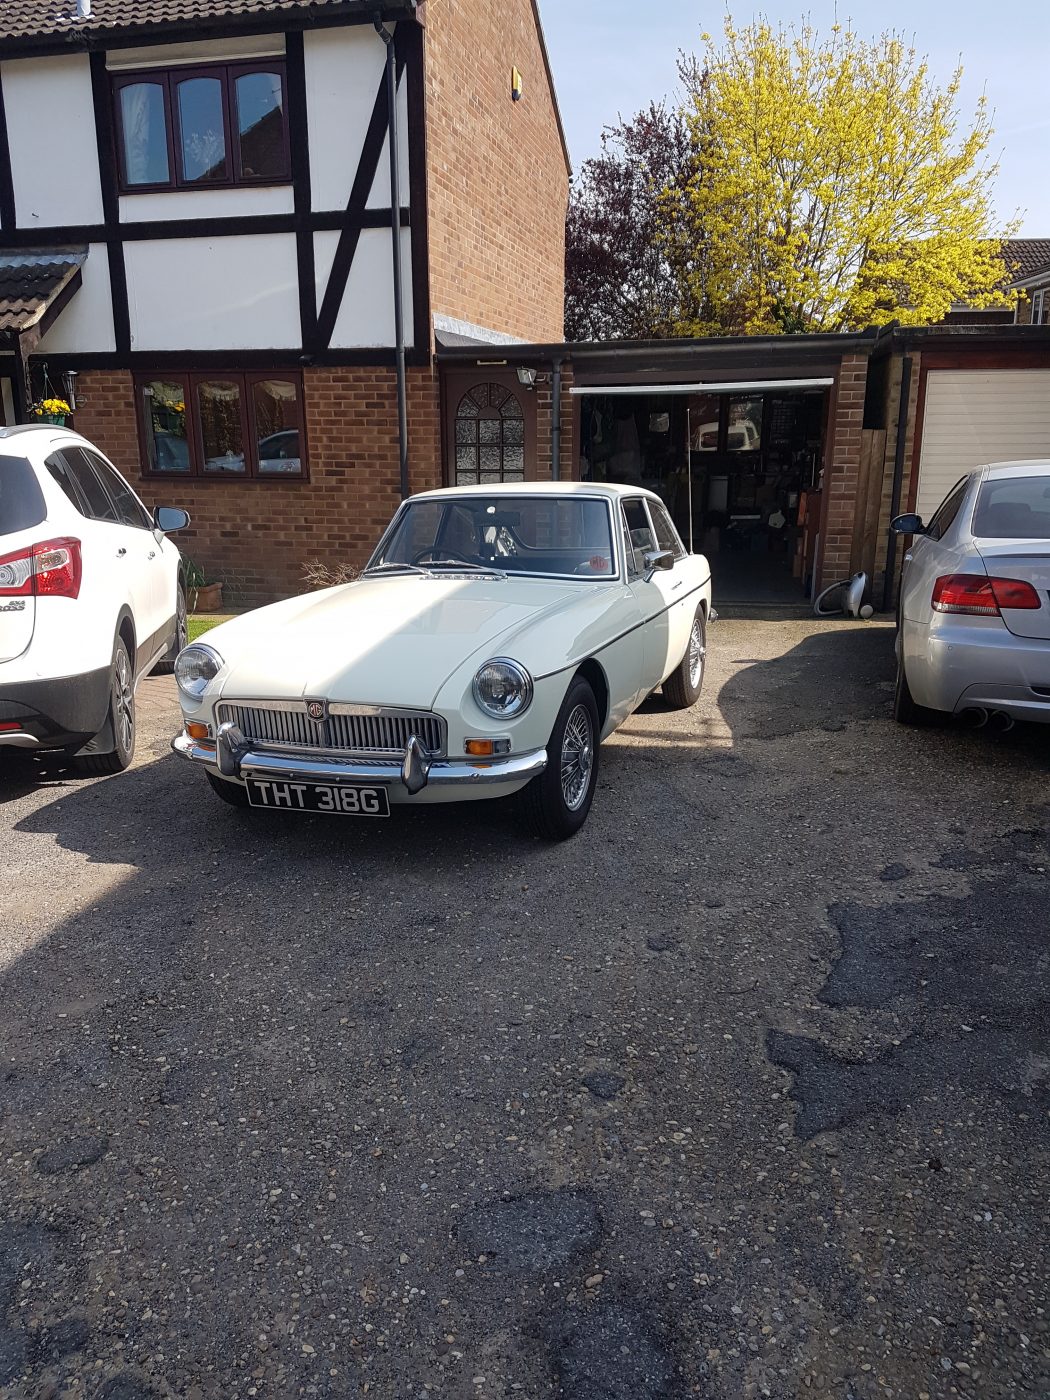
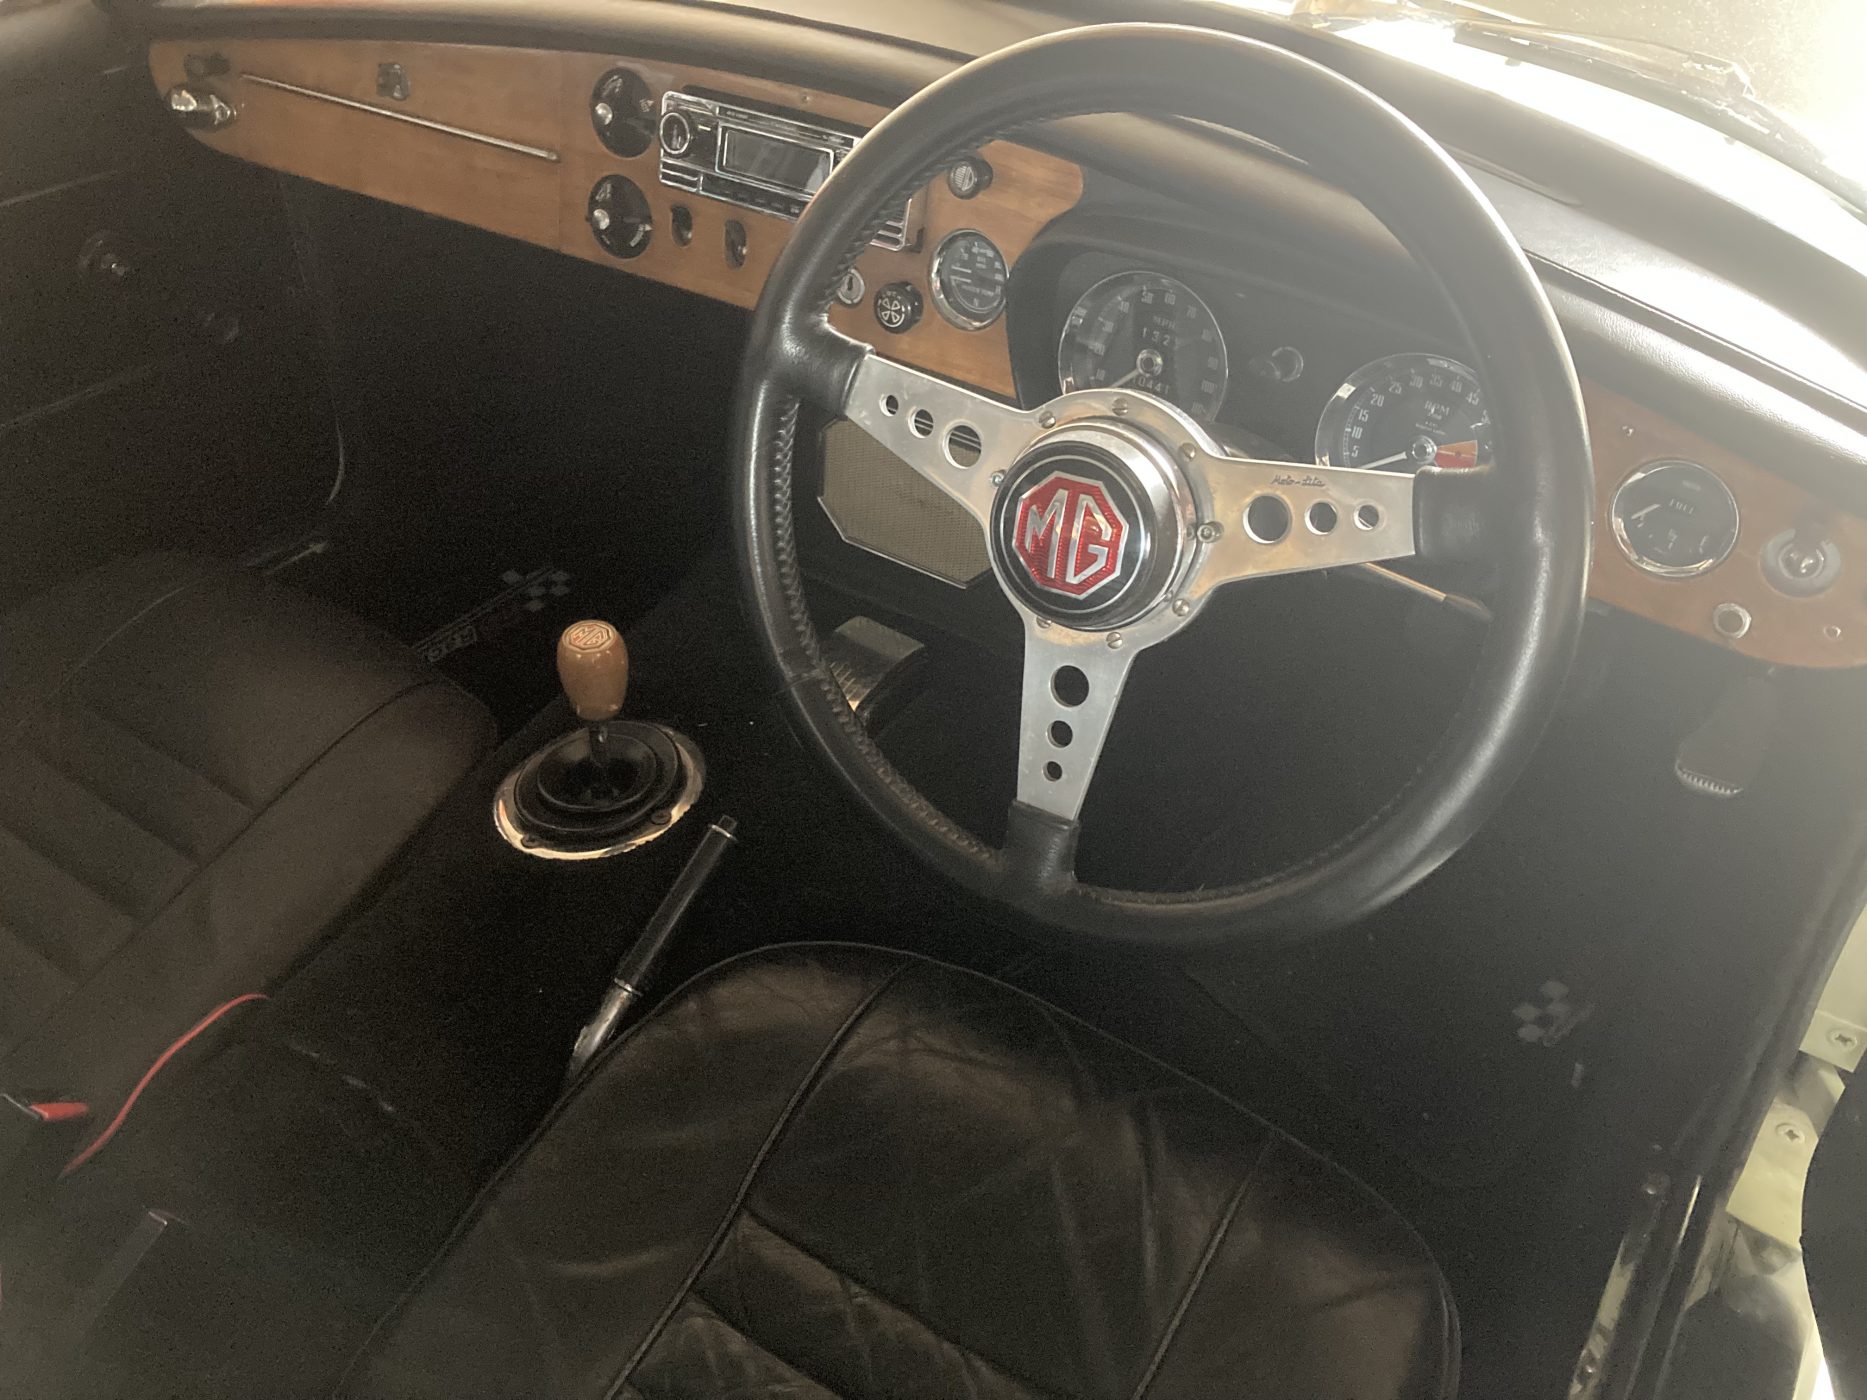
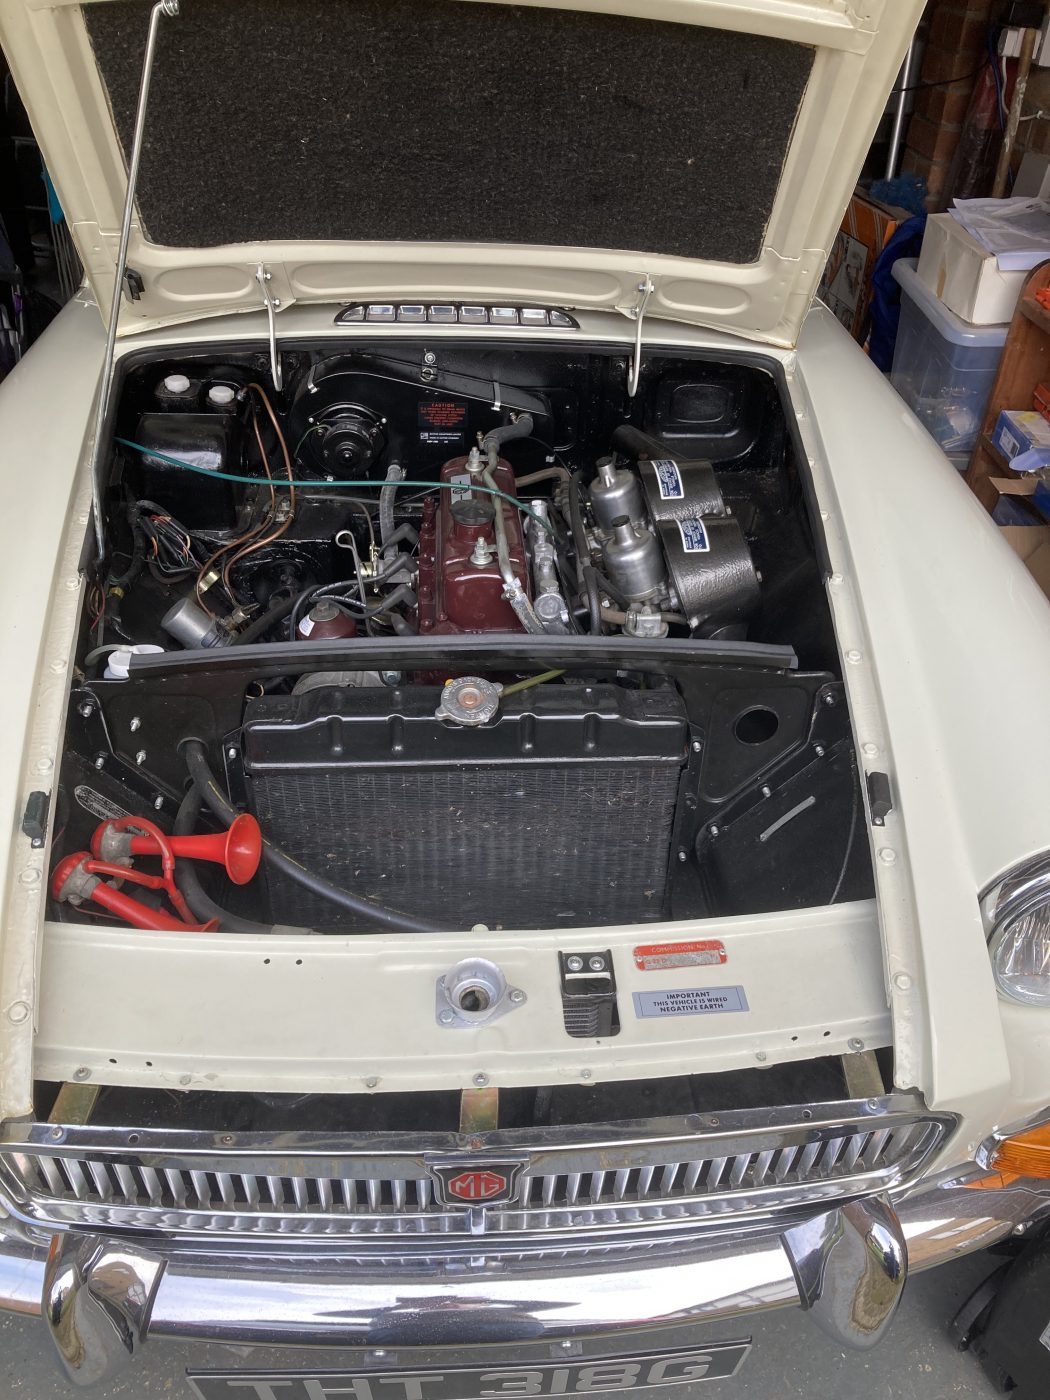
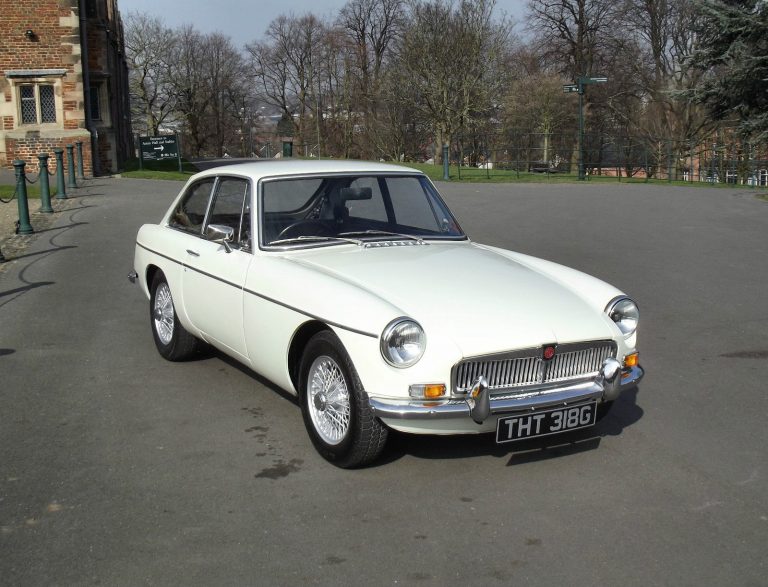
Bridge Classic Cars will soon be welcoming this stunning 1969 MGB GT into our Pettistree workshop for a list of jobs to get this beautiful white 2 door sportscar back up and running.
There’s a reported issue with the fuel pump, which in turn means that the carburettors will need to be adjusted and balanced. Along with the bits under the bonnet is a service/overhaul of the points and rotor arm in the distributor upon the client’s request. The customer also reports the overdrive only working intermittently so that will be investigated by our in-house restoration technicians then we will advise on any issues.
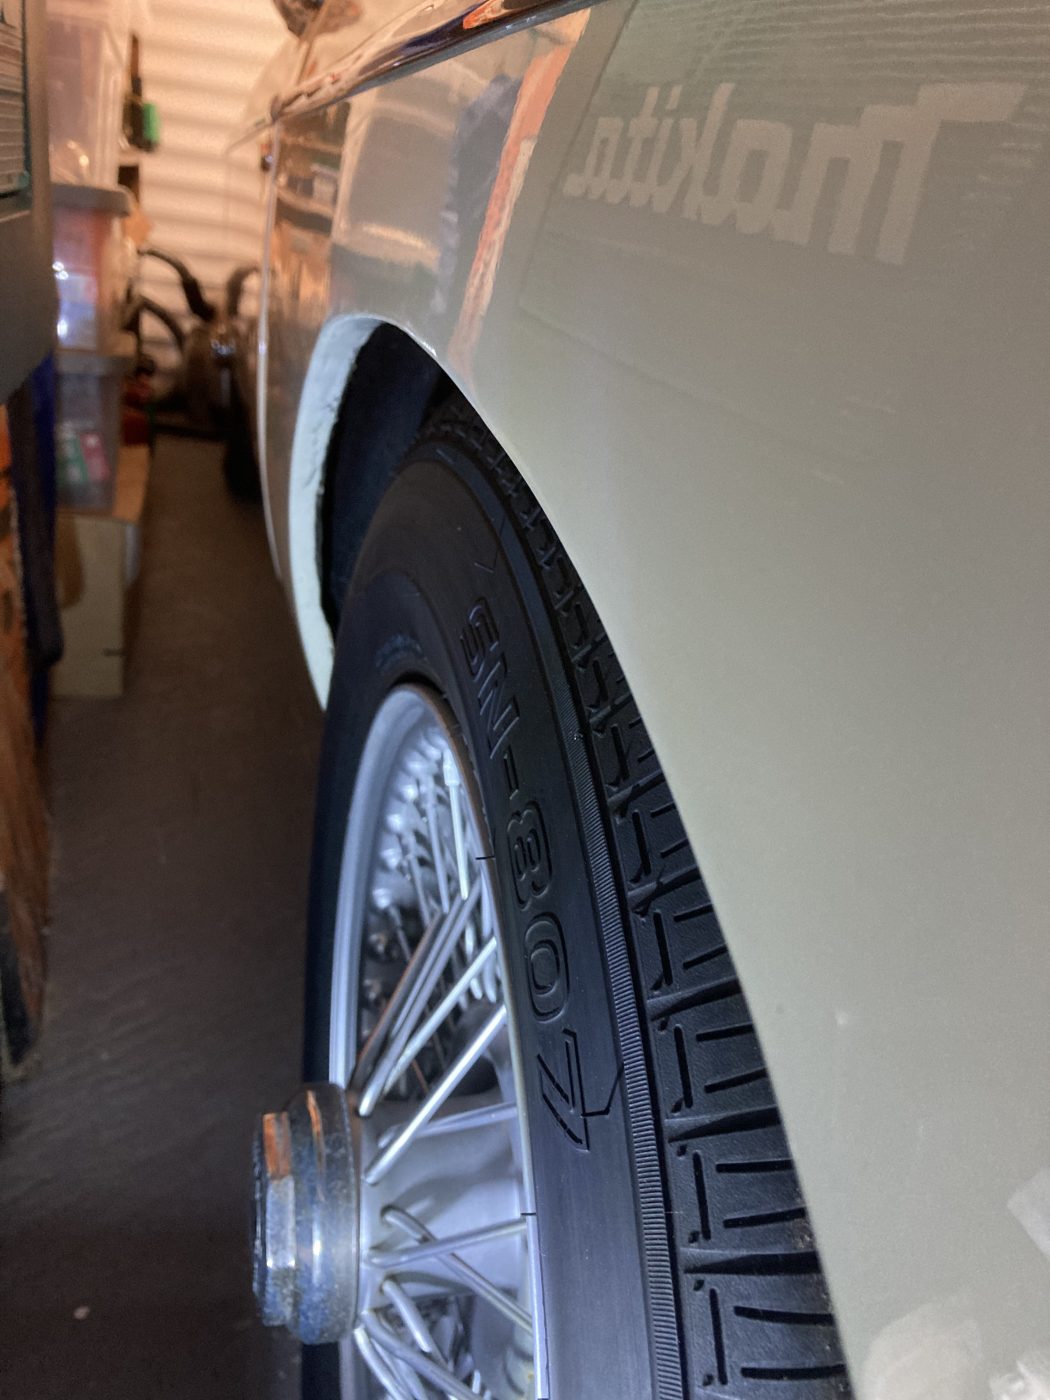
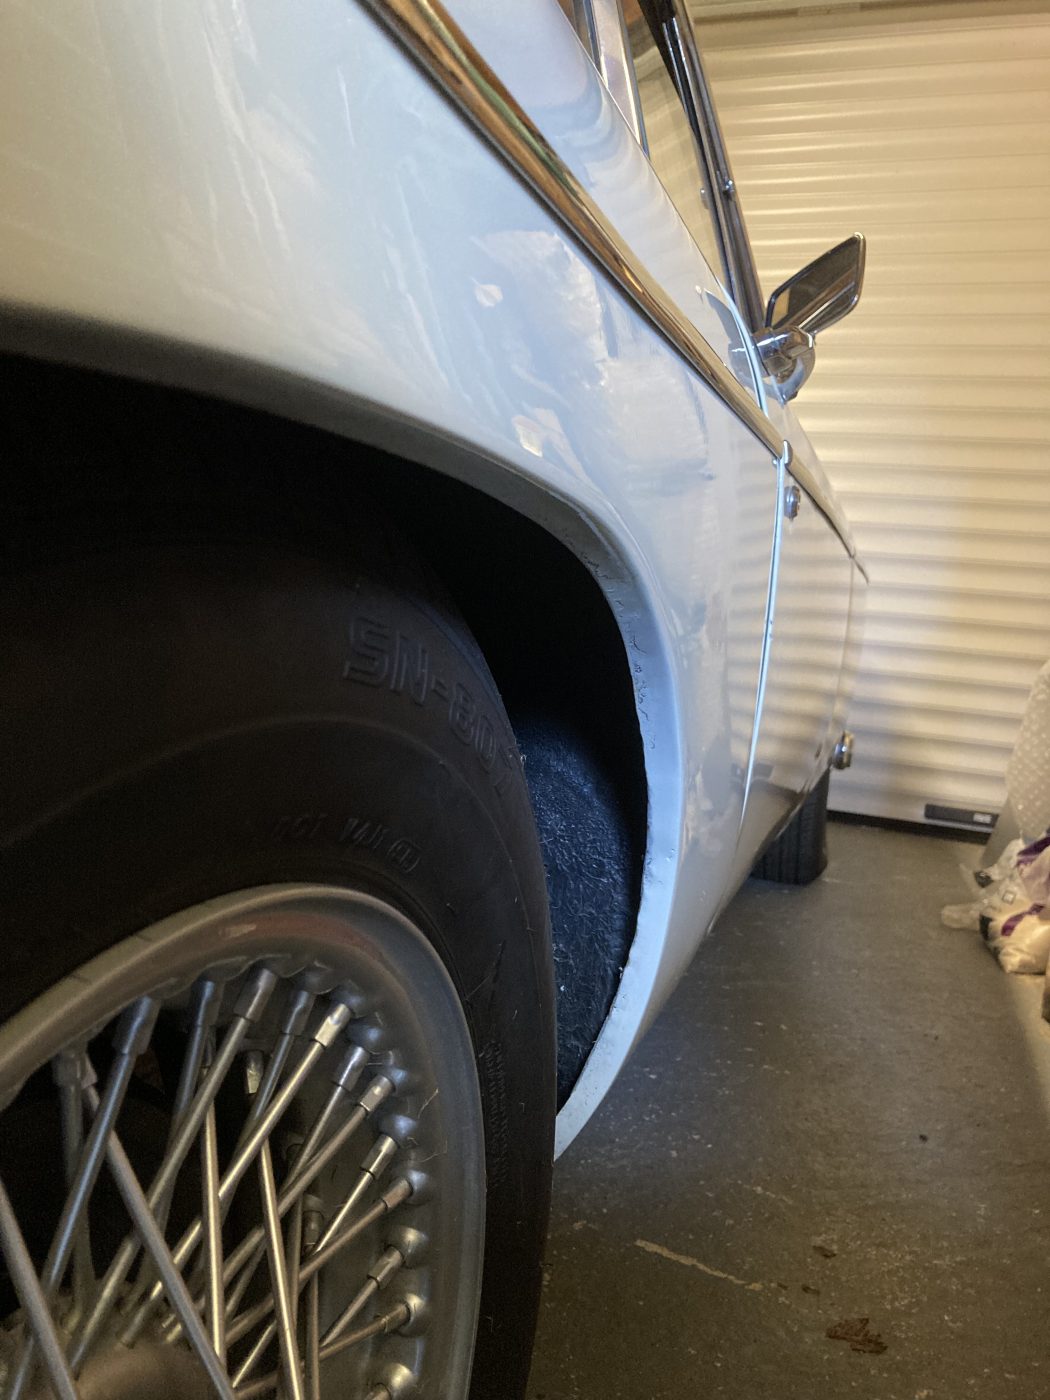
Around the car, there are a few areas around the car that our in-house restoration teams will also be looking into. Some rubber seals on the rear hatch have perished in places so to make sure the car is weatherproofed and stop any water from entering the cabin. Next up, our body and paint experts will have a look at an issue with tyre fitment. The nearside wheel arch apparently catches on the tyre but there does seem to have been some modifications done to the offside rear arch to stop that from happening.
Keep an eye out on the Bridge Classic Cars news page for more updates on the 1969 MGB GT.
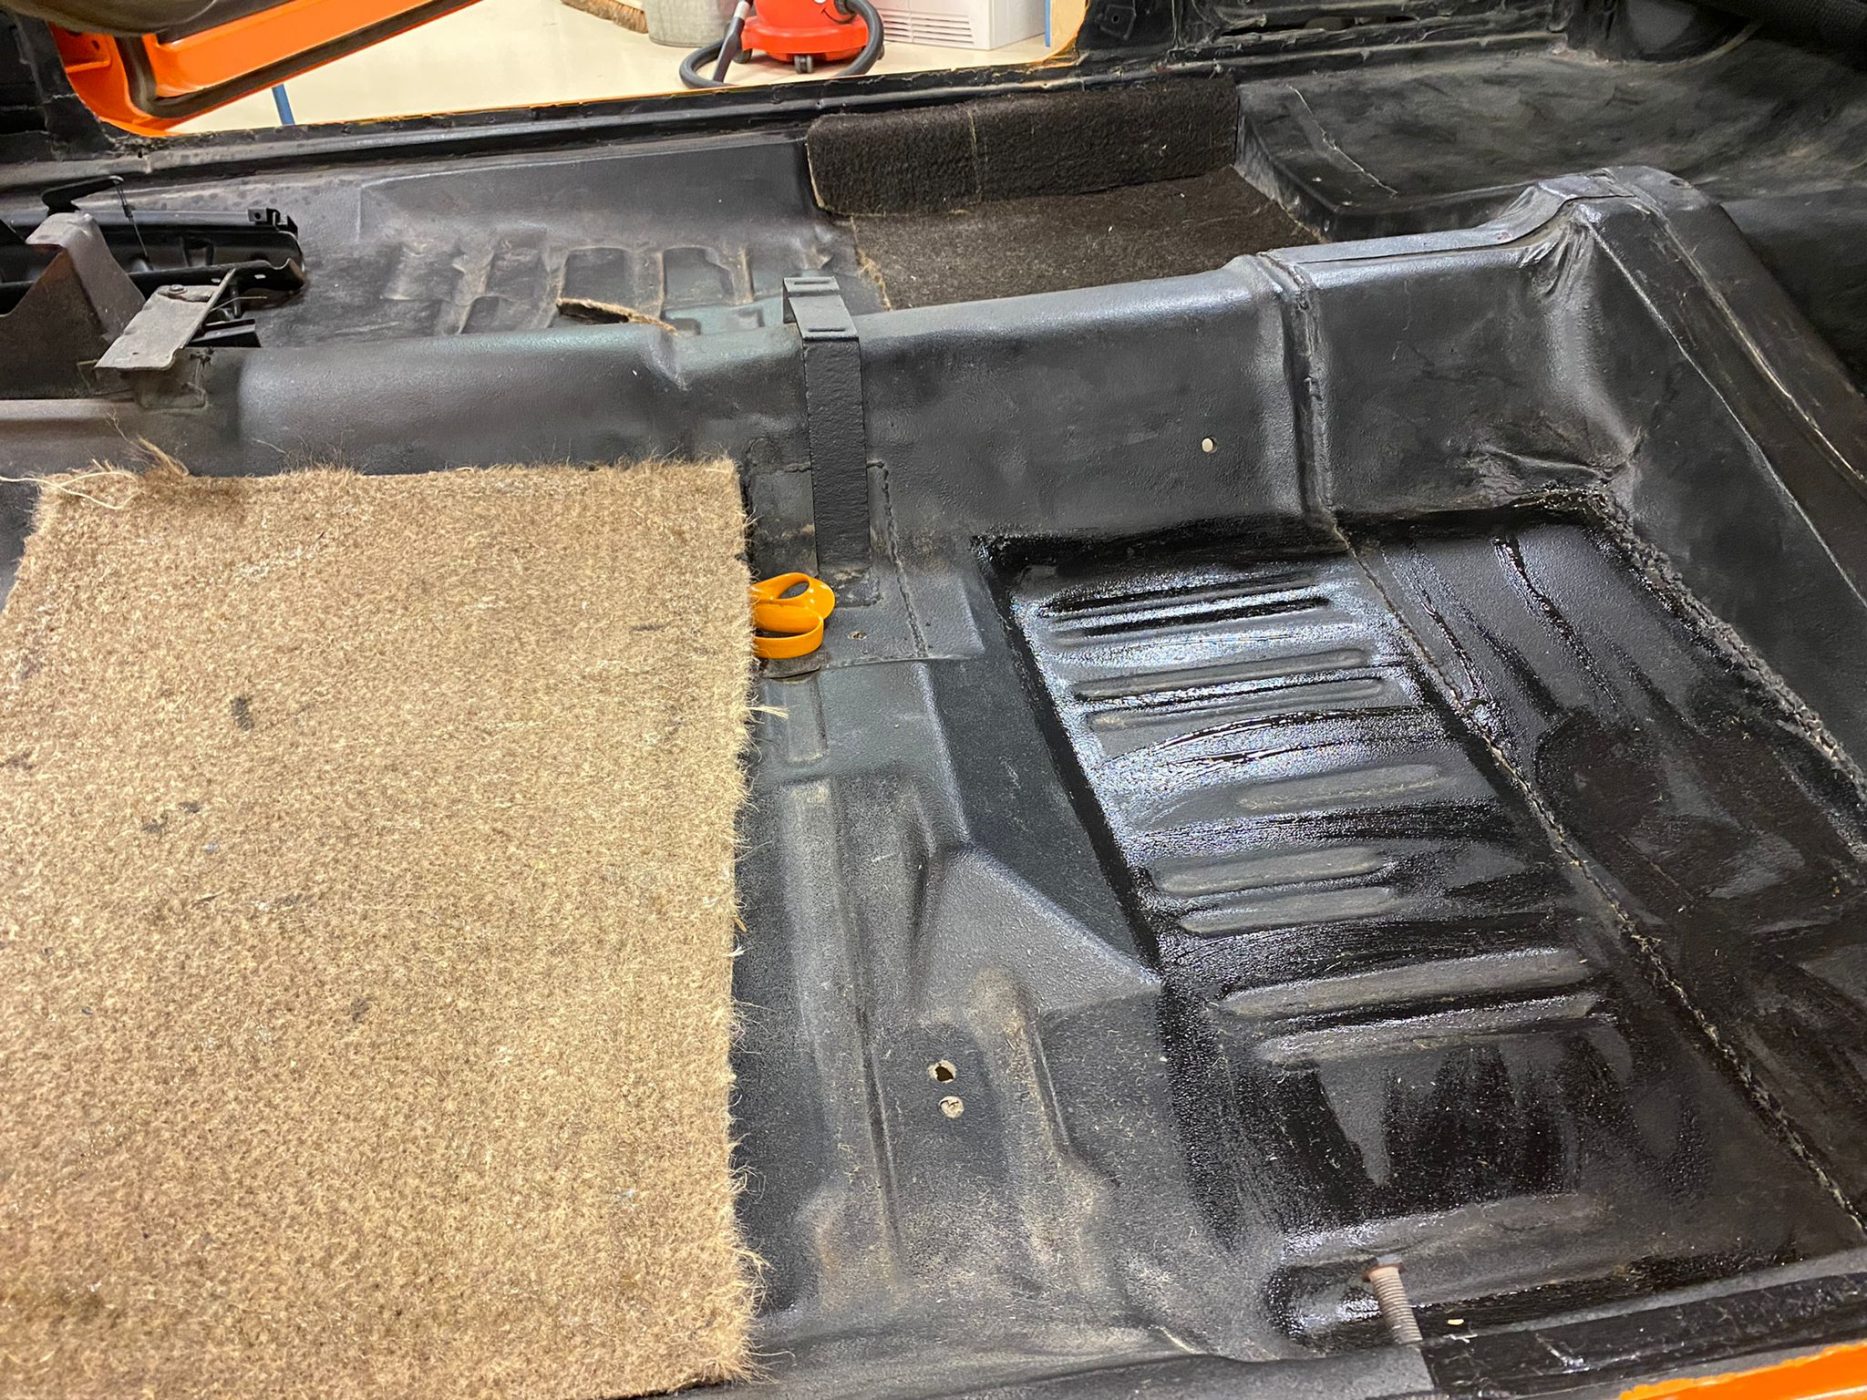
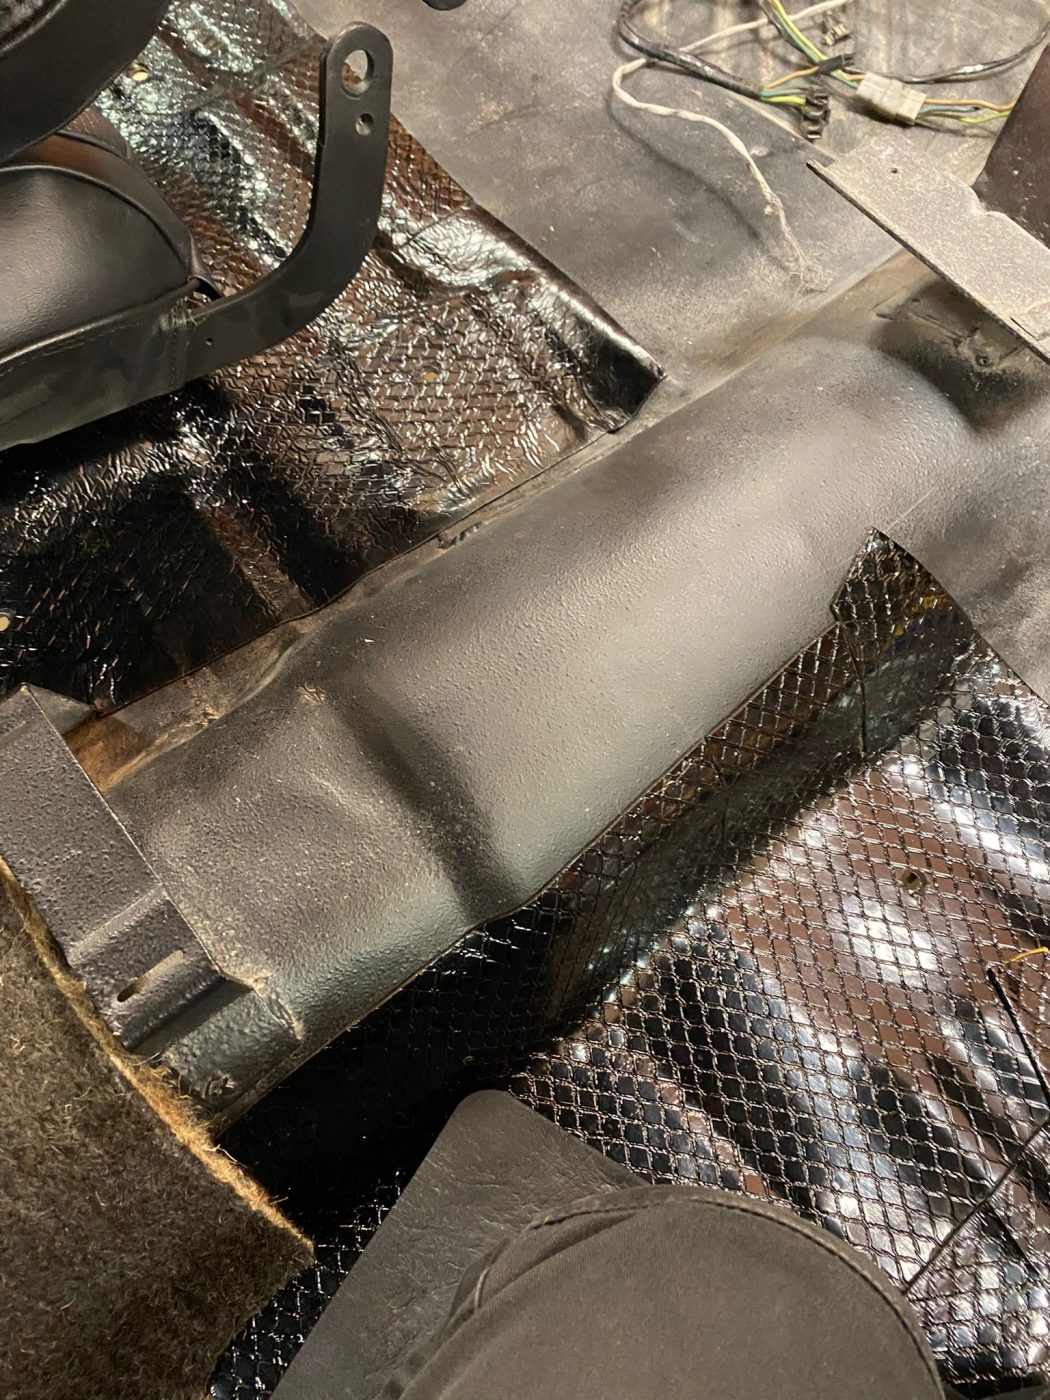
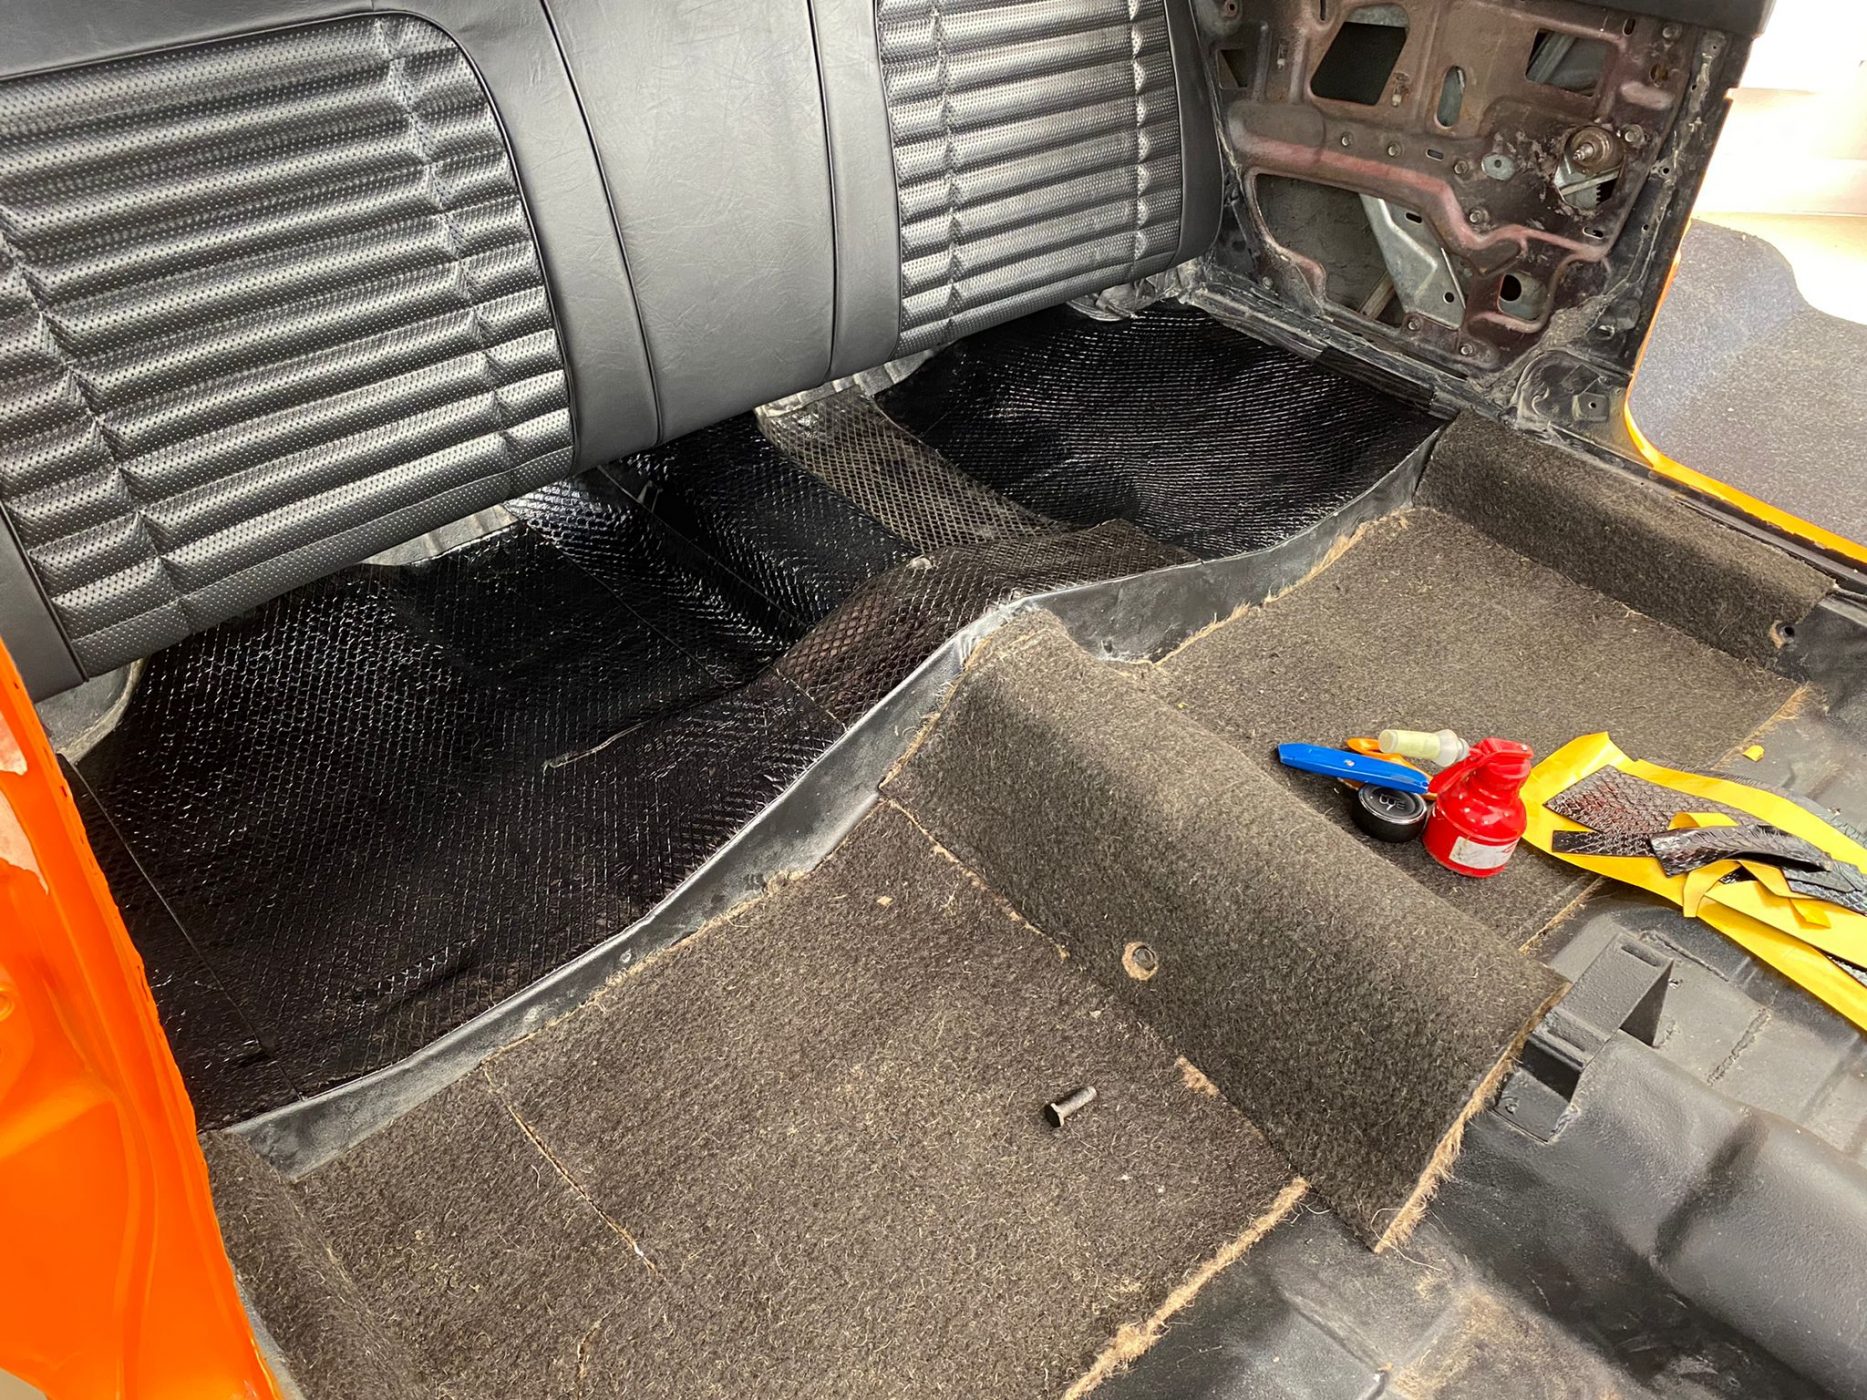
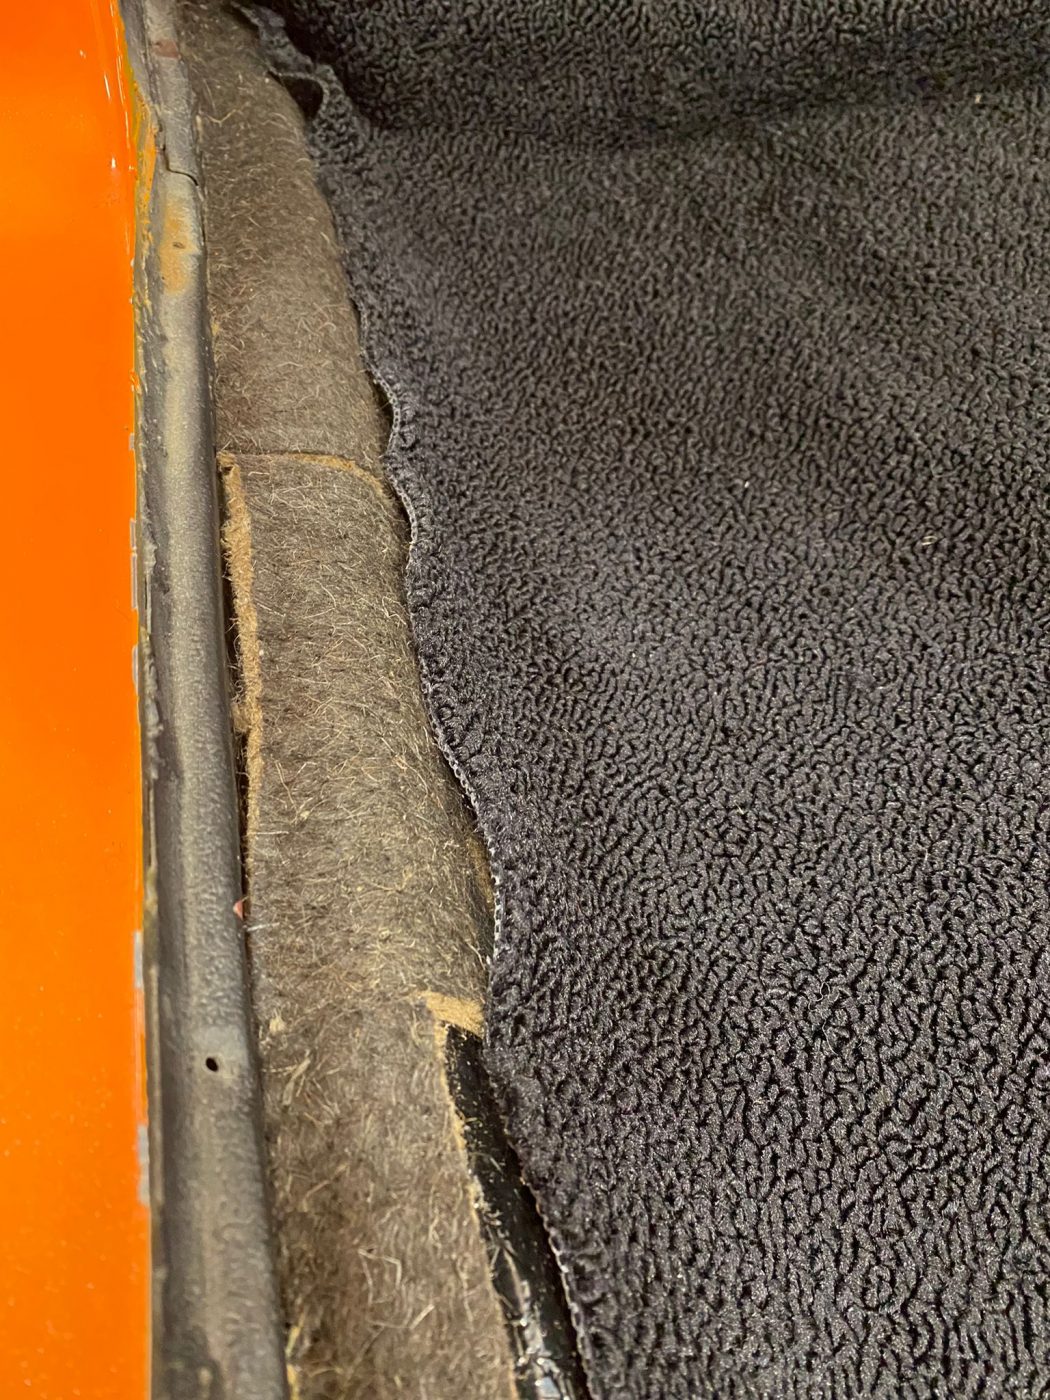
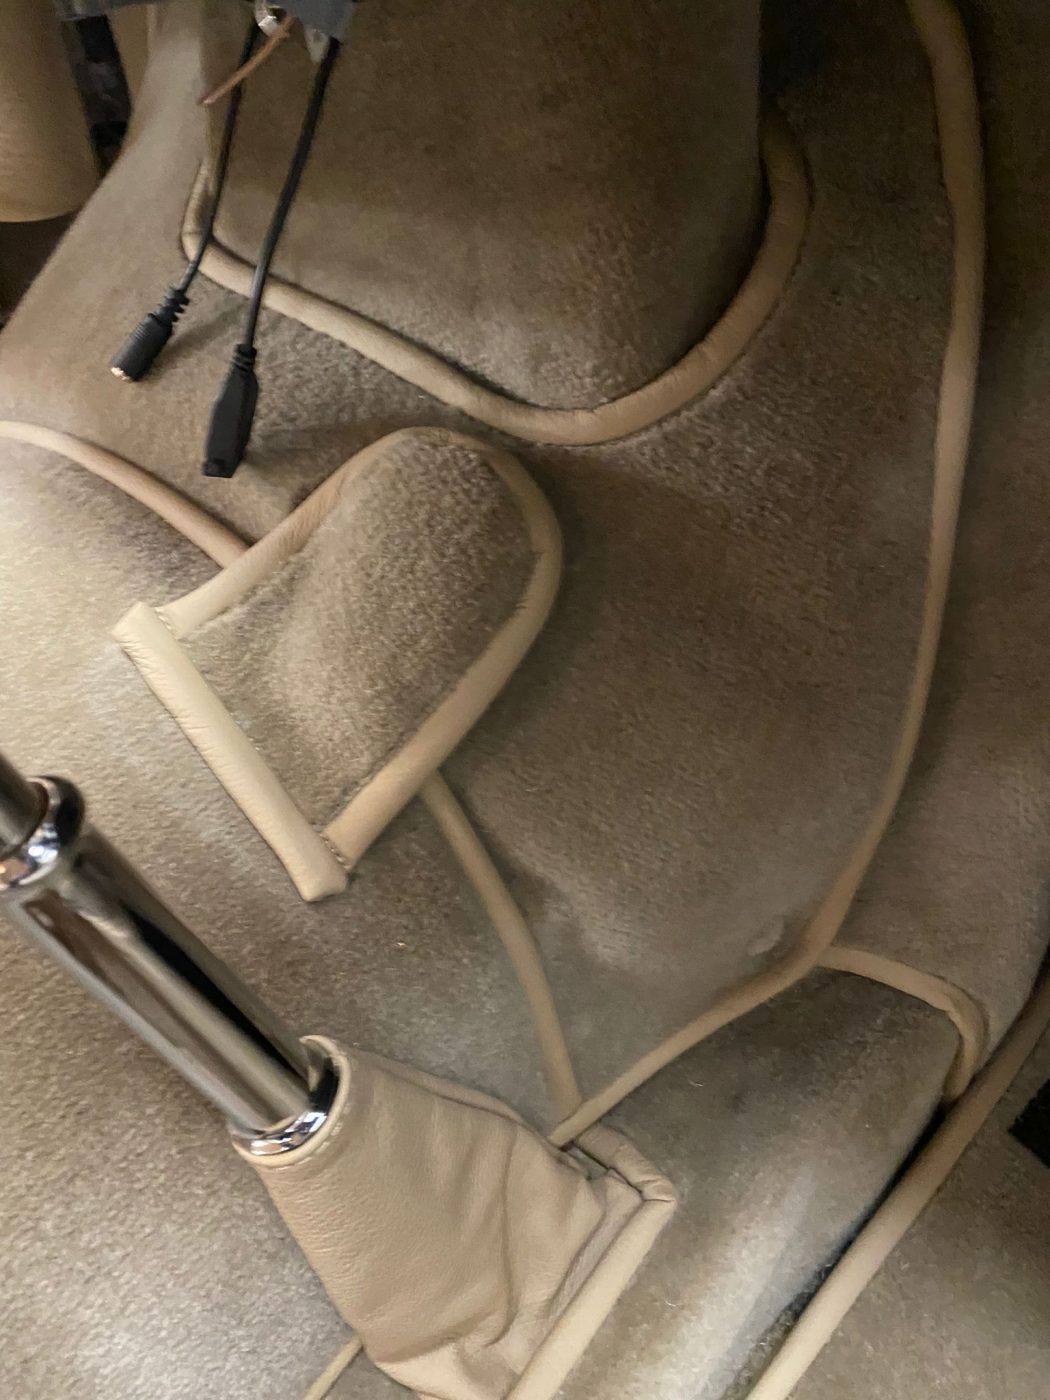
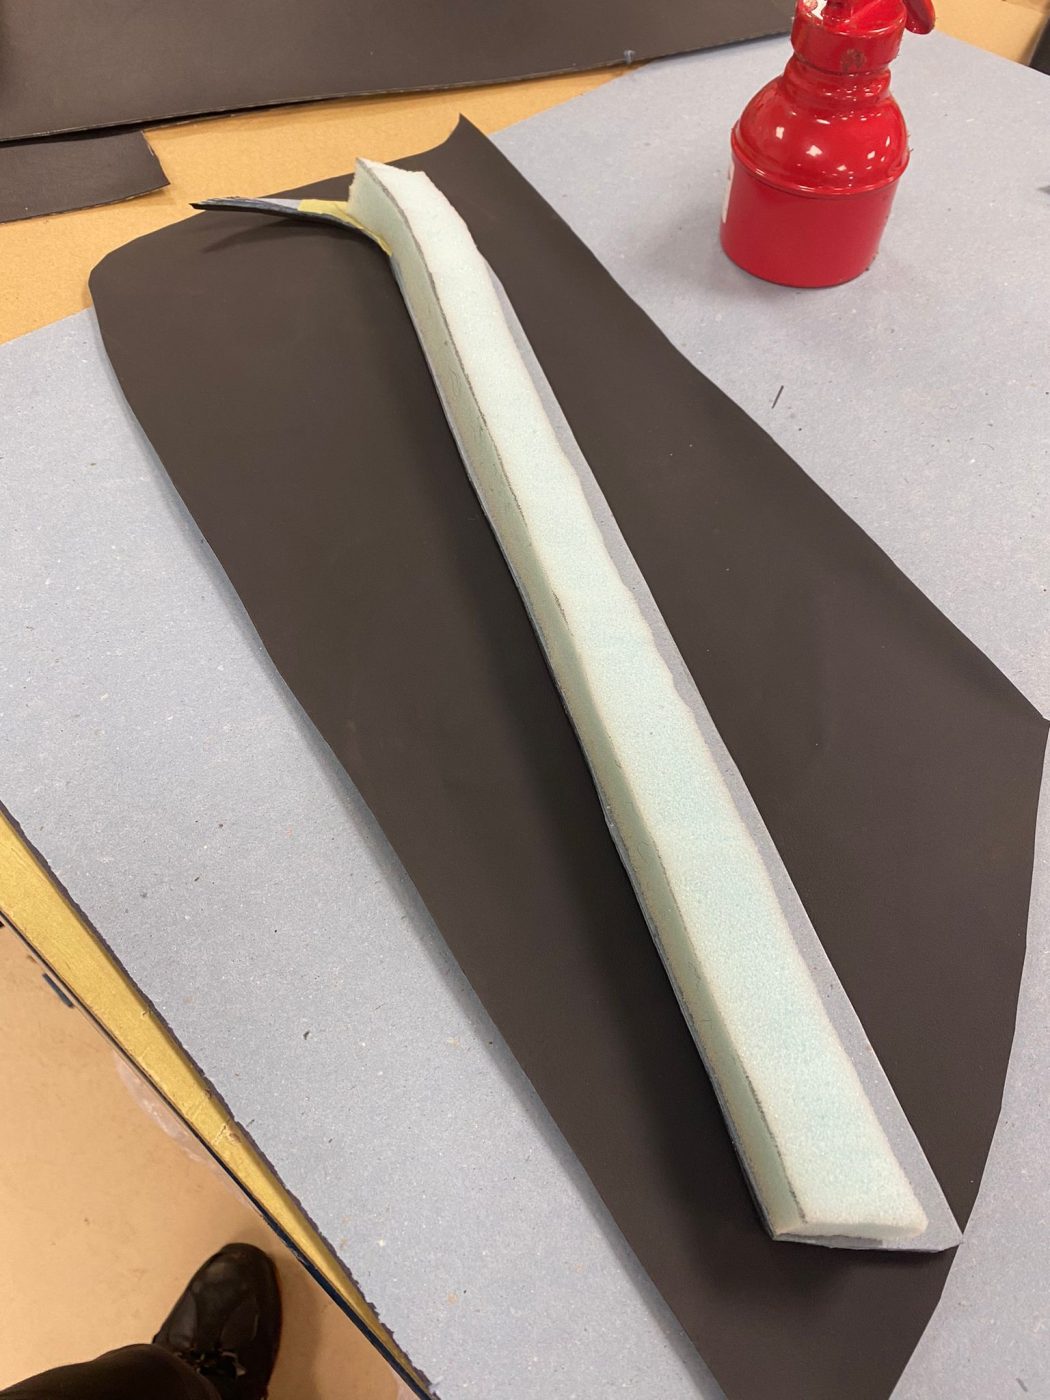
After Kath had mocked up the rear seats into the Charger, it was time to start getting the carpets into the car.
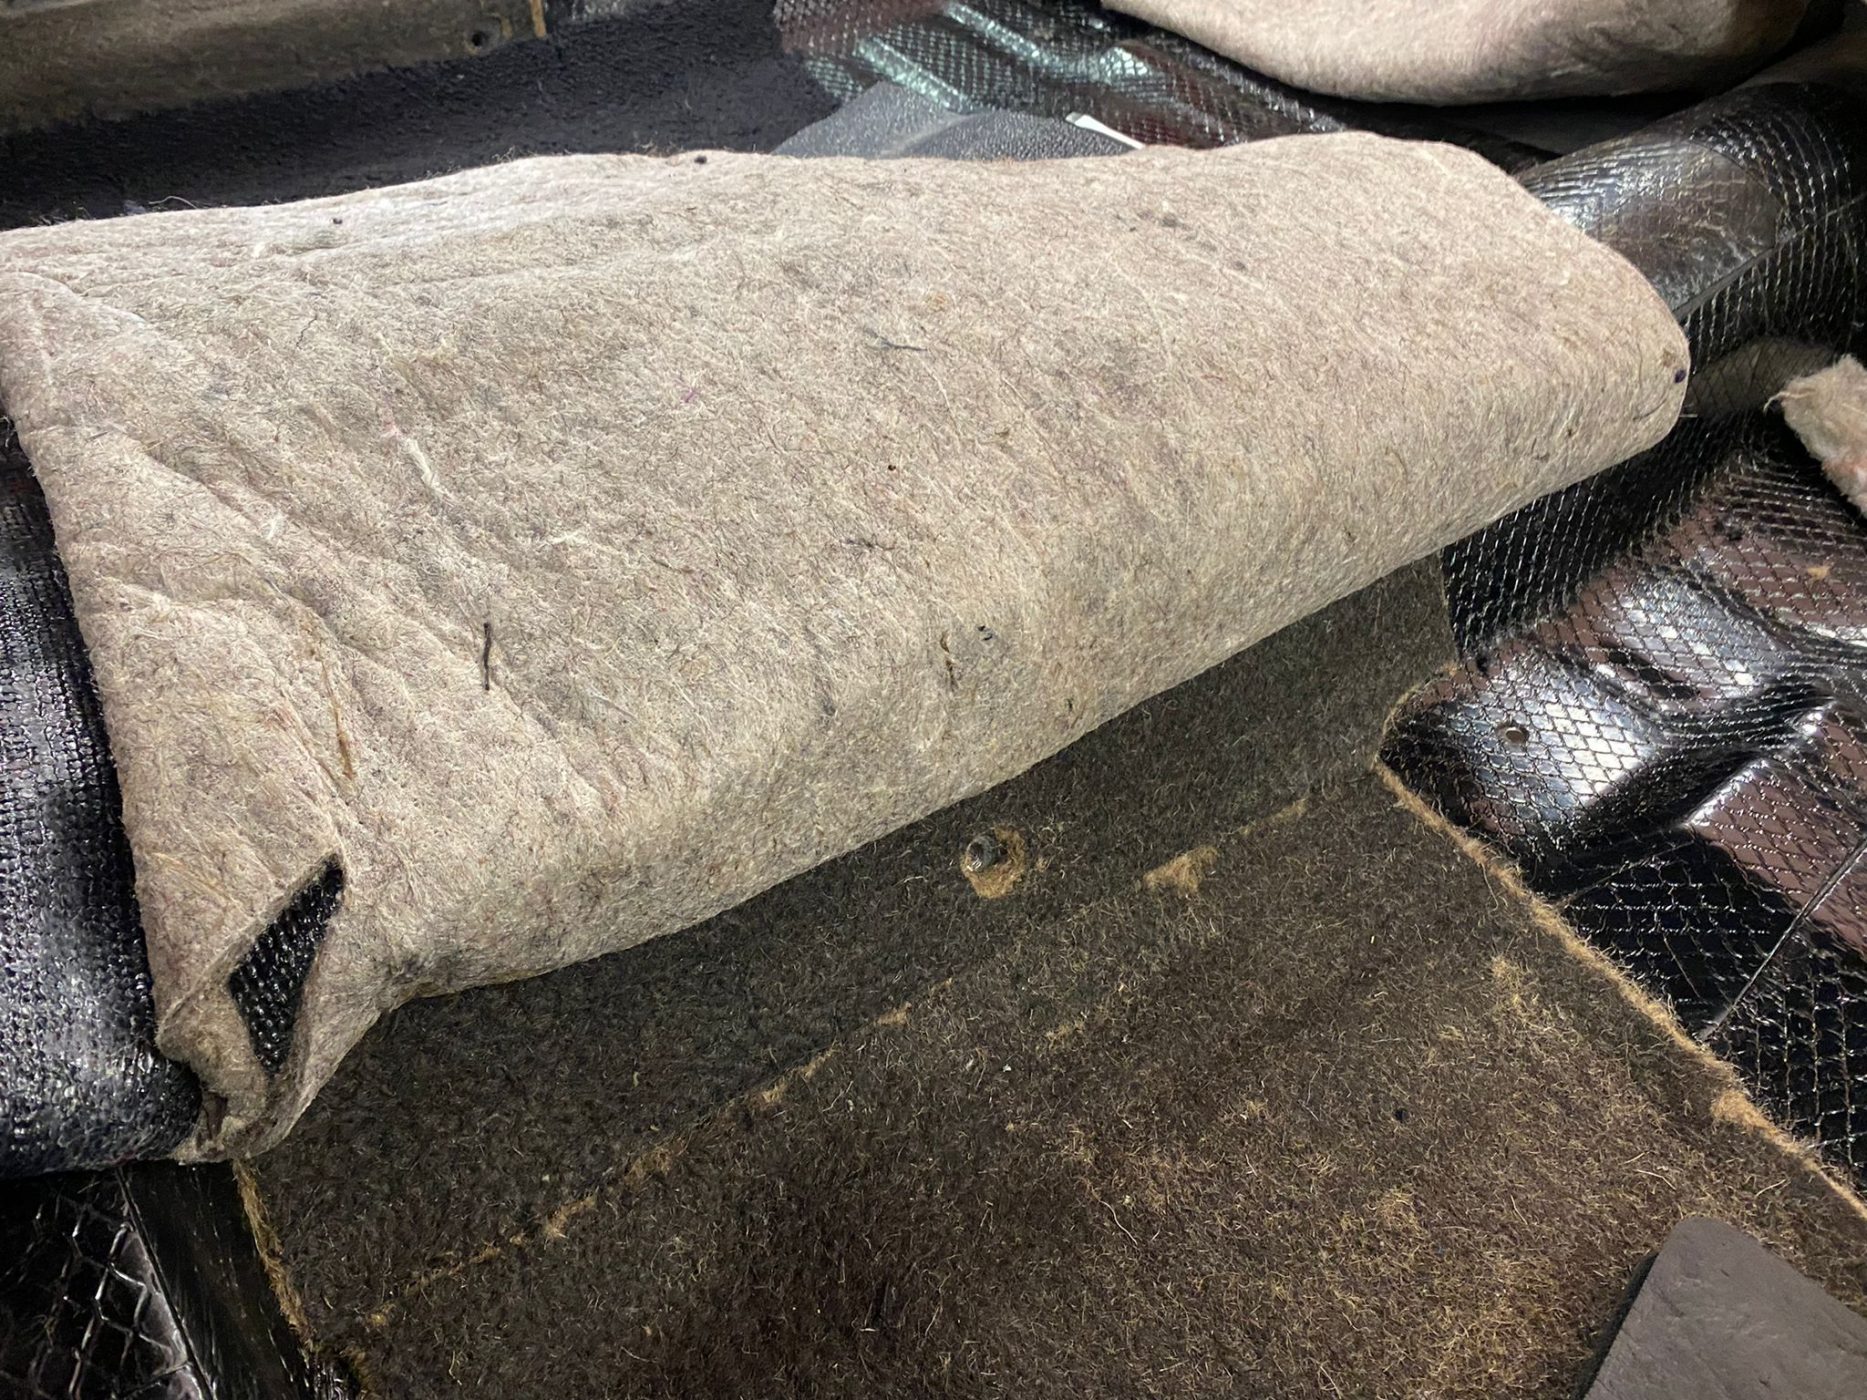
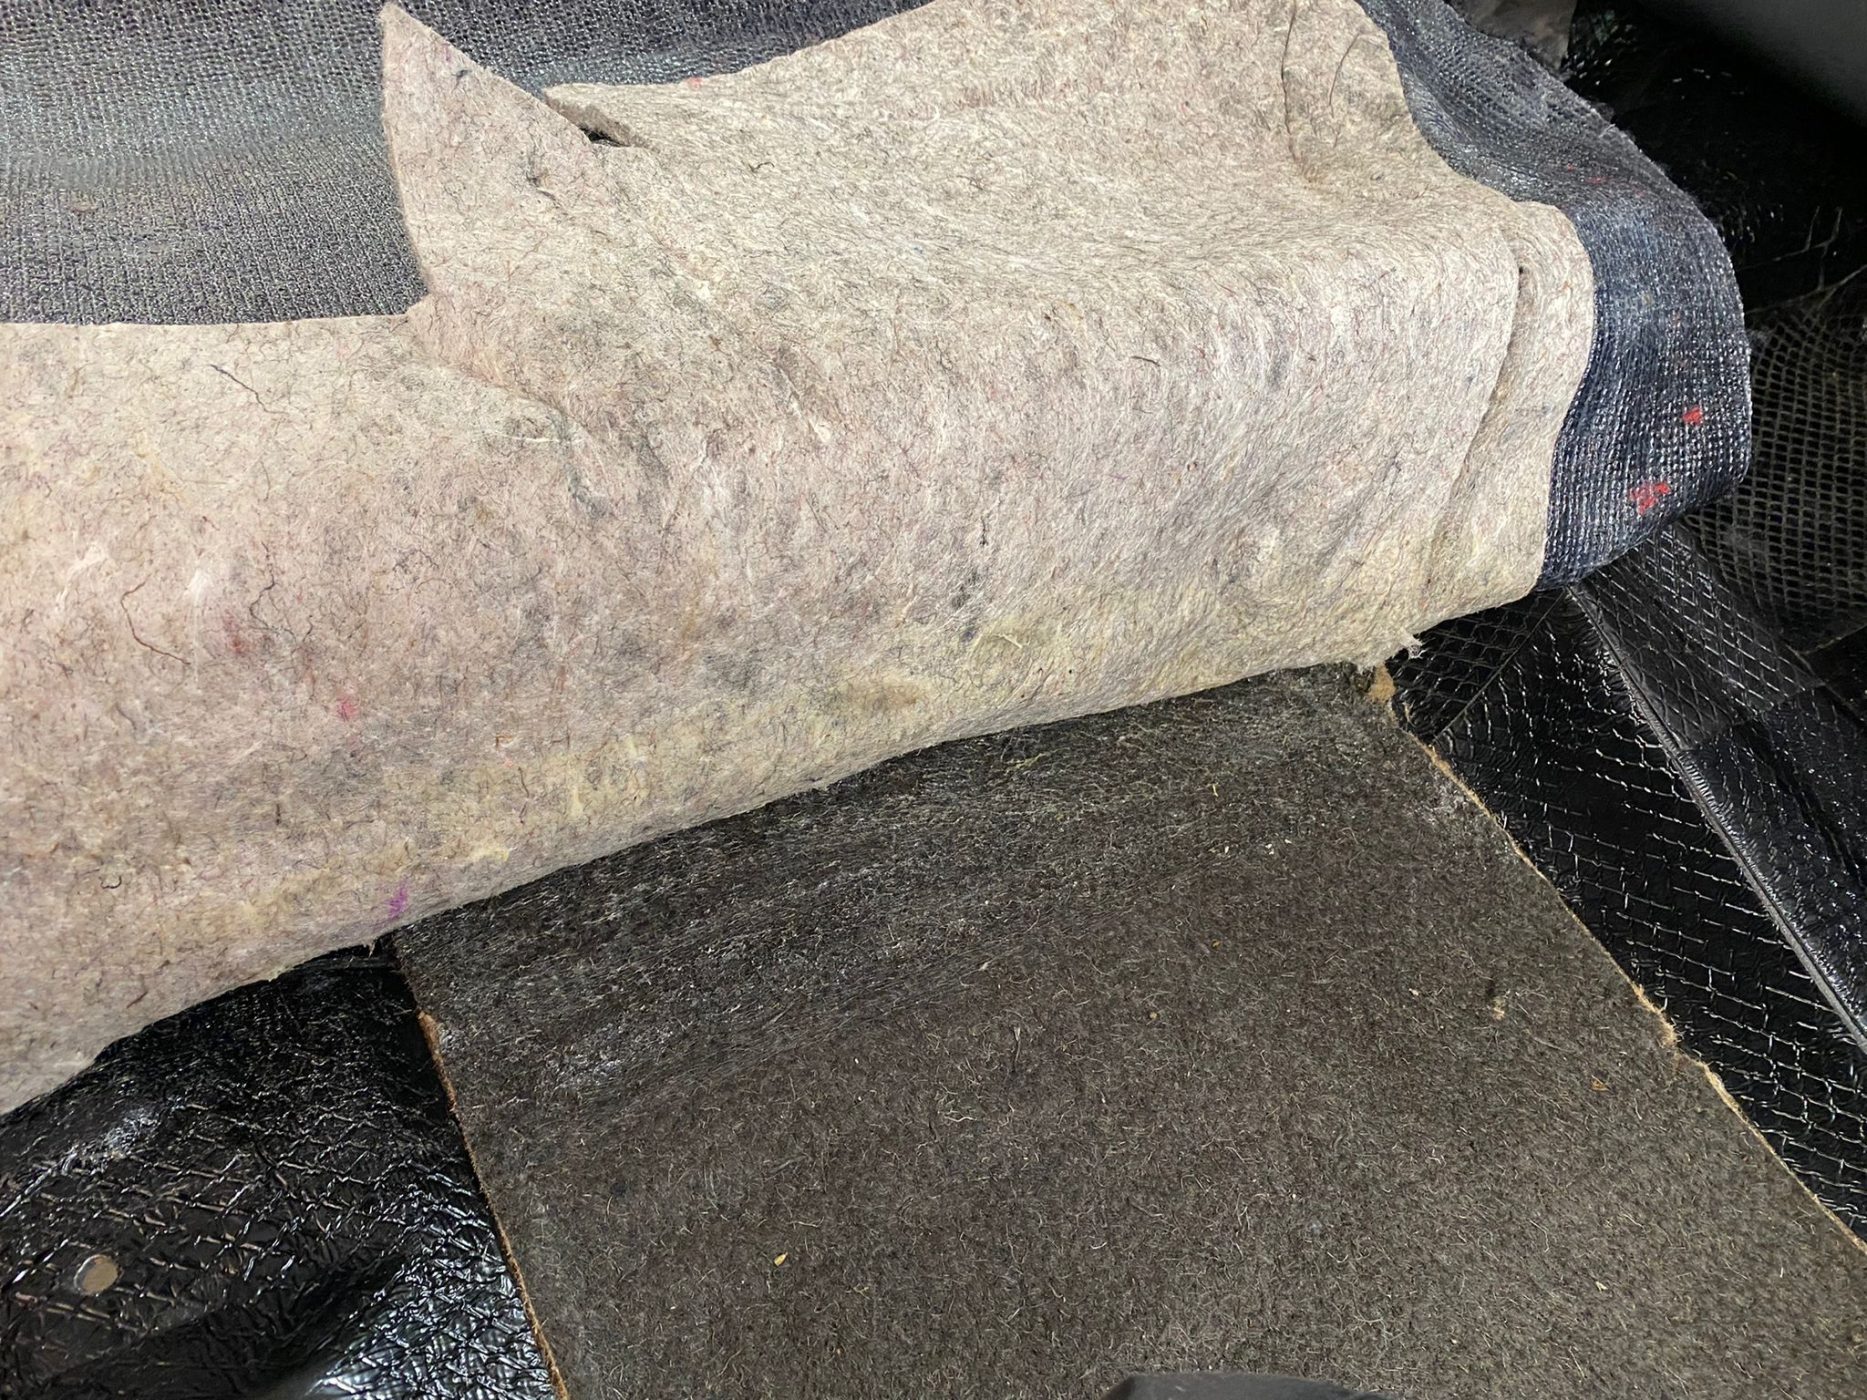
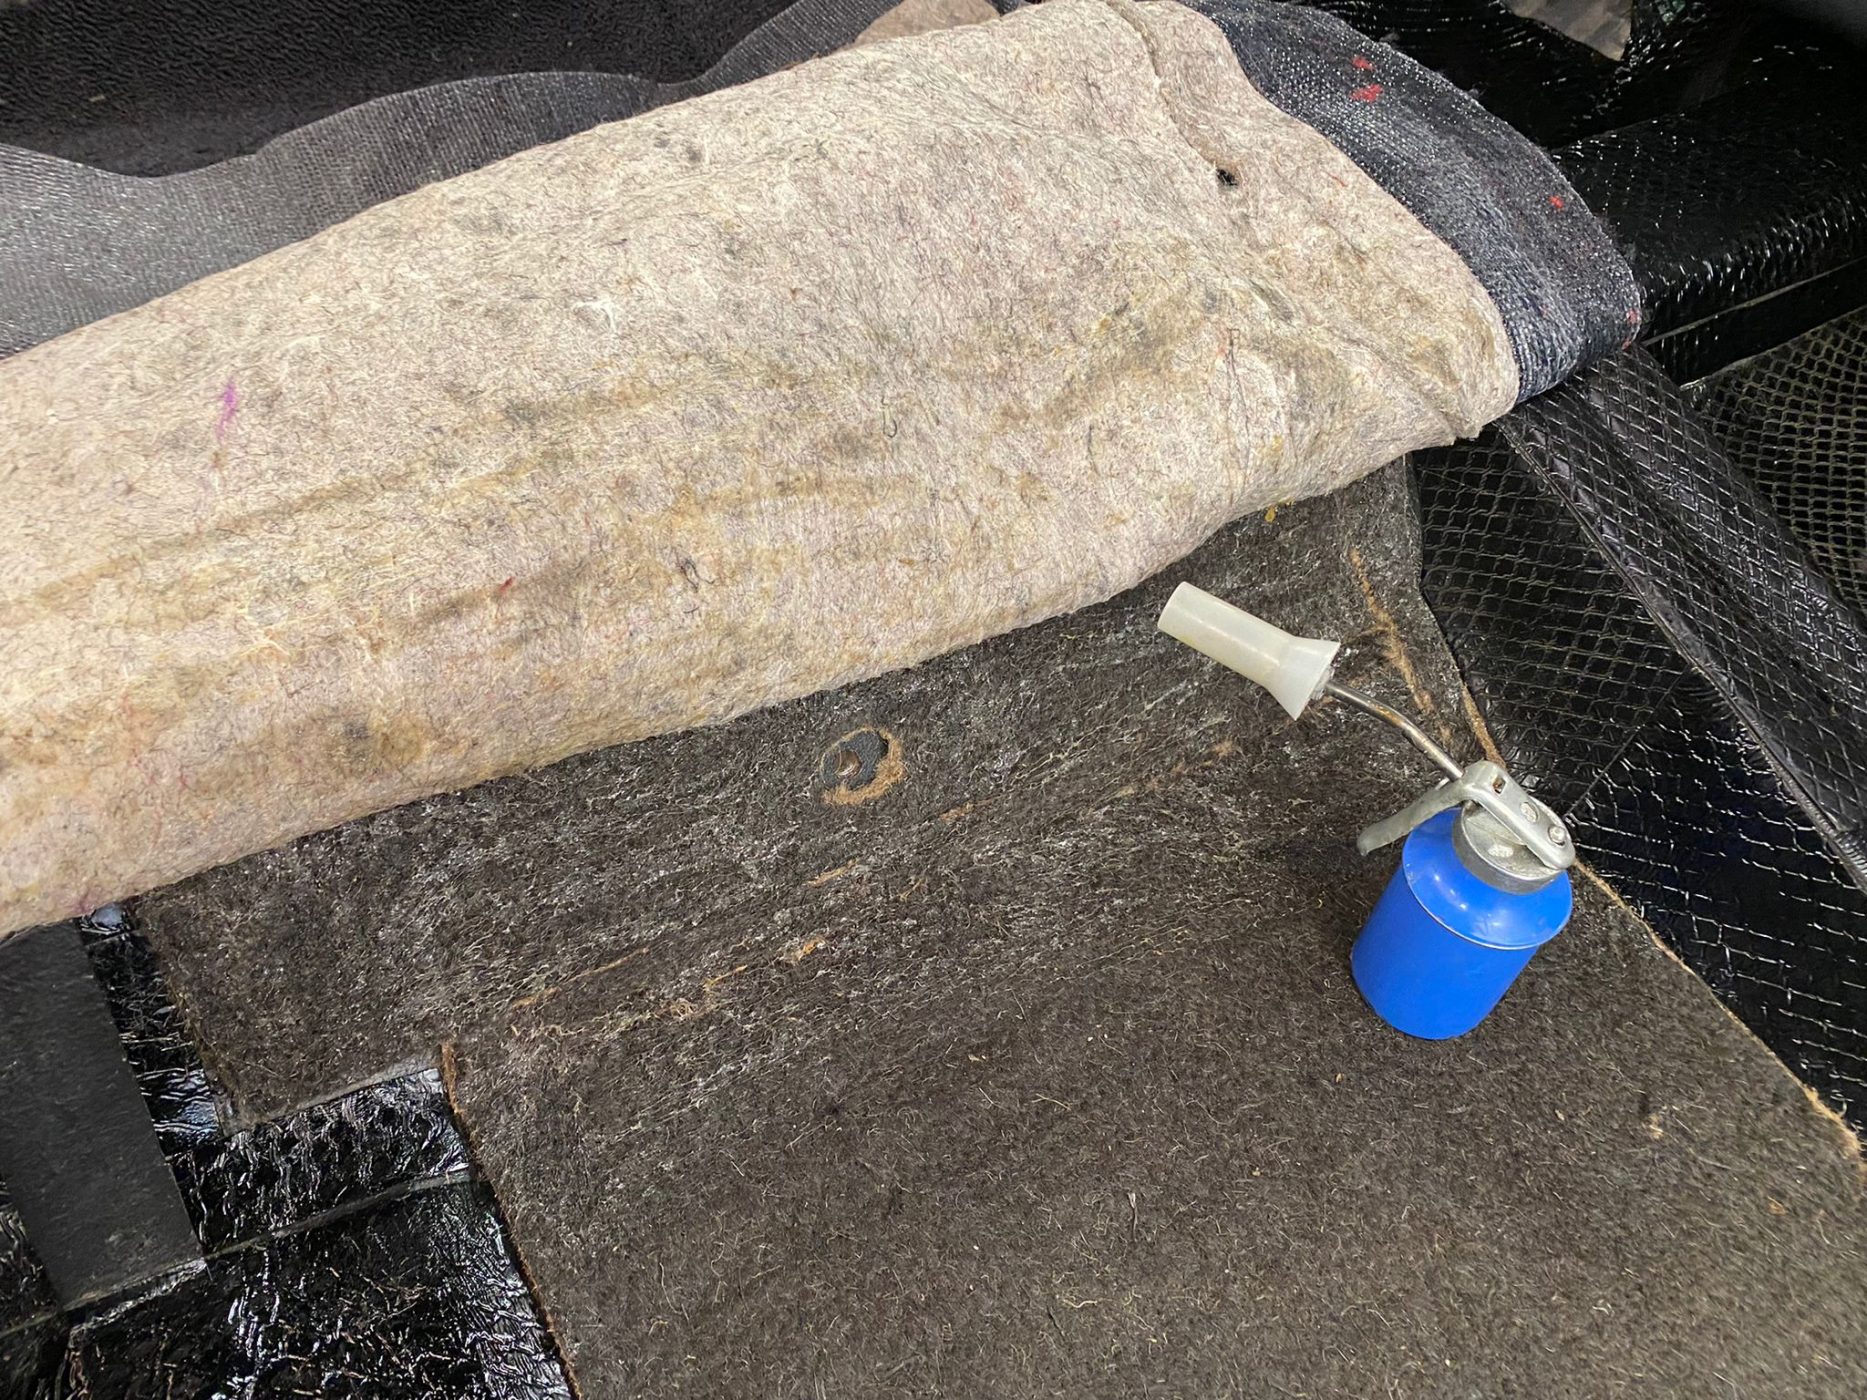
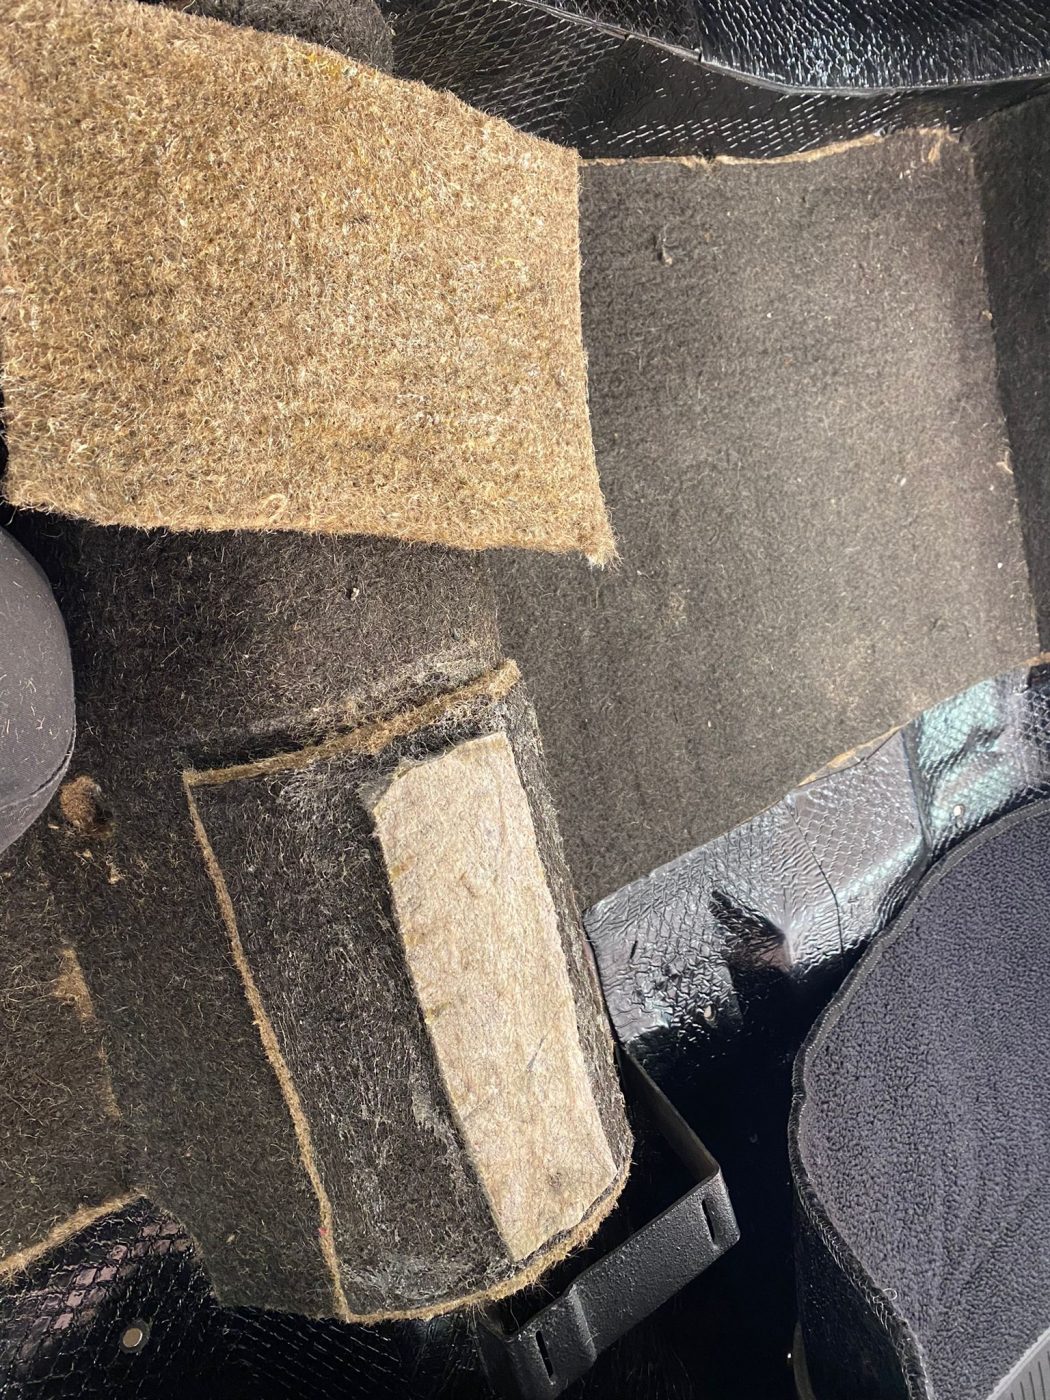
However, underneath the carpet is where to most important bit of the interior is. The sound deadening. It’s crucial in making long journeys more enjoyable just due to its job of cutting down the cabin noise.
Kath carefully laid out the material across the floors of the car to make sure each piece was just in the right place to give the best result. All of this needed to be done before fitting up the carpets, which will be happening next!
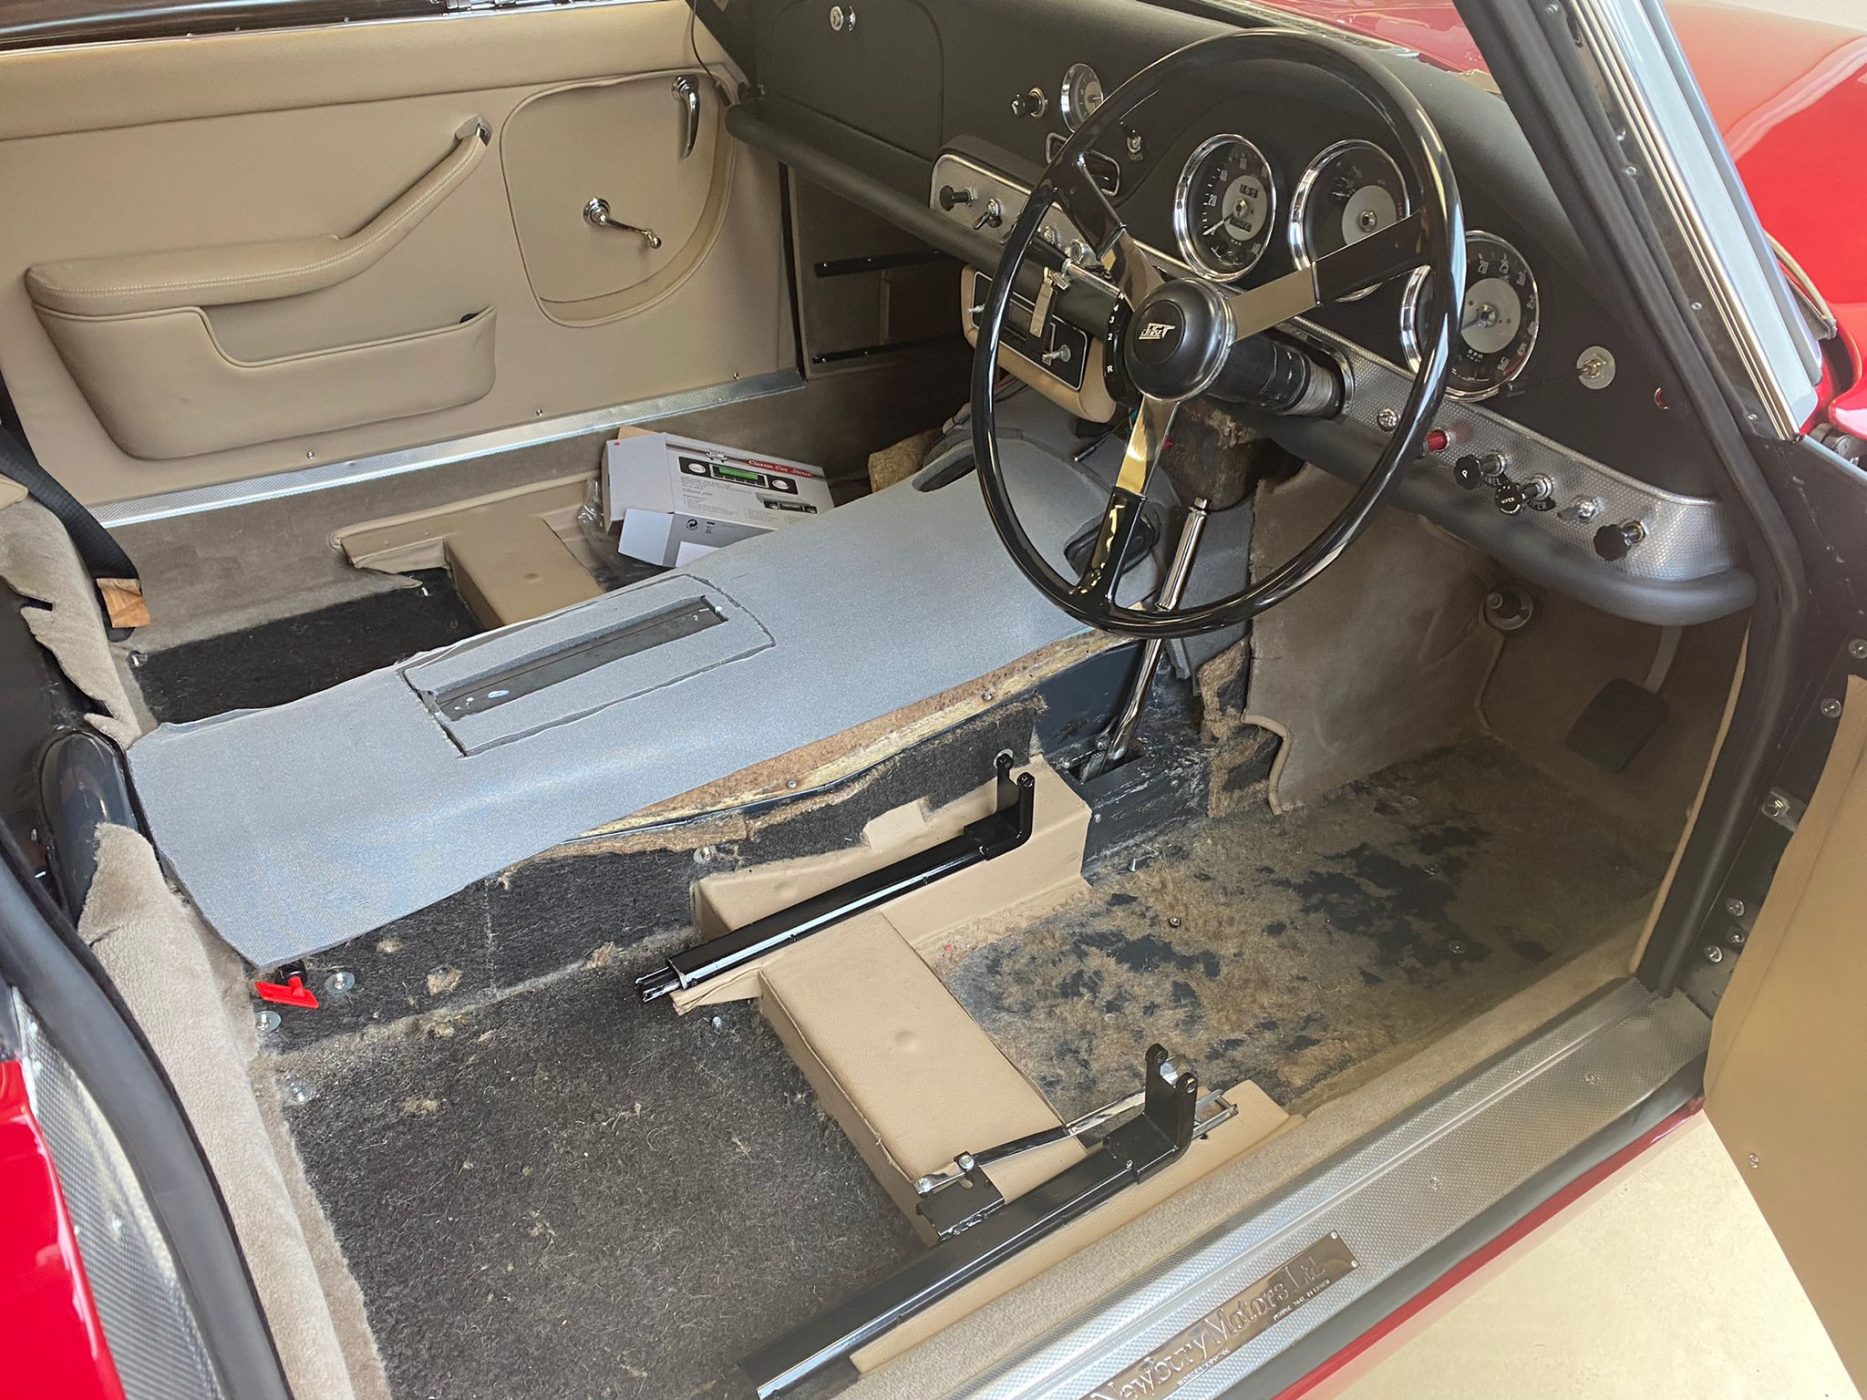
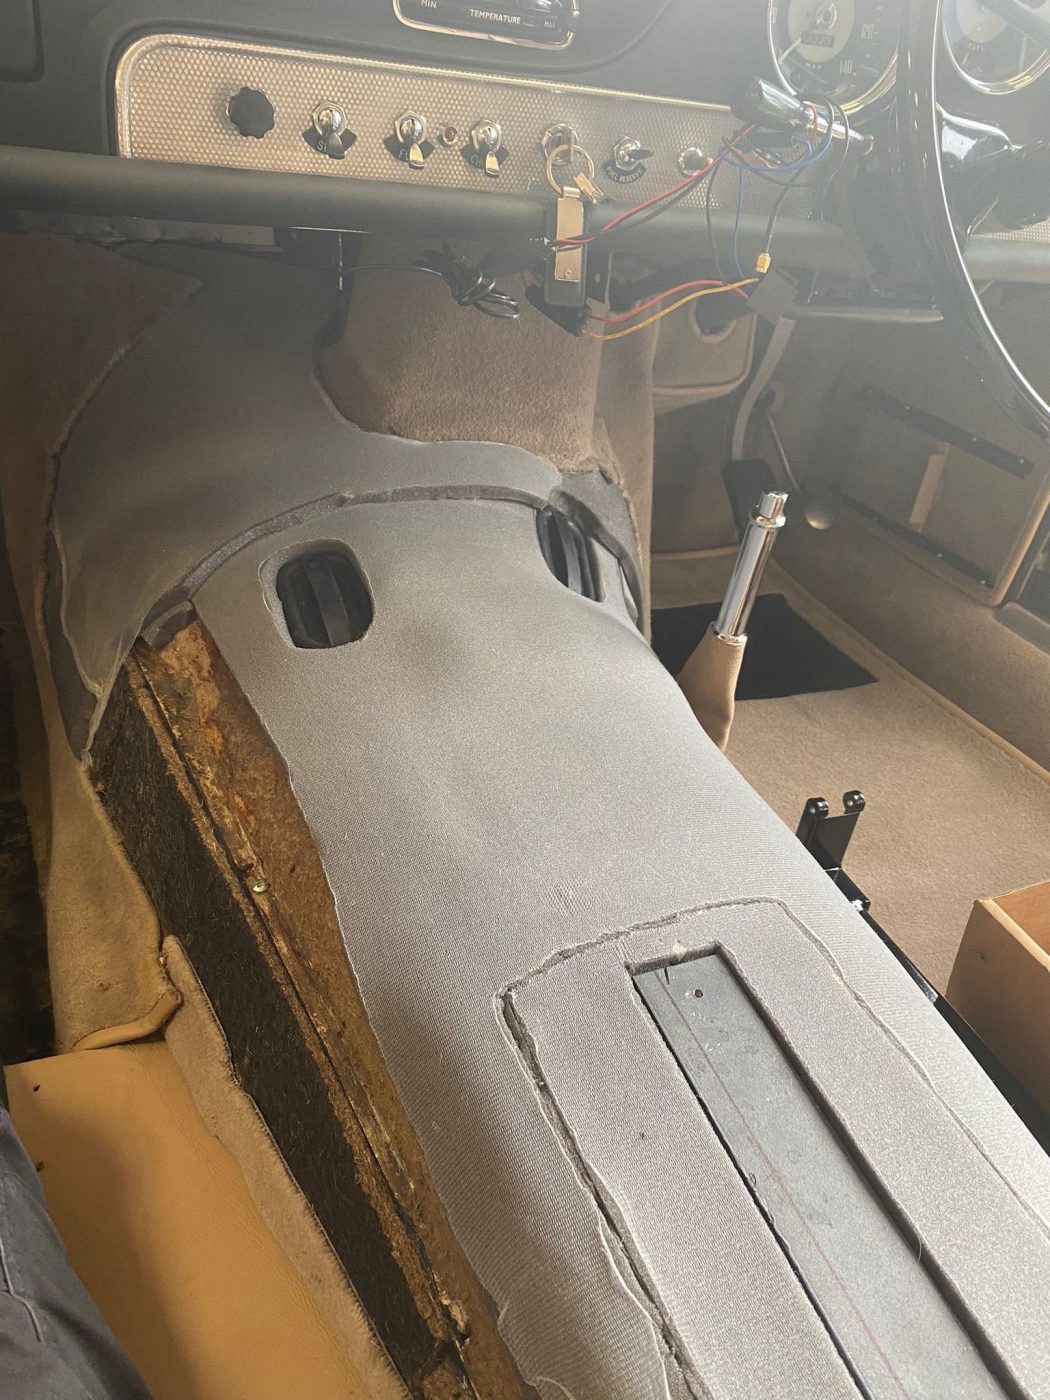
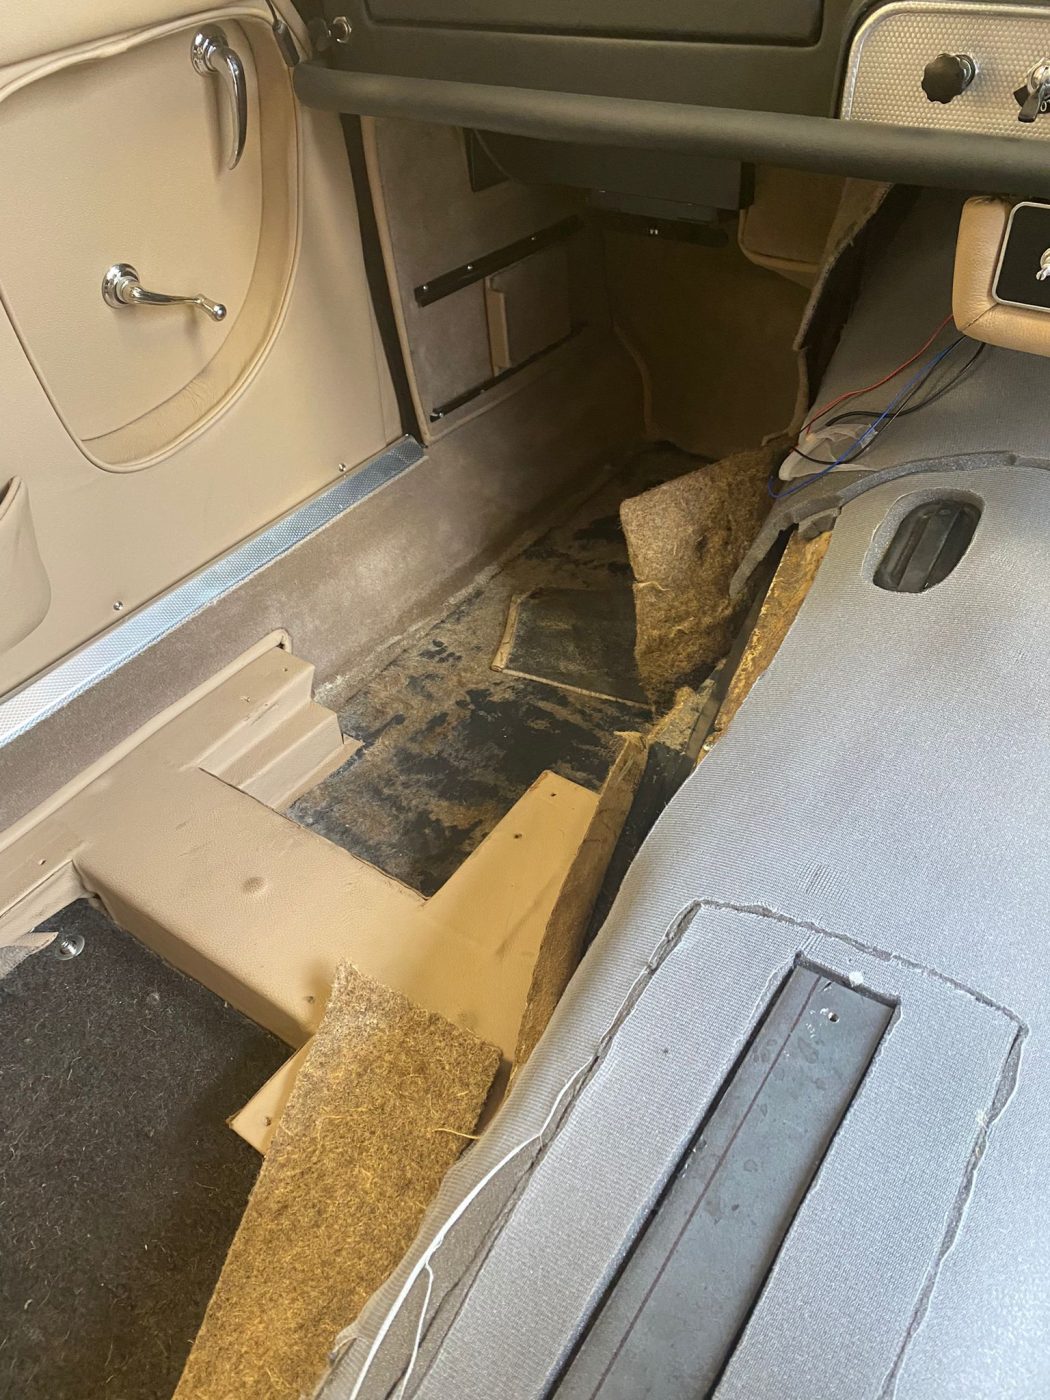


As part of Peony Red’s pre-delivery inspection, our in-house trim team have been busy finishing off parts of the interior. Mainly the tunnel carpet.
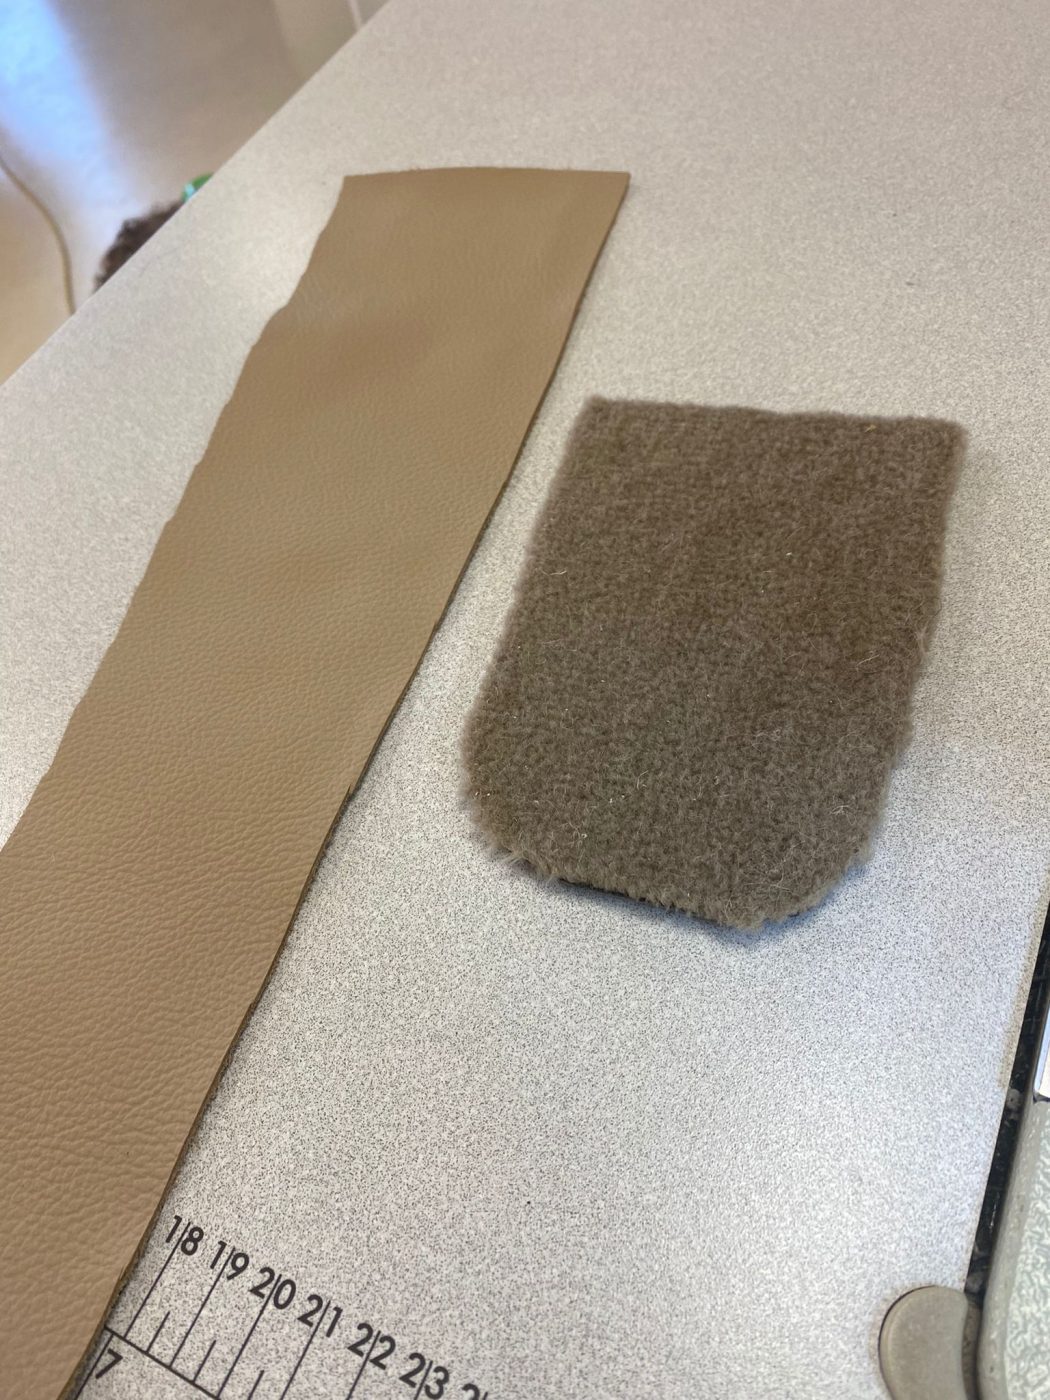
This Jensen 541 has been a long-loved restoration by us here at Bridge Classic Cars. Every department of our in-house restoration team has worked on this car in one way or another. Now, our trim shop is finishing off the last bits. Mainly it needed to have its transmission tunnel carpets finished.
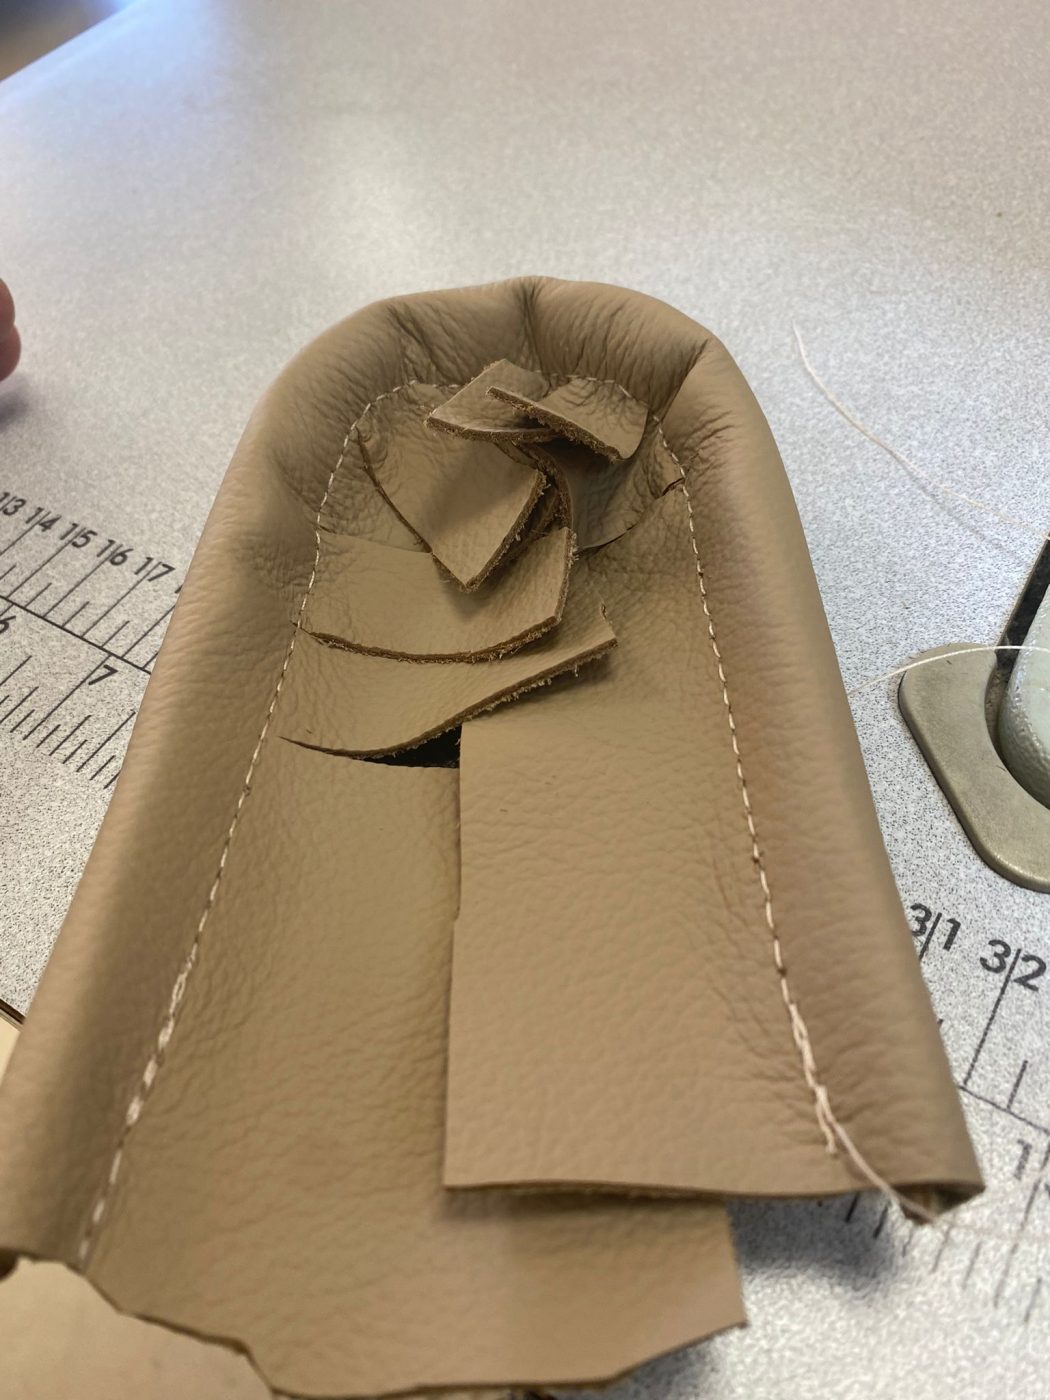
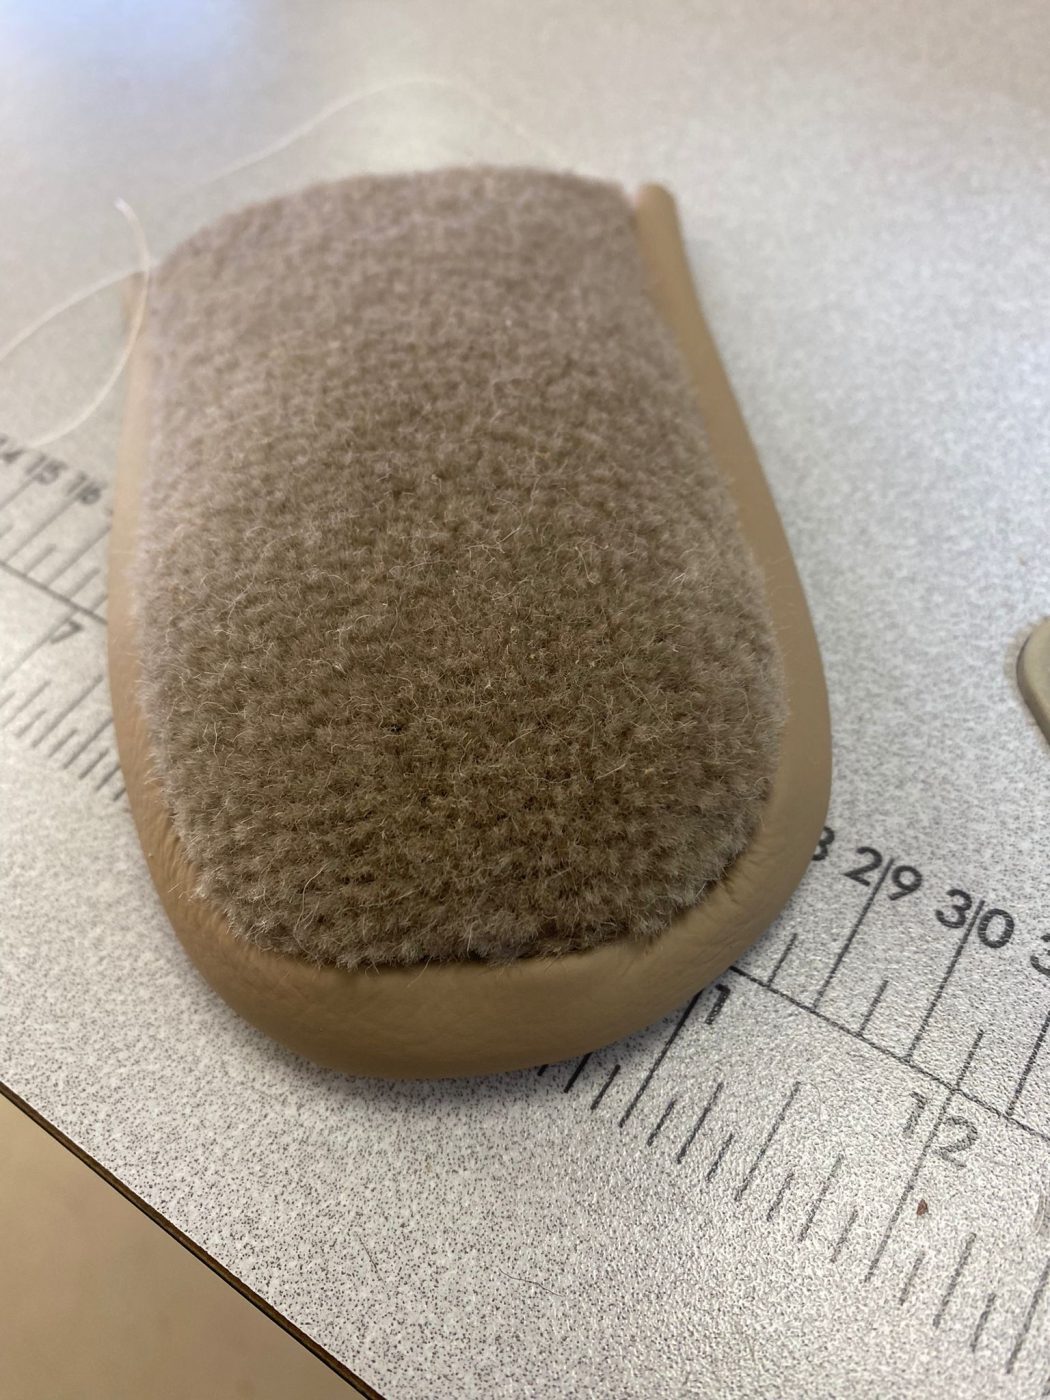
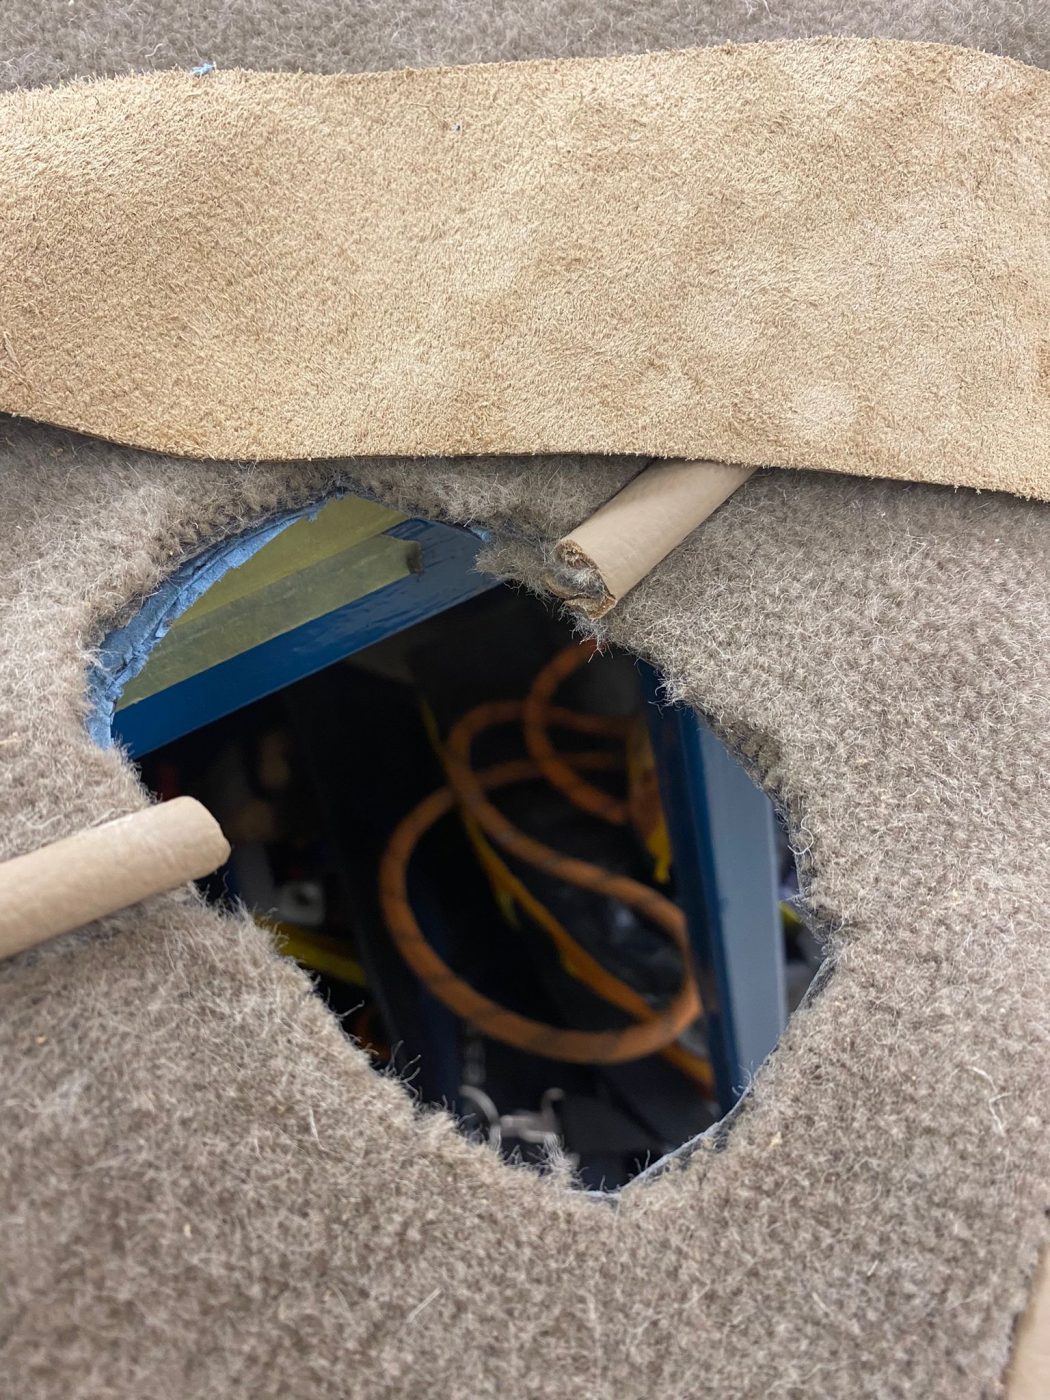
The sound-deadening and insulation were fitted to the tunnel and then the templates could be made for the piece. After they had been cut, edged and fitted a small inspection flap needed to be carefully cut into the finished carpets for future use if ever needed. Kath carefully made a small ear from the matching carpet and trimmed it just like the other carpet to match and bring the whole piece together.
Next was the all-important tool tray. A unique piece of the Jensen 541, it lives underneath the glove box. The tray itself has been in our body and paint shop to make sure it looks absolutely perfect before it’s cover was made by Kath and fitted to the glovebox.
The interior of Peony Red looks absolutely sensational if we do say so ourselves.
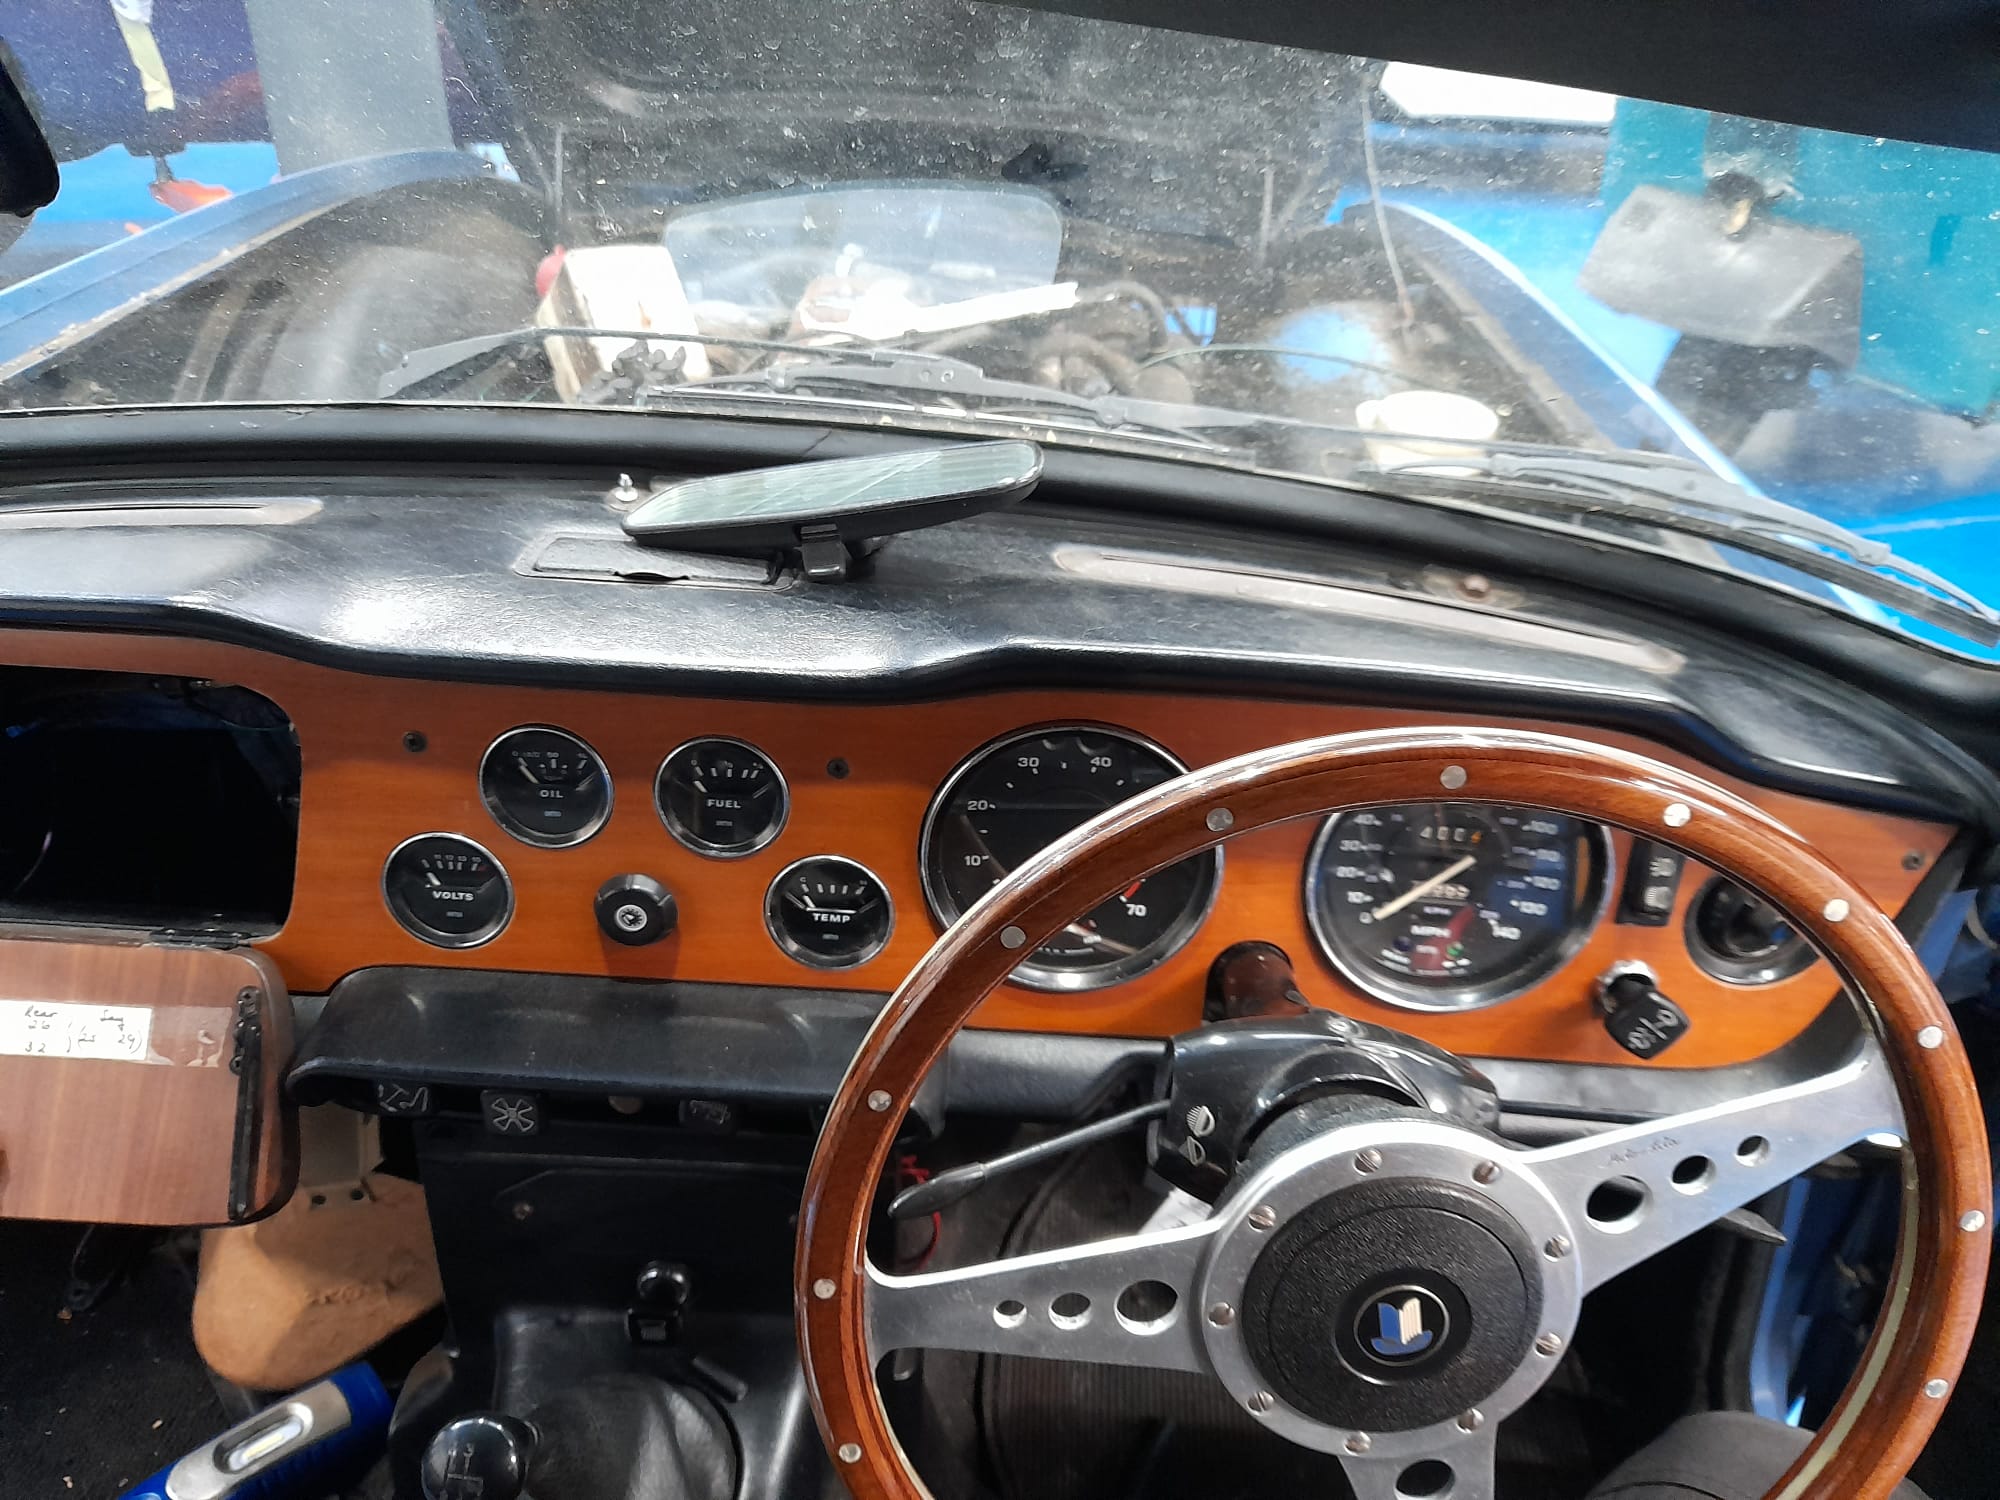
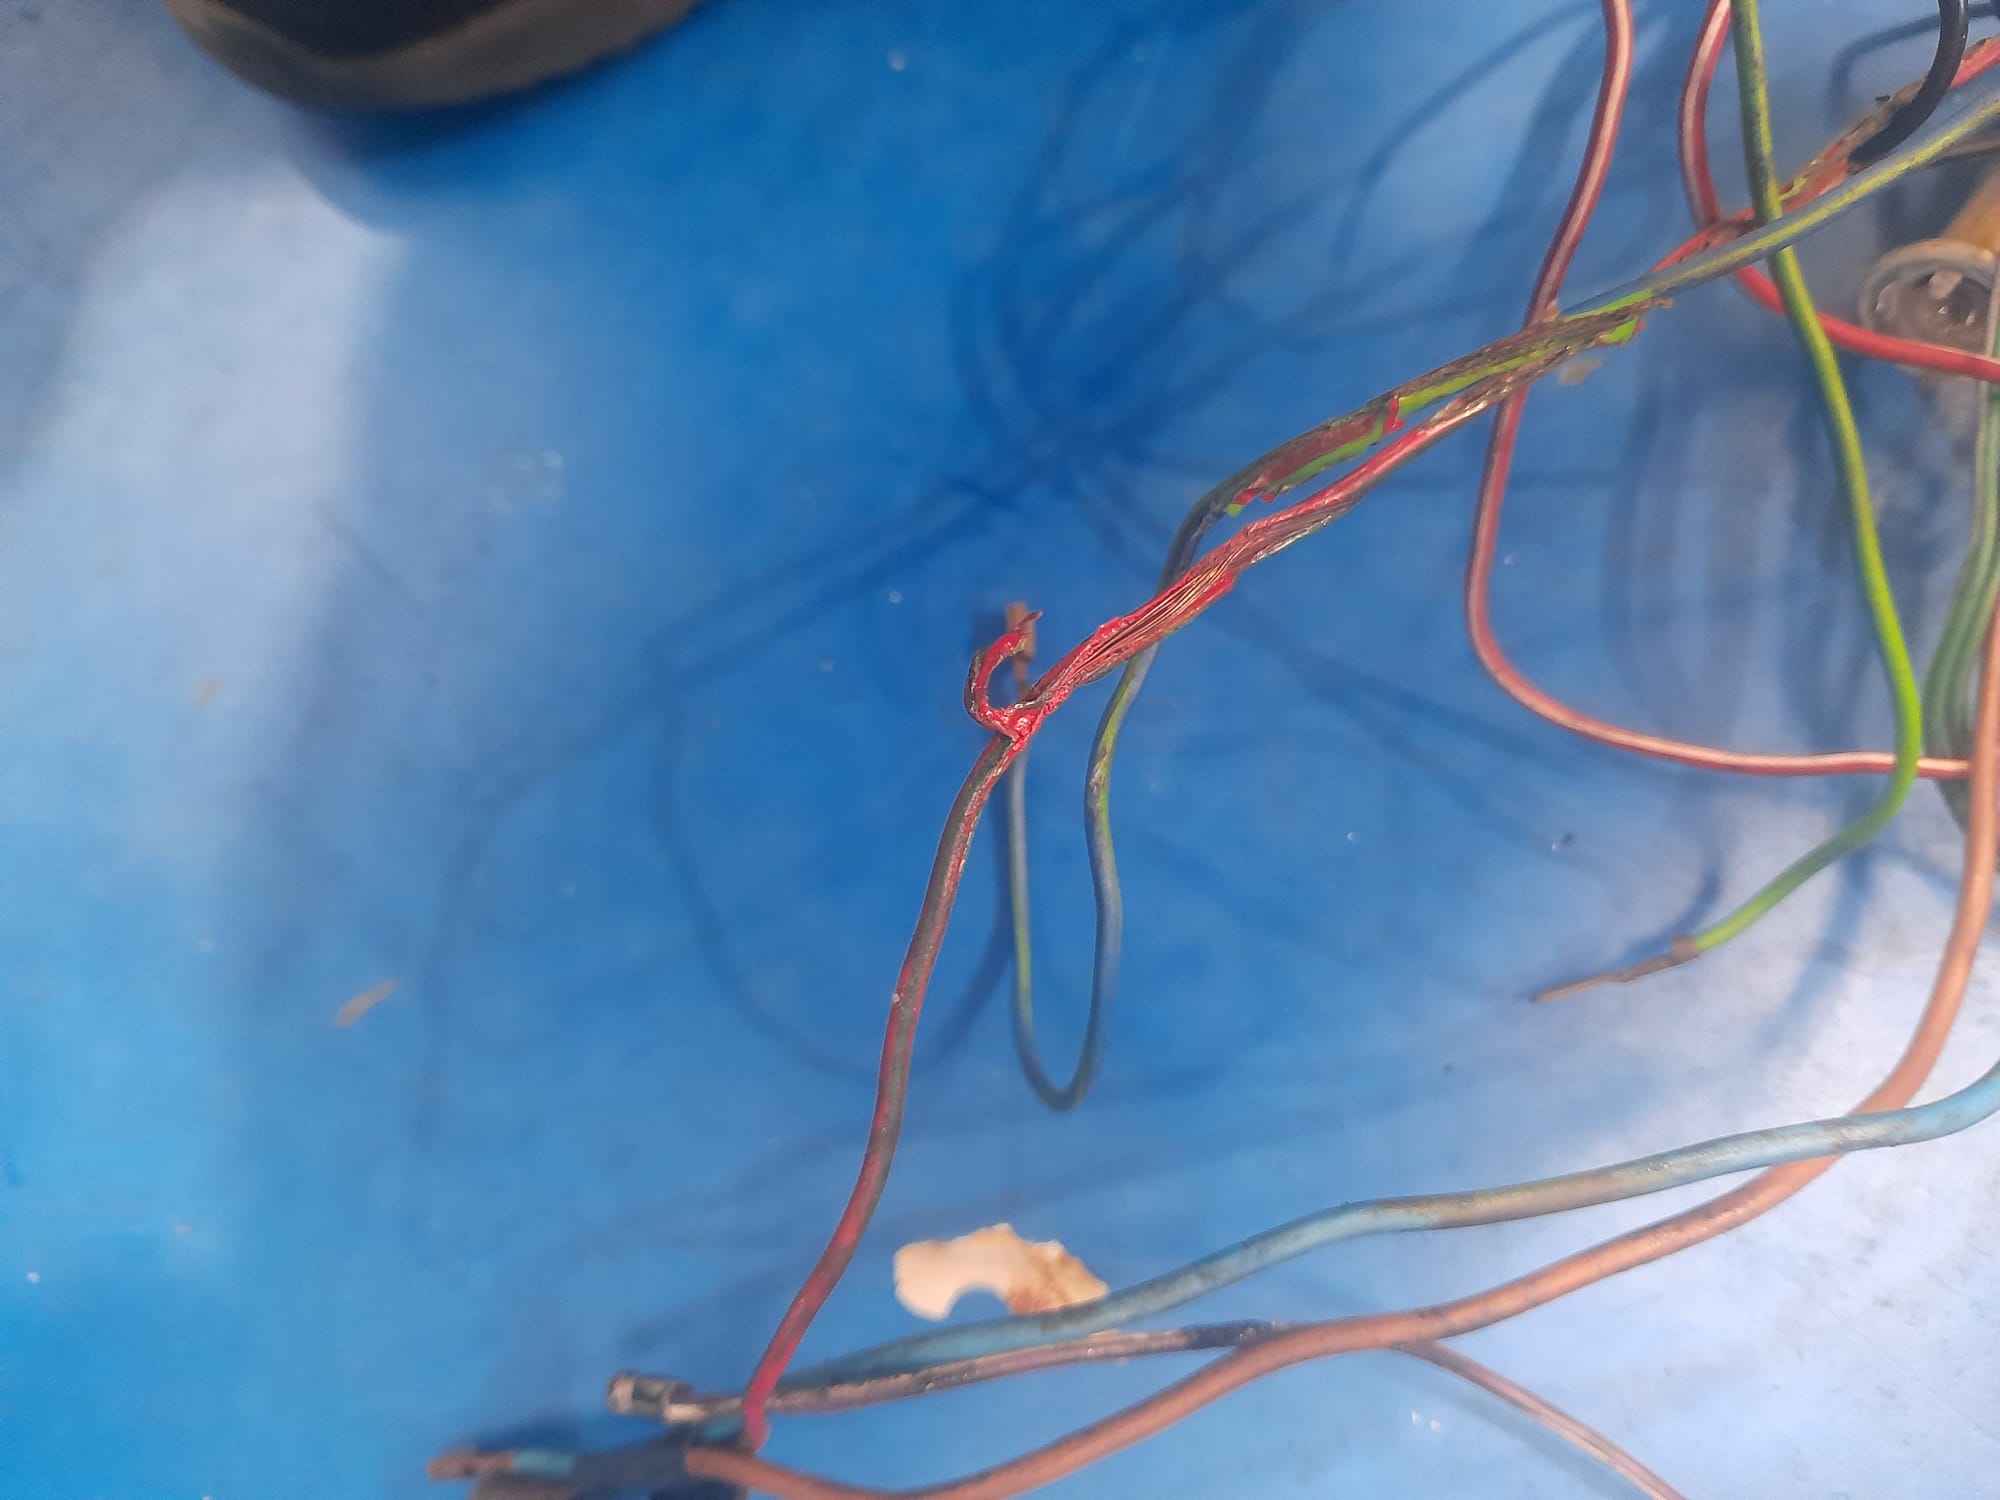
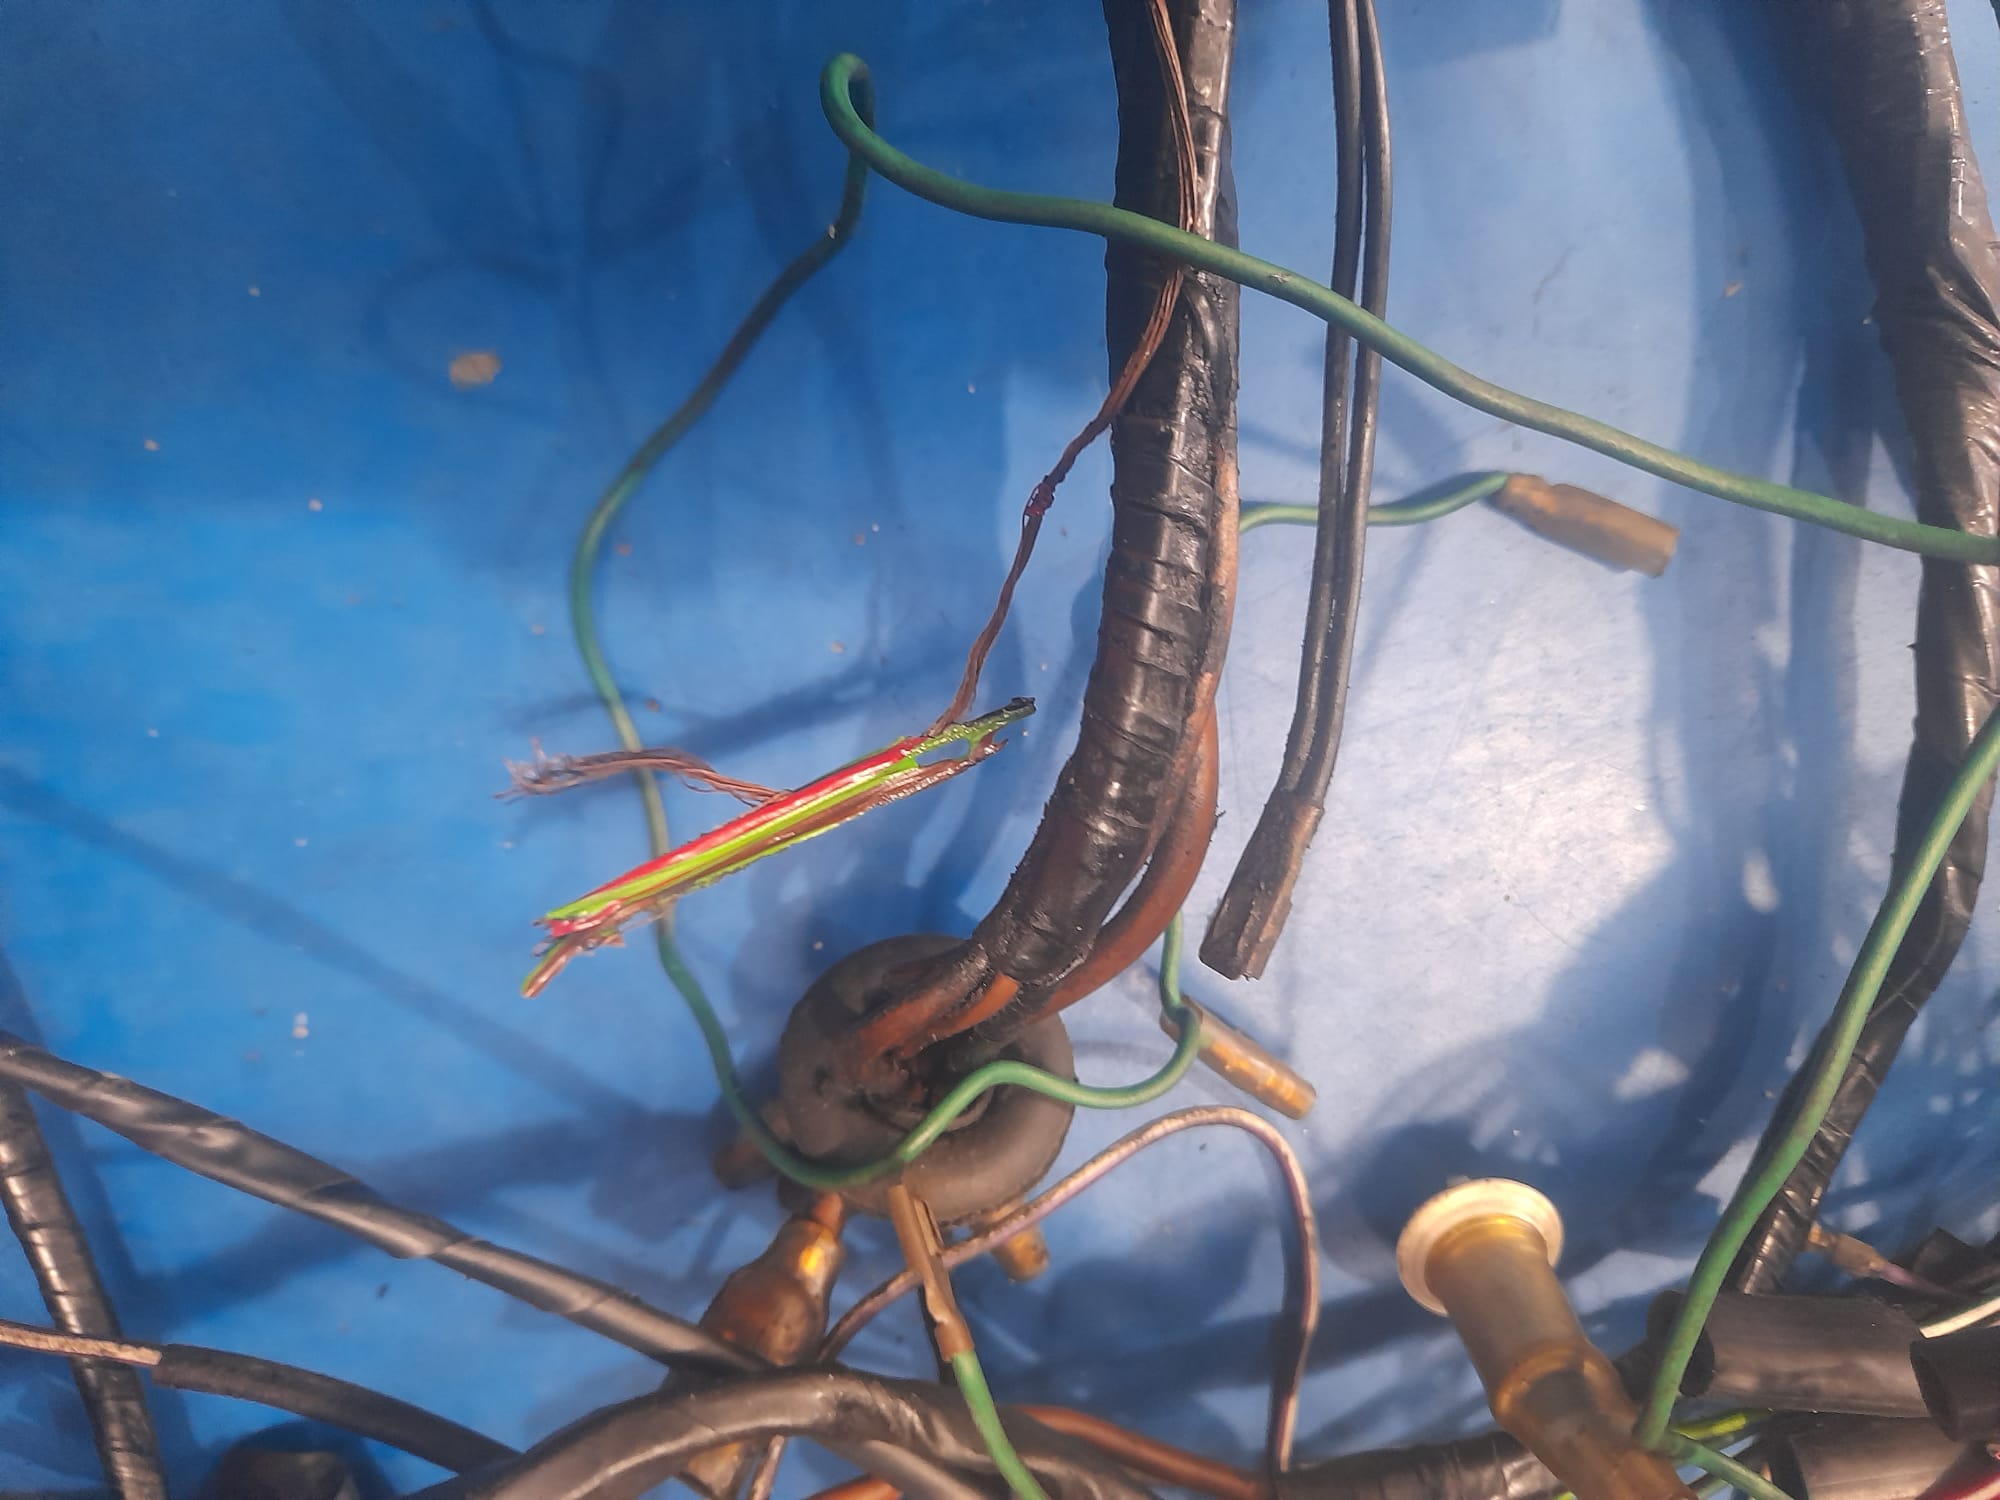

John has been hard at work on the 1974 Triumph TR6 that is in with us at Bridge Classic Cars for a wiring issue. A rat or a mouse has managed to chew its way through part of the wiring loom.
Consequently, when the owner went to start the car is actually melted some of the wiring! Because of the extent of the damage to the wiring loom. John felt it best to replace the harness as a precaution due to the extensive damage.
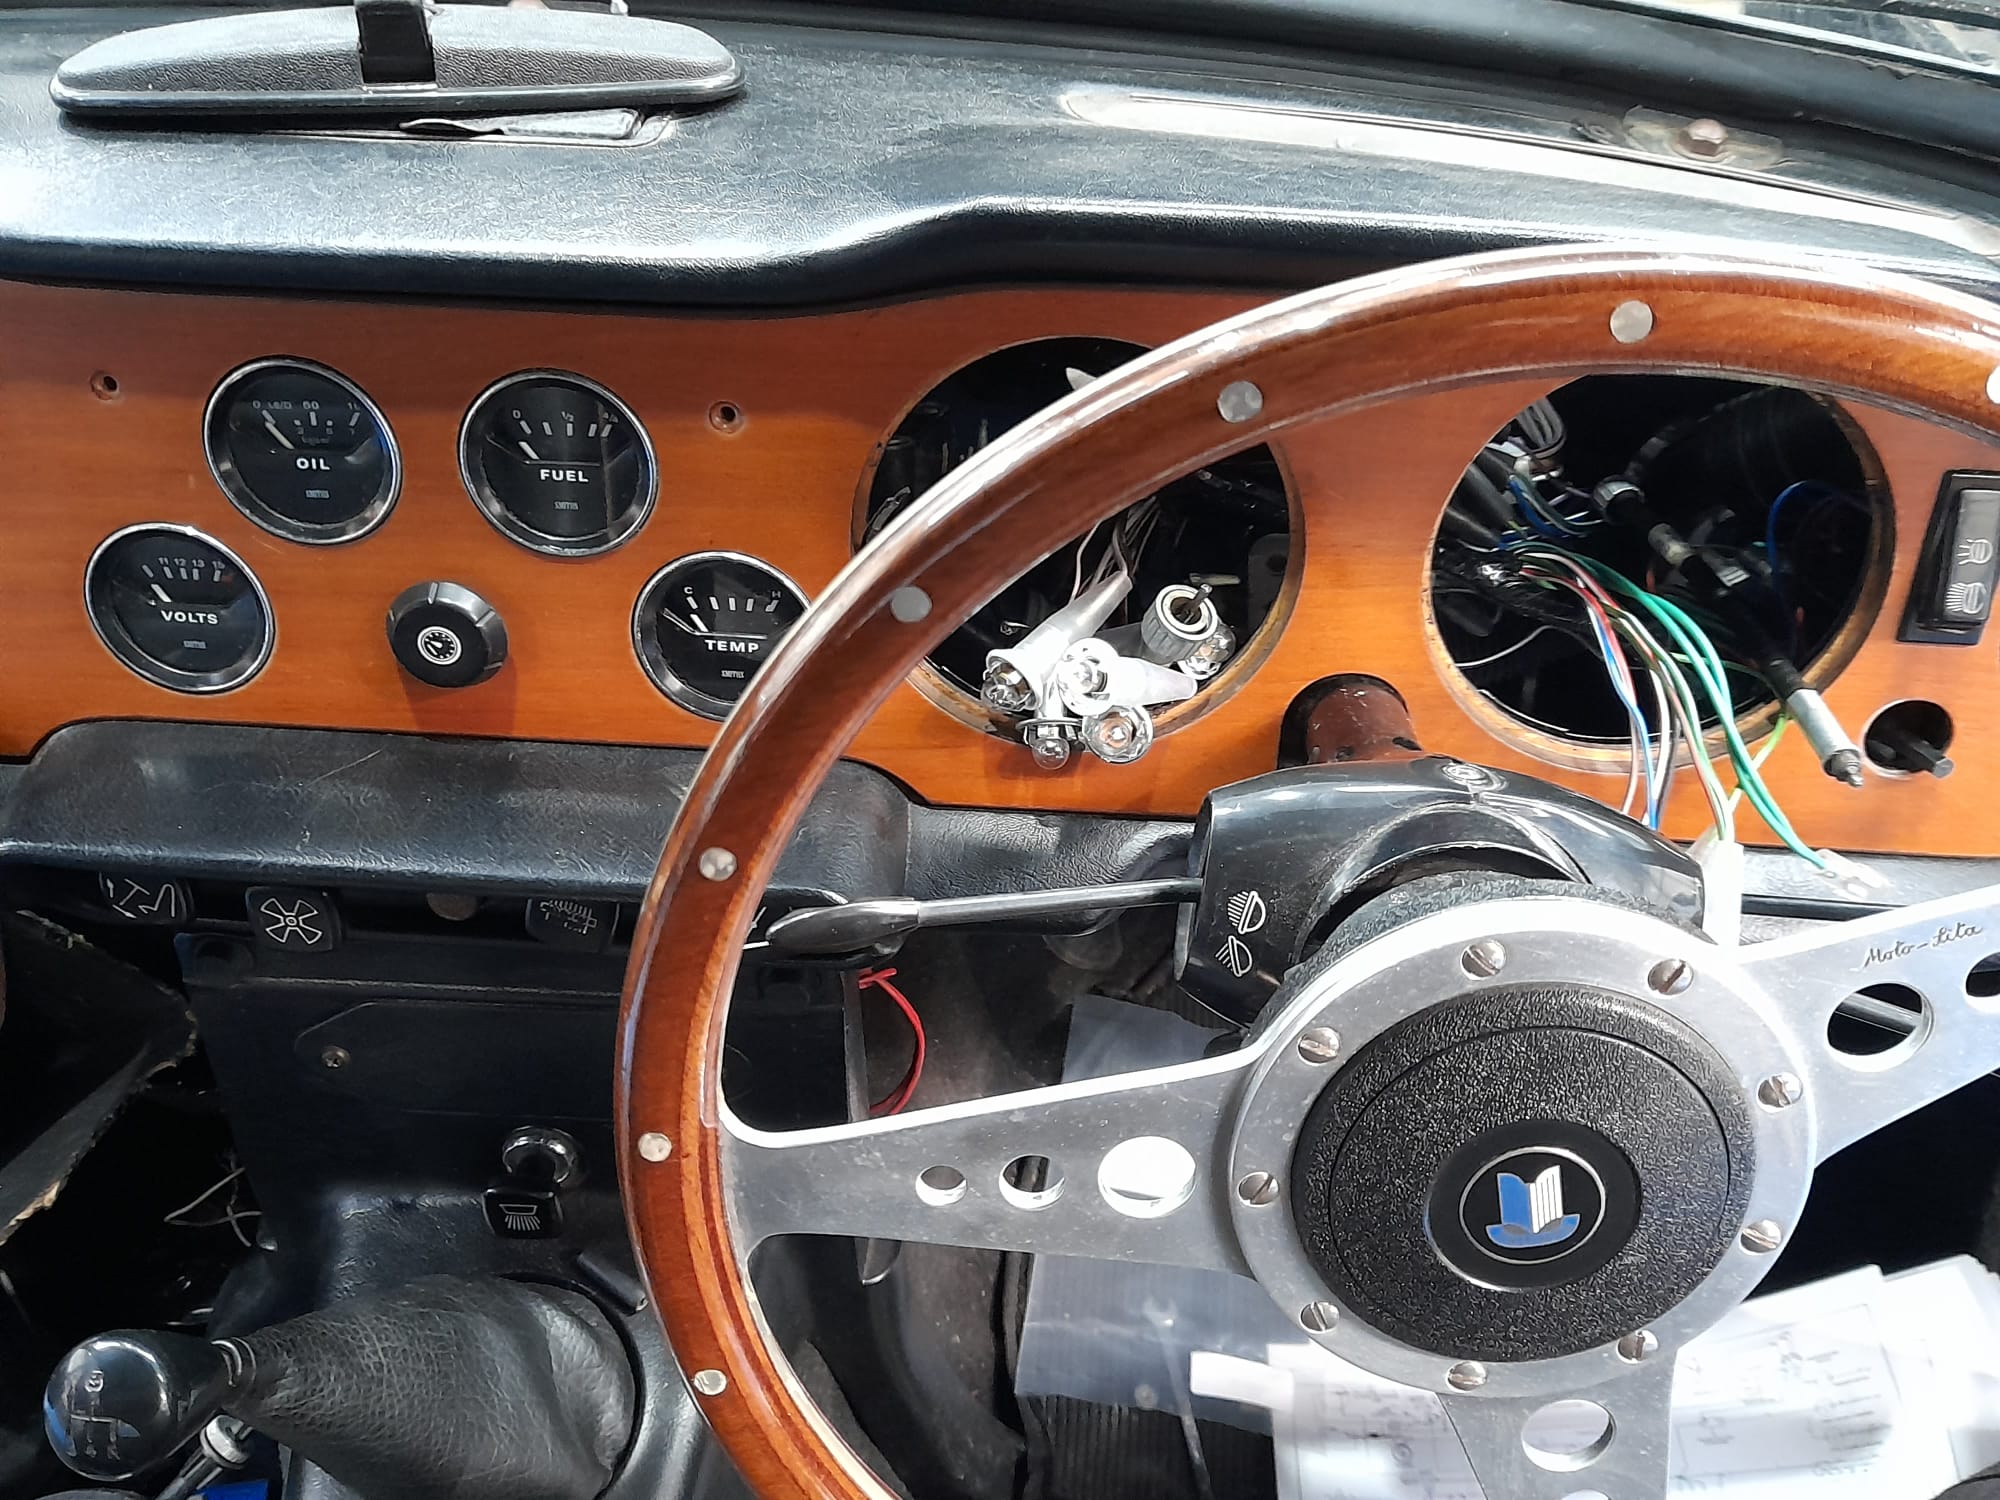
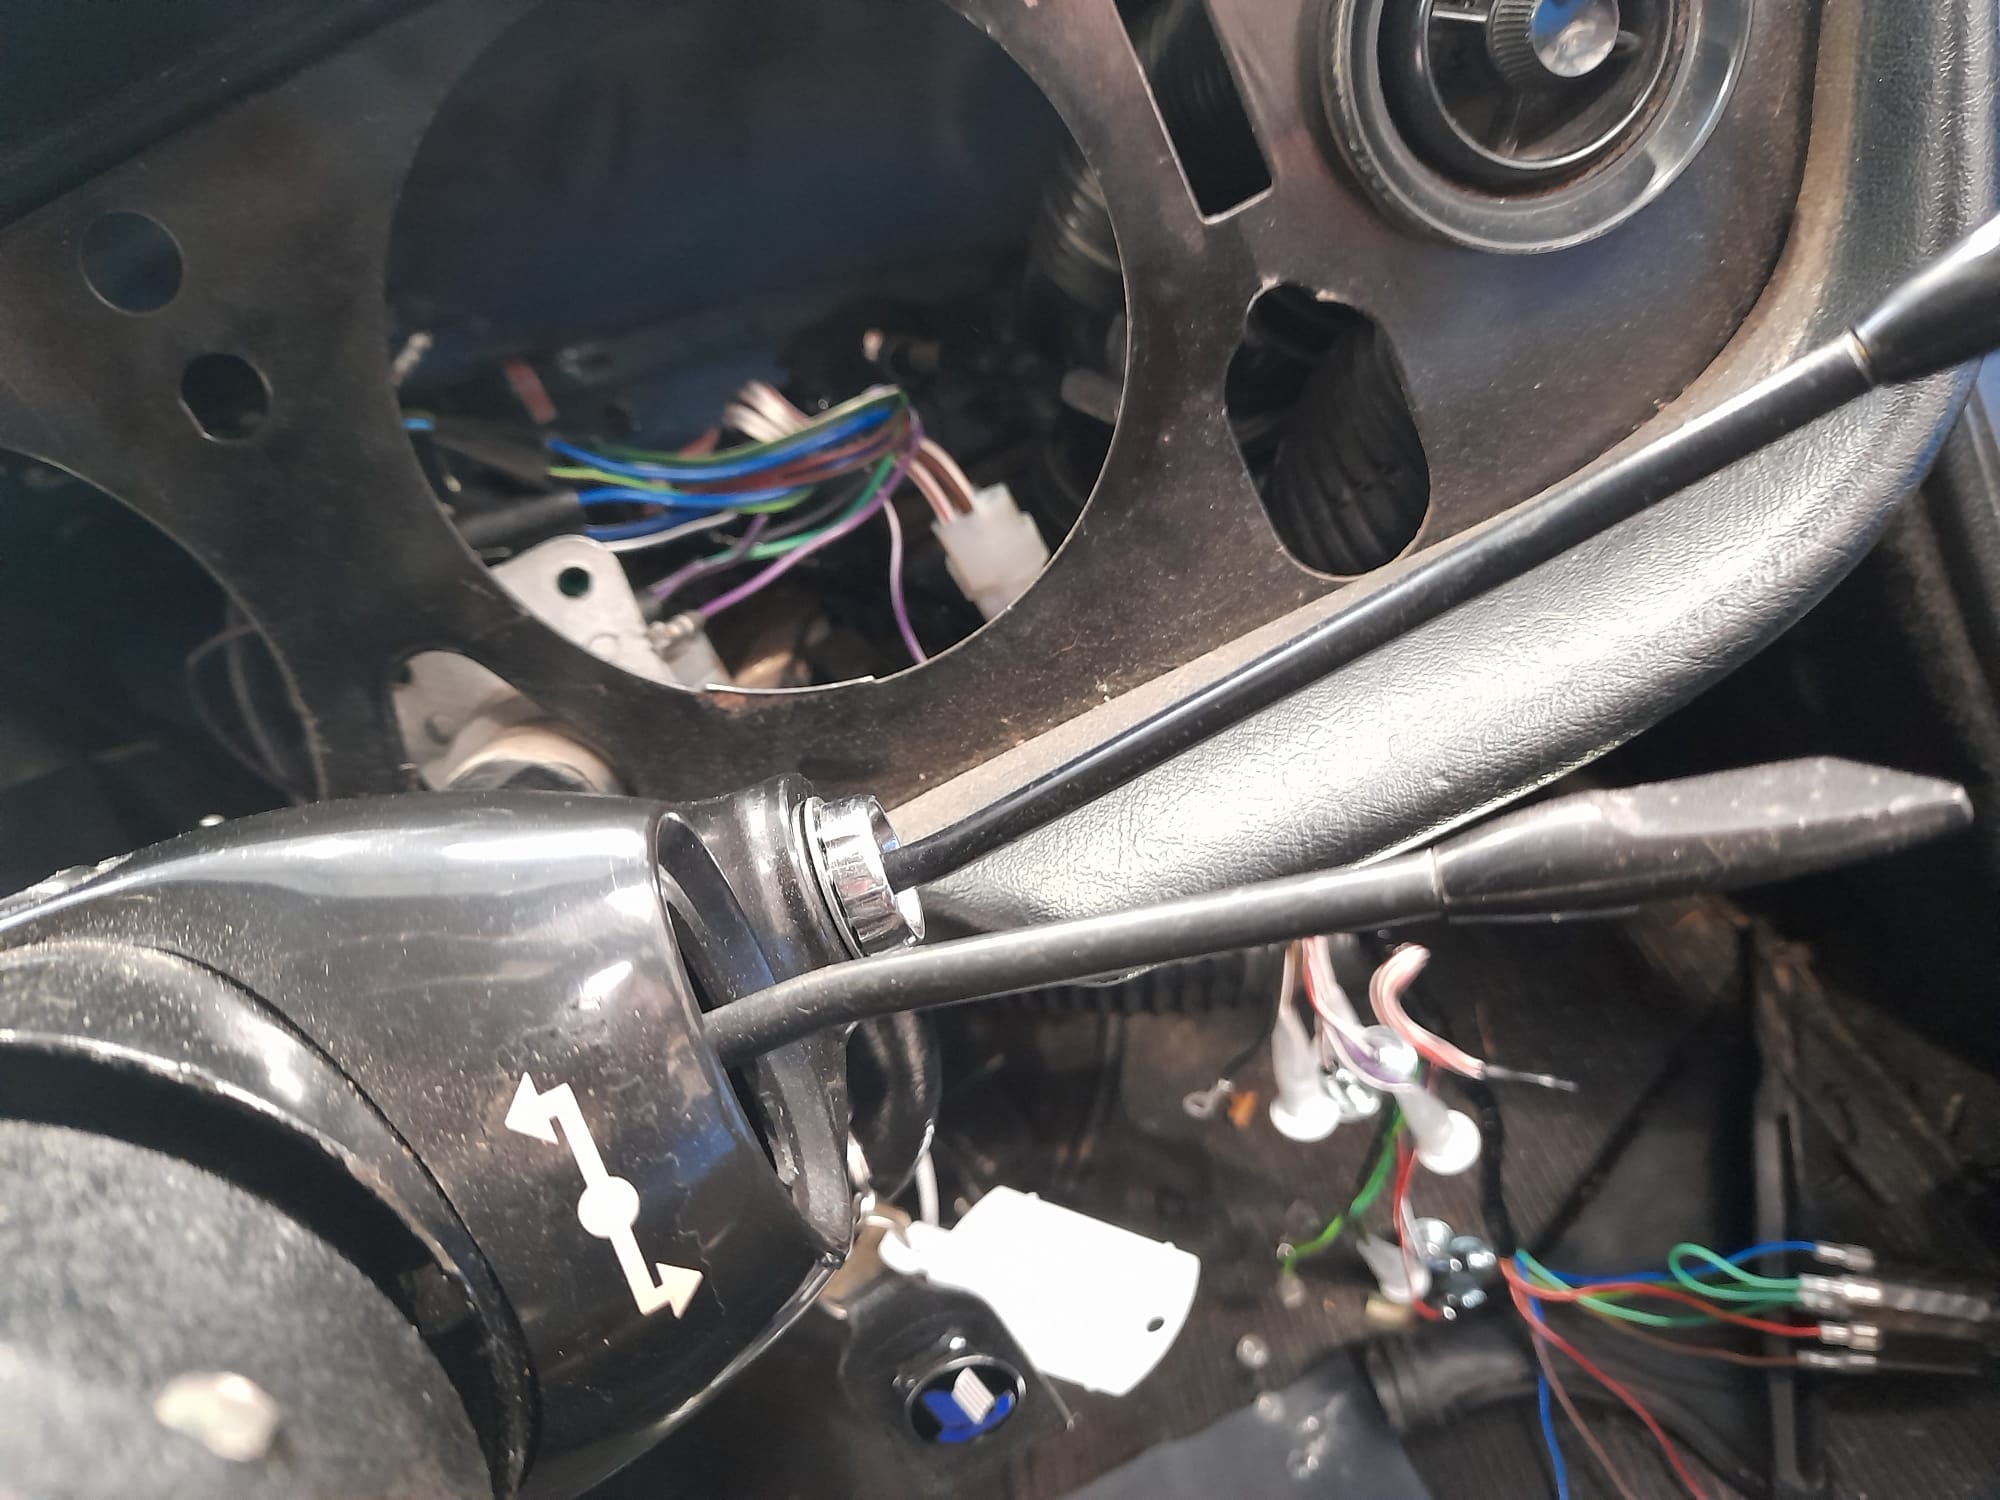
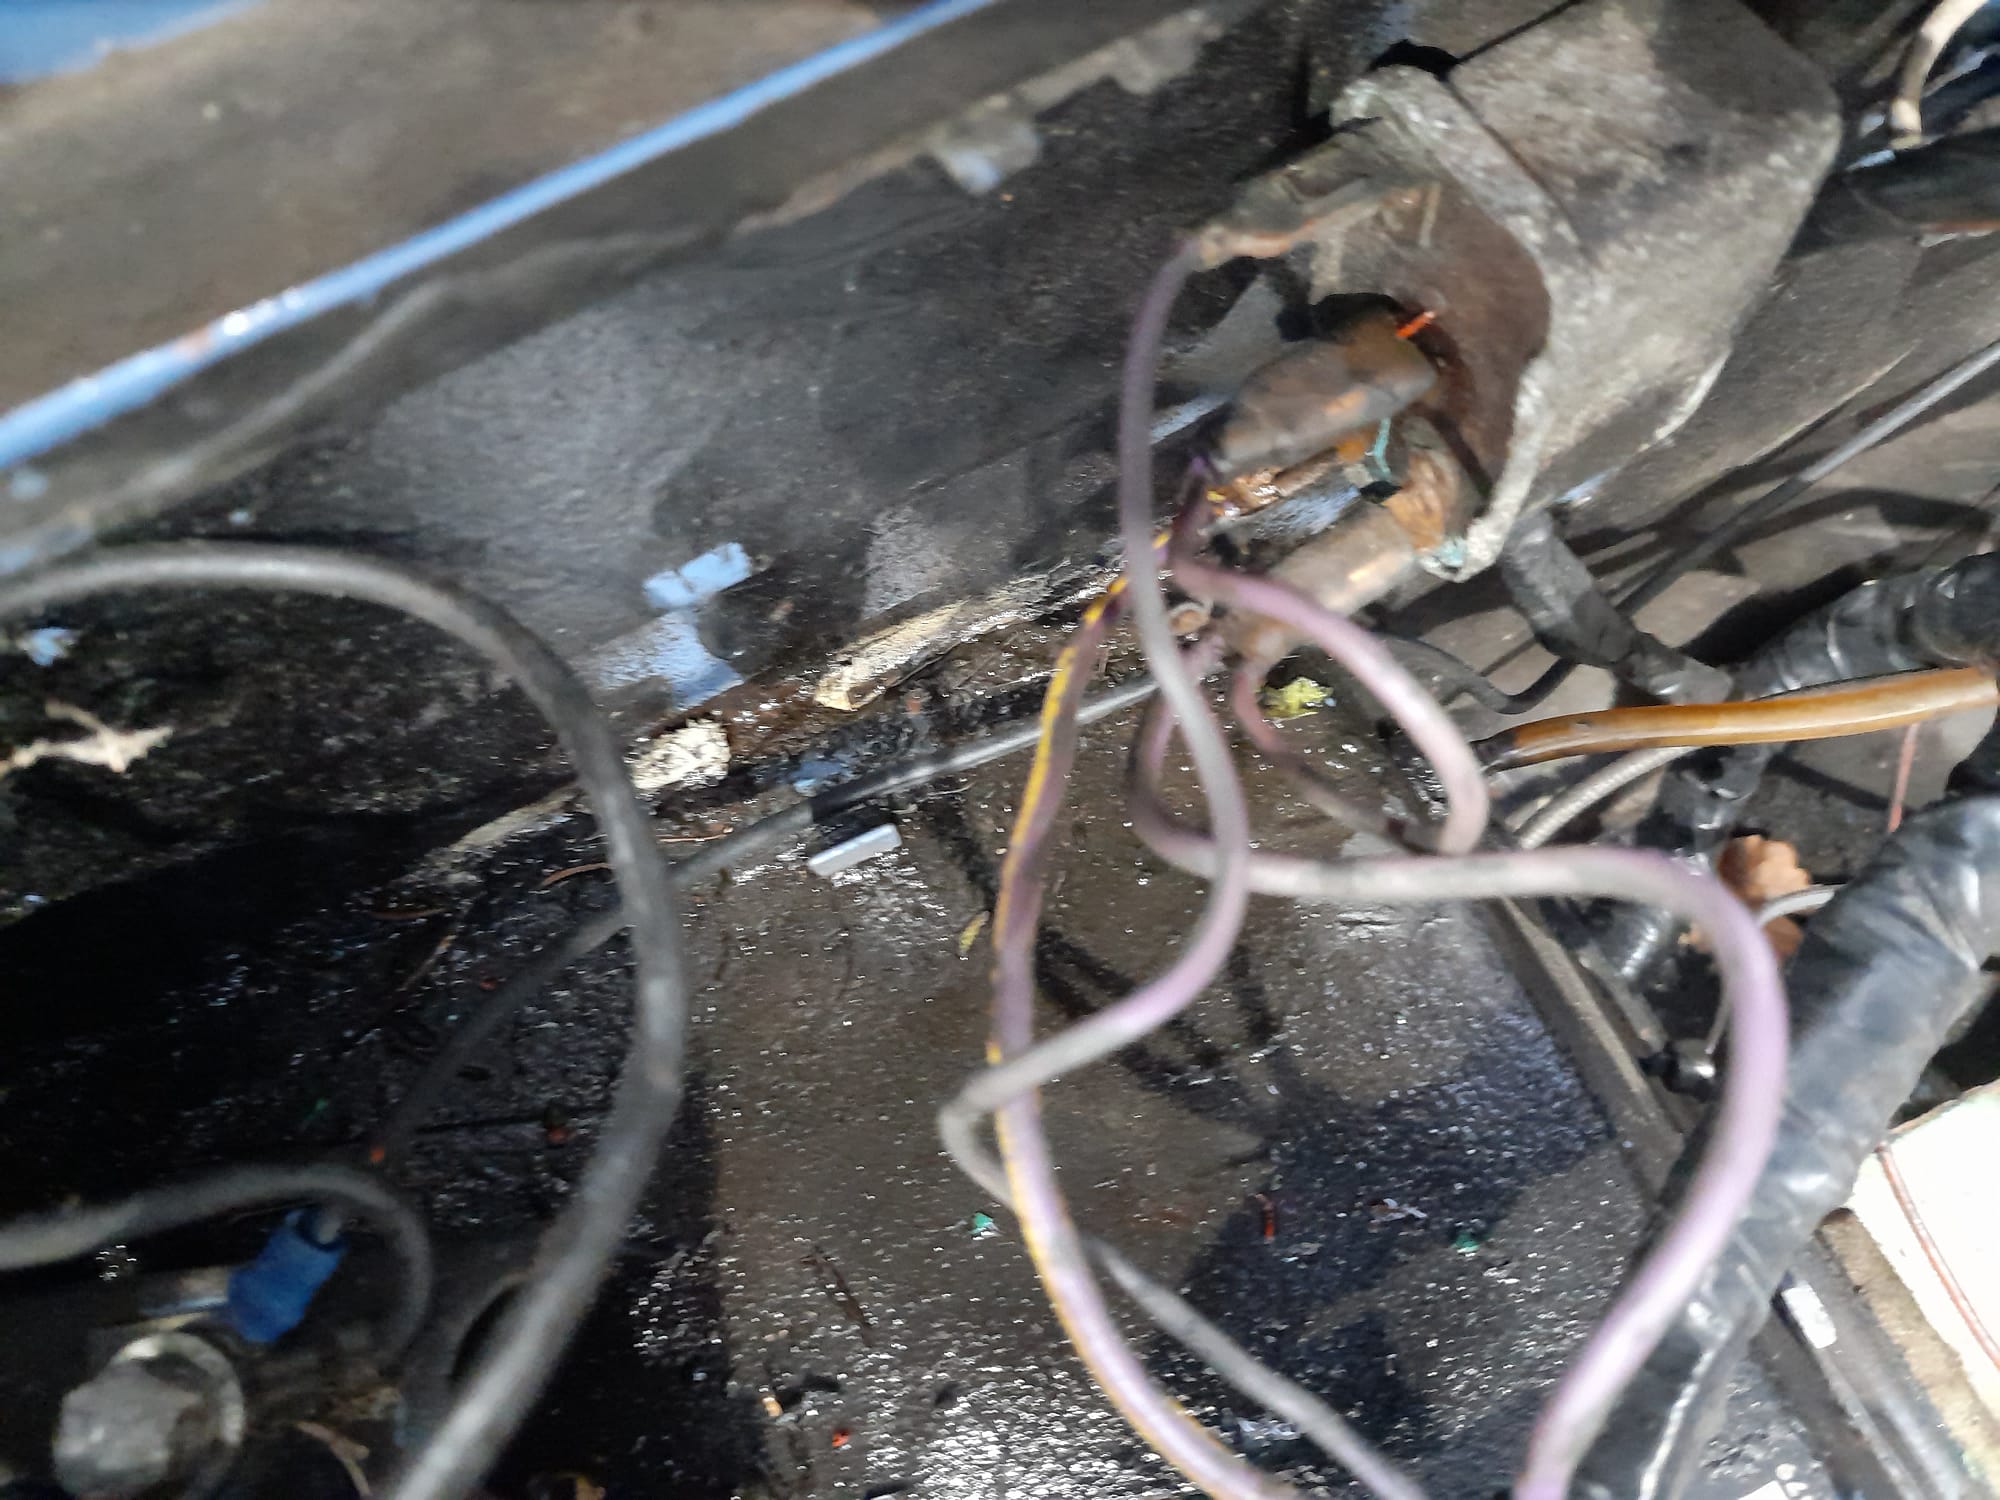
John carefully began to remove the old harness for the car, working his way through the separate systems to ensure all the components could also be inspected.
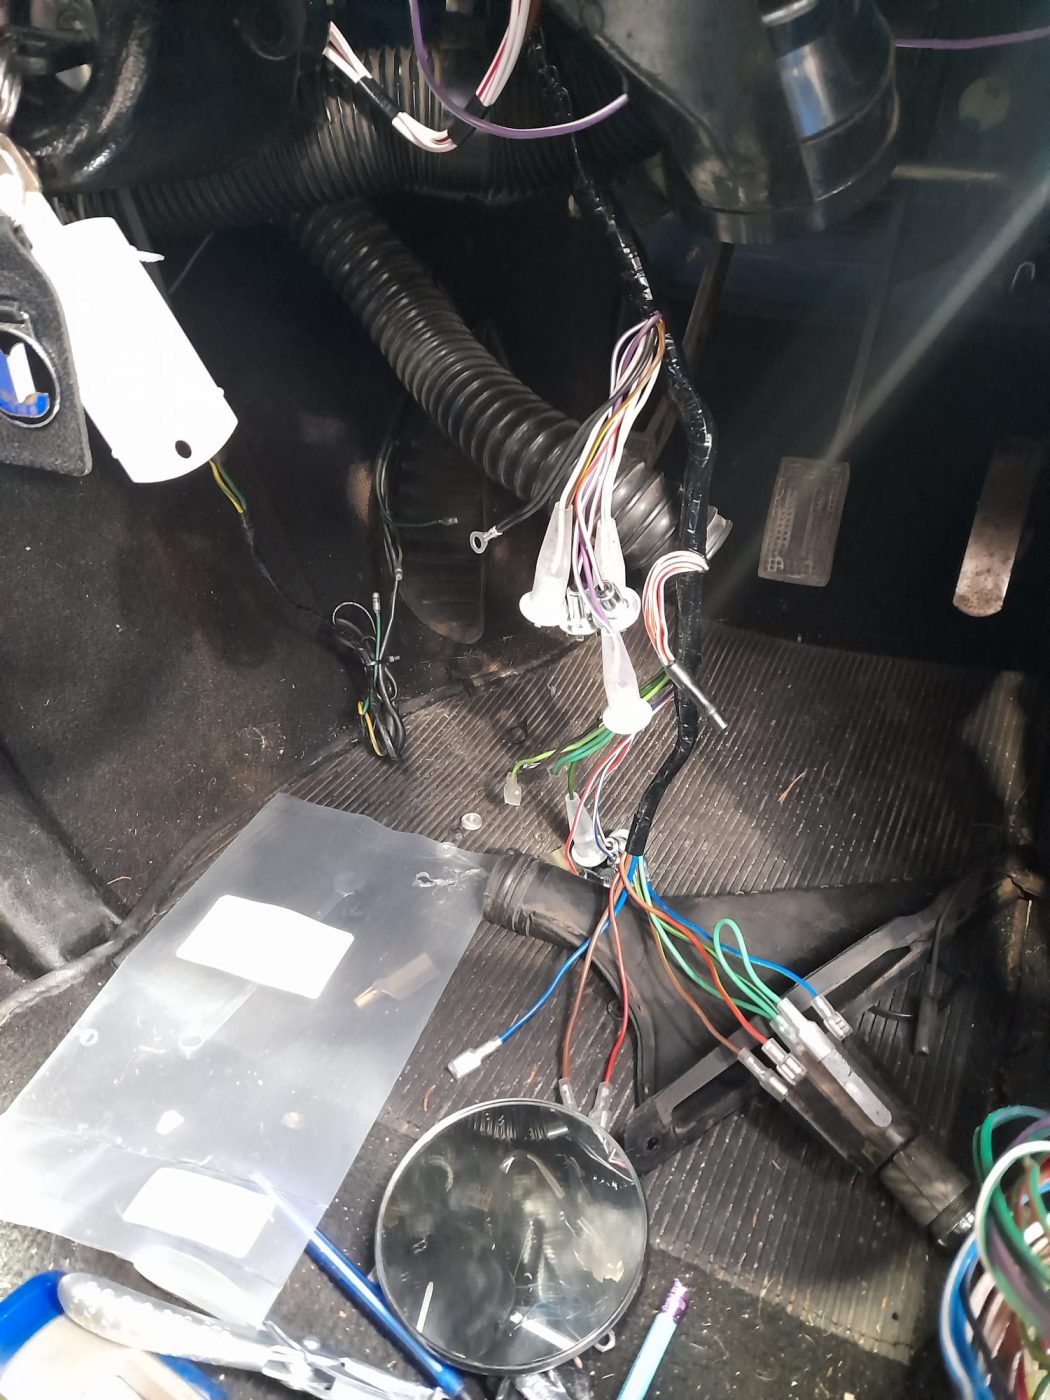
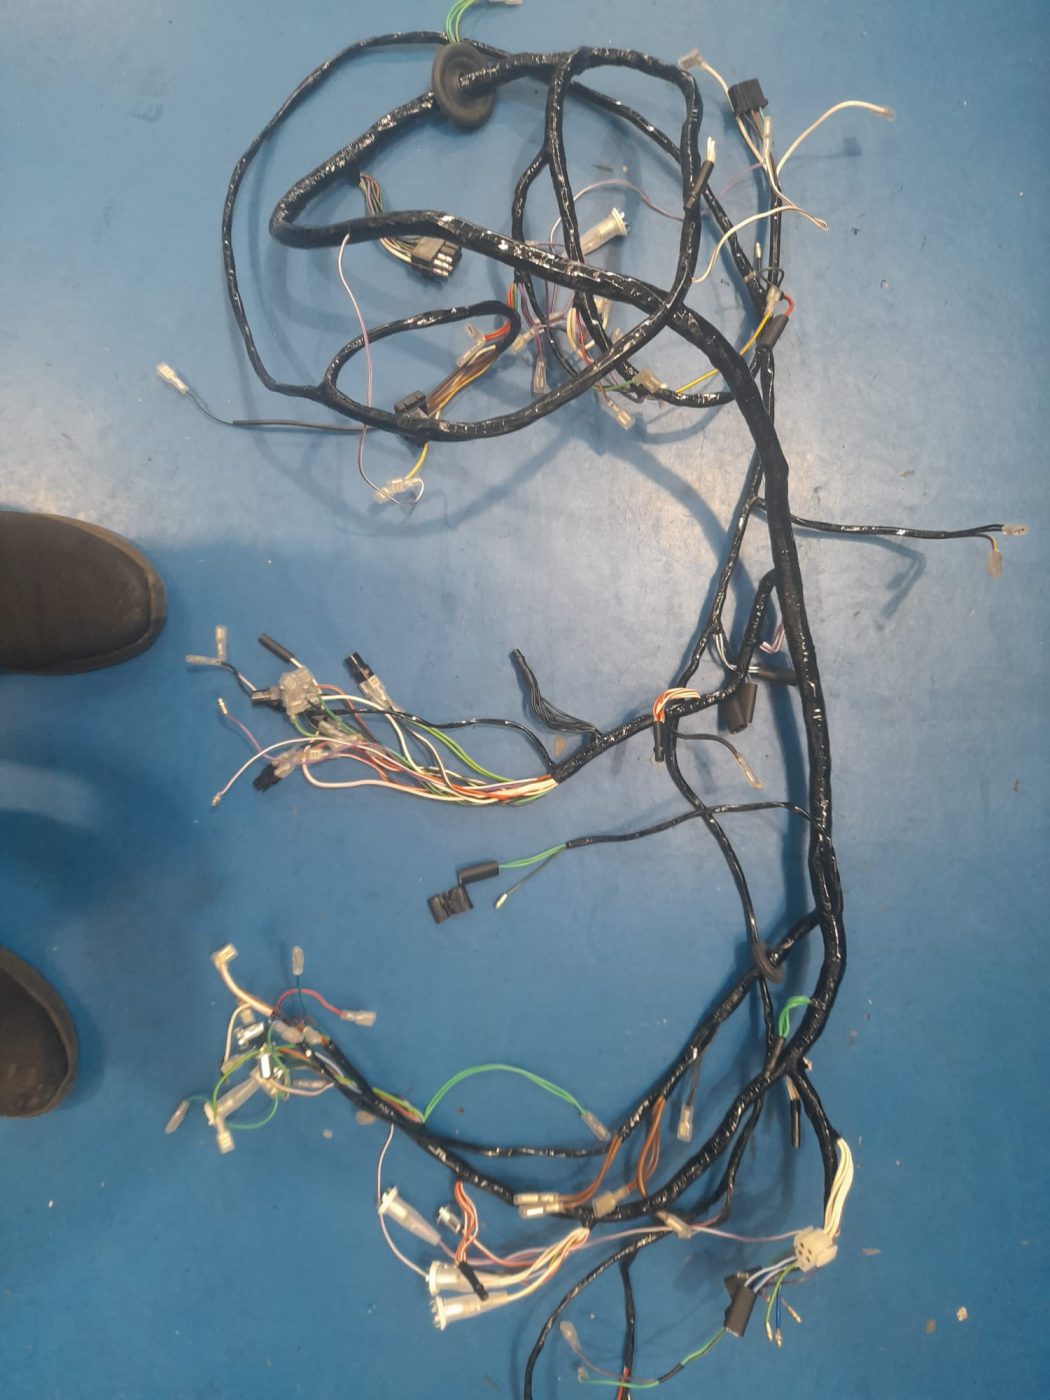
The new loom was then put in place step by step, whilst also running through each part to make sure it functioned correctly now that power could be applied to the harness. Wit the harness now in, its time to test the car completely.
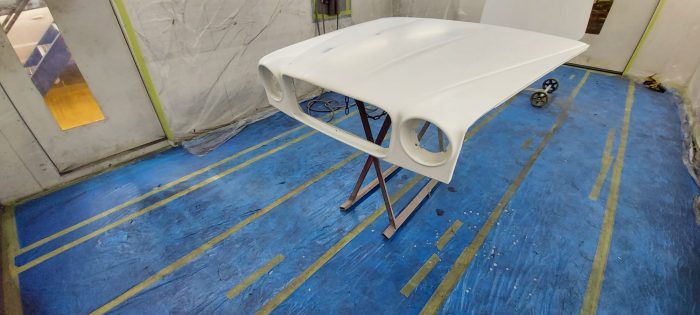
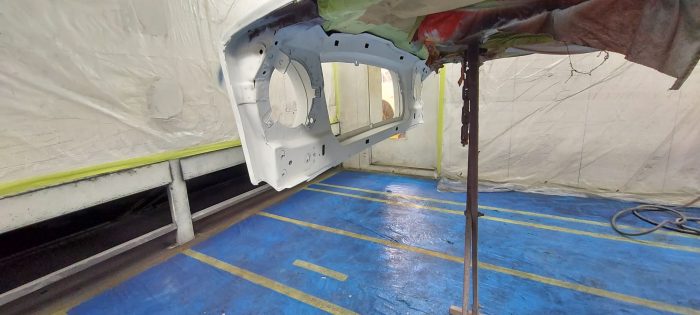
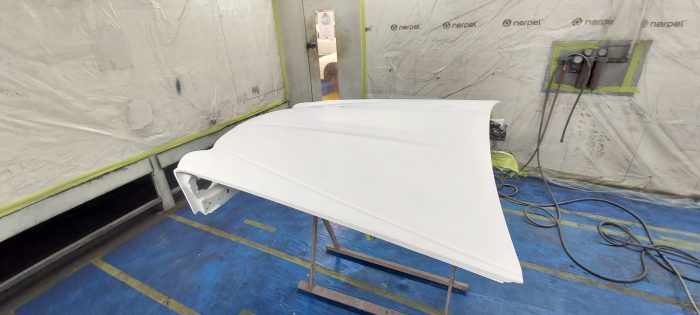
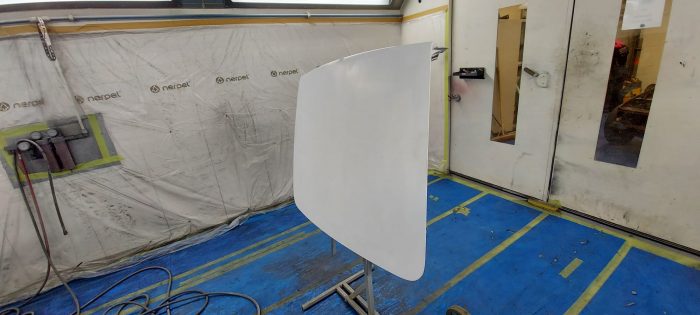
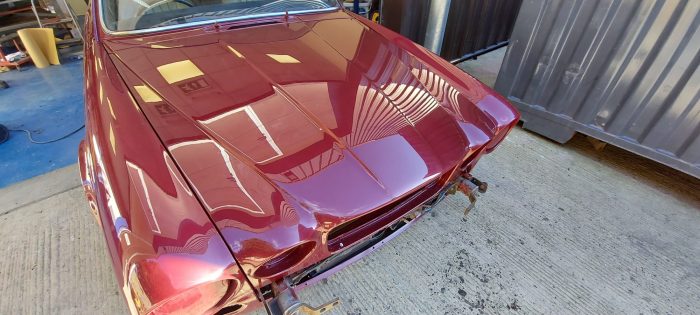
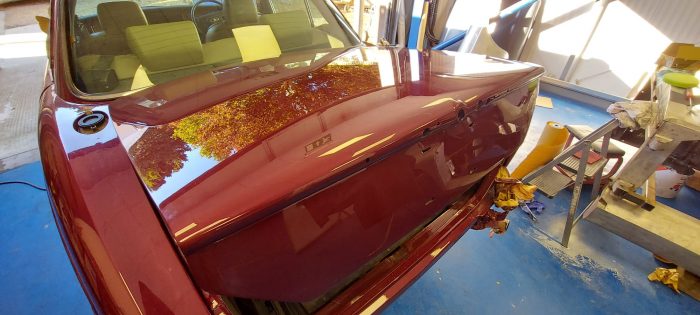
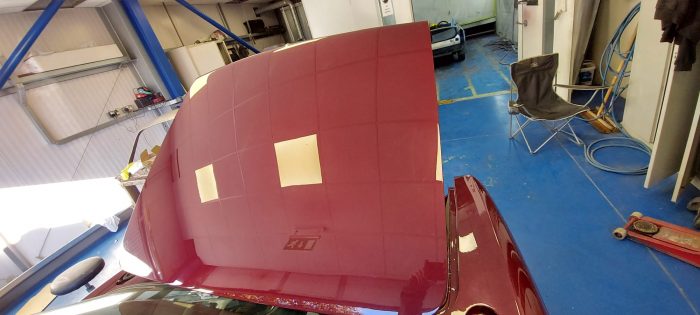
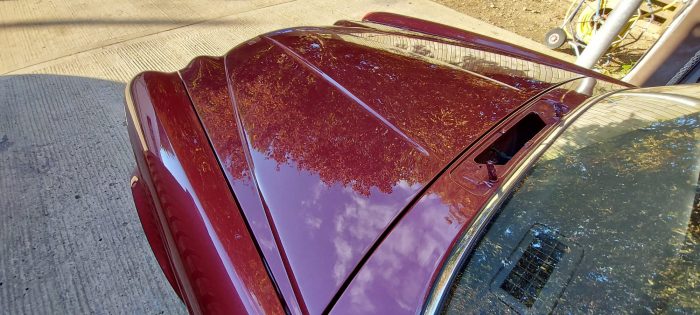
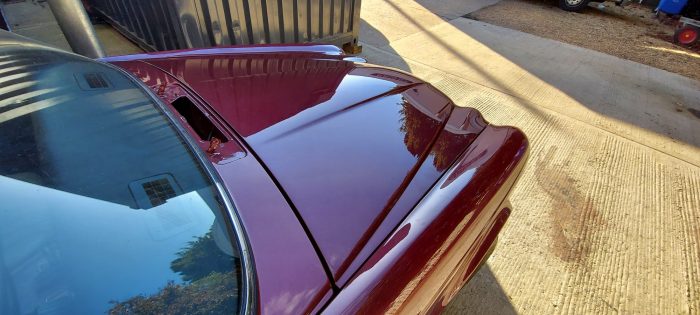
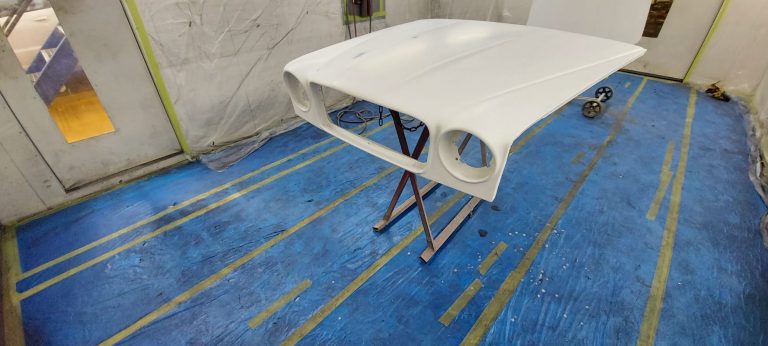
Some of you may remember the 1984 Jaguar XJ bonnet and boot that a customer had asked us to refinish. The rest of the car had been painted elsewhere but that isn’t a problem for our in-house paint team.
After working on the rust repairs for the panels and making sure the surfaces were flat and true, Chris and the team got to the meticulous job of paint matching.
Thanks to our state of the art paint system as well as years of experience, Chris managed to exactly match the shade and hue of deep, vibrant maroon for this classic Jaguar. The results look incredible.
Chris and the team take their time with the prepping of each individual piece that needs painting and that also includes laying the primer in just the right way that it sits and shines just in the right way for the colour coat to achieve the best finish.
