Jensen 541R Interior Update
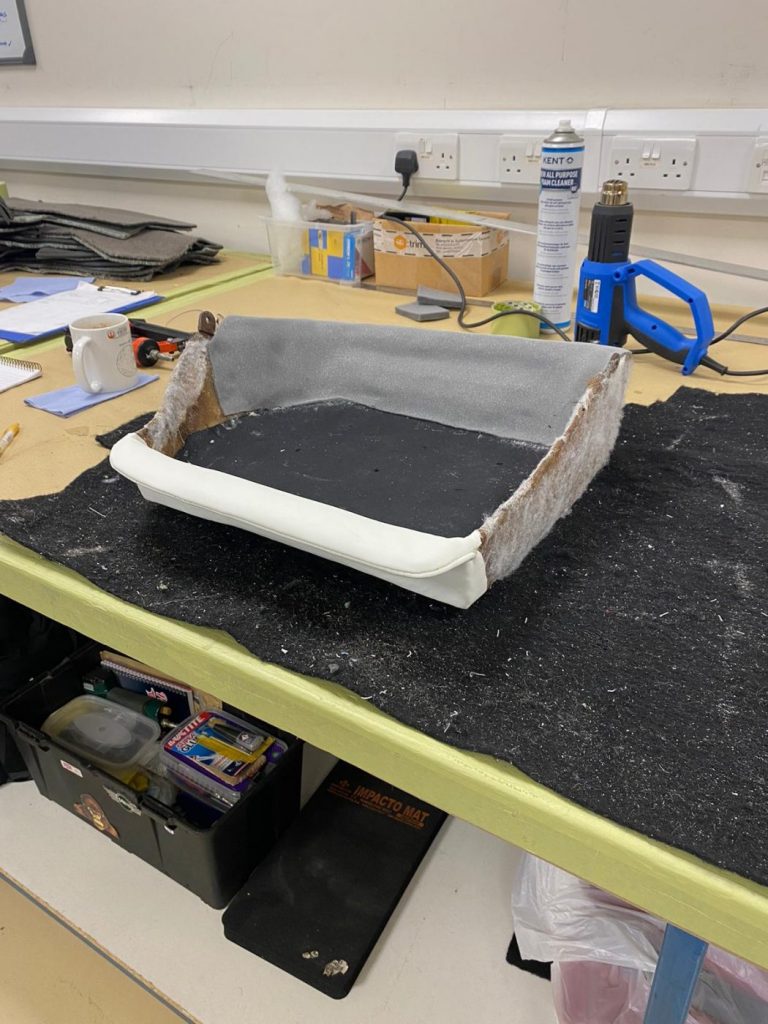
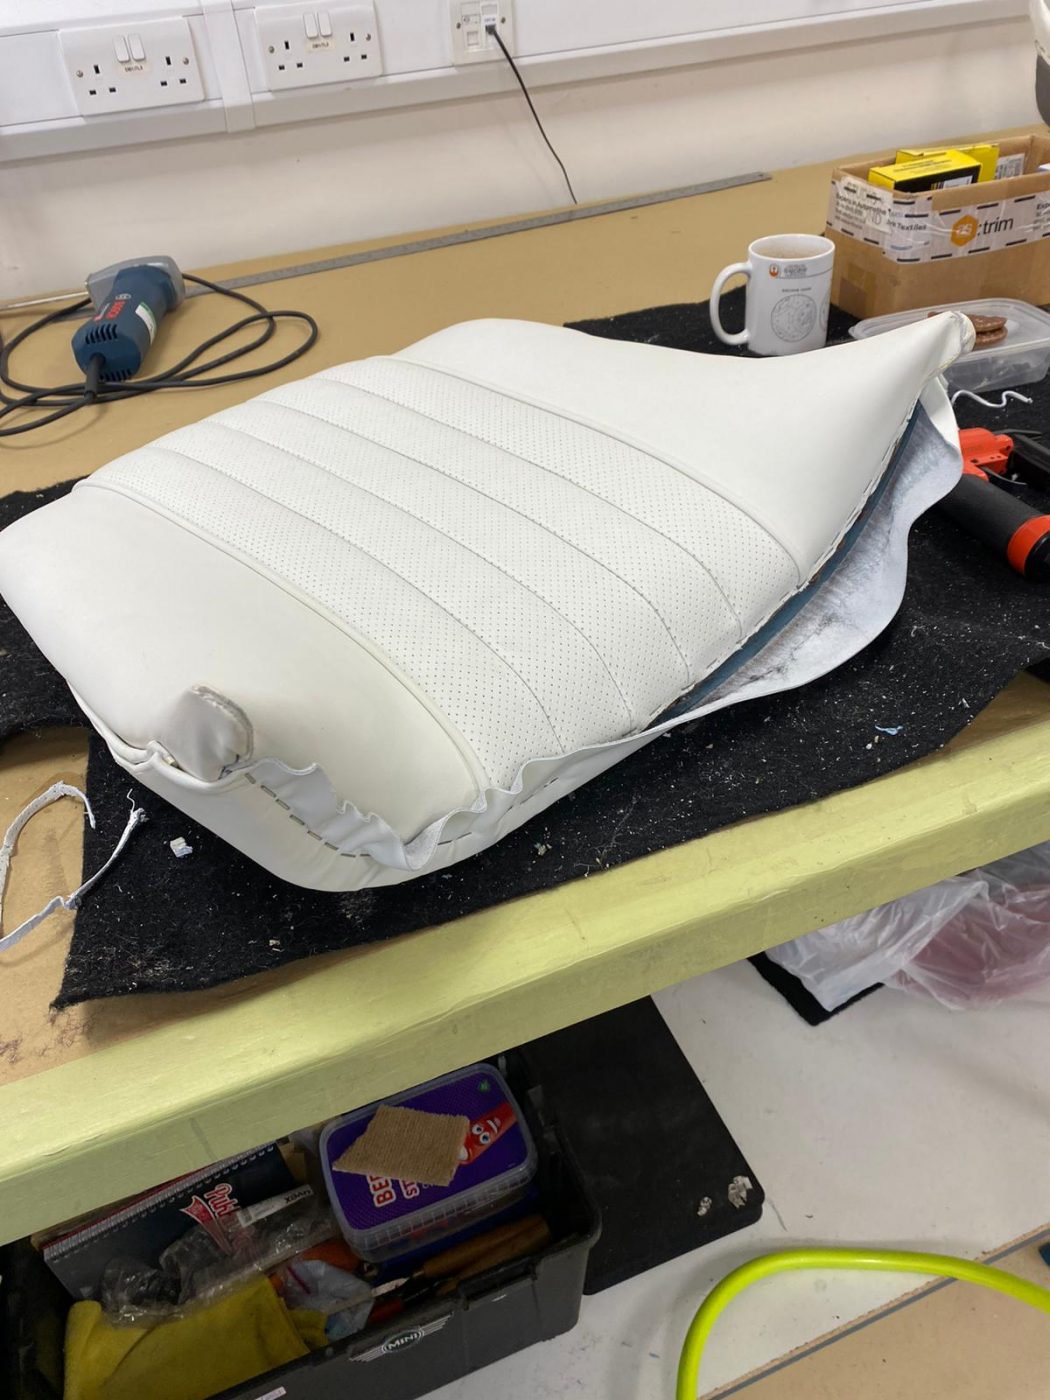
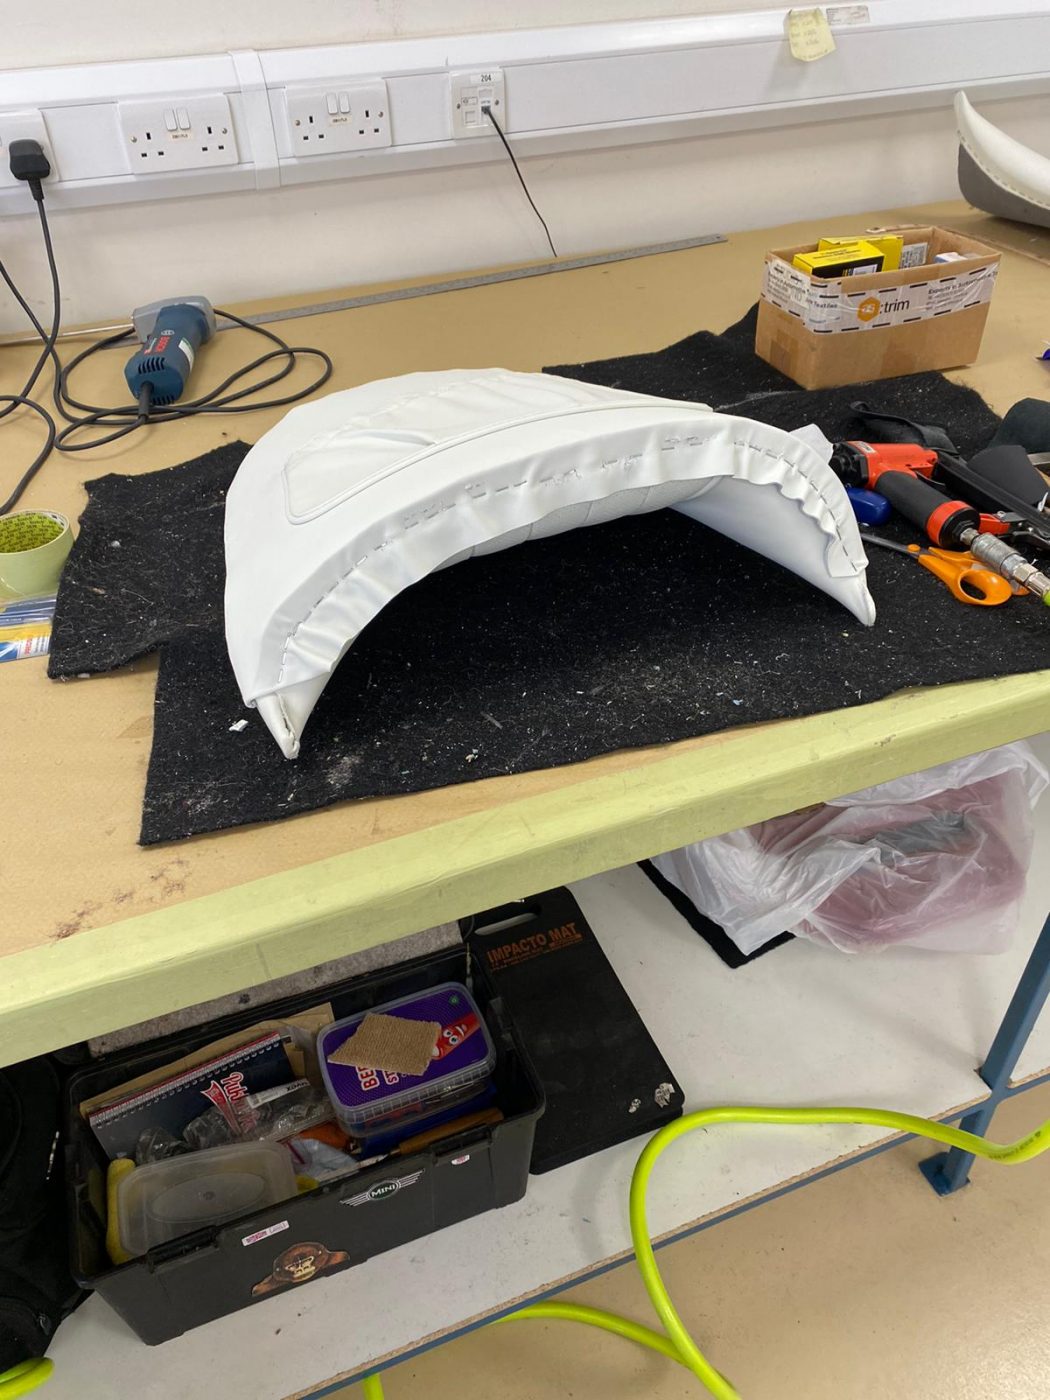
Brian has been working on the interior for the Lilac Jensen 541R recently. He is currently gluing the front cover to front seat base tub


Brian has been working on the interior for the Lilac Jensen 541R recently. He is currently gluing the front cover to front seat base tub
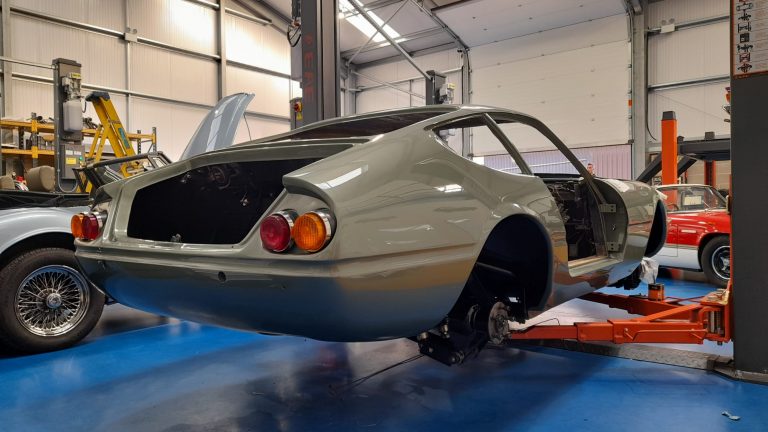
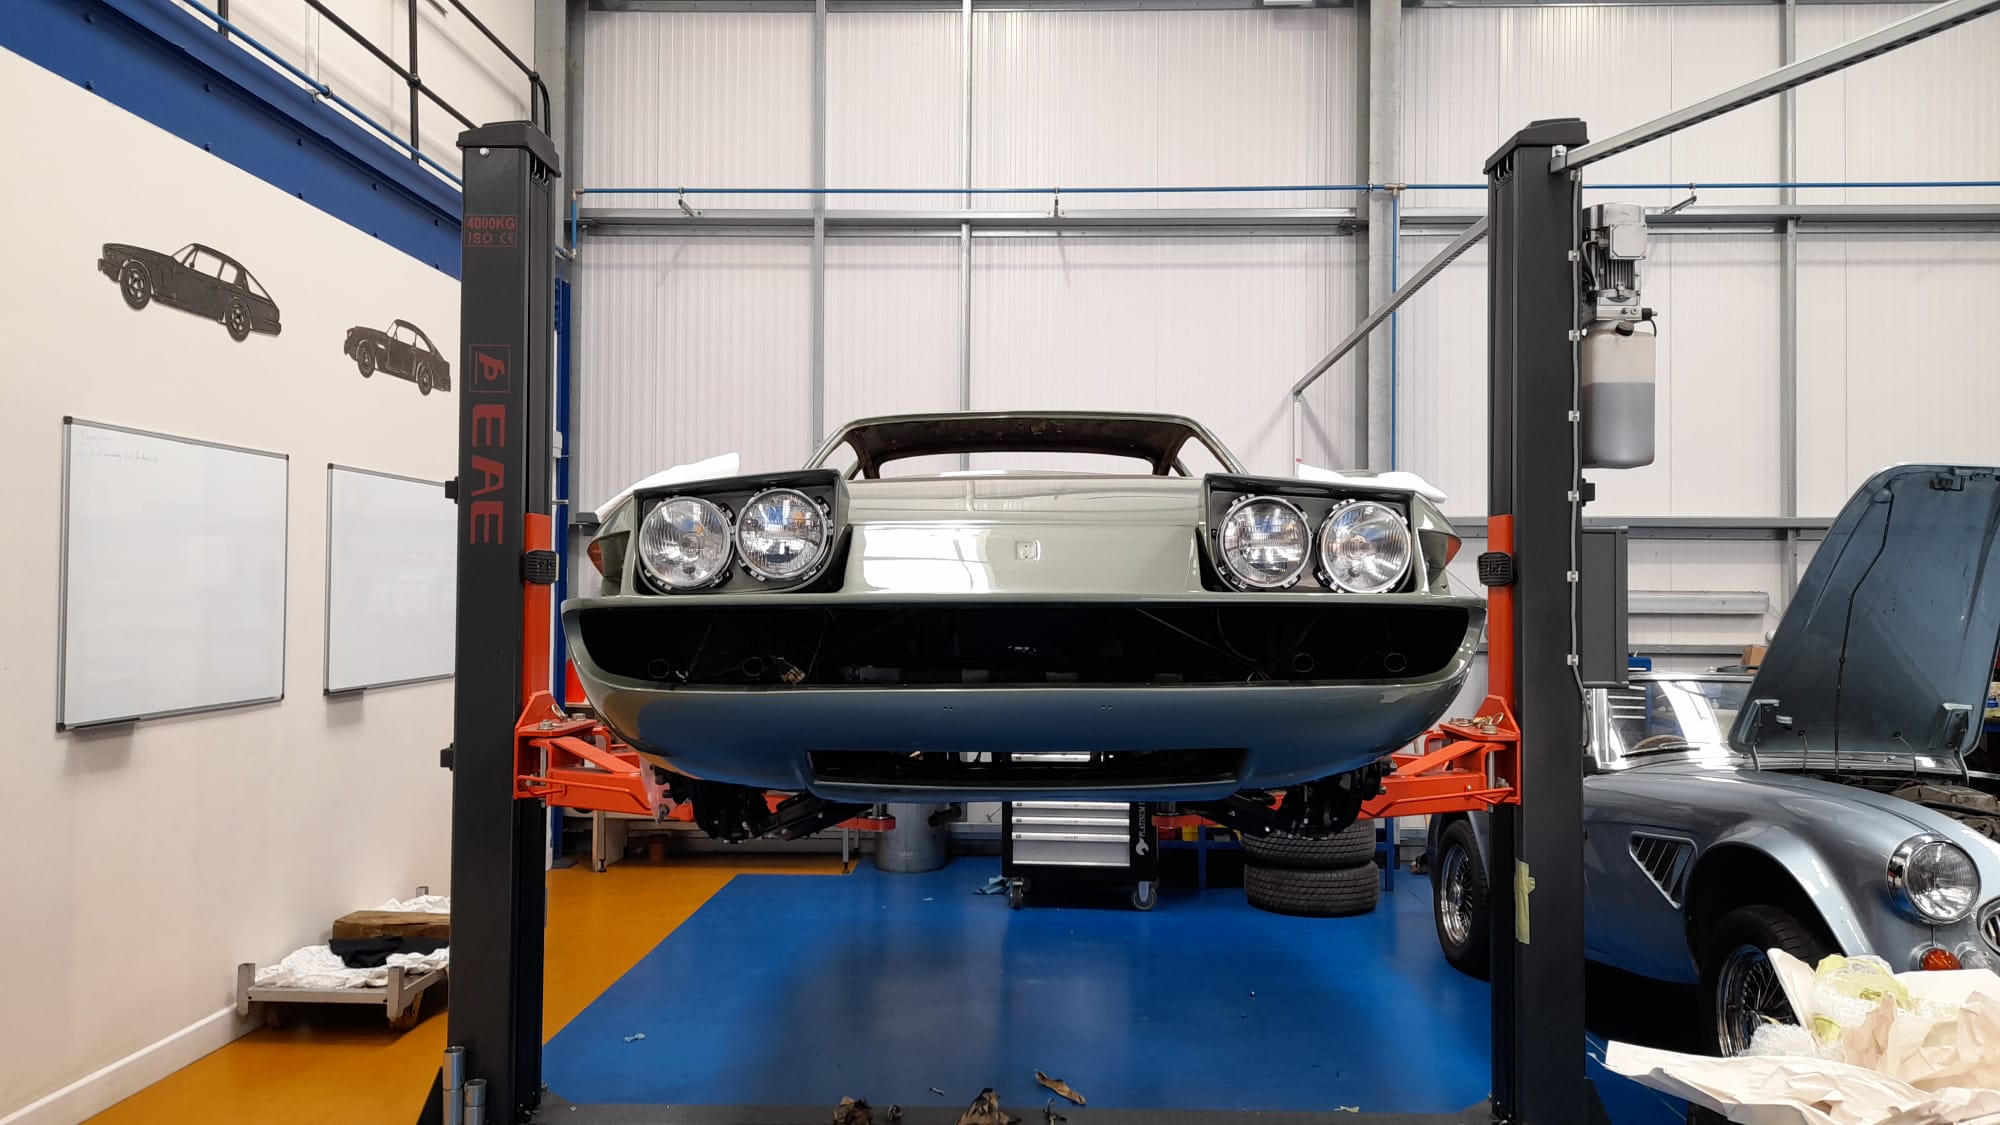
It has been a solid week for Scott on the rebuild of the Ferrari Daytona. The brake lines are now in, along with the new
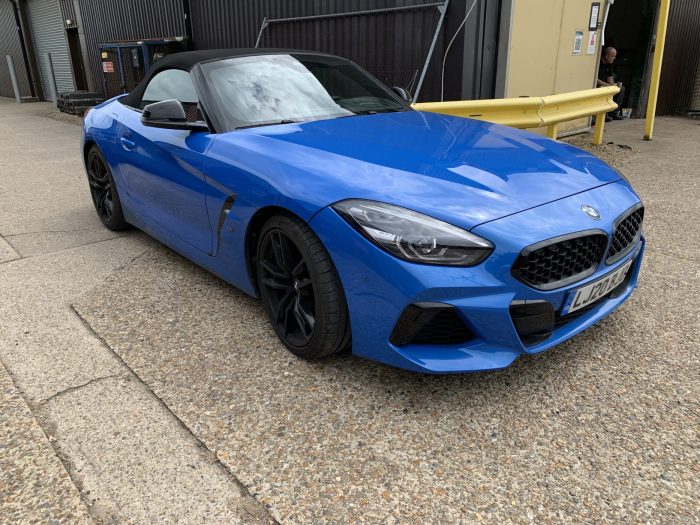
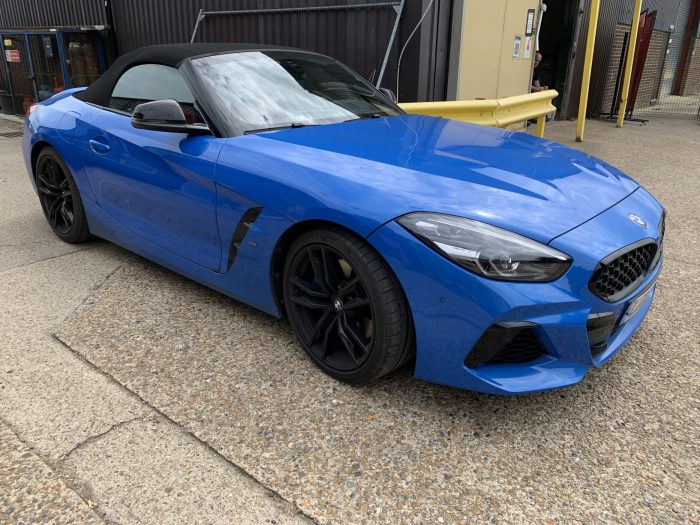
We had a visit from our good friend Nick today in his stunning M spec BMW Z4. Meanwhile, Gordon is taking some much needed time

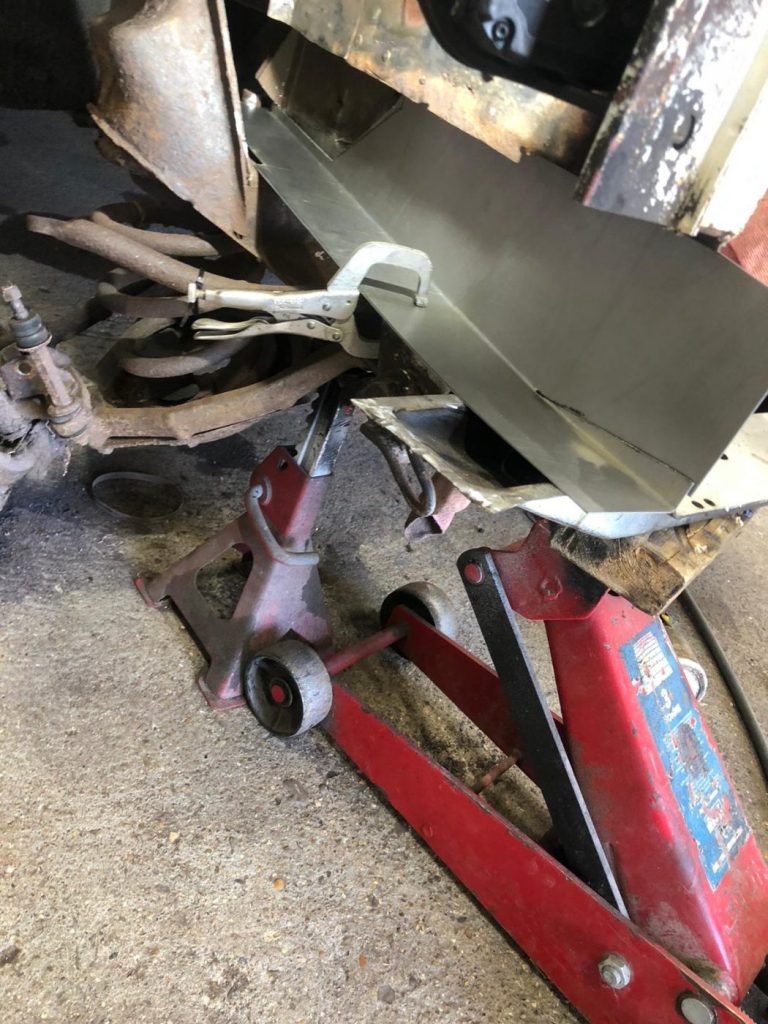
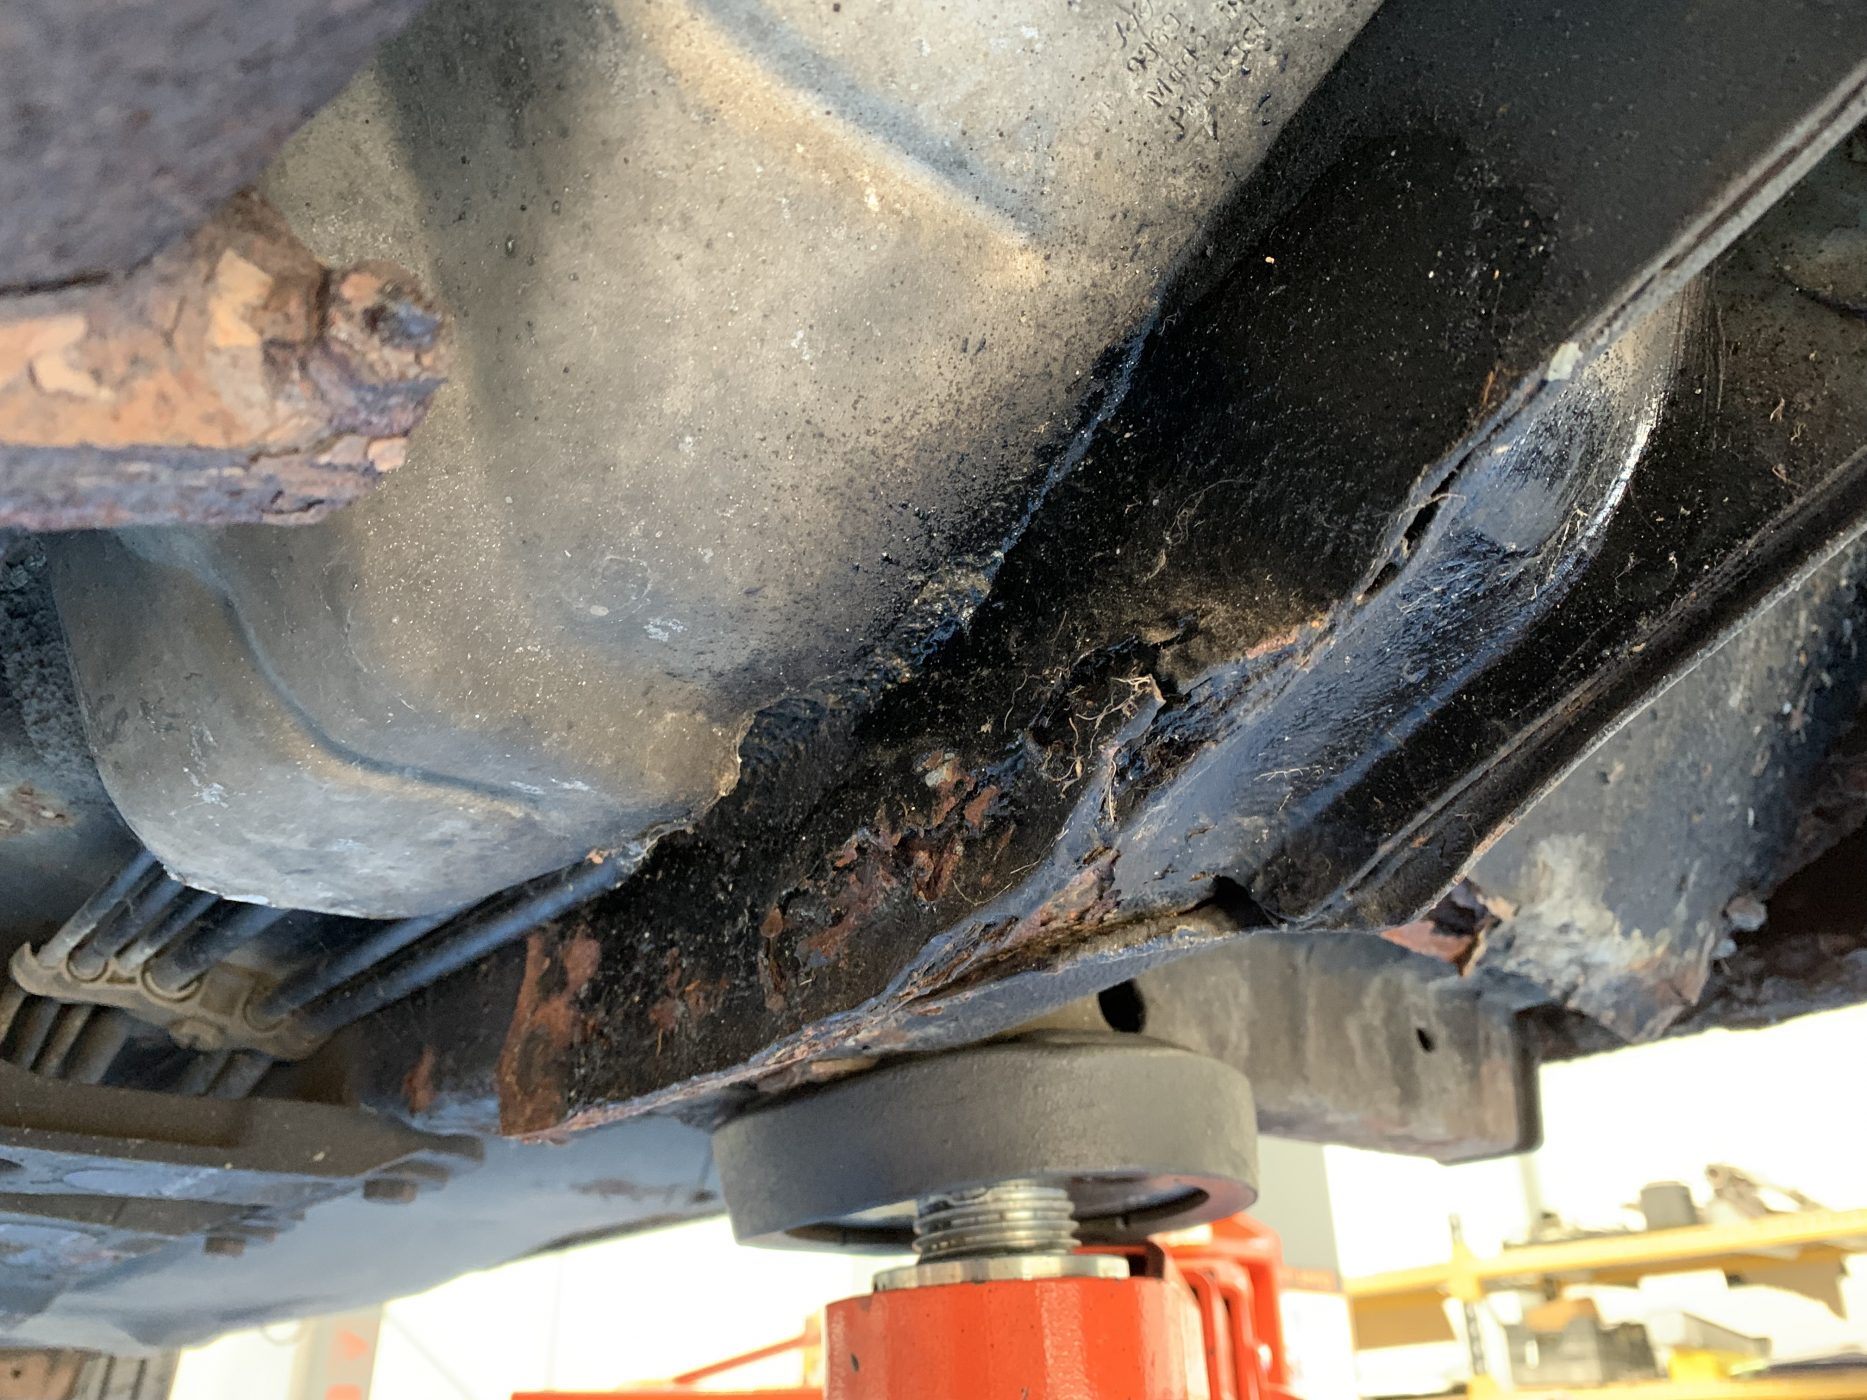
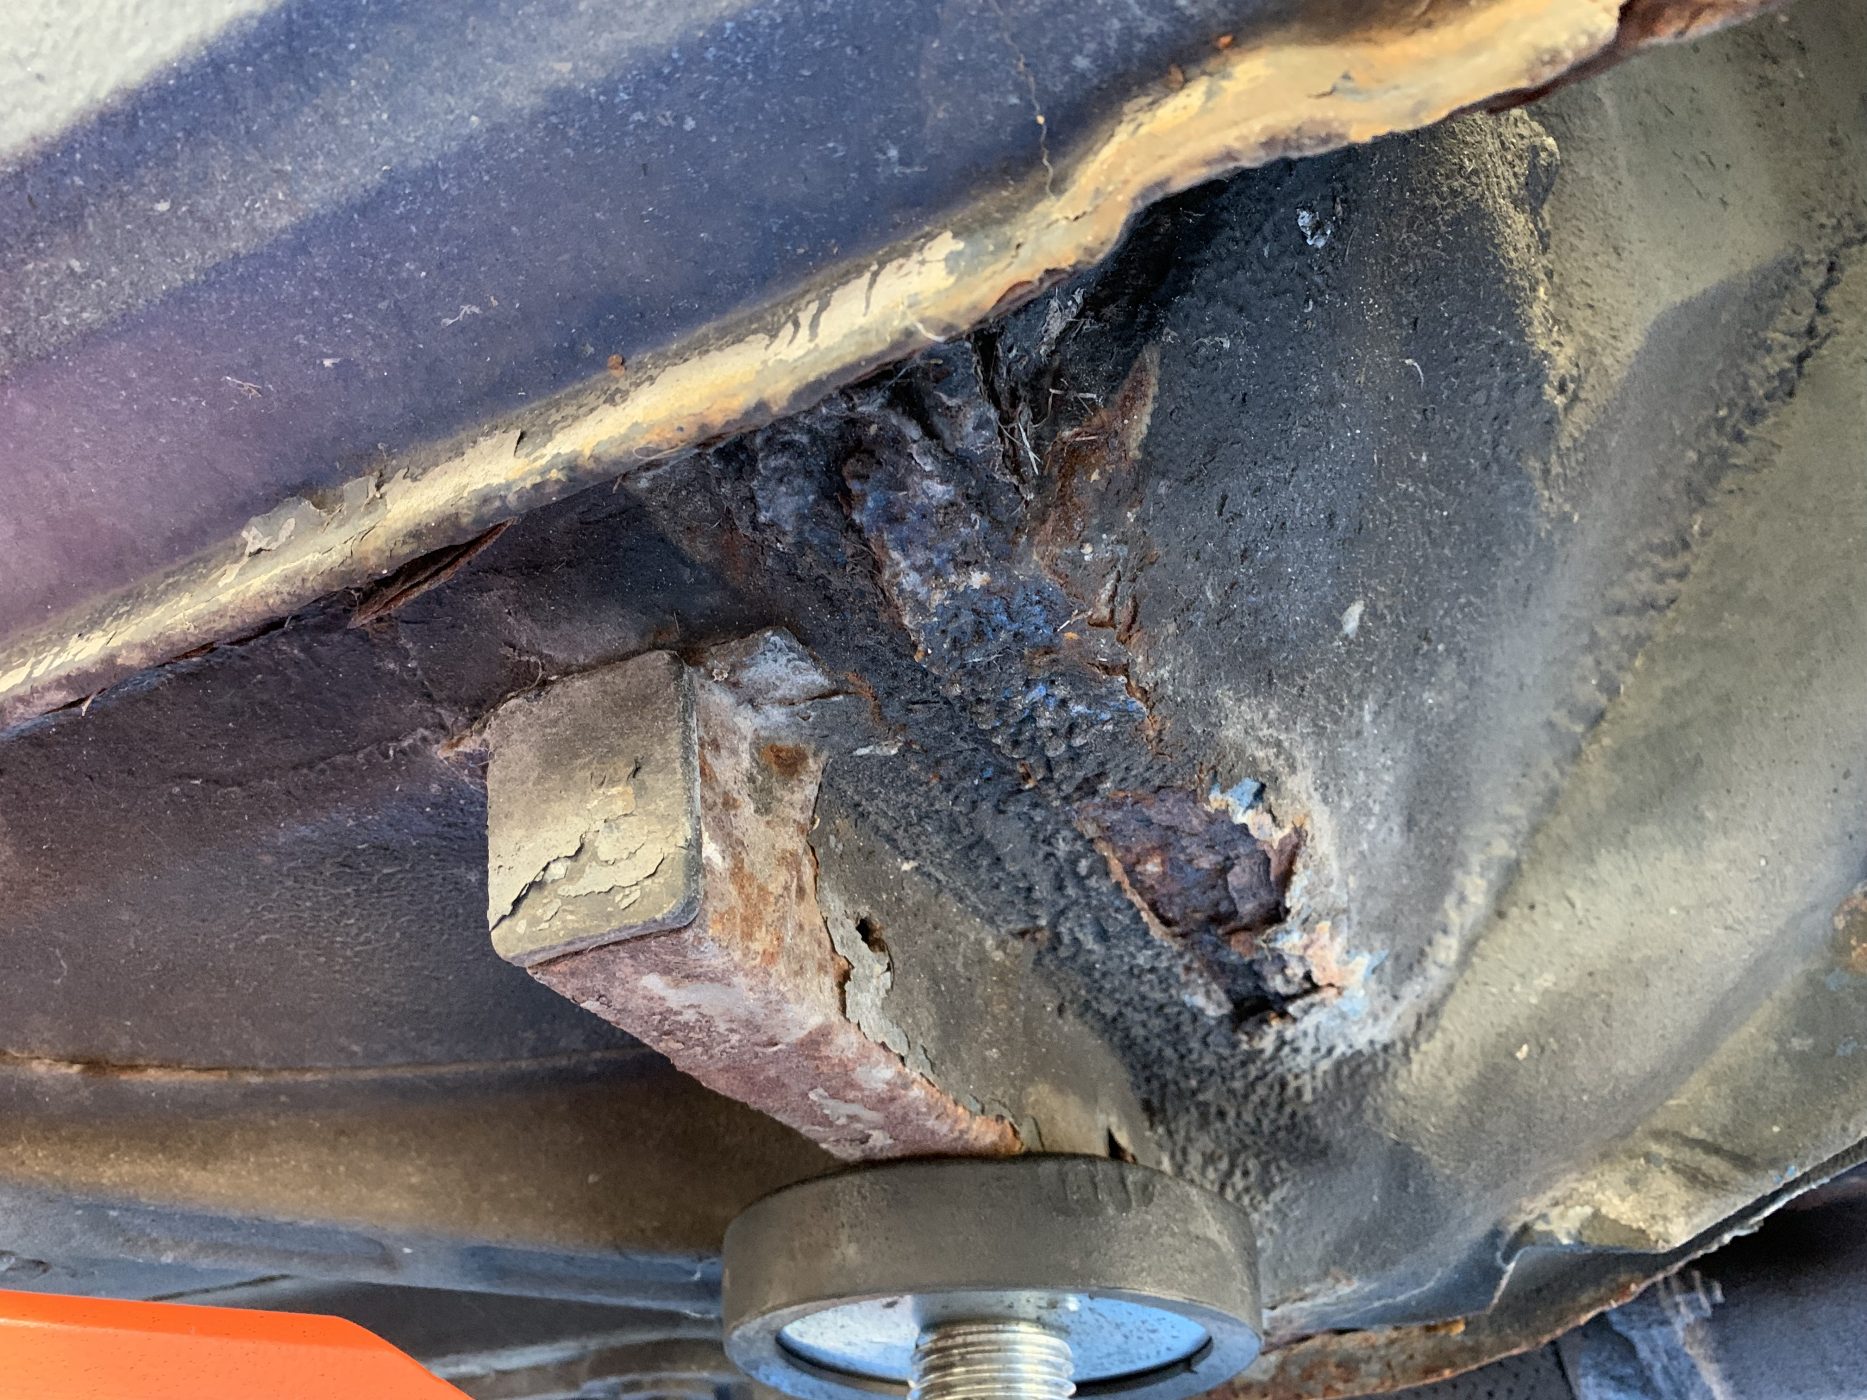
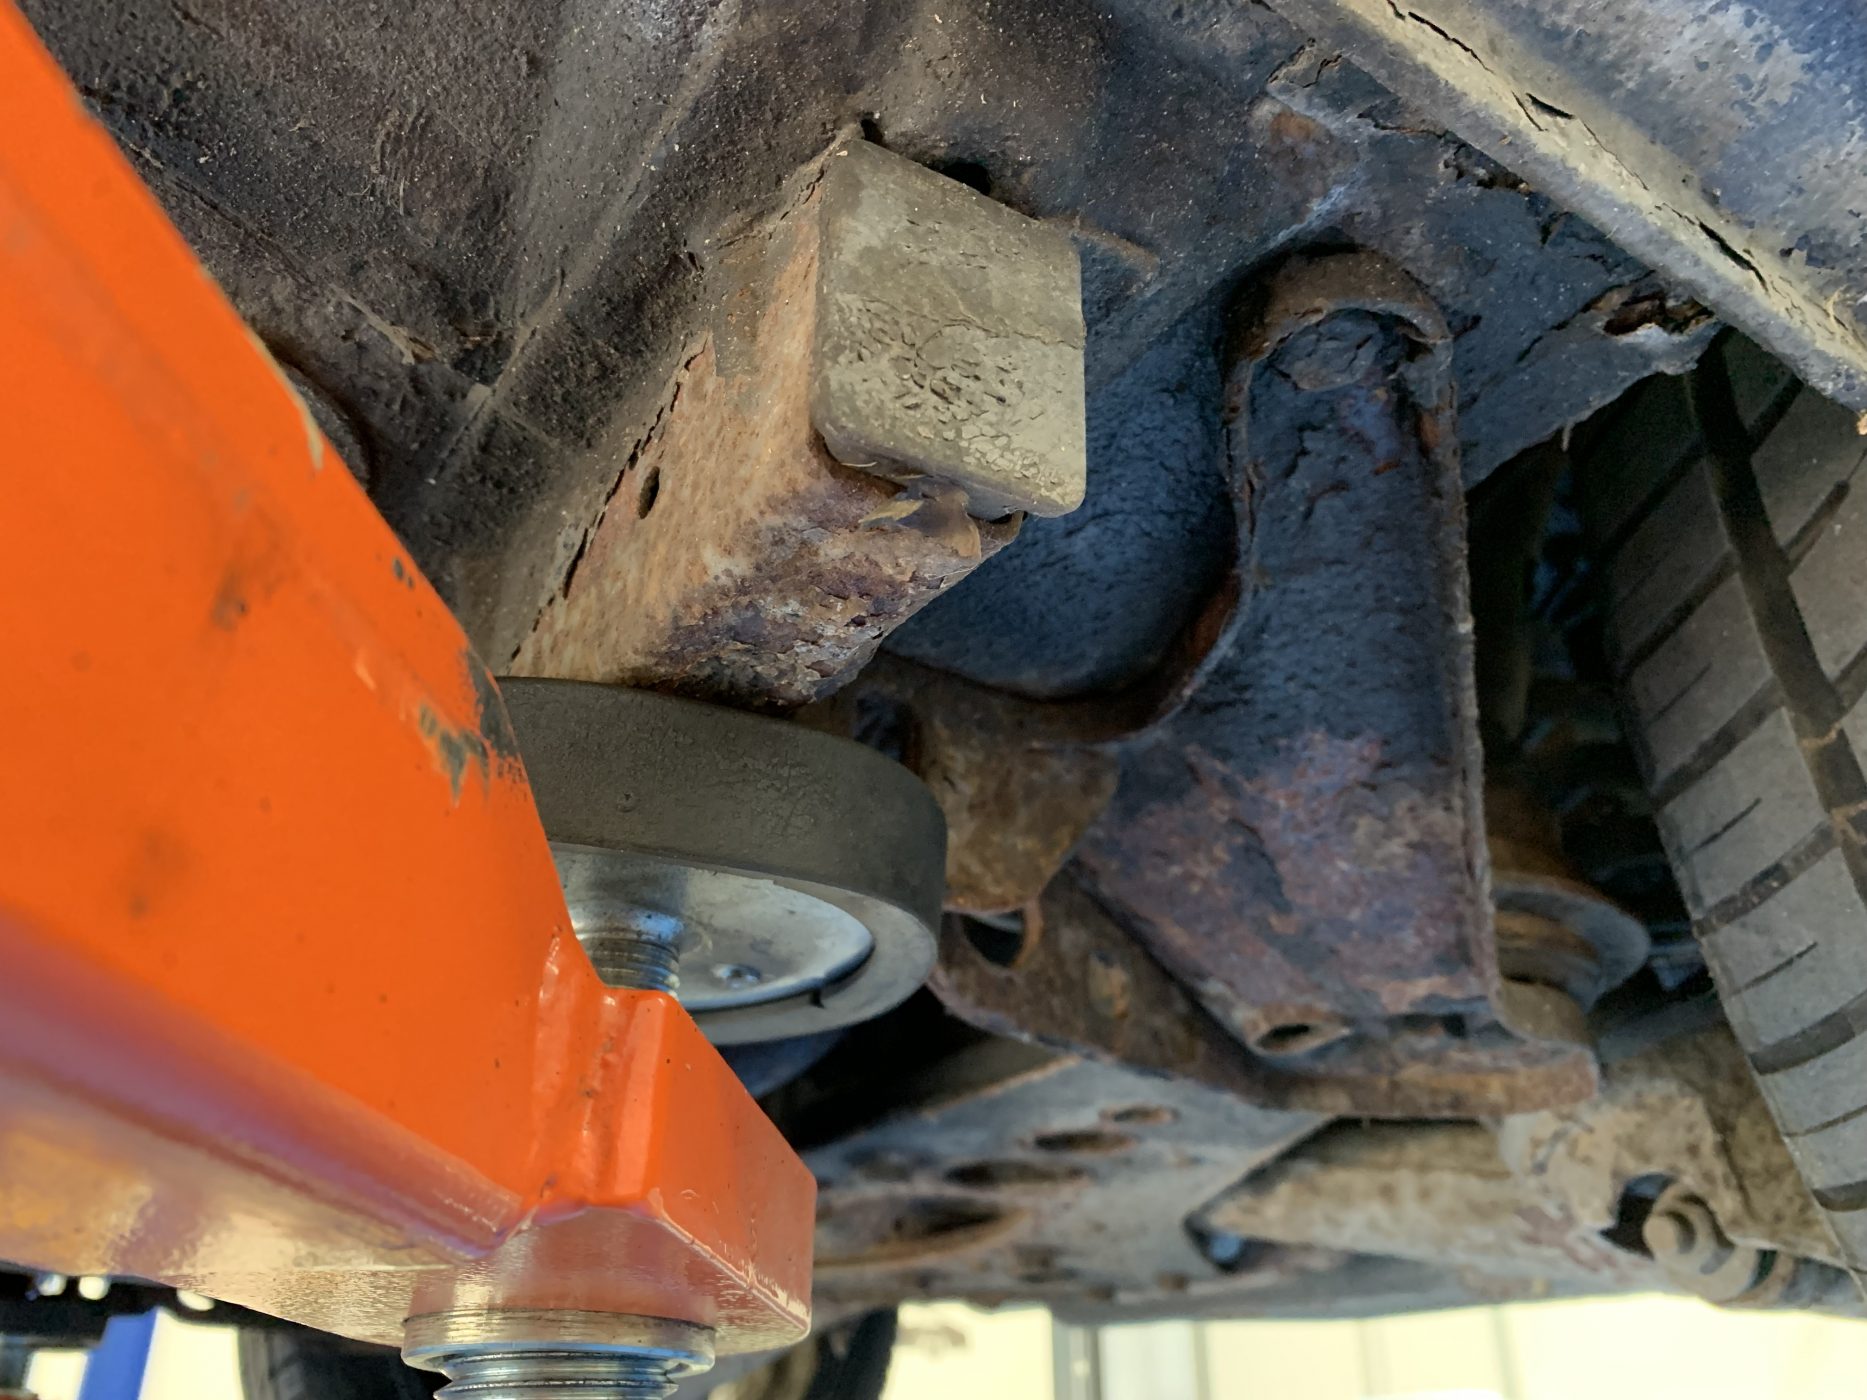
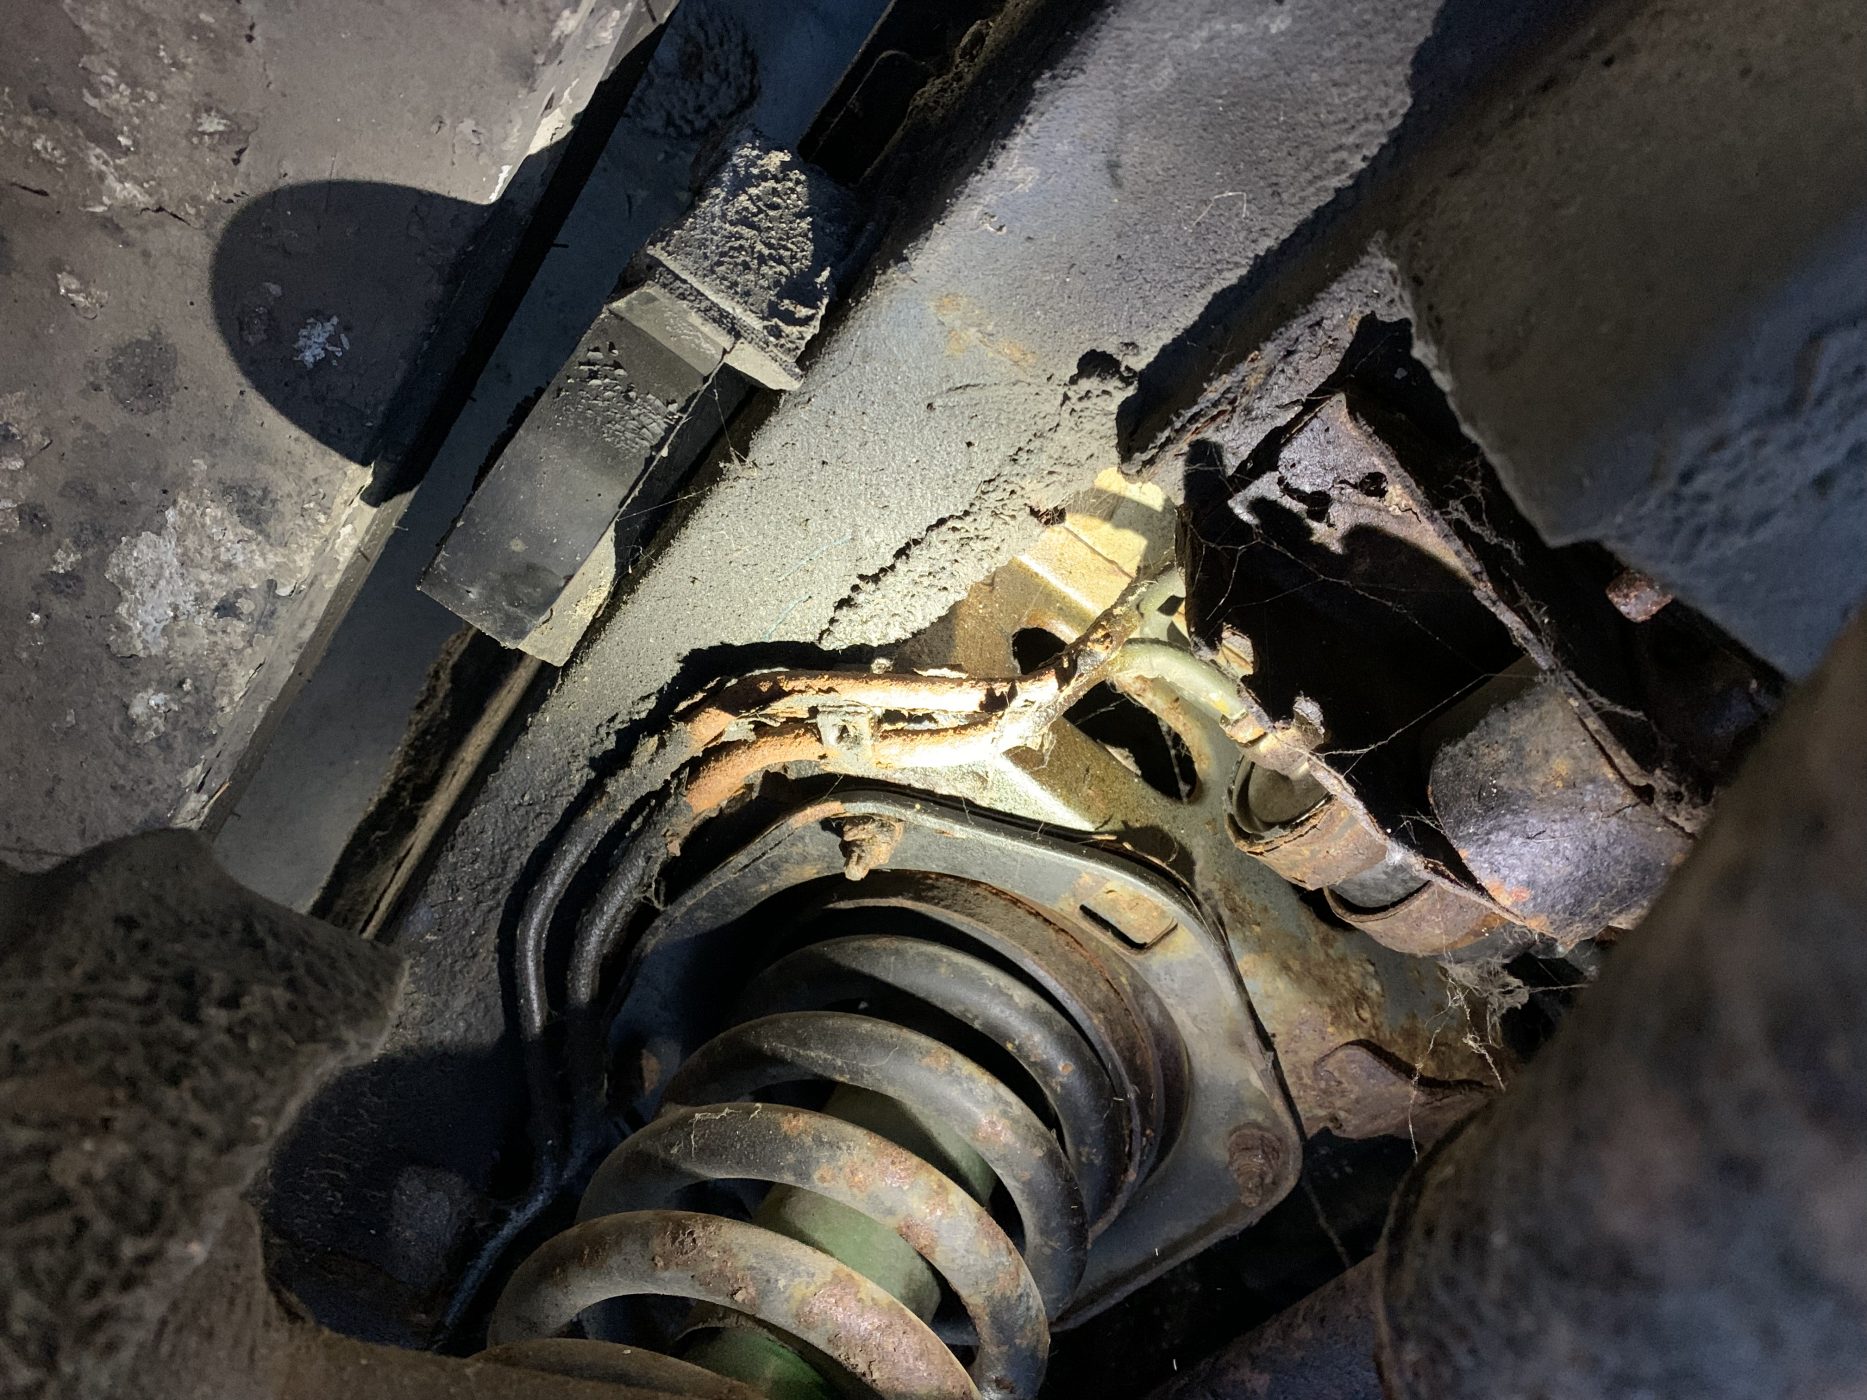
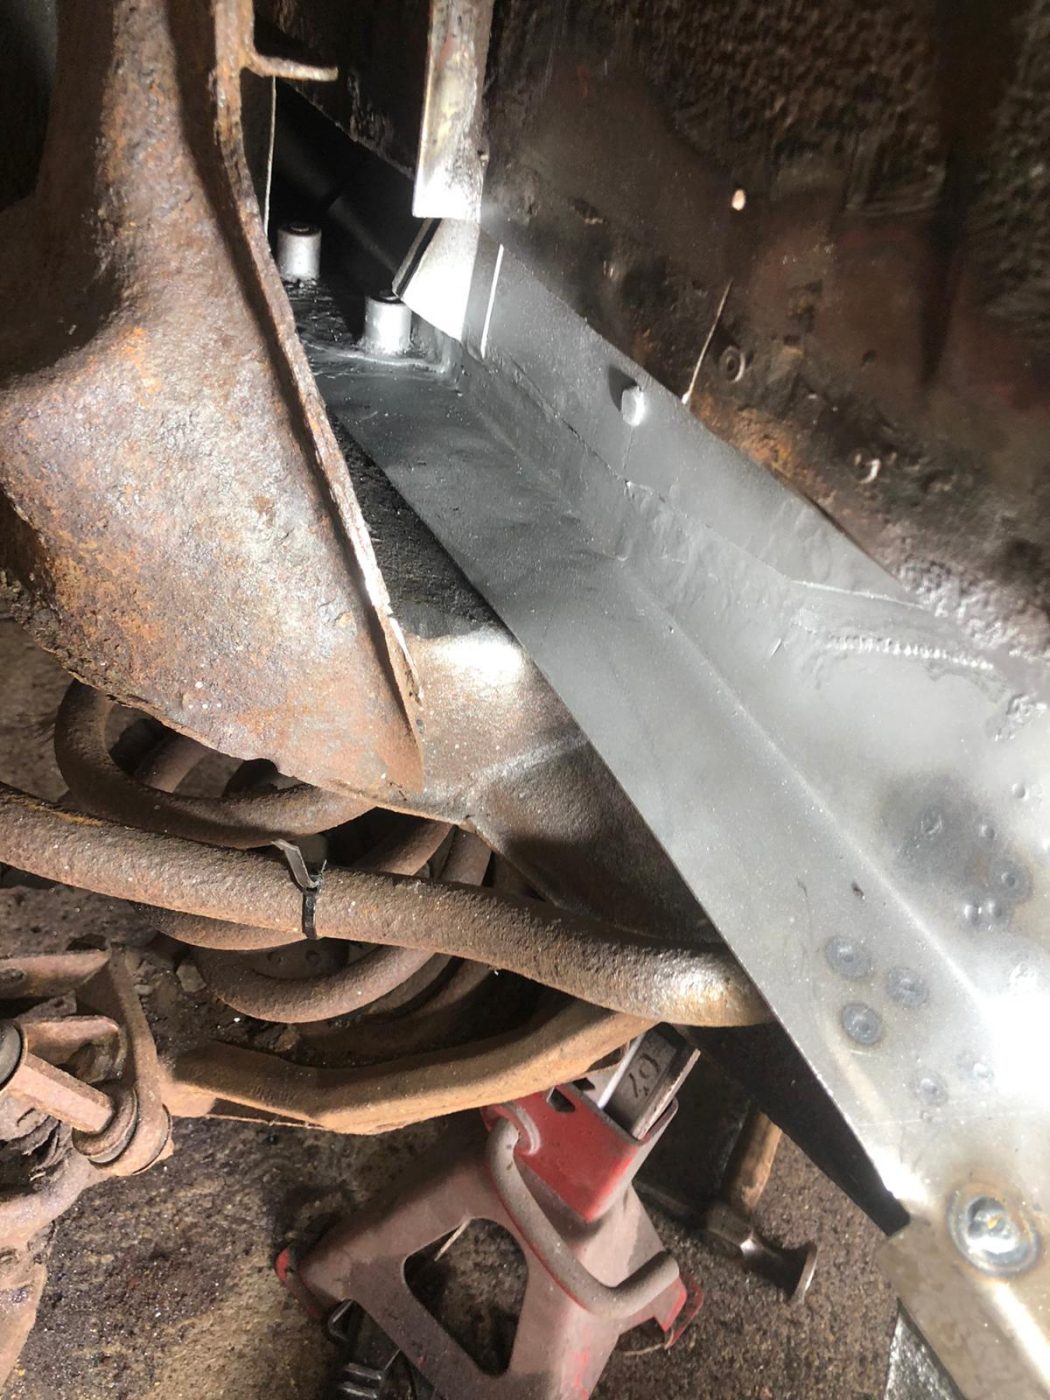
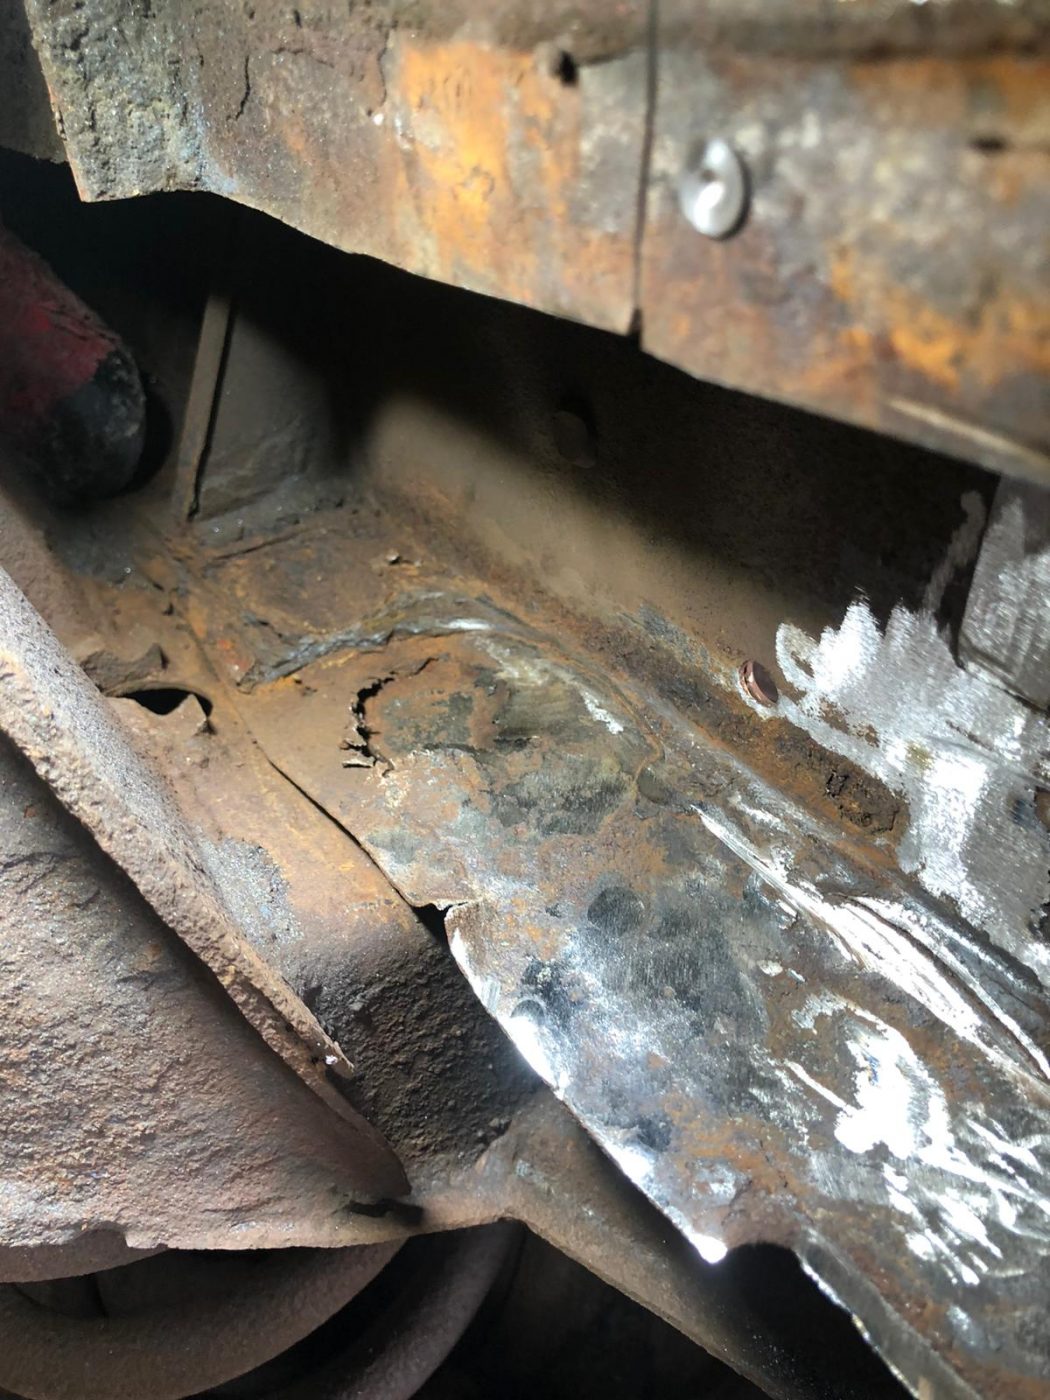
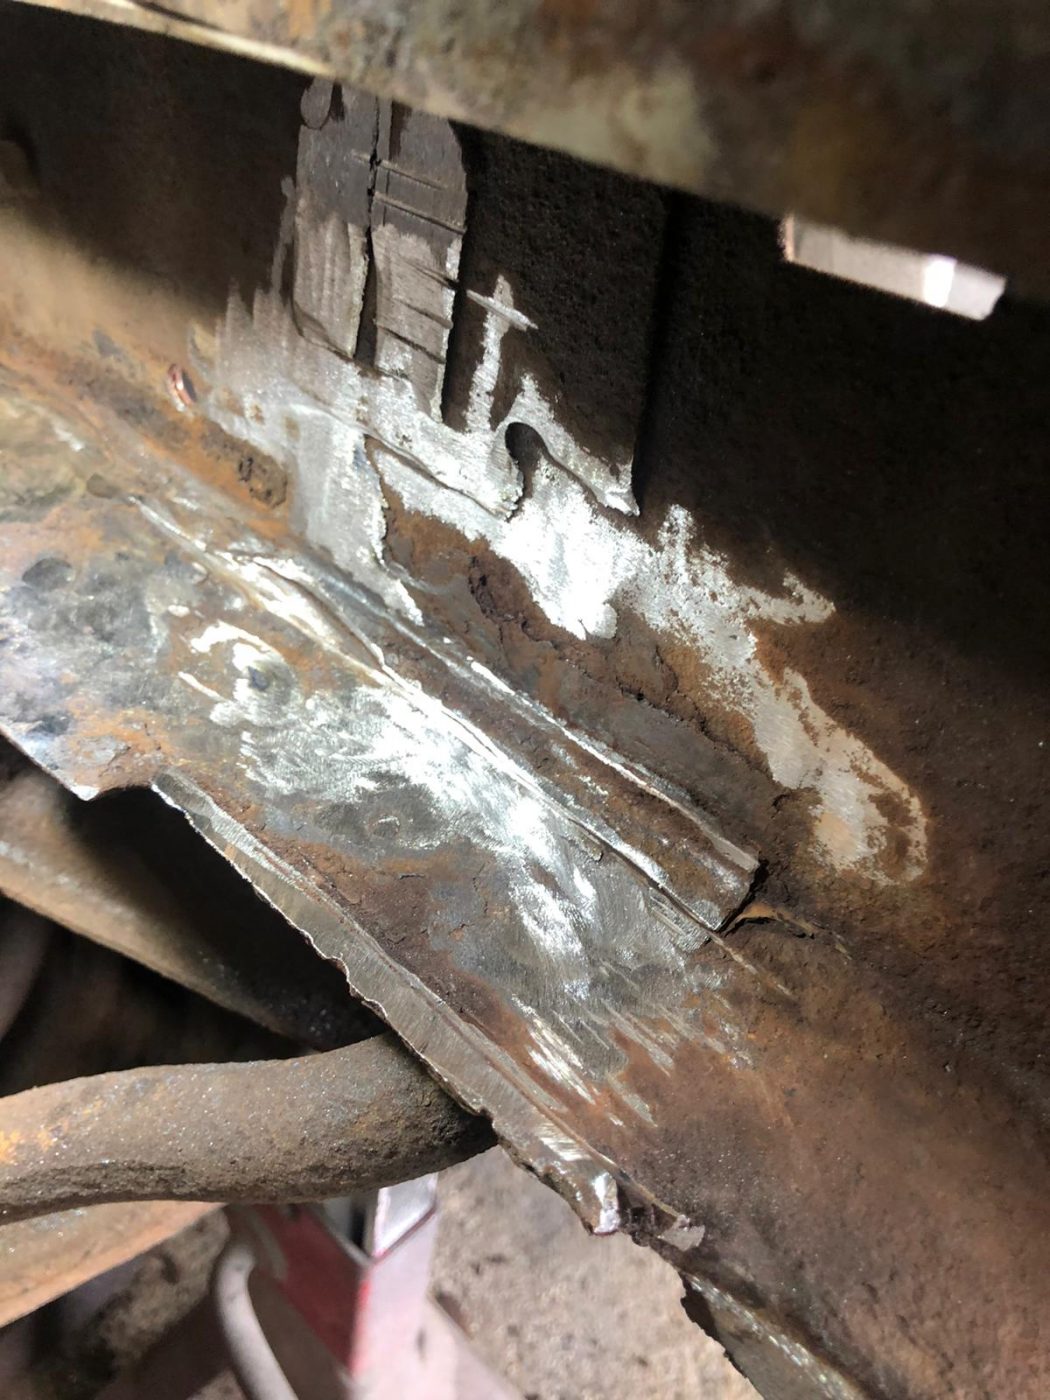
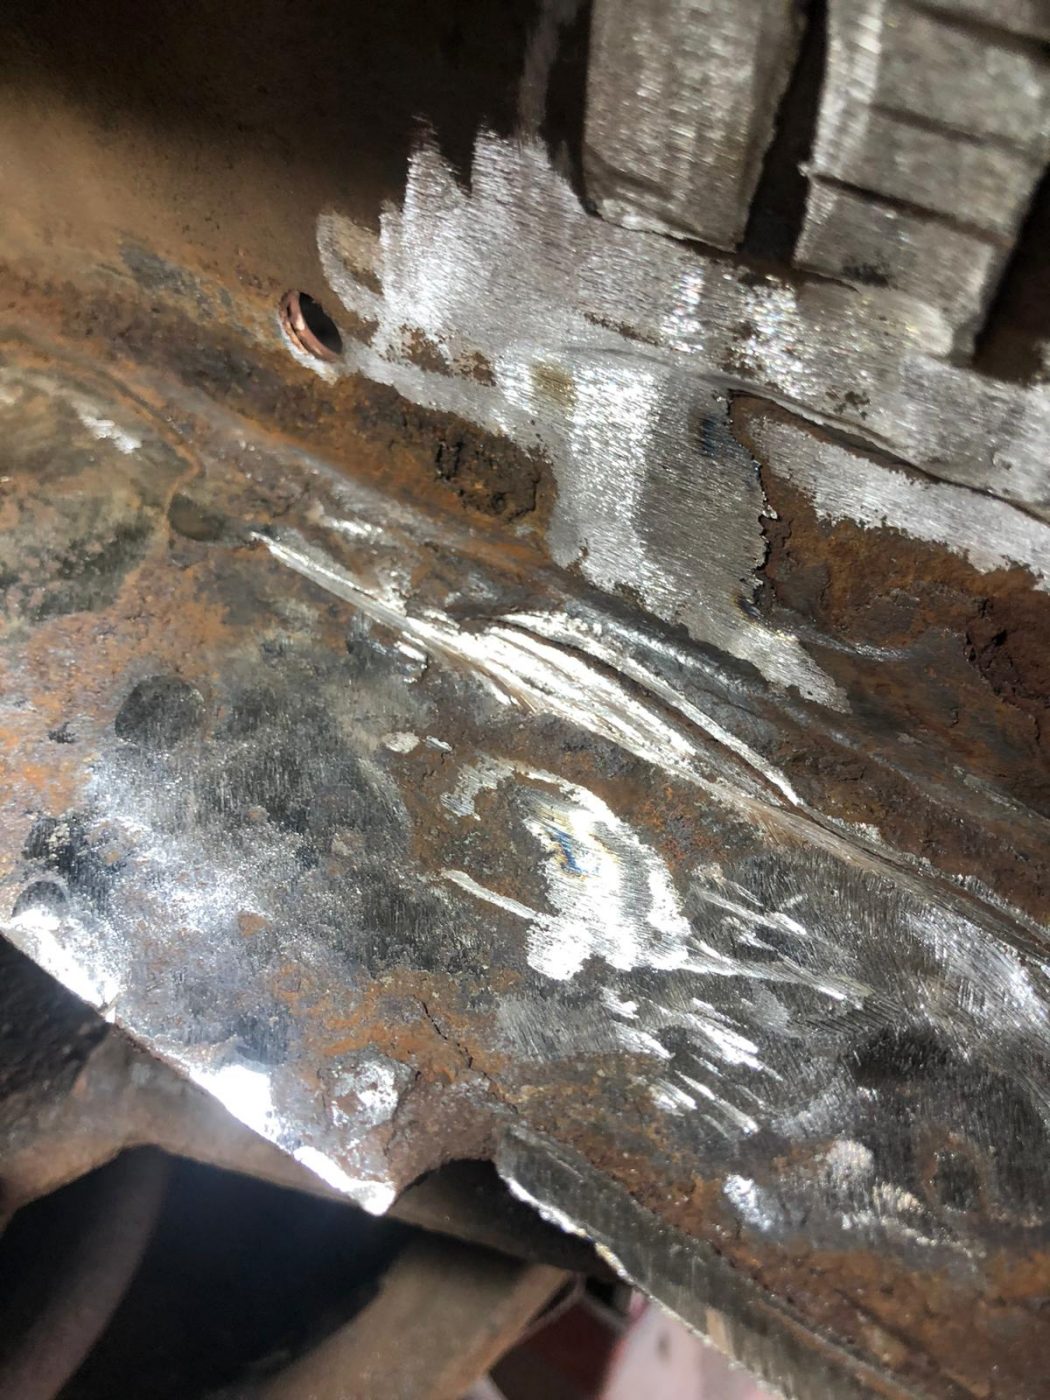
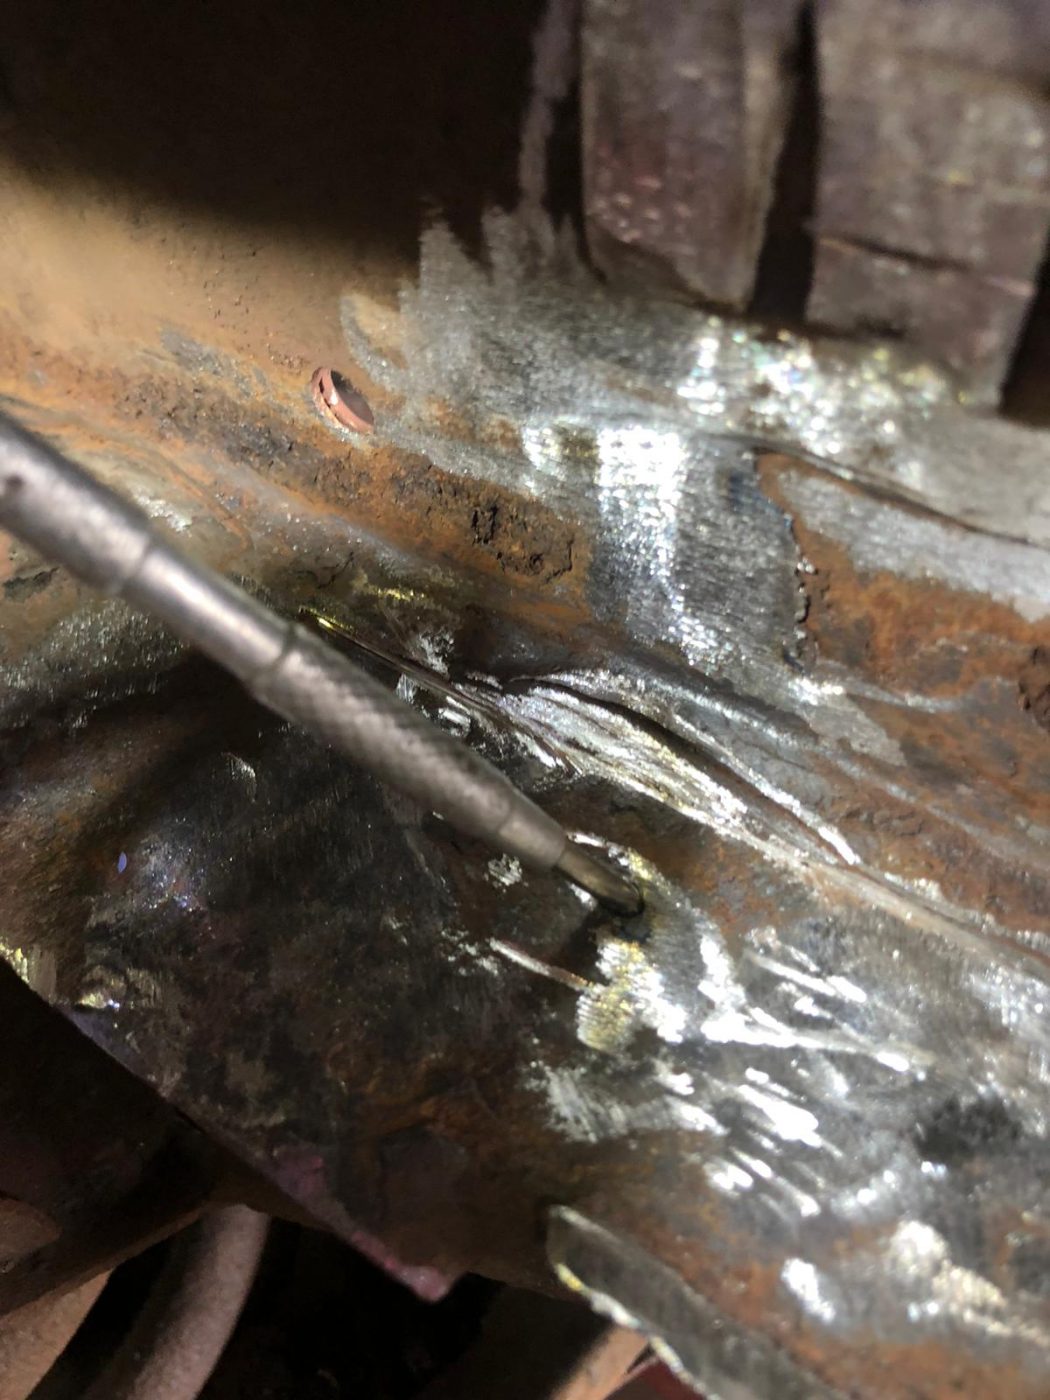
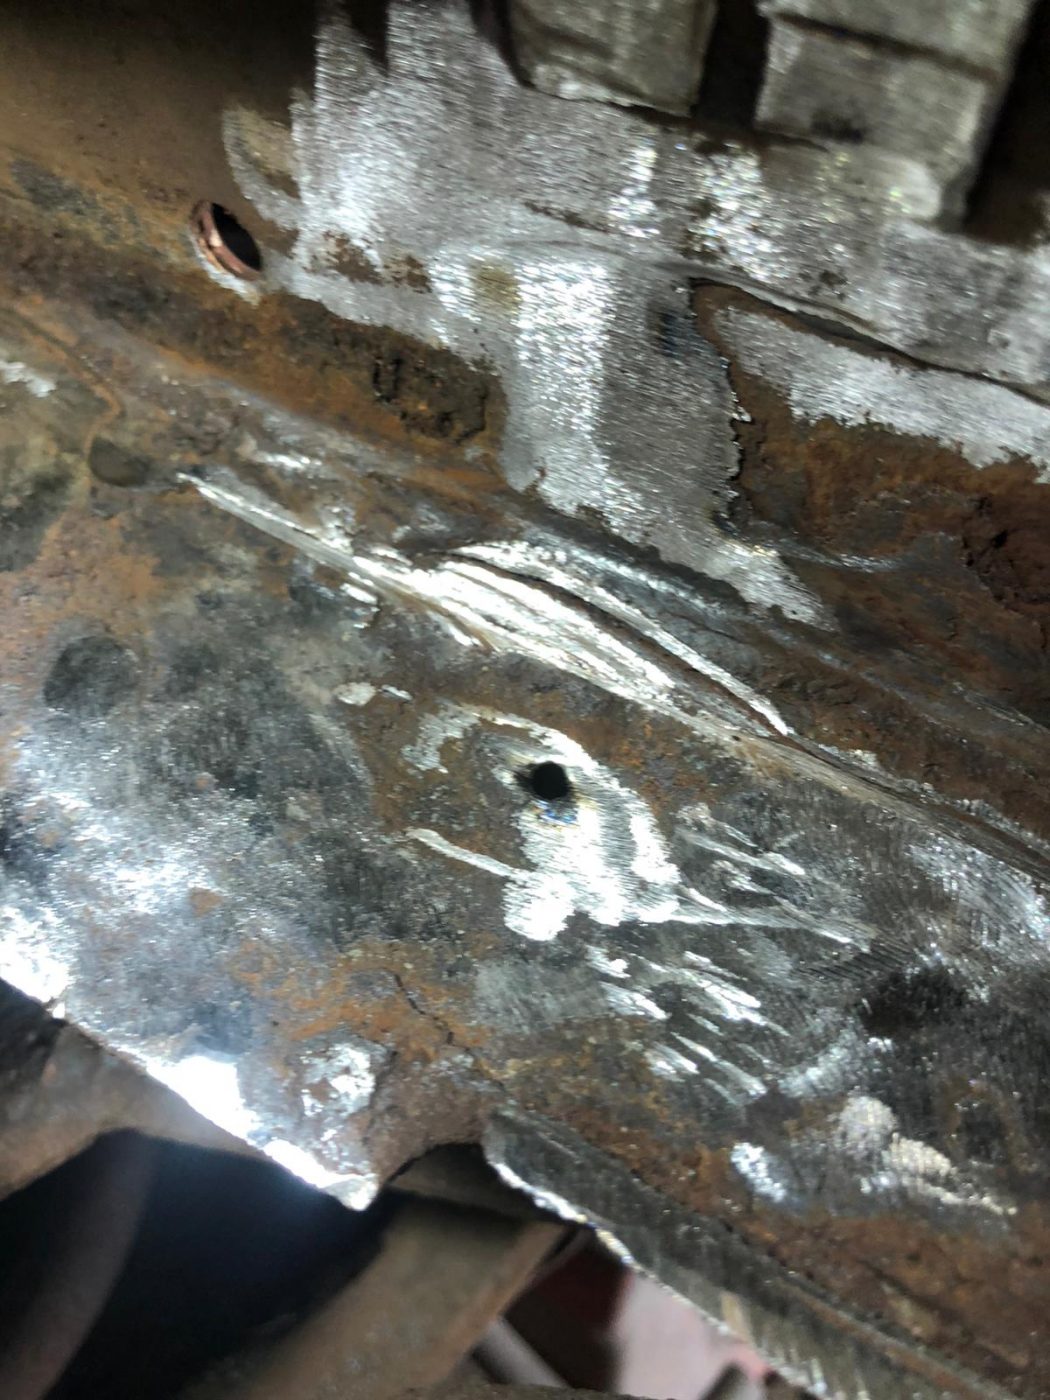
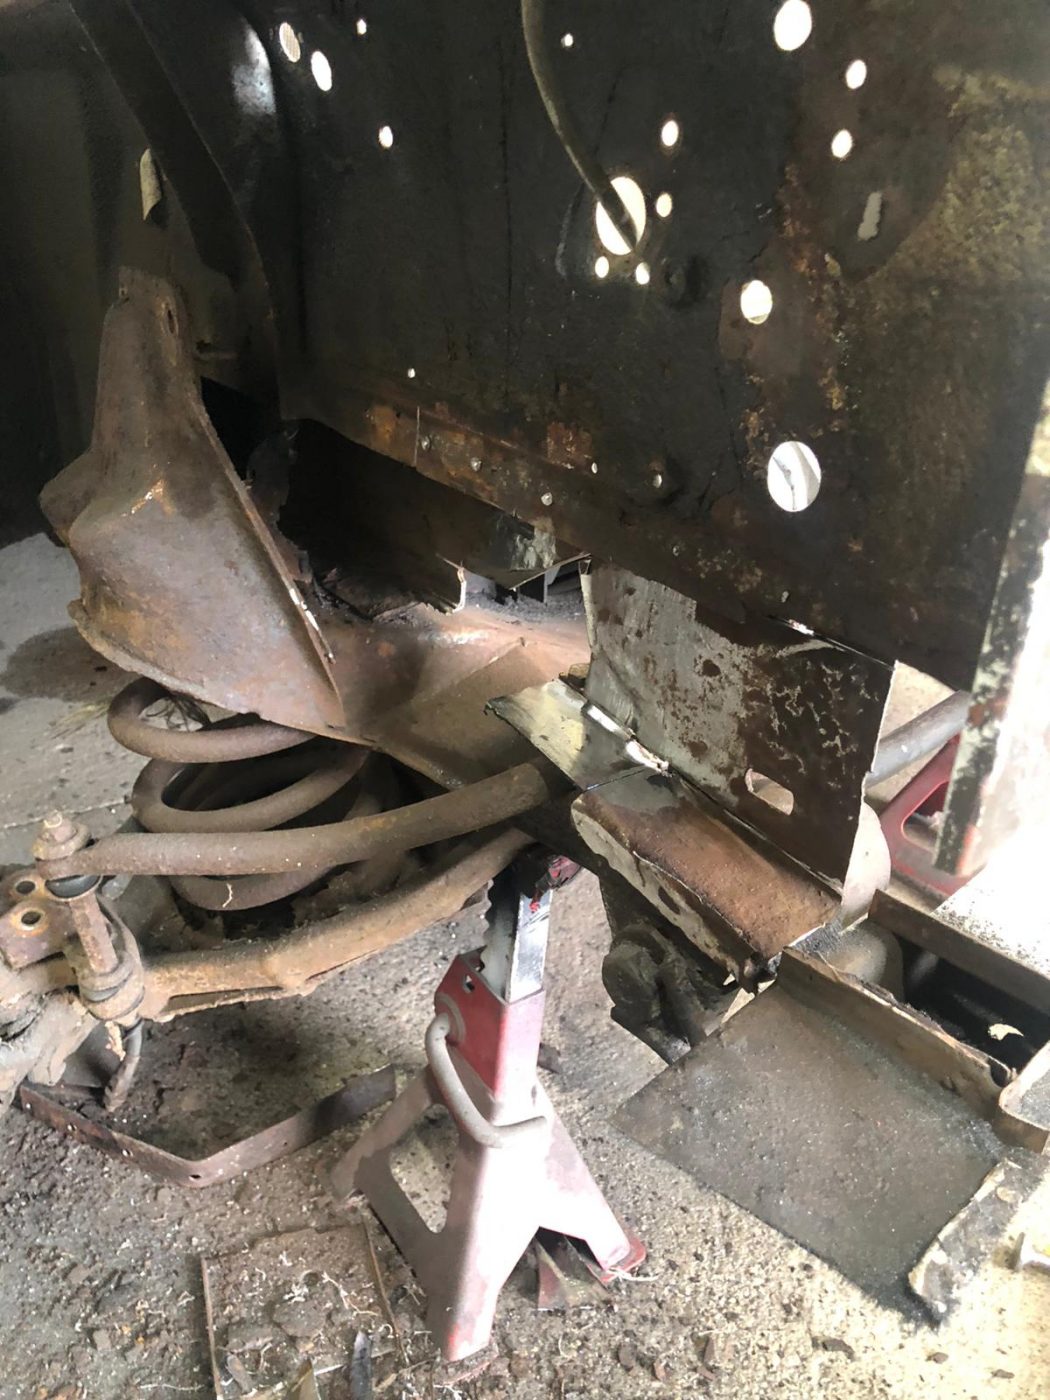
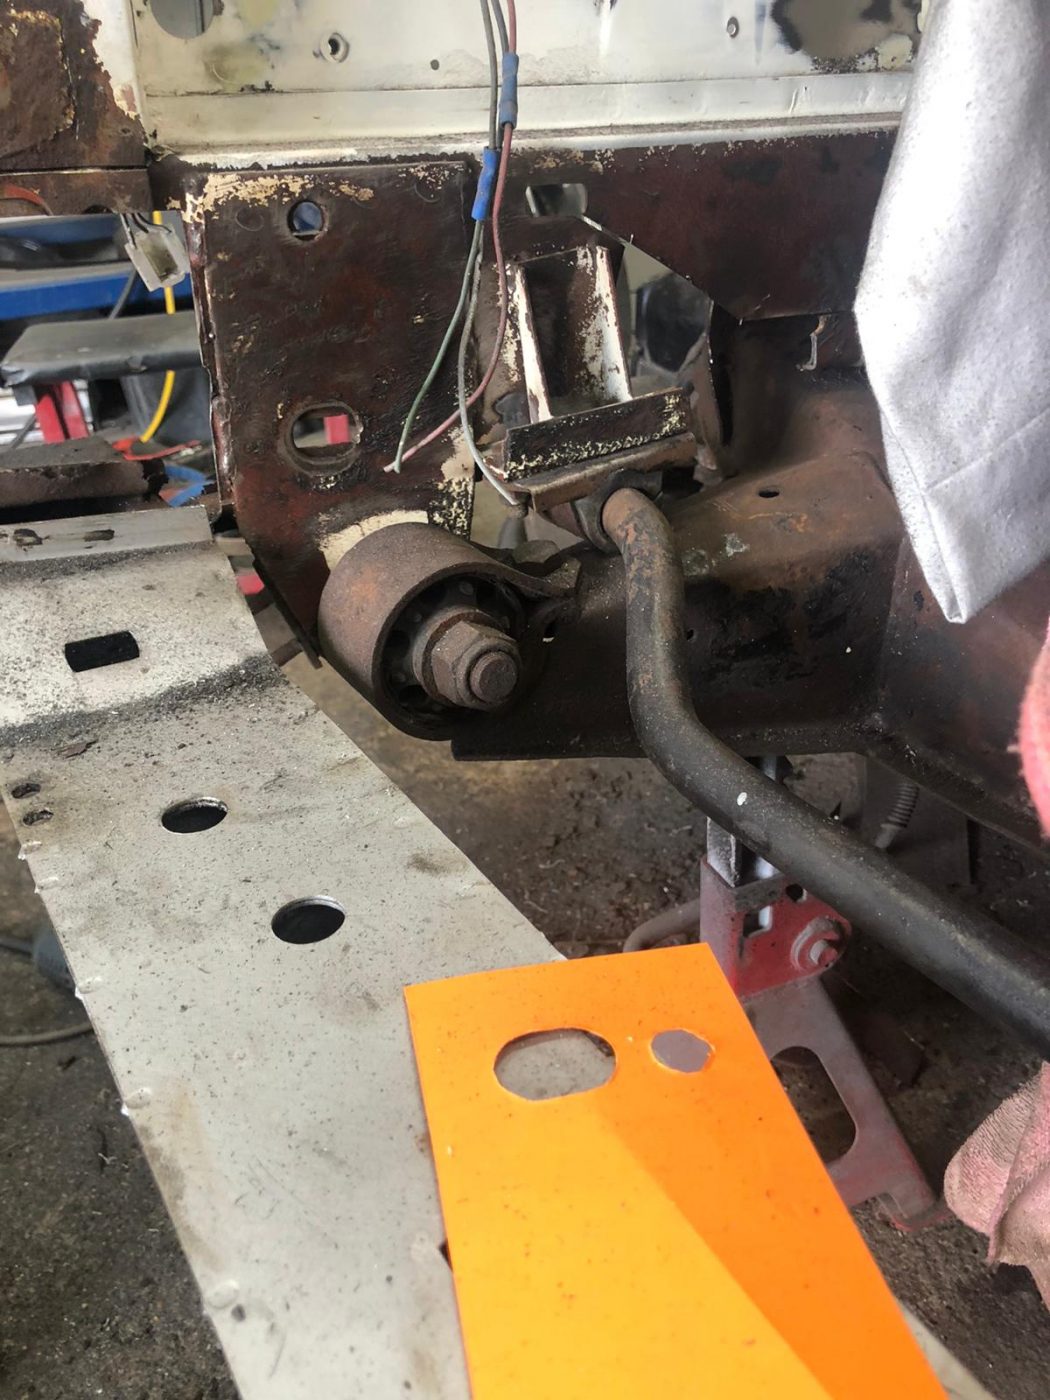
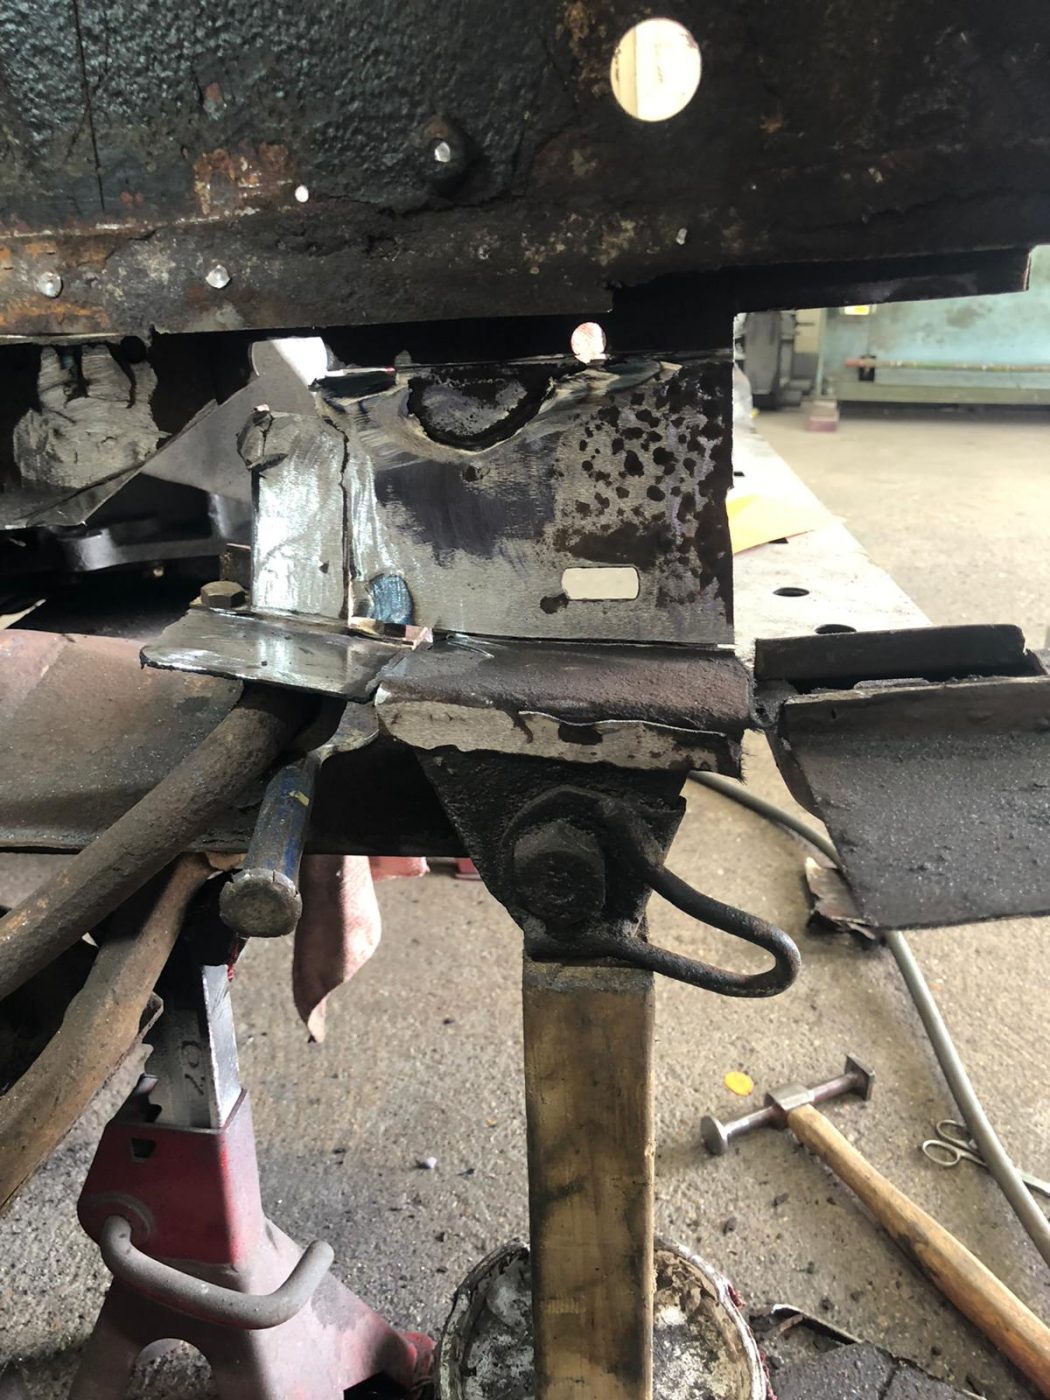
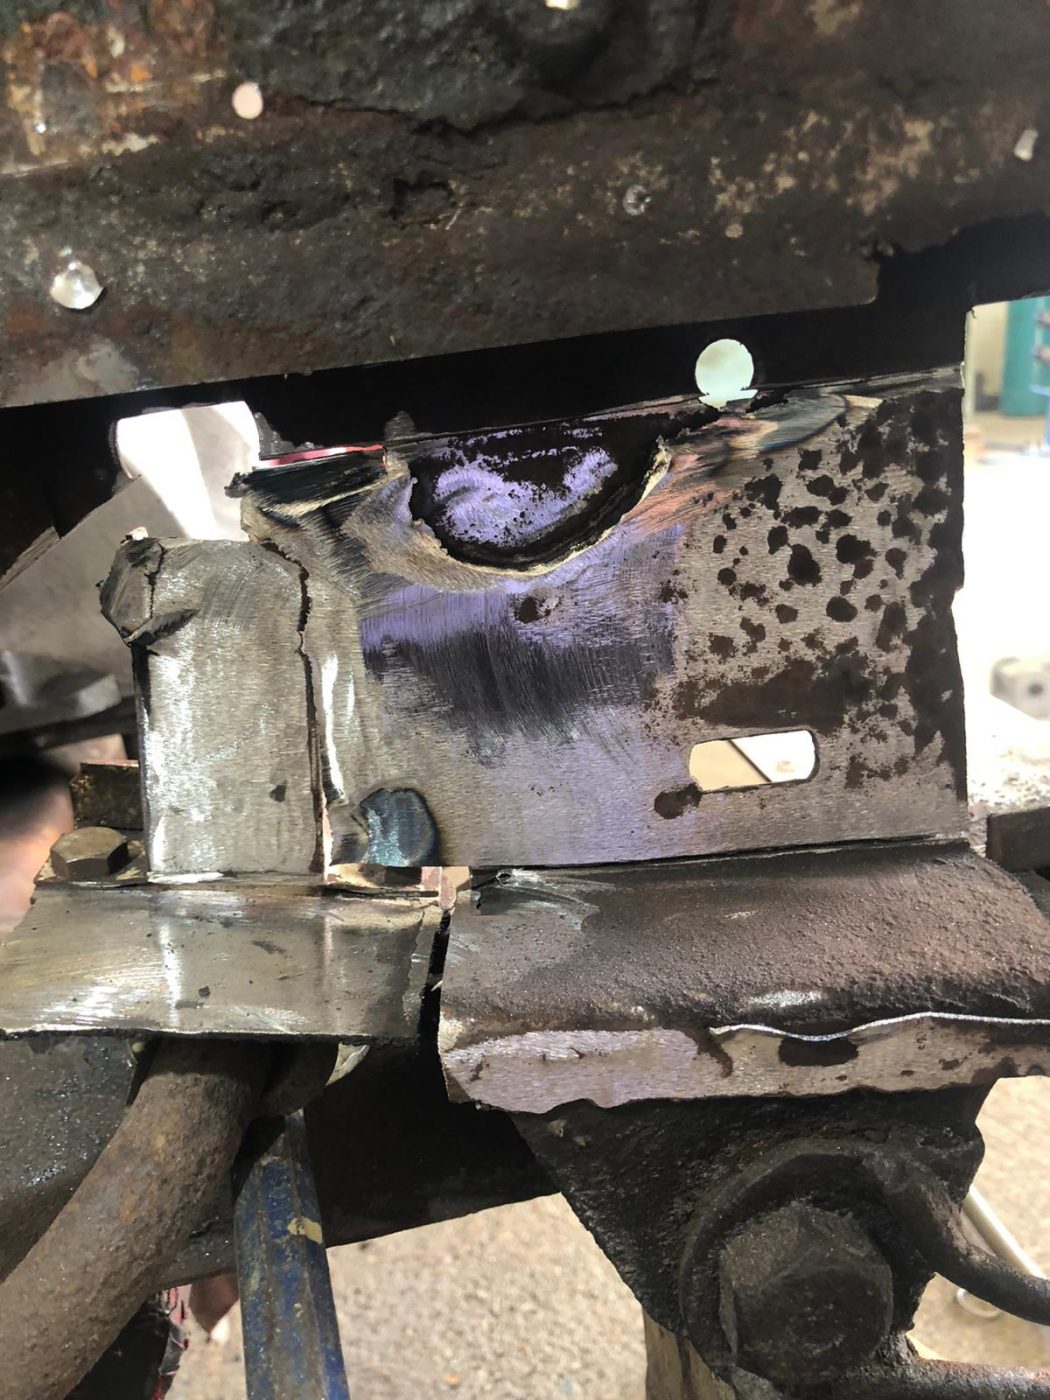
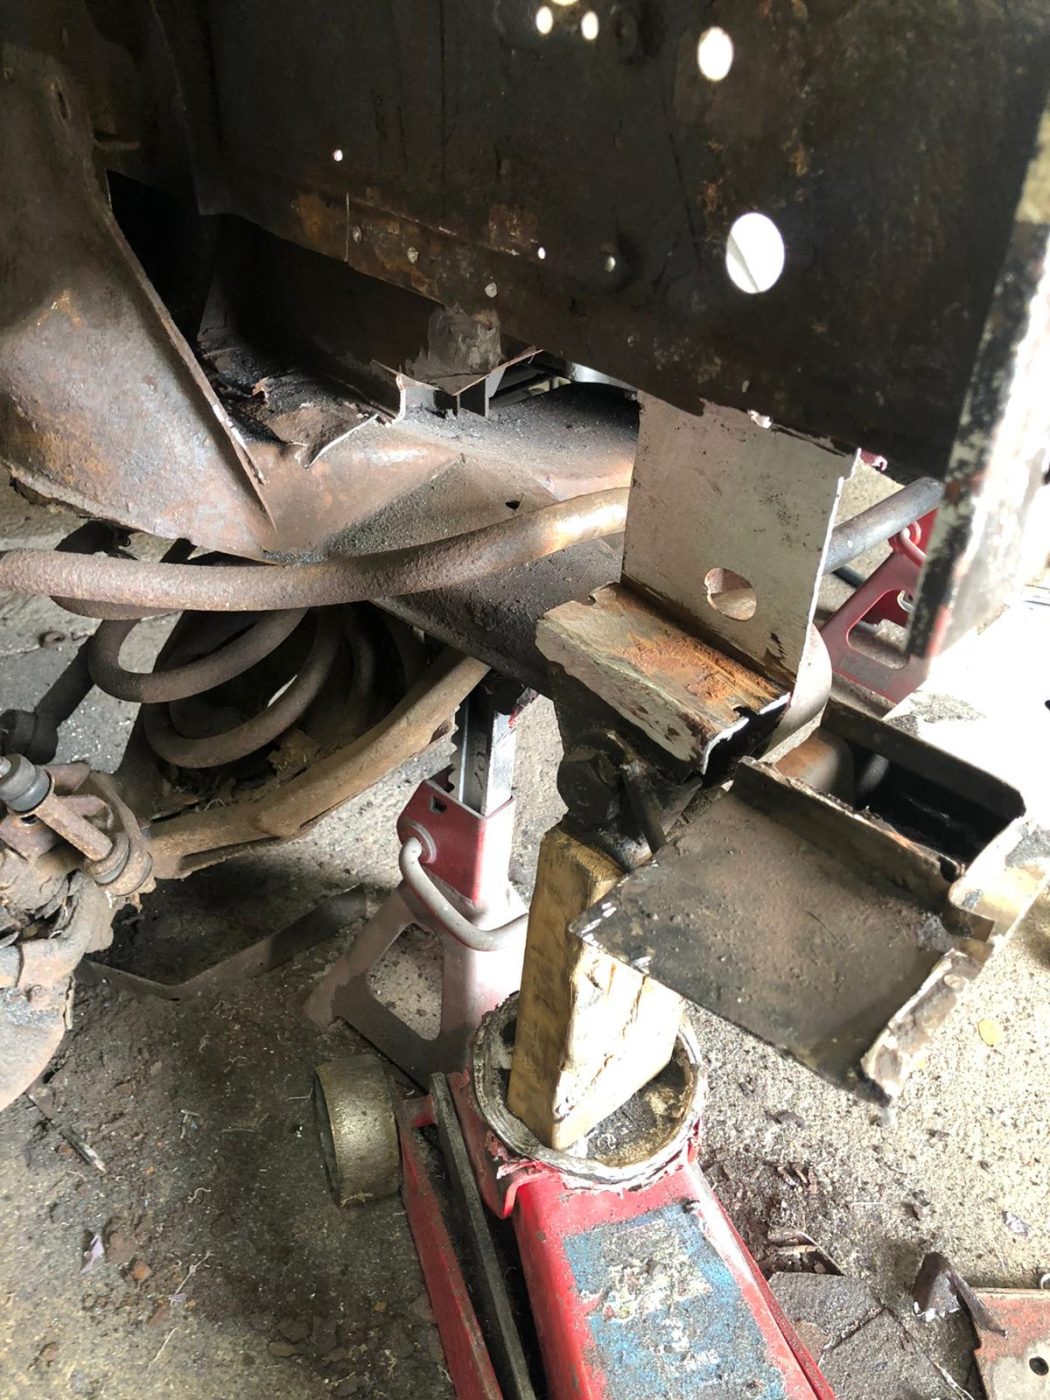
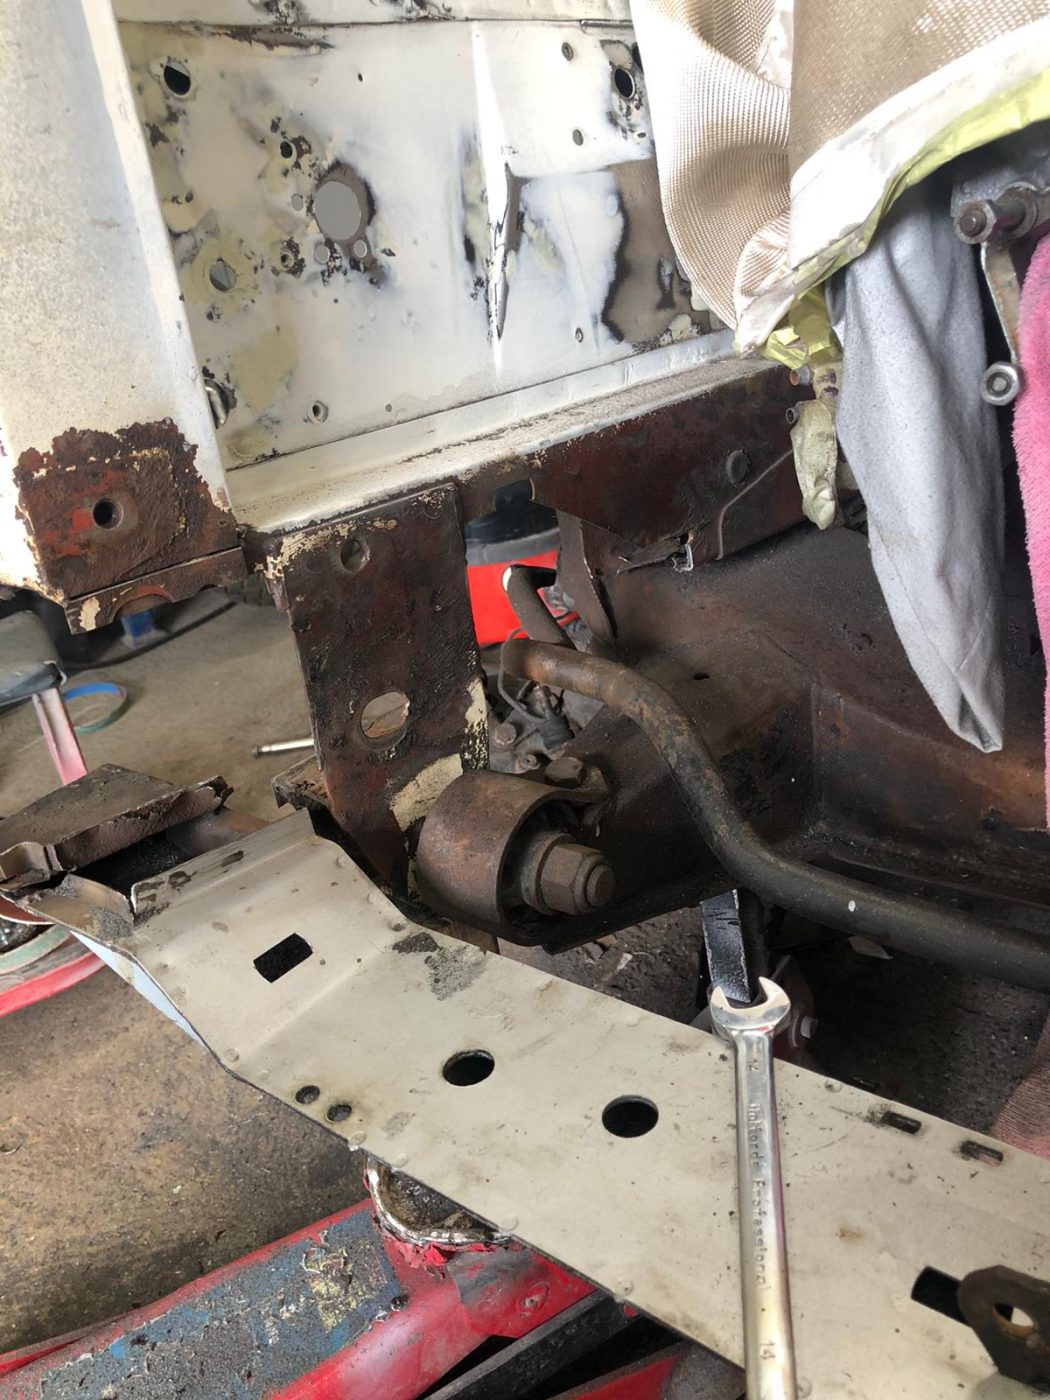
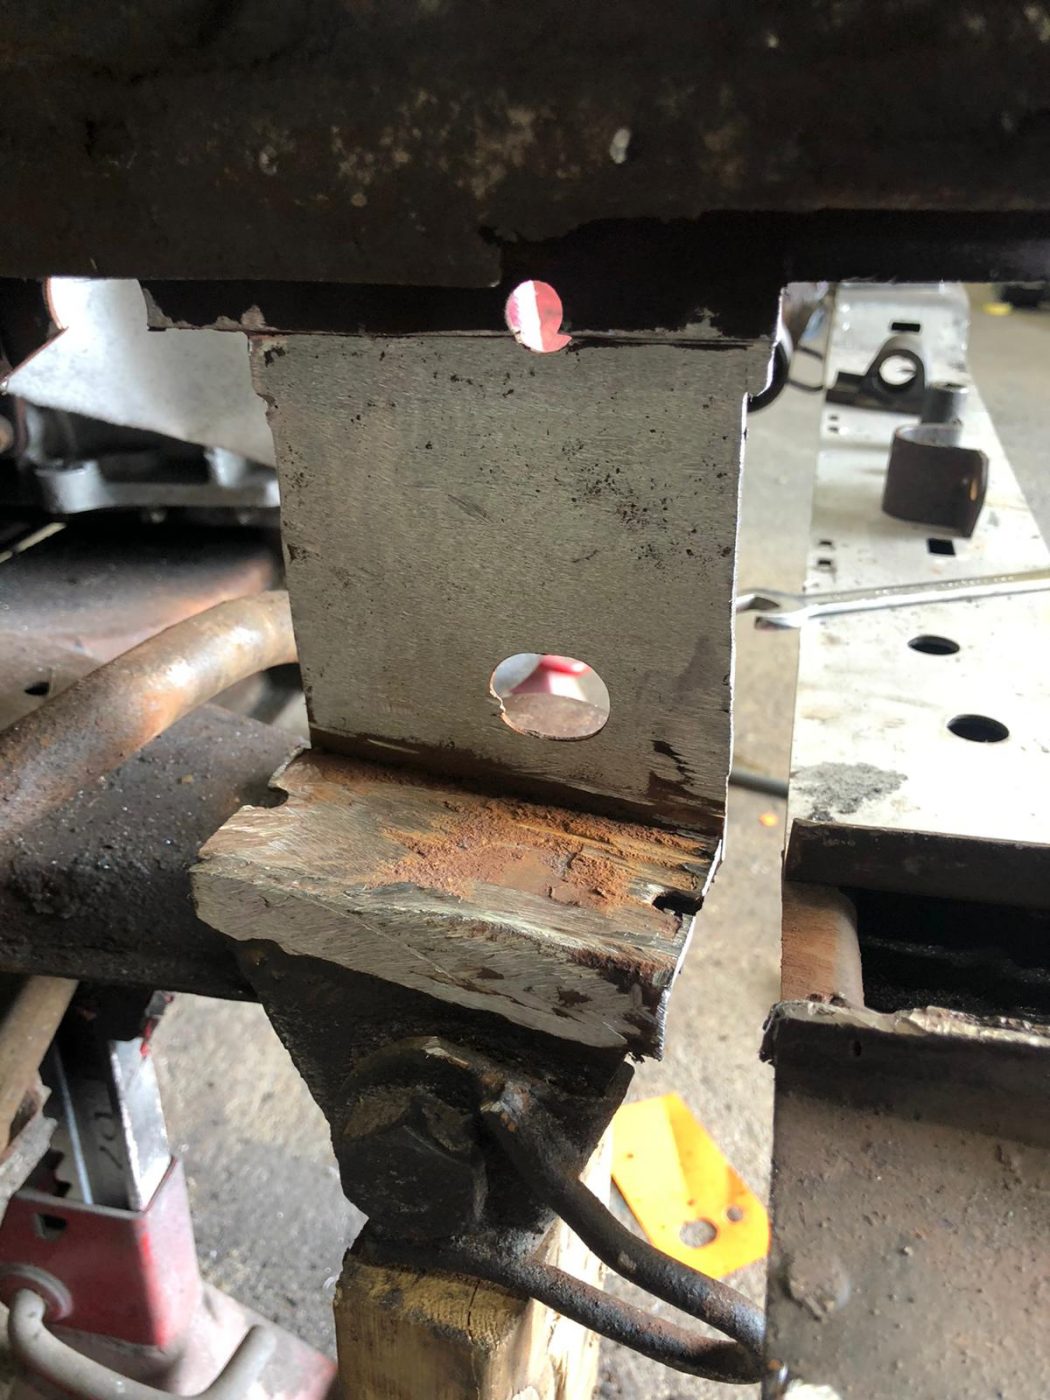
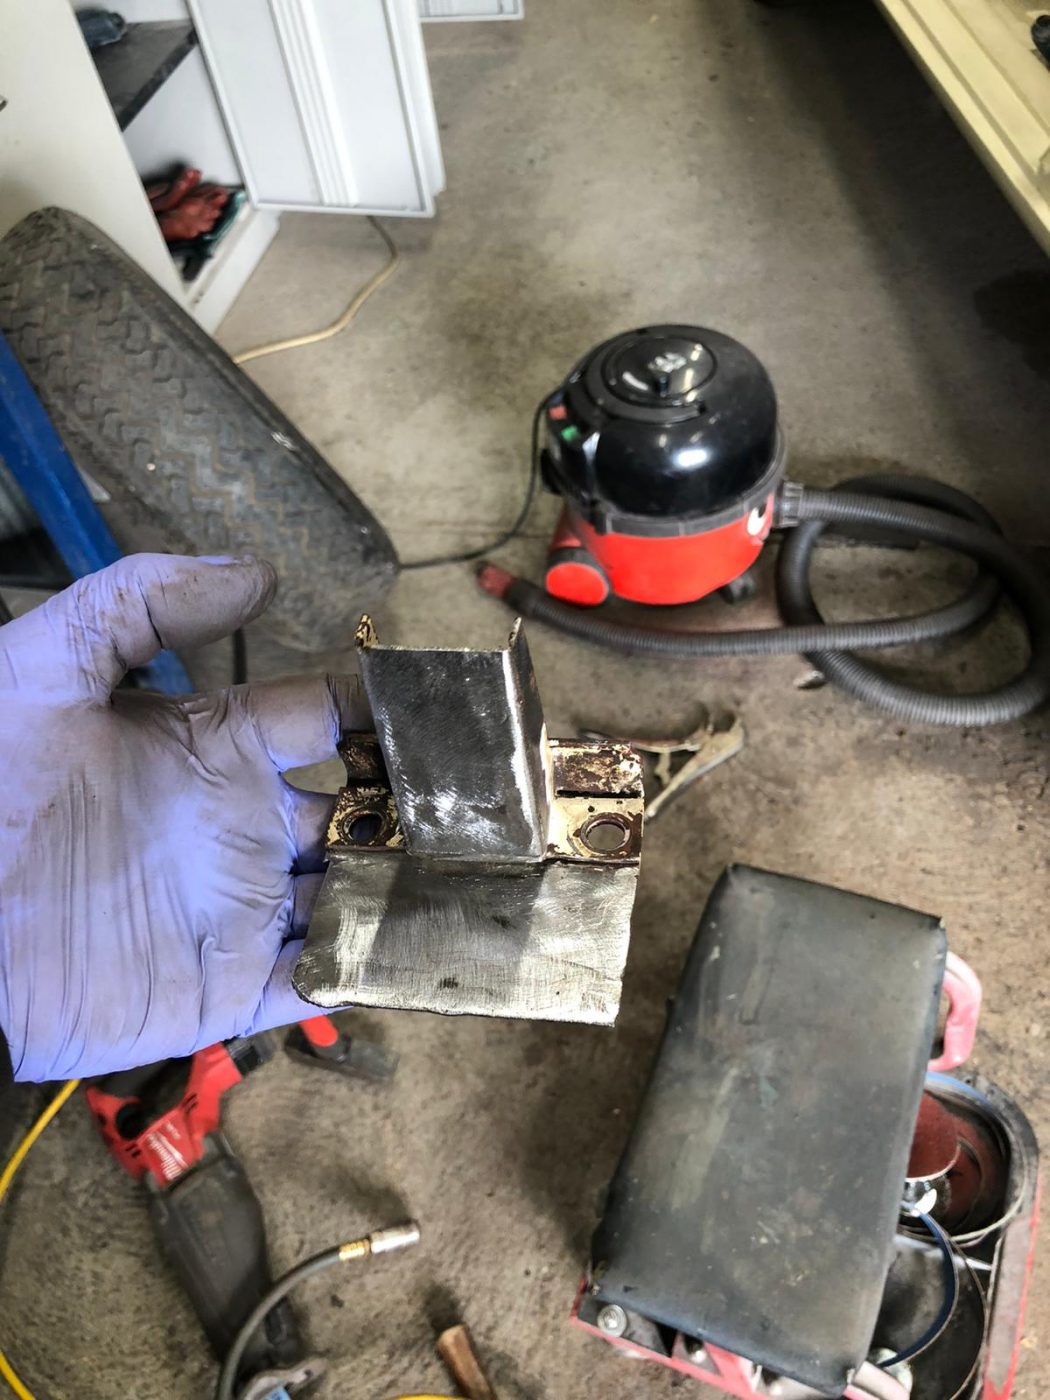
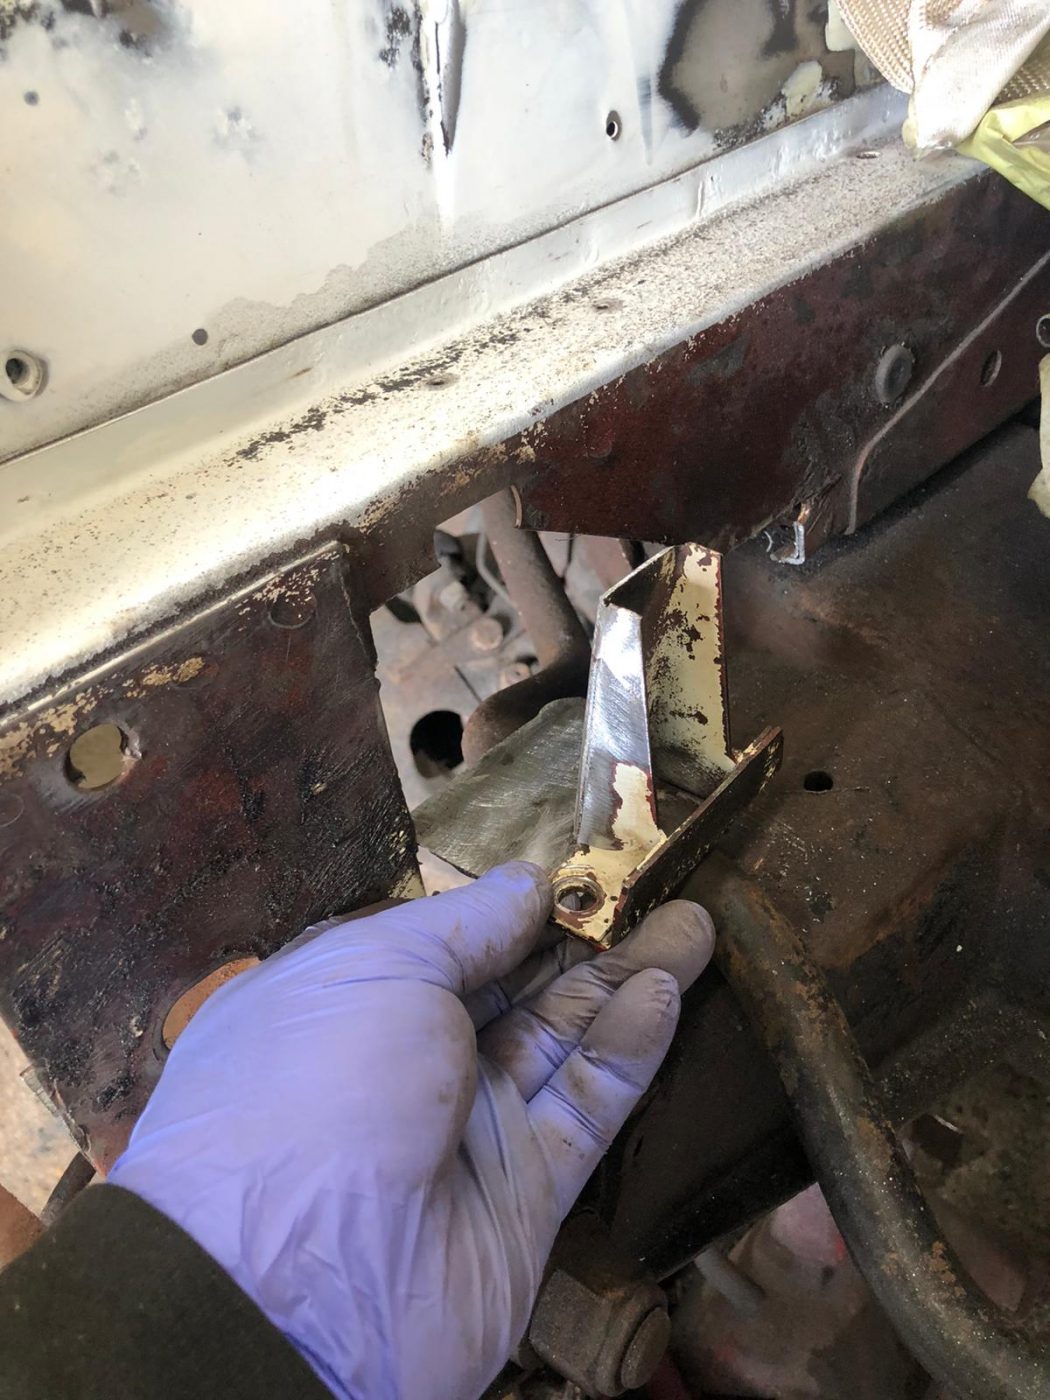
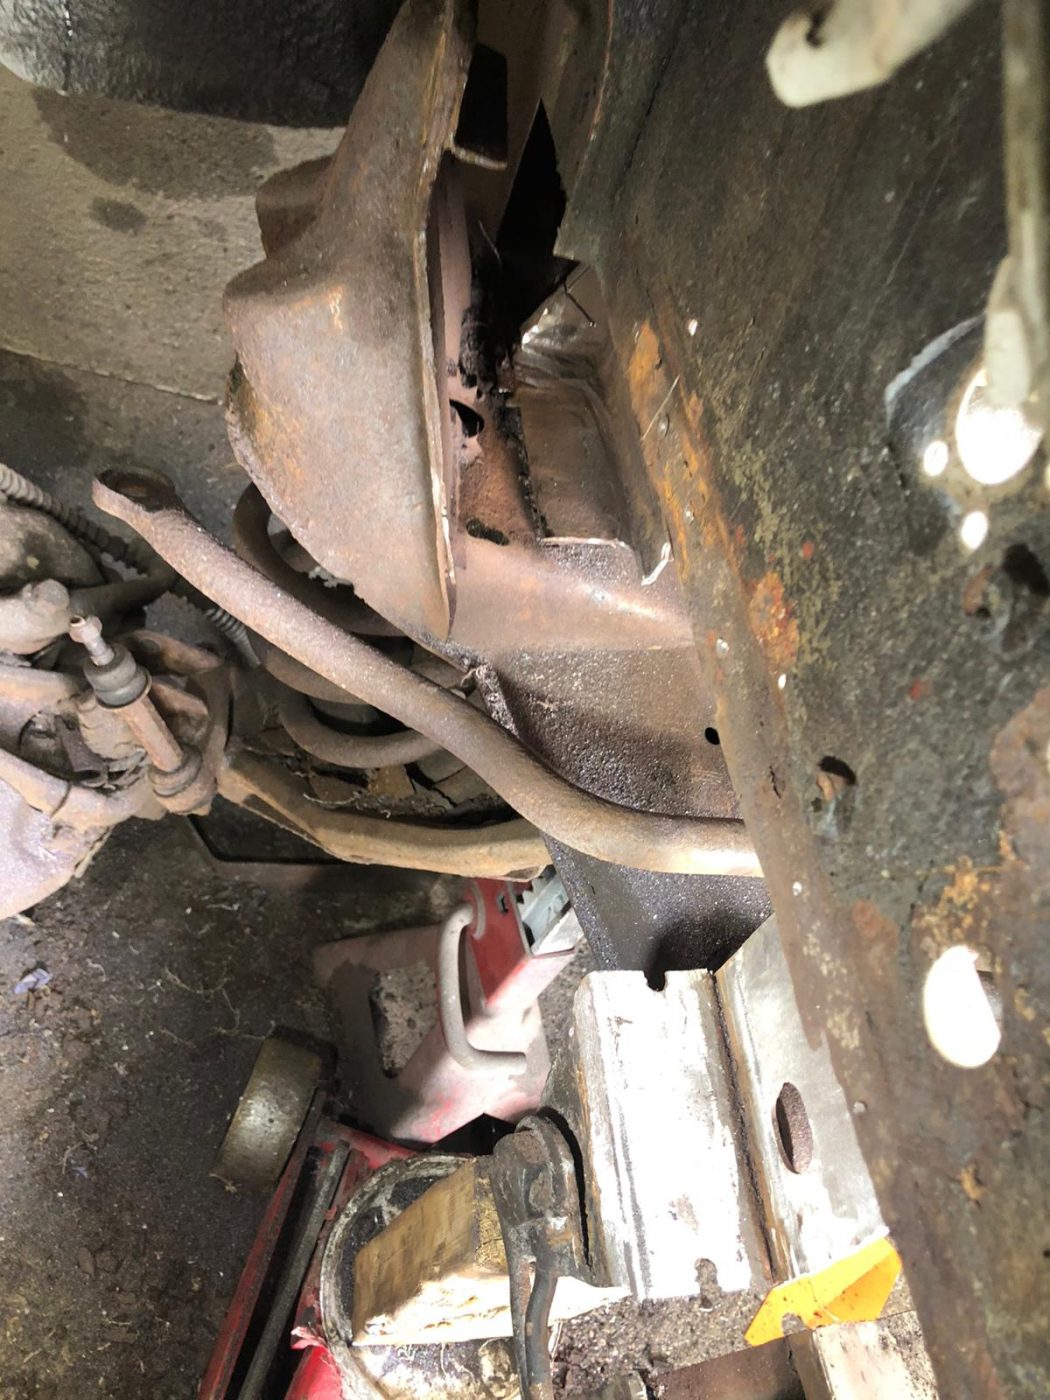
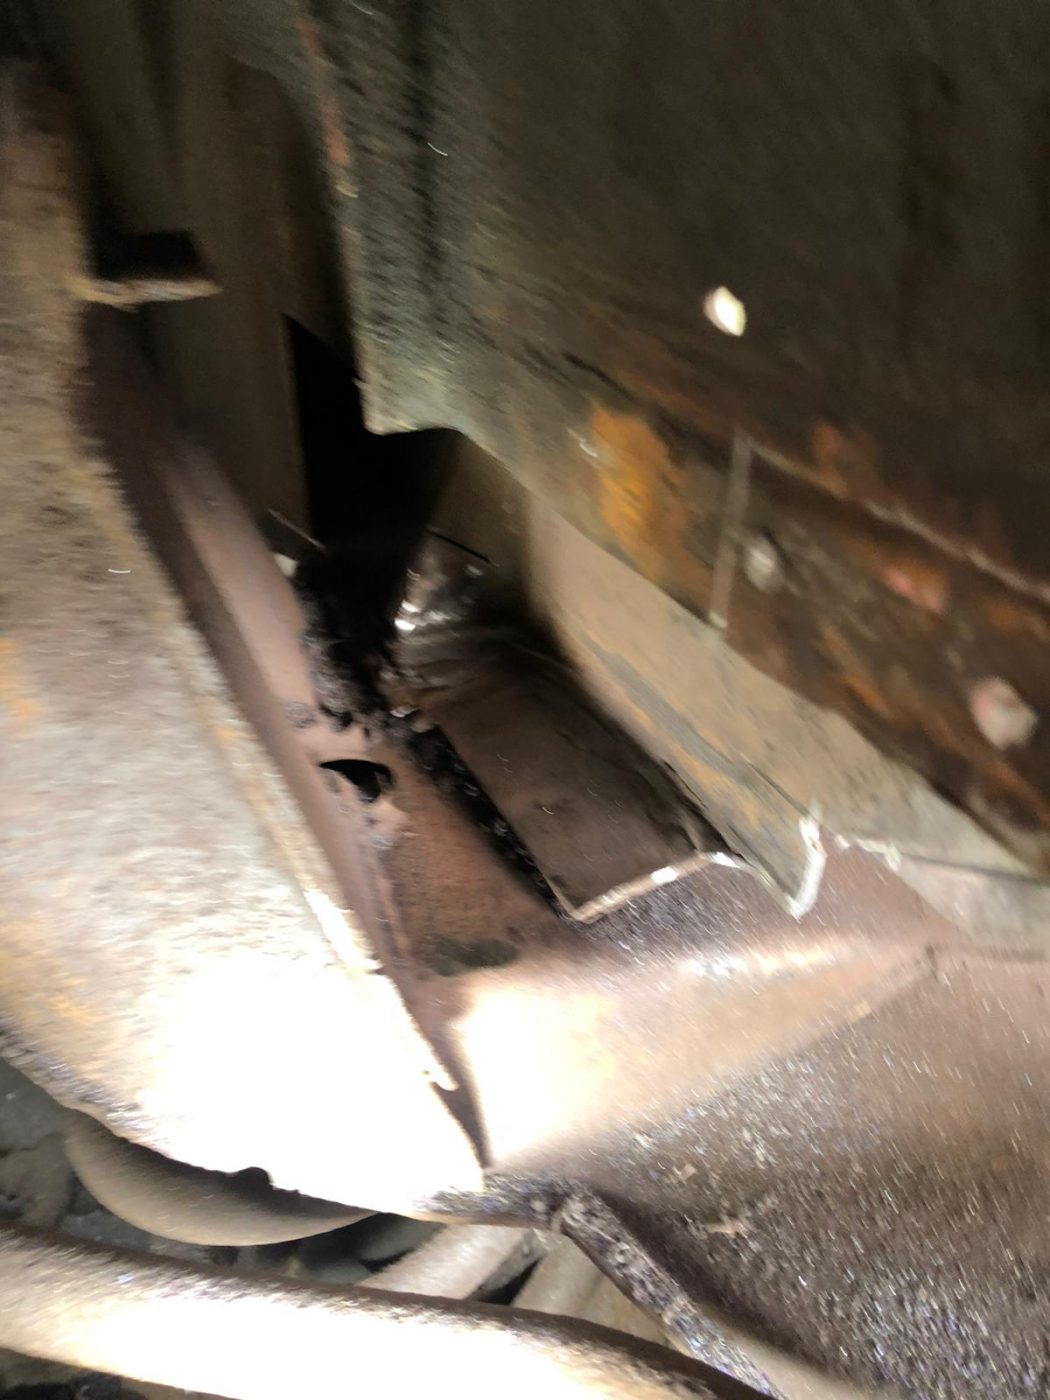
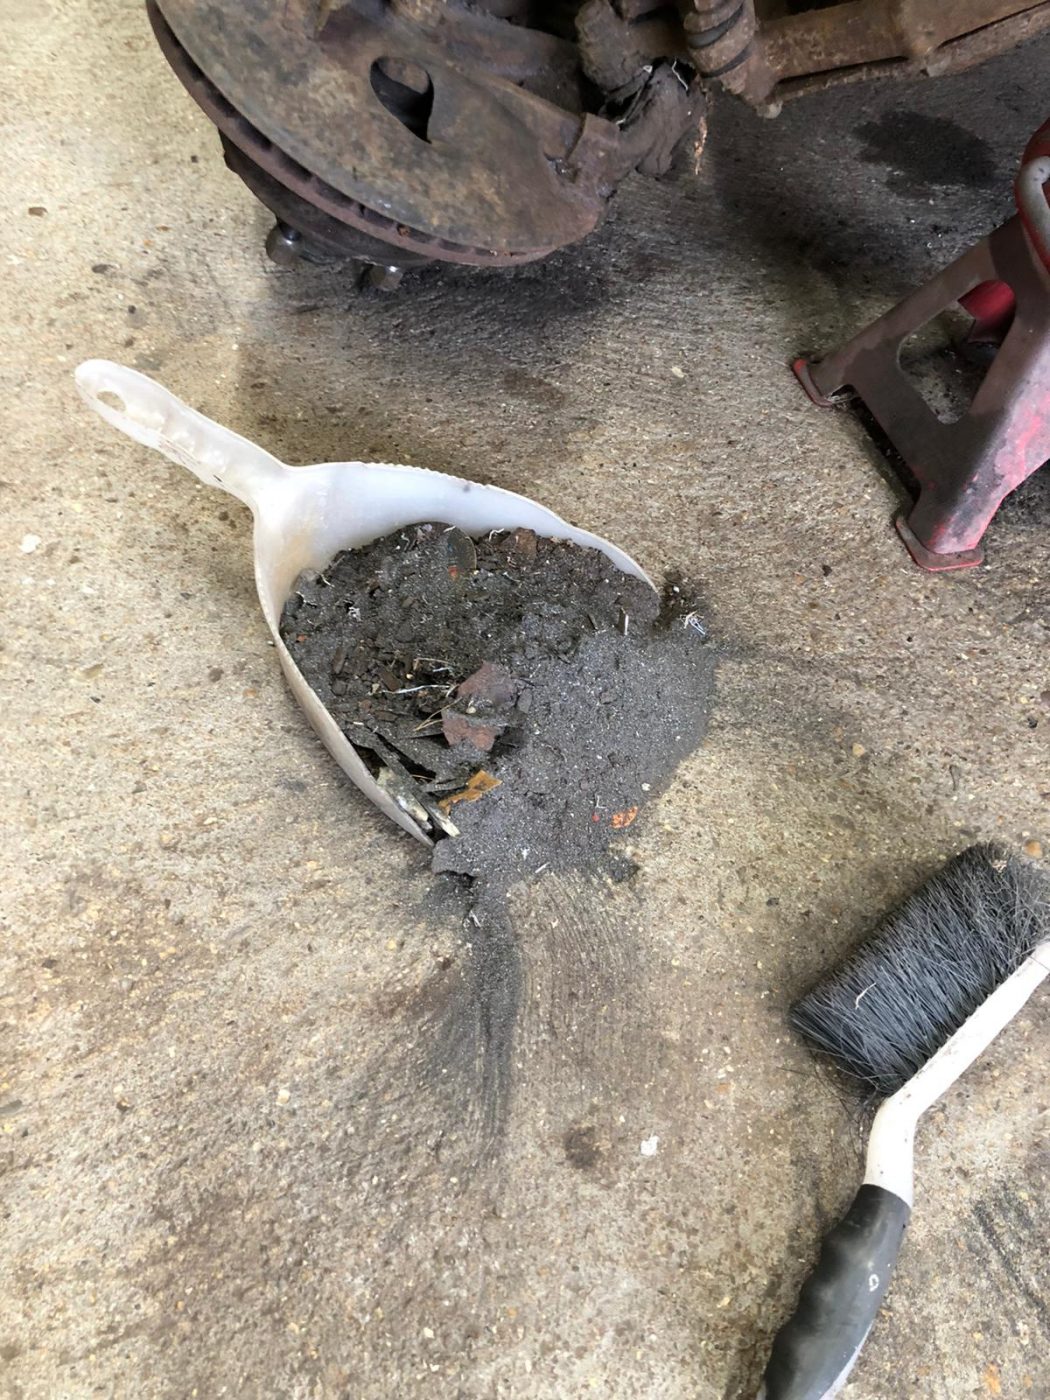
Having carried out some initial assessments works underneath, the customer has decided not to continue with the recommission and will now look to sell the
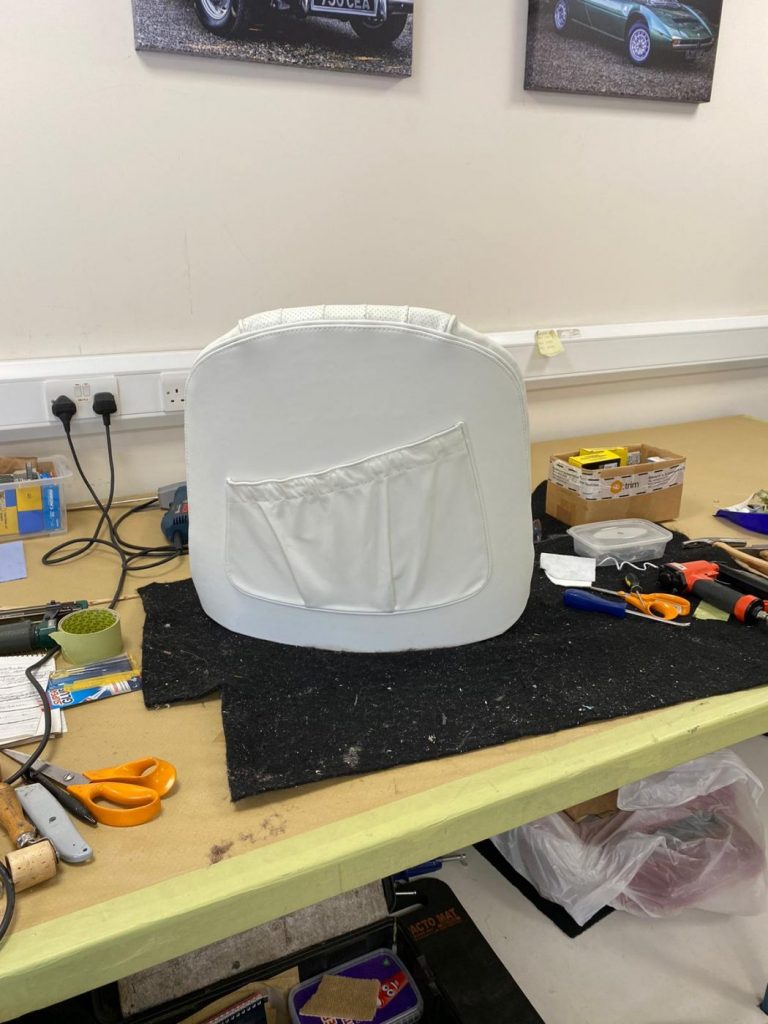
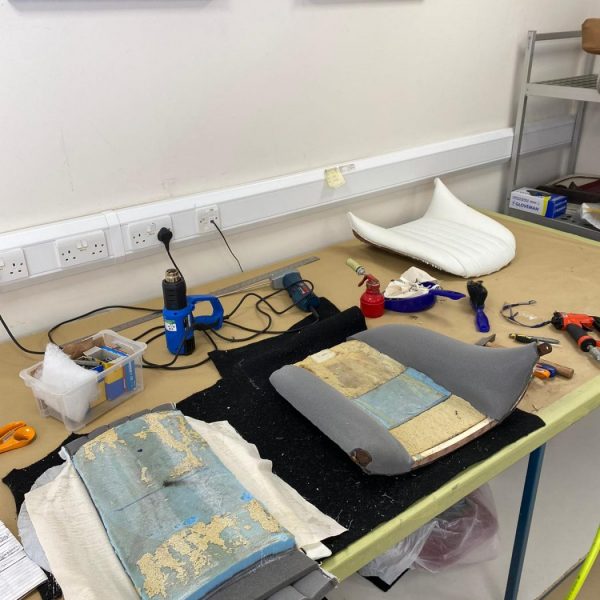
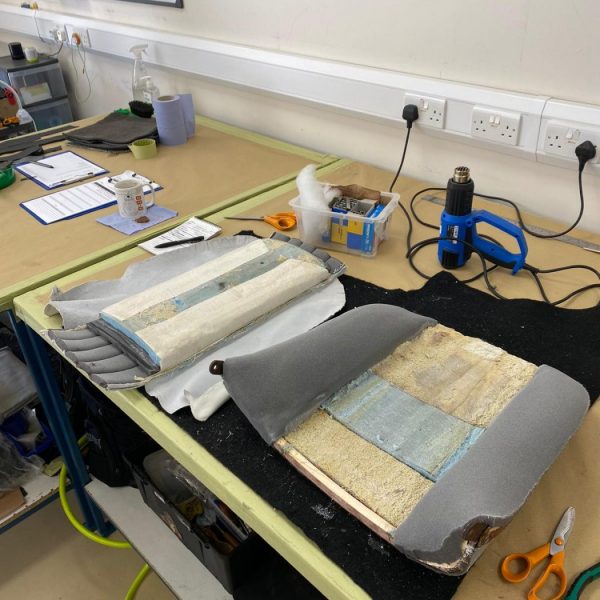
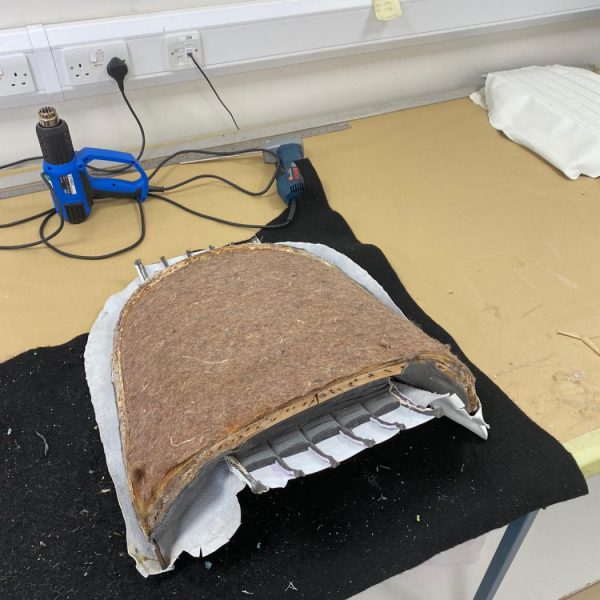
In the trim shop, Brian has been fitting the front squab seats of the 1960 Jensen 541R to their foams and frames. These seats were
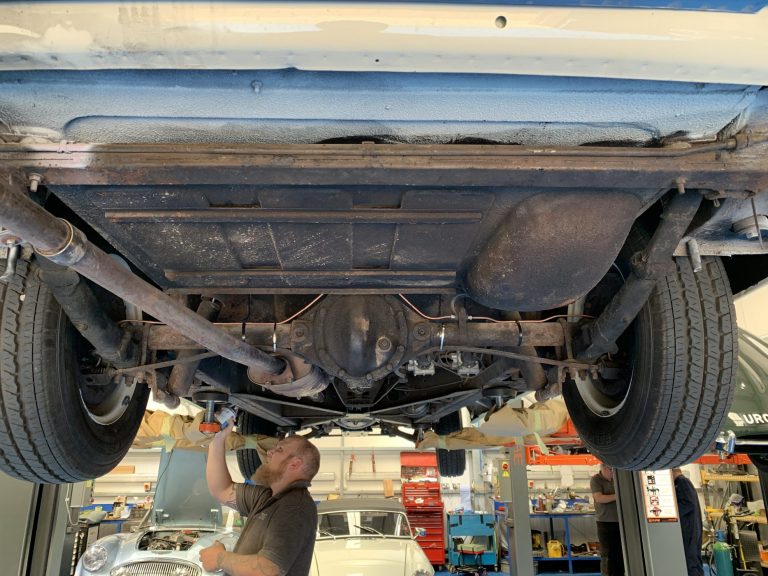
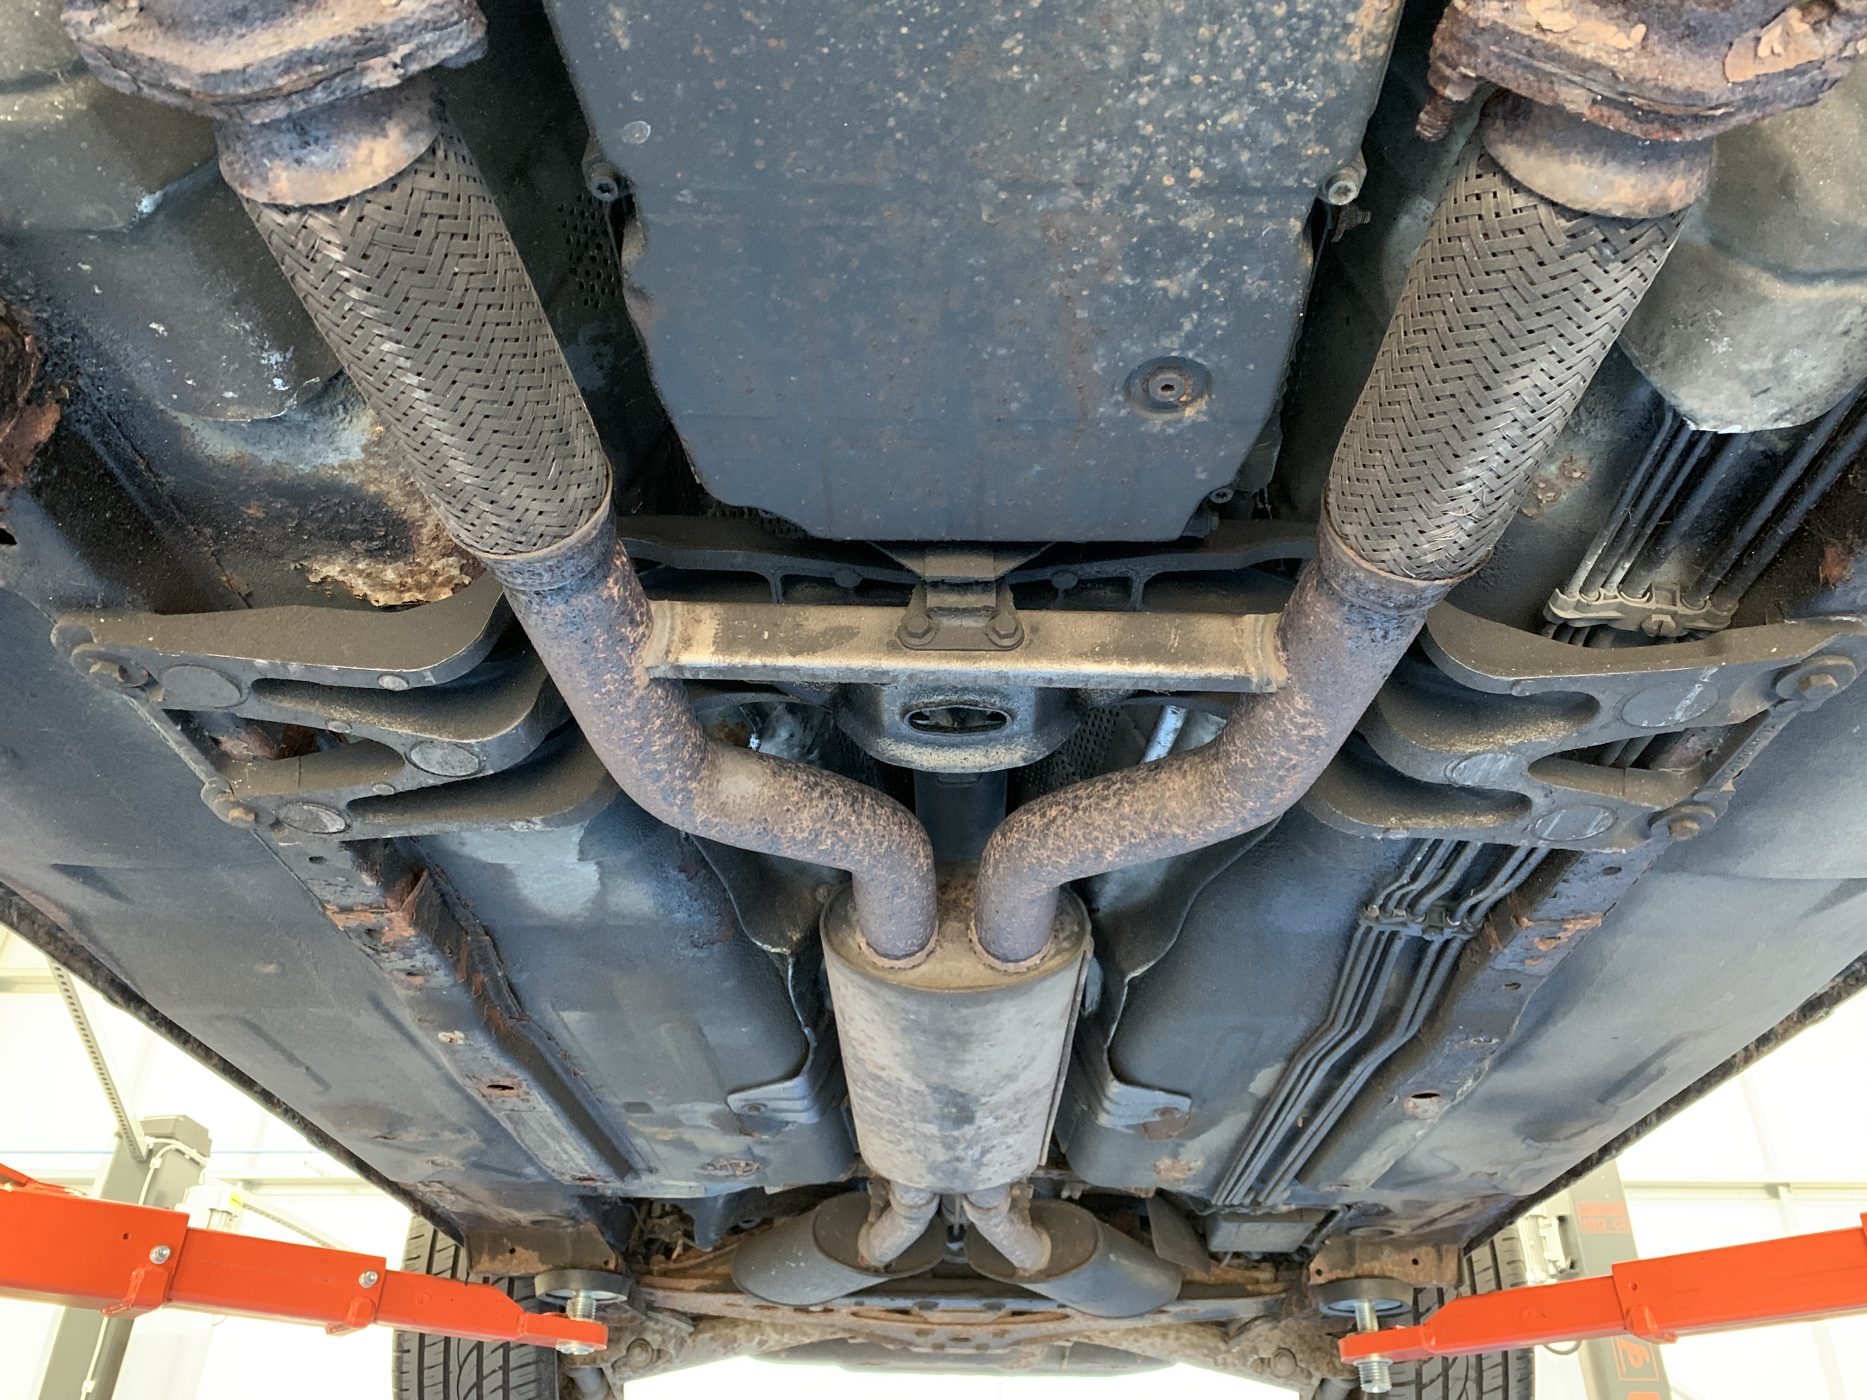
Chris has recently put a layer of black protective coating on the underneath of the 1954 Jaguar MK VII. This does exactly what it says

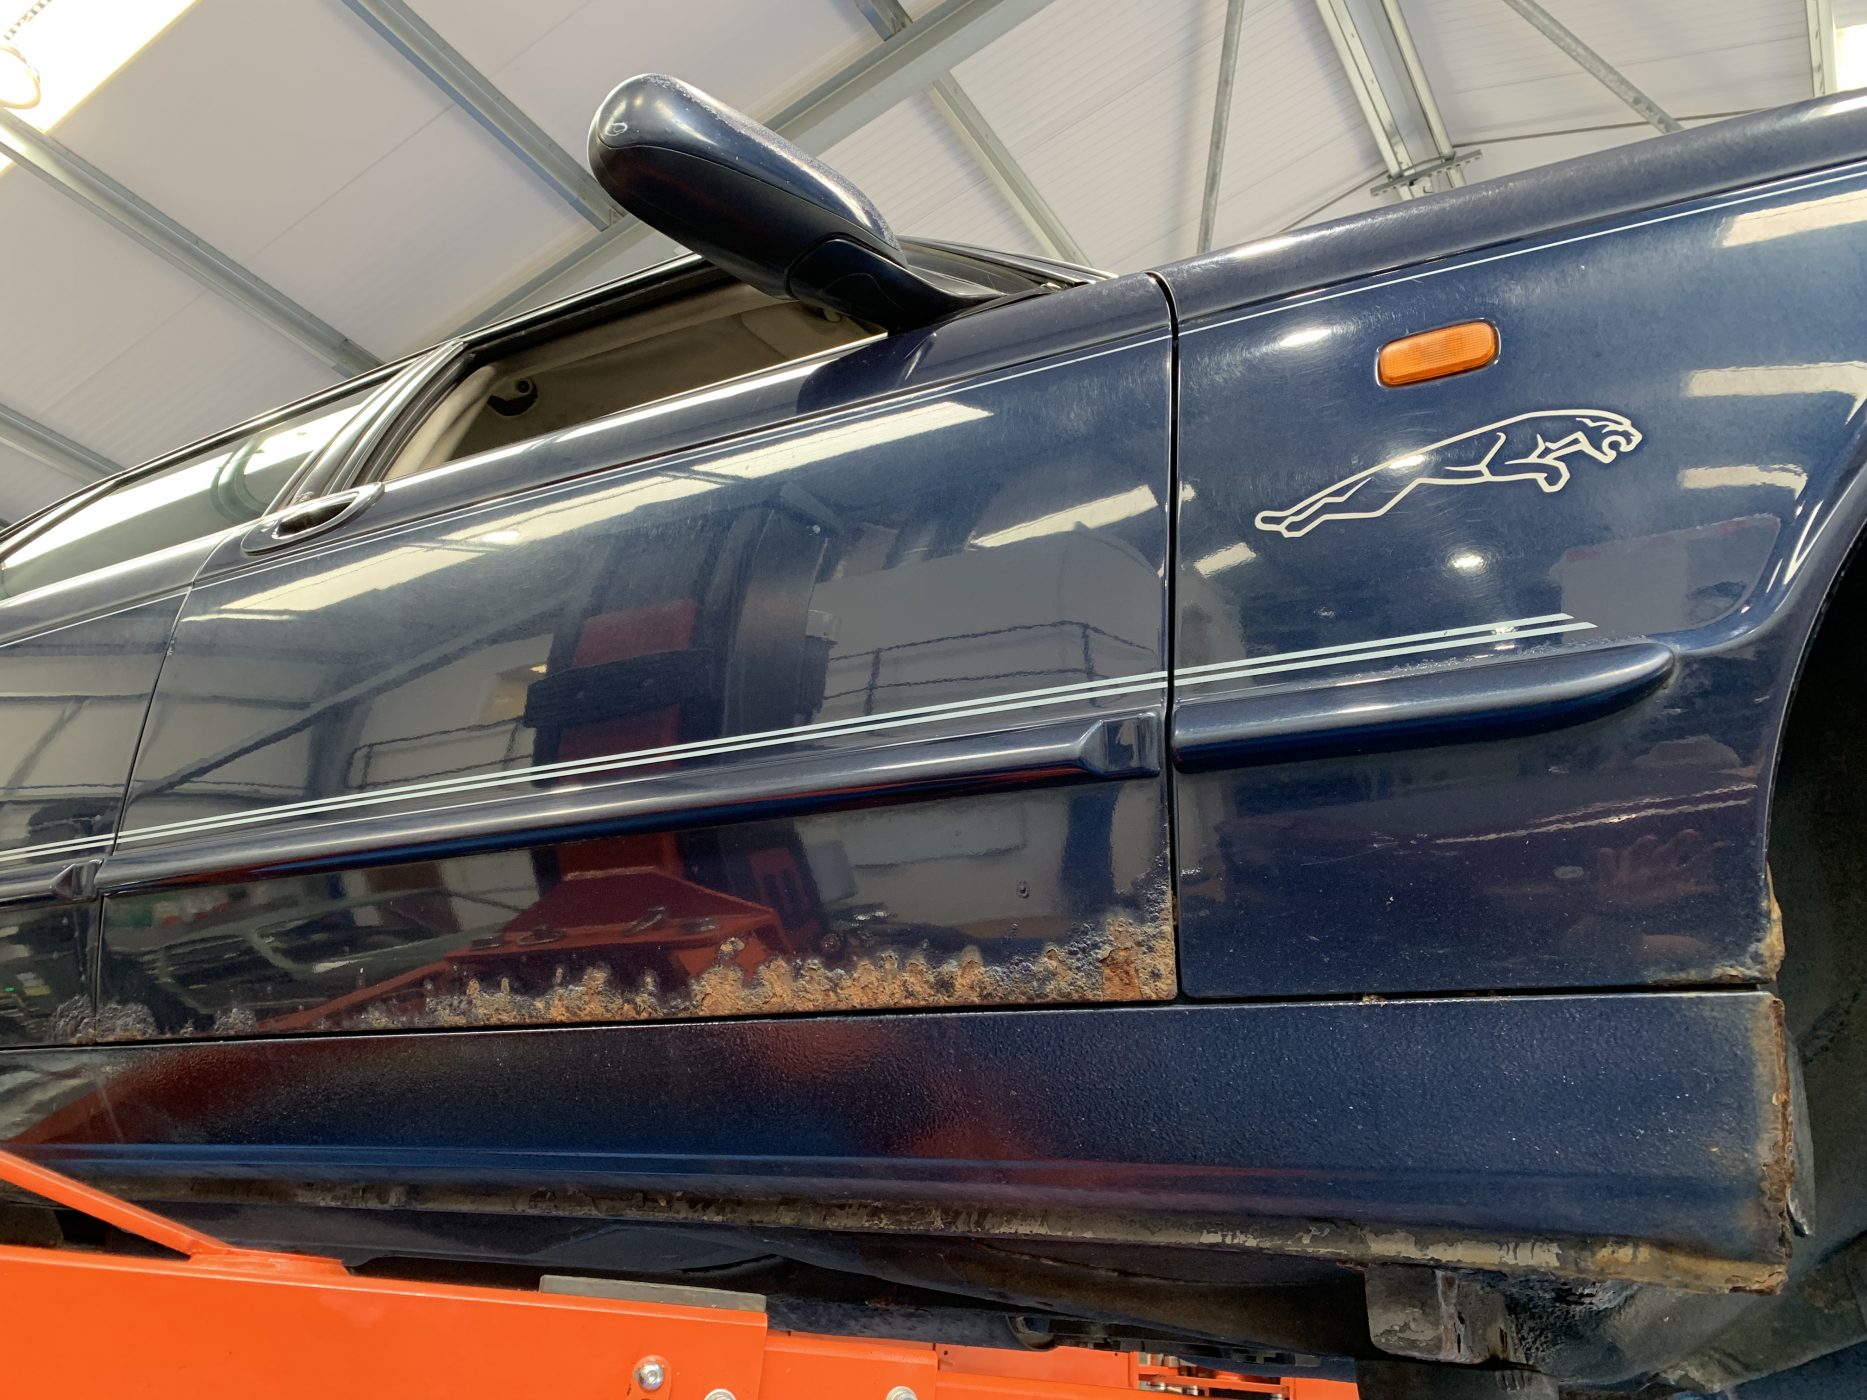
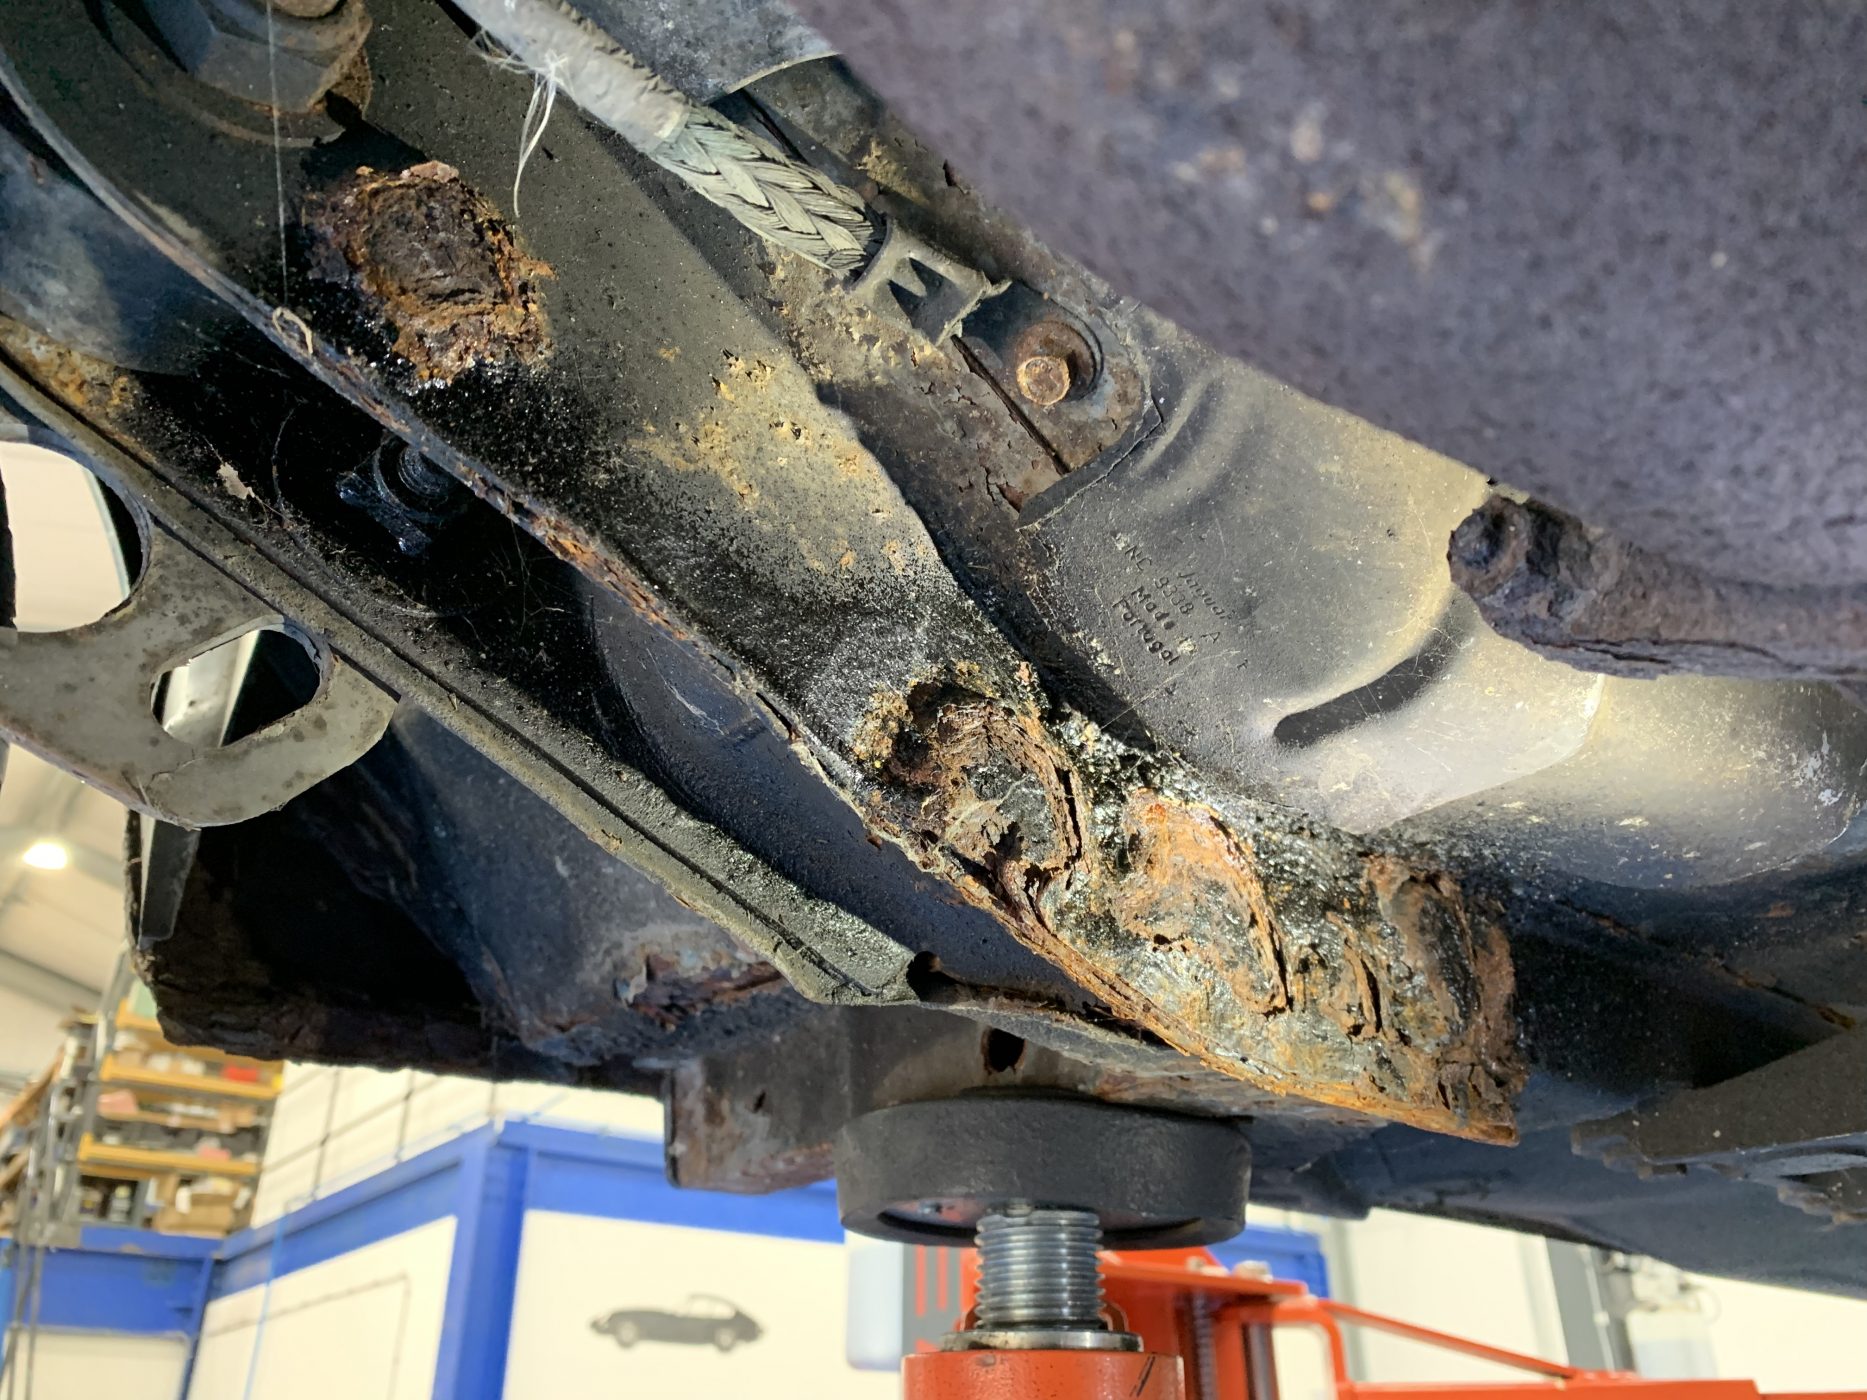
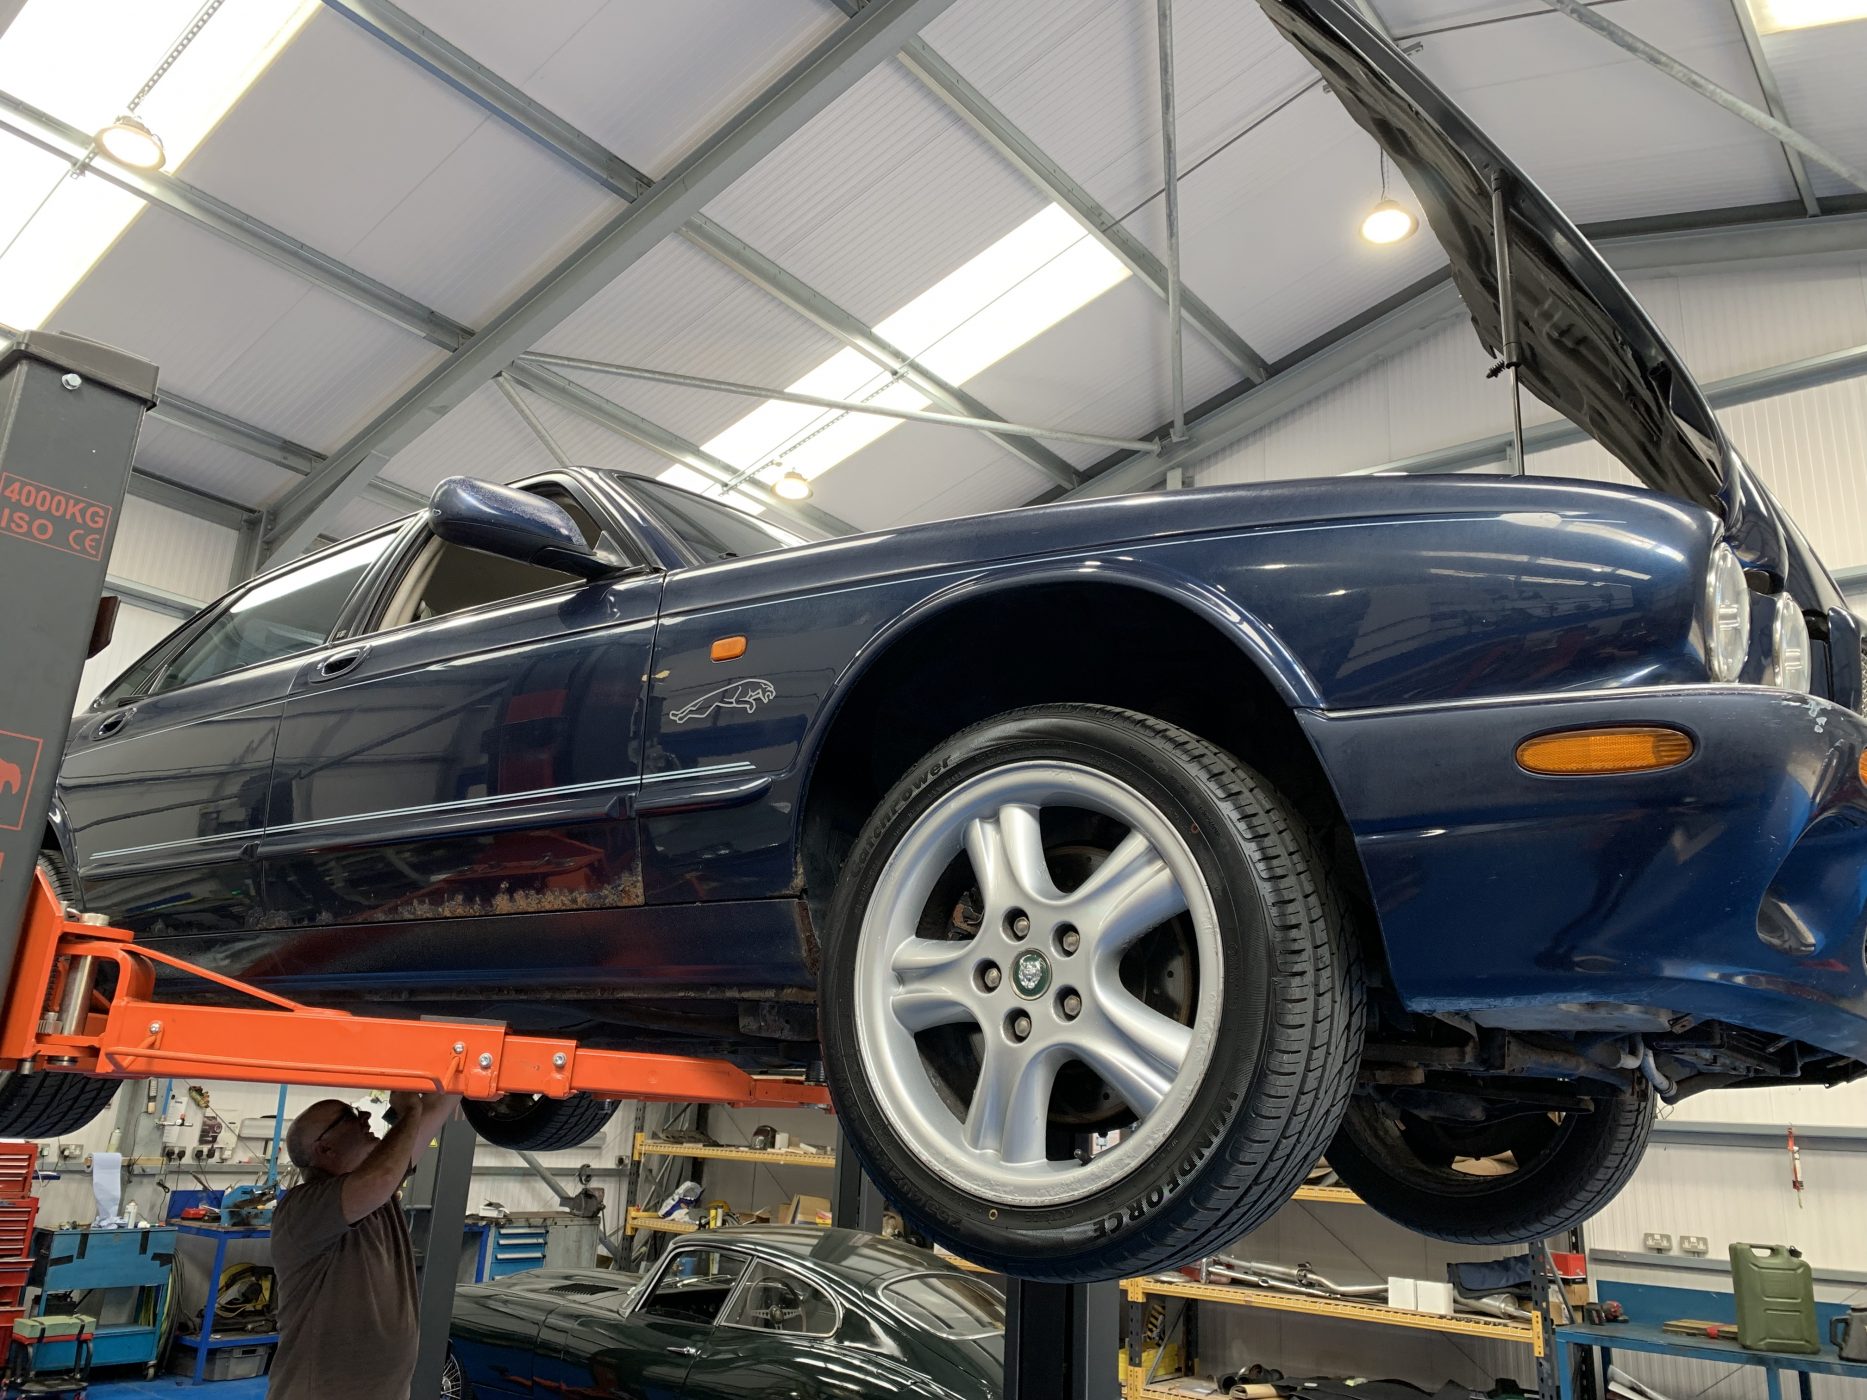
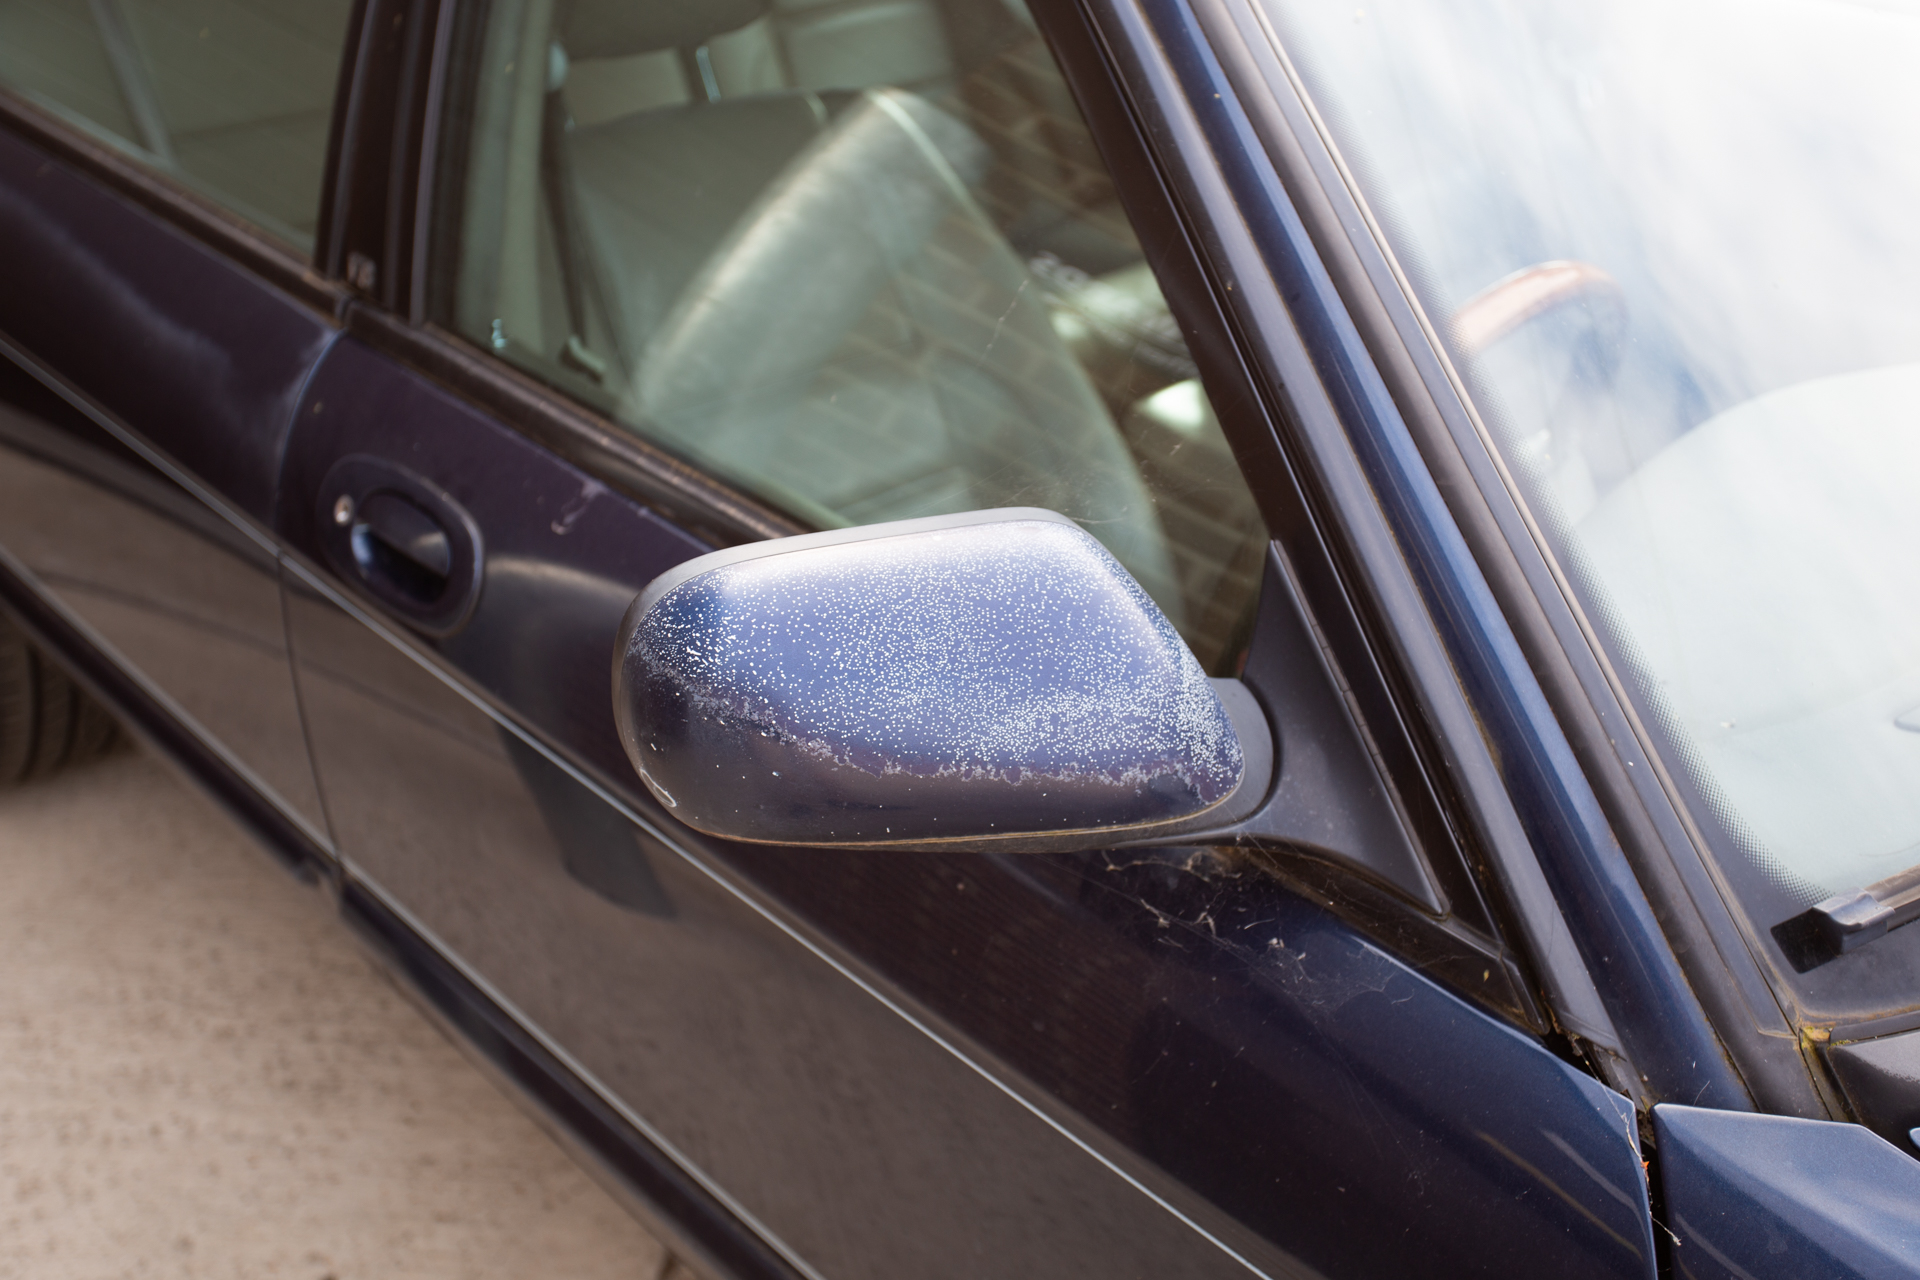
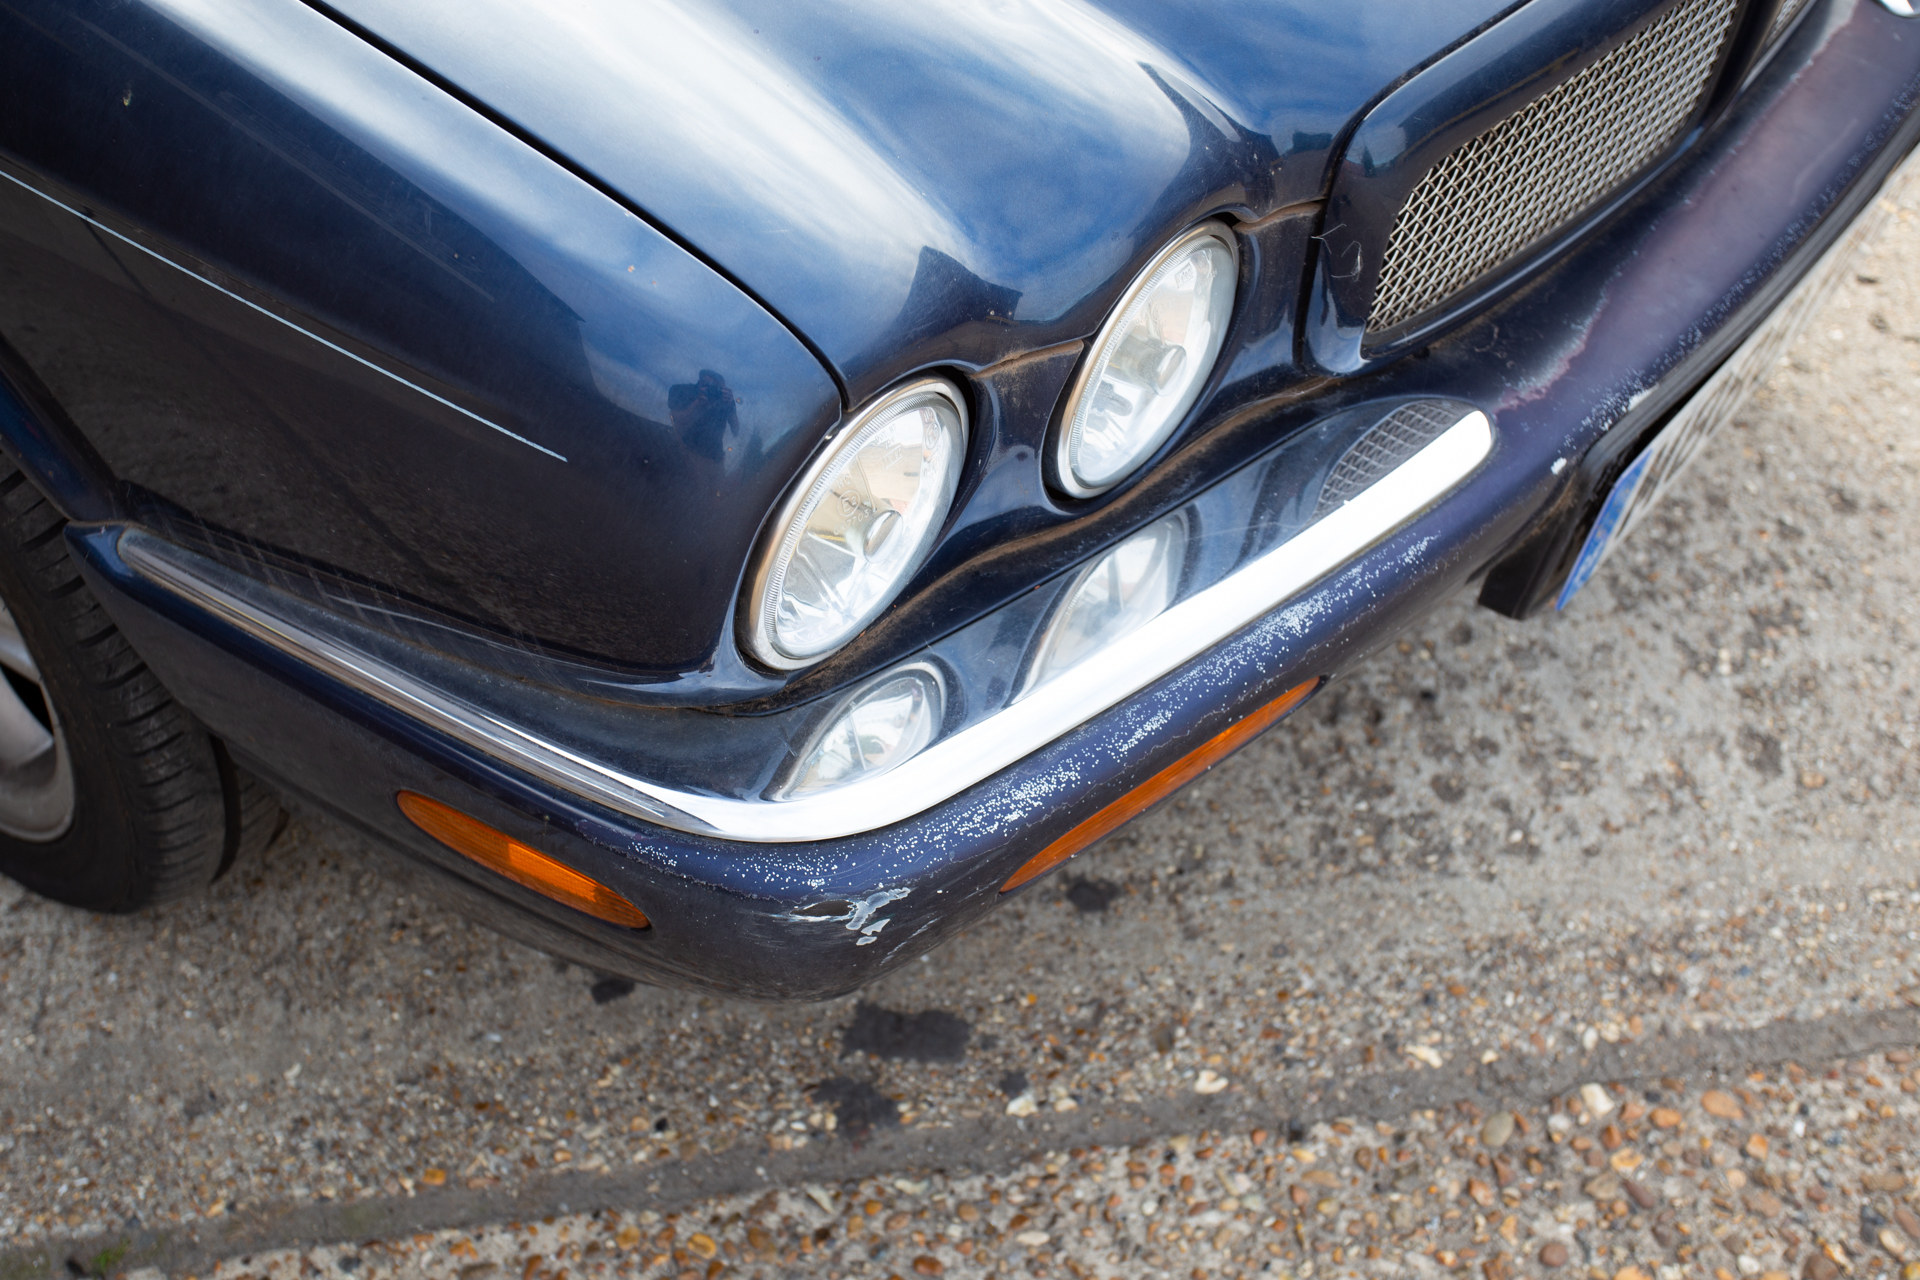
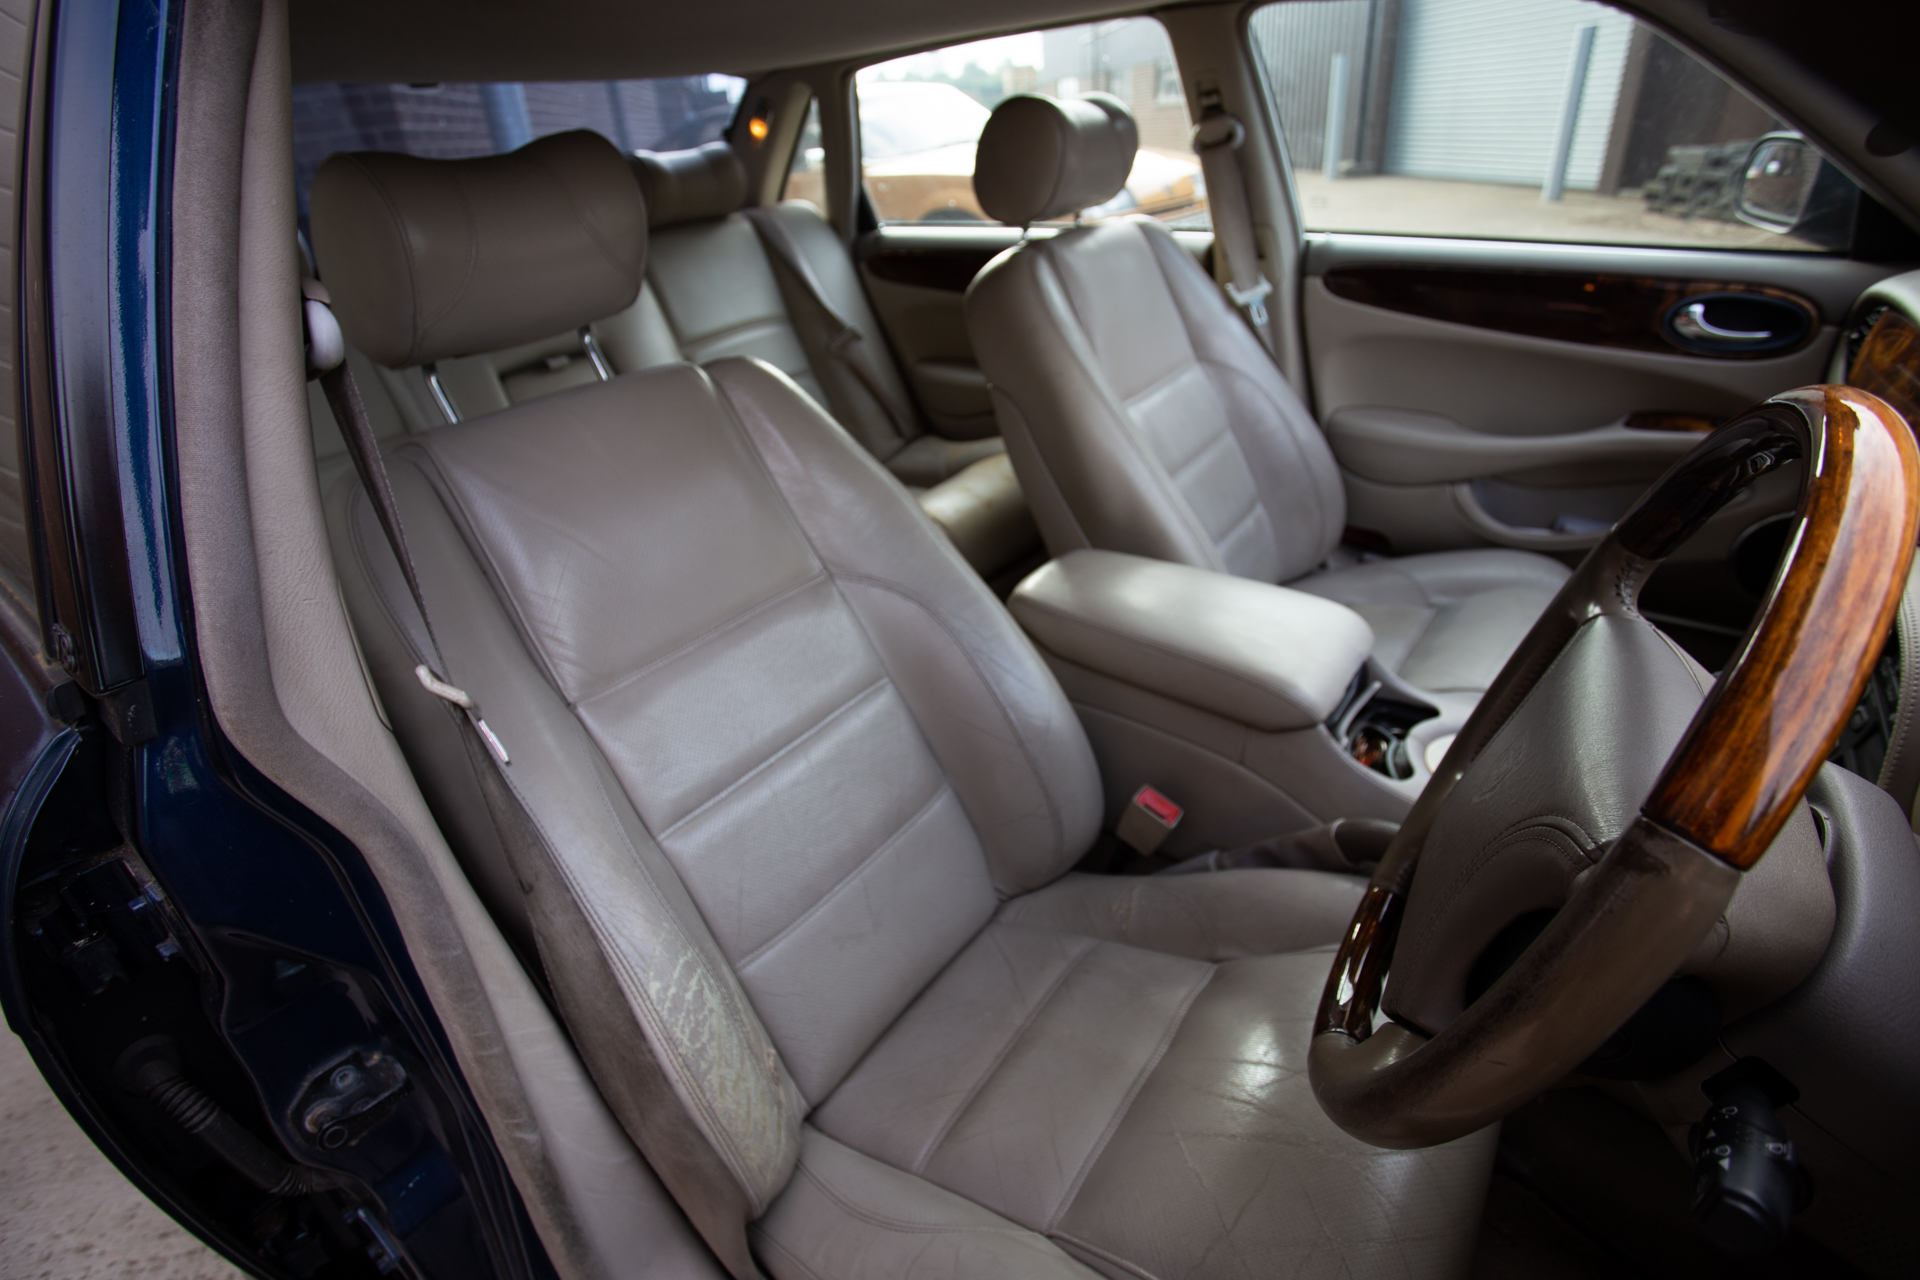
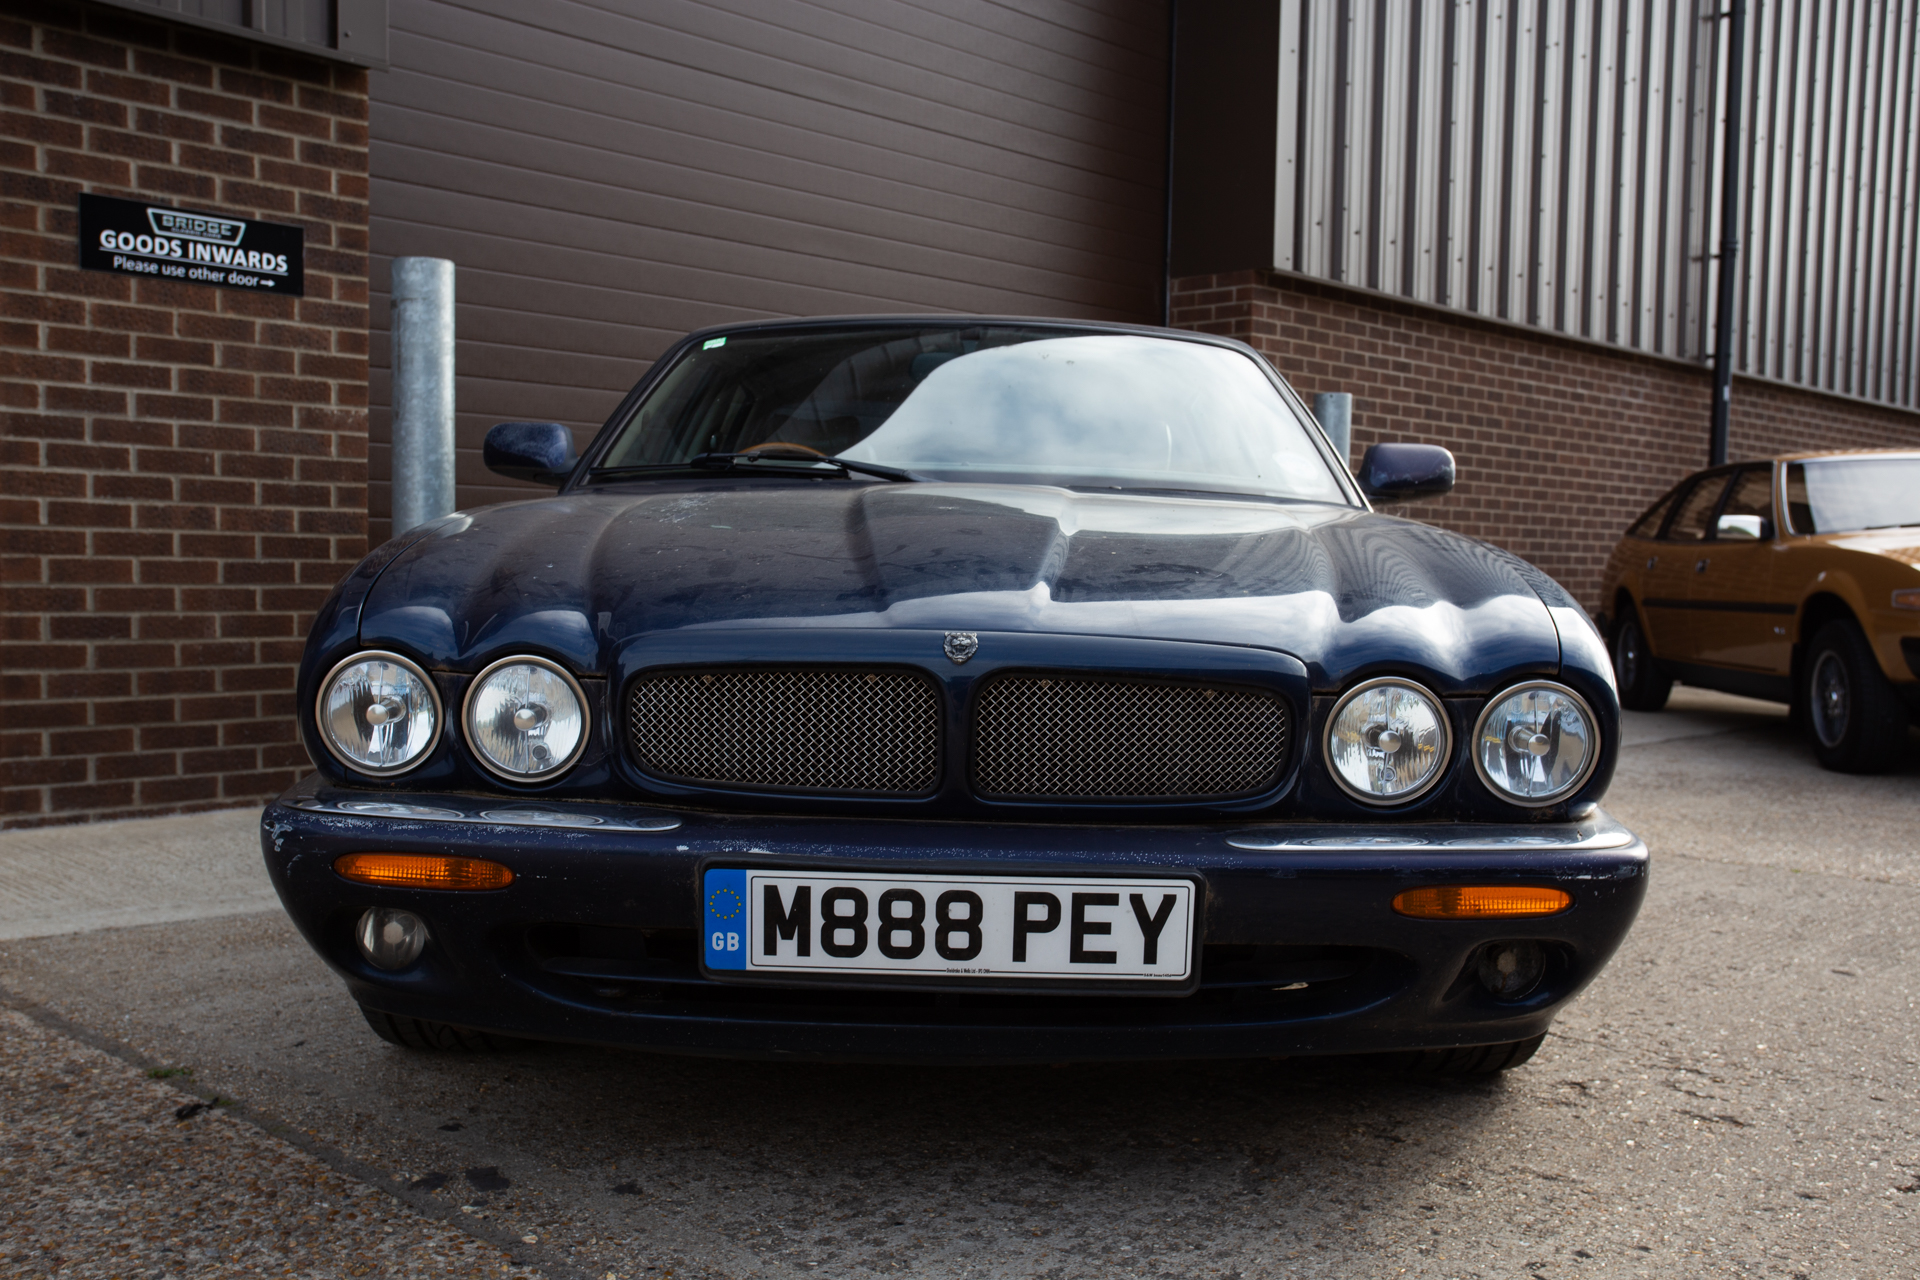
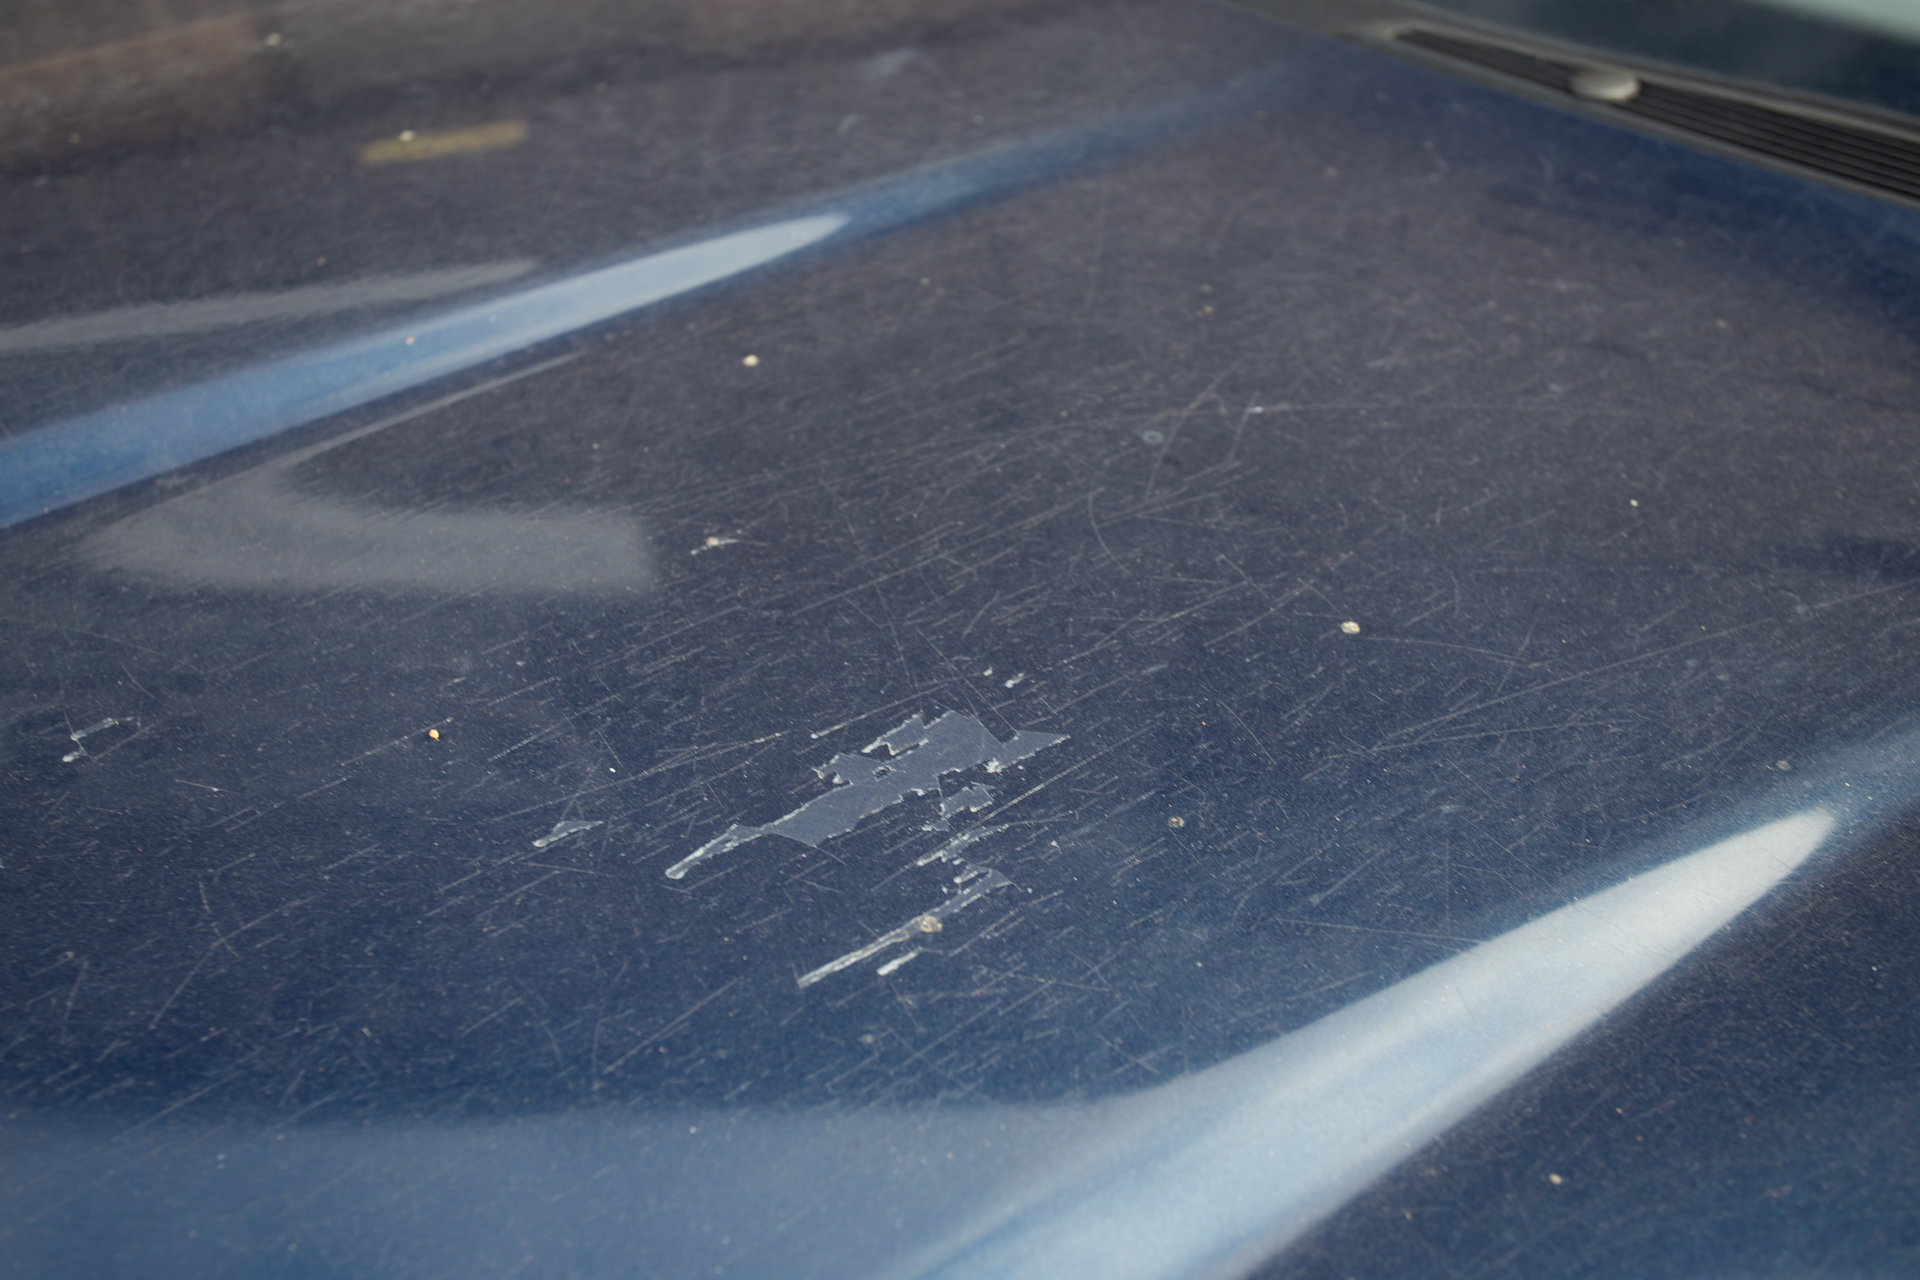
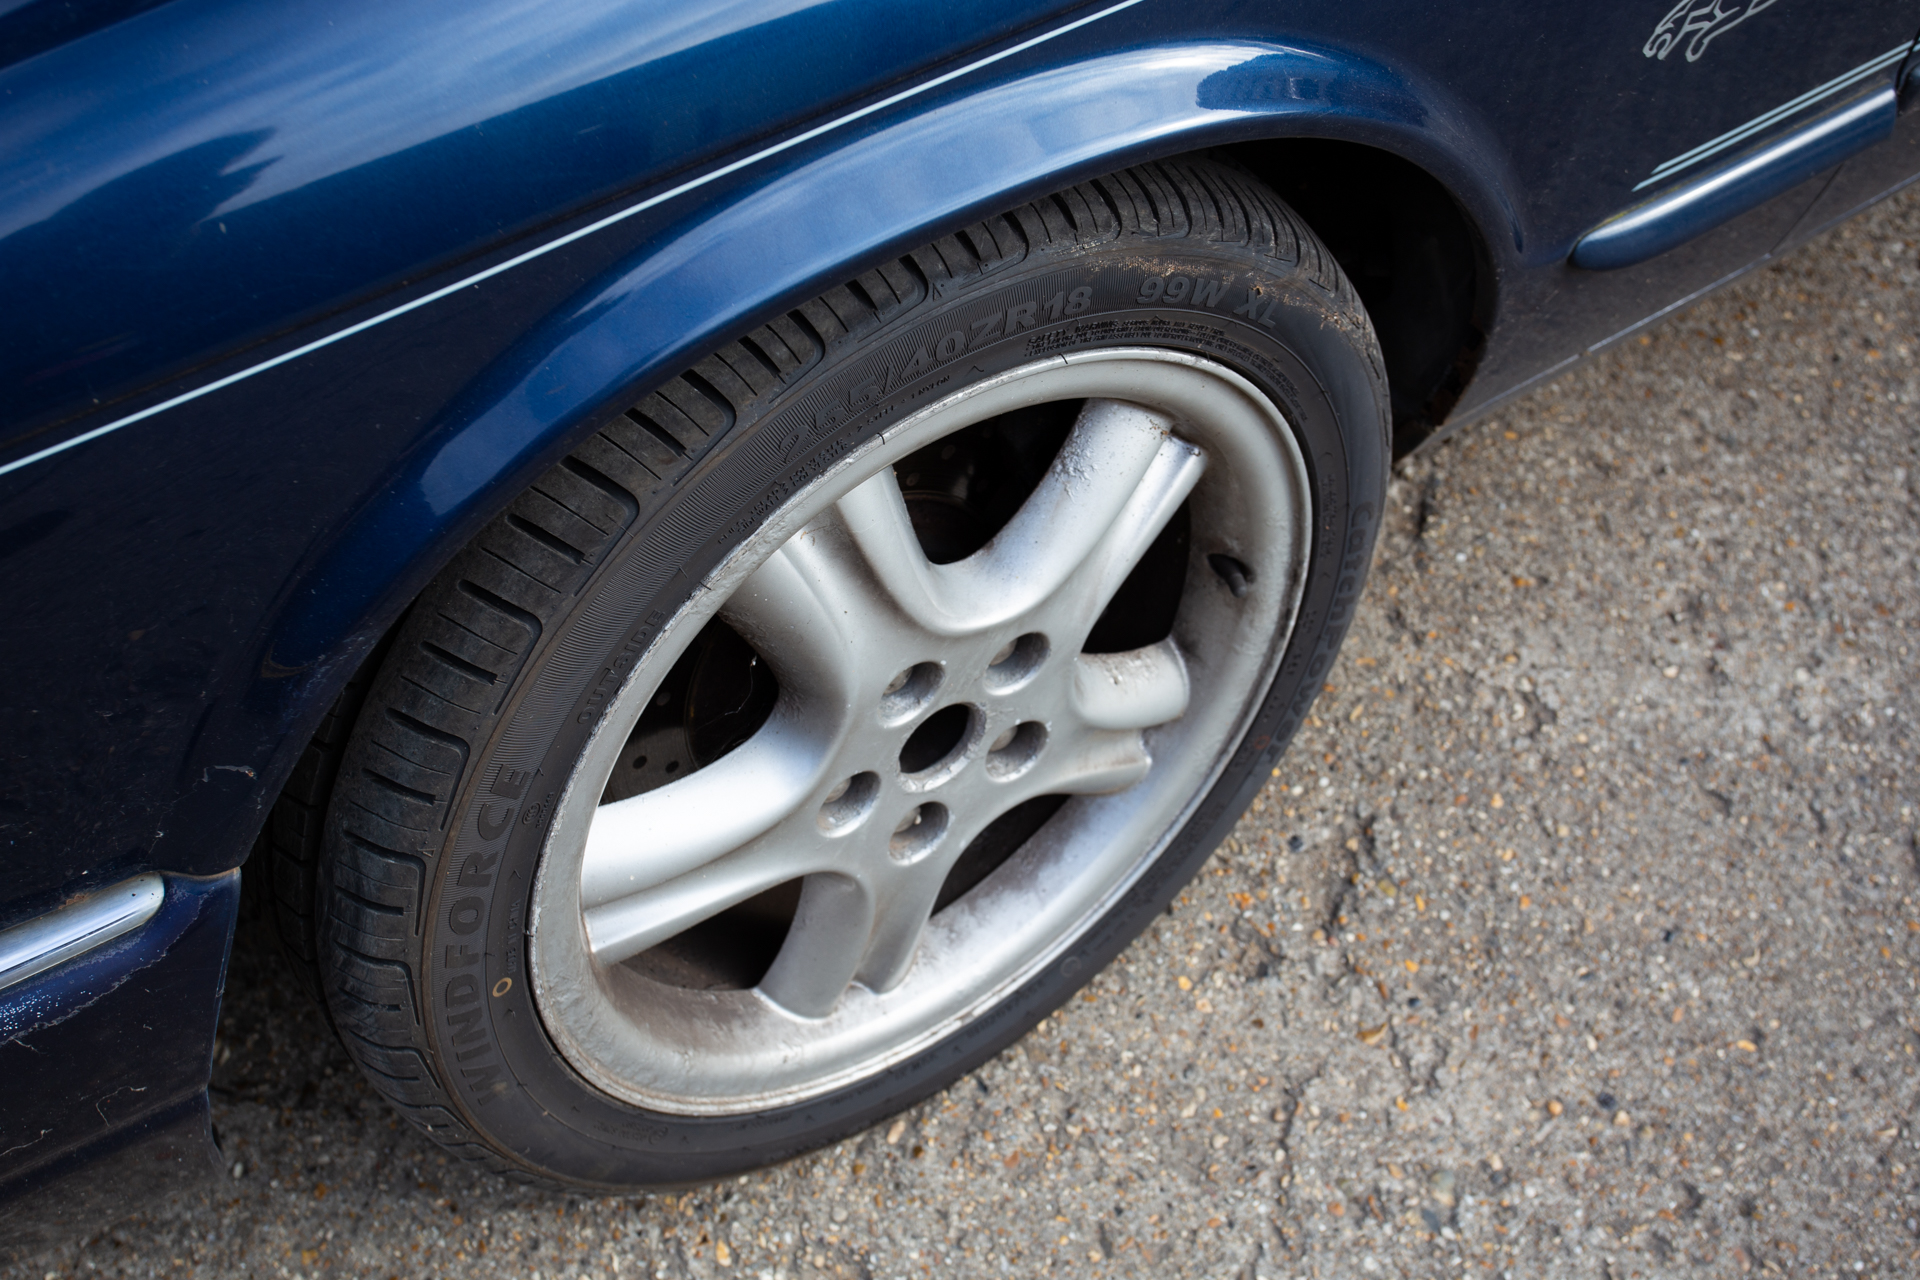
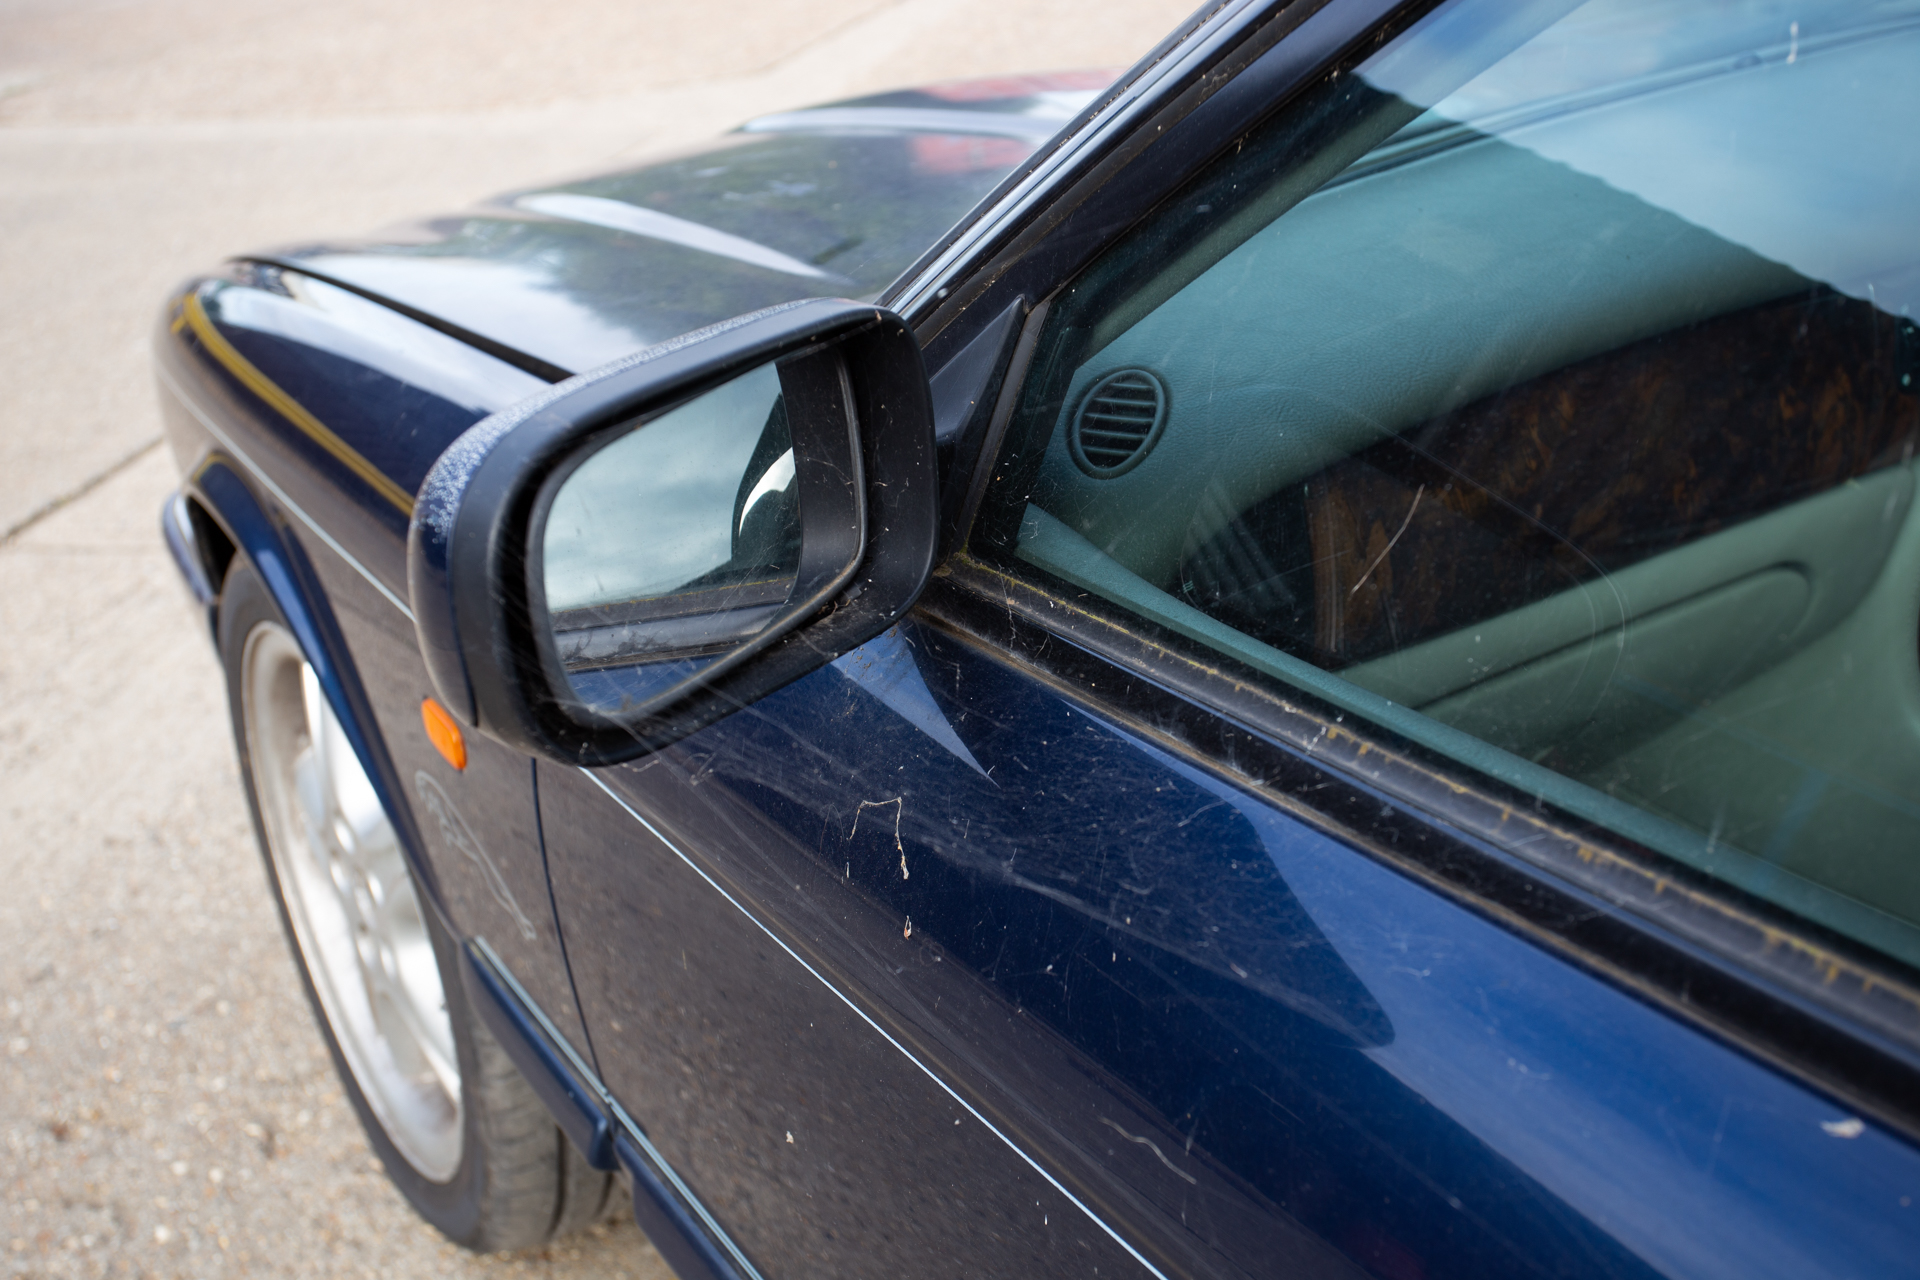
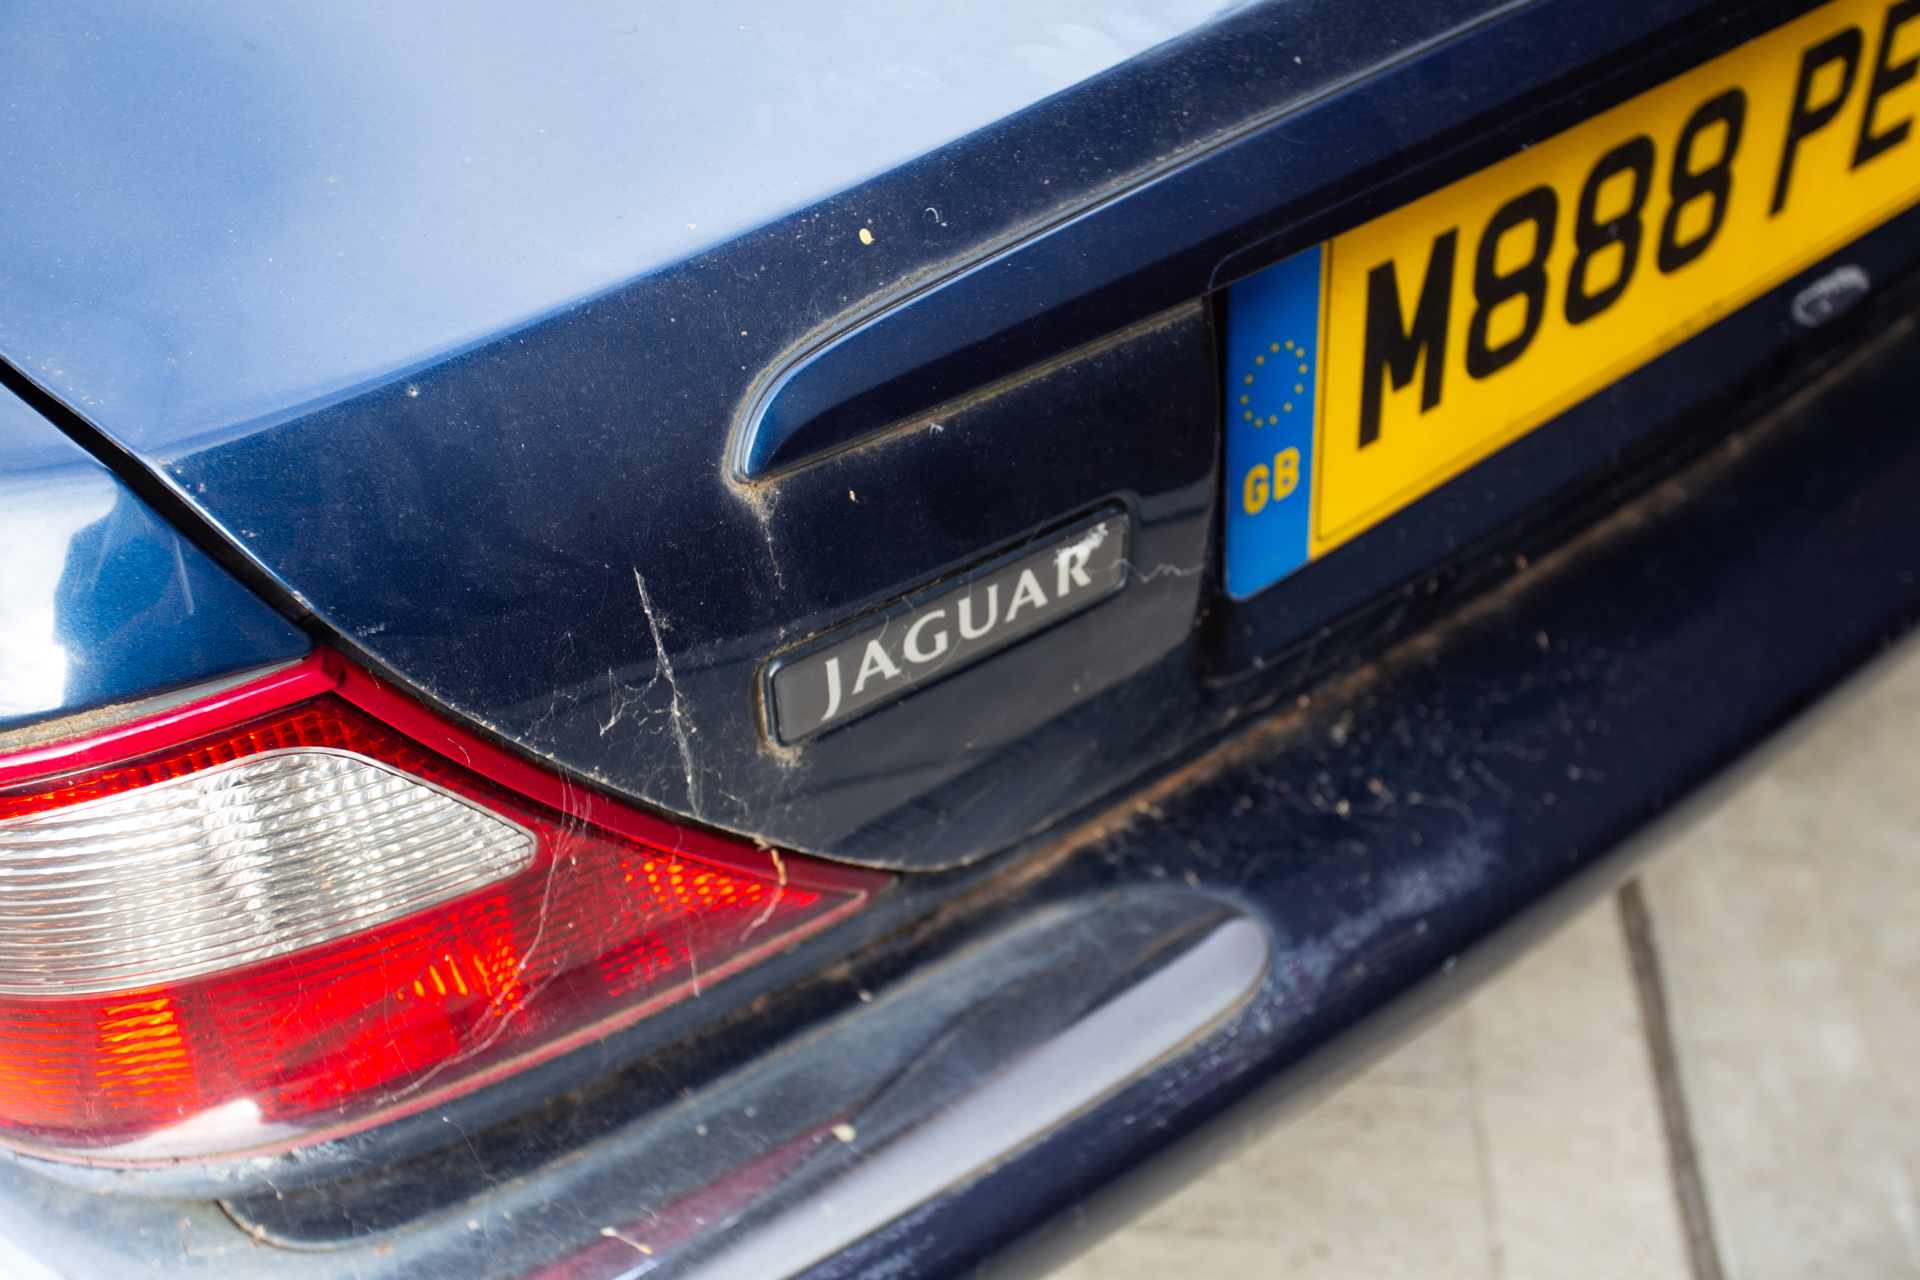
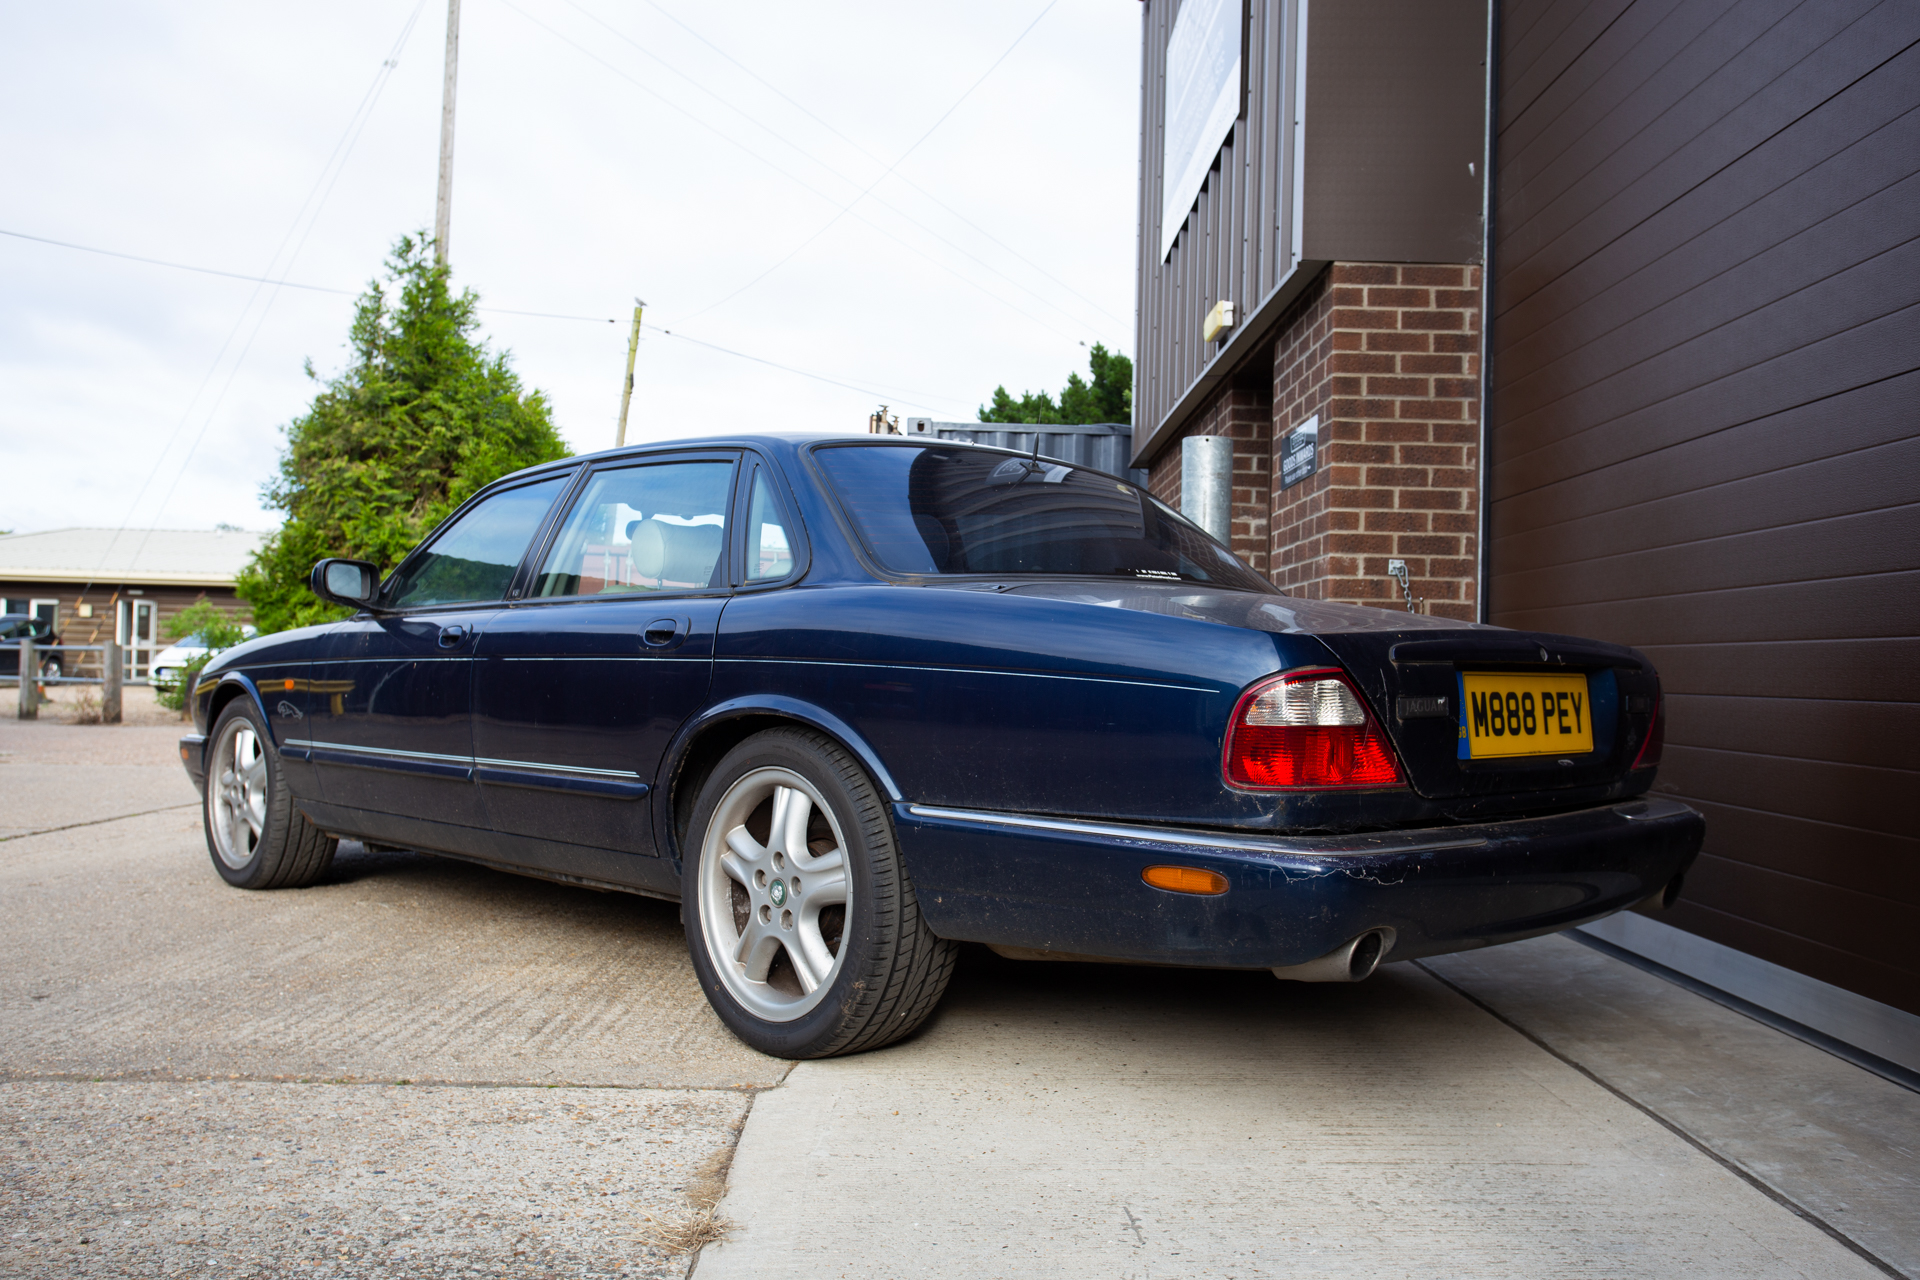
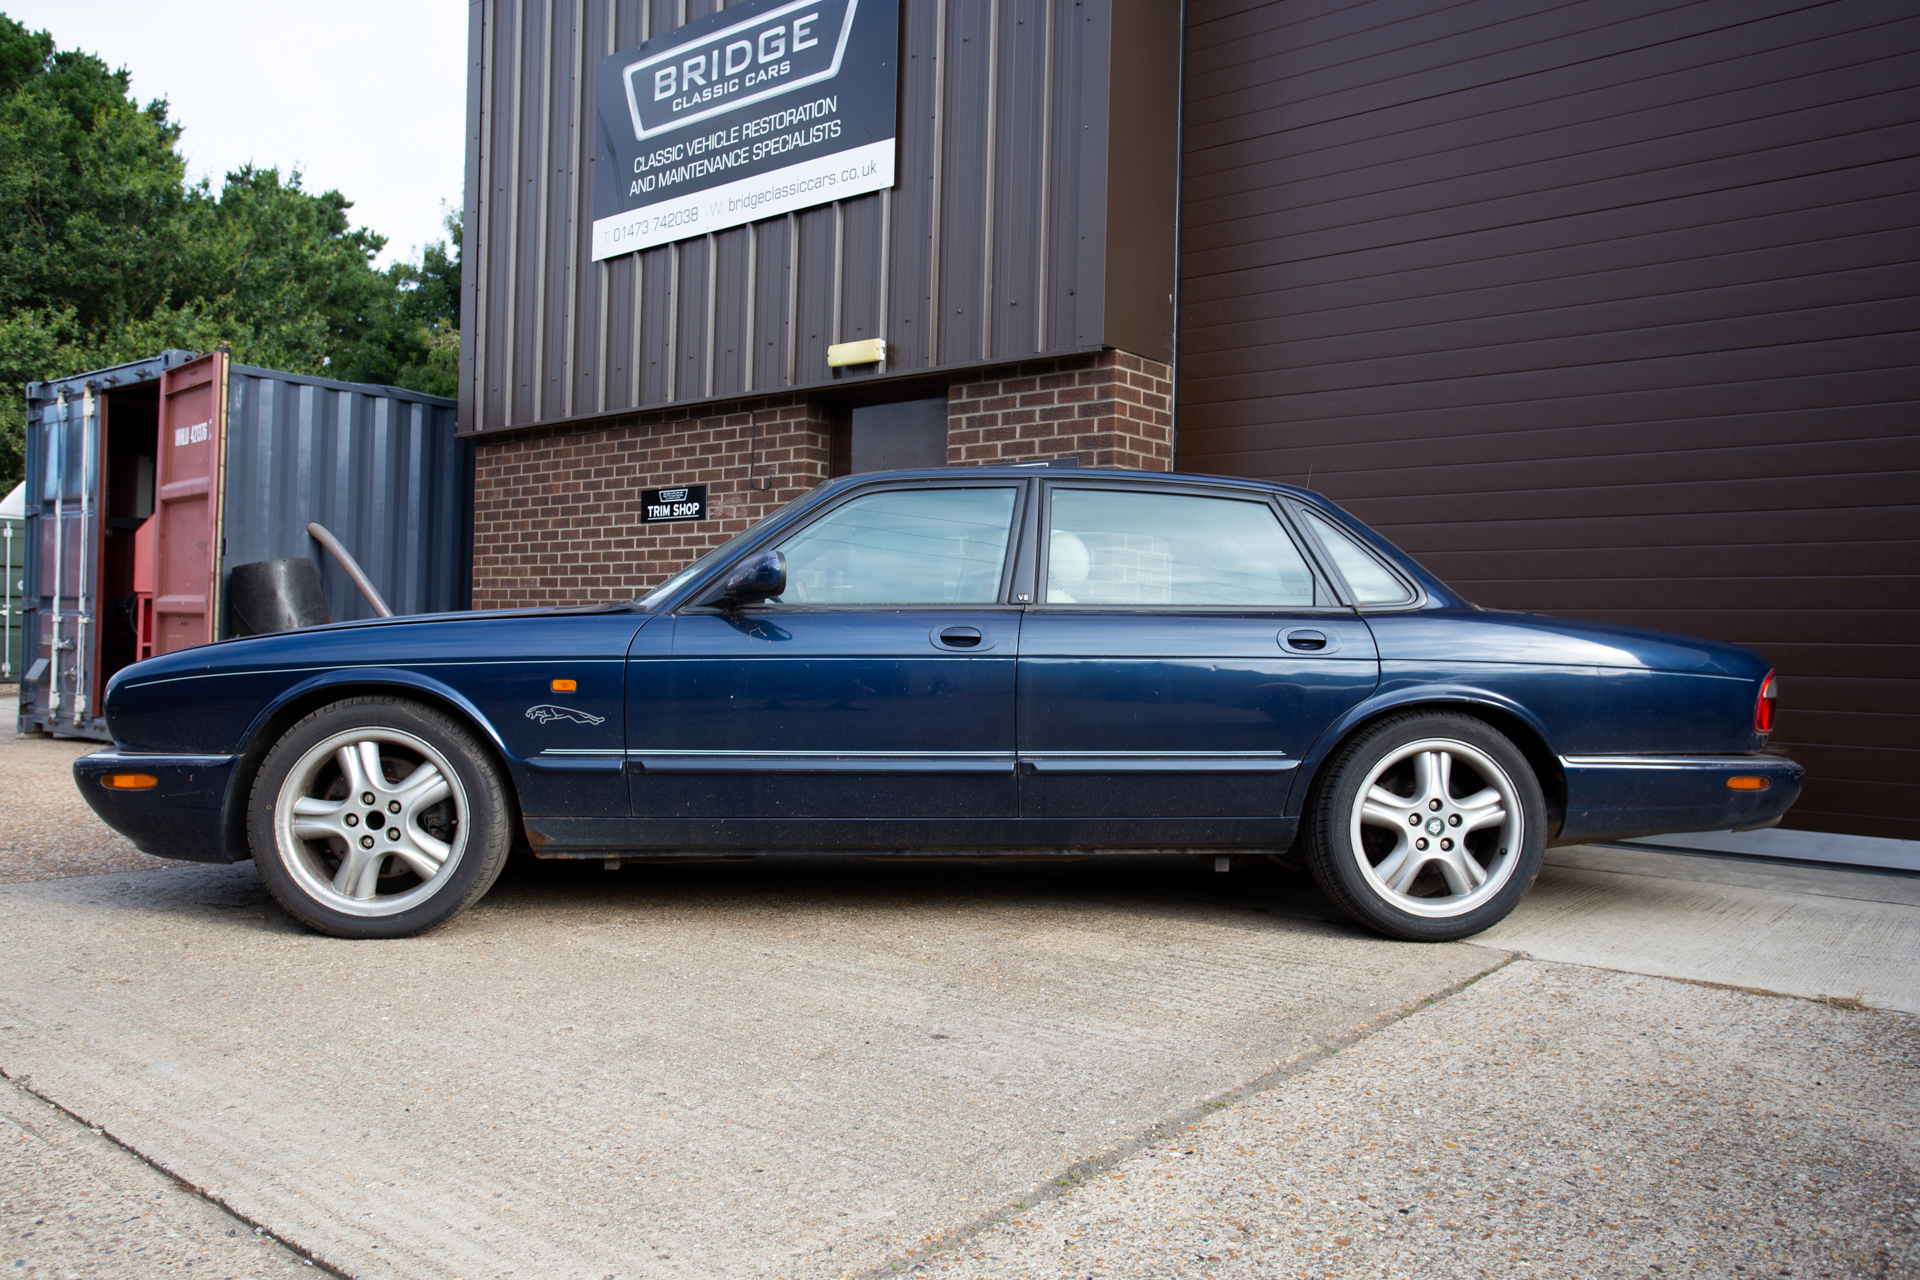
New in the workshop is this 1999 Jaguar XJR. It’s come in for a valet, for an assessment to be carried out to get it
James has been continuing his repair work on the corroded areas of the 1977 Daimler Double Six. The right-hand side front inner wing has been
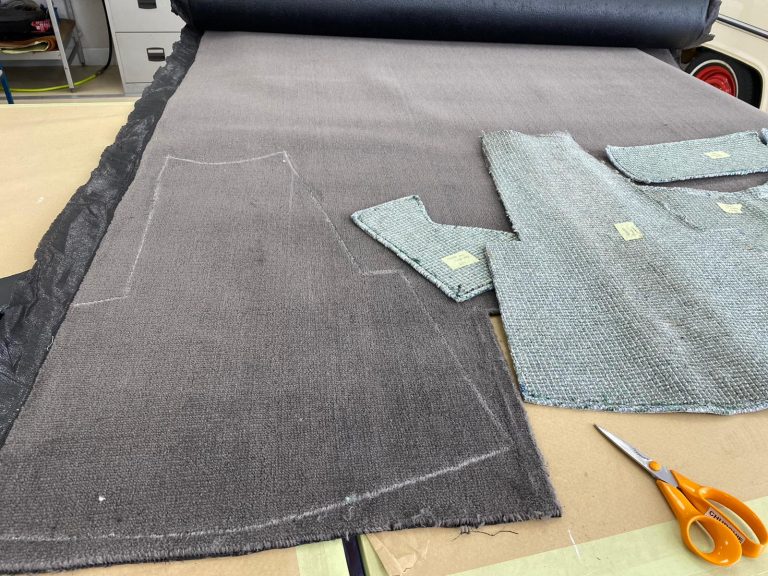
Kath has been starting on the carpet for the 1955 Aston Martin DB 2/4 this week. The list of carpet pieces she’s made includes the
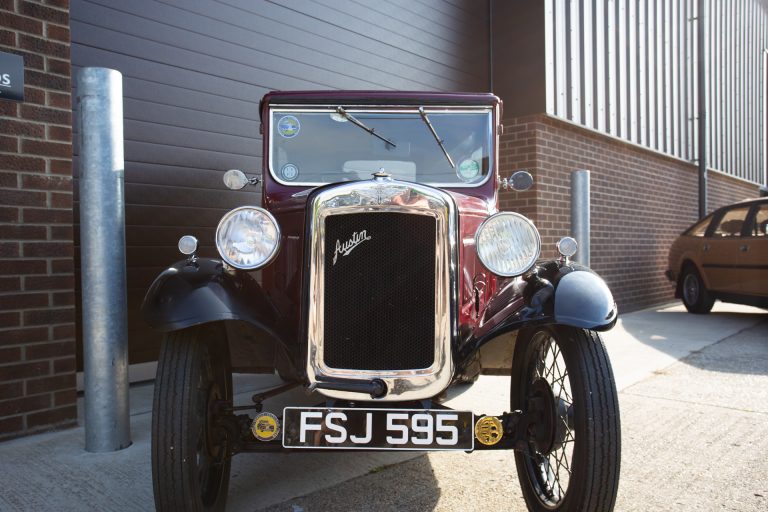
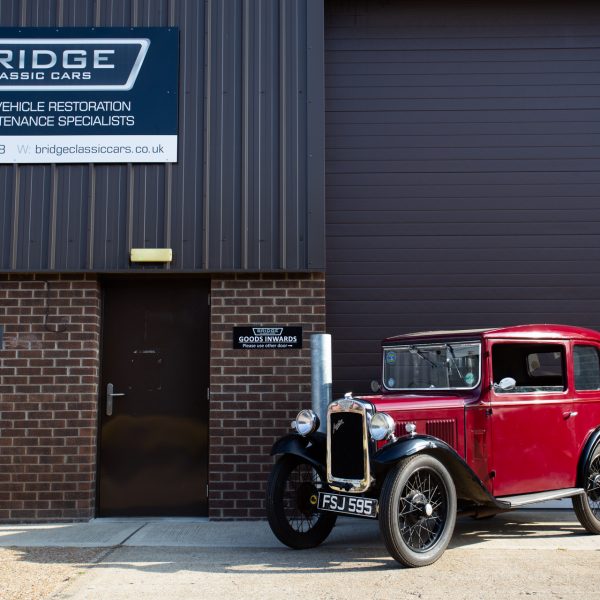
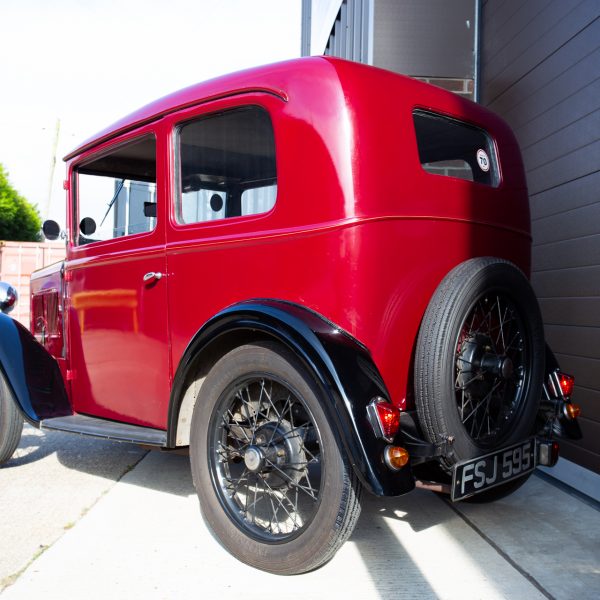
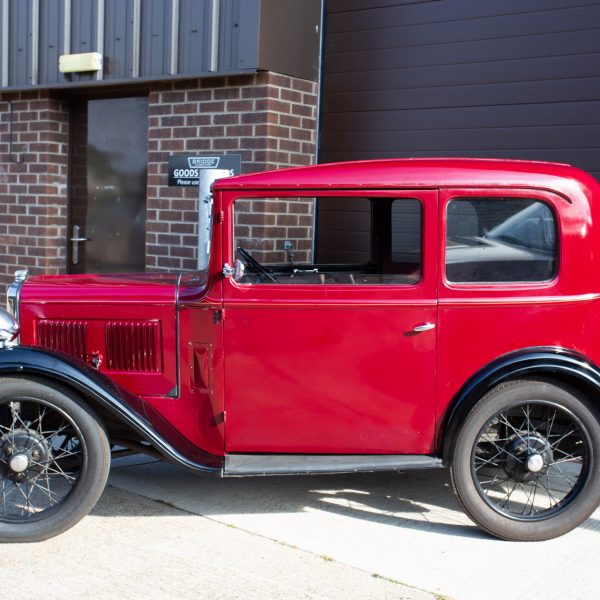
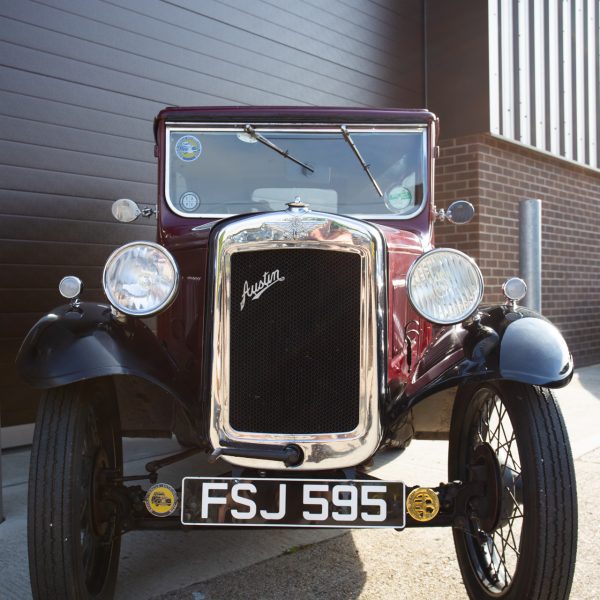
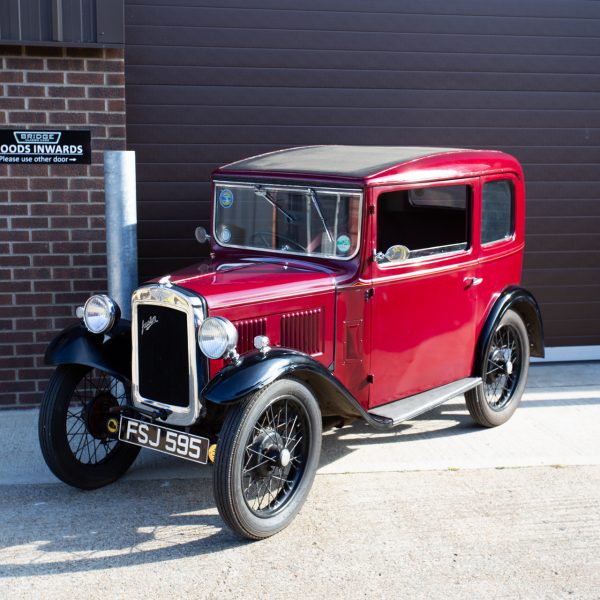
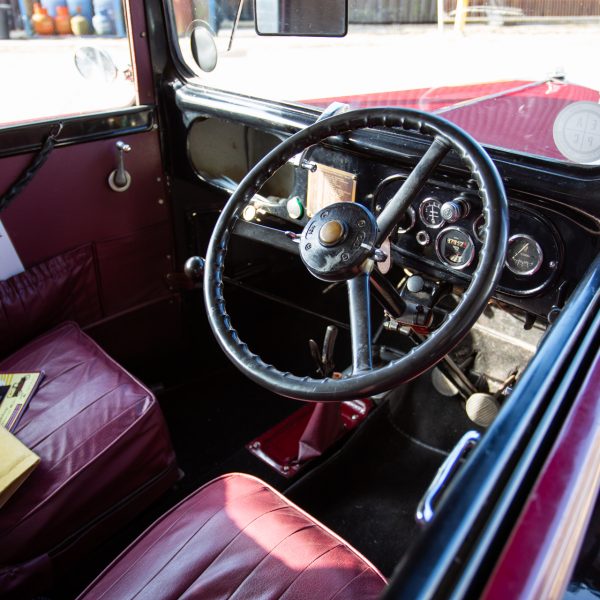
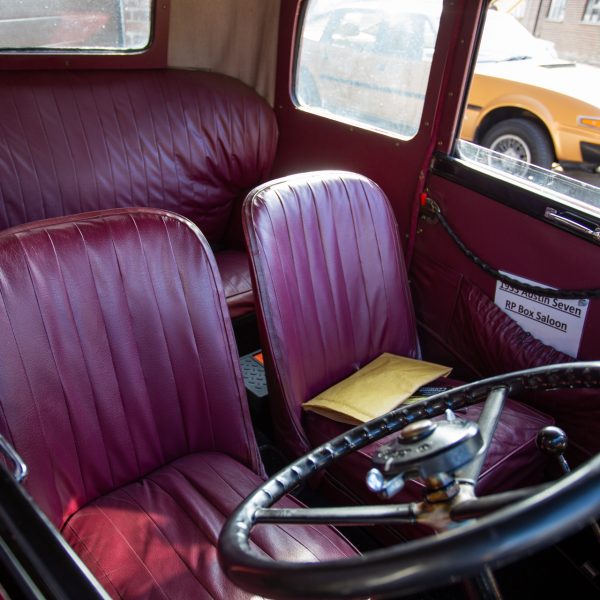
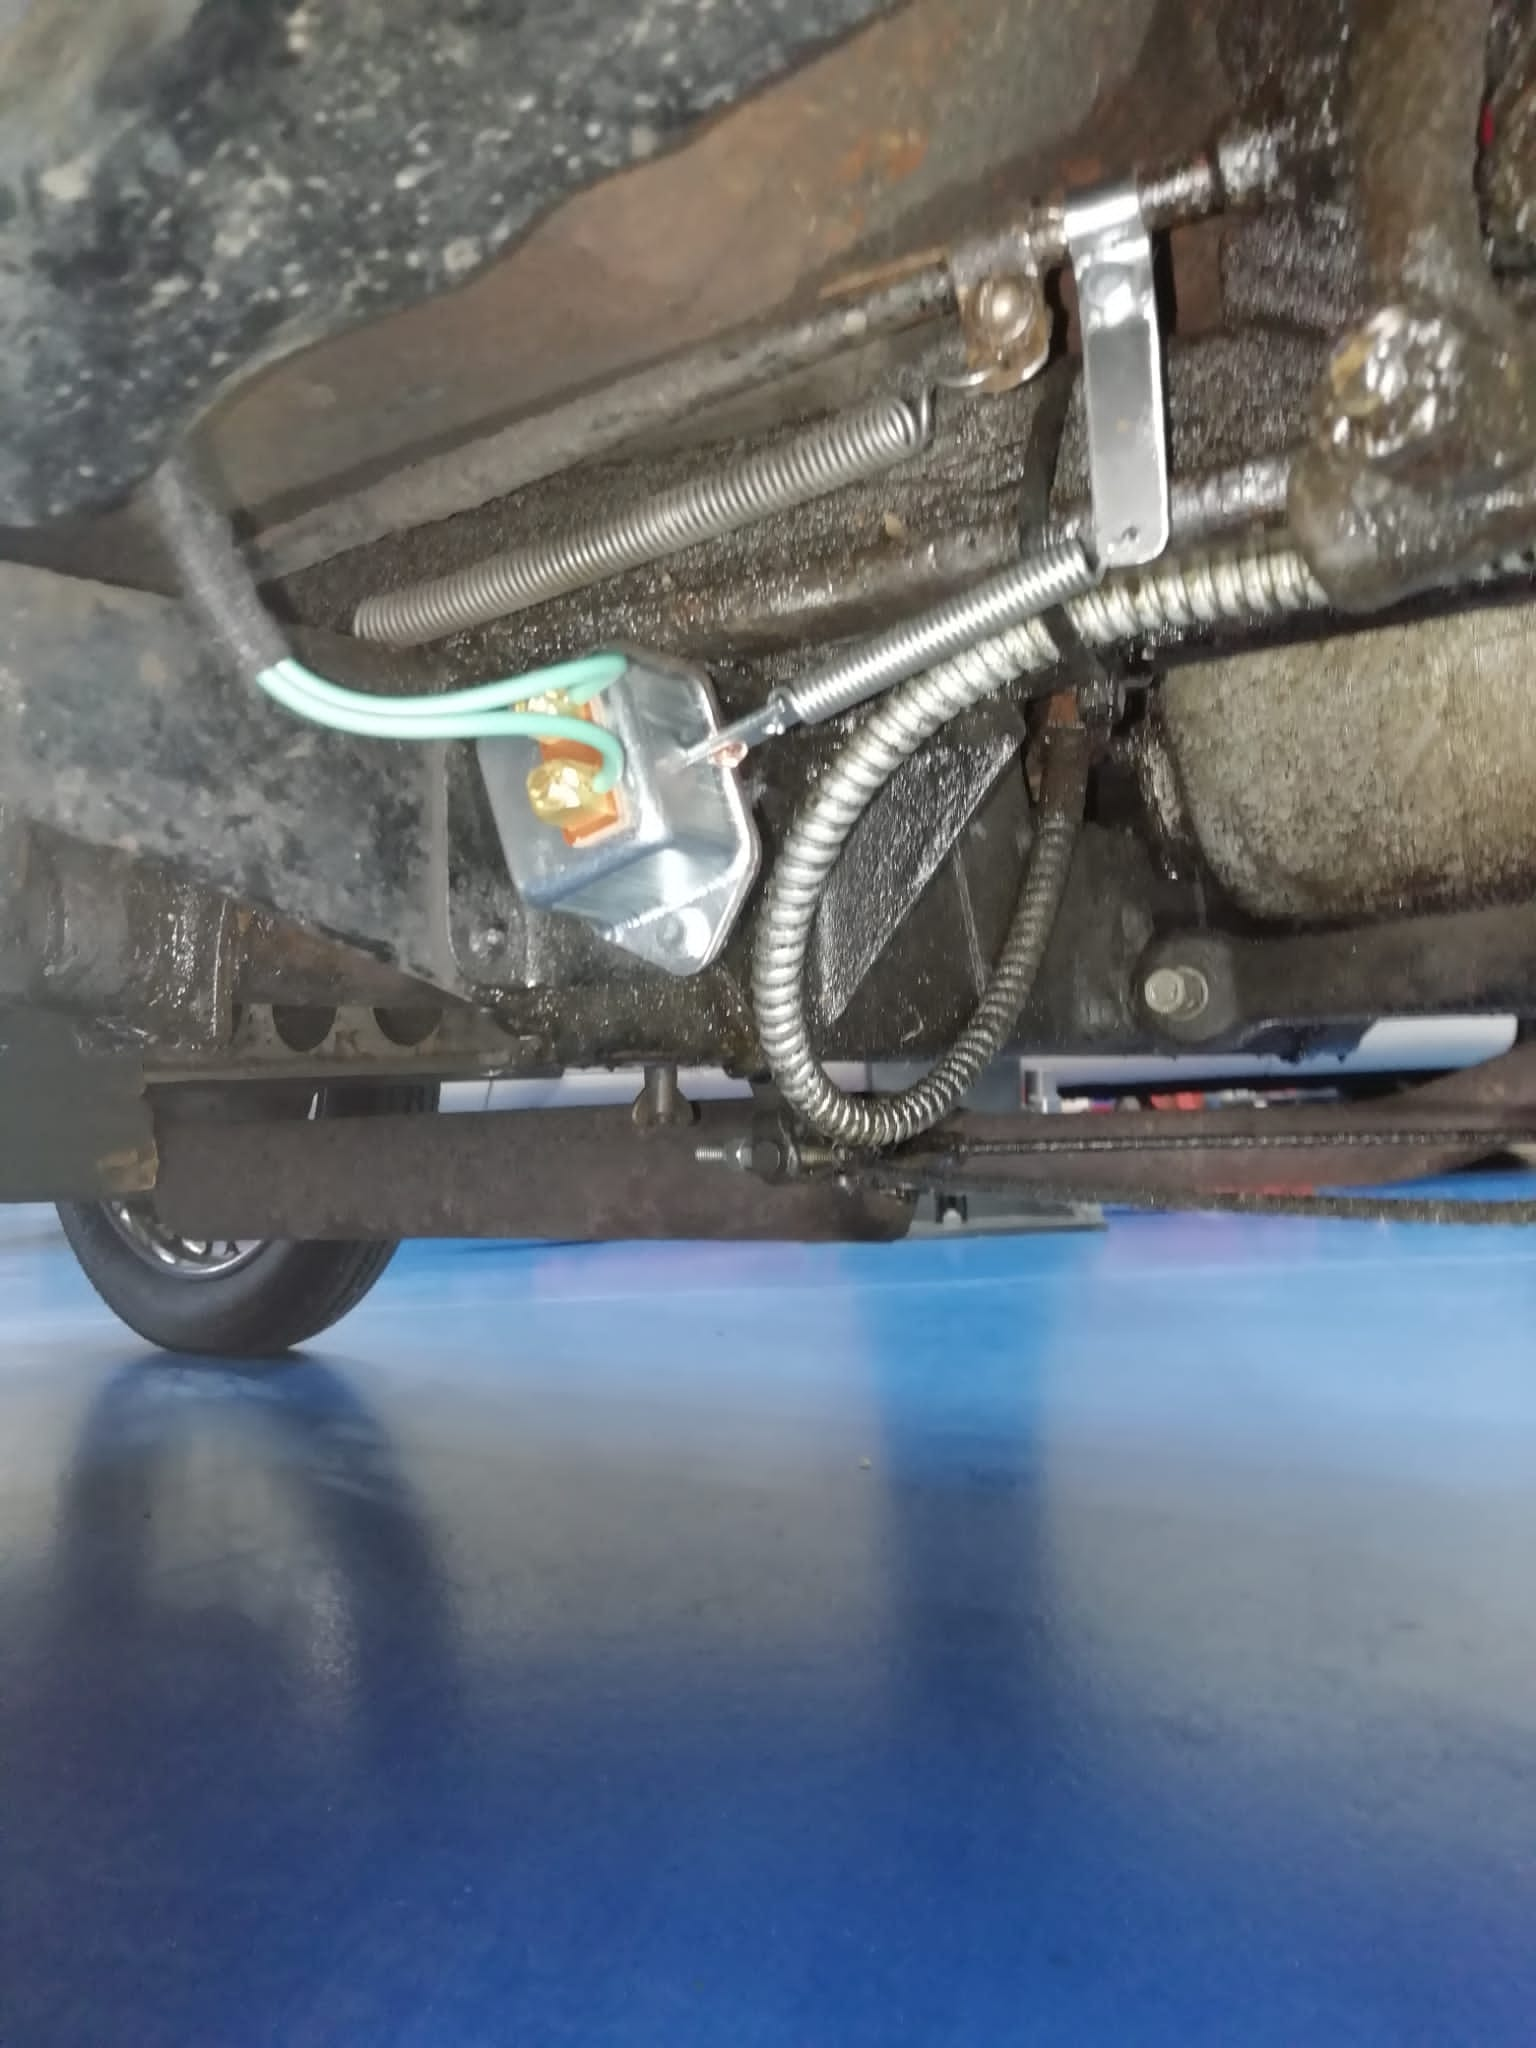
We’ve welcomed back this 1933 maroon Austin 7 into our workshop this week. Paul has been working on it and he’s installed a new brake
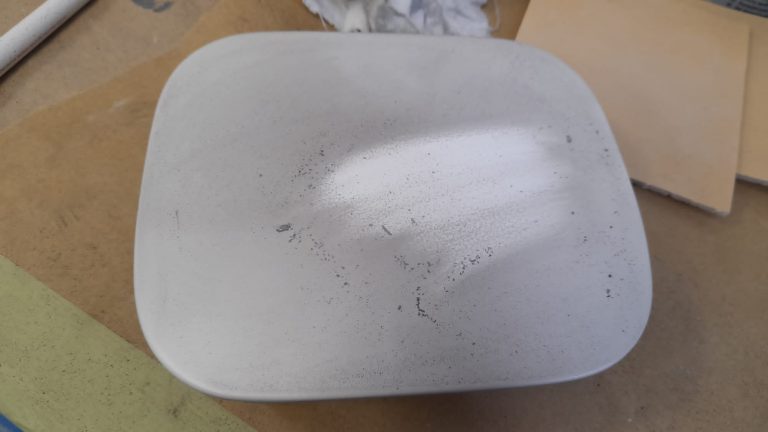
Lydia has been continuing her prep work again for the 1998 Honda Integra Type R. This time around she’s been sanding down the primer on
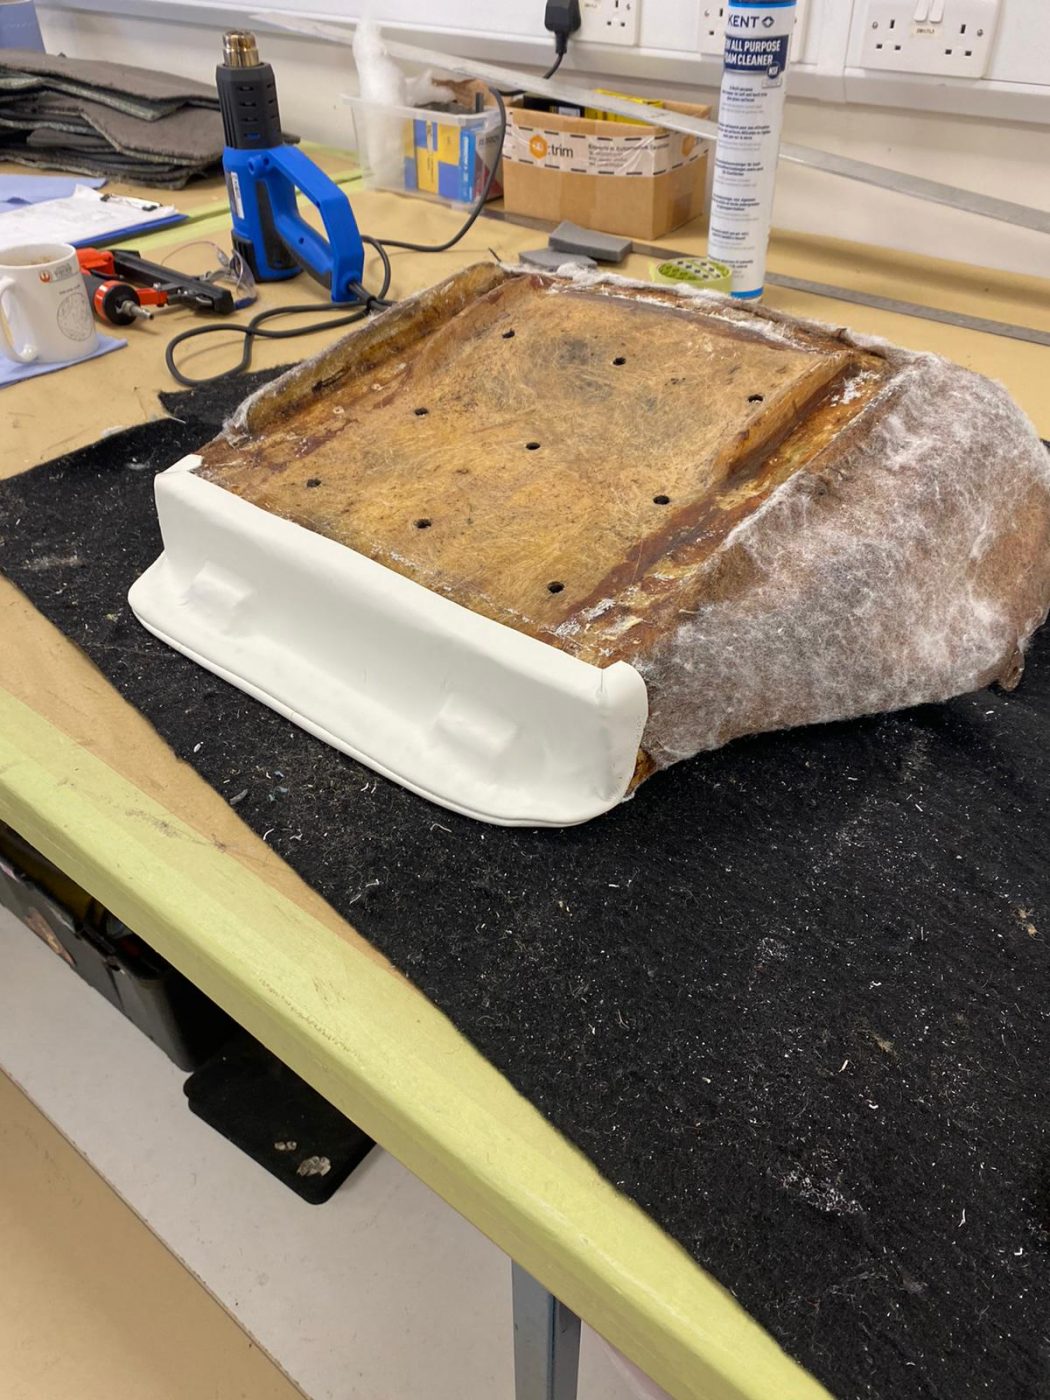
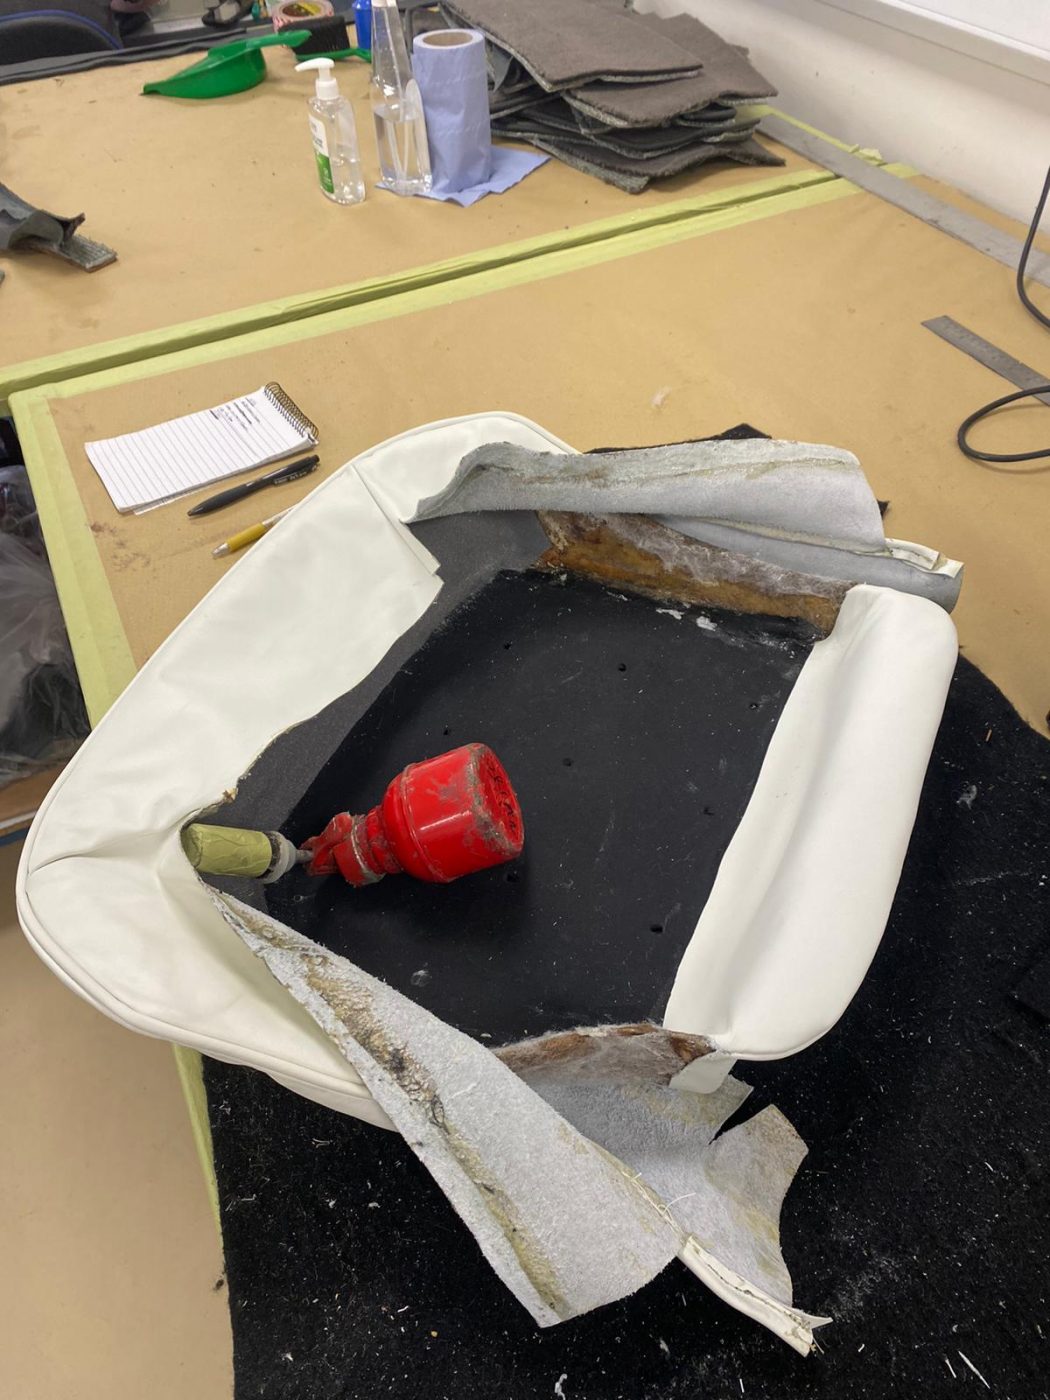
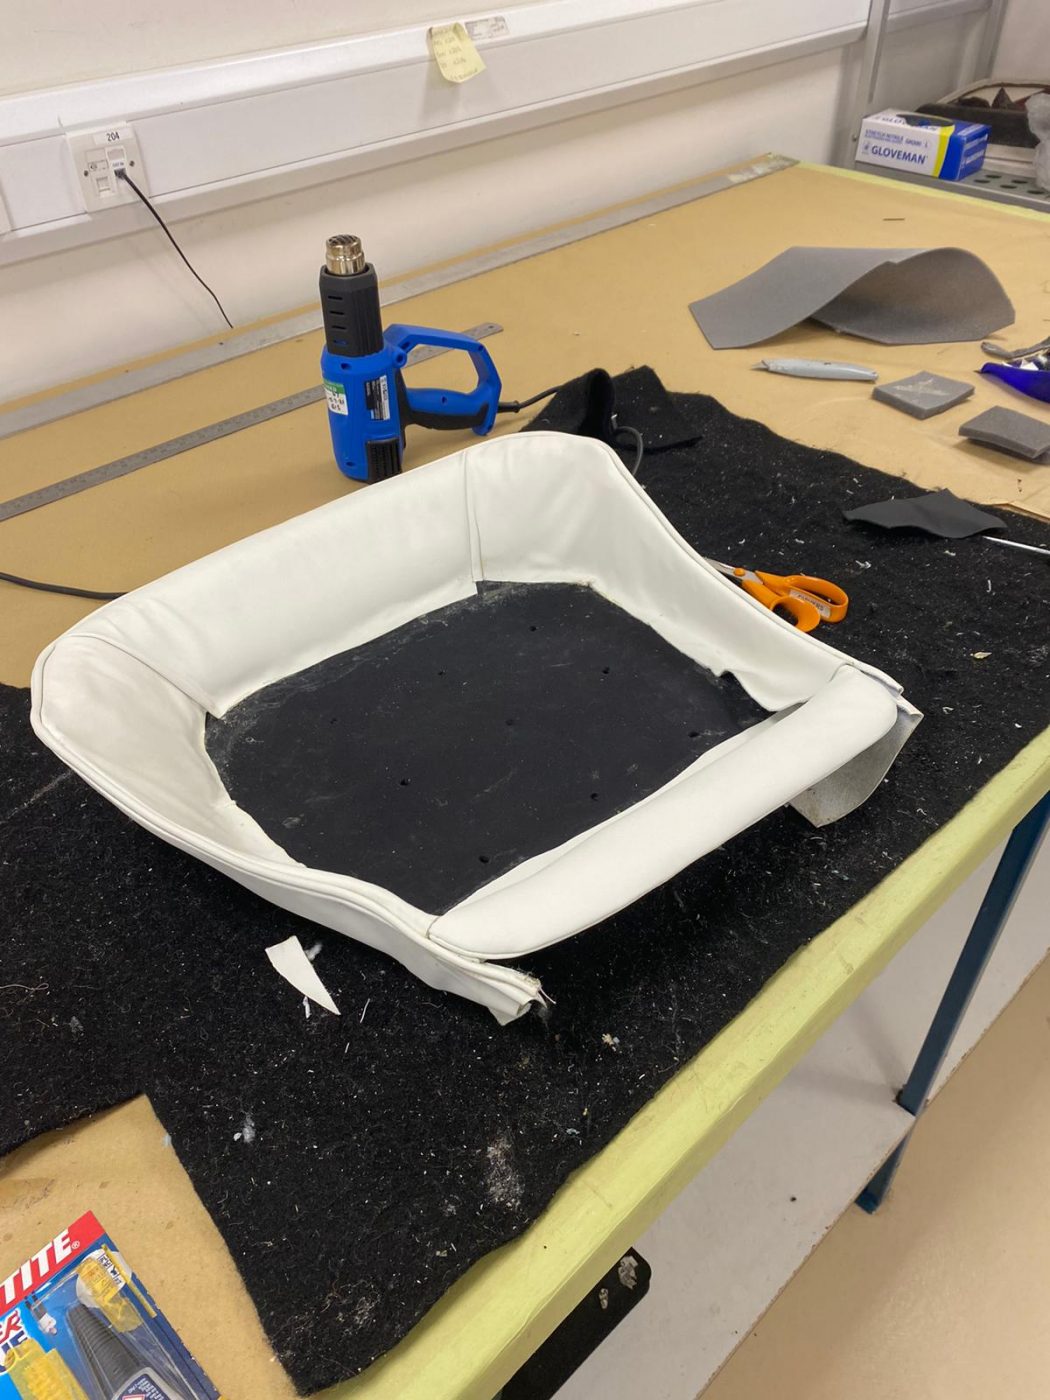
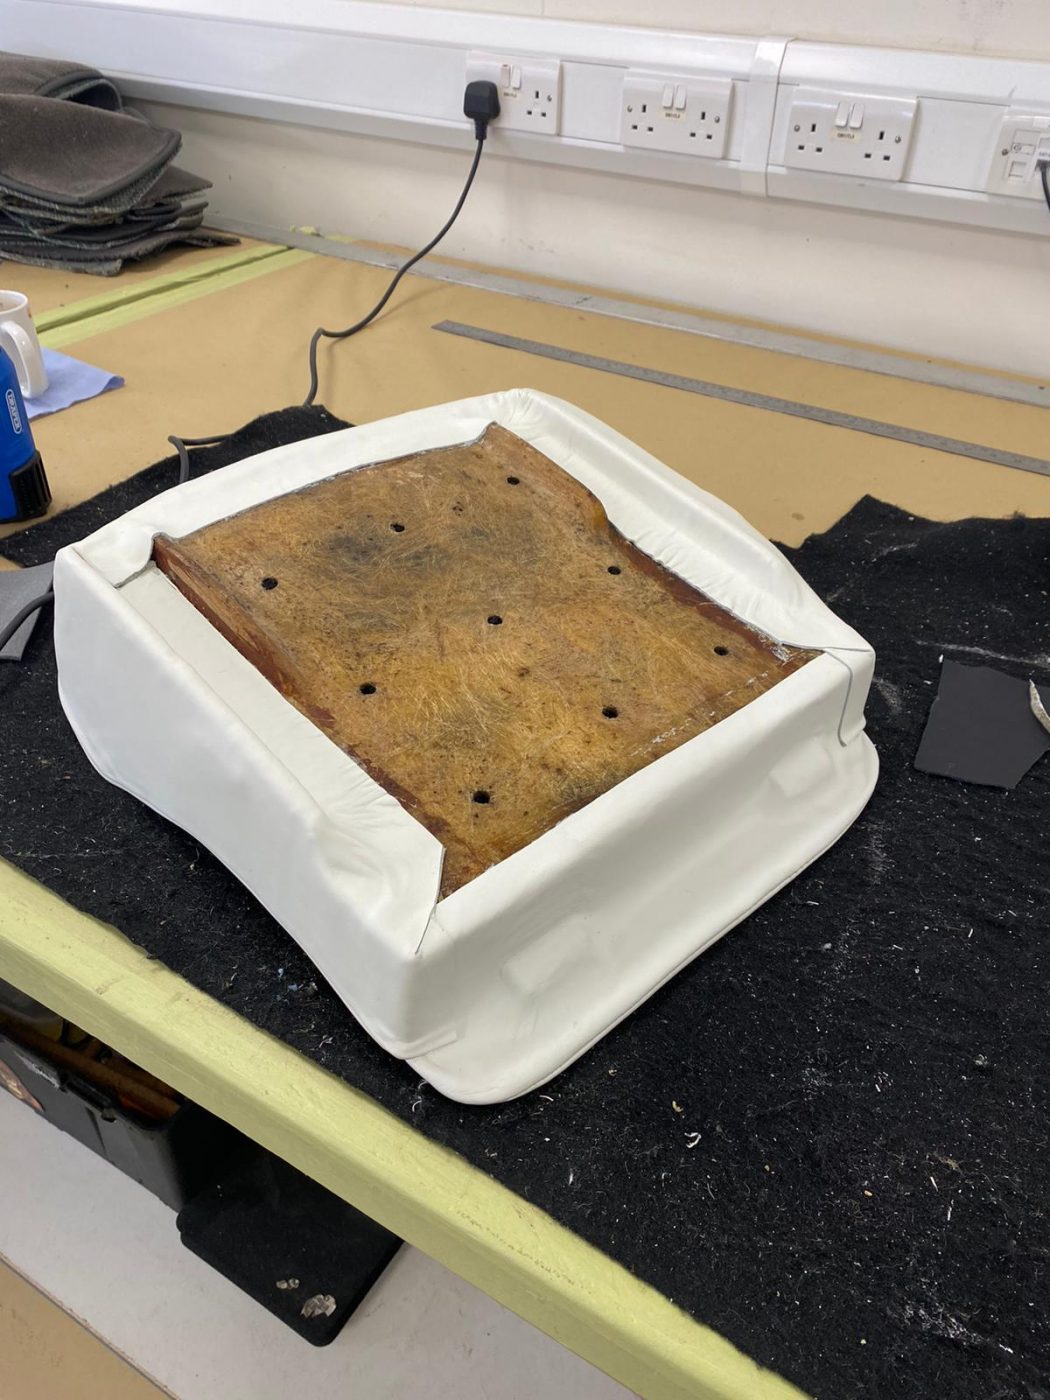
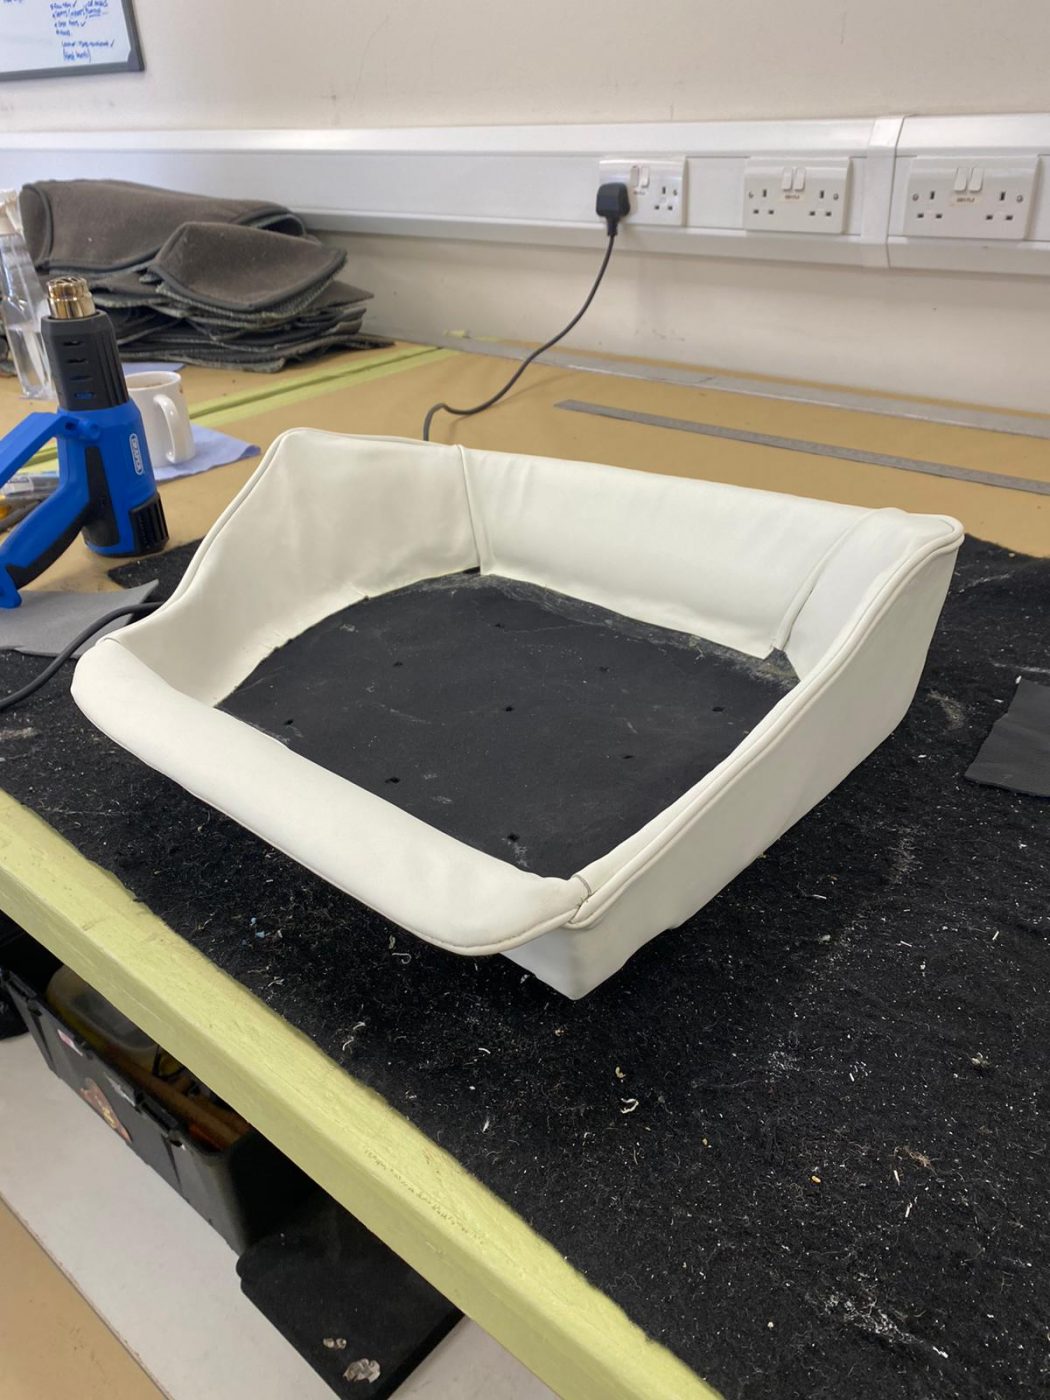
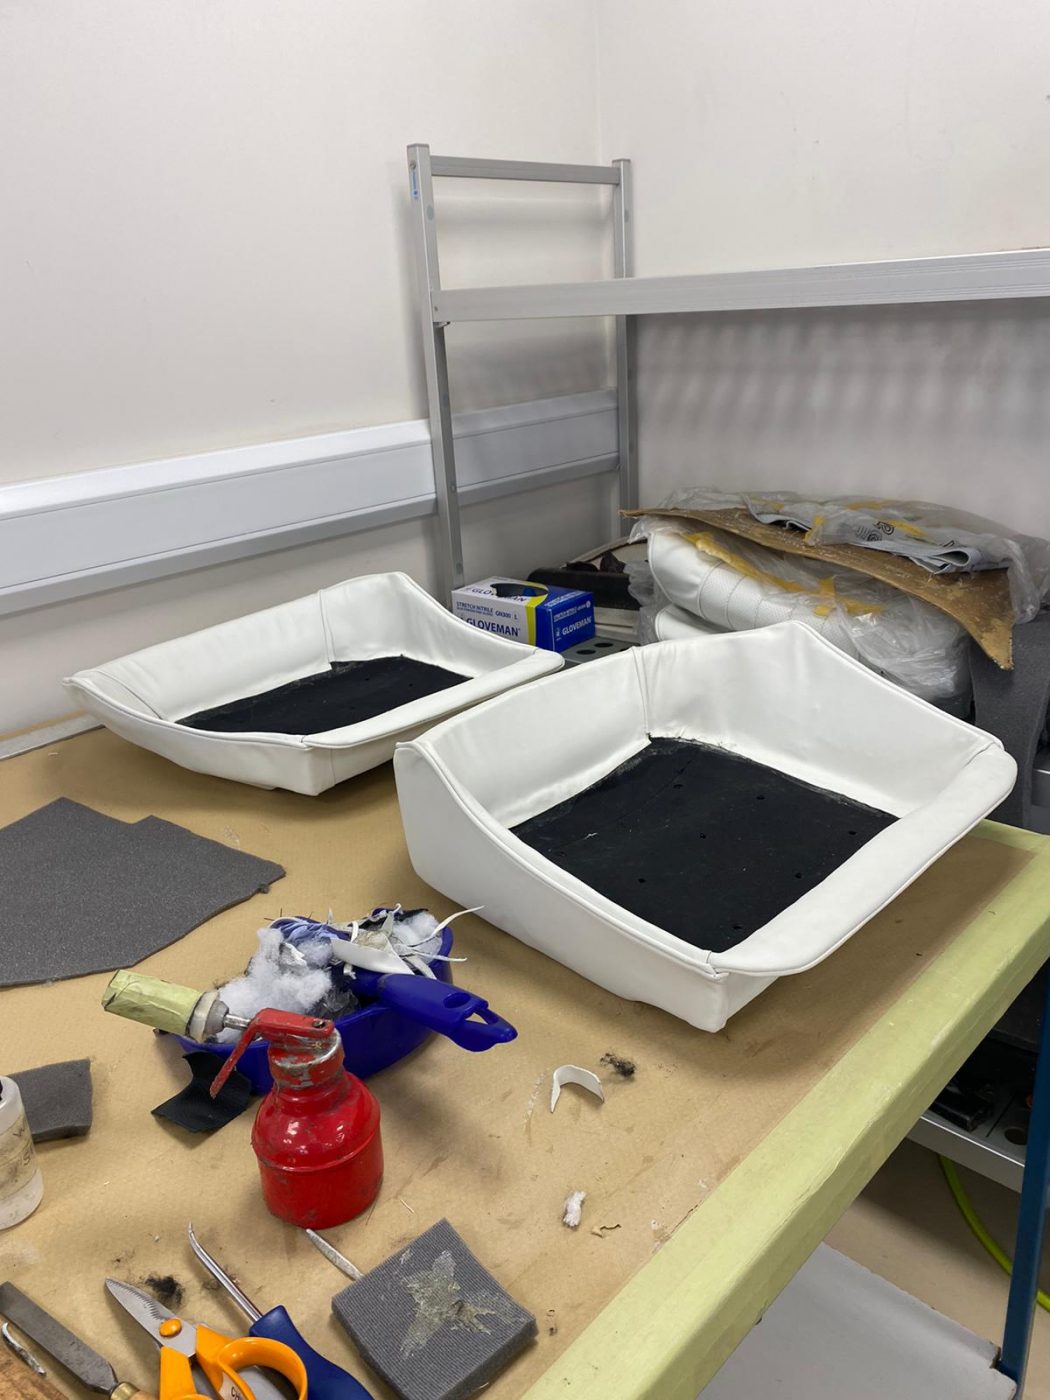
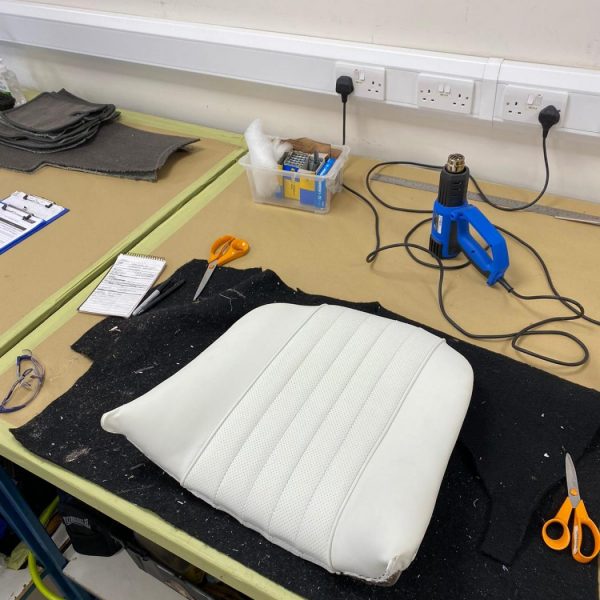
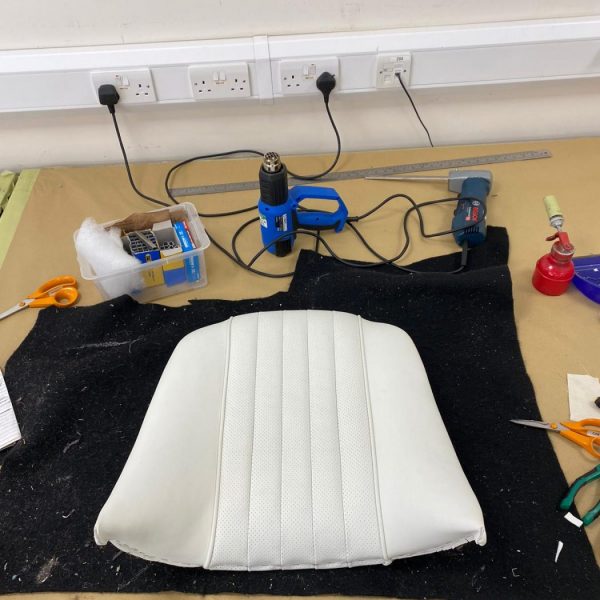
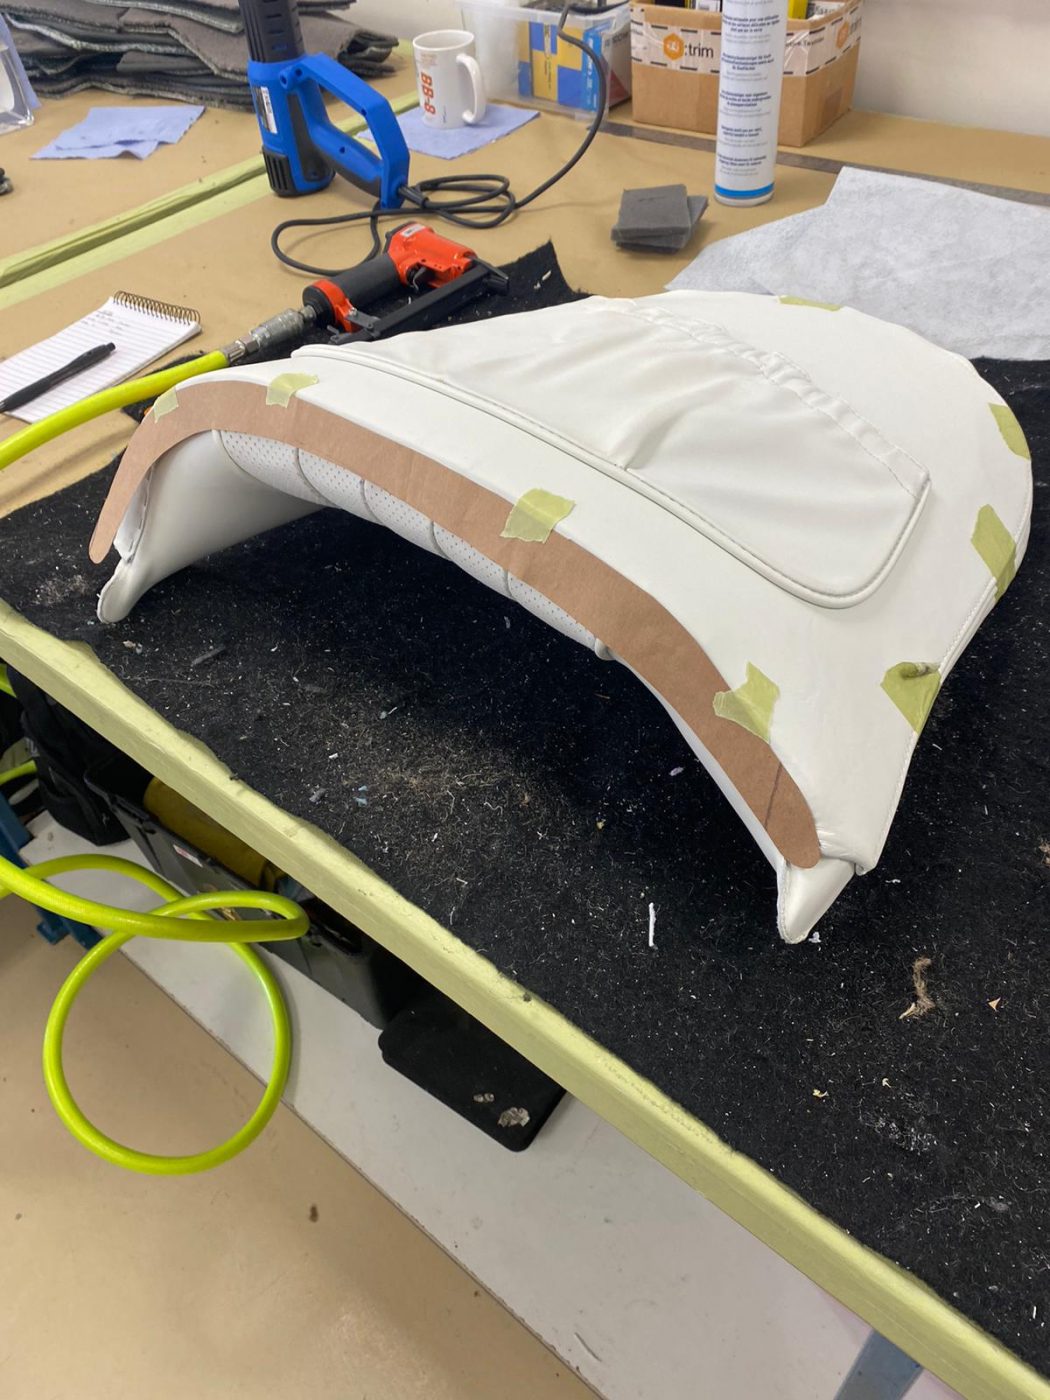
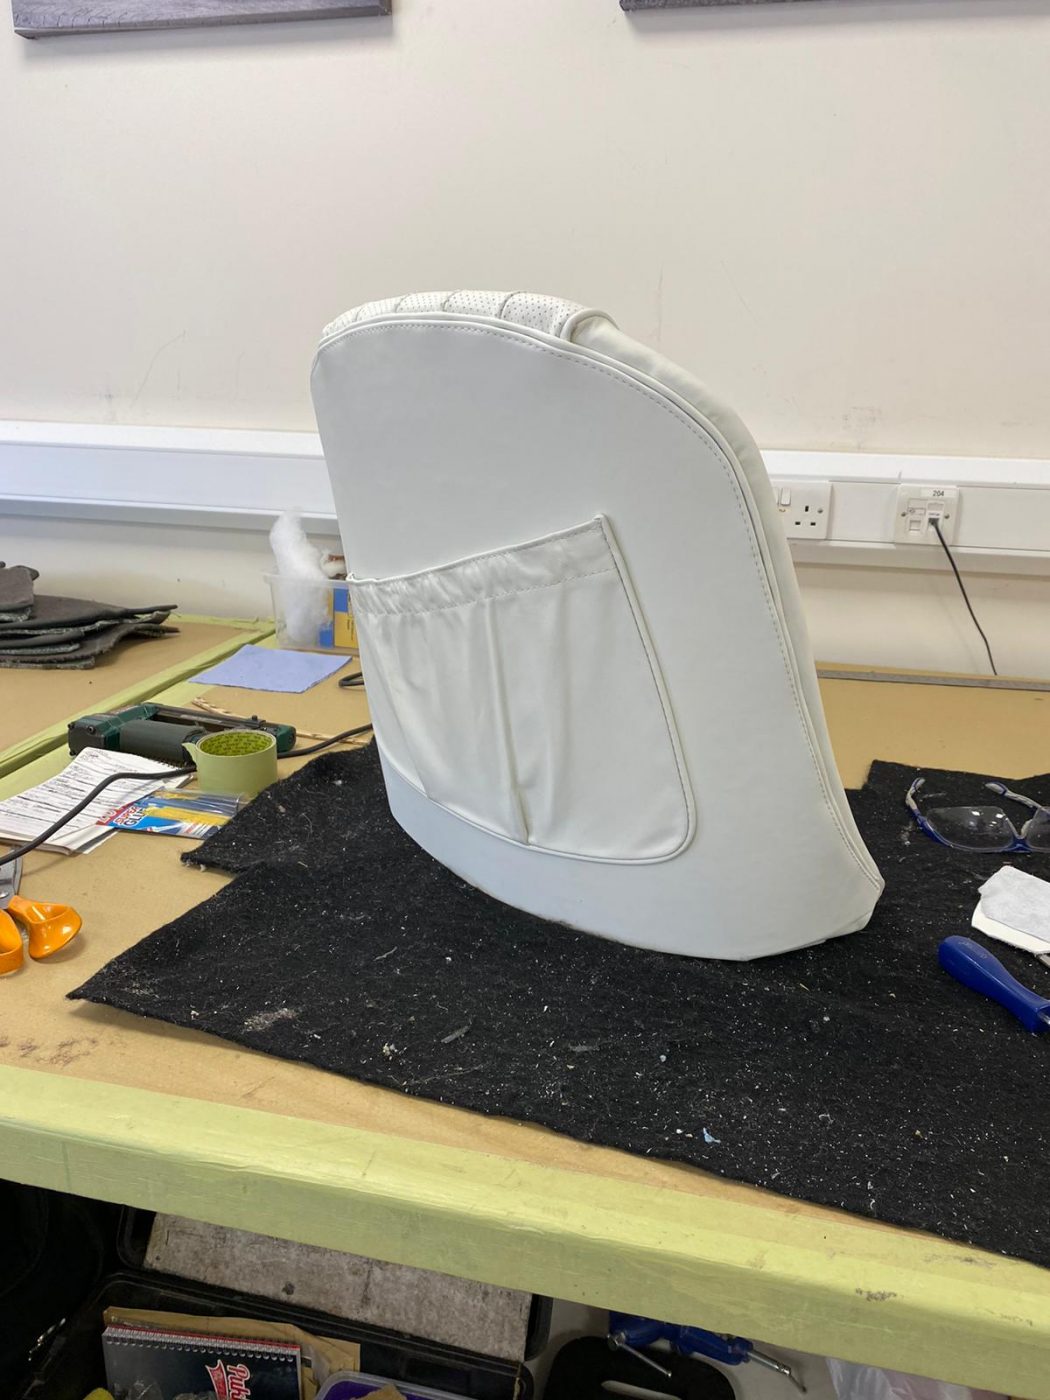
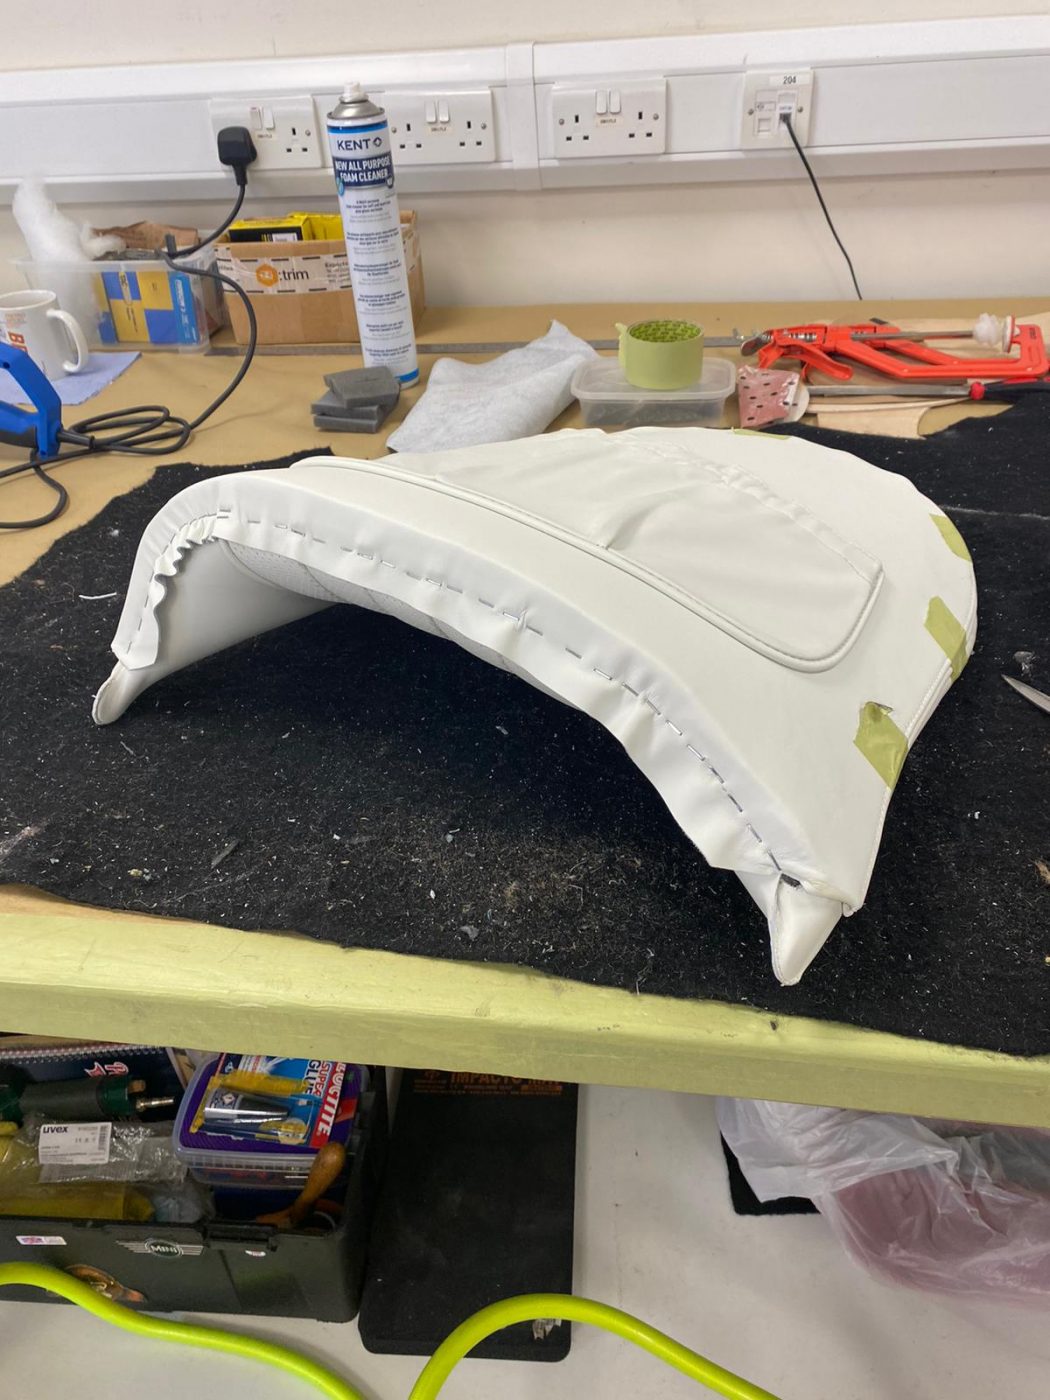
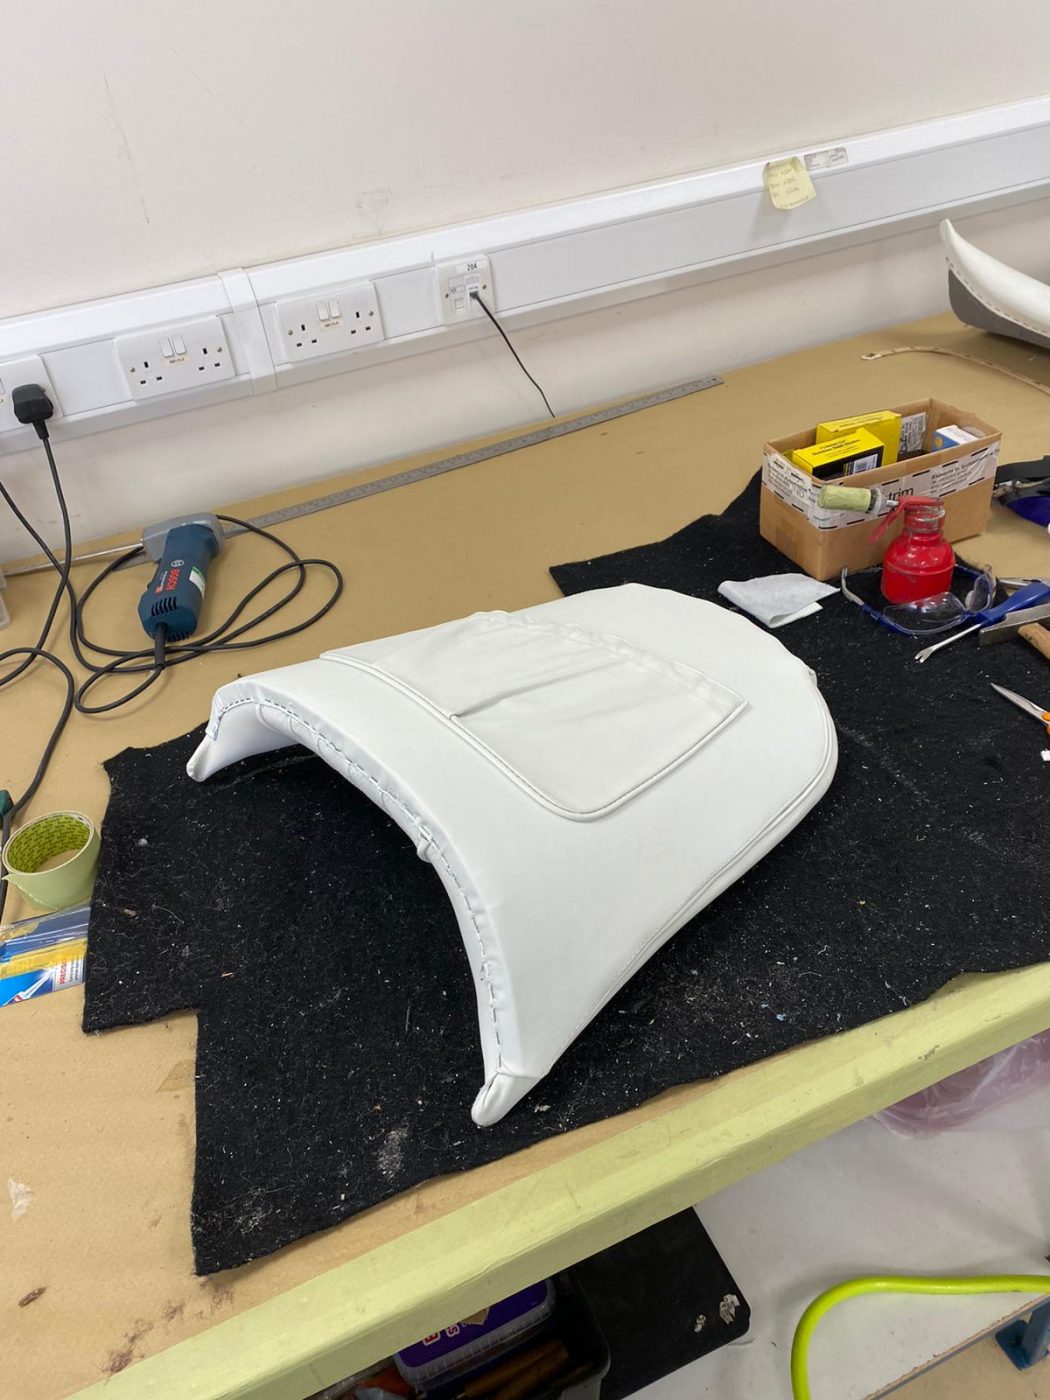
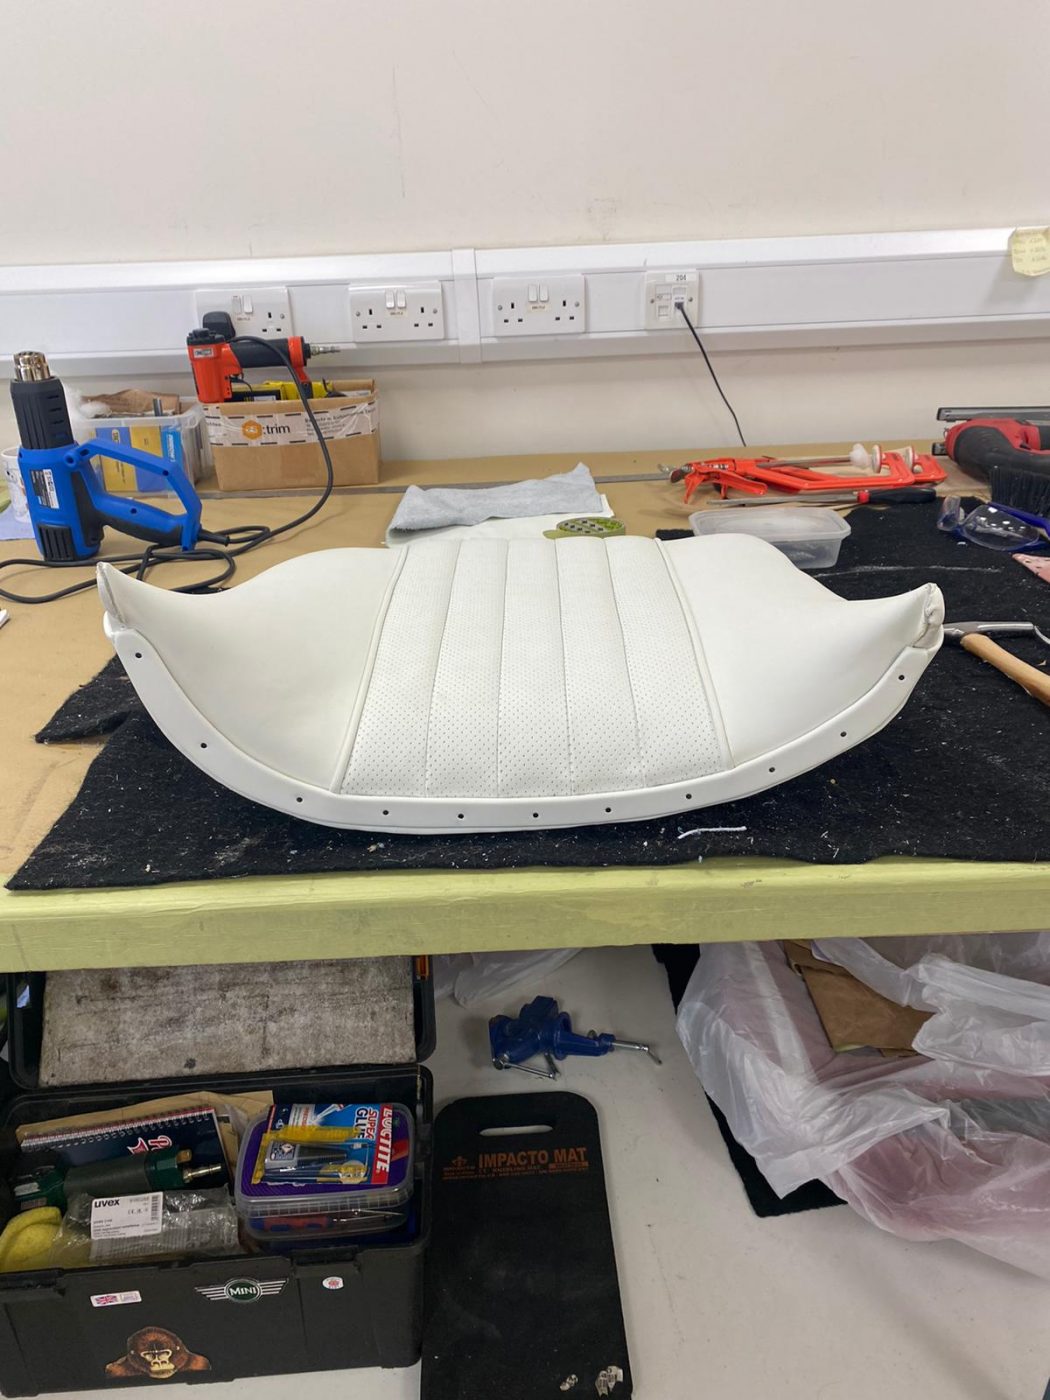
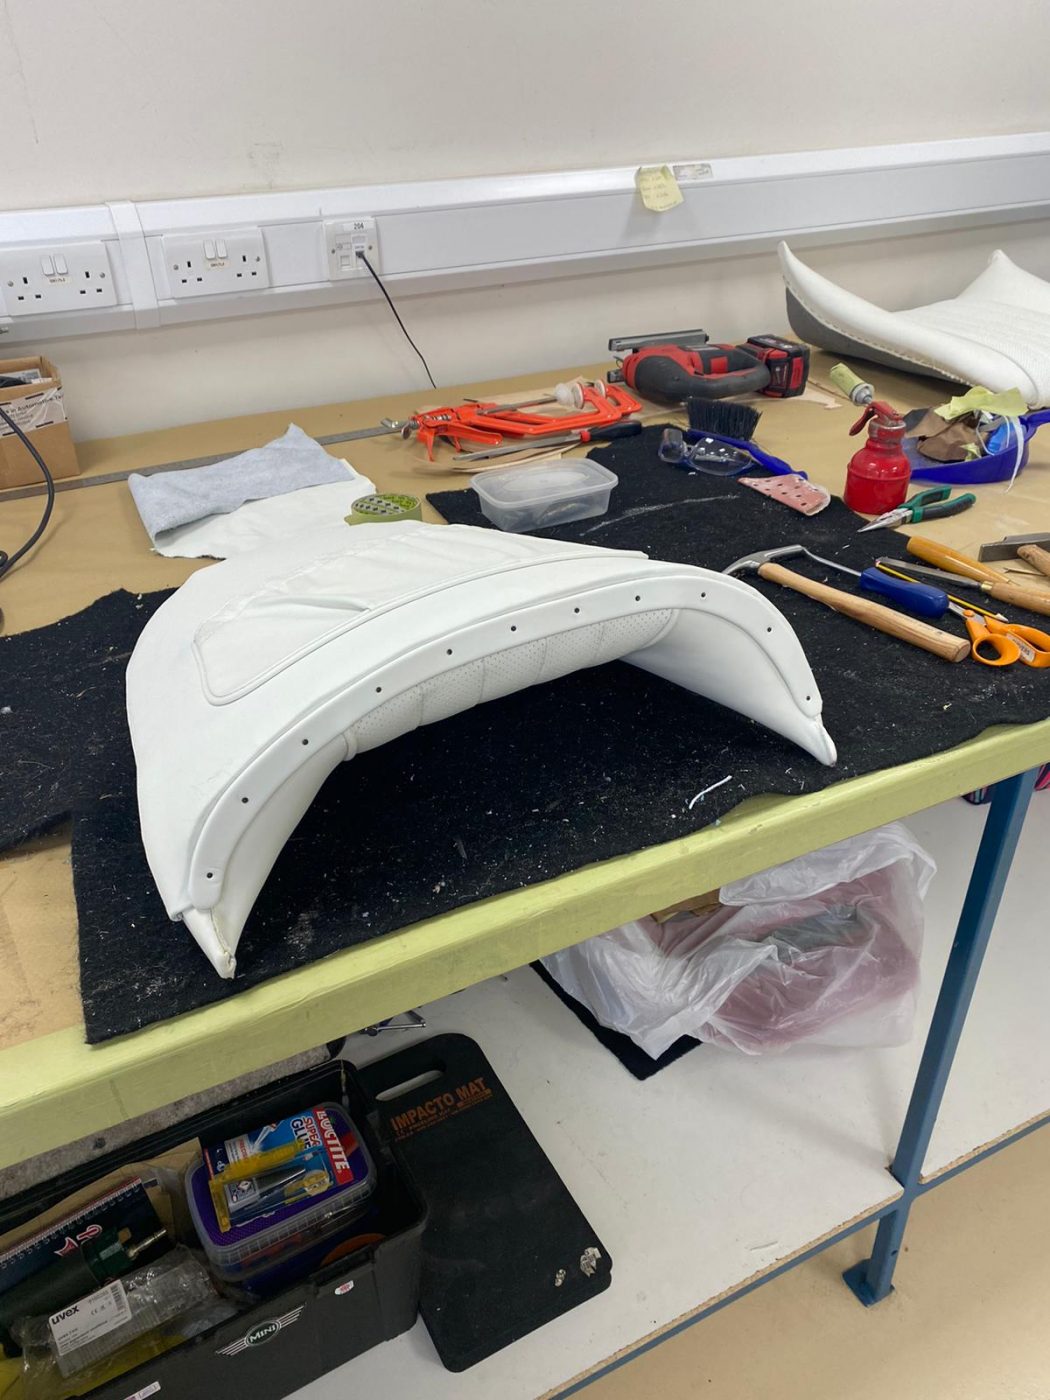
Brian has been working on the interior for the Lilac Jensen 541R recently. He is currently gluing the front cover to front seat base tub in these pictures. The original and very first owner certainly hoped to make a very bold statement. This car left the Jensen factory finished in Lilac with white interior so we are restoring back to the factory specifications.
If a new owner is found prior to the project completion and wishes for the specifications to be altered in any way this is perfectly acceptable and can be arranged.


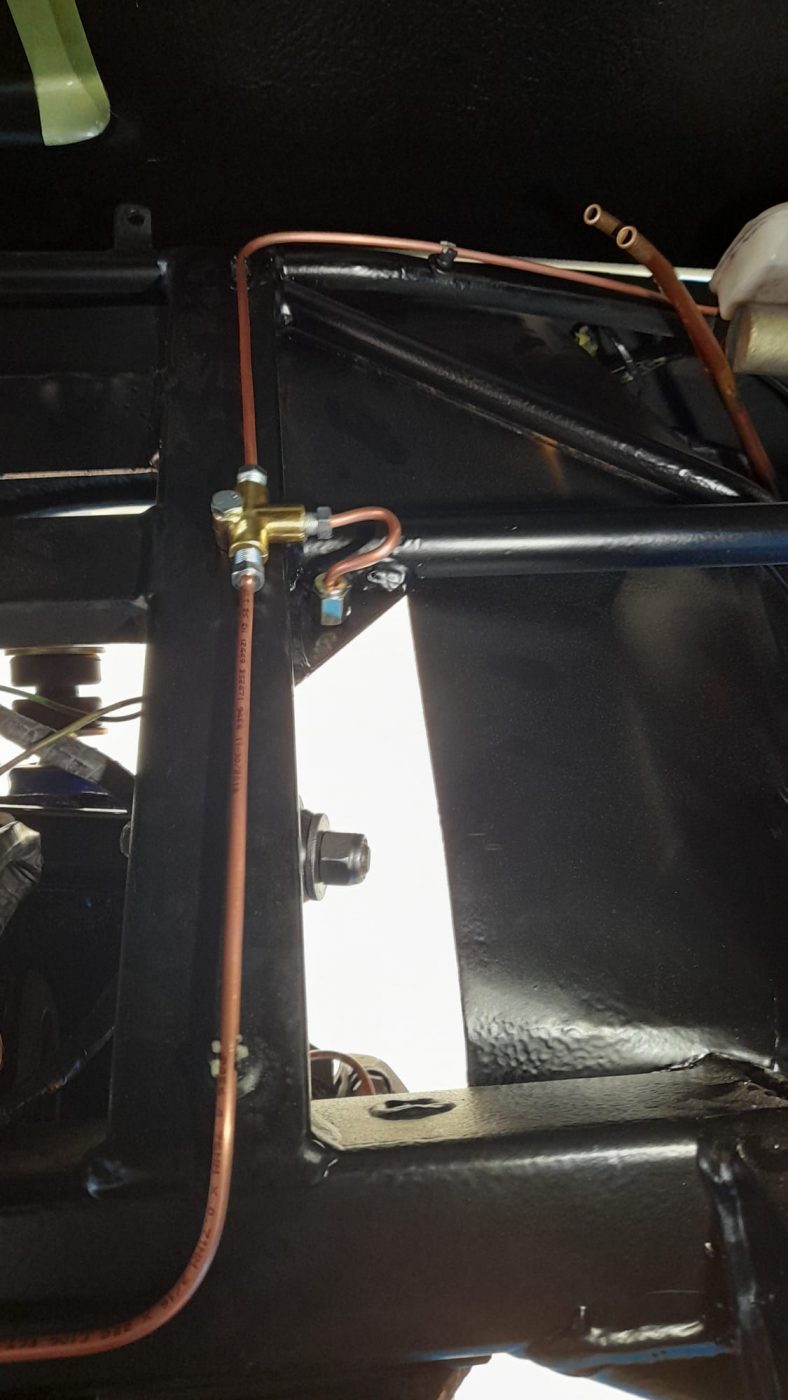
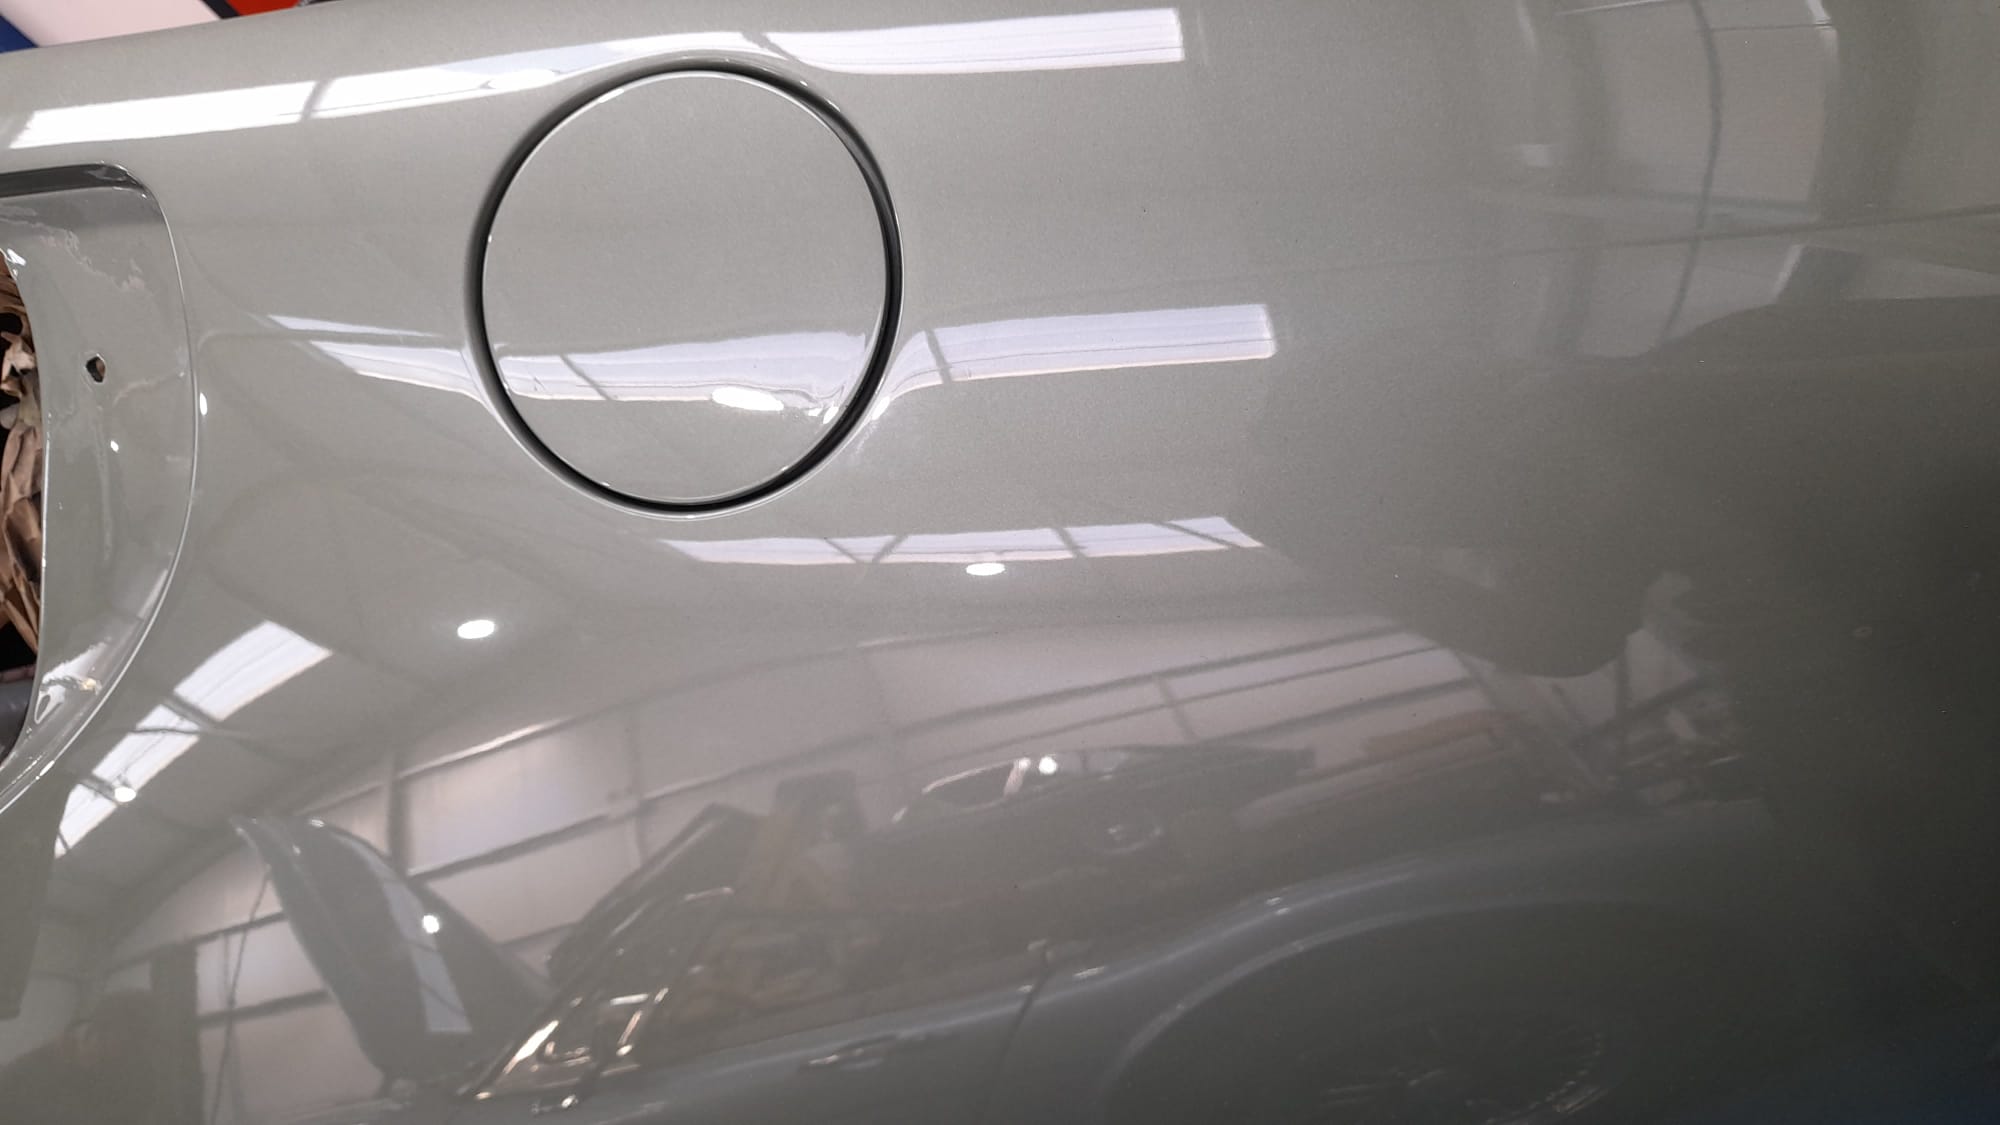
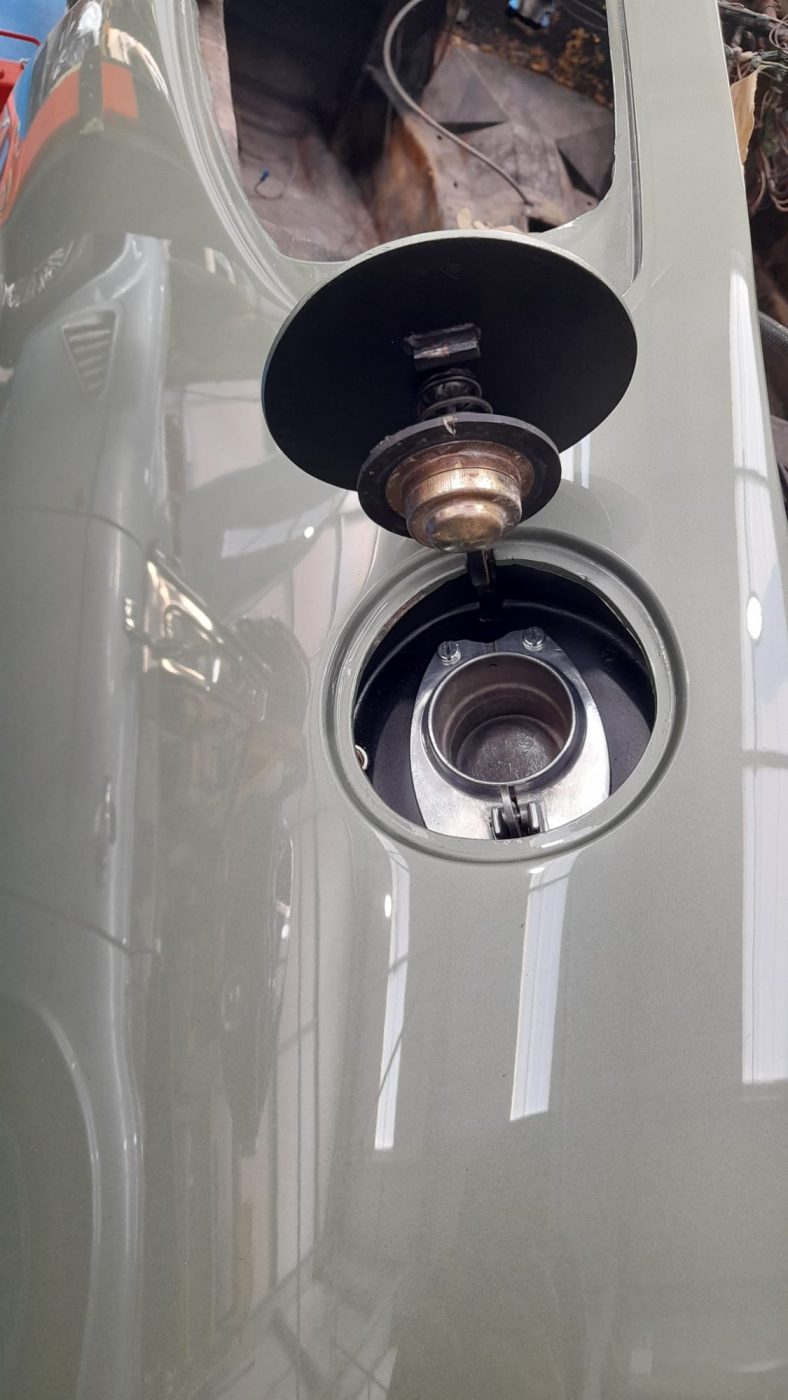
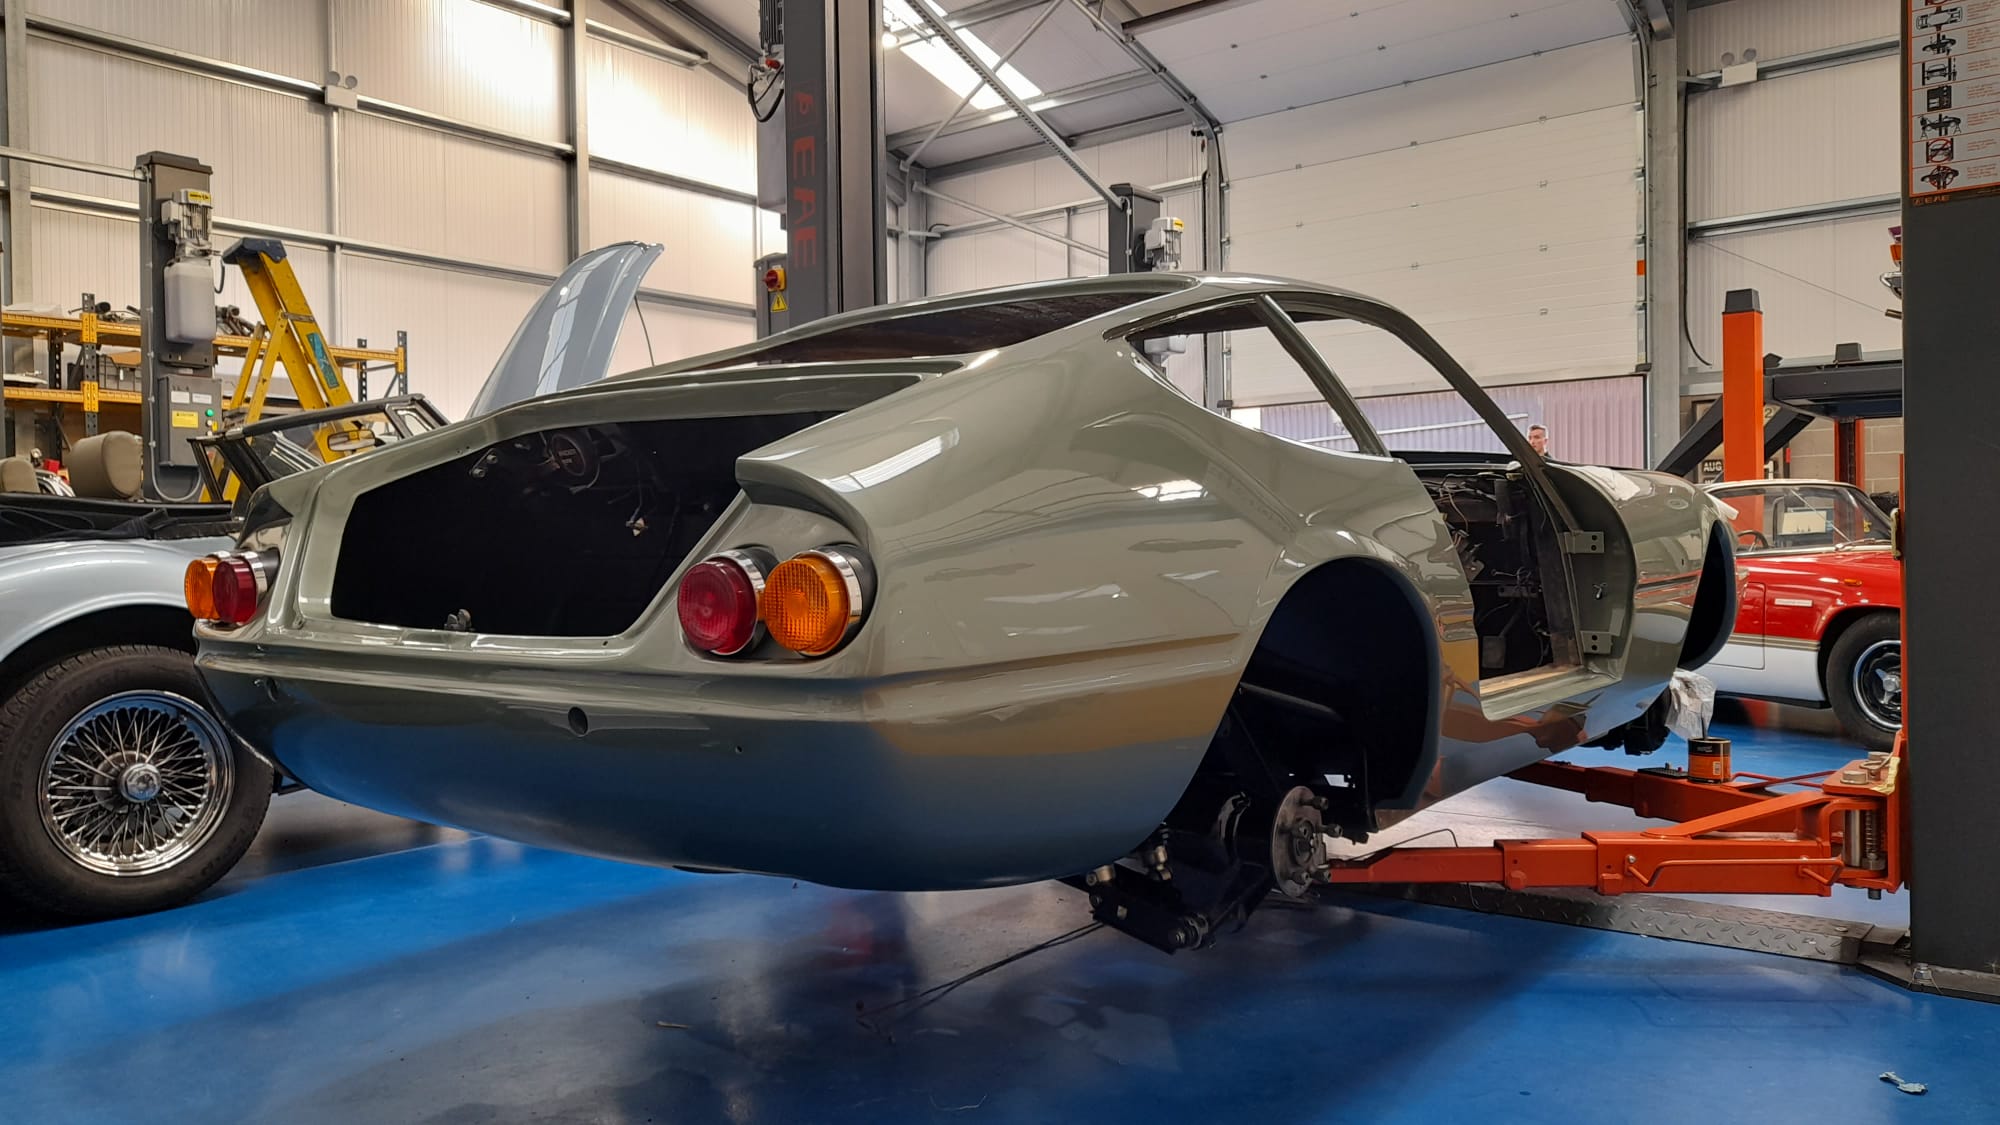
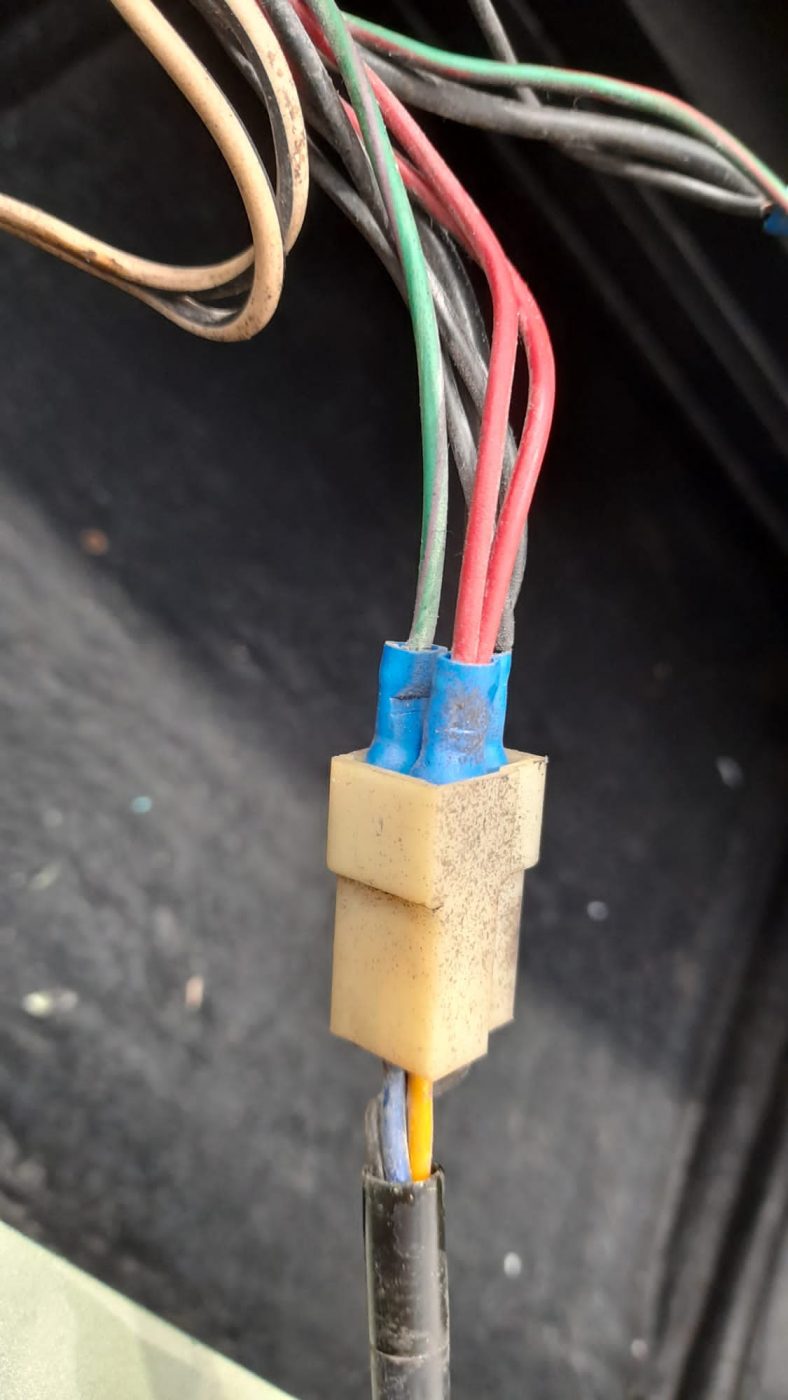
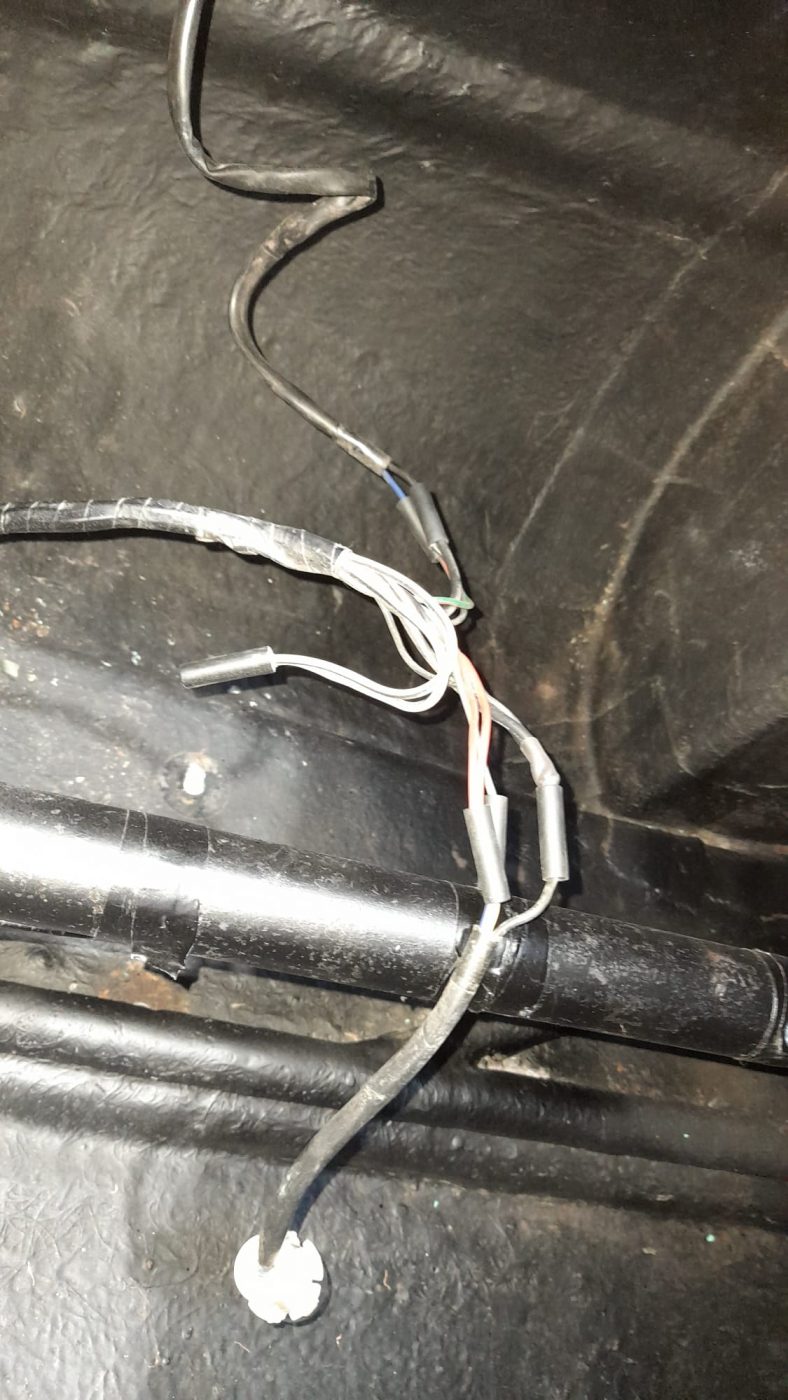
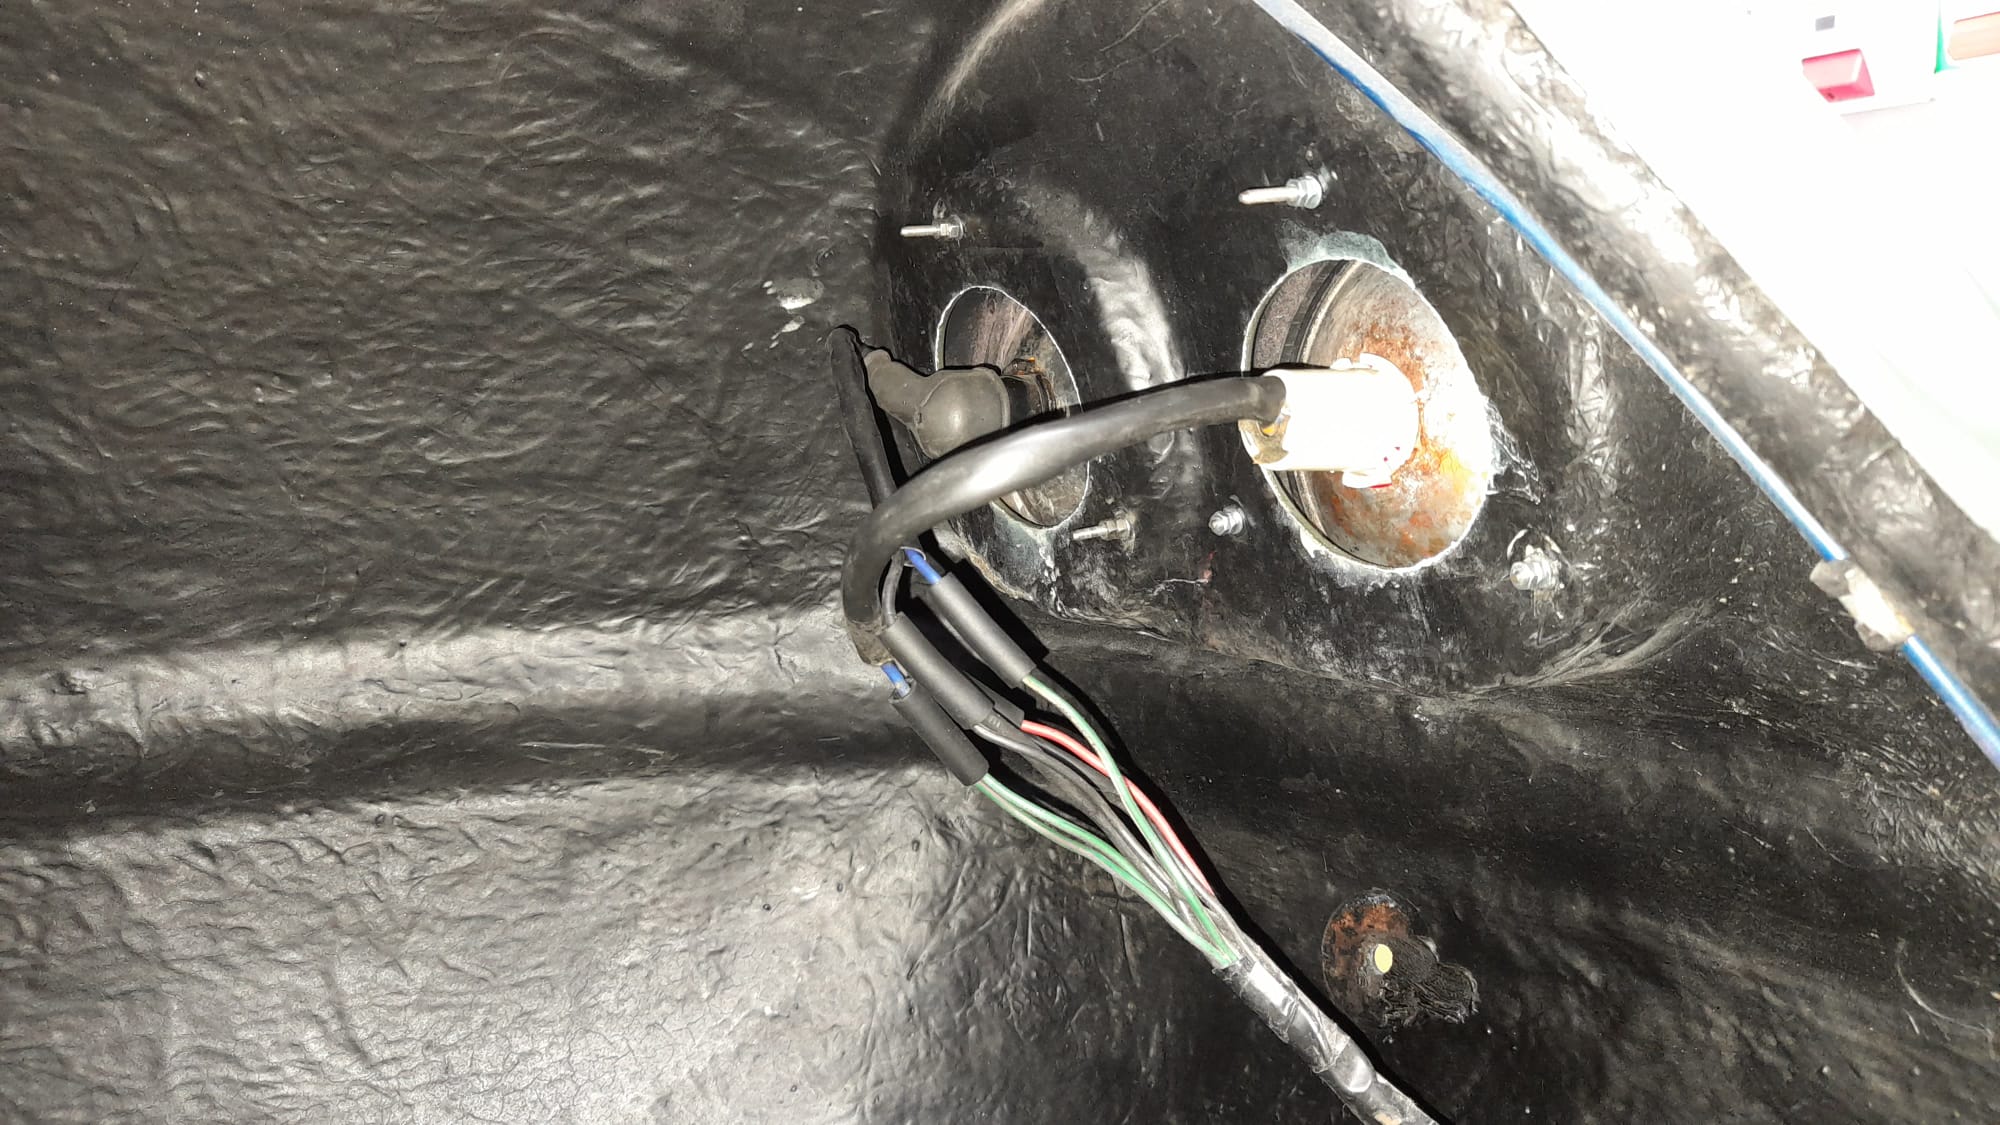
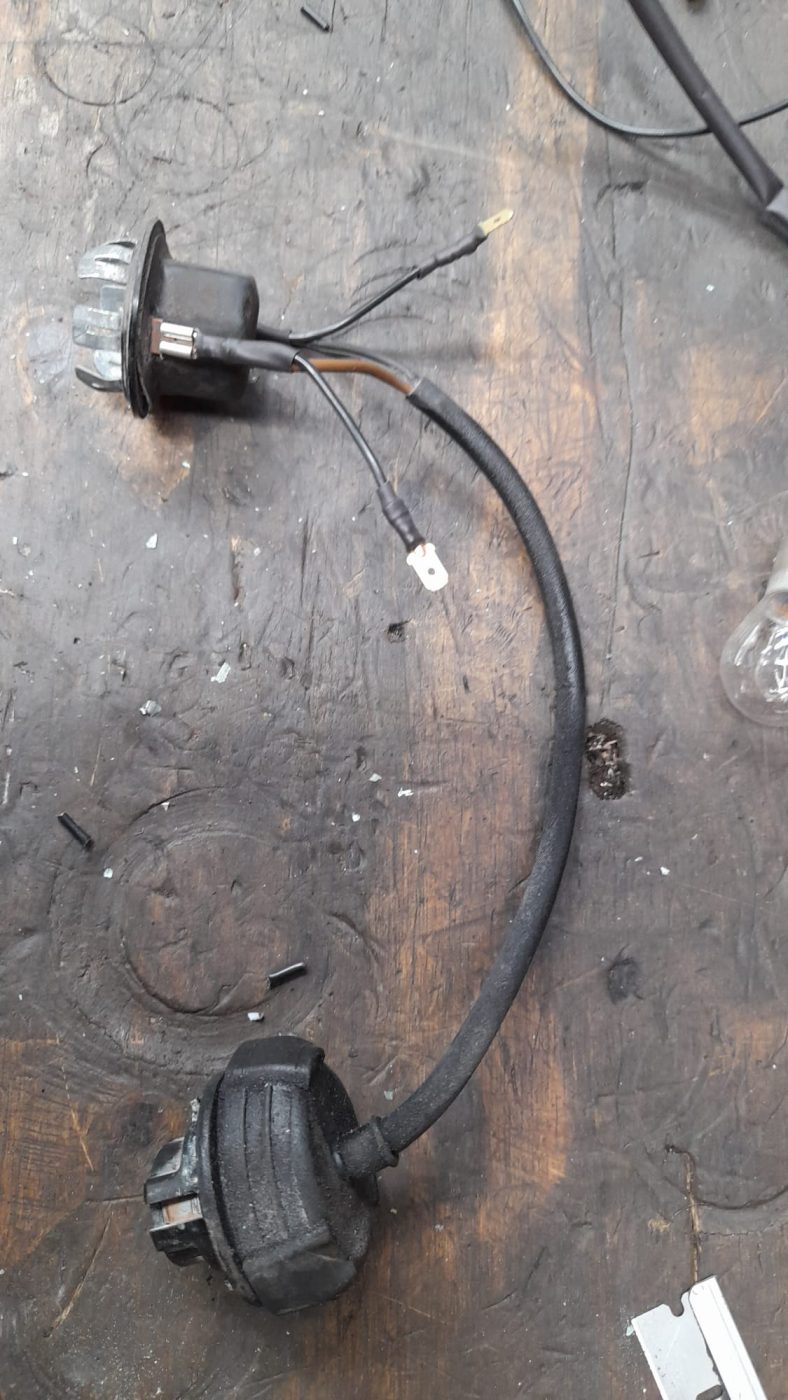
It has been a solid week for Scott on the rebuild of the Ferrari Daytona. The brake lines are now in, along with the new fuel filler neck, headlamps and rear lights.
The indicator clusters need to be altered slightly prior to fitment so that will be a job for the beginning of next week.
Scott’s making great progress on the build now. Middle of next week we’ll be looking at re-installing the monstrous V12 engine.


We had a visit from our good friend Nick today in his stunning M spec BMW Z4.
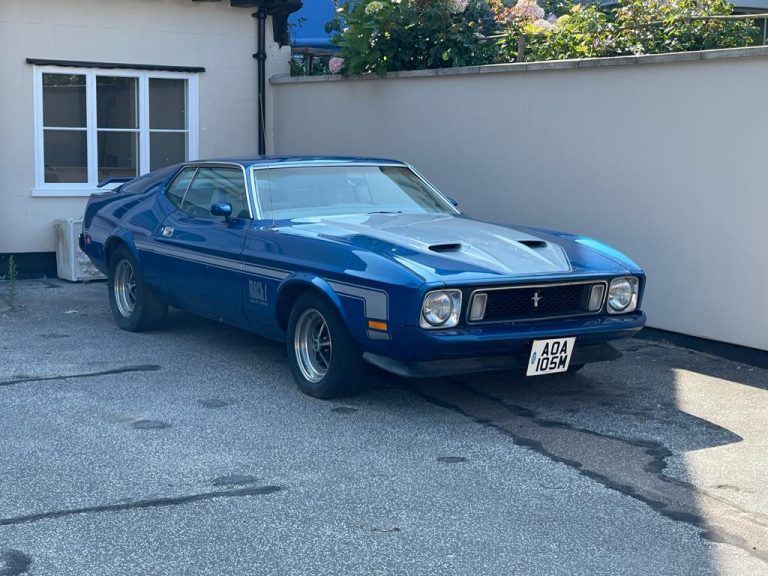
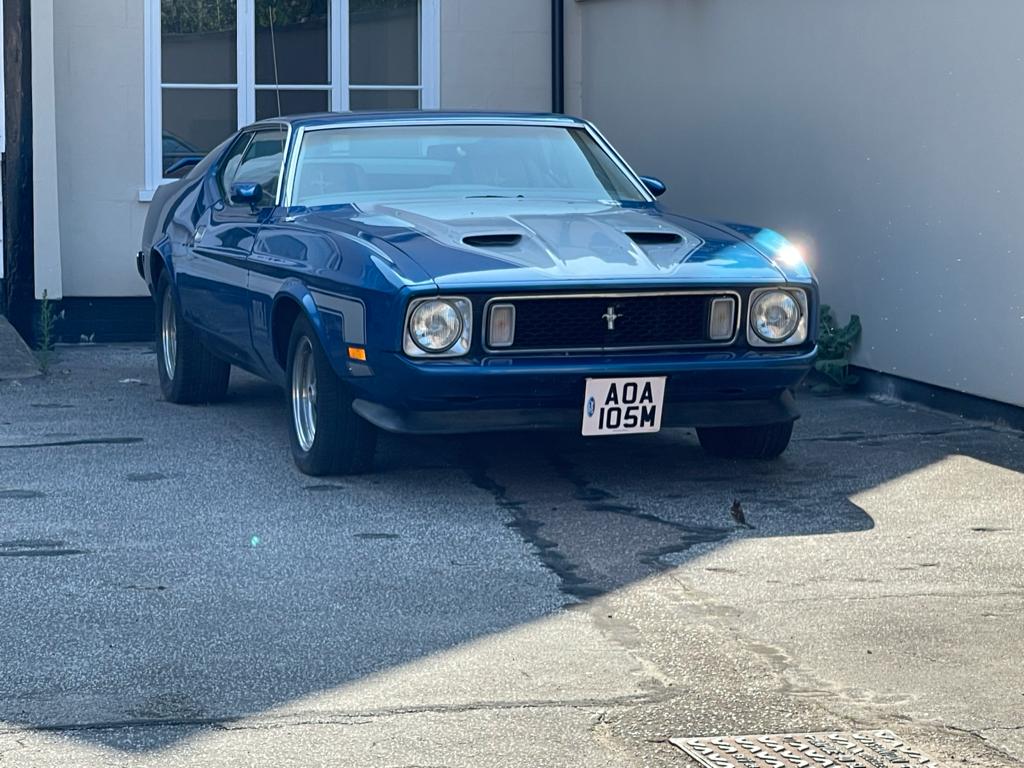
Meanwhile, Gordon is taking some much needed time away from the office and whilst on a little break in Harwich has stumbled across this Ford Mustang parked up.
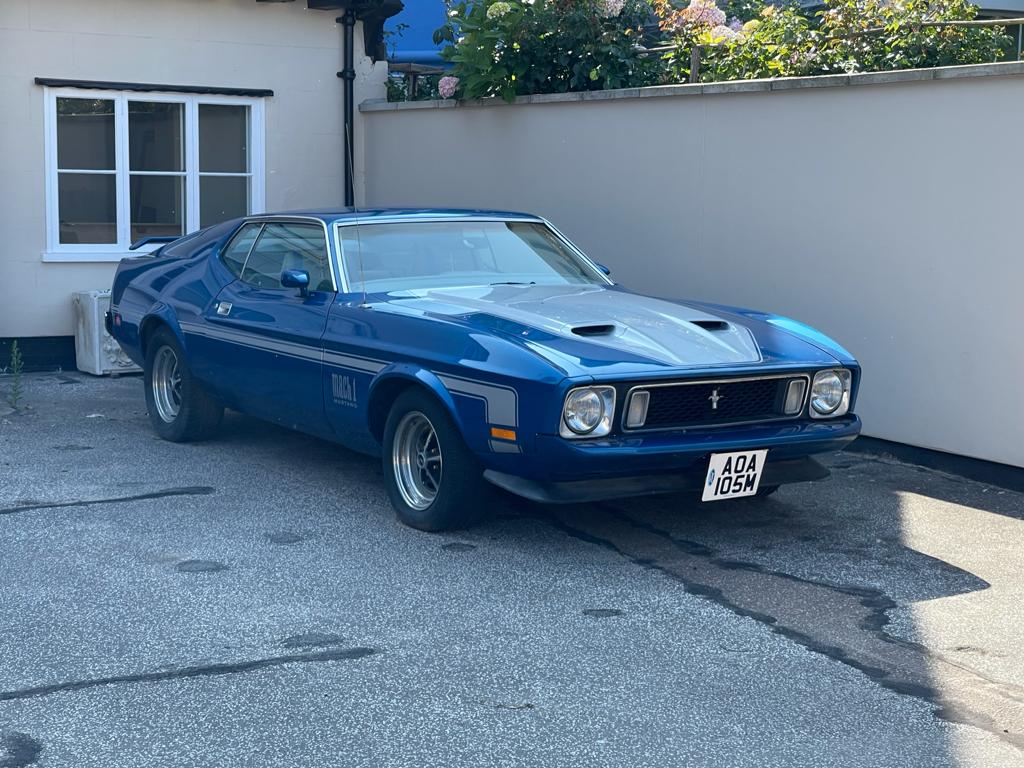
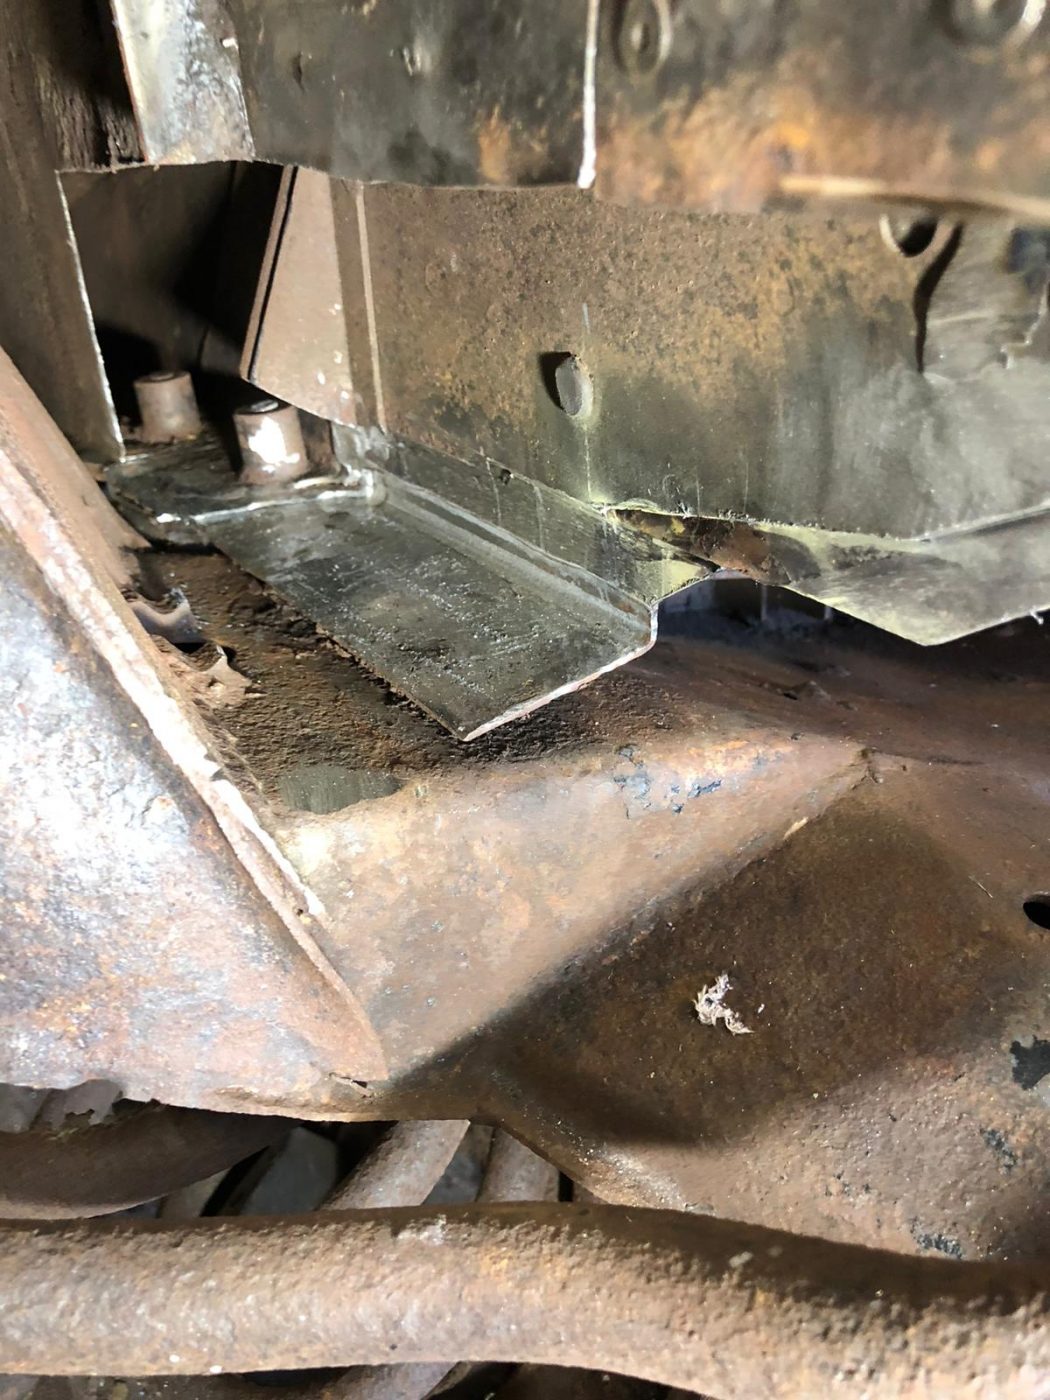
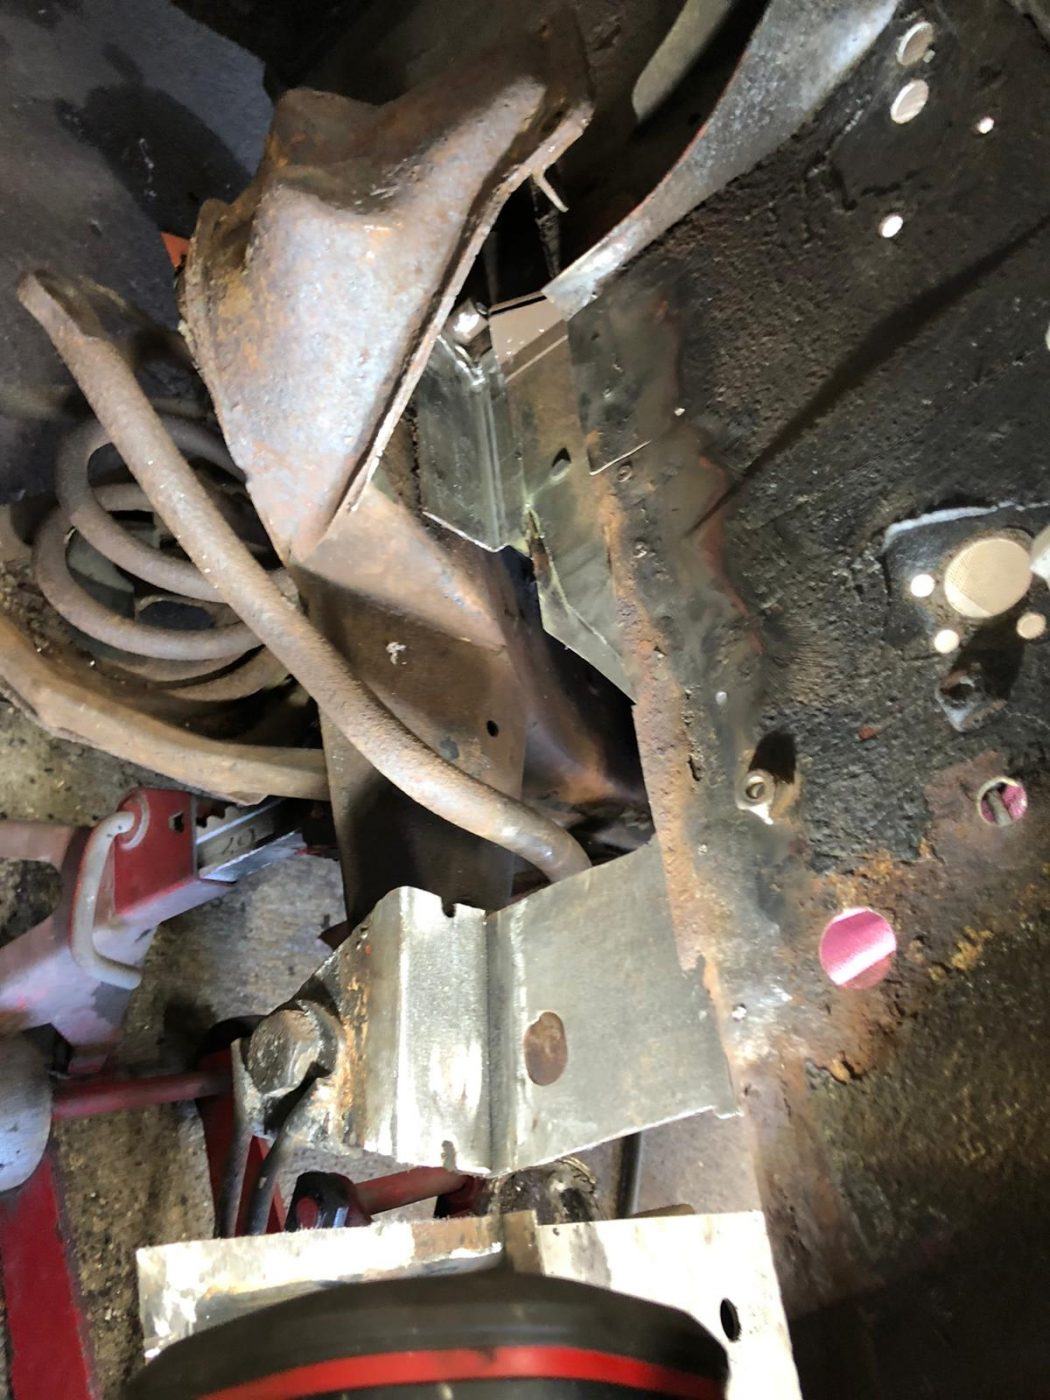
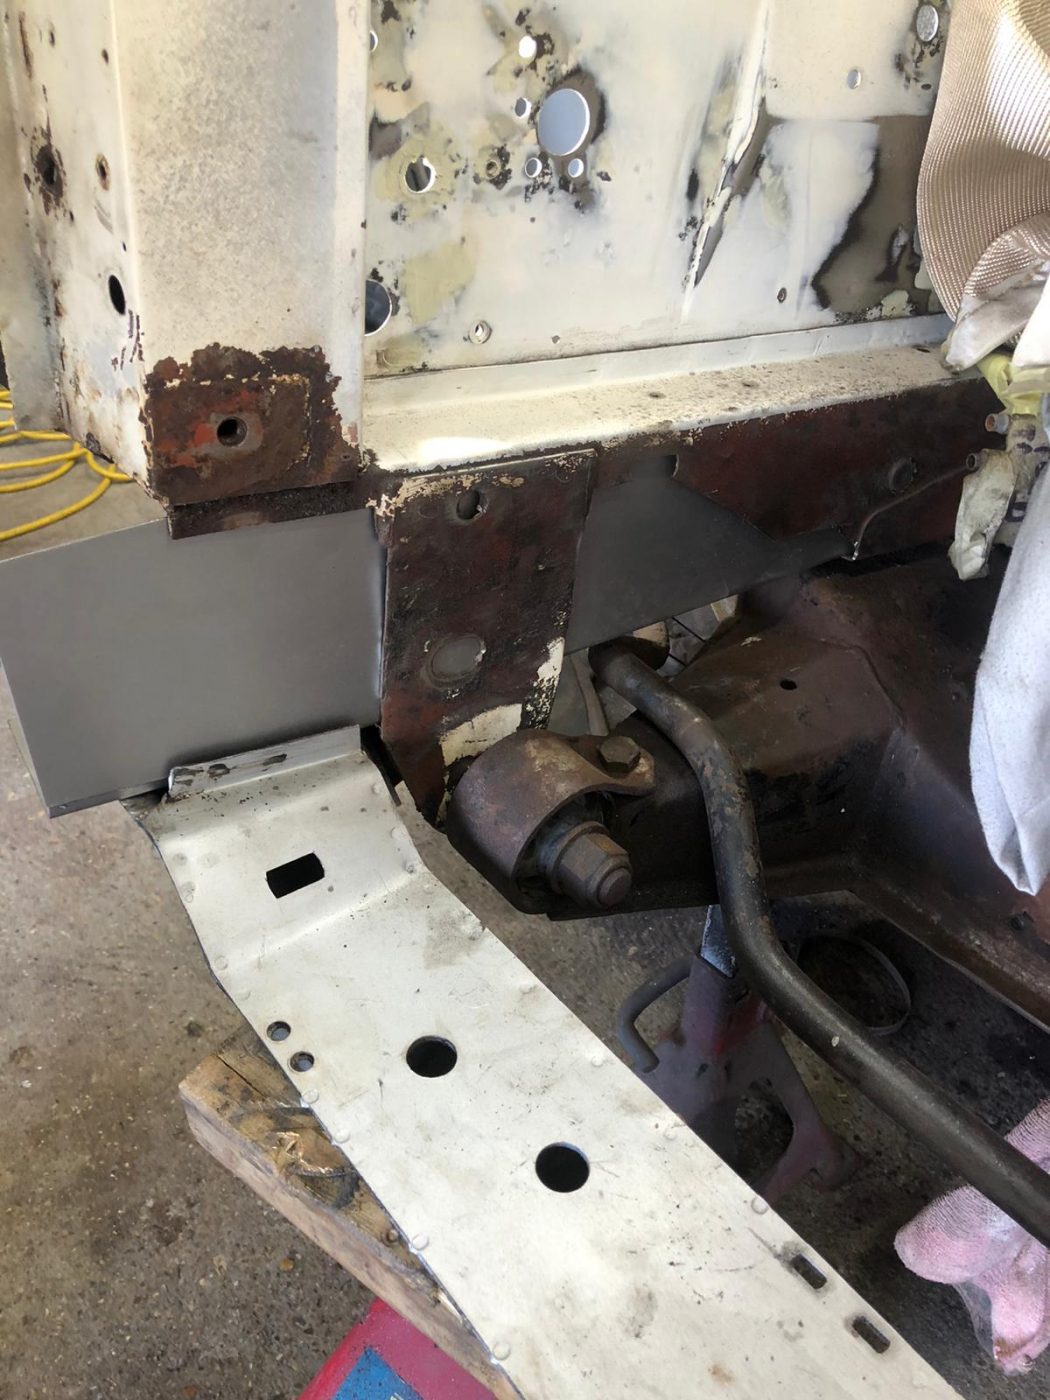
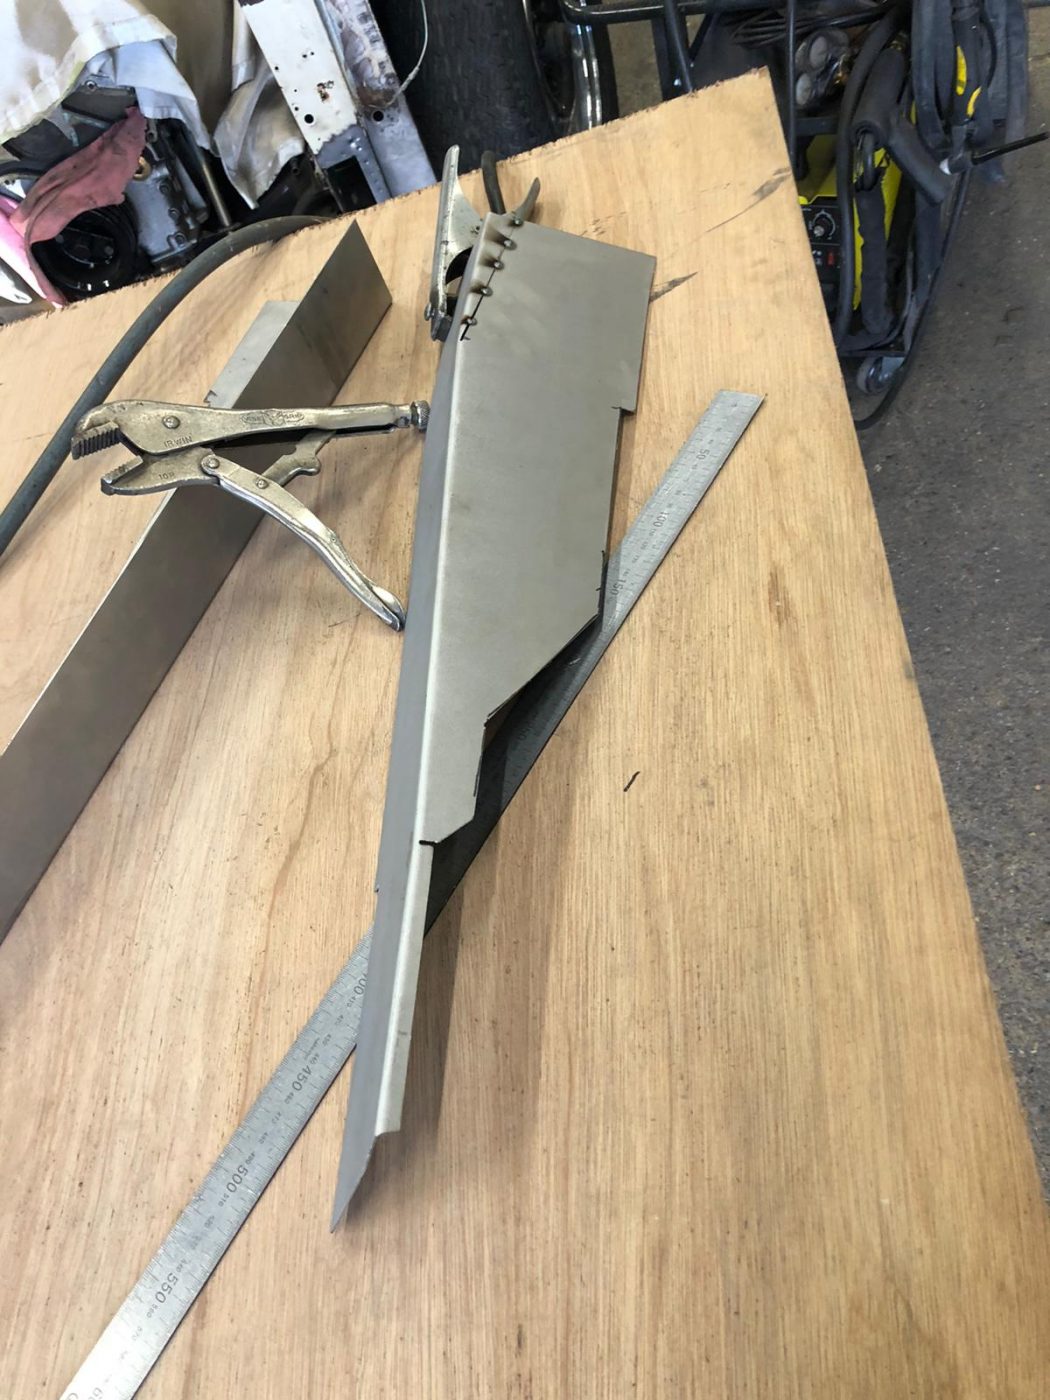
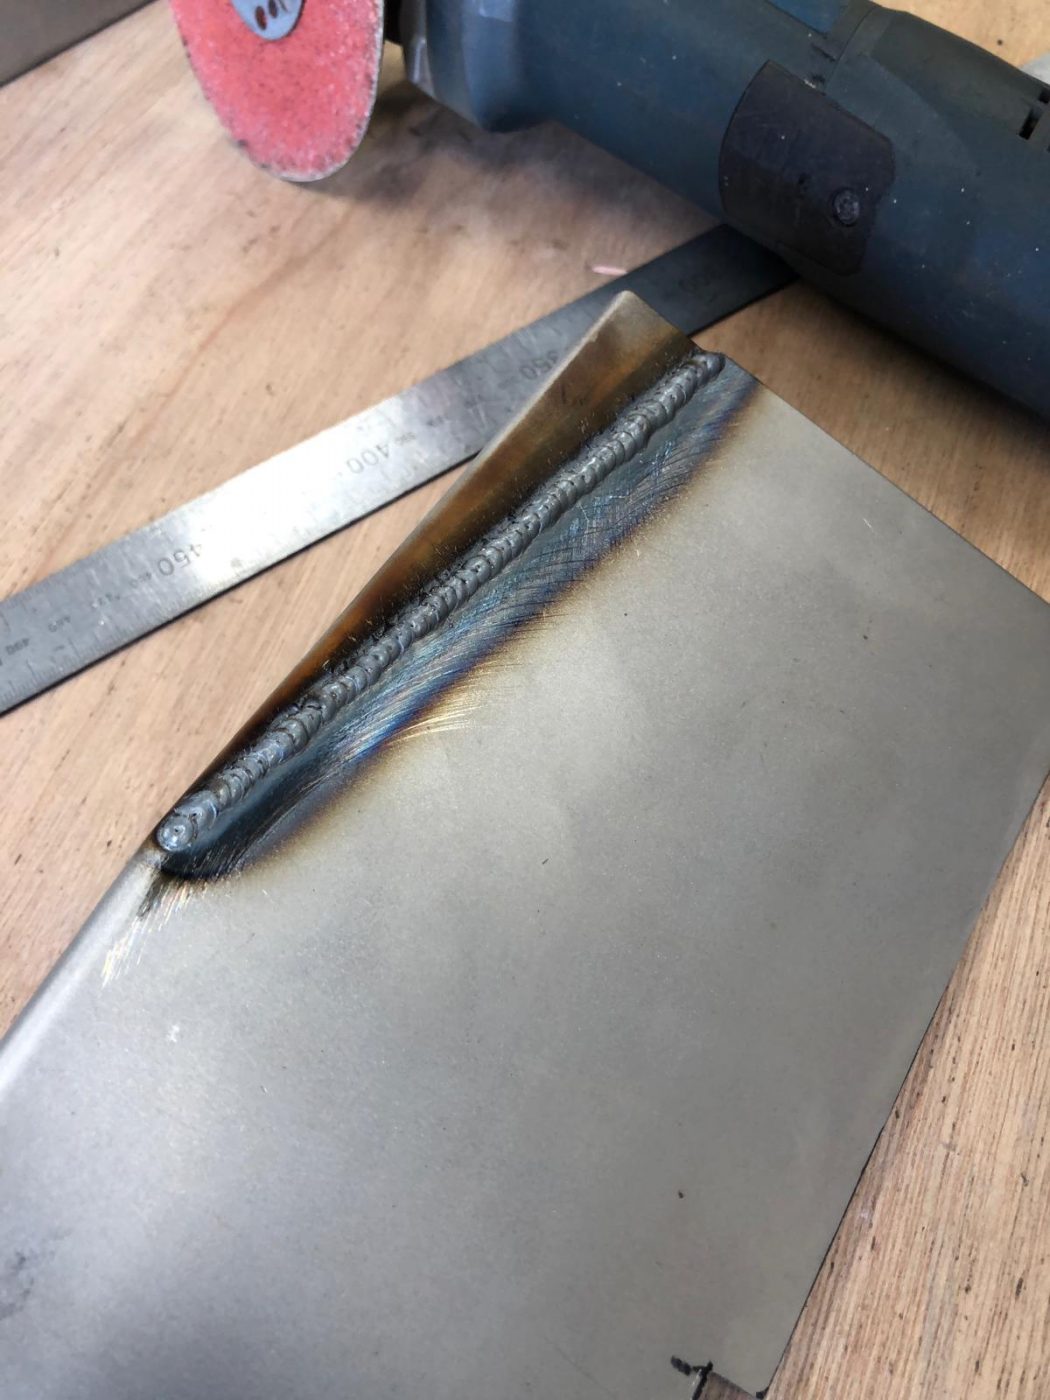
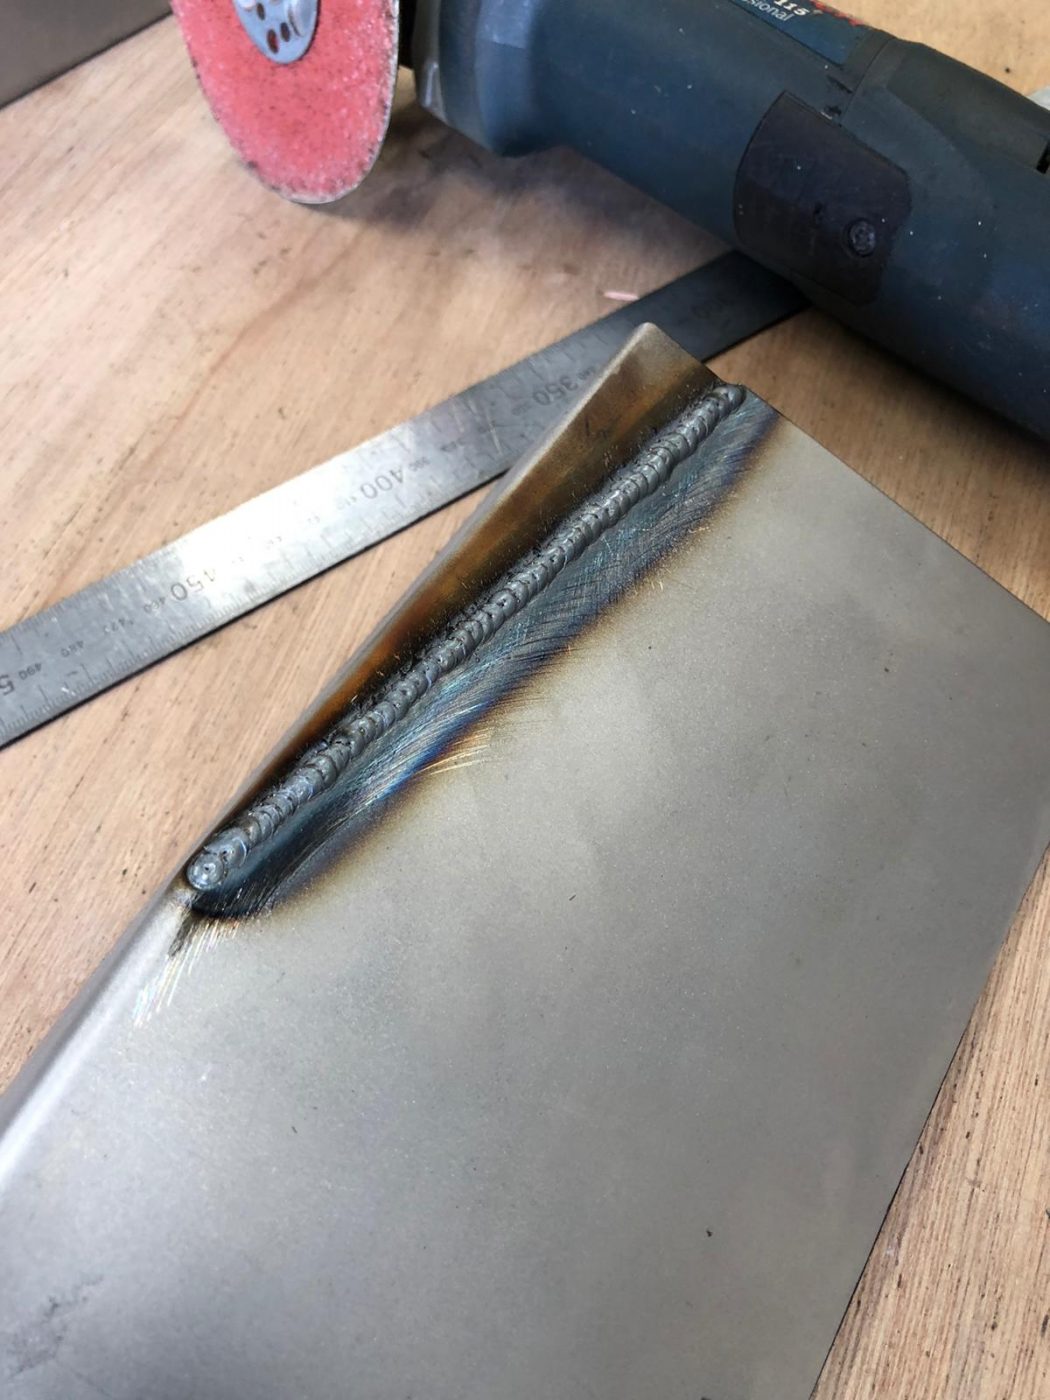
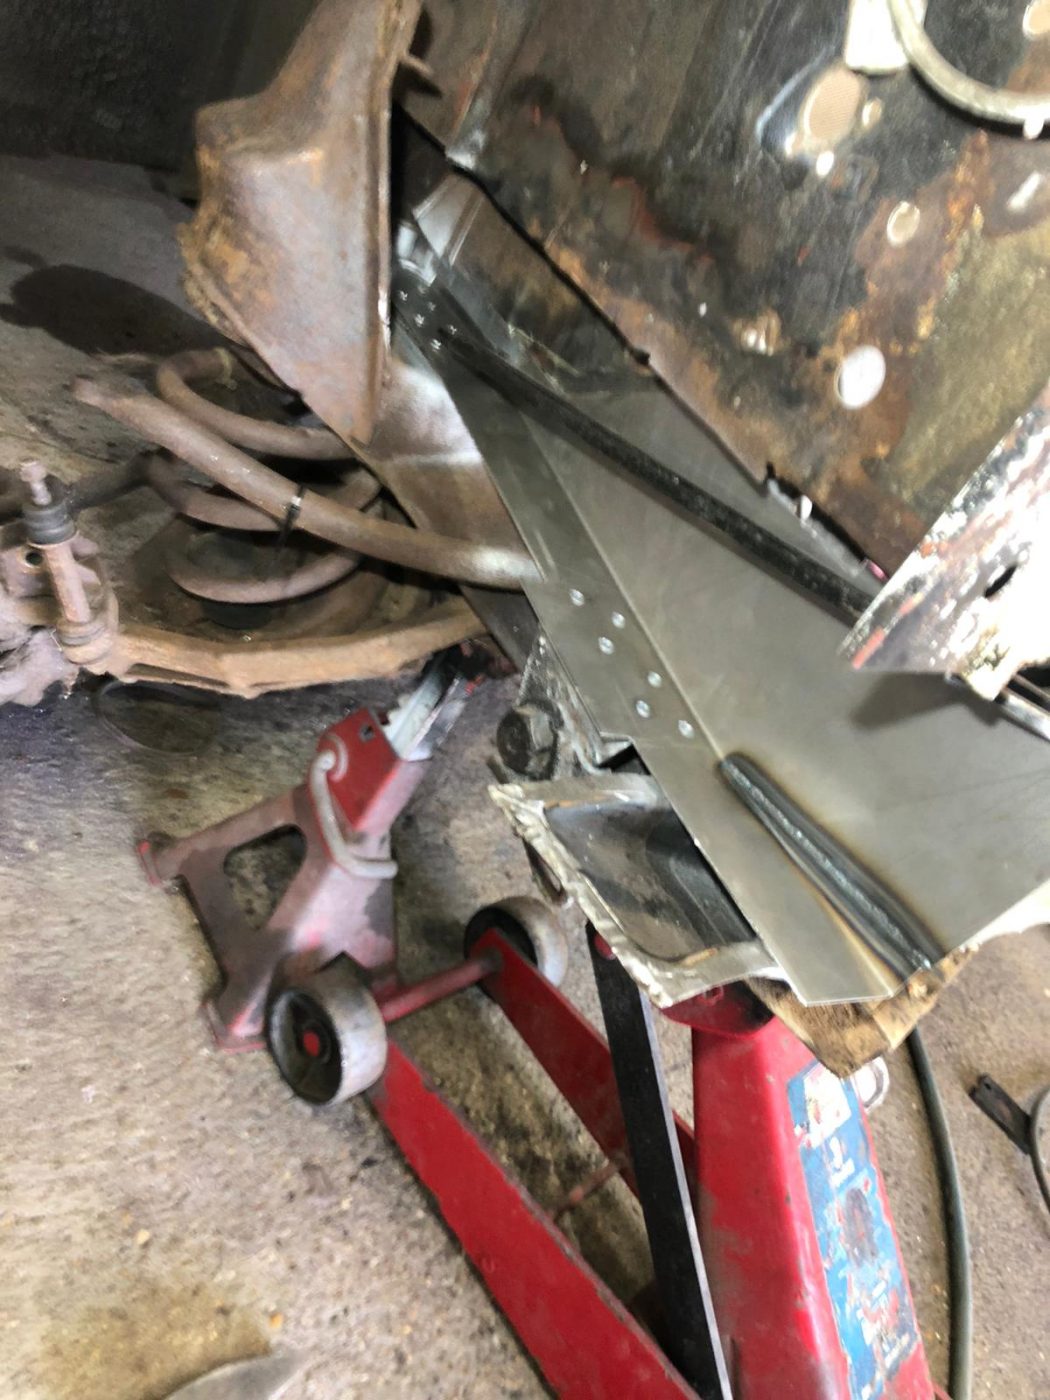
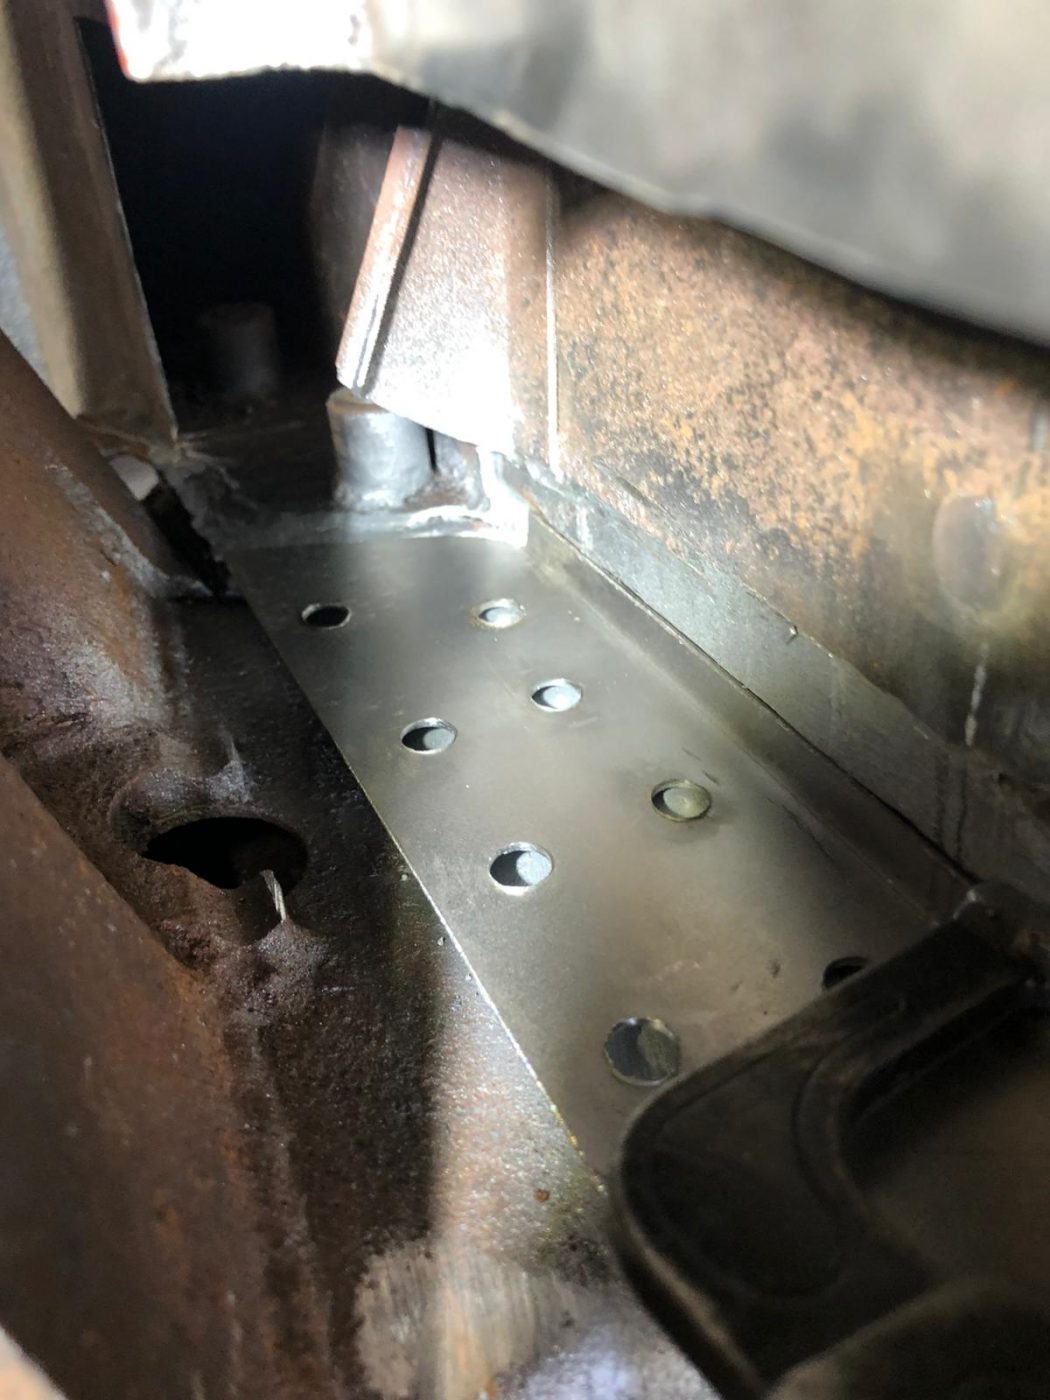
Having carried out some initial assessments works underneath, the customer has decided not to continue with the recommission and will now look to sell the car as an ongoing project for a new owner to take on.
A considerable amount of welding work is required to get the car through an MOT and with many other projects that the owner currently has he has decided no to pursue with carry out the works.


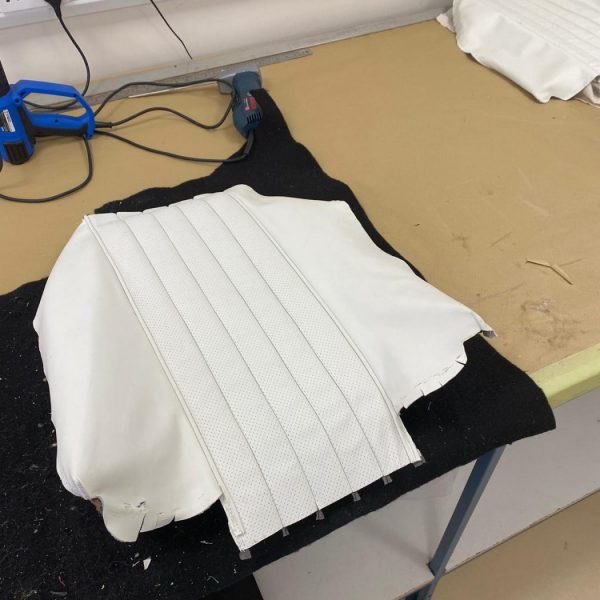
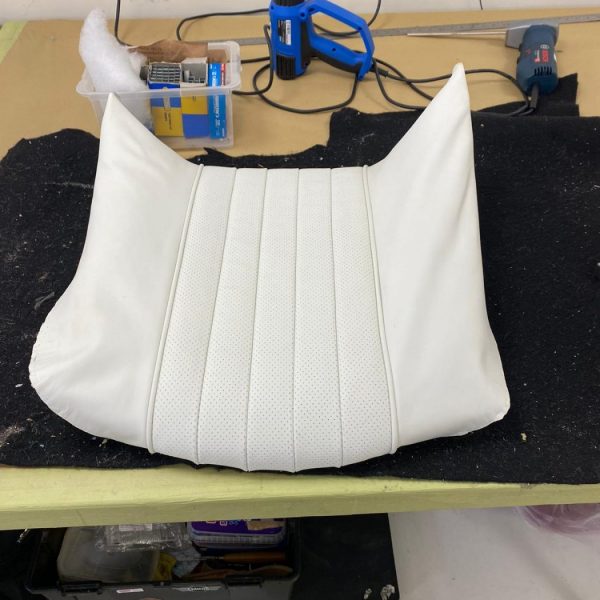
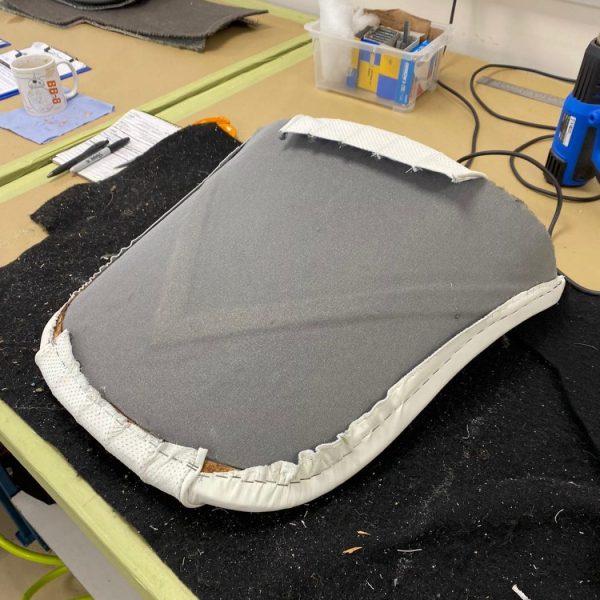
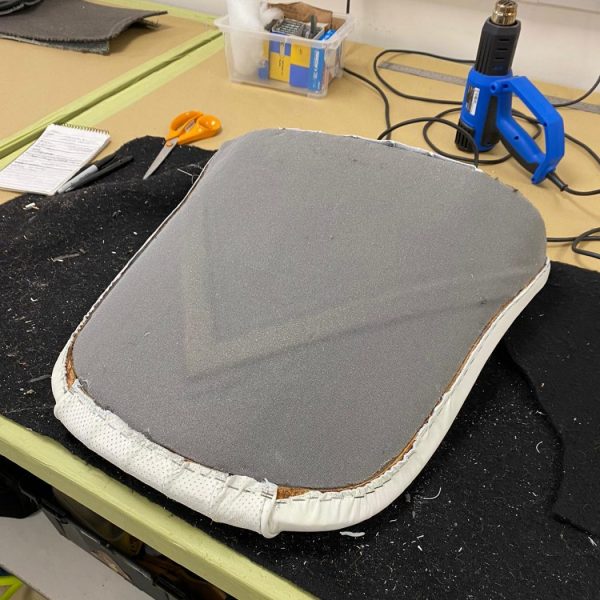
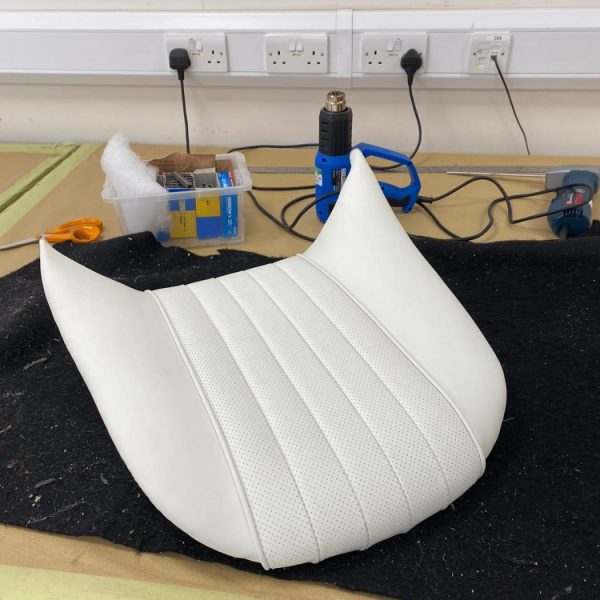
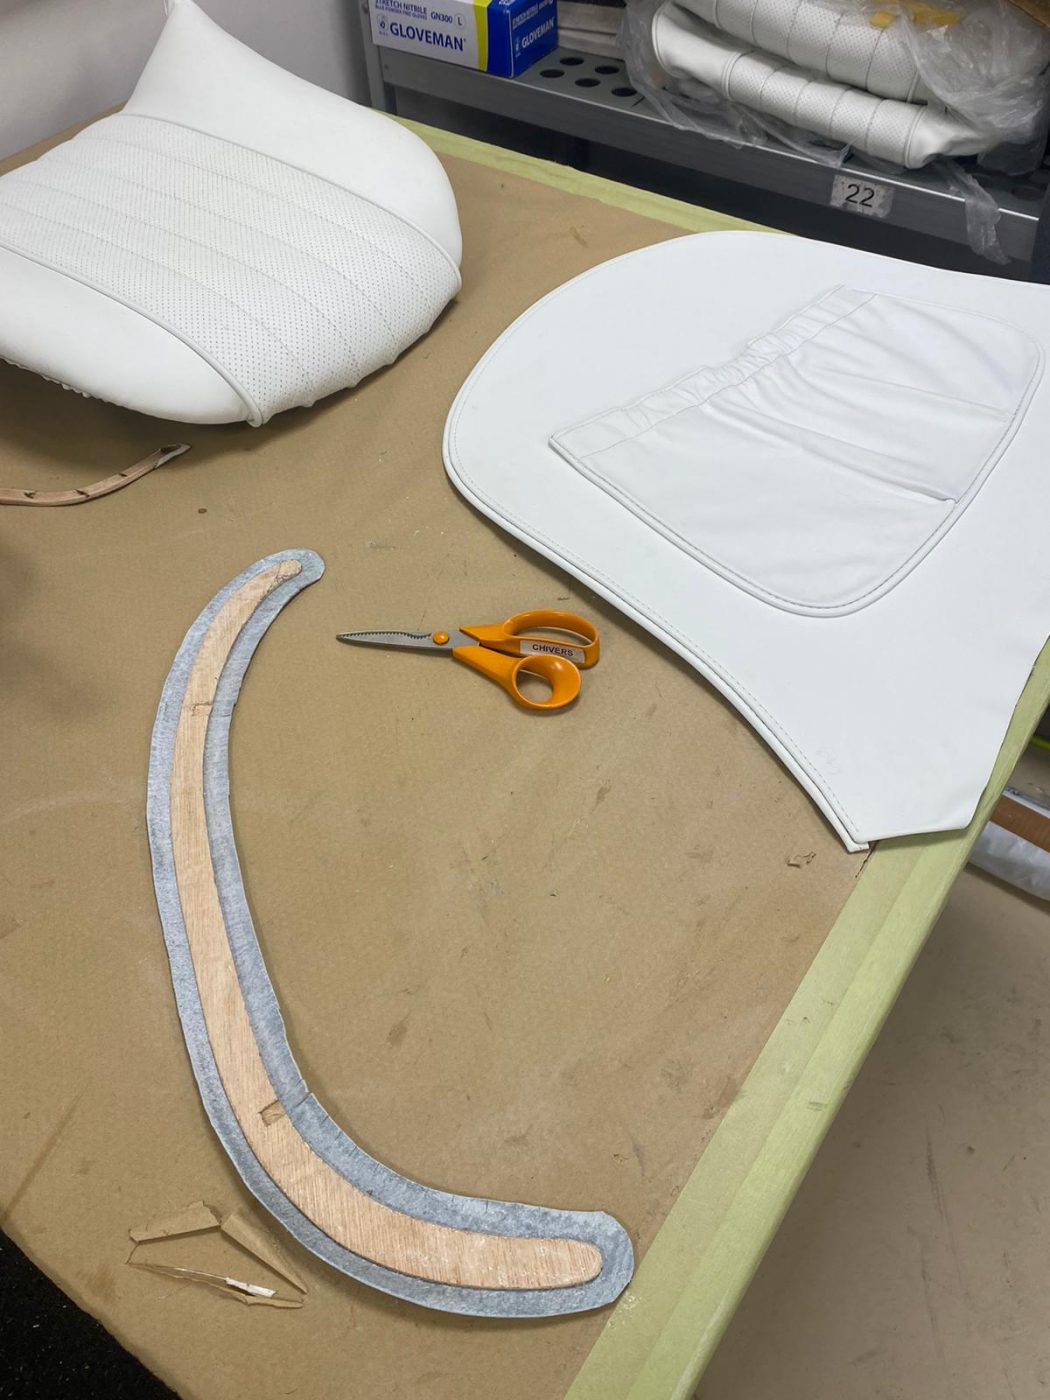
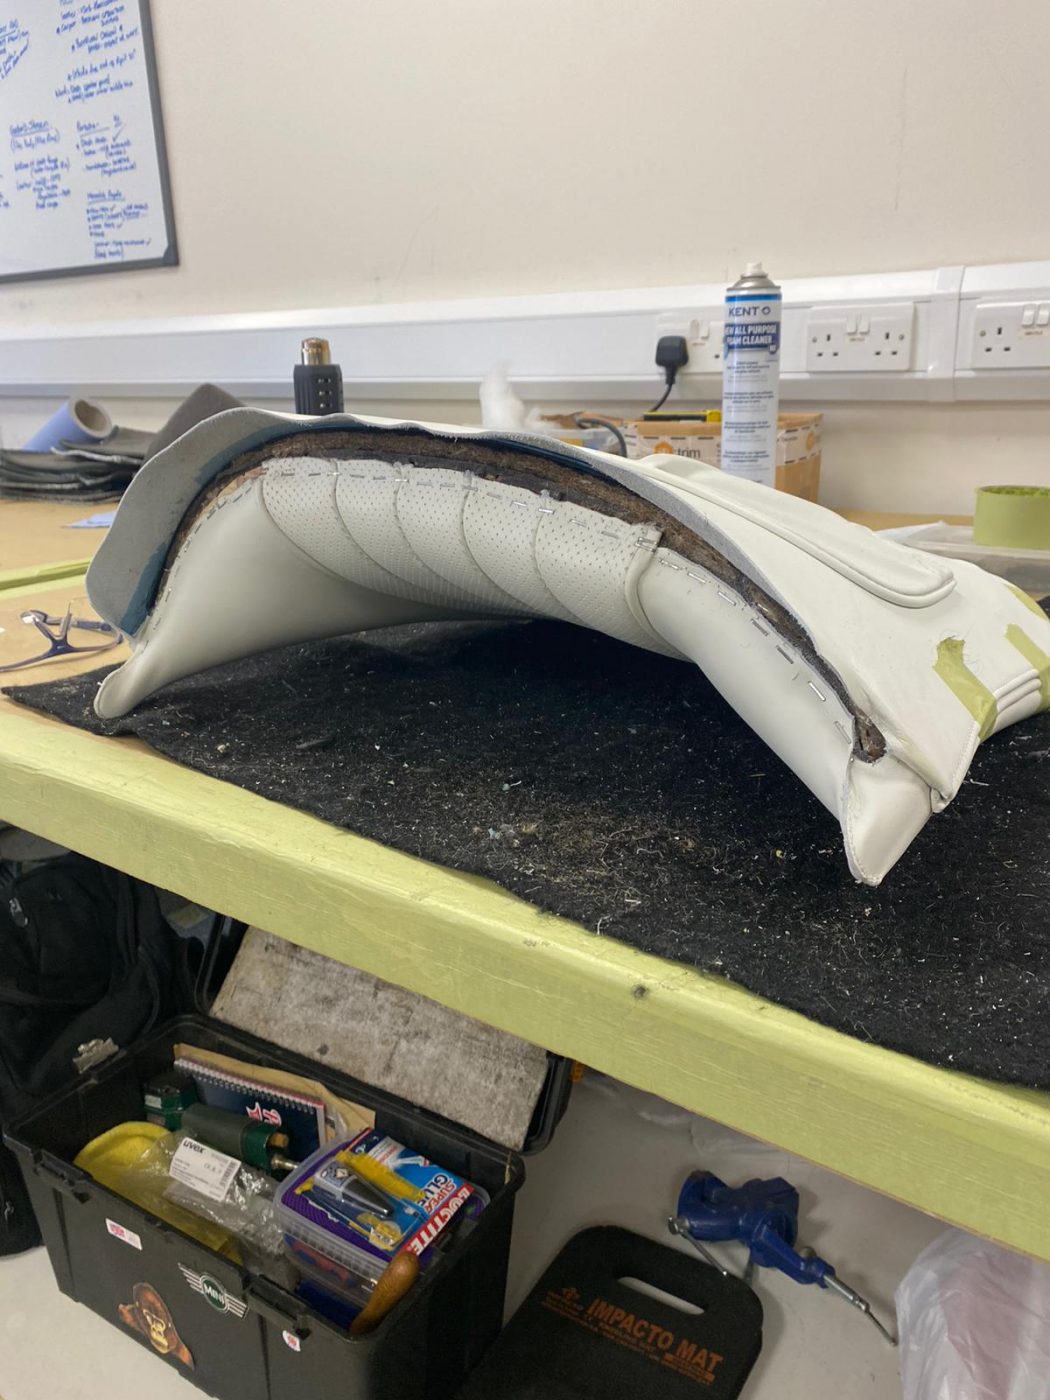
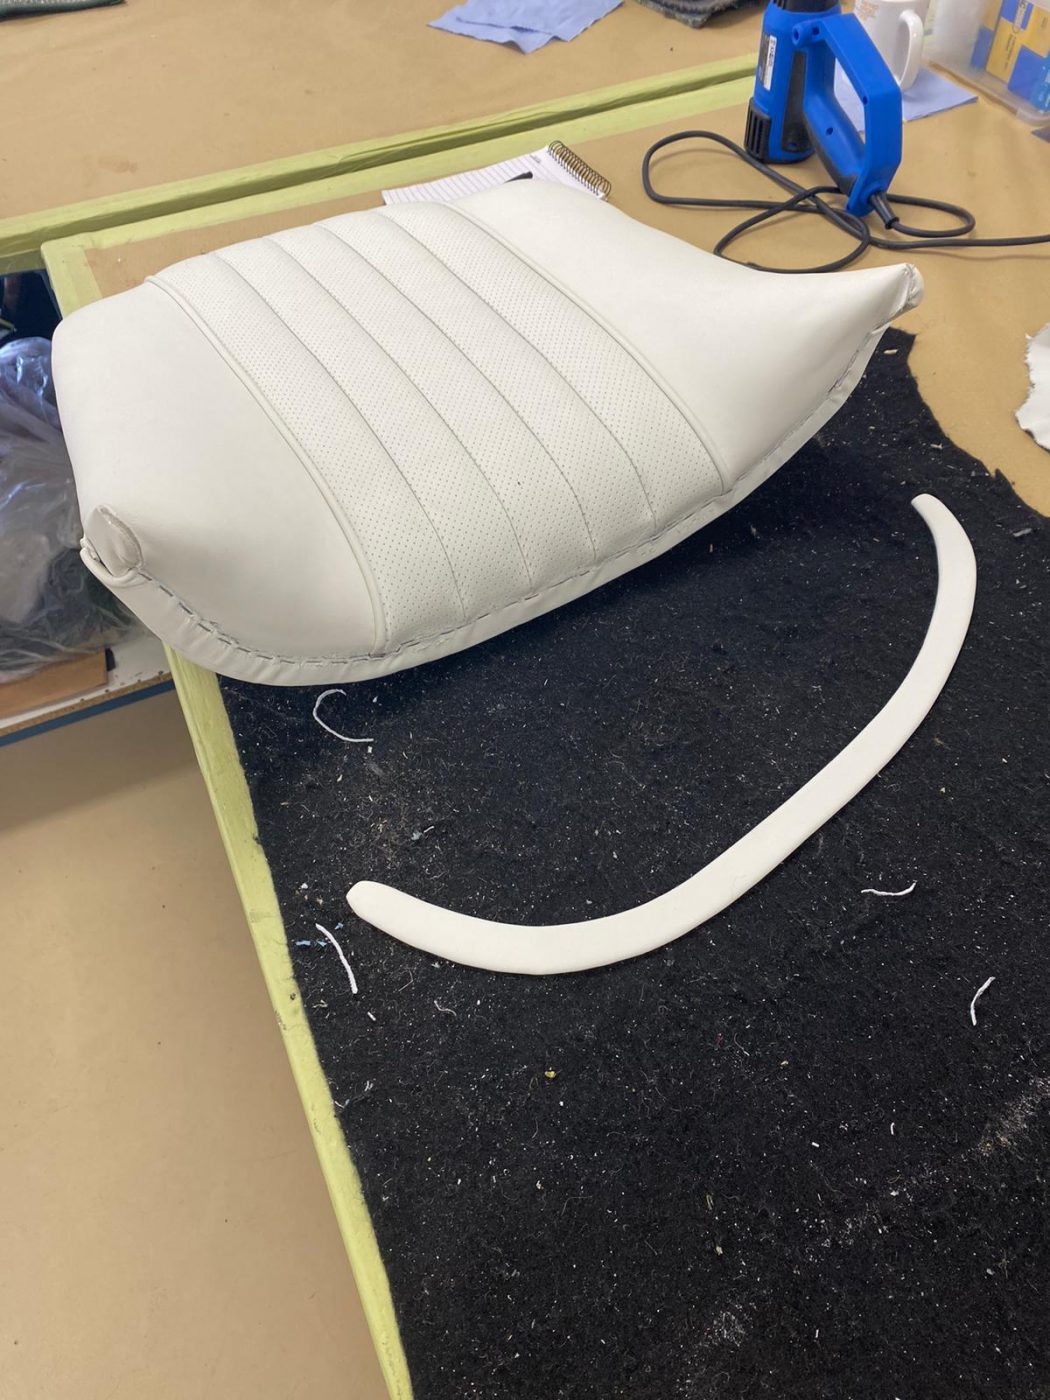
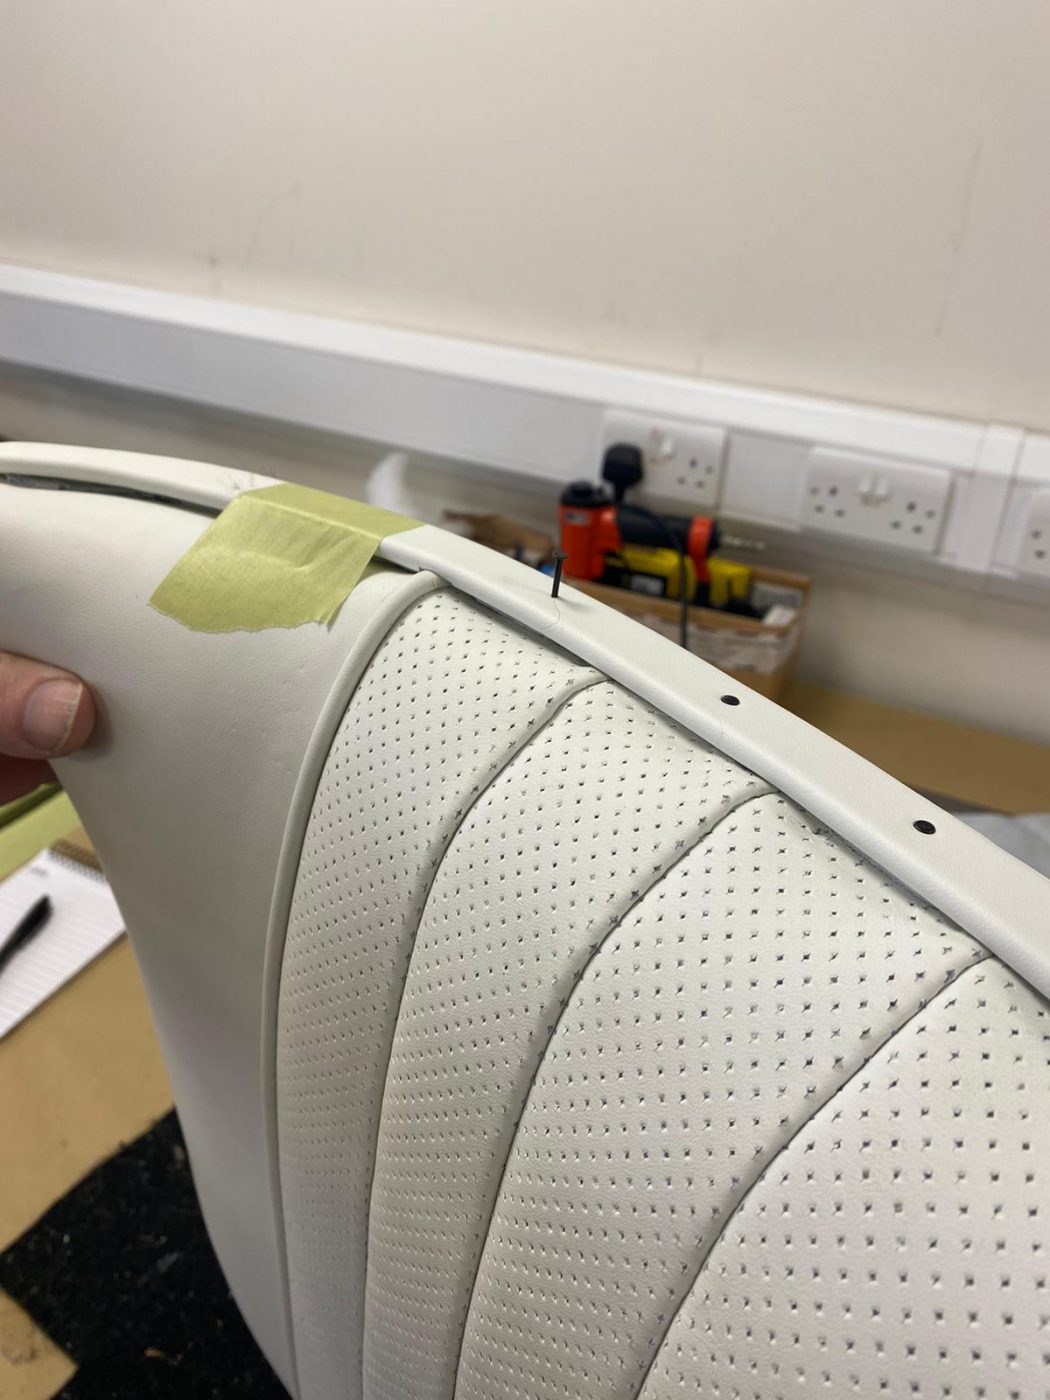
In the trim shop, Brian has been fitting the front squab seats of the 1960 Jensen 541R to their foams and frames. These seats were created and sewn by Lydia a little while back. You can read about the process here and here.
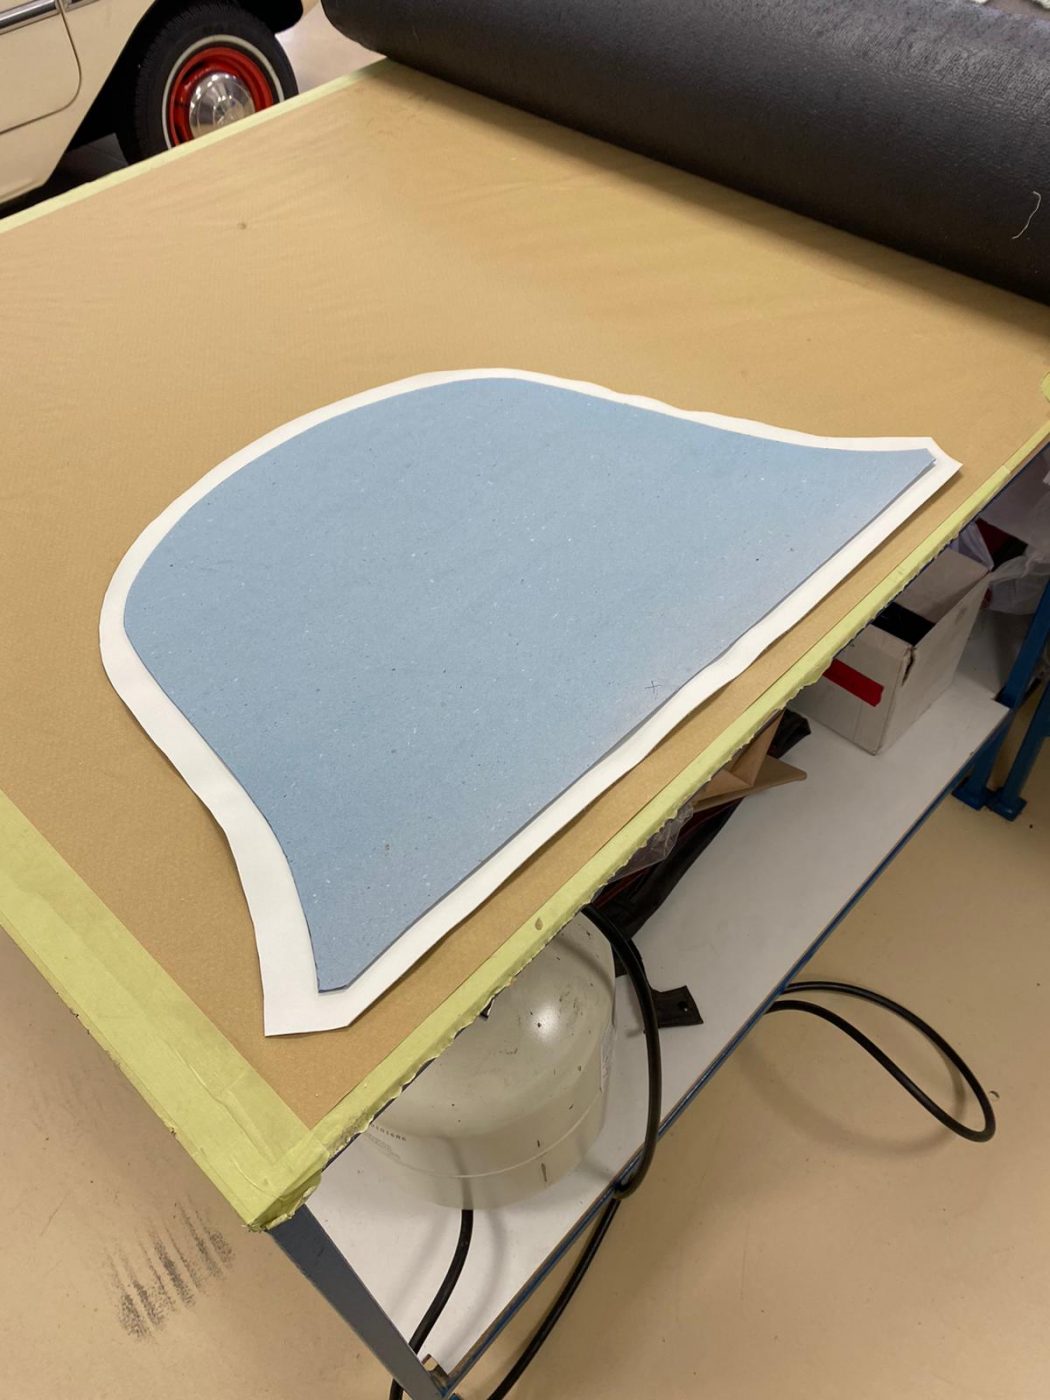
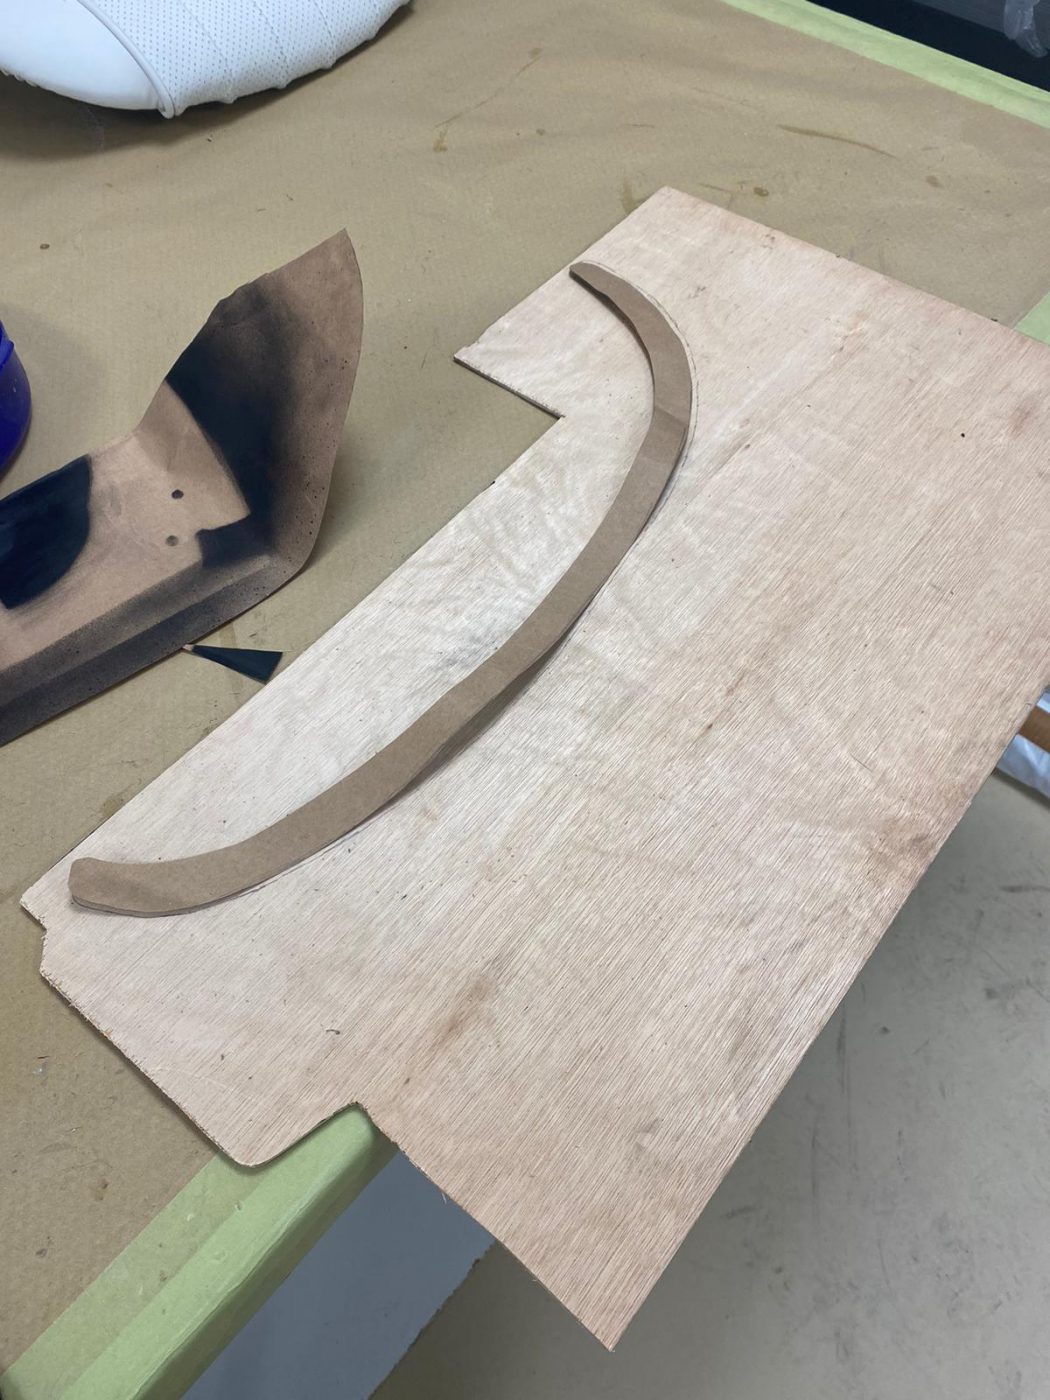
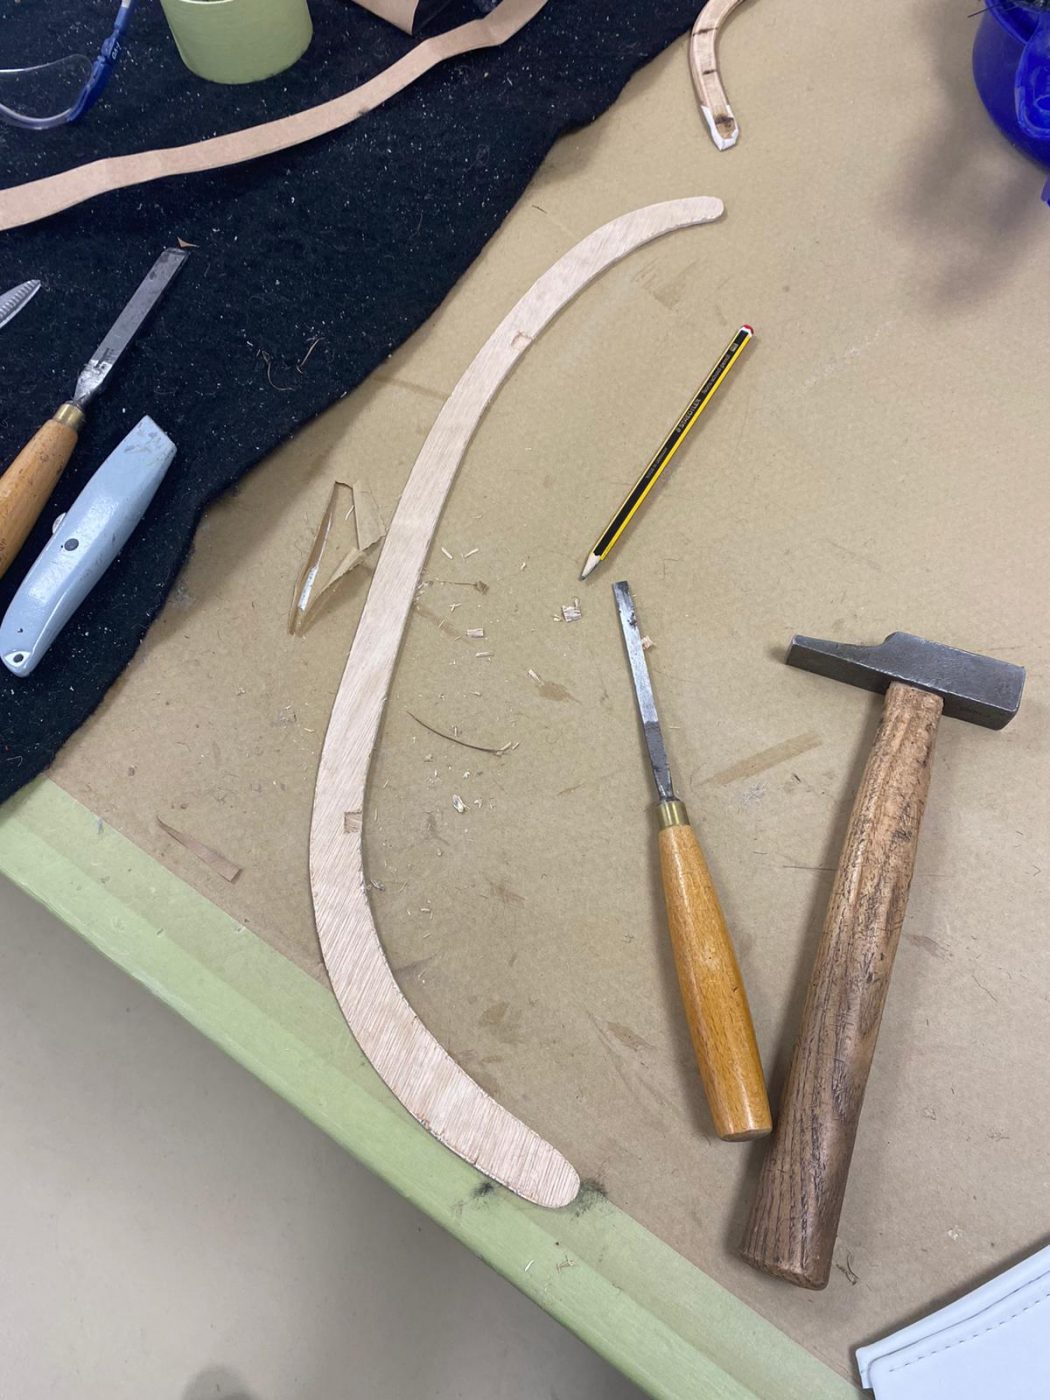
Brian started the fitting process by glueing and stapling the front squab “faces”/fronts to the frames, making sure the leather was nice and tight with no wrinkles. The staples went around the back of the wooden frame. The back of each seat was then attached with staples that went into the piping flange. 3mm plywood was cut out to the correct shape using a paper template for the bottom of each seat, this was wrapped in the white leather/glued onto the wood. This plywood was nailed onto the bottom of the seats with tacks and does the job of hiding the staples and raw edges of the leather.


Chris has recently put a layer of black protective coating on the underneath of the 1954 Jaguar MK VII. This does exactly what it says on the tin, helps protect the underneath of the car from the elements of the road.

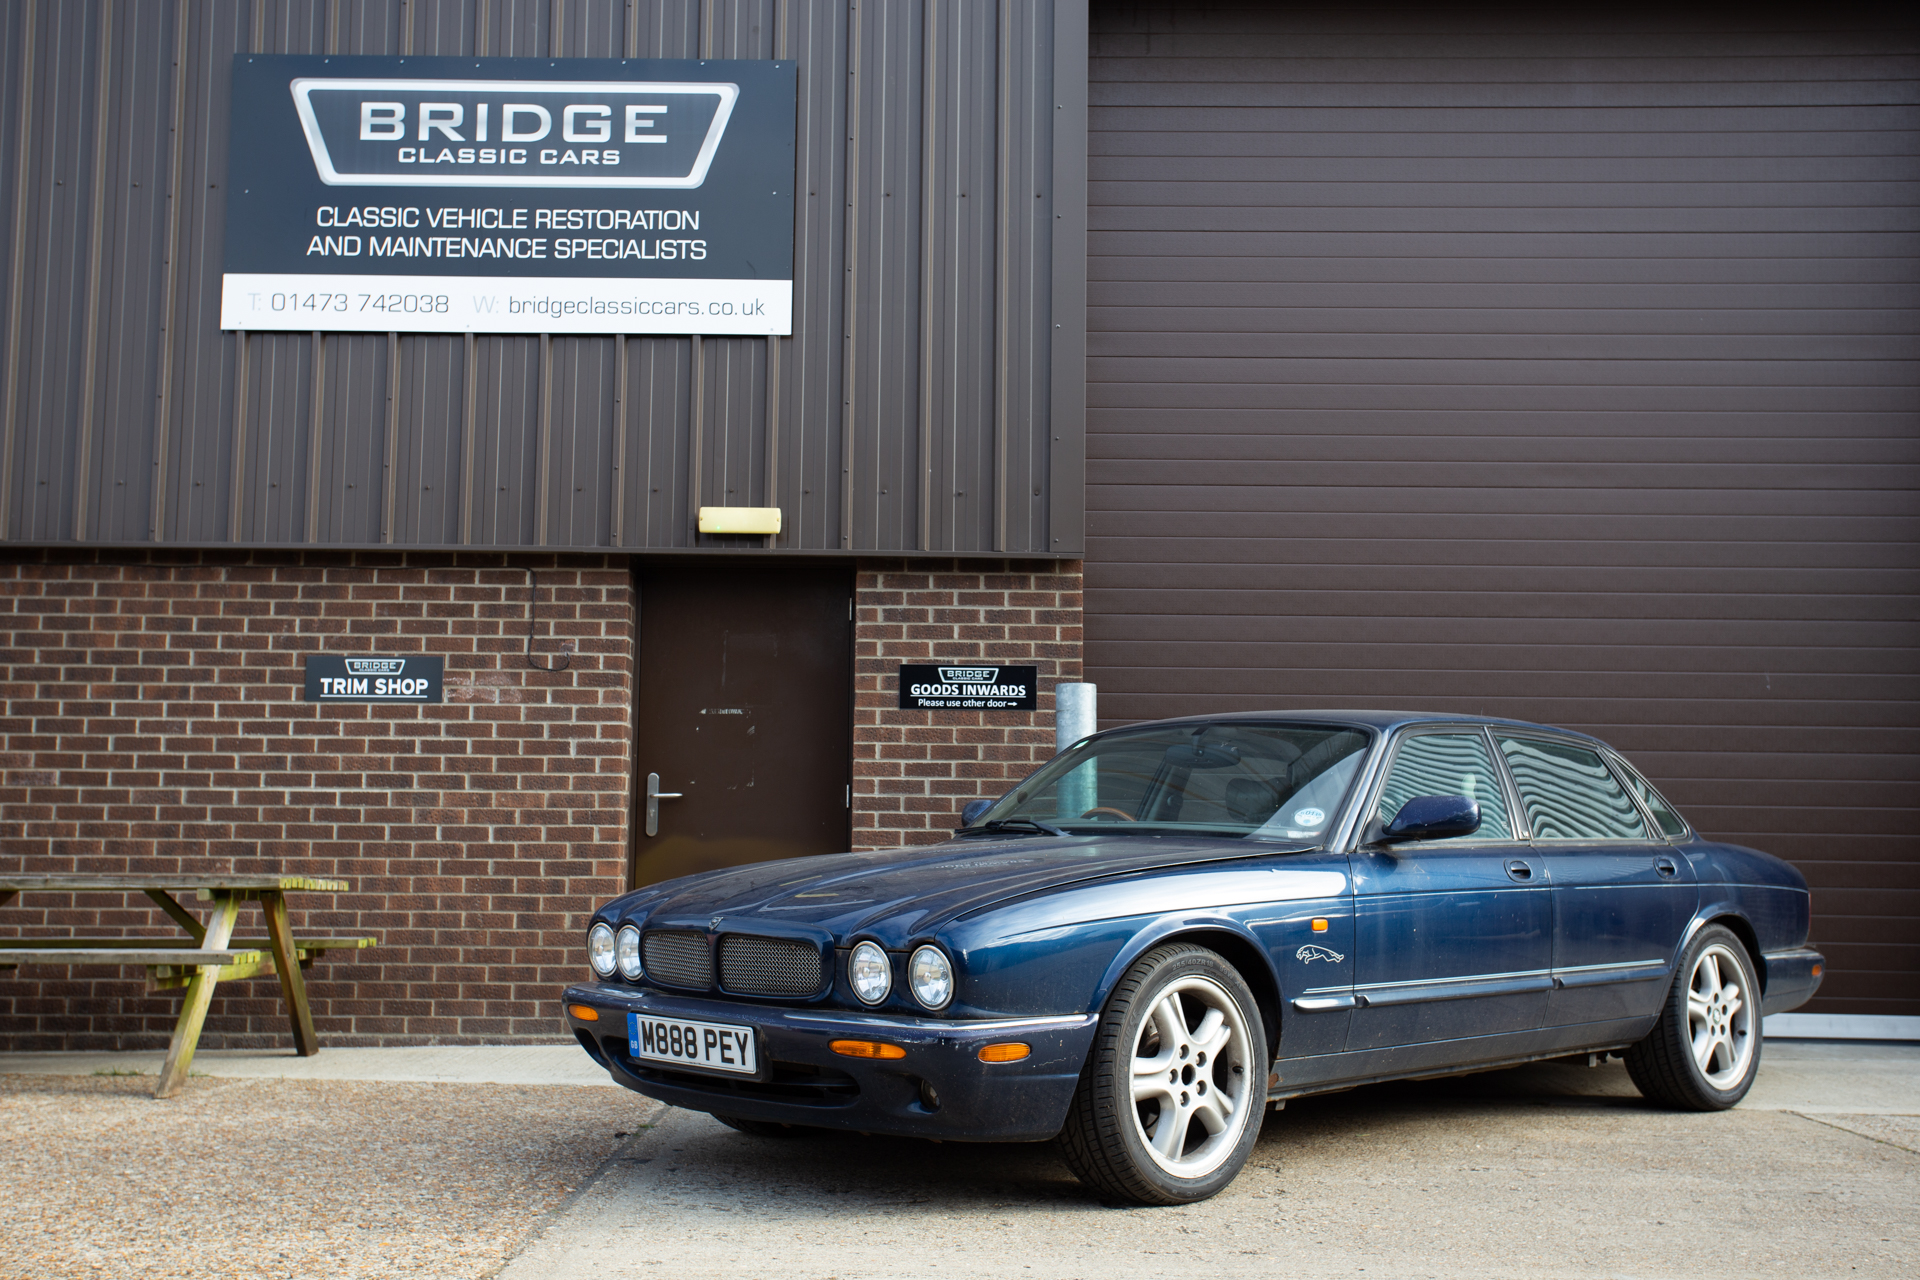
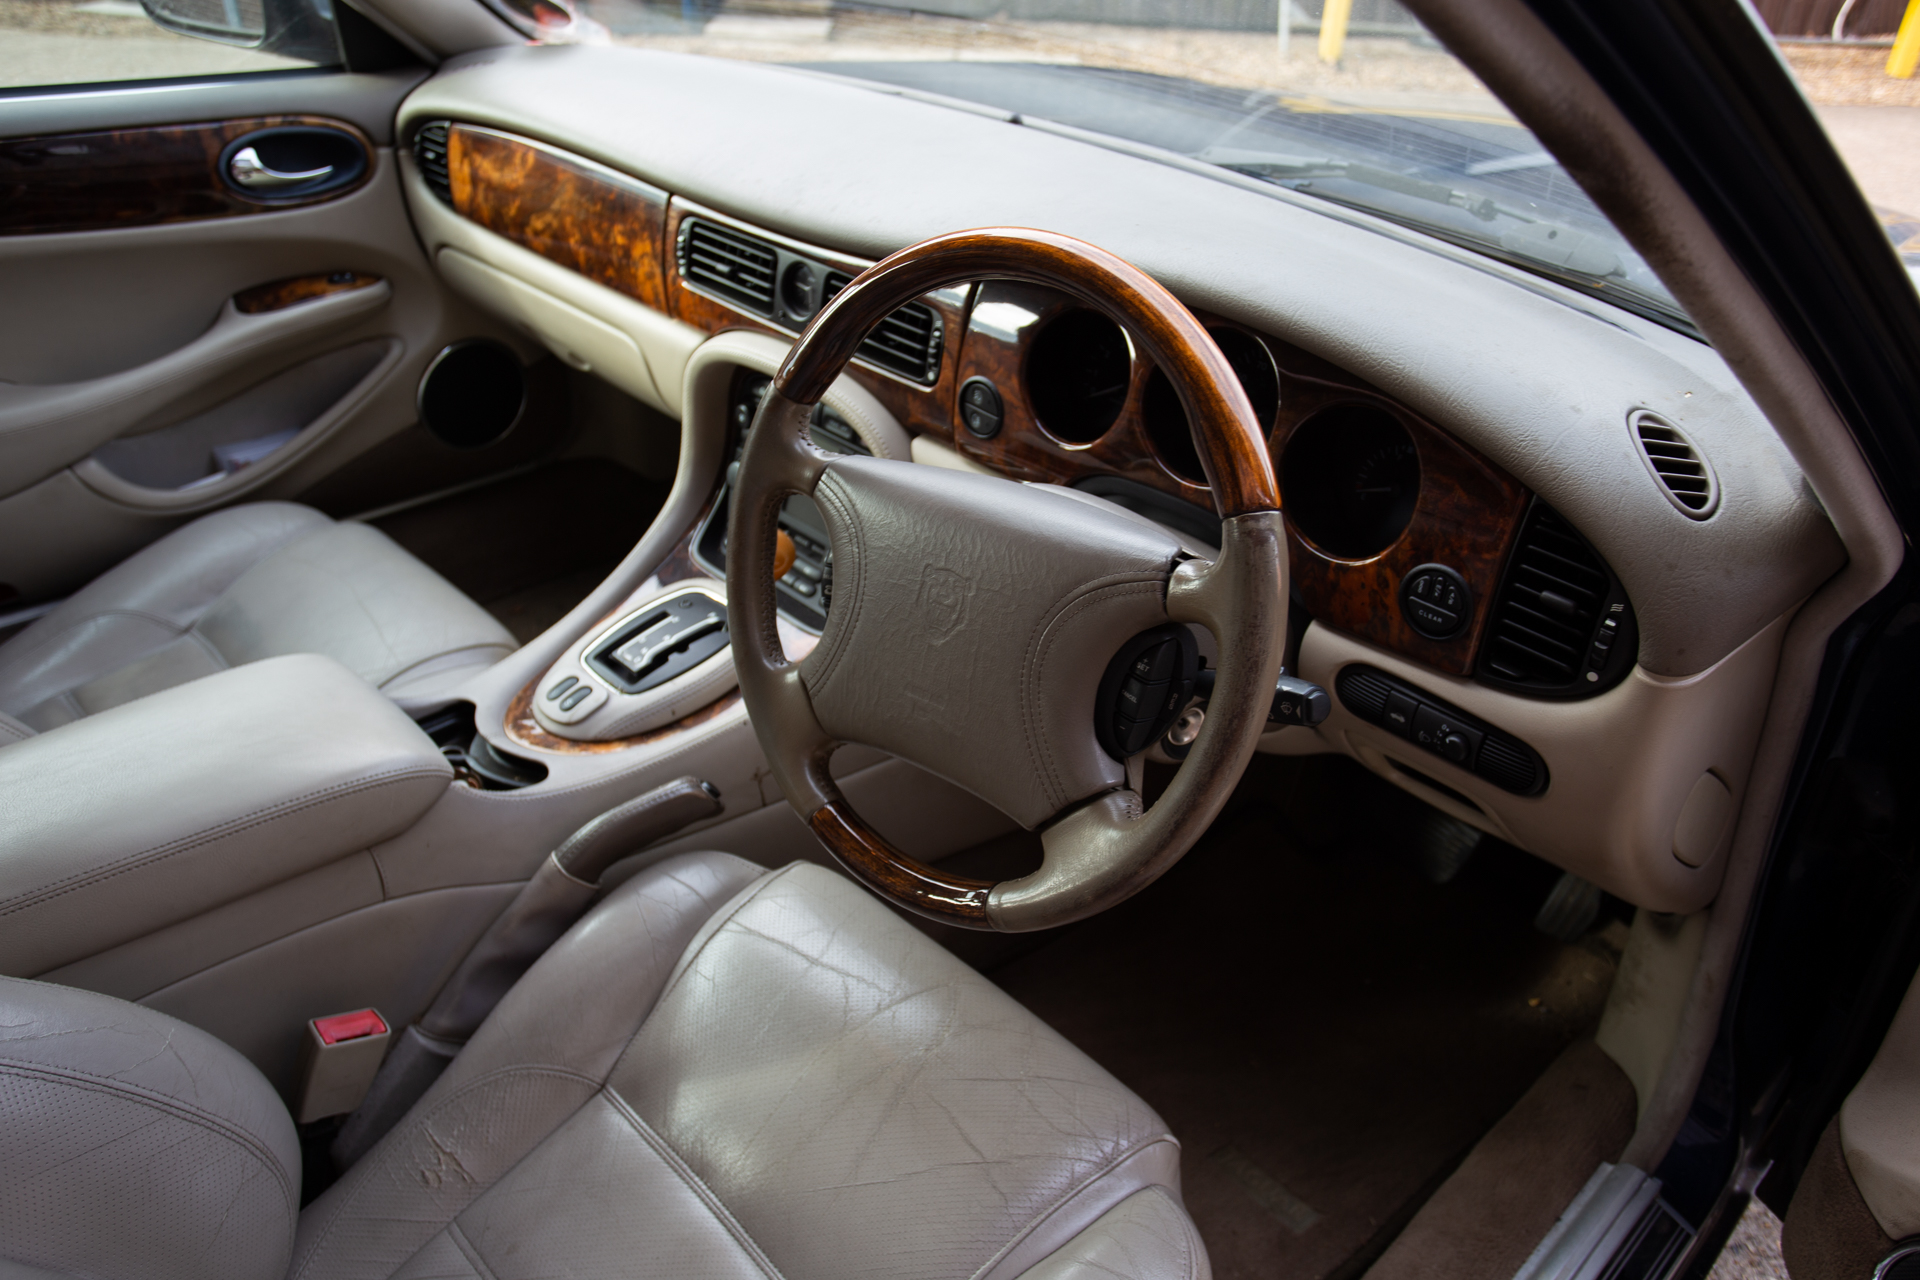
New in the workshop is this 1999 Jaguar XJR. It’s come in for a valet, for an assessment to be carried out to get it through an MOT, a full service to be carried out with fluids being changed as well and there’s a knocking on the back of the vehicle which needs investigating.

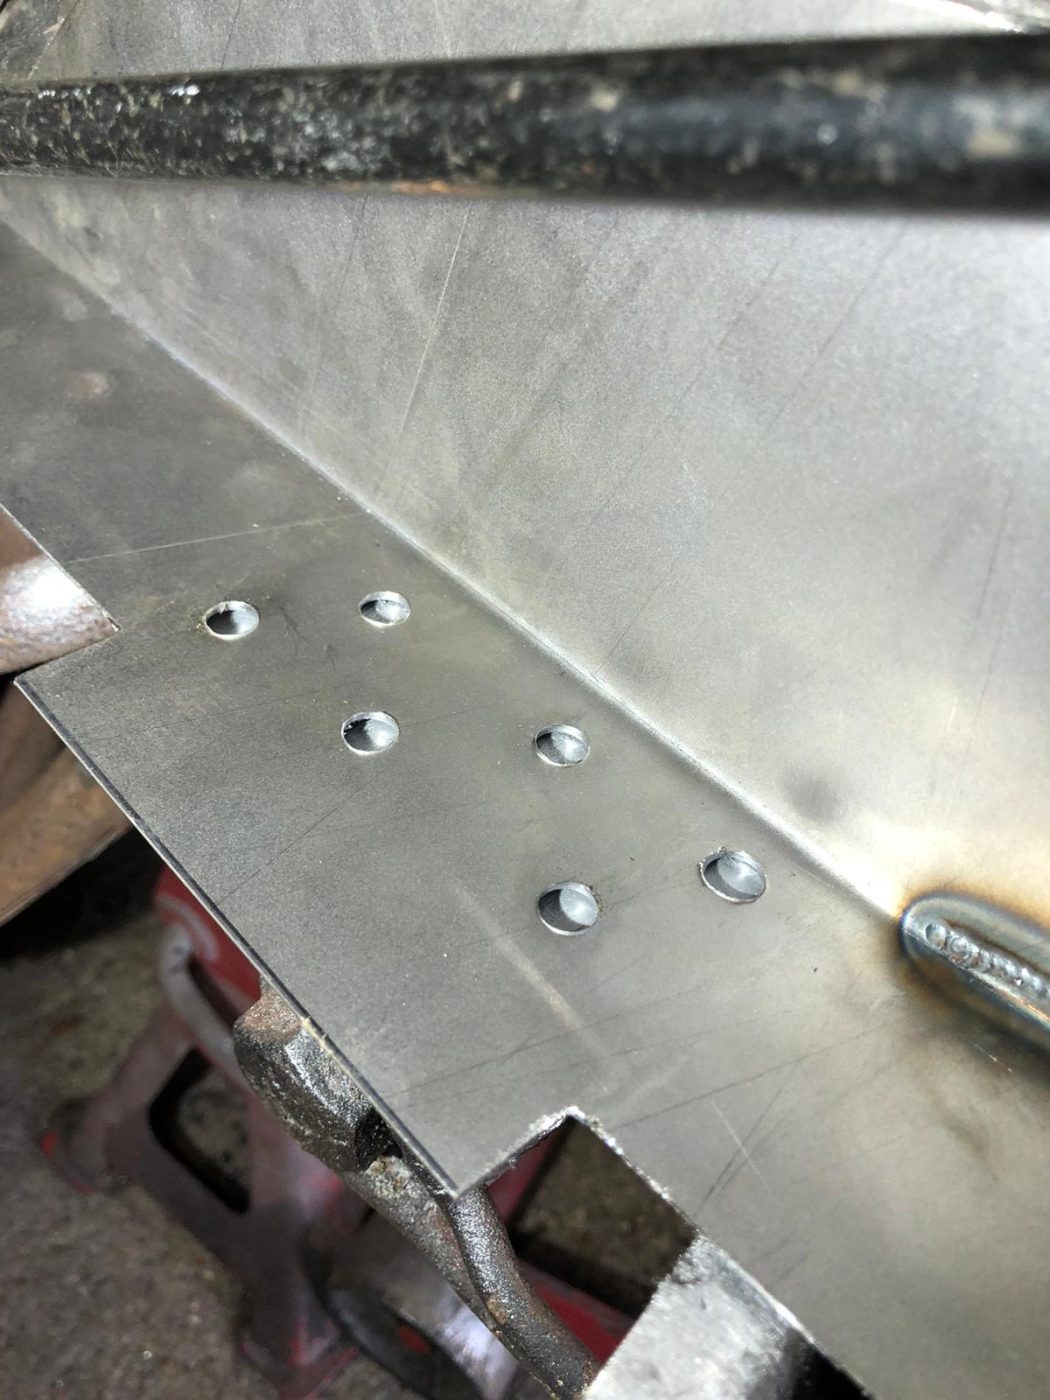
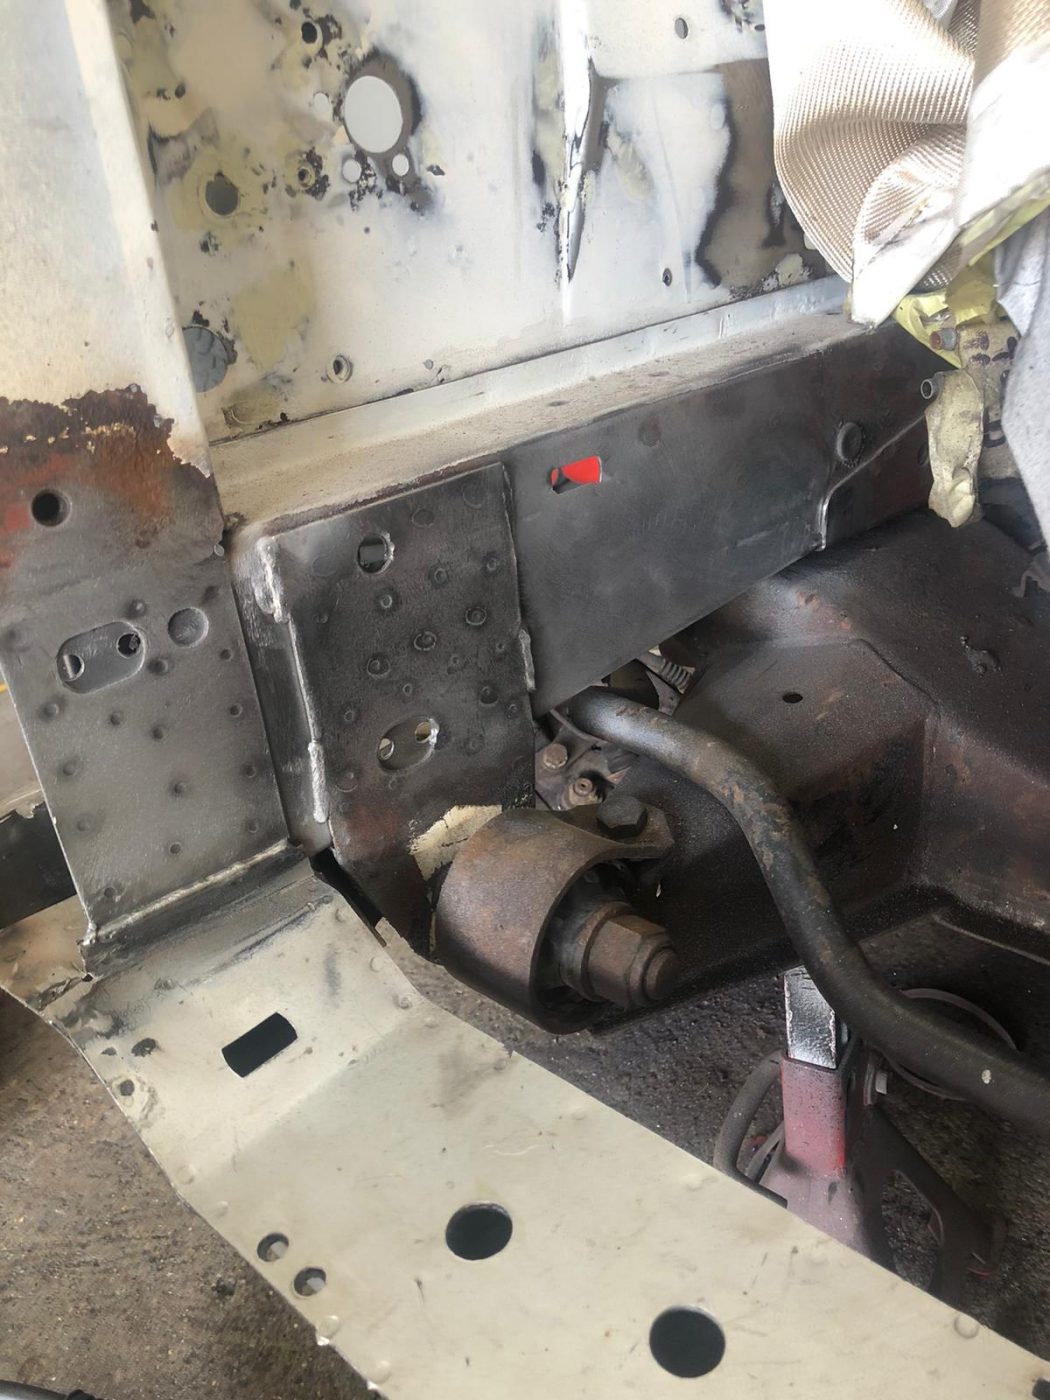
James has been continuing his repair work on the corroded areas of the 1977 Daimler Double Six. The right-hand side front inner wing has been more work than the left-hand side. Keep up the good work James!

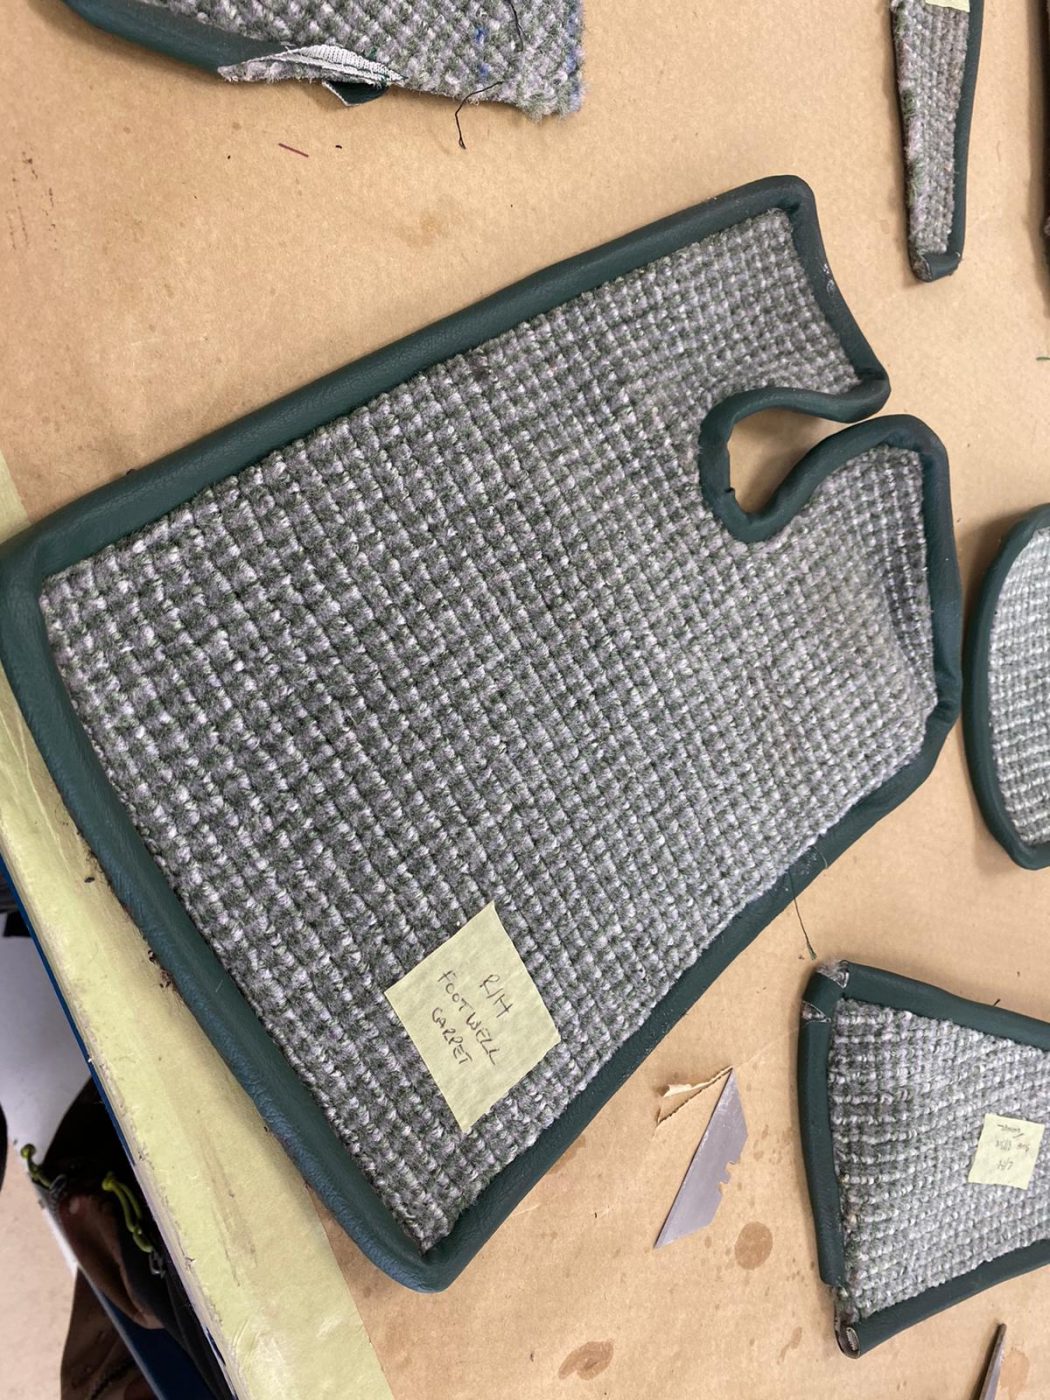
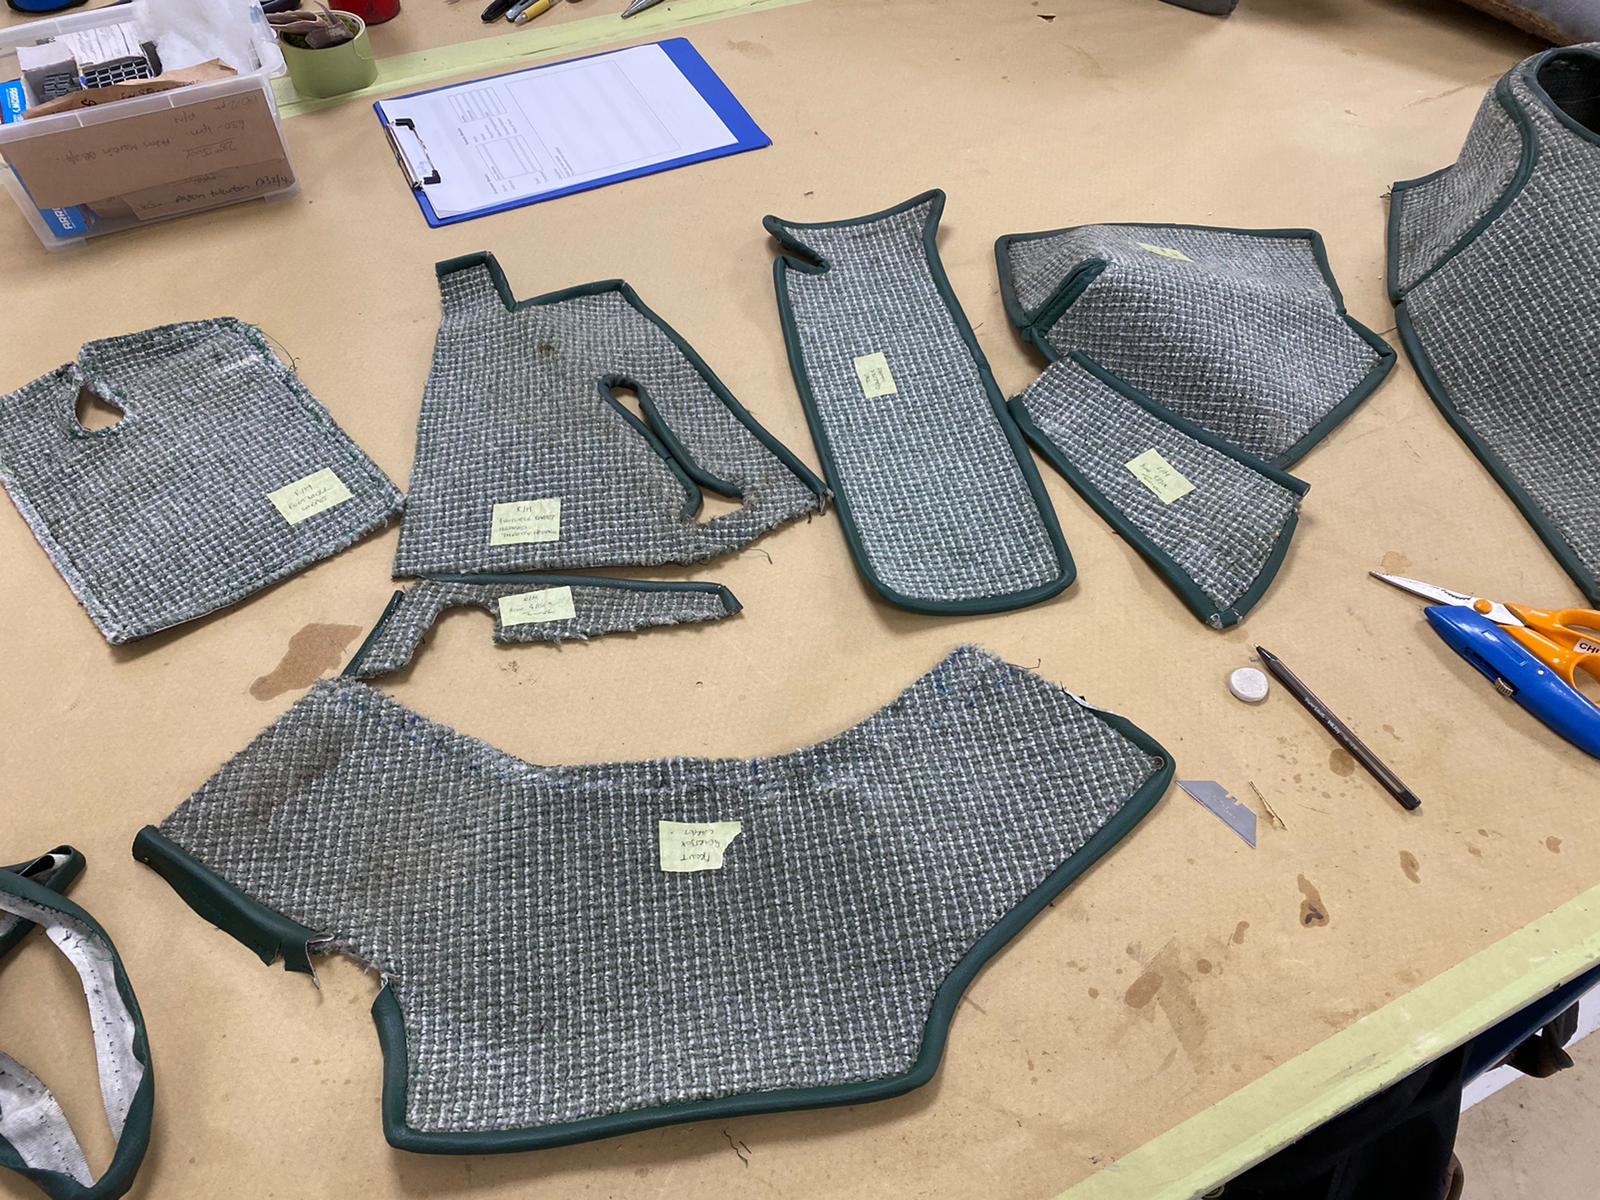
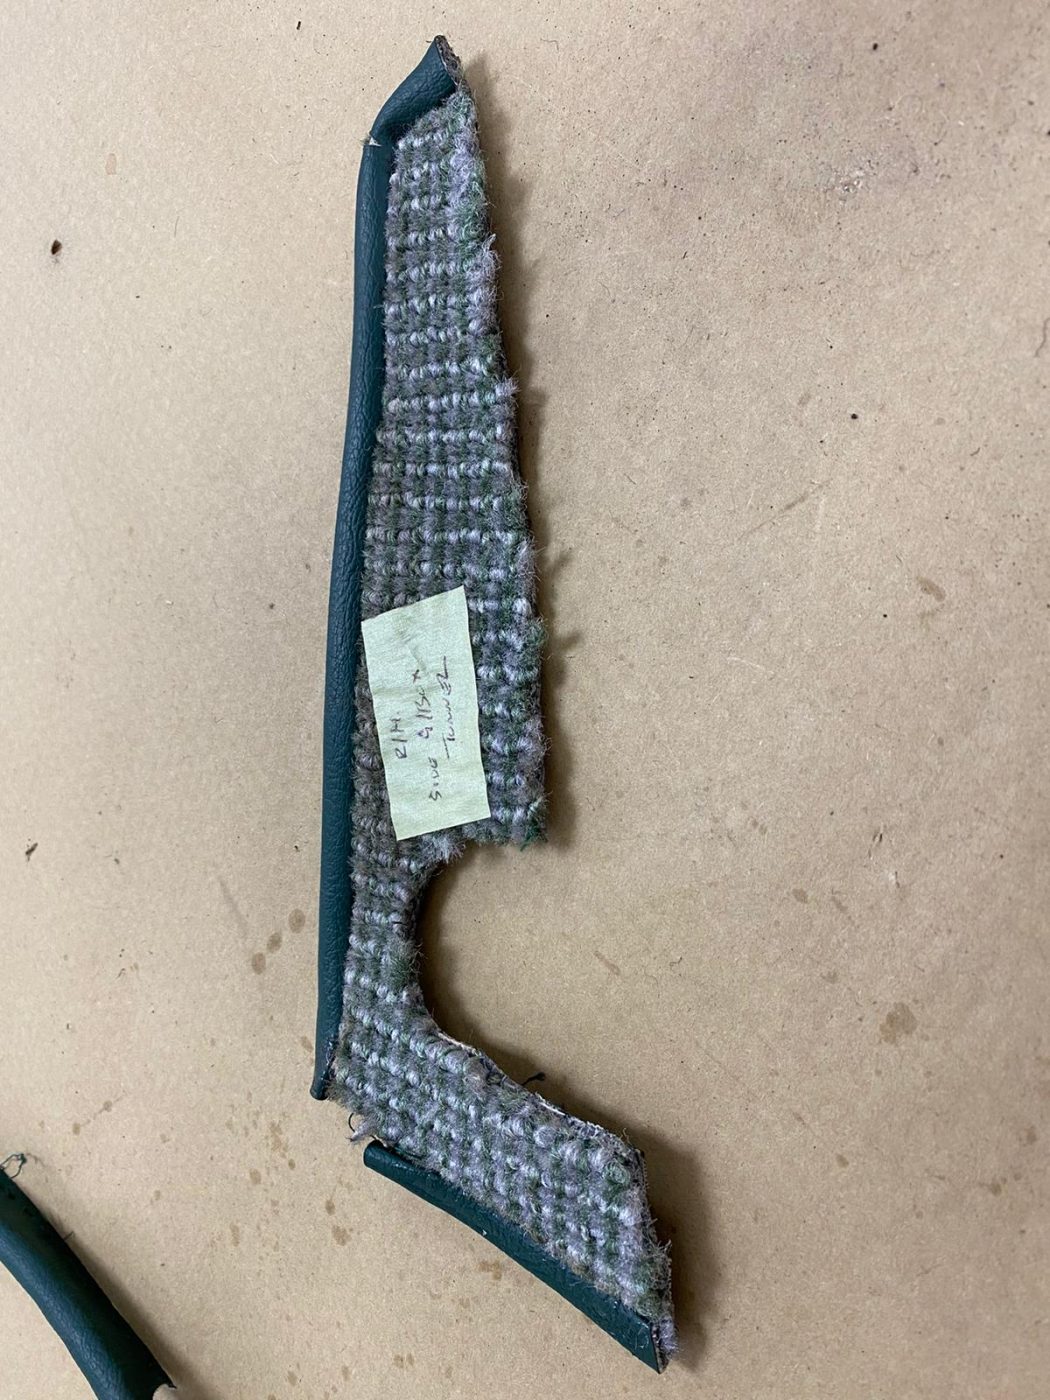
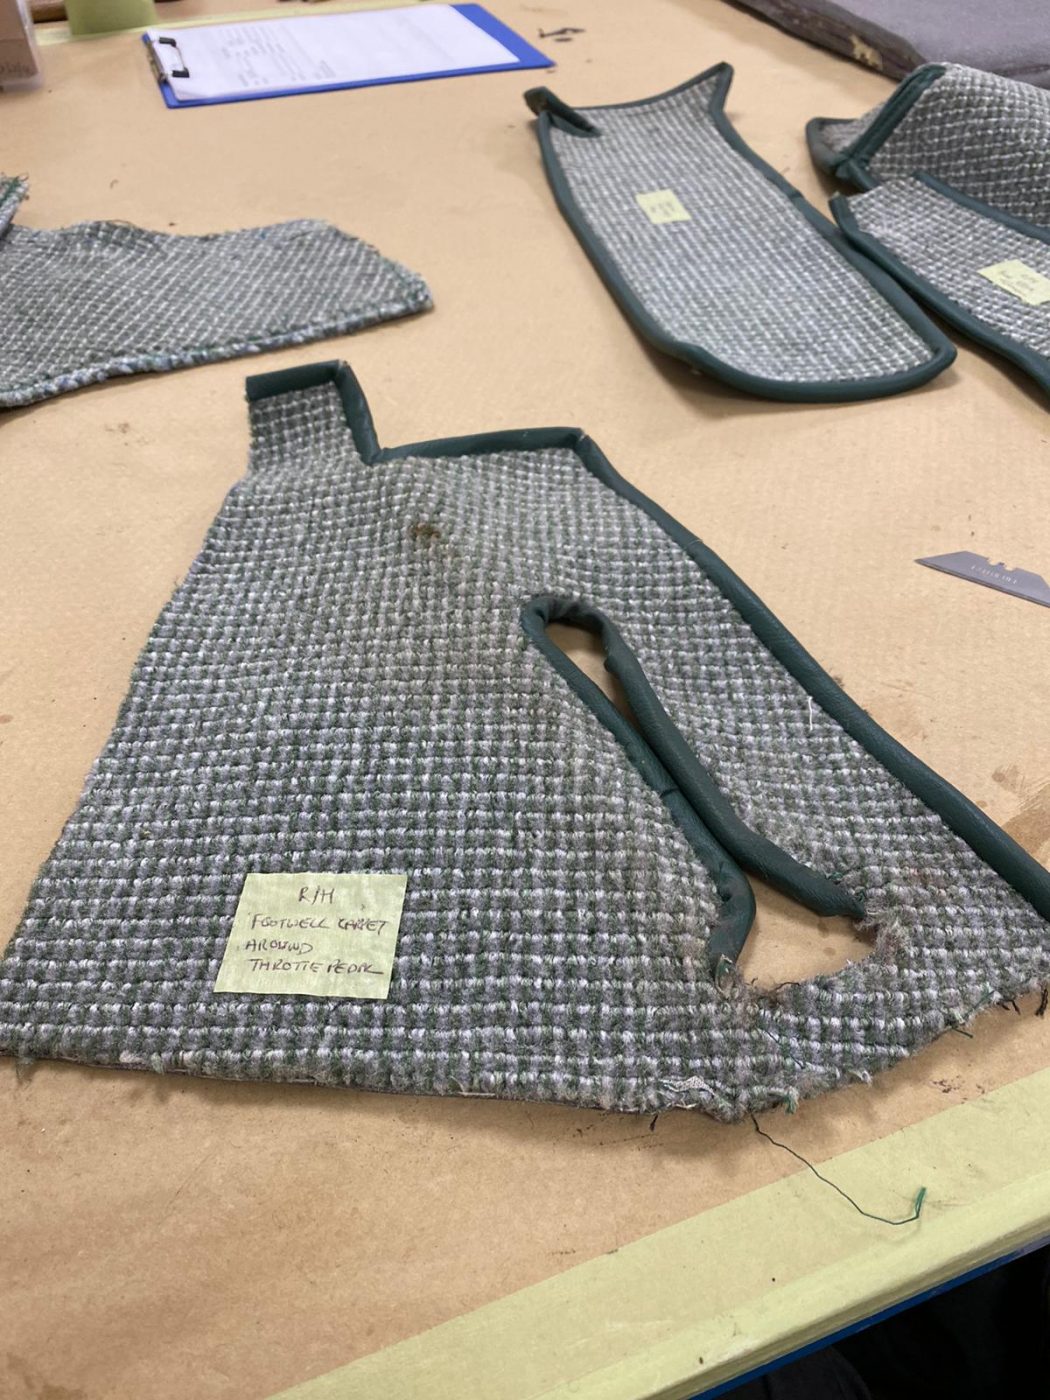
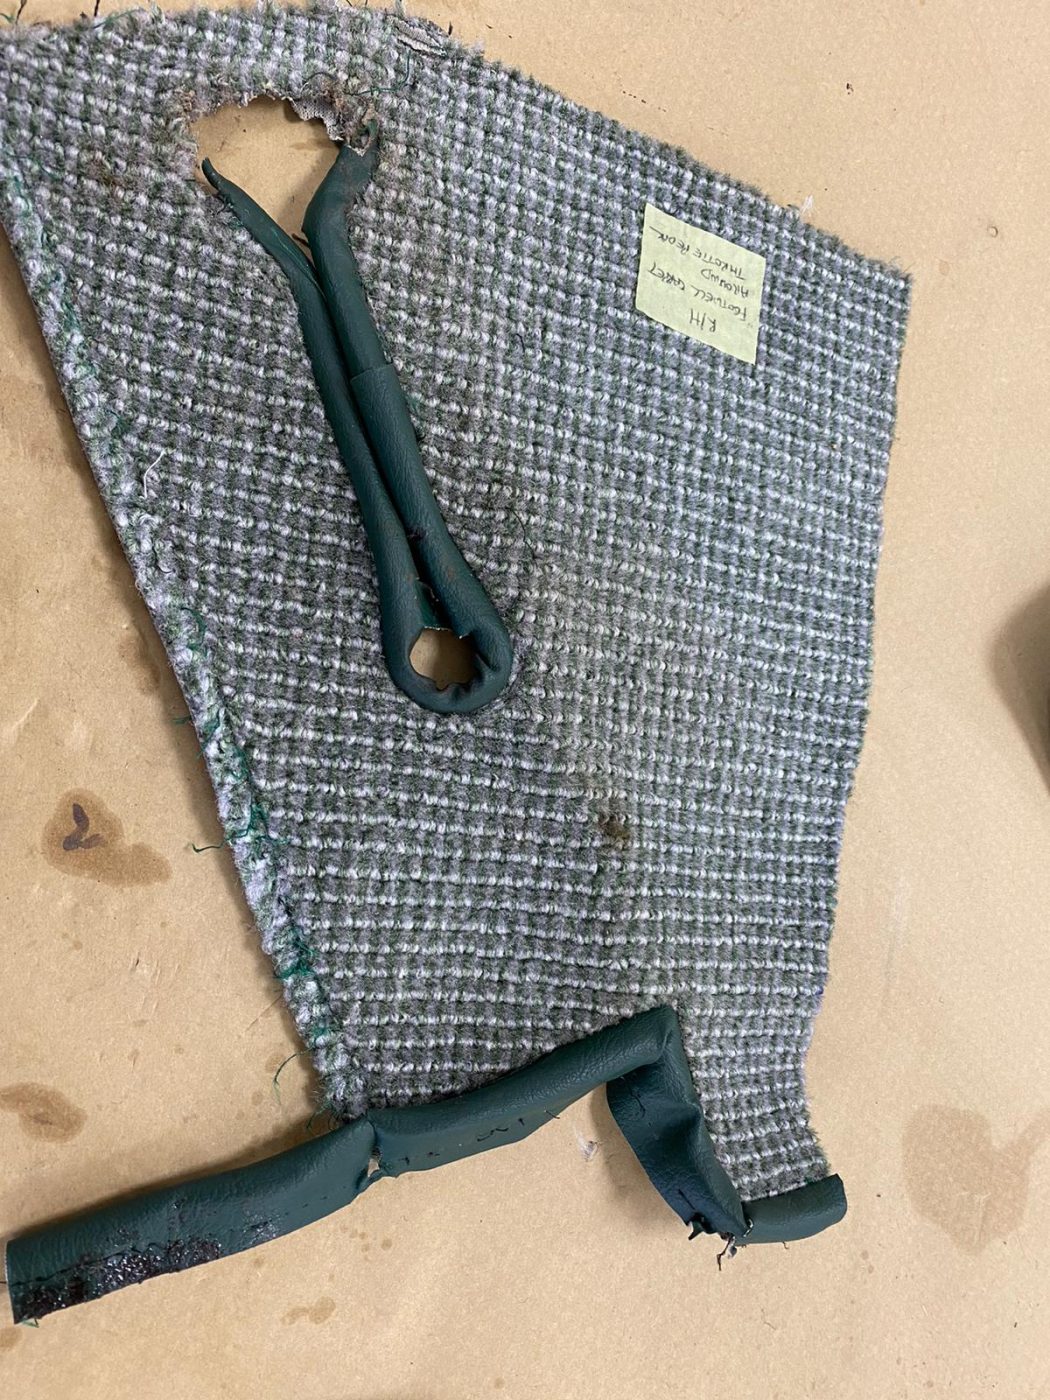
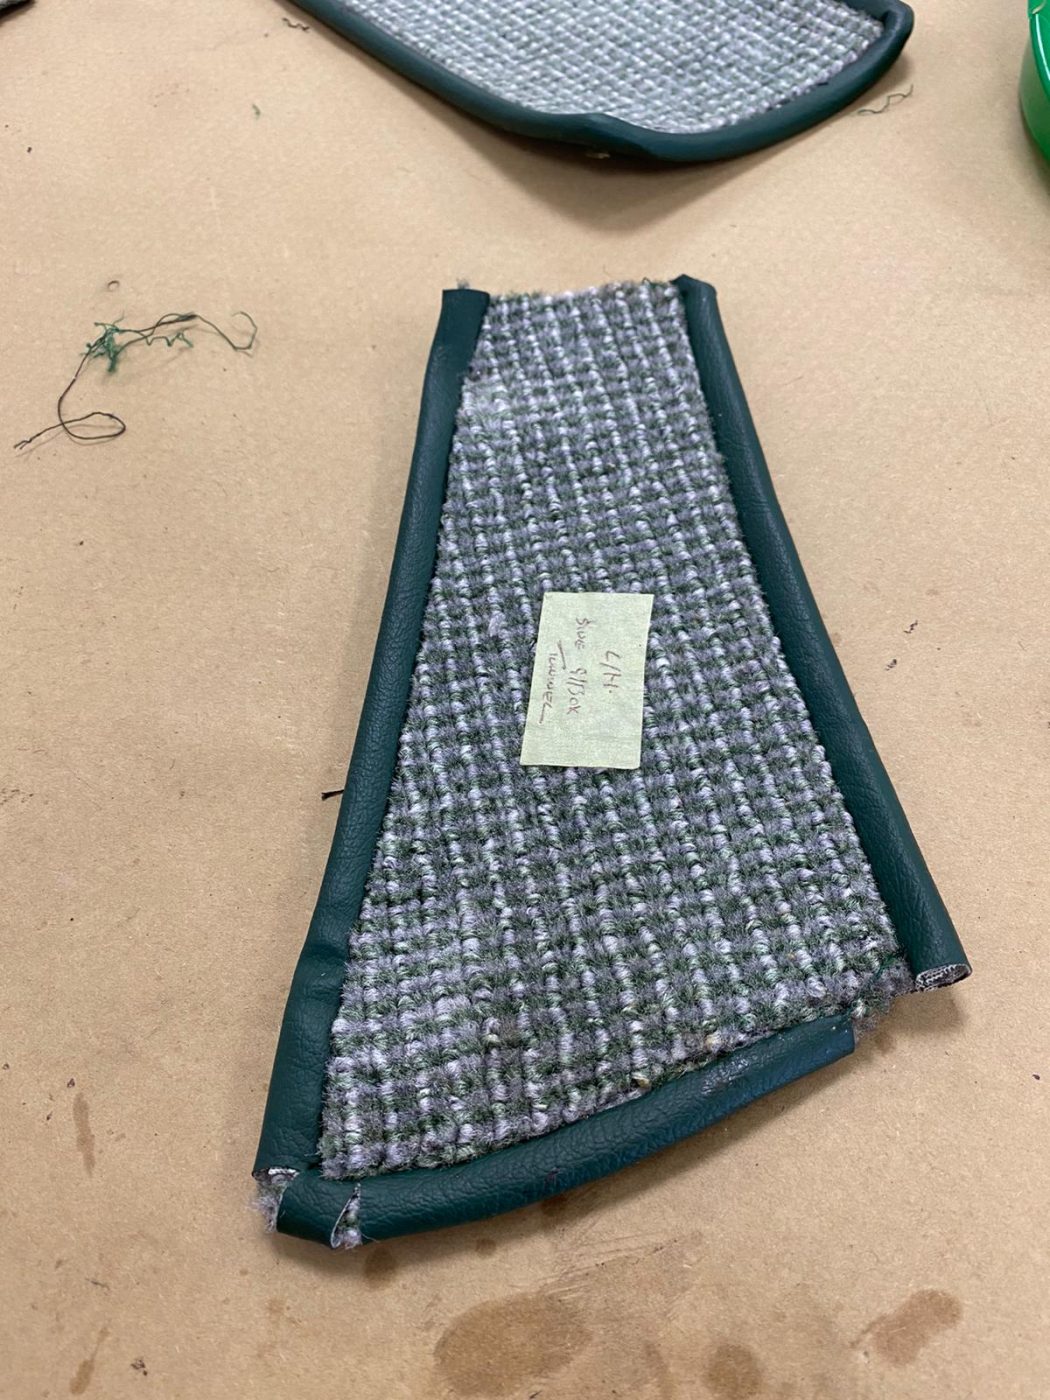
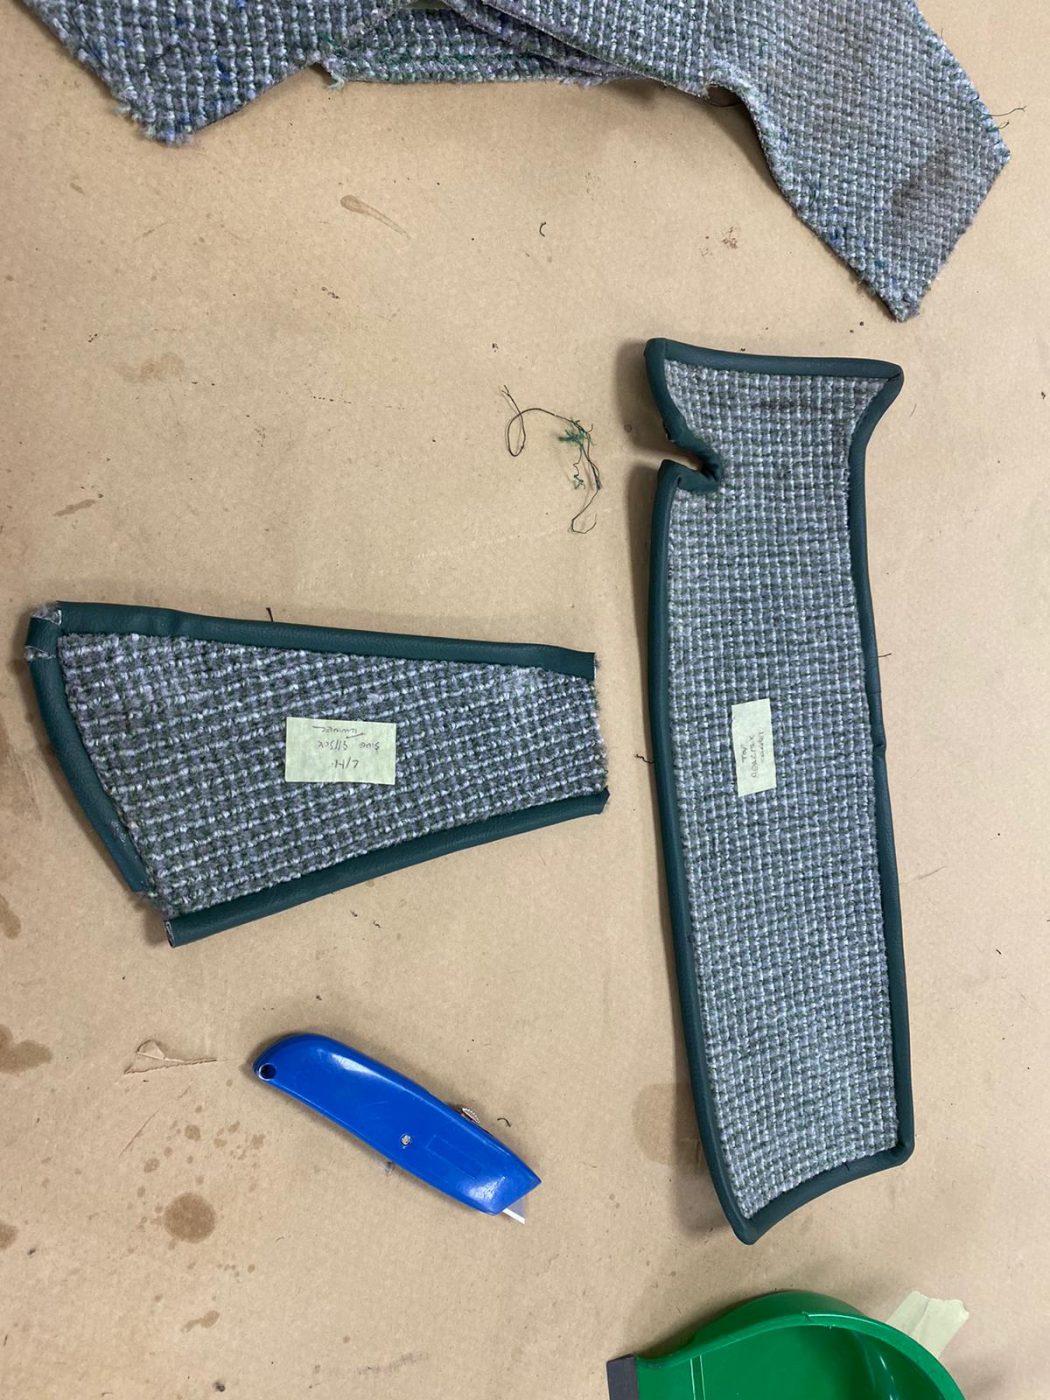
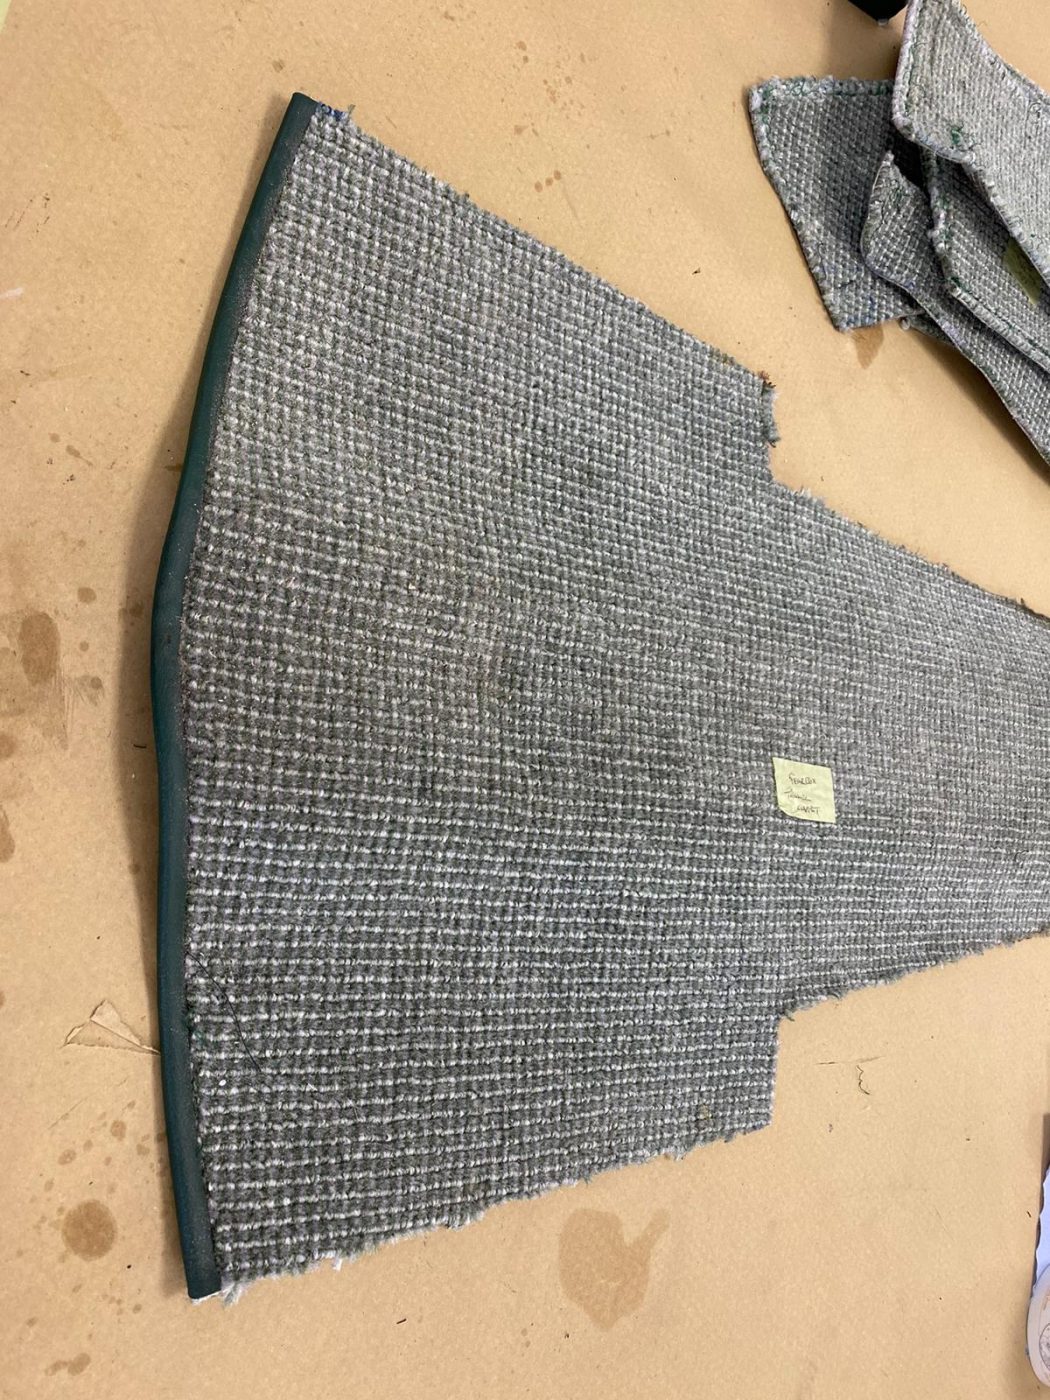
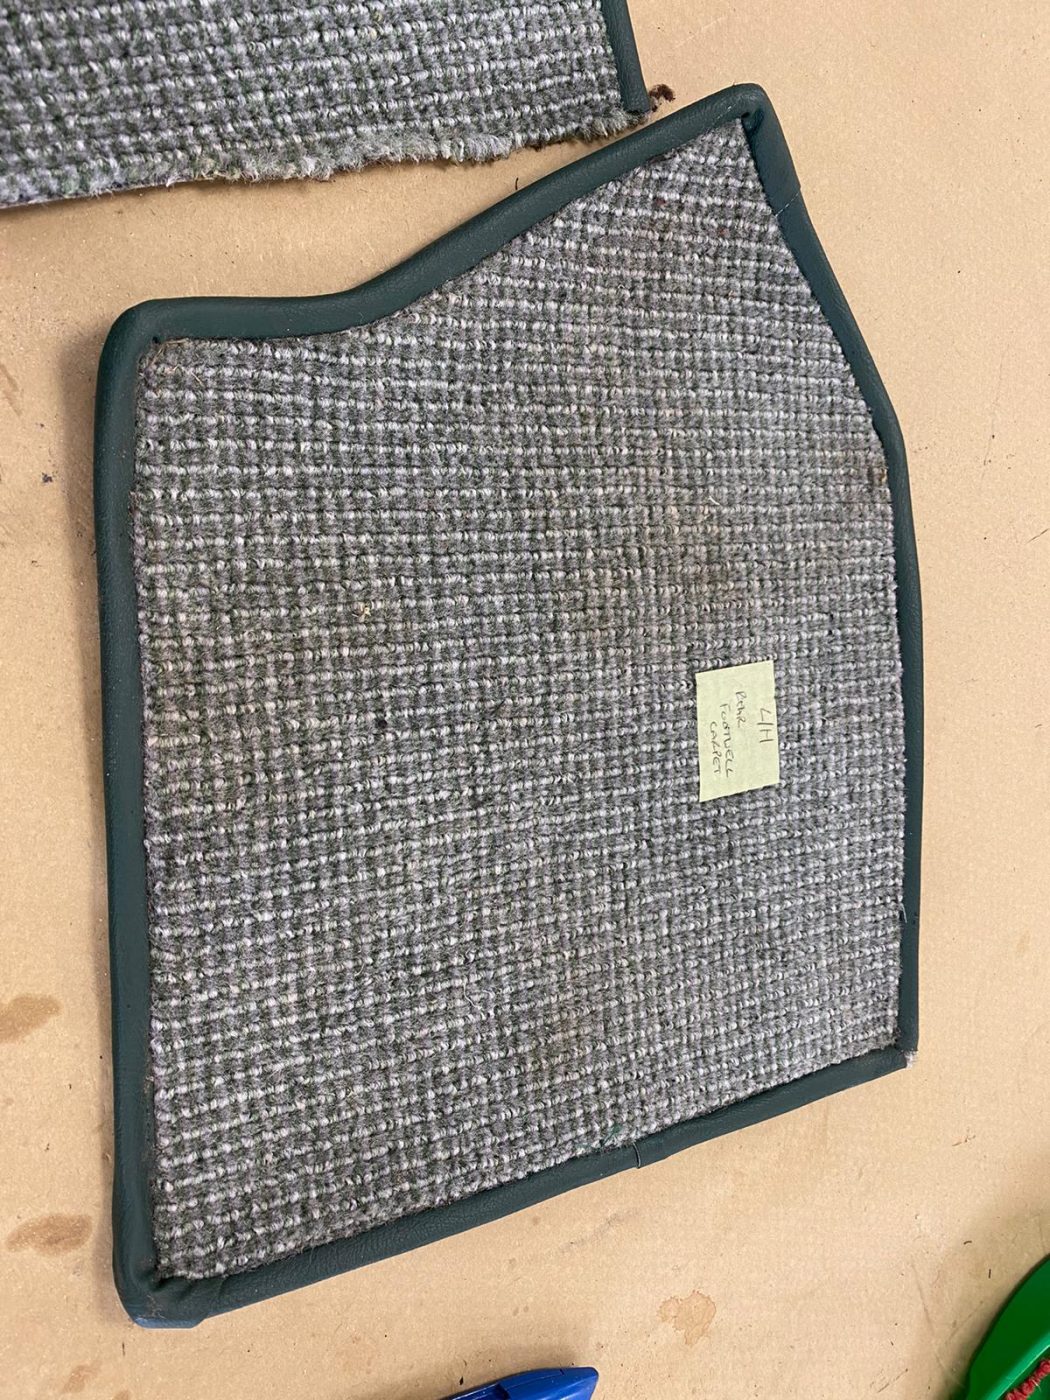
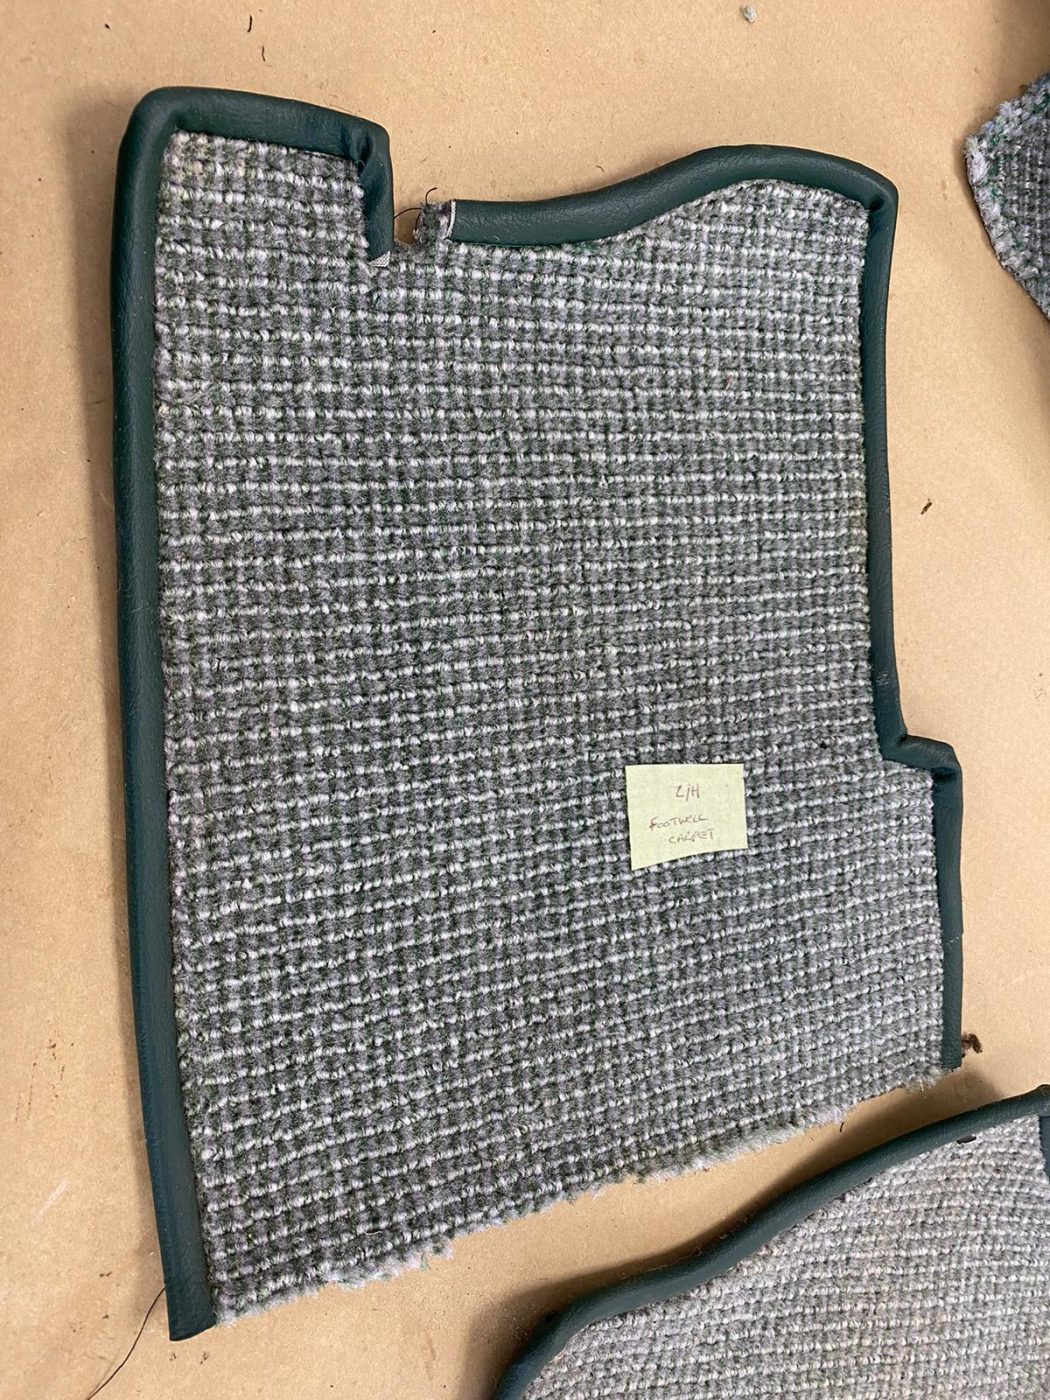
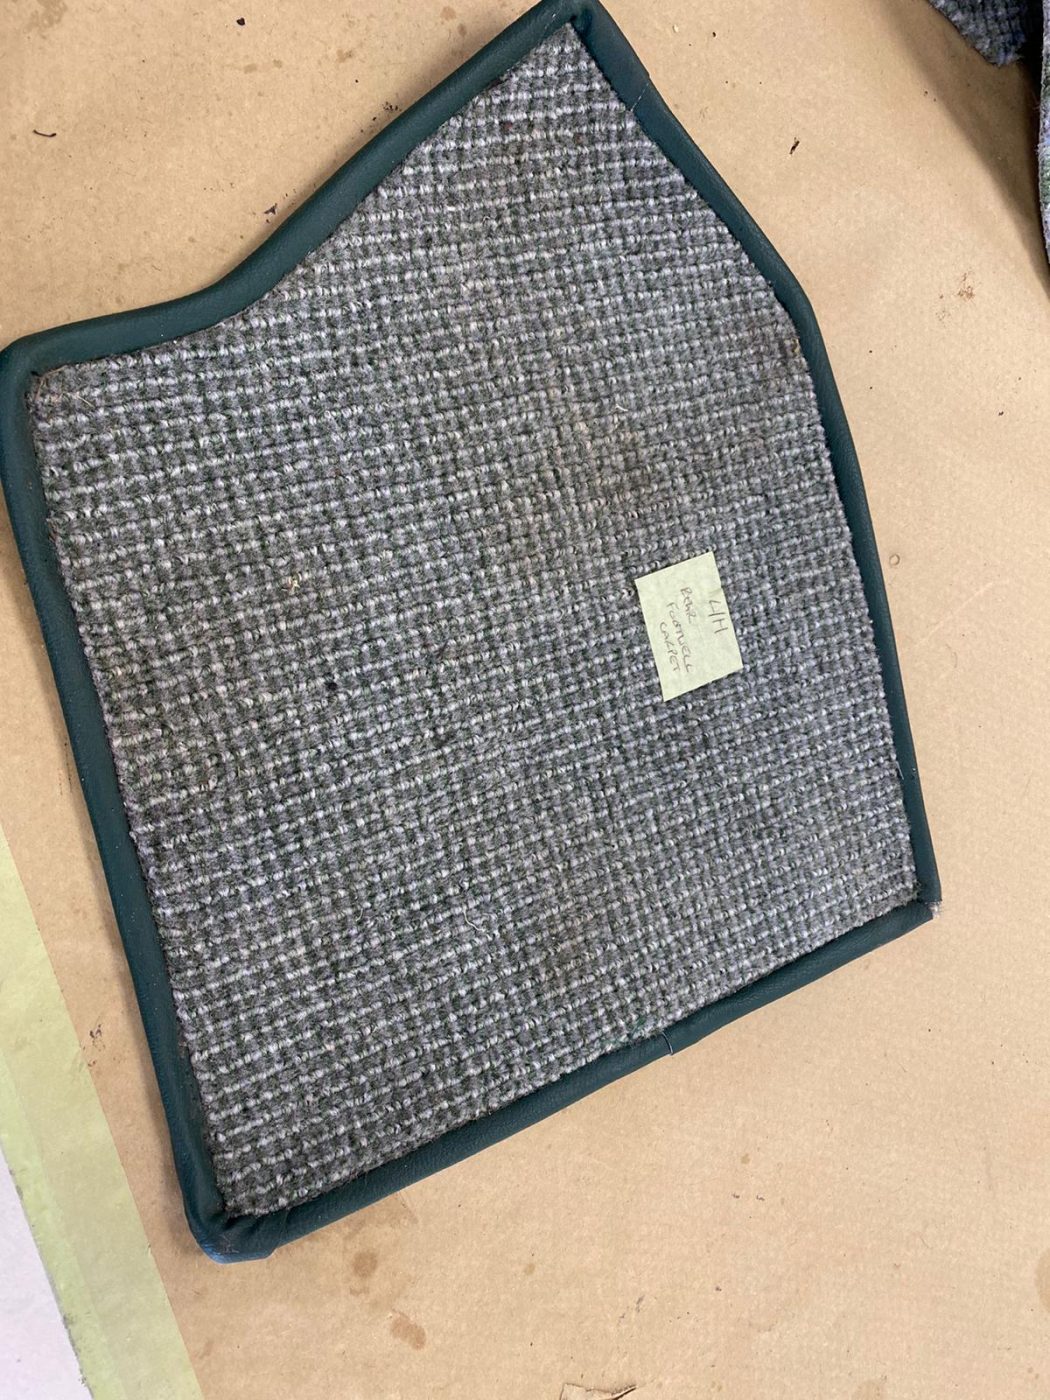
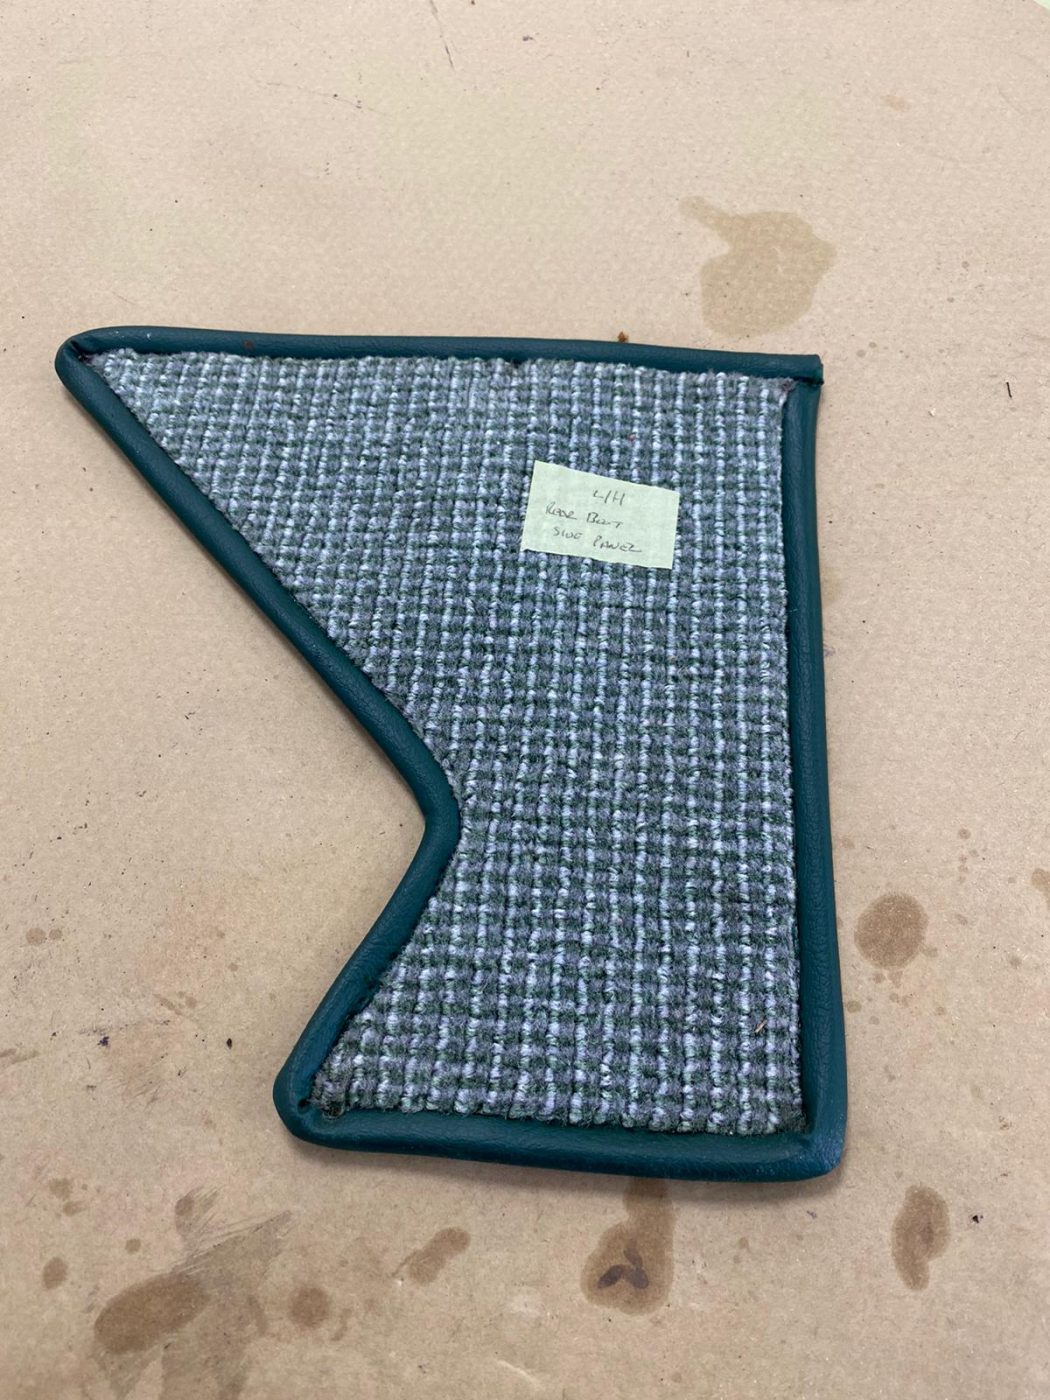
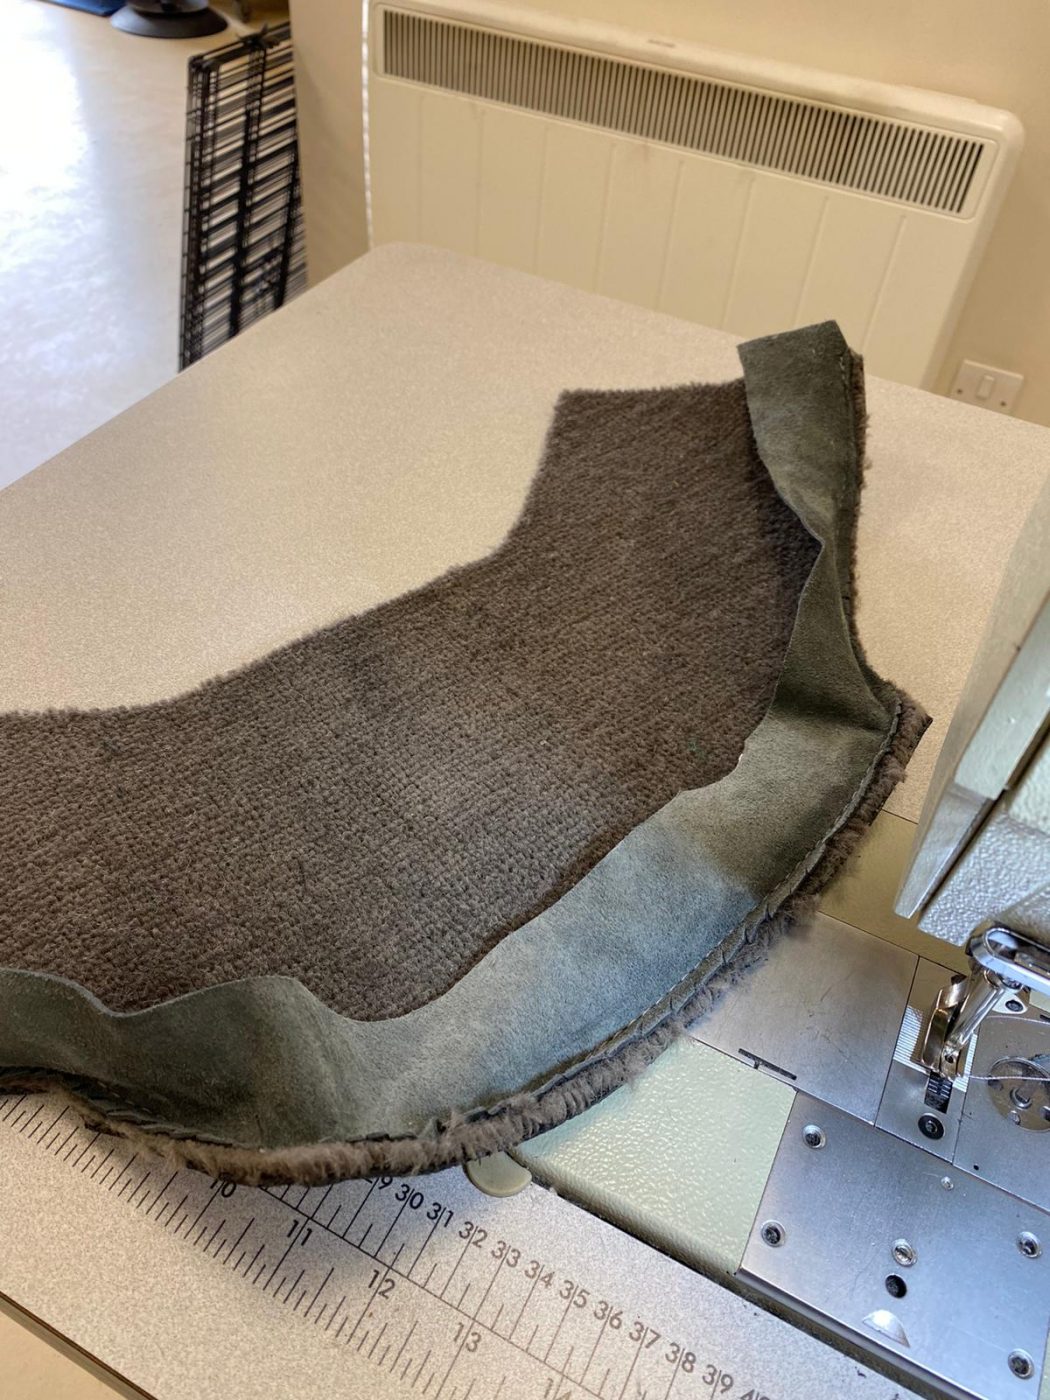
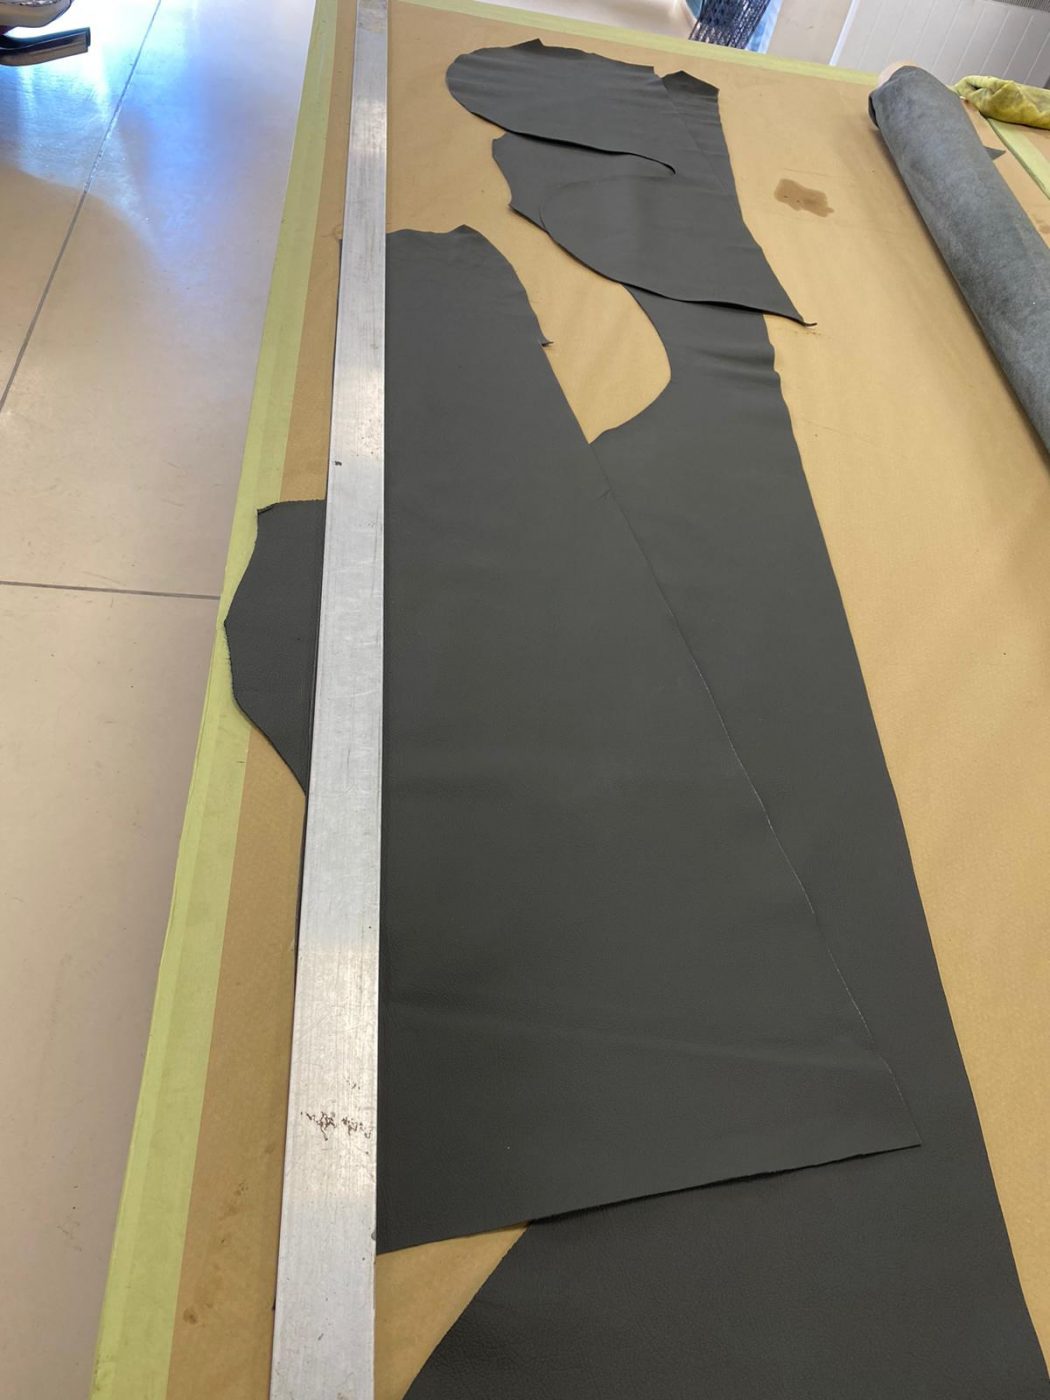
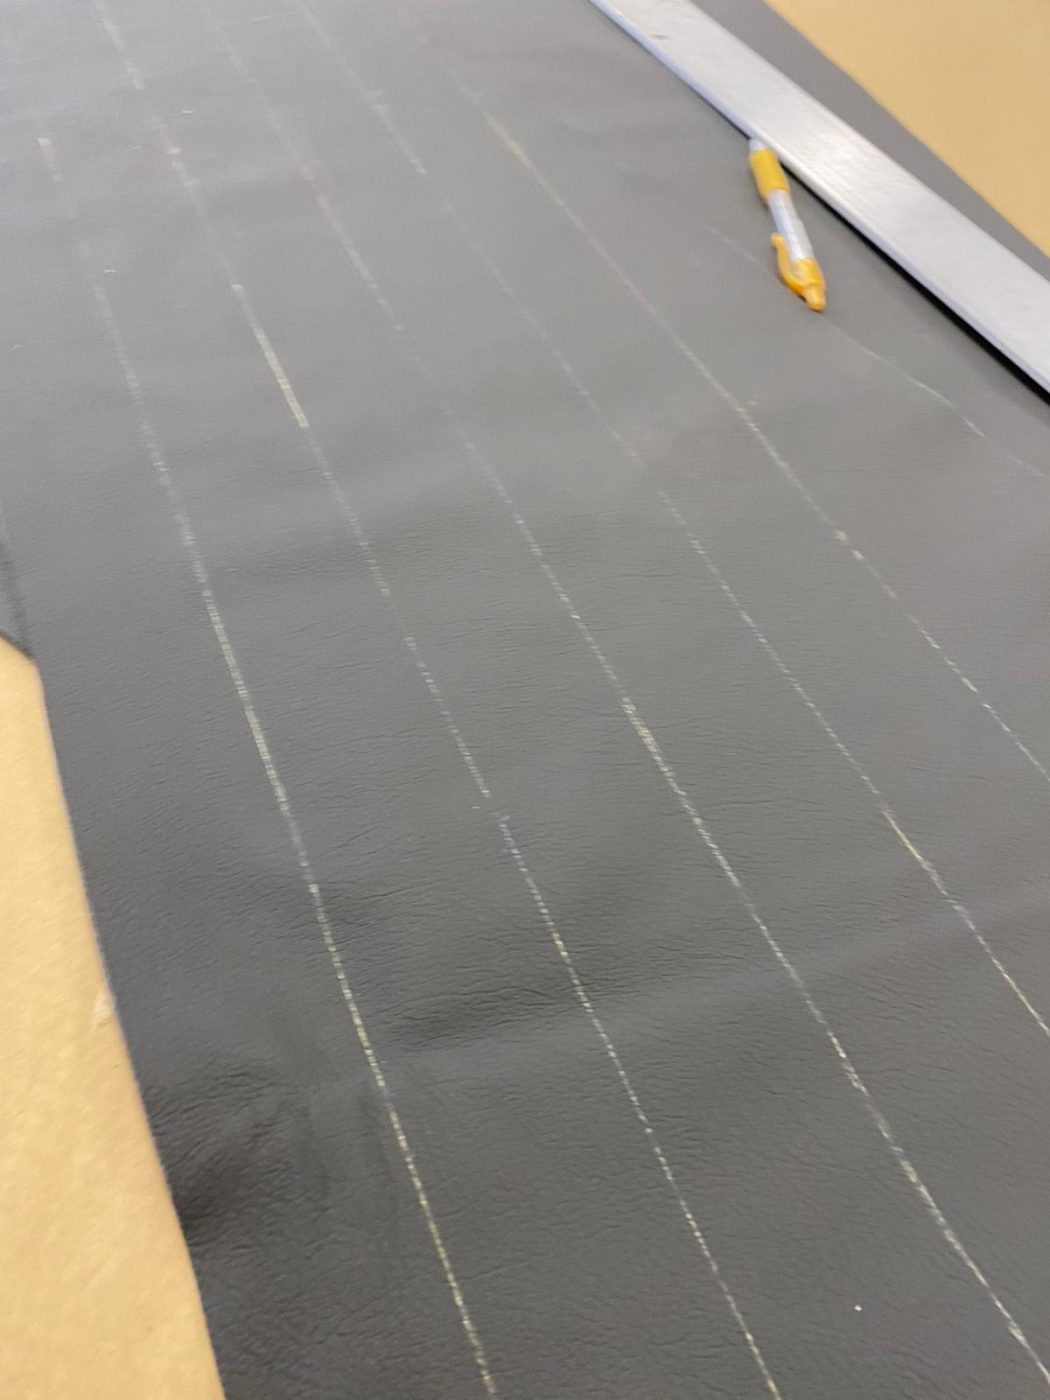
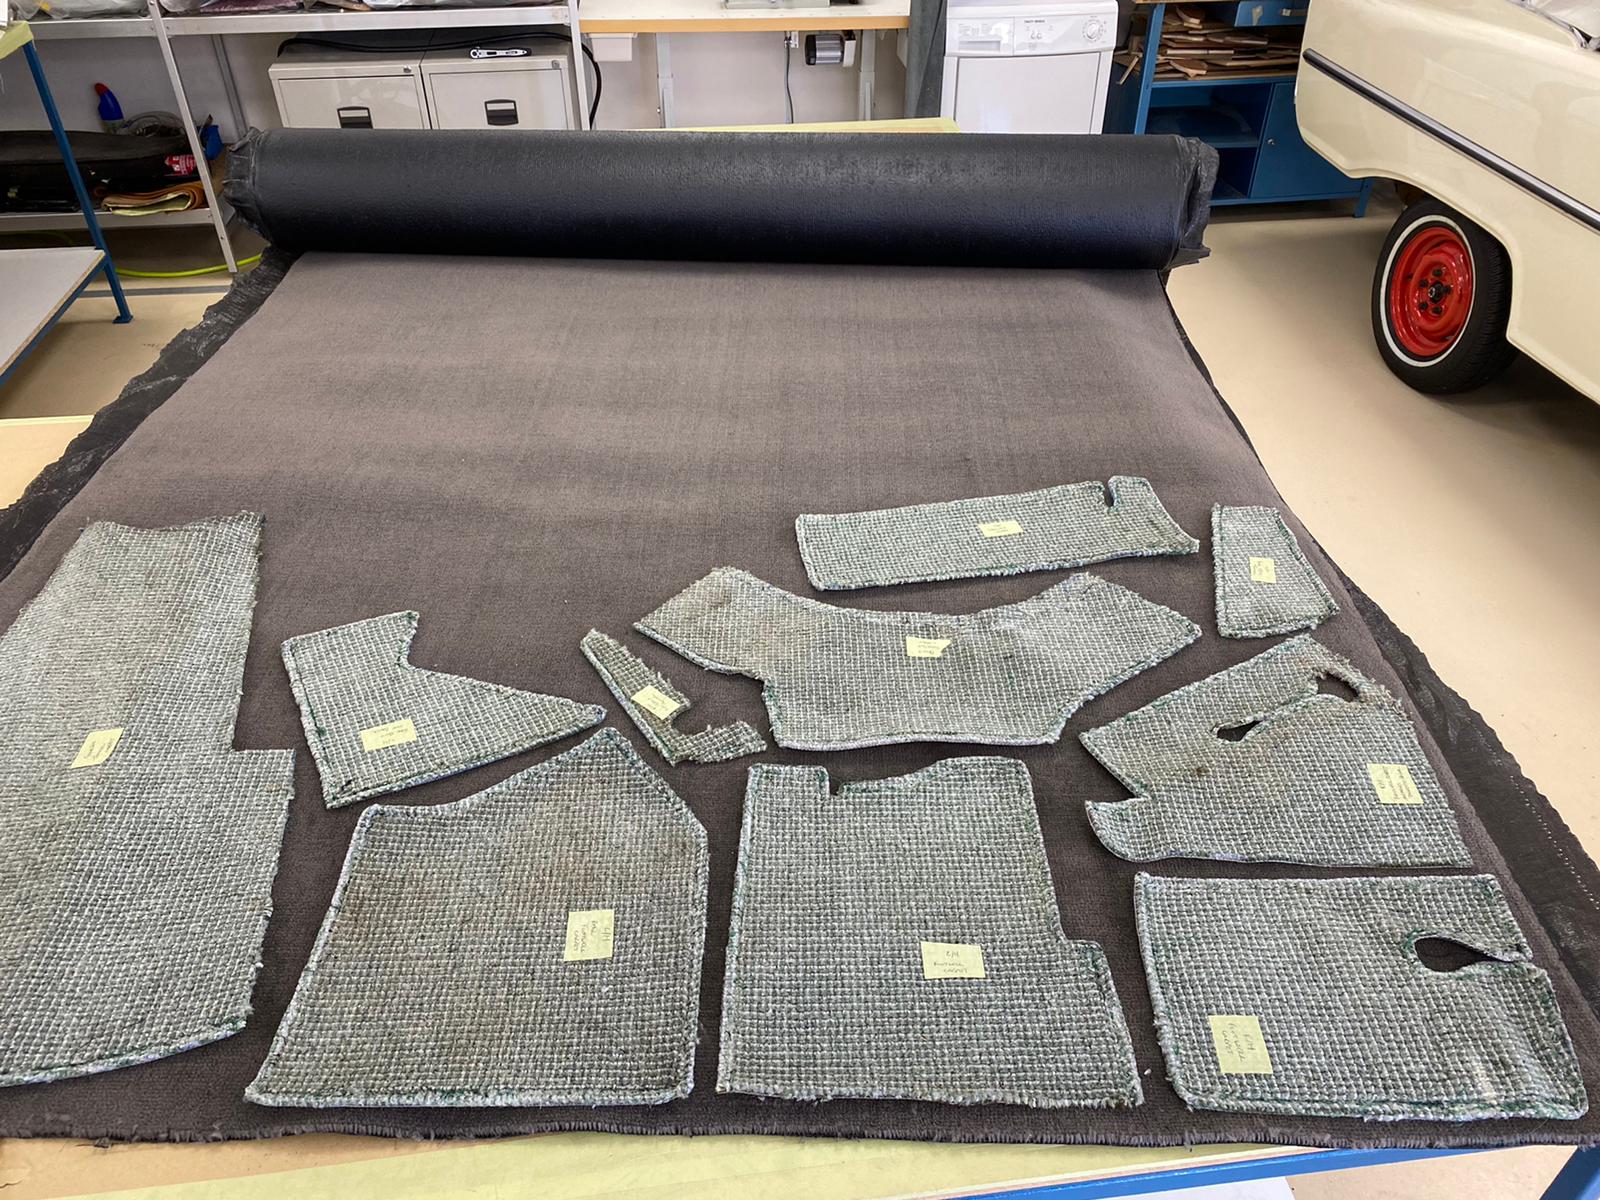
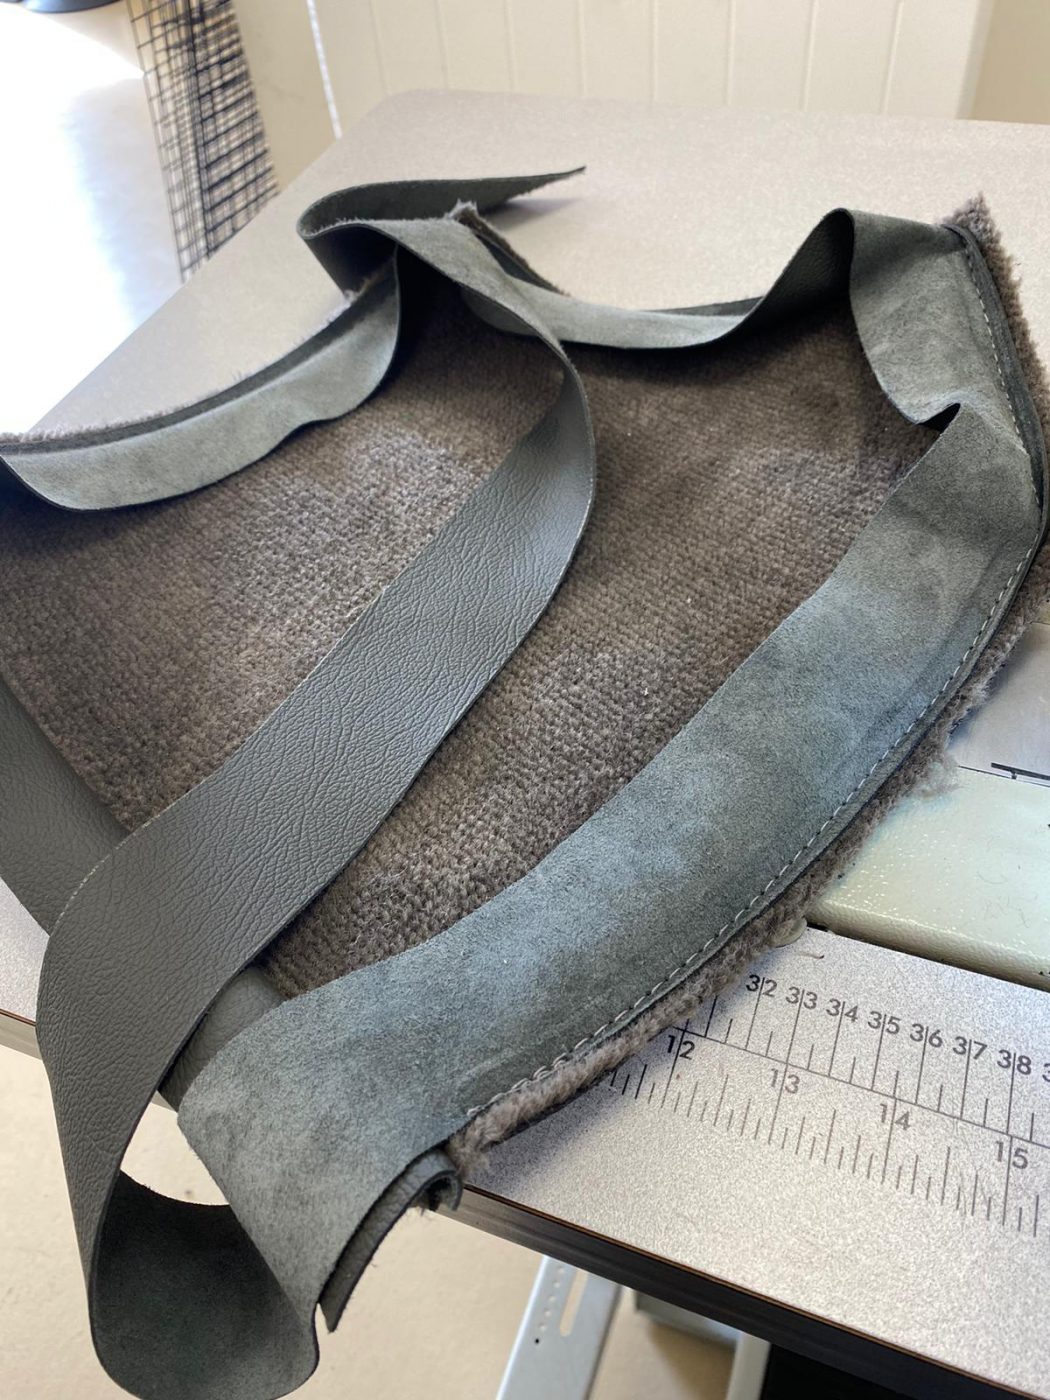
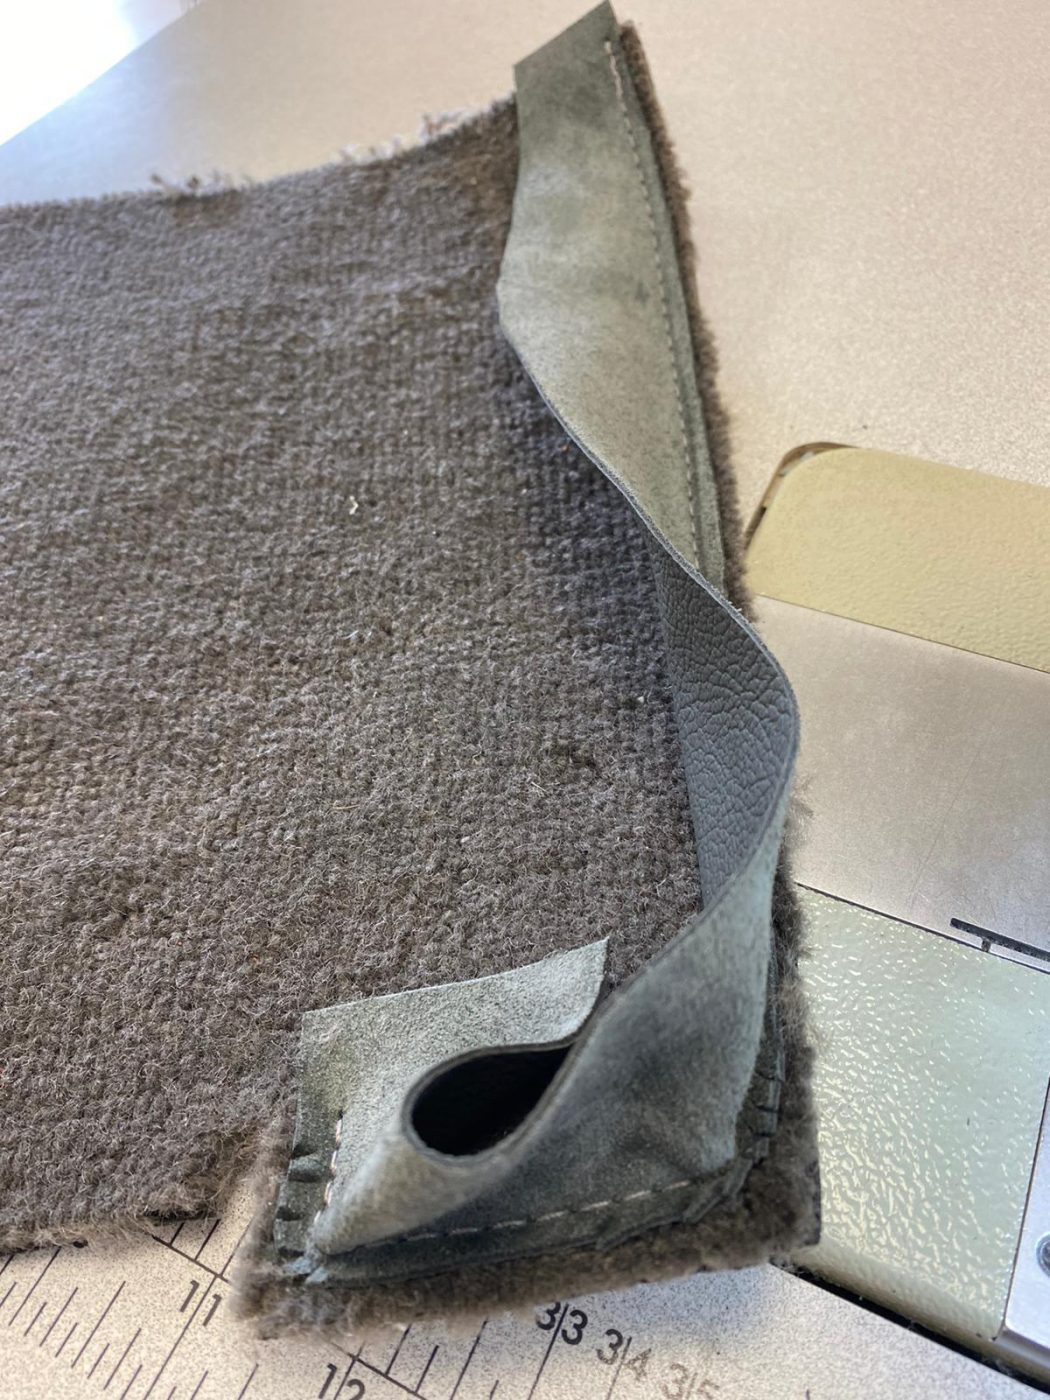
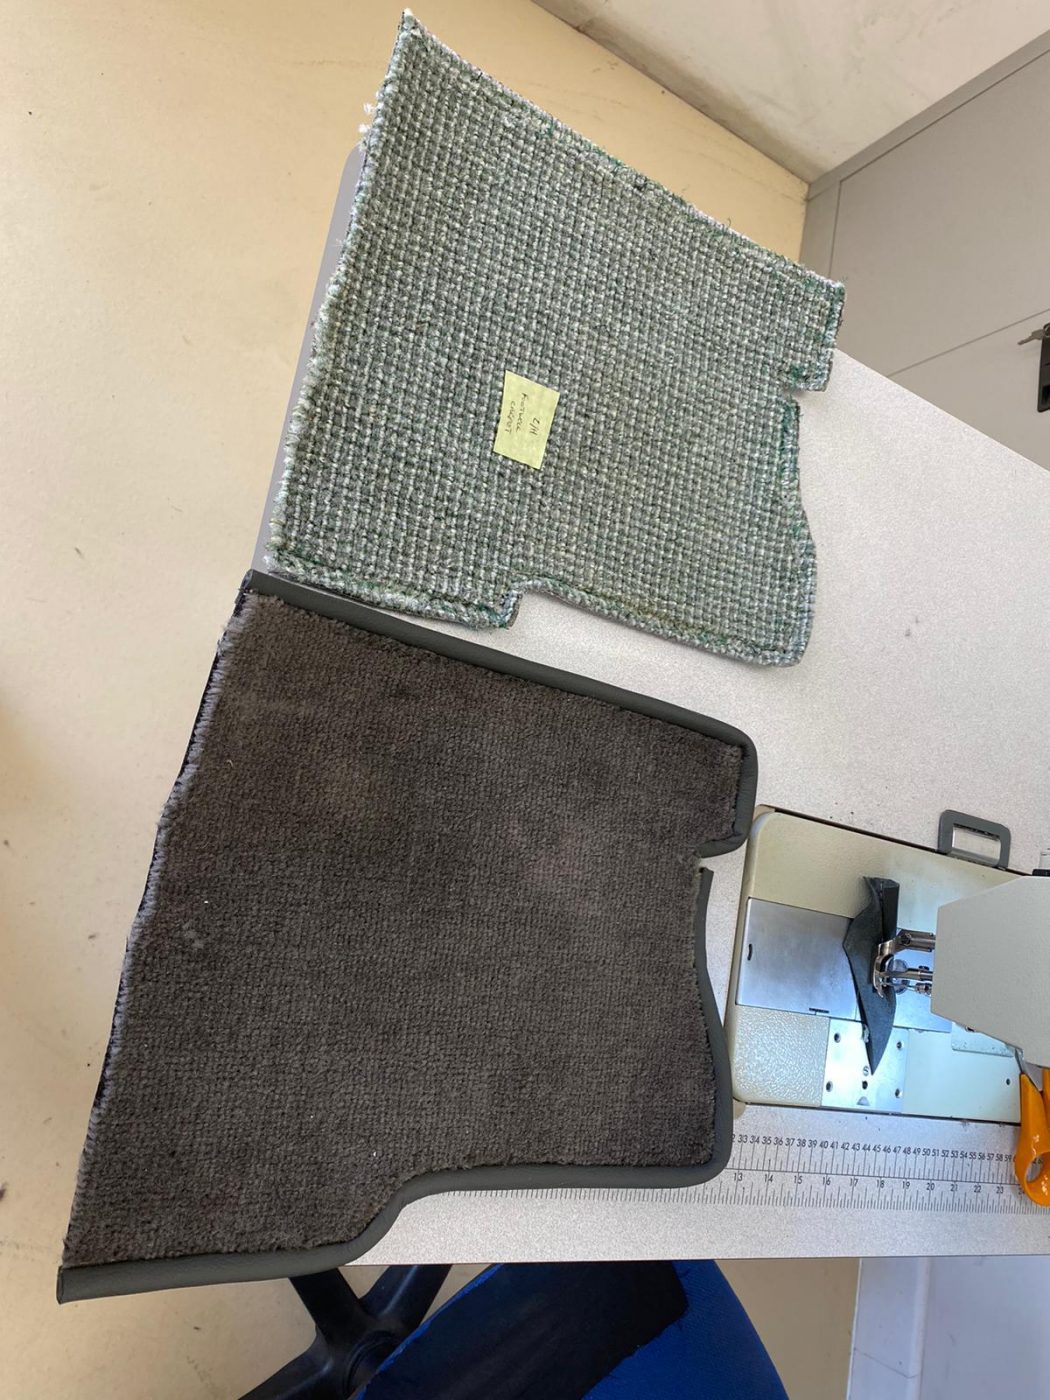
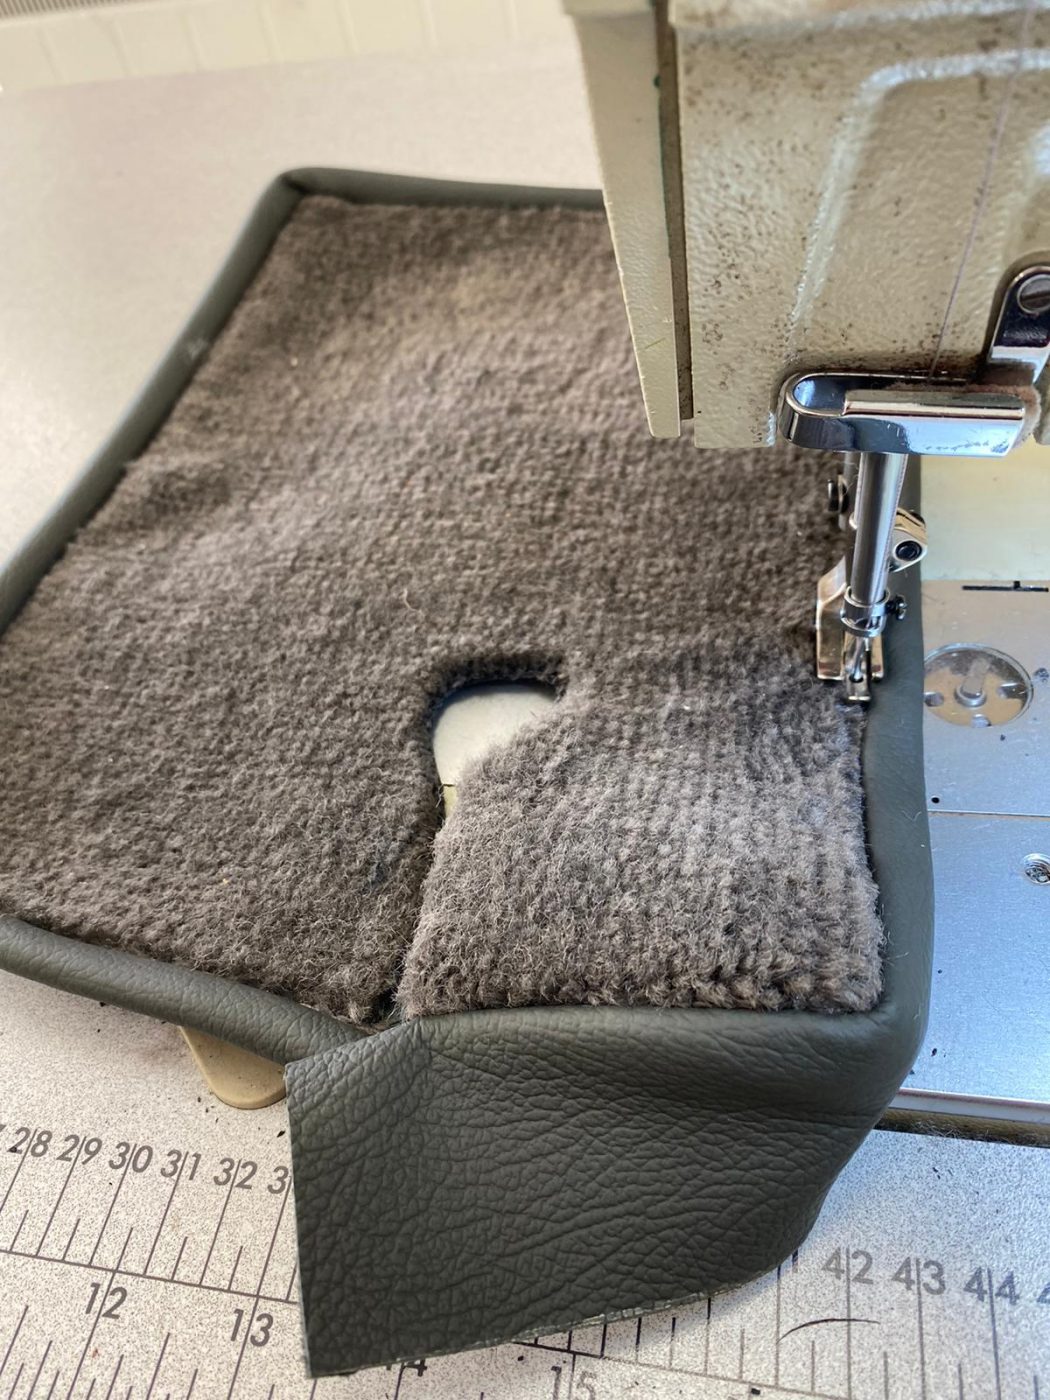
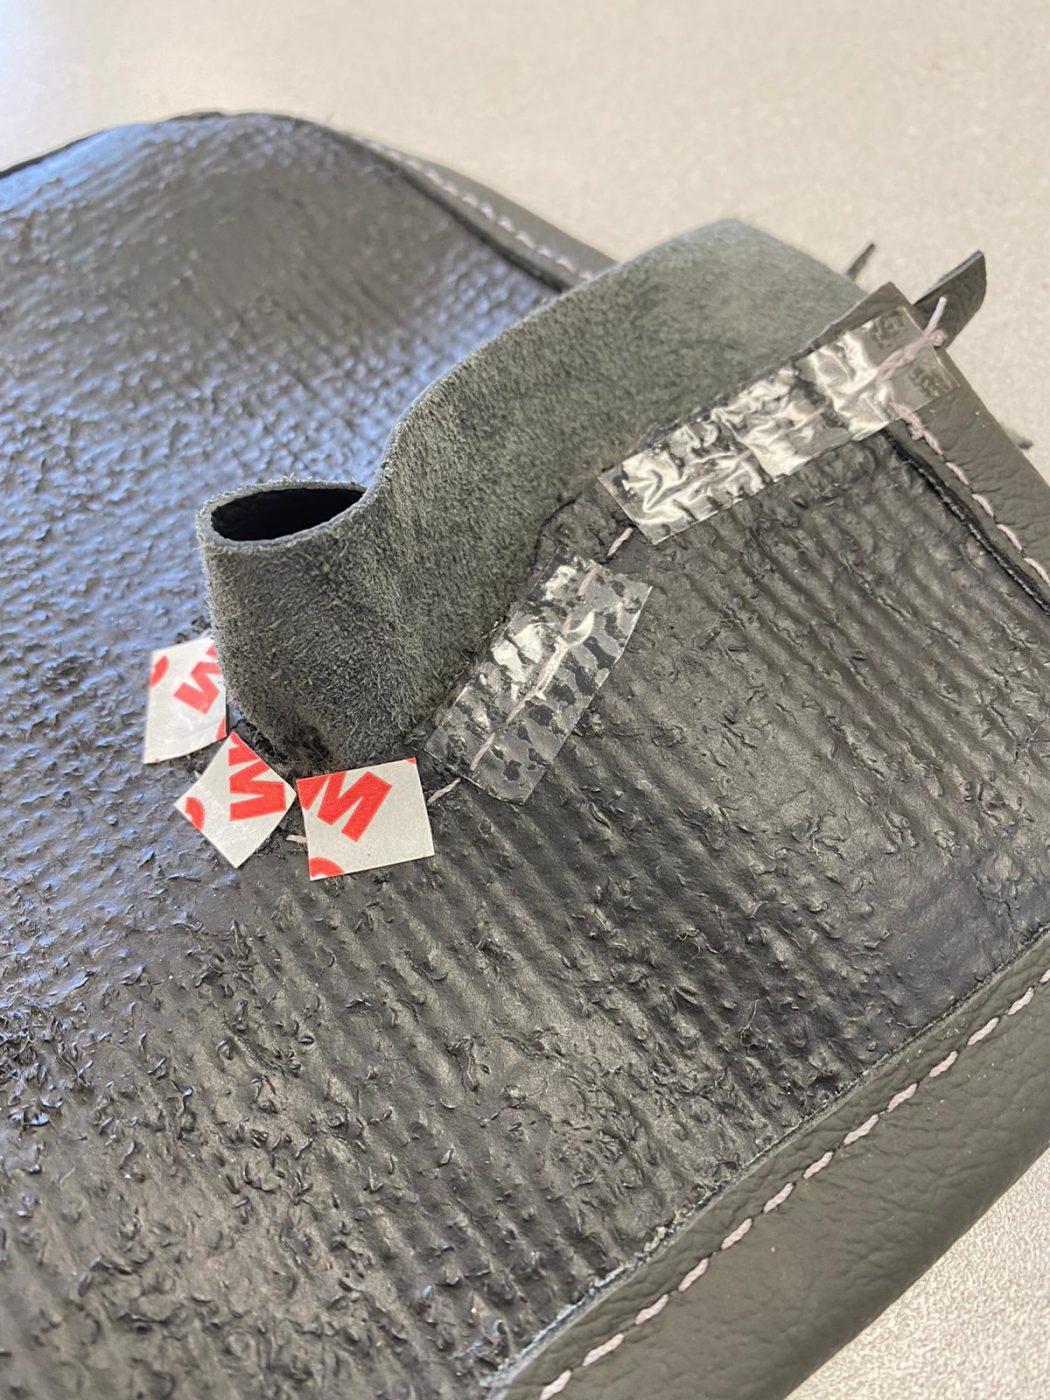
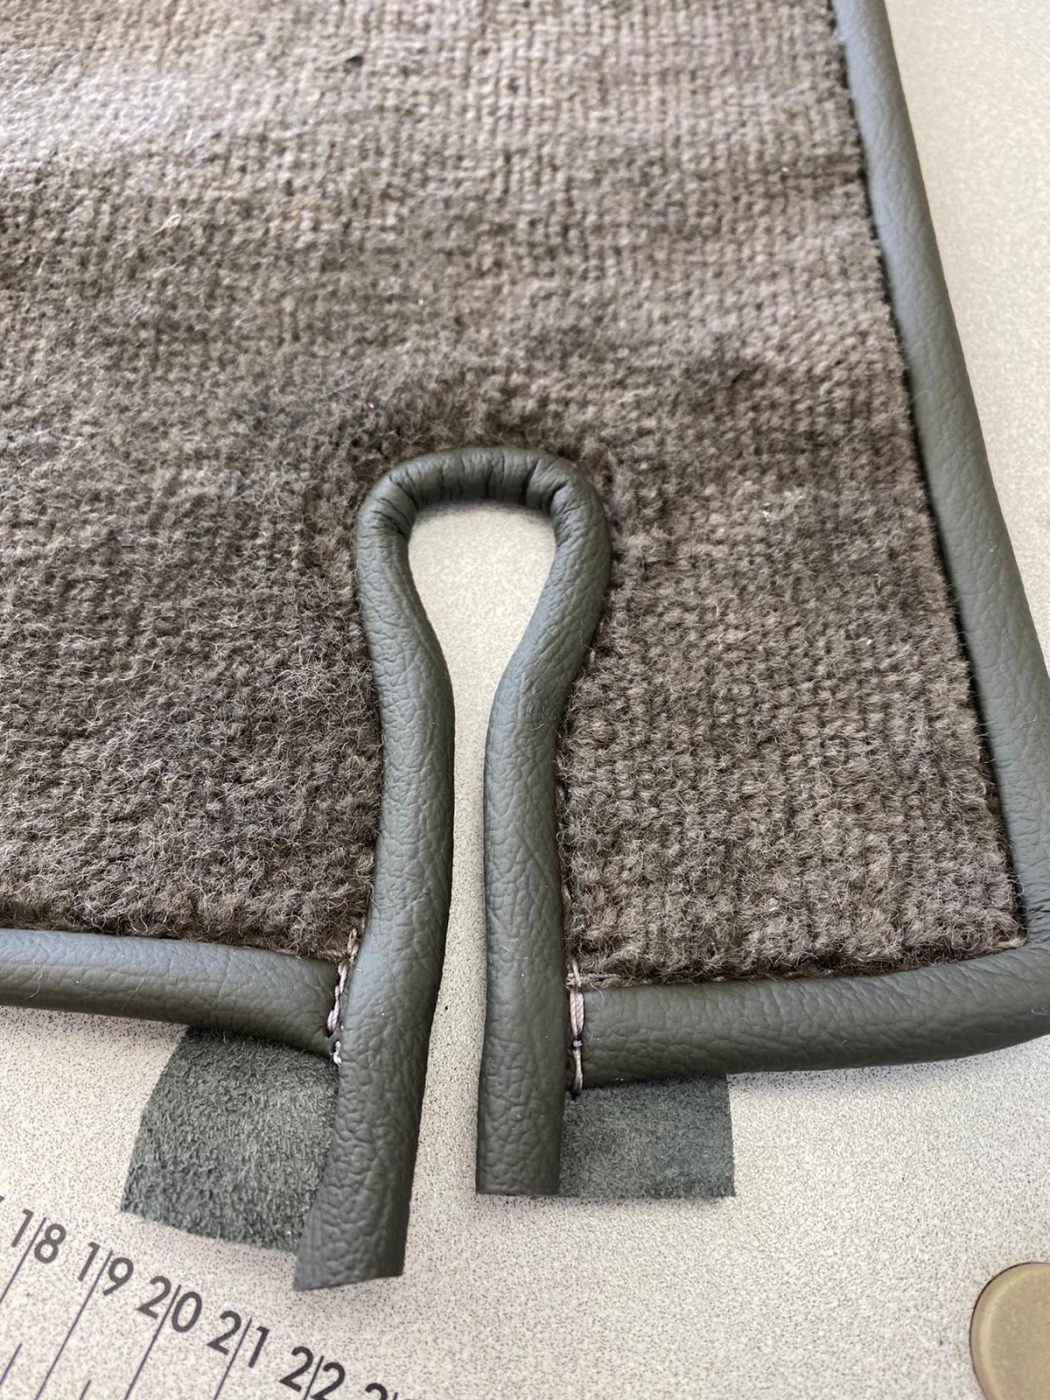
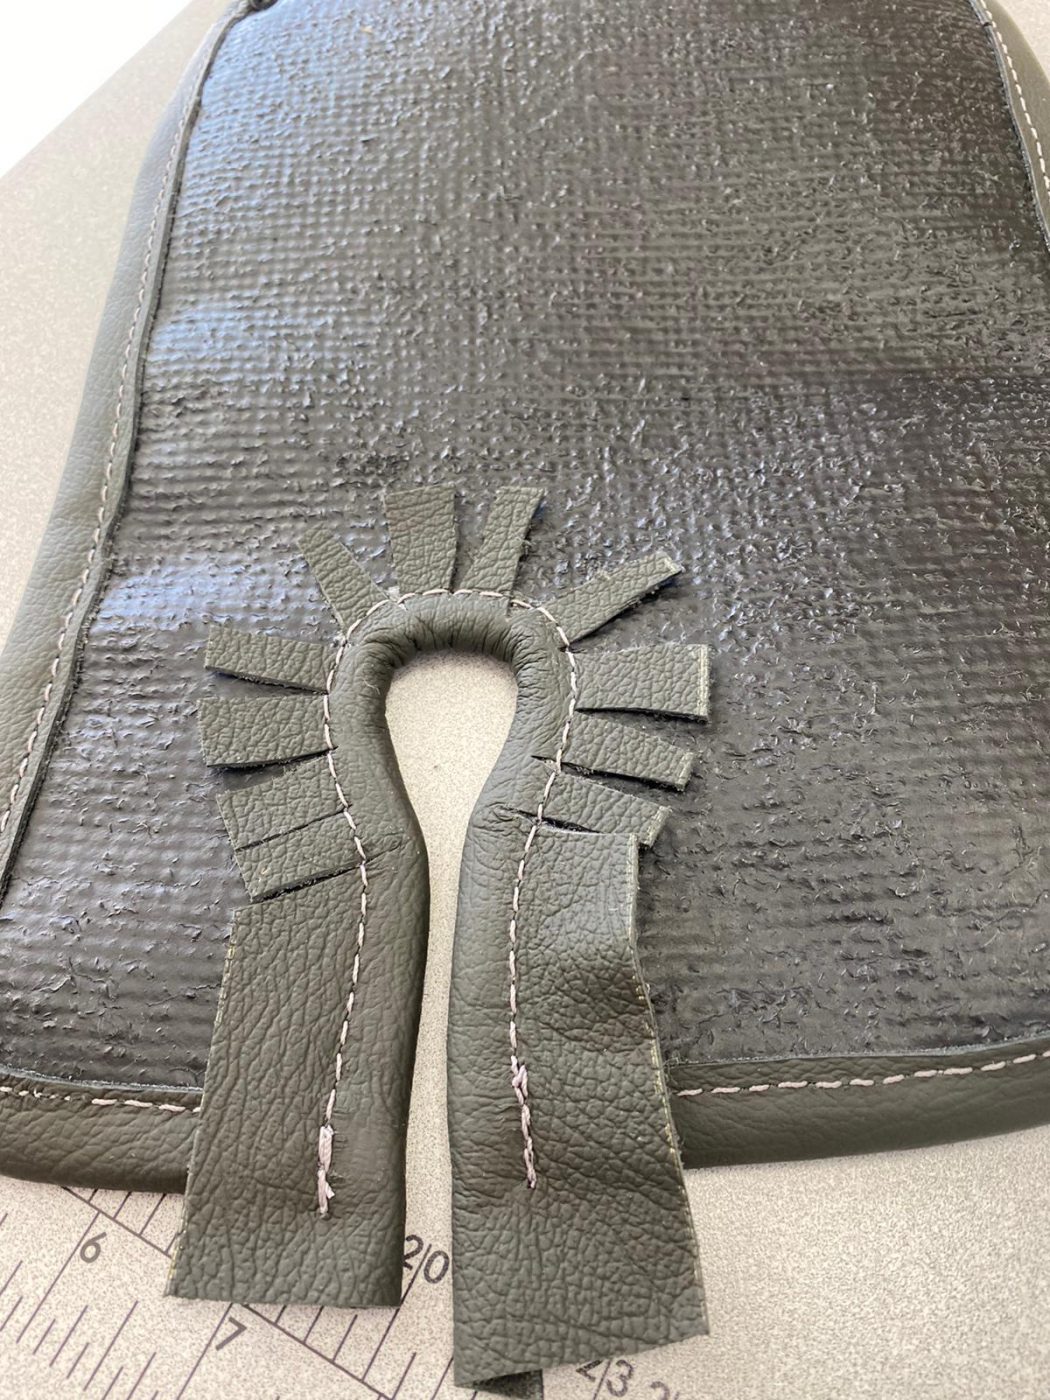
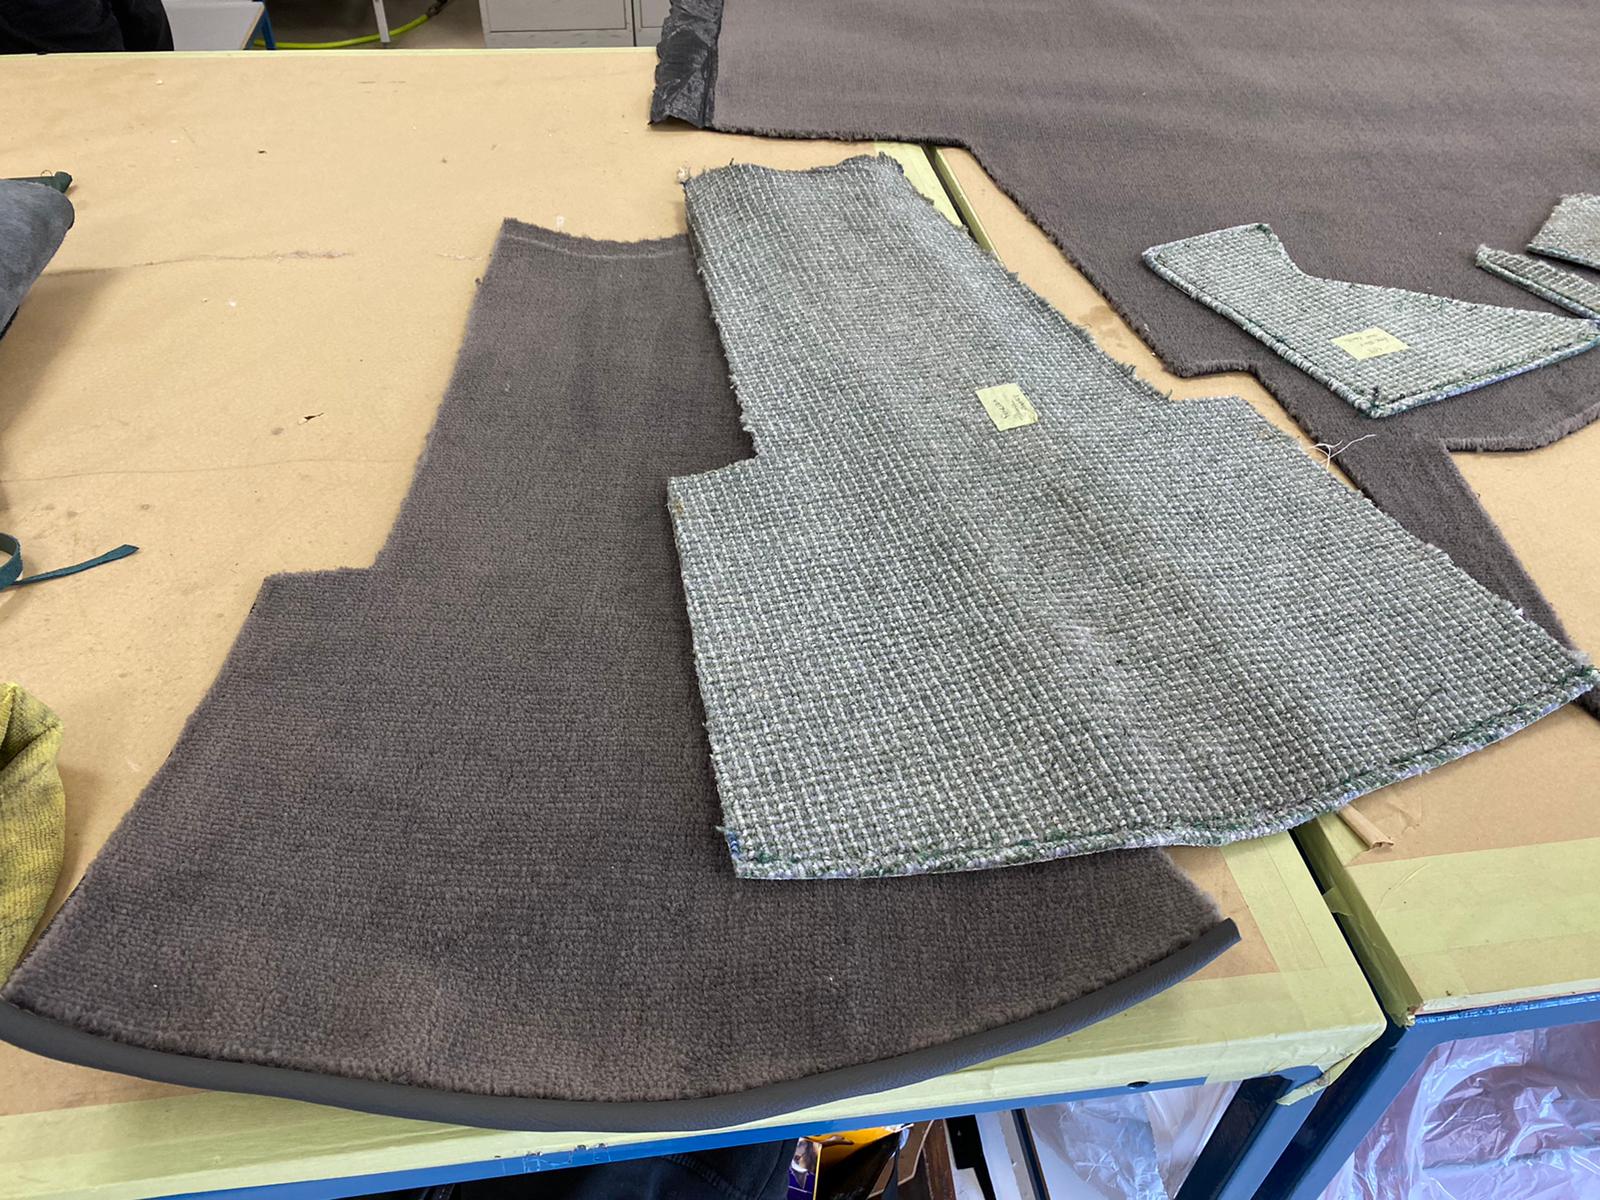
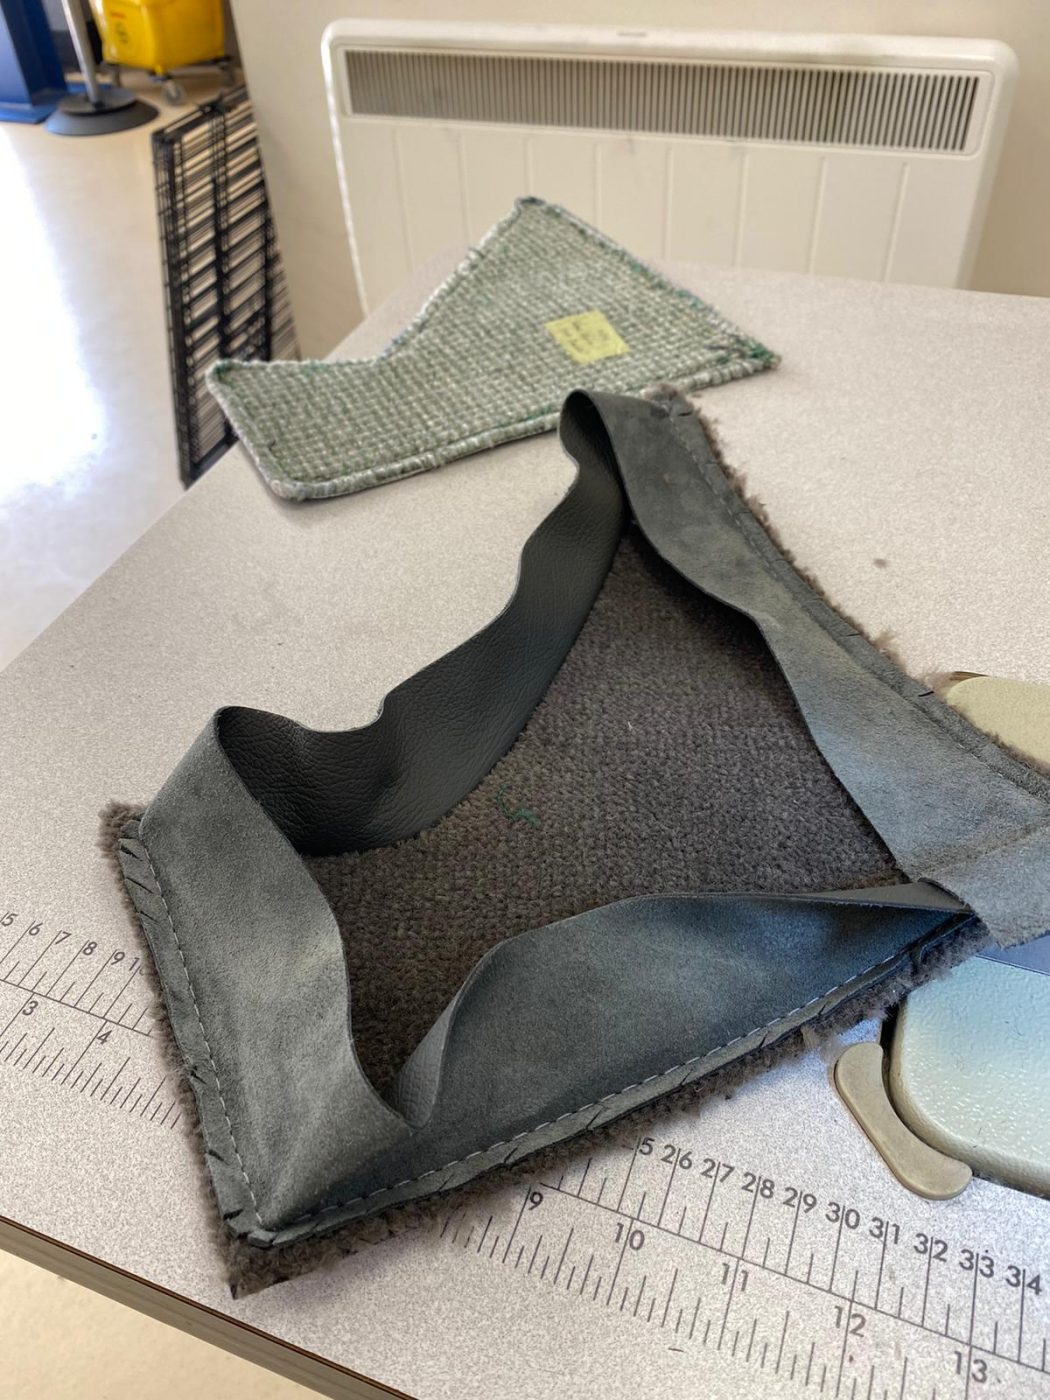
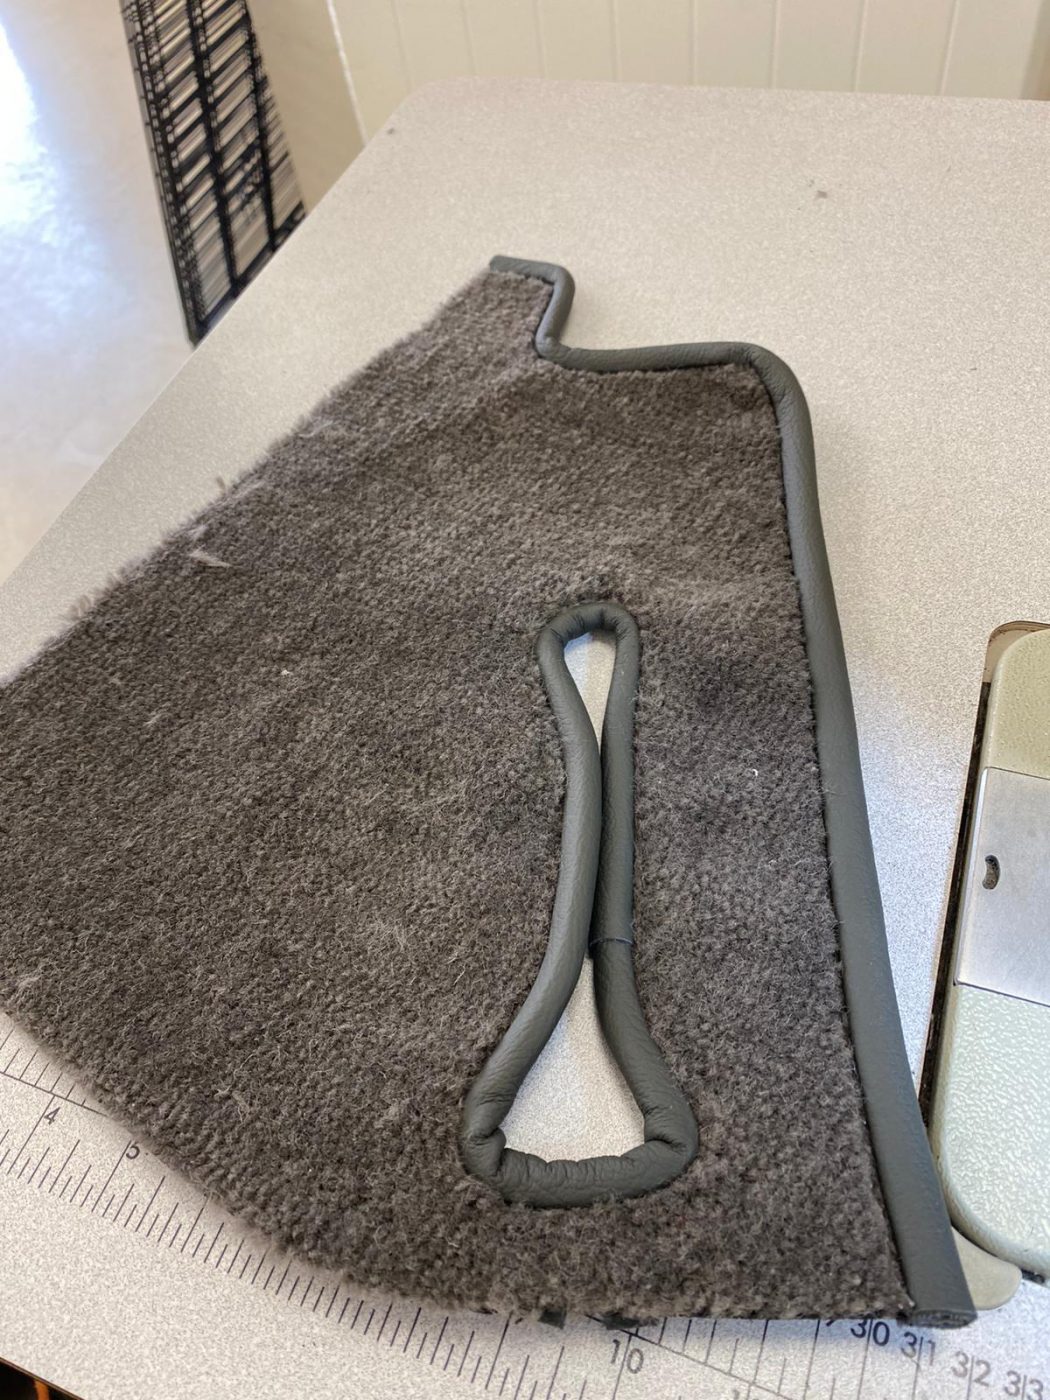
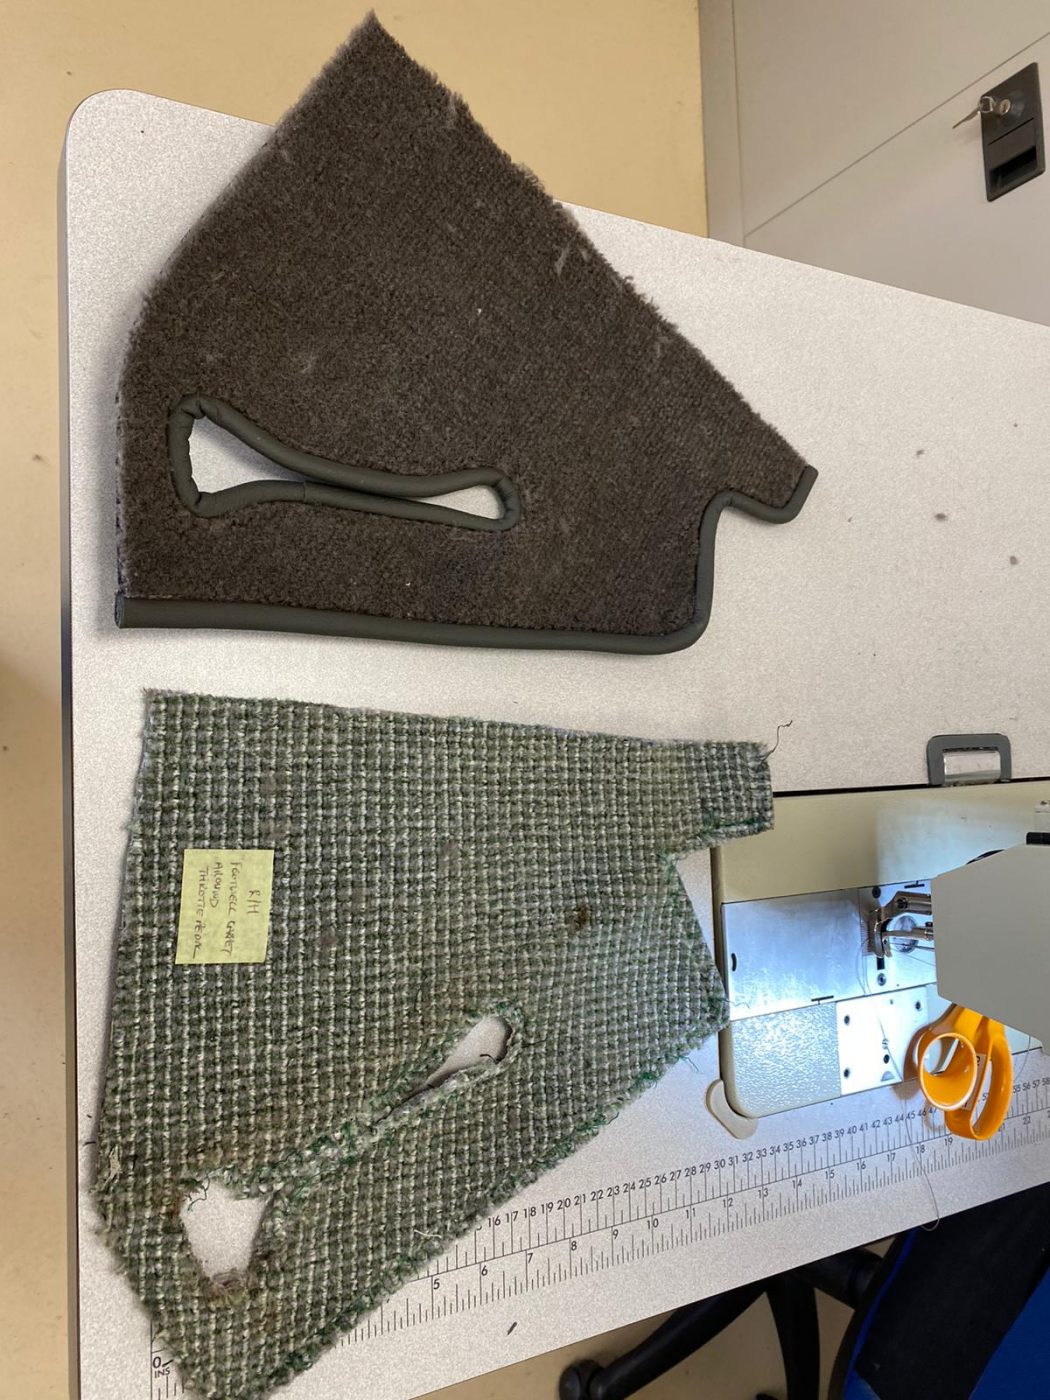
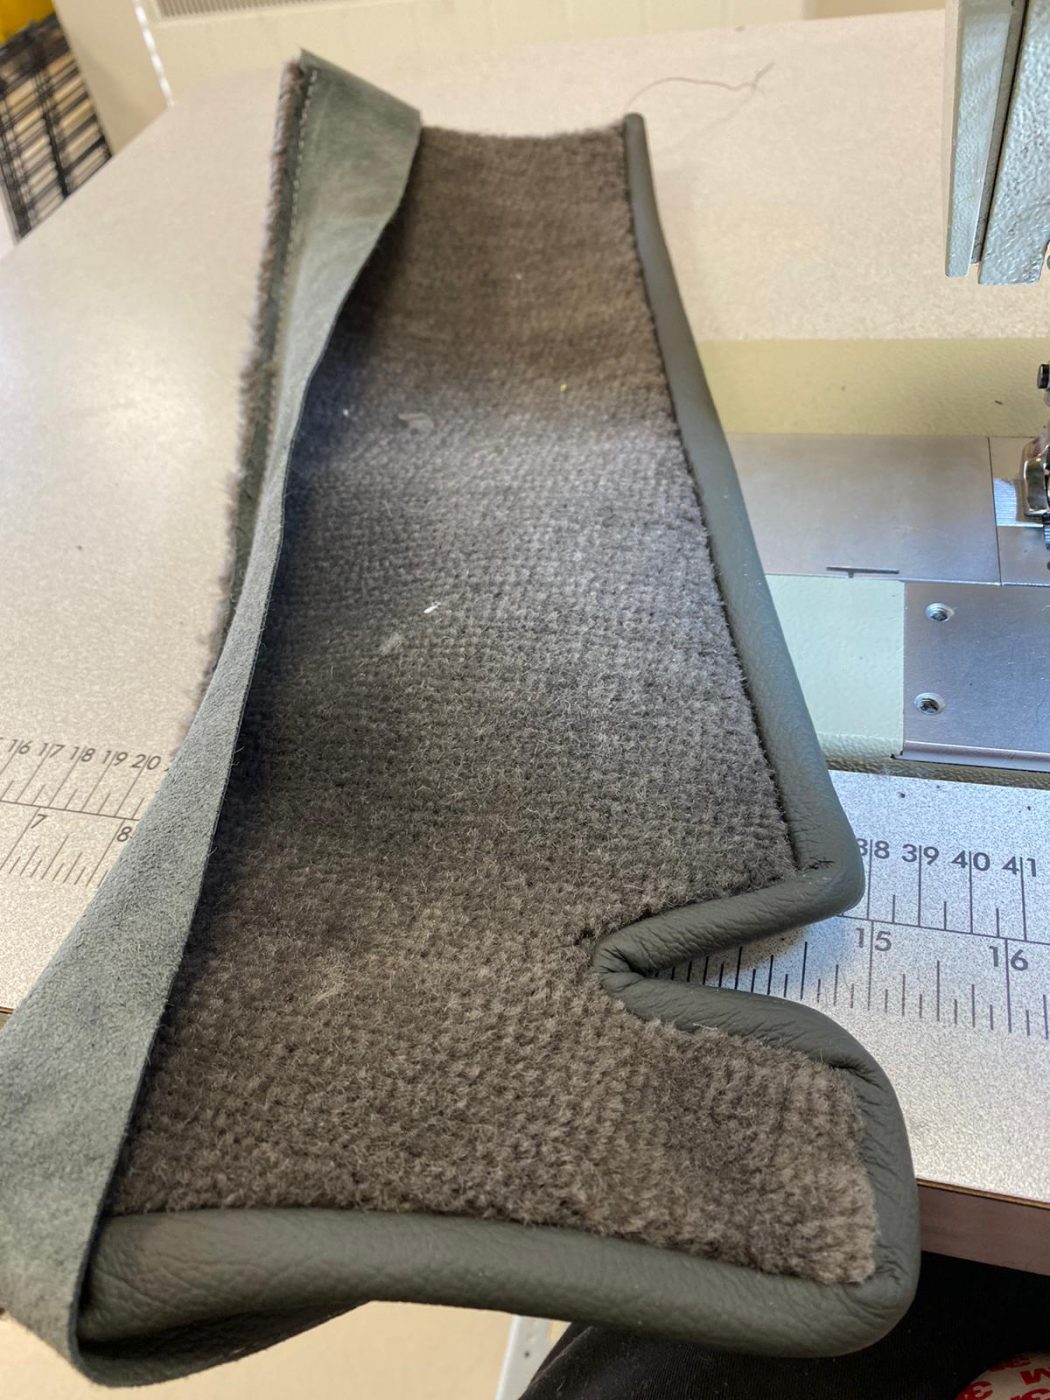
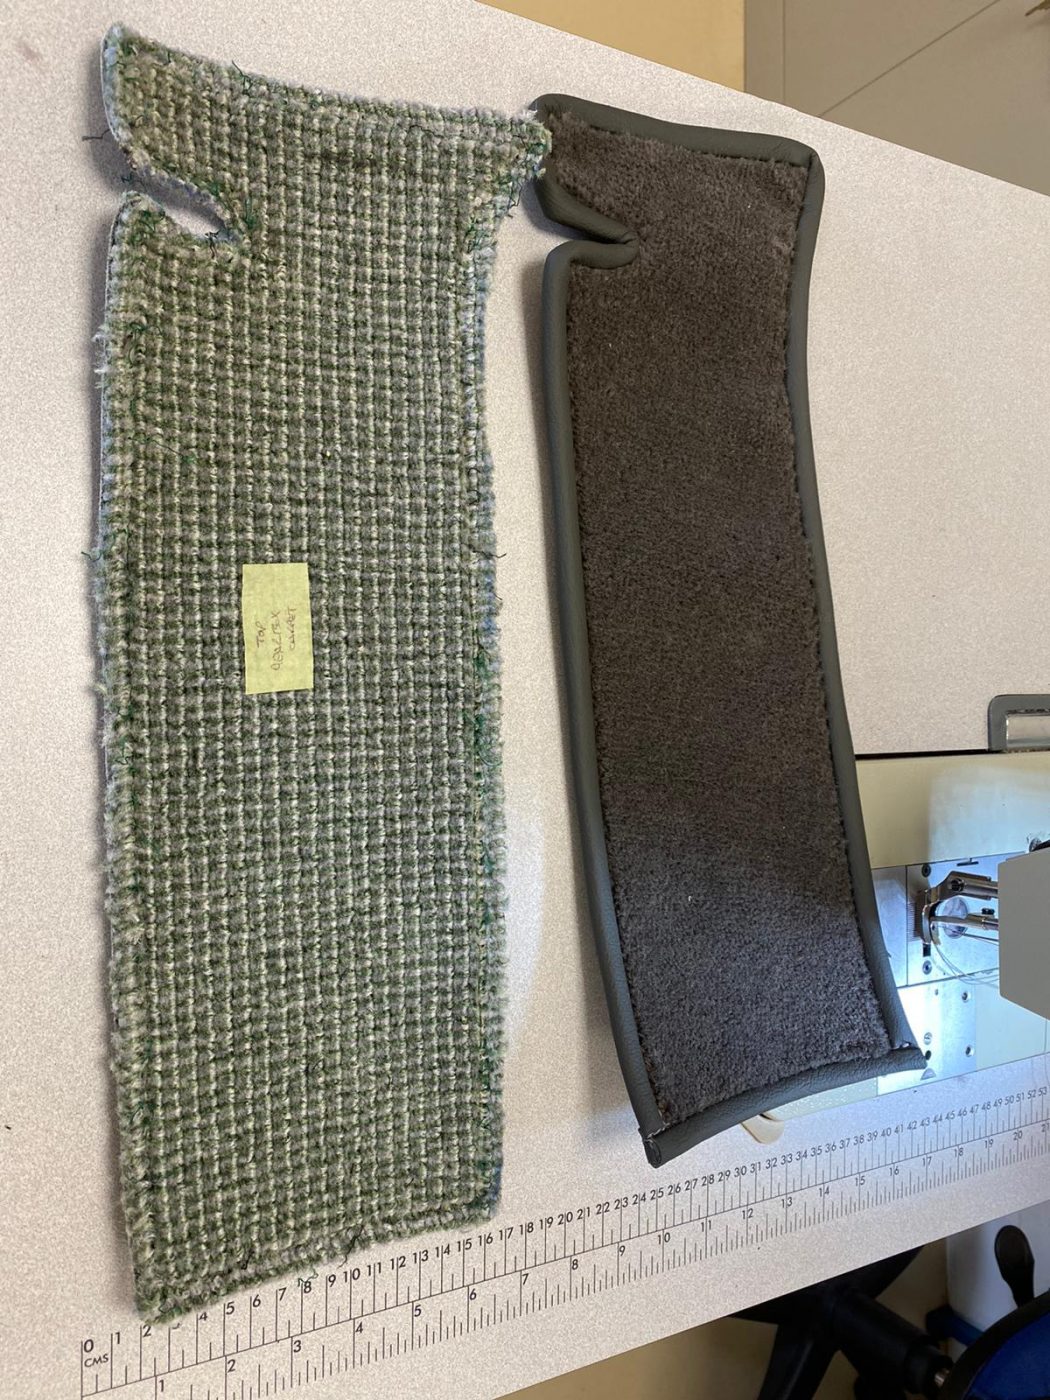
Kath has been starting on the carpet for the 1955 Aston Martin DB 2/4 this week.
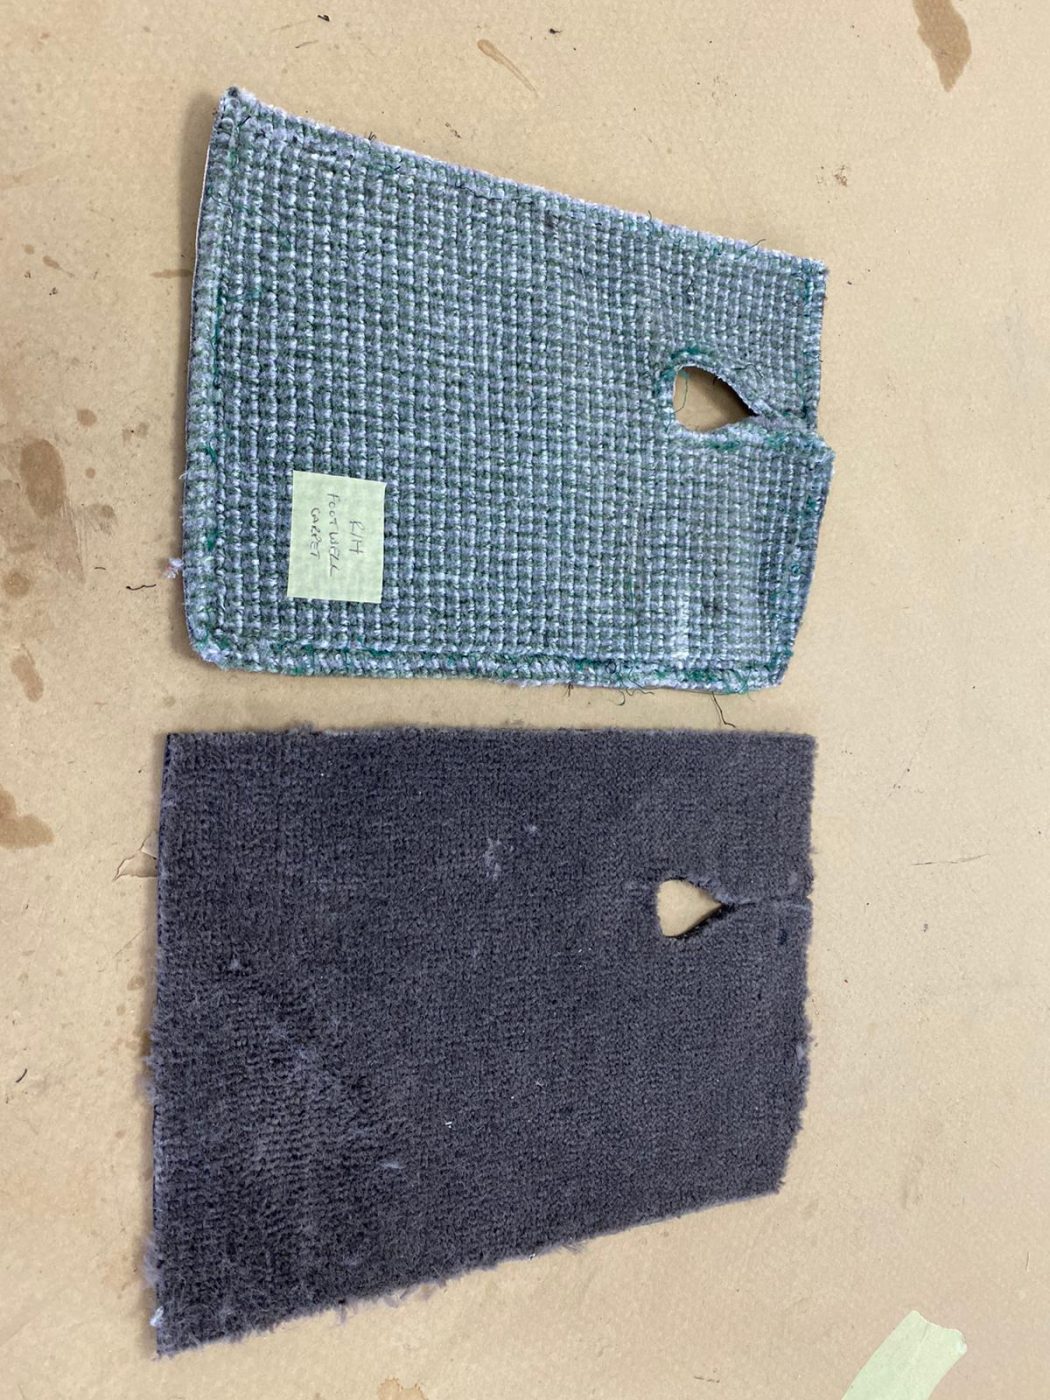
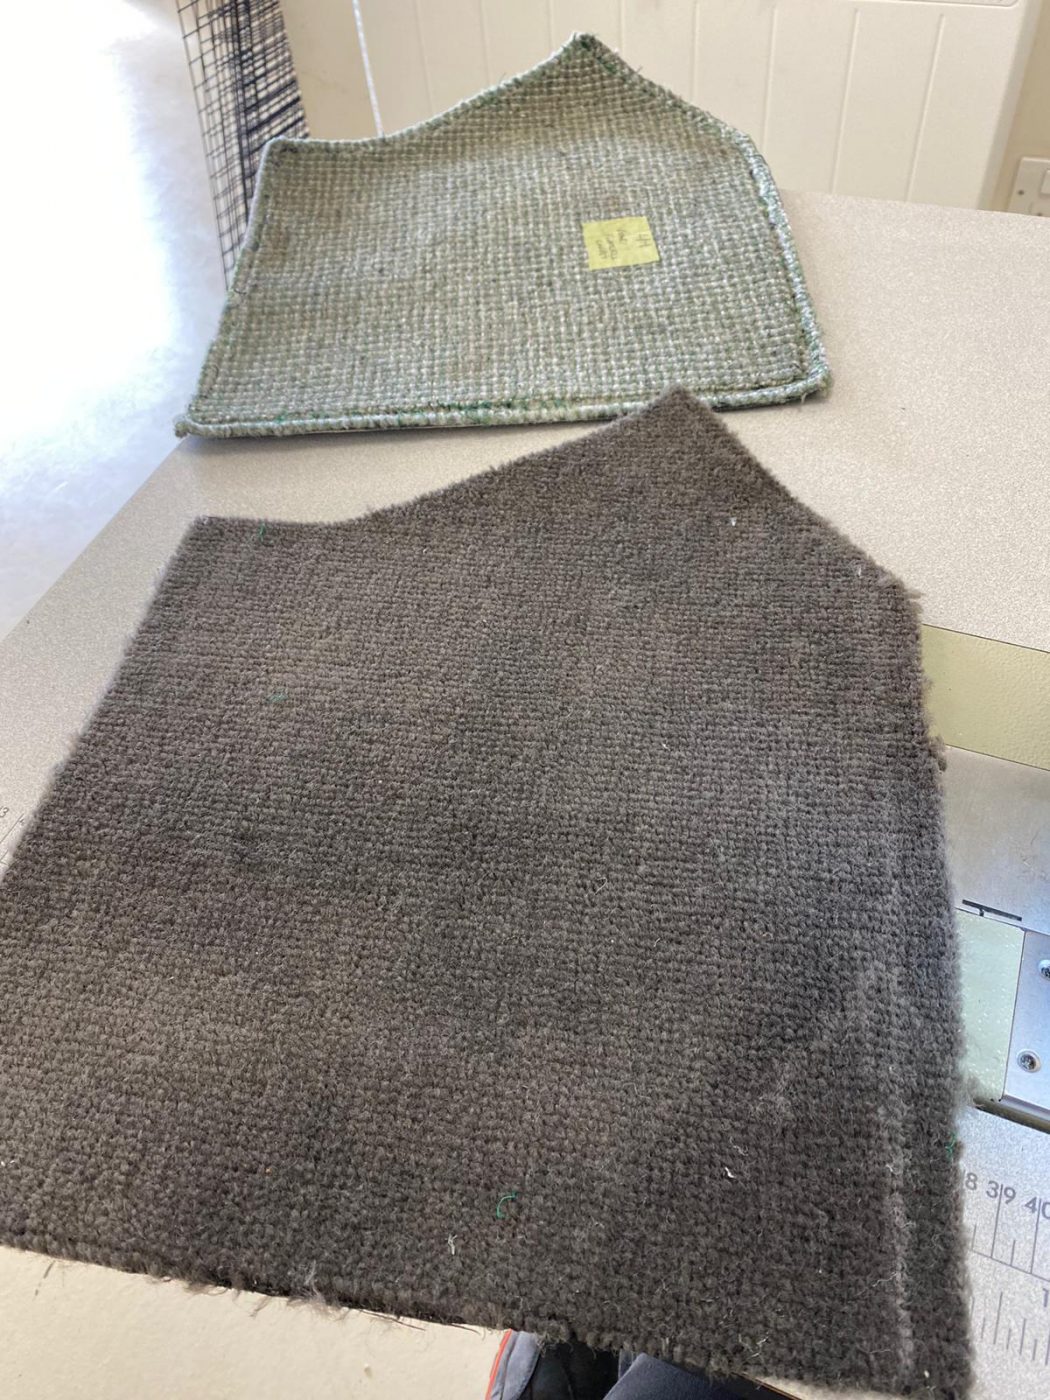
The list of carpet pieces she’s made includes the front tunnel carpet, the rear under-seat carpets, the carpet that goes underneath the front of the gearbox, the top gearbox carpet, the gearbox tunnel carpets, the right-hand and left-hand foot well carpets, the carpet that goes around the throttle peddle, the rear foot well carpet and the rear boot-side panel carpet.
Each piece of carpet has got binding around some or all of the edges. This is made from the dark grey leather that was chosen, and is sewn on, right-side to right-side of the leather and carpet. It’s first stitched along the edge, and then the leather gets folded over to the under-side of the carpet and gets sewn again. The new carpet is grey to match the leather binding, whereas it was green and white carpet originally, with green binding.


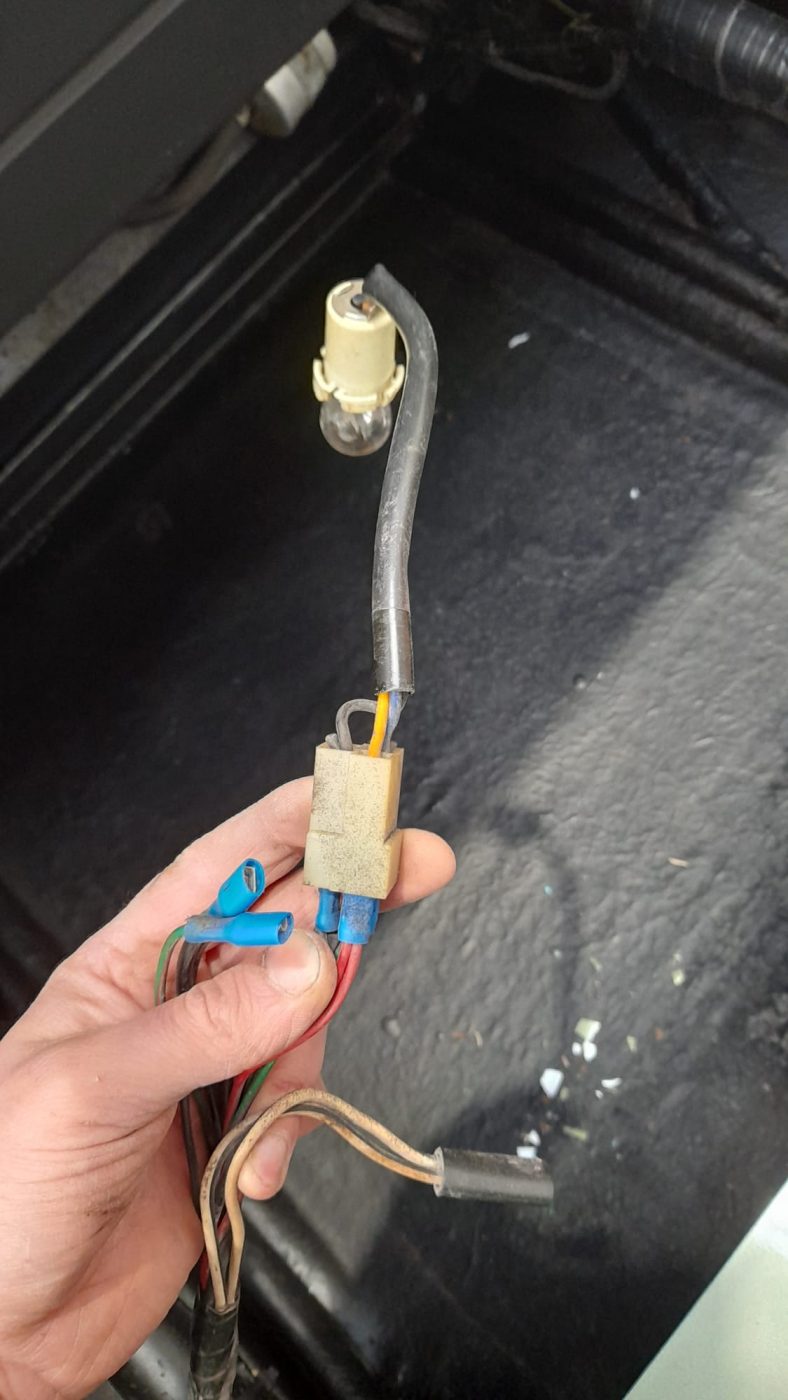
We’ve welcomed back this 1933 maroon Austin 7 into our workshop this week. Paul has been working on it and he’s installed a new brake light switch and new wires for it too. He’s been looking at the front brakes and the fuel tank float as well because of trouble with them. The front brakes aren’t working quite right and the fuel tank float is getting stuck and ending up showing the fuel as full, when in fact, it’s empty. Now Paul’s just waiting for the parts to arrive to fix these problems.


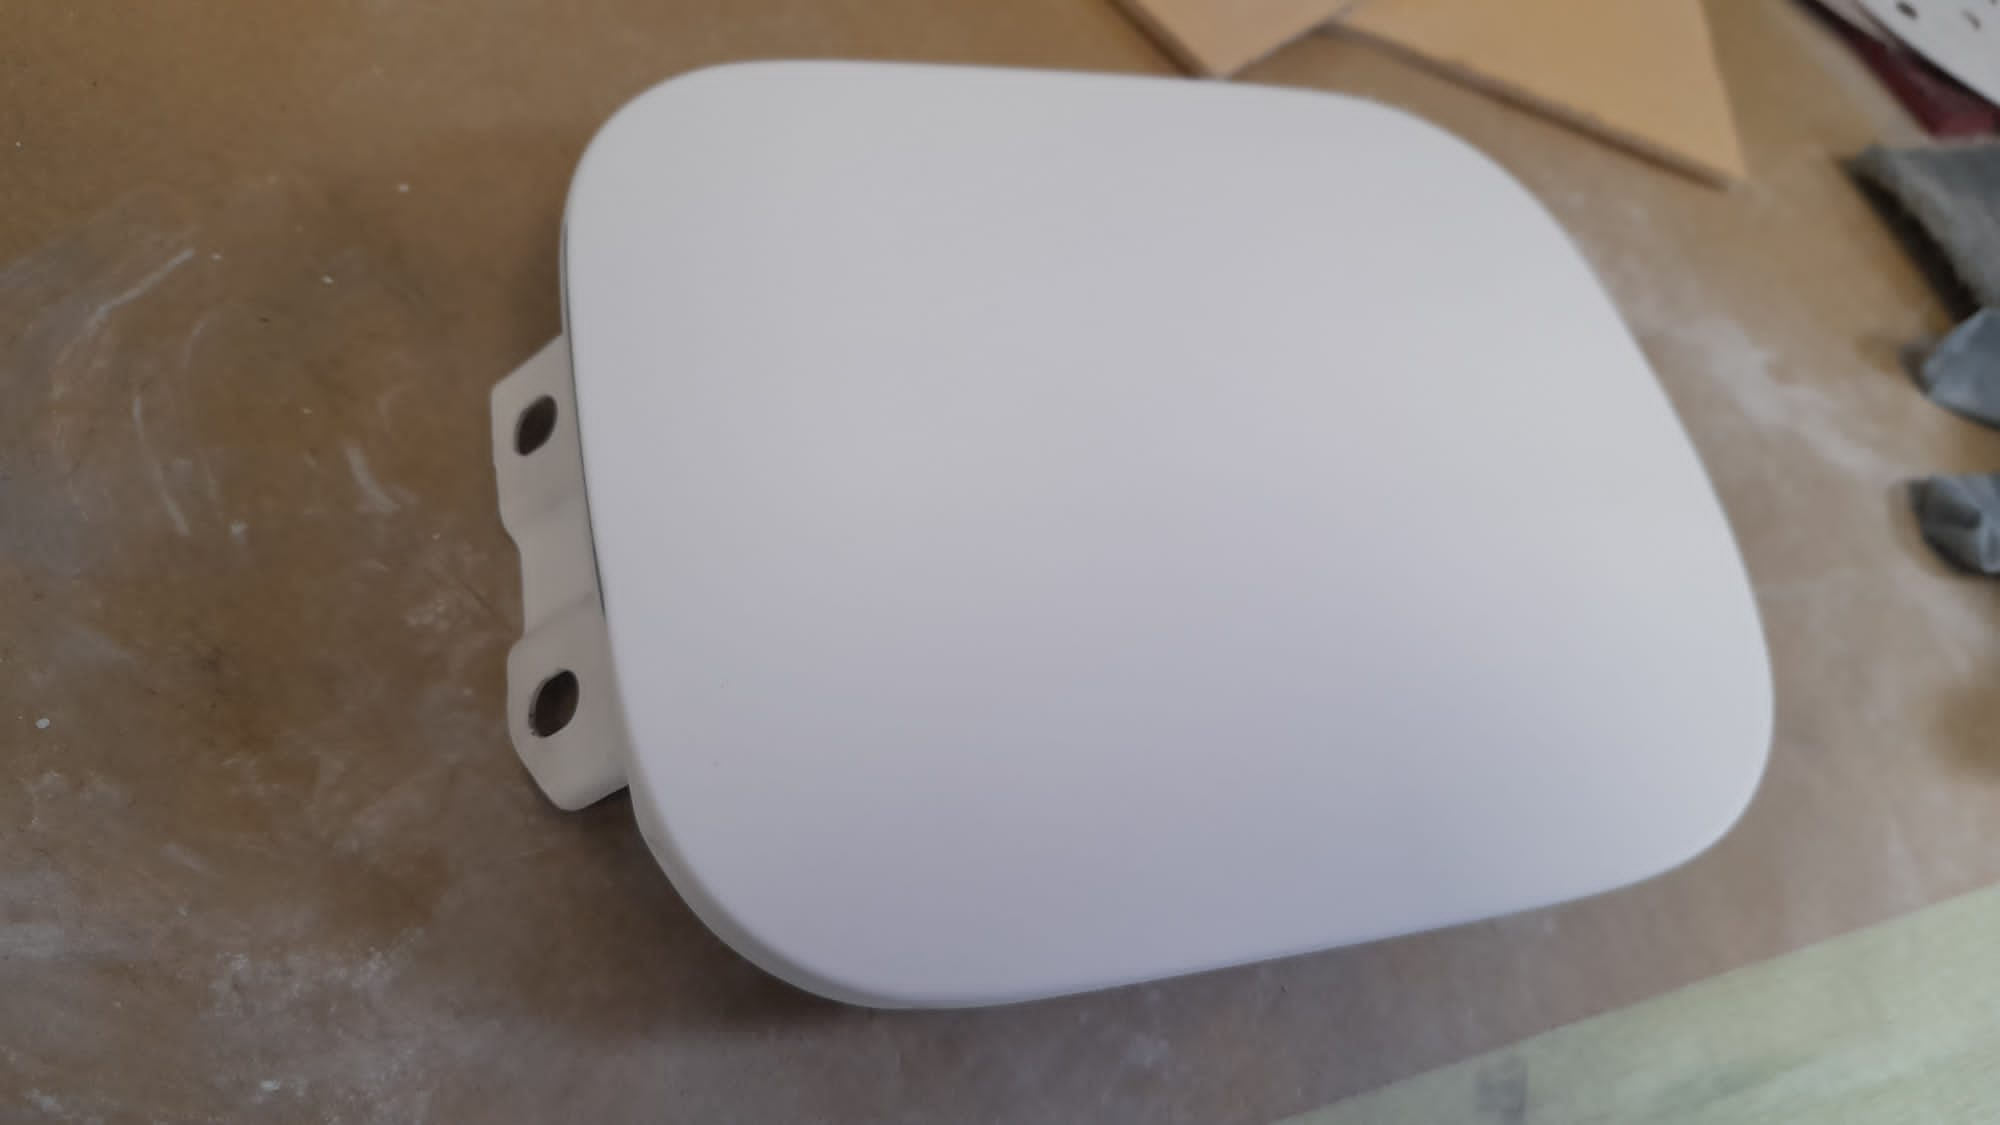
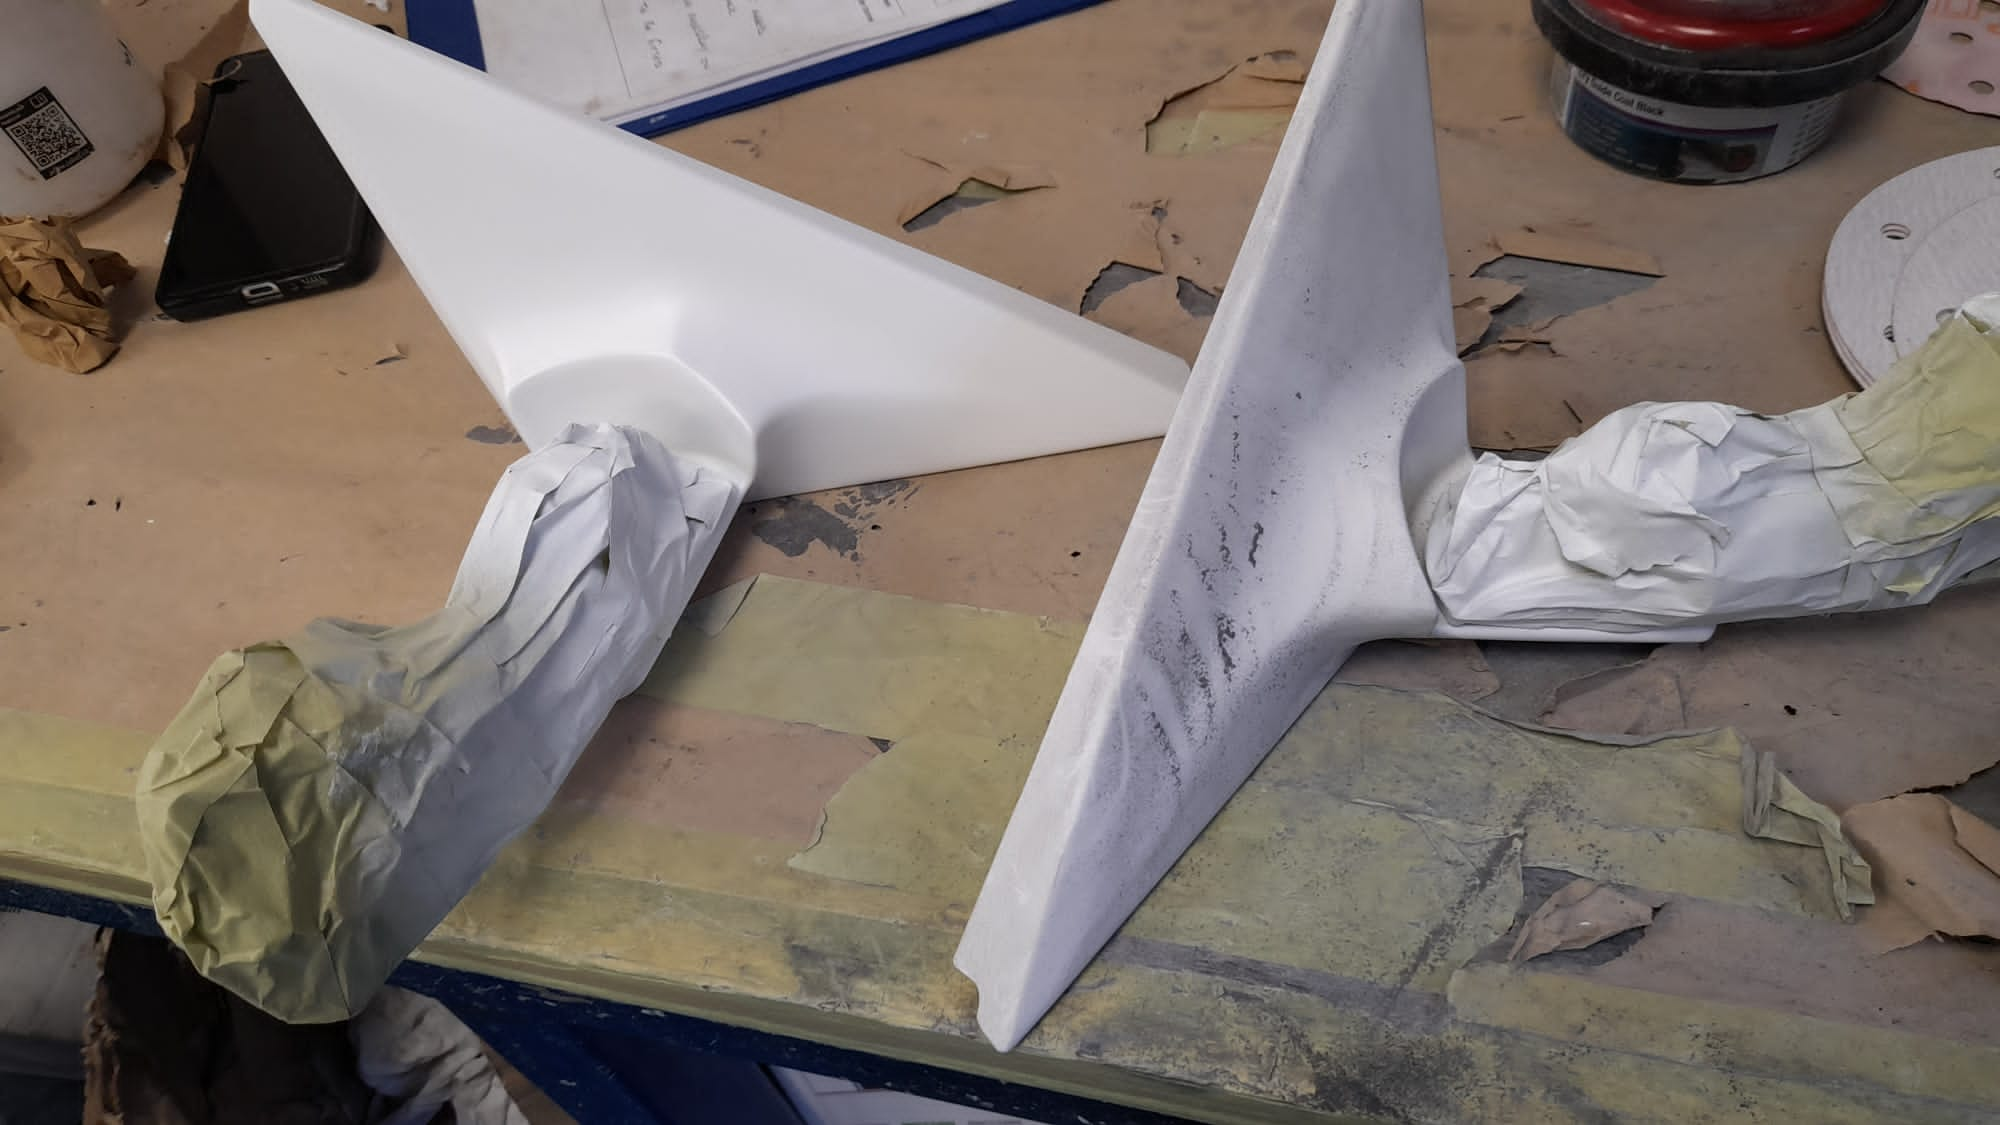
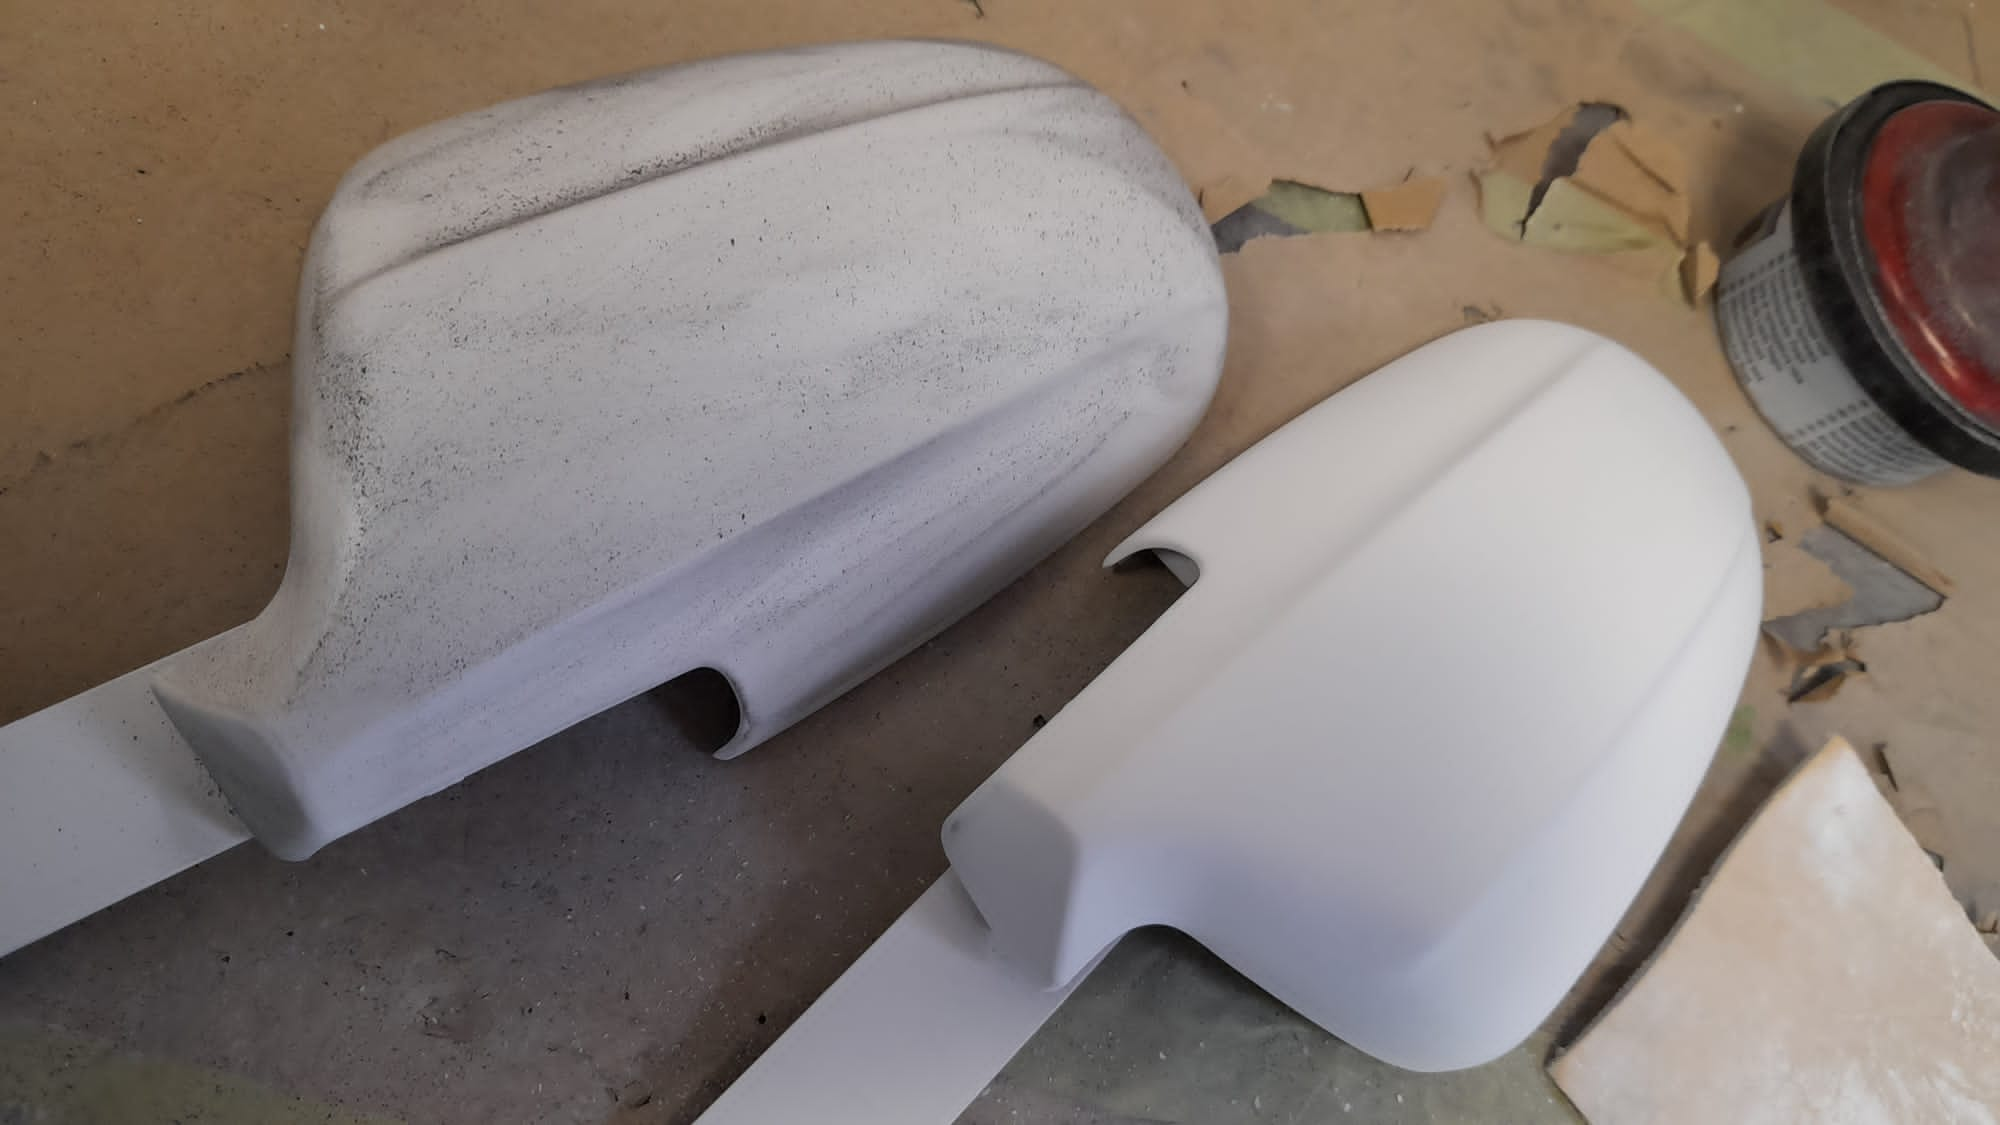
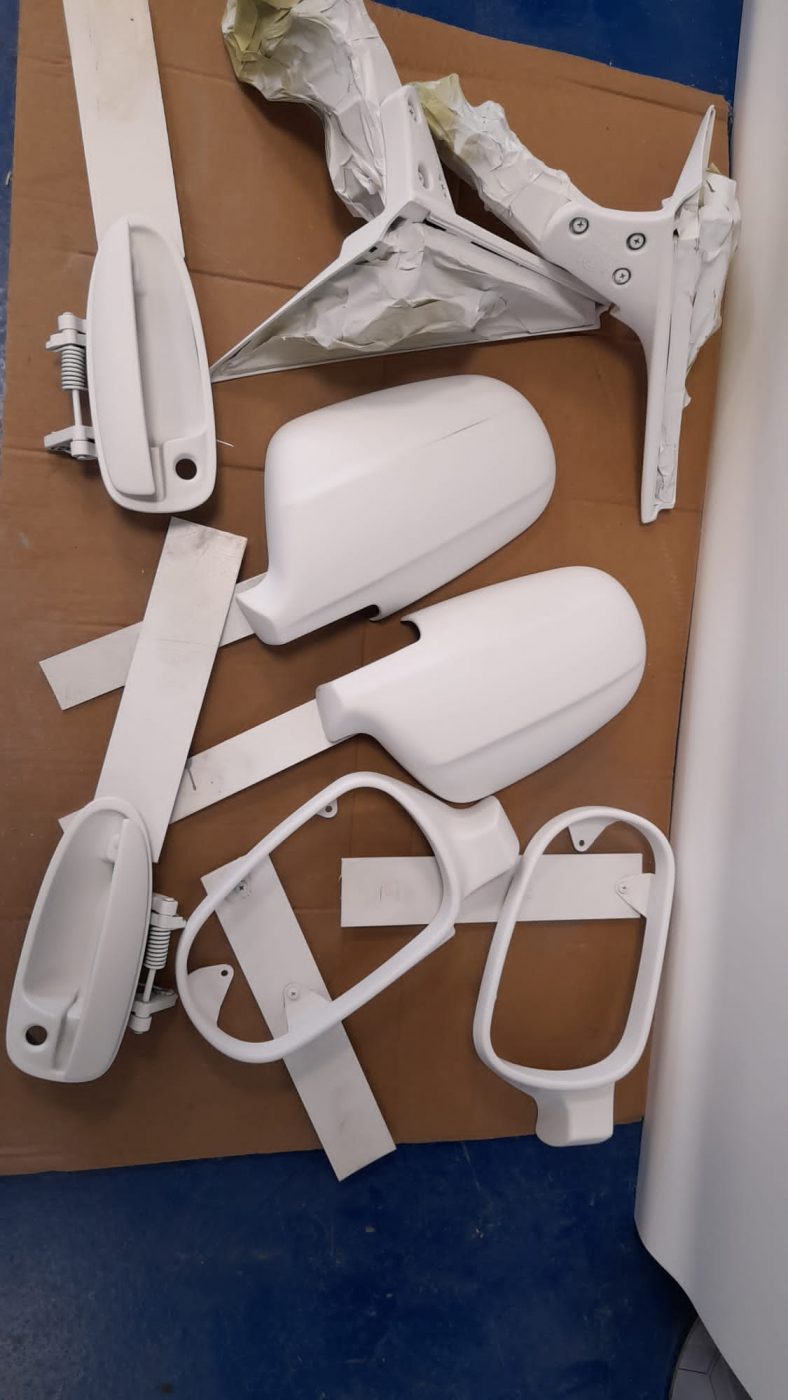
Lydia has been continuing her prep work again for the 1998 Honda Integra Type R. This time around she’s been sanding down the primer on the various panel pieces for the wing mirrors and the fuel cap. They were all gone over with 500 grade gold soft pads, followed by grey scotch and then panel wipe to clean the sanding and paint dust off.