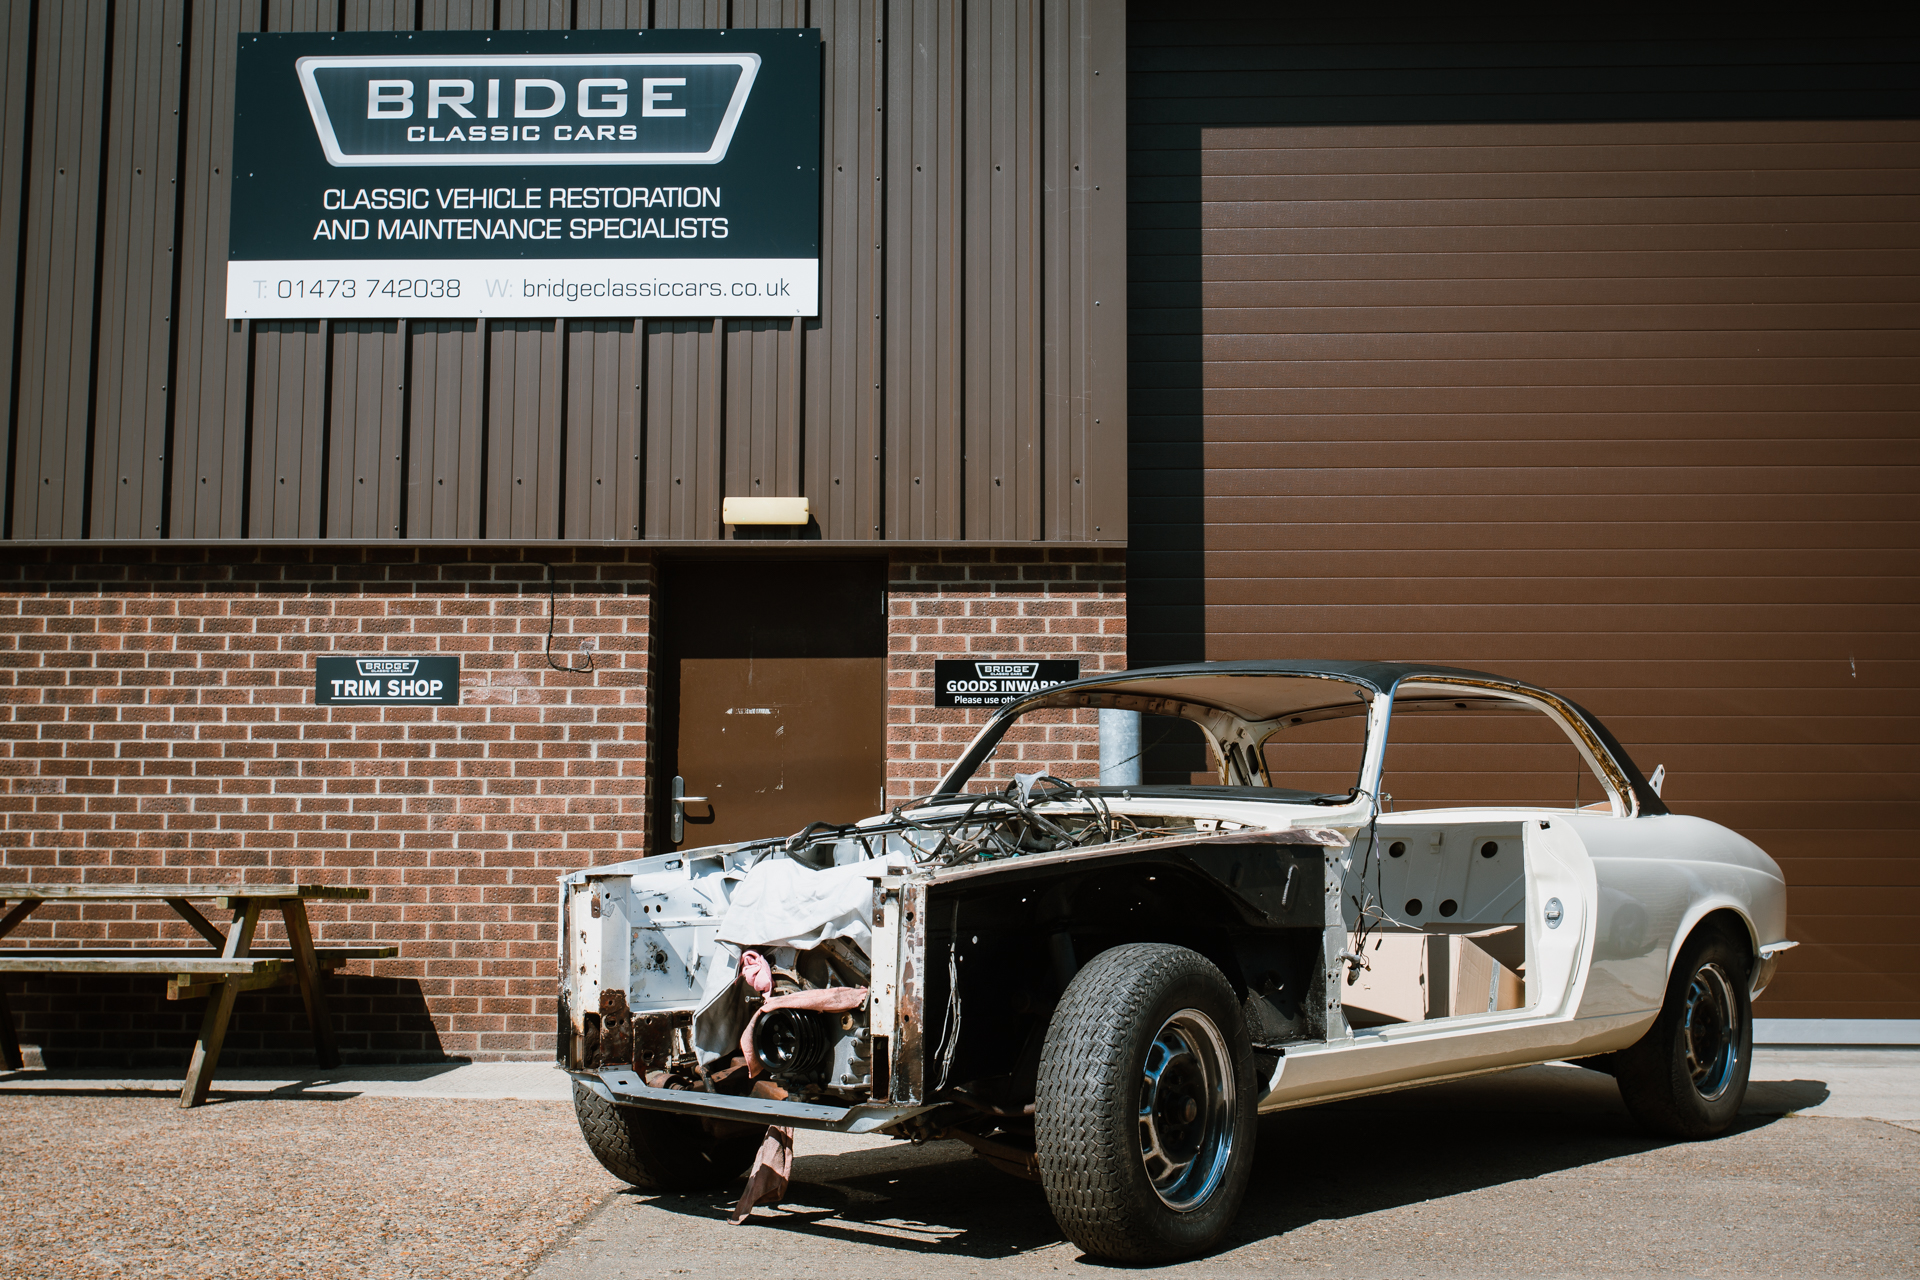
Cold blowing hot on the Jensen 541S!
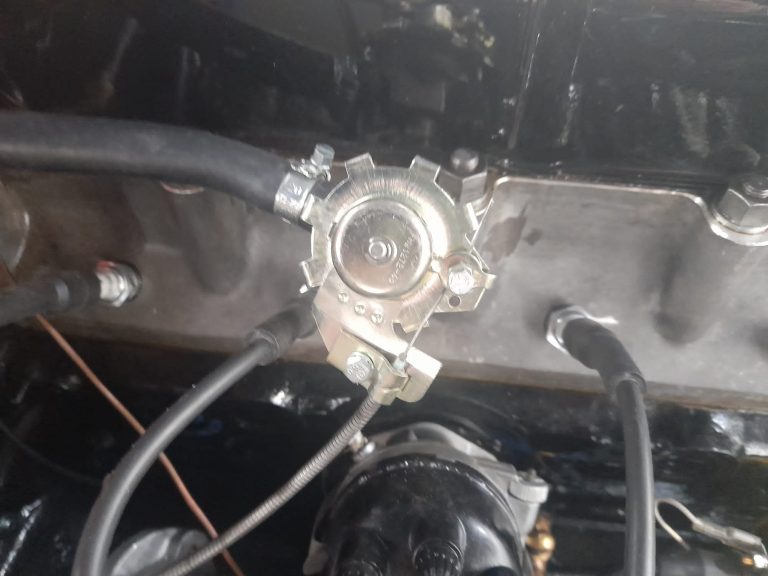
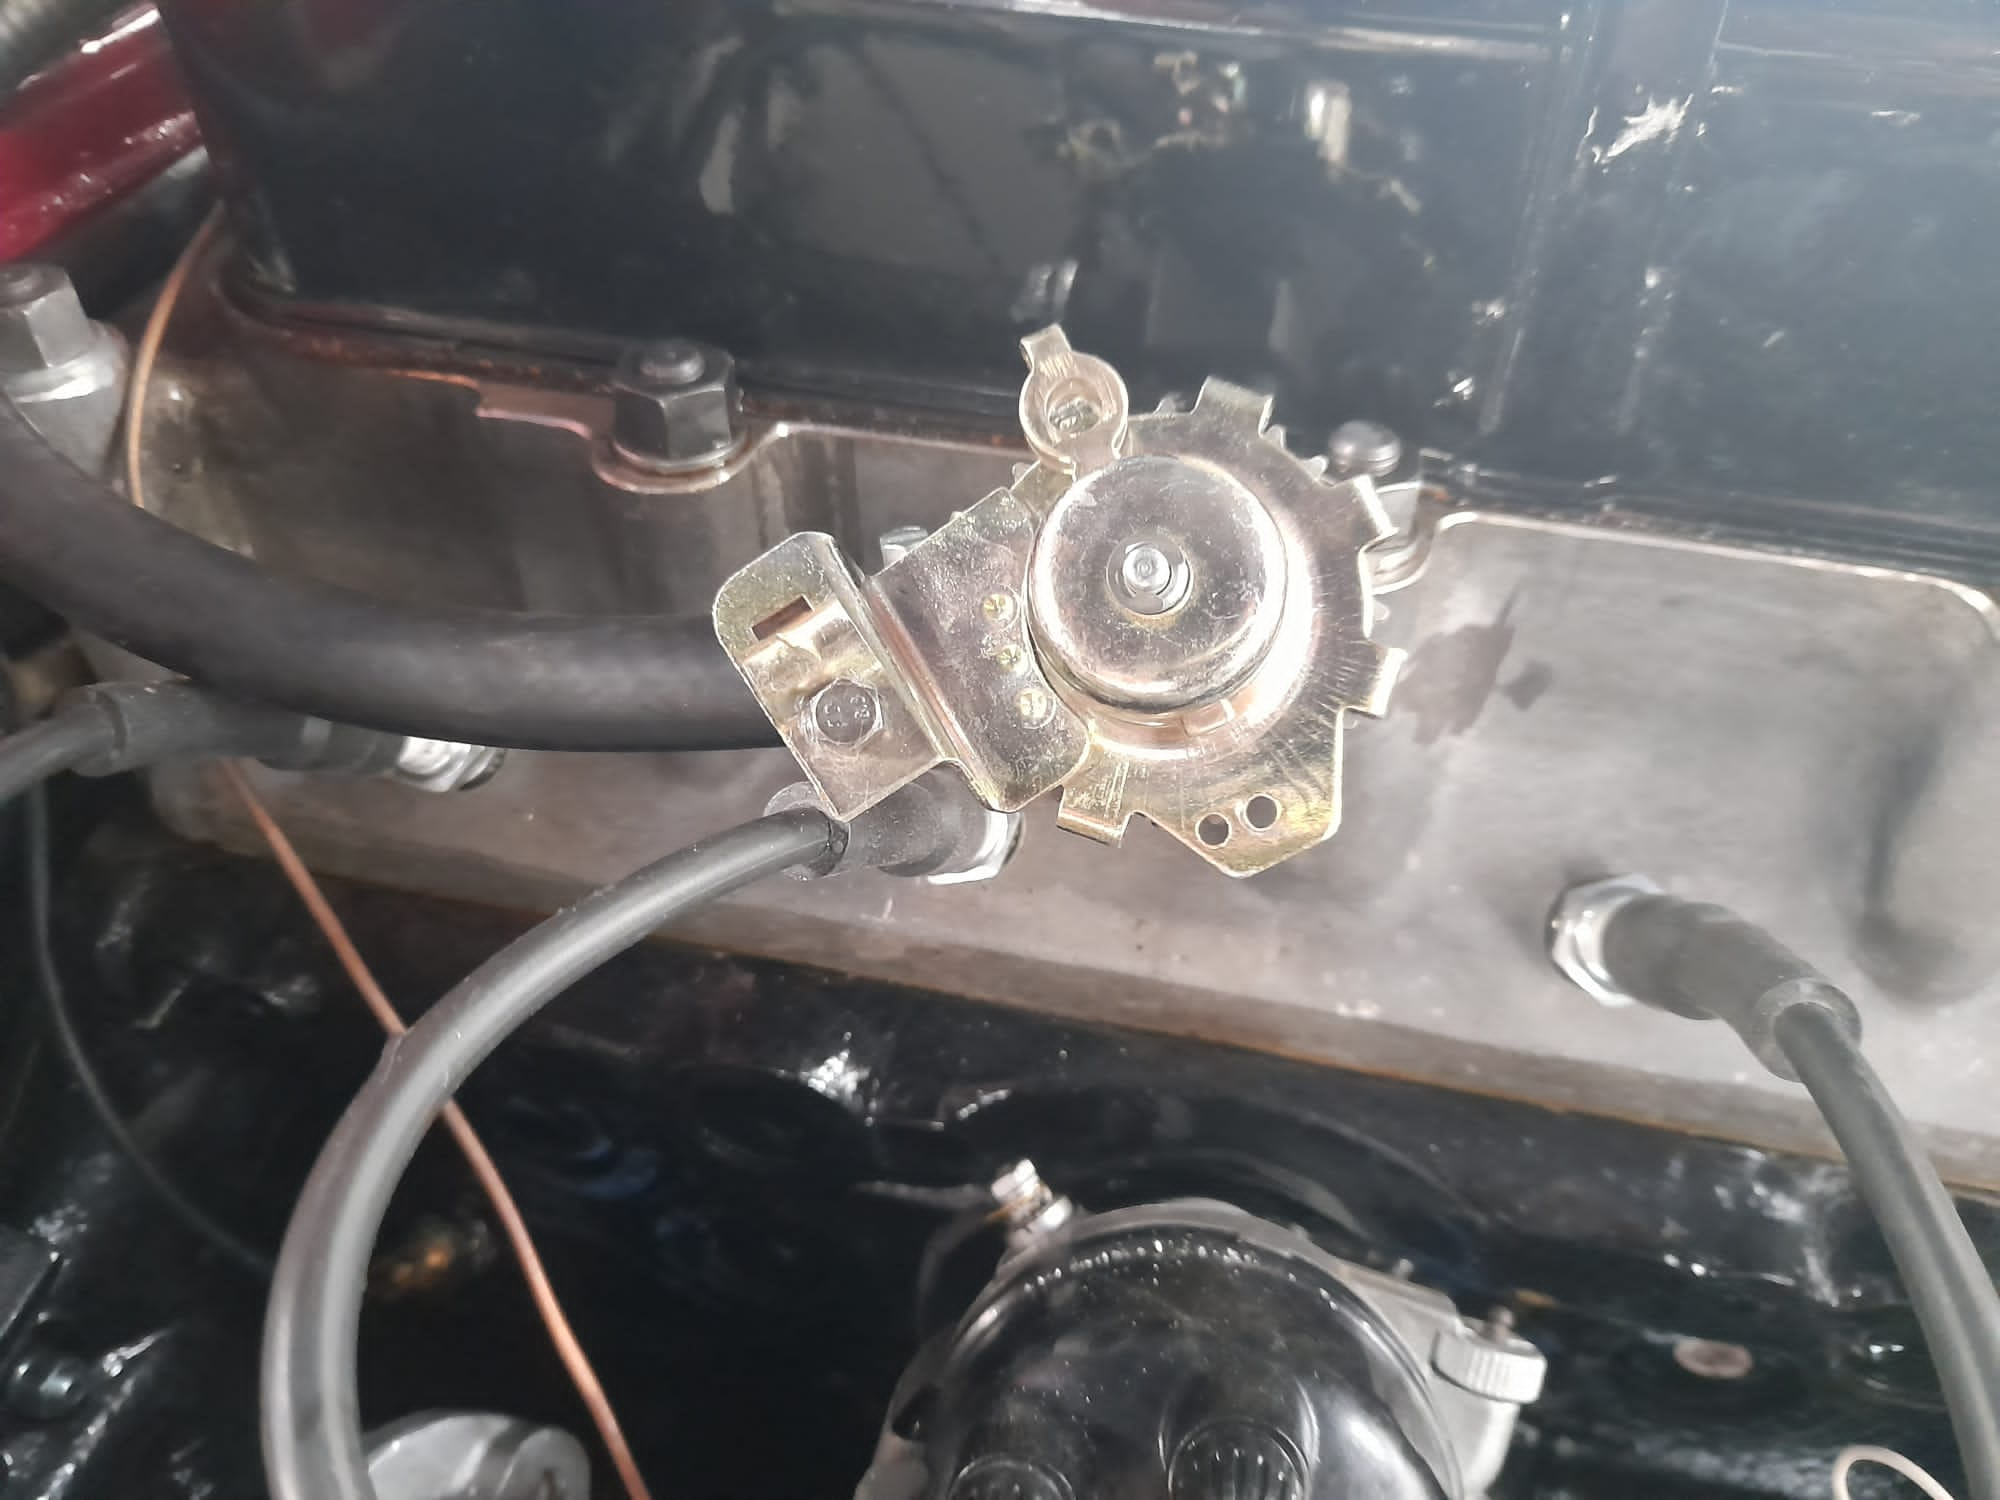
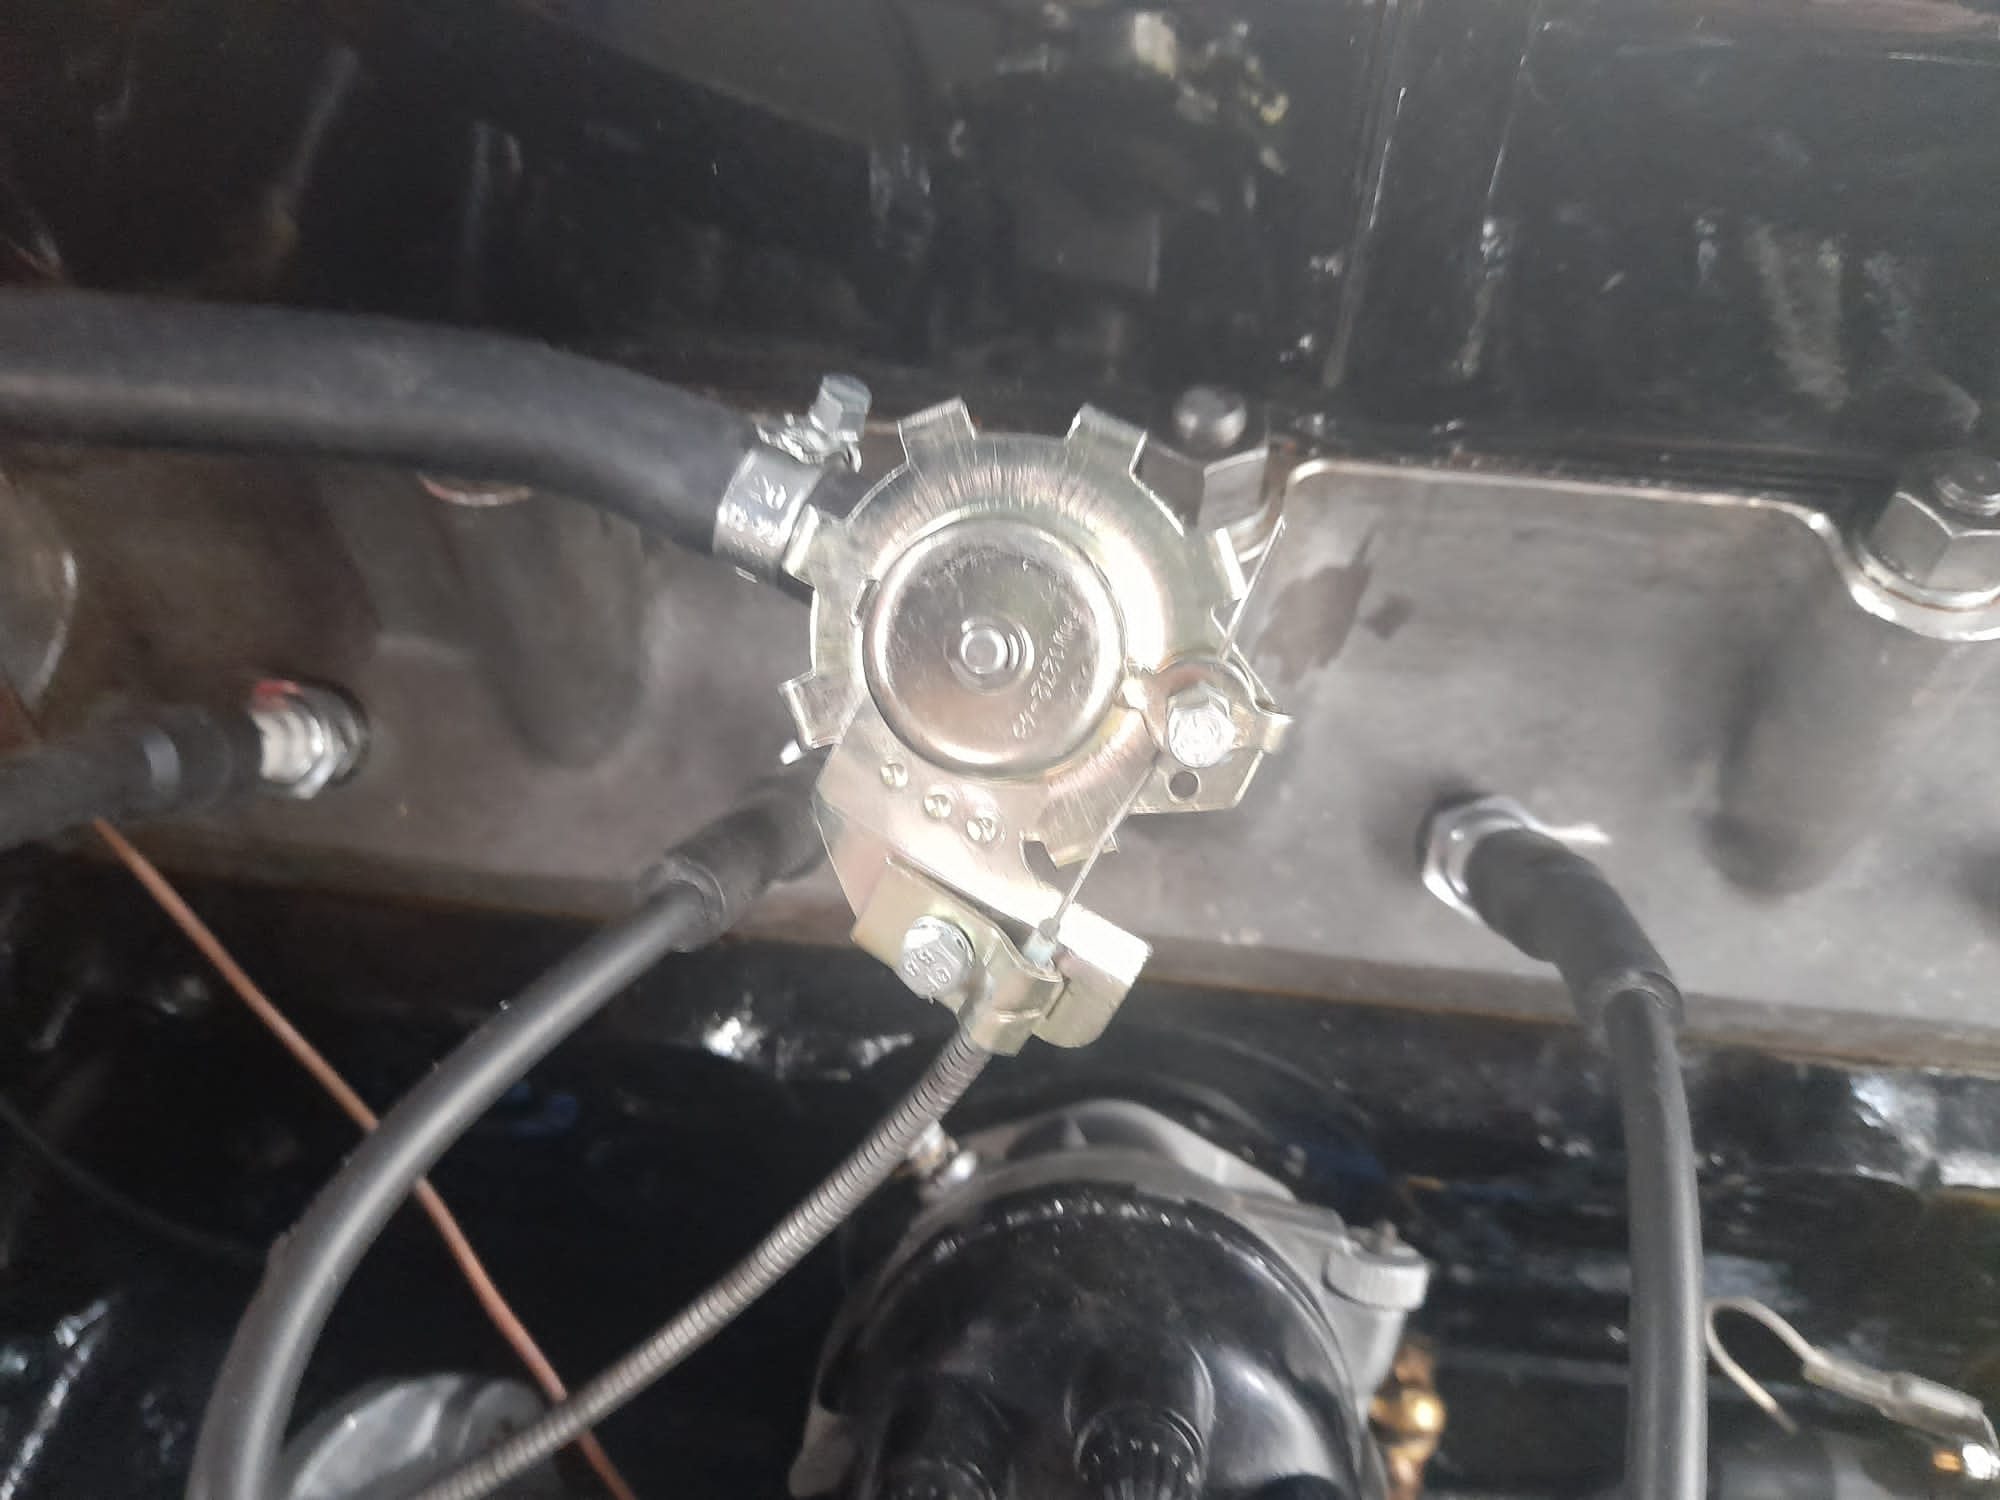
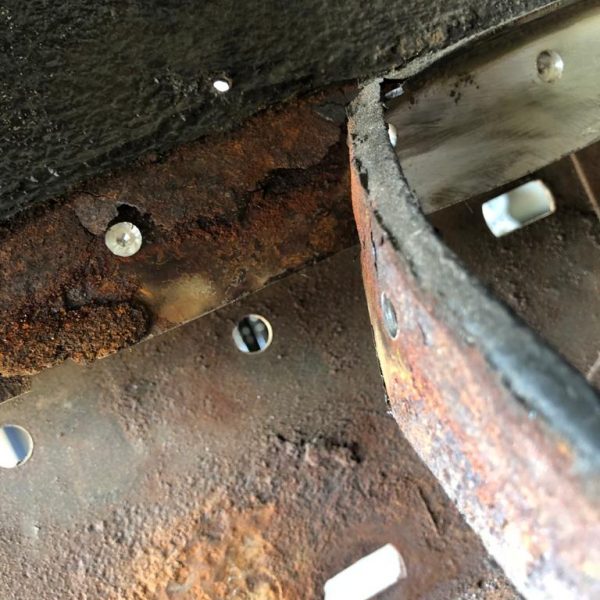
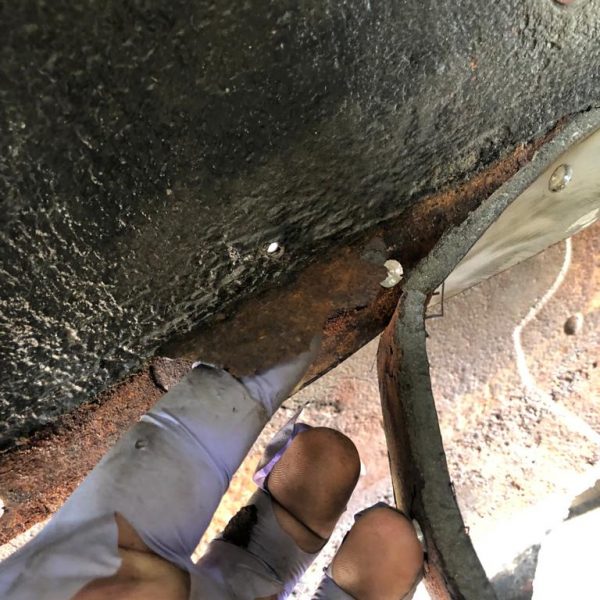
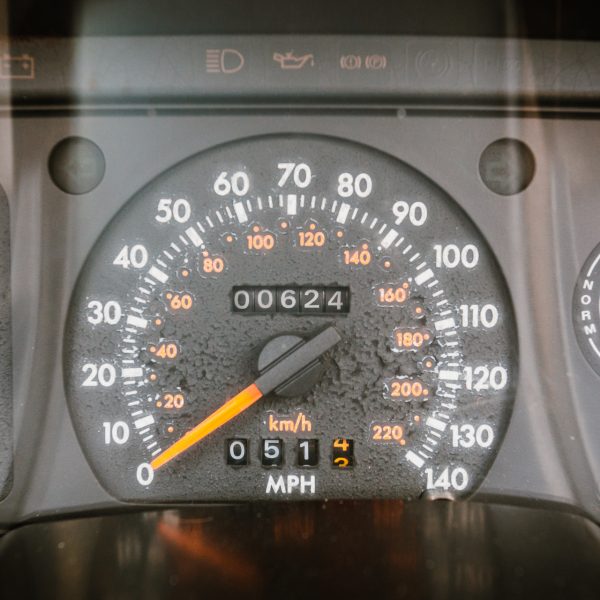
John has been giving the heater valve some attention on the peony red 1960 Jensen 541S. When it was being tested, the heater was blowing


John has been giving the heater valve some attention on the peony red 1960 Jensen 541S. When it was being tested, the heater was blowing

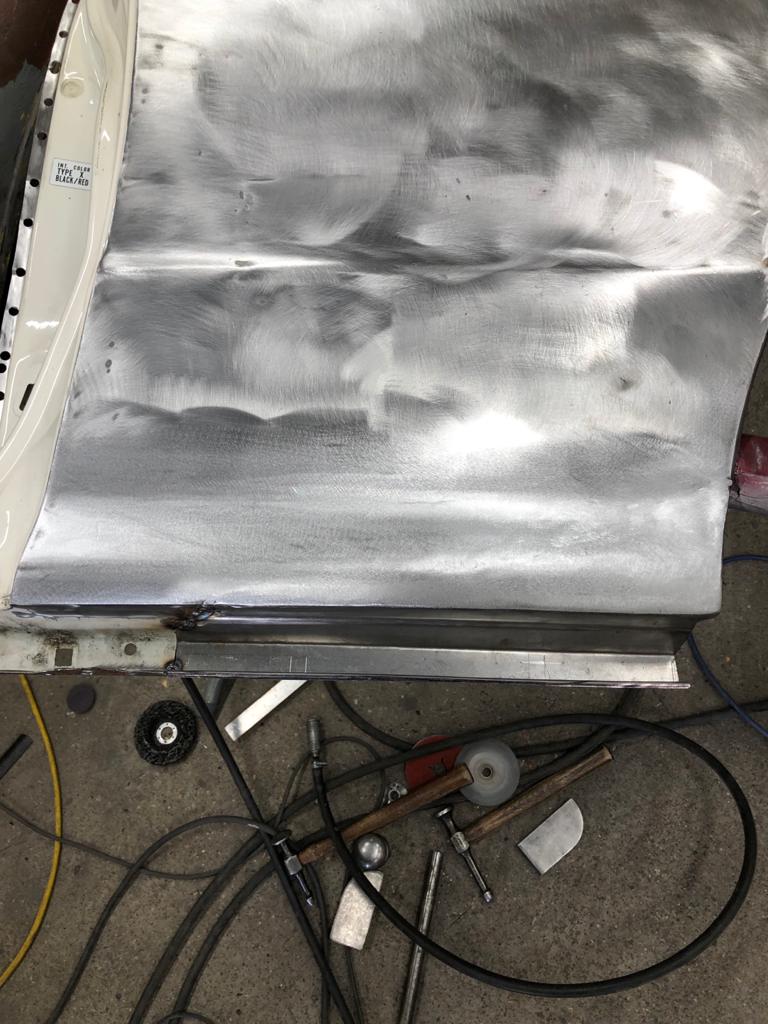
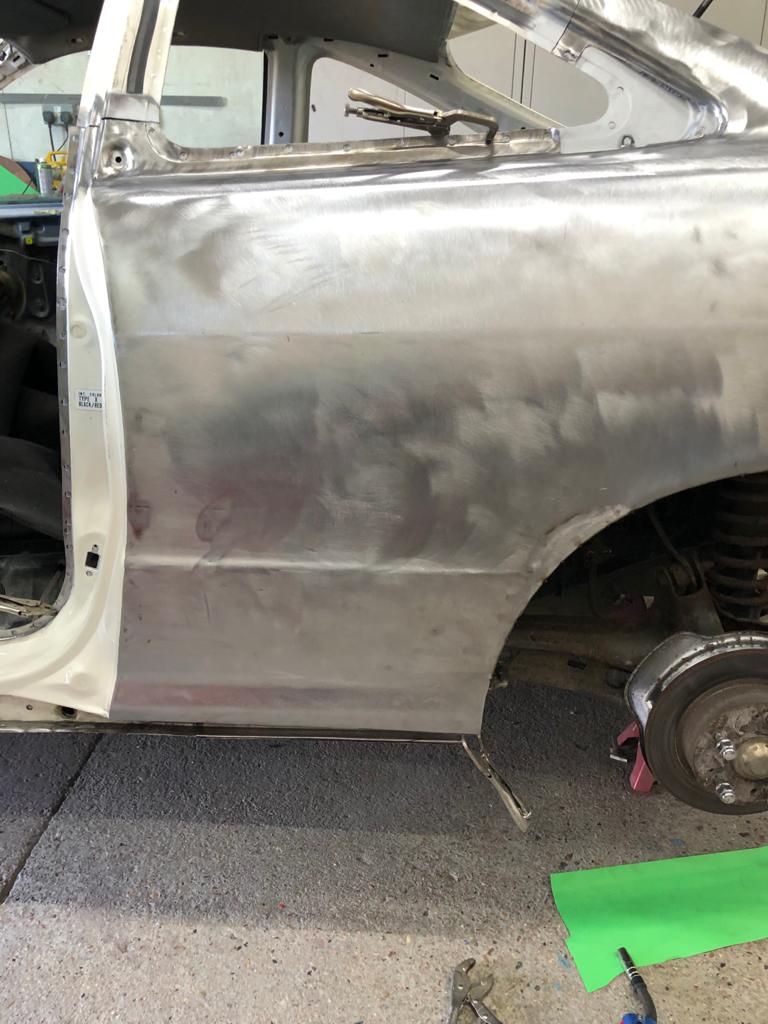
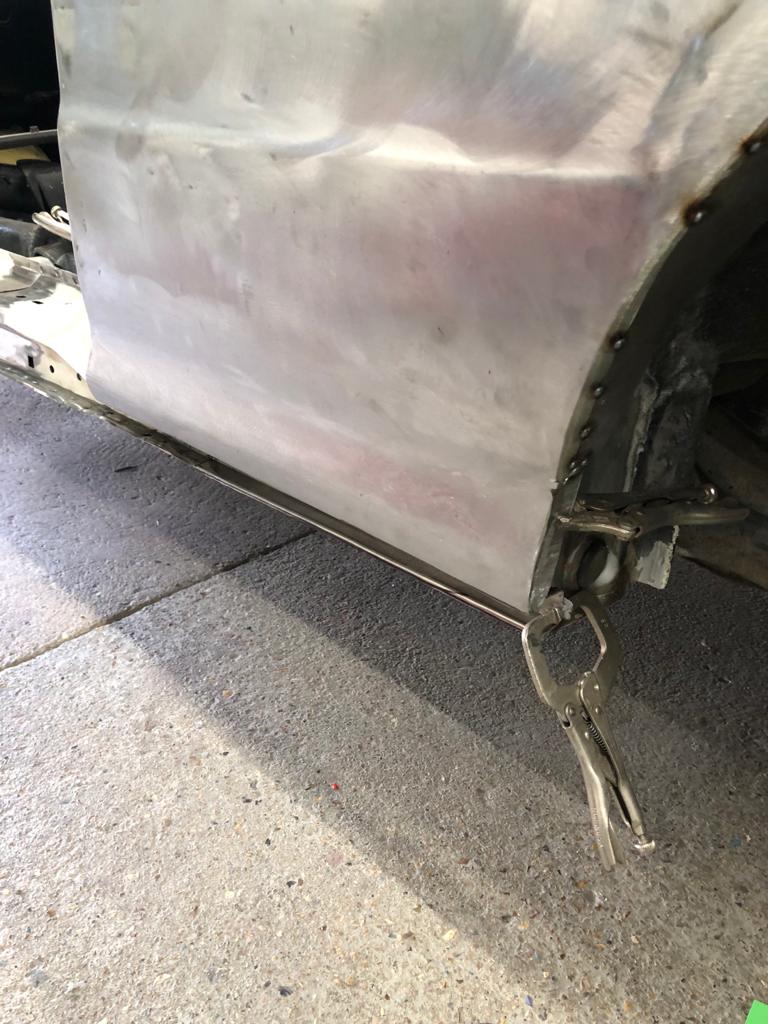
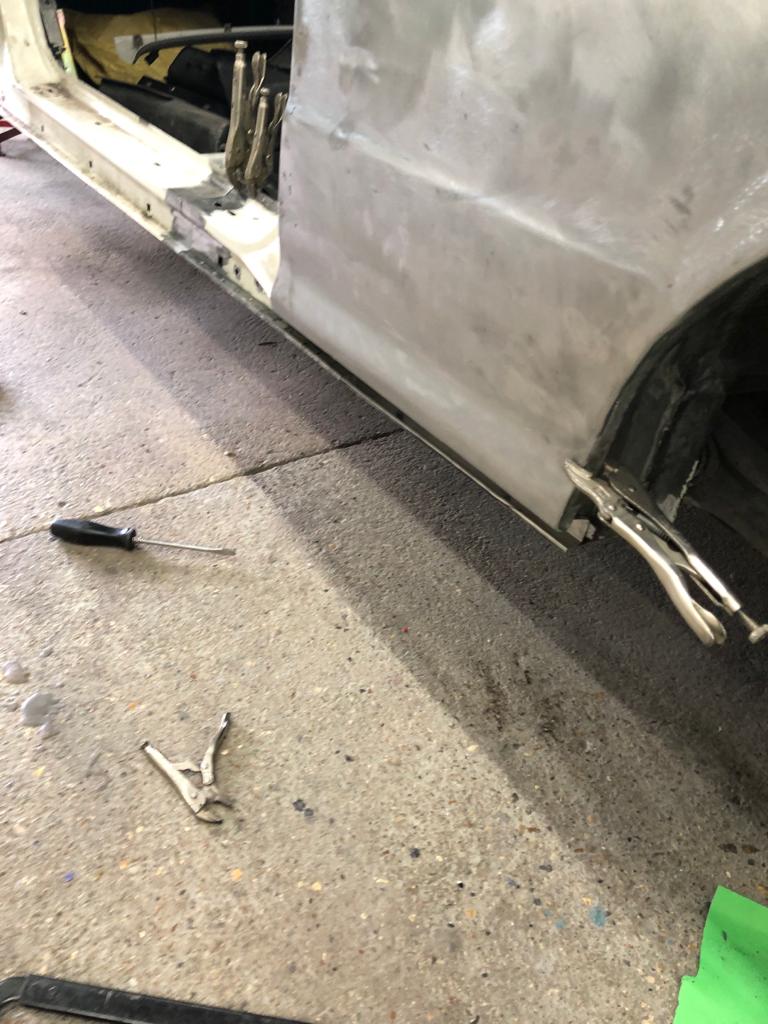
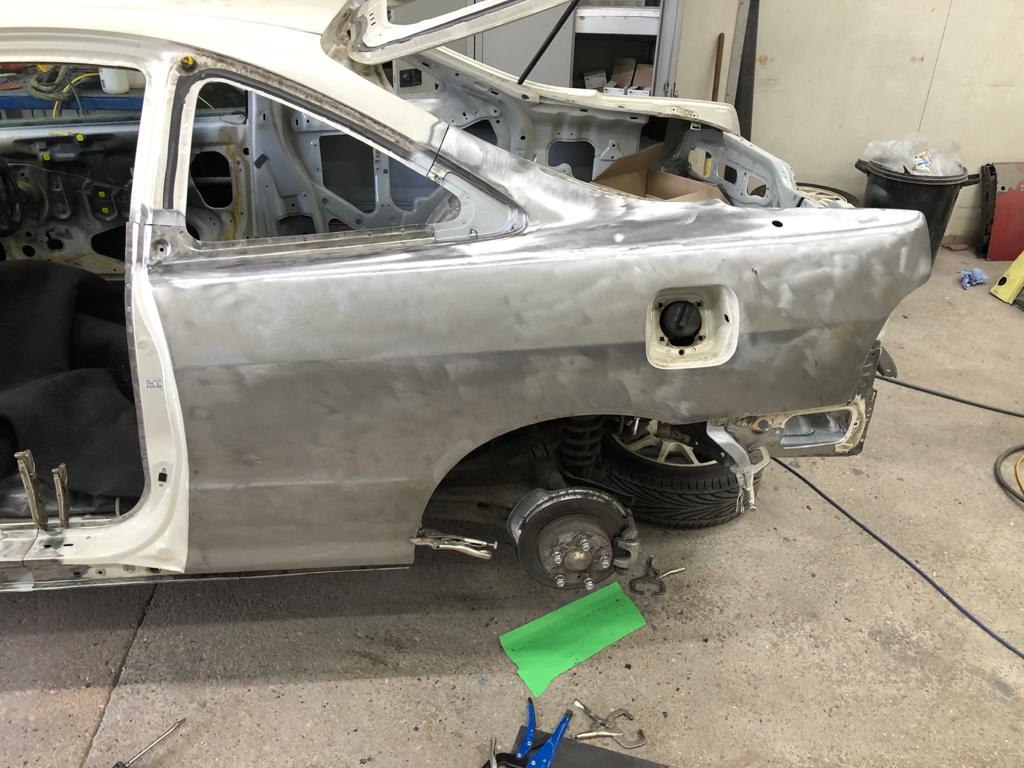
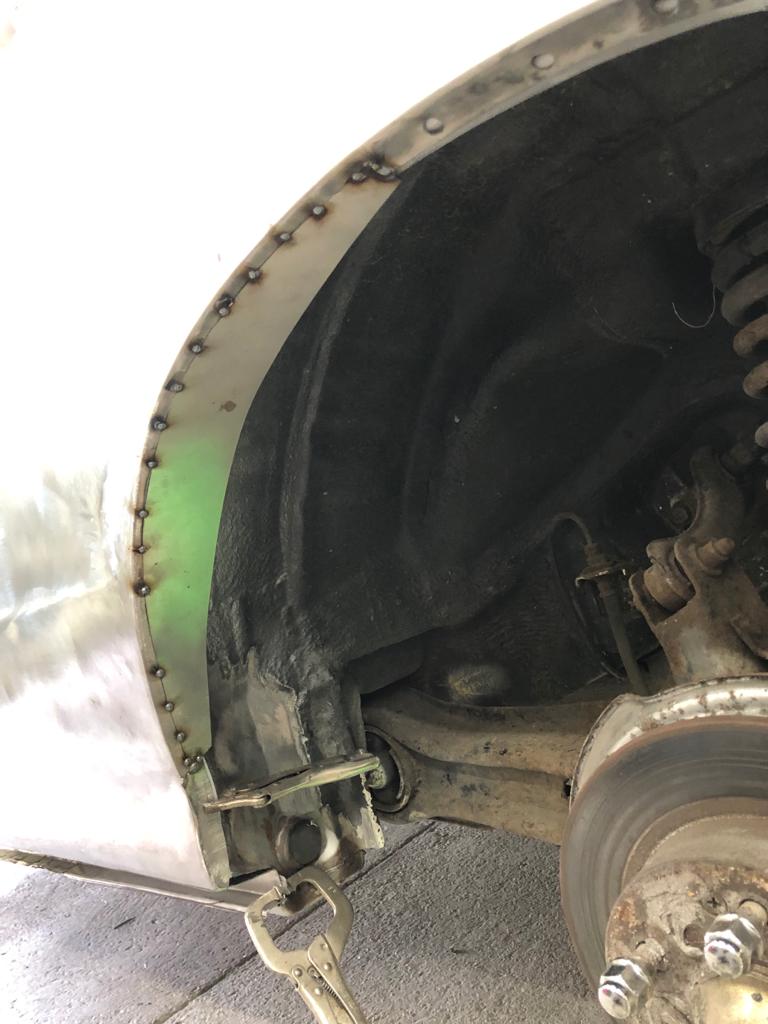
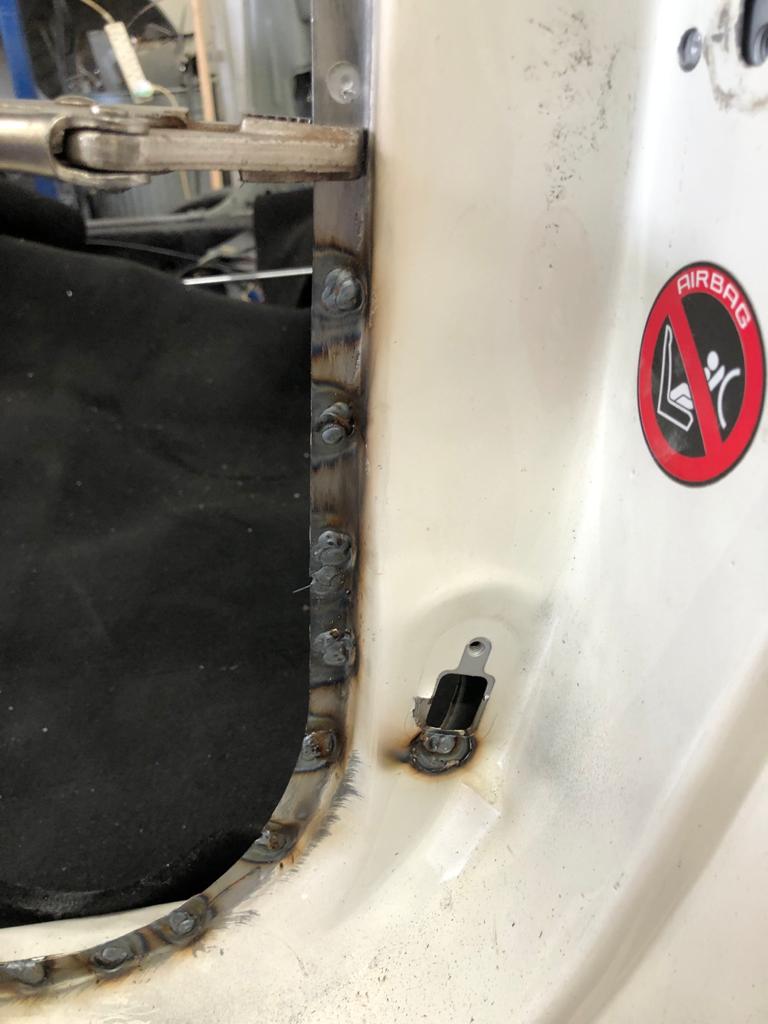
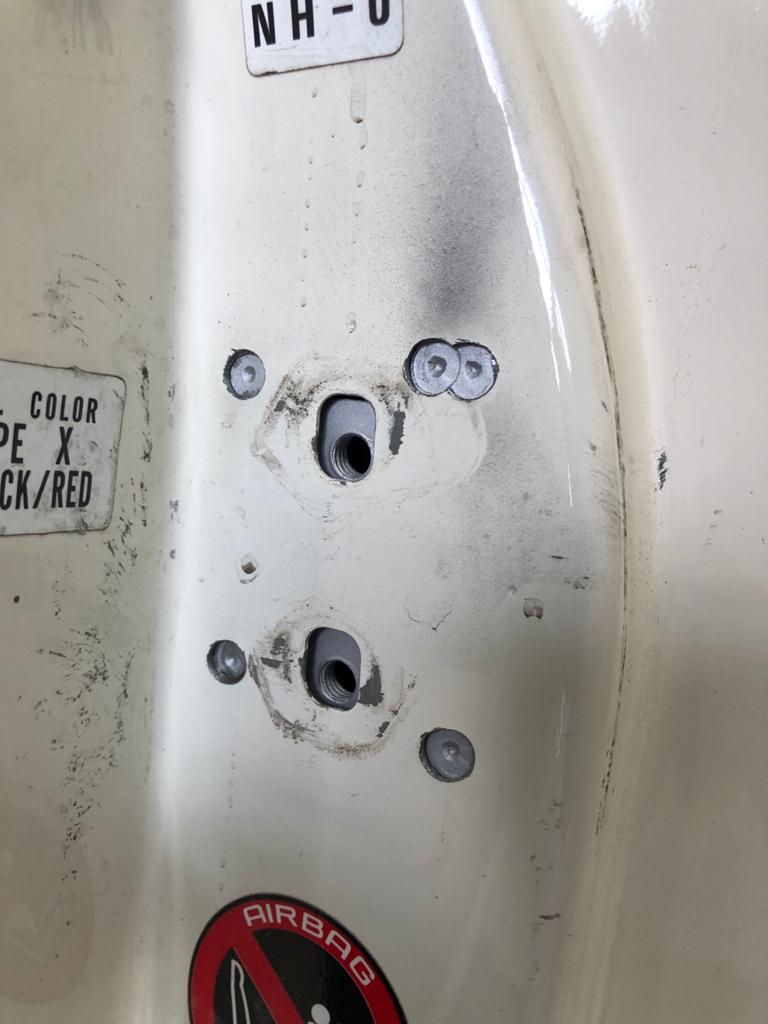
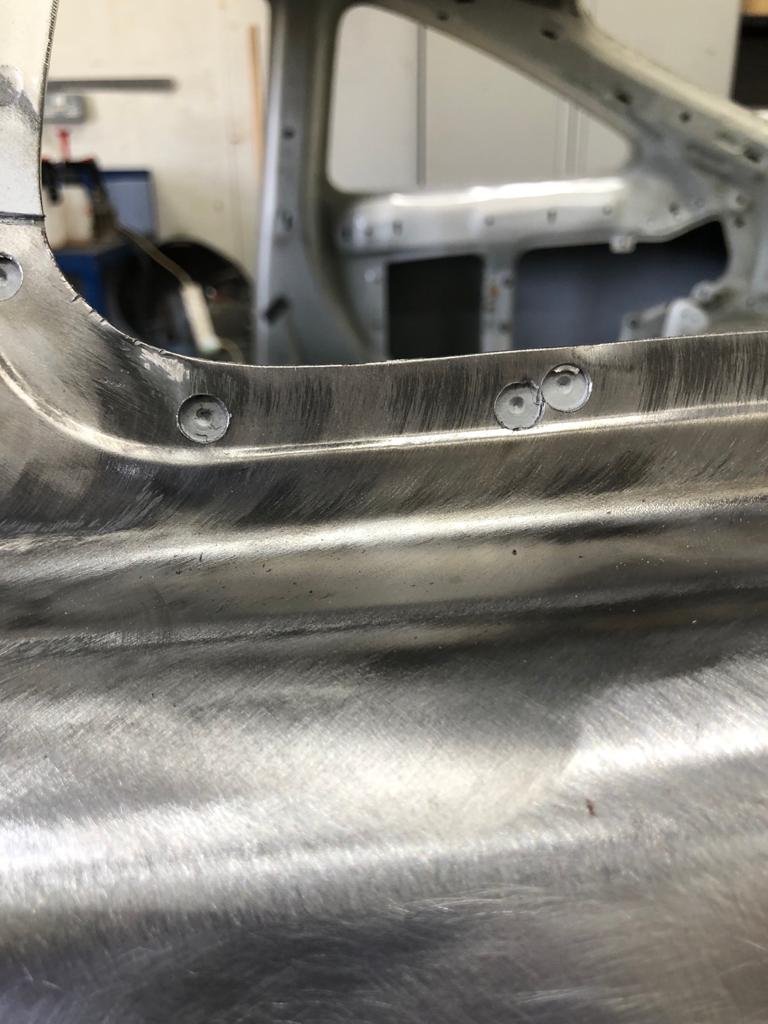
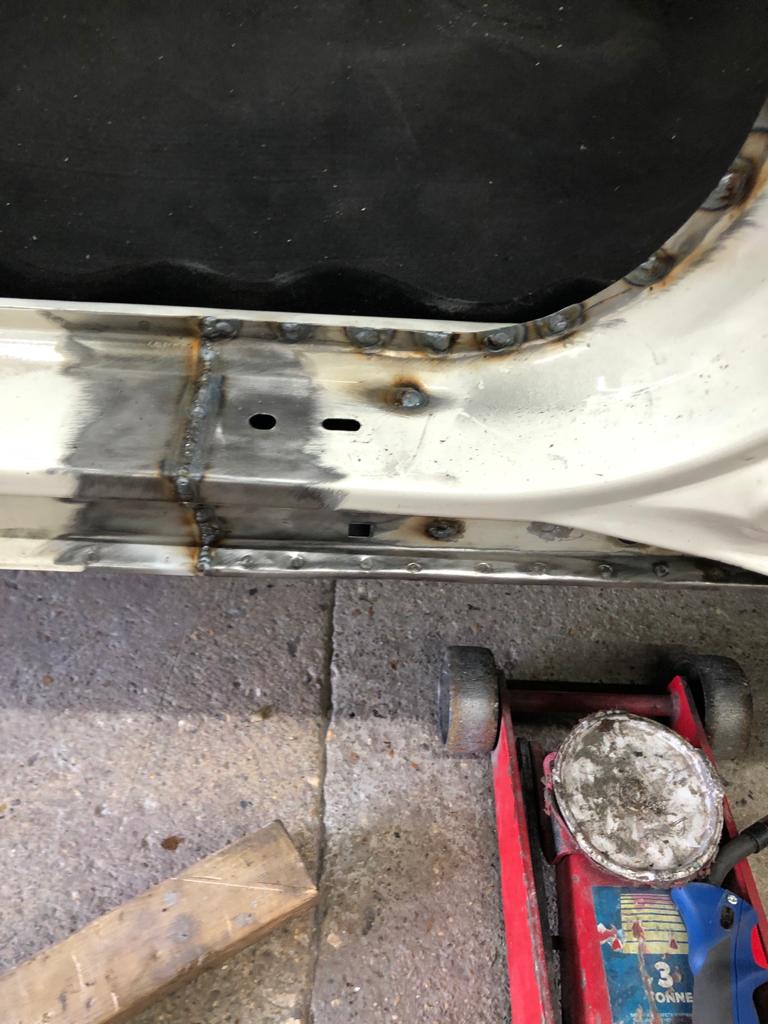
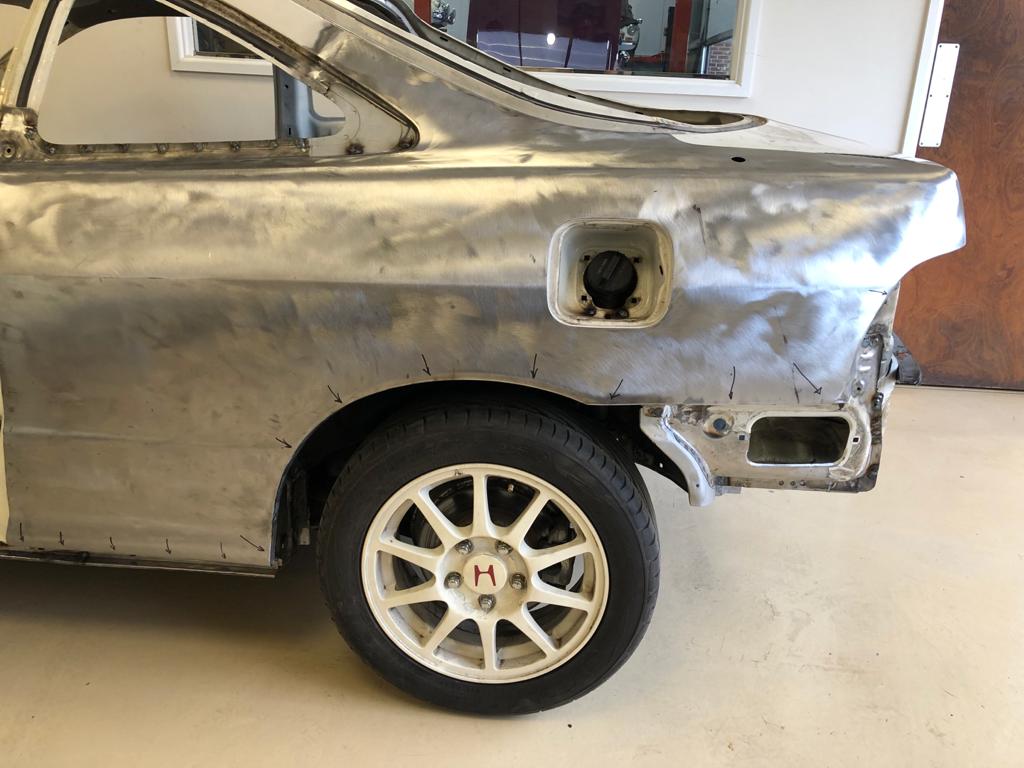
James has been doing the last bits of welding repair work on the 1998 Honda Integra Type R. He removed the left hand quarter panel
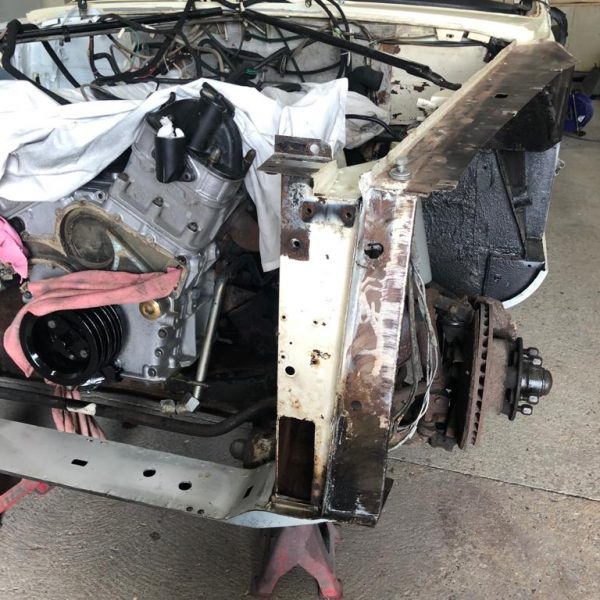
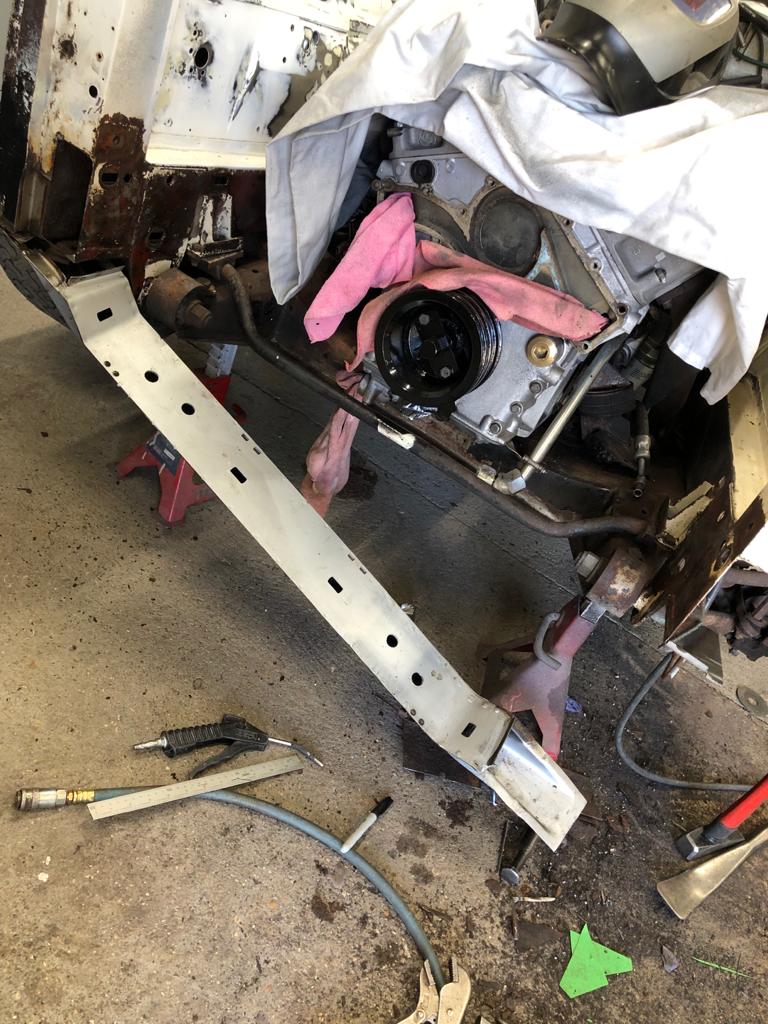
James has got the 1986 Daimler Double Six in the fabrication bay and has been starting the welding work on it! He’s been concentrating on

Here we have a new arrival to the workshop, a 1977 Daimler Double-Six. It’s only in for a small amount of work, which is that

Having recently attended our Classic Car Show the owner of this Porsche Boxter has asked for our help and assistance on some remedial works required
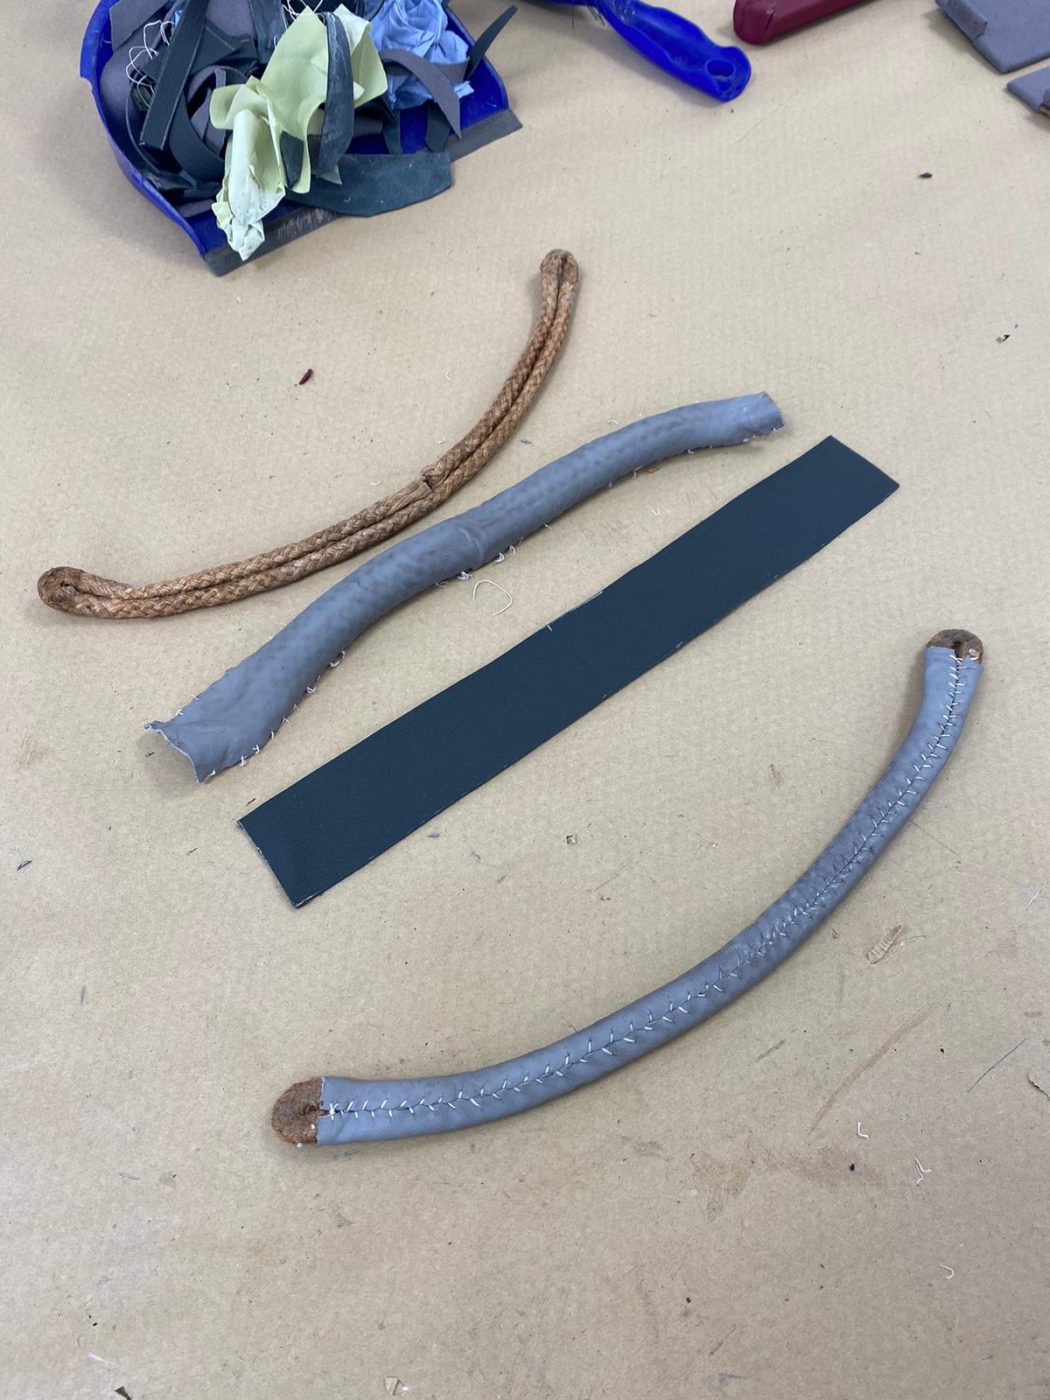
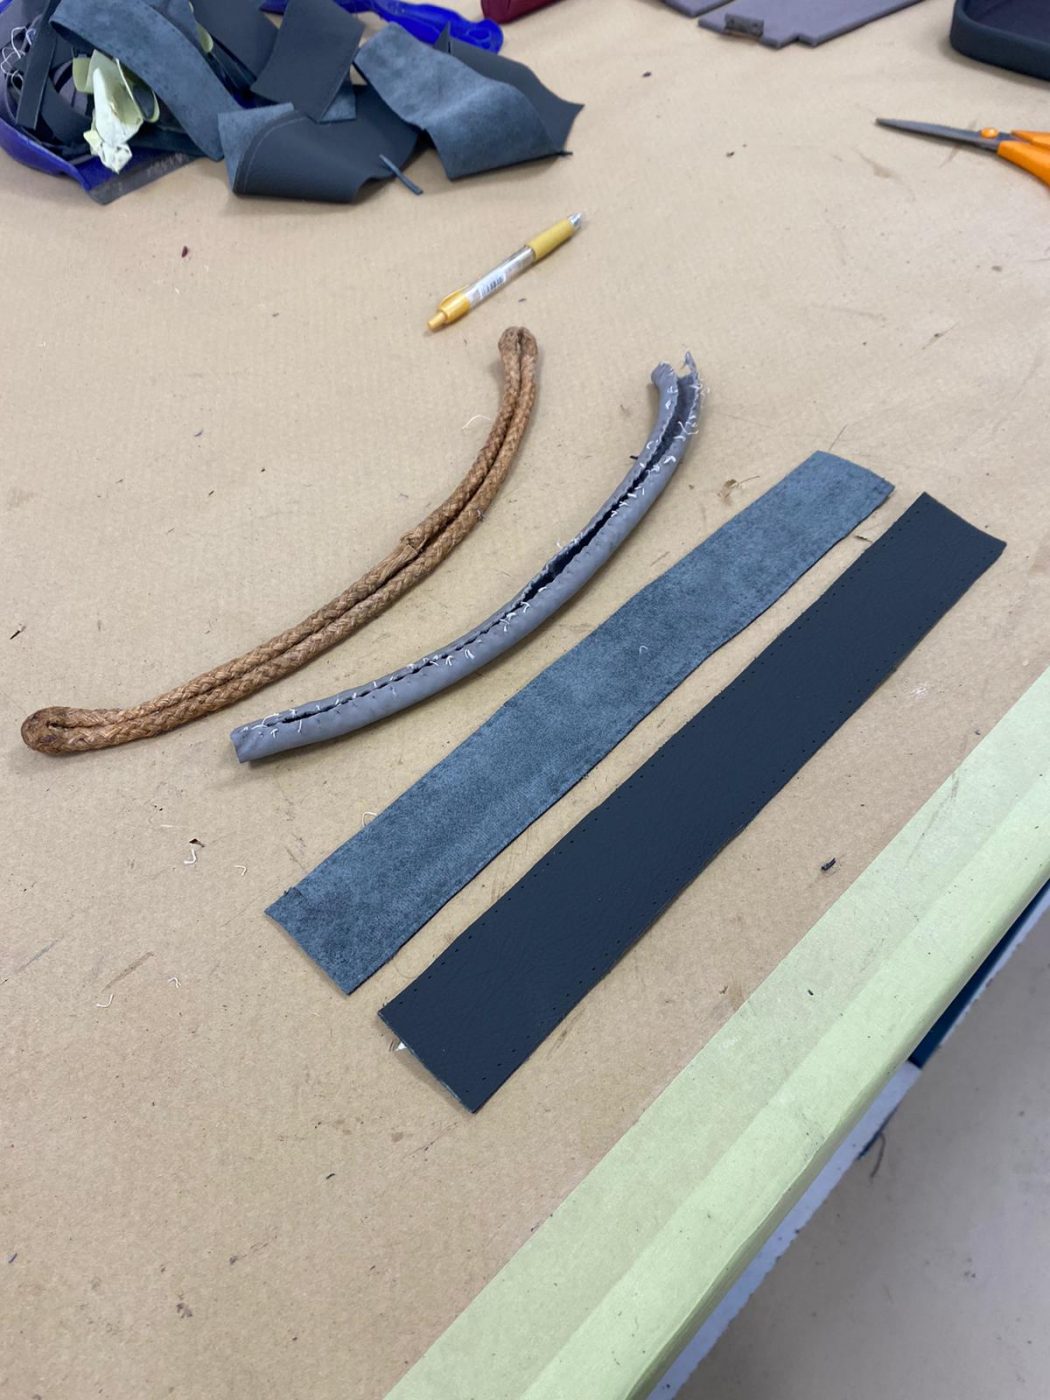
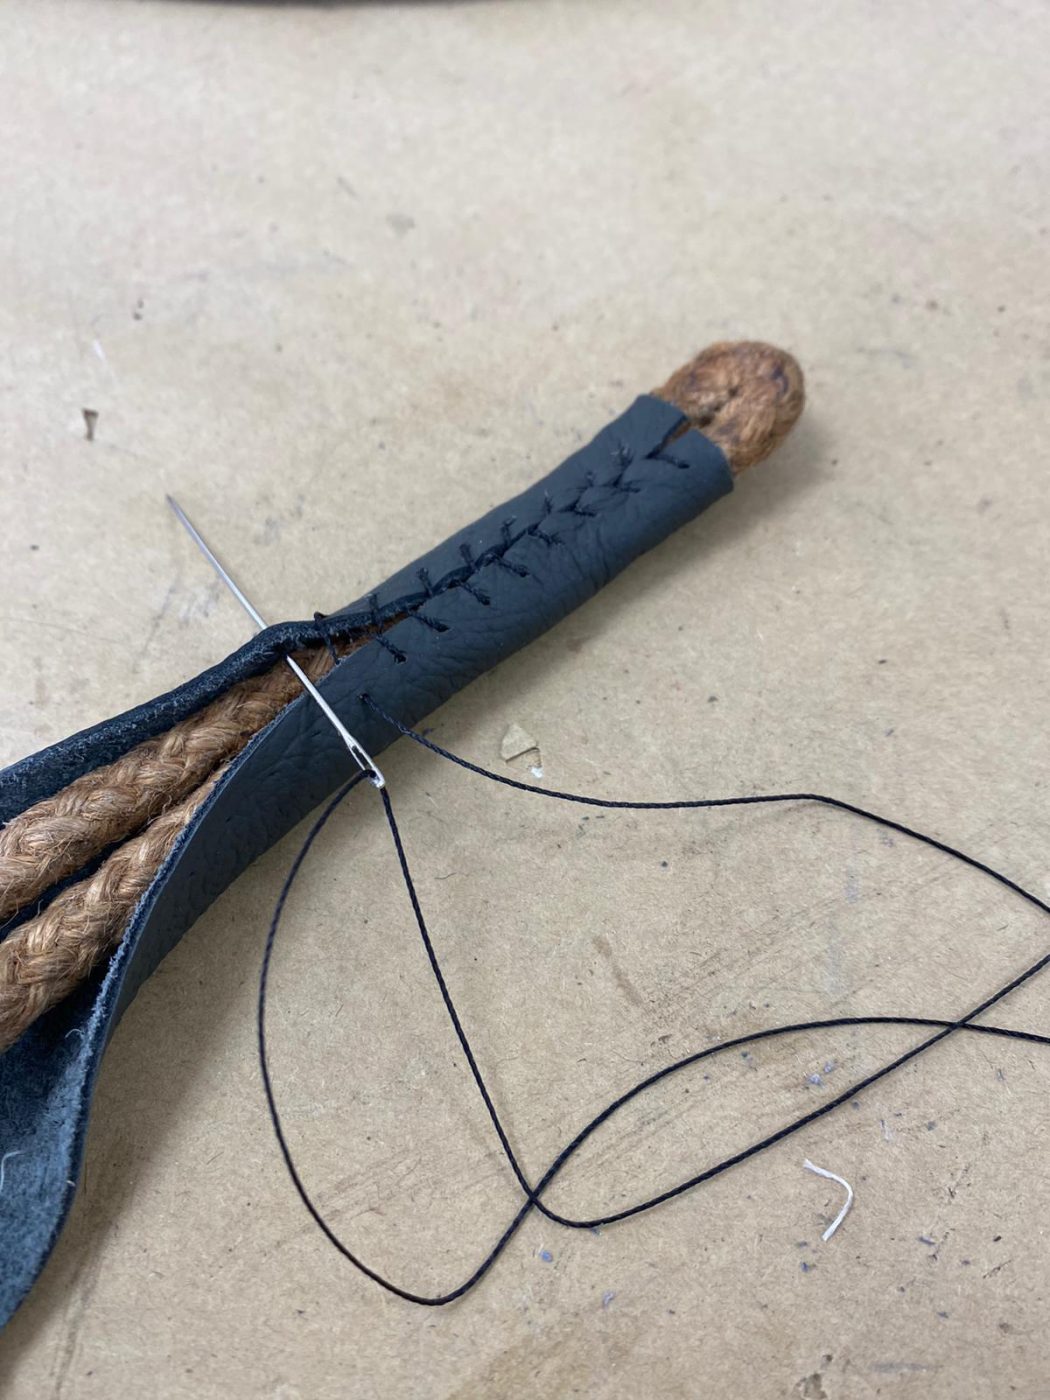
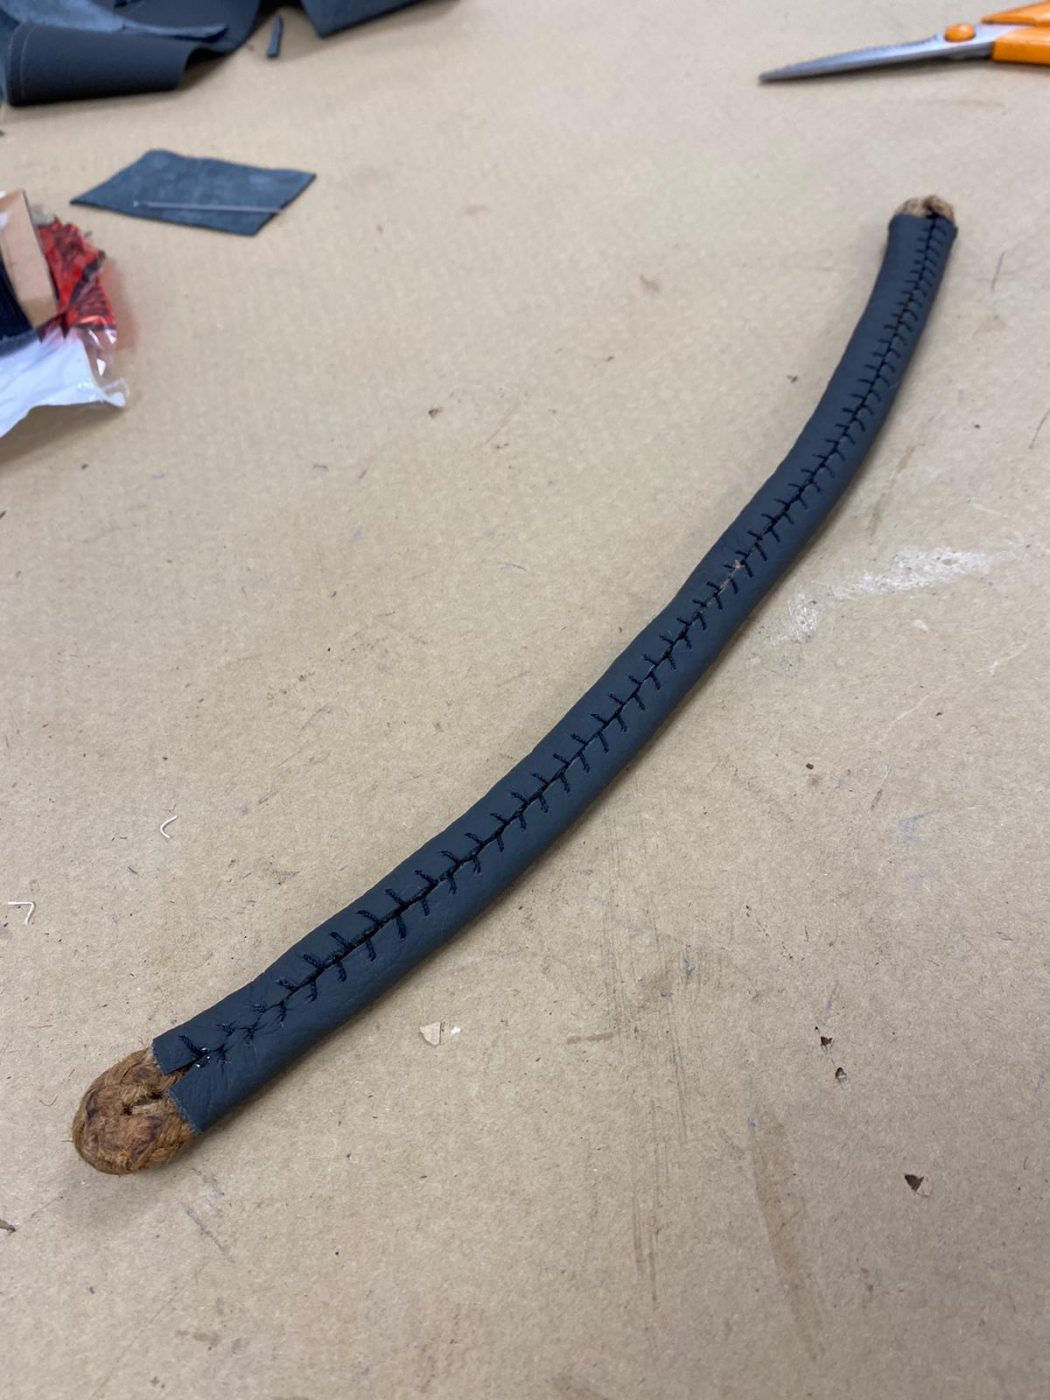
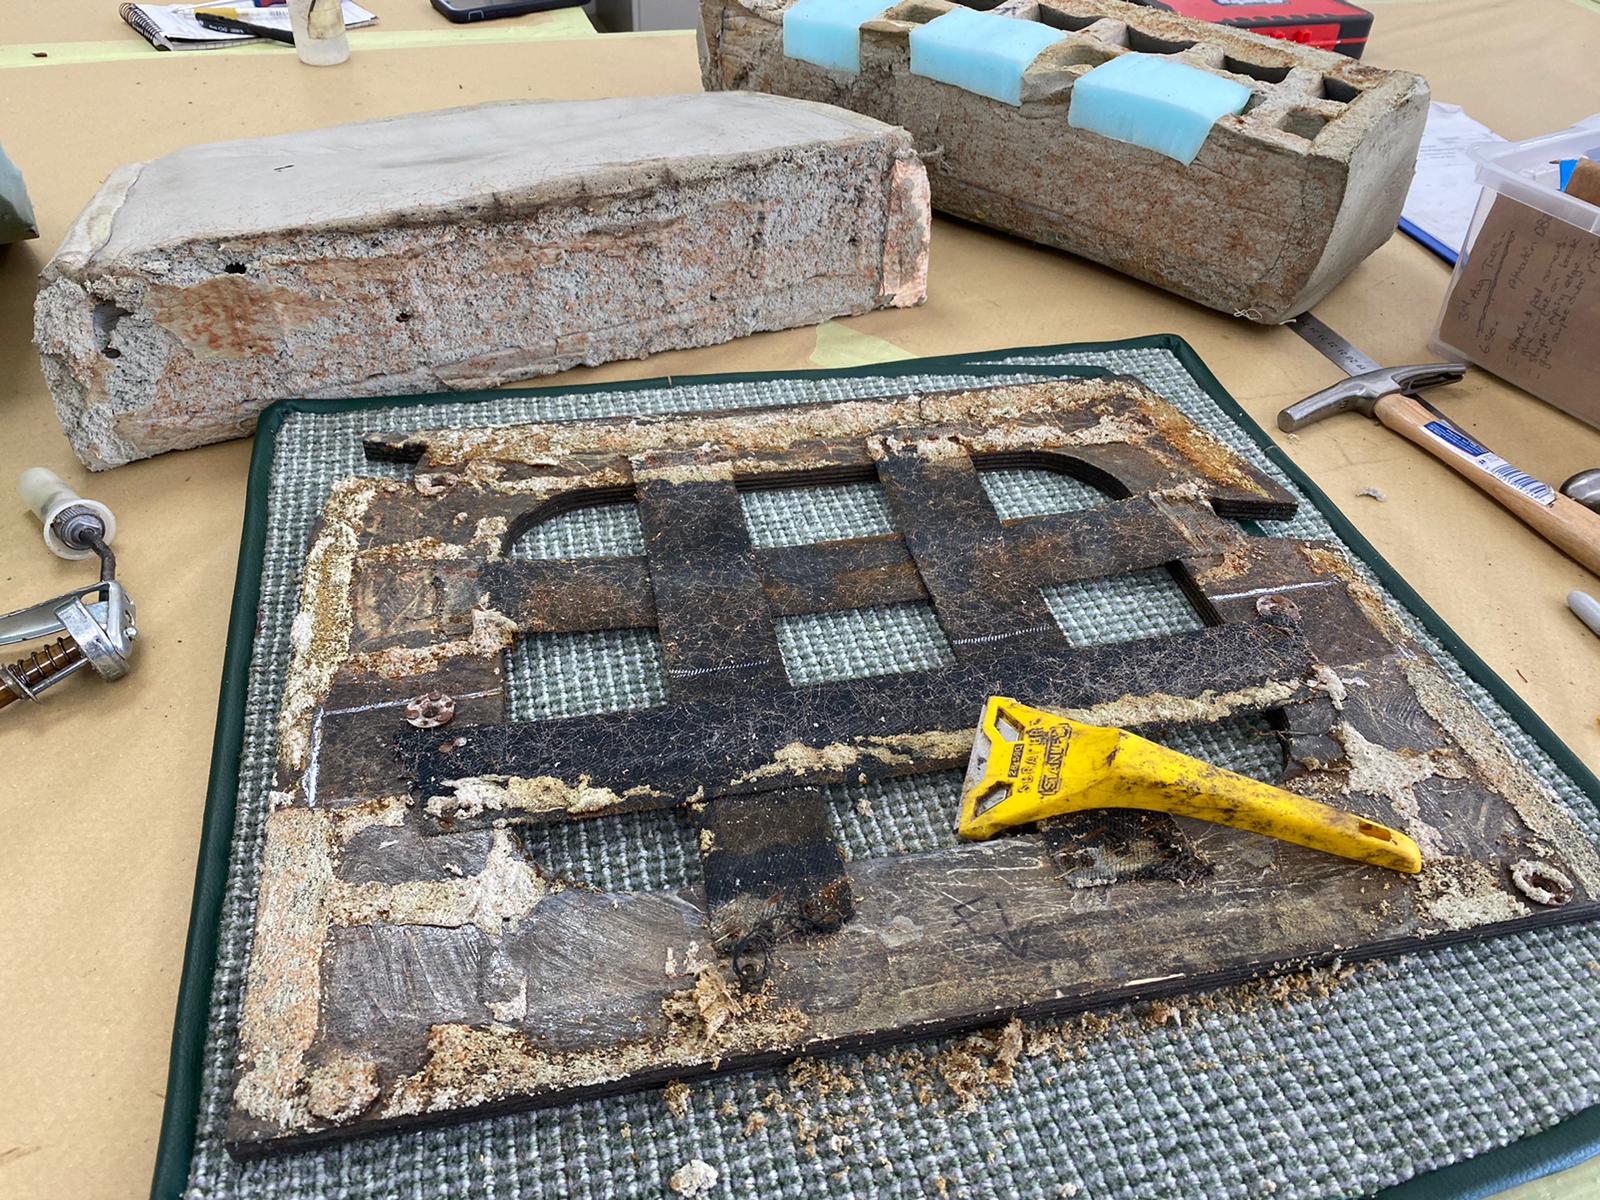
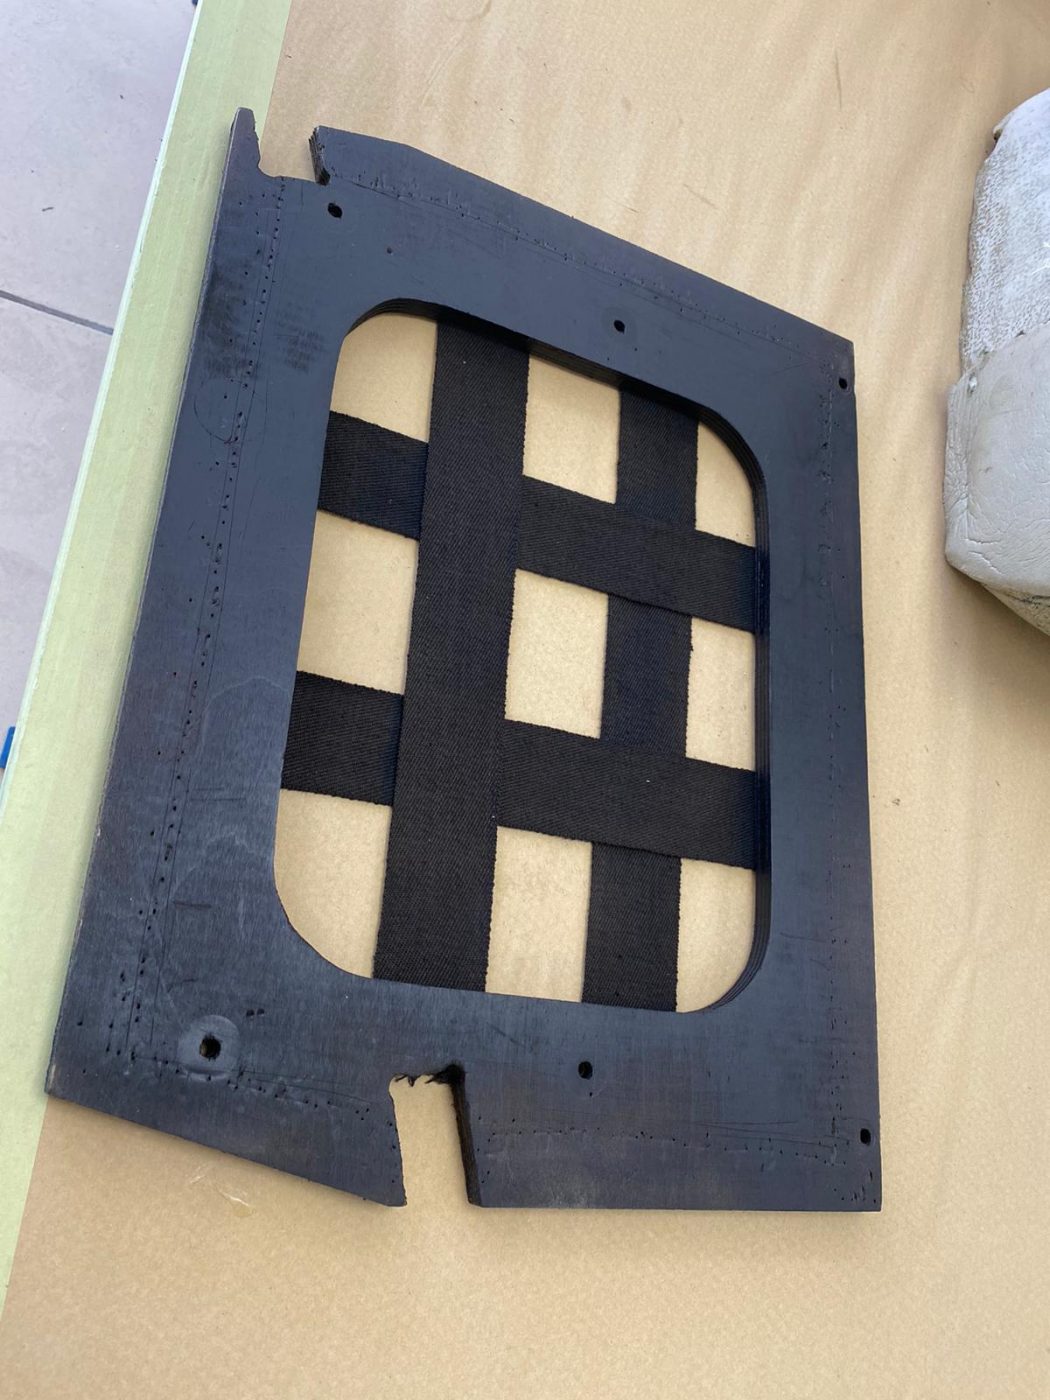
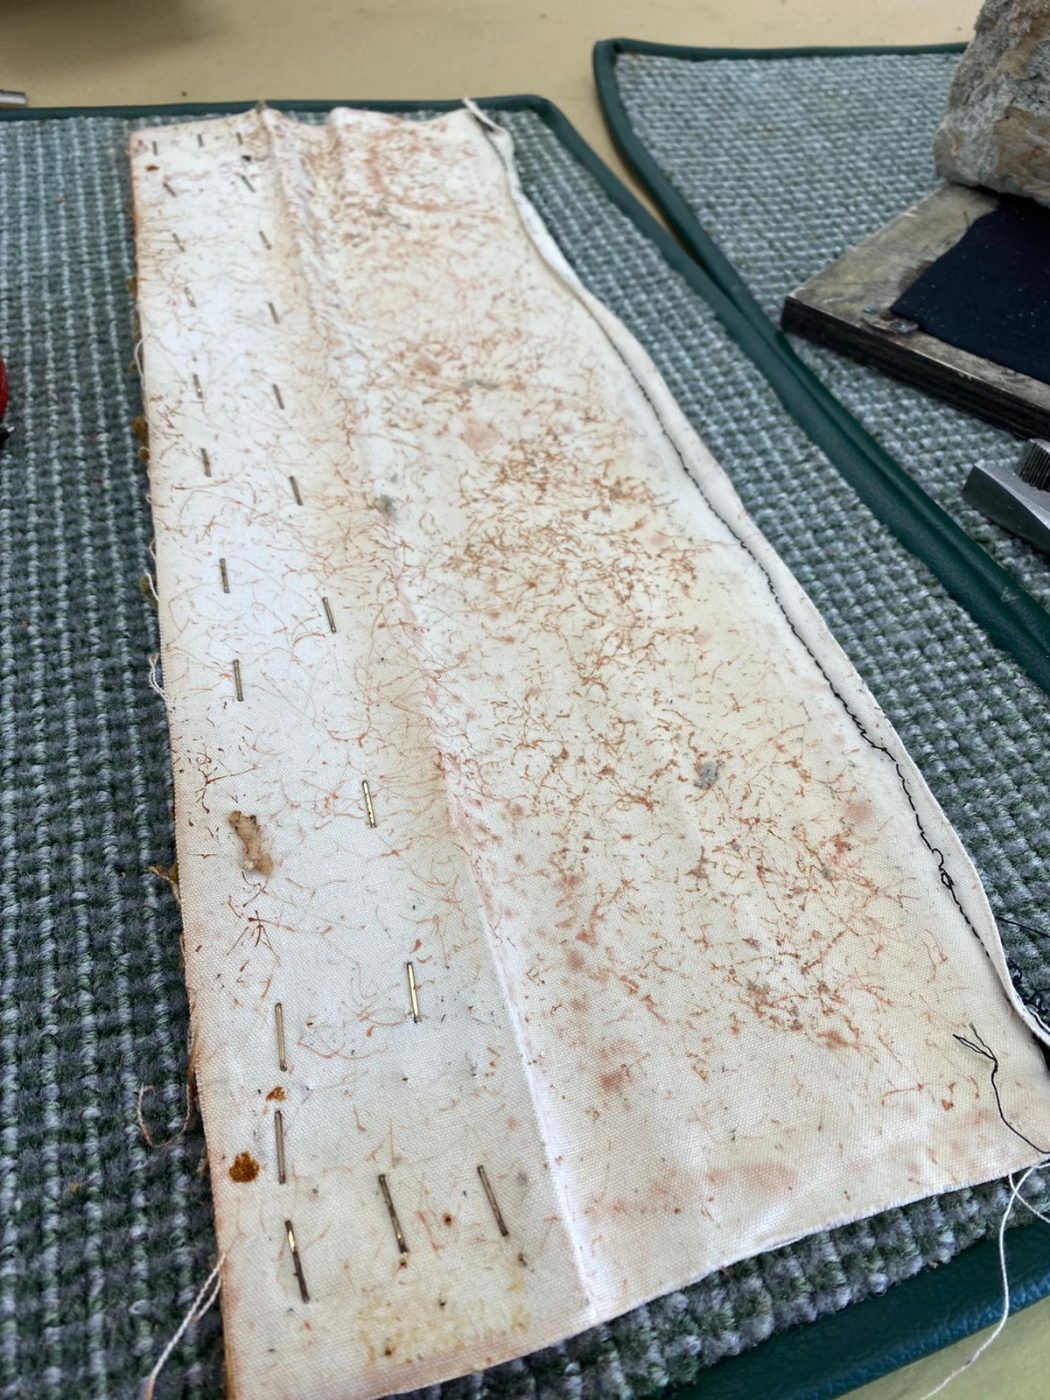
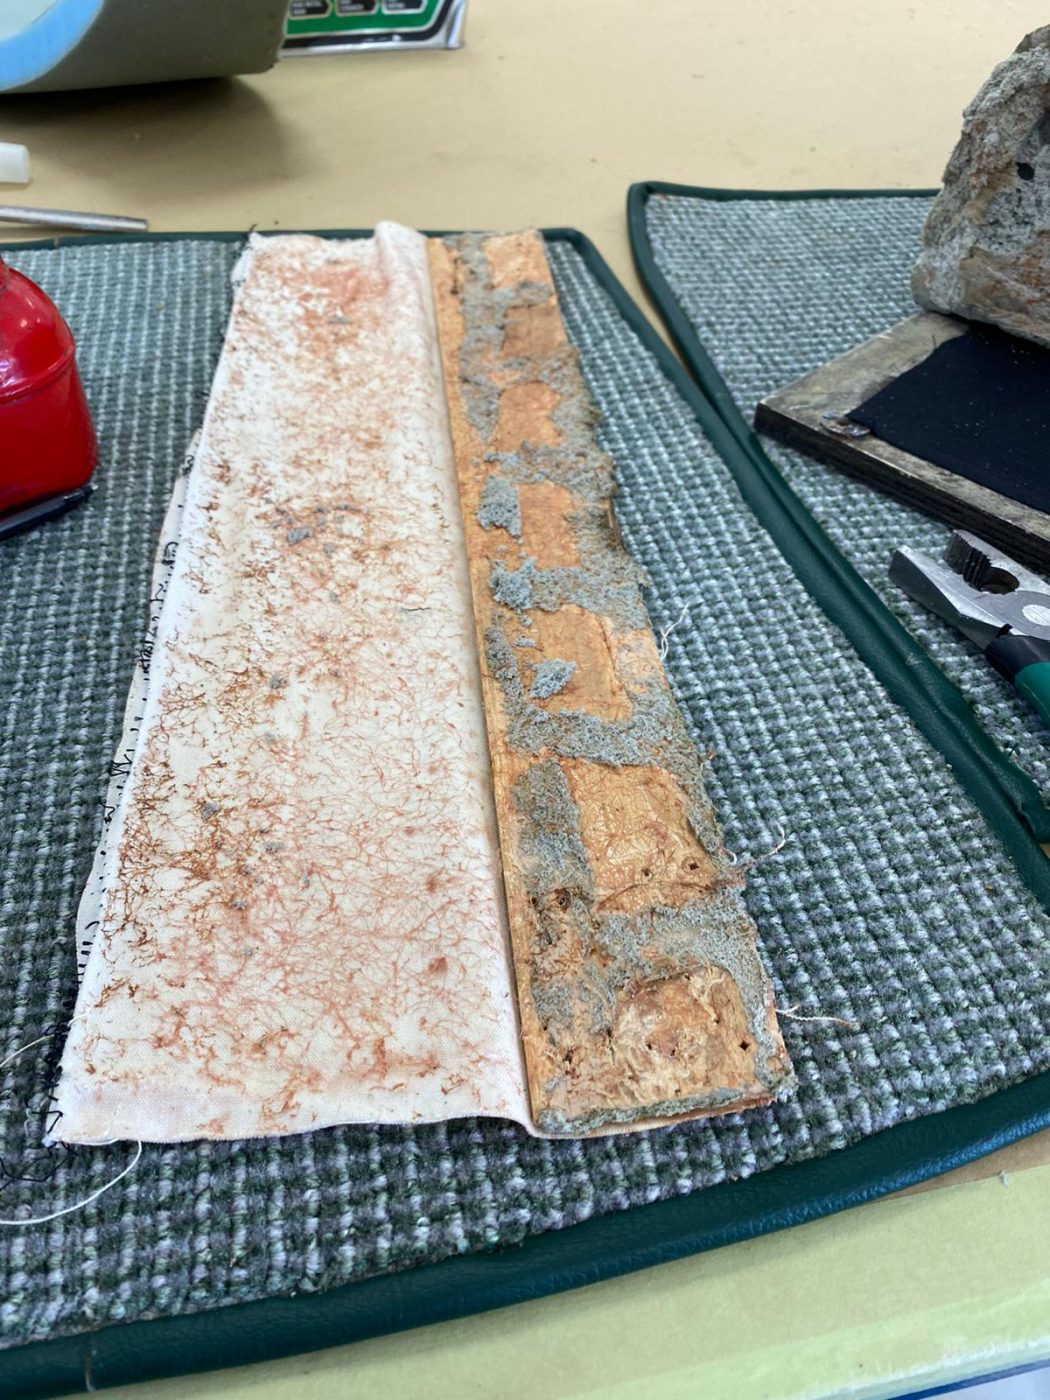
Another little update on the 1955 Aston Martin DB 2/4 coming your way! In the trim shop, Kath has been re-covering the door straps. She
Kath has been doing more seat work for the 1955 Aston Martin DB 2/4. This time around she’s been fitting the front base seat covers
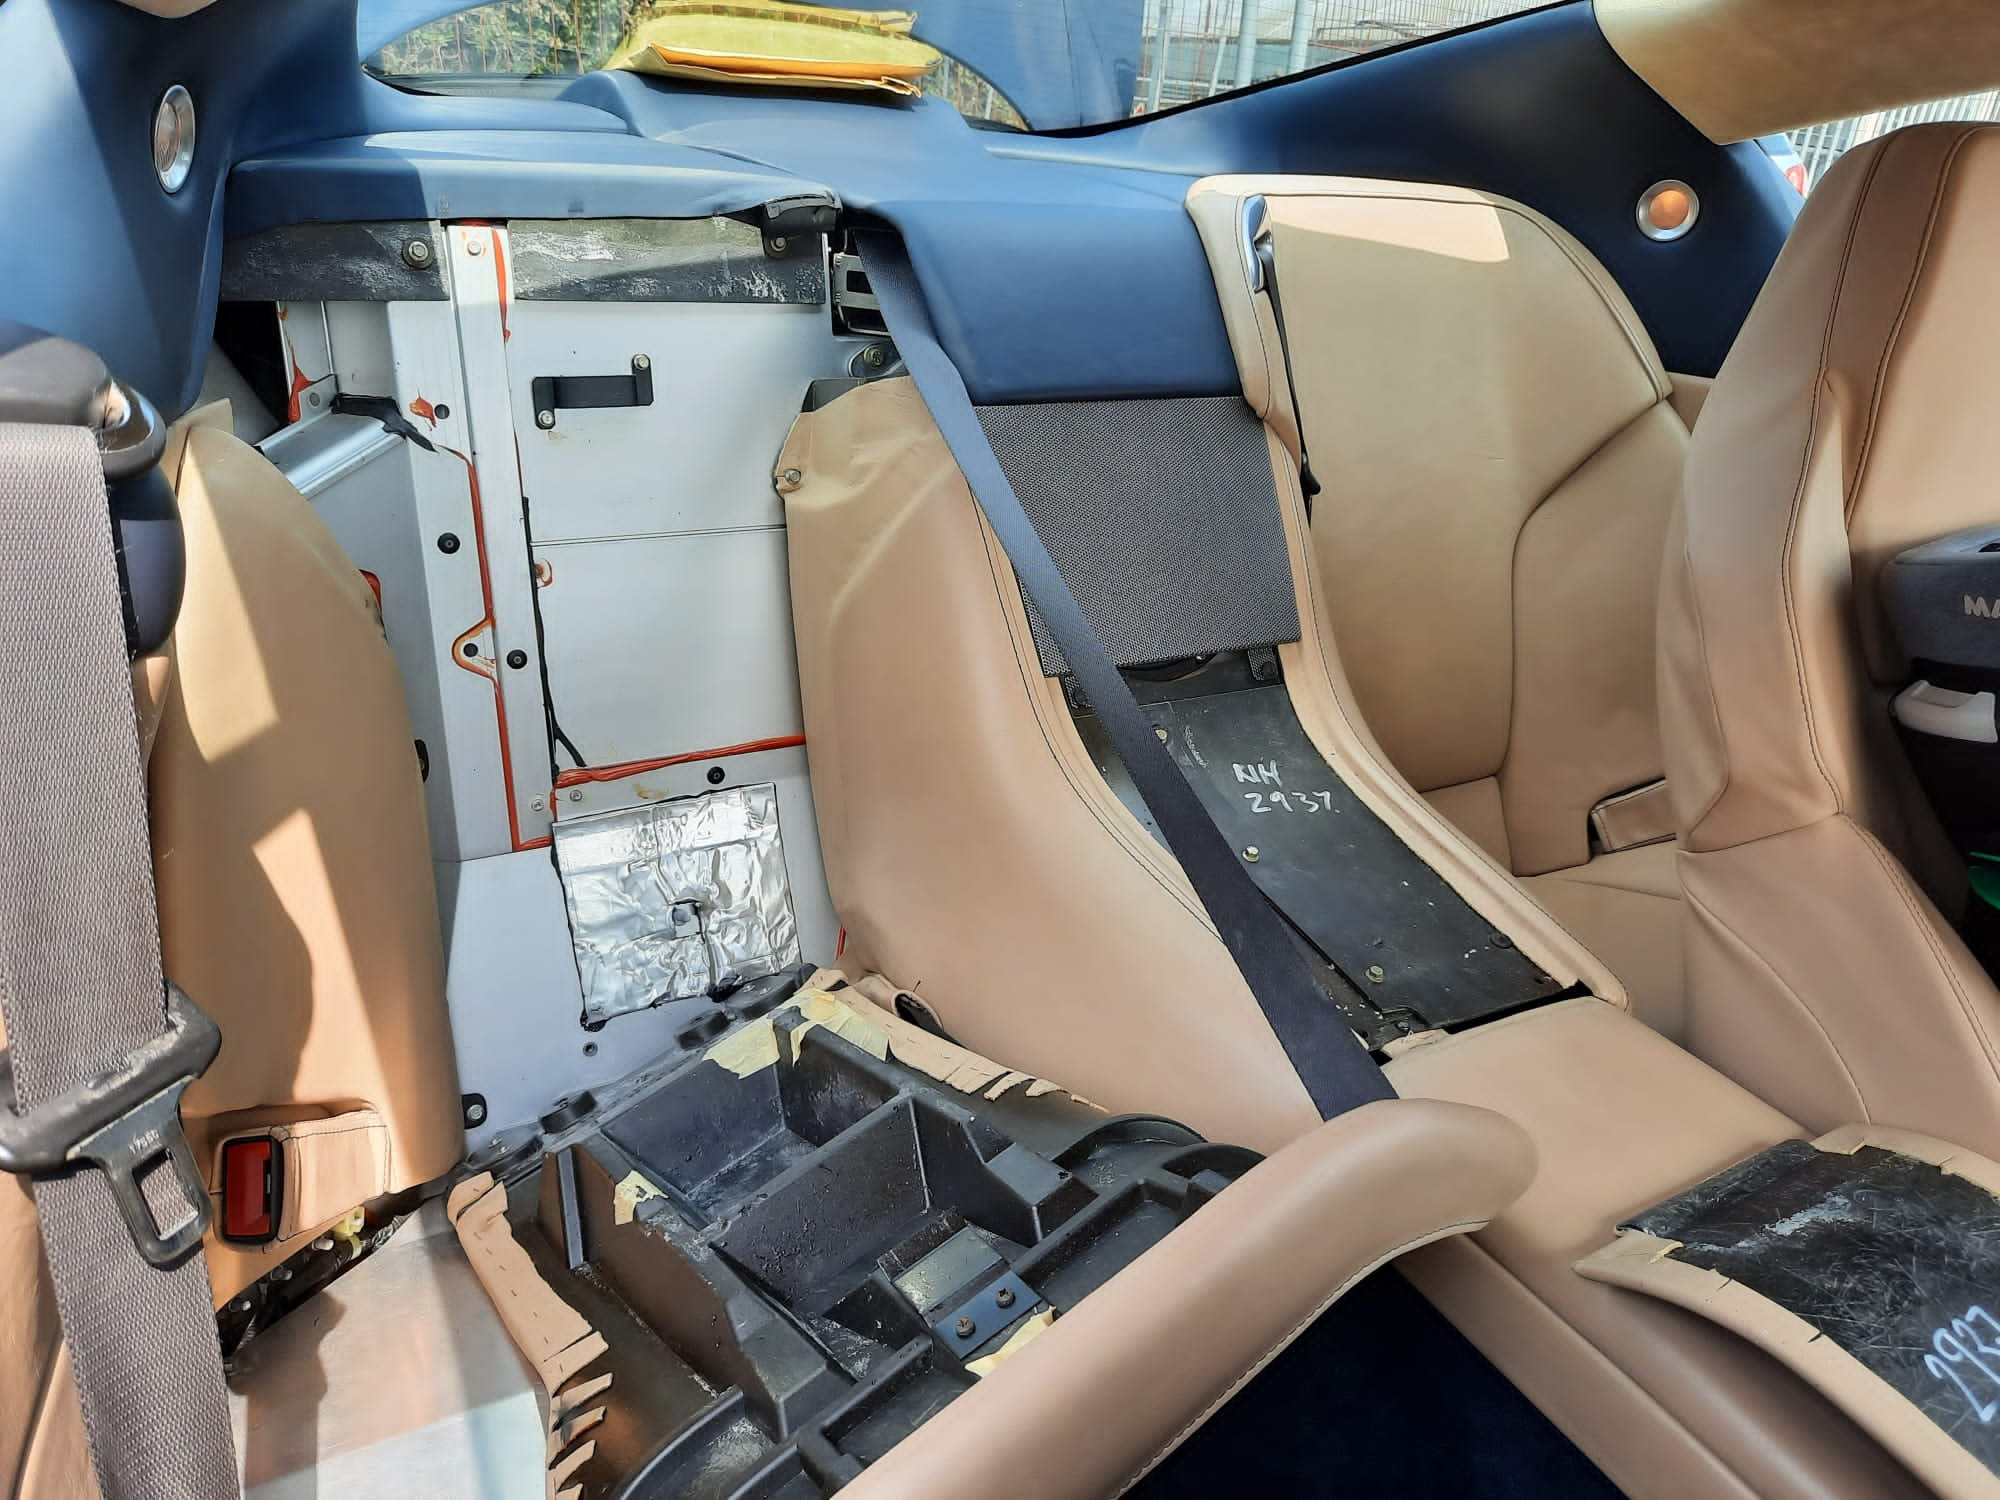
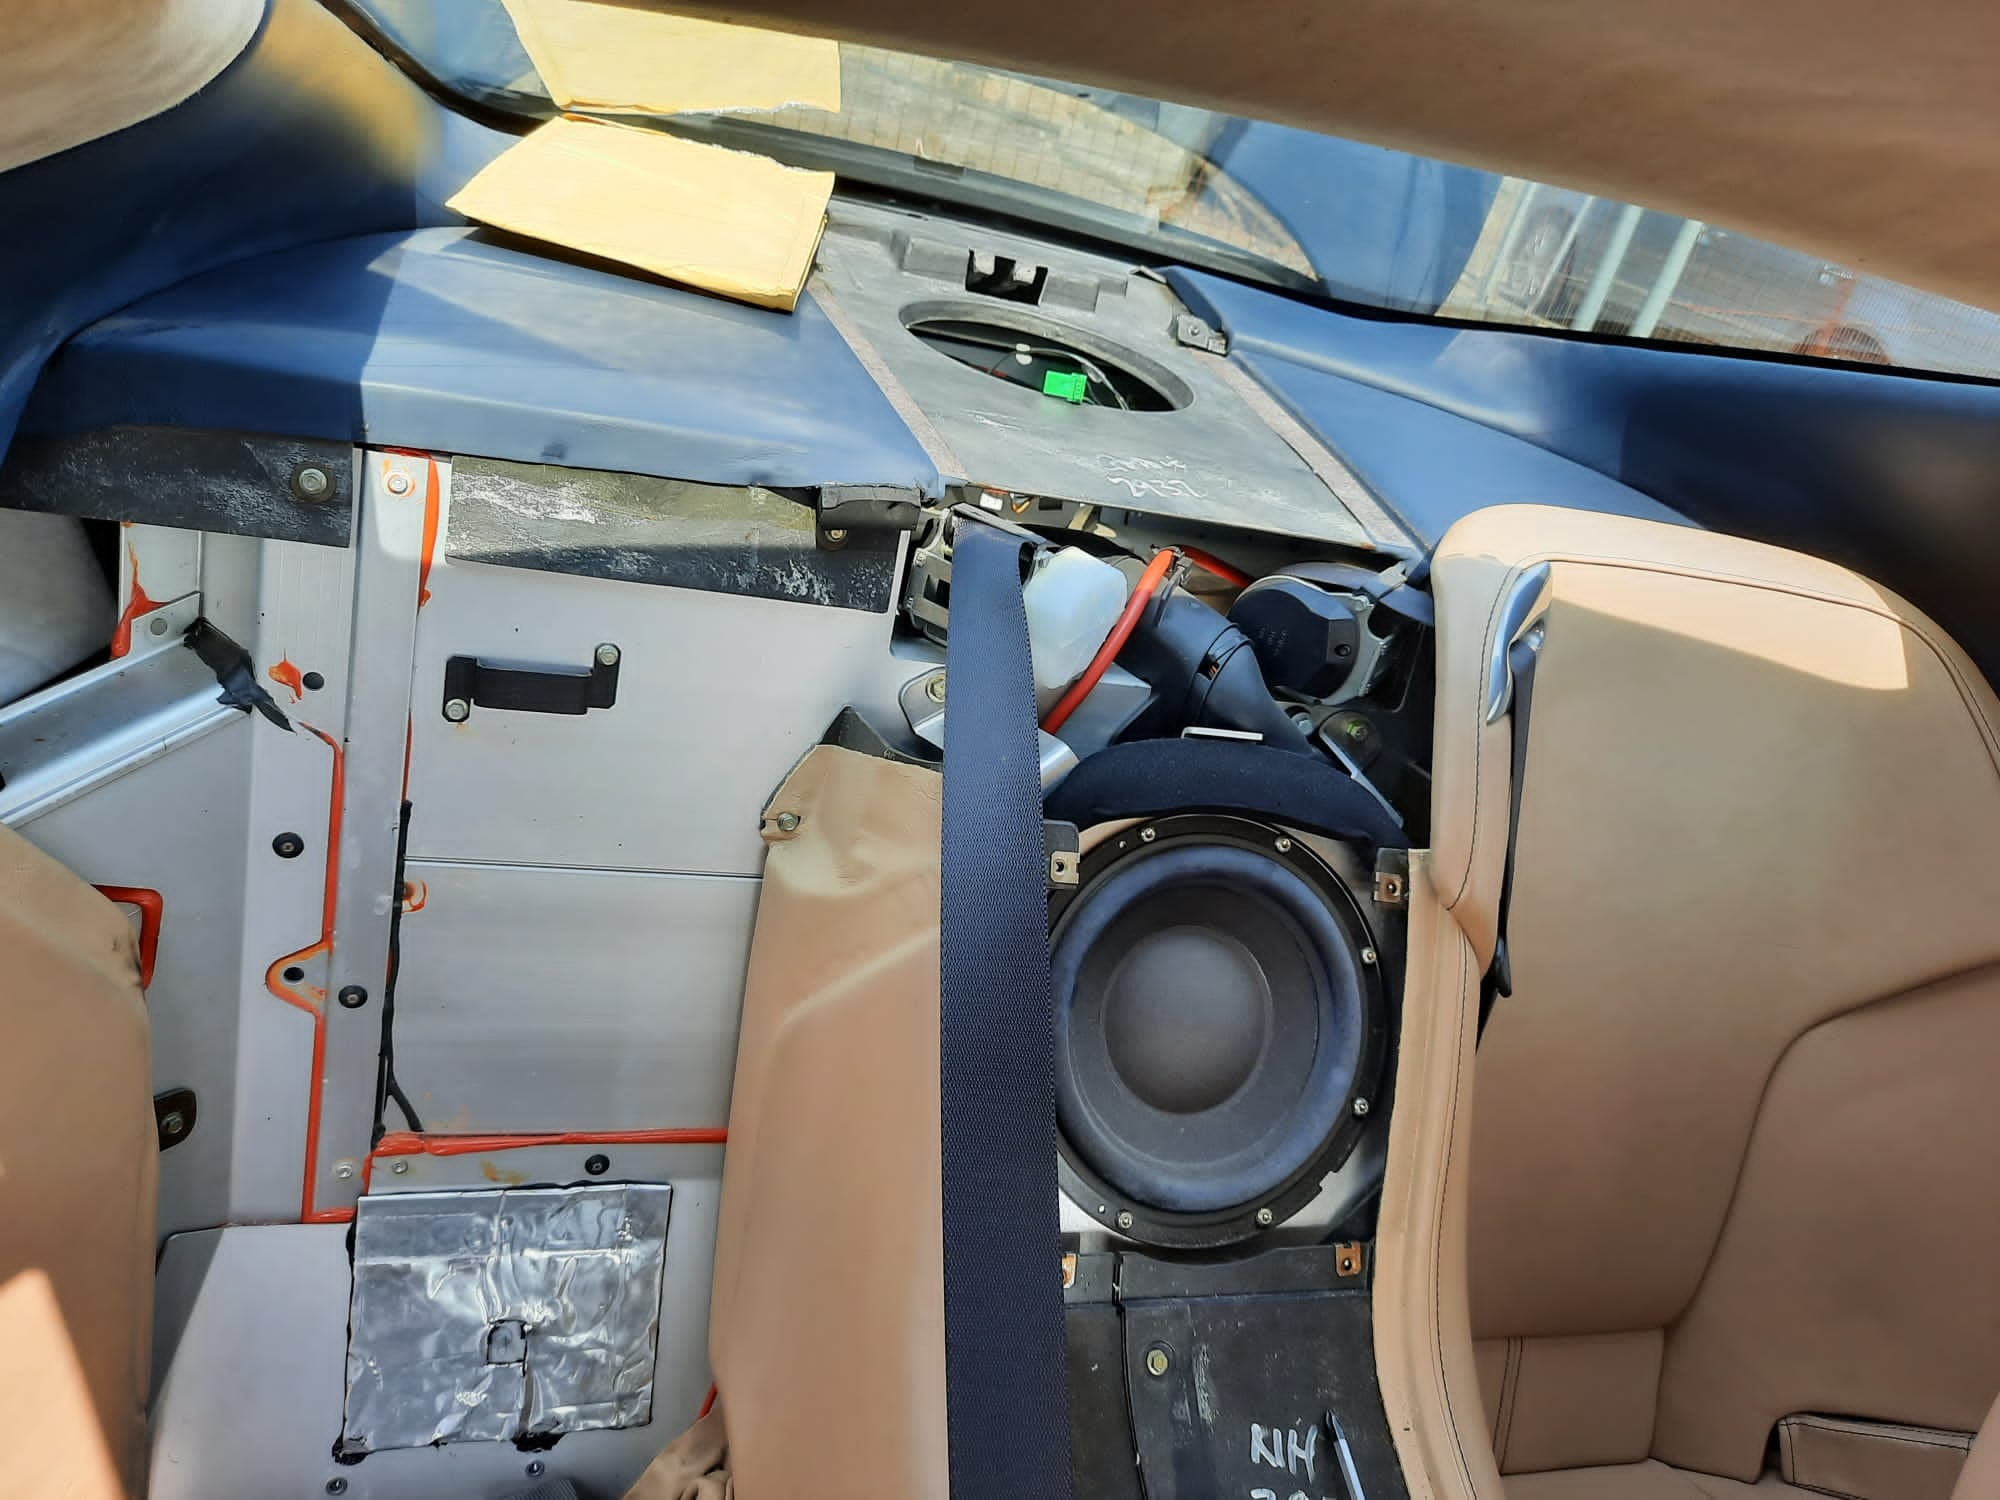
Mauro has been doing a little work on our 2005 Aston Martin DB 9. The panel that went from the rear seats to the parcel

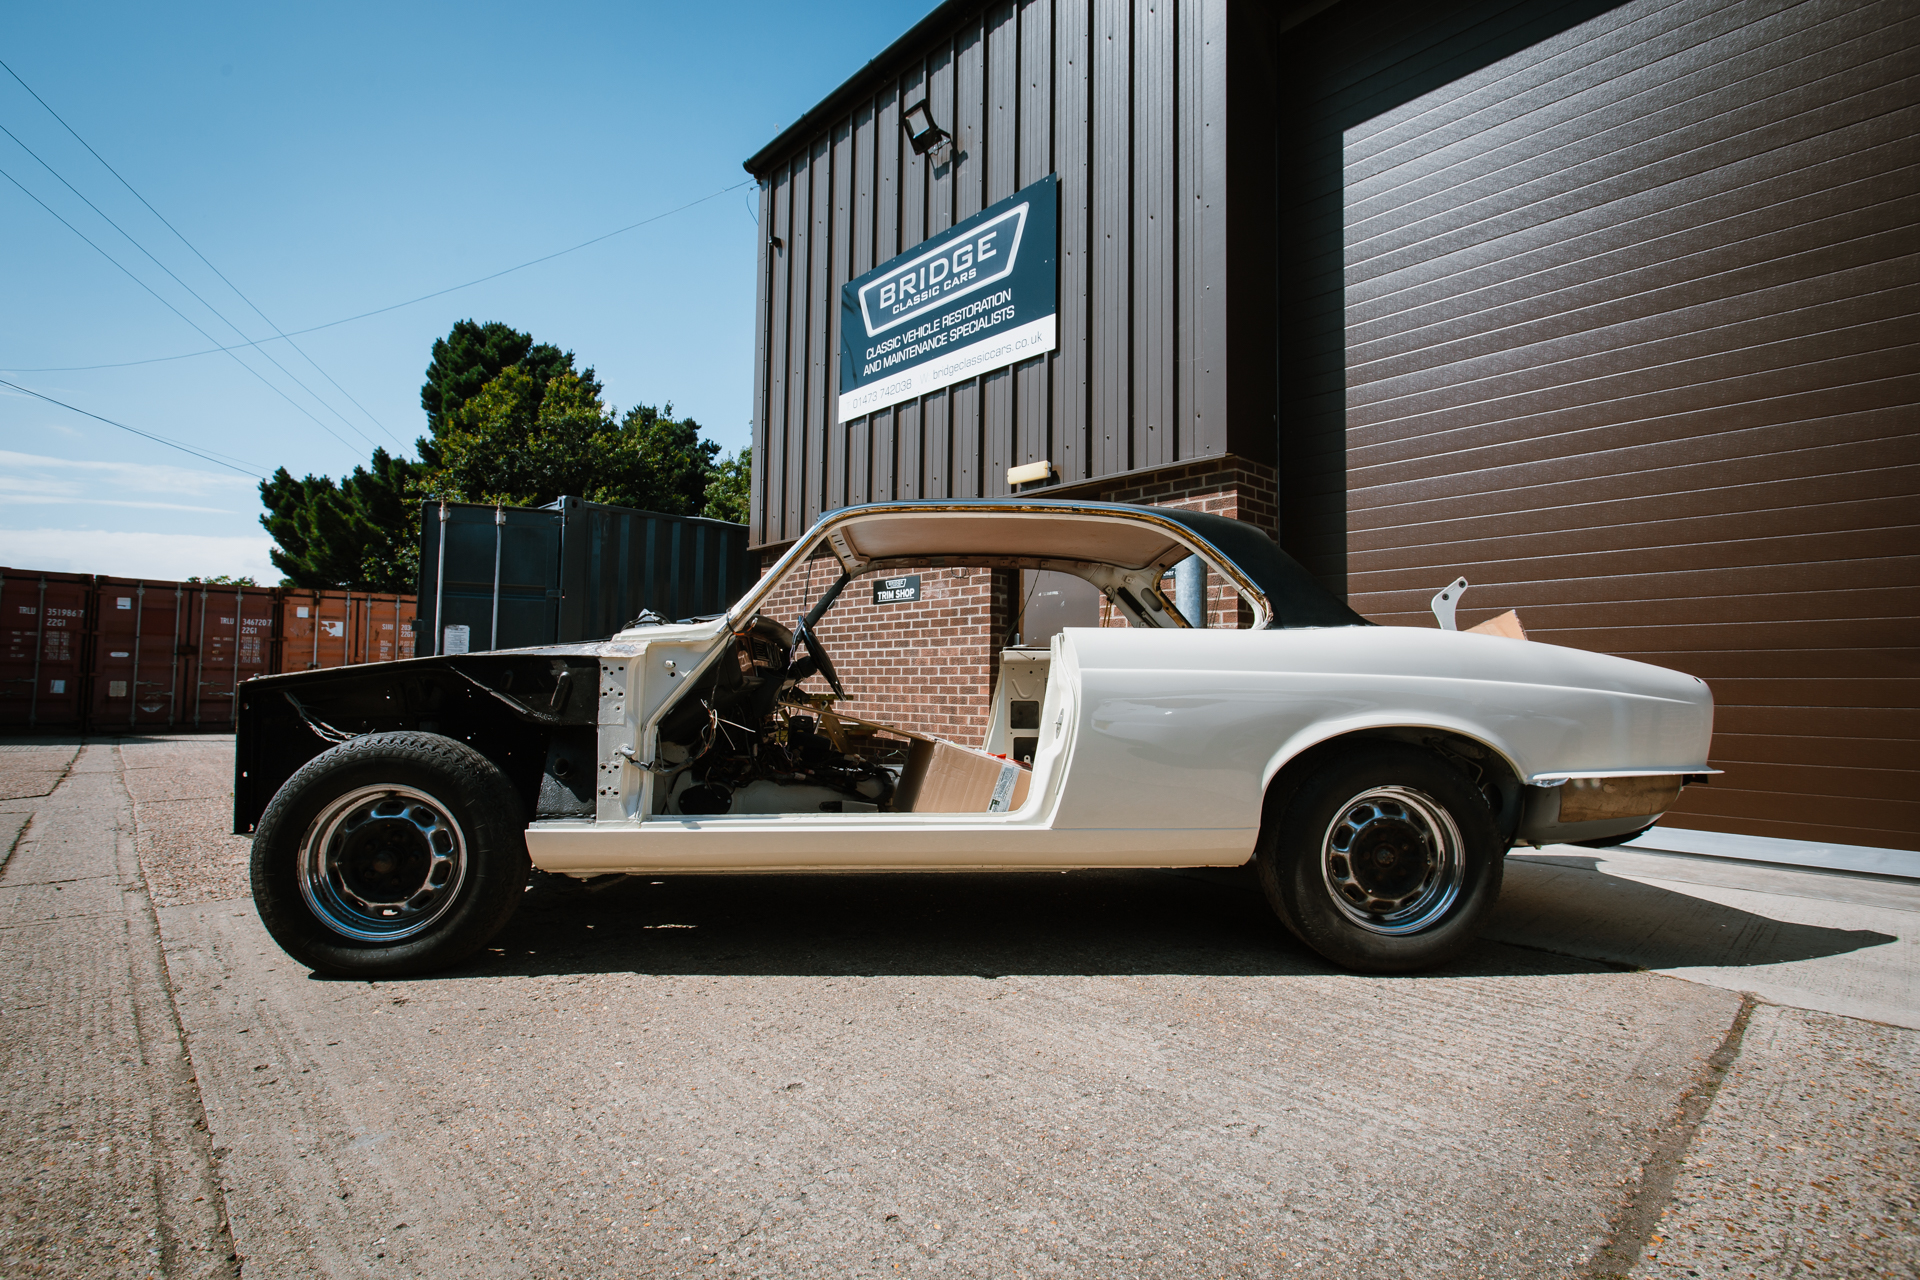
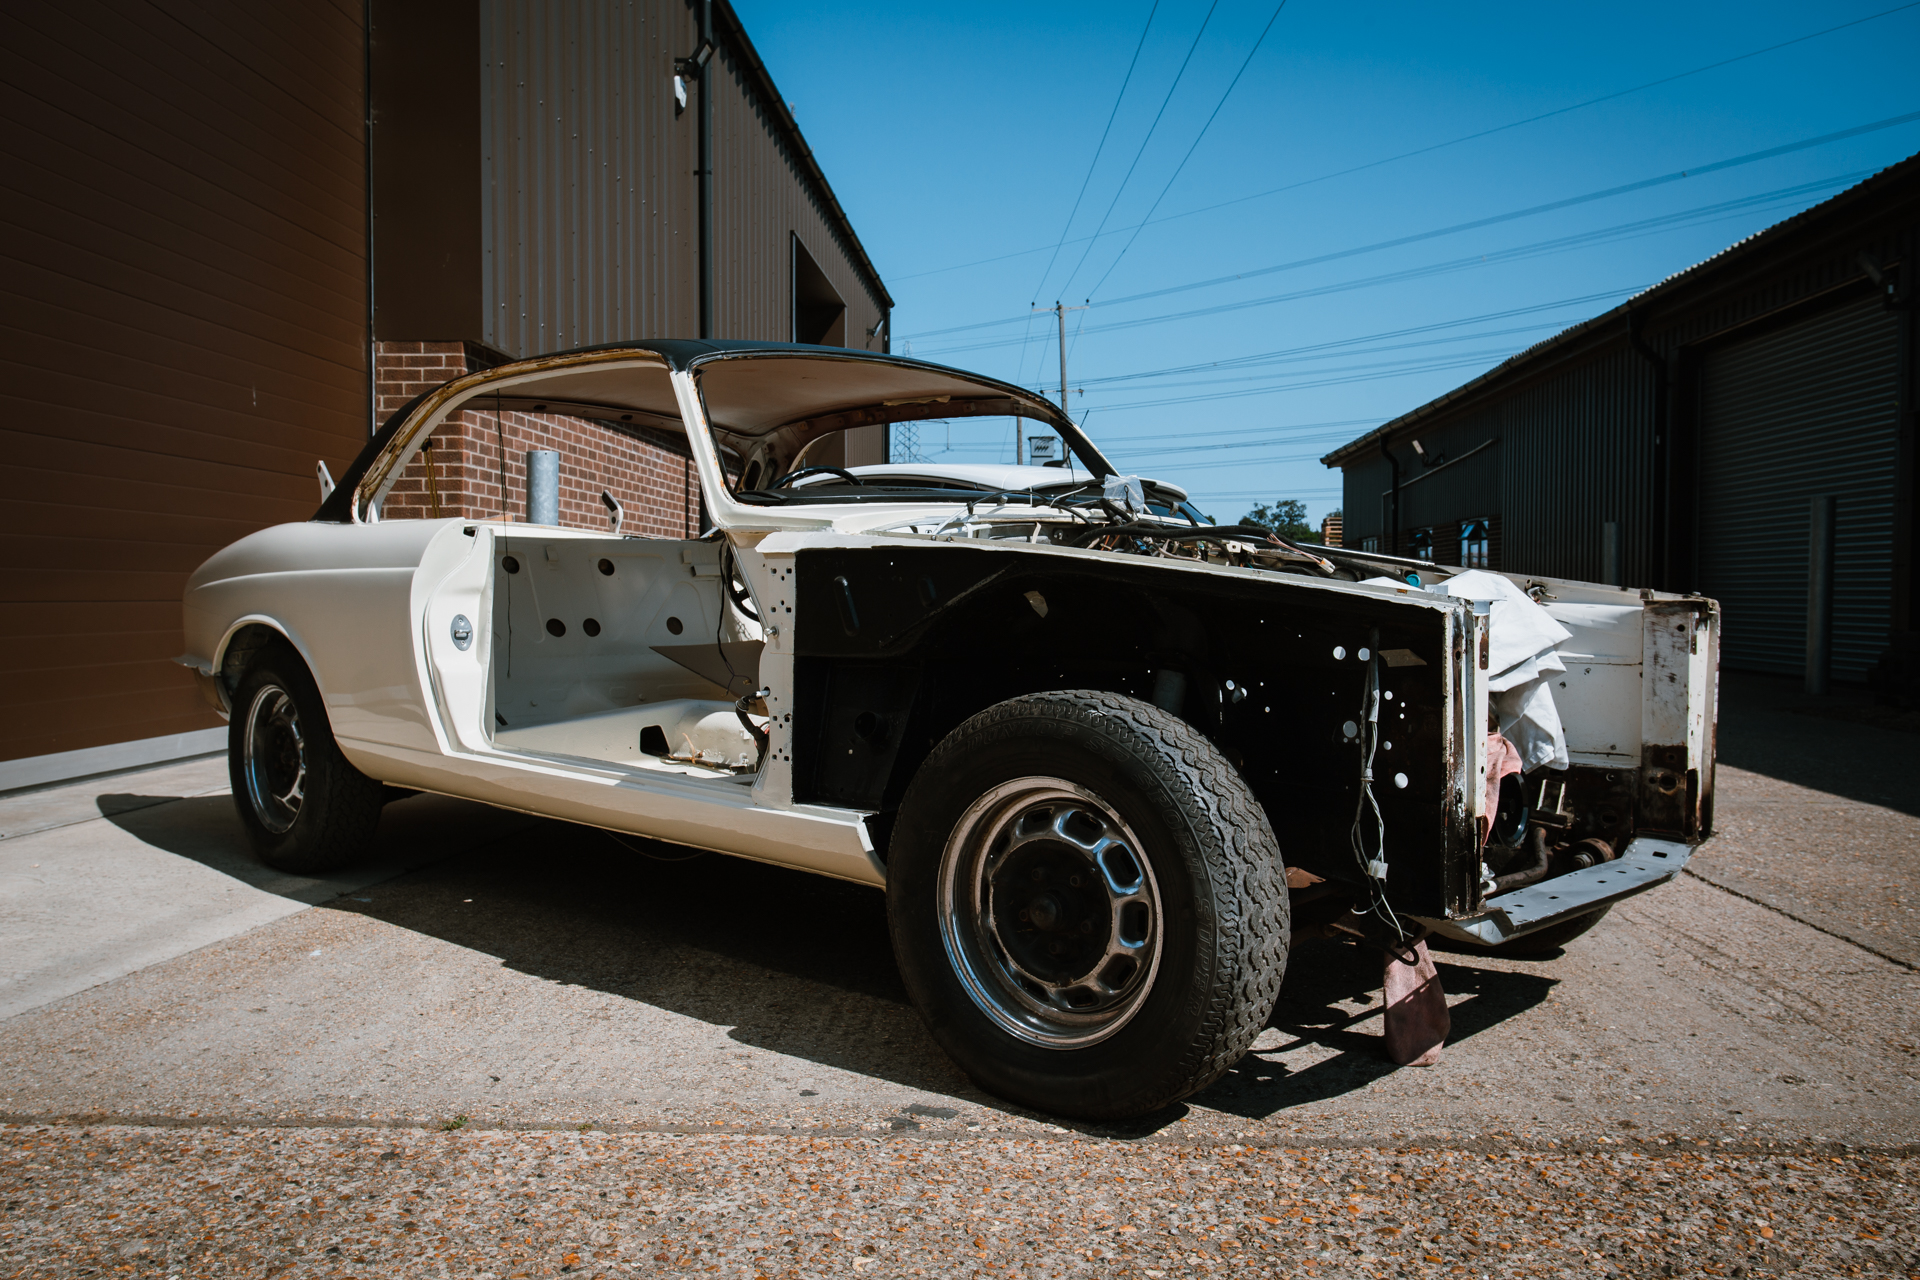
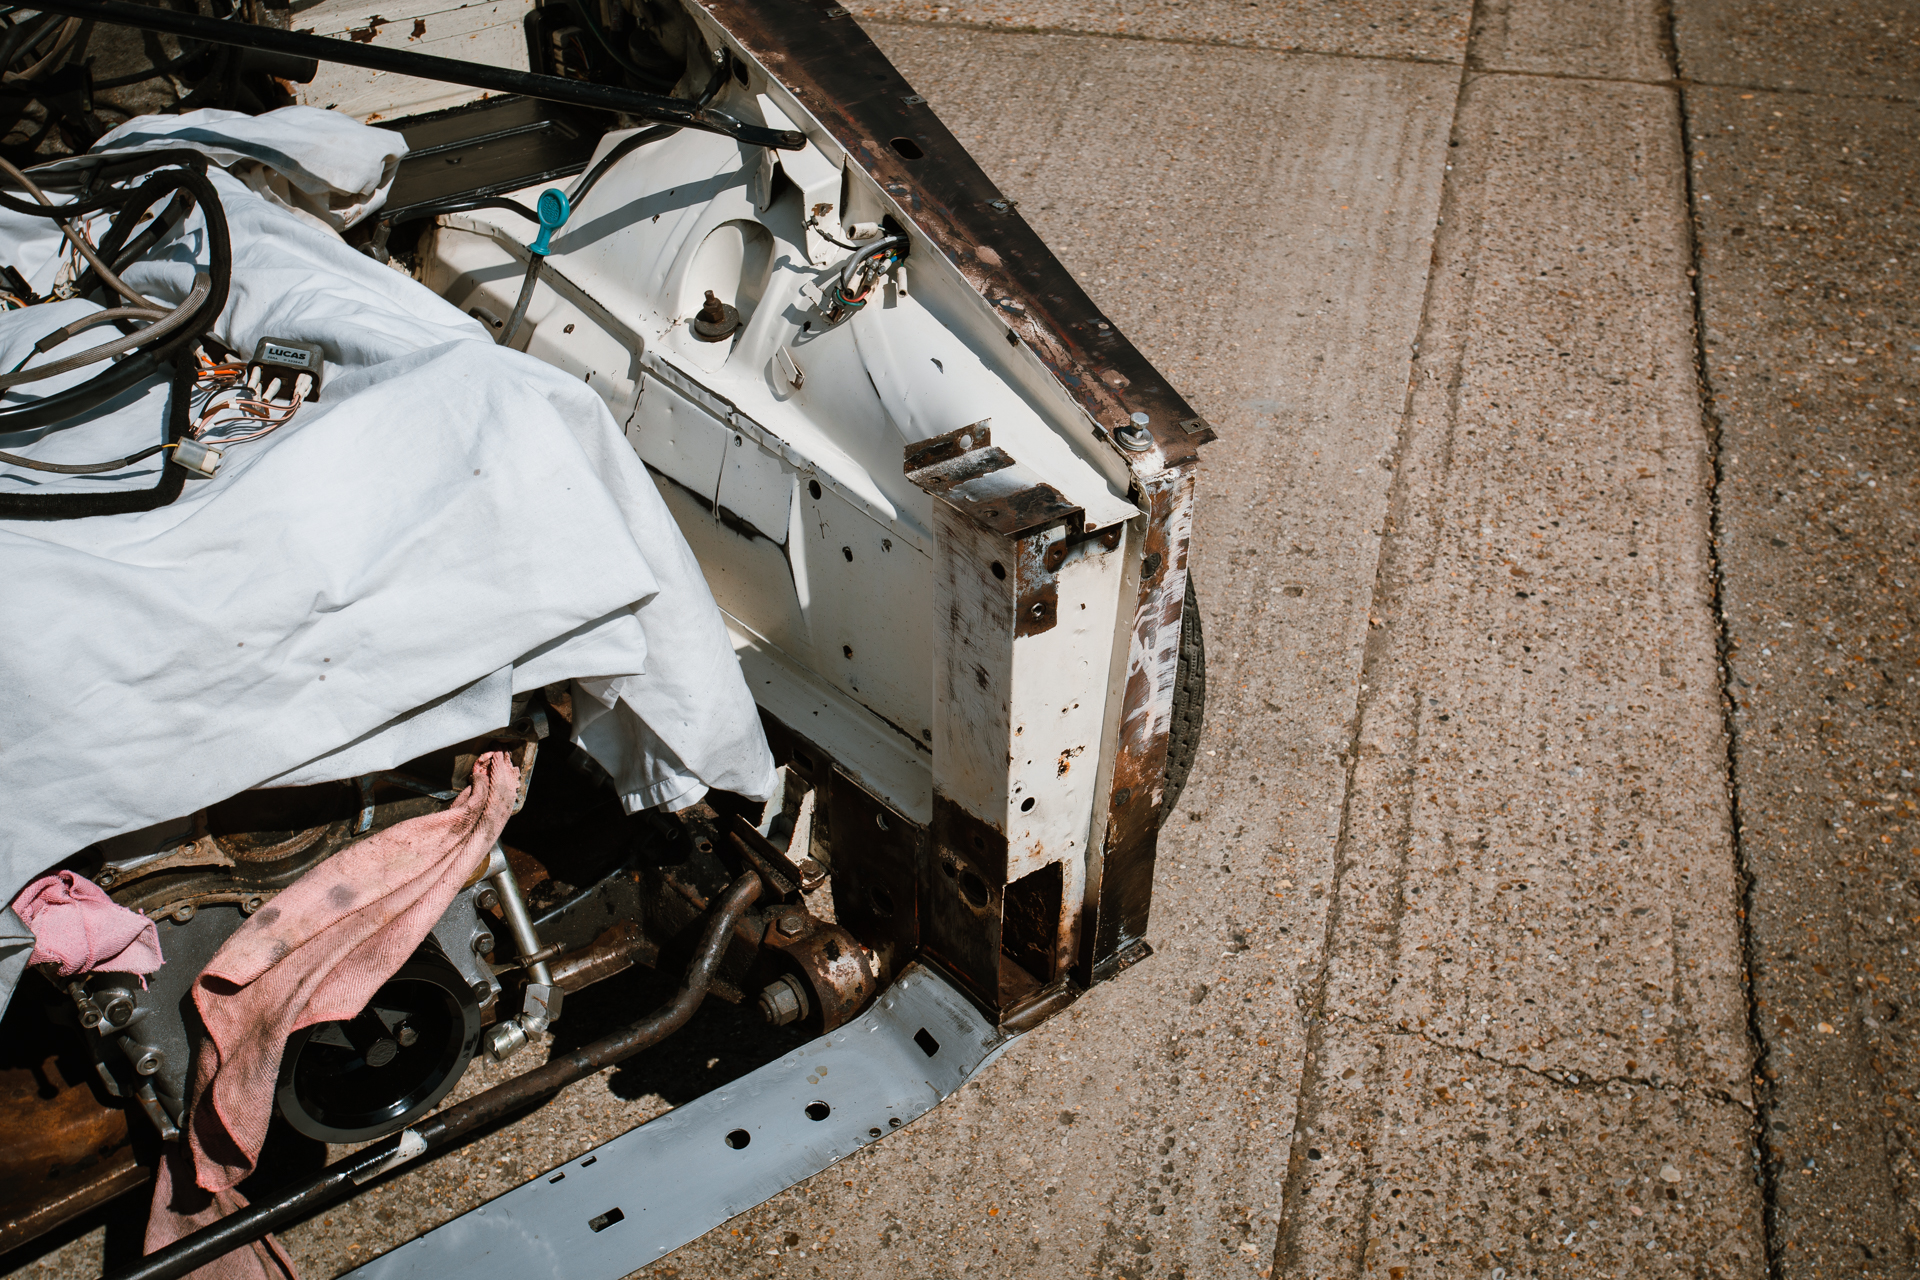
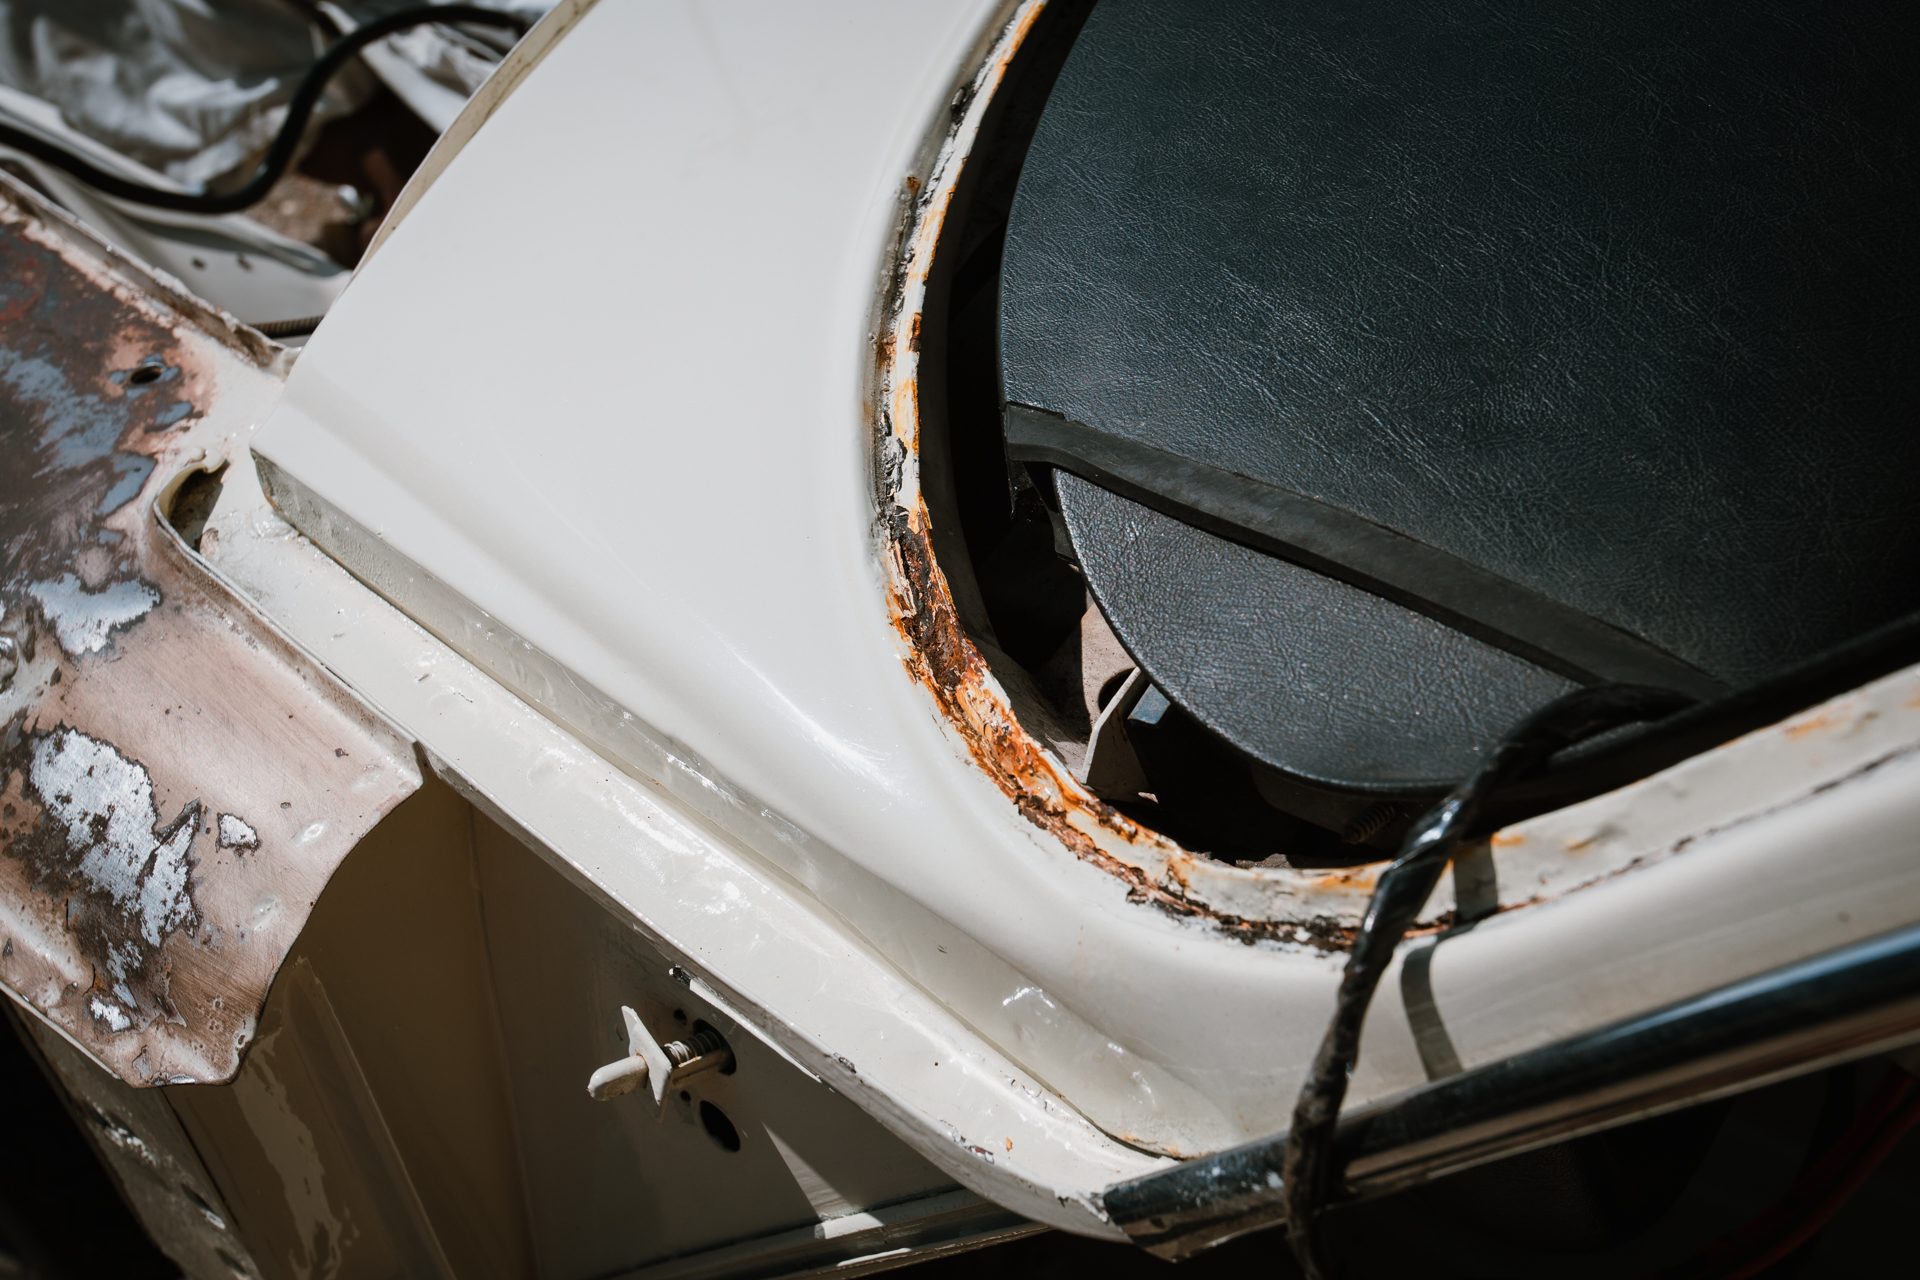
Launching today is this 1988 blue Ford Escort 1600 Cabriolet! The Ford Escort was originally produced as a small family car, manufactured from 1968 to

Up to now, our 1955 Aston Martin DB2/4 was not uncovering too many hidden issues. Naturally, we had a lot of repairs and re-shaping to
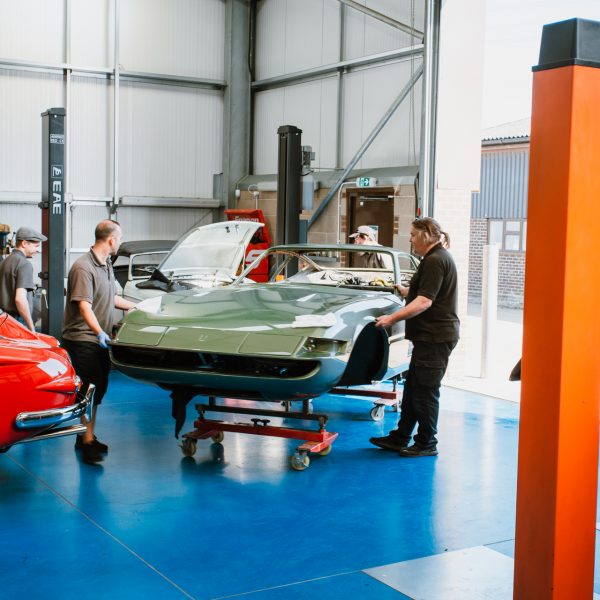
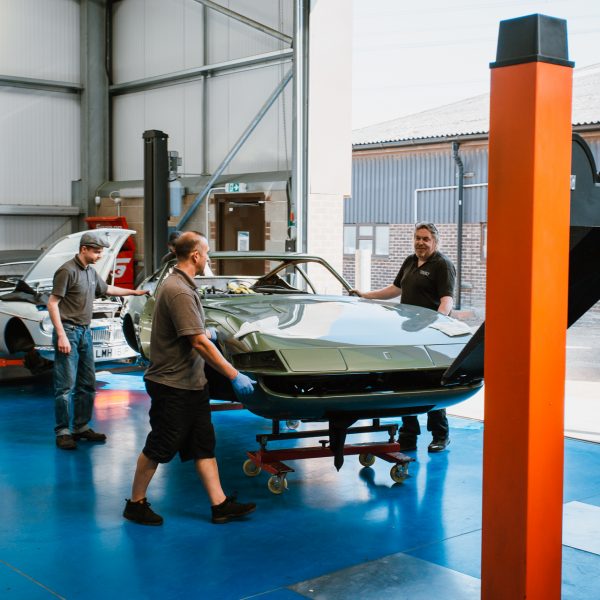
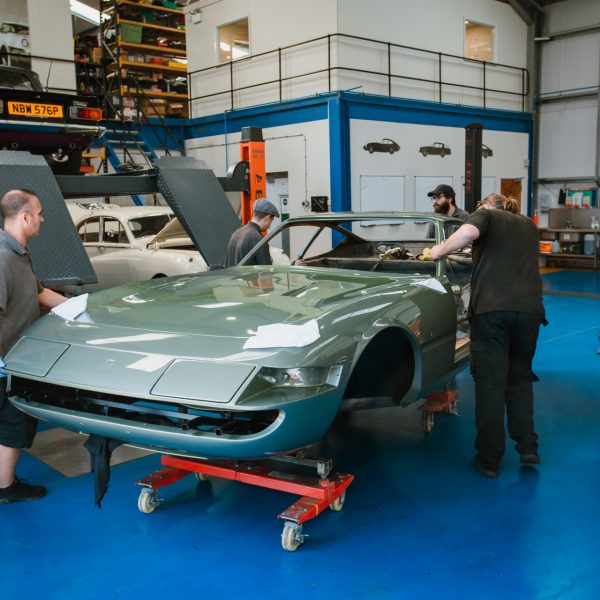
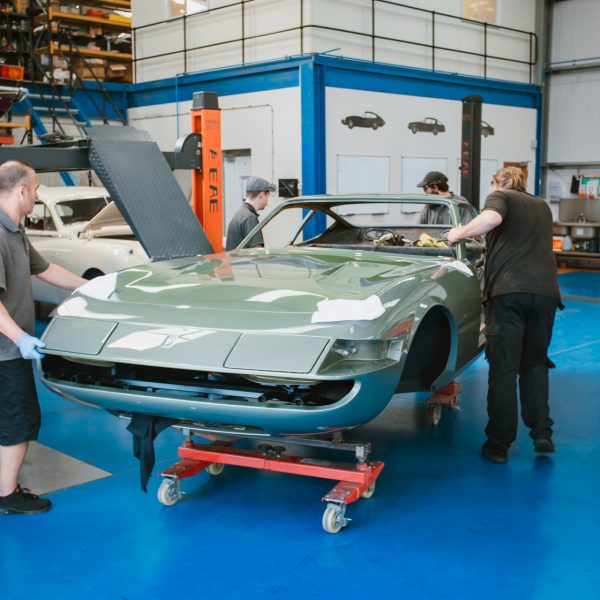
This week we’ve welcomed the 1979 Arrow Ferrari Daytona back into the workshop after it’s been in storage for a little bit of time. The
John has been giving the heater valve some attention on the peony red 1960 Jensen 541S. When it was being tested, the heater was blowing hot when it was actually being set to cold on the control. So John set about changing the valve for it to work properly.
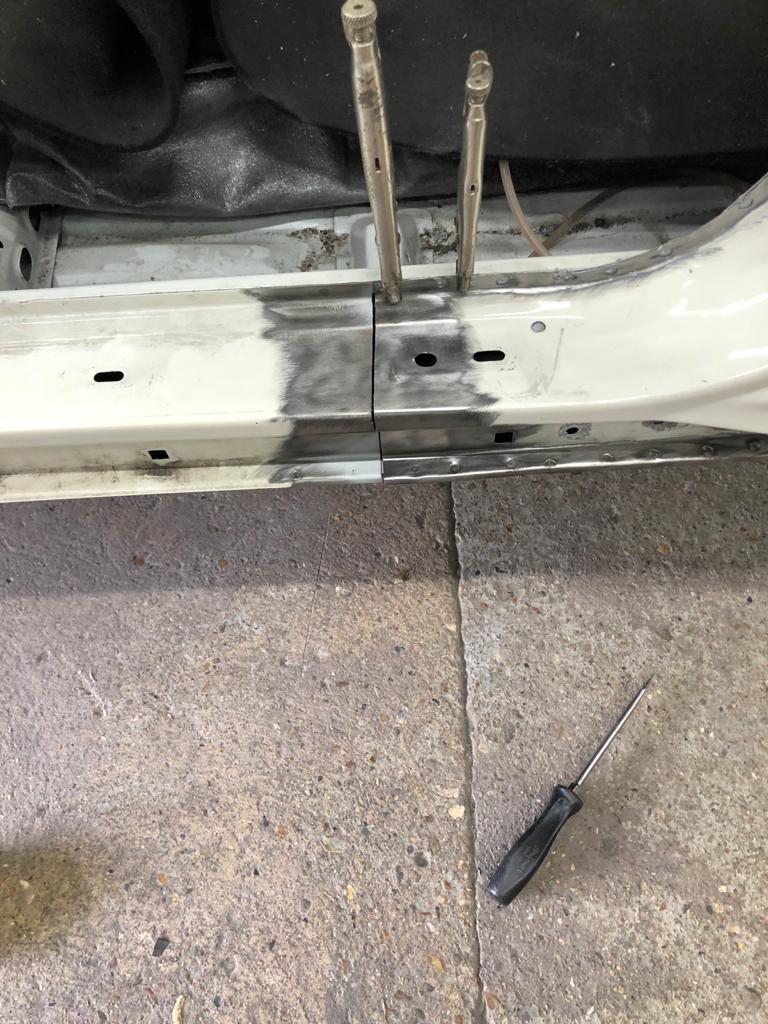
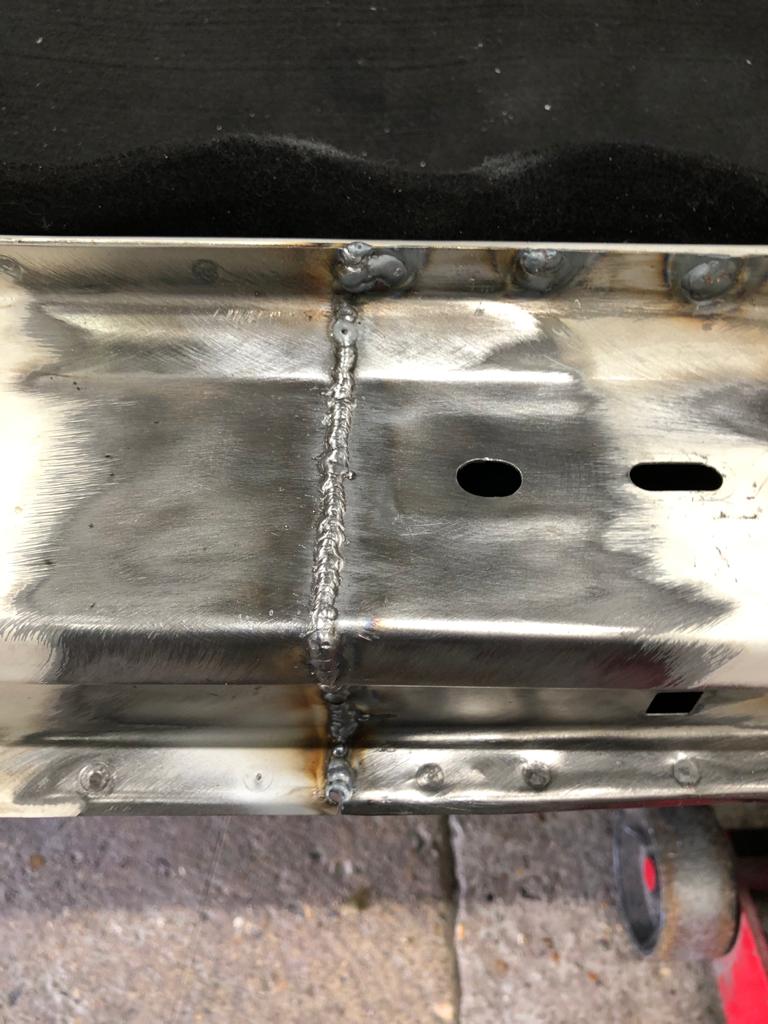
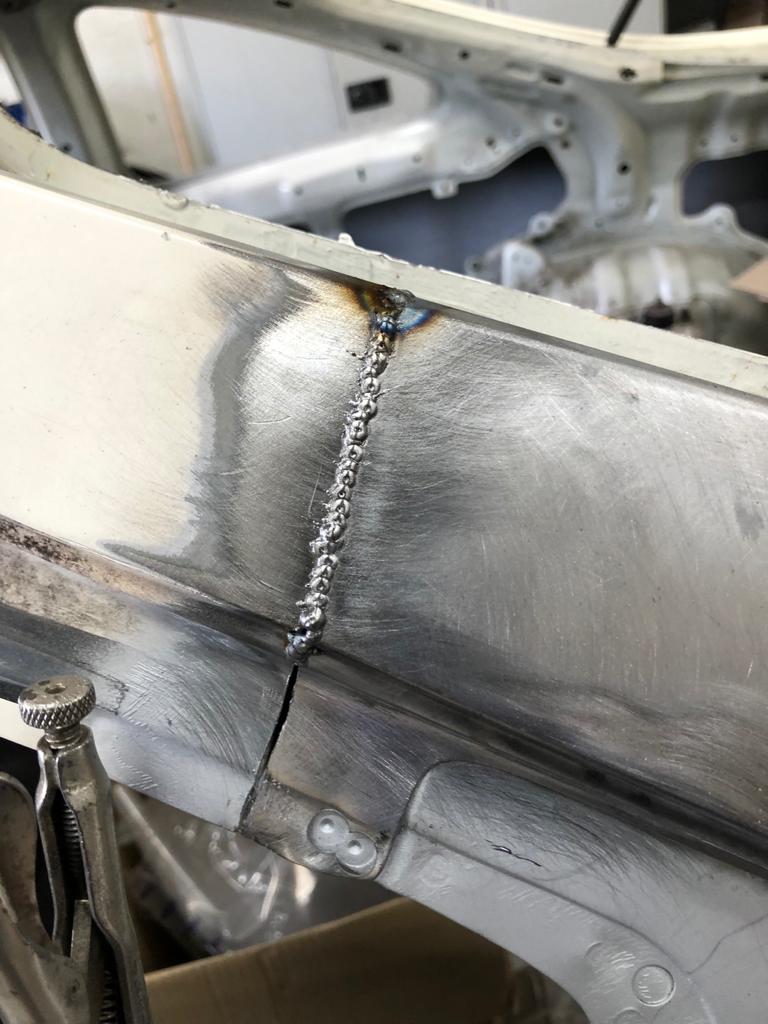
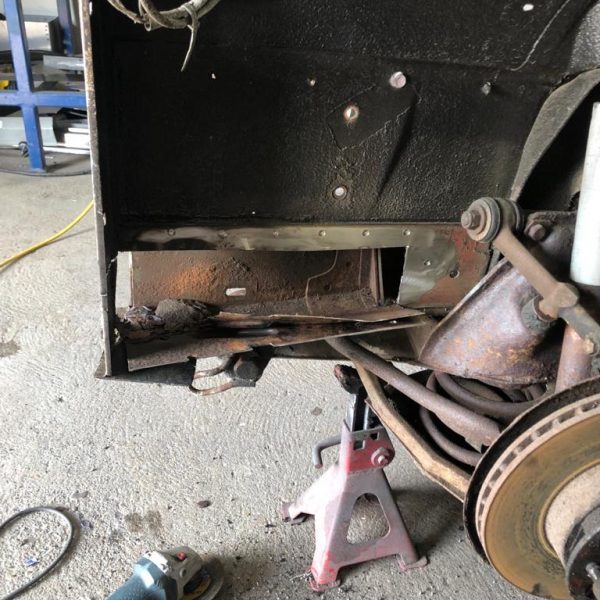
James has been doing the last bits of welding repair work on the 1998 Honda Integra Type R. He removed the left hand quarter panel and repaired around the wheel arch. Then he finished the spot welding around the rear wheel arch.
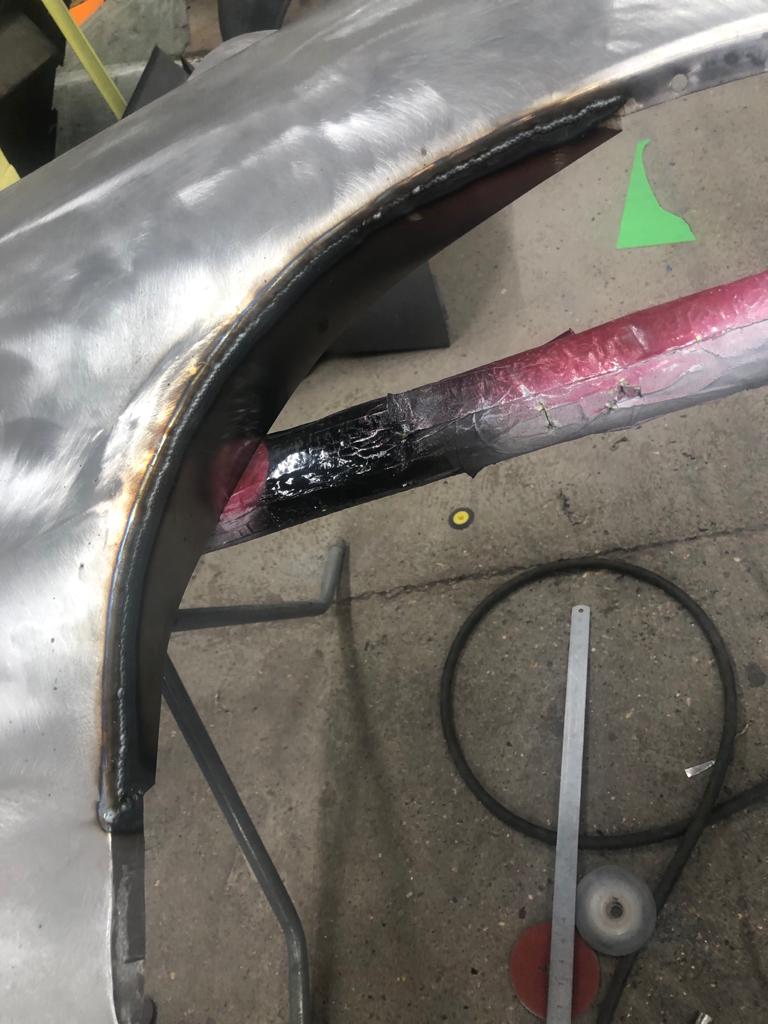
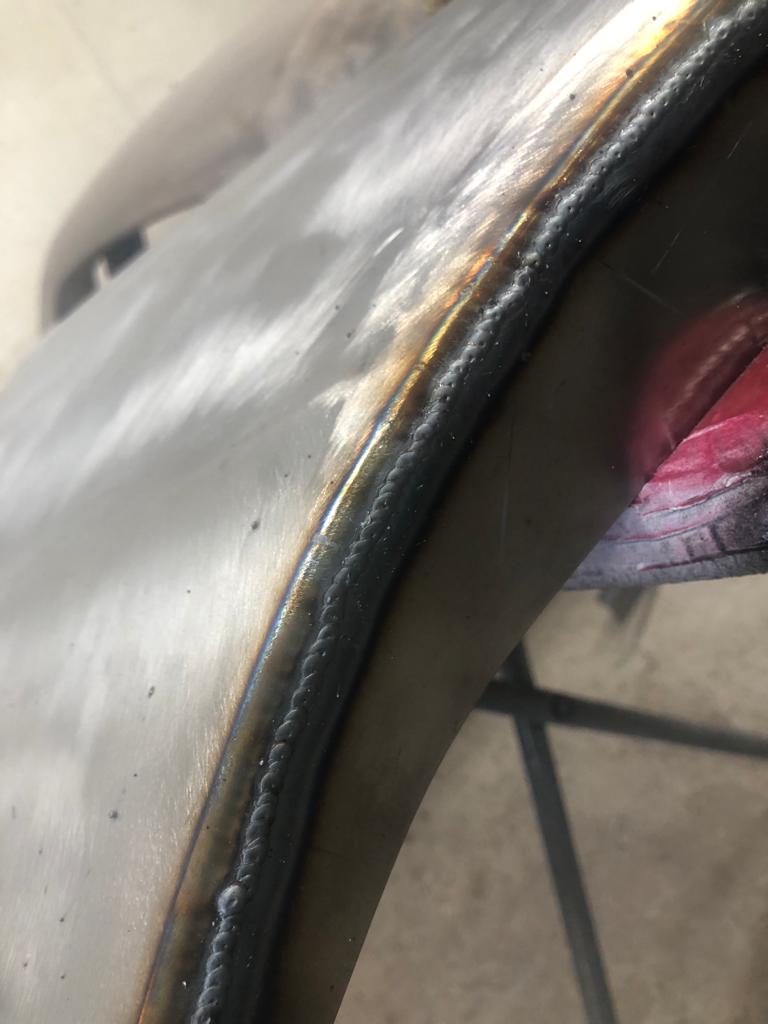
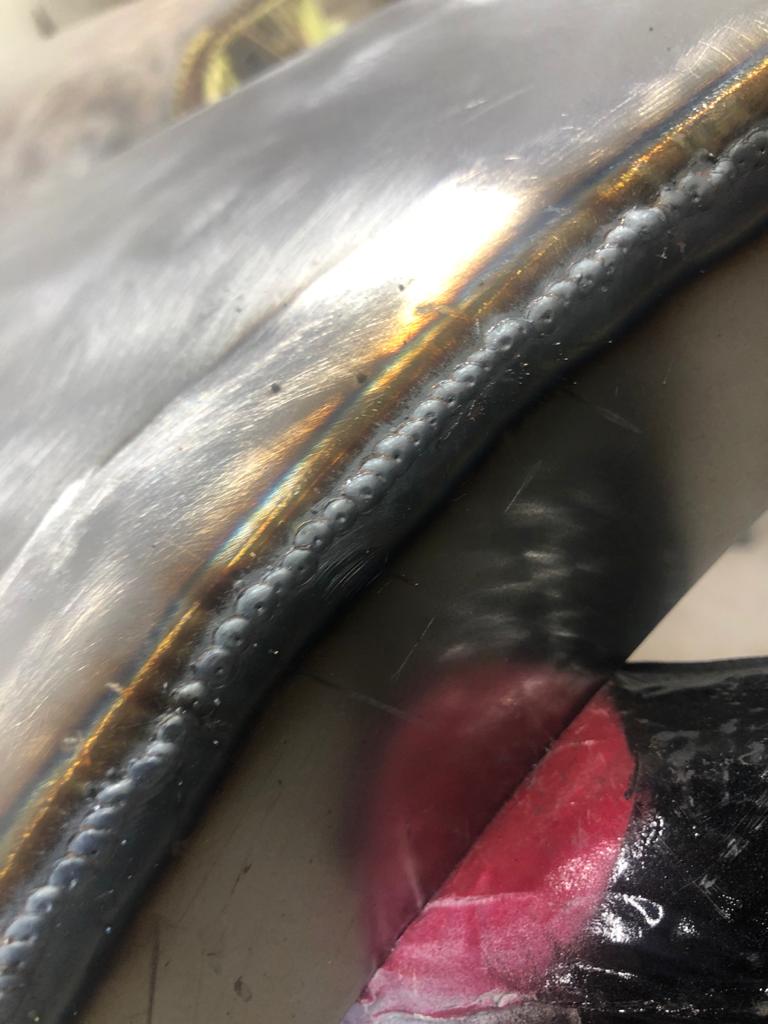

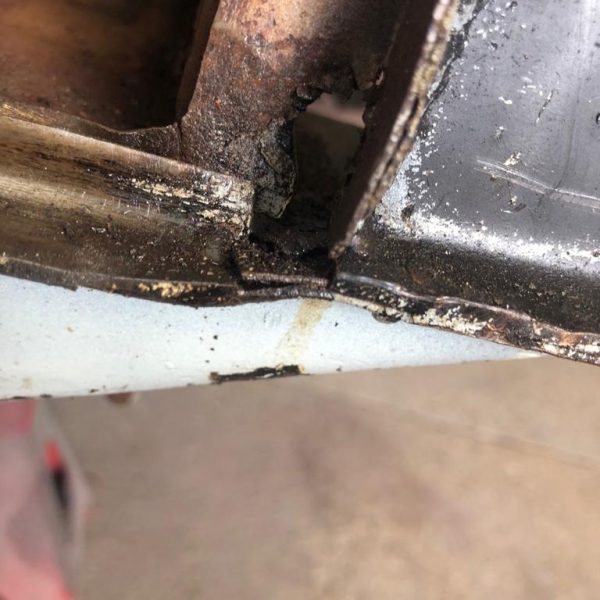
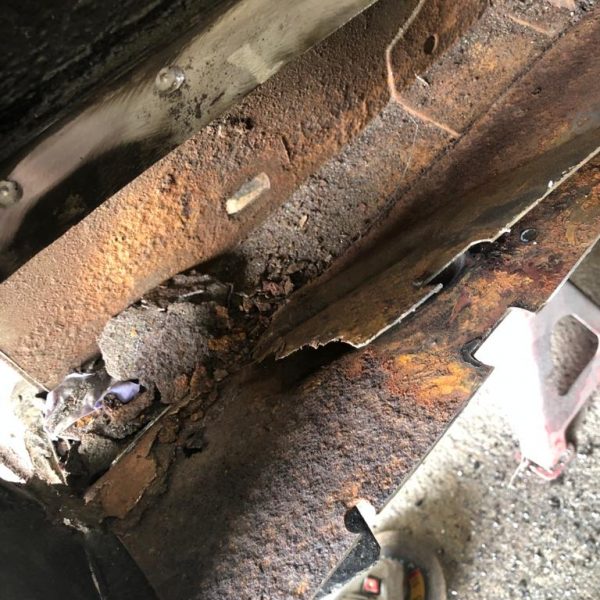
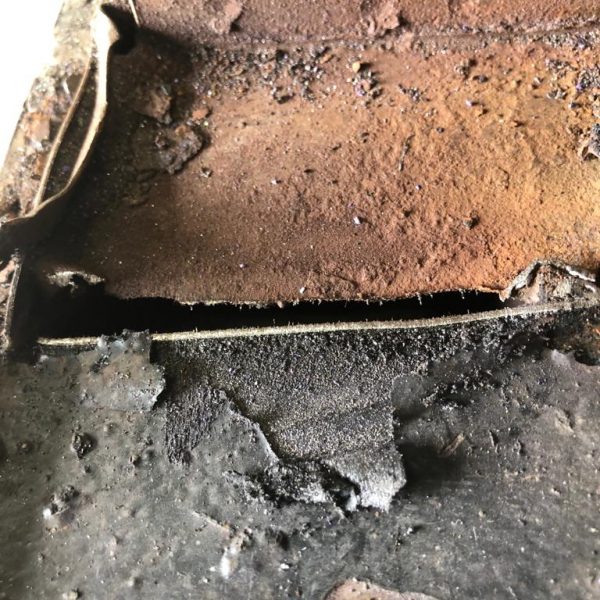
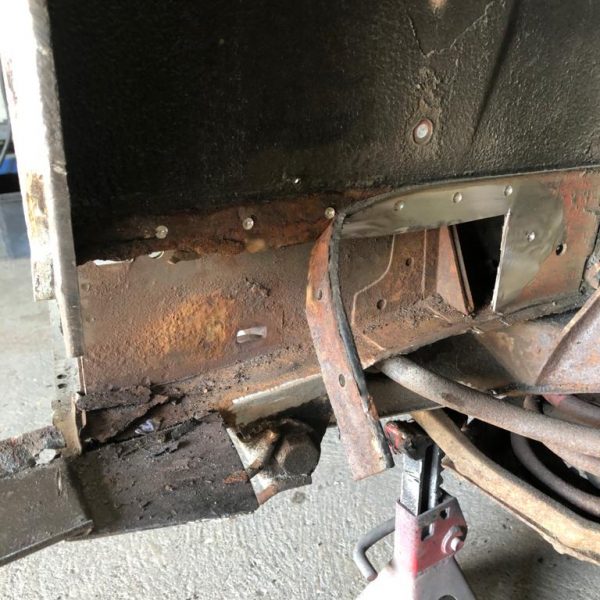
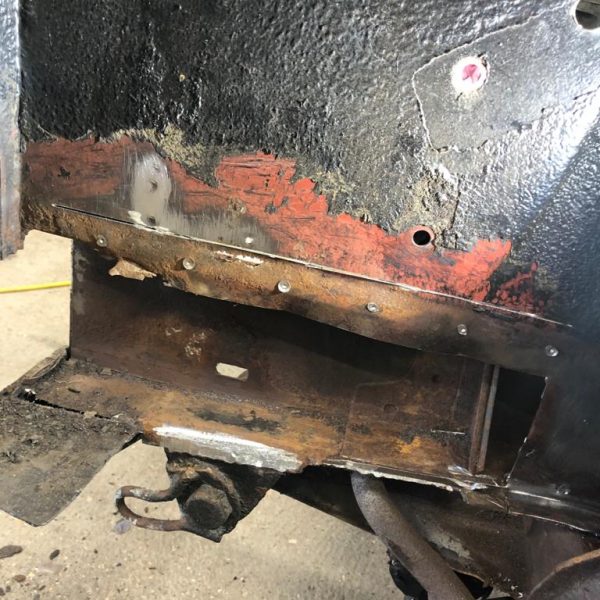
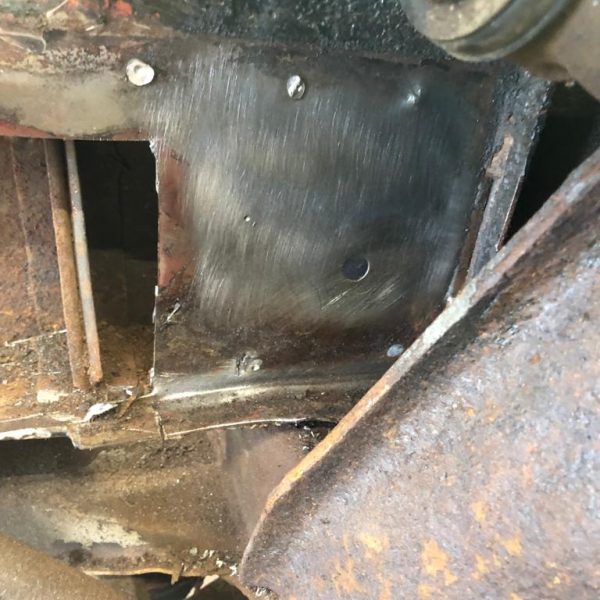
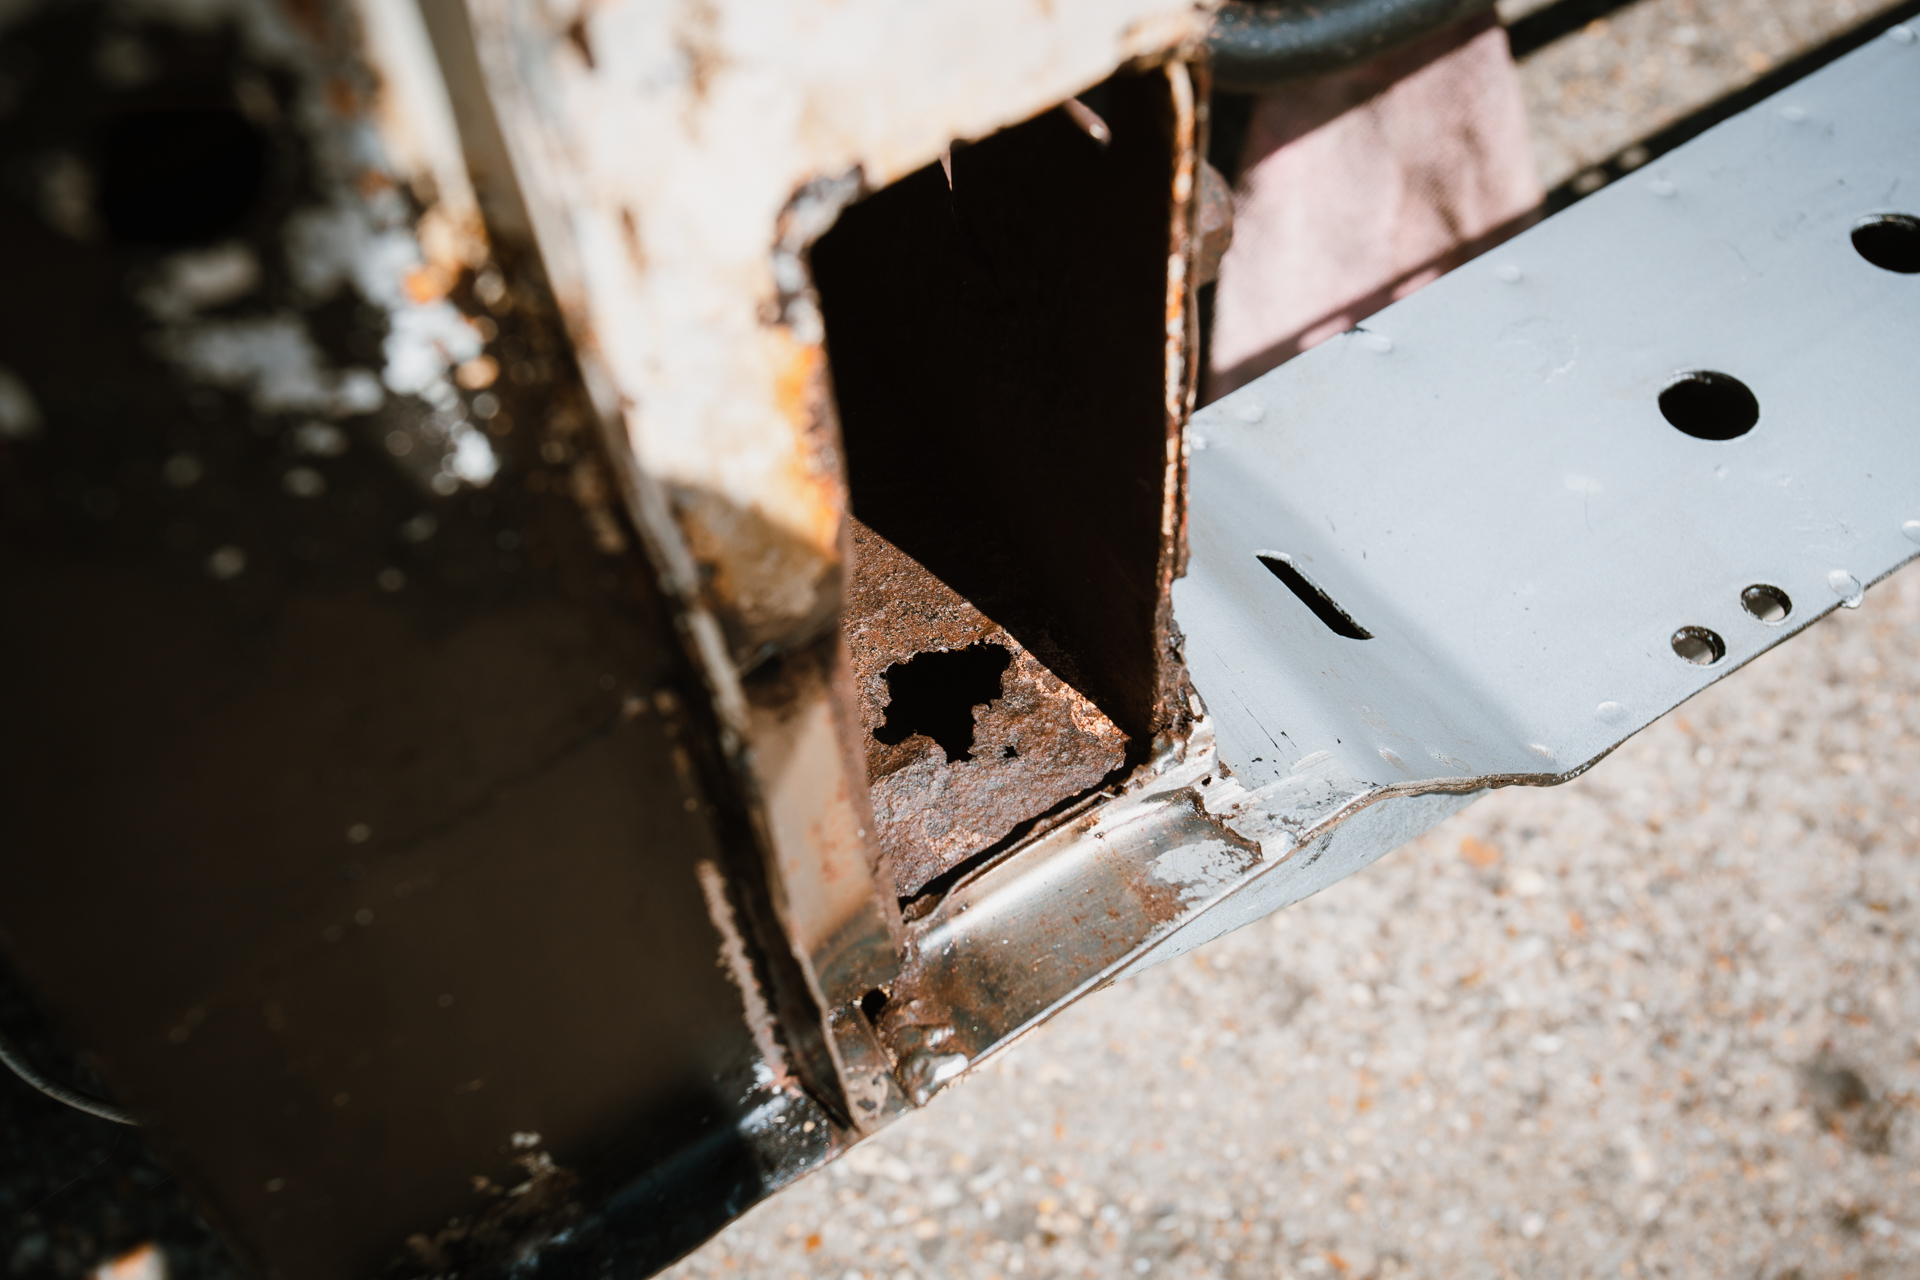
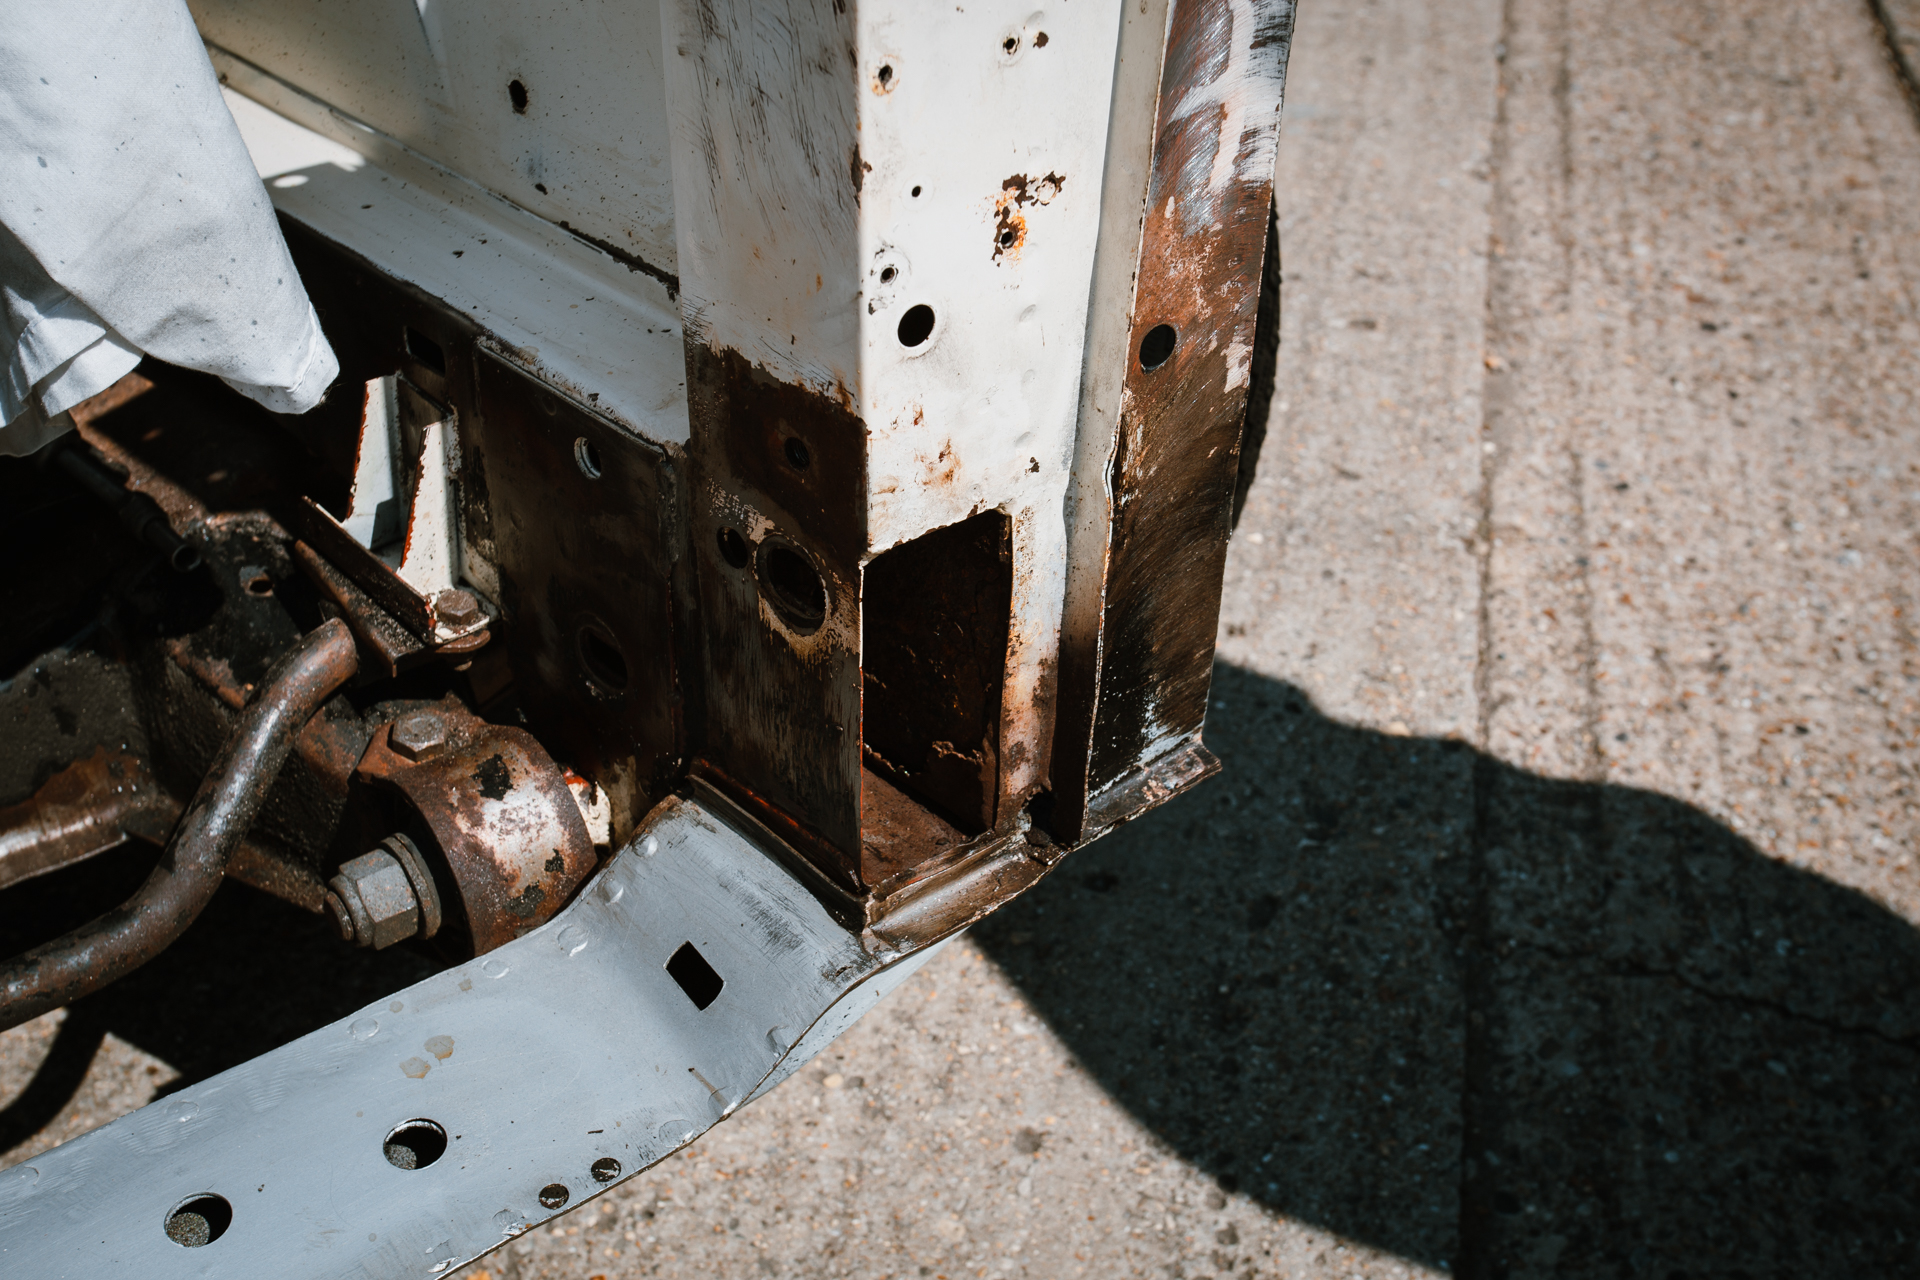
James has got the 1986 Daimler Double Six in the fabrication bay and has been starting the welding work on it!
He’s been concentrating on the inner wing and bonnet hinge housing area today. He found there were spot welds that had been previously been put in and weren’t holding anything in place, so he’s given that some attention and welding parts in properly. He’s also taken out the corroded areas so he can fabricate replacement sections.
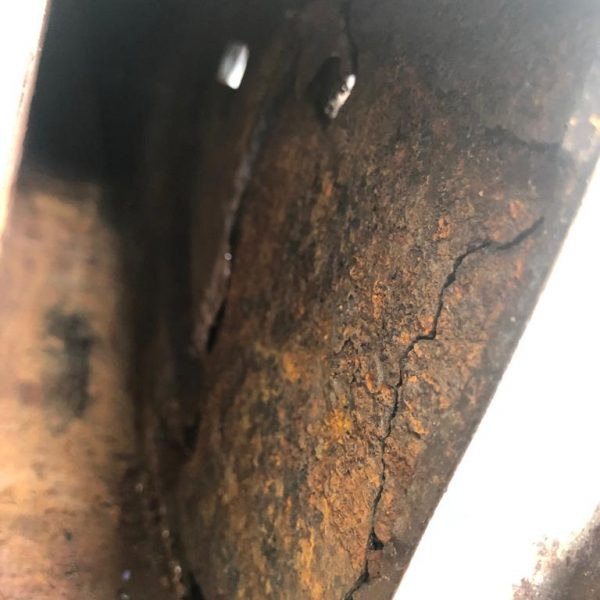
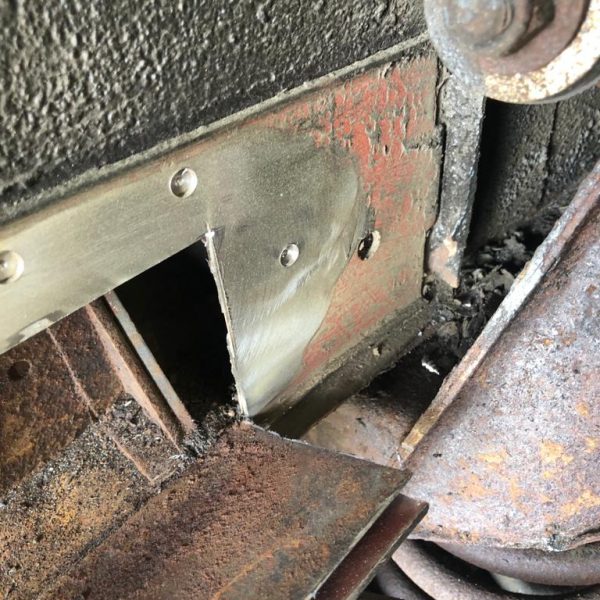
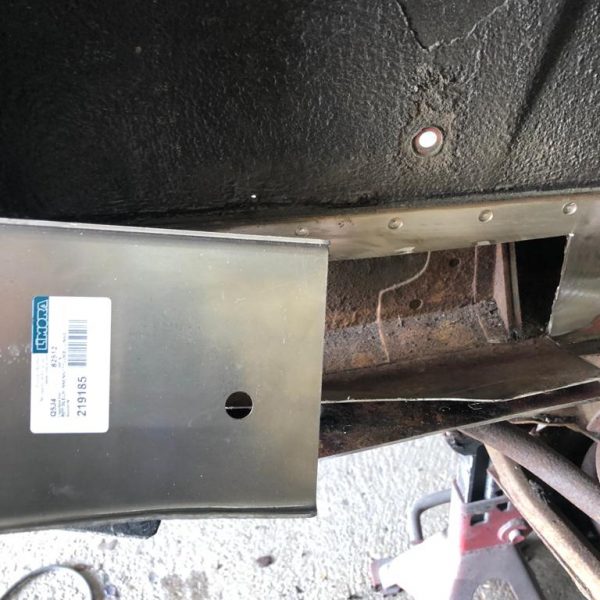
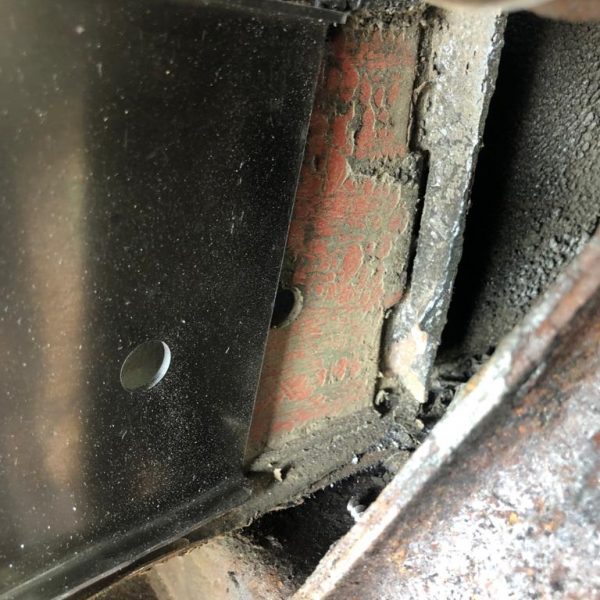

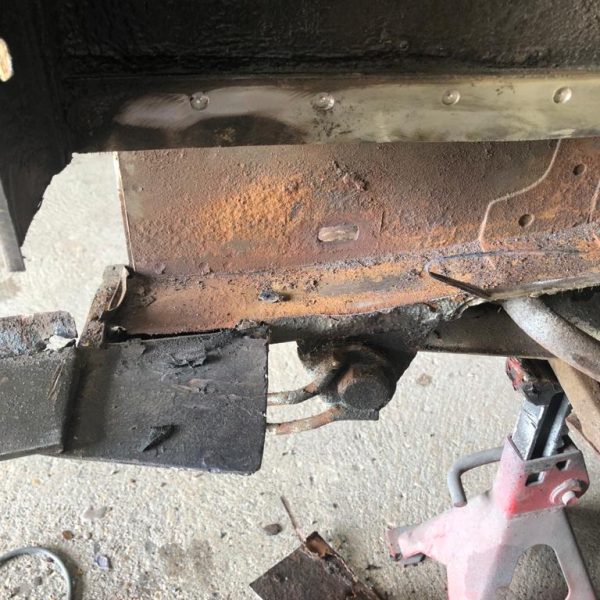
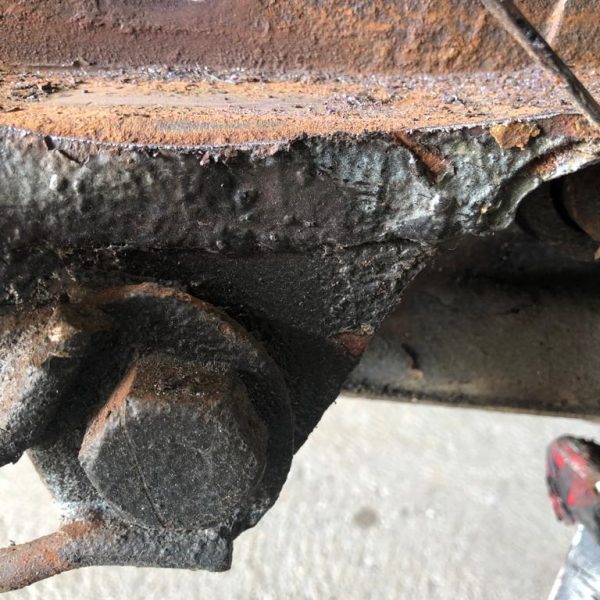
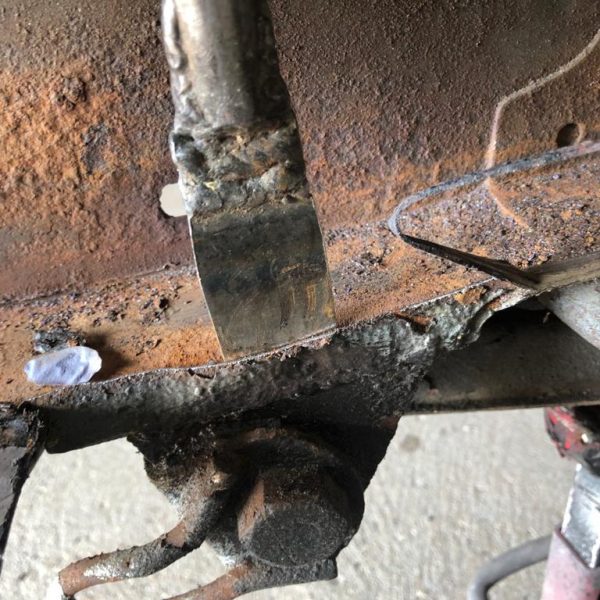


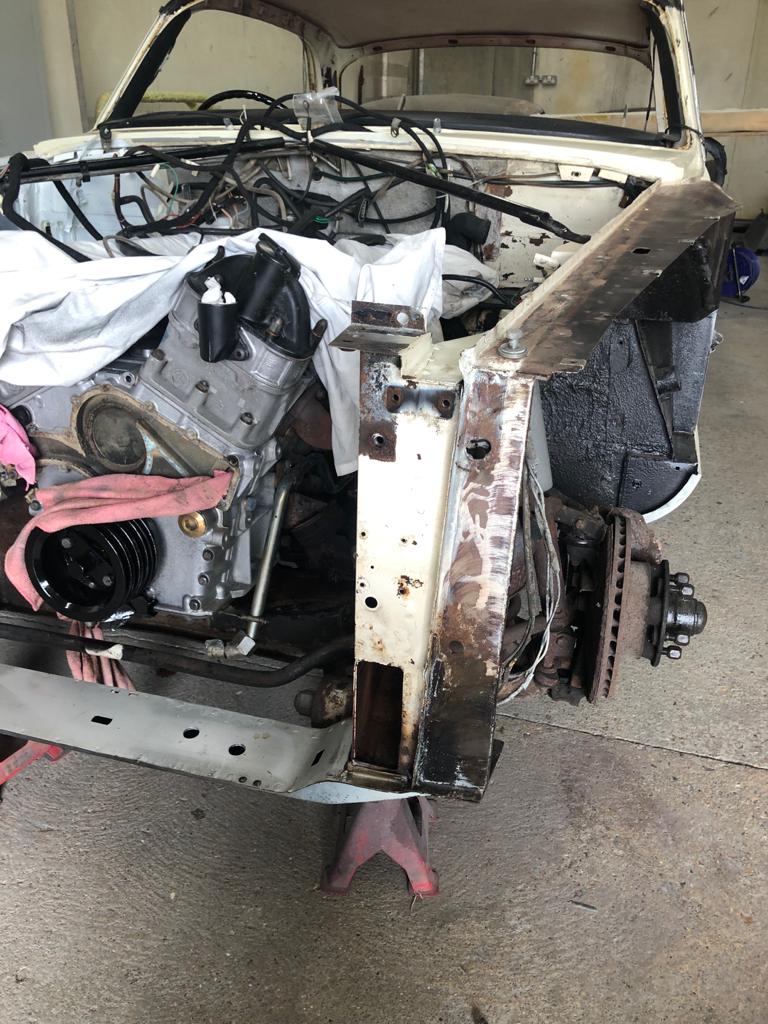
Here we have a new arrival to the workshop, a 1977 Daimler Double-Six. It’s only in for a small amount of work, which is that both front inner wings need to be repaired and painted and there’s a sheered bolt that needs removing from its trailing arm. Stay tuned for the progress!

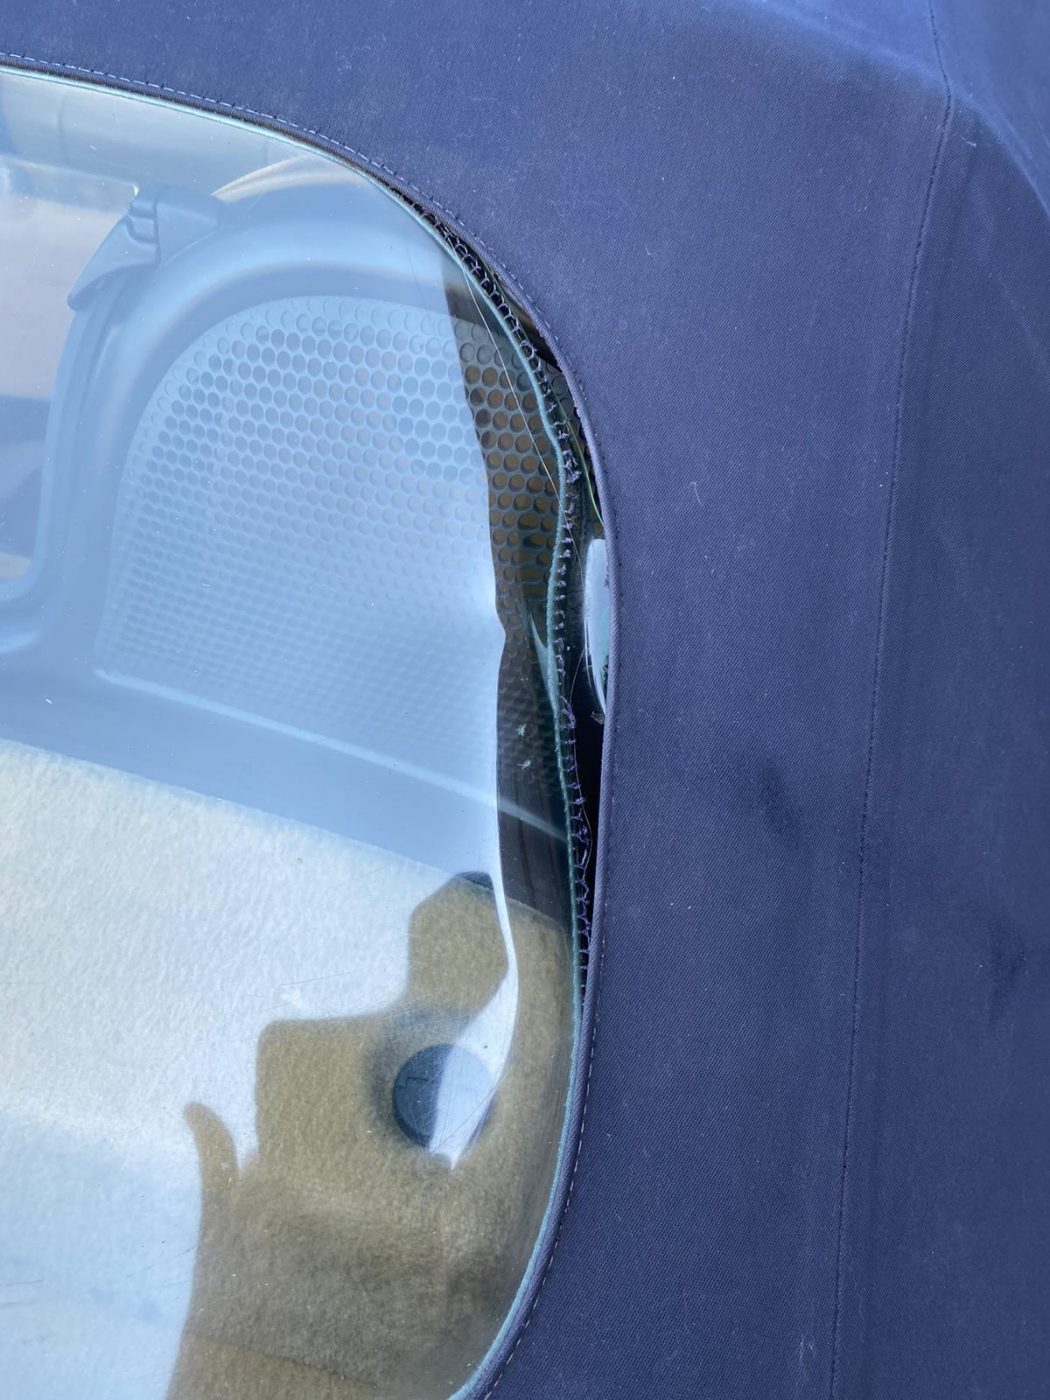
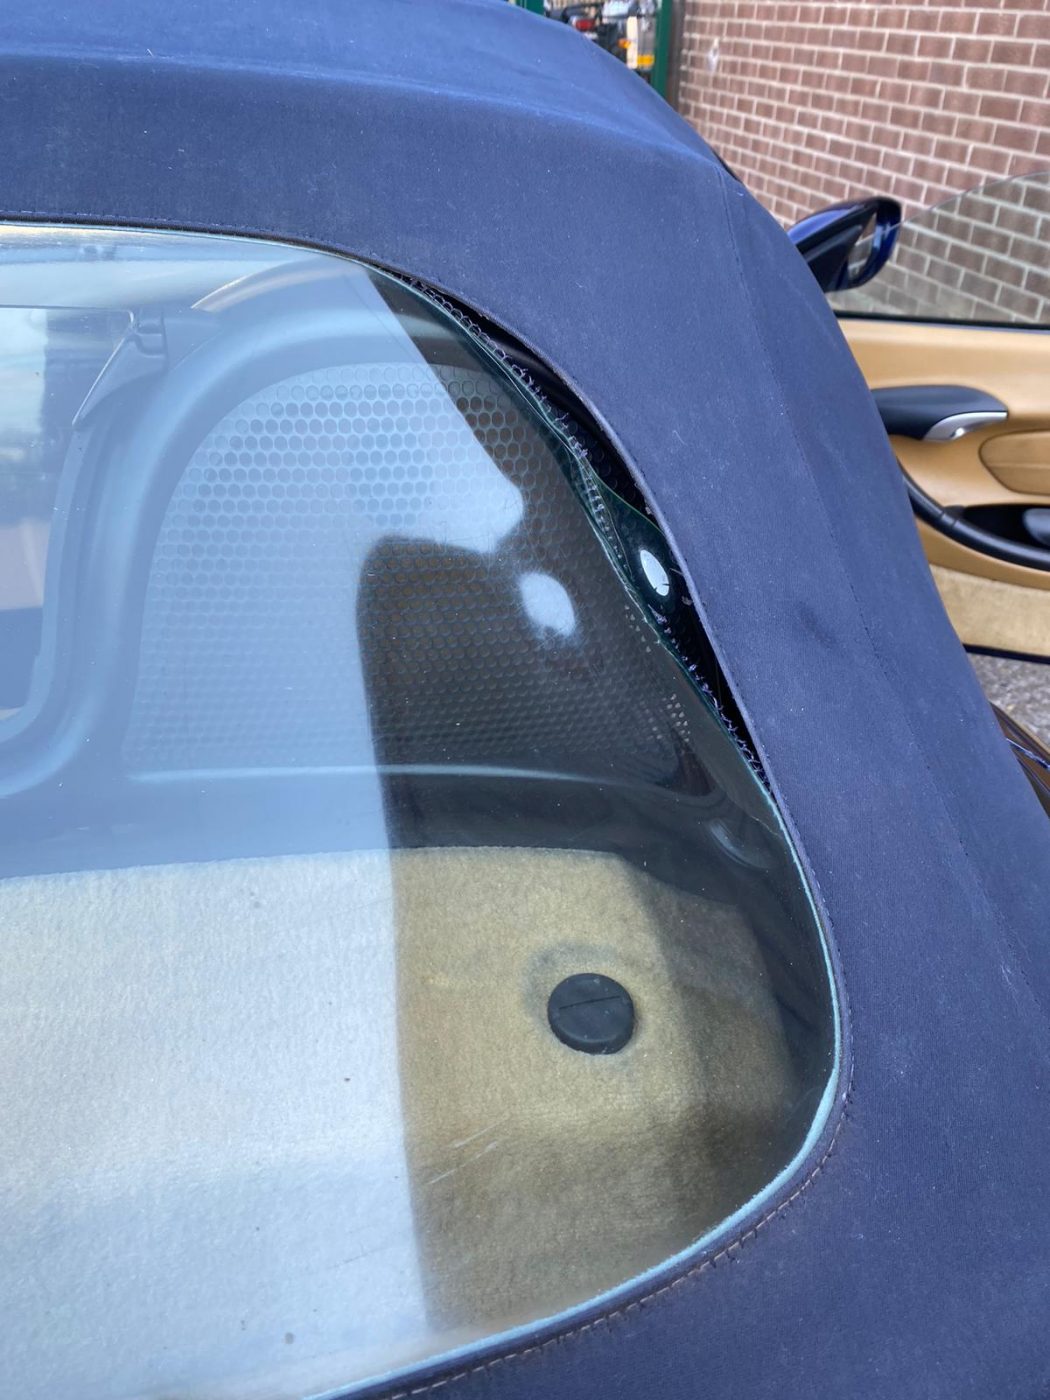
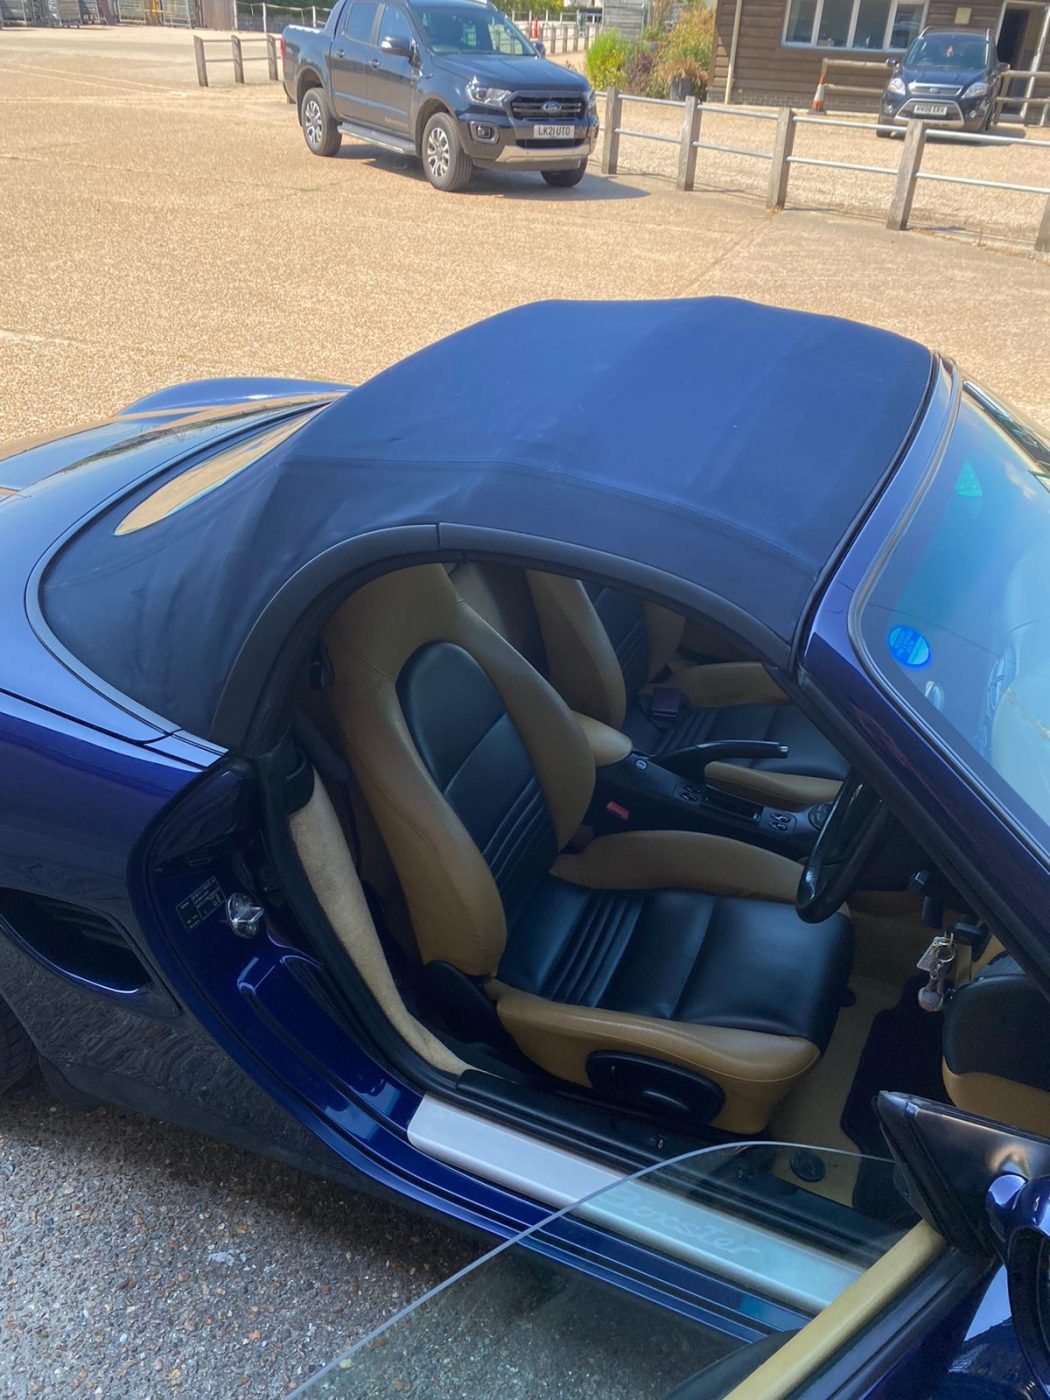
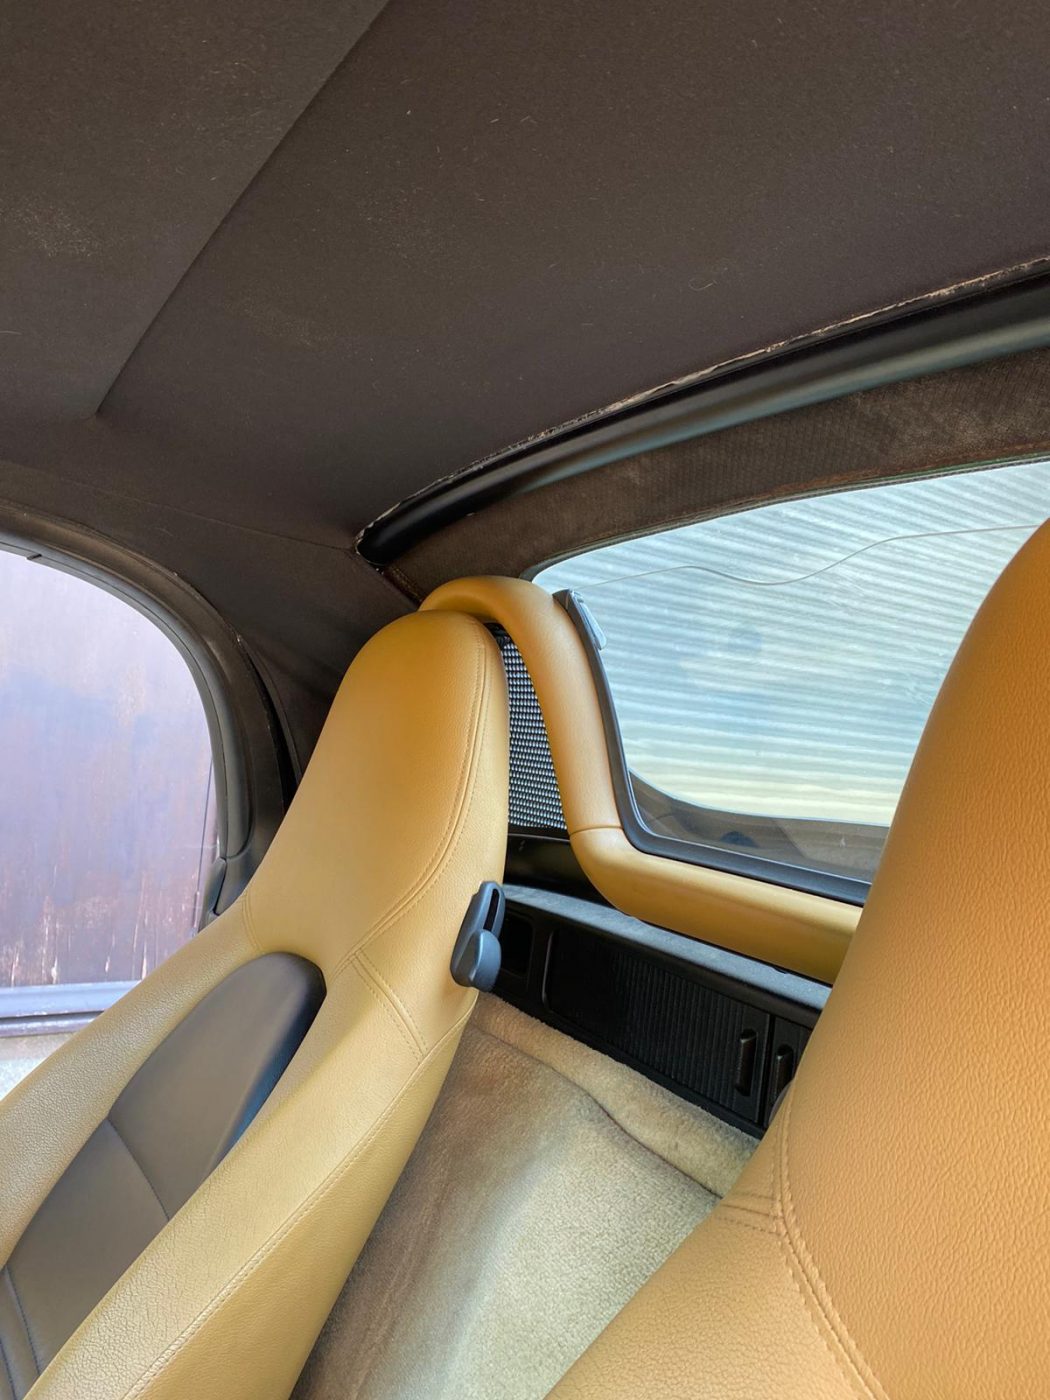
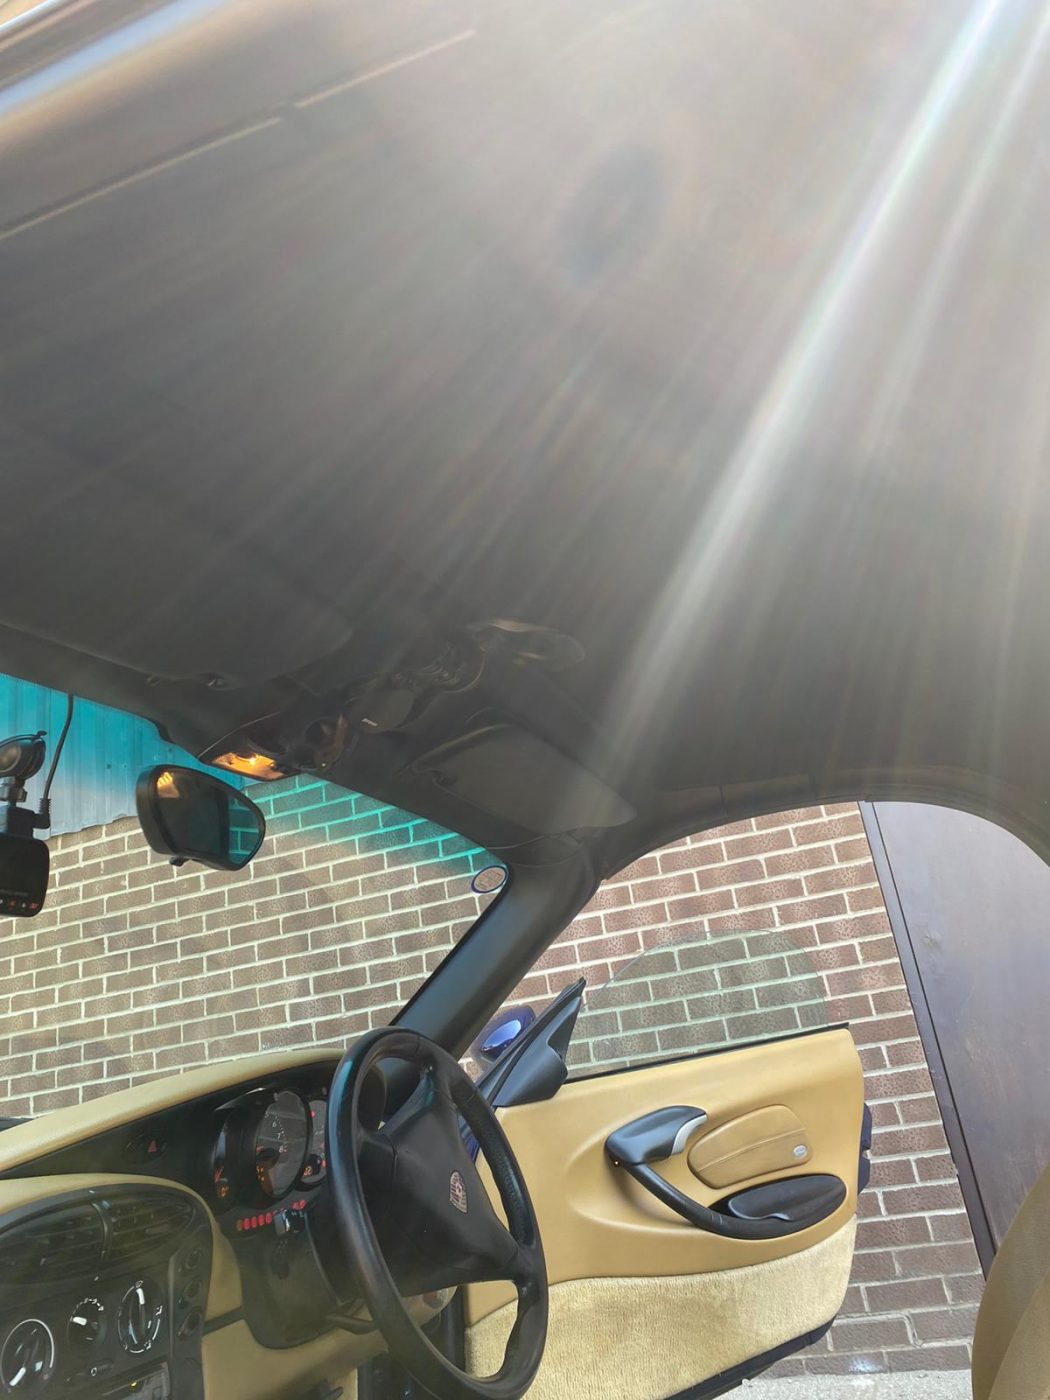
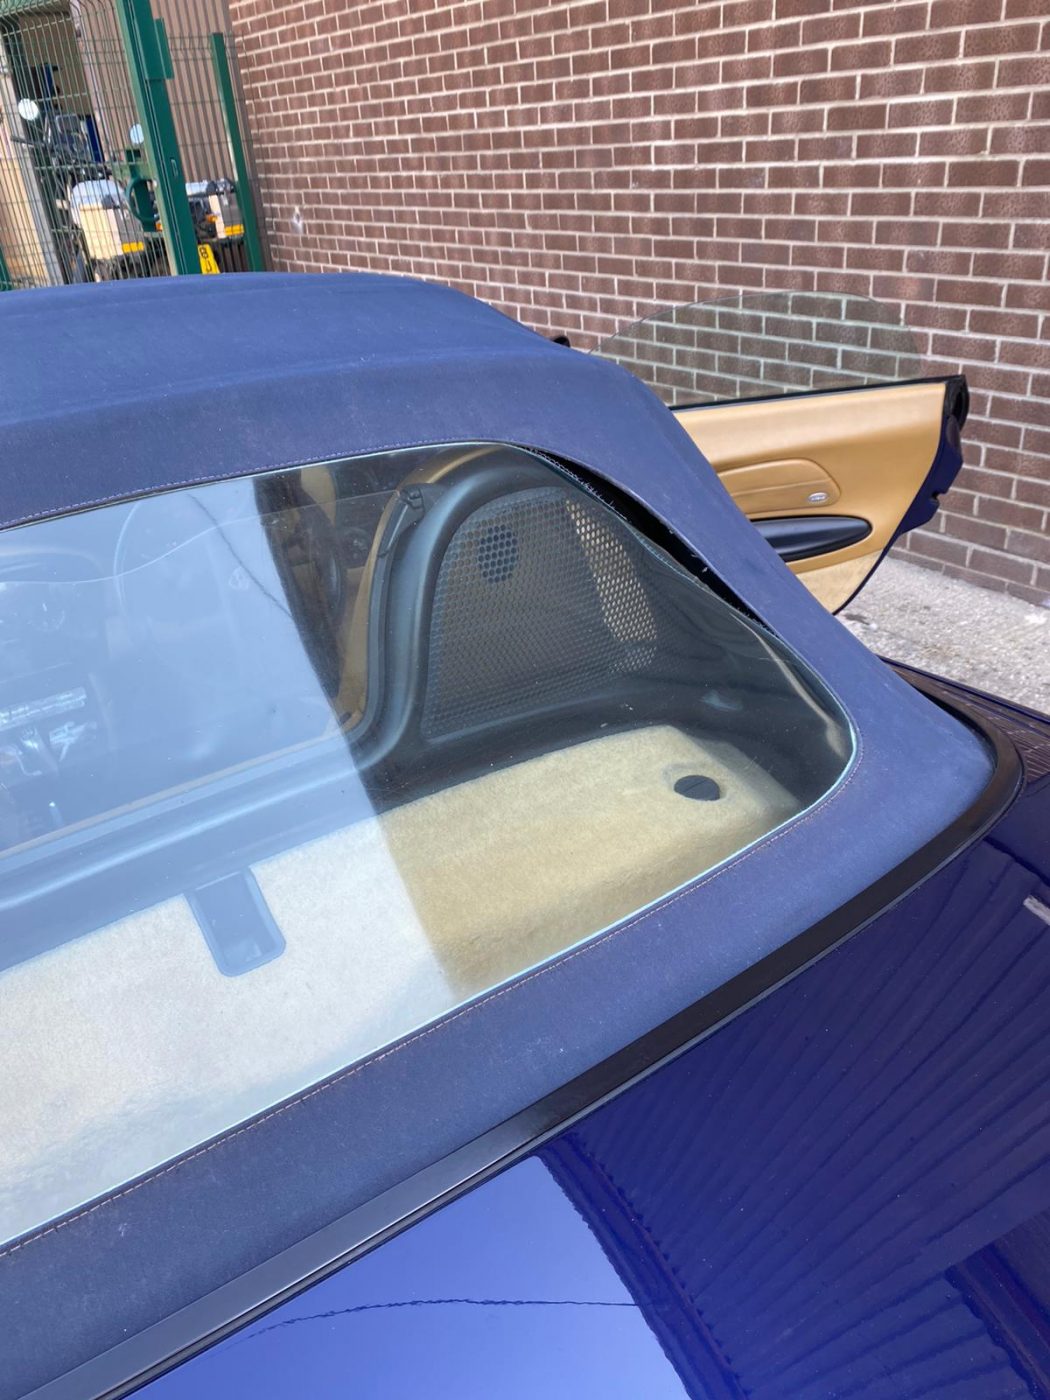
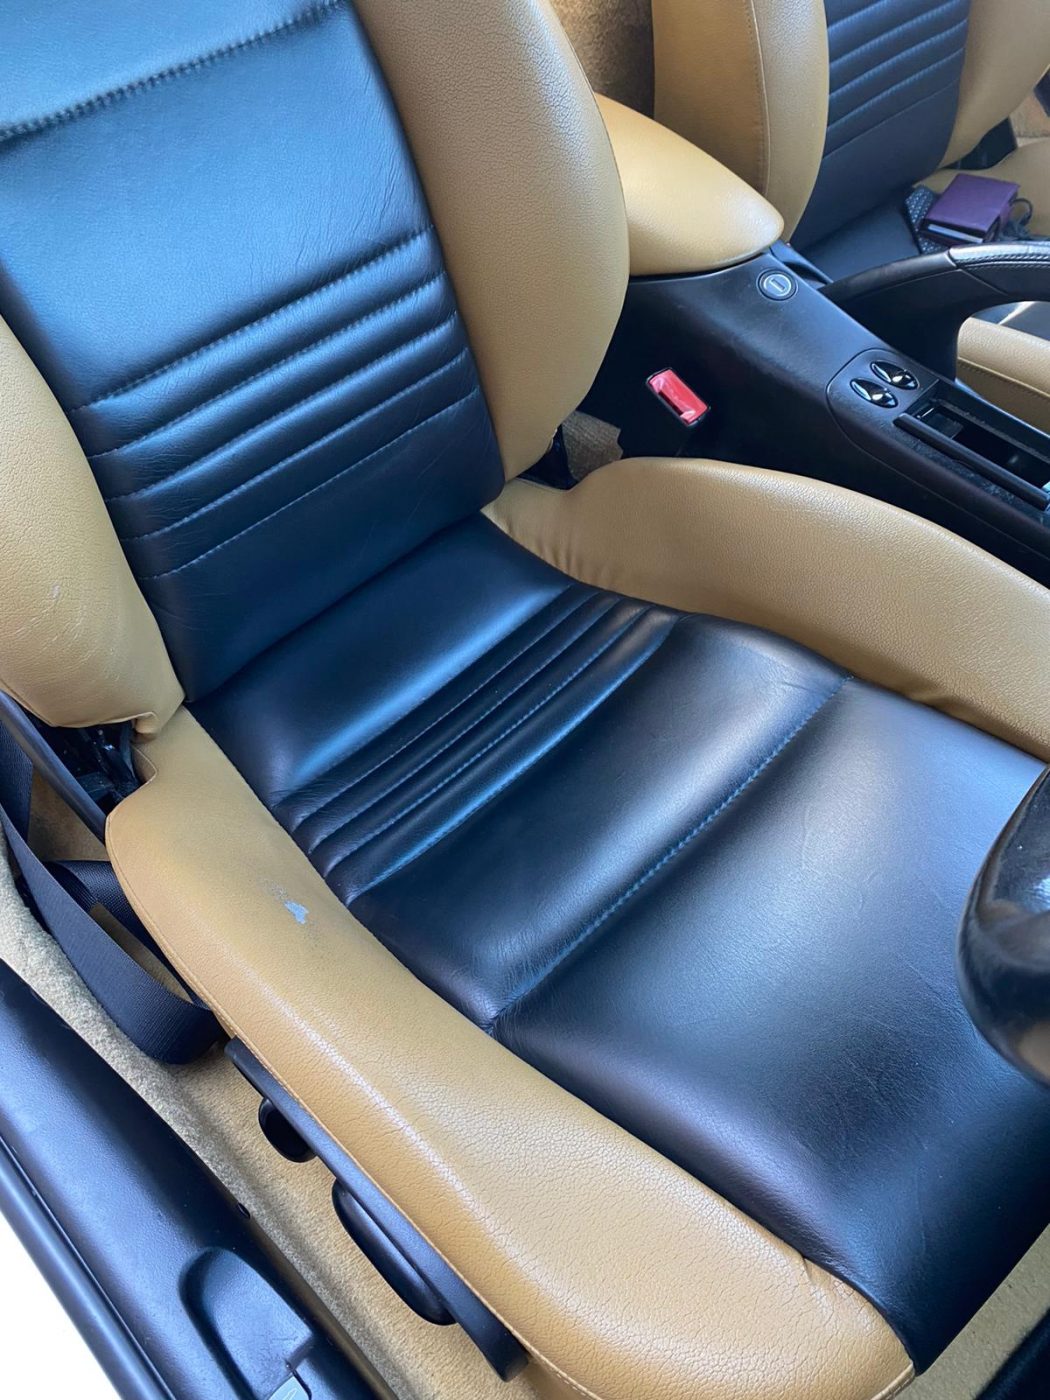
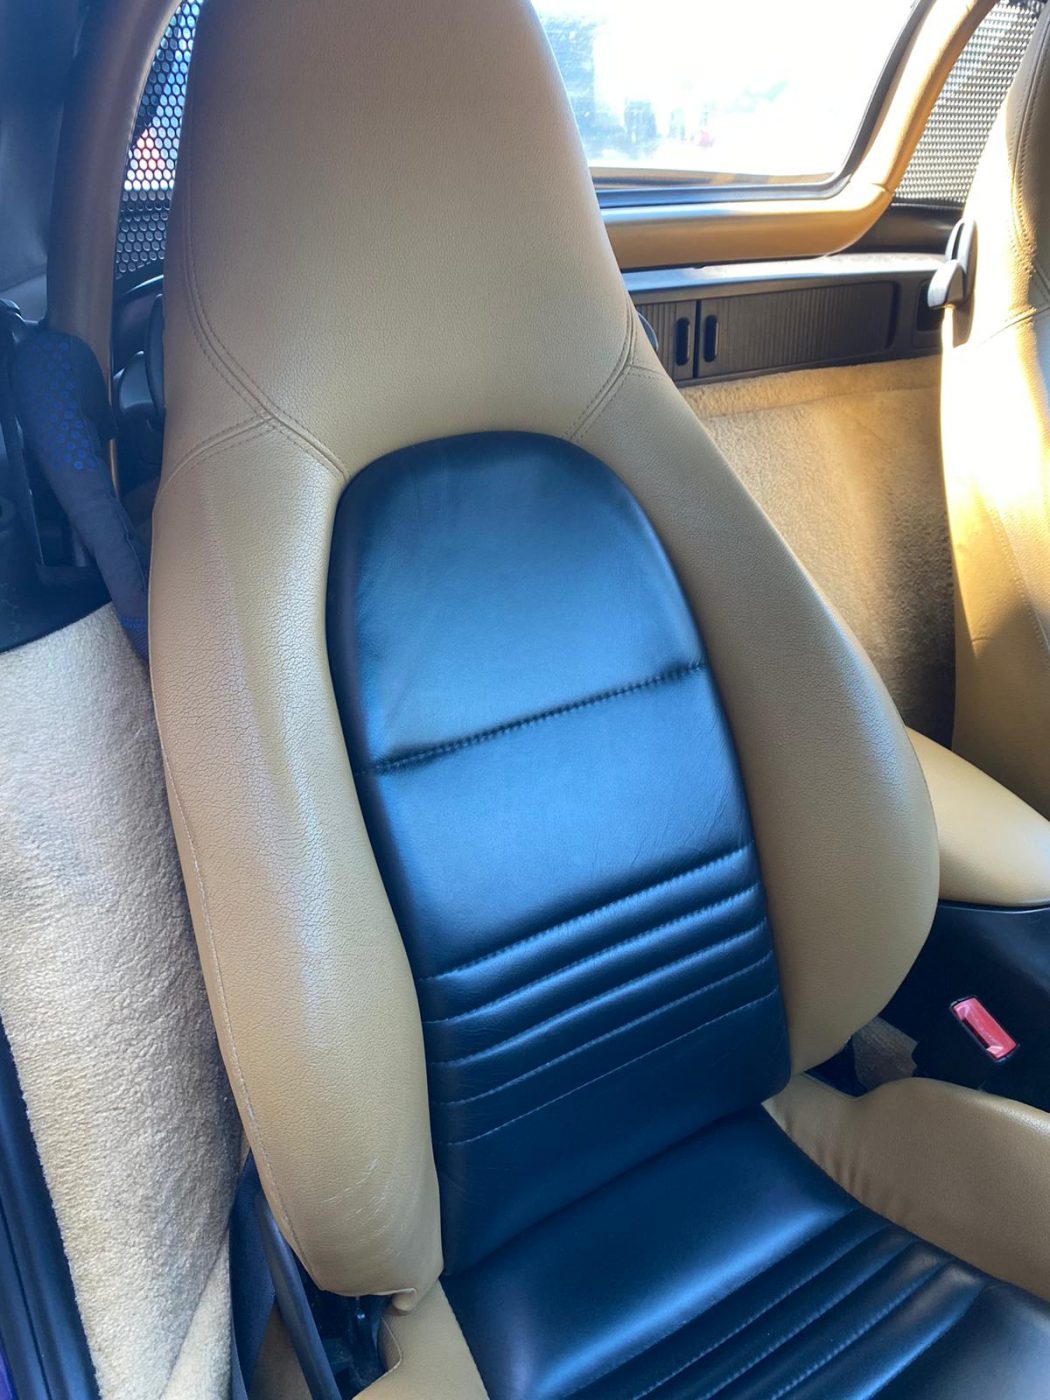
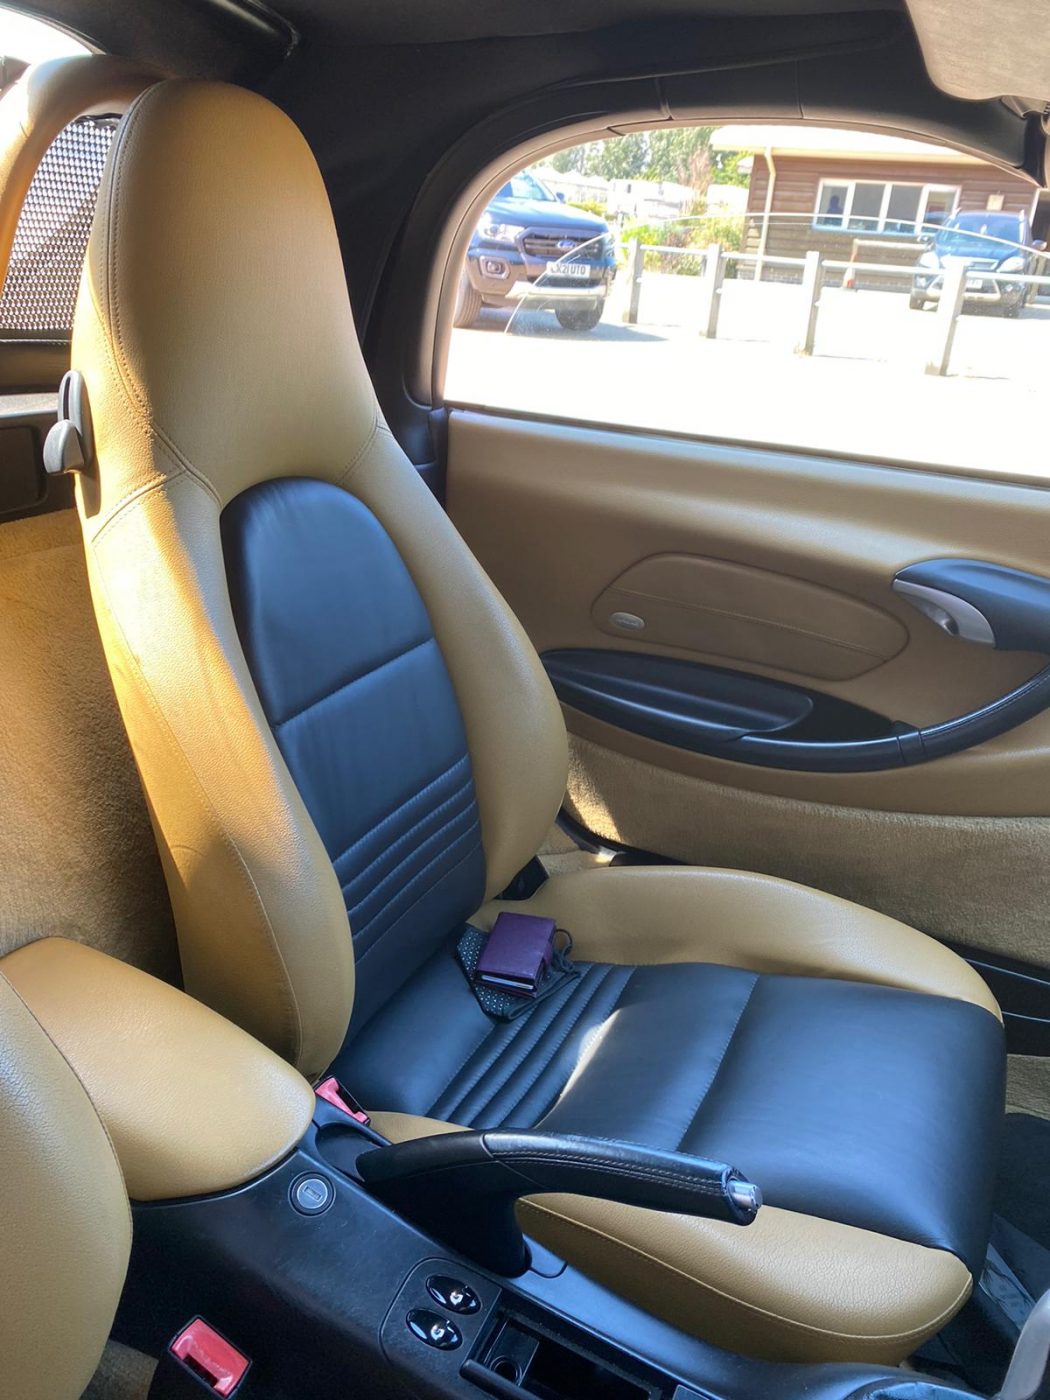
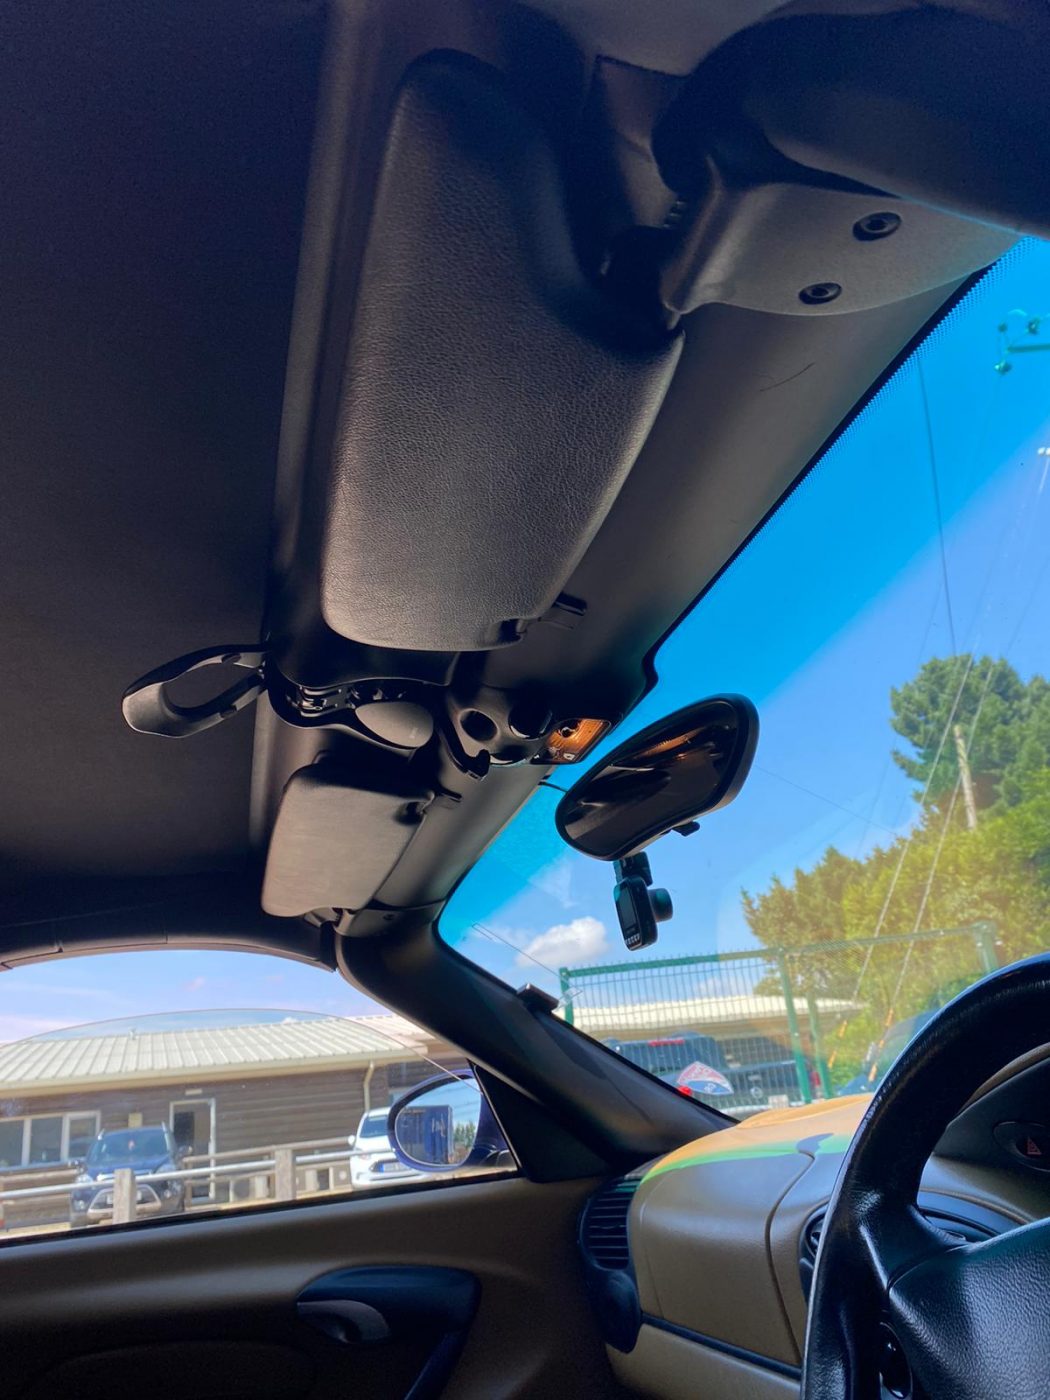
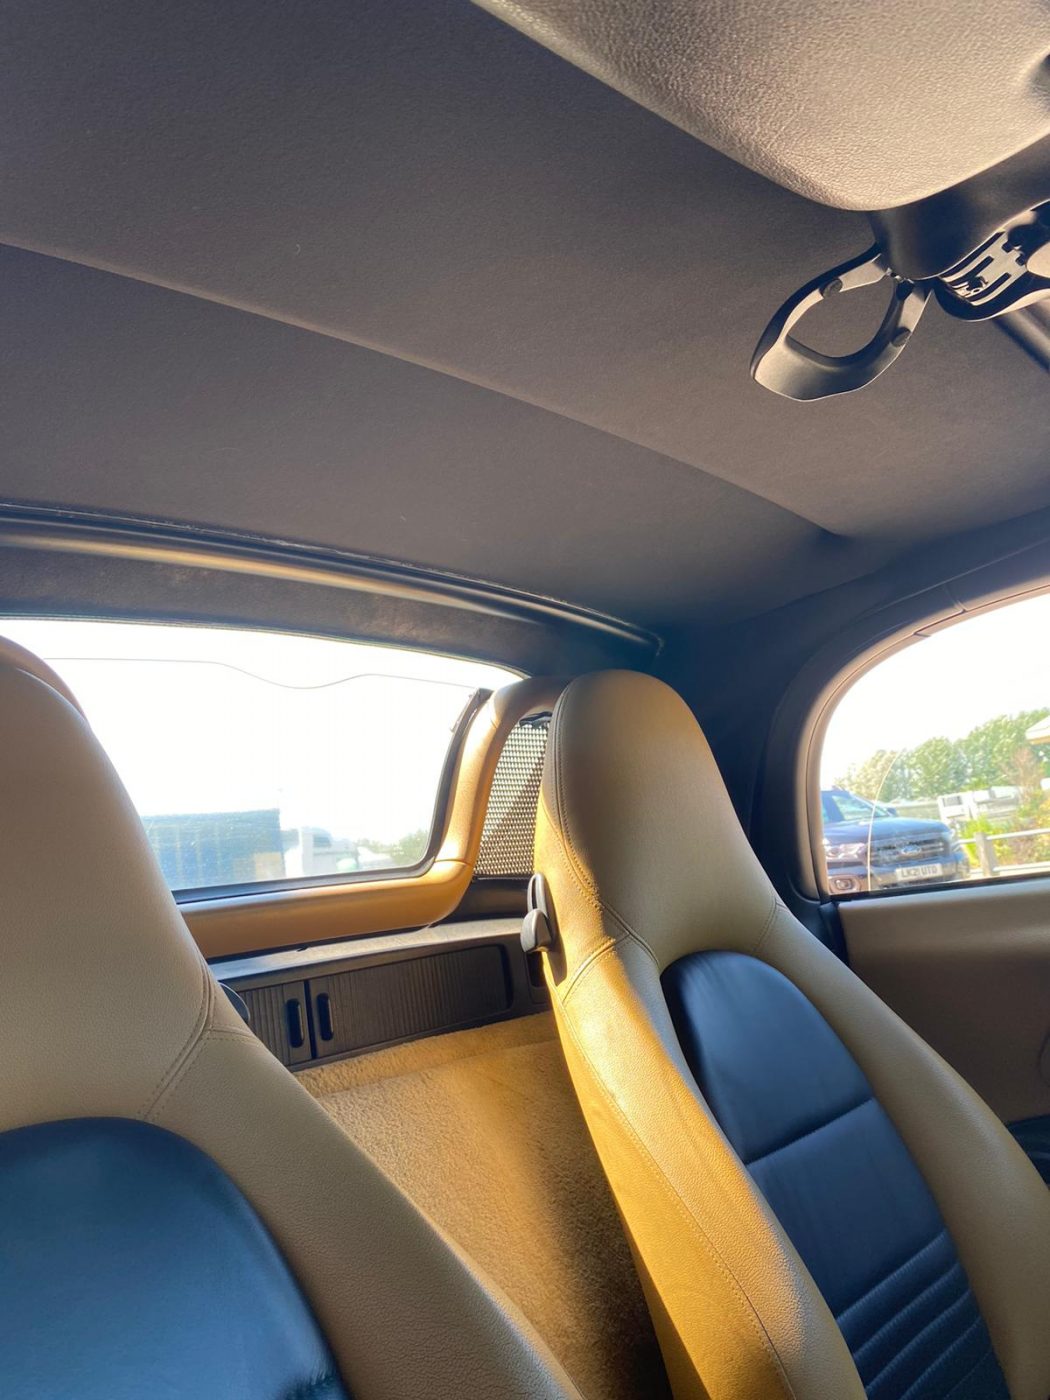
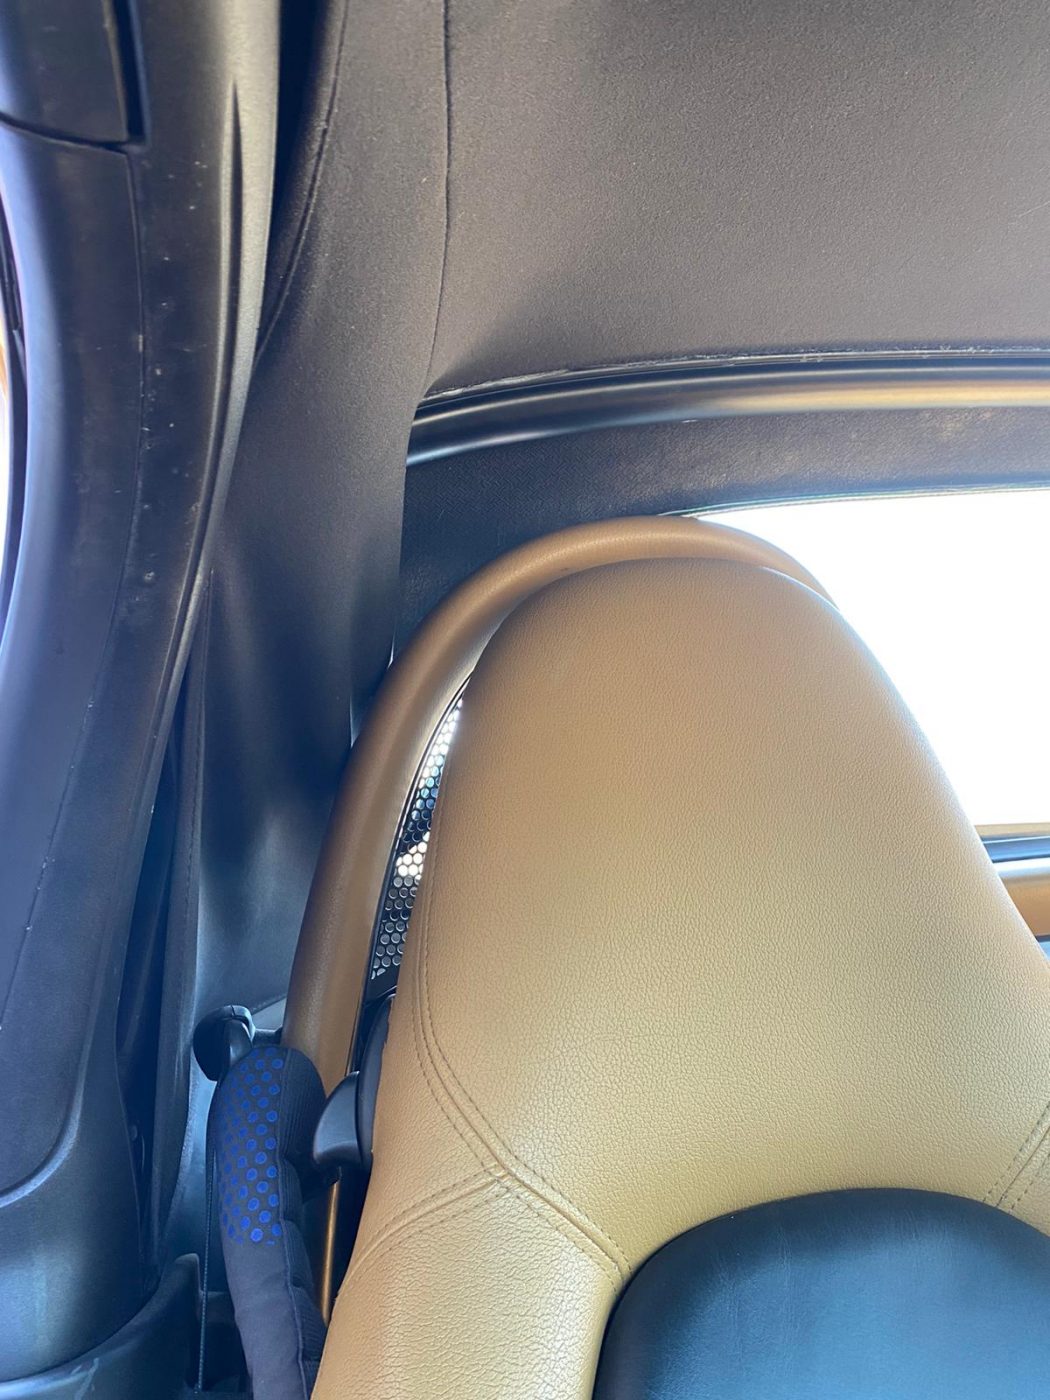
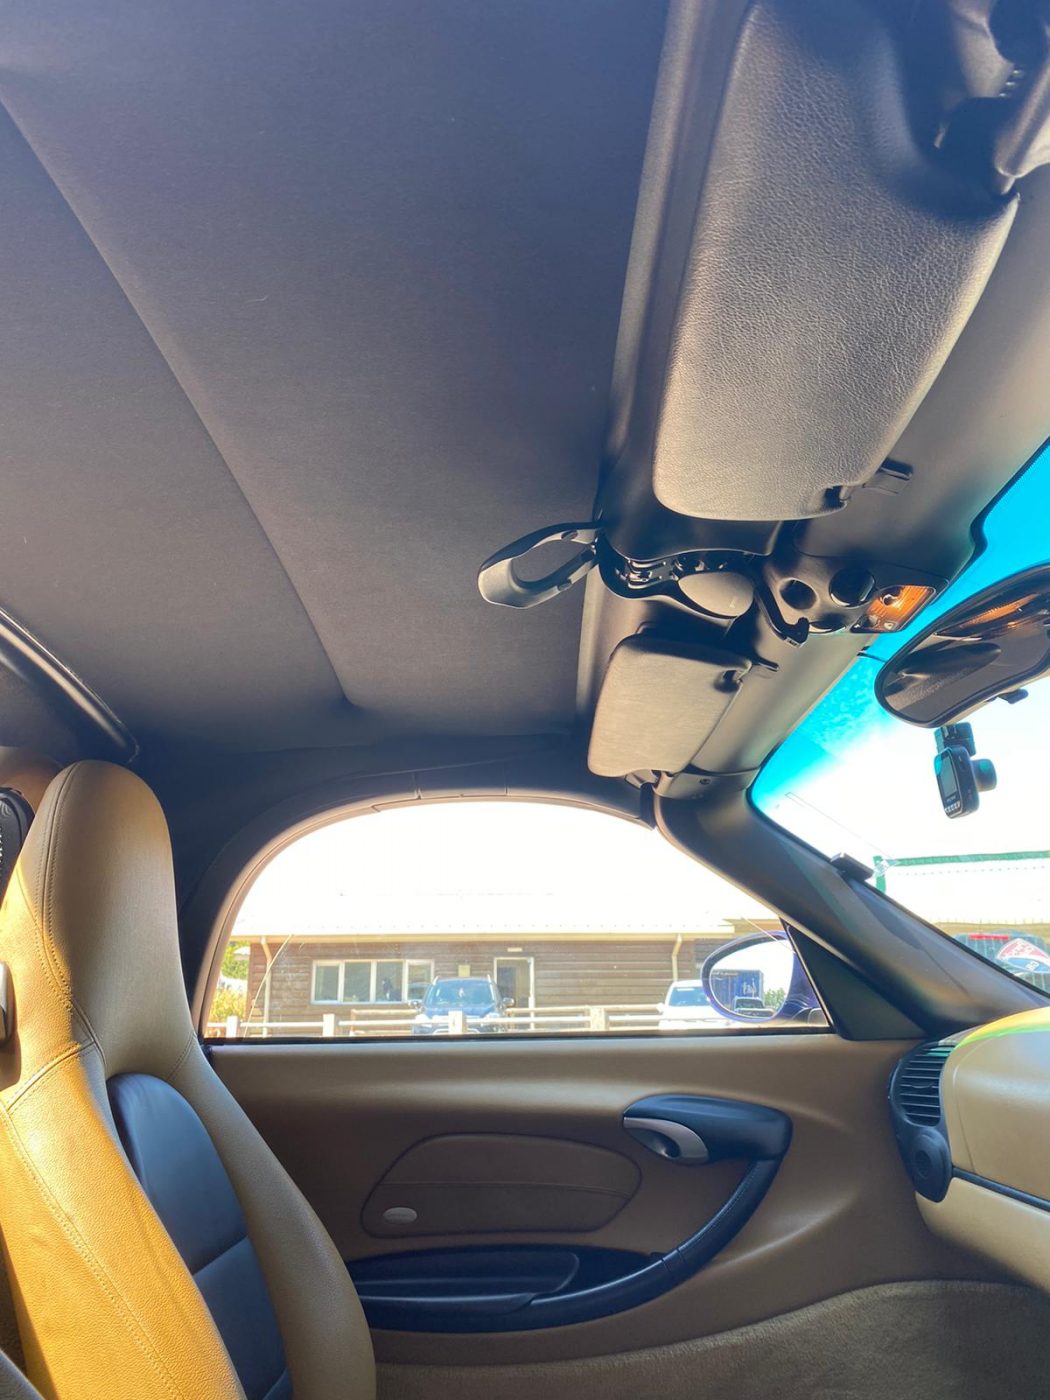
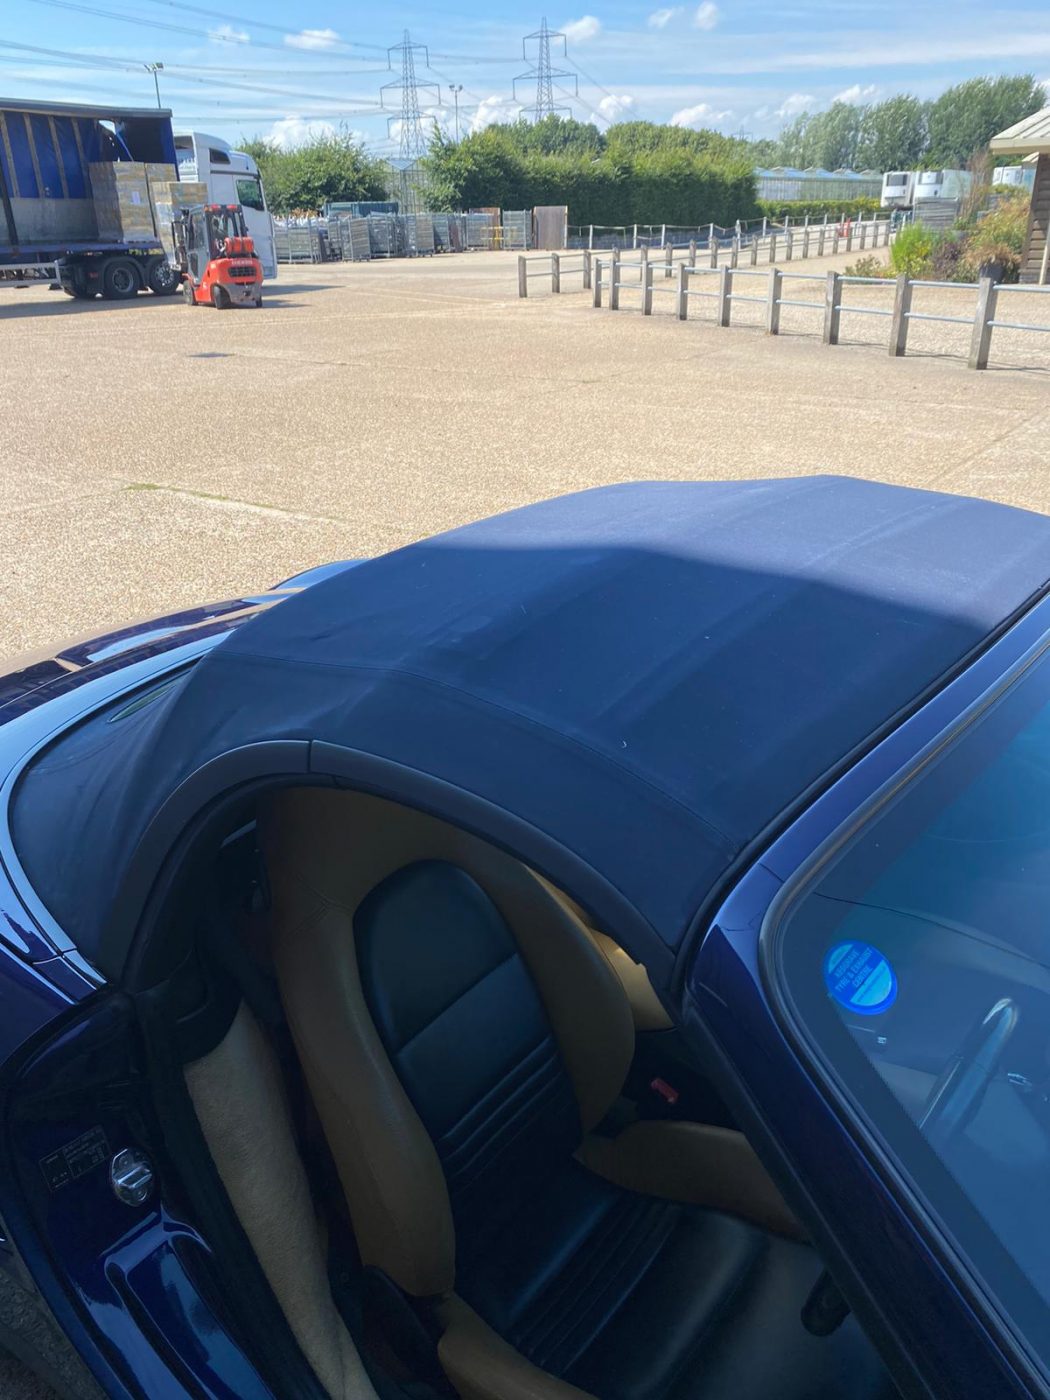
Having recently attended our Classic Car Show the owner of this Porsche Boxter has asked for our help and assistance on some remedial works required on his electric hood.
The clear perspex rear screen is coming away from the hood itself so needs re-attaching. Brian has had a closer look and in order for this to be repaired properly the roof will have to come off the car. Brian feels that re-attaching the existing screen to the hood may only be a temporary fix as the existing holes may be duplicated and therefore the new stitching may not be as tight and secure second time around.
With the entire hood being removed is there an argument to say ‘just replace the hood with one off the shelf?’ The most cost effective solution would be to do this. A bespoke hood manufactured would not be required as there are companies out there that have already produced the hood from a pattern so rather than reinventing the wheel go with a company that has been there and done that!
At the end of the day, the hardest bit is removing and fitting the hood so to fit a brand new one that is beautifully tight would give you the best results.
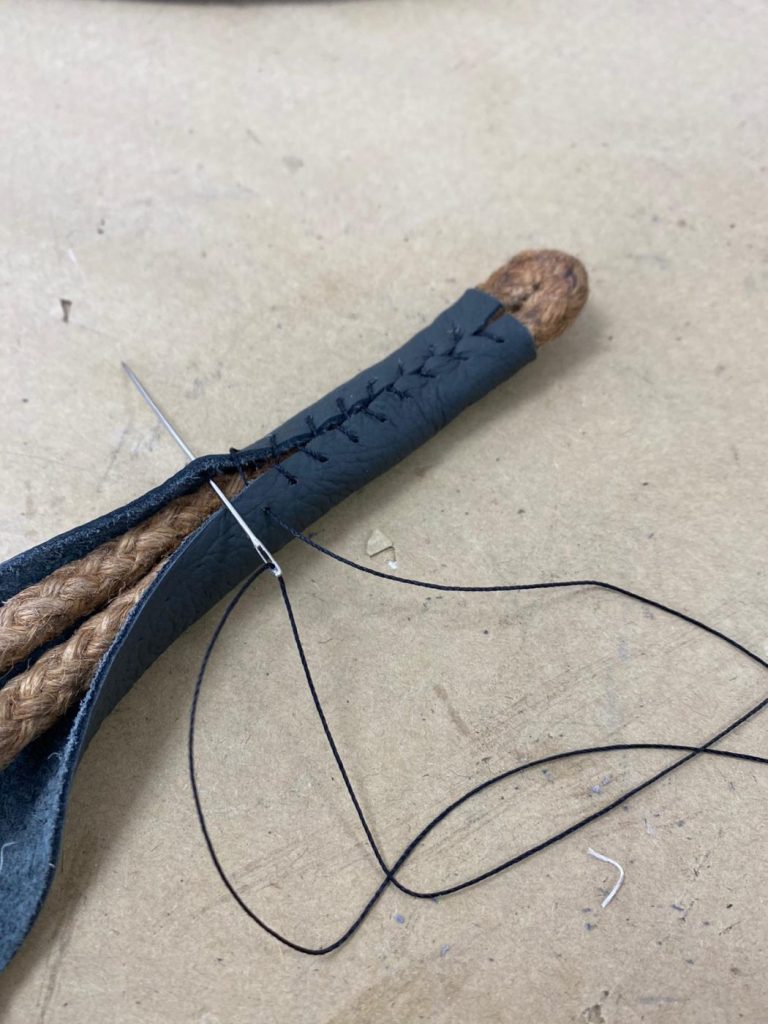
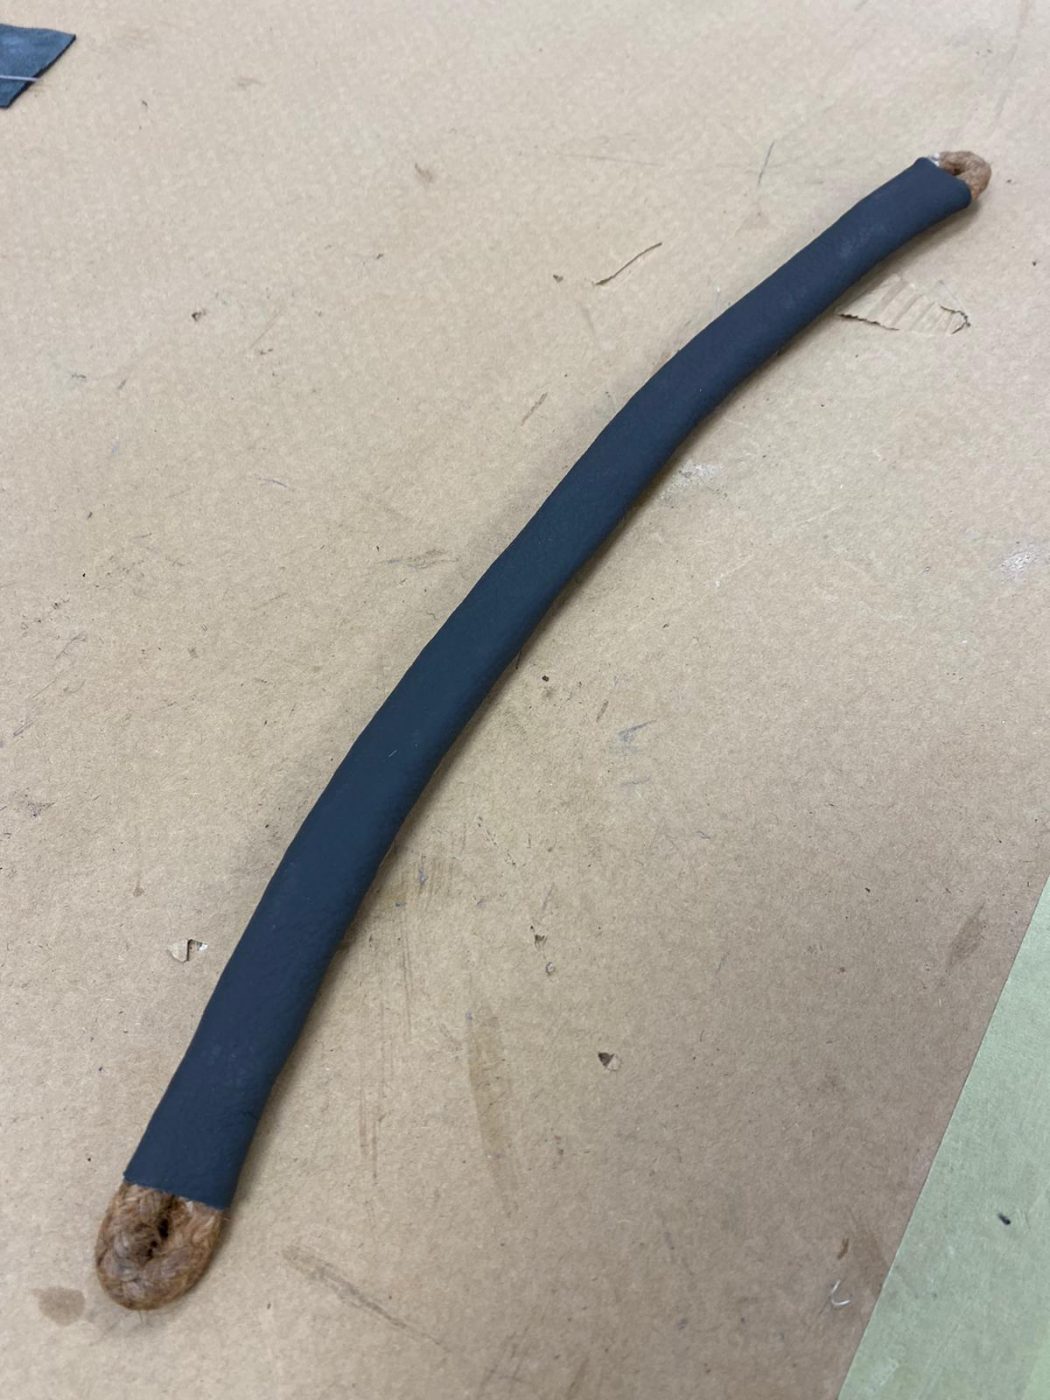
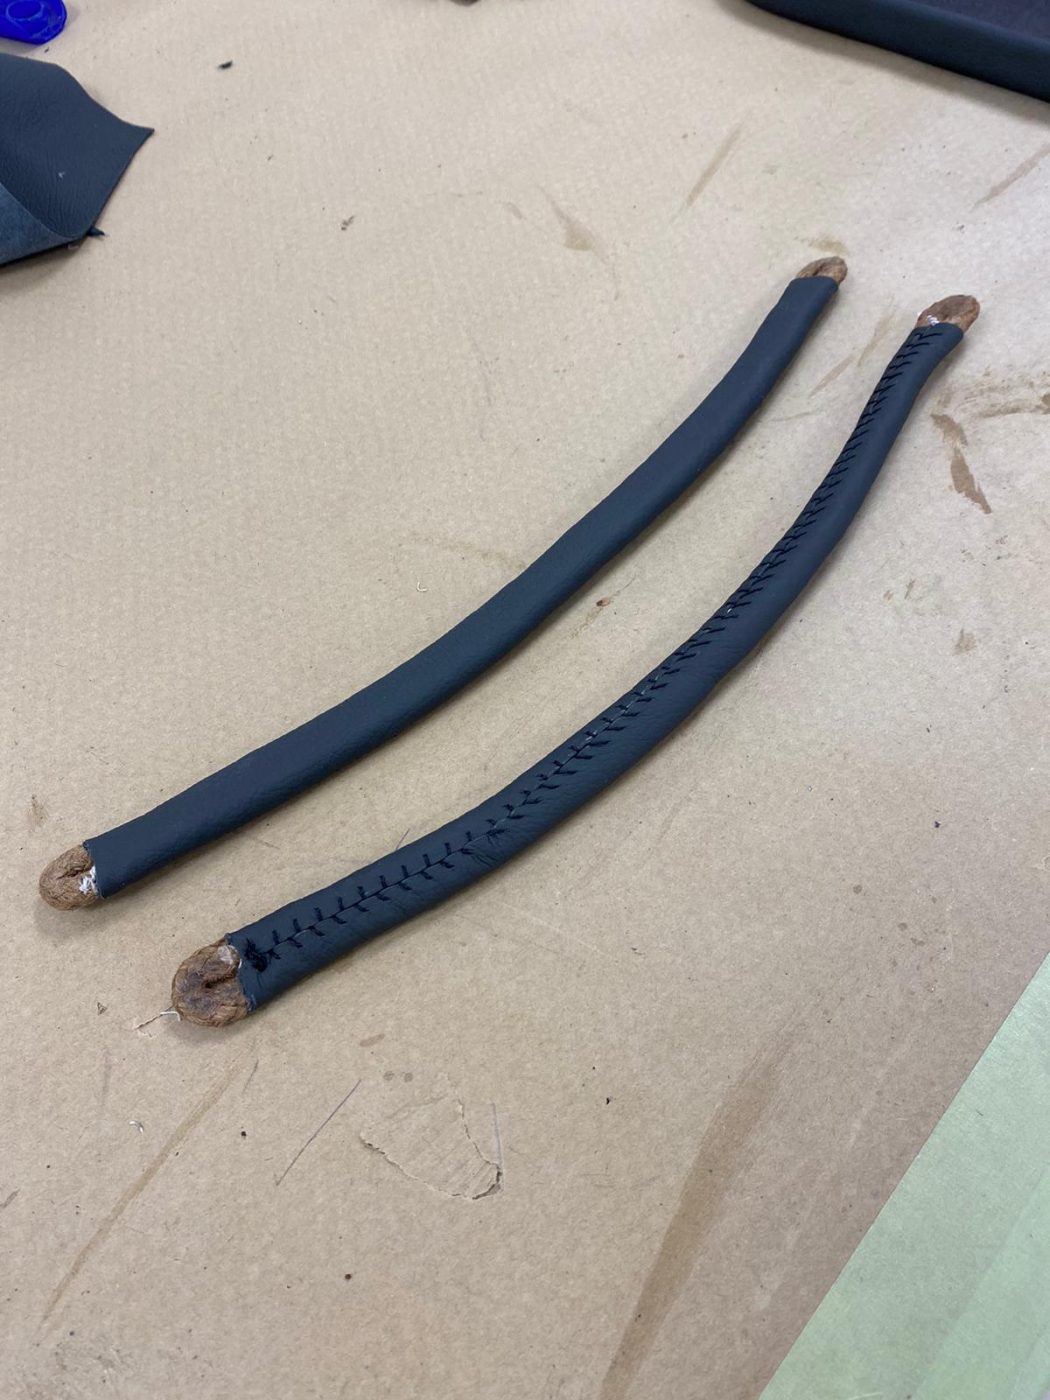
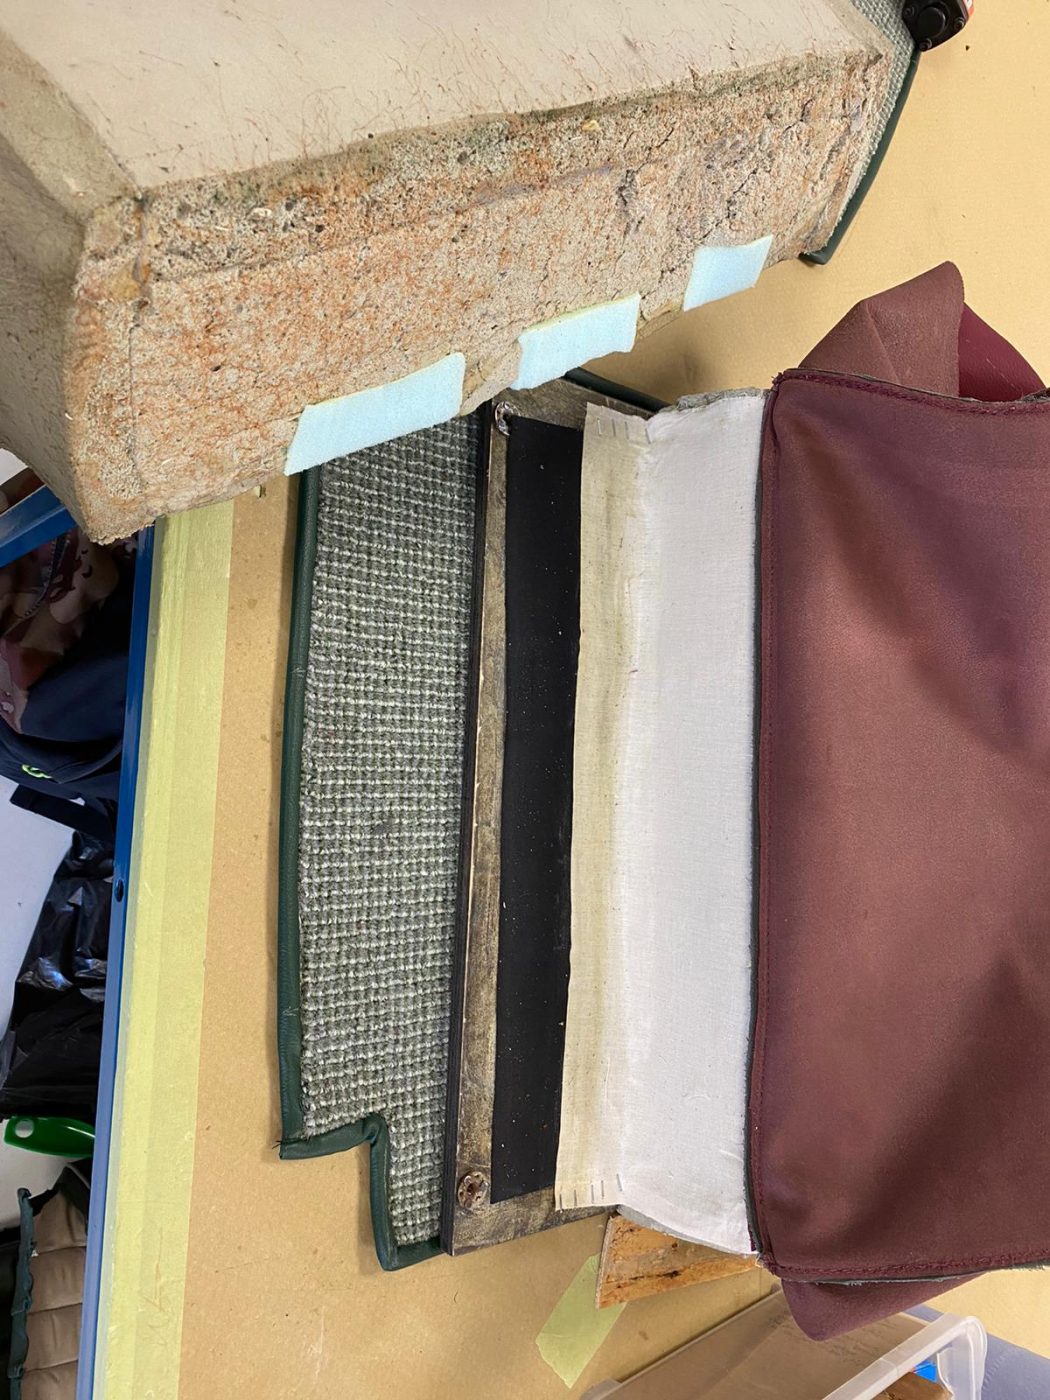
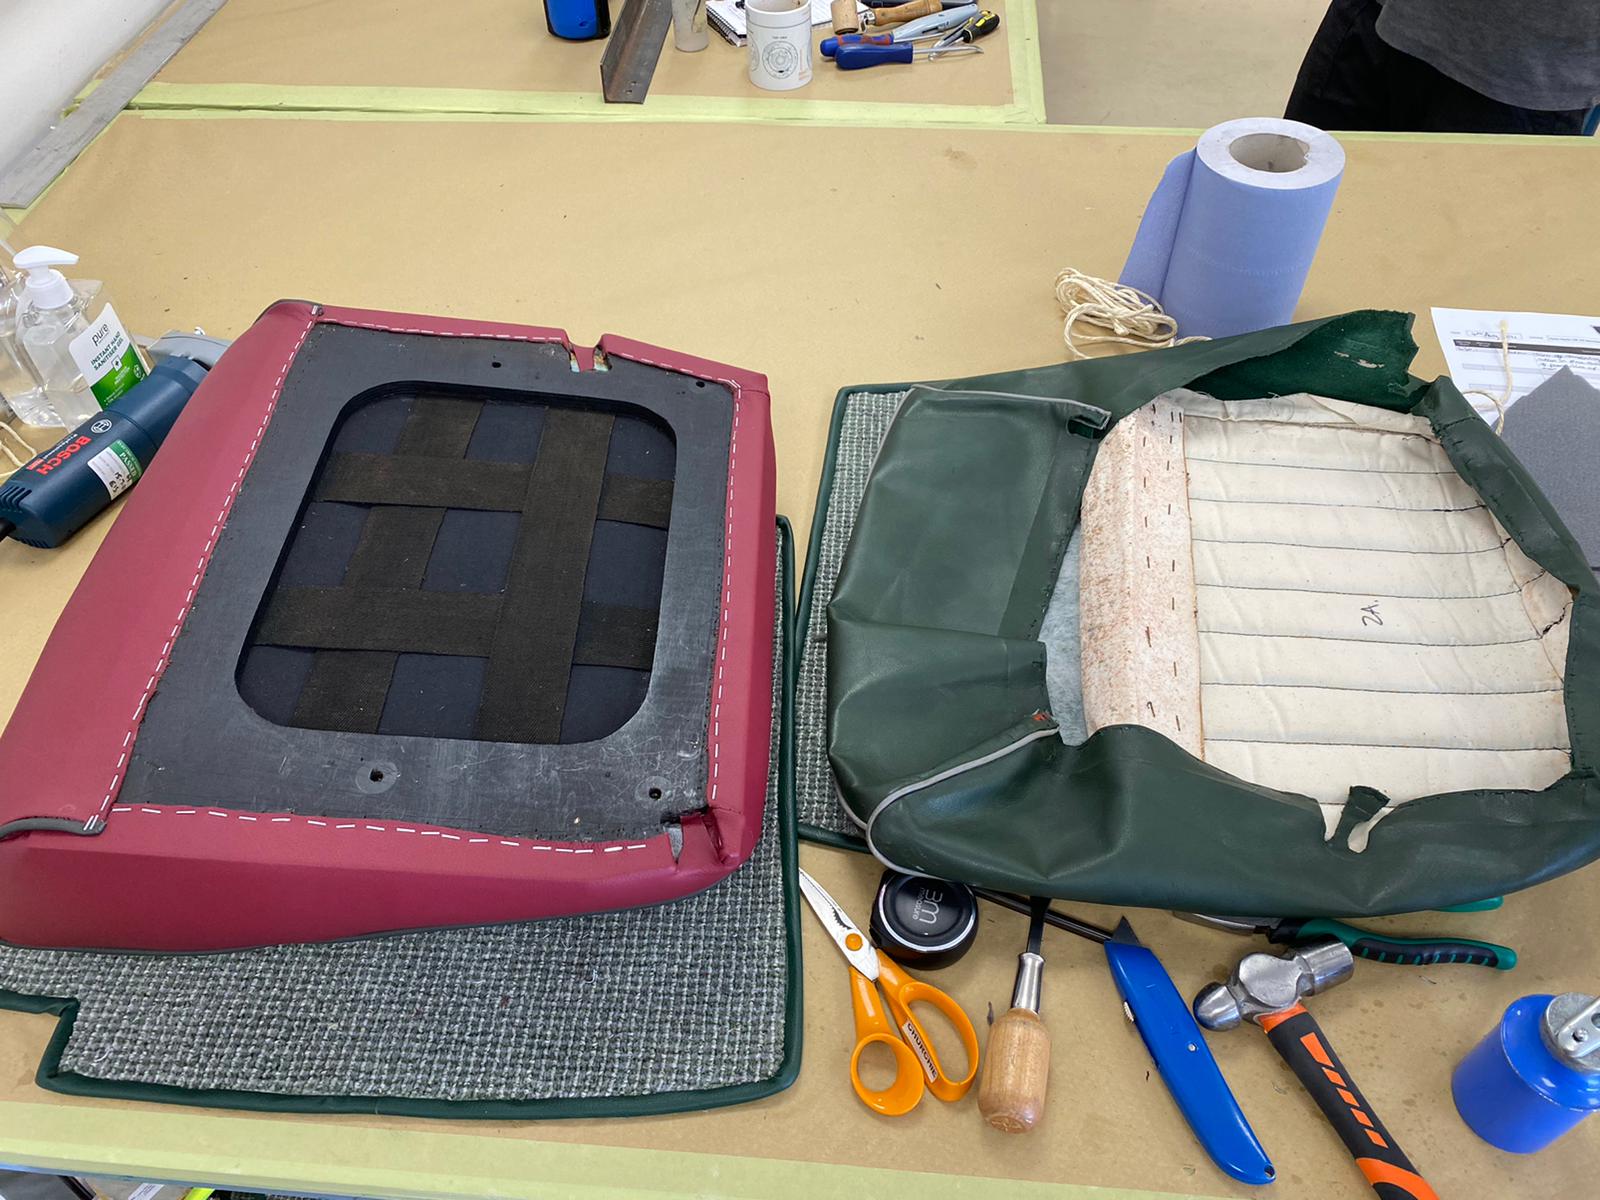
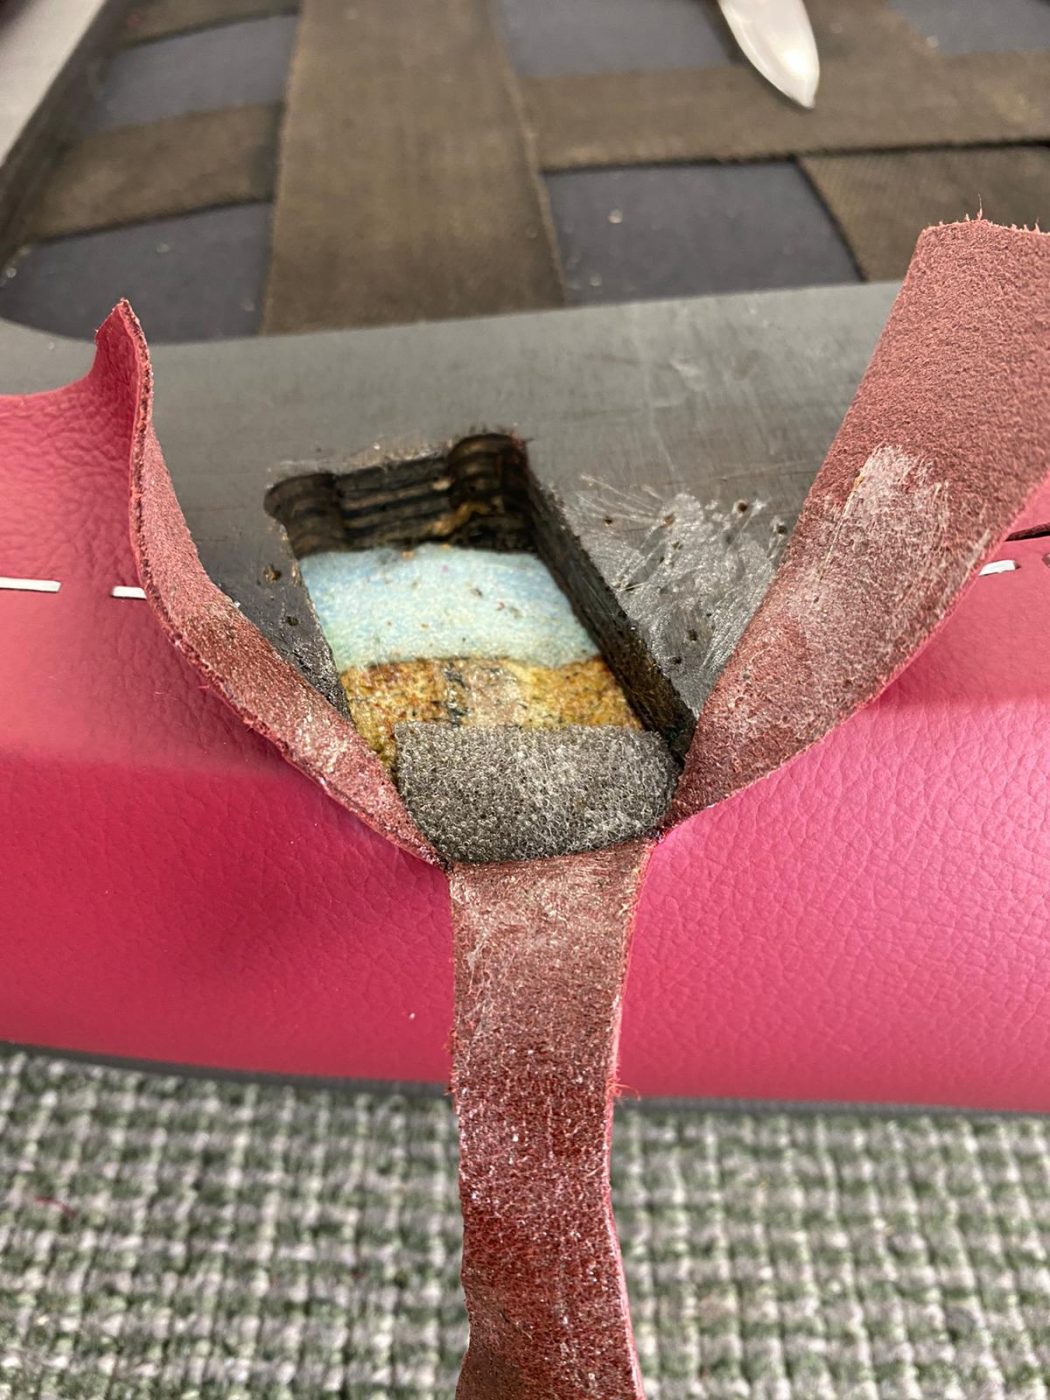
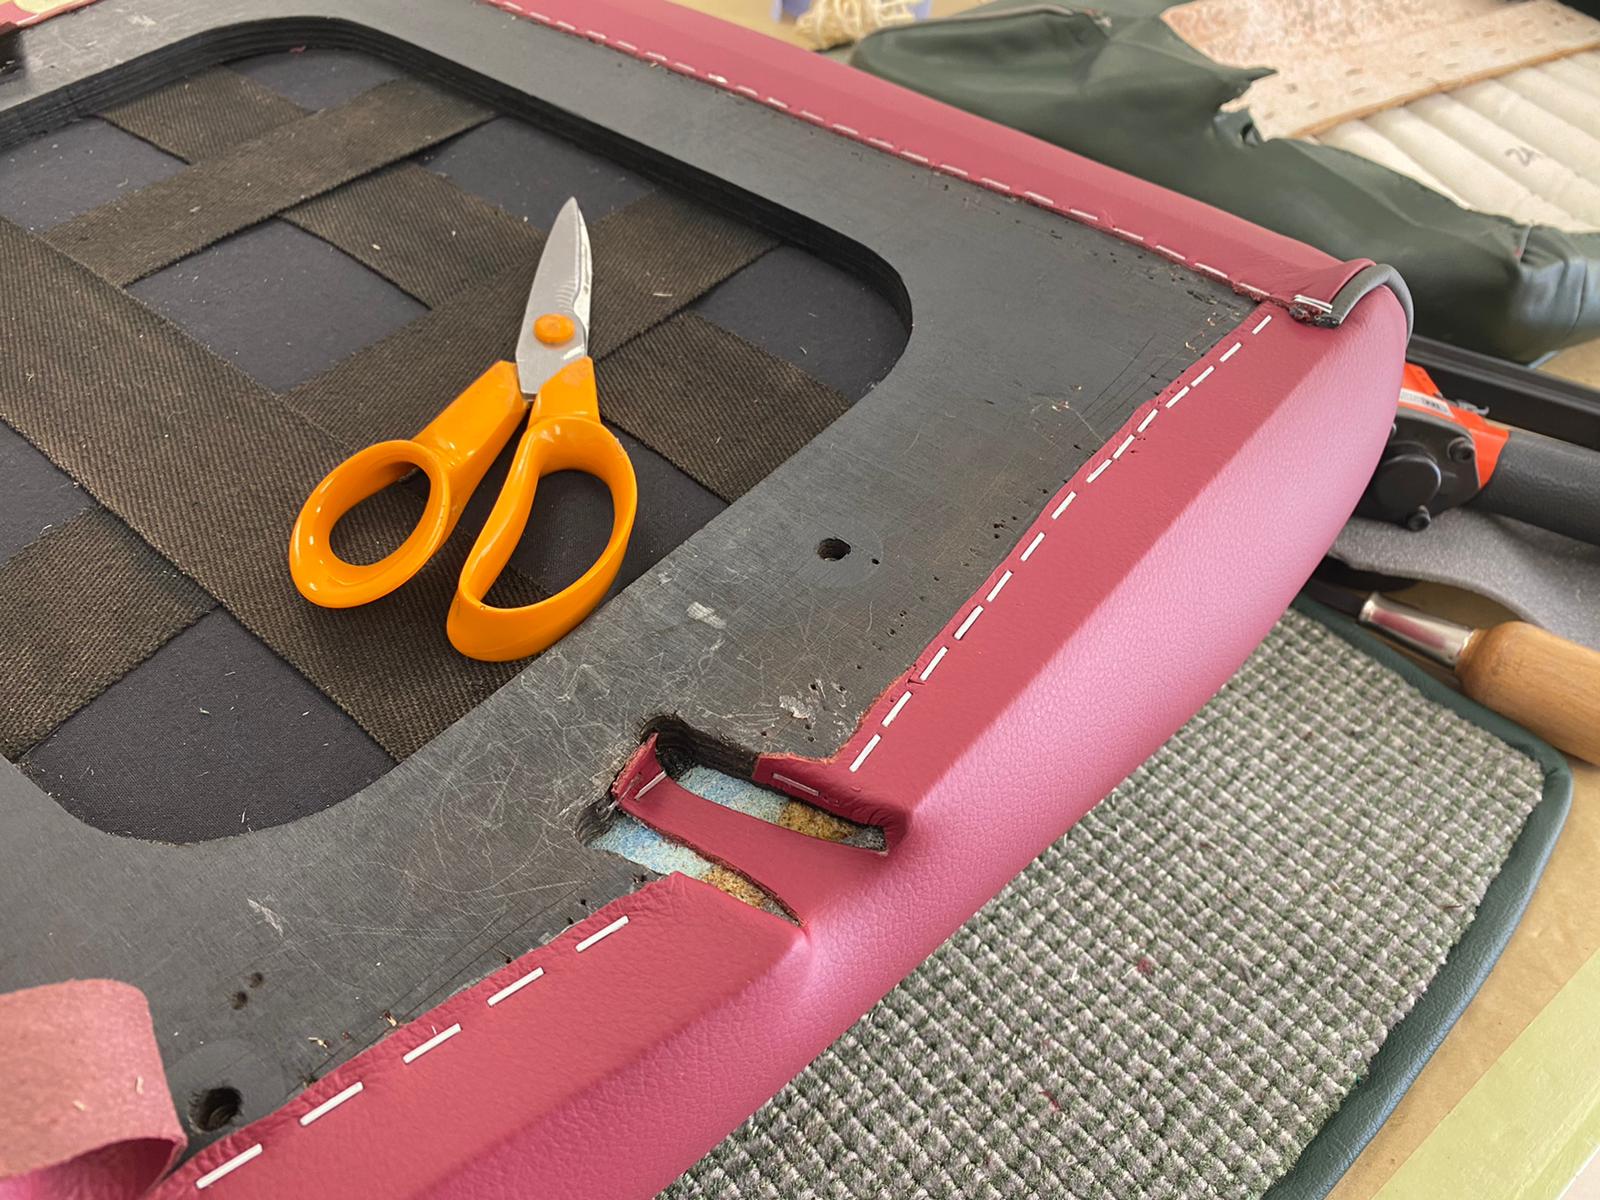
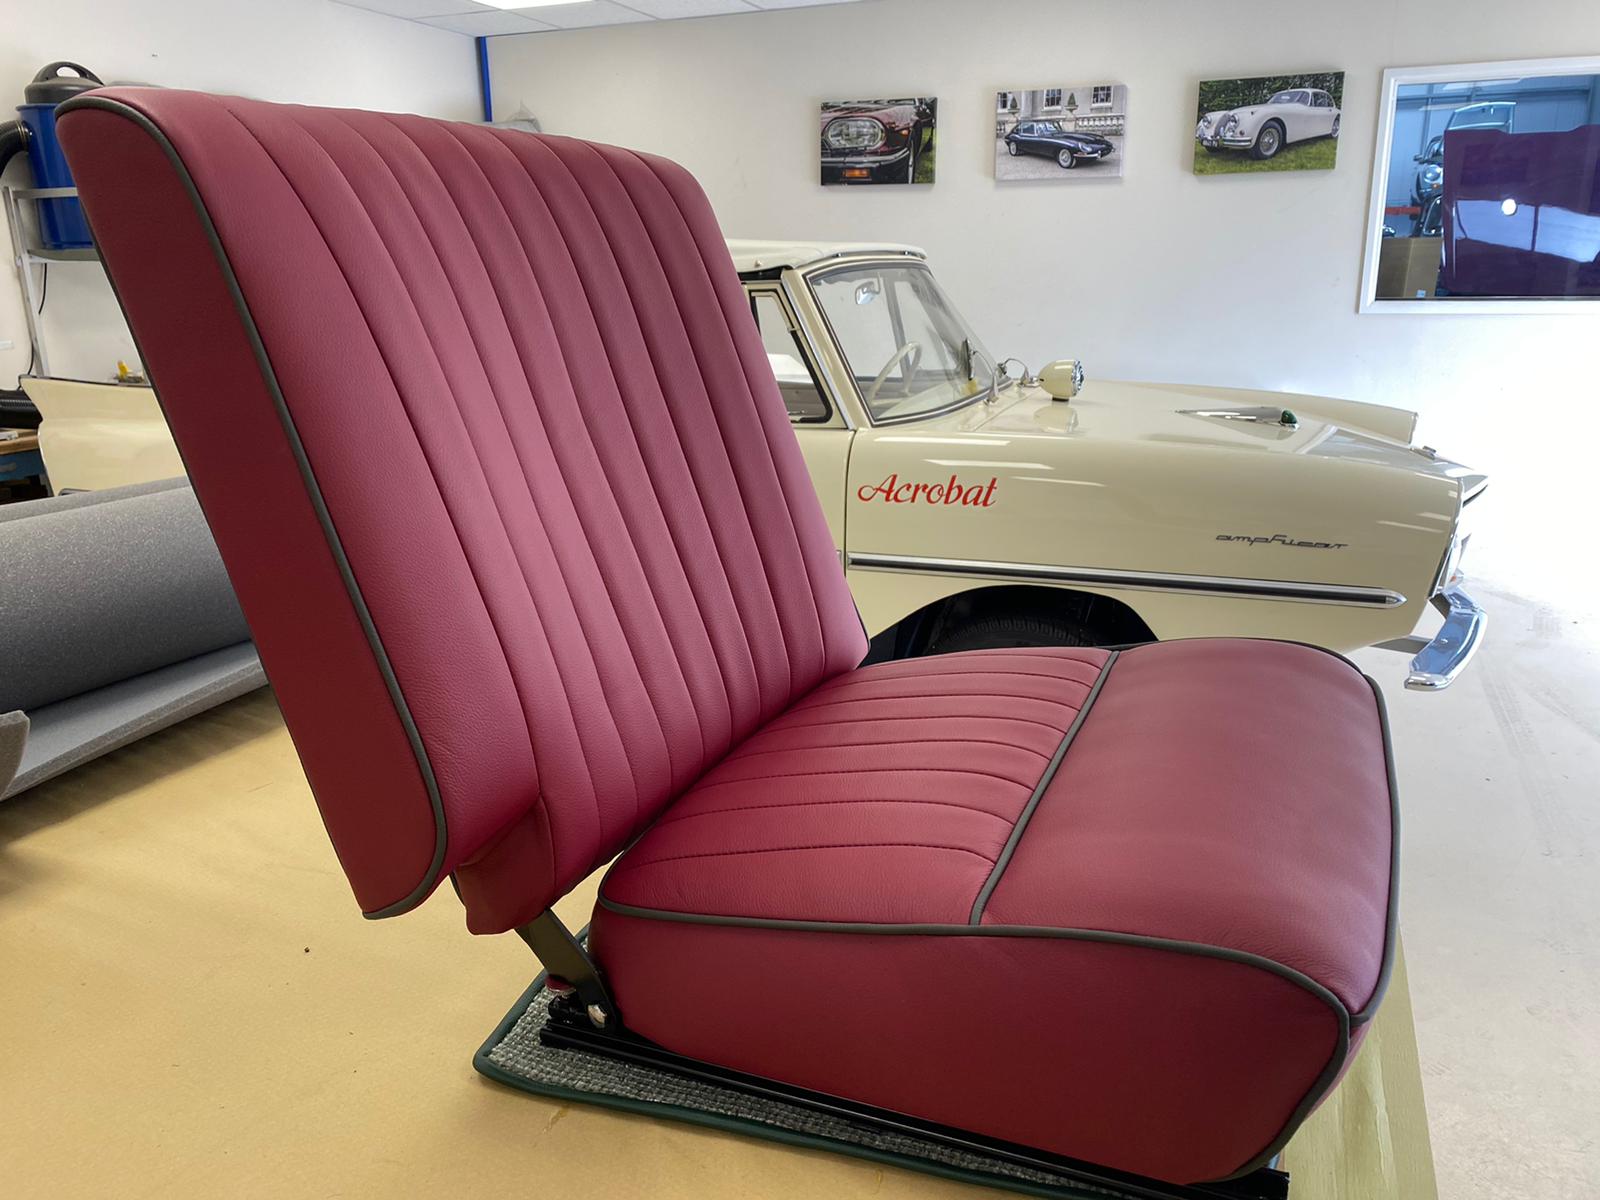
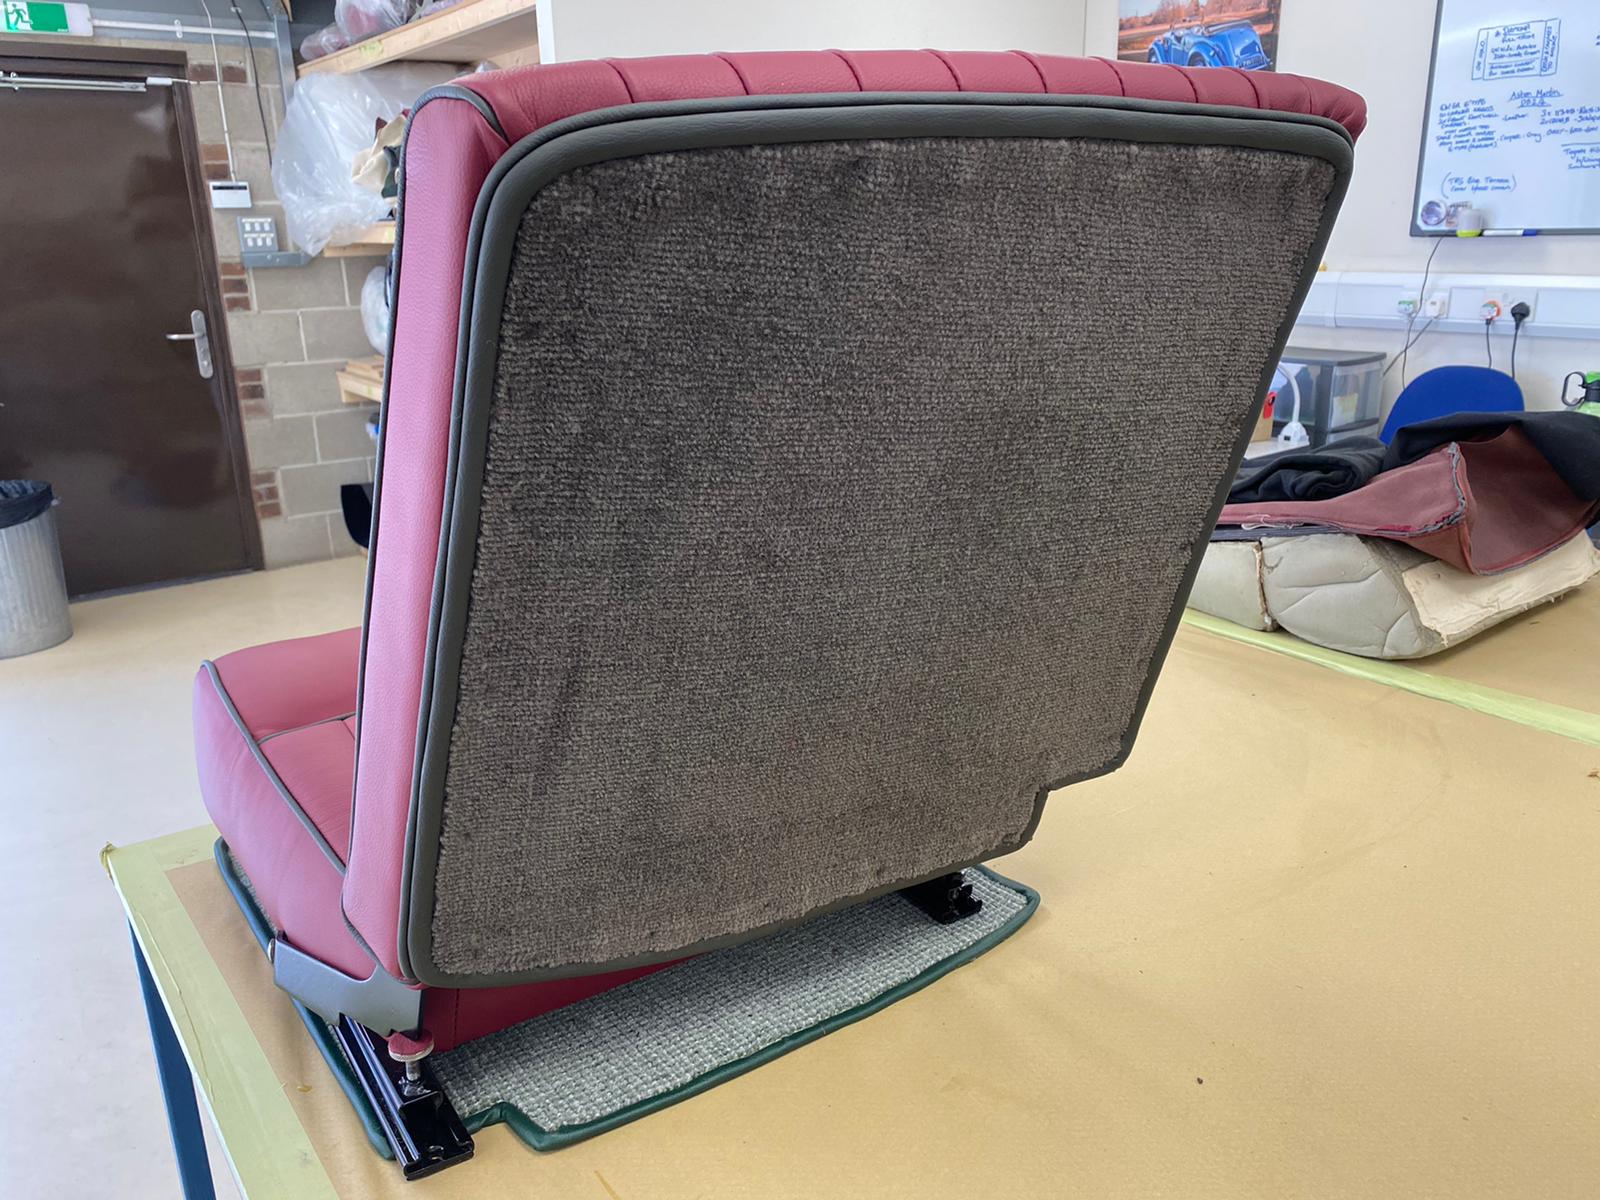
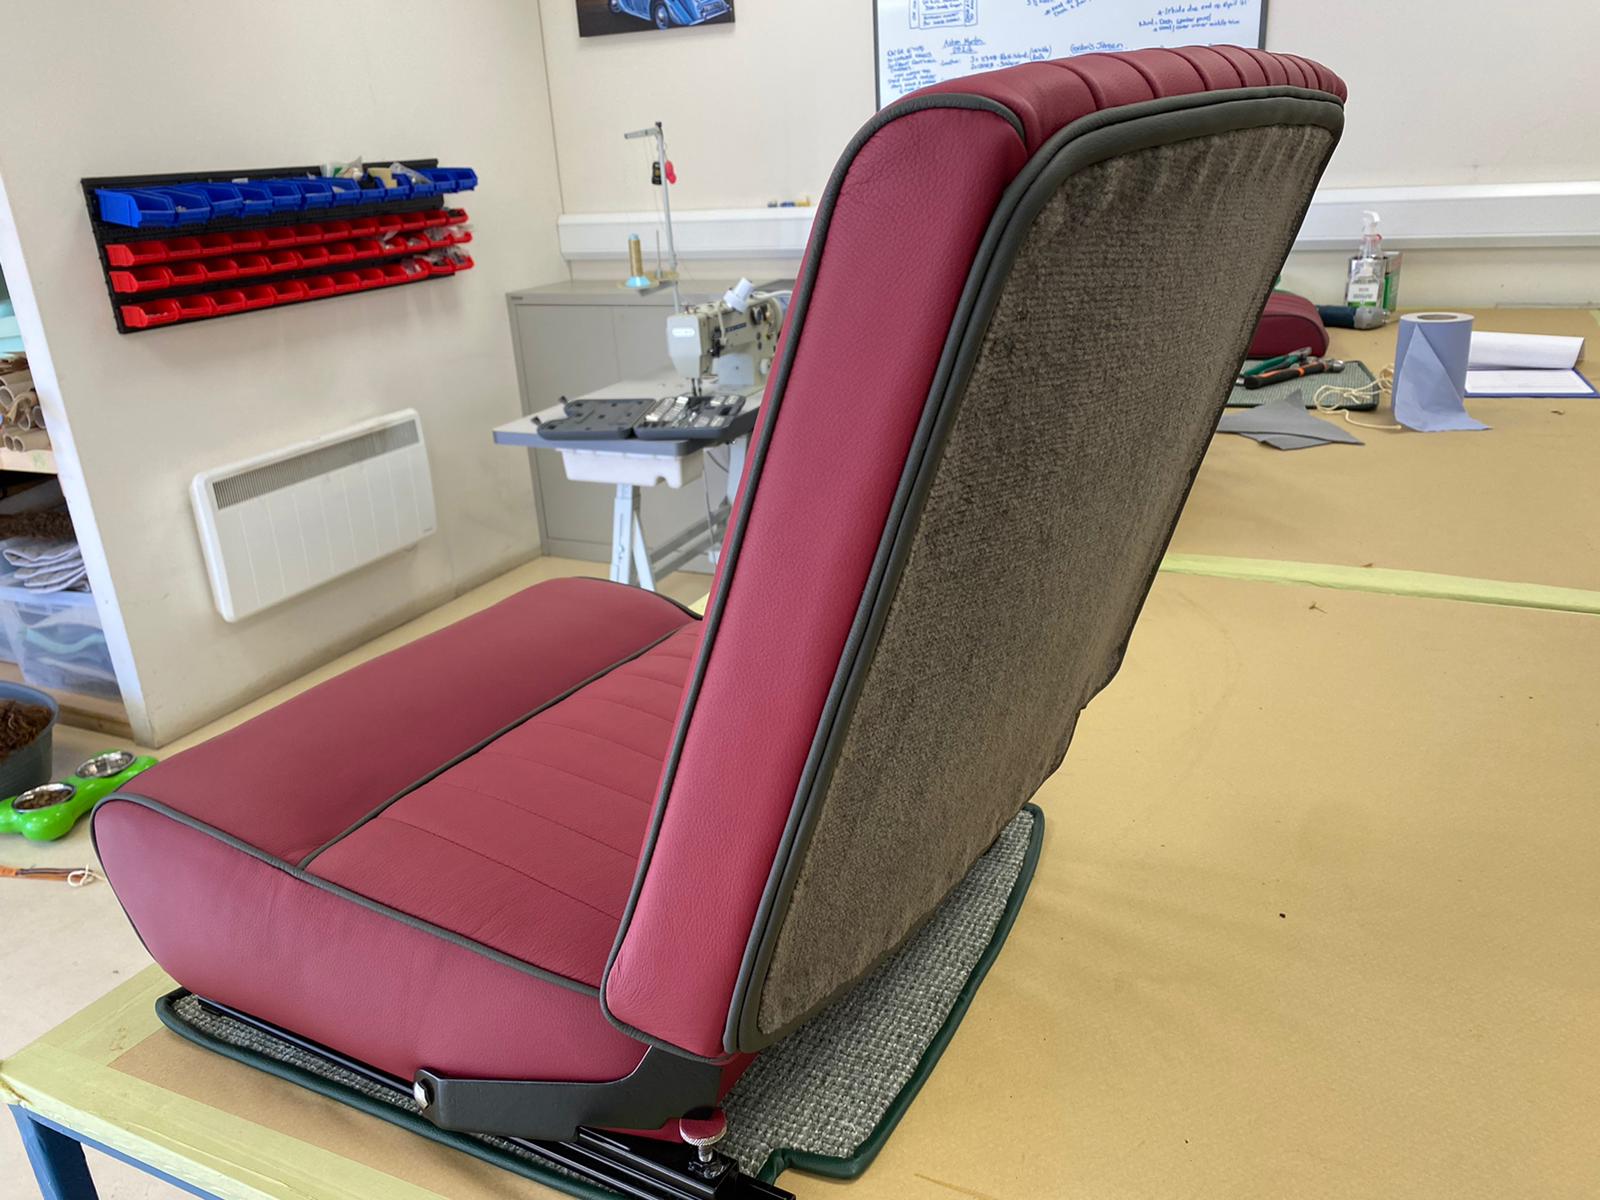
Another little update on the 1955 Aston Martin DB 2/4 coming your way!
In the trim shop, Kath has been re-covering the door straps. She began the process by taking the original leather off one of them and using it as a pattern for both of them on the new leather. Once cut out, she sewed the new leather piece onto each one, by hand. The way that it was sewn couldn’t have been done by machine.
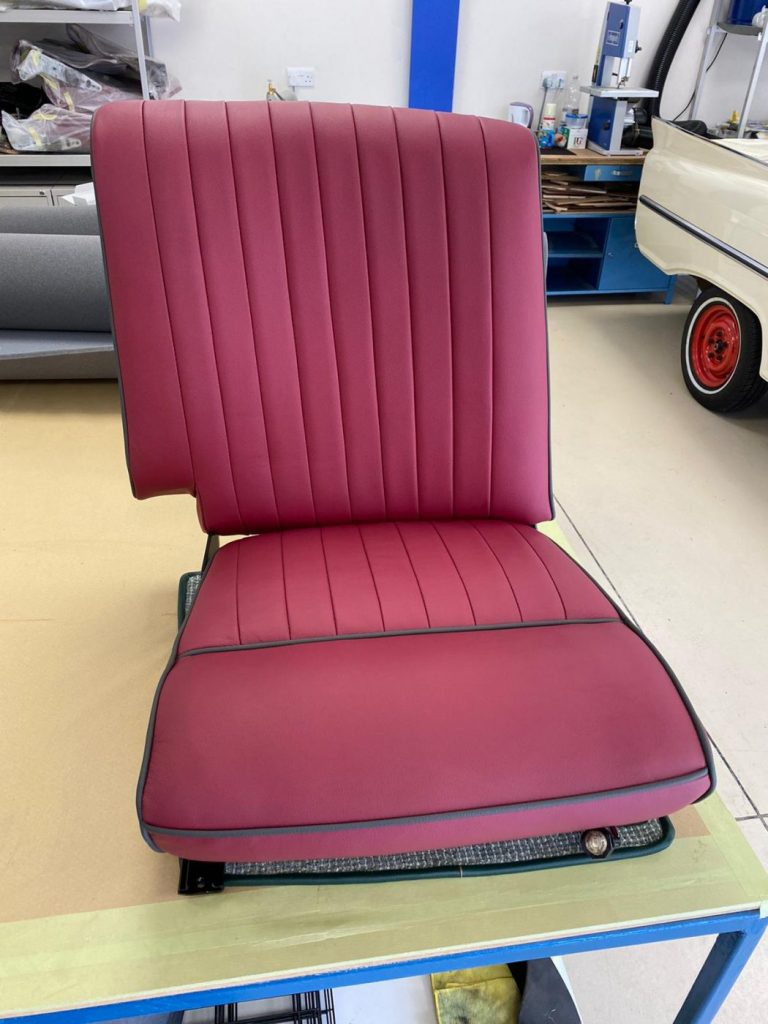
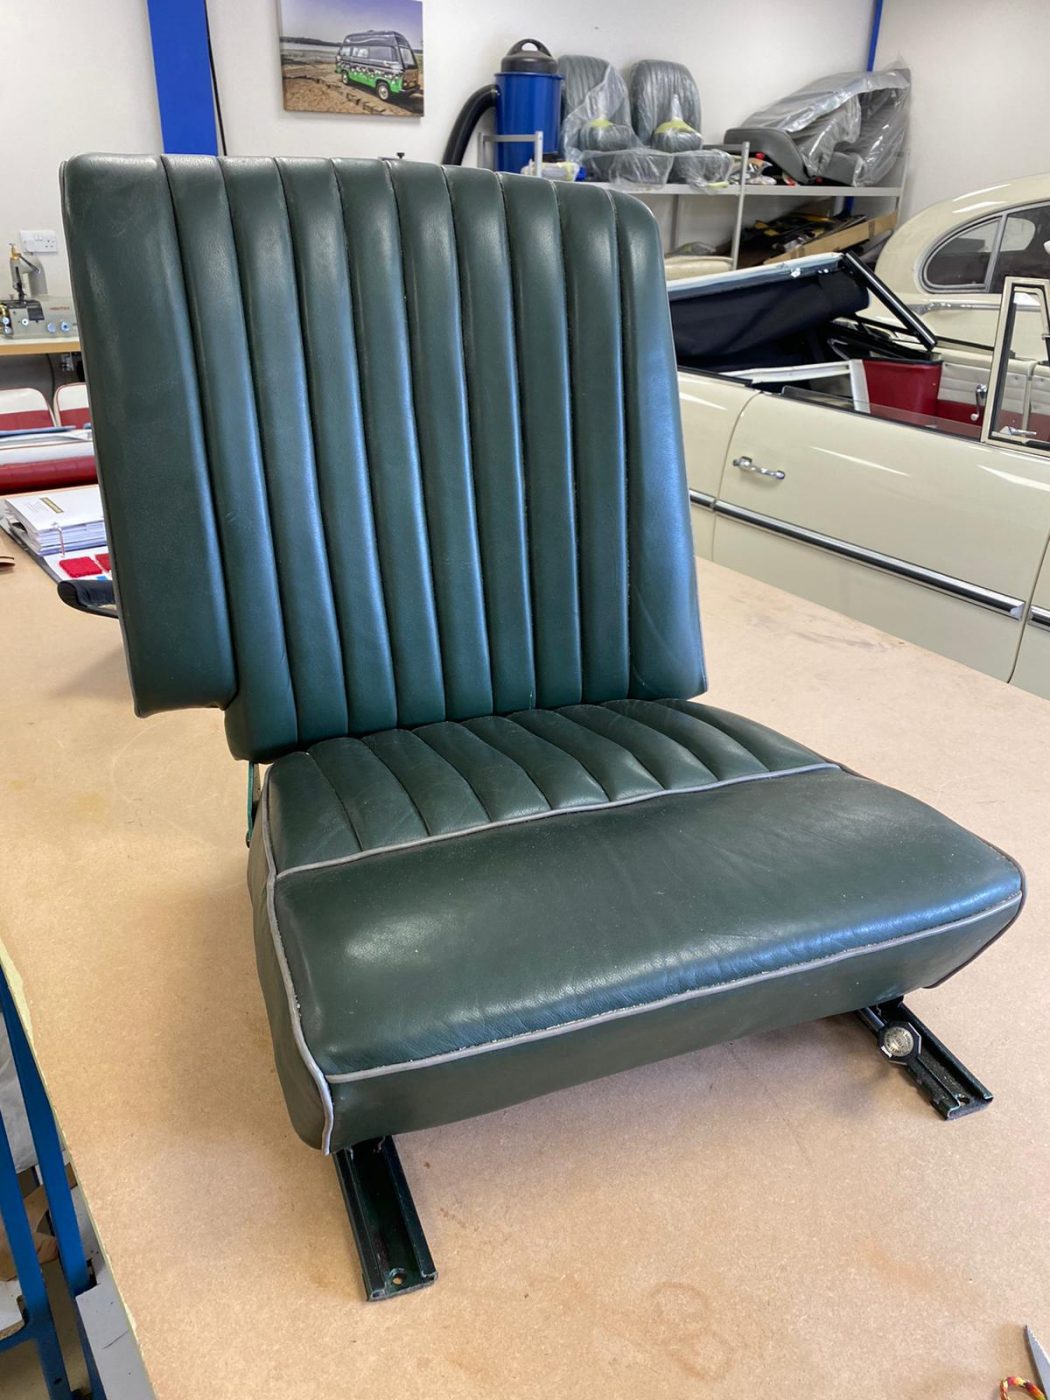
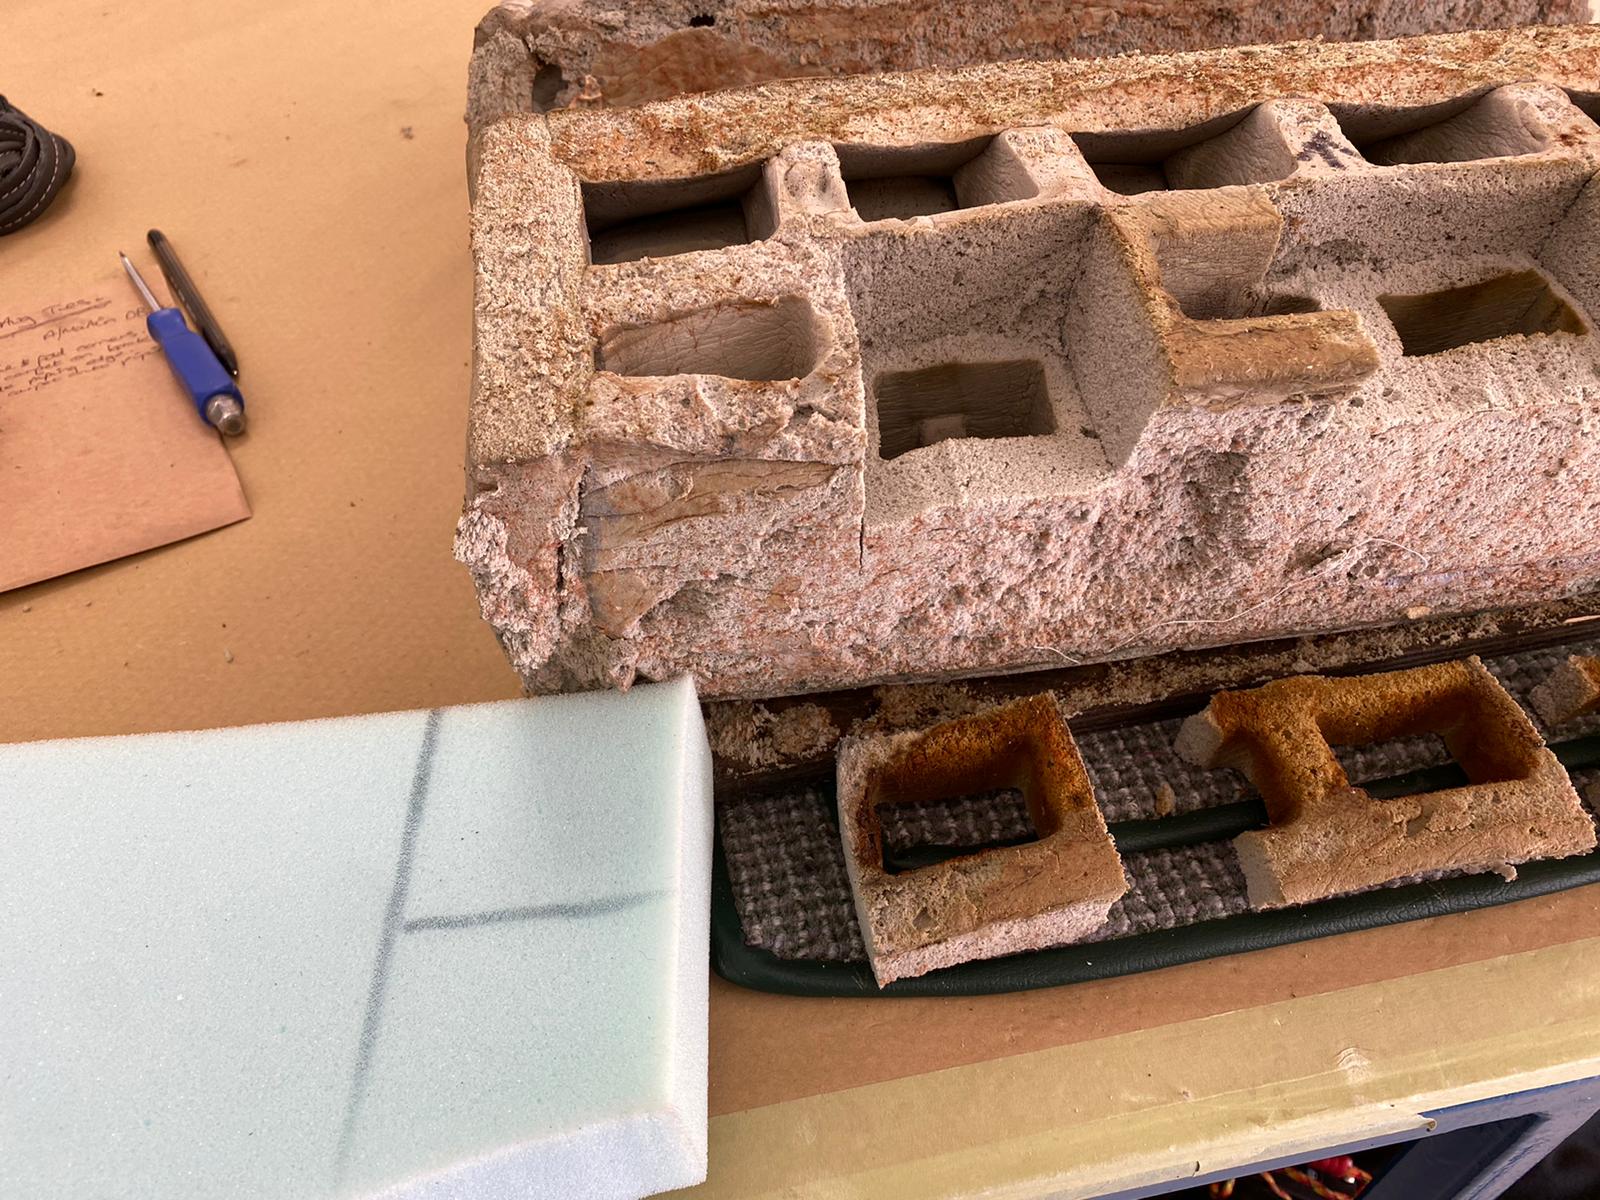
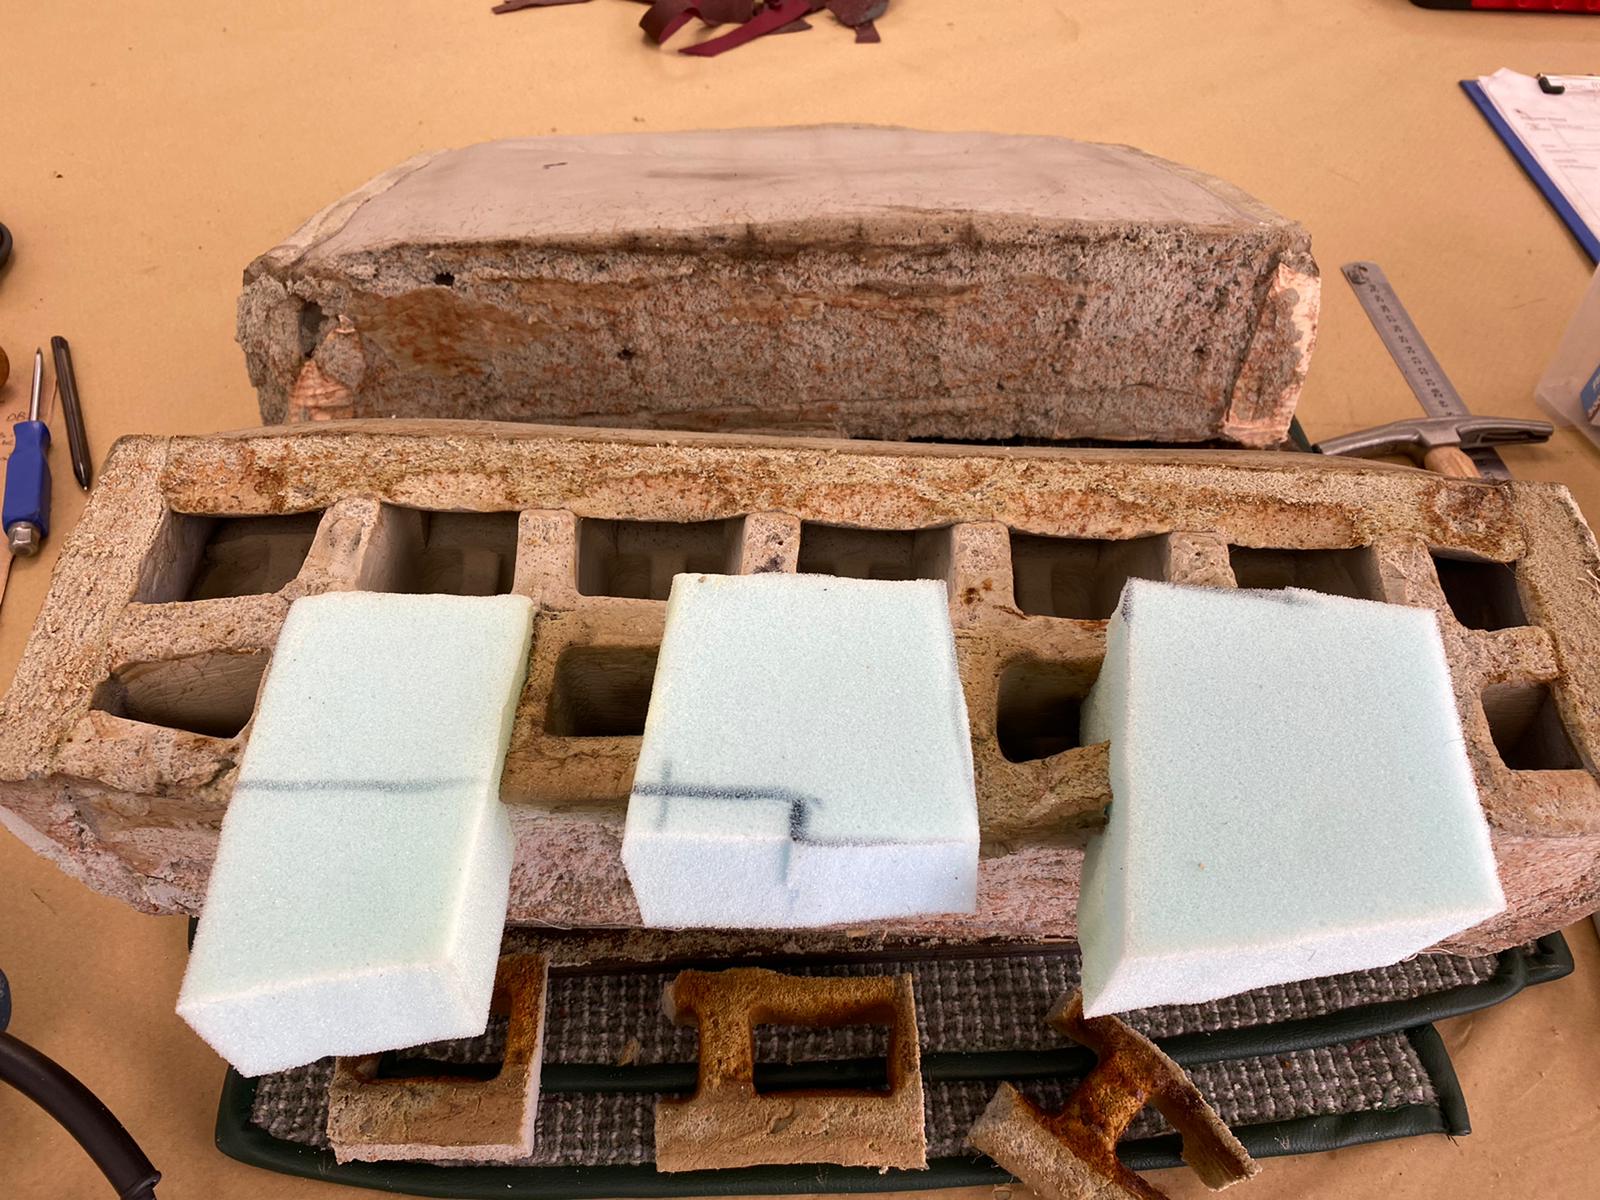
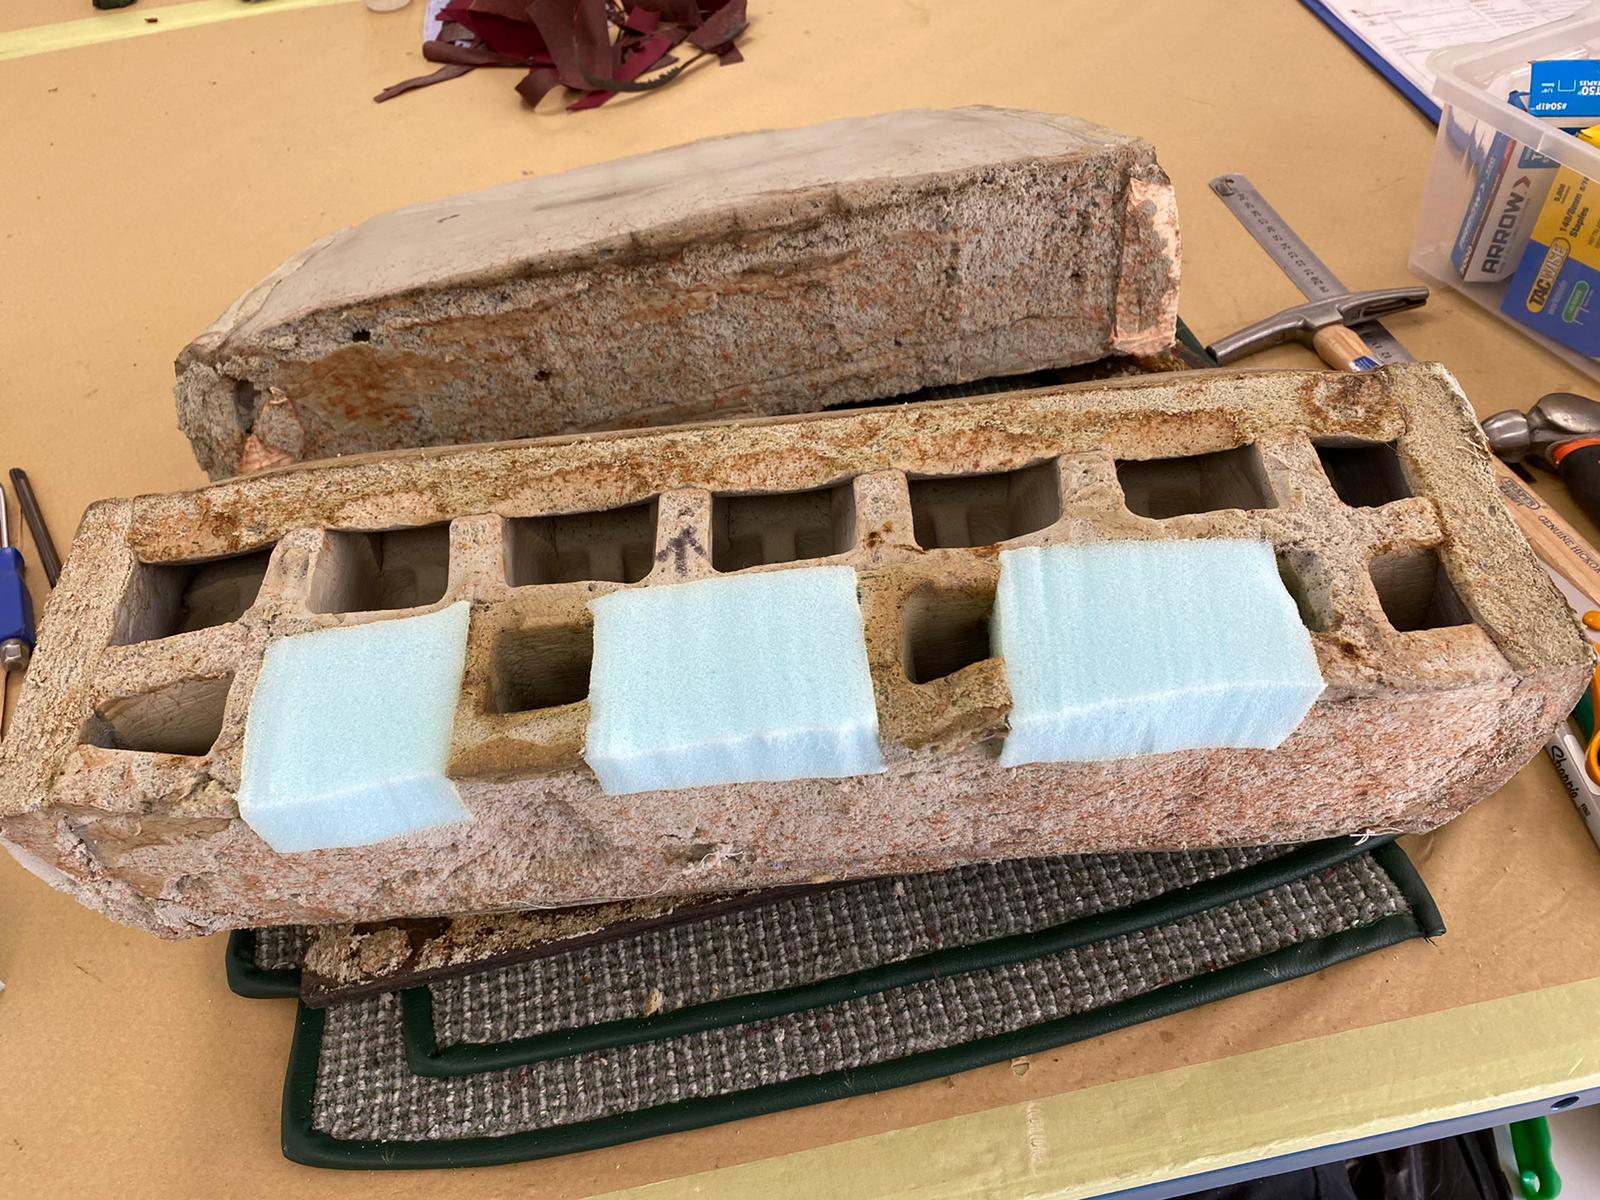
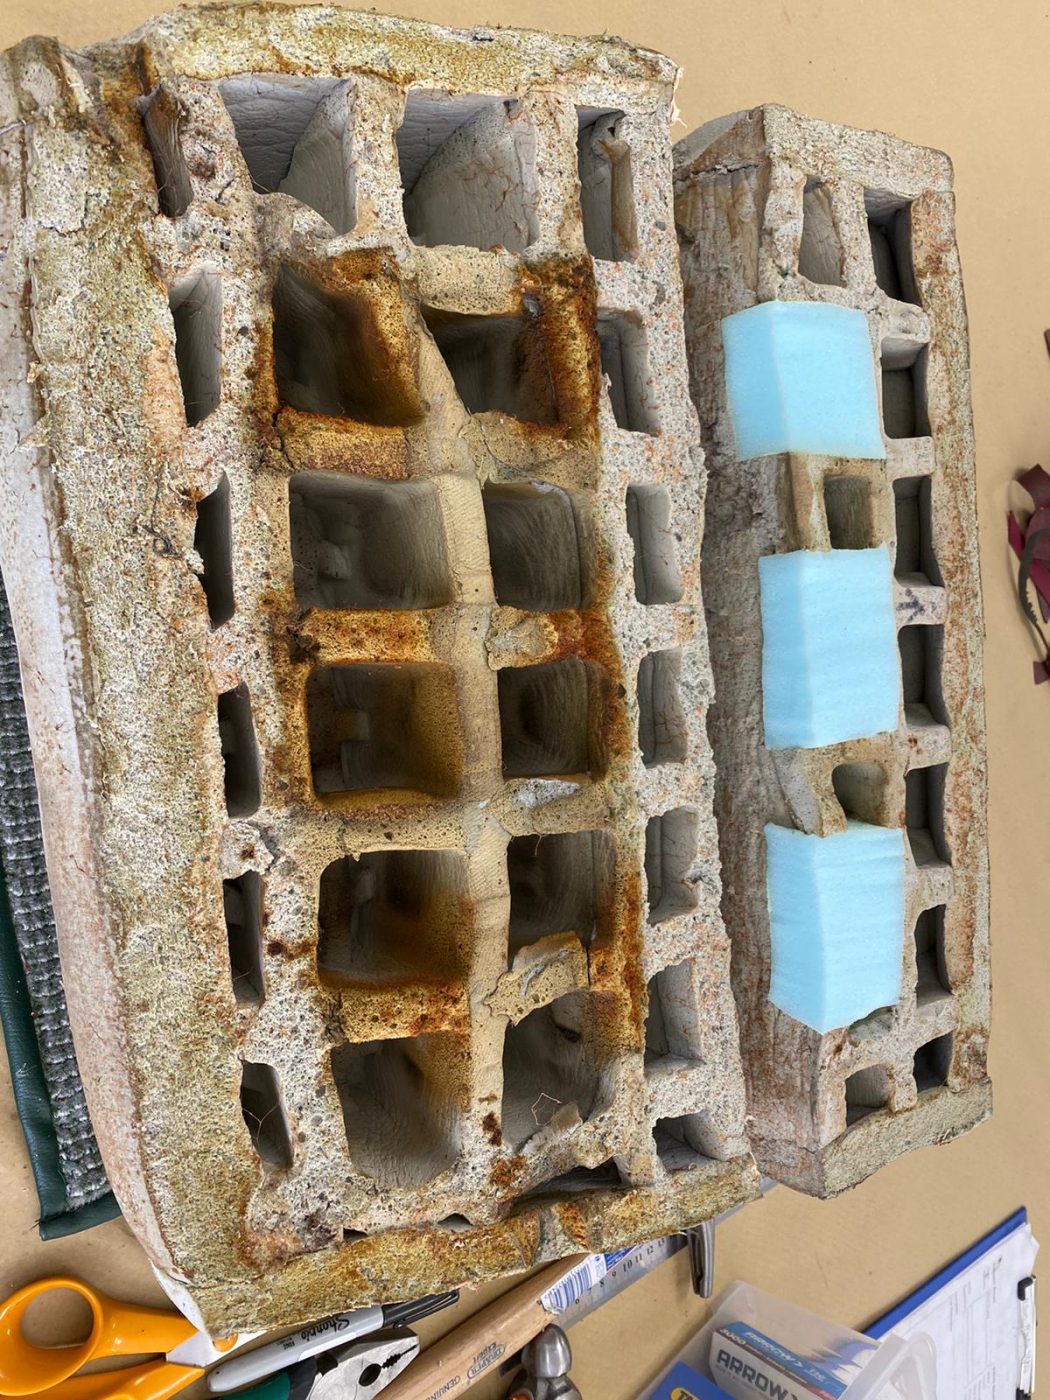
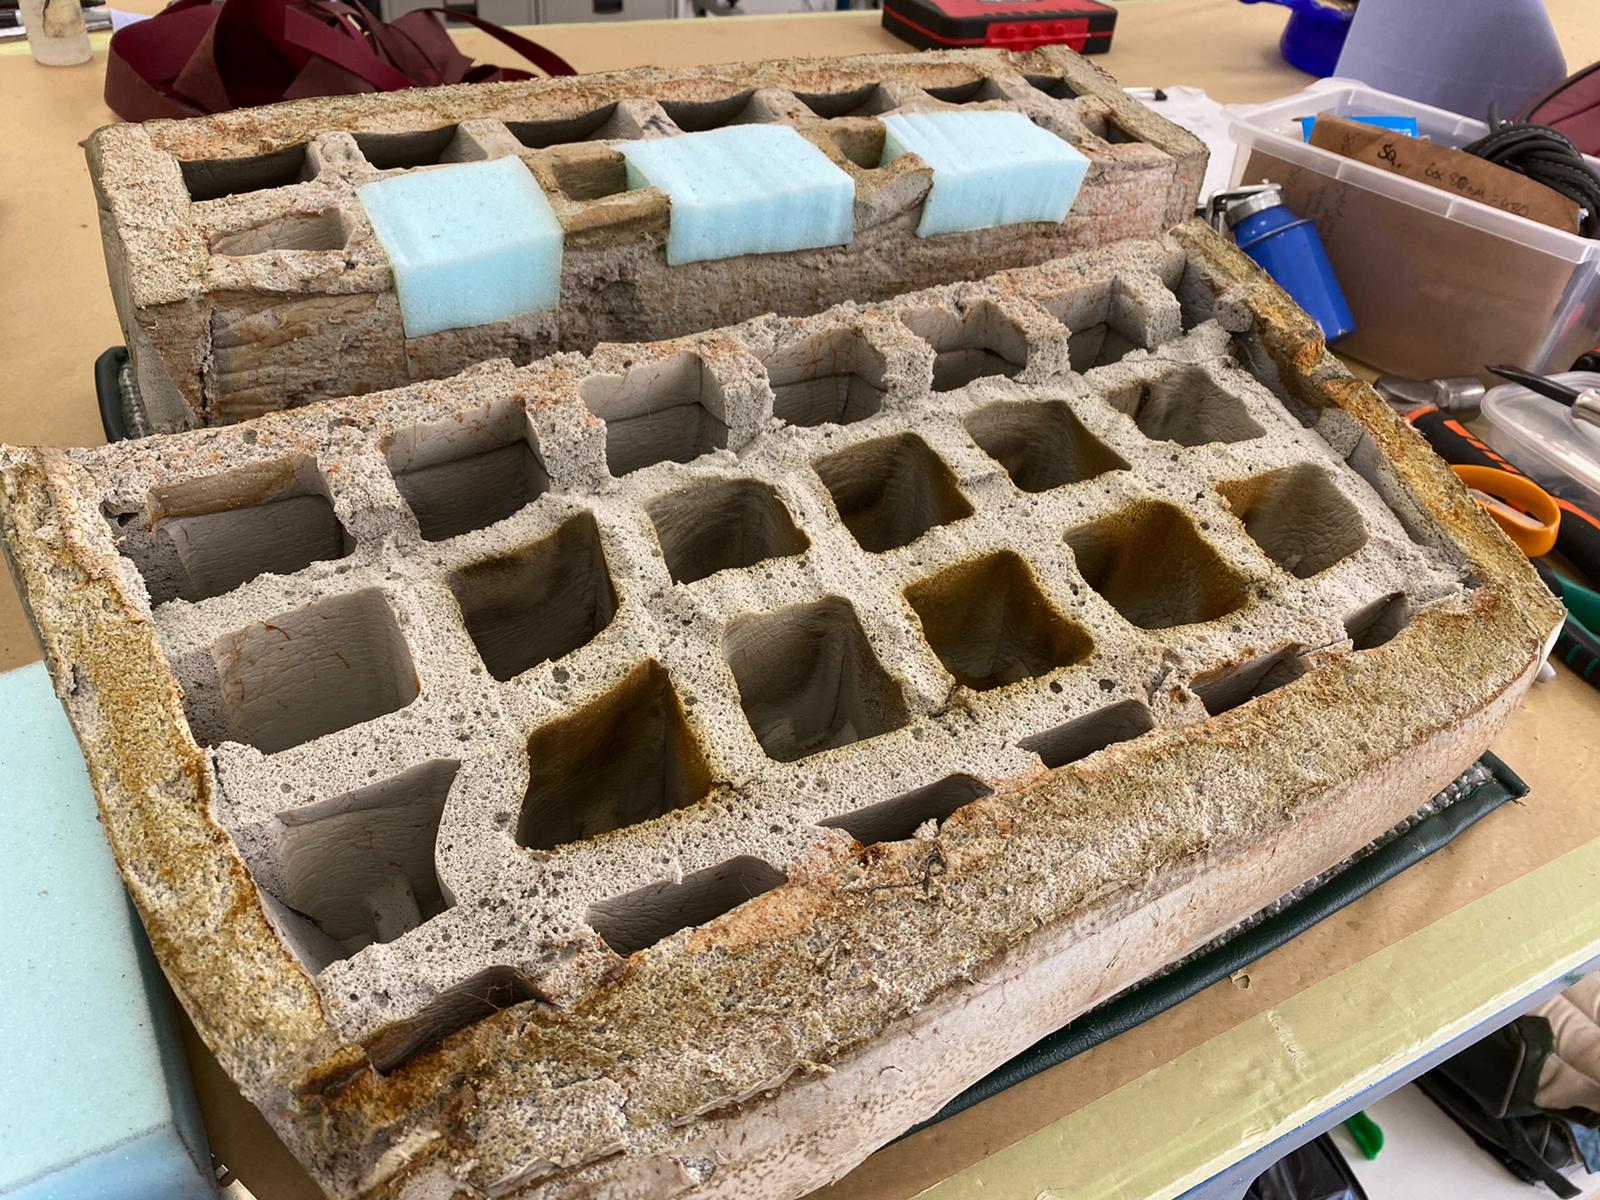
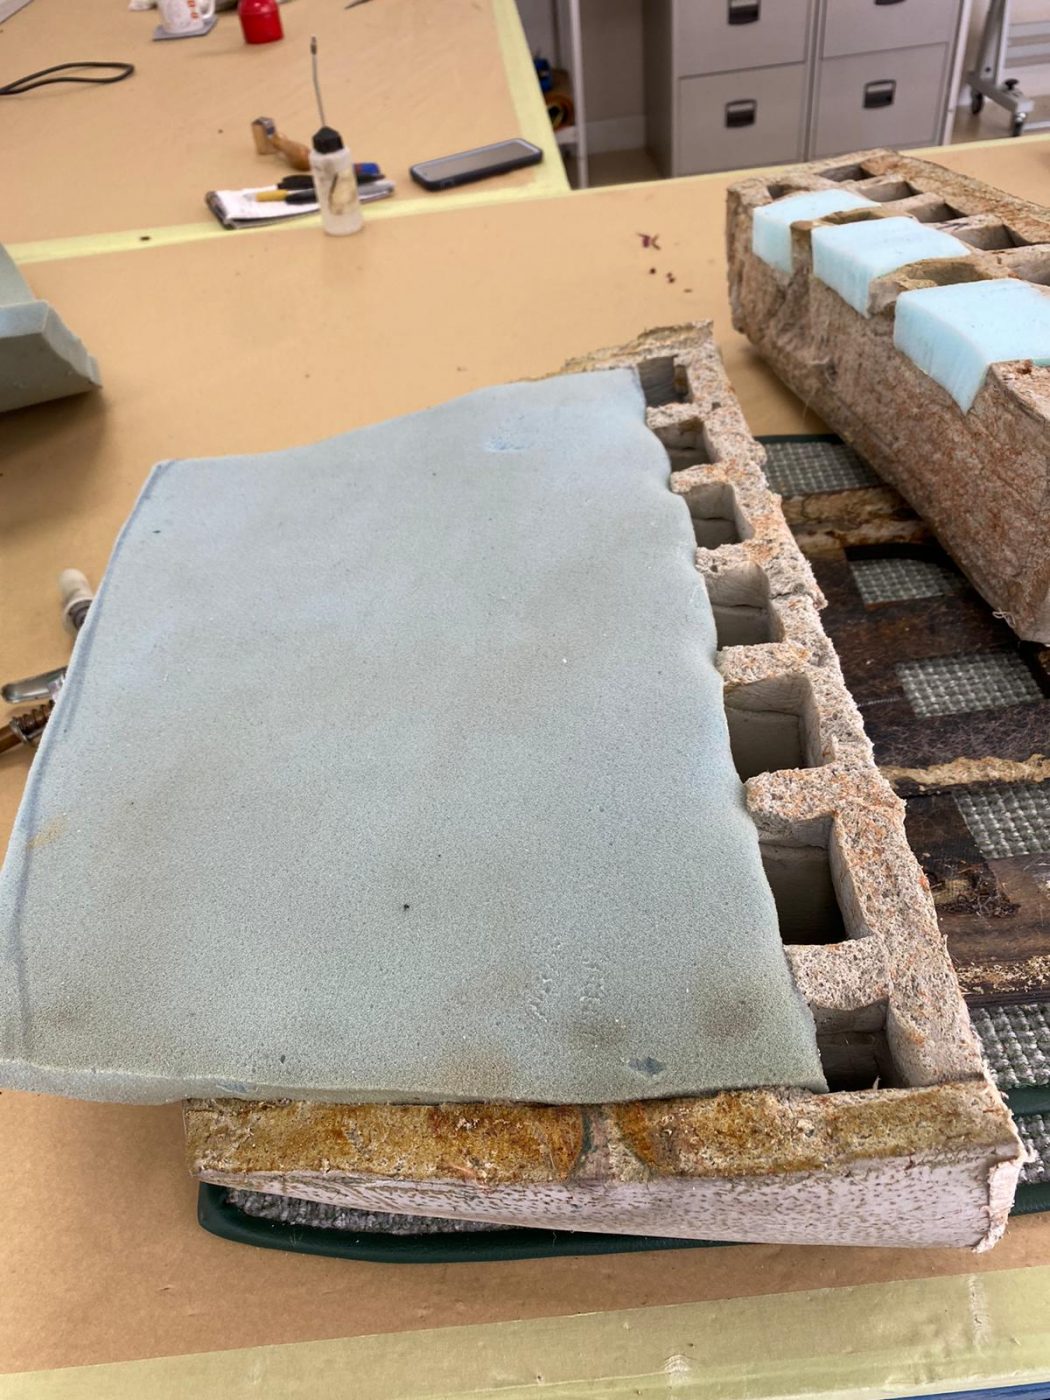
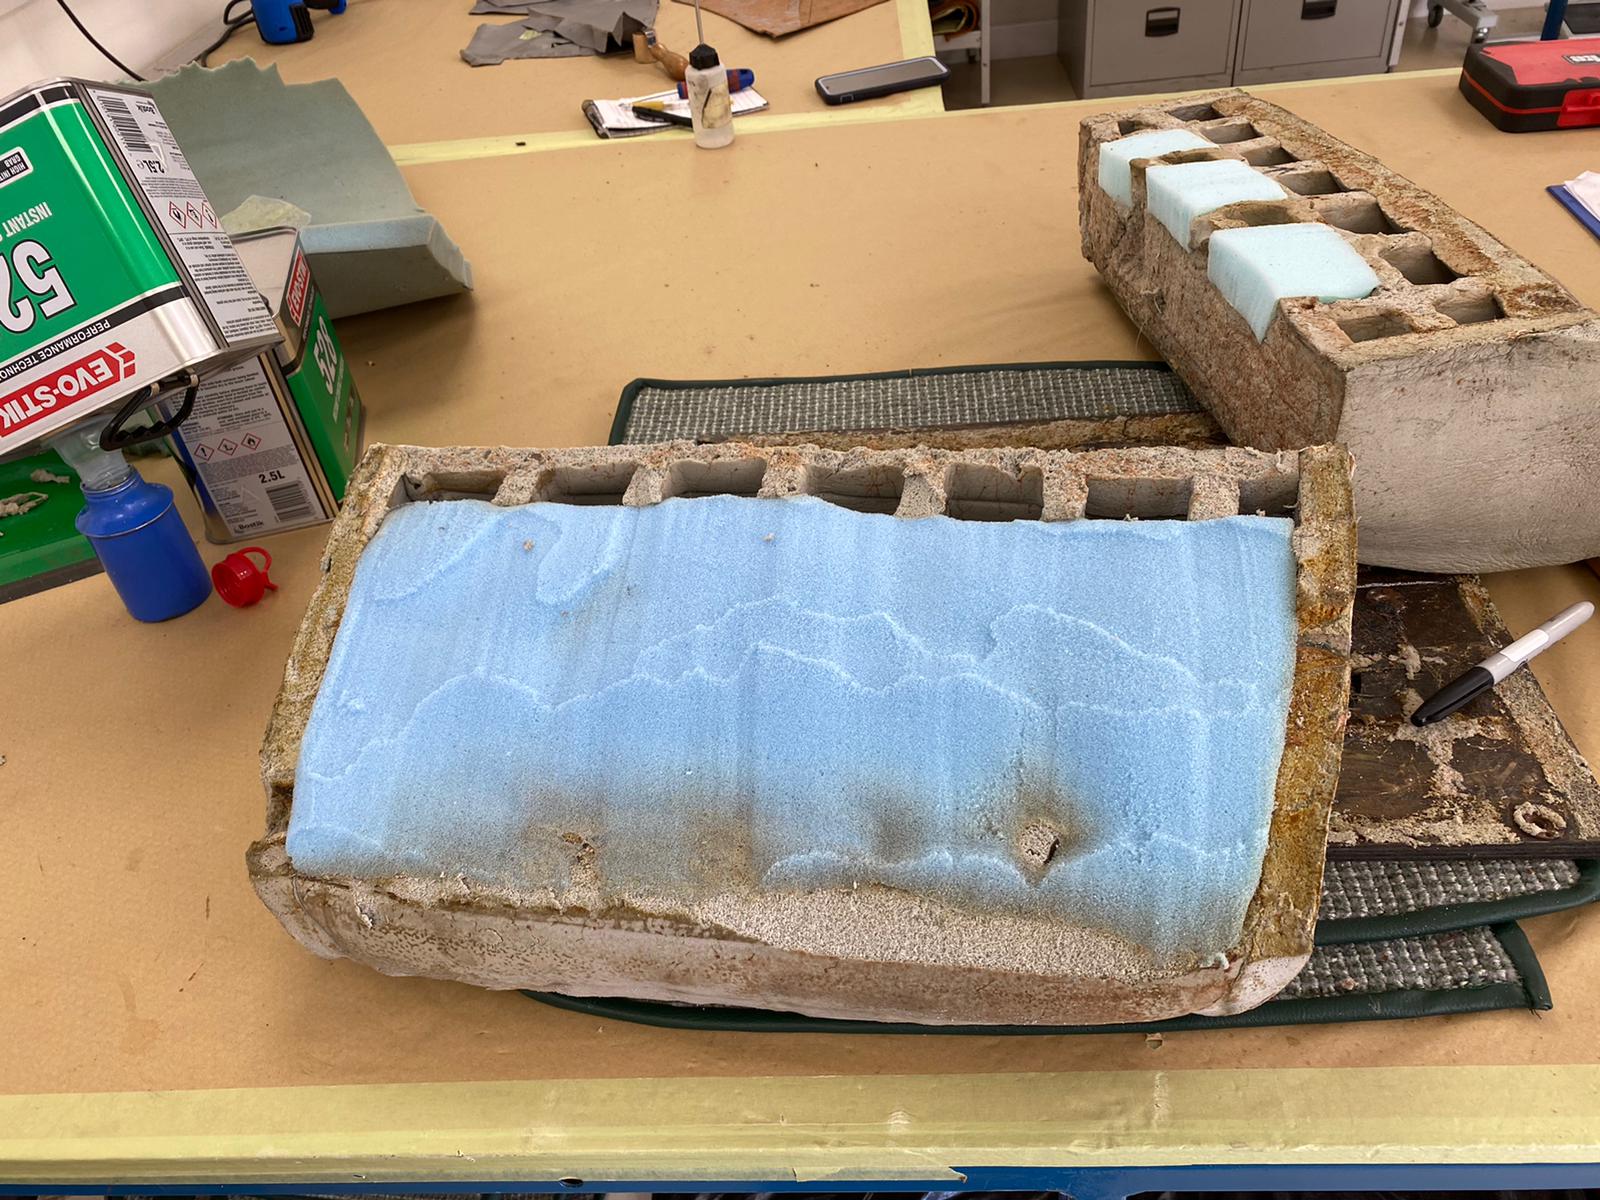
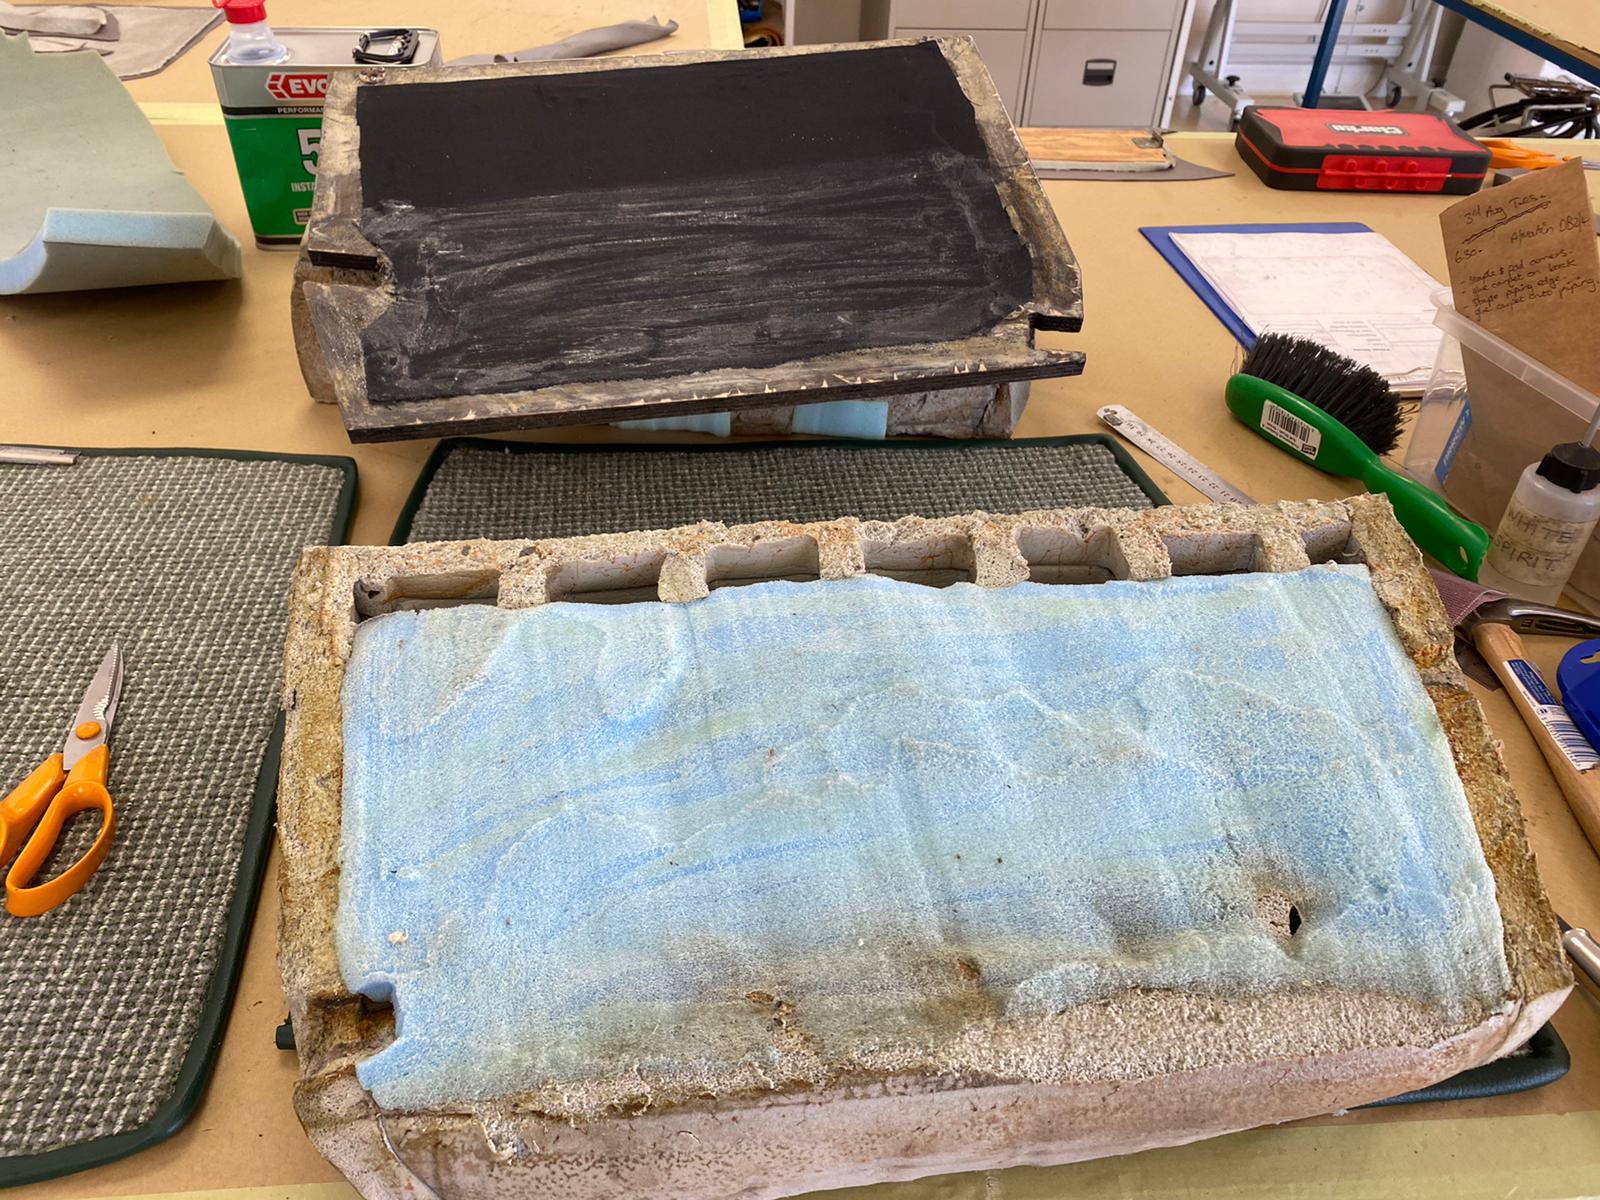
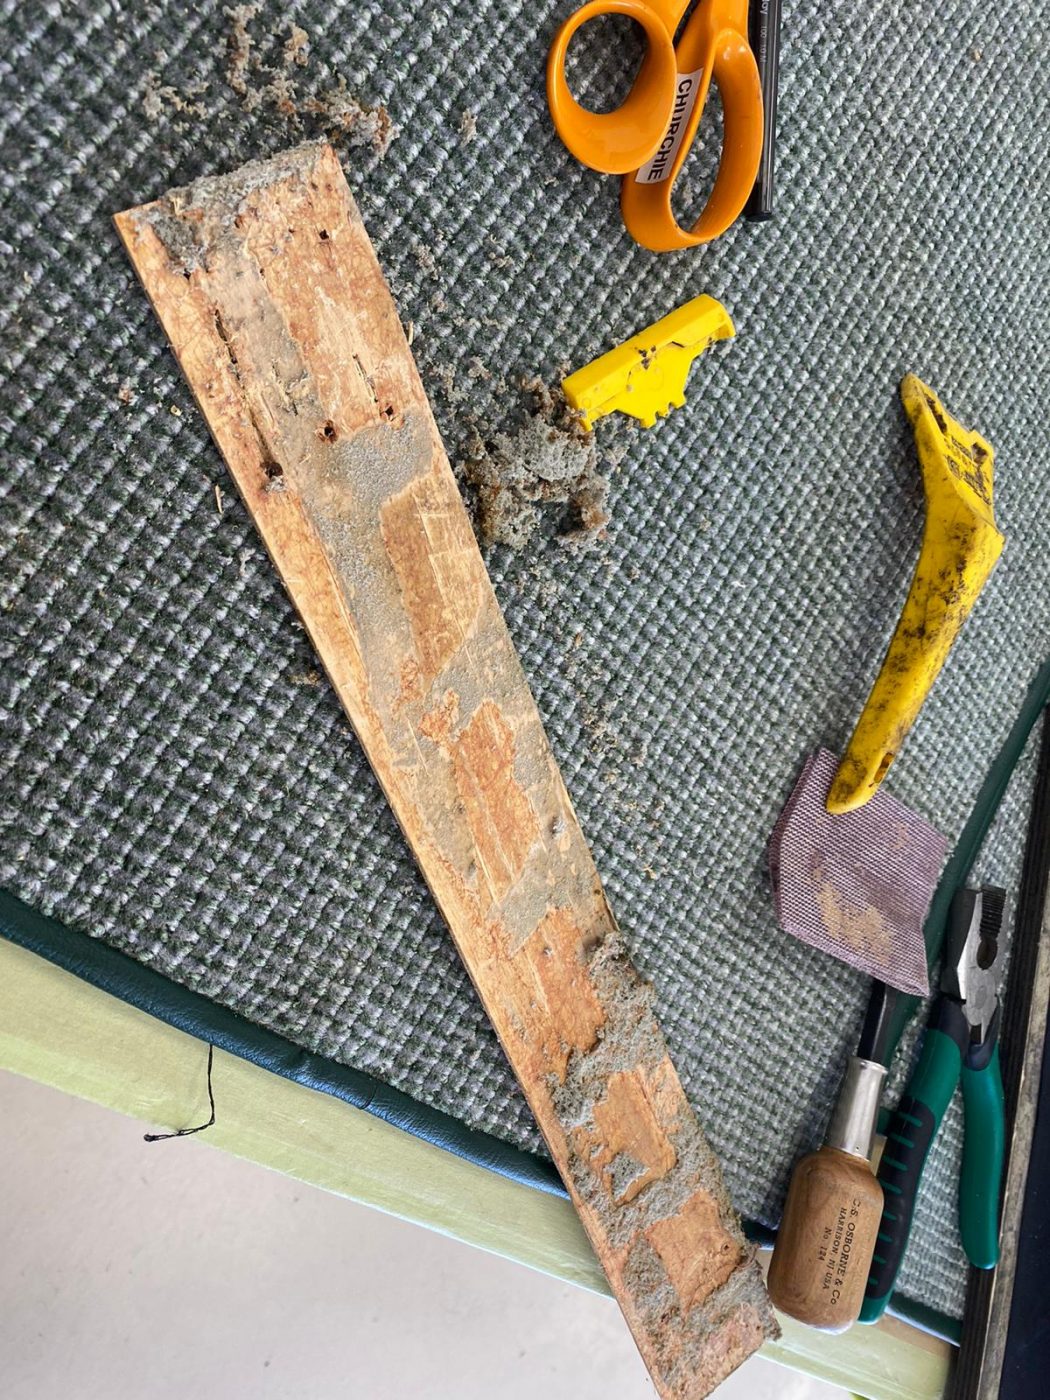
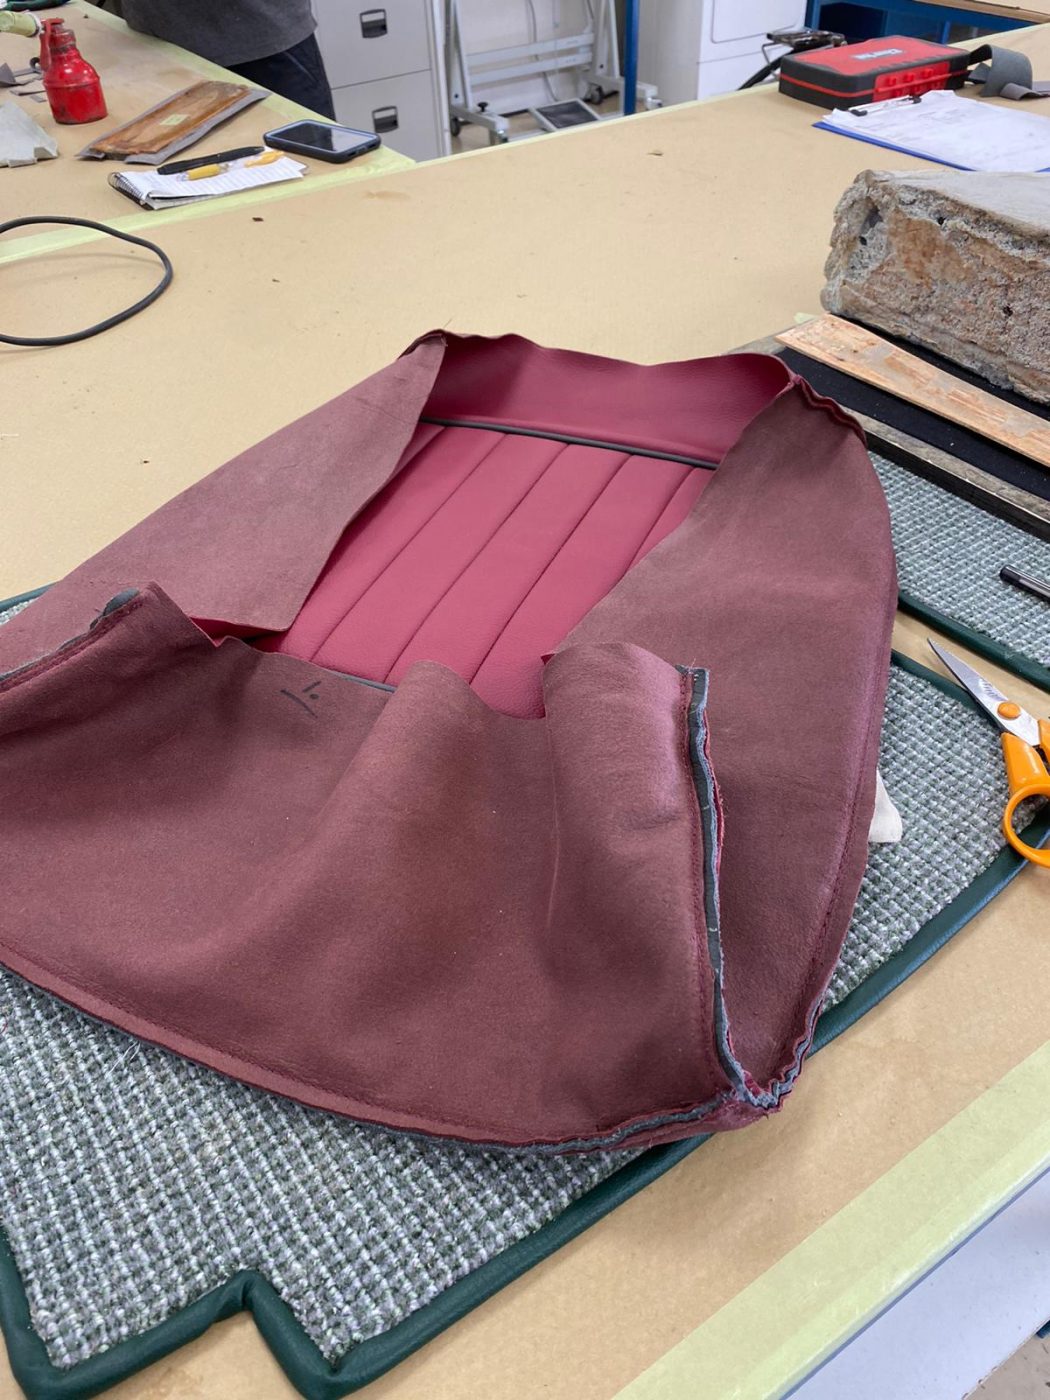
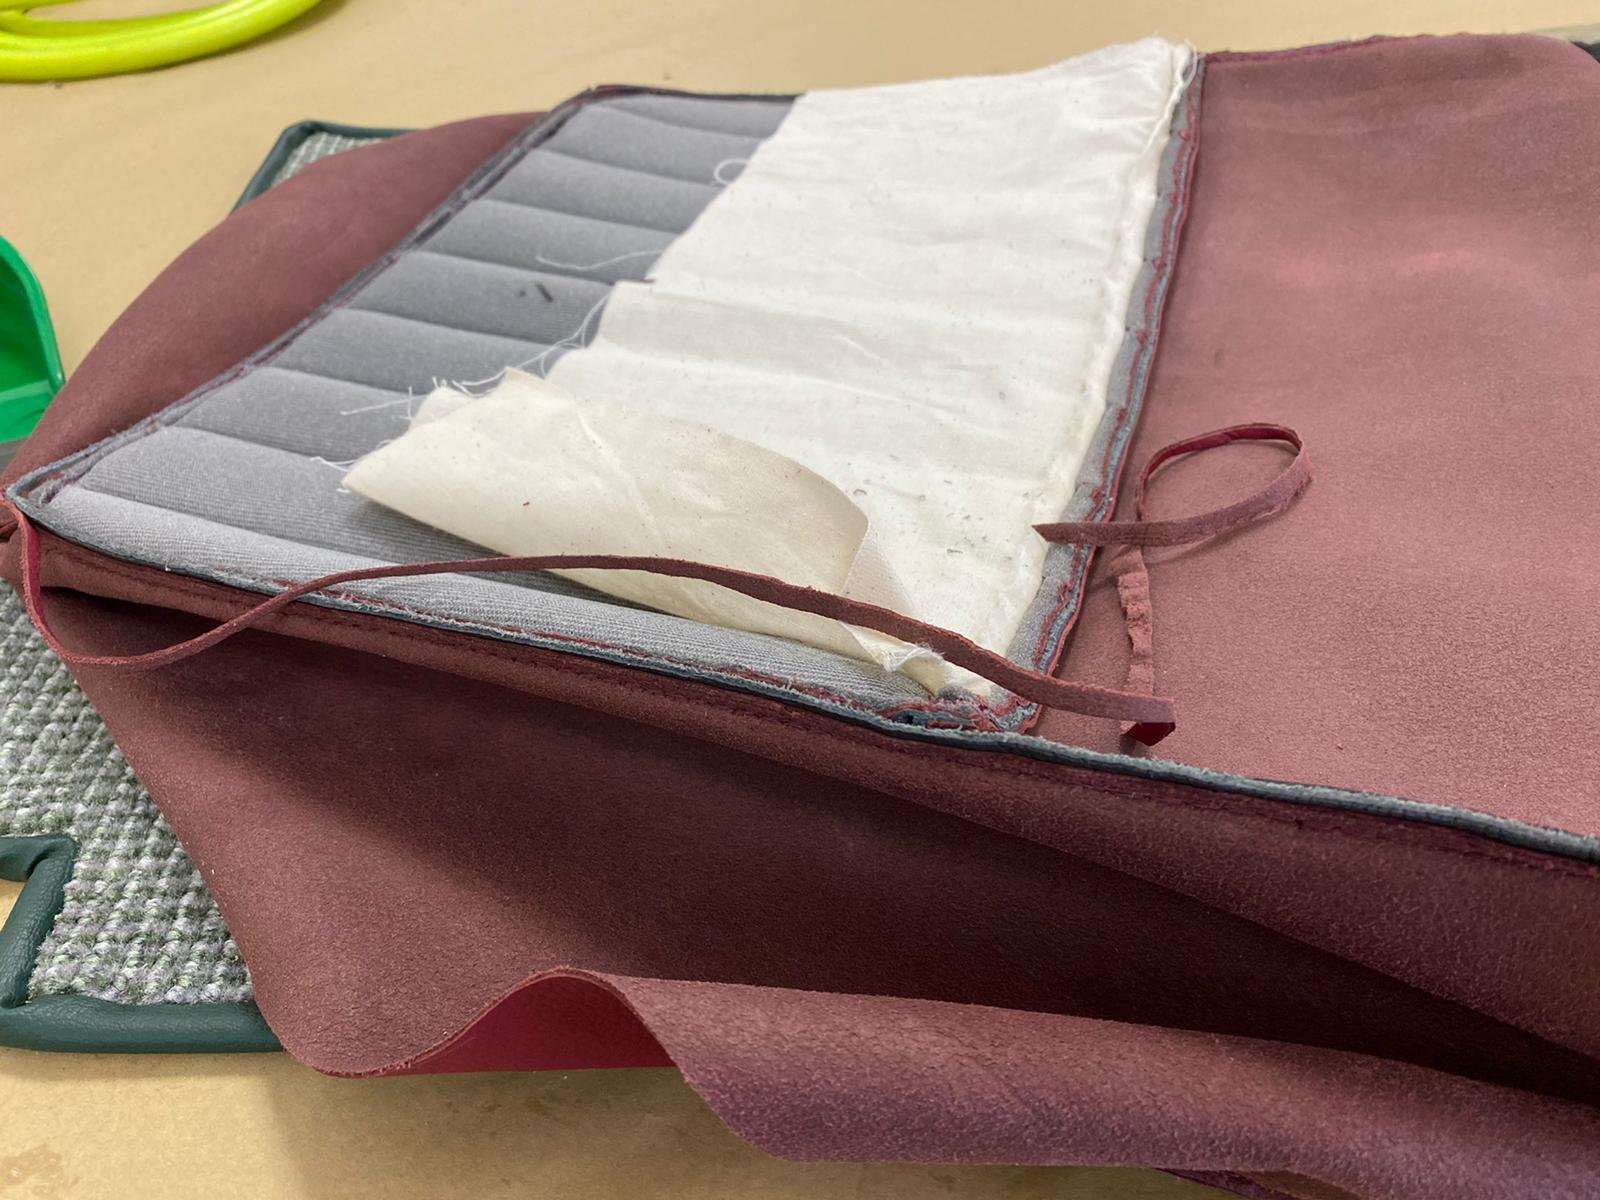
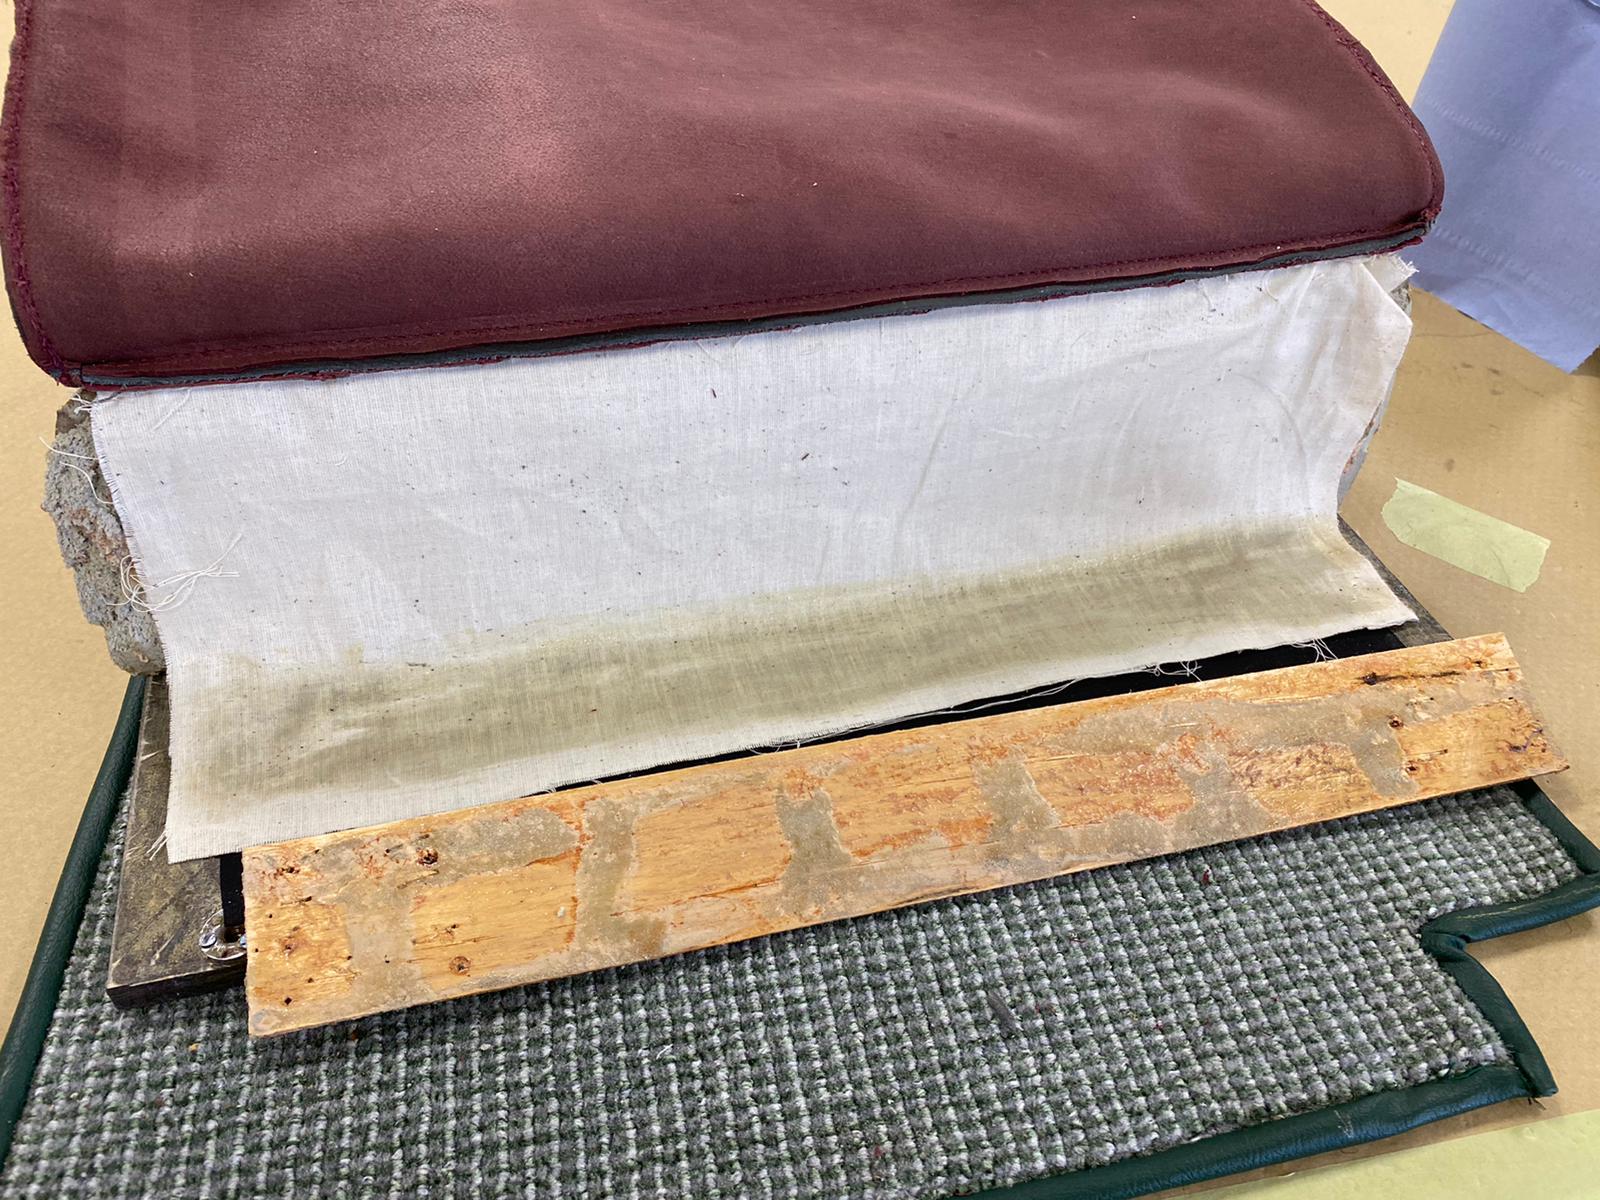
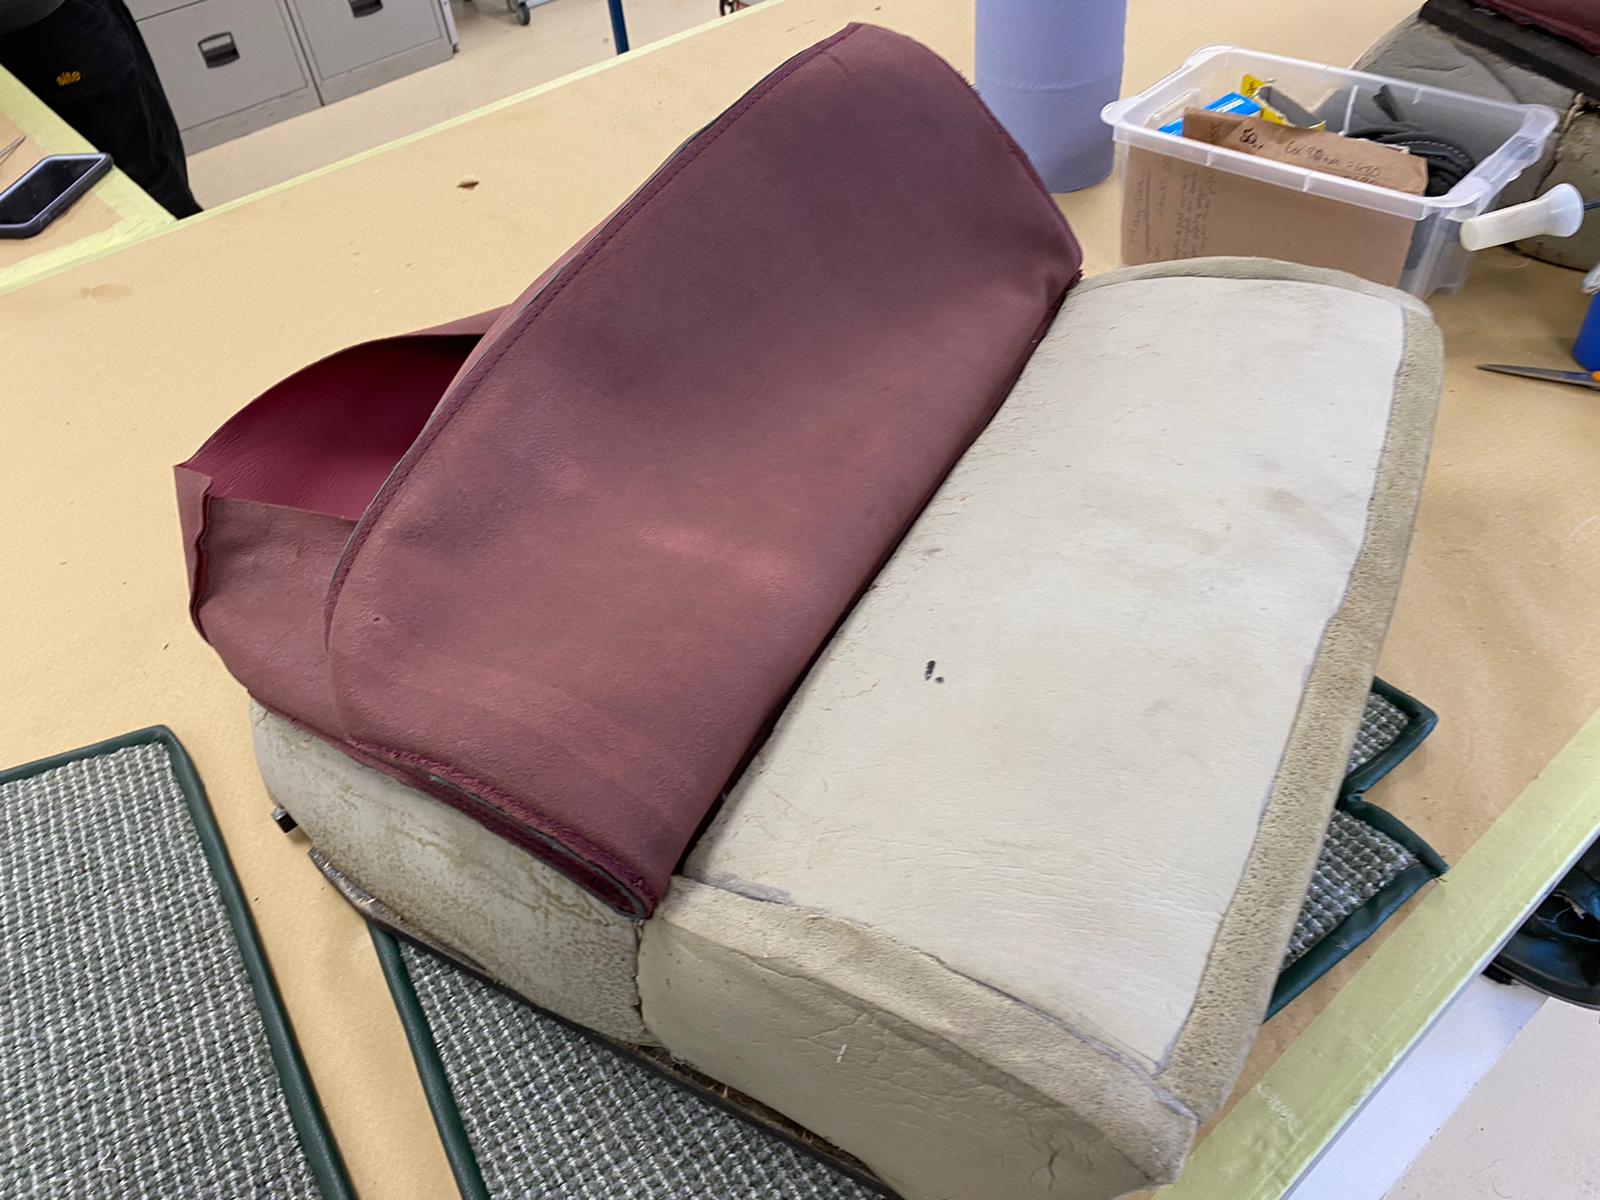
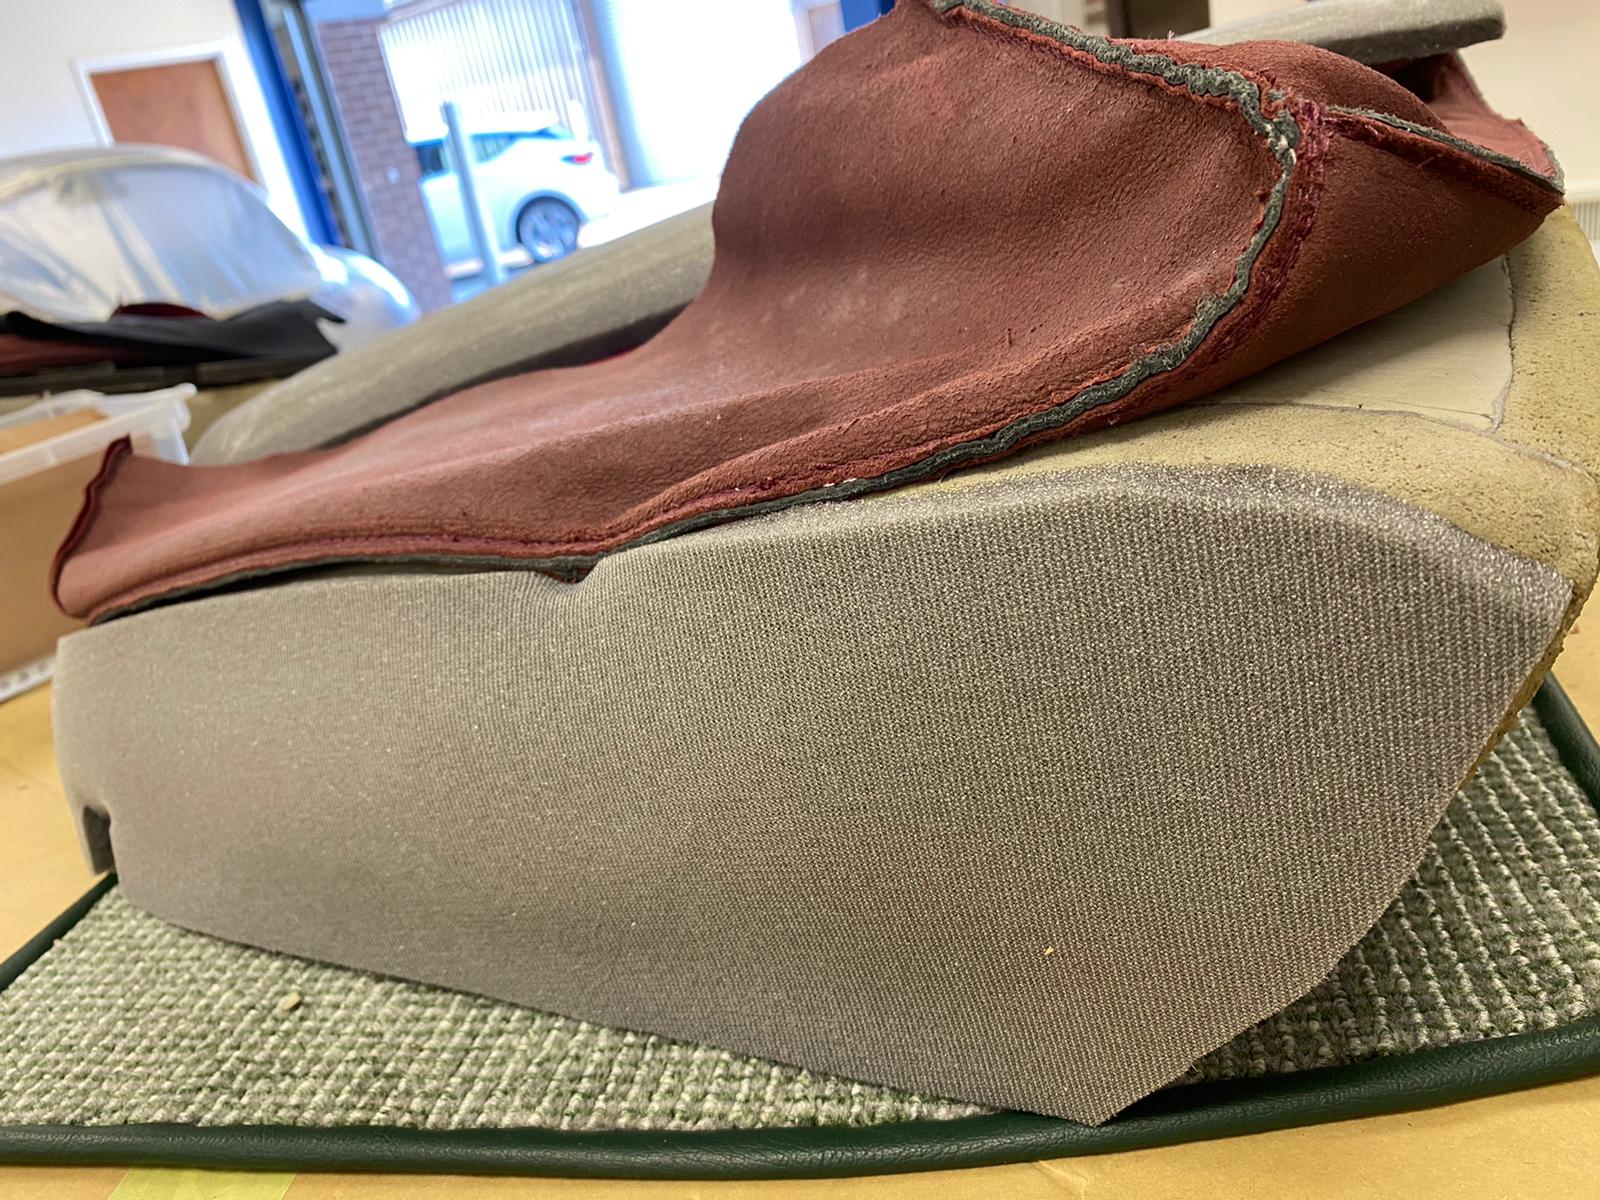
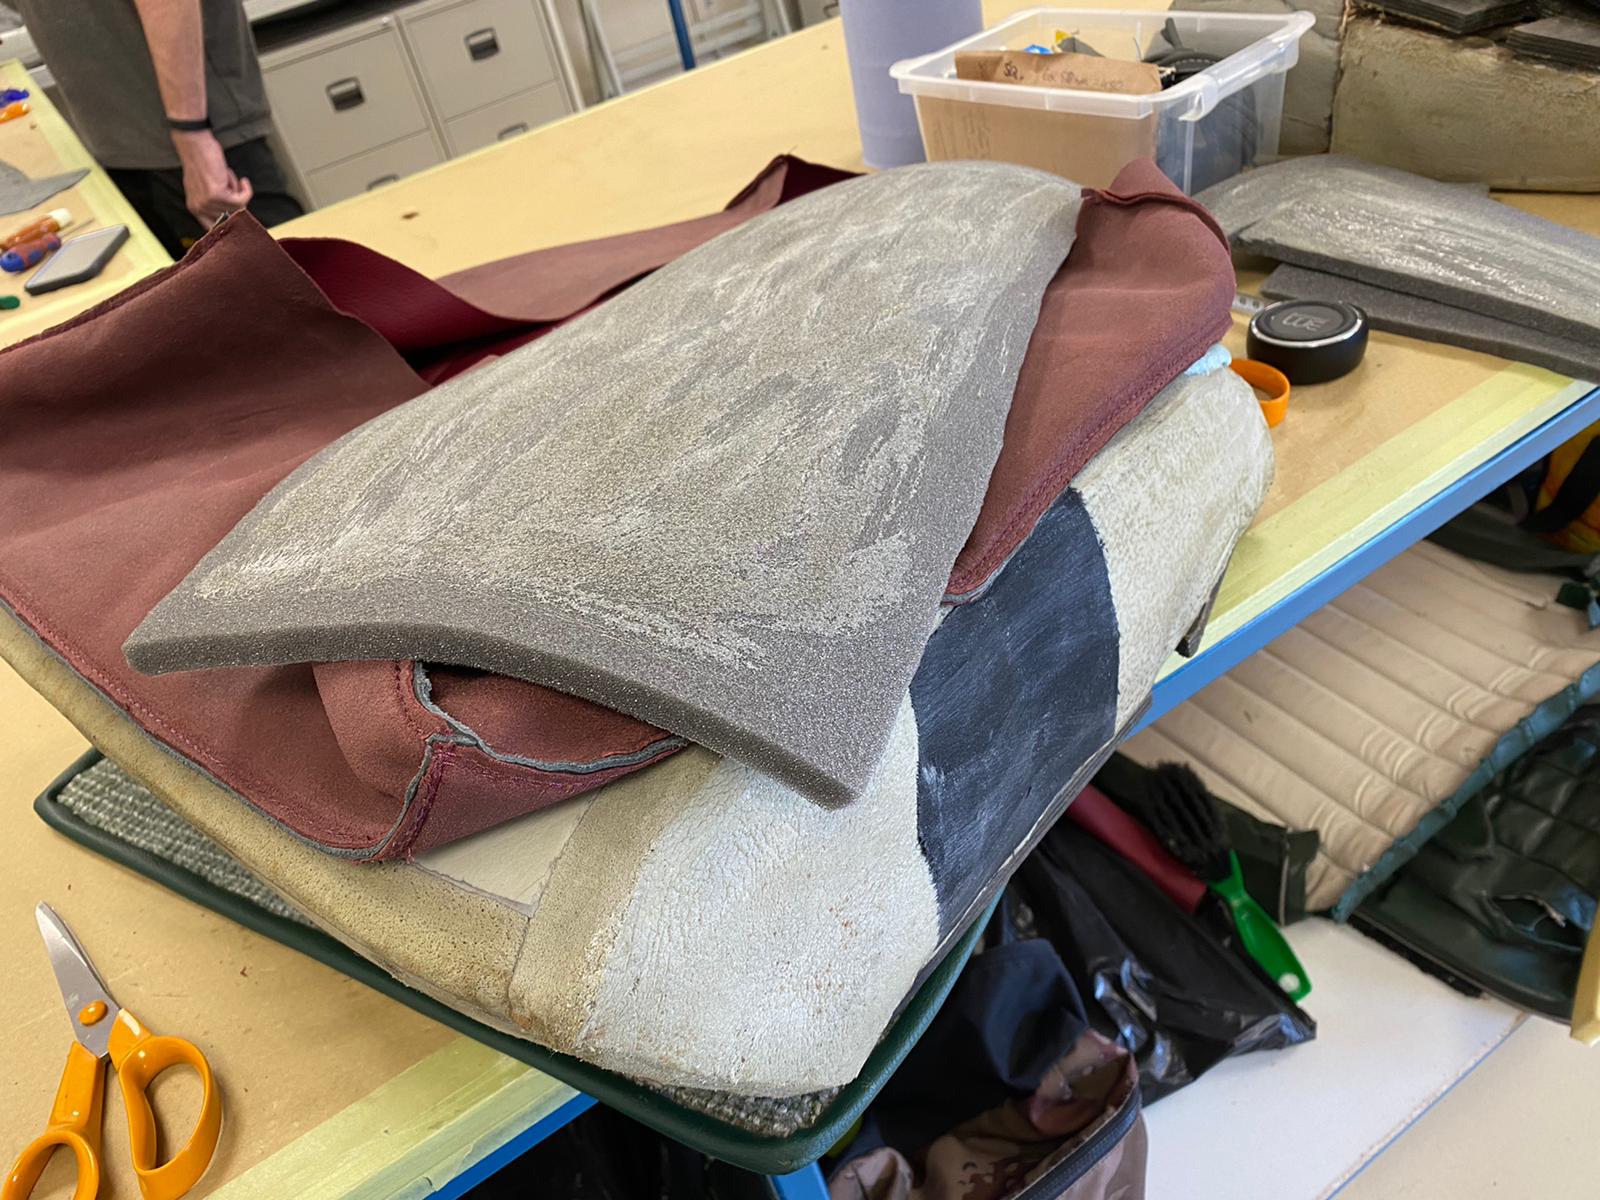
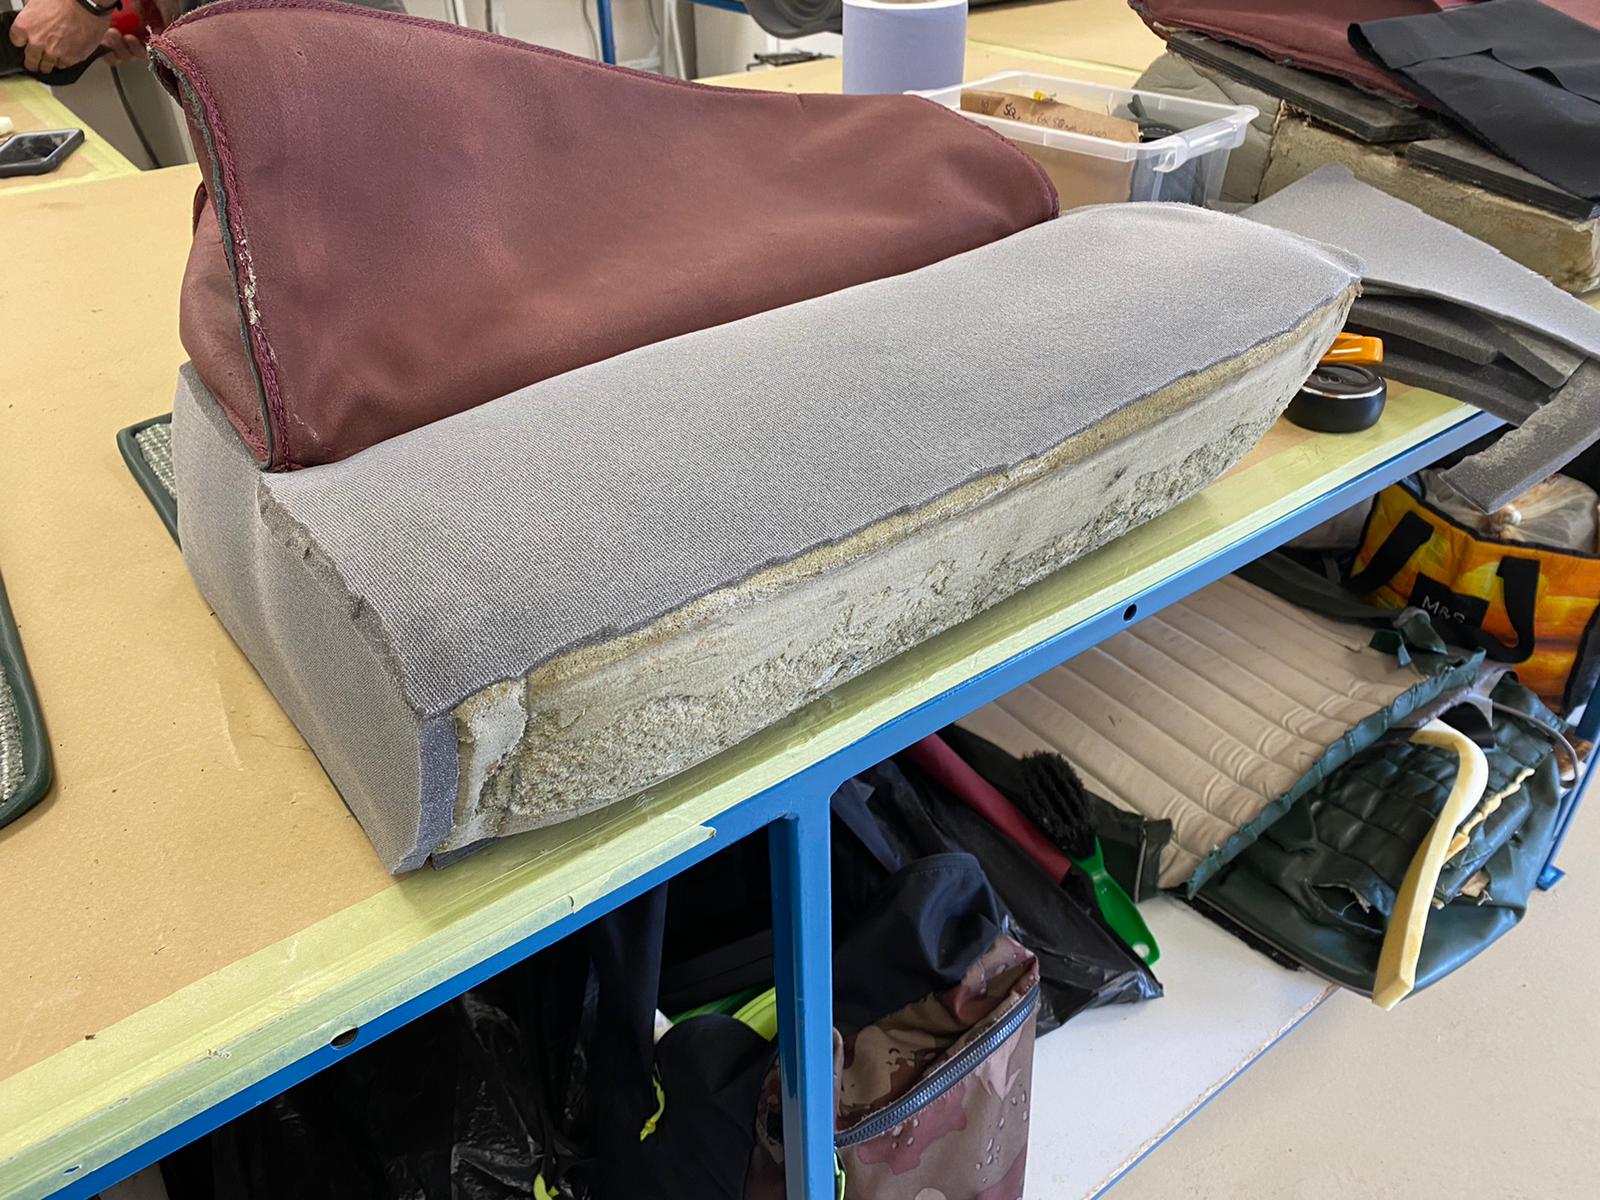
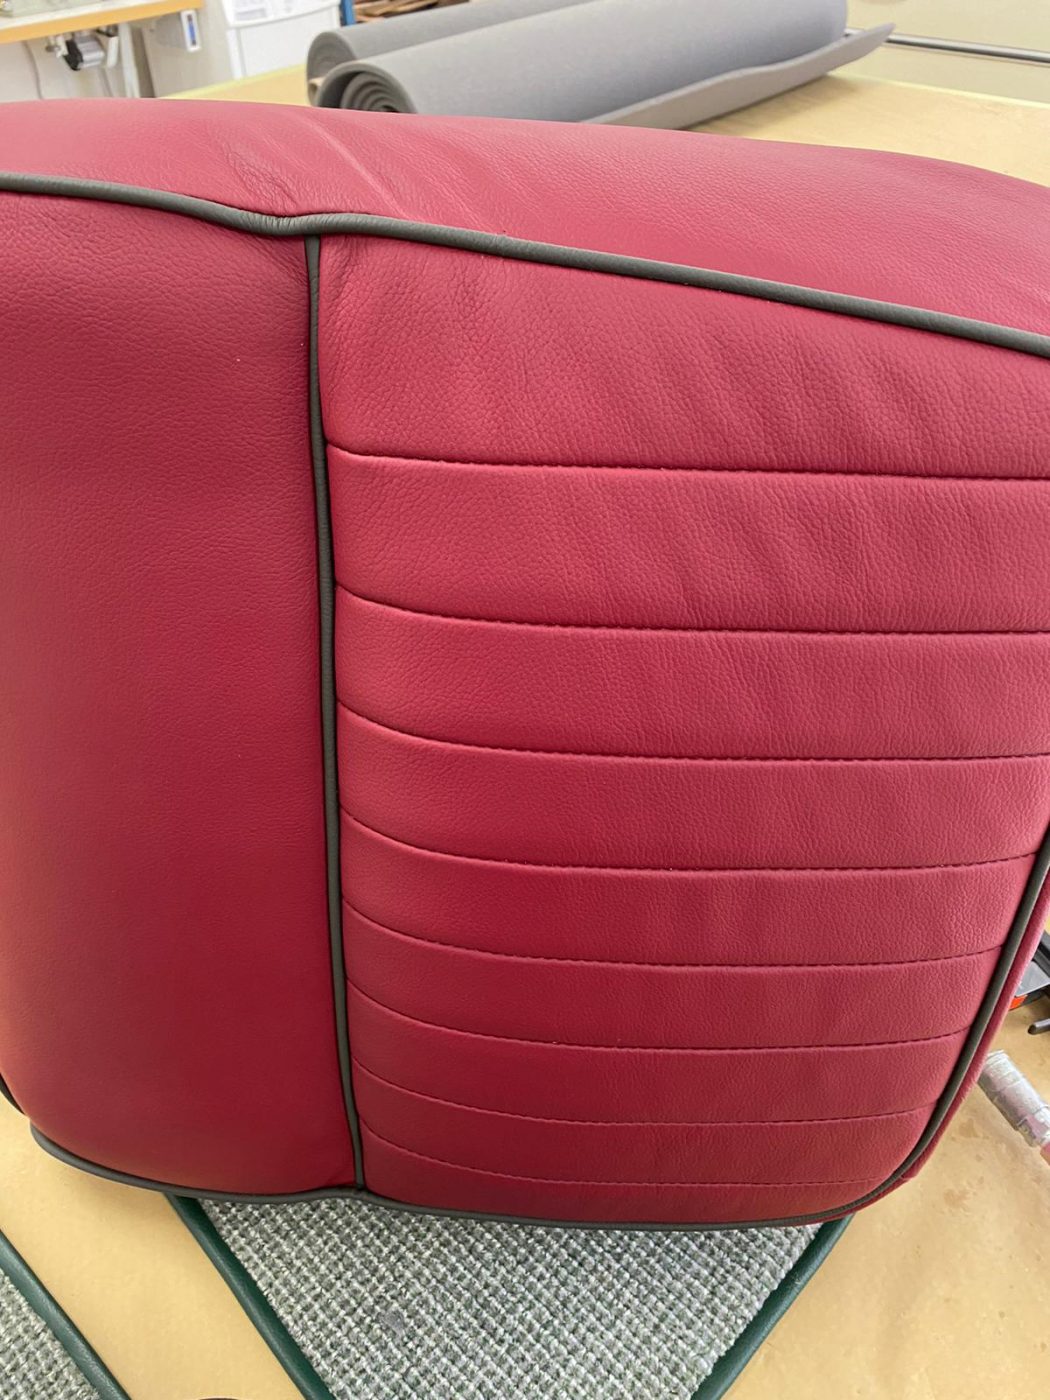
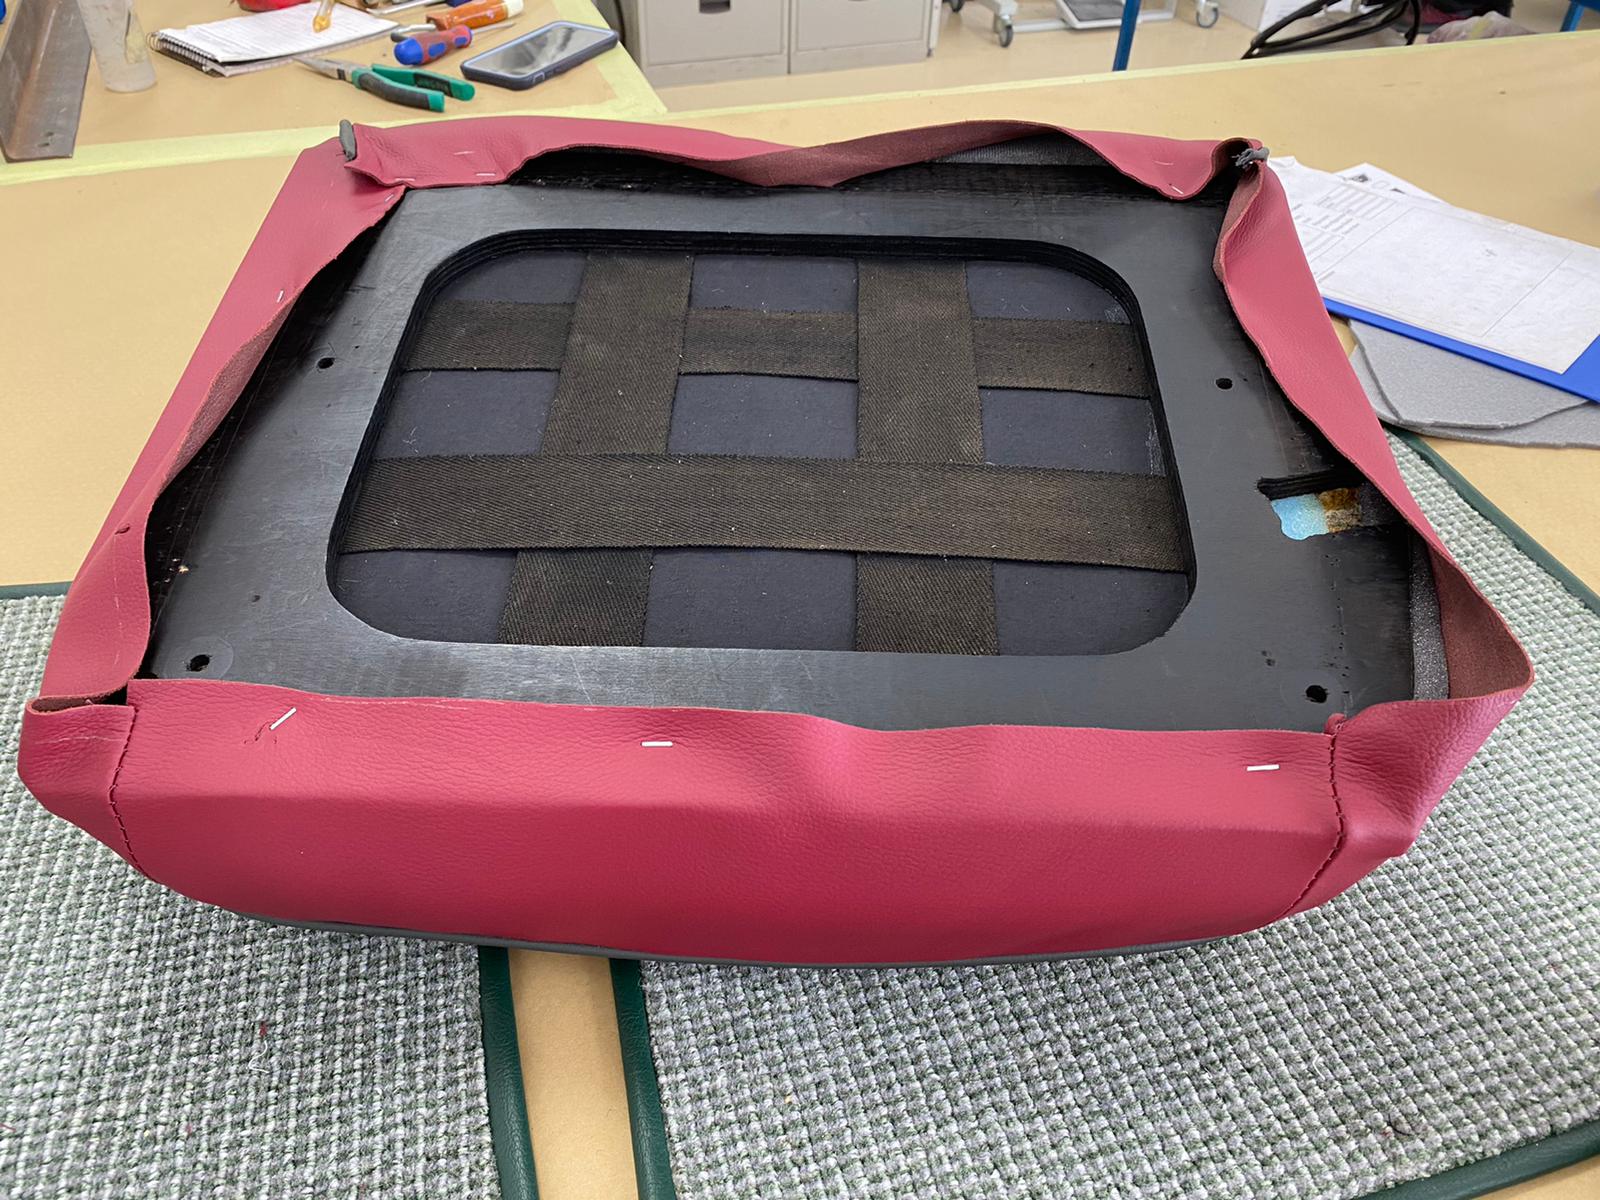
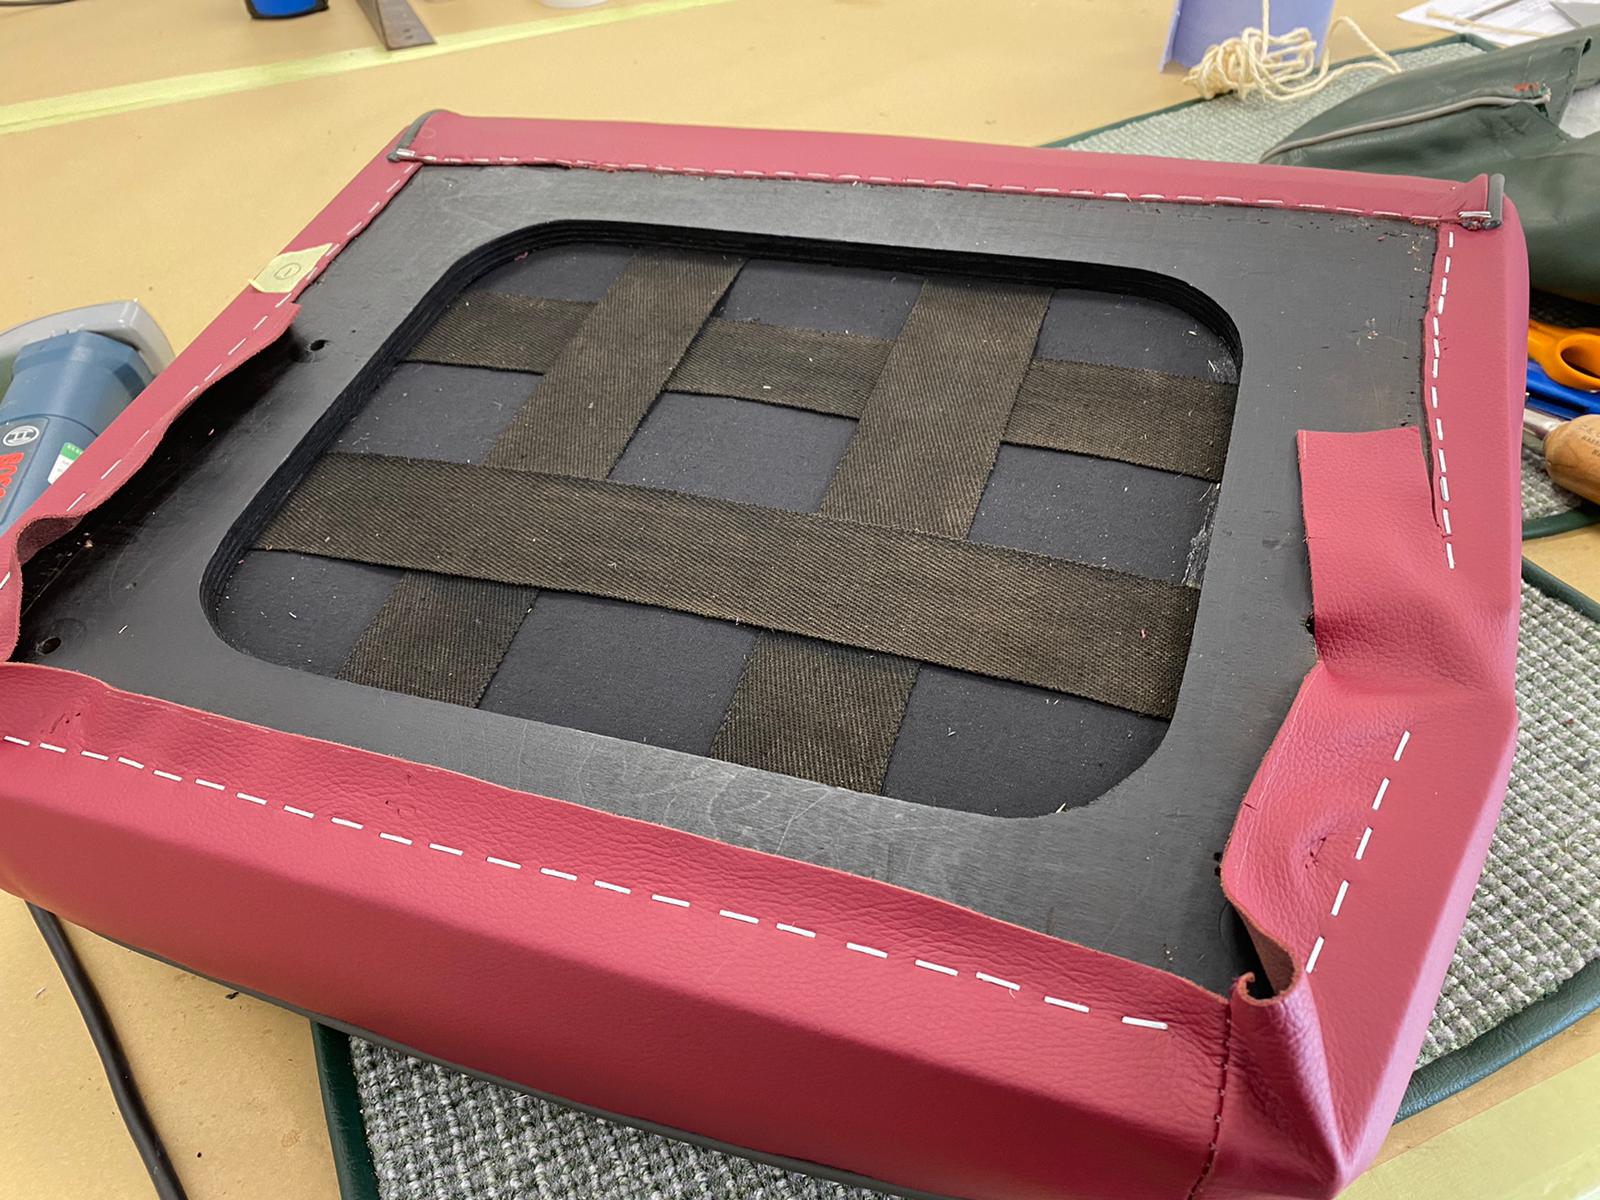
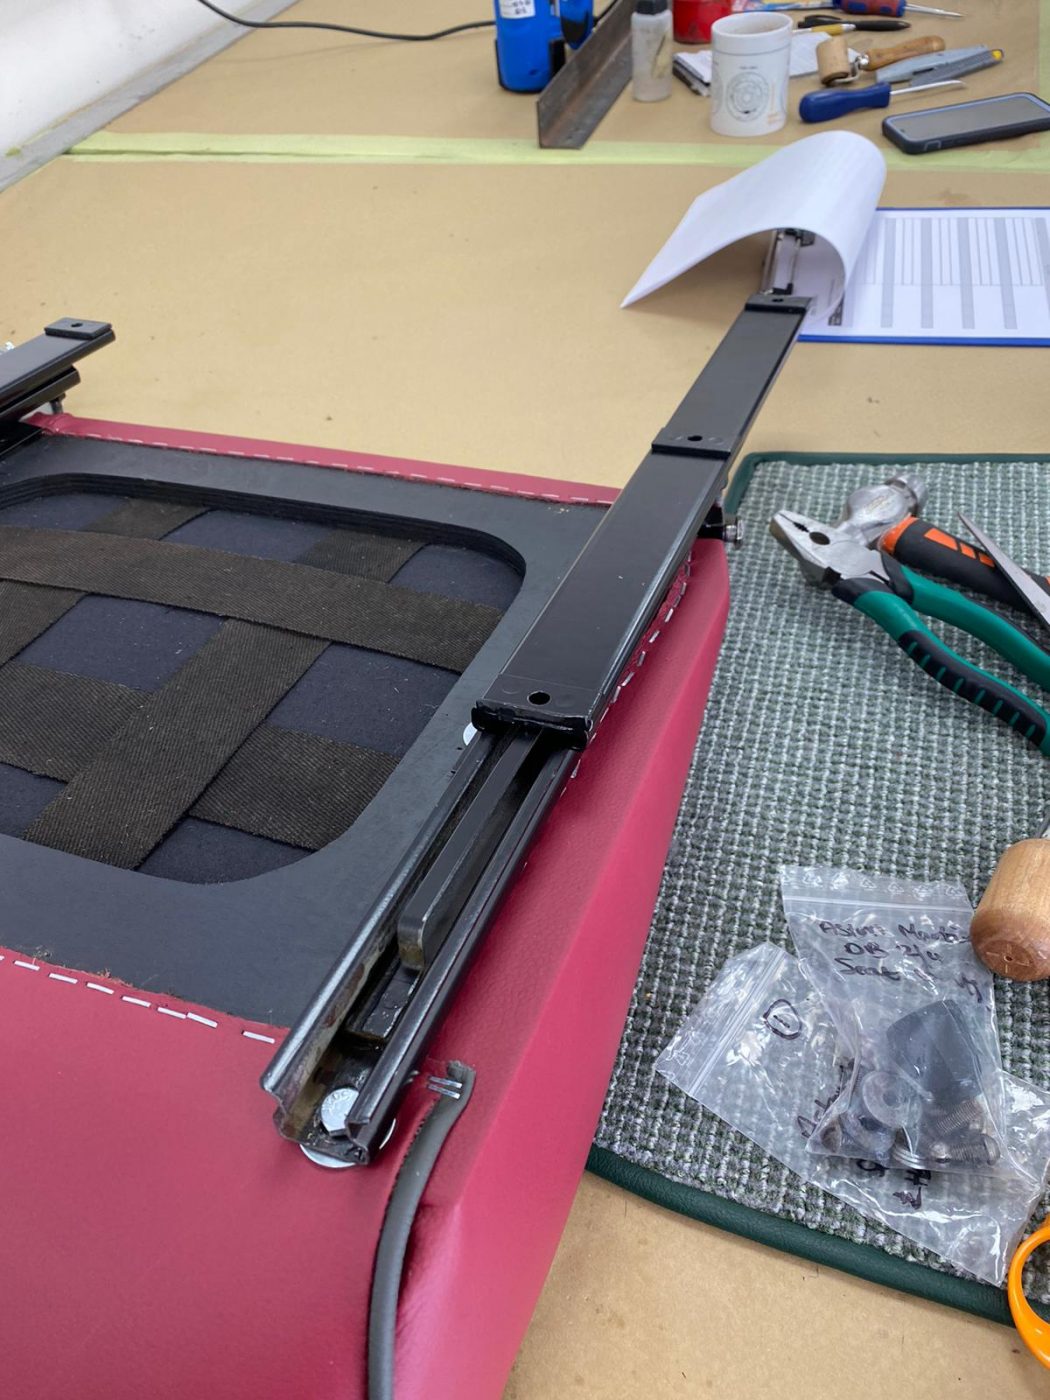
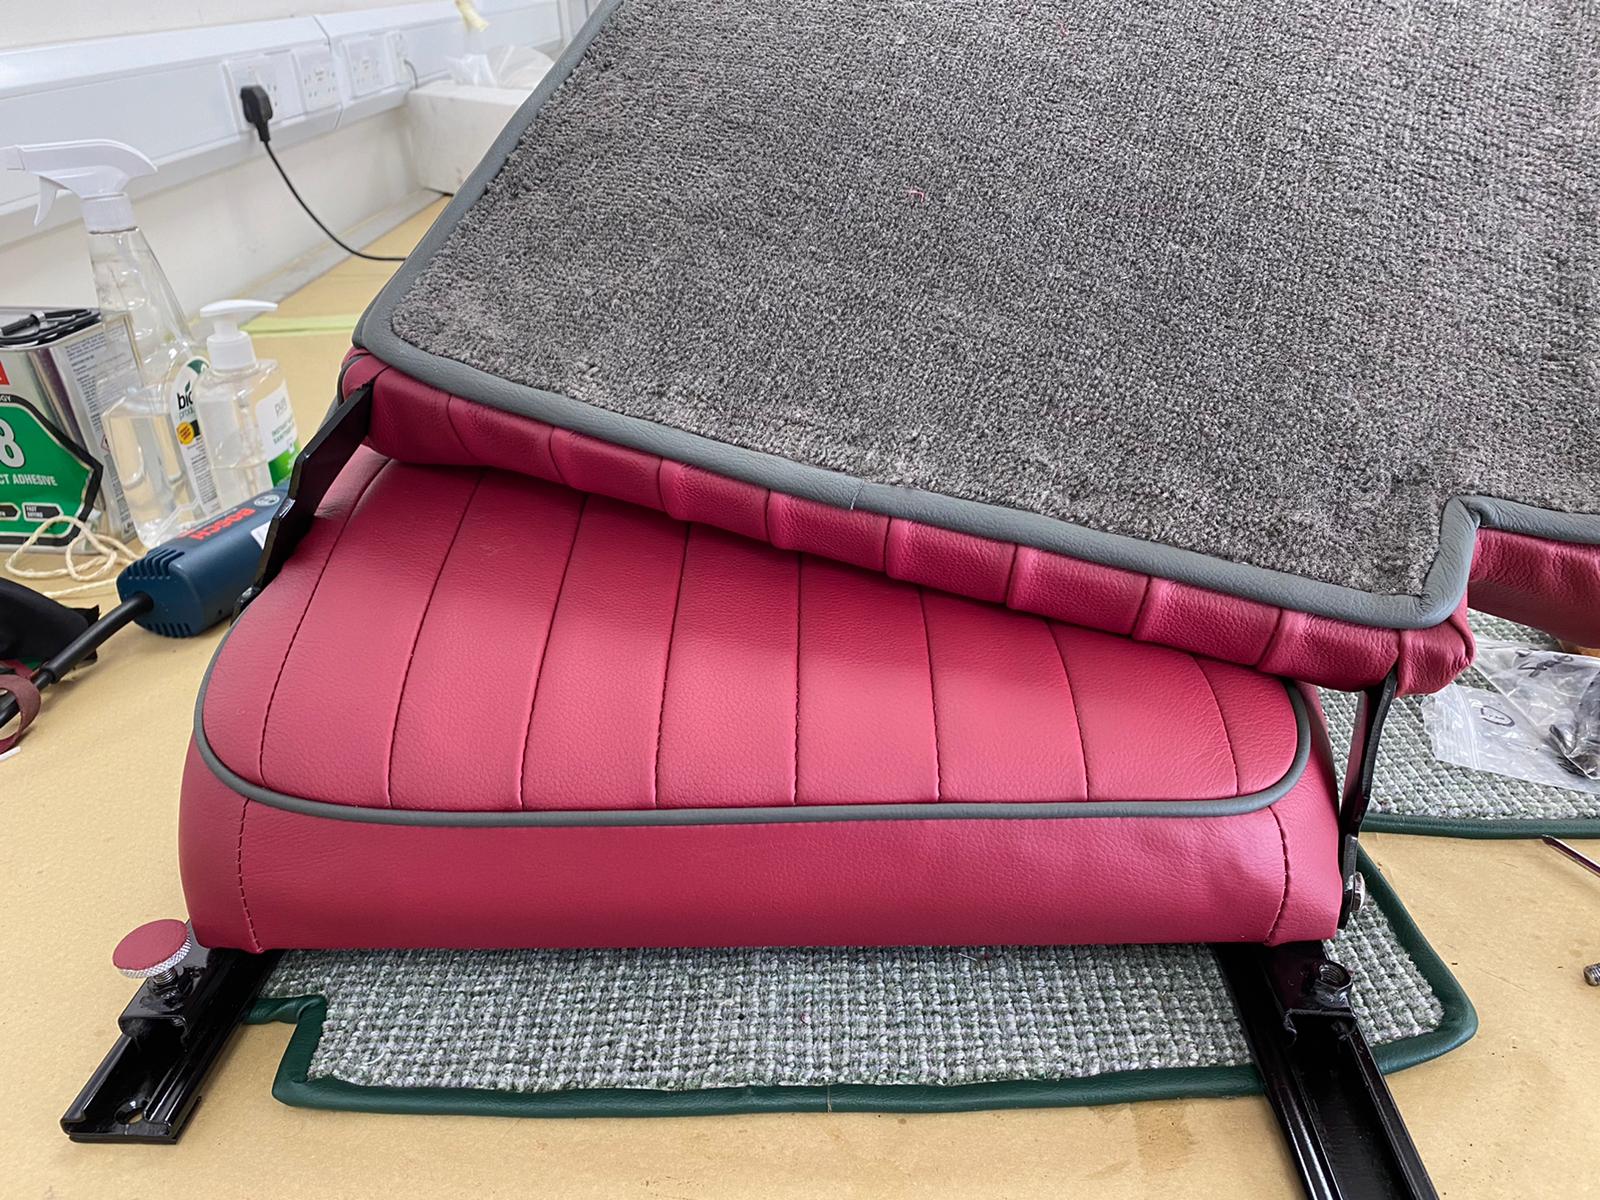
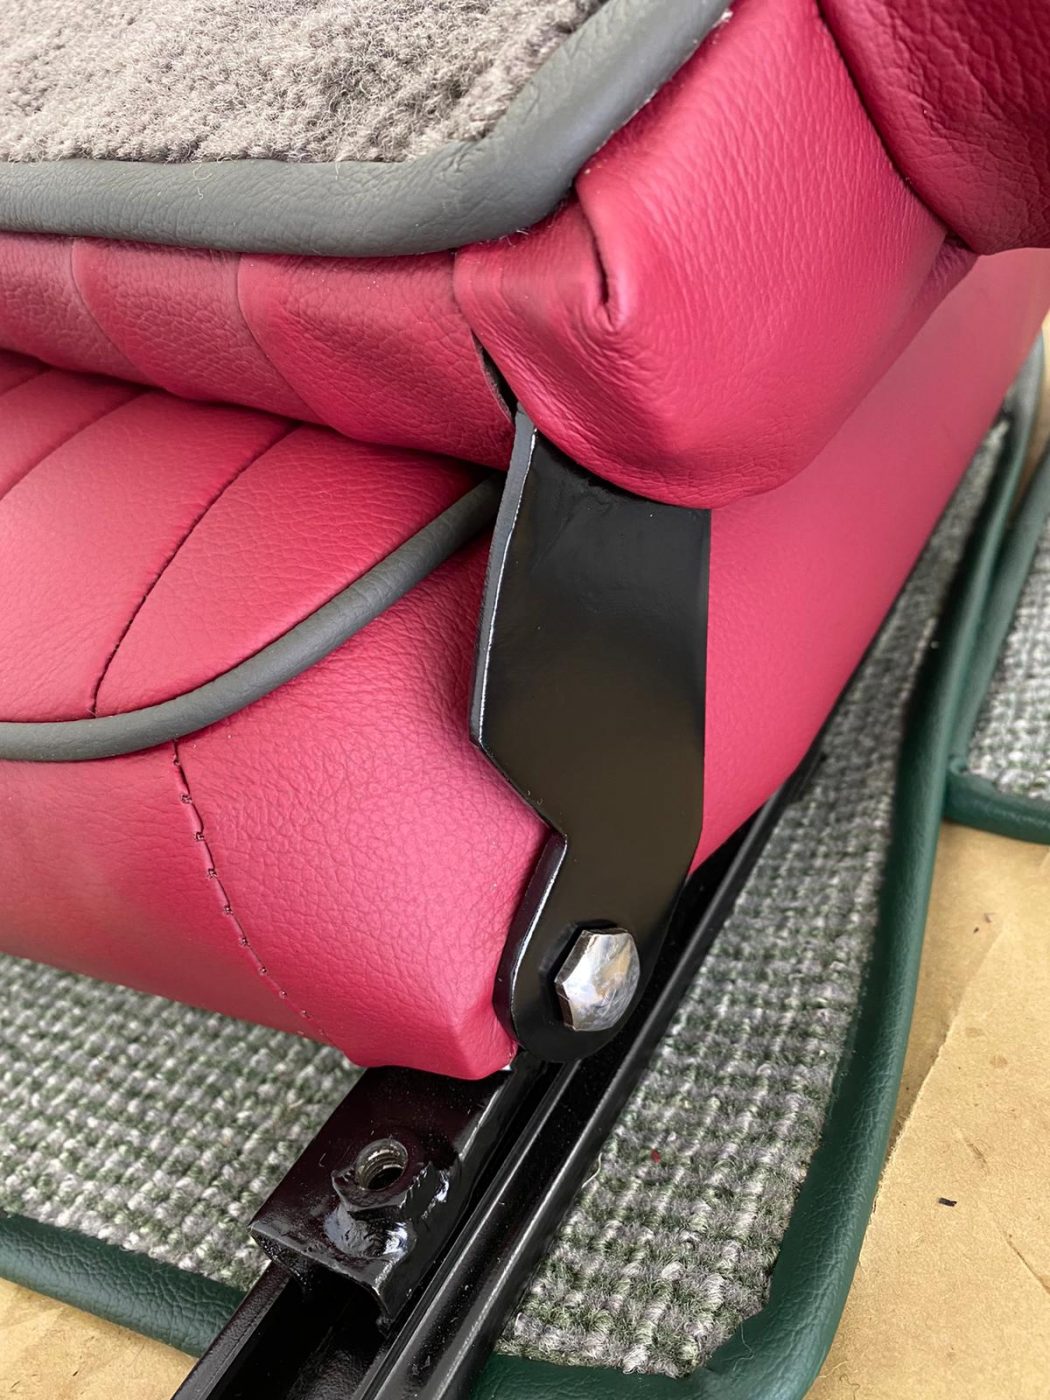
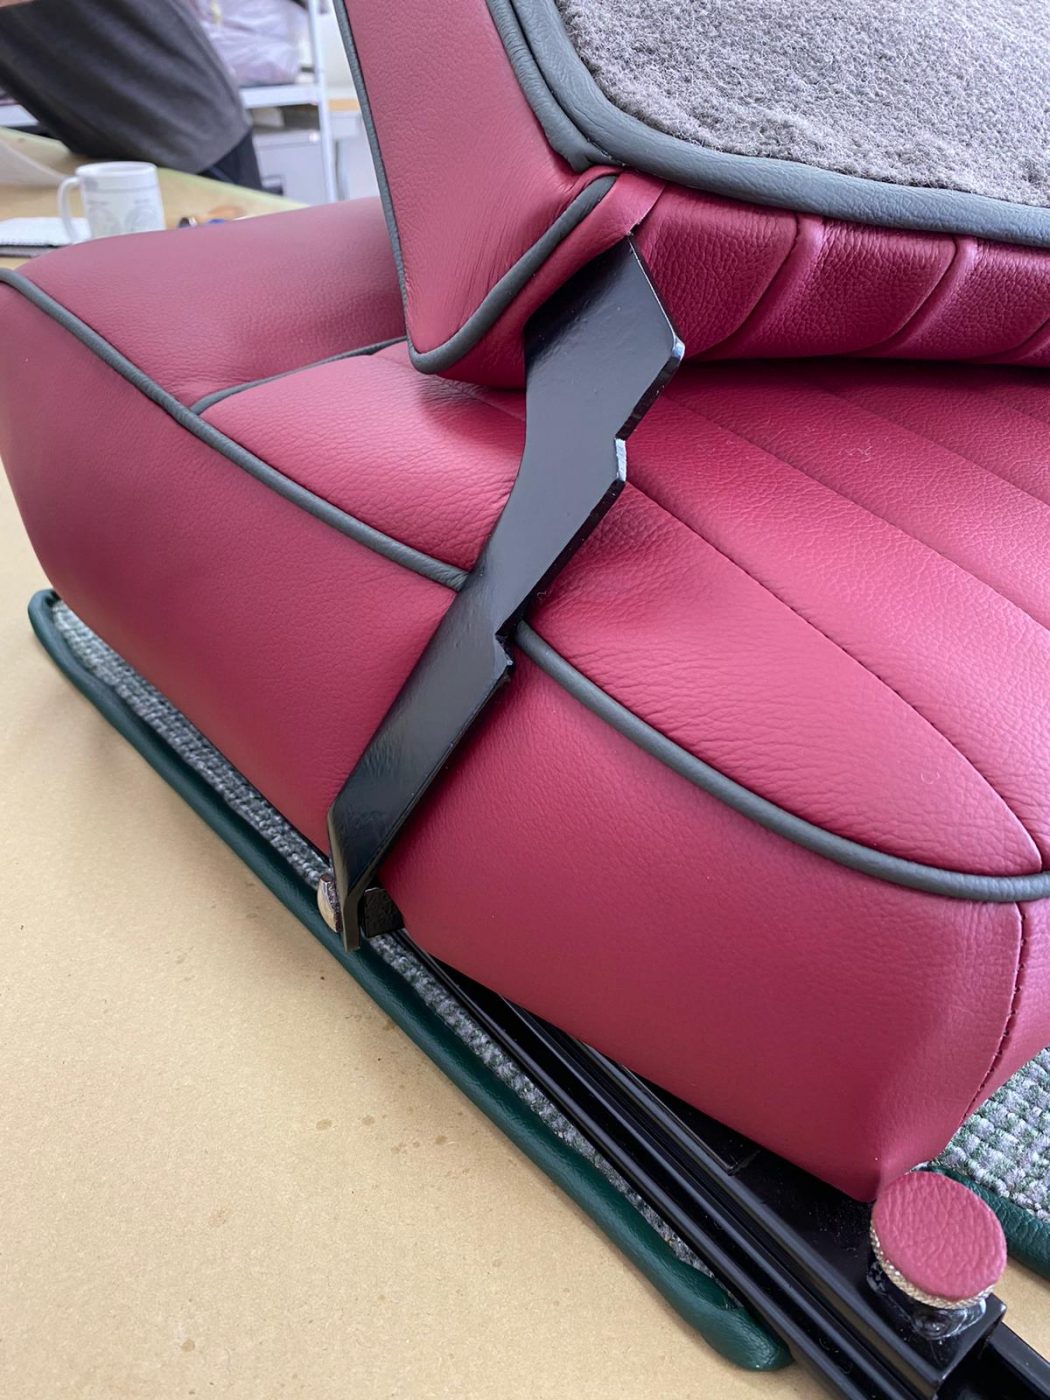
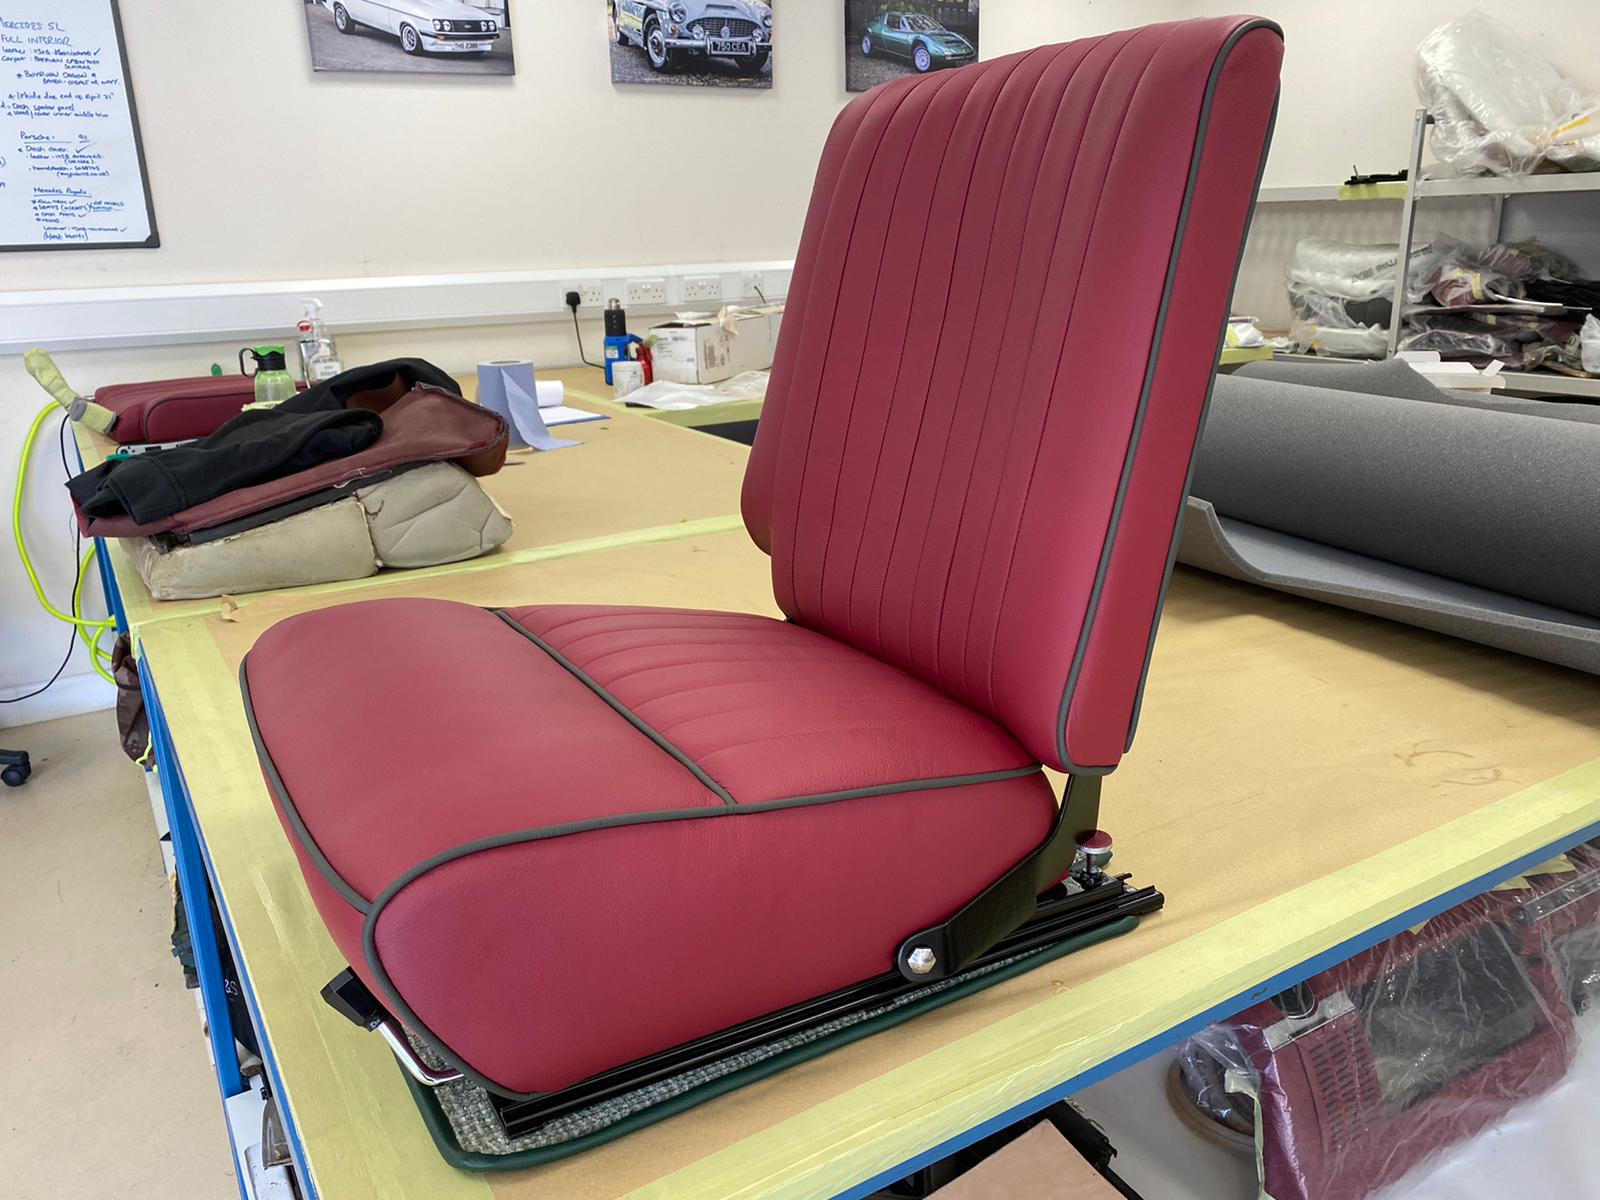
Kath has been doing more seat work for the 1955 Aston Martin DB 2/4. This time around she’s been fitting the front base seat covers onto their foams and frames. She’s already sewn up the new front bases, which you can read about here.
The process started with Kath adding sections of new foam to the original, where it had deteriorated, and blending it in. She then cleaned off old glue from the wood around the straps and re-painted it. She also tightened up the straps after becoming loose from age. Kath took the original strip of wood from the gap in the foam, cleaned it up and attached it to the end of the calico piece that was sewn into the new front base seat. This piece of wood gets attached to the underneath of the foam and straps frame and helps keep the middle piped section down into place. Kath glued a piece of black calico to the wooden frame, to give a neat finish behind the straps. The front base seat could then finally be stapled onto the wooden frame. After that was done, the metal seat sliders were fixed onto the underneath of the seat and the matching front squab was attached to it on top.
Kath is now in the process of fitting up the other front base, so stay tuned!


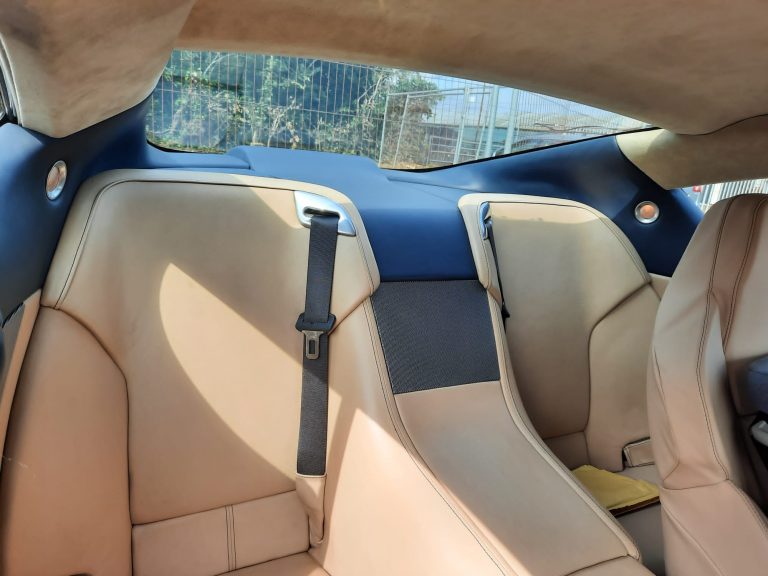
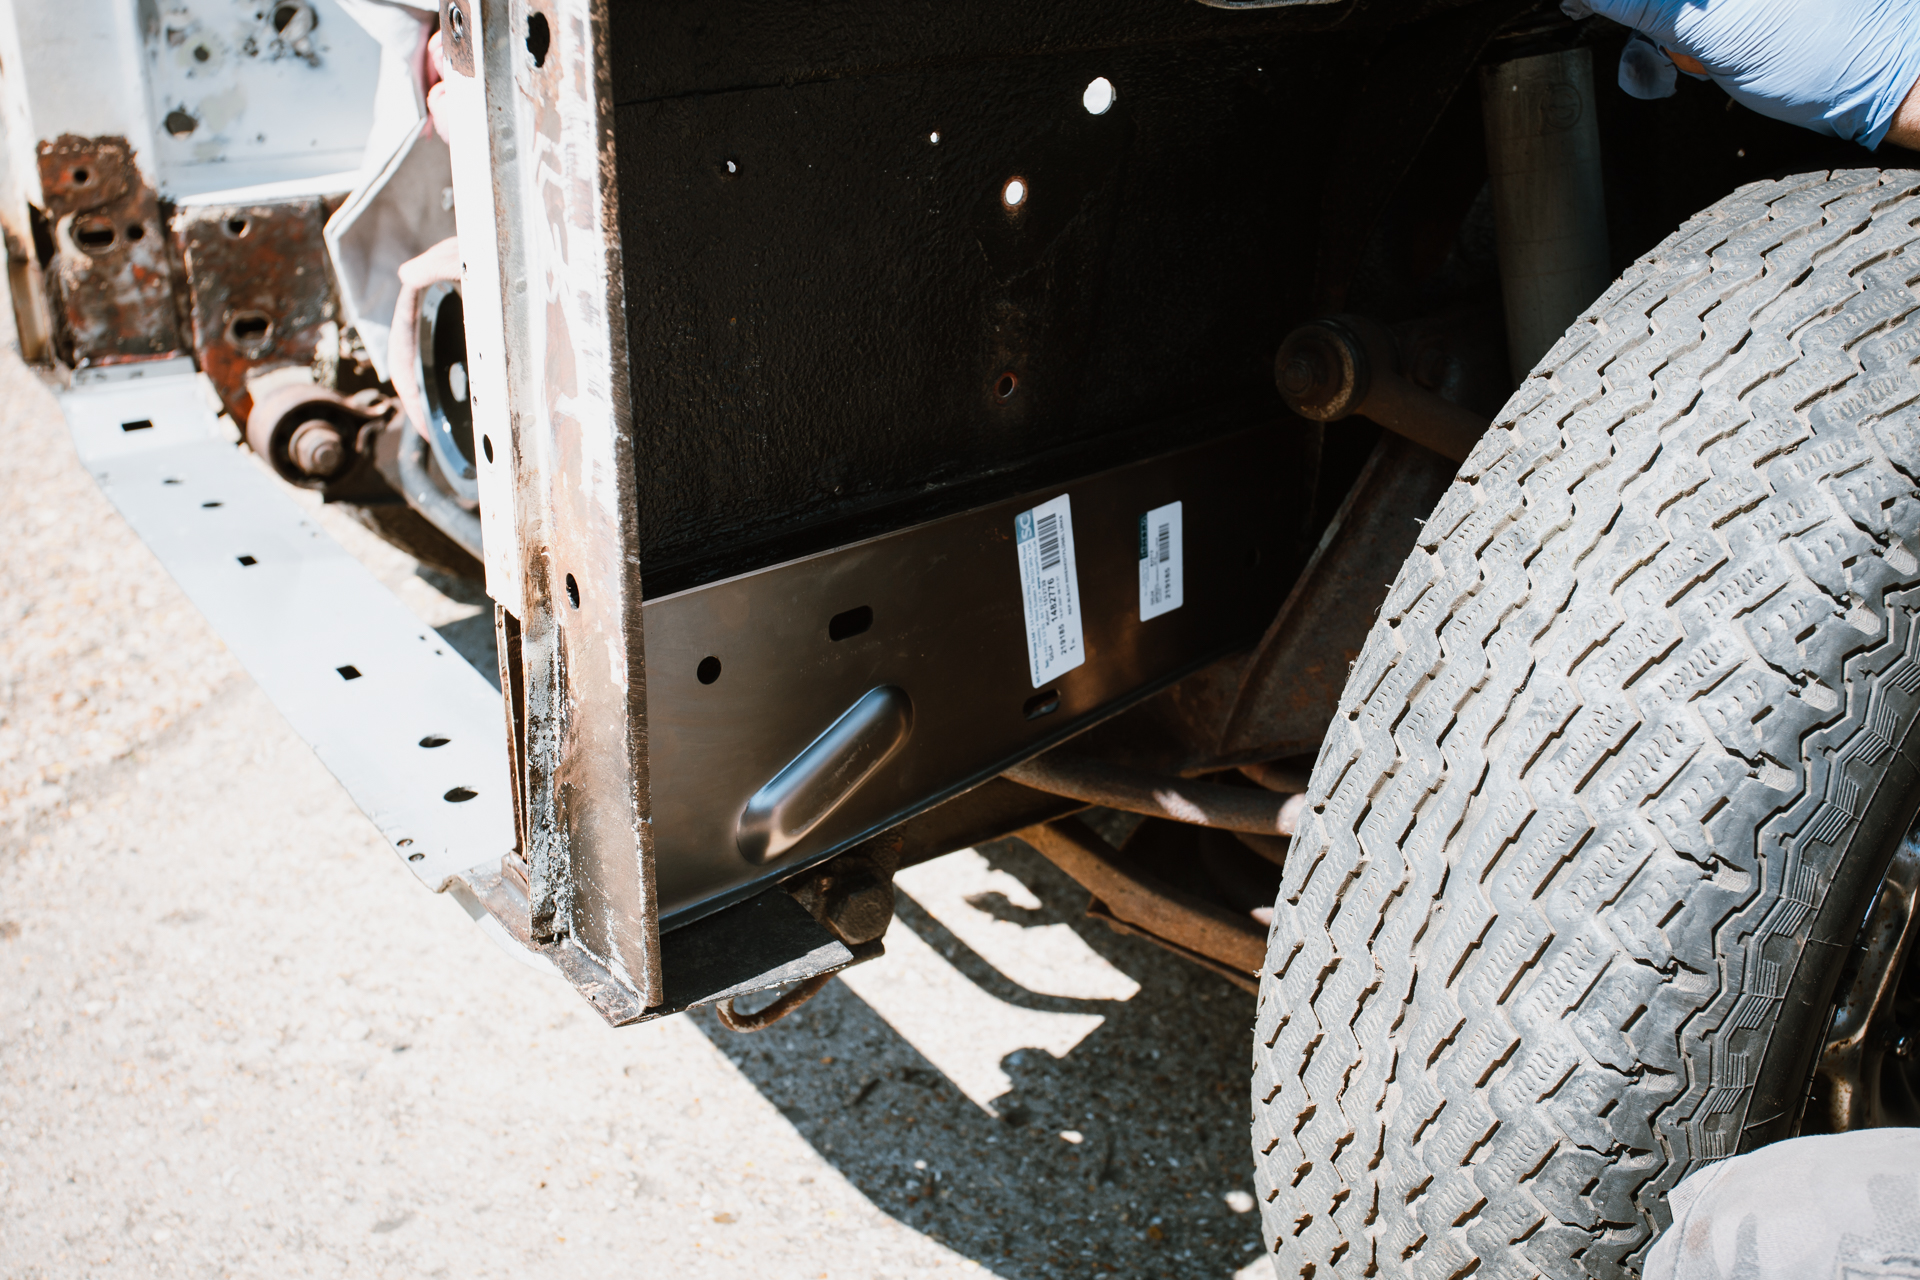
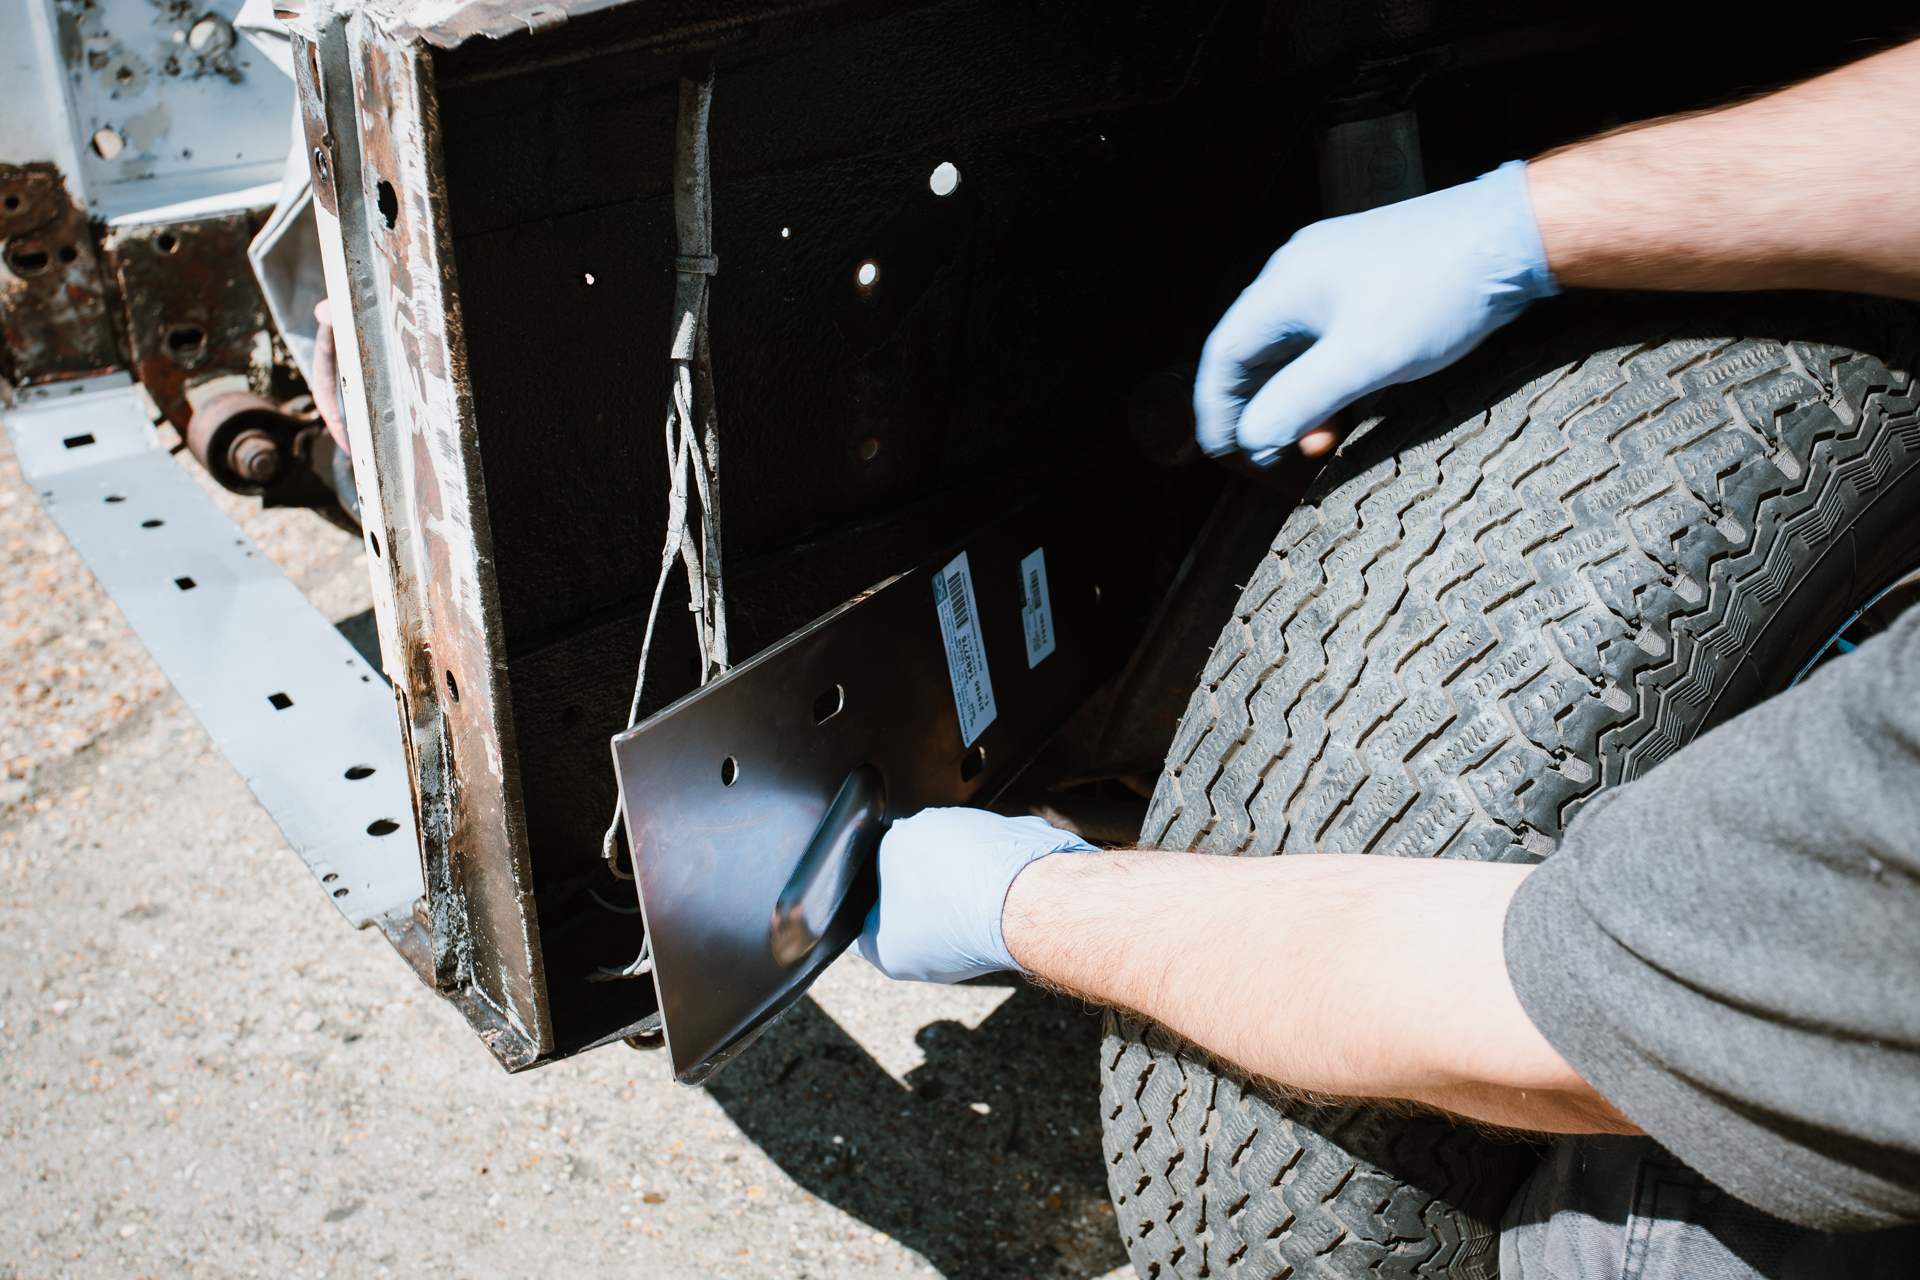
Mauro has been doing a little work on our 2005 Aston Martin DB 9. The panel that went from the rear seats to the parcel shelf in the middle was rattling so he took it all apart and adjusted the metal bracket that holds it in place.


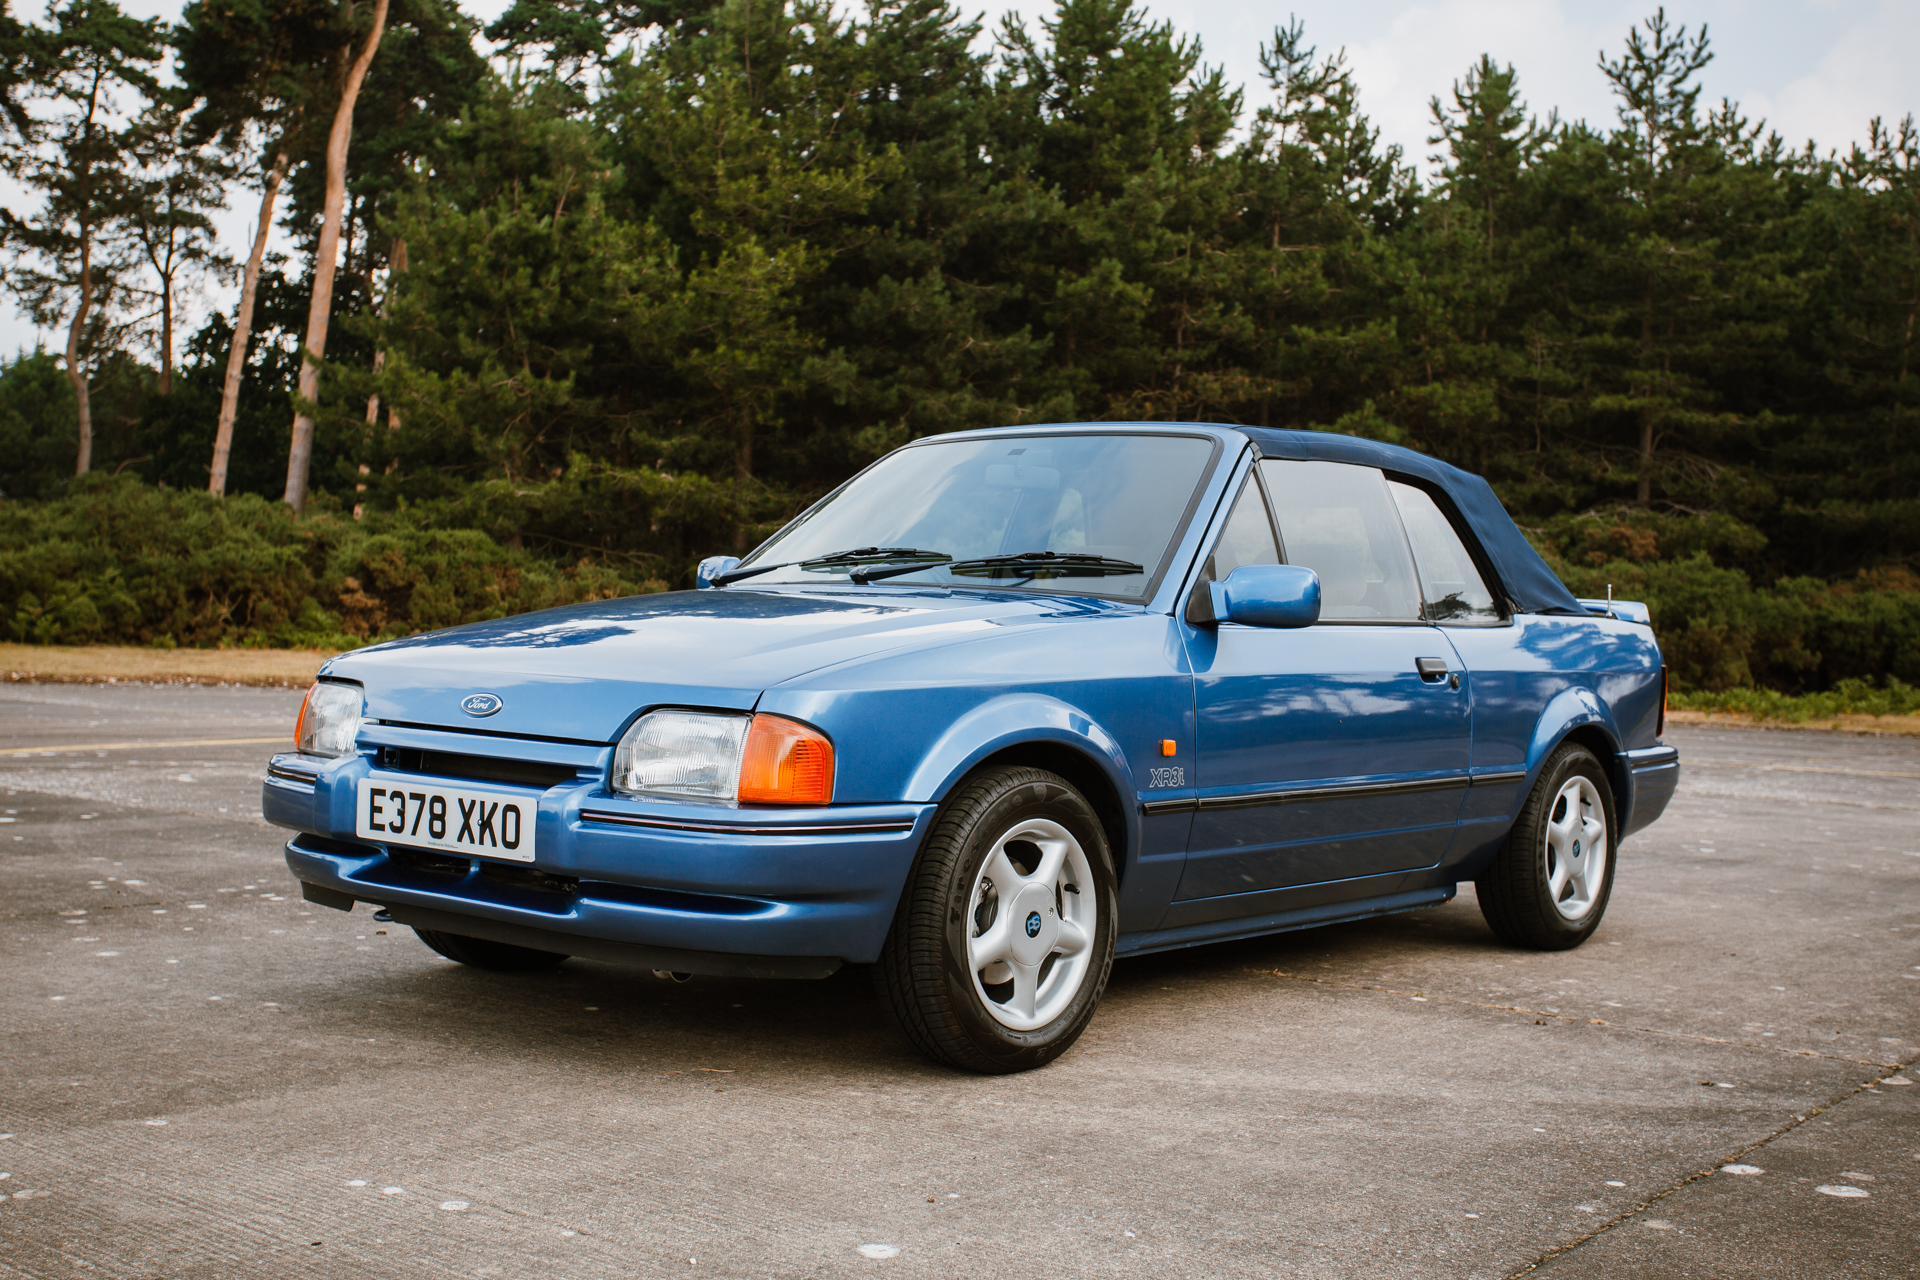
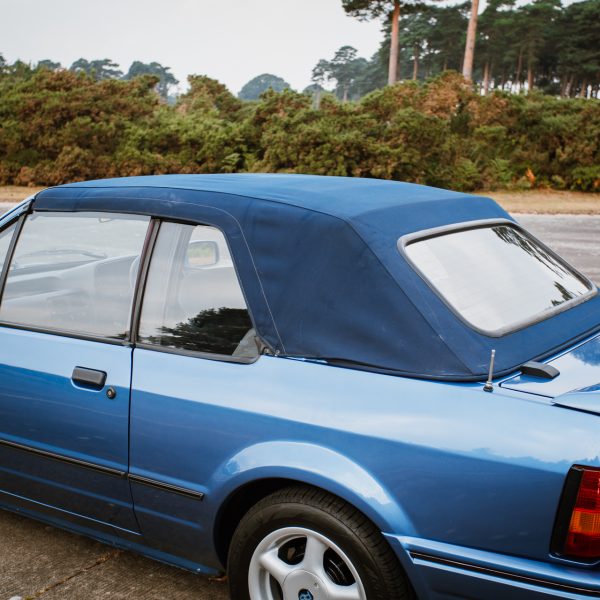
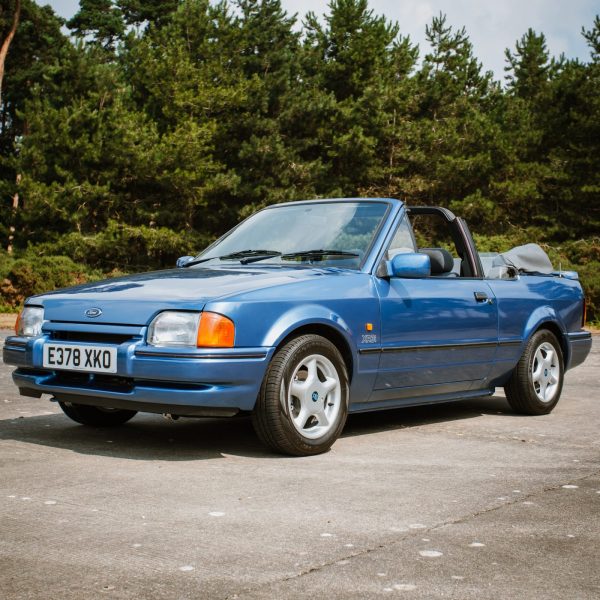
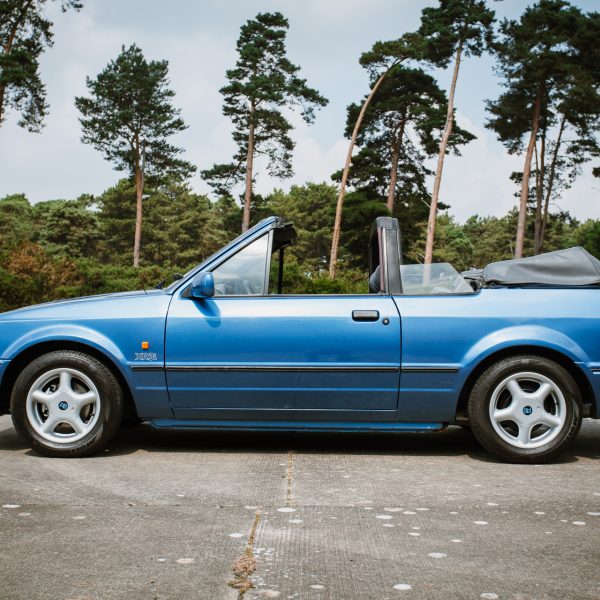
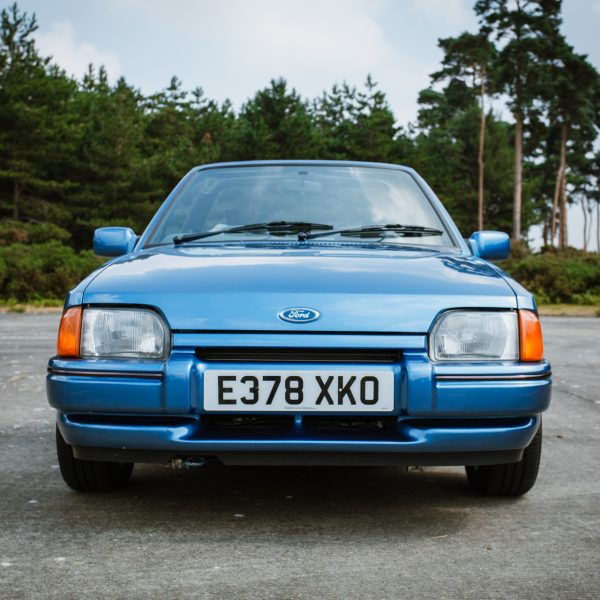
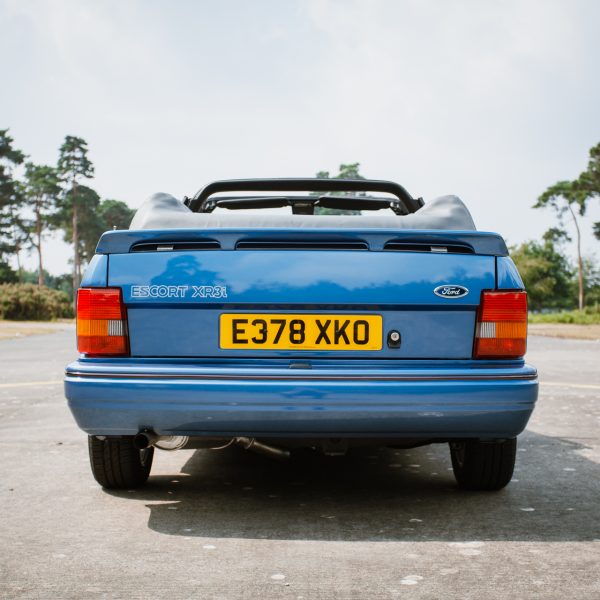
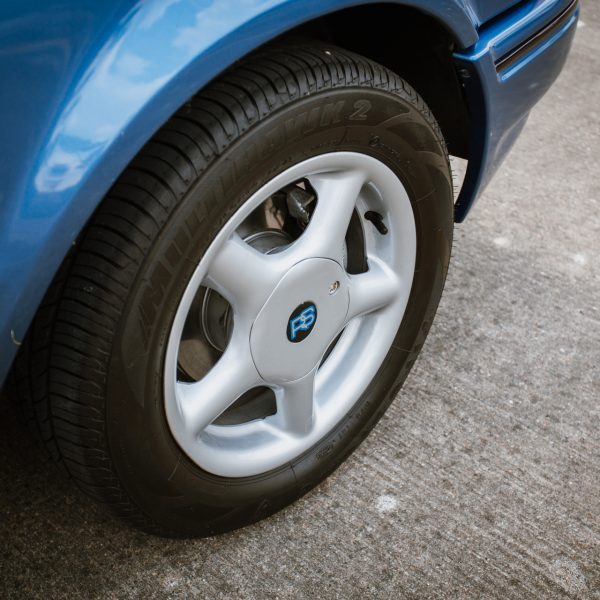
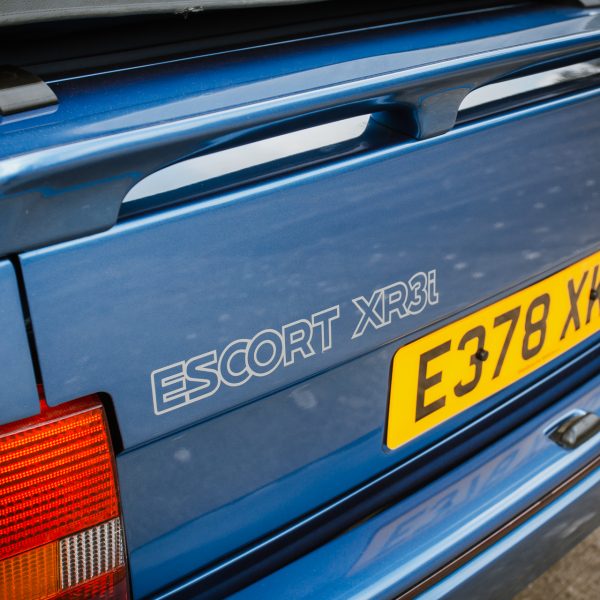
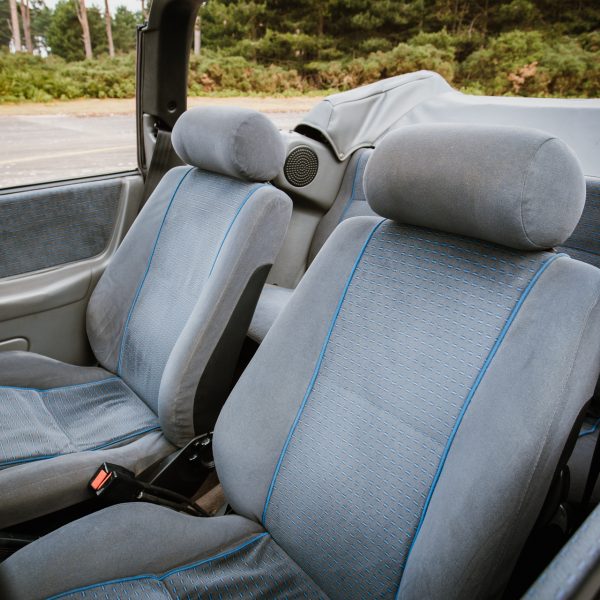
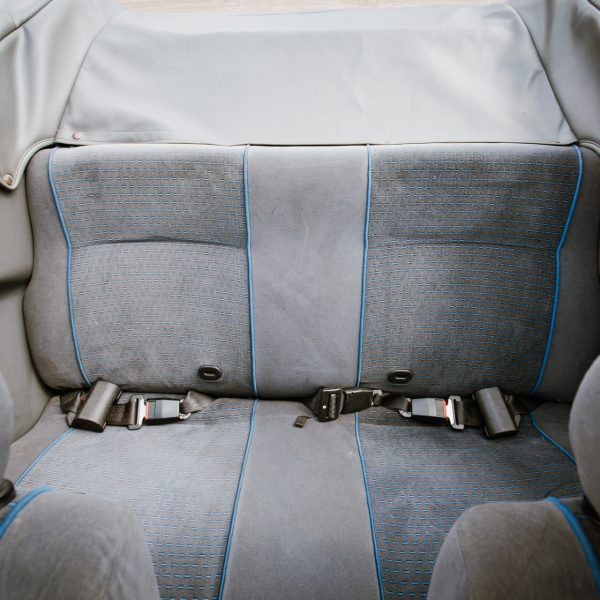
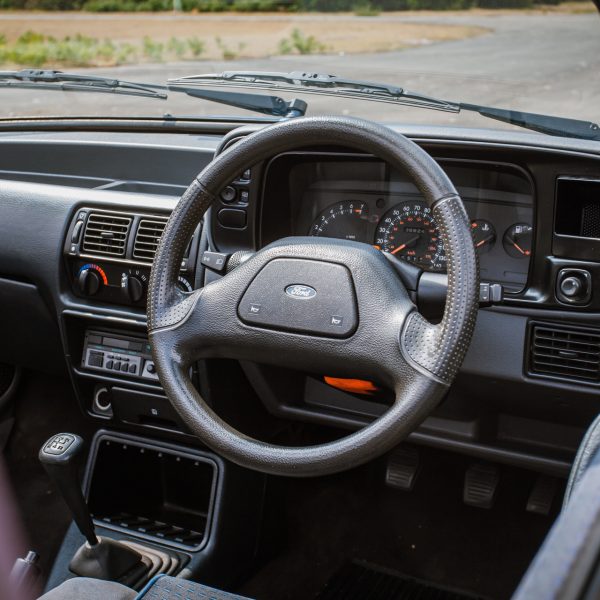
Launching today is this 1988 blue Ford Escort 1600 Cabriolet!
The Ford Escort was originally produced as a small family car, manufactured from 1968 to 2003. There were six different model variations throughout its time and this is the fourth one. It’s instantly recognisable as an updated version of the previous model, taking styling cues from the then recently introduced Scorpio/Granada III.
We don’t have much history on the car itself, but we know that it’s been restored relatively recently, the paintwork is in fantastic condition, along with the interior and it’s been well looked after throughout its life.

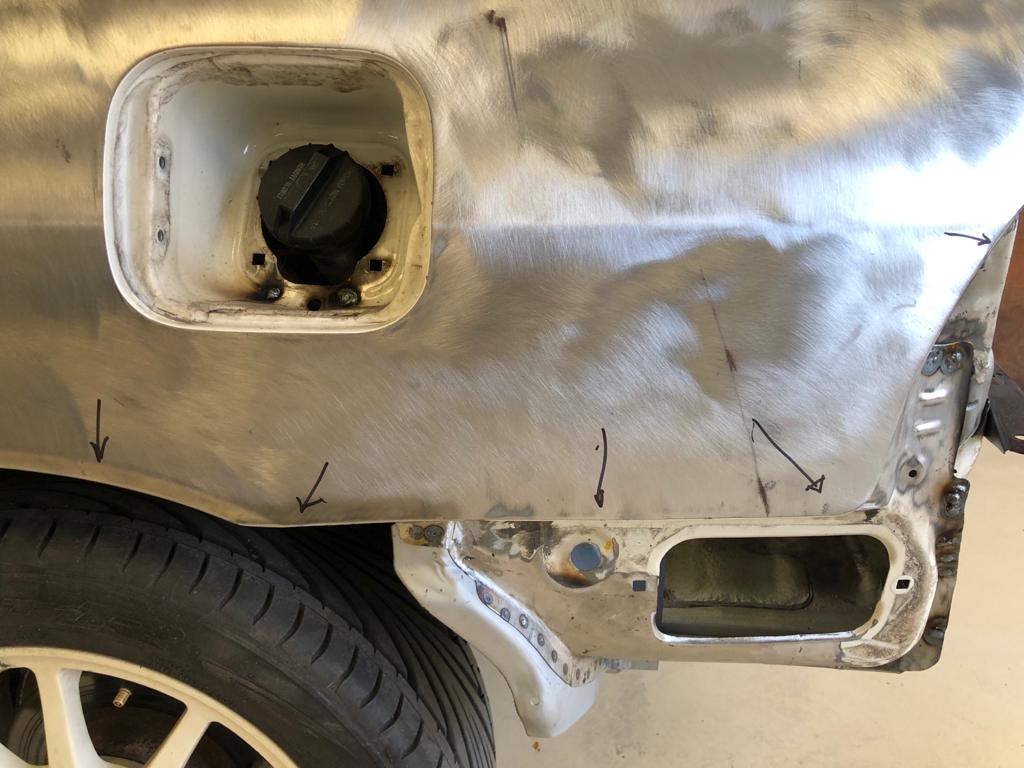
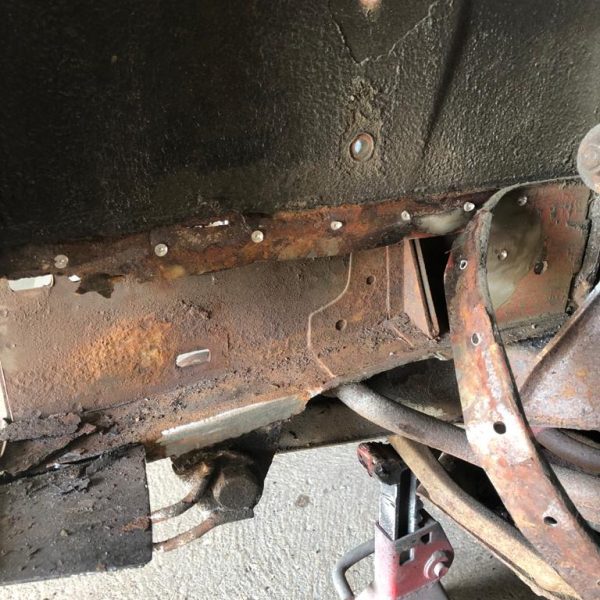
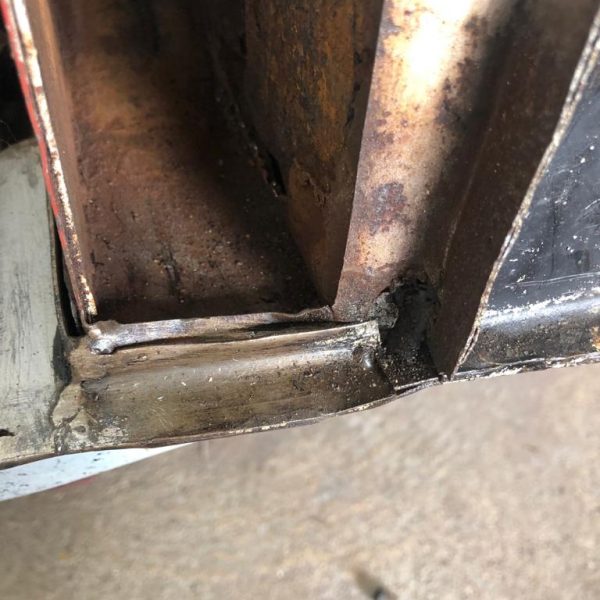
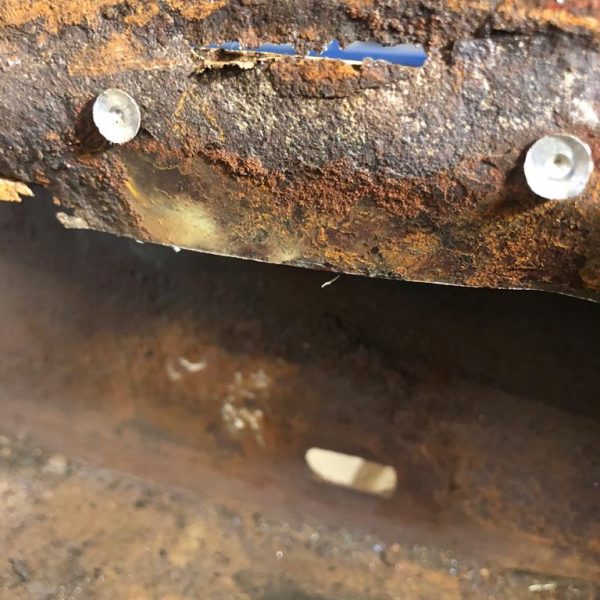
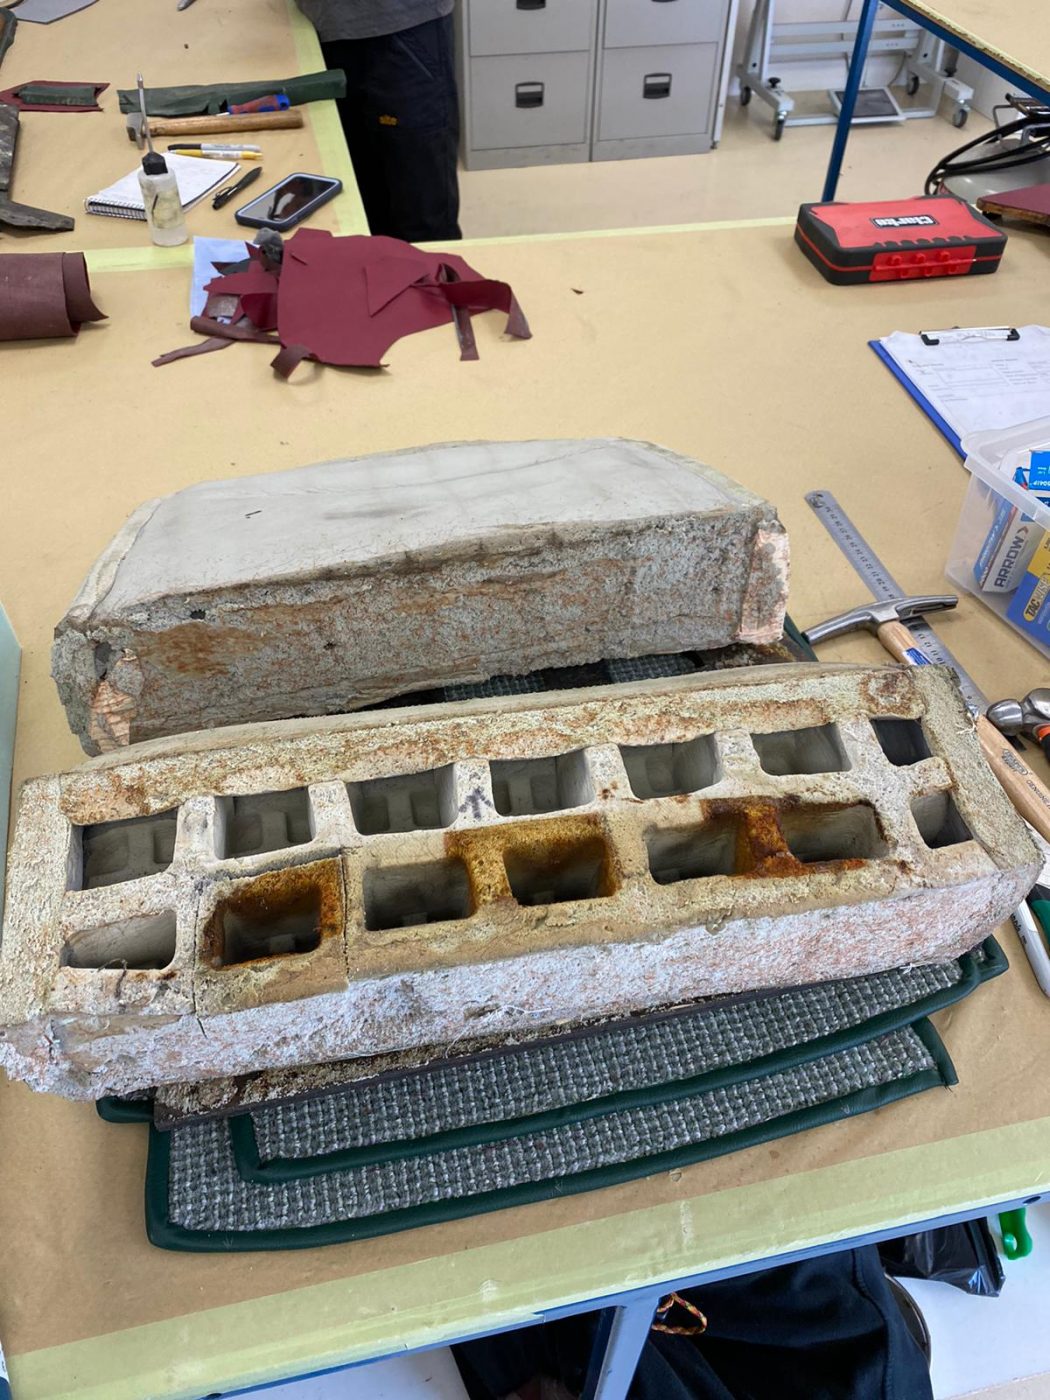
Up to now, our 1955 Aston Martin DB2/4 was not uncovering too many hidden issues. Naturally, we had a lot of repairs and re-shaping to do but nothing too scary.
Having carried out a full bare metal strip down of the car Clinton has uncovered some very questionable repairs that have been done at some stage in its life. The entire rear opening is completely out of shape due to previous damage. Most of the opening is being held in by reinforced steel attached to the aluminium body to strengthen and hold the shape.
This is absolutely not correct and must be addressed. Not a small job to carry out but one that is essential if we are to complete this project to the exacting standards that it should be. Clinton will need to cut out sections at a time, remove the steel work and re-shape the aluminium back to what it should.
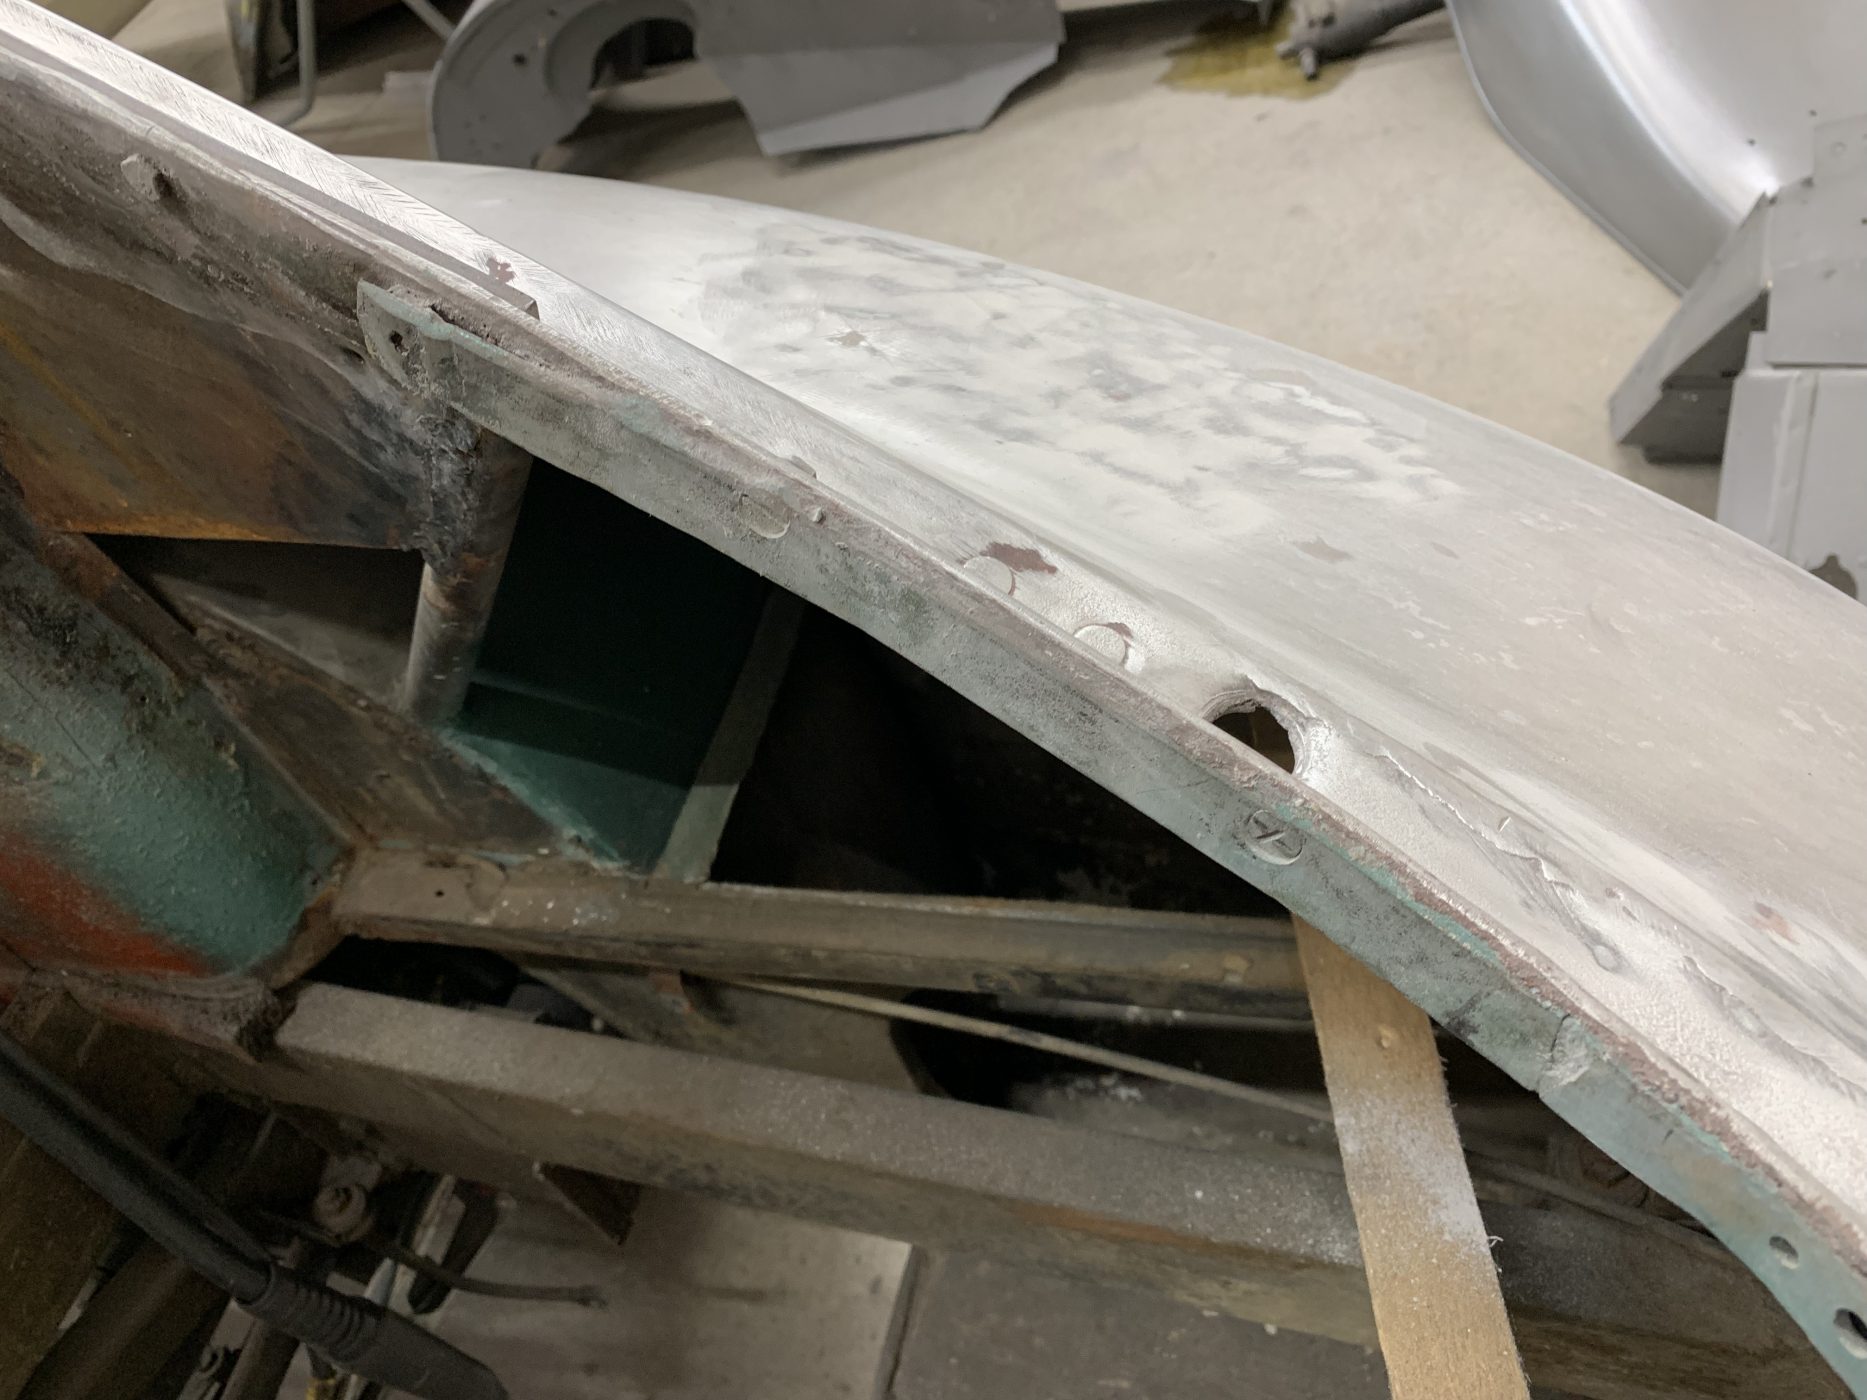
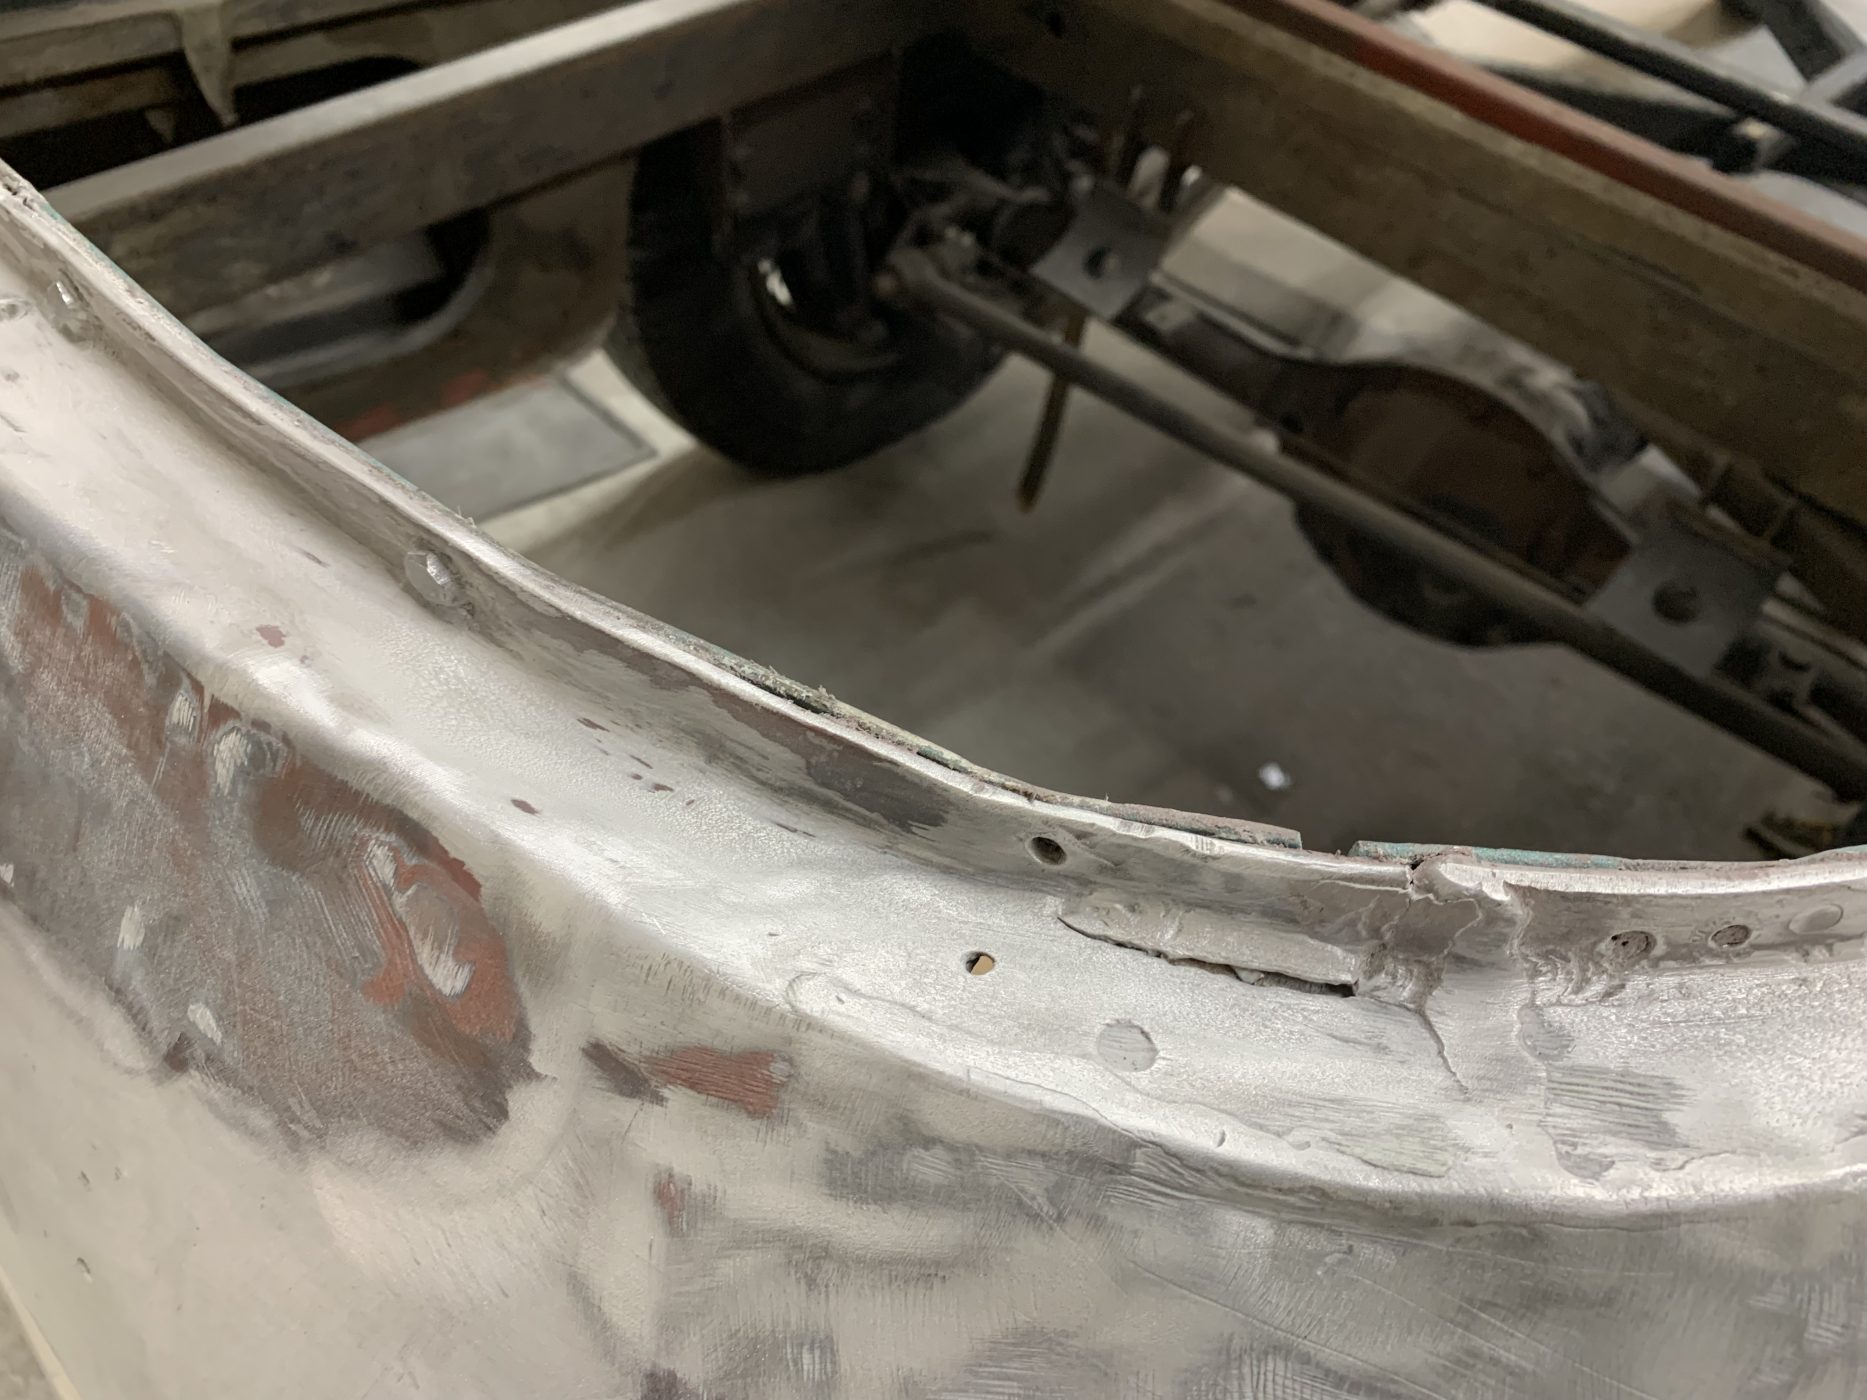

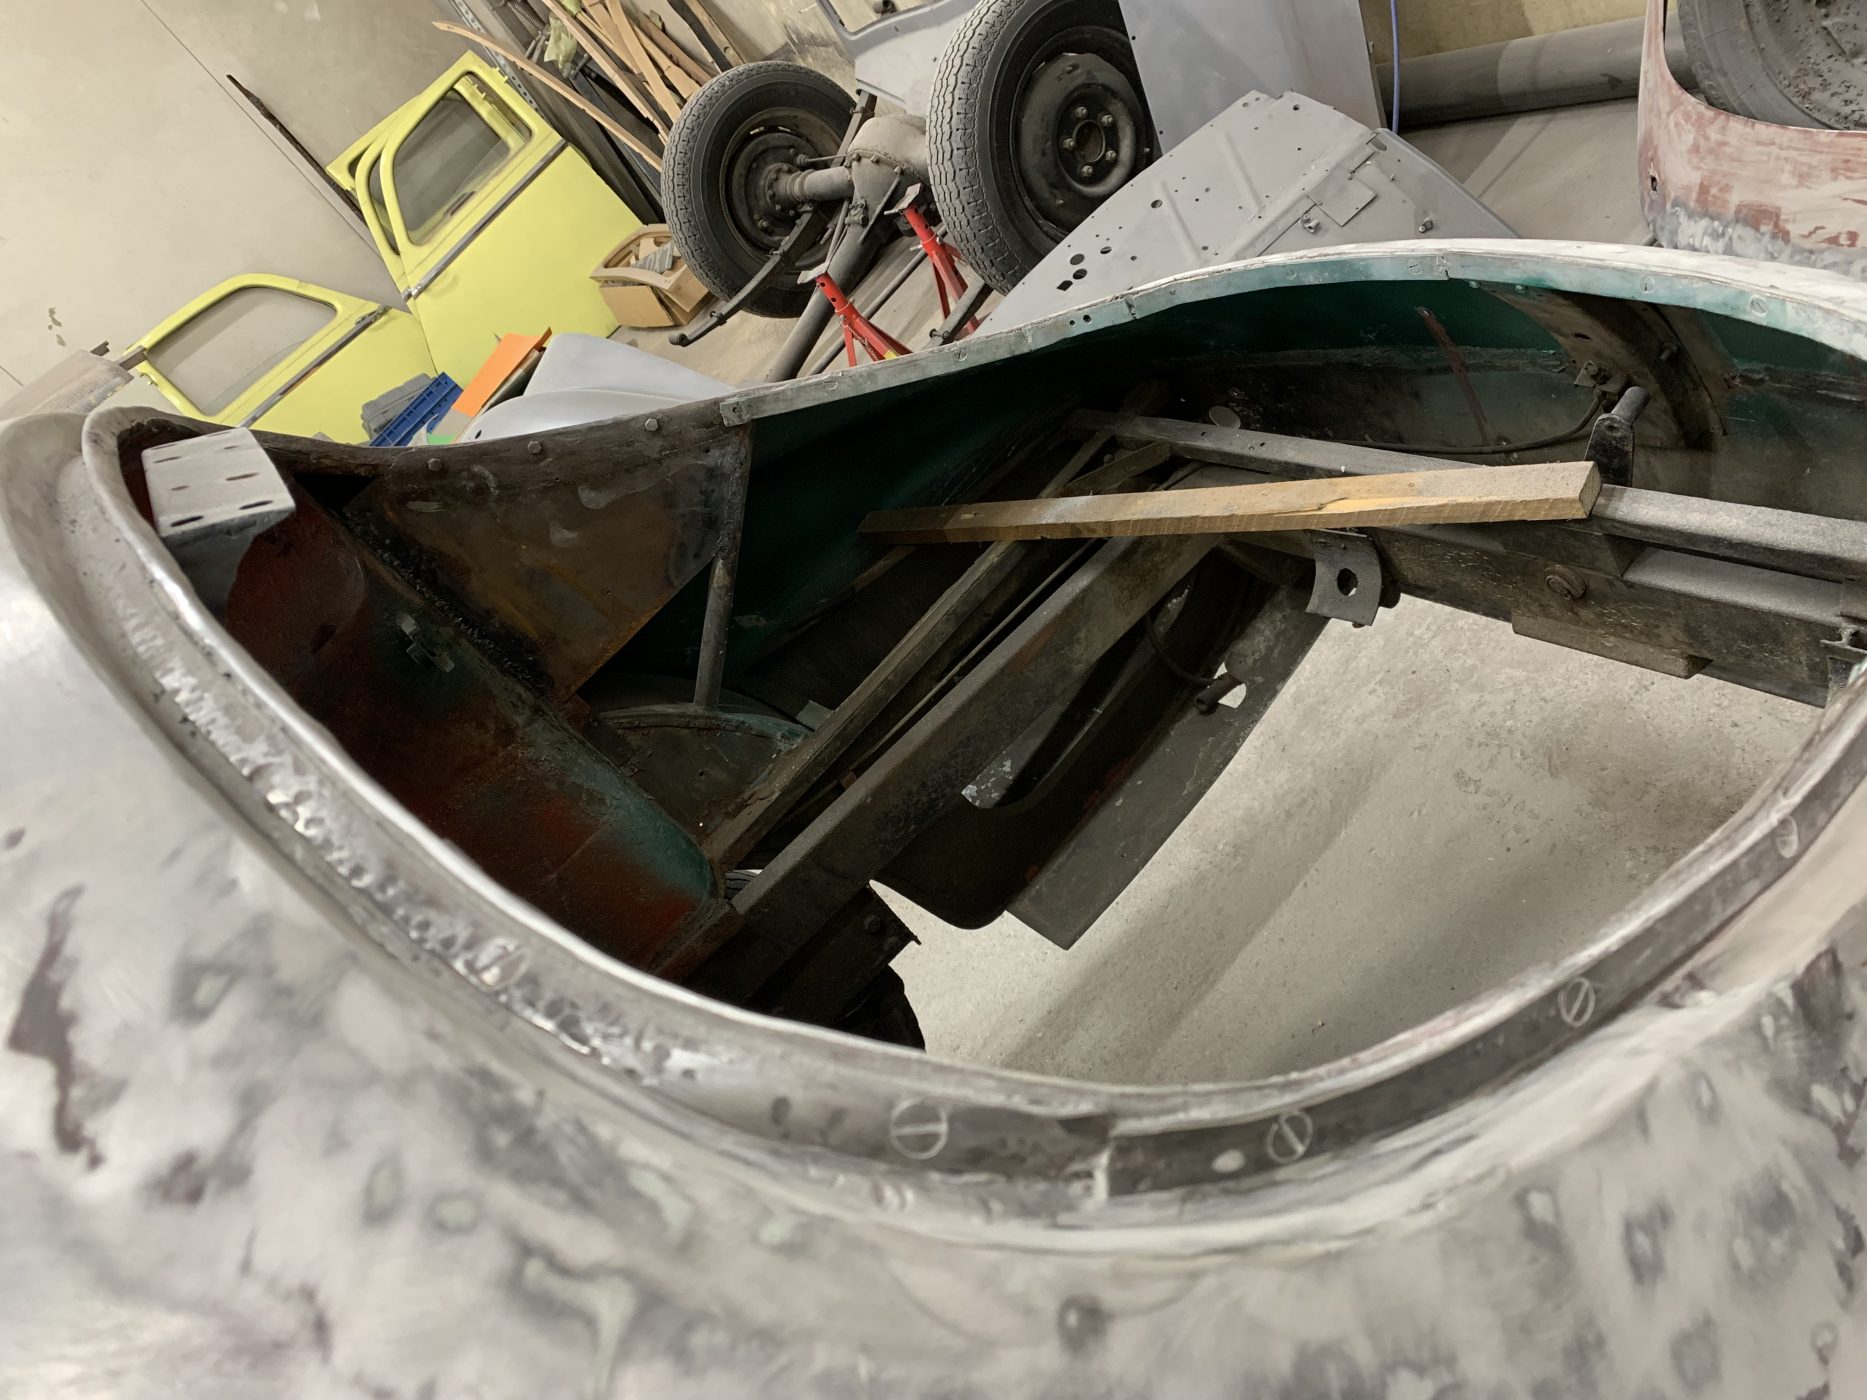
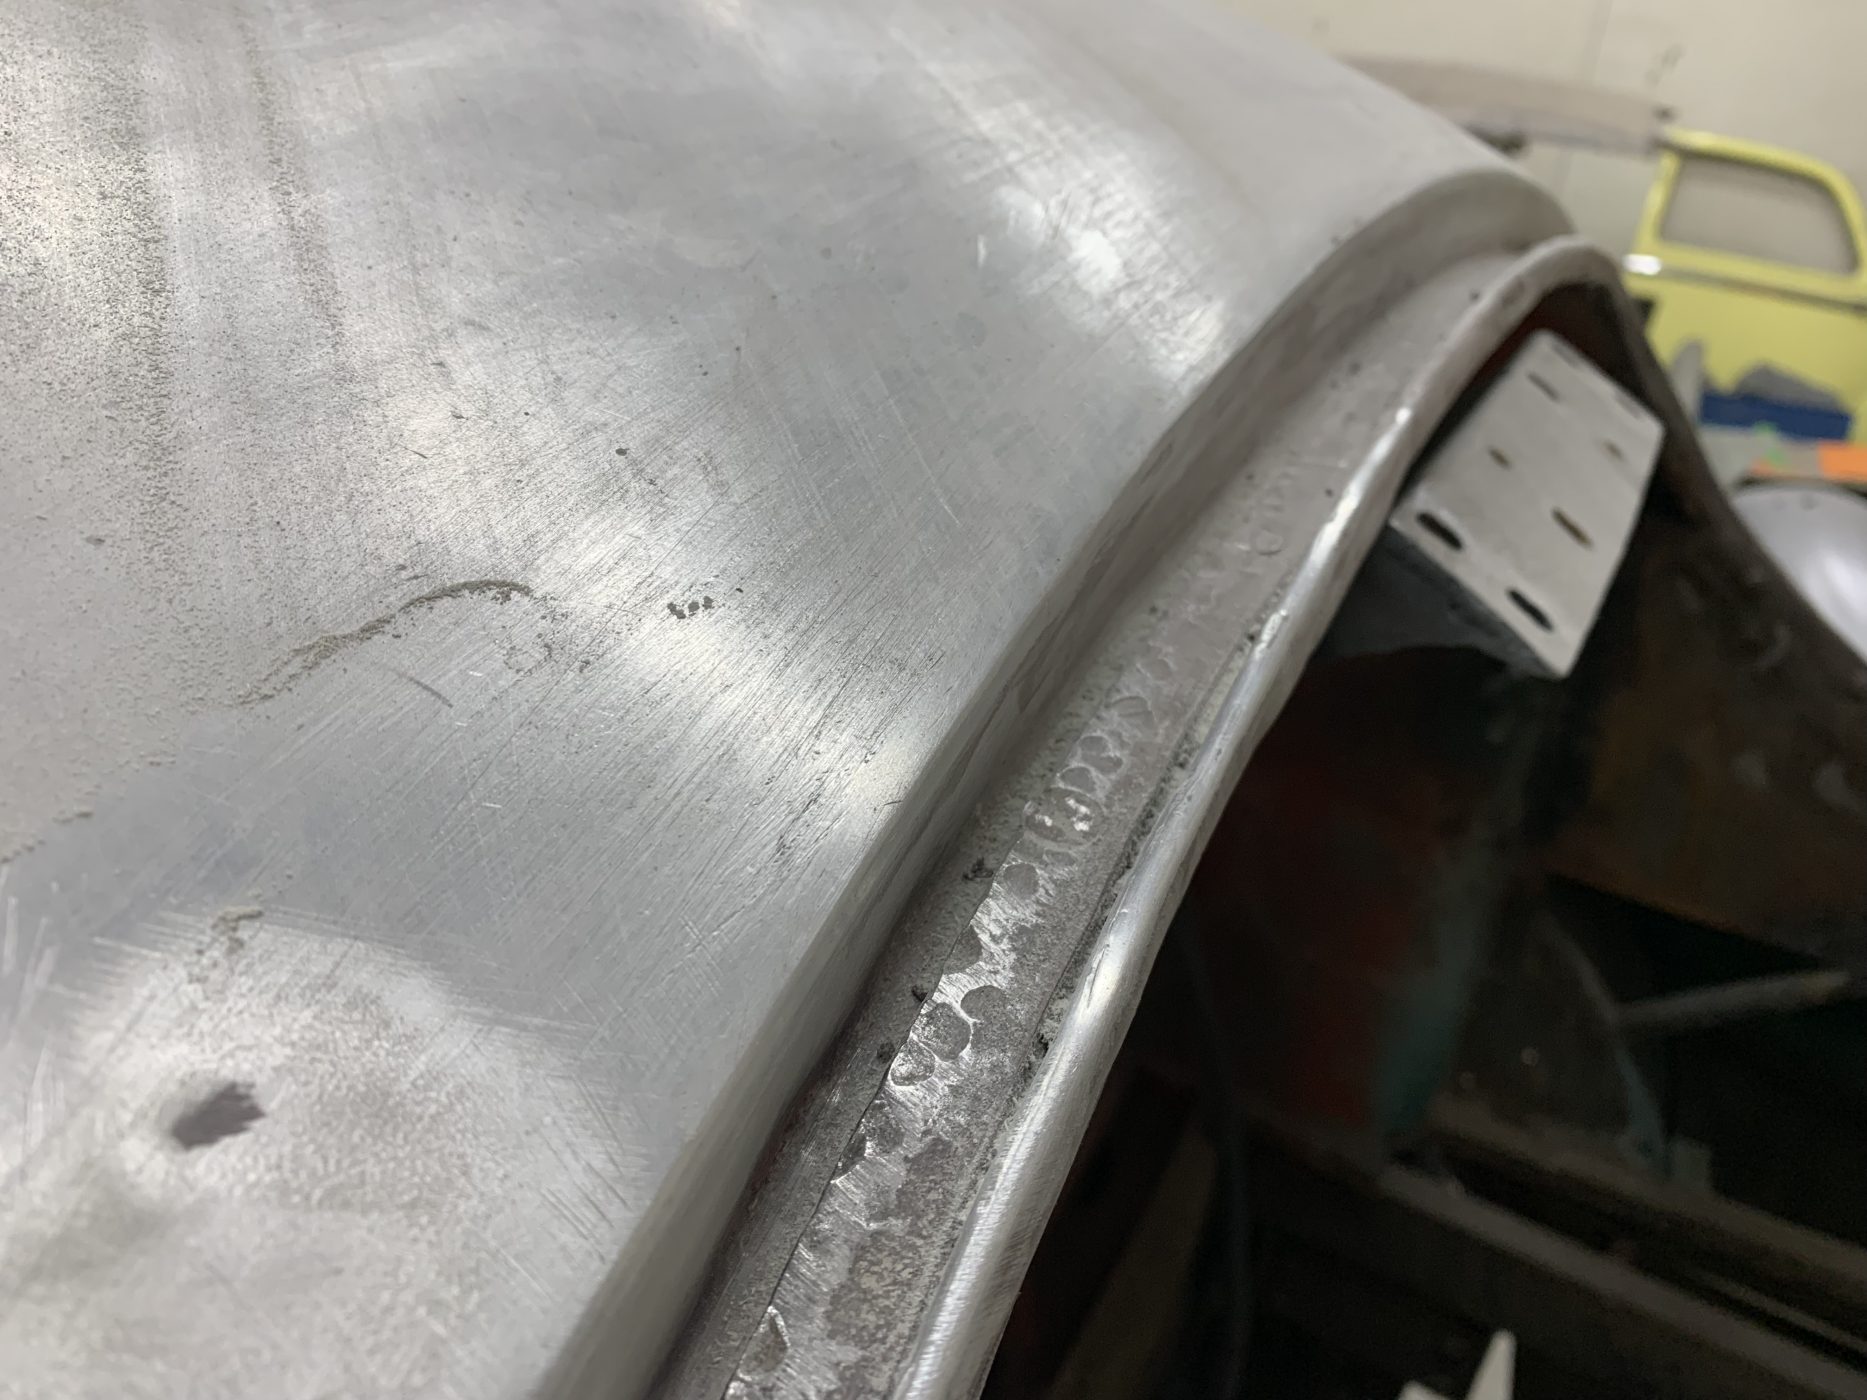
The video shows the entire area and how extra metalwork is fitted to help strengthen the aperture.
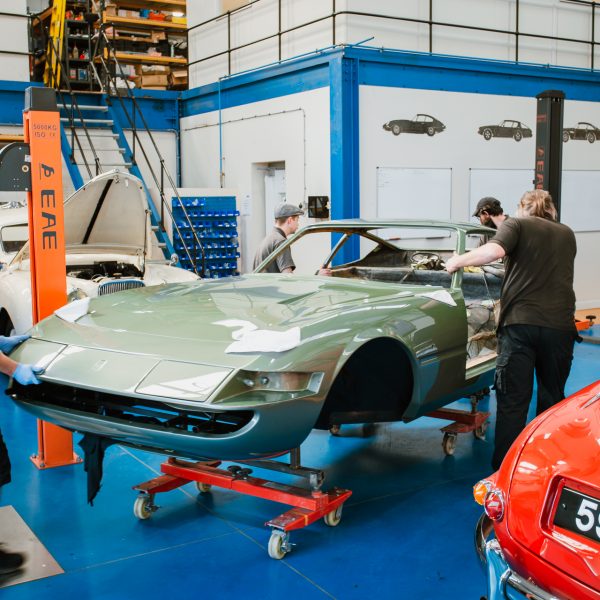
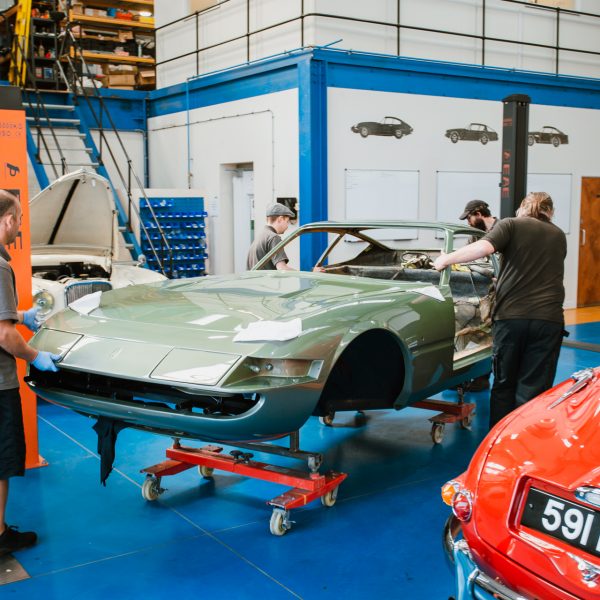
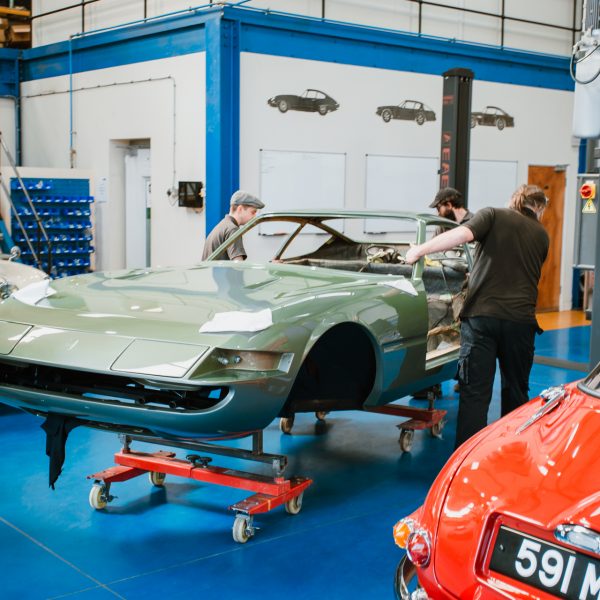
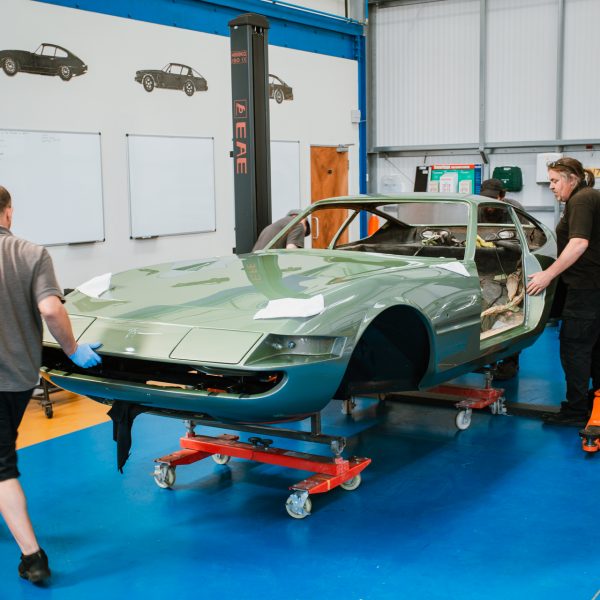
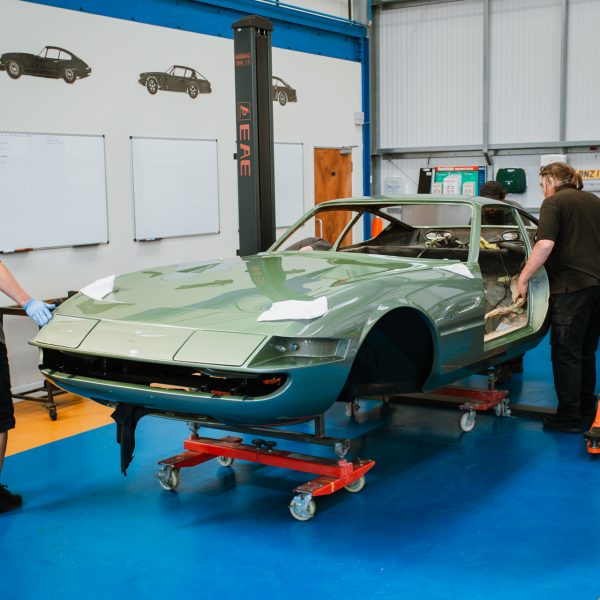
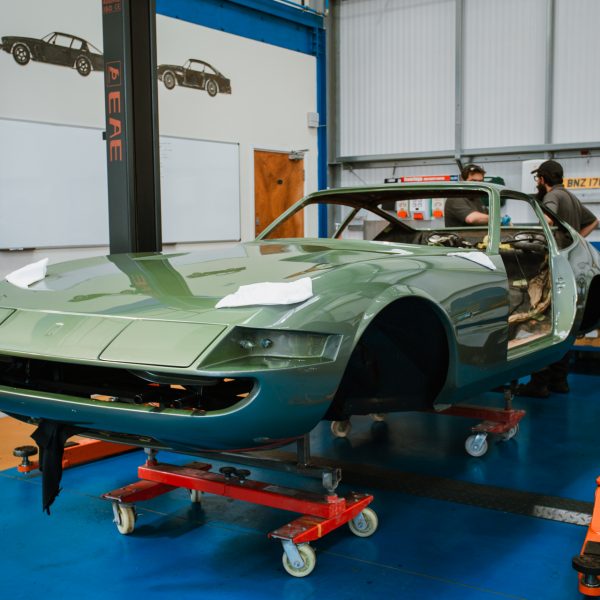
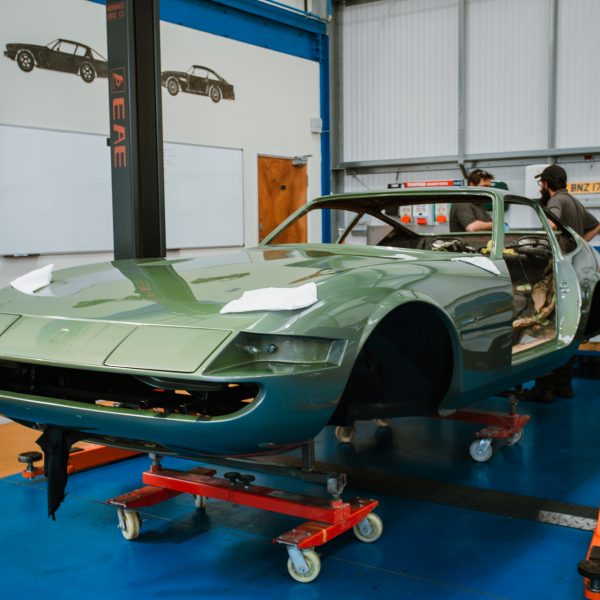
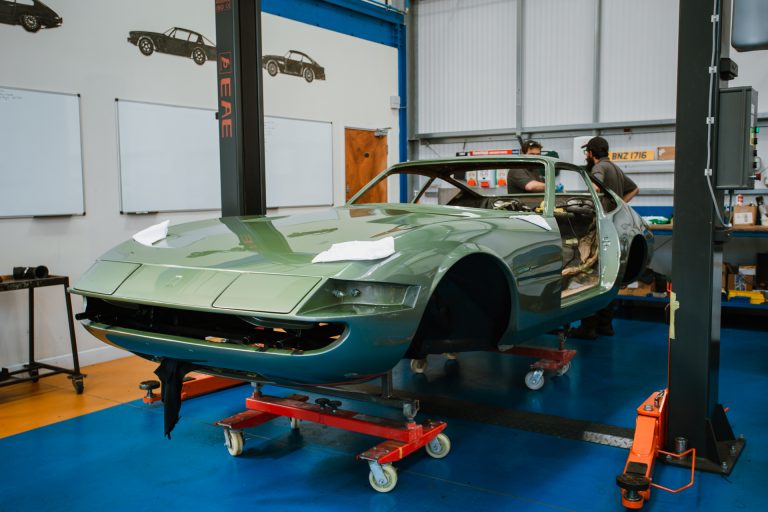
This week we’ve welcomed the 1979 Arrow Ferrari Daytona back into the workshop after it’s been in storage for a little bit of time. The last time it was in here was back in March when the body had just been painted and the seats had finished being re-upholstered. You can read about its progress so far here. Stay tuned for updates!