Putting it back together for the 1963 Jaguar!
As you may know, the engine bay of the white 1963 Jaguar Mk II 3.4 has recently been re-painted. You can read about it here.


As you may know, the engine bay of the white 1963 Jaguar Mk II 3.4 has recently been re-painted. You can read about it here.
This Sunday, 1st of August, will be the annual Festival of Classic and Sports Cars at Helmingham Hall in Suffolk! Having had a year off
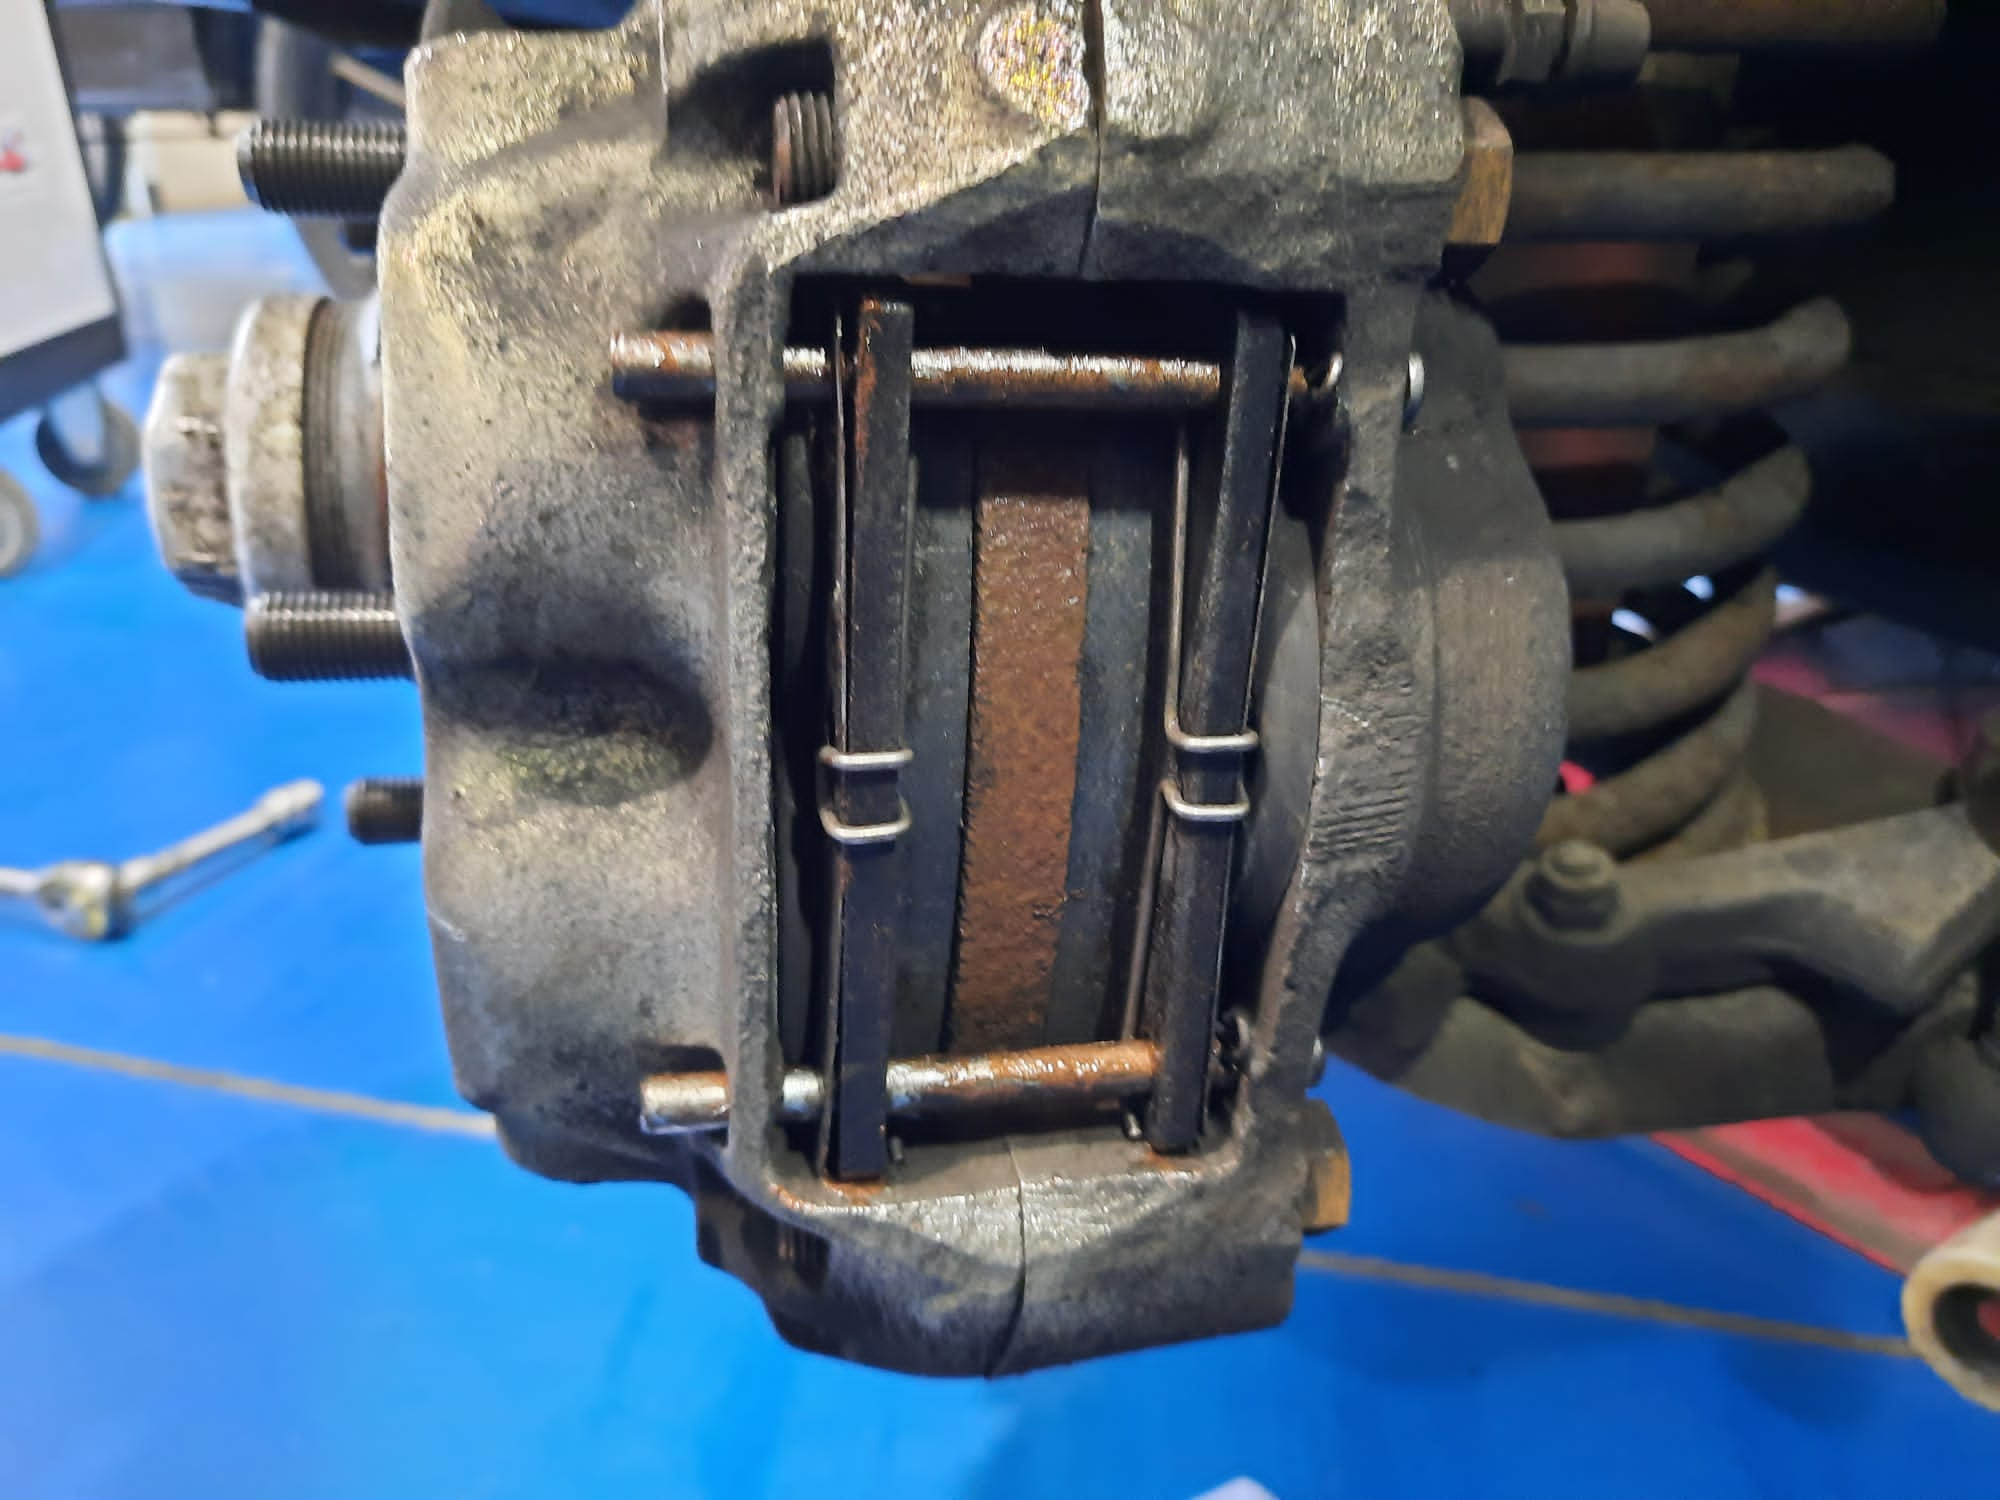
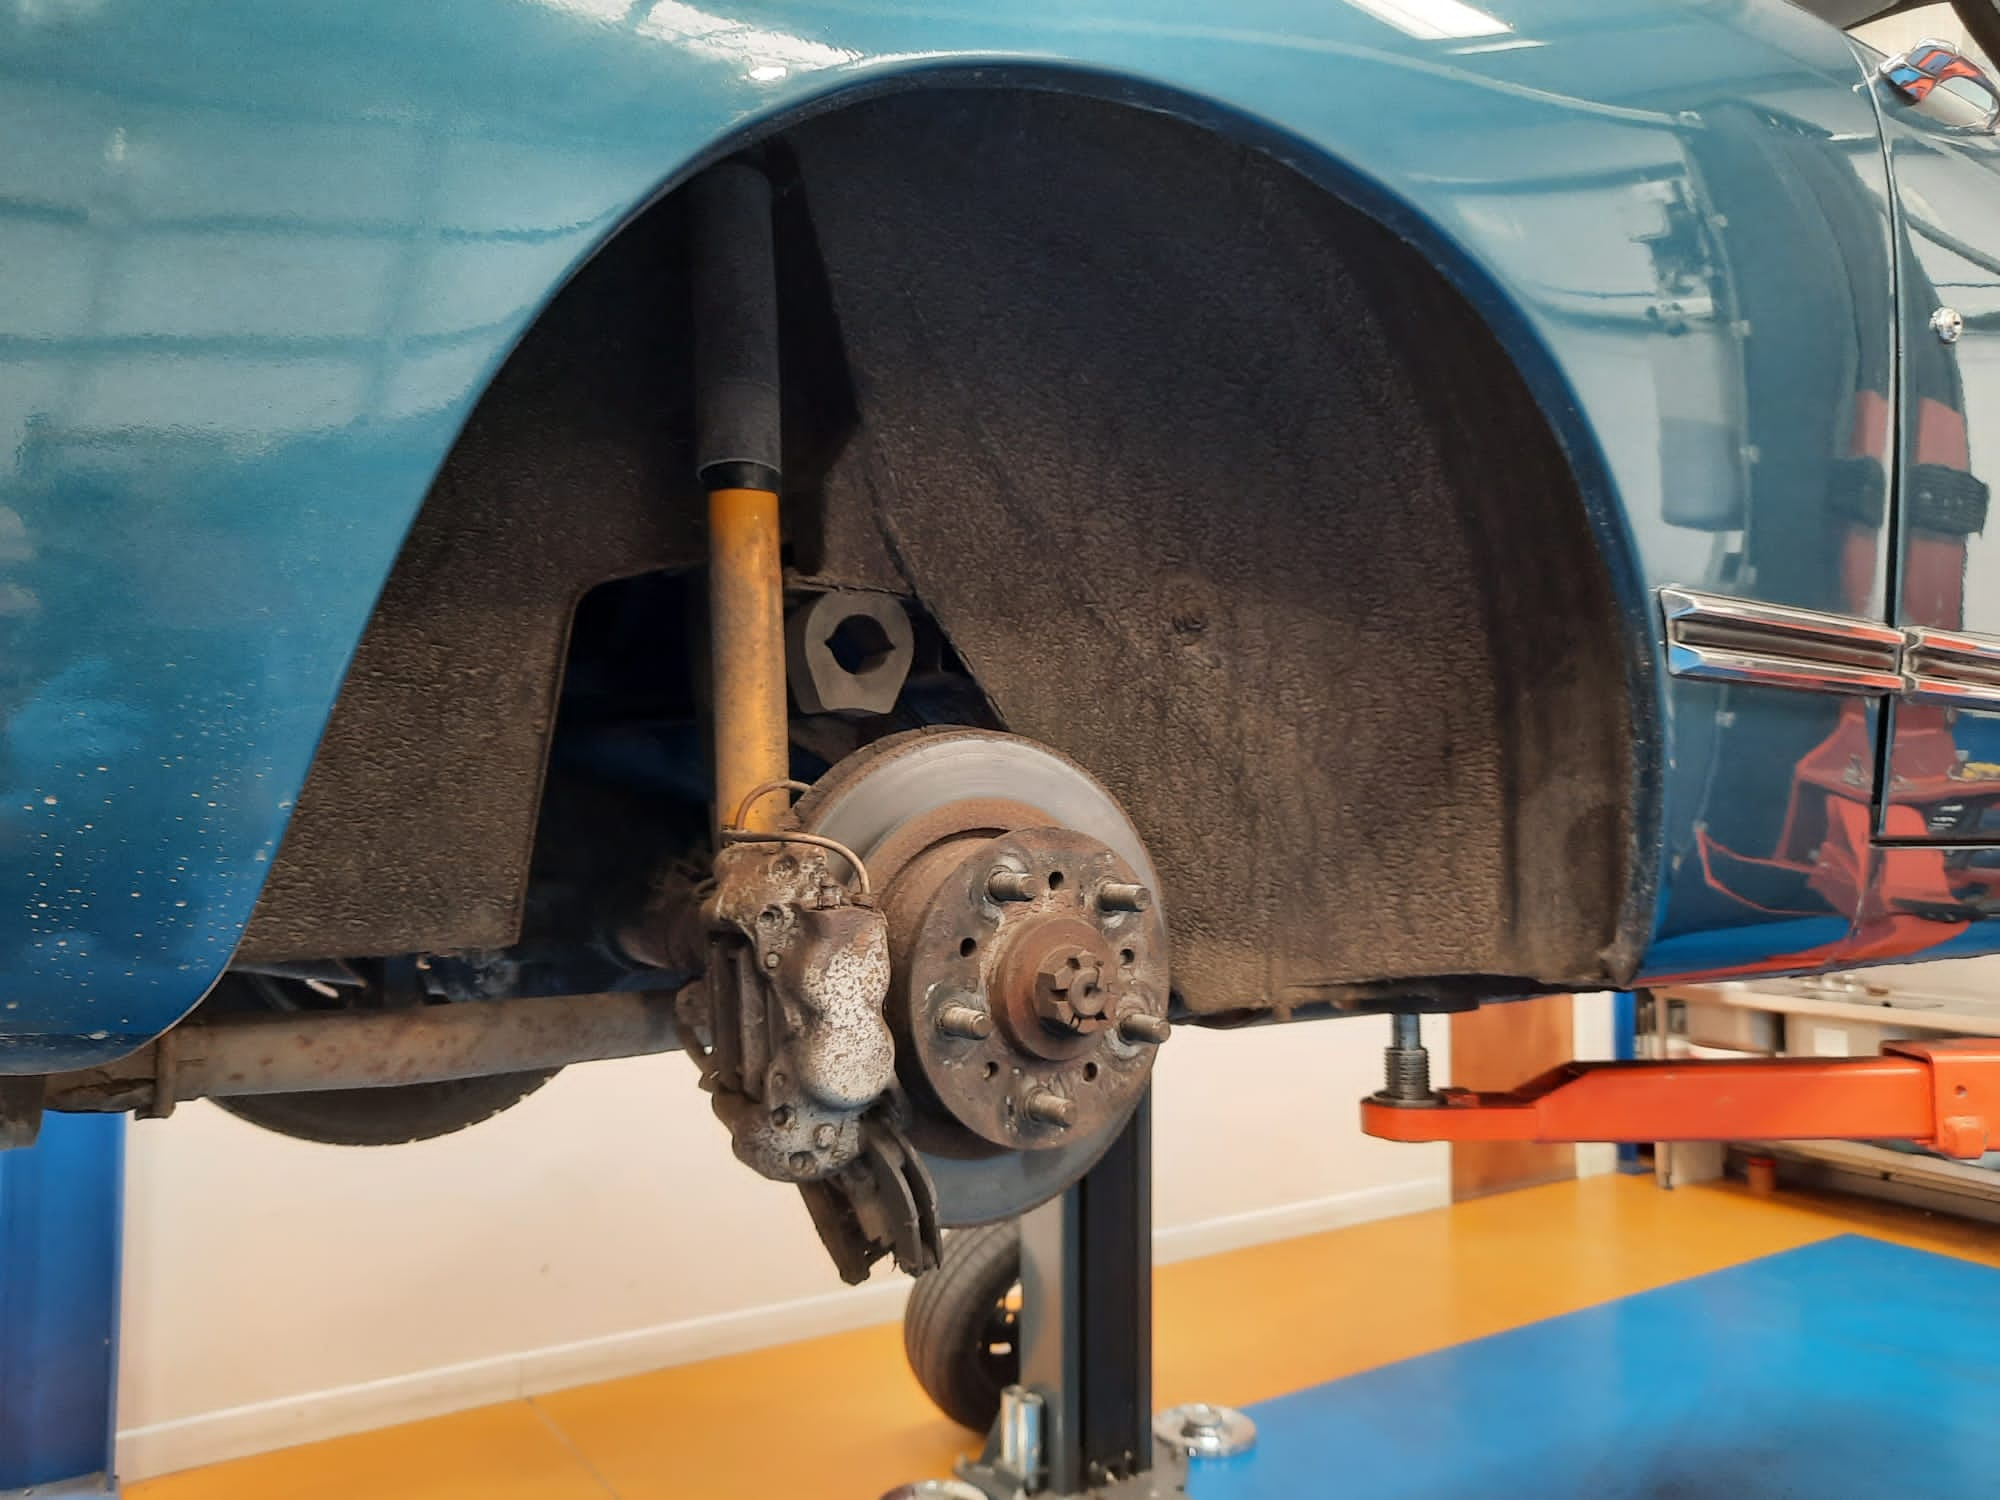
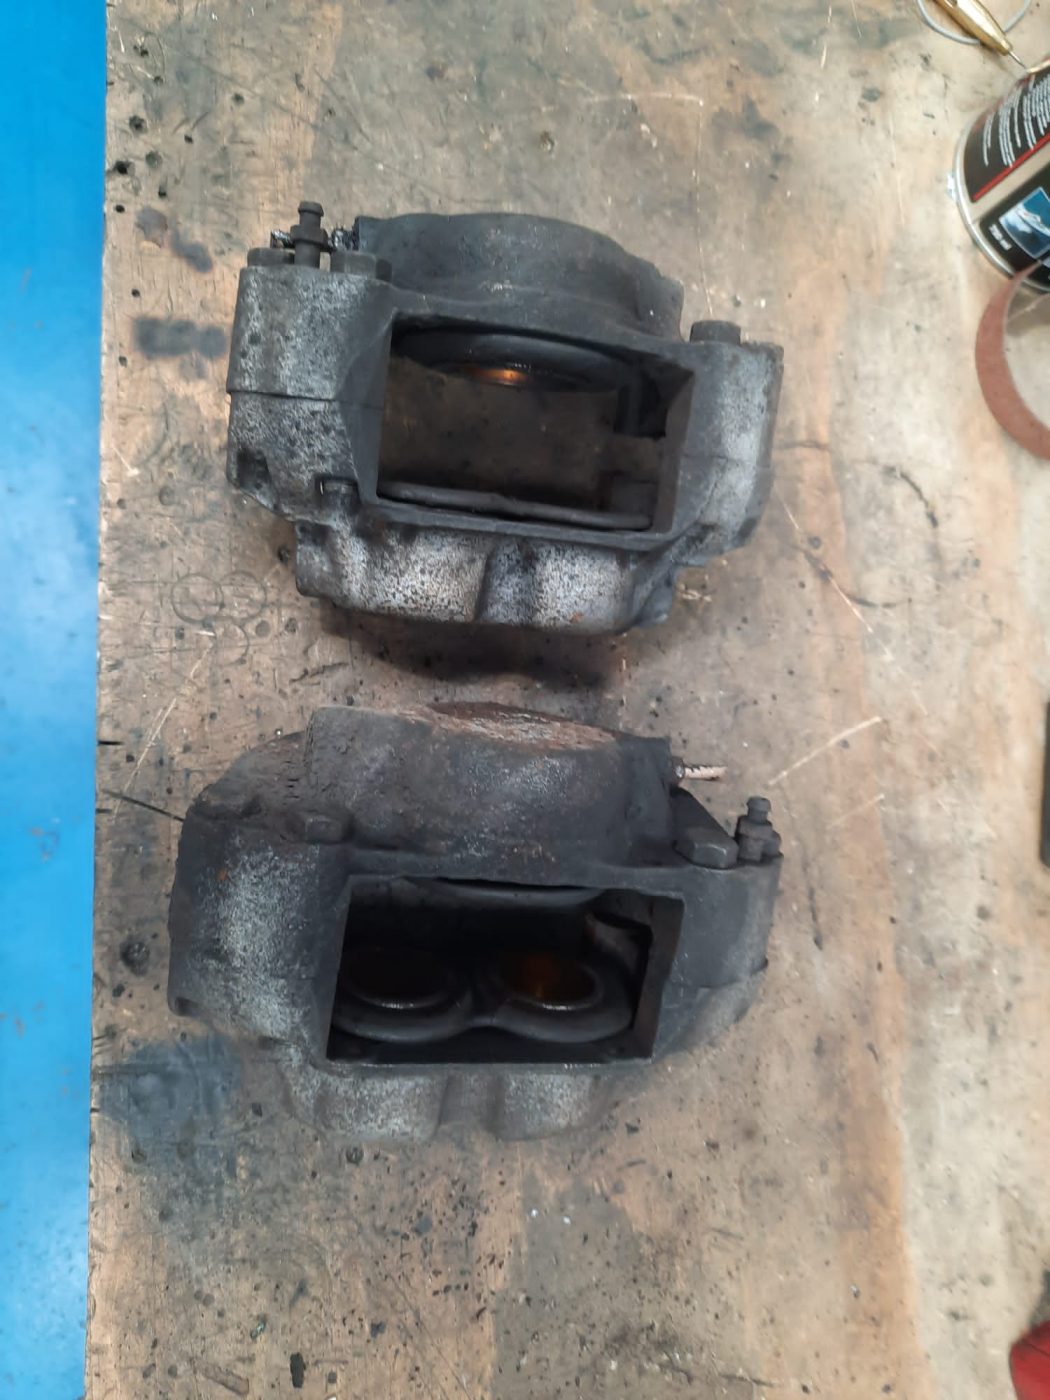
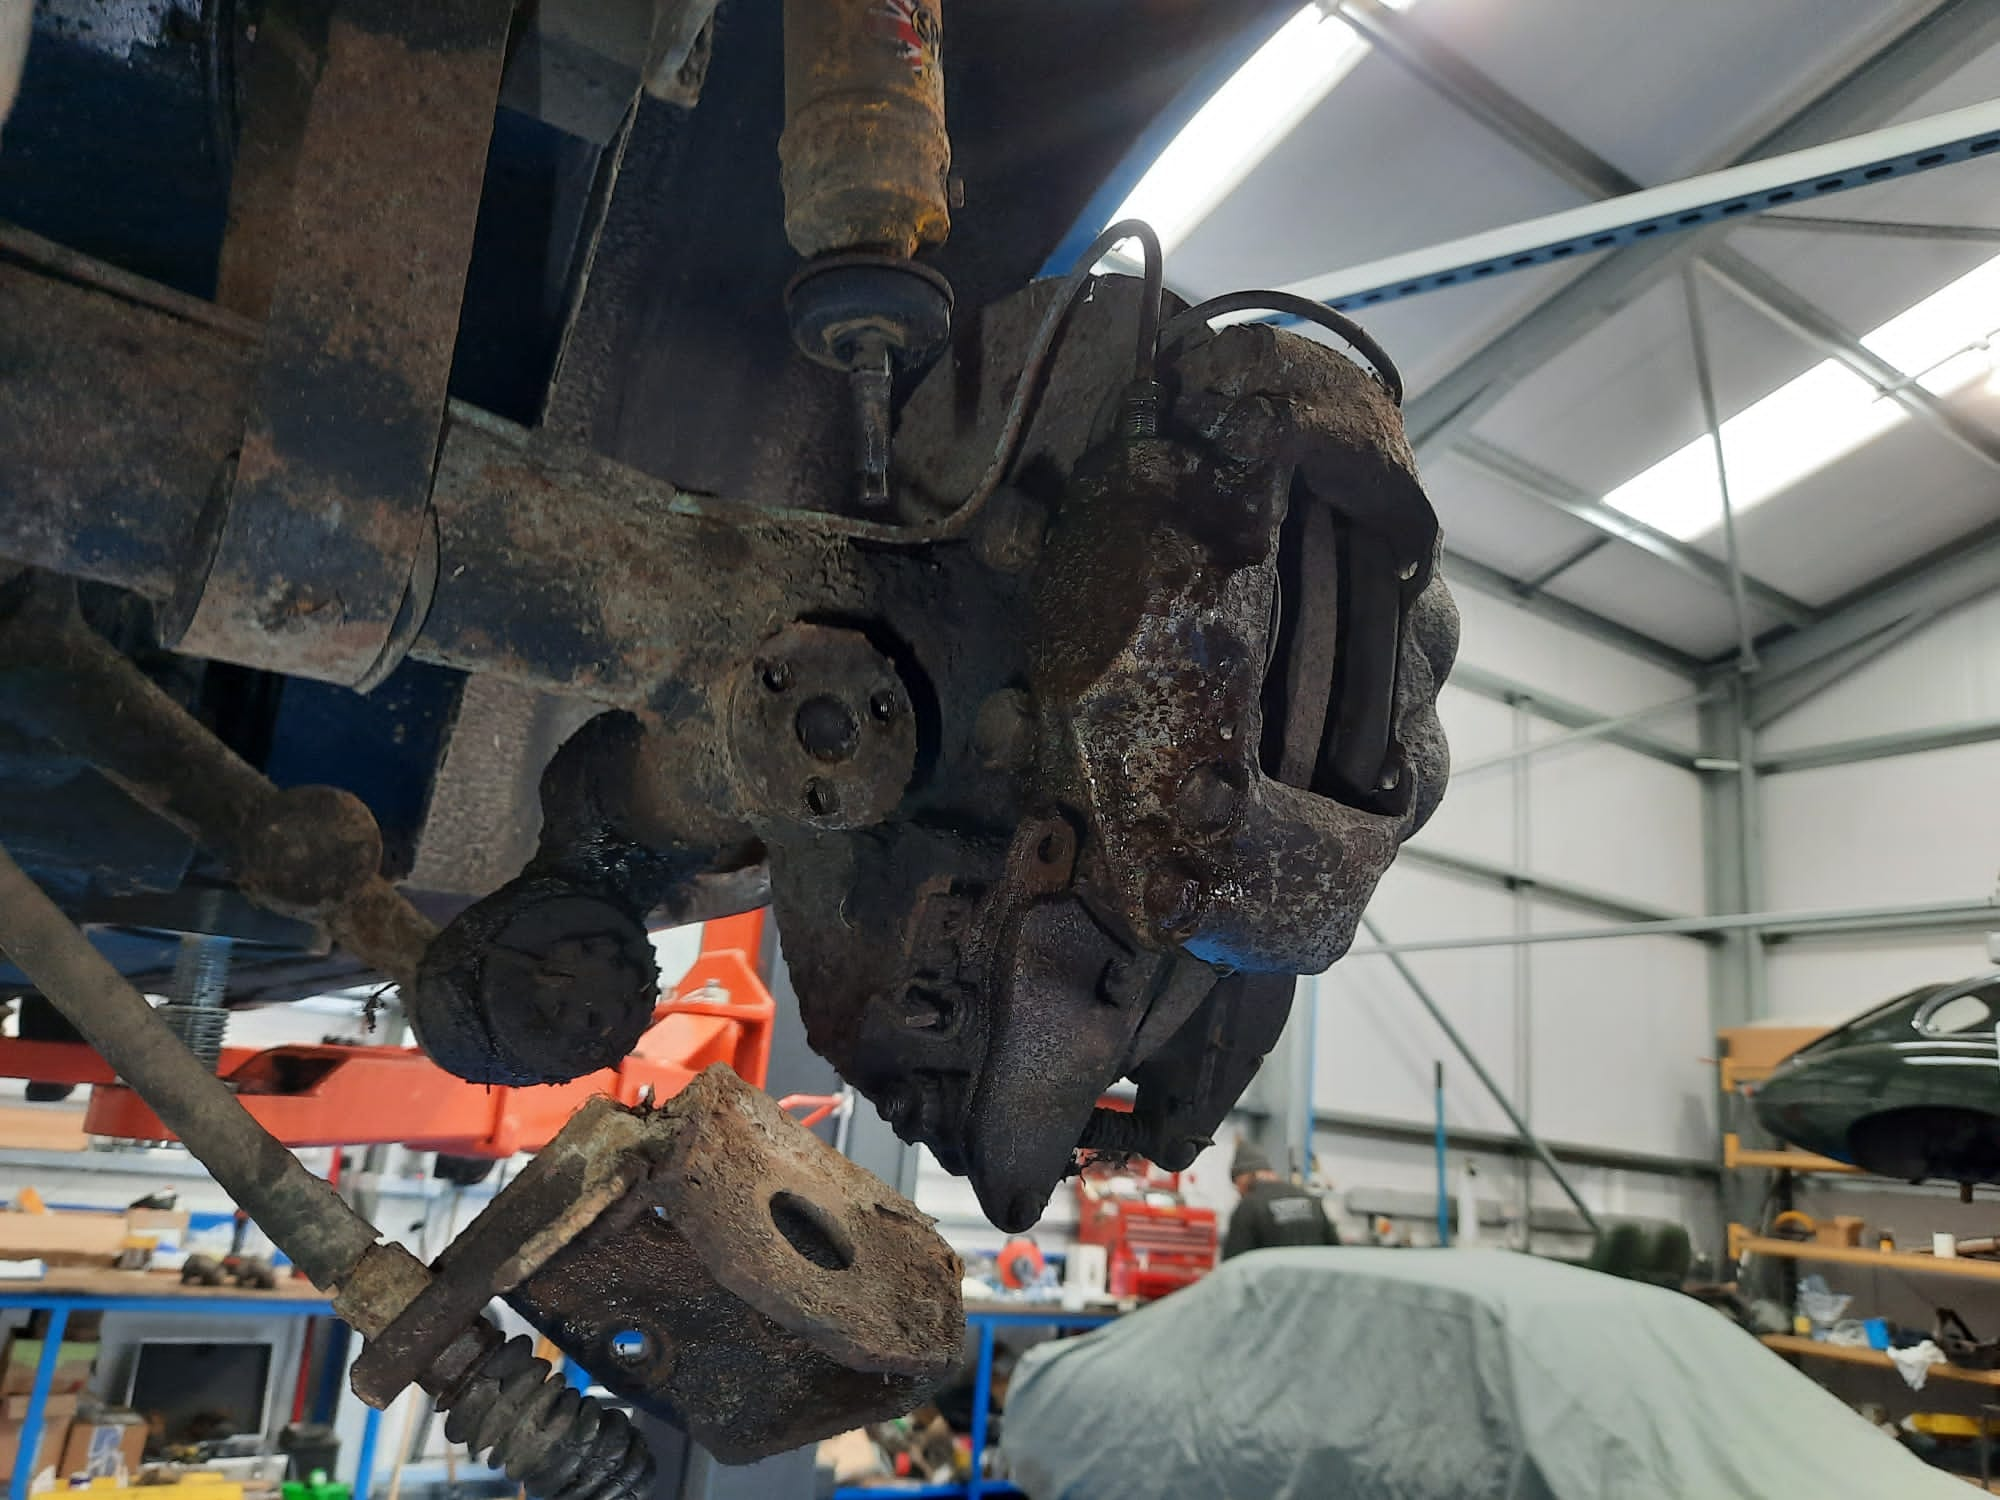
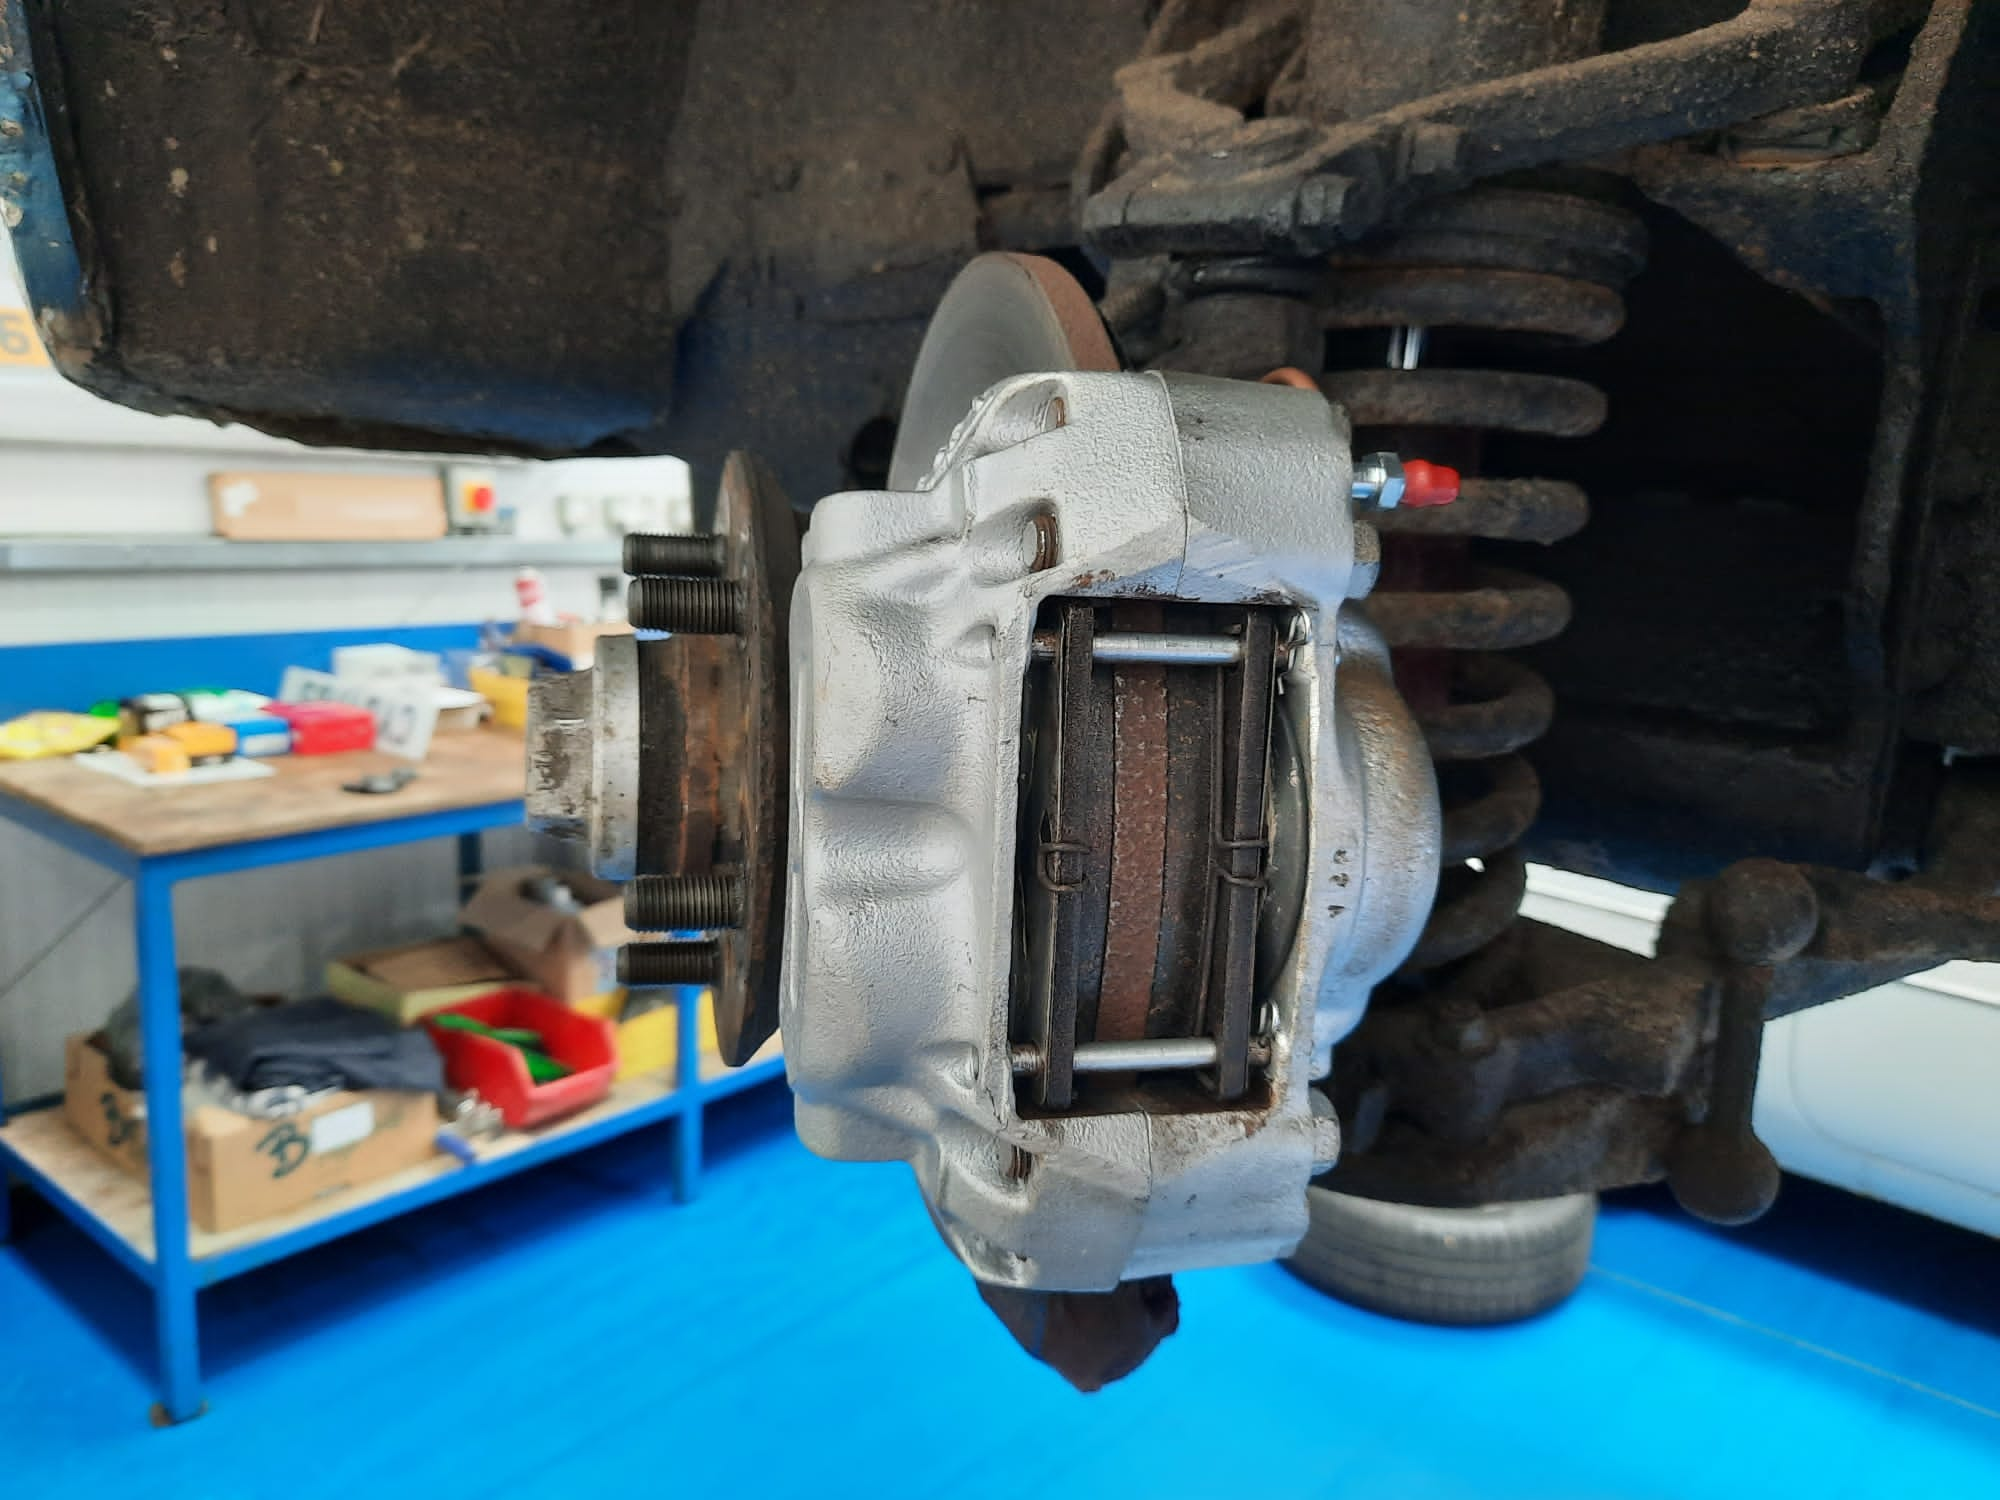
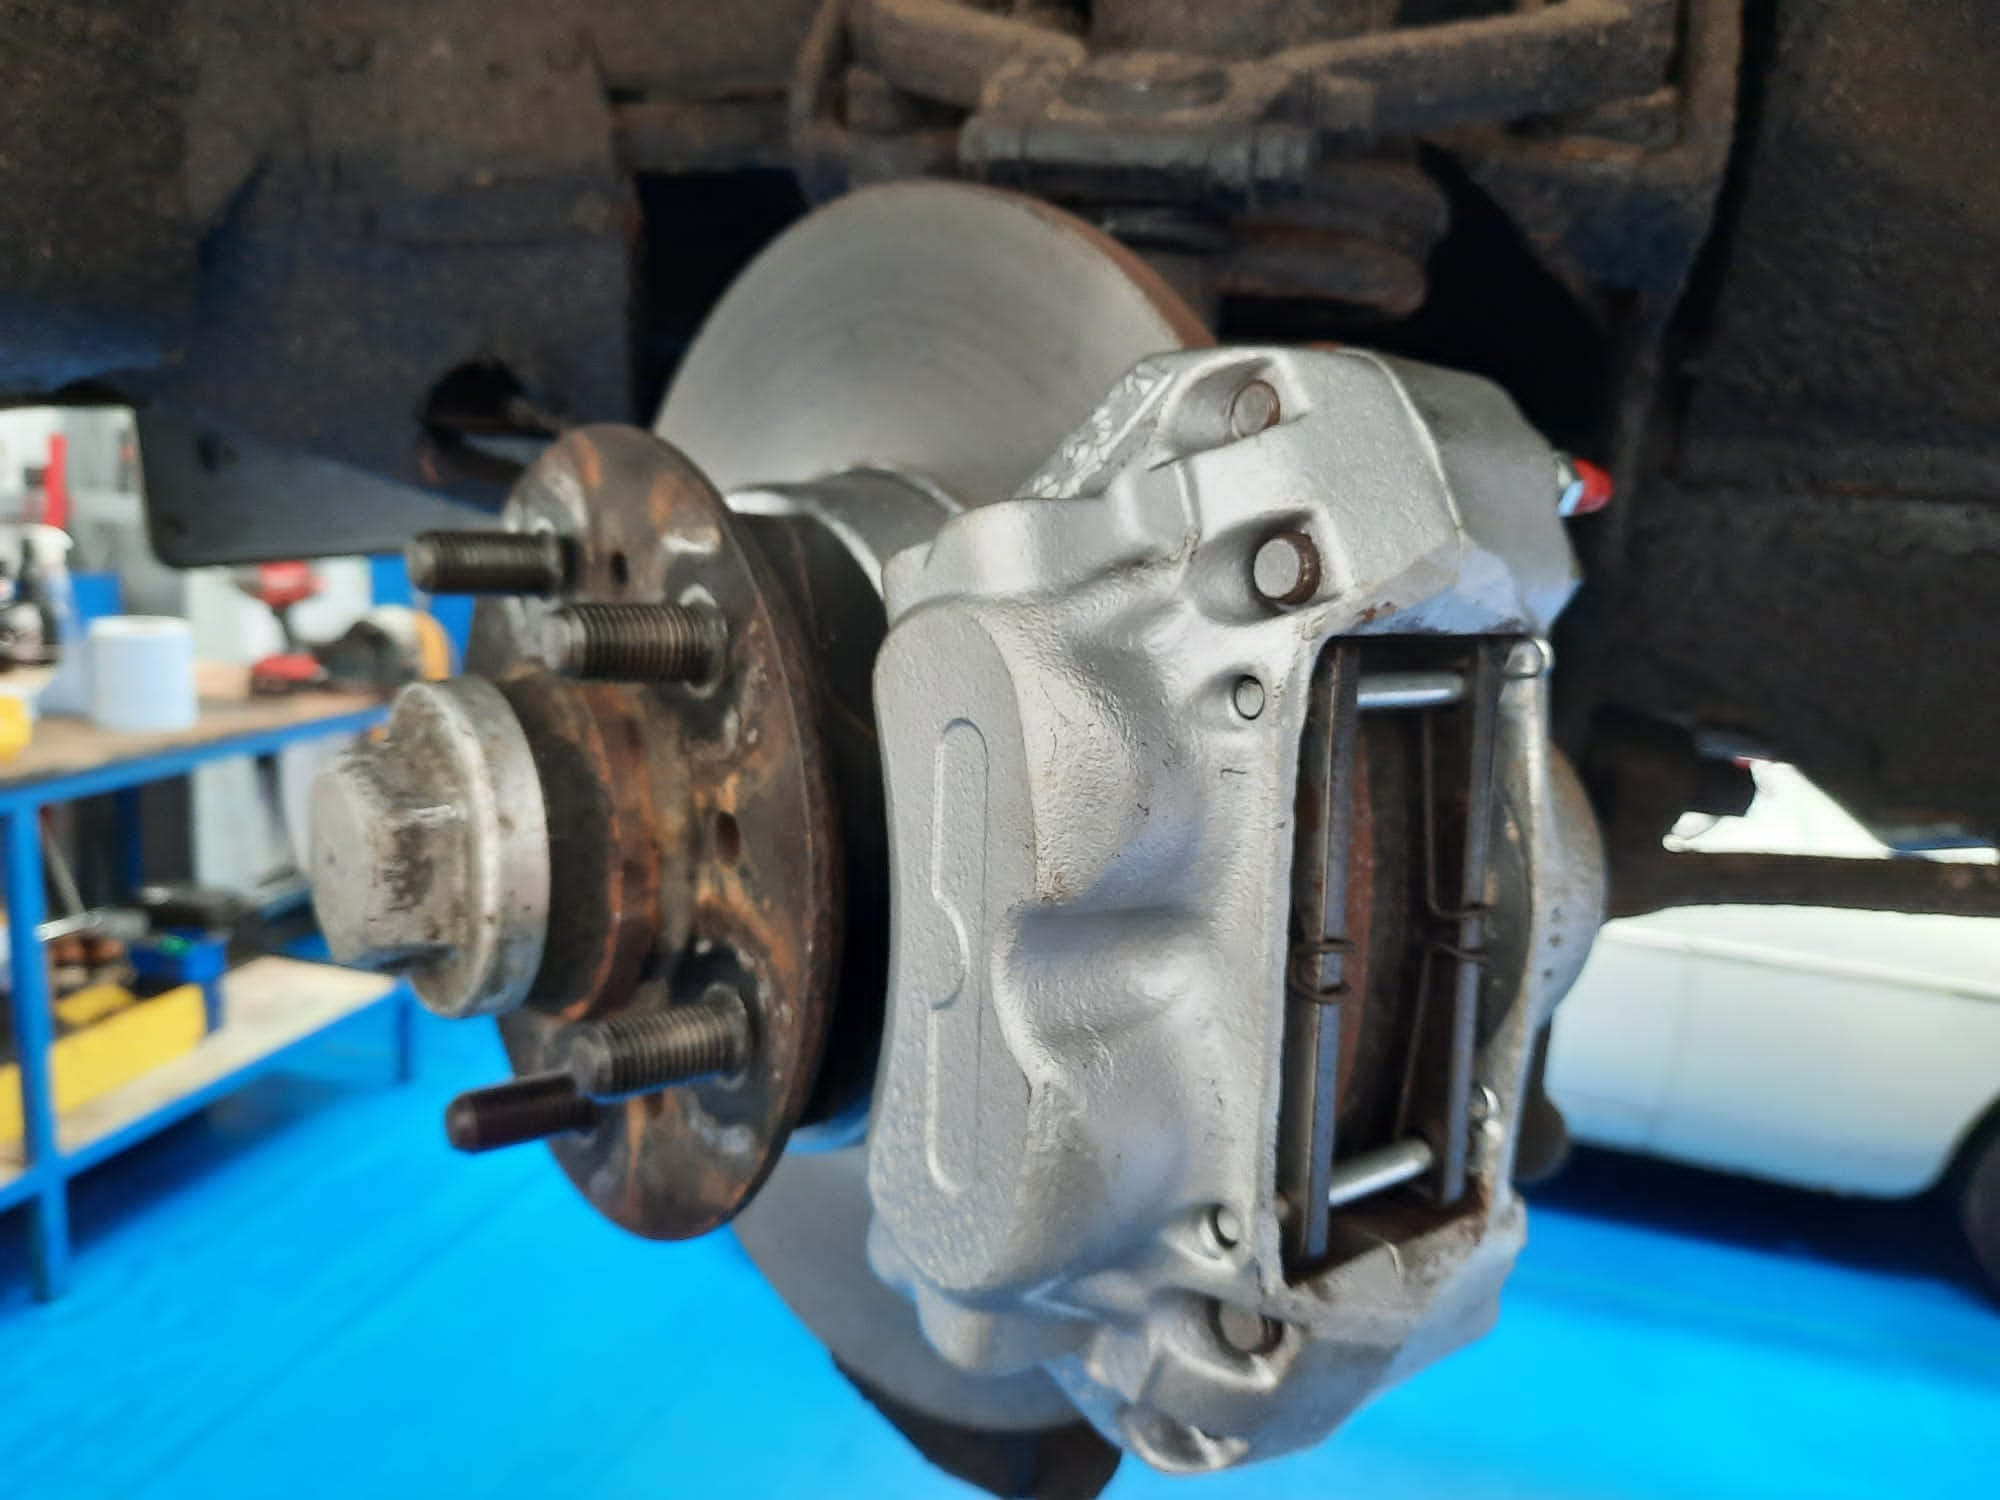
Mauro has been finishing his work on the 1971 Bristol 411. He’s given it a full service, put new break pads on and the contact

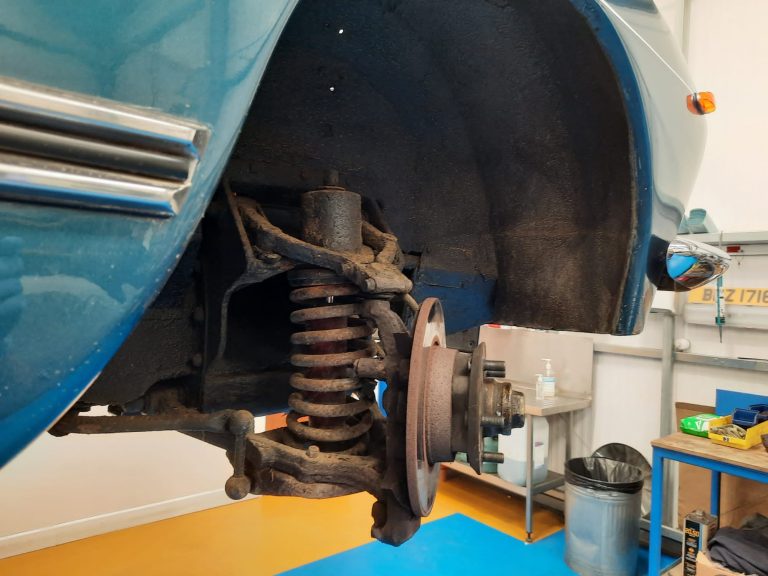
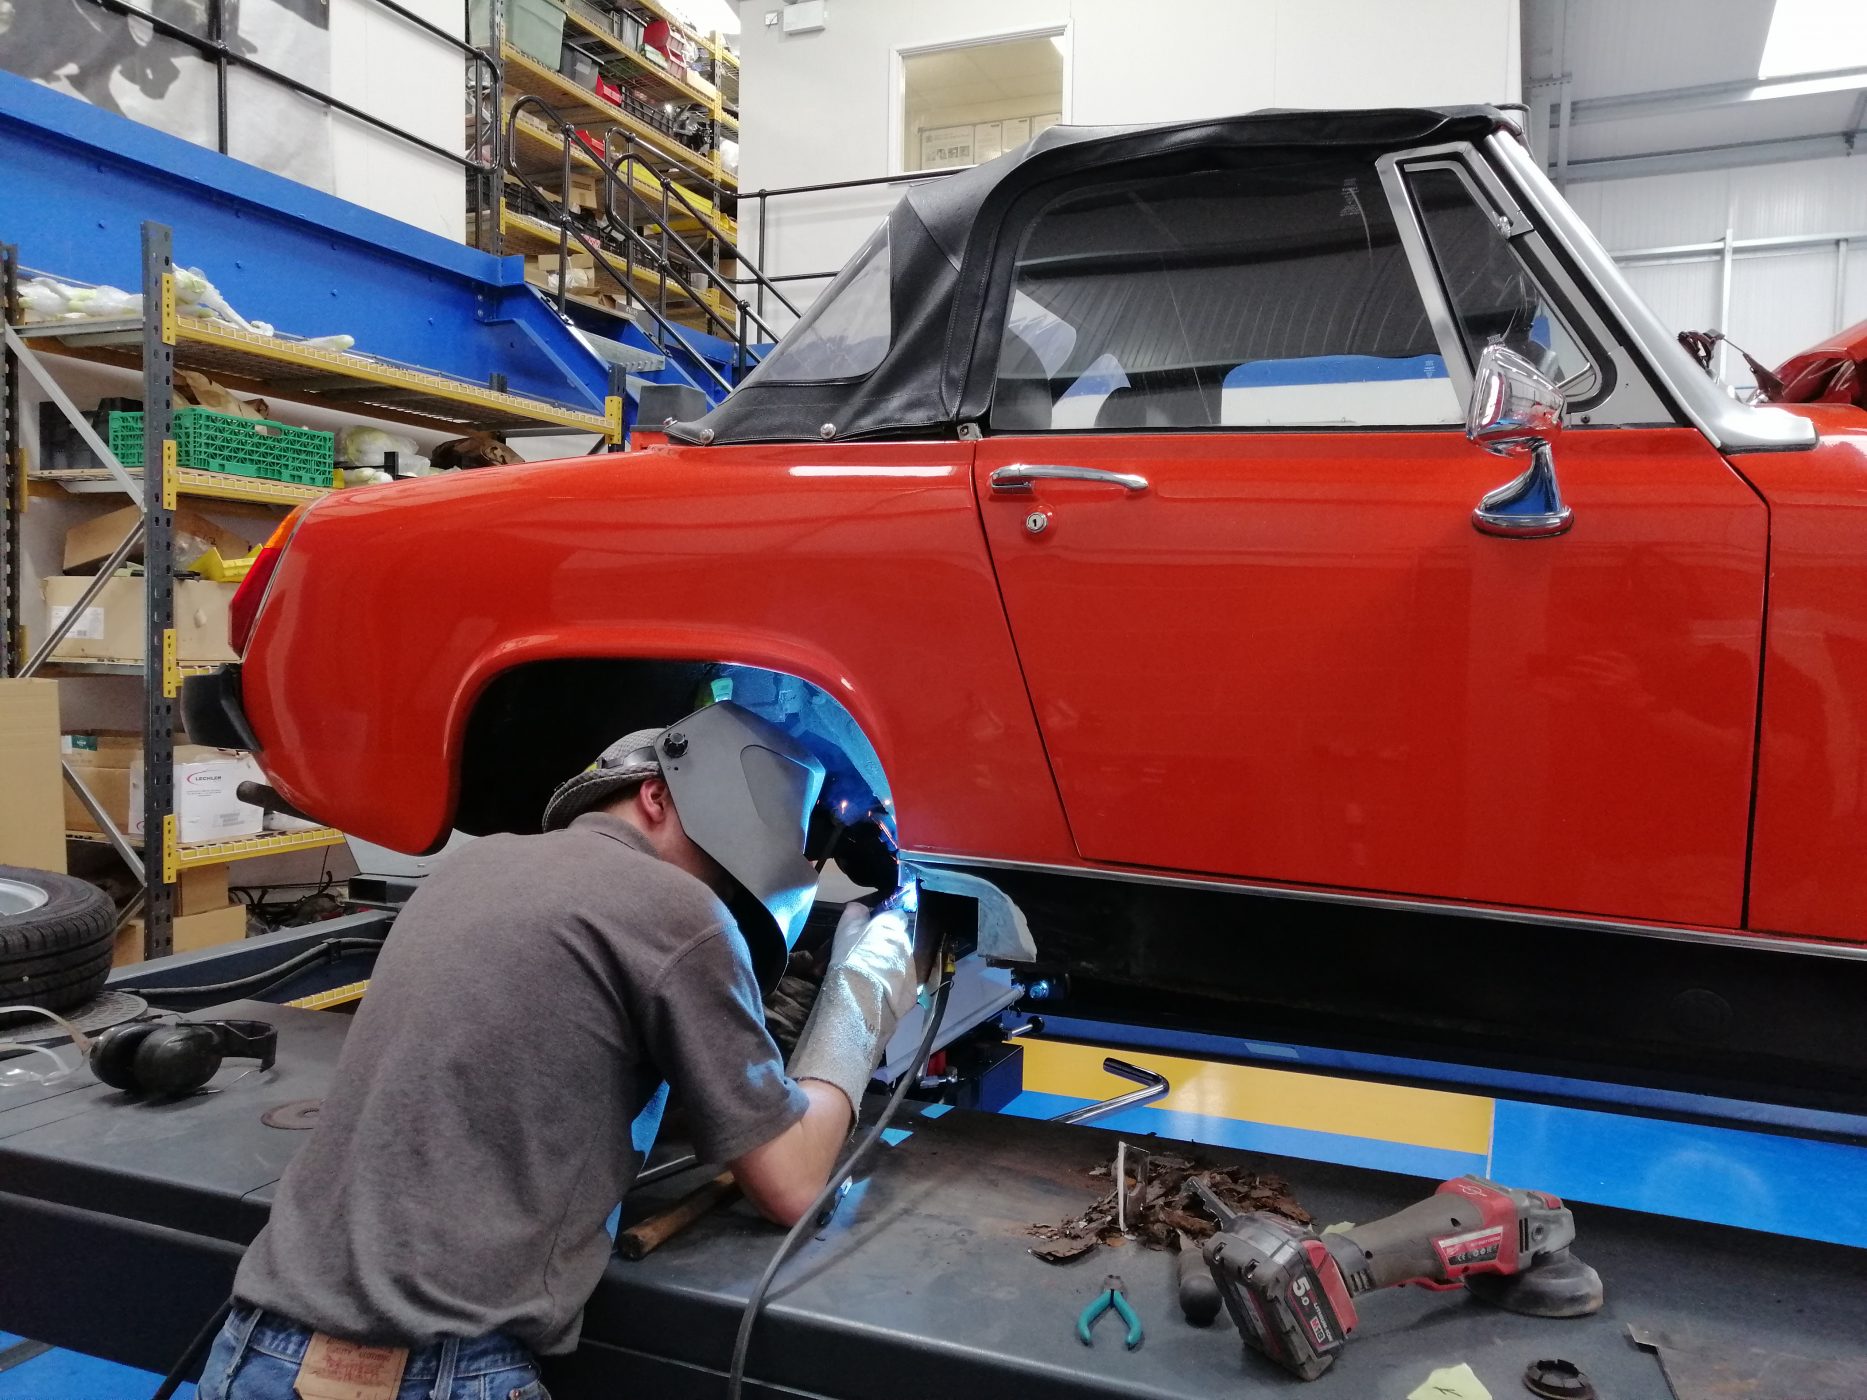
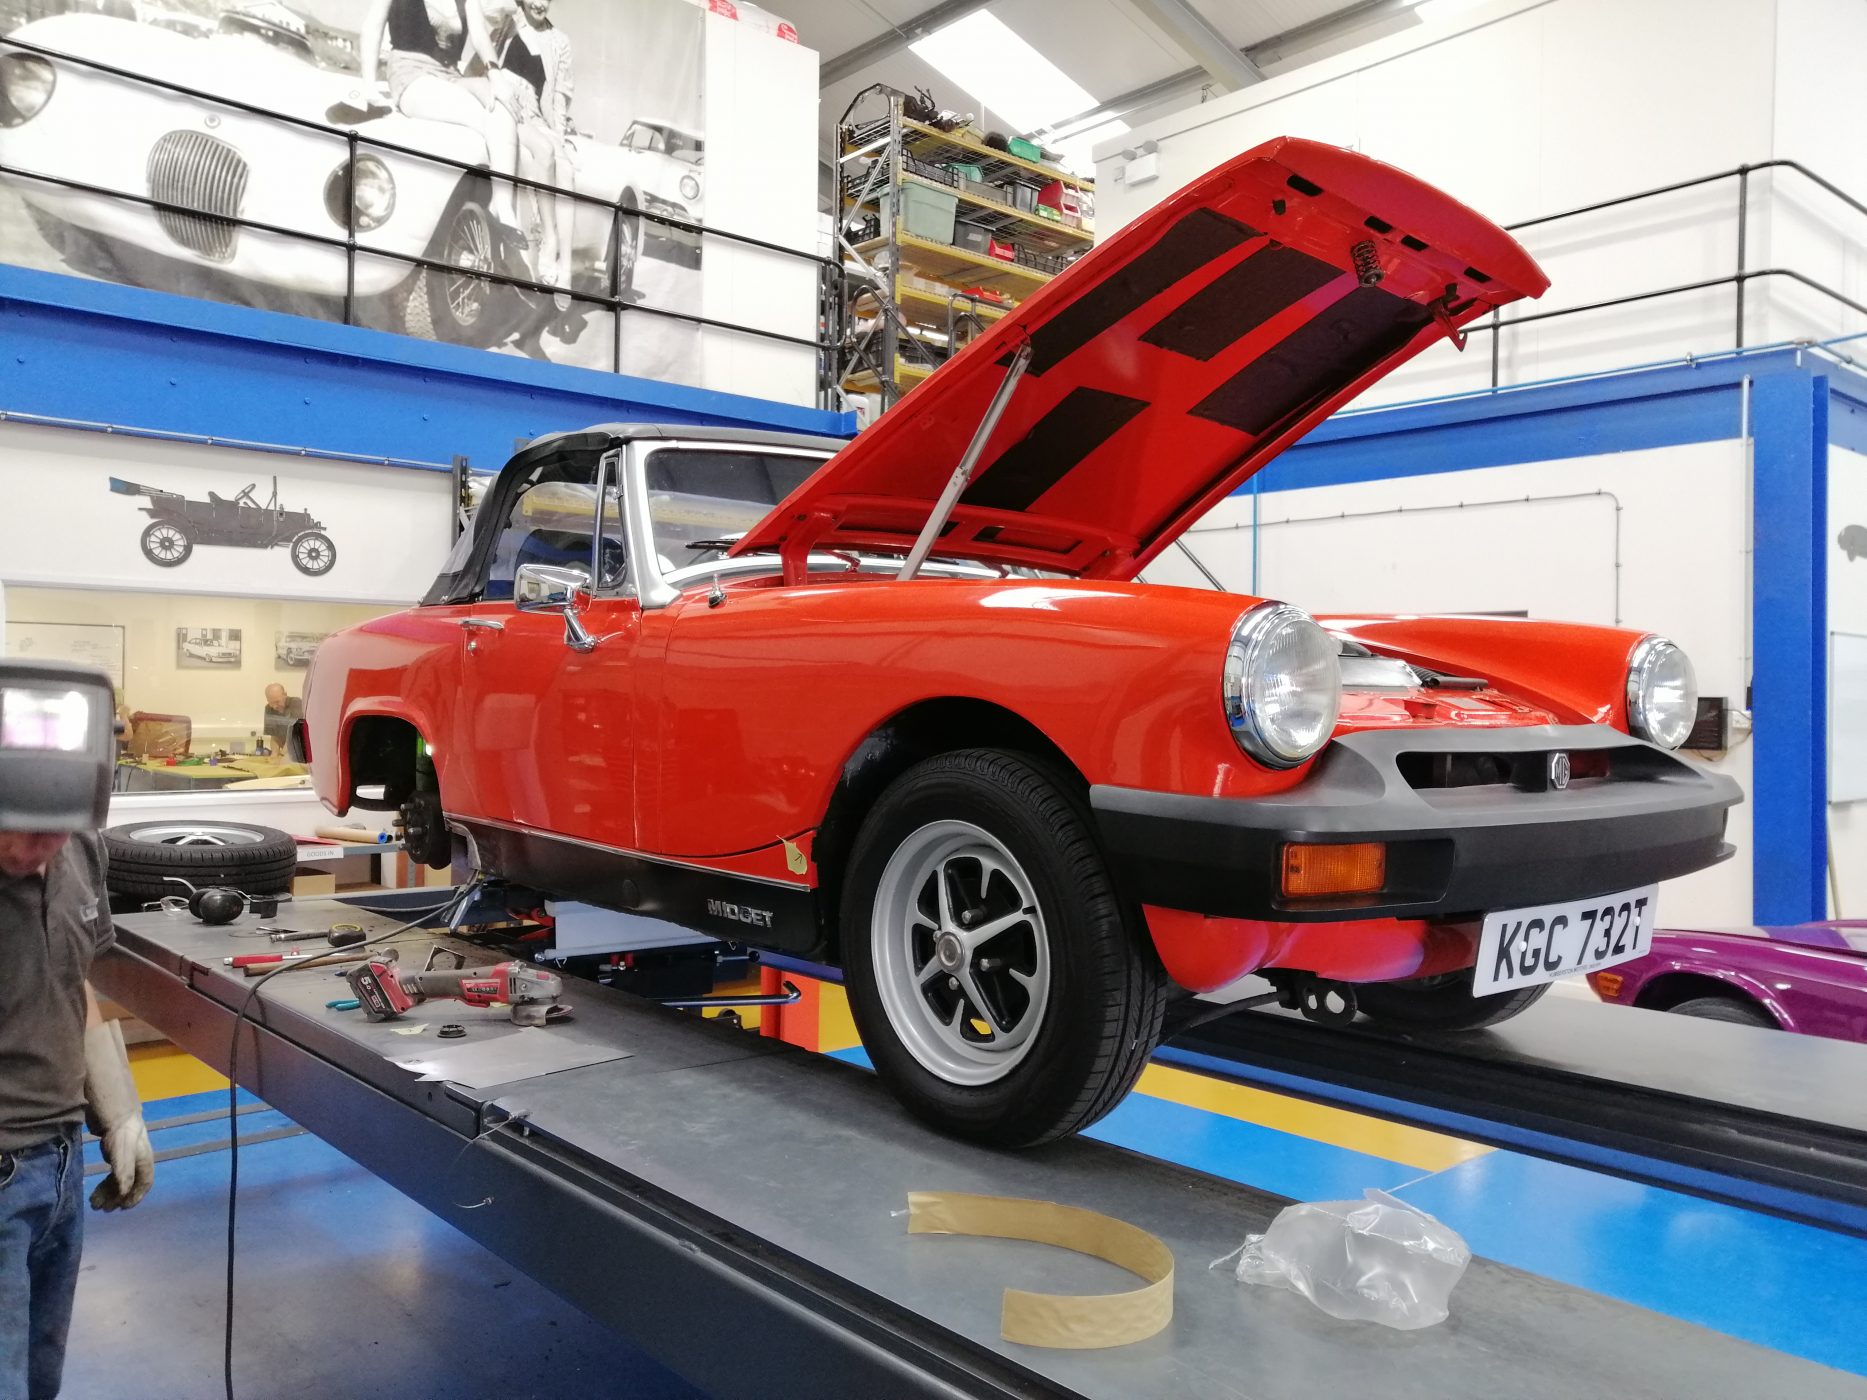
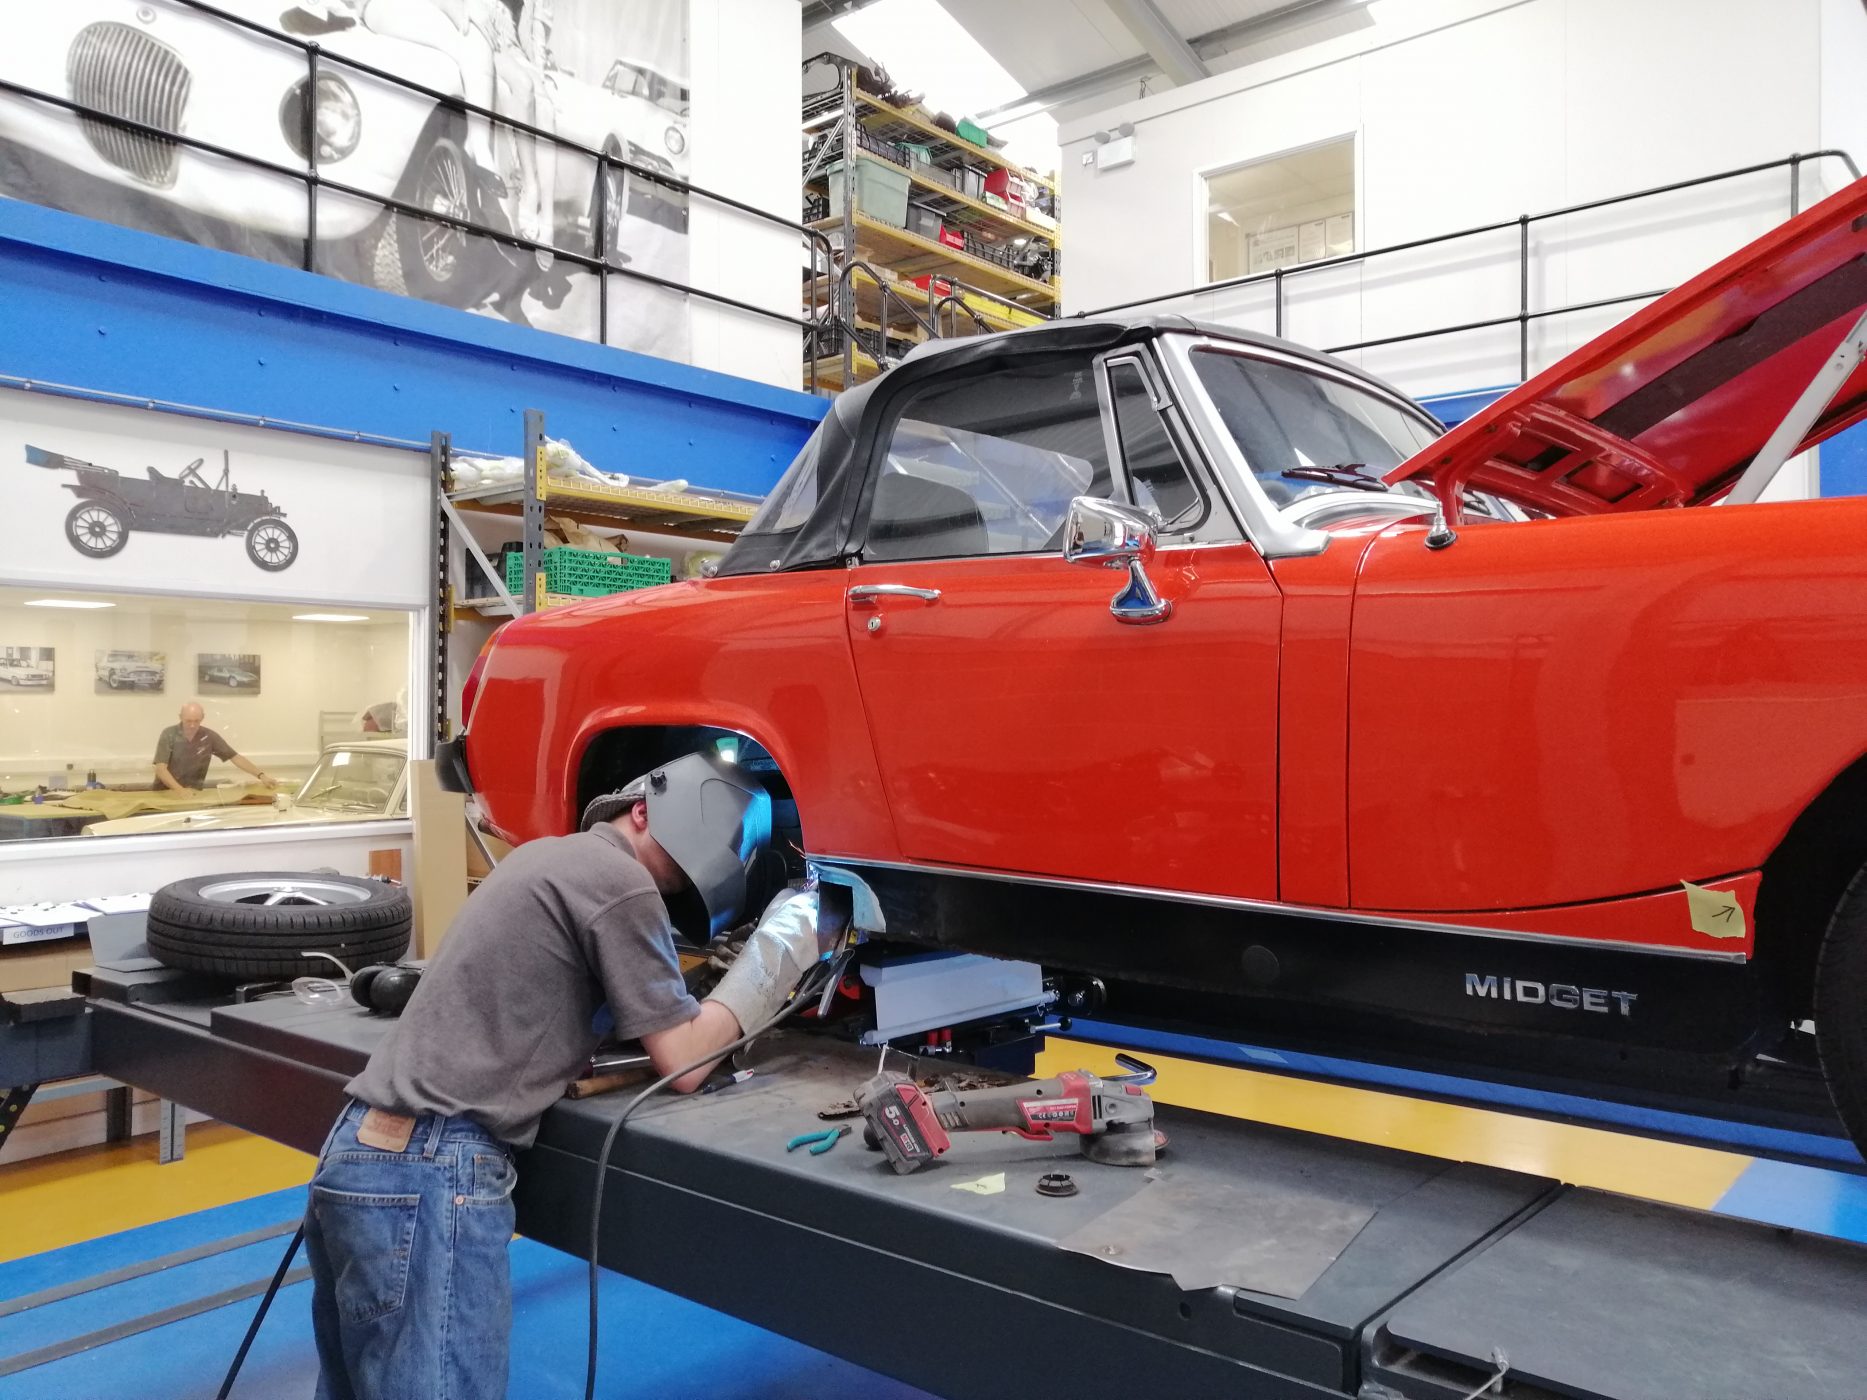
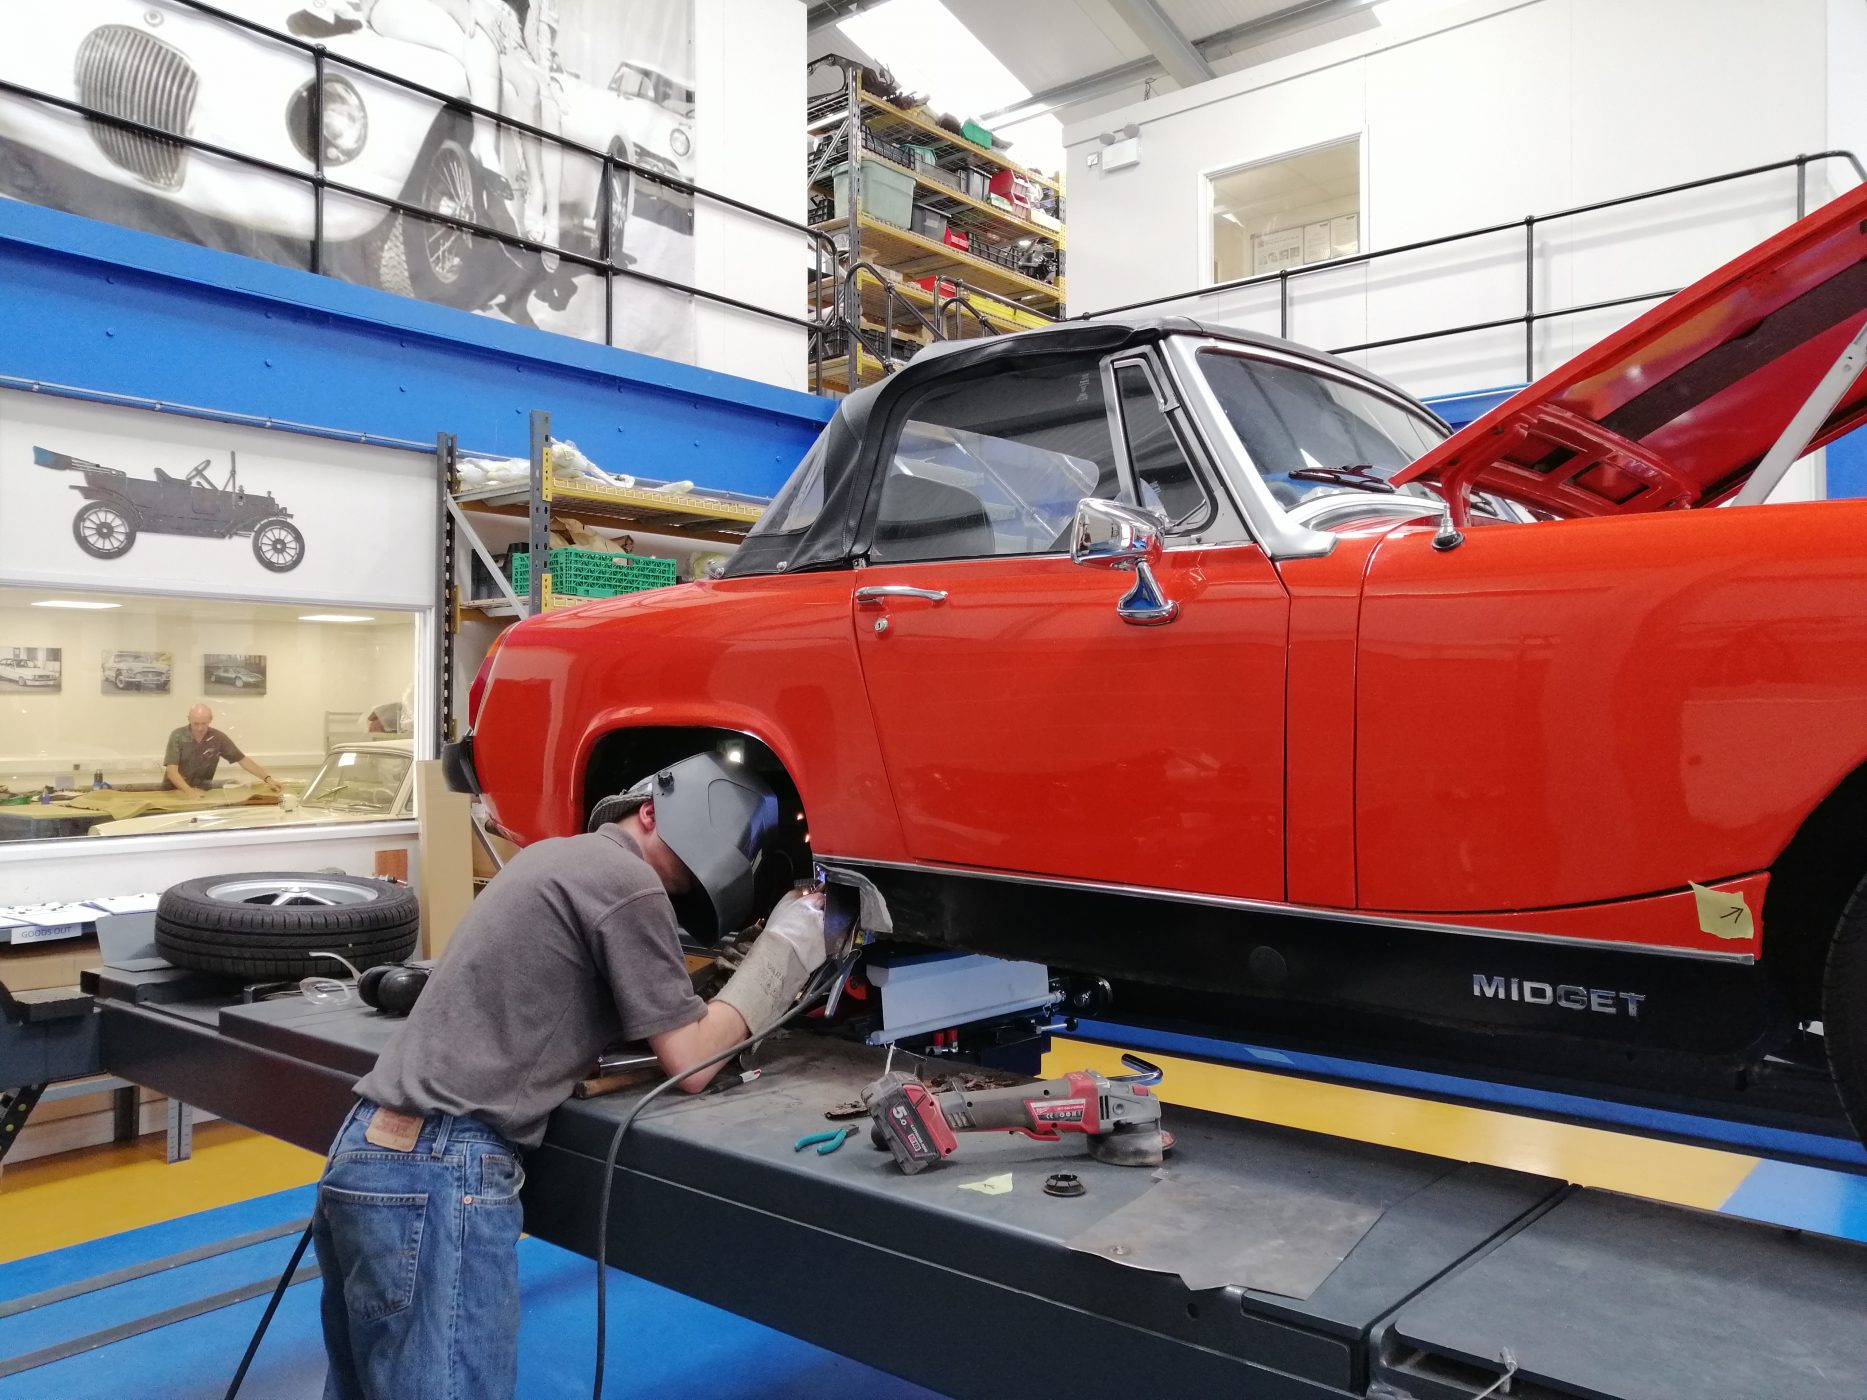
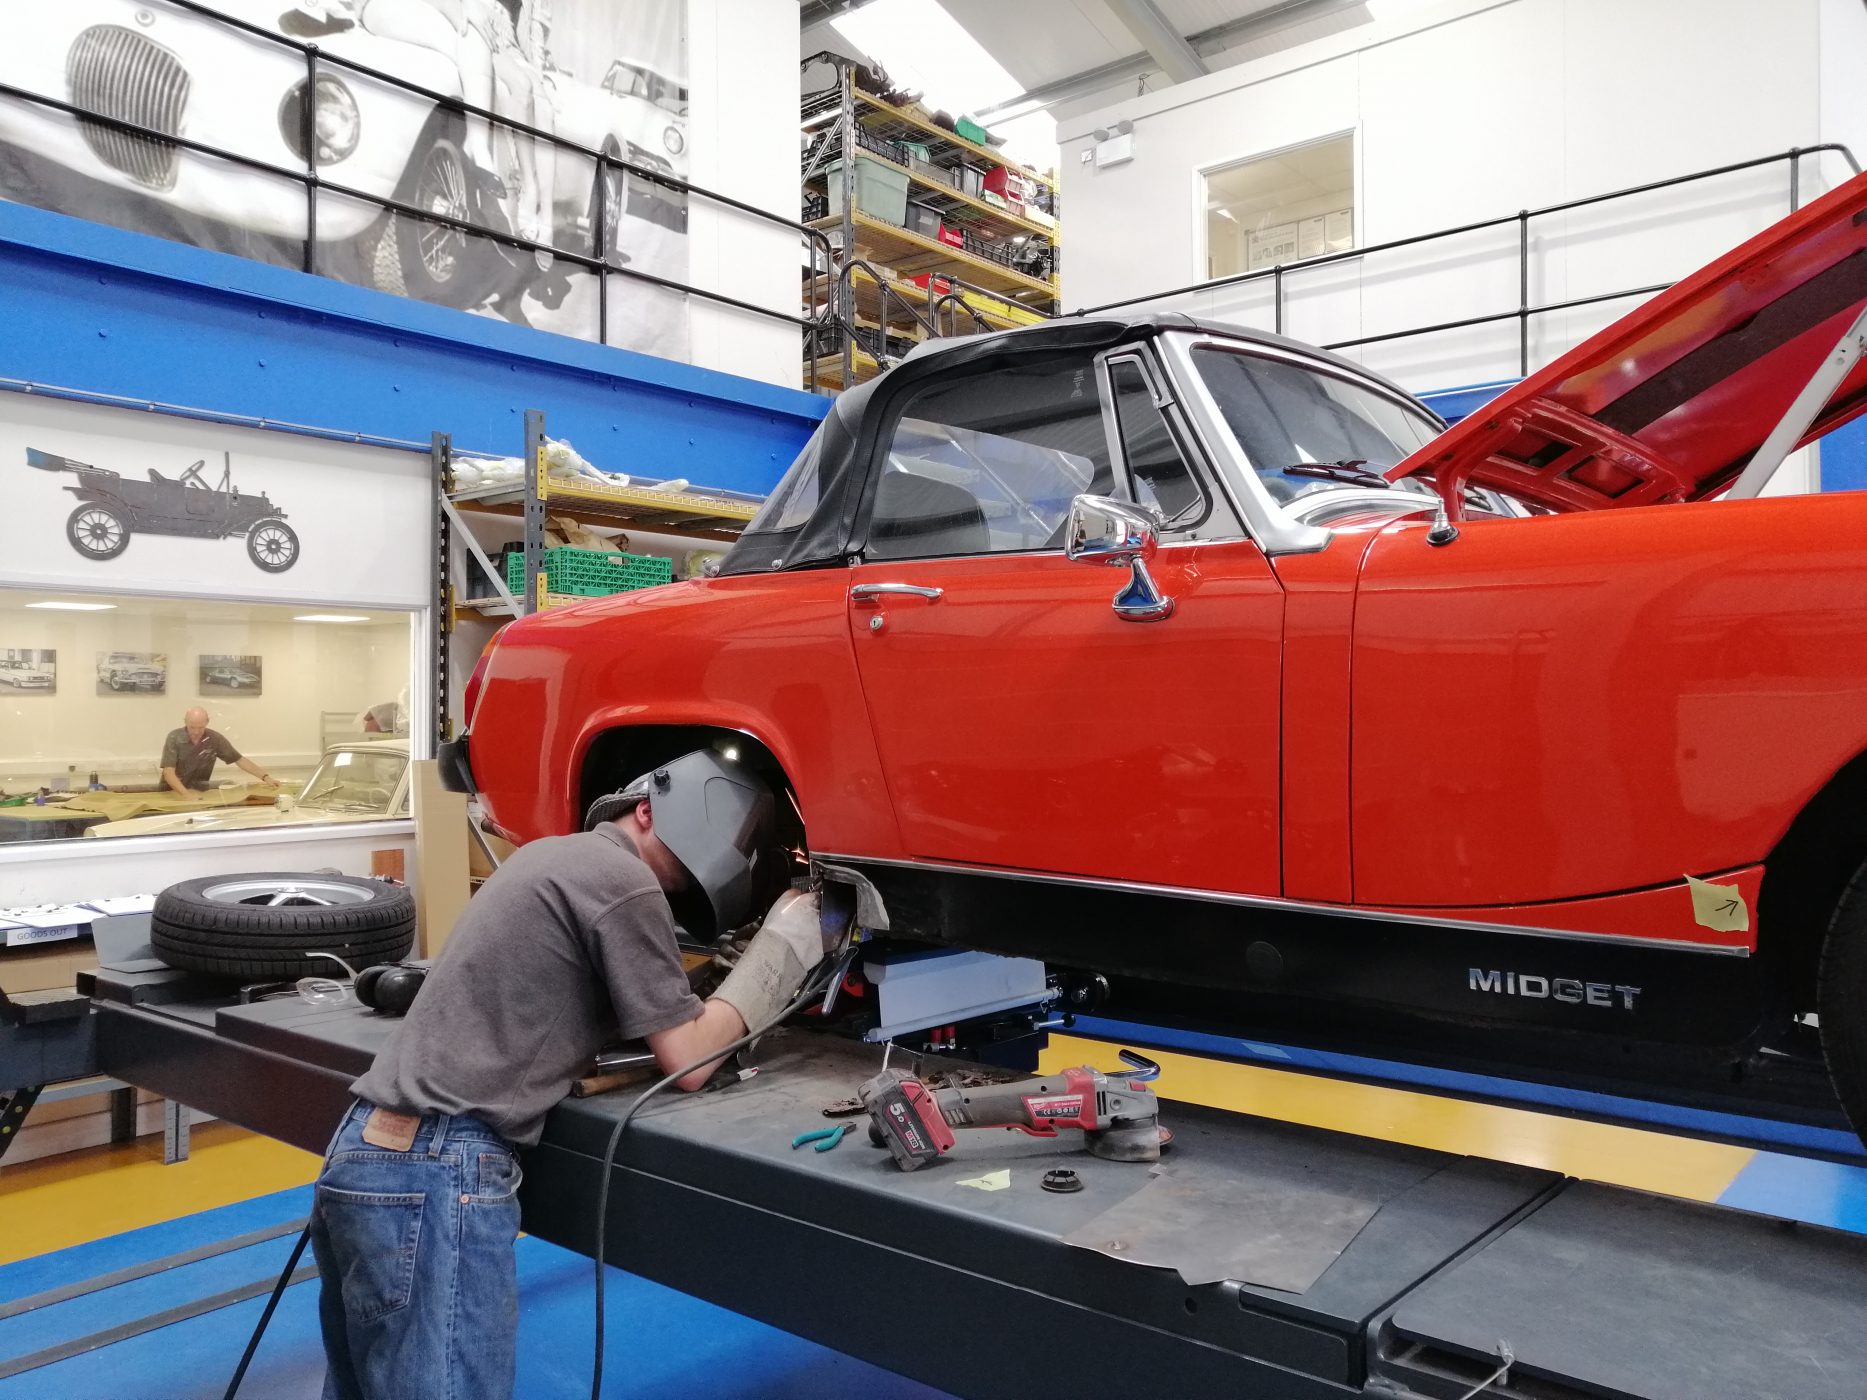
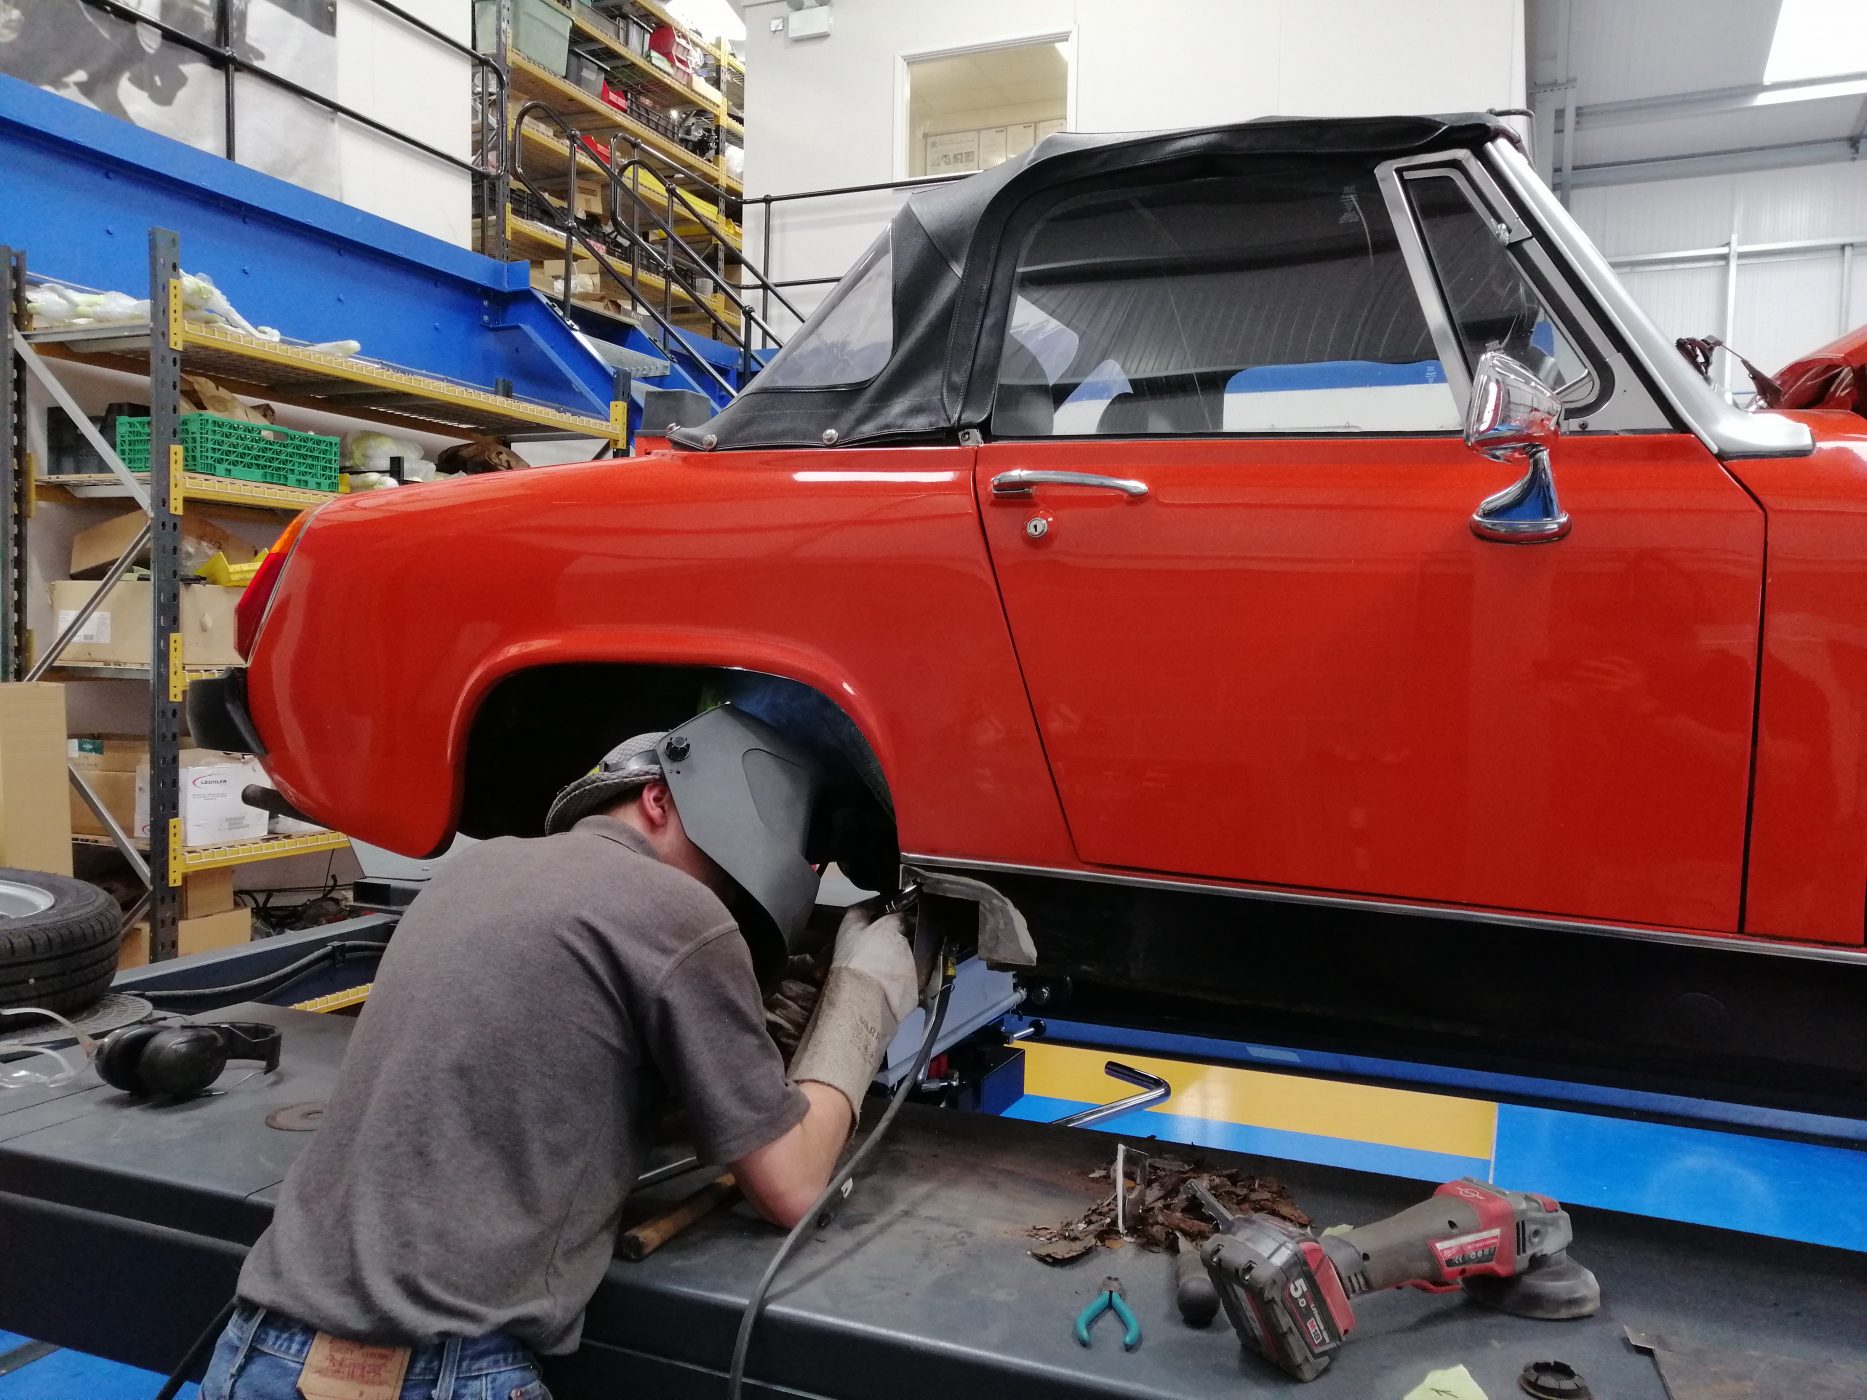
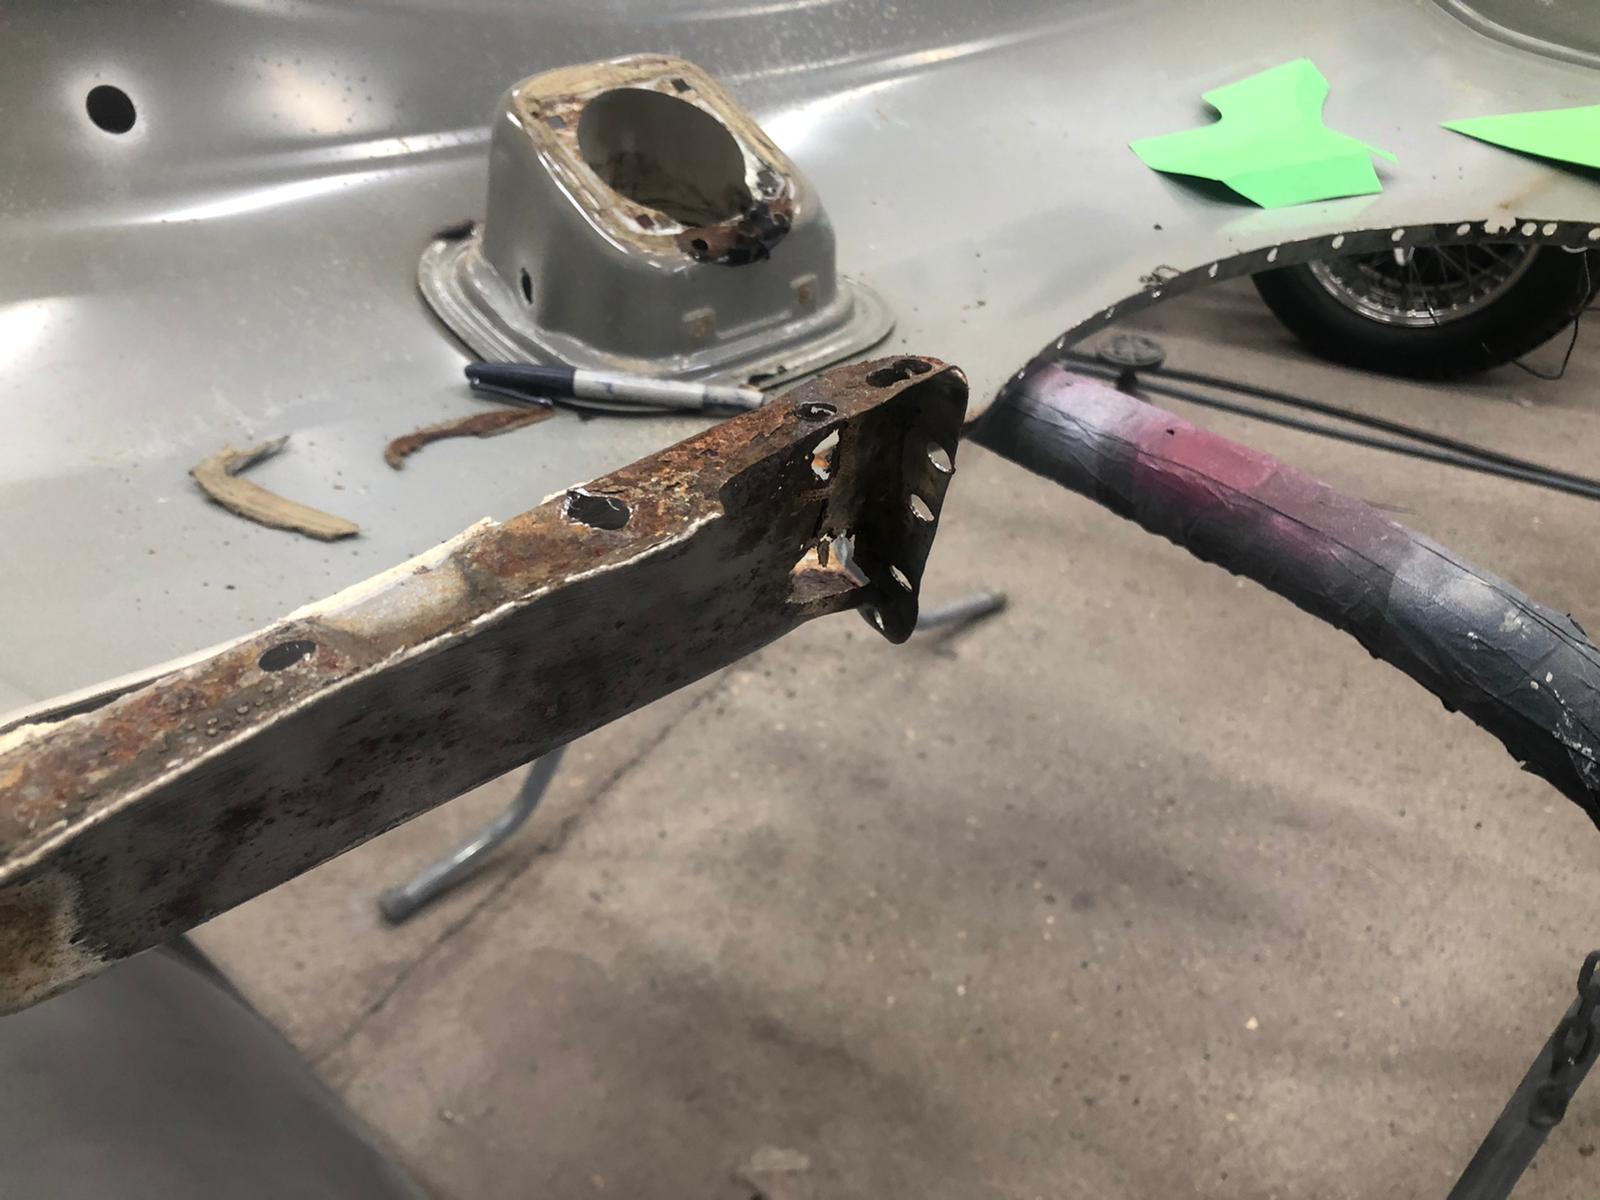
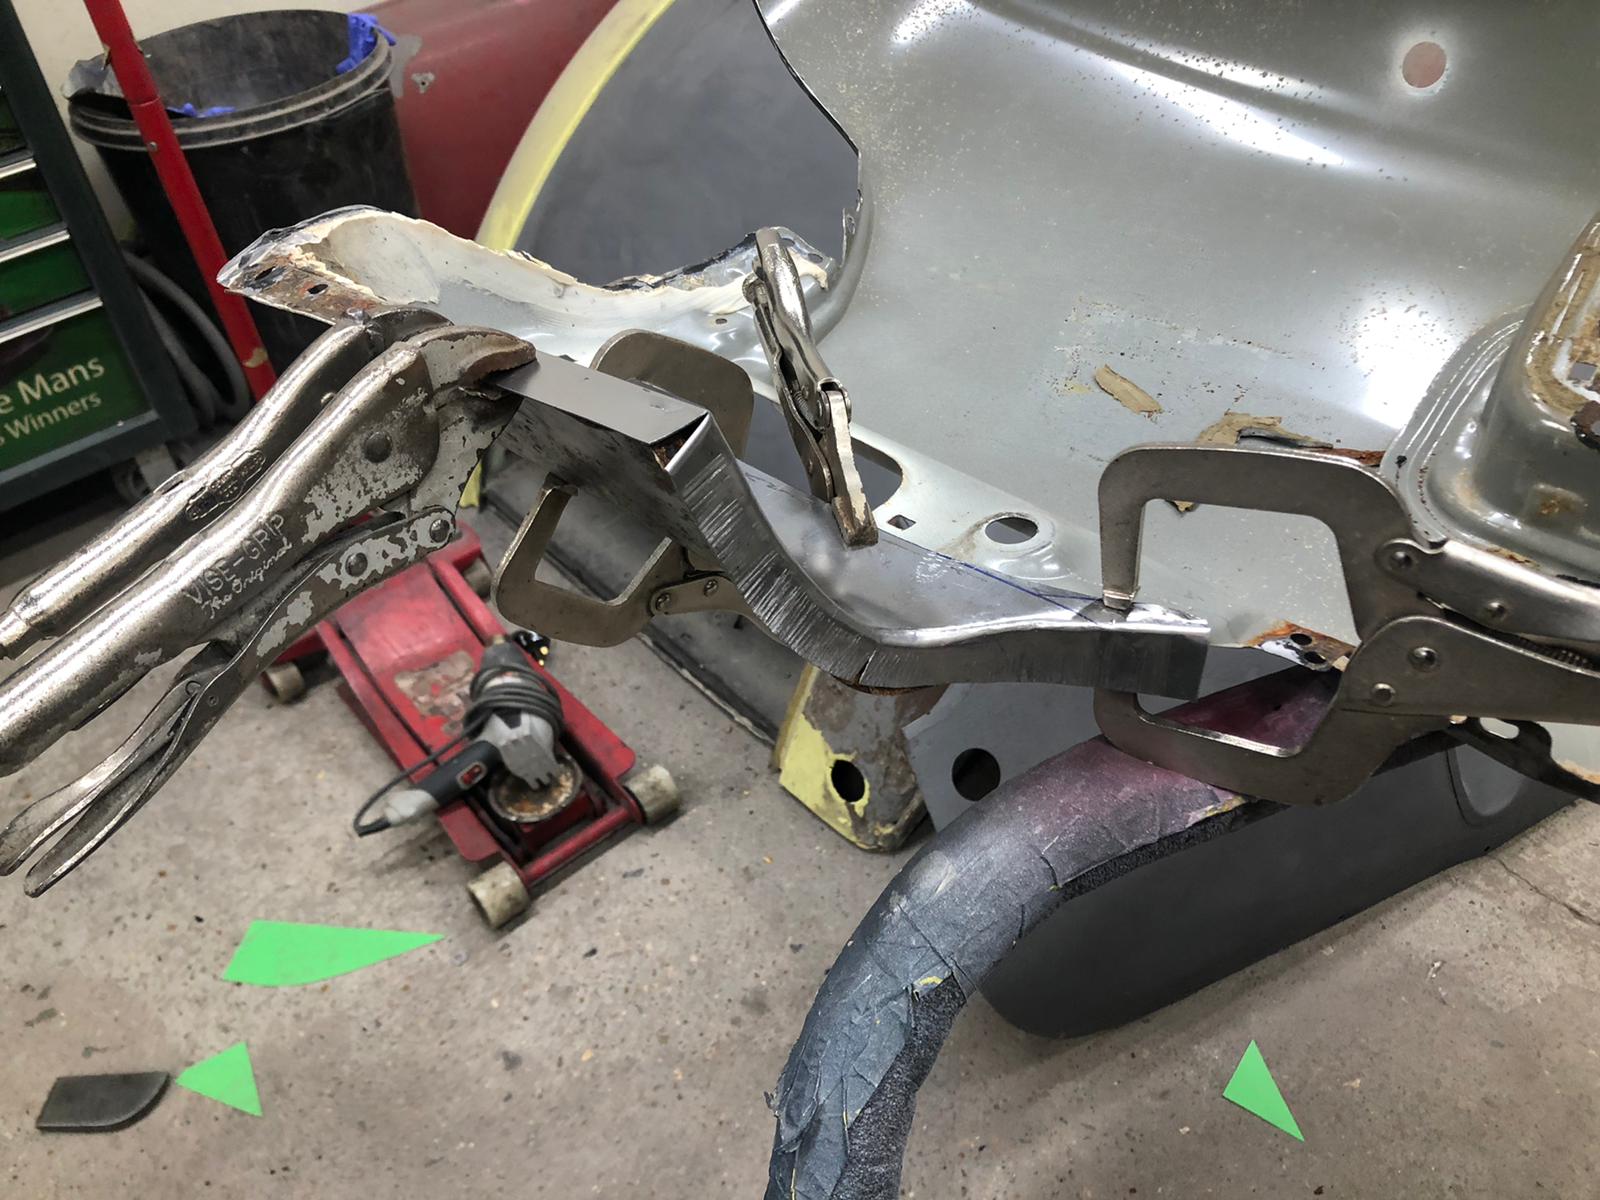
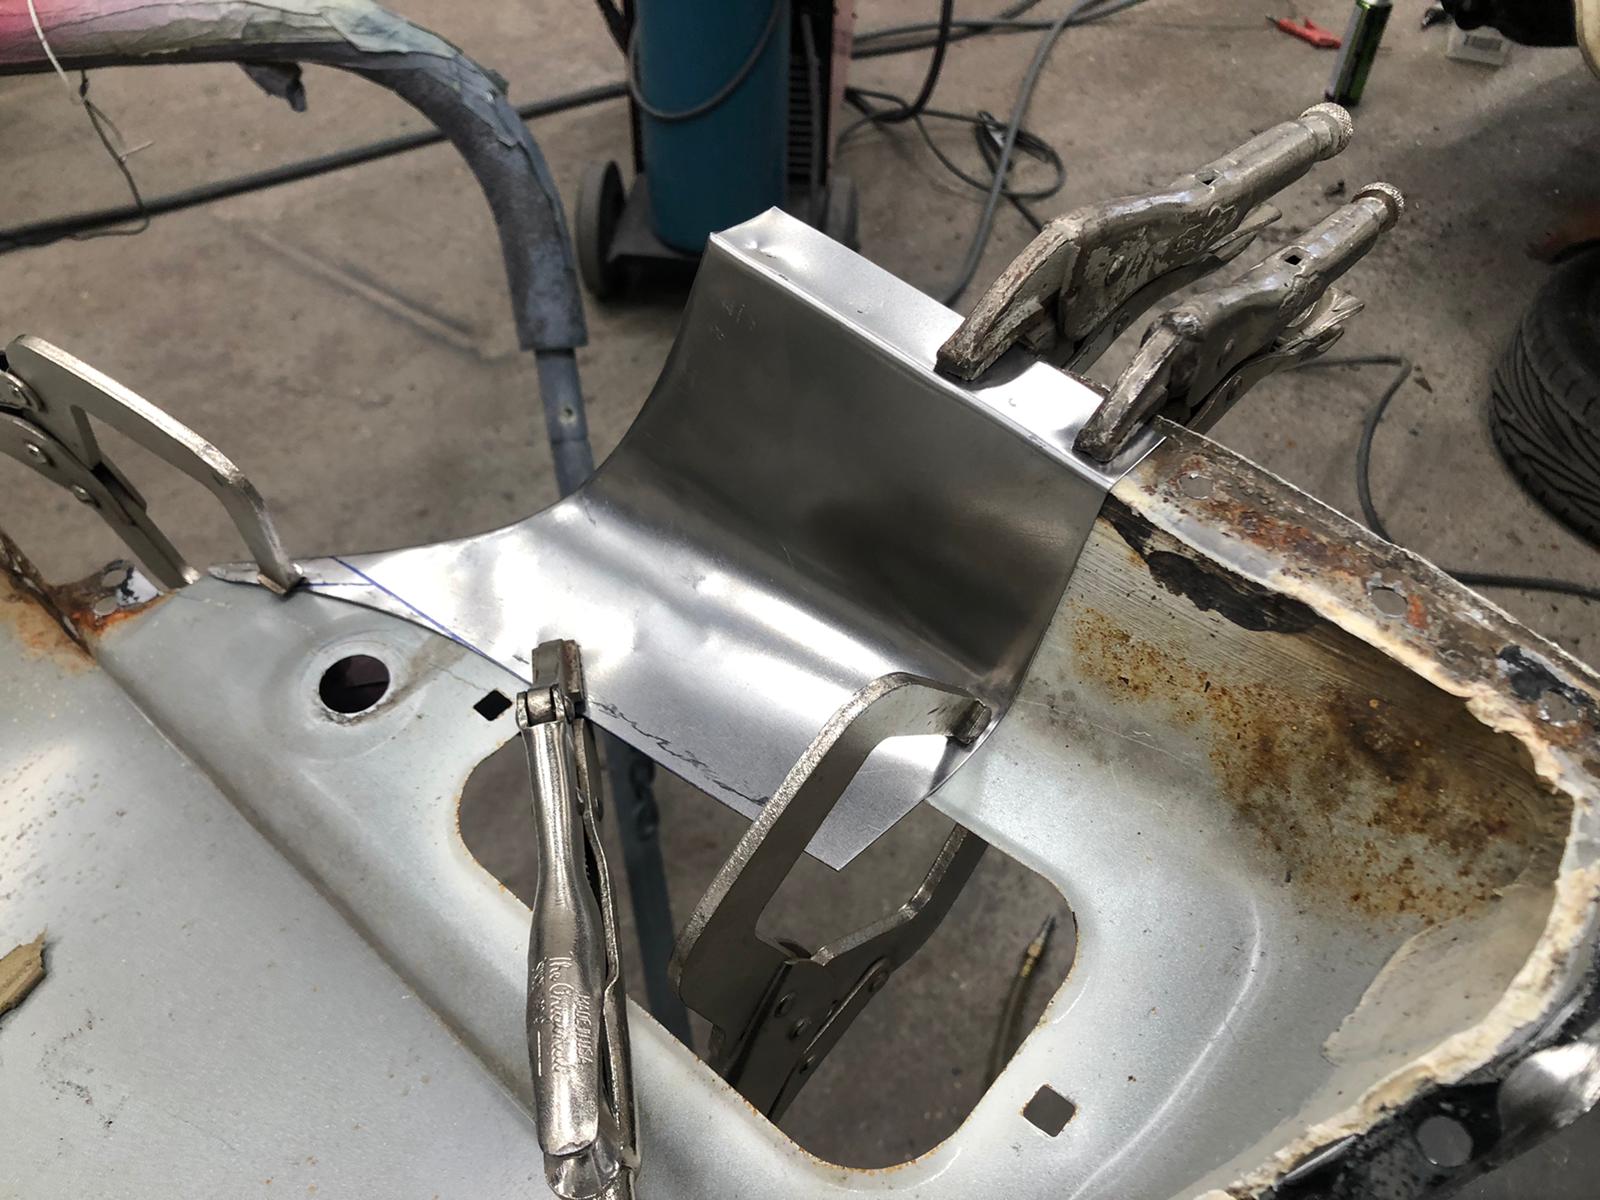
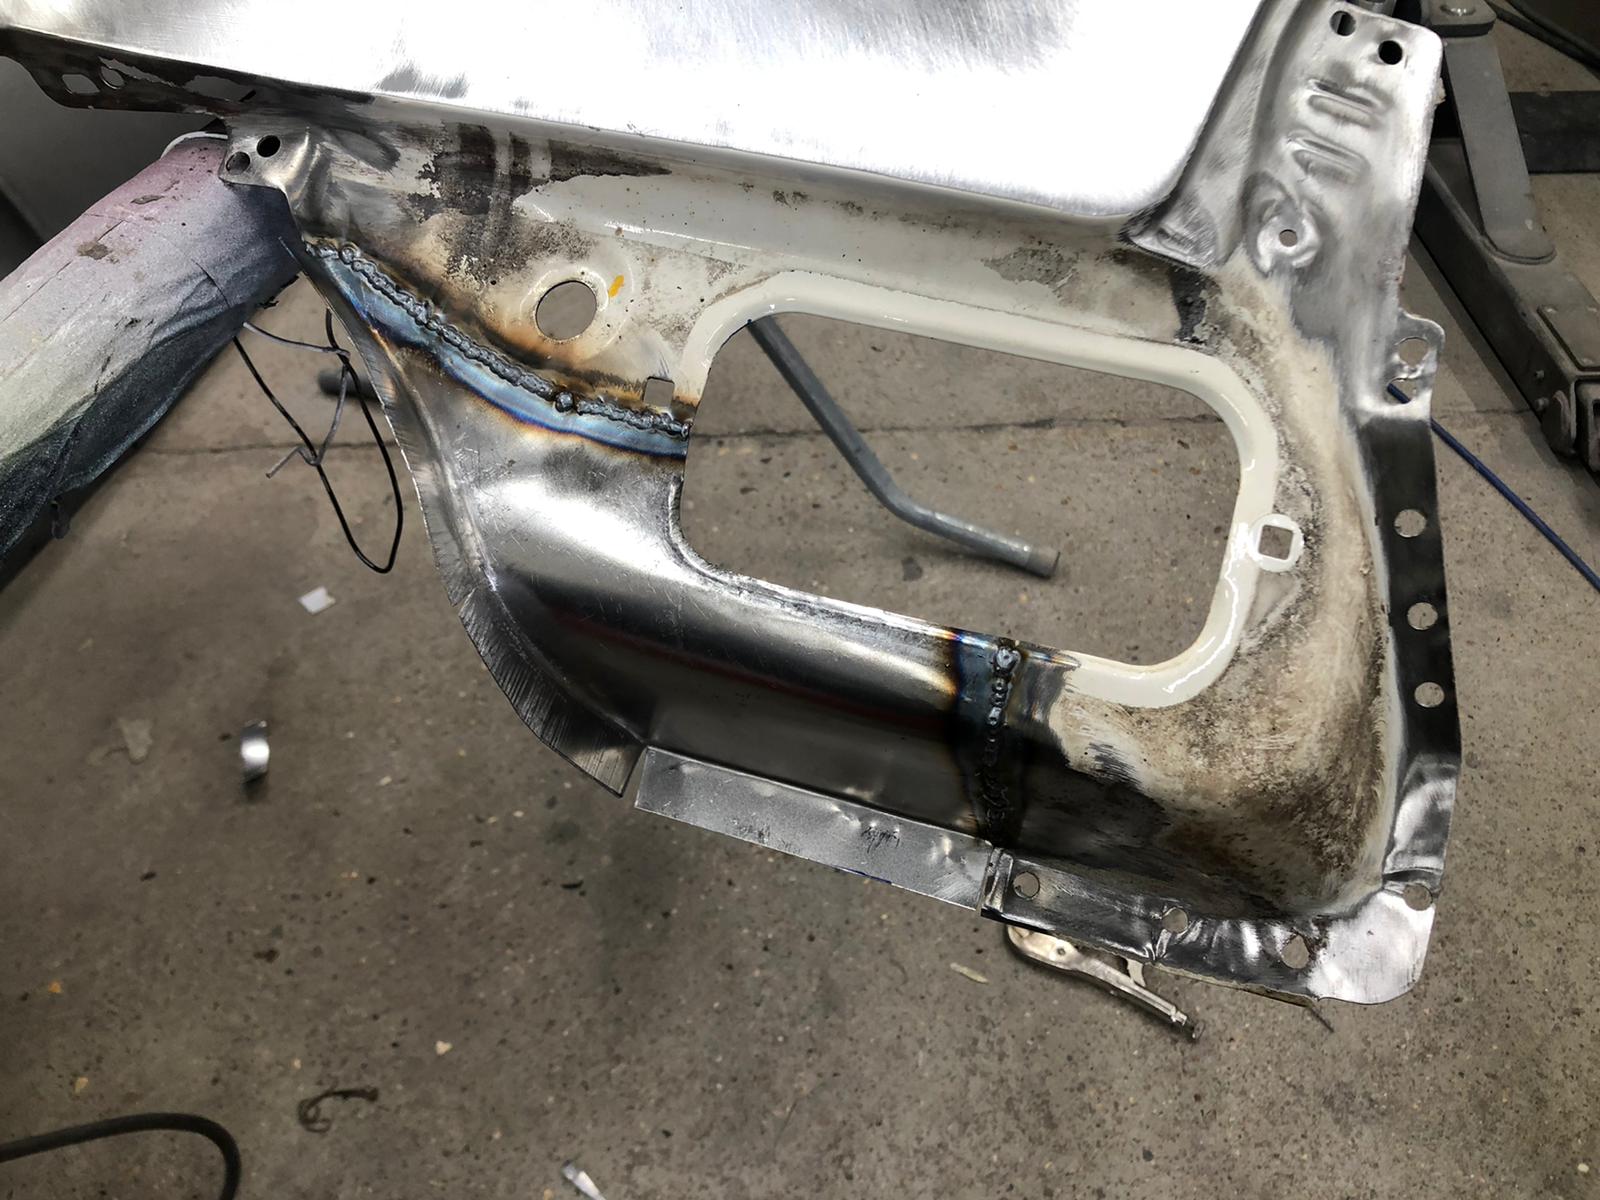
Scott’s been repairing the offside sill of our blaze orange 1979 MG Midget. He fabricated a new section and welded it into place.
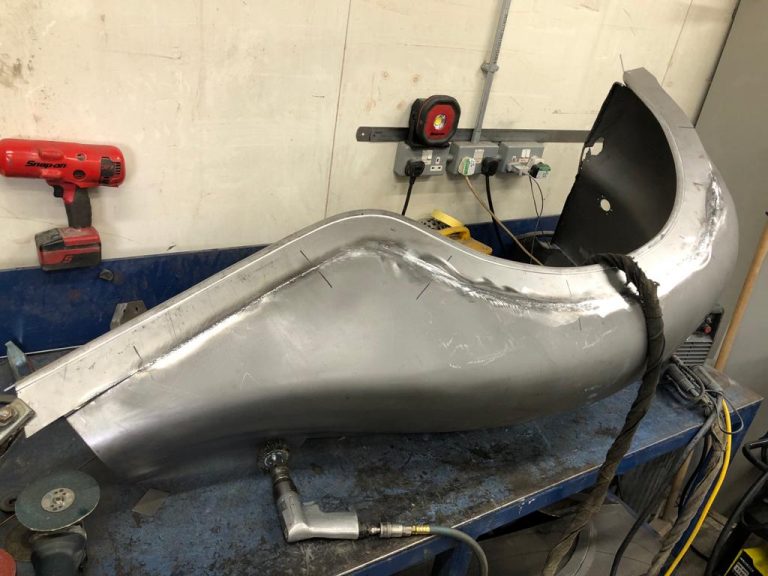
James has been doing some more work on one of the wings of our 1951 yellow Riley RMB. He’s been finishing by welding in the

Kath has been continuing her work on the front squab seats for the 1955 Aston Martin DB 2 4 Mark I. Now the fronts of

We thought you might like to see some more photos from last Sunday’s Bridge Classic Cars Classic and Bike Show. Thank you again to the

Pricey has been continuing his repair work on the white 1998 Honda Integra Type R. The original floor edge was very thin, so he welded
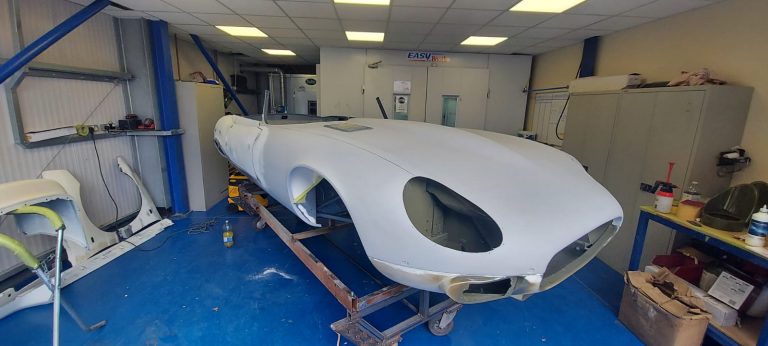
Chris and Matt have been doing more paint prep work on the 1973 Series 3 Jaguar E-Type. They put the body of the car in
Lydia has been re-covering the headlining panels for the Aston Martin DB 2/4 Mark I. She started by peeling off the original fabric from each

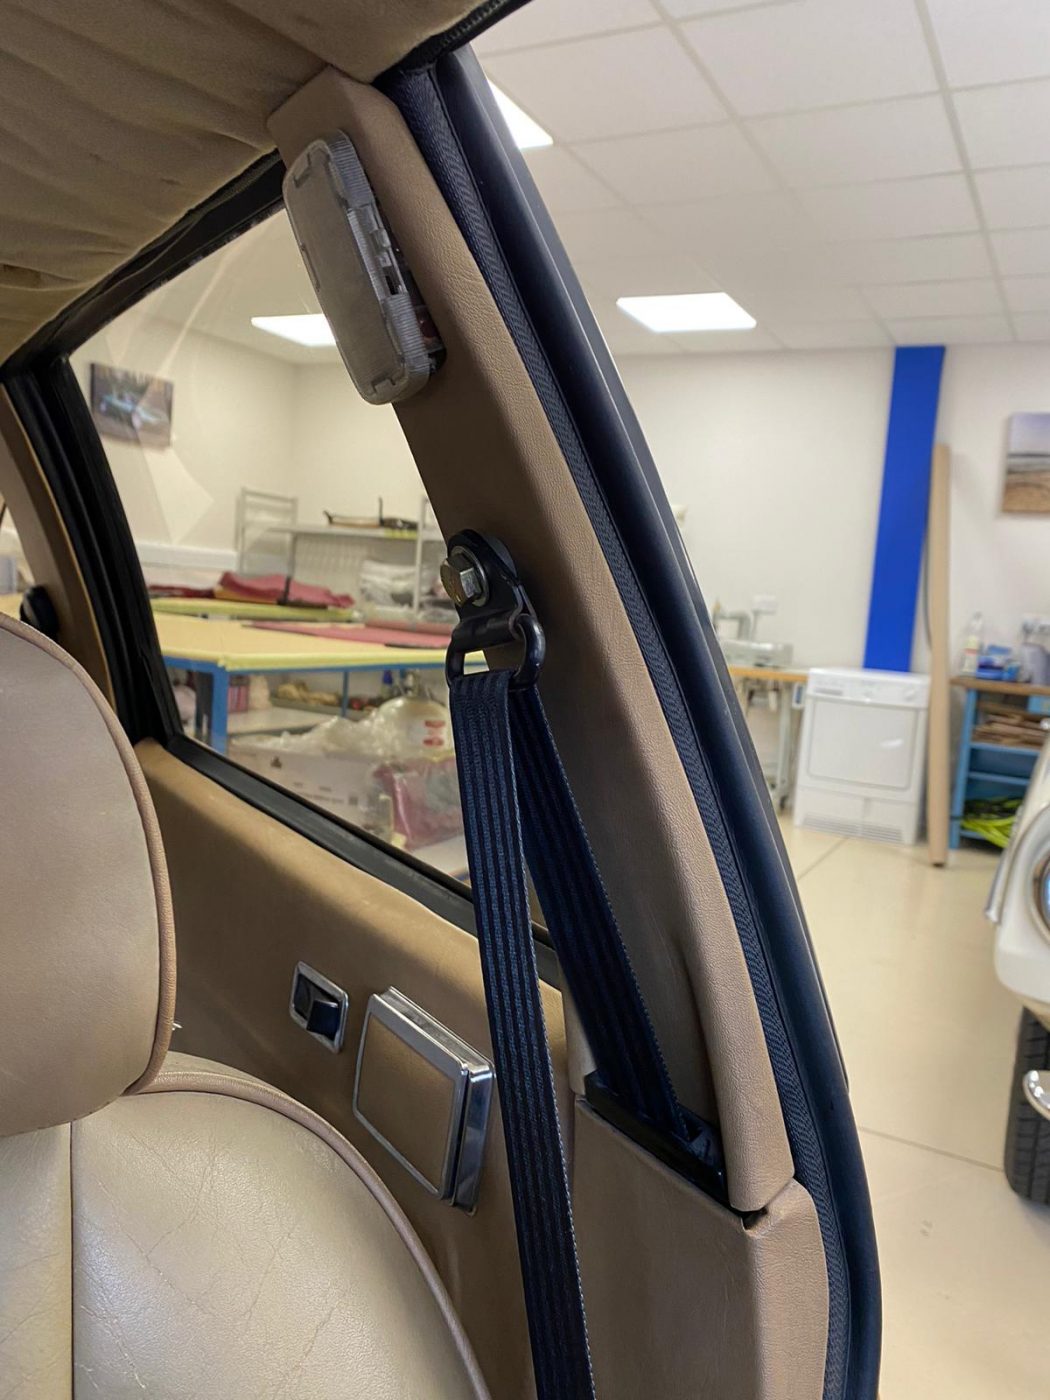
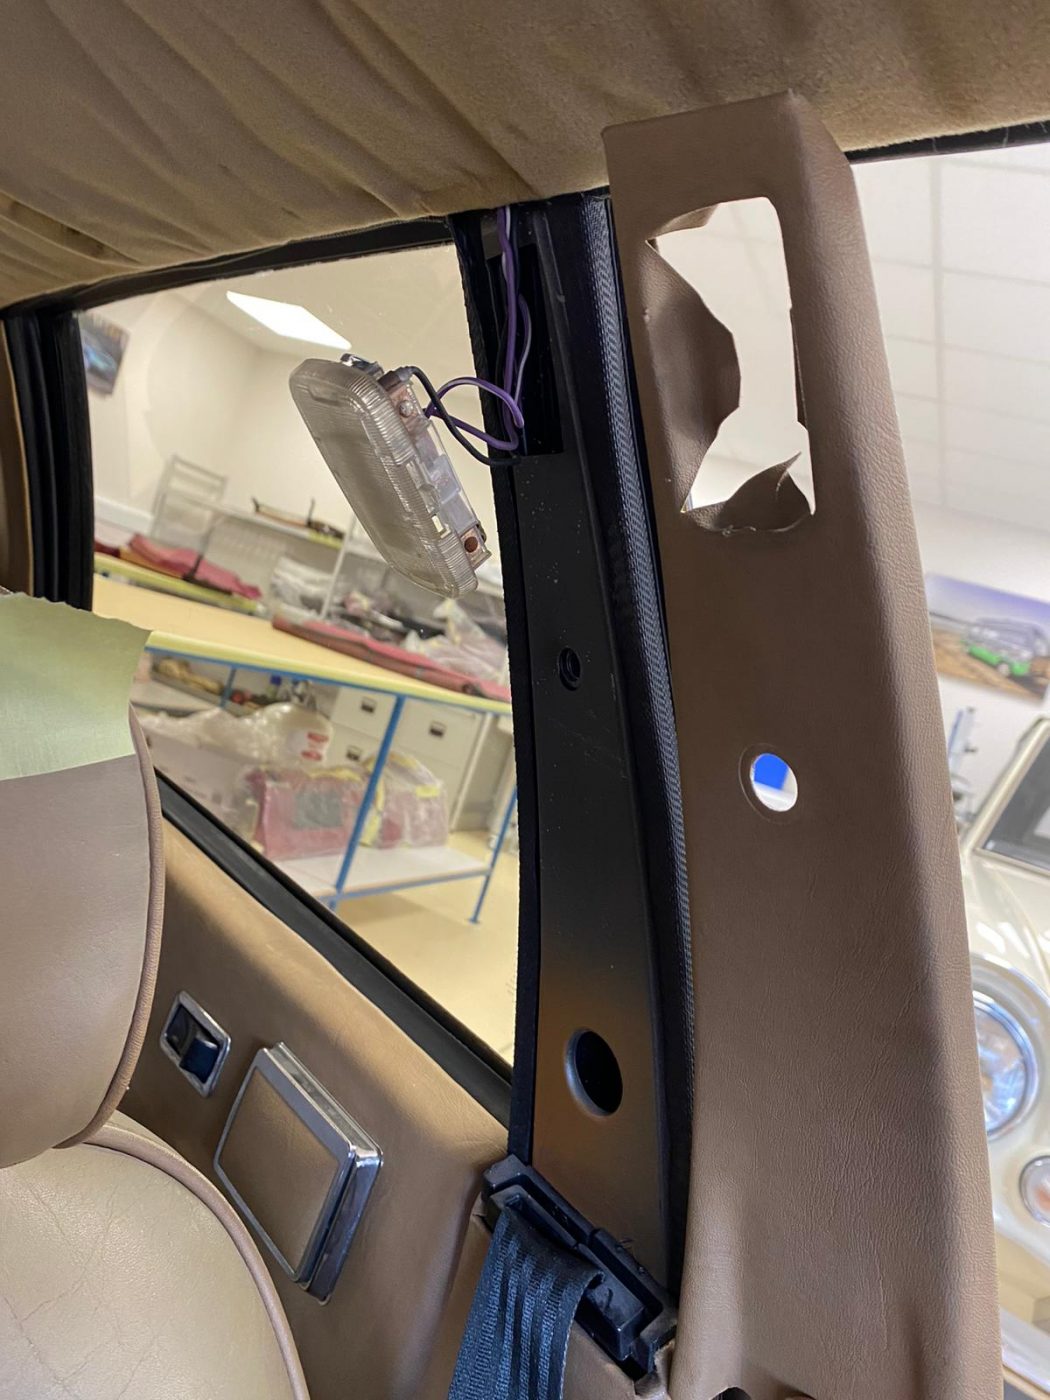
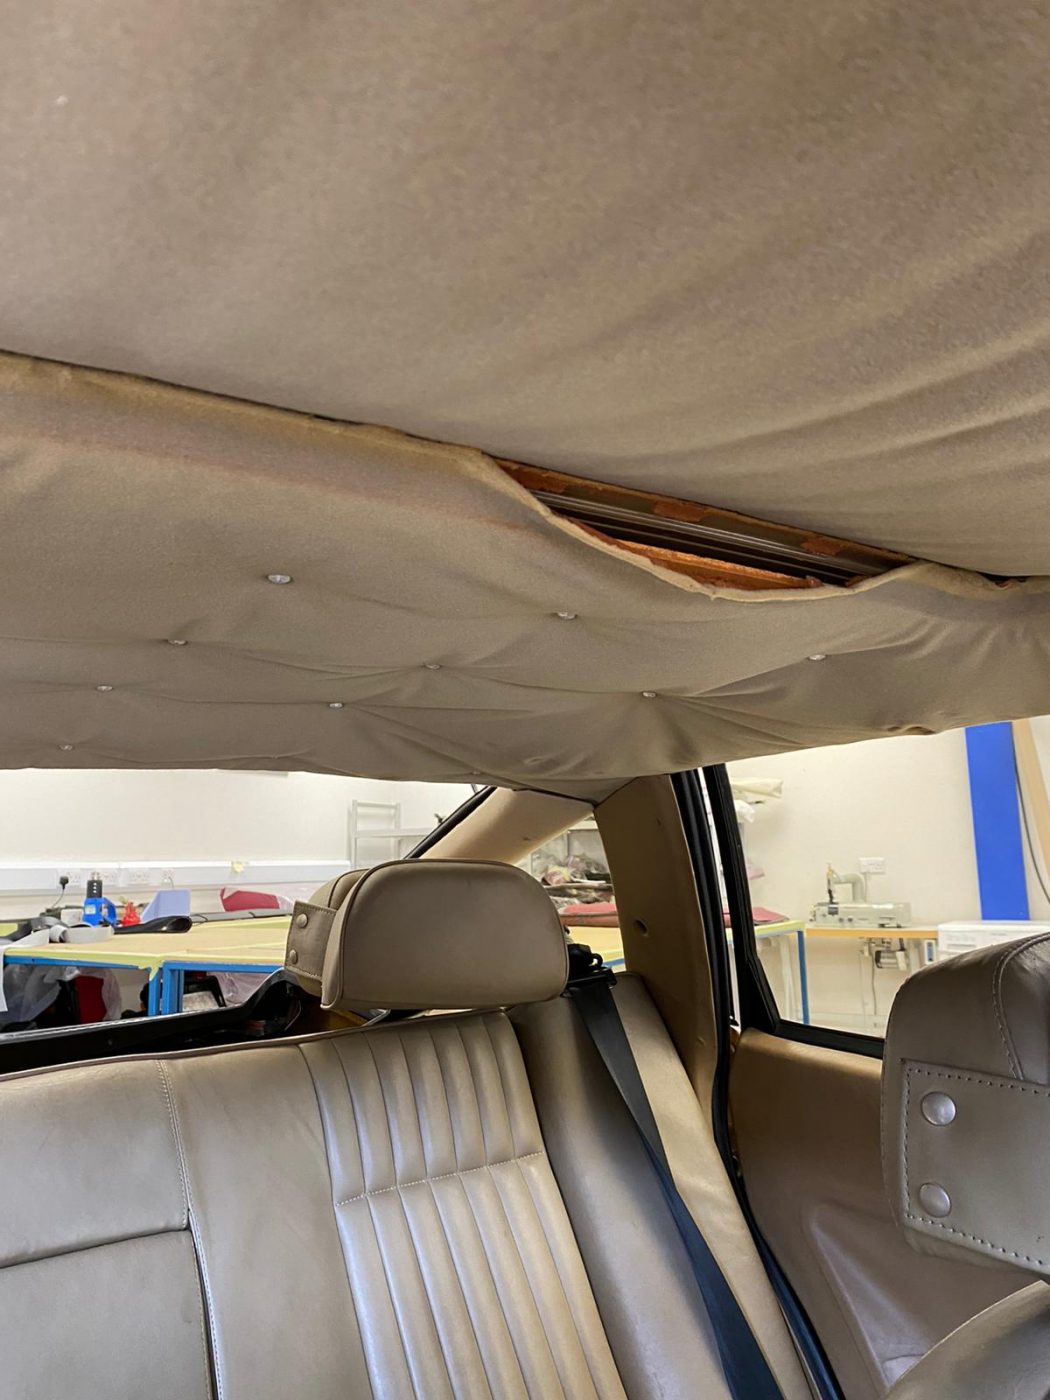
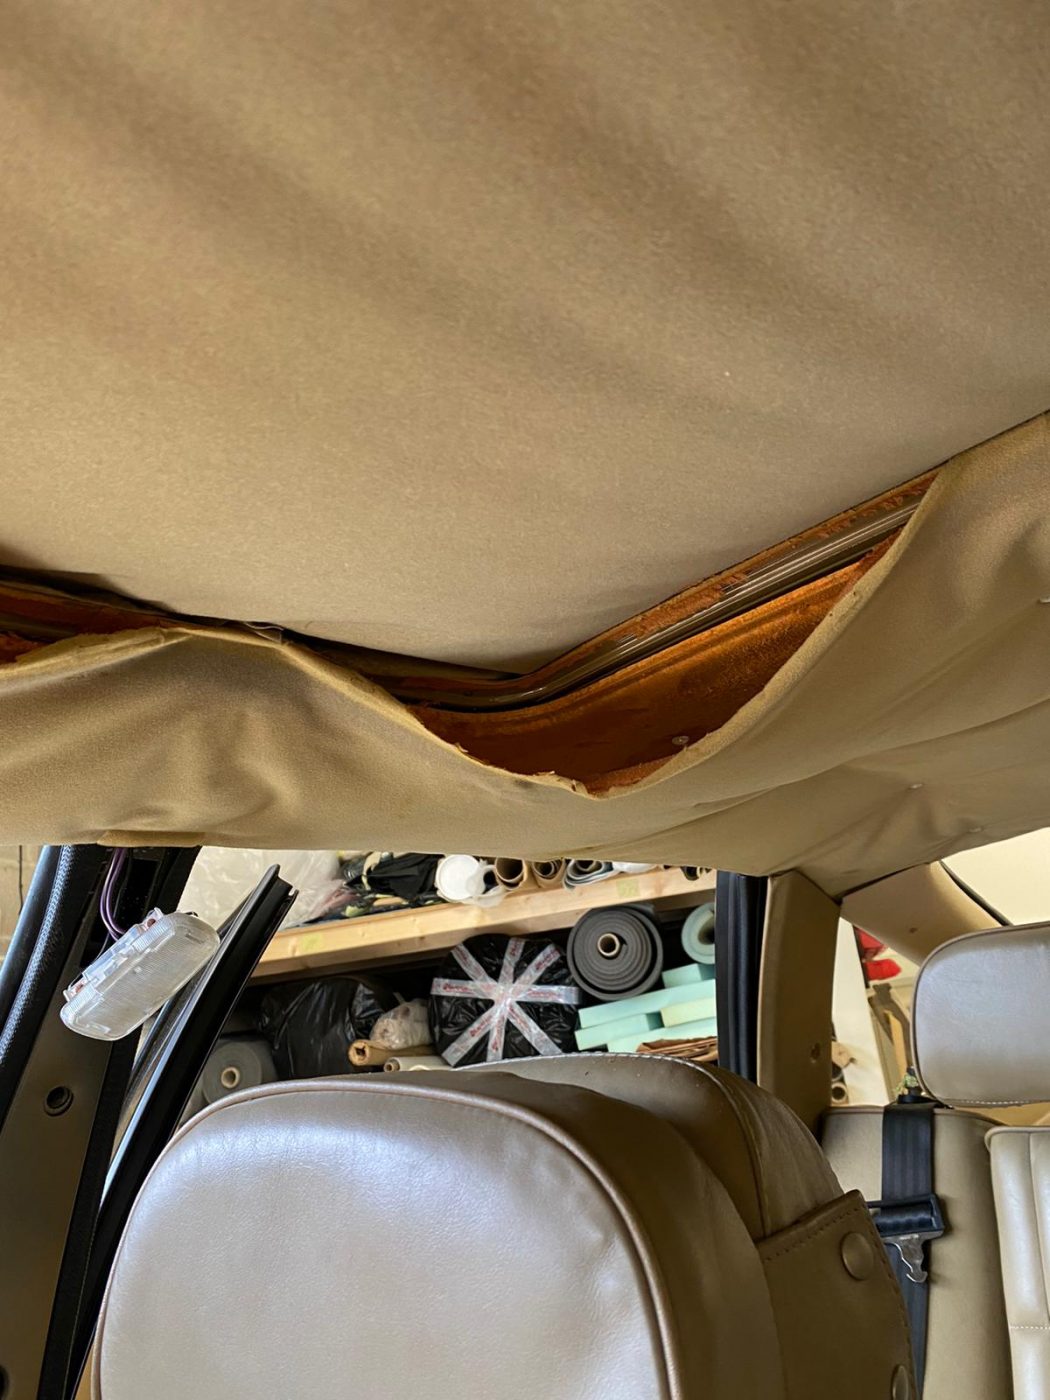
Brian has been busy in the trim shop with our gold 1981 Rover SD1 Vanden Plas. The original headlining was ill-fitting, and the previous owner
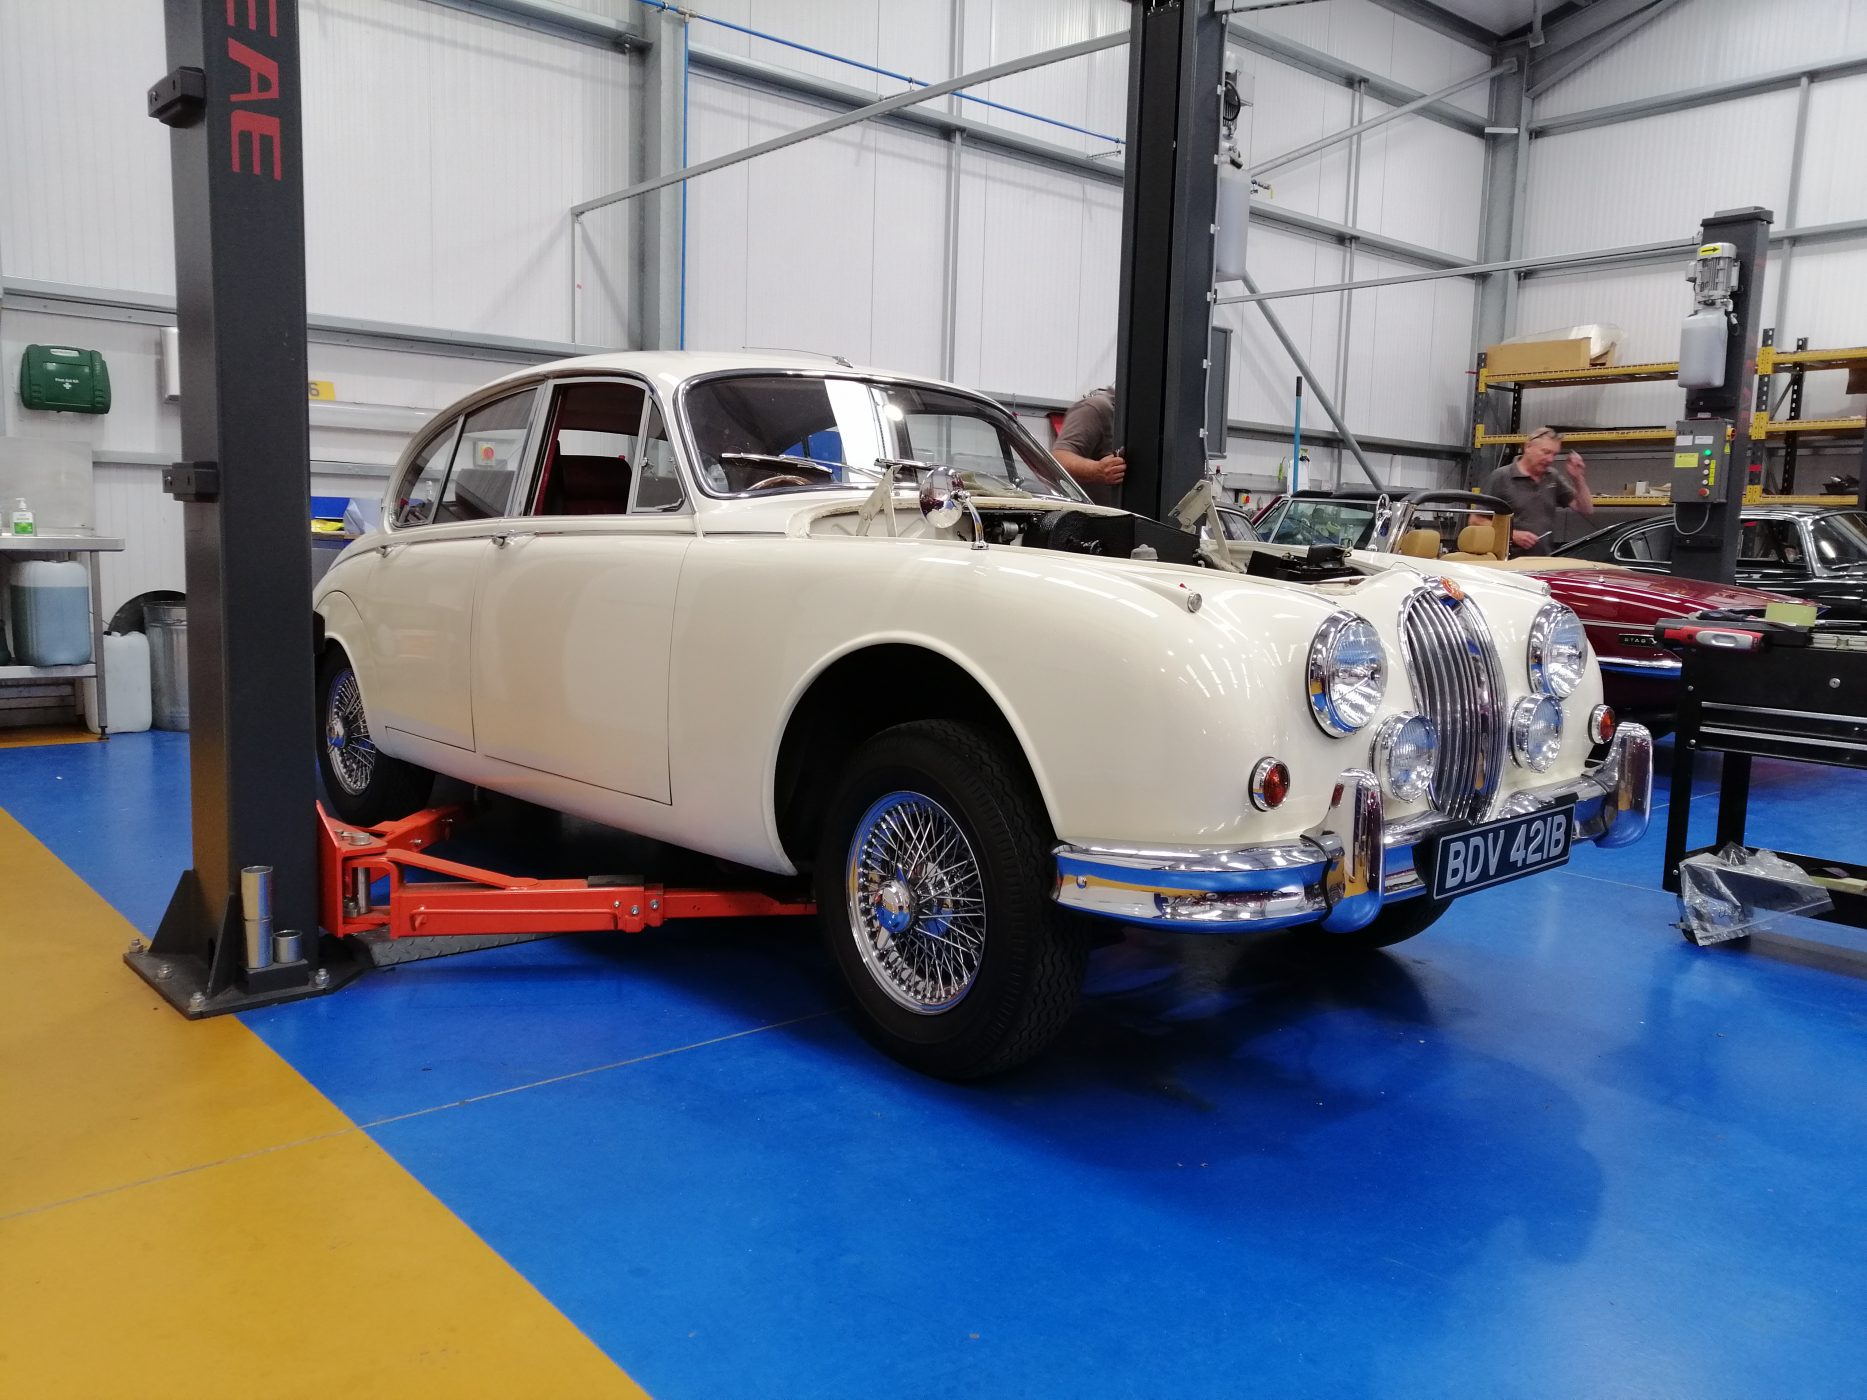
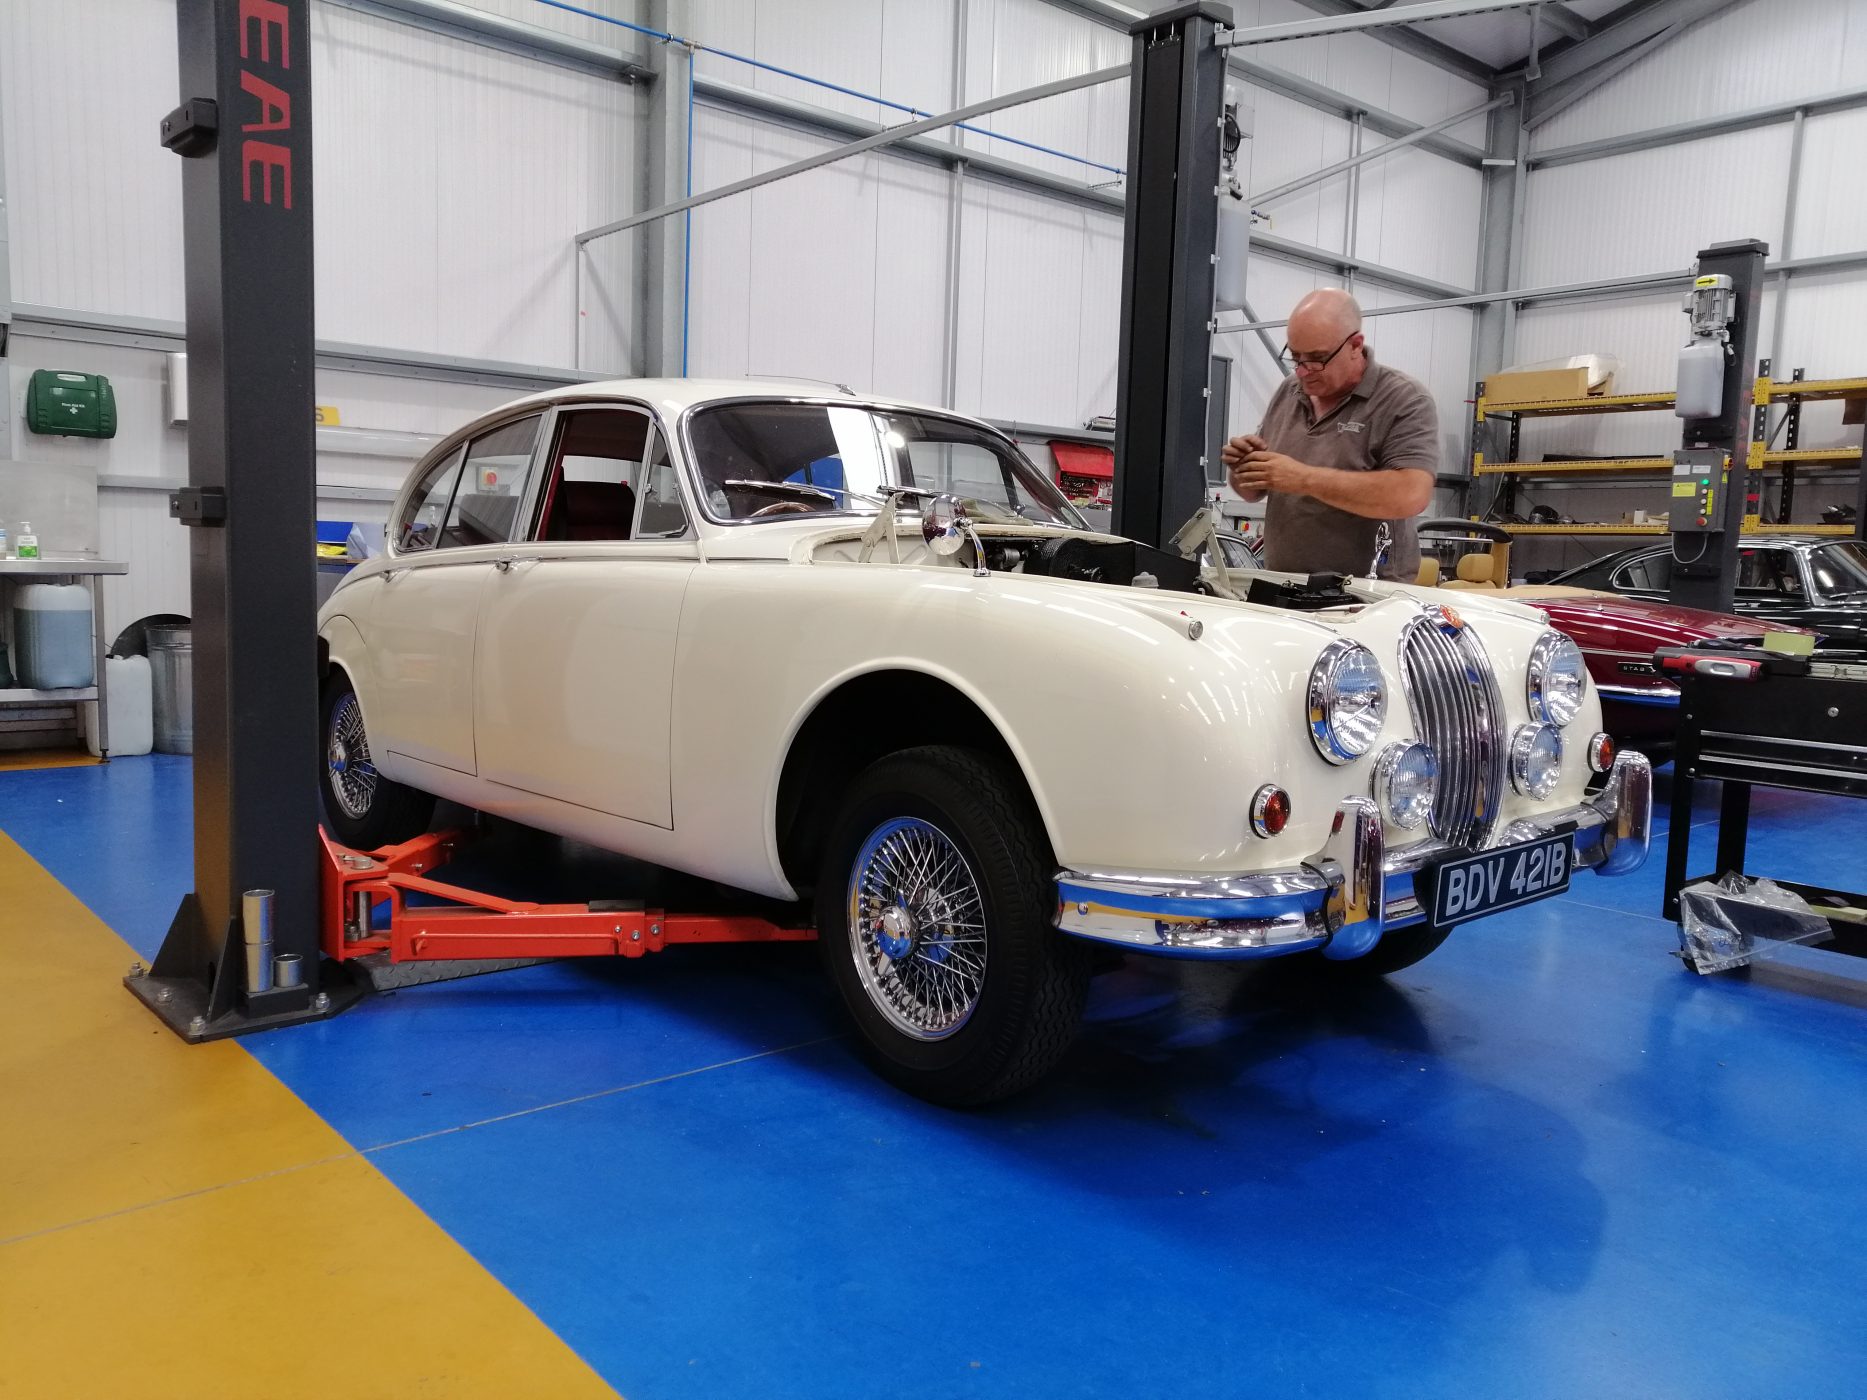
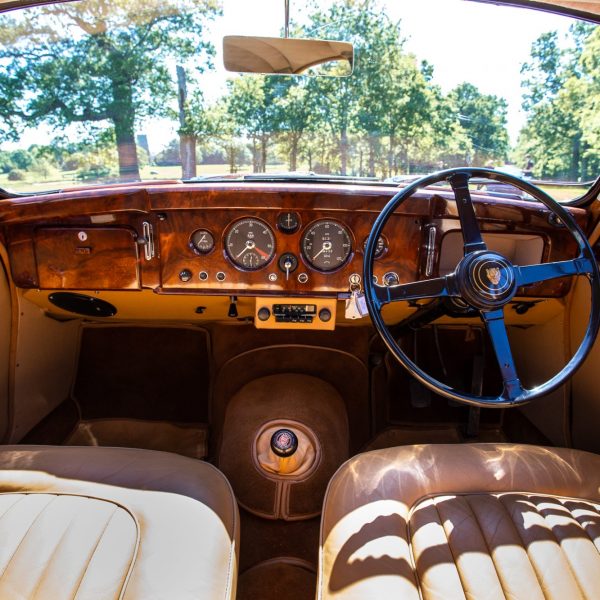
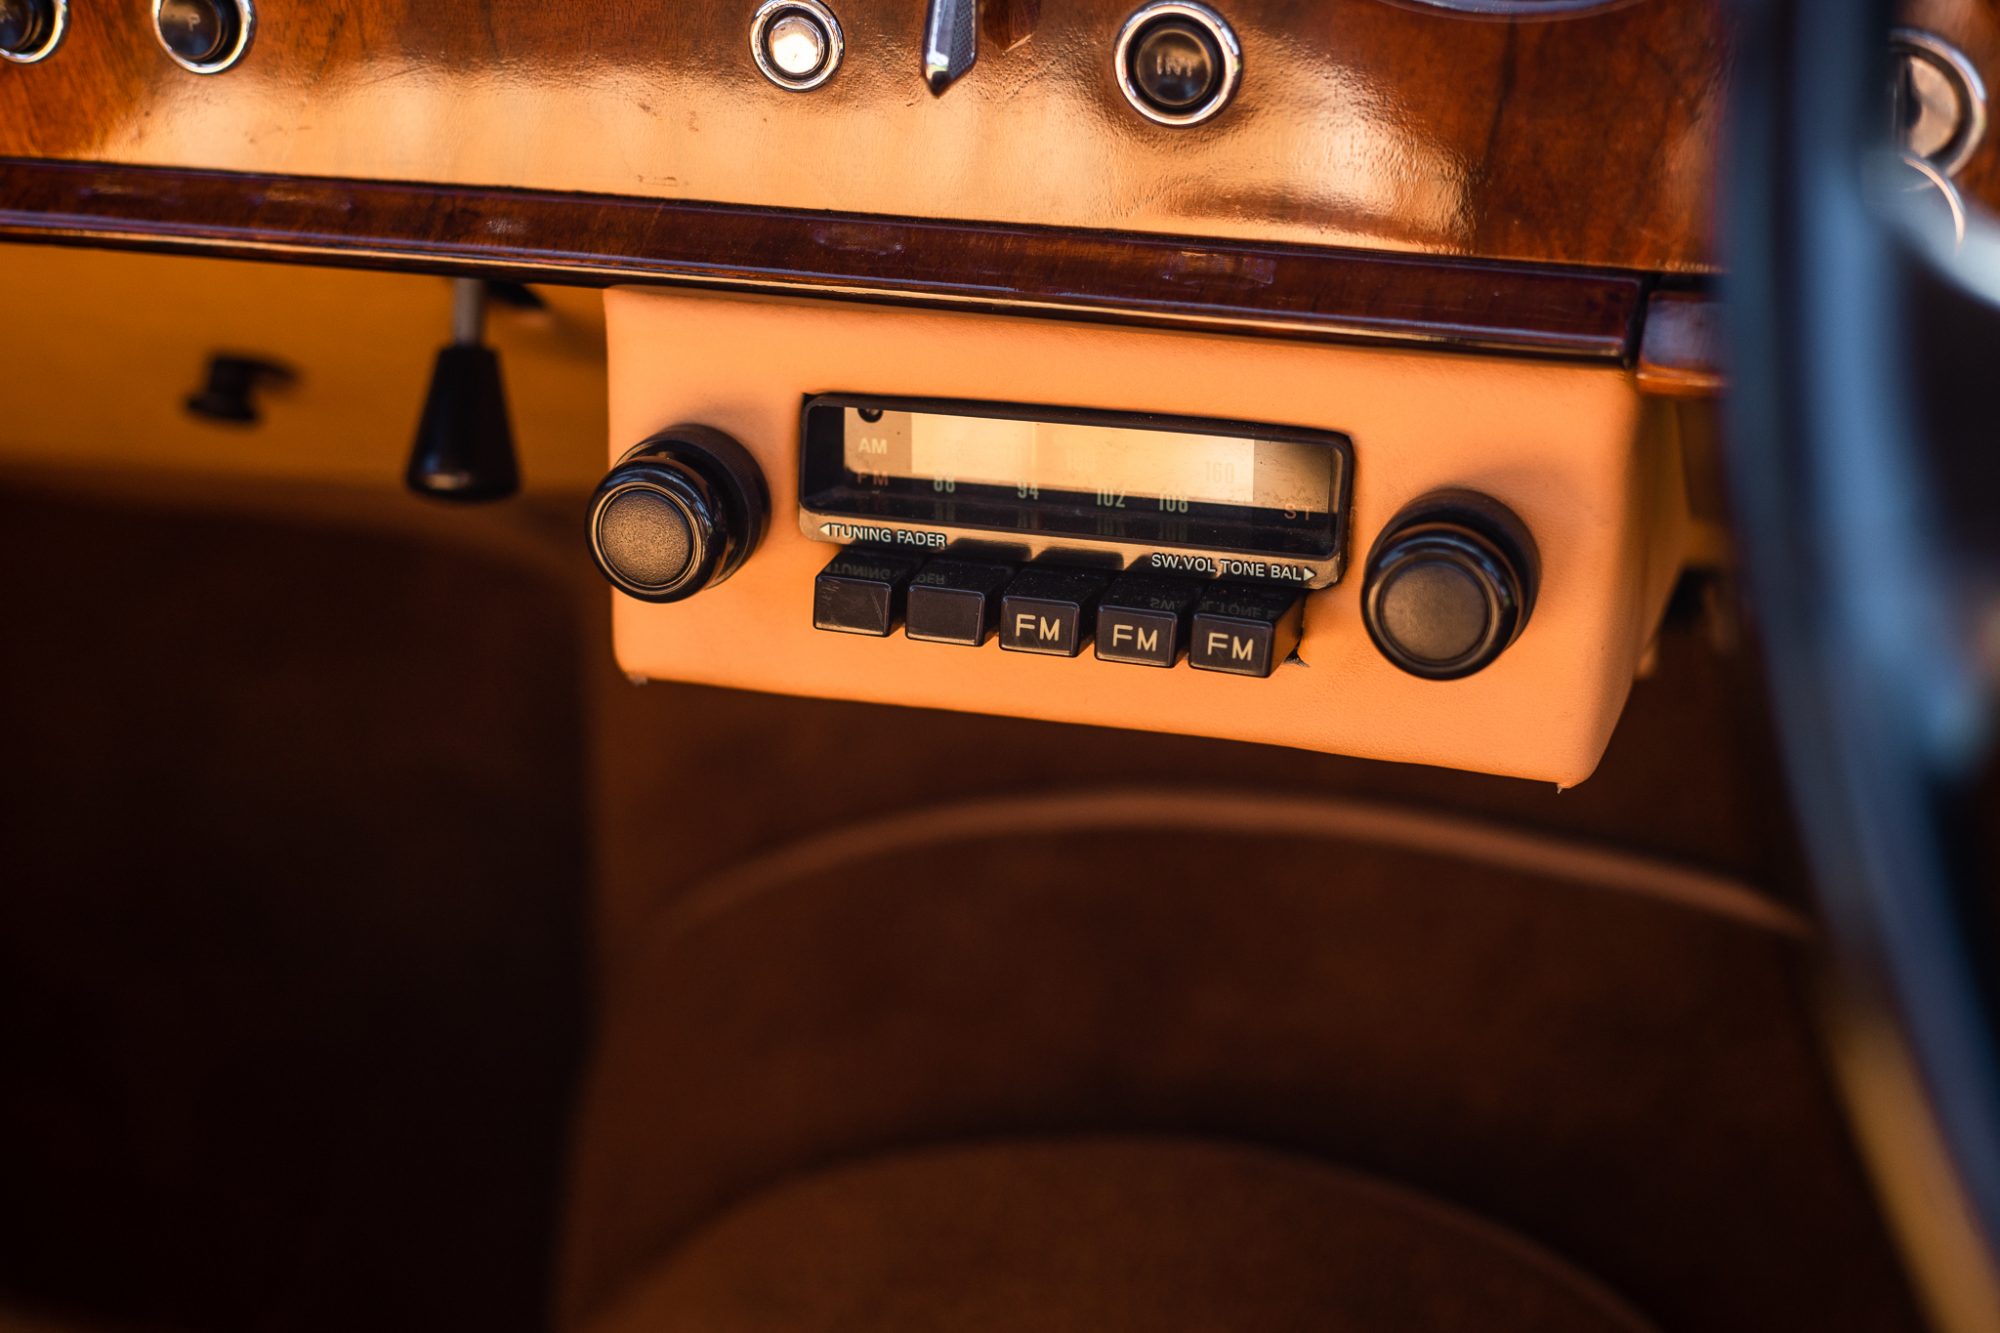
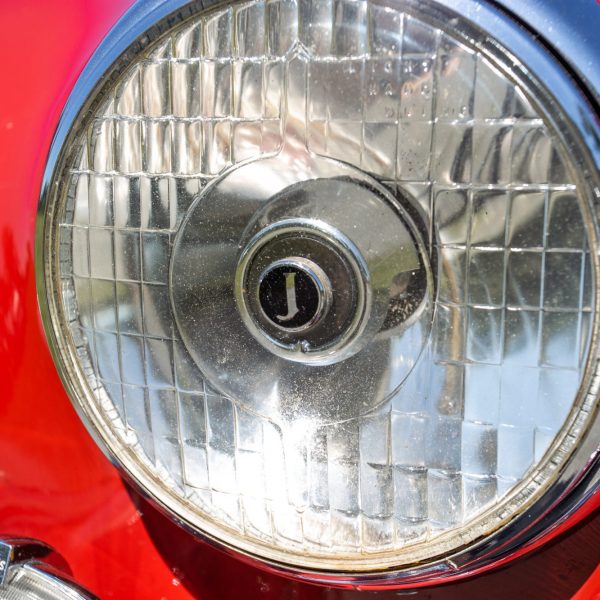
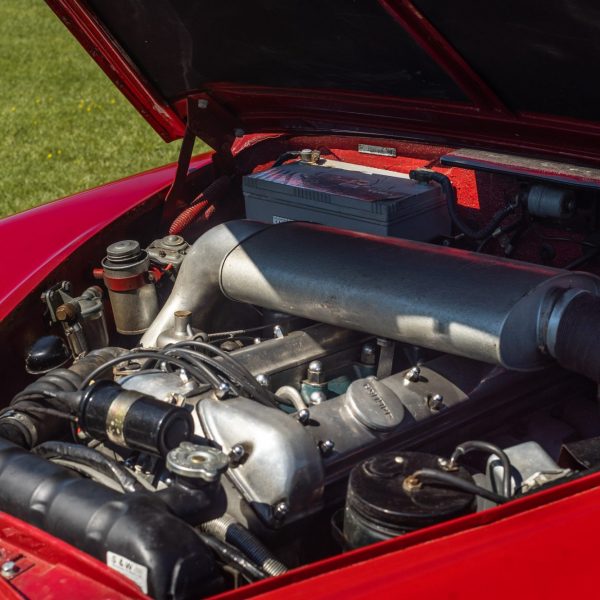
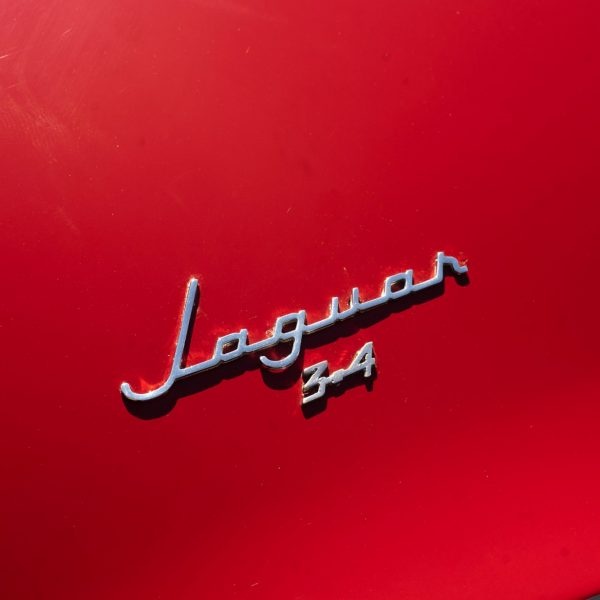
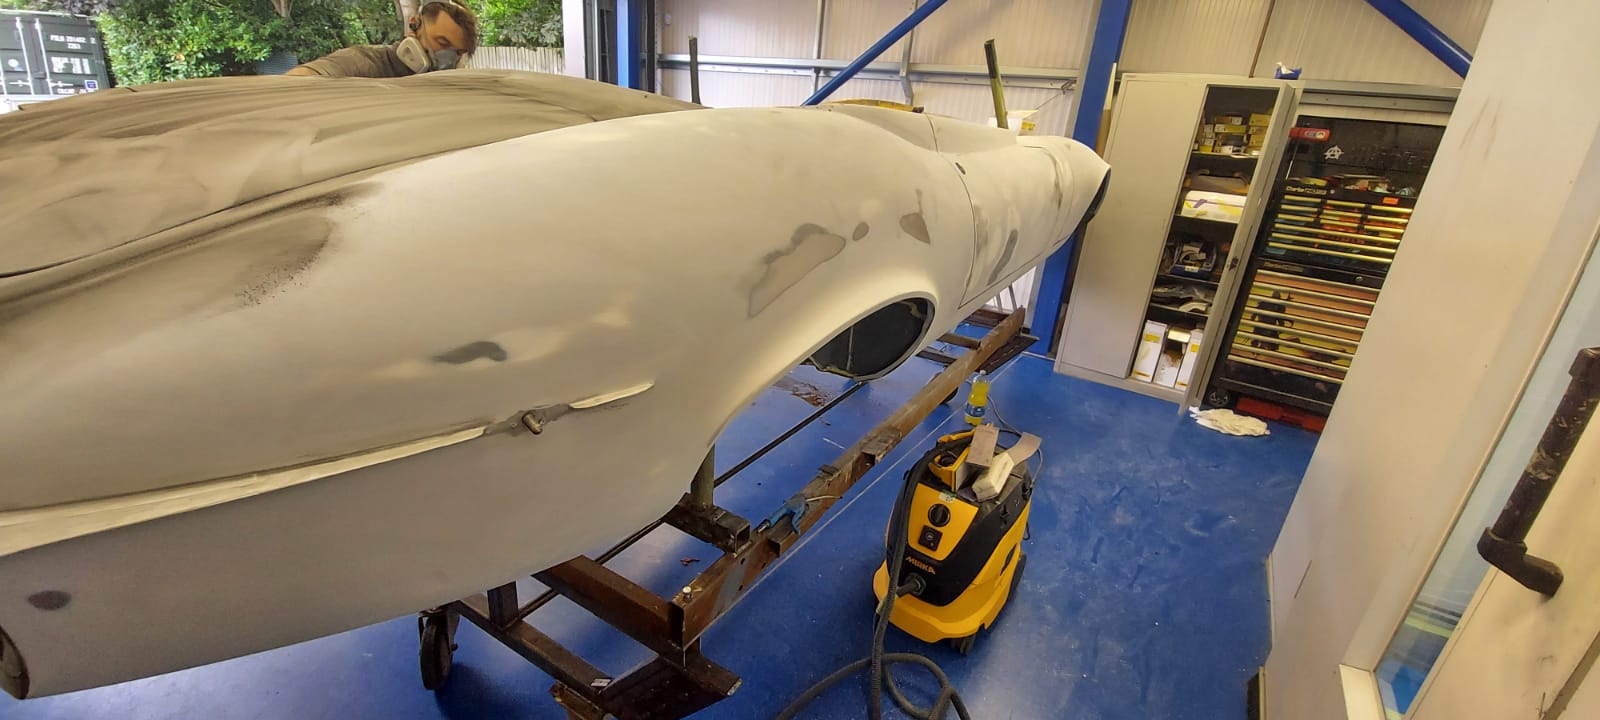
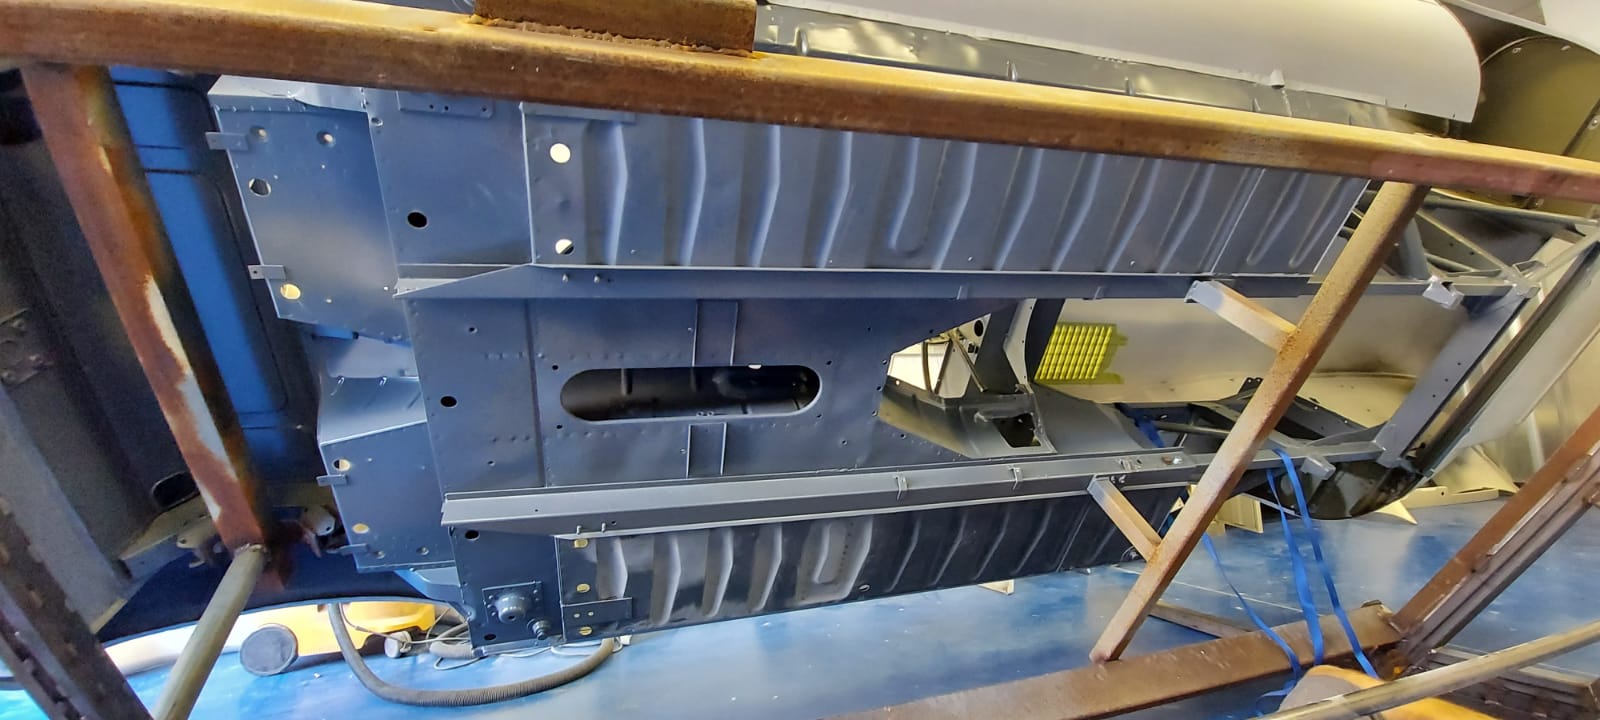
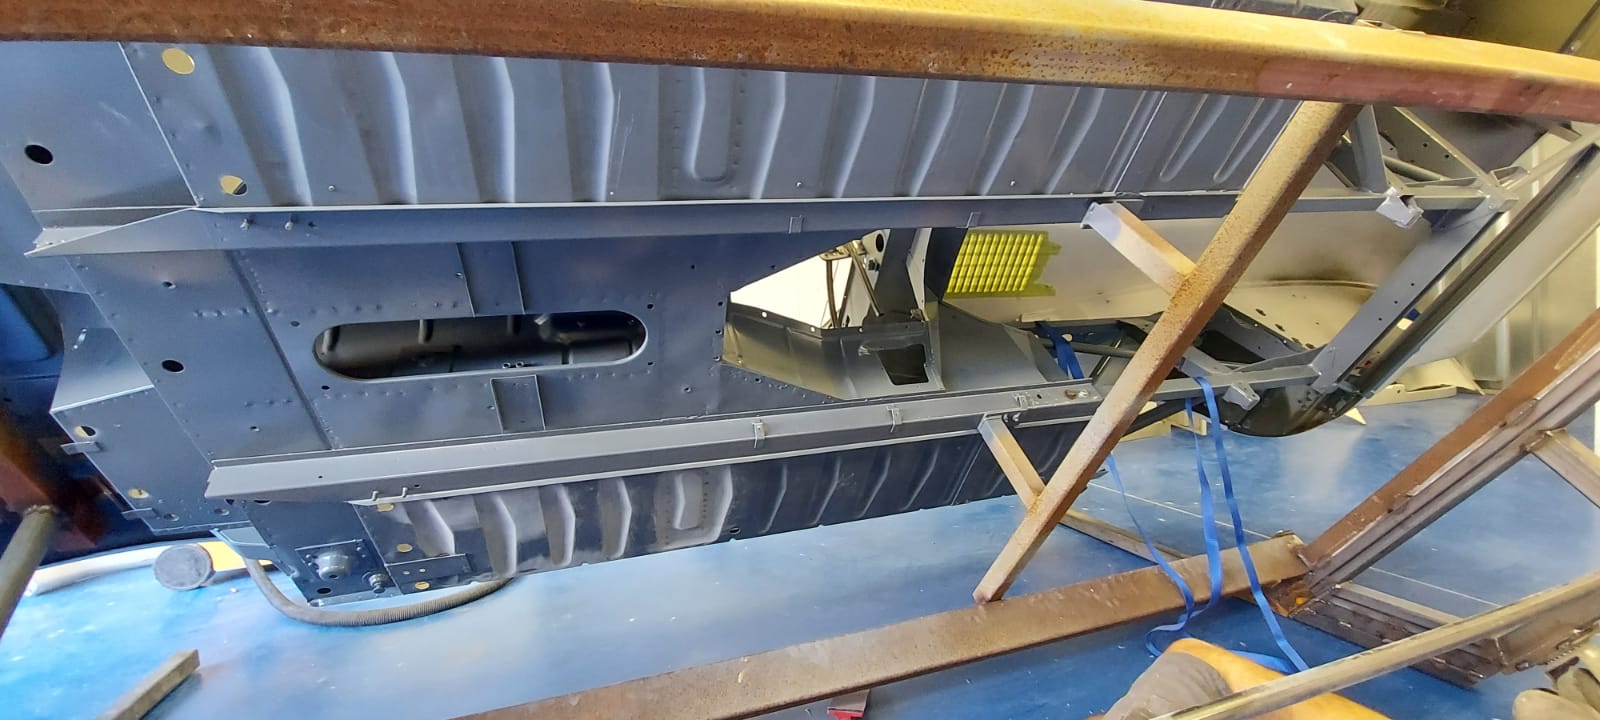
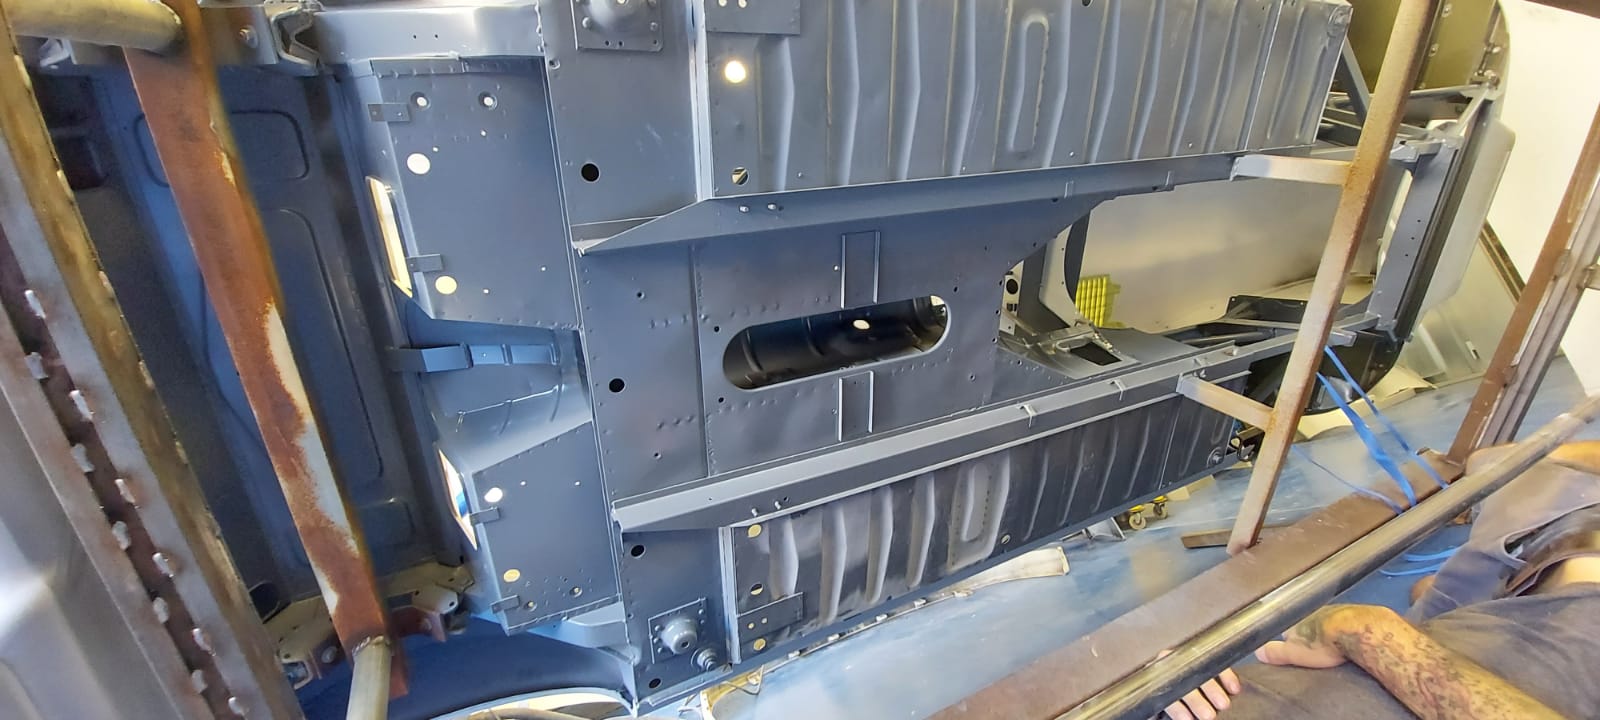
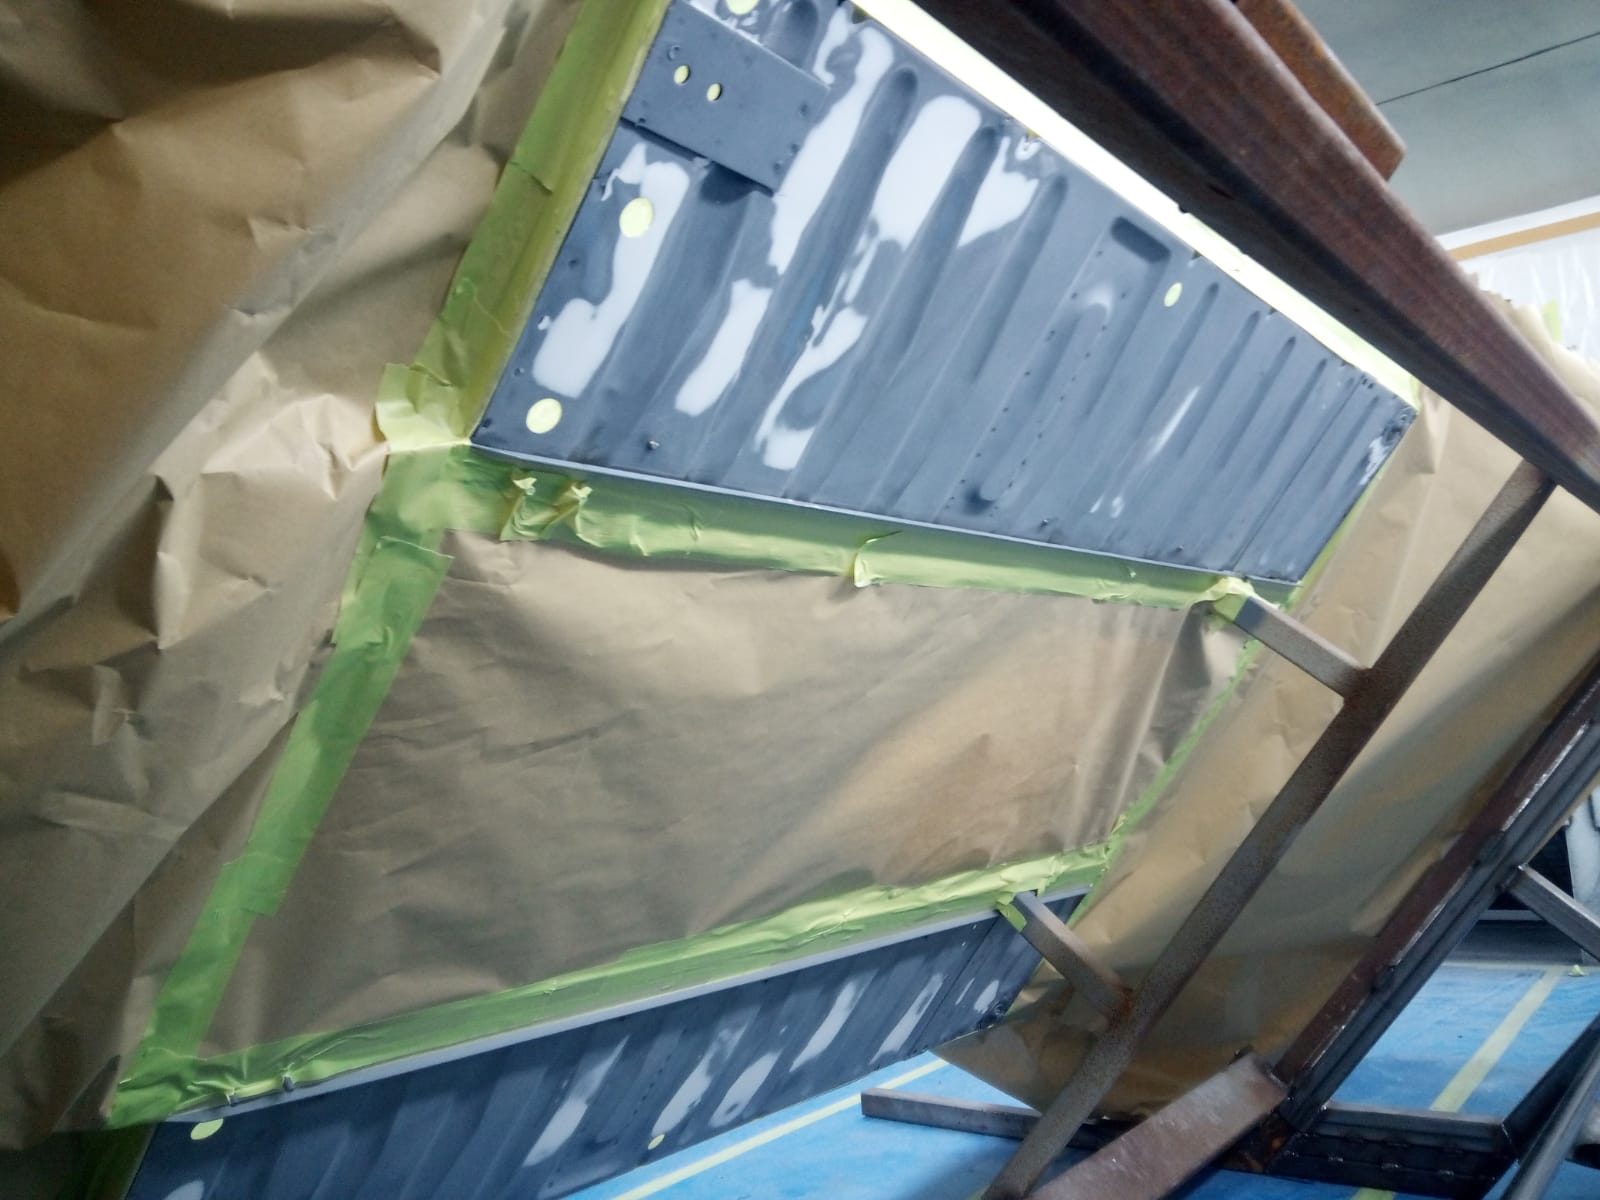
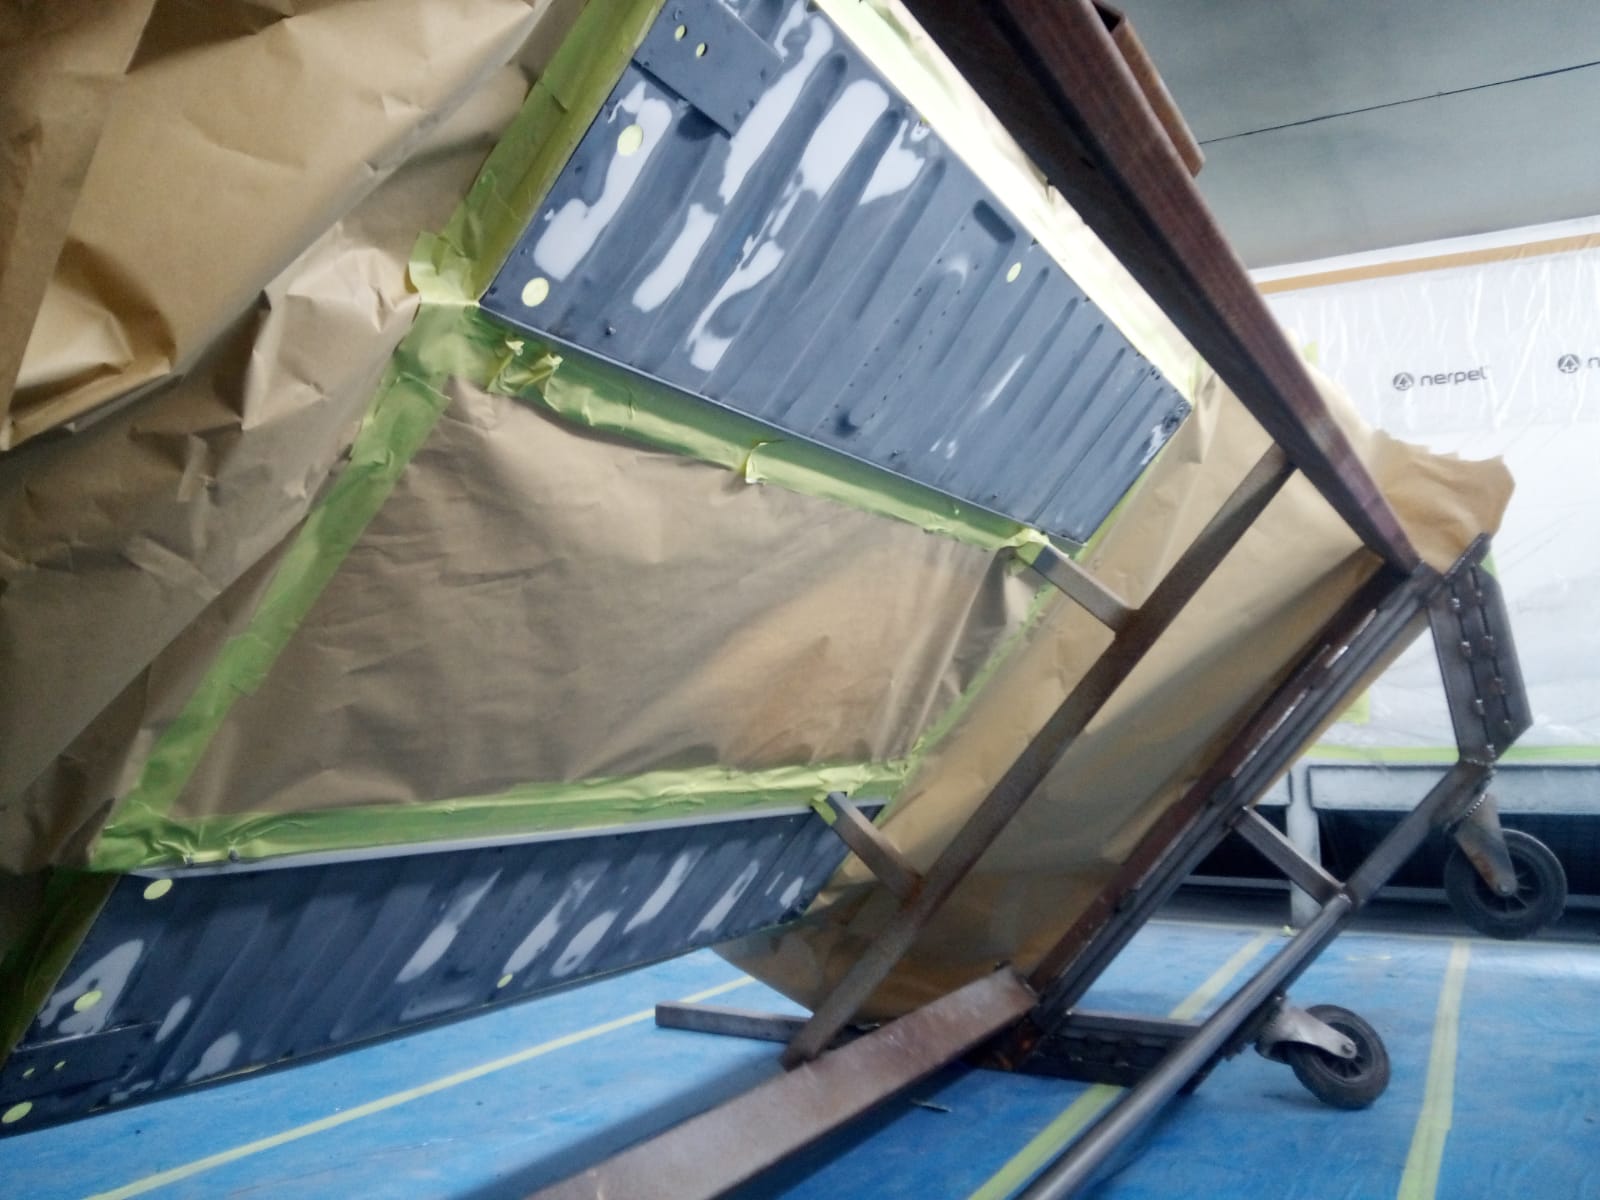
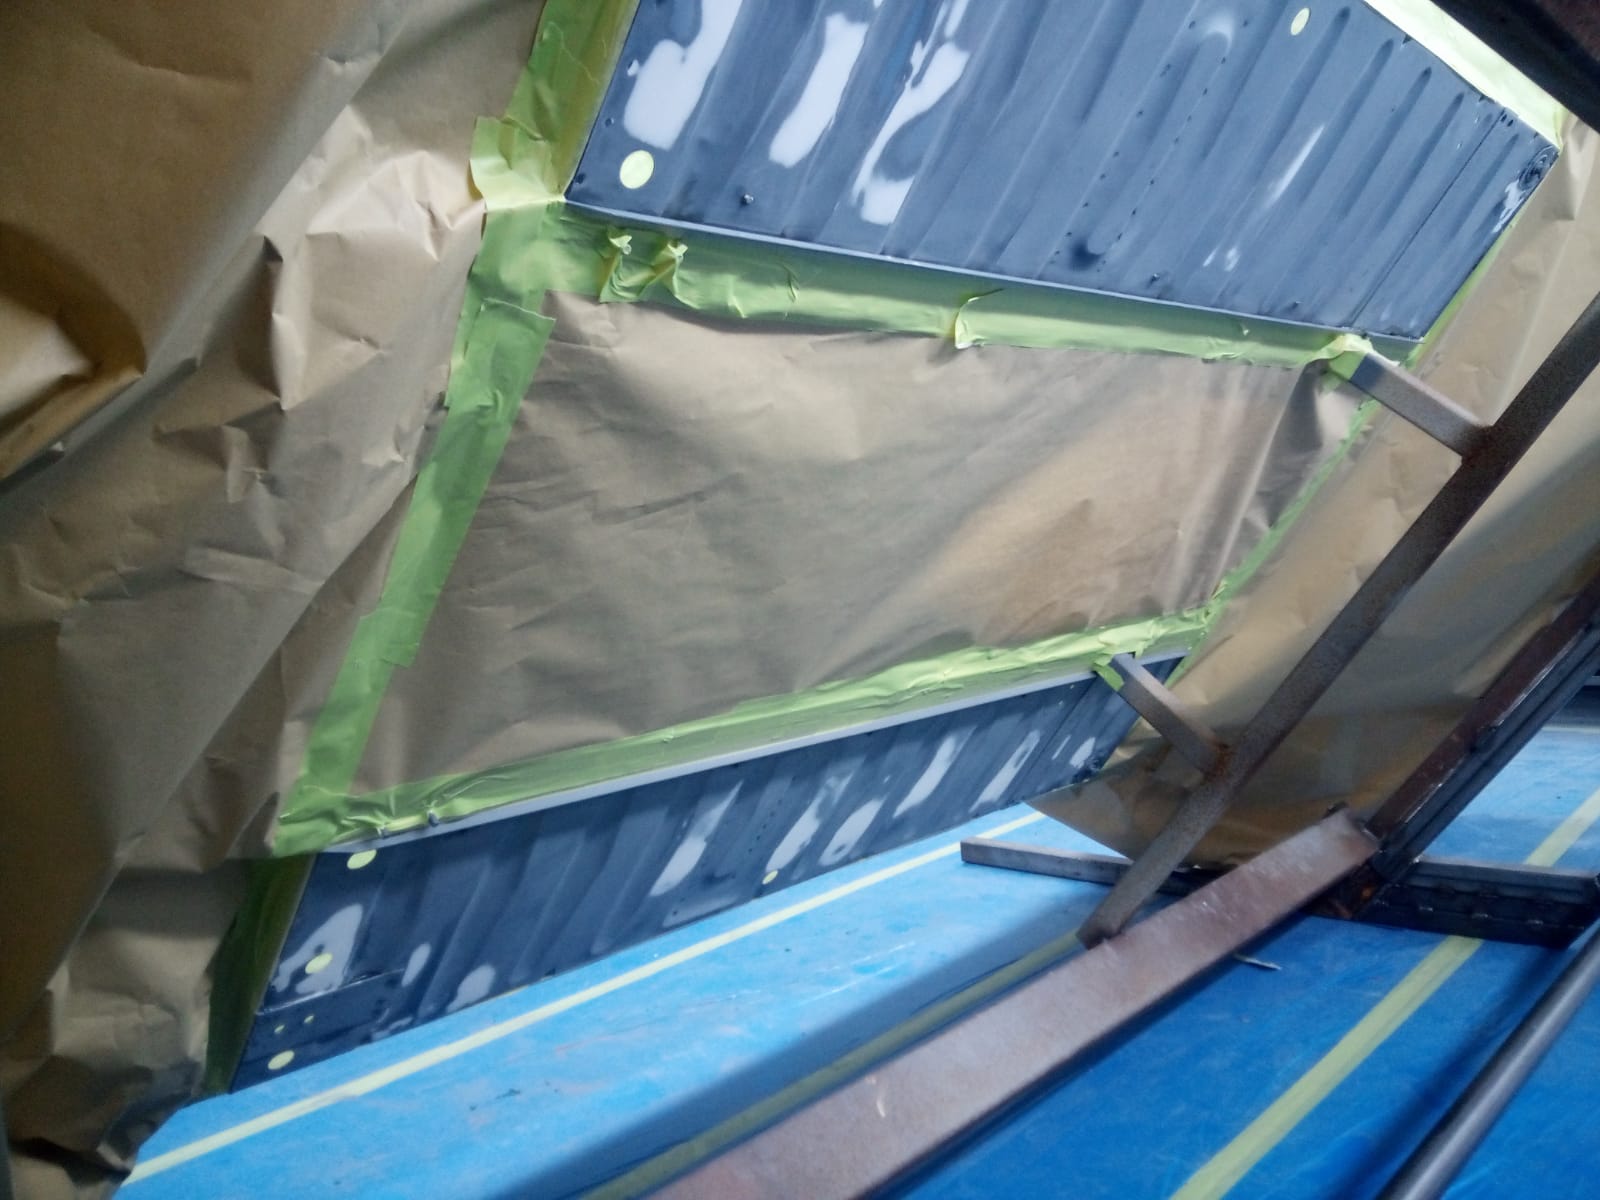
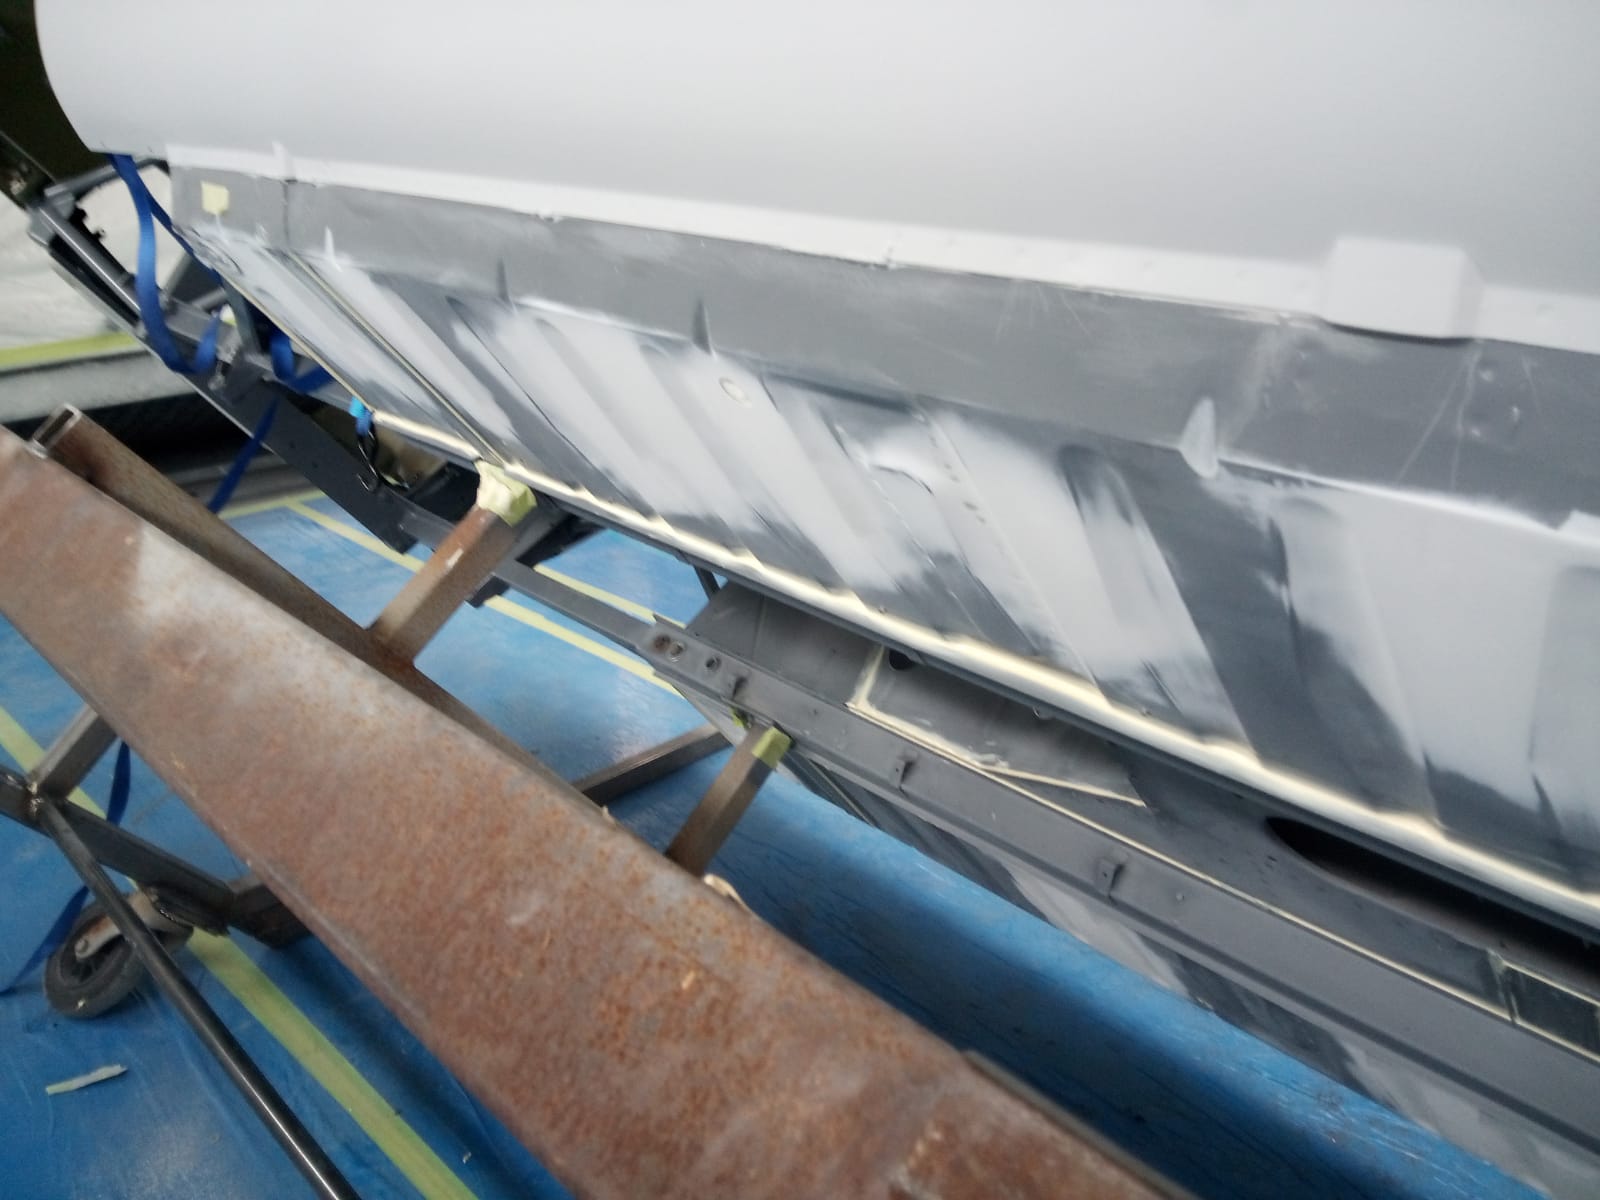
As you may know, the engine bay of the white 1963 Jaguar Mk II 3.4 has recently been re-painted. You can read about it here. https://bridgeclassiccars.co.uk/engine-bay-re-spray-for-the-jaguar/
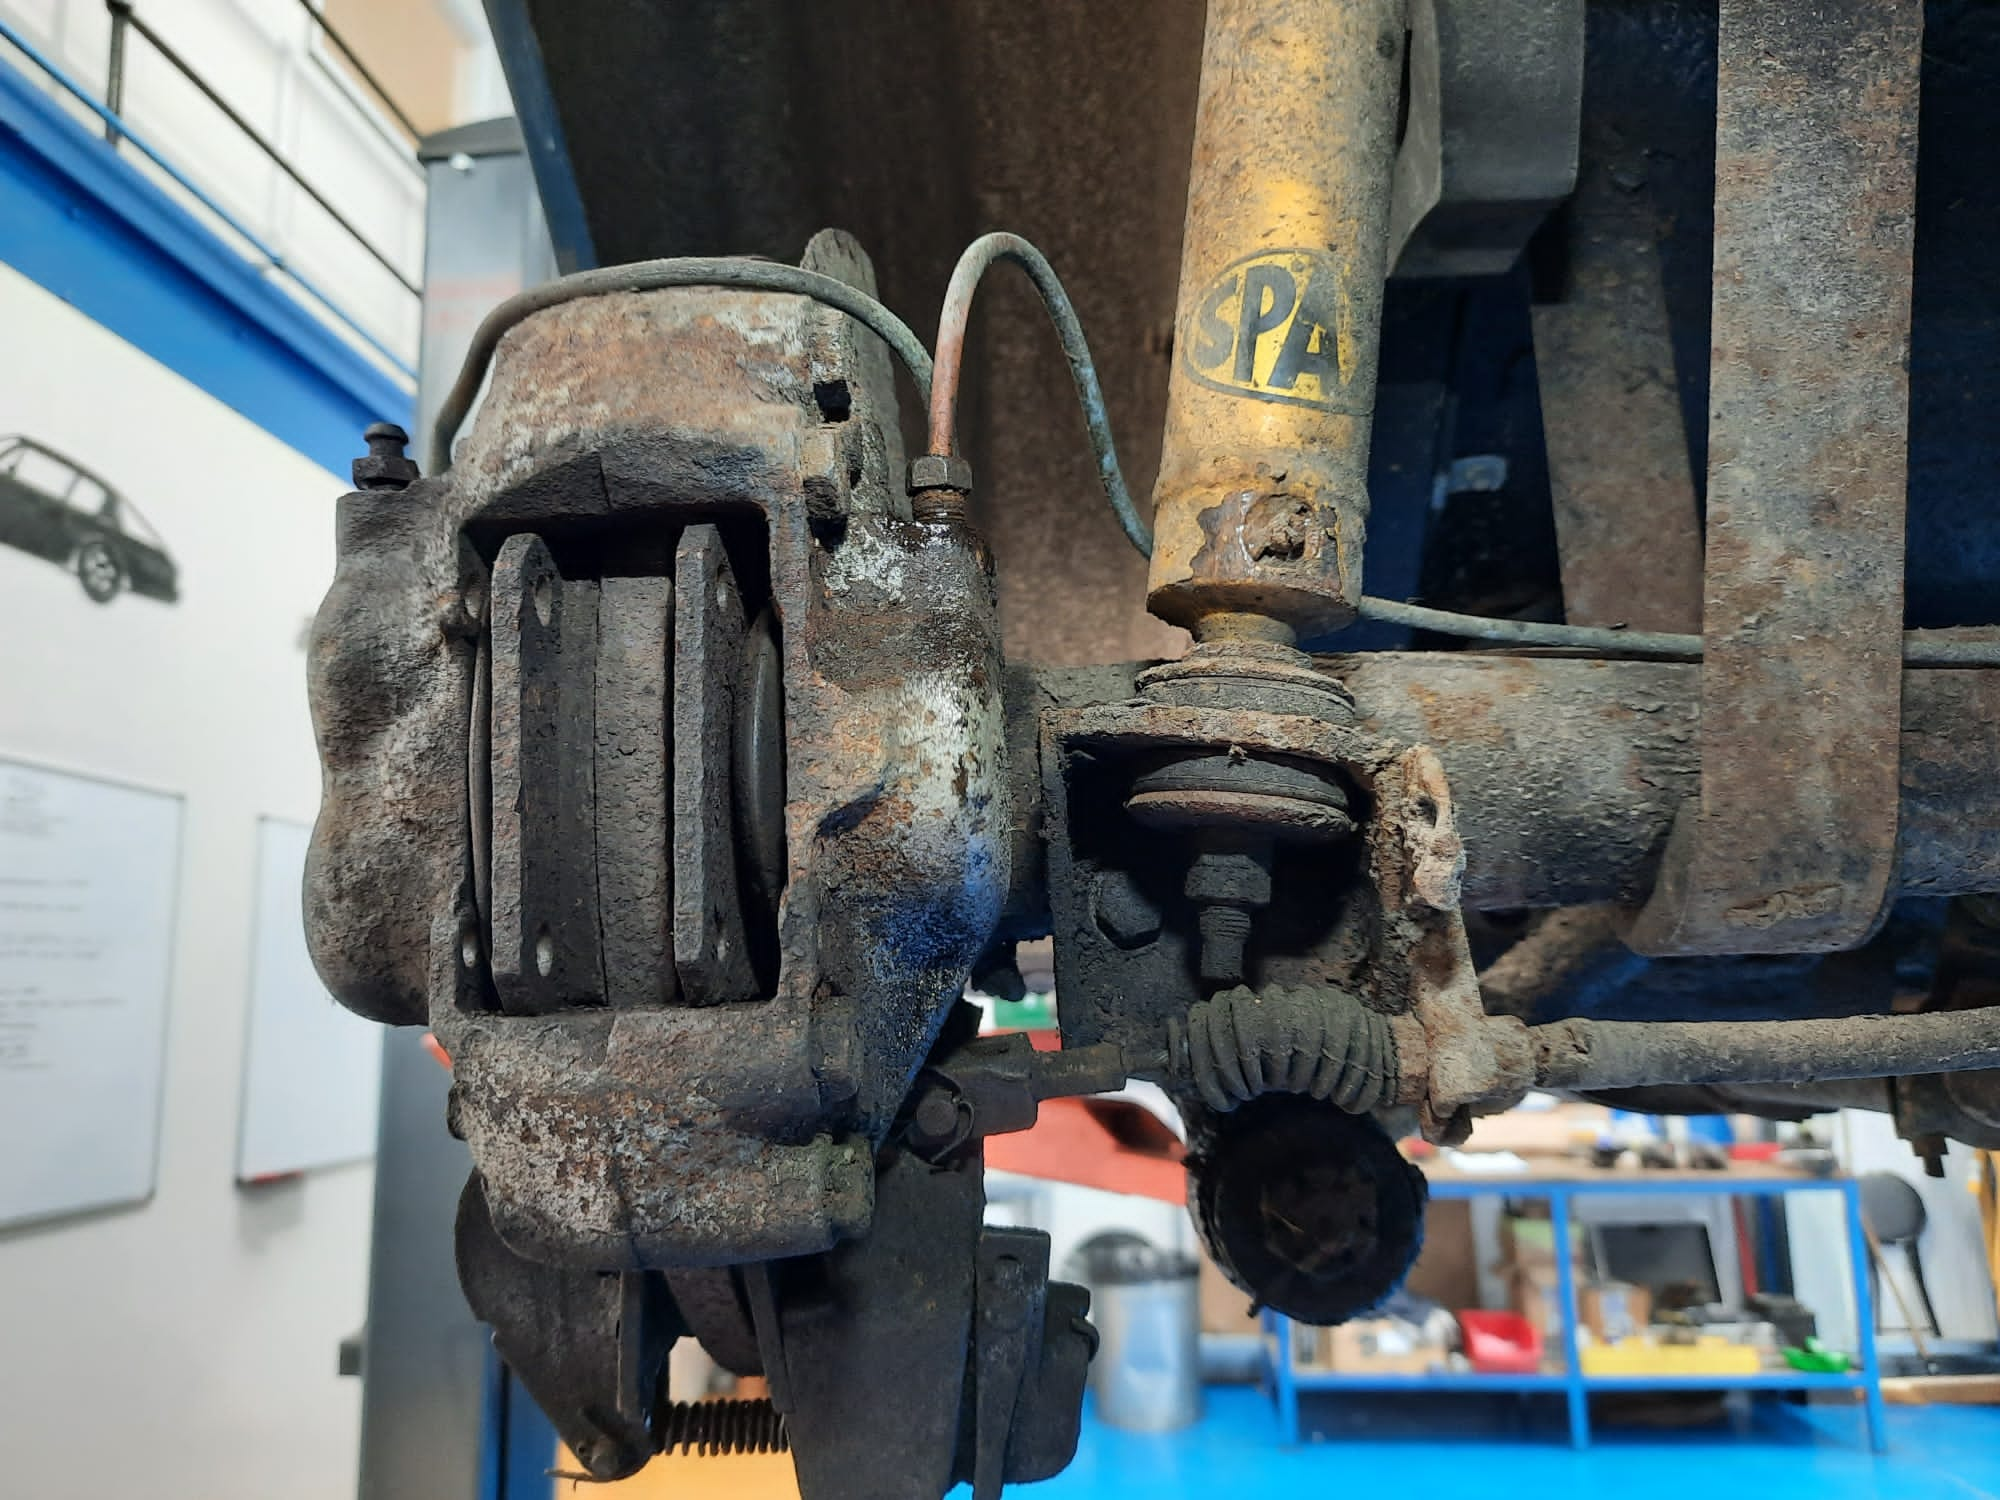
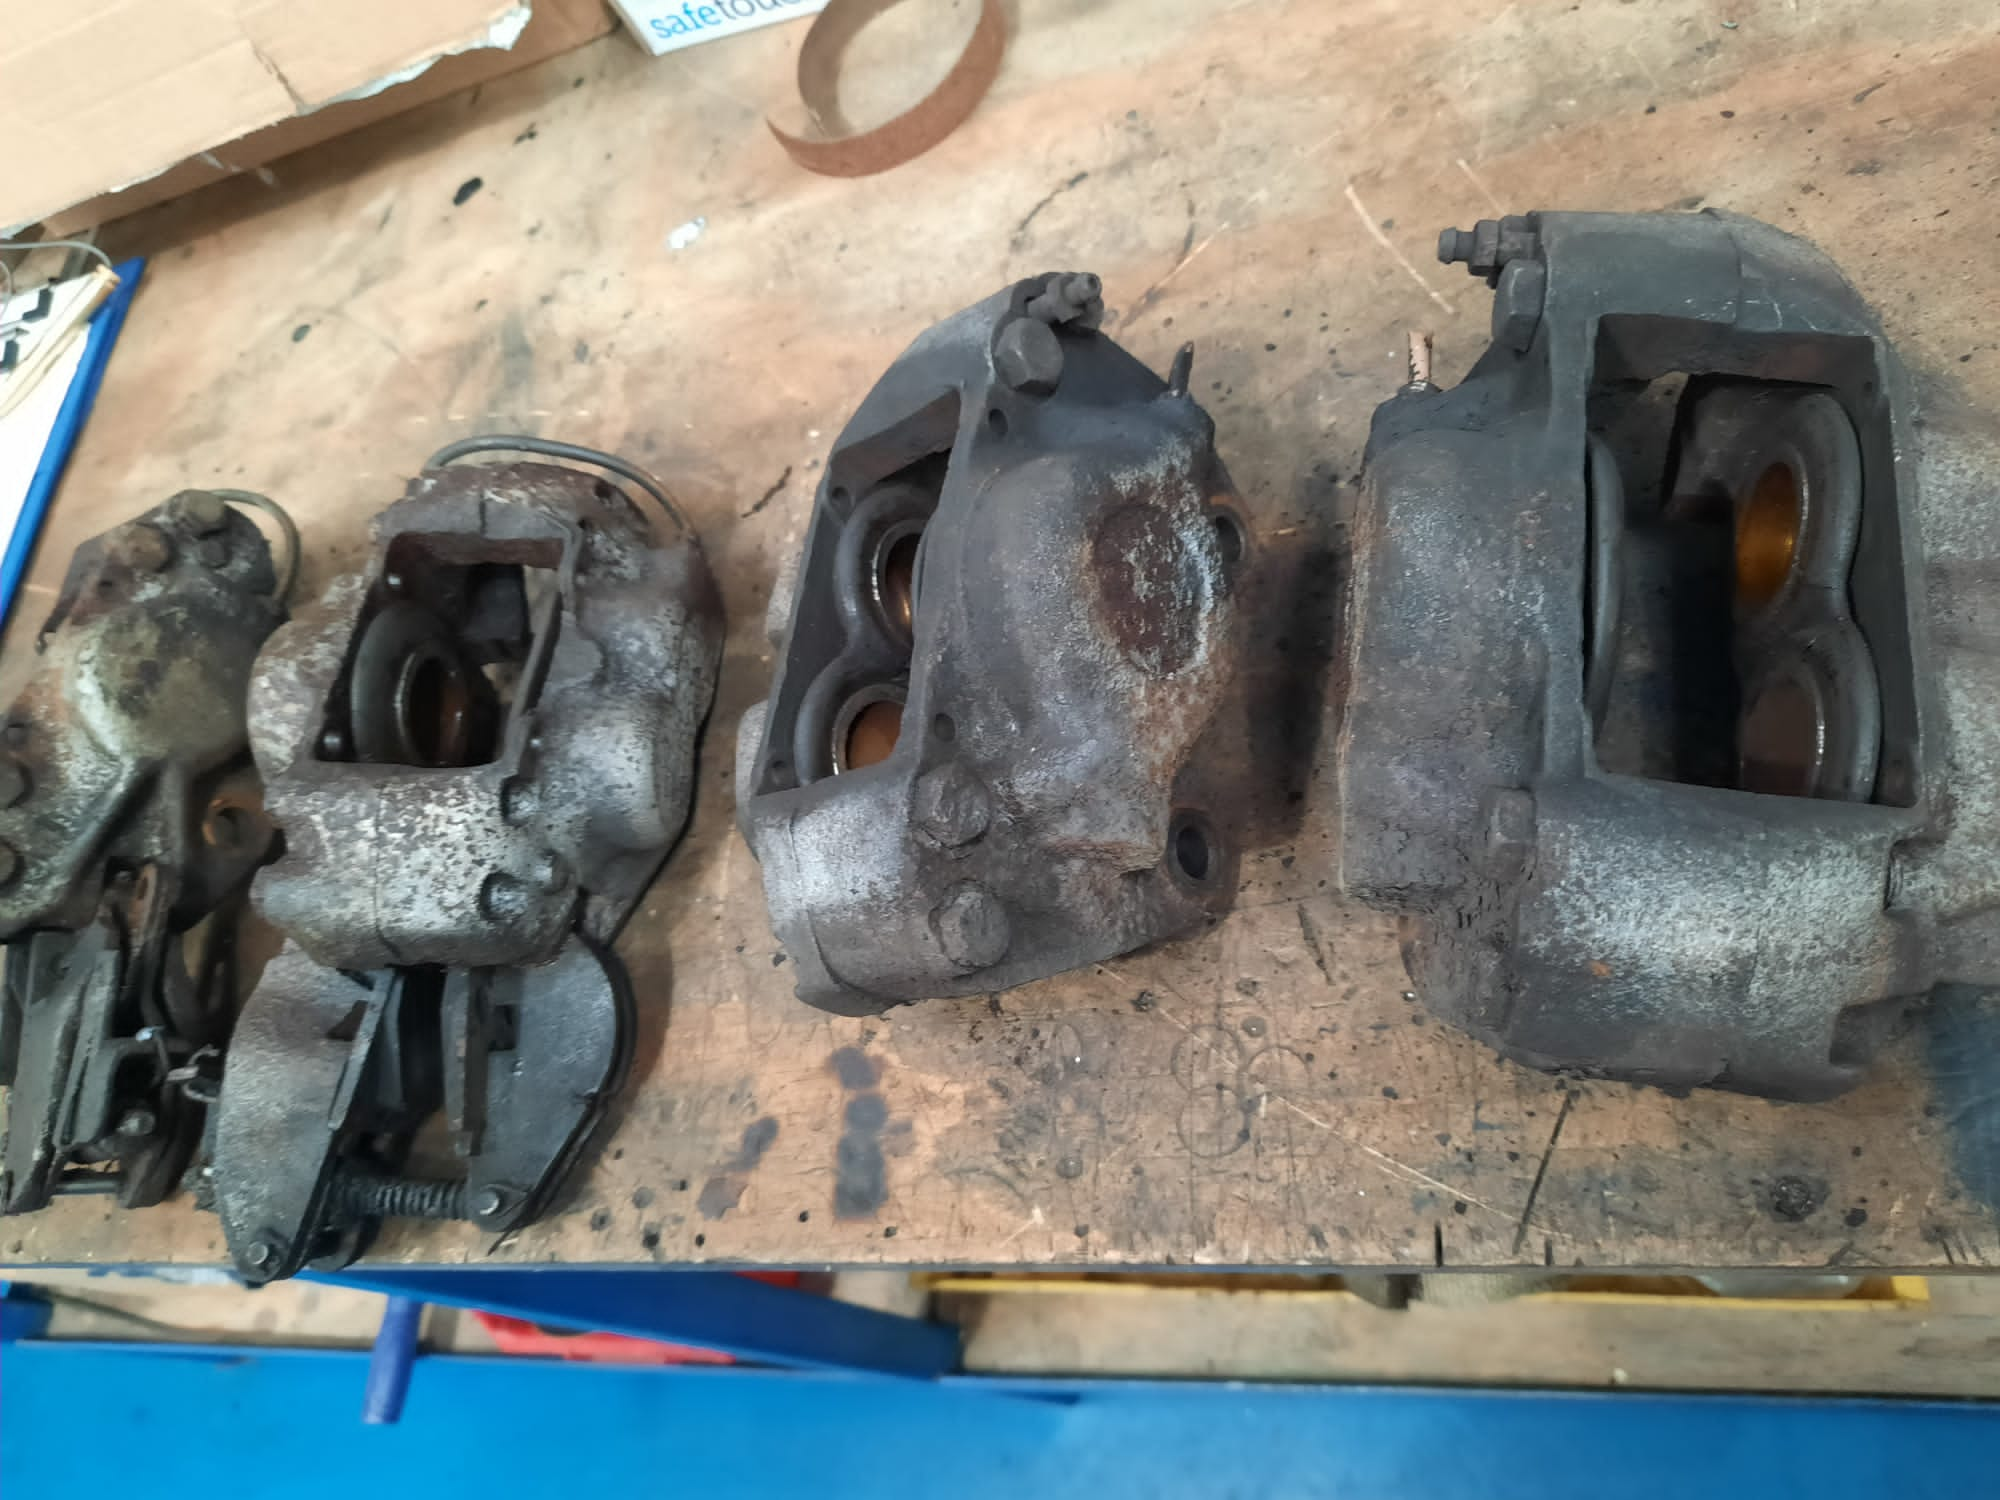
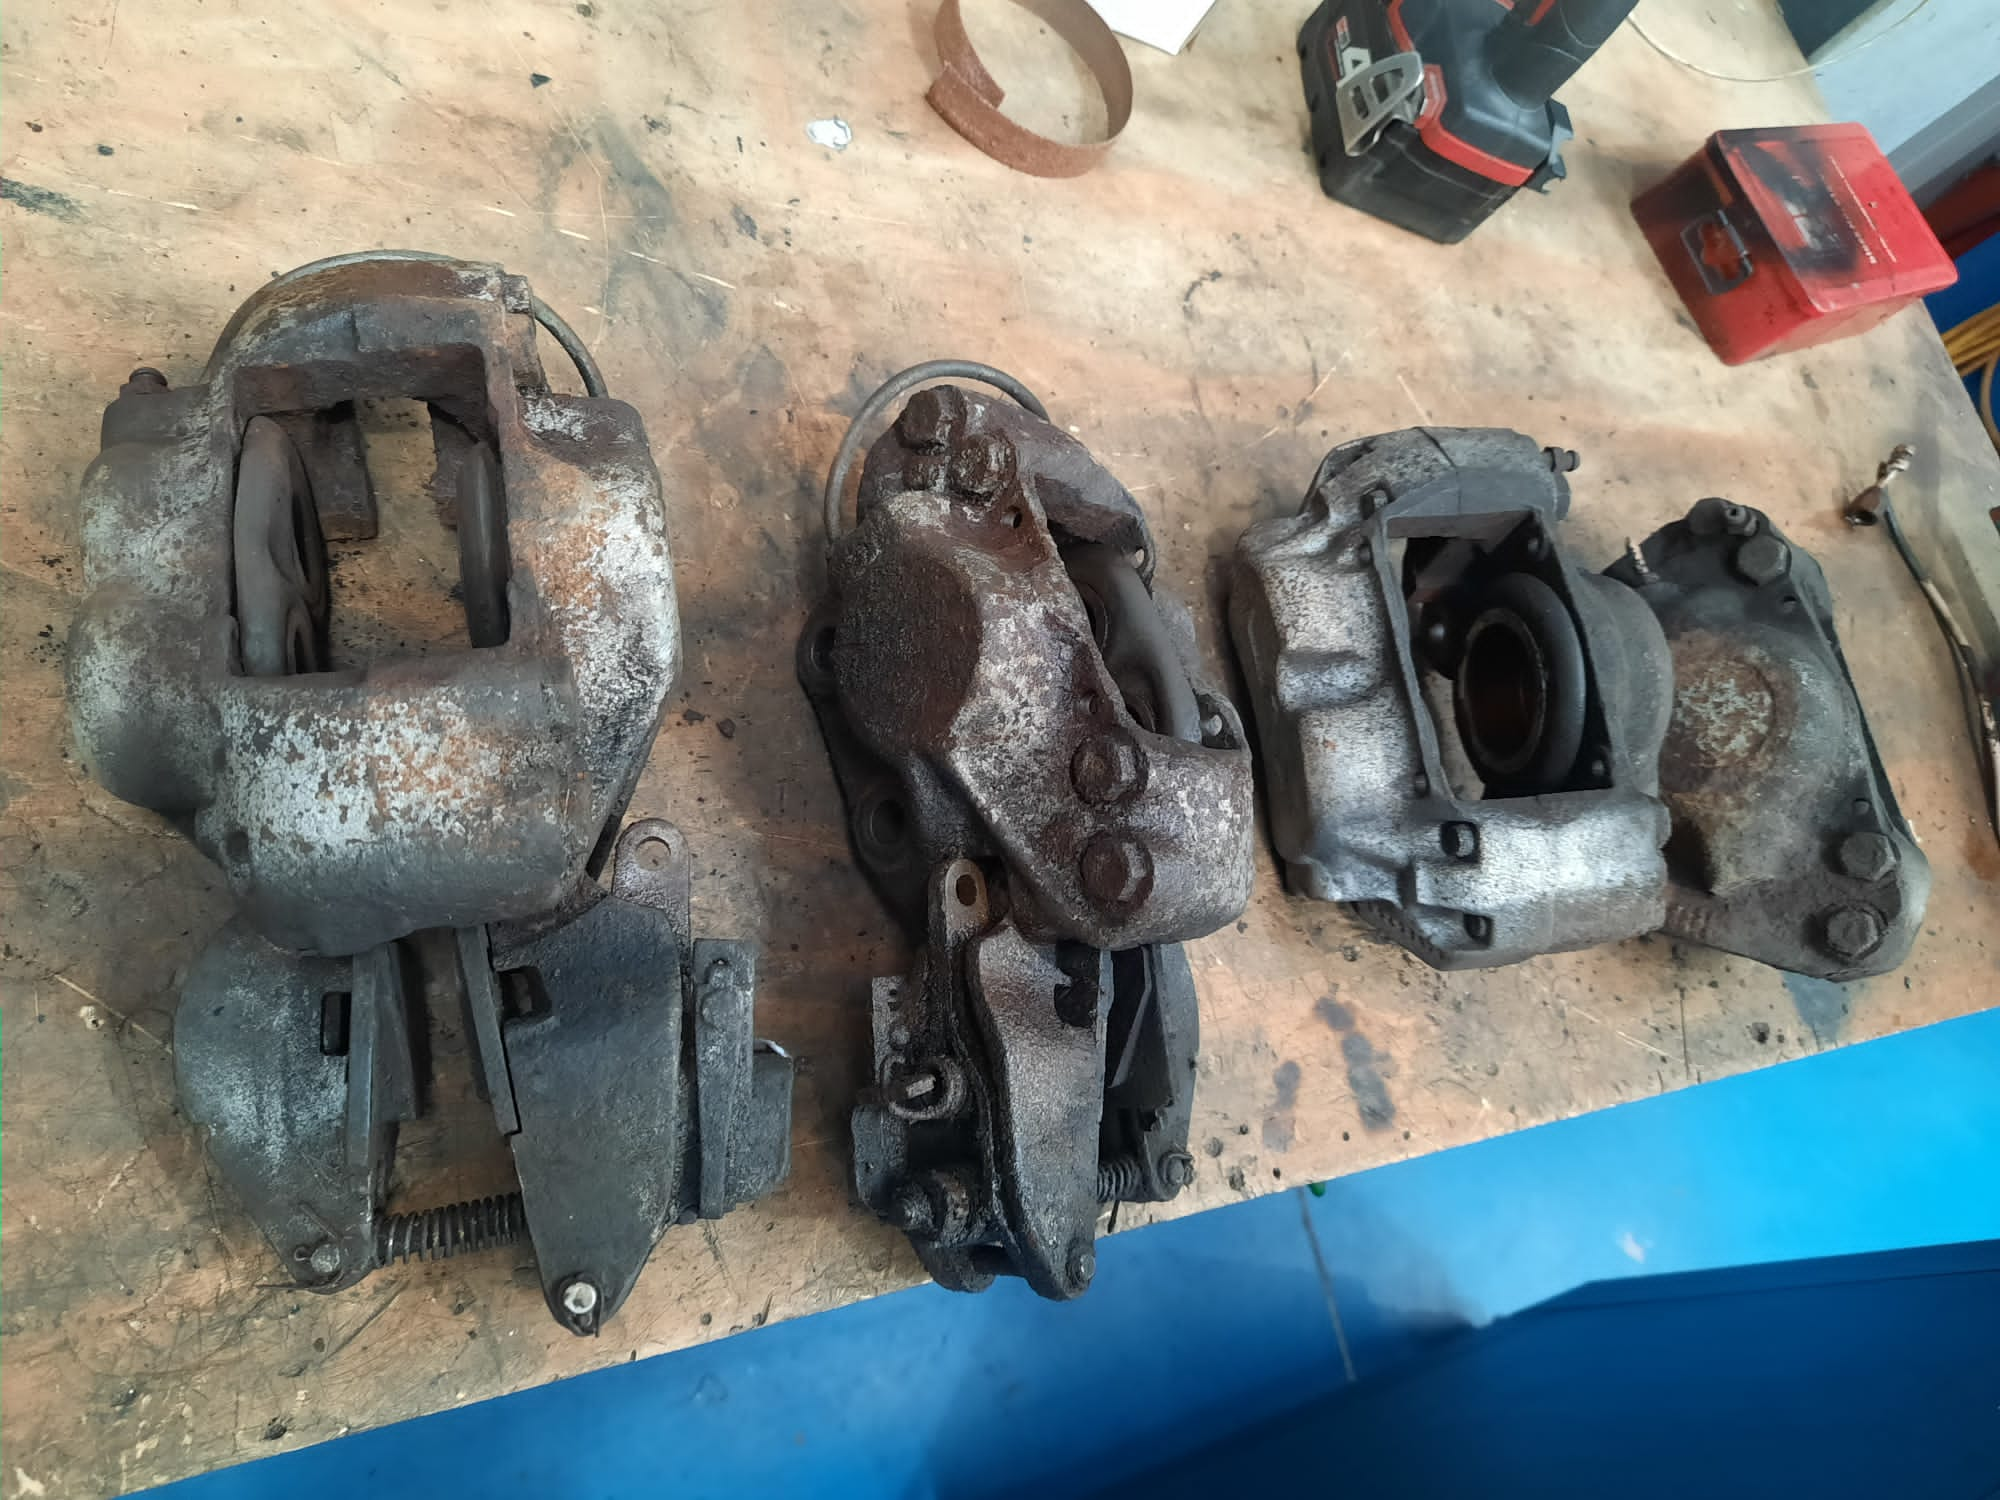
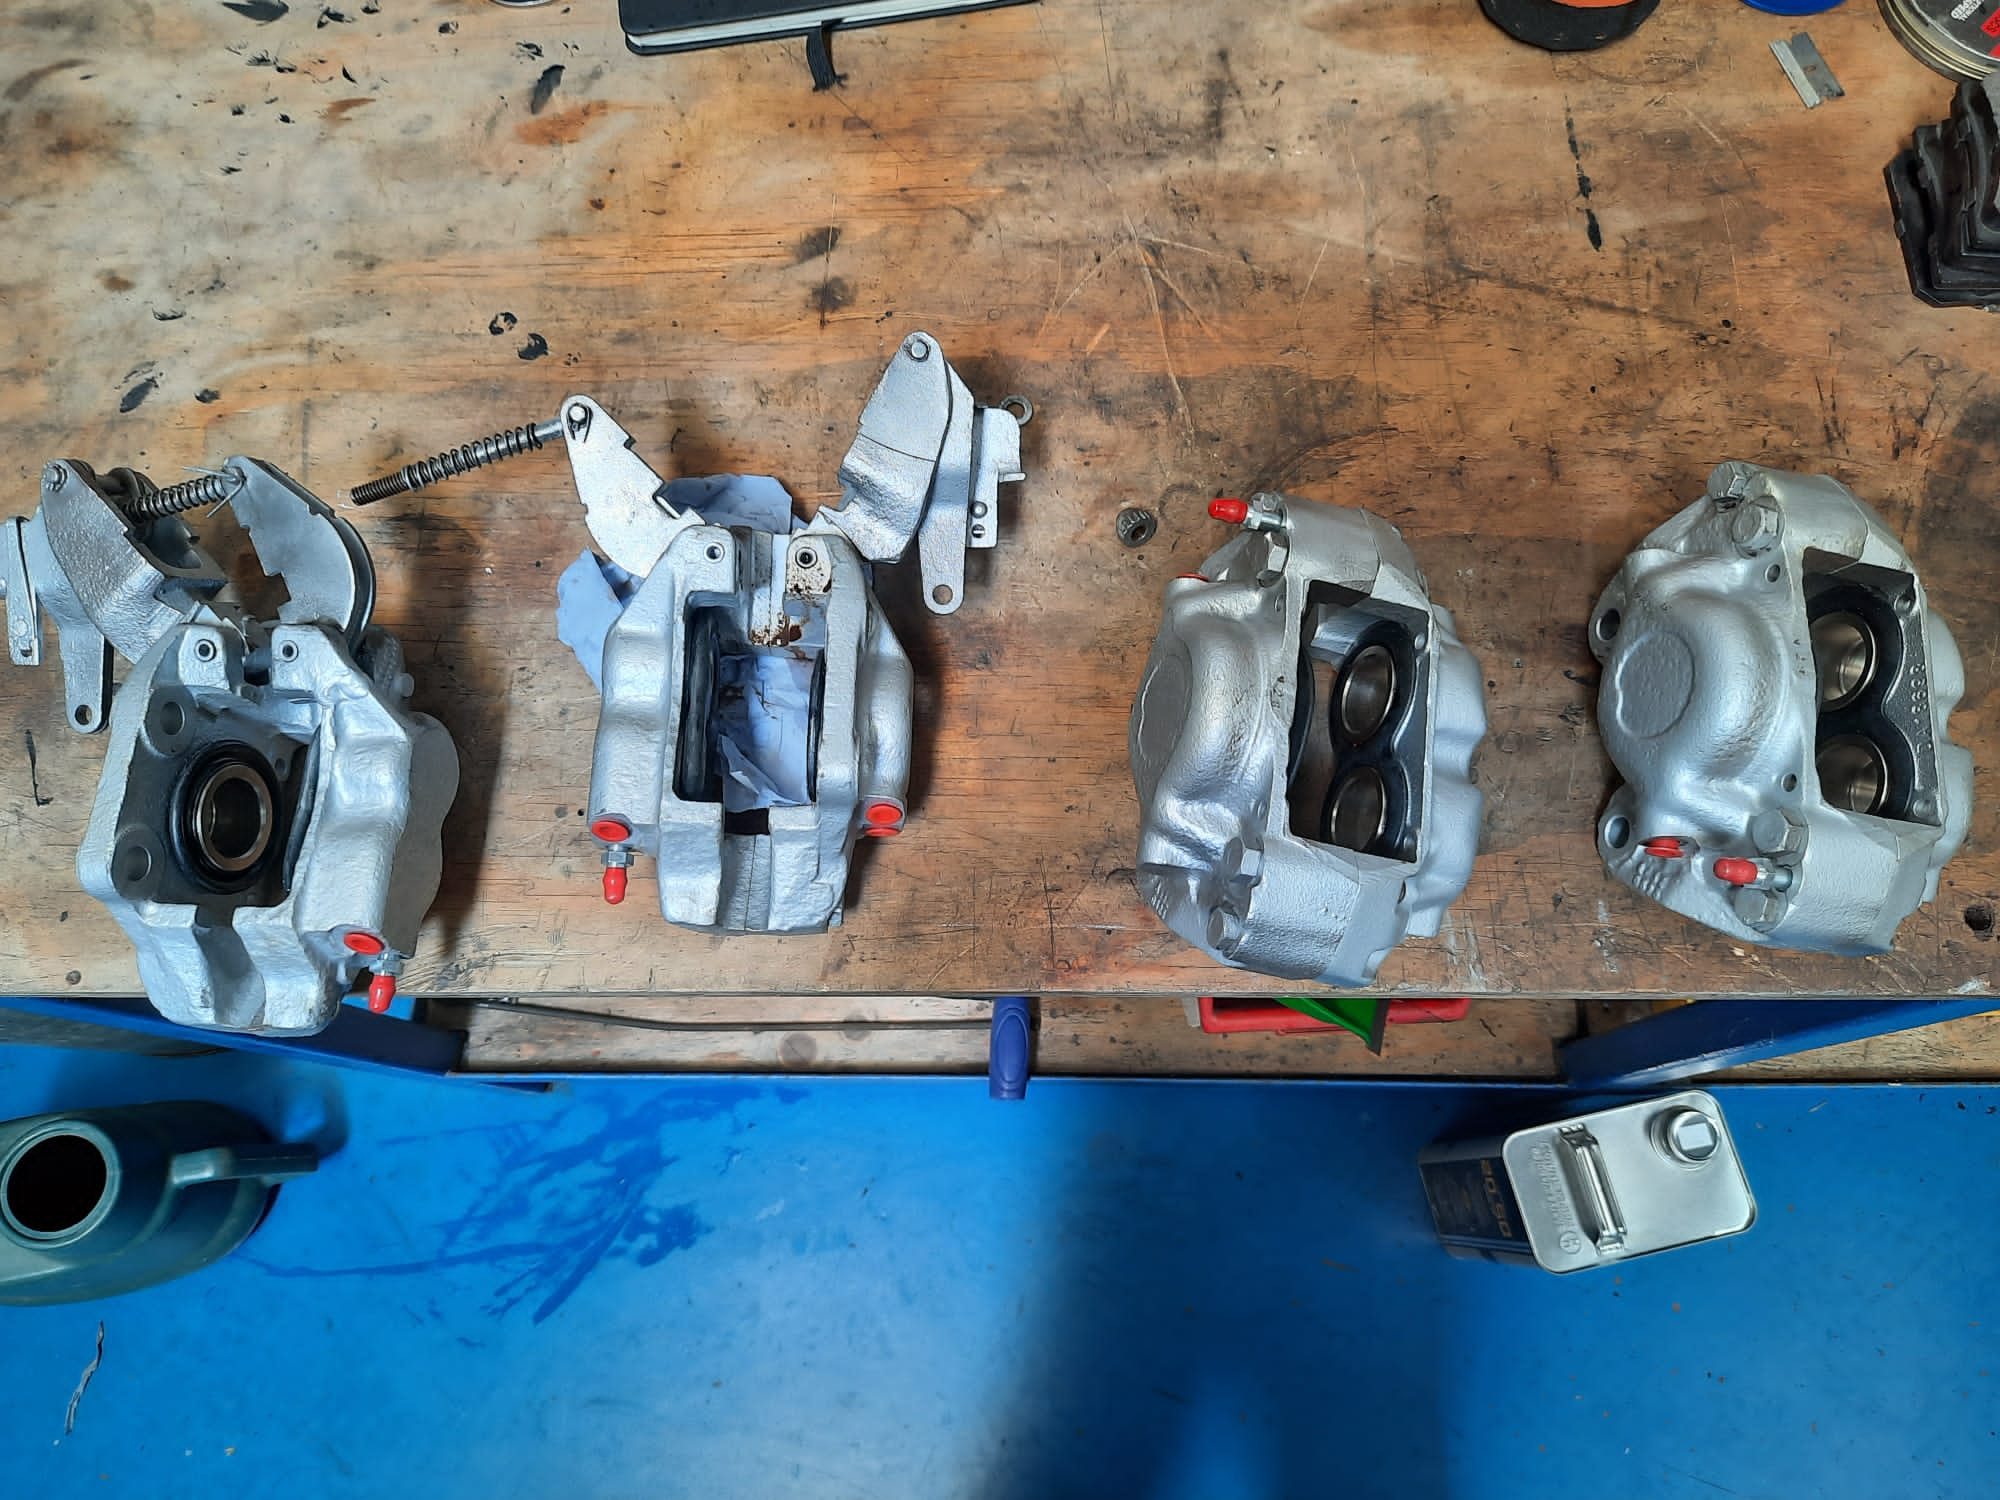
Paul has had the job of putting everything back in the engine bay, that was taken out for the re-painting!
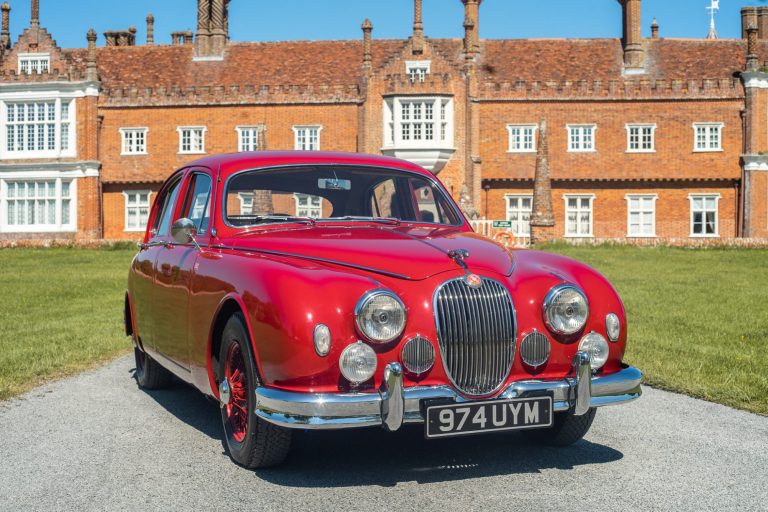
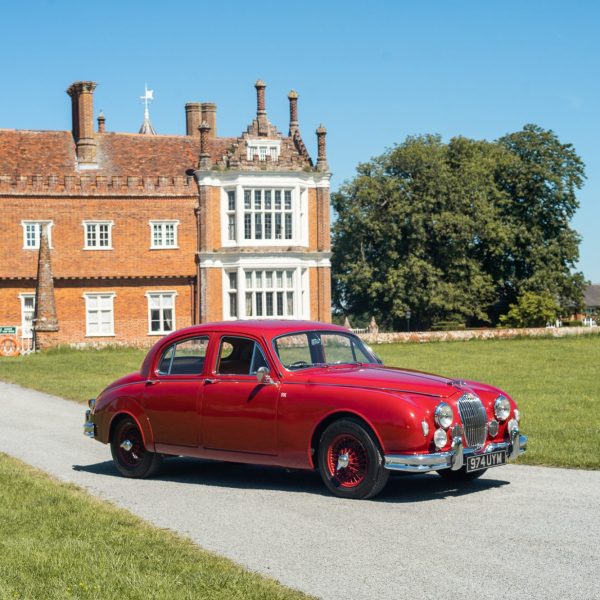
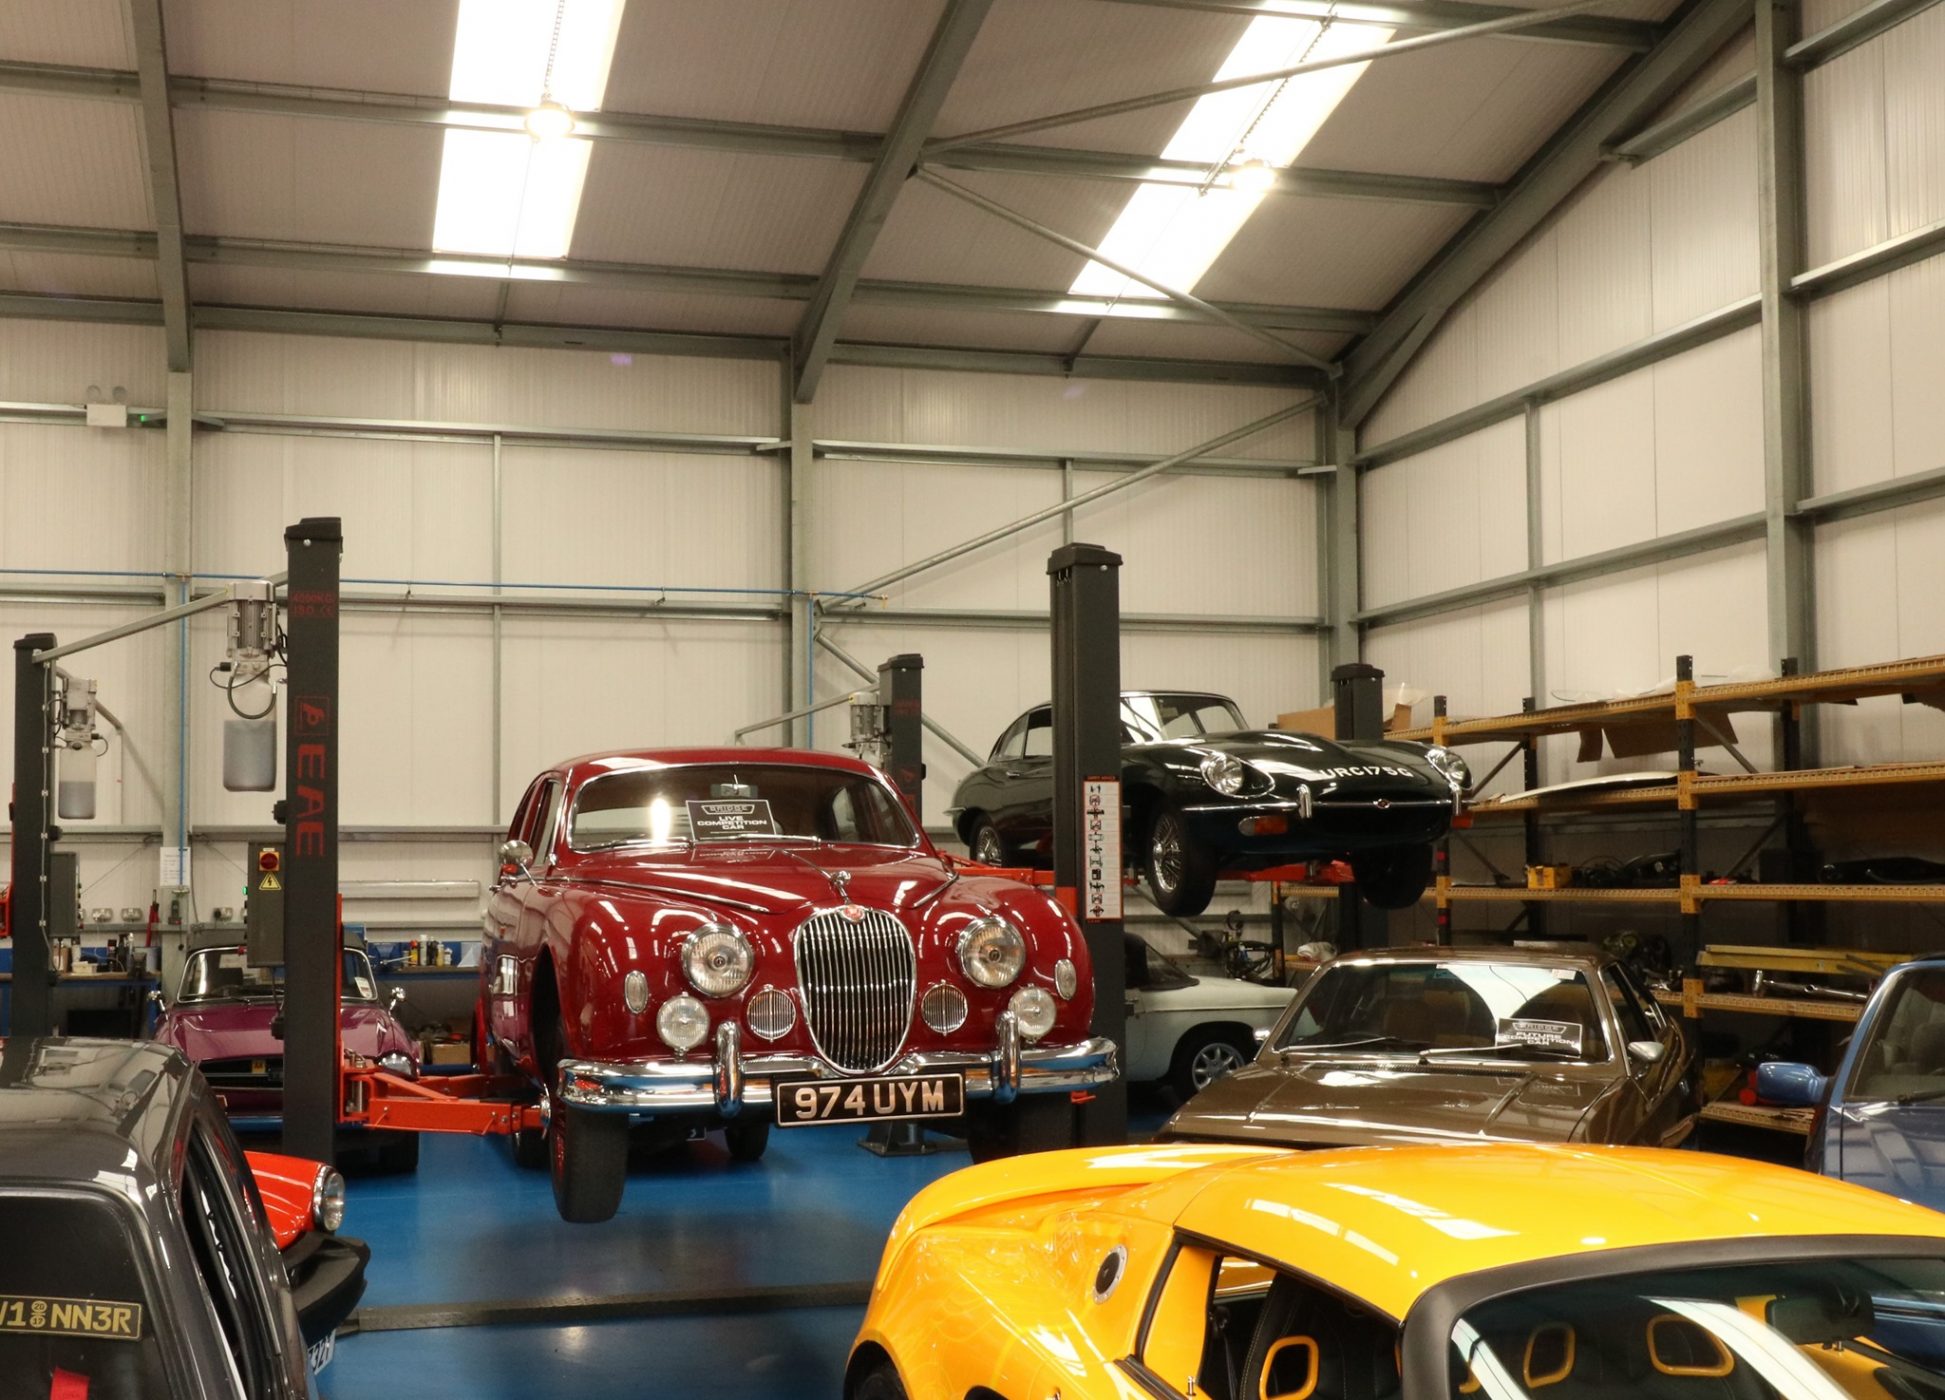
This Sunday, 1st of August, will be the annual Festival of Classic and Sports Cars at Helmingham Hall in Suffolk! Having had a year off due to the pandemic, it will be fantastic to see the vast array of cars again that so many enthusiasts and owners bring.
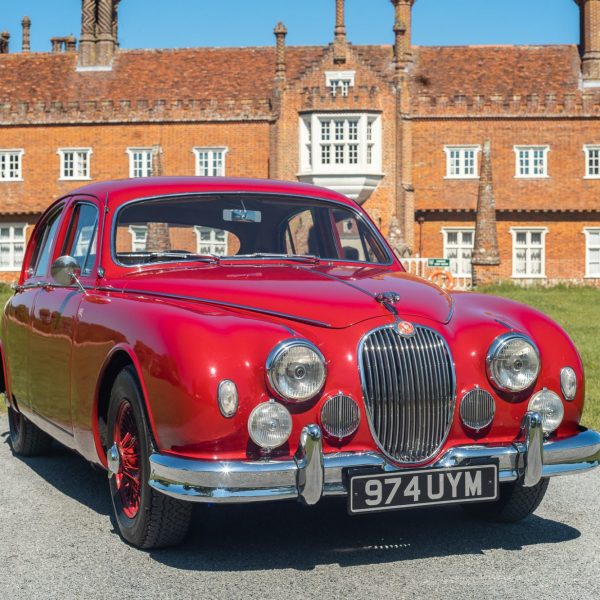
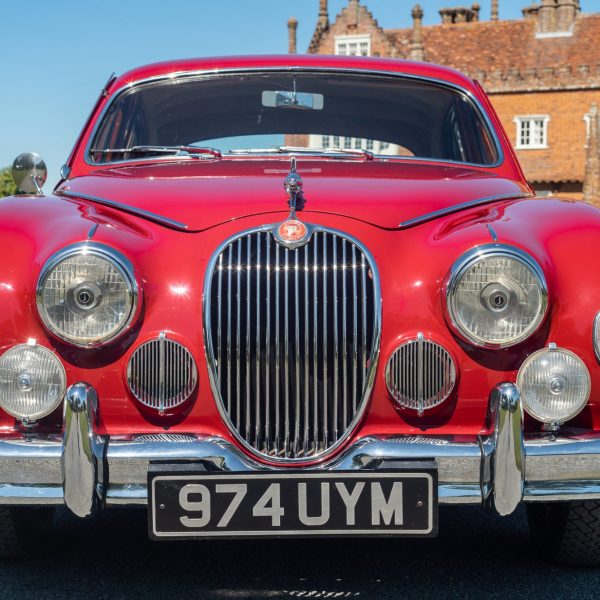
We’ll be there of course, along with all of our current competition cars, including our maroon 1959 Jaguar MK I. This will be won on the day and the draw for it will be live from the show at 4:00 pm.
So if you’re a Jaguar fan or simply want to add to your collection of cars, come and grab a ticket on our website this very minute, for your chance to win! If we haven’t sold out online, tickets will also be available on the day, on our stand, up until 3:00 pm. So why not come and say hi to us!
Here’s a link to the competition page on our website, which gives you all the information you should need about the car and how to purchase tickets. https://www.bridgeclassiccarscompetitions.co.uk/product/mk1-jag/
Here’s a link to the Helmingham Hall website page about the day, and how to buy tickets to the show. https://www.helmingham.com/events/the-festival-of-classic-sports-cars/


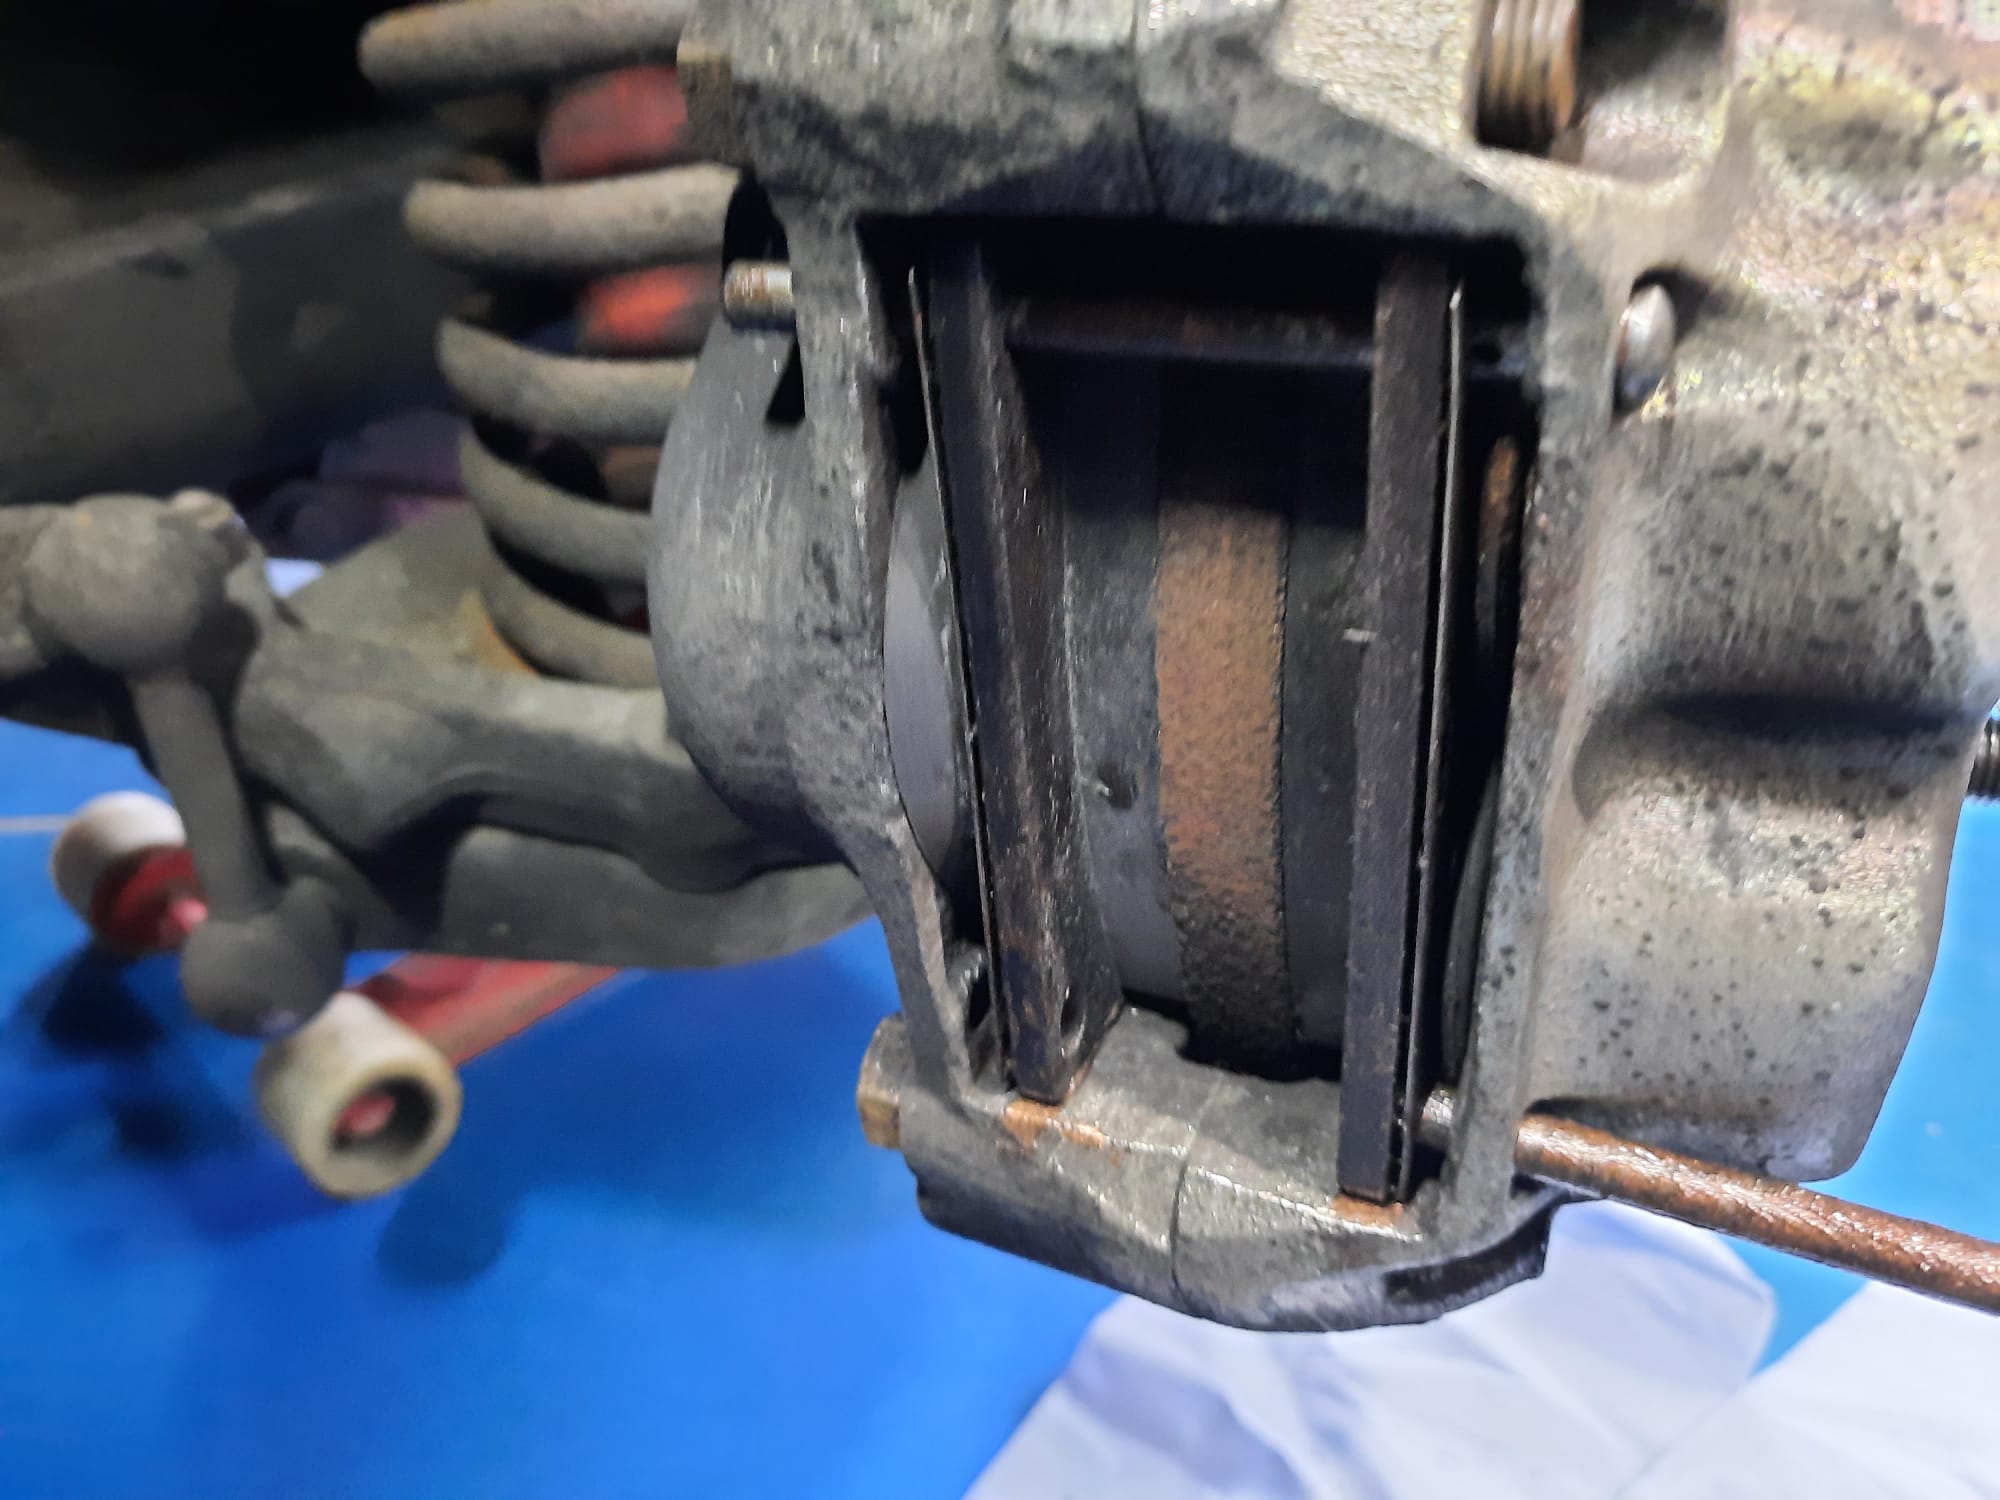
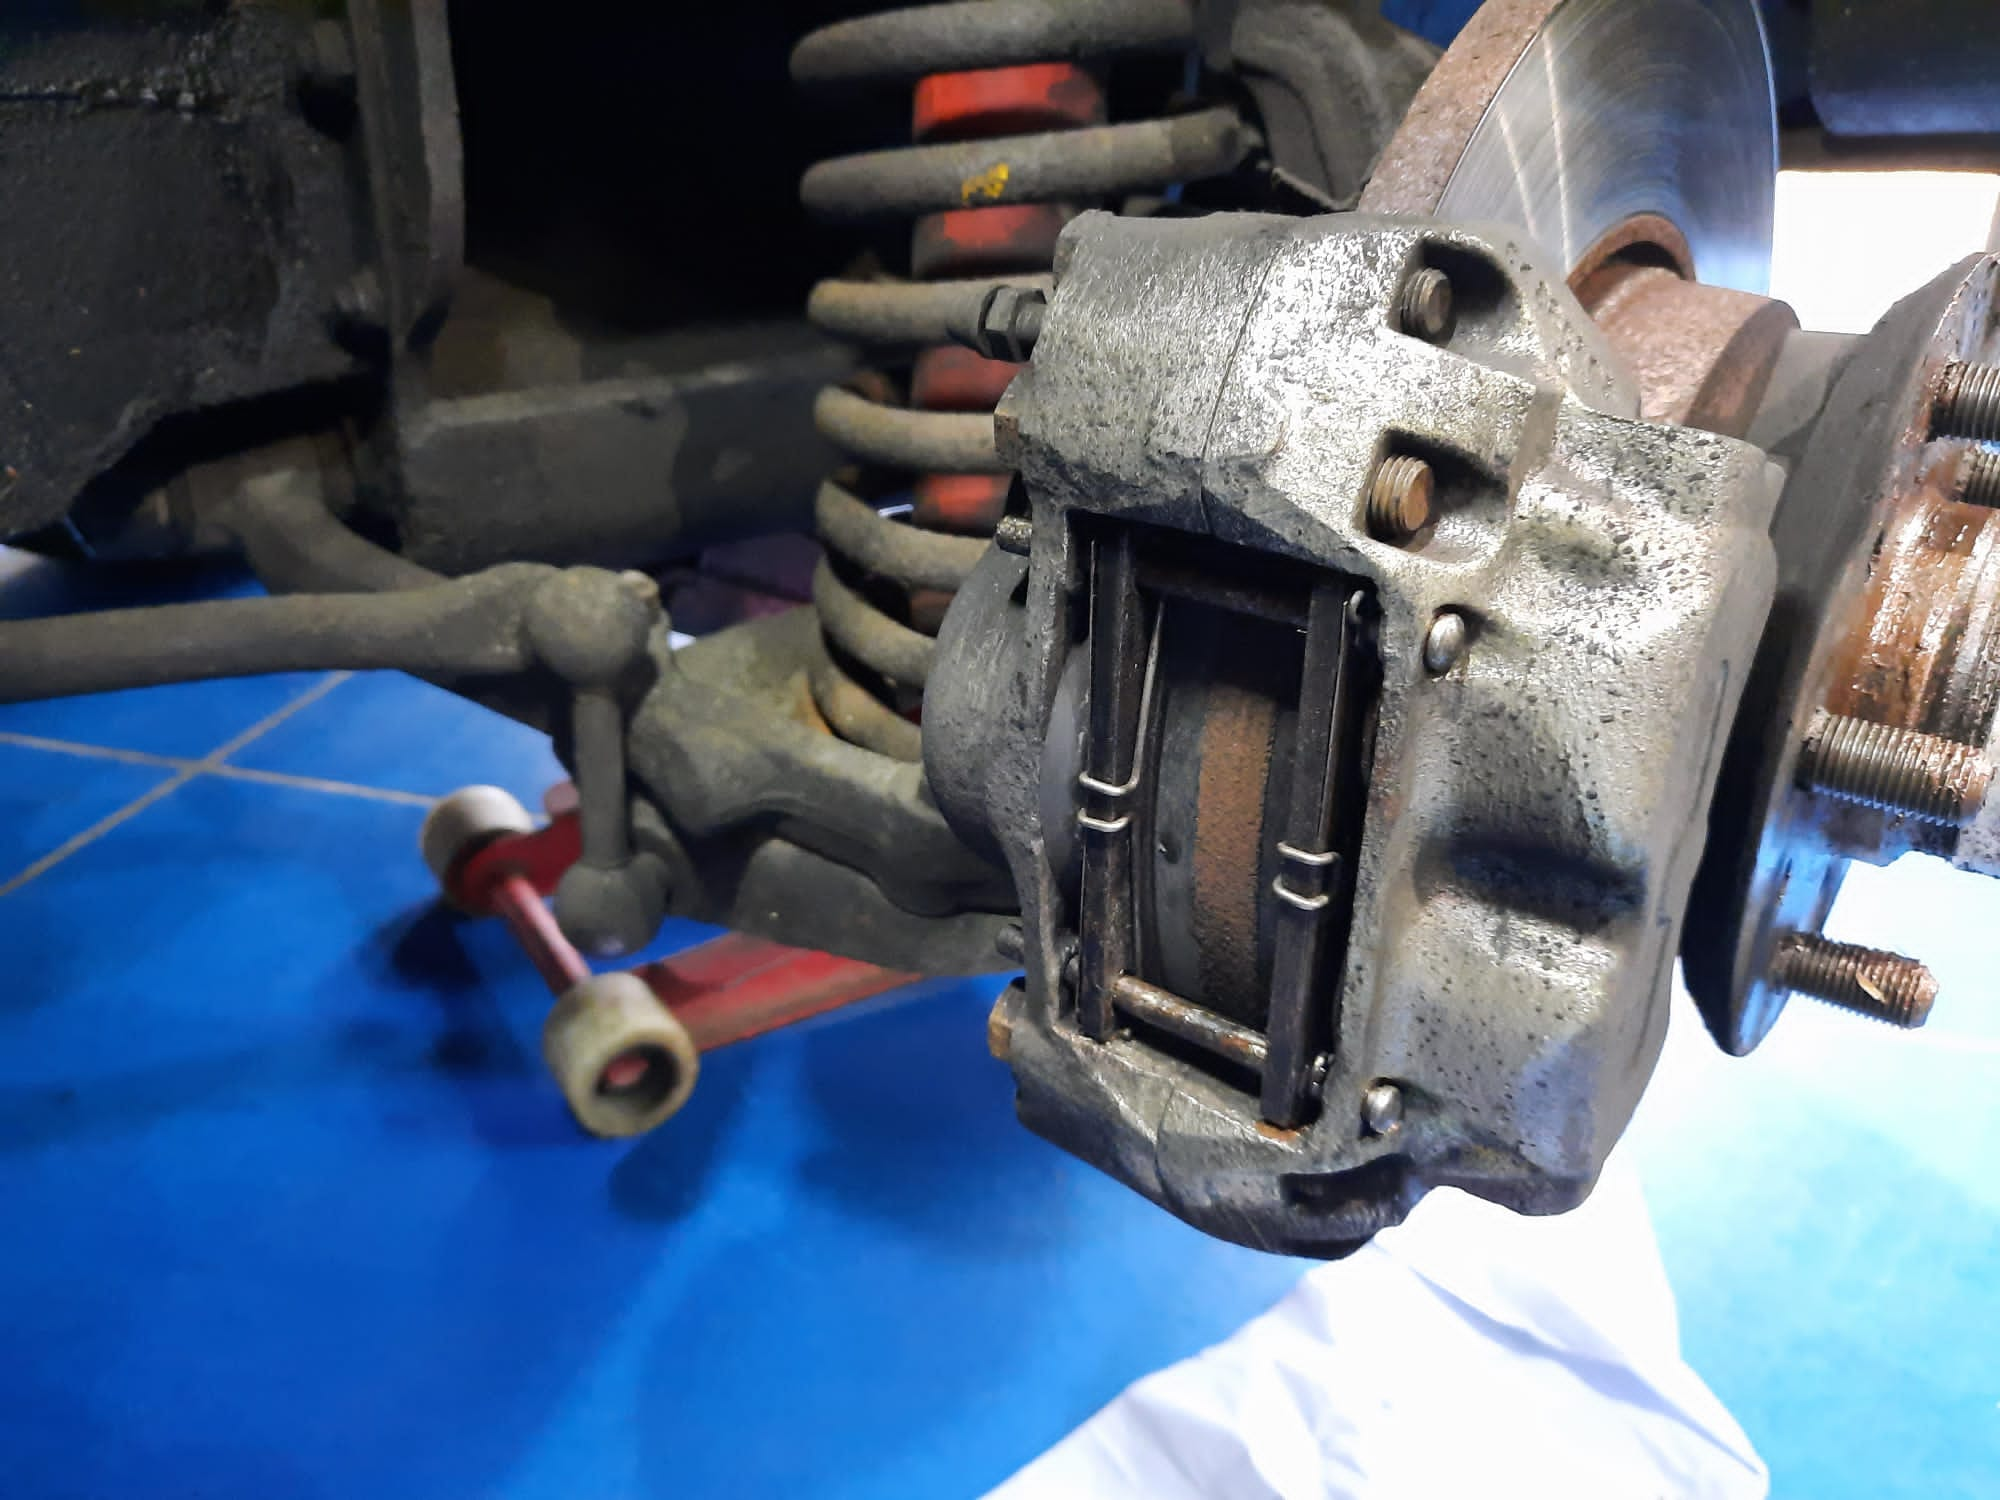
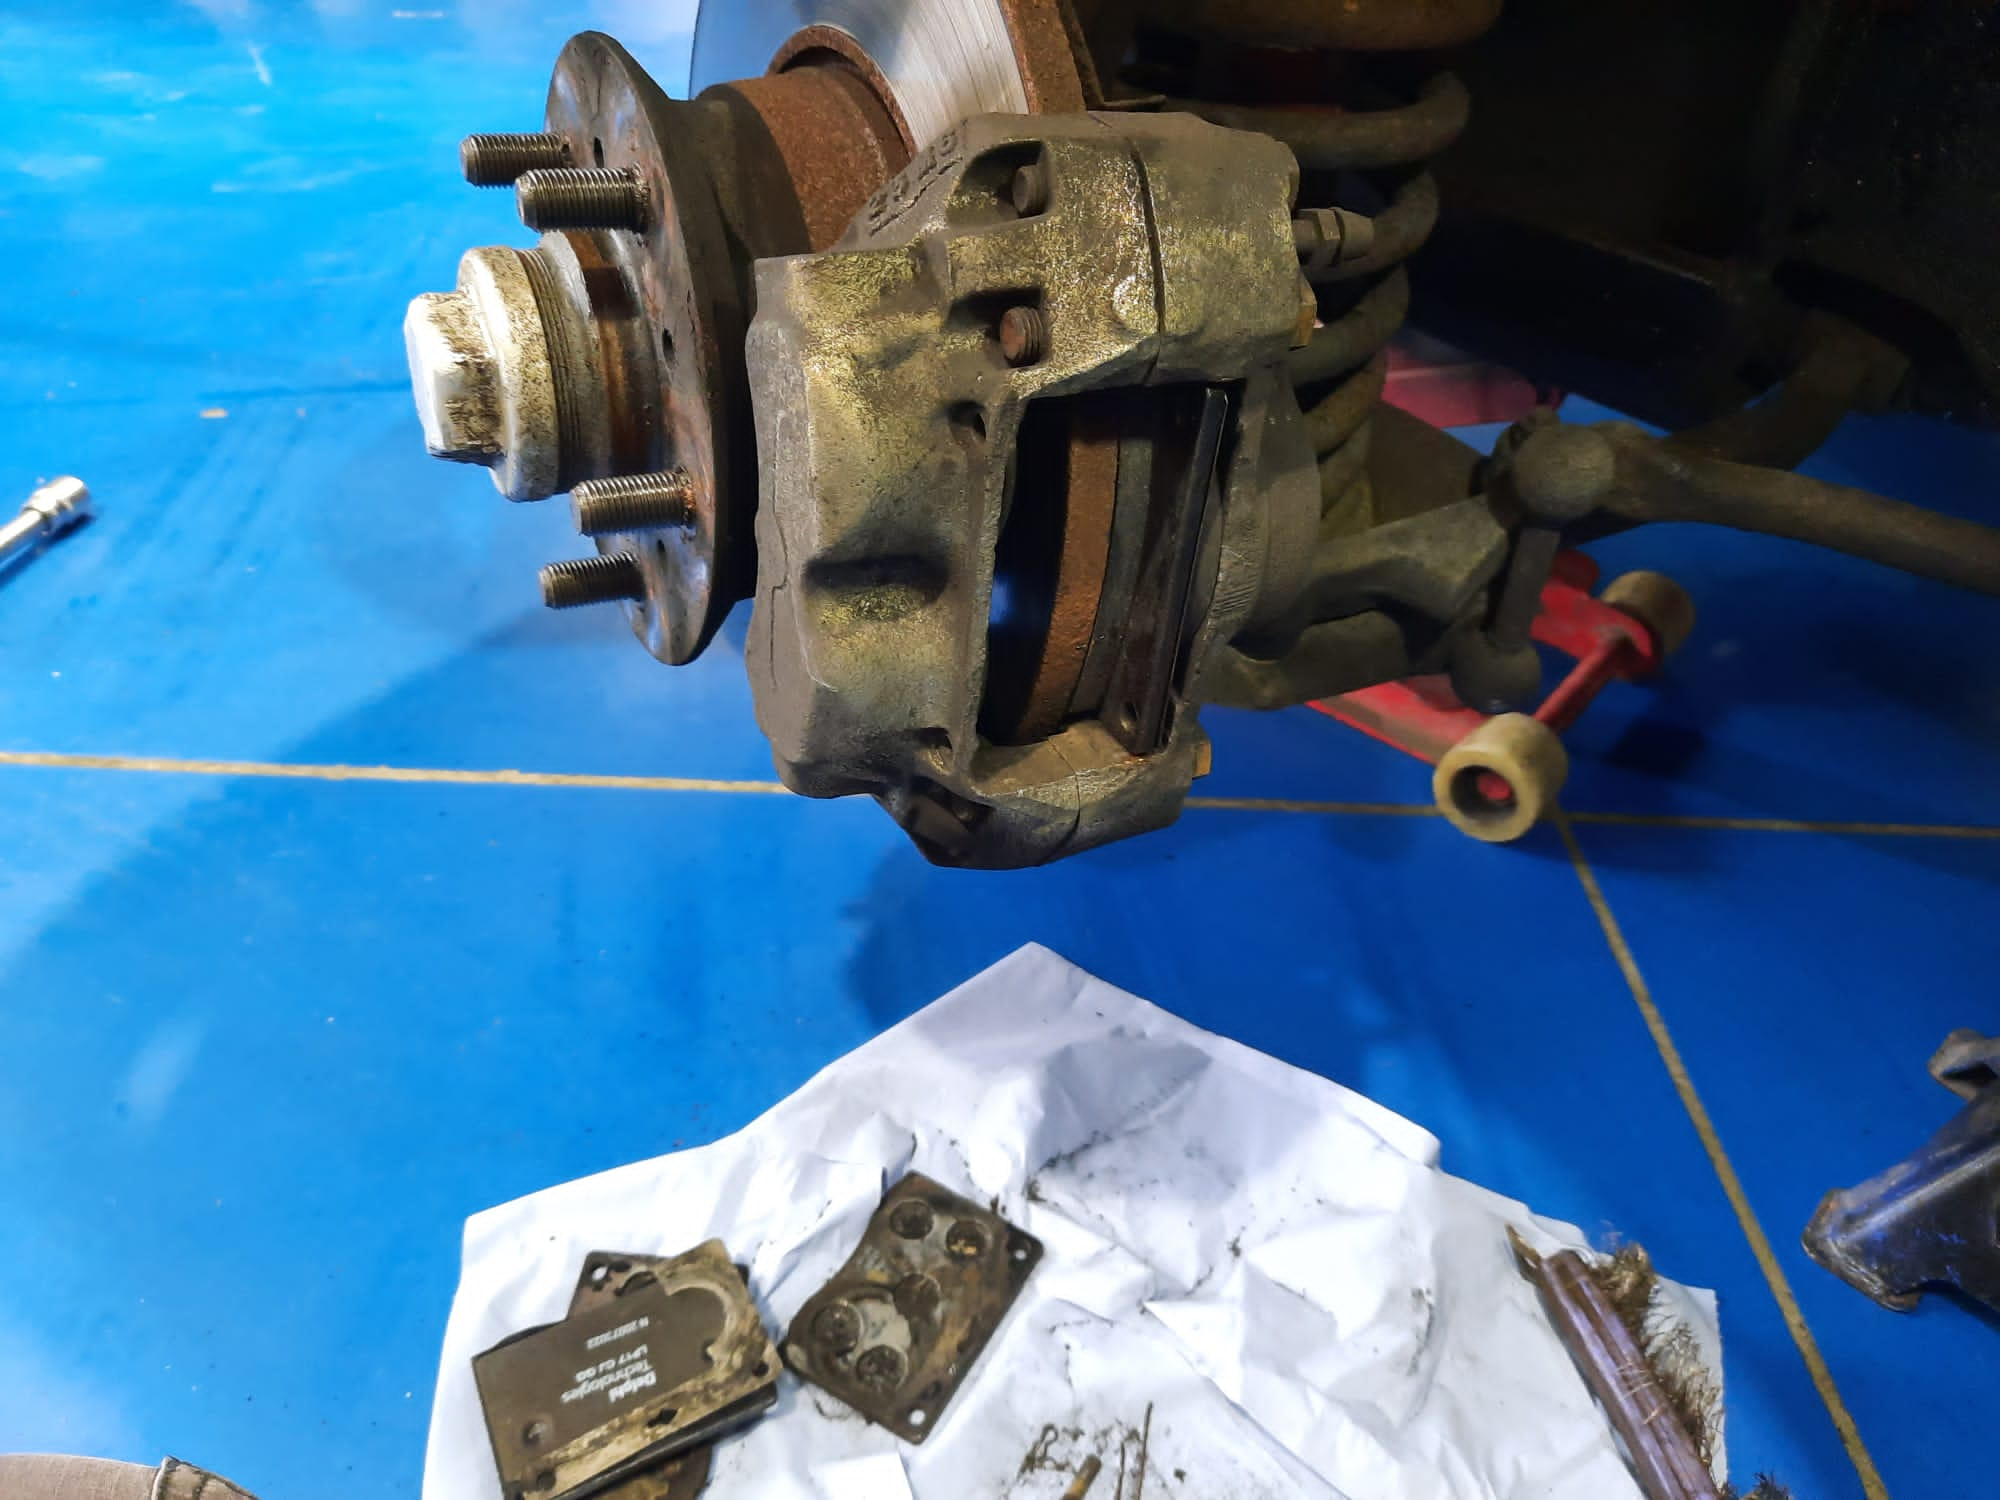
Mauro has been finishing his work on the 1971 Bristol 411. He’s given it a full service, put new break pads on and the contact points got changed. It’s been for a test drive and is looking good!


Scott’s been repairing the offside sill of our blaze orange 1979 MG Midget. He fabricated a new section and welded it into place.


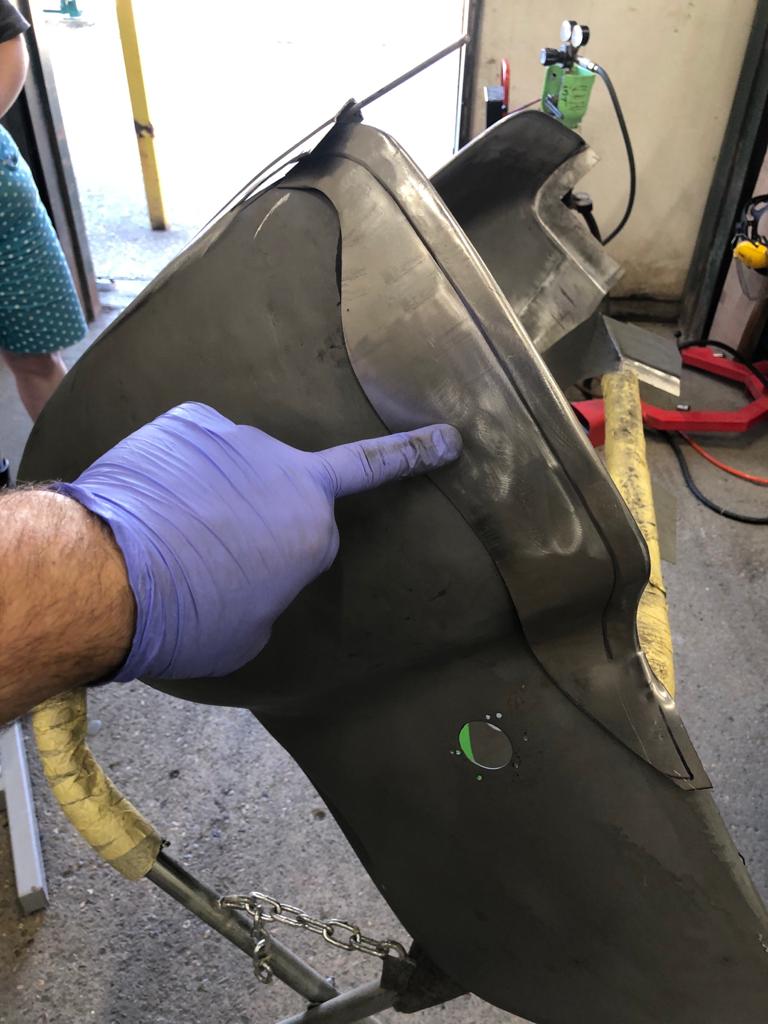
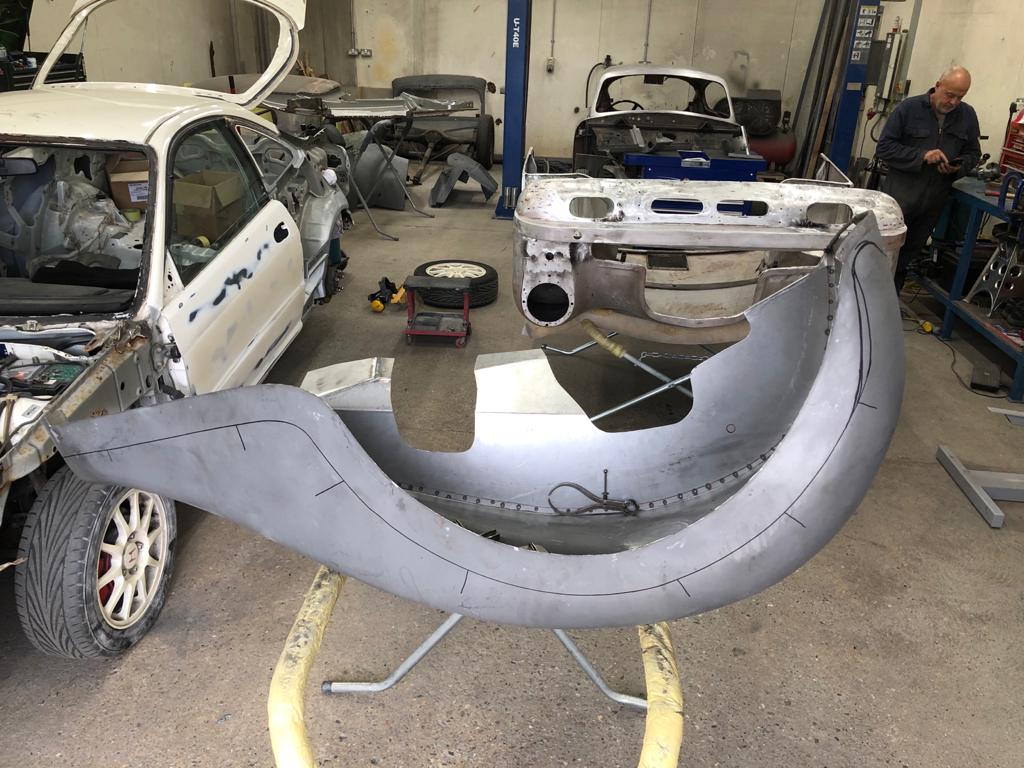
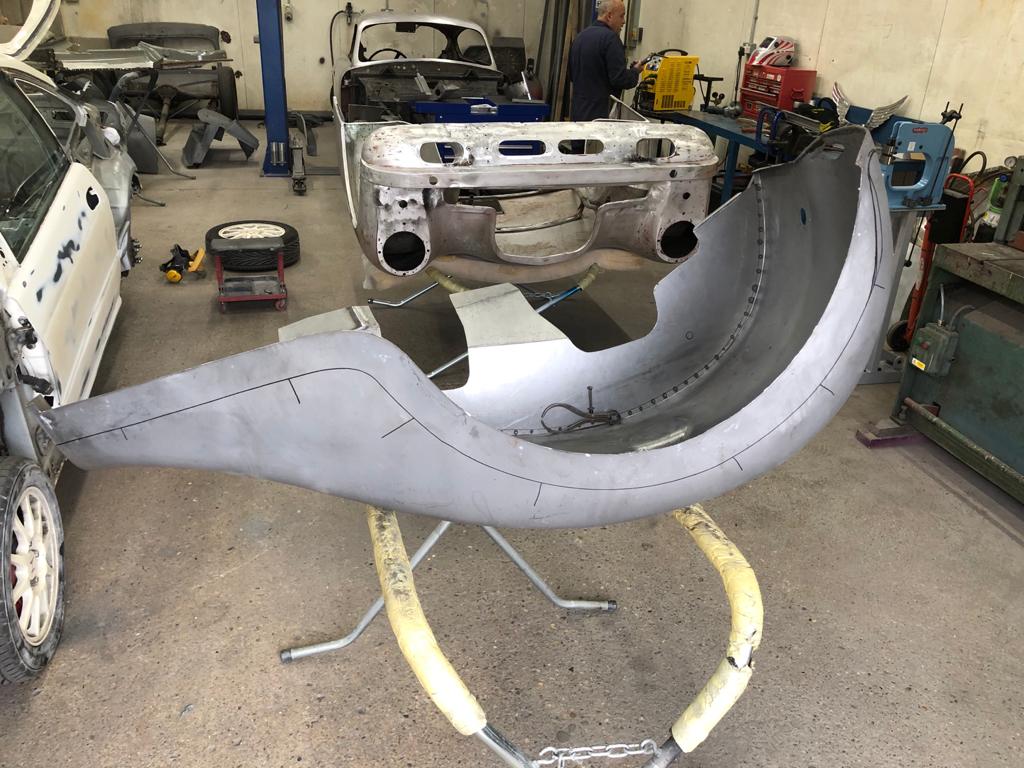
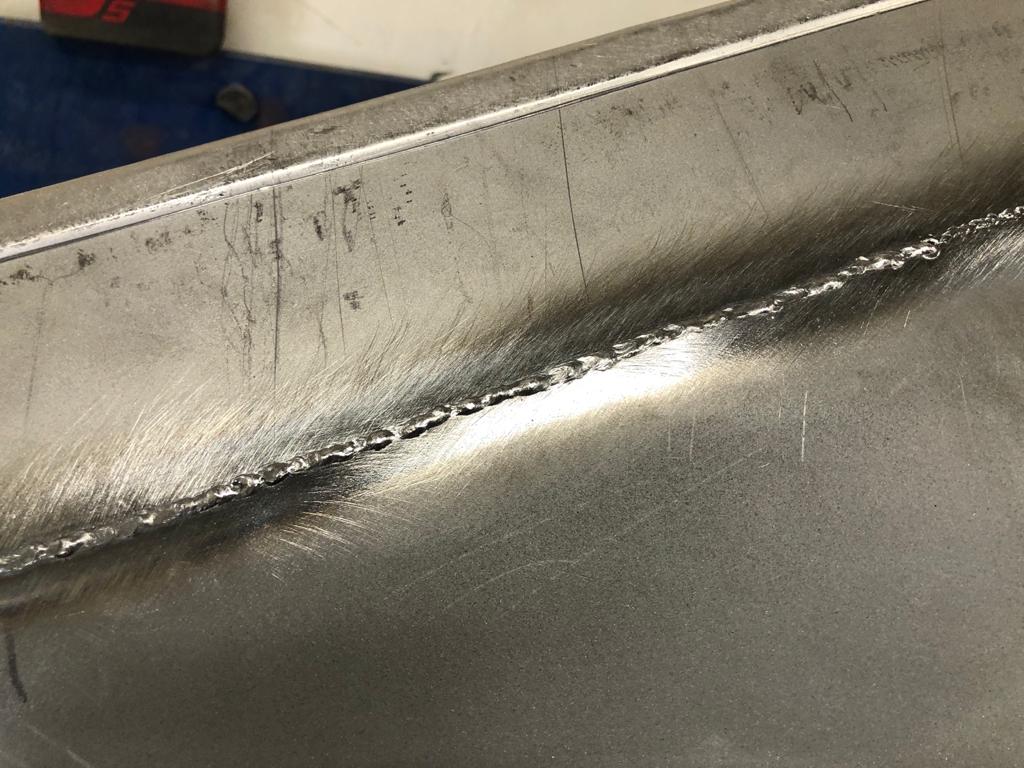
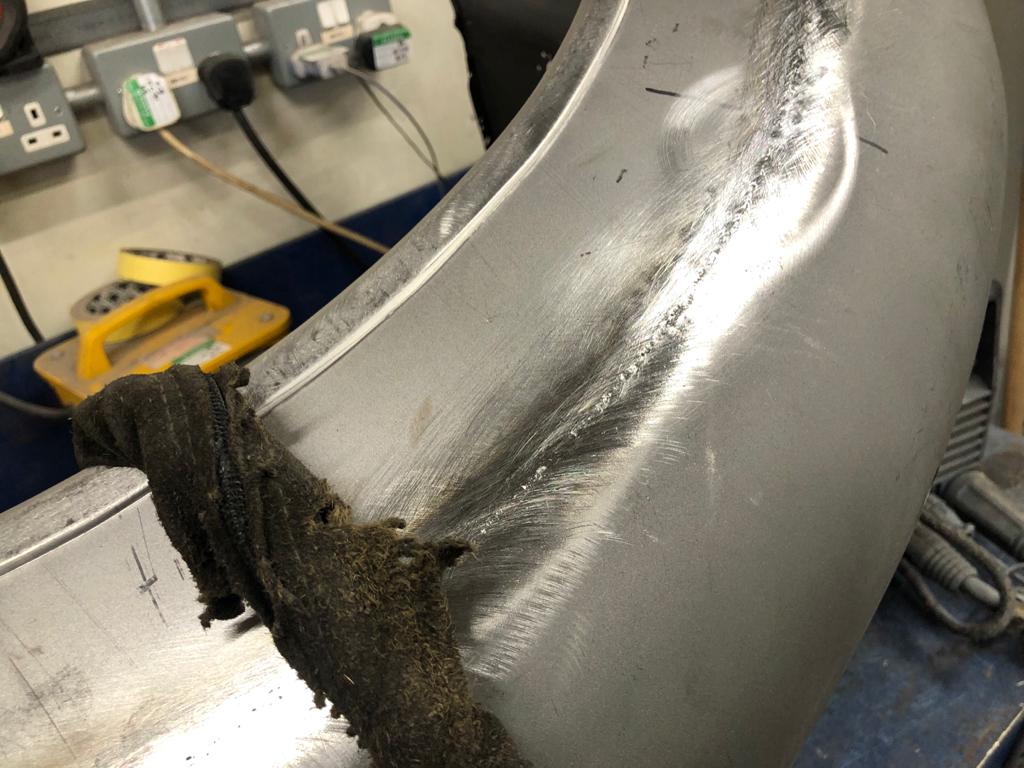
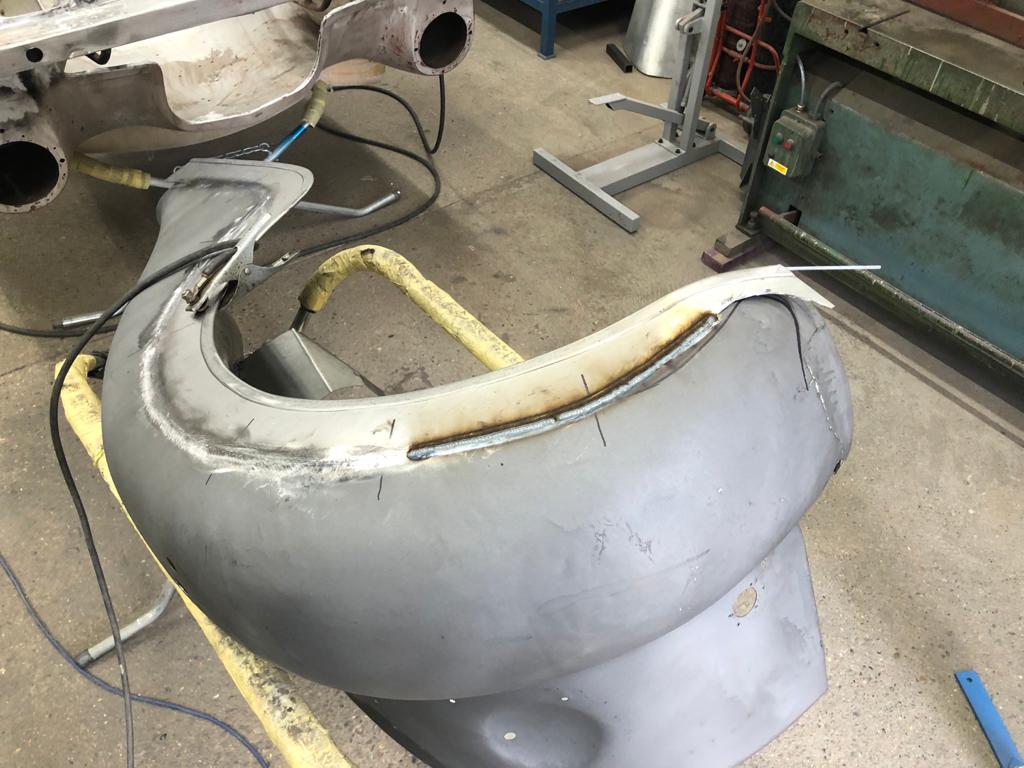
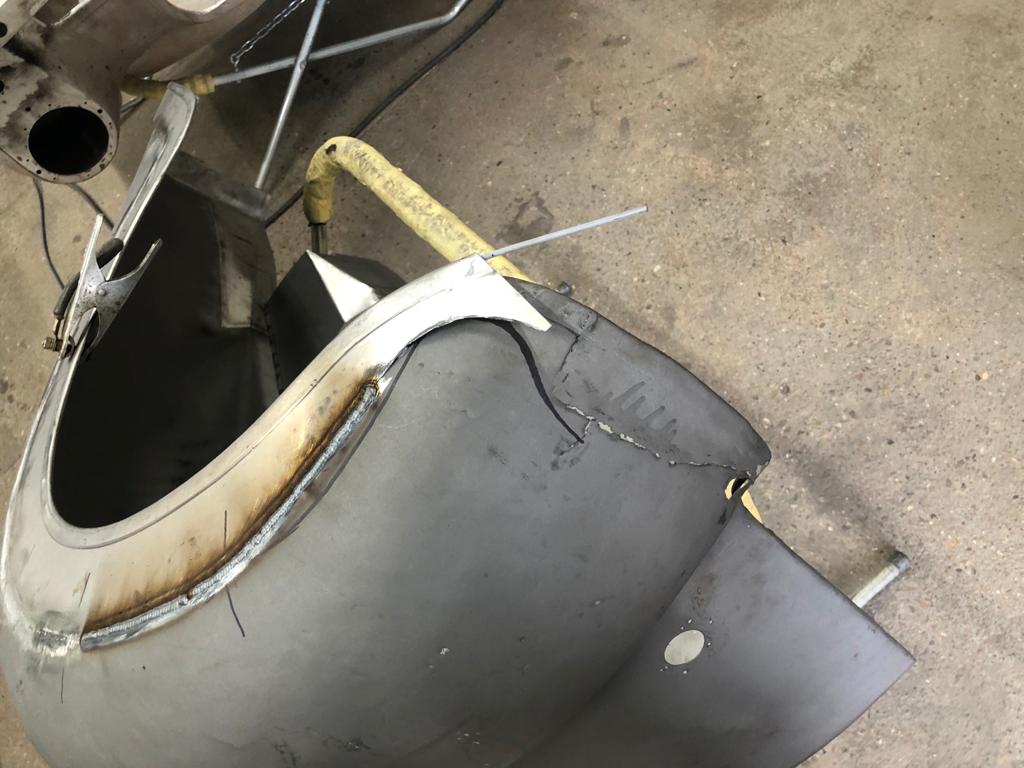
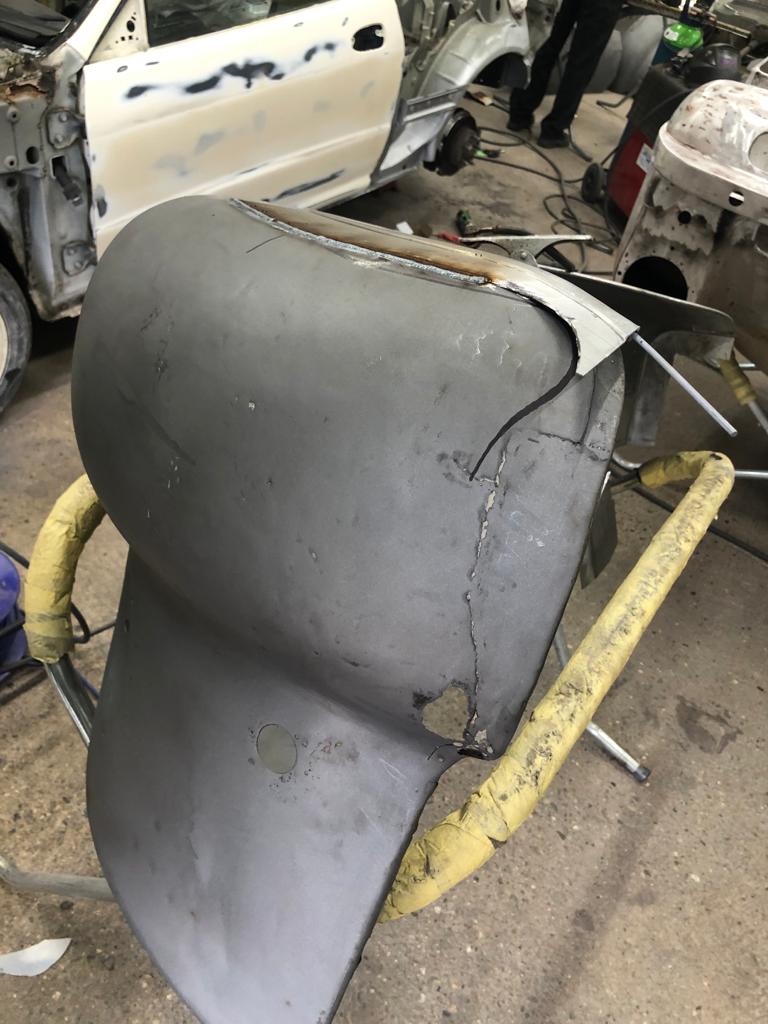
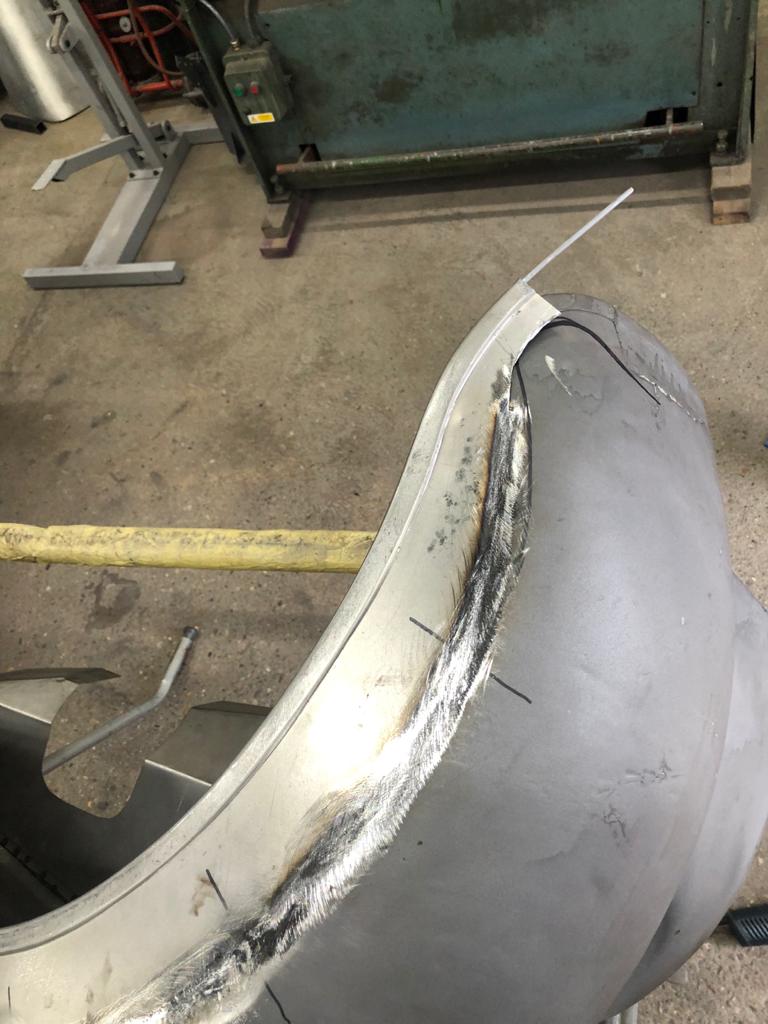
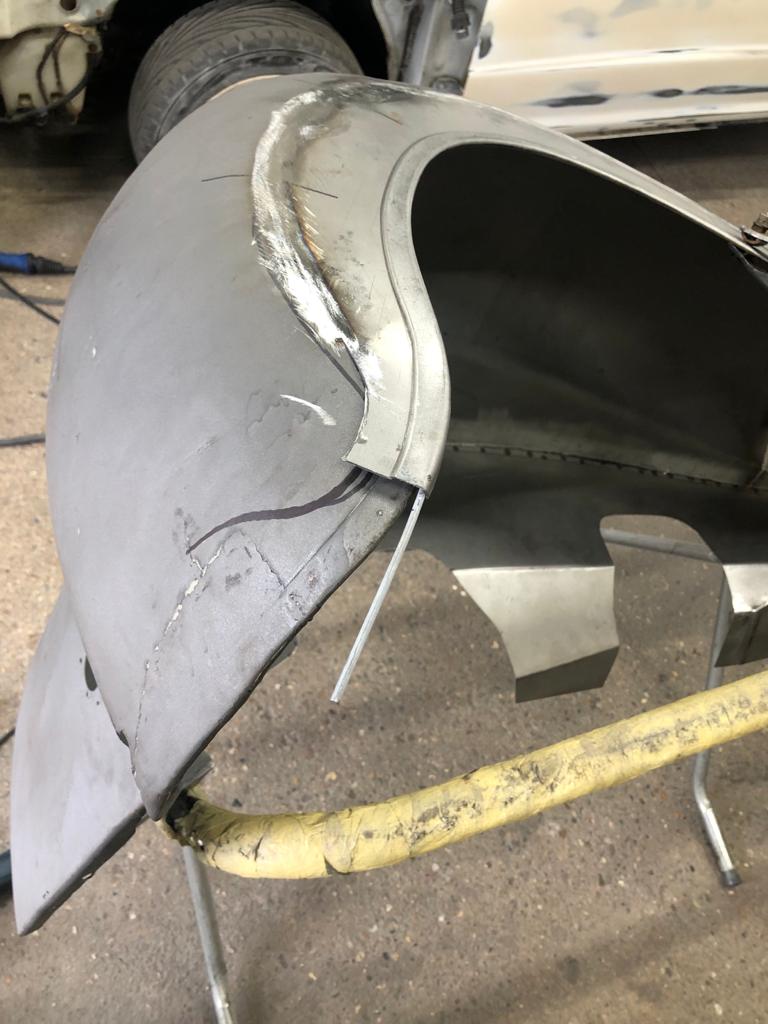
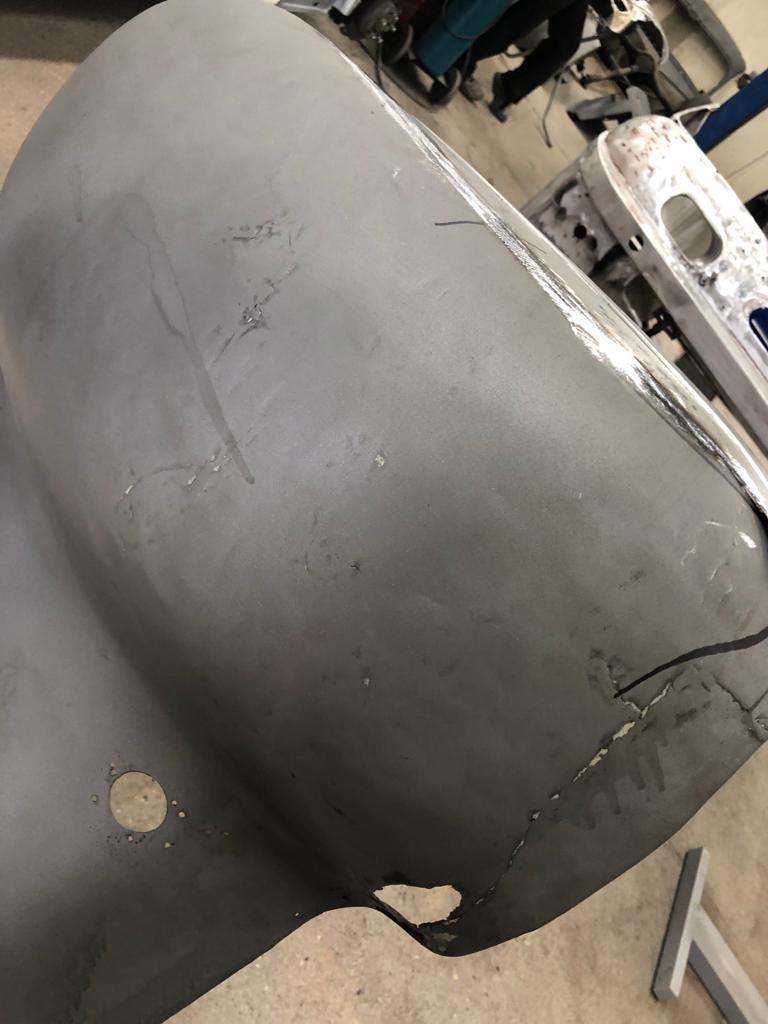
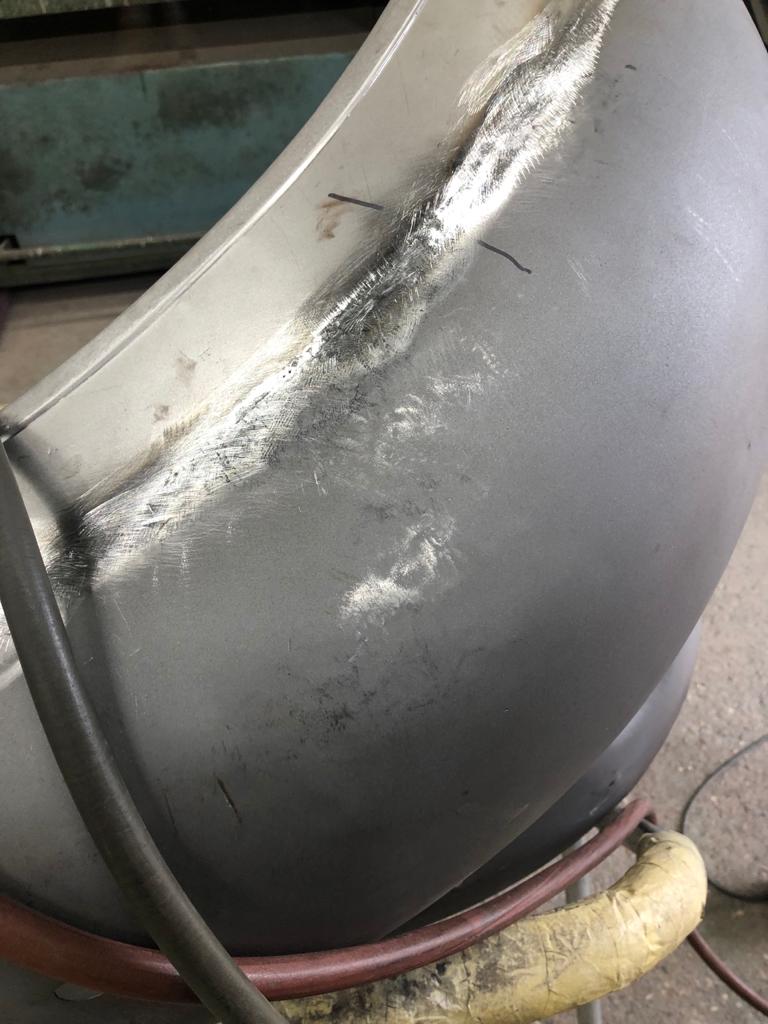
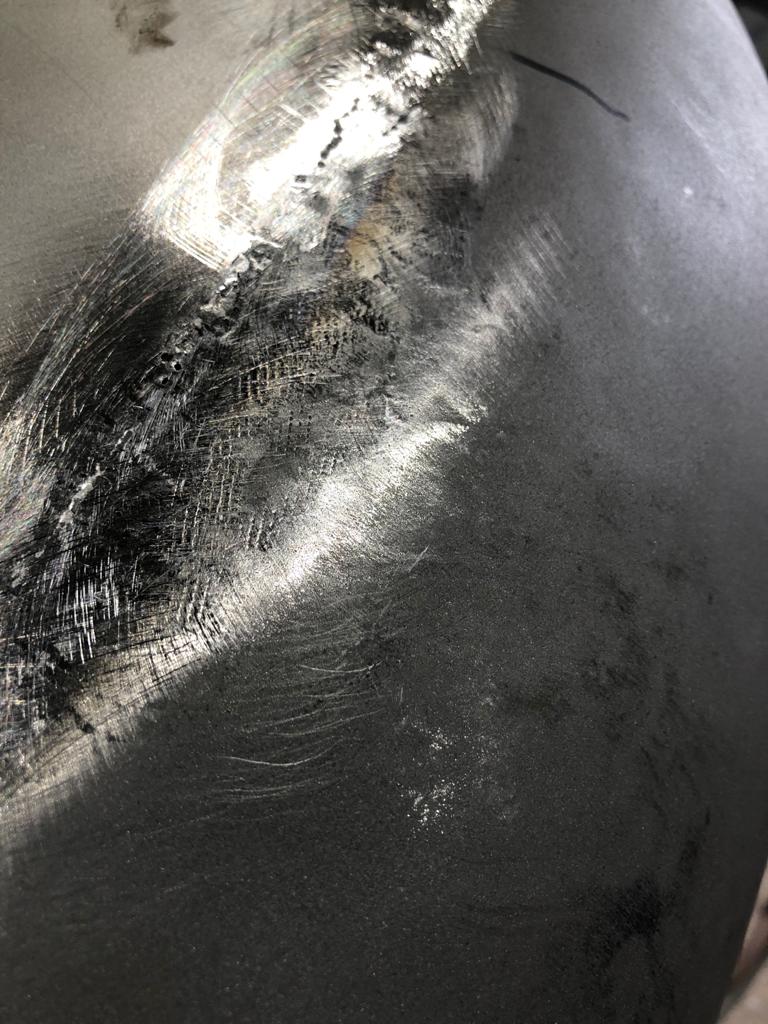
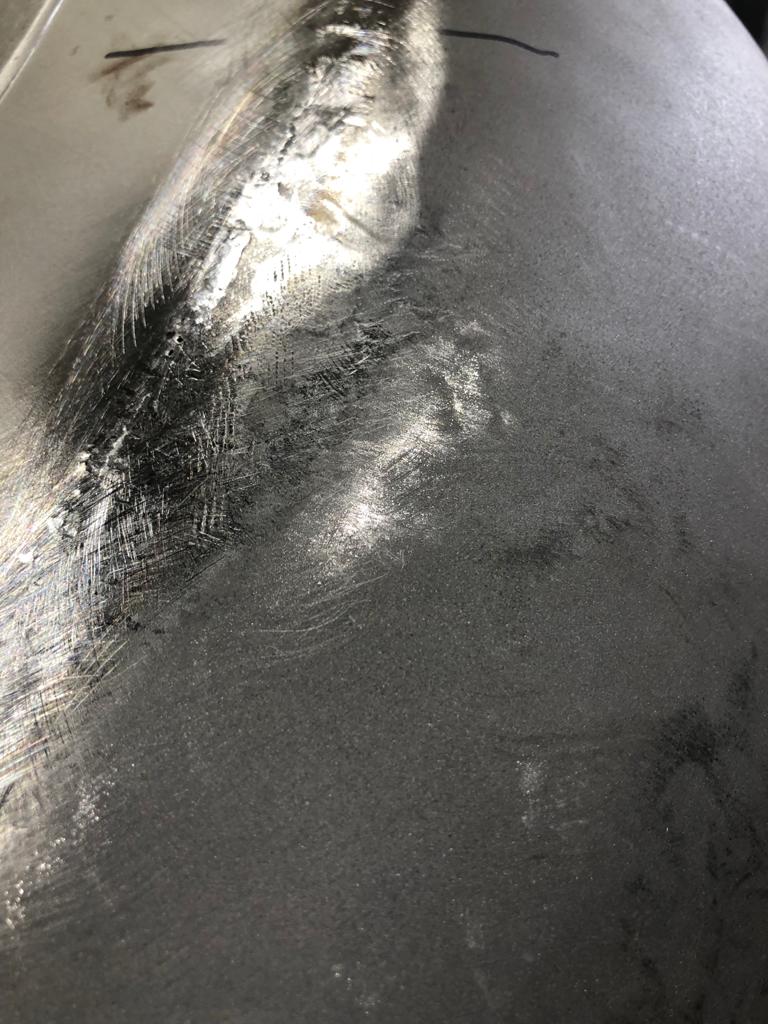
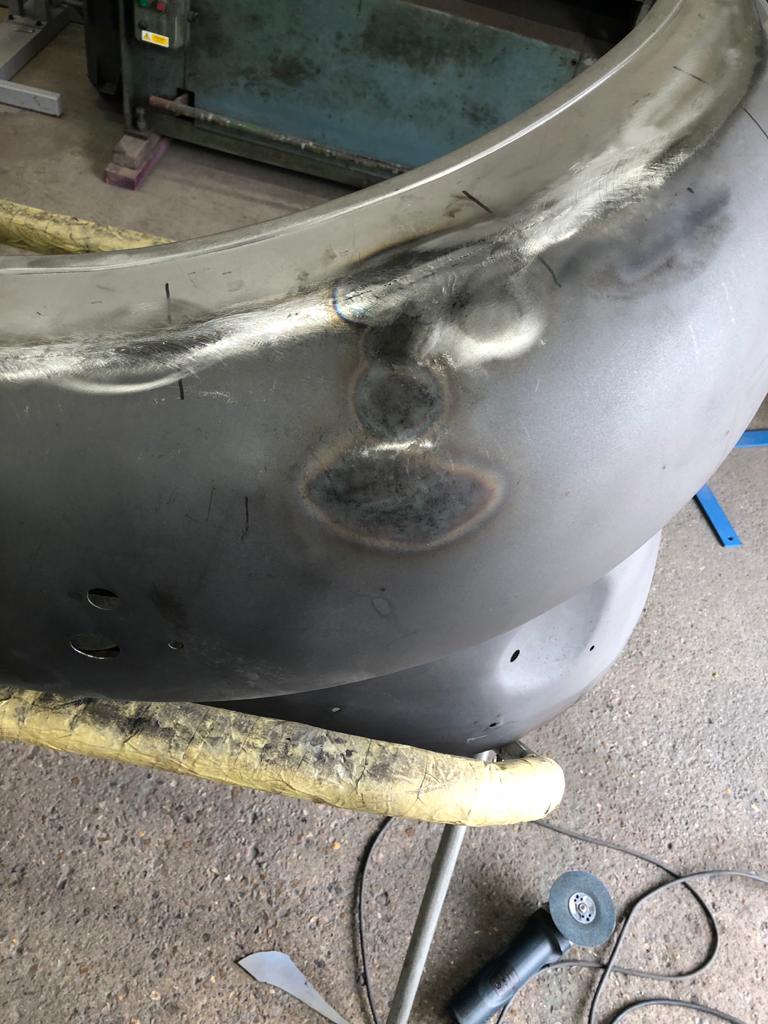
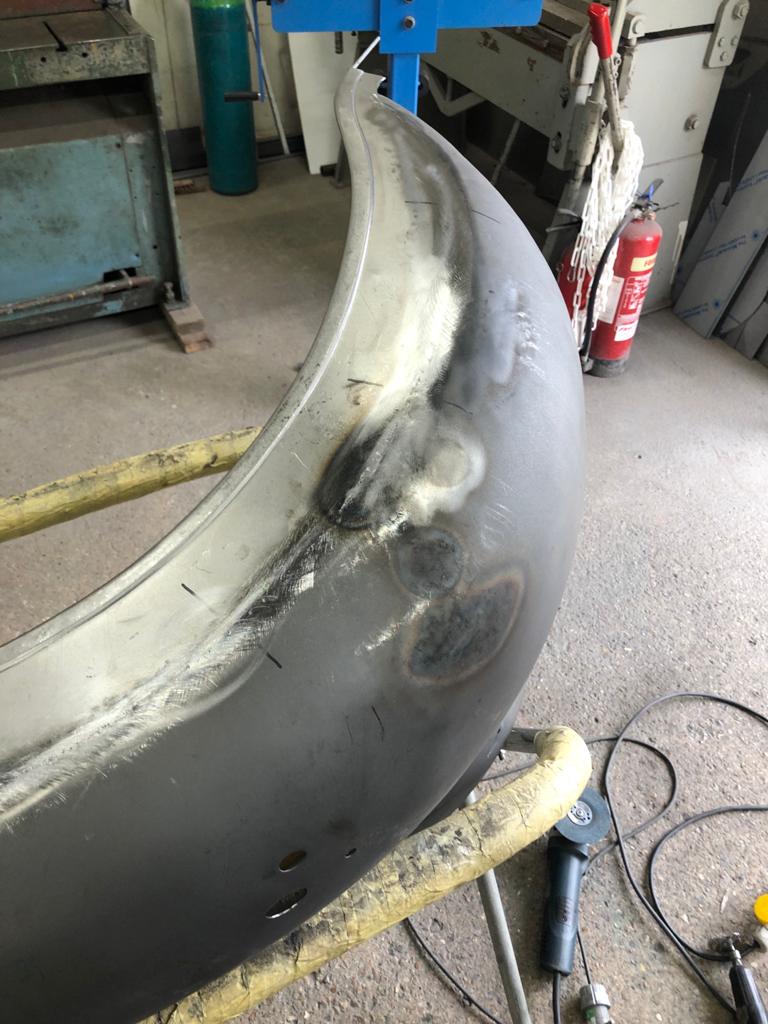
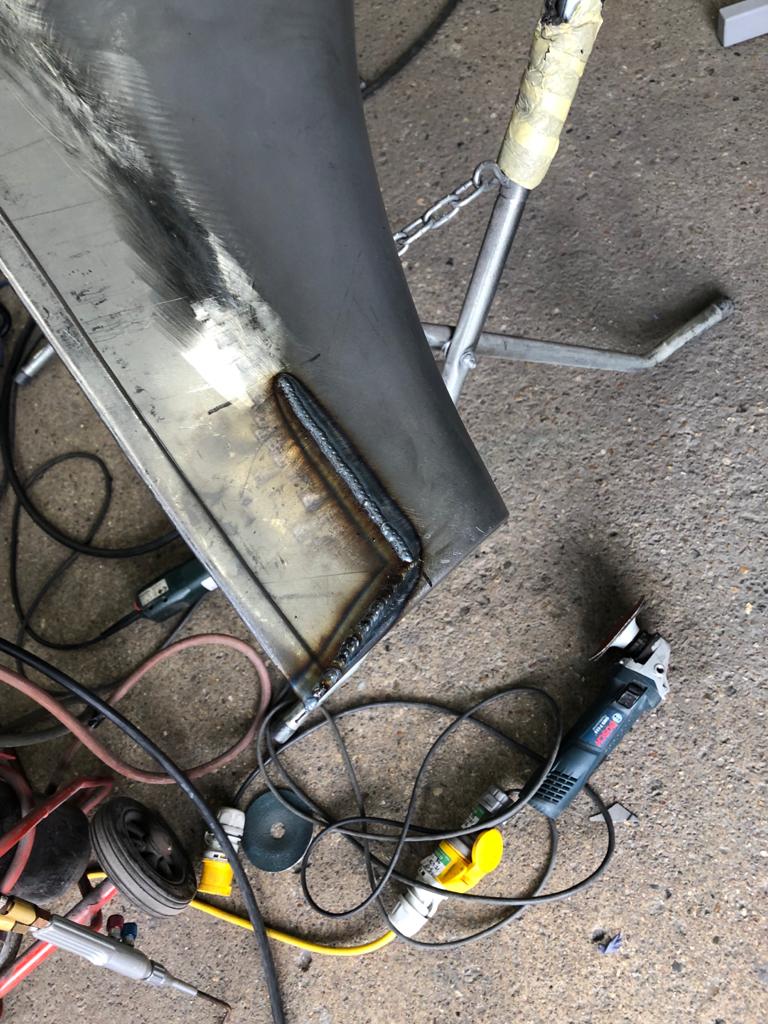
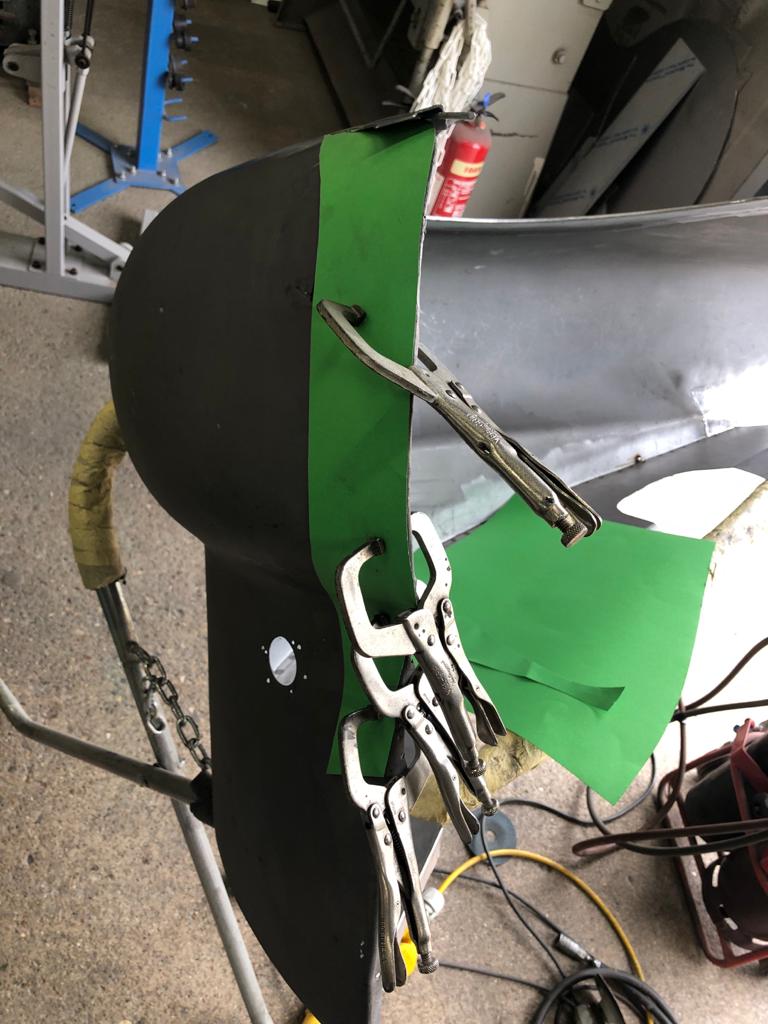
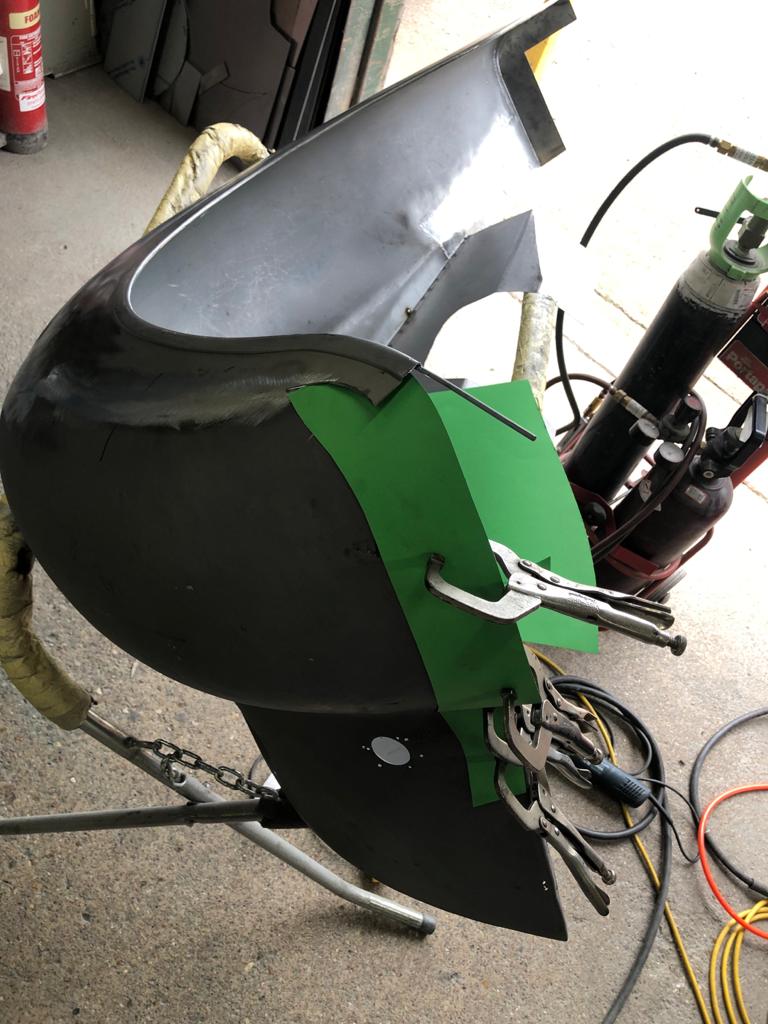
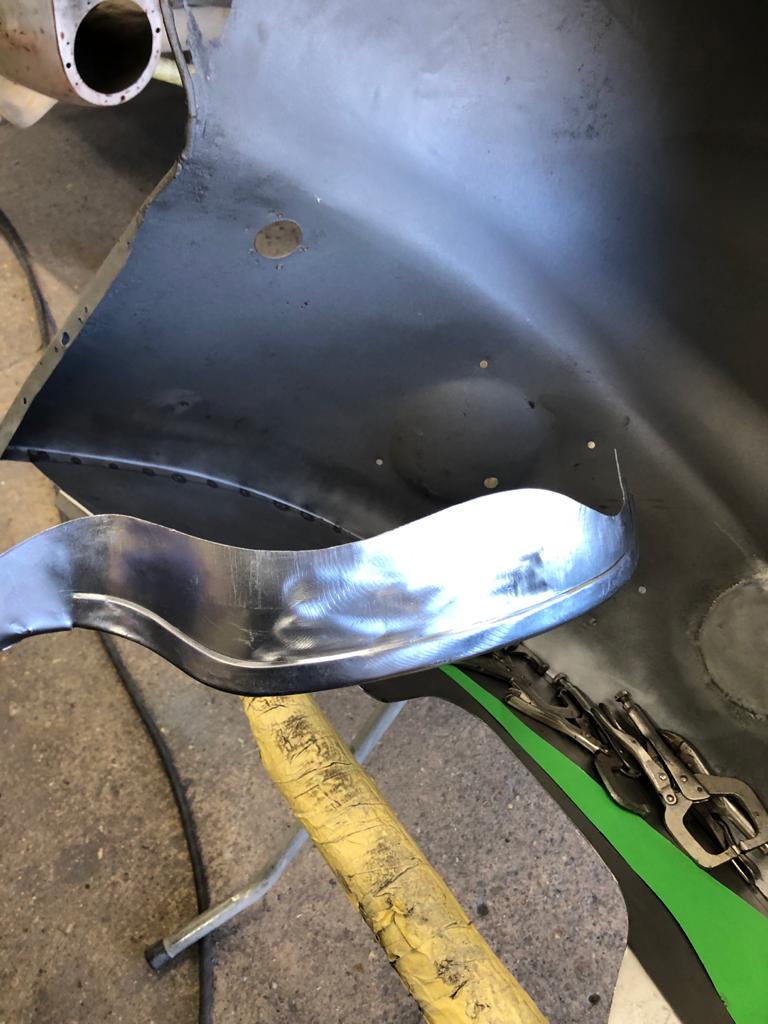
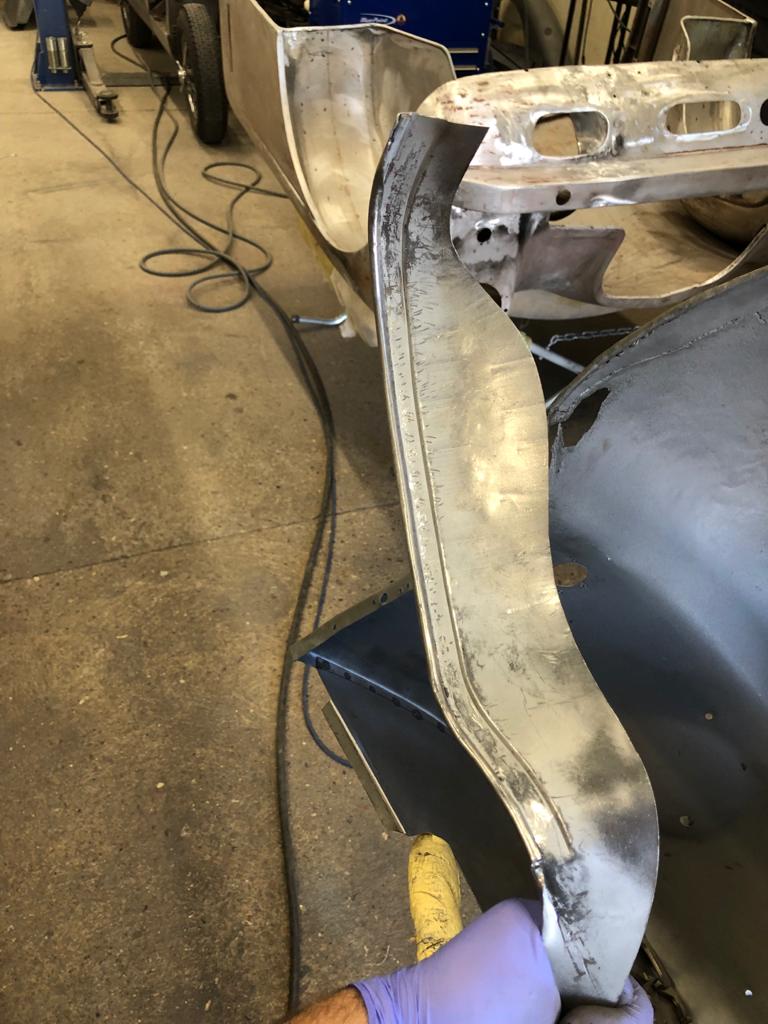
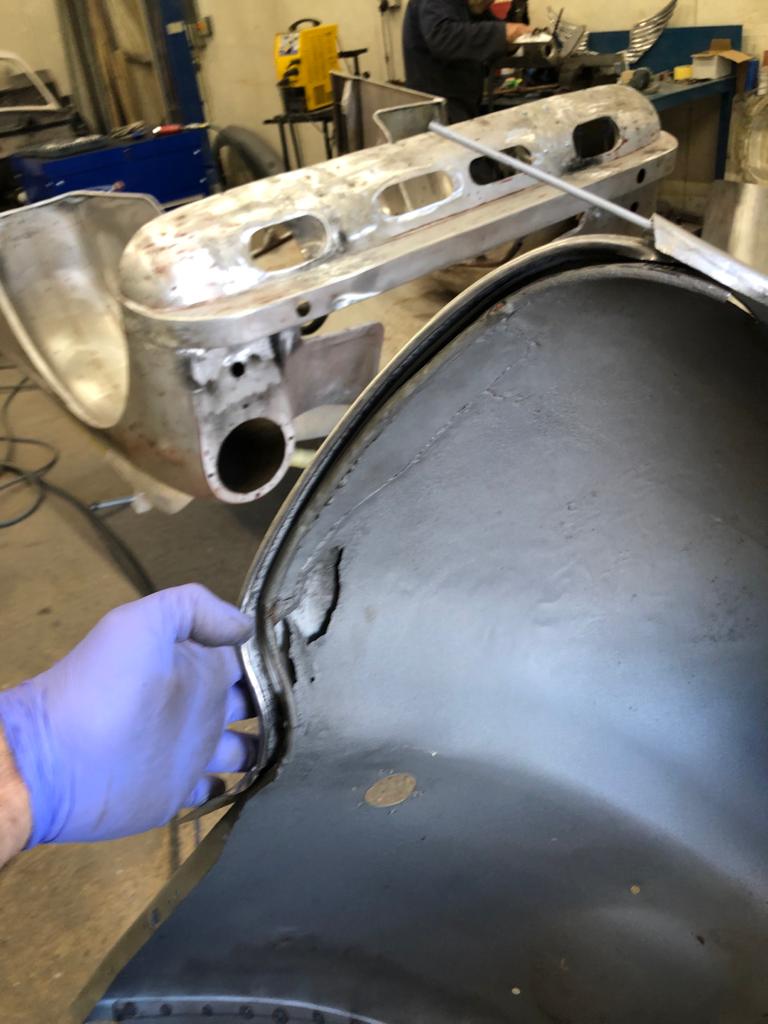
James has been doing some more work on one of the wings of our 1951 yellow Riley RMB.
He’s been finishing by welding in the wire rolled edge of the left-hand wing and repairing a section at the front.

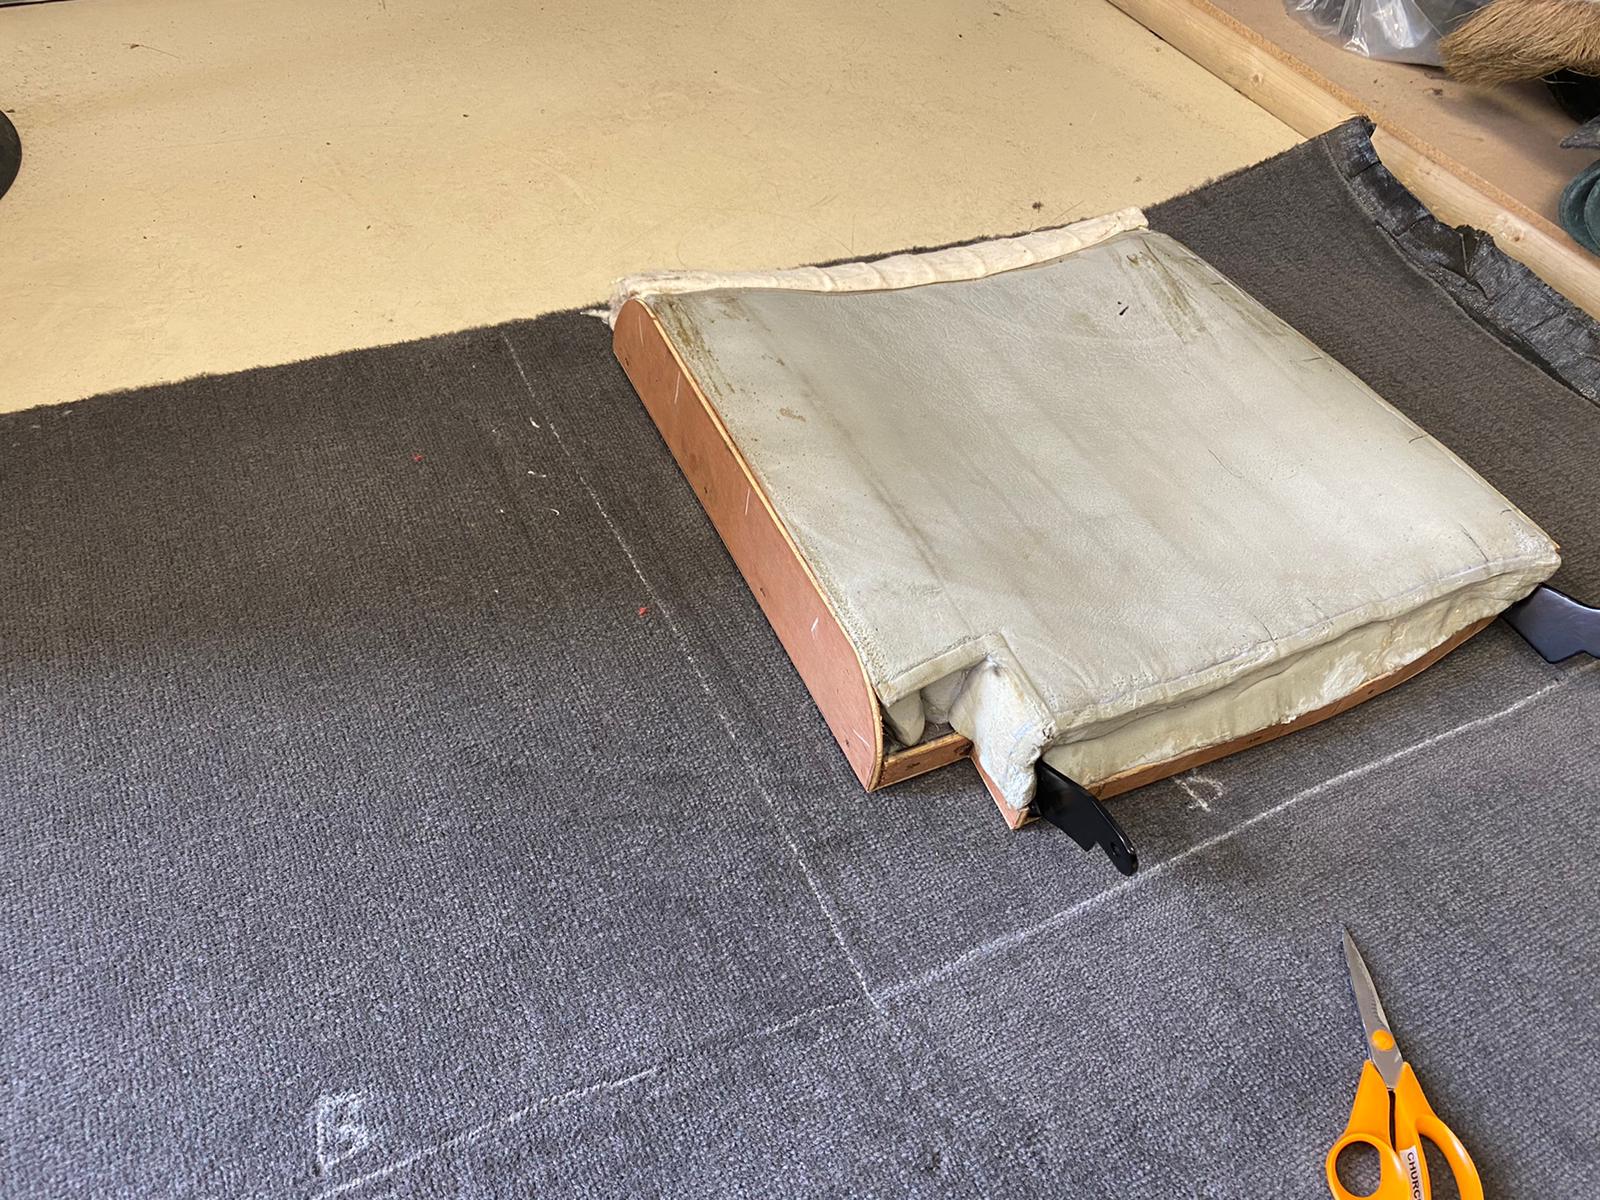
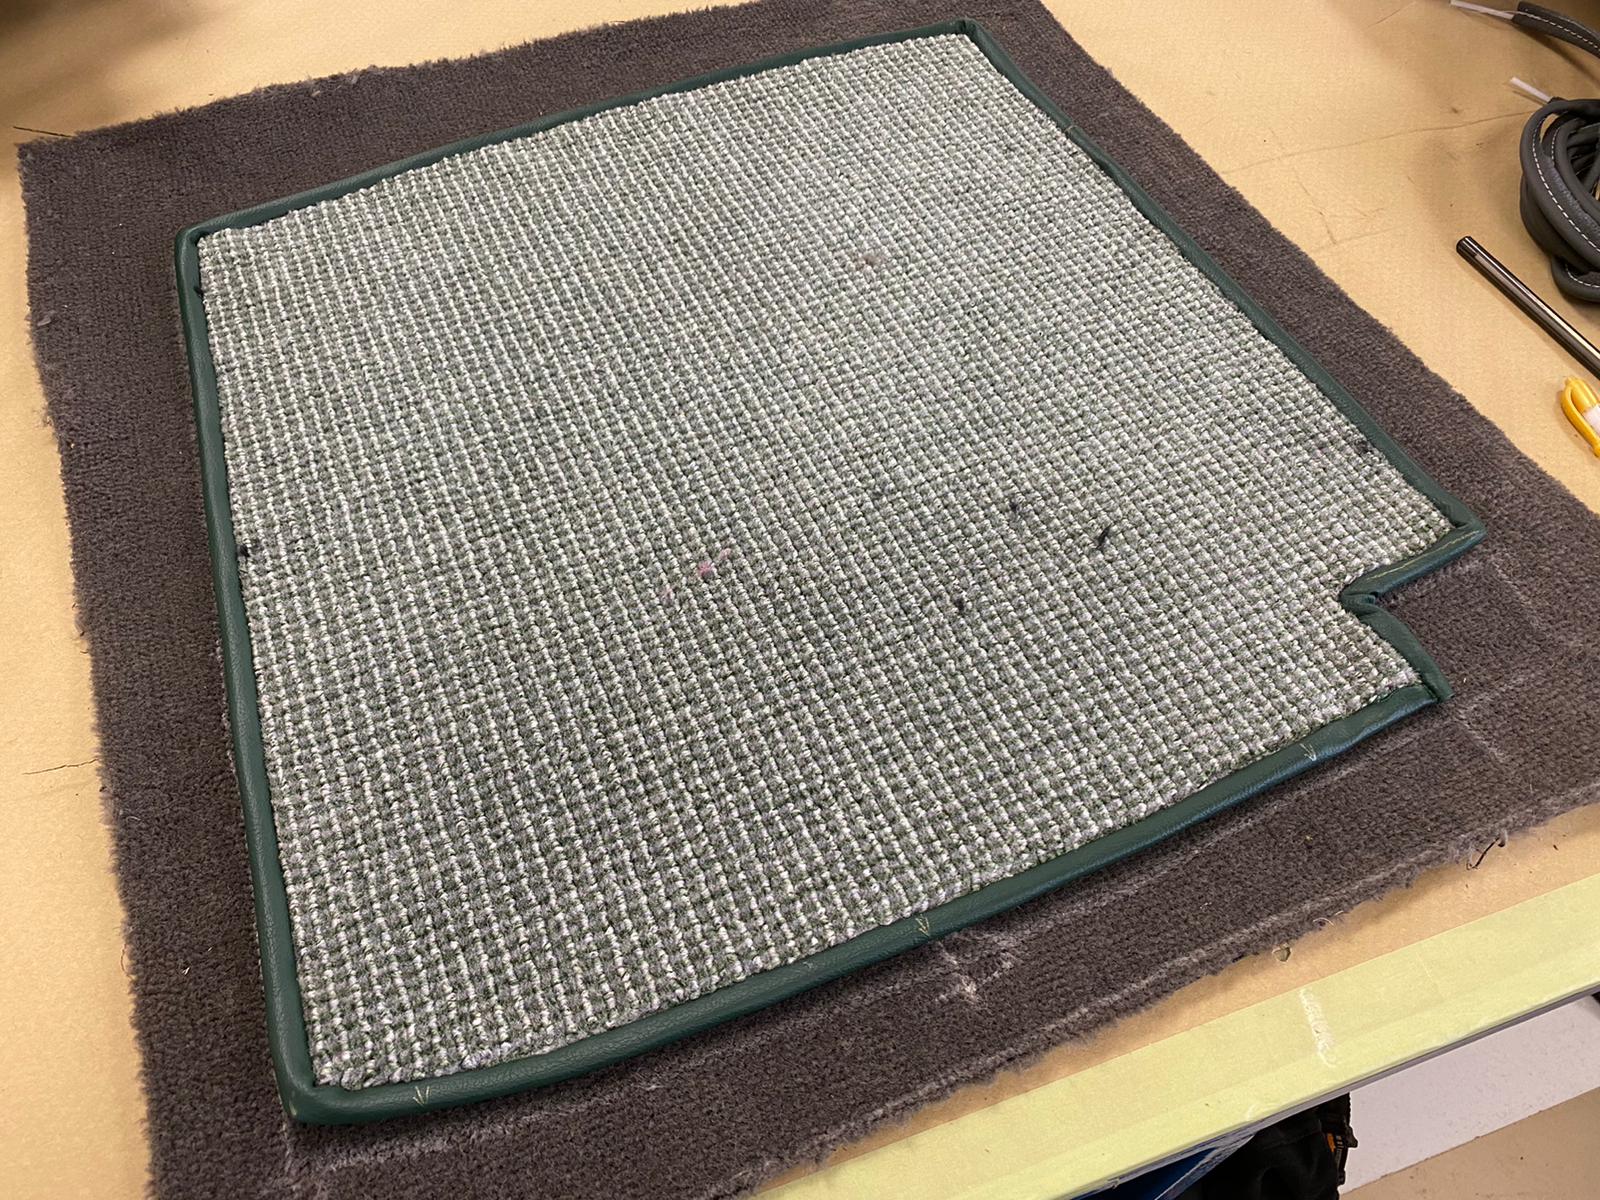
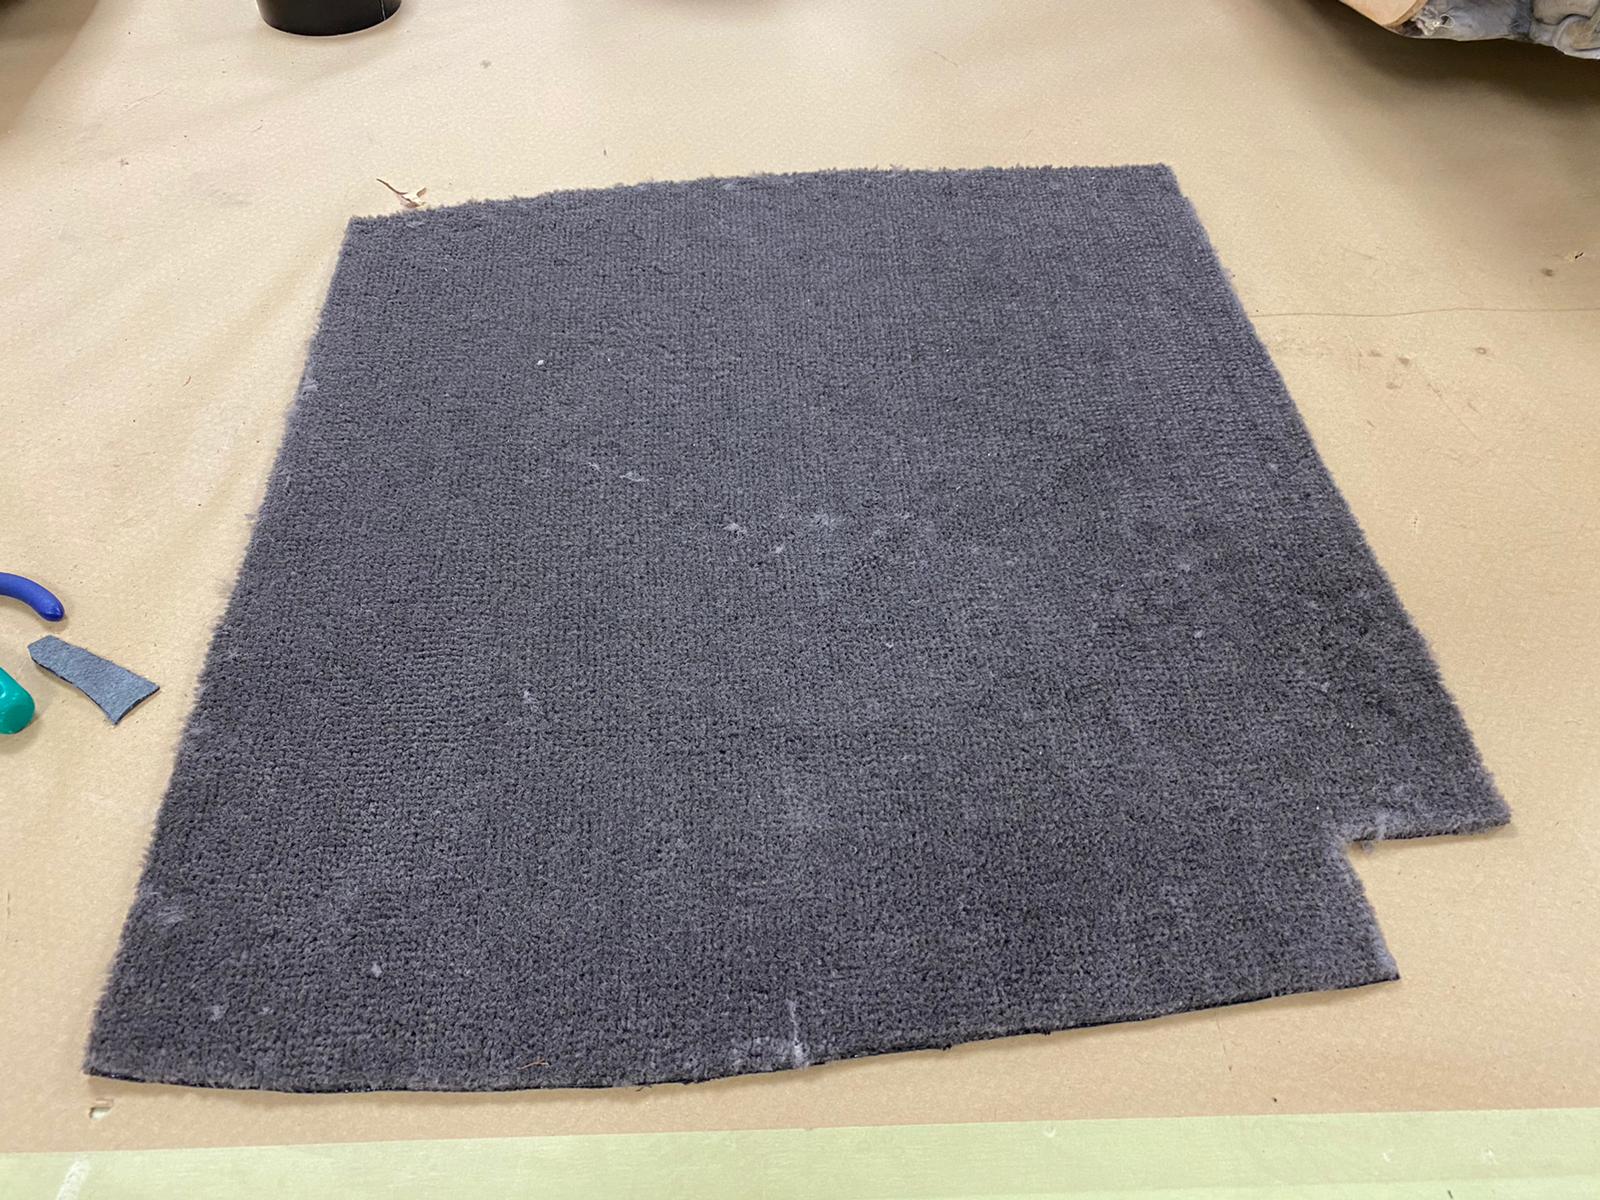
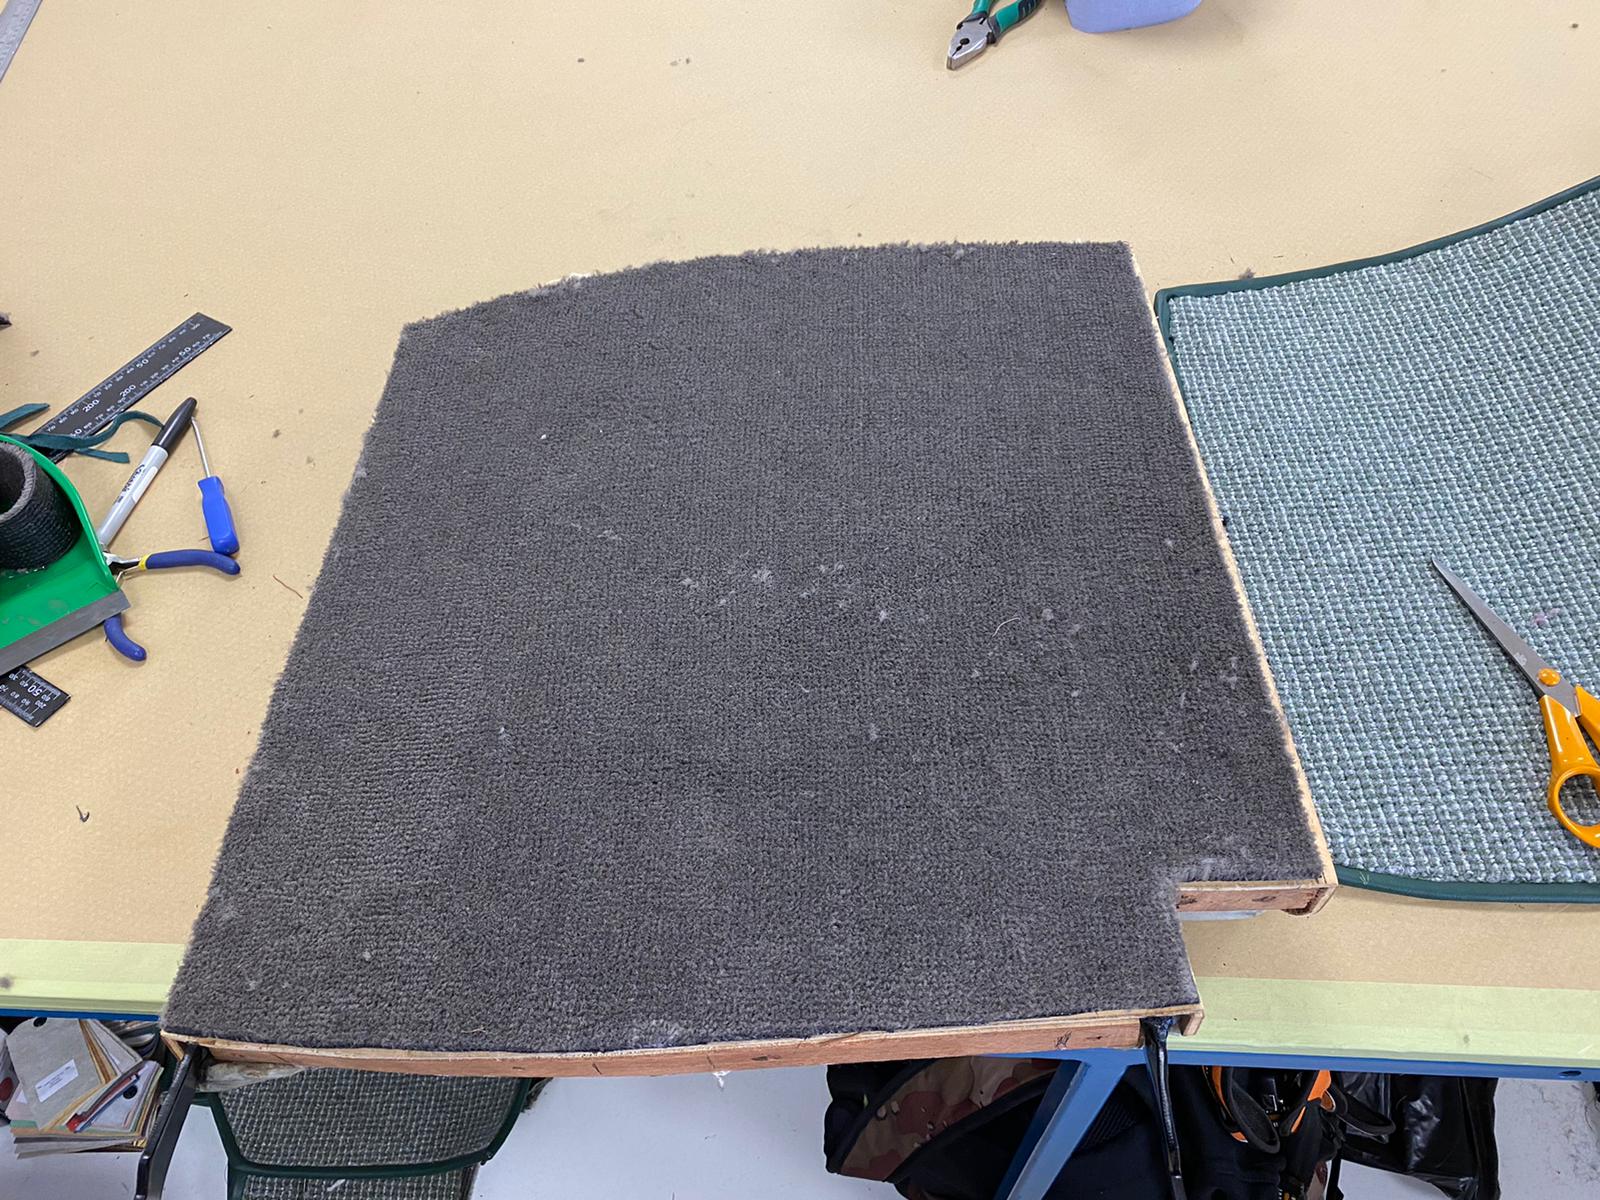
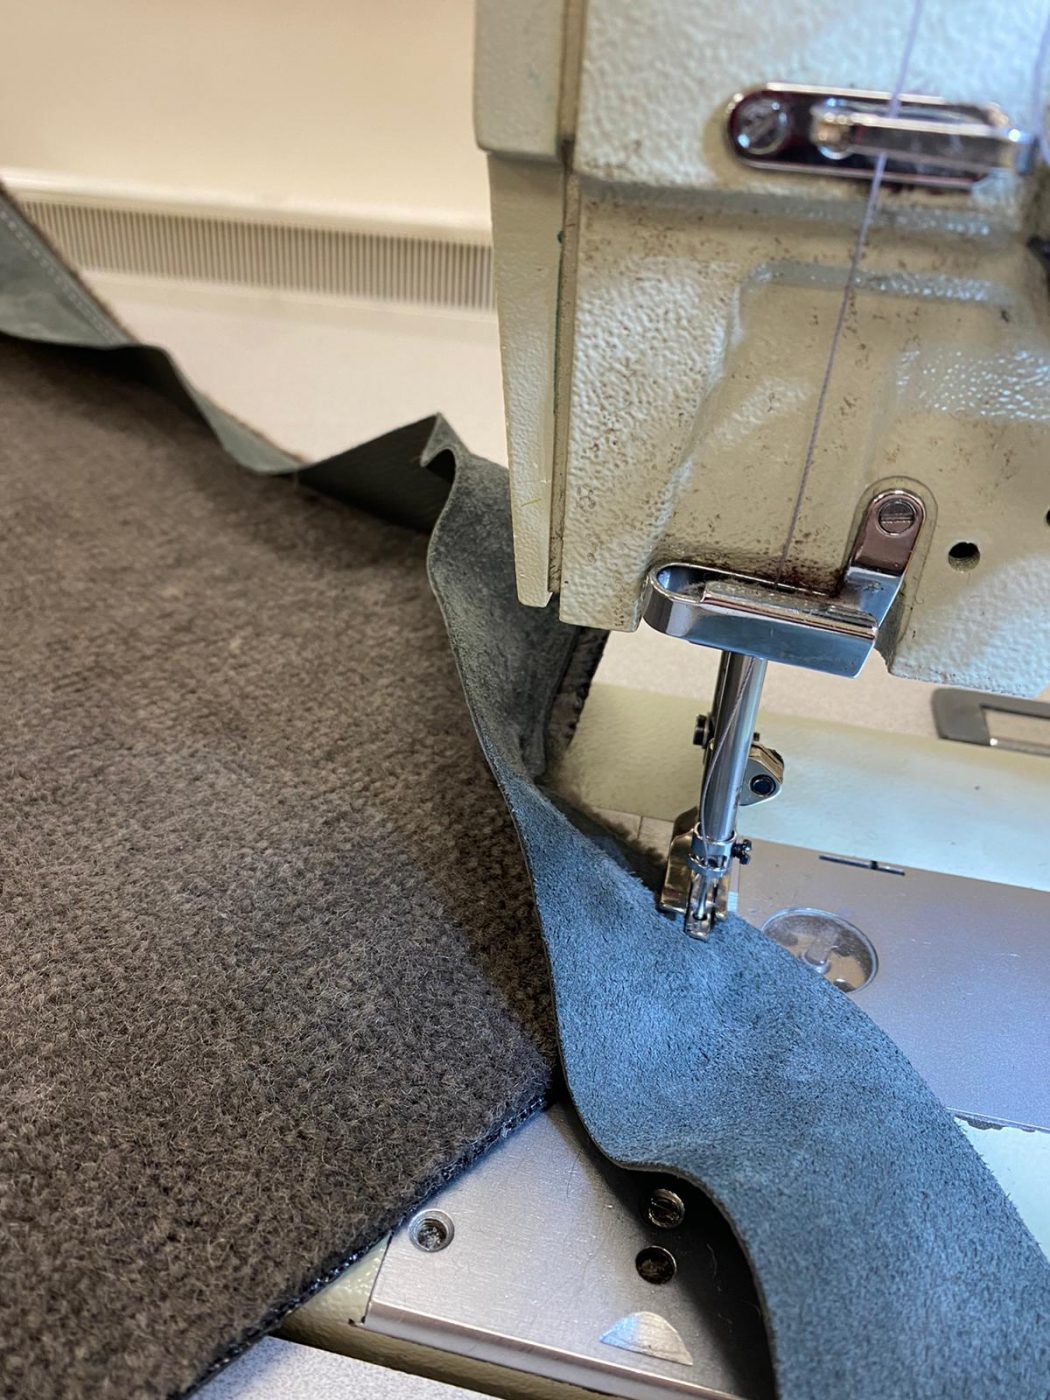
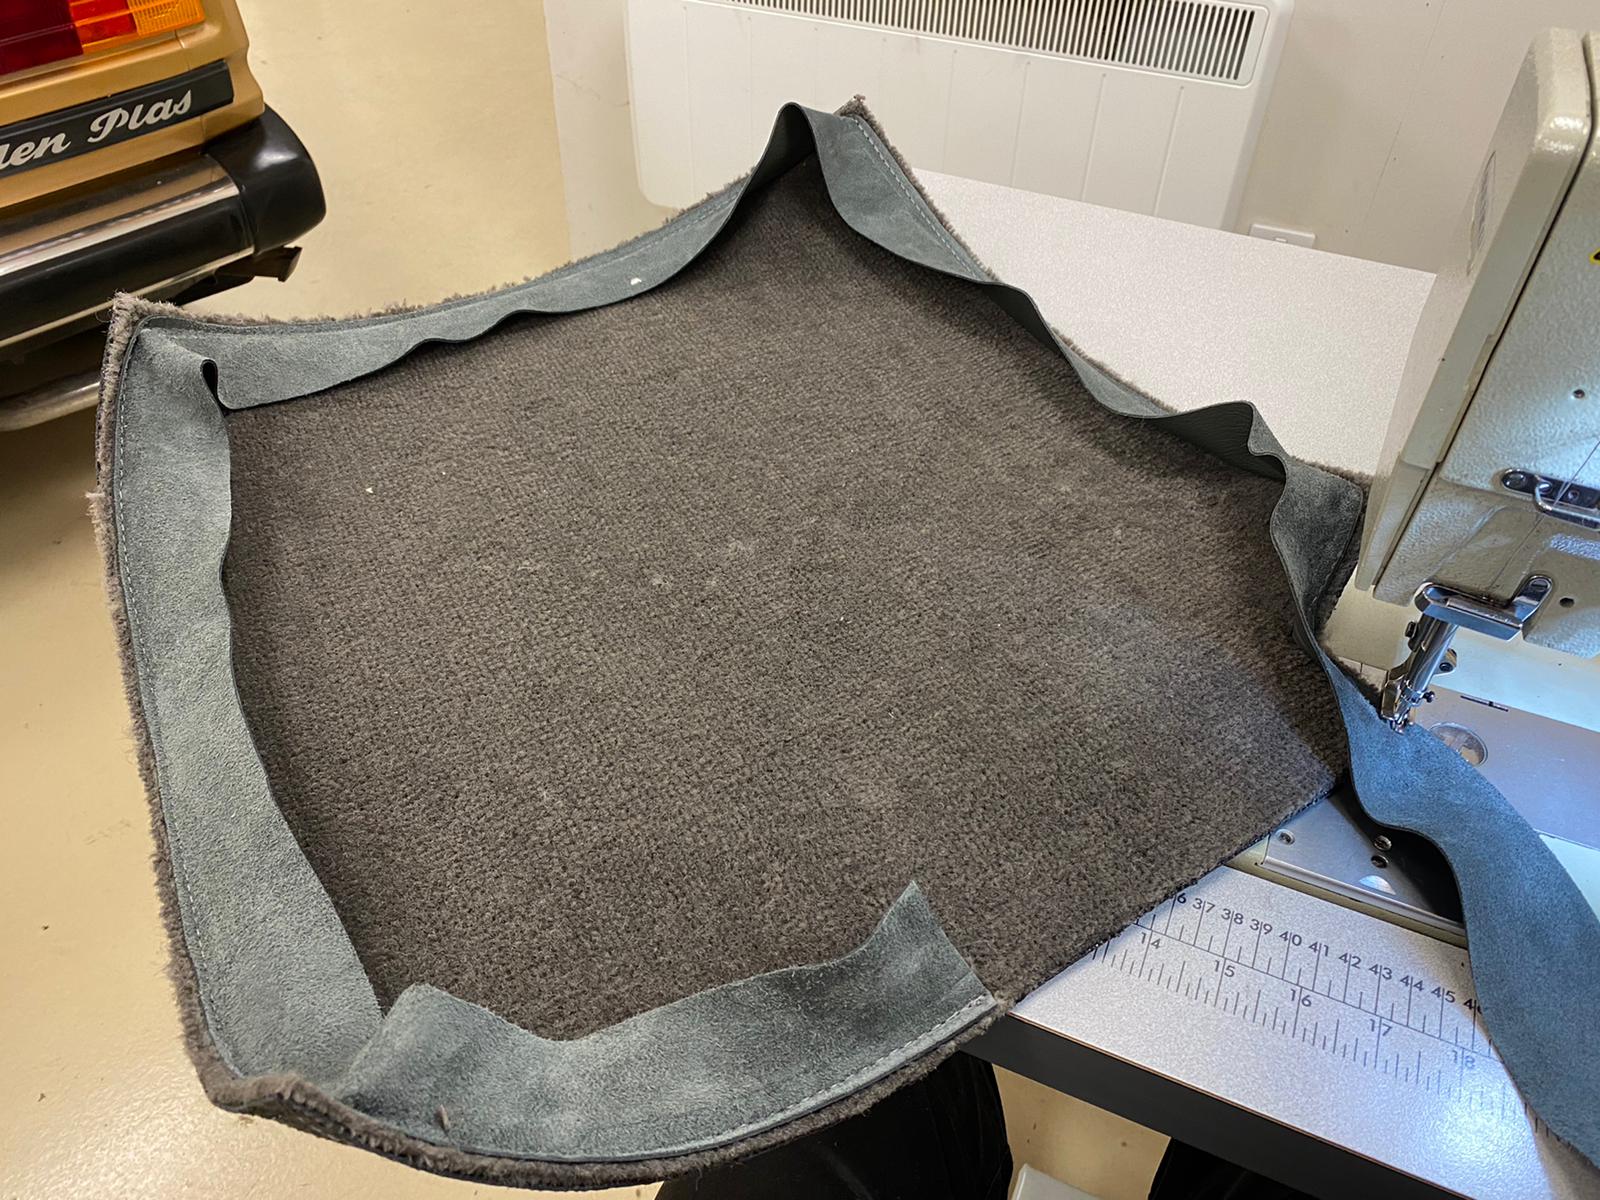
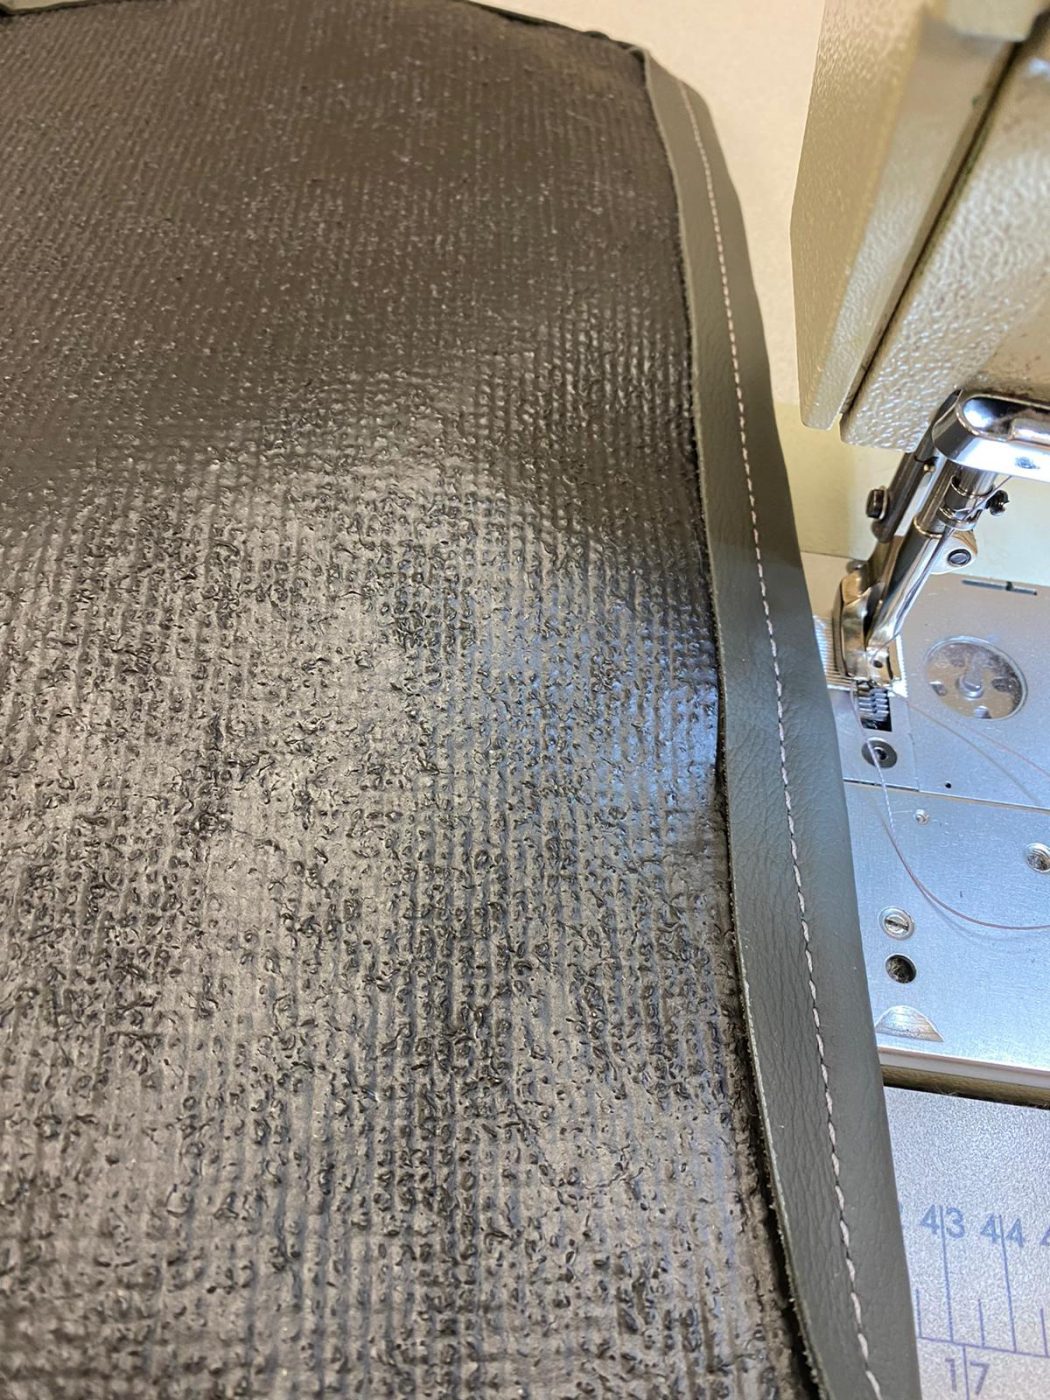
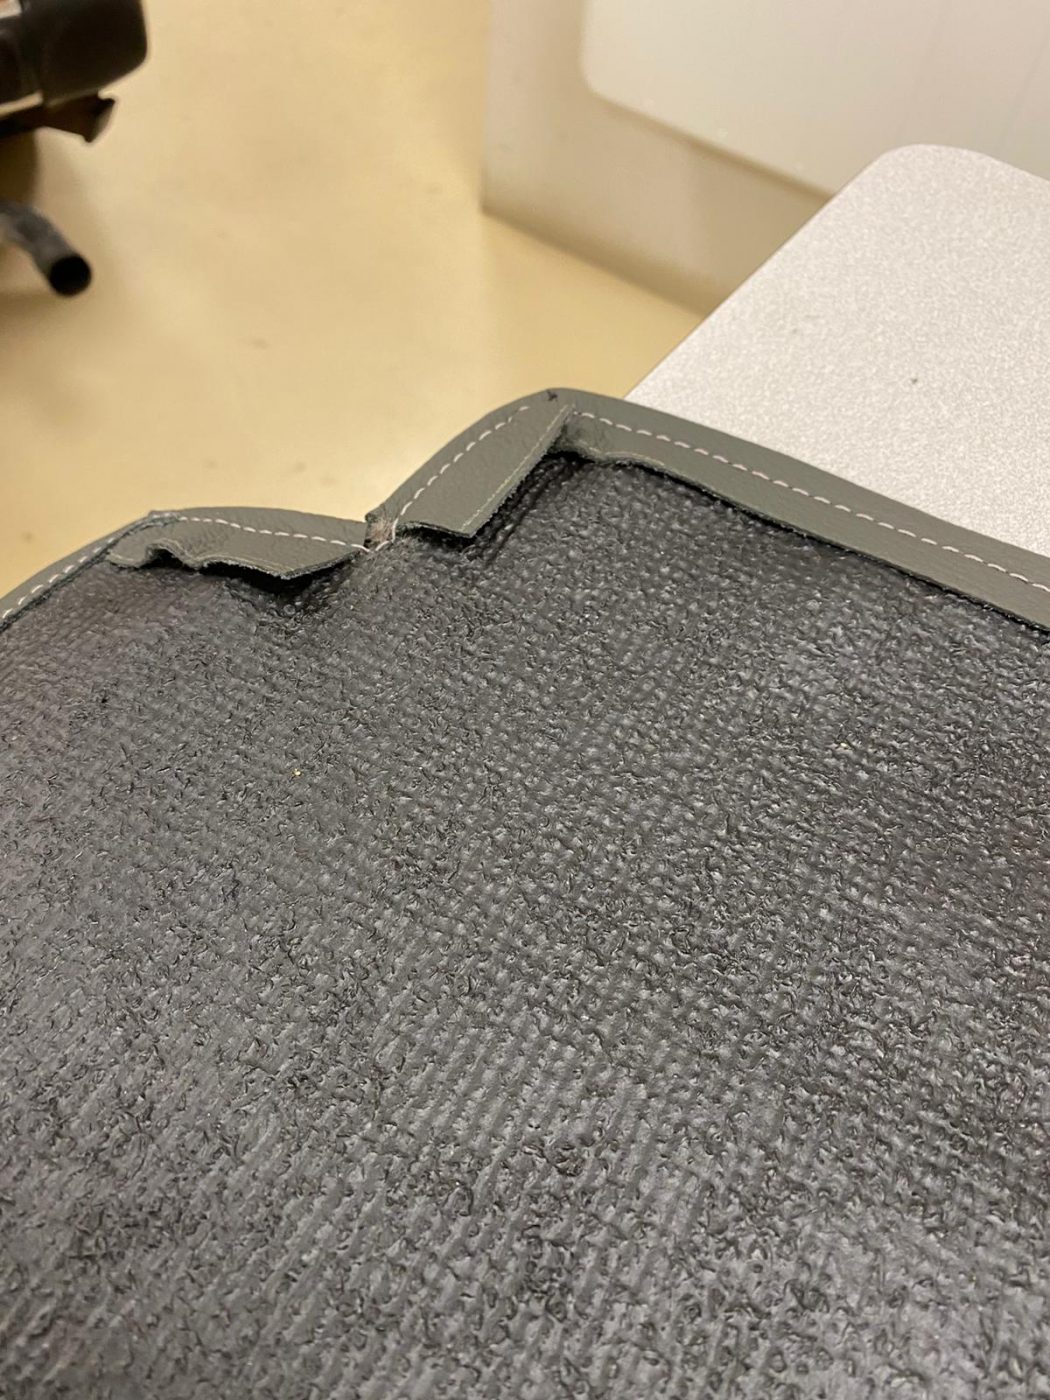
Kath has been continuing her work on the front squab seats for the 1955 Aston Martin DB 2 4 Mark I. Now the fronts of them have been re-made, she’s moved onto the backs. These are made out of carpet!
So Kath started by cutting a piece of the new grey carpet roughly to the size she needed, using the seat frame as a template. She then laid this piece of carpet out and marked around the original front squab back with tailor’s chalk. She checked the fit of it against the seat frame. Kath then measured out a strip of the dark grey leather and cut out. The leather was sewn around the edge of the carpet and then folded under, and sewn again to create a bound edge, which completed the front squab backs!

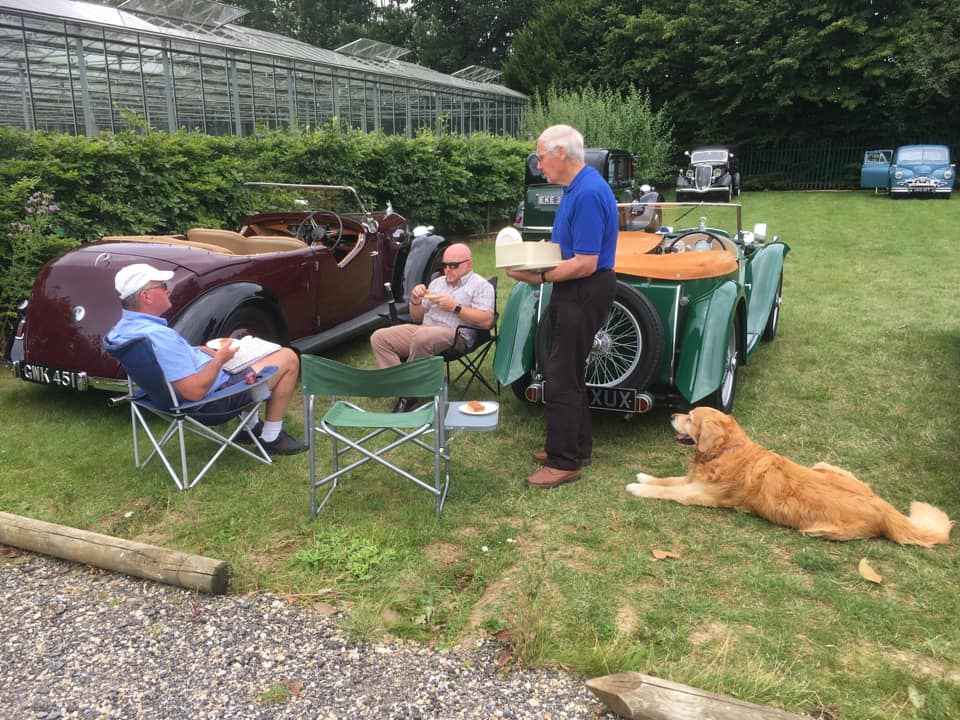
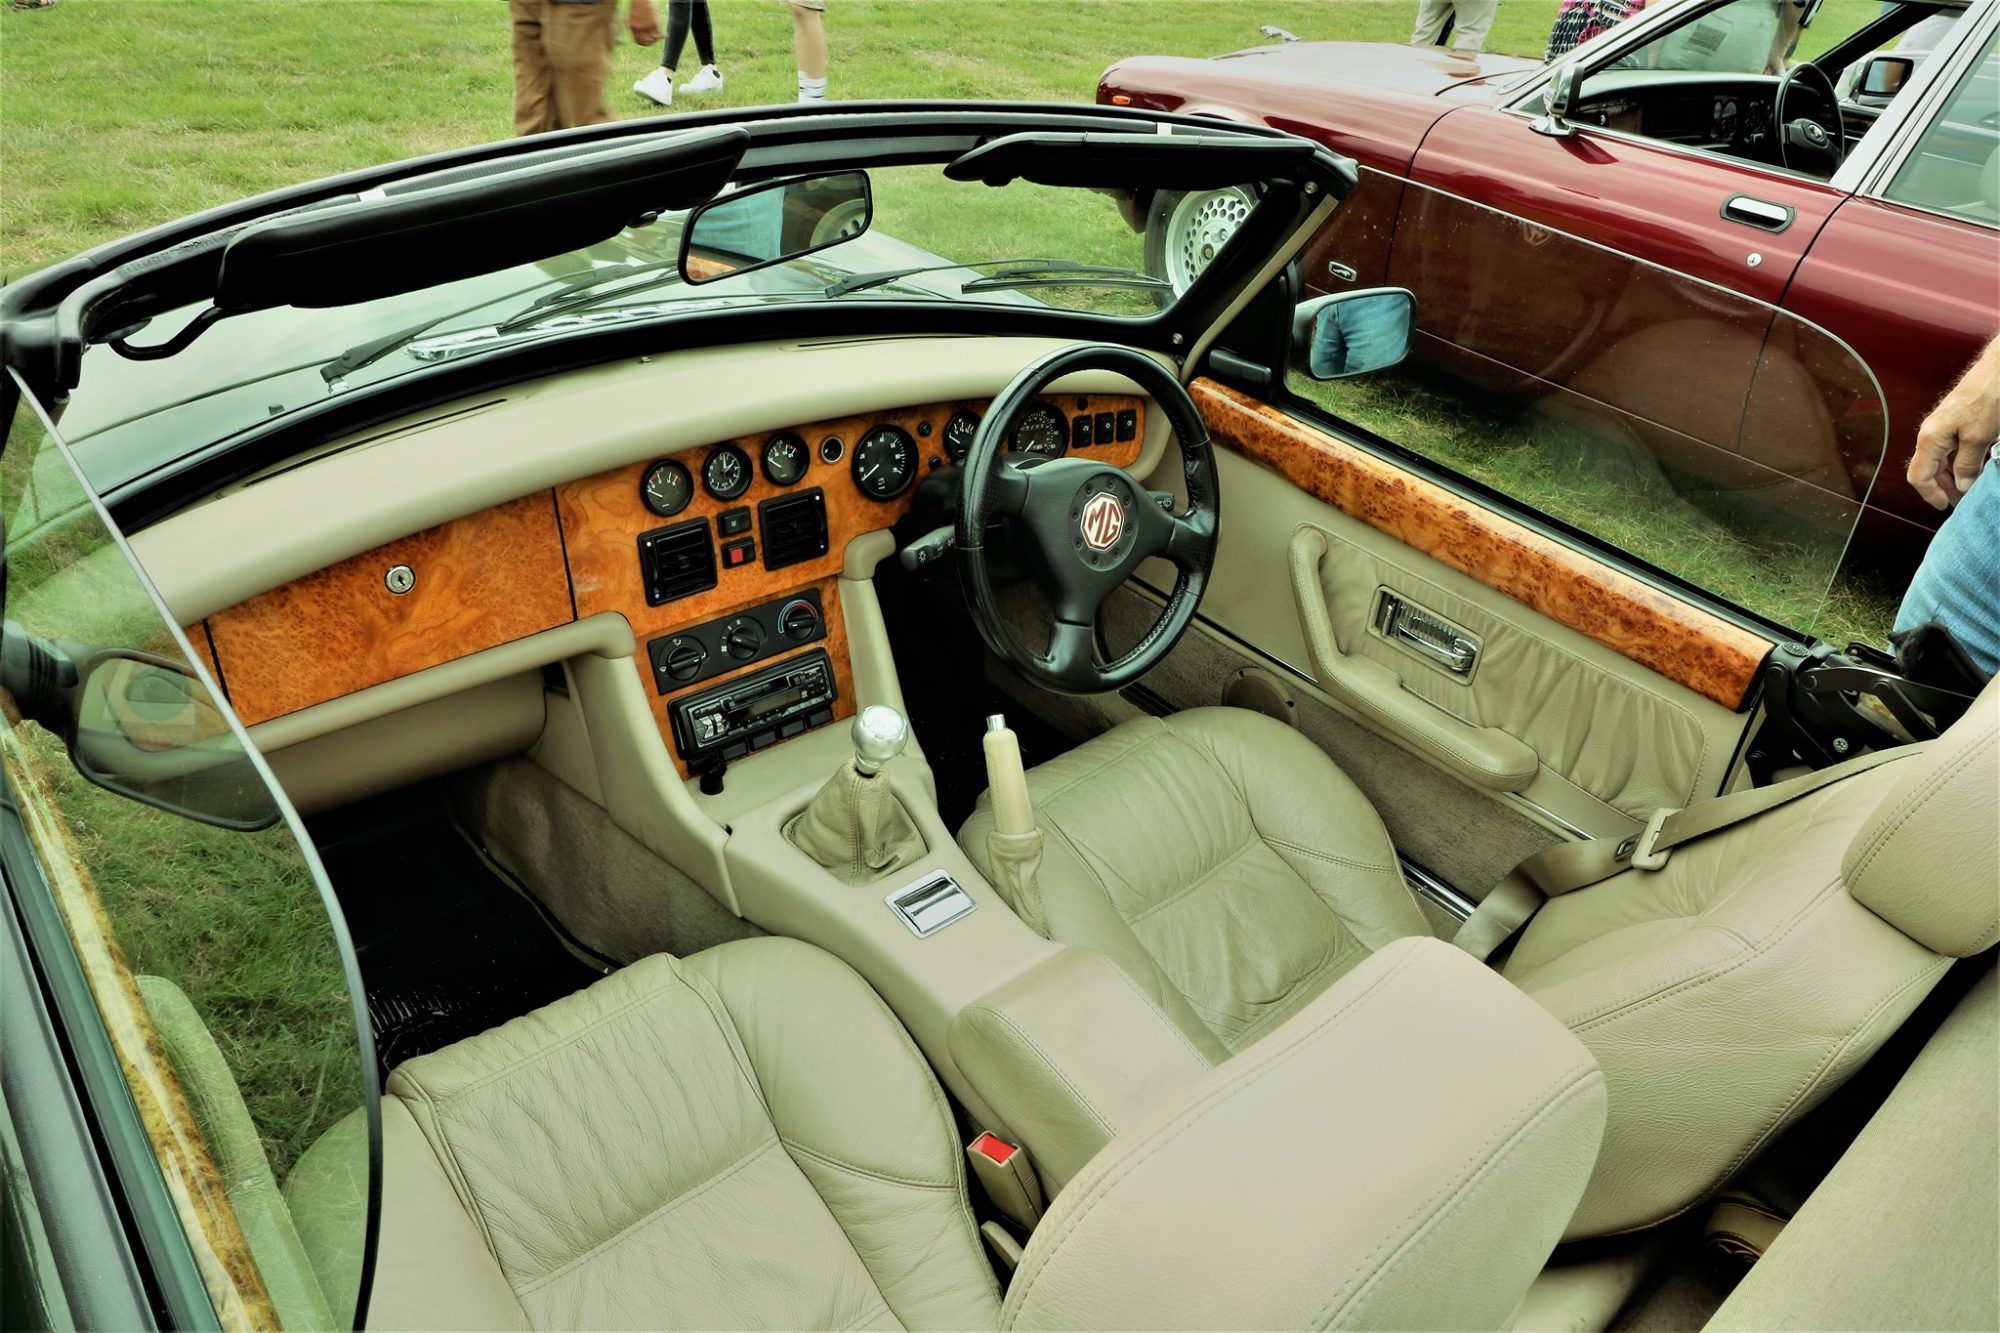
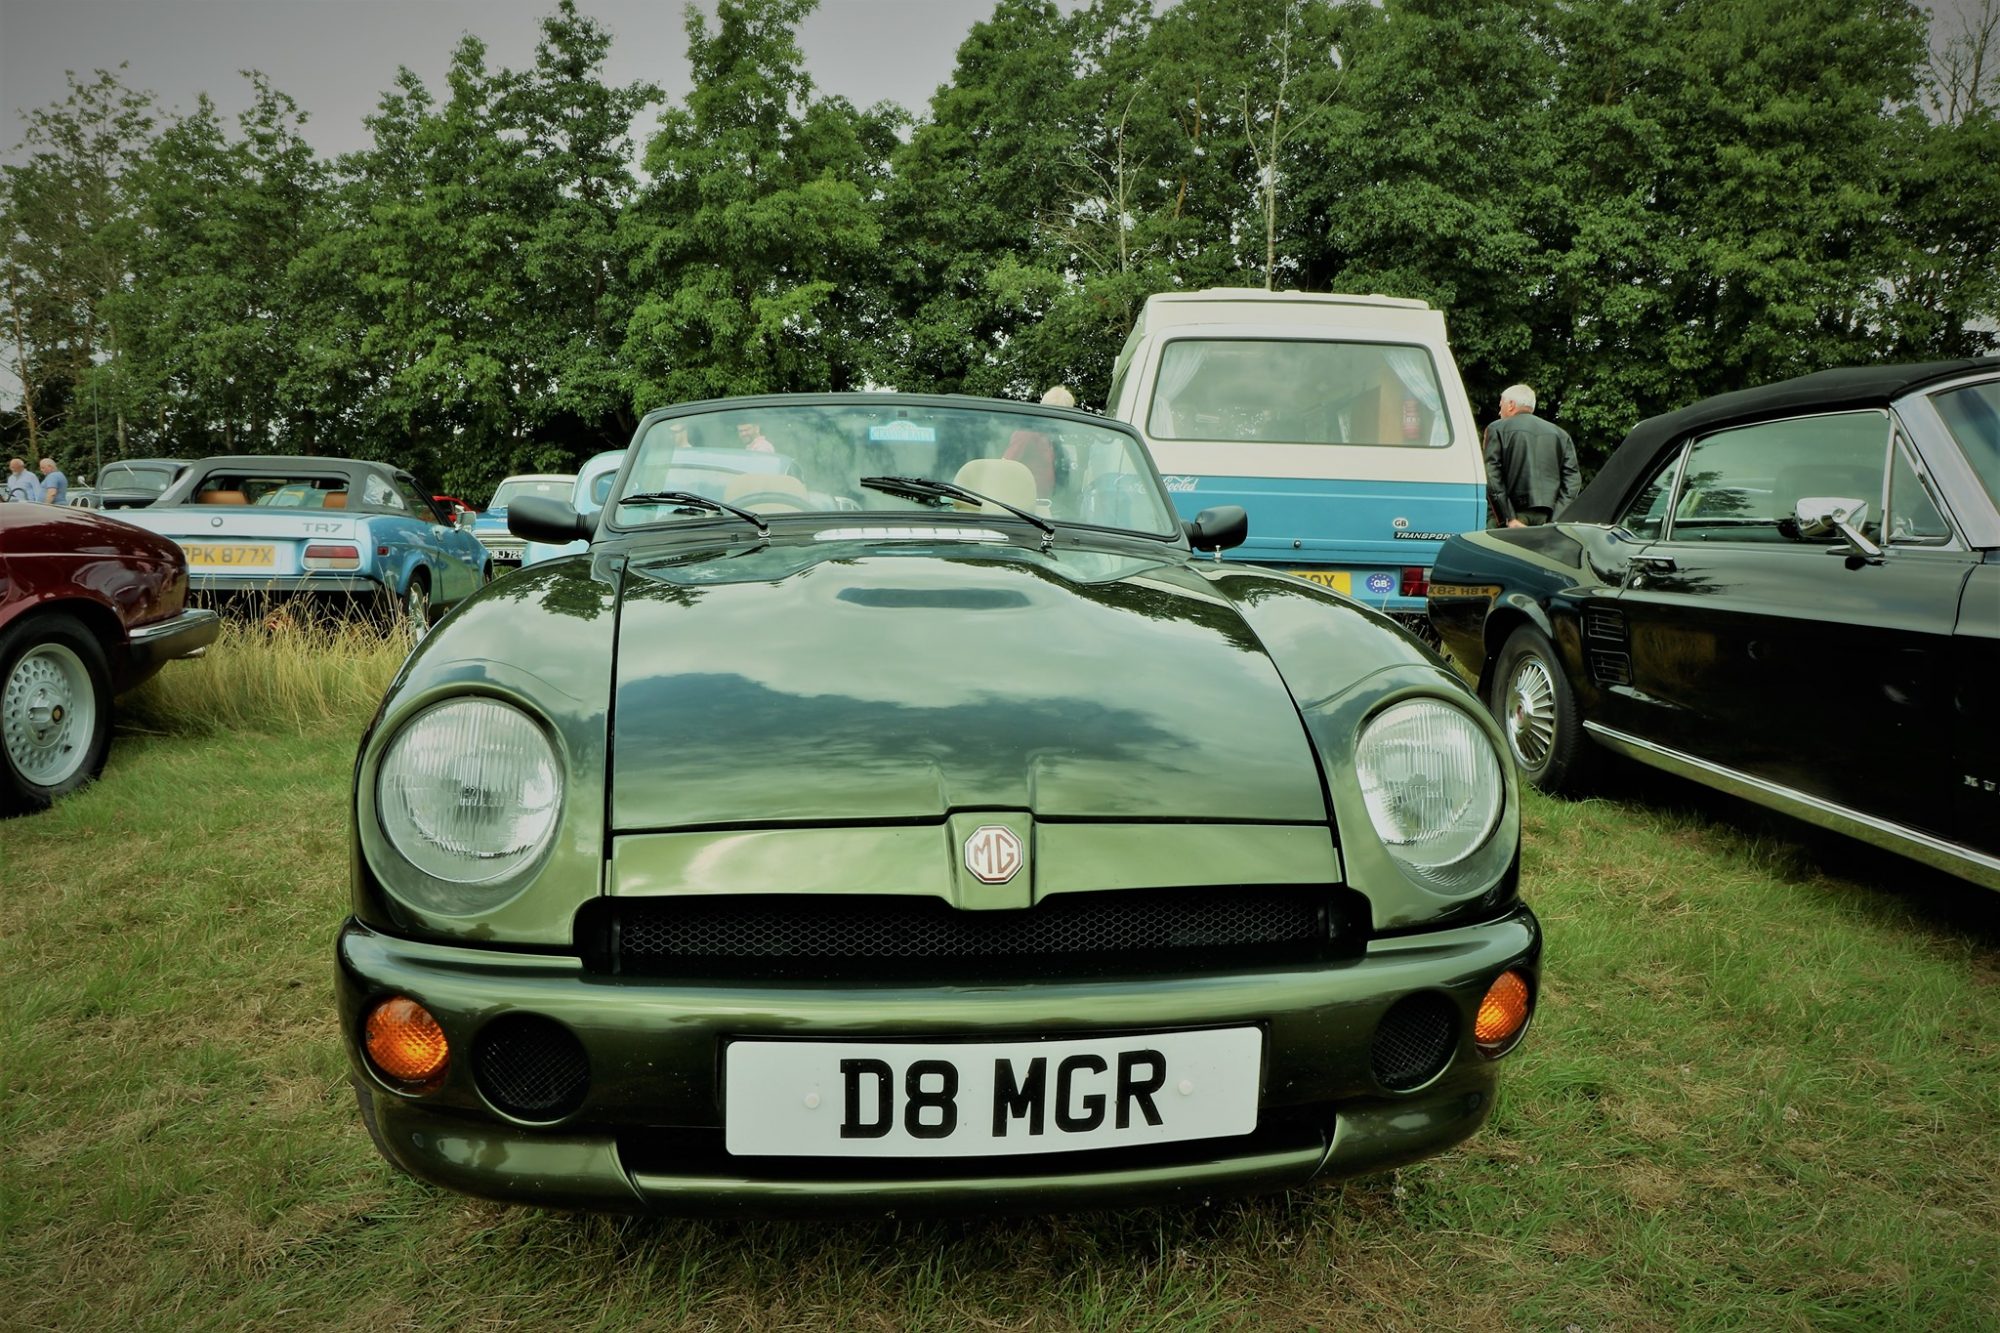
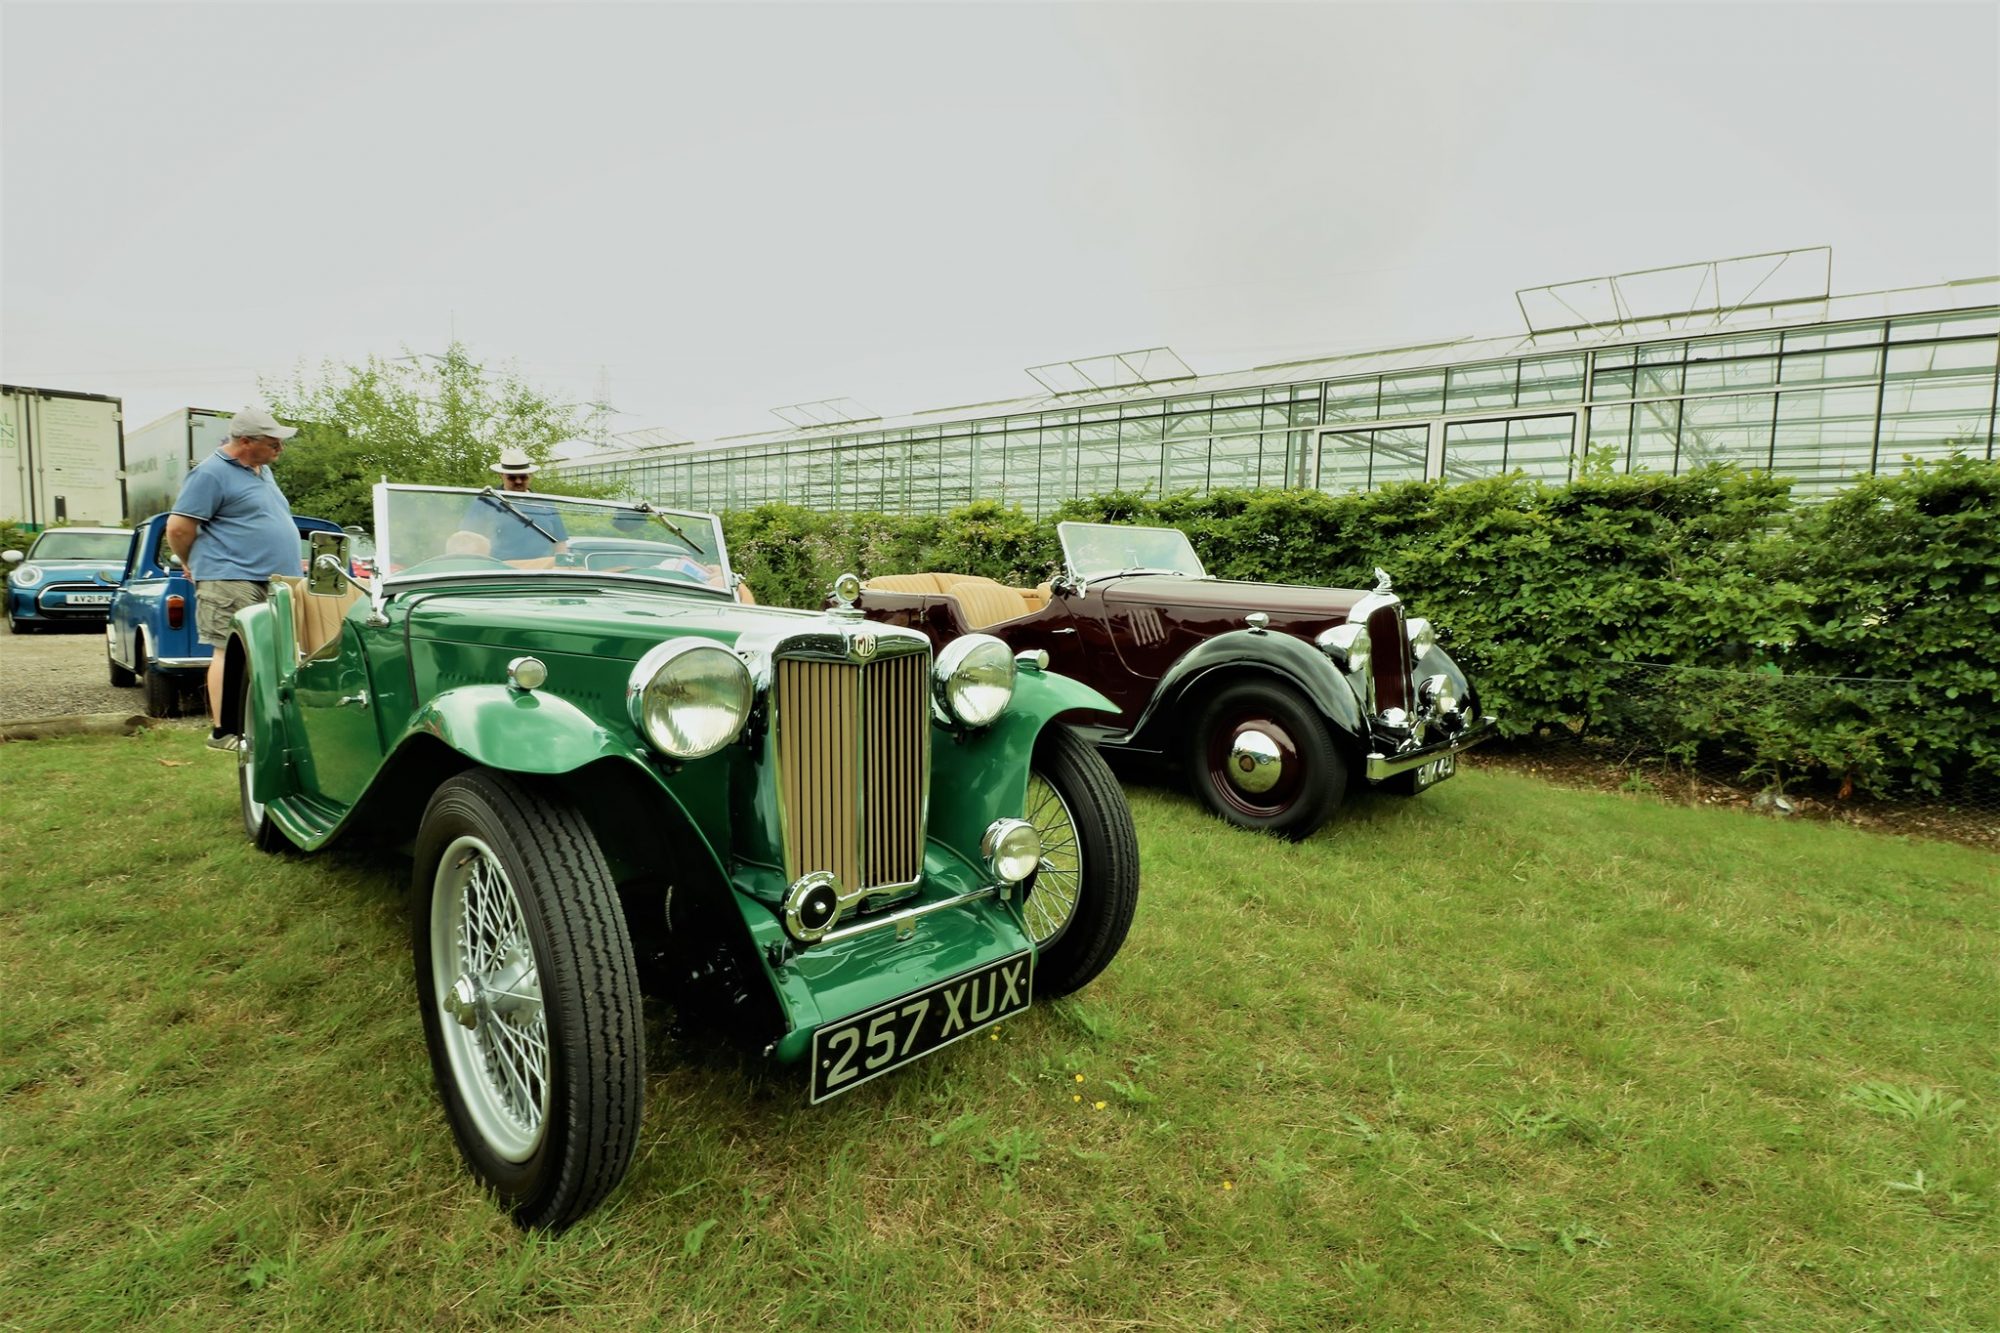
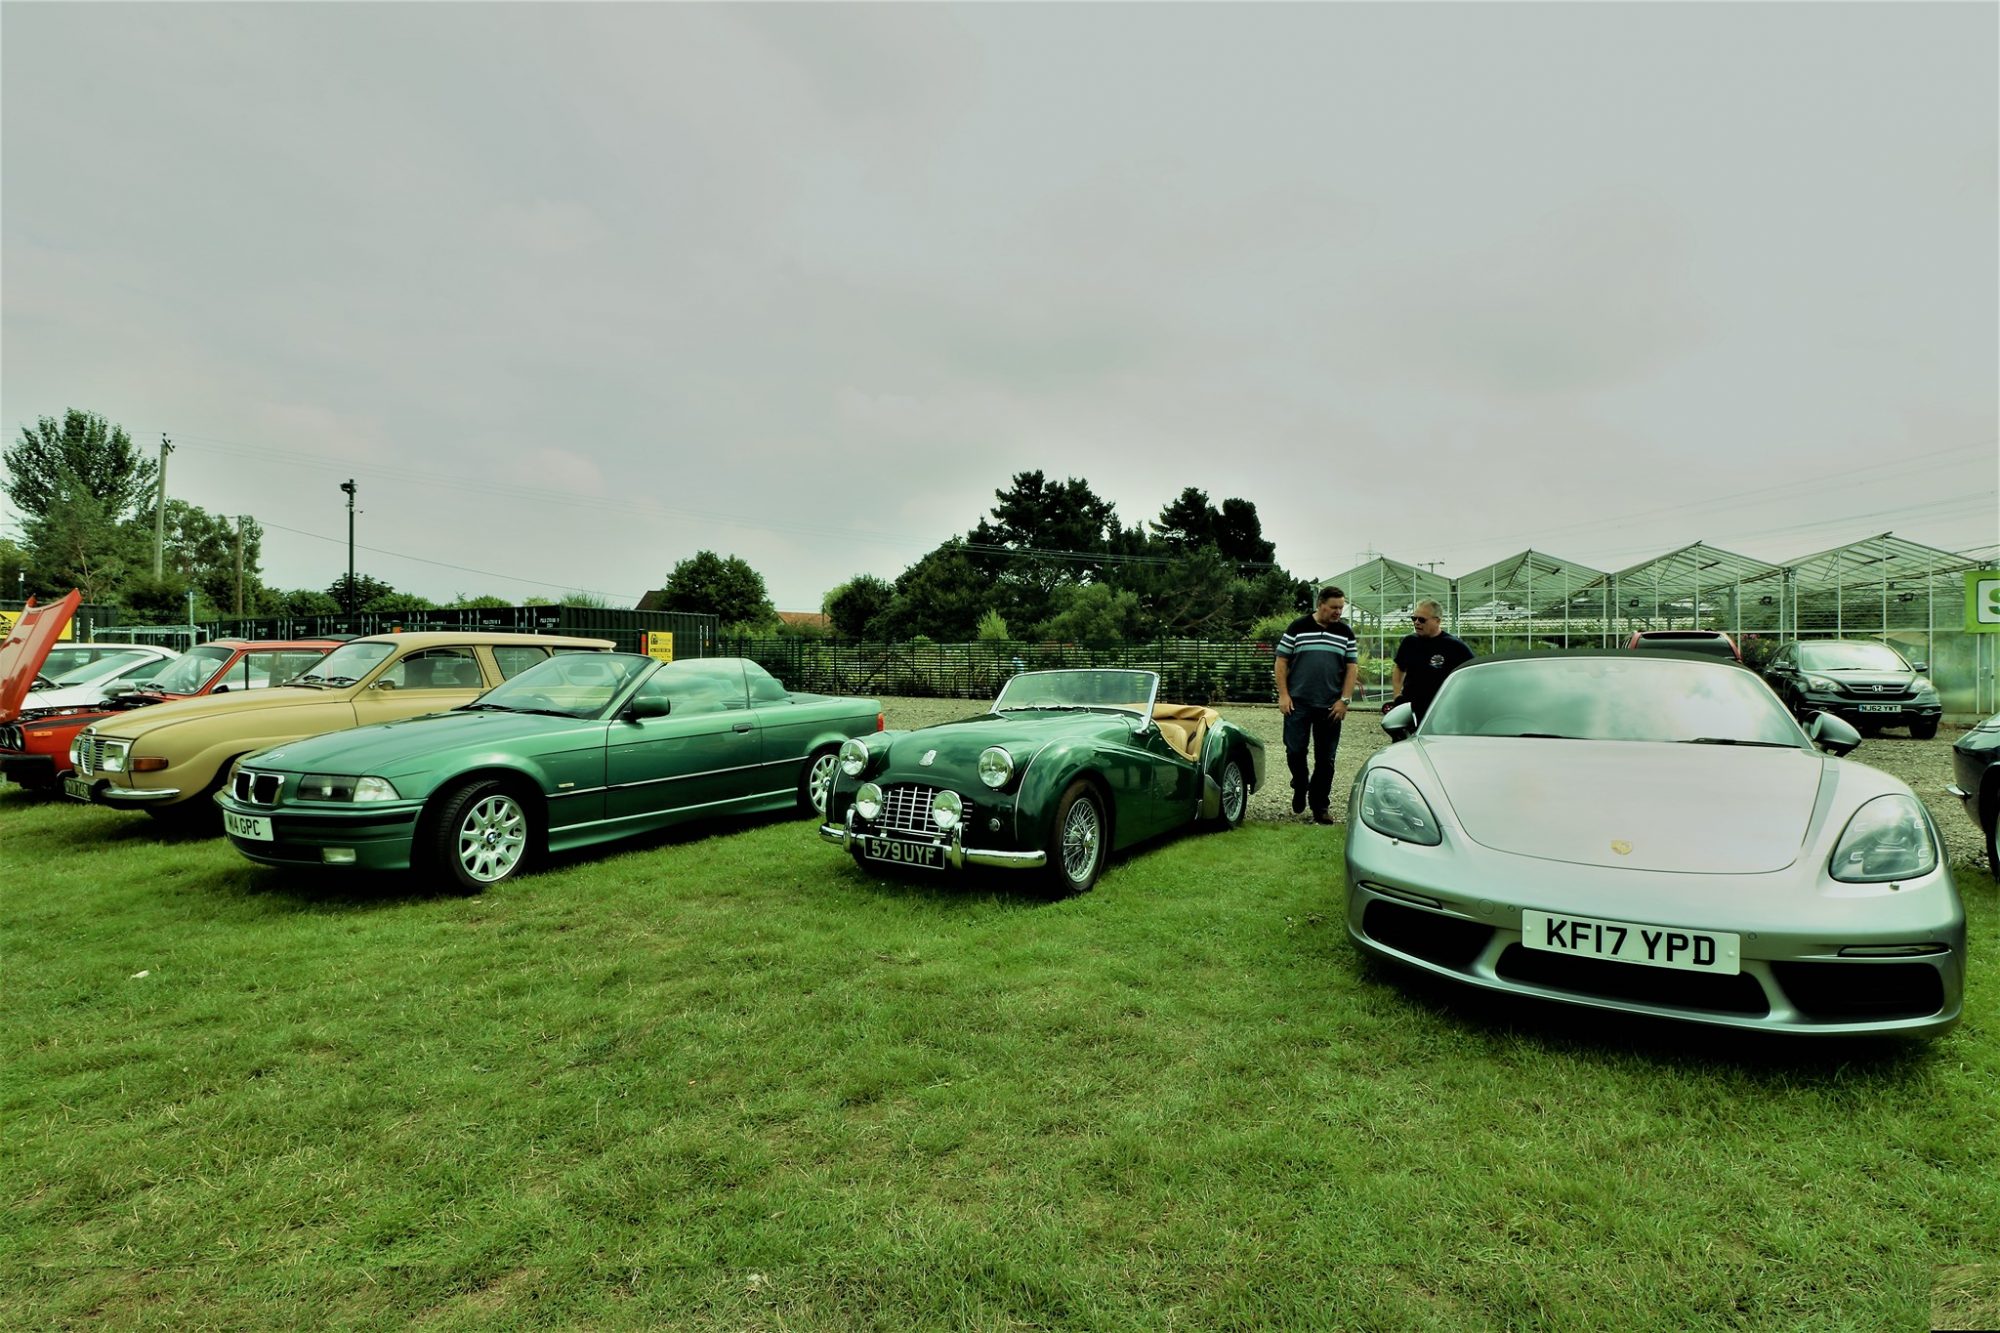
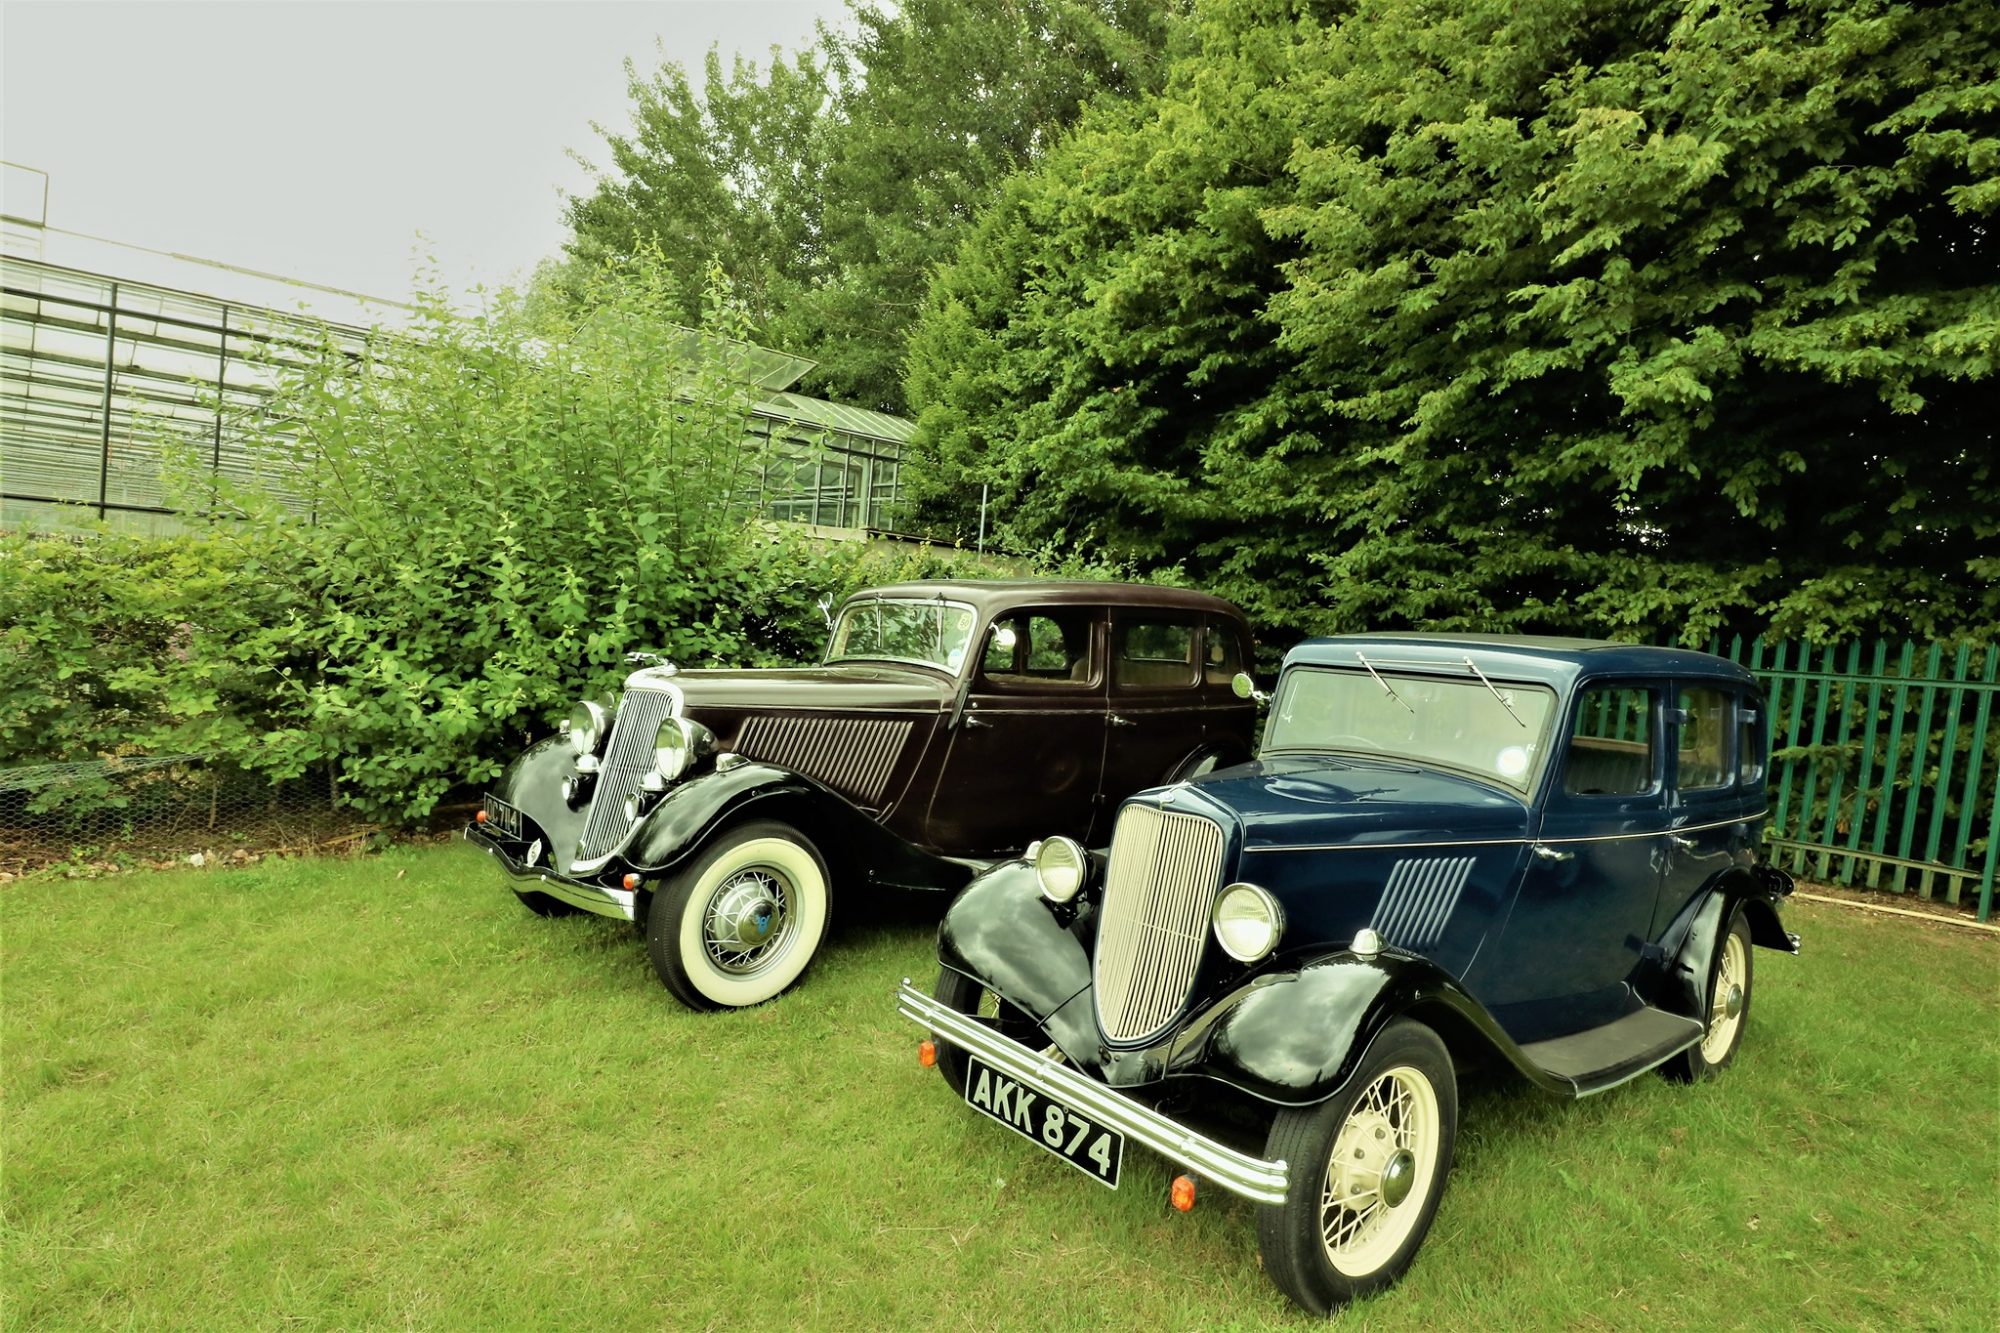
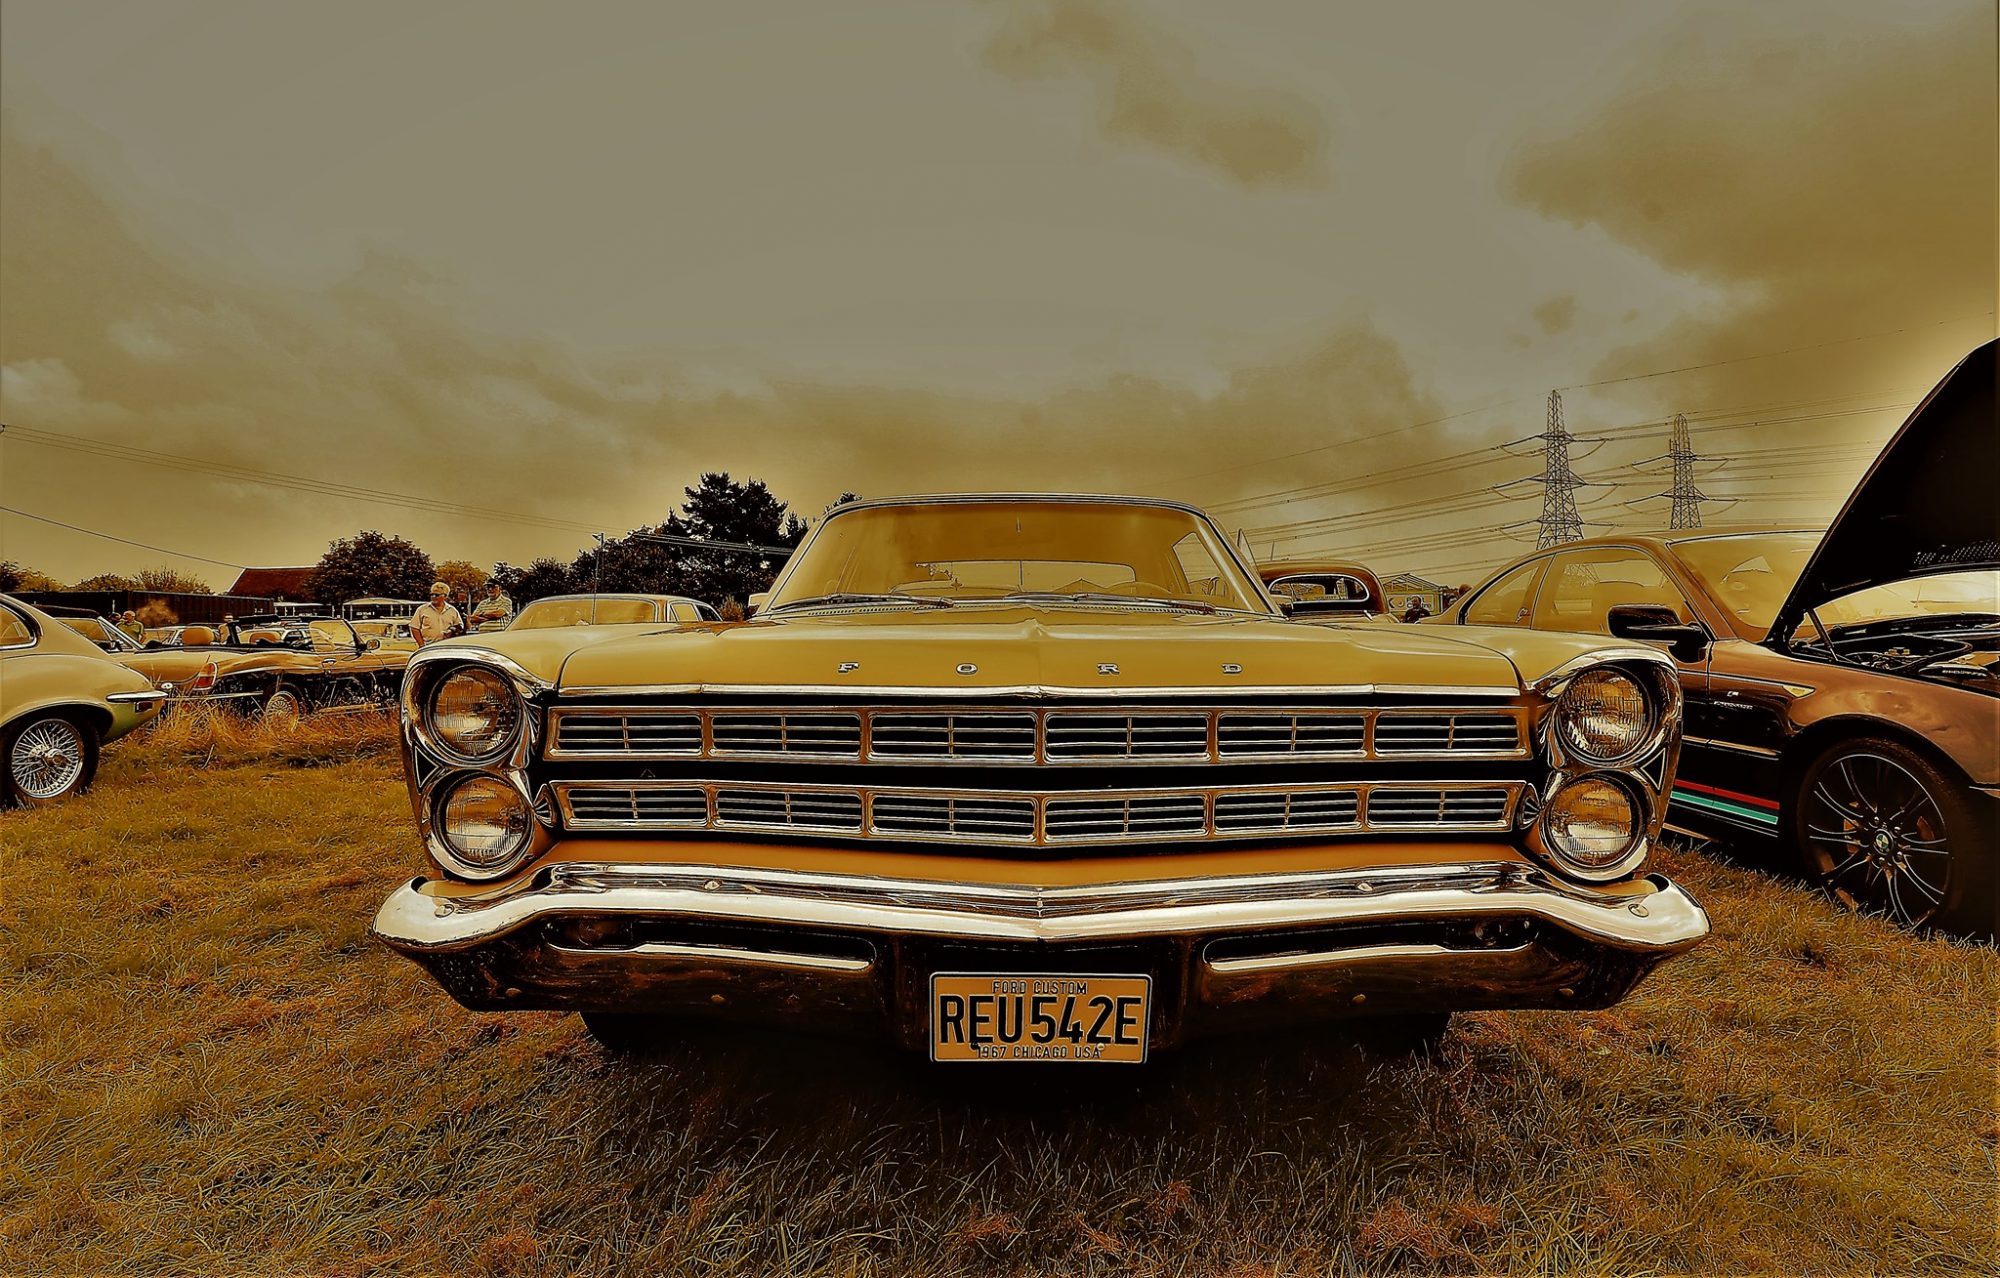
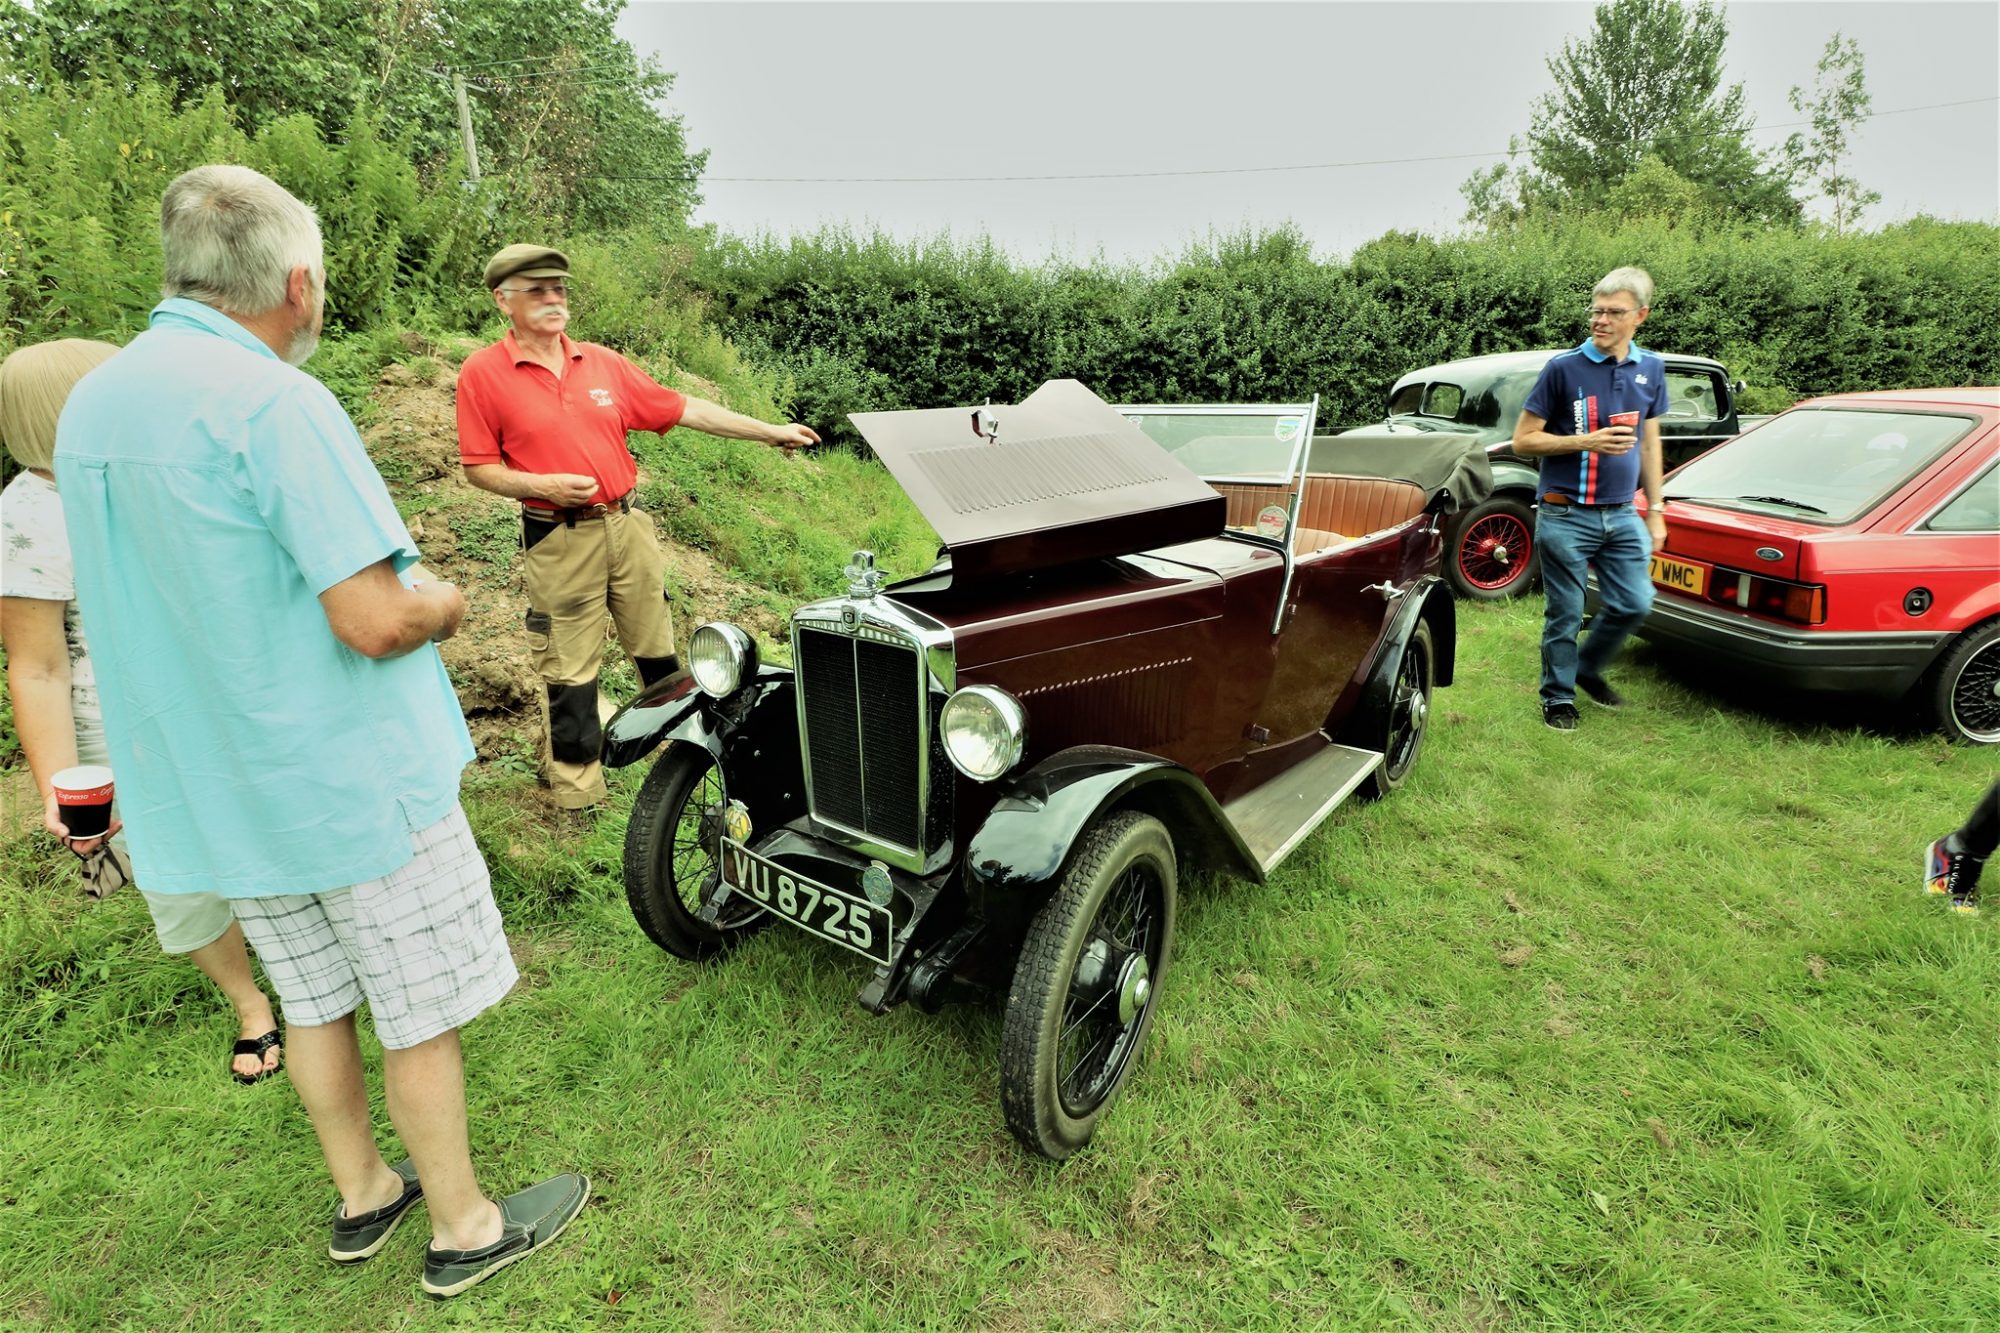
We thought you might like to see some more photos from last Sunday’s Bridge Classic Cars Classic and Bike Show.
Thank you again to the members of Suffolk Vehicle Enthusiasts Club for coming along and showing a vast array of cars!
Here’s a link to their fantastic Facebook group! https://www.facebook.com/groups/1497182980562555


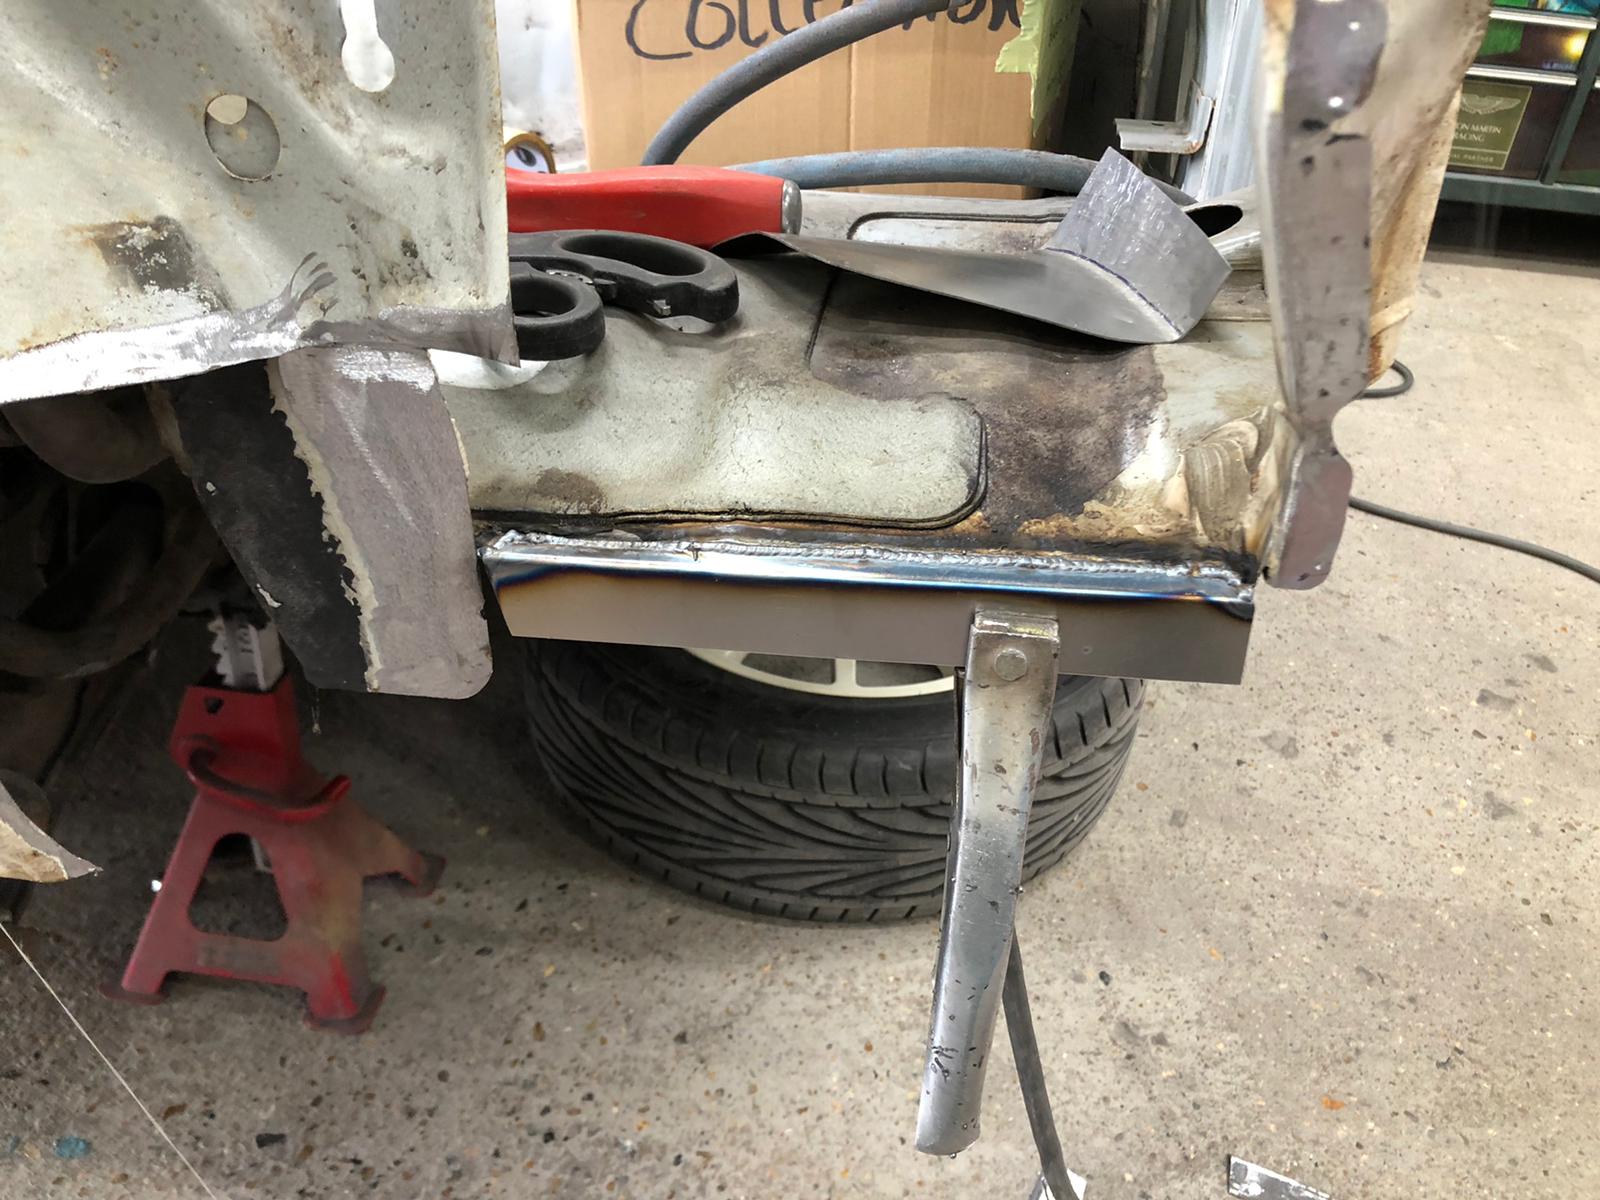
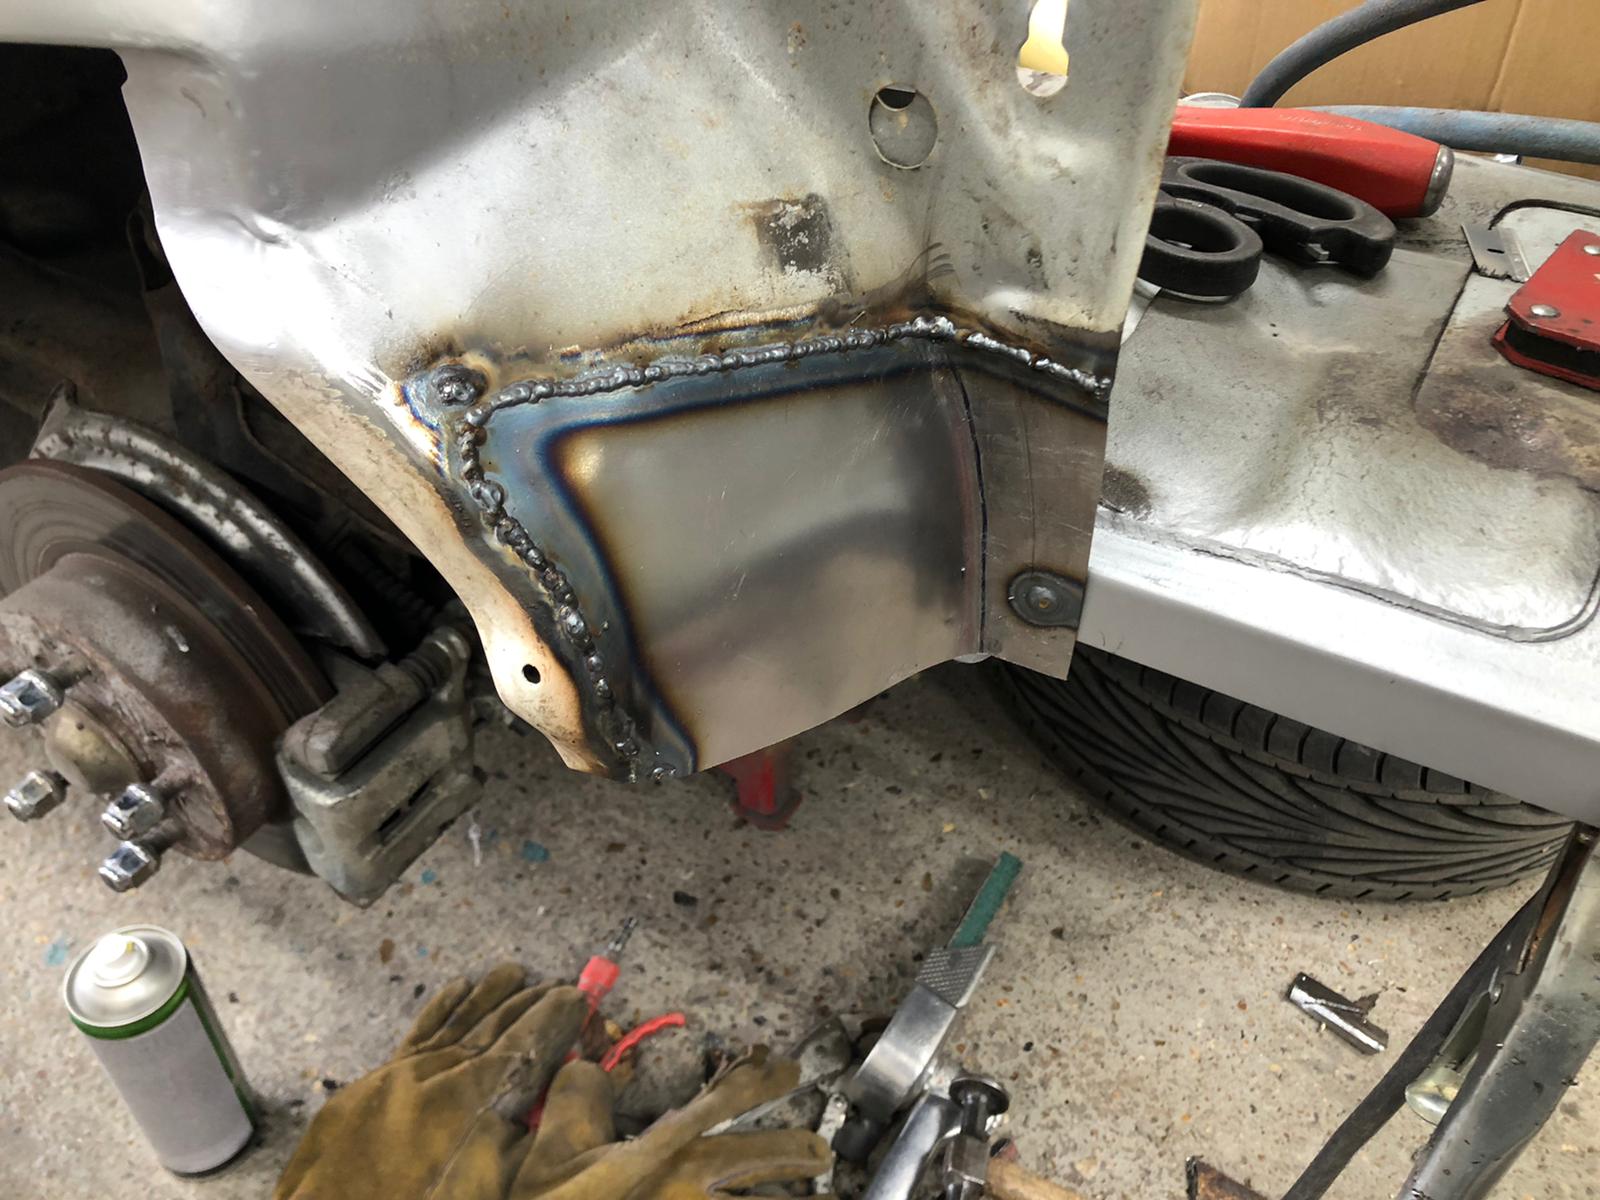
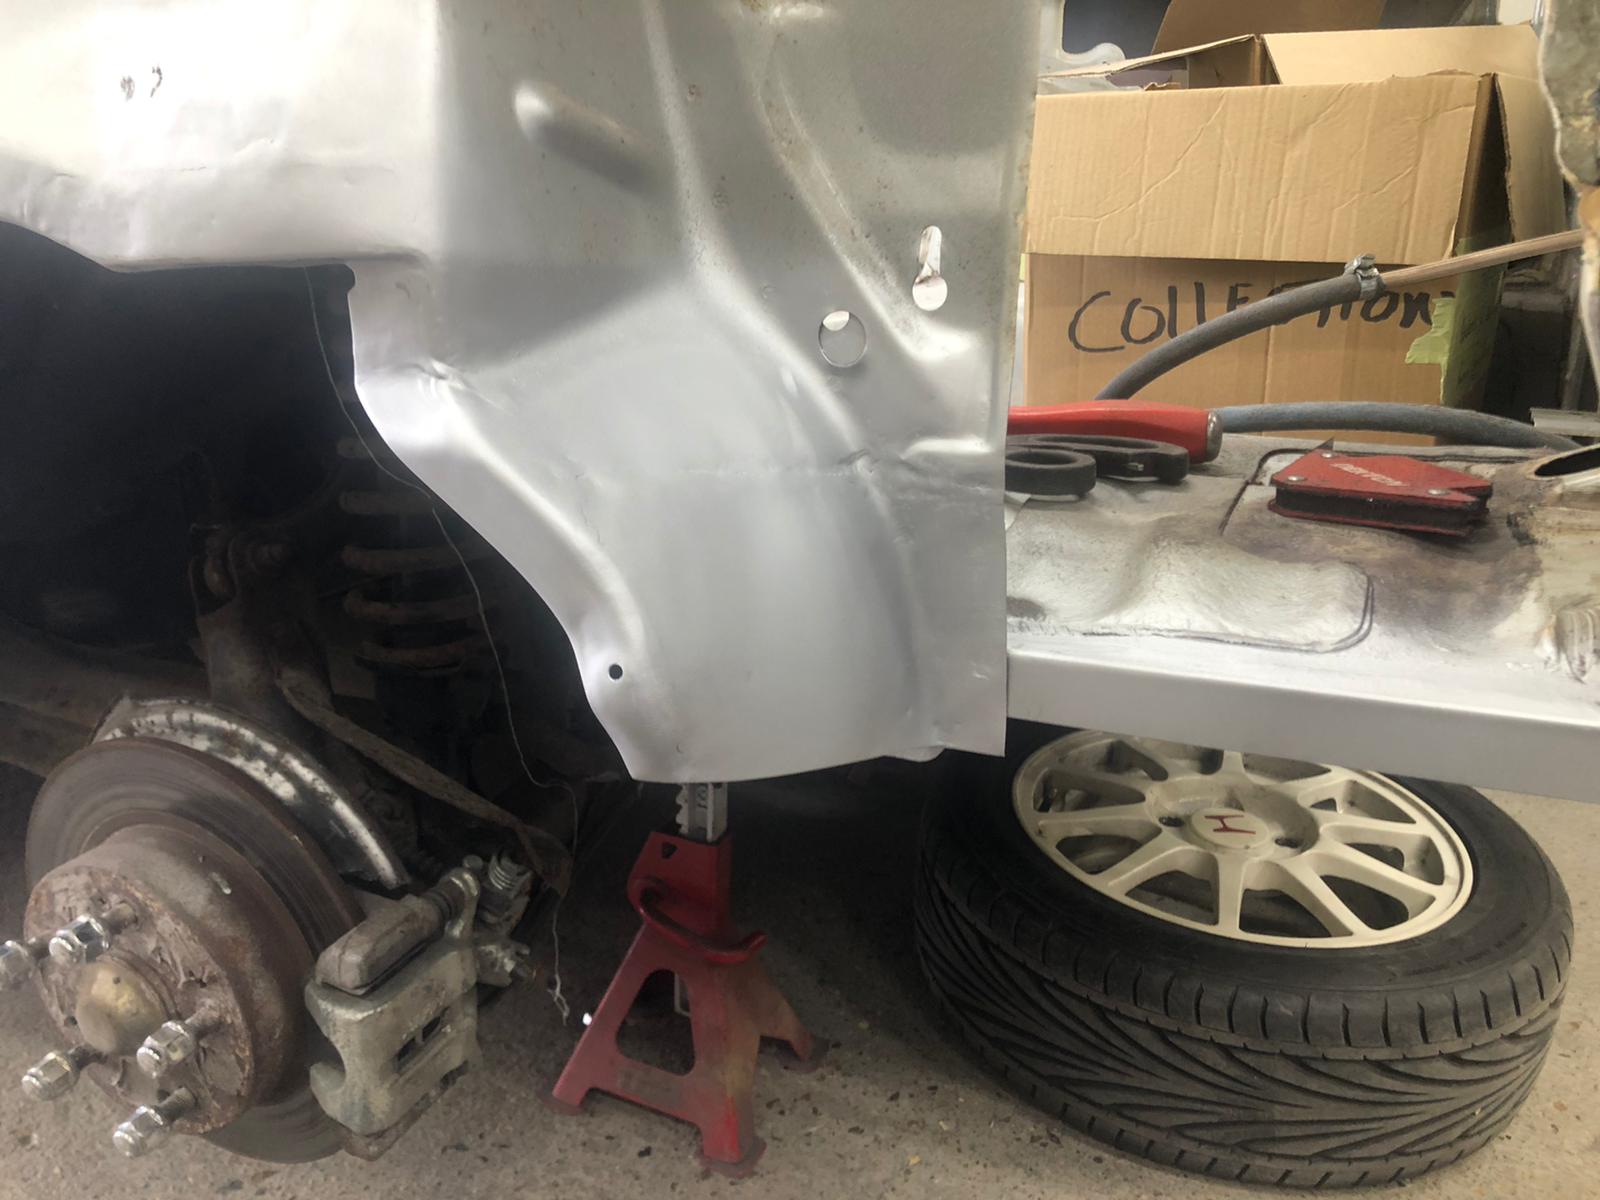
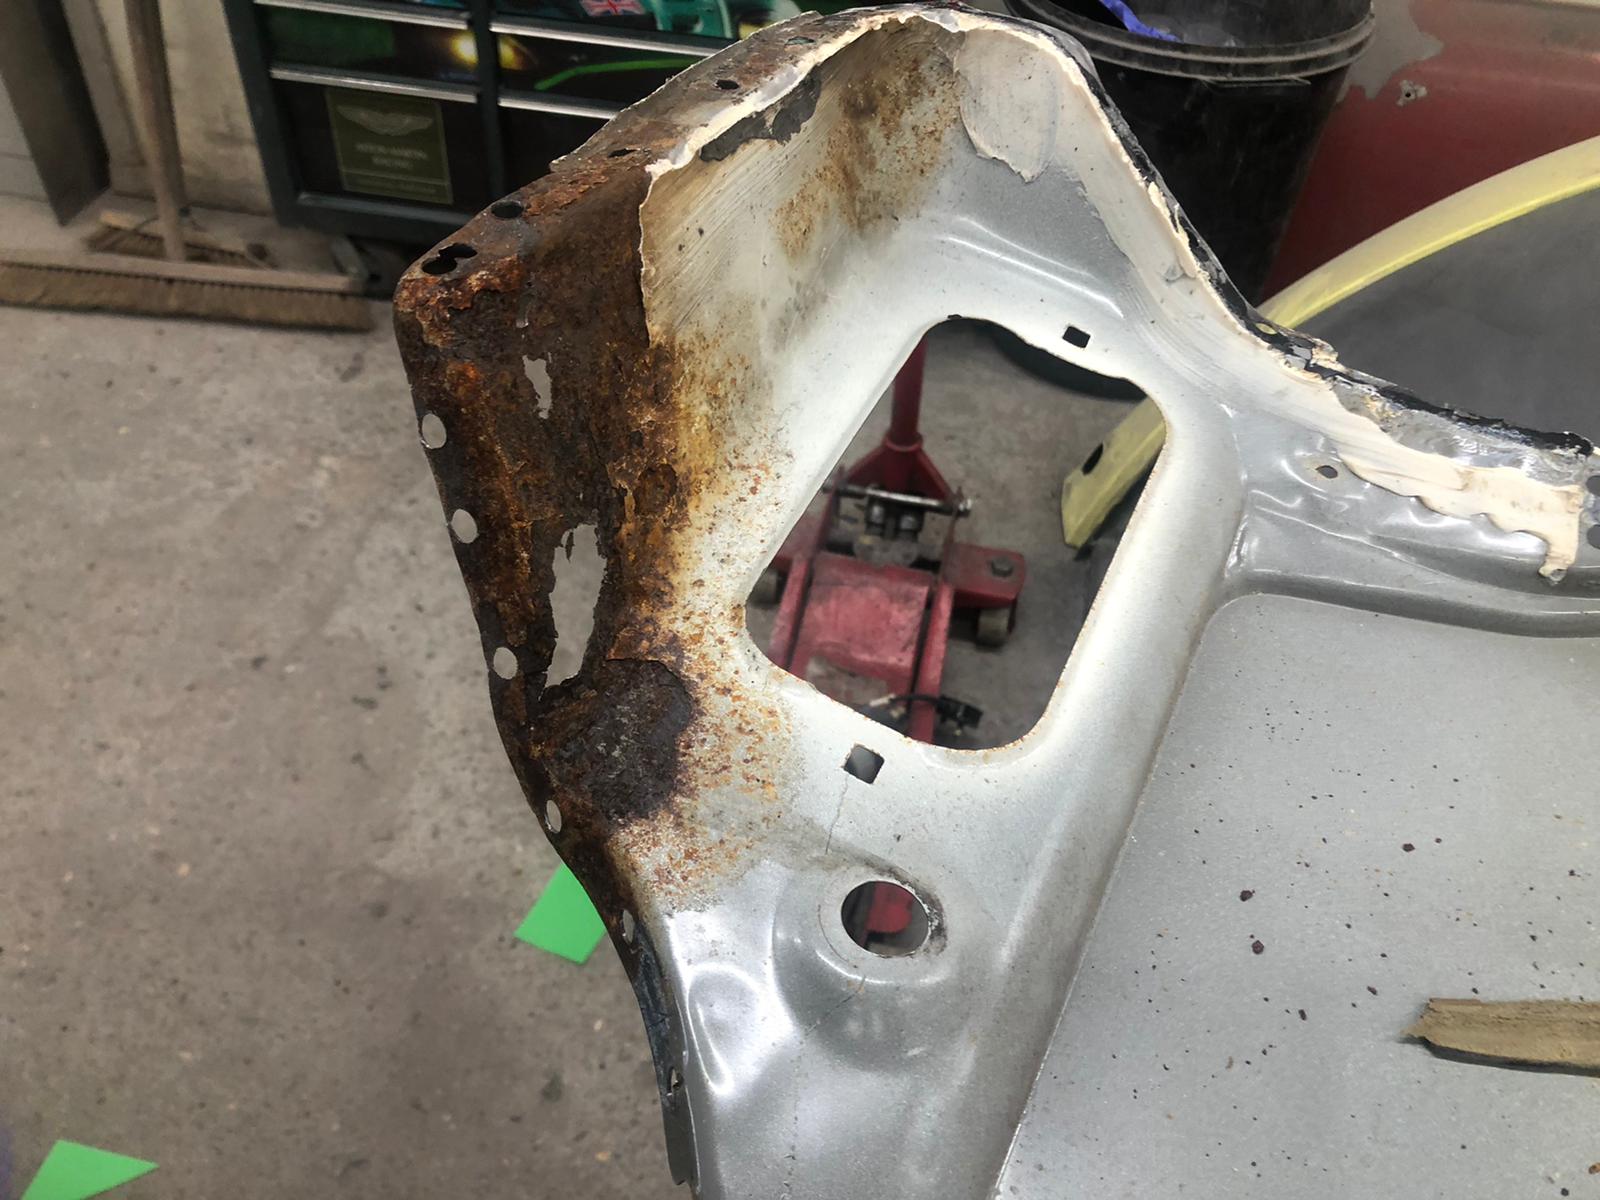
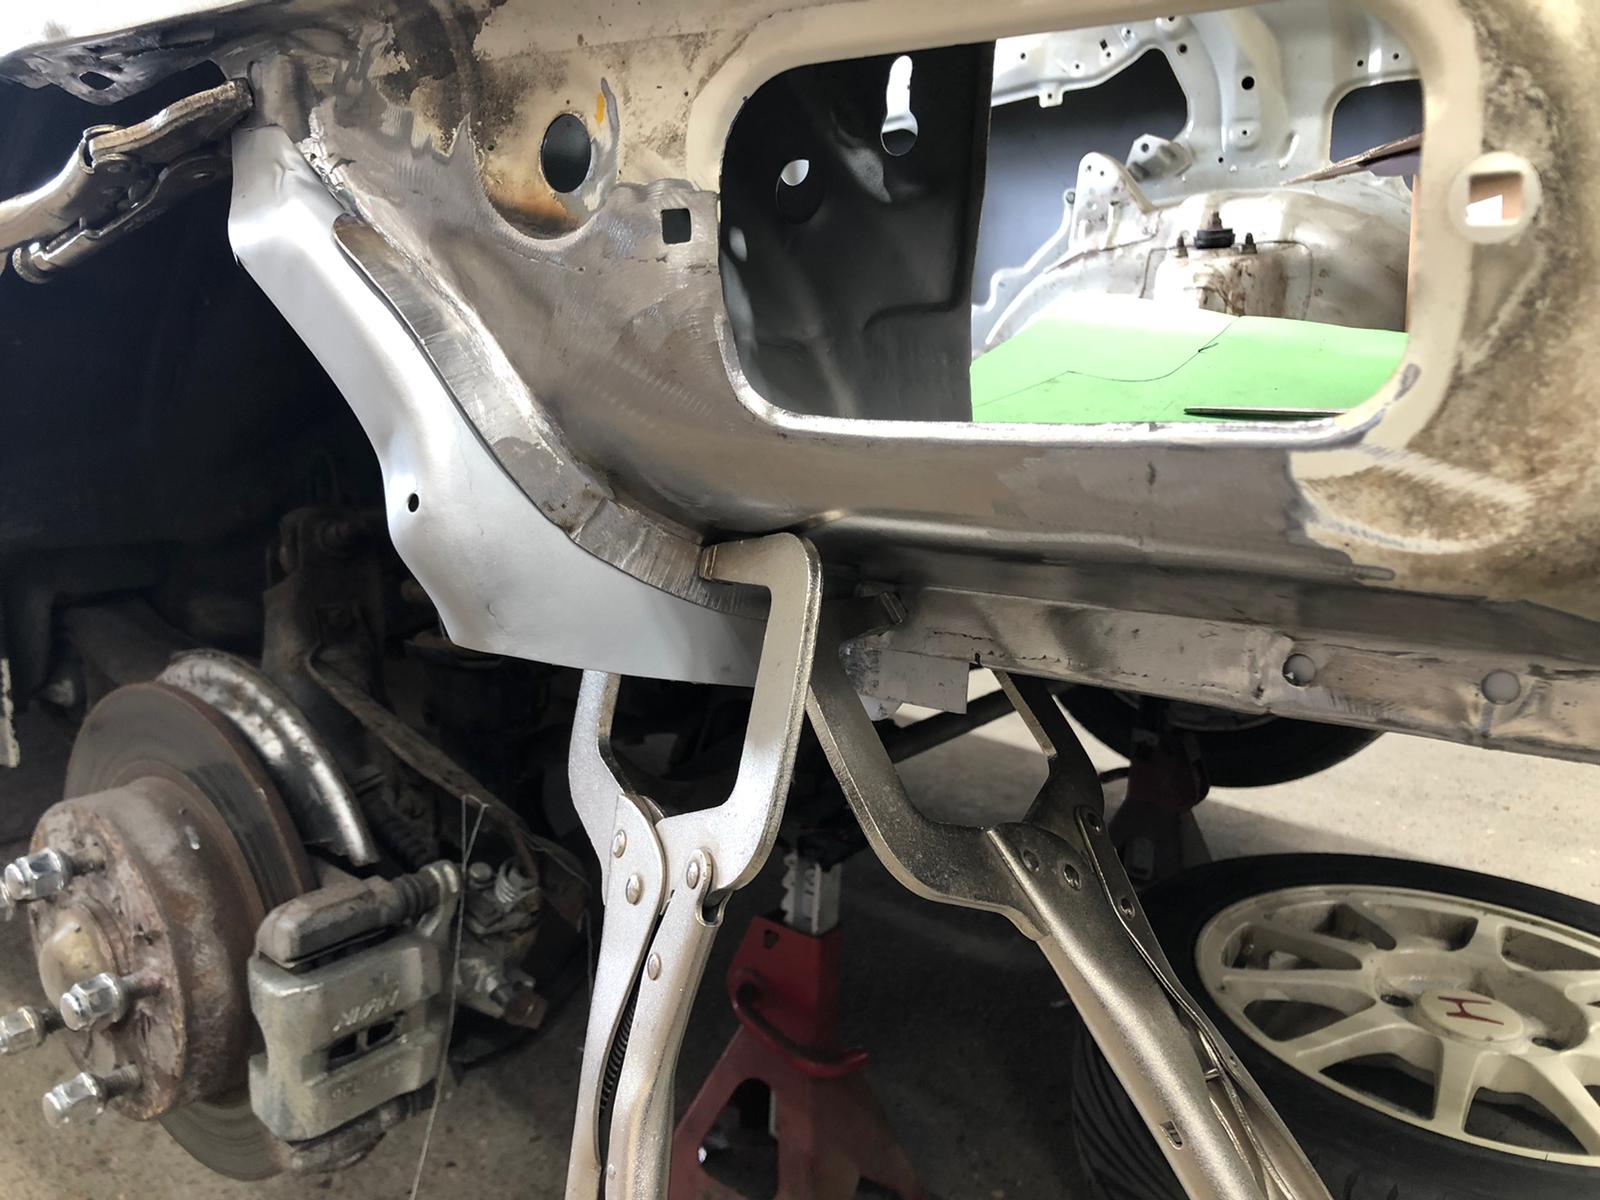
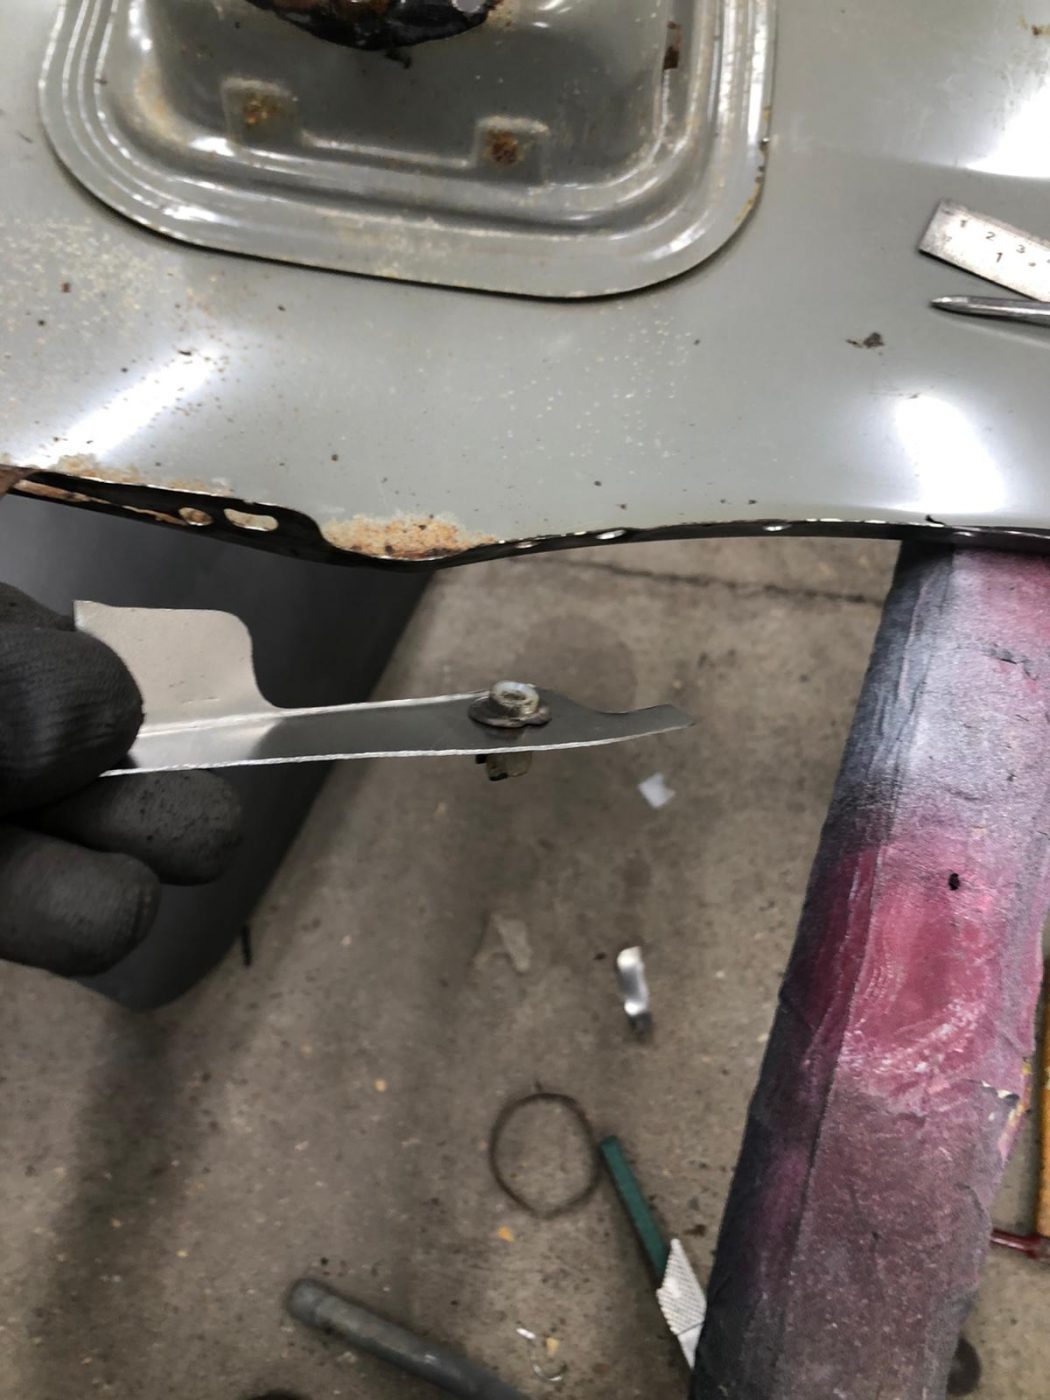
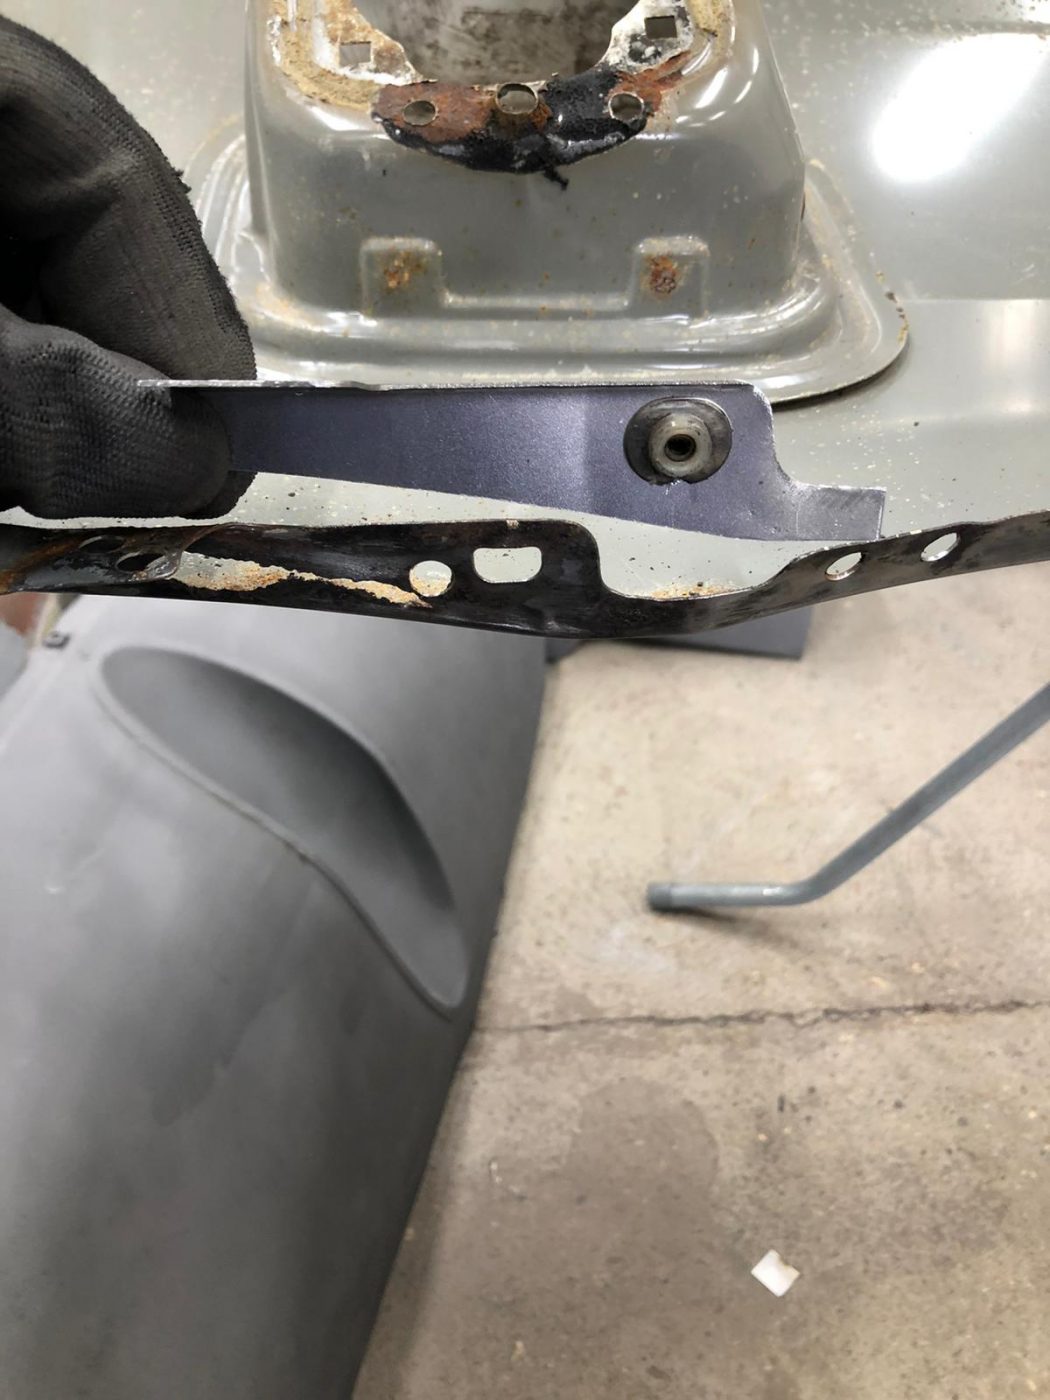
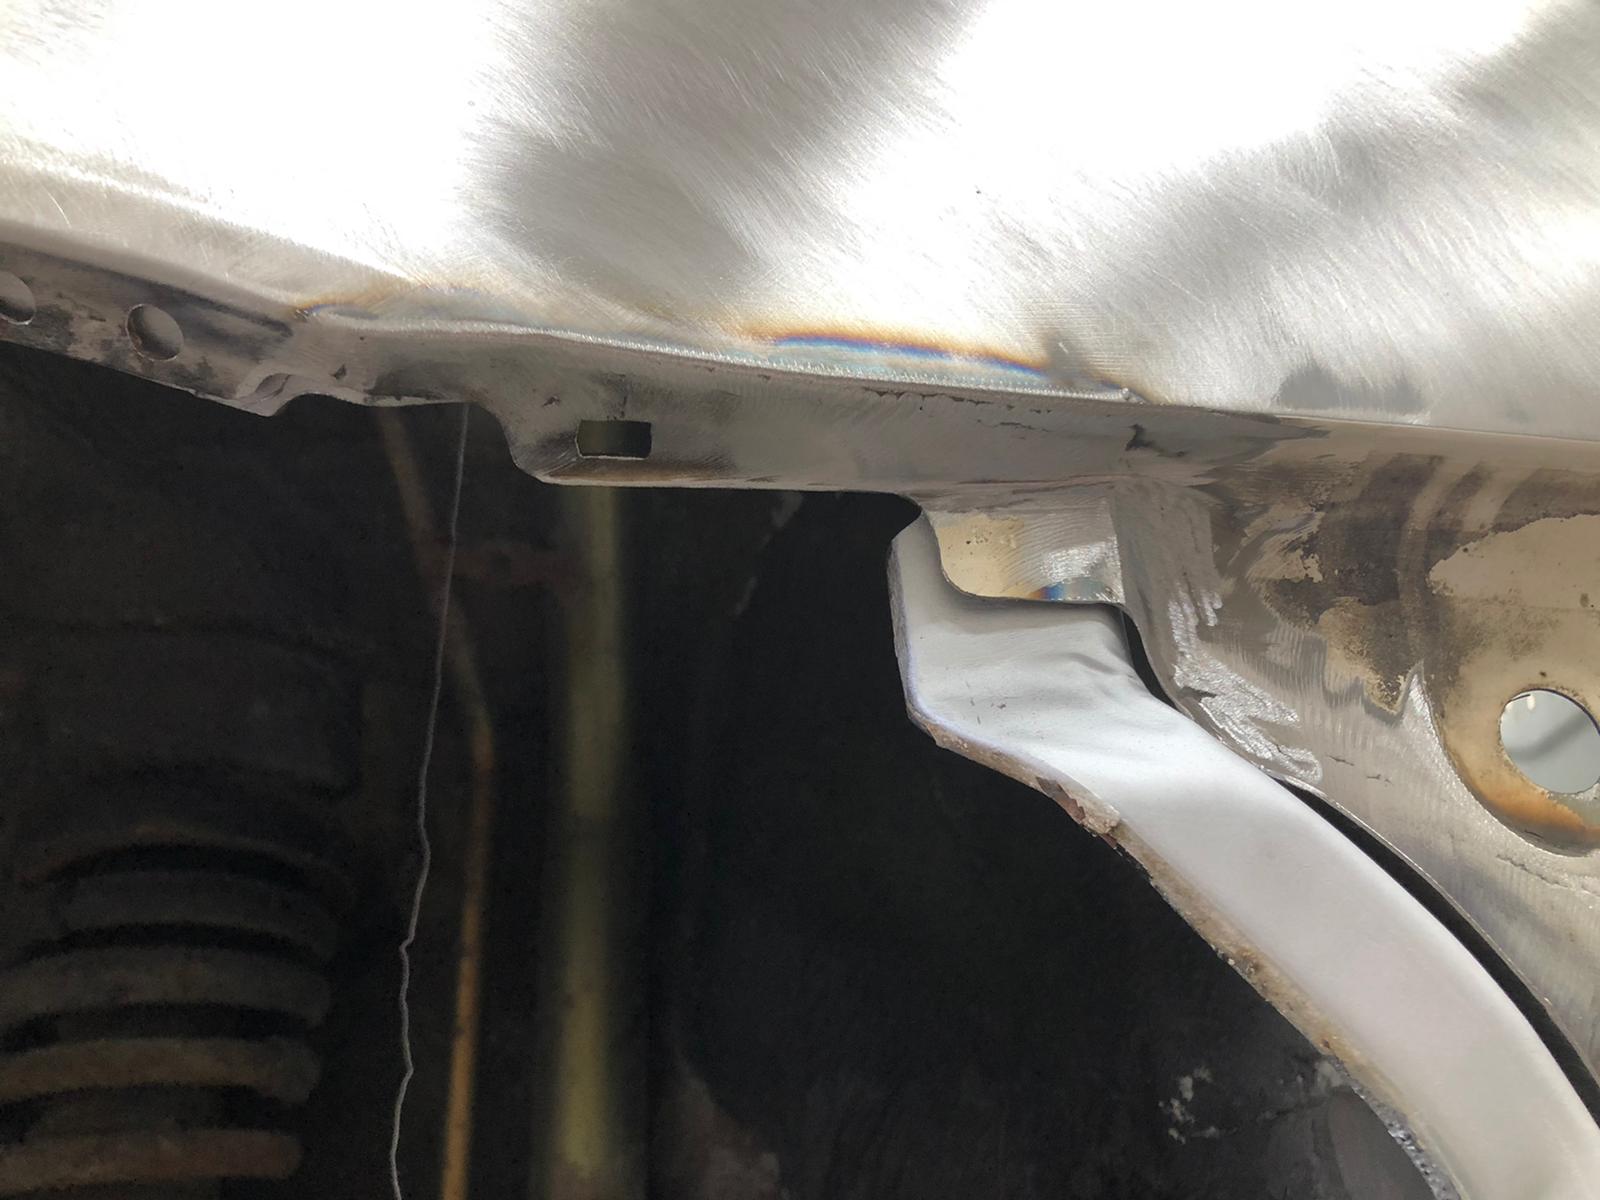
Pricey has been continuing his repair work on the white 1998 Honda Integra Type R.
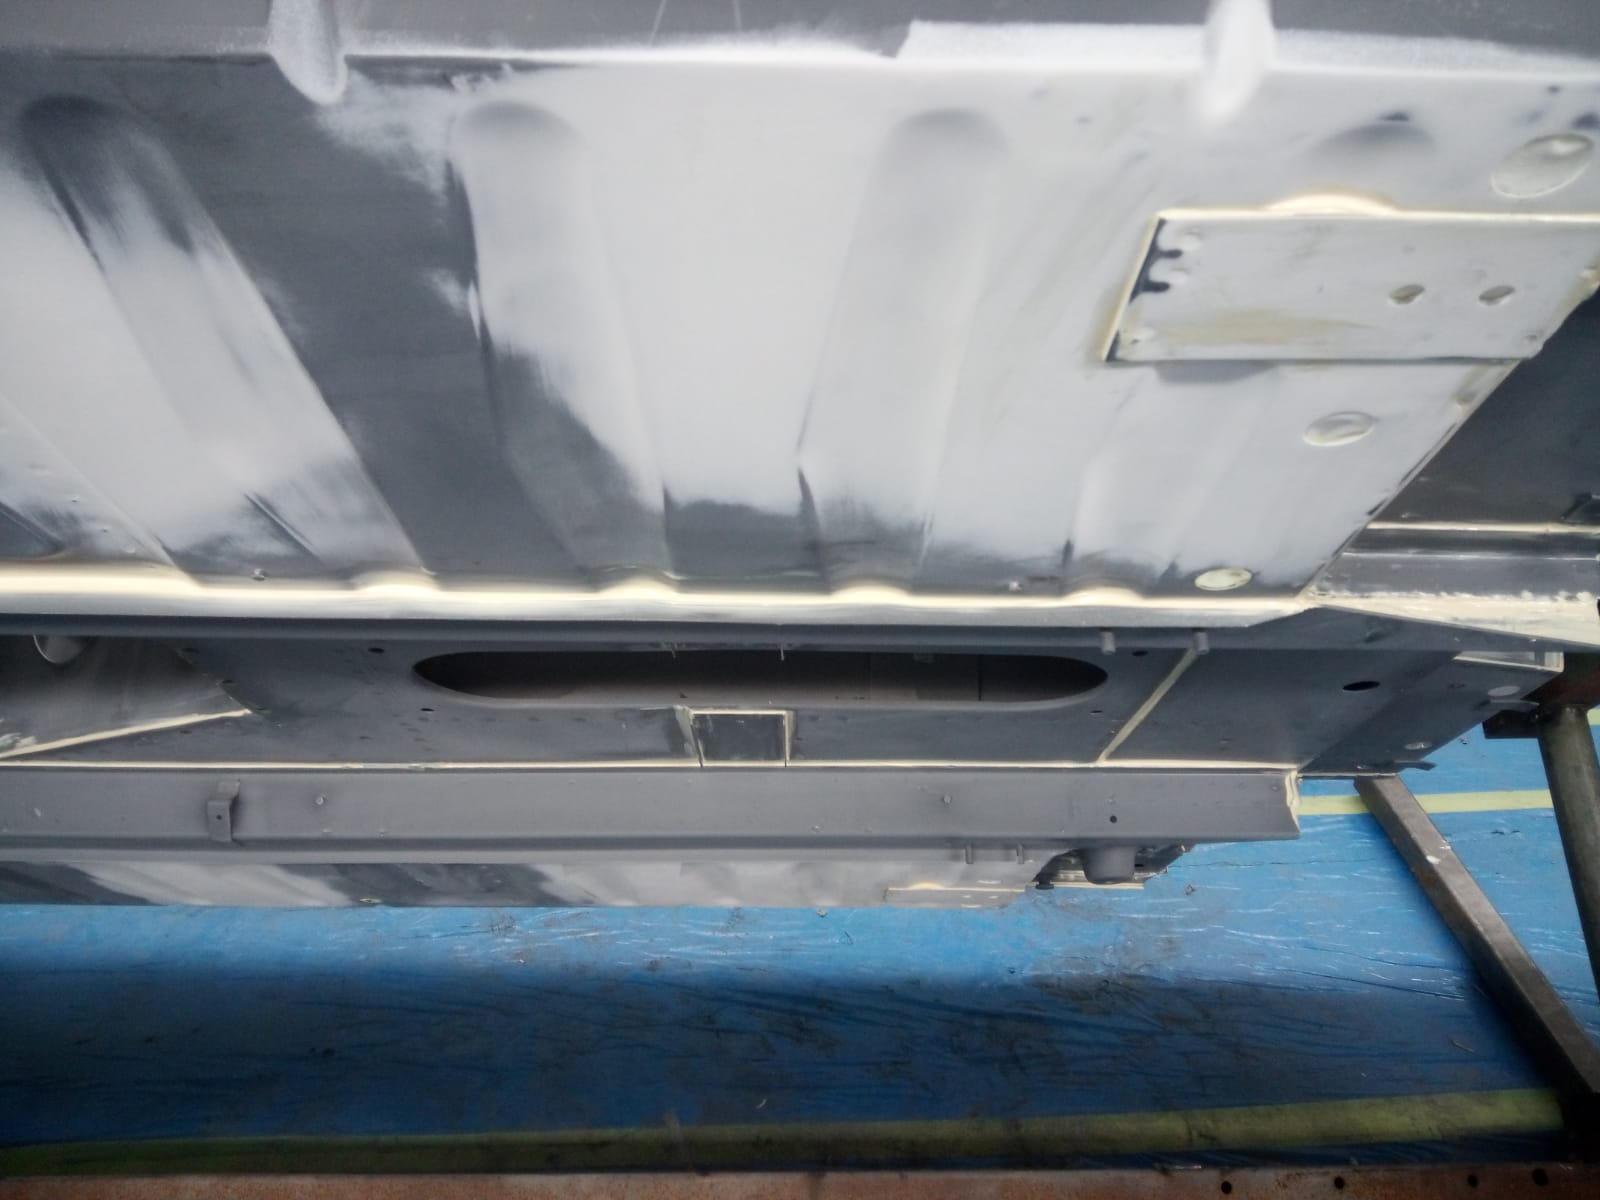
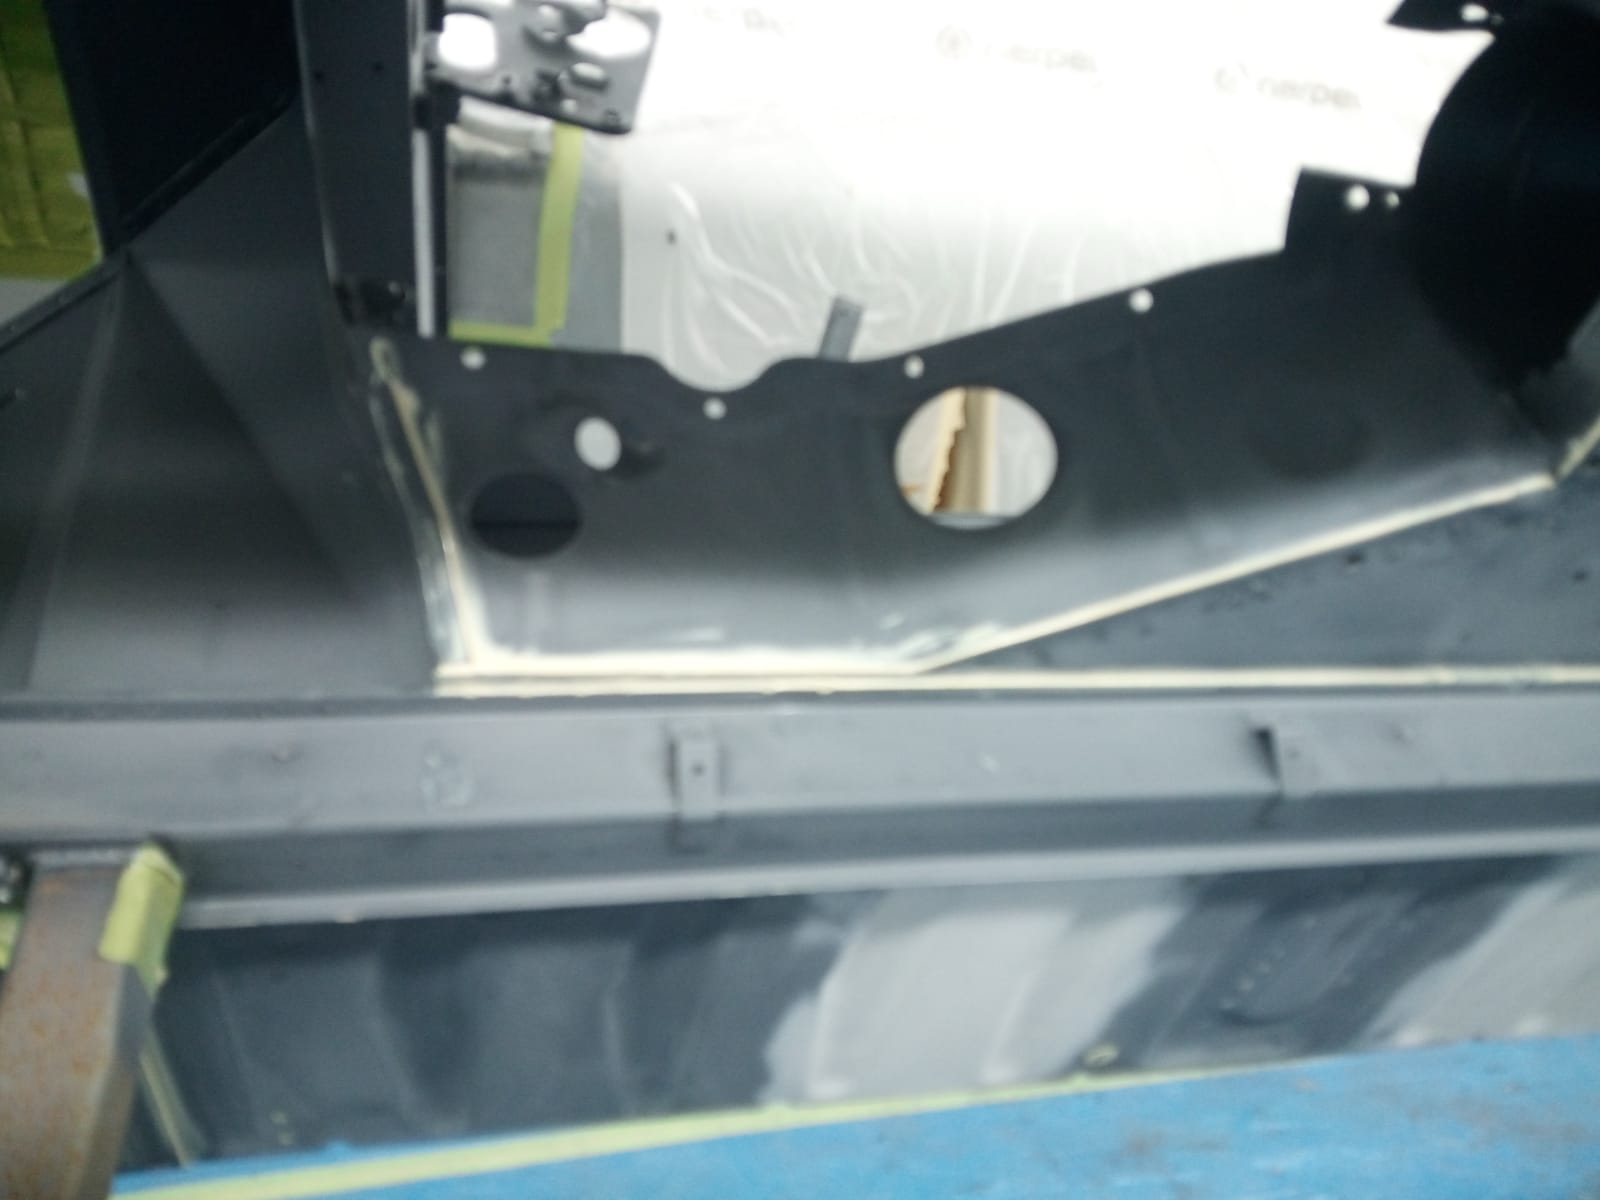
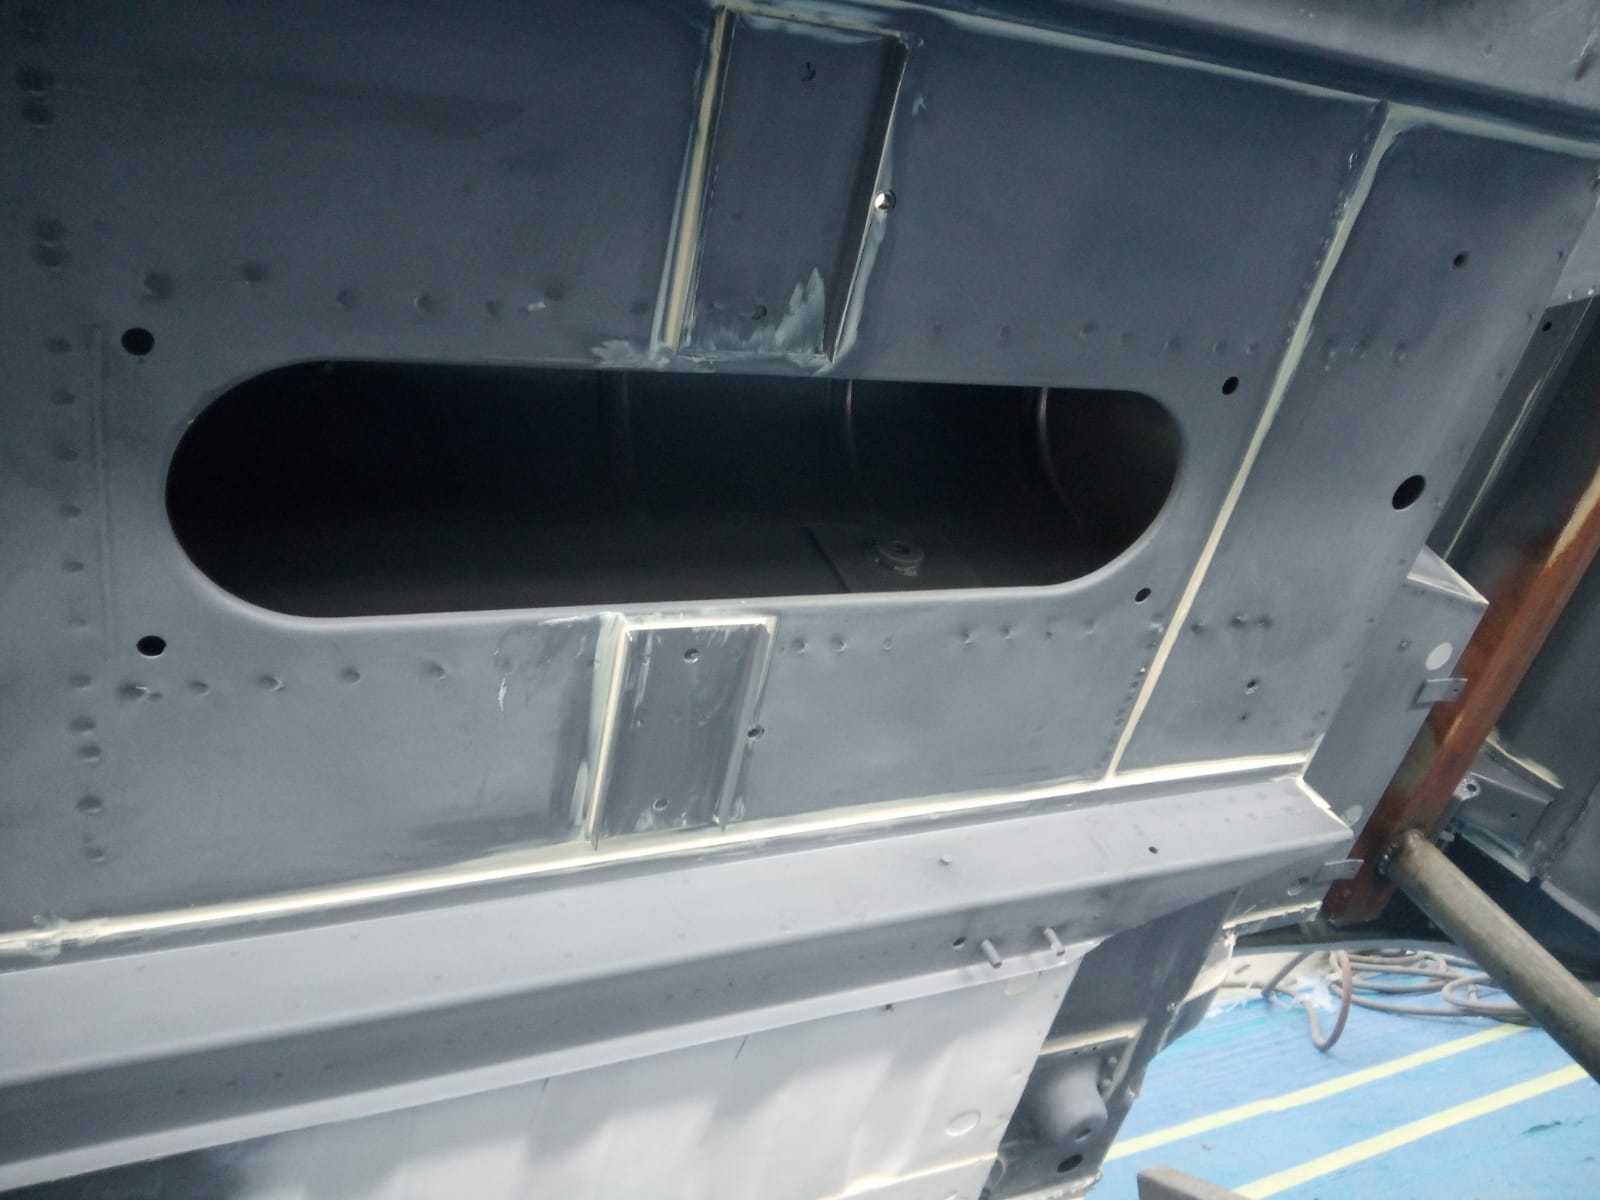
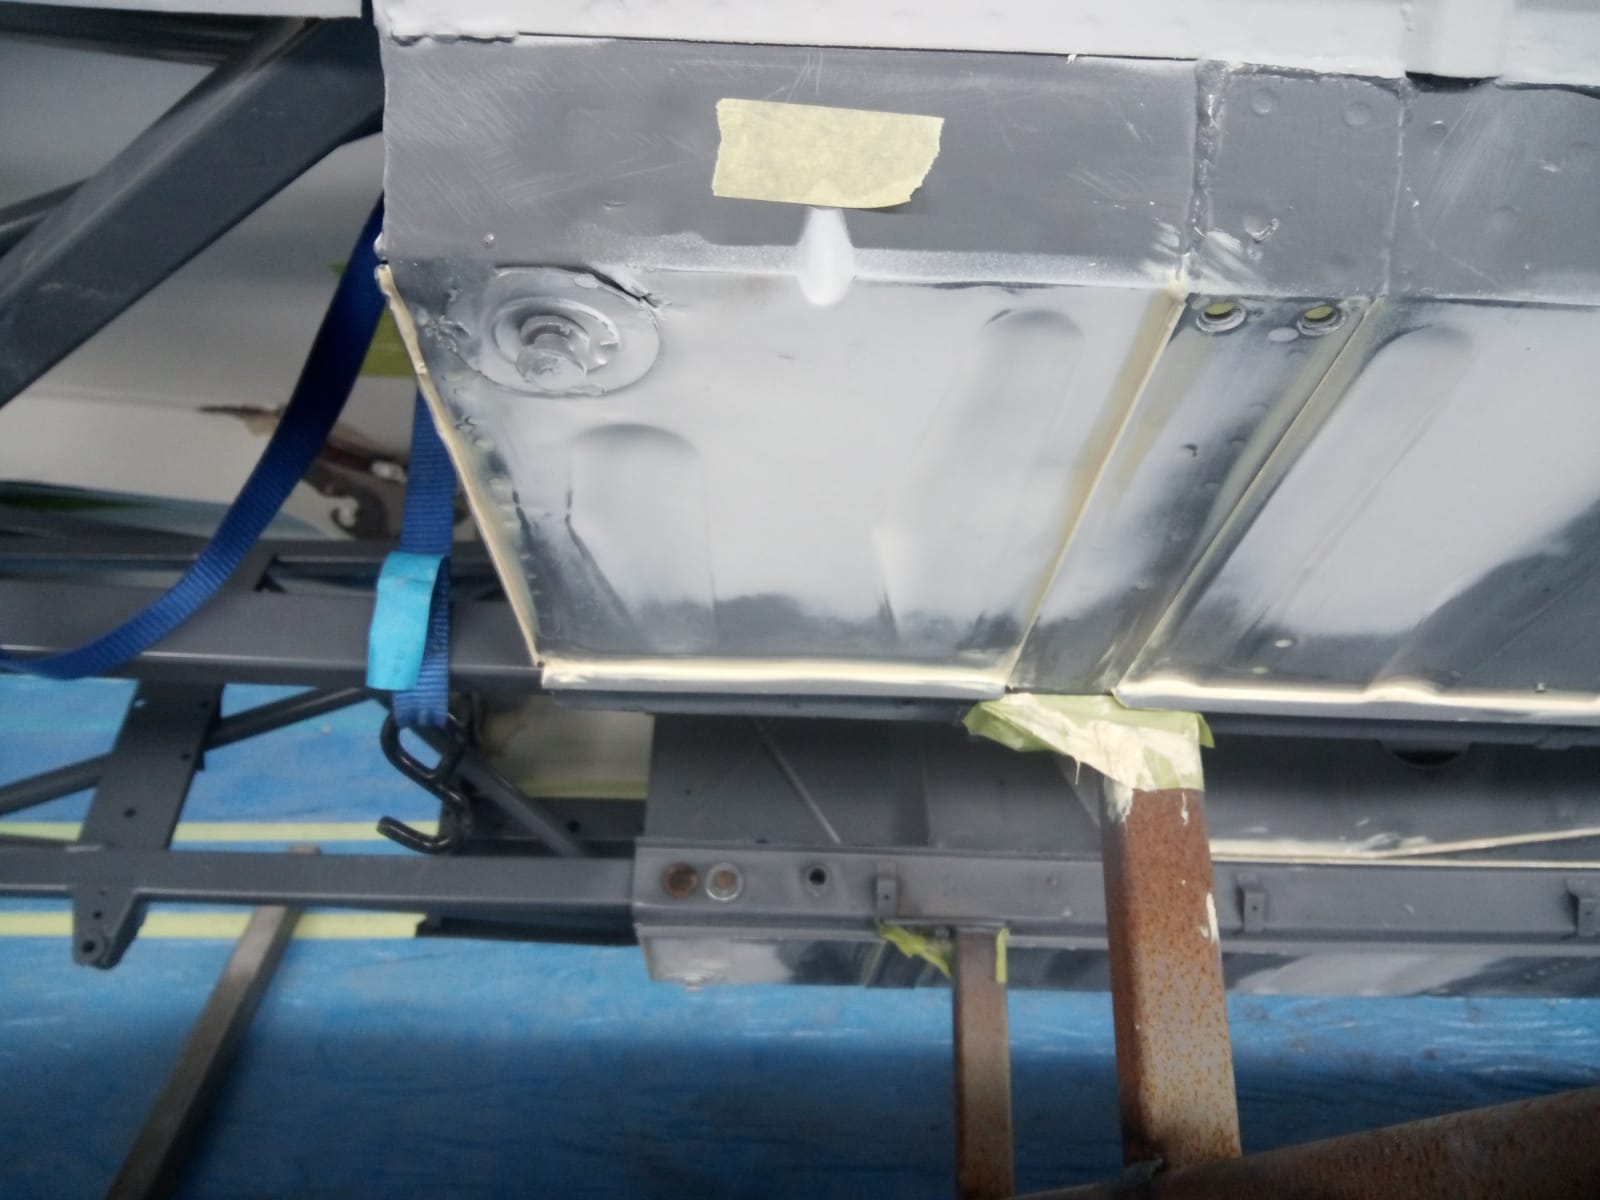
The original floor edge was very thin, so he welded a new one in. He also welded in a new section on the nearside rear wheel housing. The quarter panel was corroded so Pricey fabricated a new one and welded it in and made it fit to the wheel housing. The nearside outer wheel arch lip needed work as well so he cut out and welded a new one.


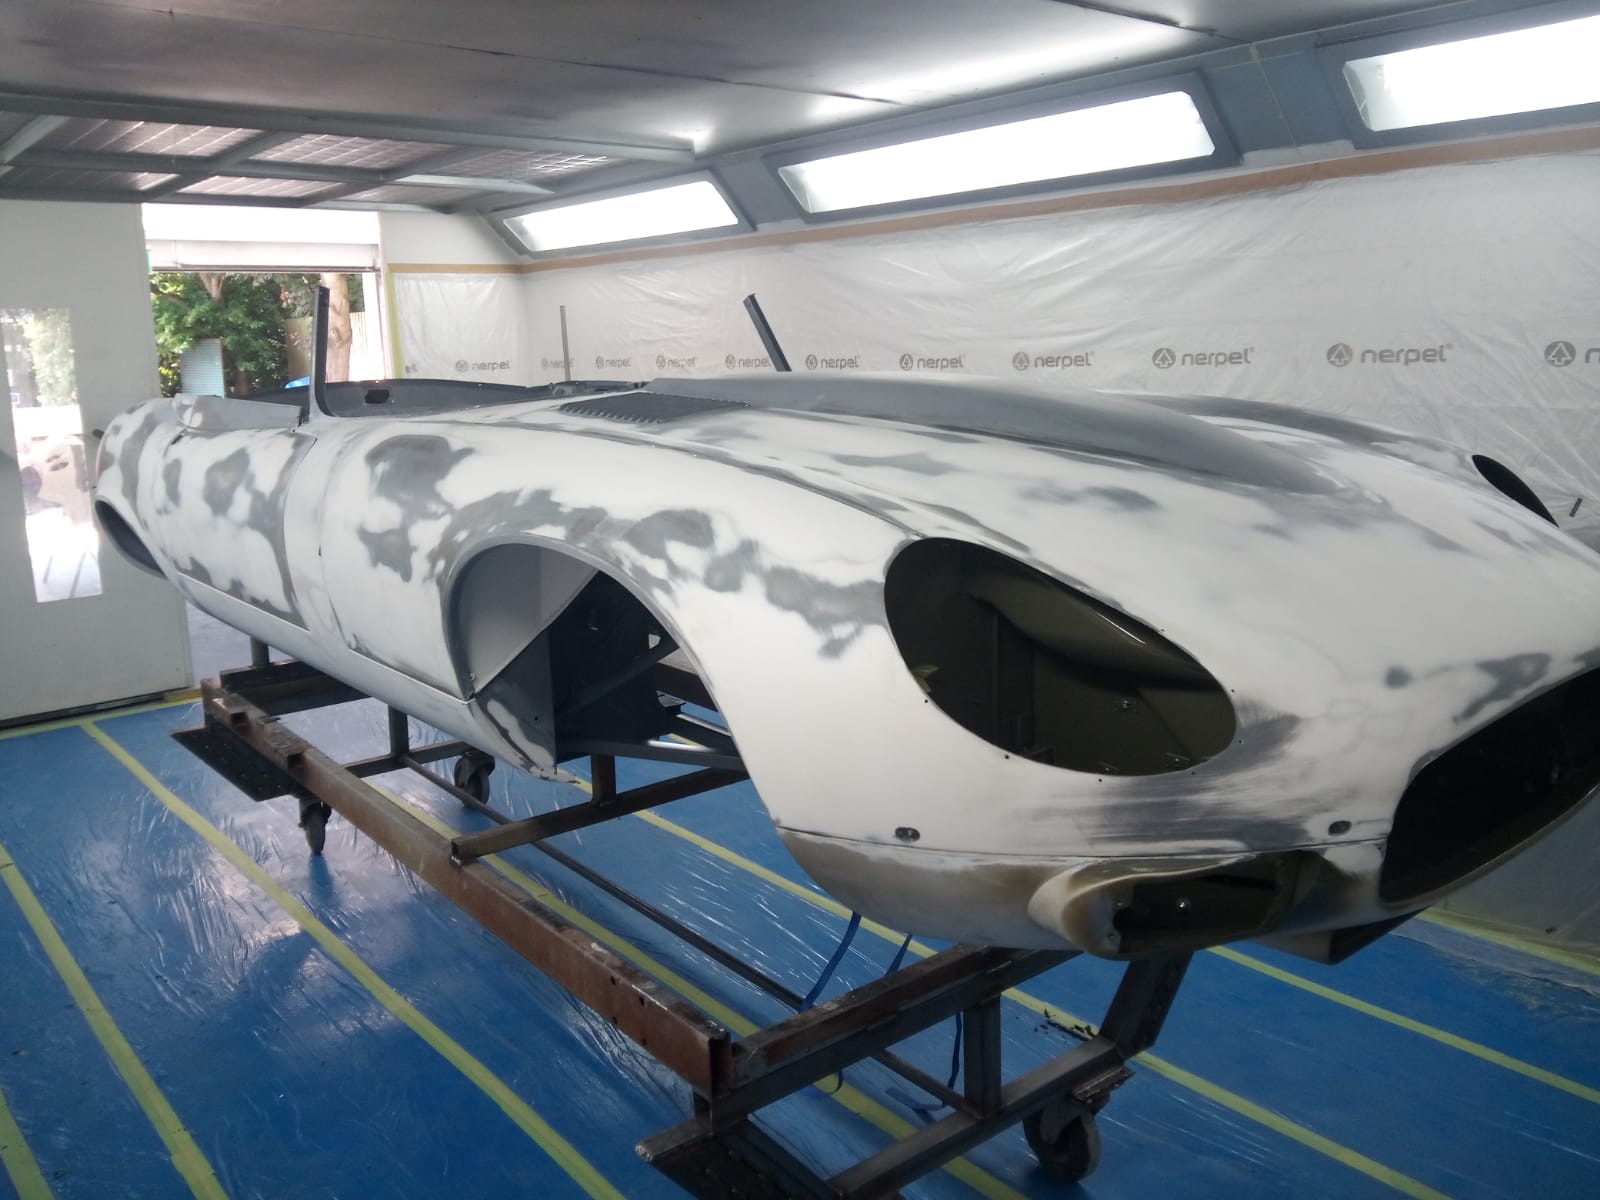
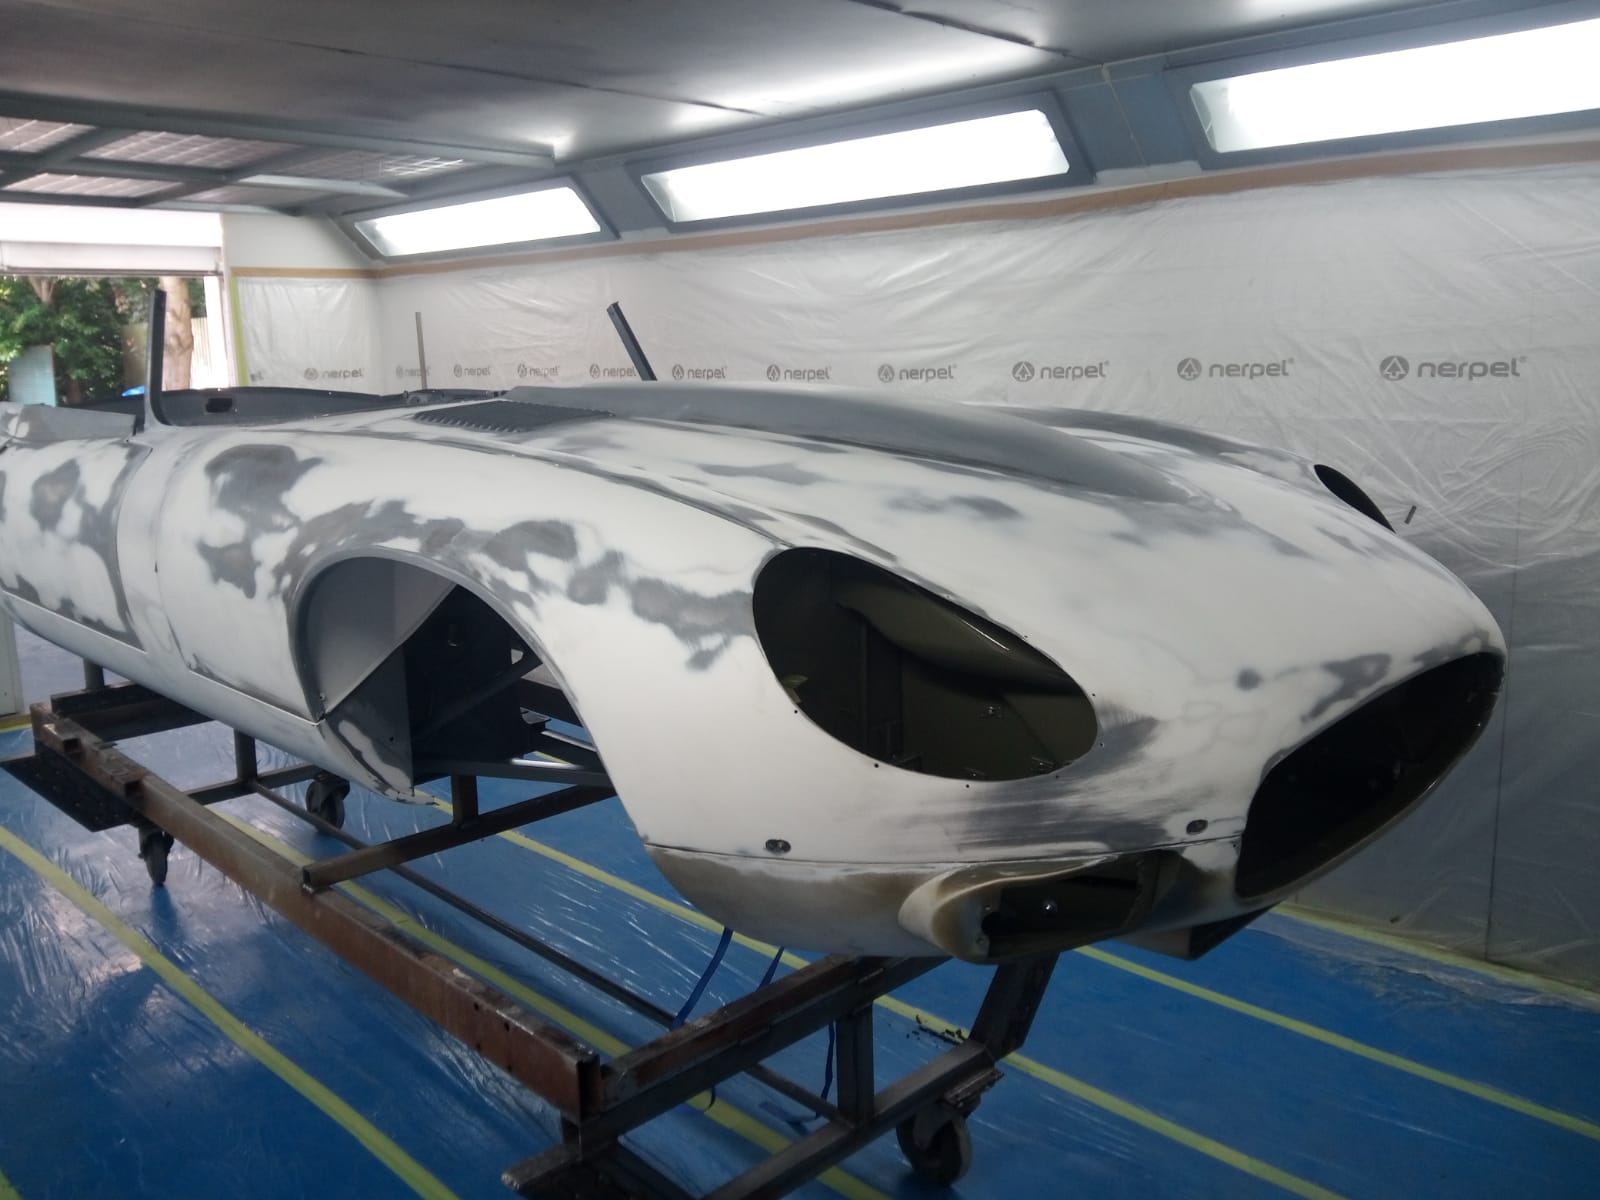
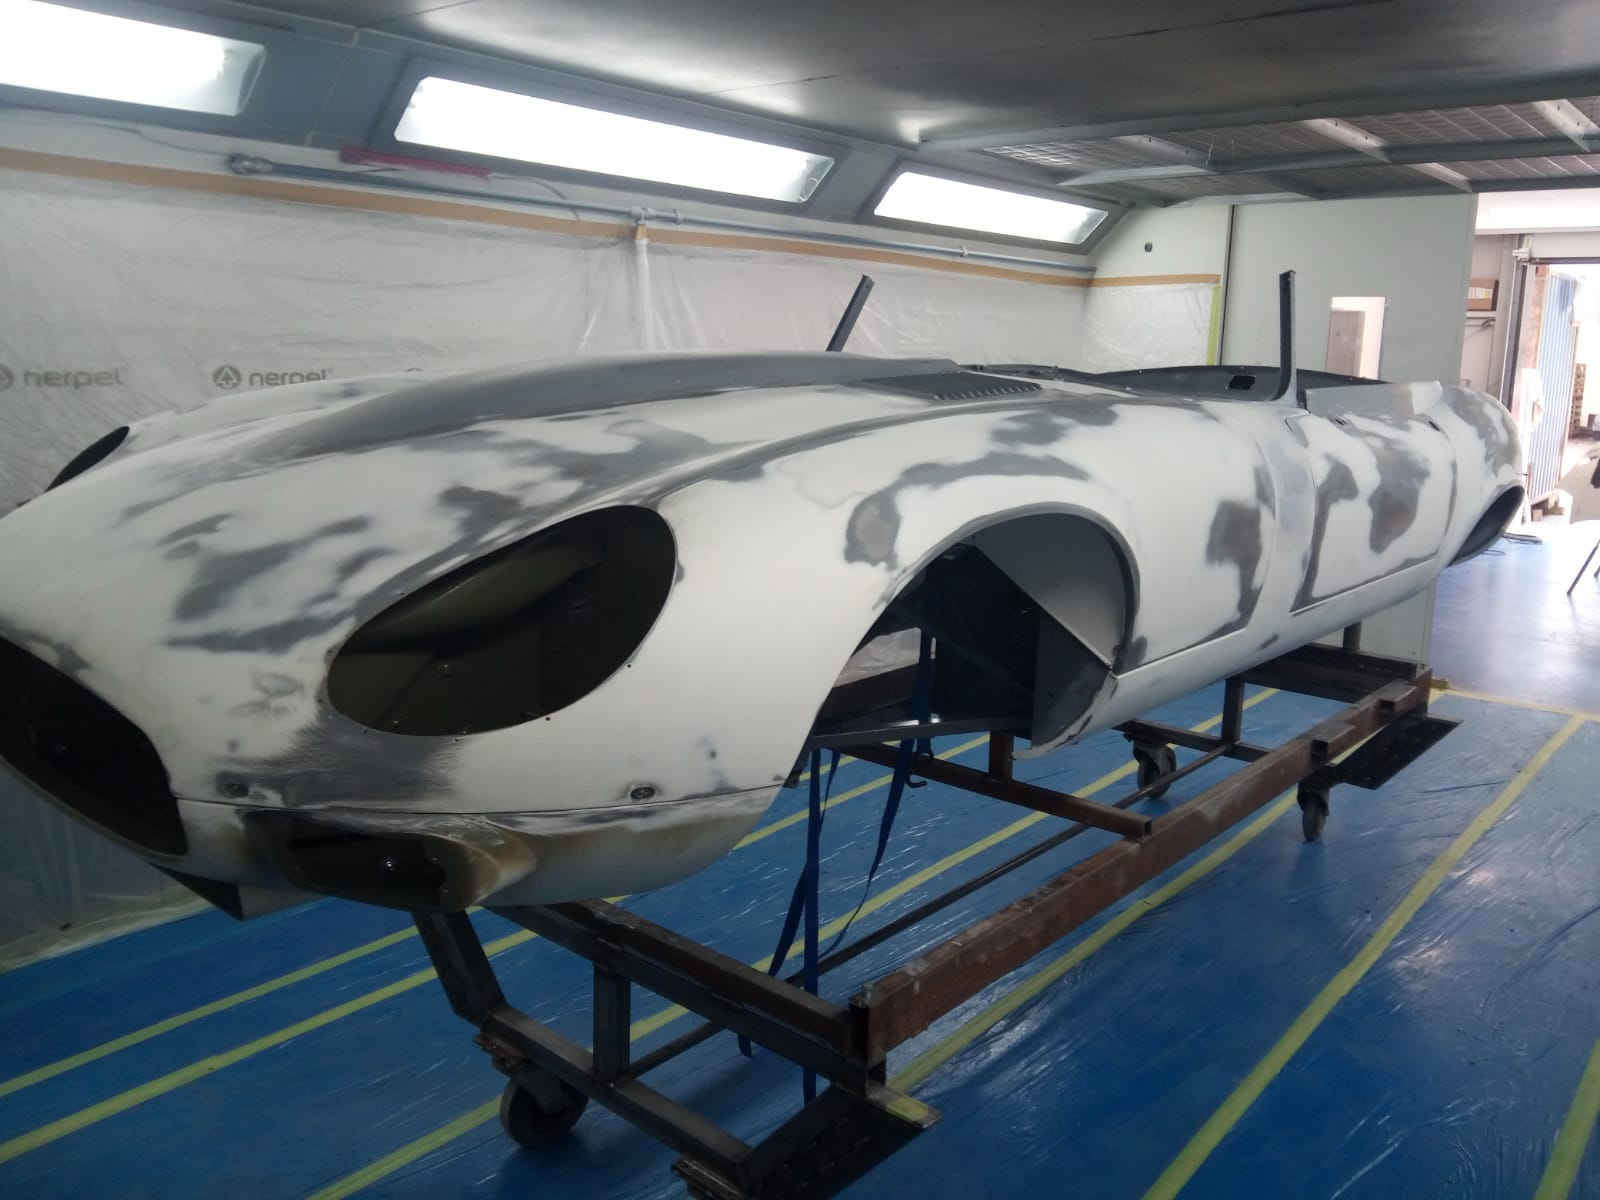
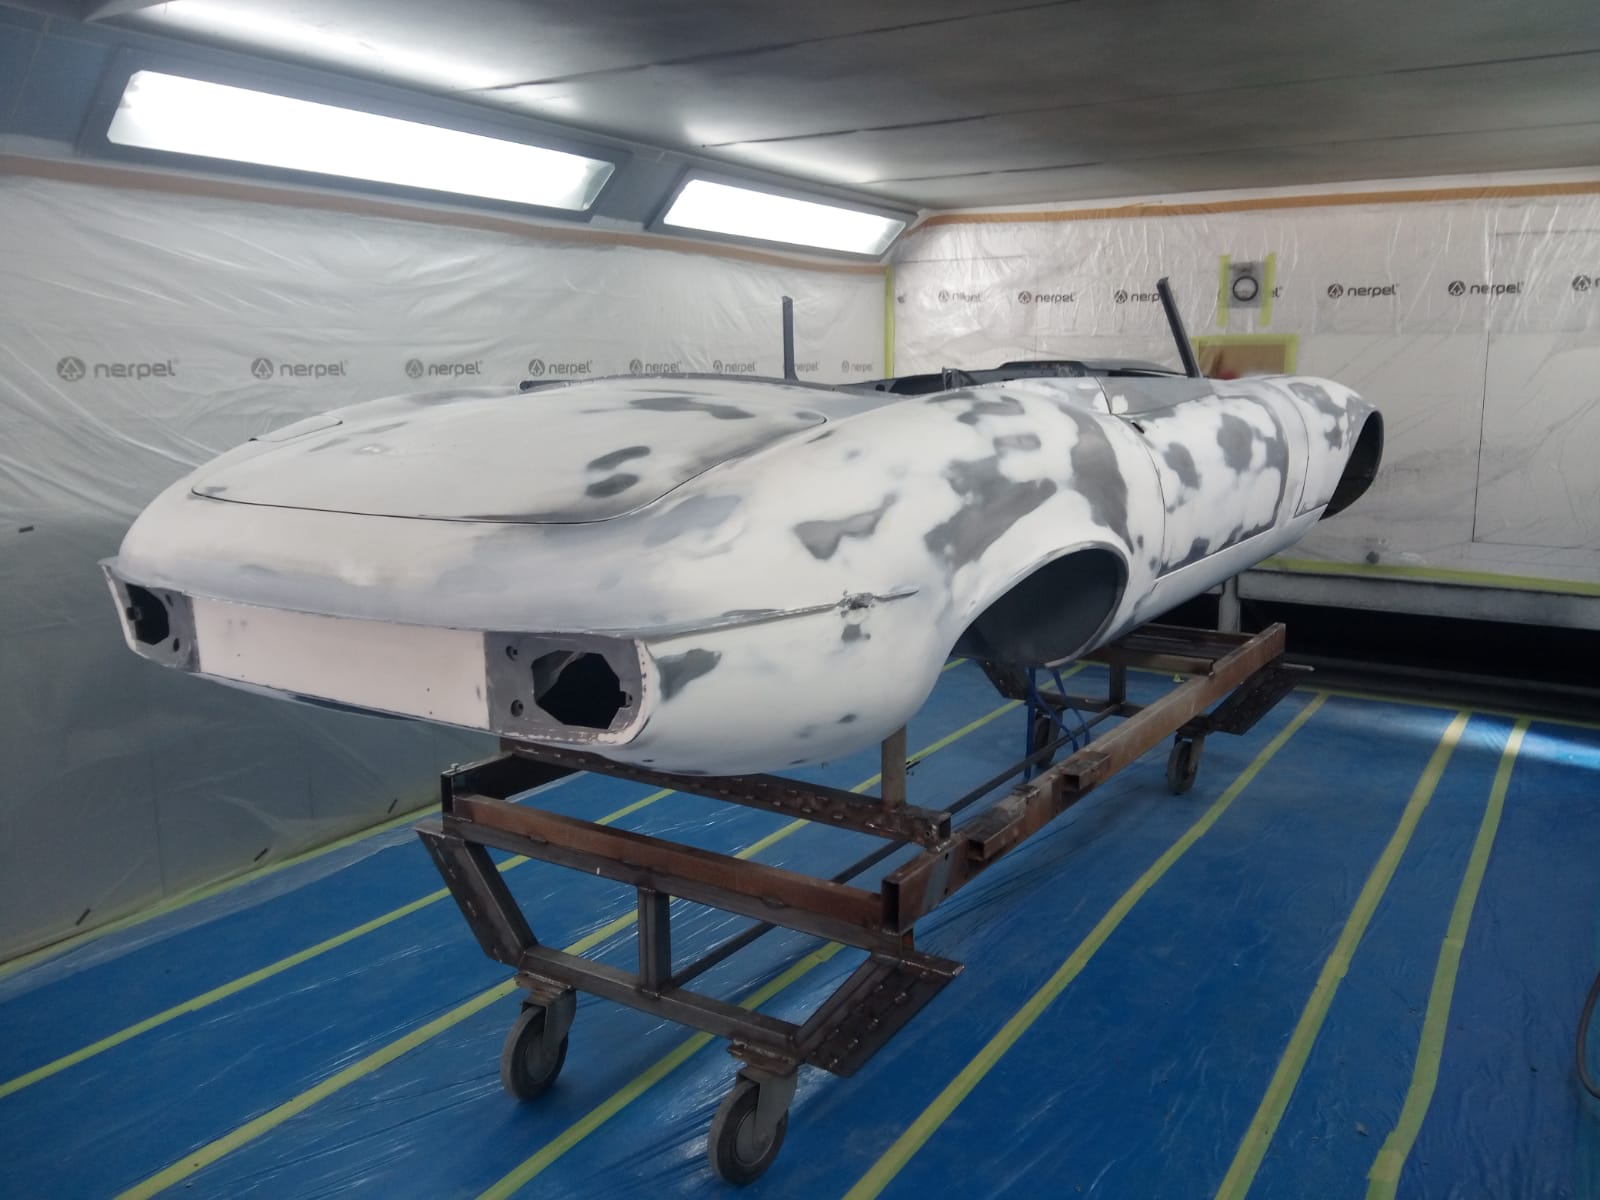
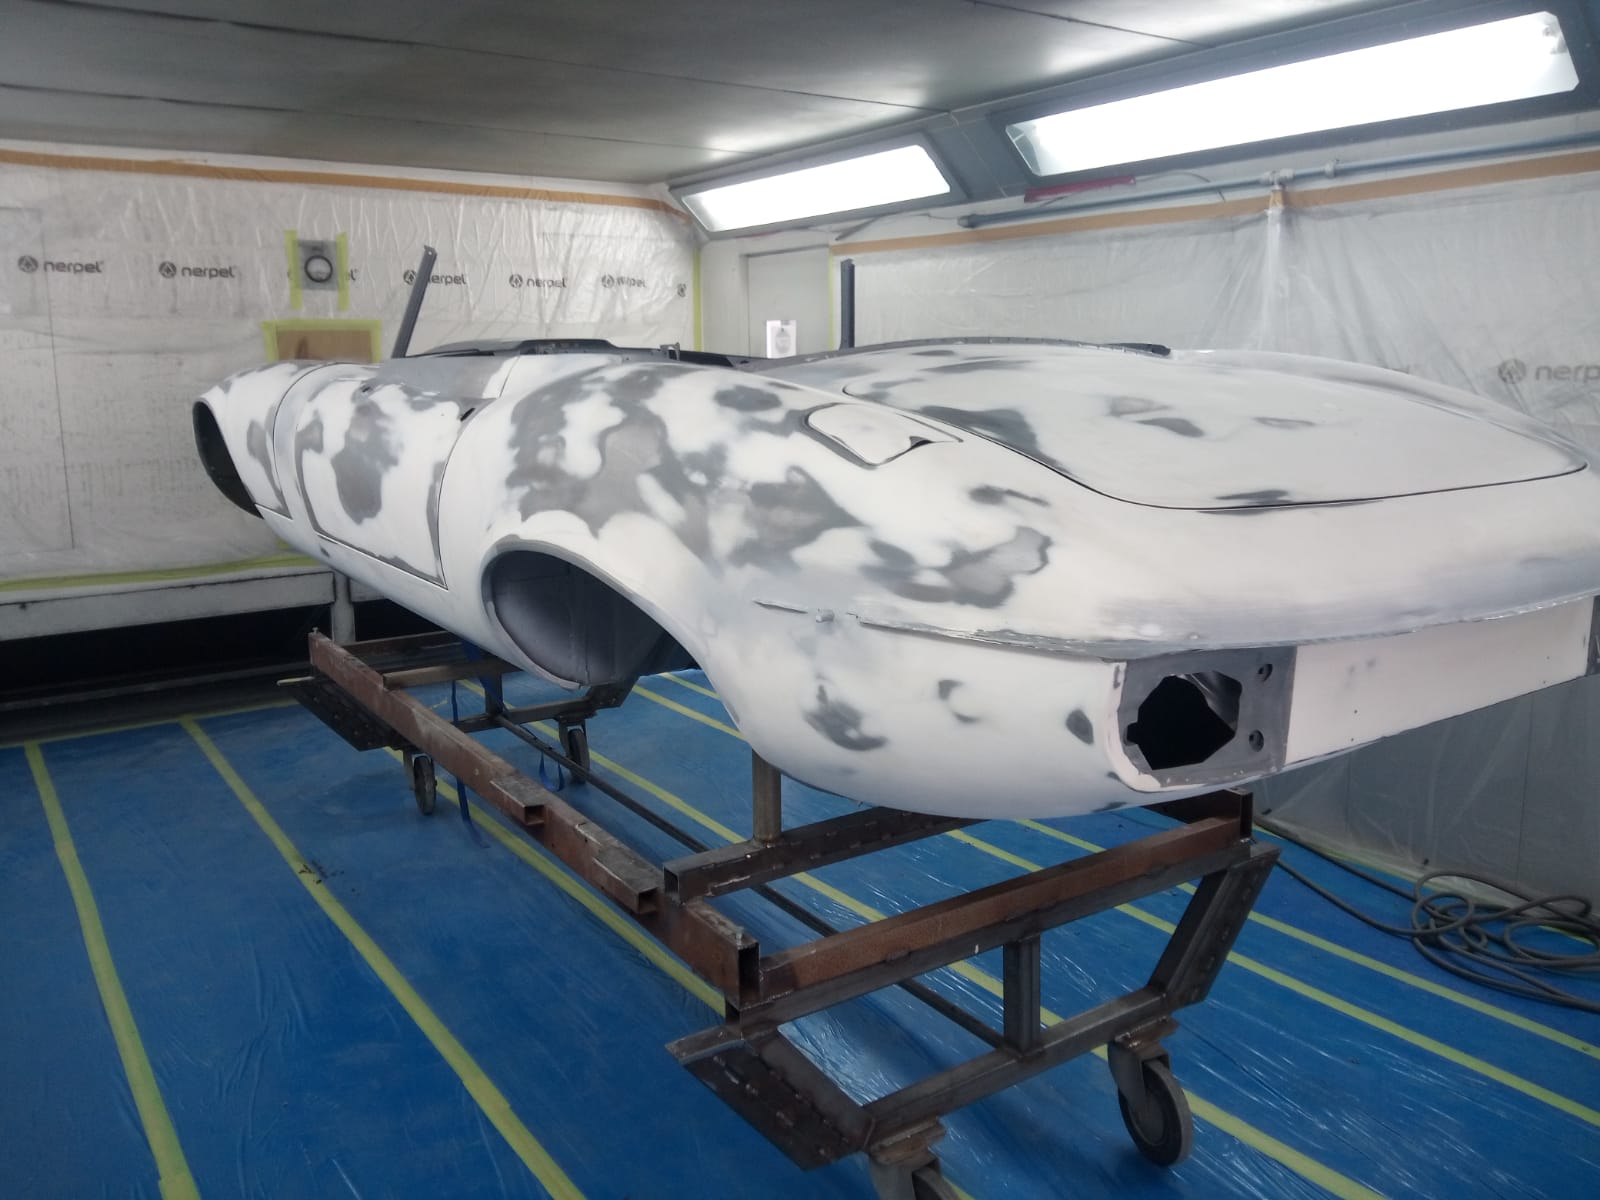
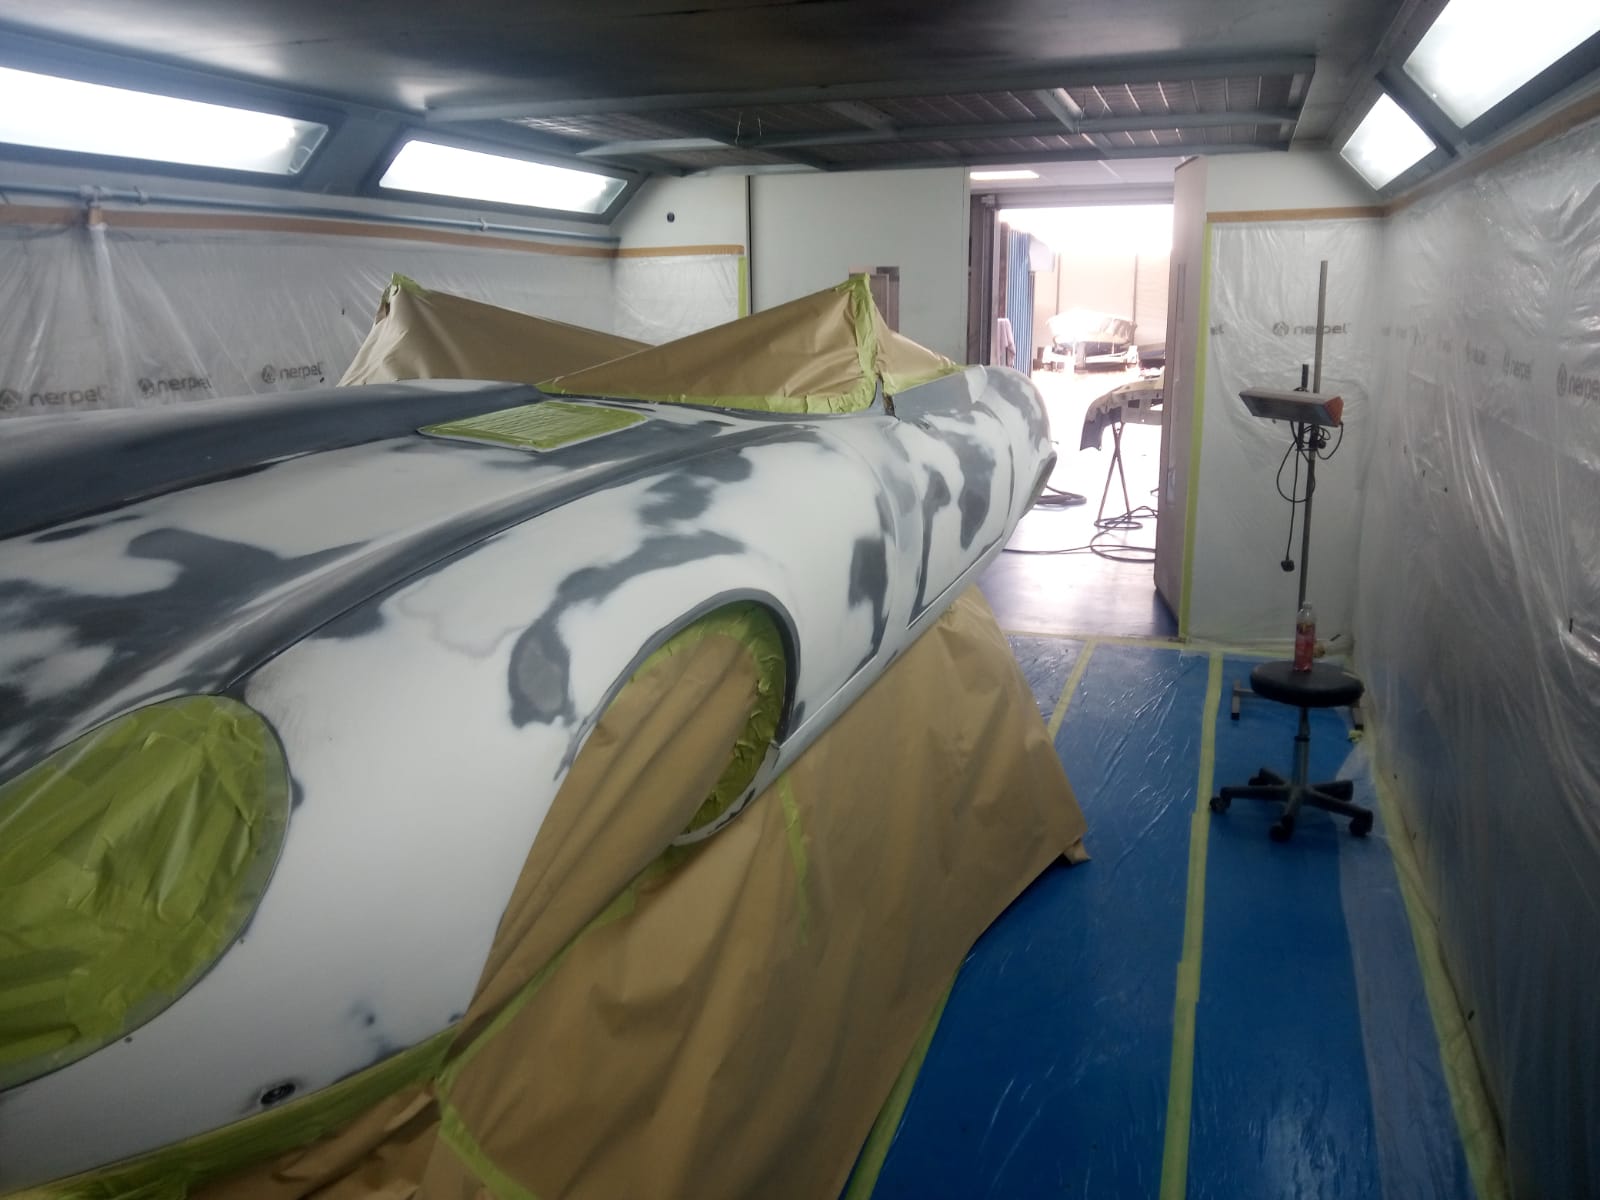
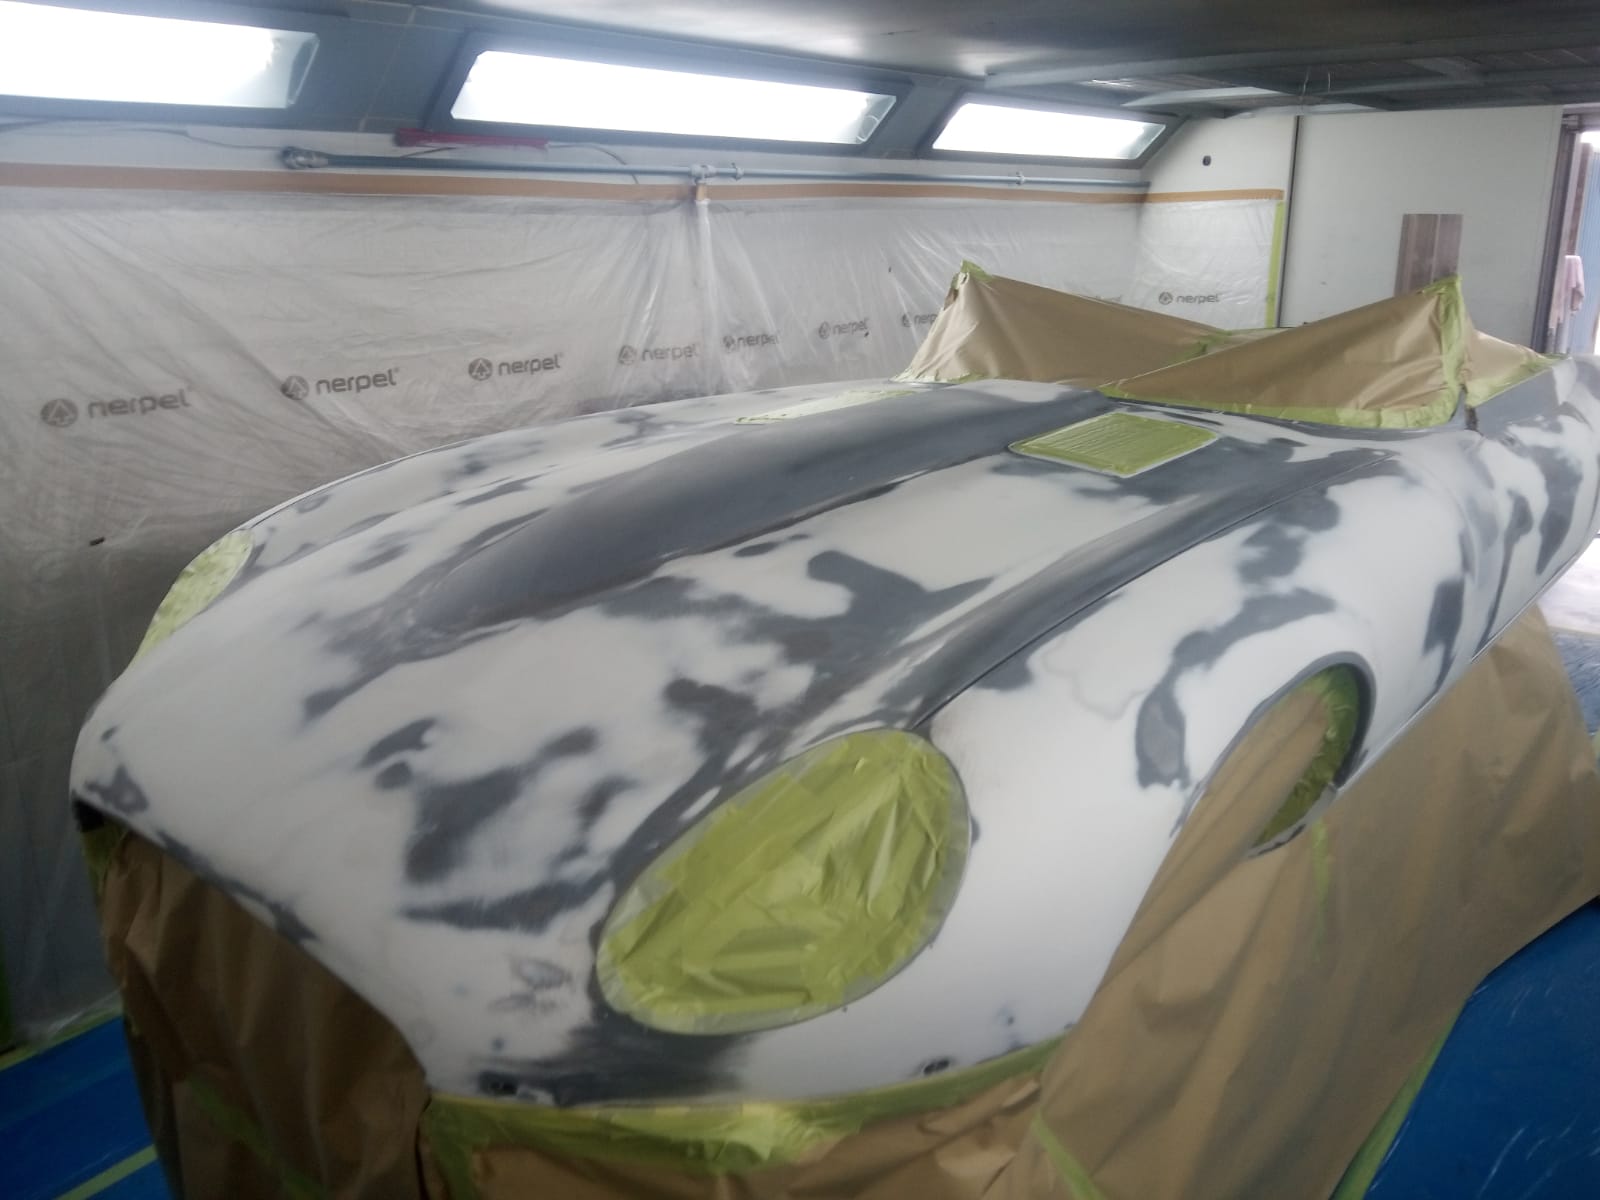
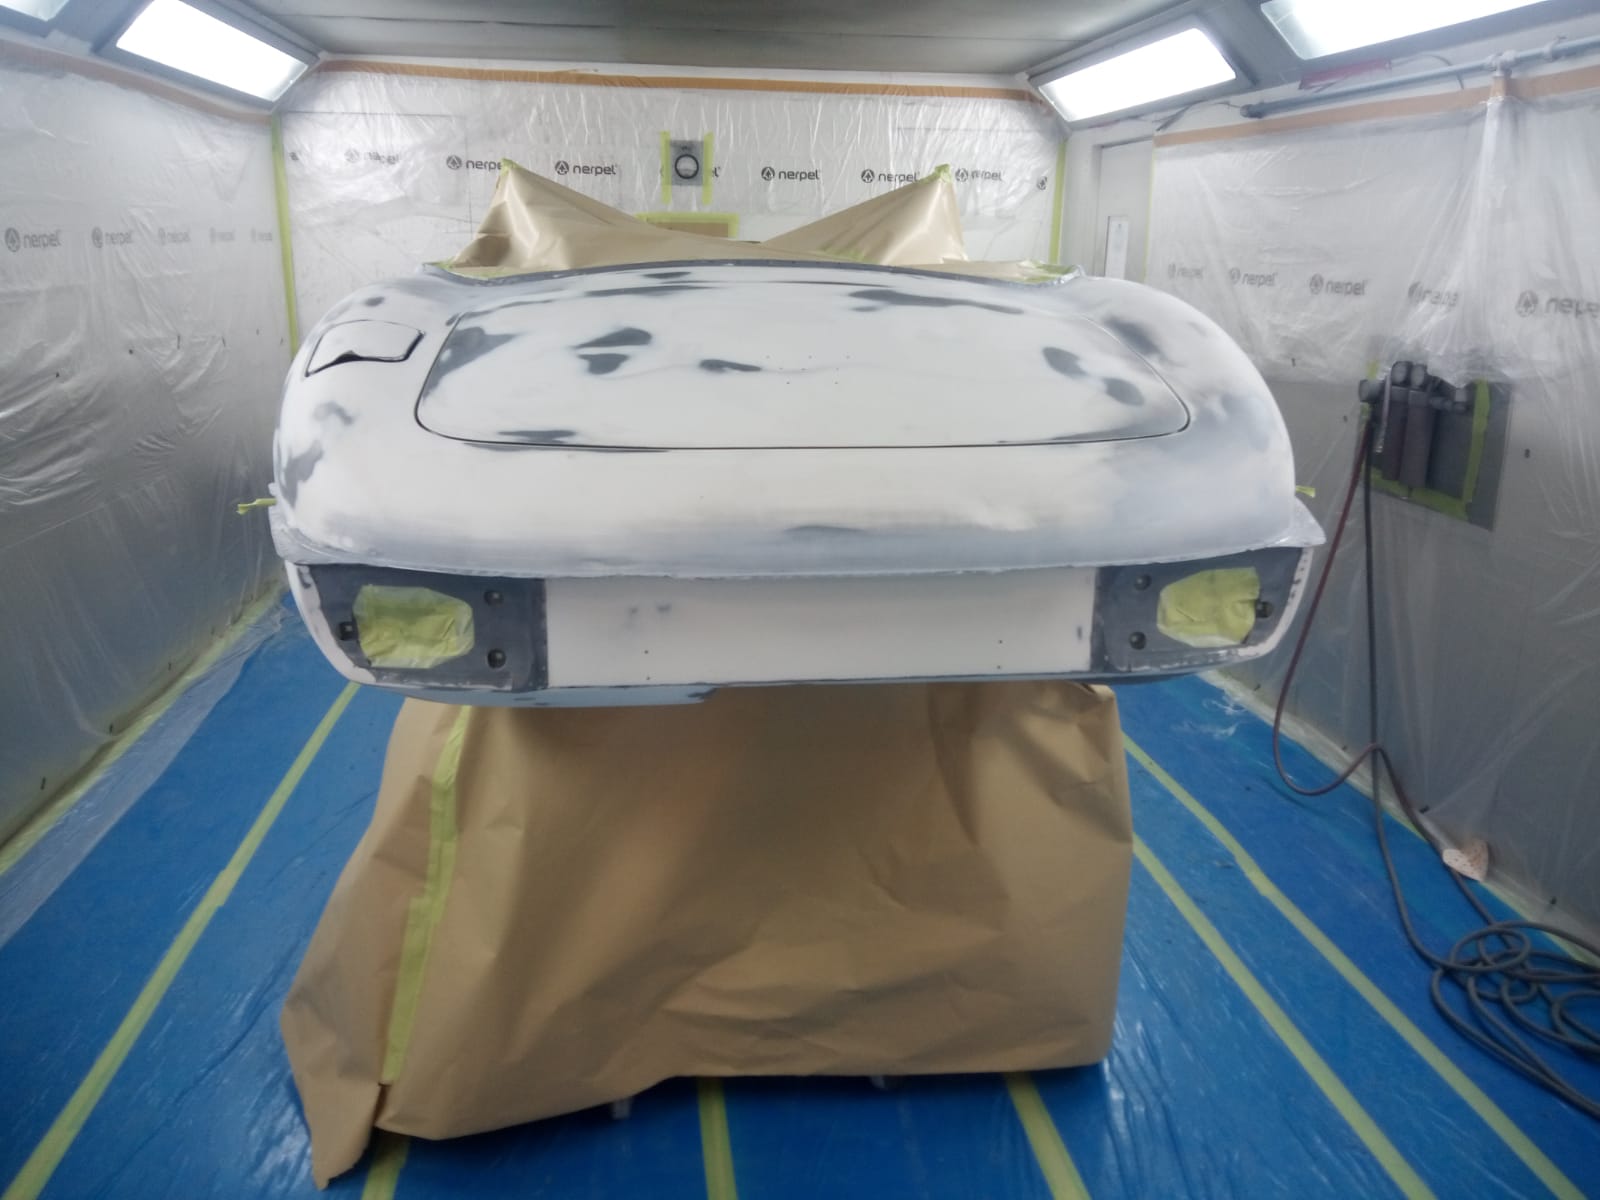
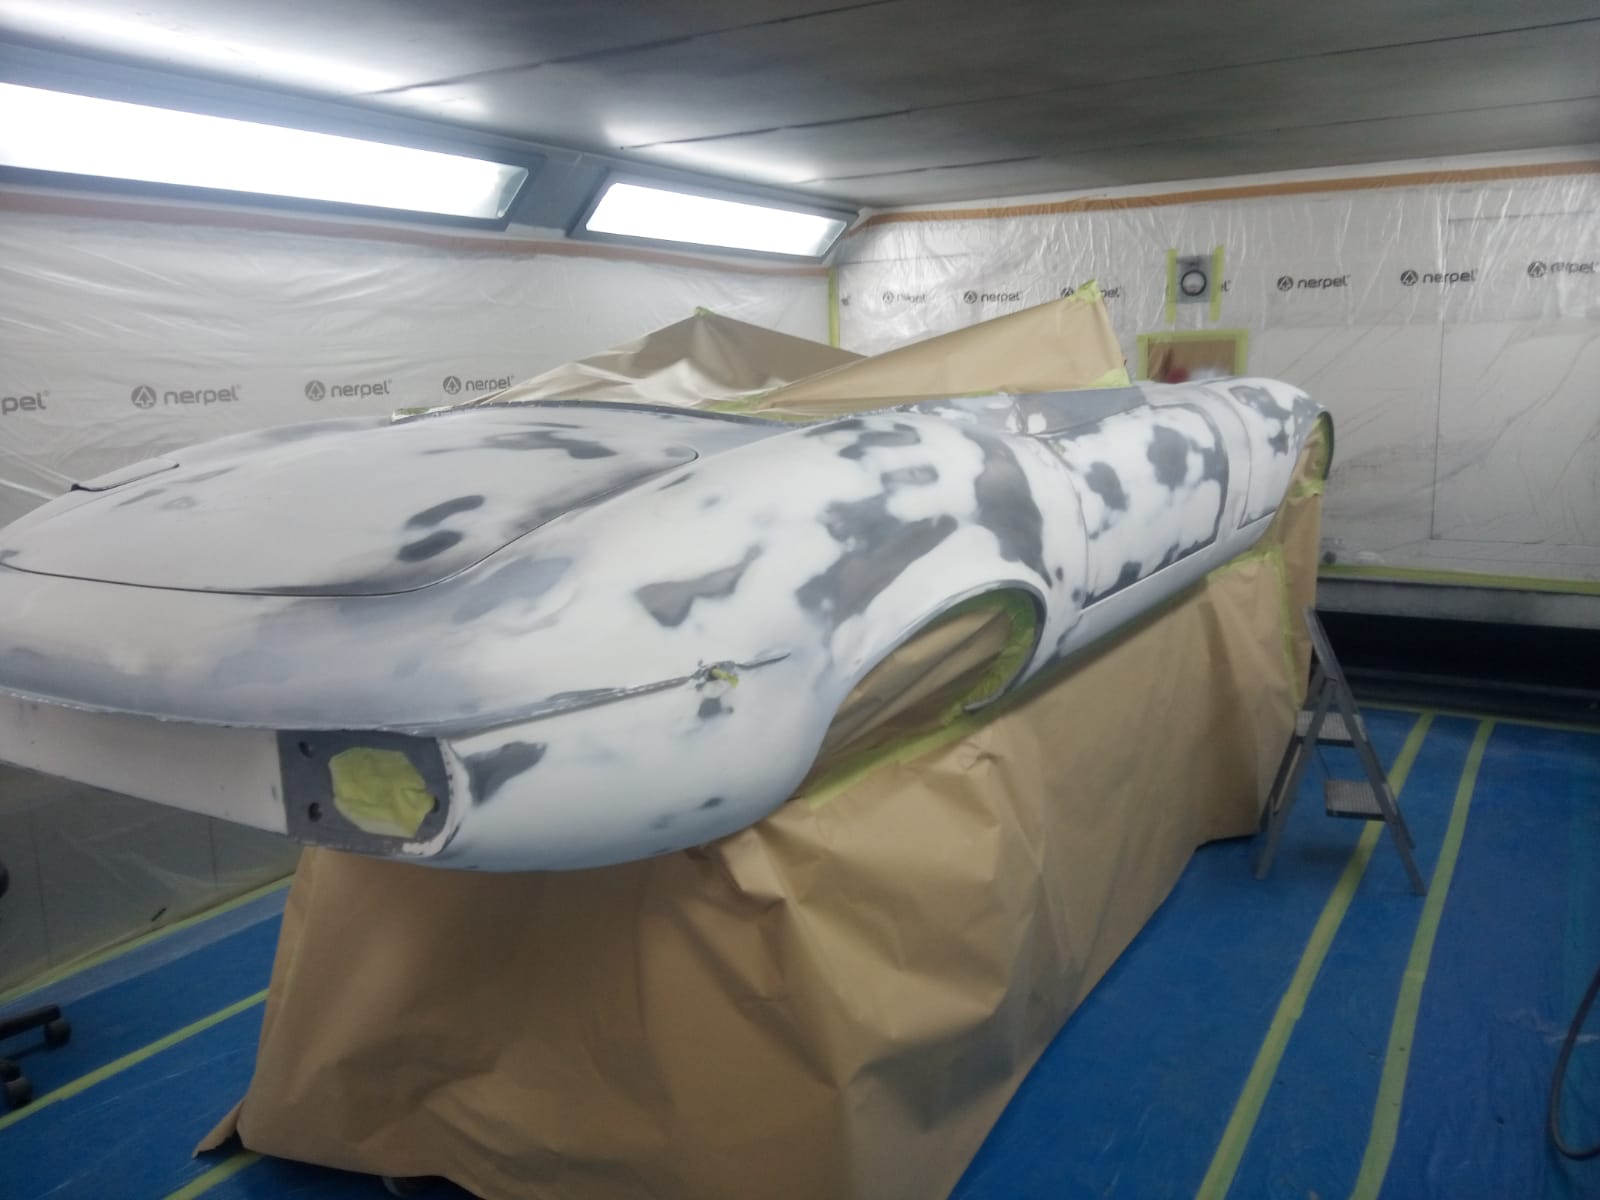
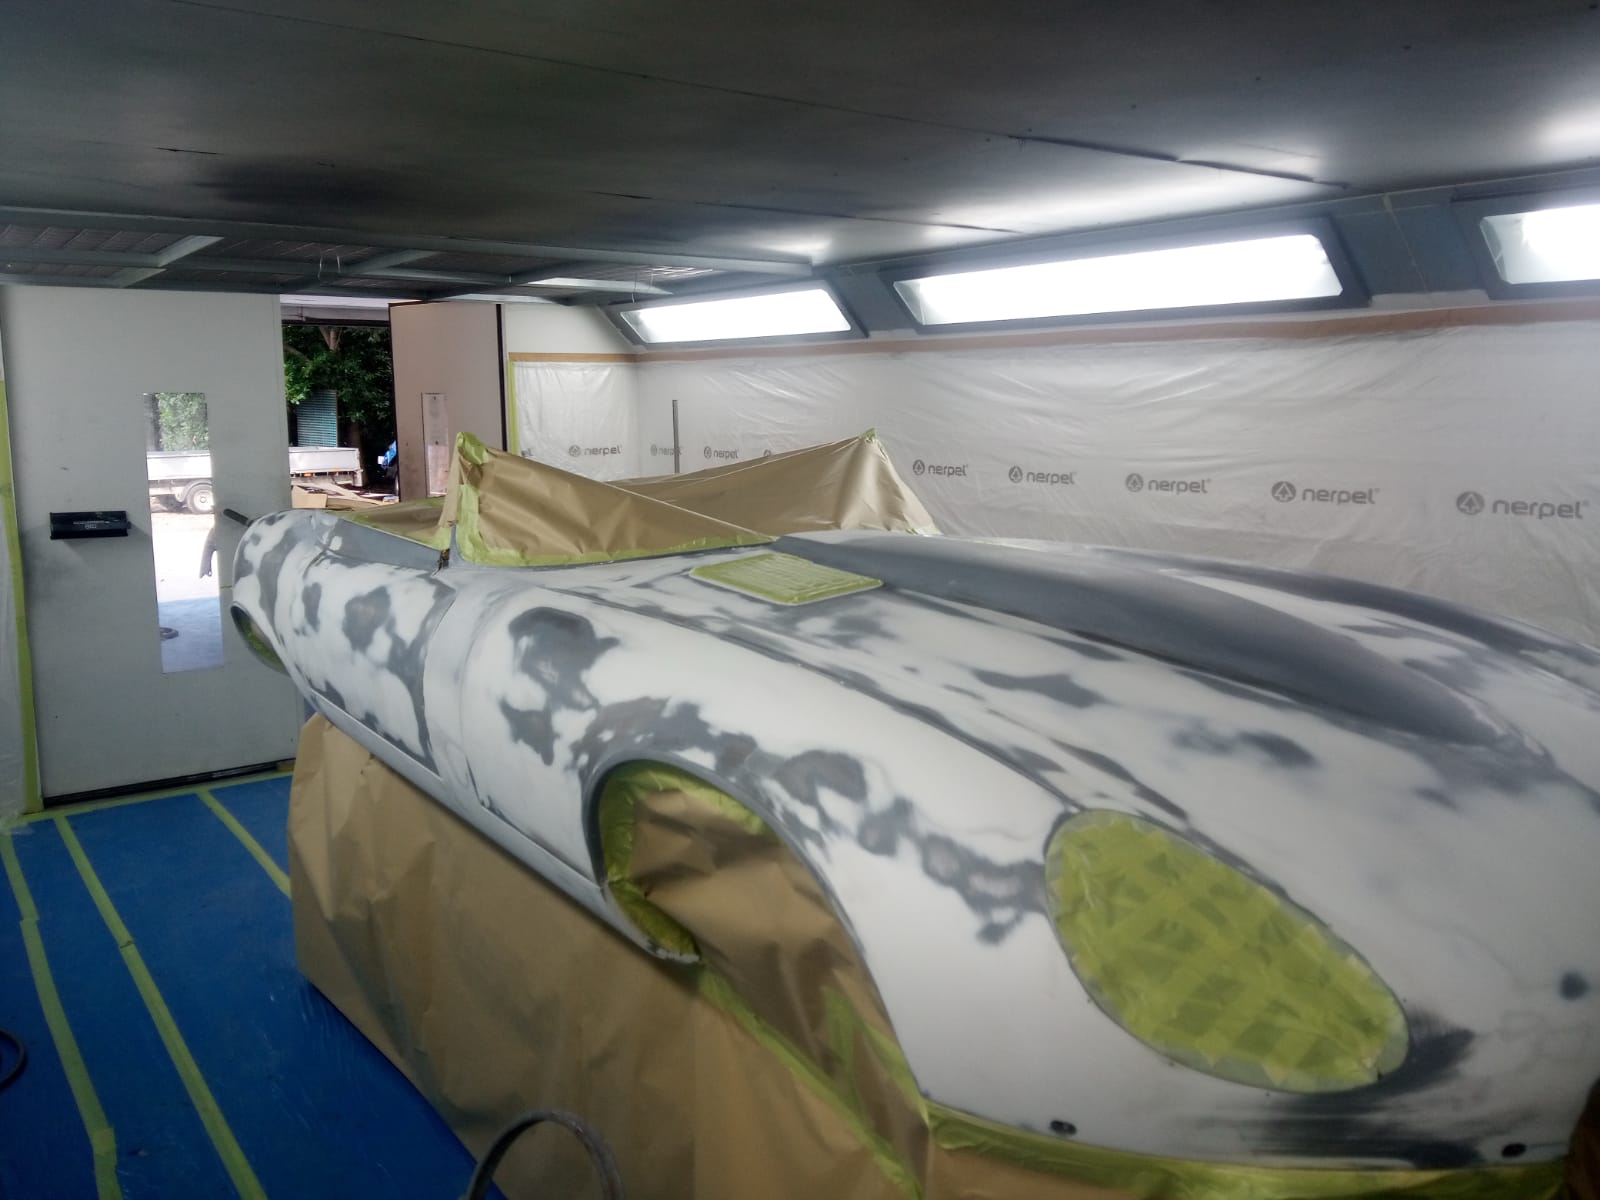
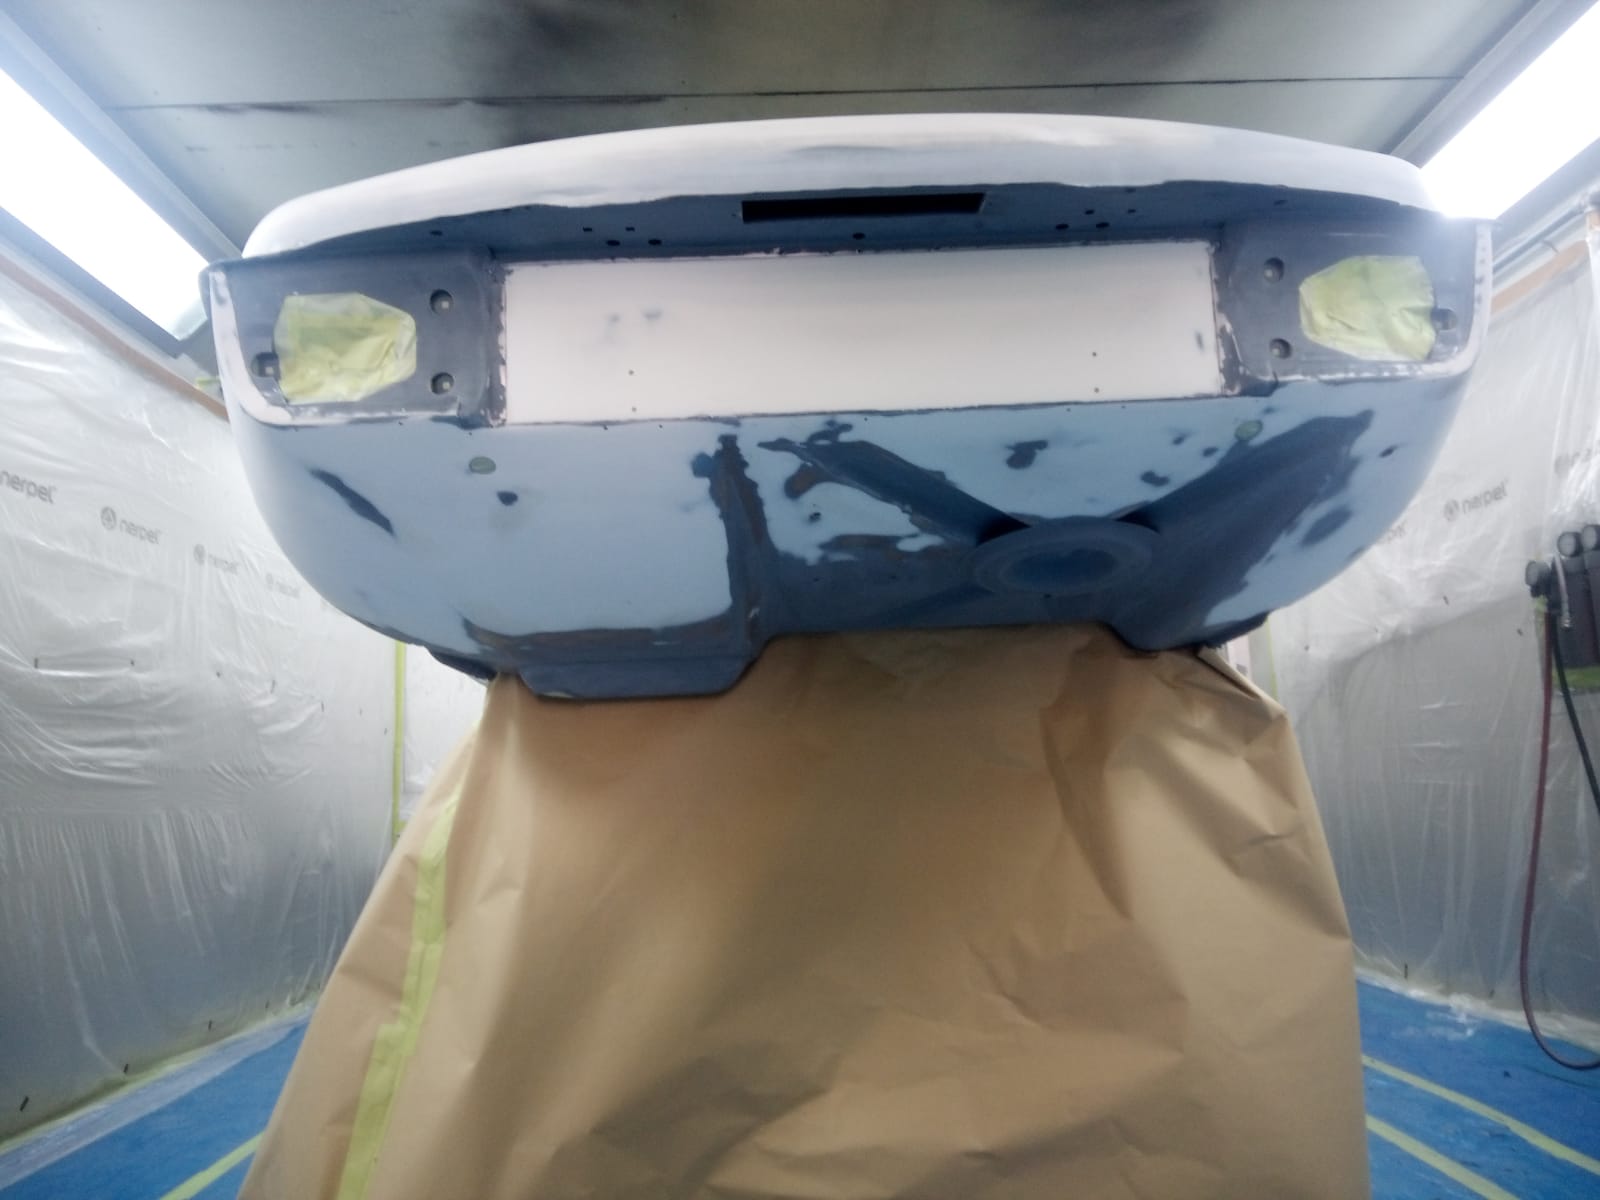
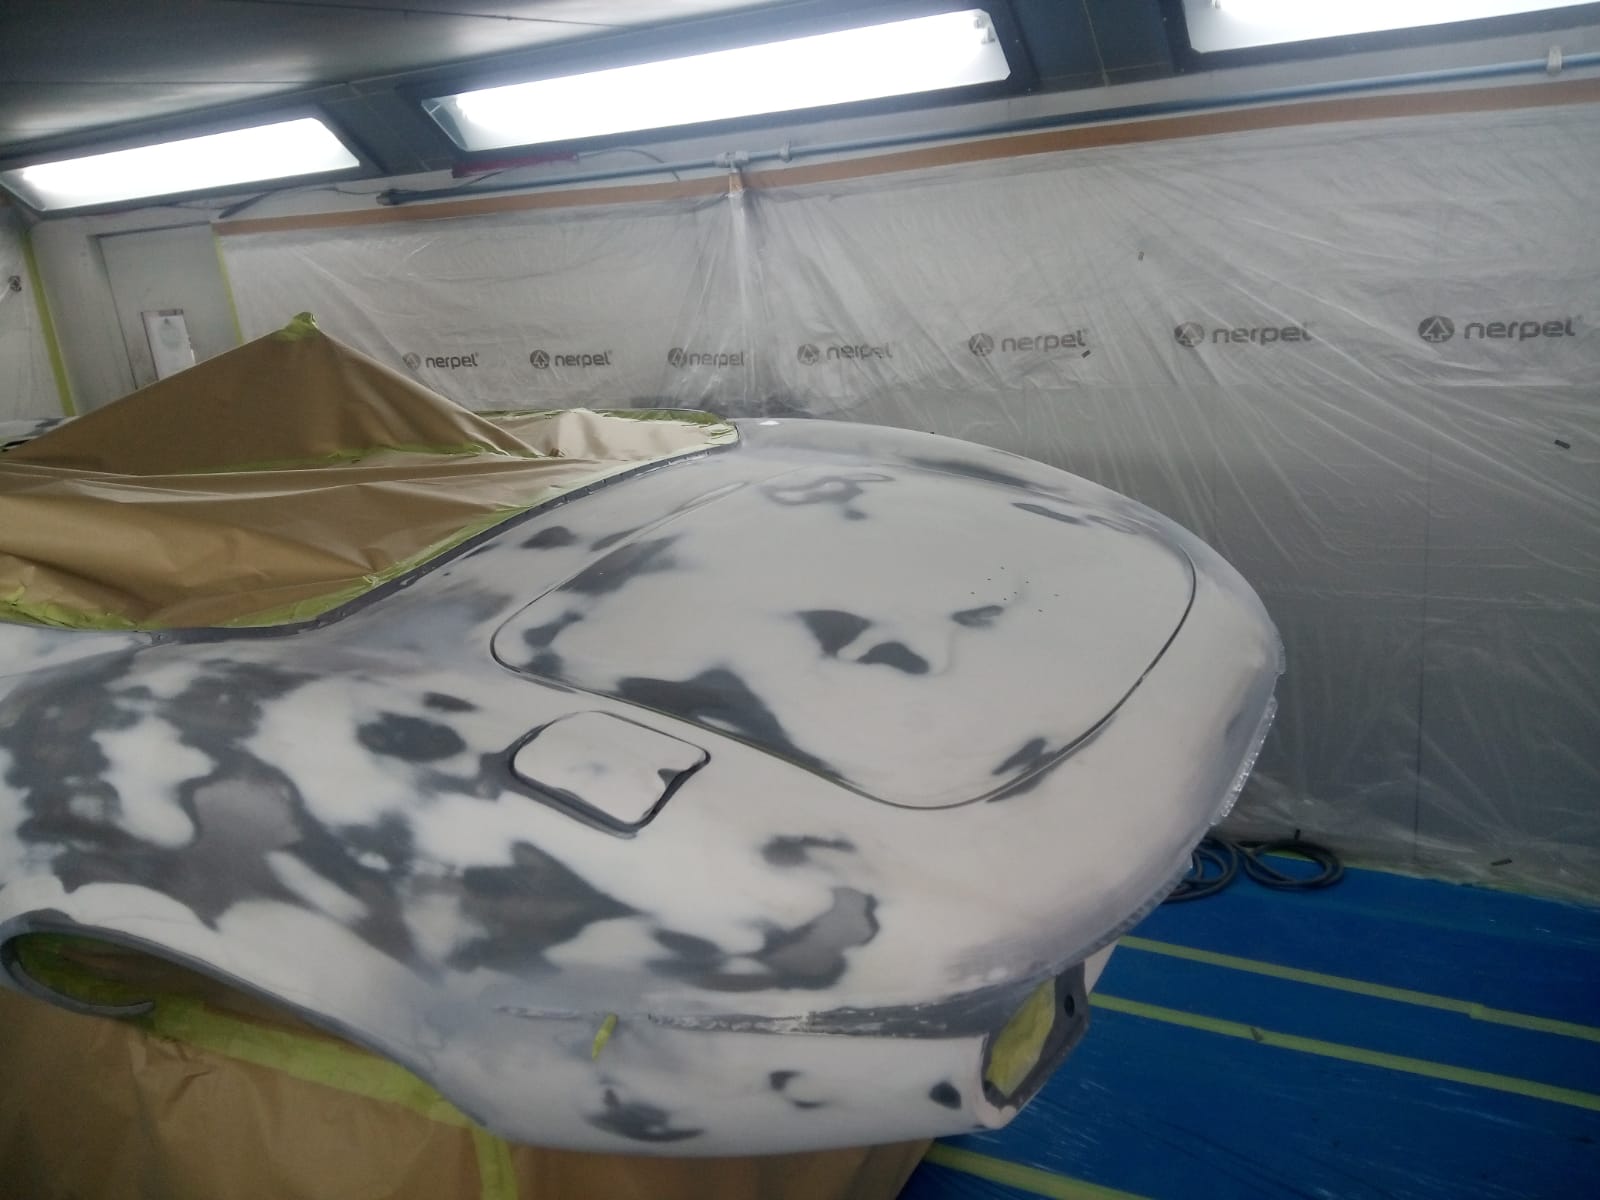
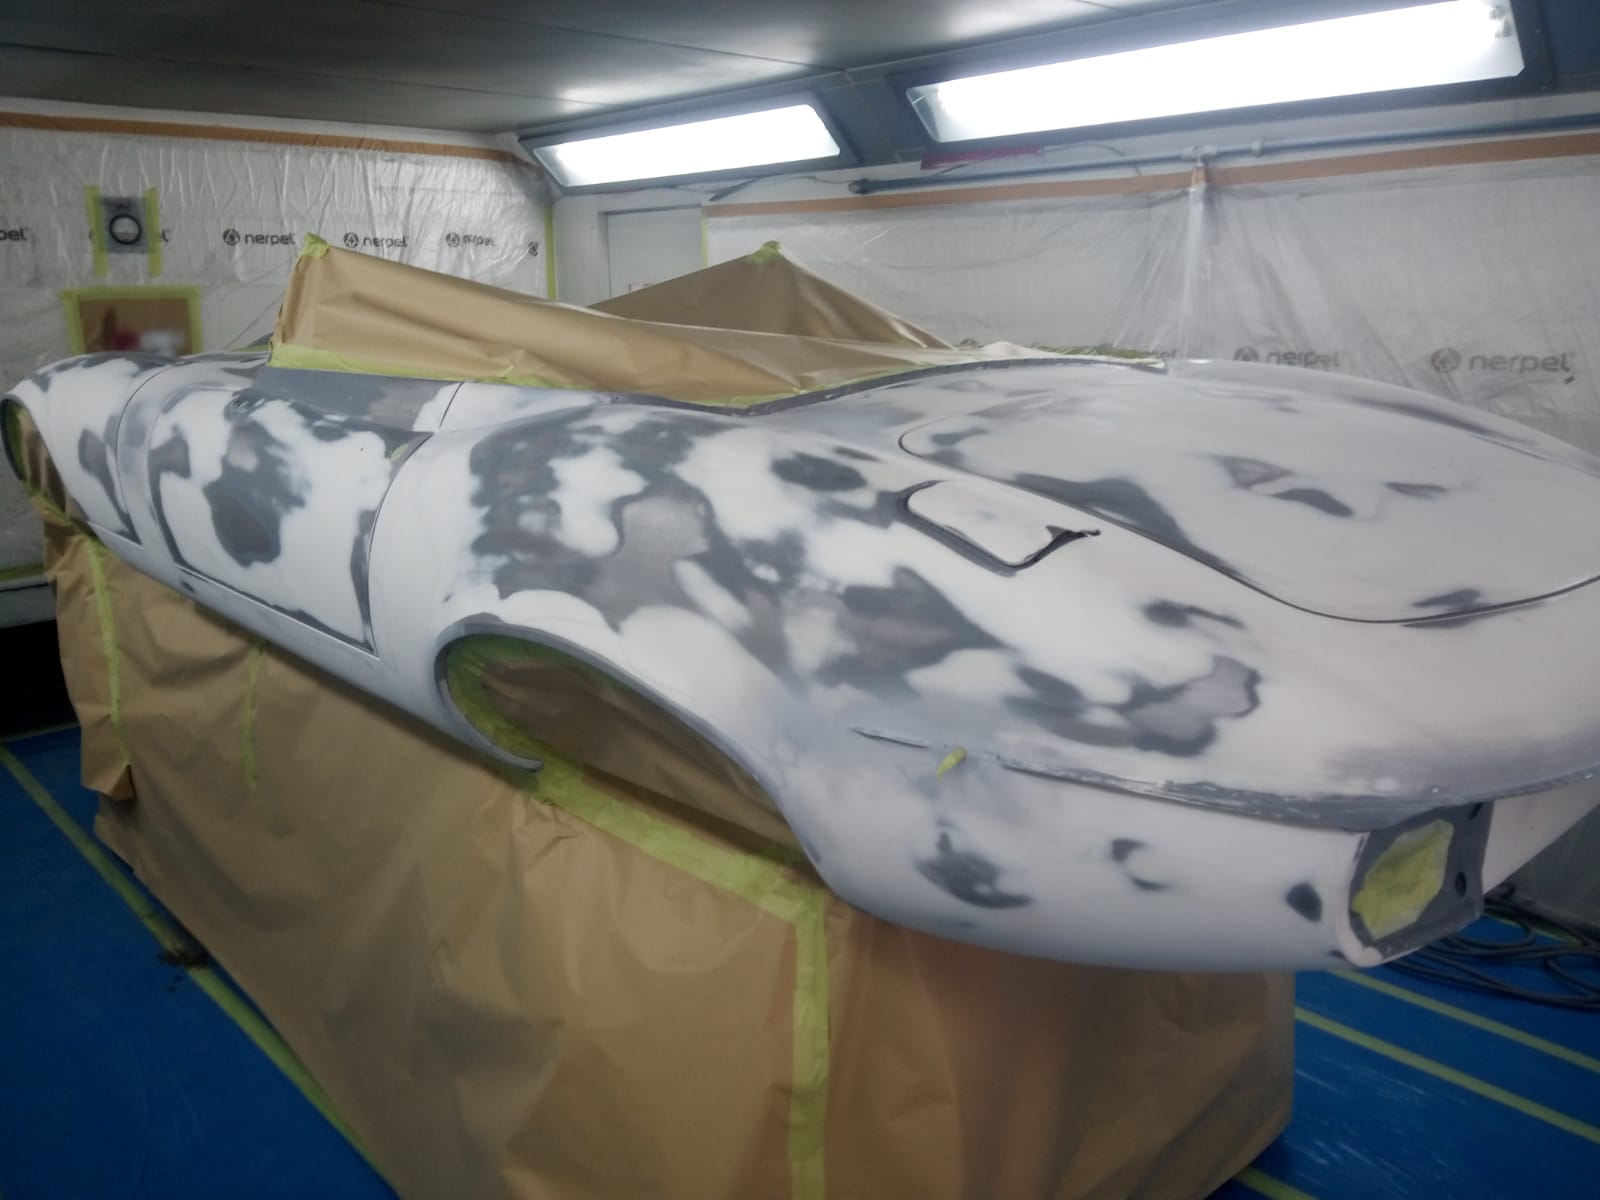
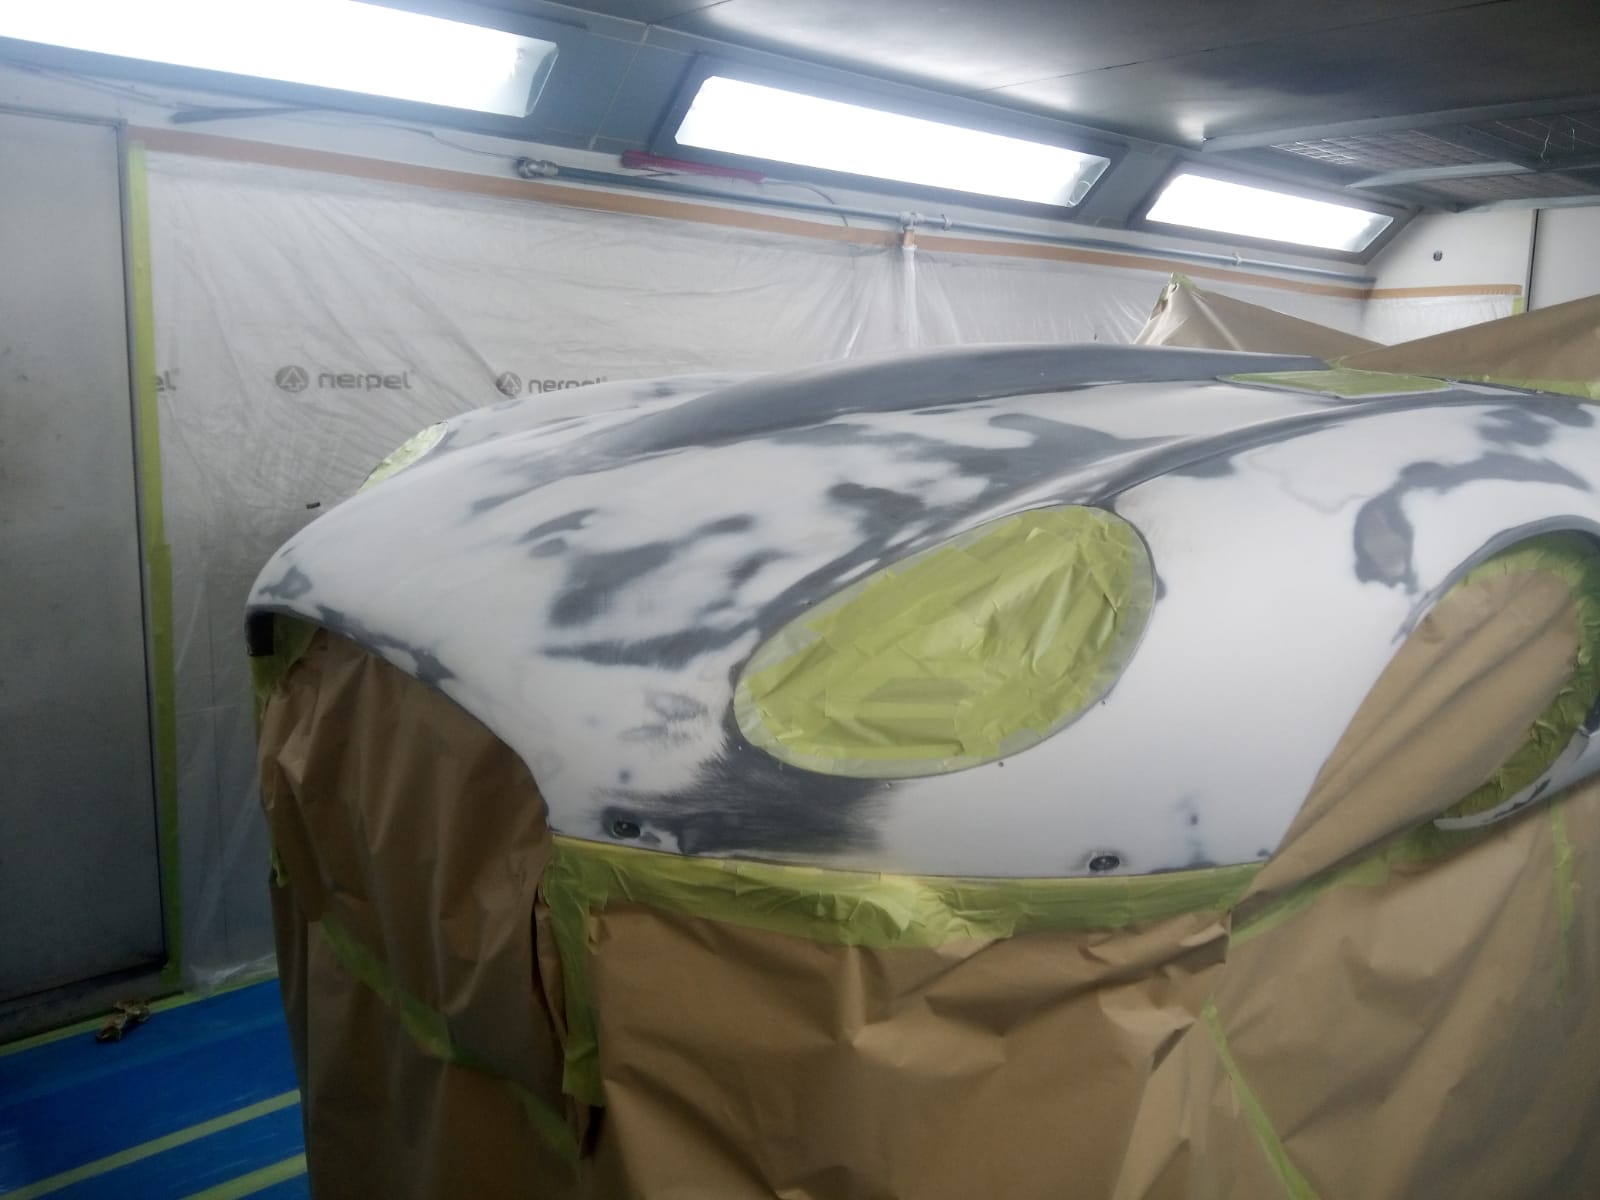
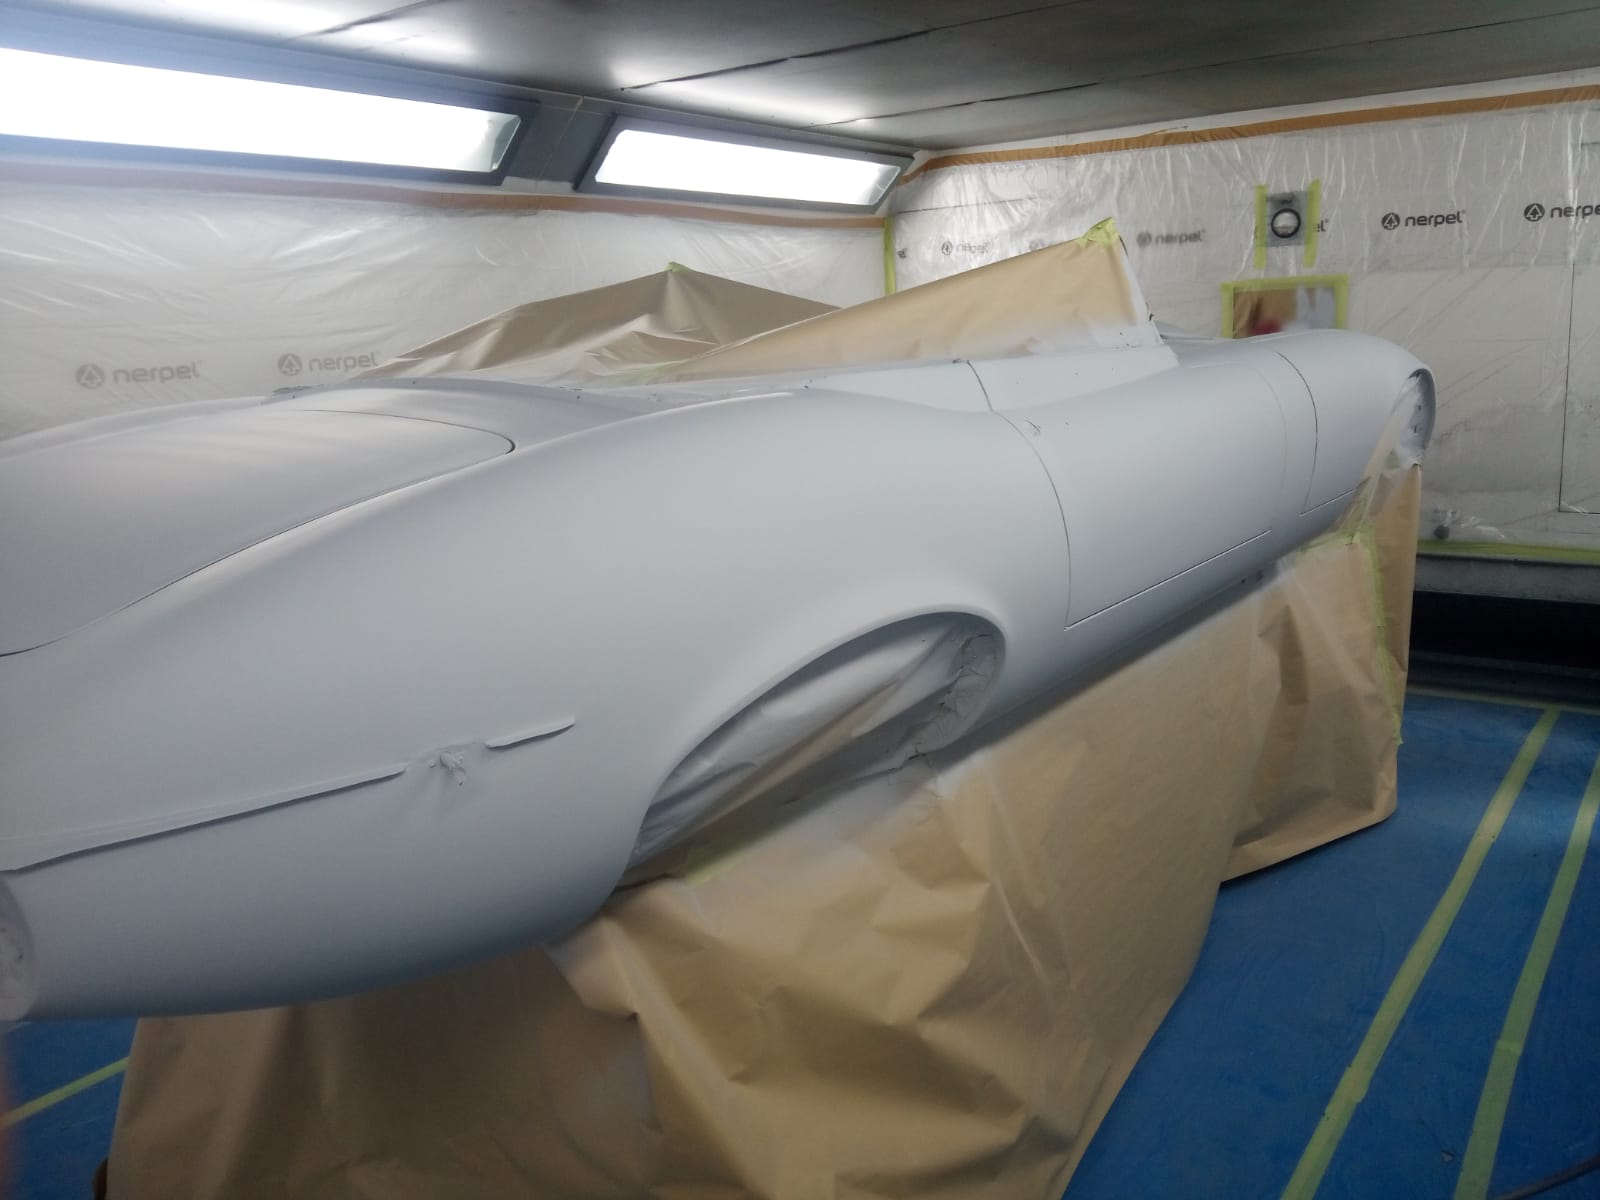
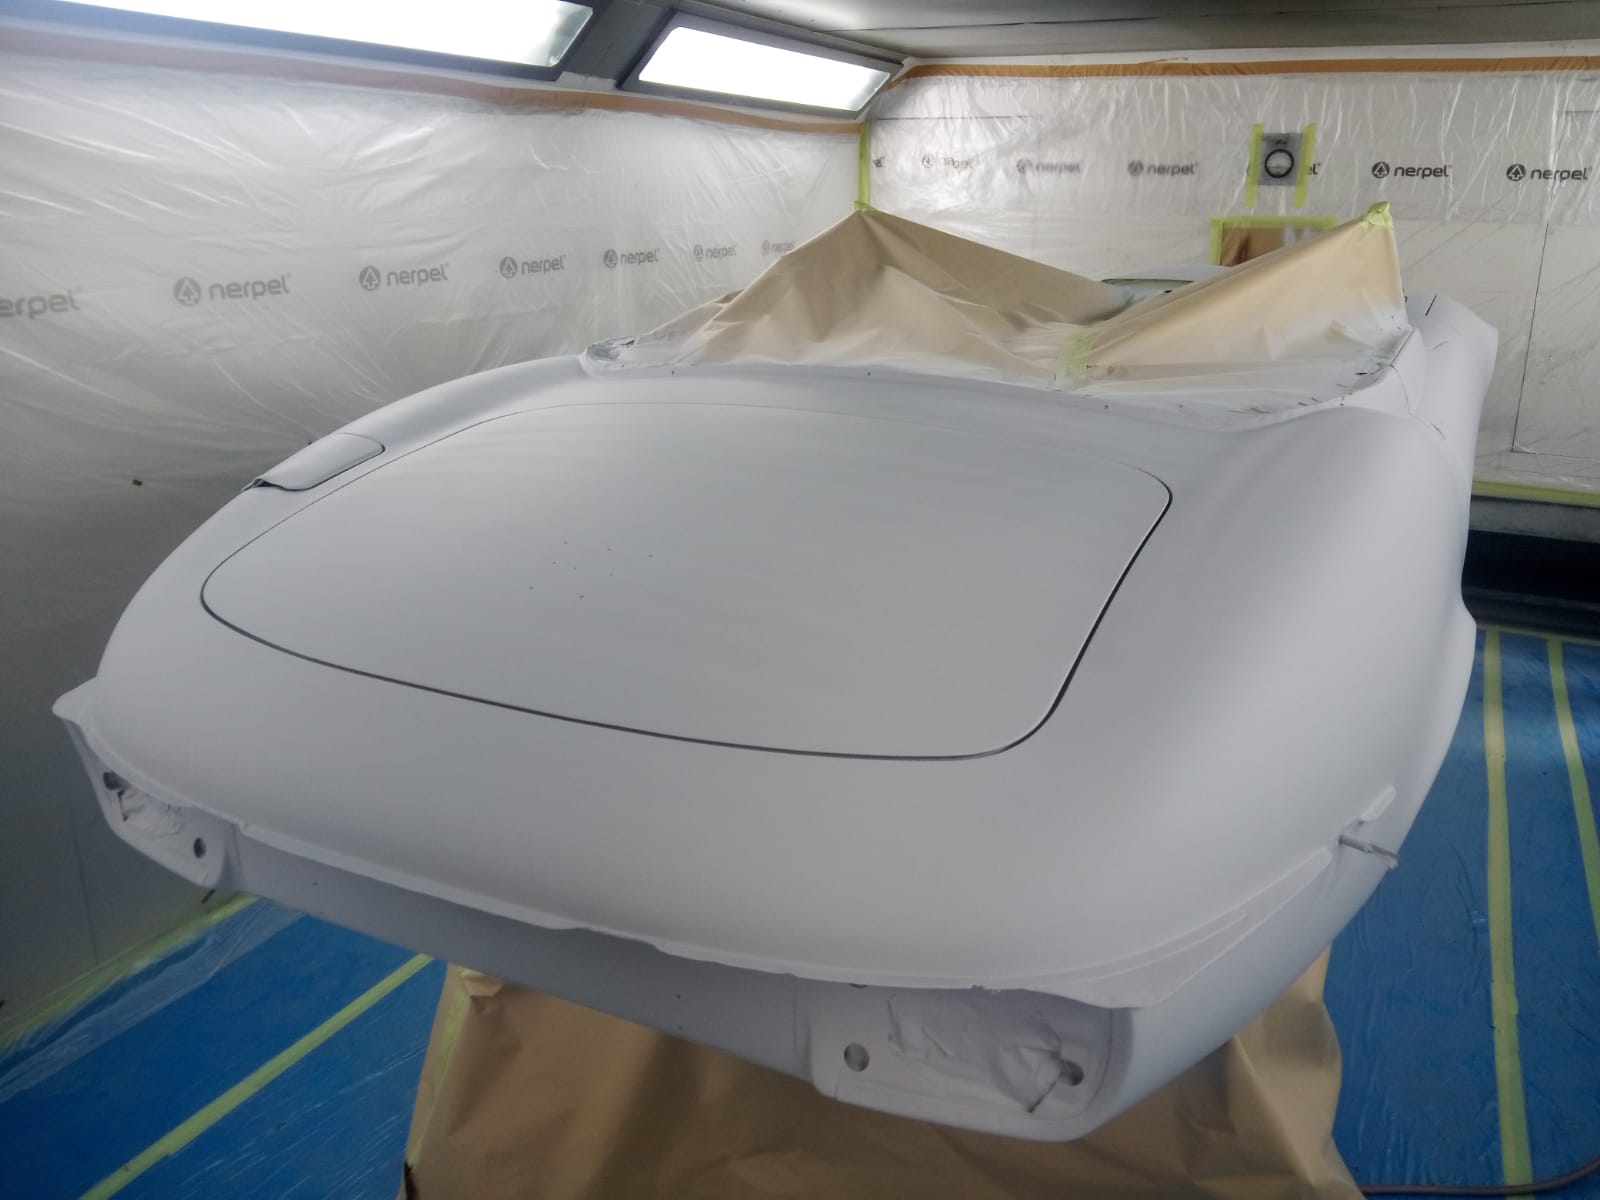
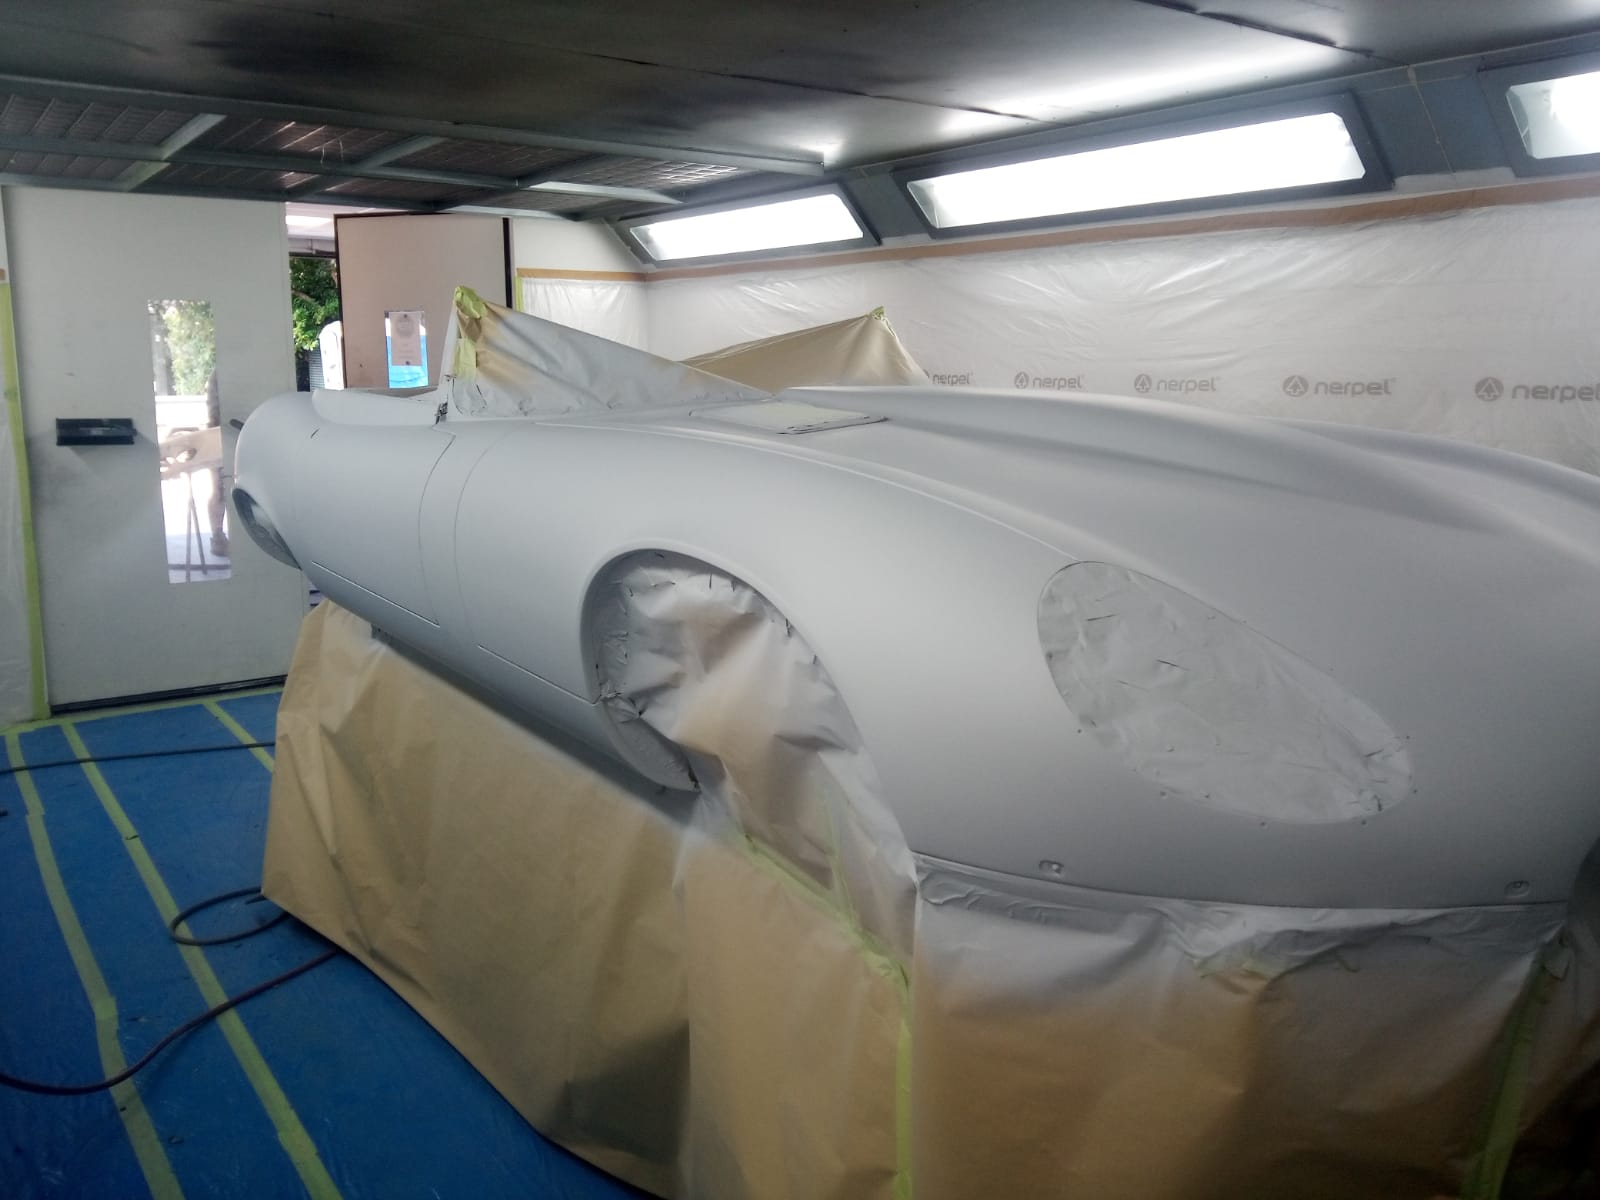
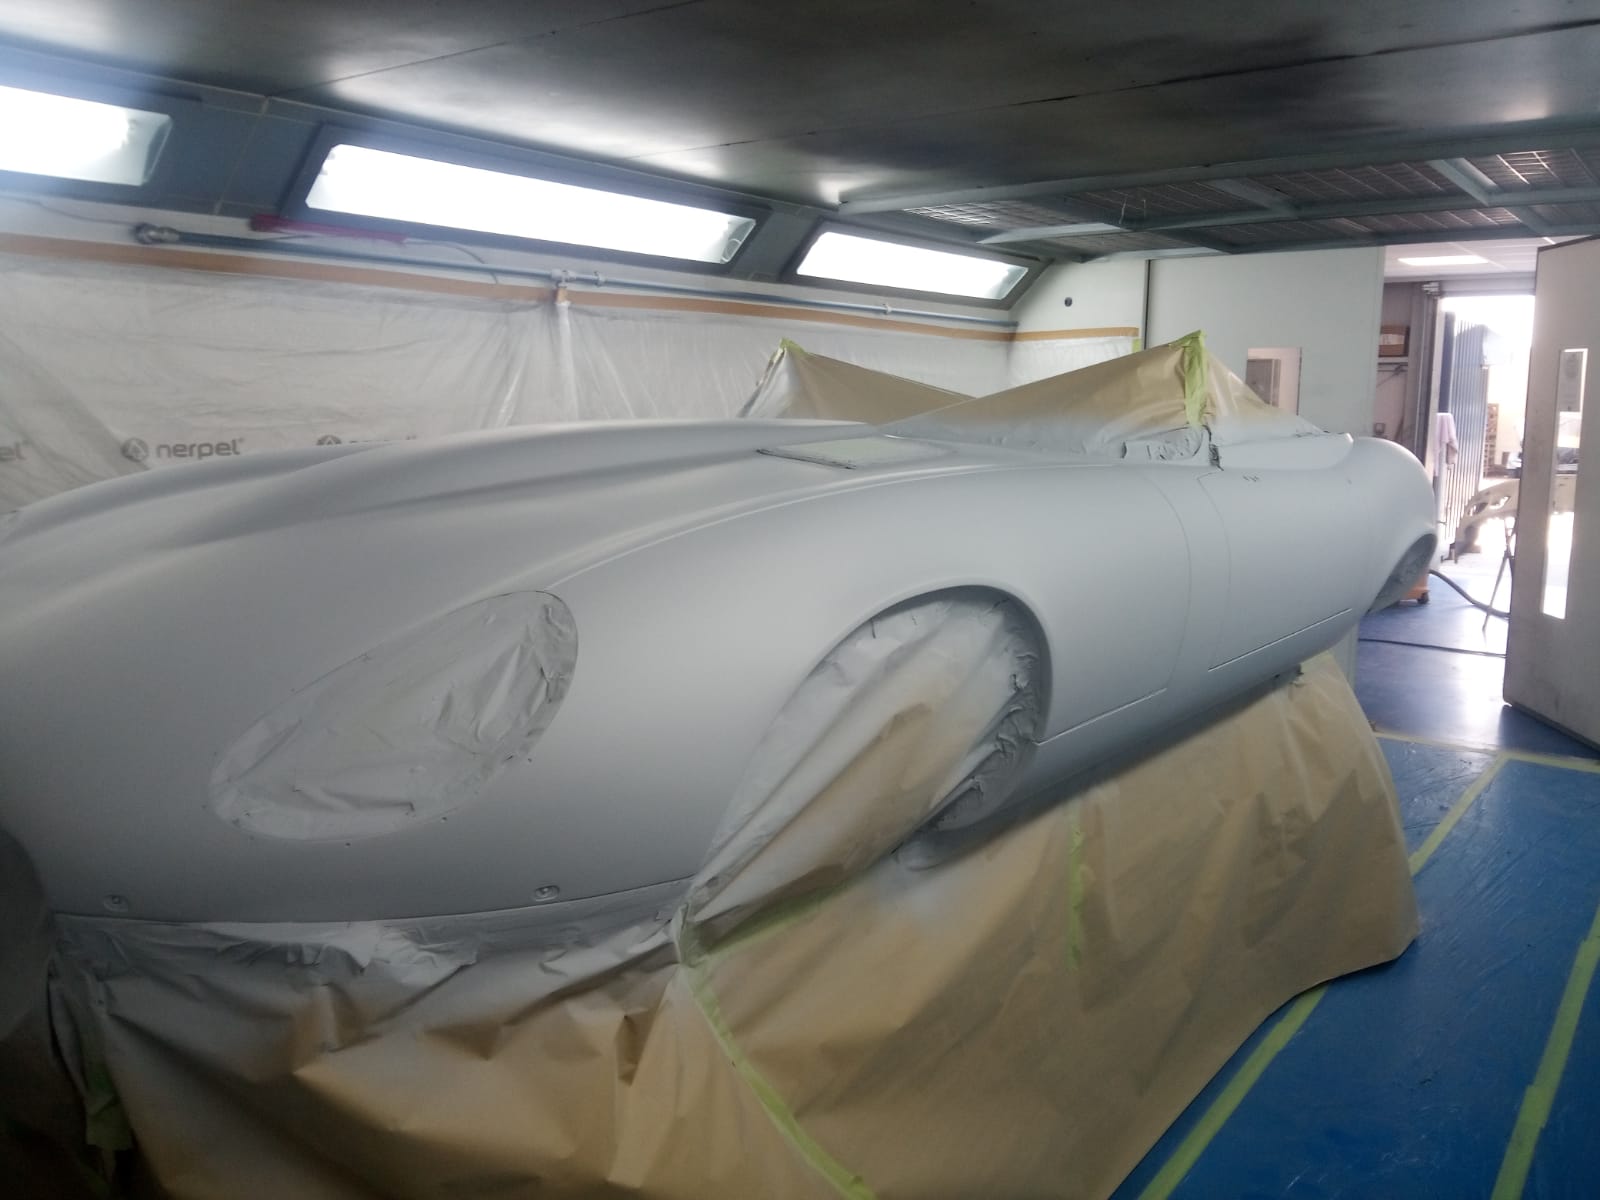
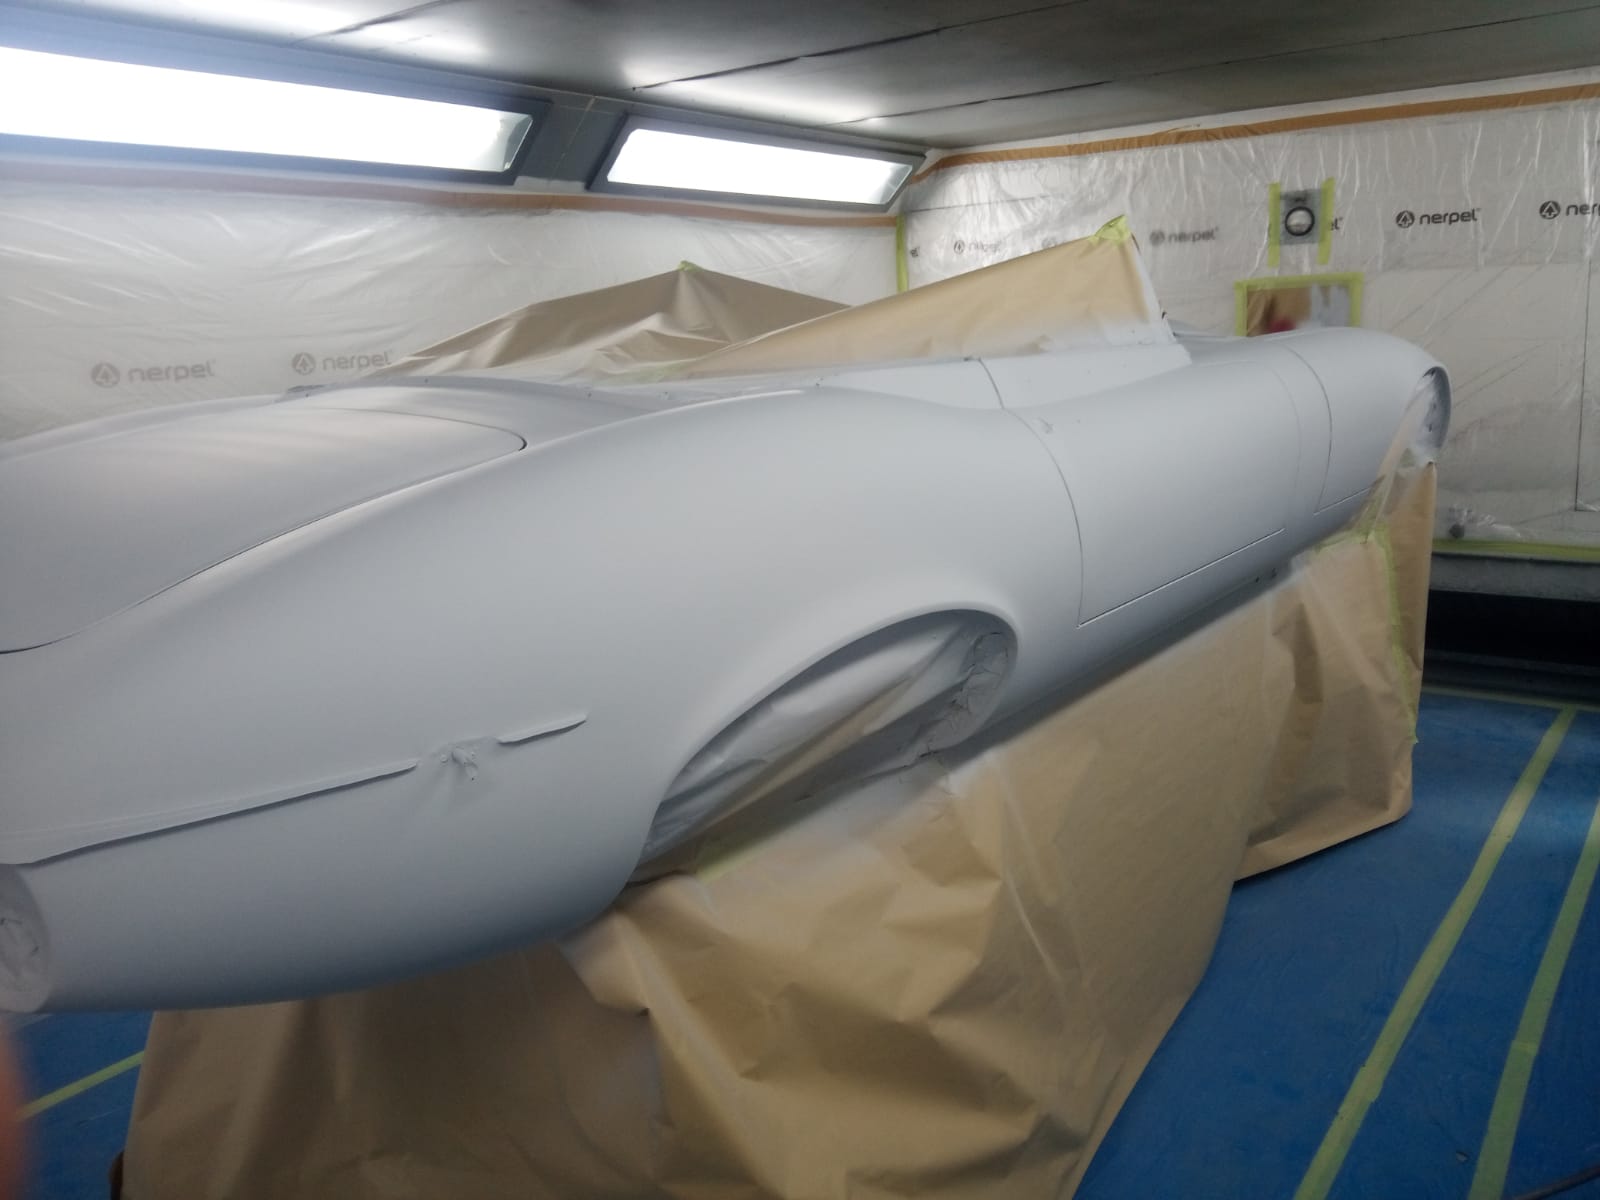
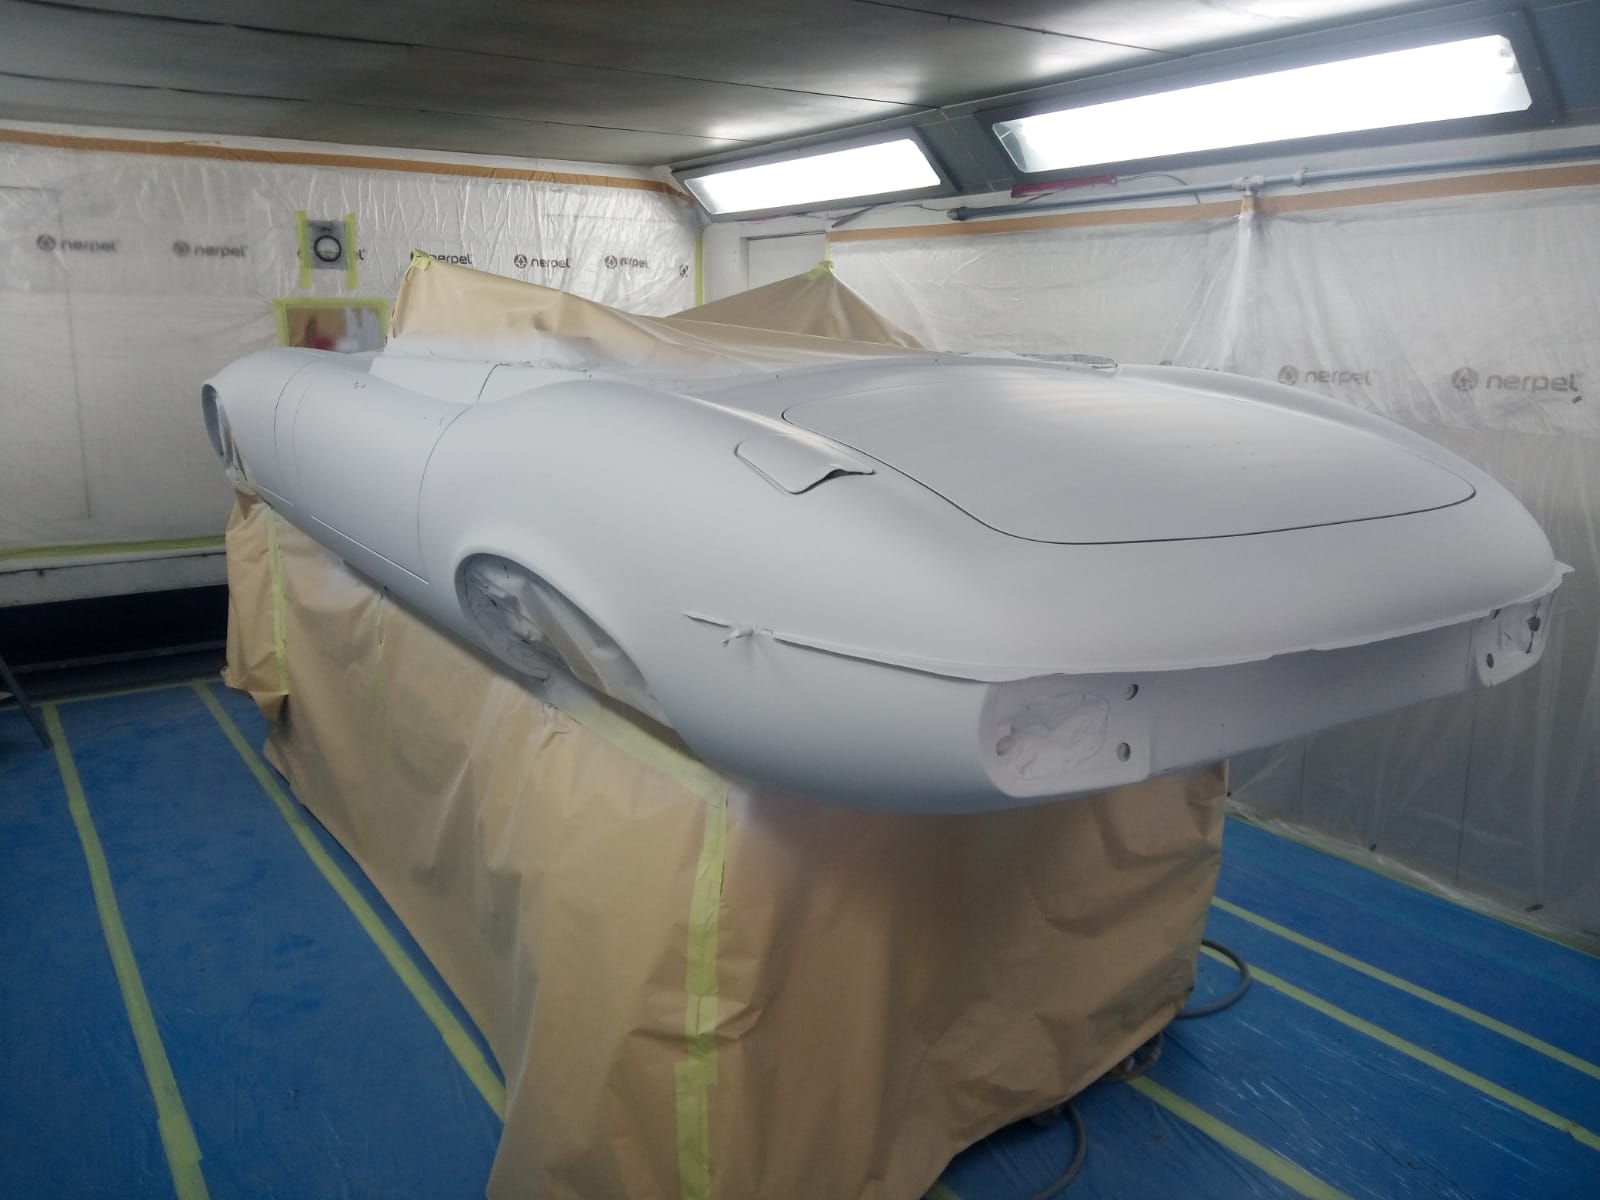
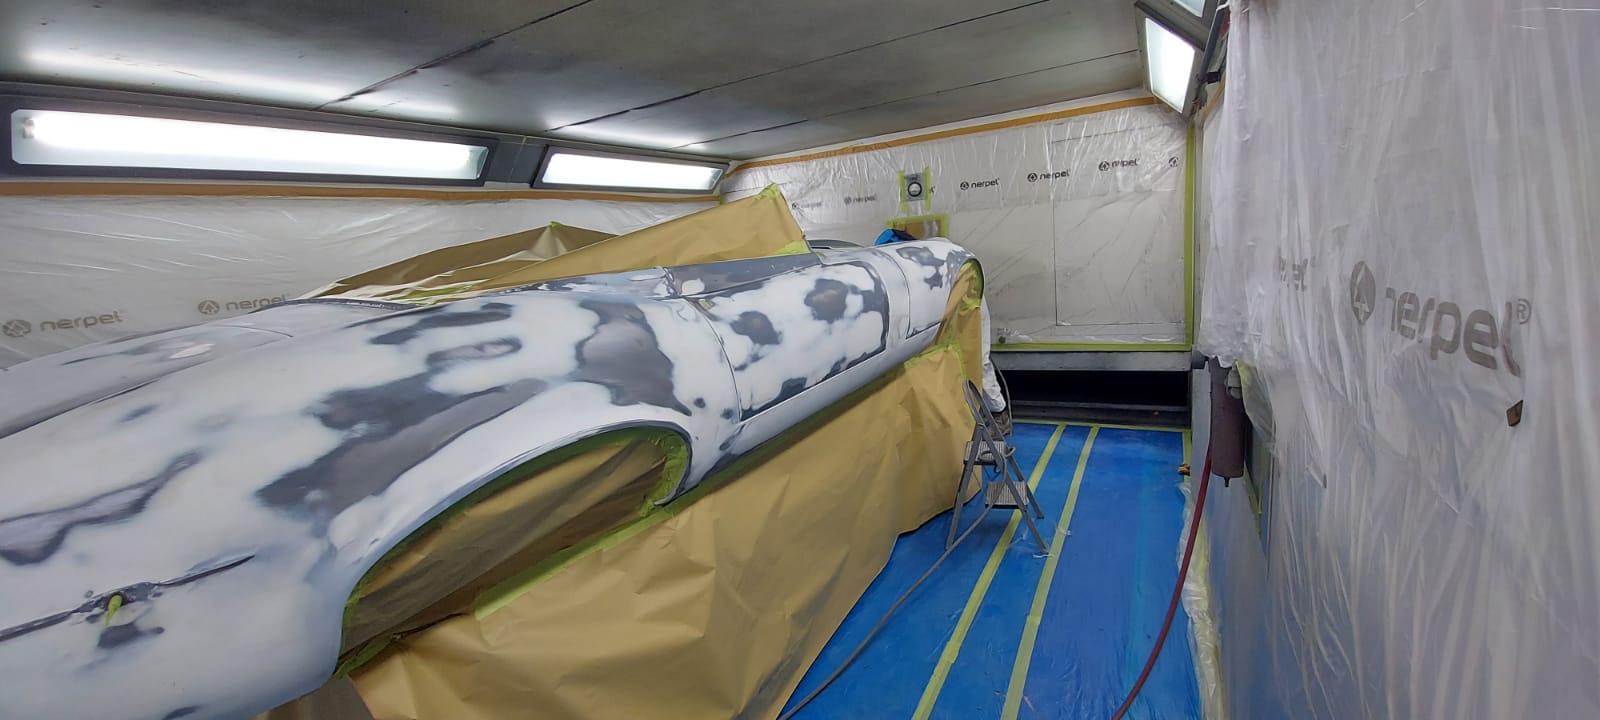
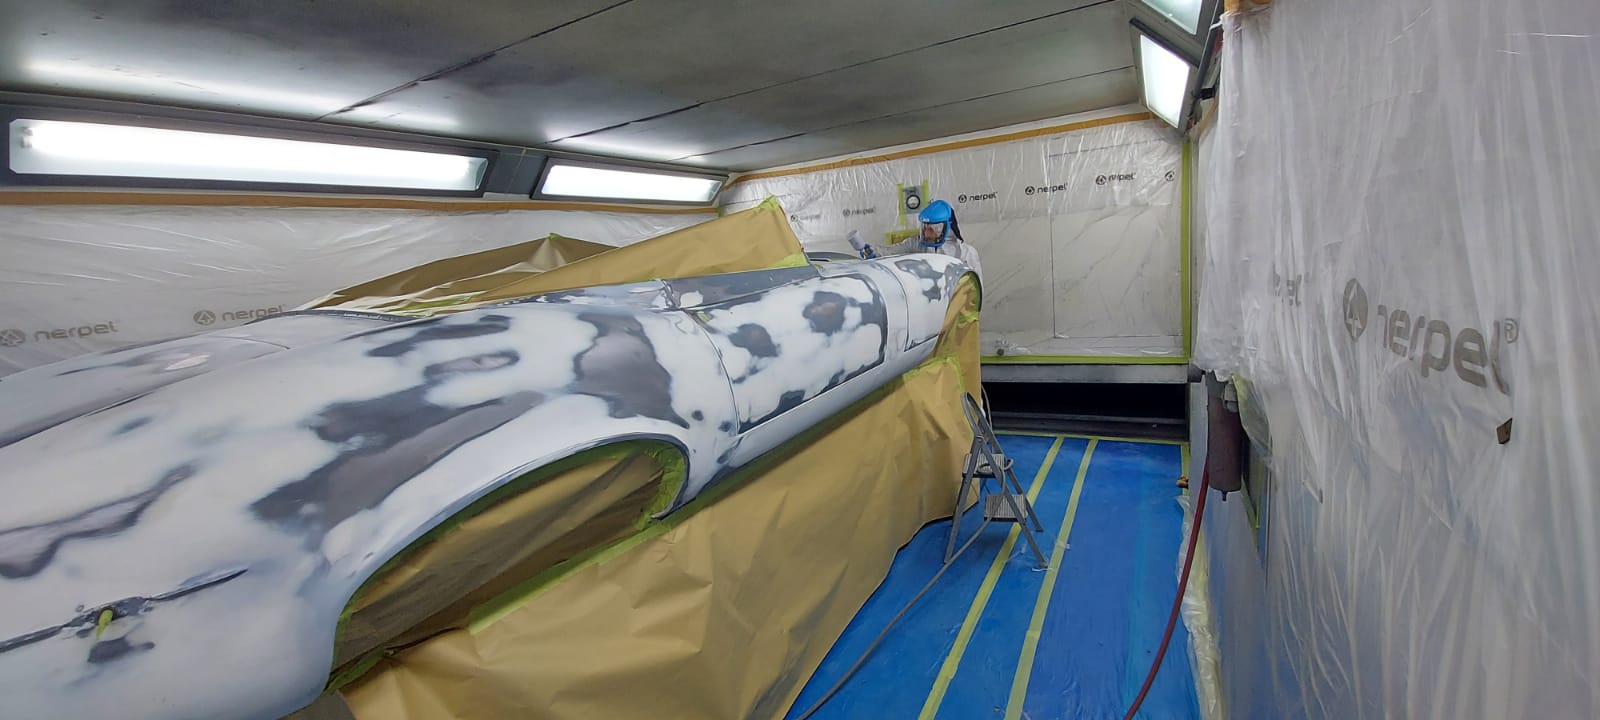
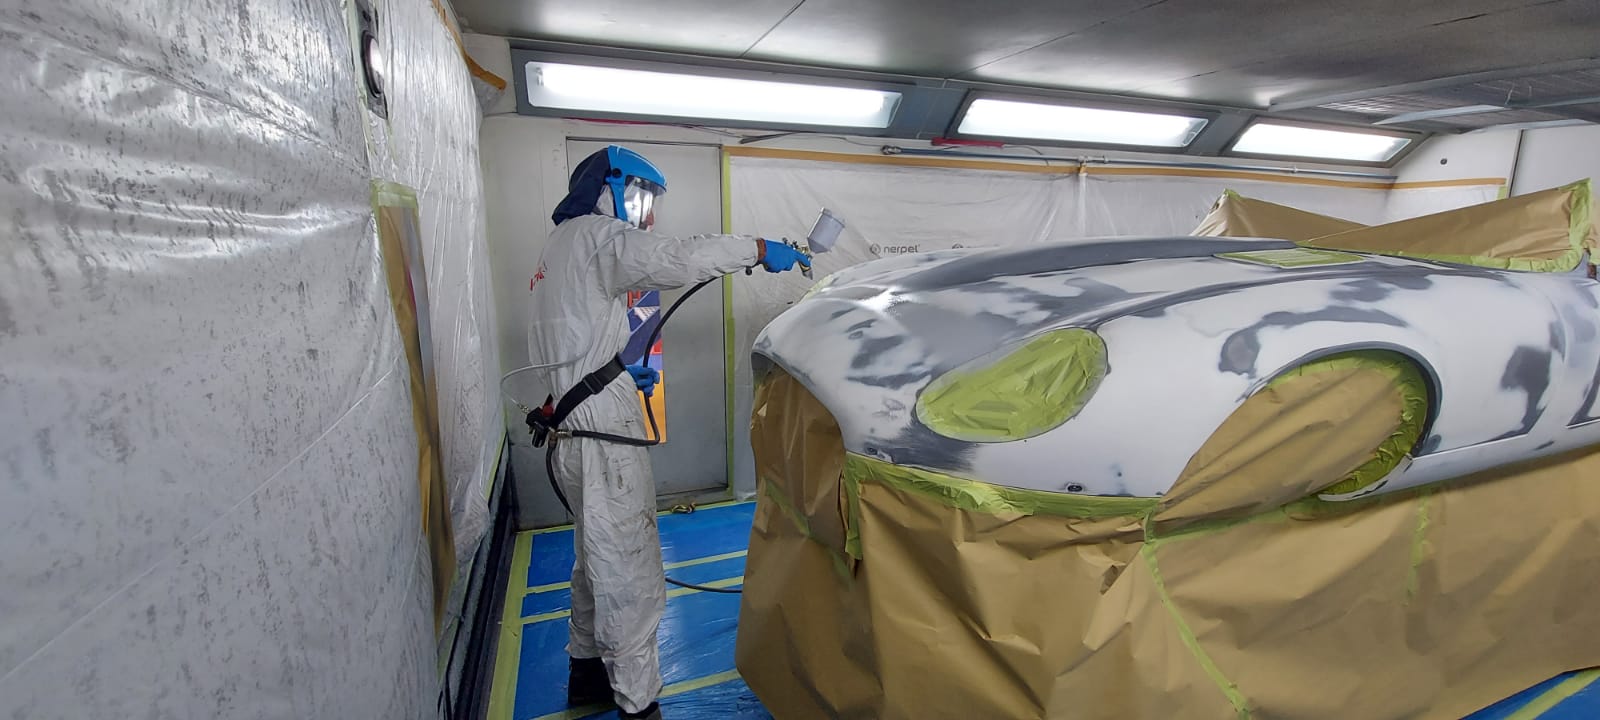
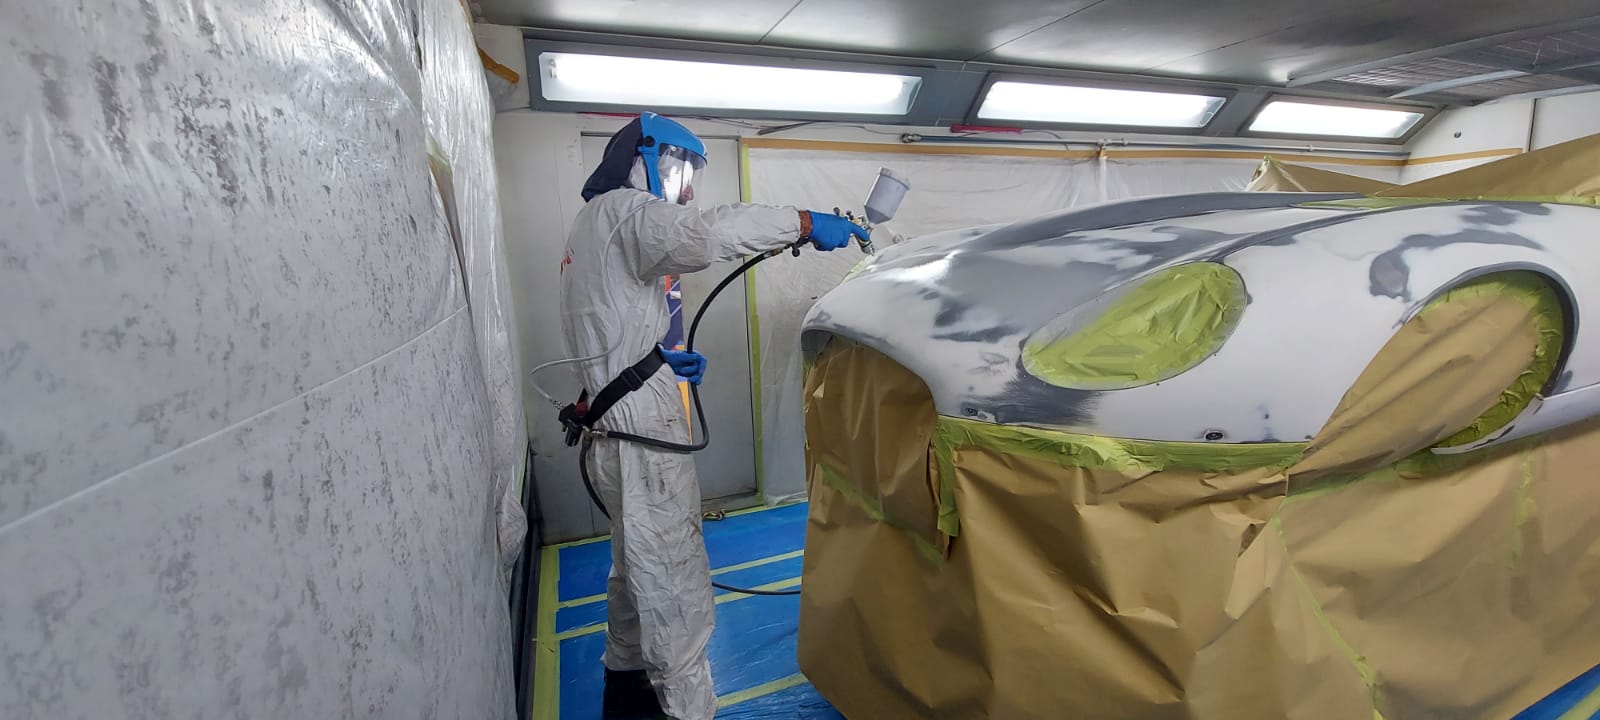
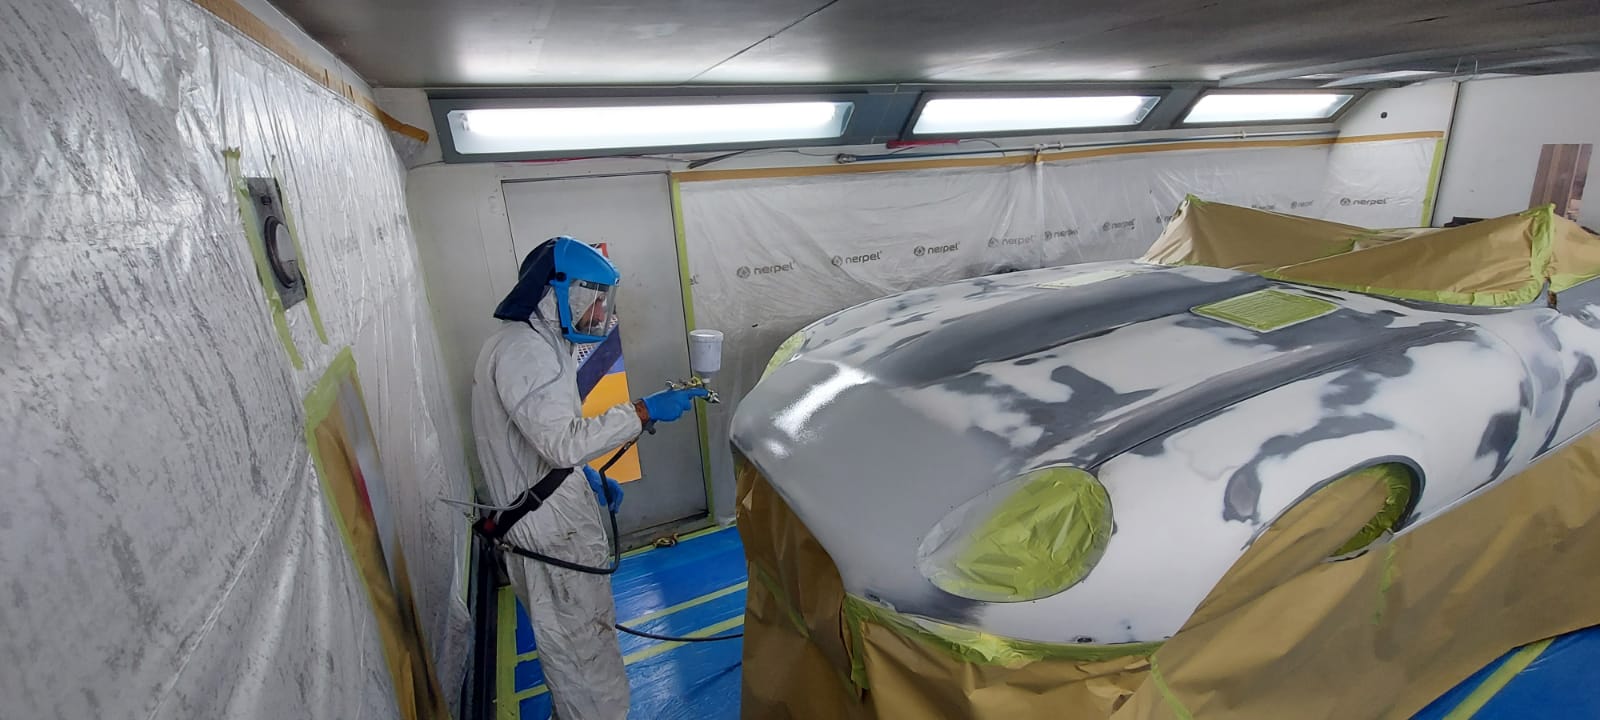
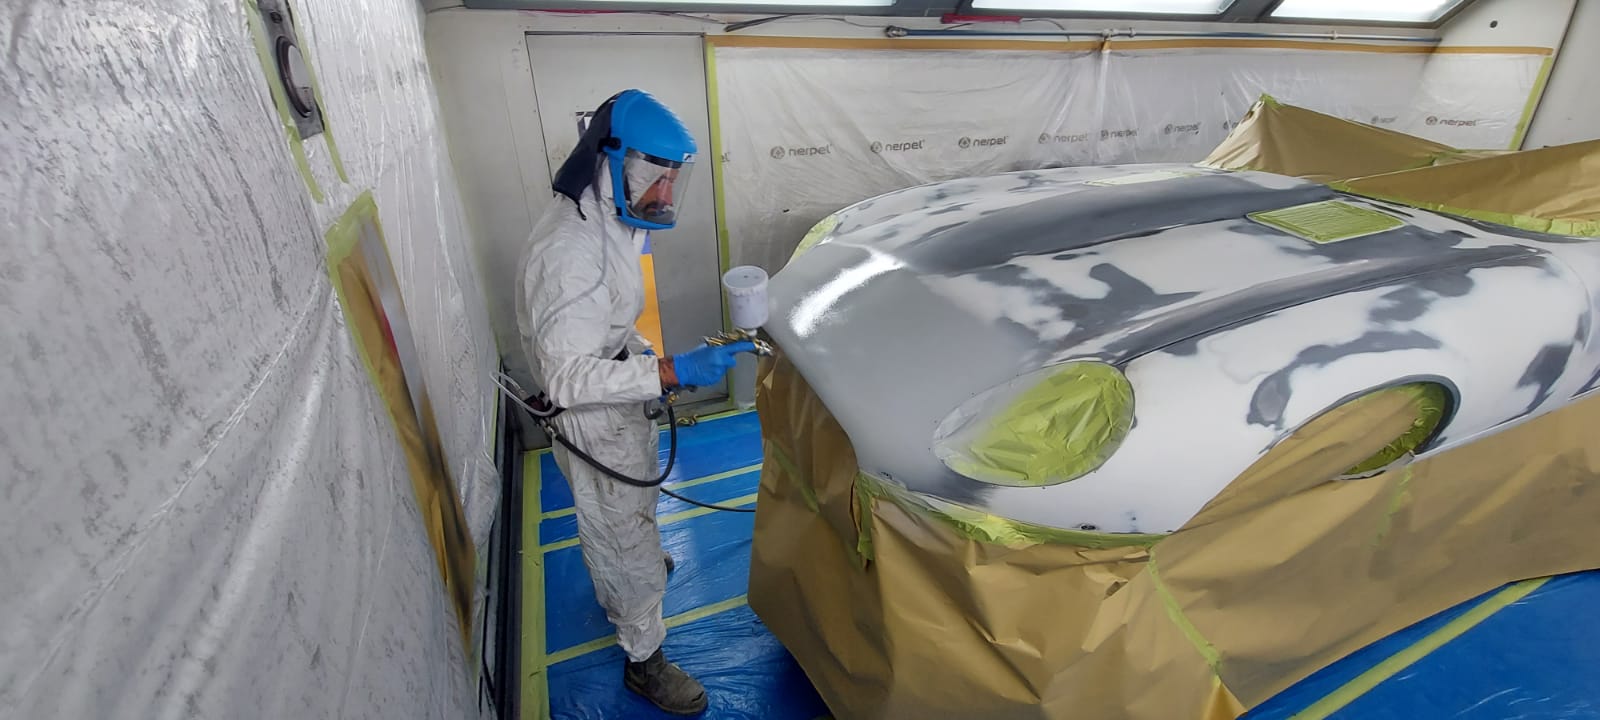
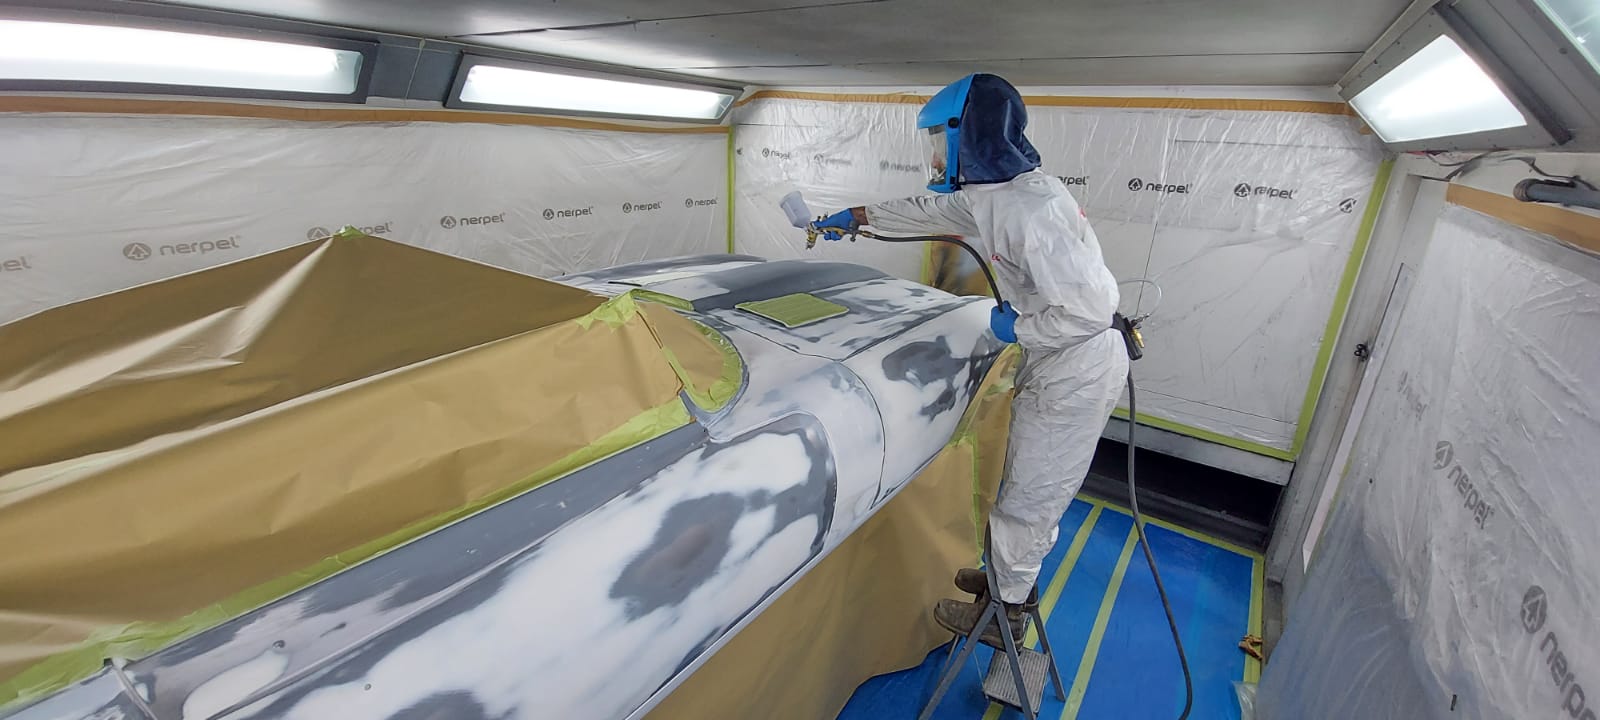
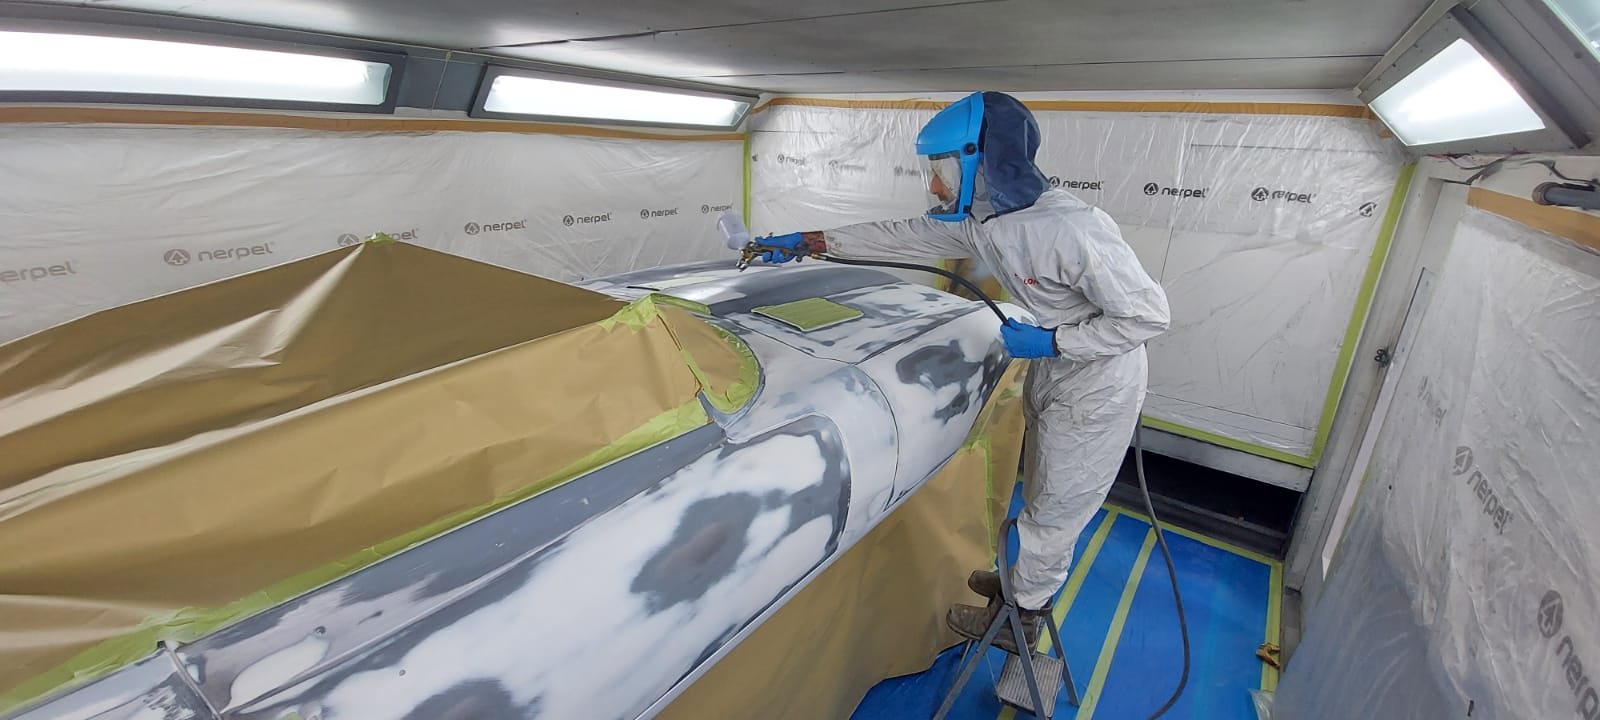
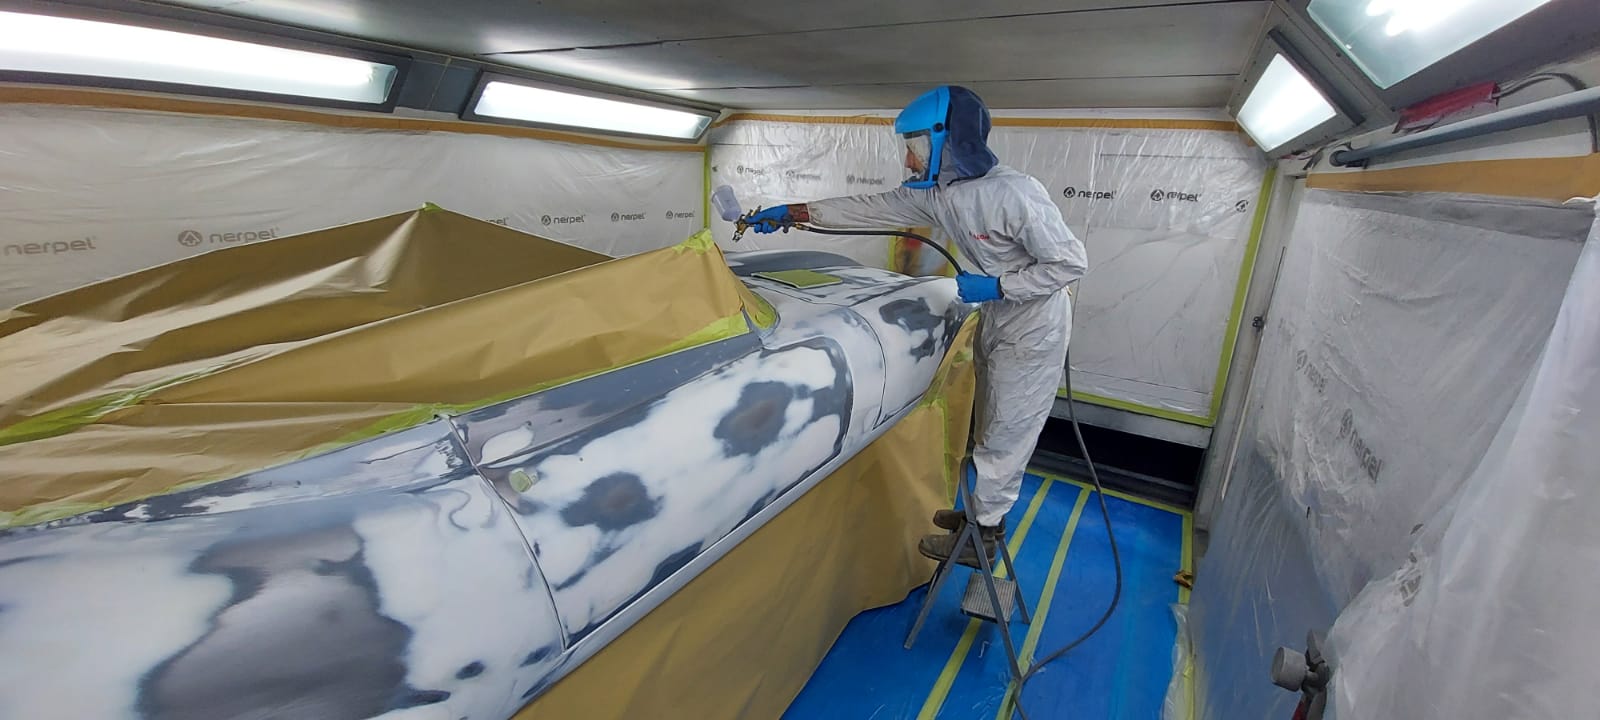
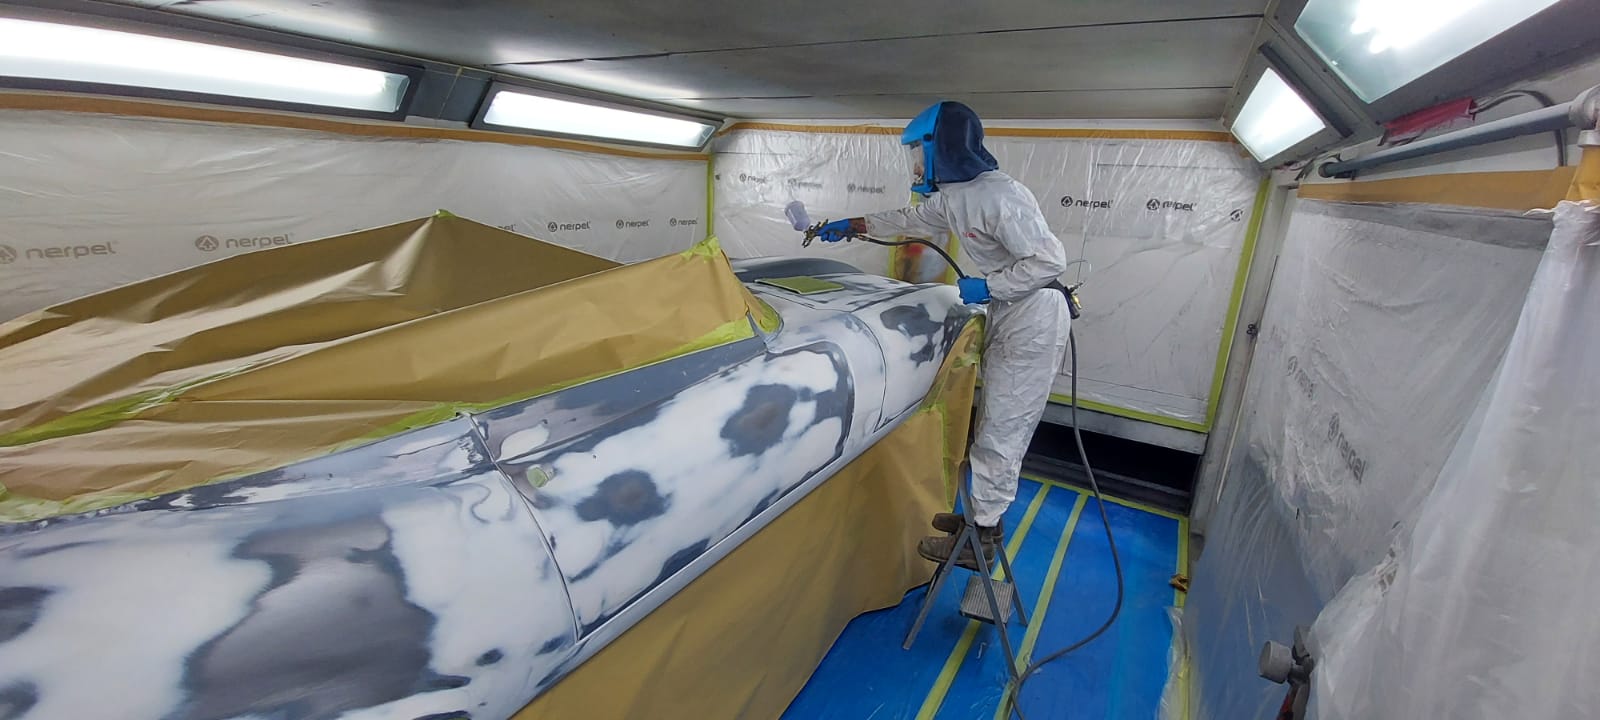
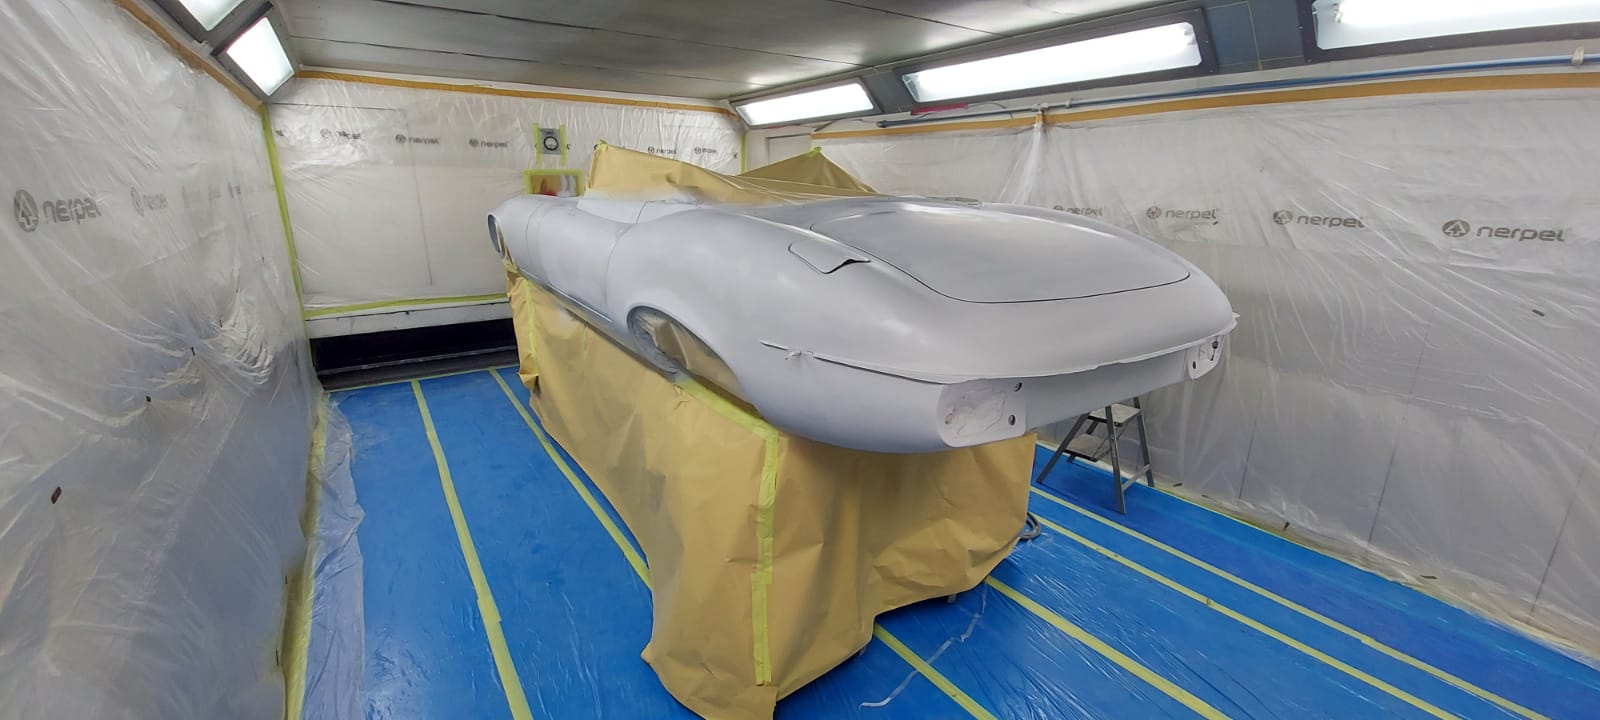
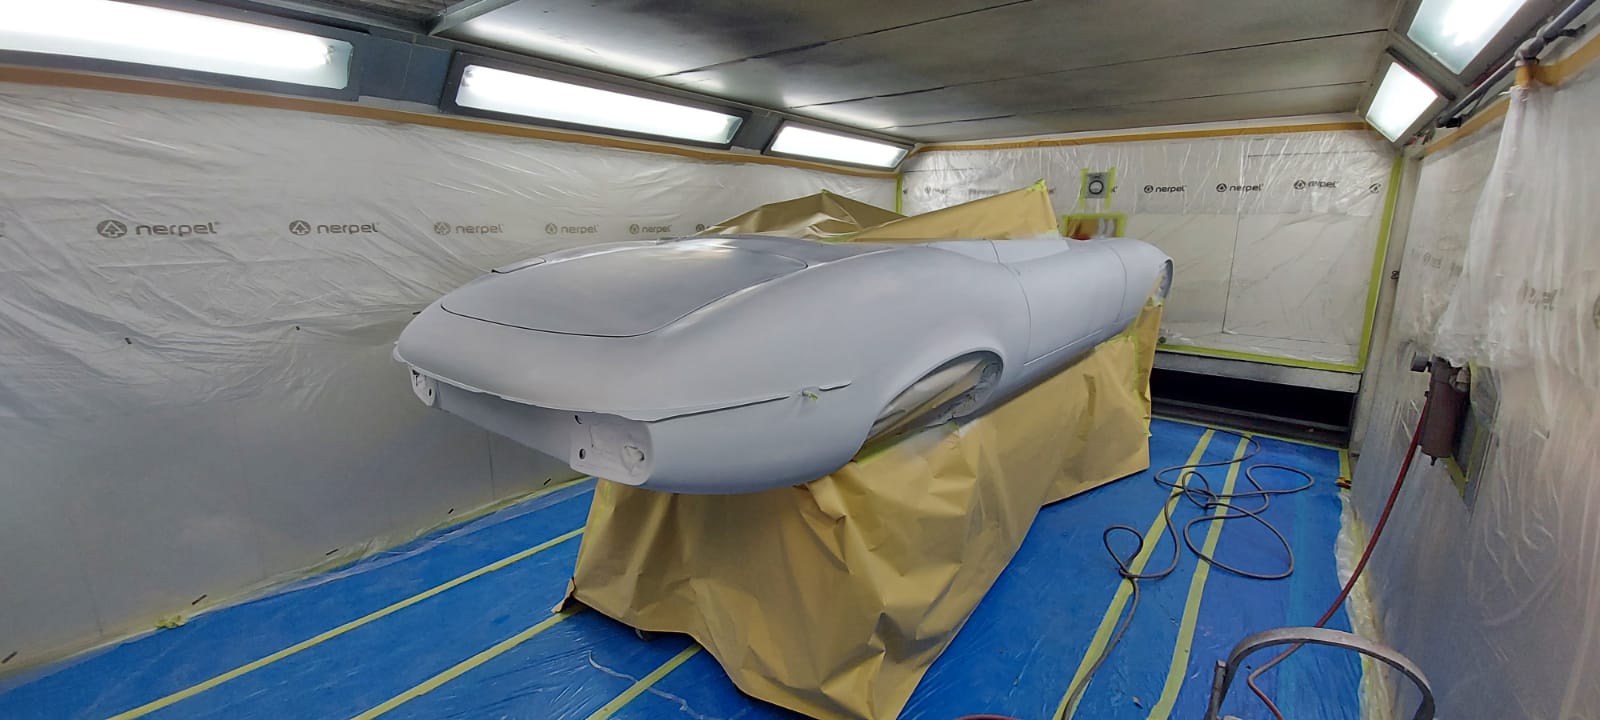
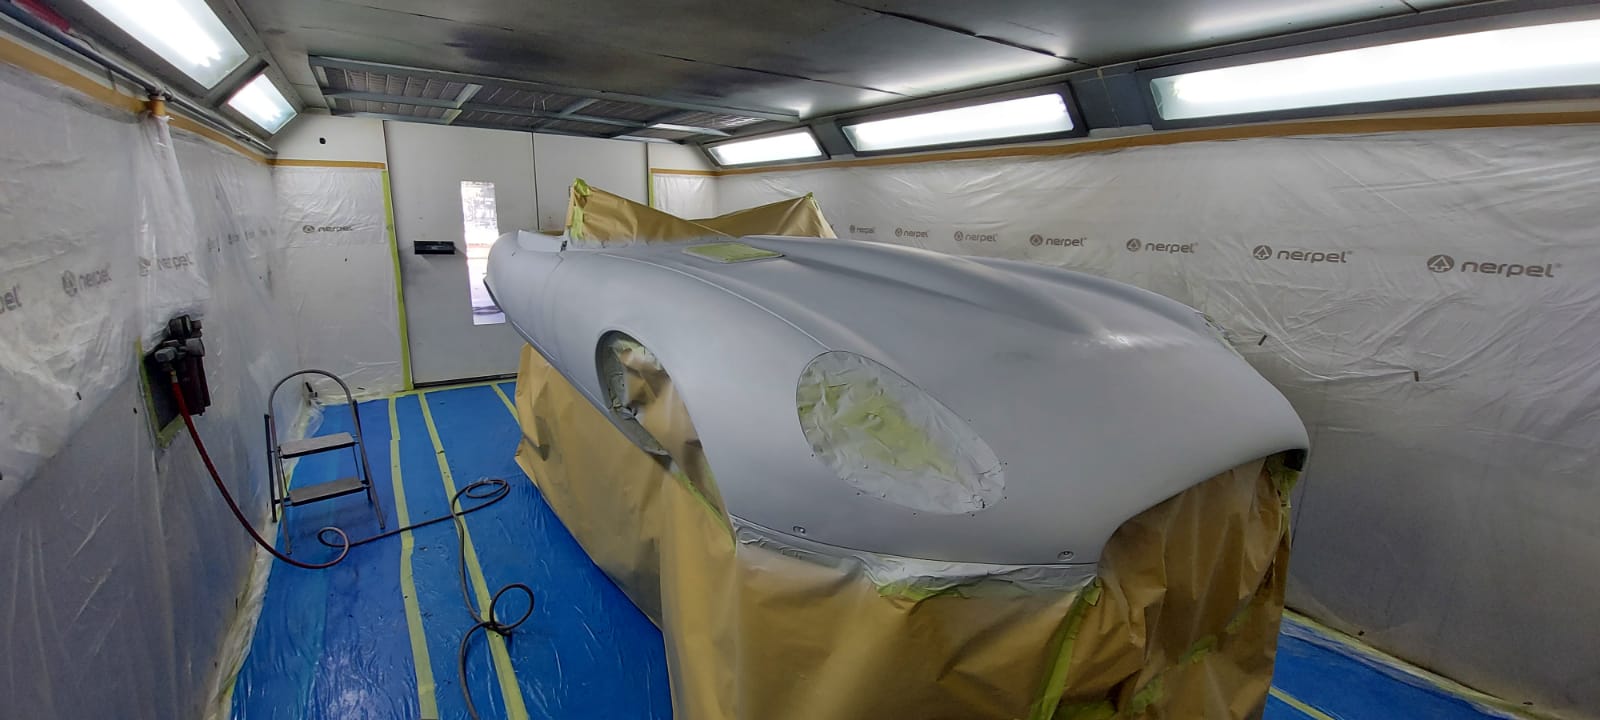
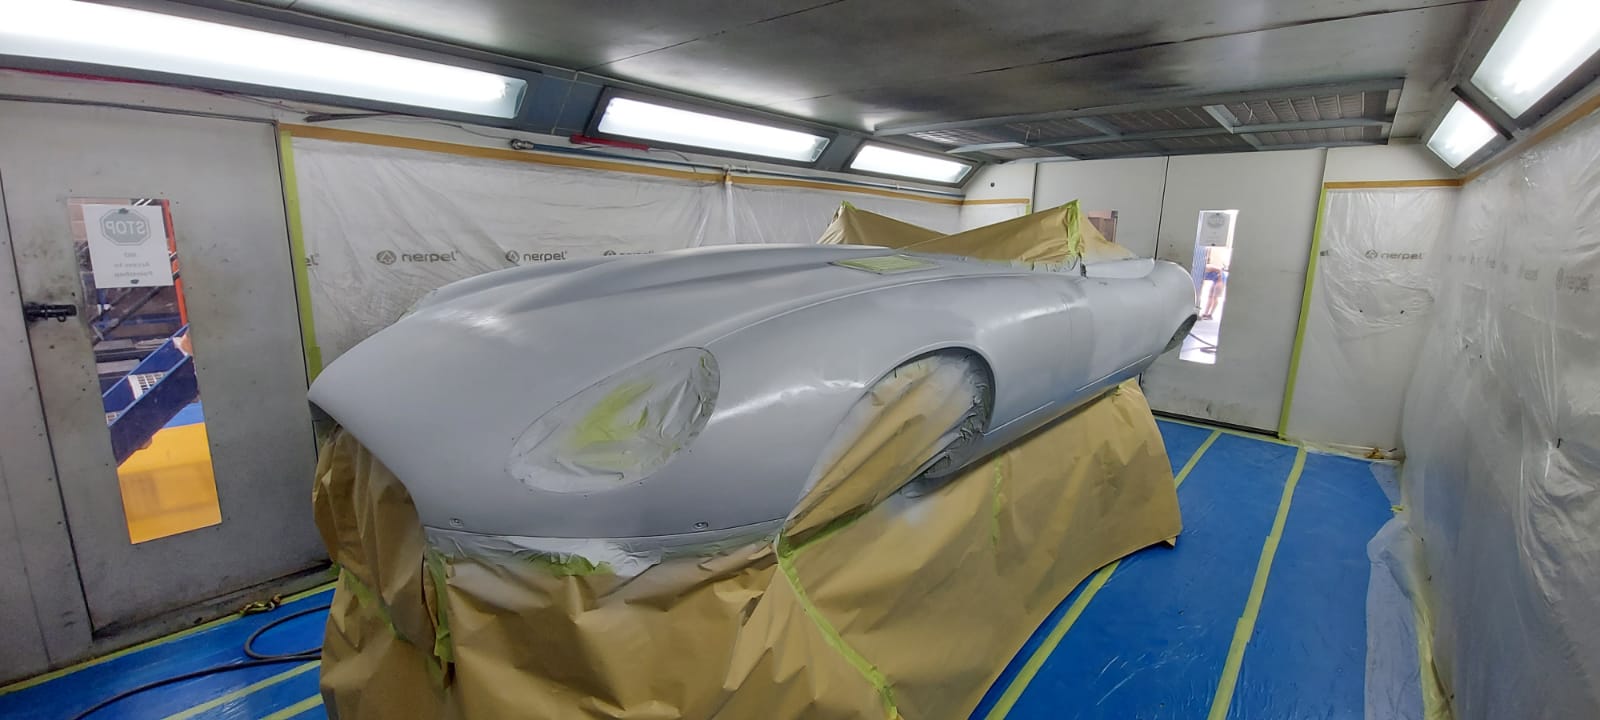
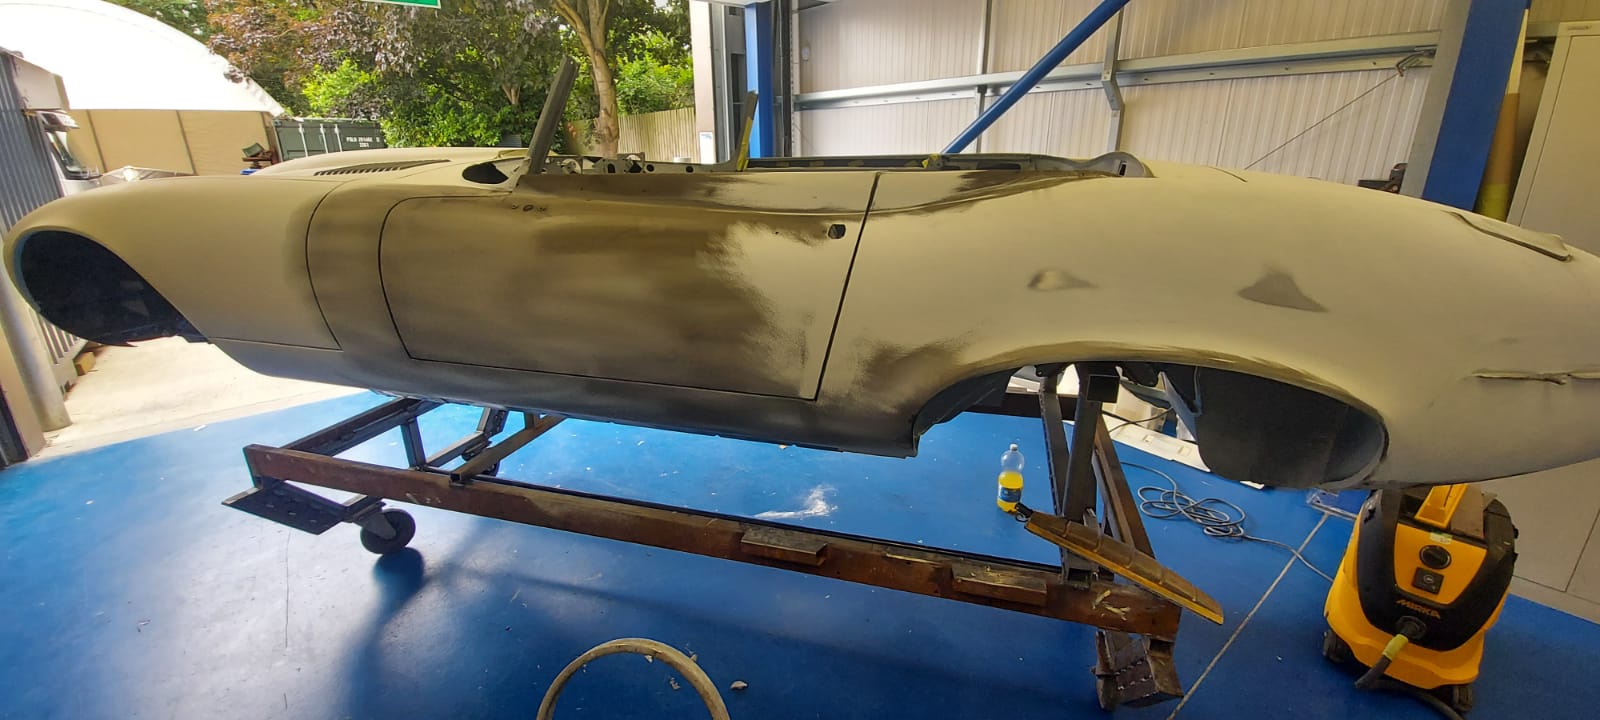
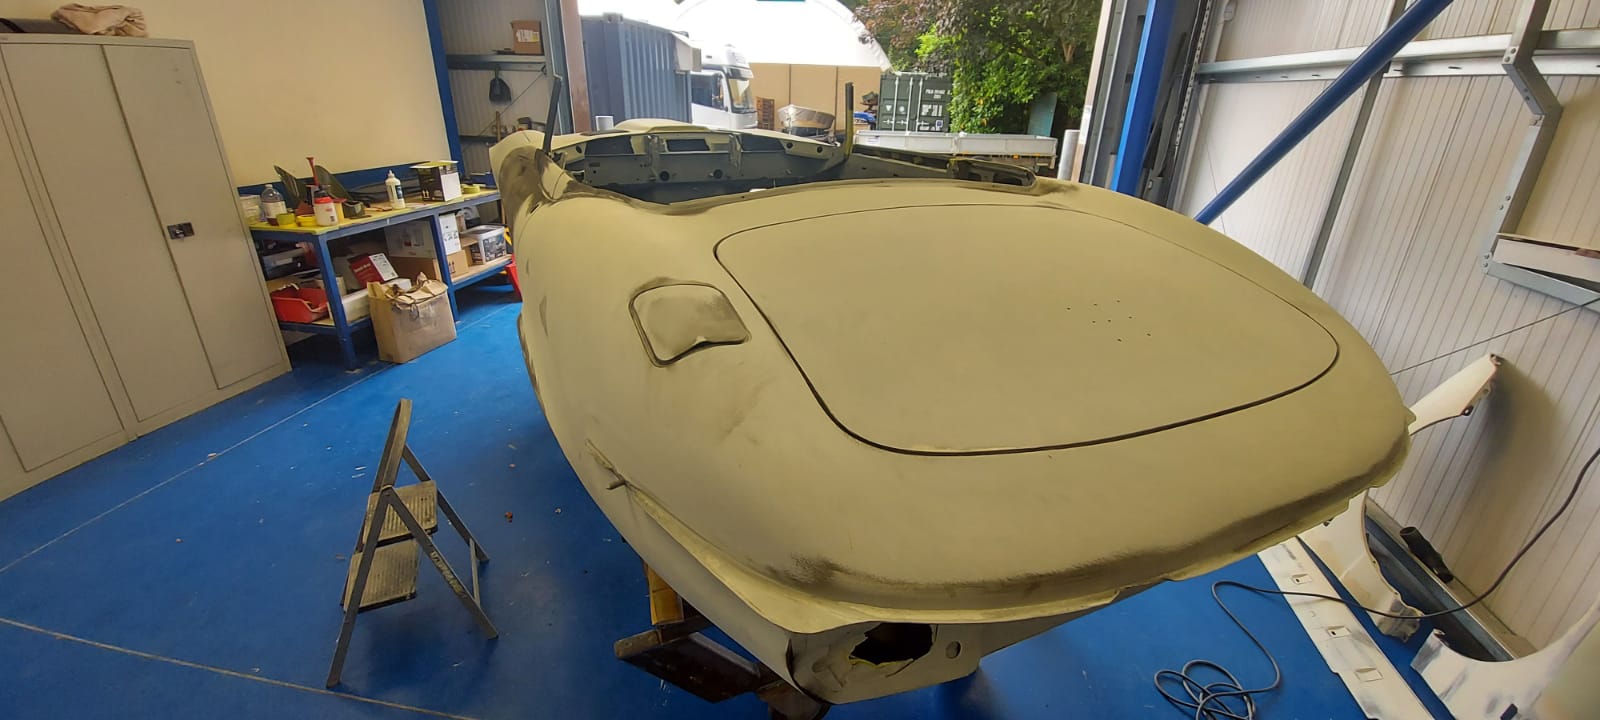
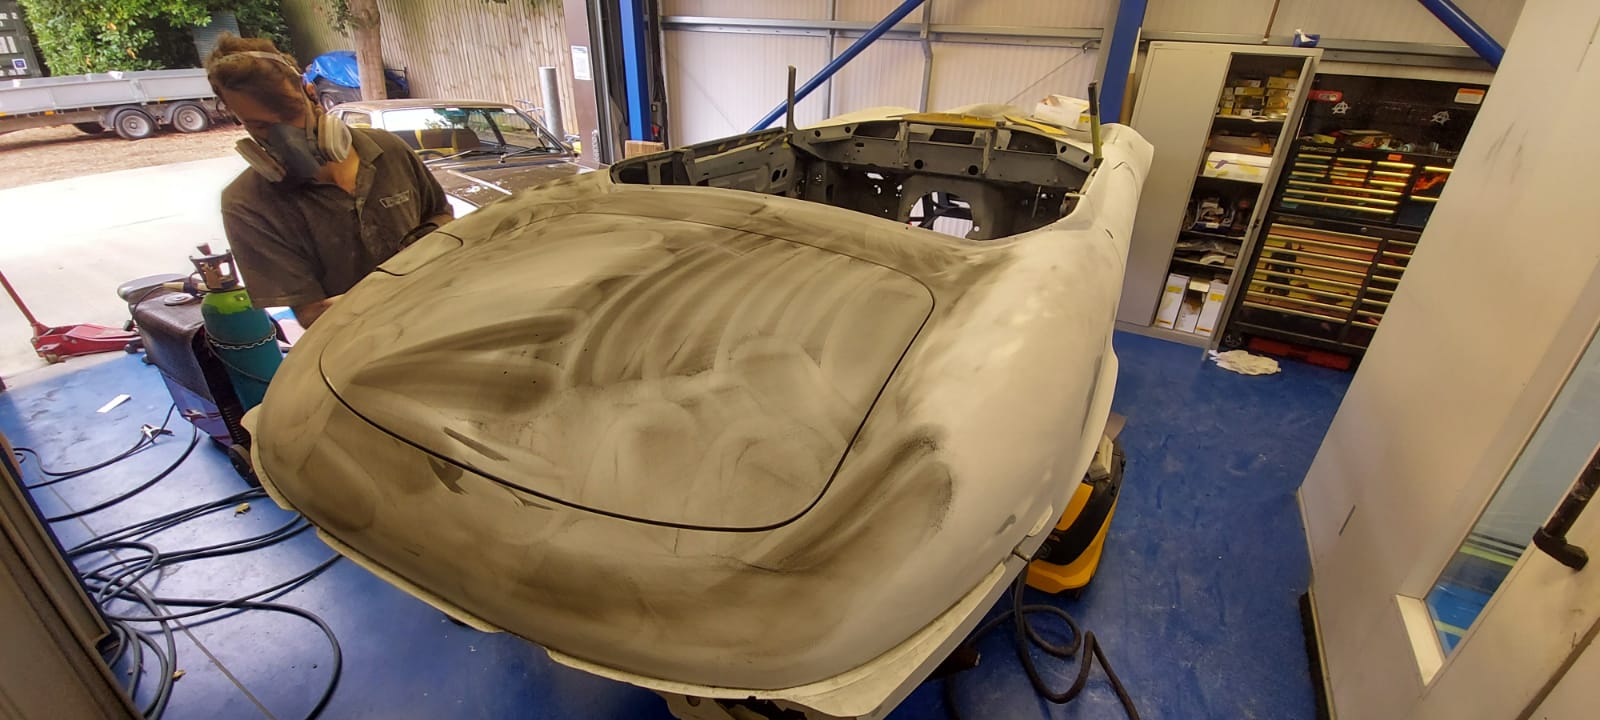
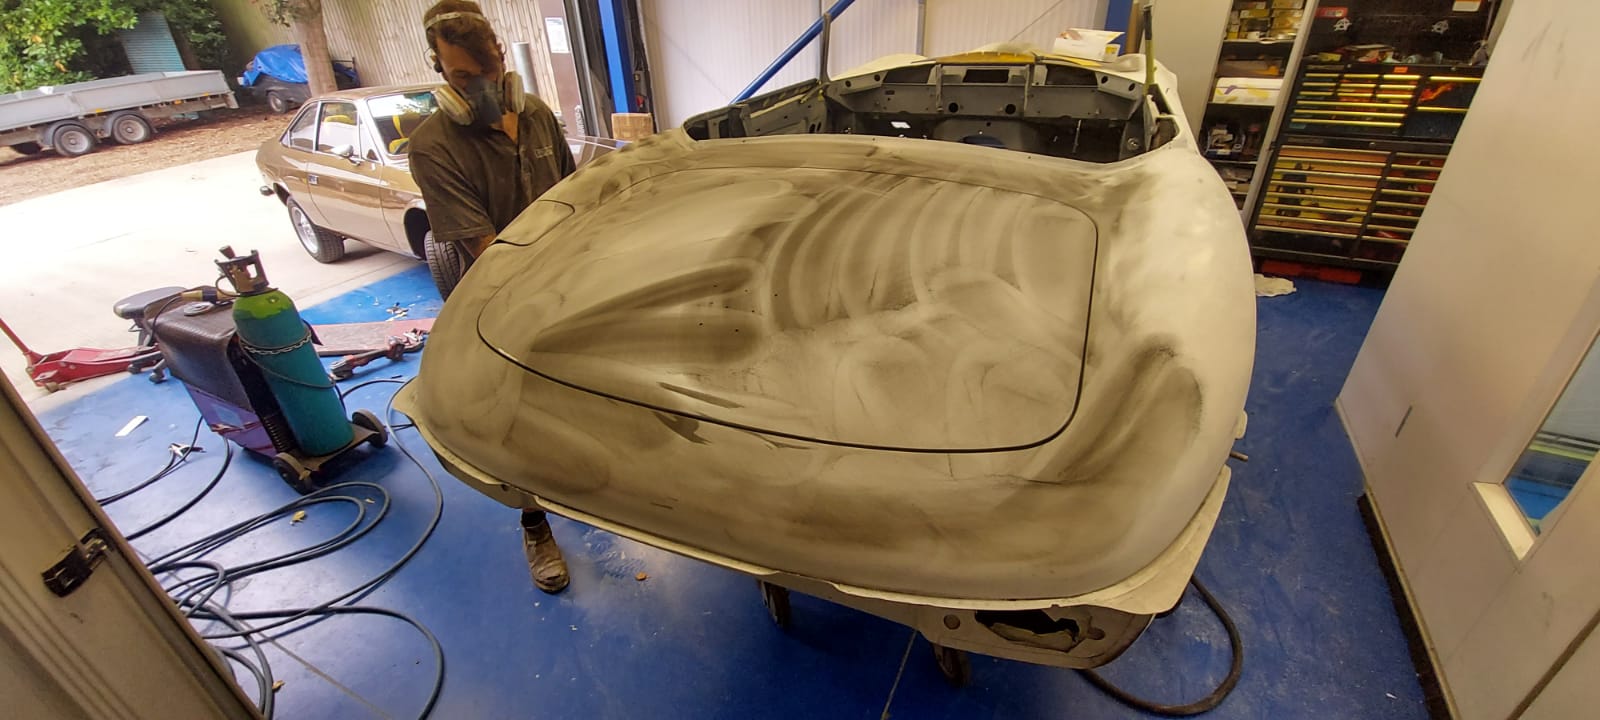
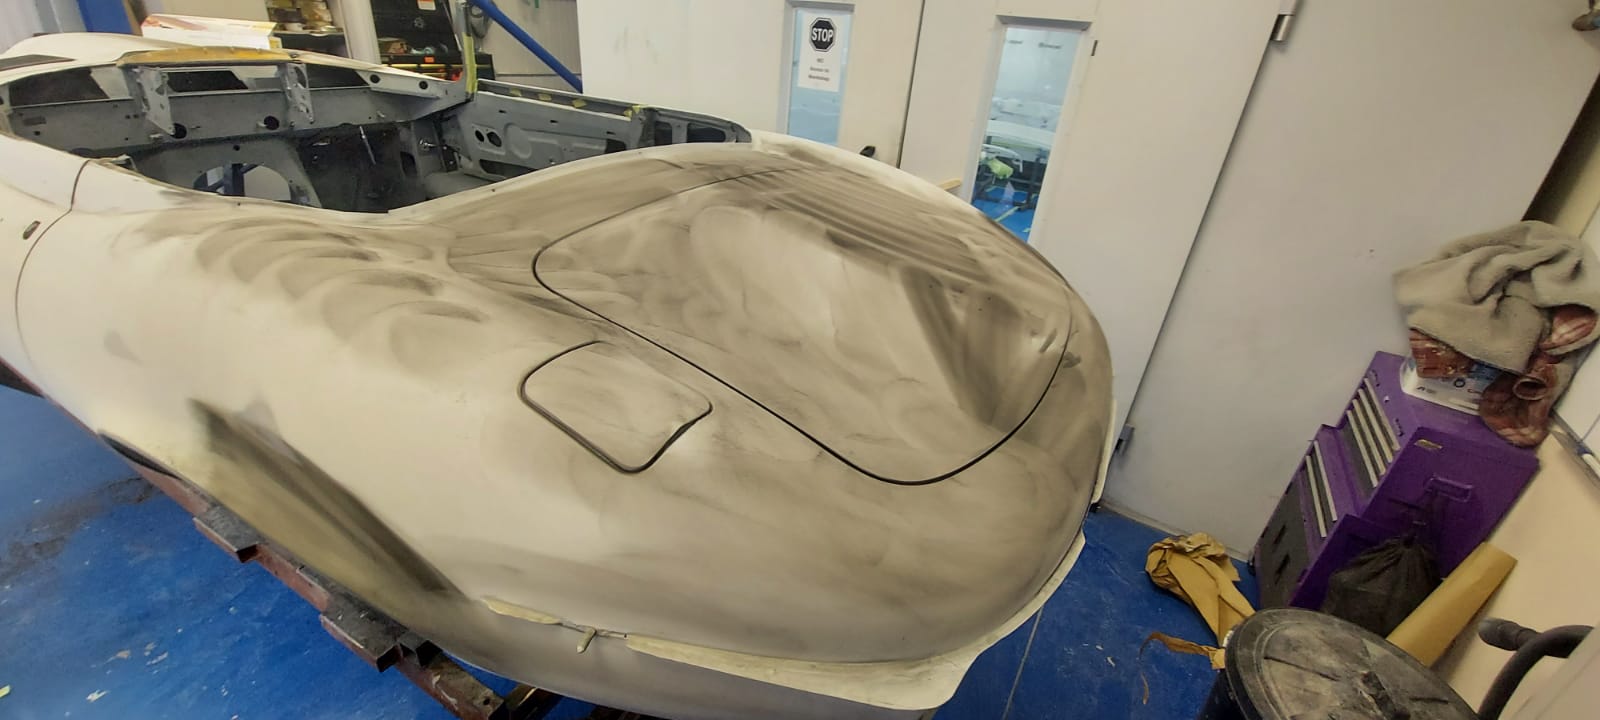
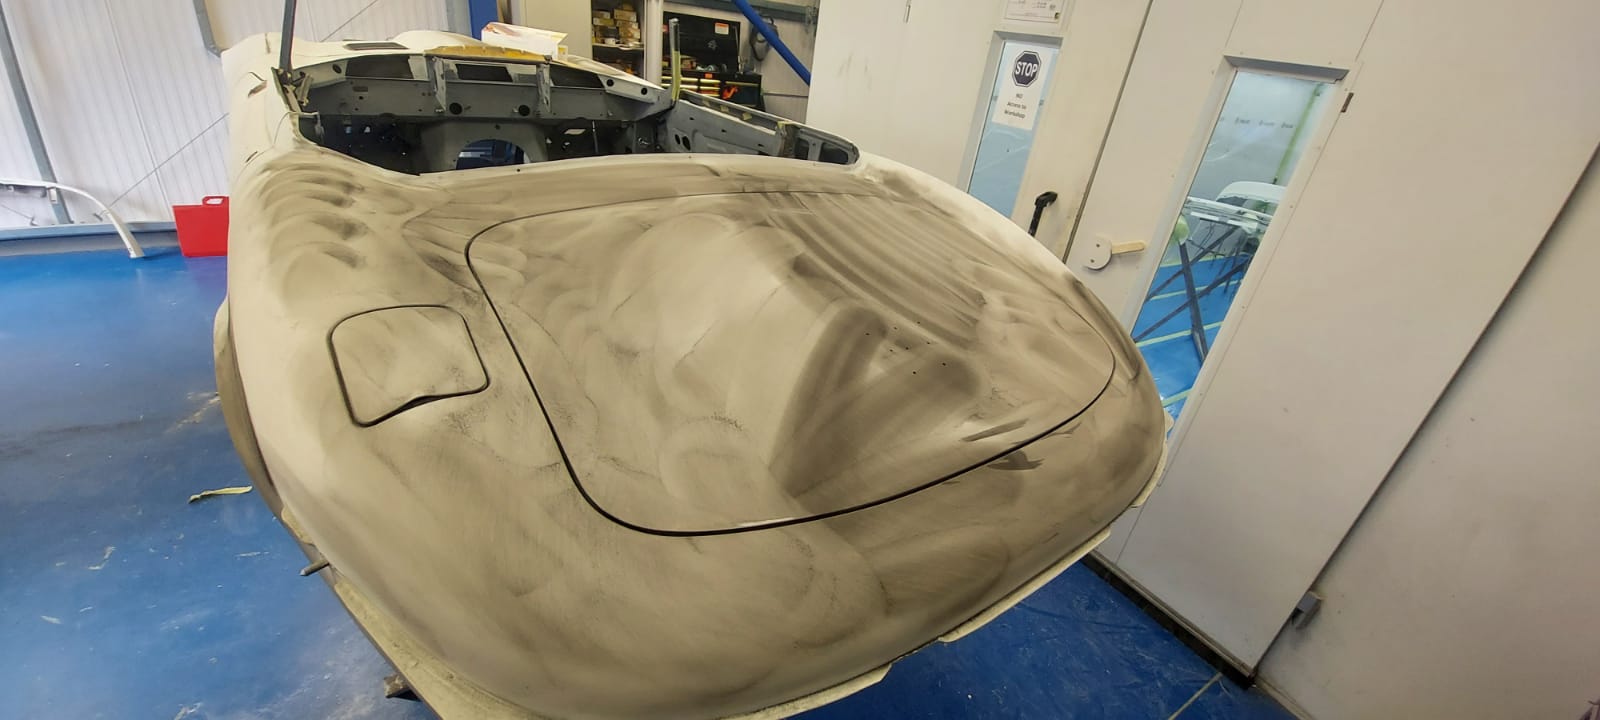
Chris and Matt have been doing more paint prep work on the 1973 Series 3 Jaguar E-Type.
They put the body of the car in the paint booth and masked it up ready for polyester primer. Once primed, it was covered in guide coat and blocked and finished in 180 sanding paper. The underside of the car body was prepped in 180 and any damage that was found was repaired and primed. All metal joints around the car were sealed, like where the metal had been welded together.


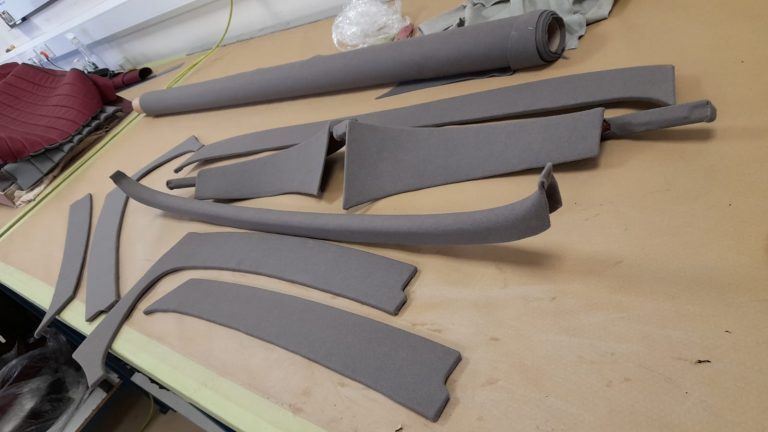
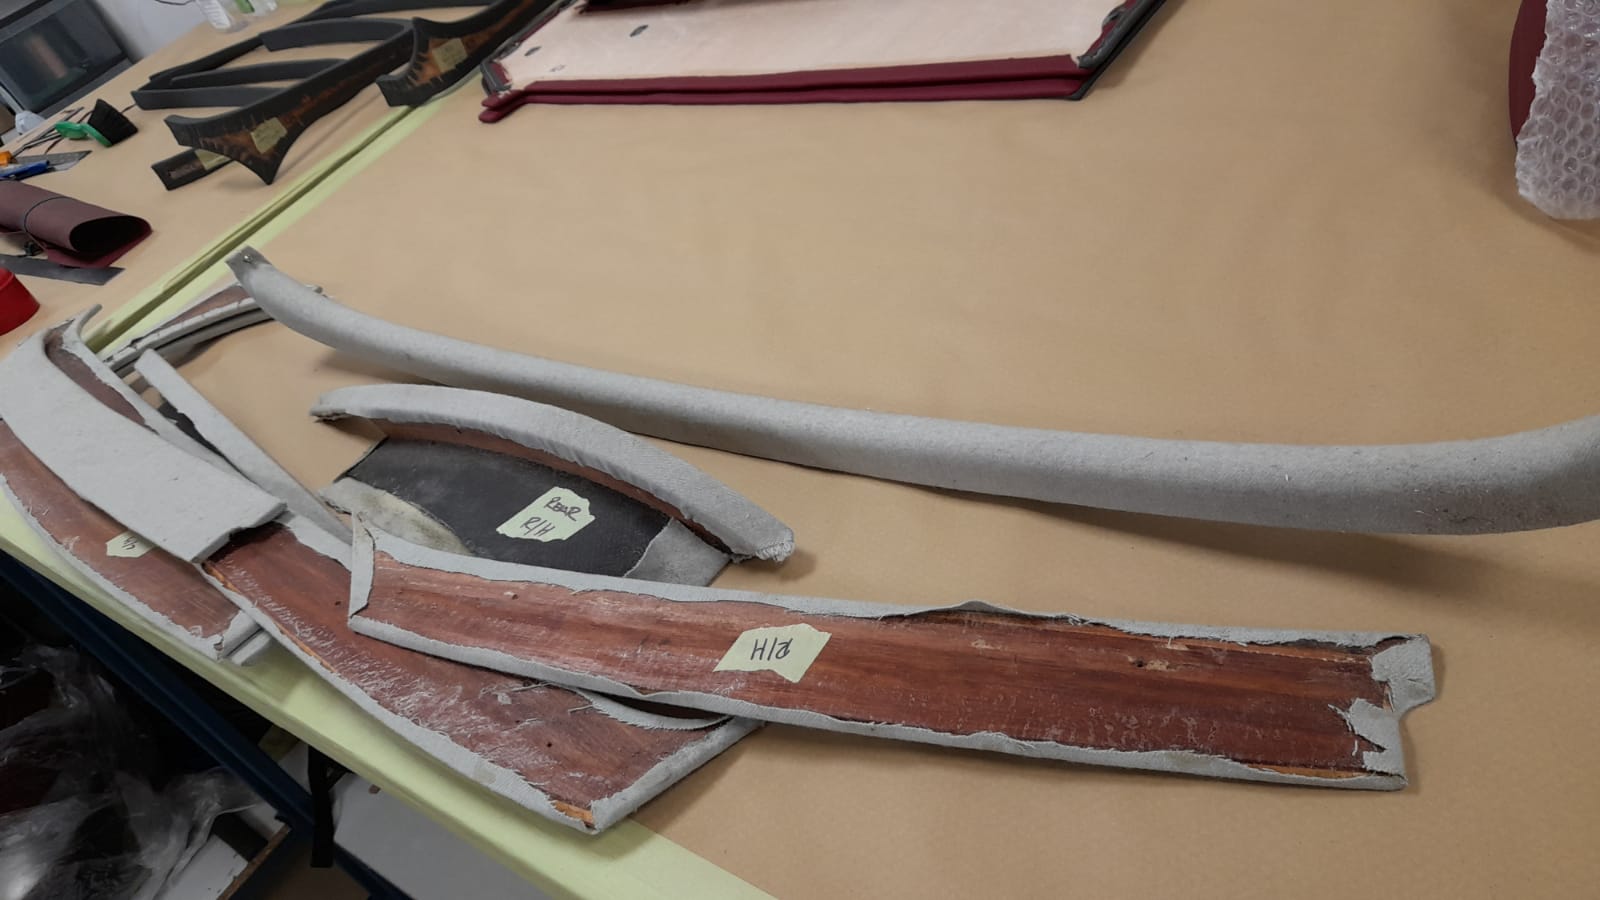
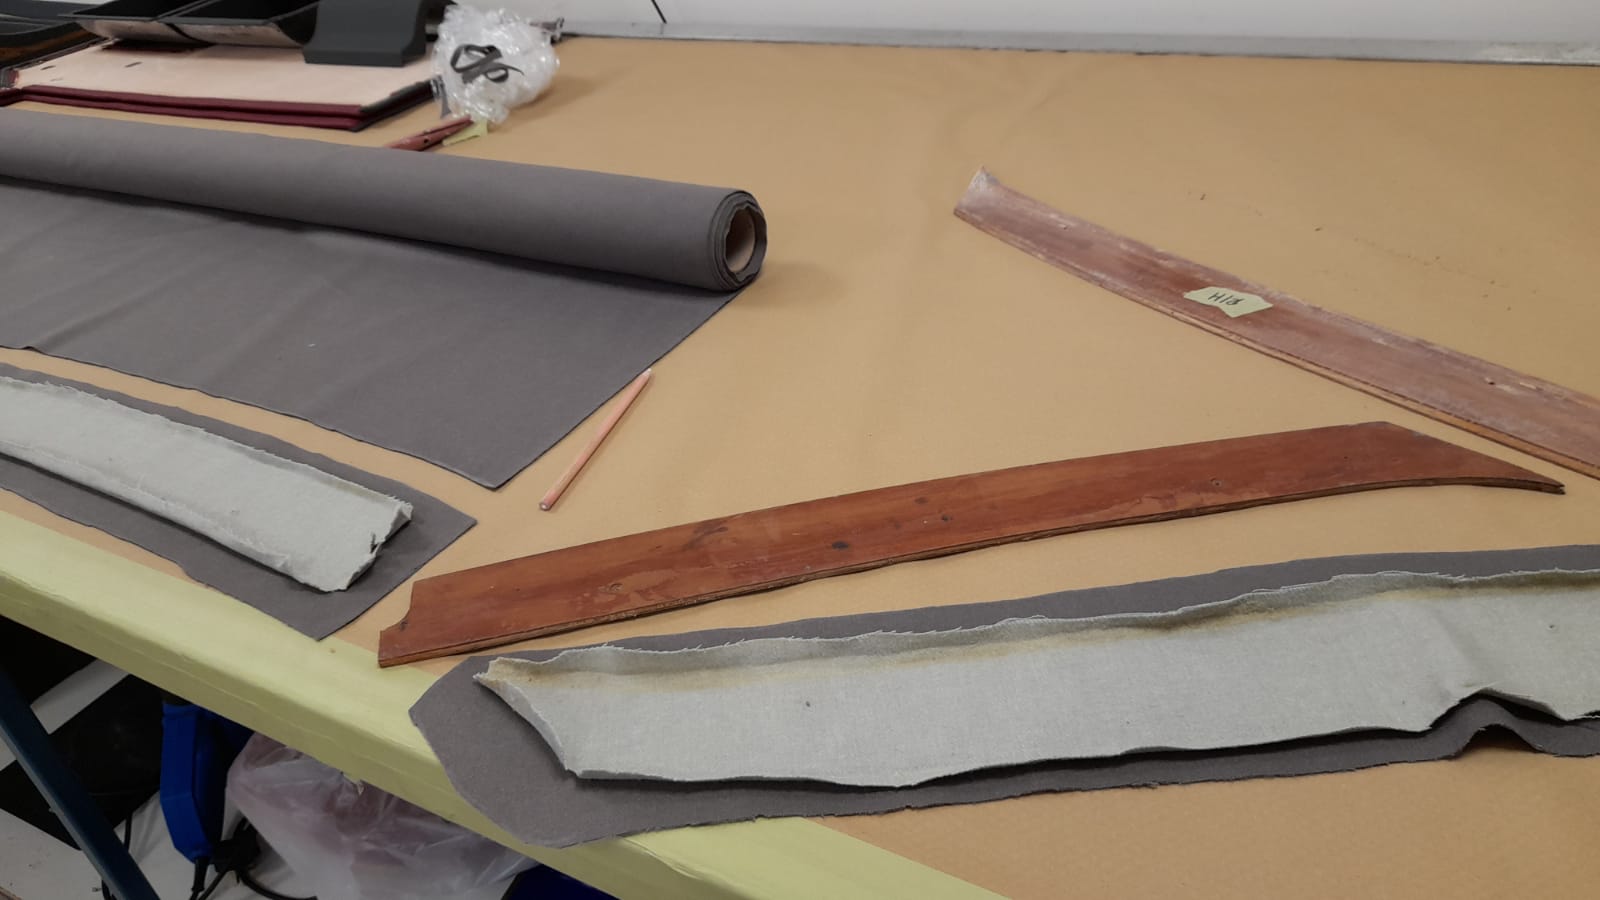
Lydia has been re-covering the headlining panels for the Aston Martin DB 2/4 Mark I.
She started by peeling off the original fabric from each of the different panels and sanding down the old glue and giving the wood and metal a clean up.
The original fabric pieces were used as patterns on the new headlining fabric, and Lydia drew around them using a fabric pencil. They were all cut out and then one by one, wrapped around tightly onto the panels and glued into place. These panels will go around the sides, front, back and middle of the headlining in the car.


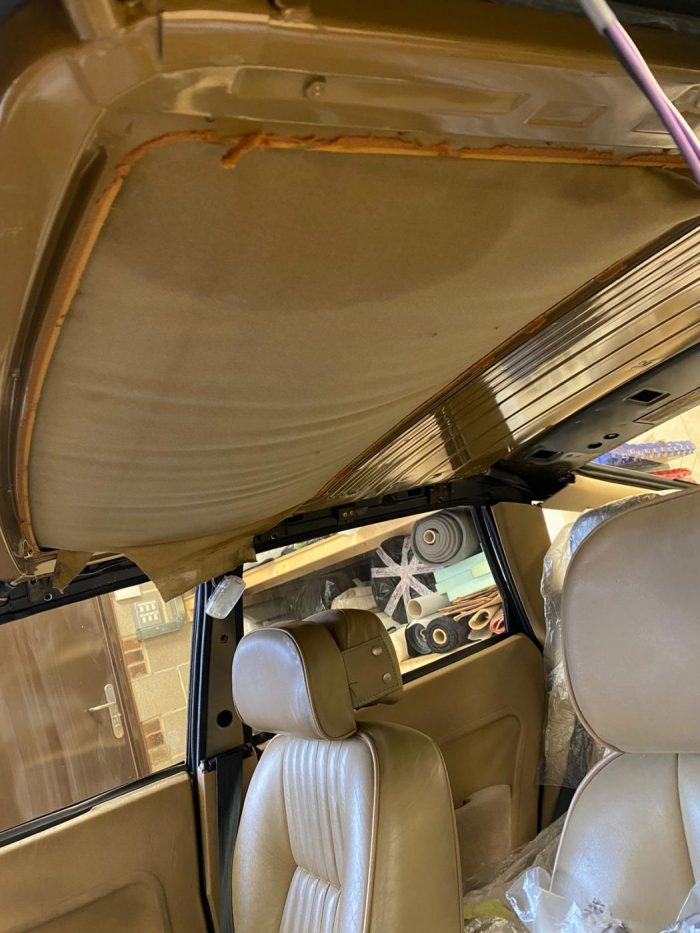
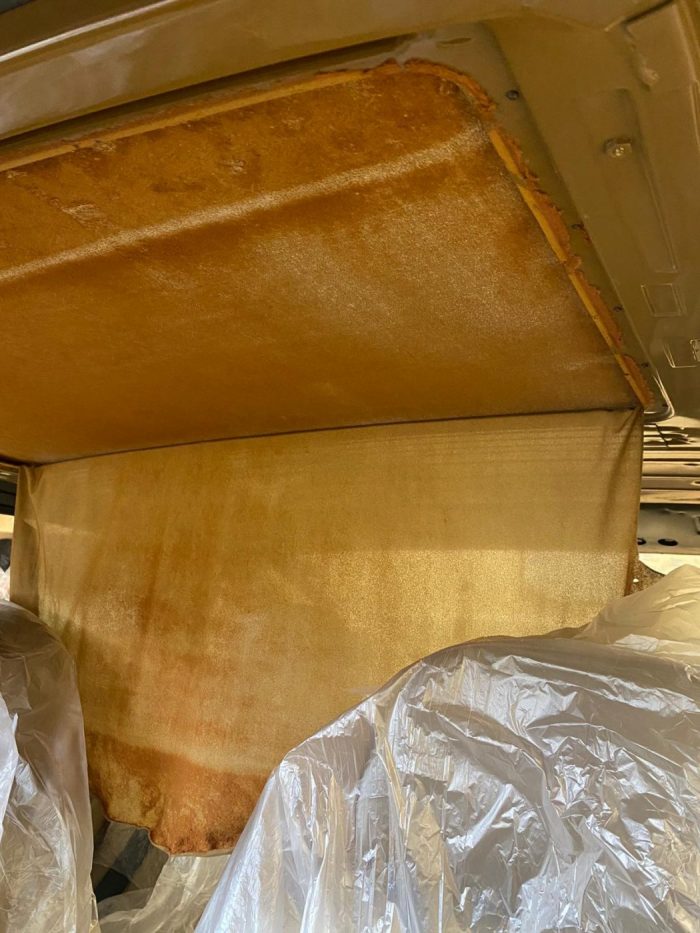
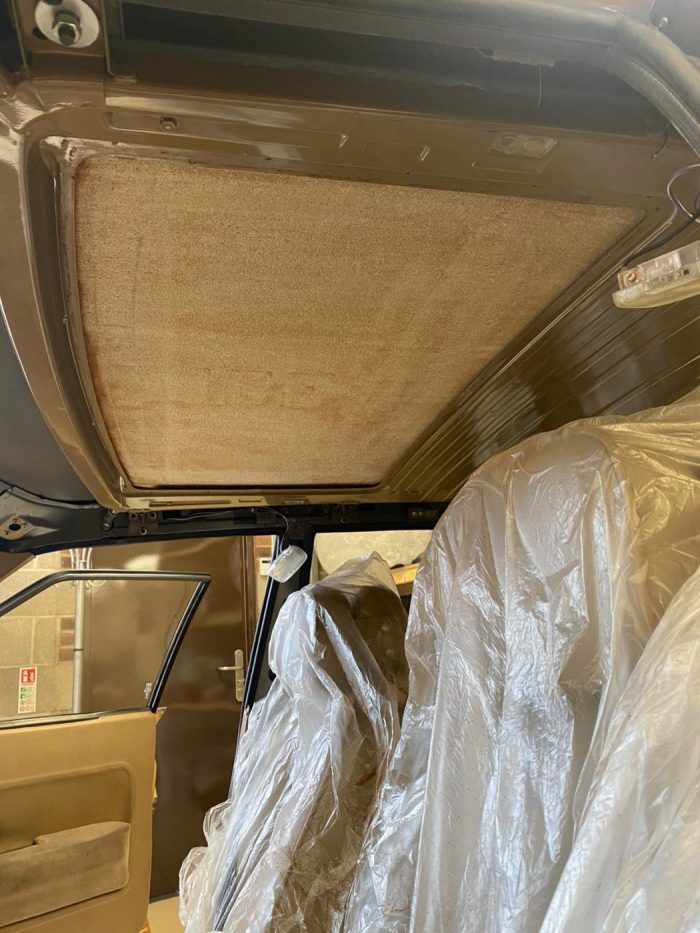
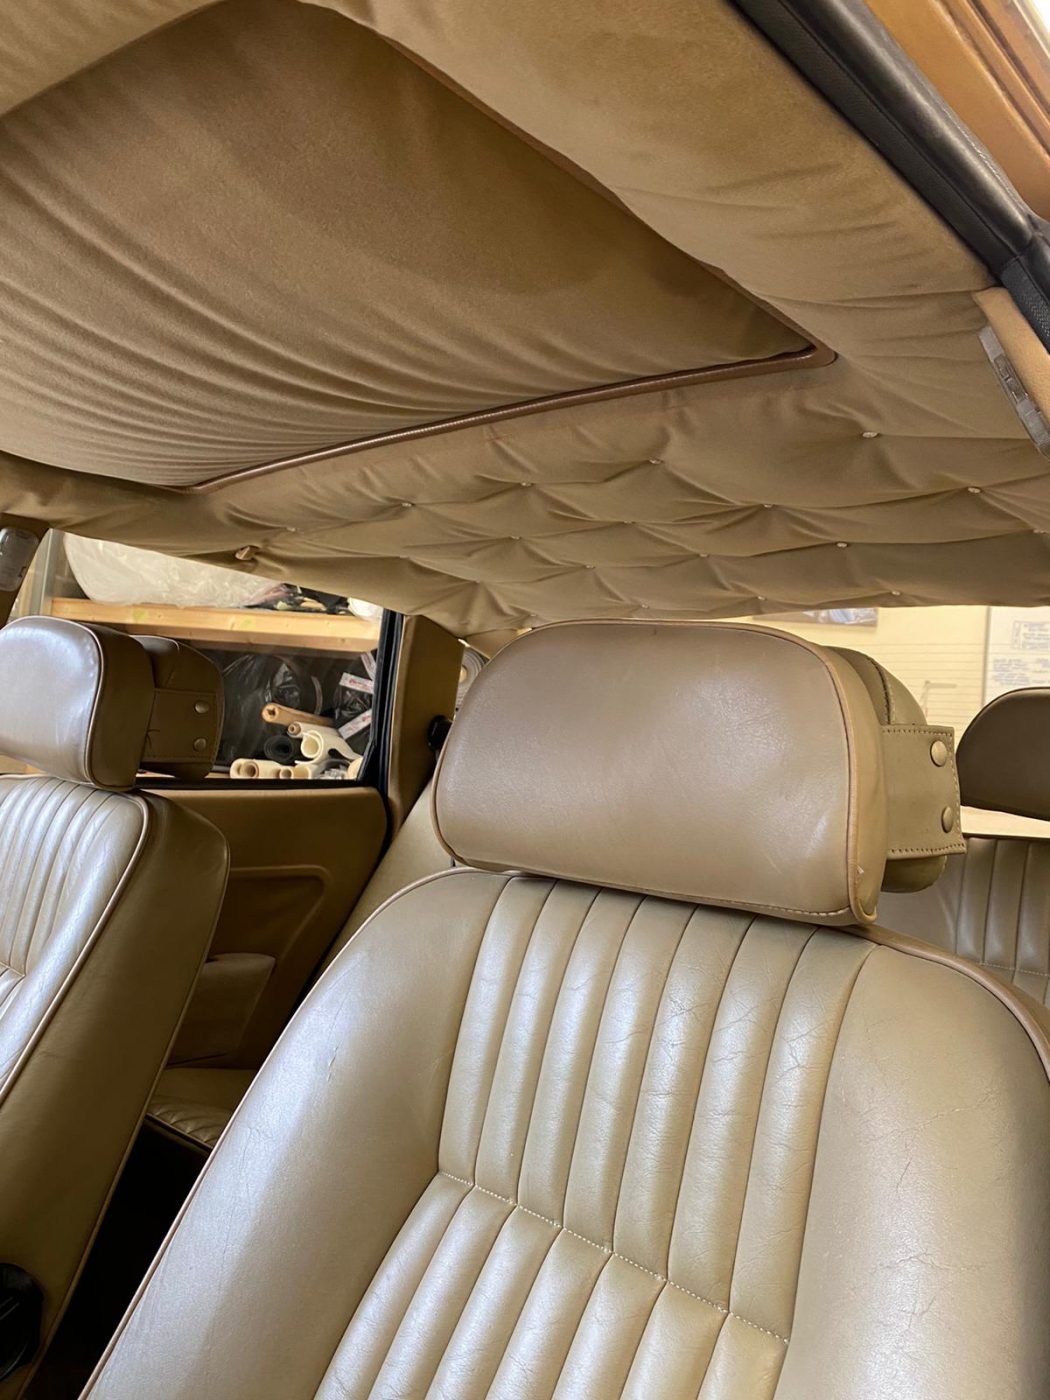
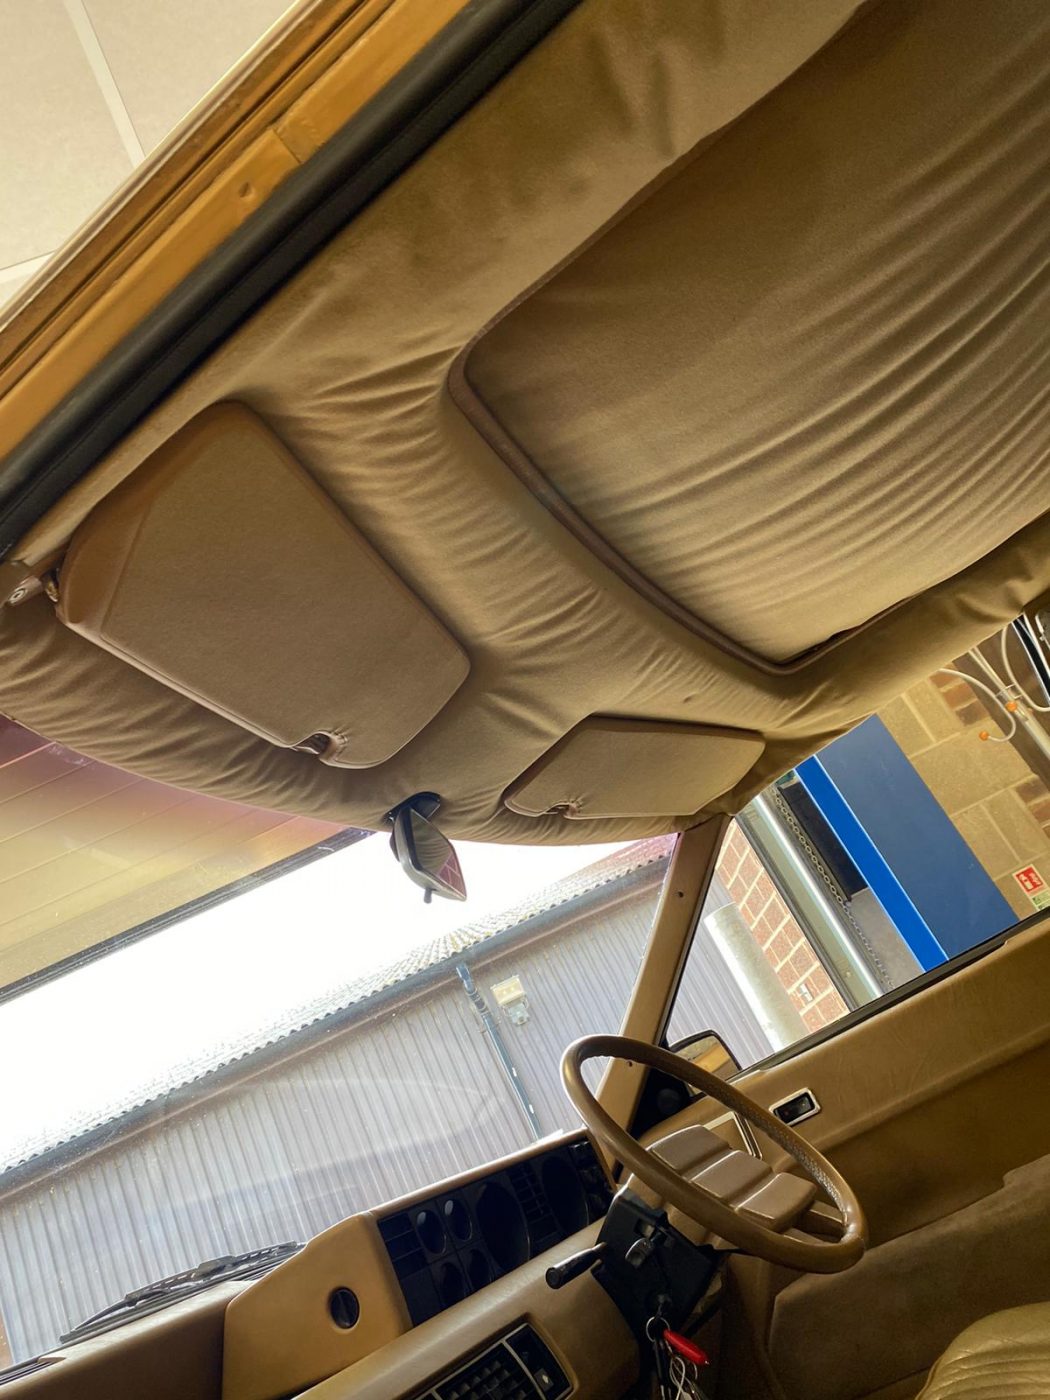
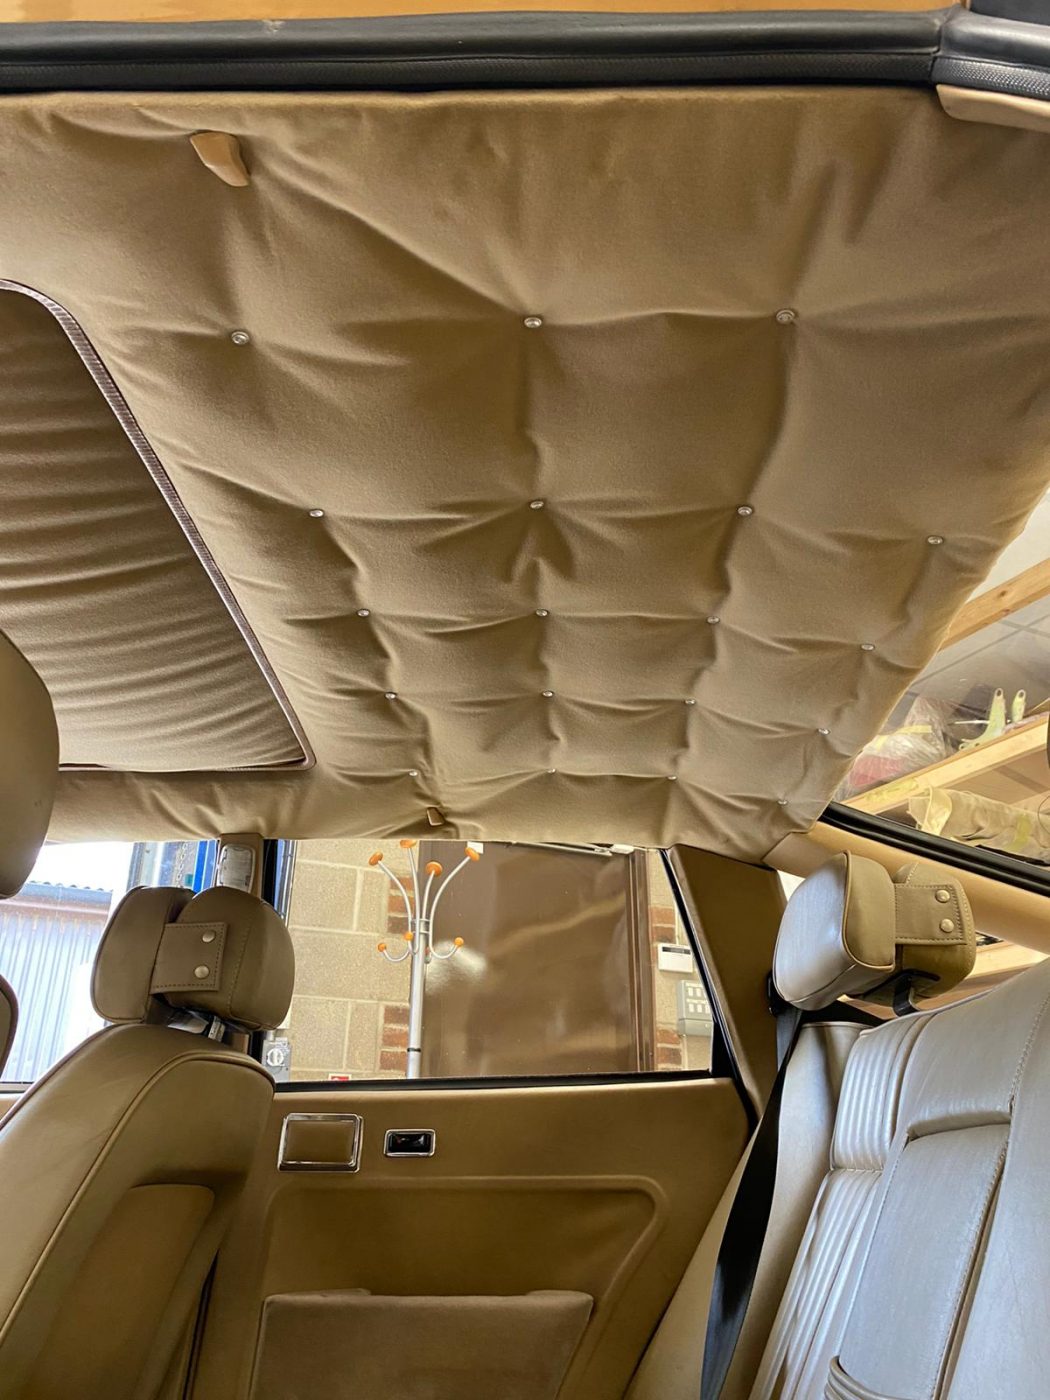
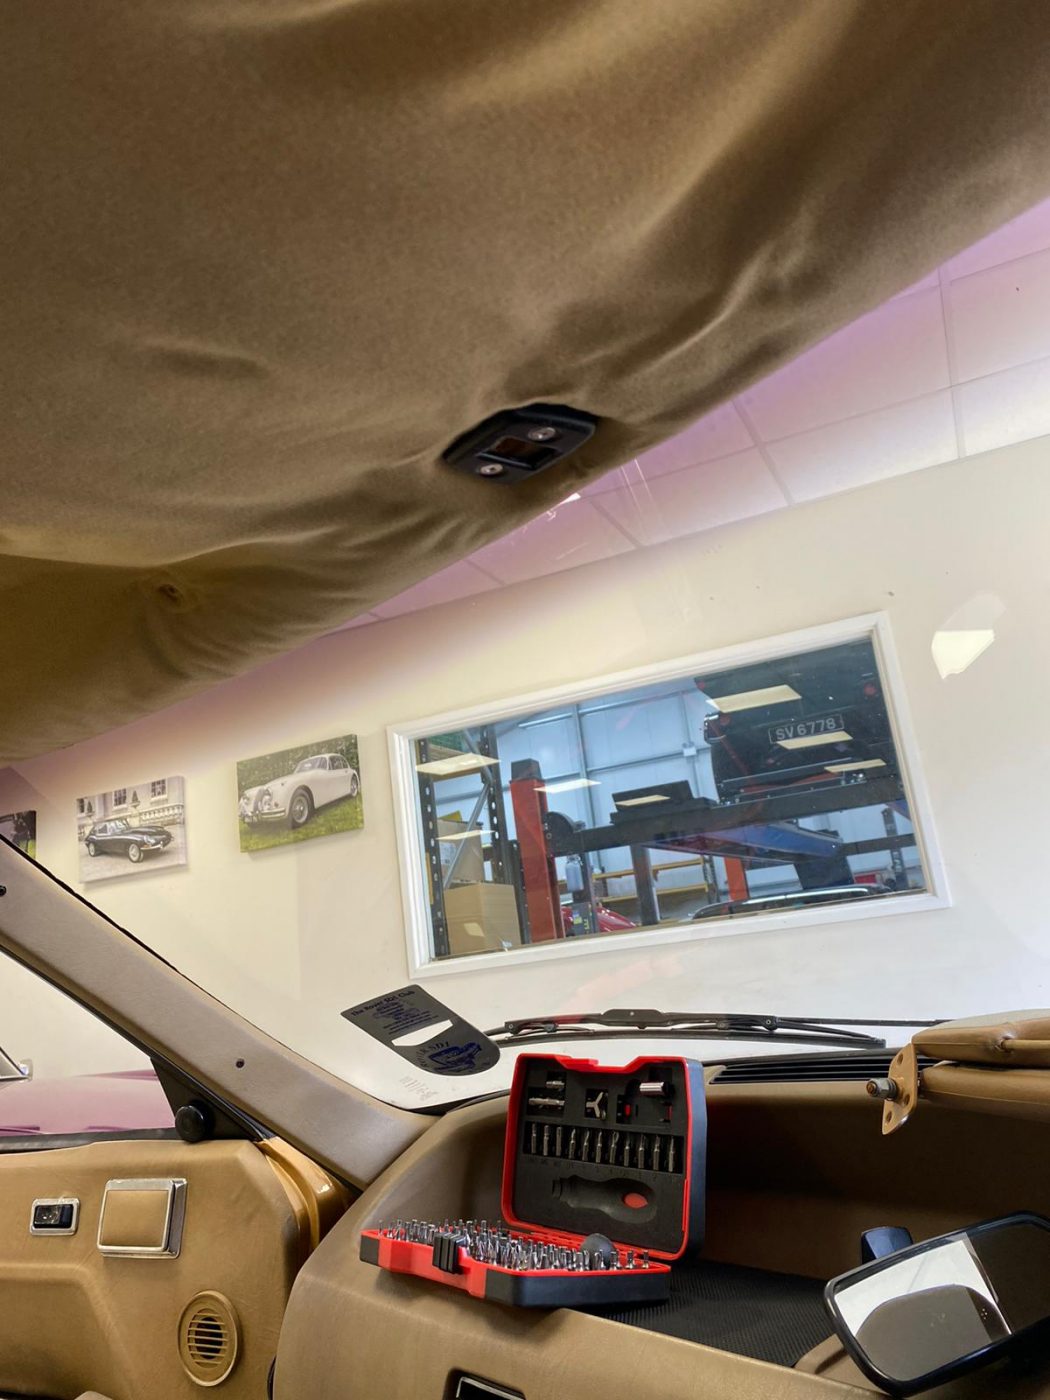
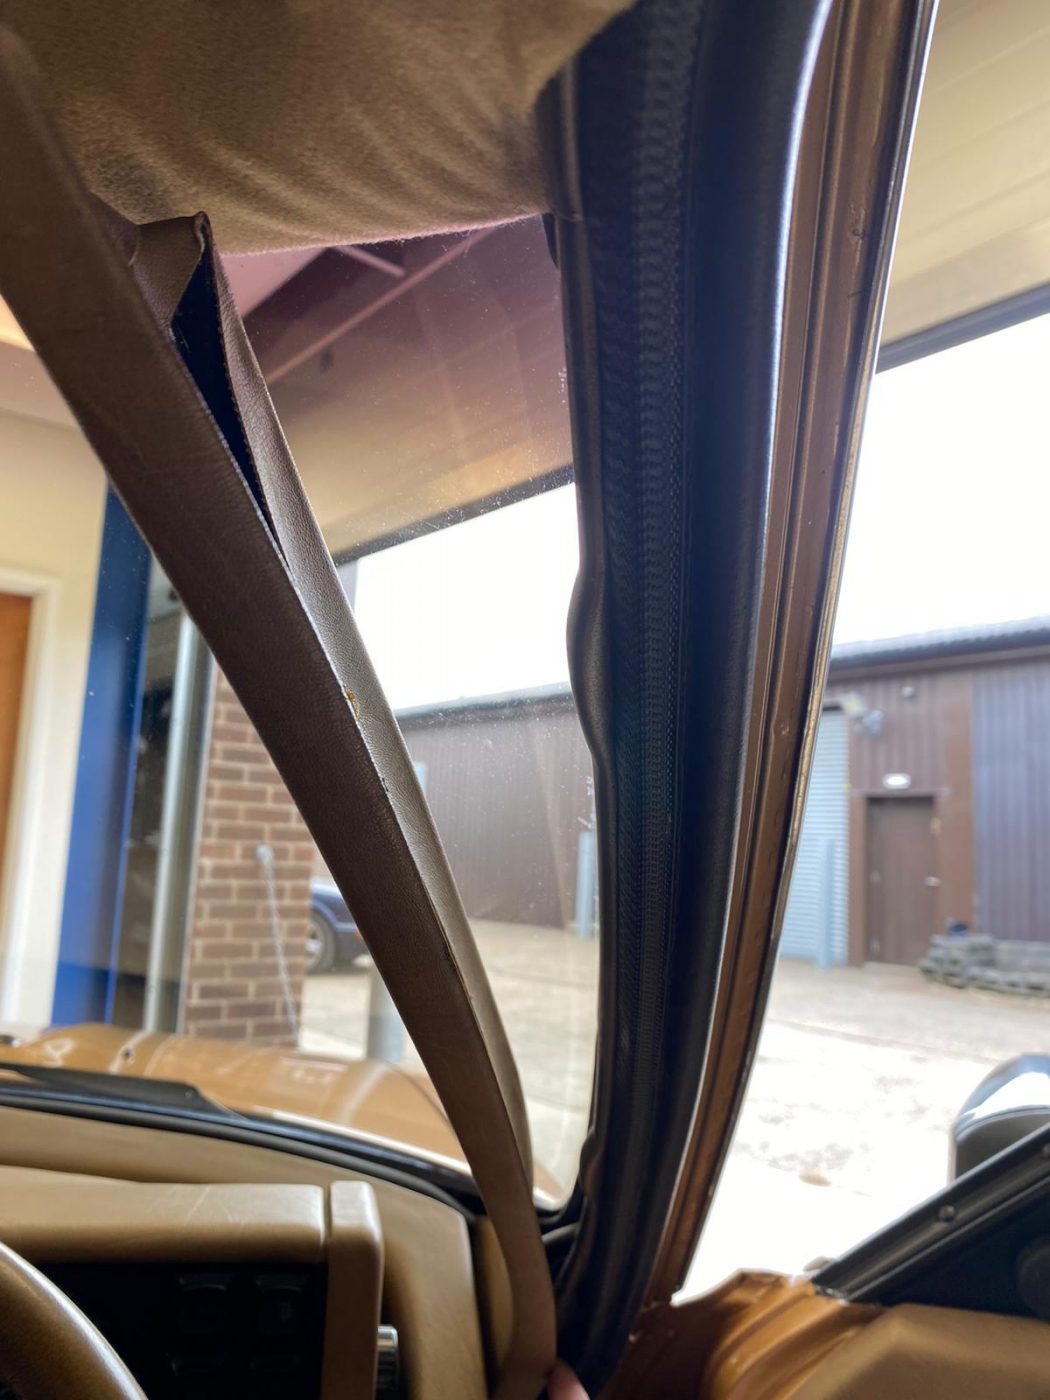
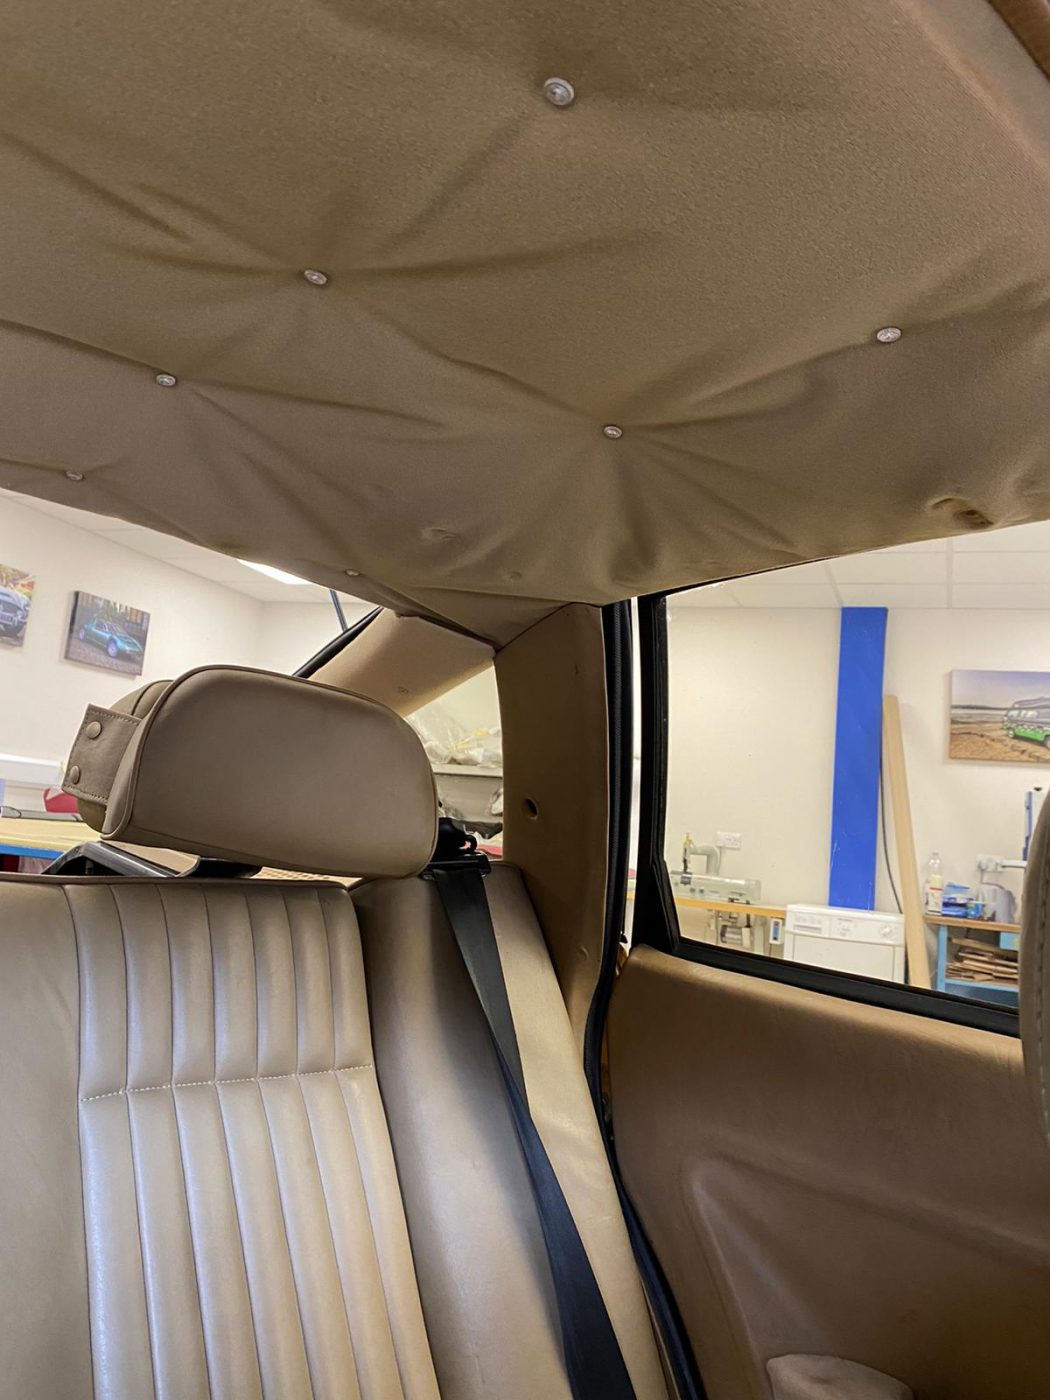
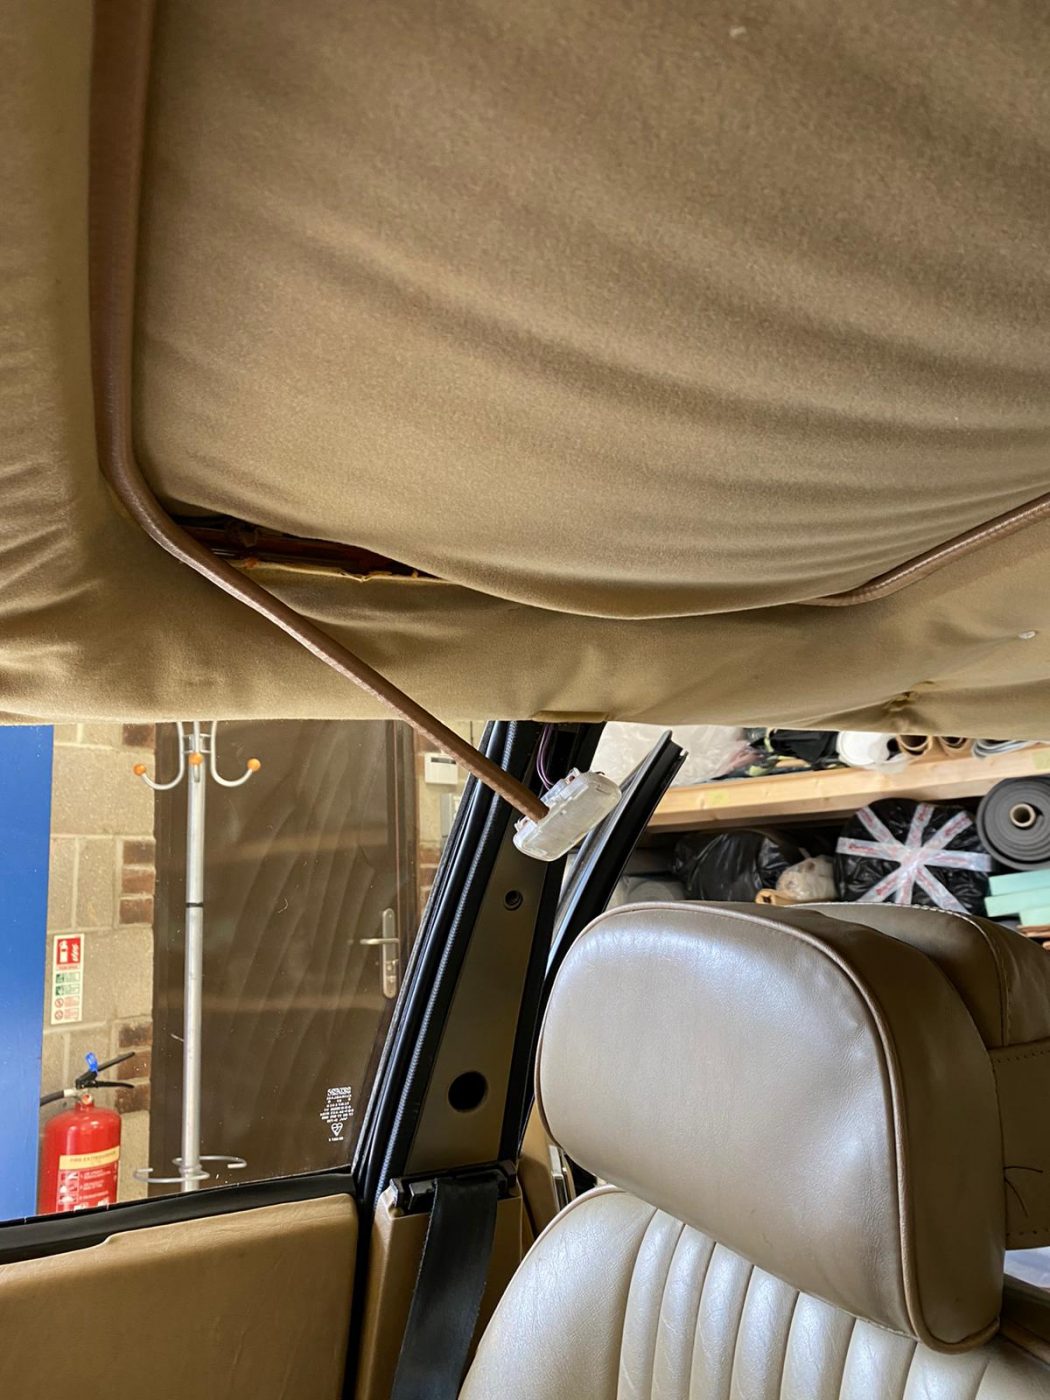
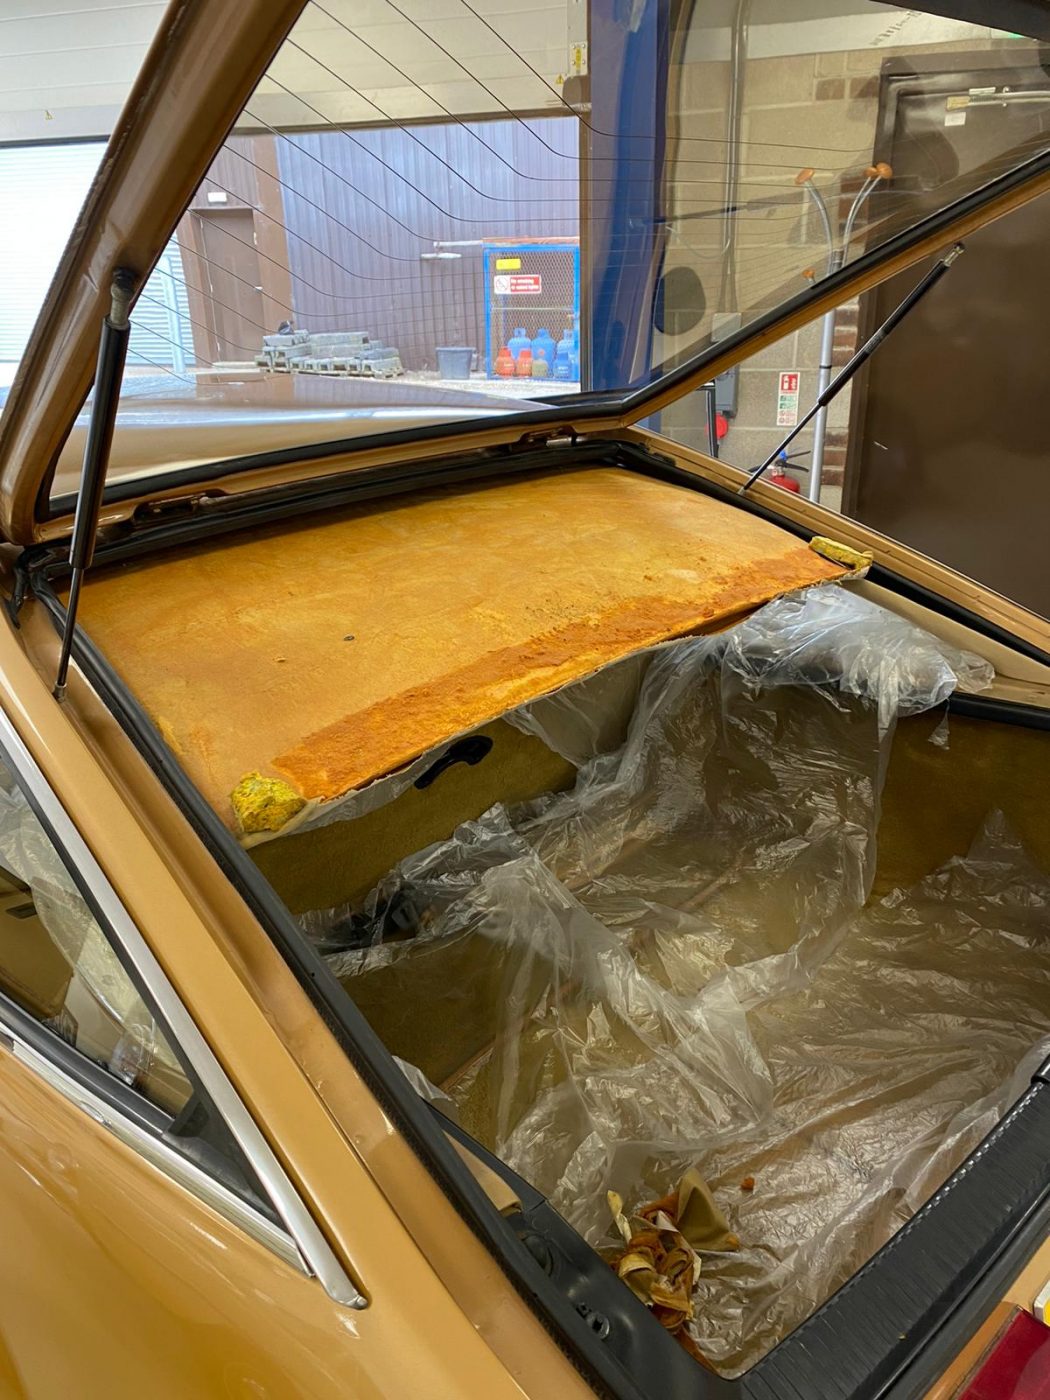
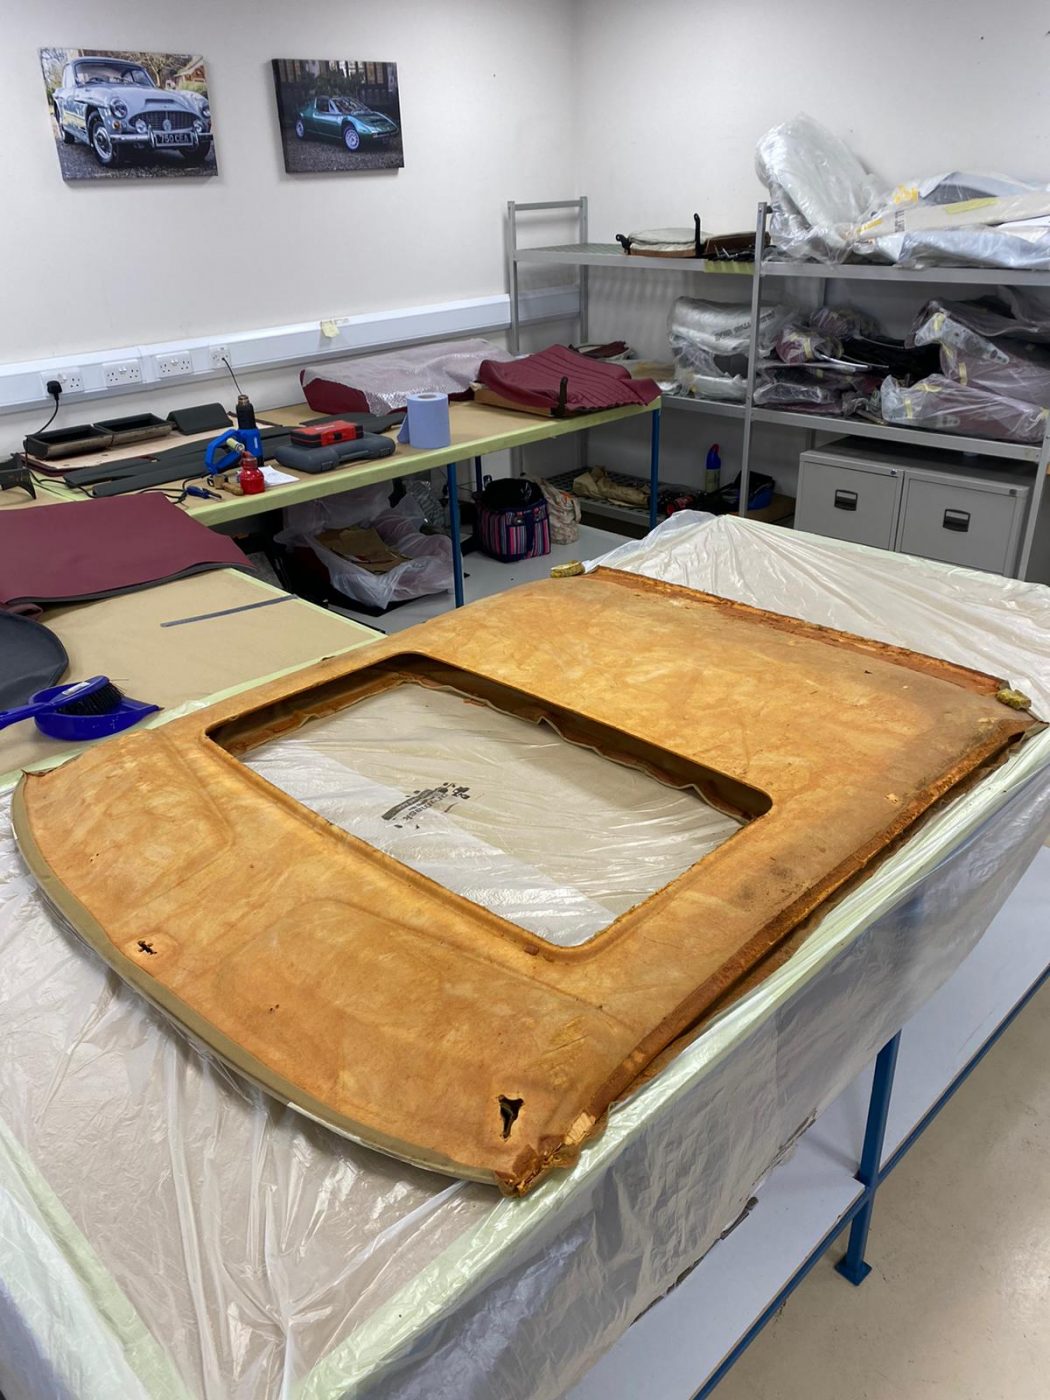
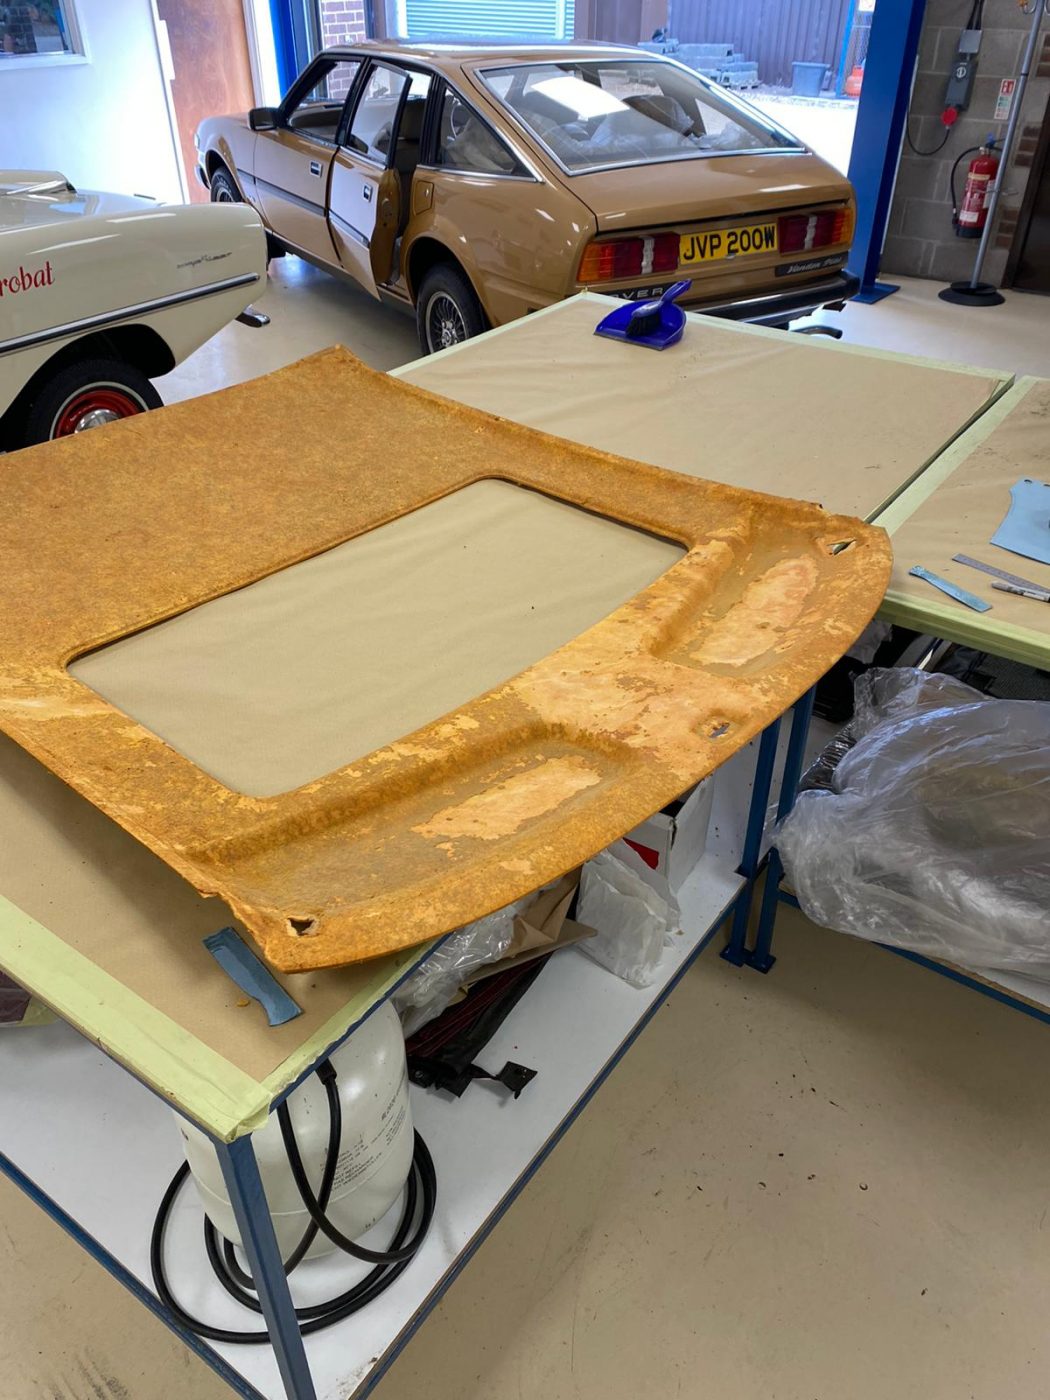
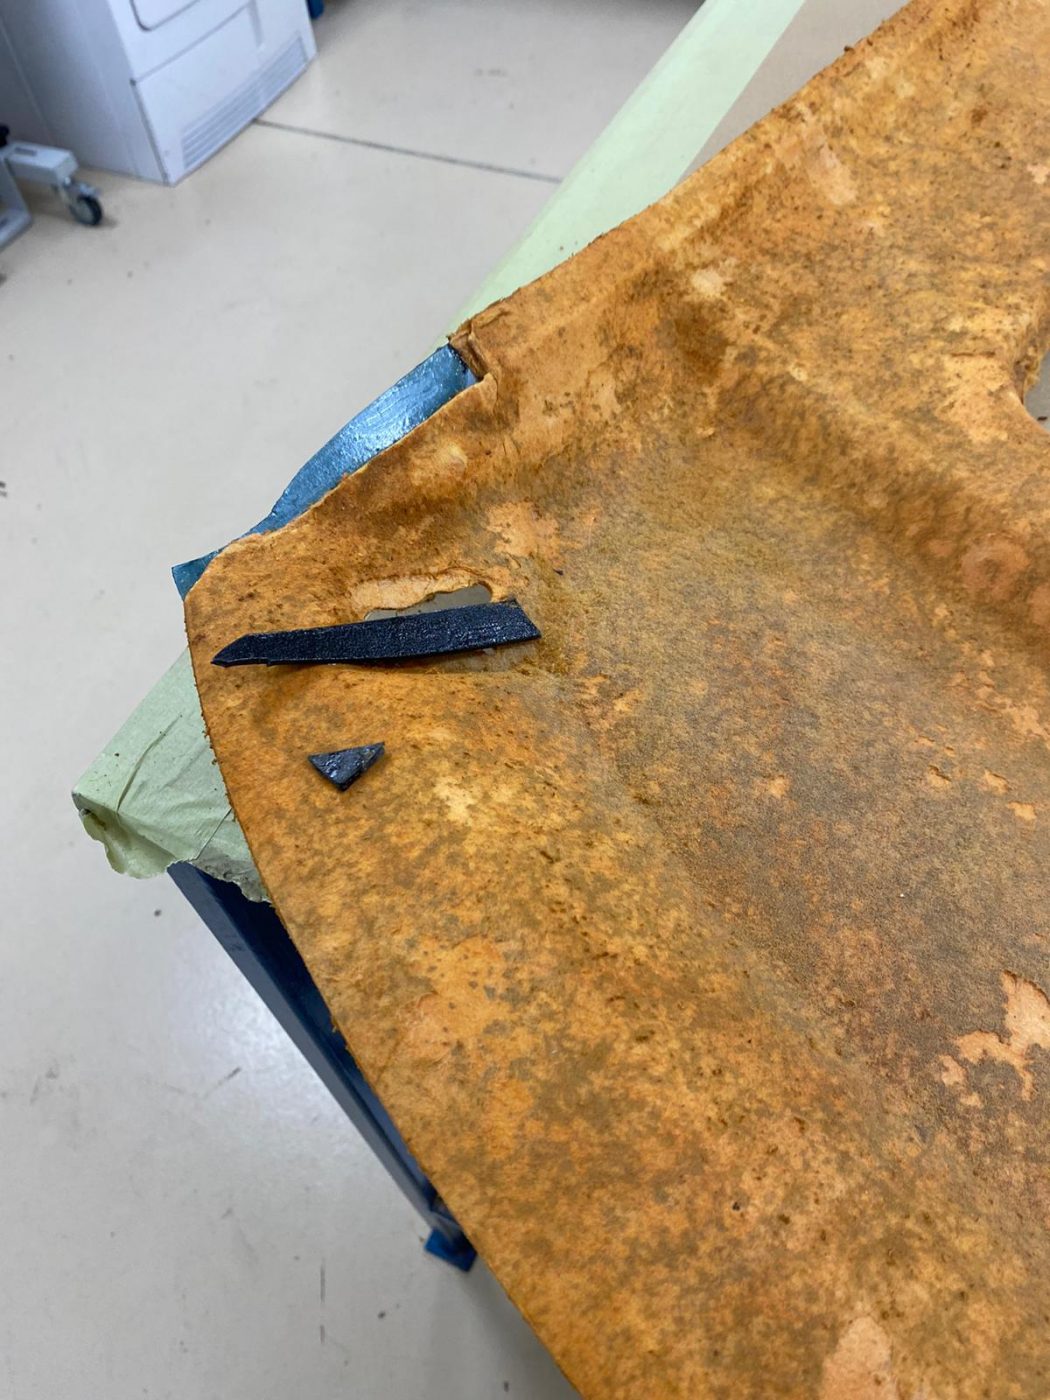
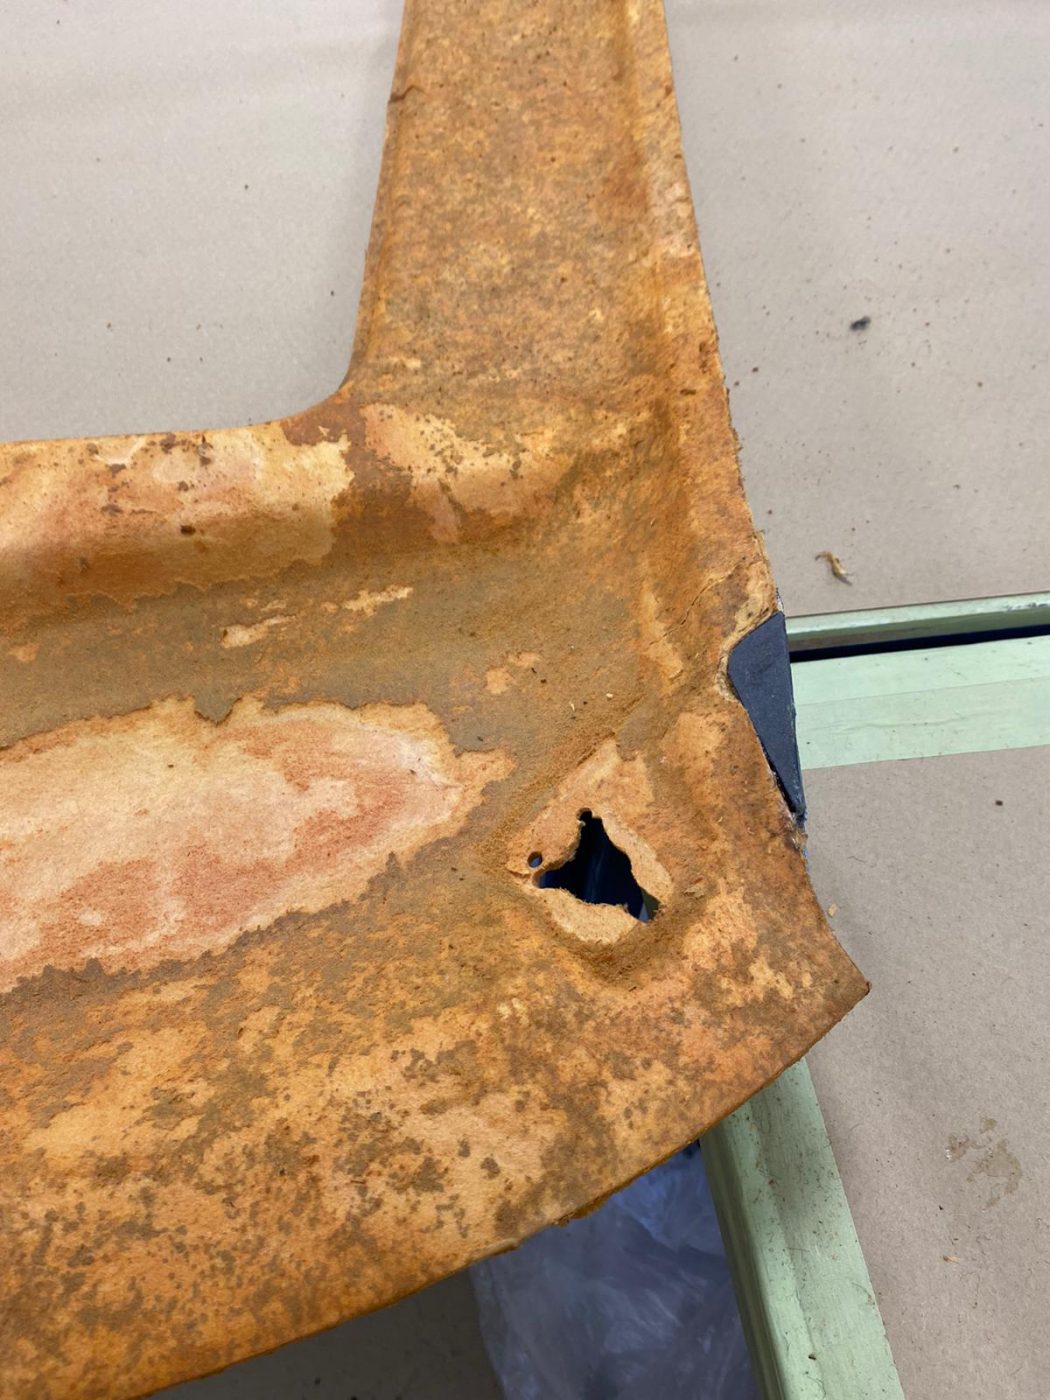
Brian has been busy in the trim shop with our gold 1981 Rover SD1 Vanden Plas. The original headlining was ill-fitting, and the previous owner had placed studs into it, to create a quilted effect, which wasn’t true to the design. So Brian started by removing the headlining board, took the original fabric off, along with the aforementioned studs, and rubbed all the old foam and glue off that was underneath.
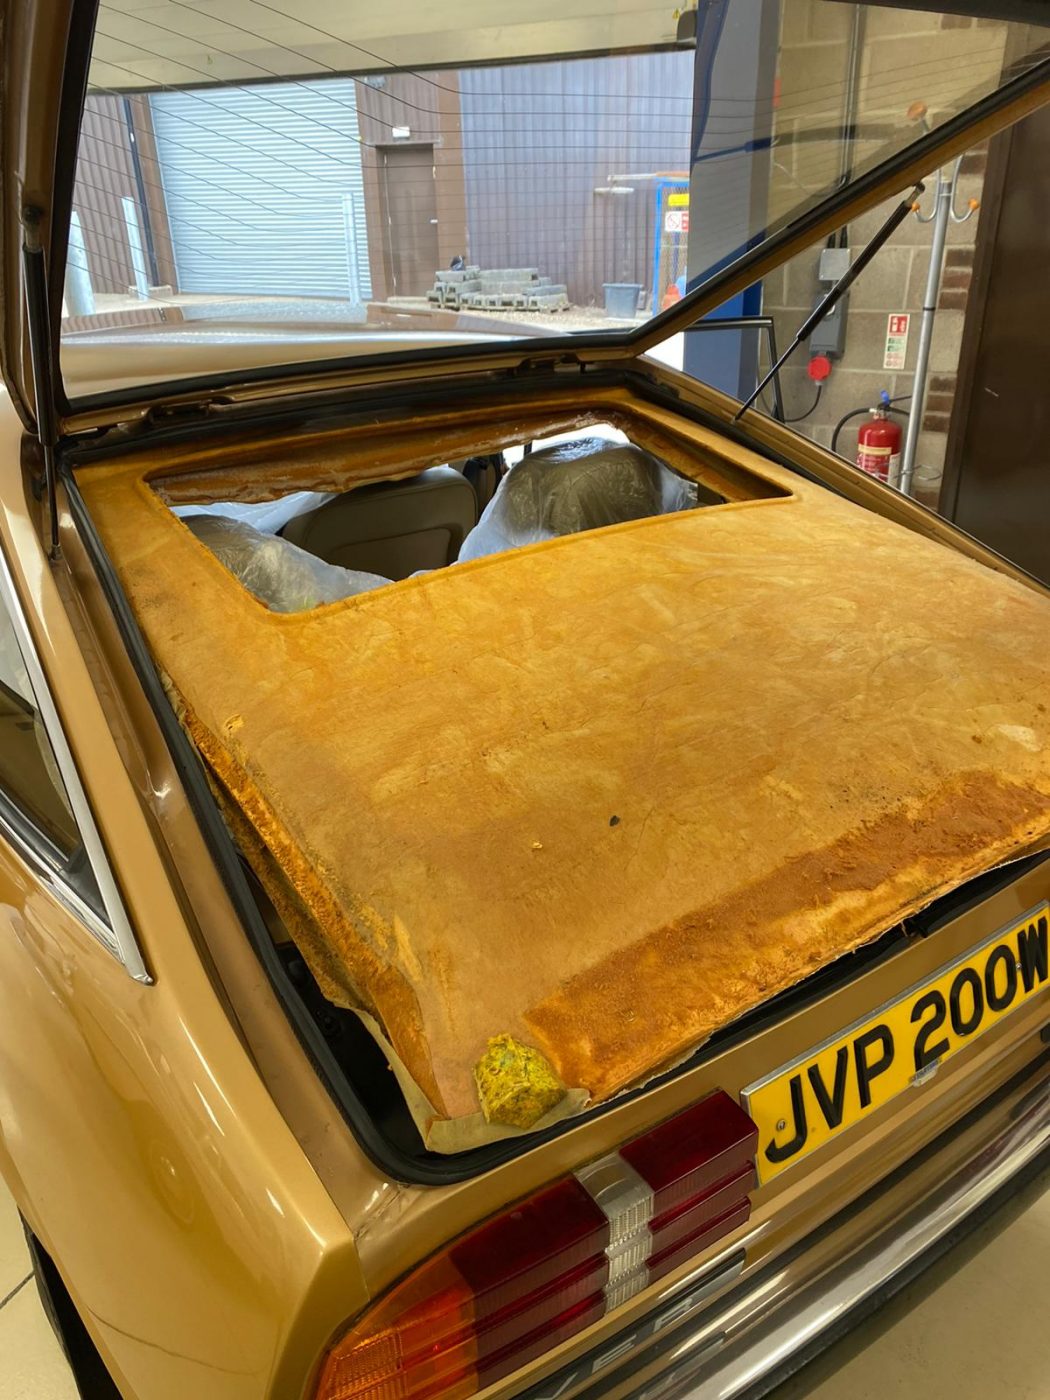
The headlining board itself was repaired with fibreboard, where it had broken at the front. This is now all ready for new headlining fabric to be glued onto it!
Don’t forget, you can enter our competition to win this very car! Here’s a link to our website page with all the information on how to do so! https://www.bridgeclassiccarscompetitions.co.uk/product/1981-rover-sd1/