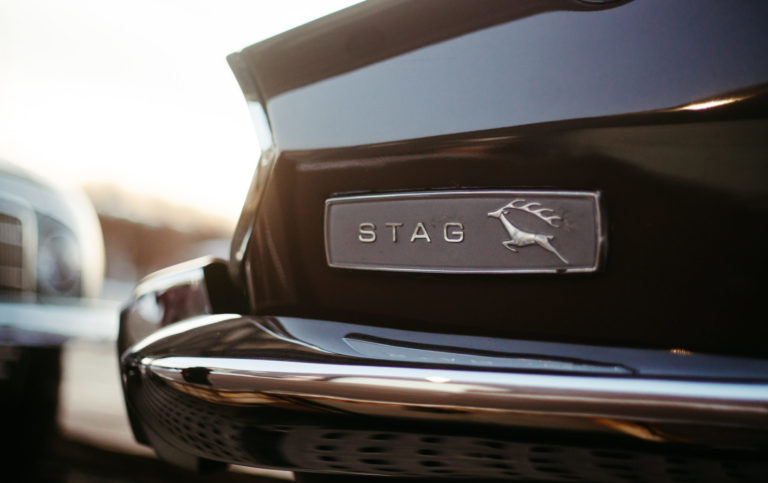
The Stag Arrives
Late this evening, two new motors arrived at Bridge Classic Cars HQ, a 1949 Morris Minor Lowlight and this 1971 Triumph Stag 3.0 V8. With


Late this evening, two new motors arrived at Bridge Classic Cars HQ, a 1949 Morris Minor Lowlight and this 1971 Triumph Stag 3.0 V8. With
Our Amphicar has taken the back bench since Christmas whilst we waited for the gearbox to come back after we encountered a bushing stuck inside
James has engineered a new window sill on the sliding door of our 1991 VW T4 Transporter Campervan. The lower part of the window sill
We’re delighted to announce that after being smoothed and polished, our beautiful Peony Red Jensen has entered the trim shop. Chris spent yesterday smoothing and
Our most recent edition, a Land Rover Series 2a has been checked over and is having a handful of issues addressed. One of the issues
Scott has continued blocking out the Ferrari Daytona after its recent visit to the paint bay. All the primer has now been blocked down on
Our team has begun removing the chrome on the 1954 Jaguar MKVII in preparation for bodywork and paint. For the majority of the chrome, its
We replaced the number plate lights on our TVR Chimaera so that the number plate now shines bright!
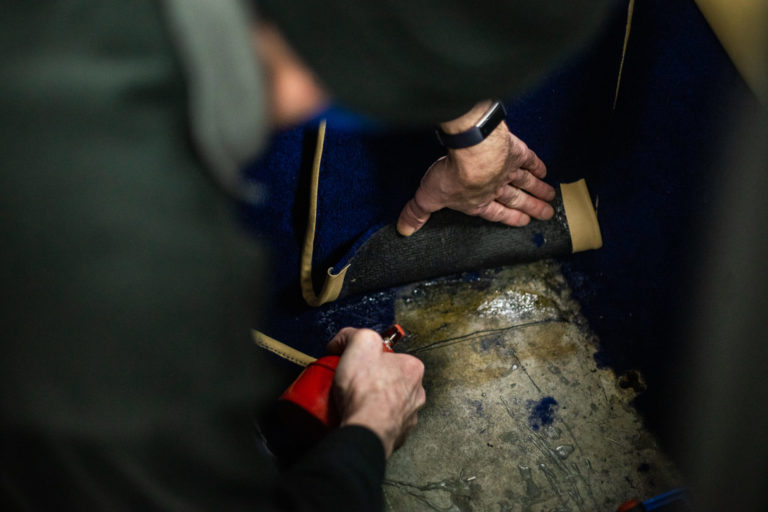
Our trim department has been working hard to get the 1998 TVR Chimaera’s carpet, door panels and other pieces of fabric-to-metal trim stuck and bolted
Late this evening, two new motors arrived at Bridge Classic Cars HQ, a 1949 Morris Minor Lowlight and this 1971 Triumph Stag 3.0 V8.
With a few tweaks and fixes needed, this Stag will be worked on in our workshop for a short time before being photographed and released as a new competition vehicle.
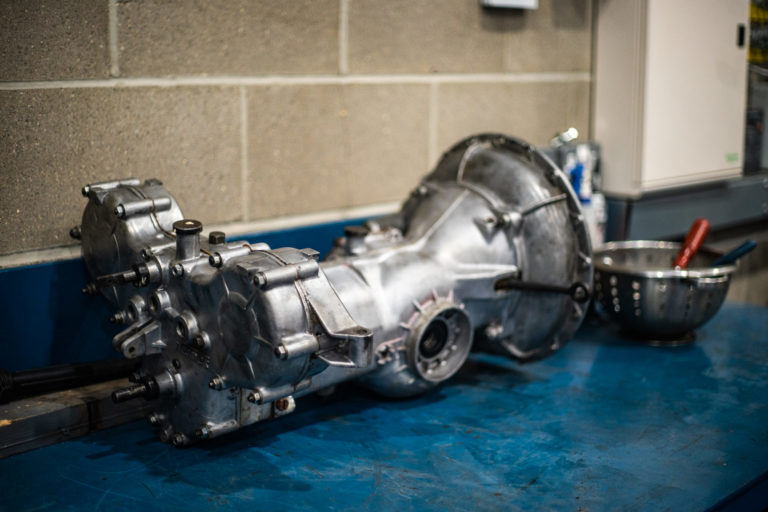
Our Amphicar has taken the back bench since Christmas whilst we waited for the gearbox to come back after we encountered a bushing stuck inside the gearbox which needed the entire element to be taken apart and re-built.
Now with the gearbox back, we can start to reassemble the gearbox and engine.
Ady has also cleaned the floor of the Amphicar engine bay and Chris has painted it black. The engine can now be placed back in.
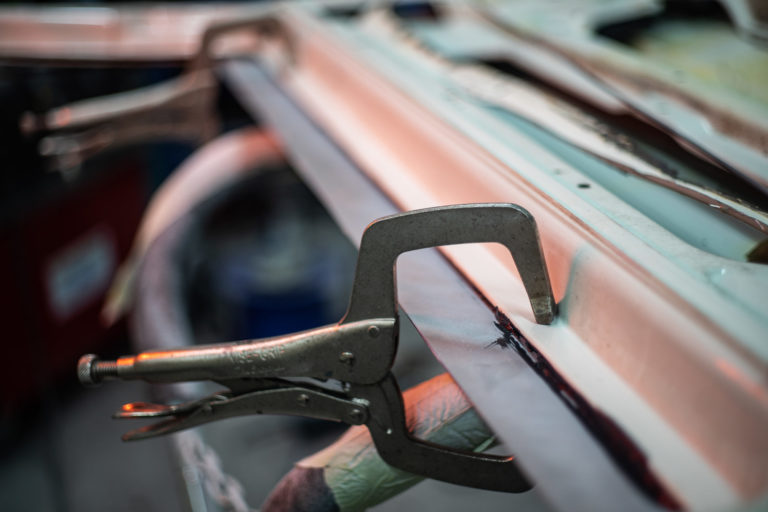
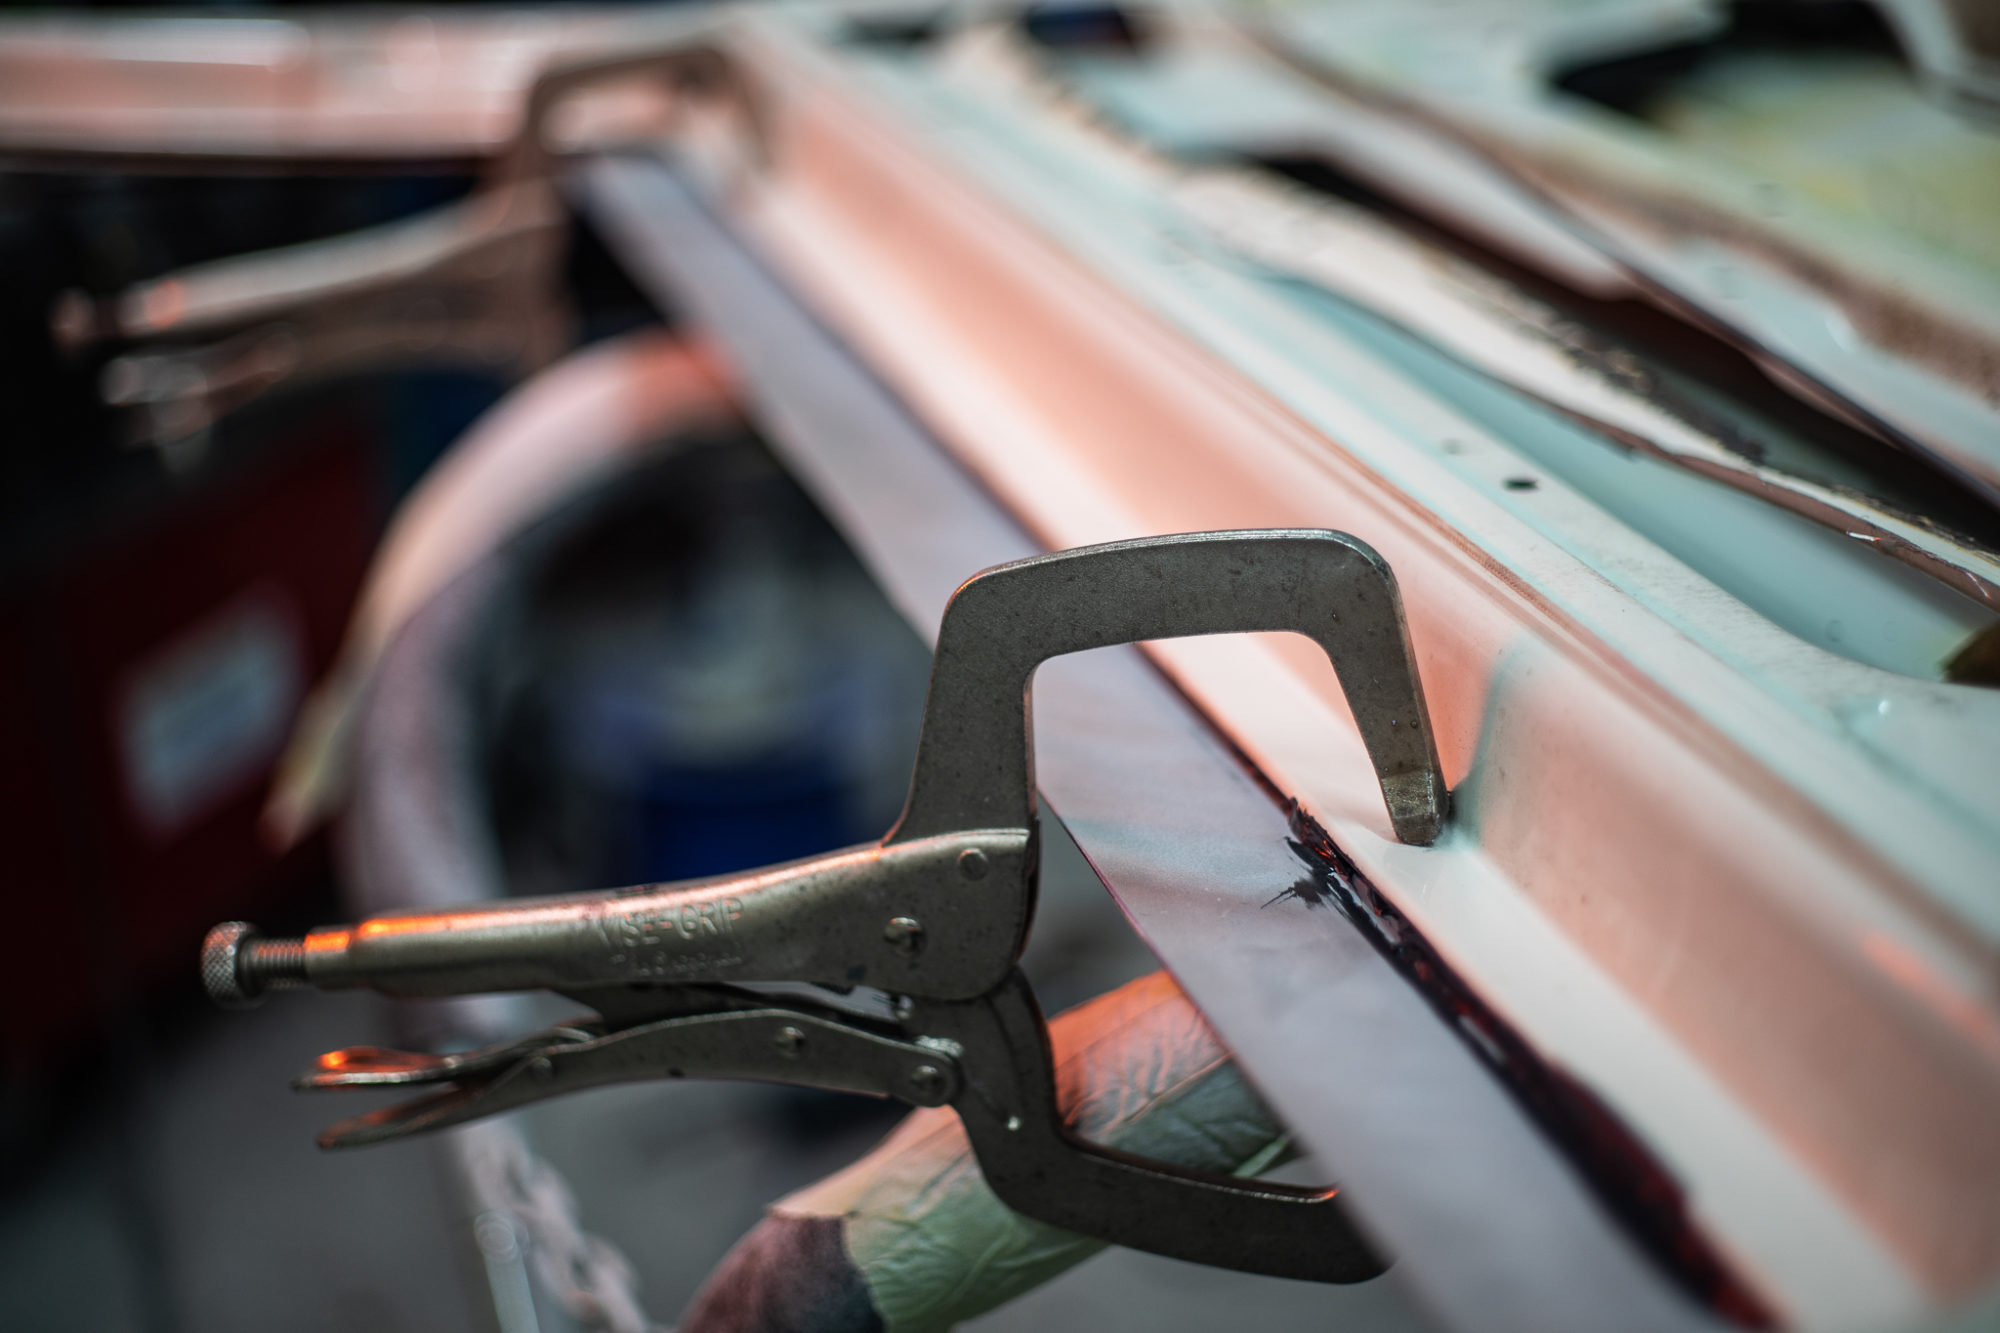
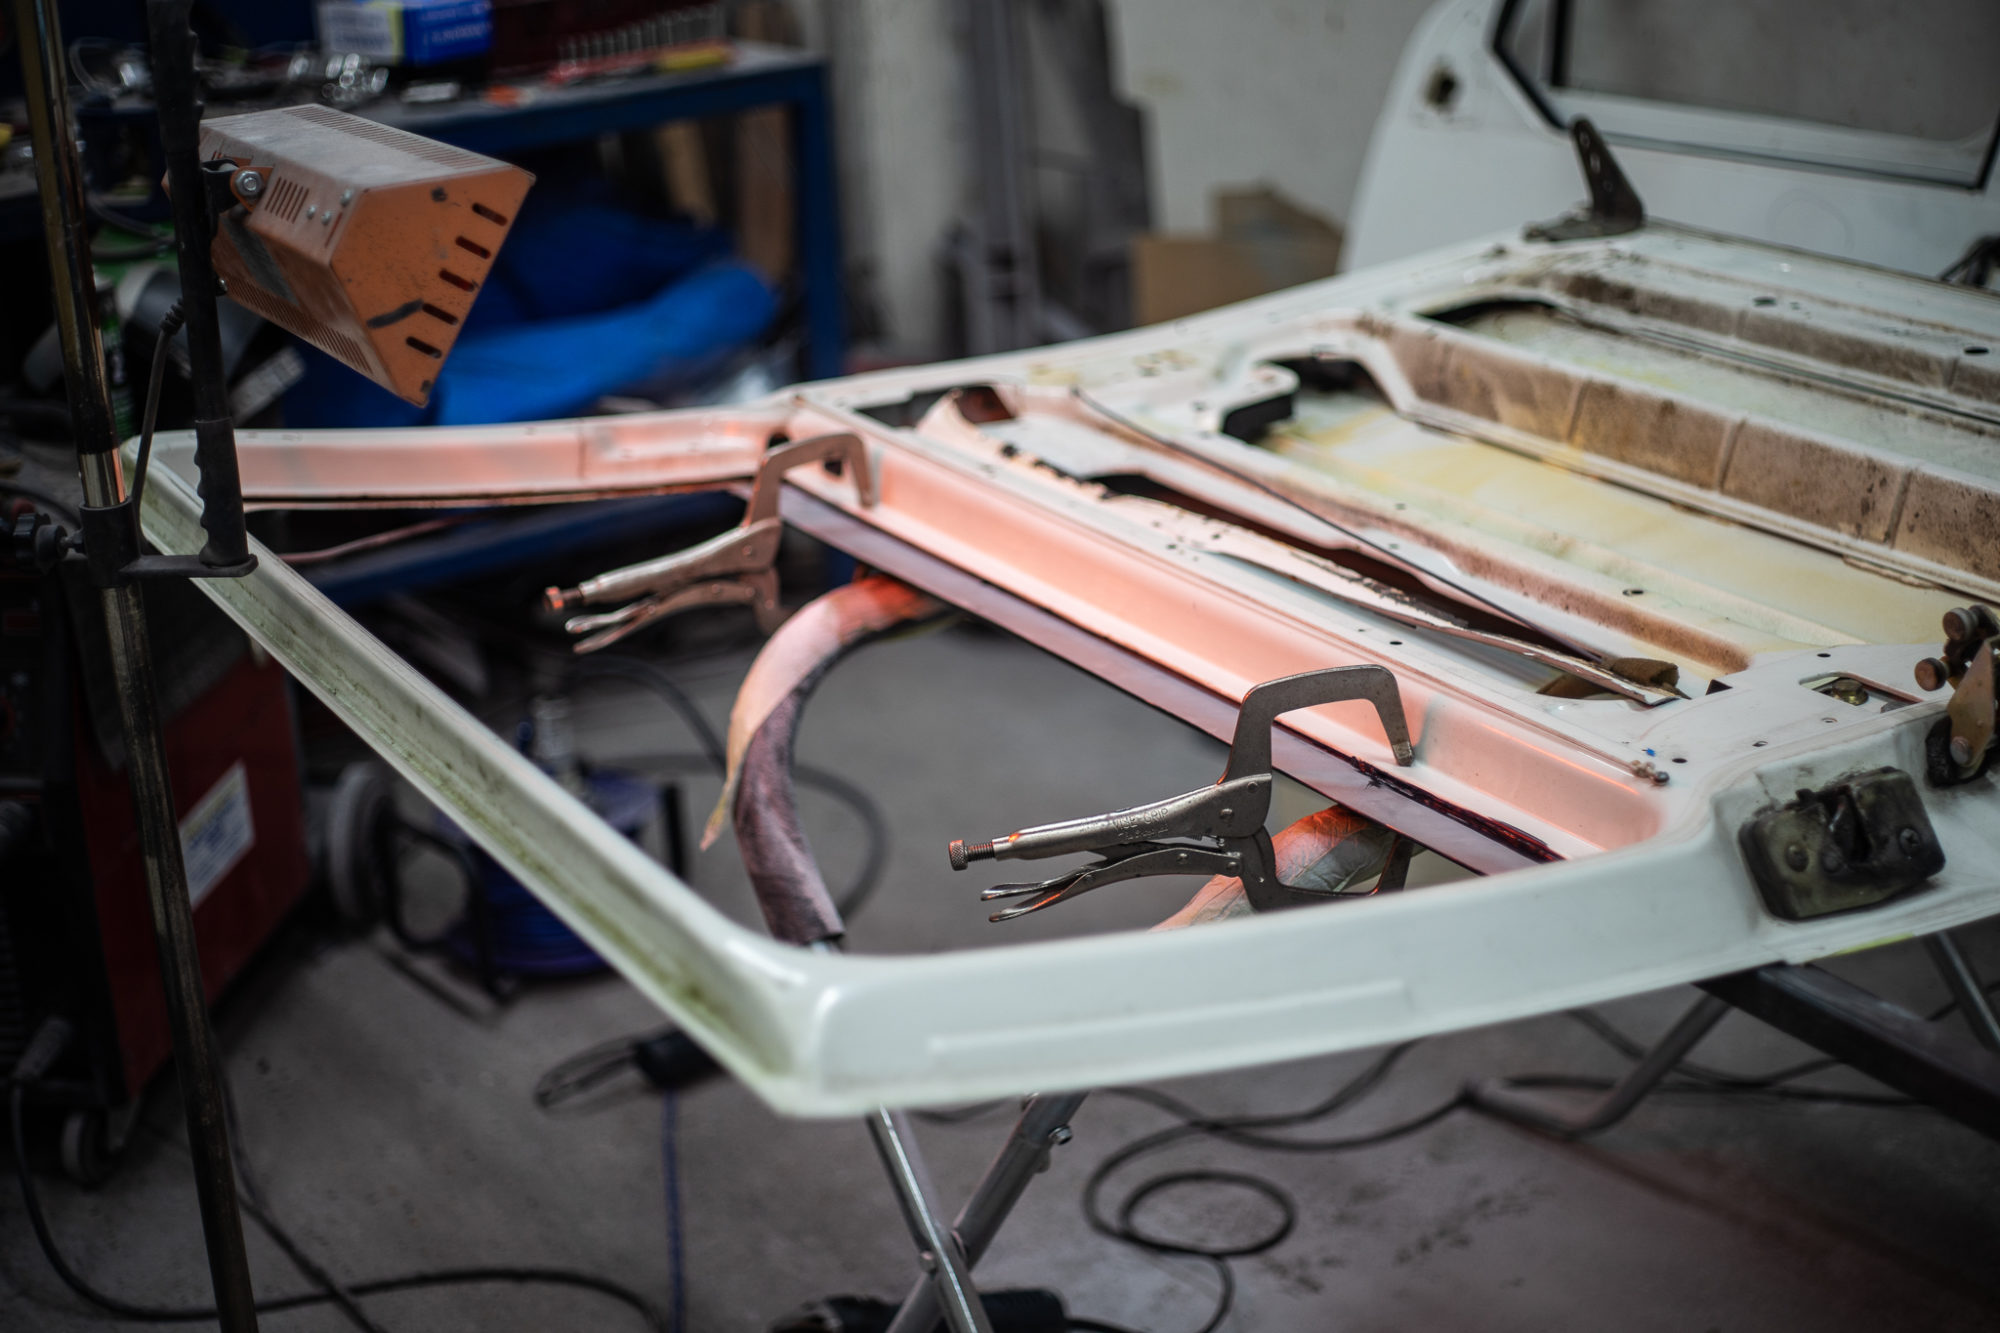
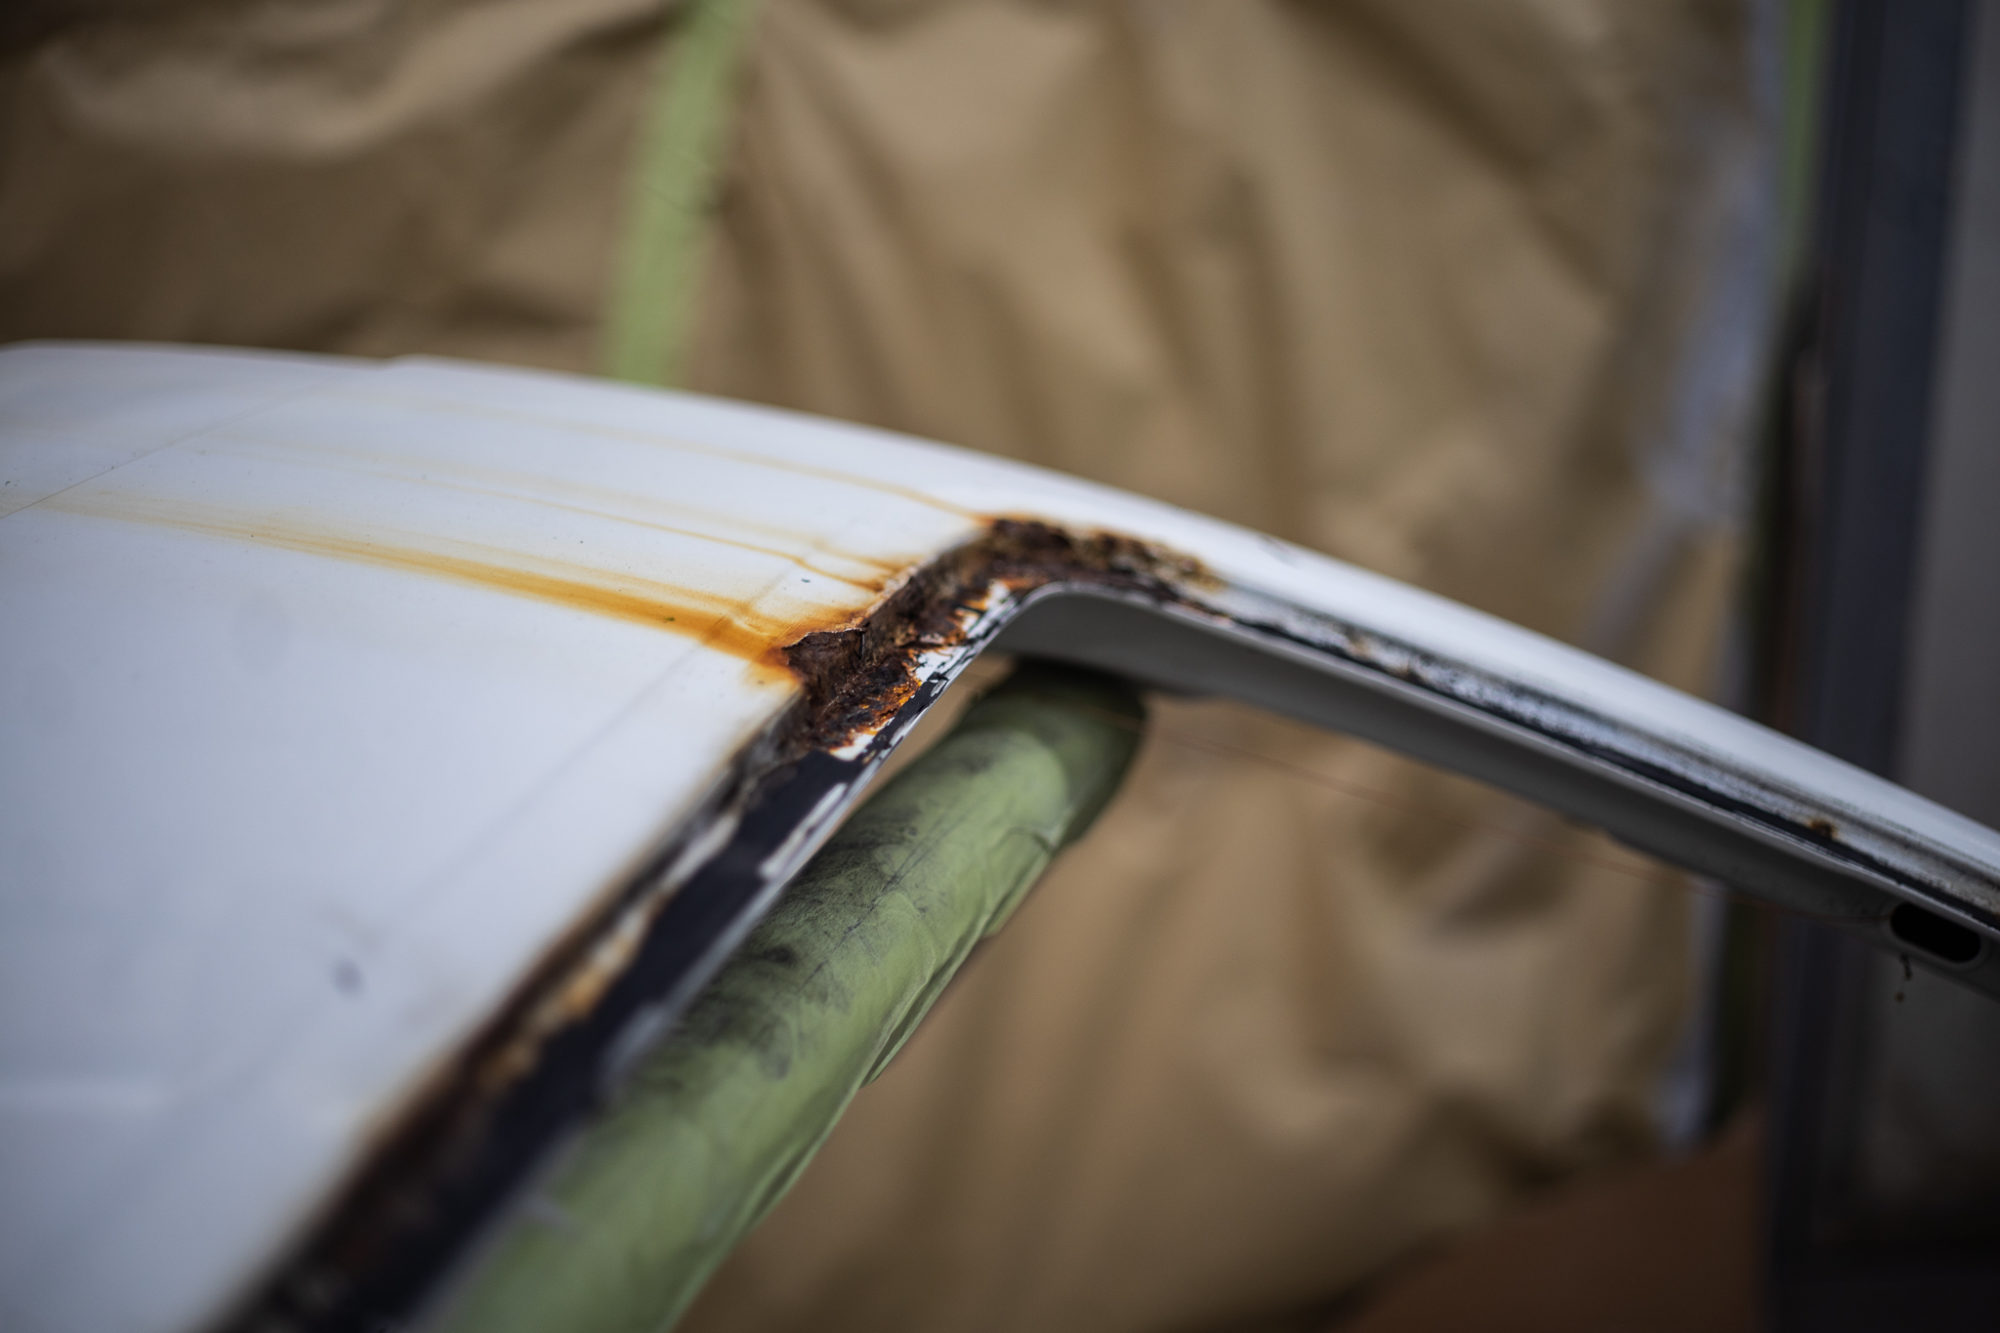
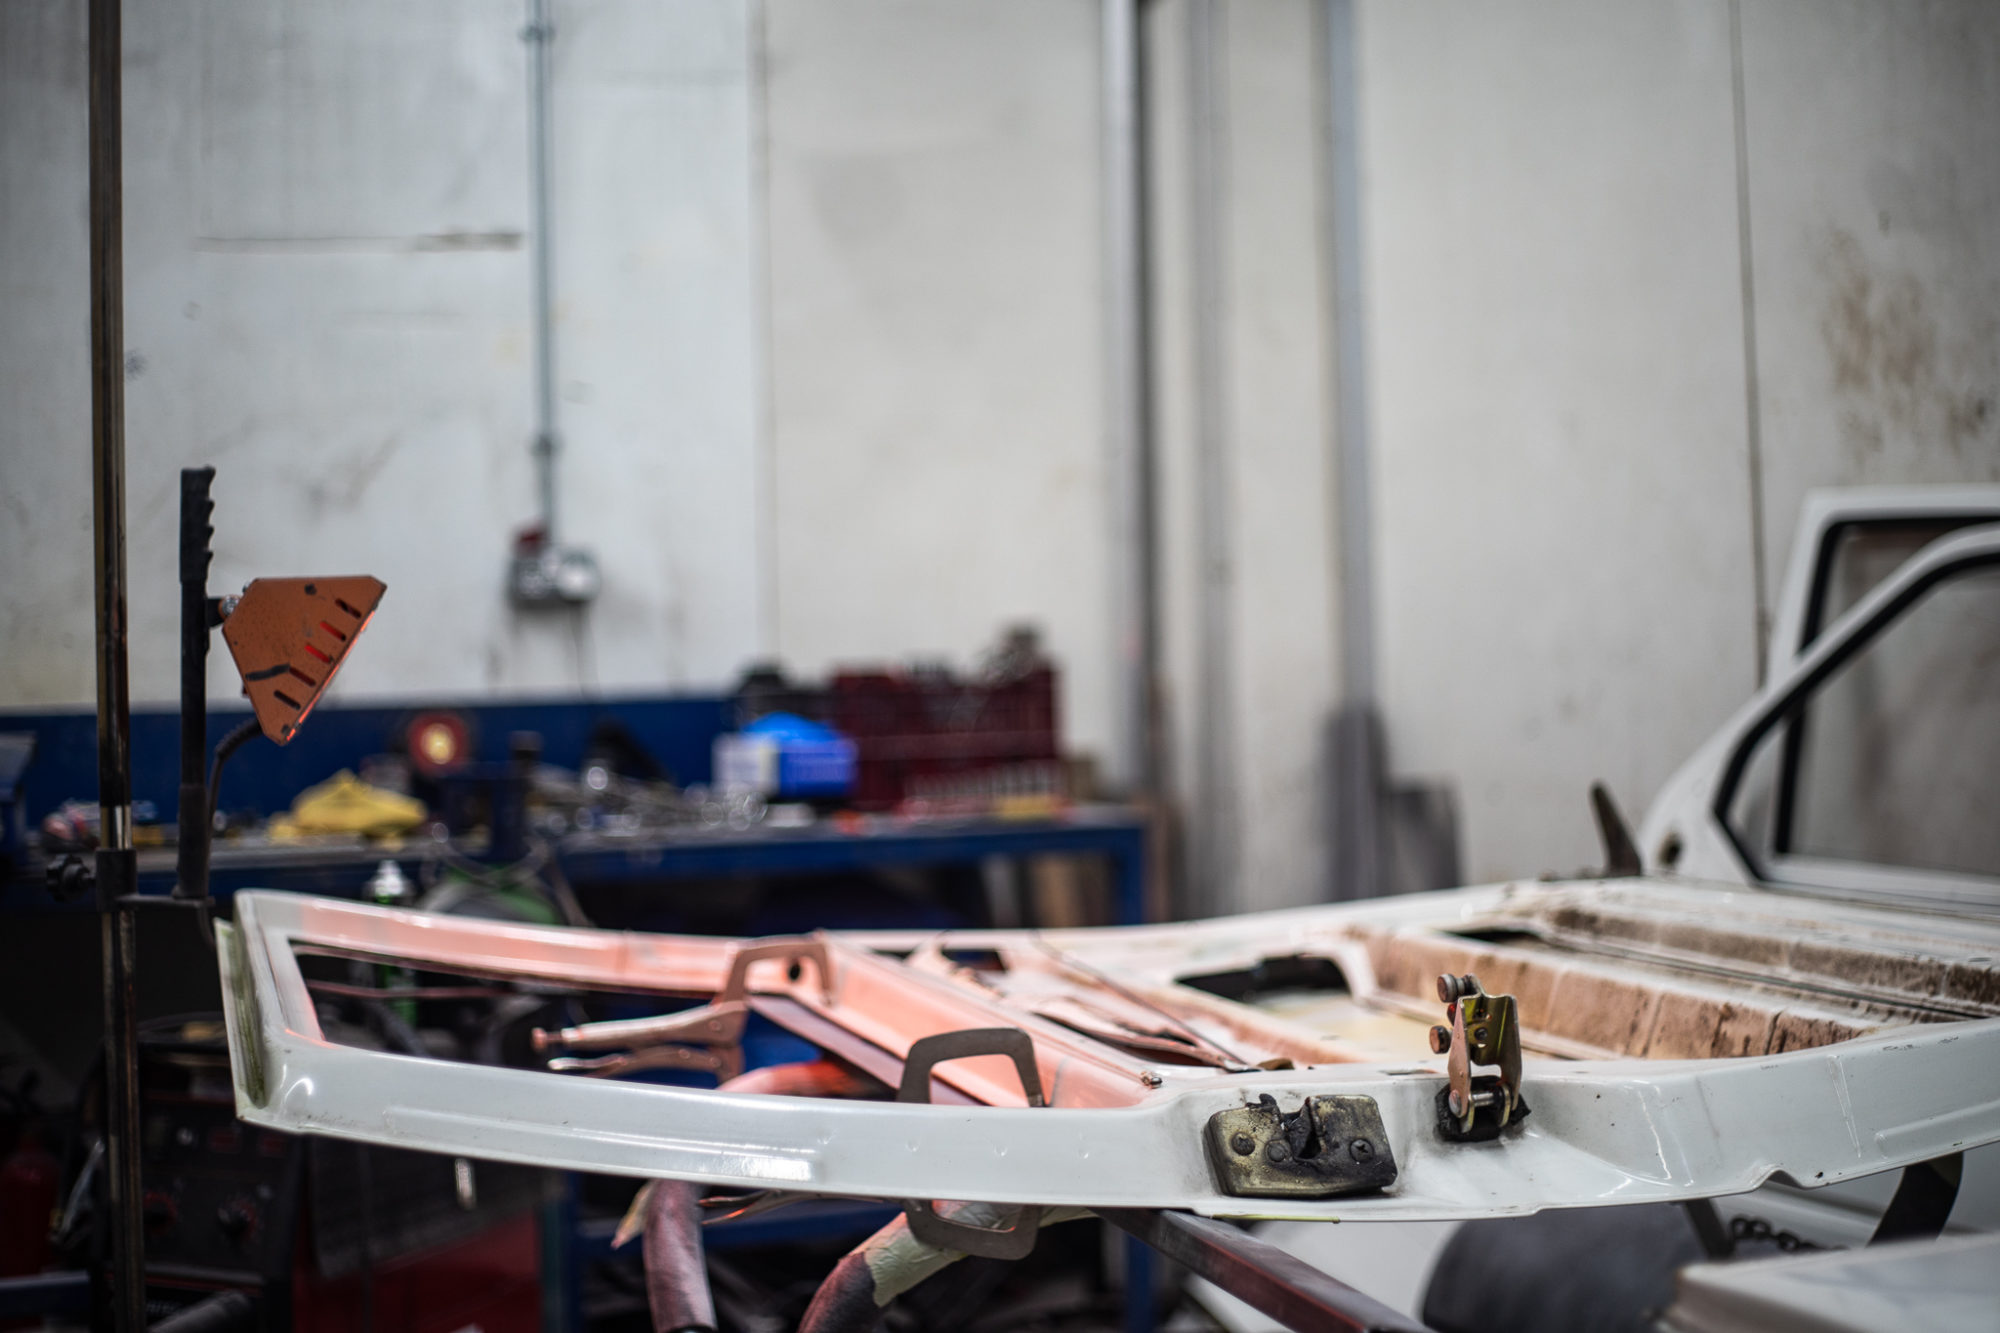
James has engineered a new window sill on the sliding door of our 1991 VW T4 Transporter Campervan. The lower part of the window sill had corroded beyond repair so James decided to fabricate a new element. You can see below the new piece has been stuck down and held in place before James can shape it.
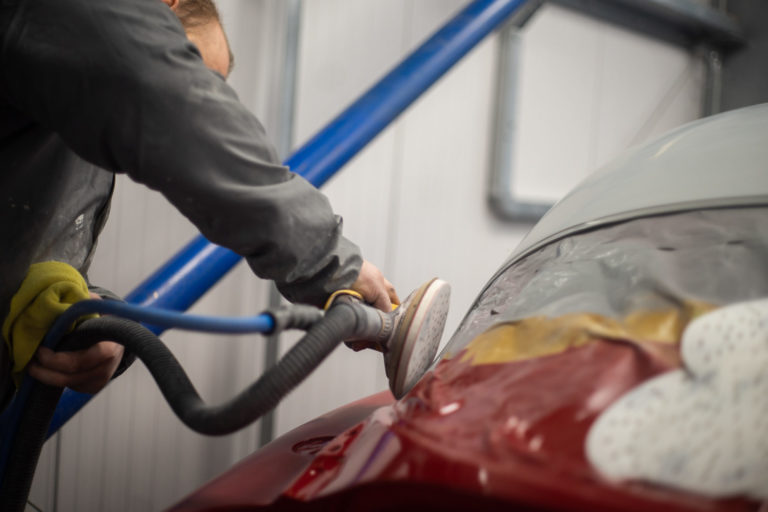
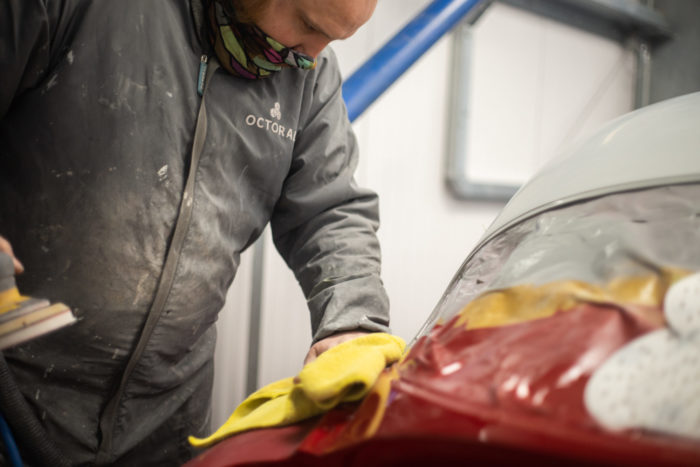
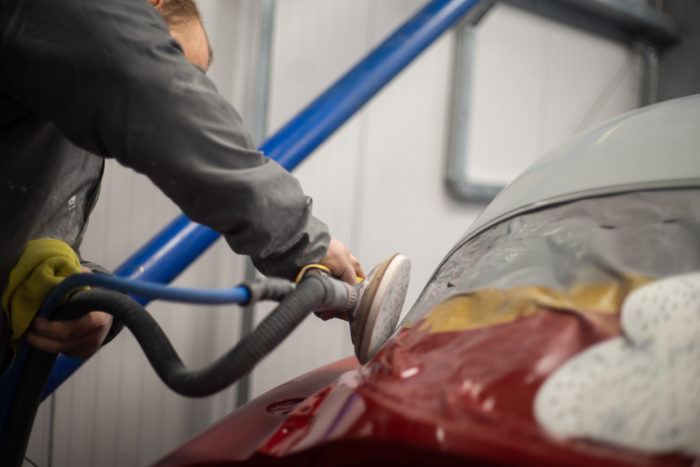
We’re delighted to announce that after being smoothed and polished, our beautiful Peony Red Jensen has entered the trim shop.
Chris spent yesterday smoothing and polishing the body so that the paint looks smooth and perfect. We’re loving the richness of the red contrasting with the soft grey roof.
This 1960 541S Jensen is now sat in our trim shop ready to start its interior restoration journey.
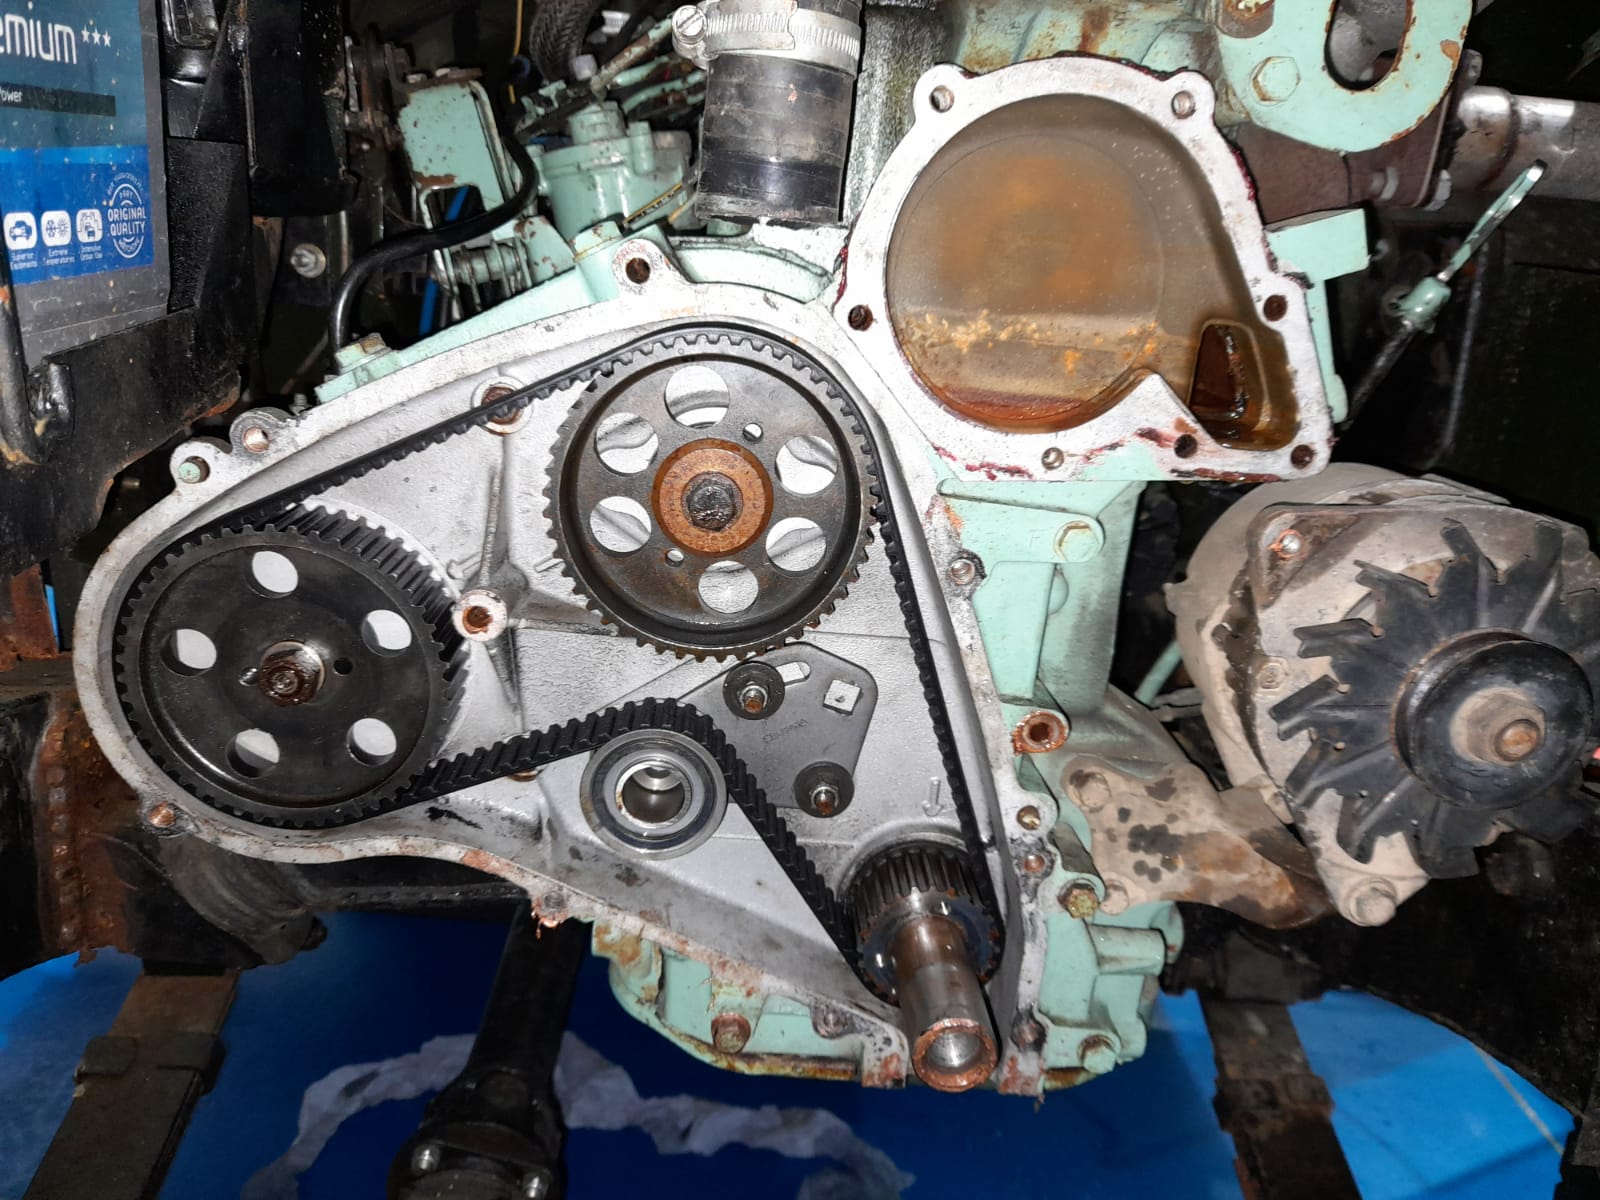
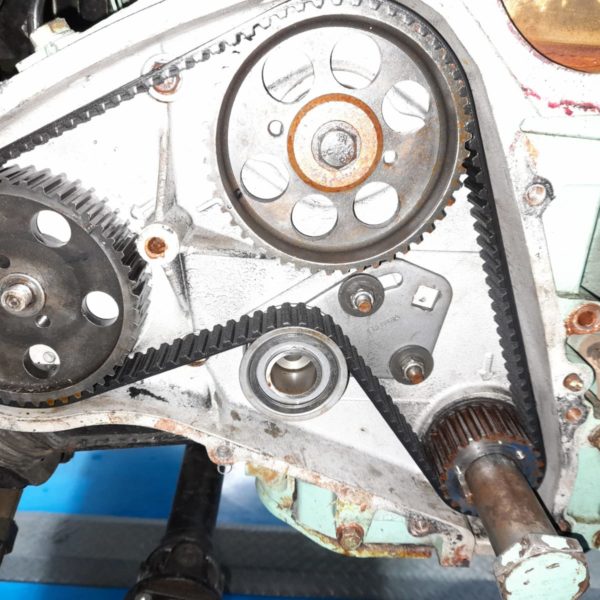
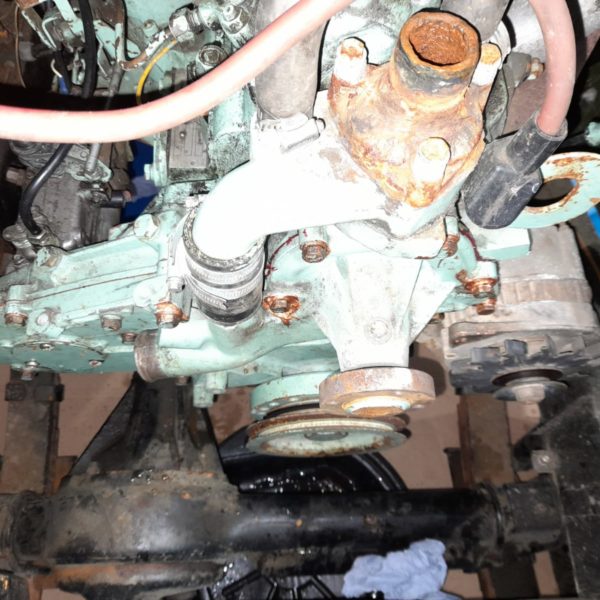
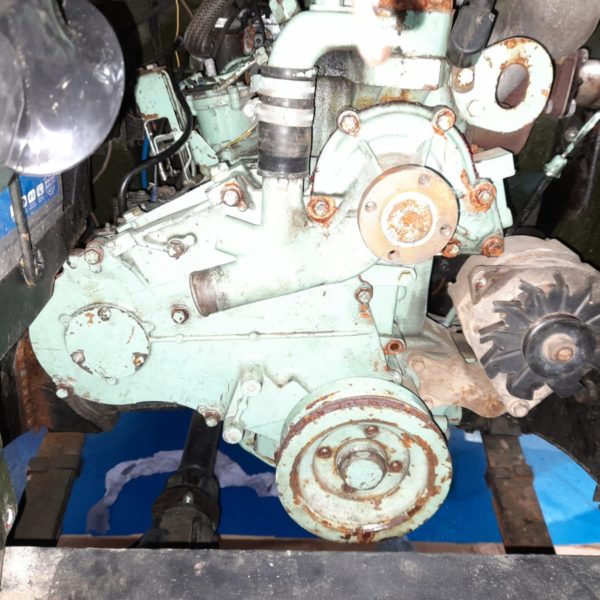
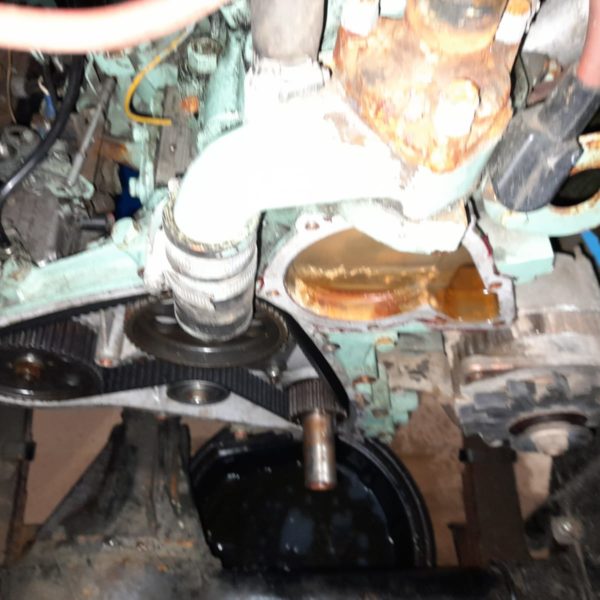
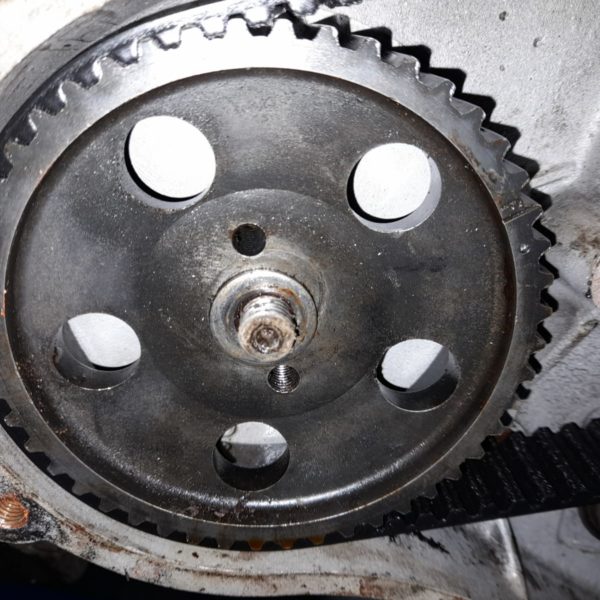
Our most recent edition, a Land Rover Series 2a has been checked over and is having a handful of issues addressed. One of the issues is a fuel leak from the fuel pump behind the timing cover. John has stripped down the part to start to address the issue.

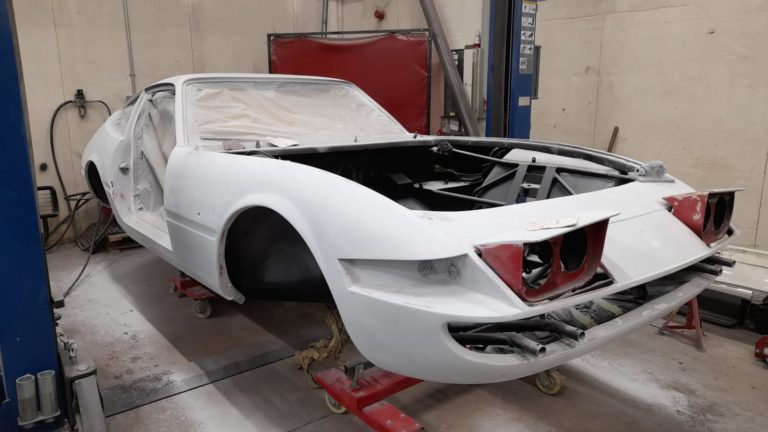
Scott has continued blocking out the Ferrari Daytona after its recent visit to the paint bay. All the primer has now been blocked down on the body. There’s a few more imperfections to smooth down before the next primer coat but otherwise, its almost ready for the next step!
The term blocking out refers to smoothing over the body and filing out any imperfections to make sure the body is all straight and ready to be painted.
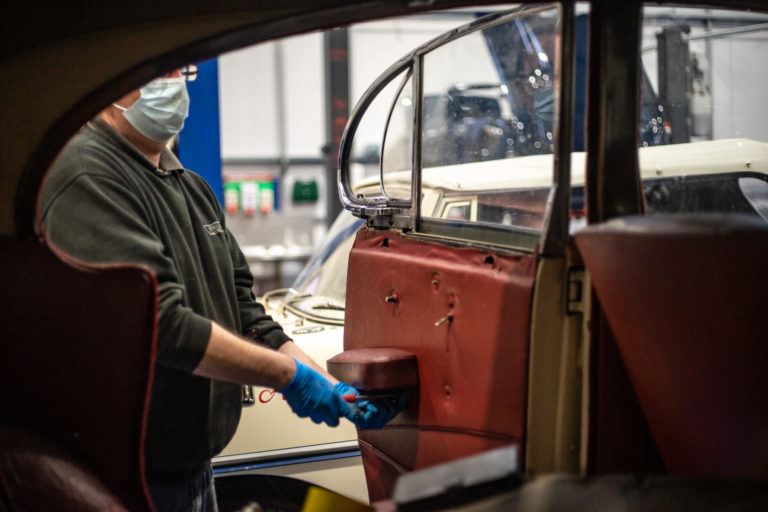
Our team has begun removing the chrome on the 1954 Jaguar MKVII in preparation for bodywork and paint. For the majority of the chrome, its a realtivily simple removal, for example, the pieces on the windows are easy to remove however some are more difficult and need extra components removed to get to the chrome.
Following the fuel tank renovation, Ady has fitted the oil sump back underneath the car.
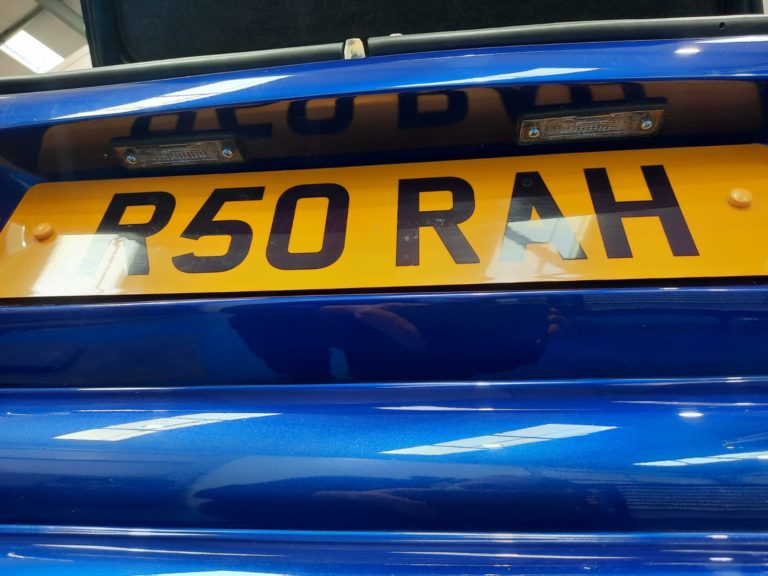
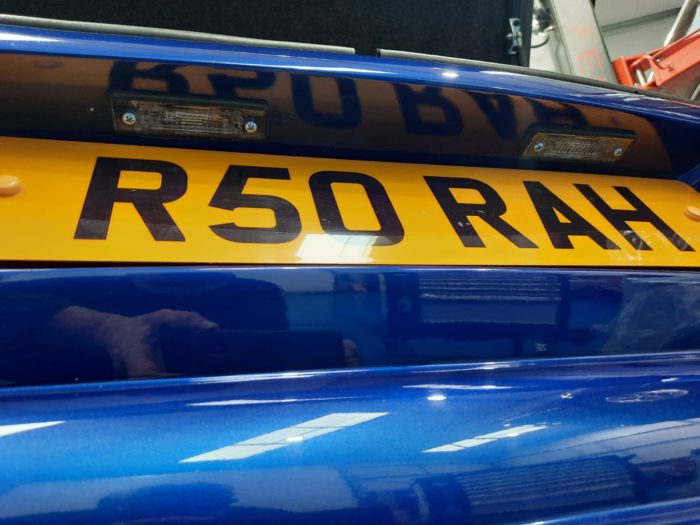
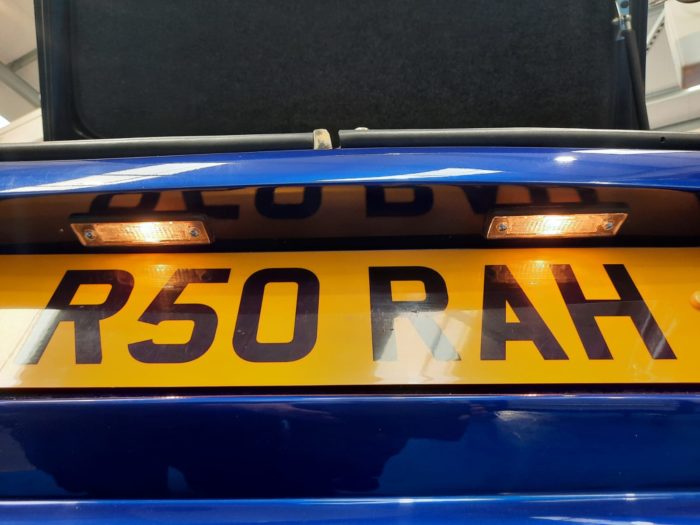
We replaced the number plate lights on our TVR Chimaera so that the number plate now shines bright!
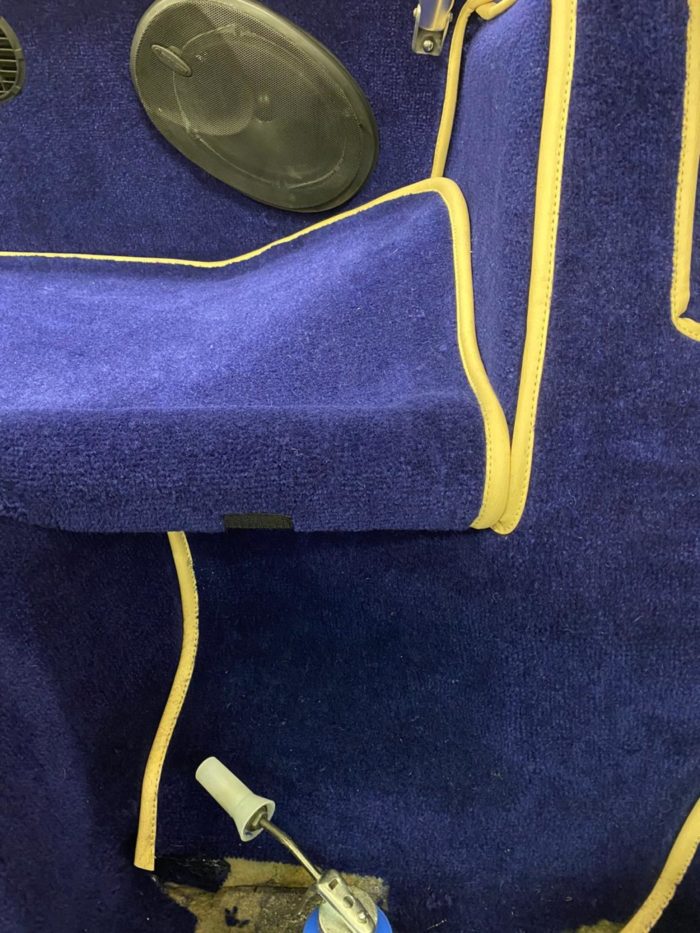
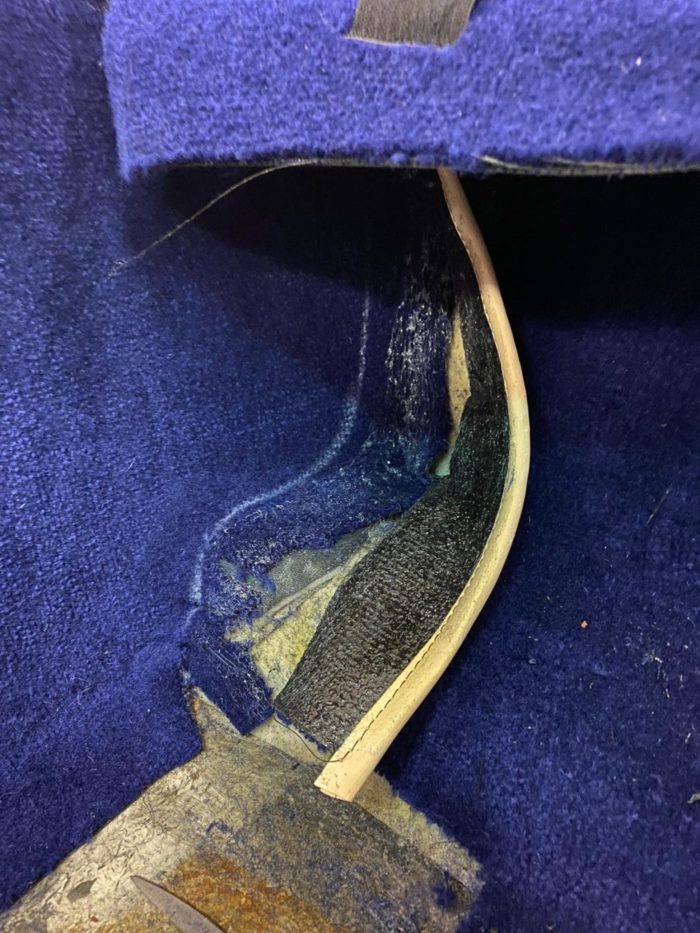
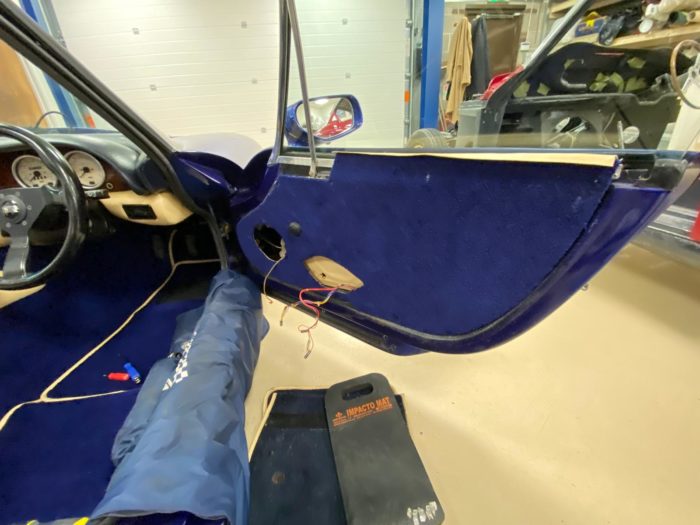
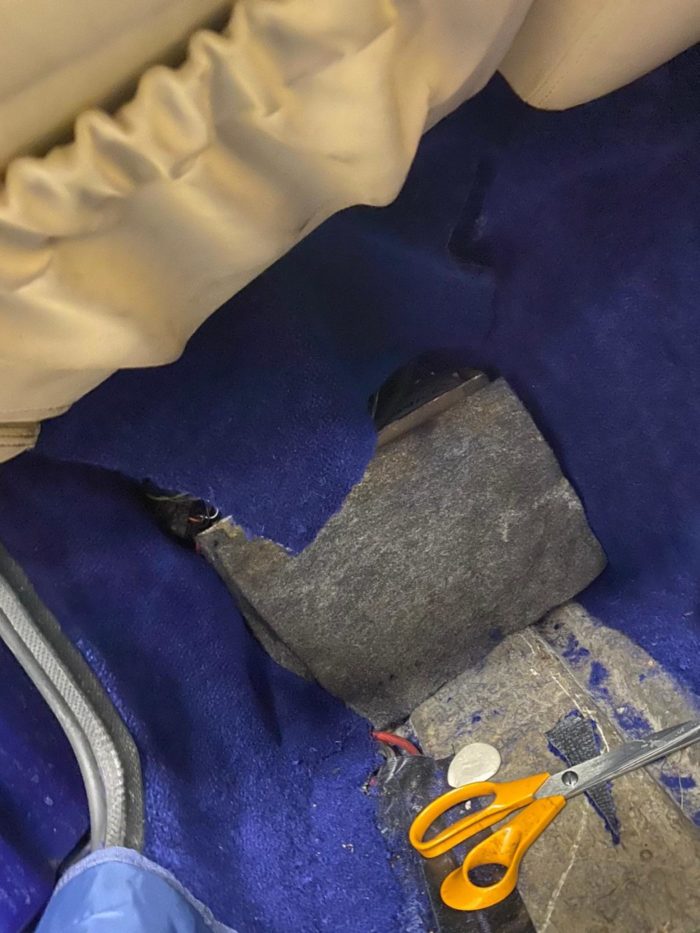
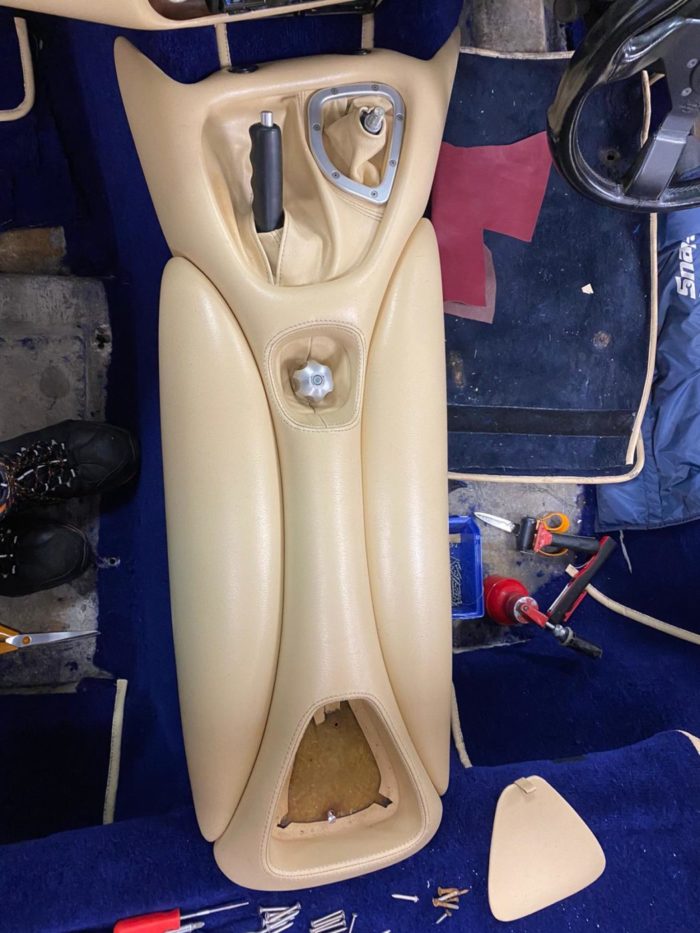
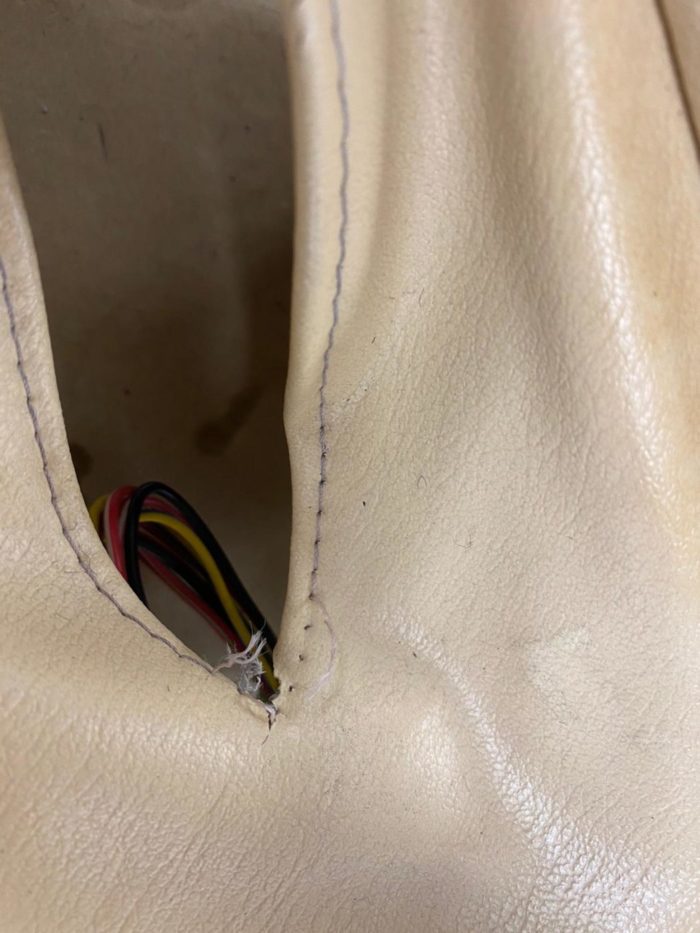
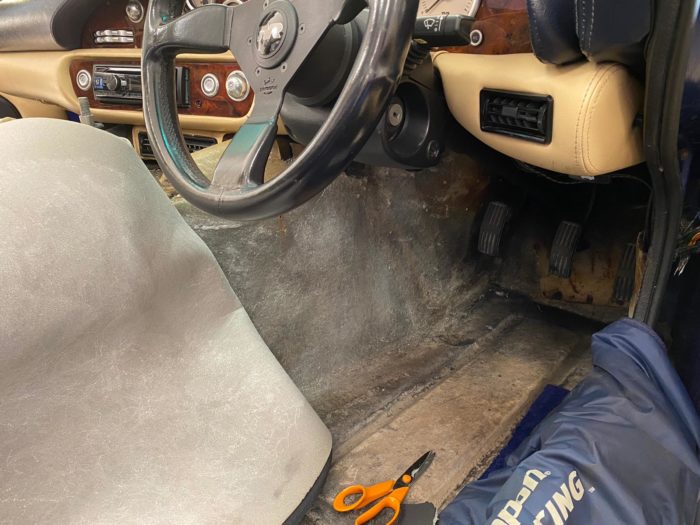
Our trim department has been working hard to get the 1998 TVR Chimaera’s carpet, door panels and other pieces of fabric-to-metal trim stuck and bolted down.
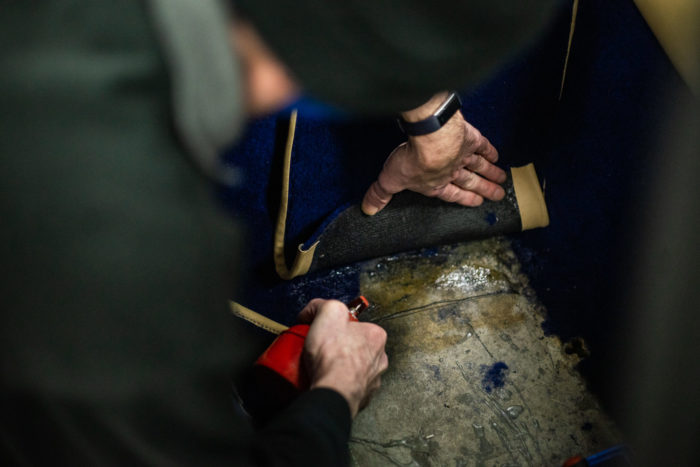
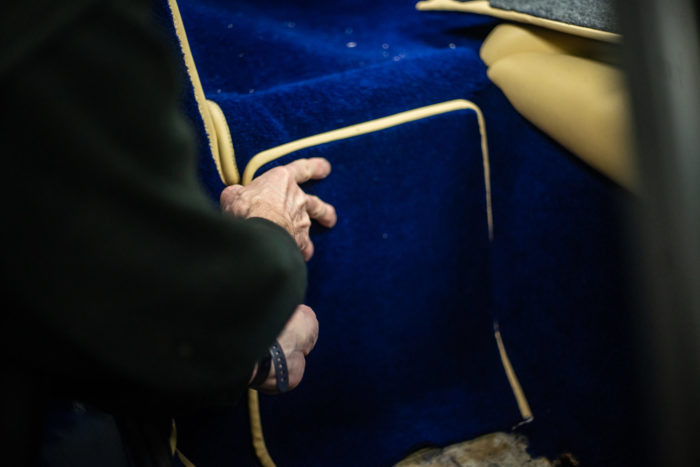
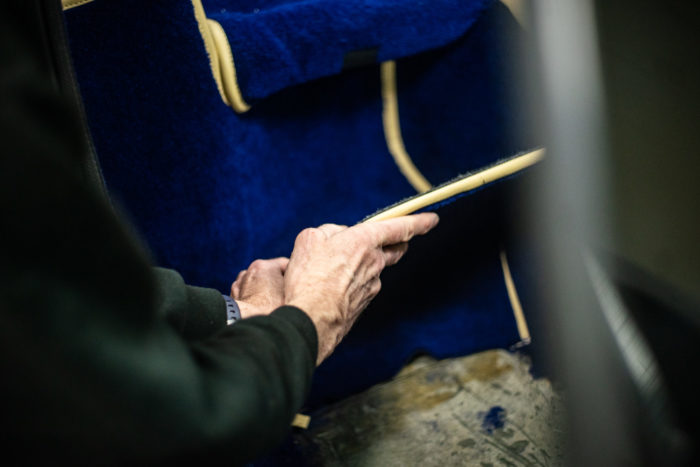
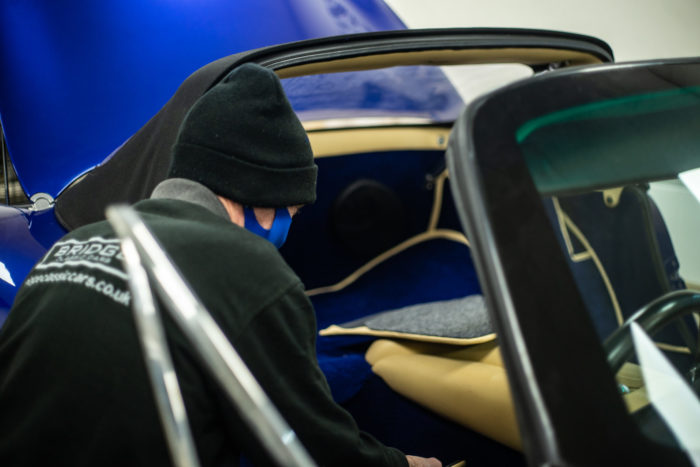
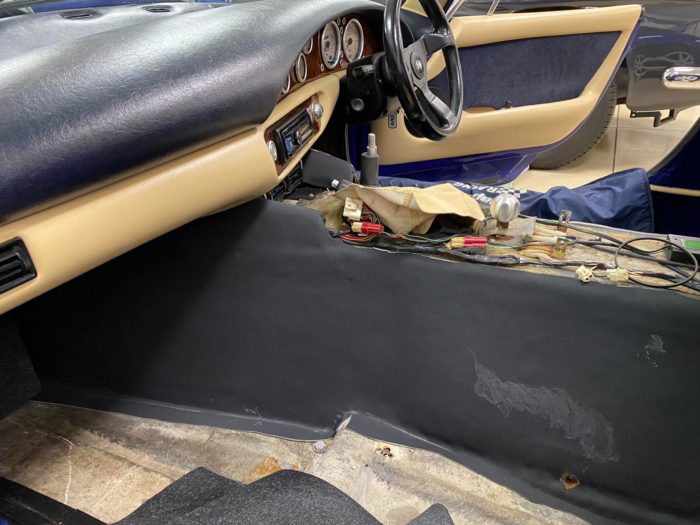
Brian and Kath stripped the TVR out ready for fitting. They started by fitting the carpet to the rear side section where the seat belts fit. Next, they fitted the side sill carpets, wheel arch sections, and cut out the foam to go in rear cockpit section.
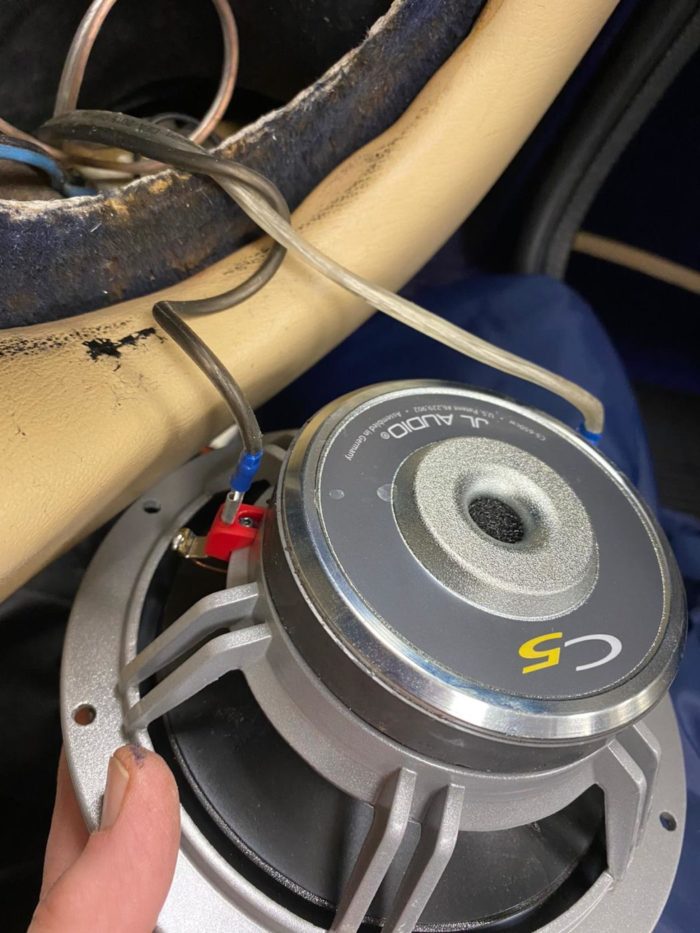
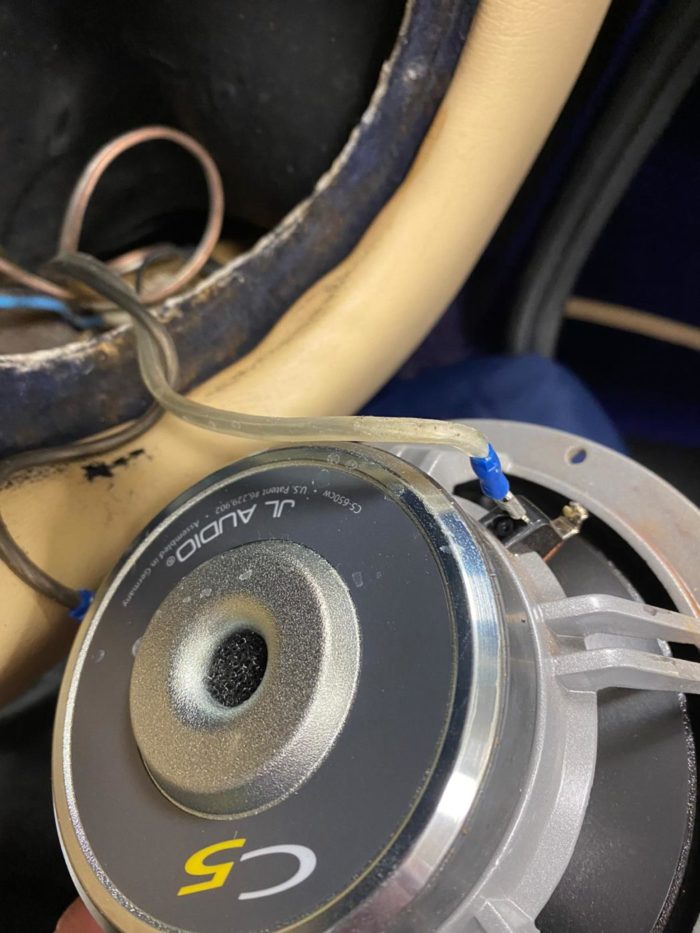
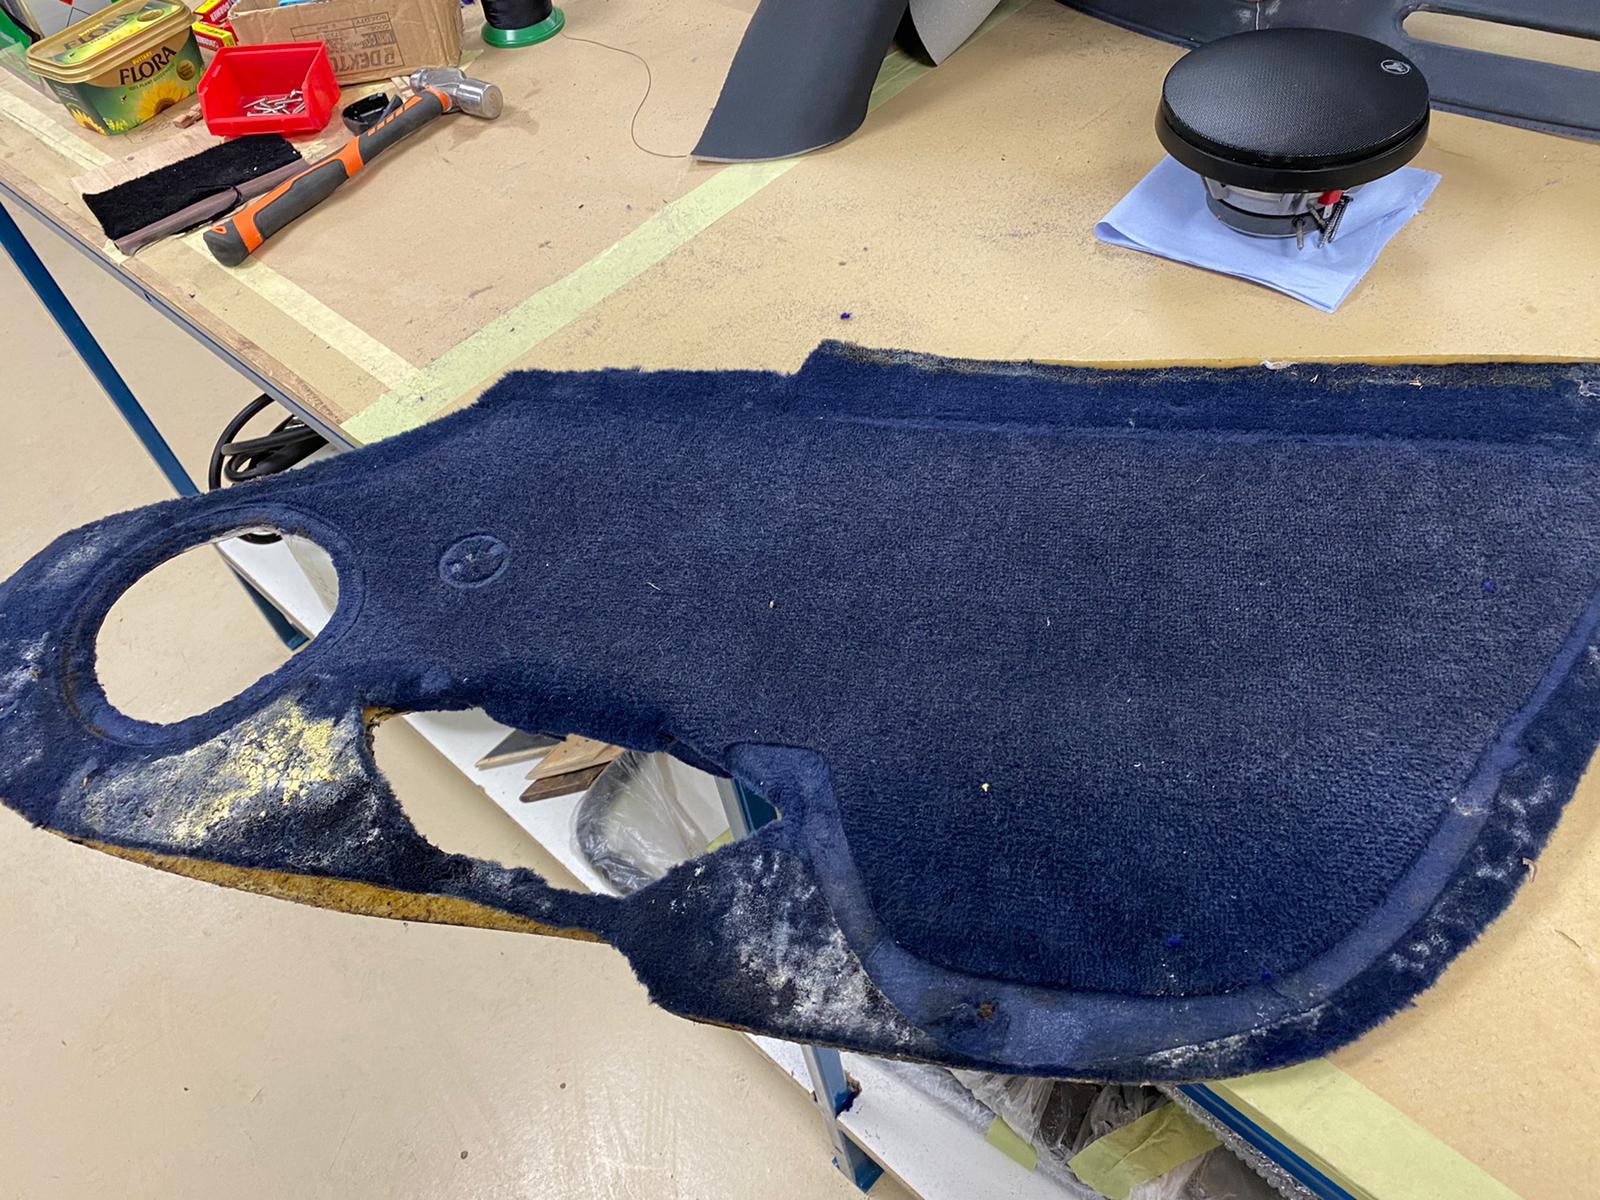
Once they had glued the foam into rear cockpit section, the team carefully fitted the back carpet to the rear section of the TVR. They then cut the speaker holes out, glued the bottom carpet to rear cockpit section and glued the carpet to the side of the tunnel. After this was completed, the team could complete the rear section and tunnel section. The speakers and air vent could then be refitted.
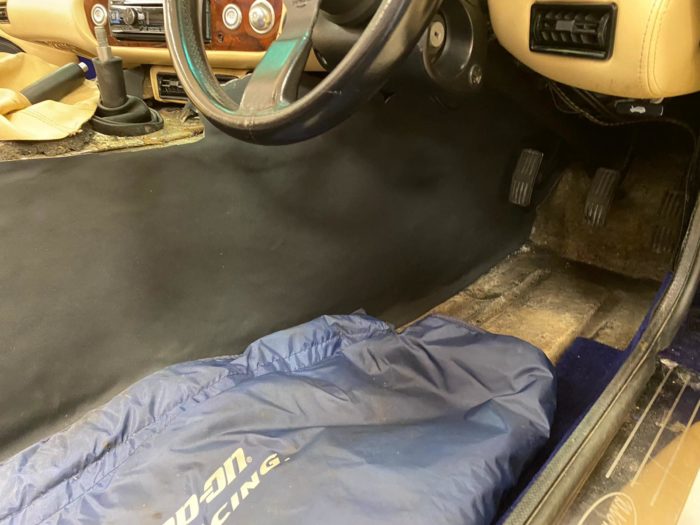
After fitting the console back in, Kath and Brian could cut and fit some plywood for the rear compartment covers. Once cut, the pieces could be glued to the carpet. Next up was fitting the underlay to the front footwell section and securing the front and rear carpets.
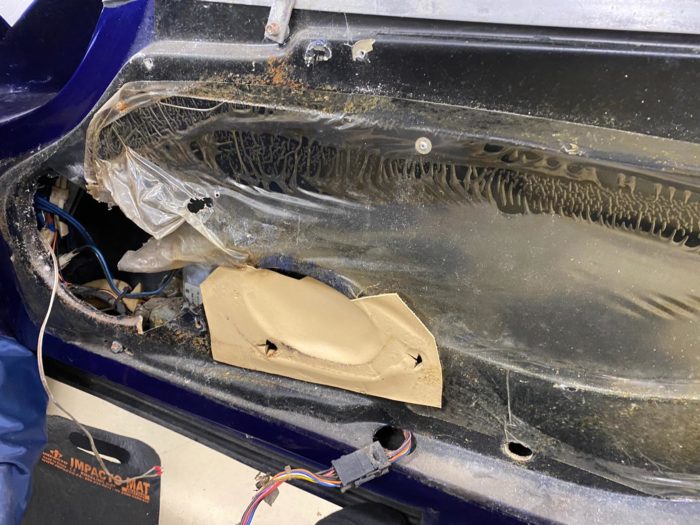
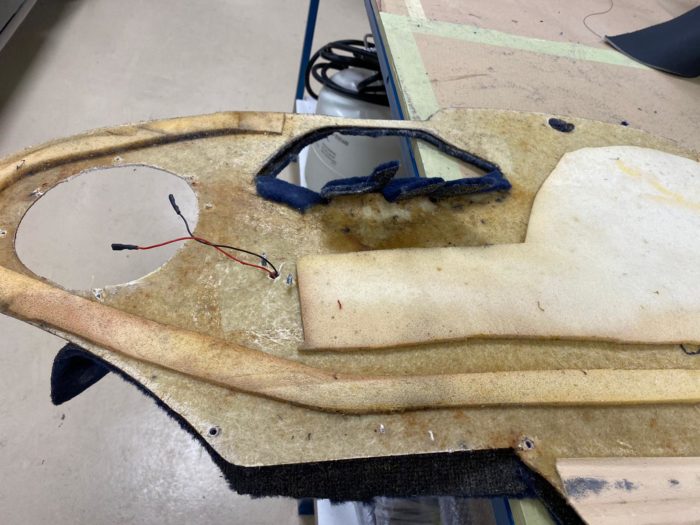
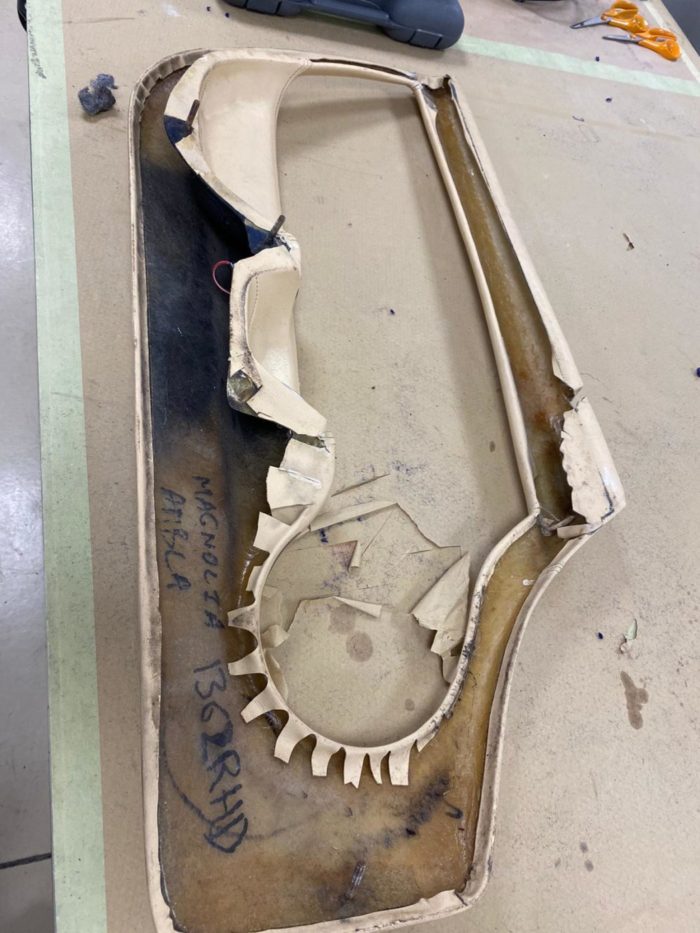
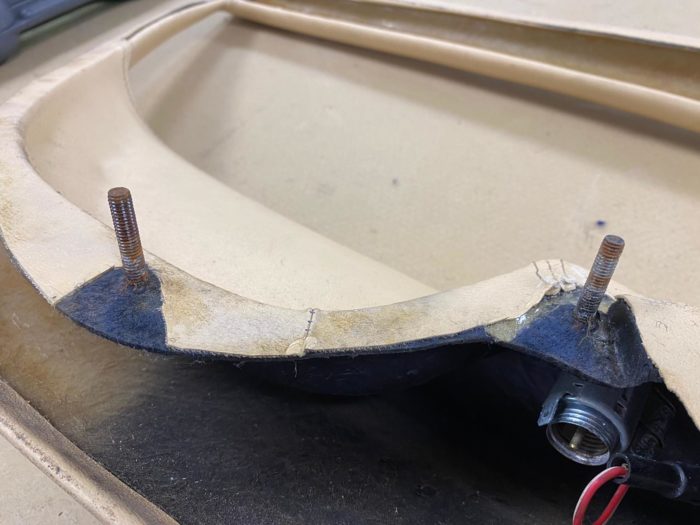
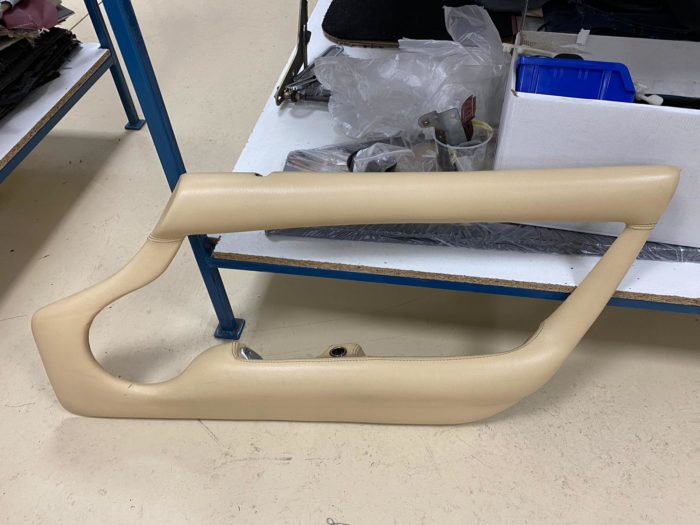
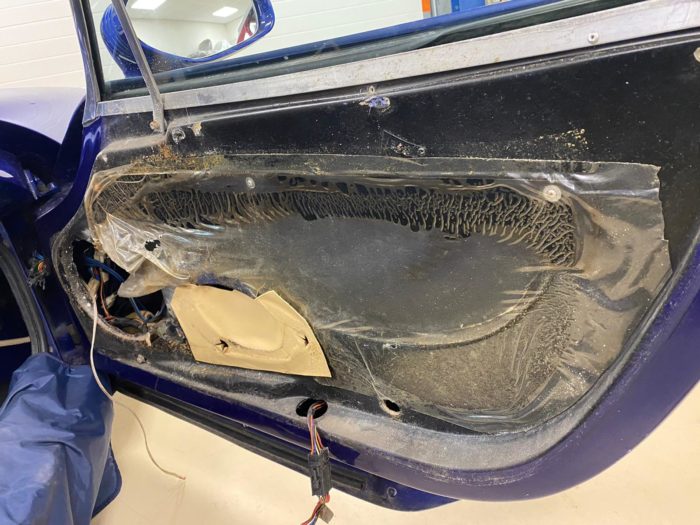
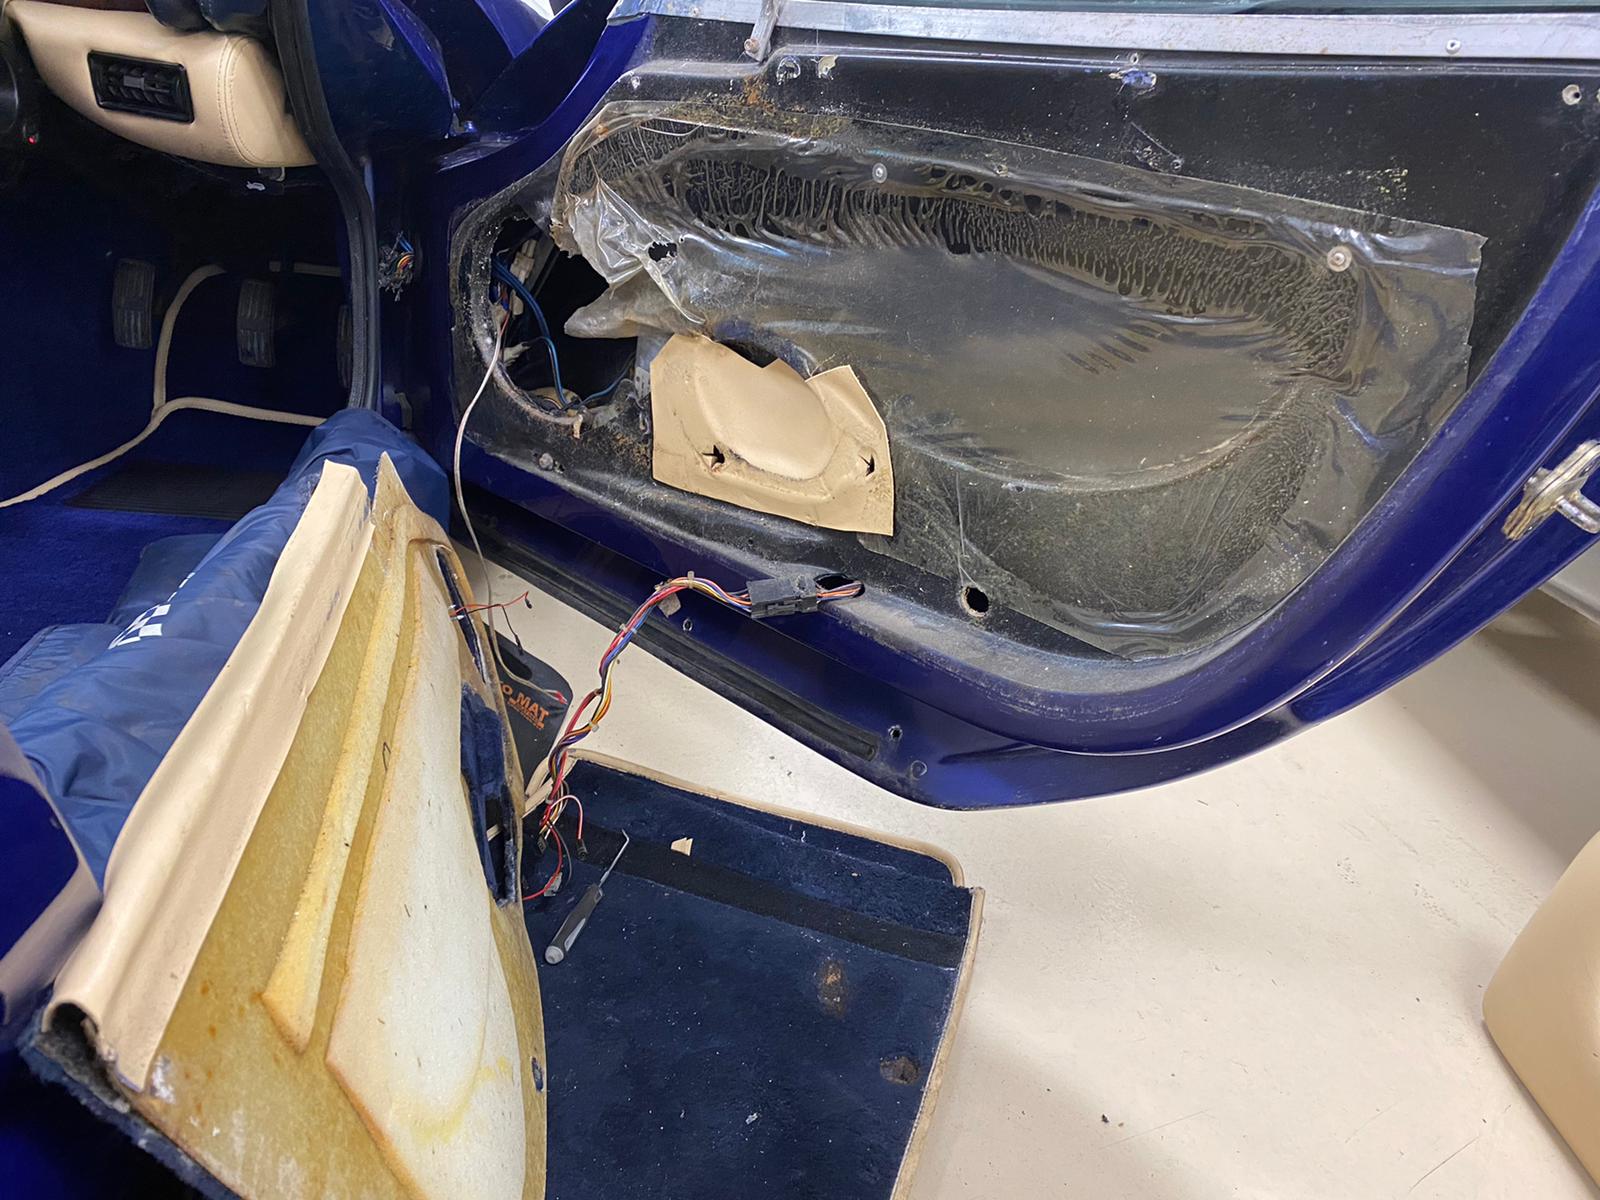
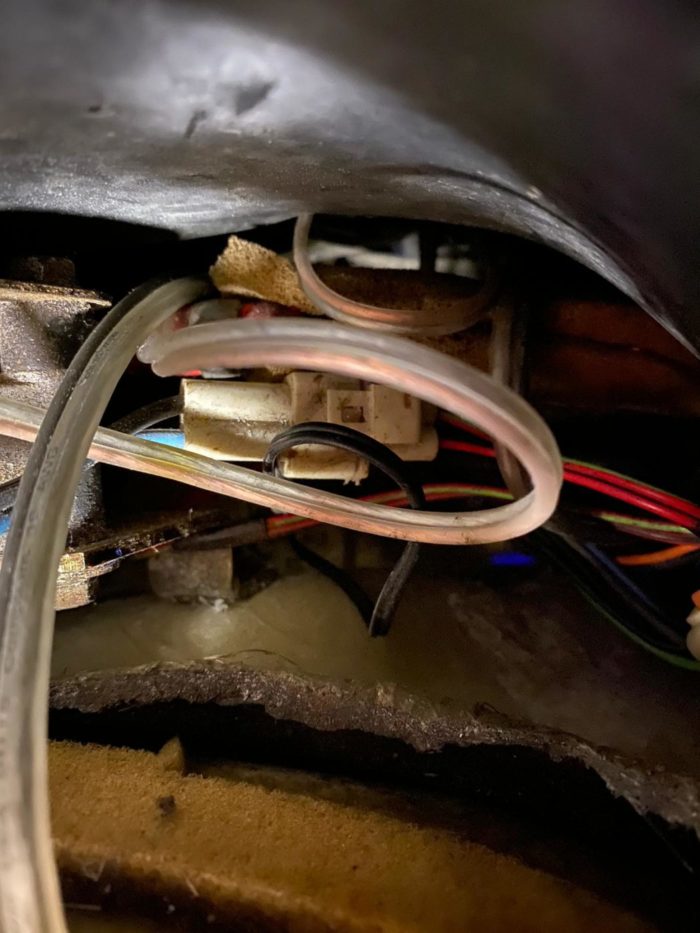
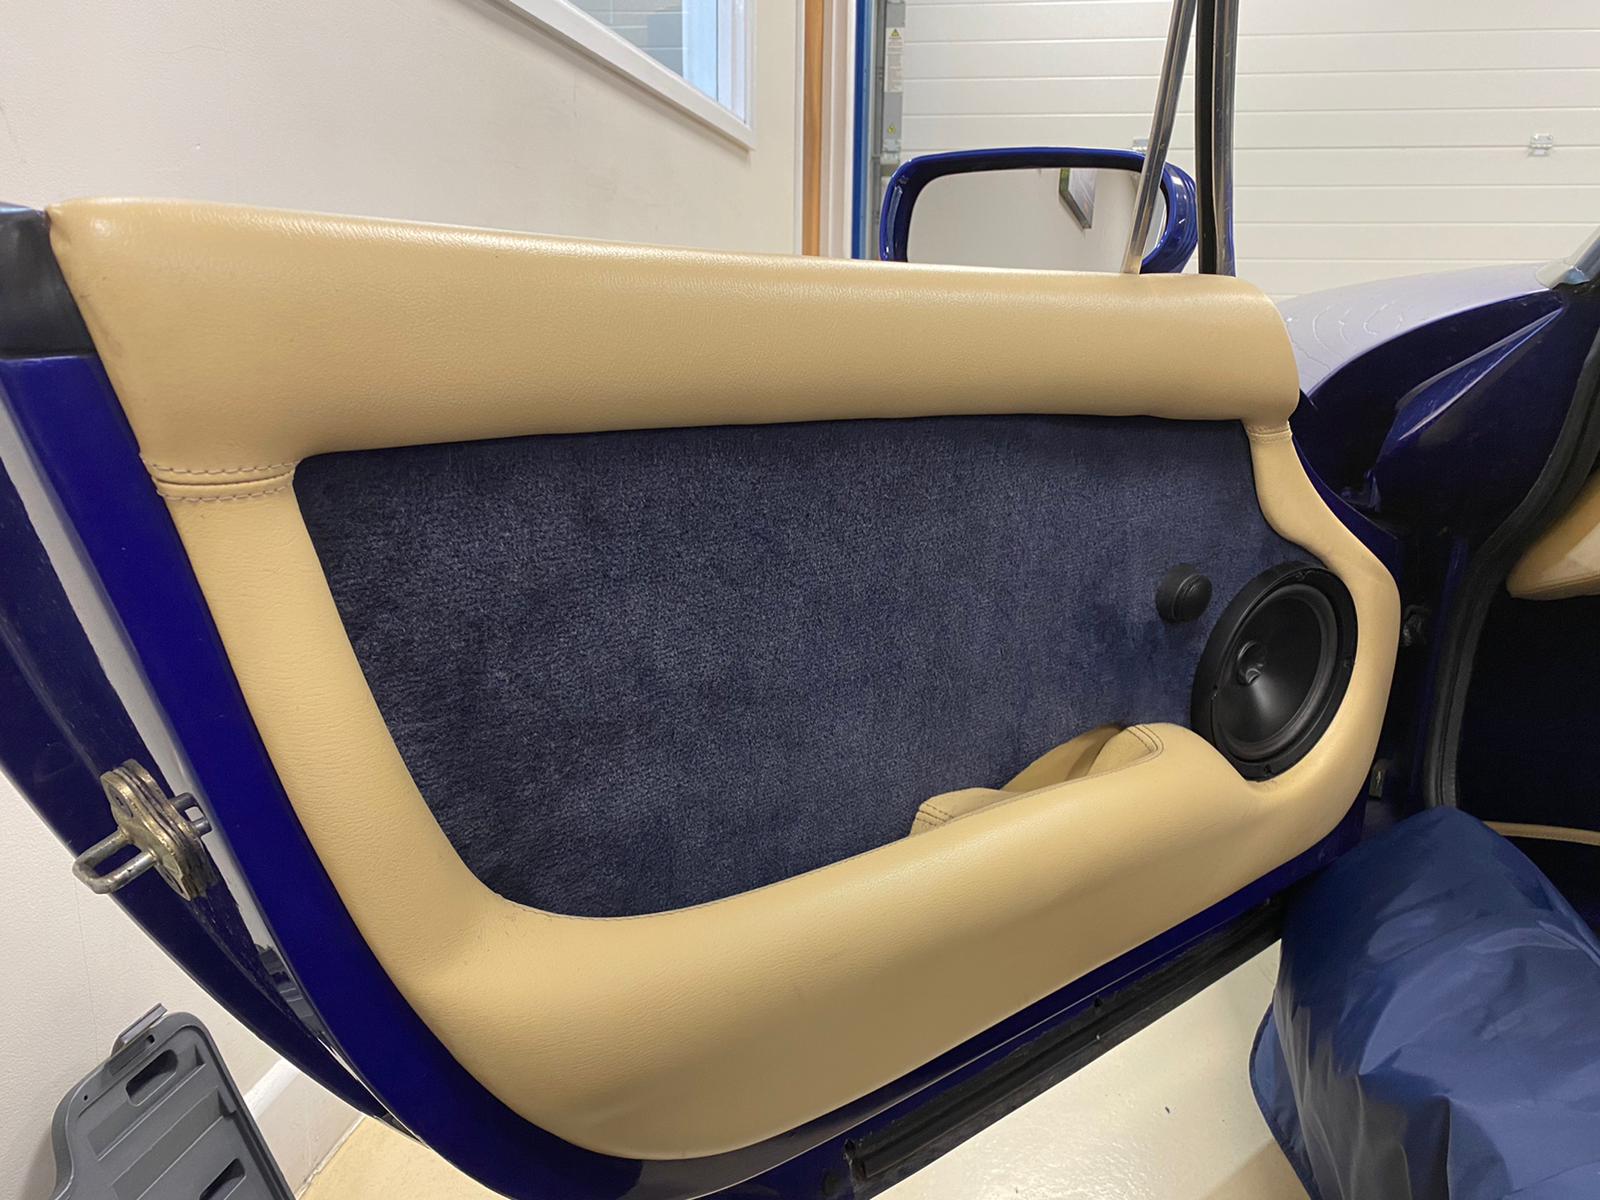
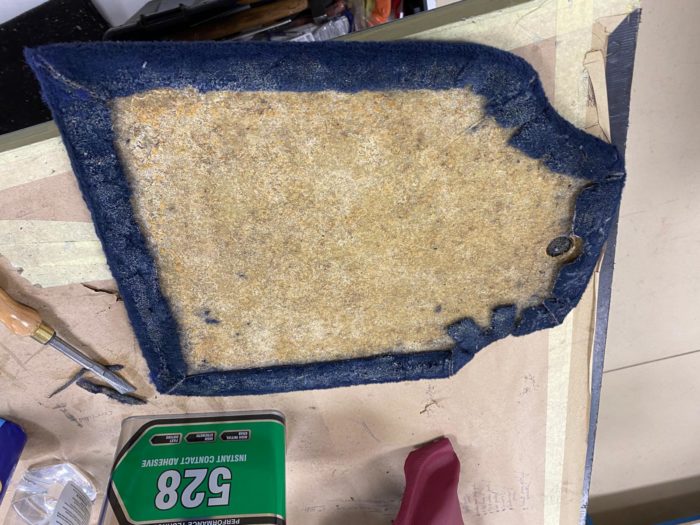
One of the more challenging parts of this trim restoration was removing the old carpet from the door panel as the bolts were particularly stiff on the door cards. The team glued the new carpet to the door panel and fitted it into to door, as well as fitting the outer section of the door panel to the door. The final touch was to refit the speakers.
We’ve also fitted the seat belts.
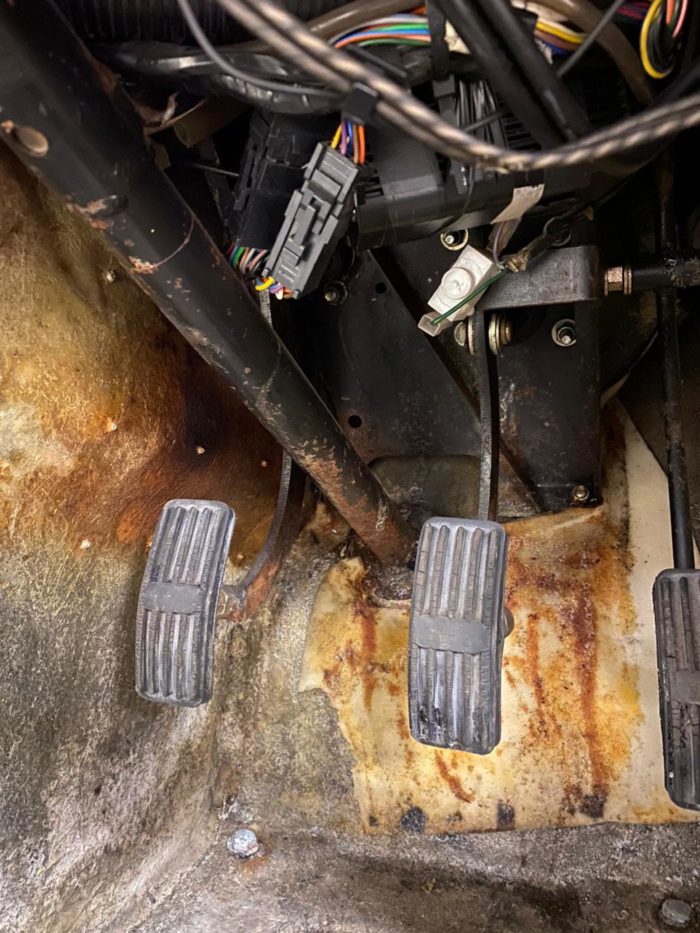
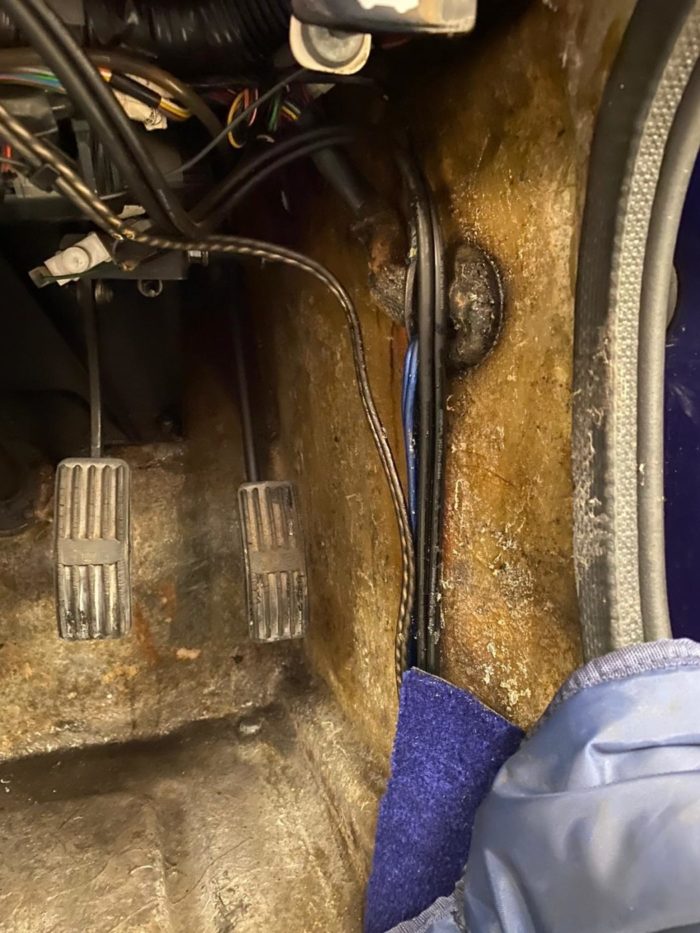
Kath identified some rust but we discovered that its only surface rust which can be treated on the surface by filling the holes with rubber flanges and flange sealant to then be primed and painted.
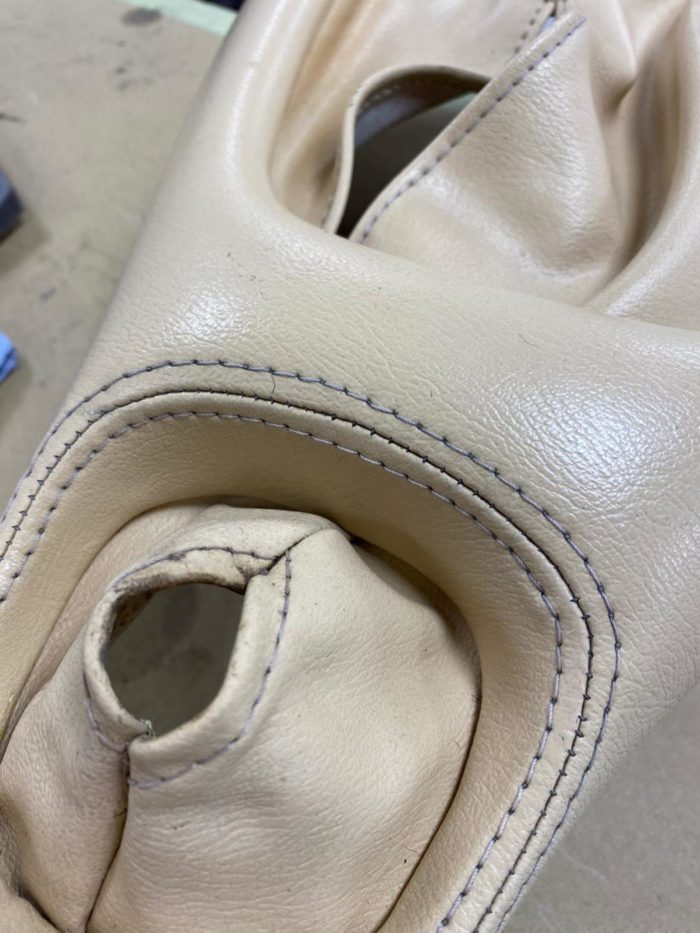
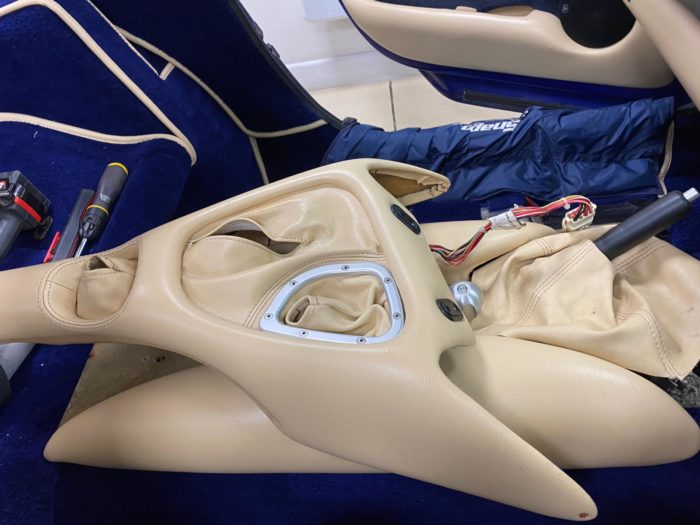
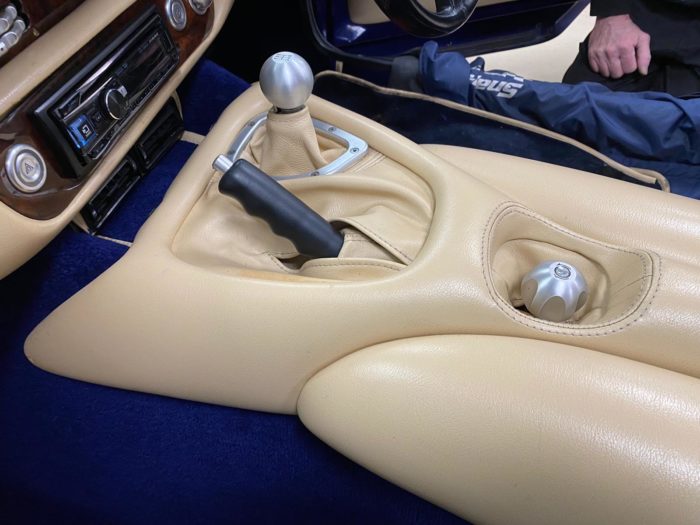
All of the old foam has been replaced with new fresh foam, carpet has been laid in the passenger footwell, the centre console has been cleaned and repaired where needed and the trim has been cut and fitted for the upper footwell.
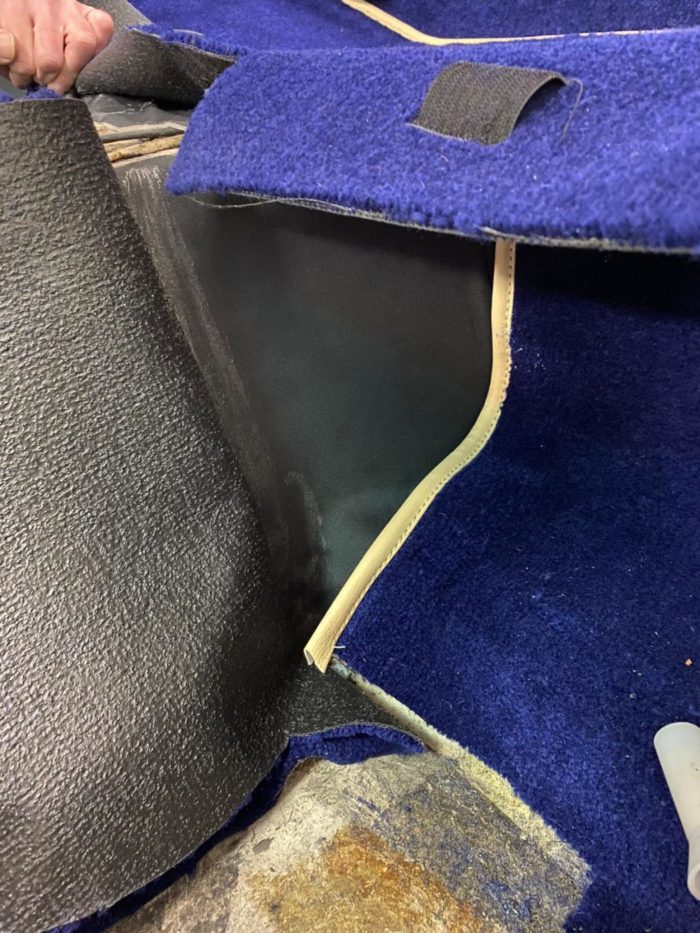
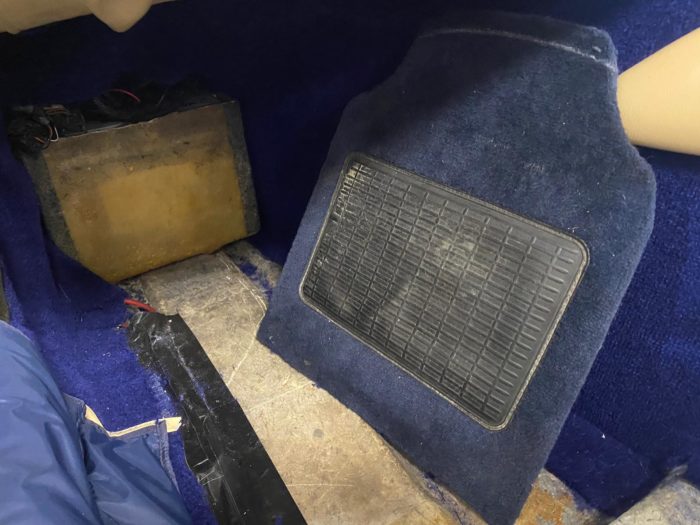
The board surrounding the battery in the footwell has been modified to fit better and the trim has been replaced with the new fabric. Velcro was then carefully attached so that the board can be easily removed.
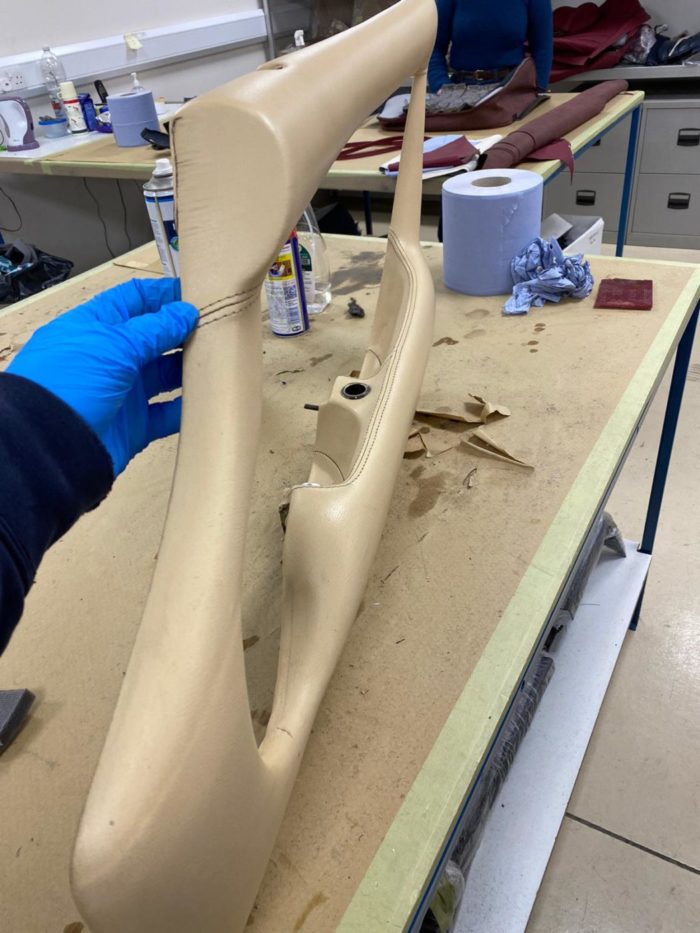
The rear carpet has been fitted as well as the door cards and door trim. The leather around the door car was also cleaned before re-fitting.
The boot carpet needed to be re-fit, as did the foam on top of the fuel tank.
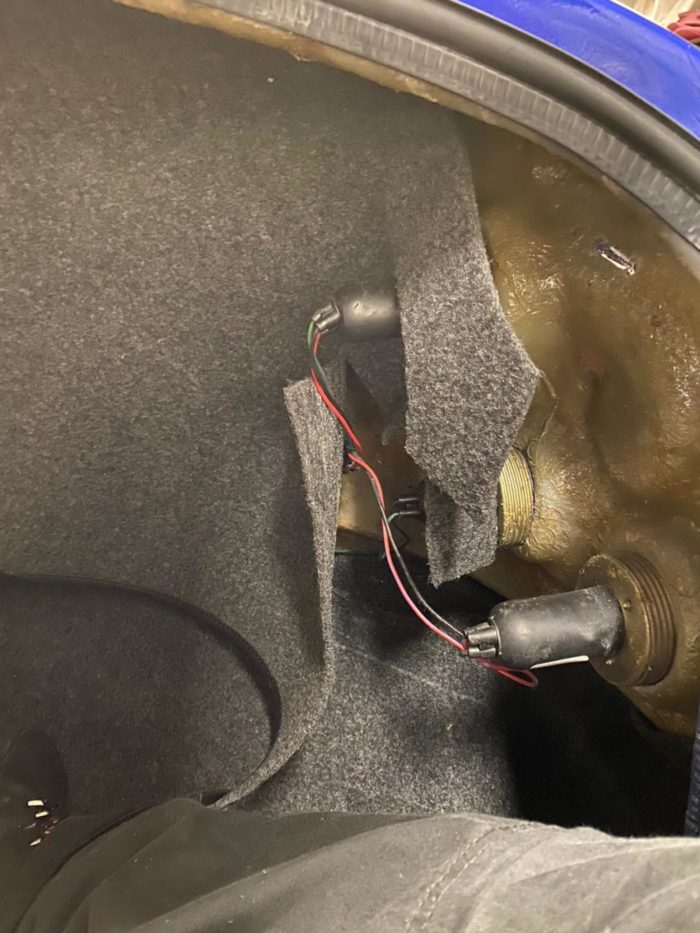
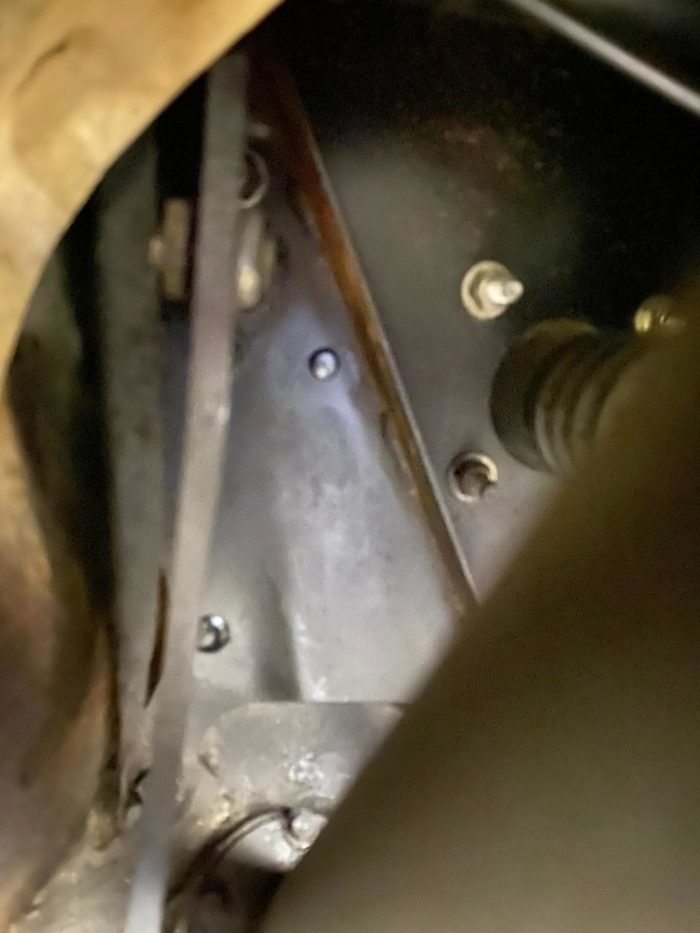
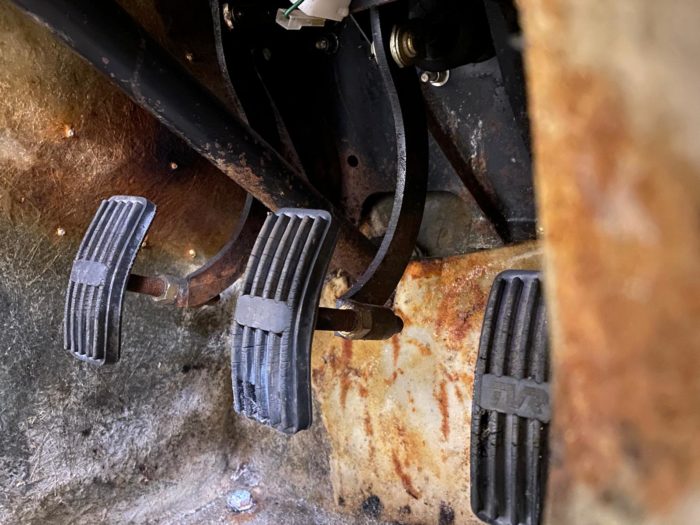
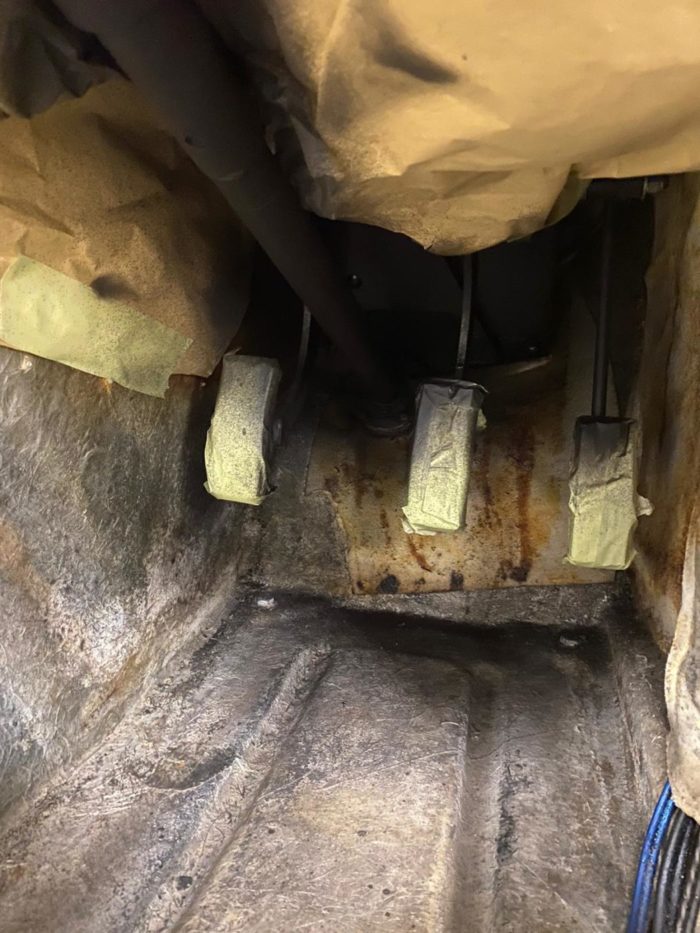
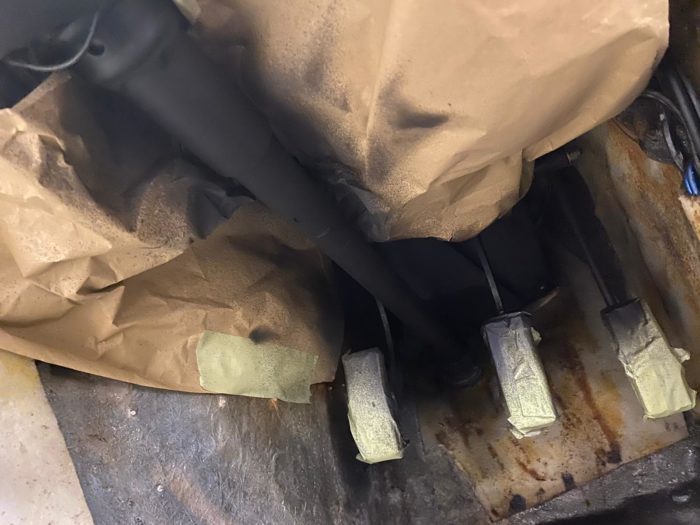
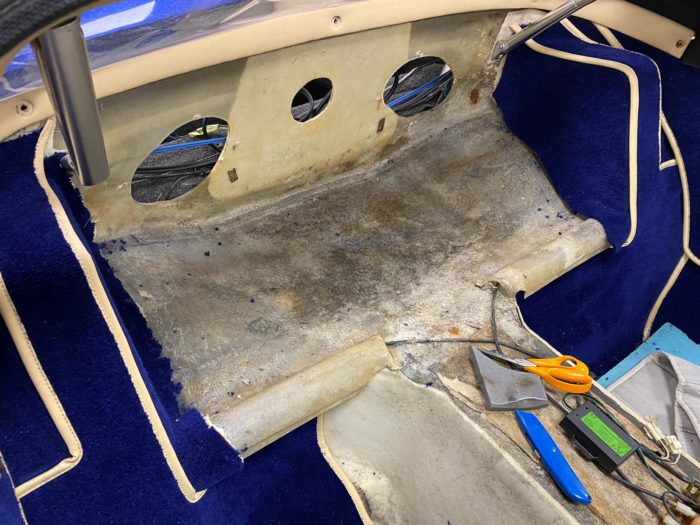
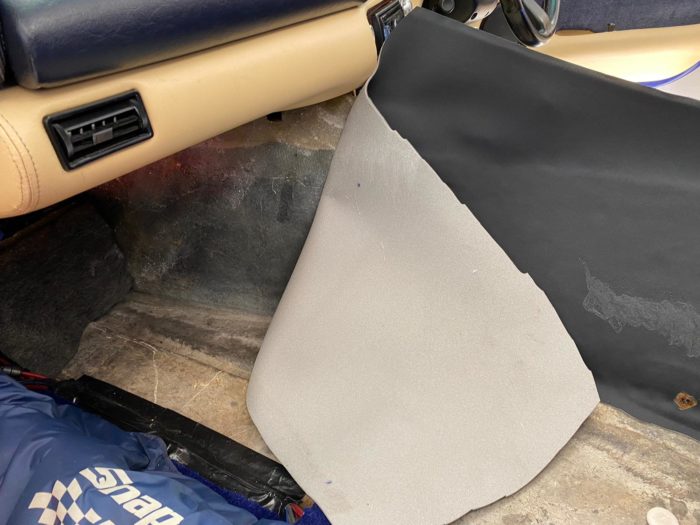
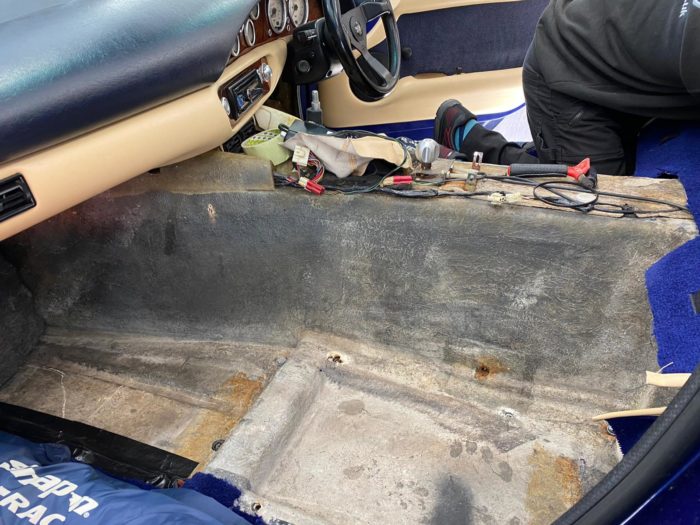
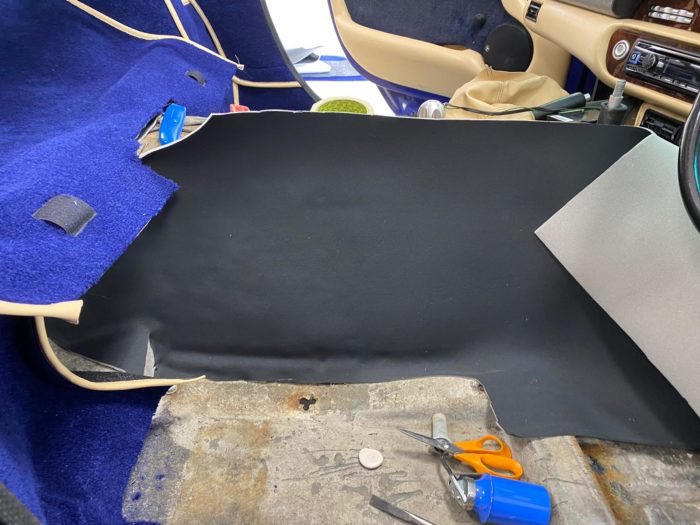
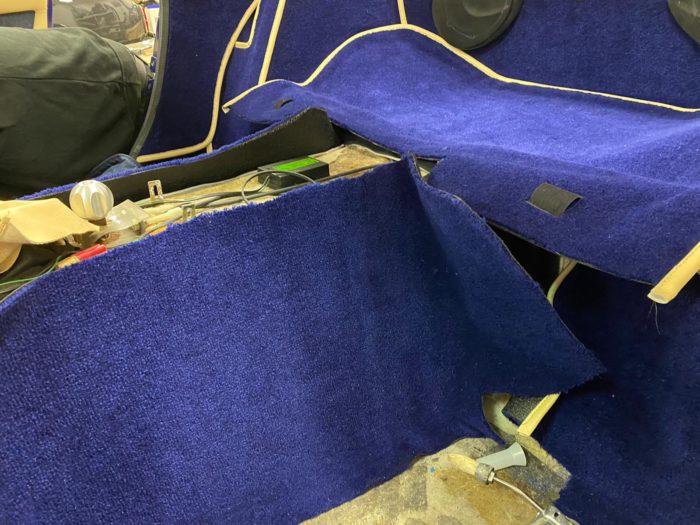
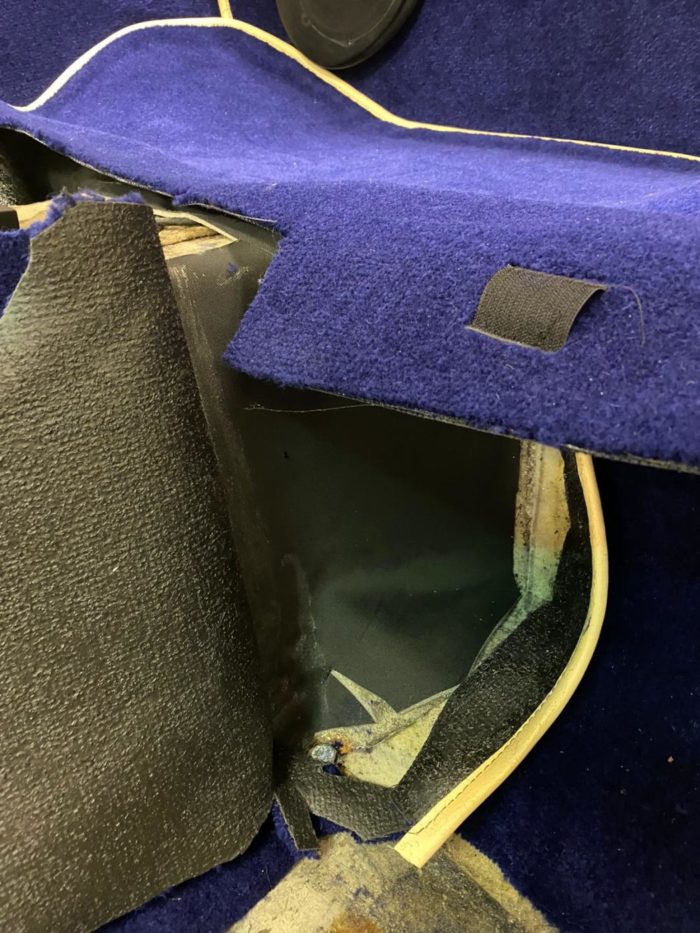
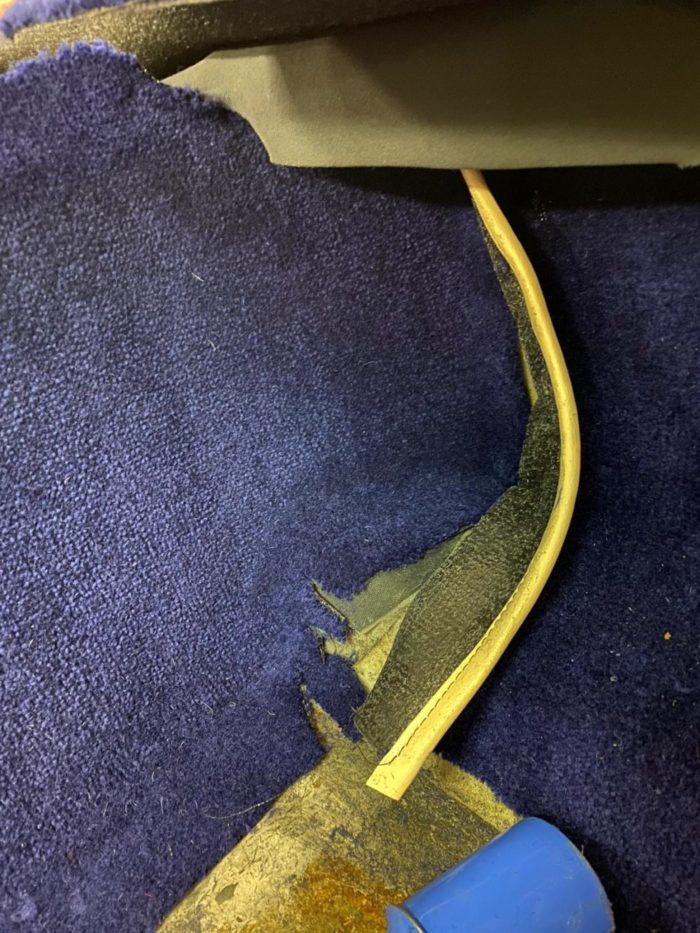
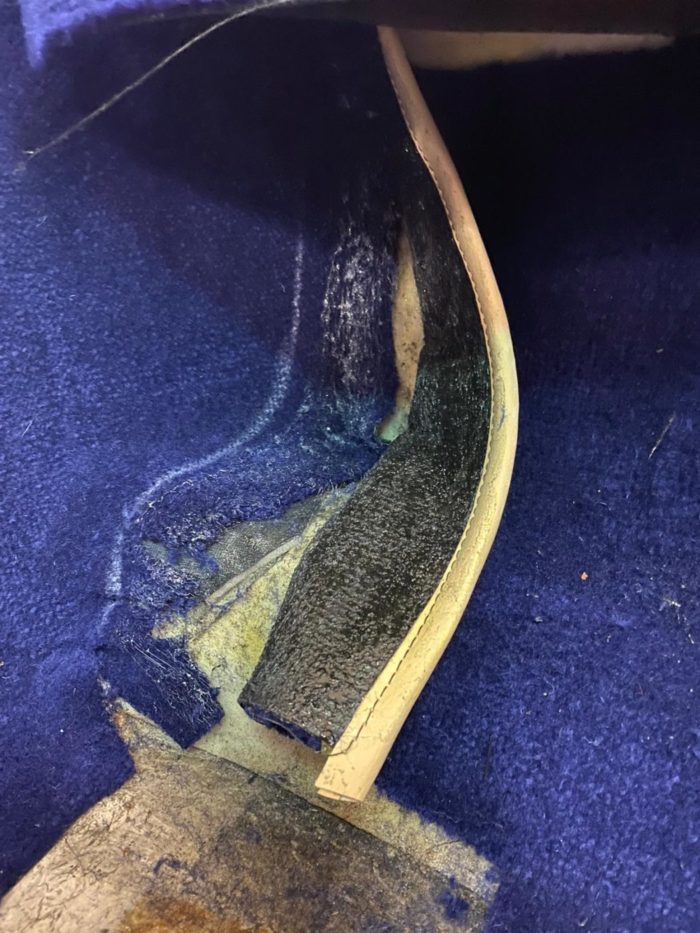
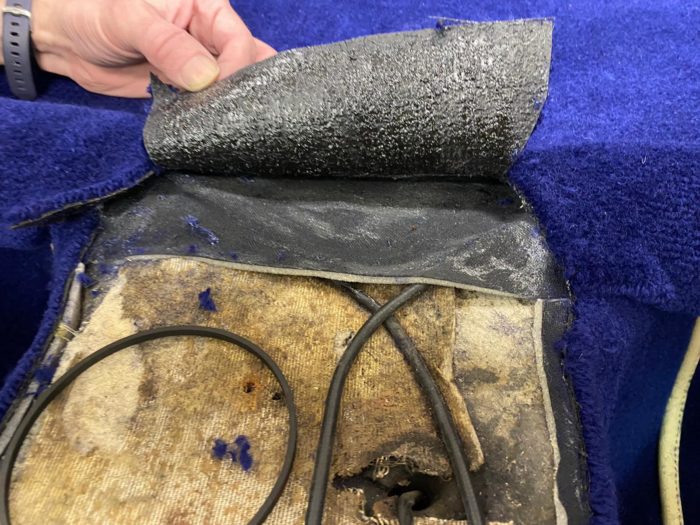
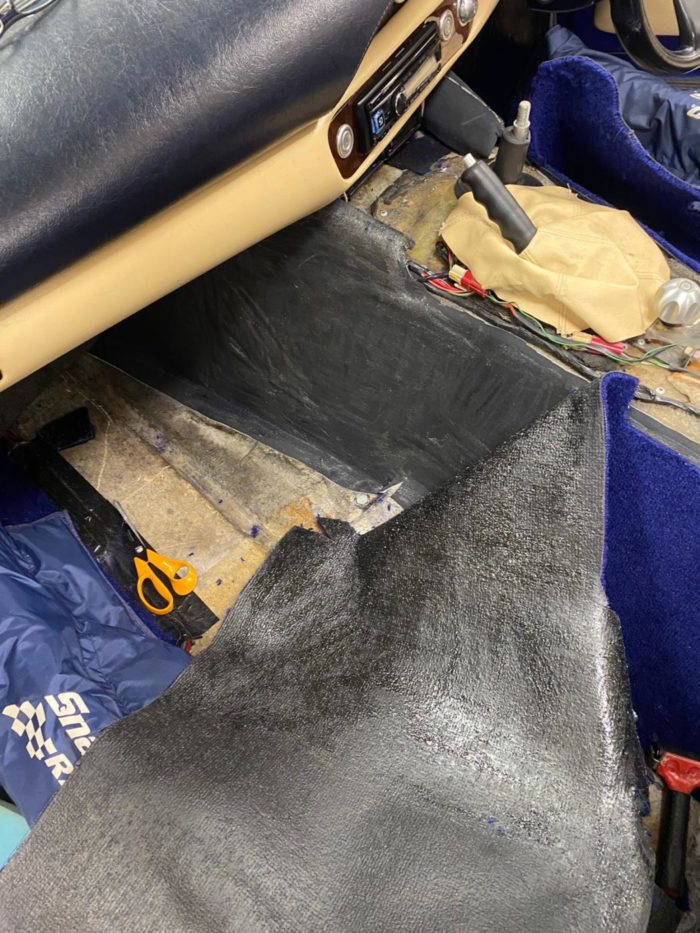
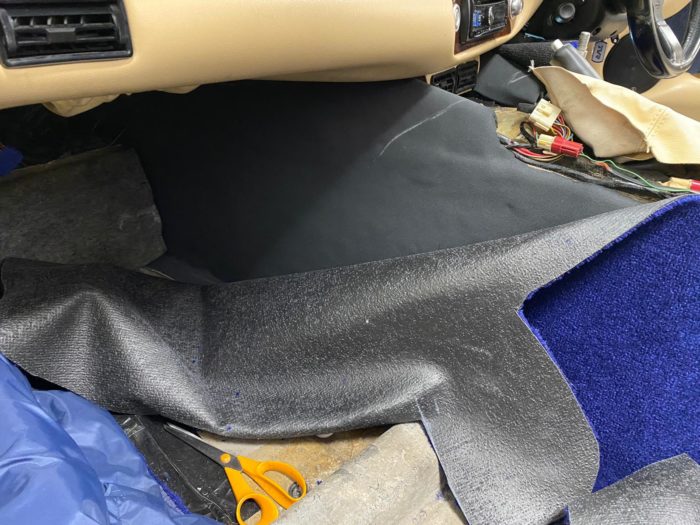
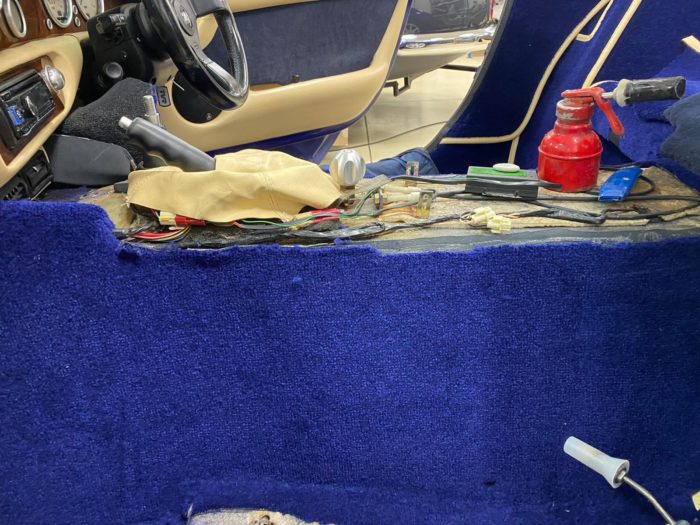
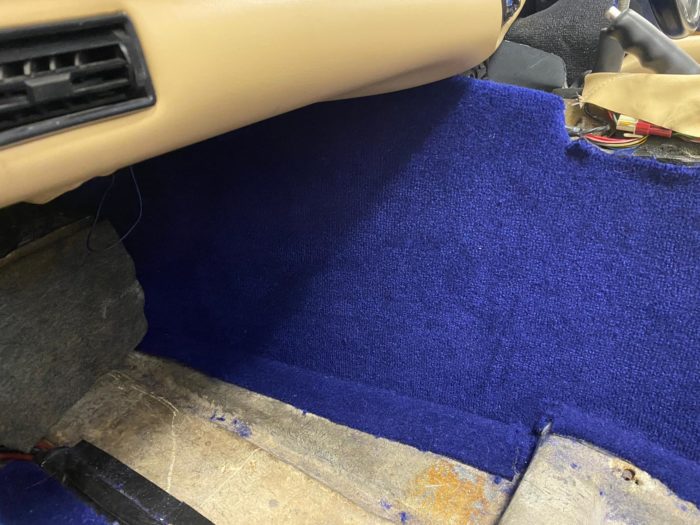
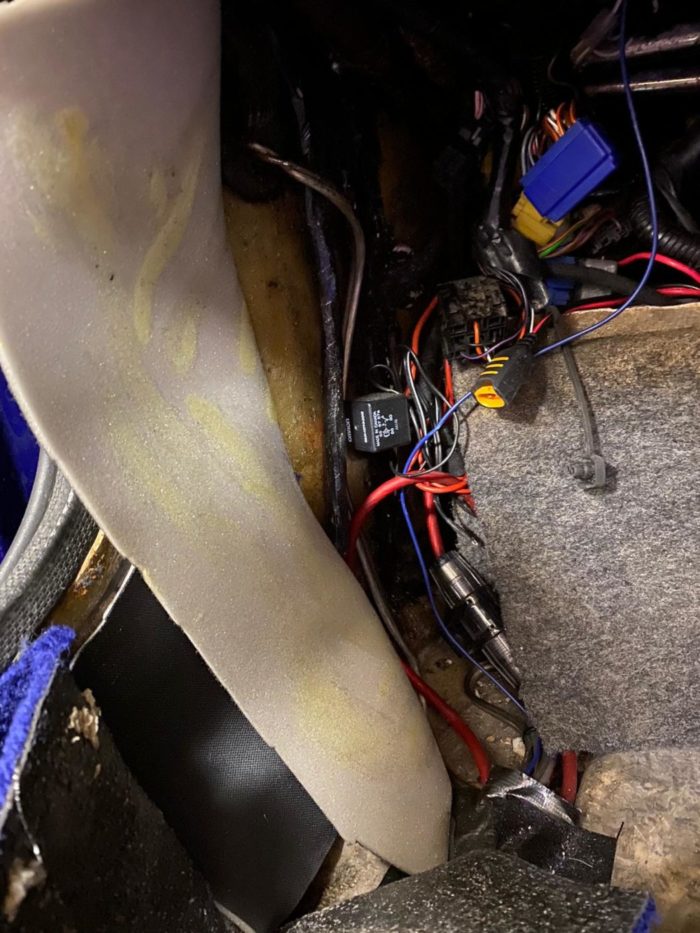
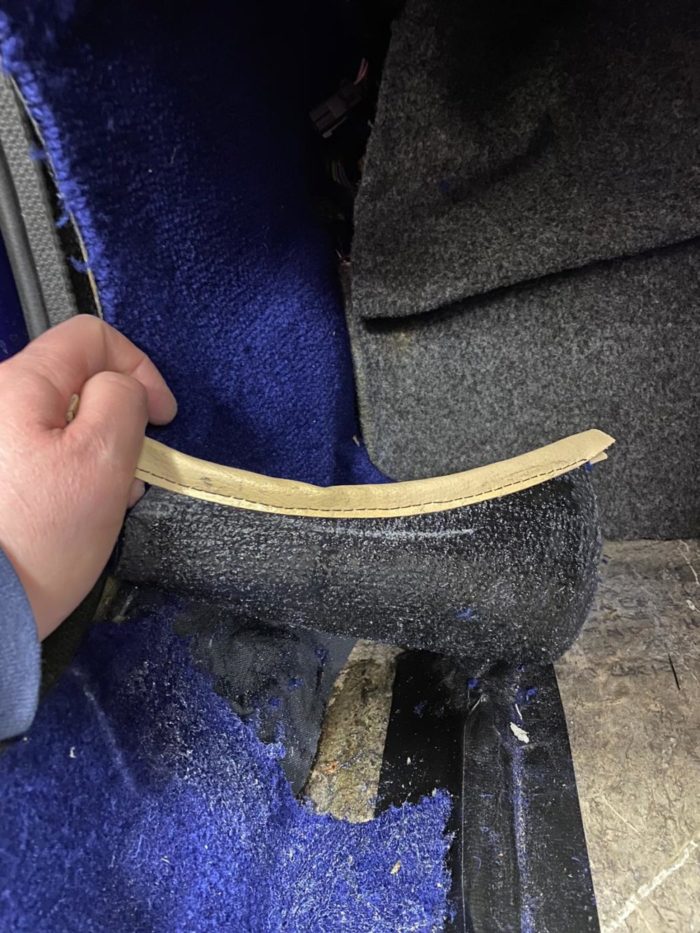
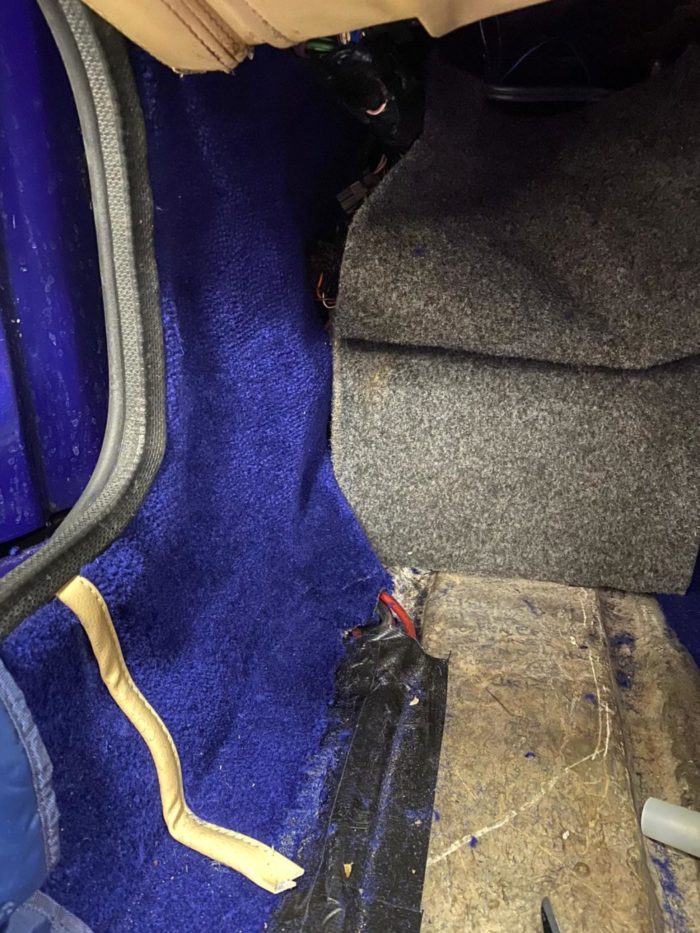
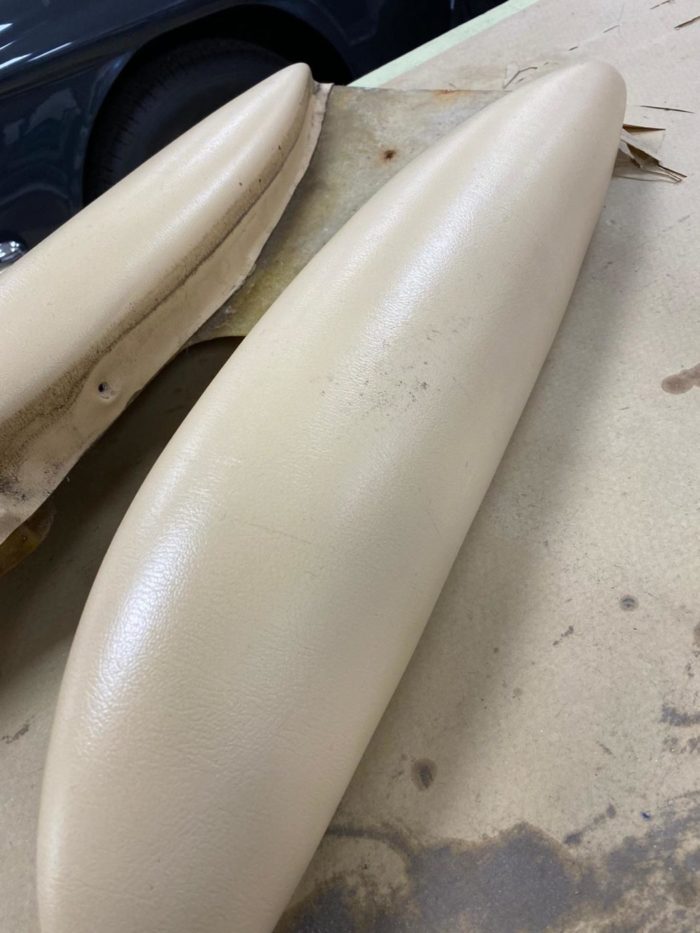
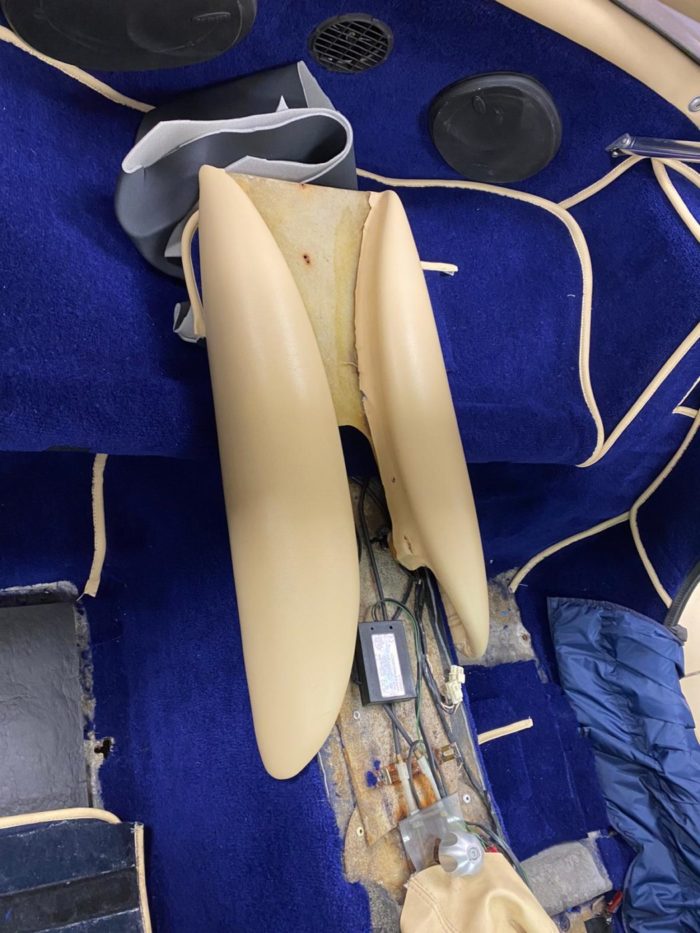
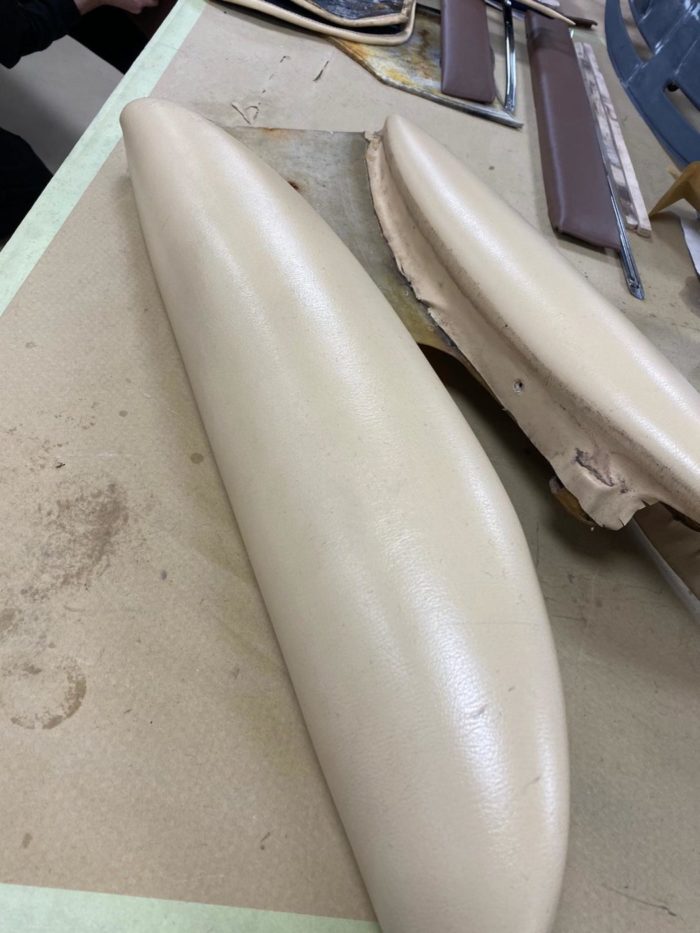
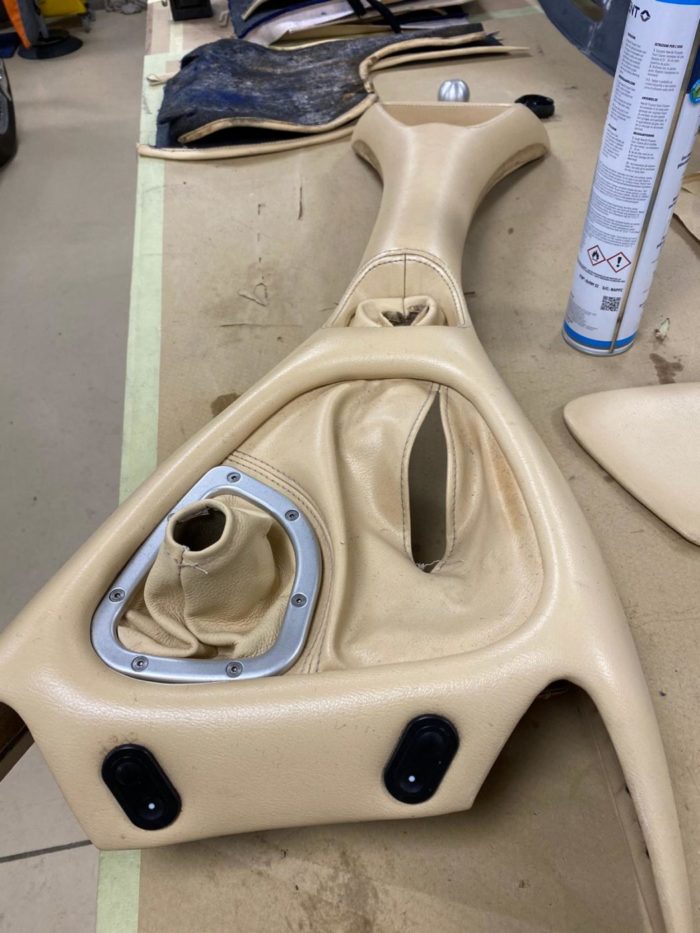
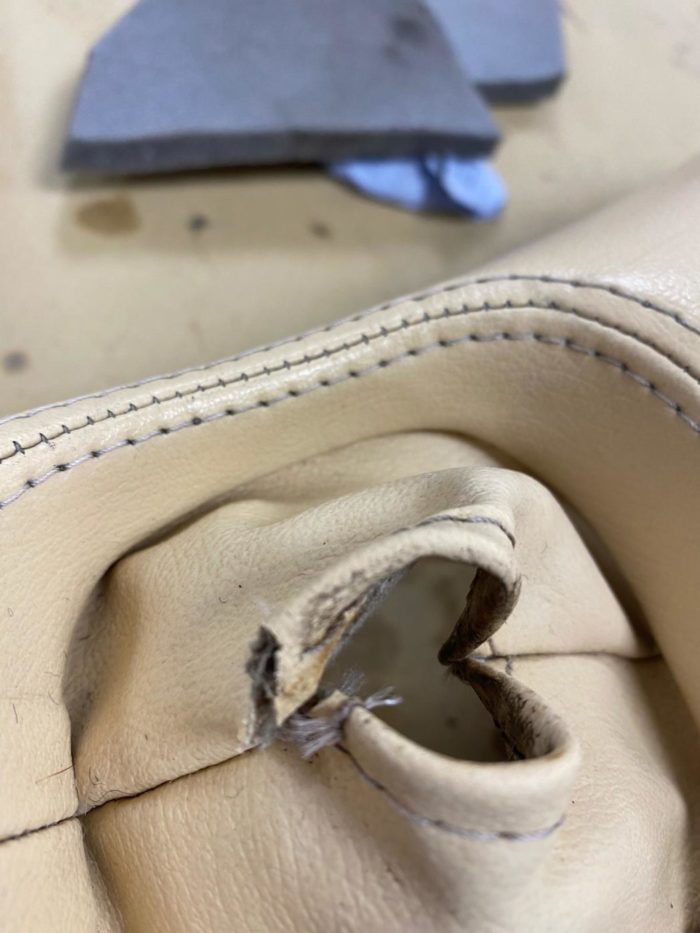
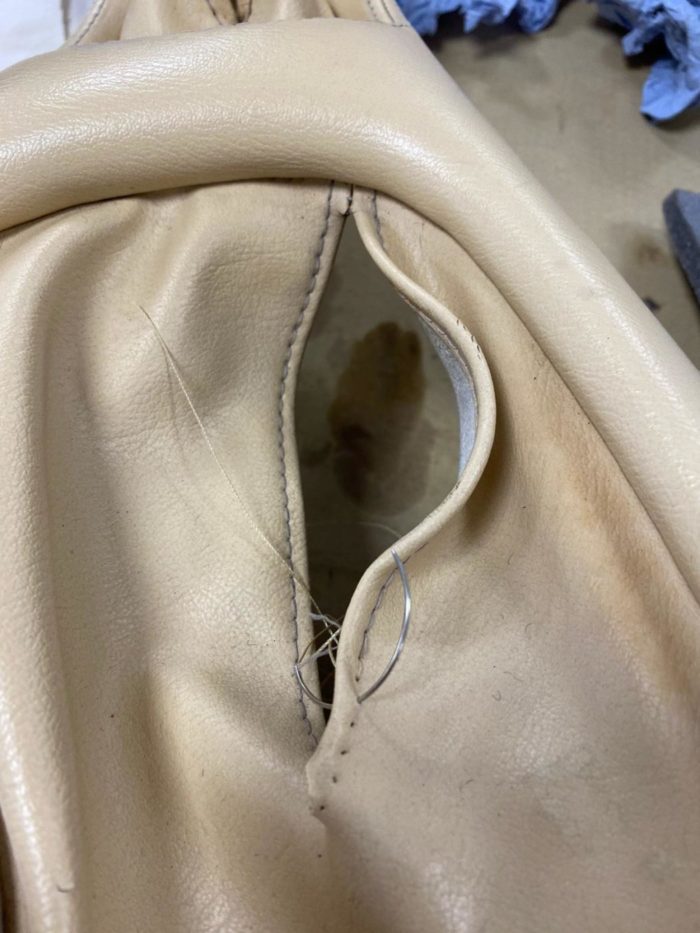
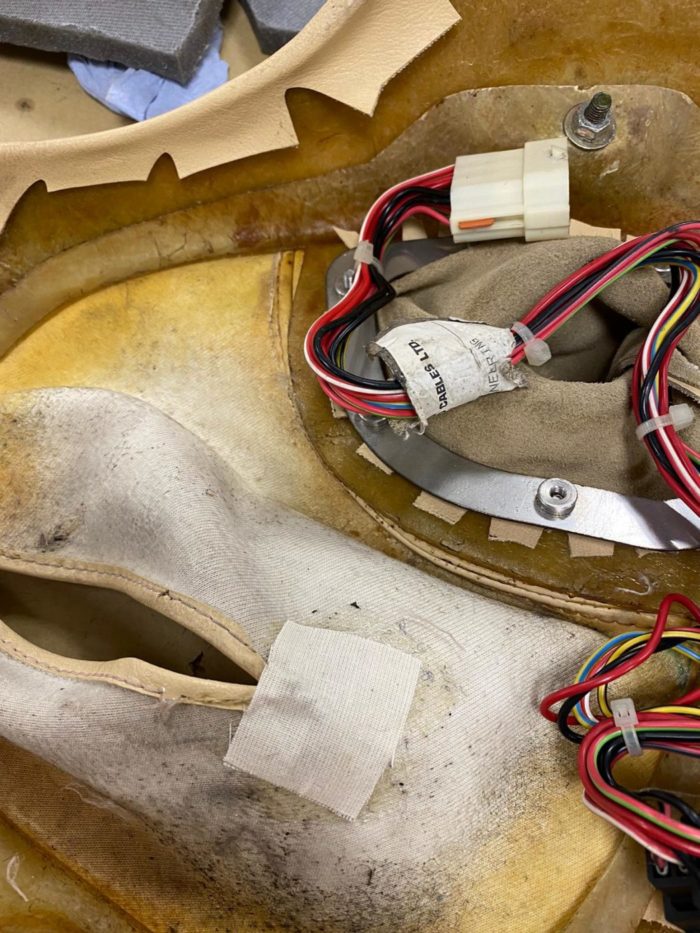
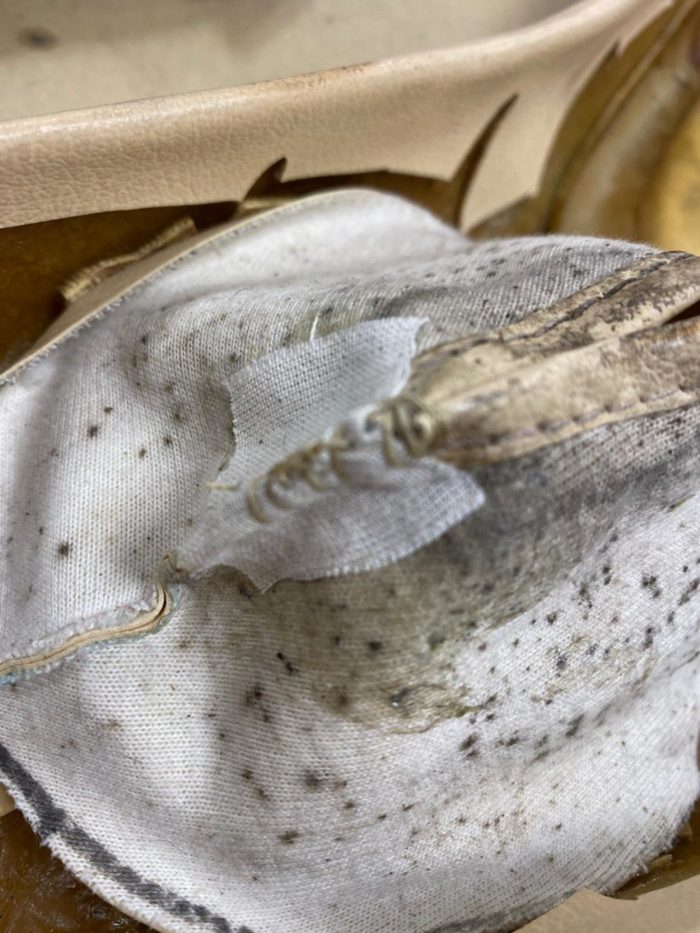
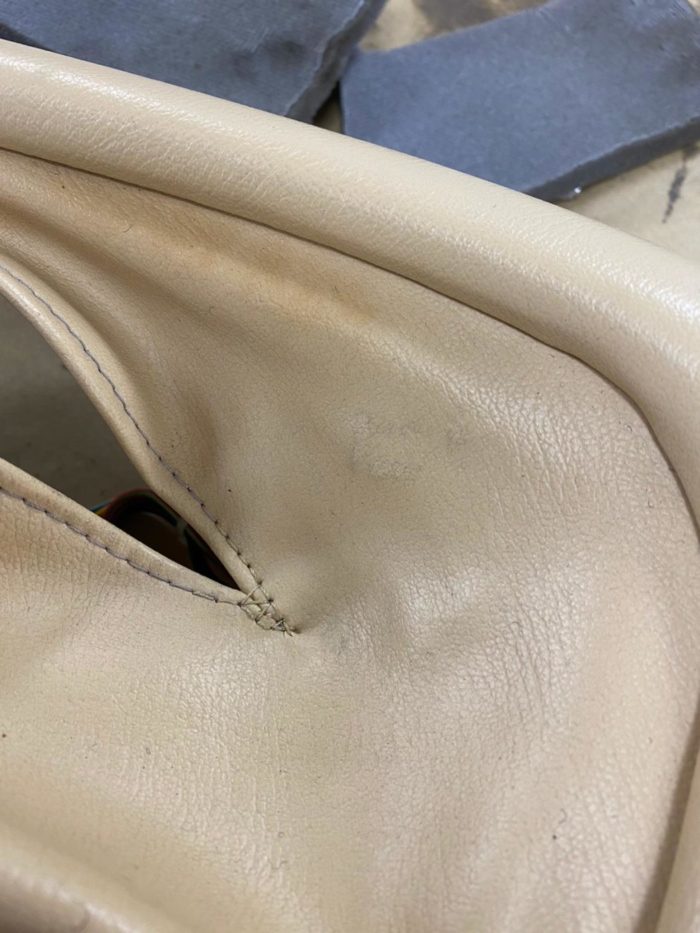
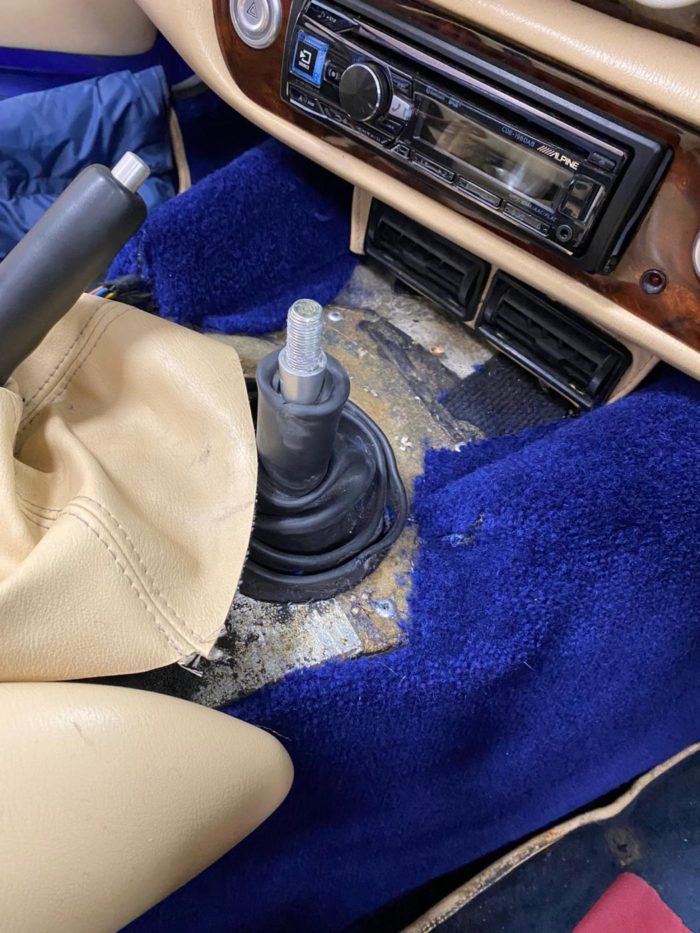
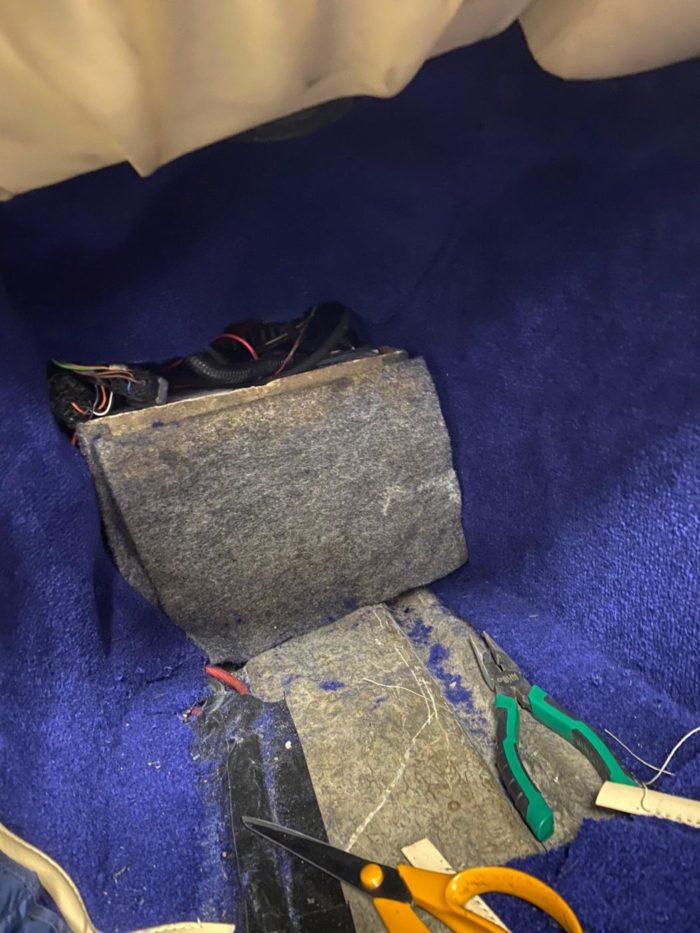
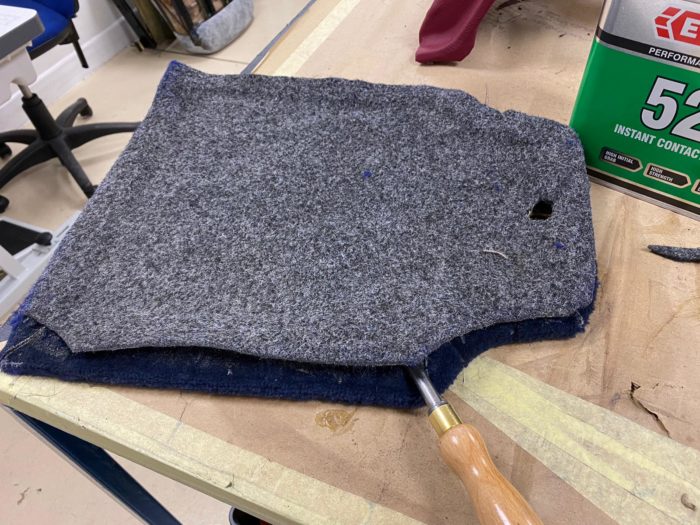
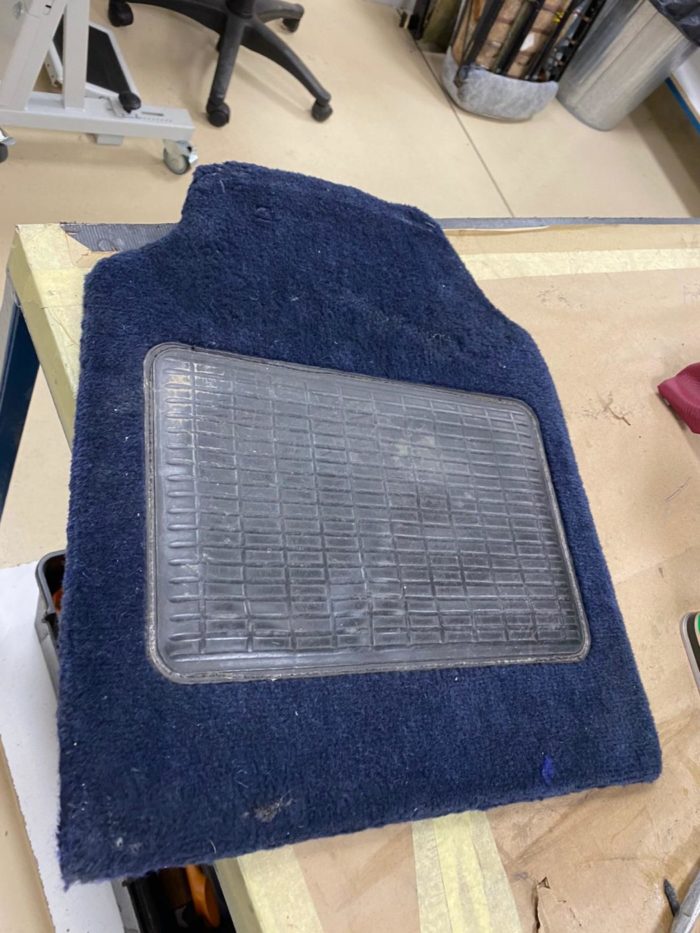
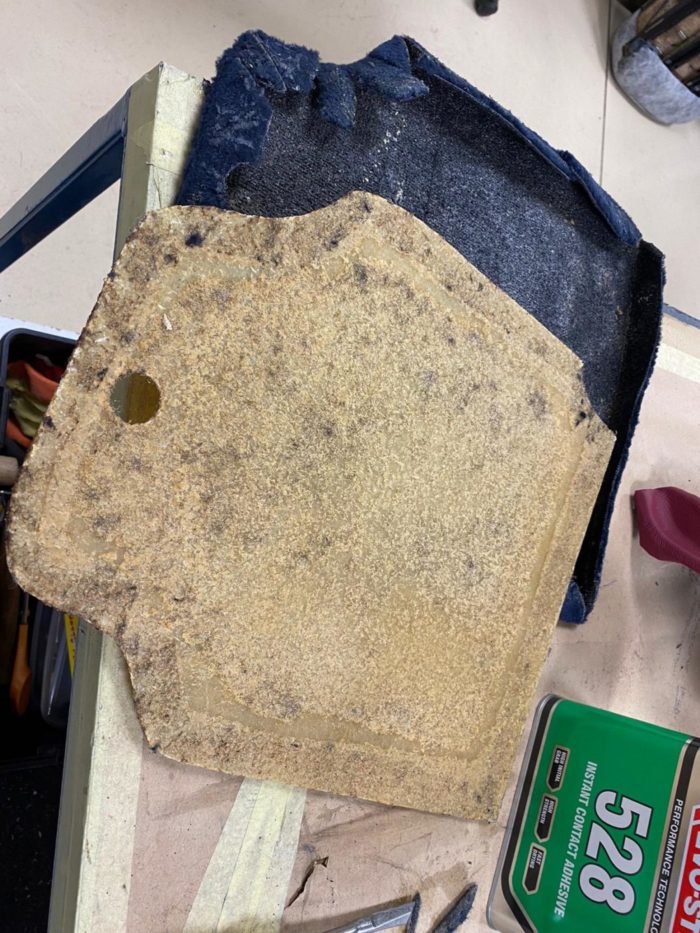
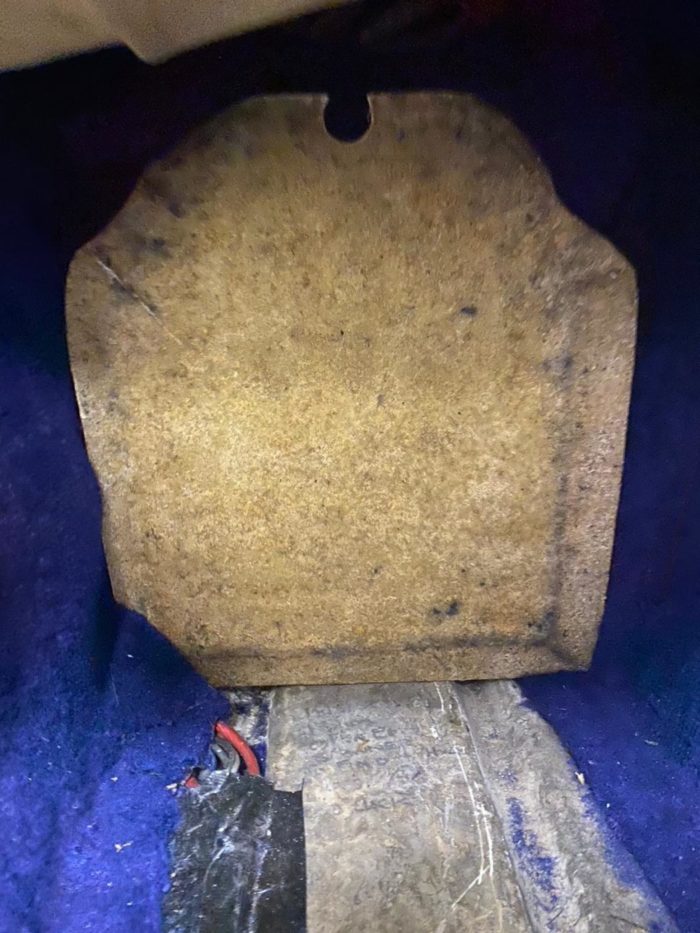
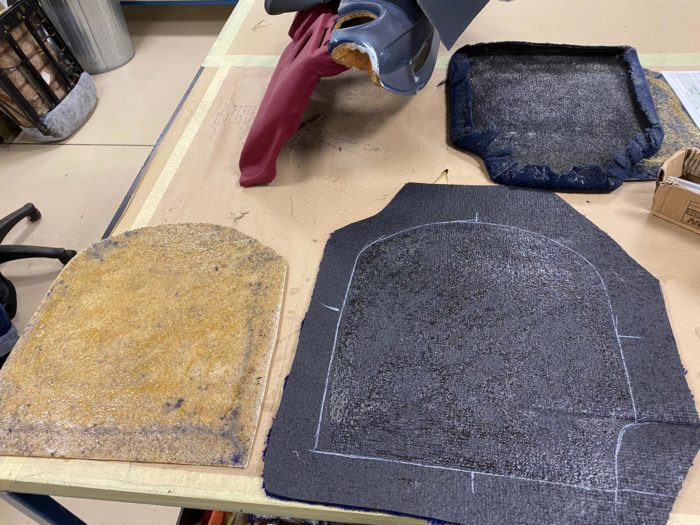
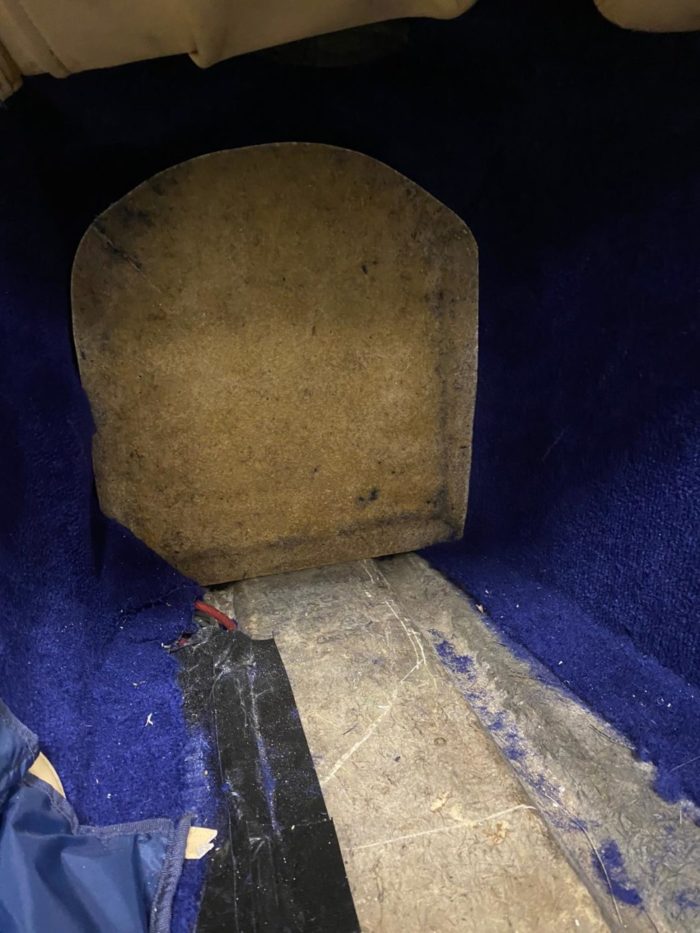
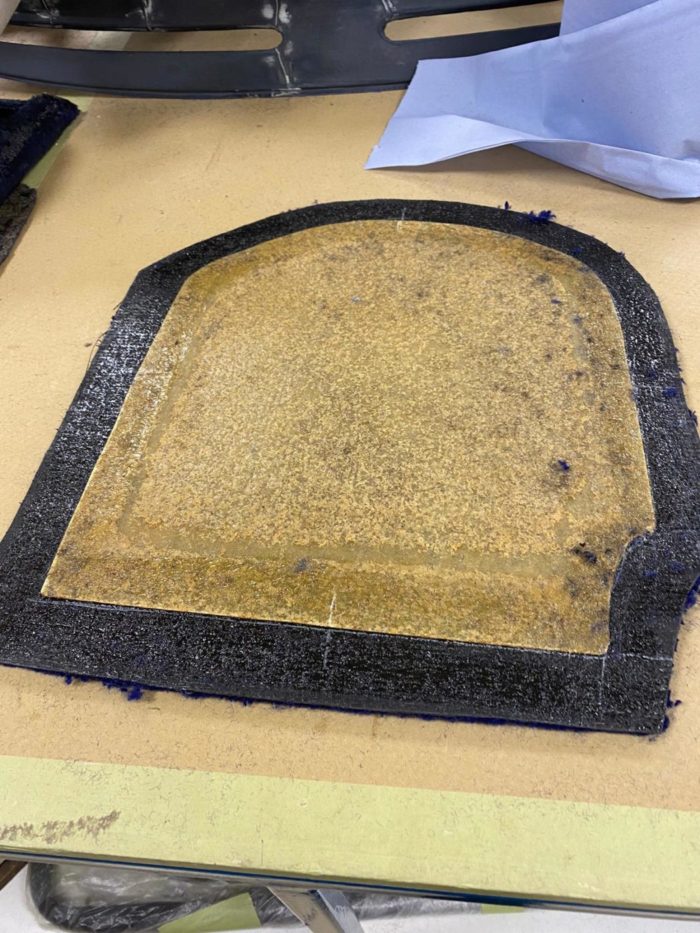
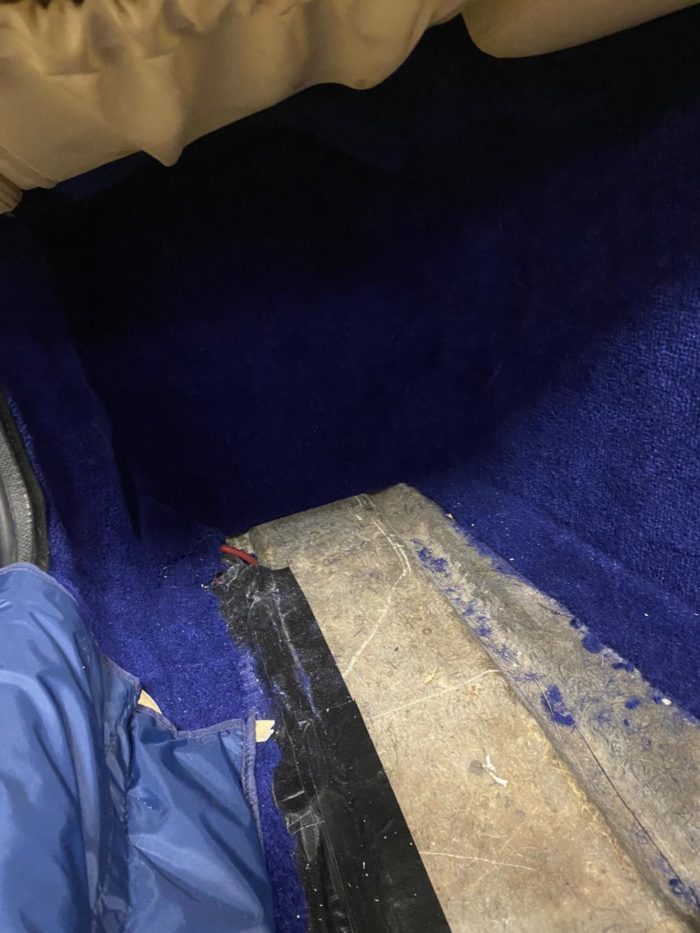
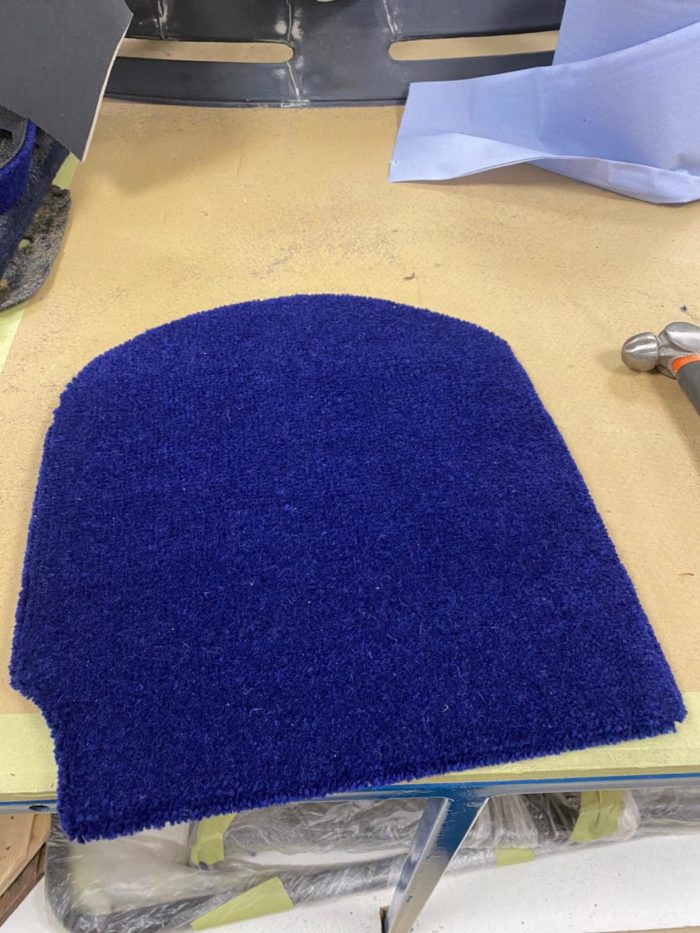
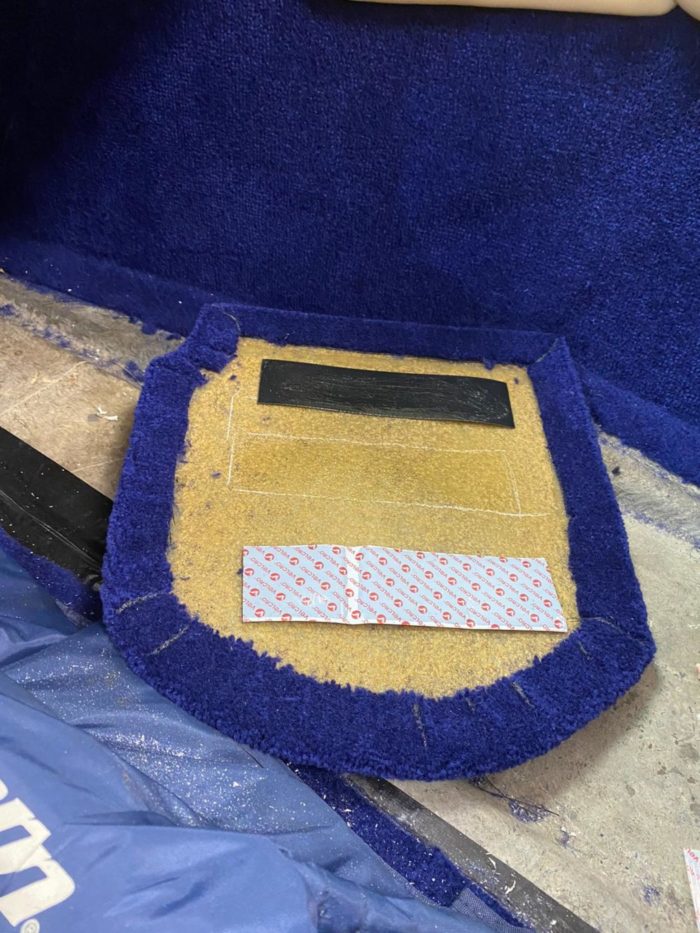
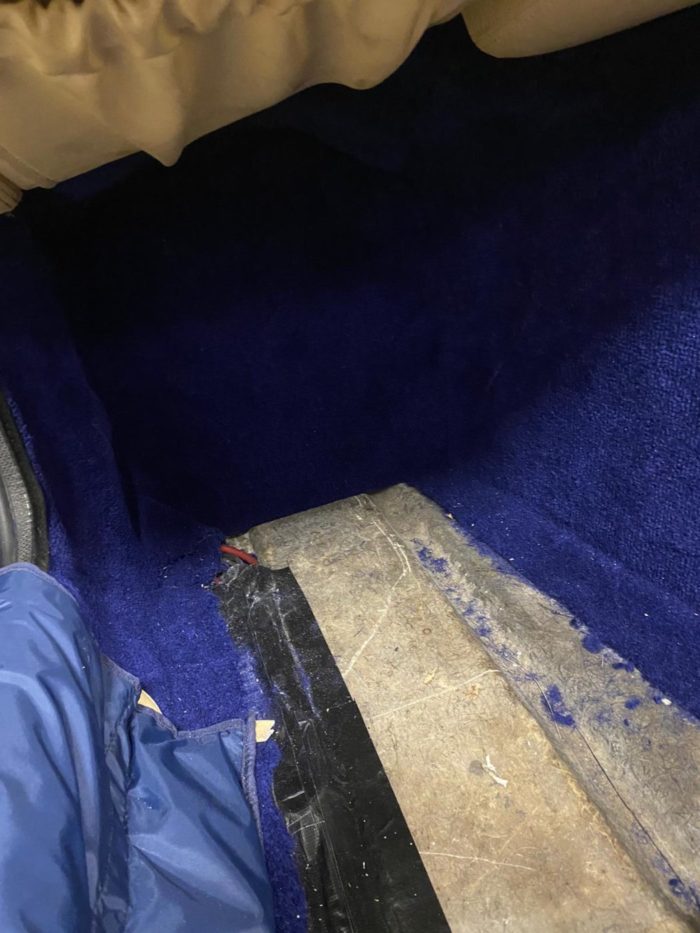
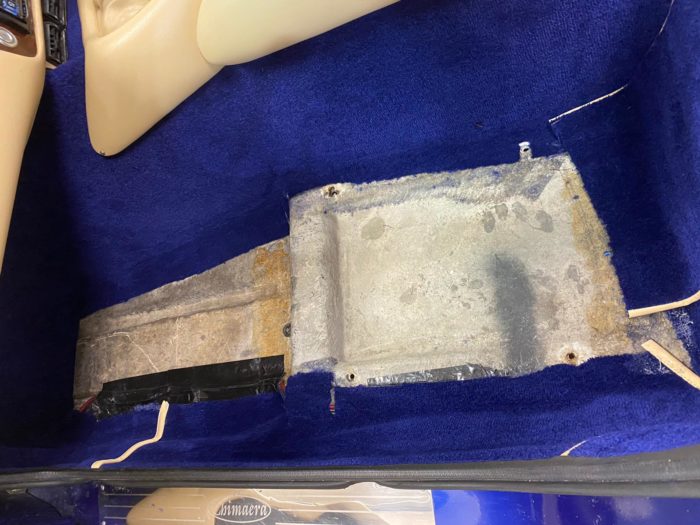
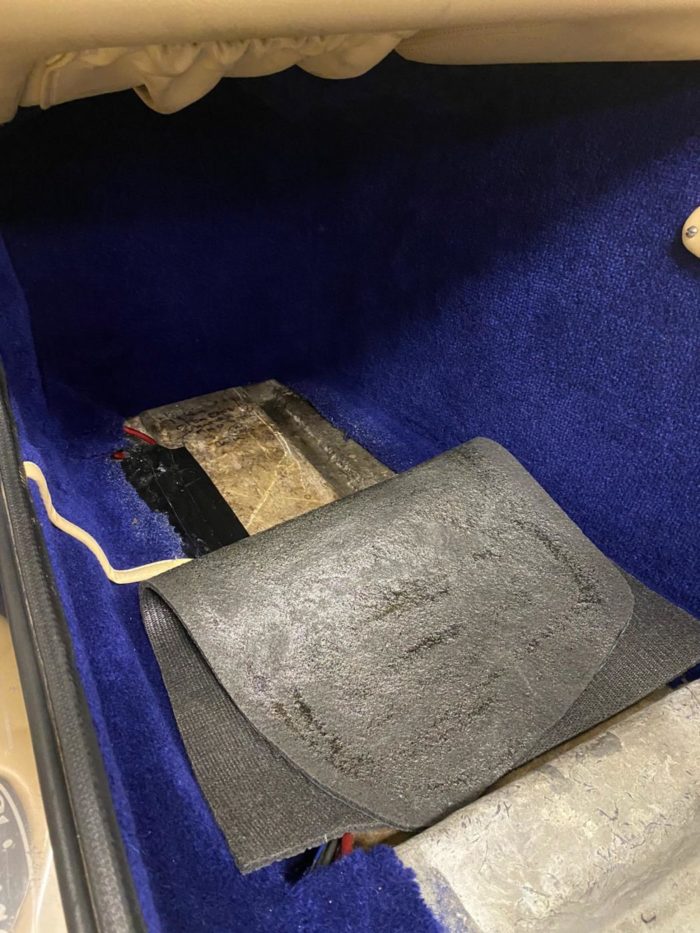
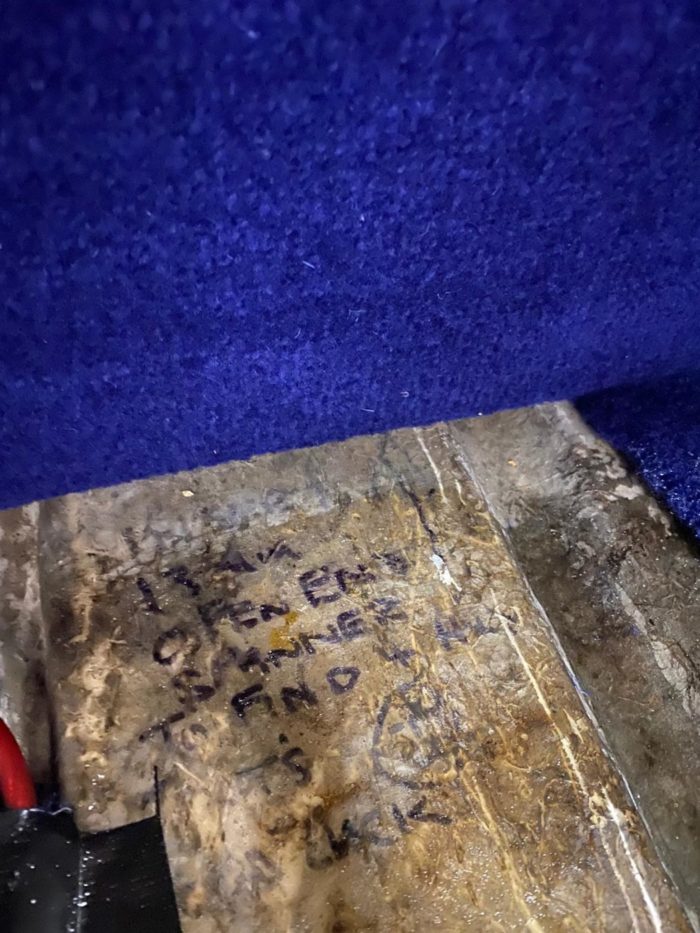
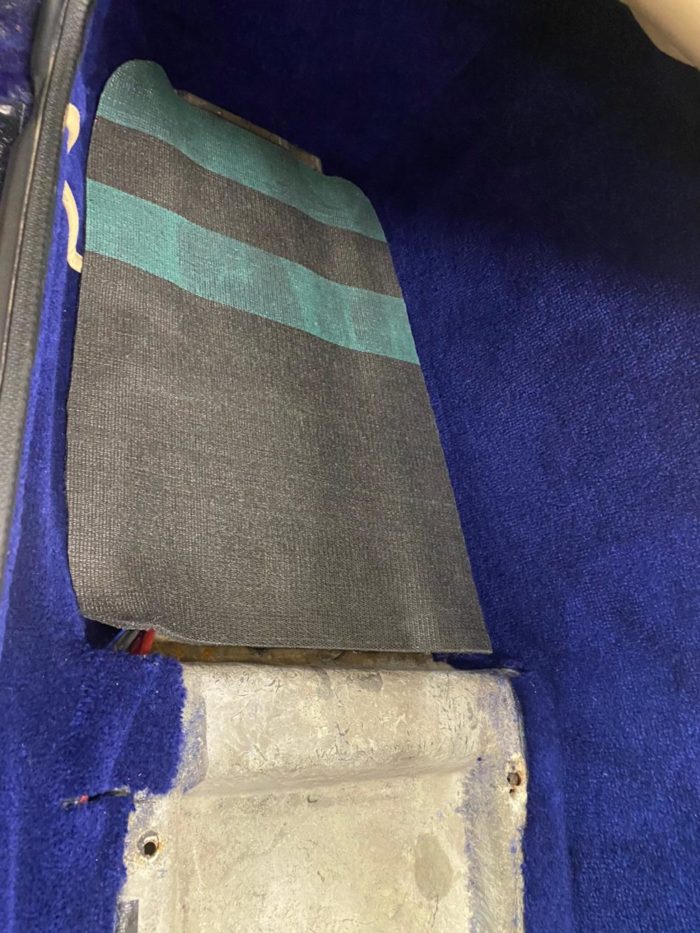
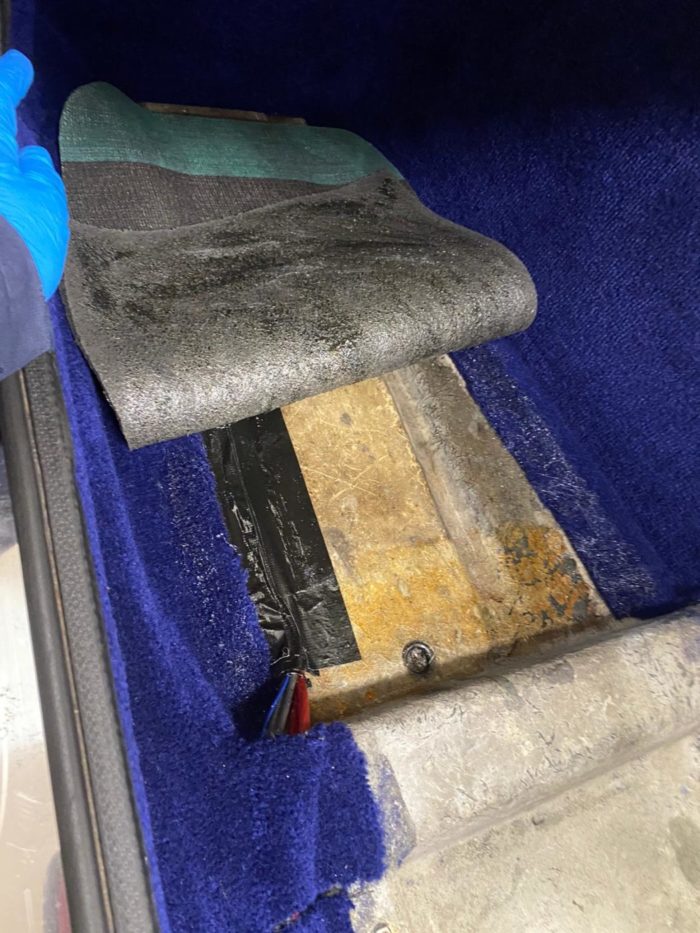
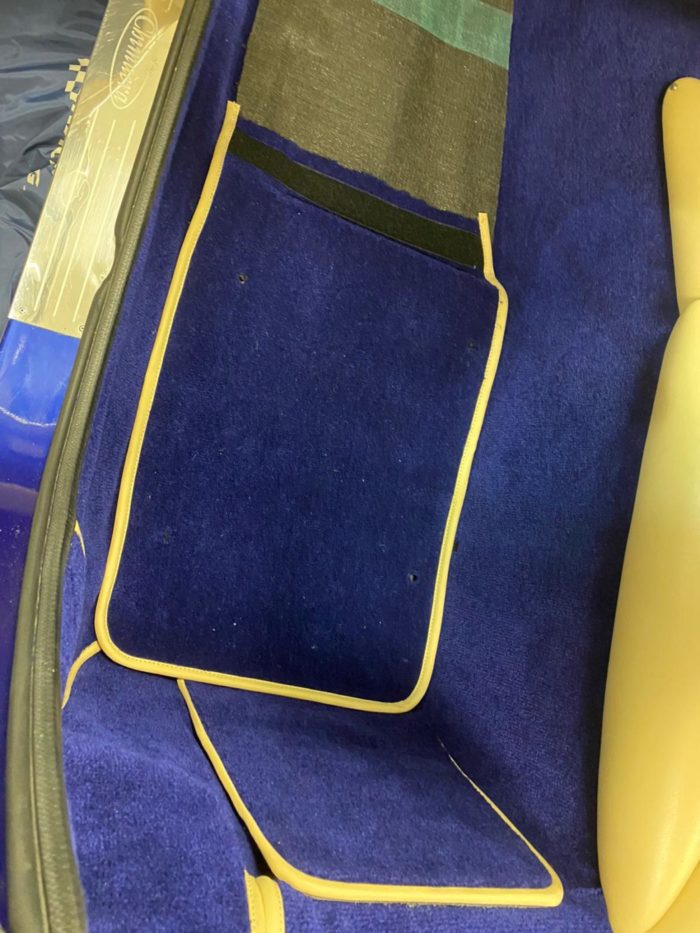
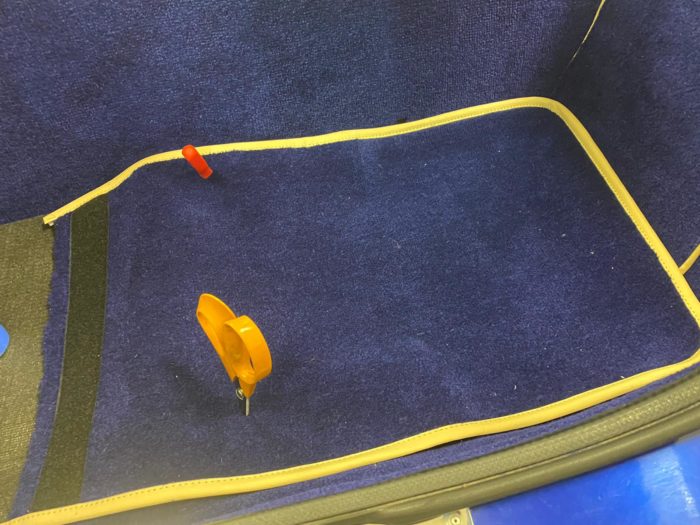
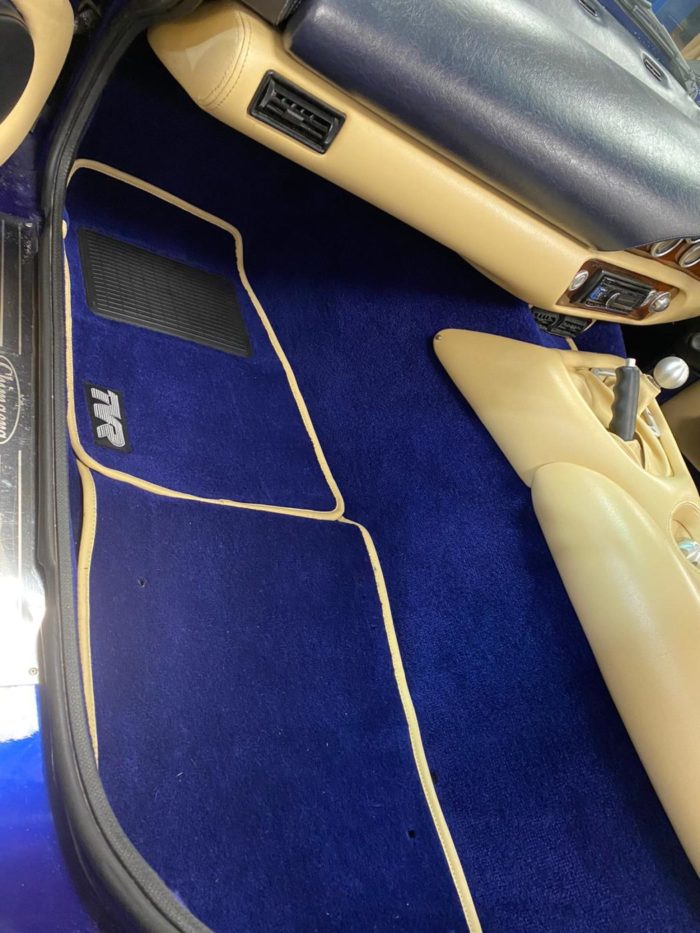
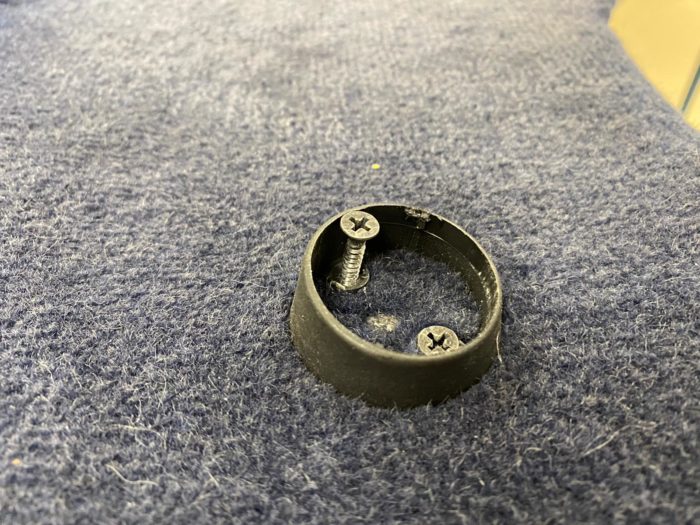
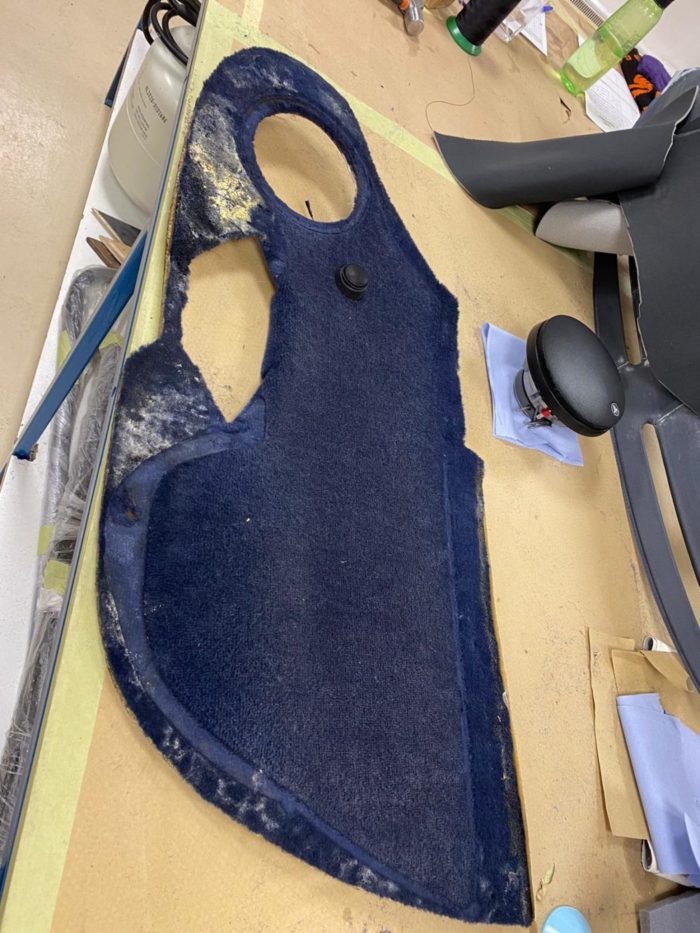
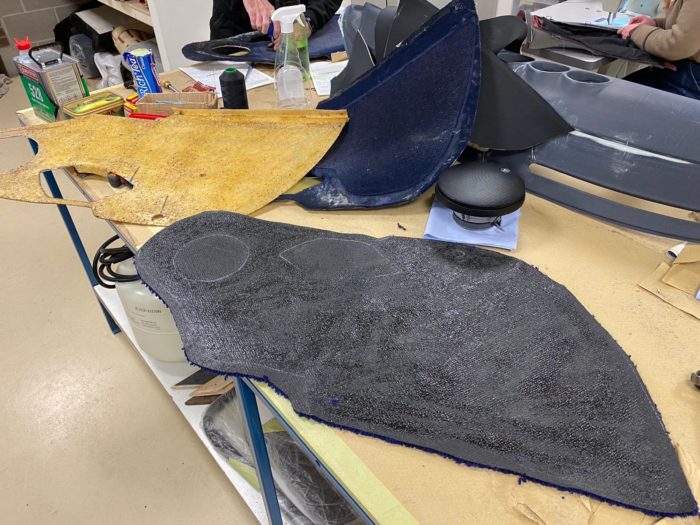
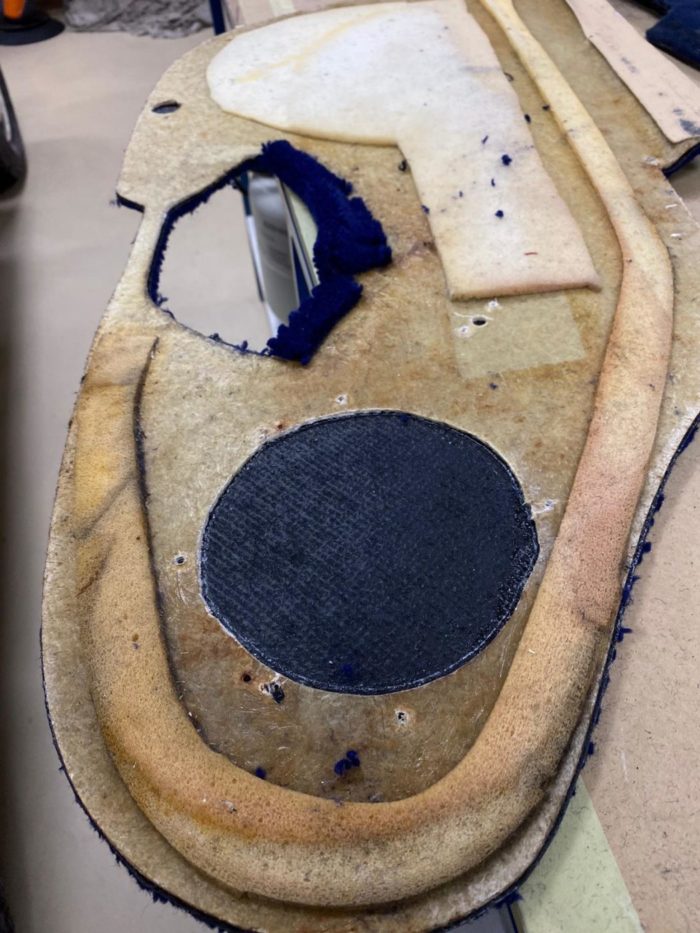
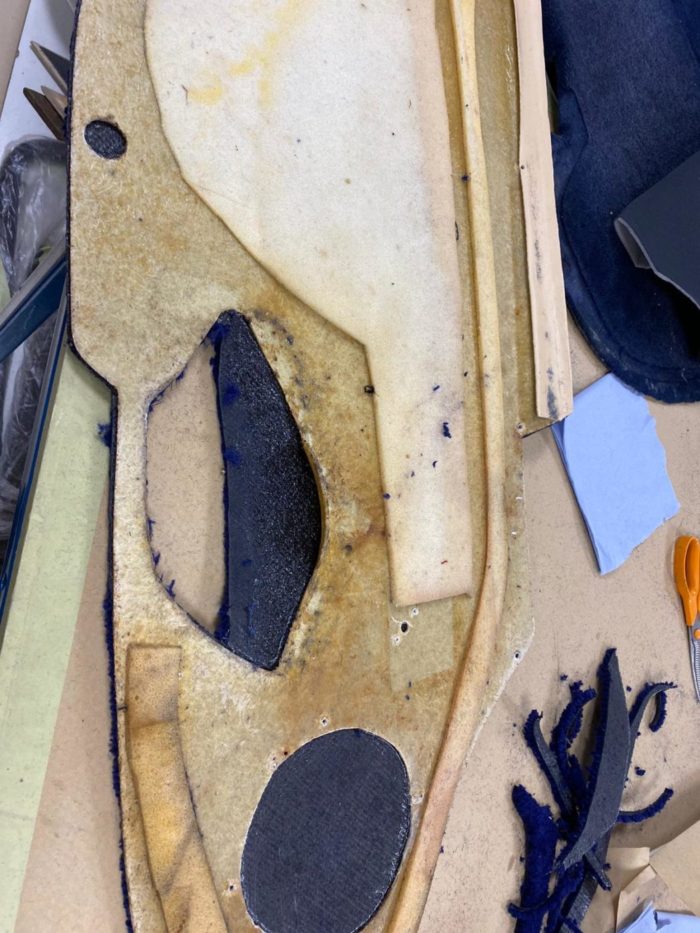
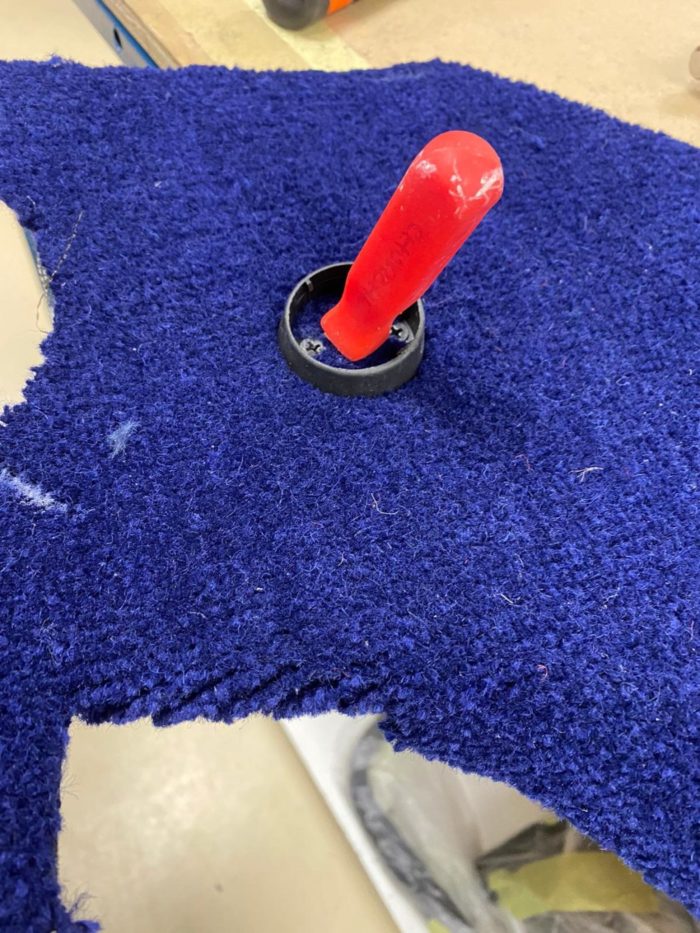
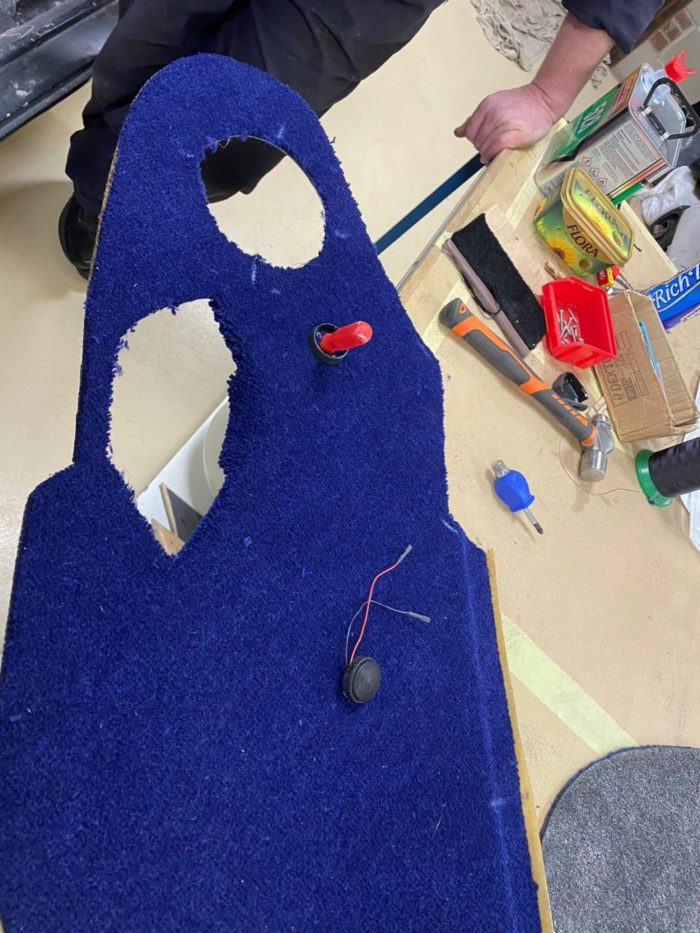
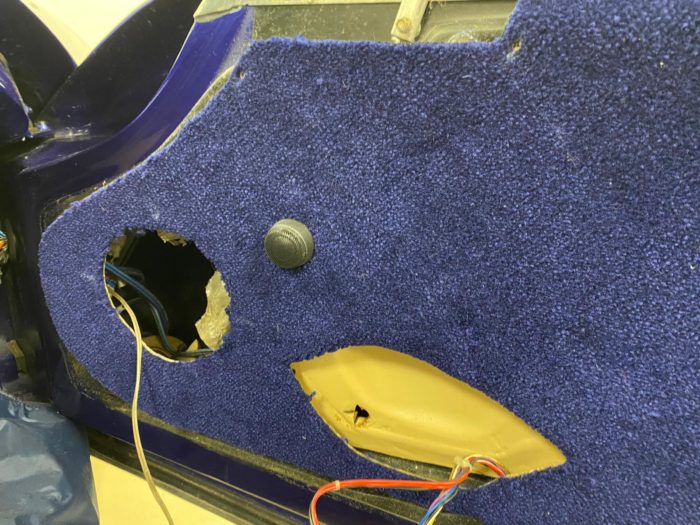
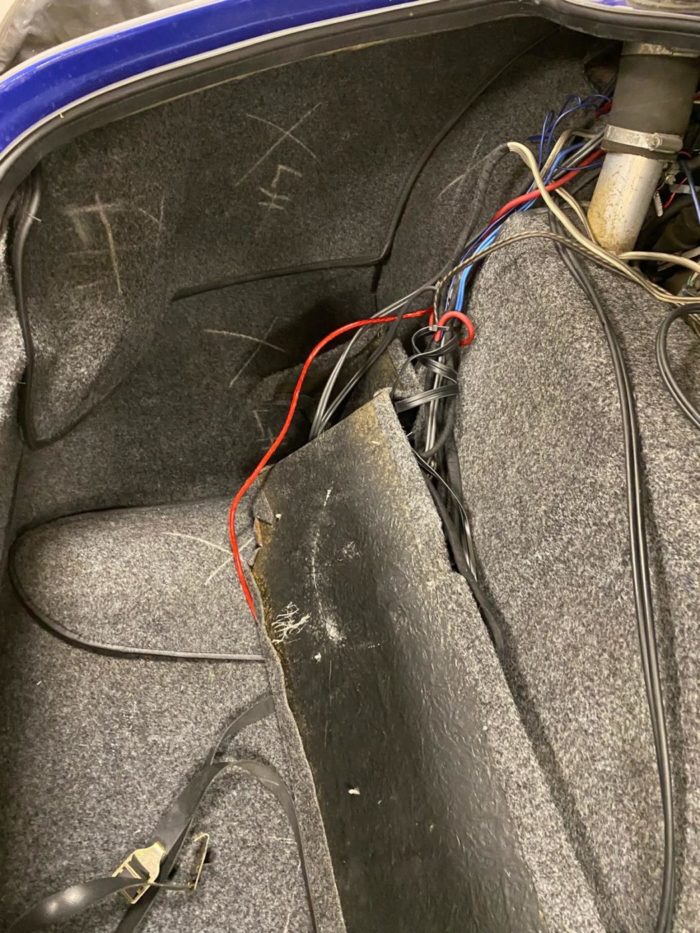
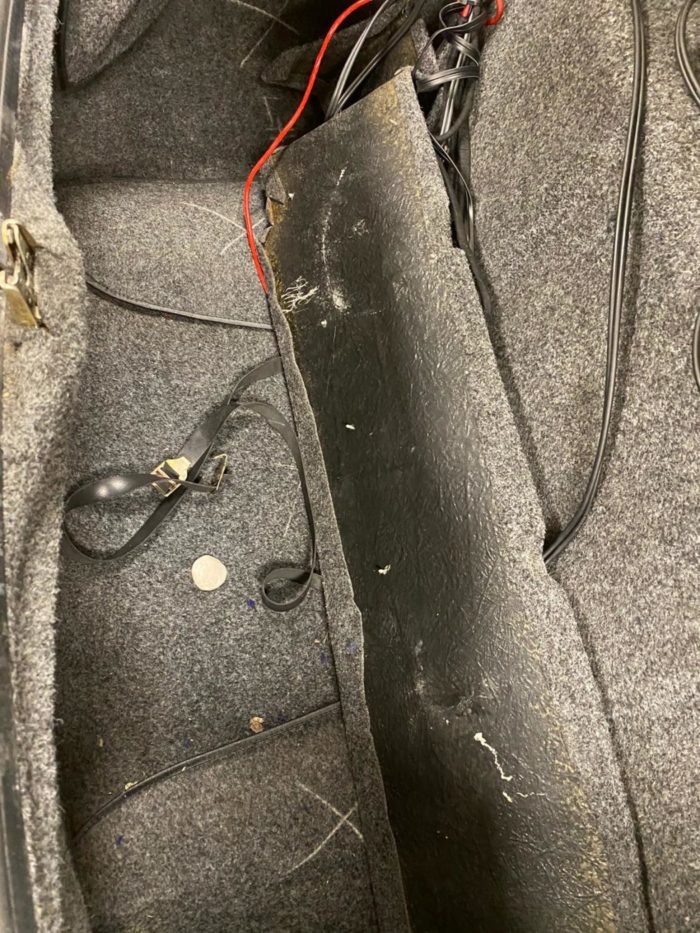
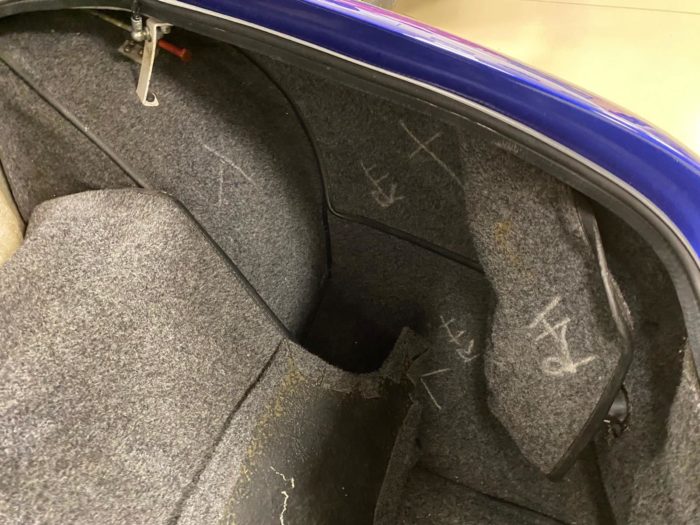
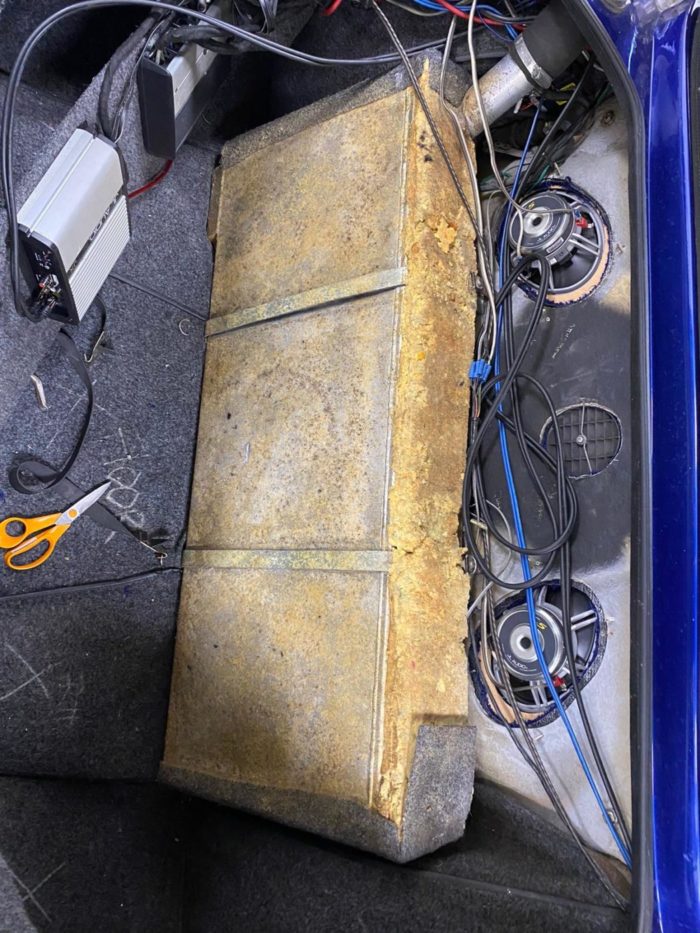
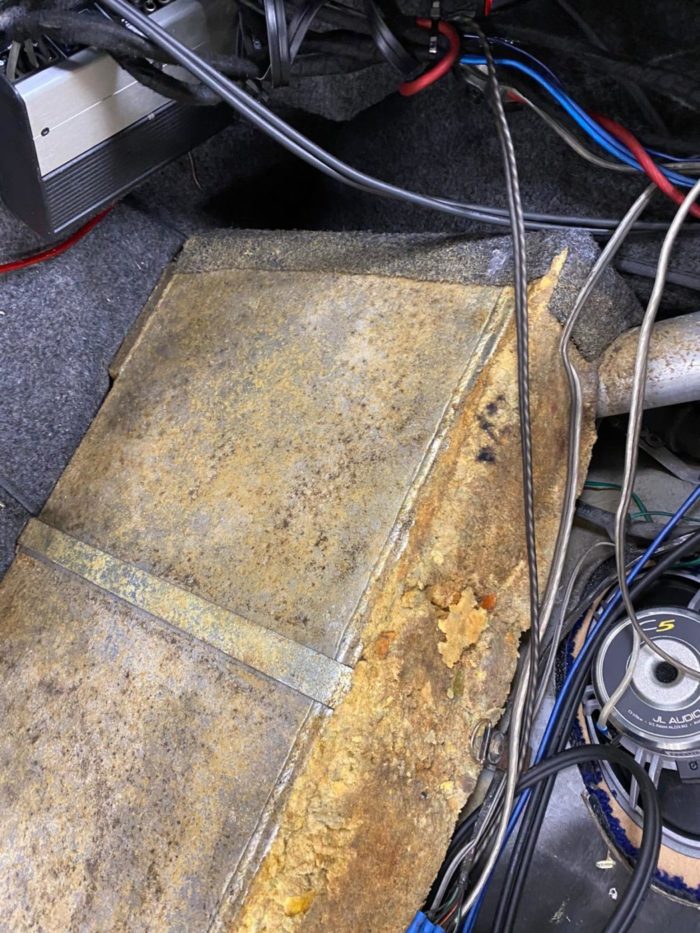
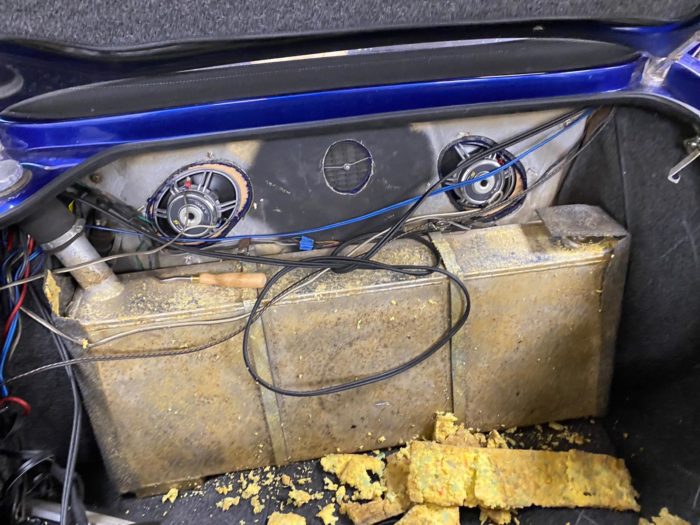
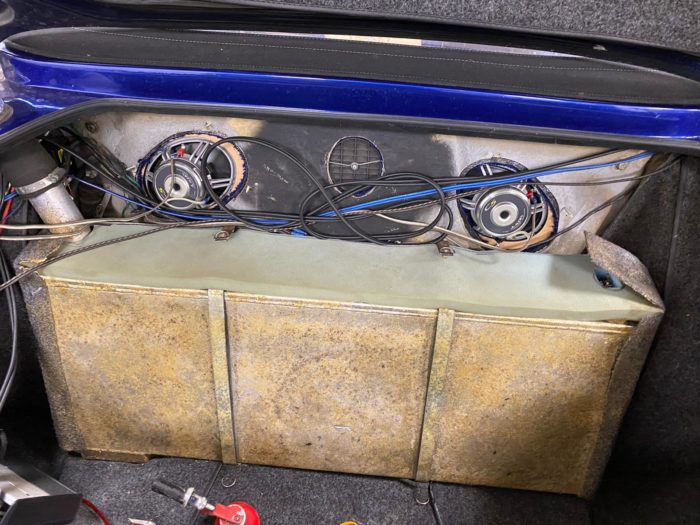
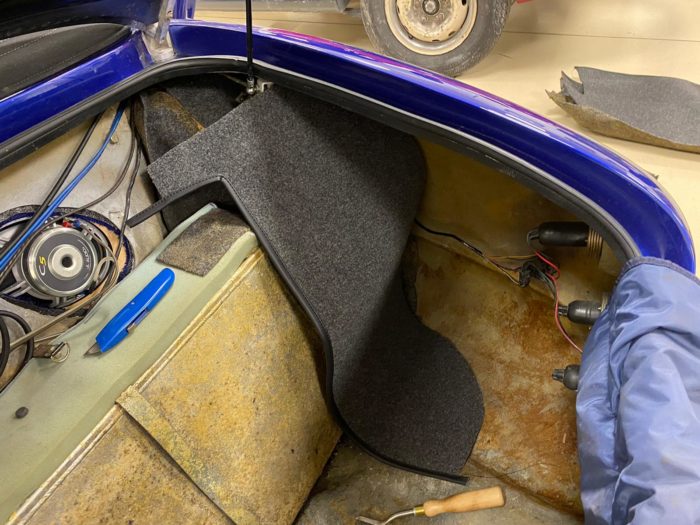
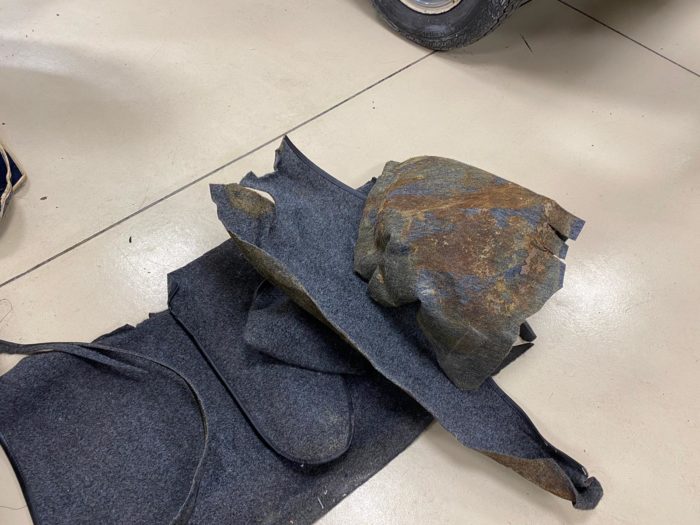
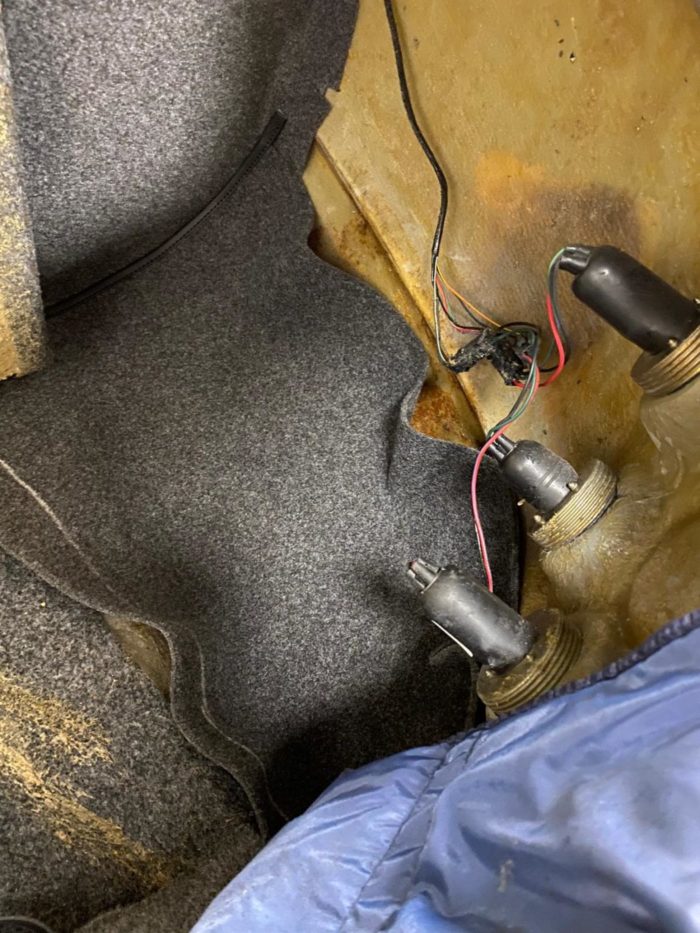
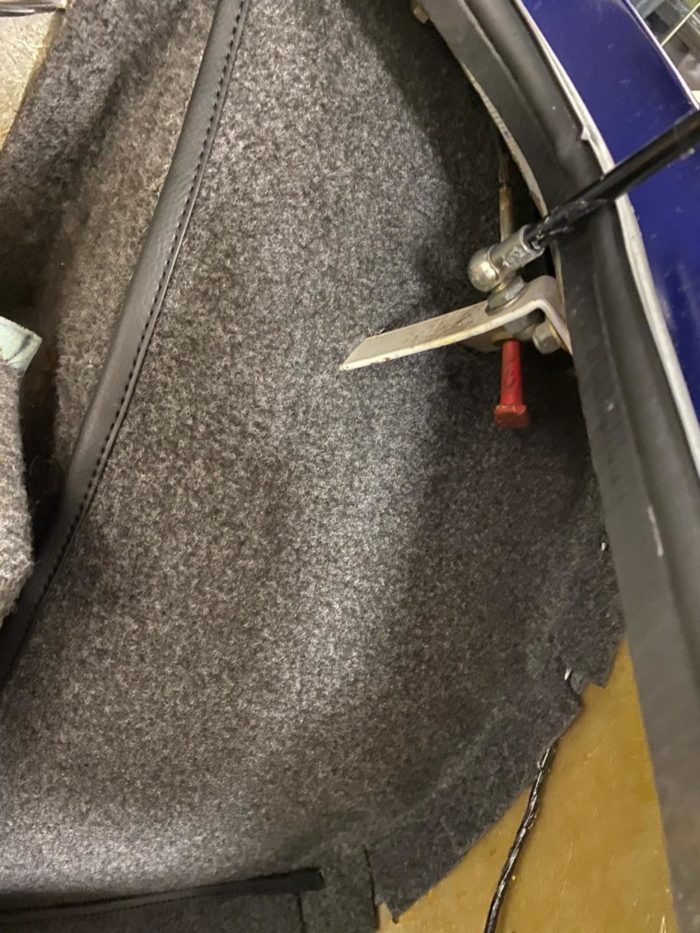
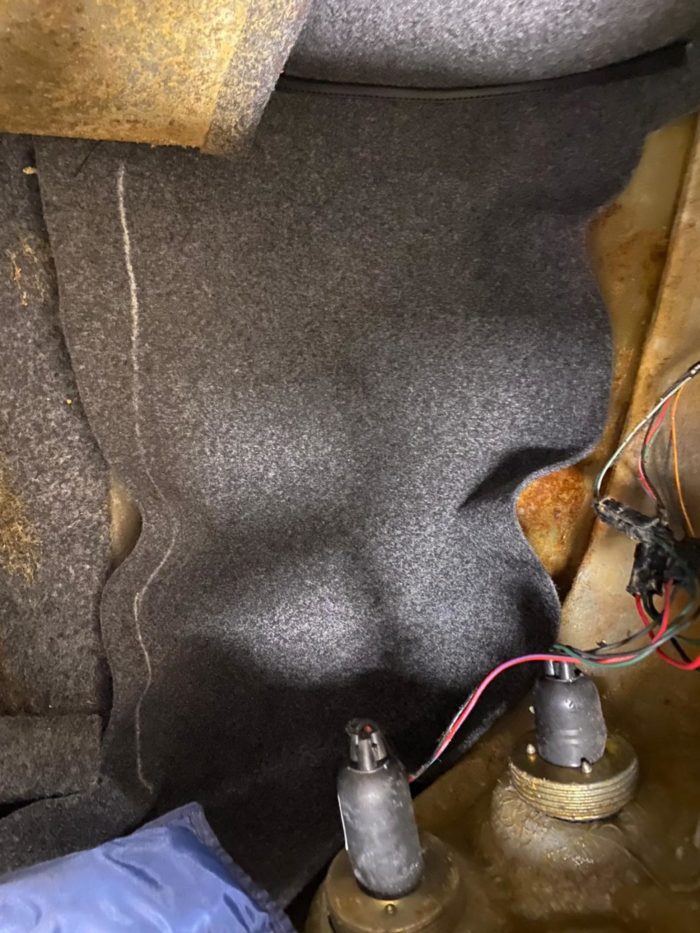
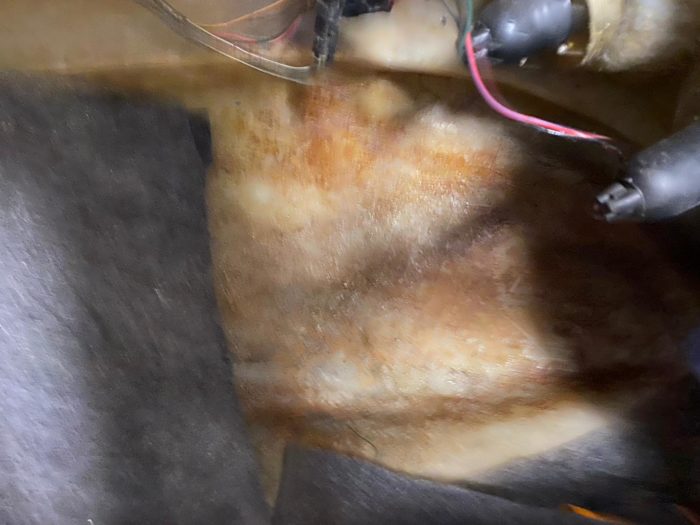
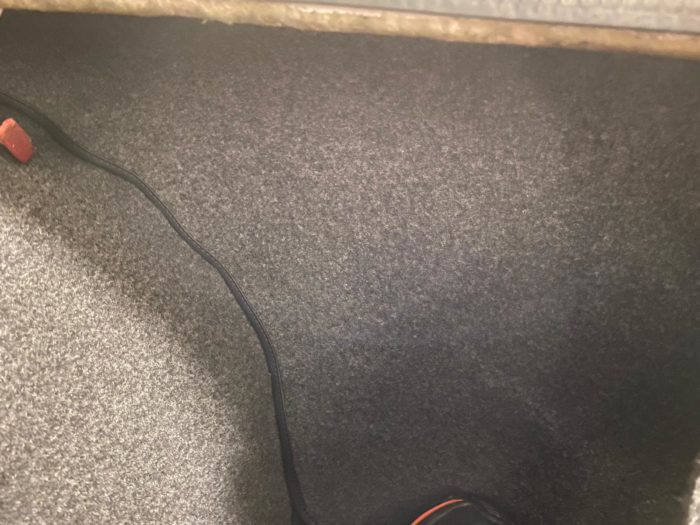
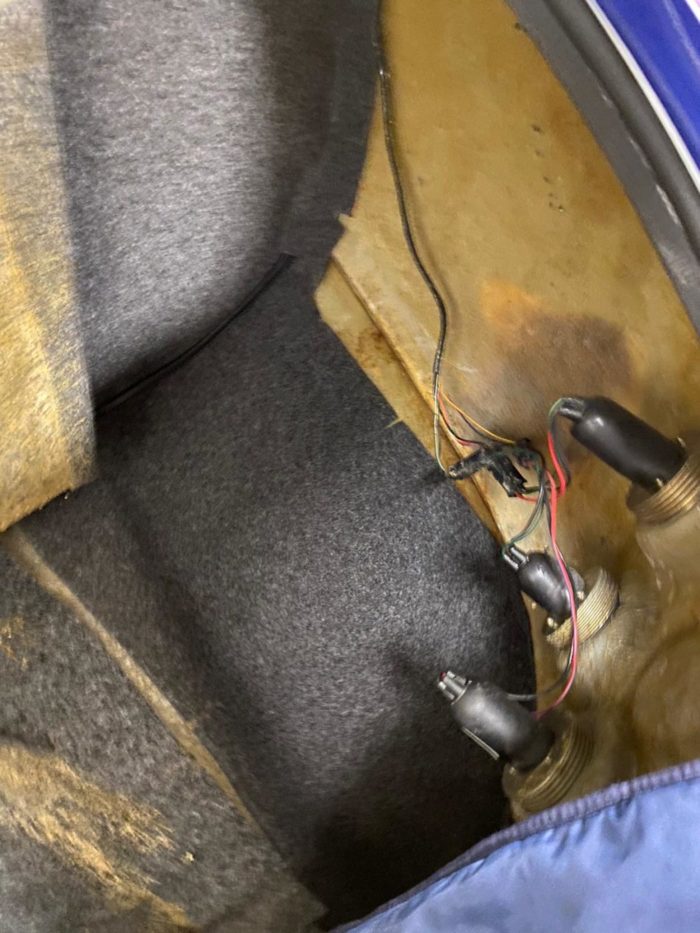
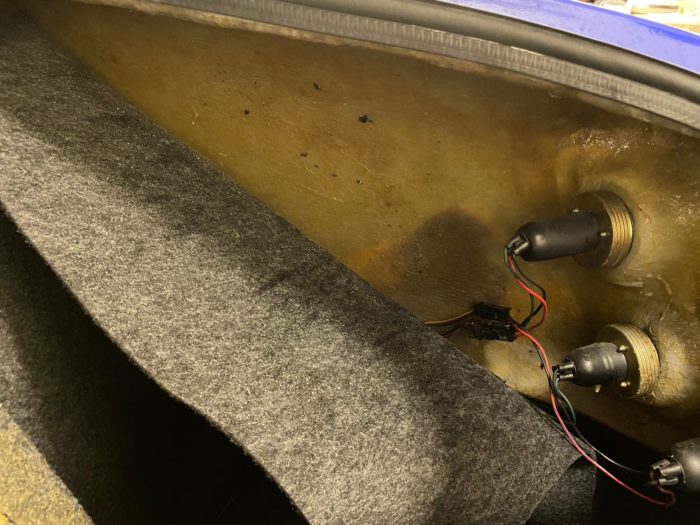
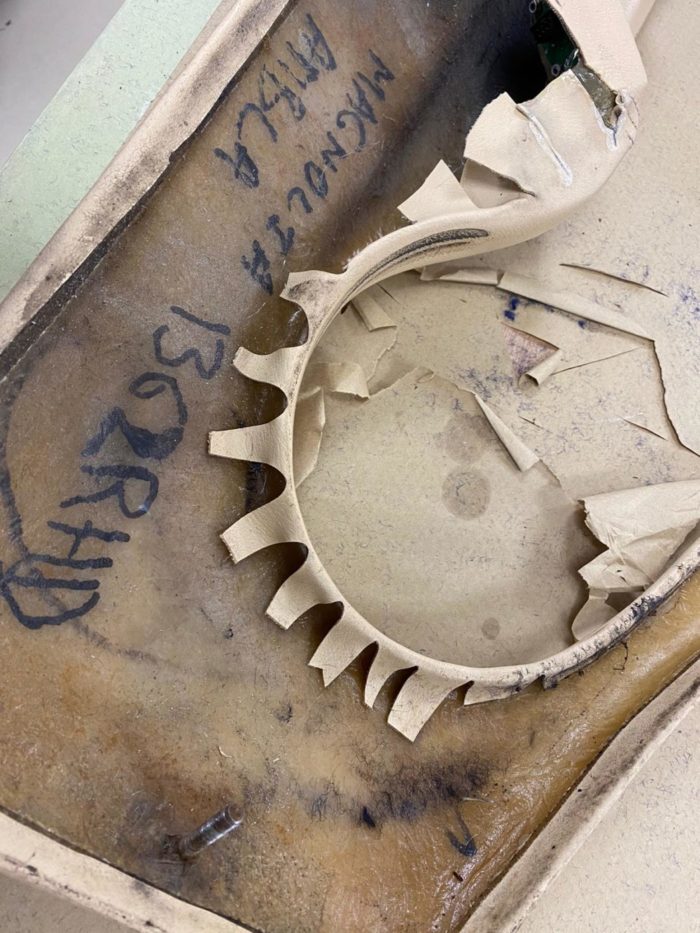
Kath has worked on re-lining the TVR’s boot too. She’s taken out the old carpet and fitted a new one in as well as replacing the carpet around the fuel tank and spare tyre section. The boot lid carpet has also been replaced with fresh lining. The next step is to bolt in the seats and service the car.
We use cookies to deliver the best possible experience whilst visiting our website. By clicking "Accept All", you consent to our use of cookies, or you can manage your preferences by clicking the link below. You can manage your preferences at any time from out Cookie Policy page.