The removal of the Jensen 541S chassis tube
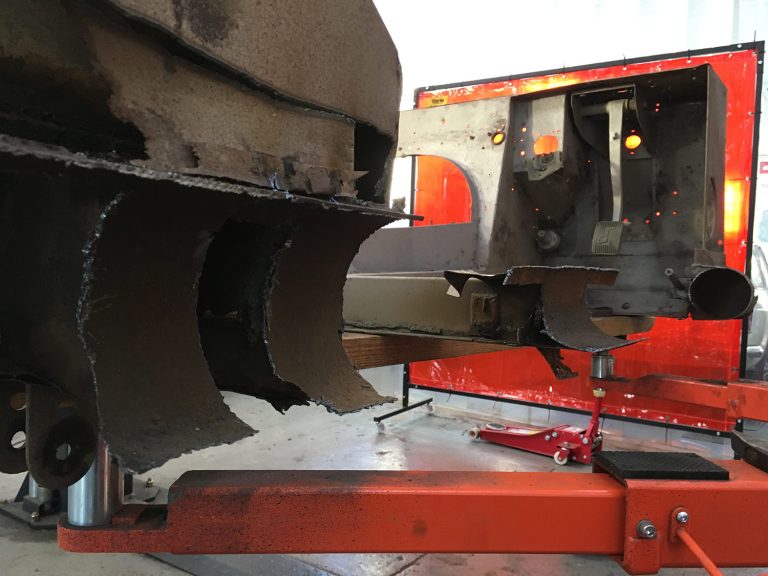
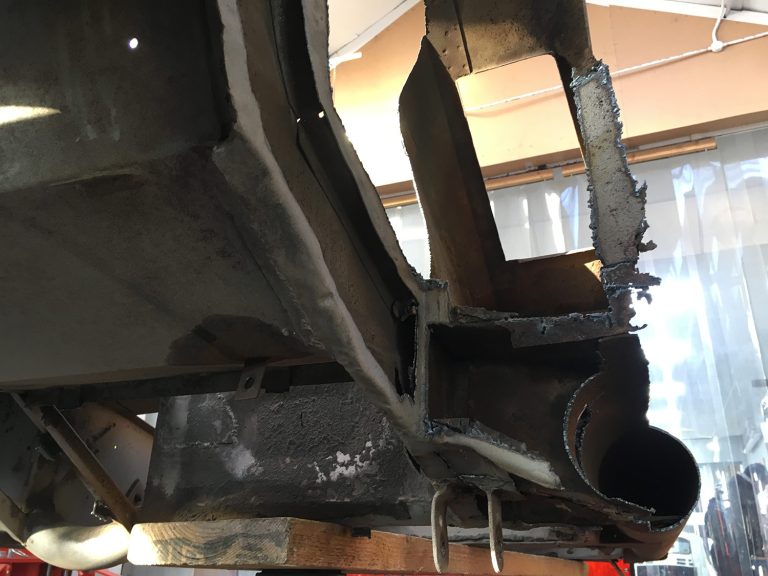
Our 1960 Jensen 541S chassis tube has now been successfully removed on one side. This will soon be replaced with brand new tubing to make


Our 1960 Jensen 541S chassis tube has now been successfully removed on one side. This will soon be replaced with brand new tubing to make

With the rear cross members and leaf hangers in place it was time for Asa to focus on the rear wheel arches which are in

[vc_row][vc_column][vc_column_text]Laura has been busy all week working on the bonnet of our 1967 Jaguar E-Type Series 1, the racing car! The bonnet headlamp diaphragms on

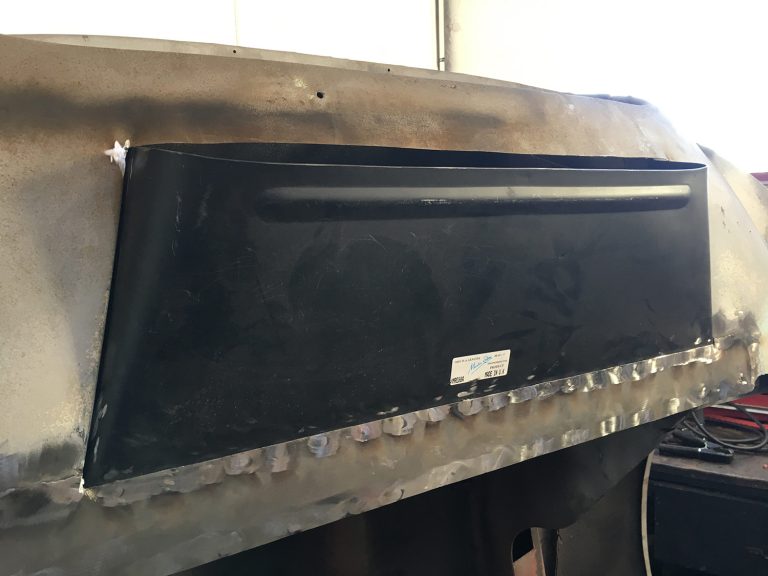
The newly formed bonnet air-duct for our Jaguar E-Type roadster has now been fitted.
Our 1960 Jensen 541S chassis tube has now been successfully removed on one side. This will soon be replaced with brand new tubing to make up the chassis frame once again.
With the rear cross members and leaf hangers in place it was time for Asa to focus on the rear wheel arches which are in desperate need of repair.
It is a common issue we’ve found with the Jensen 541 chassis’, they rot…and unfortunately it is often not until you remove the sills do you find how badly they have been affected.
Removing the sills and body from the chassis on a Jensen 541 is not an easy task but it is one that must be carried out, and must be carried out delicately and with confidence. A lot of technicians would not even attempt the procedure as the thought alone is scary but when you are looking at the 1960 Jensen 541S prototype, one of only three that were made and the only one to hold the automatic gearbox you are looking at a special car. And the history of this car alone is enough to ensure the work is carried out right!
Here we have the rear arches cut away at the affected areas. Upon exposing the chassis tubing it is evident that these will also need to be removed and replaced with new tubing too.
[vc_row][vc_column][vc_column_text]Laura has been busy all week working on the bonnet of our 1967 Jaguar E-Type Series 1, the racing car!
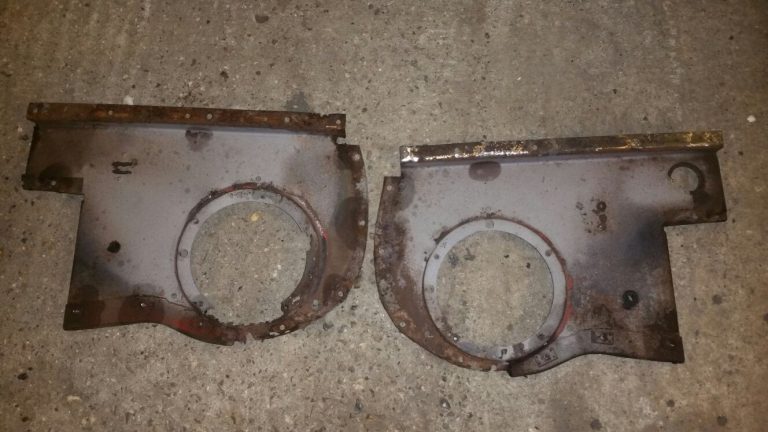
The bonnet headlamp diaphragms on both sides are badly corroded as are the mudguard panels so we have decided to purchase a new set to work with rather than spending time and money correcting the existing ones.
If you are looking for these parts yourself then they are readily available from any of the main Jaguar stockists and the SNG Barratt part numbers you need are:
BD16422 Bonnet Diaphragm Right Handed
BD16423 Bonnet Diaphragm Left Handed
BD16382 Mudguard Bonnet Right Handed
BD16382 Mudguard Bonnet Left Handed
Be aware that different suppliers us different part numbers but you tend to find they all recognise each other’s part number. The same numbers above from Martin Robey are MRE84CLH, MRE84CRH, MRE84RH and MRE84LH.
Many of the key classic car vehicle suppliers have fantastic diagrams on their websites, they are hugely beneficial as they help to pin point the exact component that you require.
Here’s an example:
There are so many classic Jaguar parts stockists available to choose from. We find the prices are very similar to one another but if time is on your it is often a good idea to phone around to check on stock availability as well as costs.
As we all know, restoration costs can easily run away with if we are not careful…[/vc_column_text][/vc_column][/vc_row][vc_row][vc_column][vc_gallery type=”image_grid” images=”9474,9475,9476,9477,9478,9479,9480,9481″][/vc_column][/vc_row]
The newly formed bonnet air-duct for our Jaguar E-Type roadster has now been fitted.
We use cookies to deliver the best possible experience whilst visiting our website. By clicking "Accept All", you consent to our use of cookies, or you can manage your preferences by clicking the link below. You can manage your preferences at any time from out Cookie Policy page.