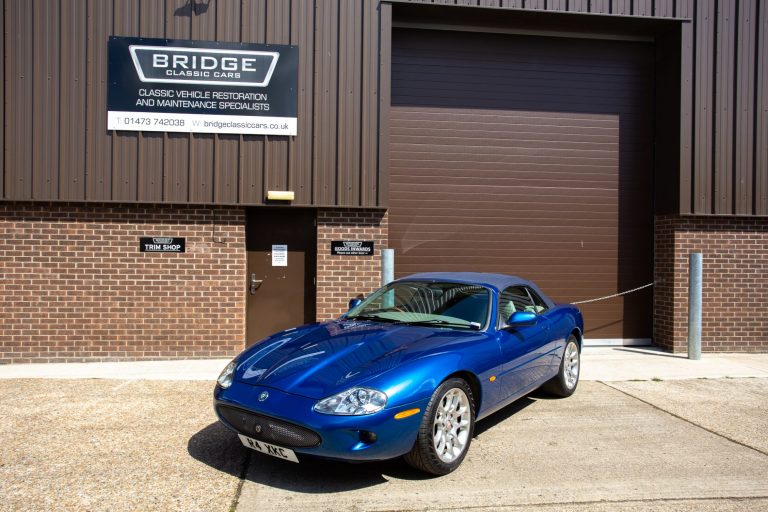
Jaguar XK8 Finished
We’ve now finished our 1997 Jaguar XK8 which is now looking as good as new – you’d never be able to tell that we’ve taken


We’ve now finished our 1997 Jaguar XK8 which is now looking as good as new – you’d never be able to tell that we’ve taken
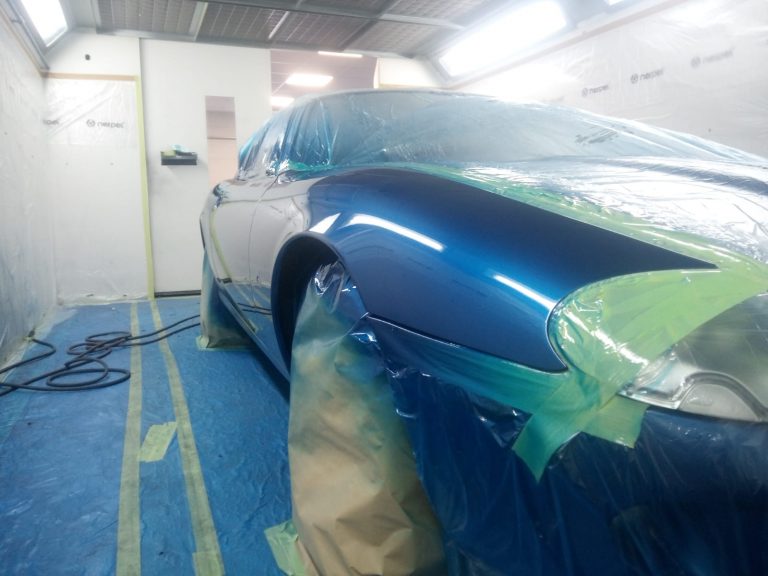
Our 1997 Jaguar XK8 has been prepped and readied for primer and then followed up with its final paint stage. Matt also masked up for
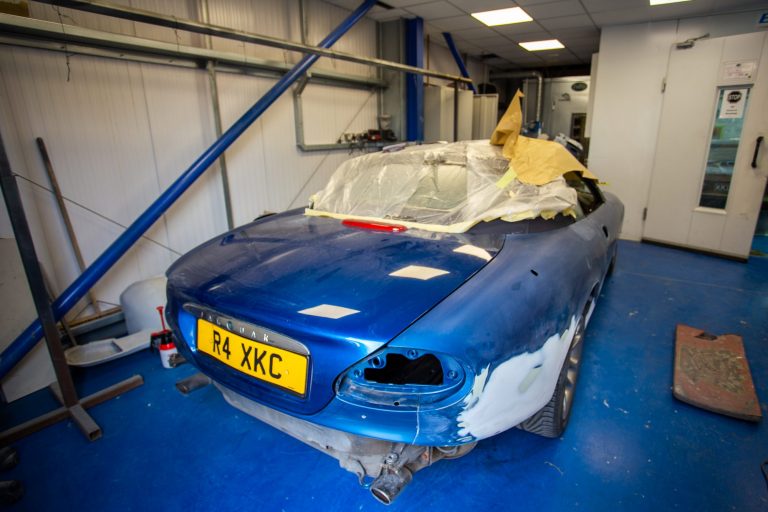
Our 1997 Jaguar XK8 has been prepped for primer and paint. Matt has feathered out the block marks from the filler, sanded down the door
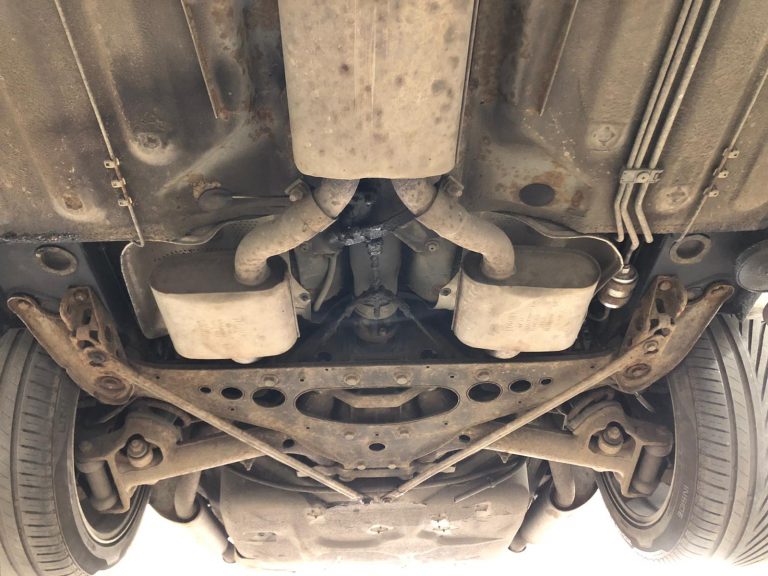
Our 1997 Jaguar XK8 has become somewhat of a snowball restoration. Originally in for just a touch of rust repair, we’re now revealing more rust
Pricey has discovered a rotten left hand subframe mounting point/chassis leg. To deal with this, Pricey cut out the outer layer to reveal a rotten
Pricey has been continuing his work on the 1997 Jaguar XK8 which is needing some thorough rust repair. There has been more rust discovered in
Pricey has been continuing with the rust repair on our 1997 Jaguar XK8 where he has fabricated, welded and repaired the rusted arches. He is
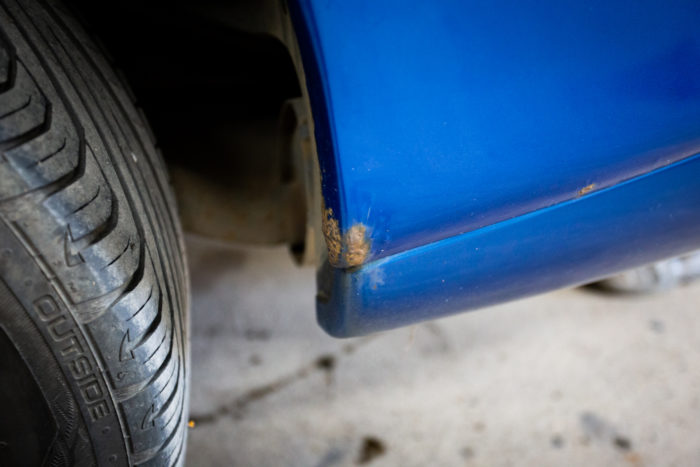
We found some severe signs of rust appearing under the rear wheel arches of this 1997 Jaguar XK8. Although these are early signs of corrosion,
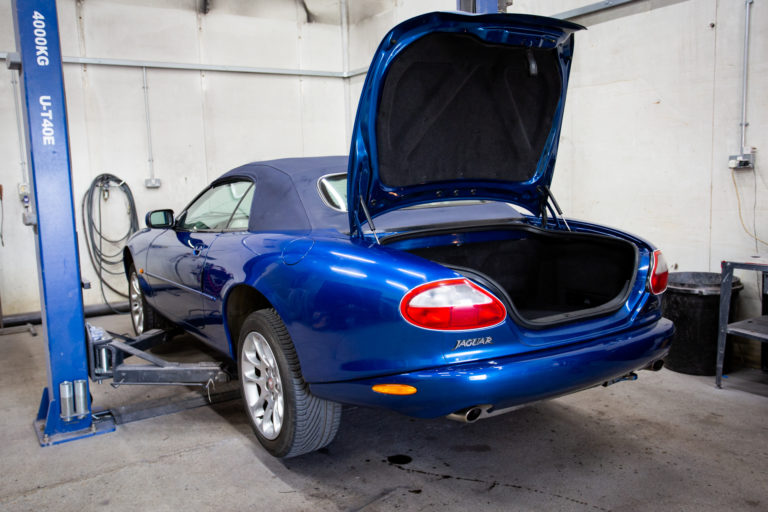
The owners of this Jaguar XK8 spotted the early onset of rust in the rear quarter sill and brought it in to be repaired. Our
We’ve now finished our 1997 Jaguar XK8 which is now looking as good as new – you’d never be able to tell that we’ve taken apart and rebuilt those rear wheel arches! This Jaguar will now head home with its owner, ready to take on the roads again.
Our 1997 Jaguar XK8 has been prepped and readied for primer and then followed up with its final paint stage.
Matt also masked up for stone chip on the sill and arch lips before applying the final paint. Matt explained that “we check for colour coverage by turning the booth lights off and using a special torch to make sure base coat has covered”. This allows the team to ensure that the paint is sat as it should do. Once the base coat had been applied, Matt could then add the clear coat and finish the car.
It now looks good as new – you’d never know the rear quarter had been taken apart!
Our 1997 Jaguar XK8 has been prepped for primer and paint. Matt has feathered out the block marks from the filler, sanded down the door and wing and removed any flaky paint.
The next step will be to apply filler primer, rub that down and then apply the final paint.
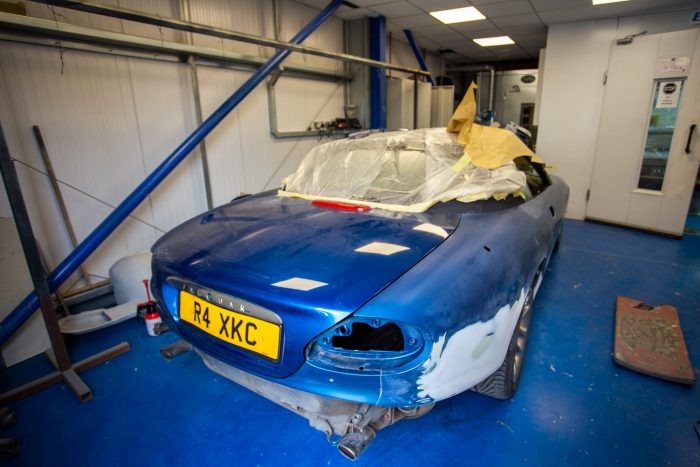
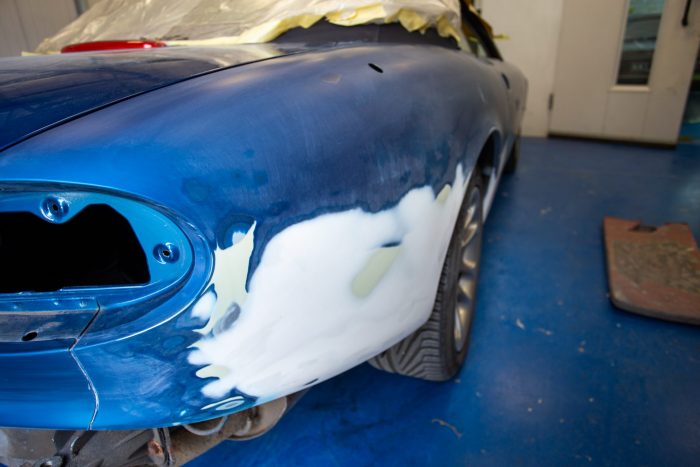
Our 1997 Jaguar XK8 has become somewhat of a snowball restoration. Originally in for just a touch of rust repair, we’re now revealing more rust than previously thought. Scenarios like this is very common as rust repair is often like opening a can of worms and we believe its better to bite the bullet and sort it out rather than wait for the rust to get to an unmanageable and fatal point.
Pricey has started working on the rotten right hand front subframe point where he has removed the outer layer, then cleaned and removed the inner layer and zinc sprayed it all. He has then welded the inner layer and zinc primed that, before doing the same with the outer layer. Pricey has then rust treated the surrounding areas and epoxy primed, undersealed and cavity waxed the area. After this, he refitted the subframe bracket and bolts.
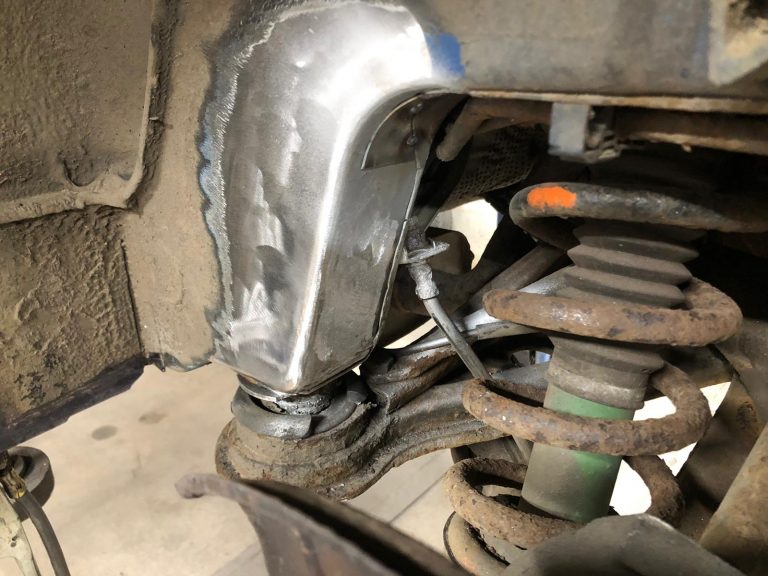
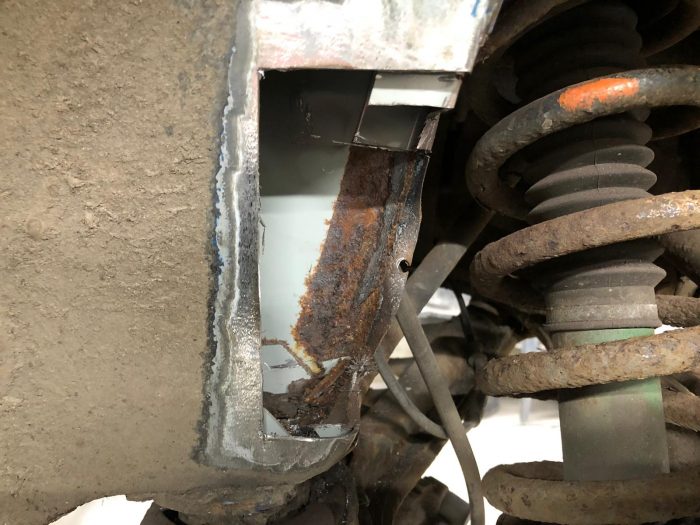
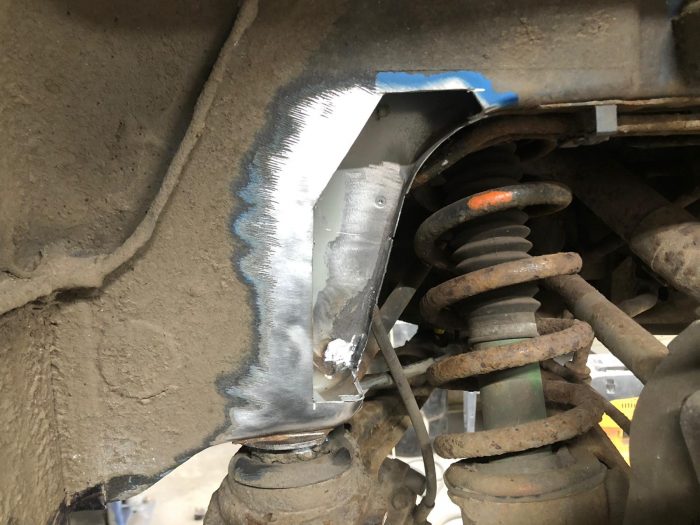
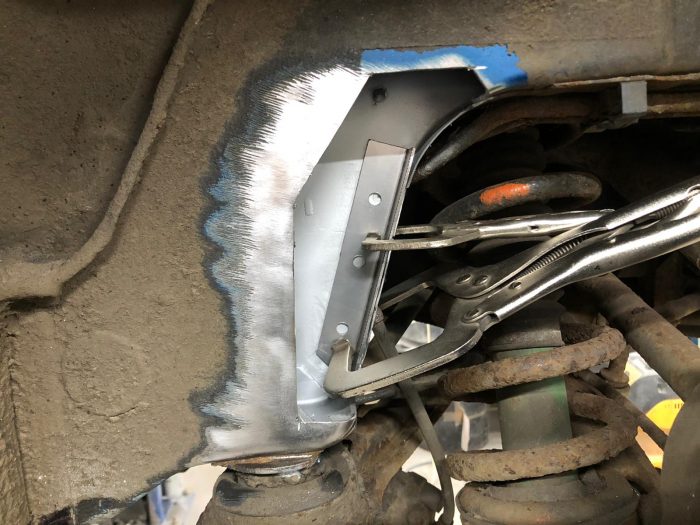
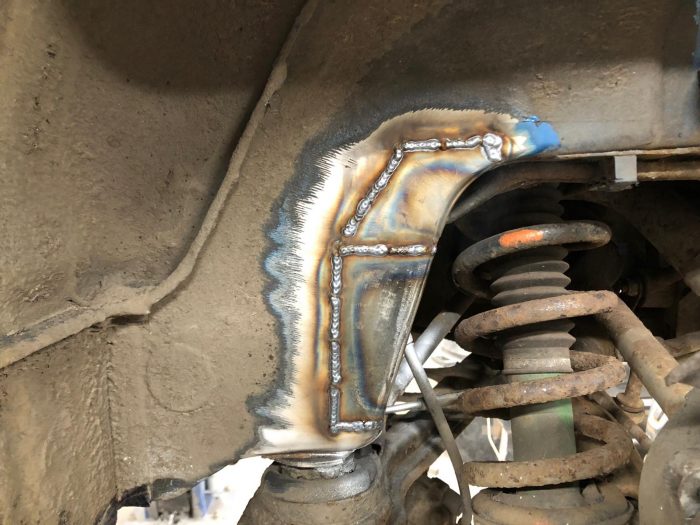
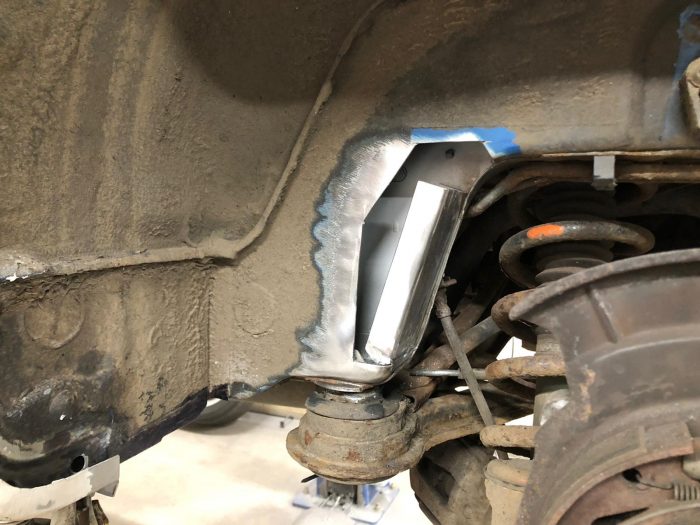
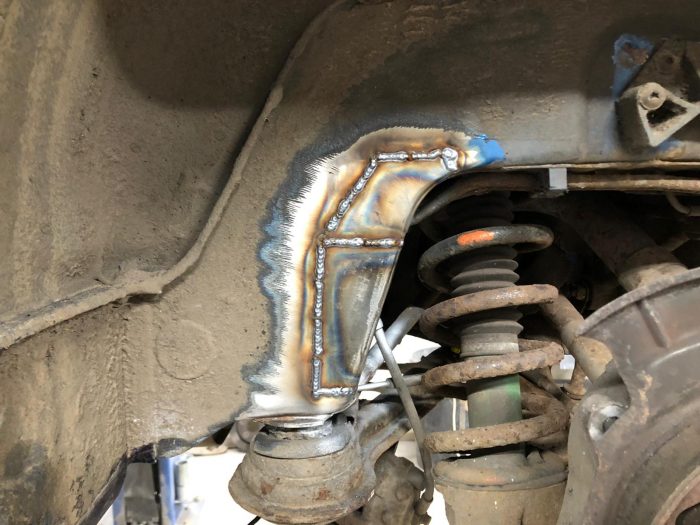
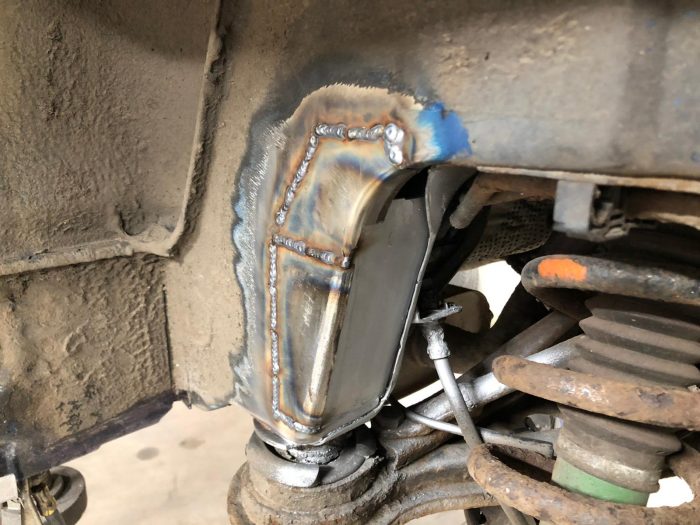
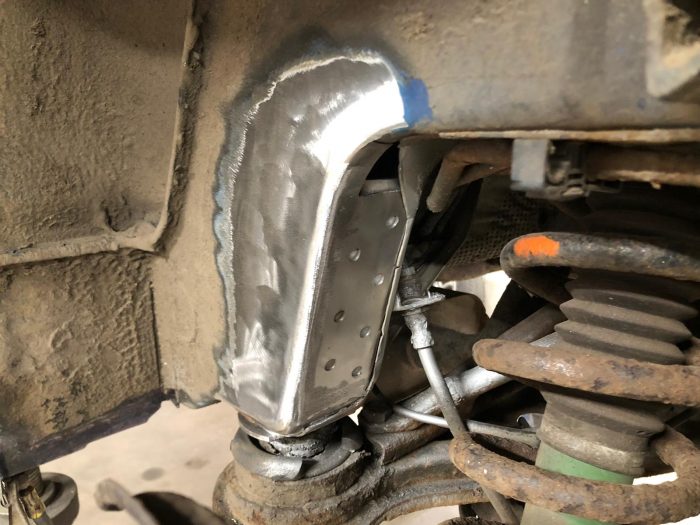
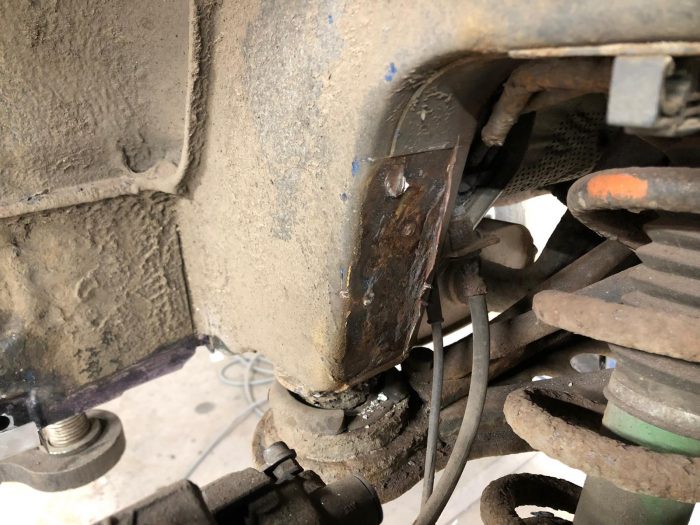
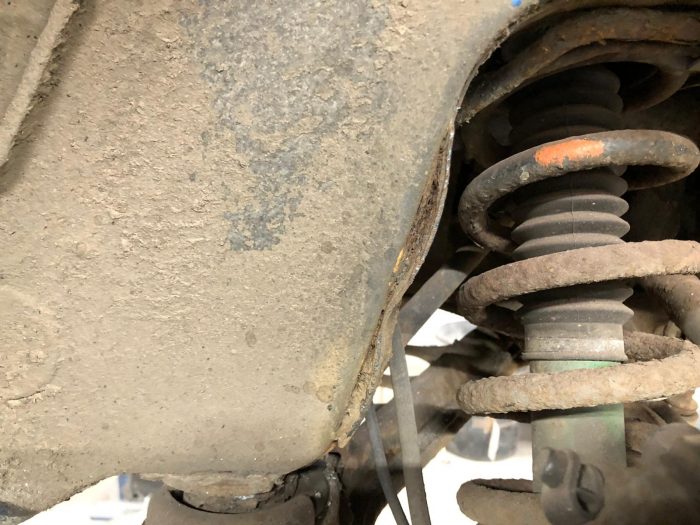
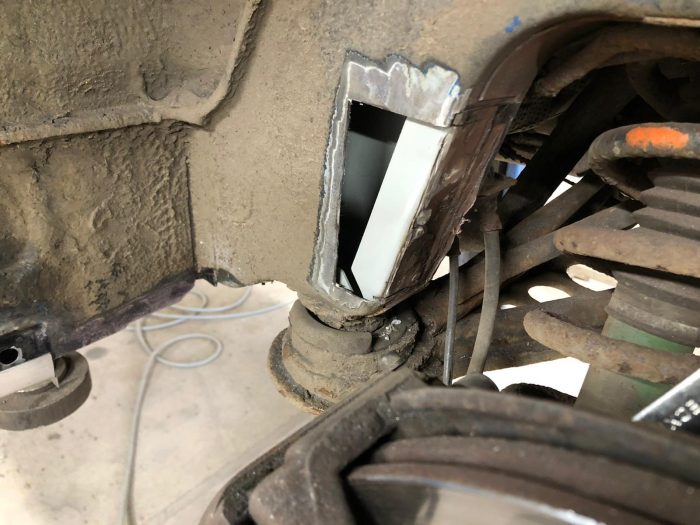
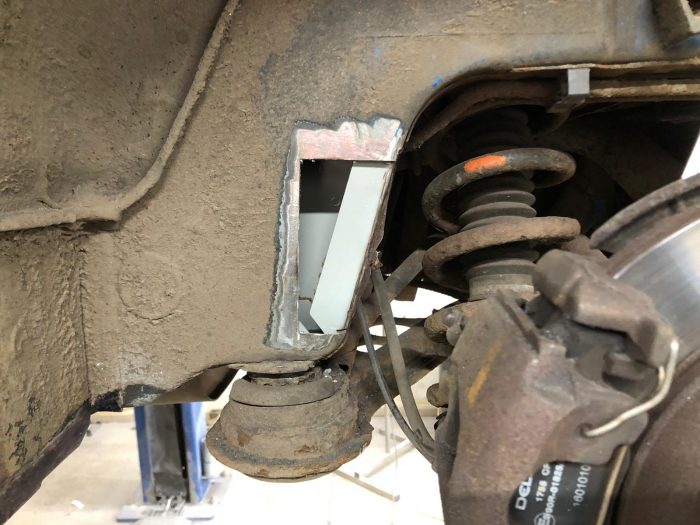
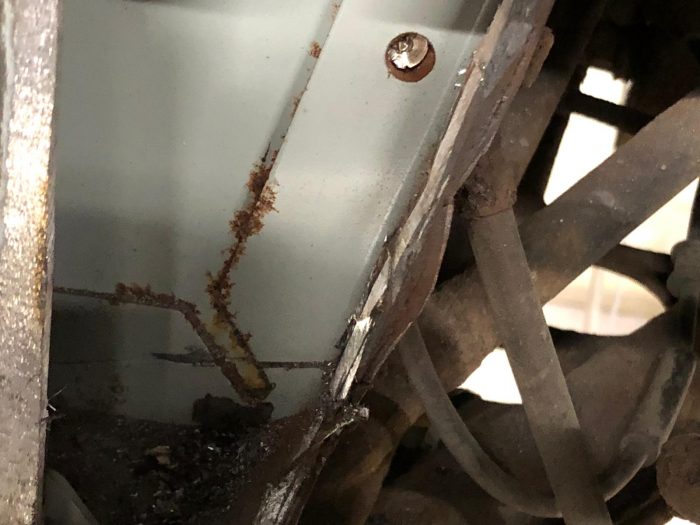
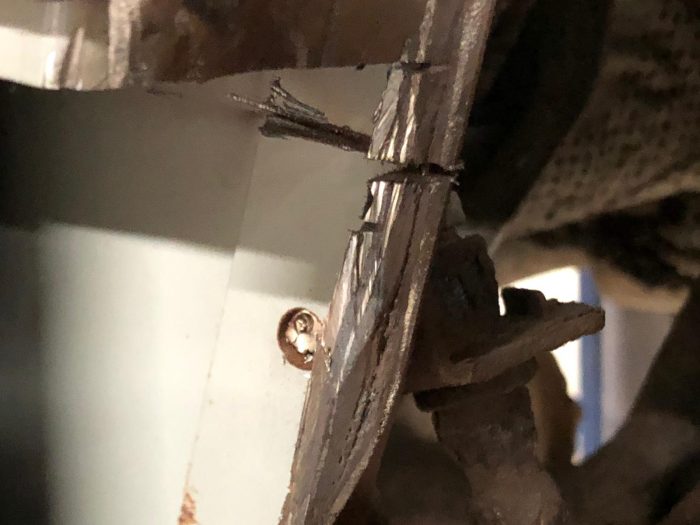
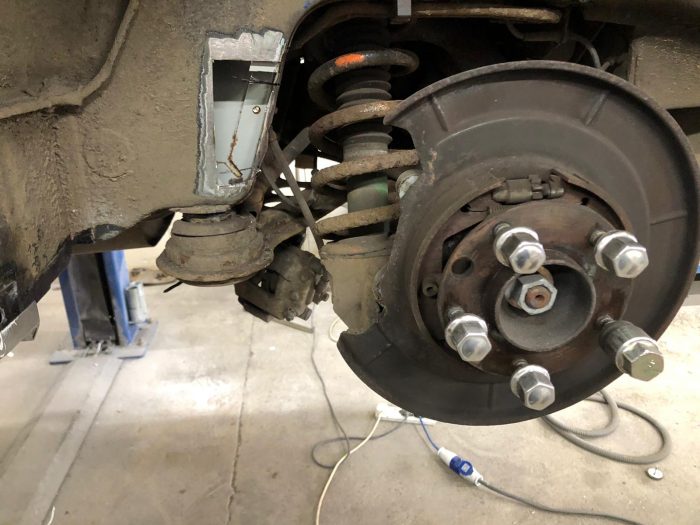
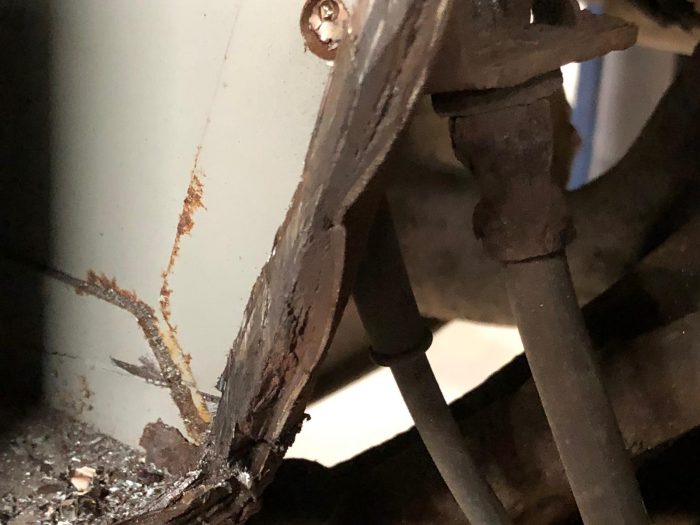
Pricey has discovered a rotten left hand subframe mounting point/chassis leg. To deal with this, Pricey cut out the outer layer to reveal a rotten middle section.
He then cut out the middle section to reveal rotten inner reinforcement. He’s also taken to cleaning up some of the corroded parts before building the reinforcements. Once these have been made, the chassis leg panels can be welded back into place, grounded down and a middle section can be fitted in. Once all the elements have been grounded and welded in place, Pricey then covered the underside in Epoxy primer so that its ready for an underseal.
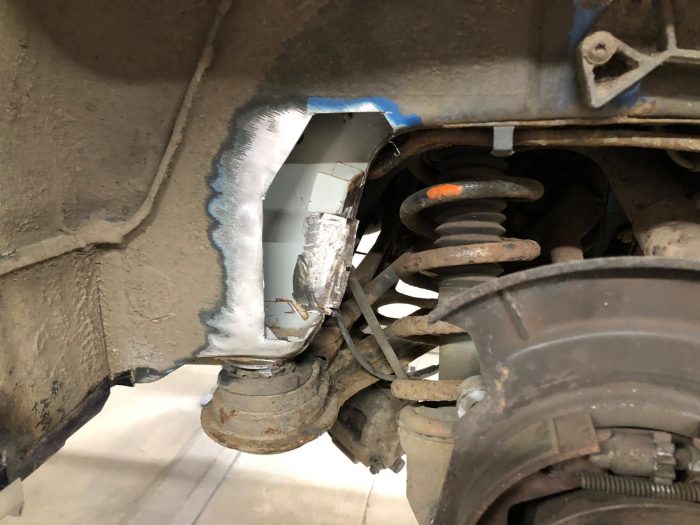
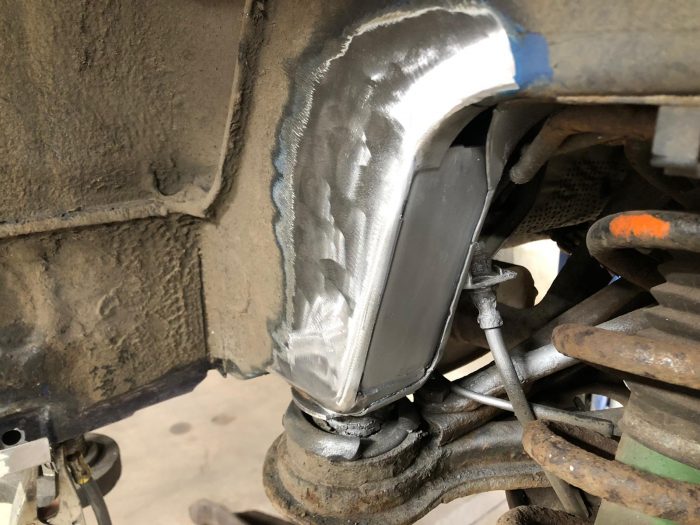
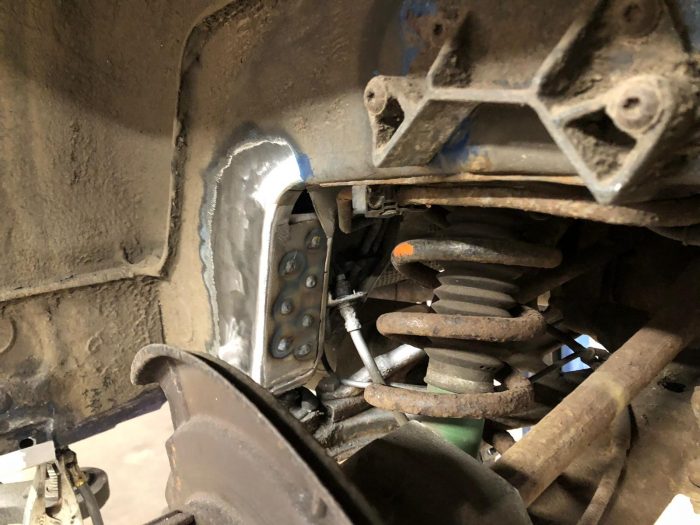
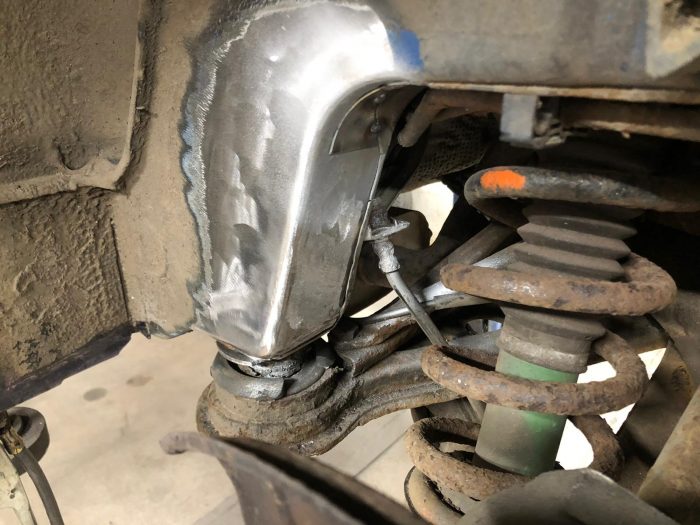
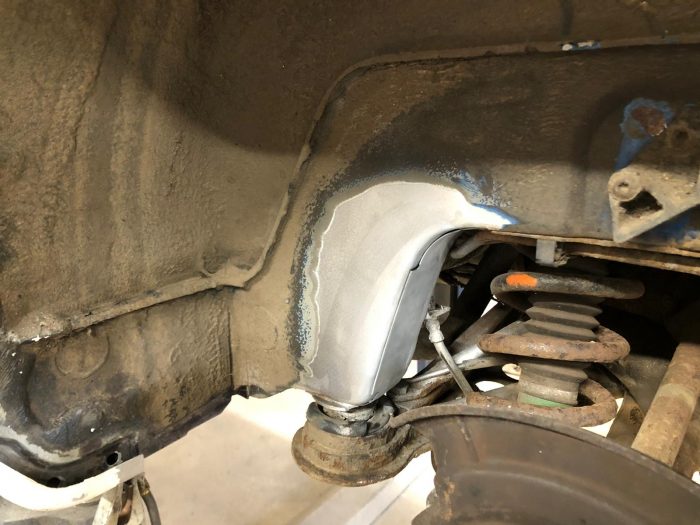
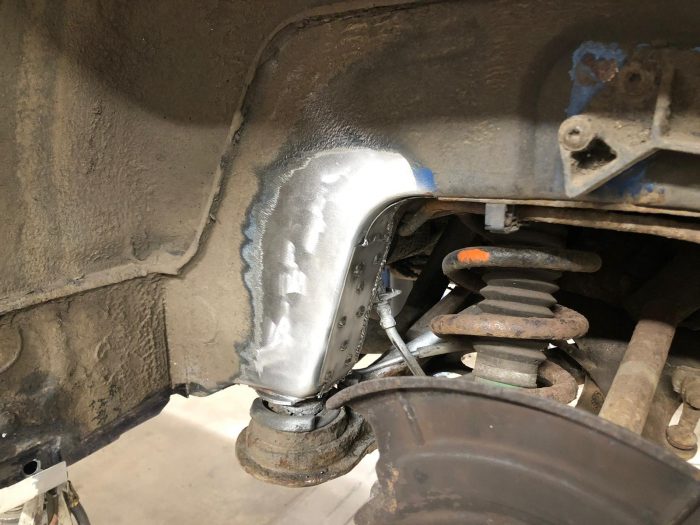
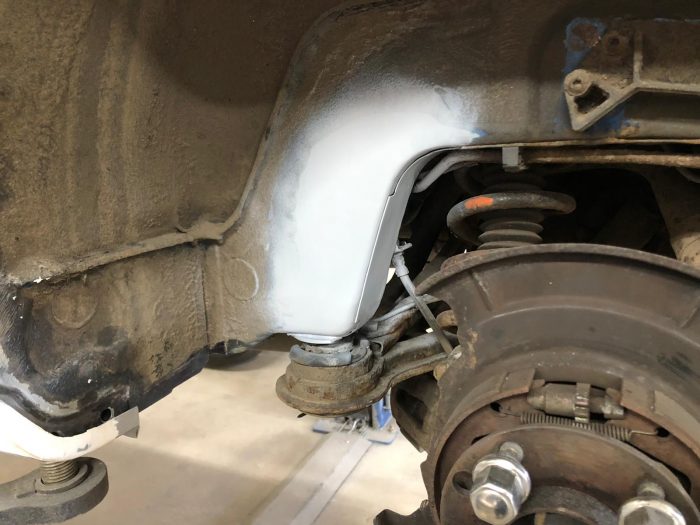
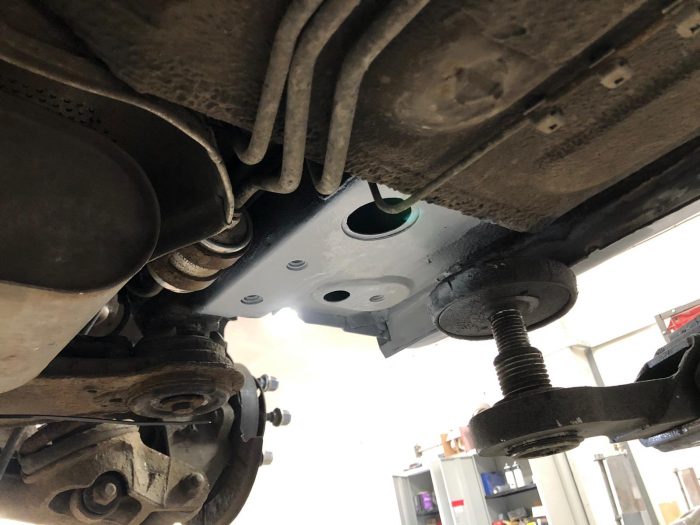
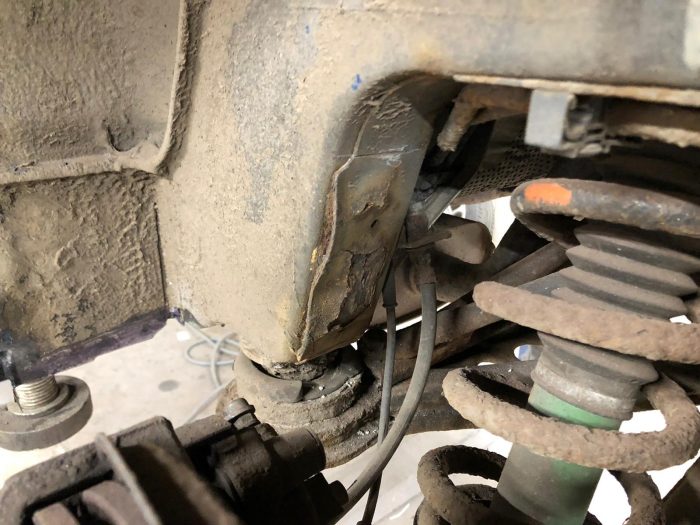
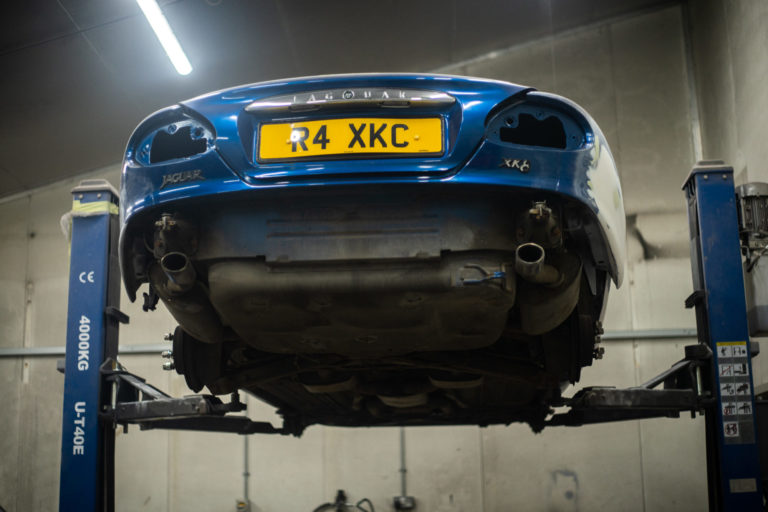
Pricey has been continuing his work on the 1997 Jaguar XK8 which is needing some thorough rust repair.
There has been more rust discovered in the sills and Pricey has begun to fabricate the left hand rear lower inner and our quarter panel. He’s then fabricated the left hand rear sill section, cut out left hand rear sill section and welded the left hand rear lower quarter panel section. Pricey has then gone one to fabricate the left hand inner rear sill lip, weld the lip in and weld the left hand rear sill section.
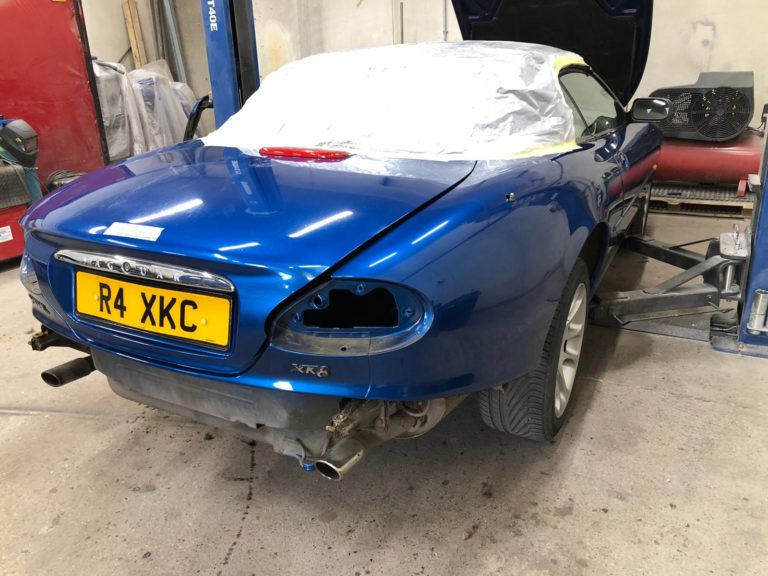
Pricey has been continuing with the rust repair on our 1997 Jaguar XK8 where he has fabricated, welded and repaired the rusted arches. He is then repeating it on the opposite side.
He begun by cleaning up the wheel arch and lower nearside quarter panel and then started fabricating the new panels. Once he’d drawn out the template and cut it out, he could shape up the panel and scribe the area for cutting. The next step was to replace previous repairs with new panels and fabricate the nearside inner lower wheel arch.
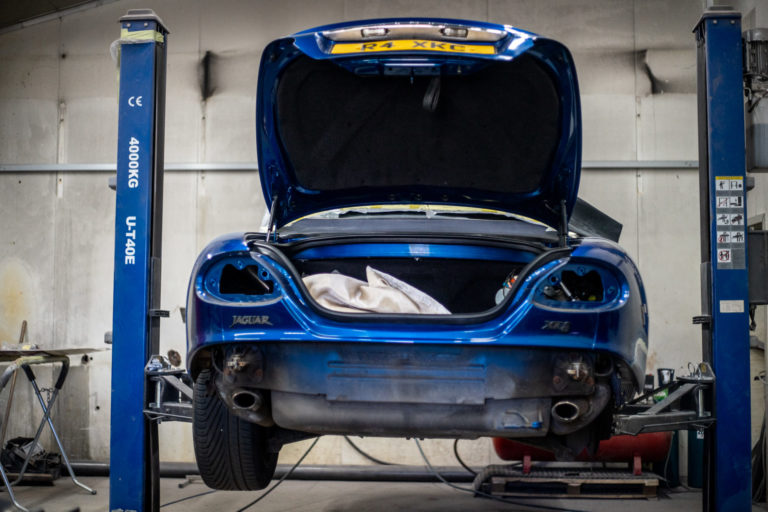
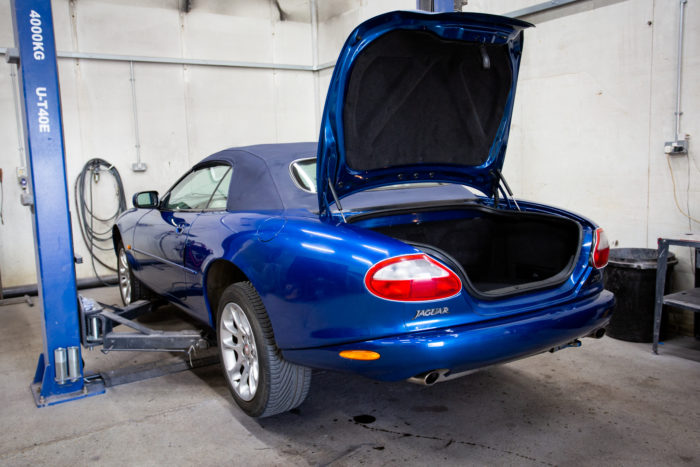
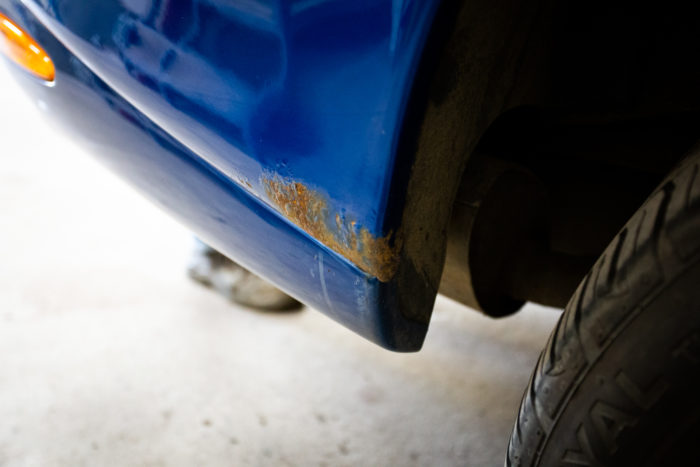
We found some severe signs of rust appearing under the rear wheel arches of this 1997 Jaguar XK8. Although these are early signs of corrosion, its important to tackle it before it spreads too far. Pricey has fabricated new metal to replace the rusted area which he will need to repeat on the other side and then start and shape it all up.
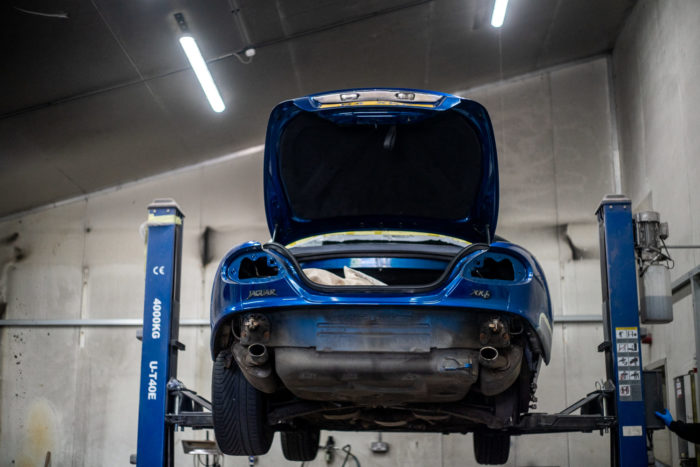
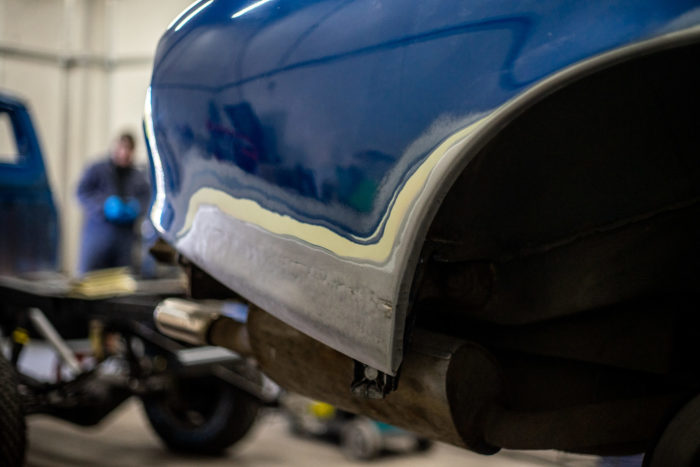
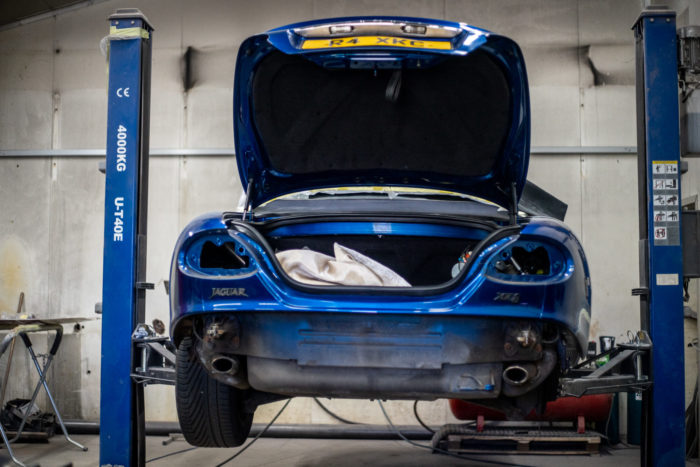
The owners of this Jaguar XK8 spotted the early onset of rust in the rear quarter sill and brought it in to be repaired. Our fabrication team have welcomed this little Jag into the fabrication bay where Pricey will get started with welding and replacing the rusted section.
Stay tuned for more updates!
Bridge Classic Cars are award winning Classic Car Restoration and Maintenance specialists. Your pride and joy is in safe hands with our expert Classic Car Technicians. Take a look at our awards here.
We use cookies to deliver the best possible experience whilst visiting our website. By clicking "Accept All", you consent to our use of cookies, or you can manage your preferences by clicking the link below. You can manage your preferences at any time from out Cookie Policy page.