October 30, 2024

Final stretch for the Jensen 541

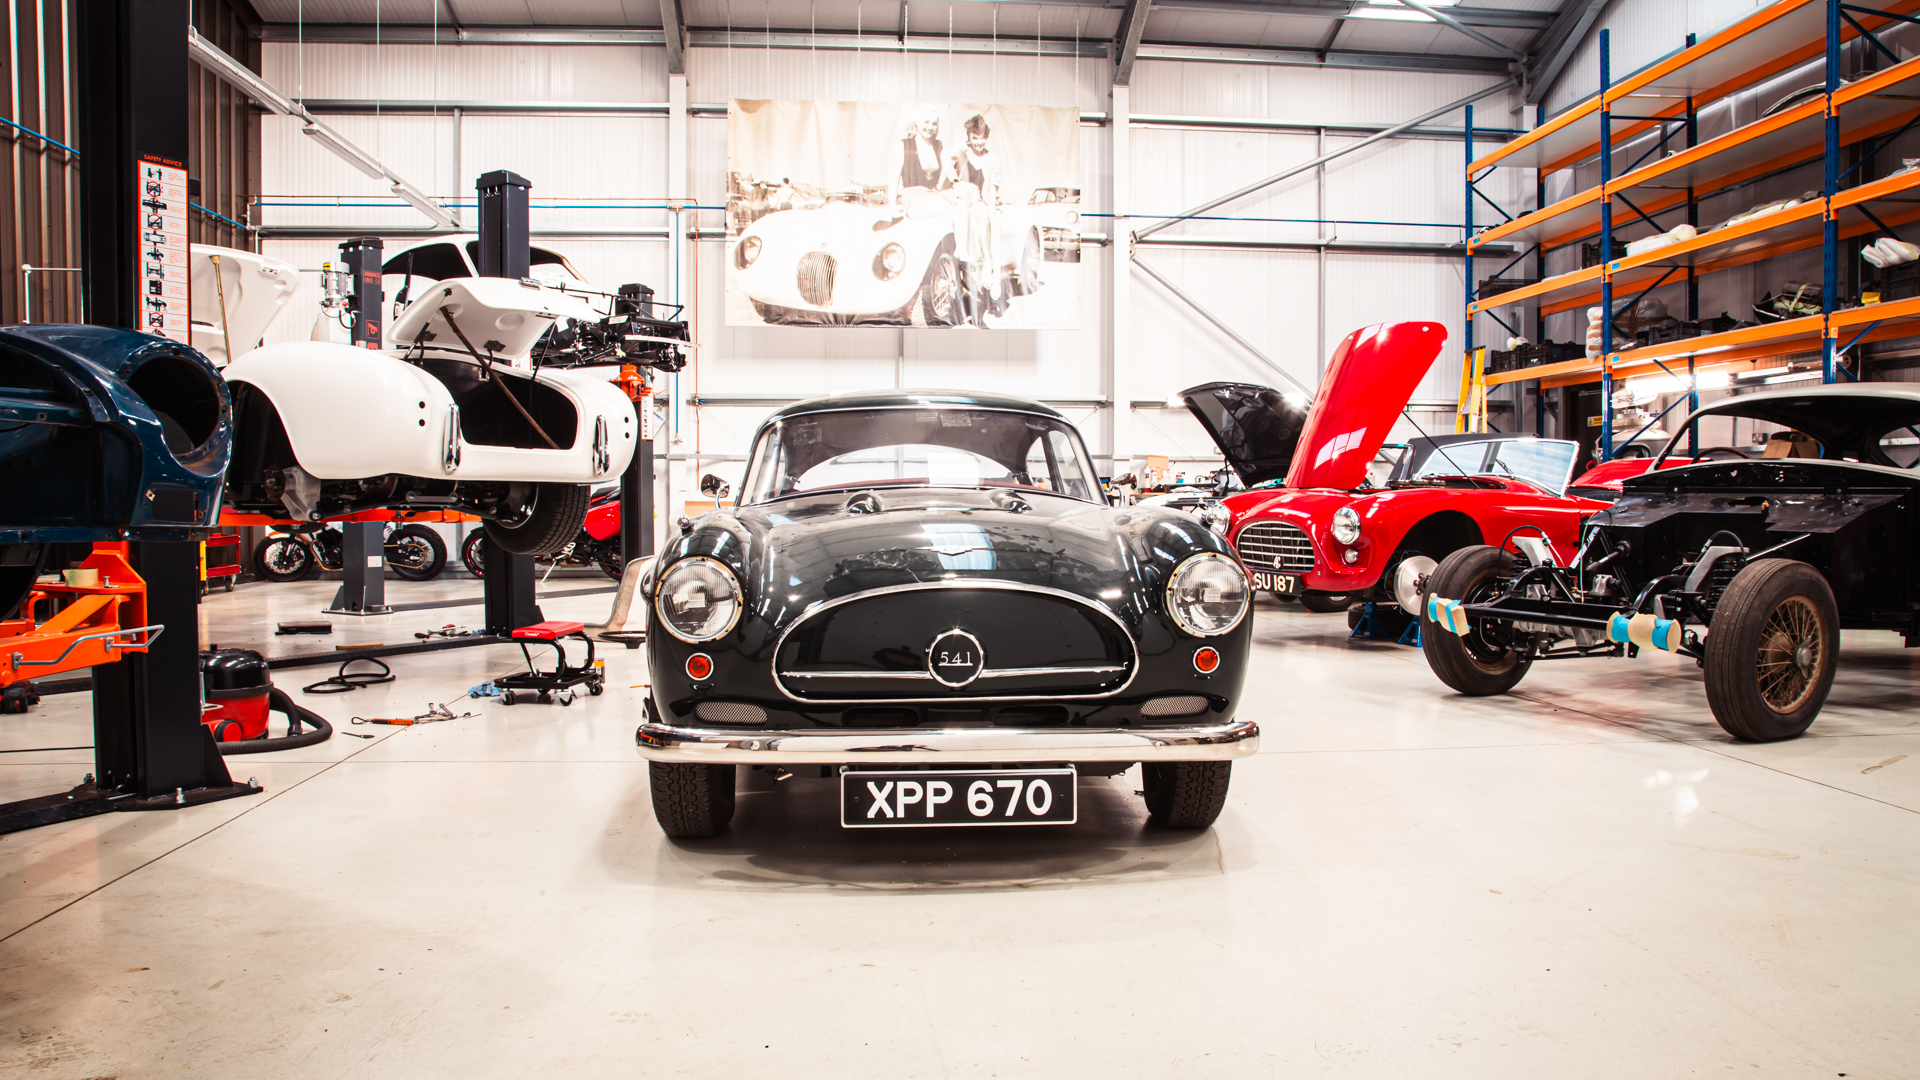
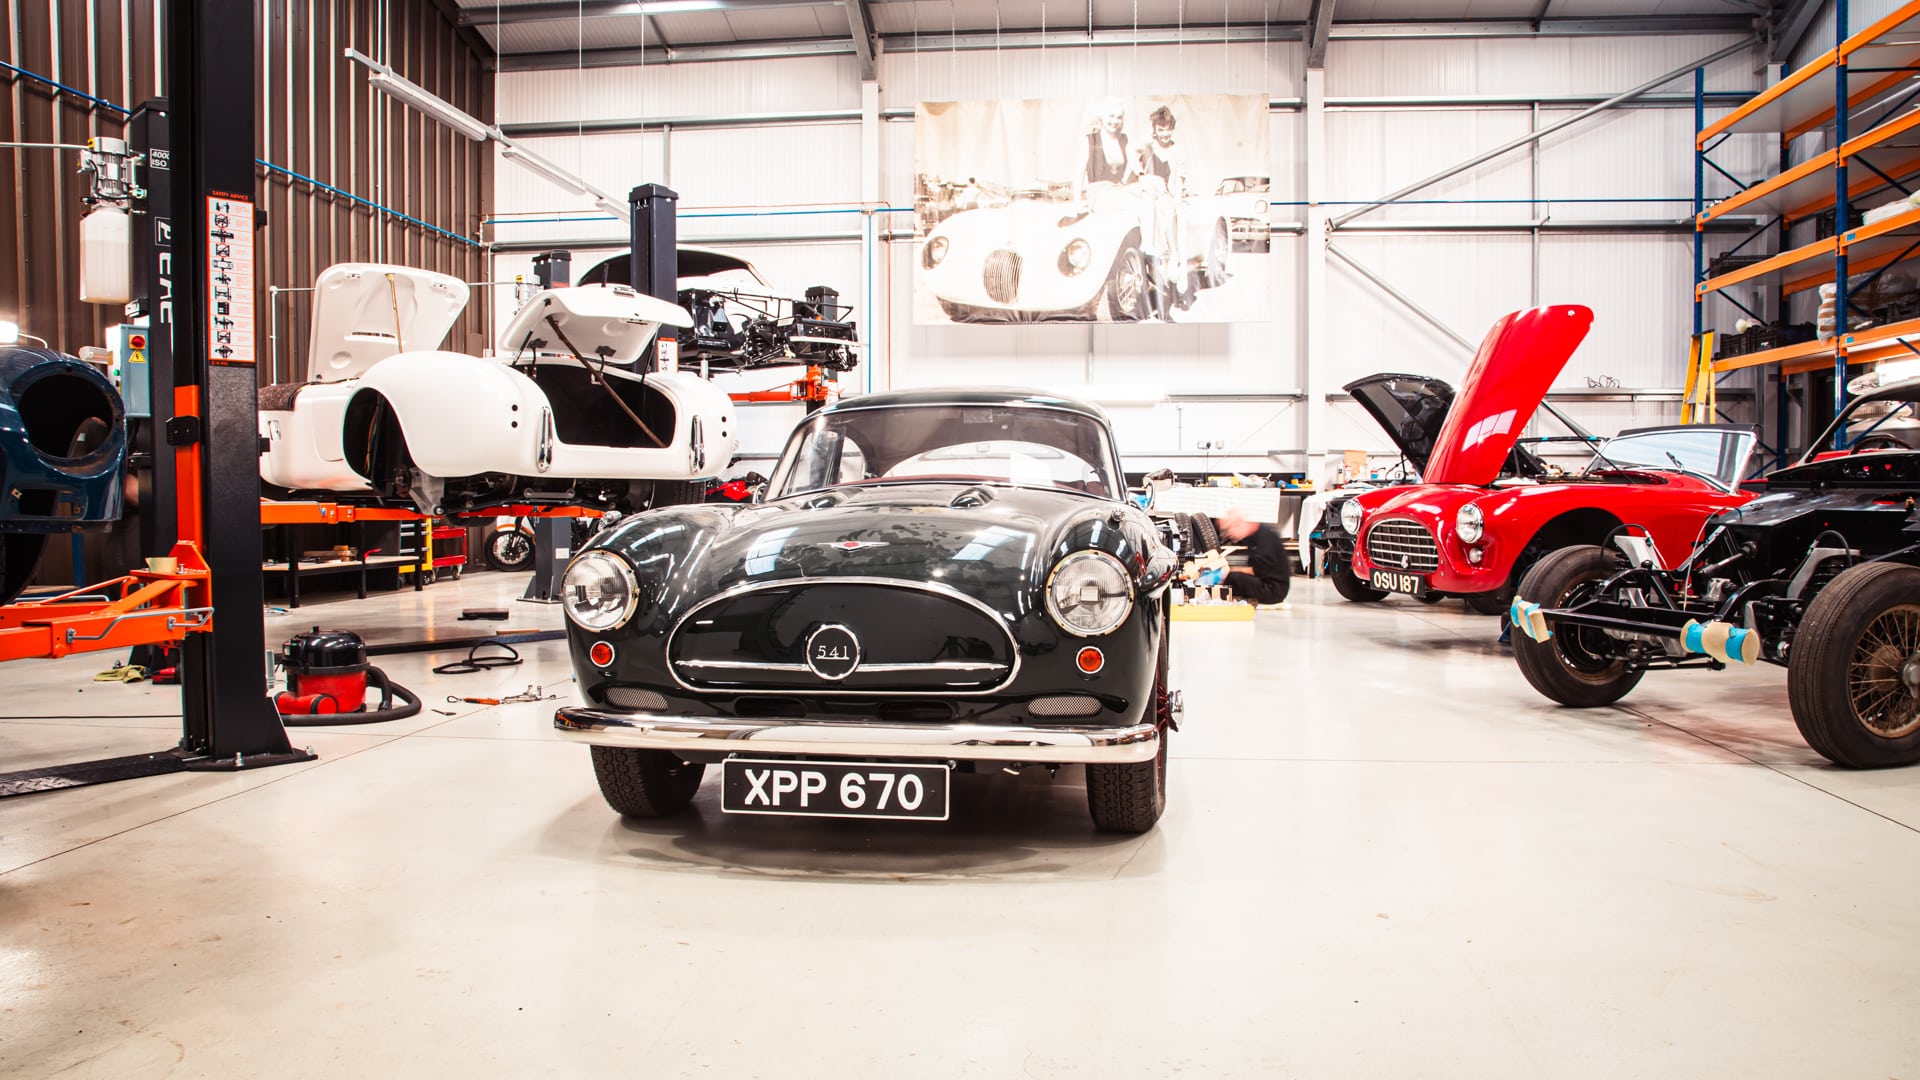
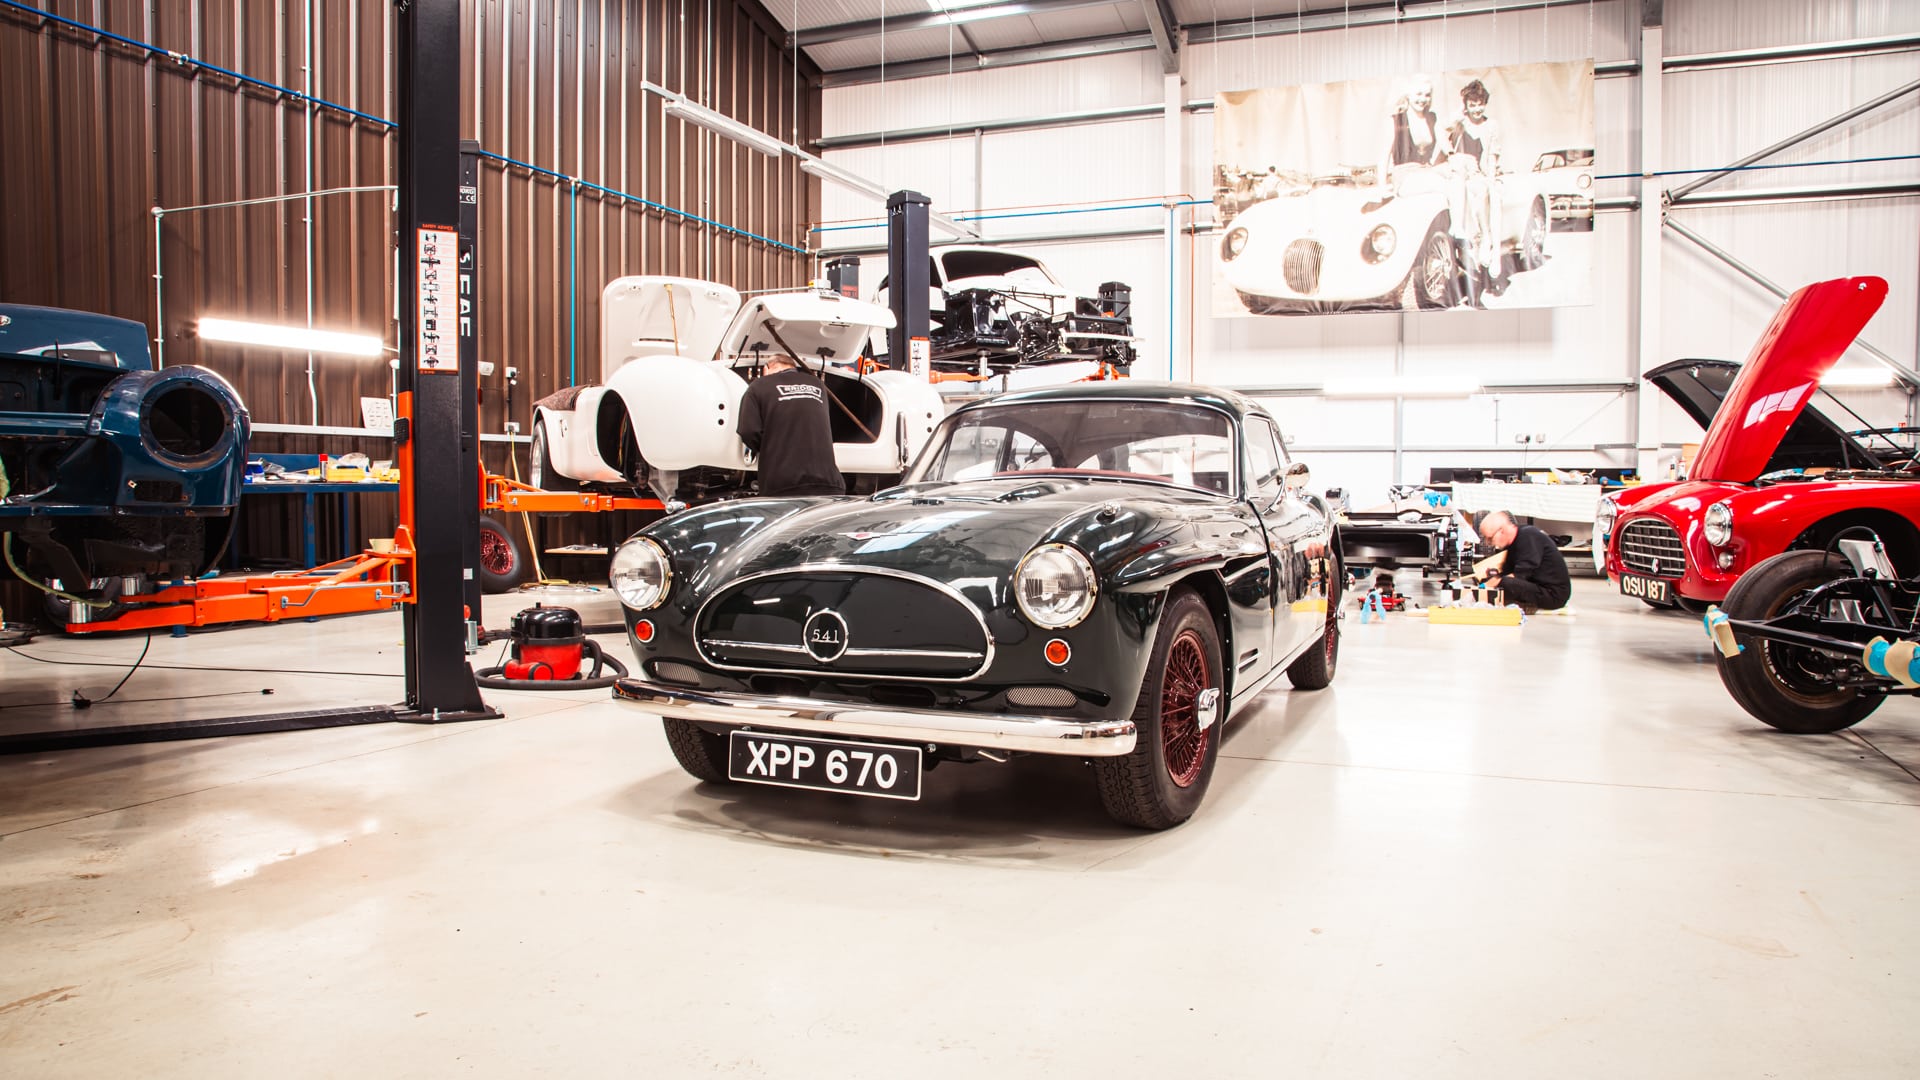
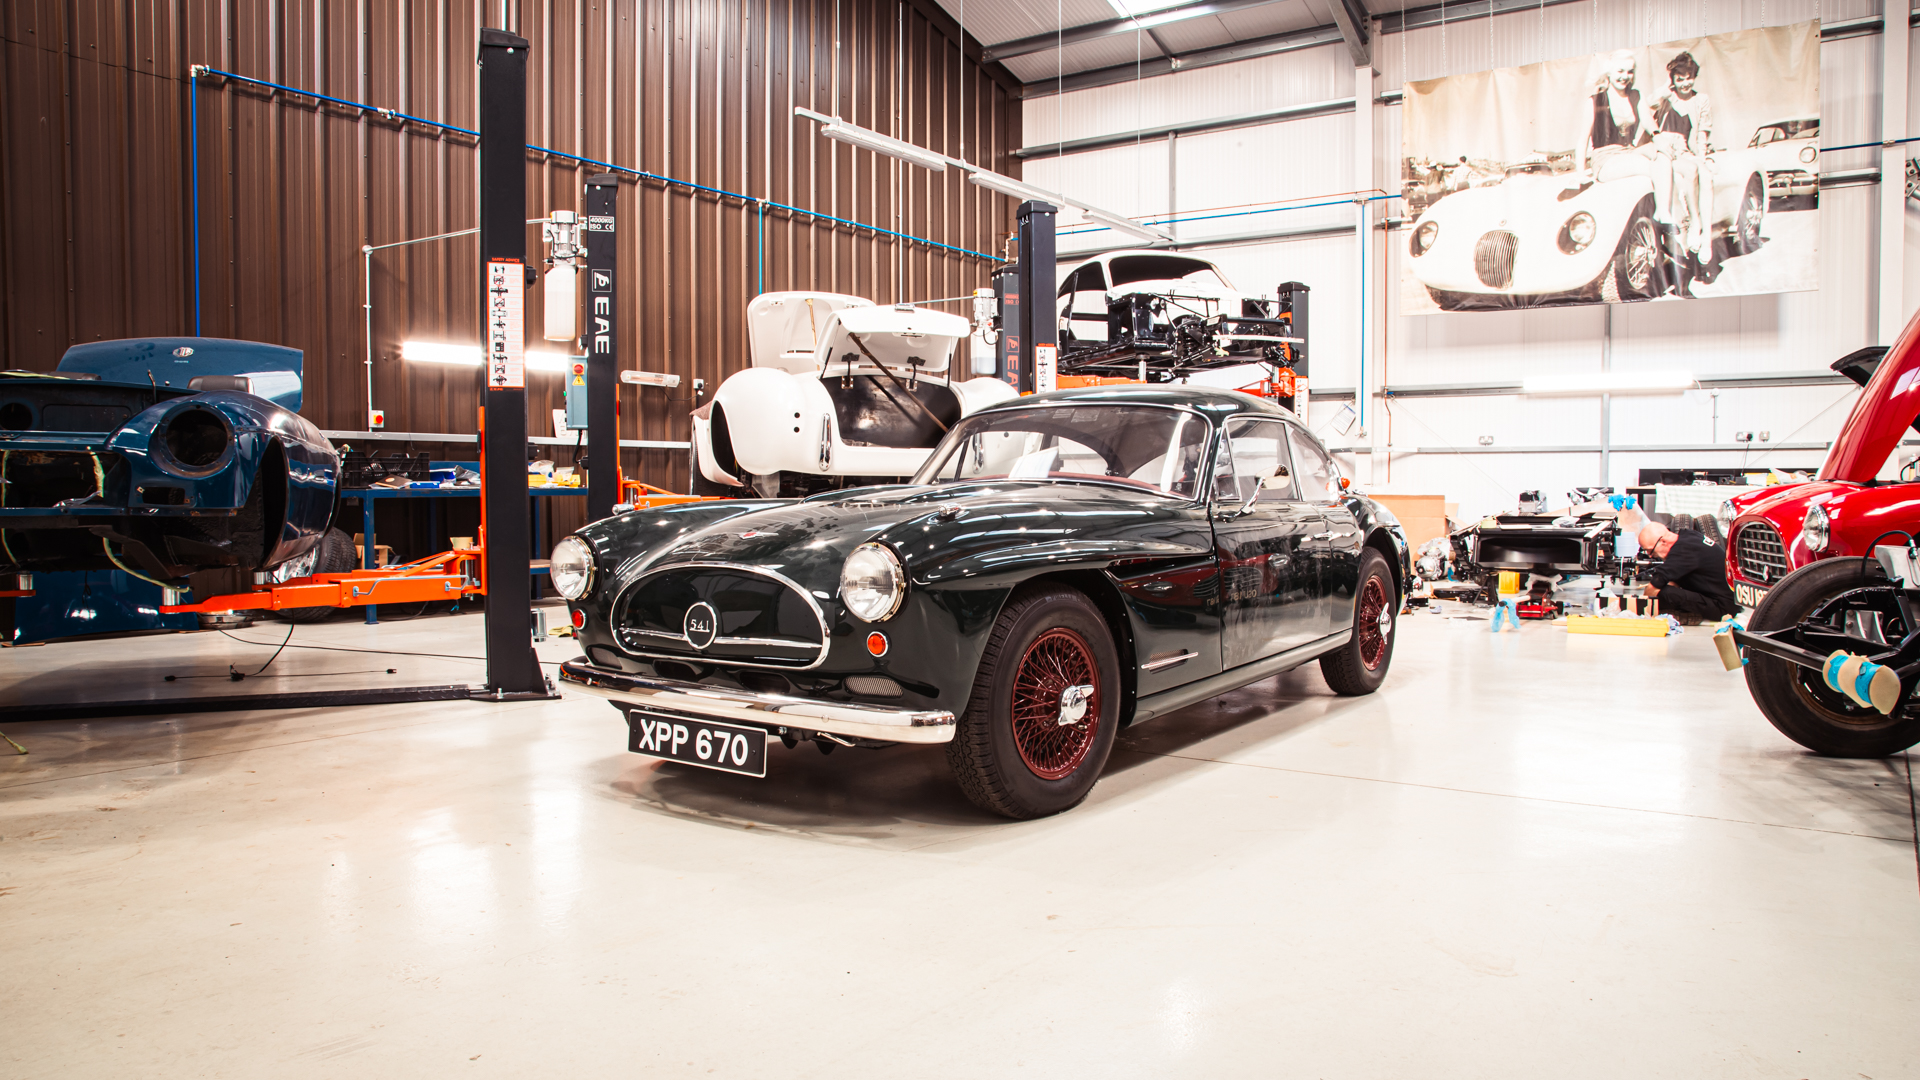
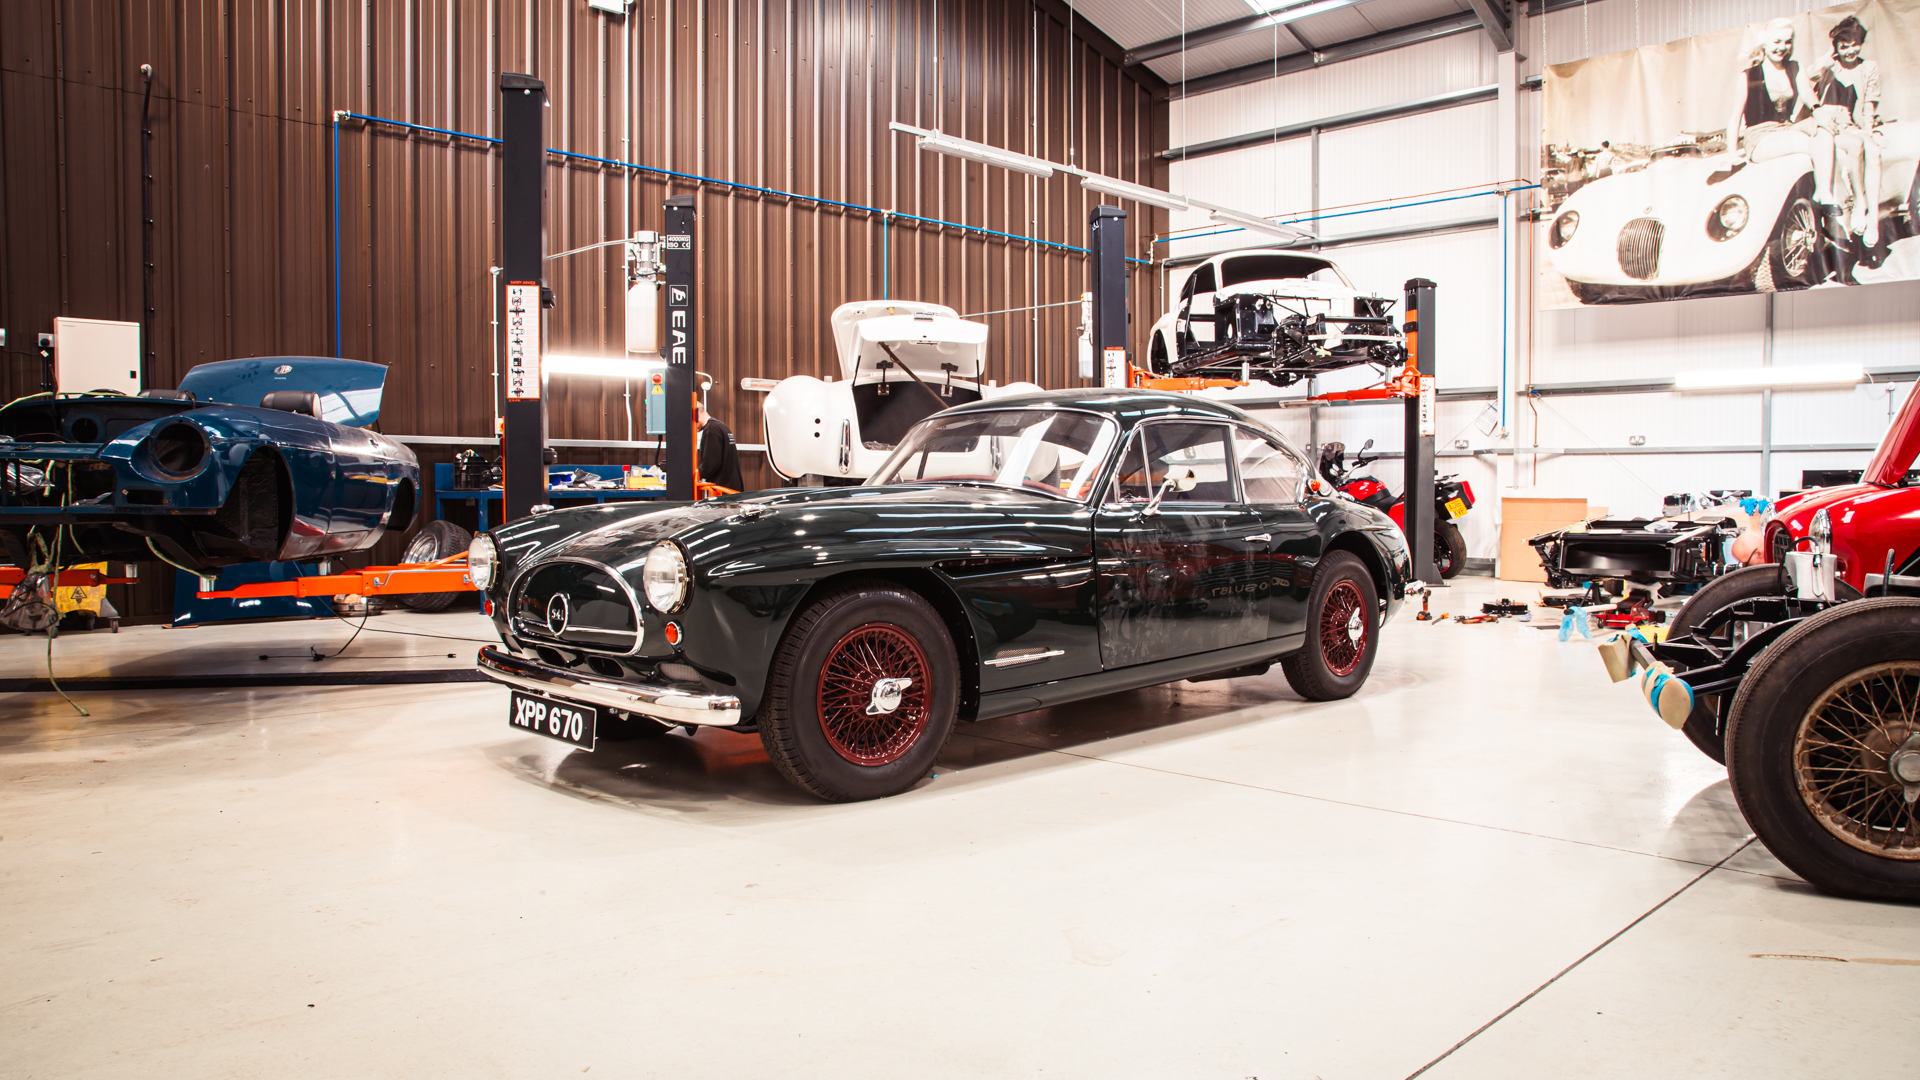
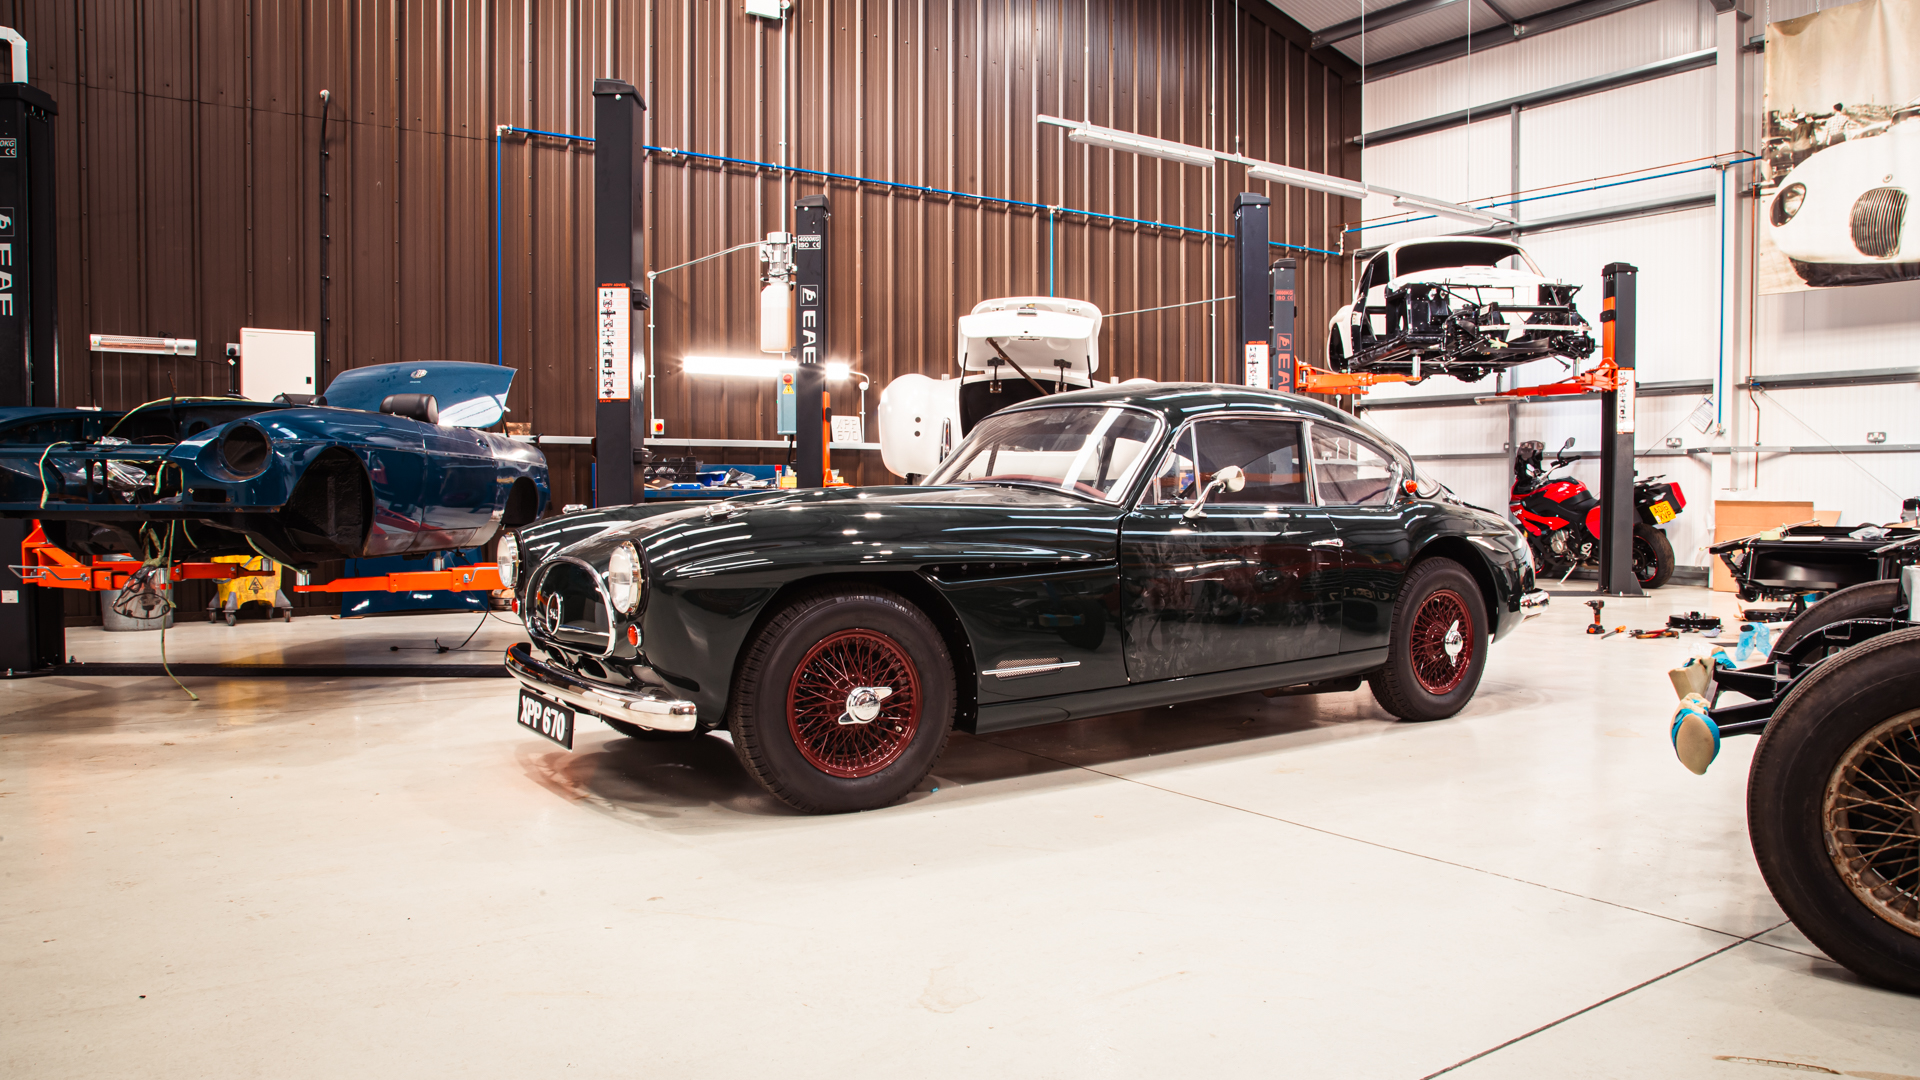
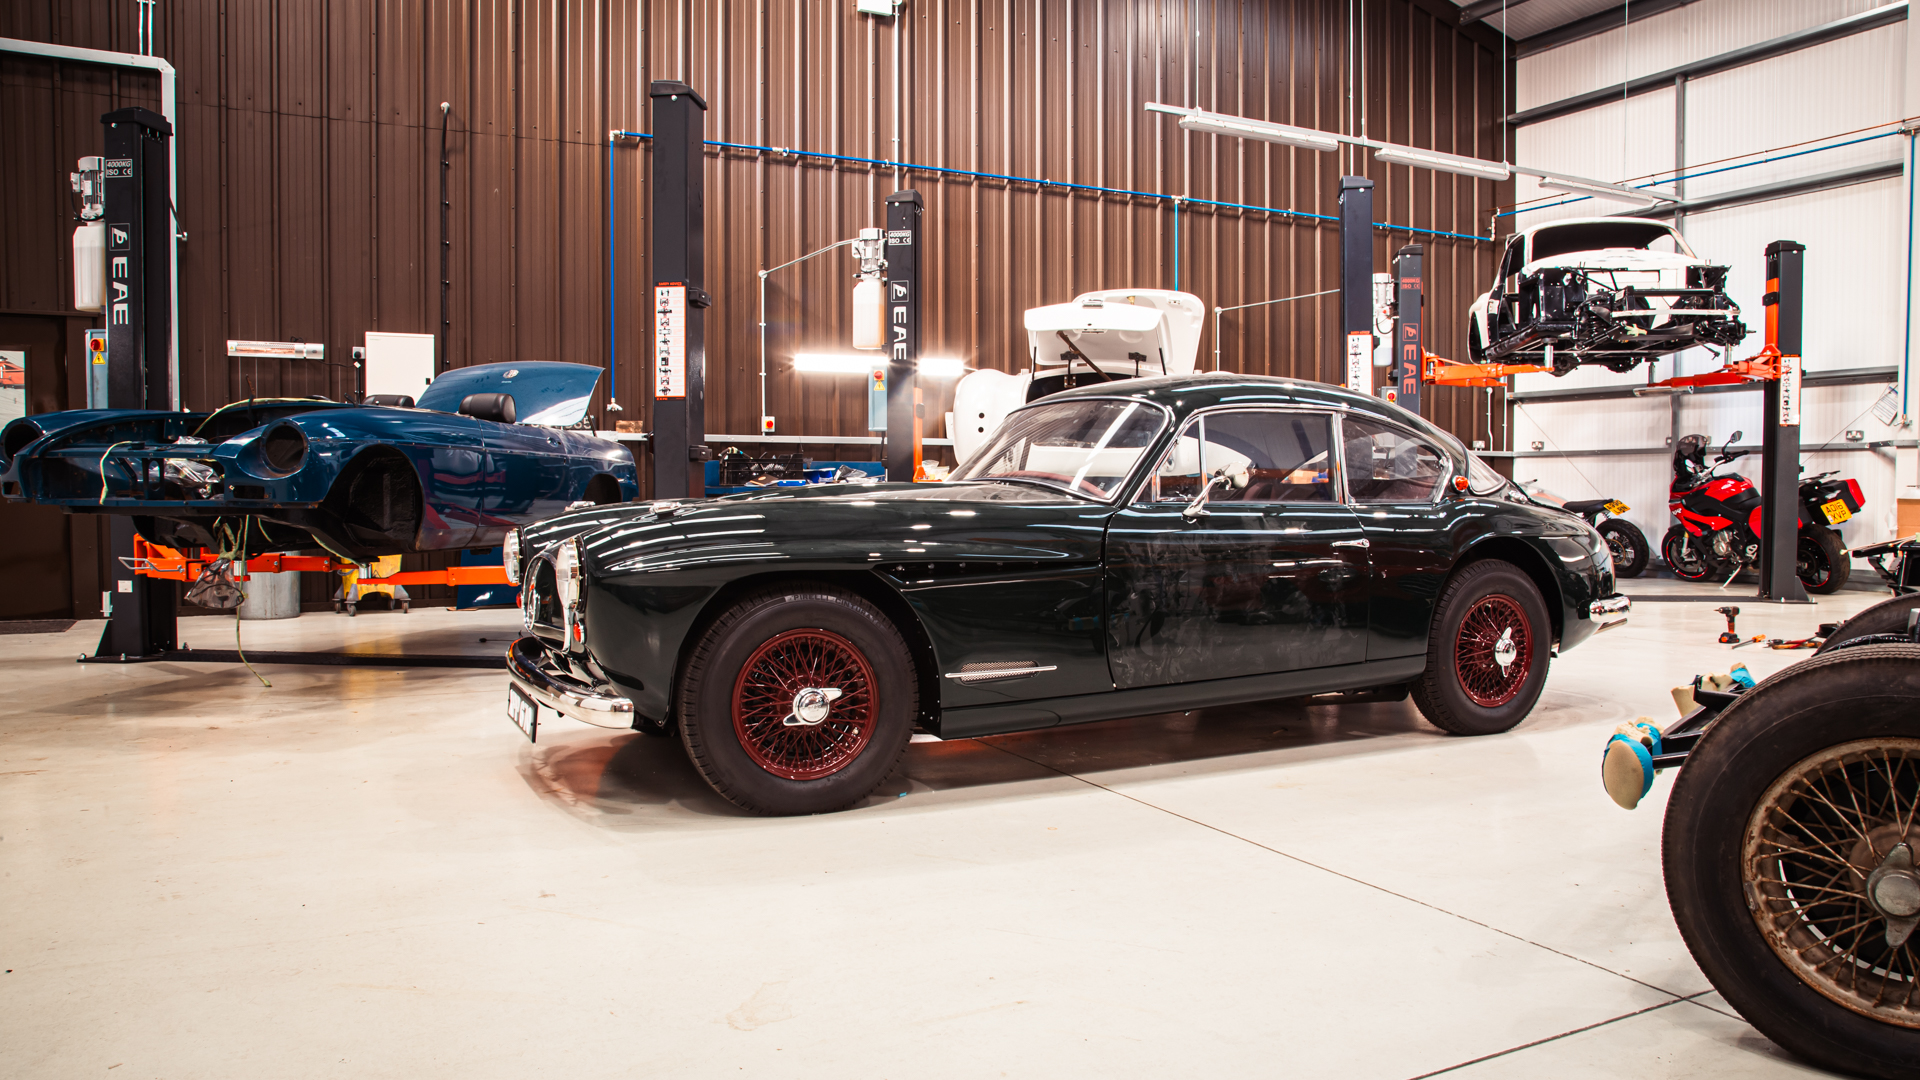
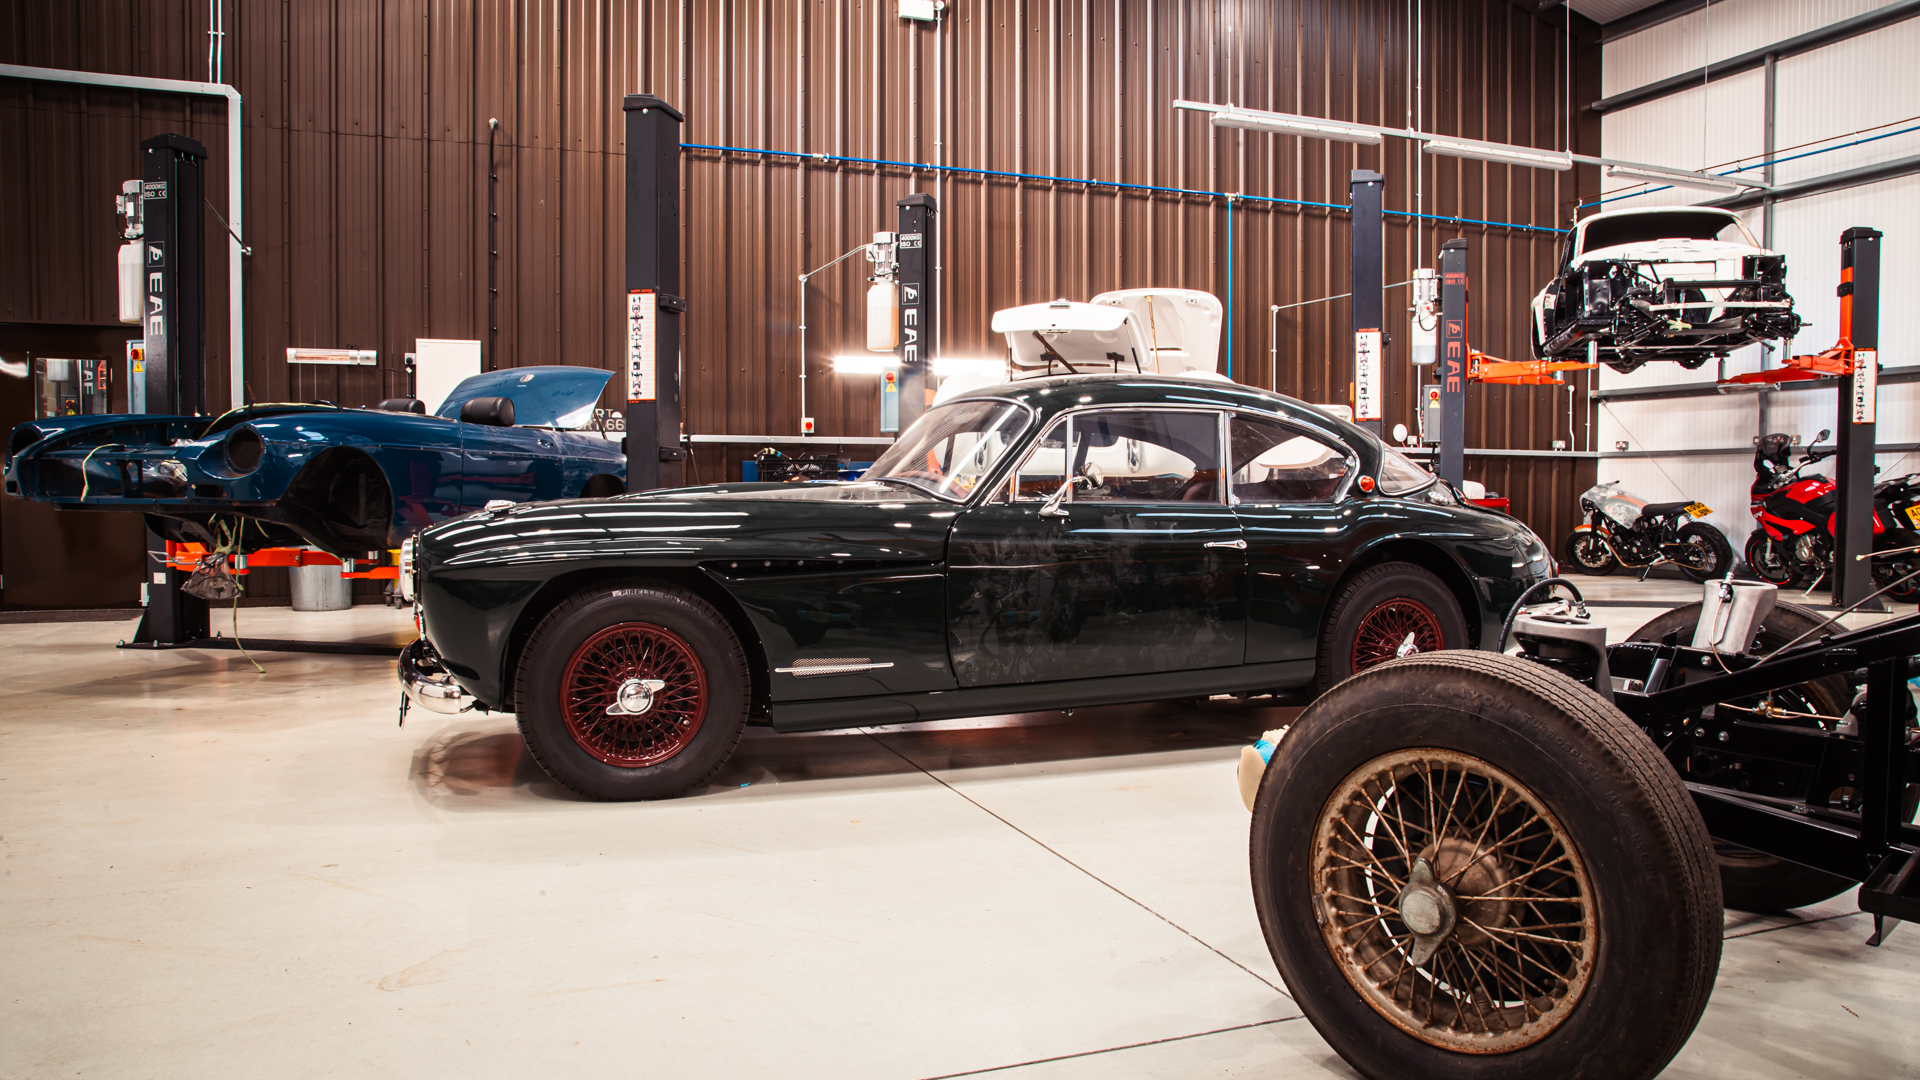
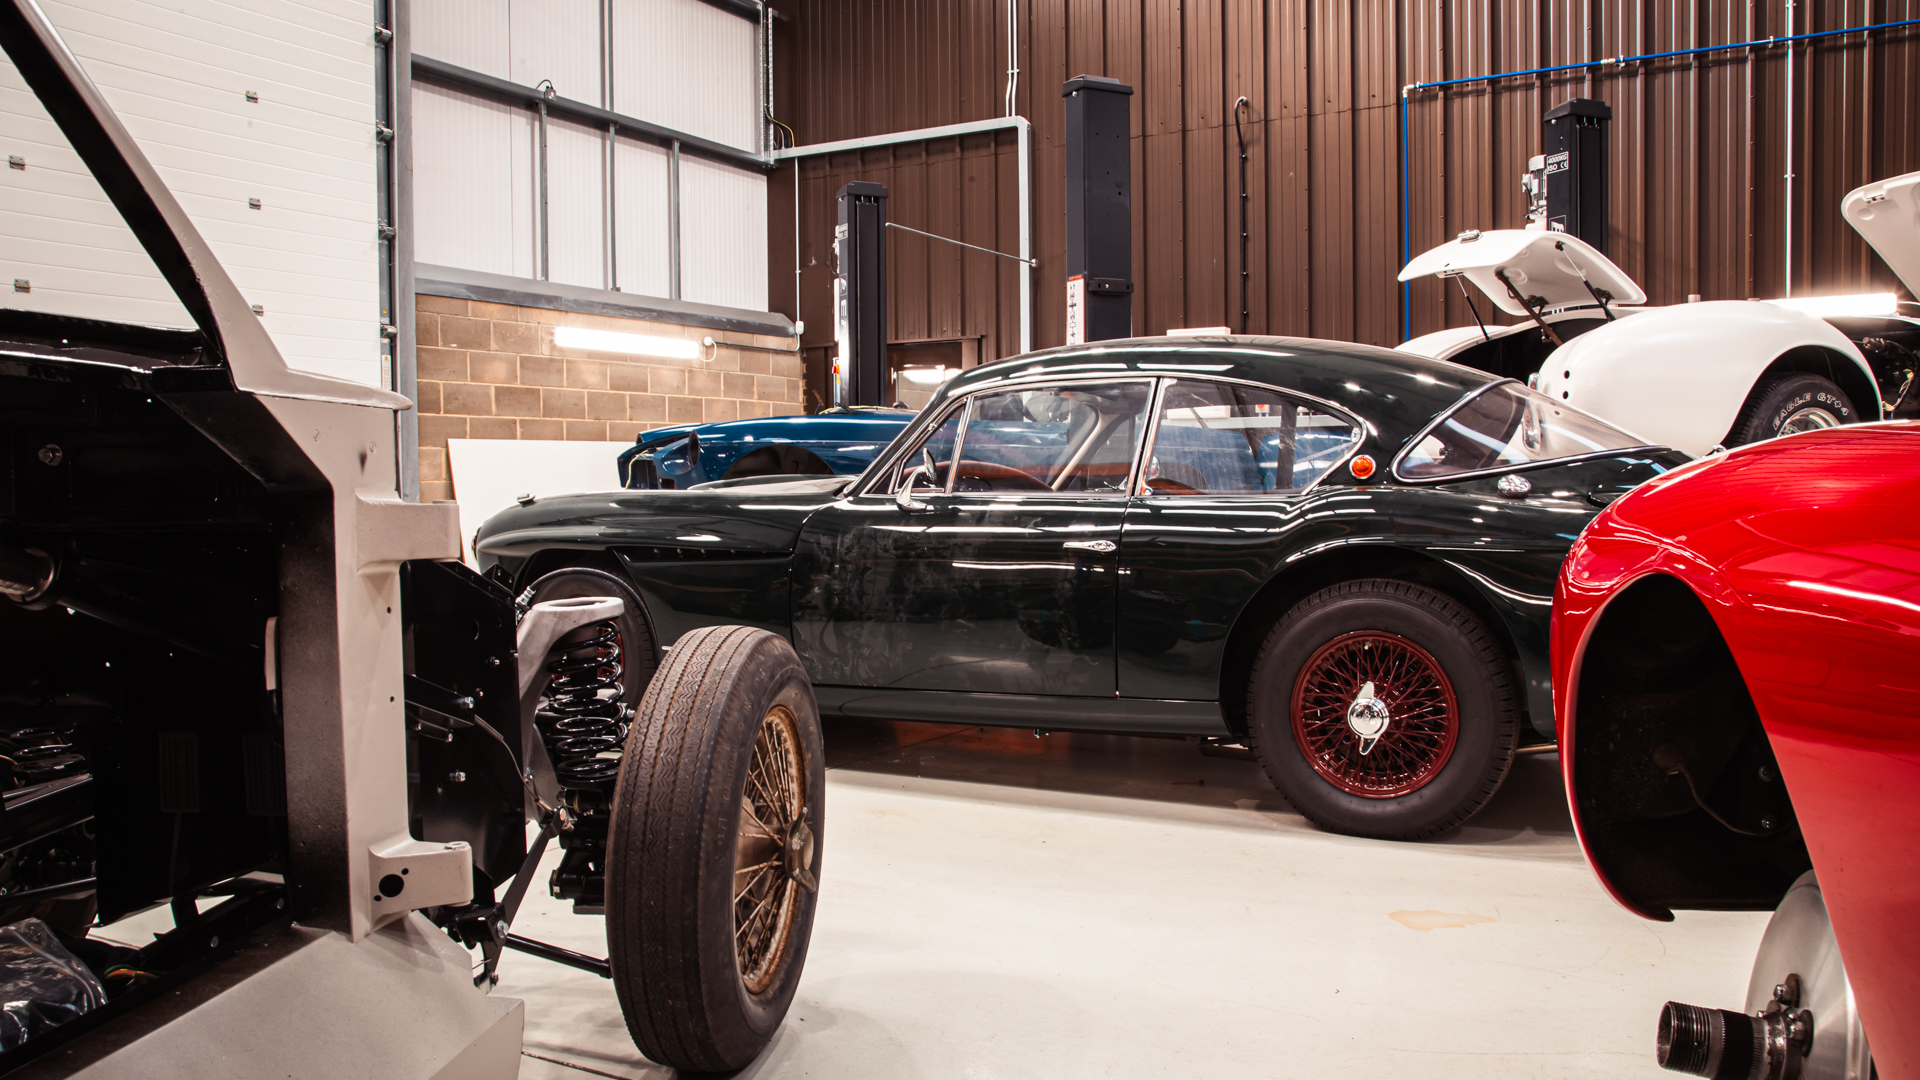
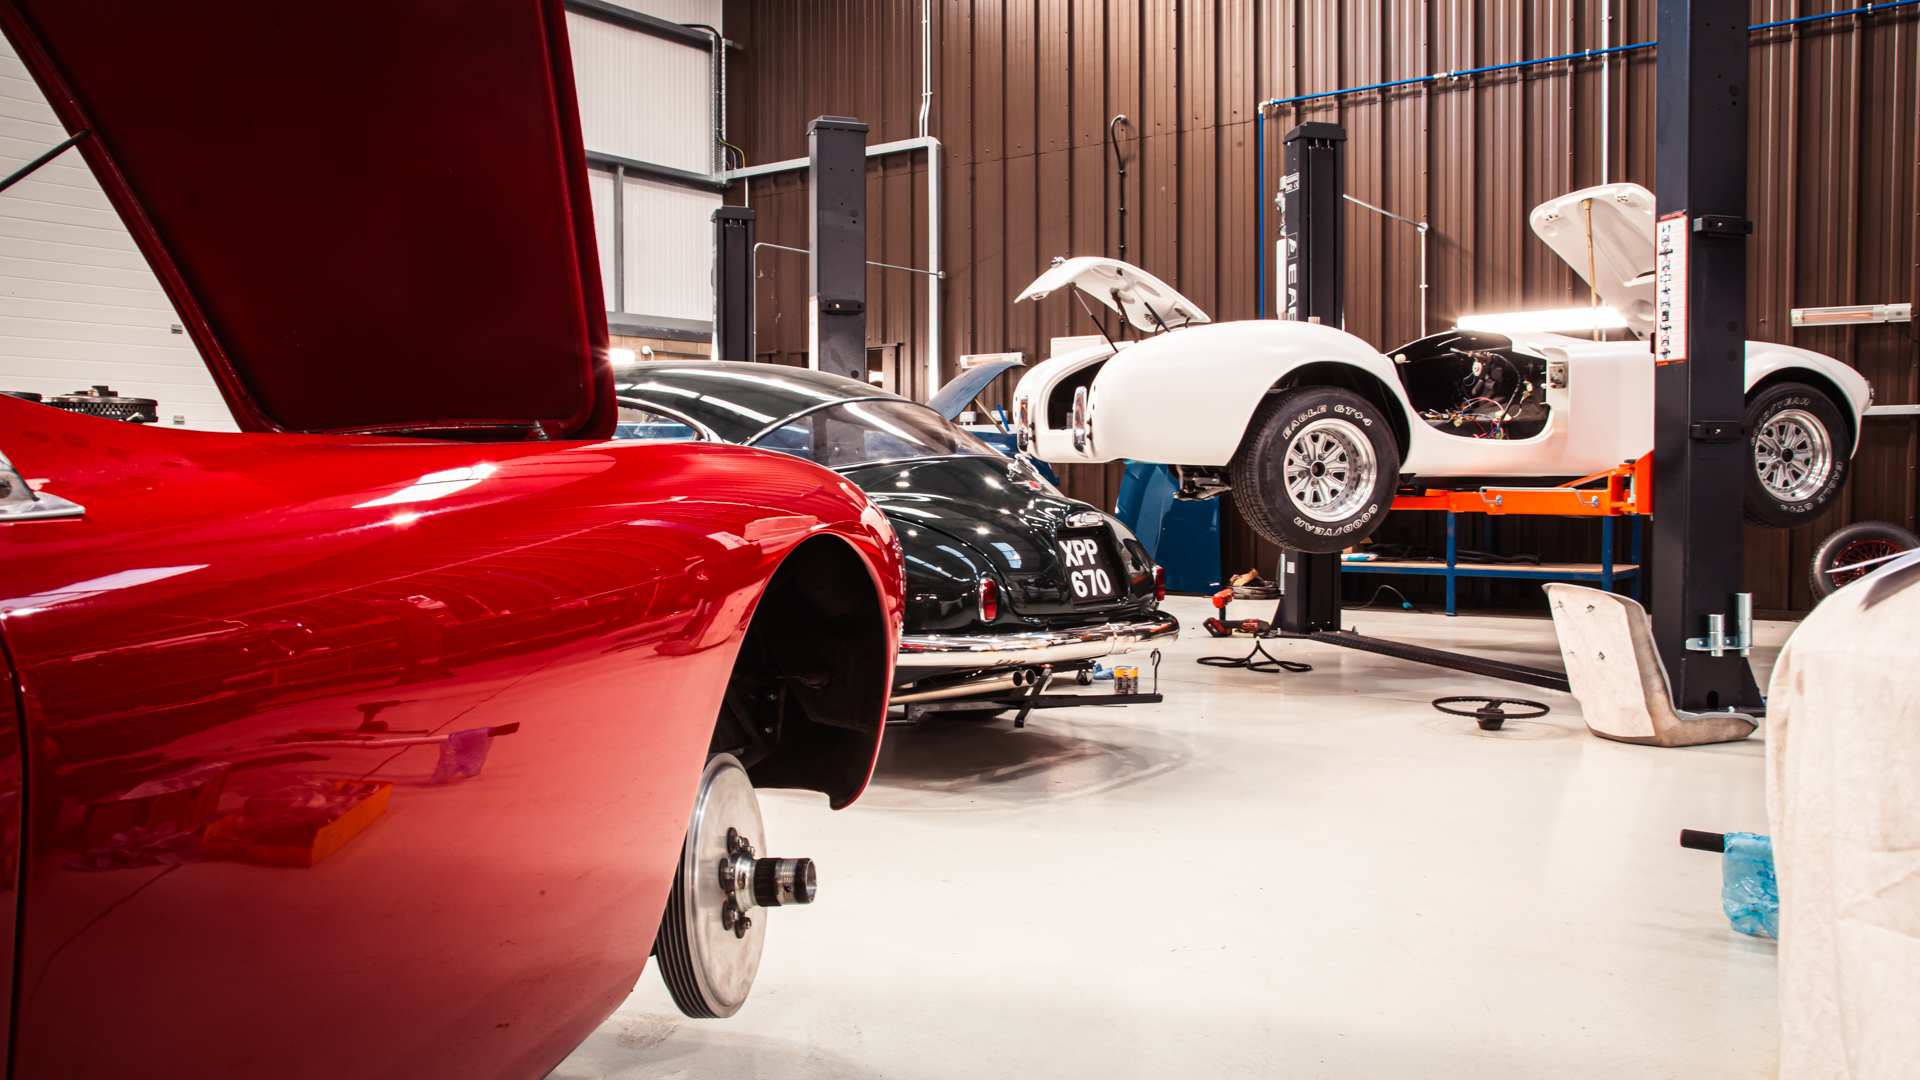
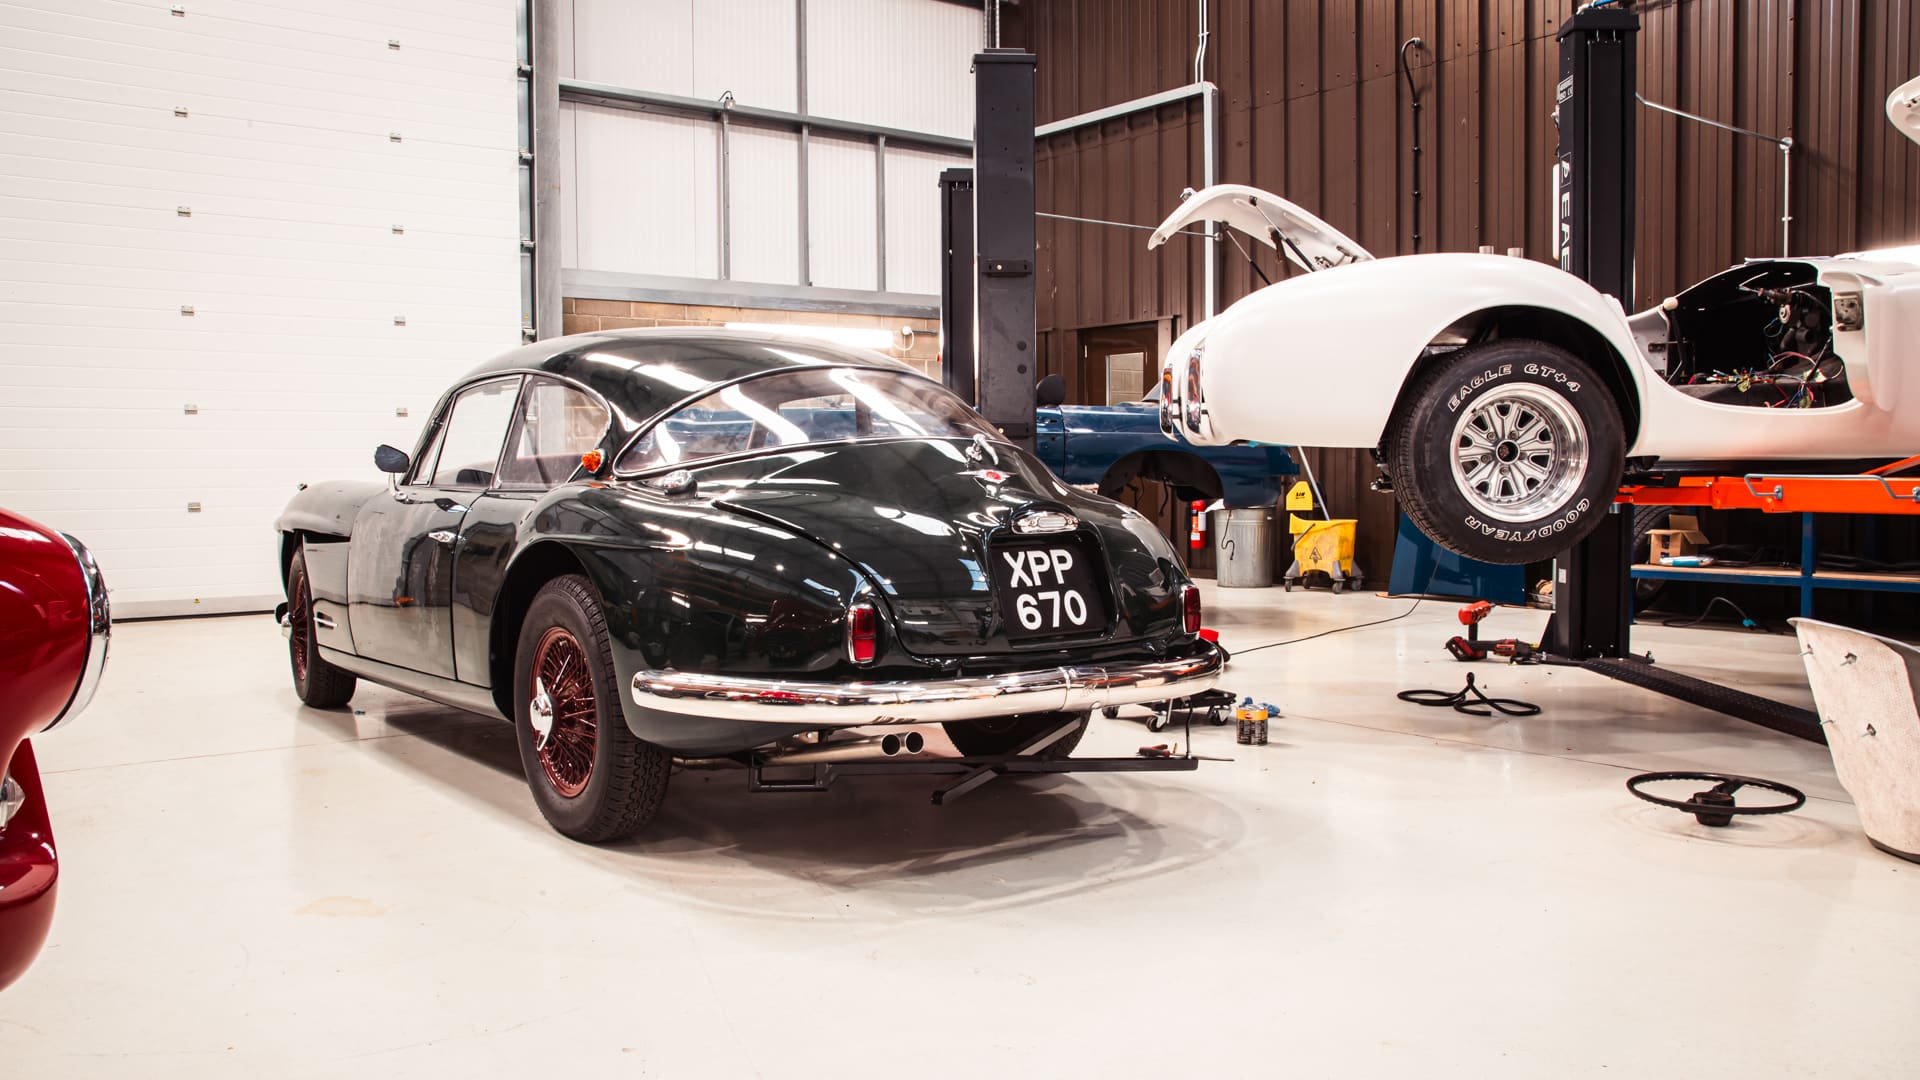
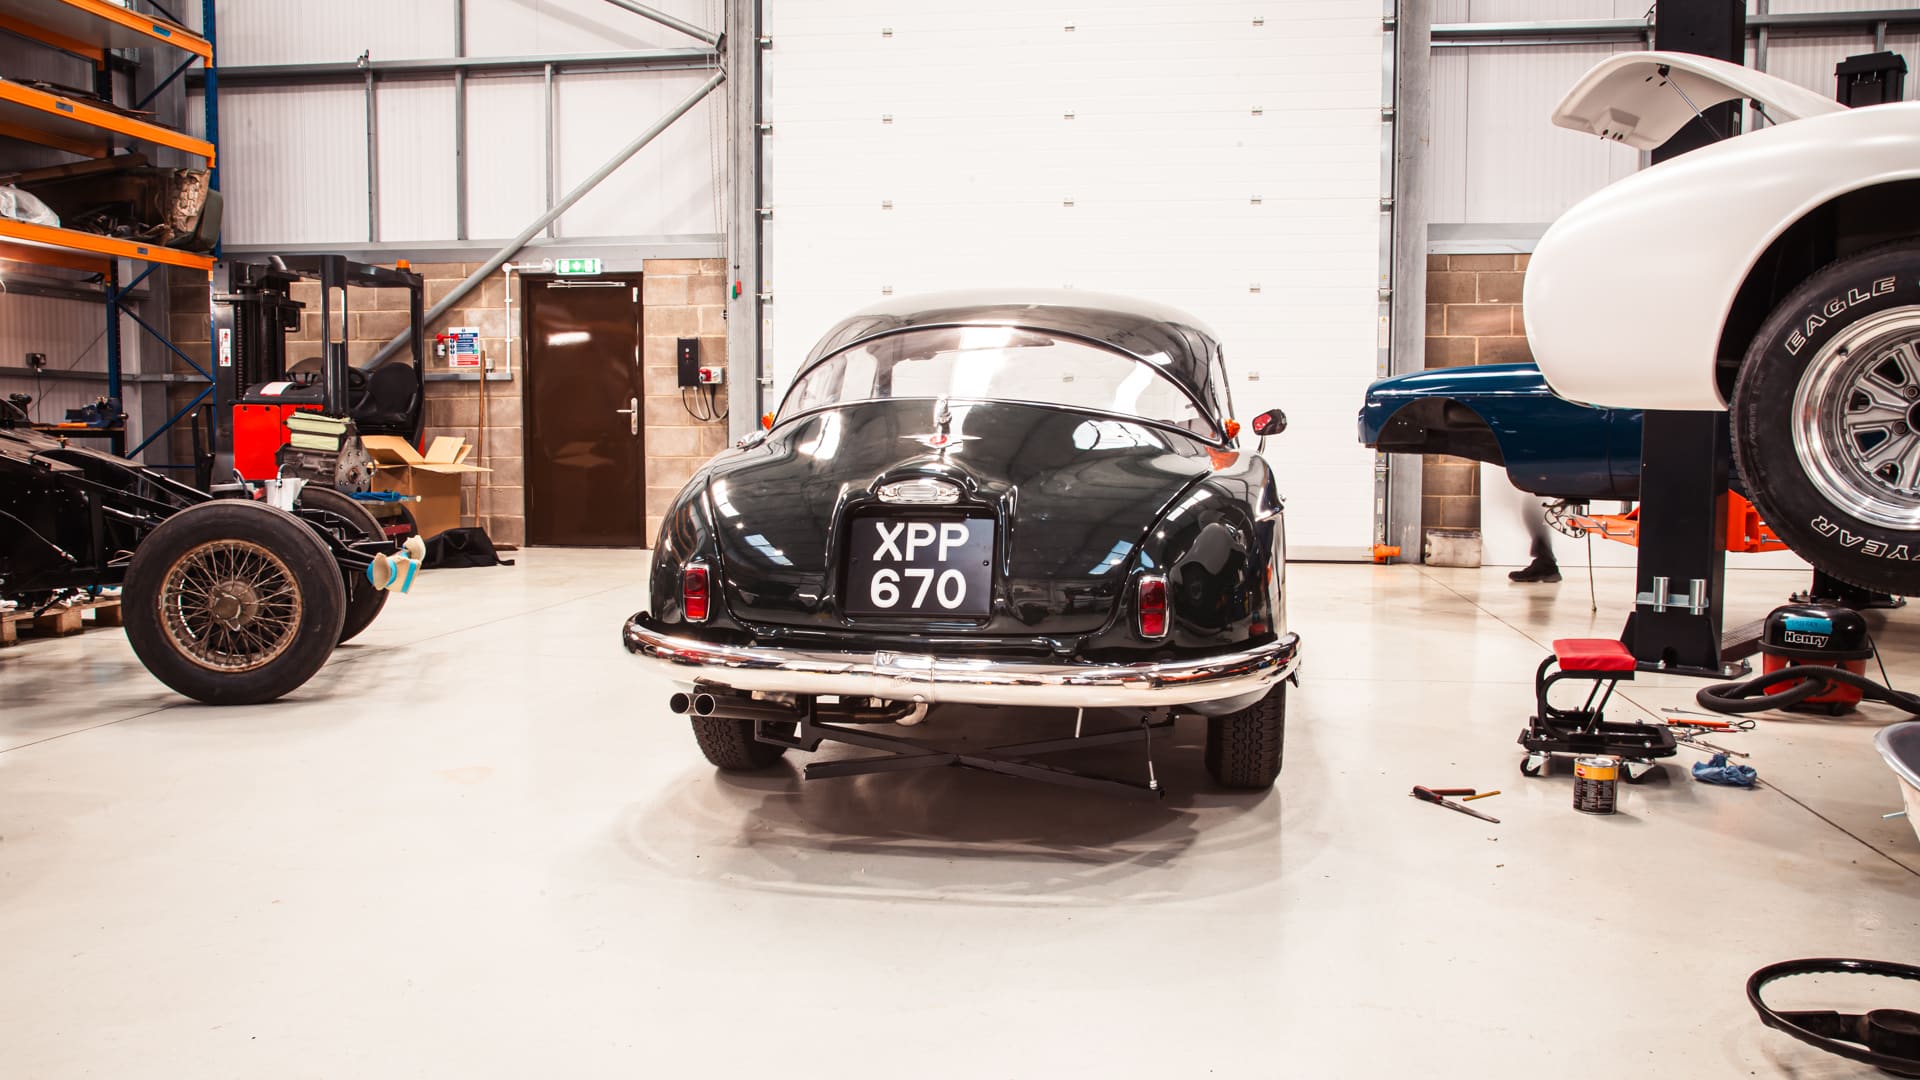
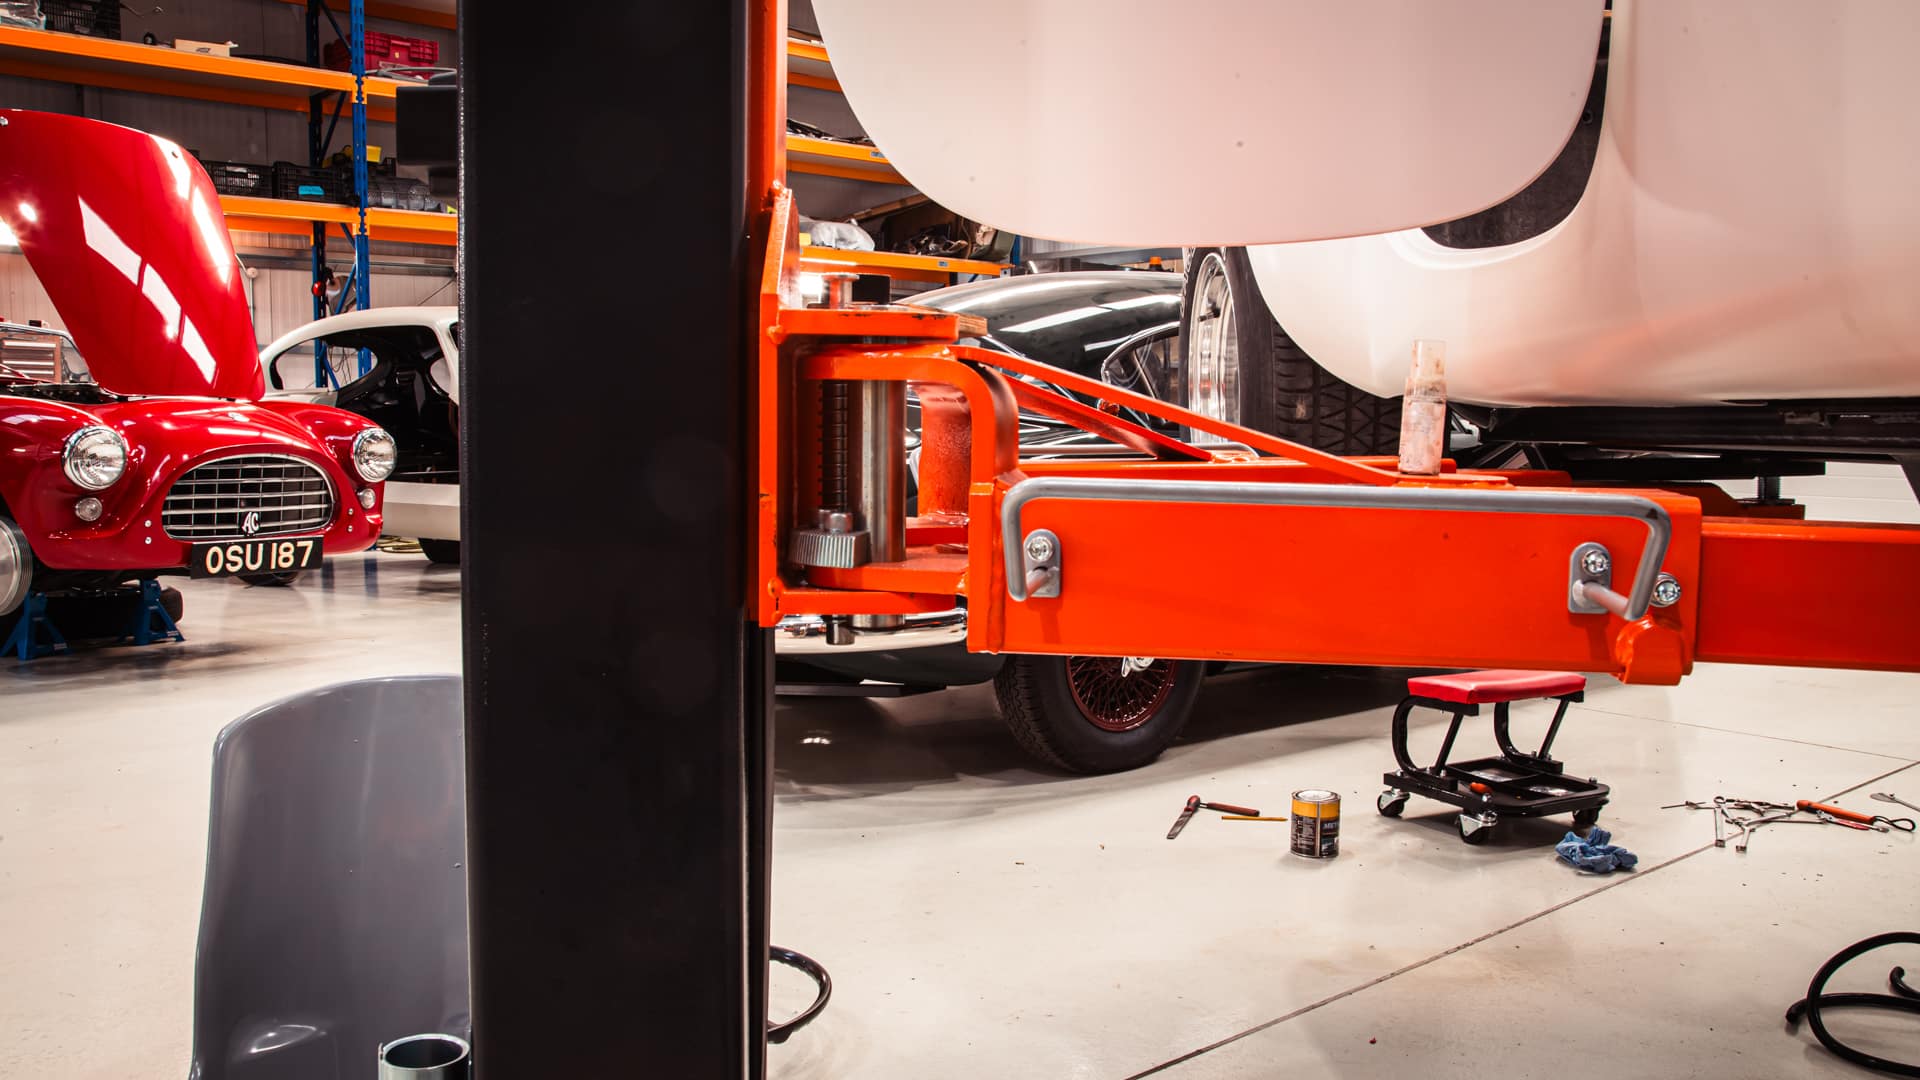
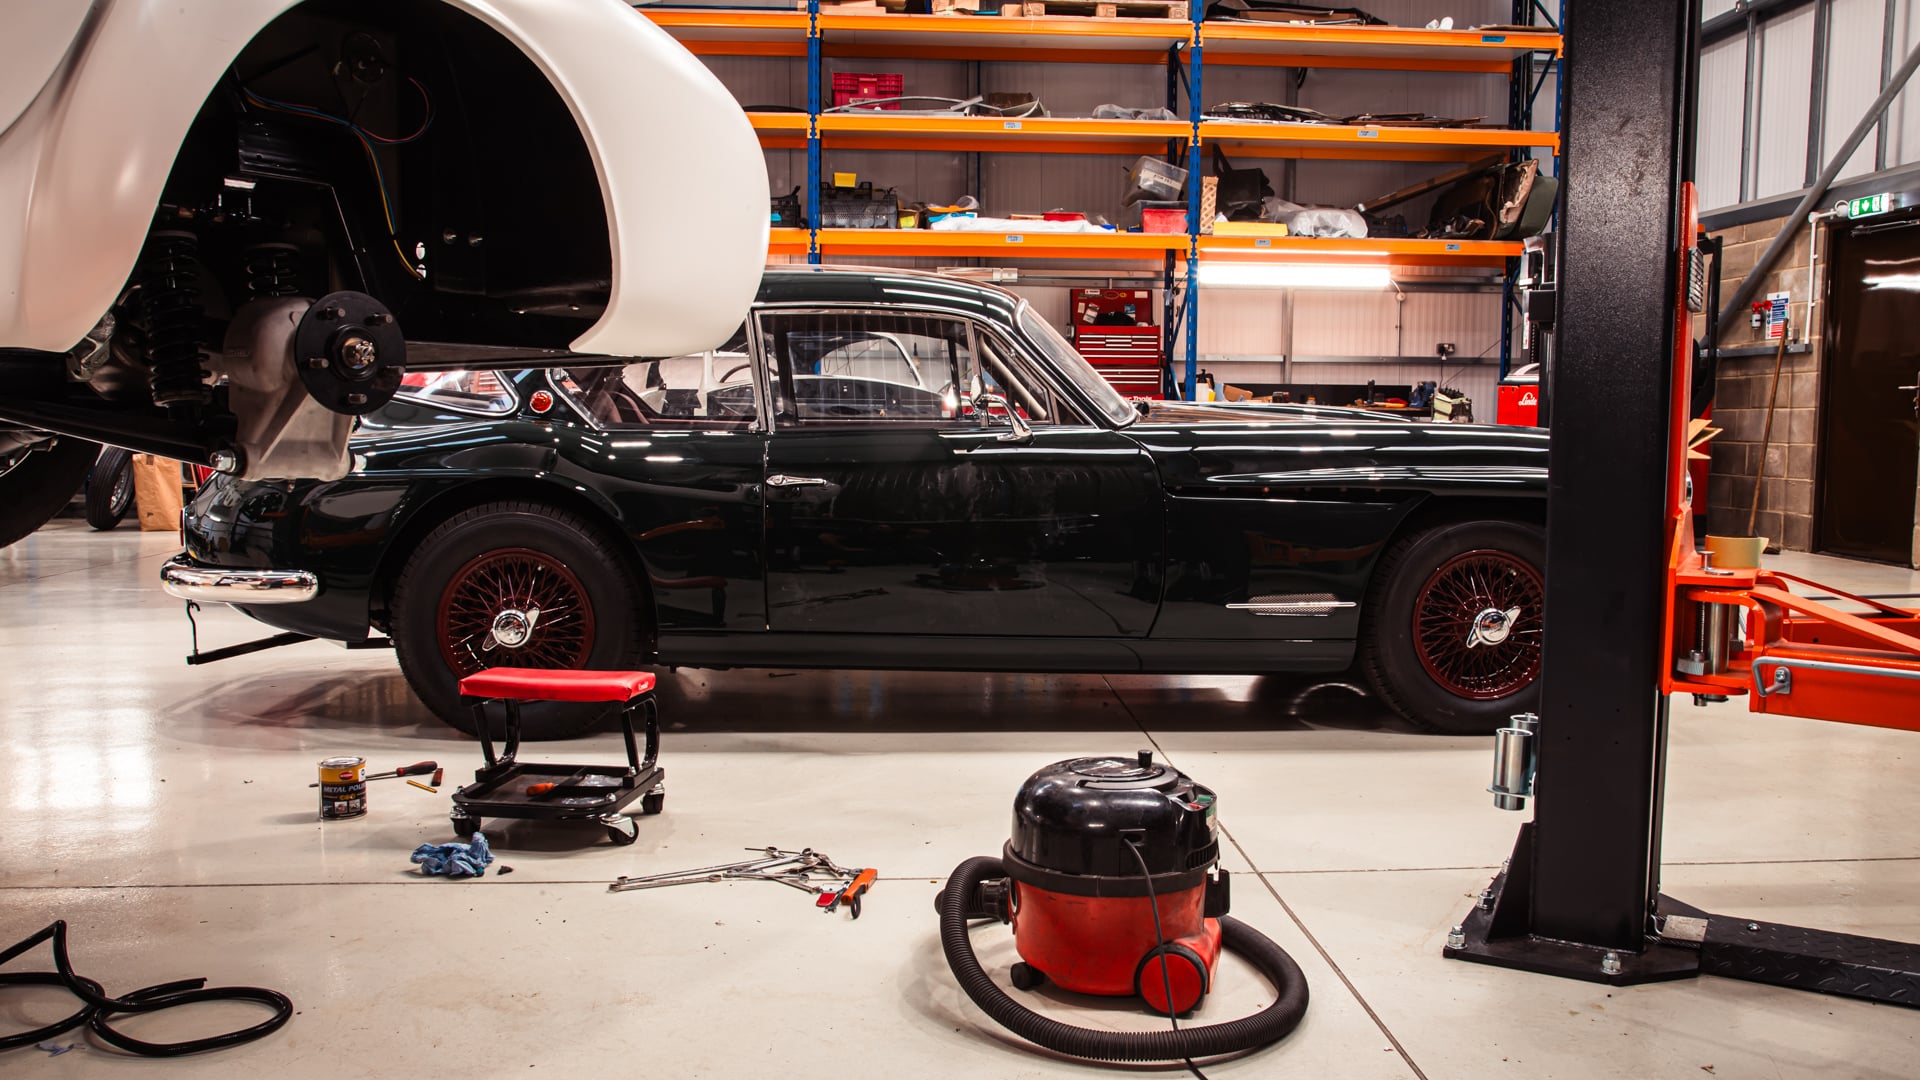
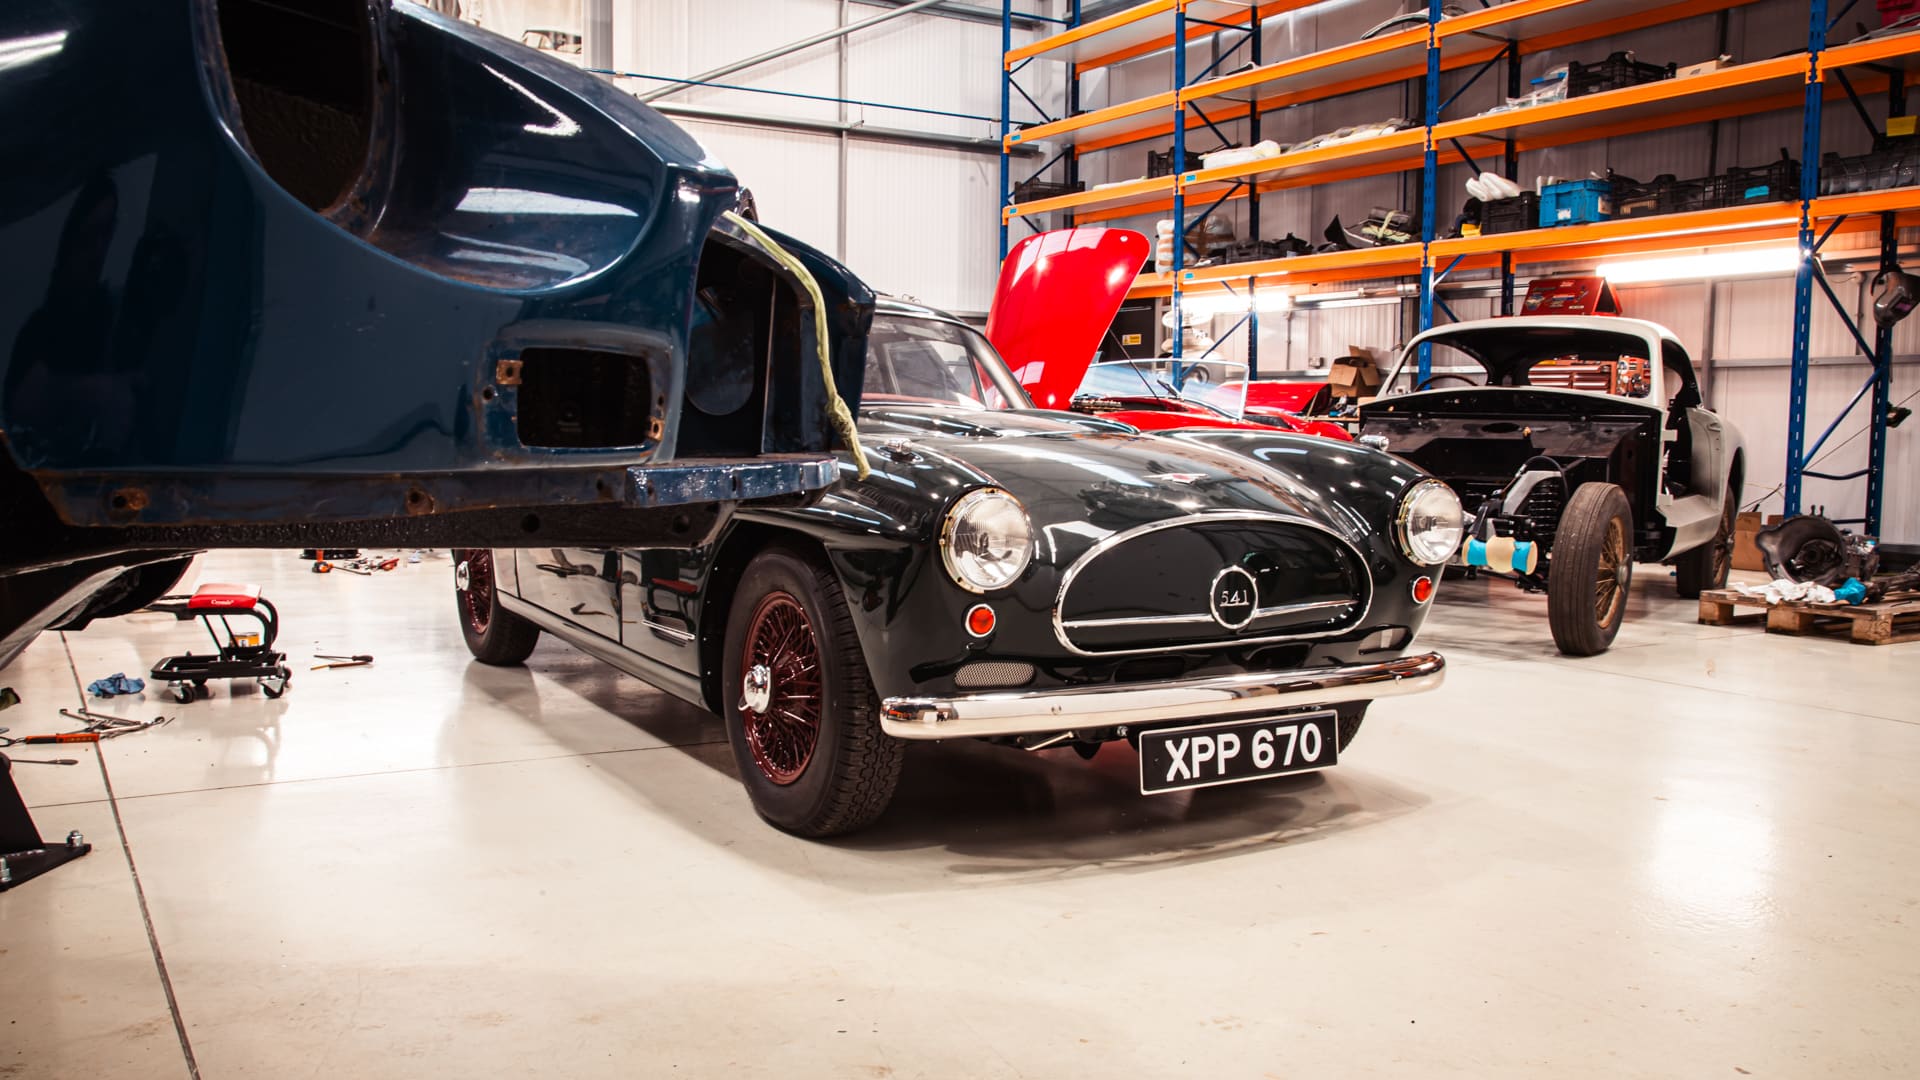
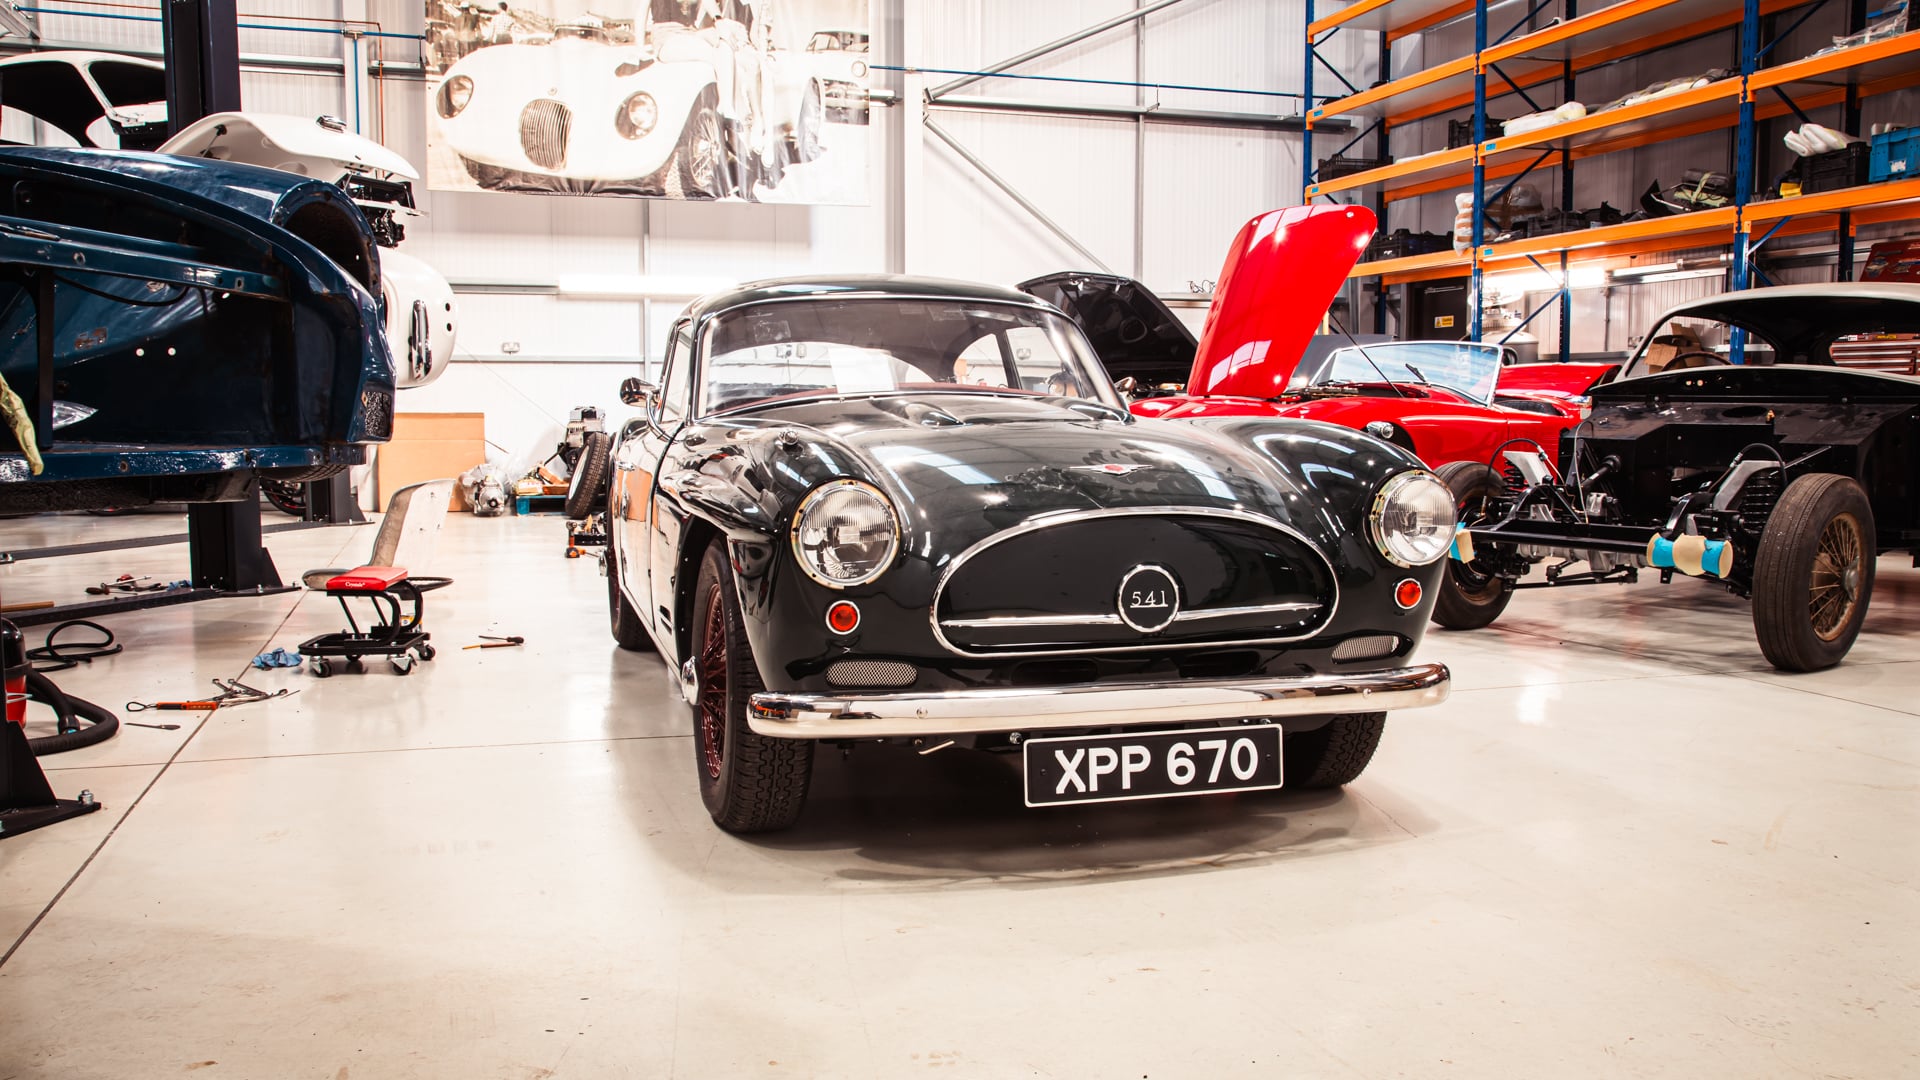
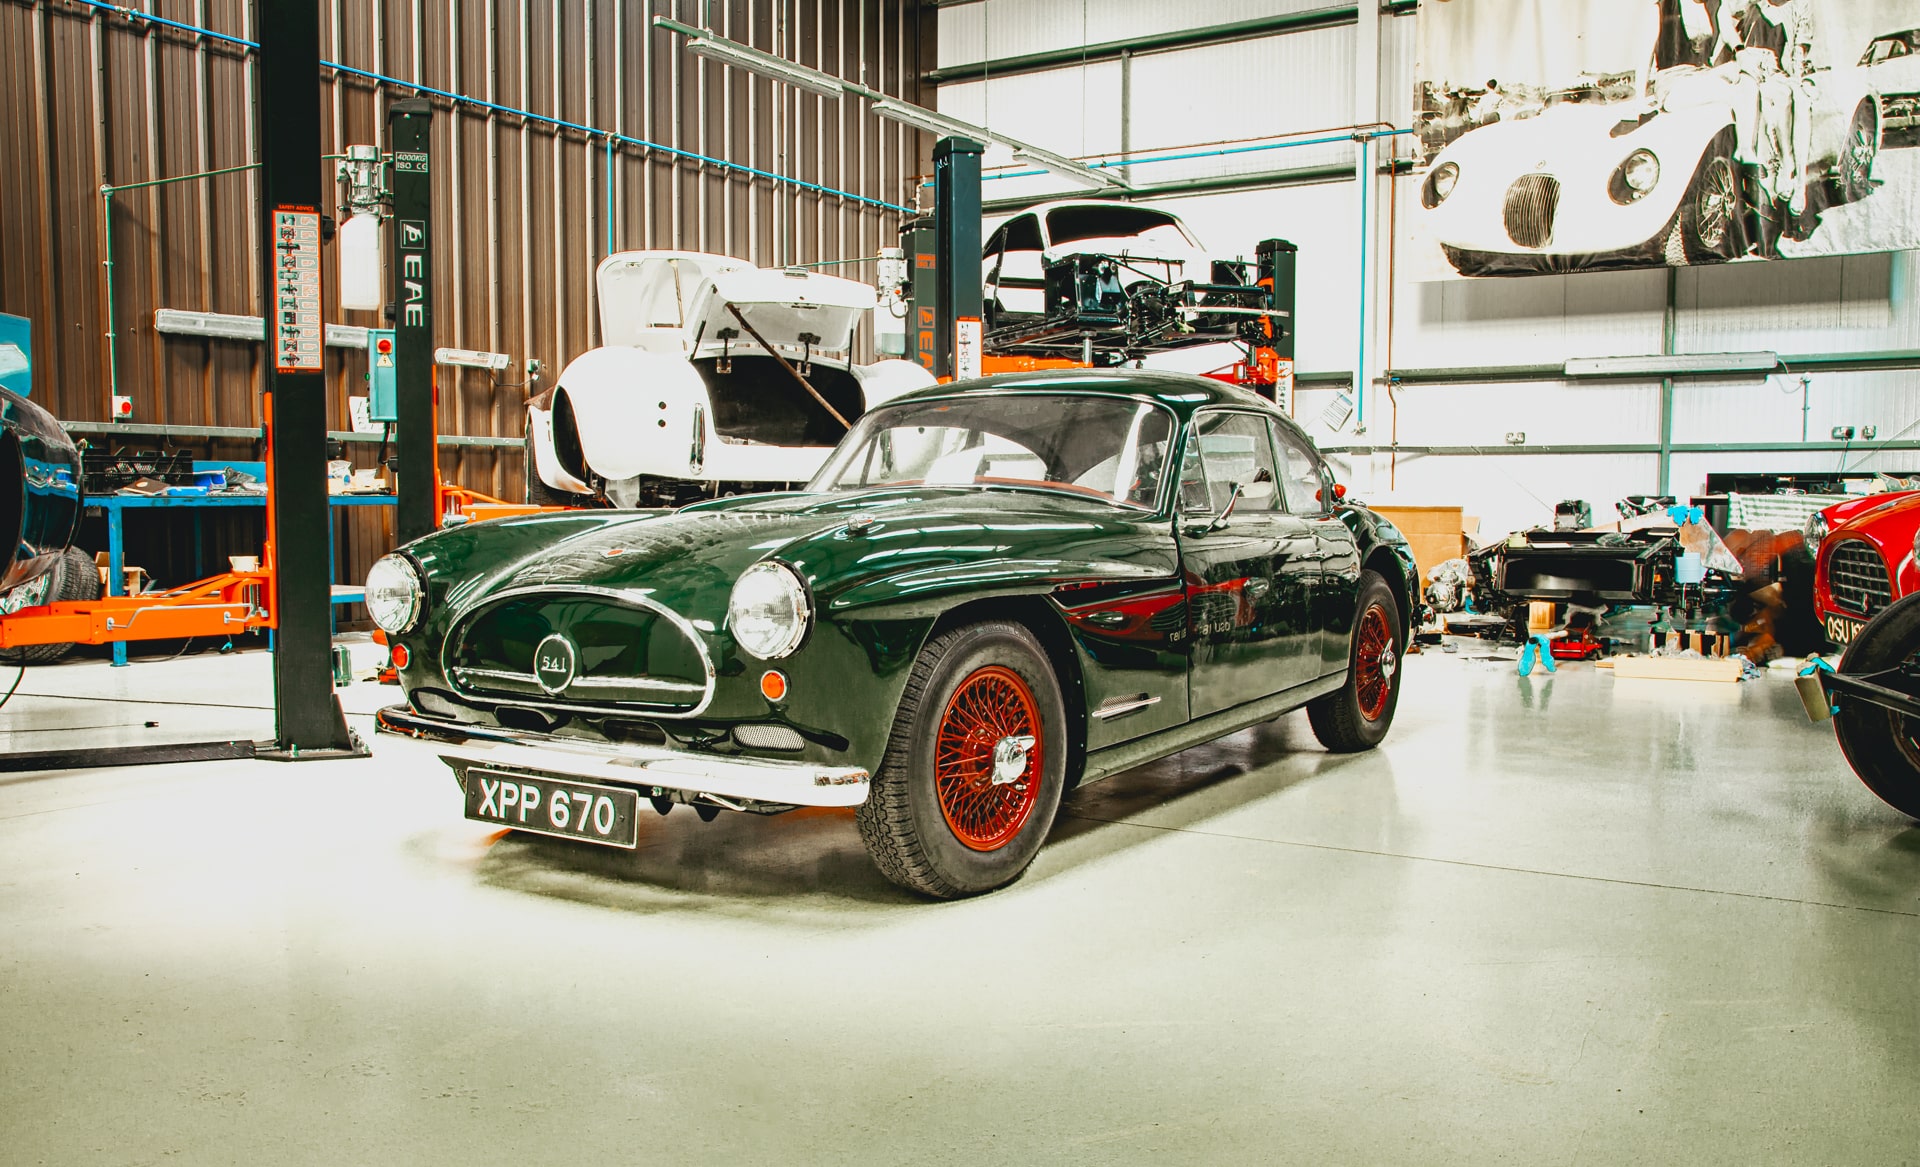
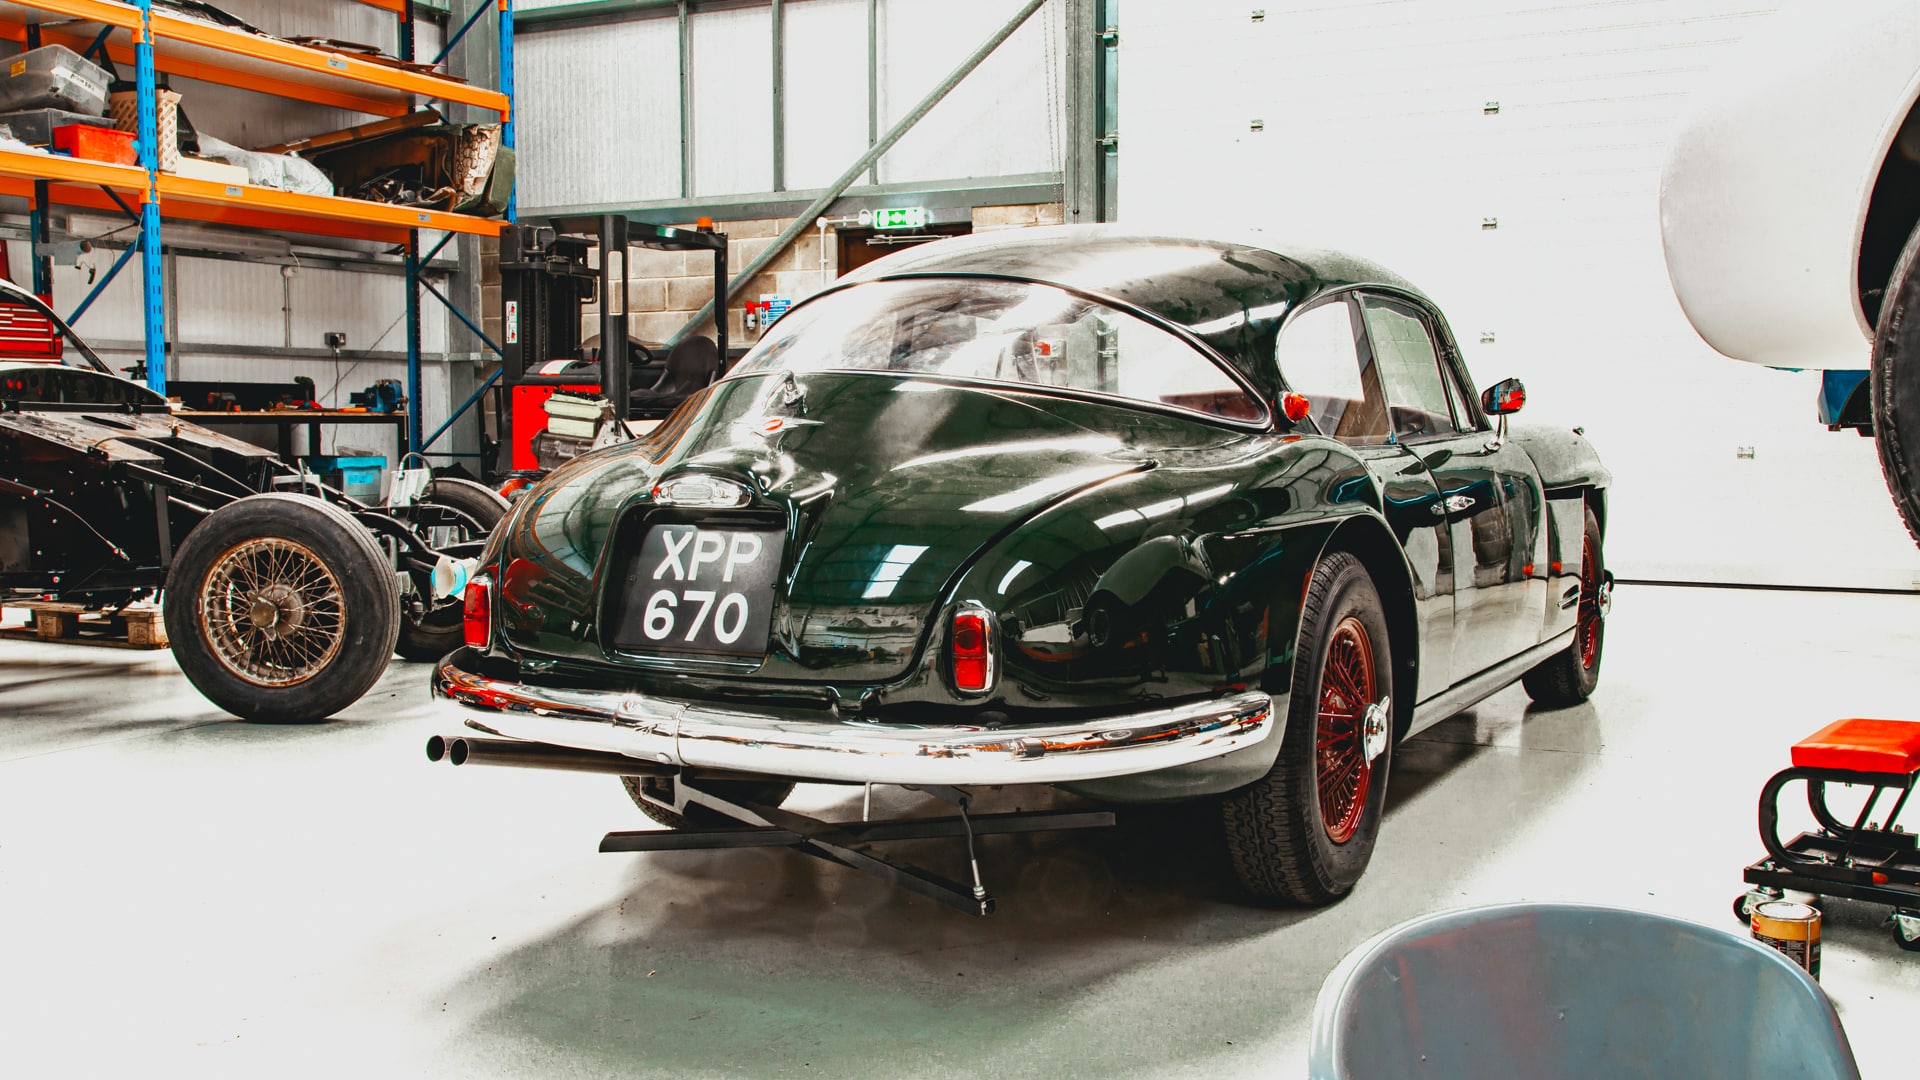
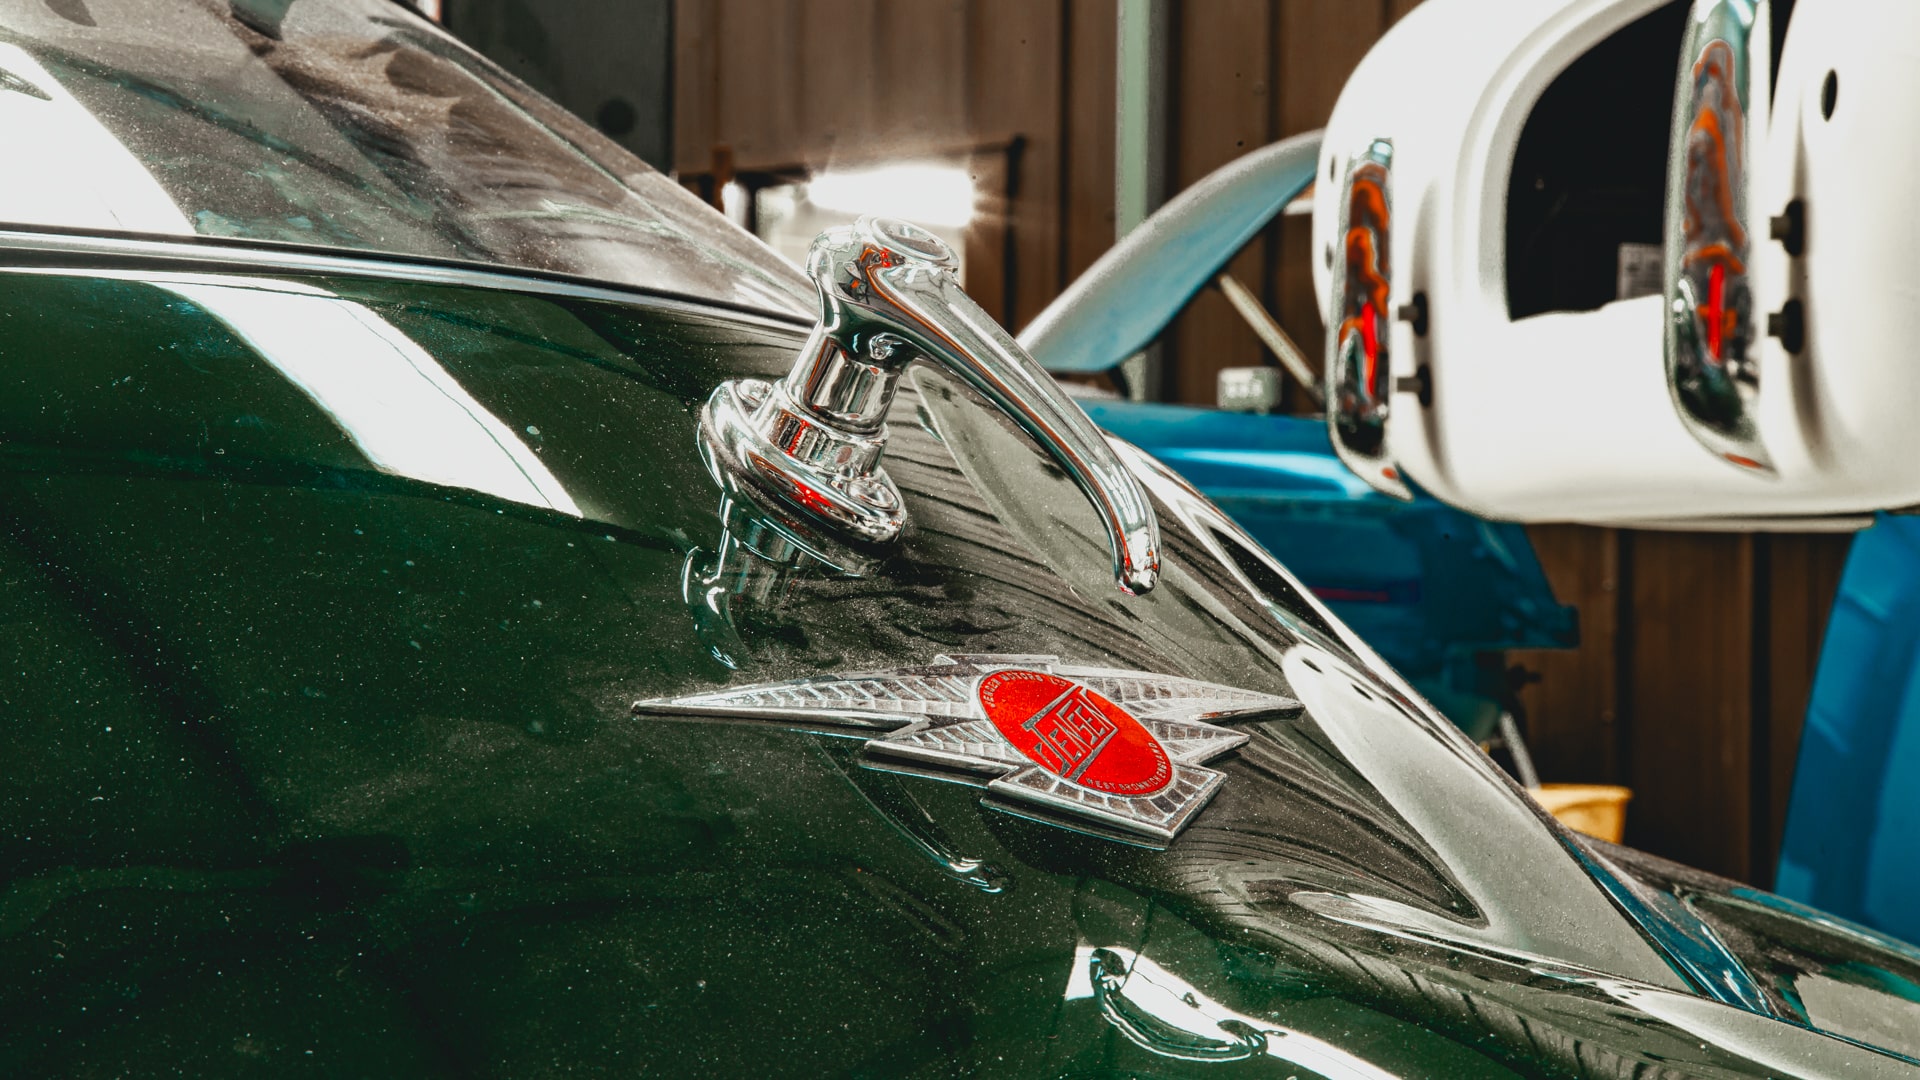
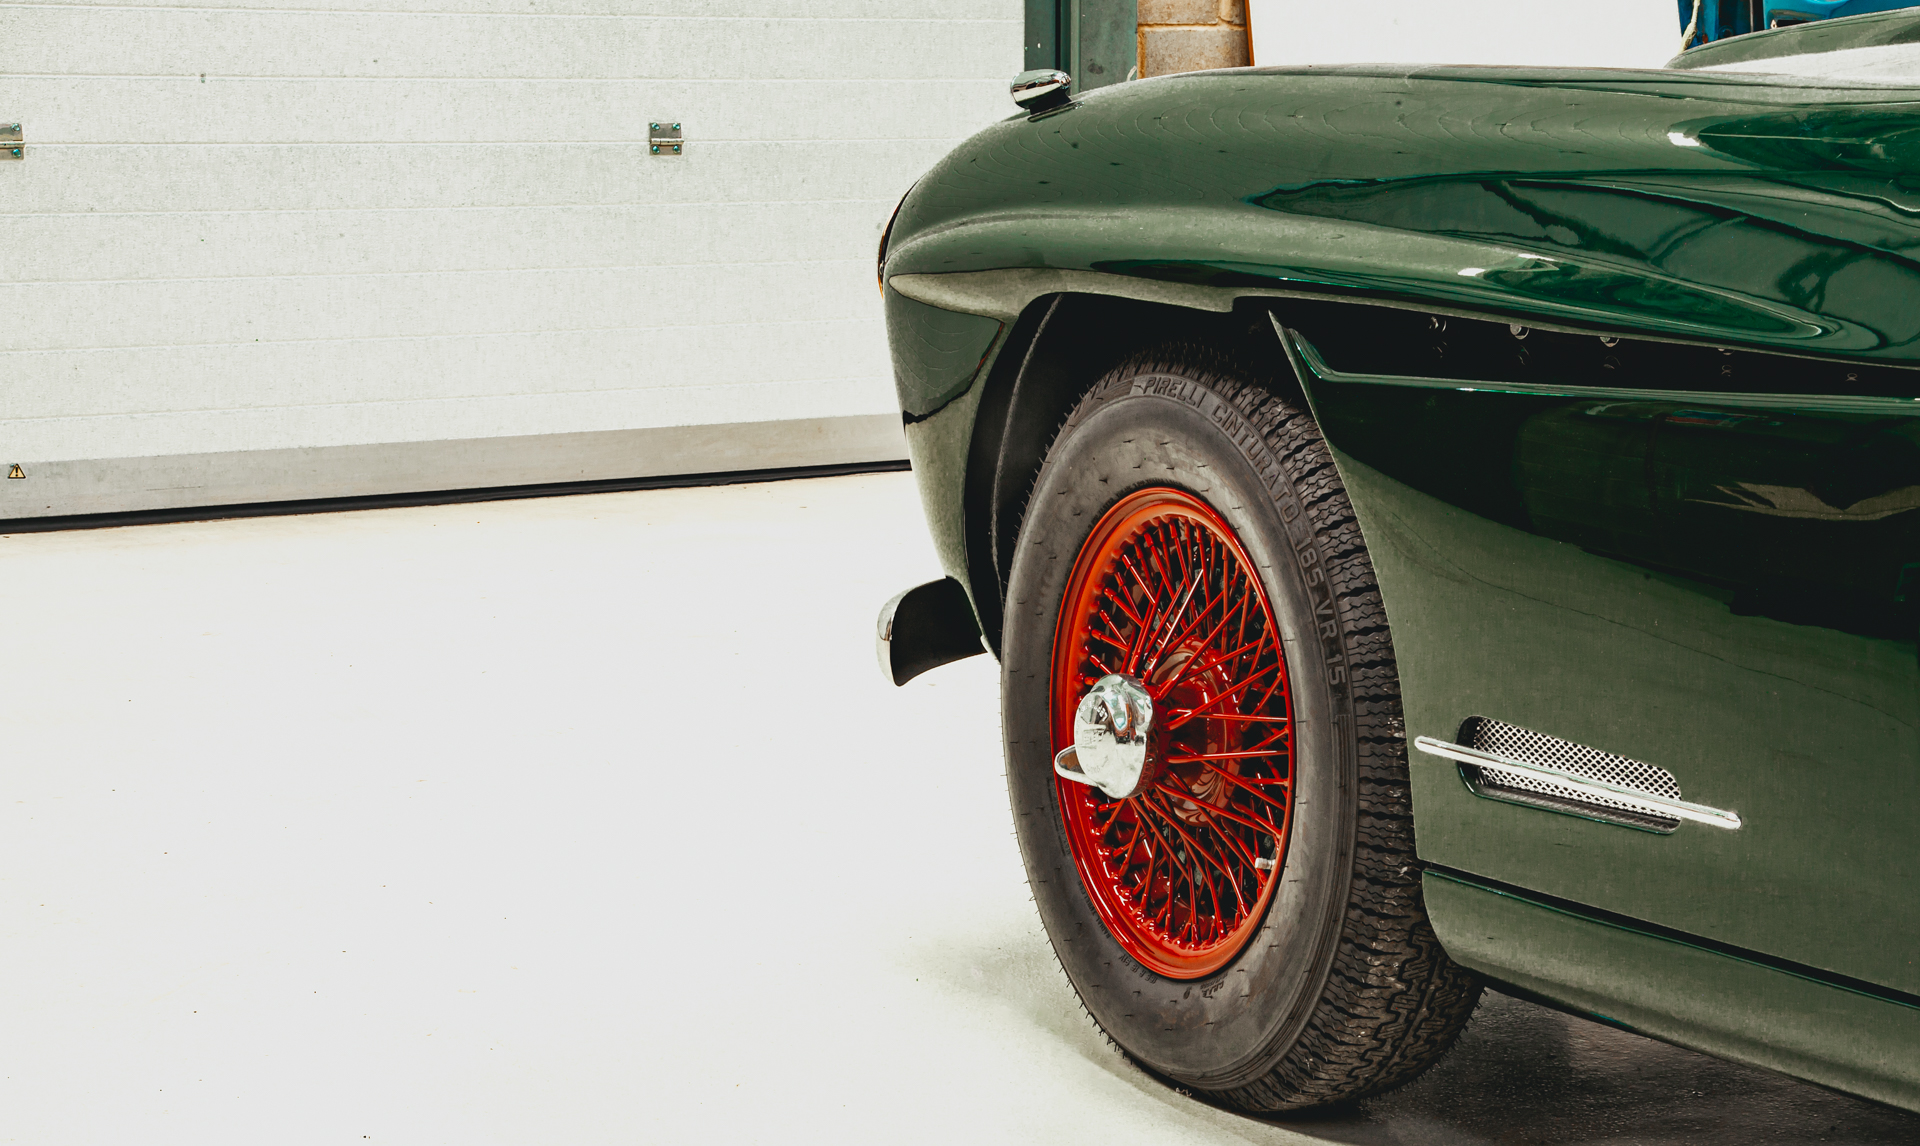
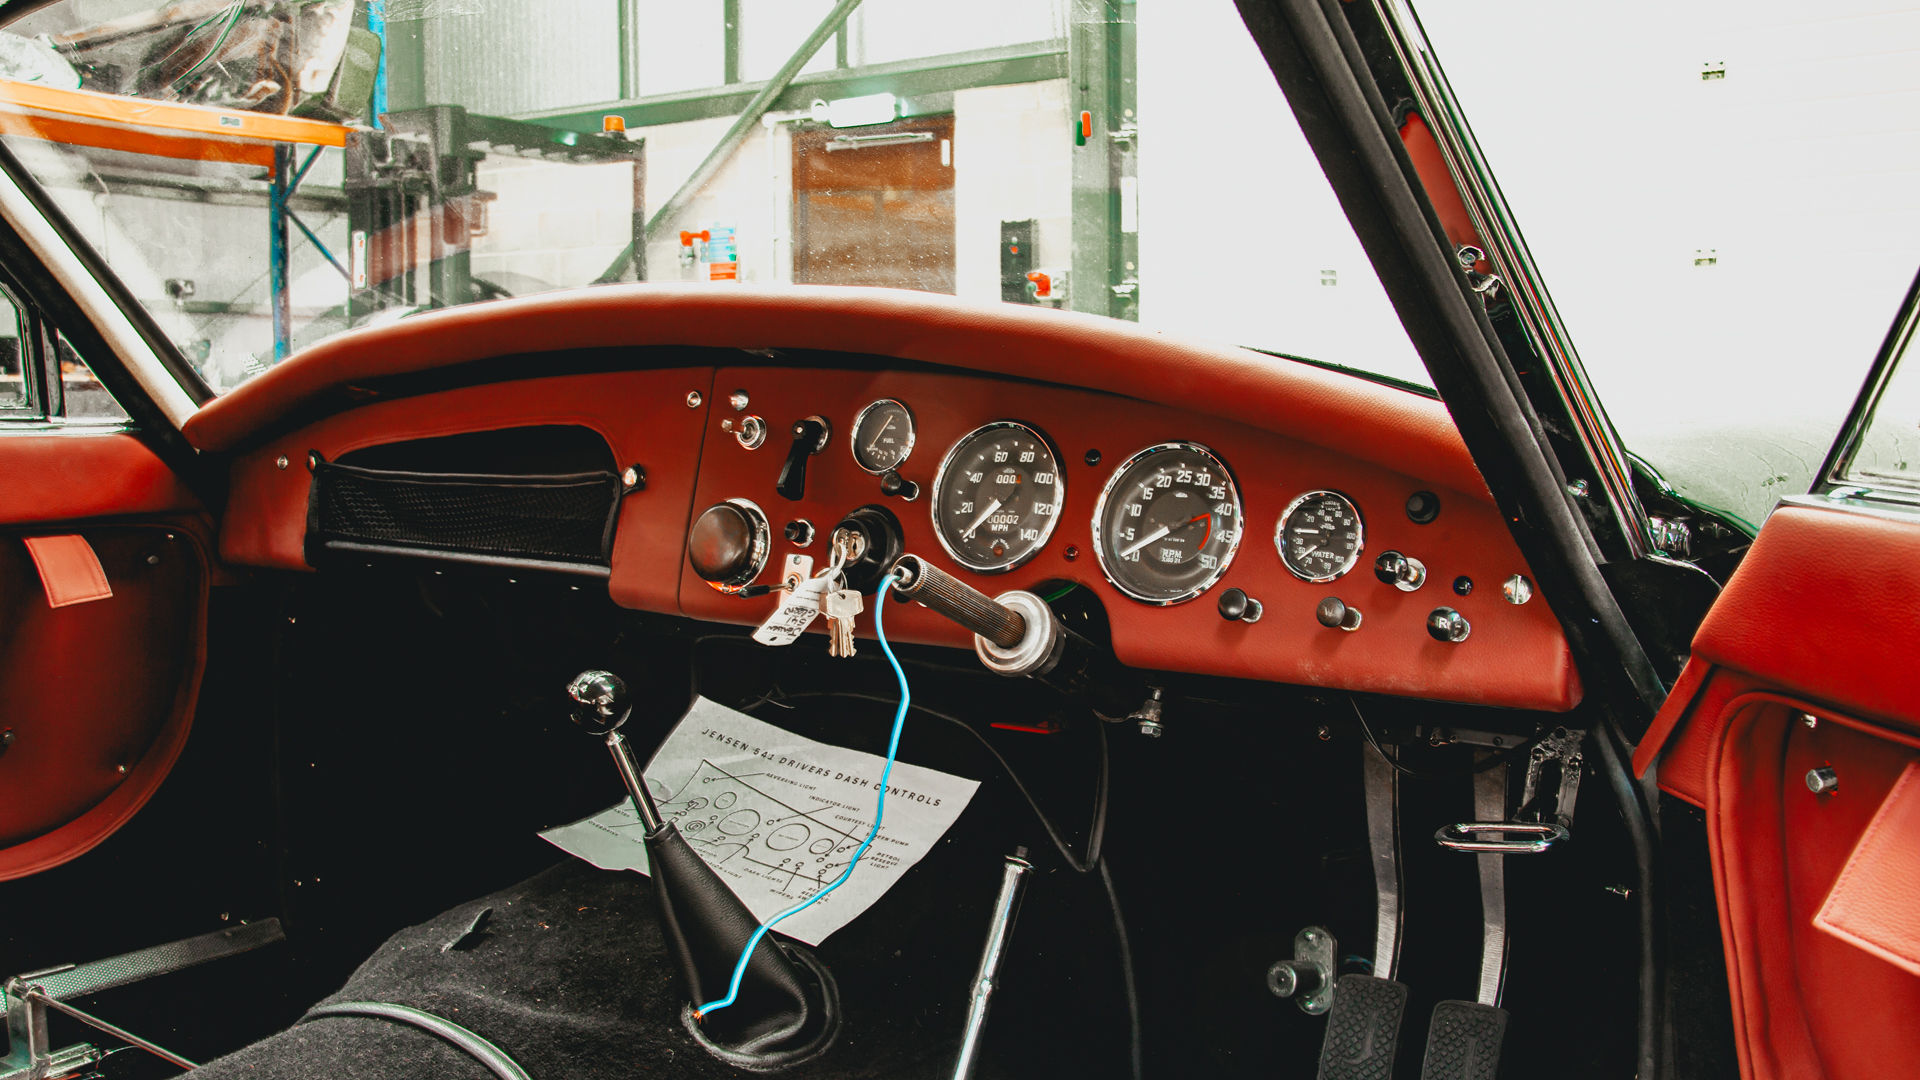
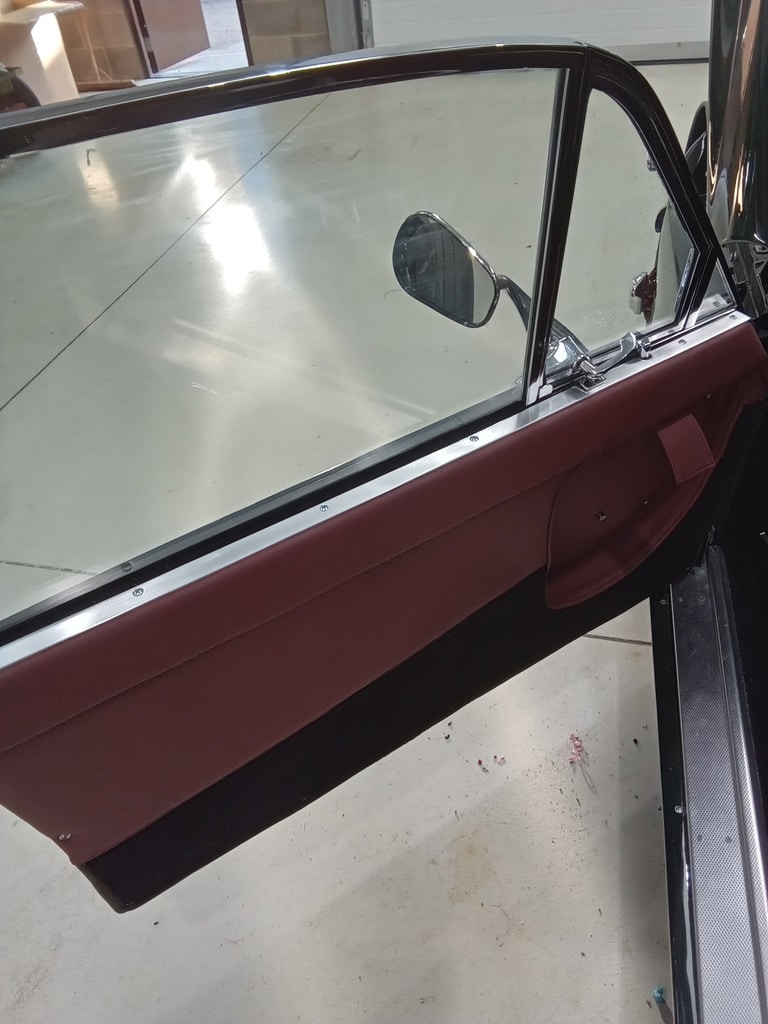
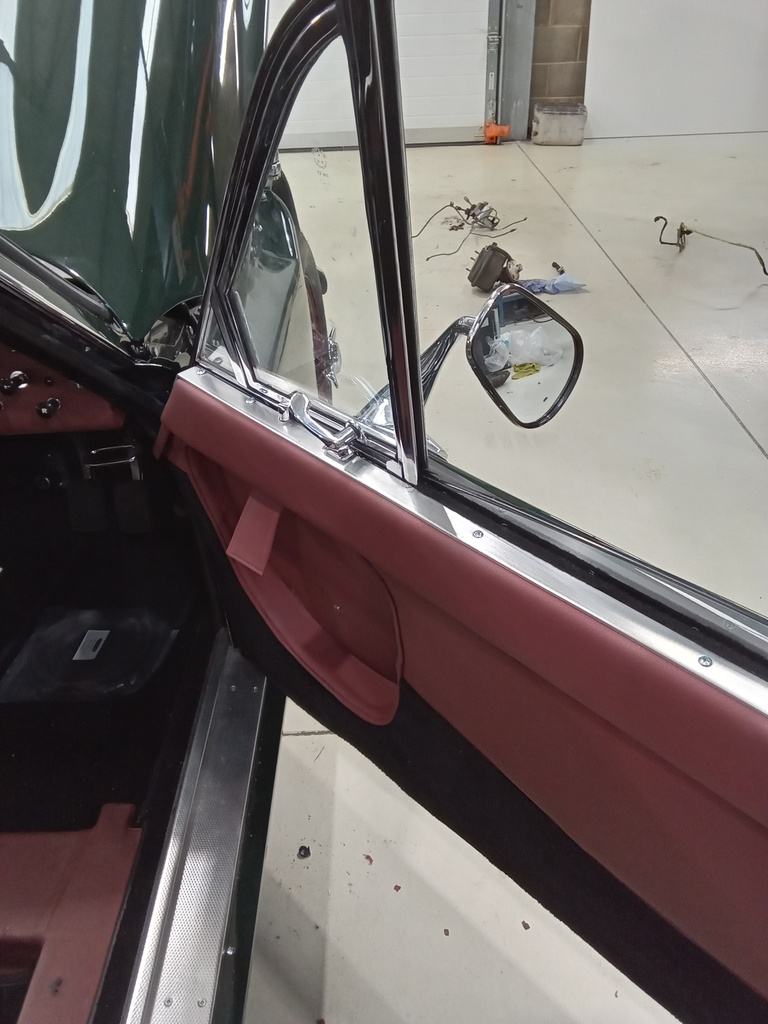
Looking lovely sitting in the middle of The Atelier. The final touches are being made to the door and the car is hopefully only days away from the testing stage.

1956 Jensen 541 work continues

We secure all the bolts and tried the clutch and it feels good. Re-fit oil filter housing and new filter. Fill with oil and run up. We’ve then topped up the oil.

Tested clutch bite point on the ramp before refitting interior and the bite point seems a little high. We’ve adjusted the arm to the thrust bearing, re-test and all is now ok.

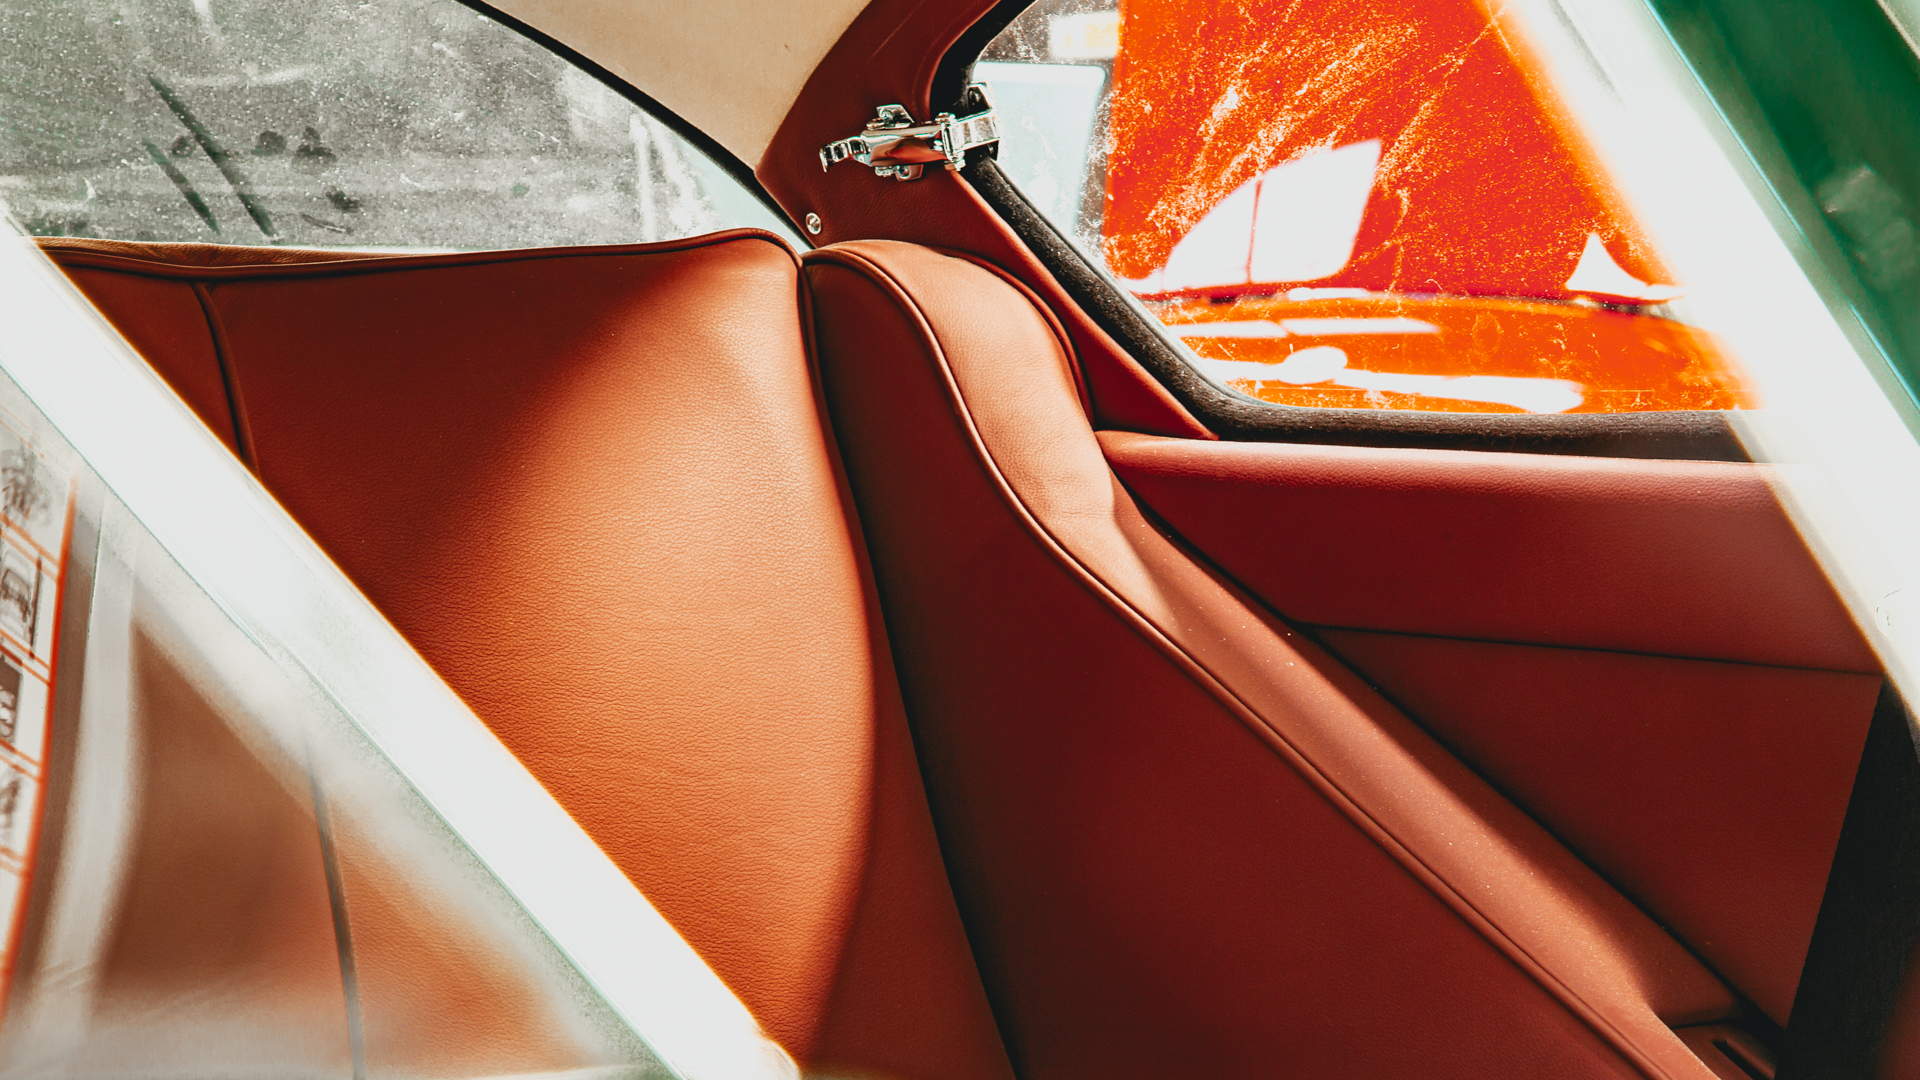
Refit tunnel, carpet and both front seats.

Then we’ve back on to the service items. Stripped and fitted new points and condenser but can’t get them to spark.

Removed and isolated the base plate with fibre washer and tested but still not insulated.

Remove contacts and isolate with fibre washer and test. All is now ok so we’ve set the points to 0.016″ and refitted cap and rotor before retesting. Starts and runs ok.

Fitted a new inline fuel filter underneath. Remove and blow out air filters and clean casing. Refit and secure.

The 500 has arrived

Who doesn’t love a little Fiat 500? One of the quirkiest and most iconic of classics has now arrived at Bridge Classic Cars and we’re not keeping this one a secret…of course it’s a future competition.

We’ve been looking for a nice one for some time and when this little gem was offered to us as an original RHD example, beautifully restored we couldn’t say no!

2003 Rover 75 Club SE Tourer Paint

Our Rover 75 has been though paint and is now back in colour having been prepared by paint technician Mauro.

Next job is to flat and polish the car before reassembly in the coming weeks.

A day of sorting parts for Tony

A trip to our storage facility first off to start to get our Jensen Interceptor ready for arrival into the workshops. A few boxes of parts and the windscreen are now back in the workshops and on the shelves.

Then on to Orwell Precision to collect some parts for our SS100 that need to be de-greased.

Triumph TR3A Appraisal

Today’s the day we get our 1960 TR3A on the ramp for it’s full appraisal.

Jon is working on this one. He has fully greased all points, adjust the nearside front wheel bearing, stripped, cleaned and checked brakes. The drums, wheels have been refitted and knocked up tight.

All tyres required a little air.

Next job was to attend to the very poor and noisy exhaust system. We’ve remove the centre and rear where we found the rear silencer split and in bad condition.

Back on with the exhaust system. We have resealed and secured the centre pipes. A new silencer has had to be ordered.

Jon has addressed the issue with it hitting chassis.

Then on to unblocking the offside washer jet before re-test. The front fog lights are not working and the issues has been traced back to the wiring not being connected and nowhere to connect it too. We have used a power probe to test lights. Powered them up and the lights work fine.

We have a switch on the dash which we are unaware of it’s use. Jon has traced the wiring out through bulkhead but wire terminates at another connector. What makes this one particularly difficult is that the wiring has been done in a previous life by using any colour they could get their hands on and is a bit confusing to follow but we’ll get there and sort it out properly. They’ve used the same colours as the indicator and main beam wiring.

Cut cable tie securing the relay under the dash to ease tracing of the wires.

Work out how they’ve wired it and trace wire across dash to nearside.

Turn on lights and check power to relay. There is no power at present. Turn on ignition and main beam now has power.

Trace wire from nearside under dash and into engine bay.

Disconnect from current connector and connect to fog light connector to test. It is now working when main beam in and switch activated. Time to tidy up under the dash. Re-secure relay, wires and re-crimp earth terminal. Recheck all lights and now all is working ok.