TVR’s seized seat
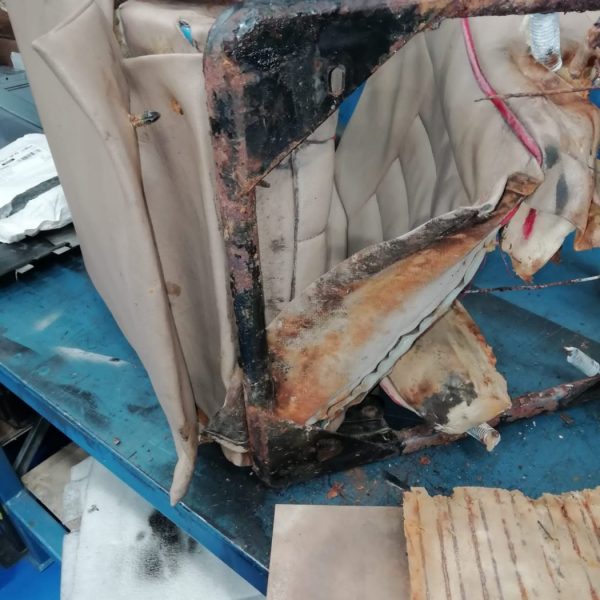
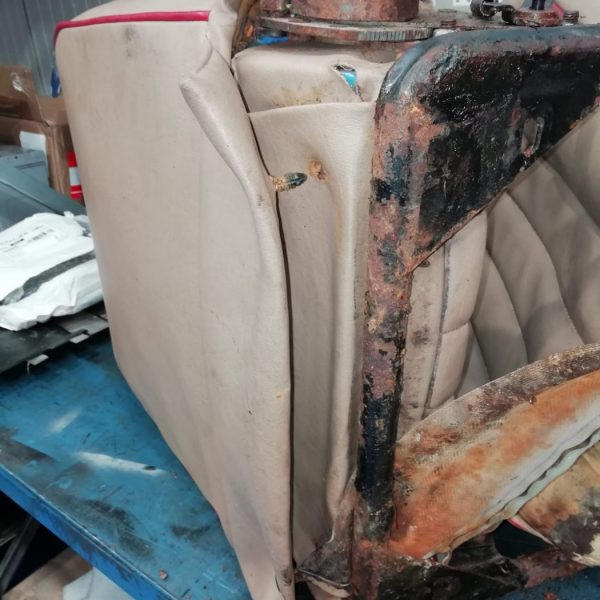
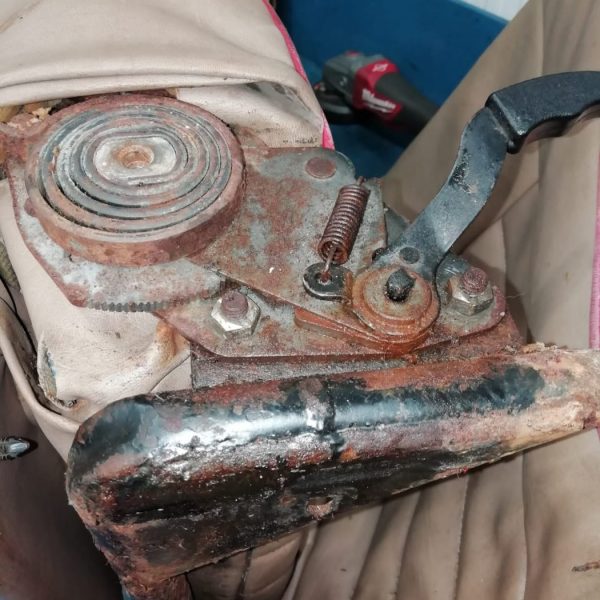
The driver’s seat on our 1989 TVR SII 2.9 V6 was reported as not being able to move on the runners, so Paul took it


The driver’s seat on our 1989 TVR SII 2.9 V6 was reported as not being able to move on the runners, so Paul took it

Lydia has been helping with the progress of the 1951 Riley RMB. There was surface corrosion on the inside of one of the original wings

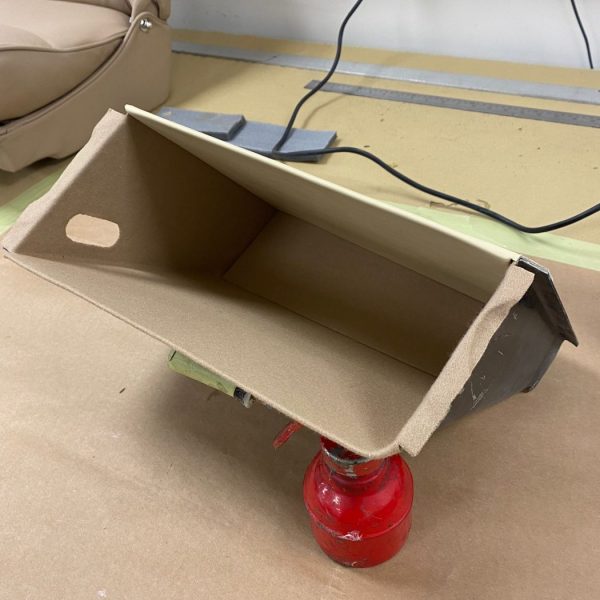
Brian has been re-covering another piece from the 1963 Bentley S3 Continental. This time, the glovebox. He started the process by removing the original covers

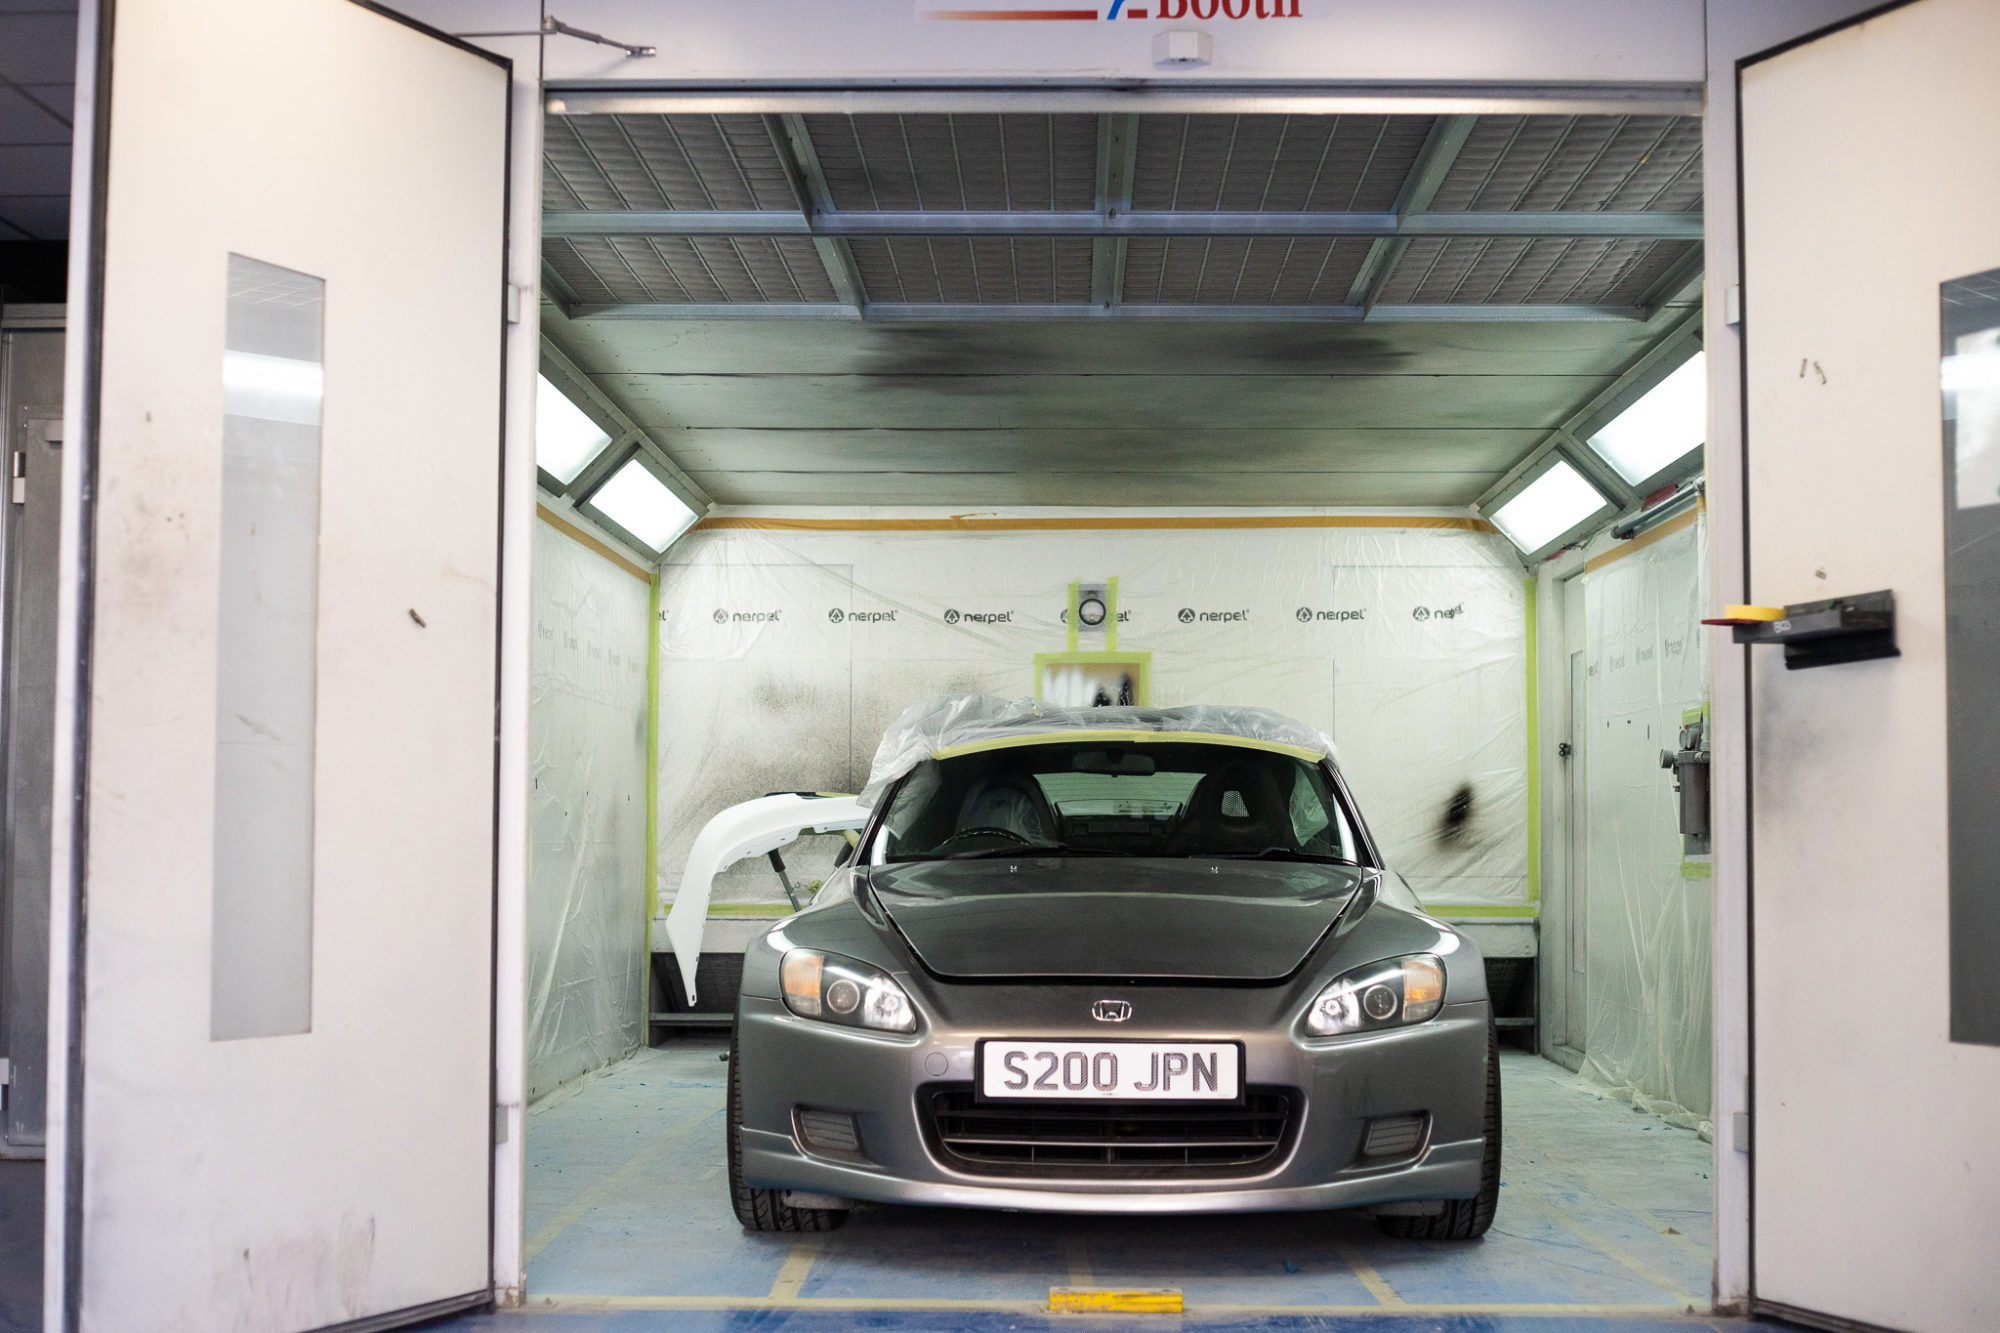
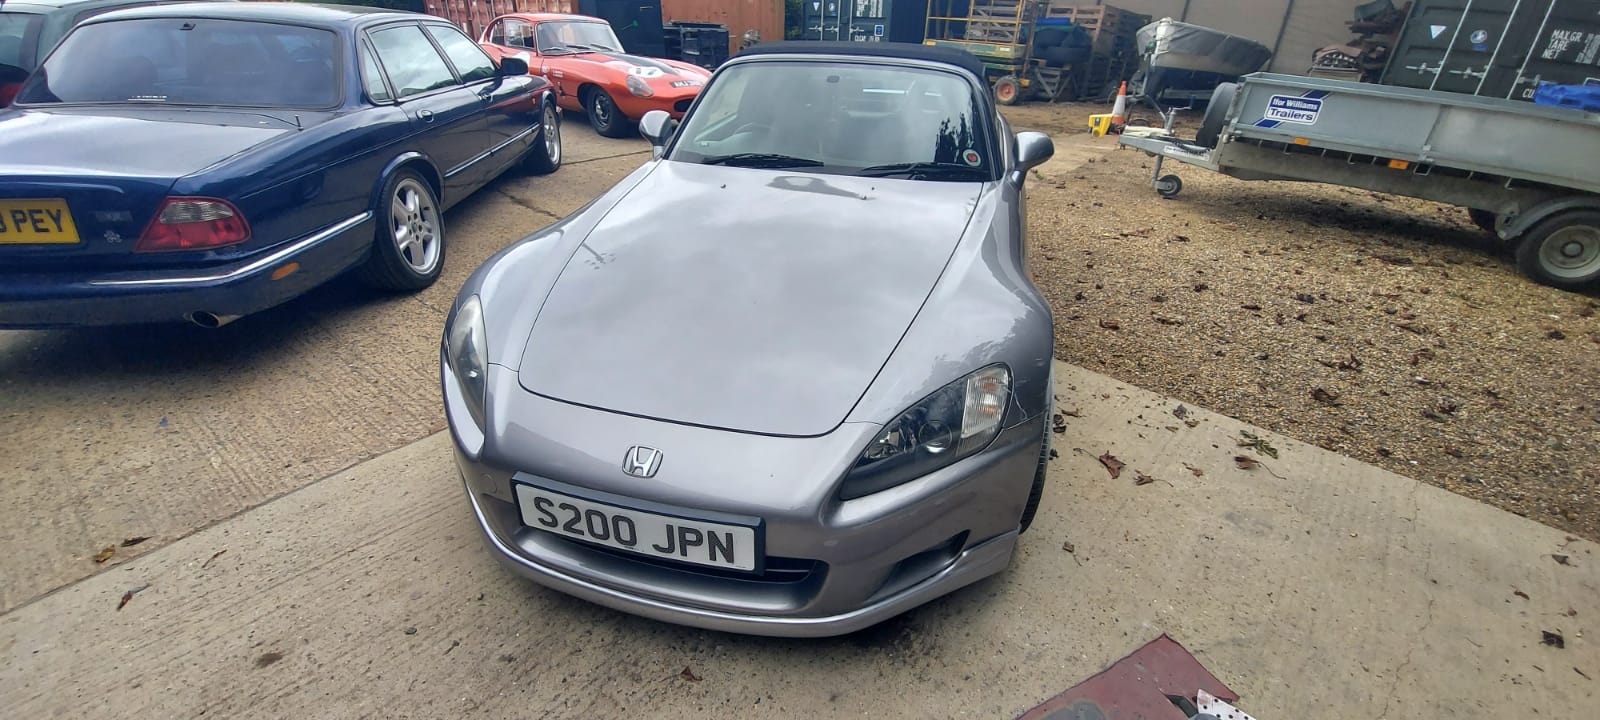
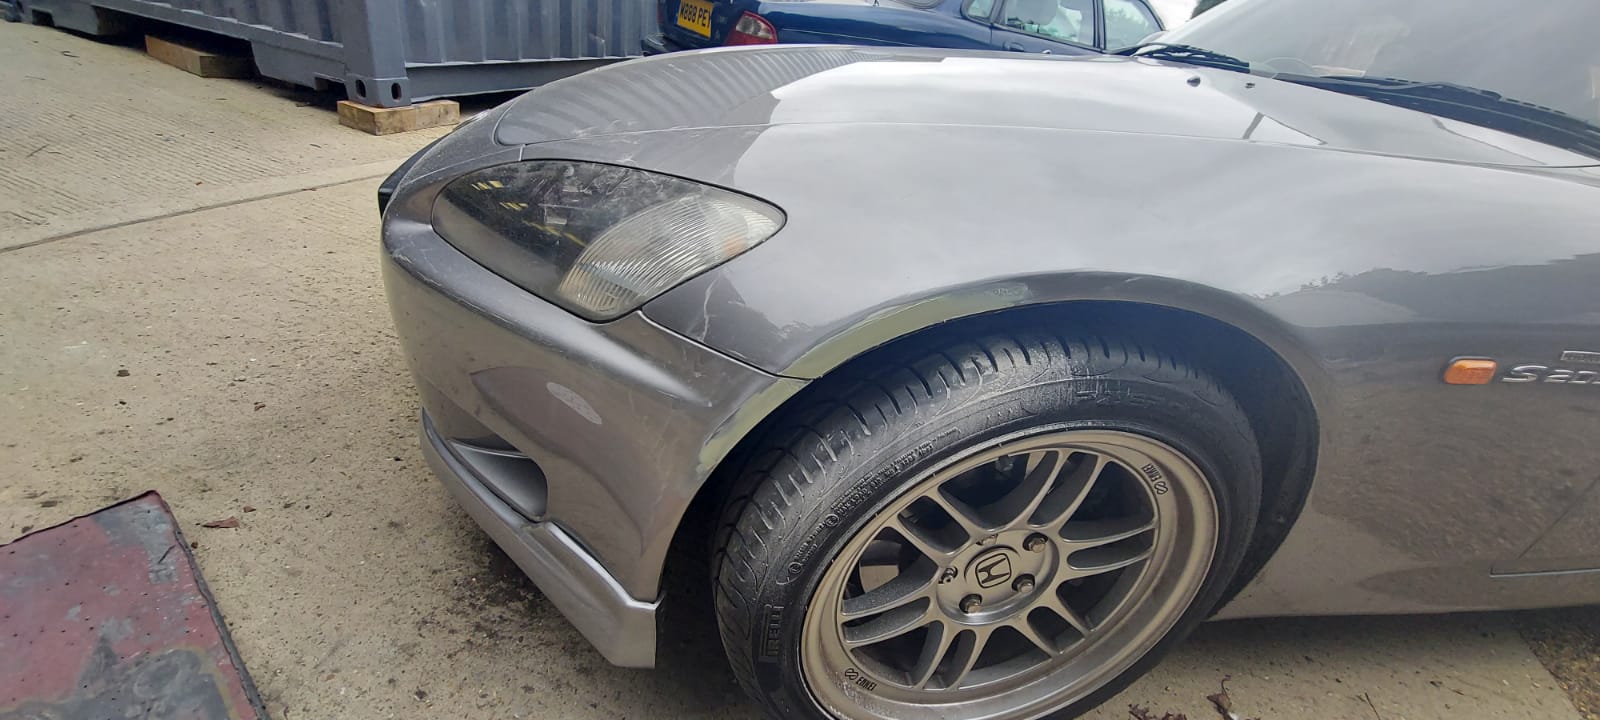
This 2000 Honda S2000 is a returning modern classic. It came into us back in March this year for some cosmetic work, with patches of
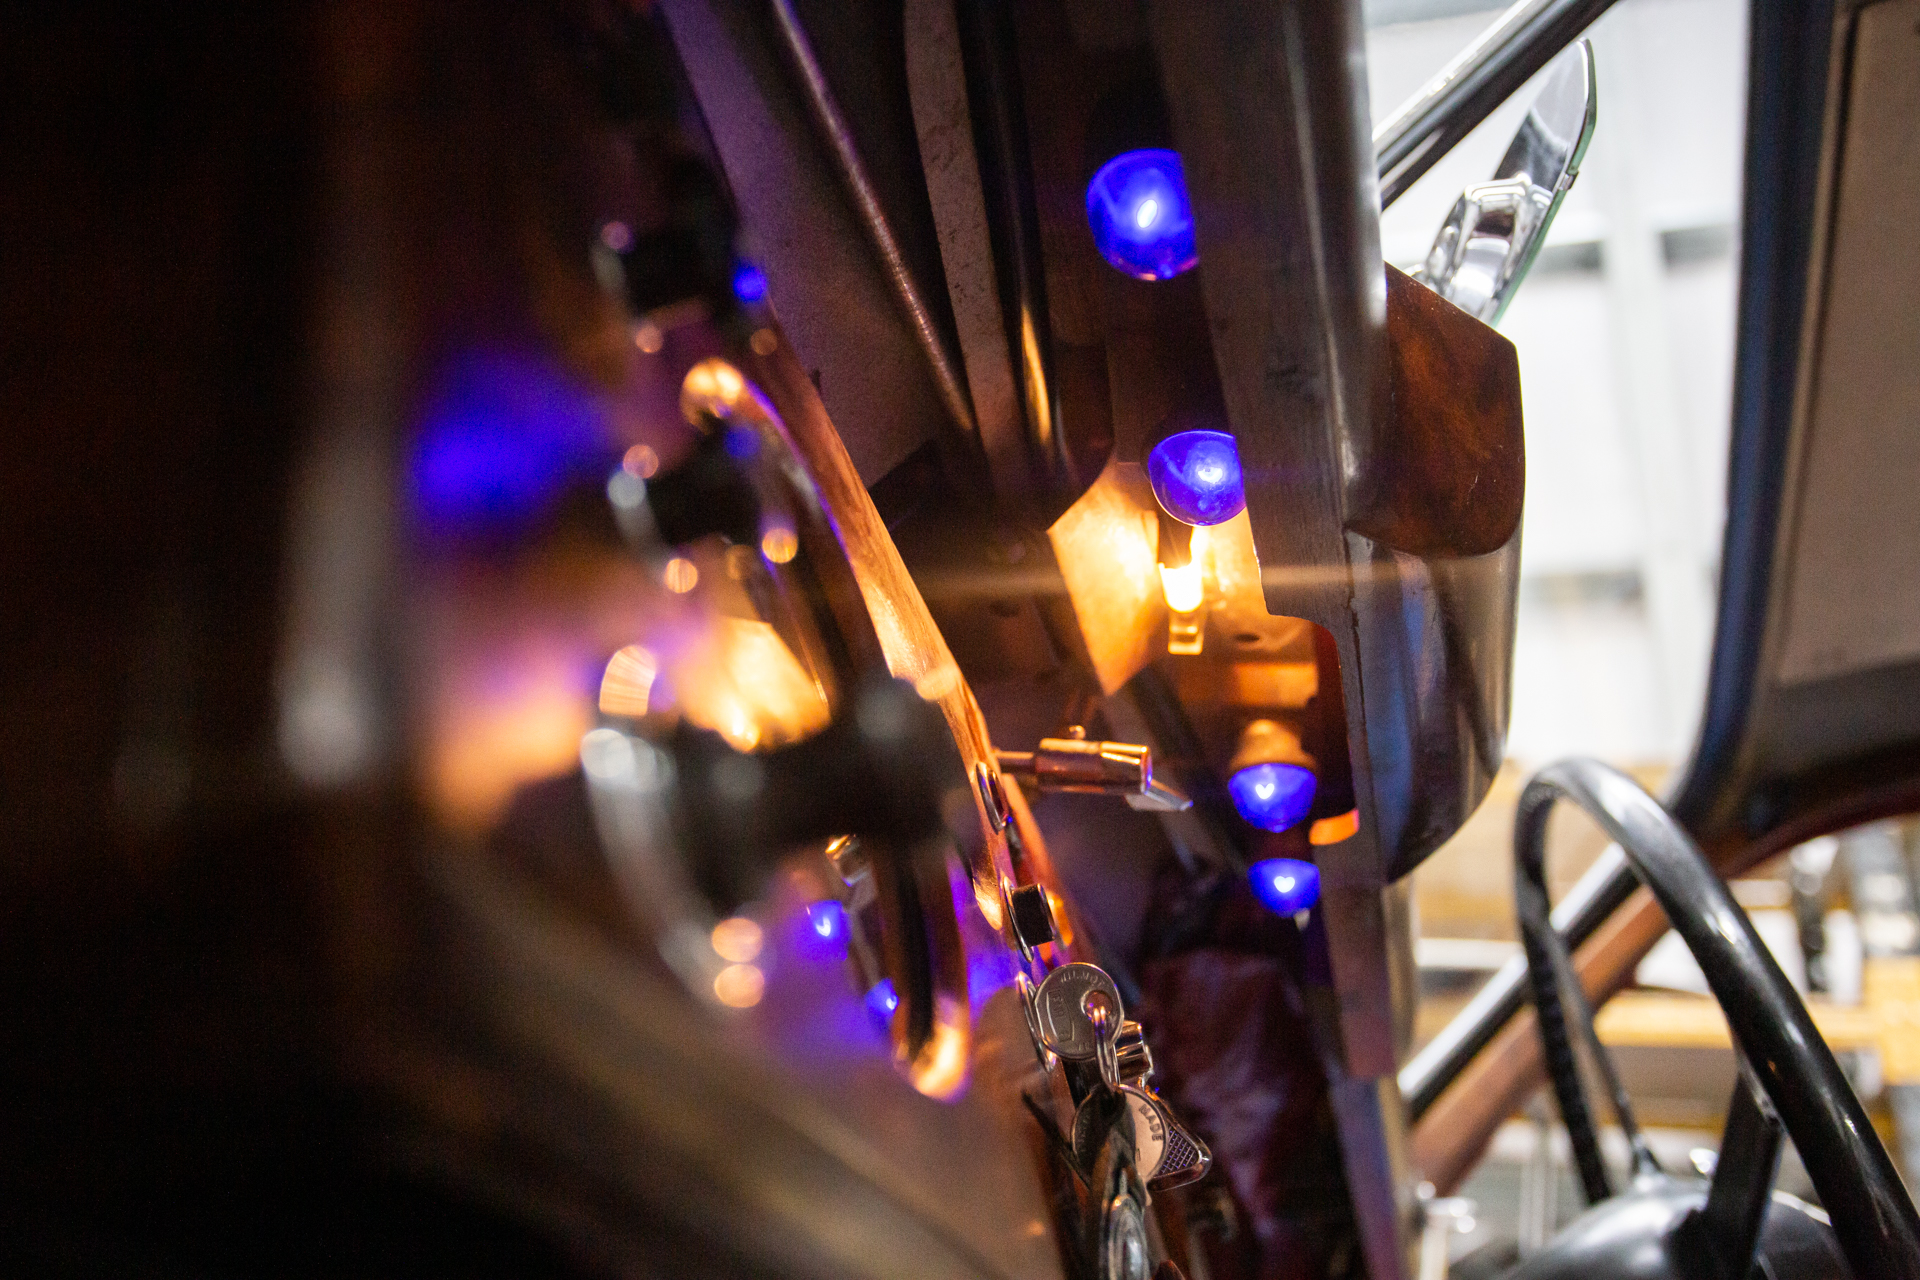
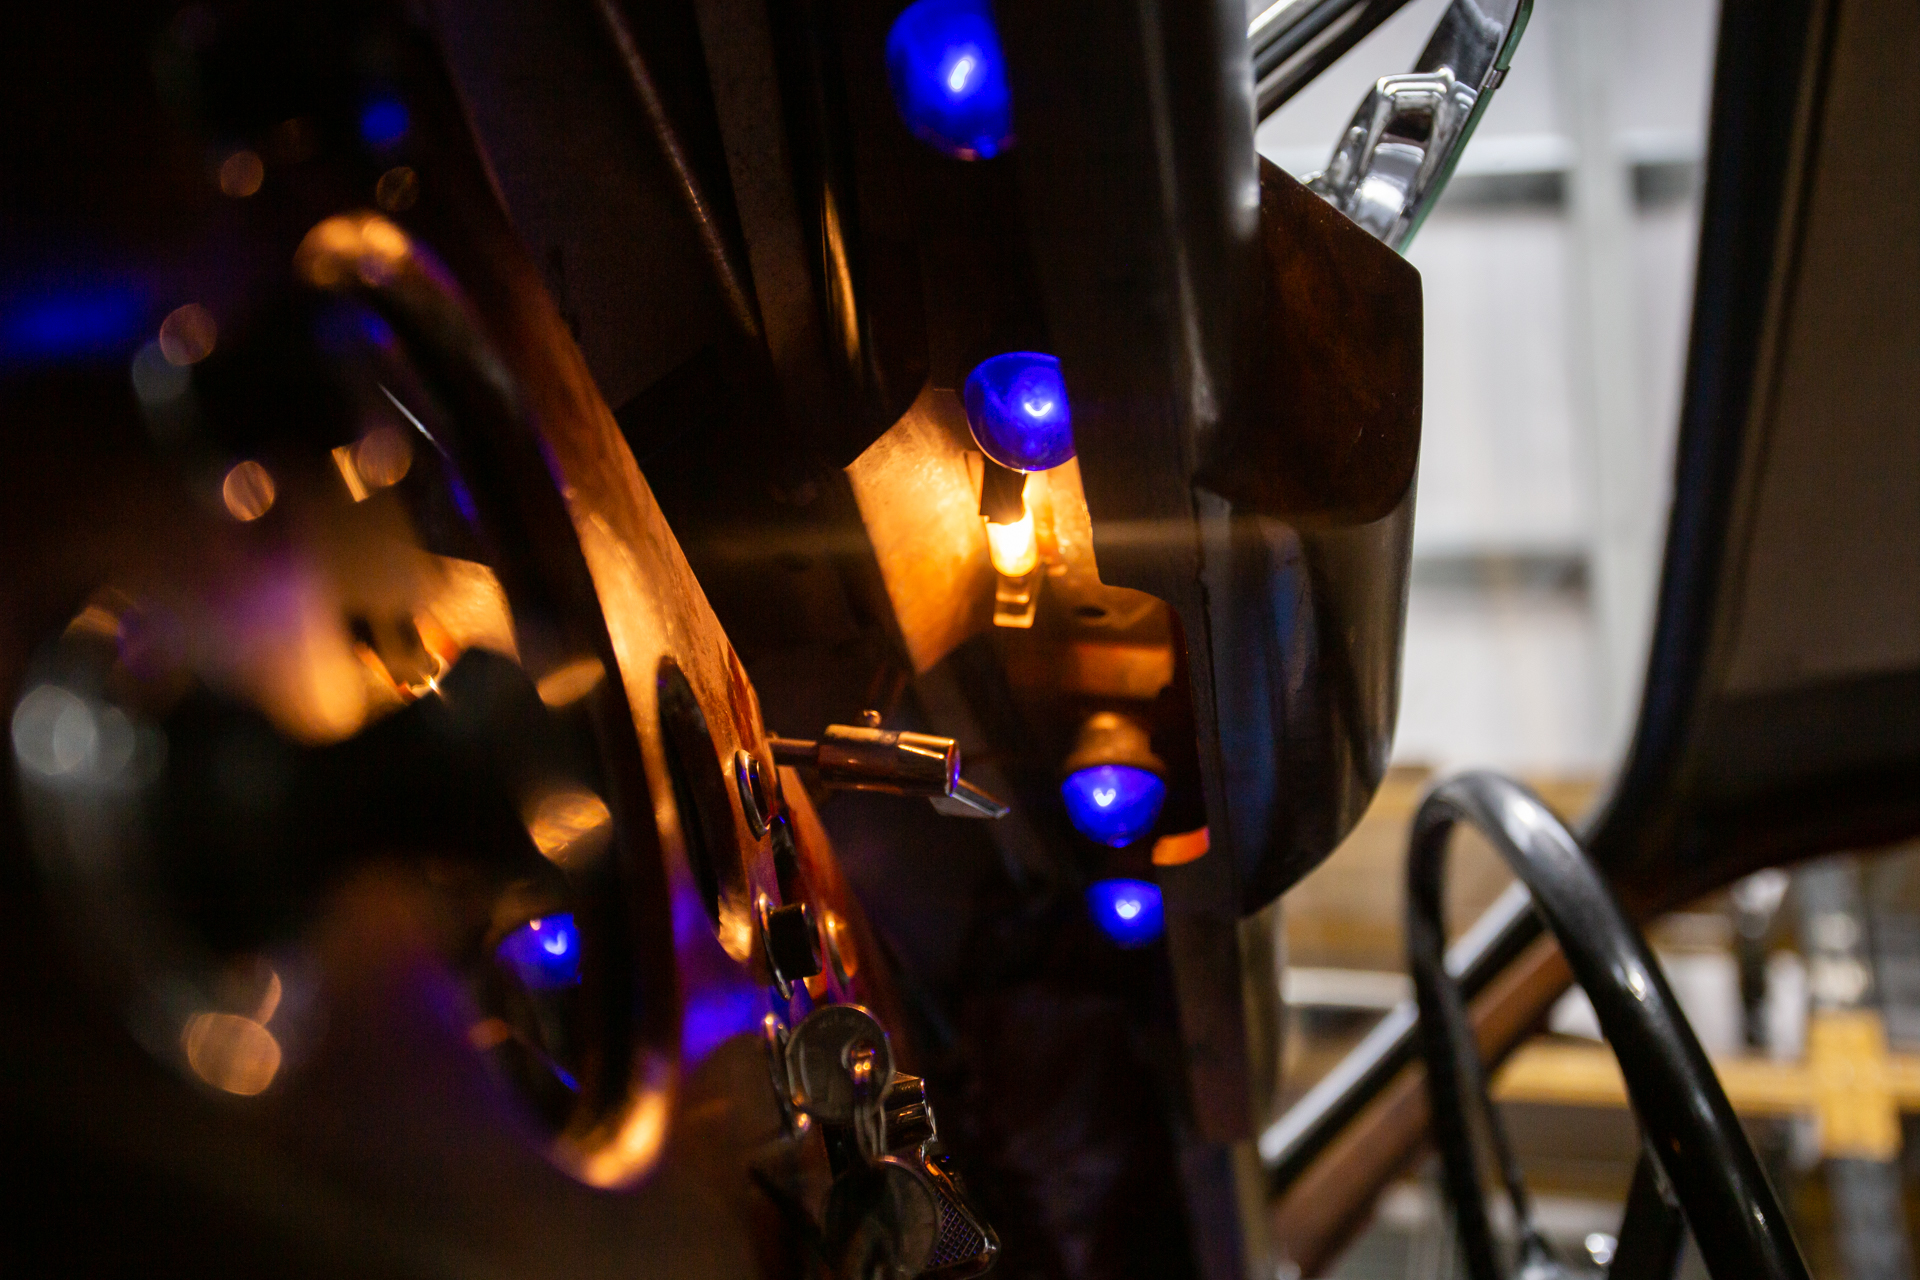
Dave has installed these original UV lights under the dash of the 1954 Jaguar MK VII. The blue/purple looking lightbulbs are called black lights and
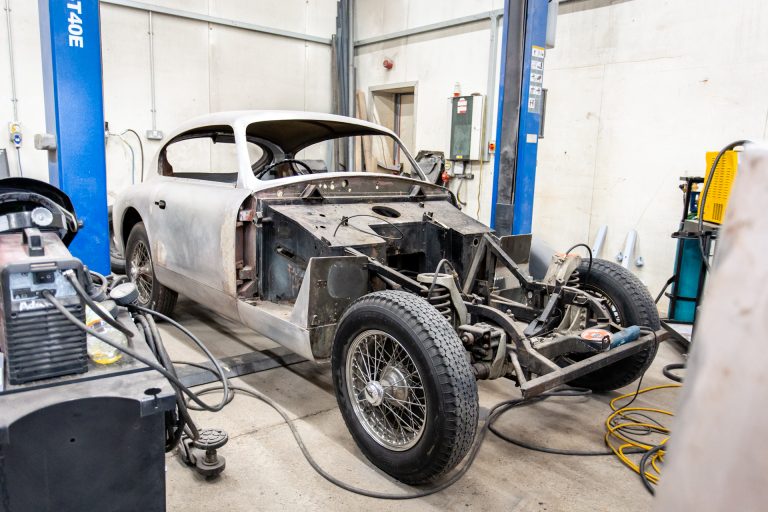
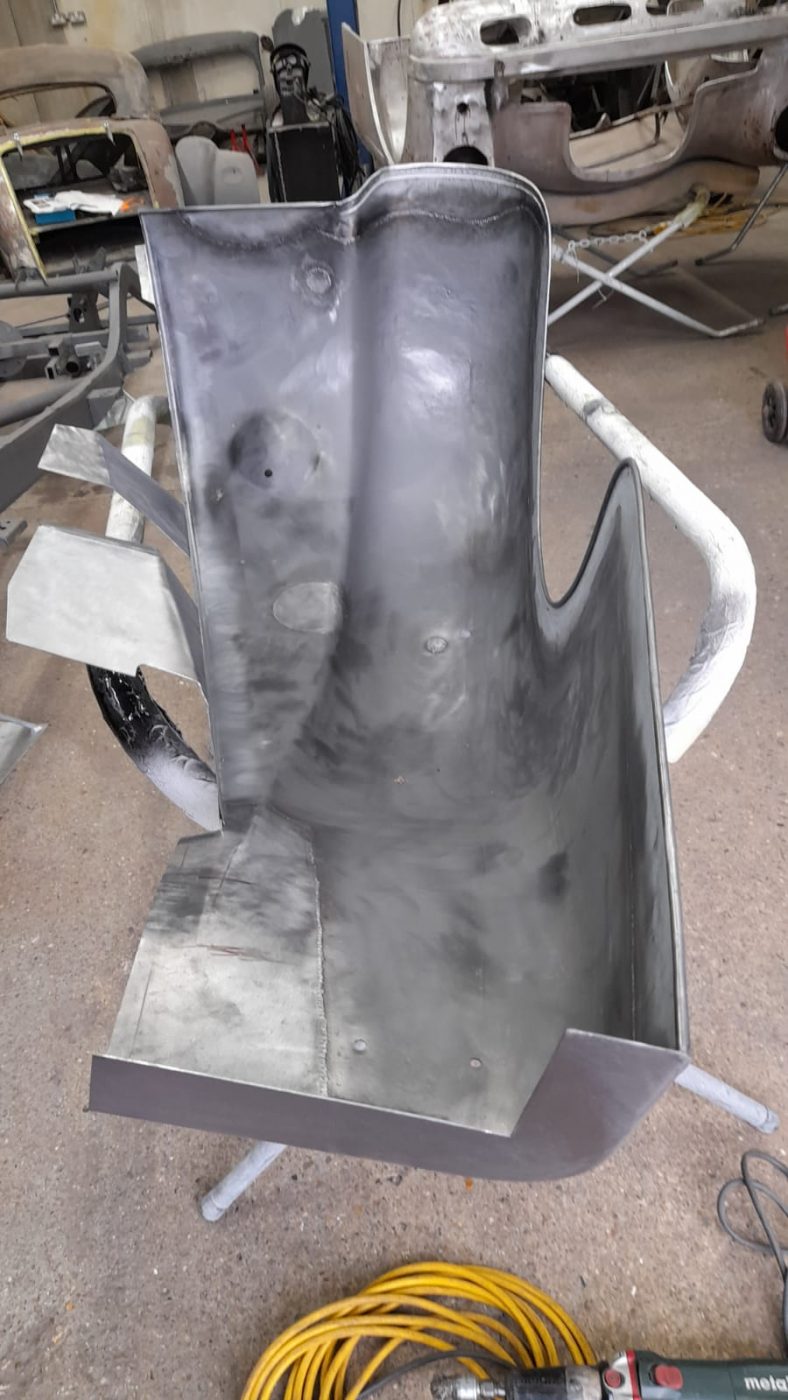
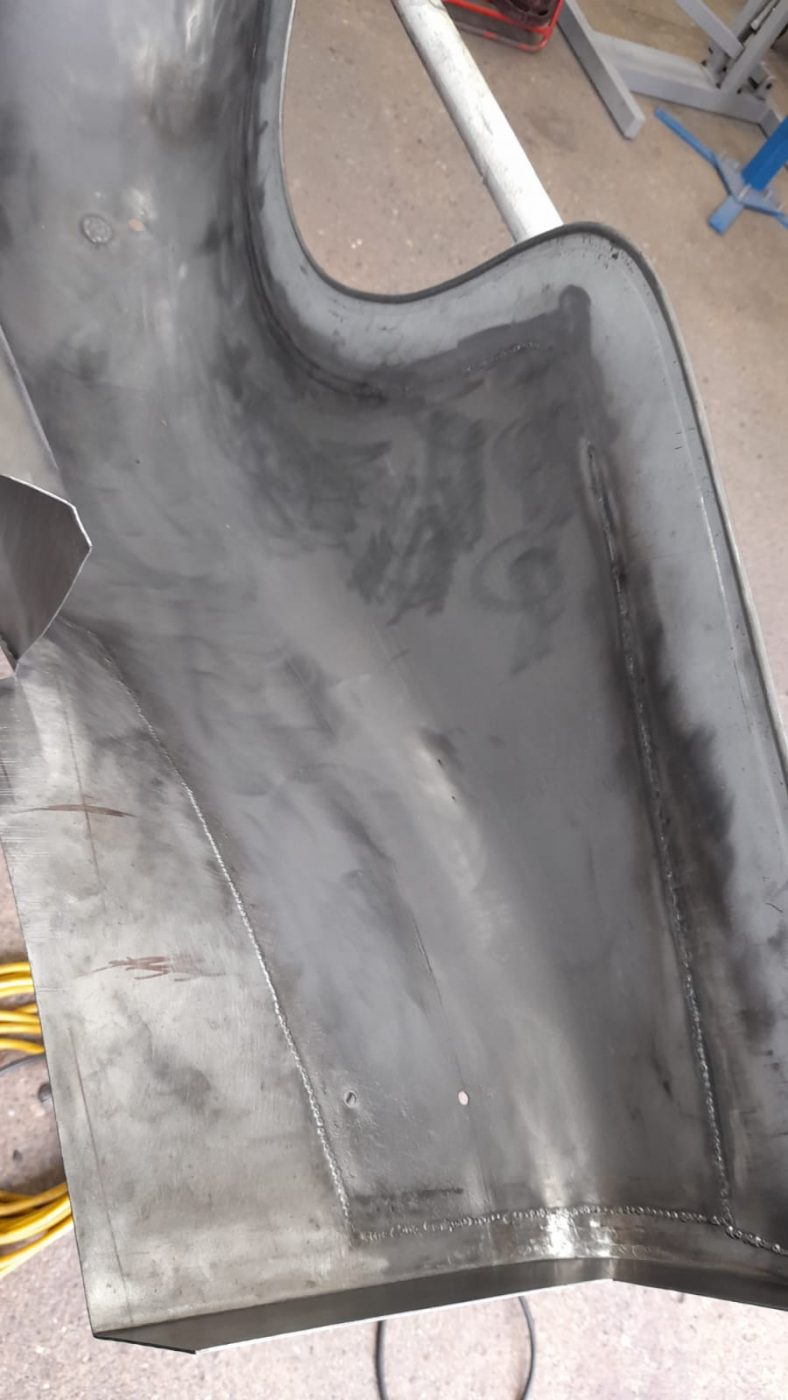
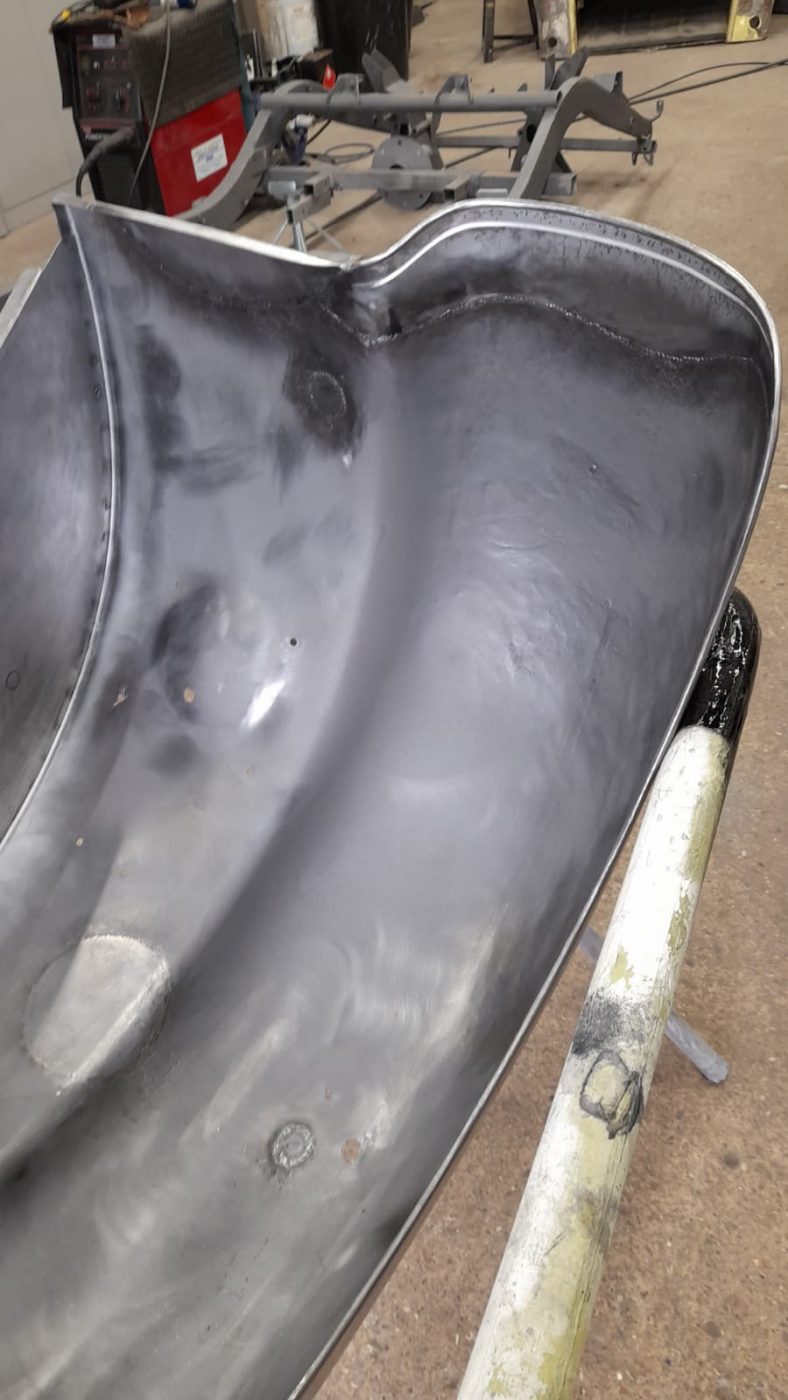
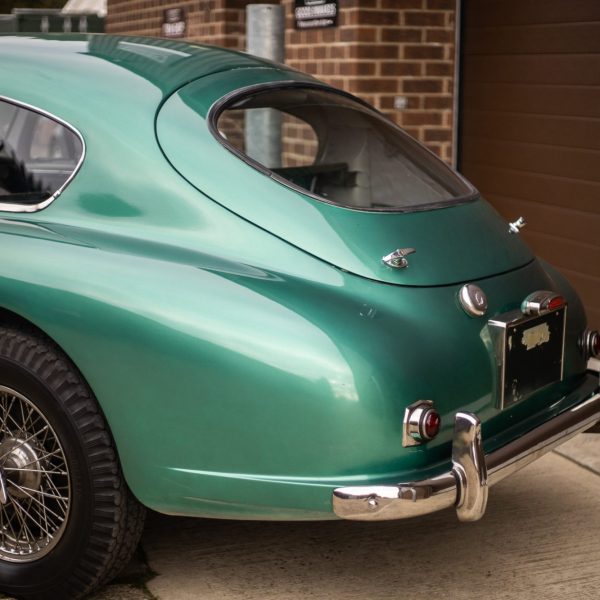
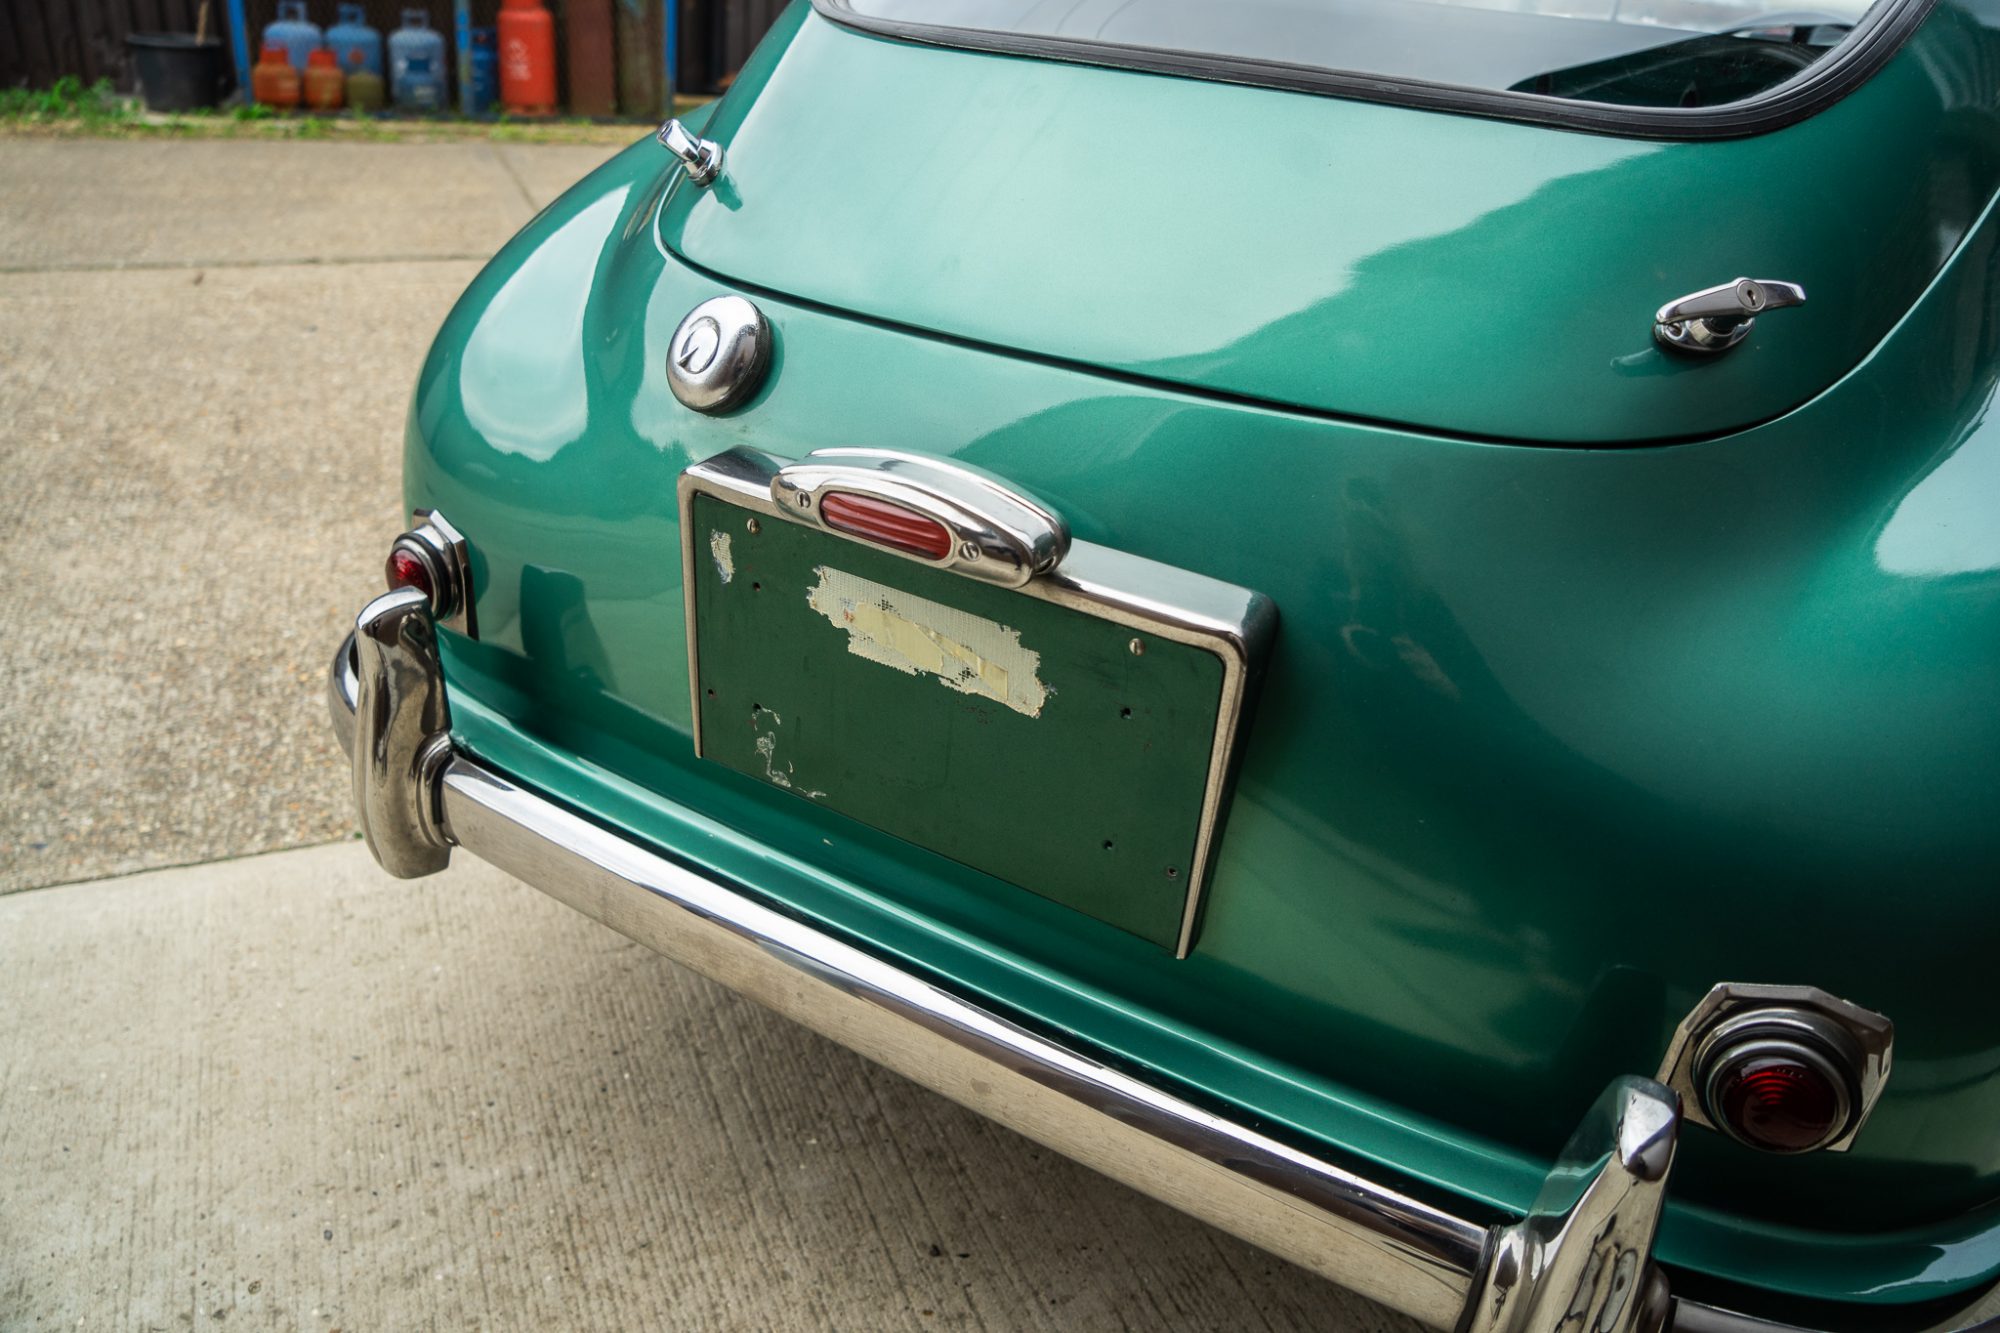
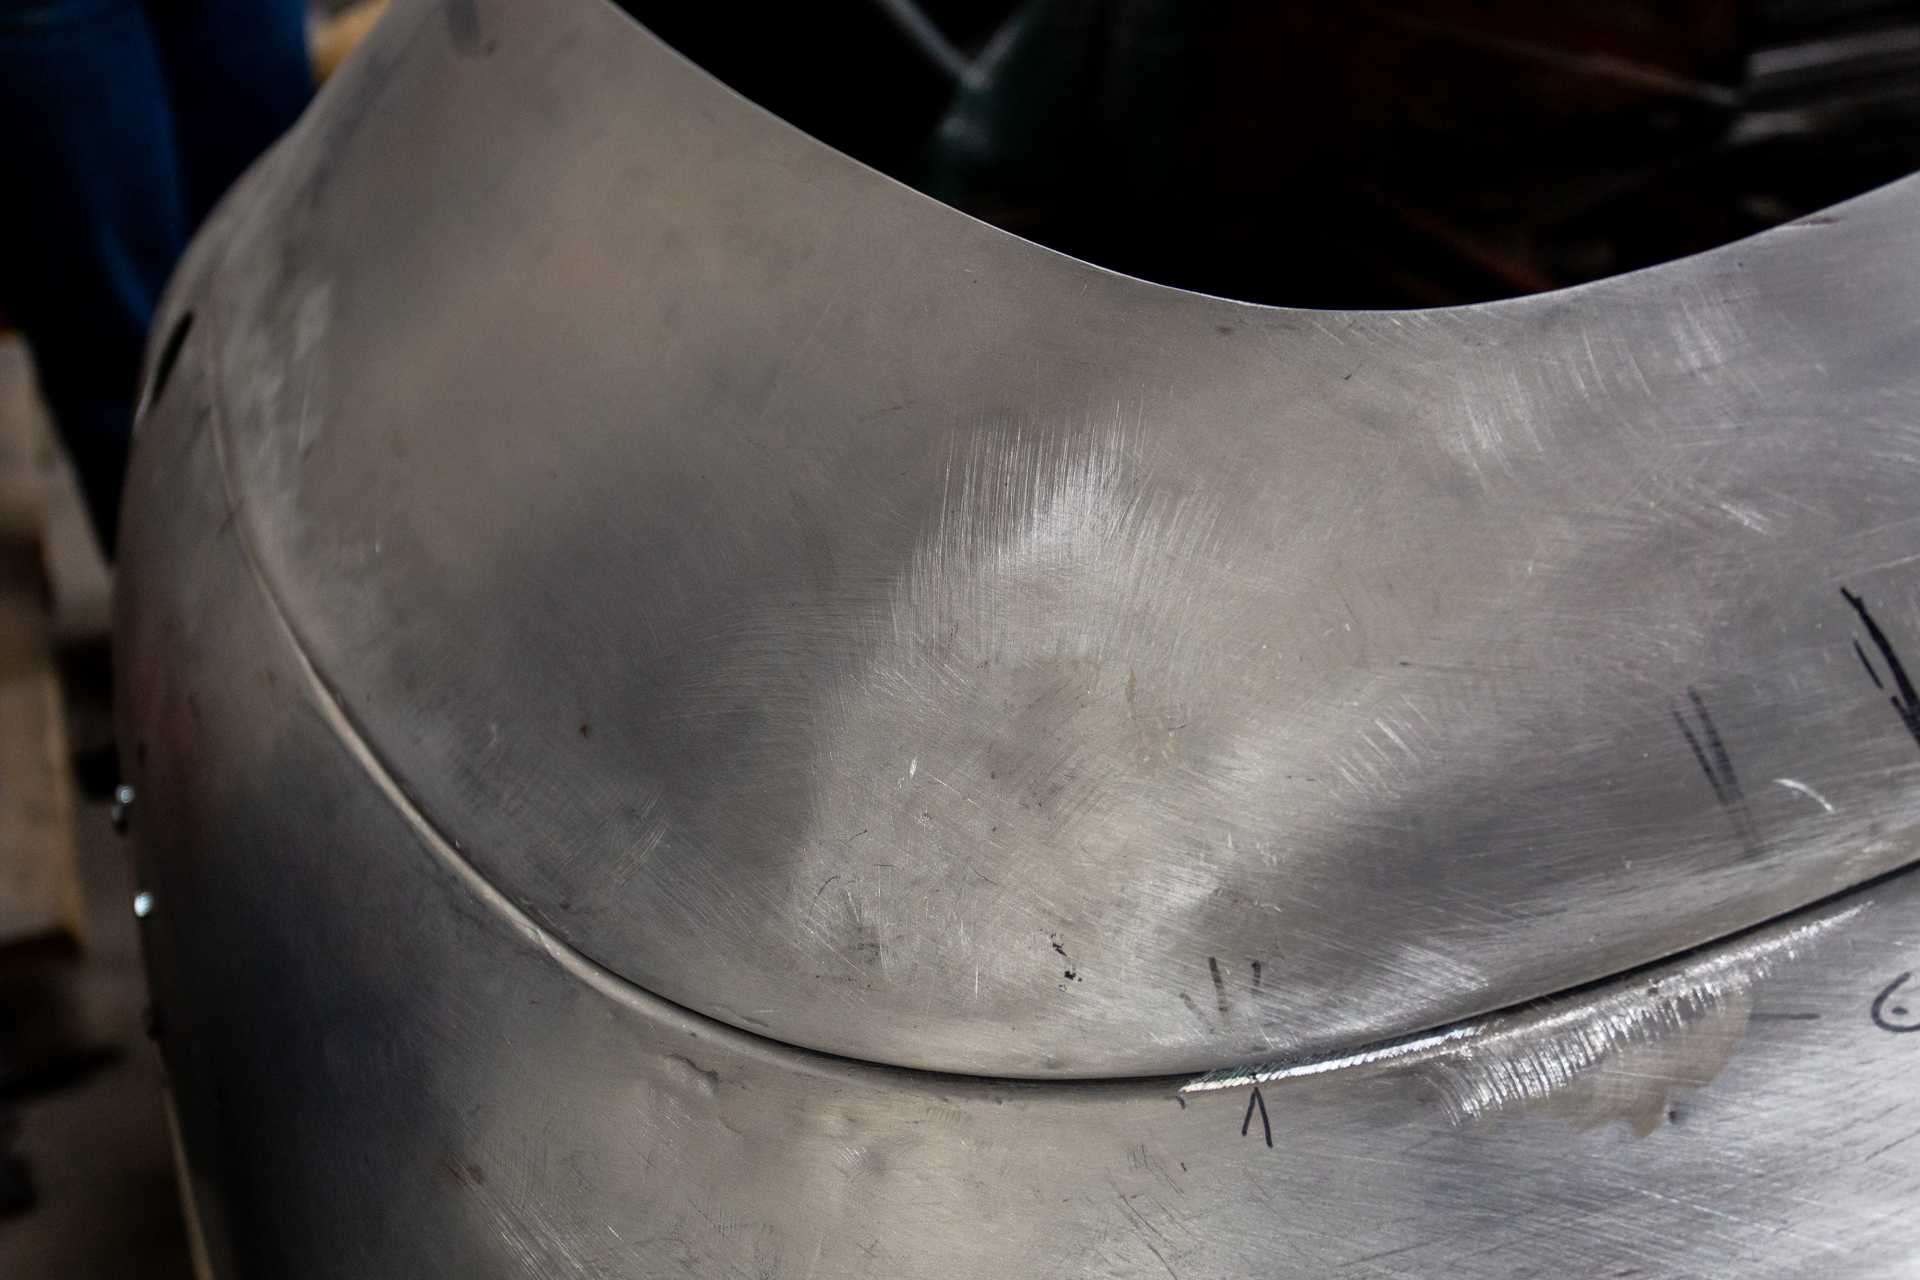
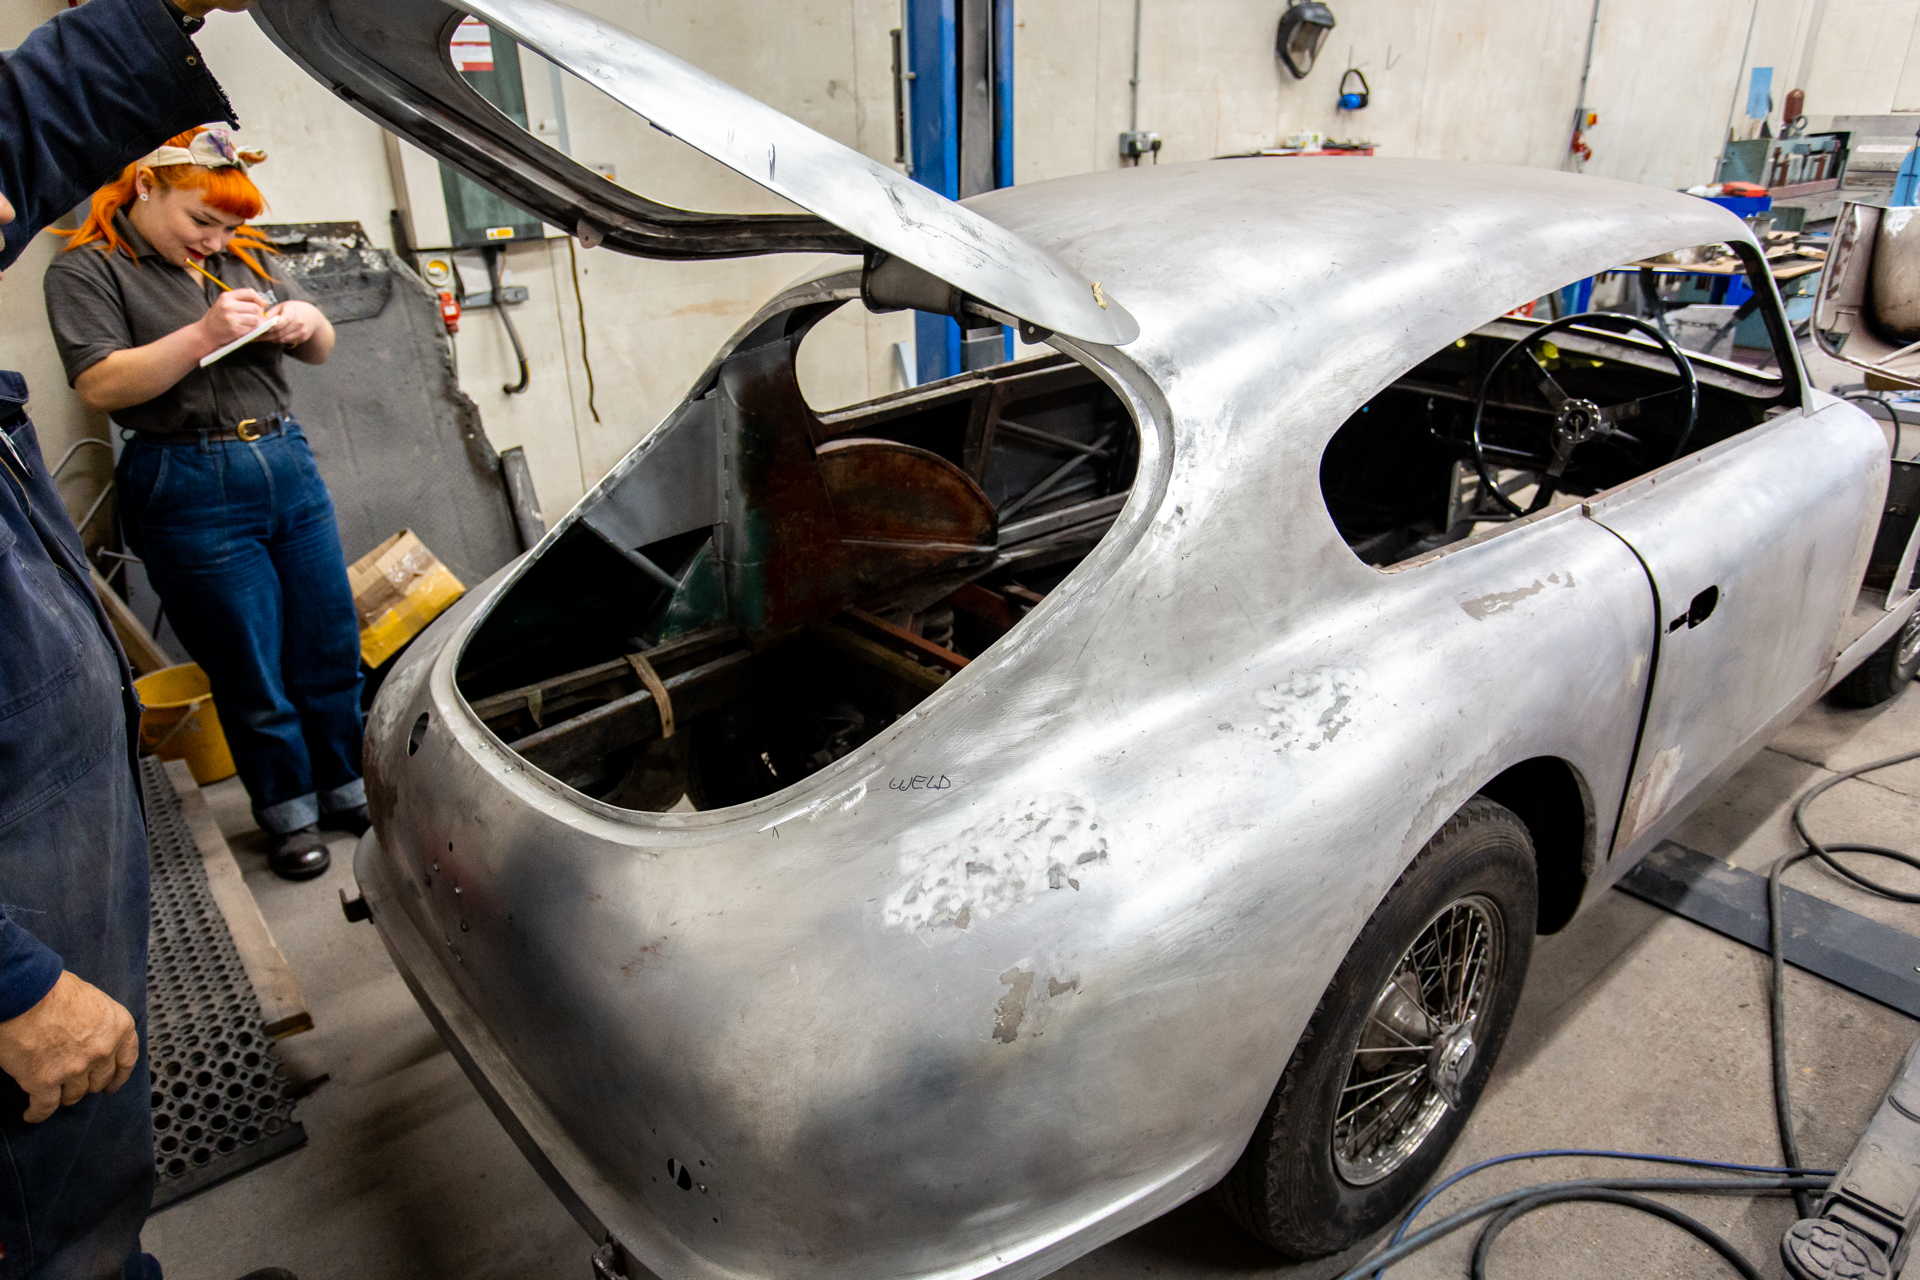
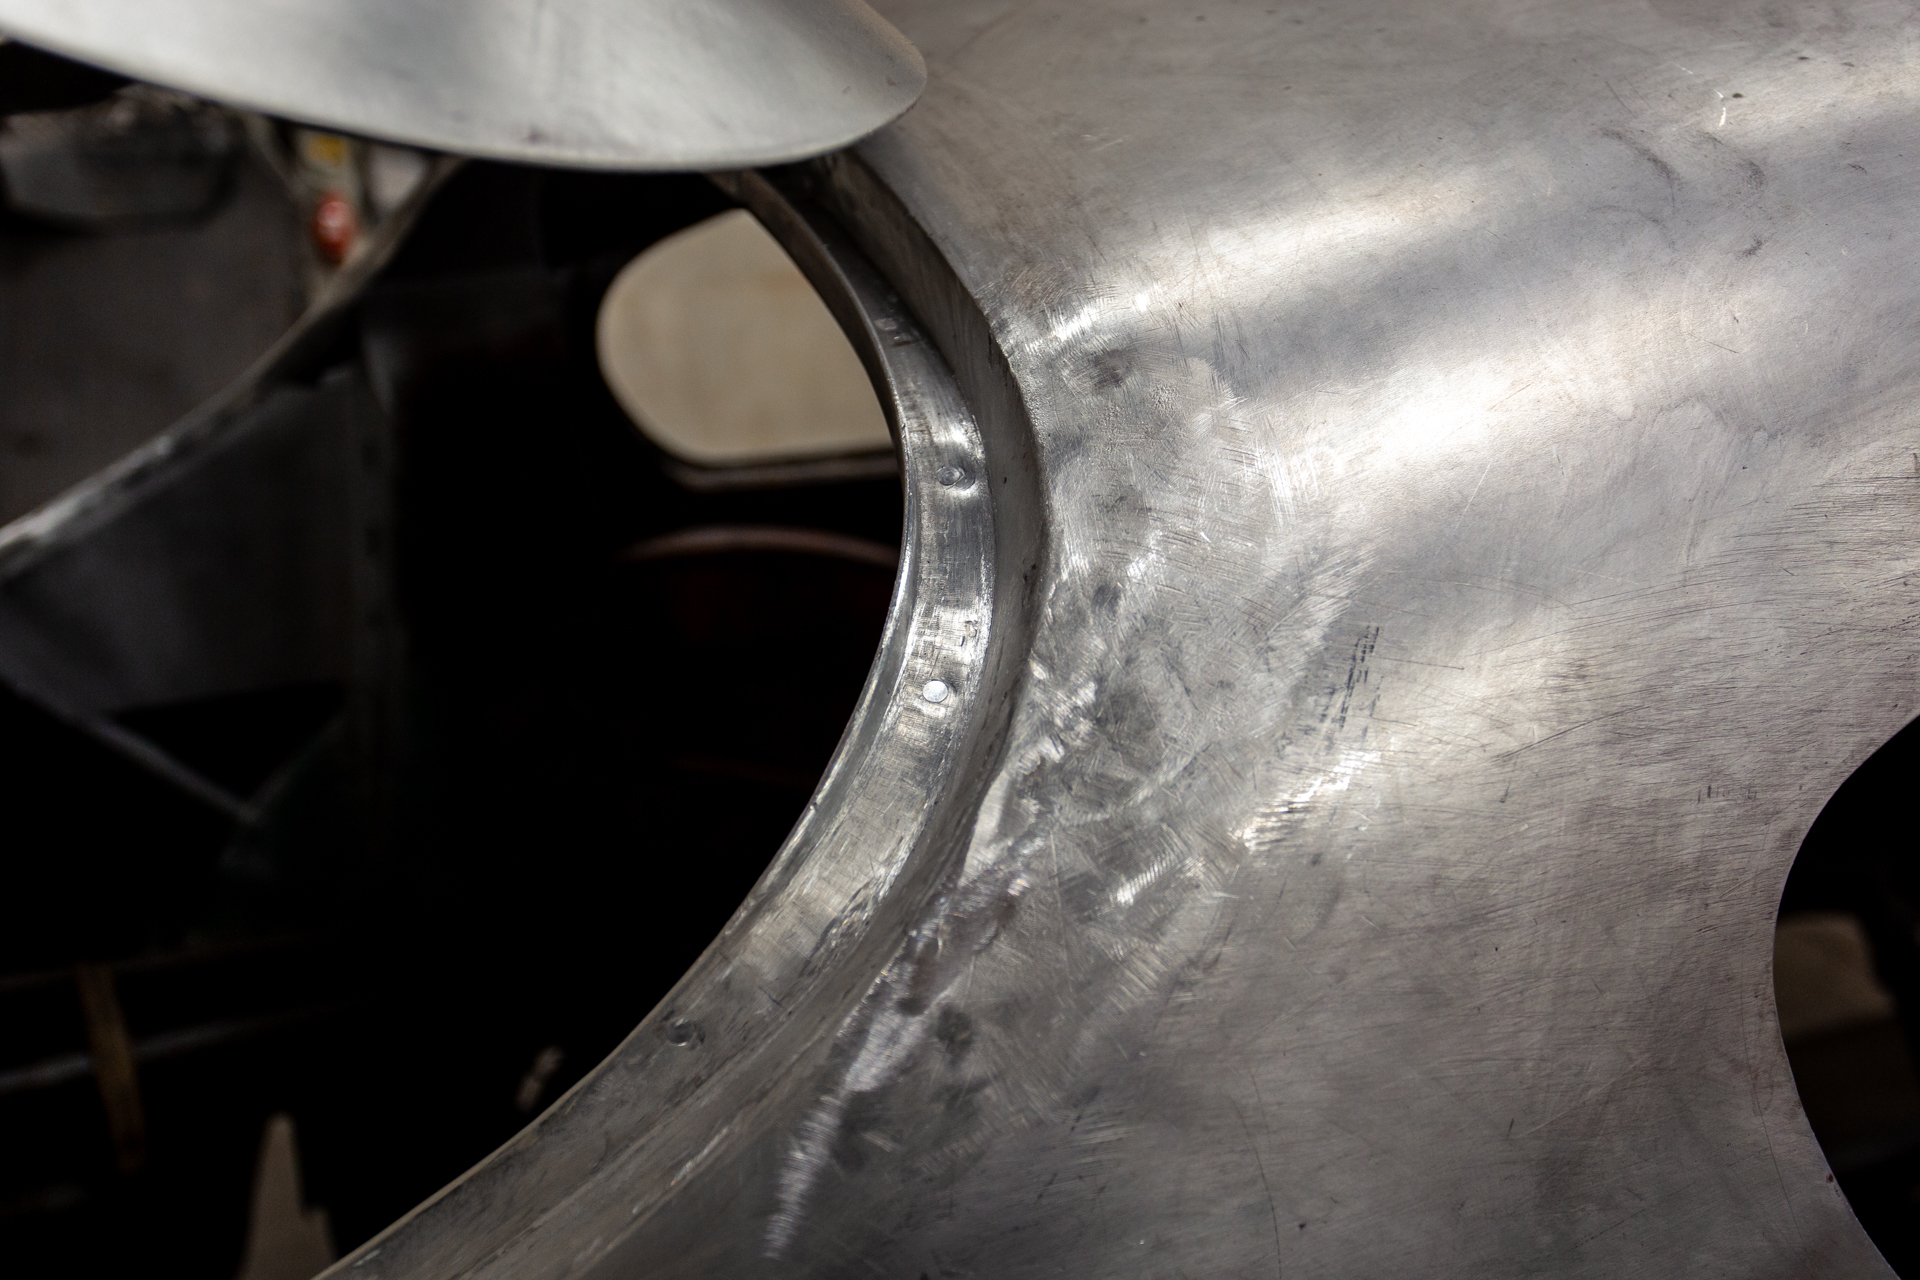
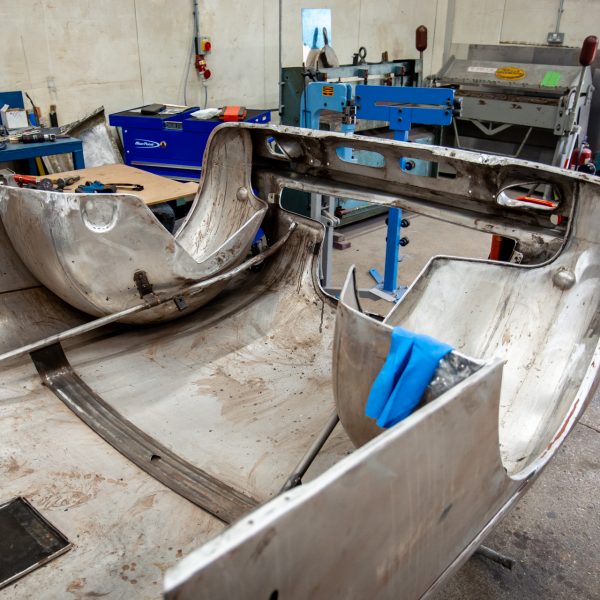
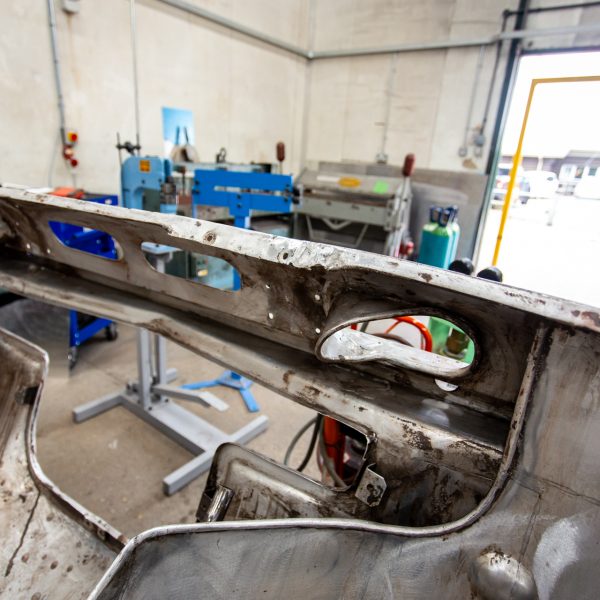
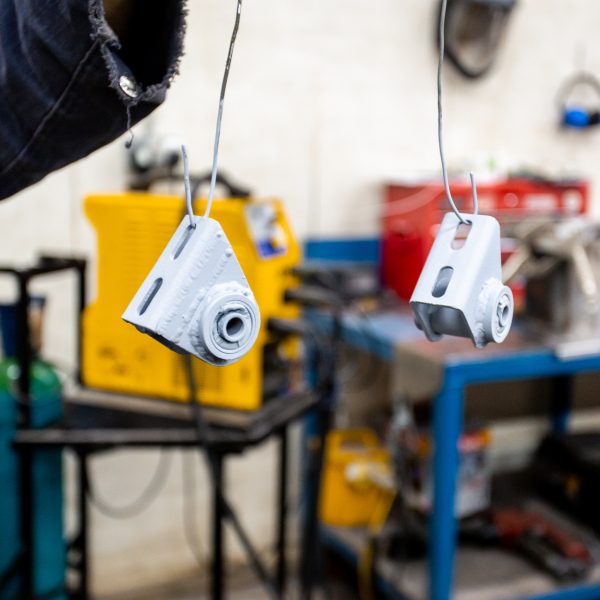
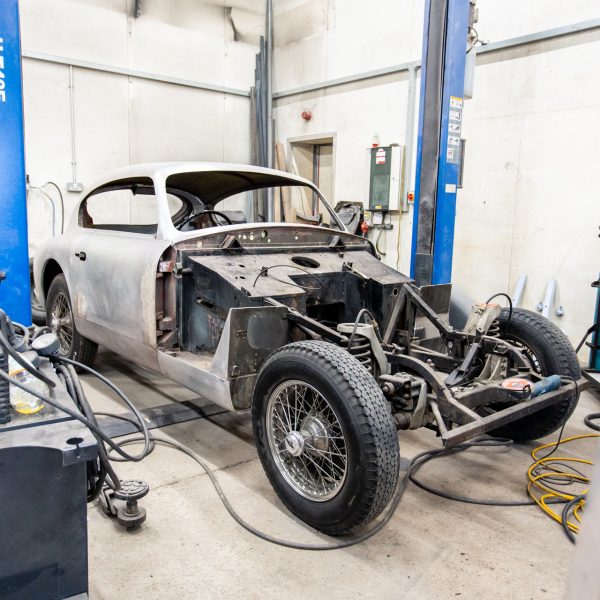
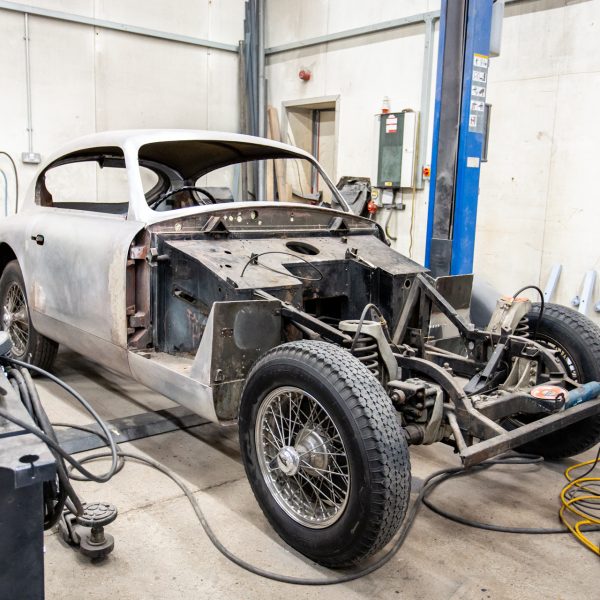
Here’s a big update on the 1955 Aston Martin DB 2/4. Clinton has been continuing his work on the car and has given us the
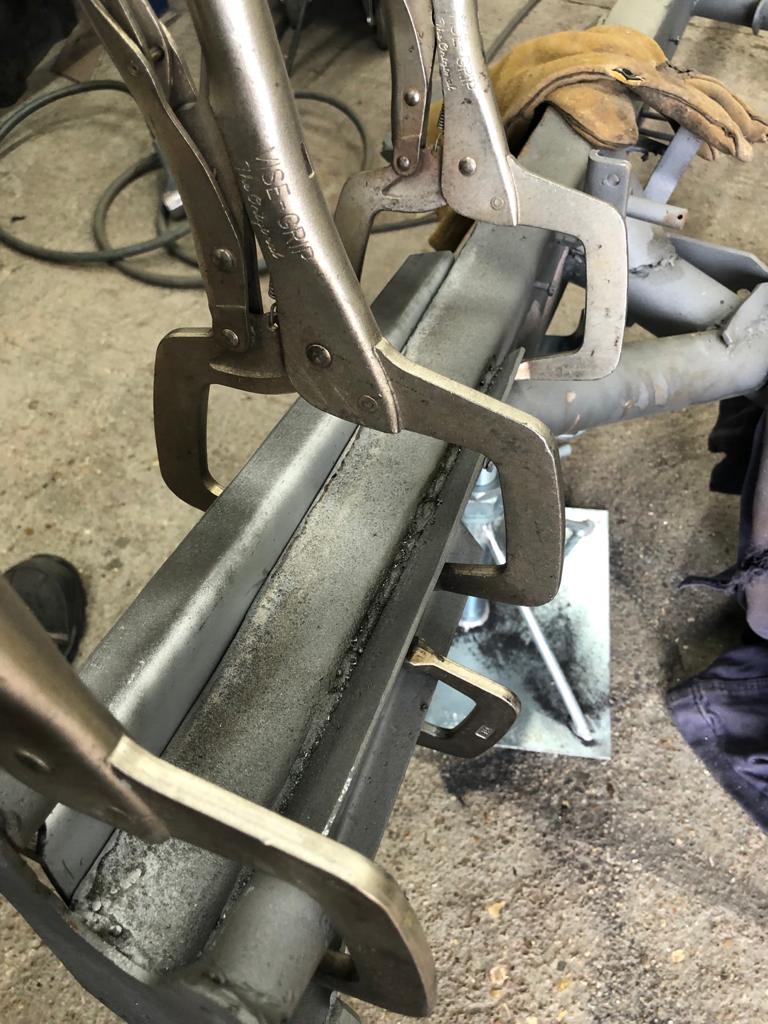
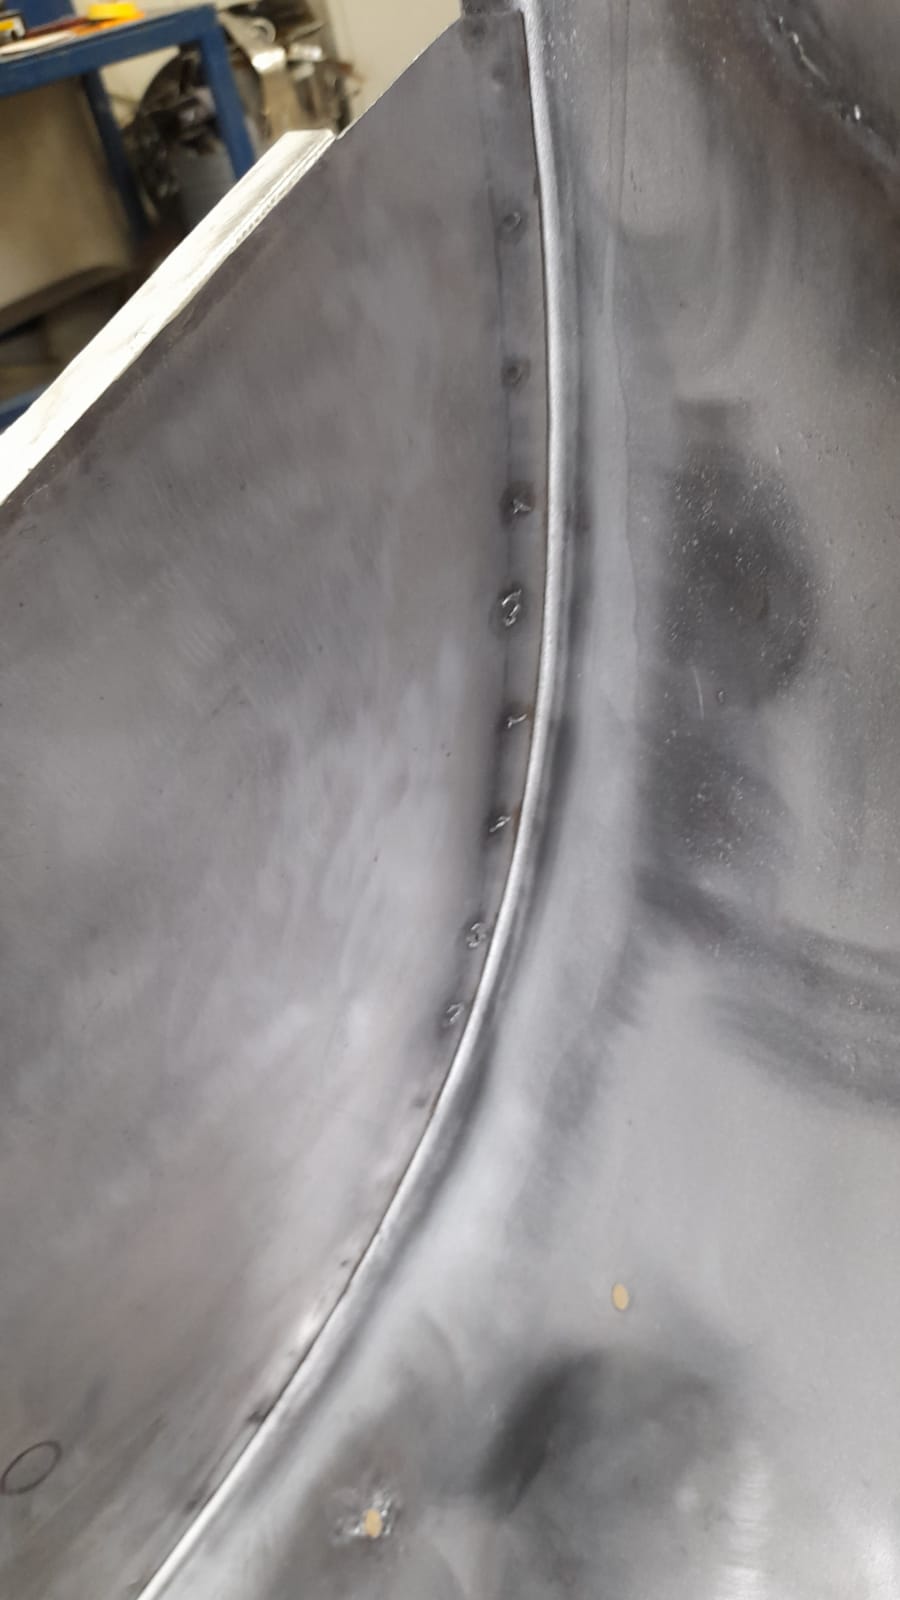
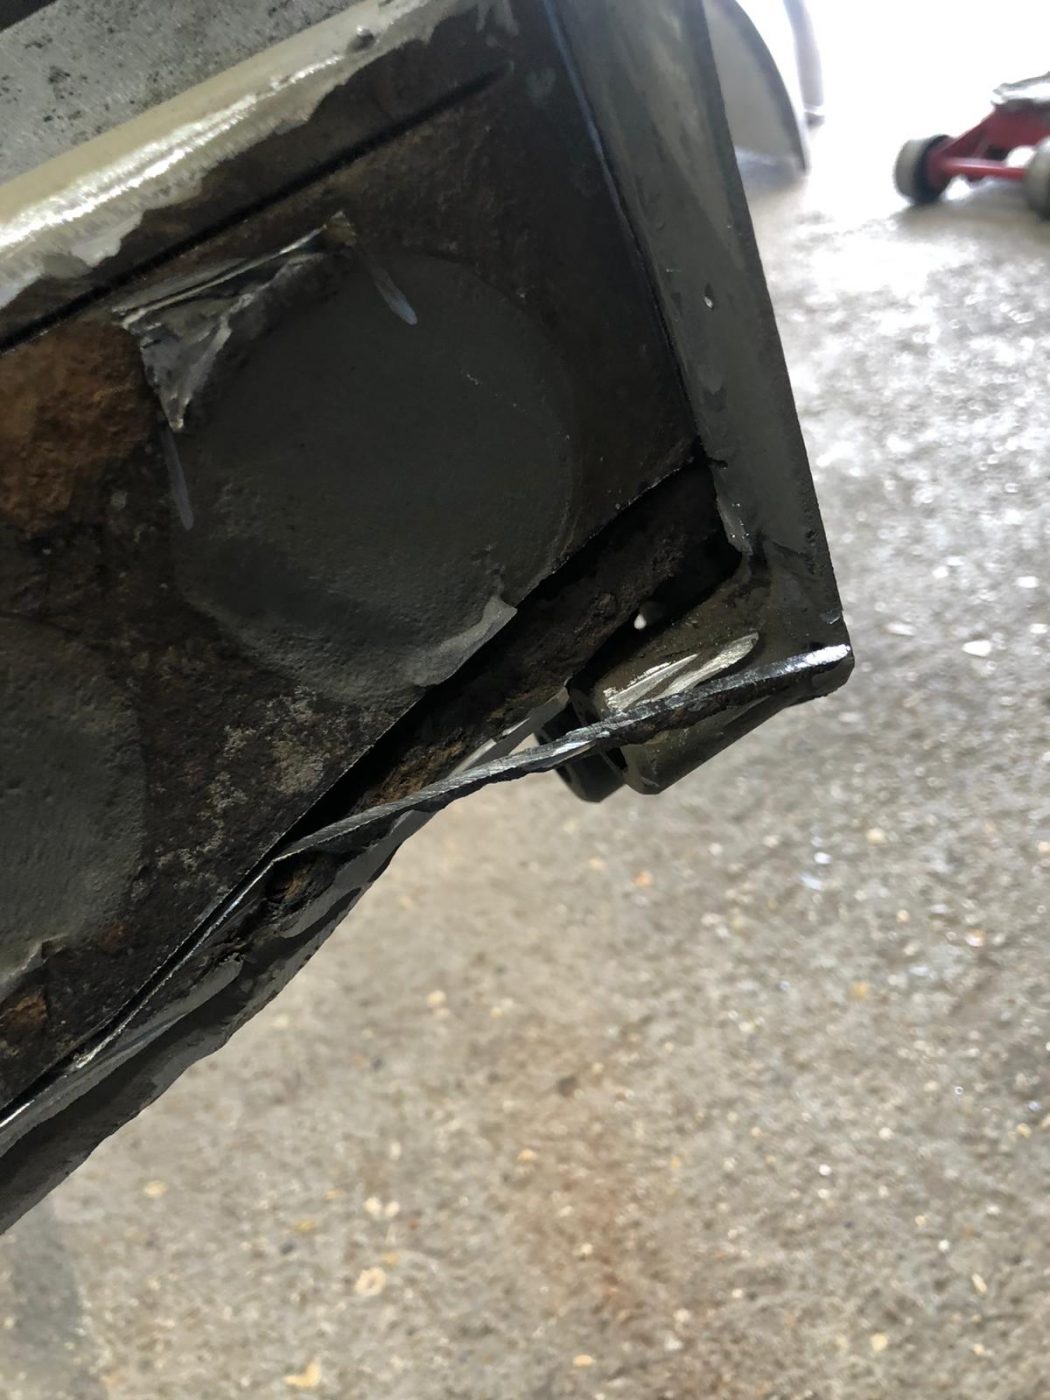
Unfortunately our Riley RMB chassis is suffering badly with internal rust and corrosion building up. On the surface it looks to be in a relatively
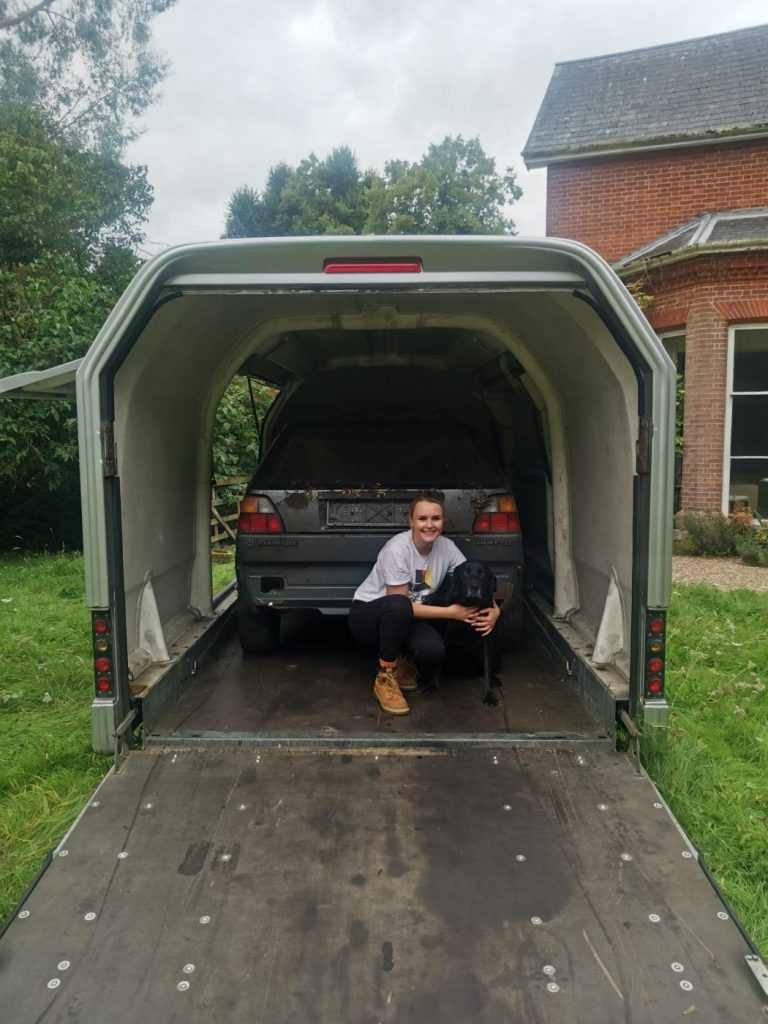
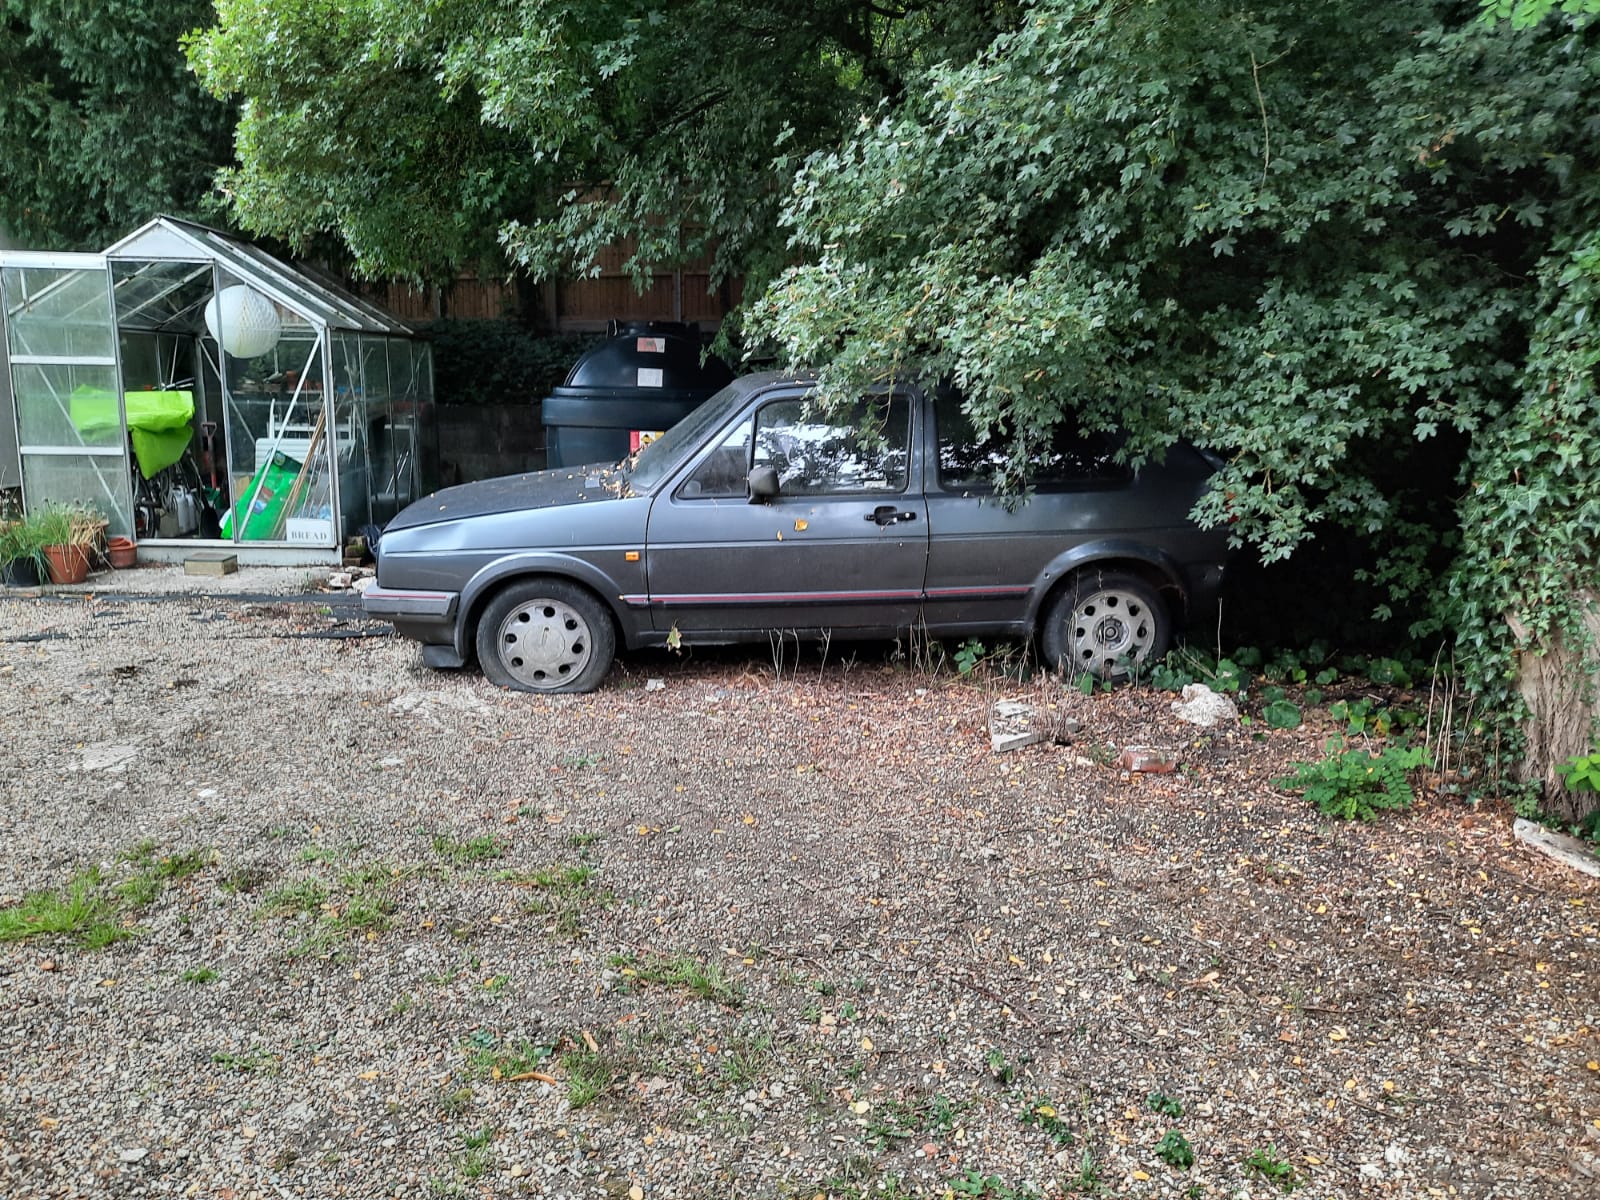
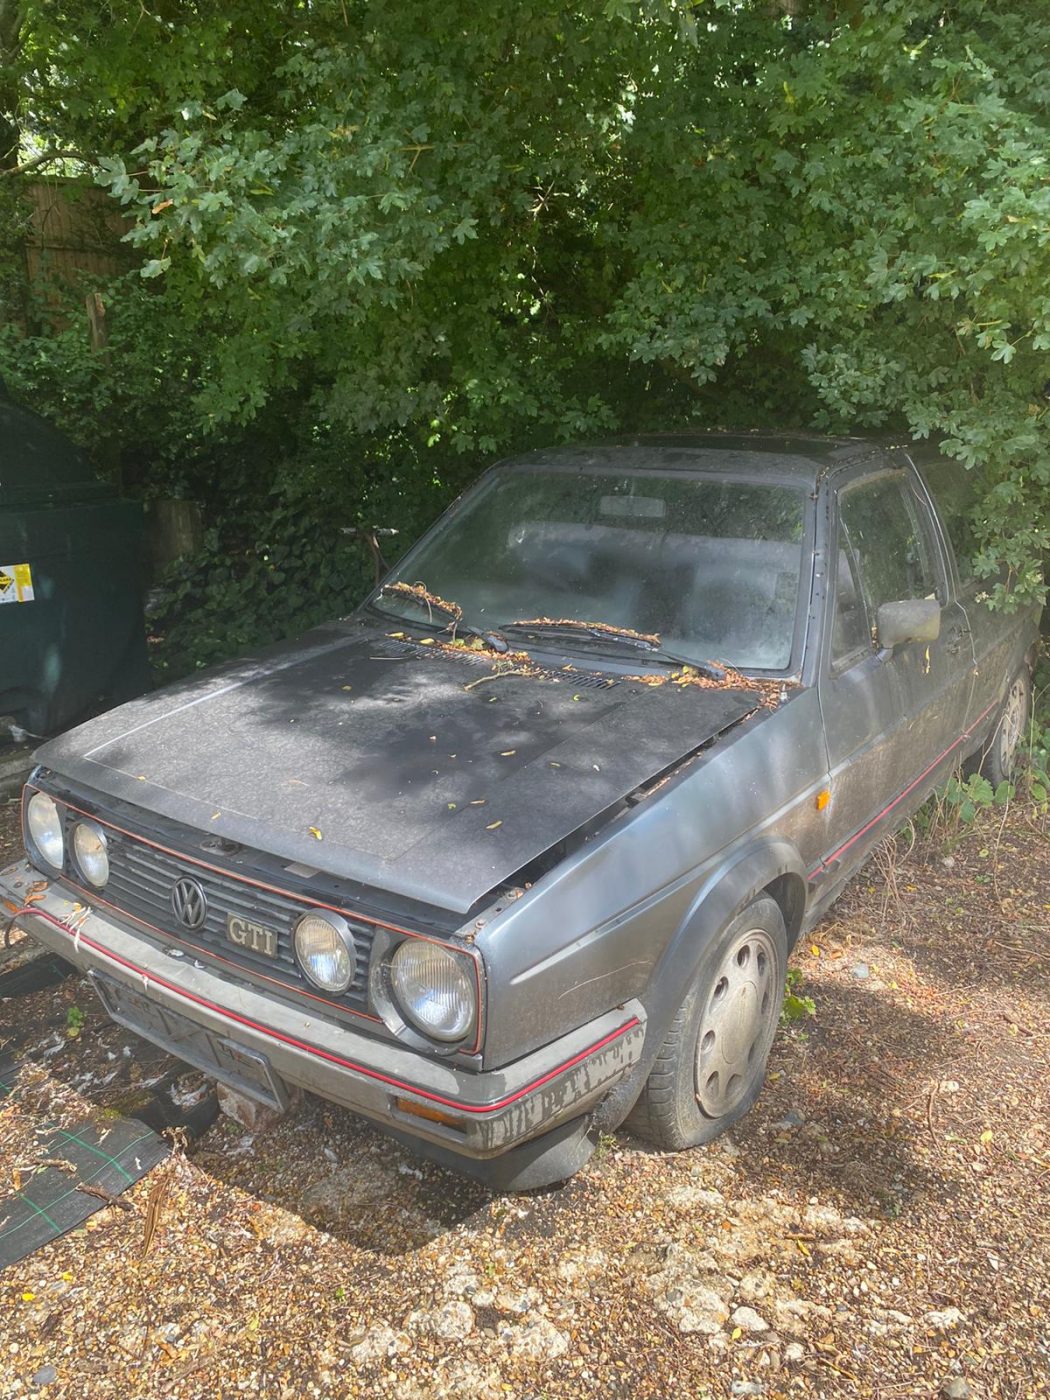
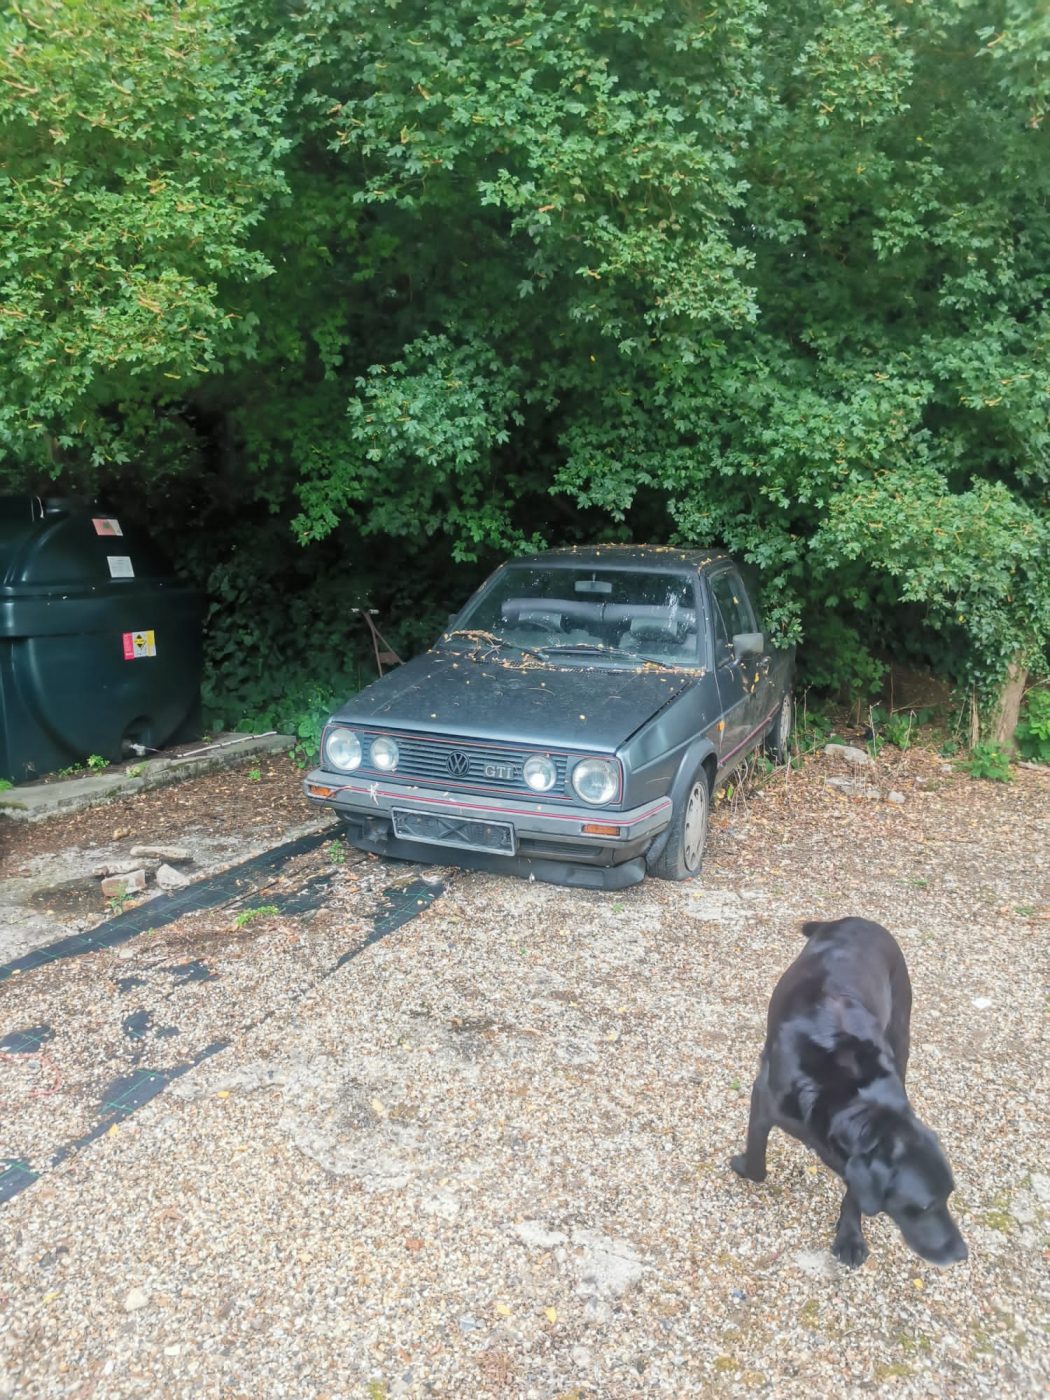
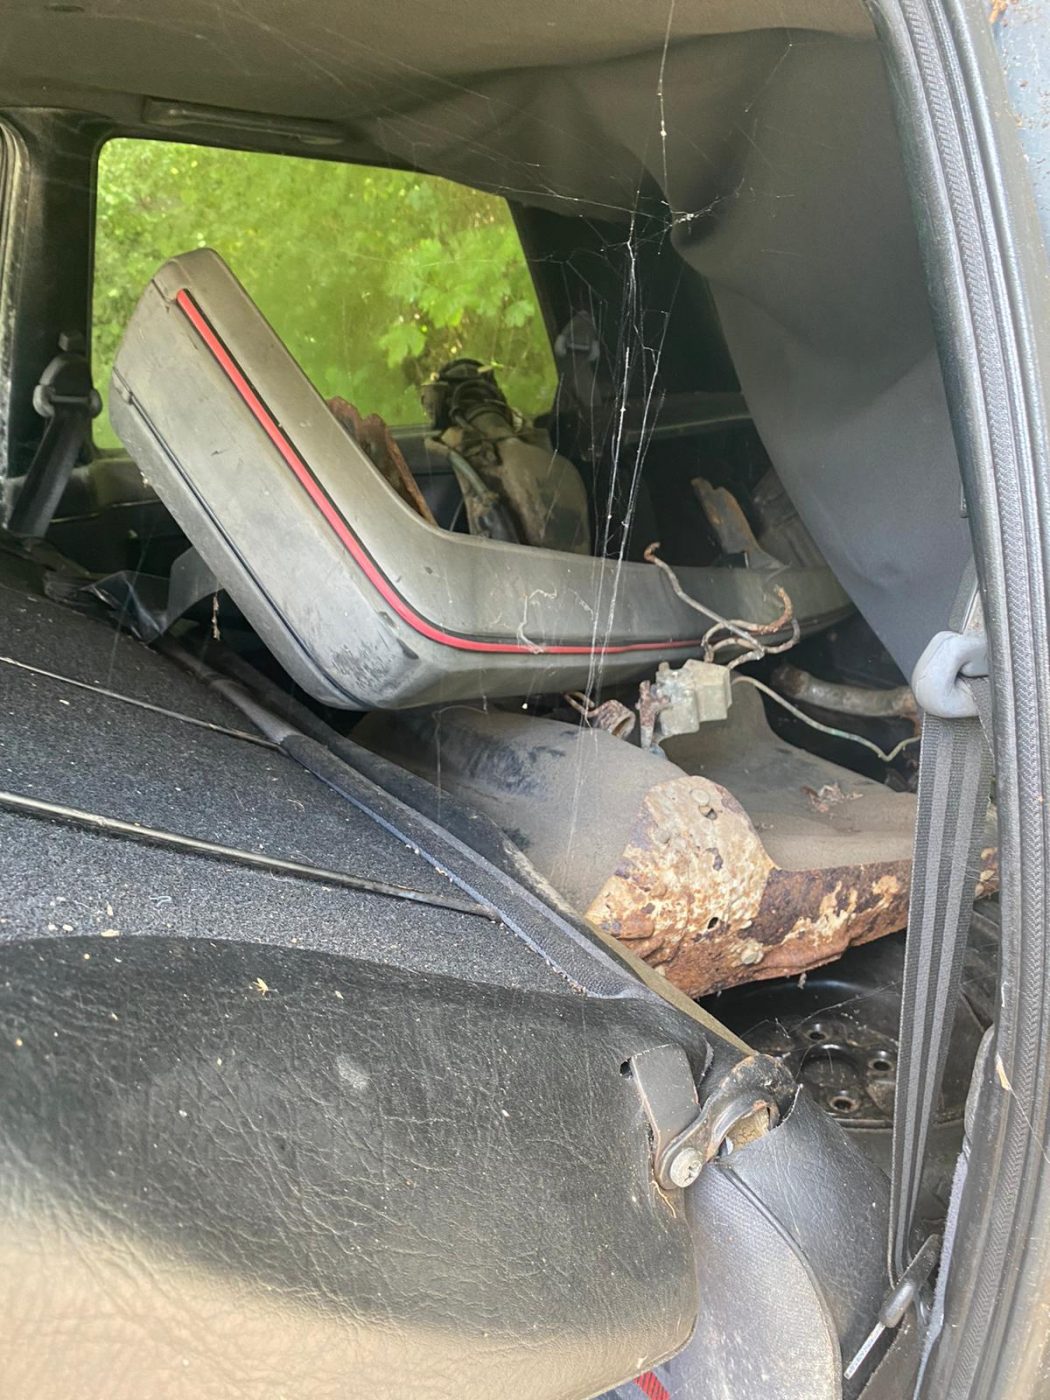
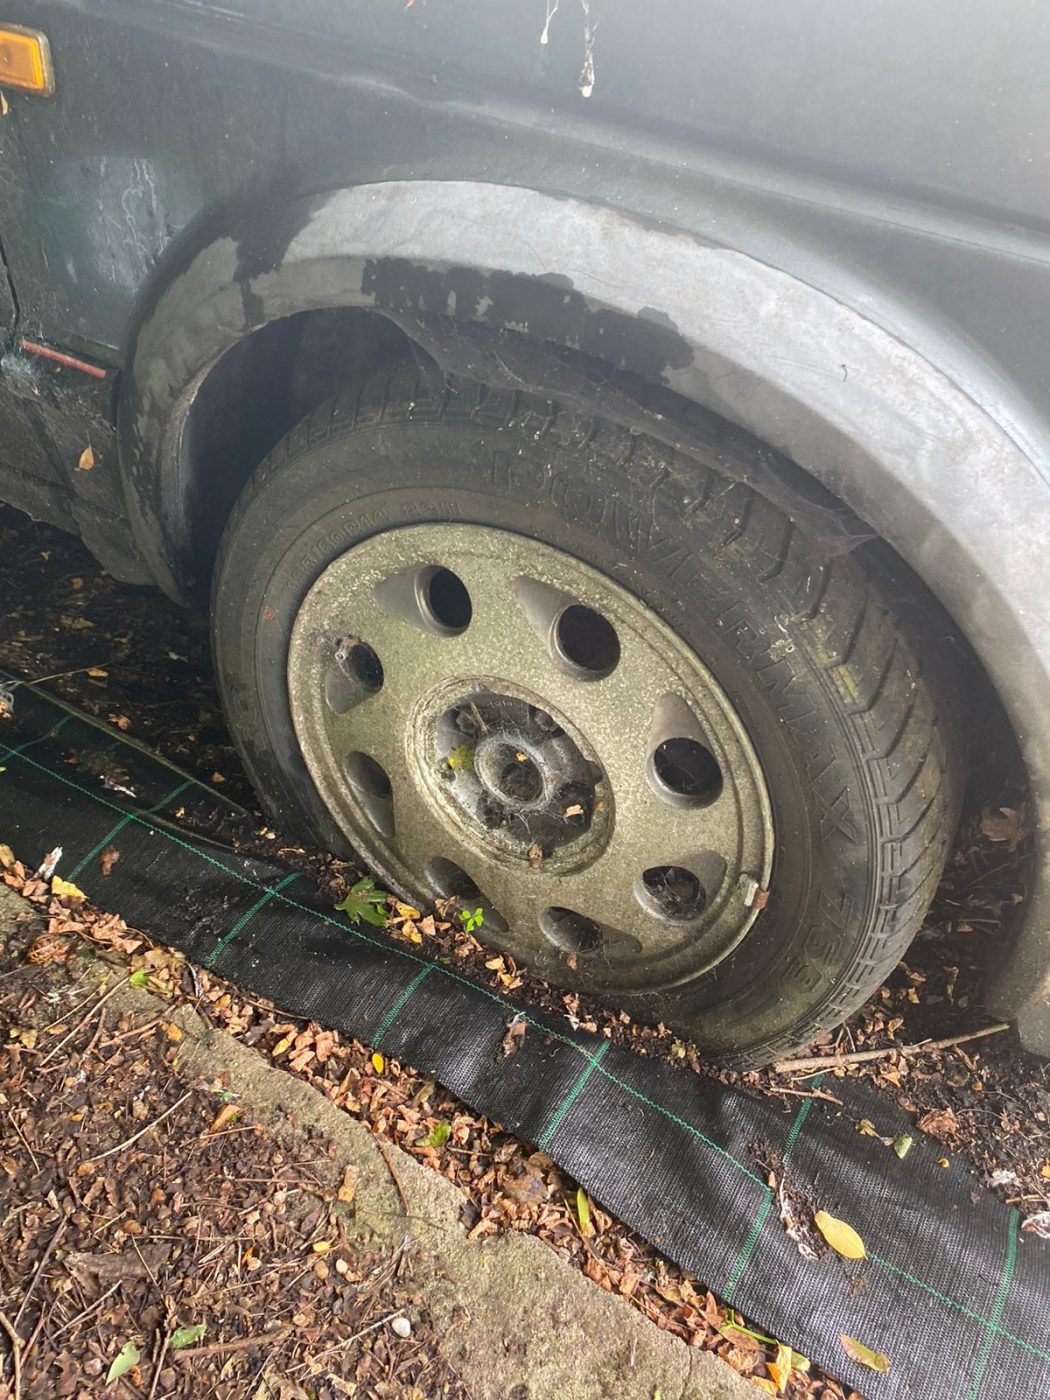
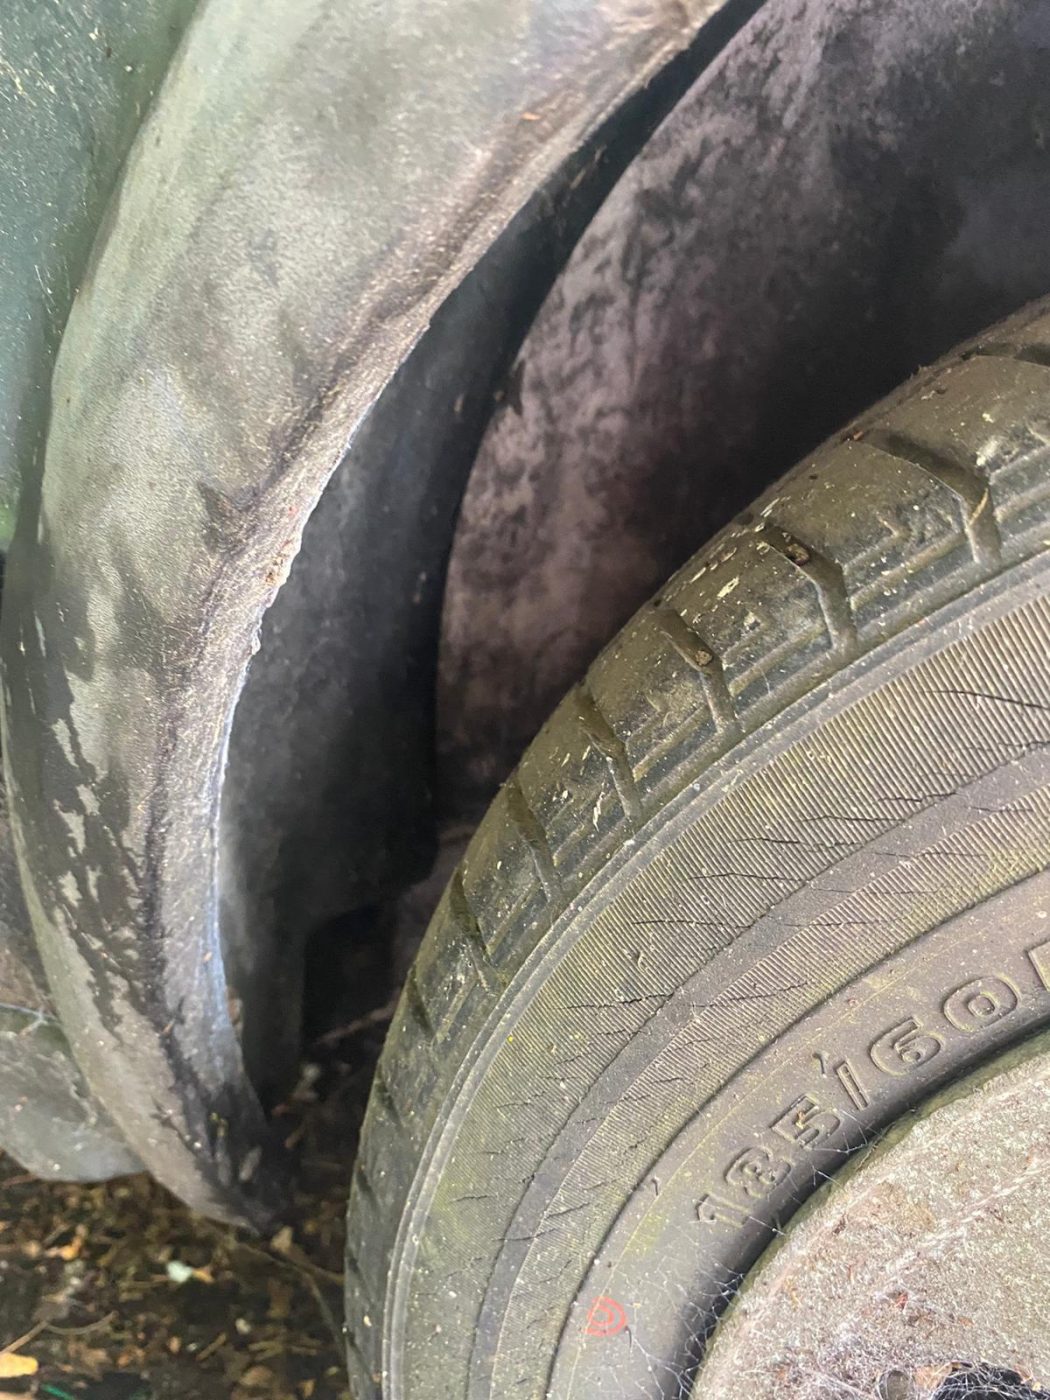
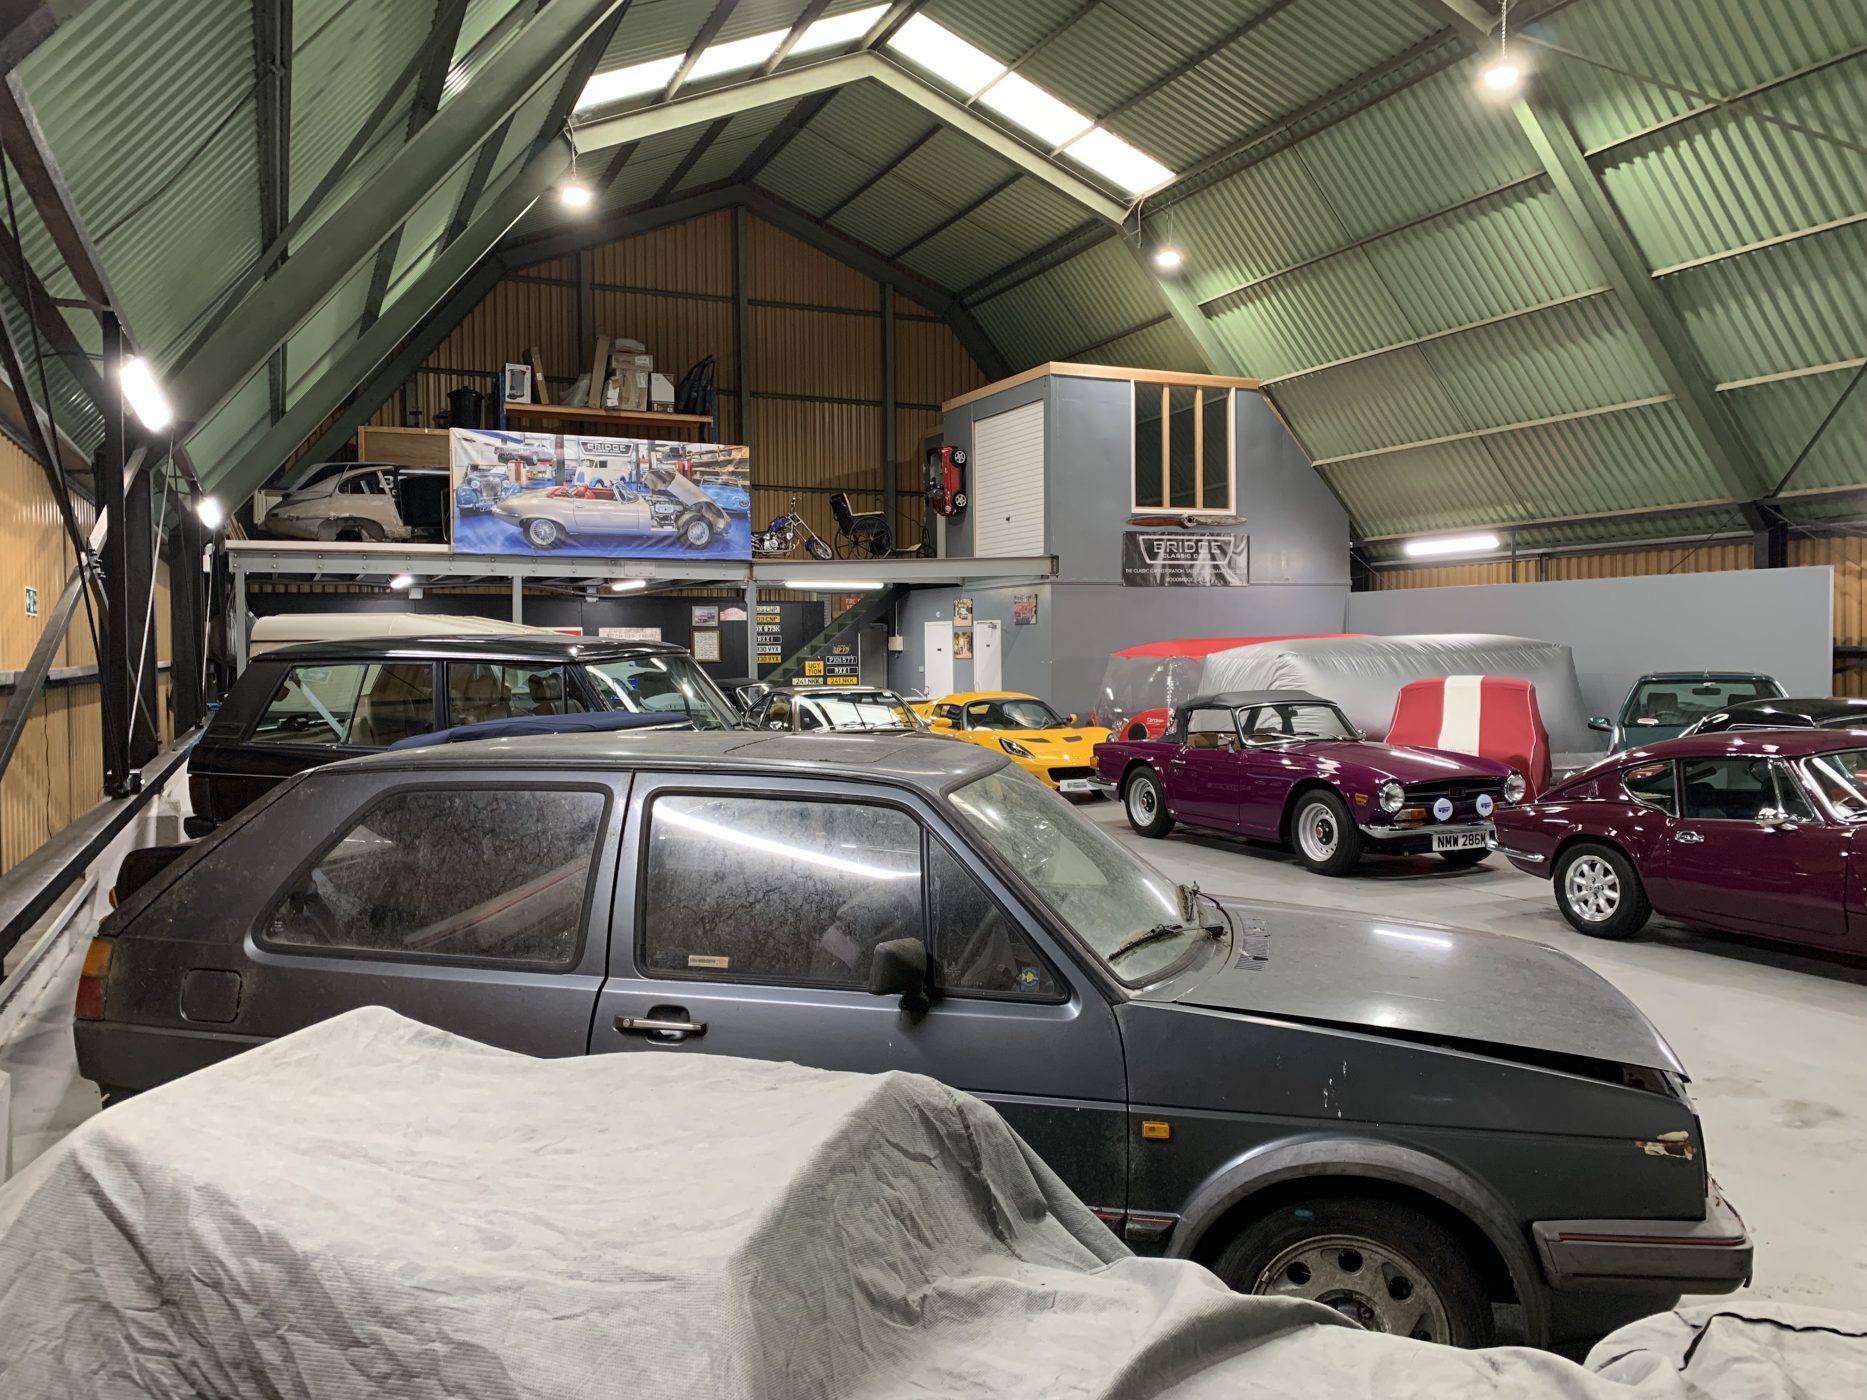
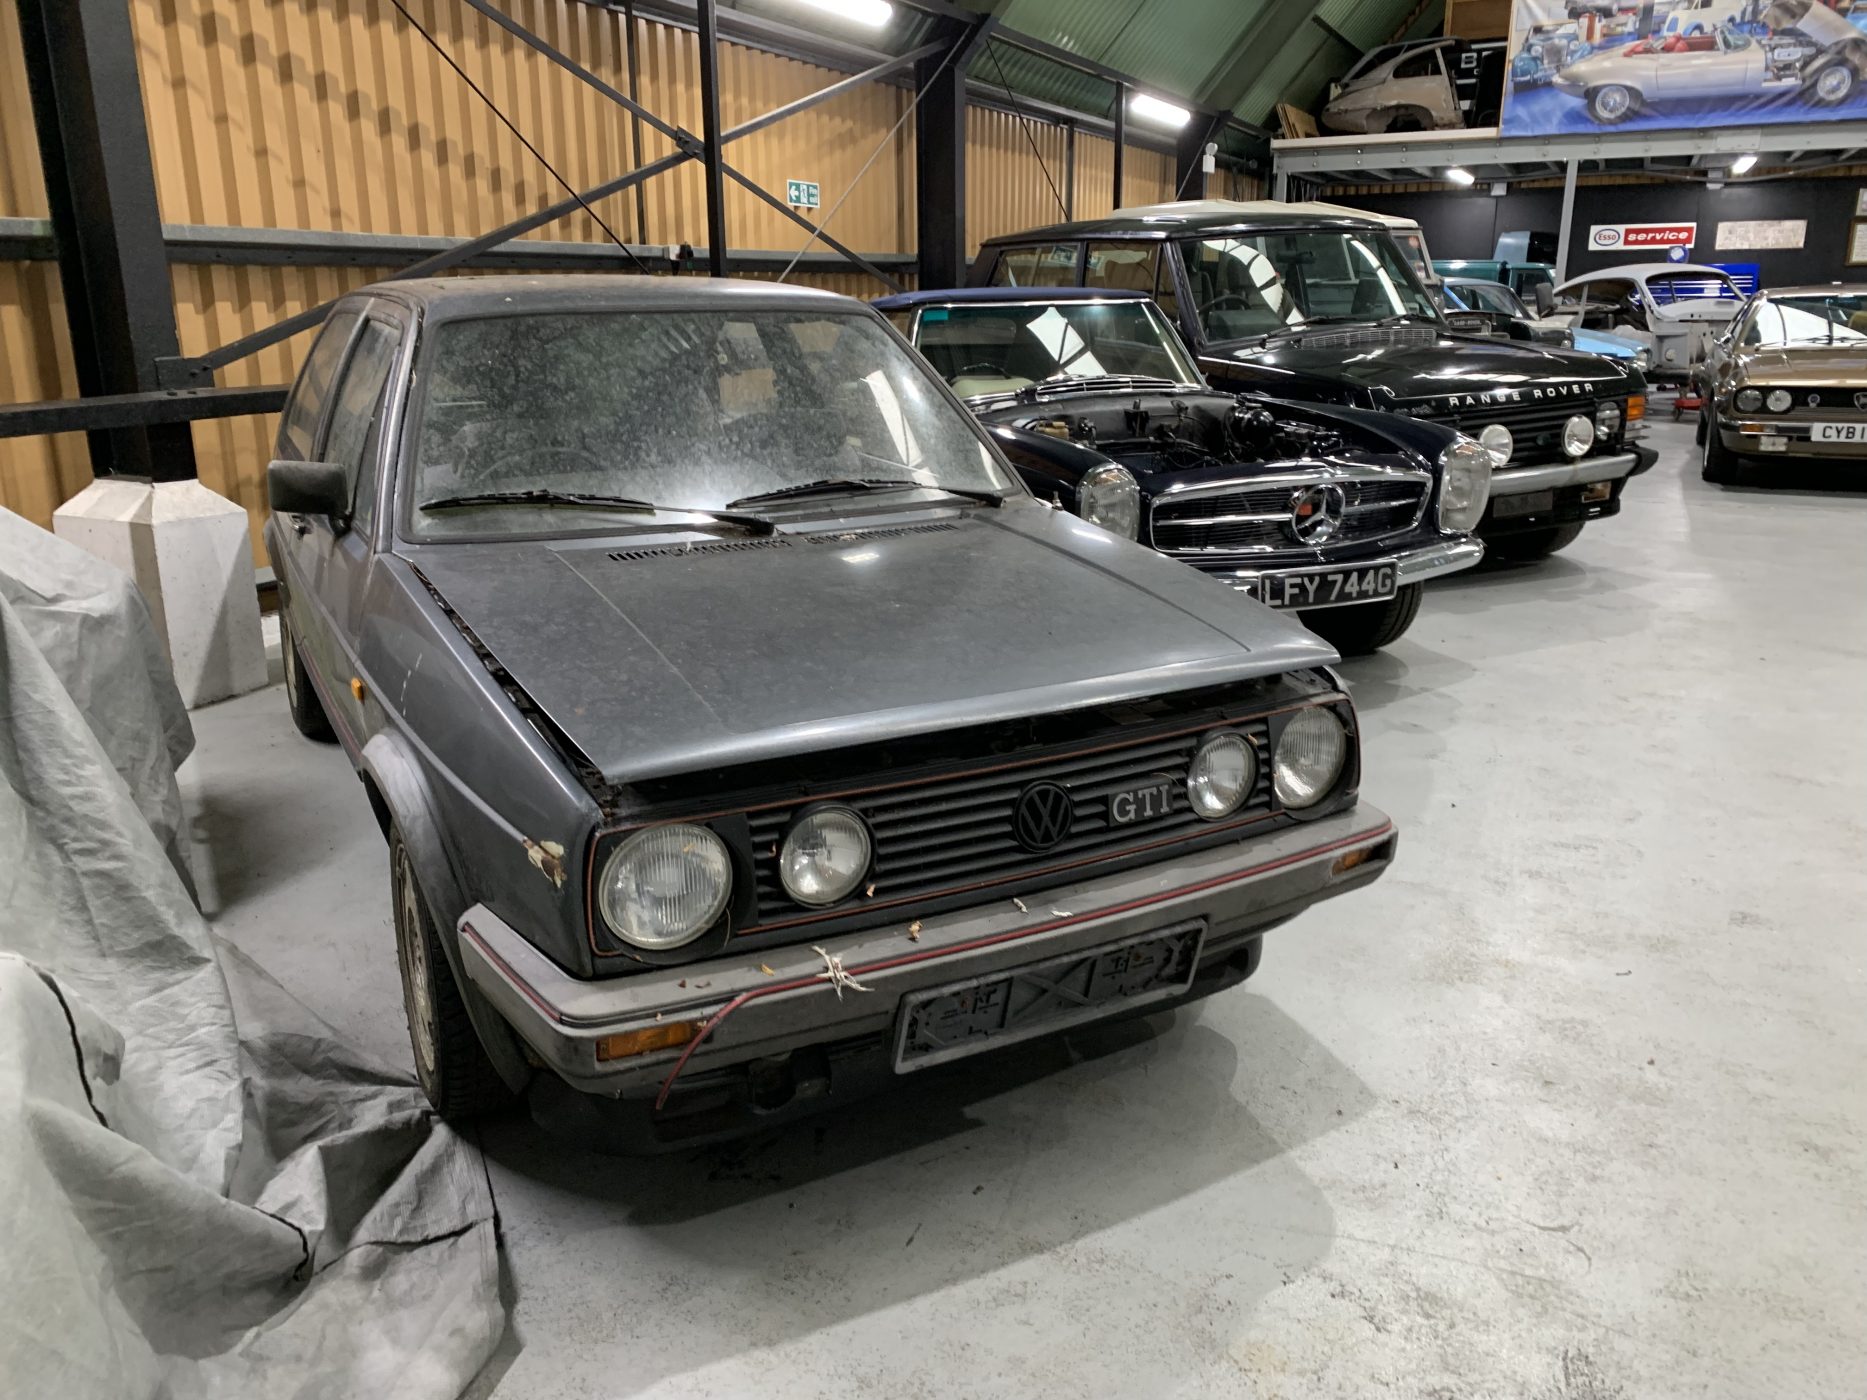
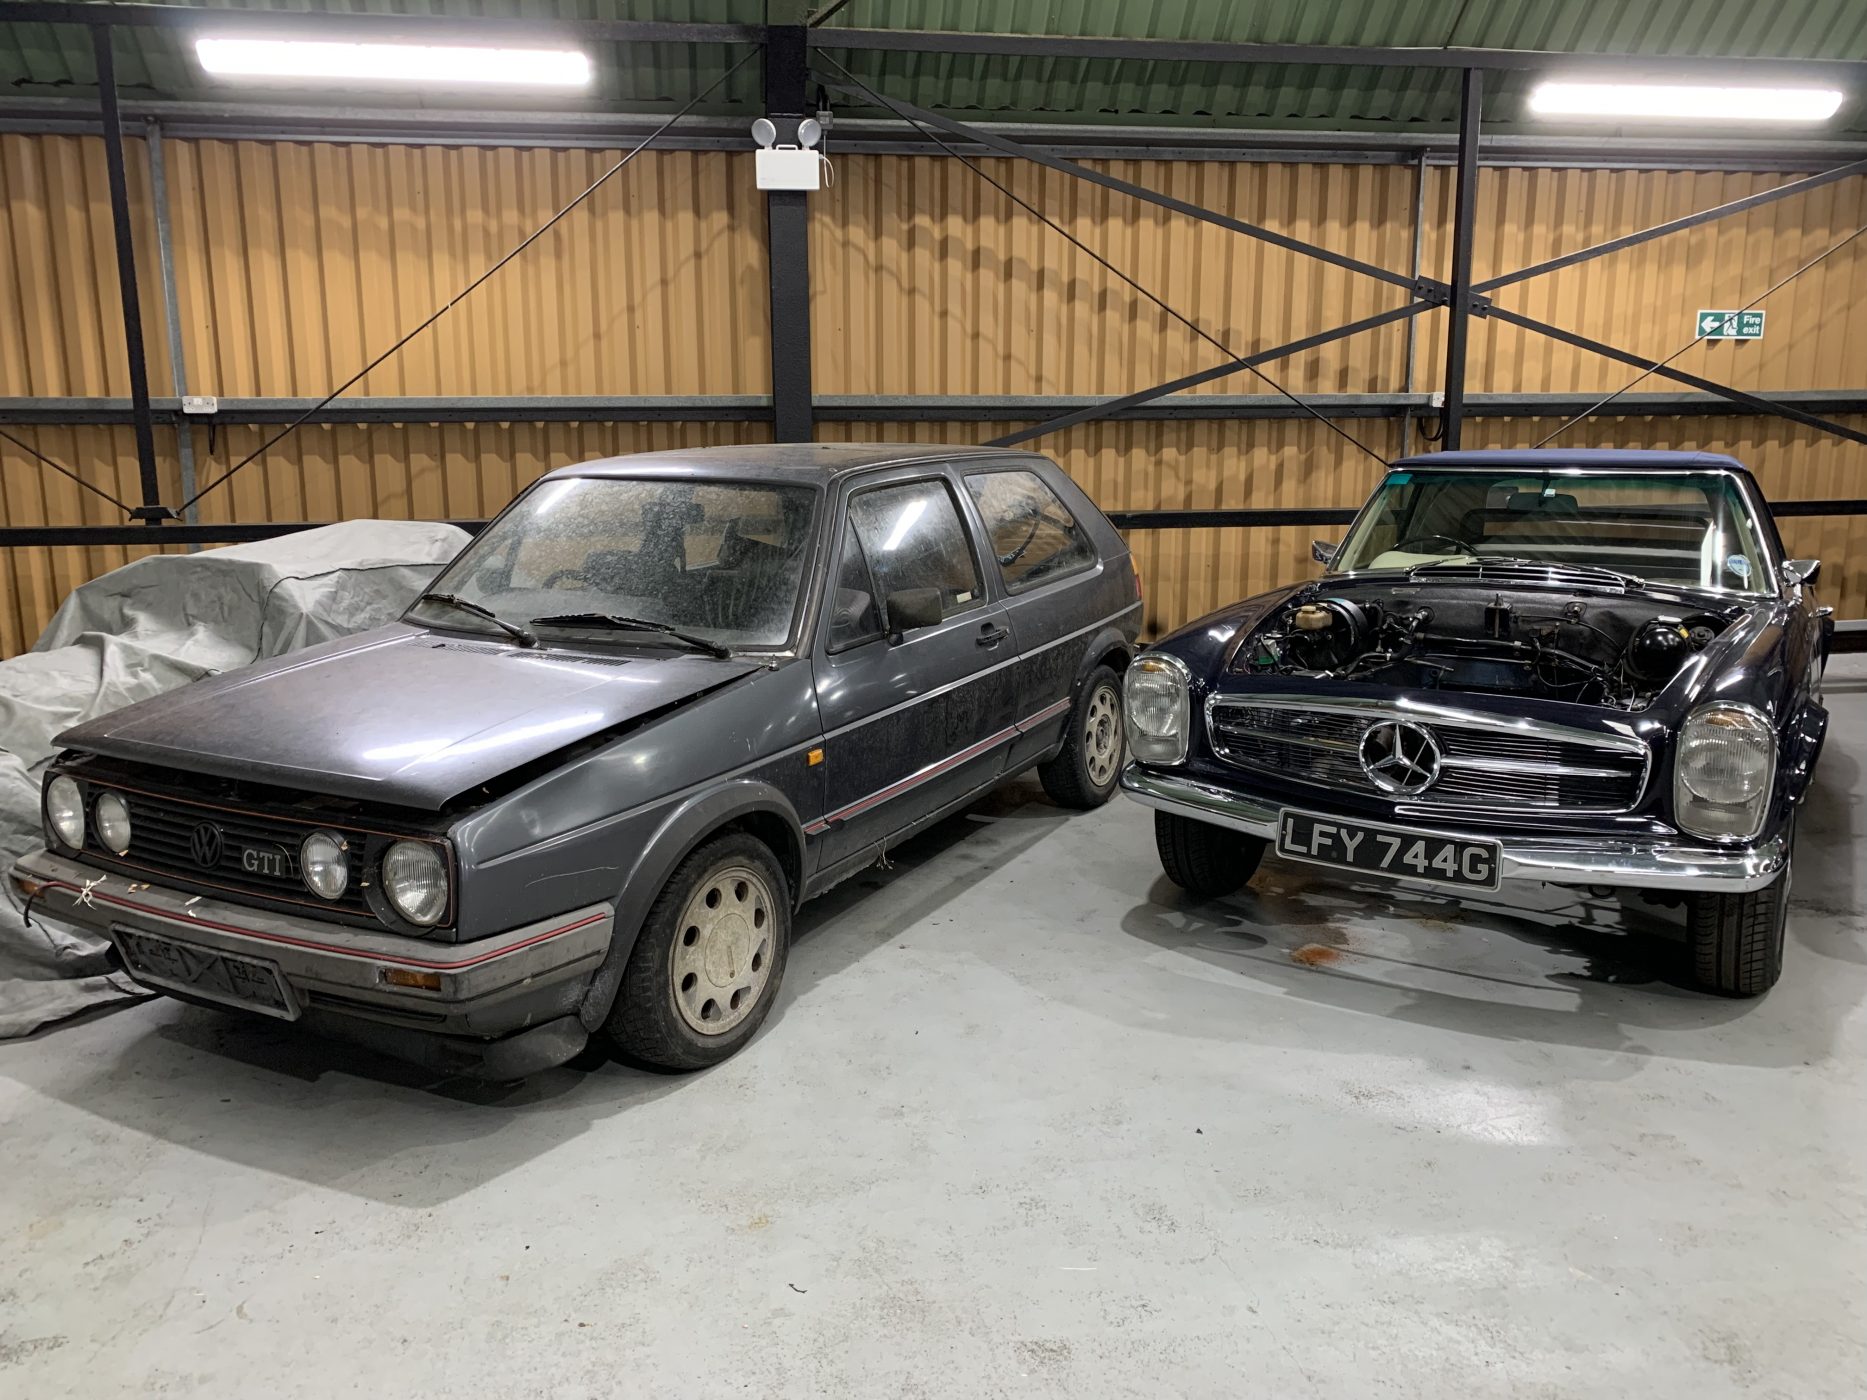
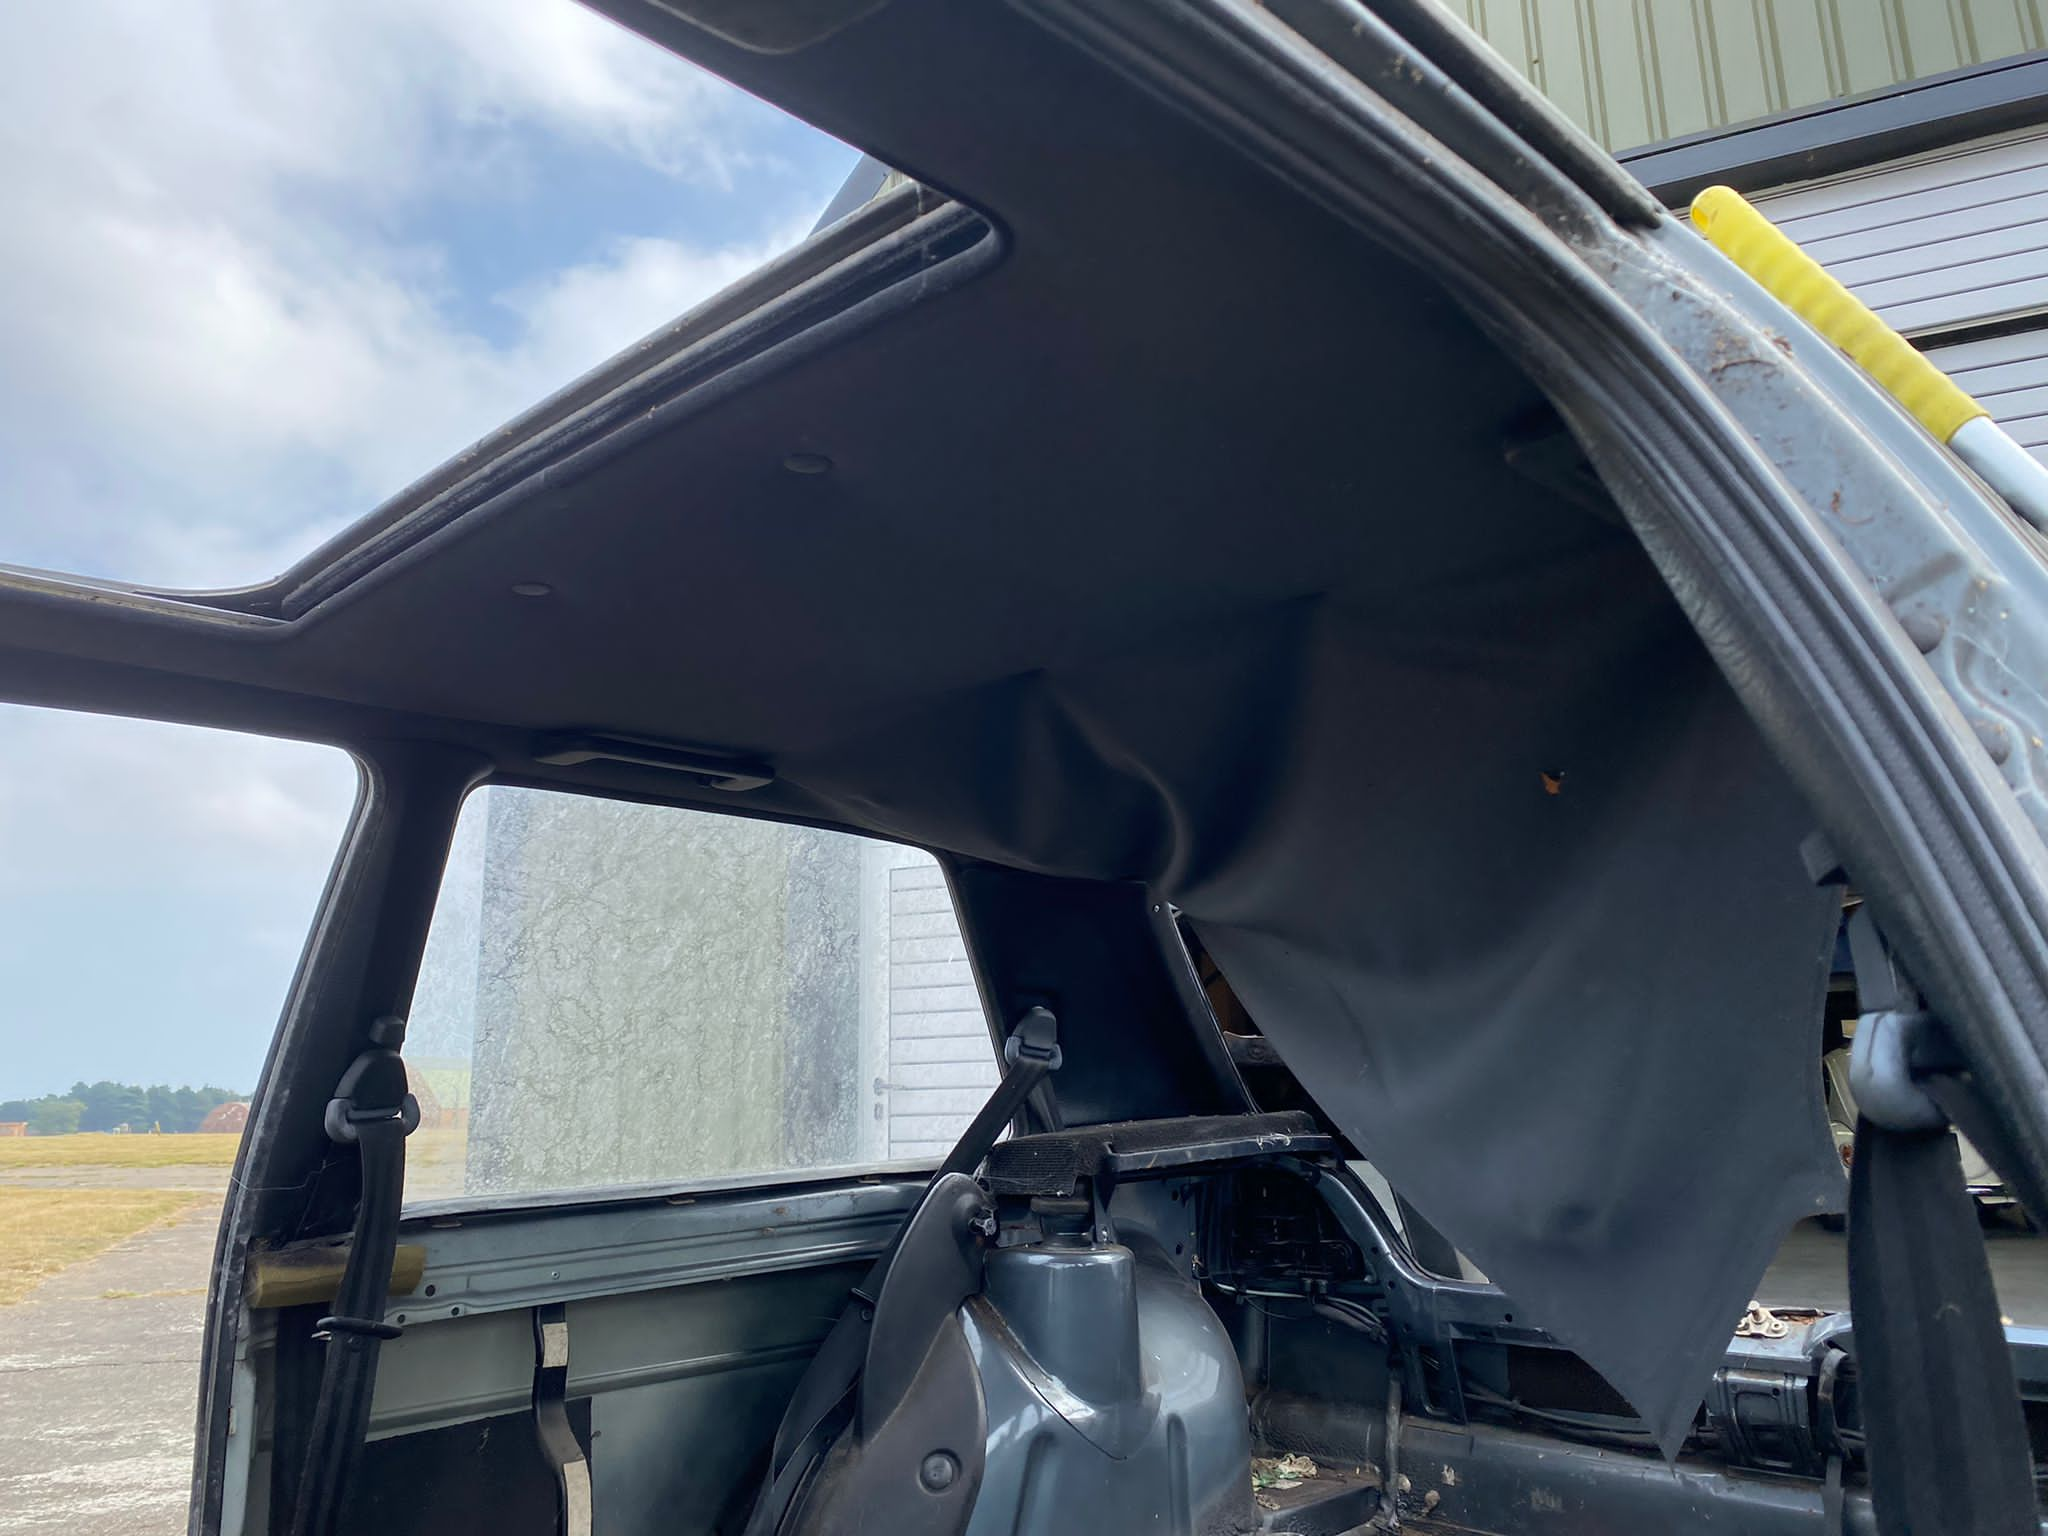
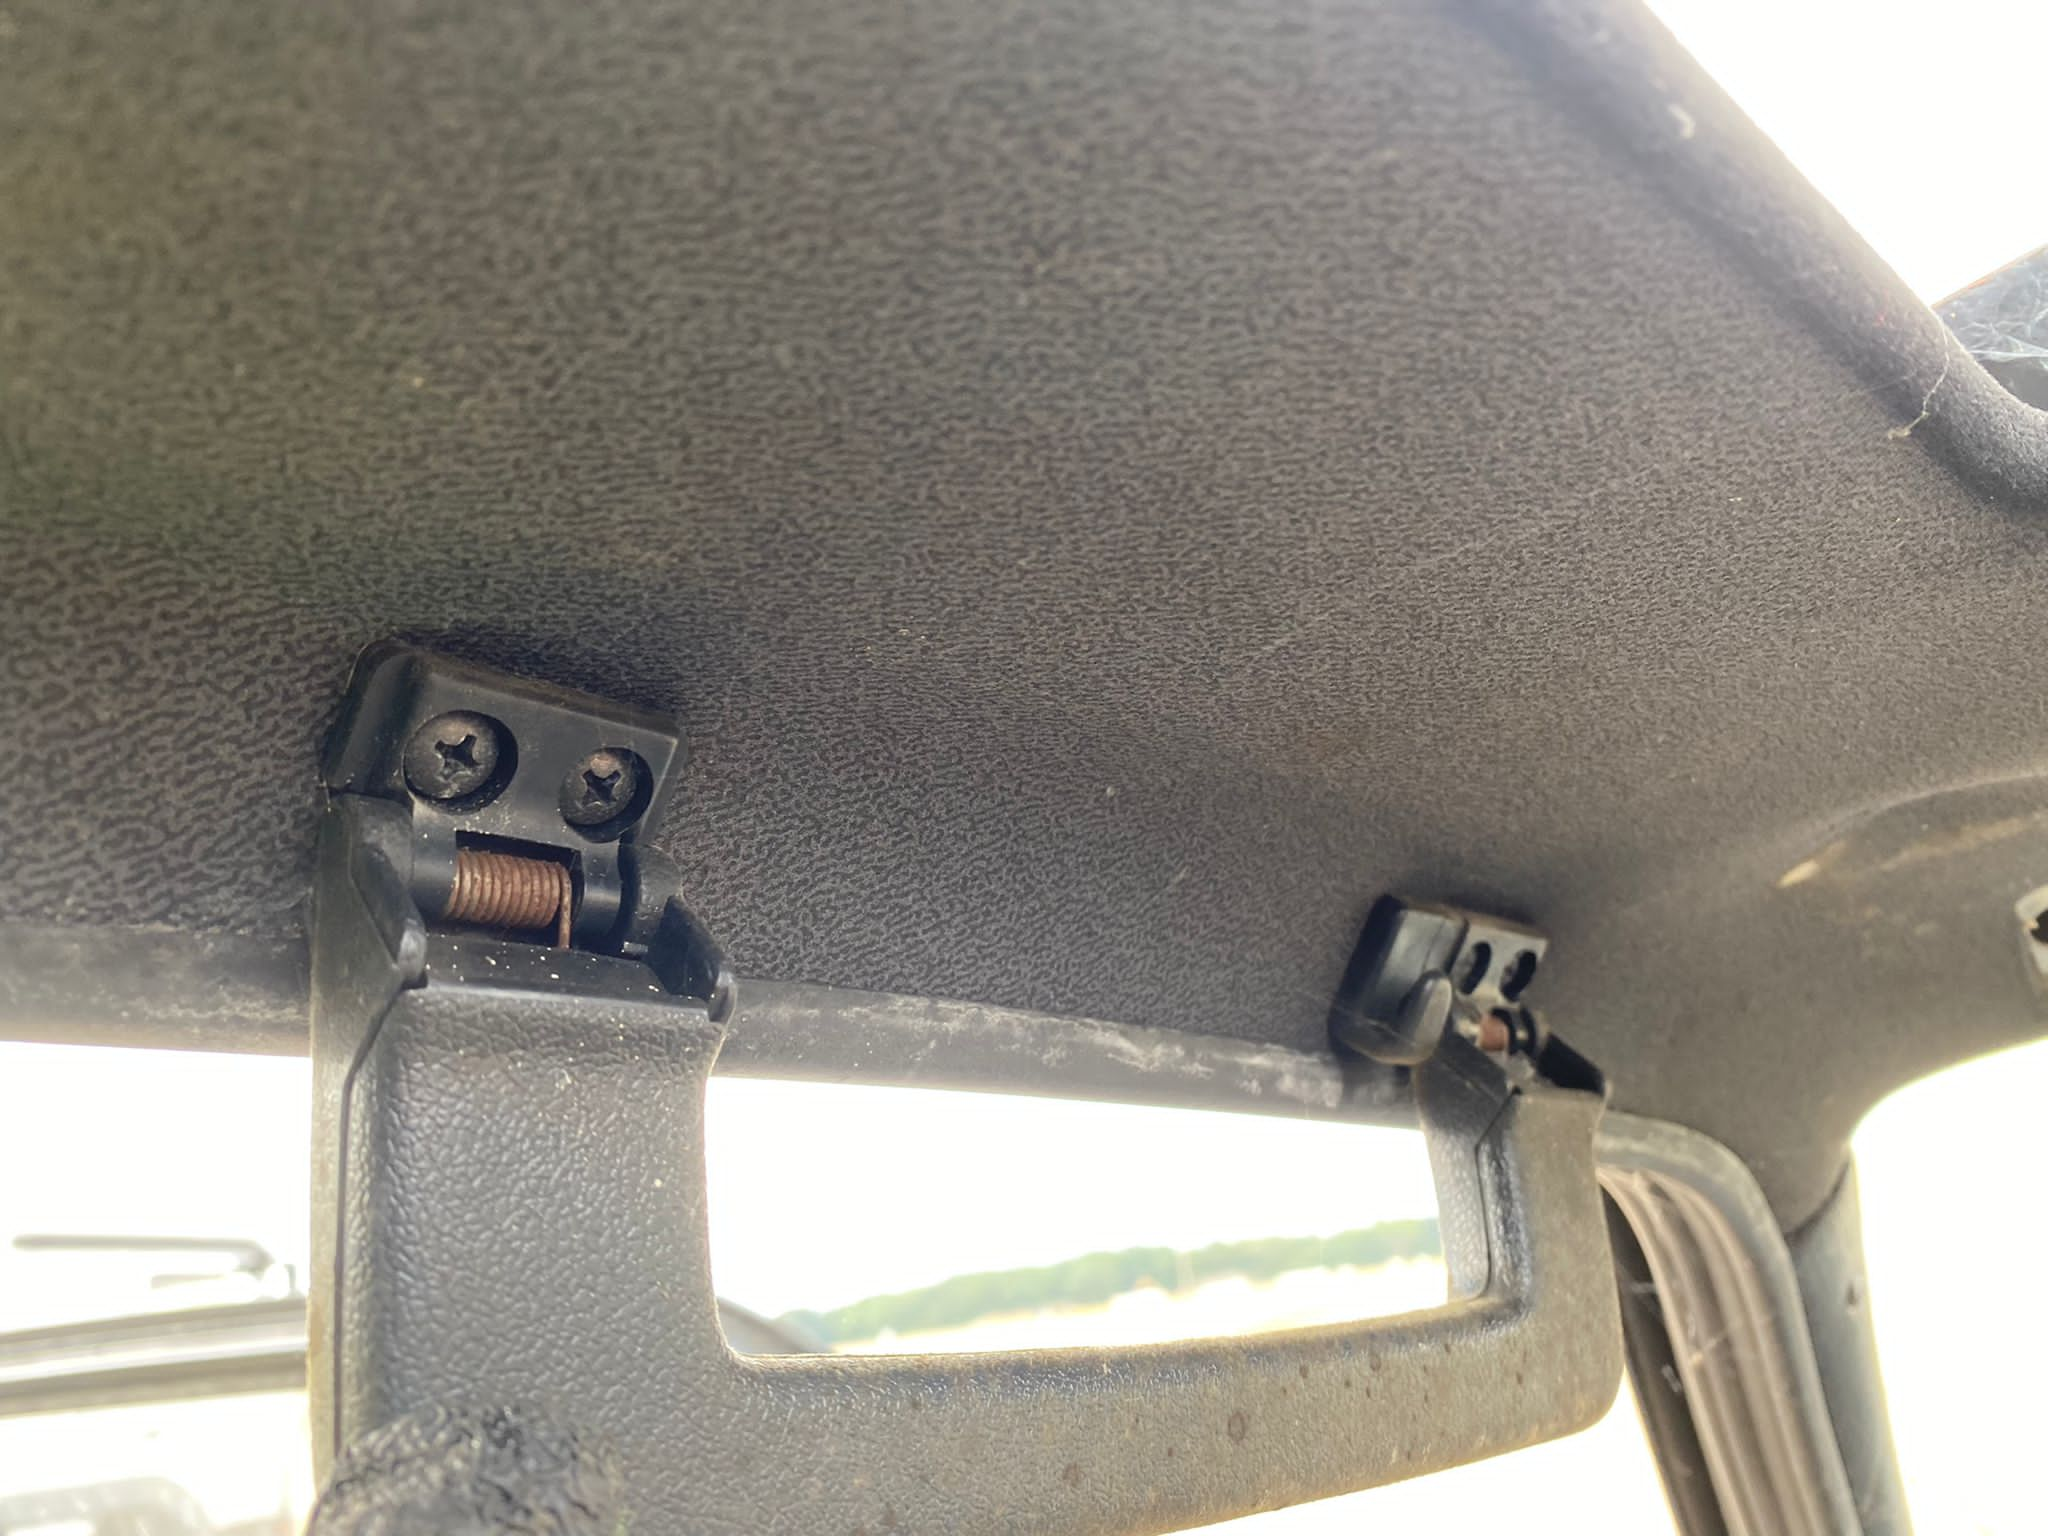
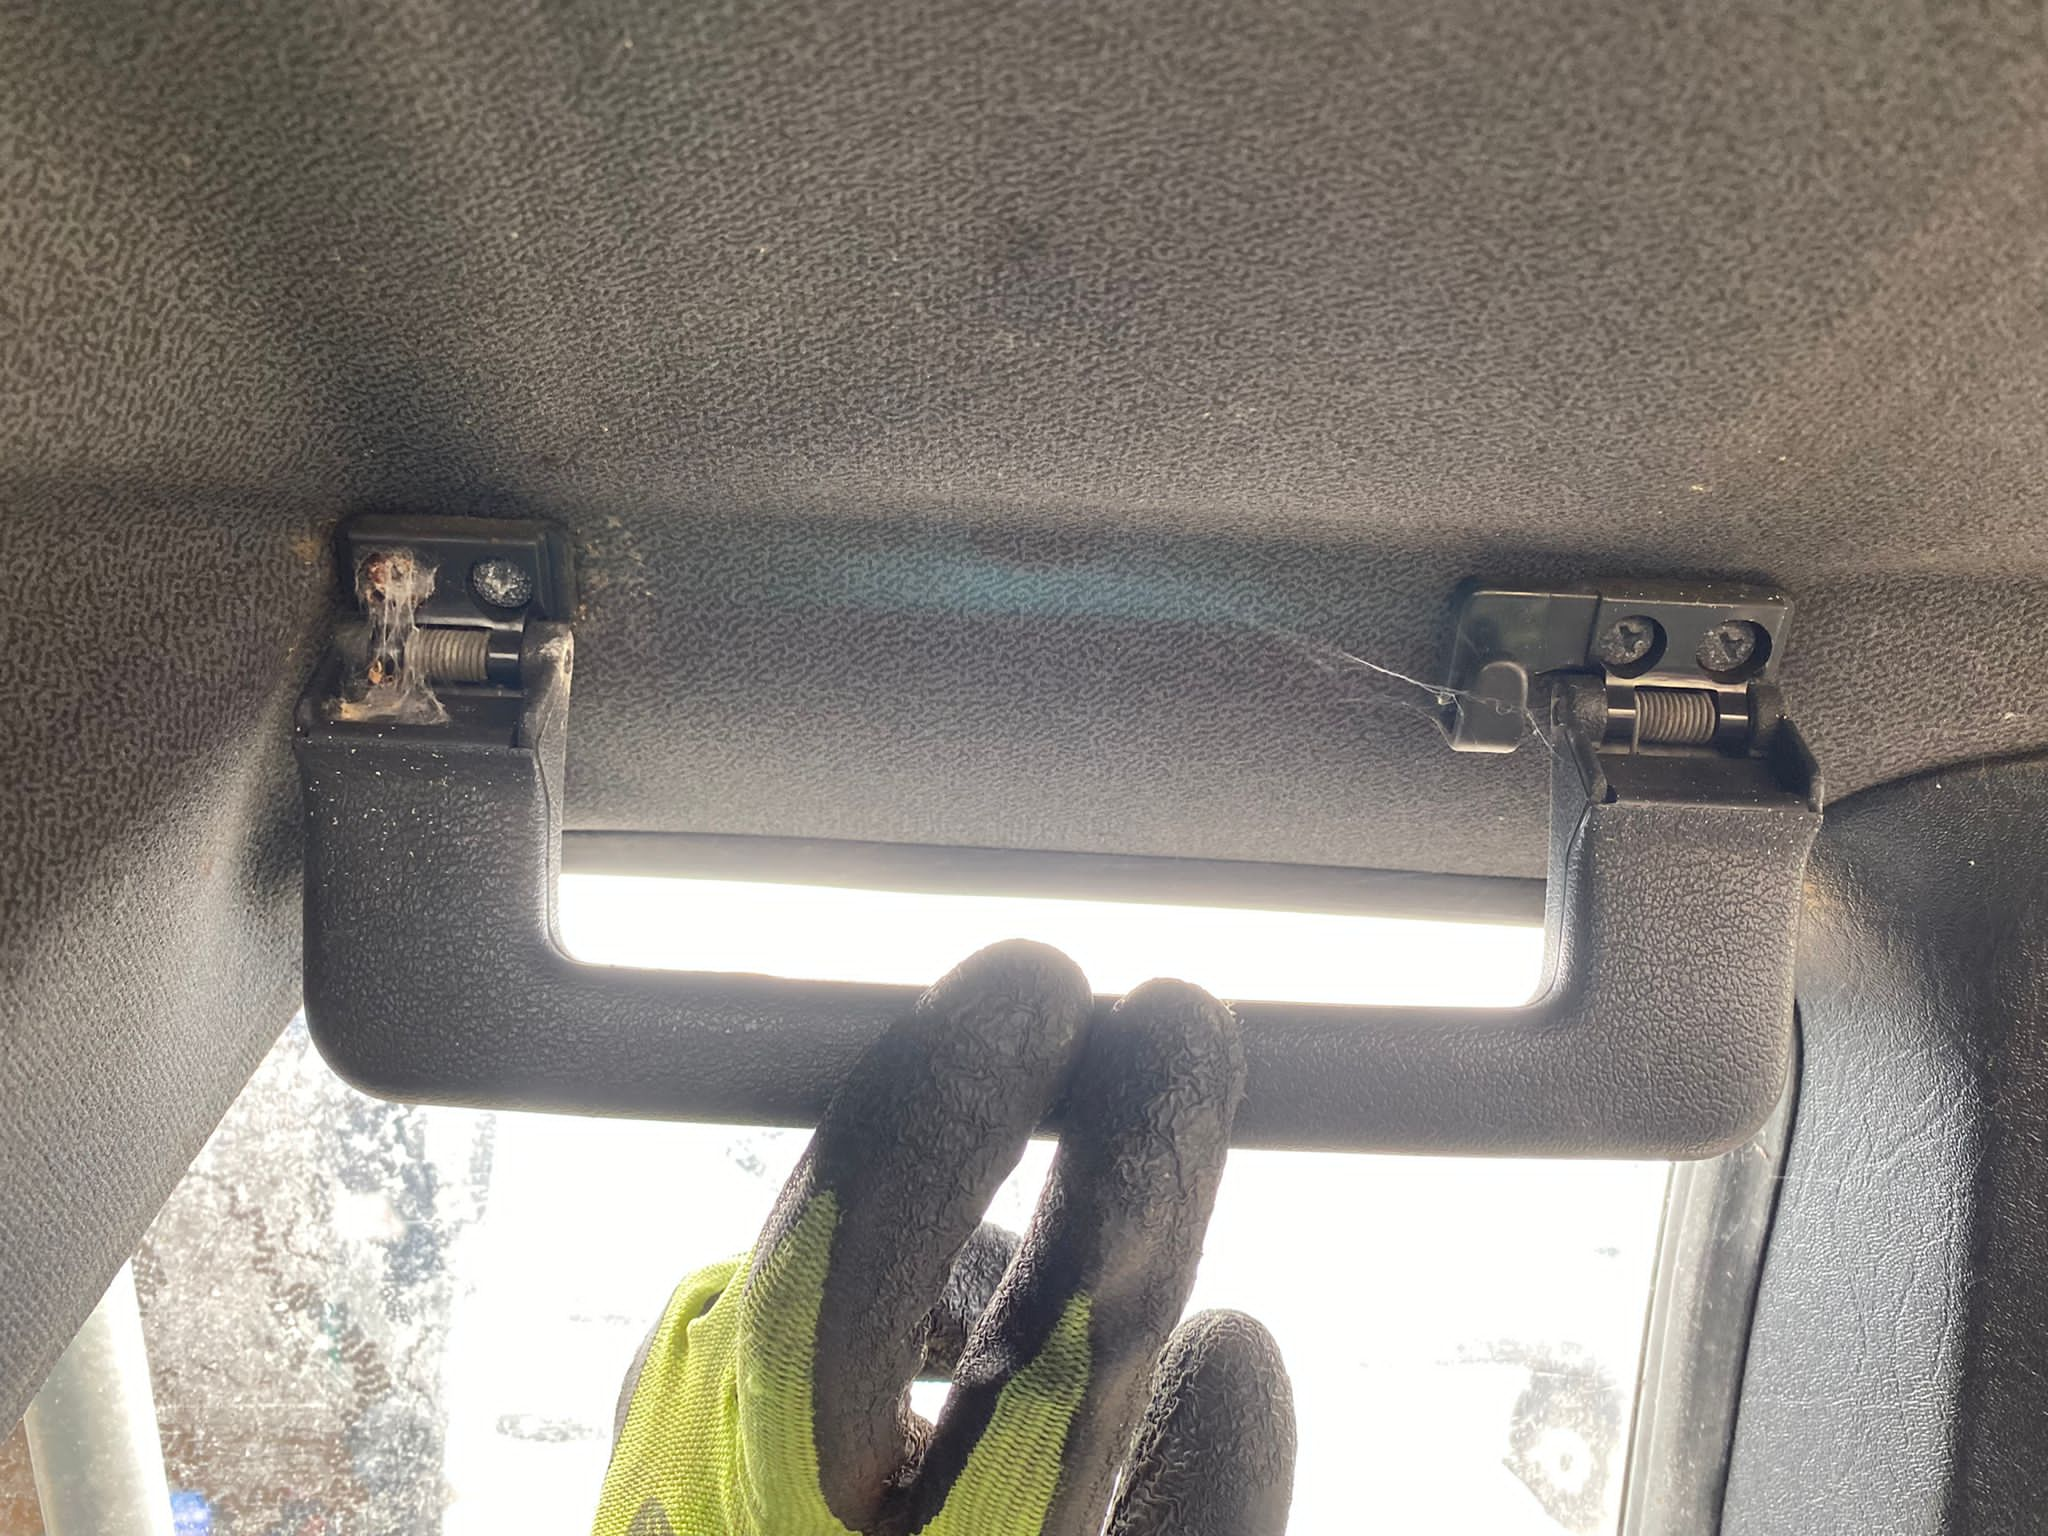
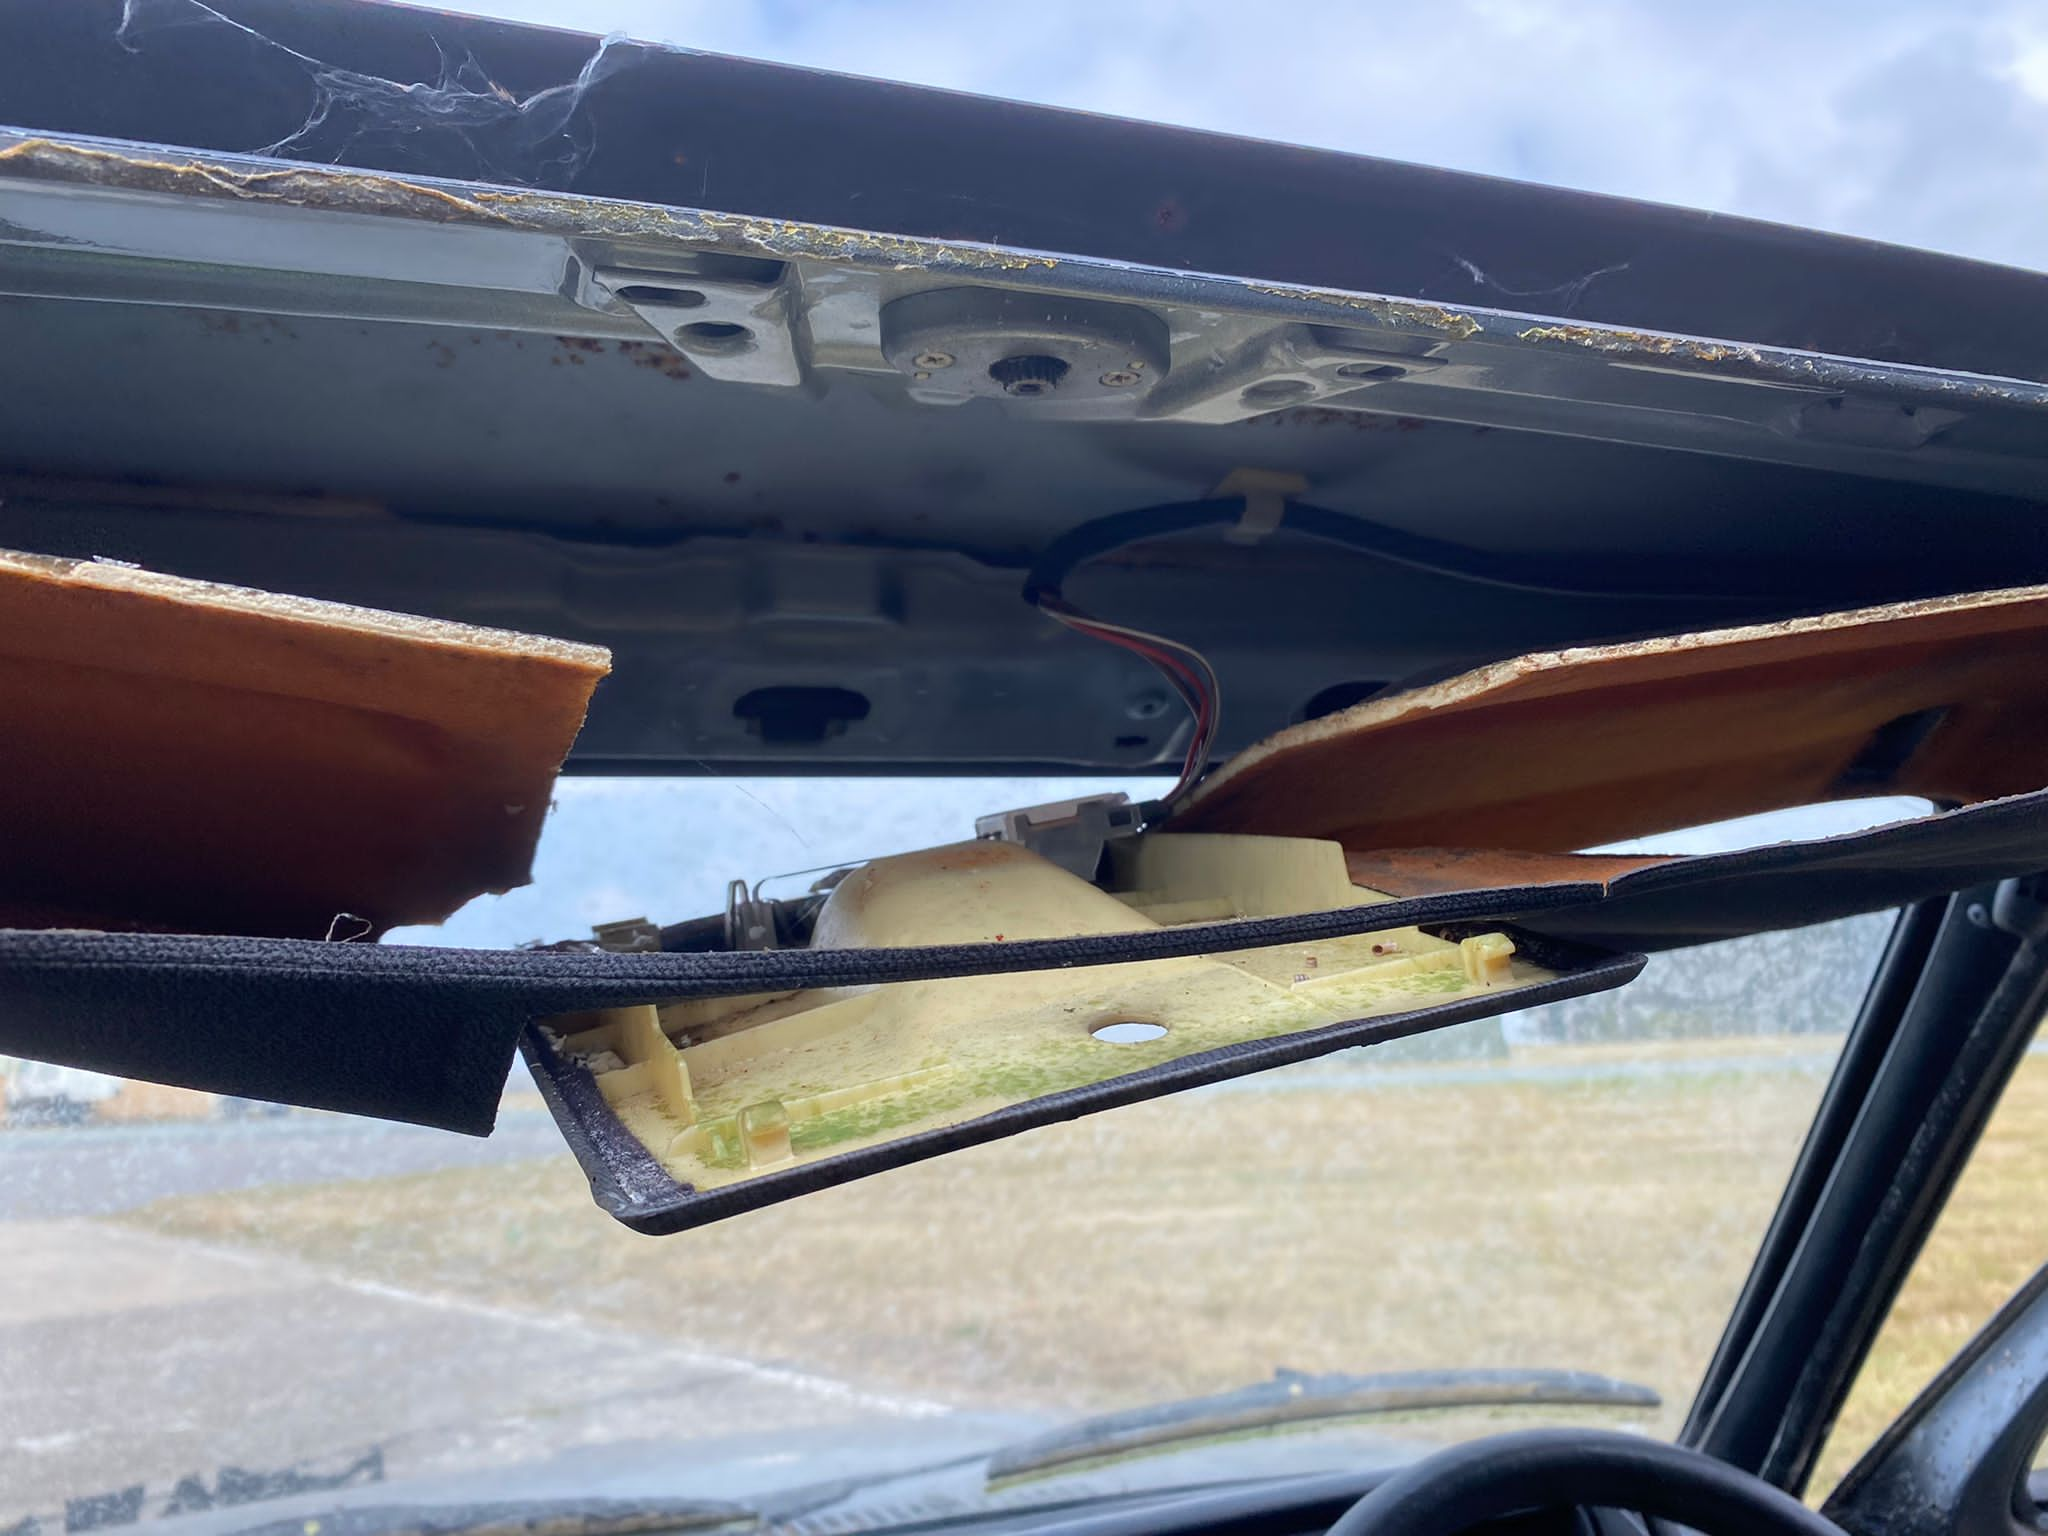
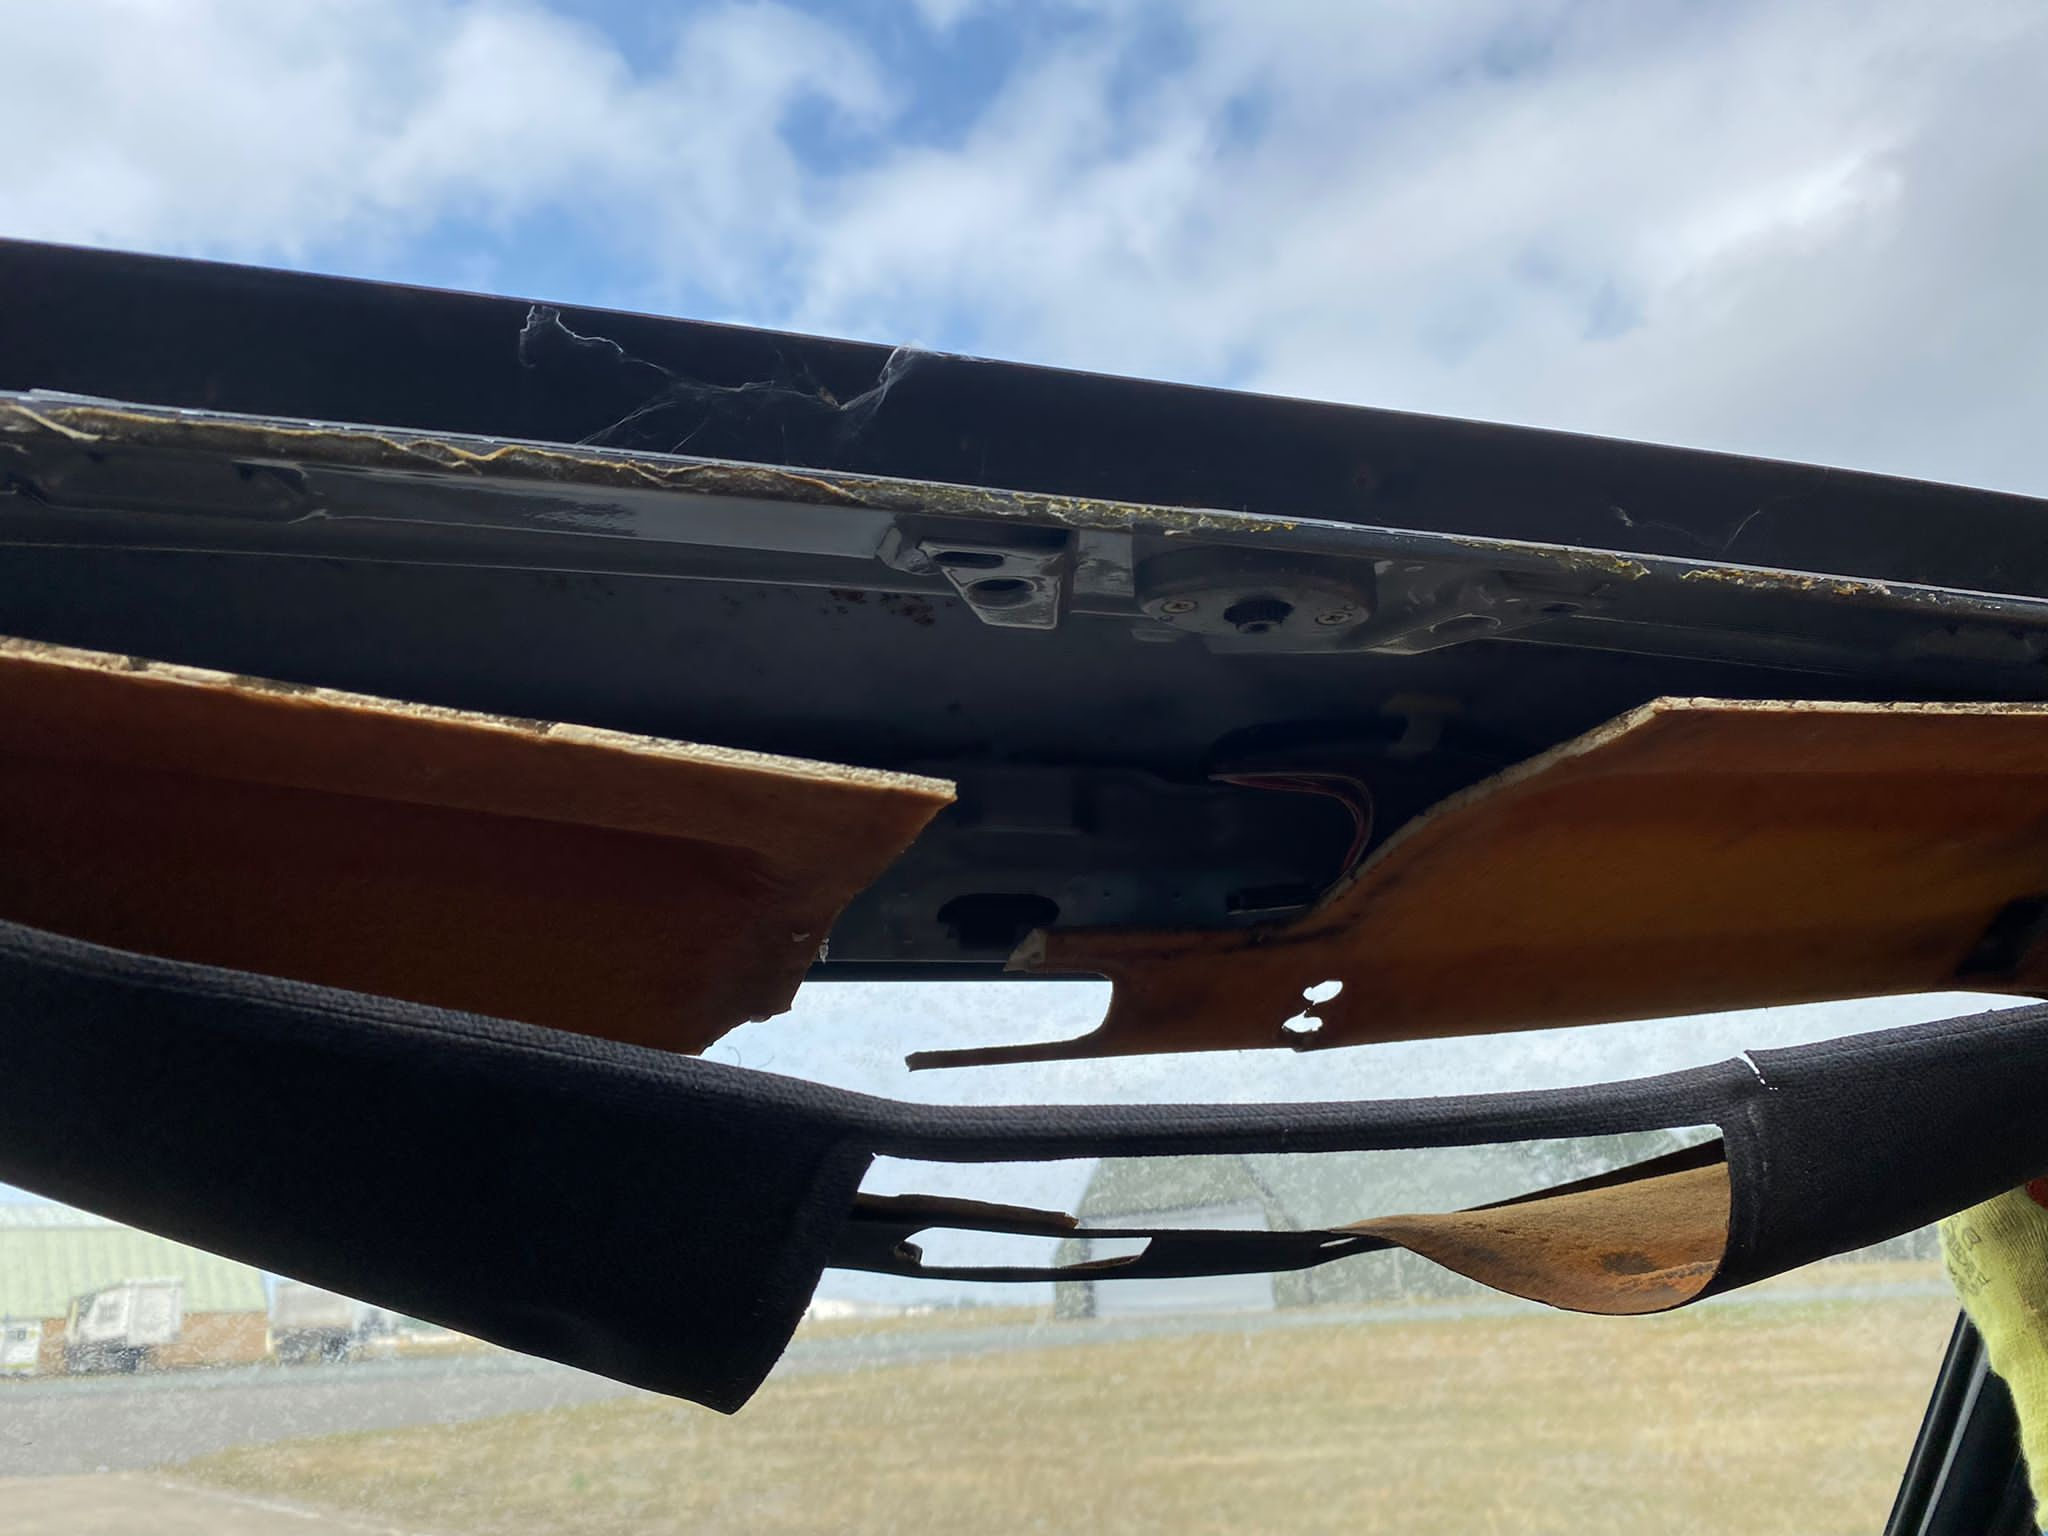
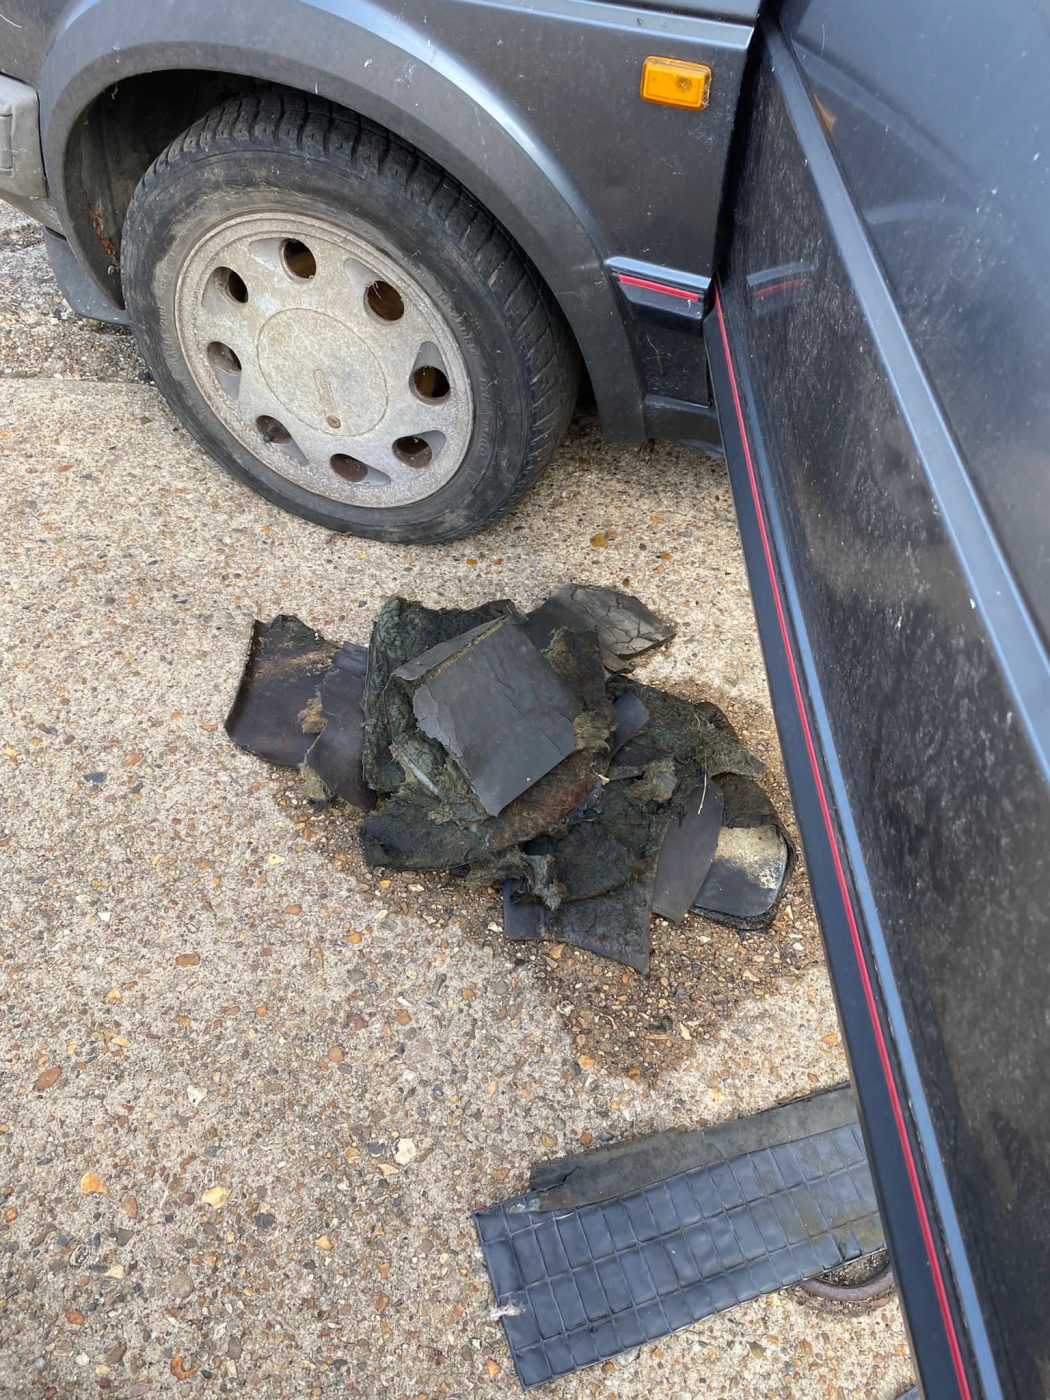
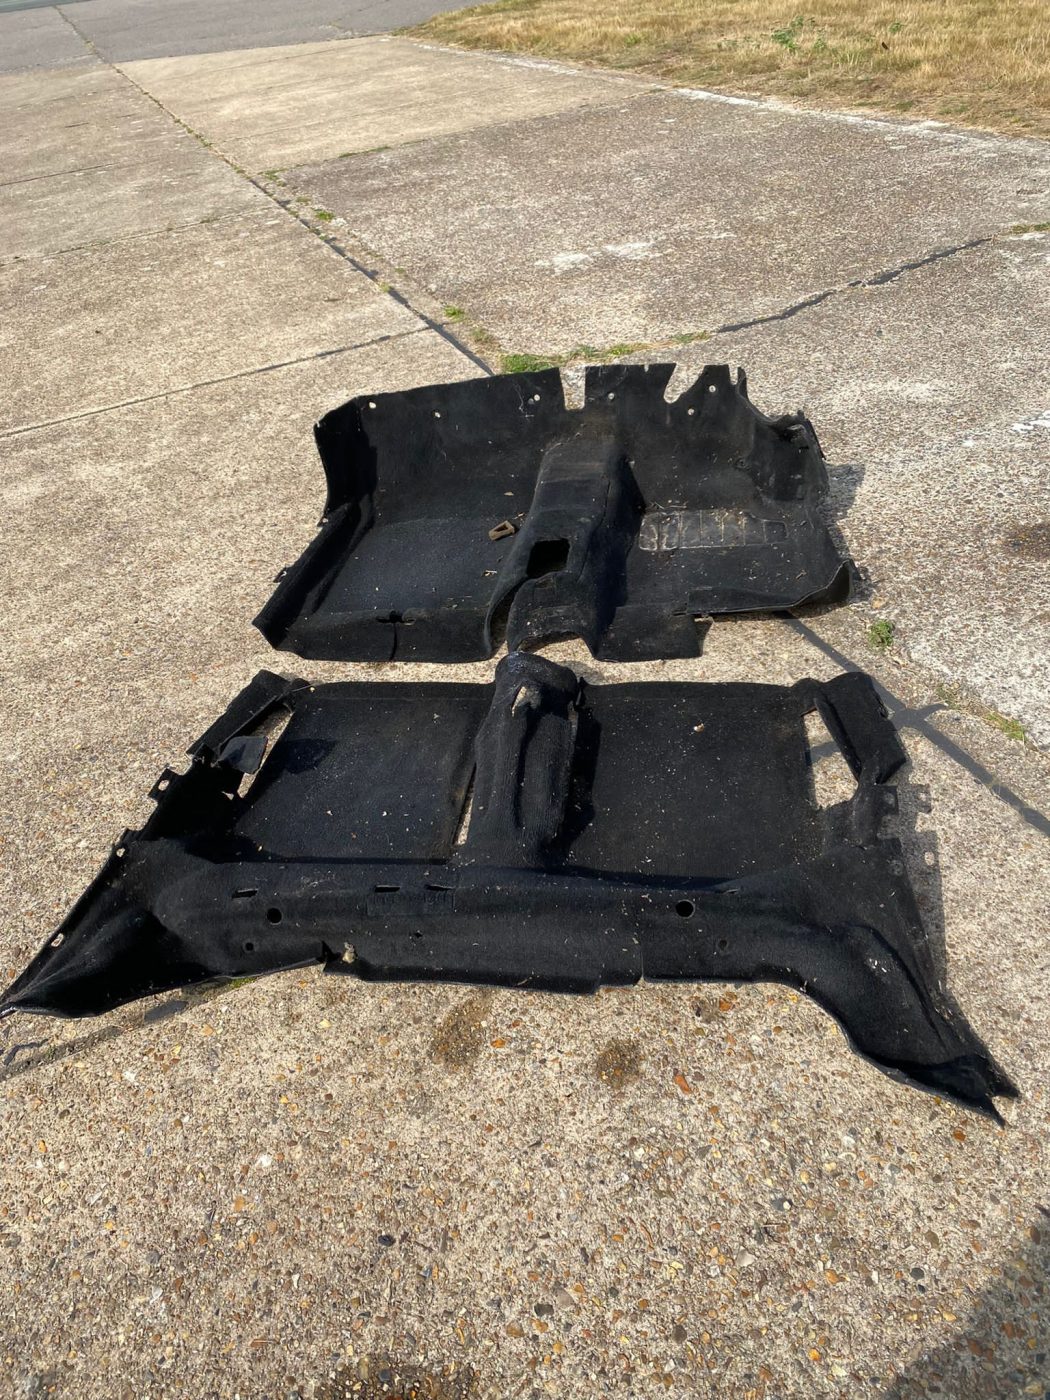
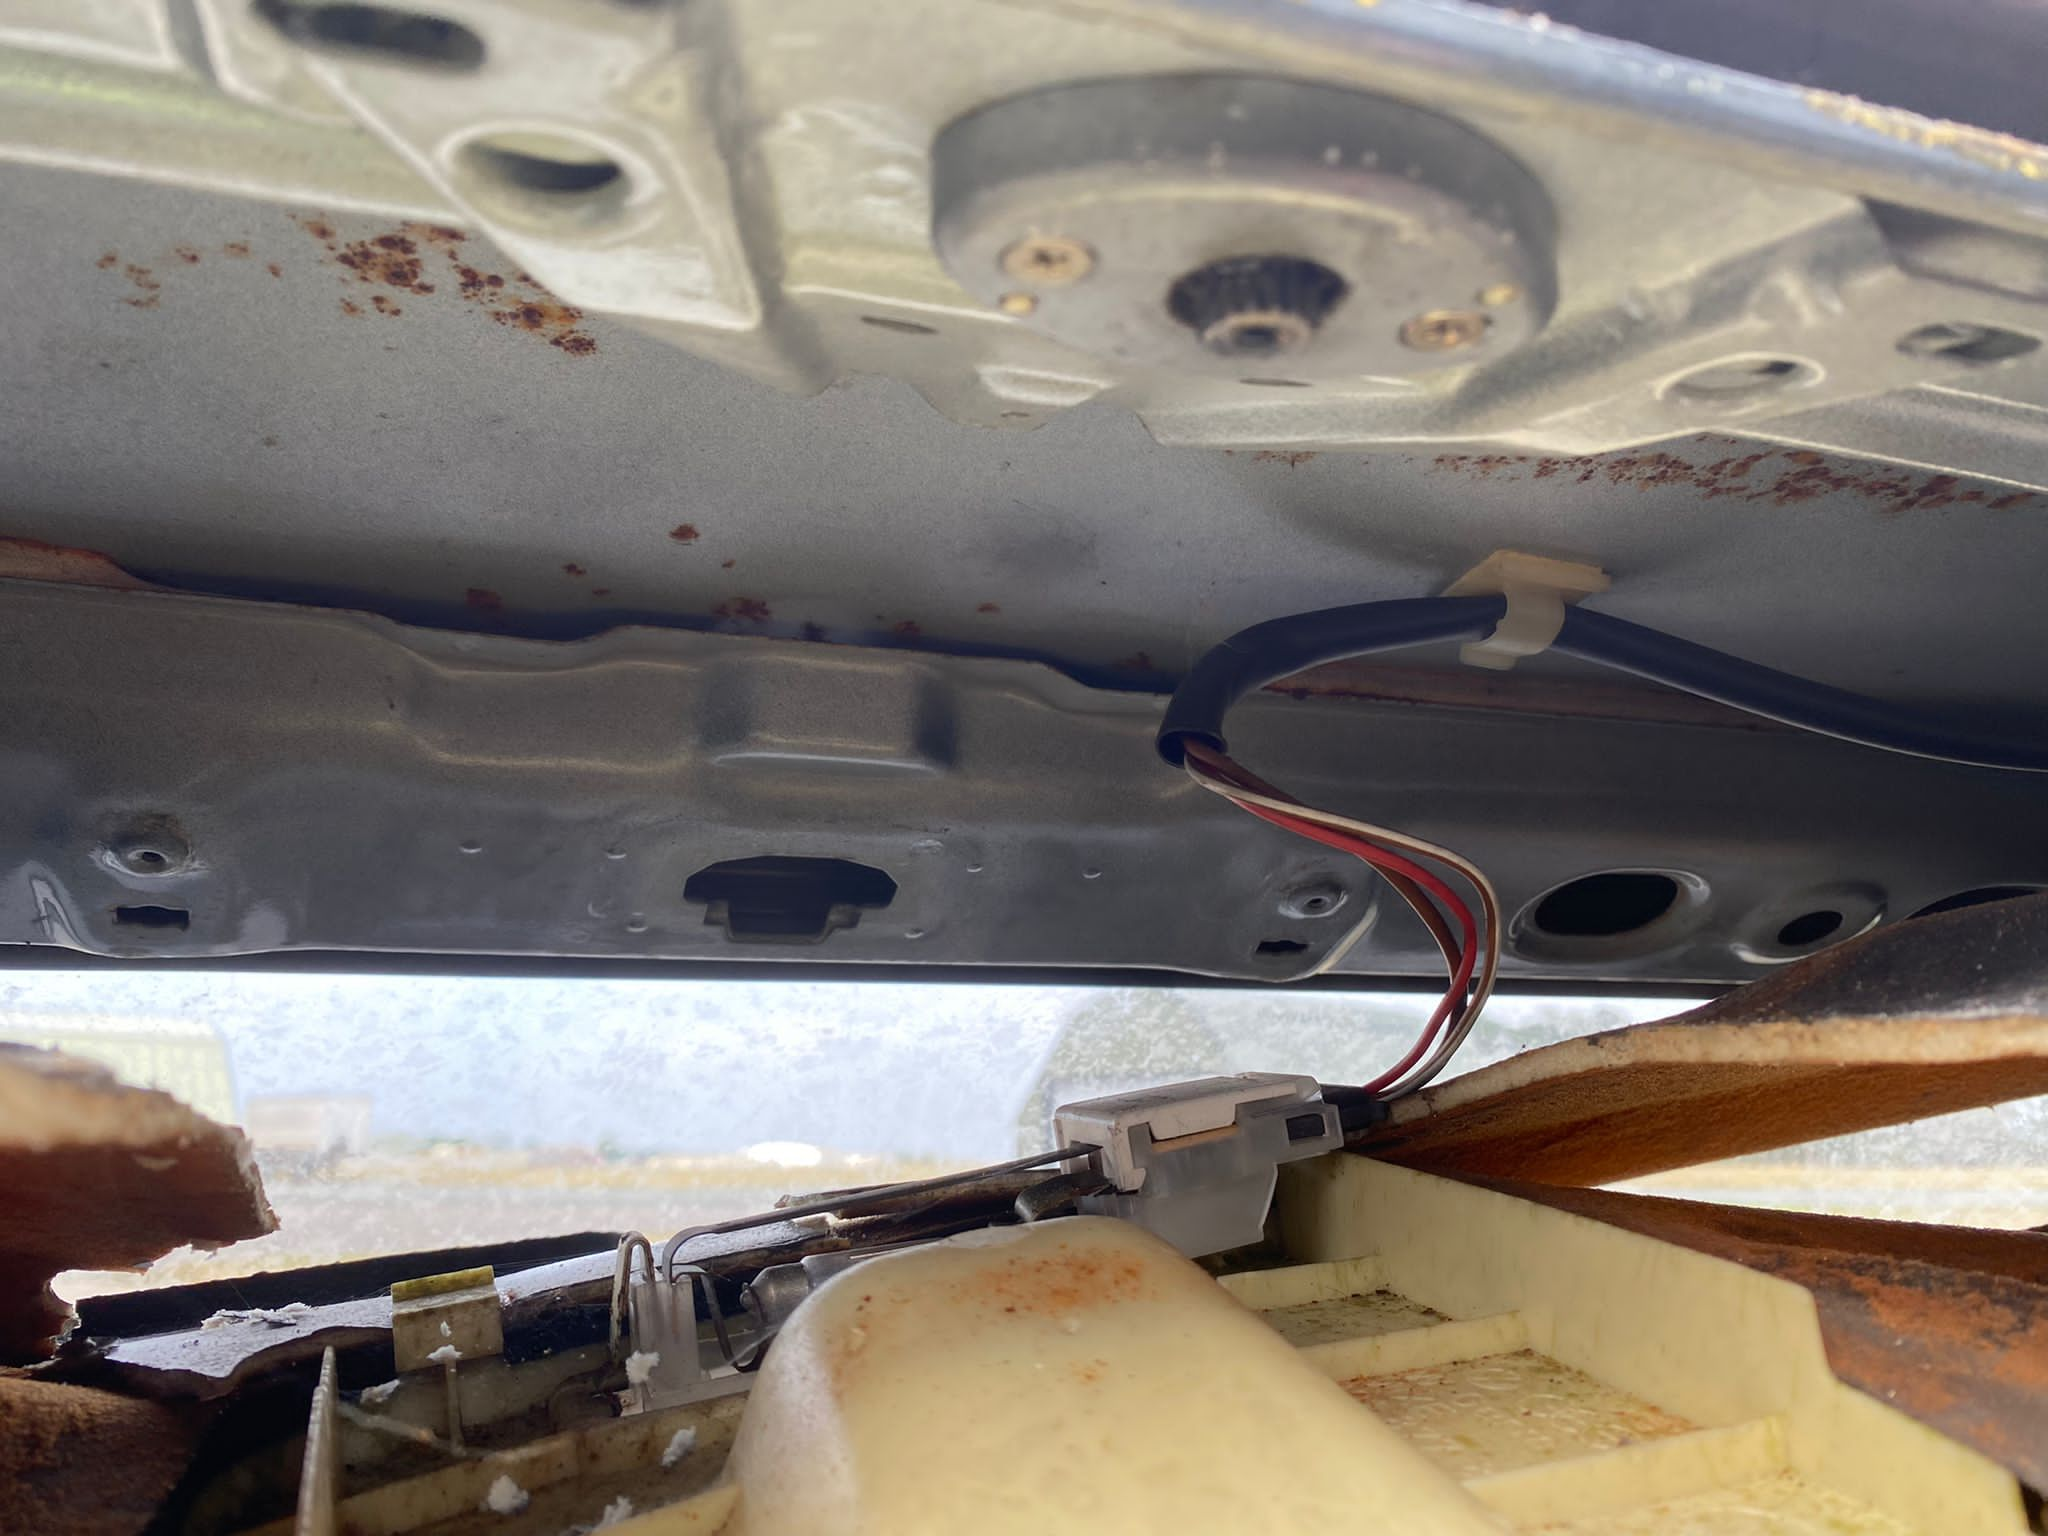
It may be some time before we see our 1987 VW Golf GTI in the workshops but having been sitting outside and open to the
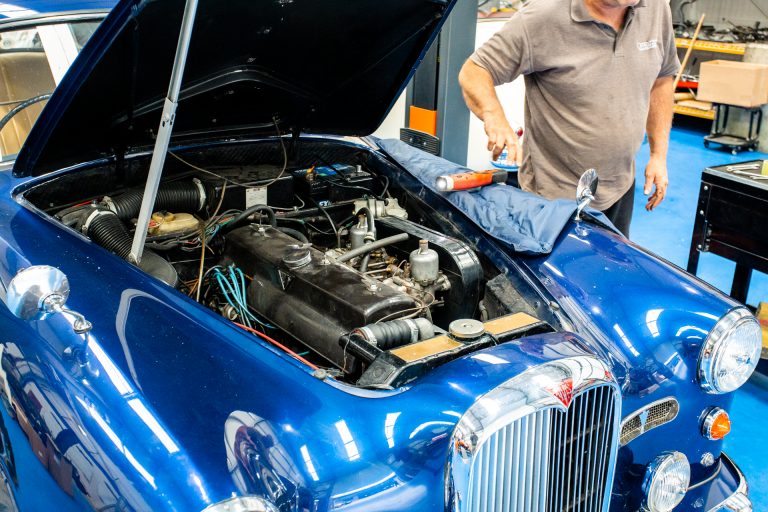
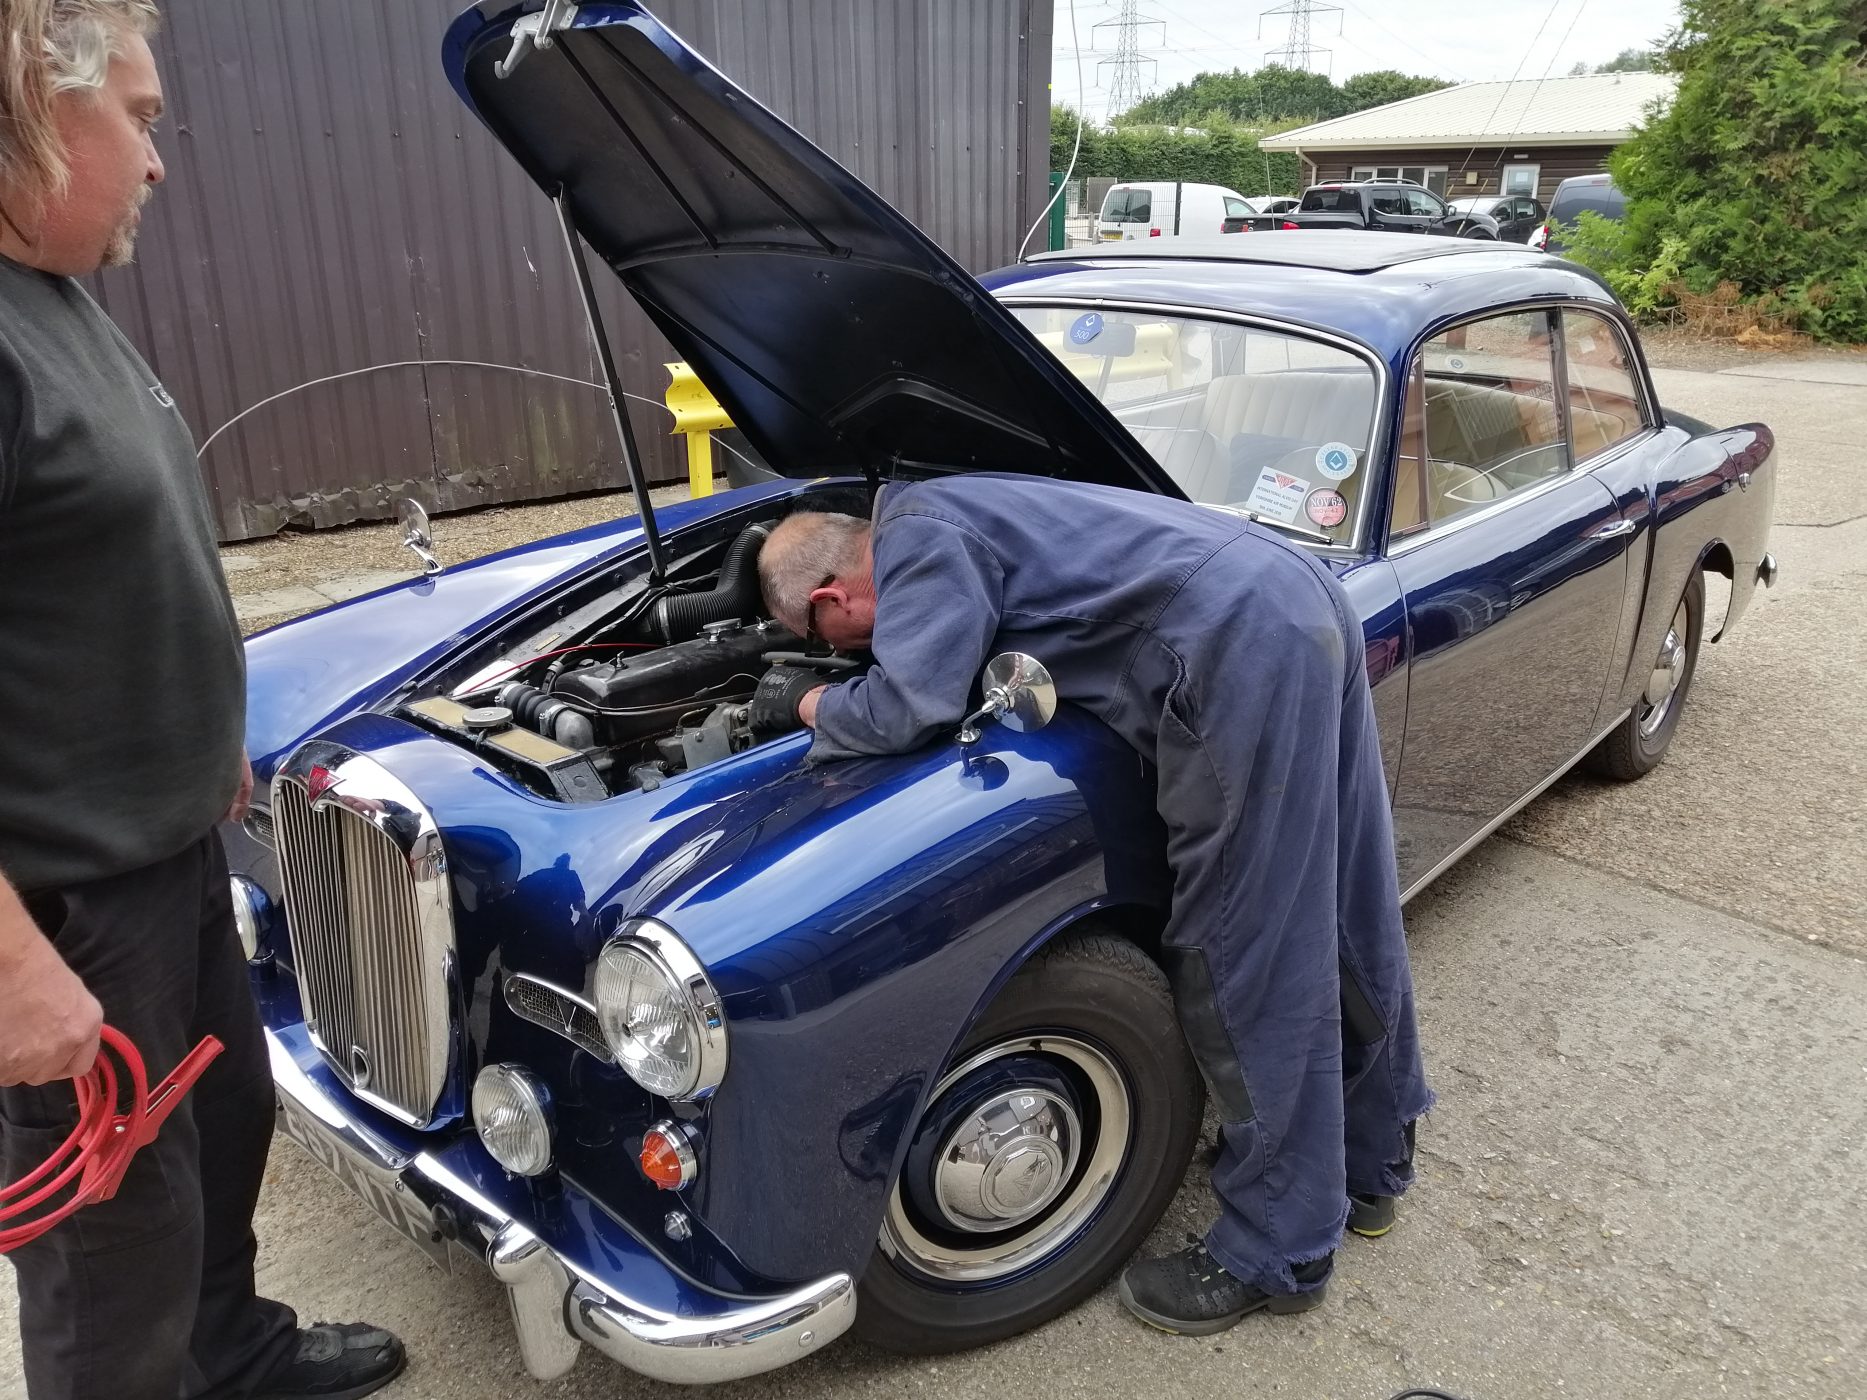
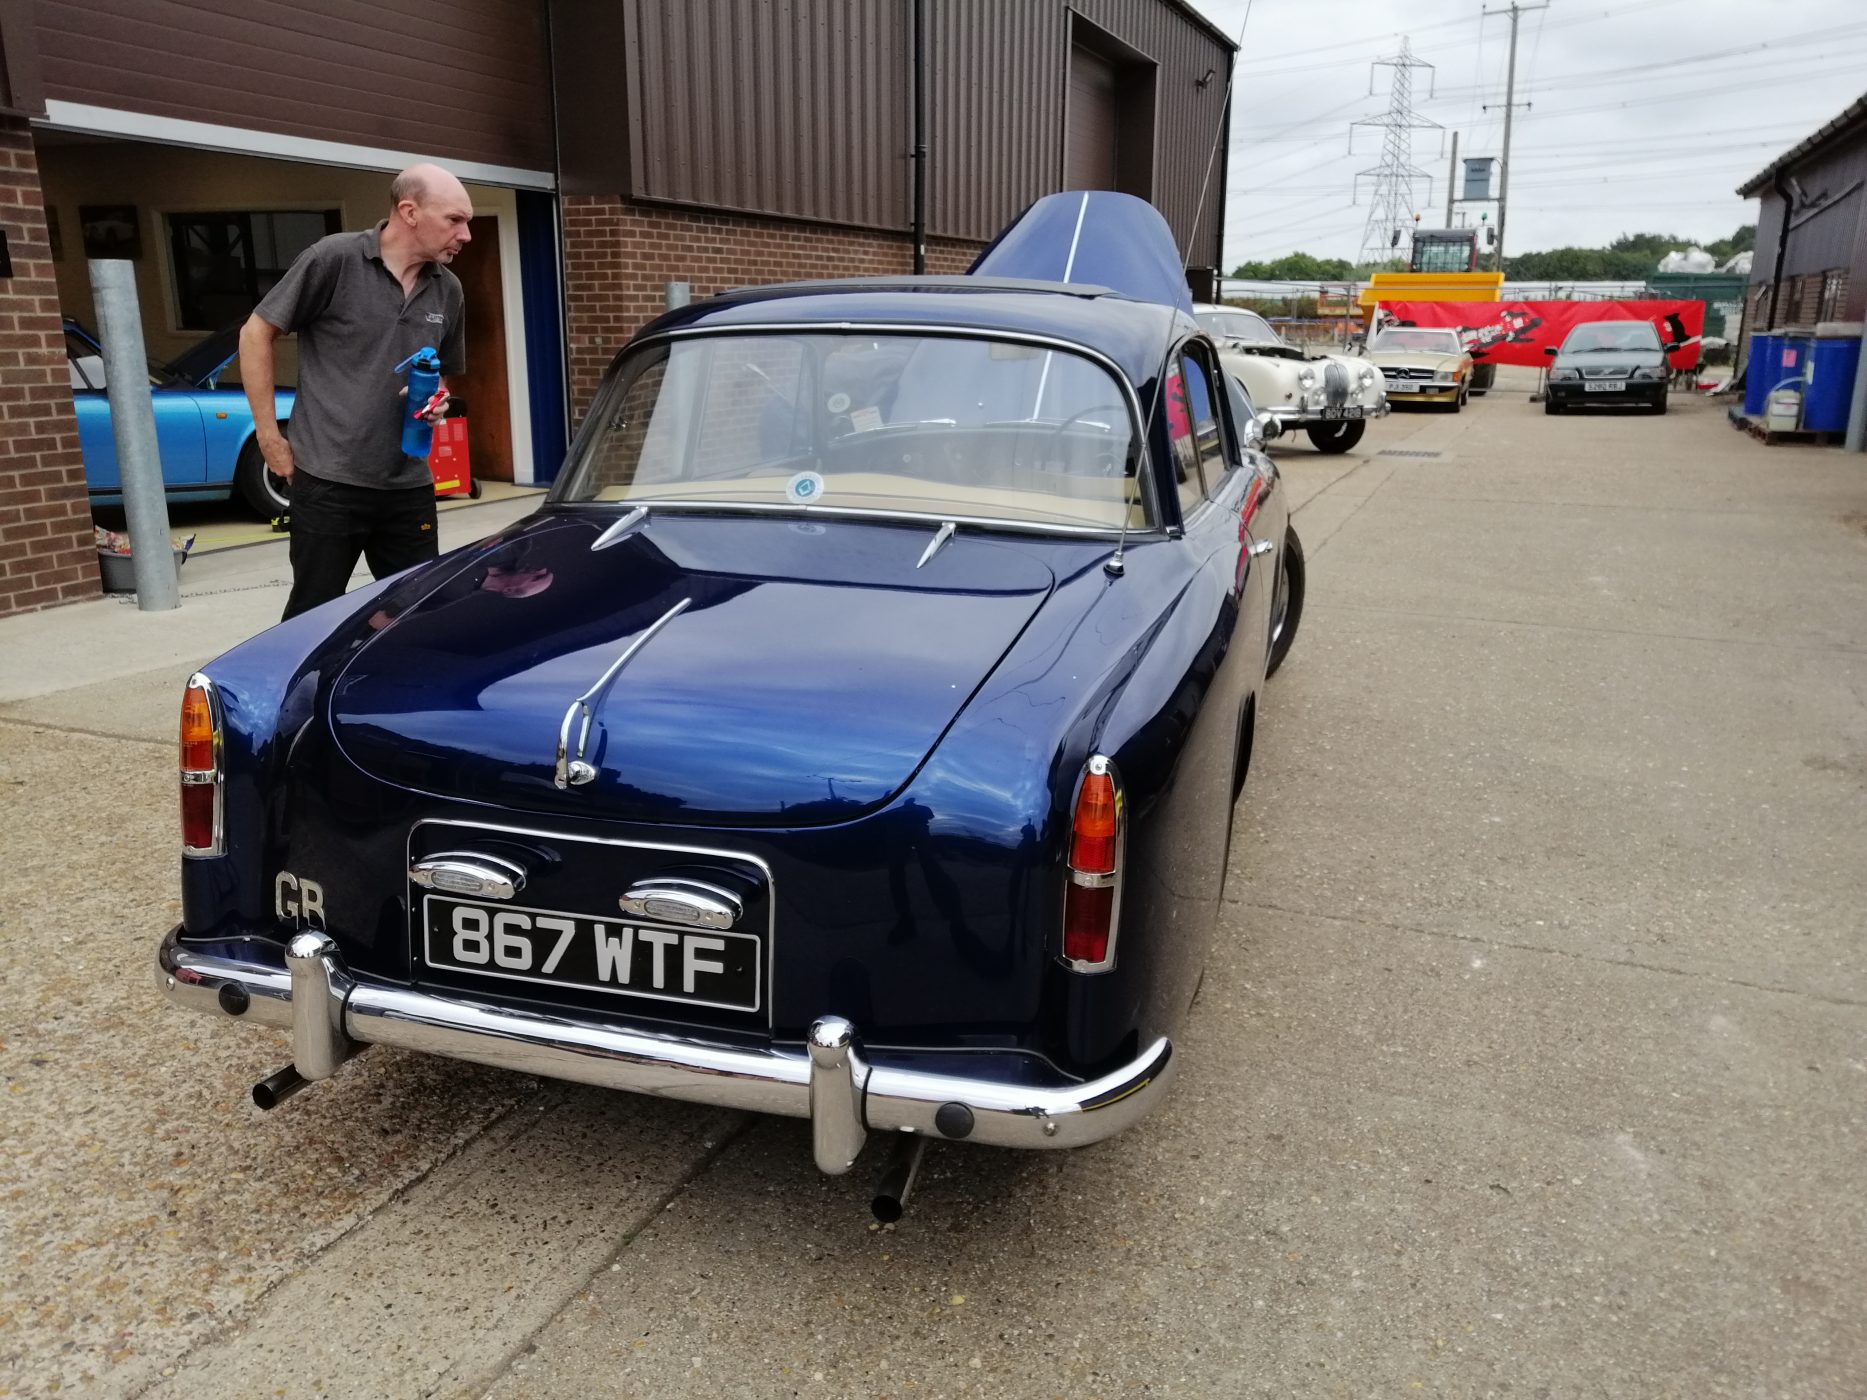
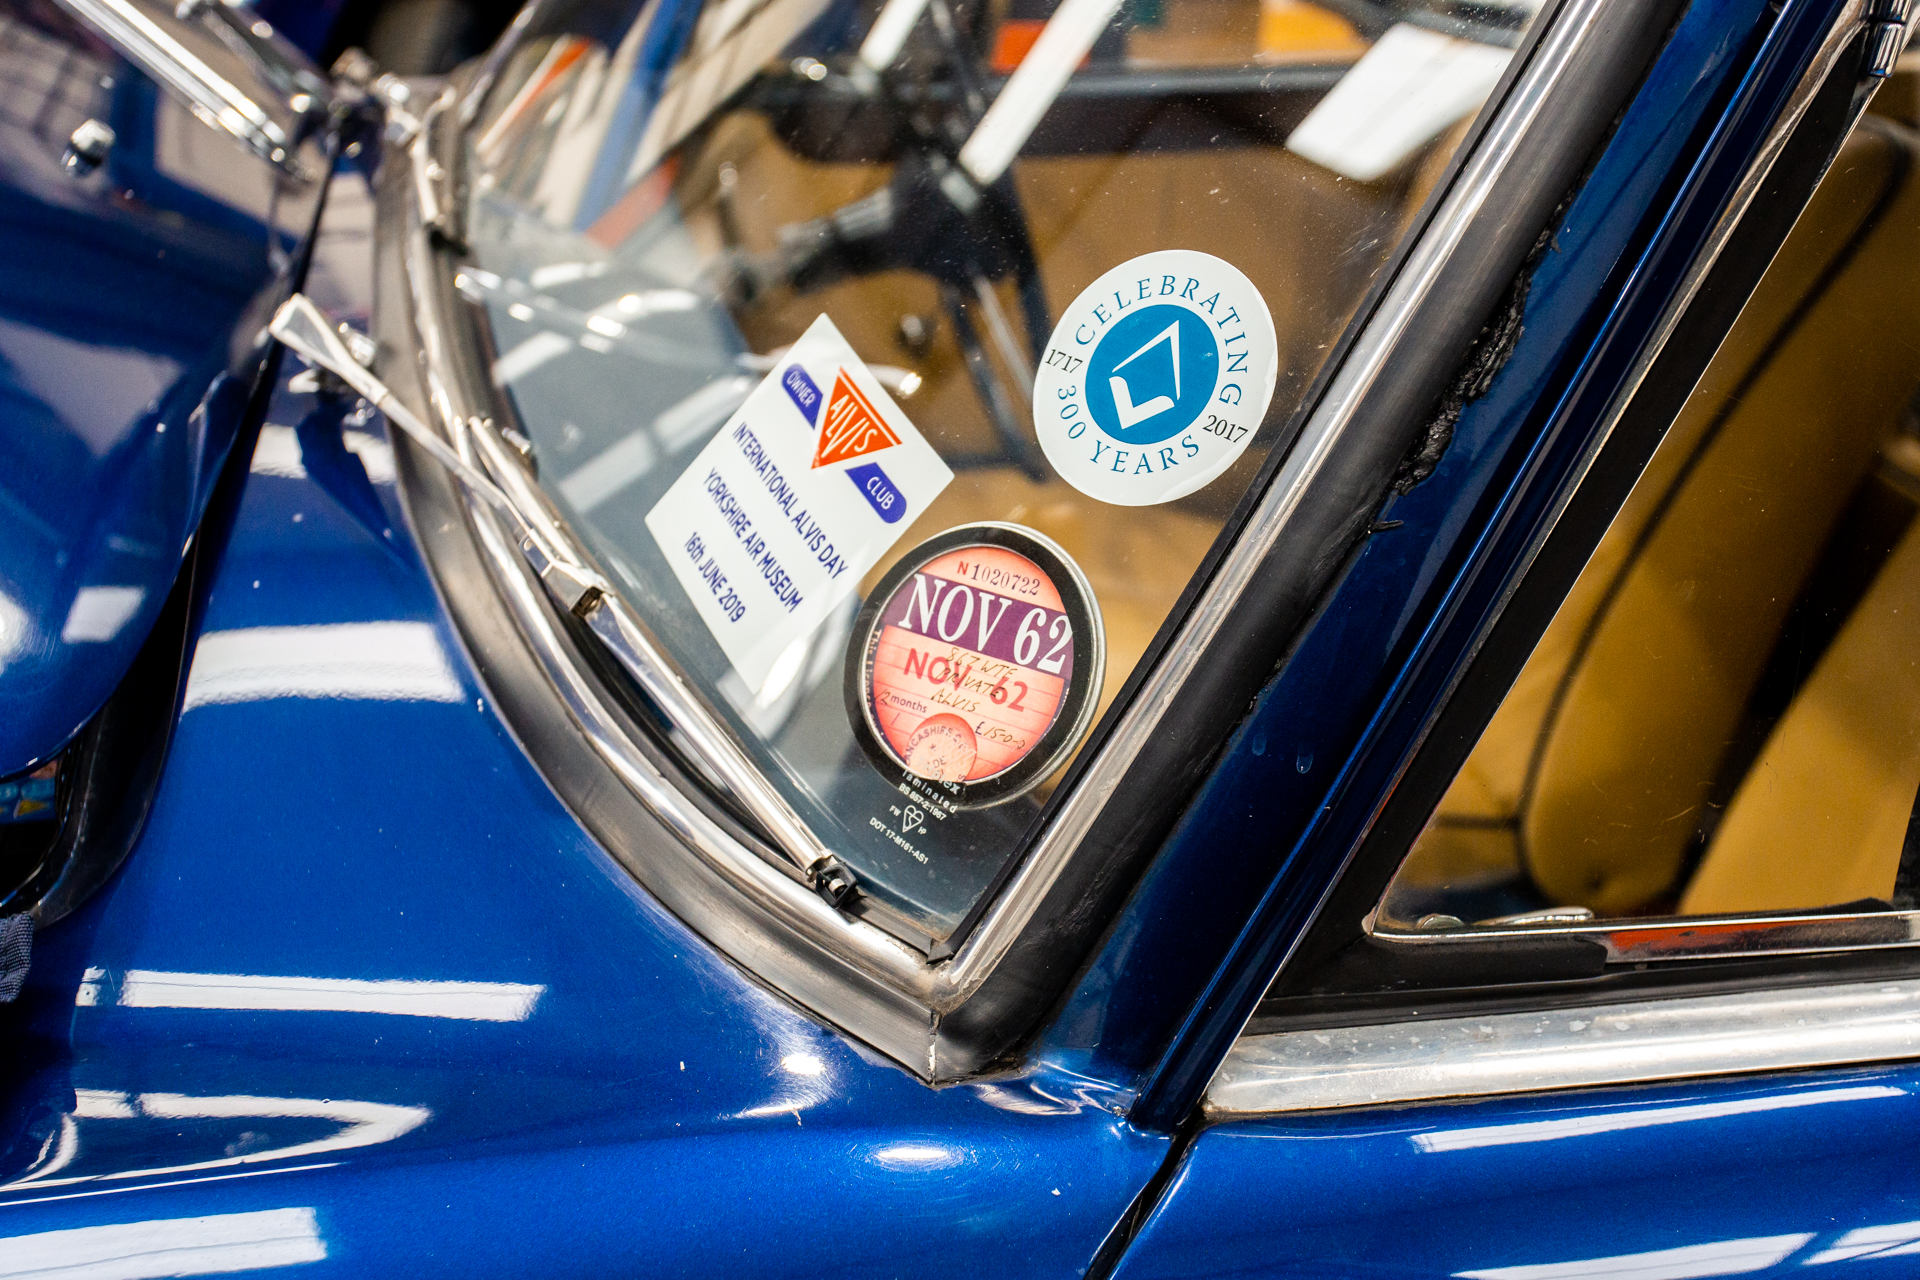
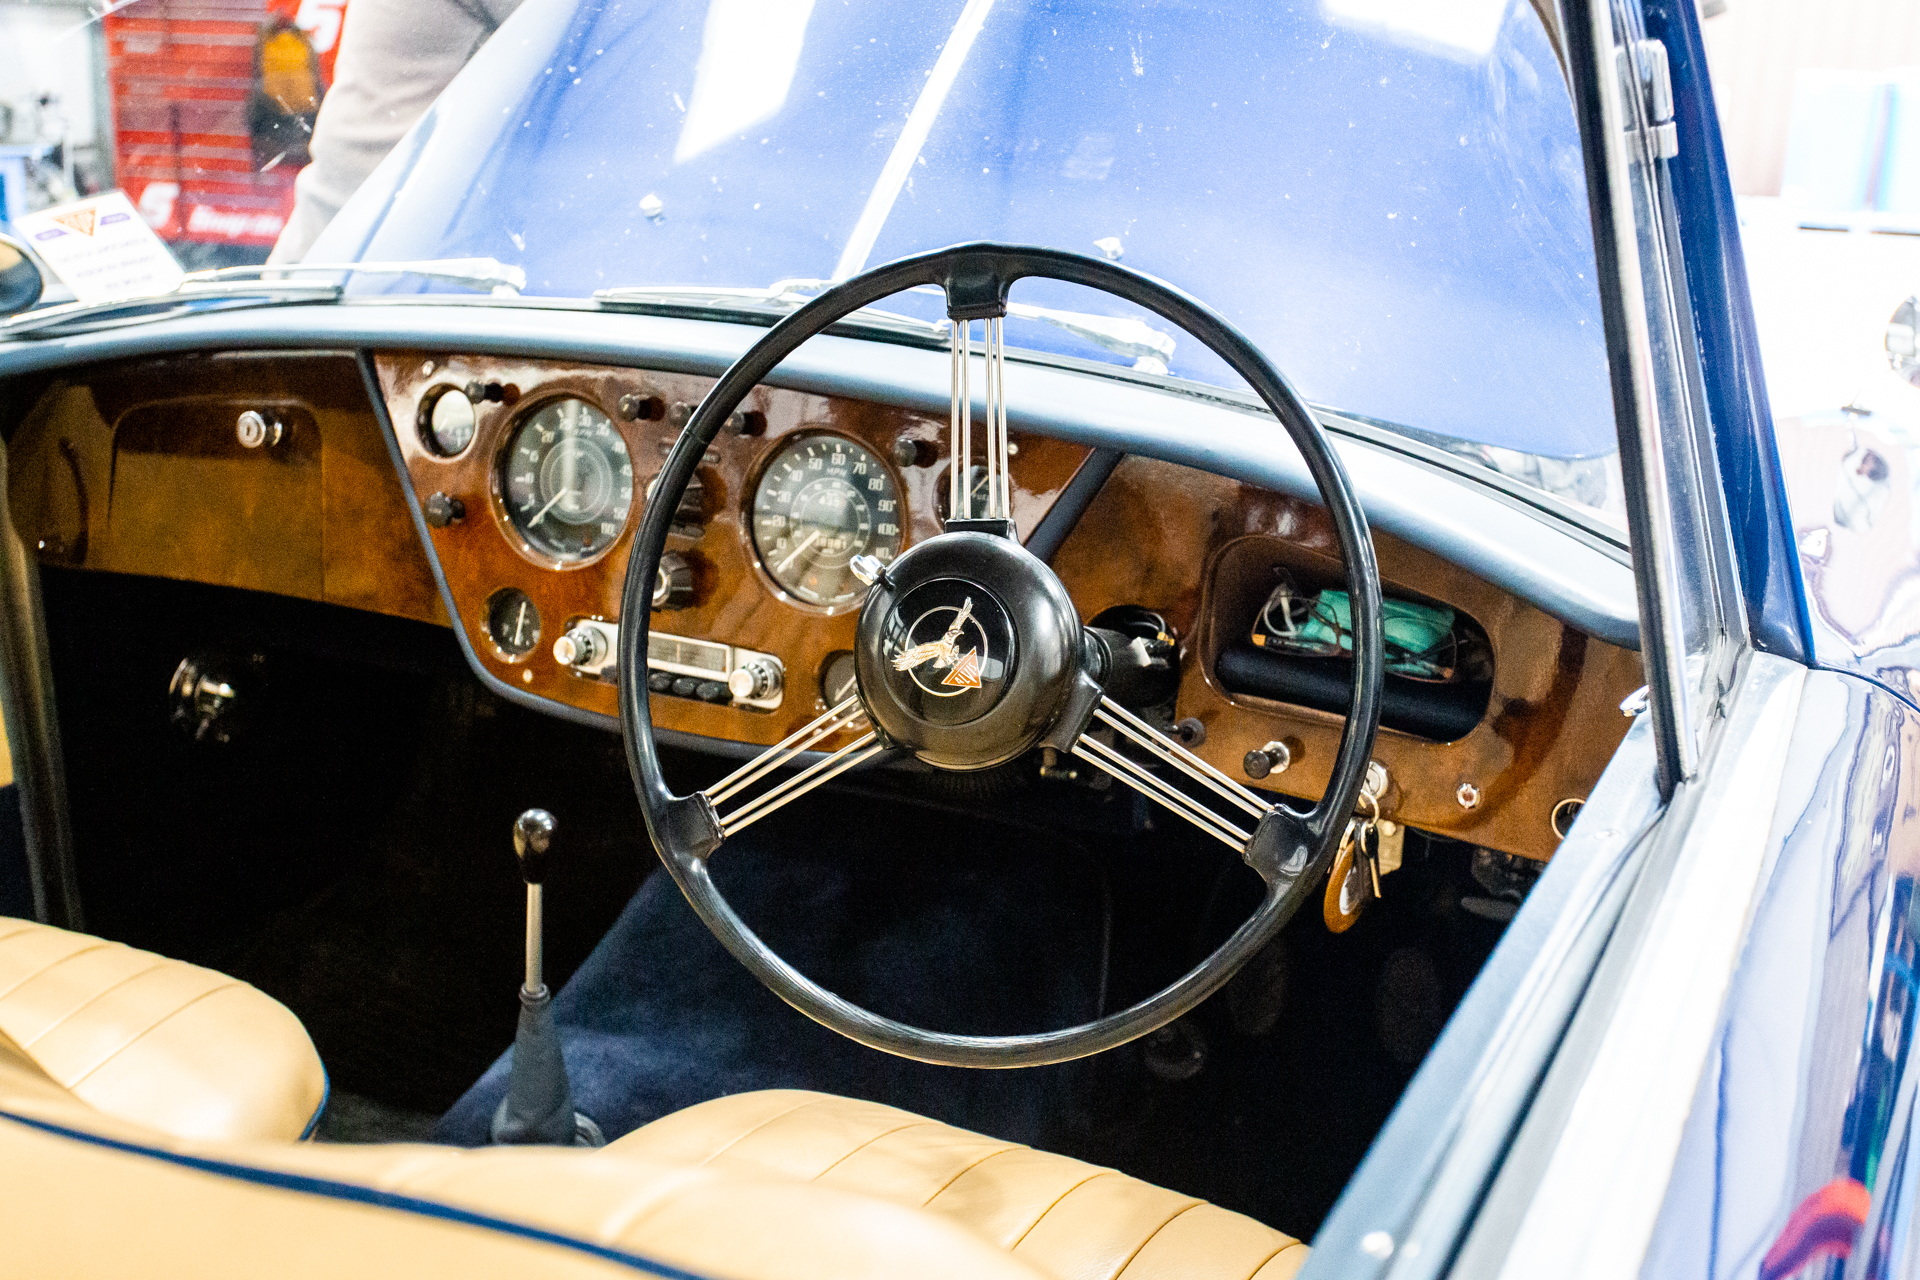
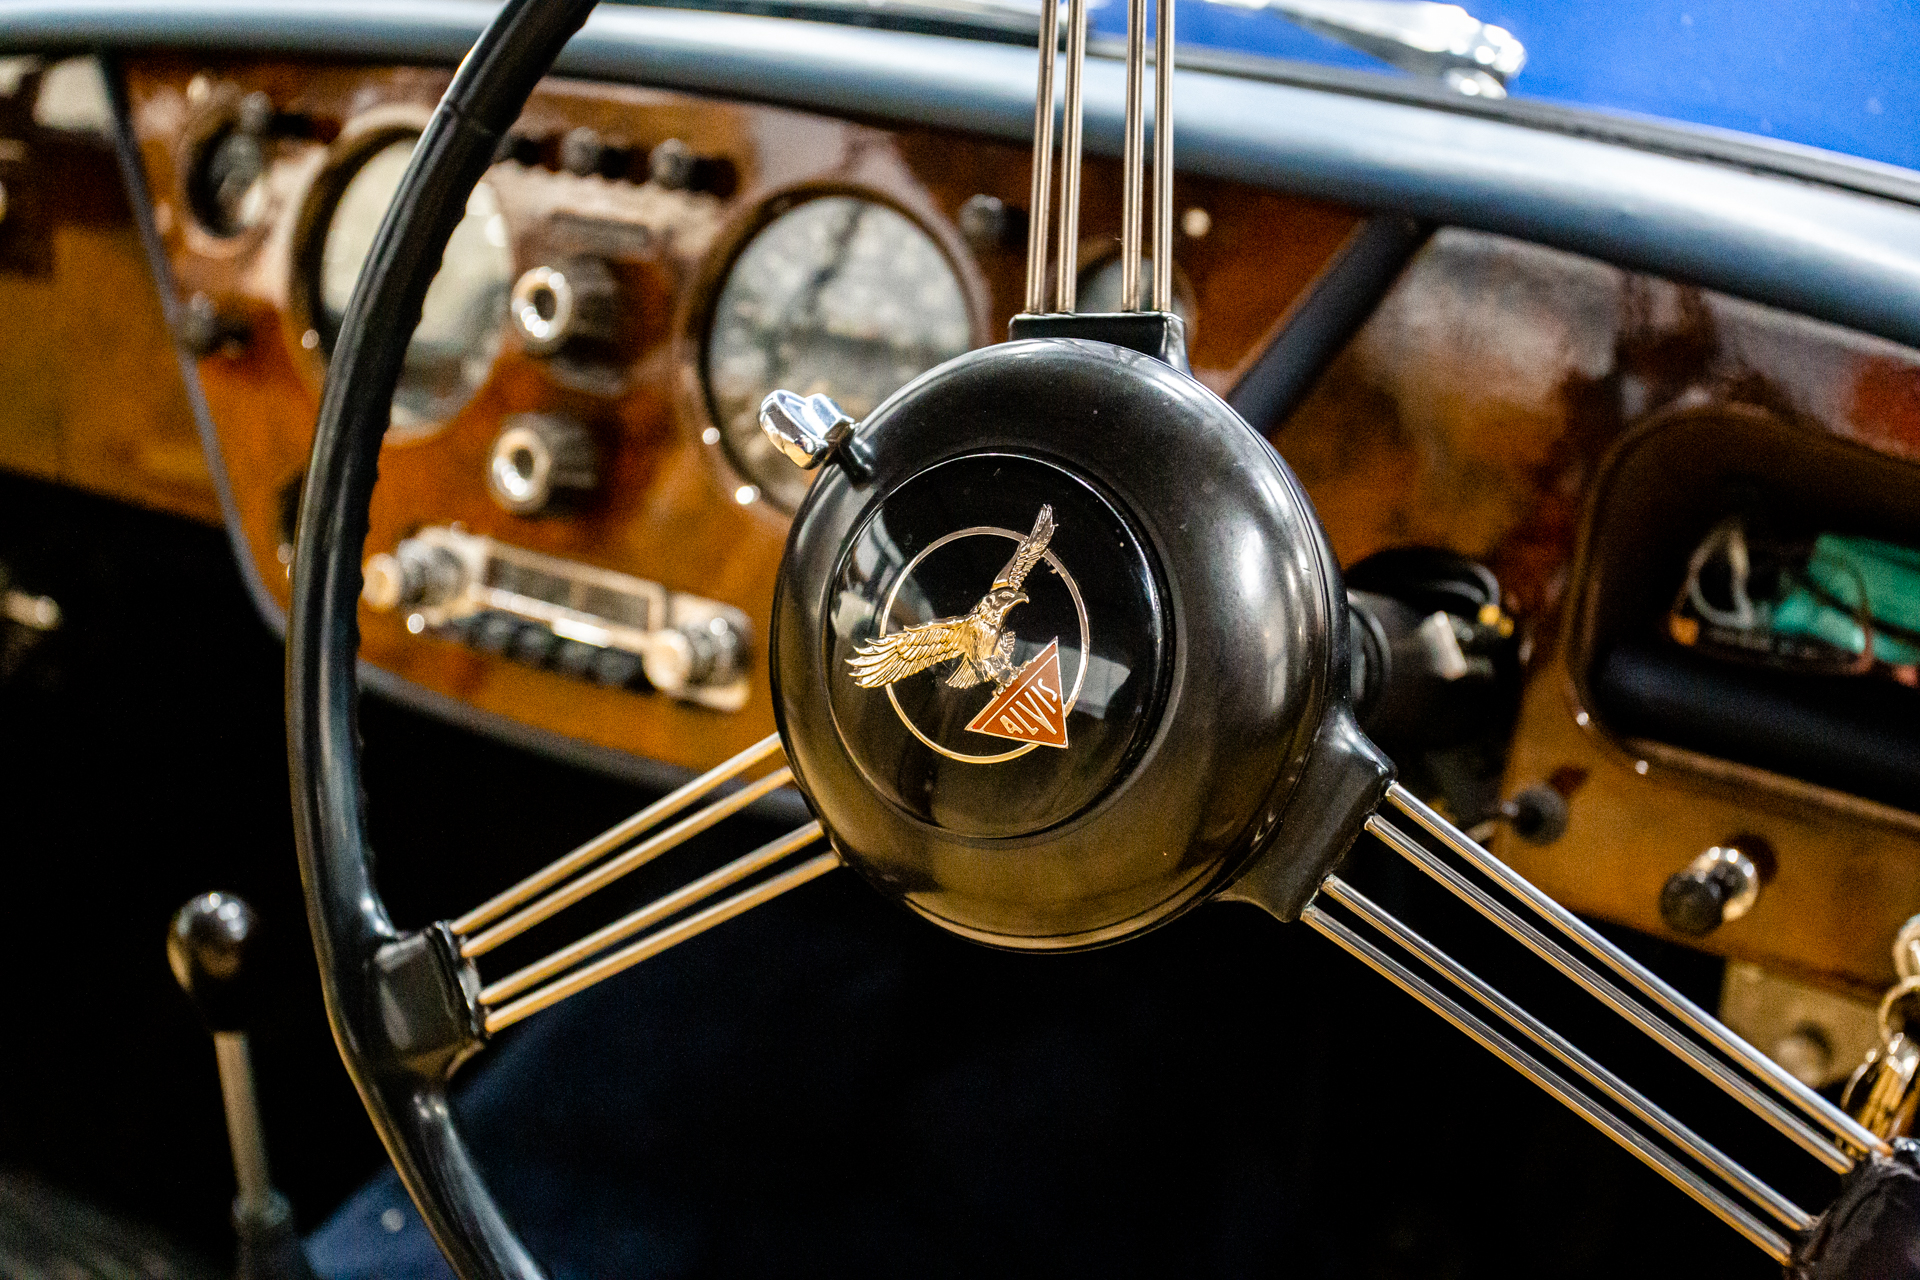
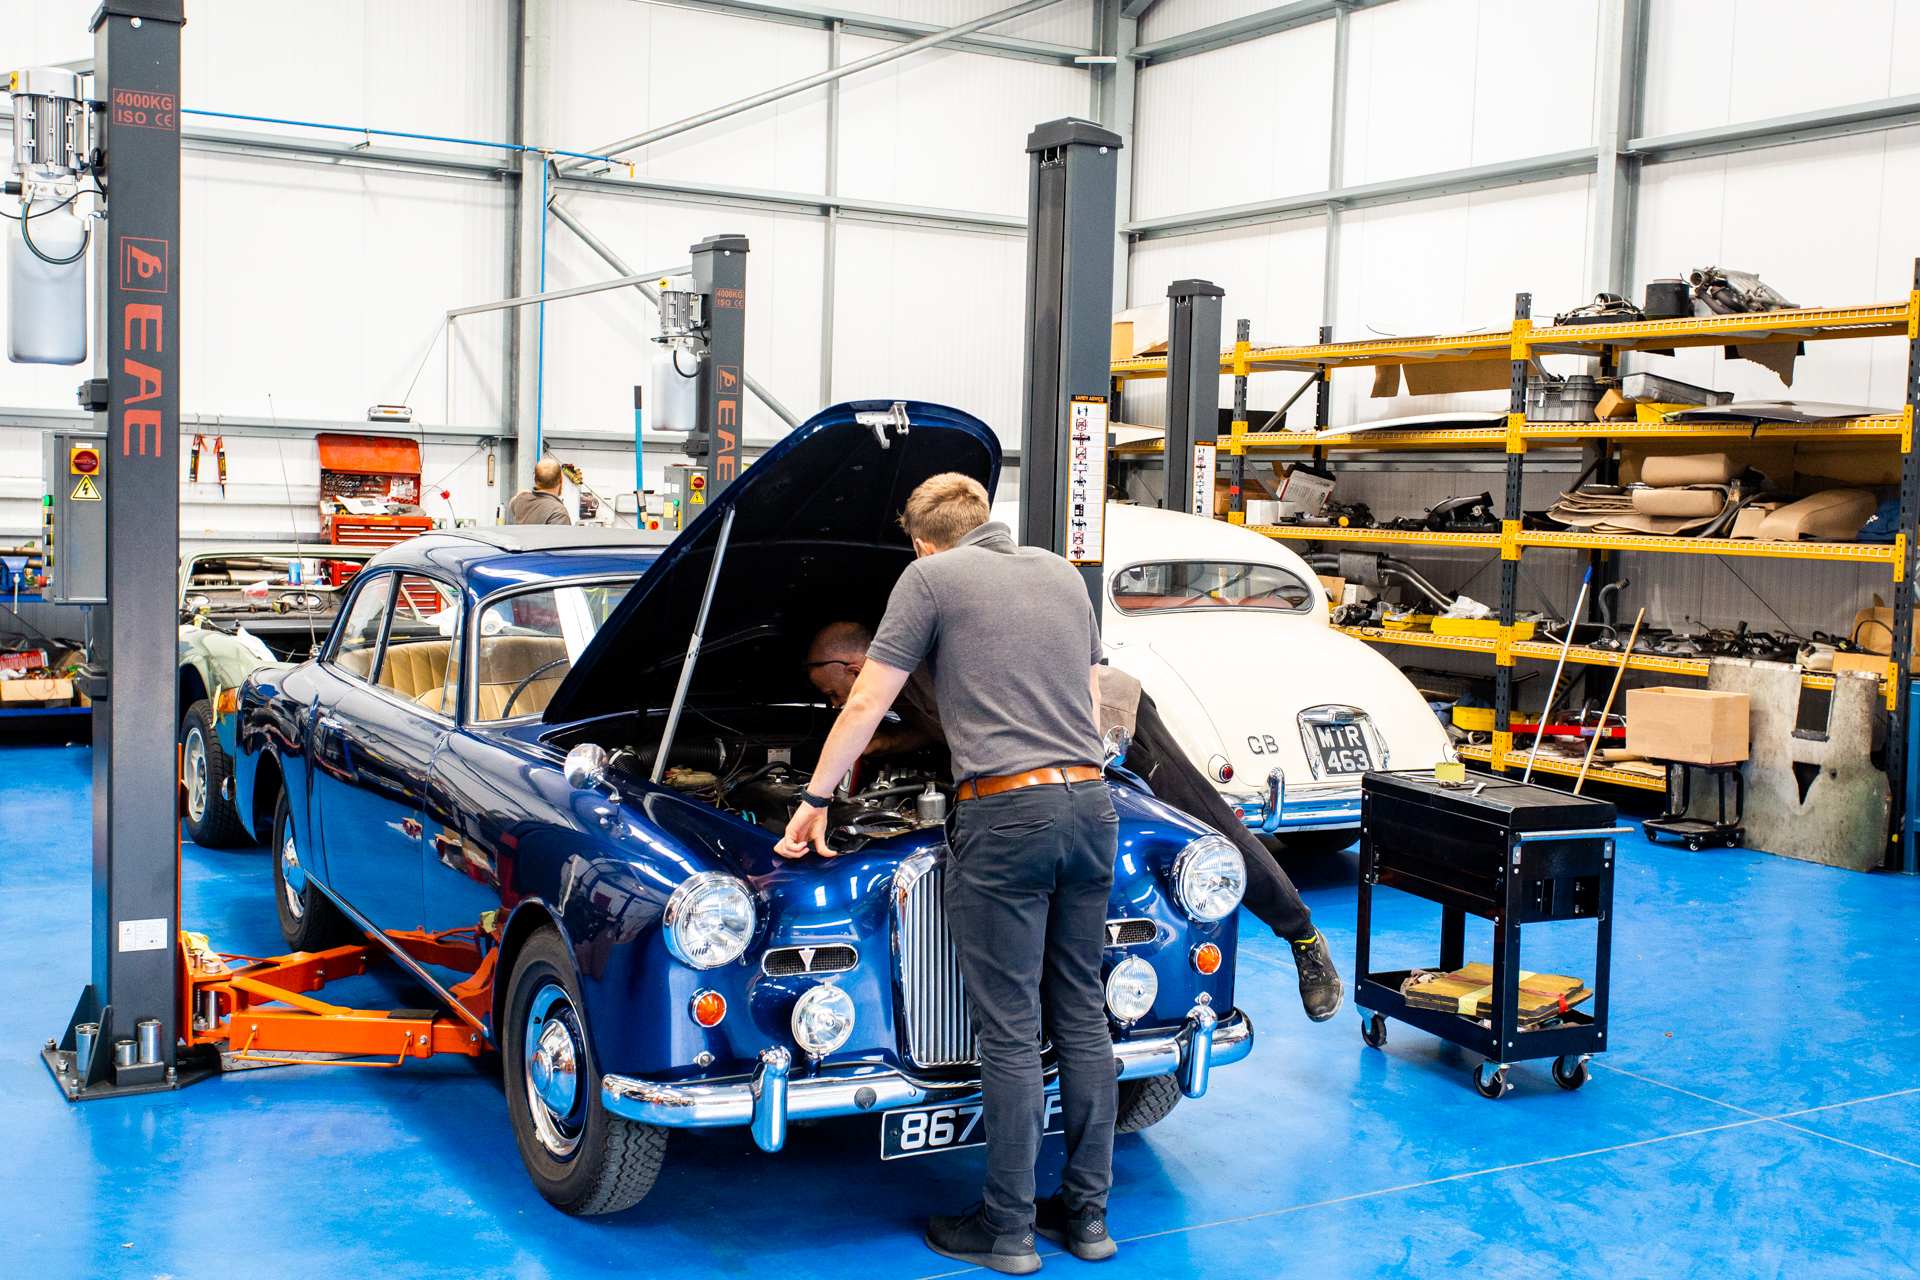
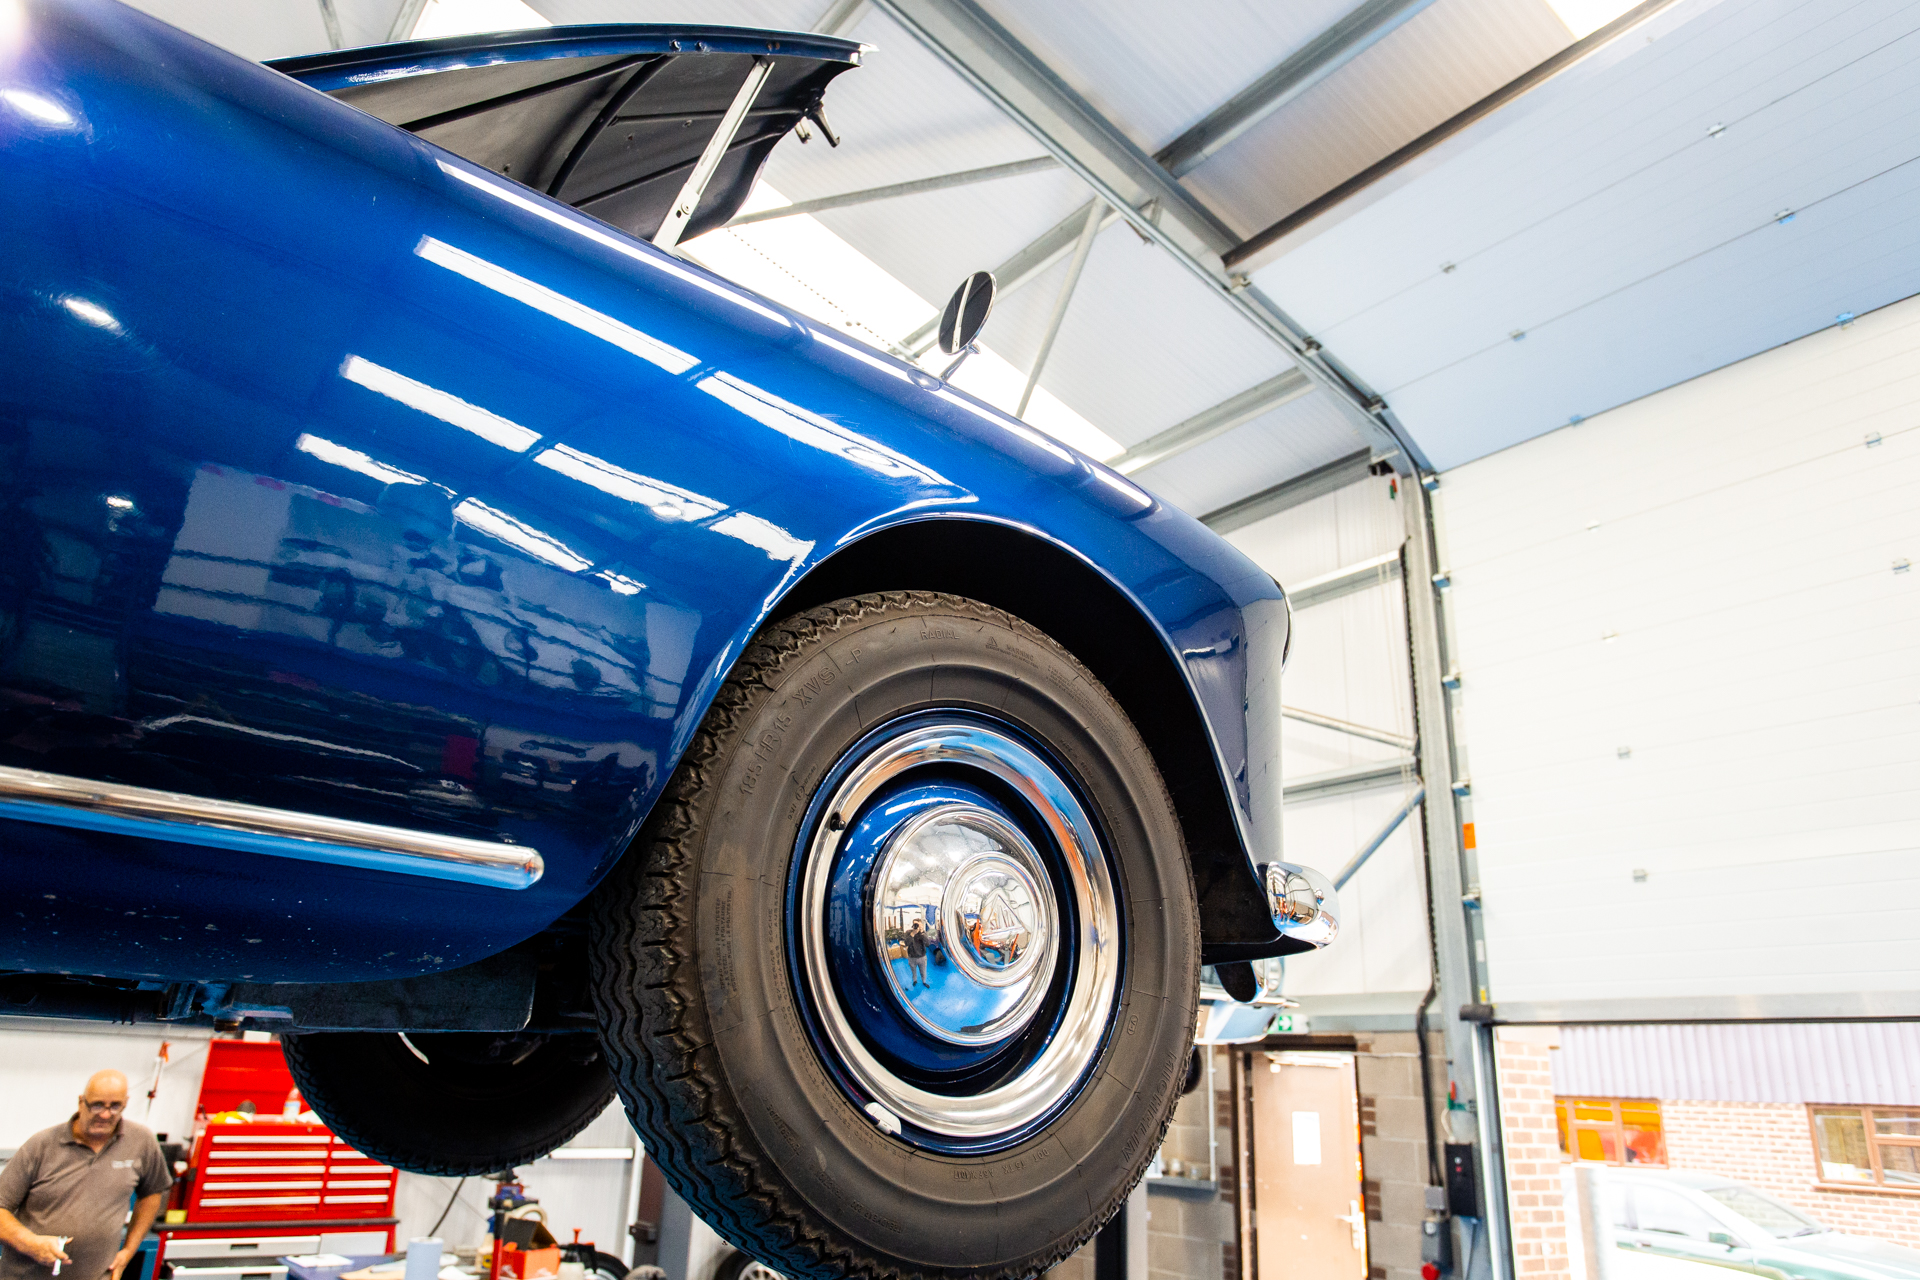
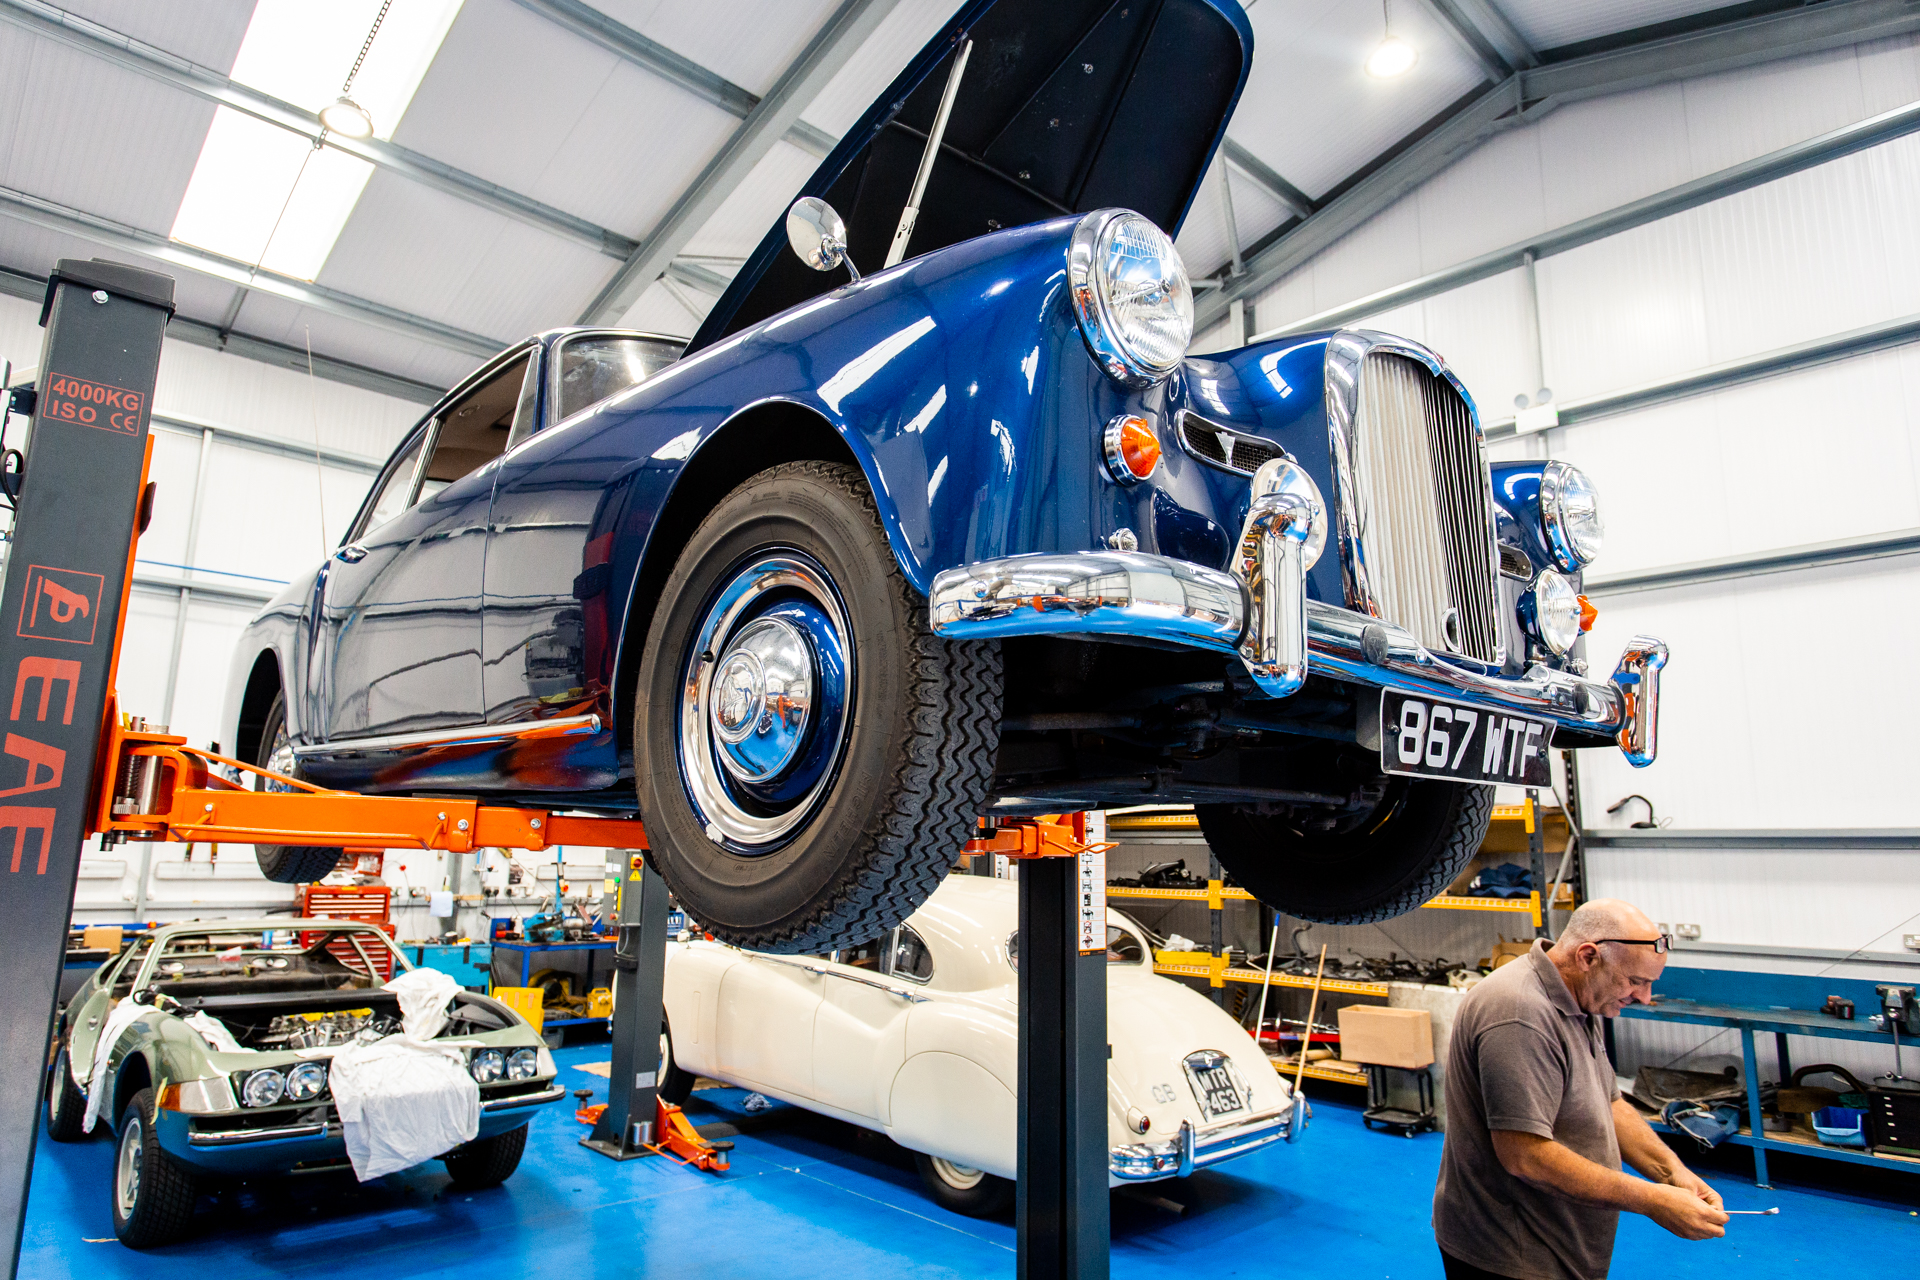
Yesterday we had an unexpected new arrival in the form of a blue 1961 Alvis TD21. Unfortunately, this classic had broken down and was on
You may have heard about Jaguar re-producing the 1953 Le Mans-Winning Jaguar C-Type. It’s been a conversation in the classic car world for several months
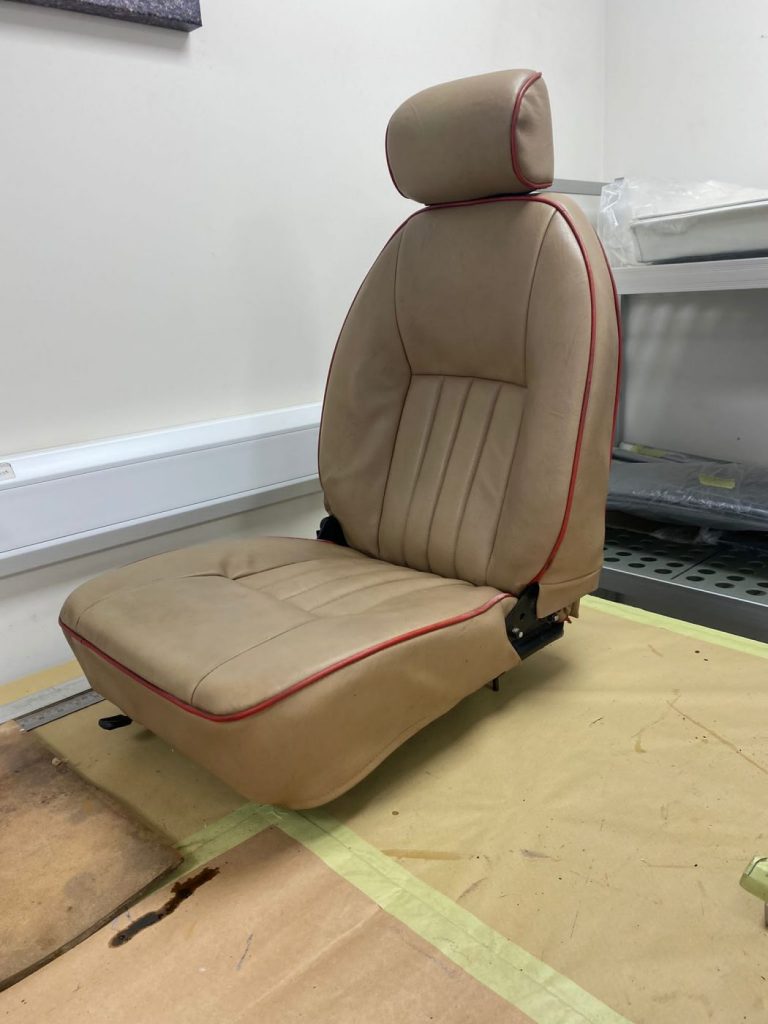
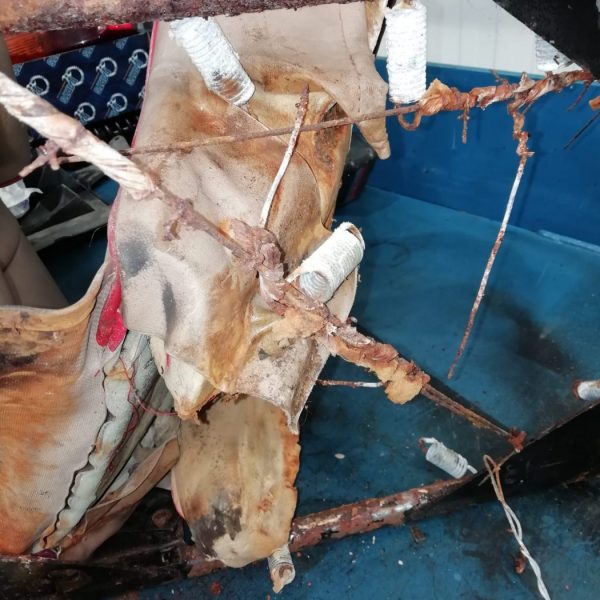
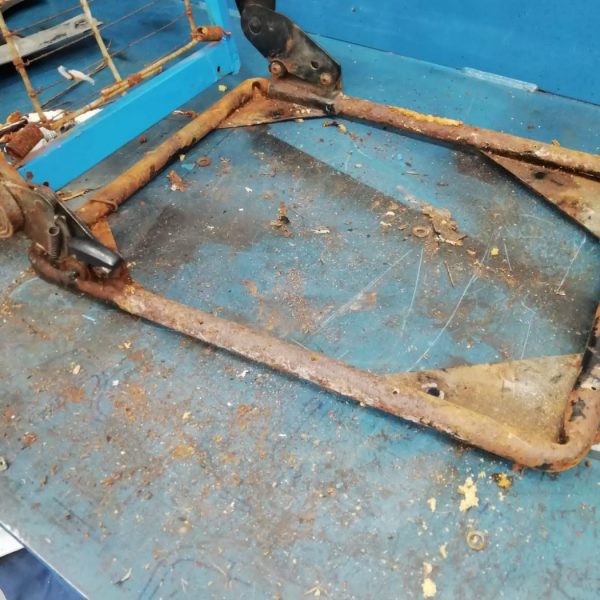
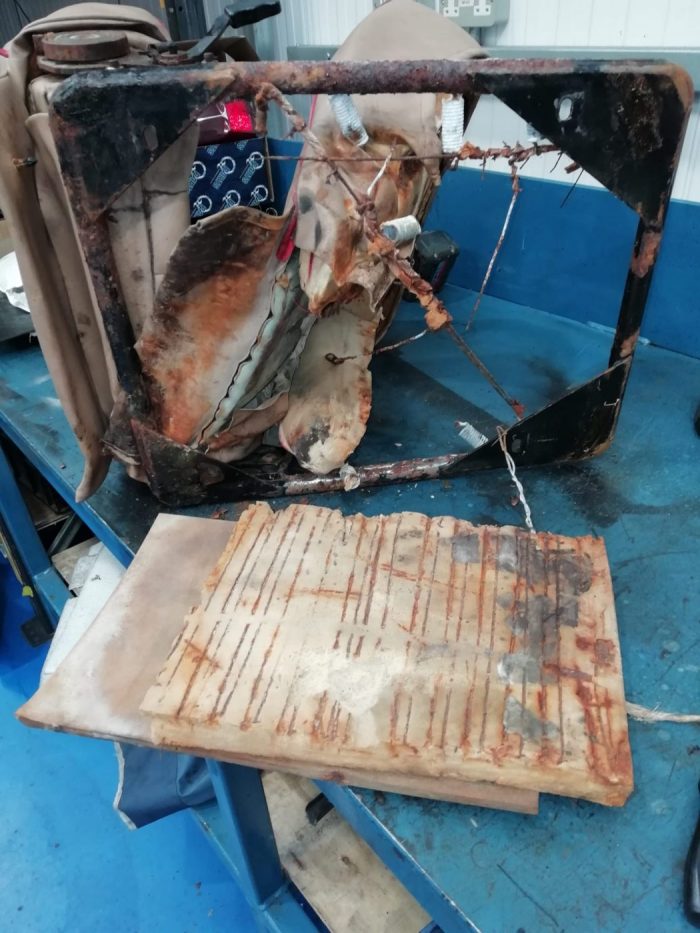
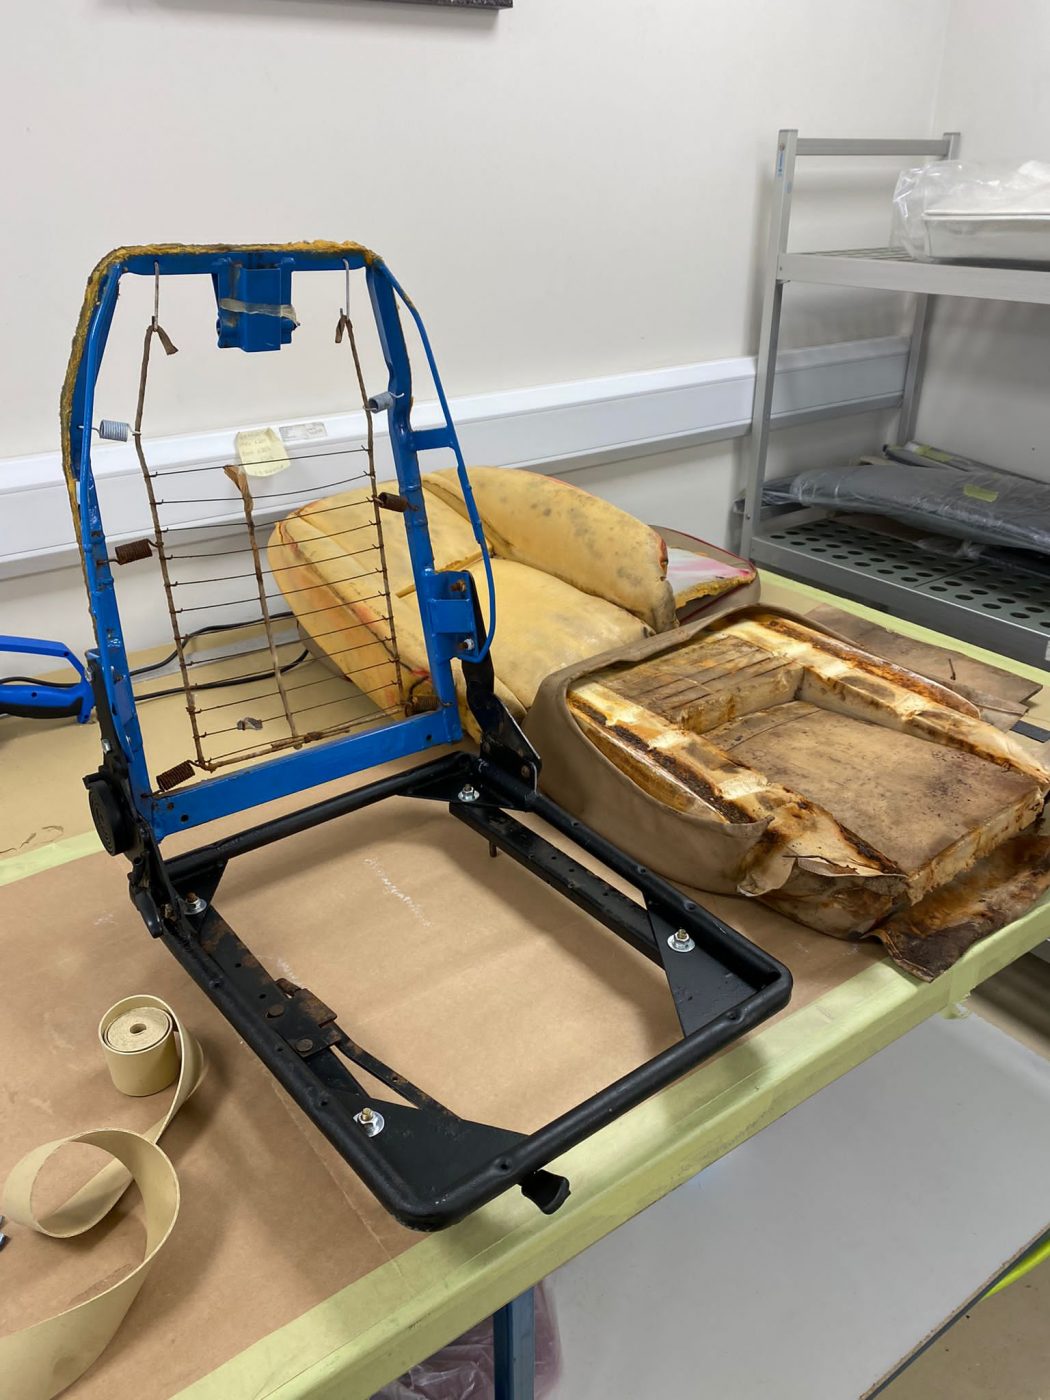
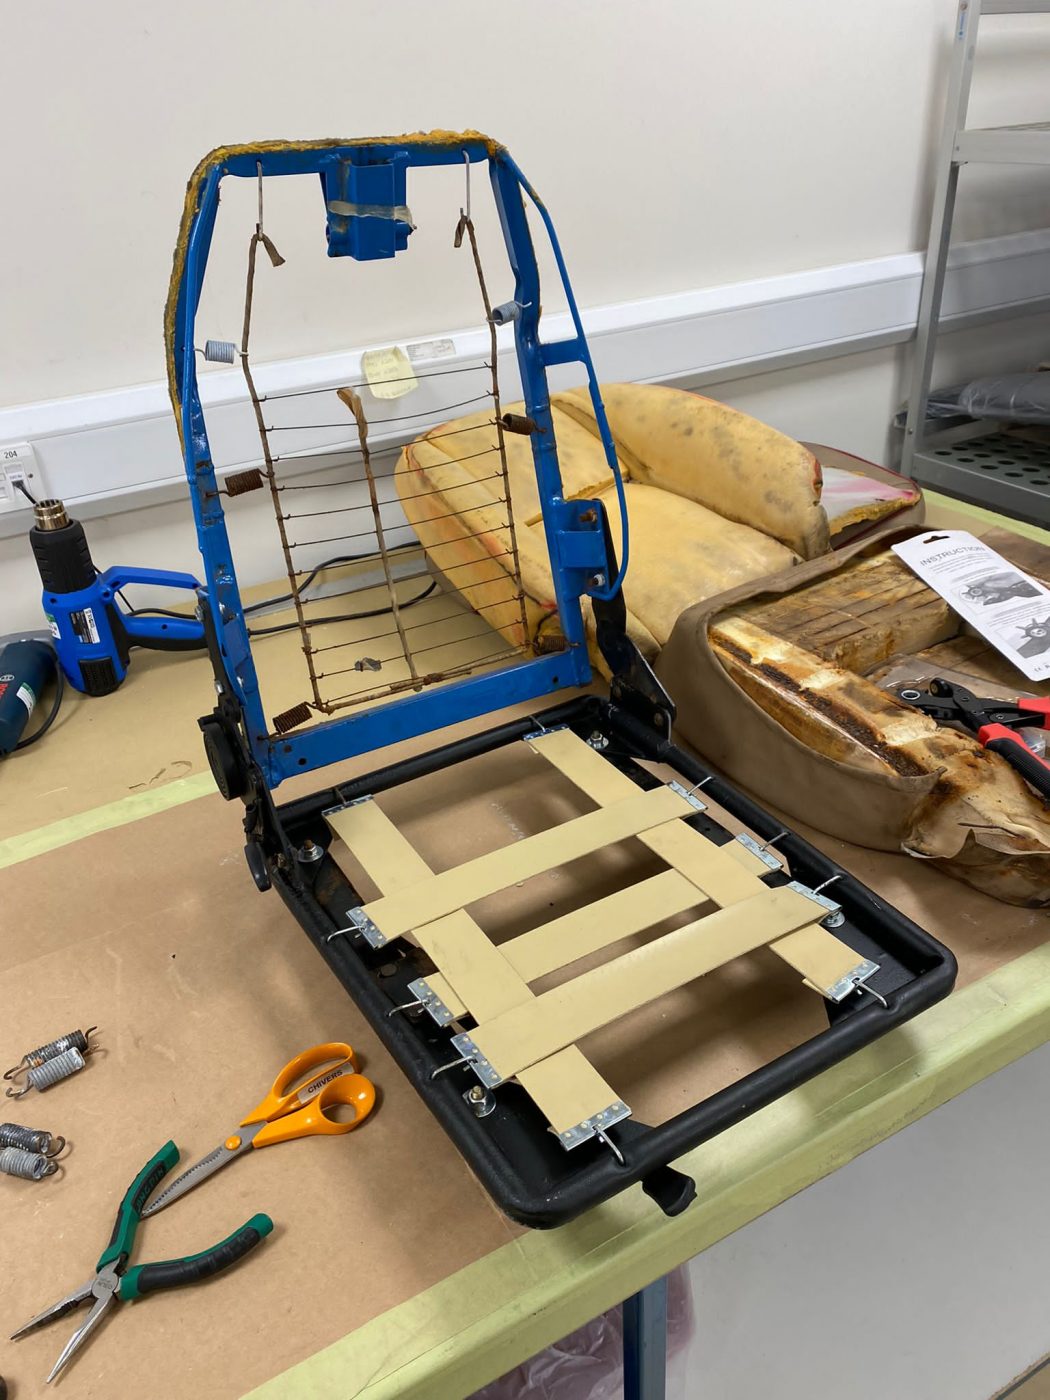
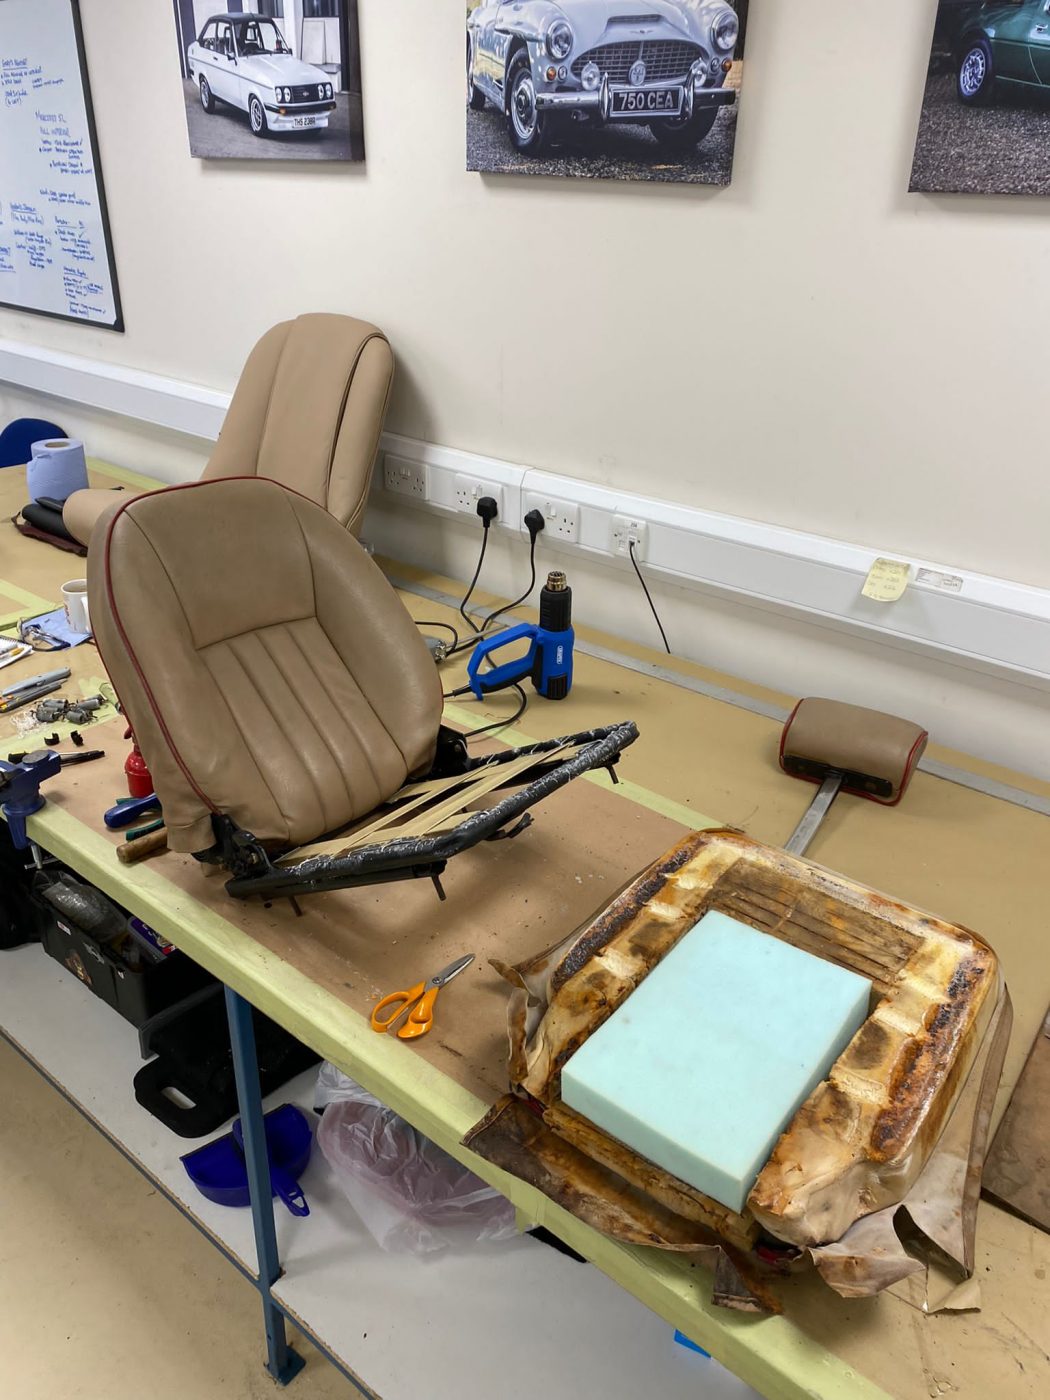
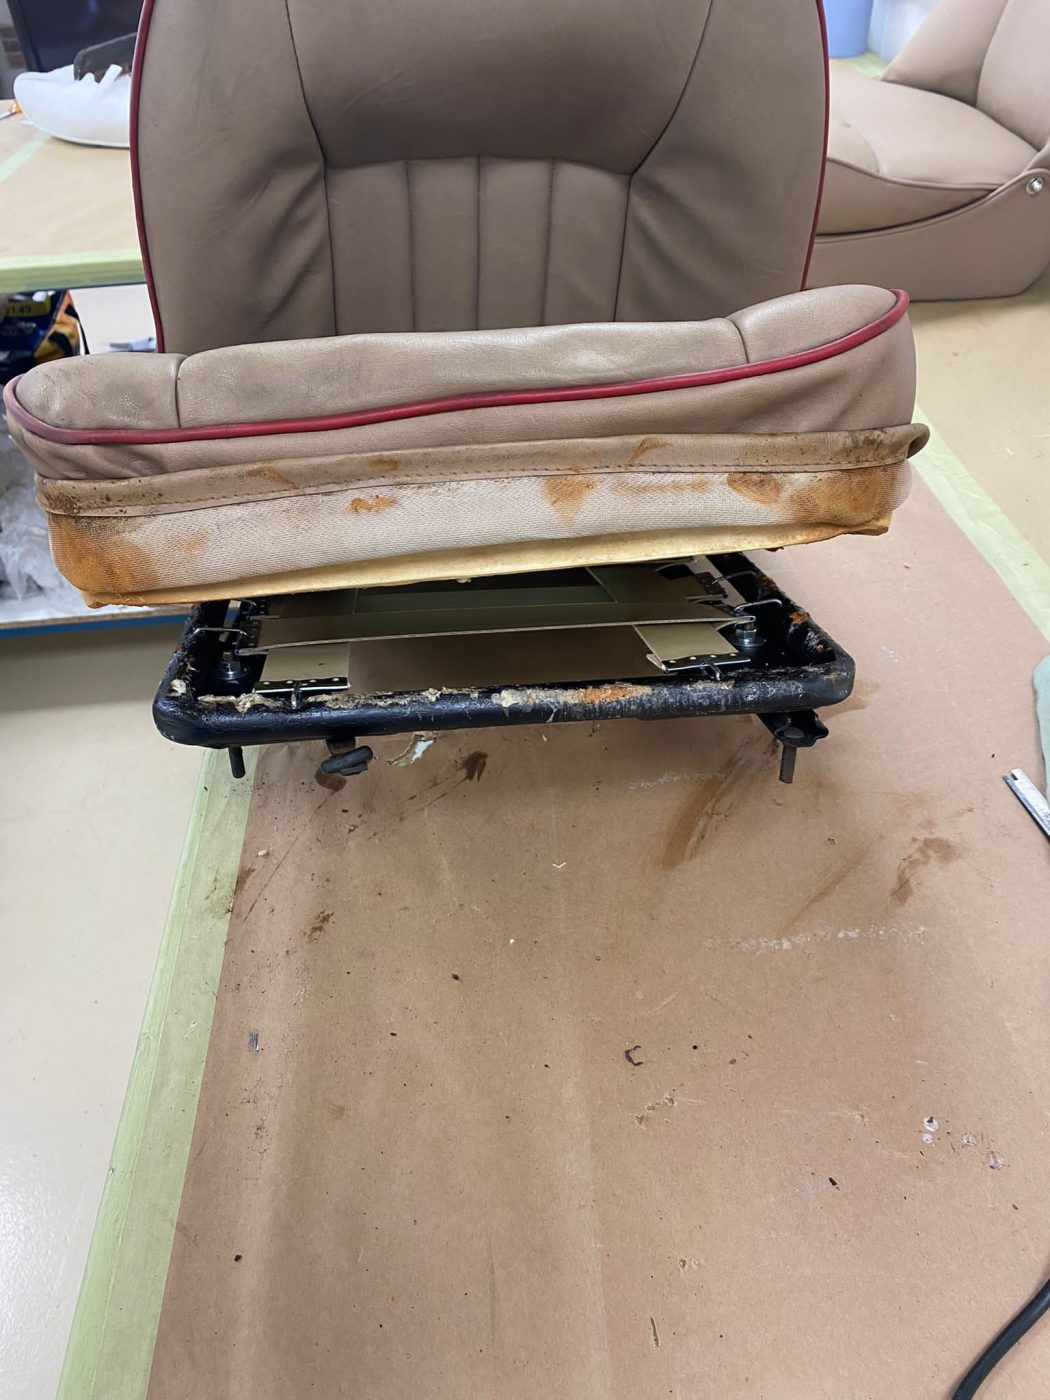
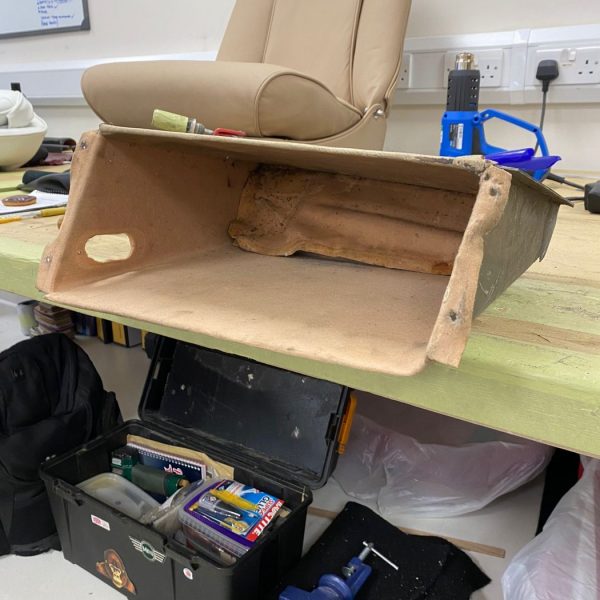
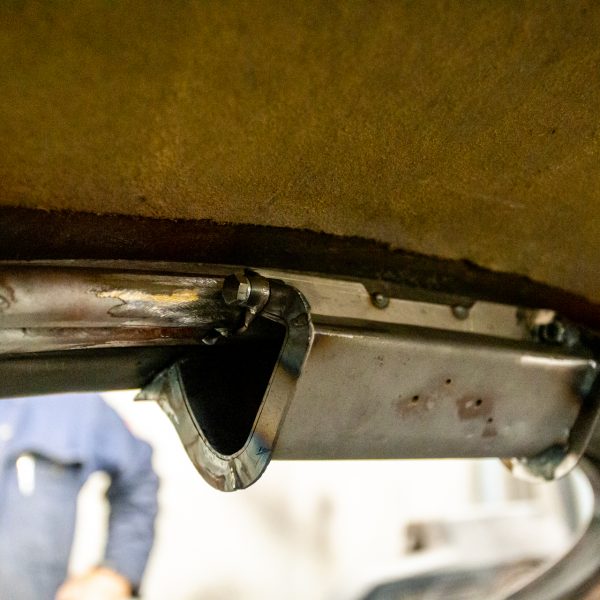
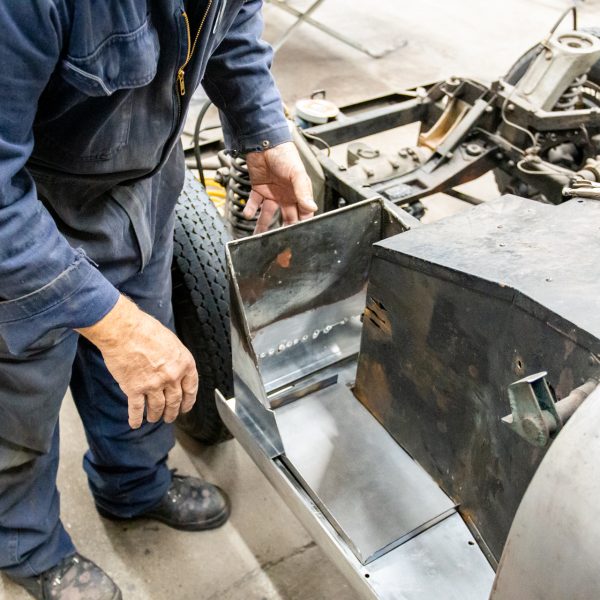
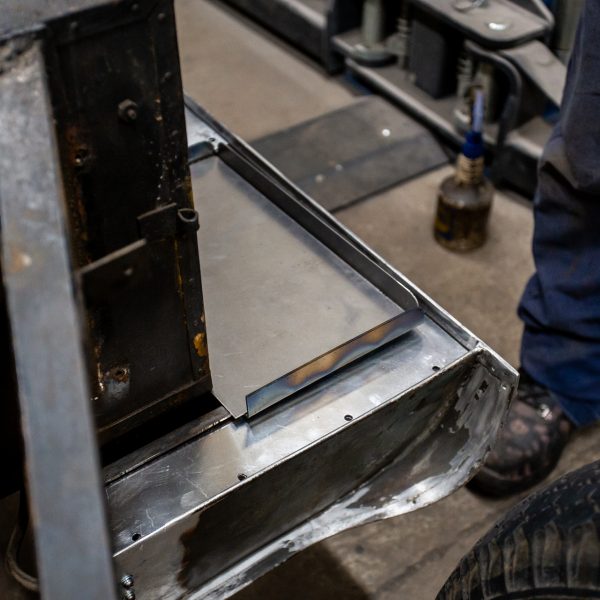
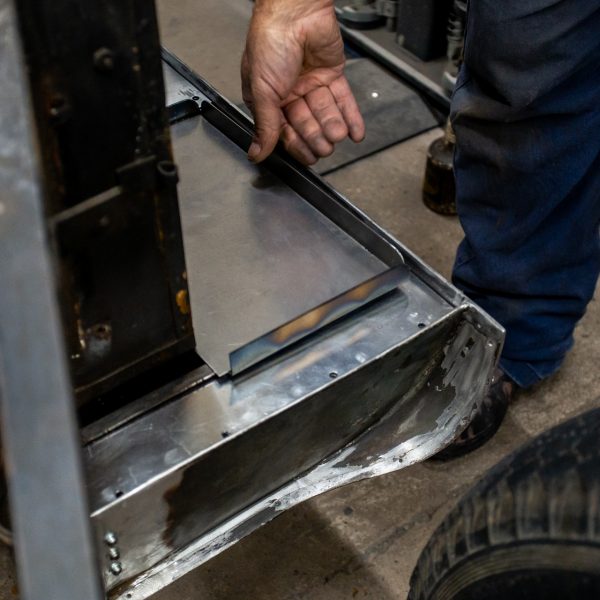
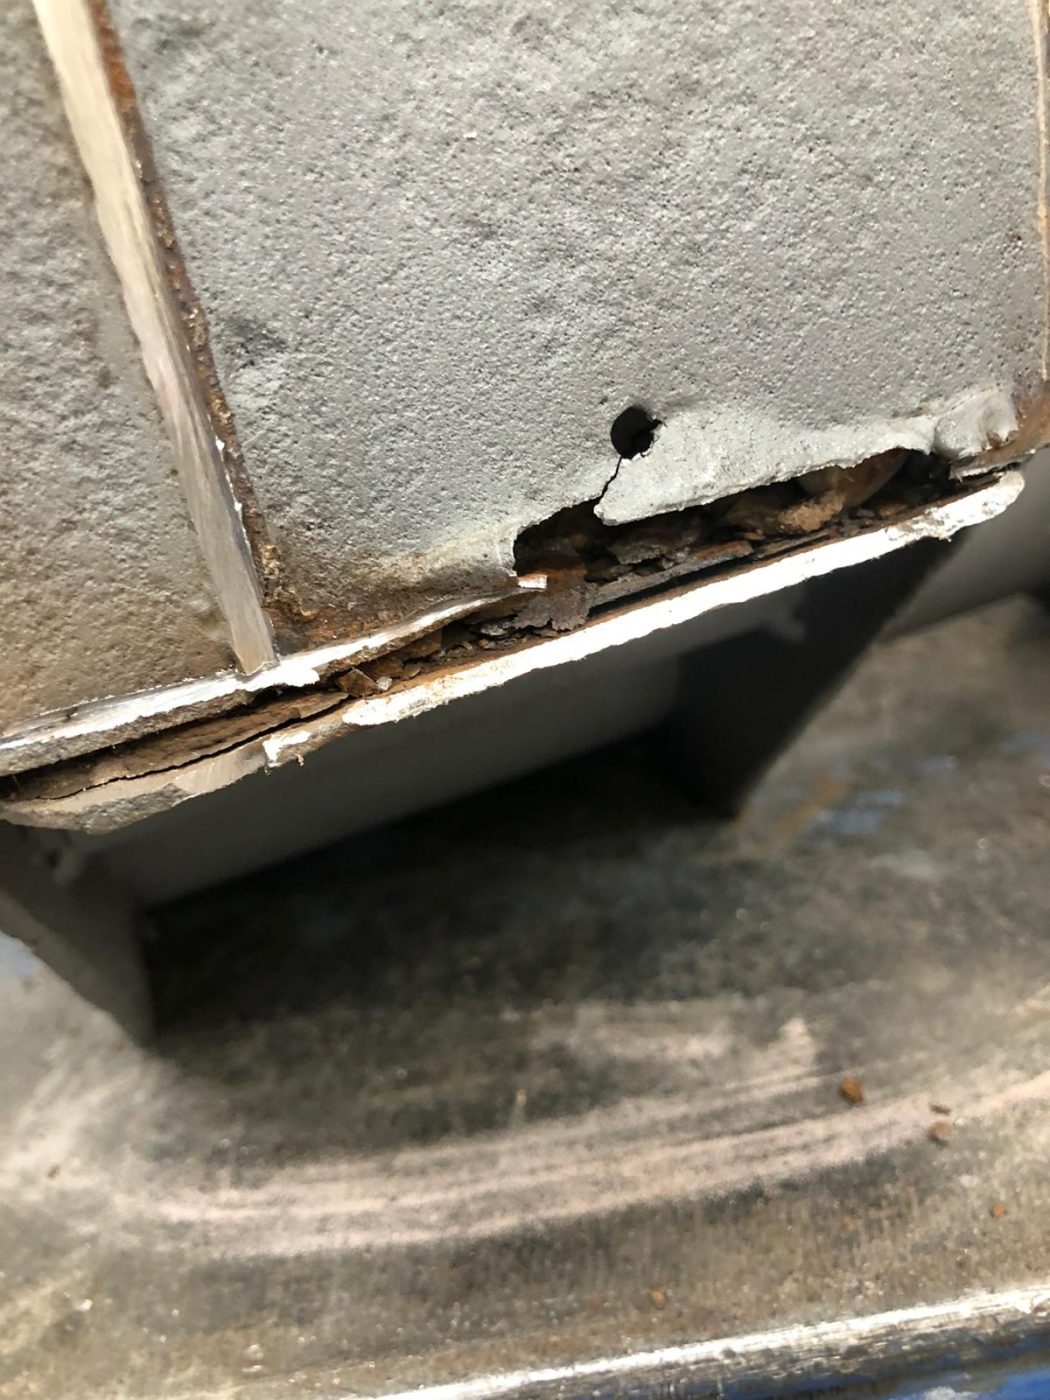
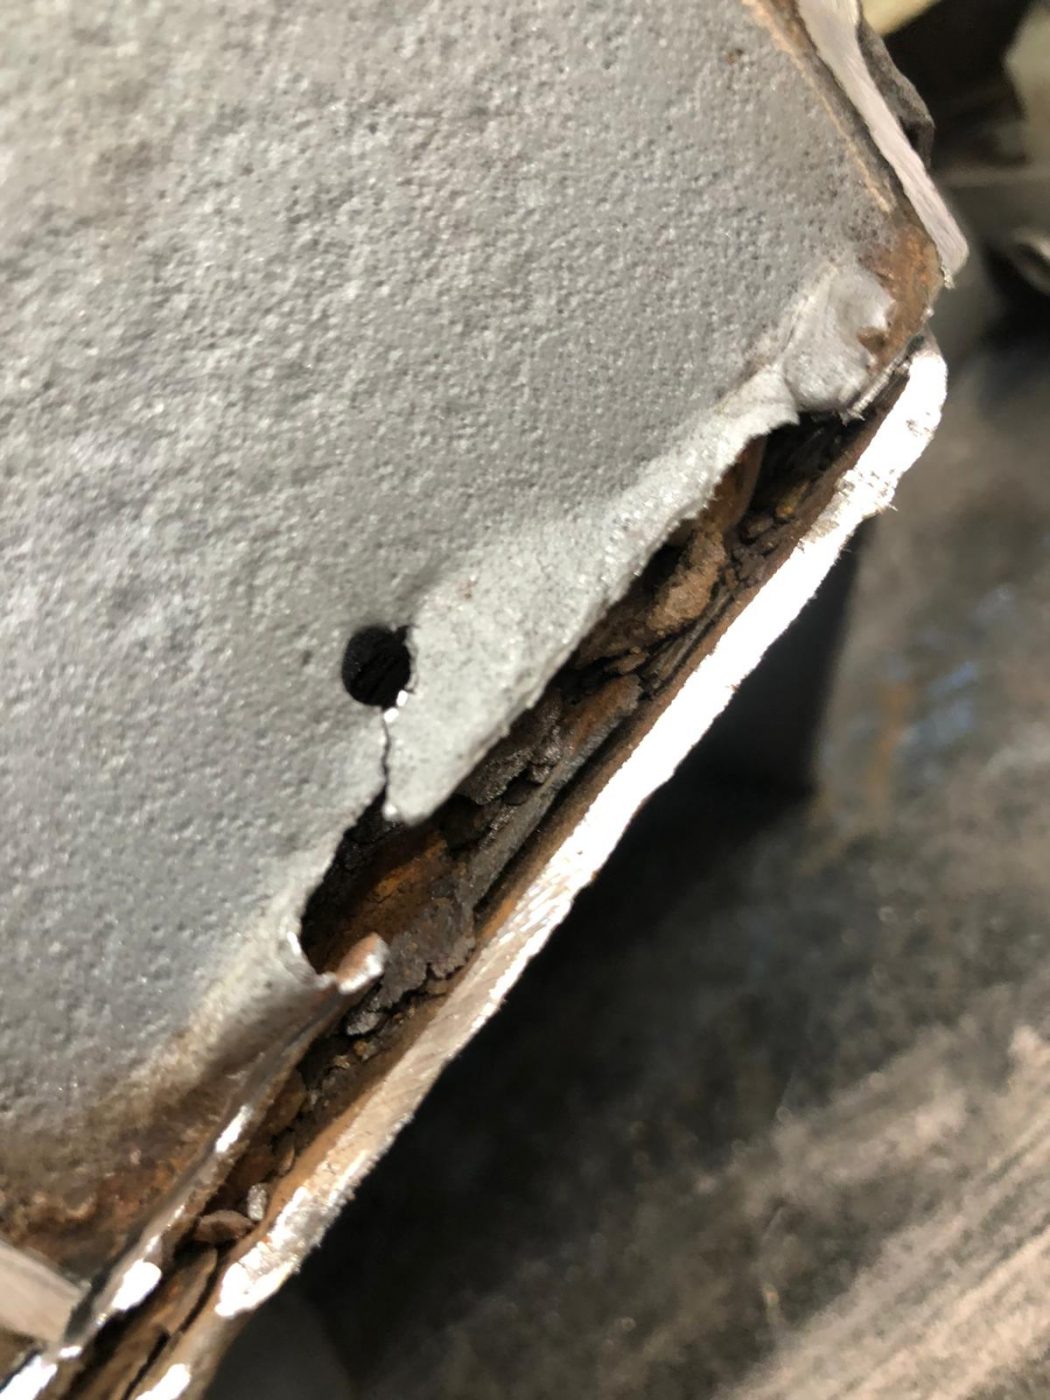
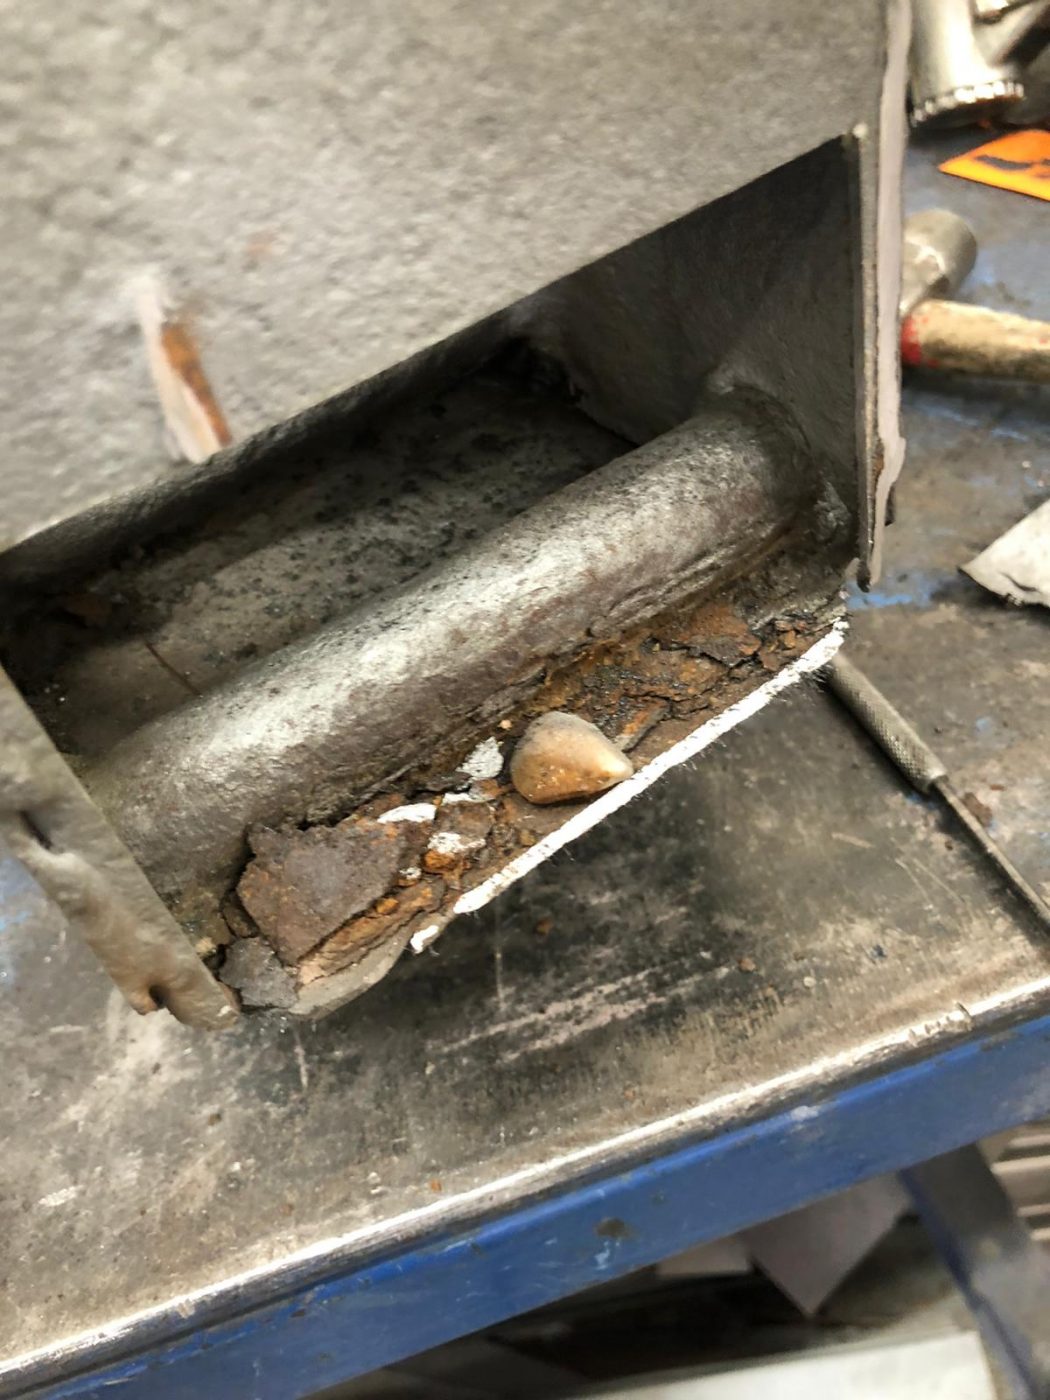
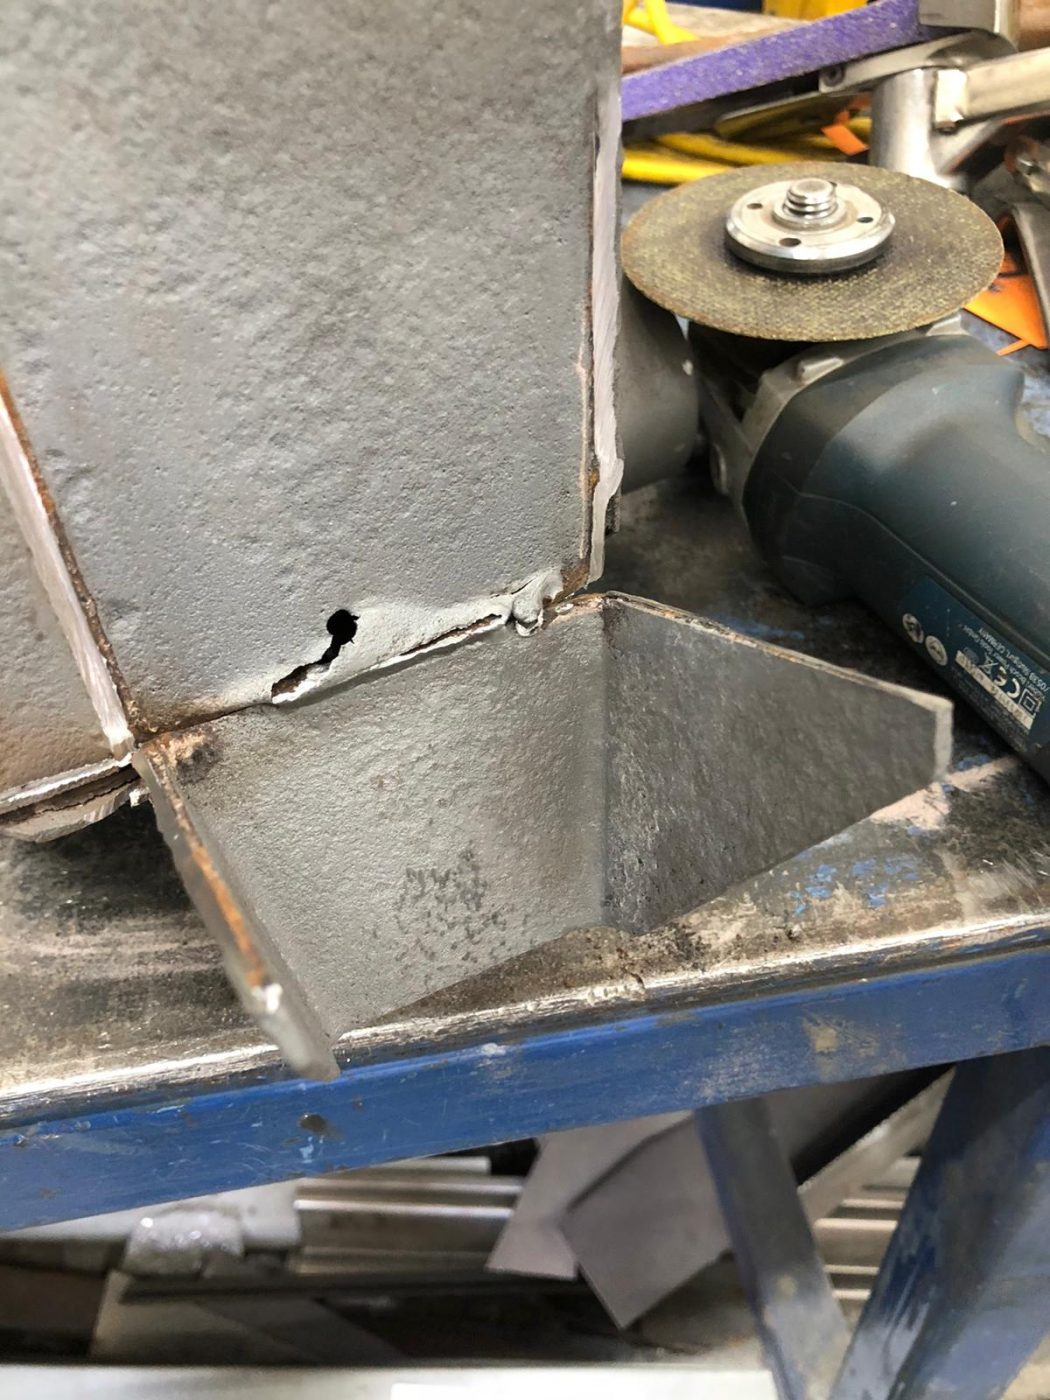
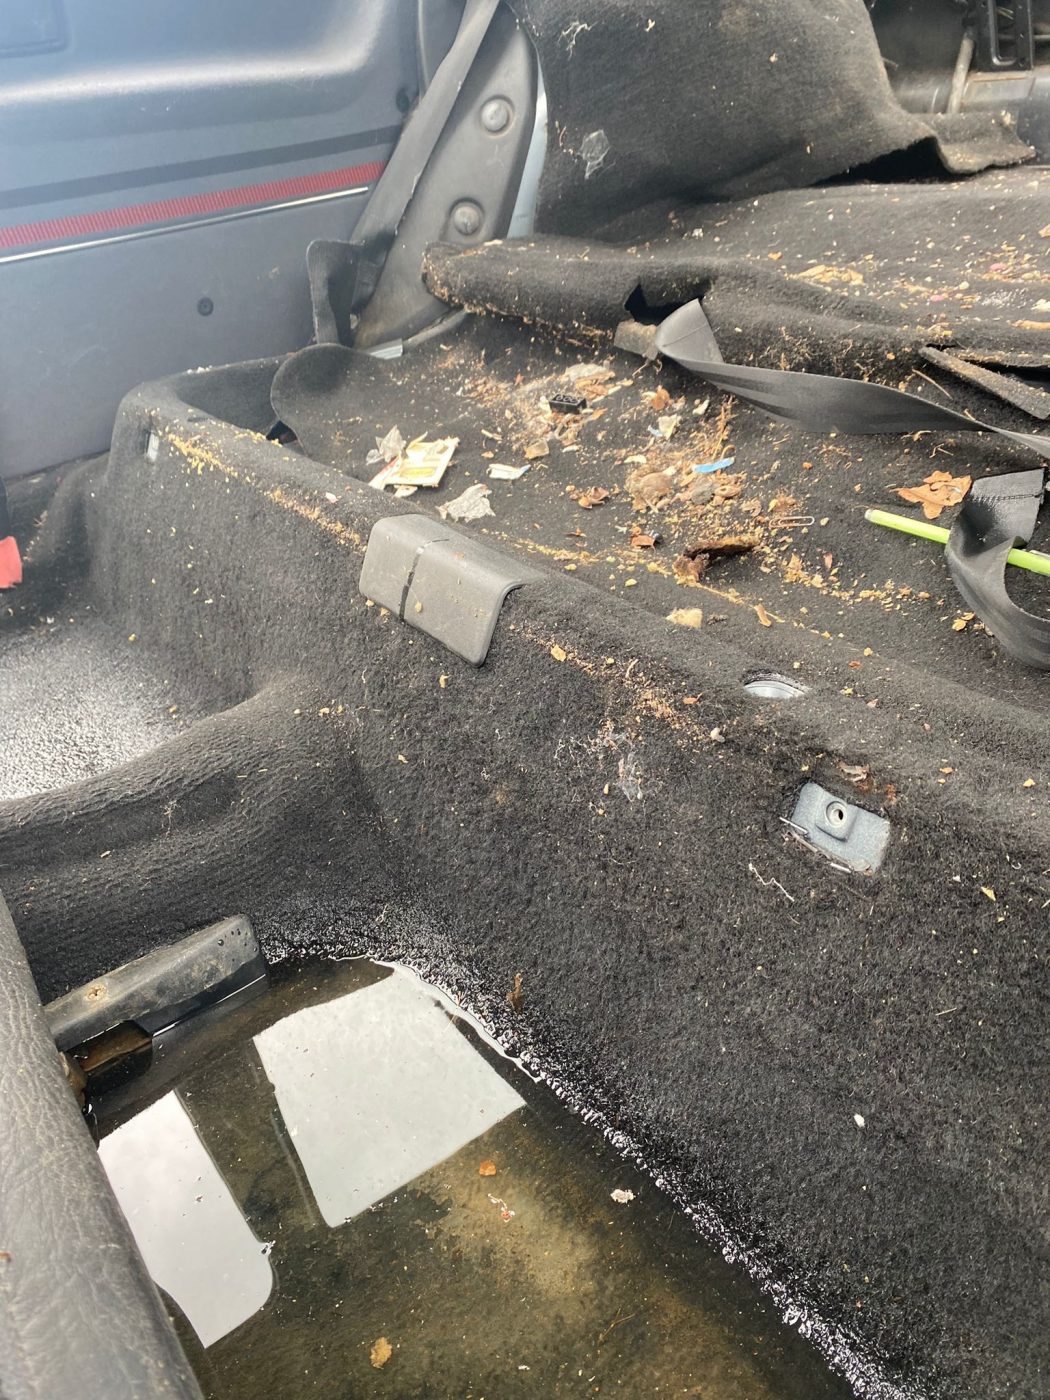
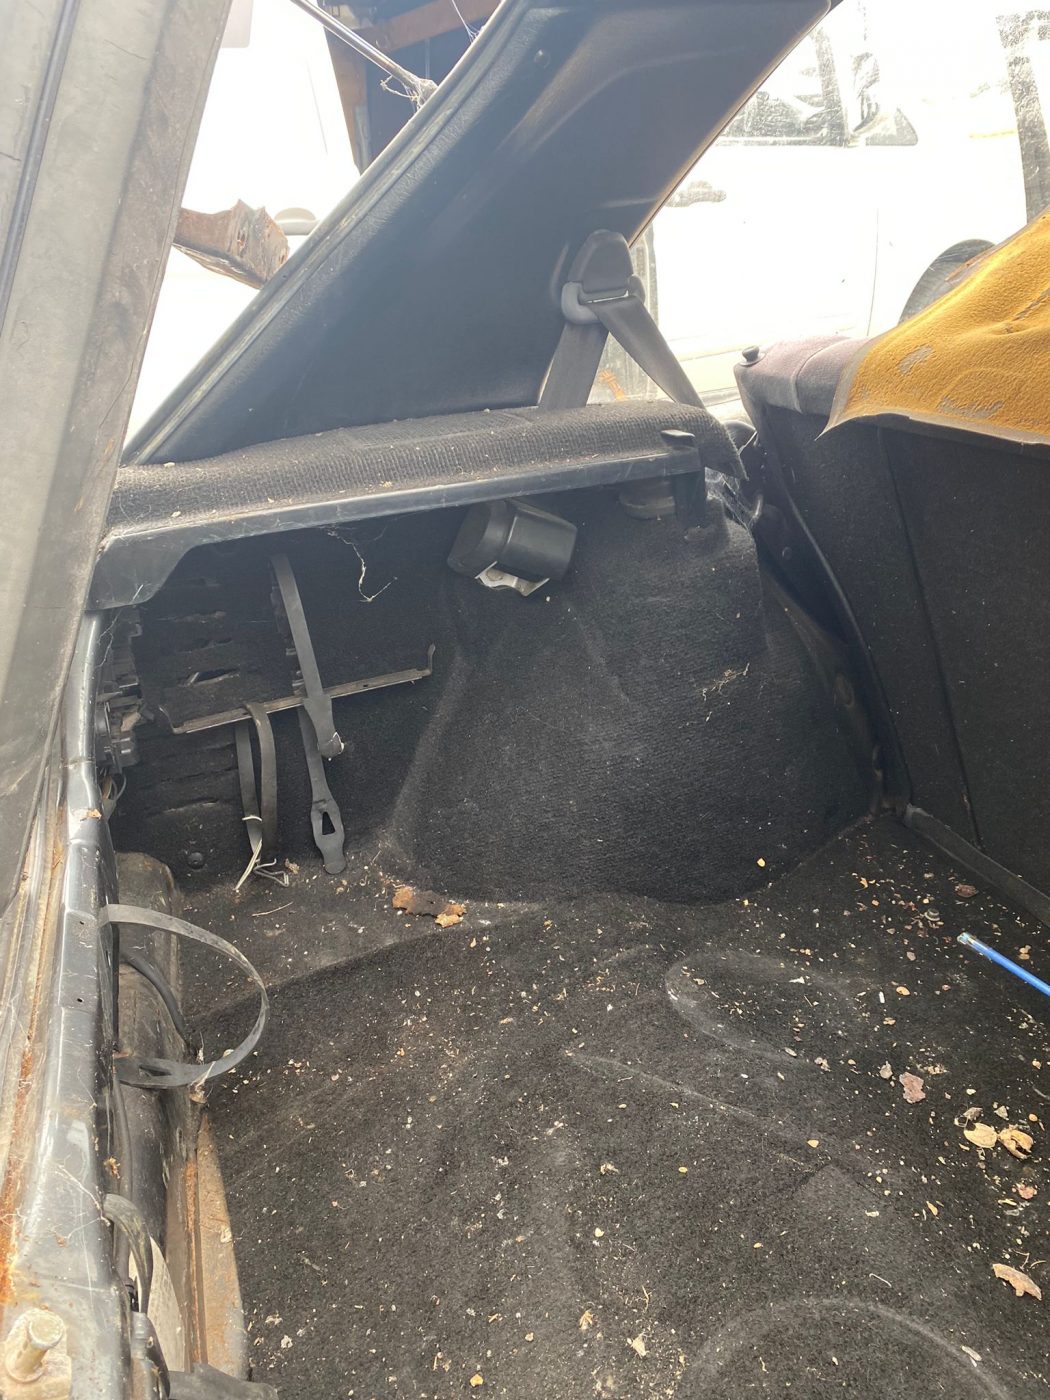
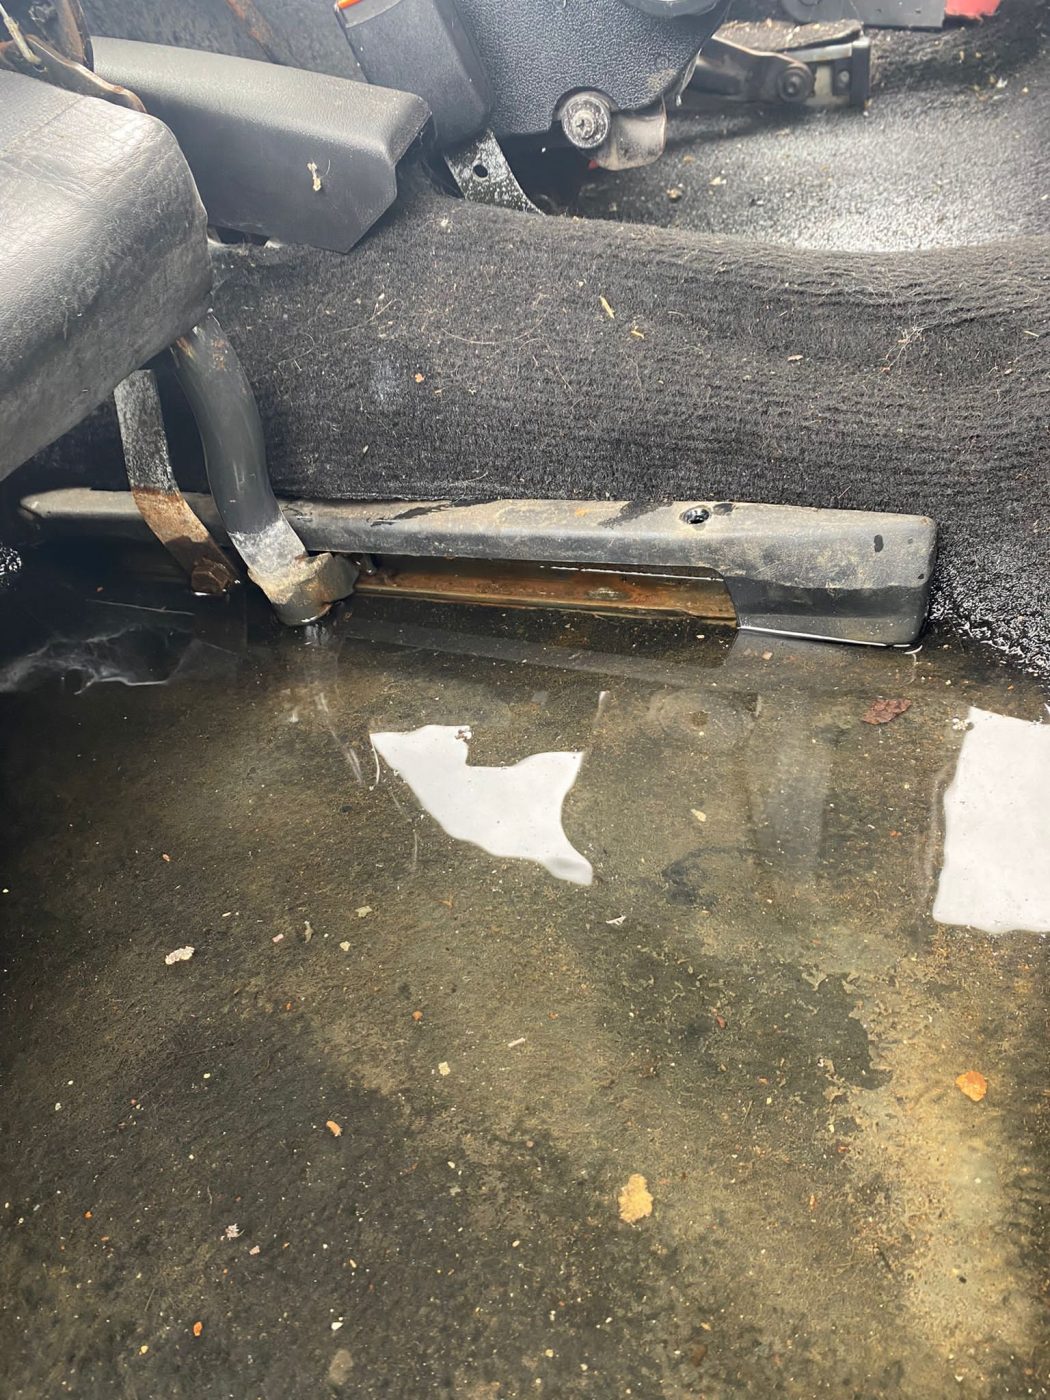
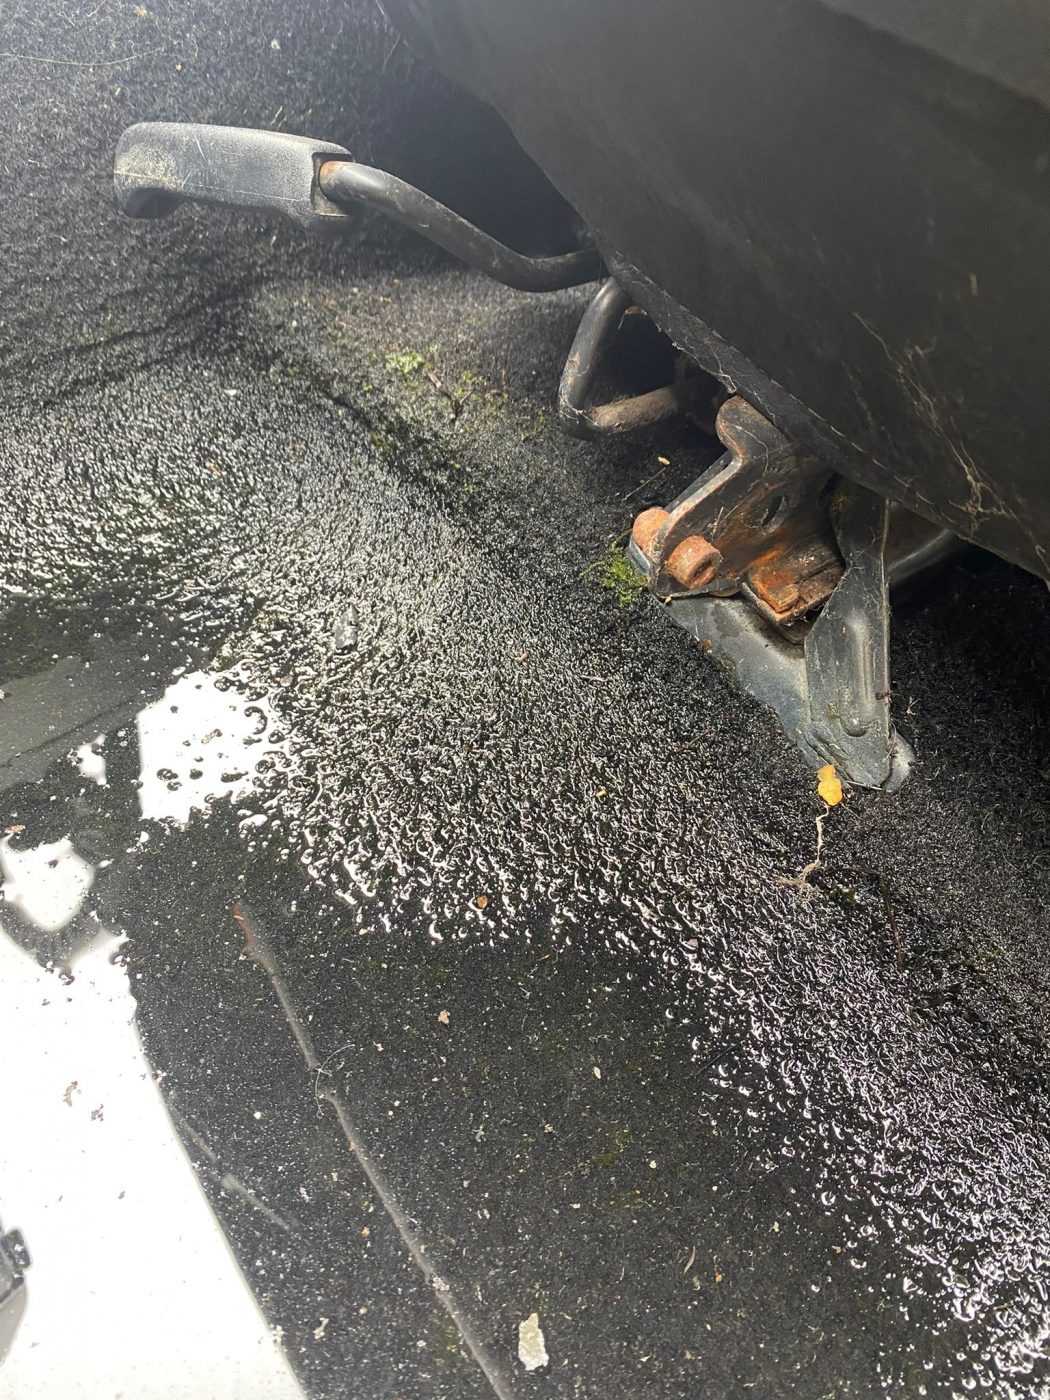
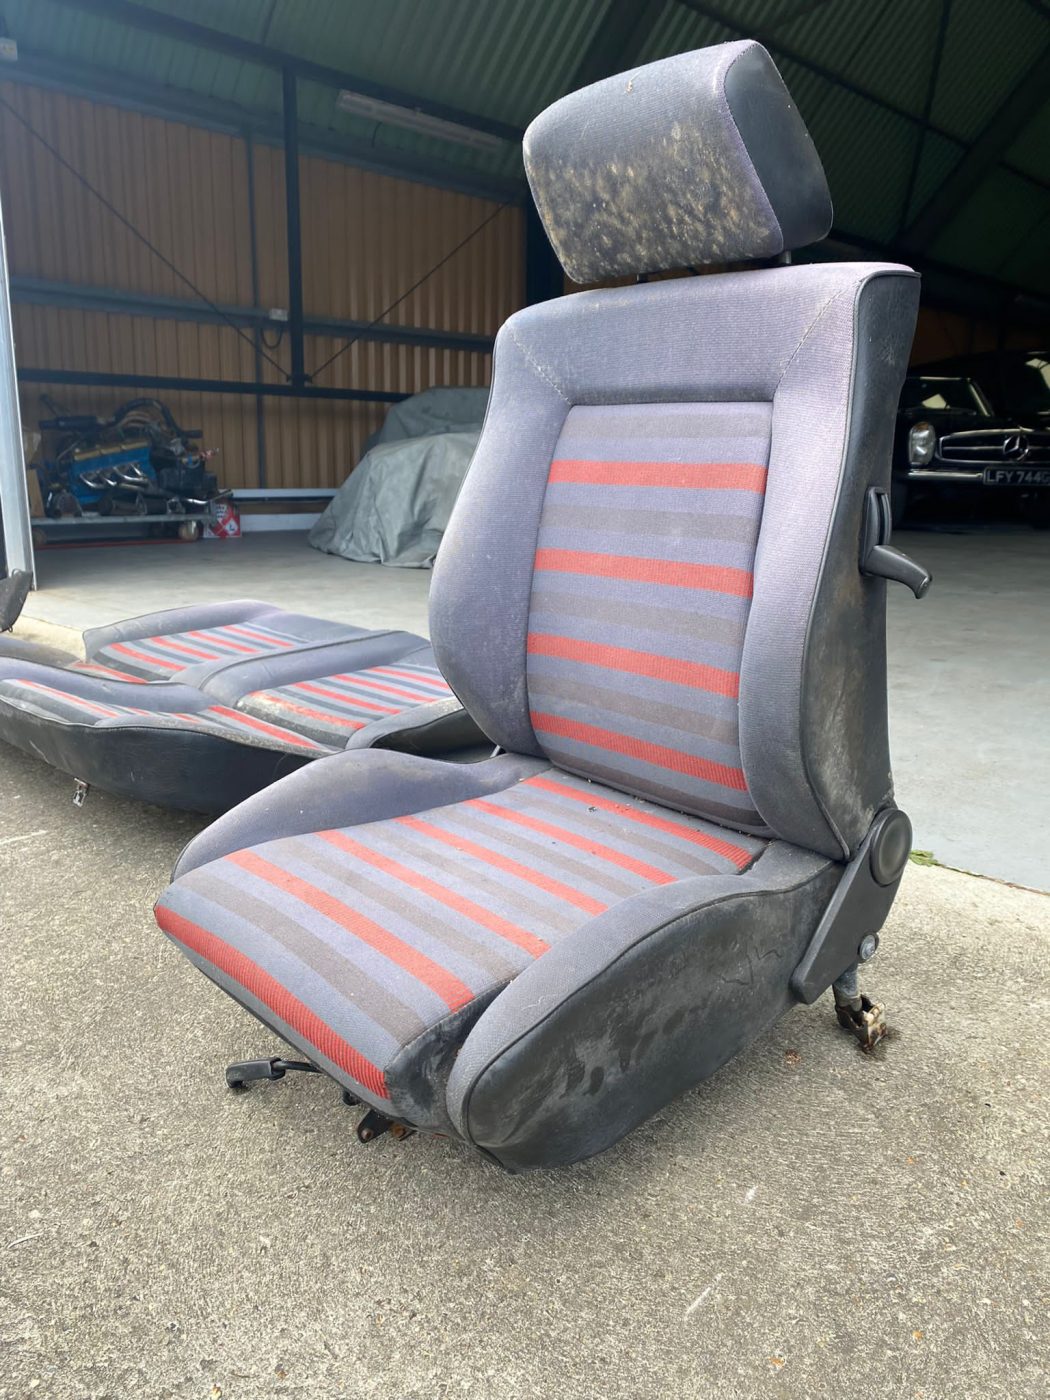
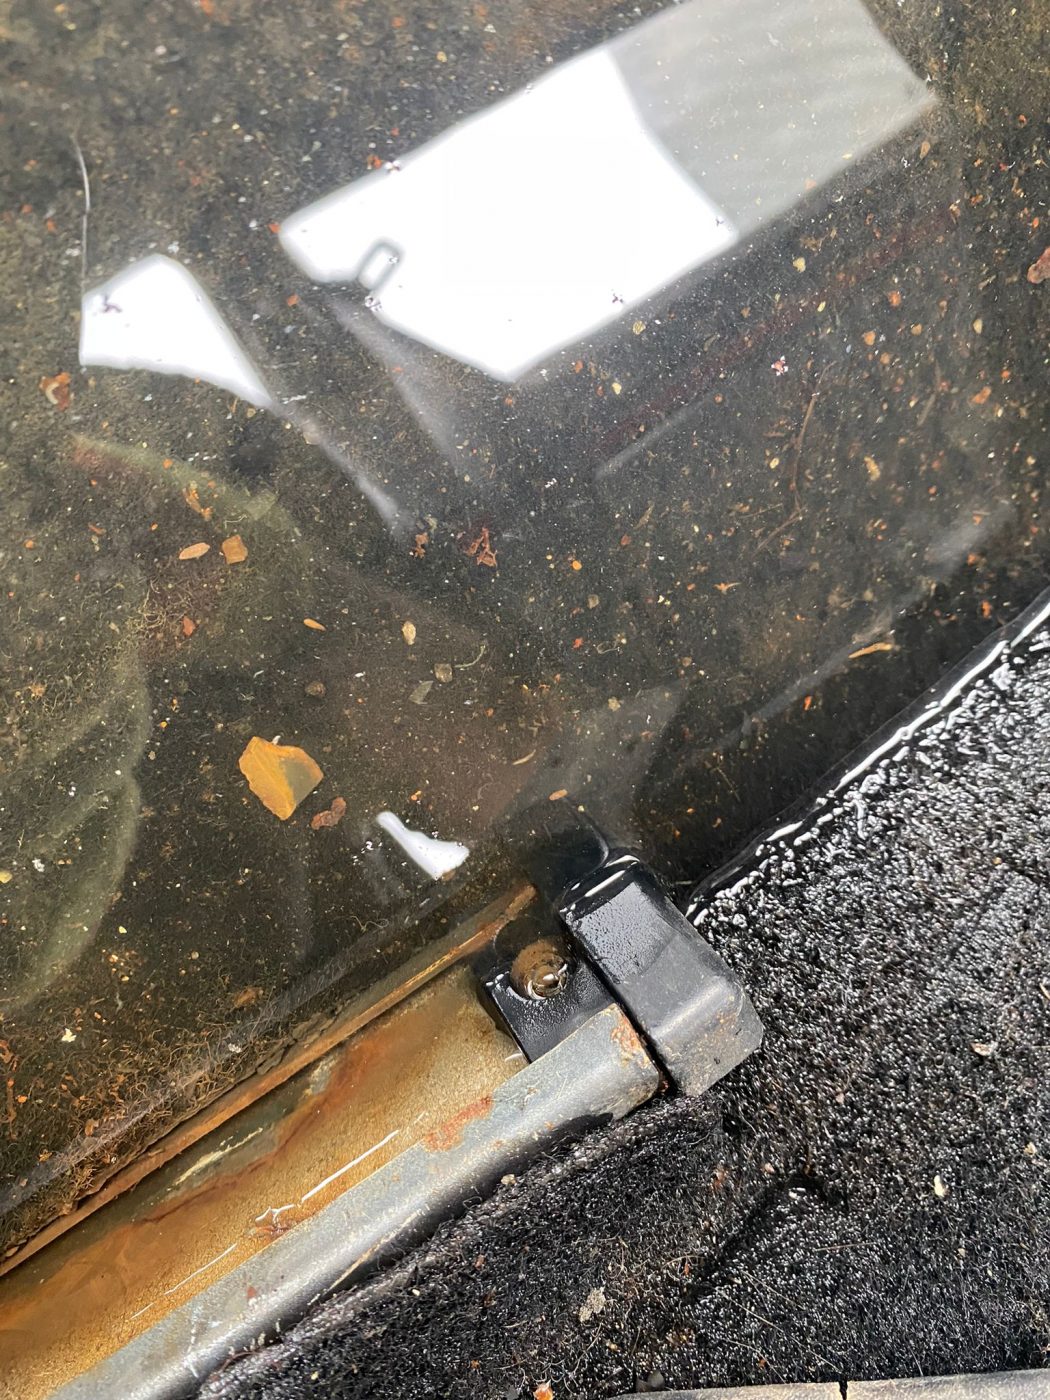
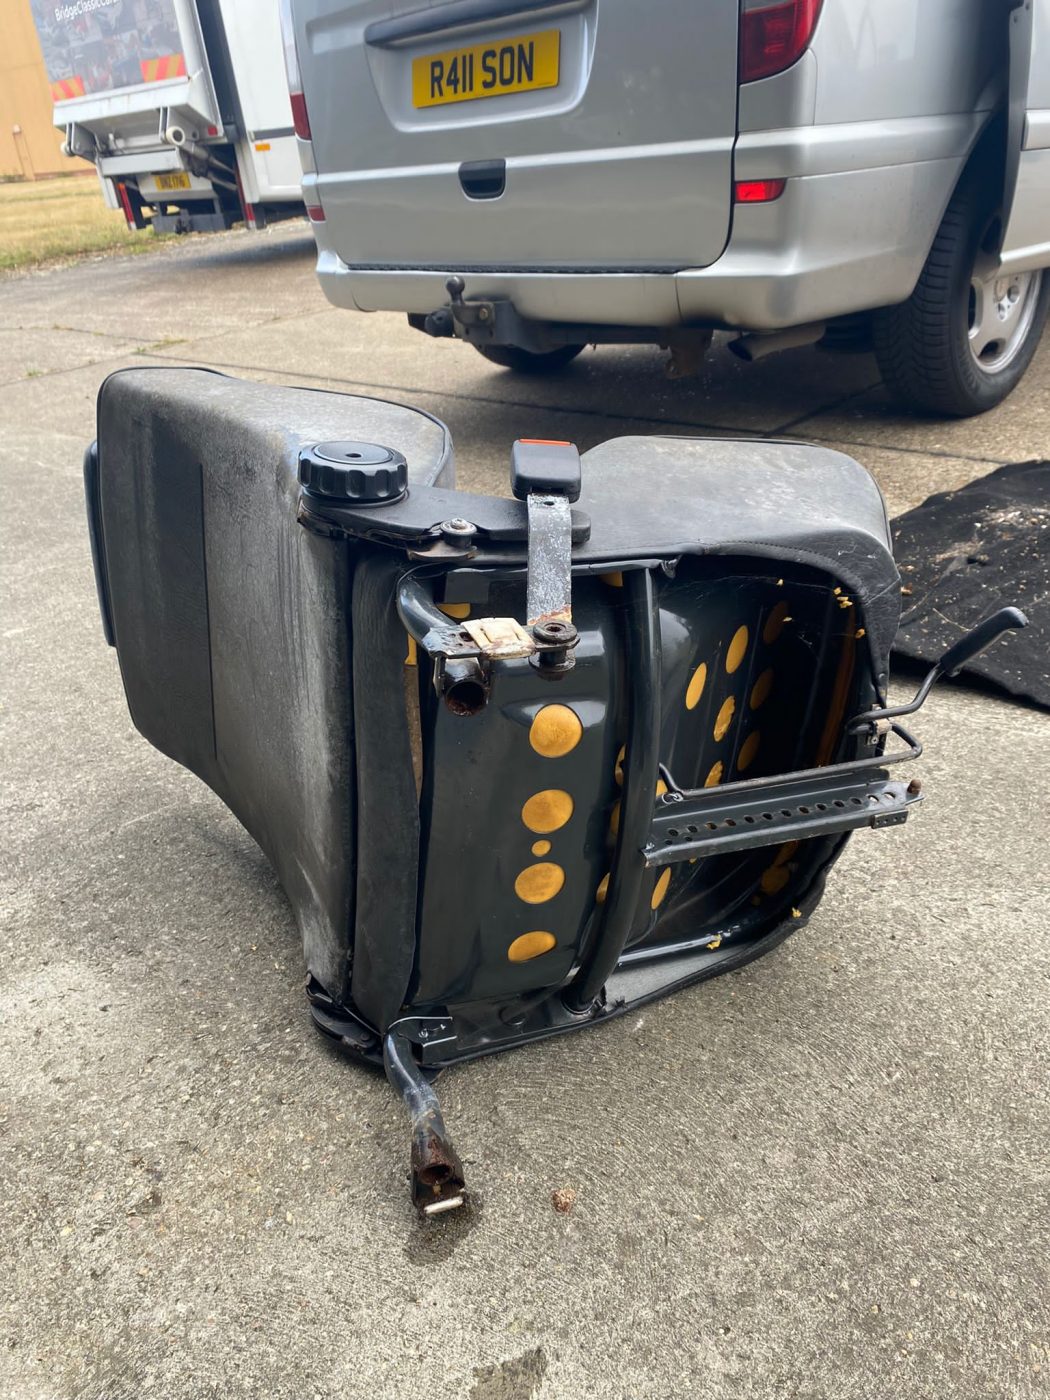
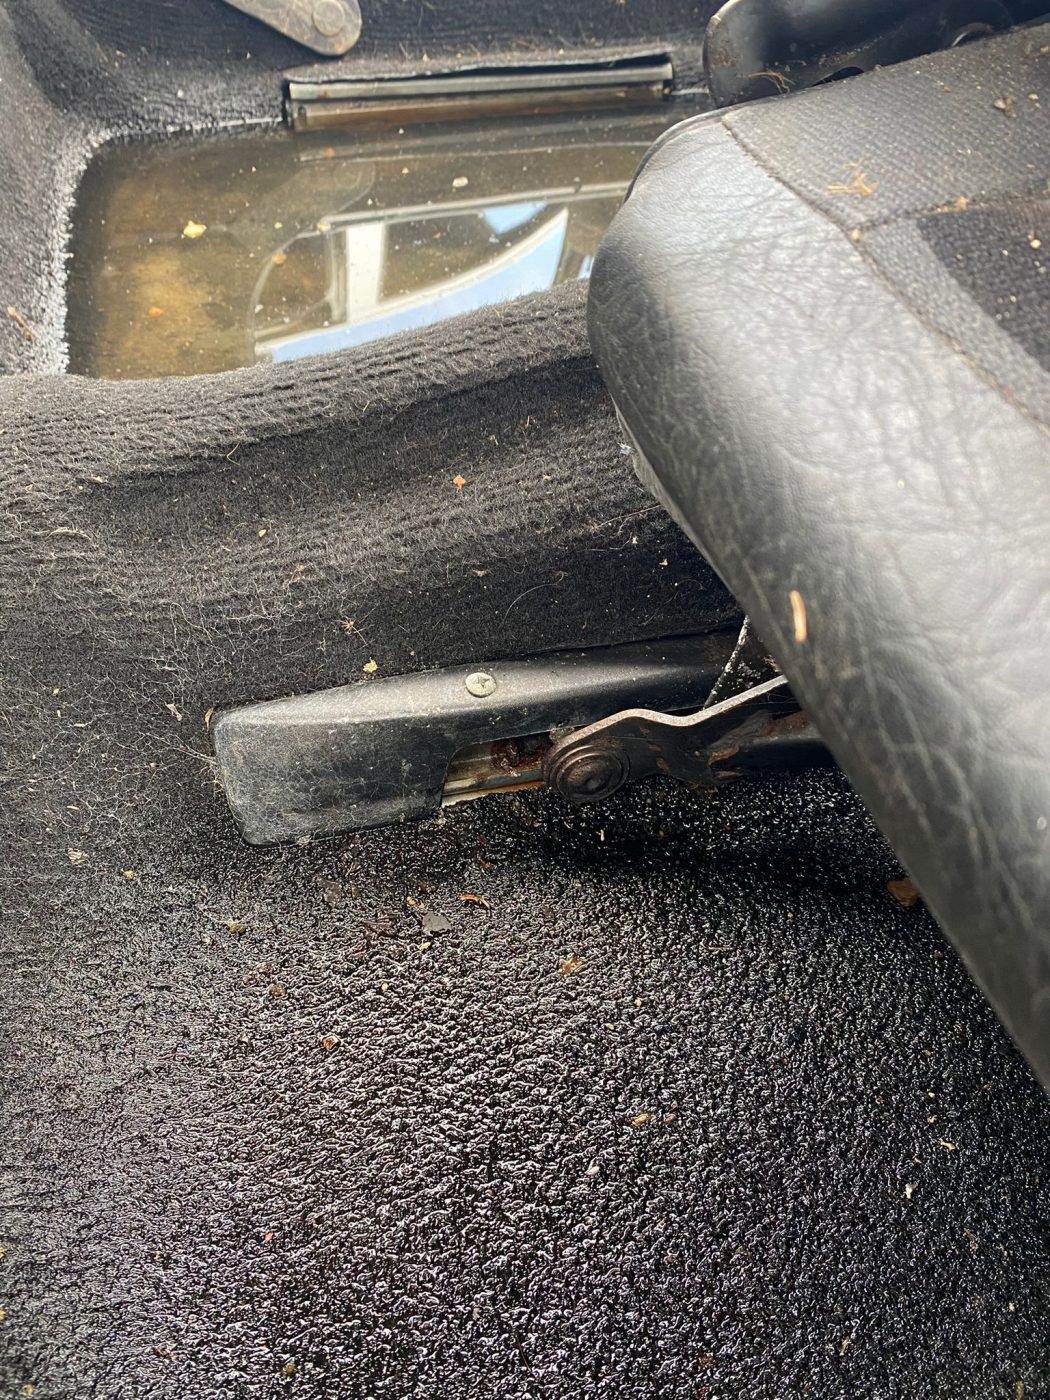
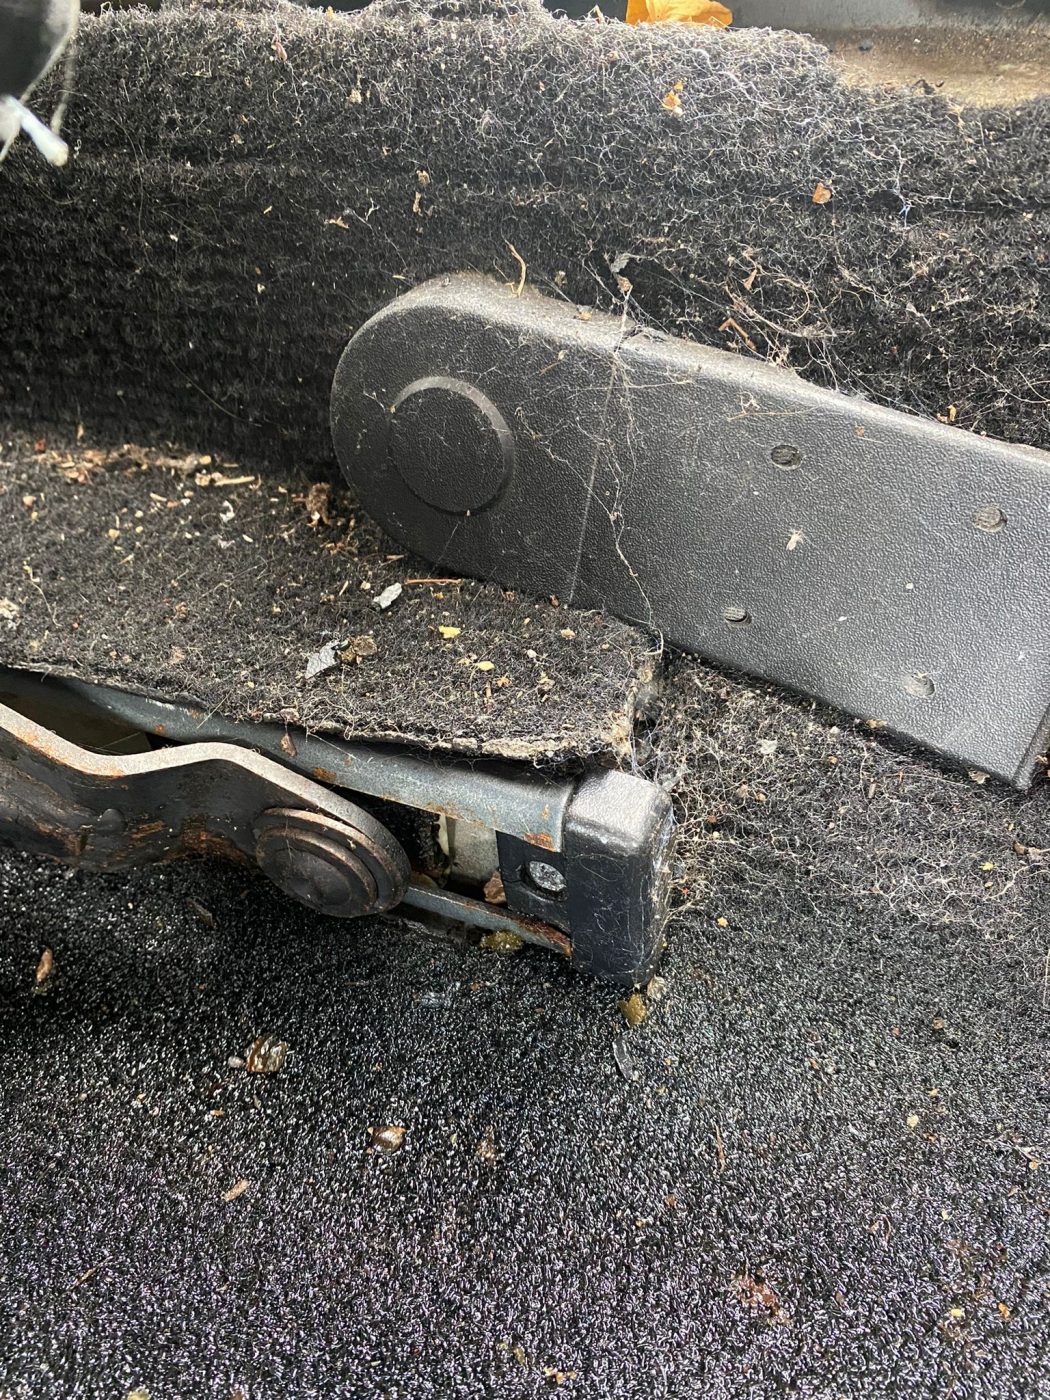
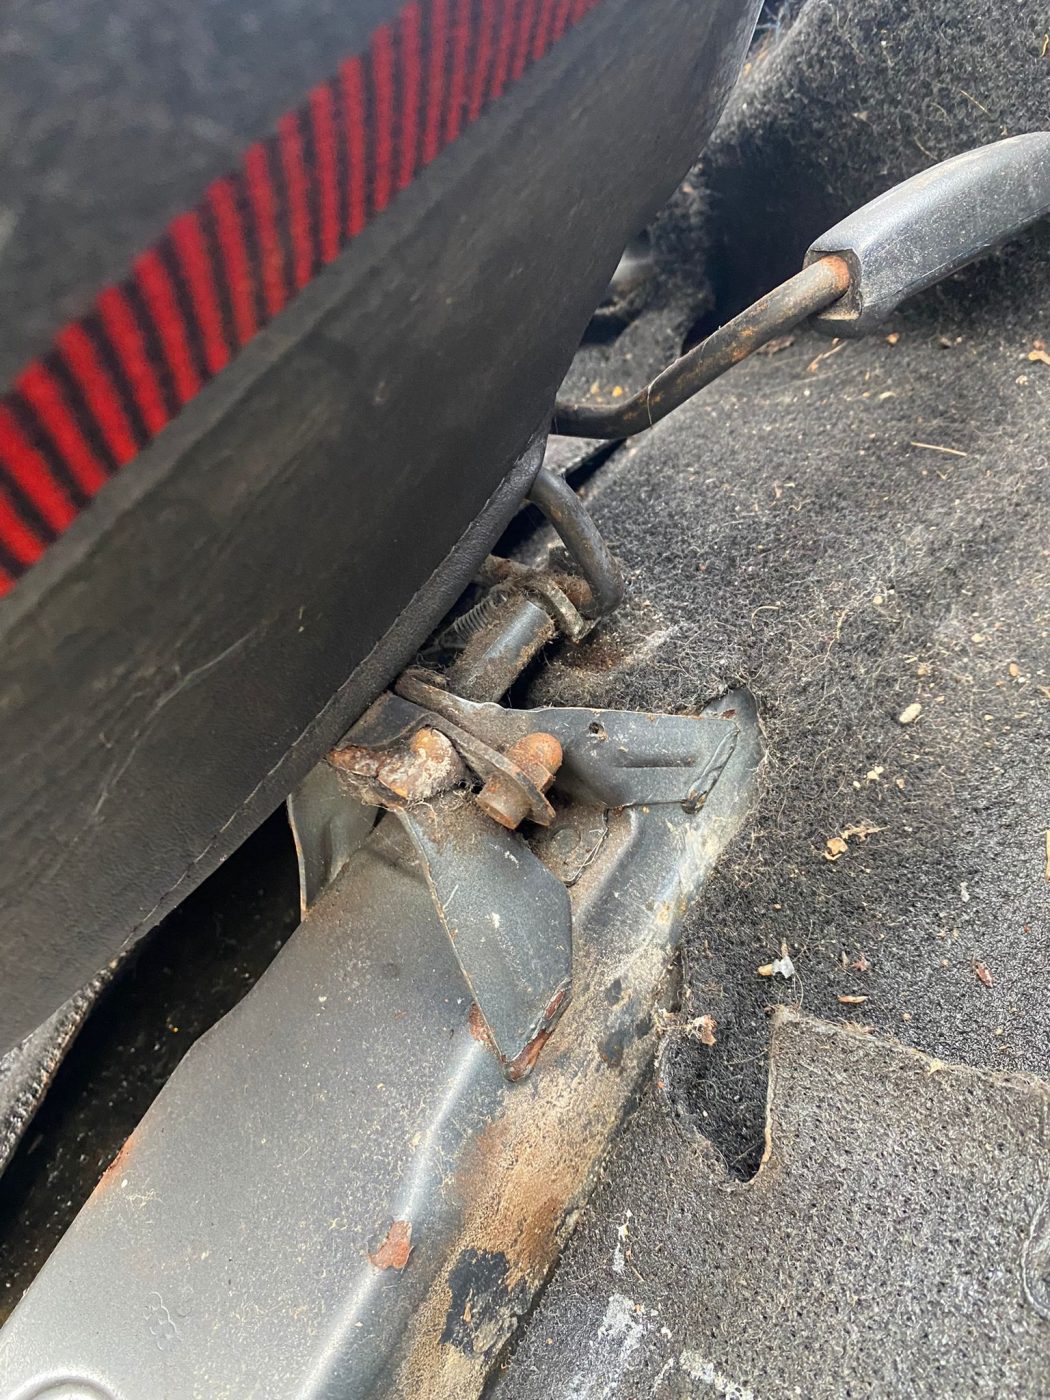
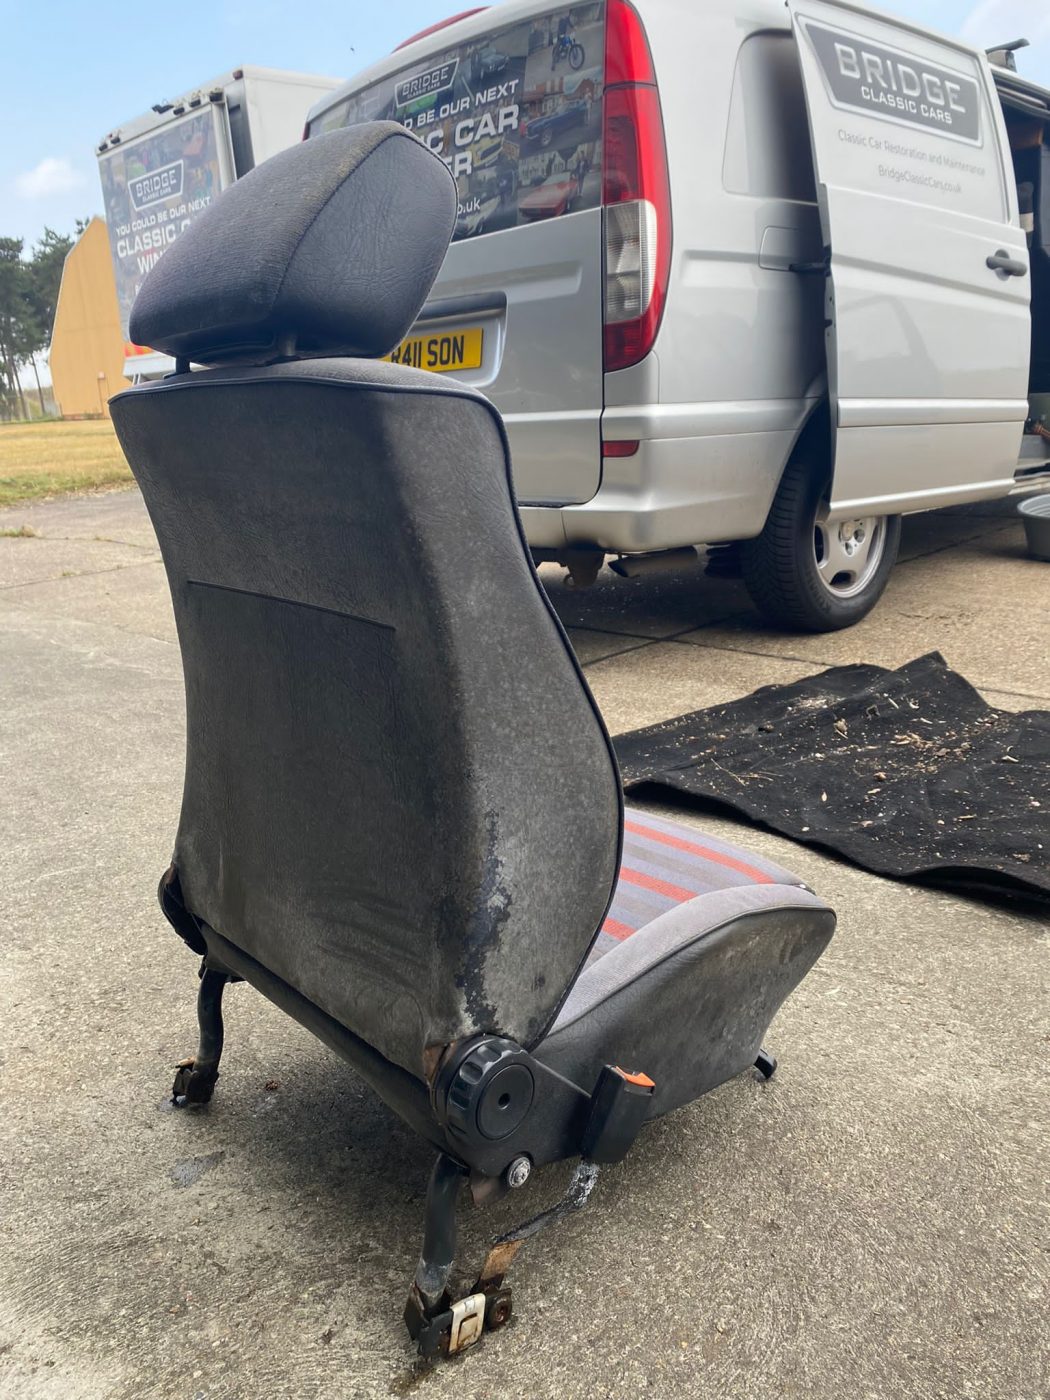
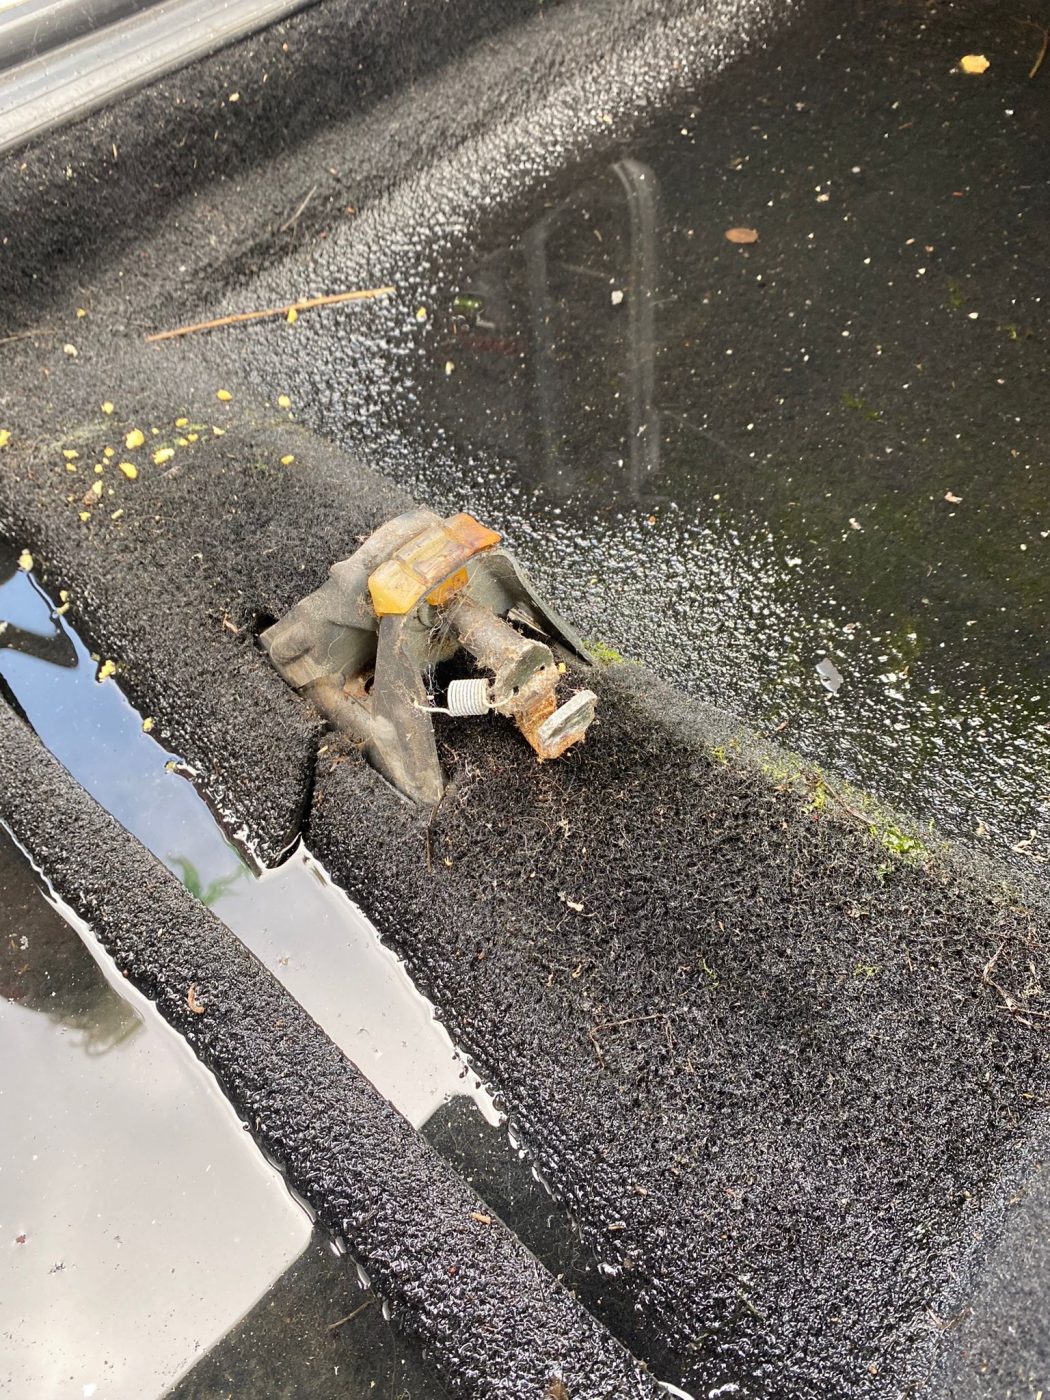
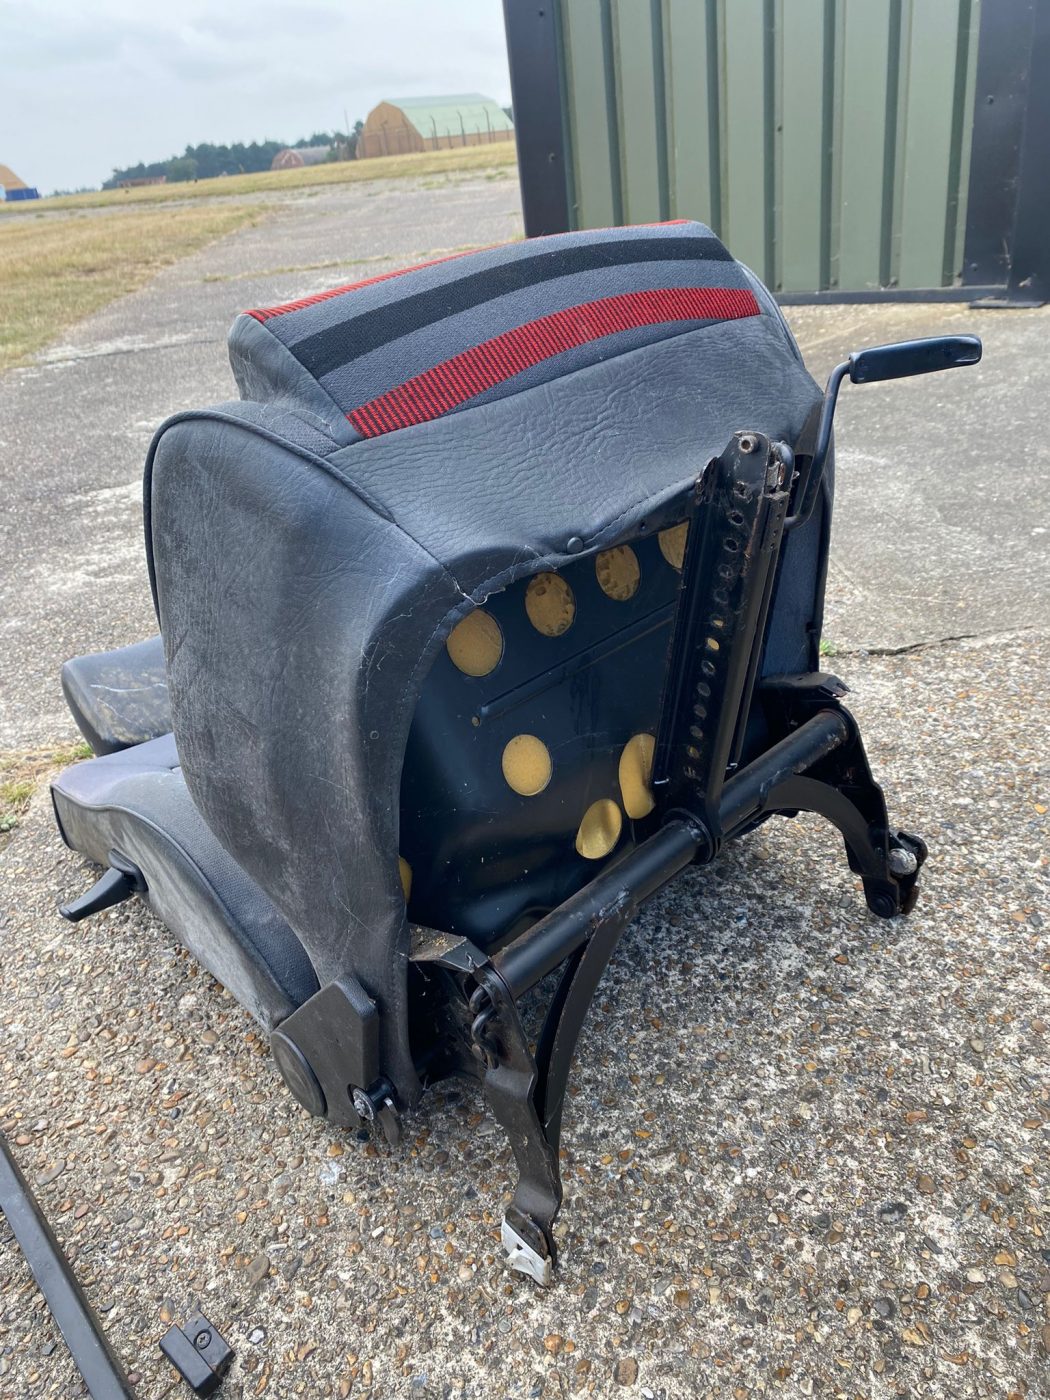
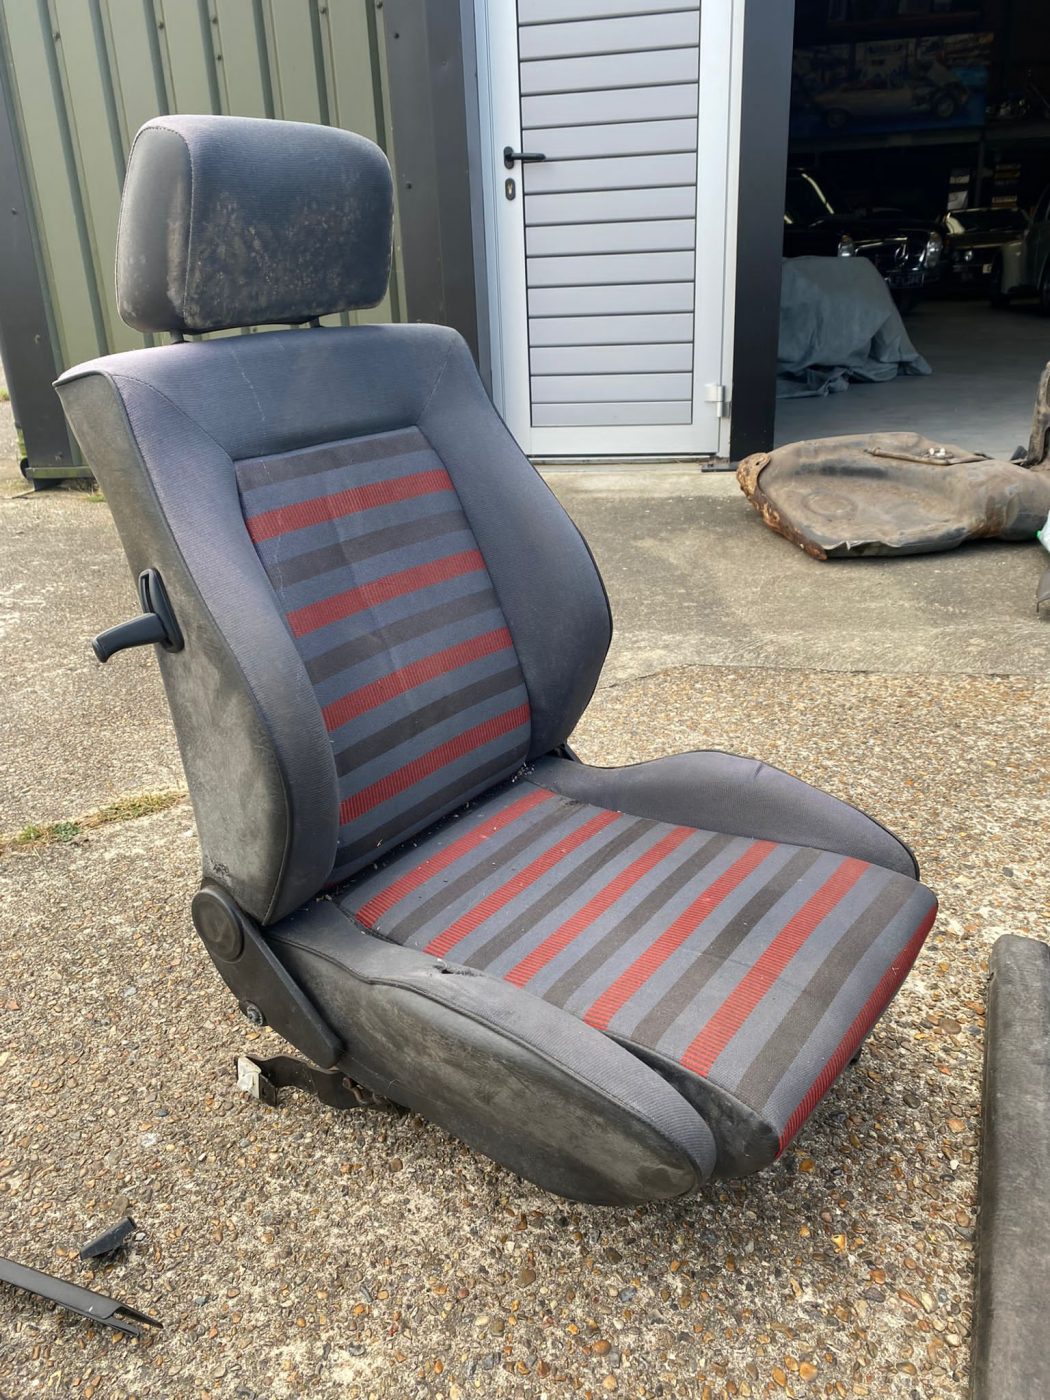
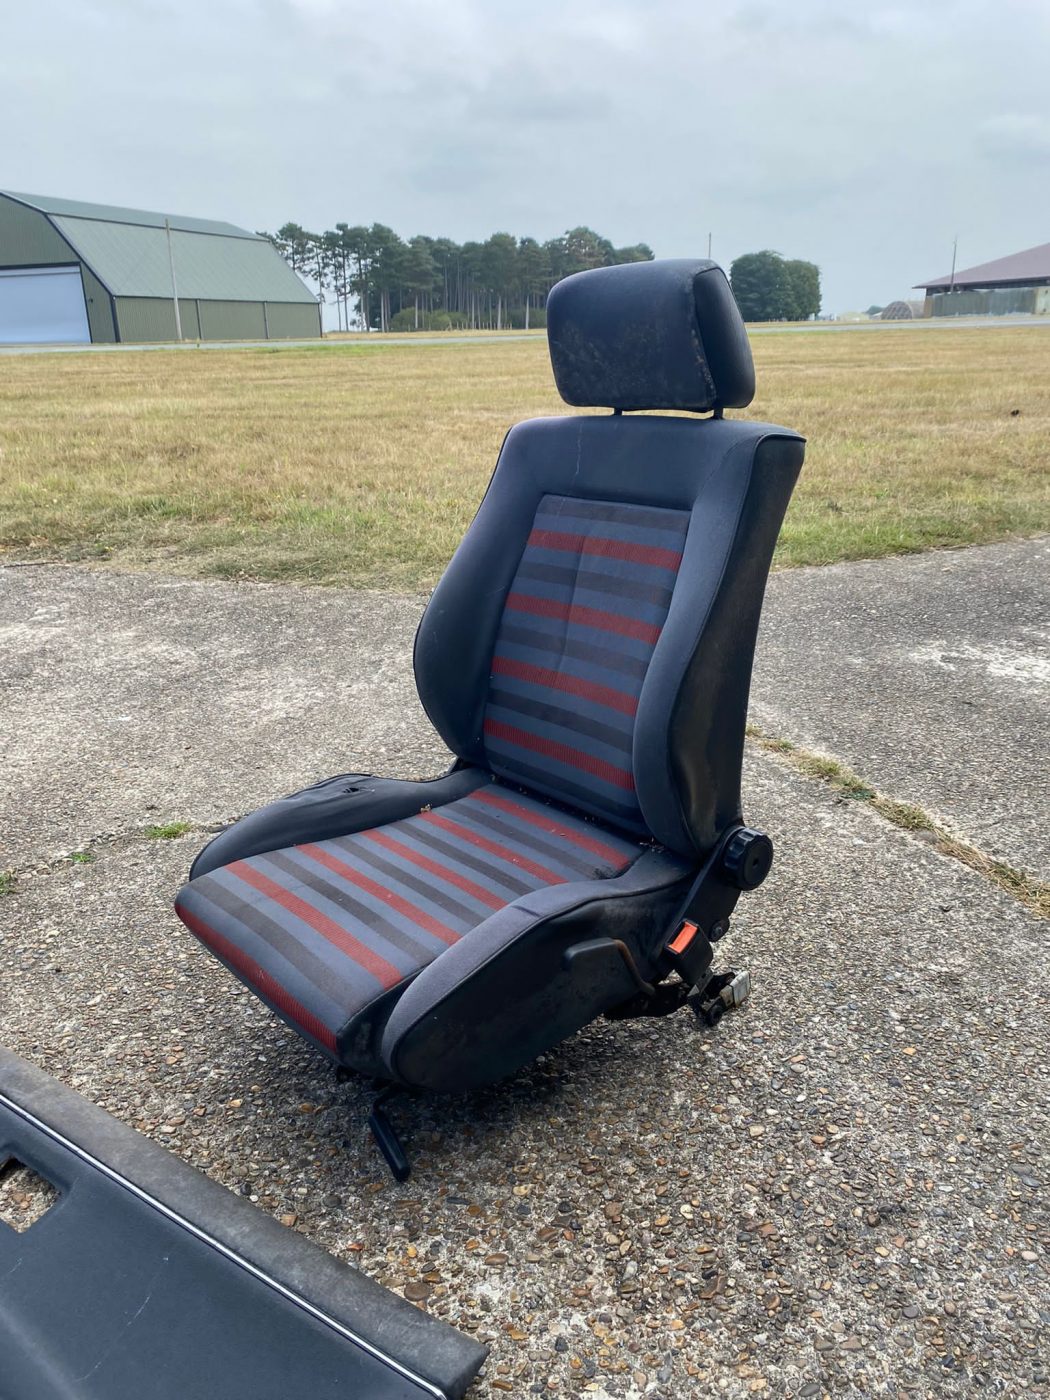
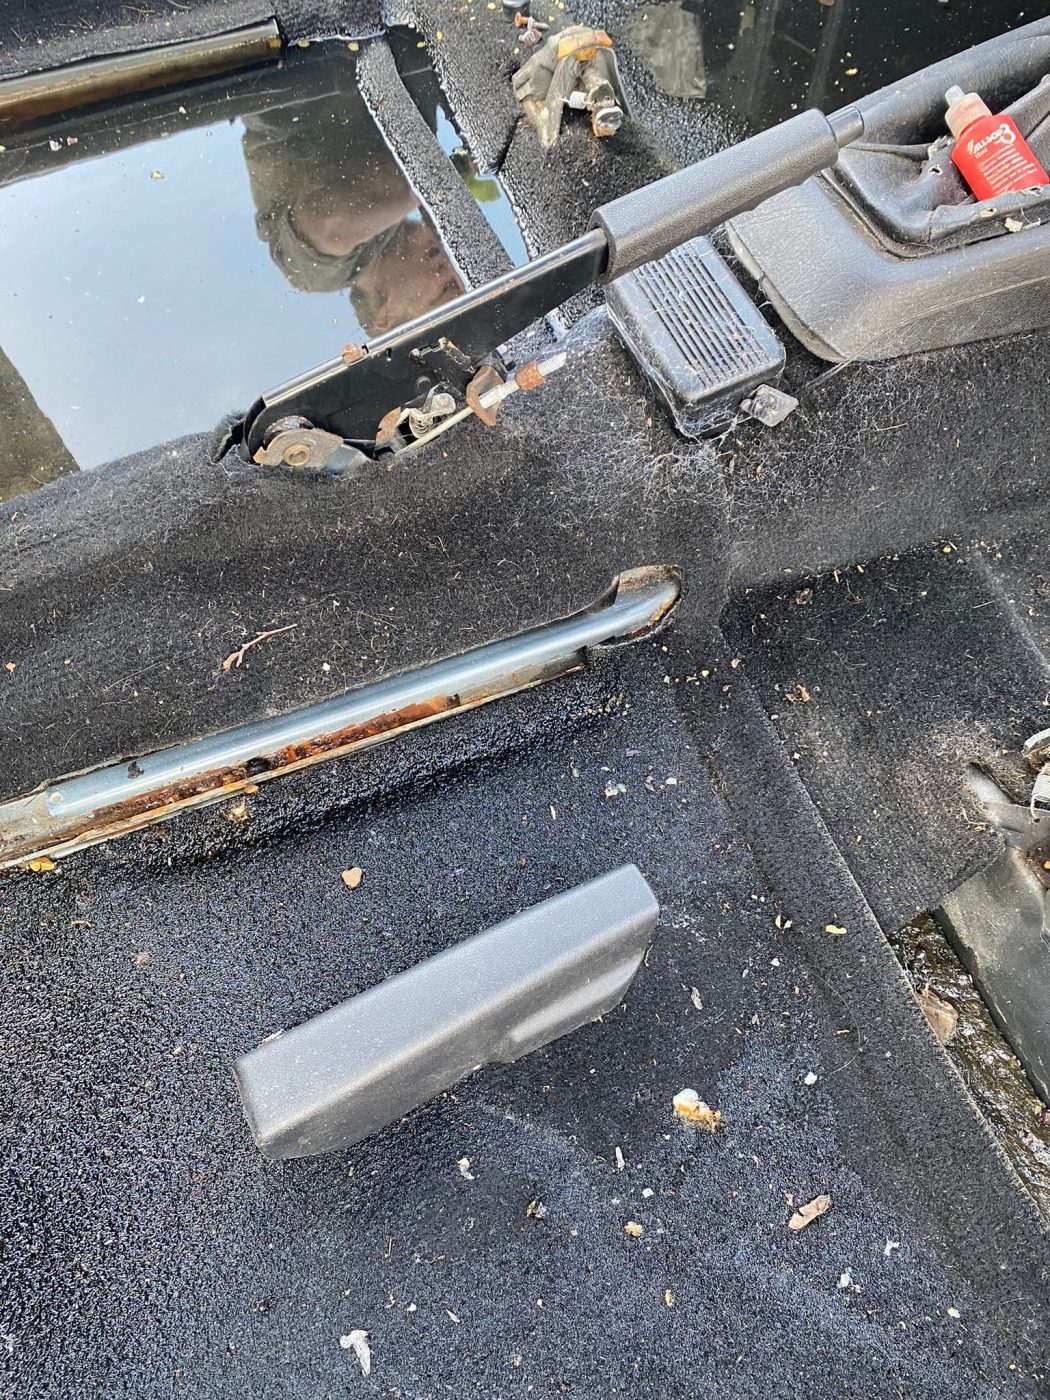
The driver’s seat on our 1989 TVR SII 2.9 V6 was reported as not being able to move on the runners, so Paul took it out to have an investigation. He found that the bottom of the seat frame had completely rotten away, so the driver would have been basically sitting on the floor of the car! He also found that the lever that tilts the “squab” backwards and forwards was seized. He worked his magic on the lever and then passed it over to Brian in the trim shop to finish. Once the covers were taken off, Brian re-painted the frame and put strips of Pirelli rubber webbing across the base of the frame, attaching new springs on the ends to hold it in place. A new piece of foam was also attached to the existing foam for the base seat. The covers could then go back on the frame, ready for the seat to go back in the TVR. Great teamwork guys.

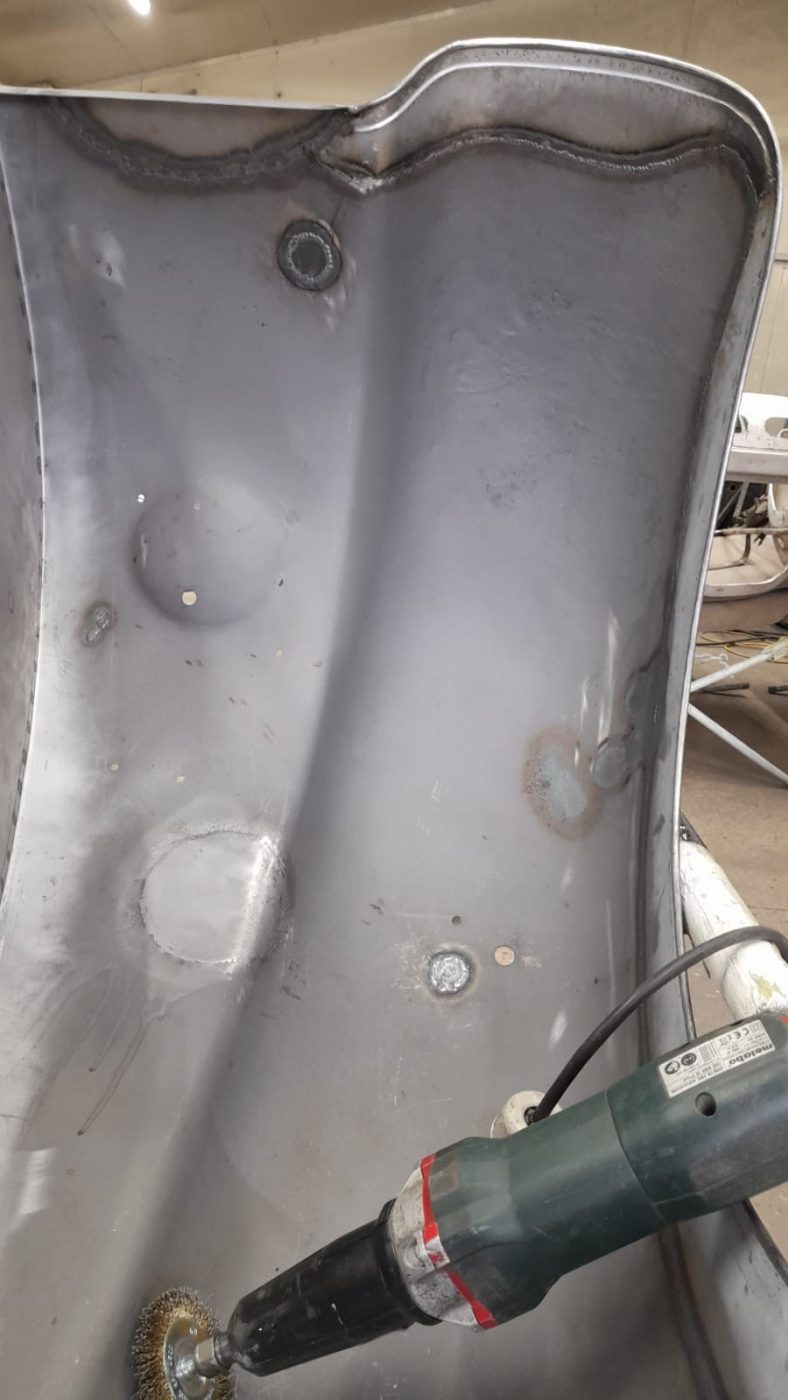
Lydia has been helping with the progress of the 1951 Riley RMB. There was surface corrosion on the inside of one of the original wings round the edges of the spot welds done by James. Lydia did this with various-sized grinding attachments on a drill. A small step in the process, but a vital one, nonetheless, since we don’t want that surface corrosion getting worse or showing through the paint when it goes into that stage.

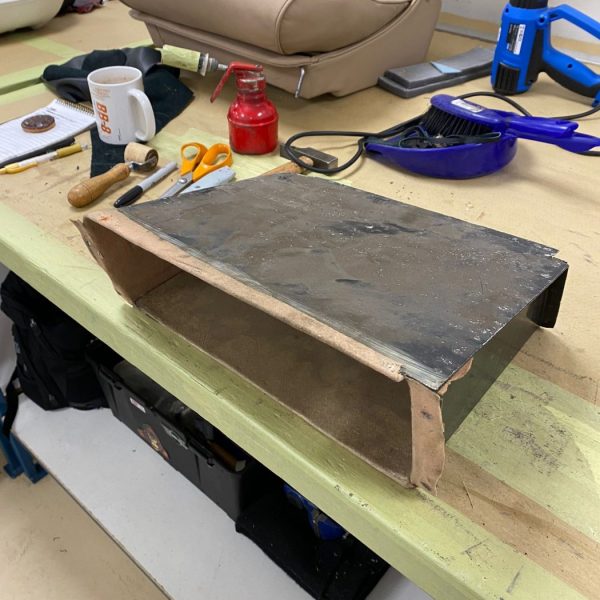
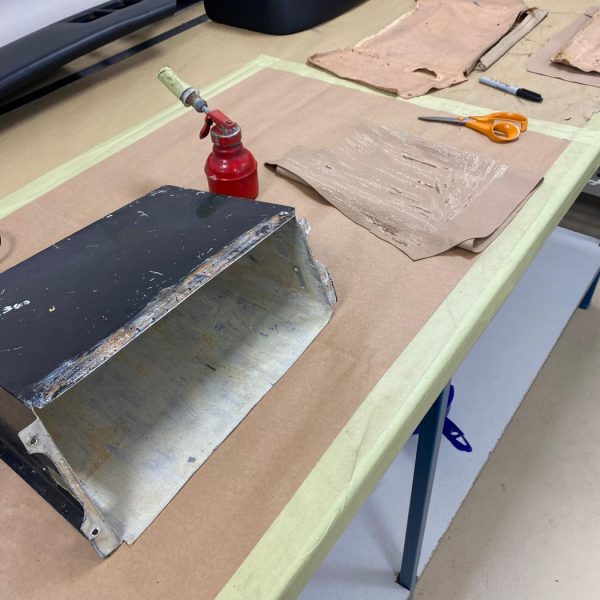
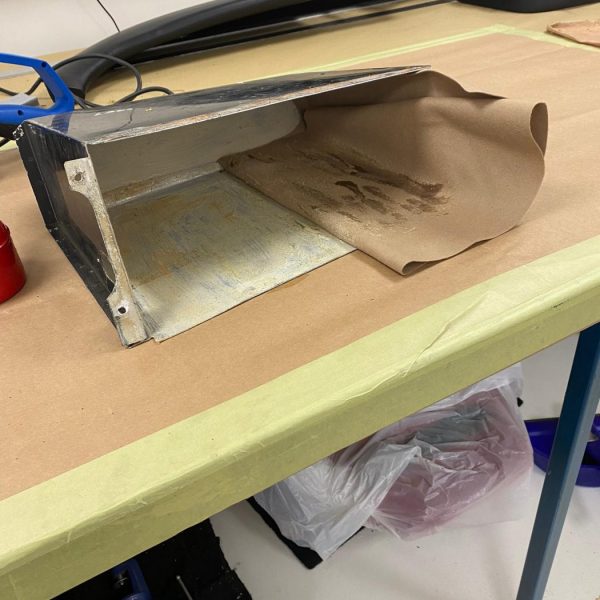
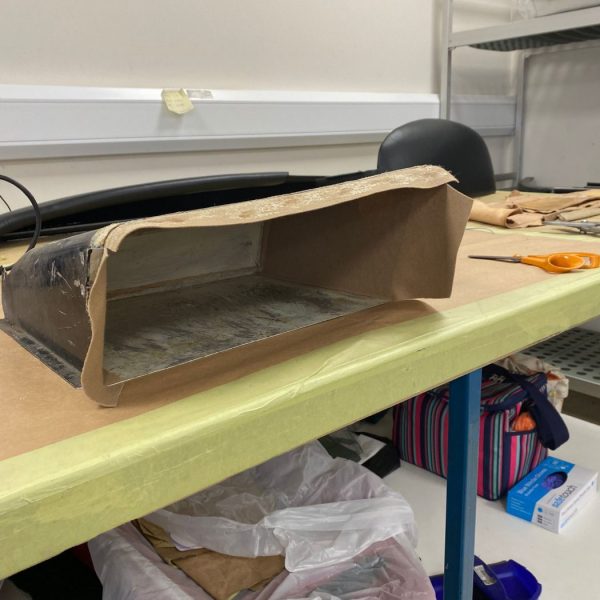
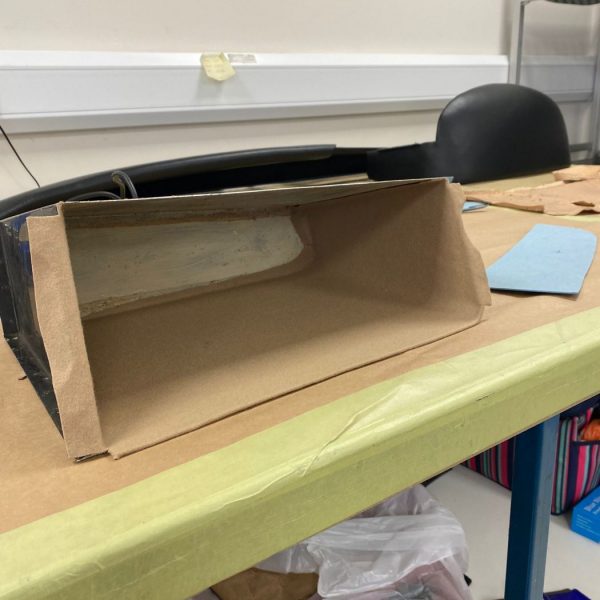
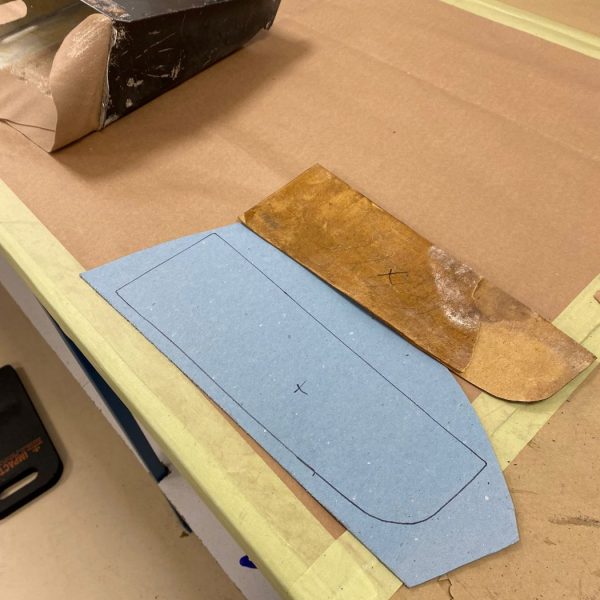
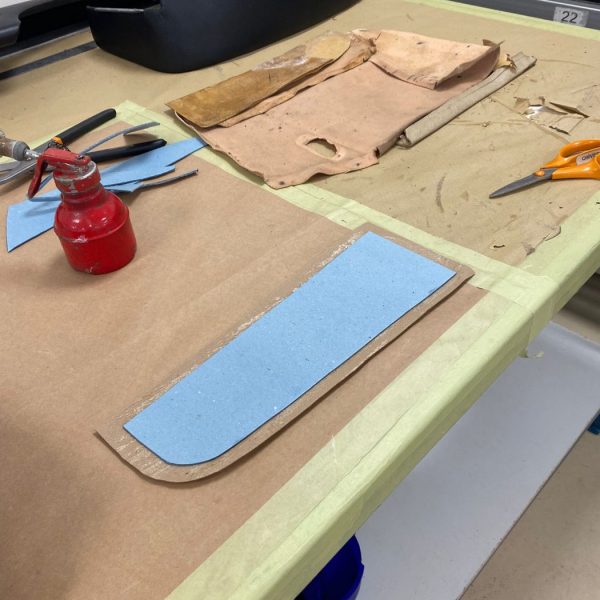
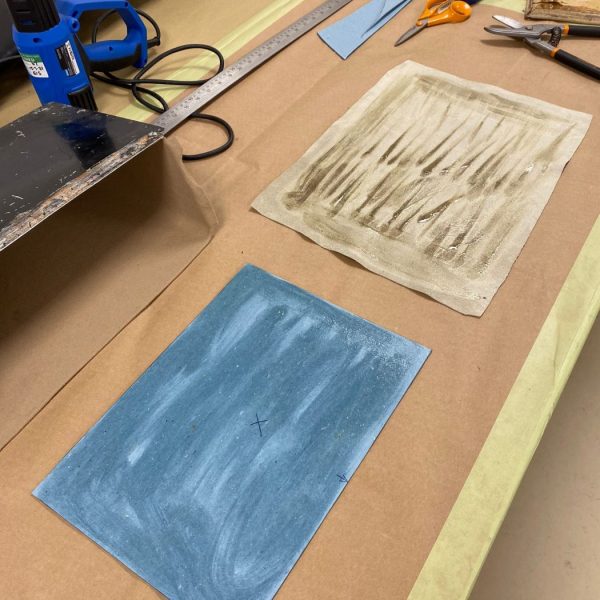
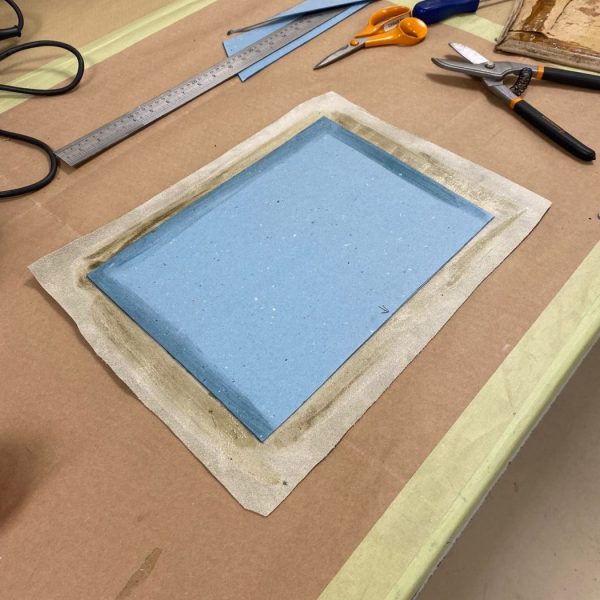
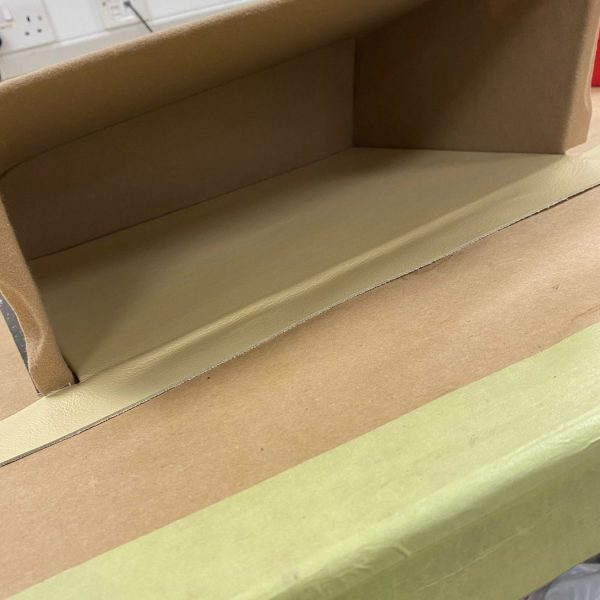
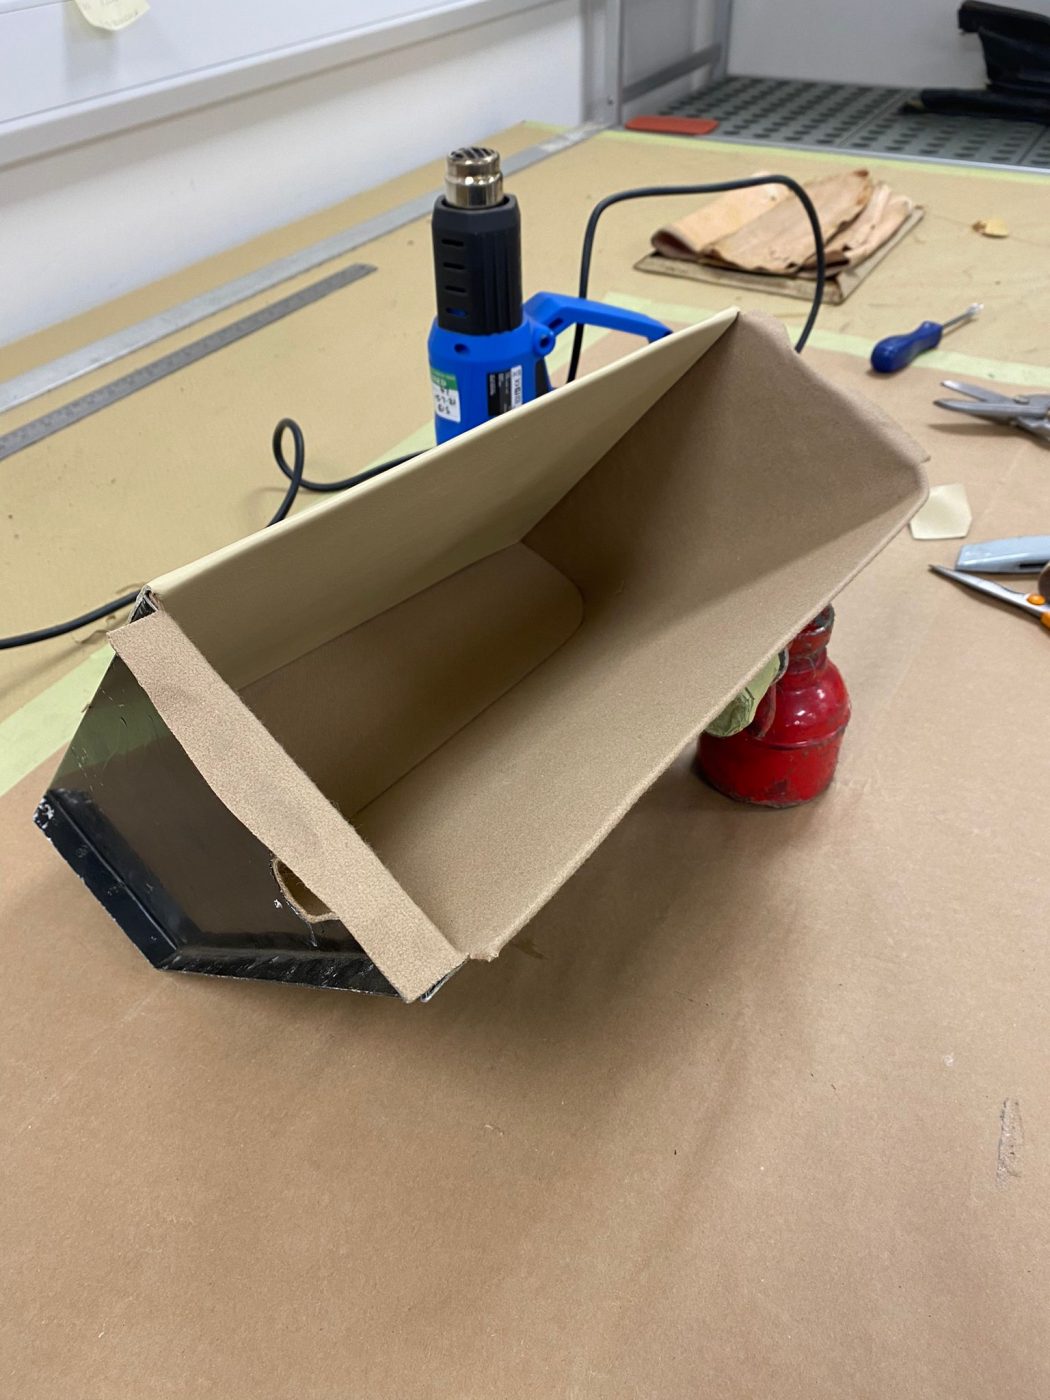
Brian has been re-covering another piece from the 1963 Bentley S3 Continental. This time, the glovebox.
He started the process by removing the original covers from the metal box that makes the glovebox. He then used these original pieces as patterns on the new fabric, headlining fabric for most with one piece of leather. The headlining fabric pieces were glued onto the inside of the glovebox first, with the back piece having board underneath the material to give it structure and stability. Once this was all glued into place, Brian put the leather piece onto board as well, before glueing it onto the metal. All the material was wrapped around the edges to give a neat finish. Another piece of the Bentley interior finished!


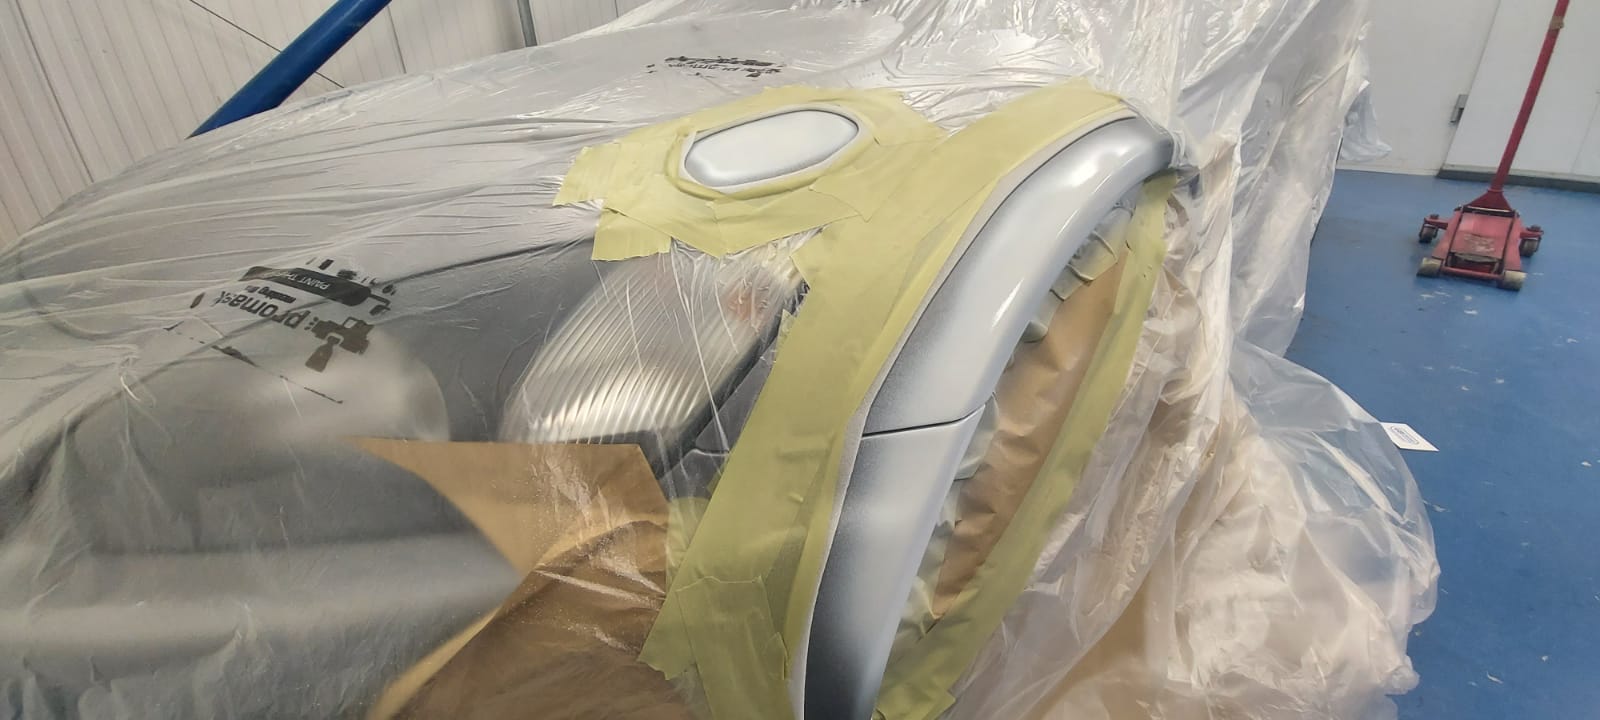
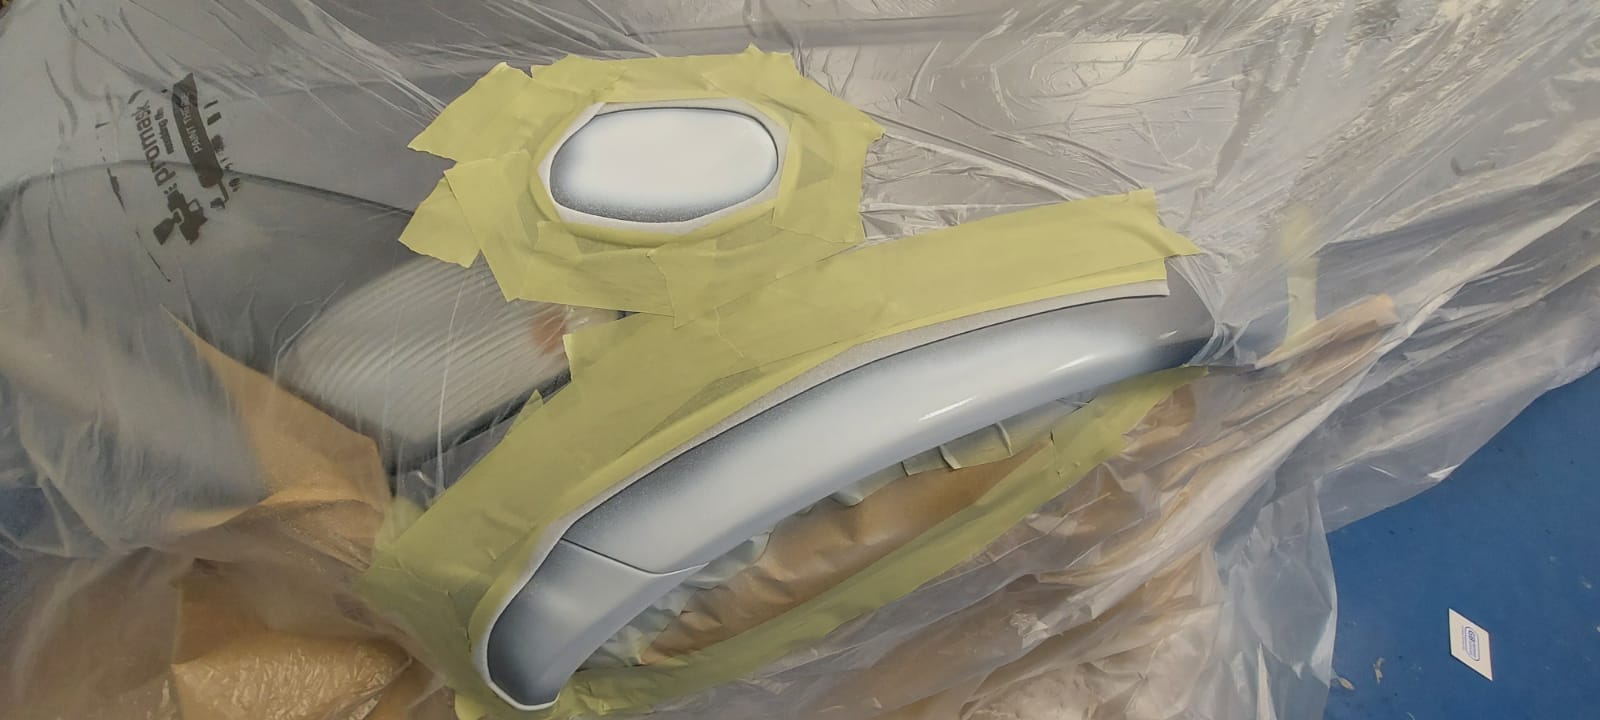
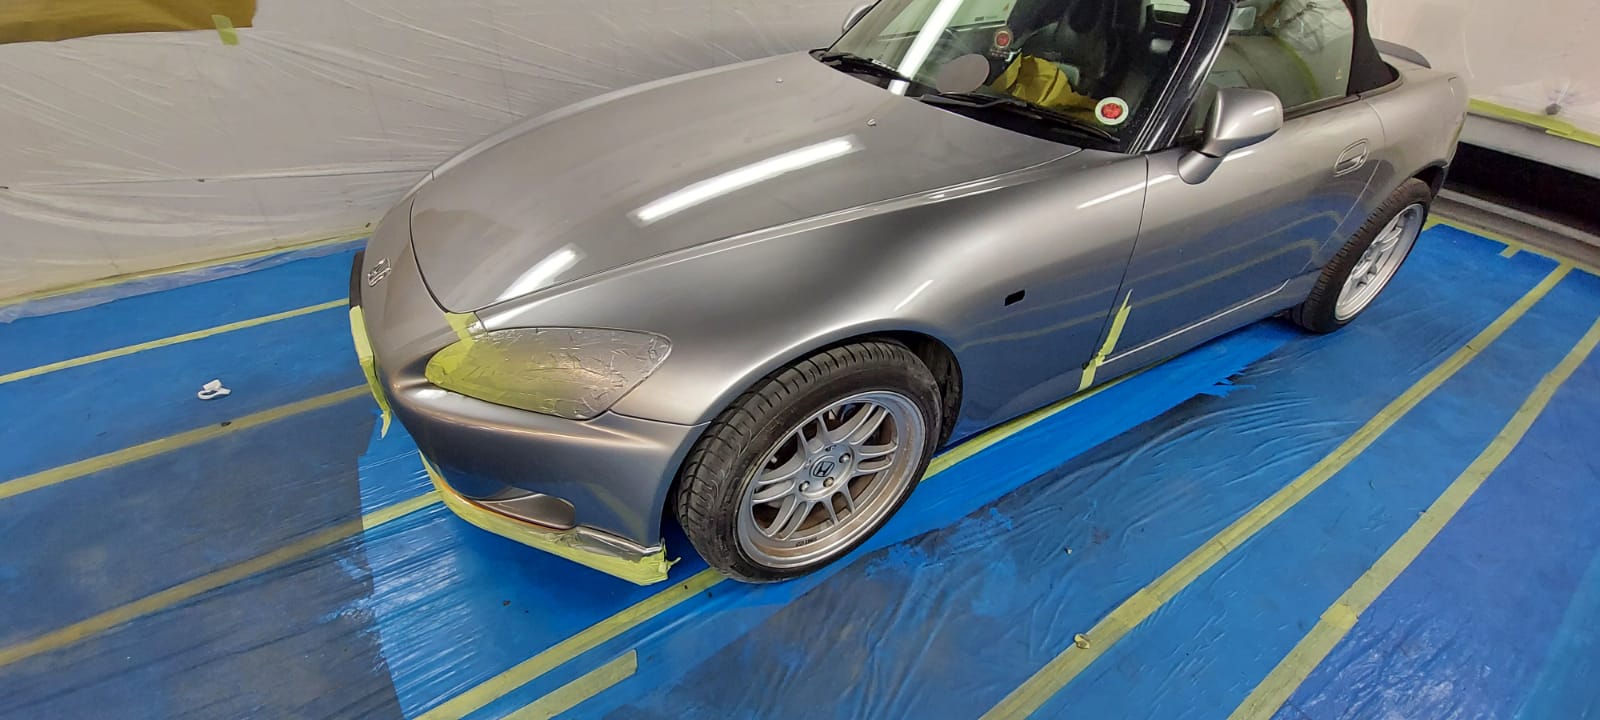
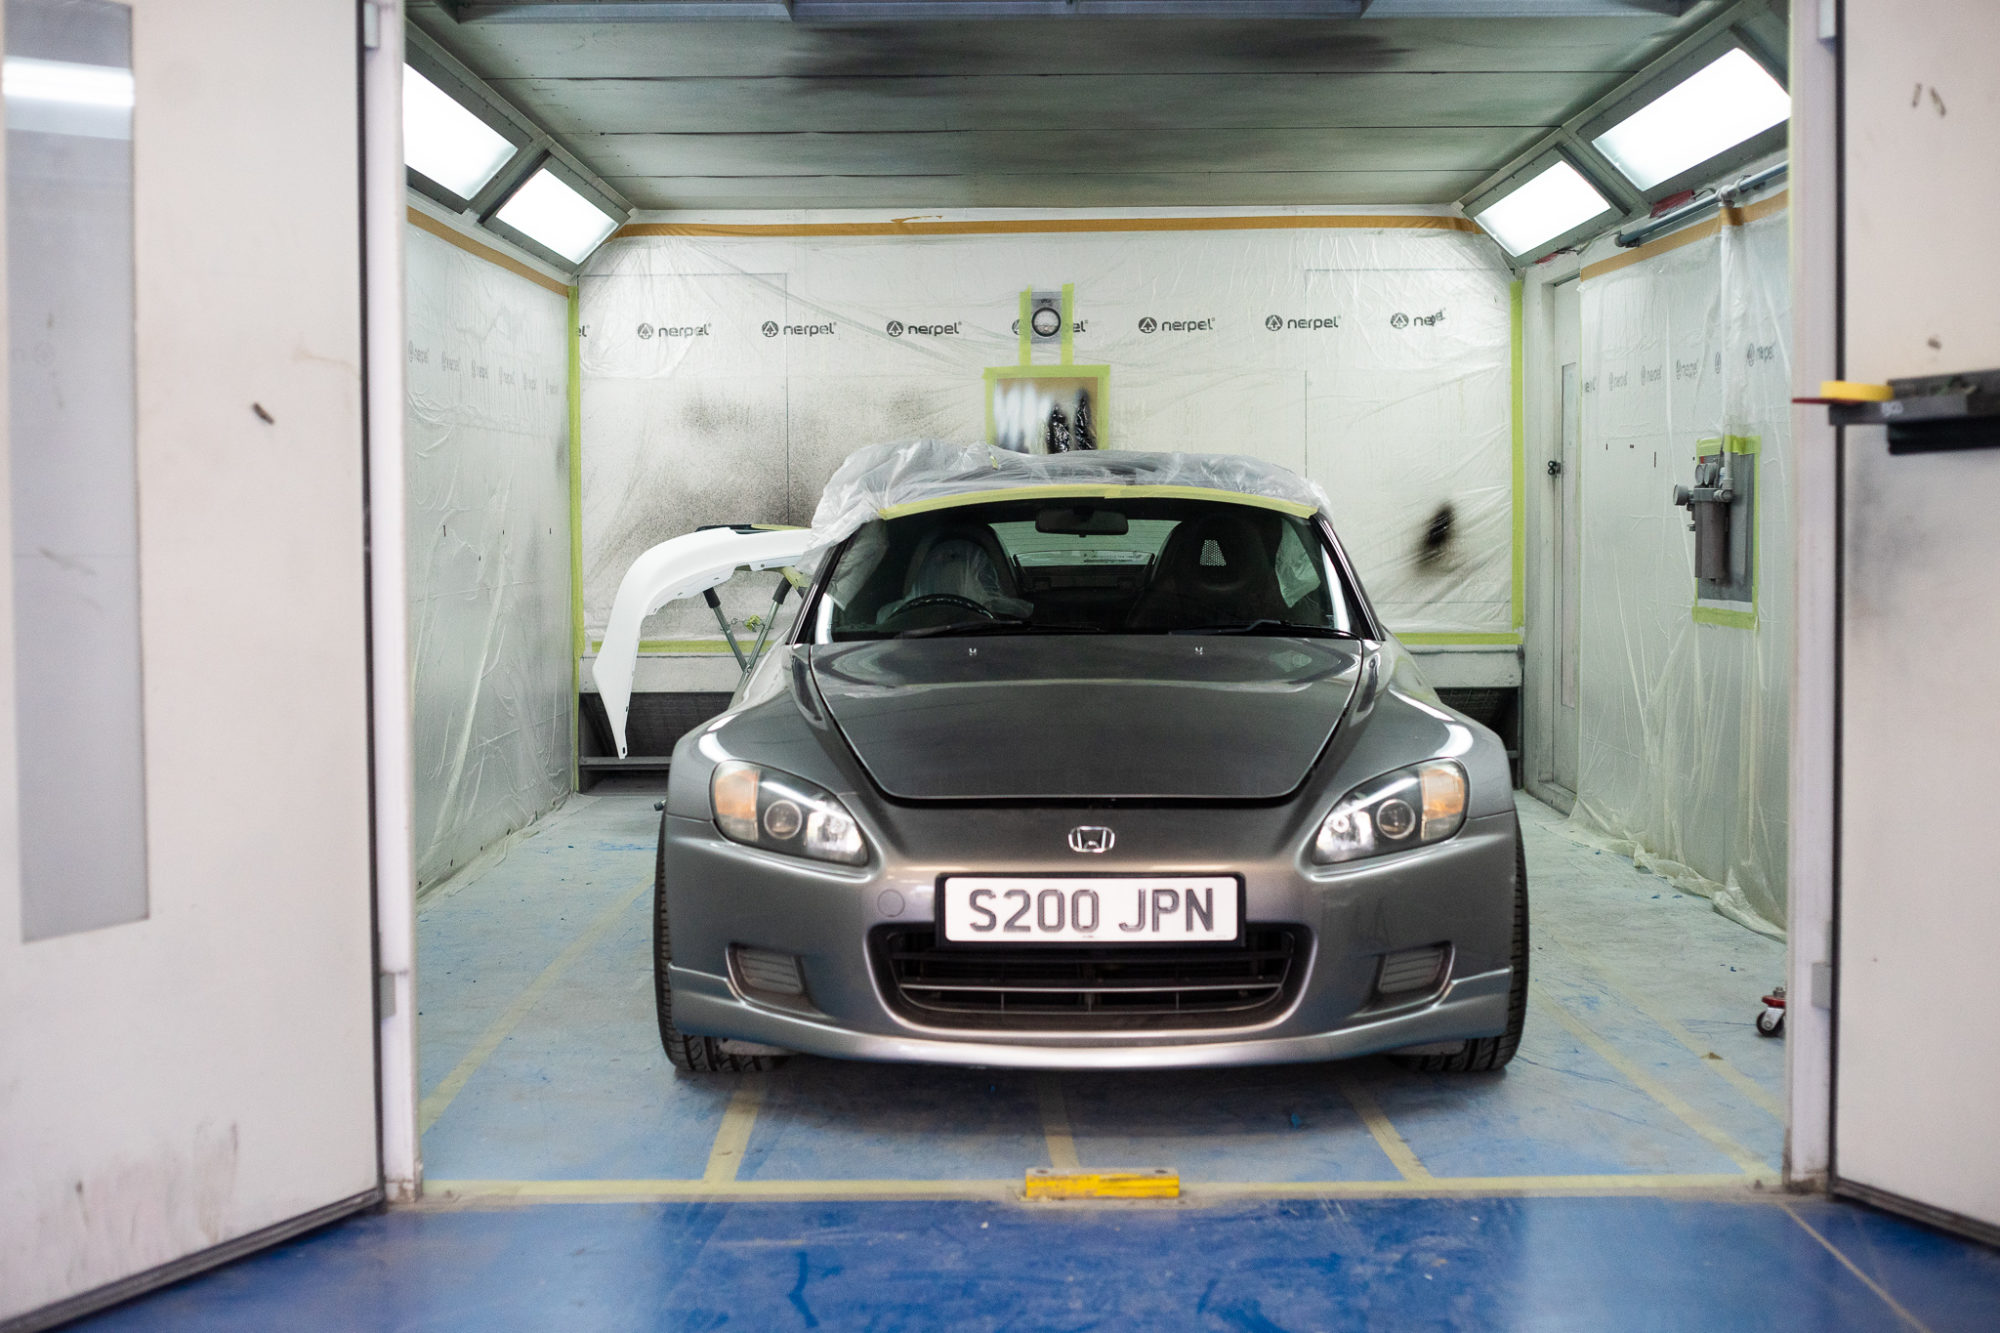
This 2000 Honda S2000 is a returning modern classic. It came into us back in March this year for some cosmetic work, with patches of corrosion and paint chipping away on the wheel arches, boot, bonnet and side panels. You can read about the process in full, in previous blog posts on this car.
This time around, it came into us for preparation work and painting on the front bumper and wing. This is called a SMART repair, which stands for Small Medium Area Repair Technology. It’s simply where a small area of the car is repaired instead of replacing the whole panel. Another great job done by the paint shop guys!
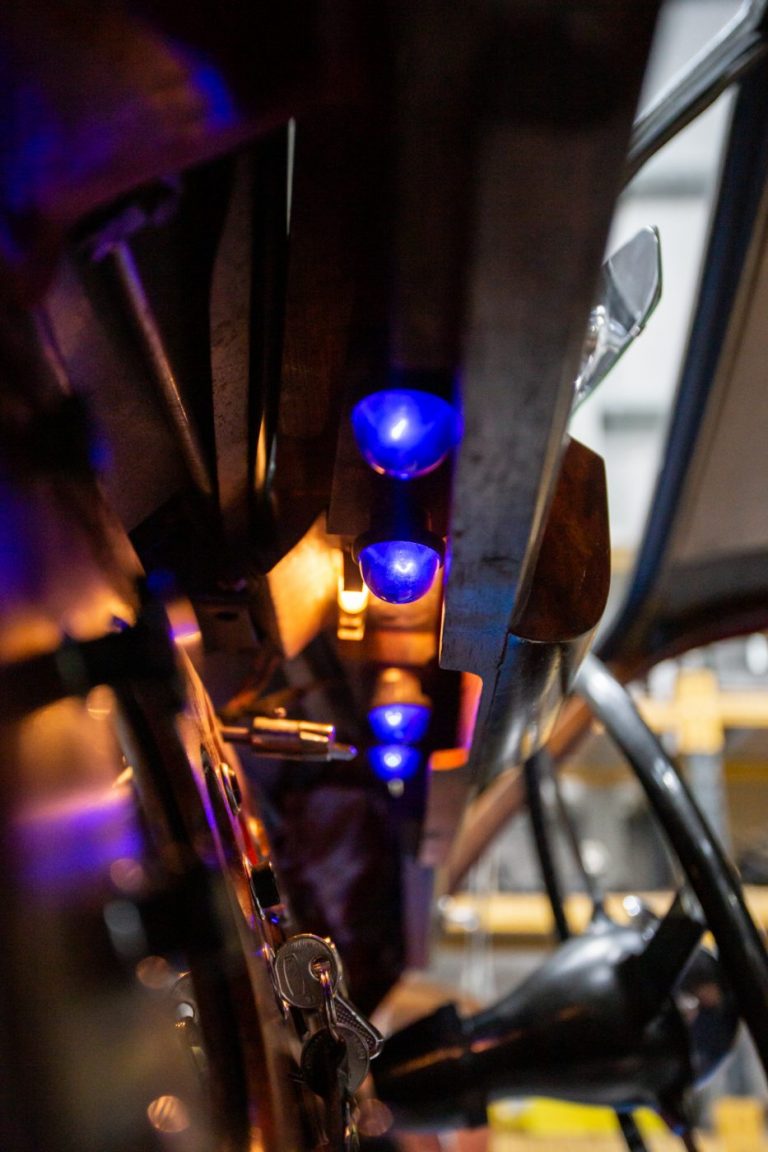
Dave has installed these original UV lights under the dash of the 1954 Jaguar MK VII. The blue/purple looking lightbulbs are called black lights and the white numbers and markings on the dials will be painted in a substance such as radium (but we’re not 100% sure on whether it is radium). So then, in the dark with the lights on, the dials will glow. Most cars have backlights, so this is a really lovely feature of the vehicle.

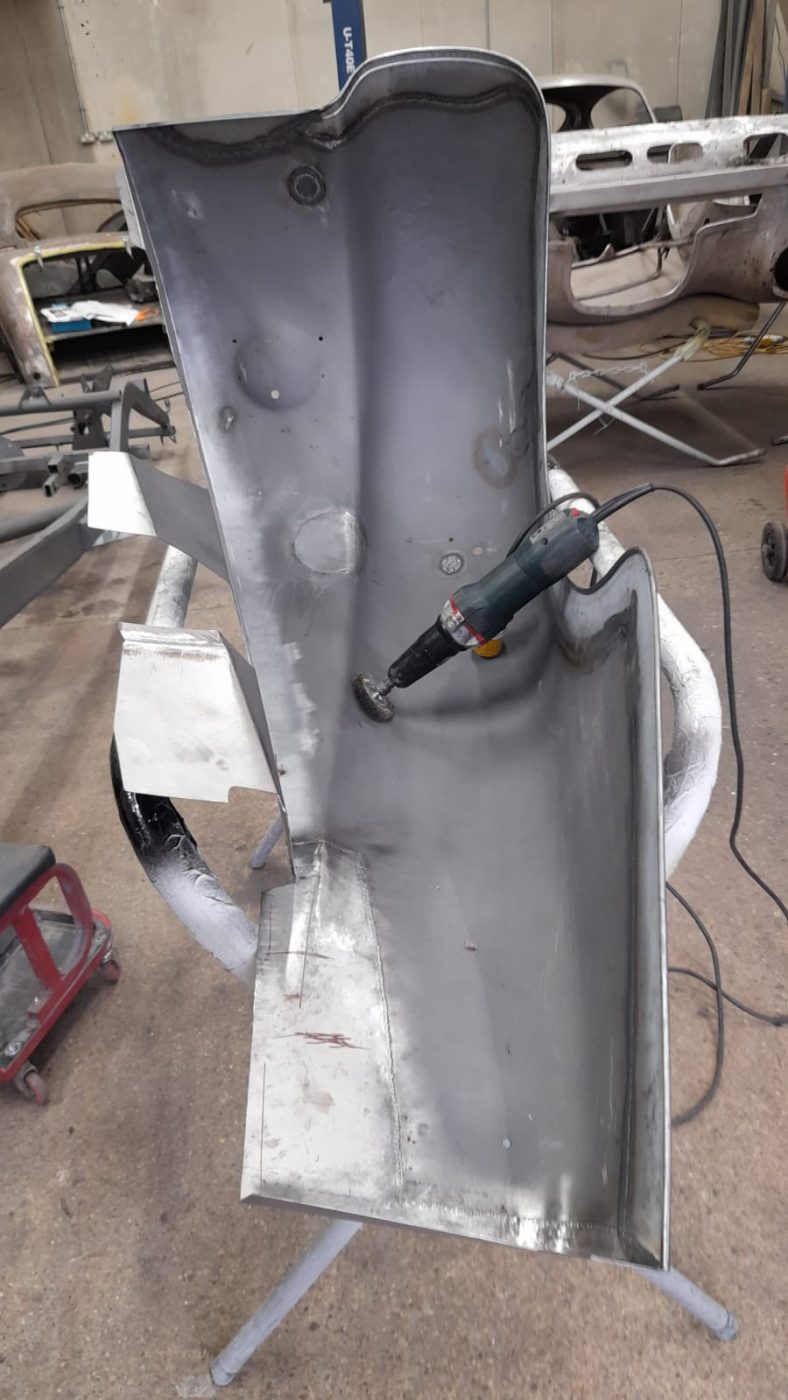
Here’s a big update on the 1955 Aston Martin DB 2/4. Clinton has been continuing his work on the car and has given us the low-down on what has been done recently.
If we start at the rear of the vehicle, he’s finished putting the four corners in, the outside edge of the boot lid was corroded so this has been repaired with fabrication and welding, a new boot hinge has been created and Clinton is waiting for parts to arrive to complete the boot. One bigger change to the boot has been the removal of two large handles on the boot. When the car arrived with them on, we thought something wasn’t quite right, so we went on a visit to Stratton Motor Company because they had a DB 2/4 in their own showroom. It was there that it was confirmed that the handles should not be on the boot lid.
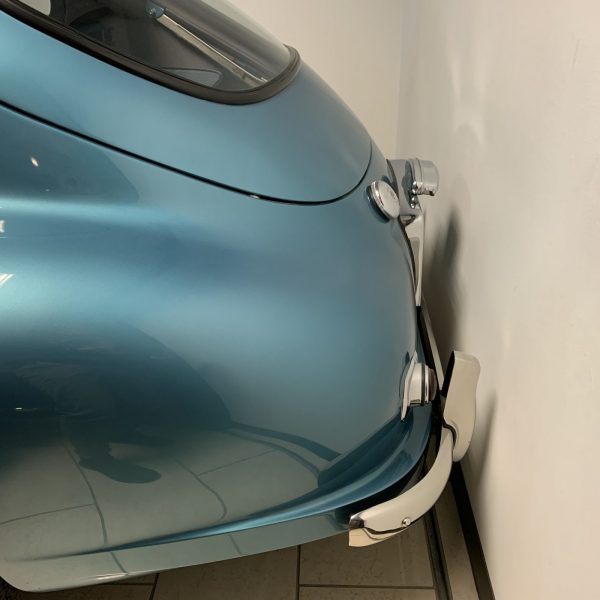
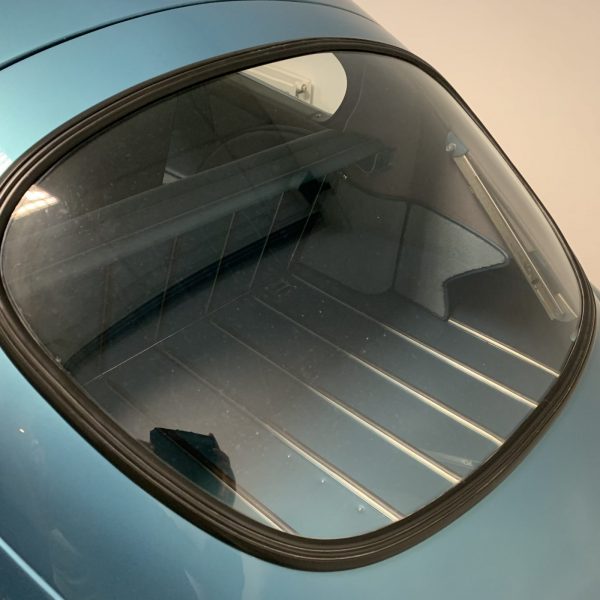
The front “pod” of the car on the right-hand side had to be repaired due to corrosion. The guys in the fabrication and welding bay are now waiting for the inside of the bonnet to be painted before they can fit the inner frame parts back in. The doors also need looking at as they won’t shut properly.


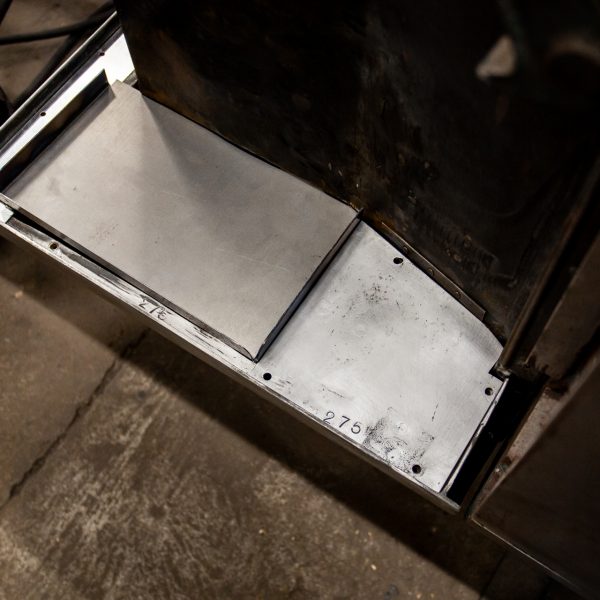
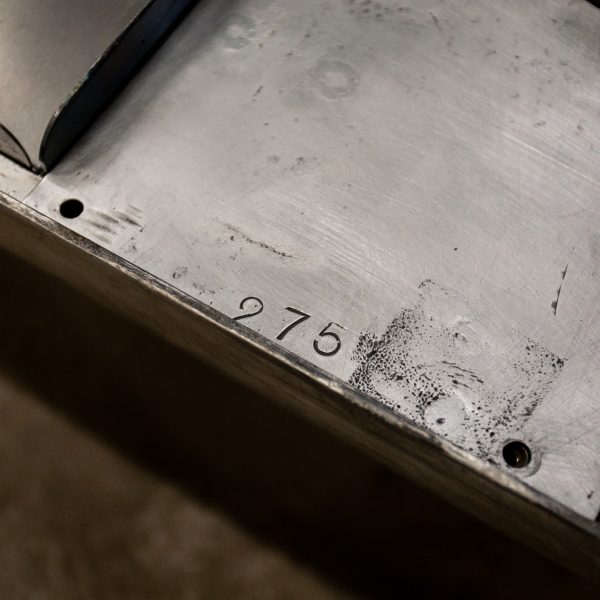
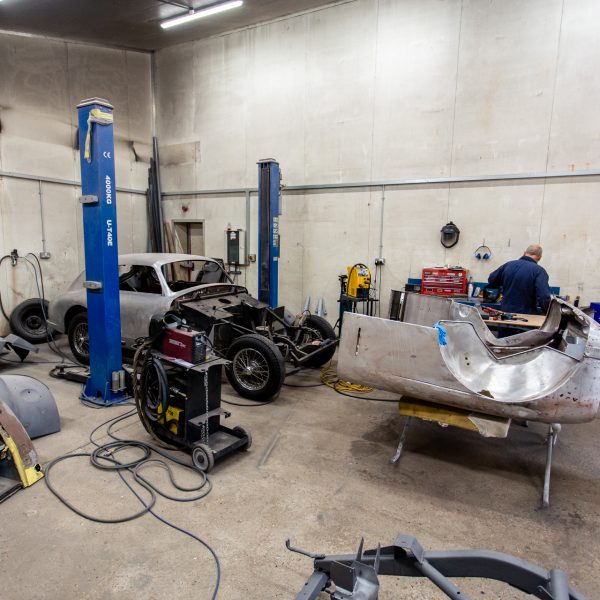
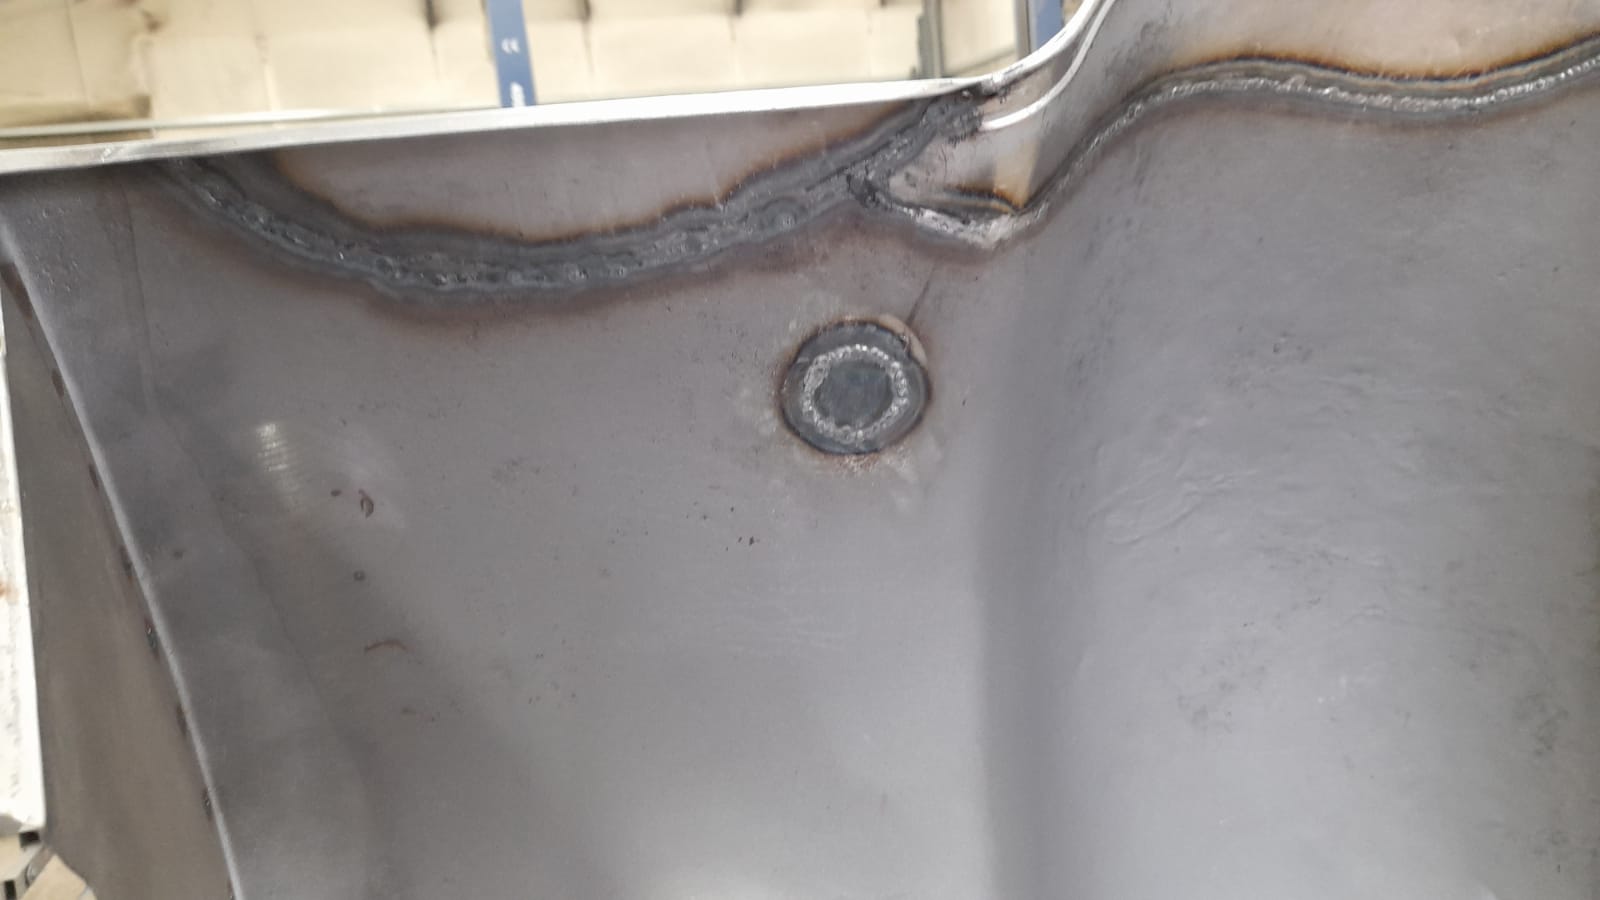
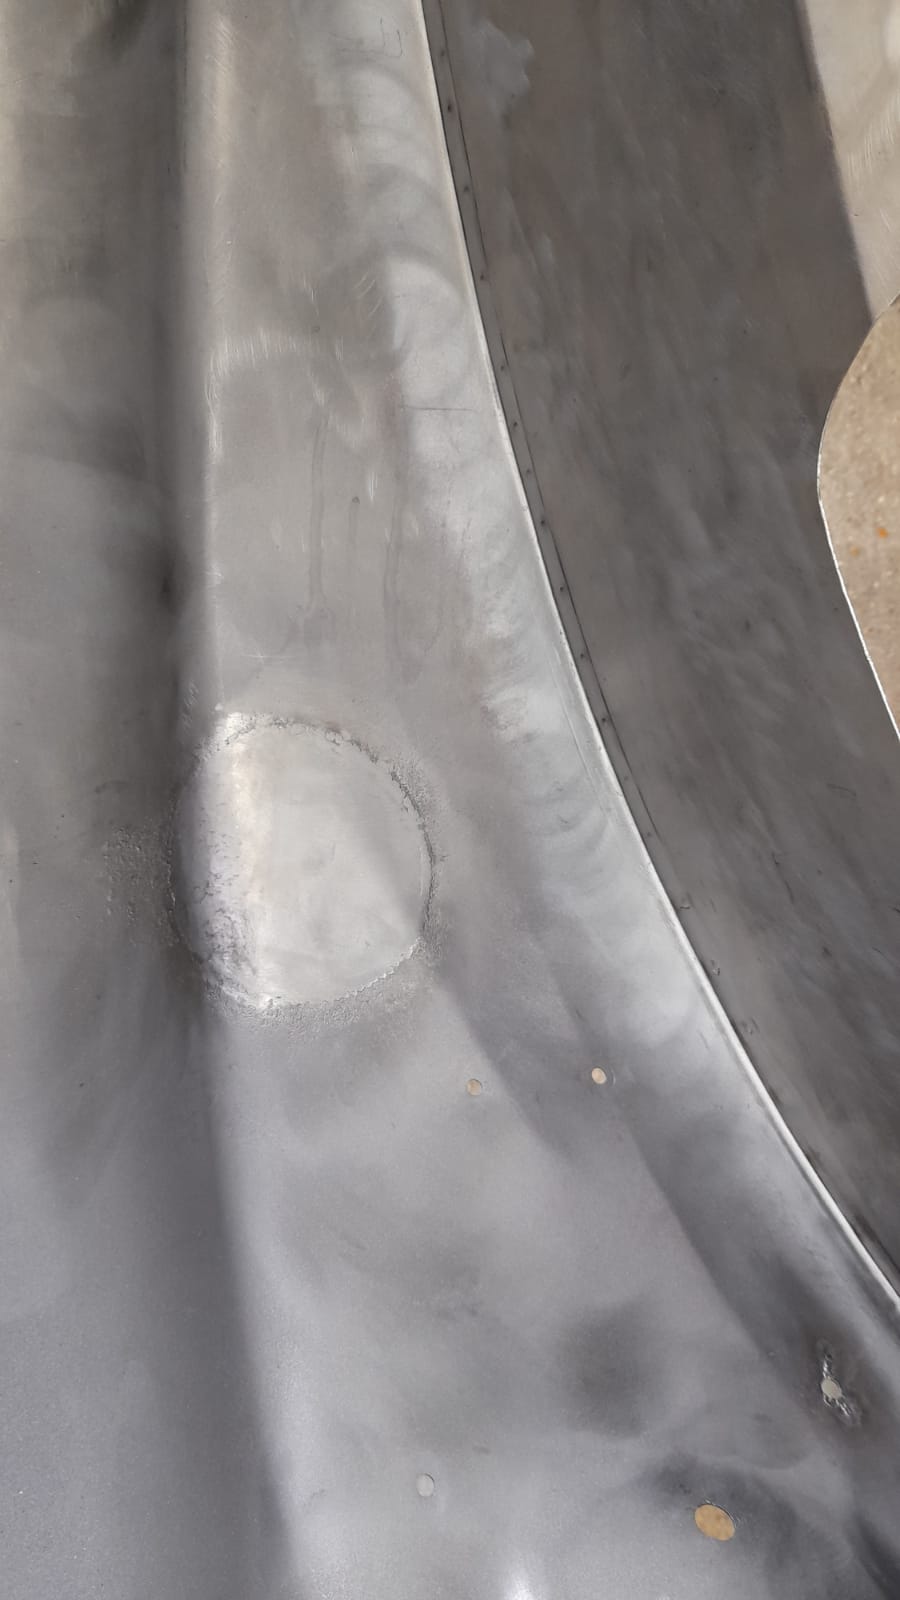
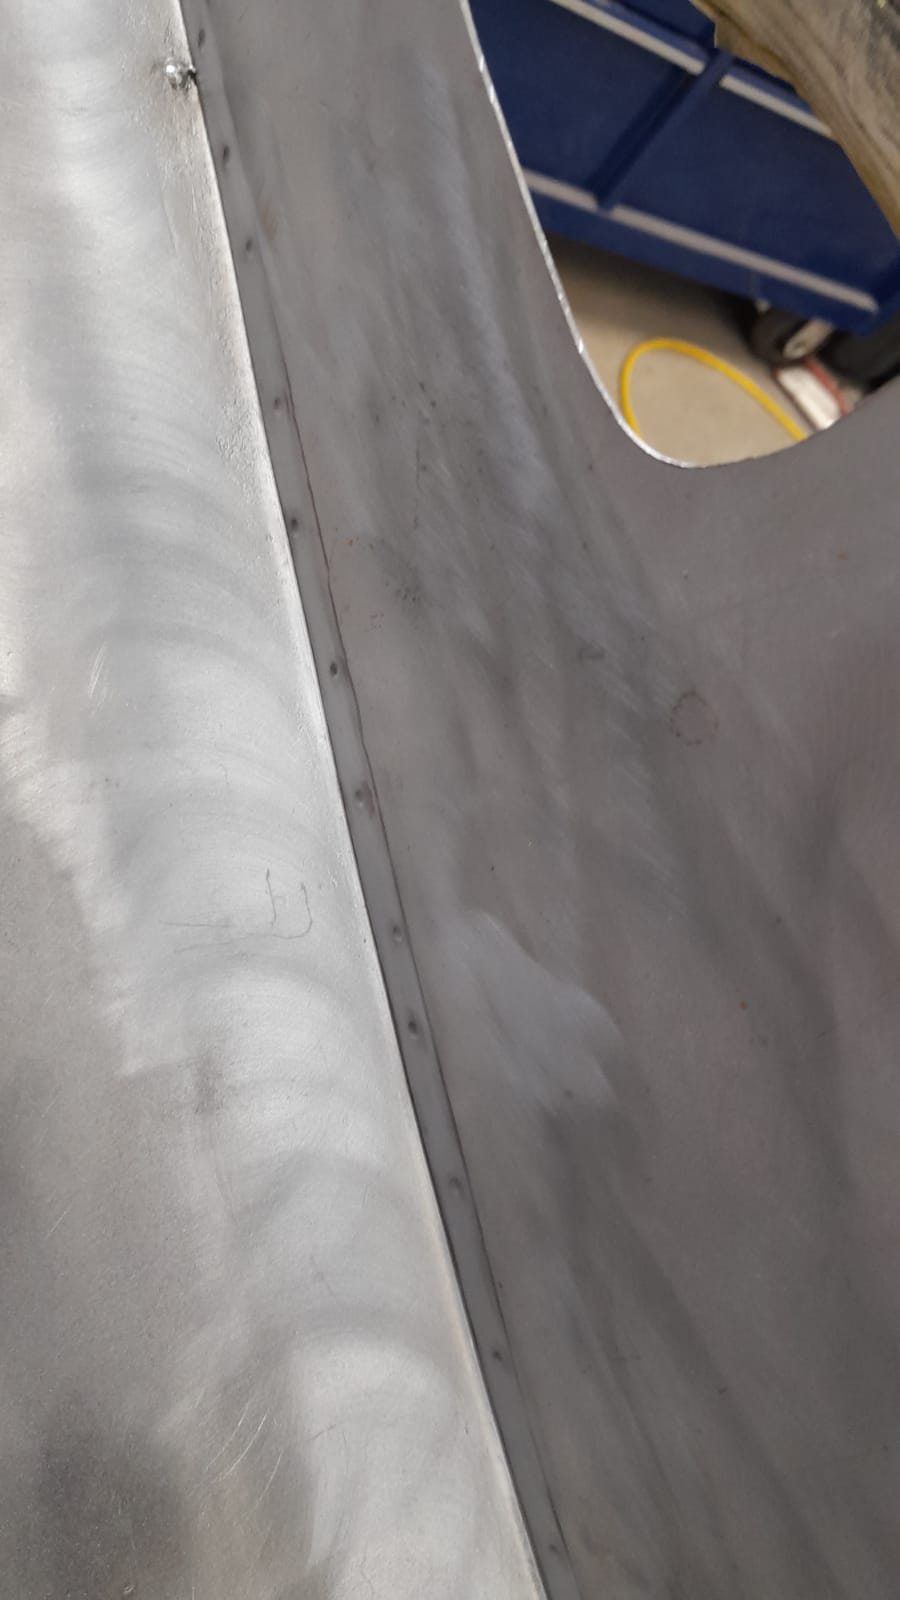
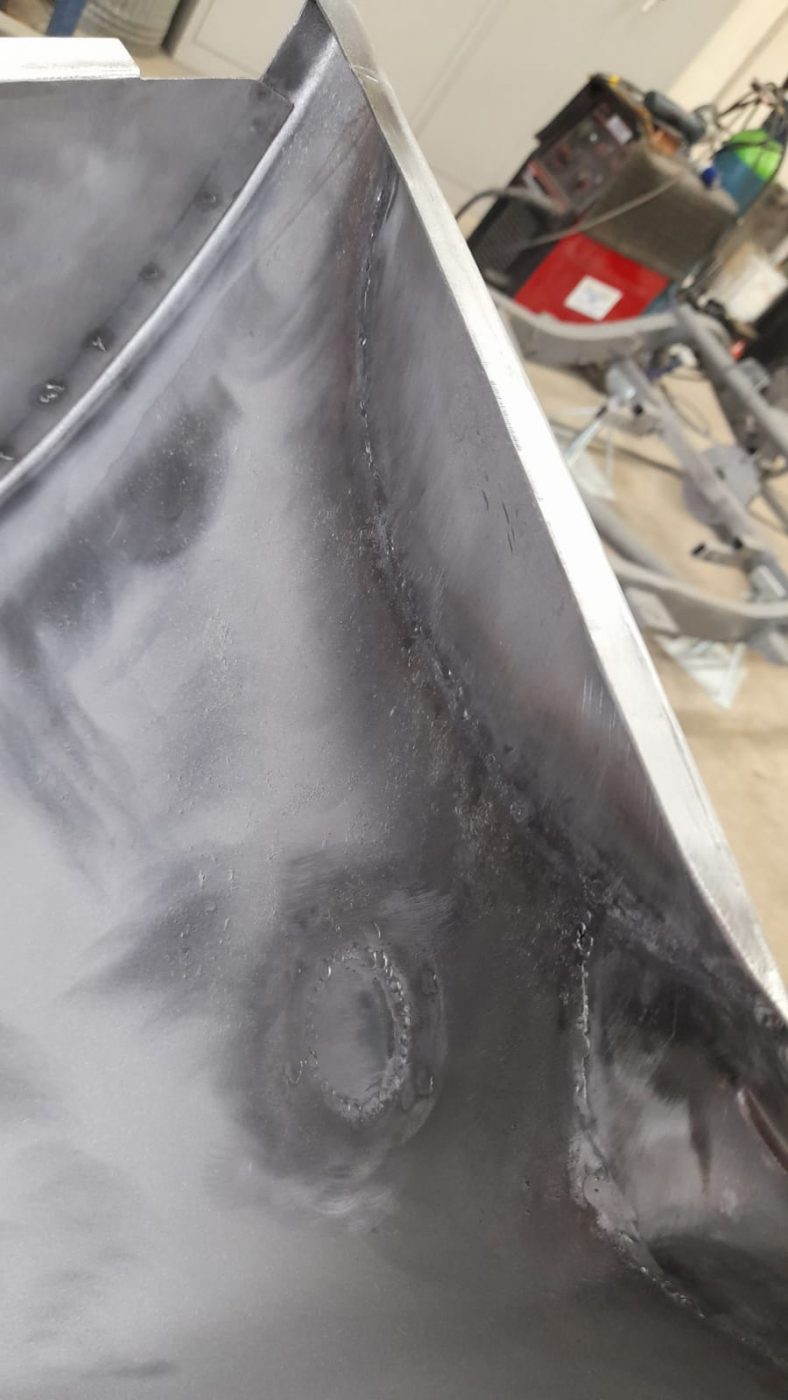
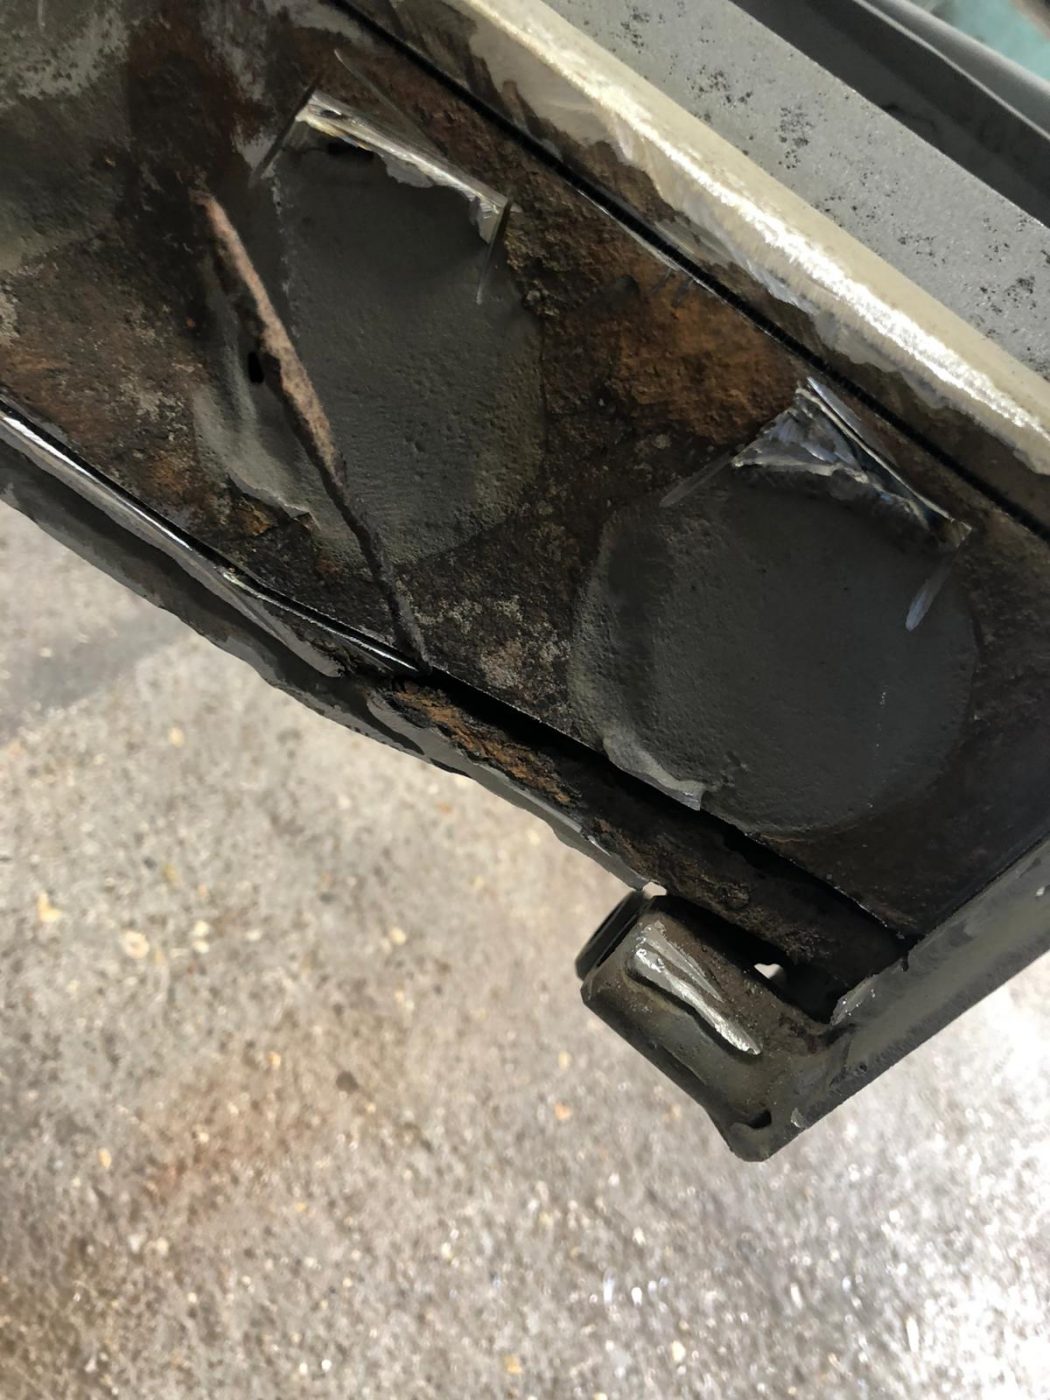
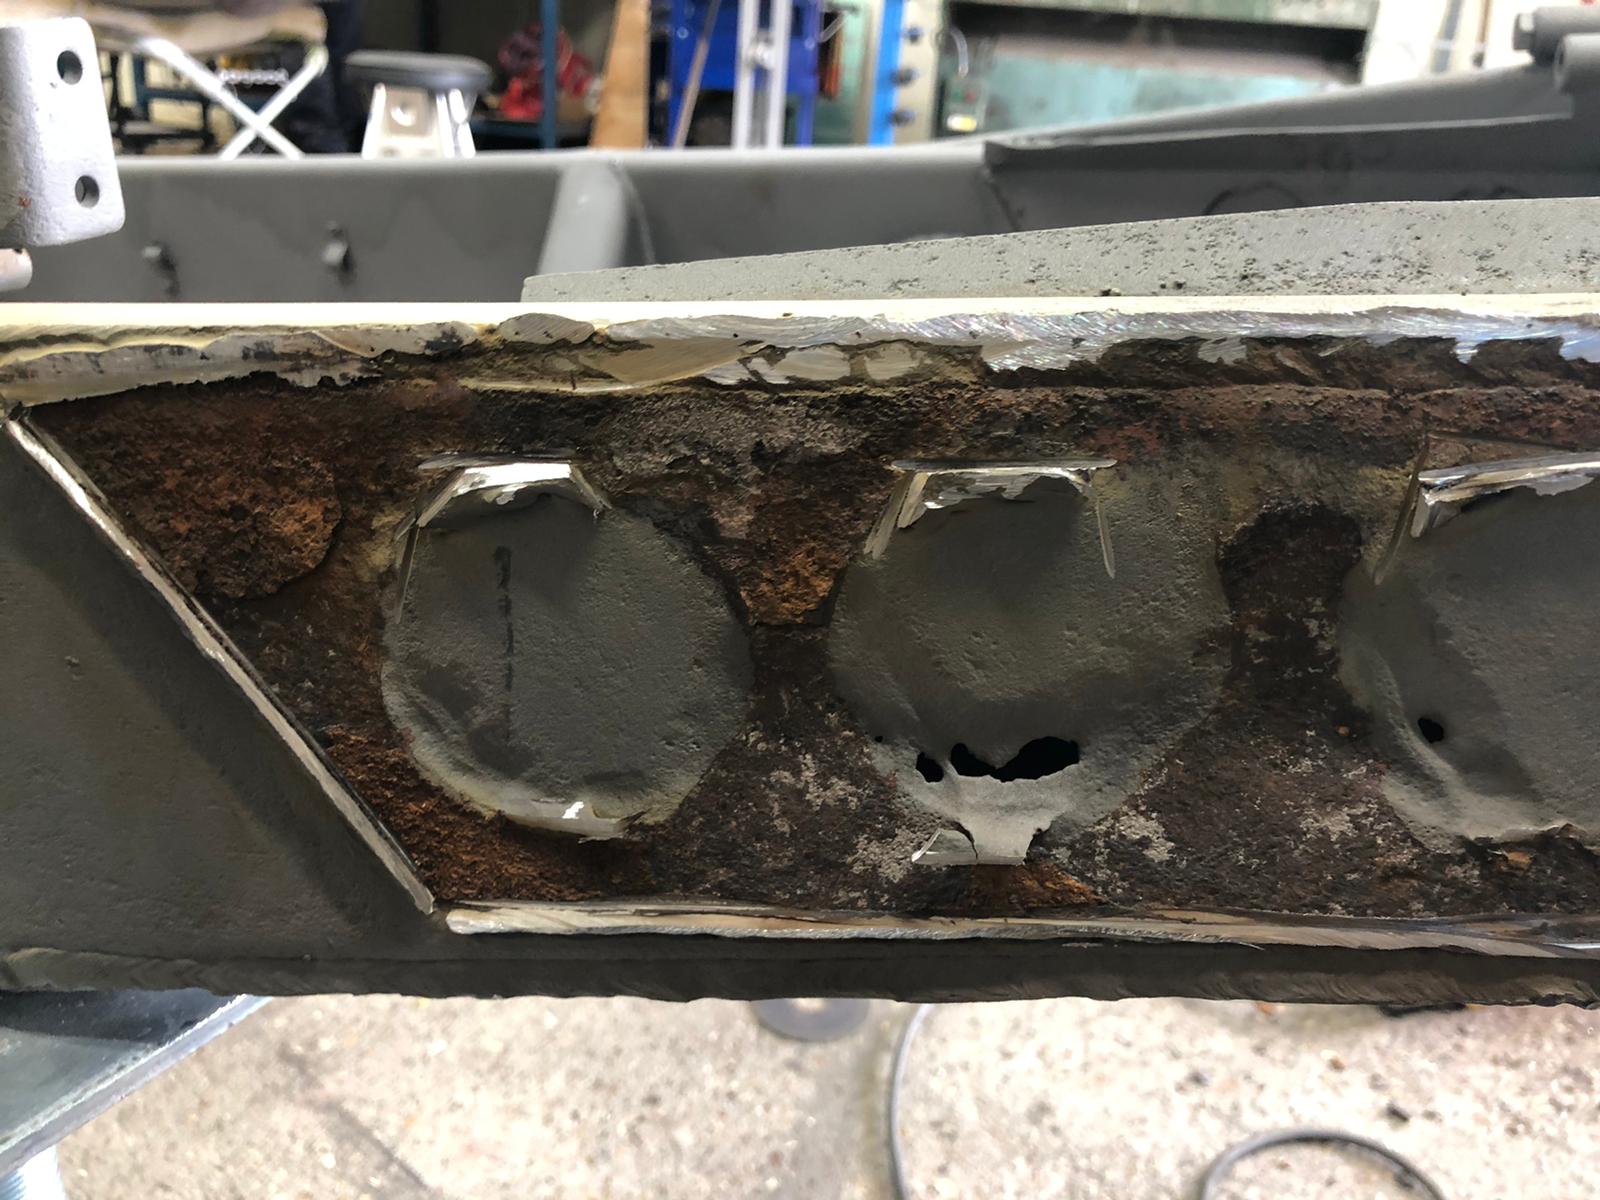
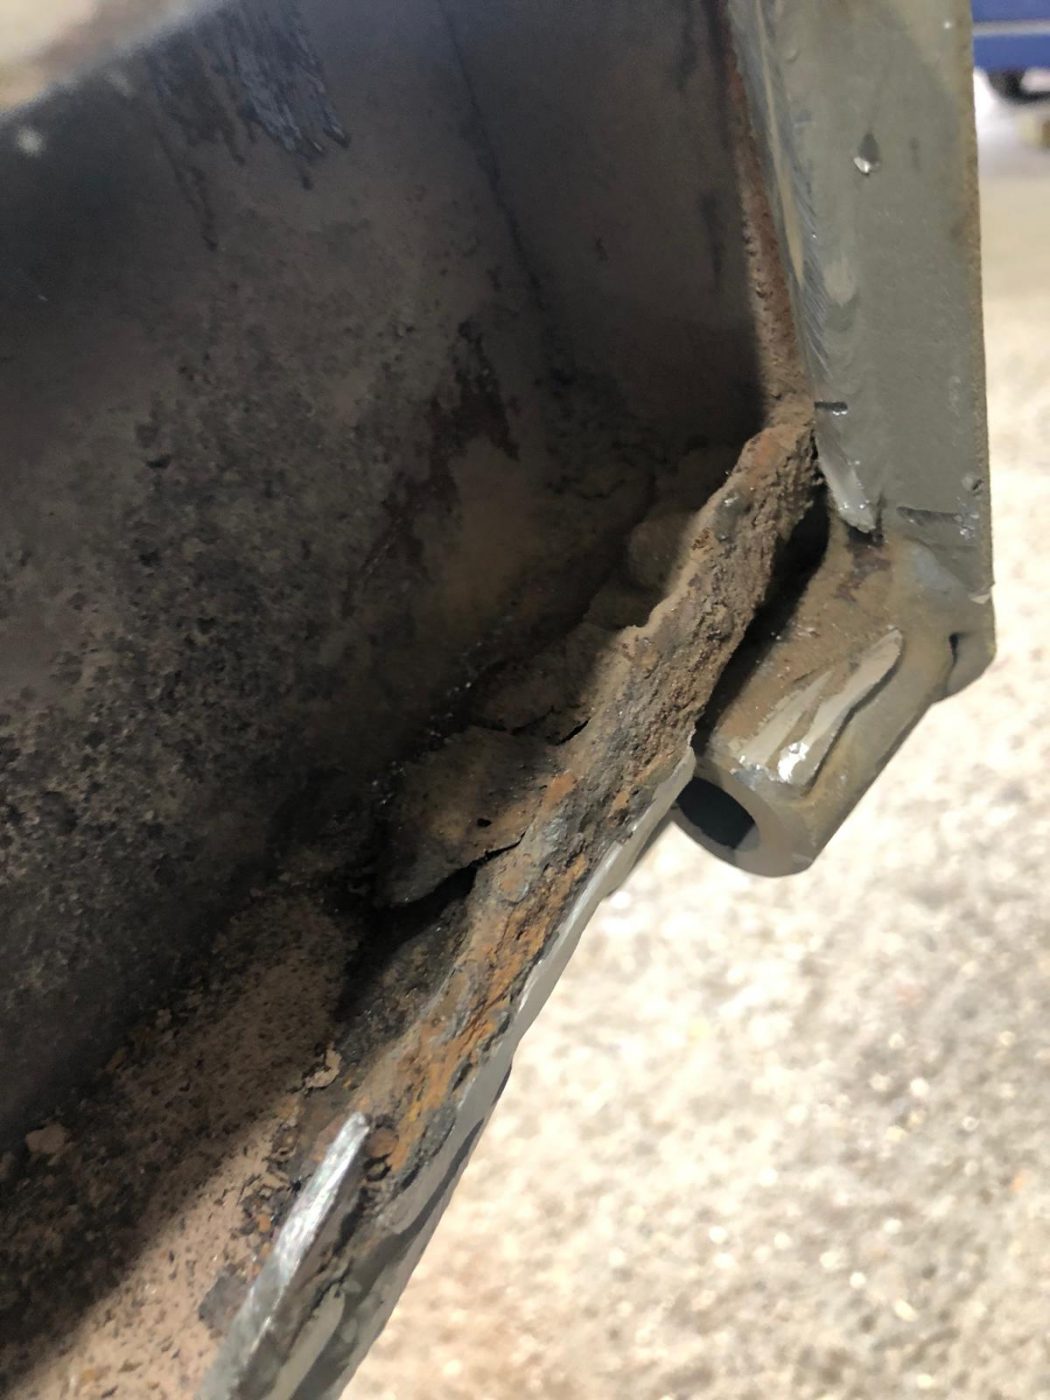
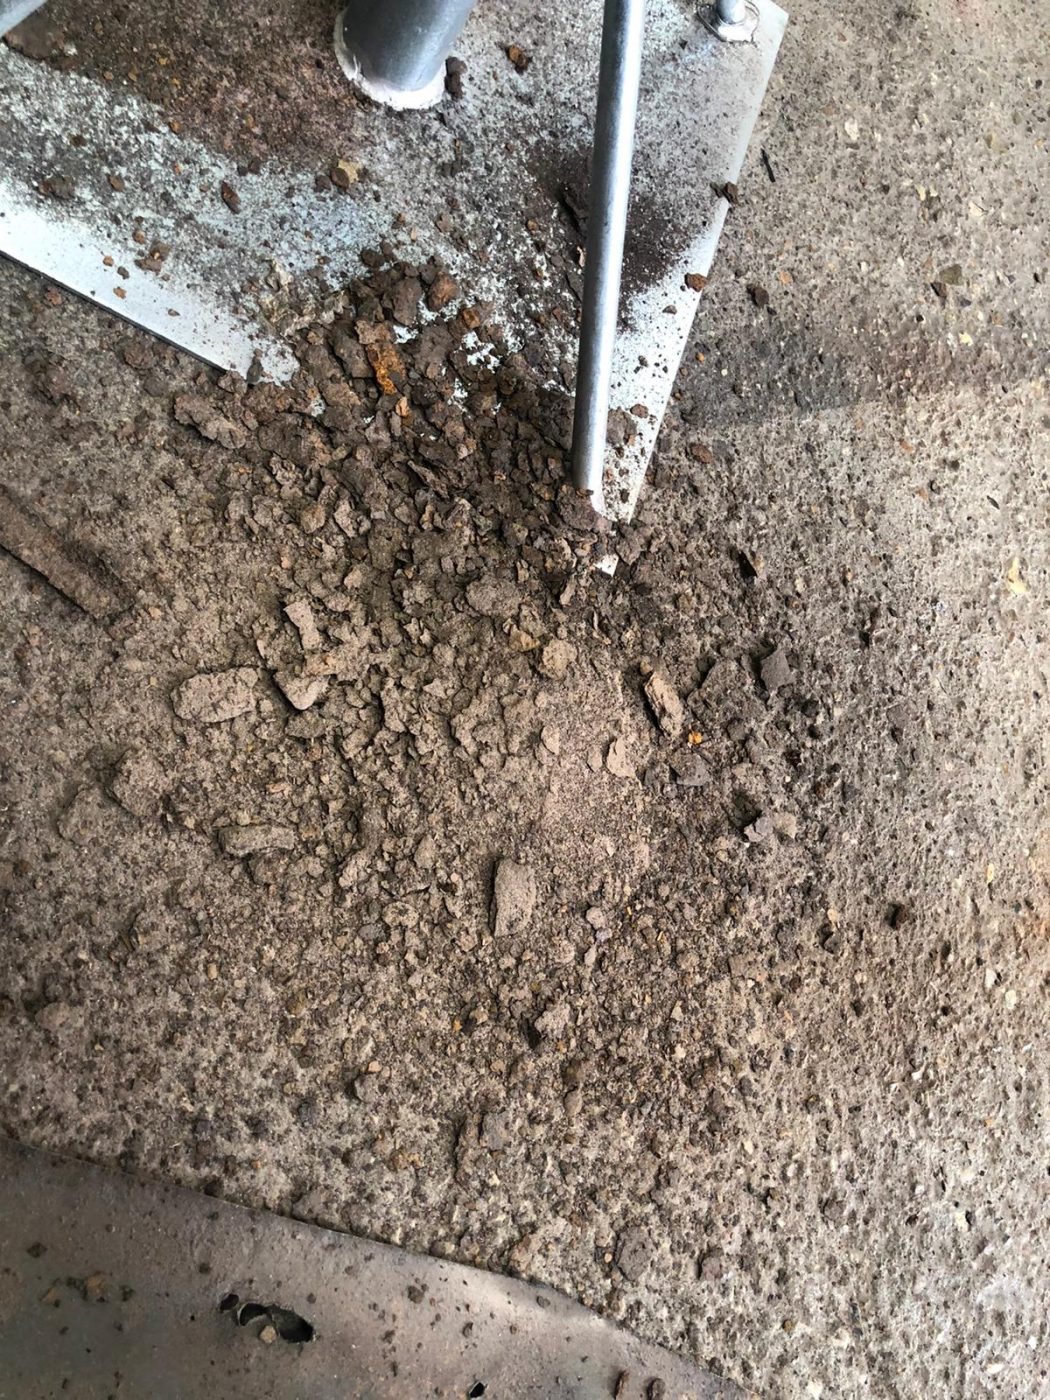
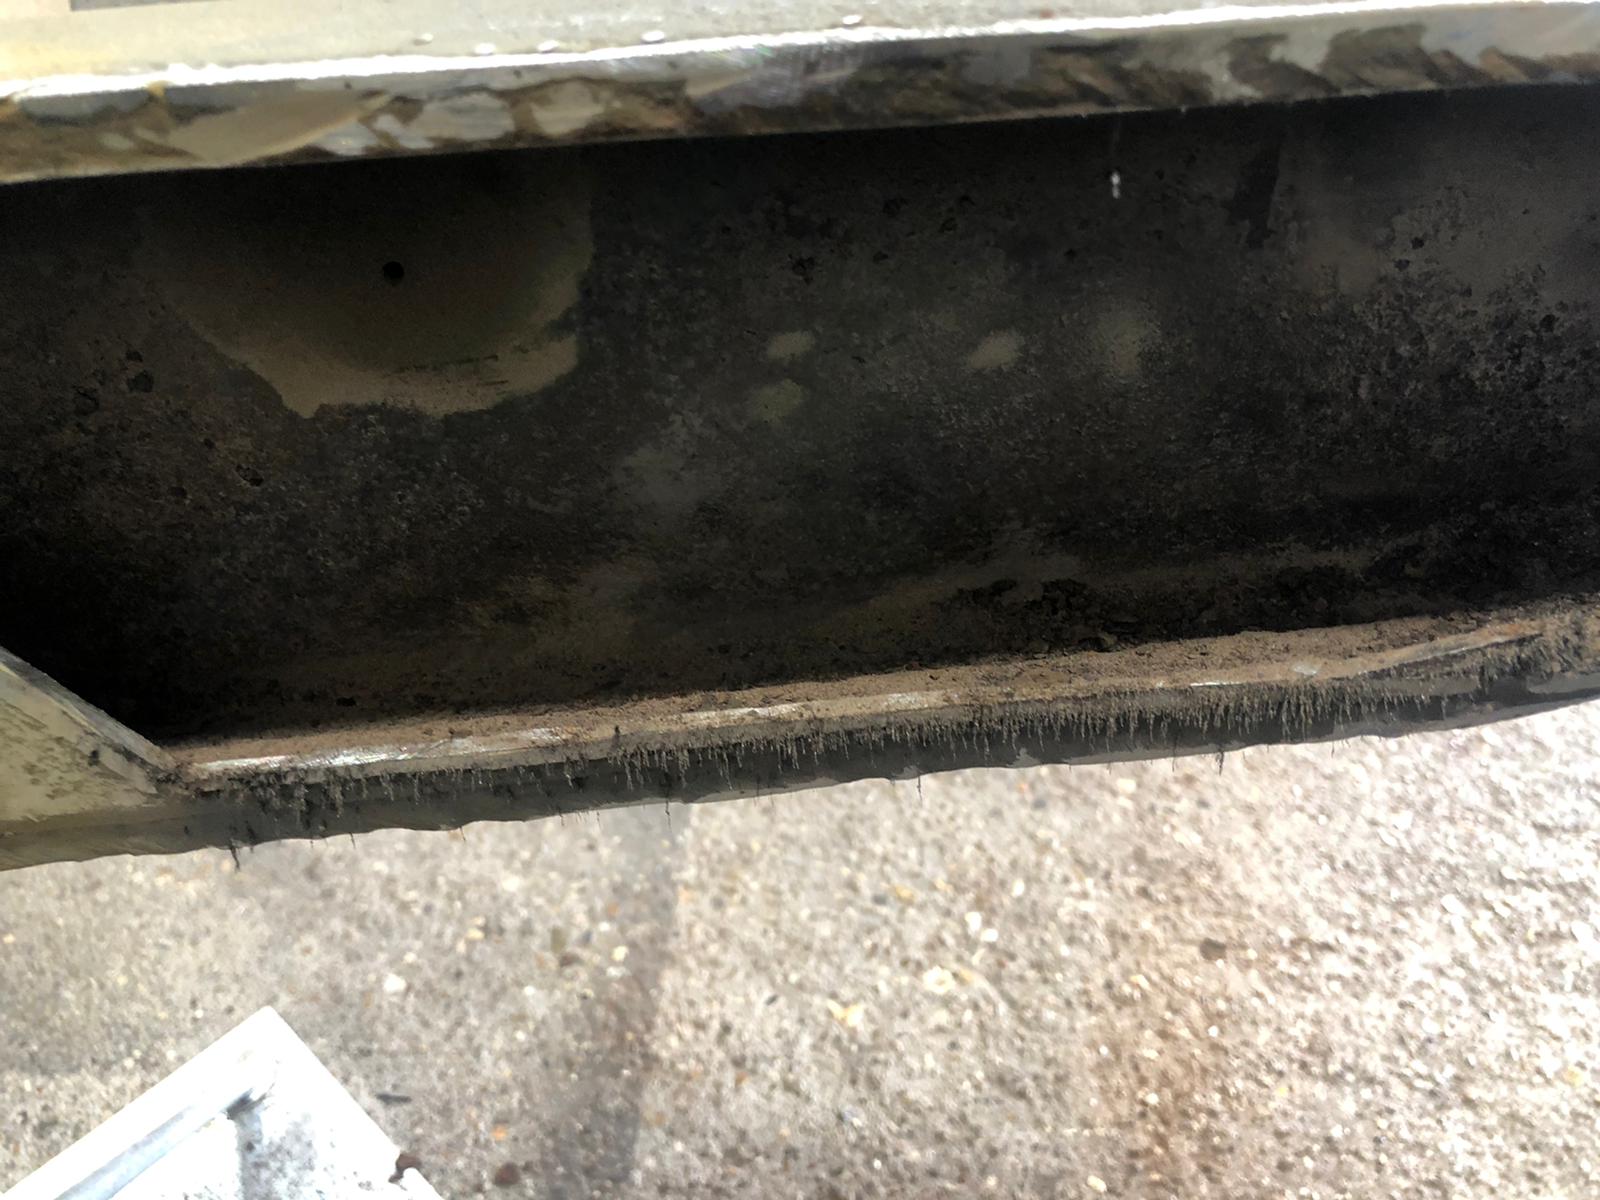
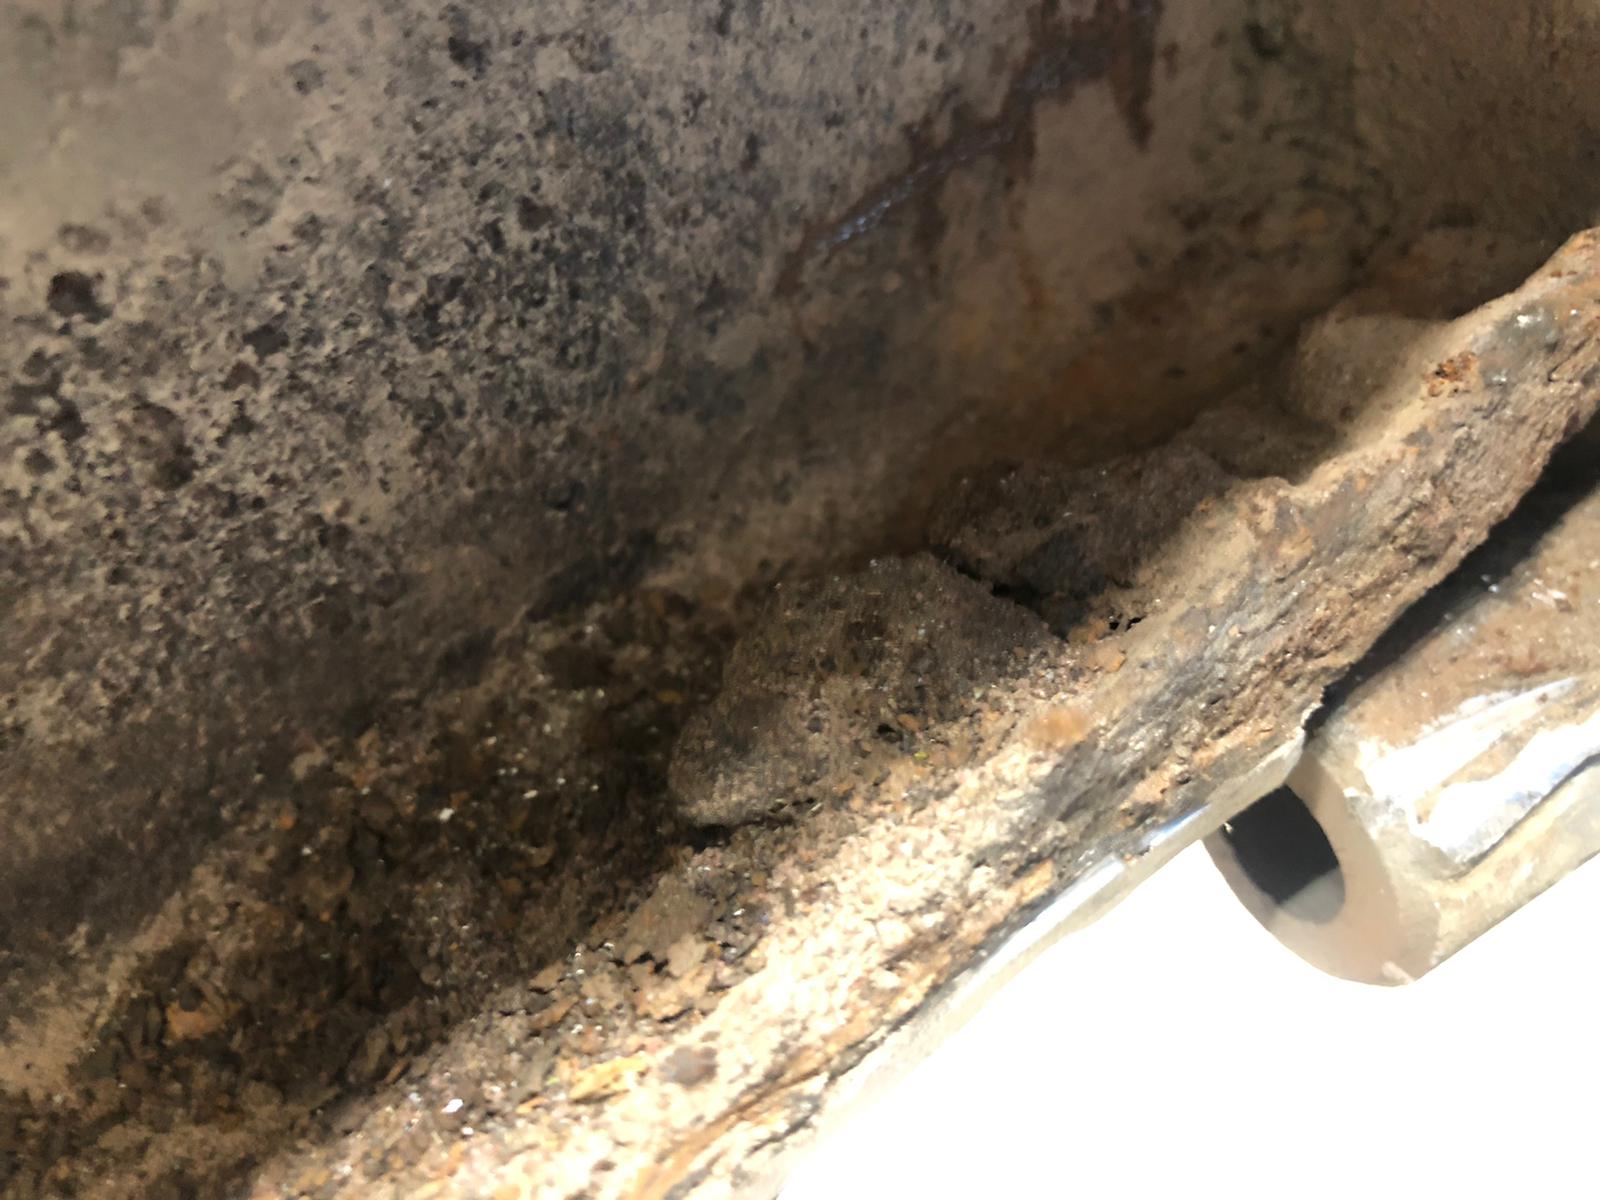
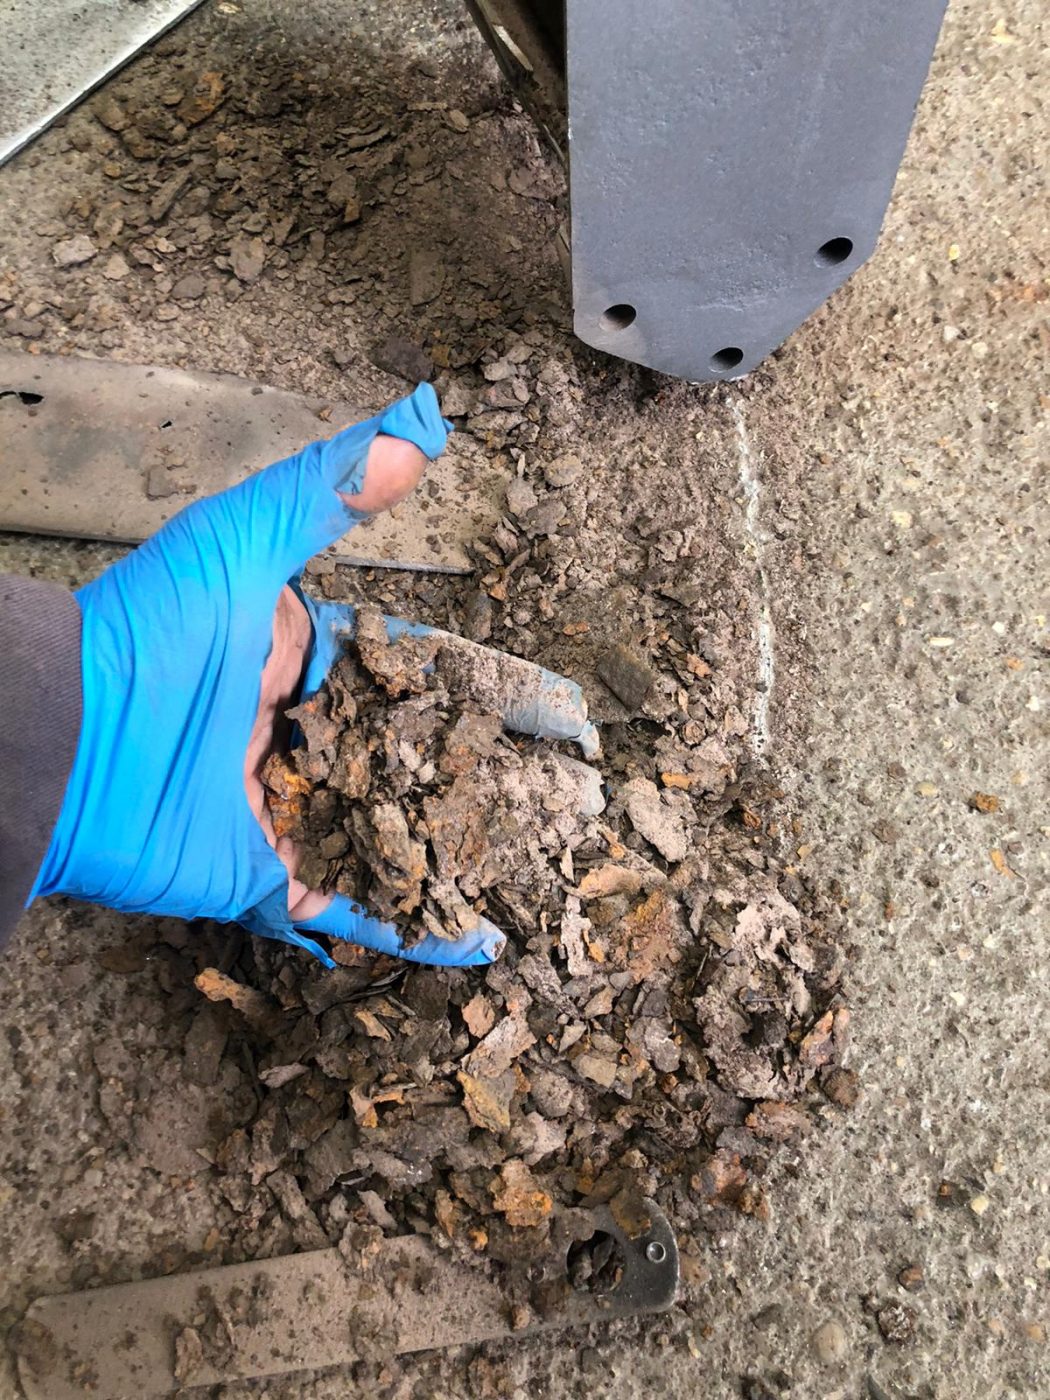
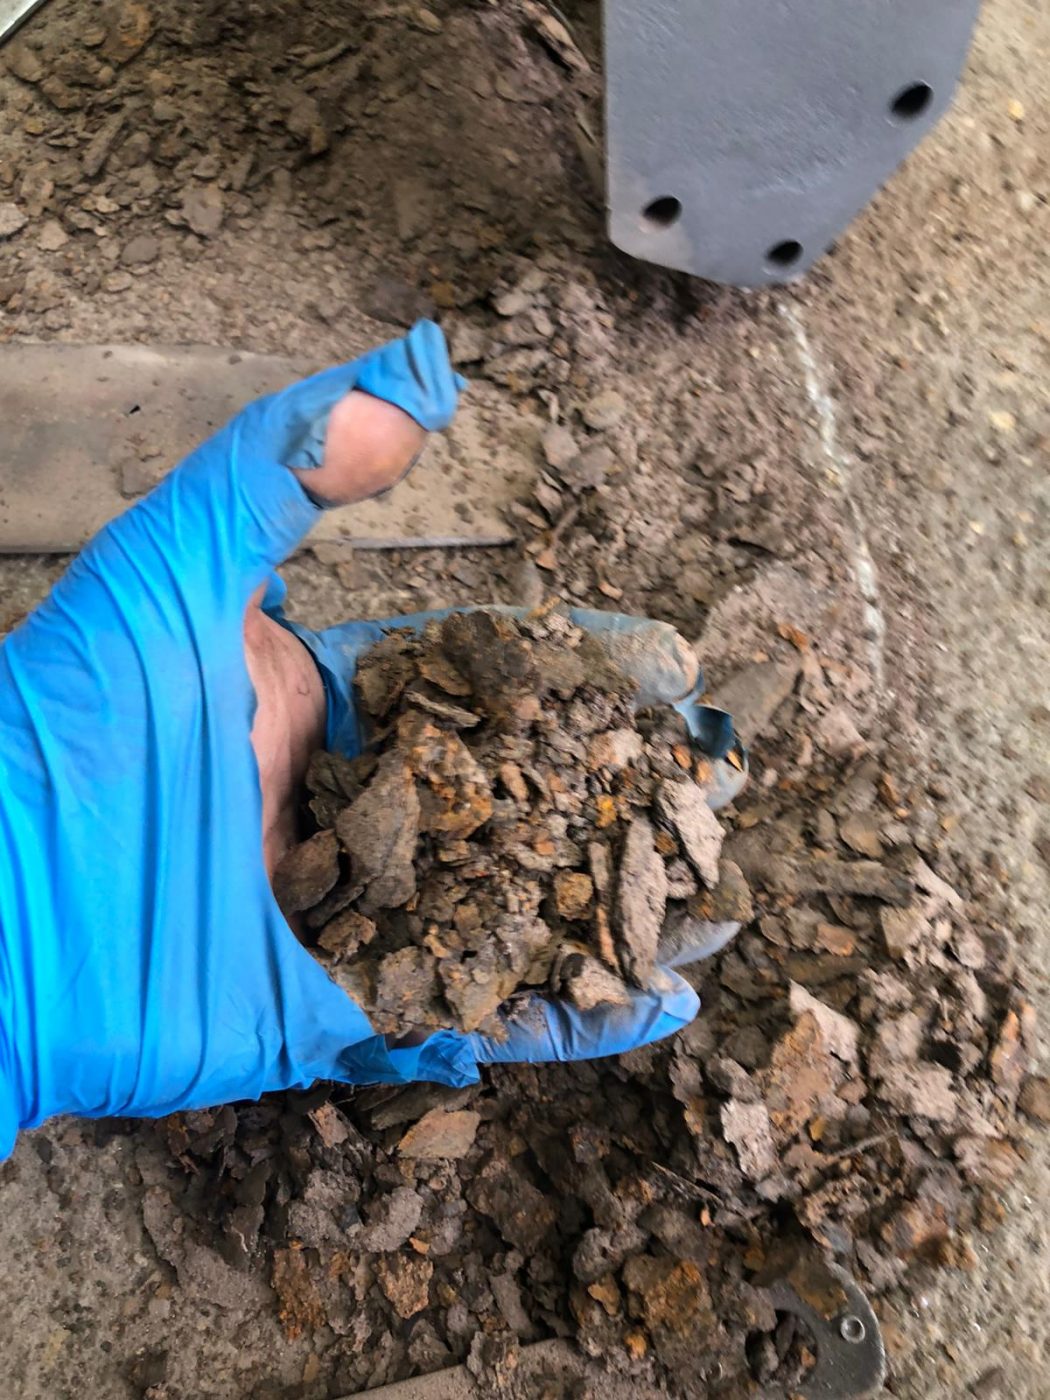
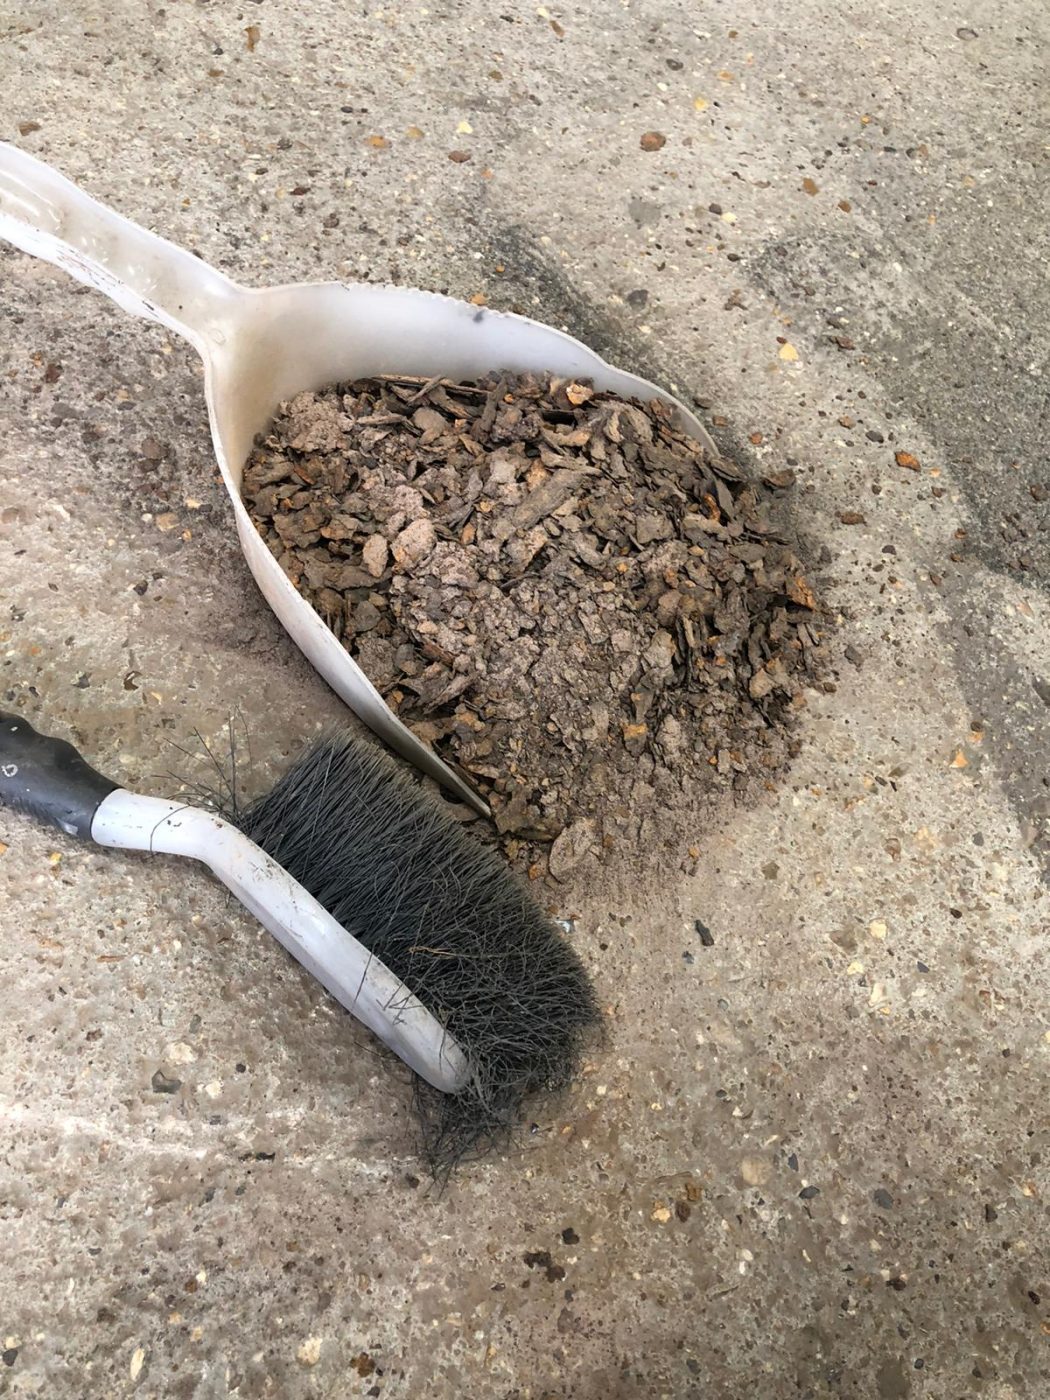
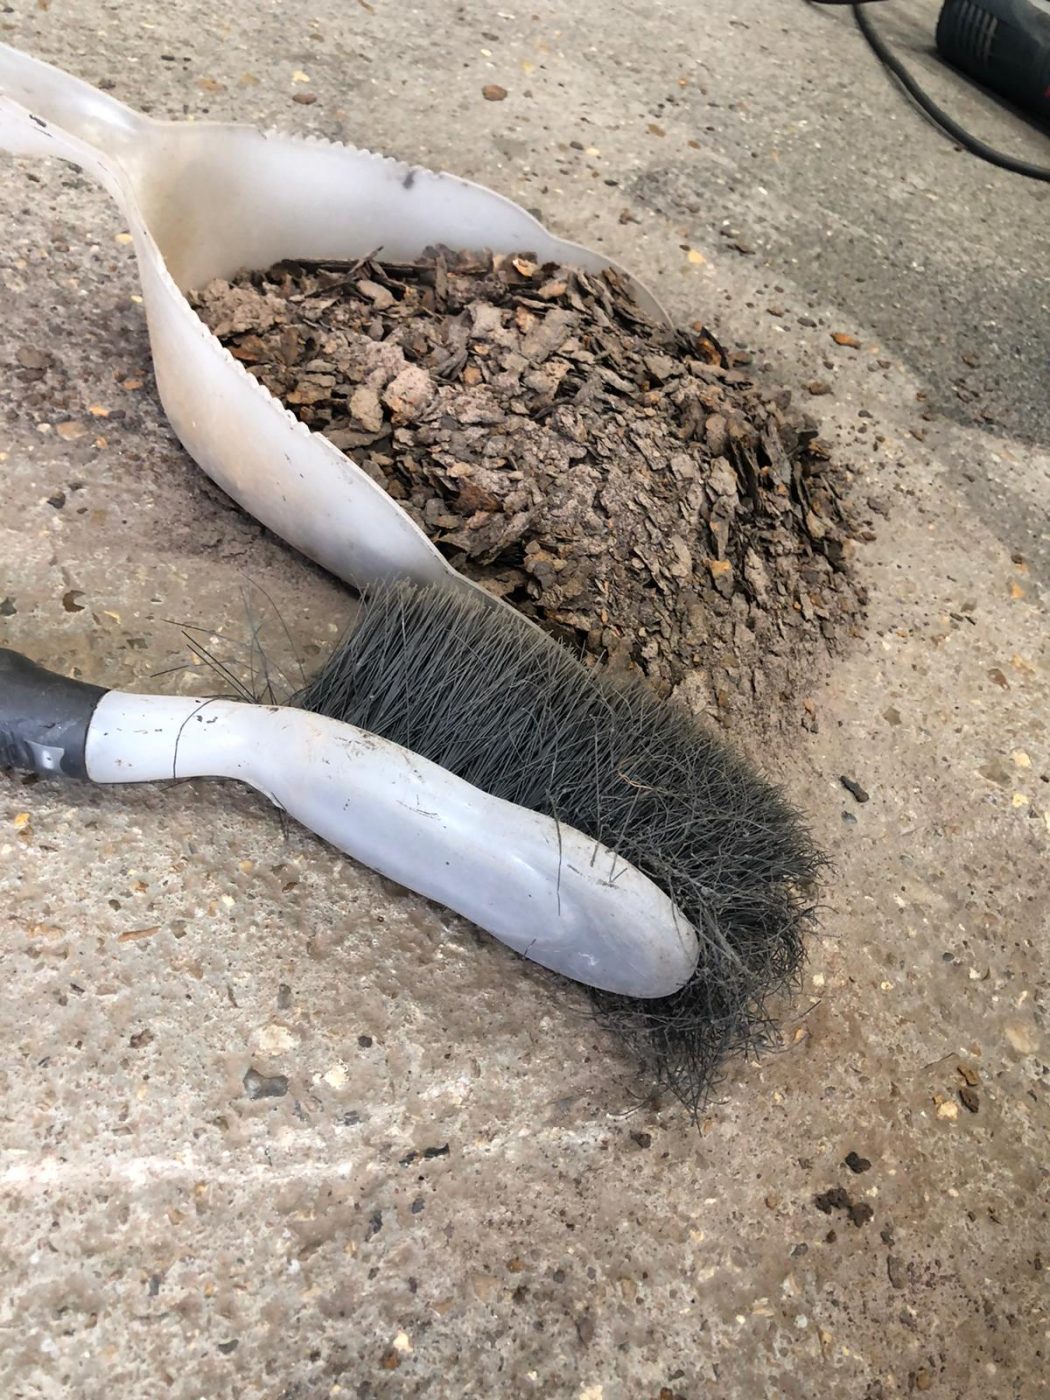
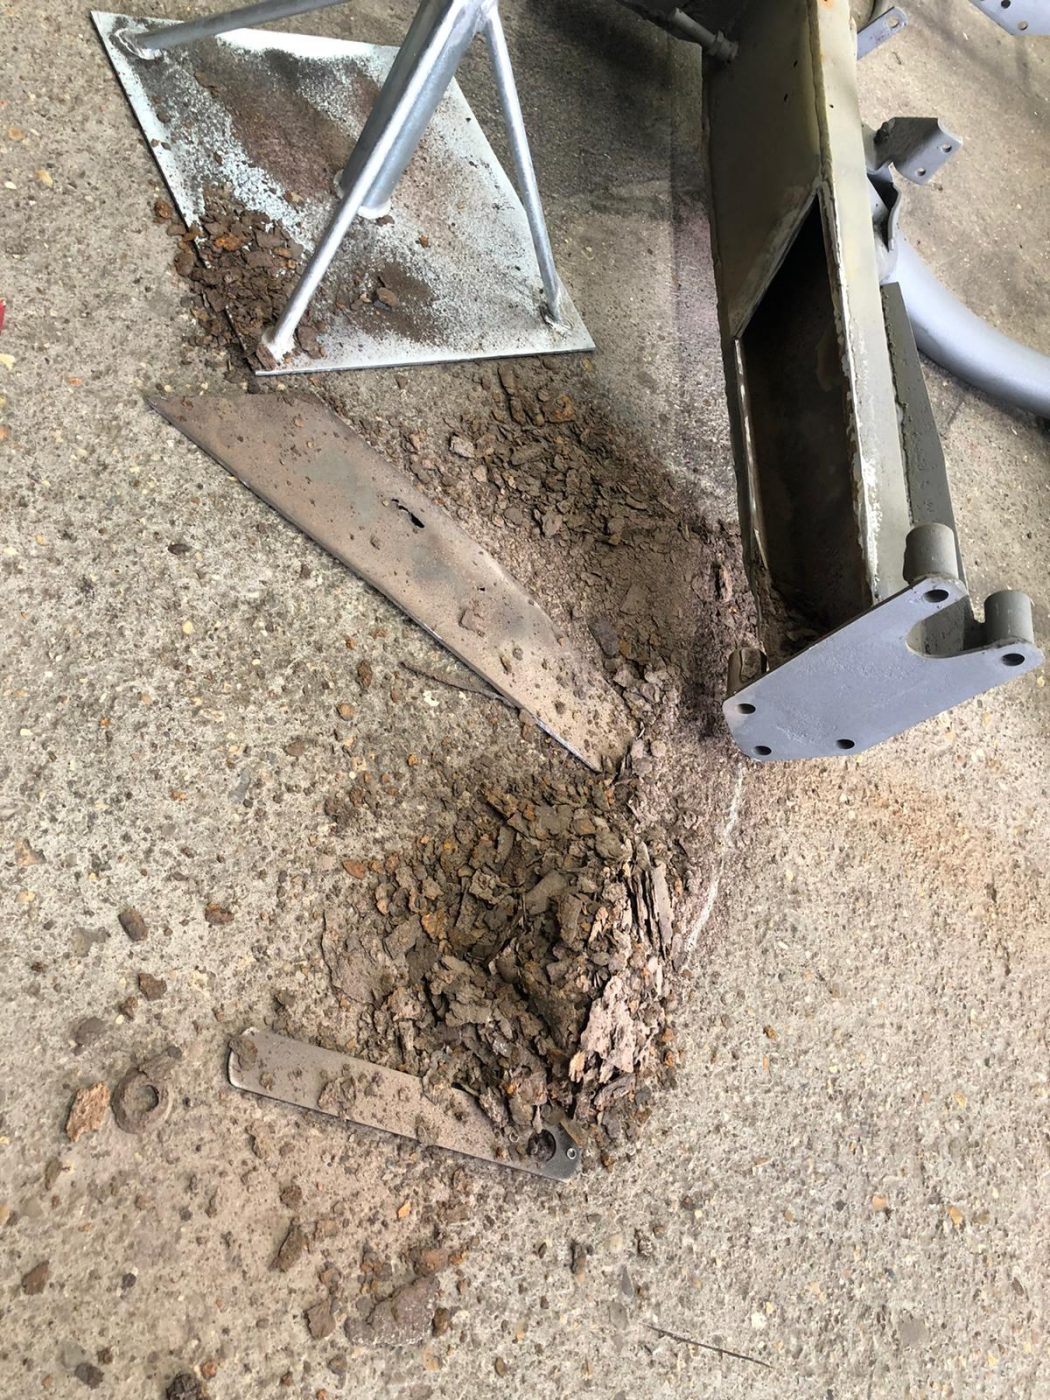
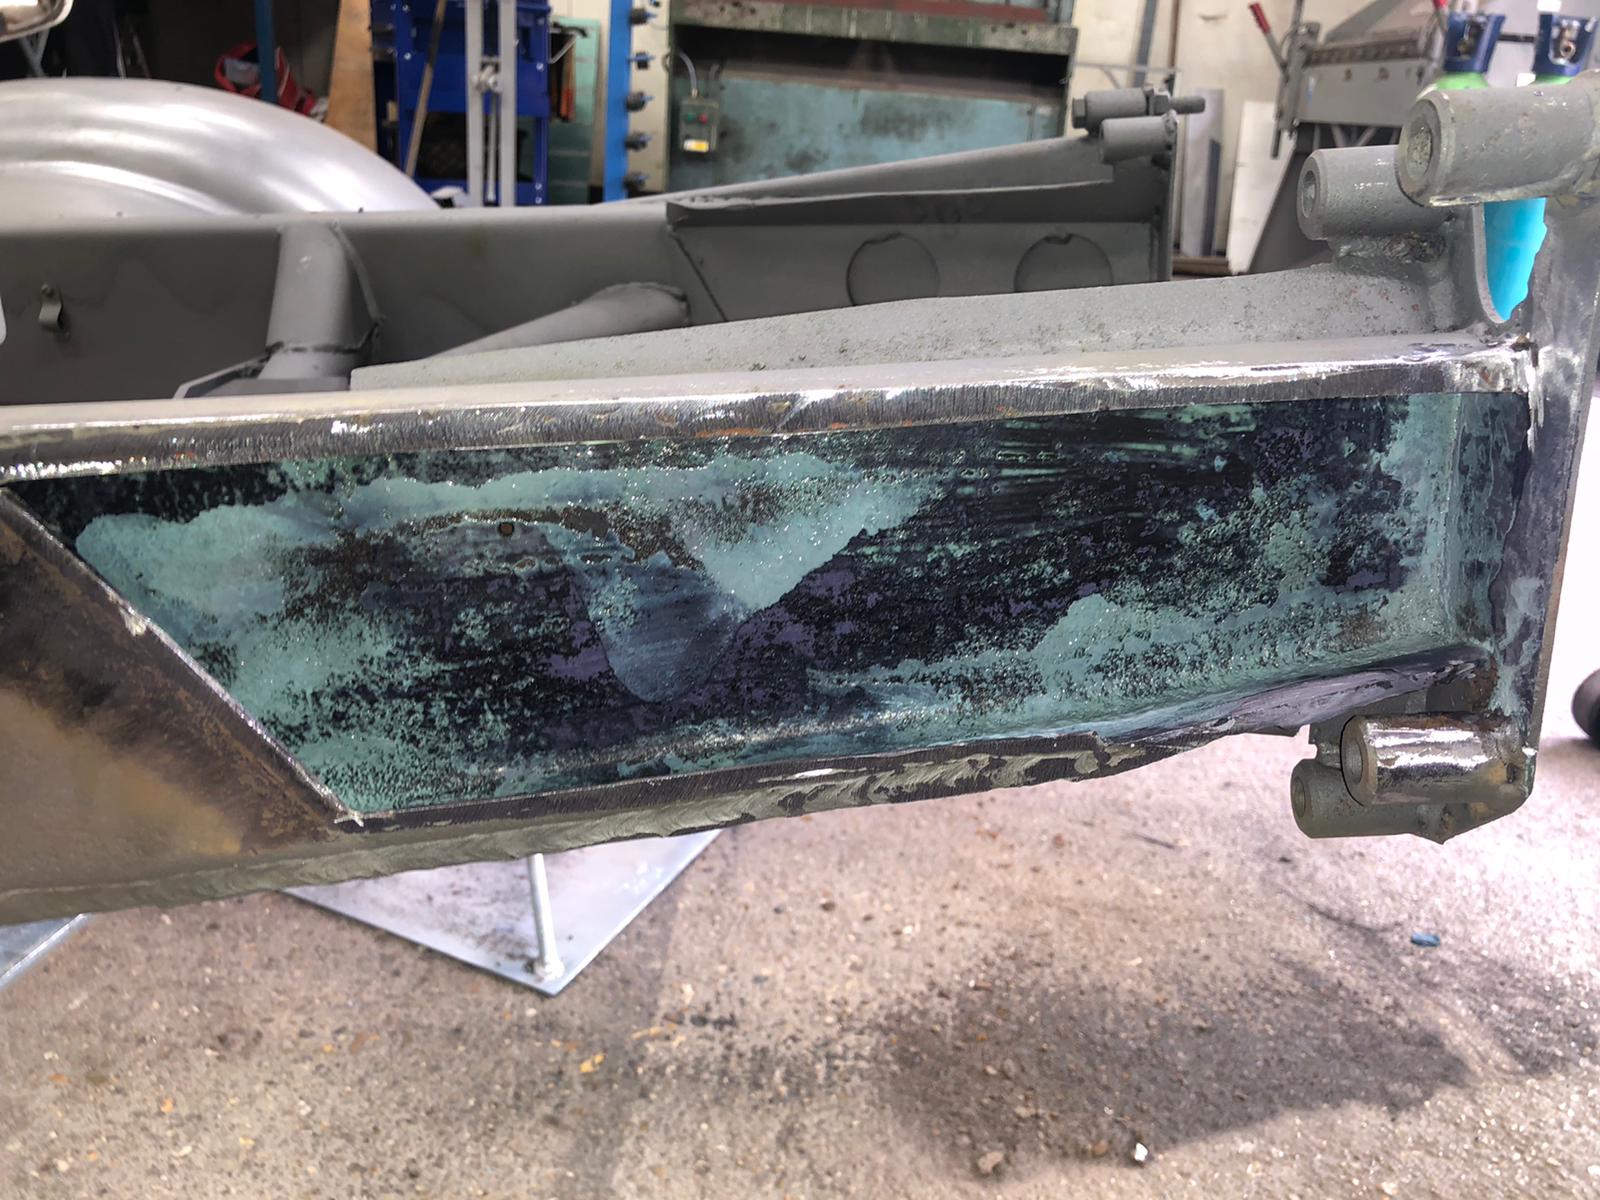
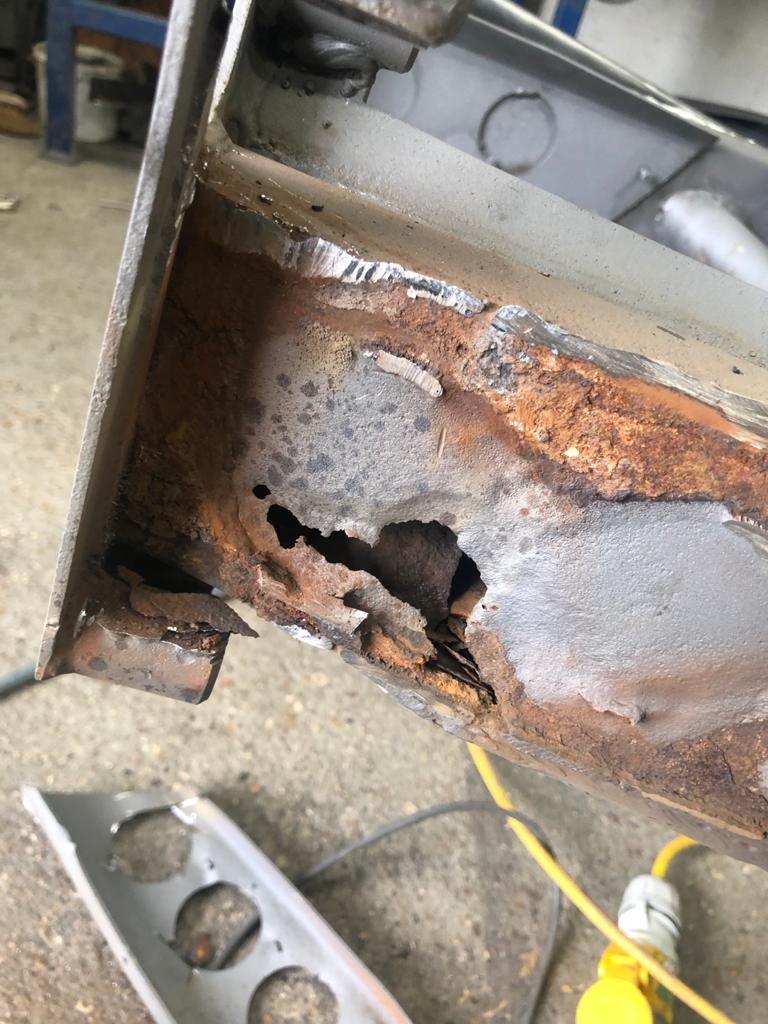
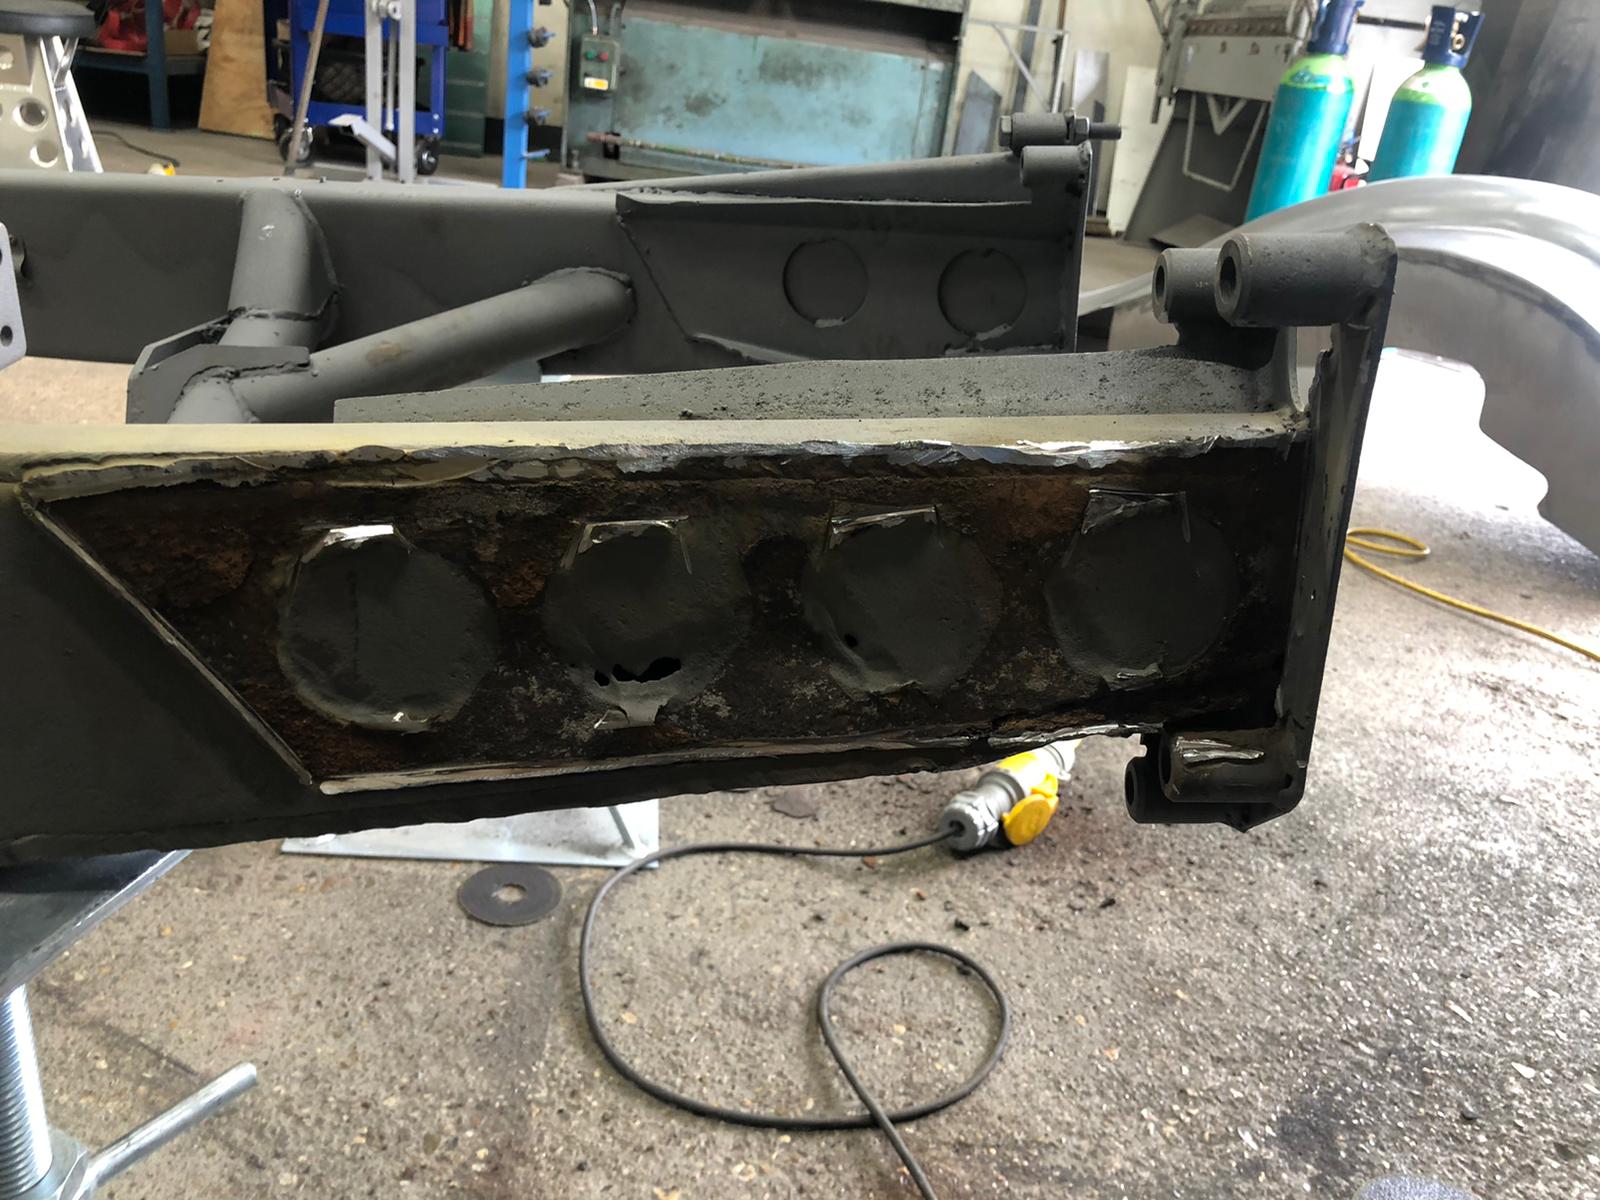
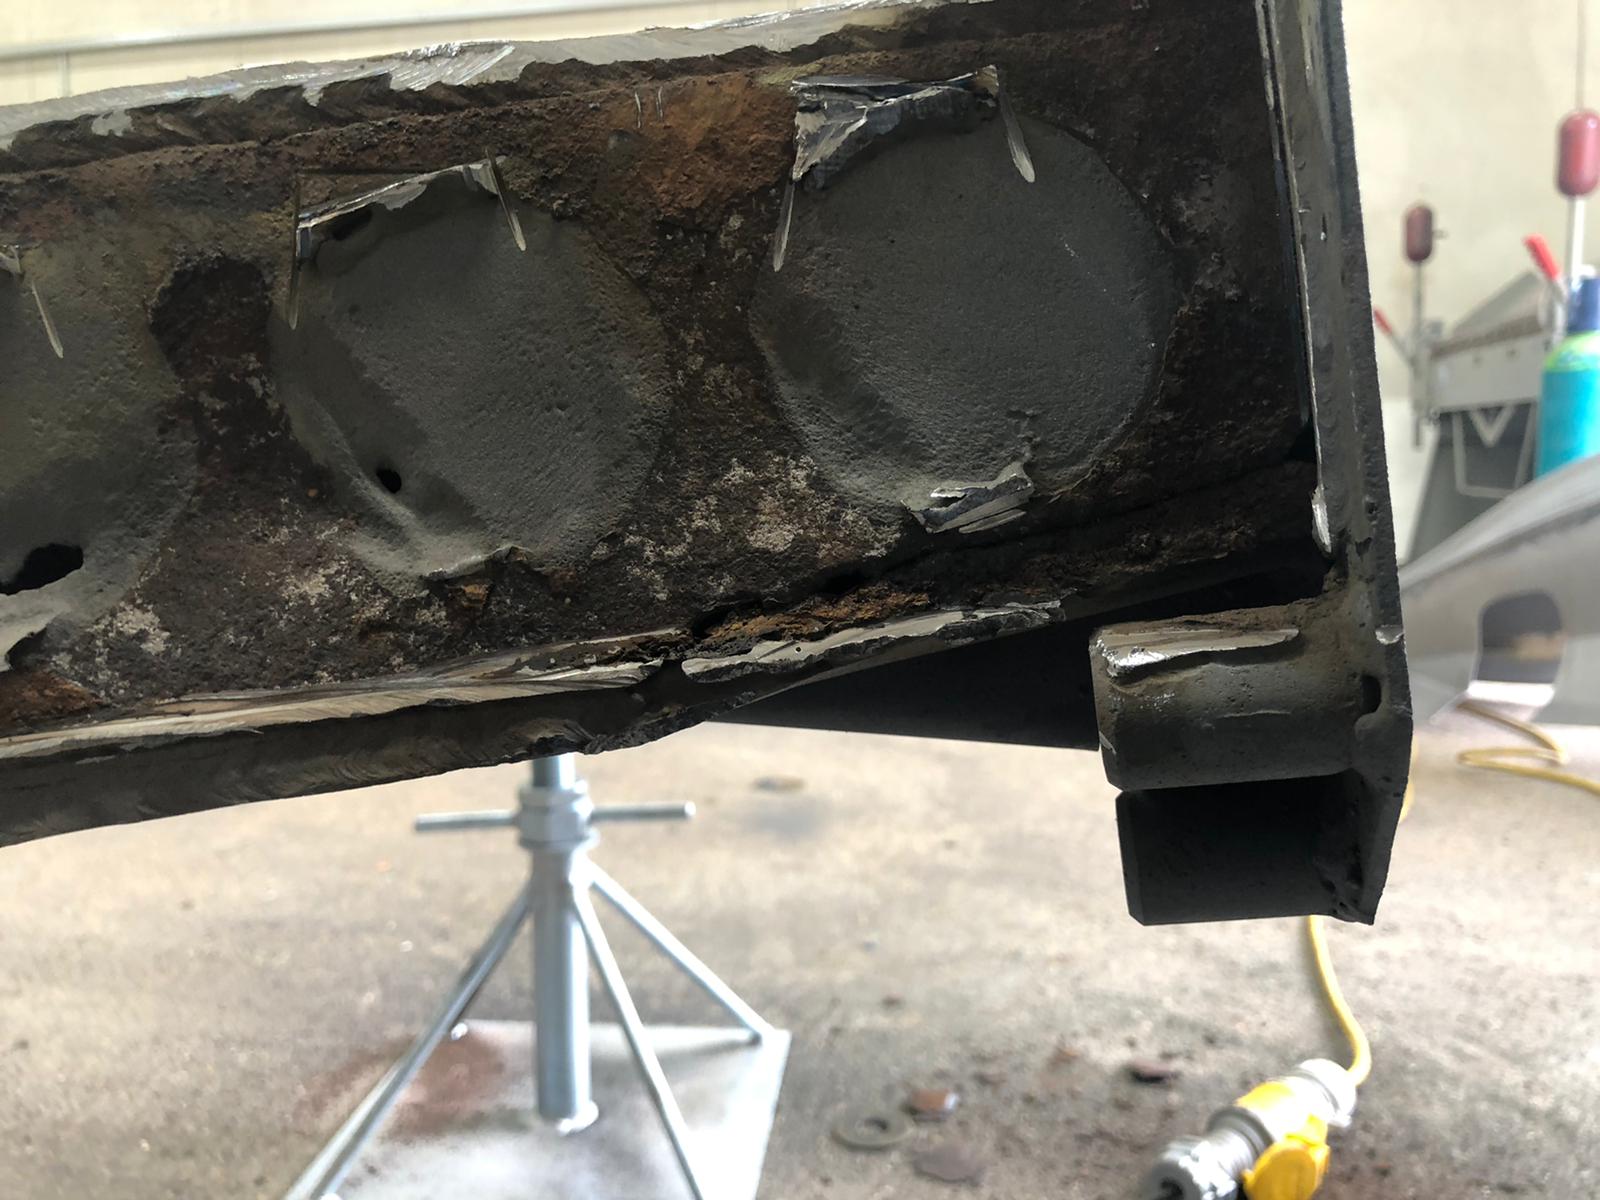
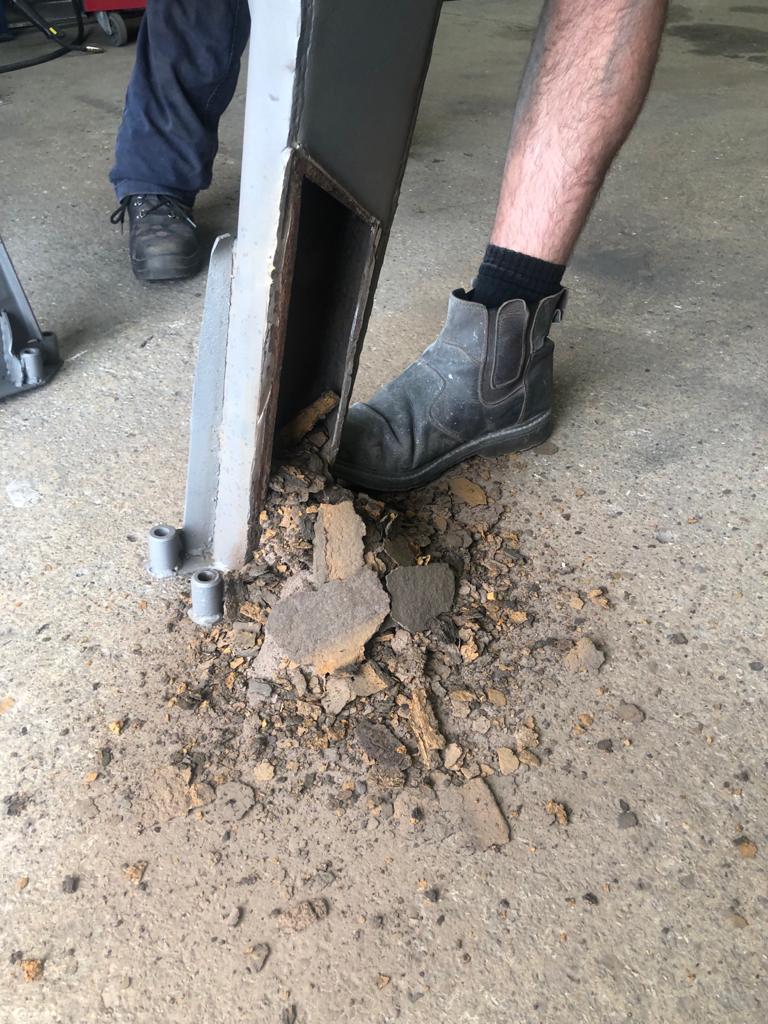
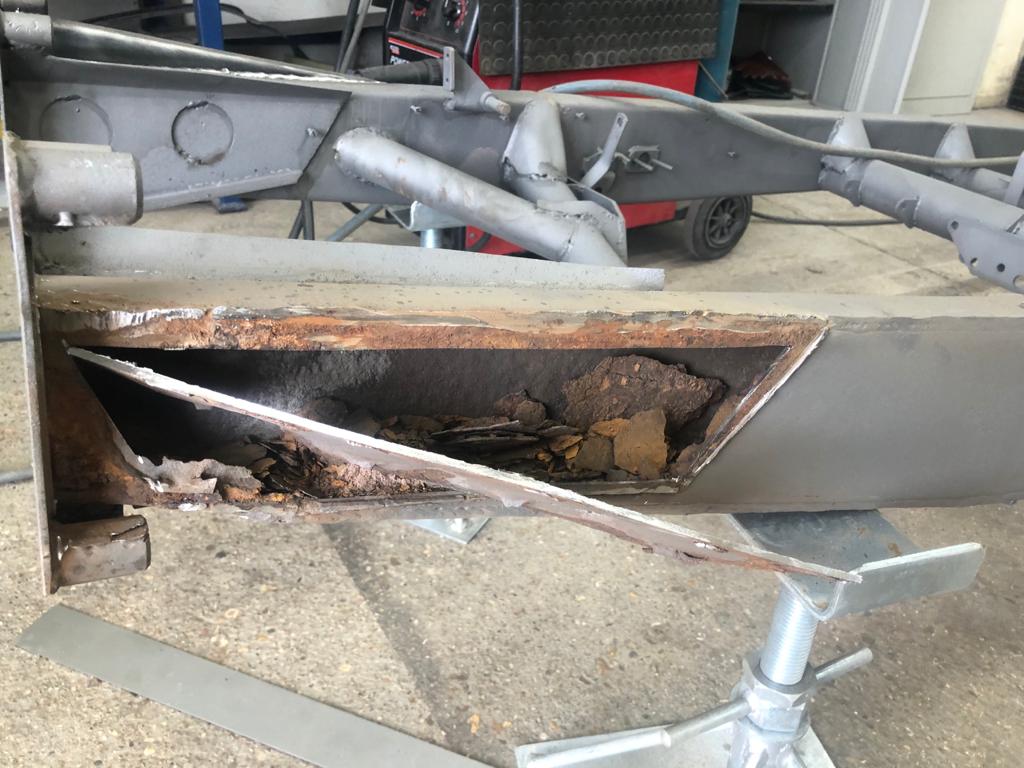
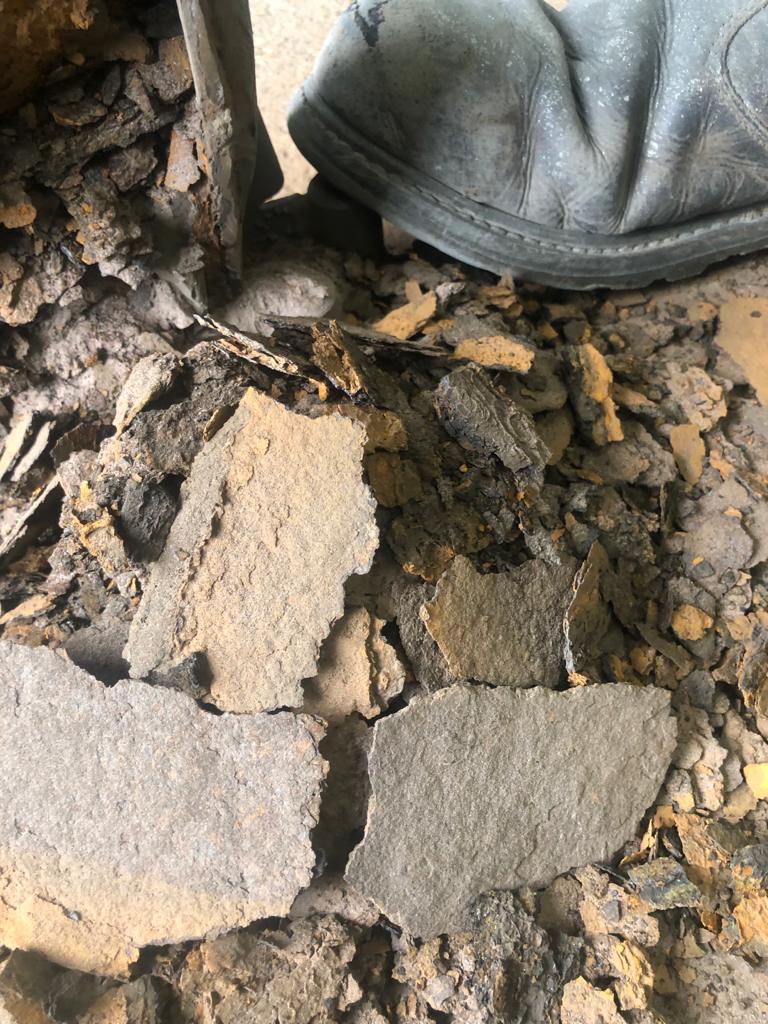
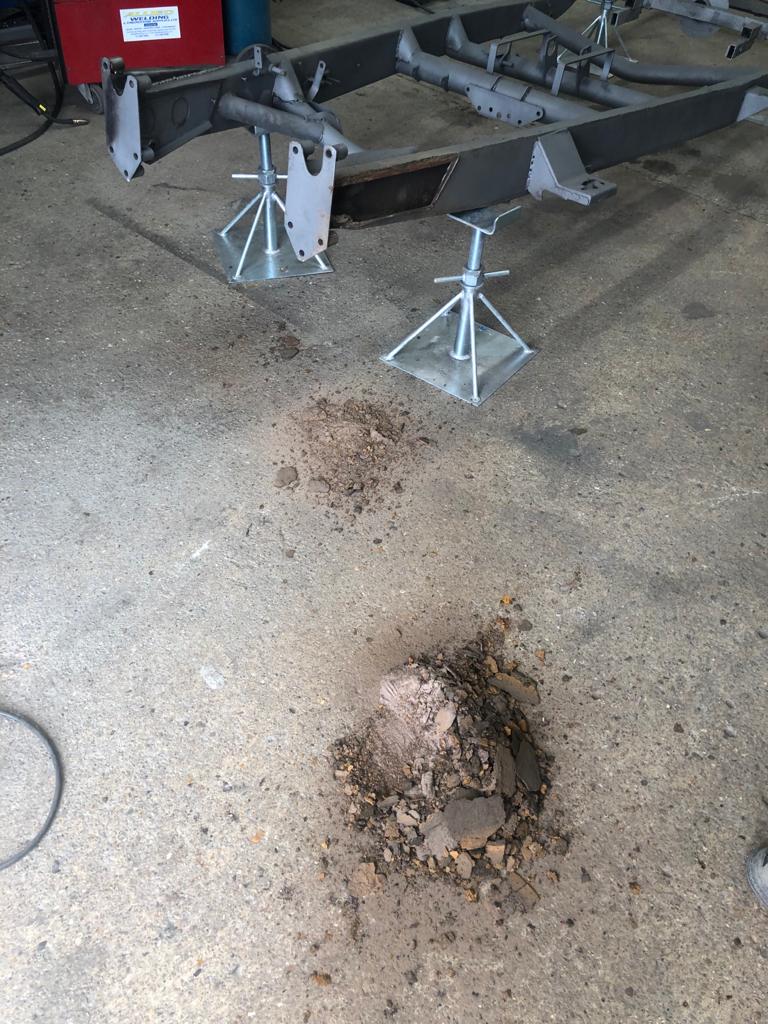
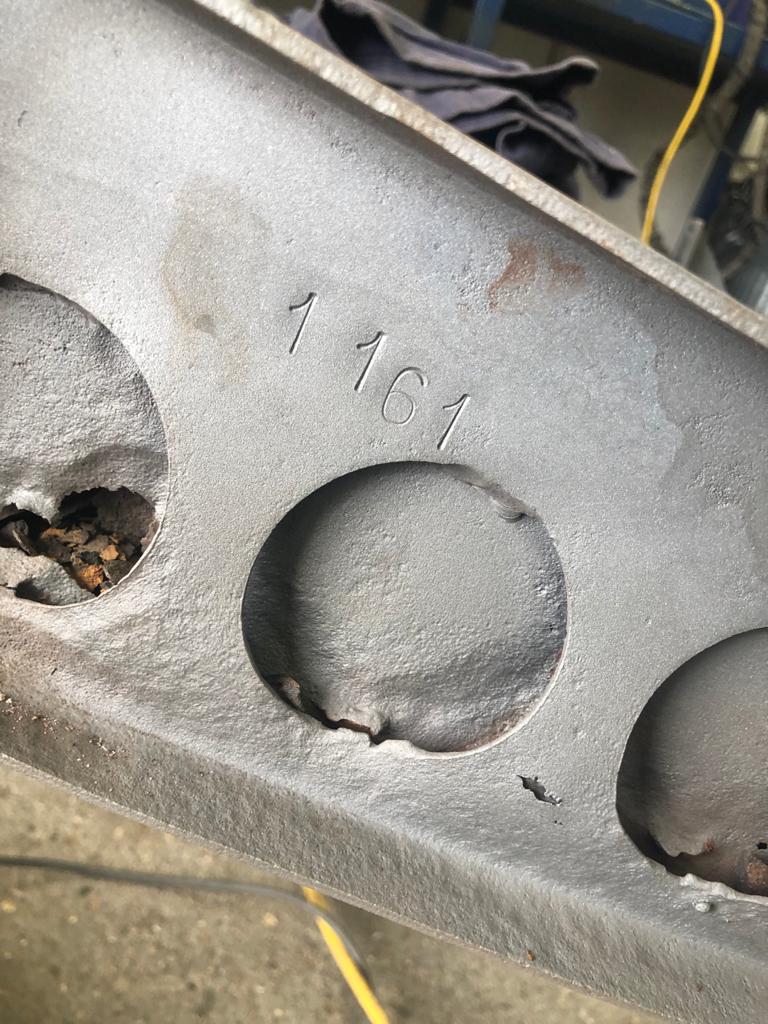
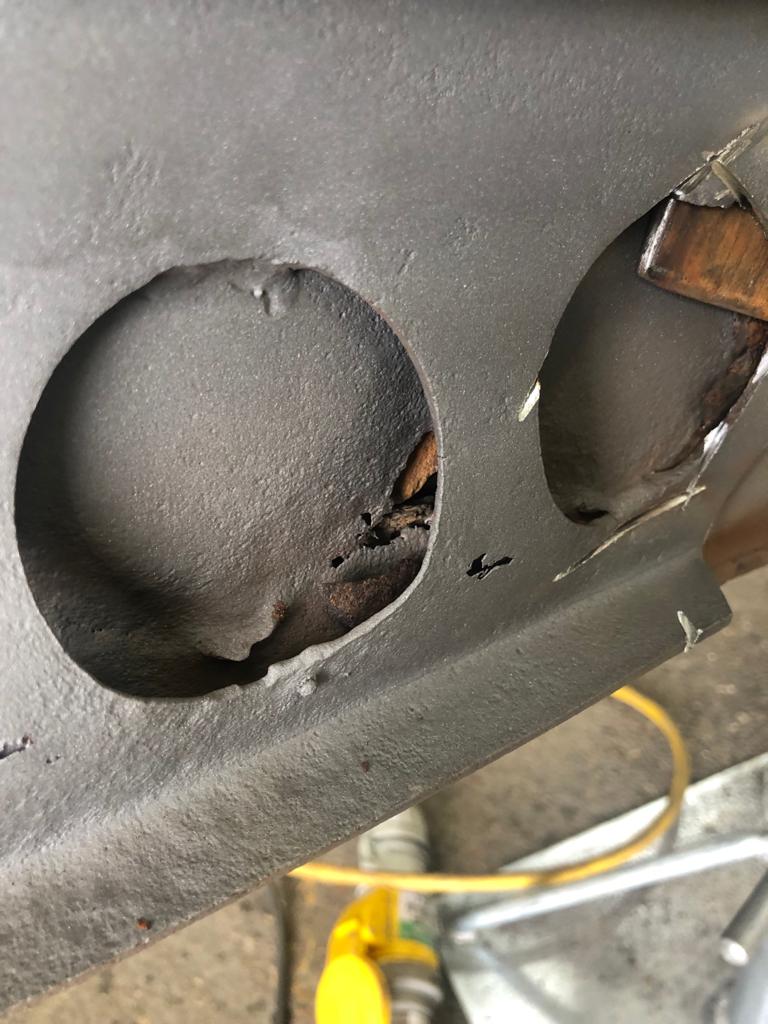
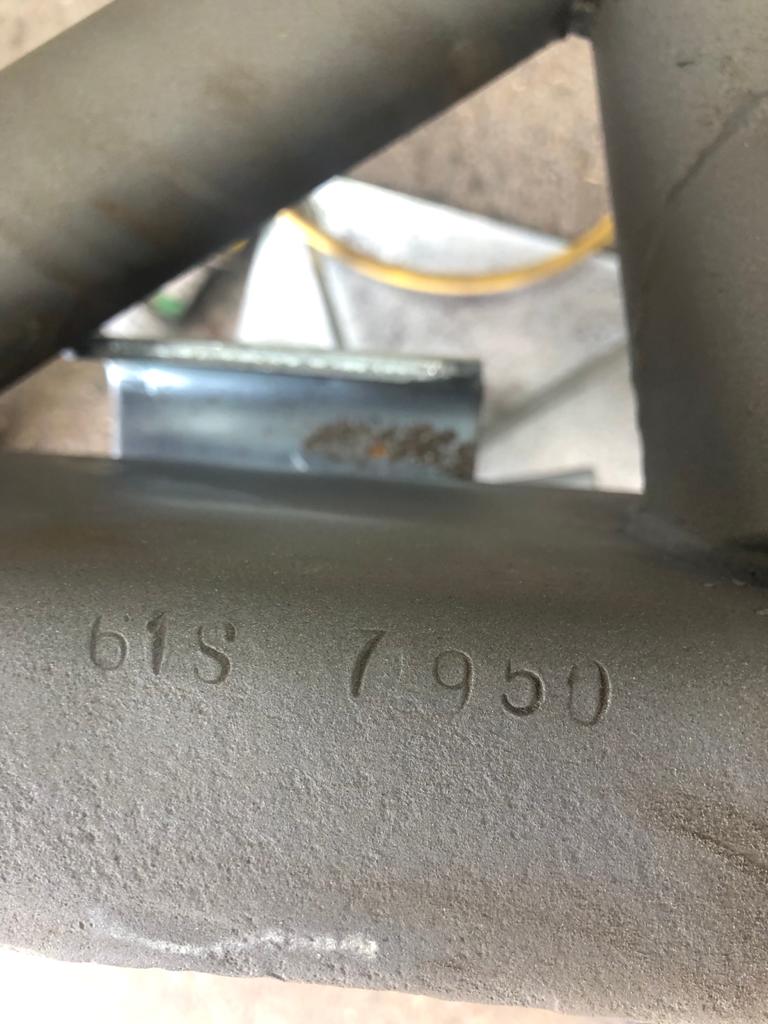
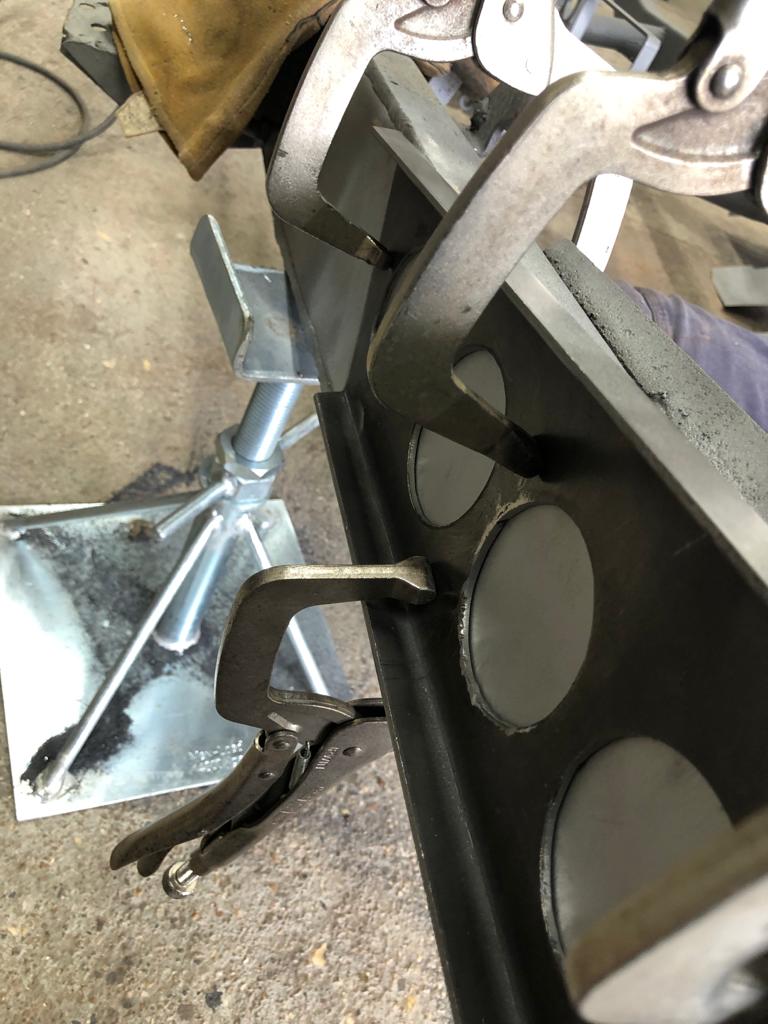
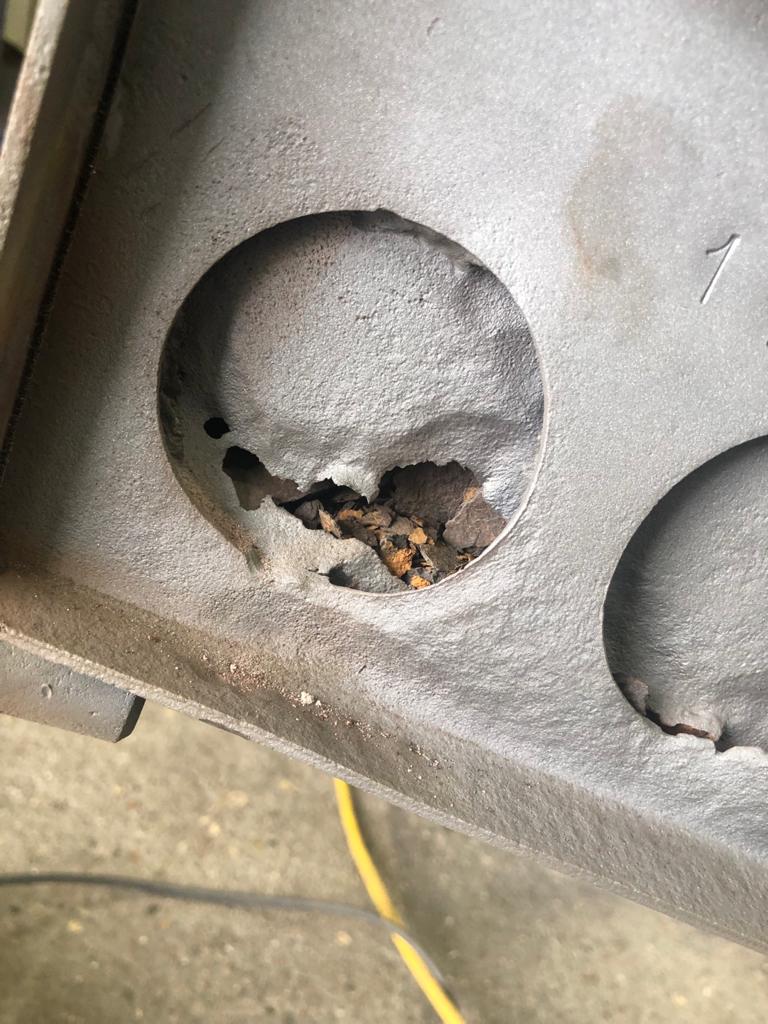
Unfortunately our Riley RMB chassis is suffering badly with internal rust and corrosion building up. On the surface it looks to be in a relatively solid state but when tipped up on one end large clumps of rust falls out.
This is a bit unexpected but most certainly needs to be addressed.
Having discussed the matter with the Riley’s owner we have decided to chemically dip the chassis. The chemical dip process works very well on cars and chassis’ and will remove paint, rust and underseal from complete car shells or individual panels. Its chemical formulation strips away contaminants from all internal and external areas.


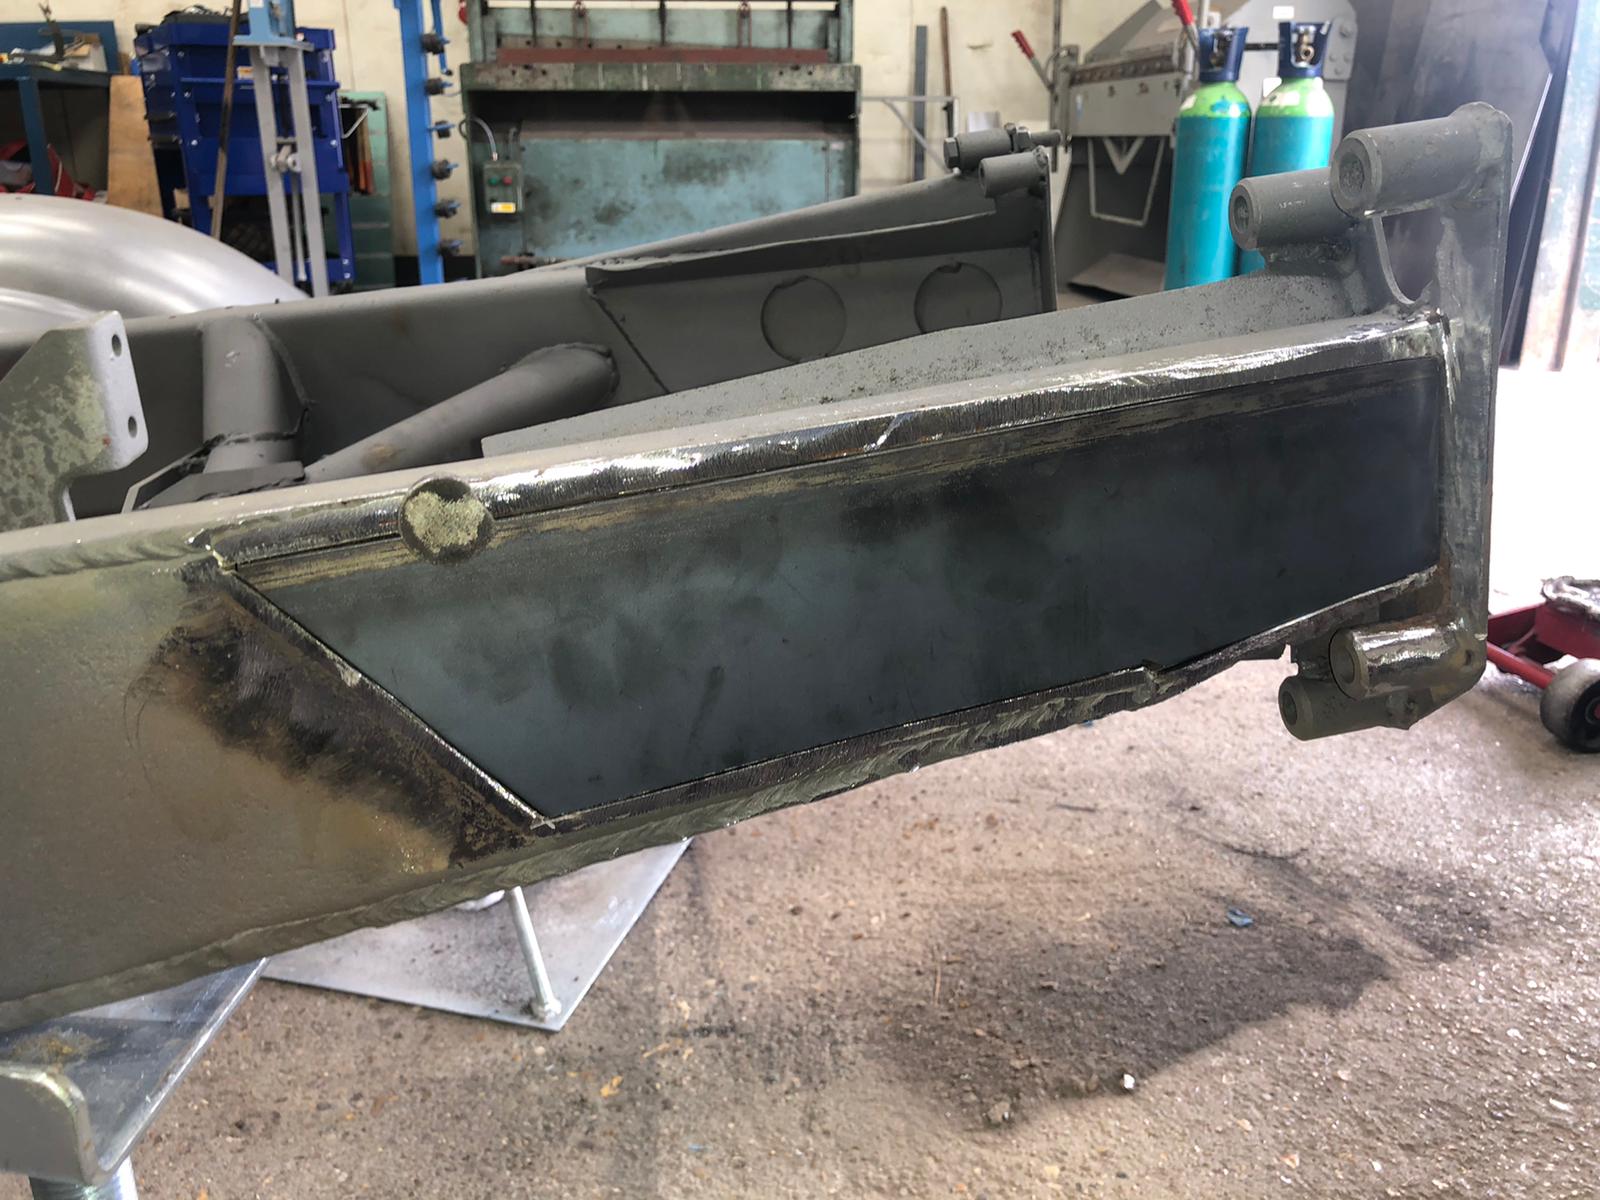


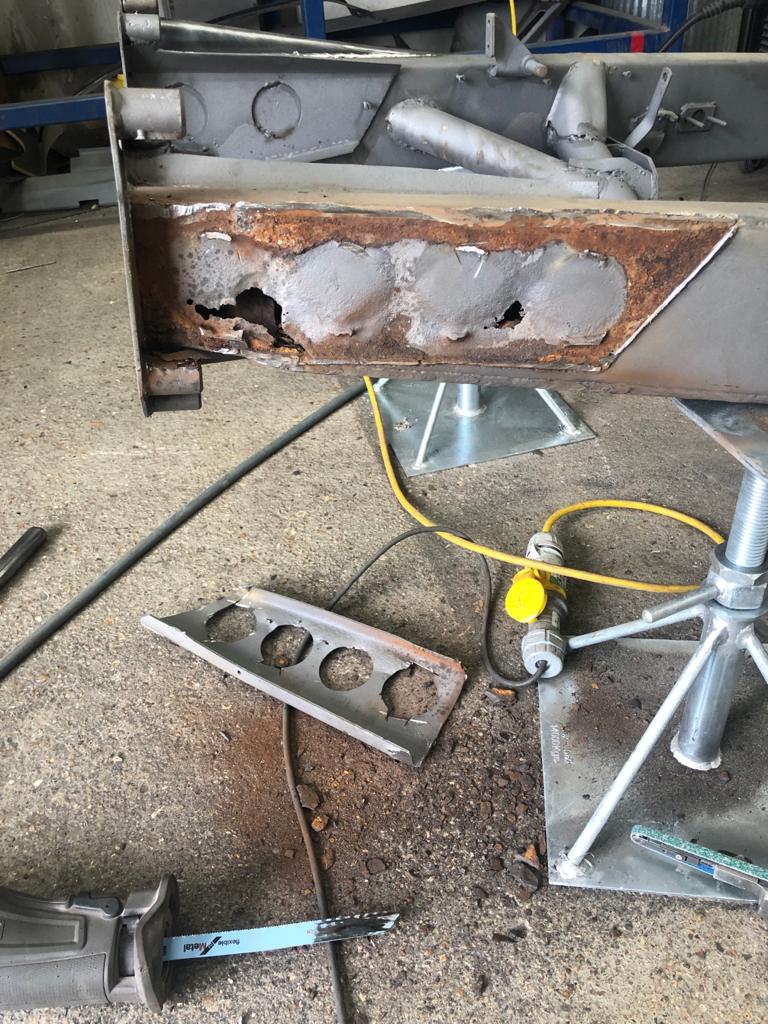
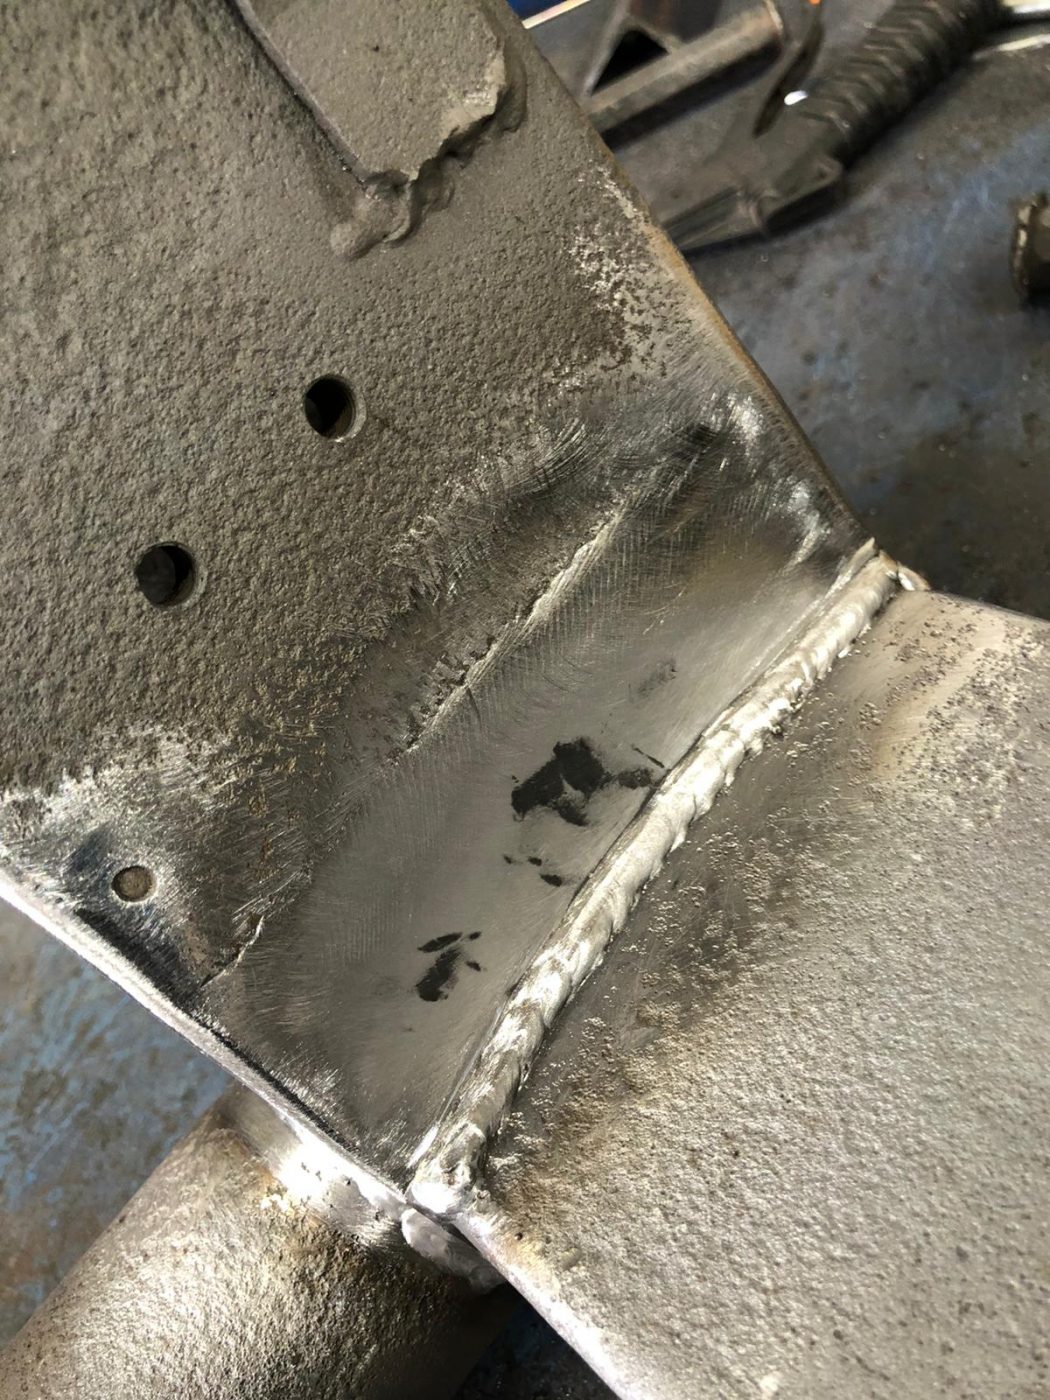
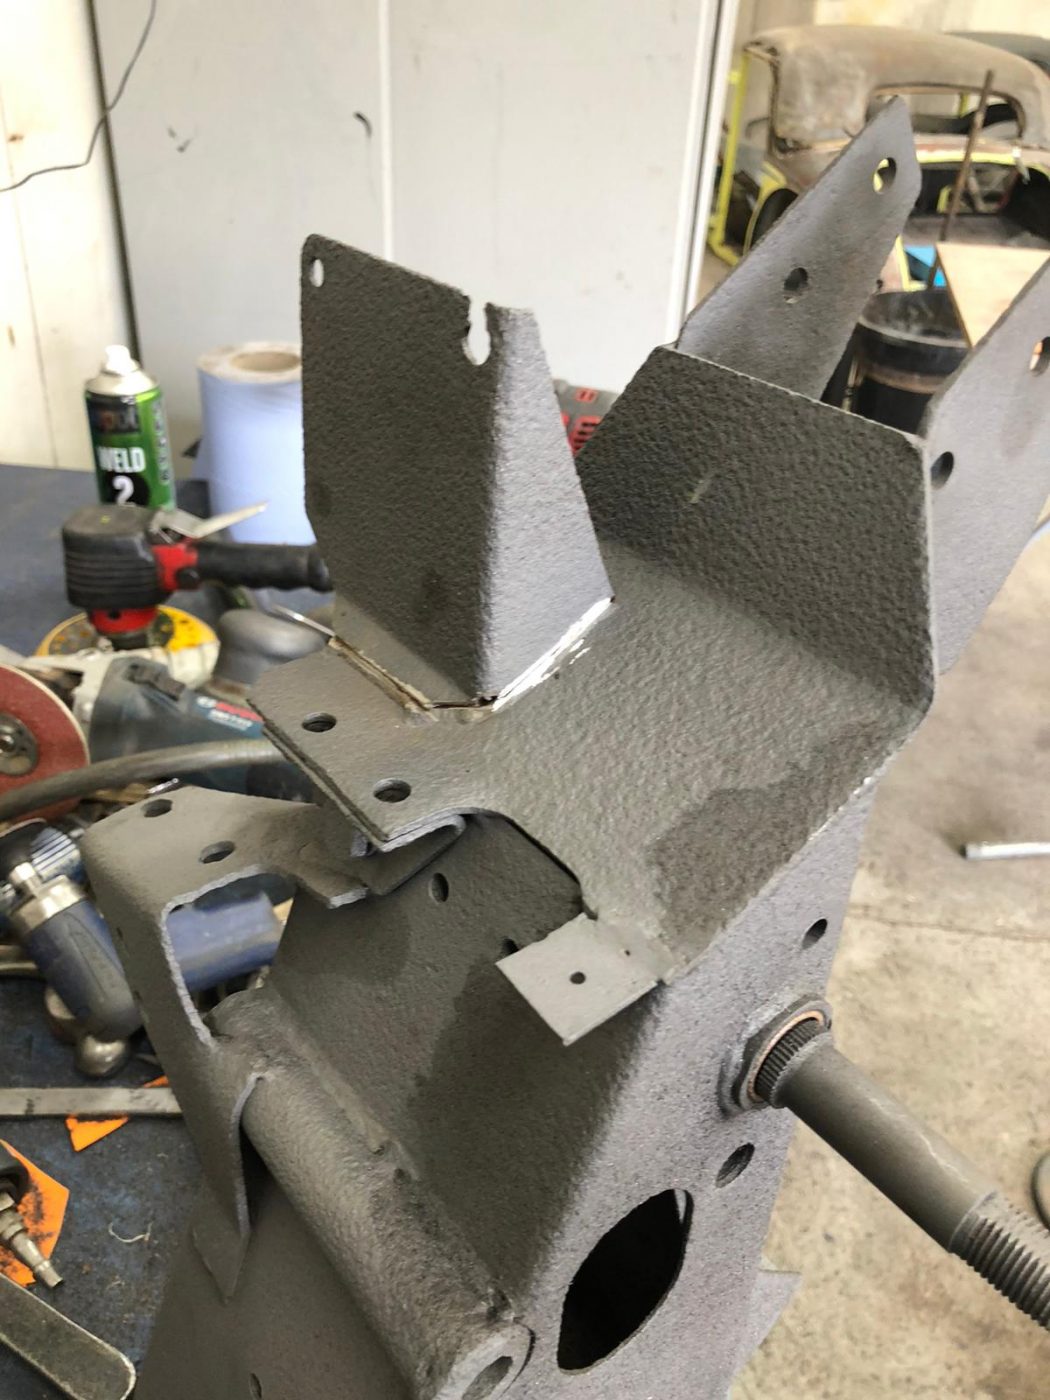
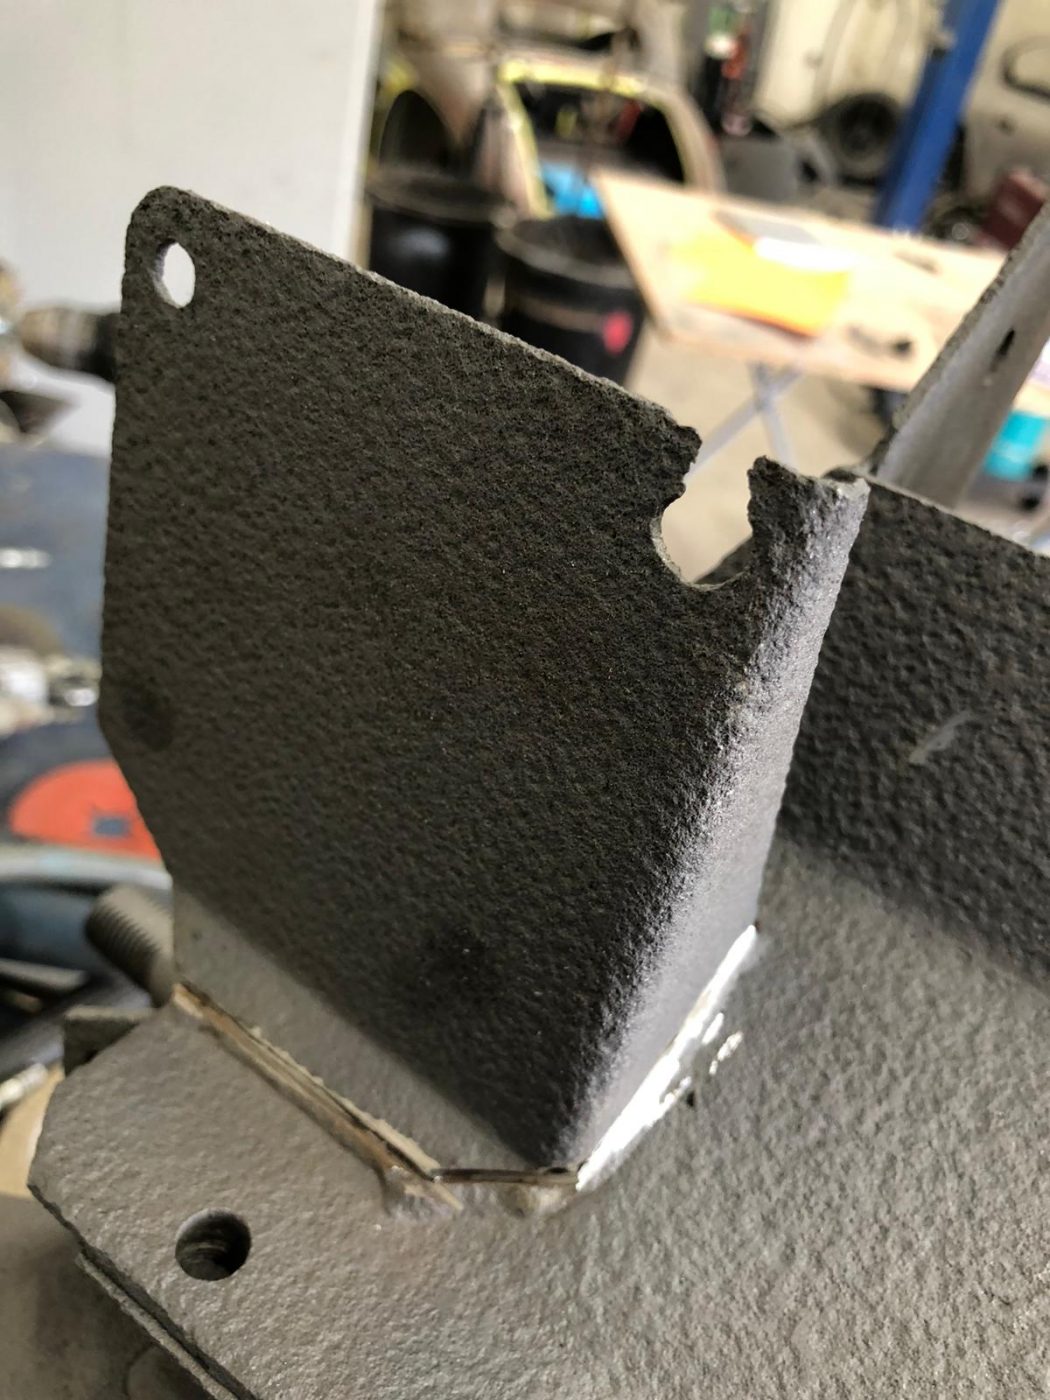
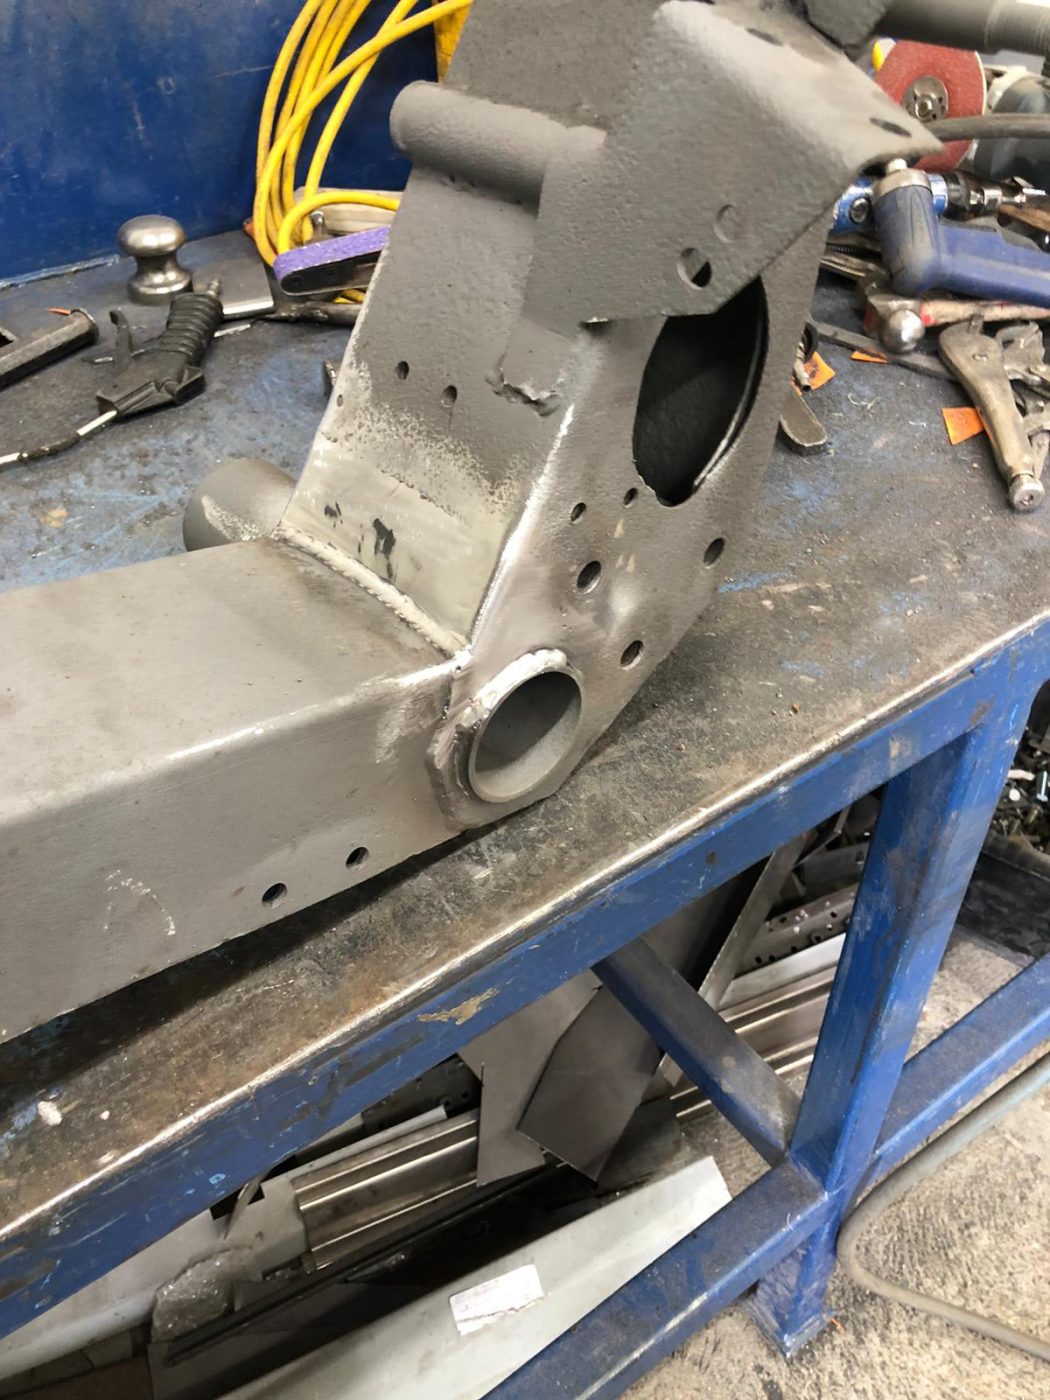

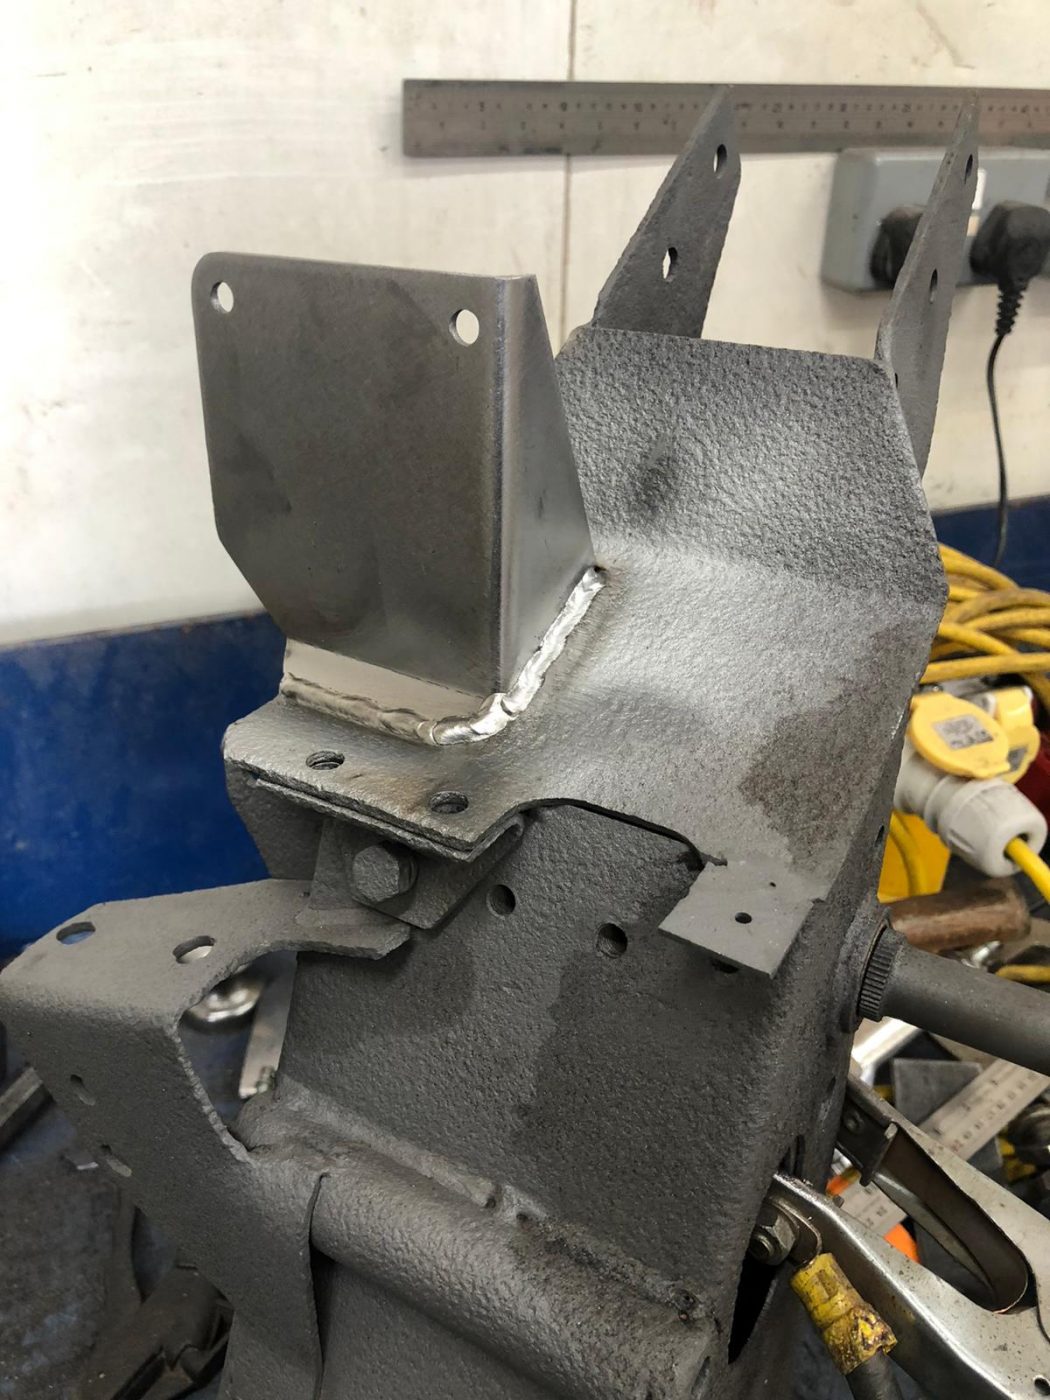
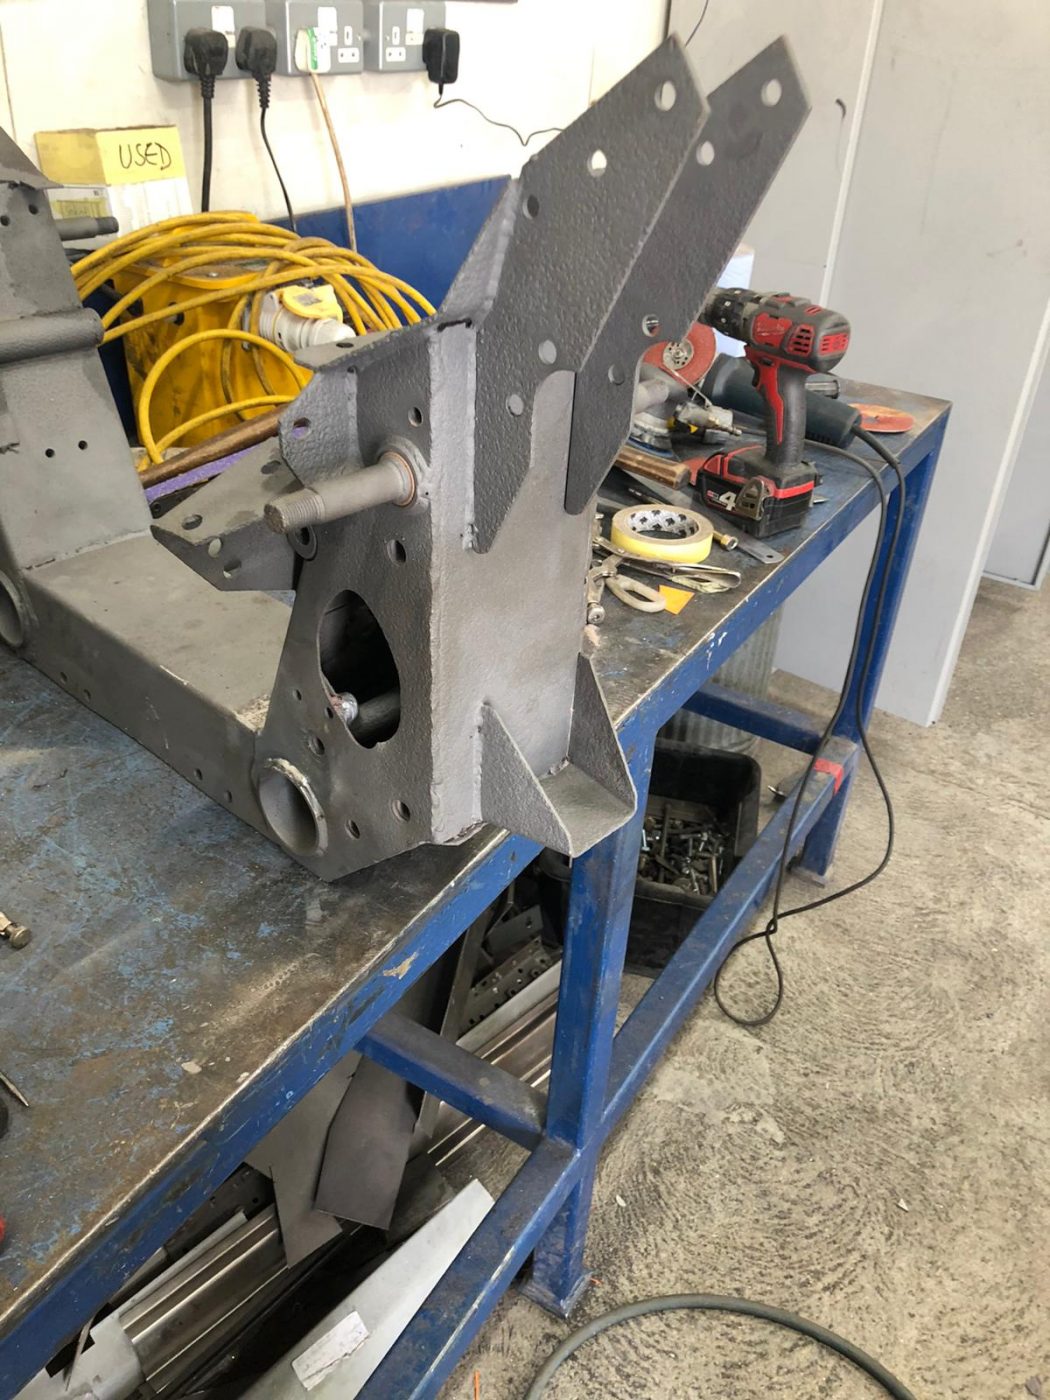
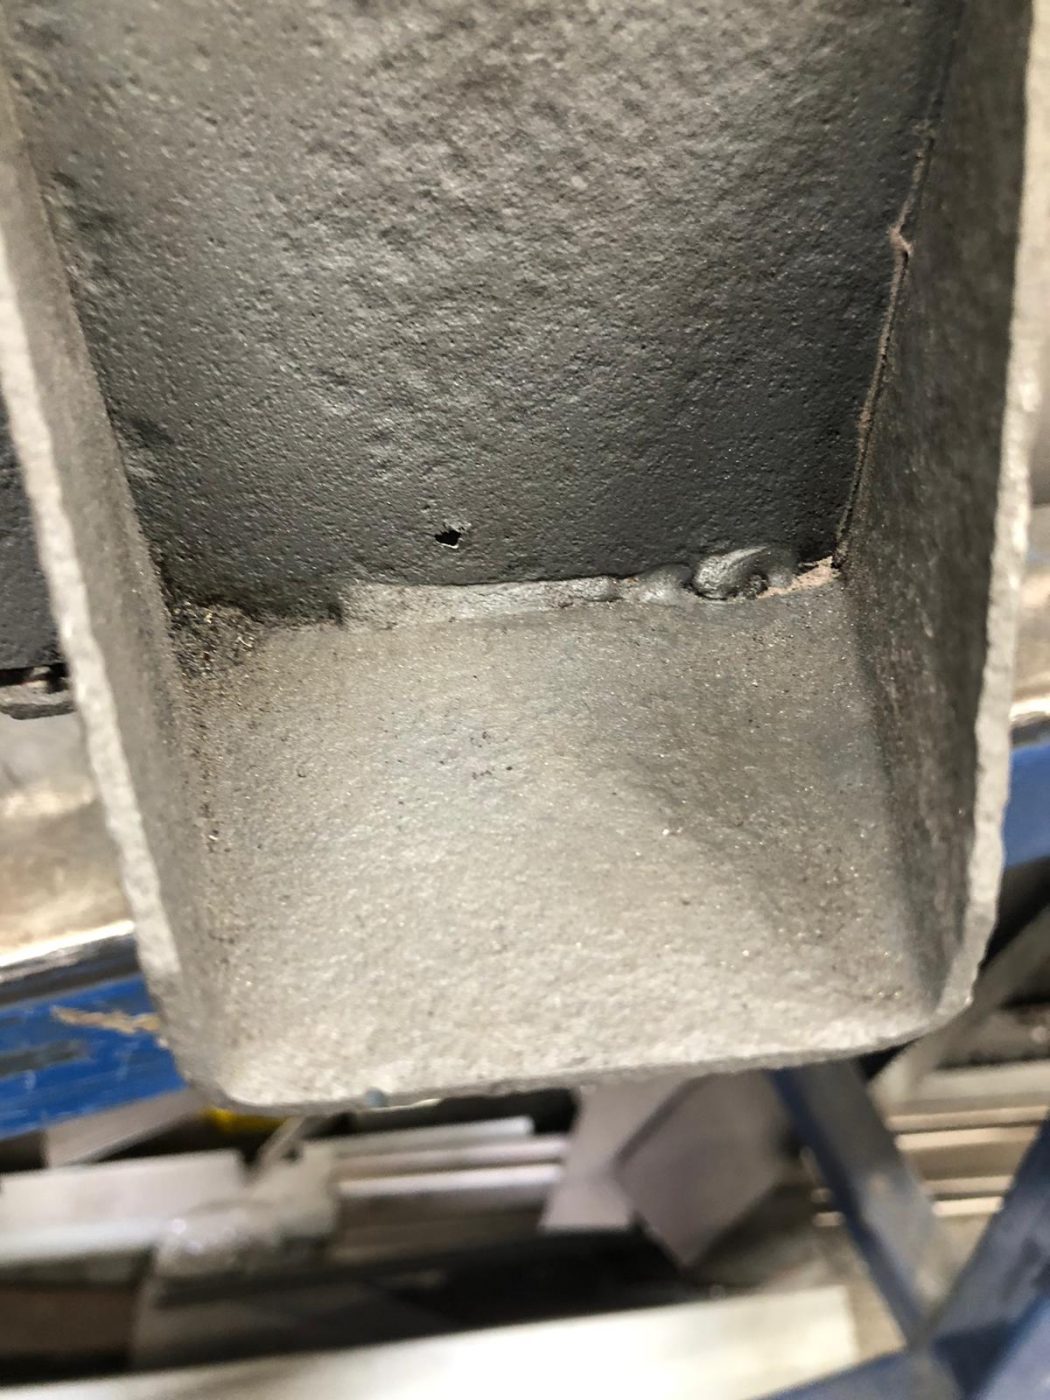
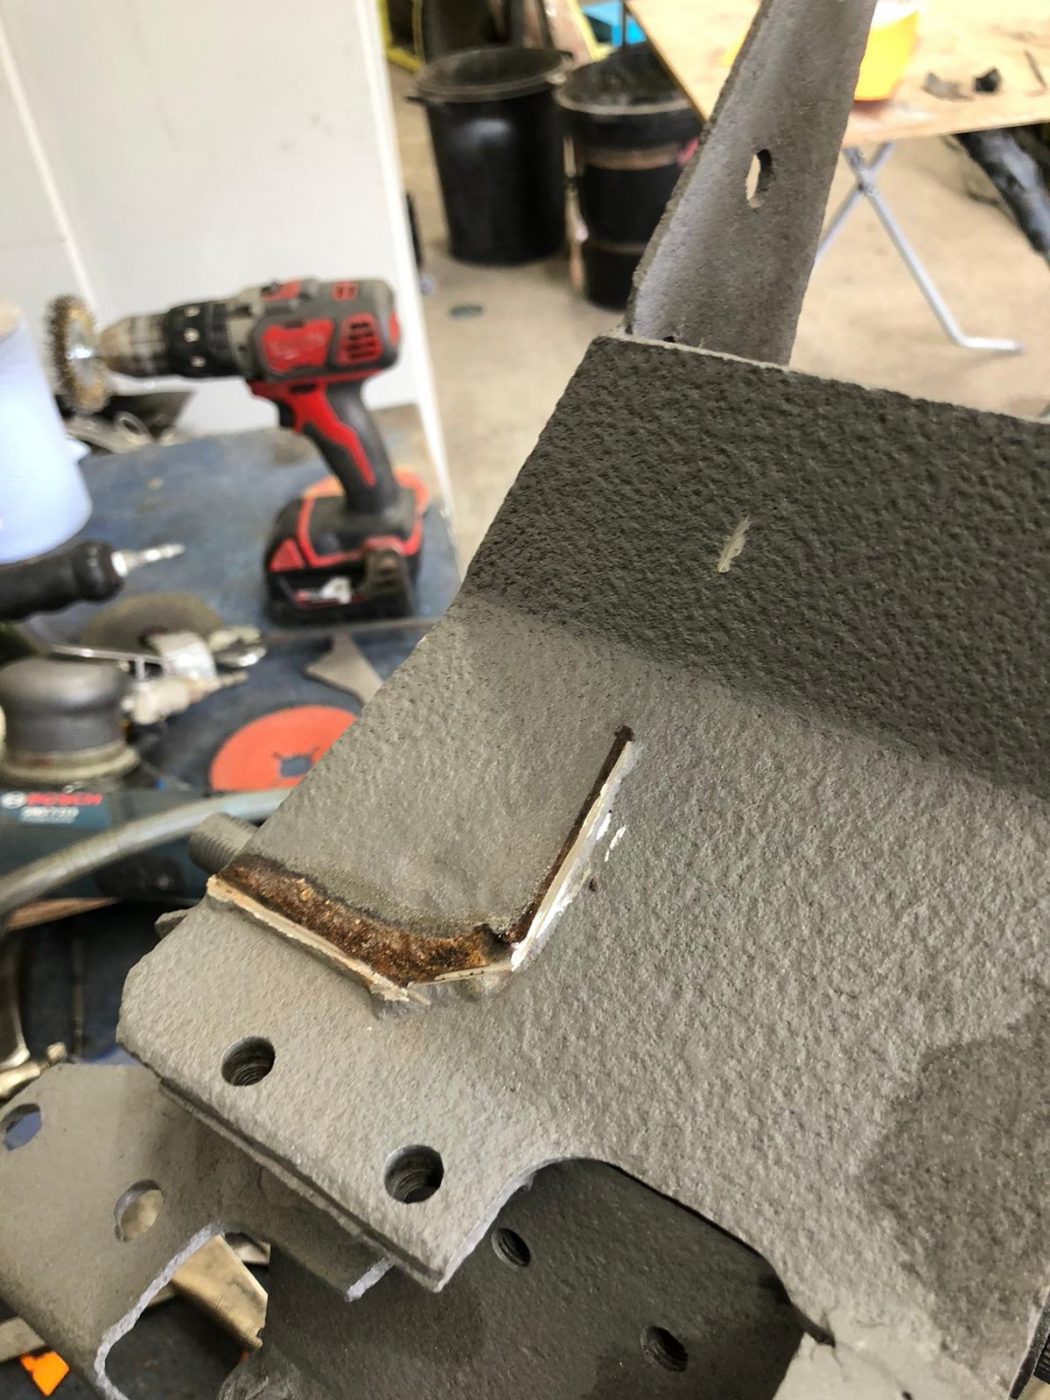
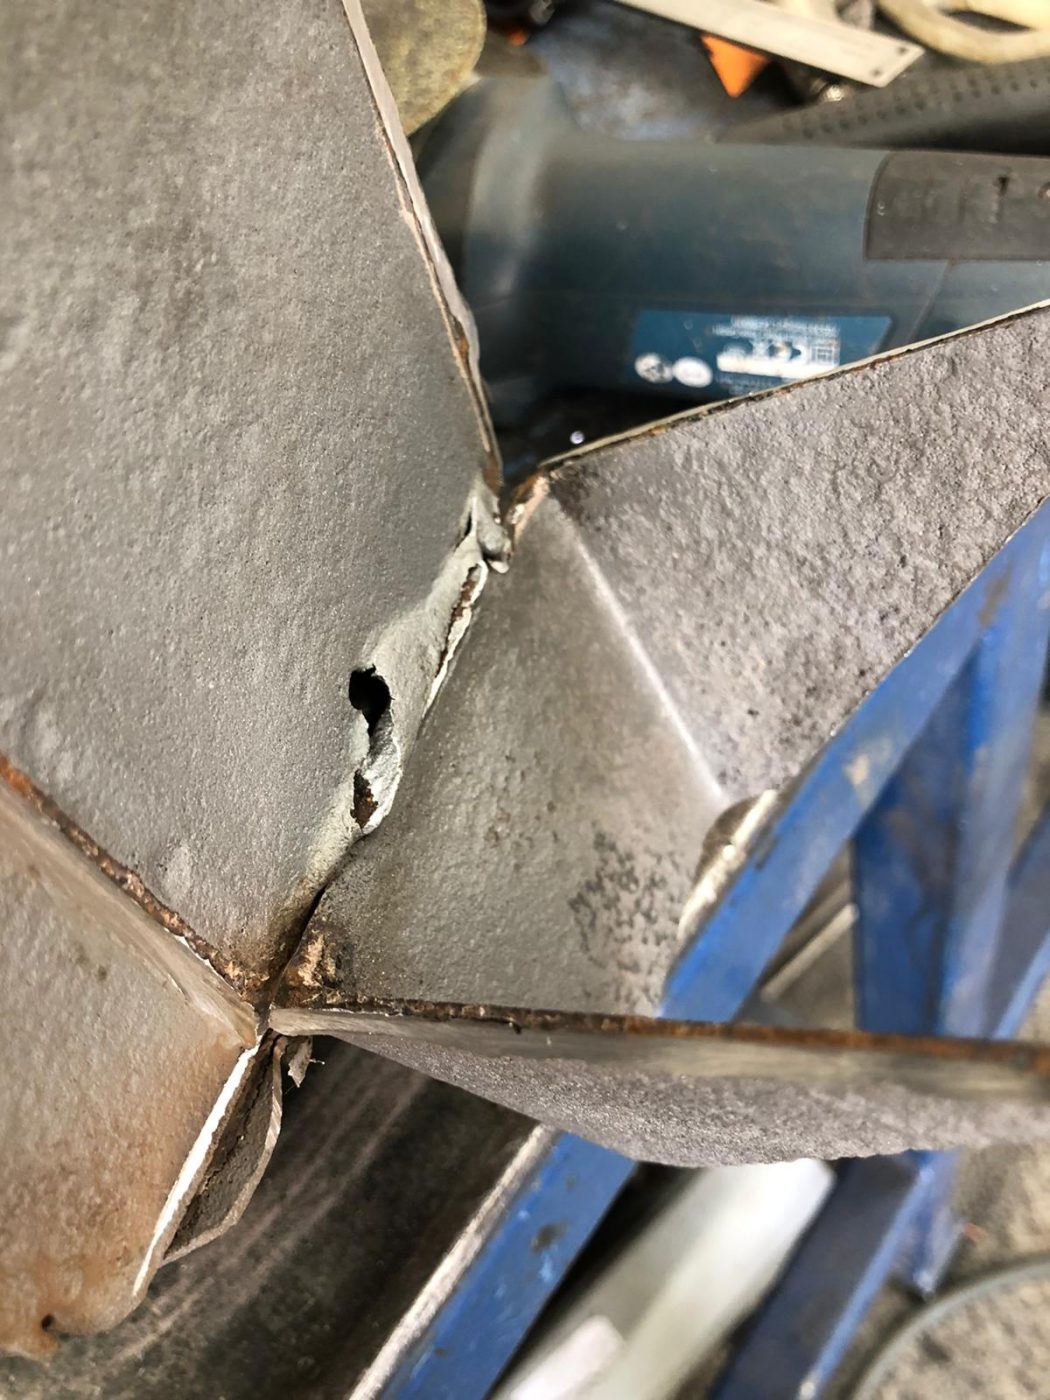

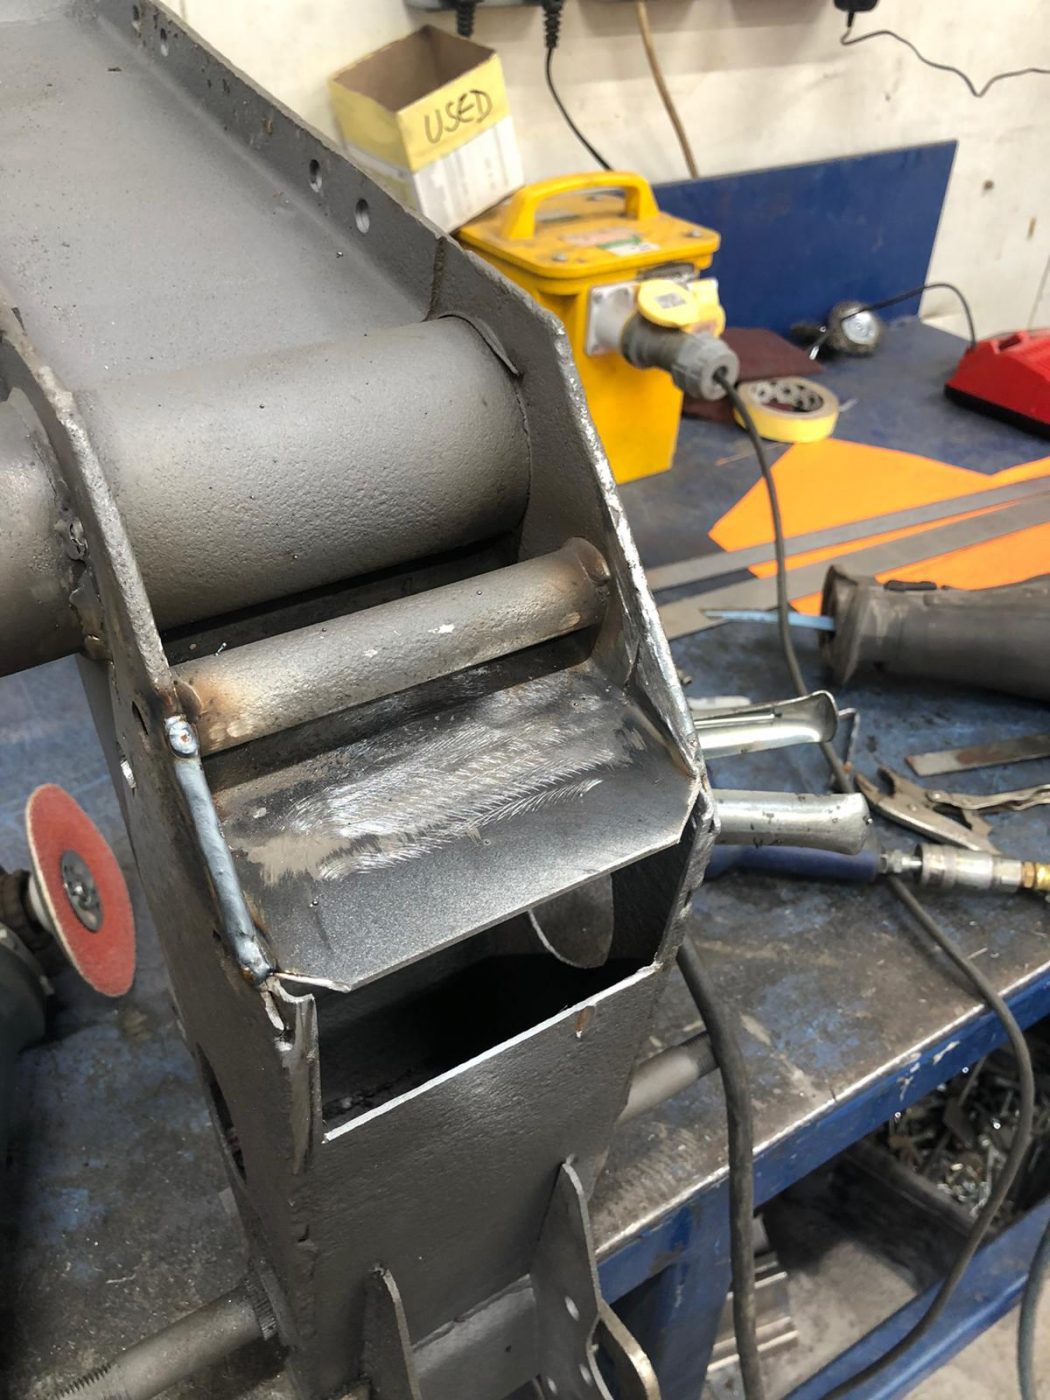

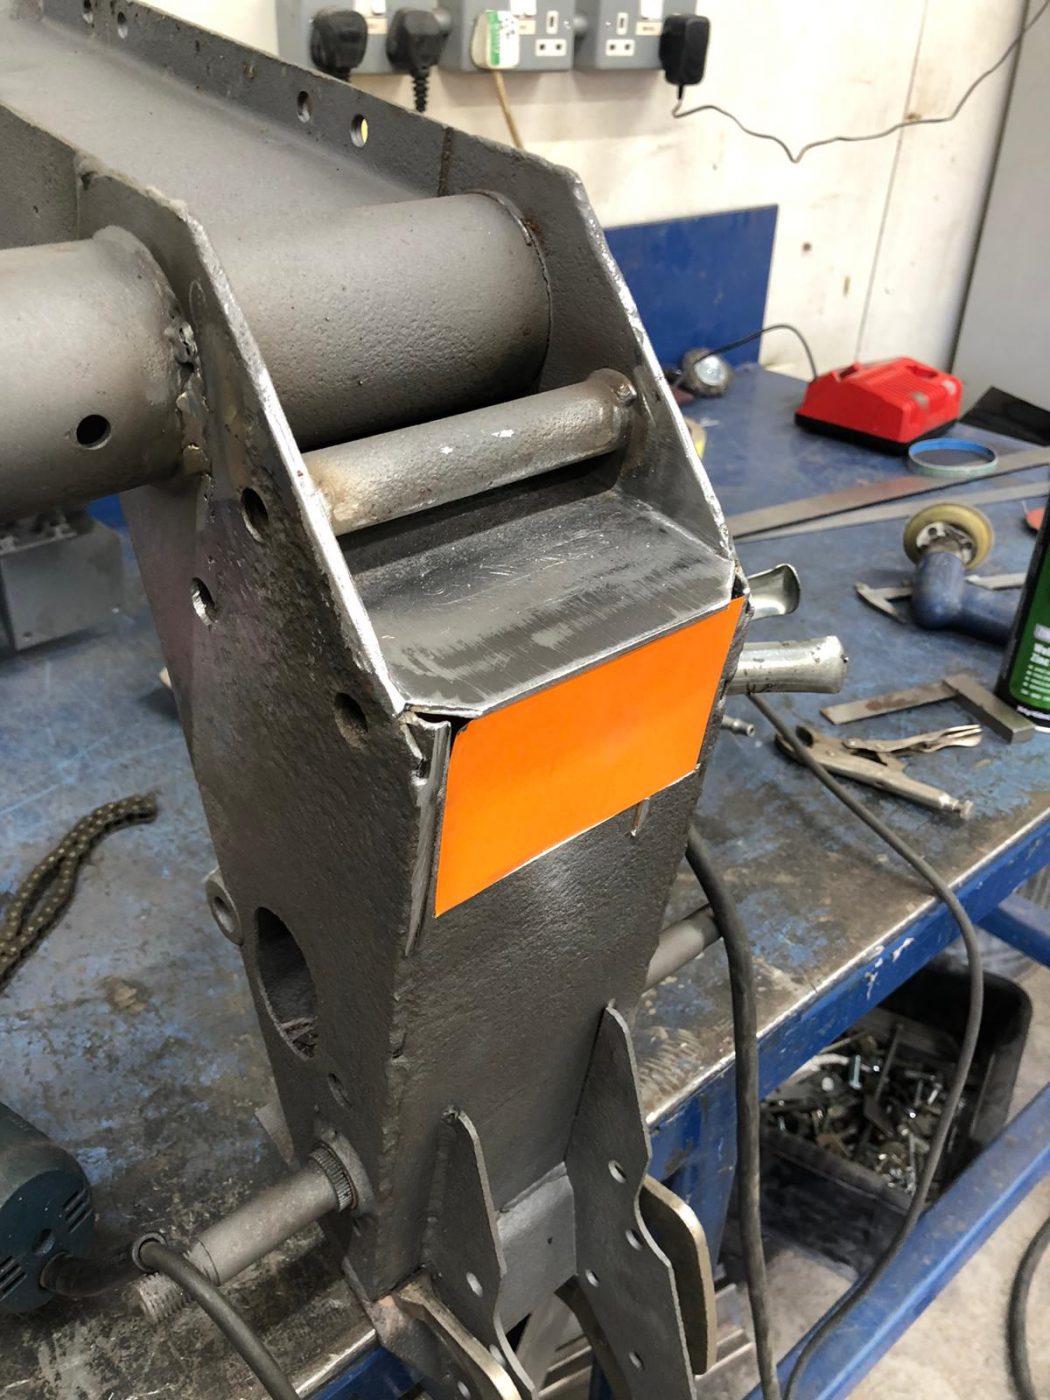
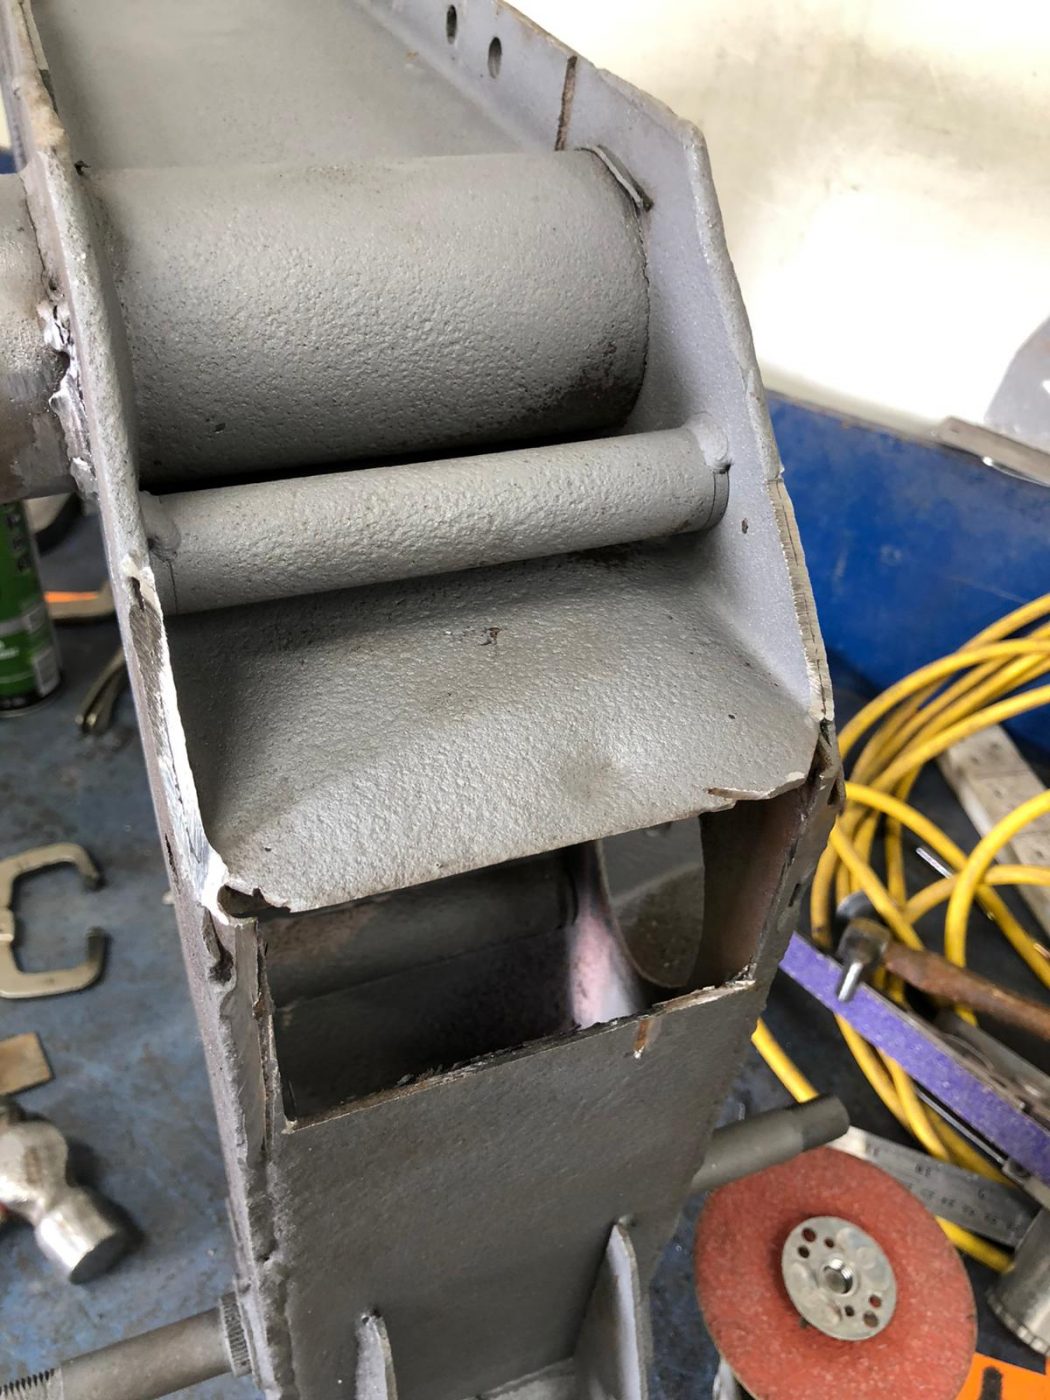


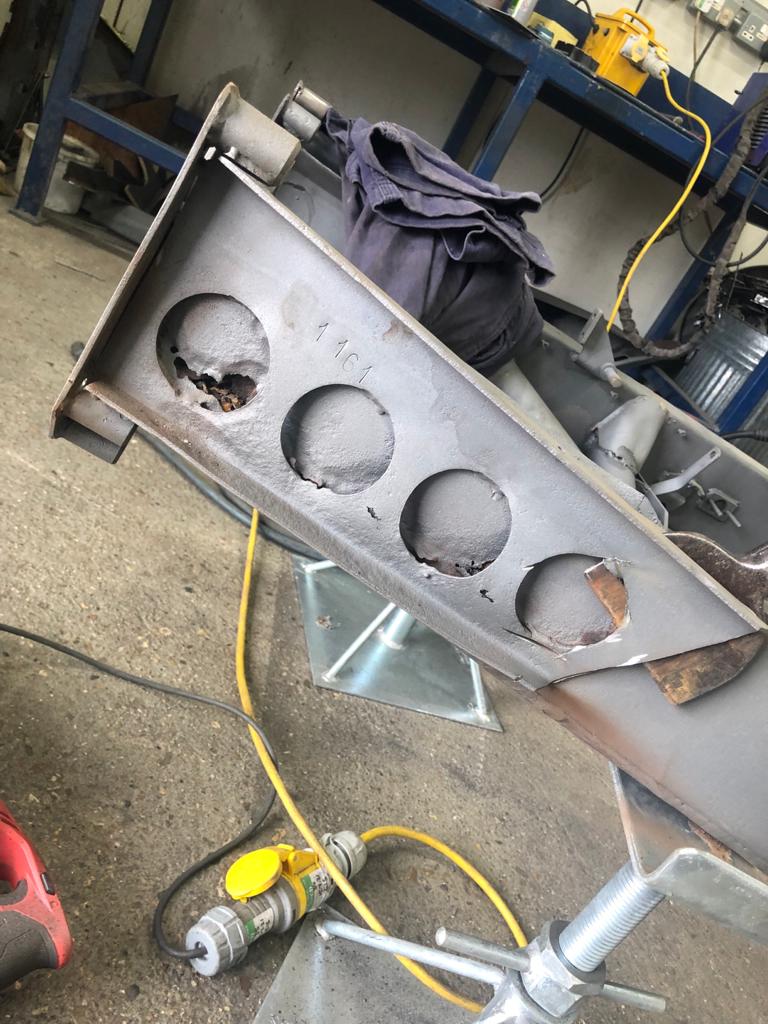


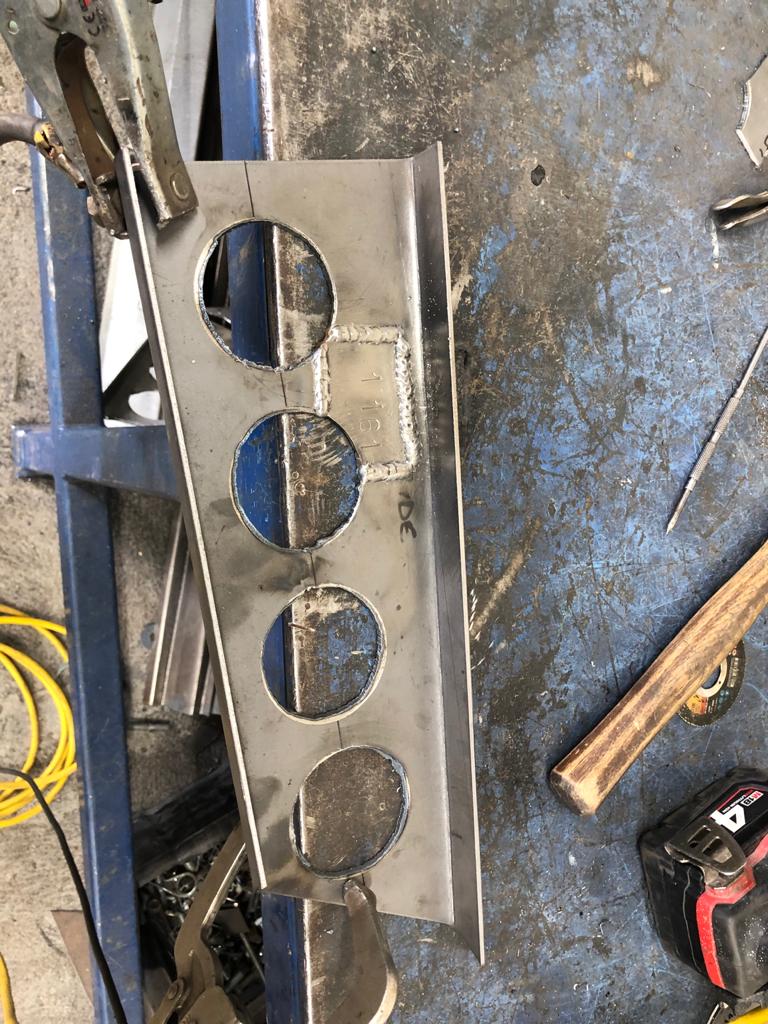
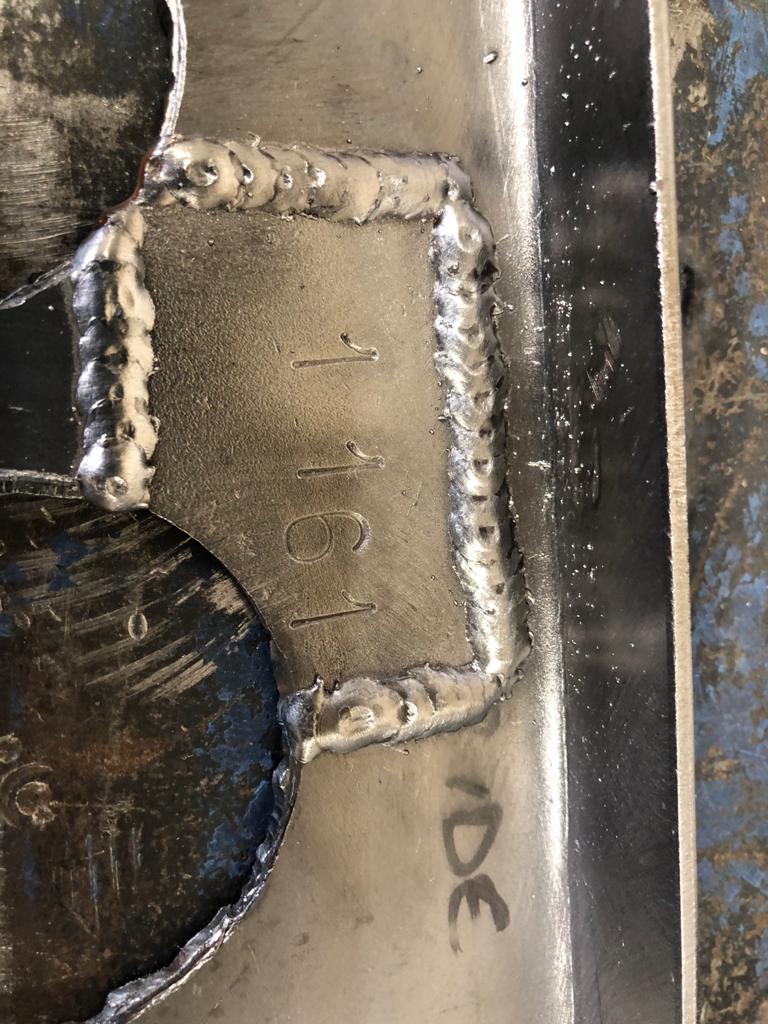
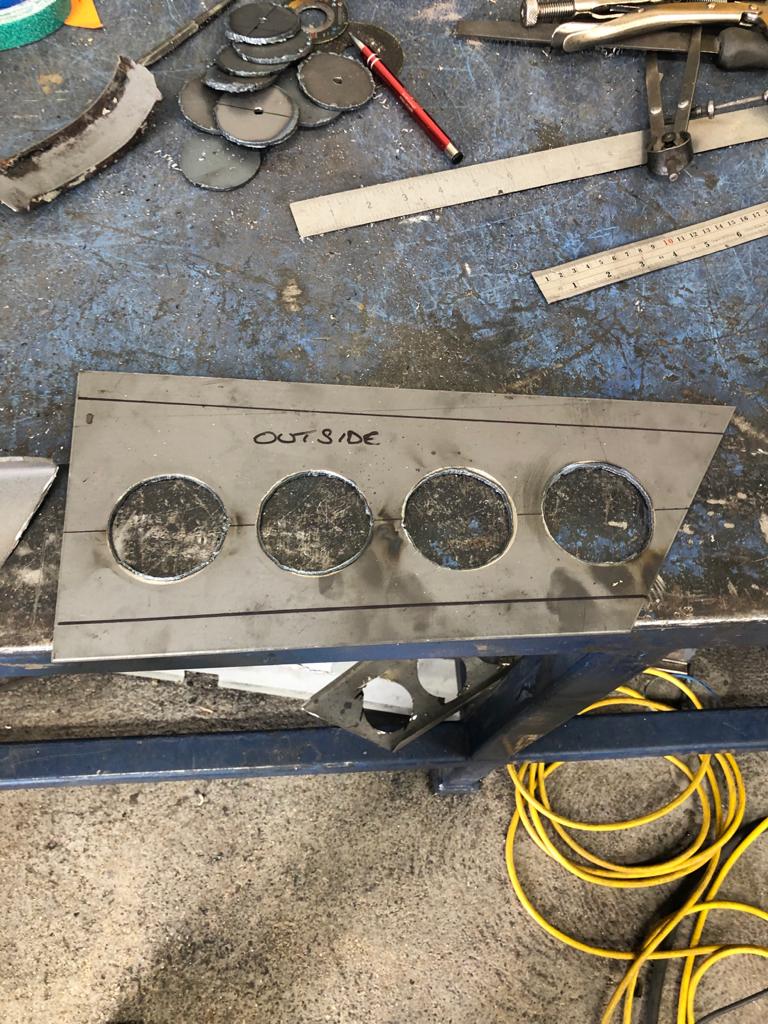
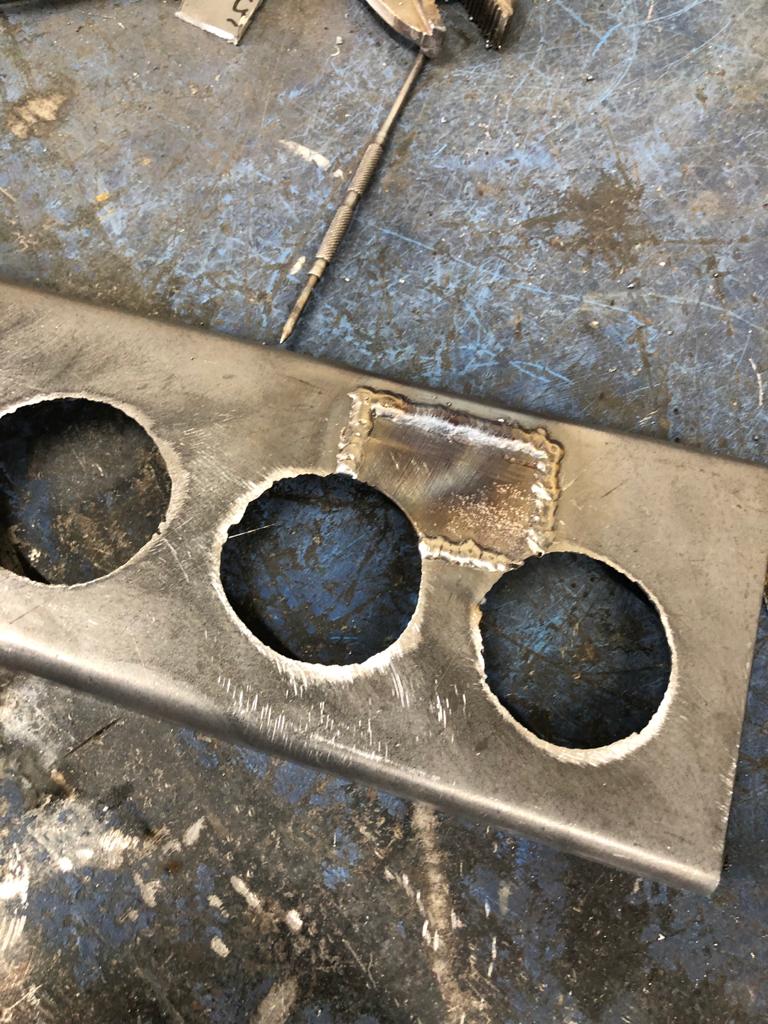
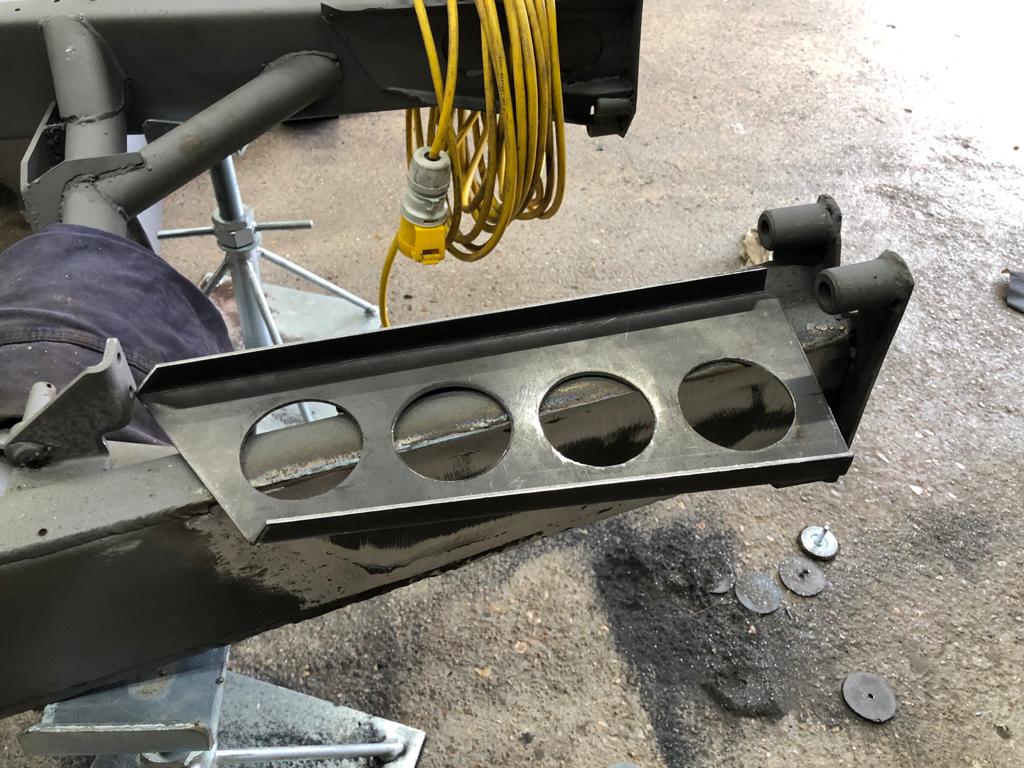
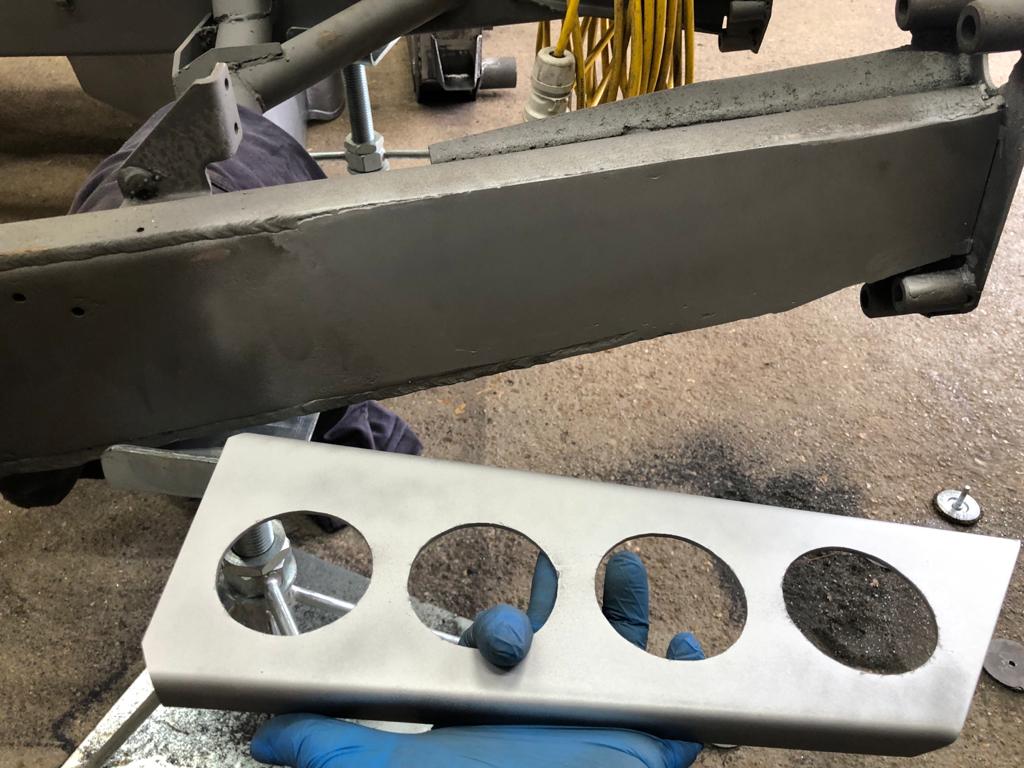
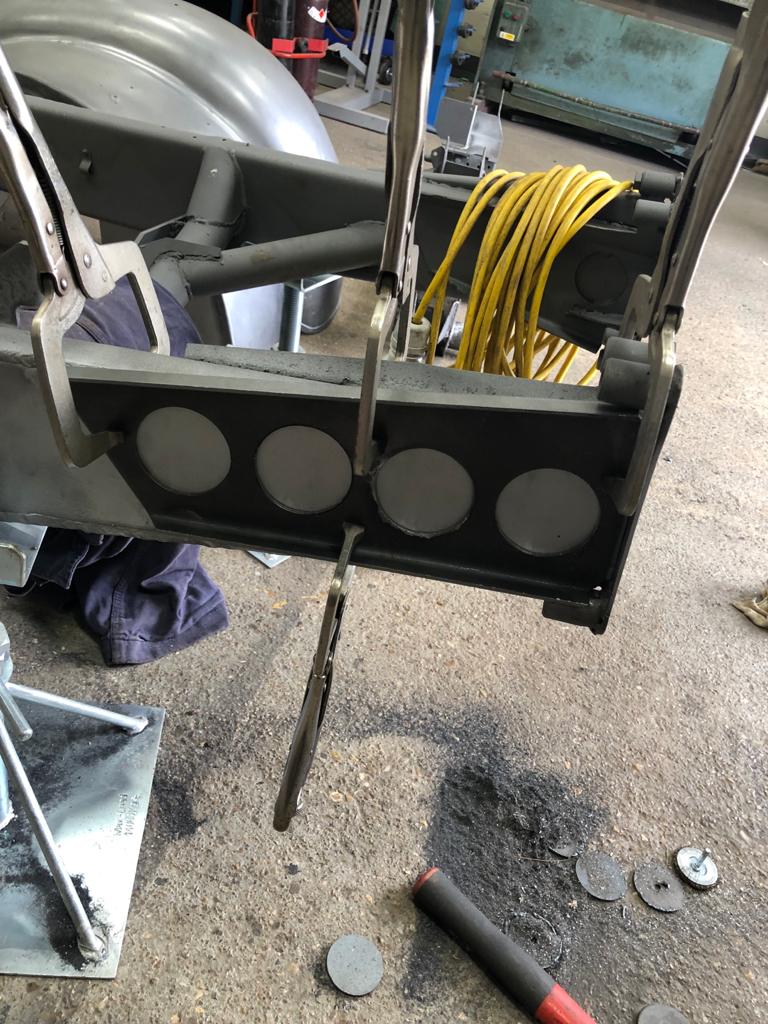
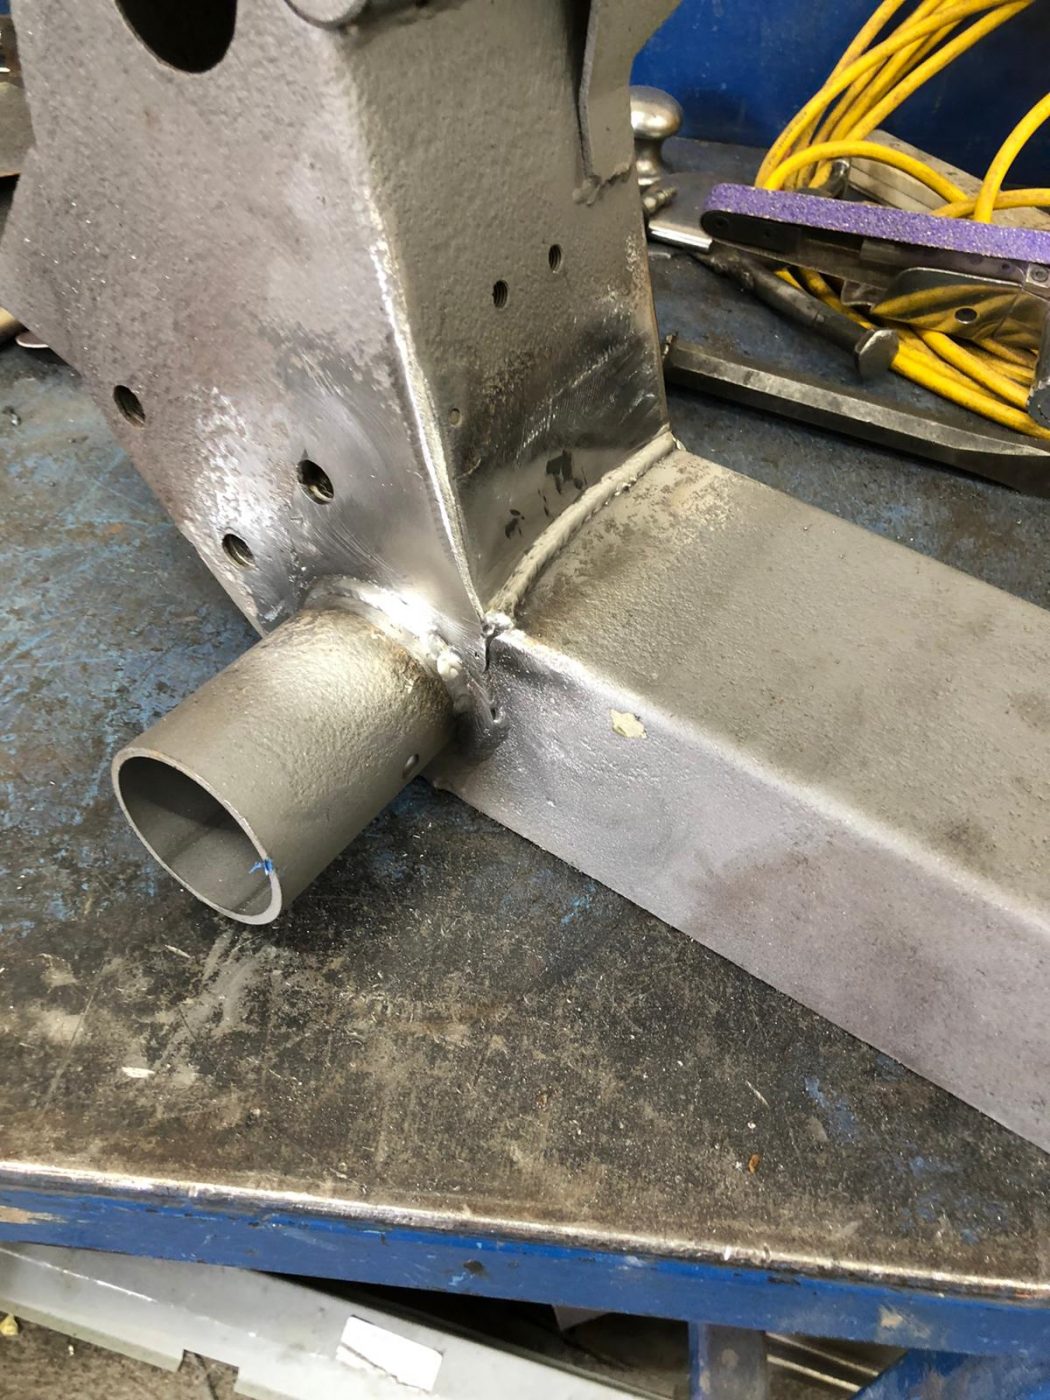
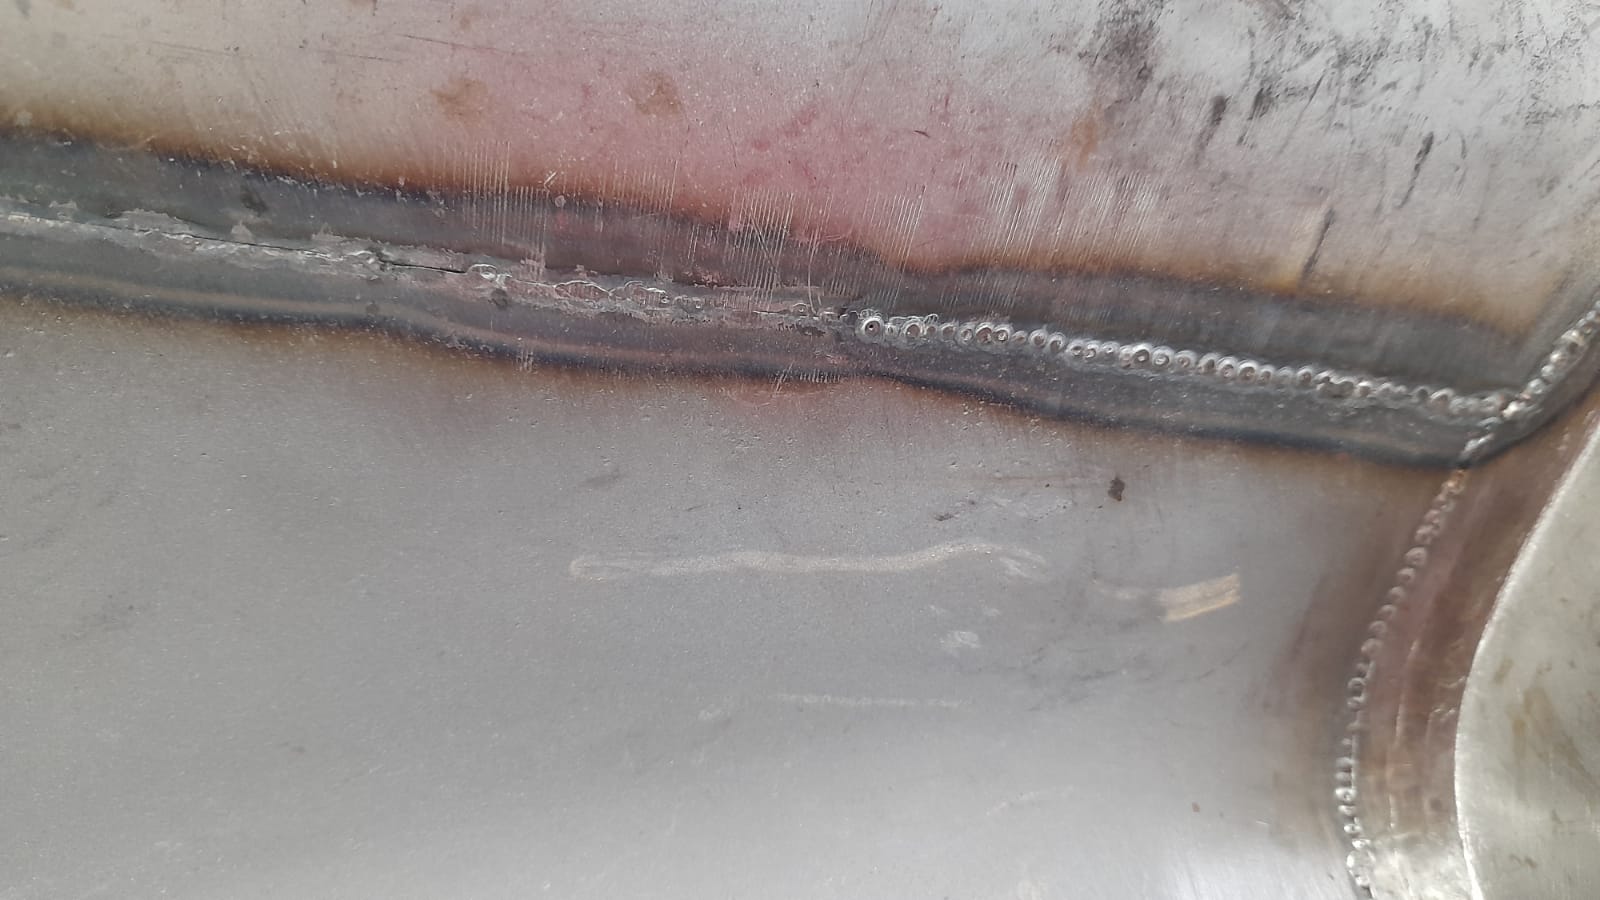
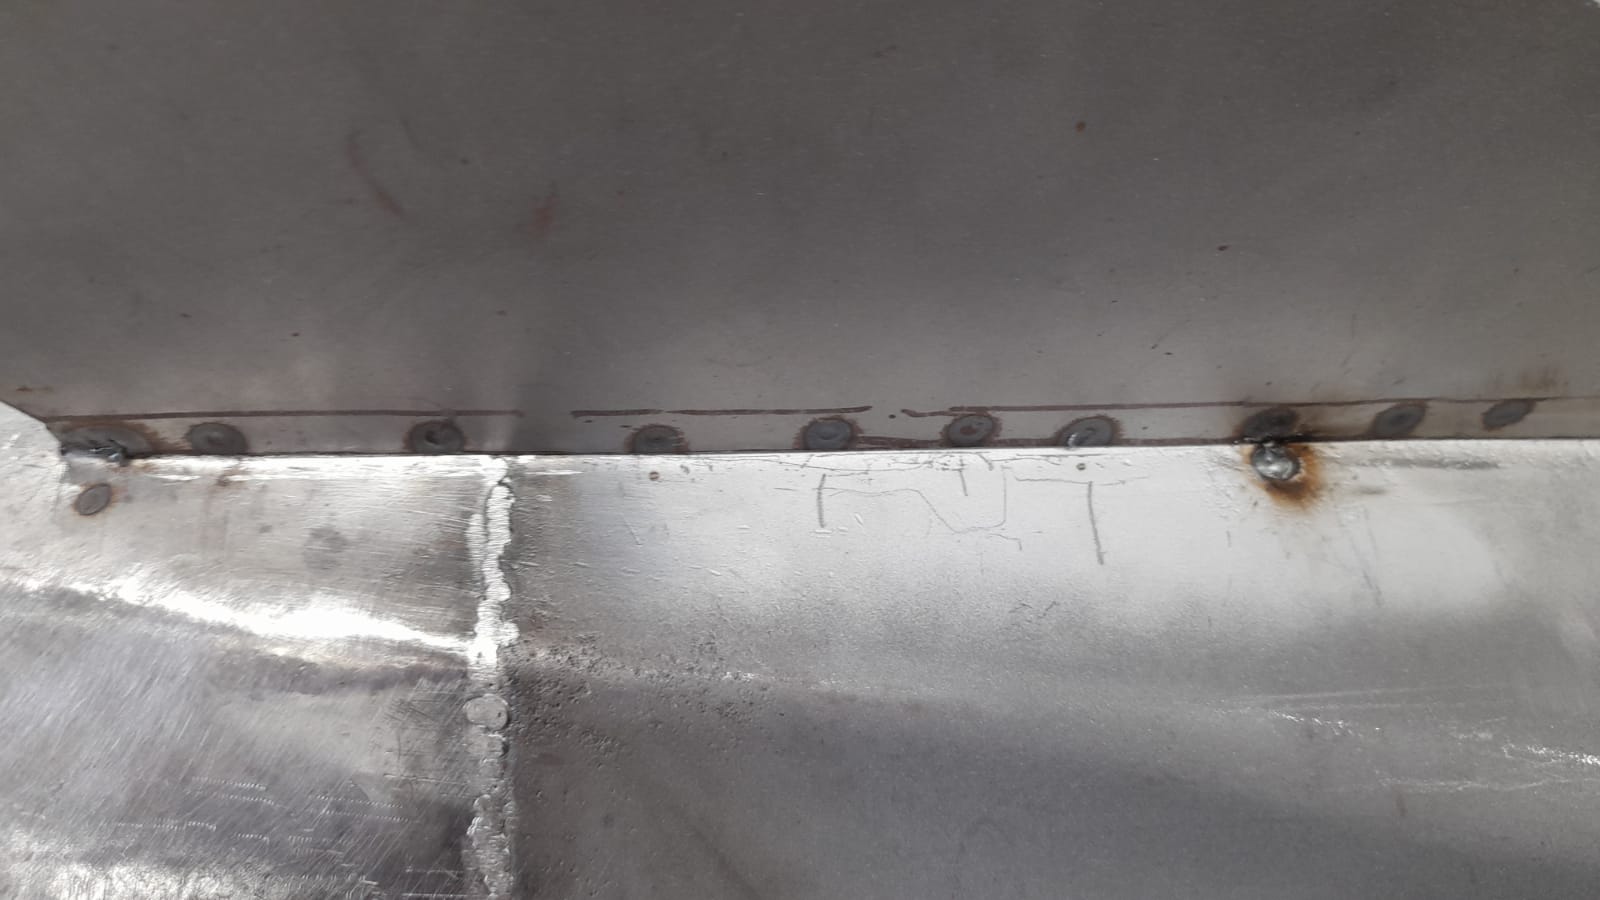
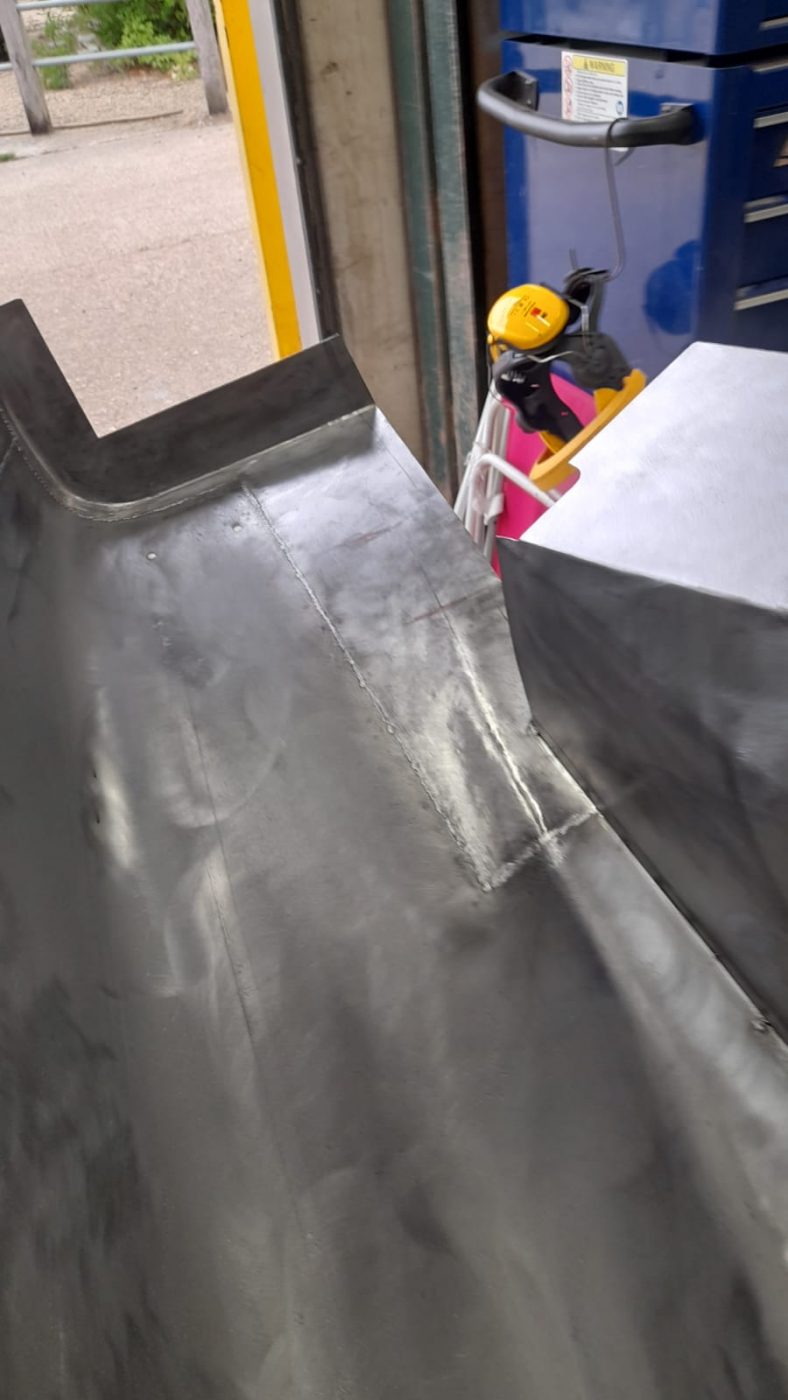
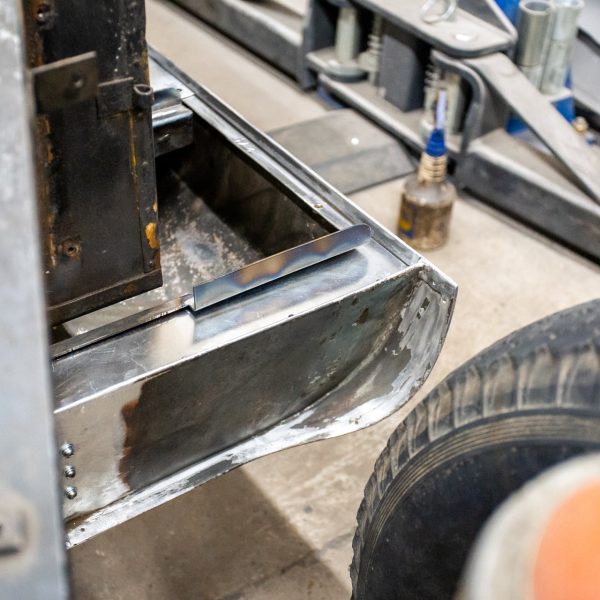
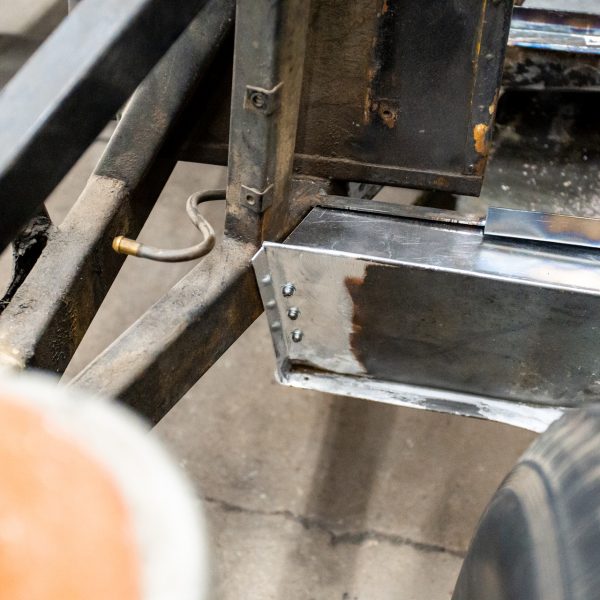
James has also been fabricating the new strengthening panels on the chassis and subframe.
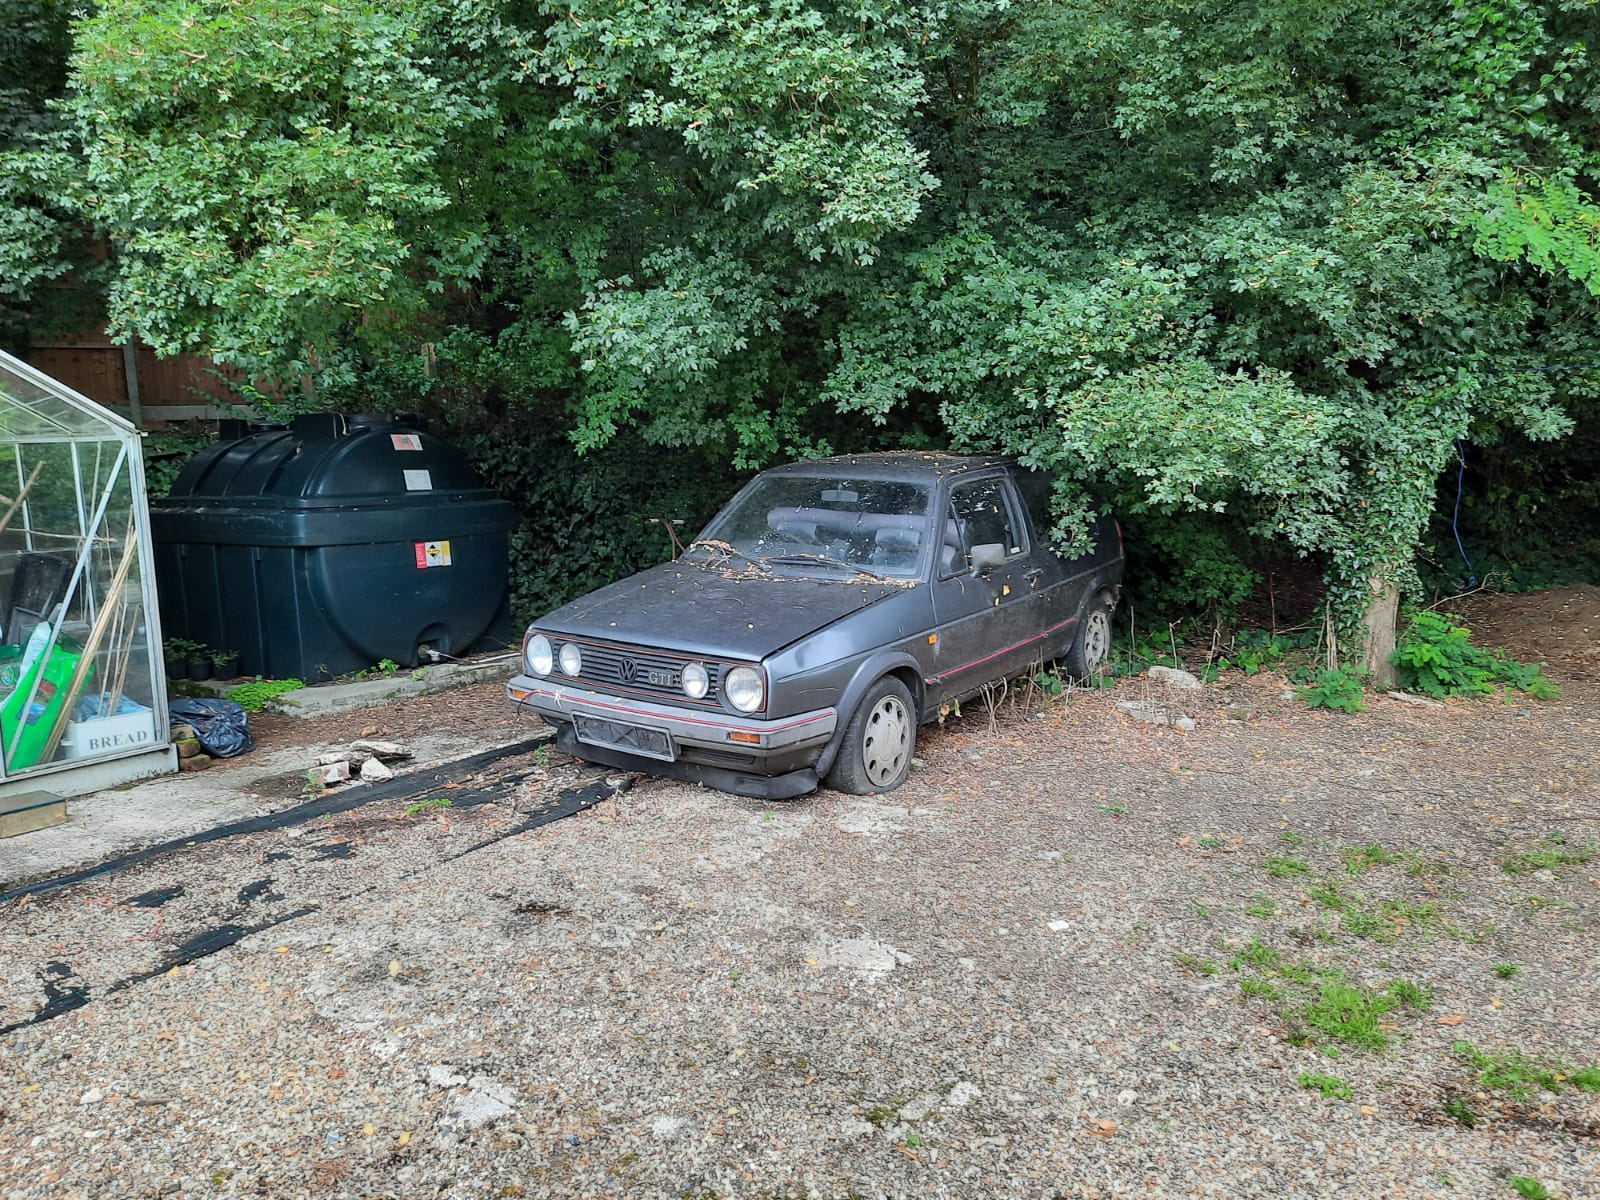
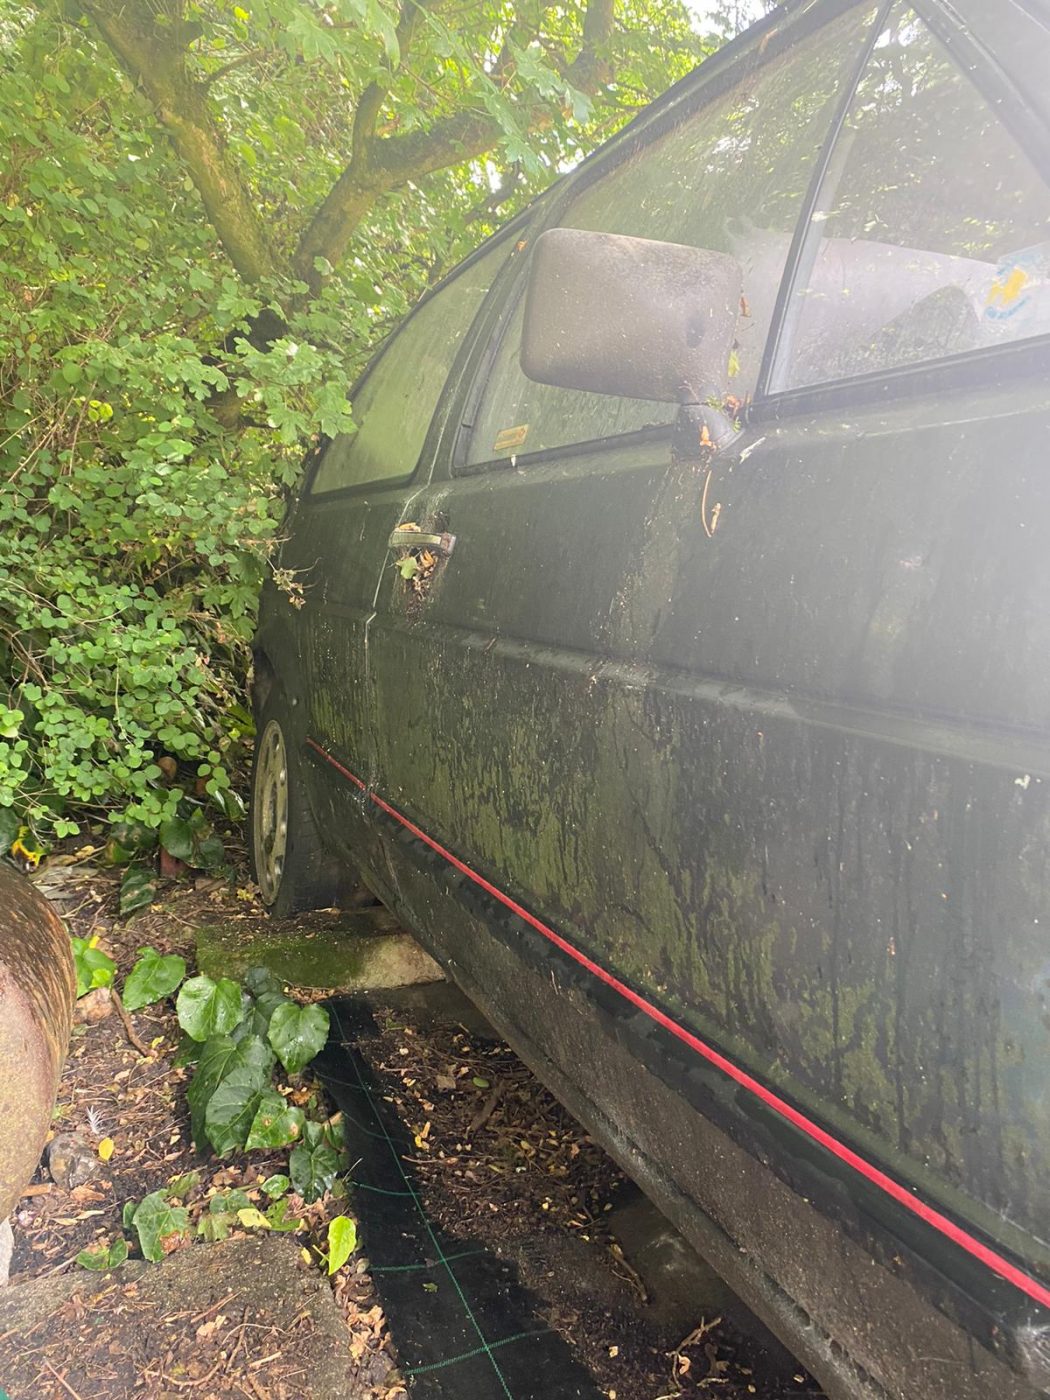
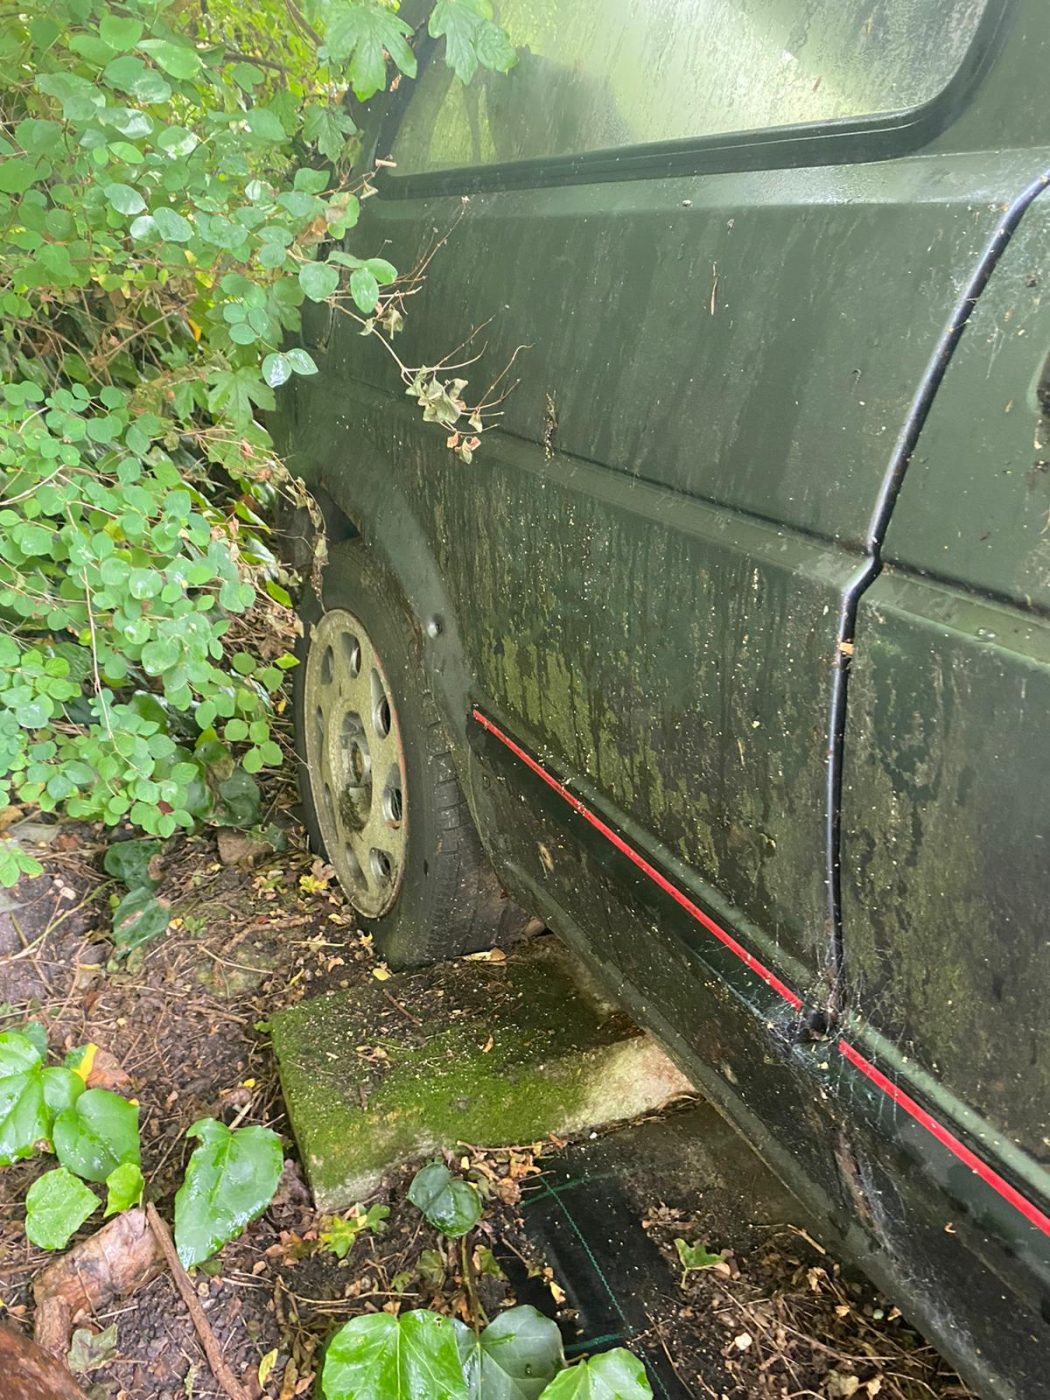
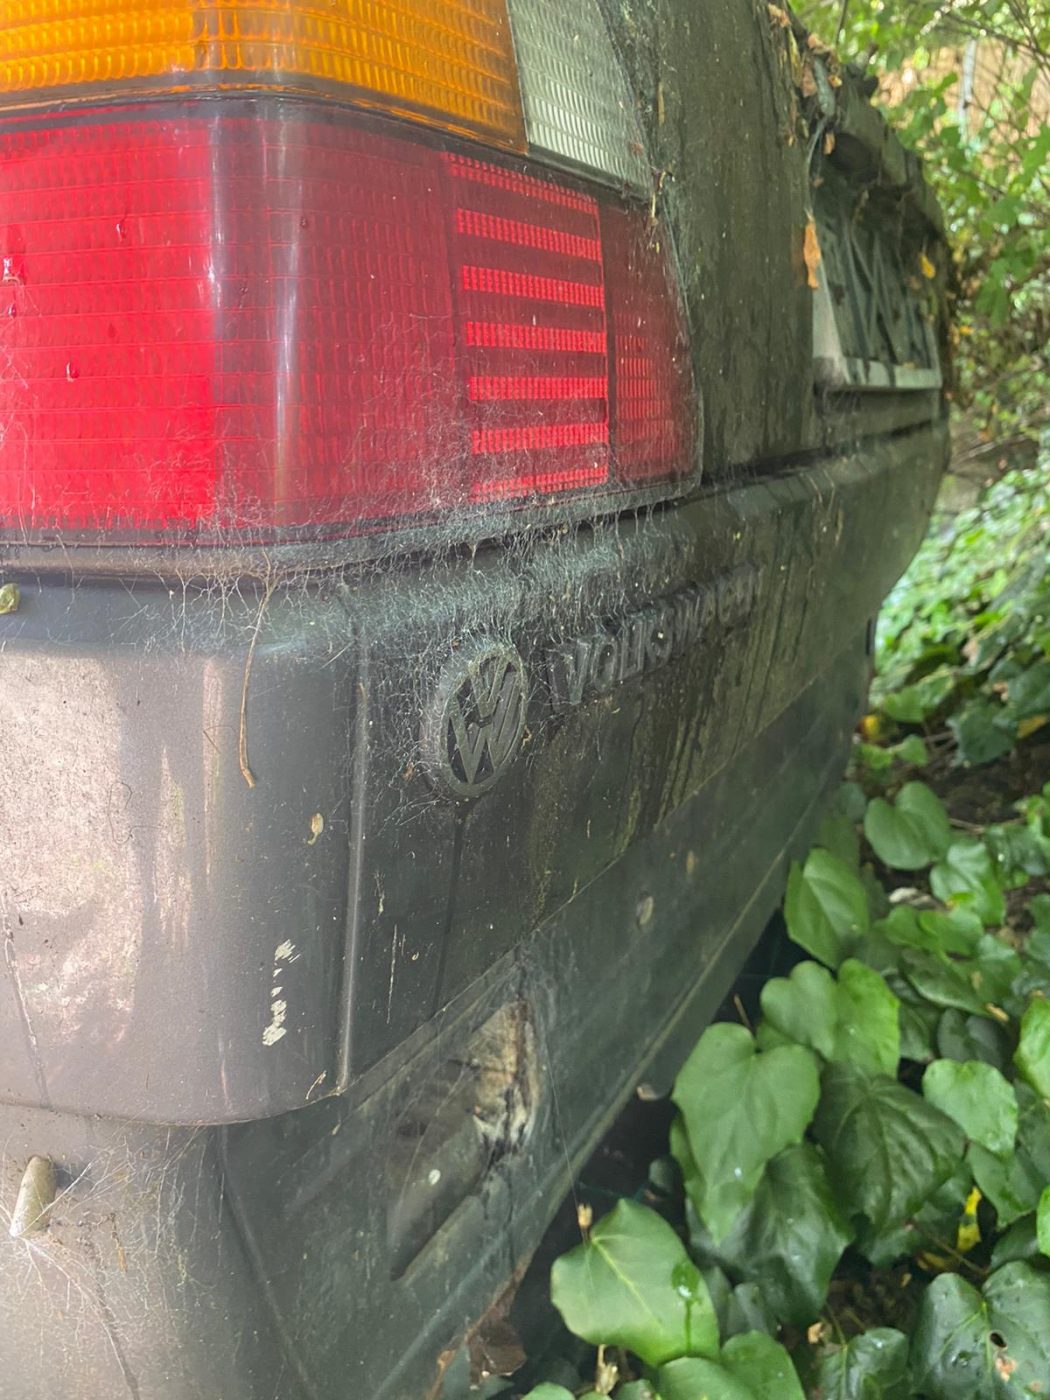
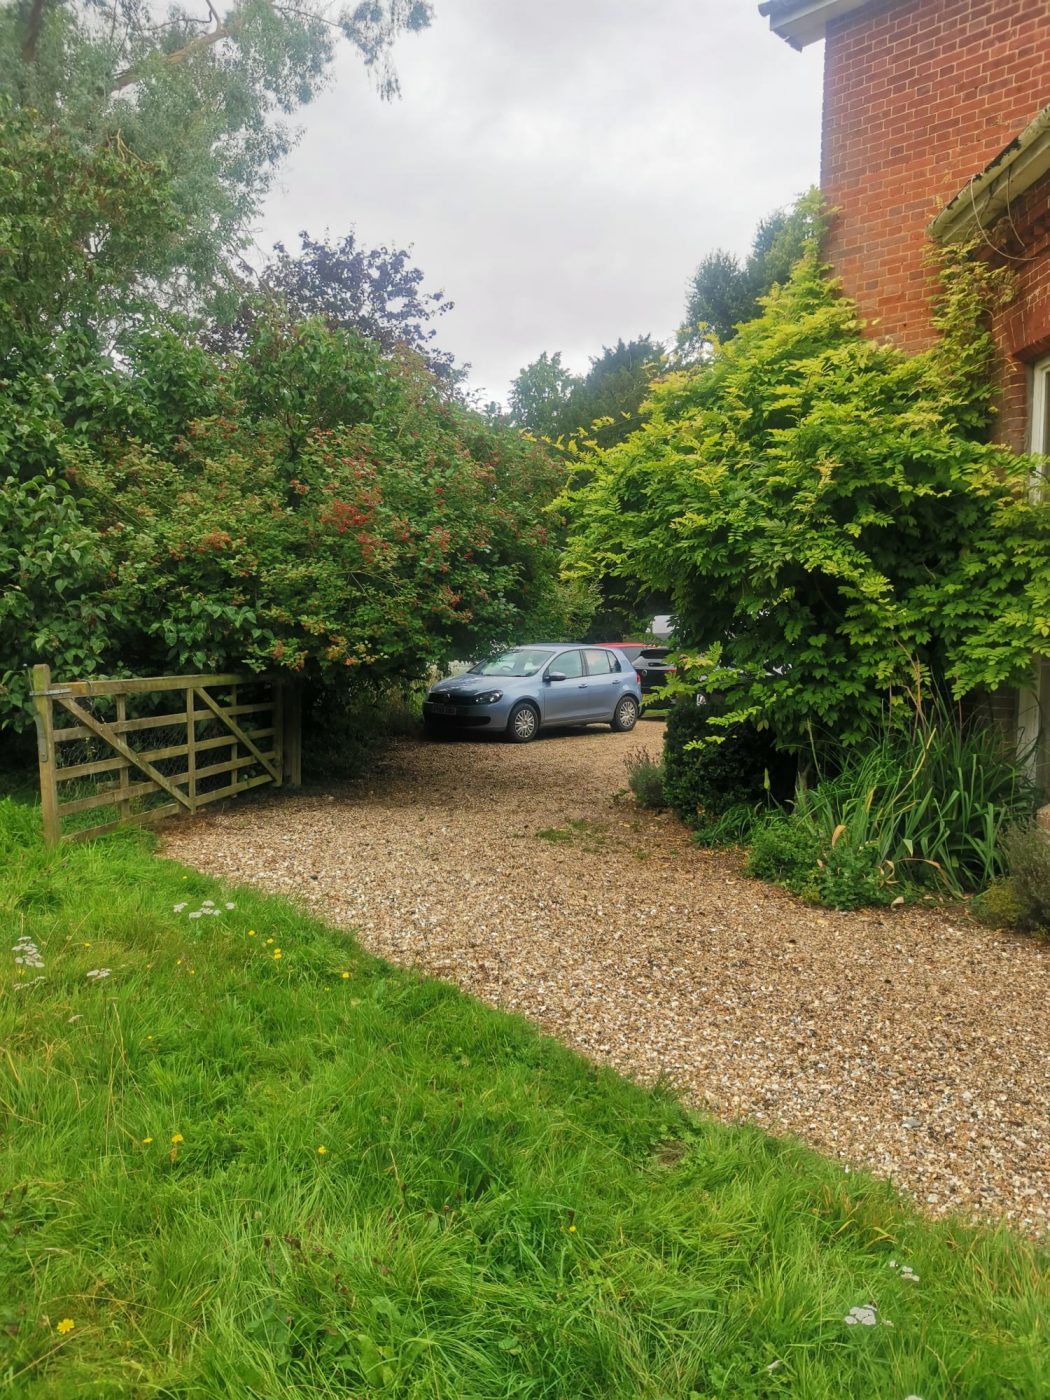
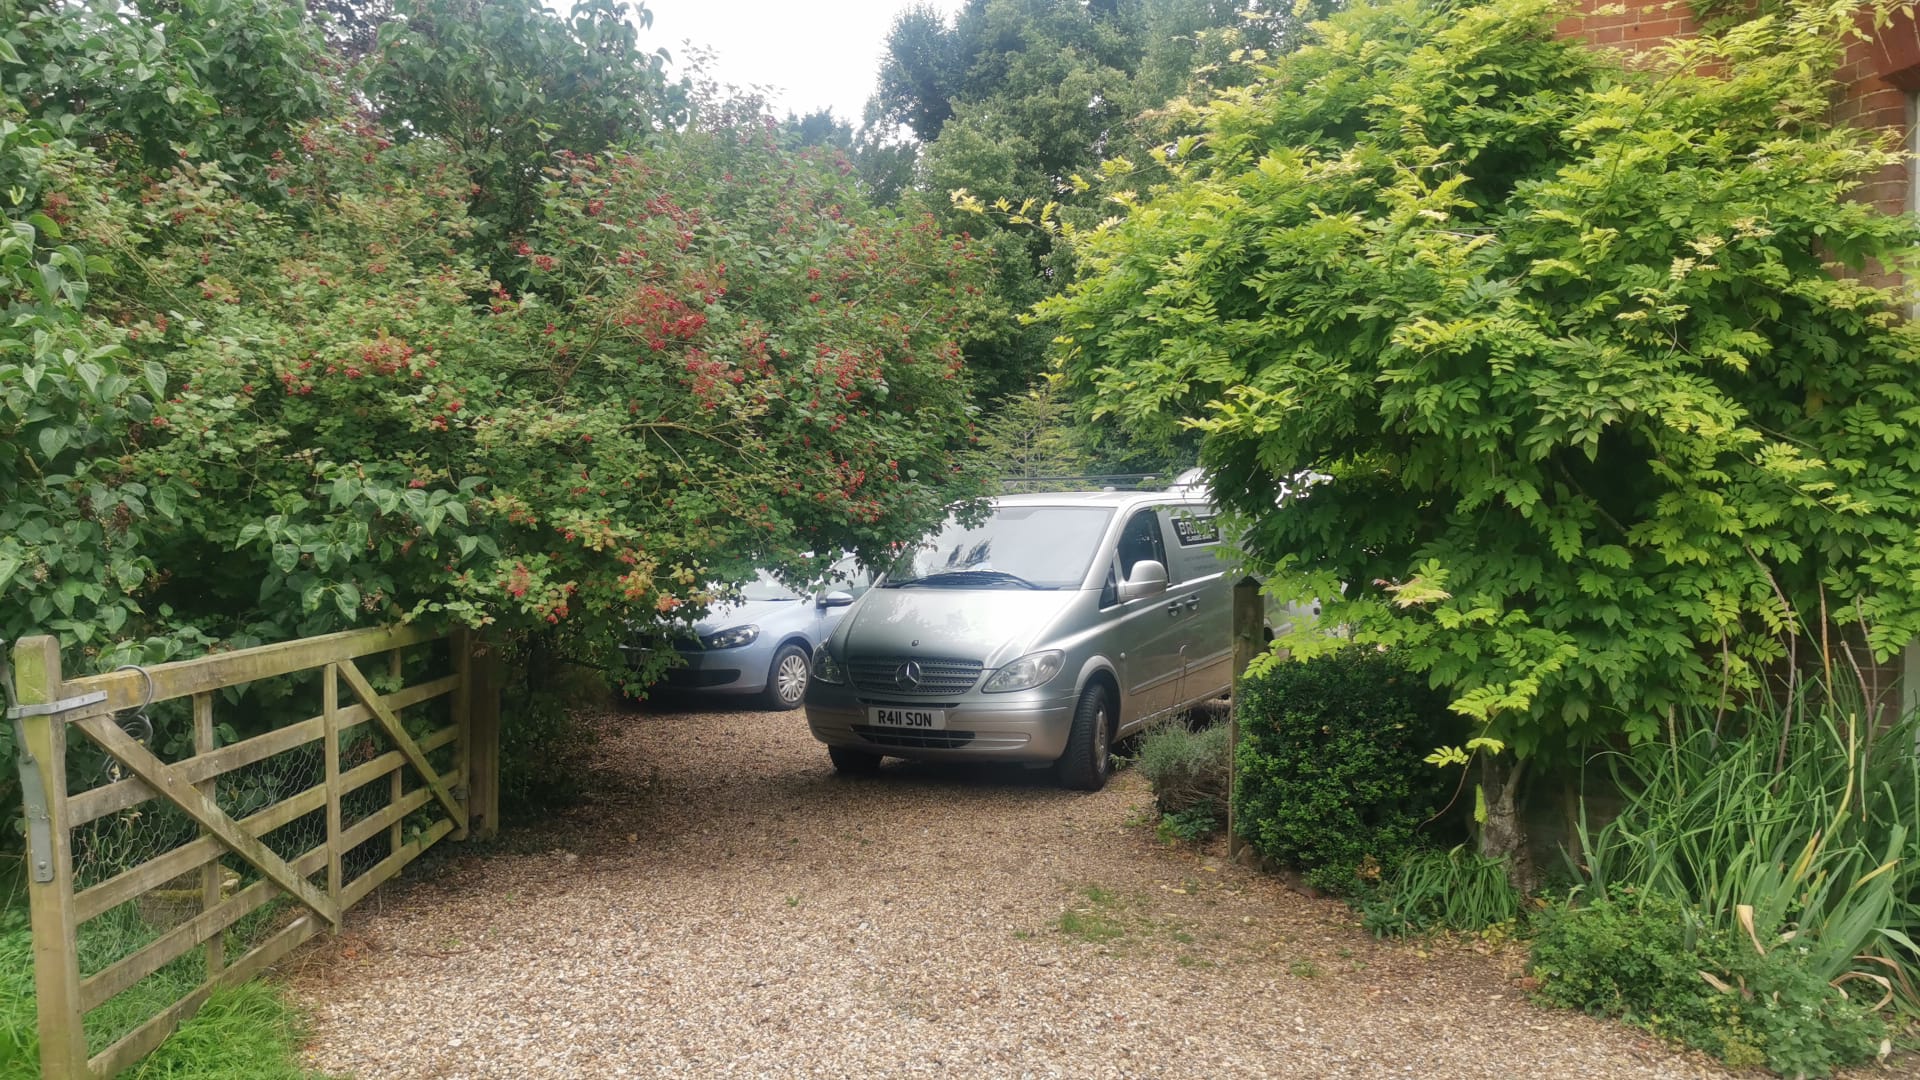
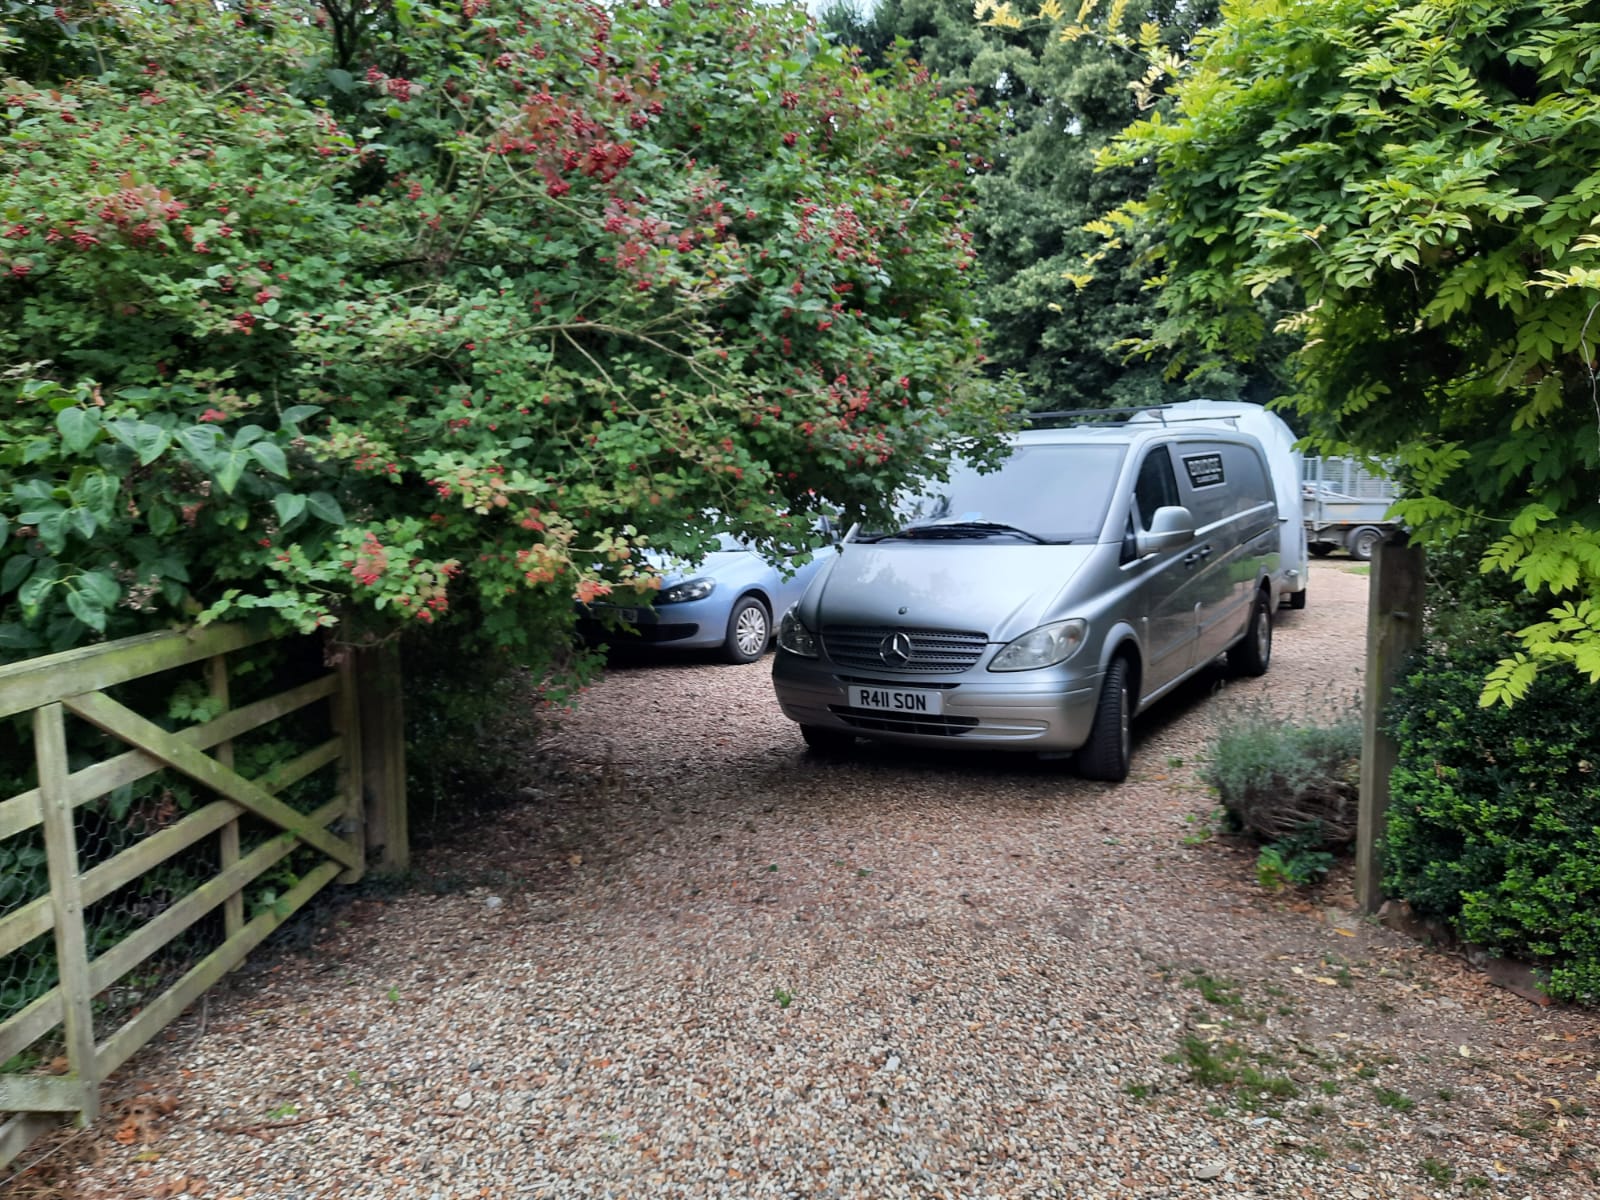
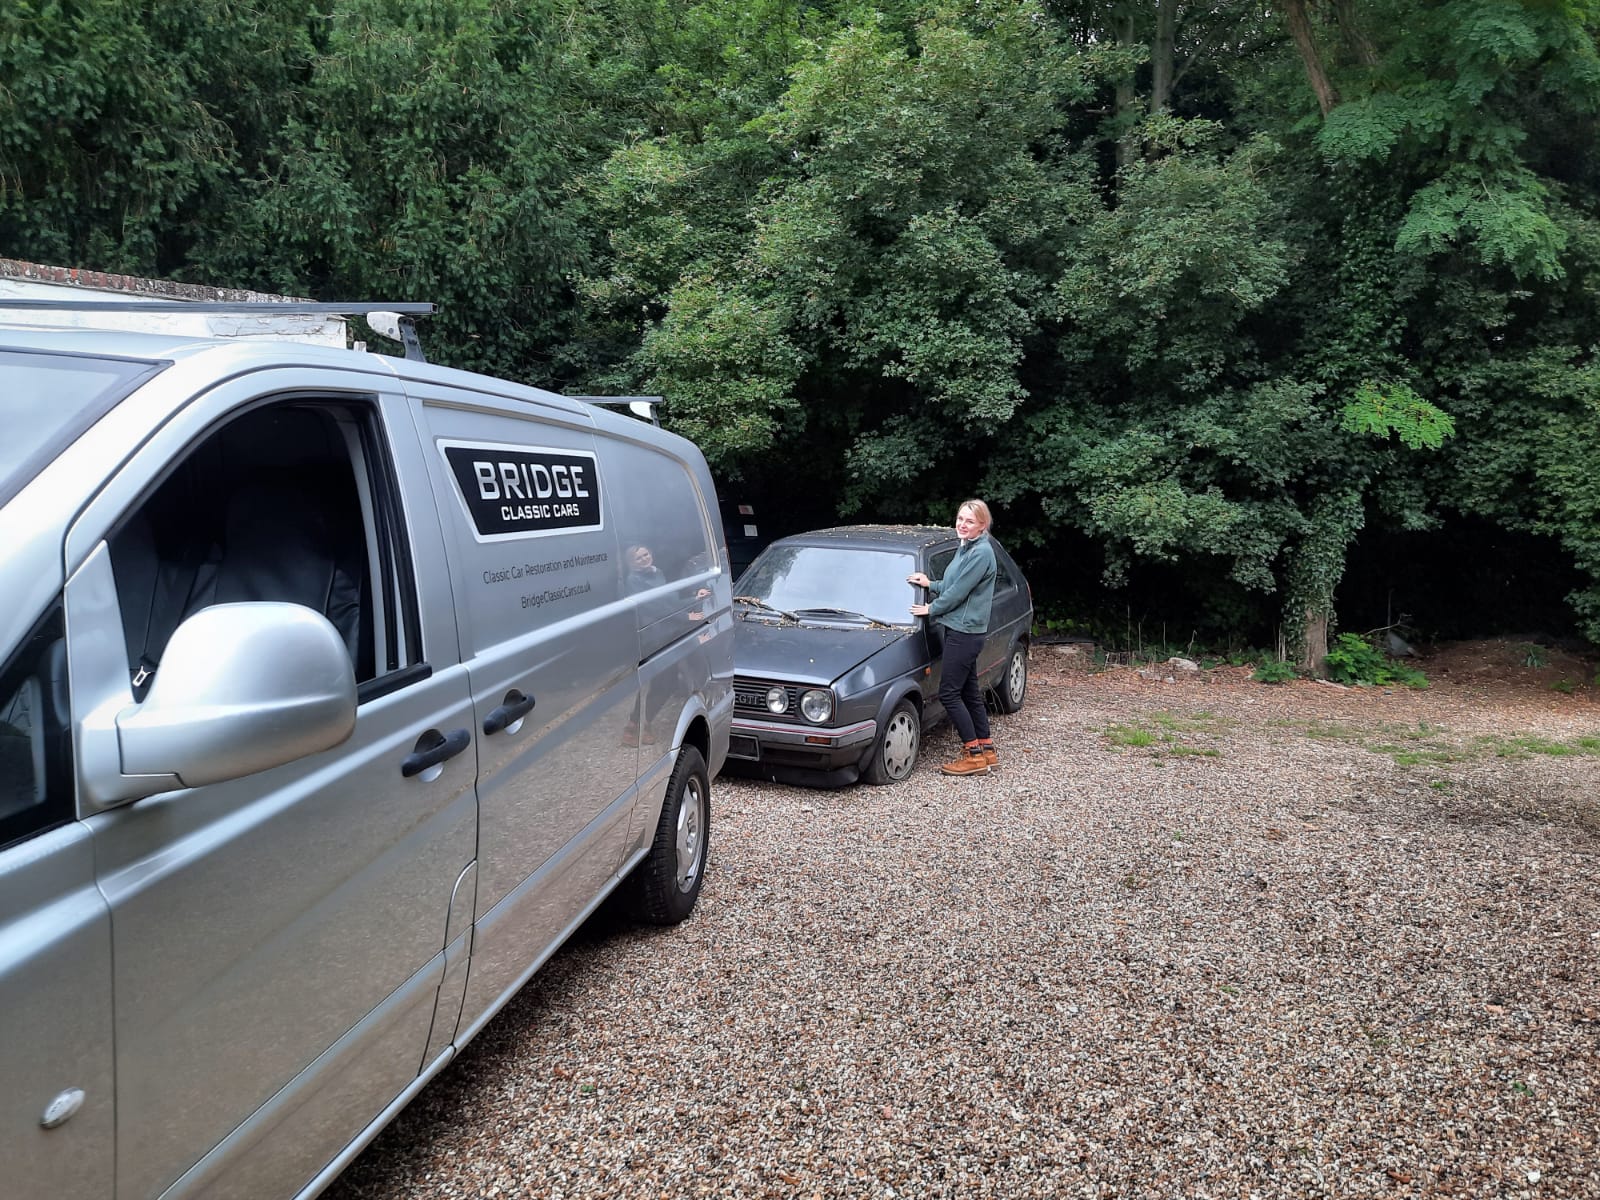
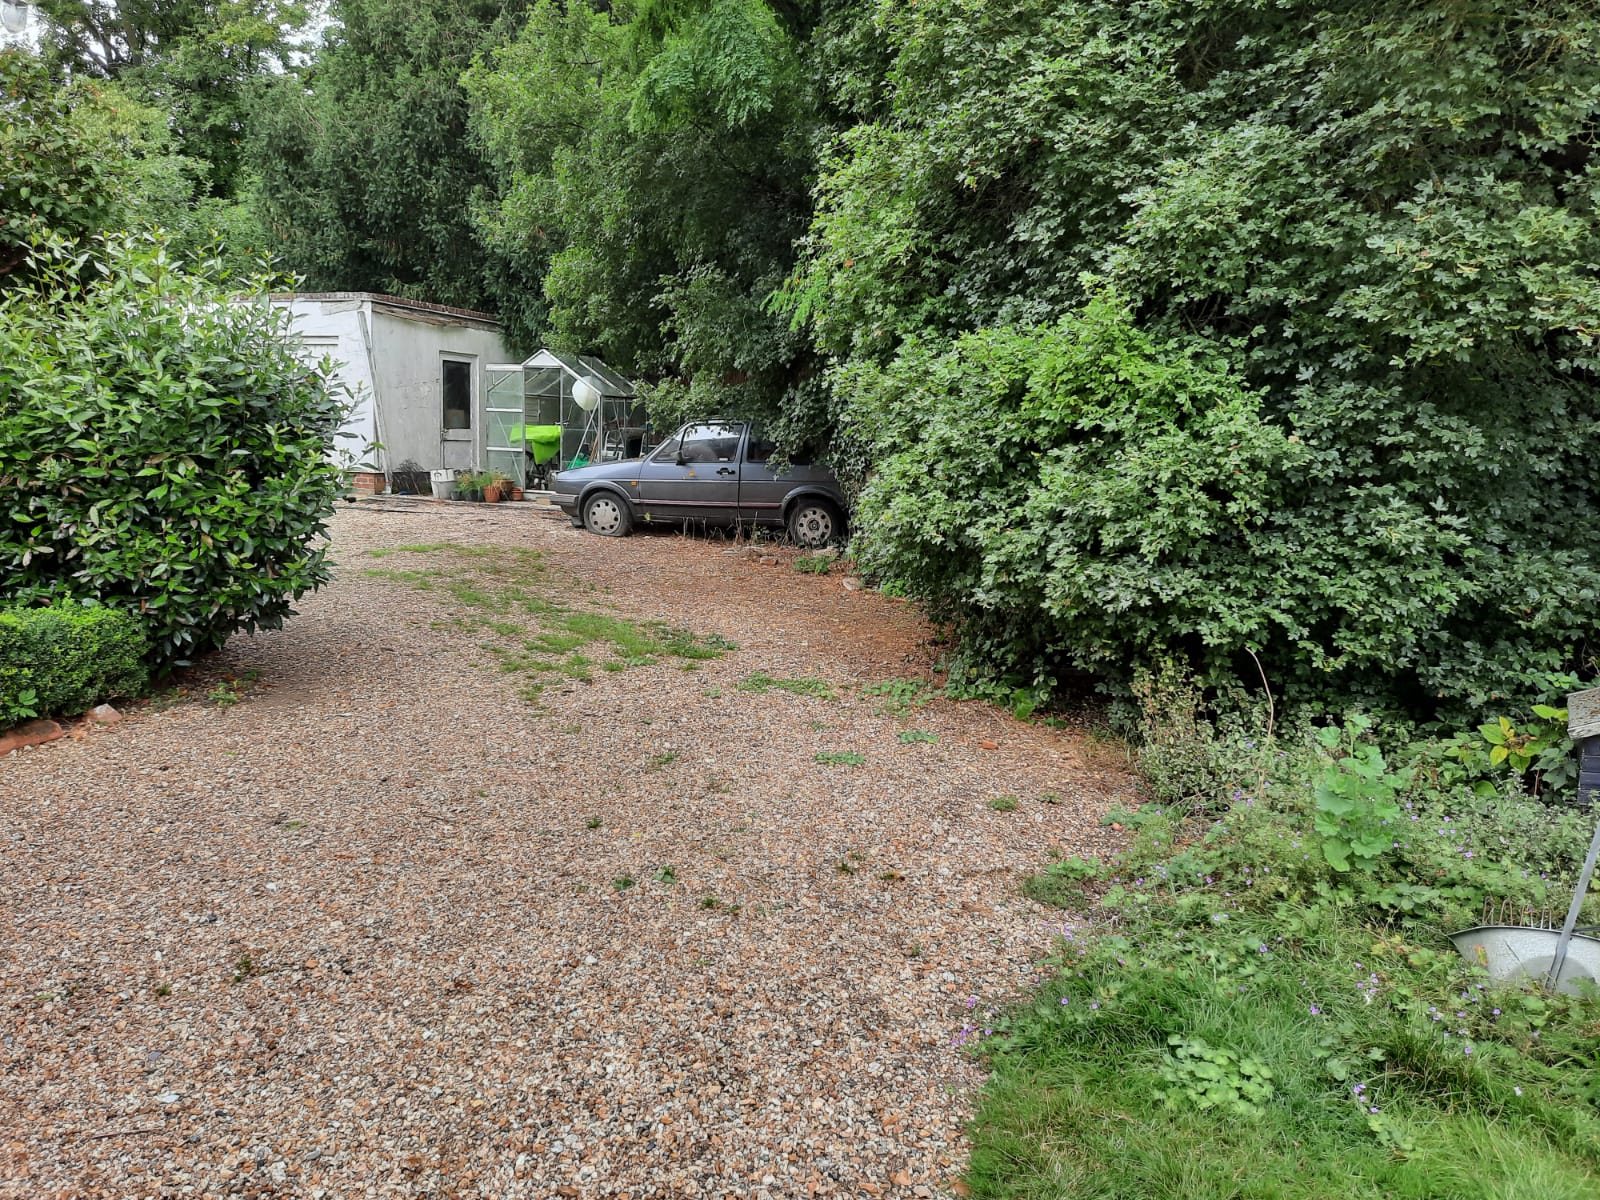
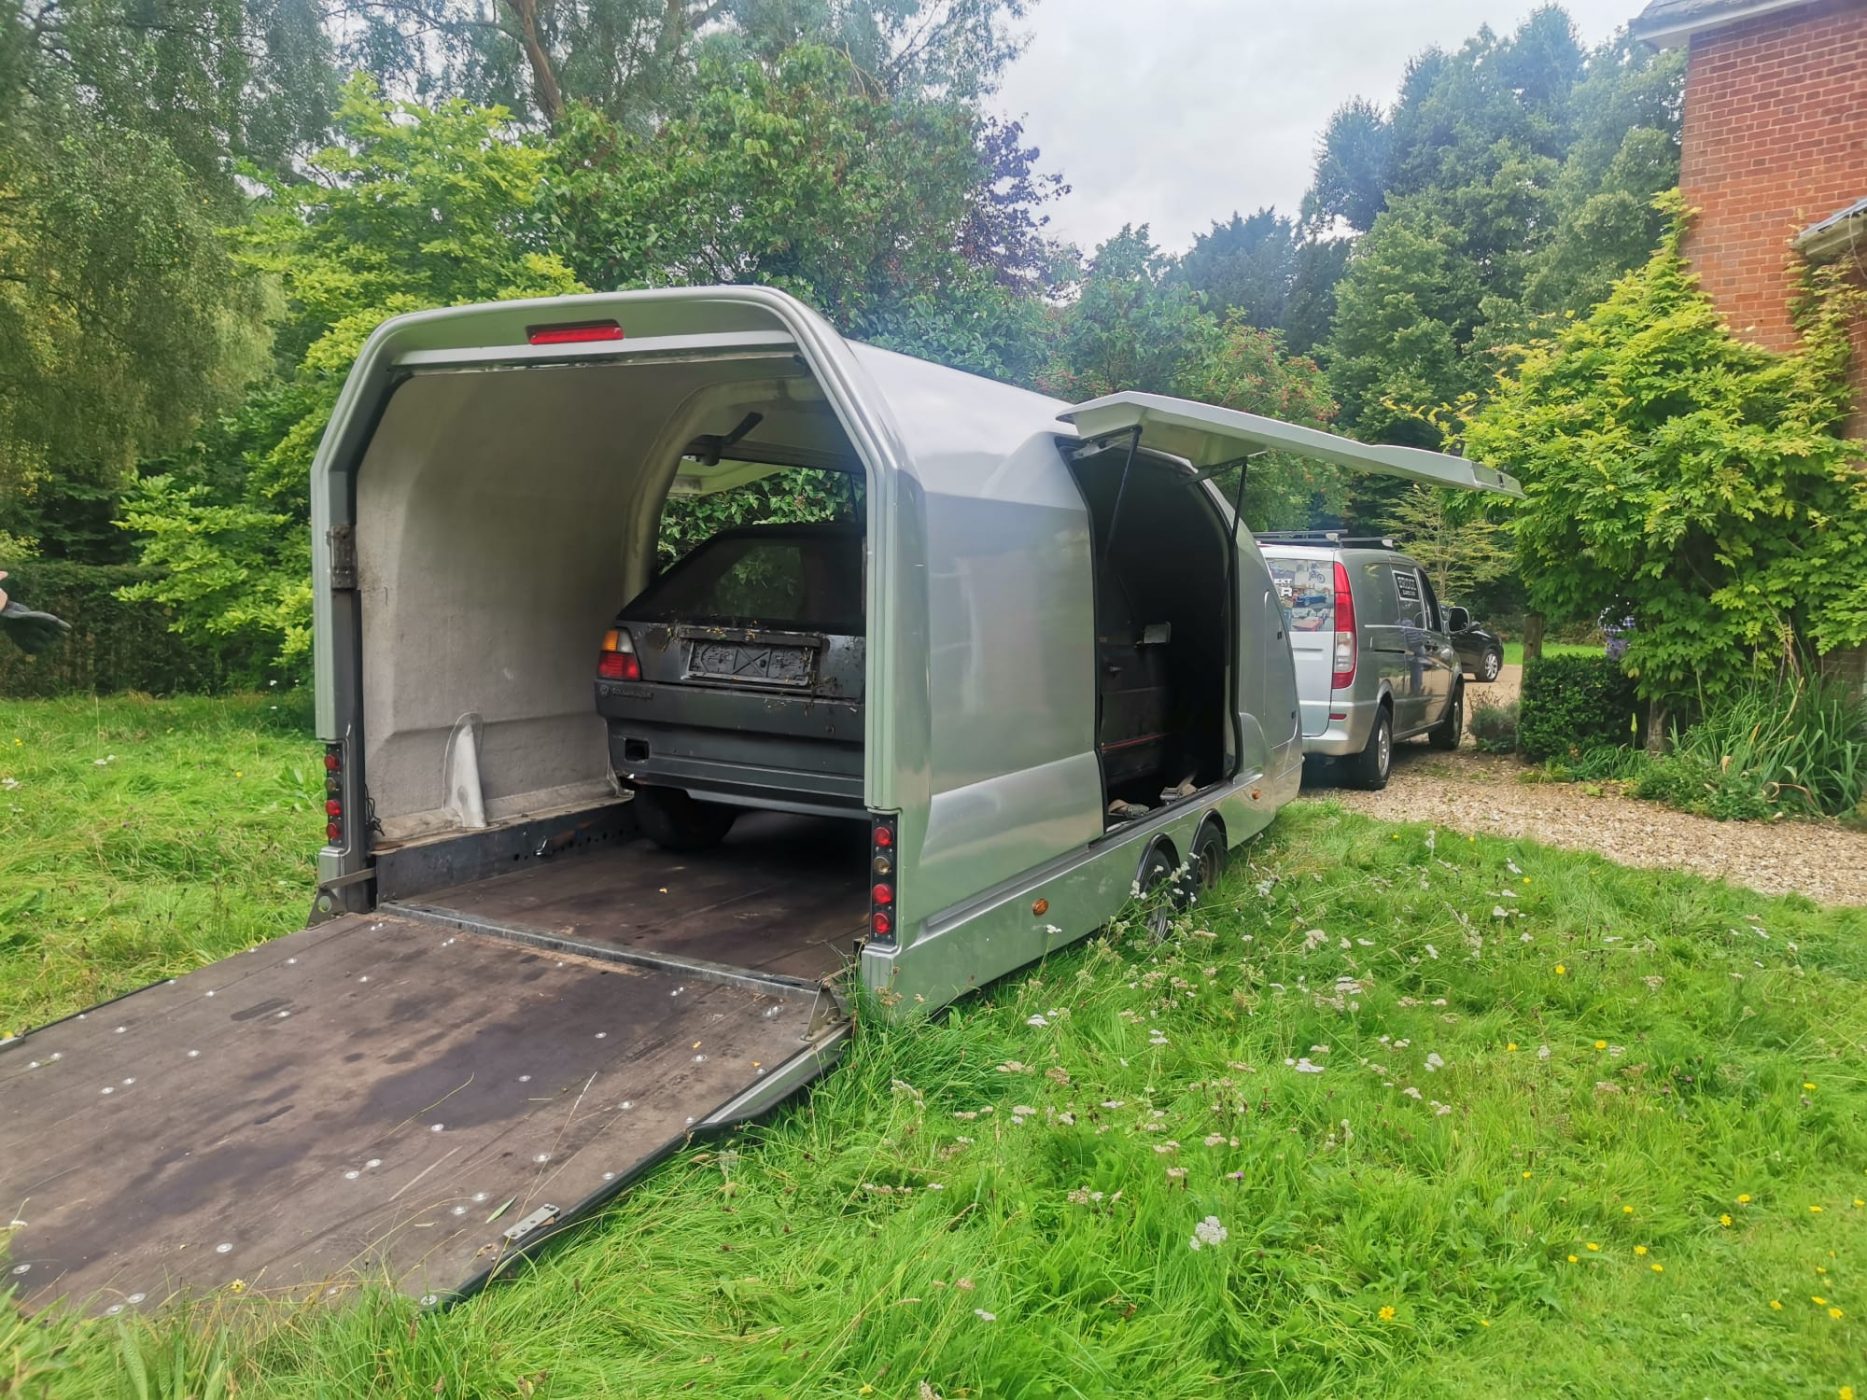
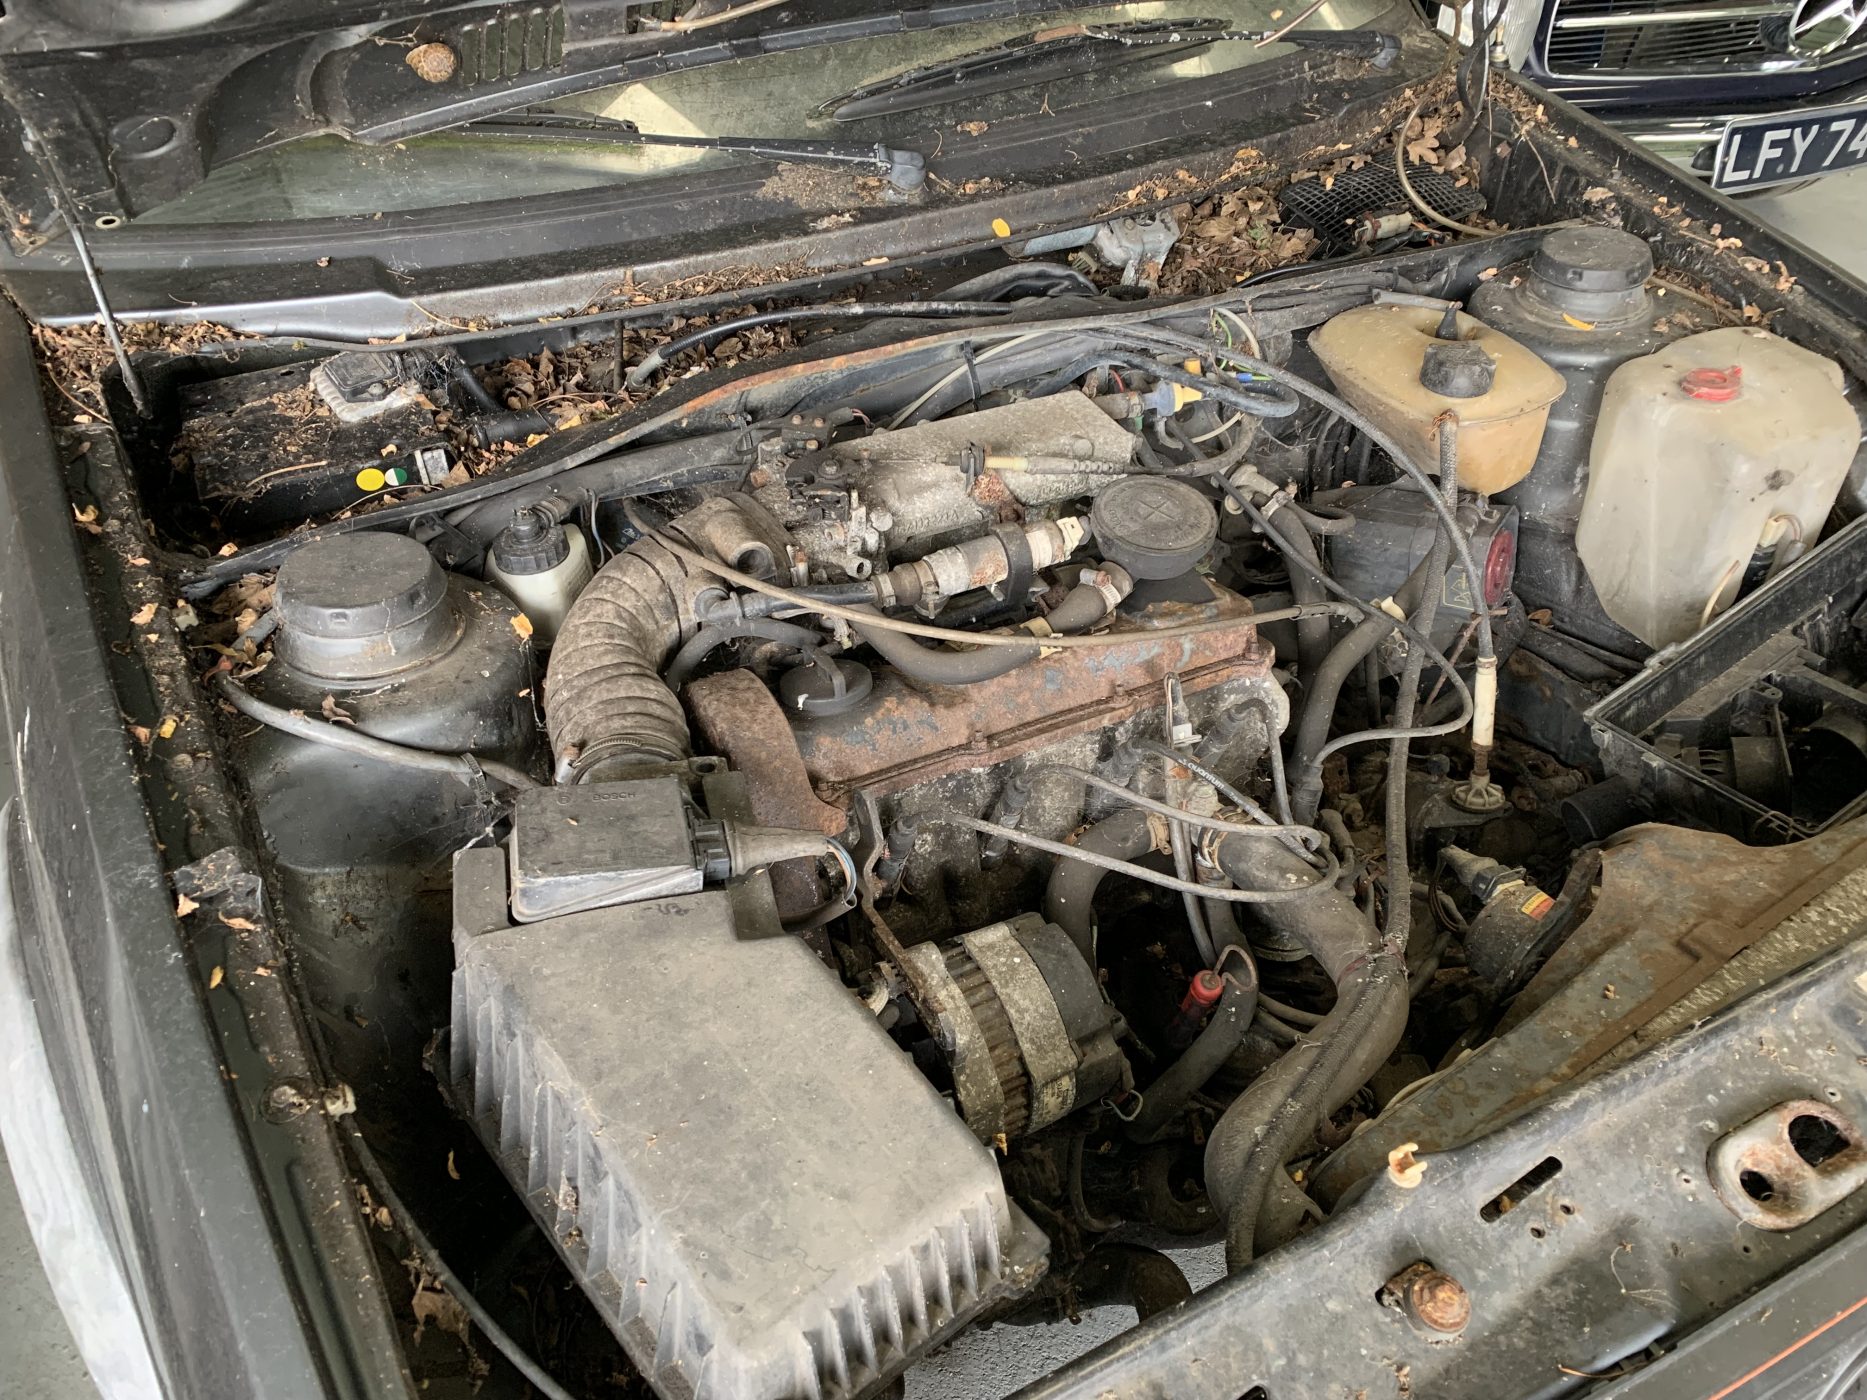
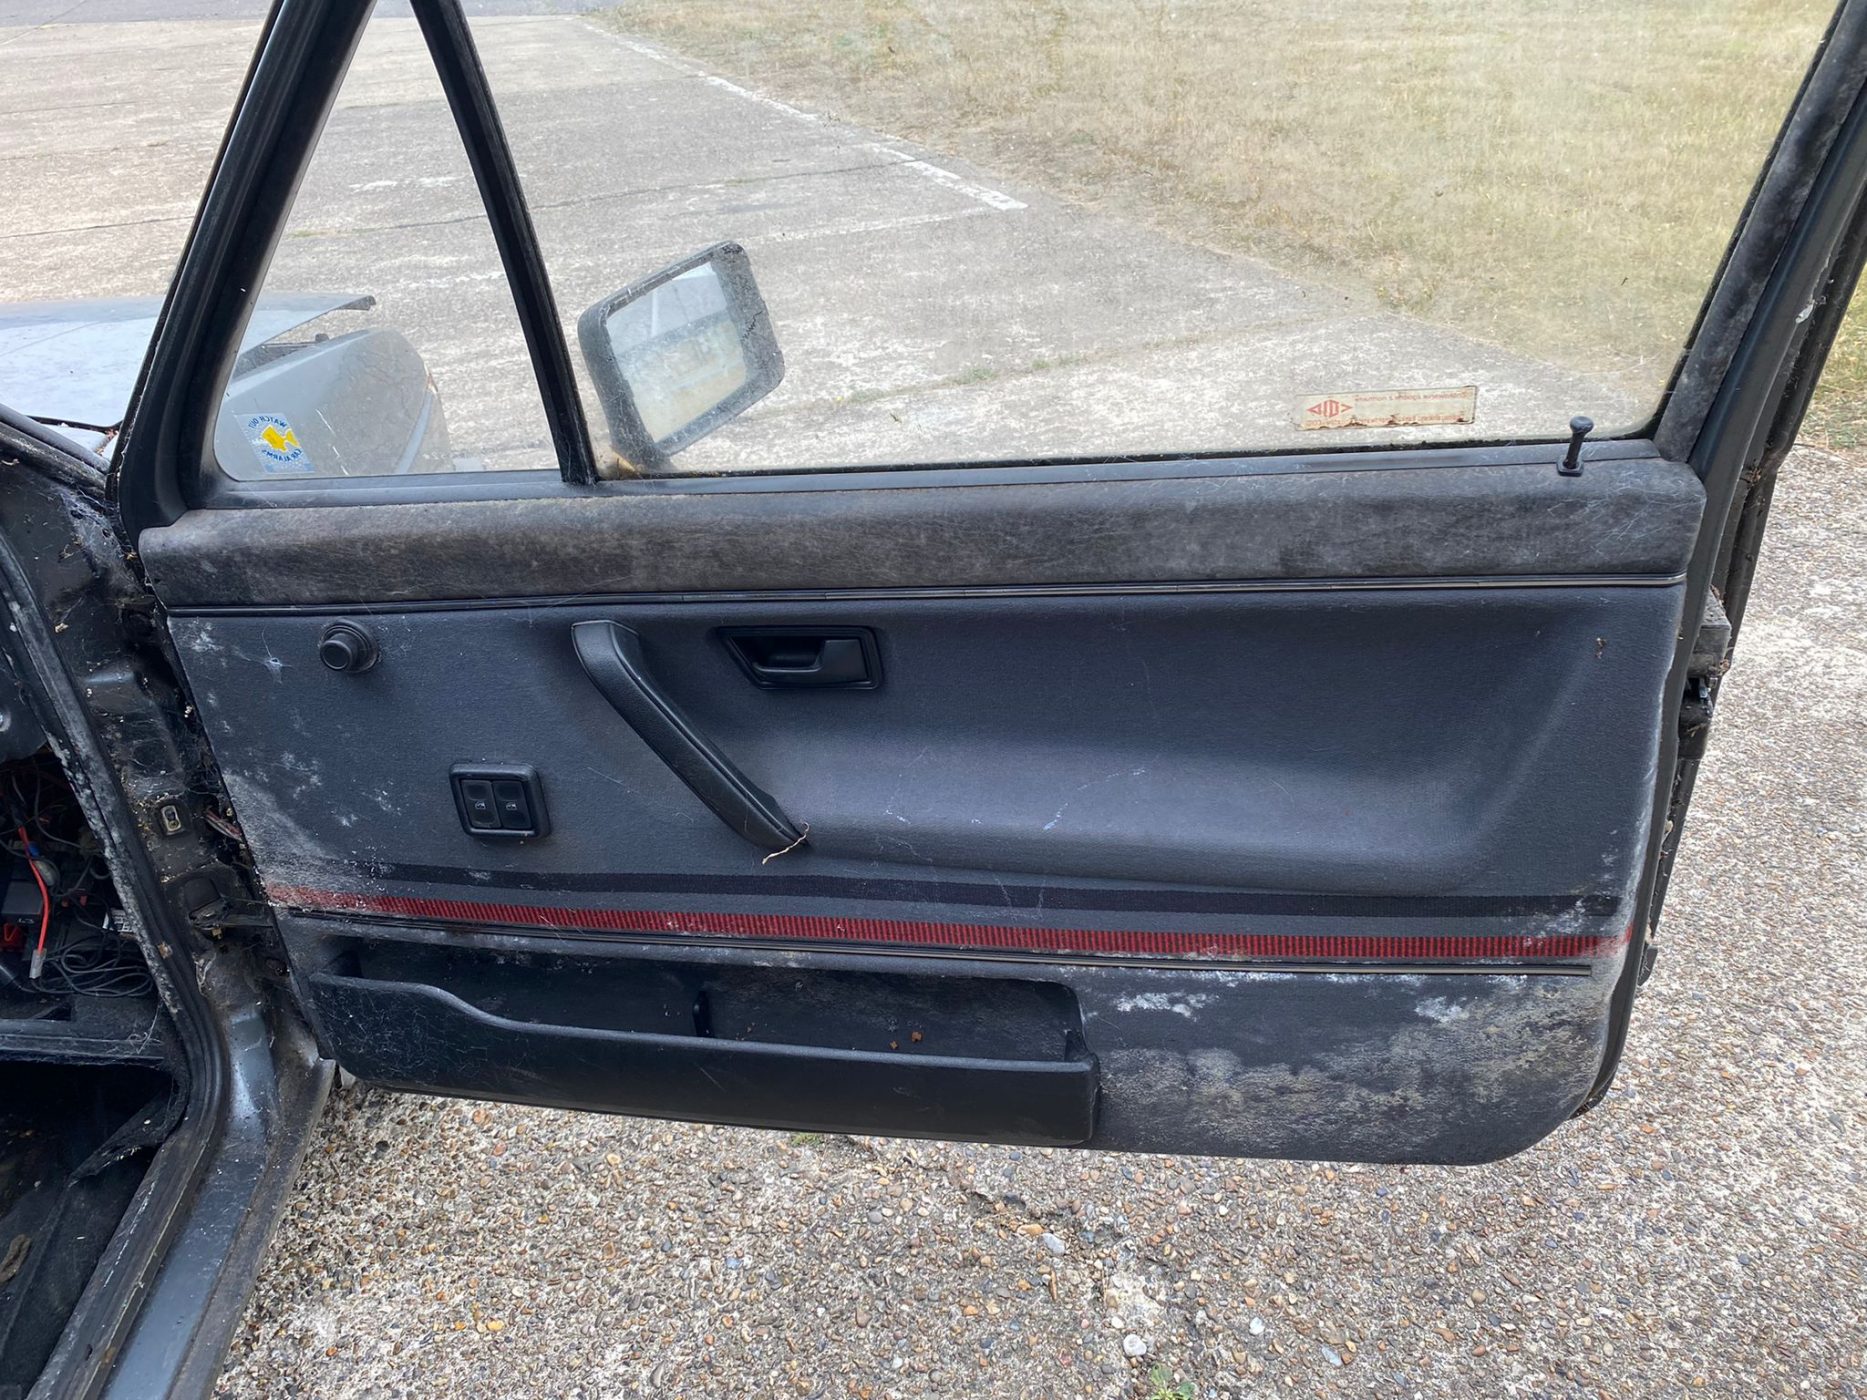
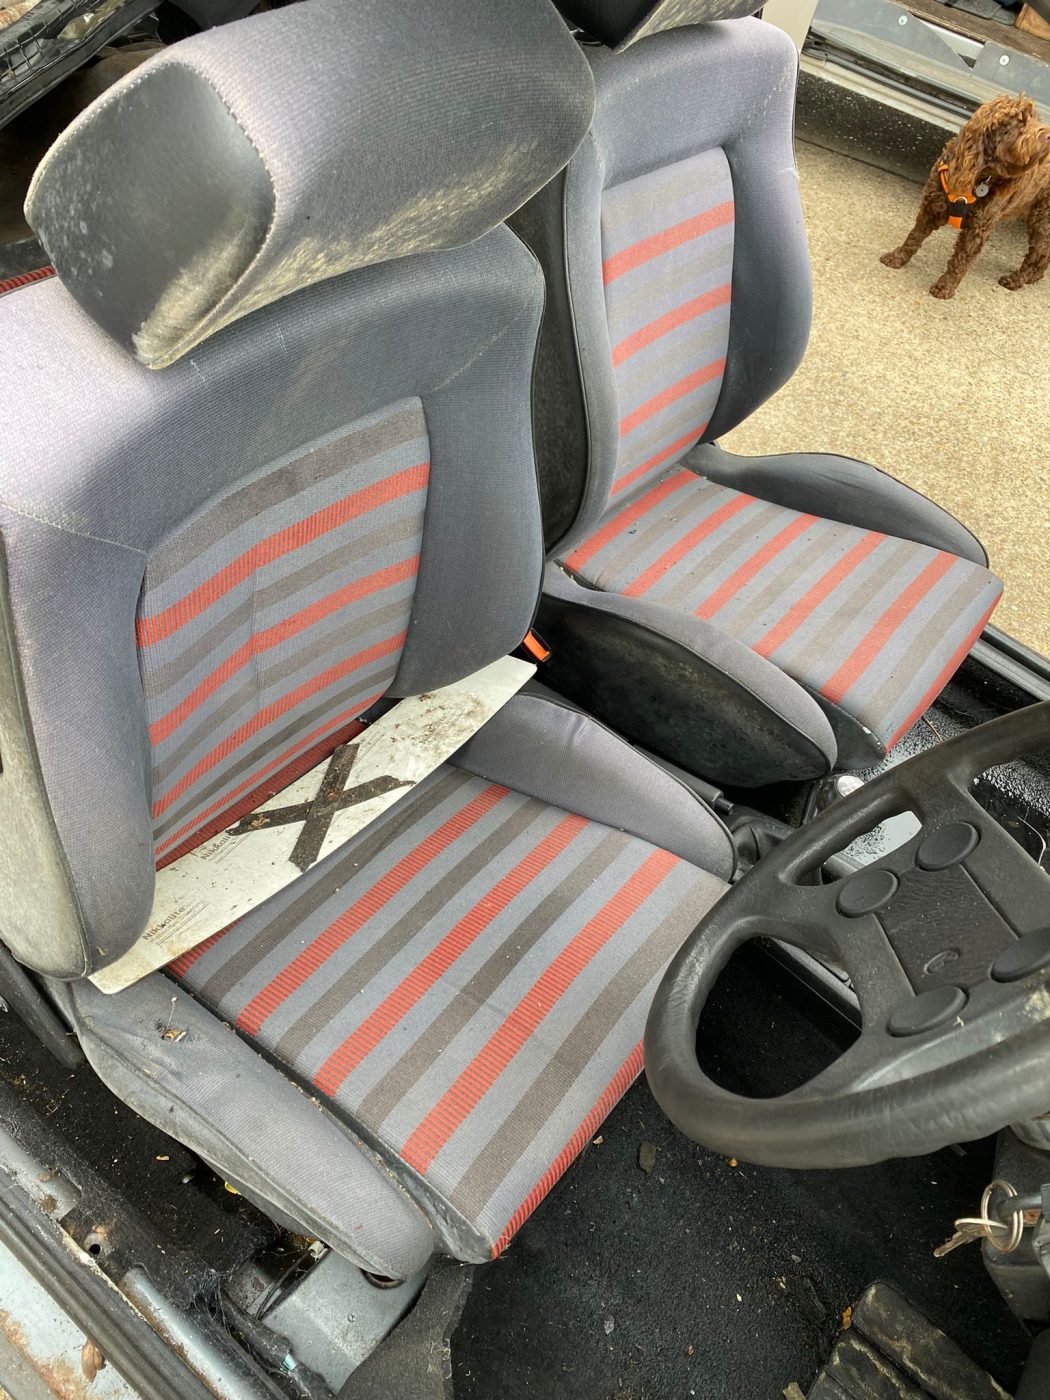
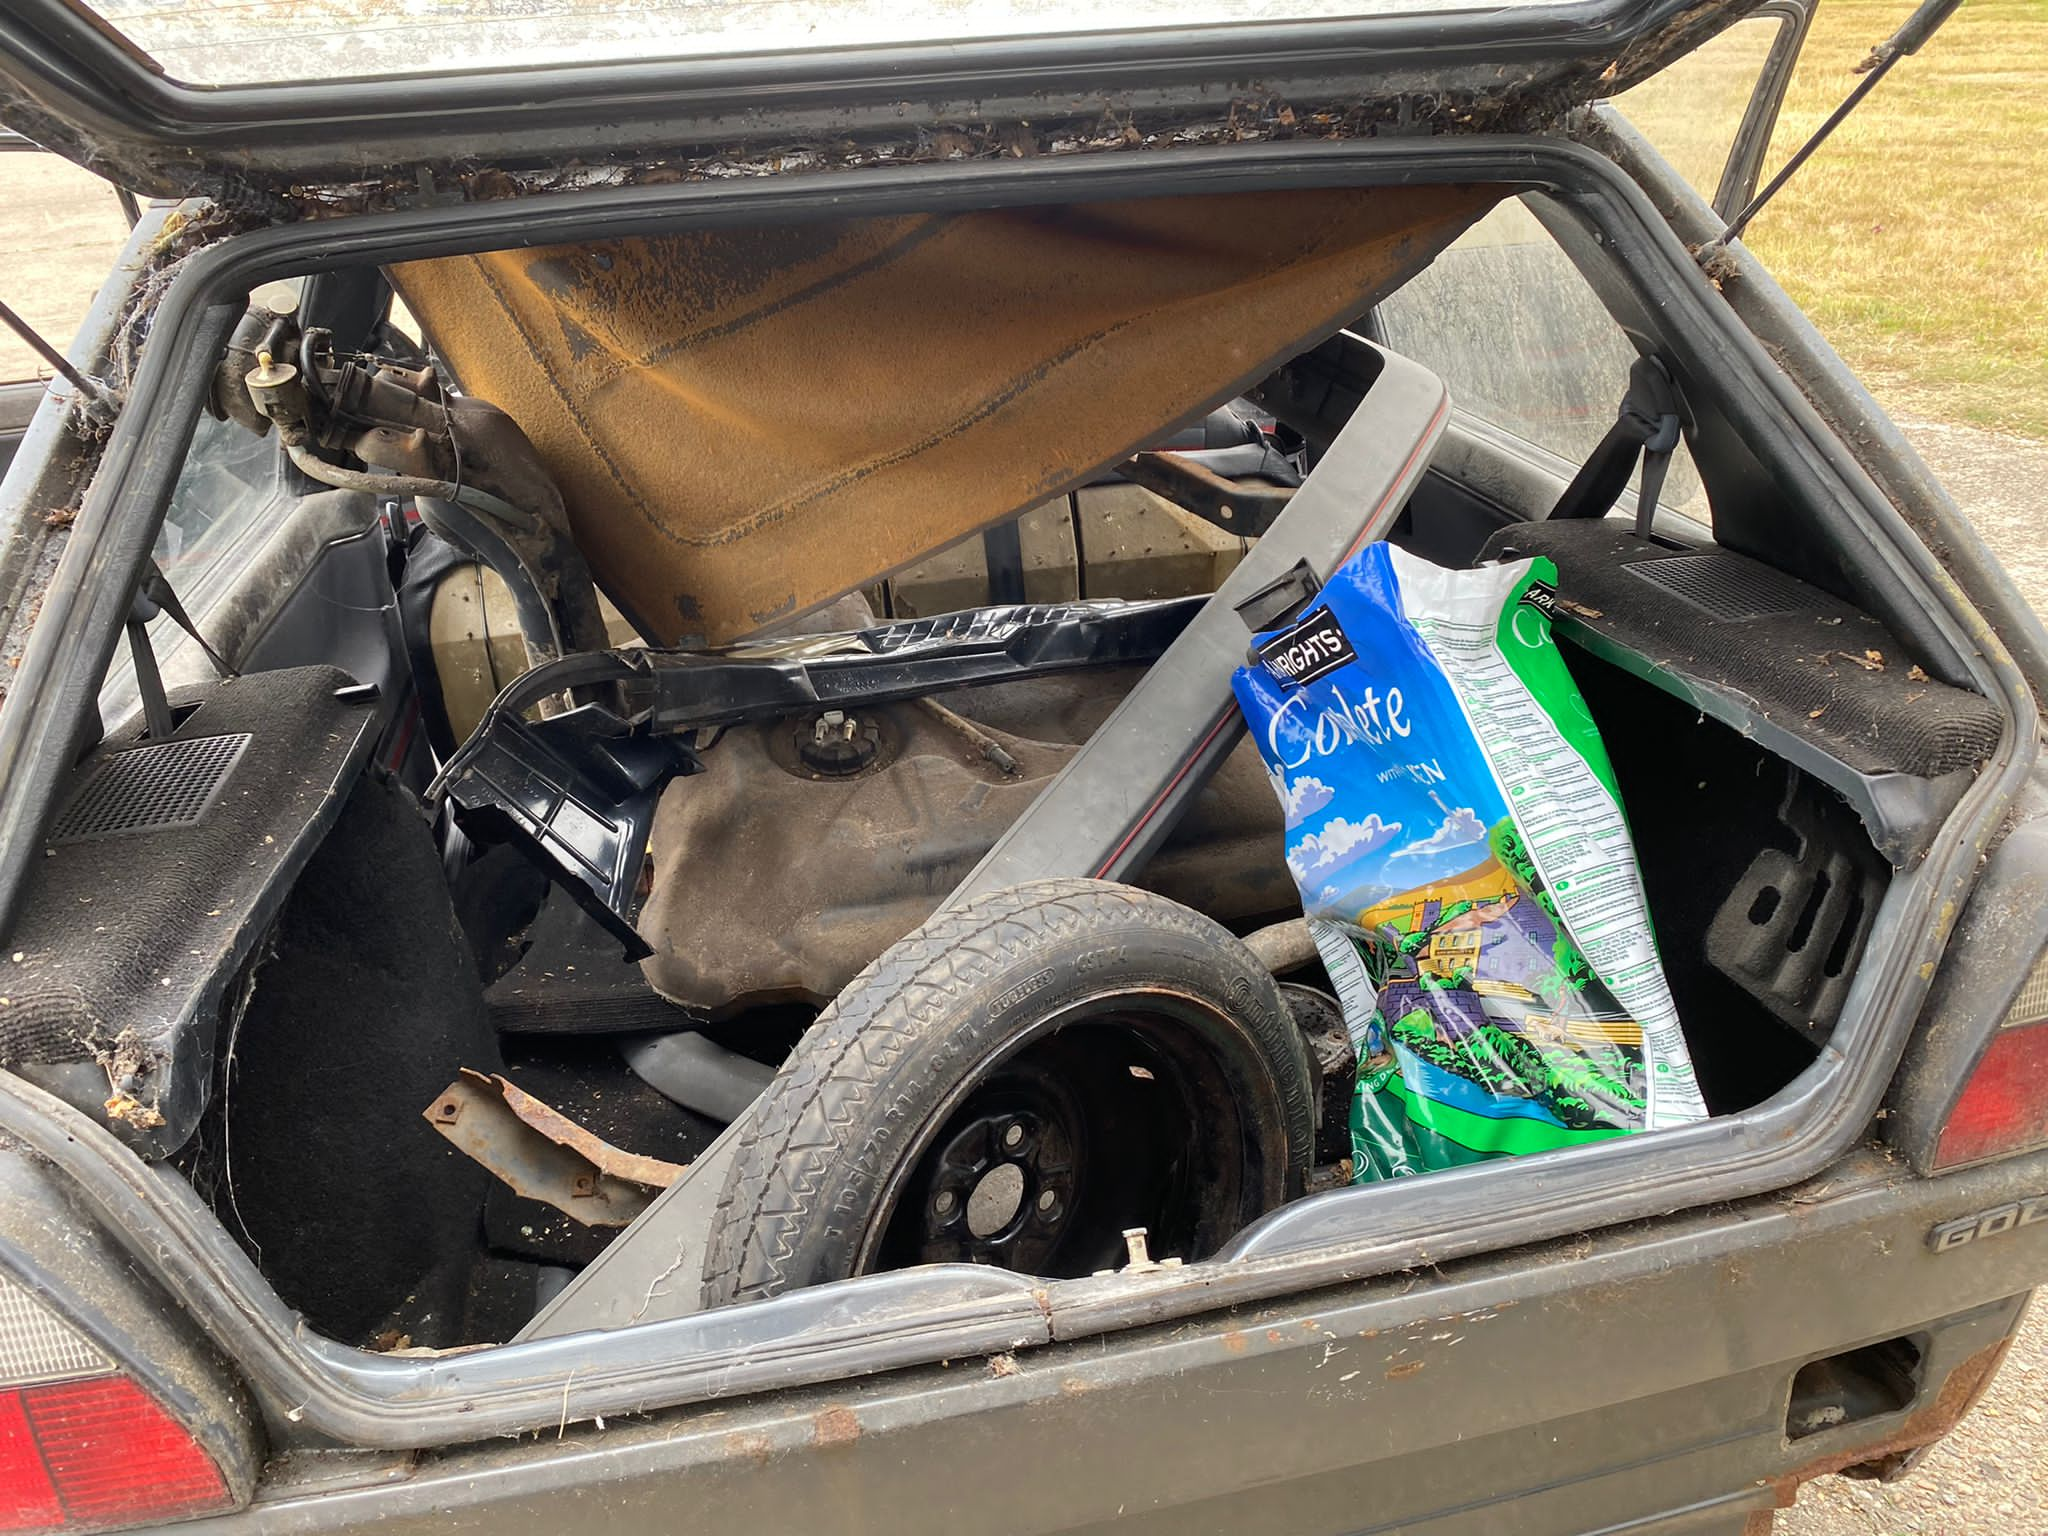
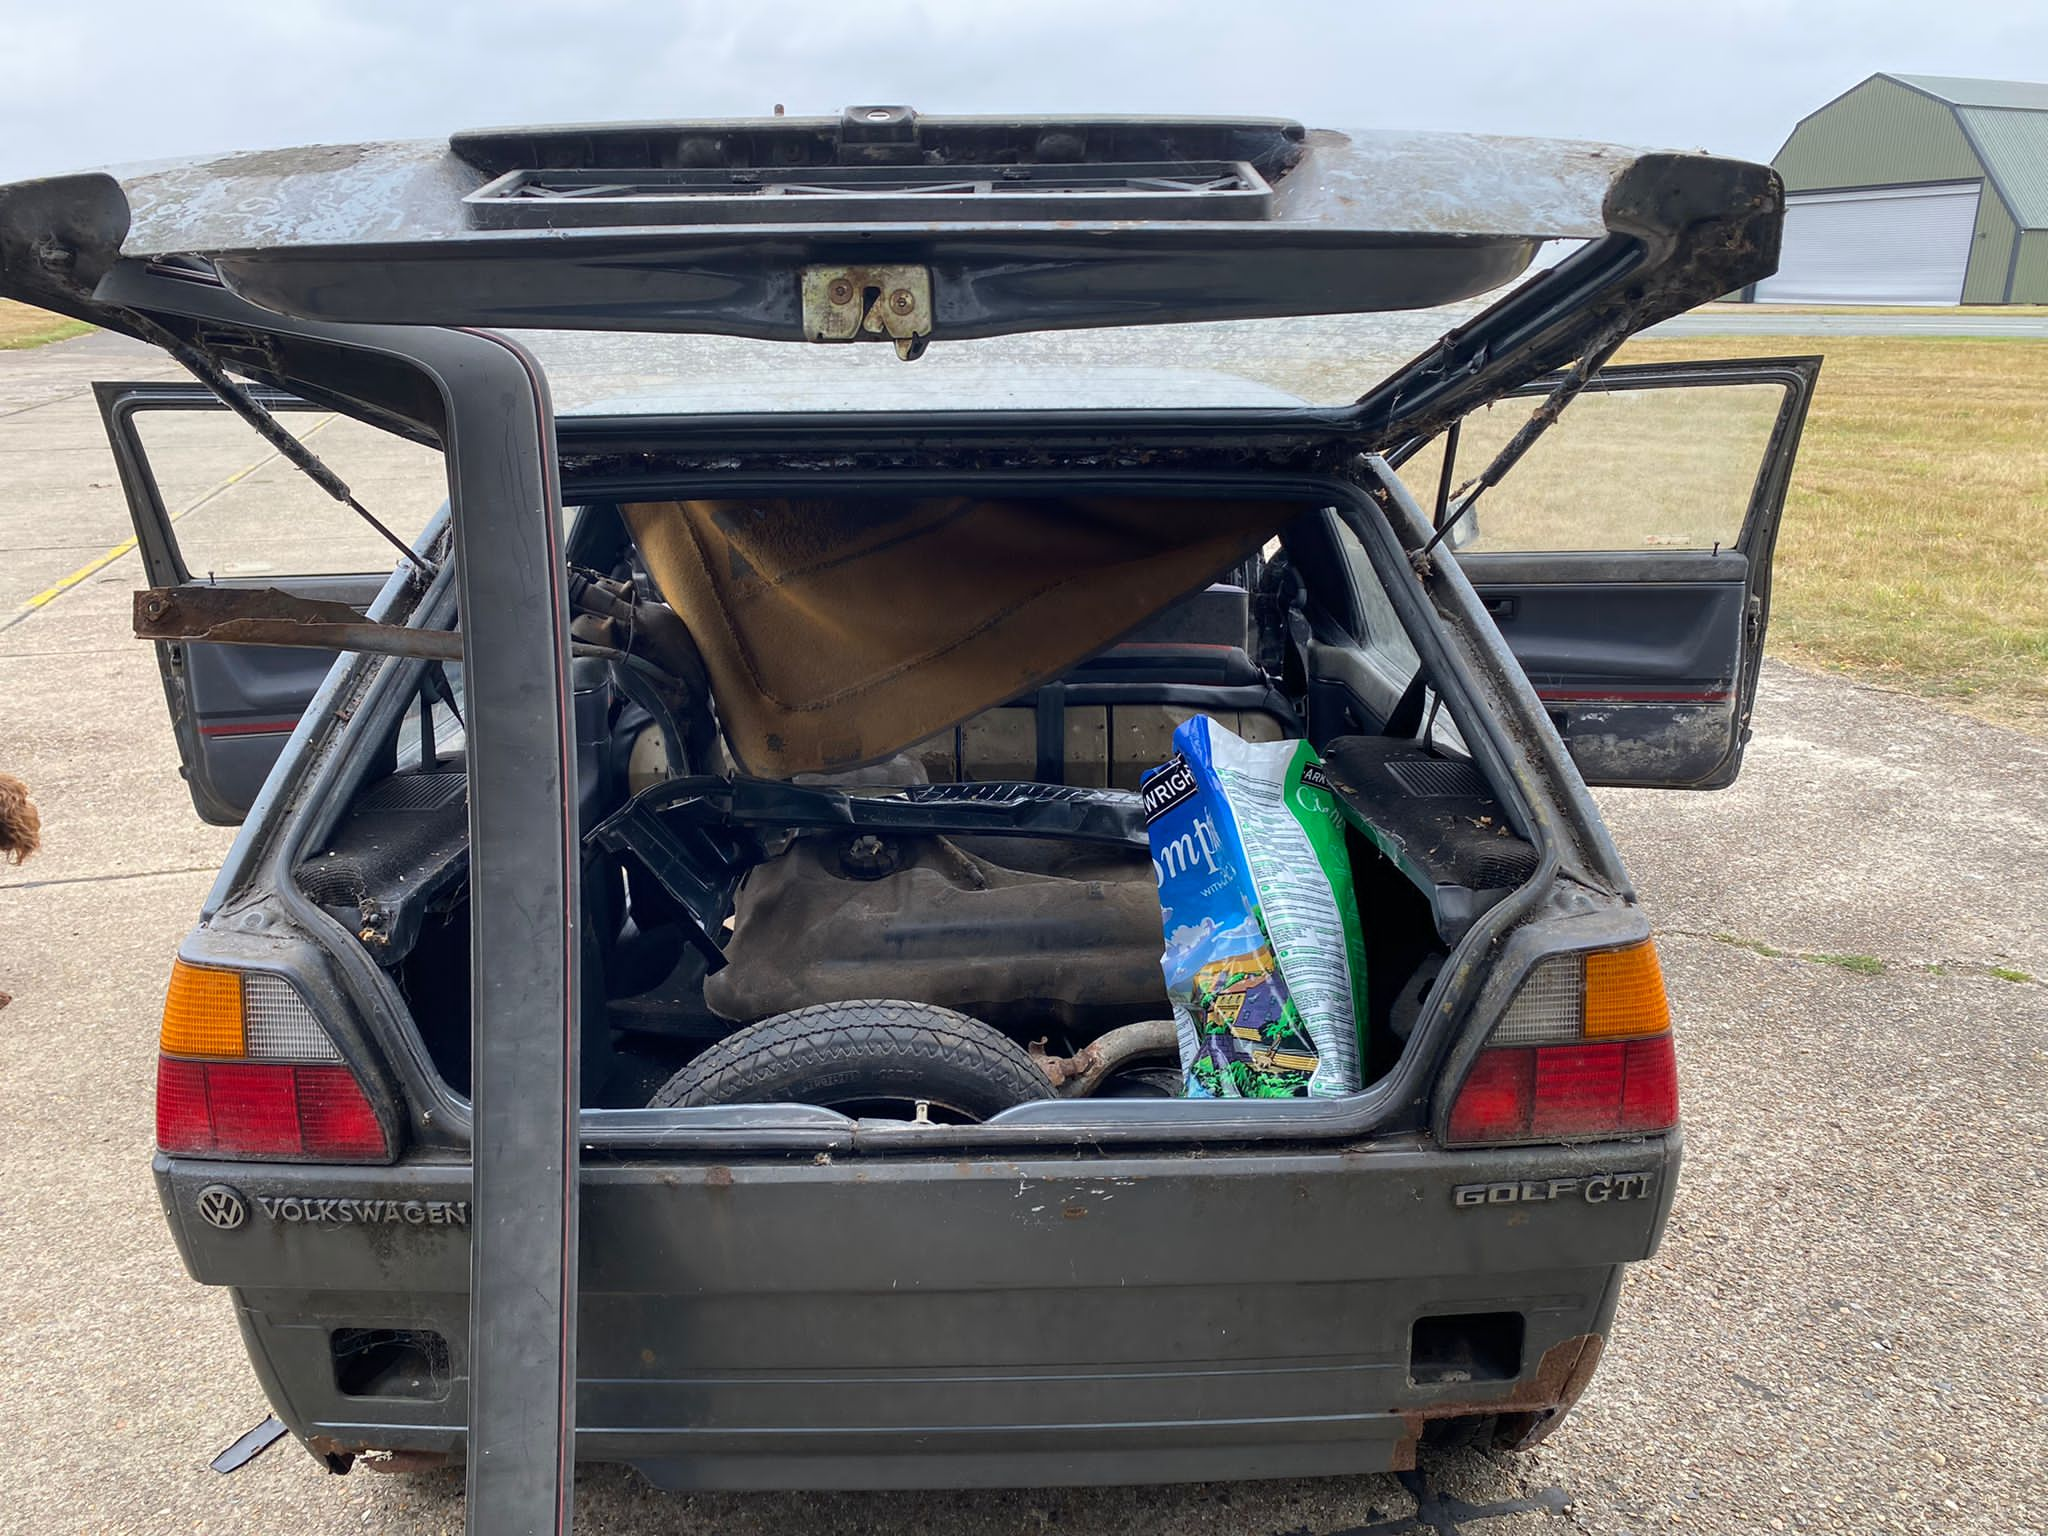
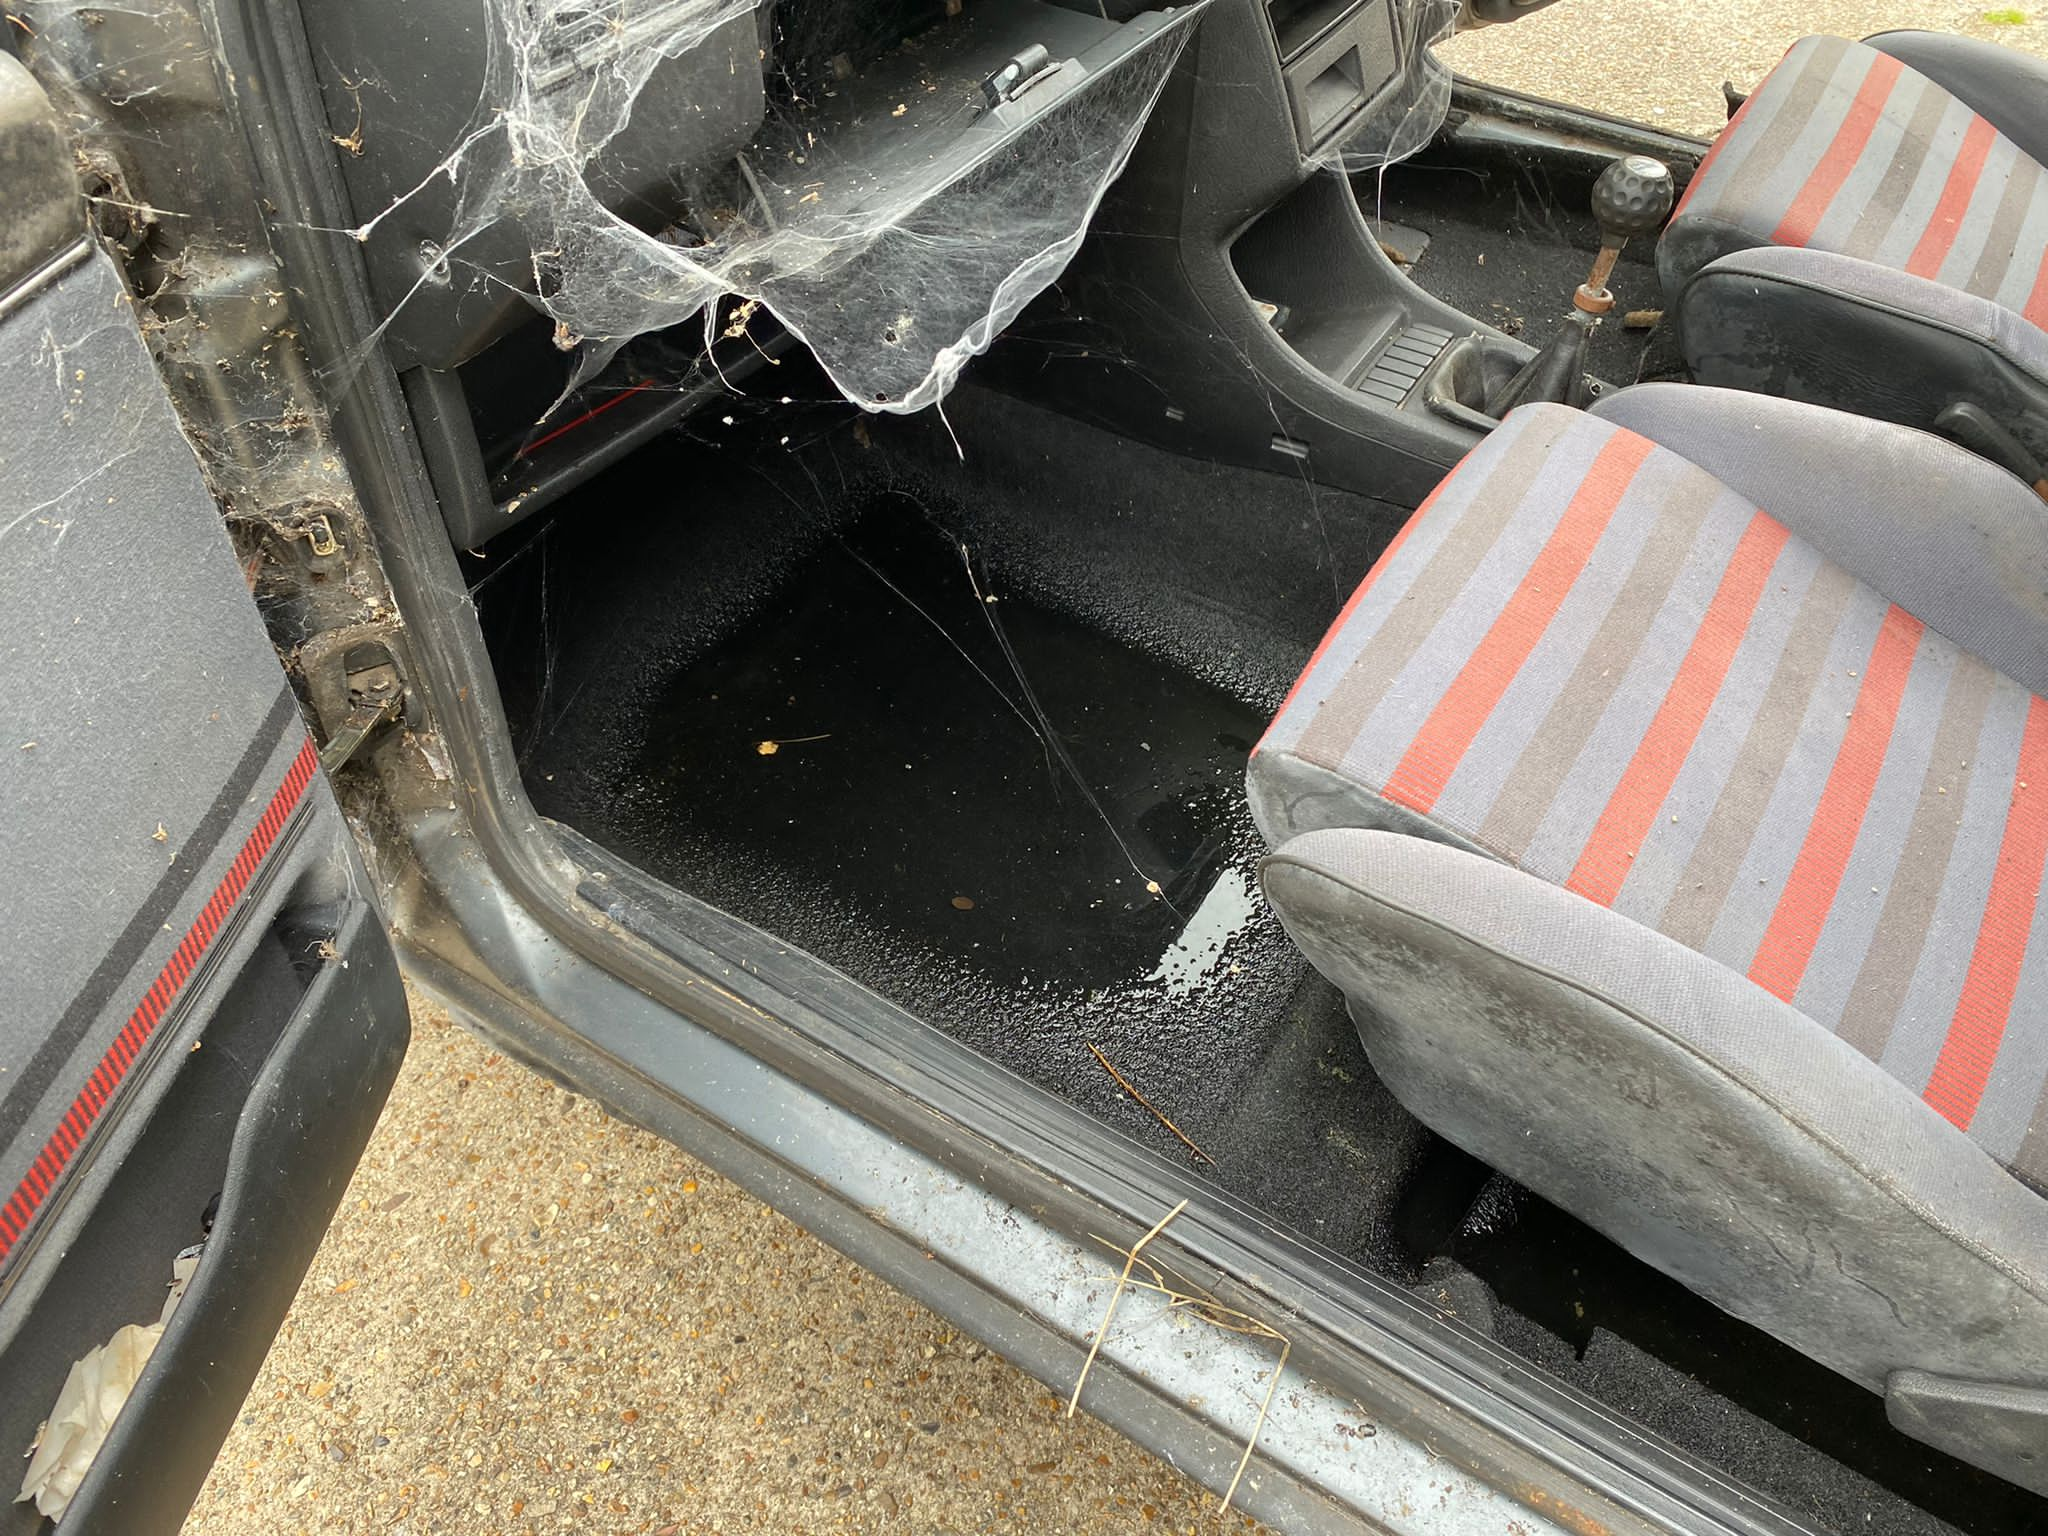
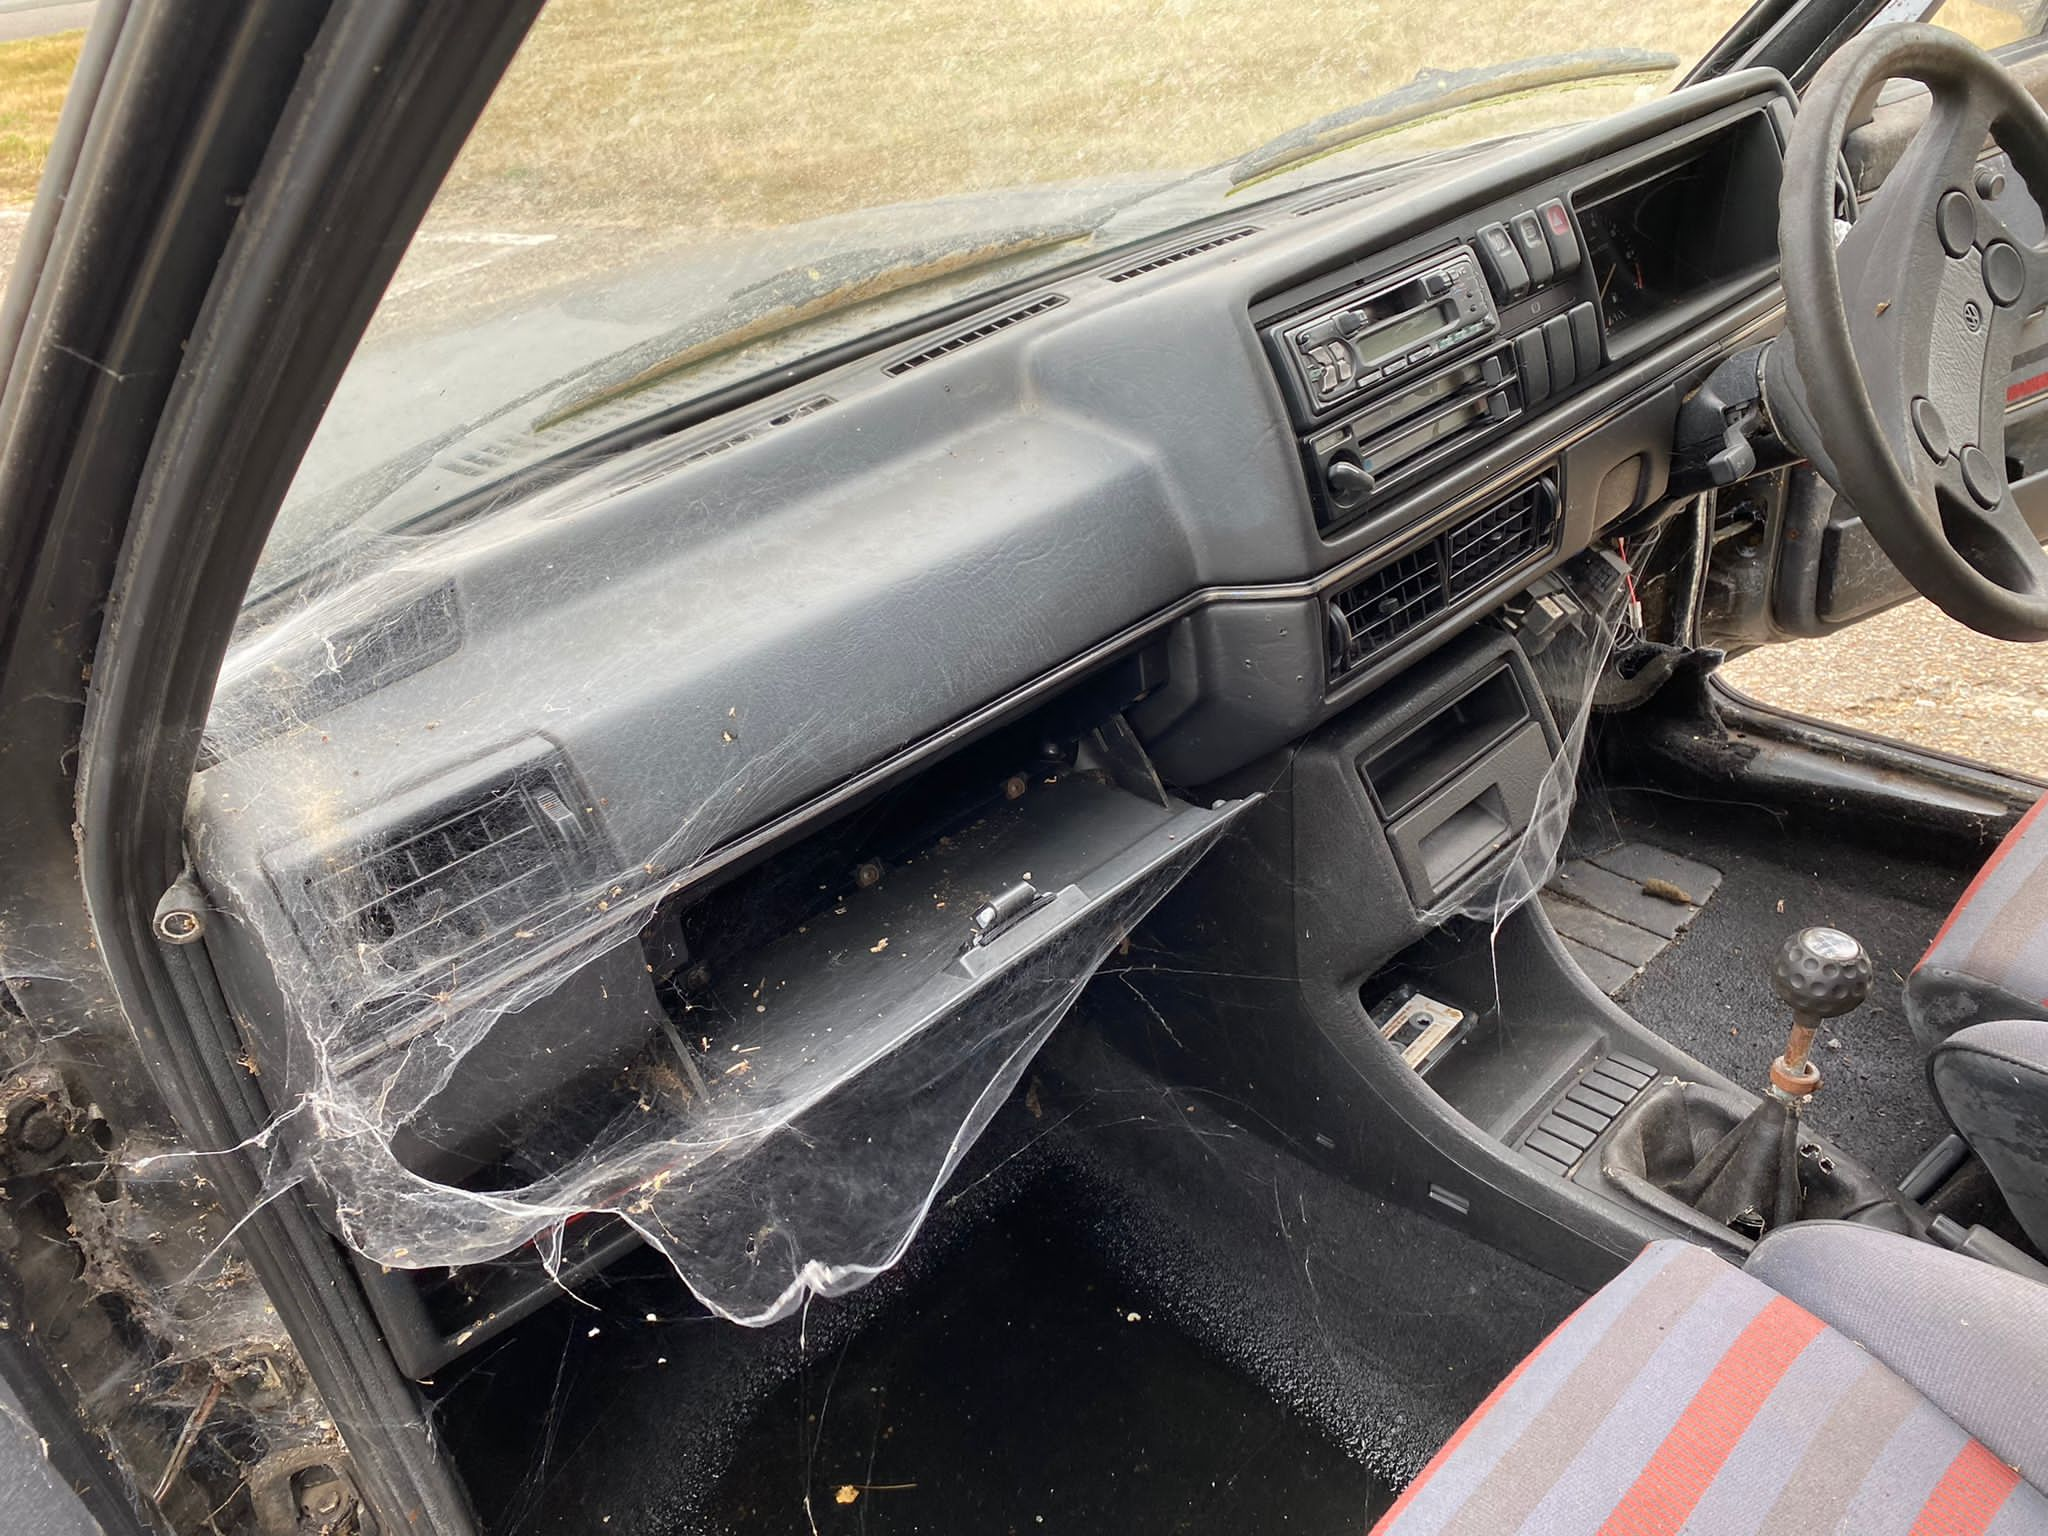
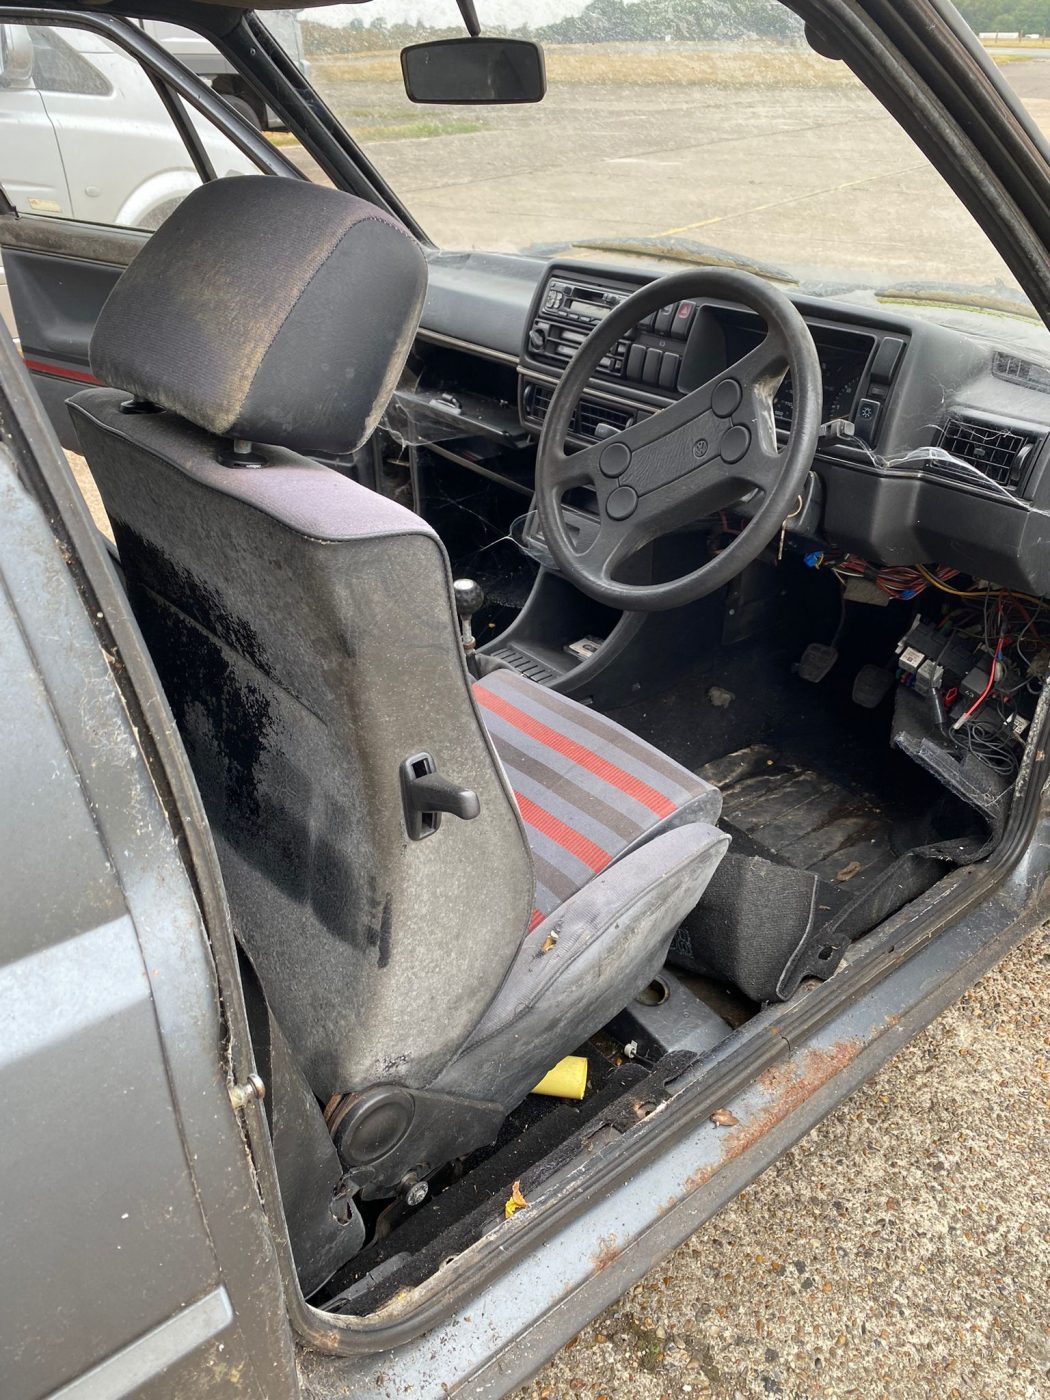
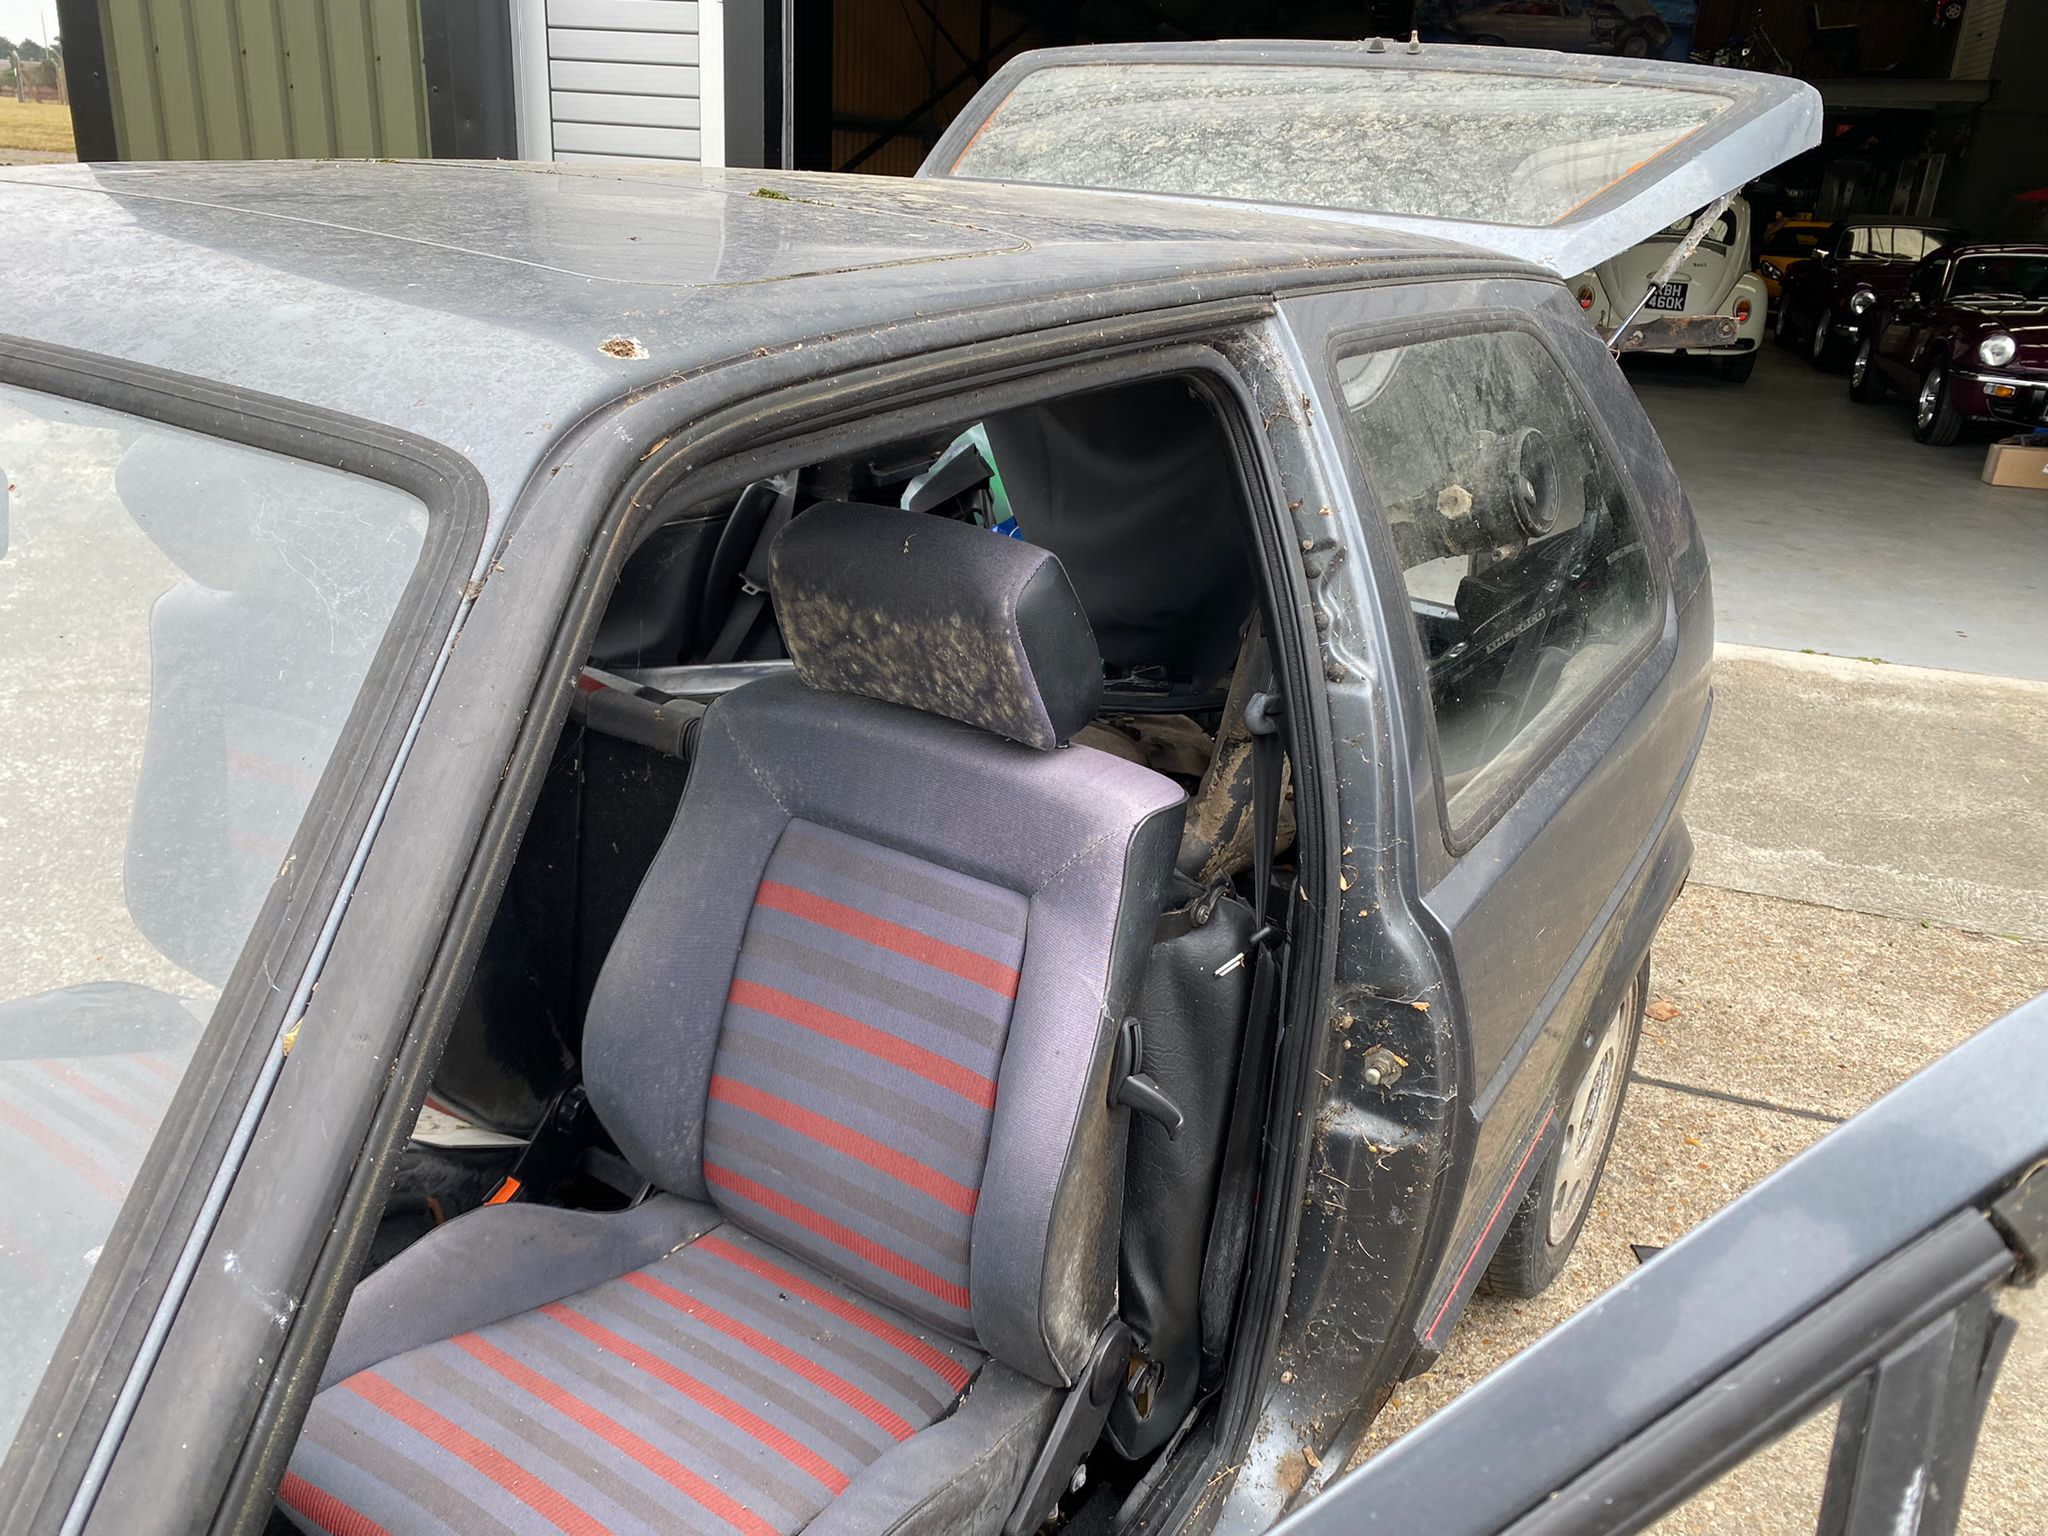
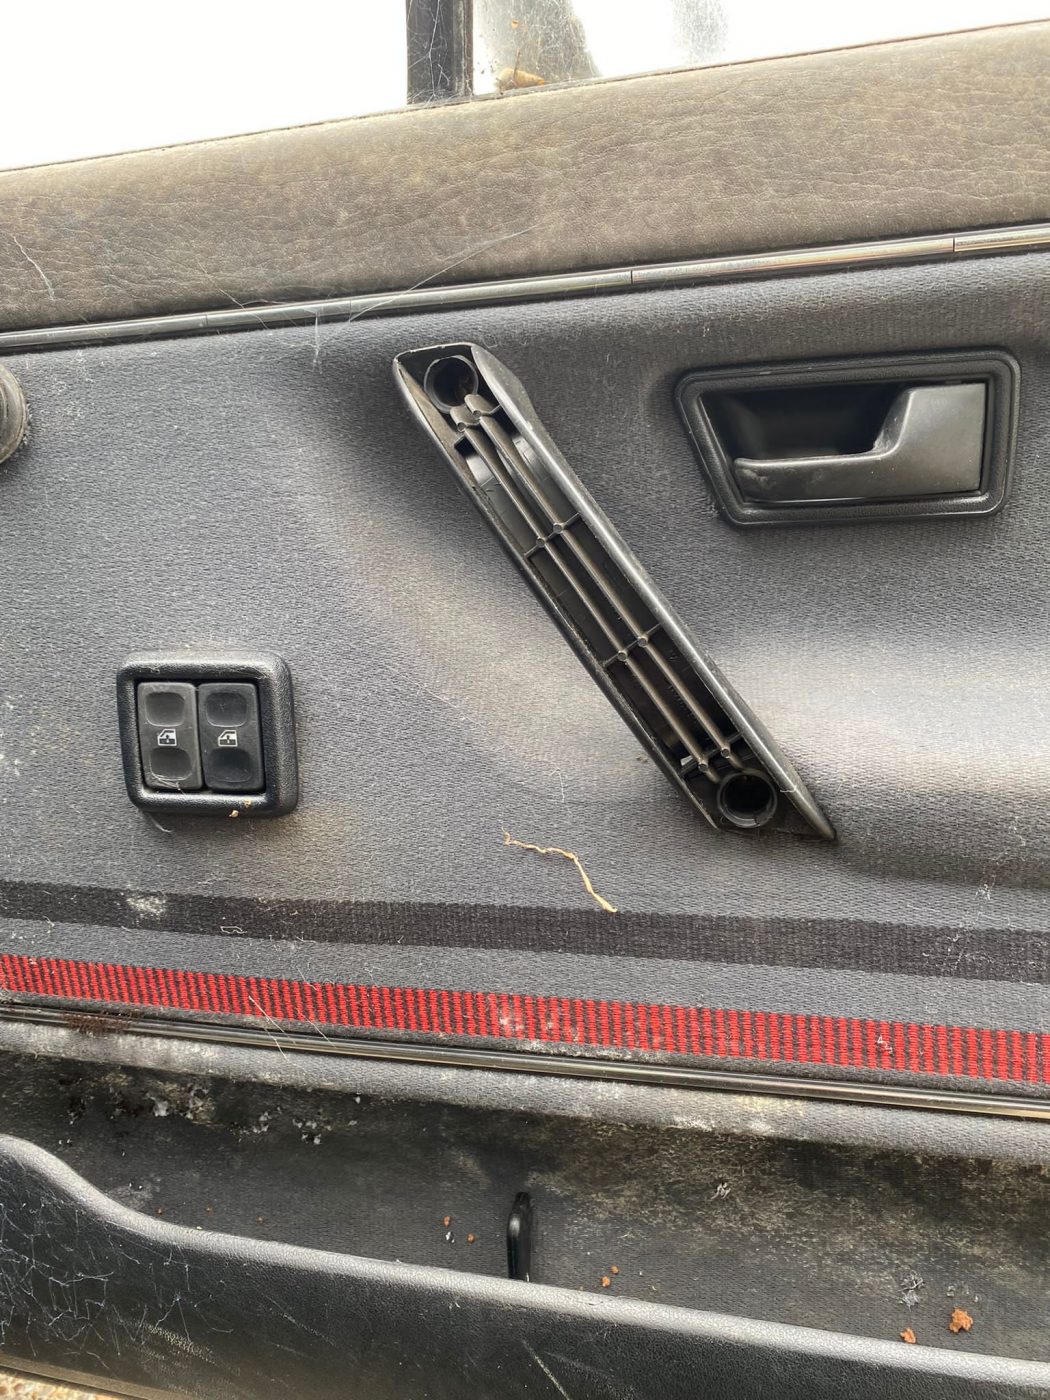
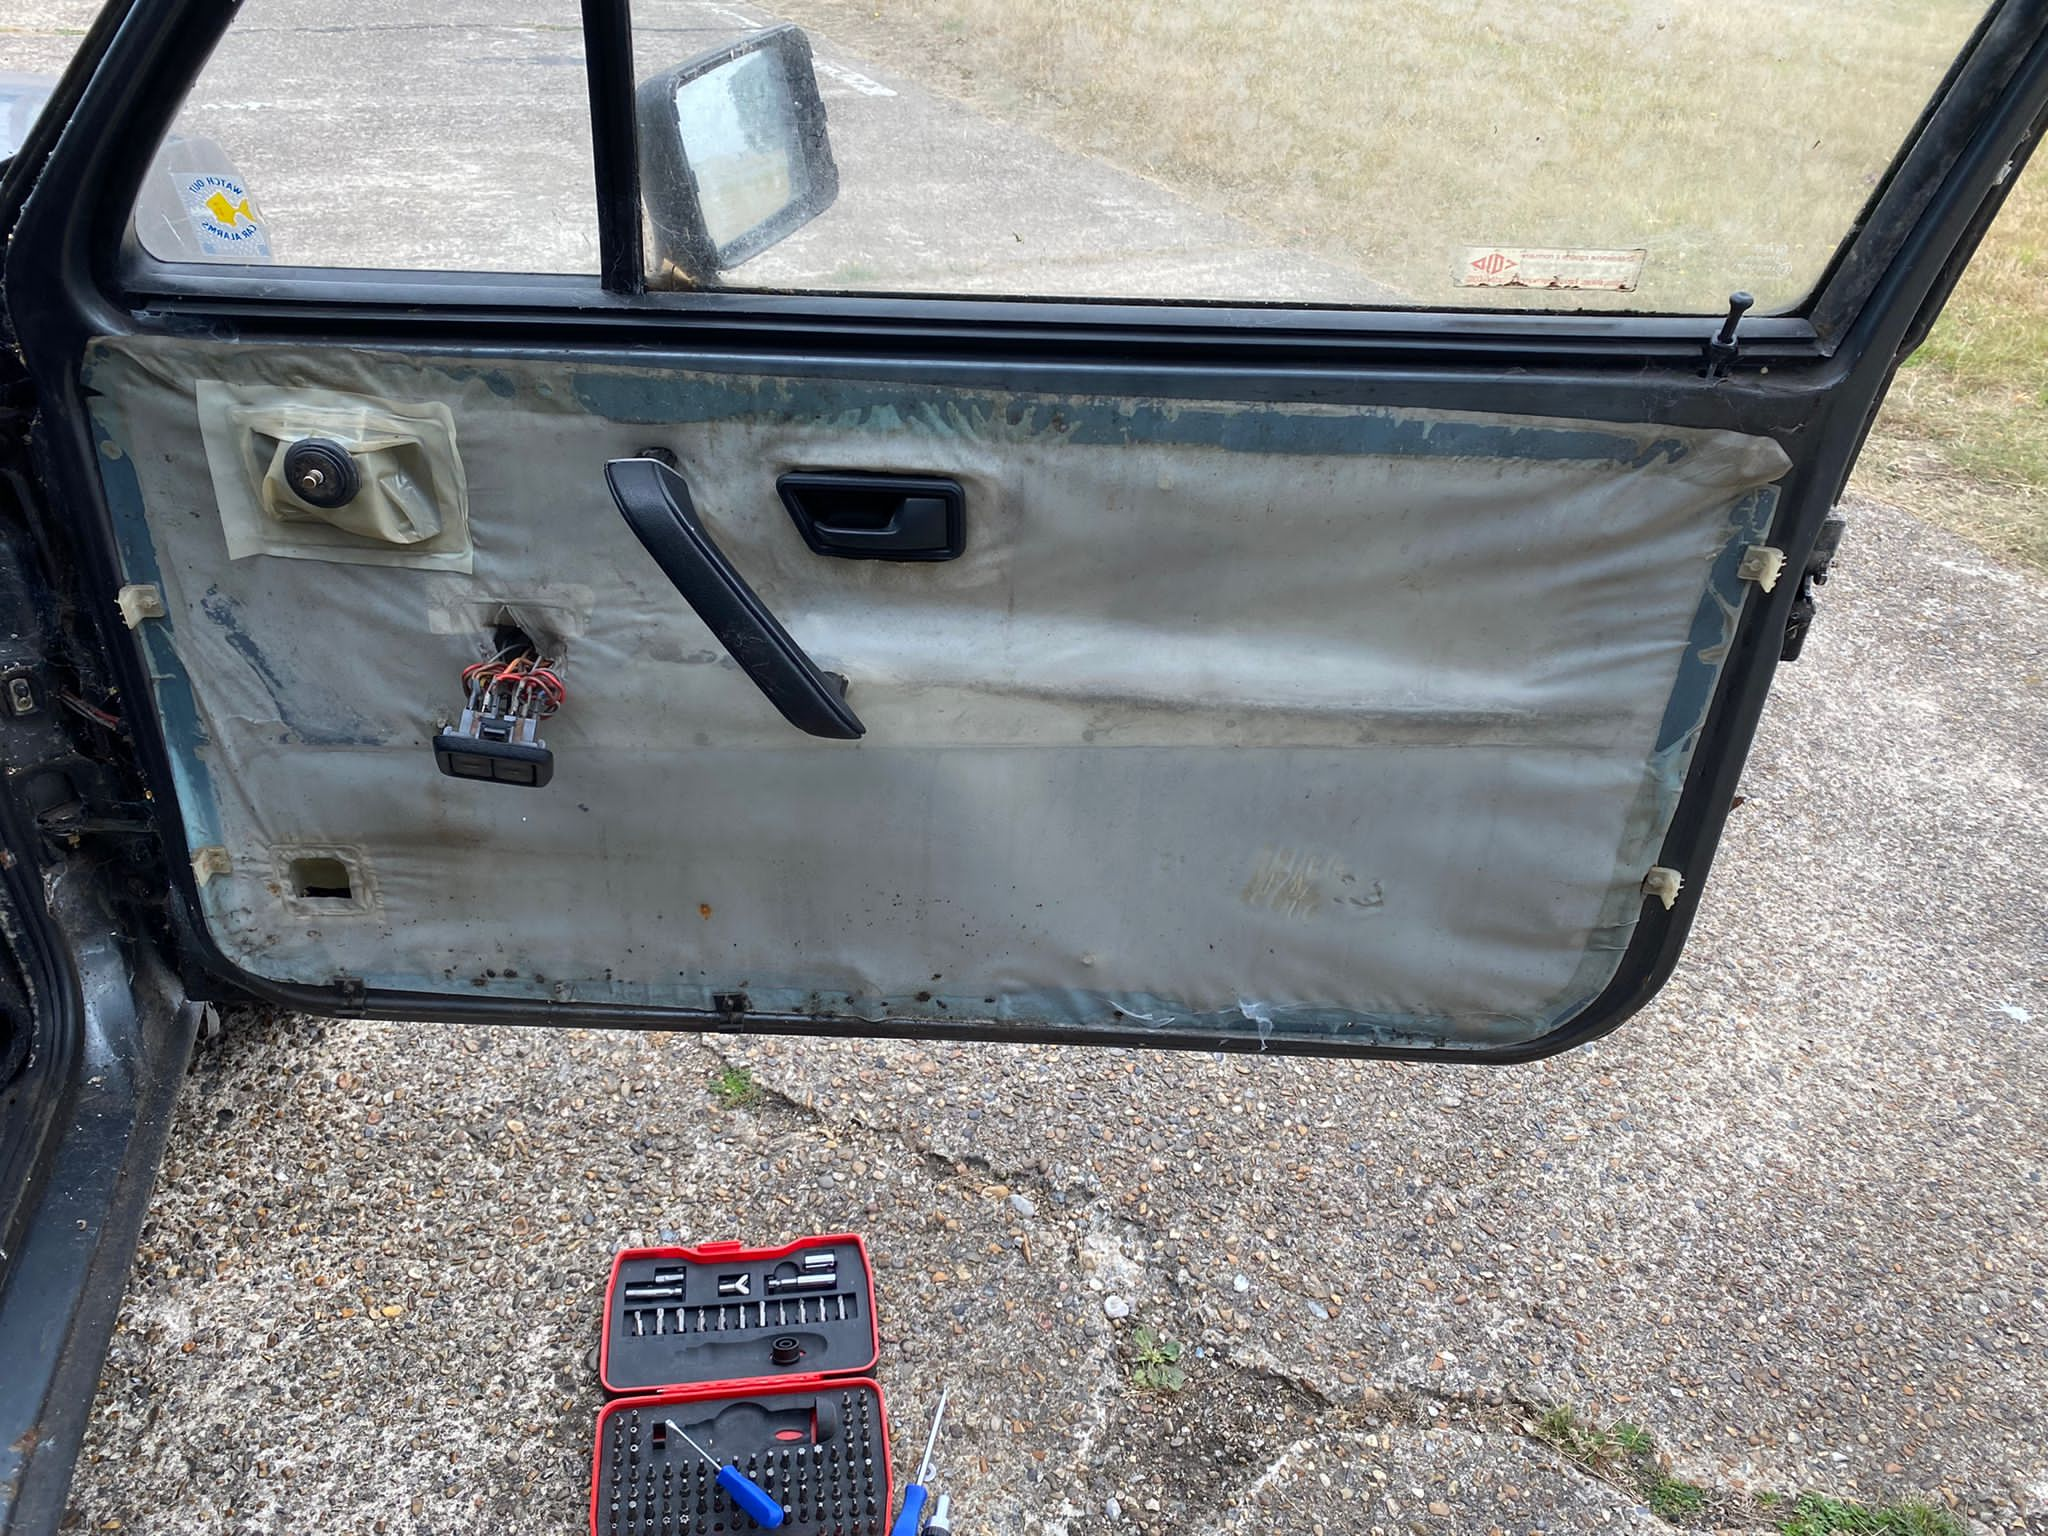
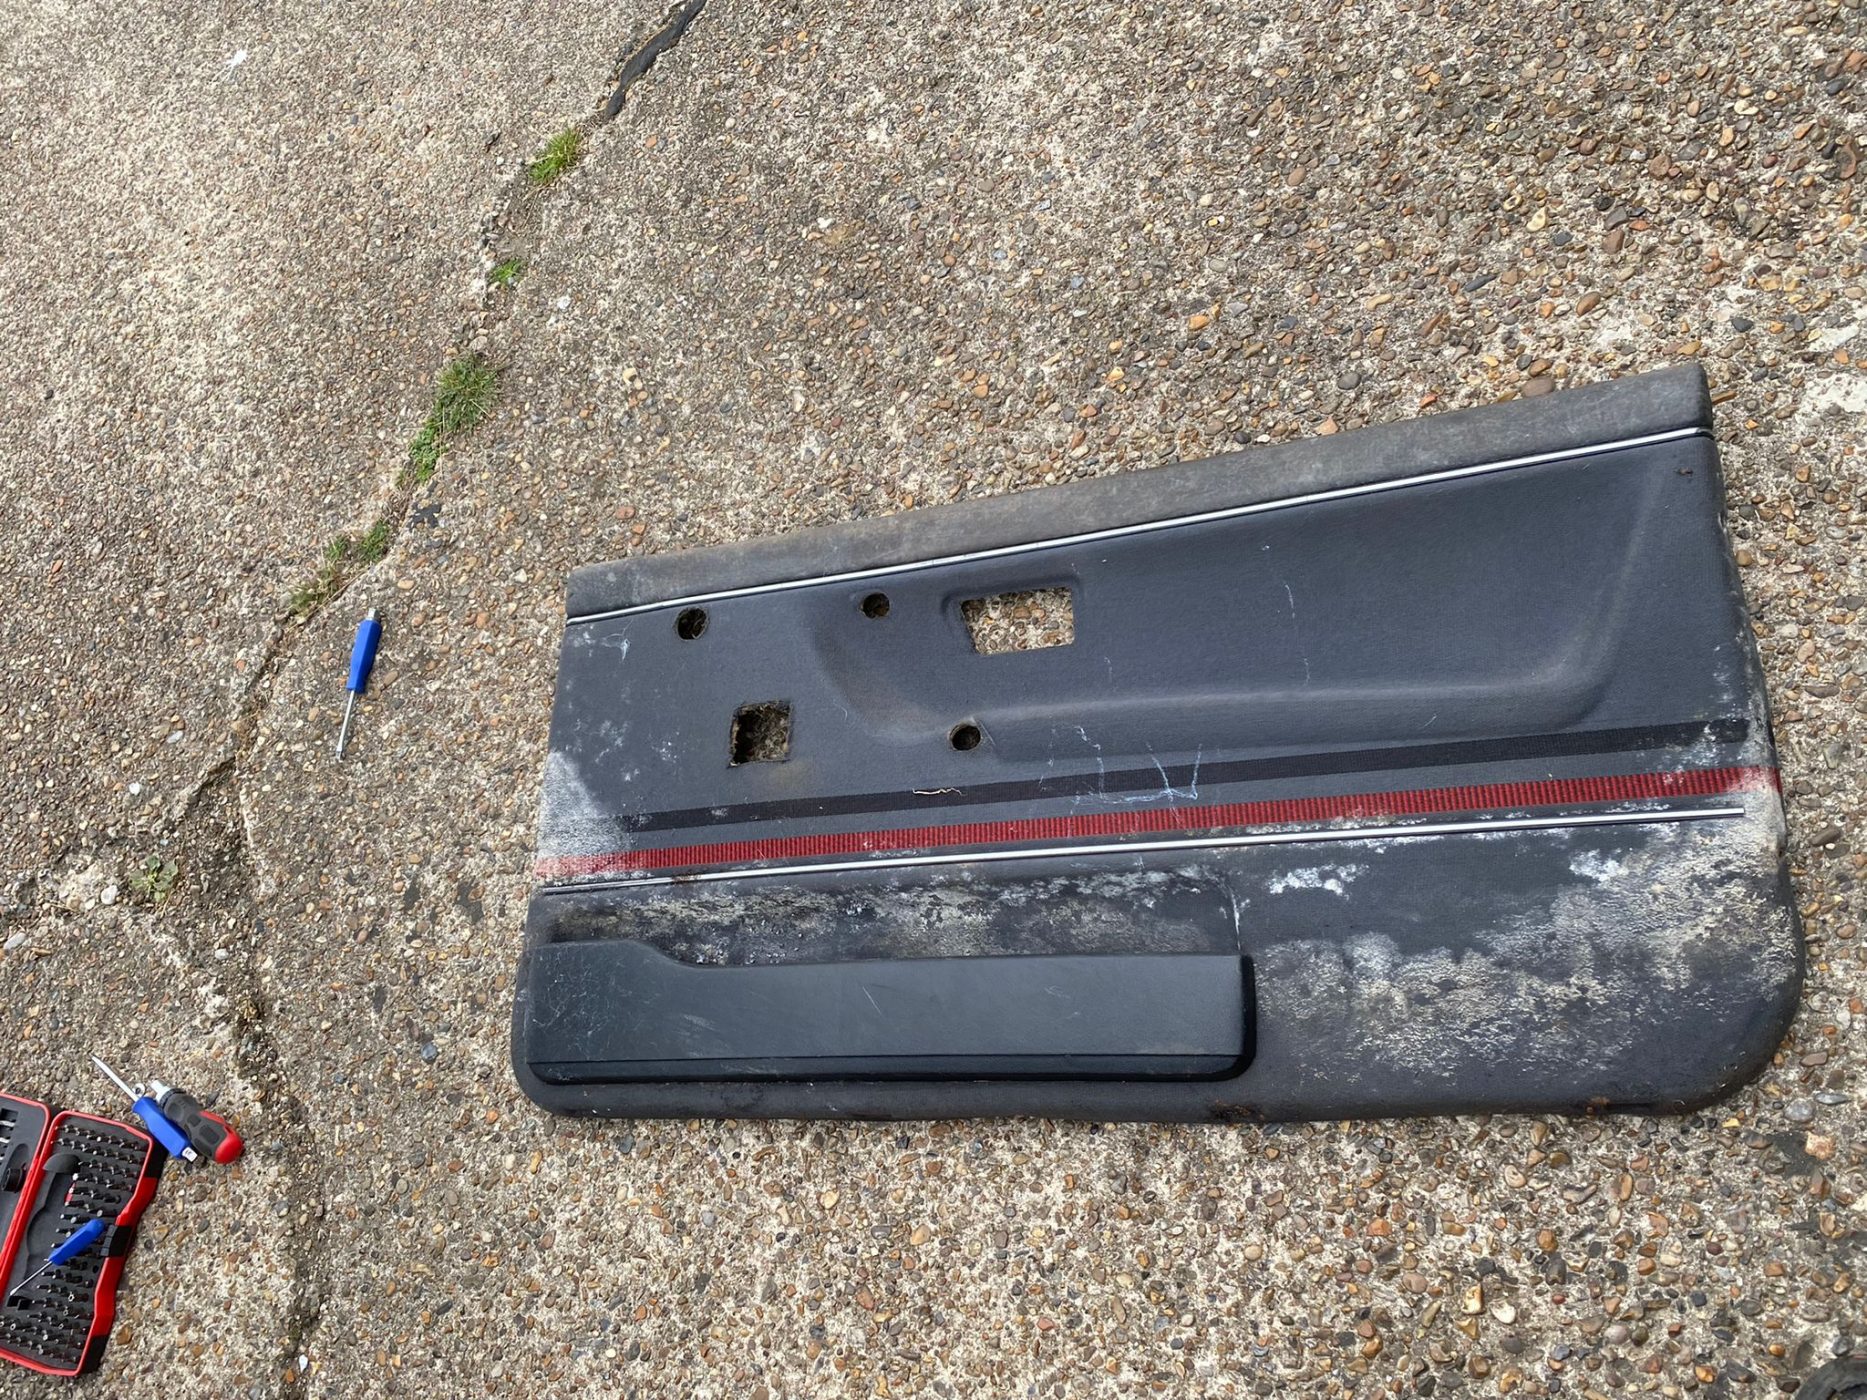
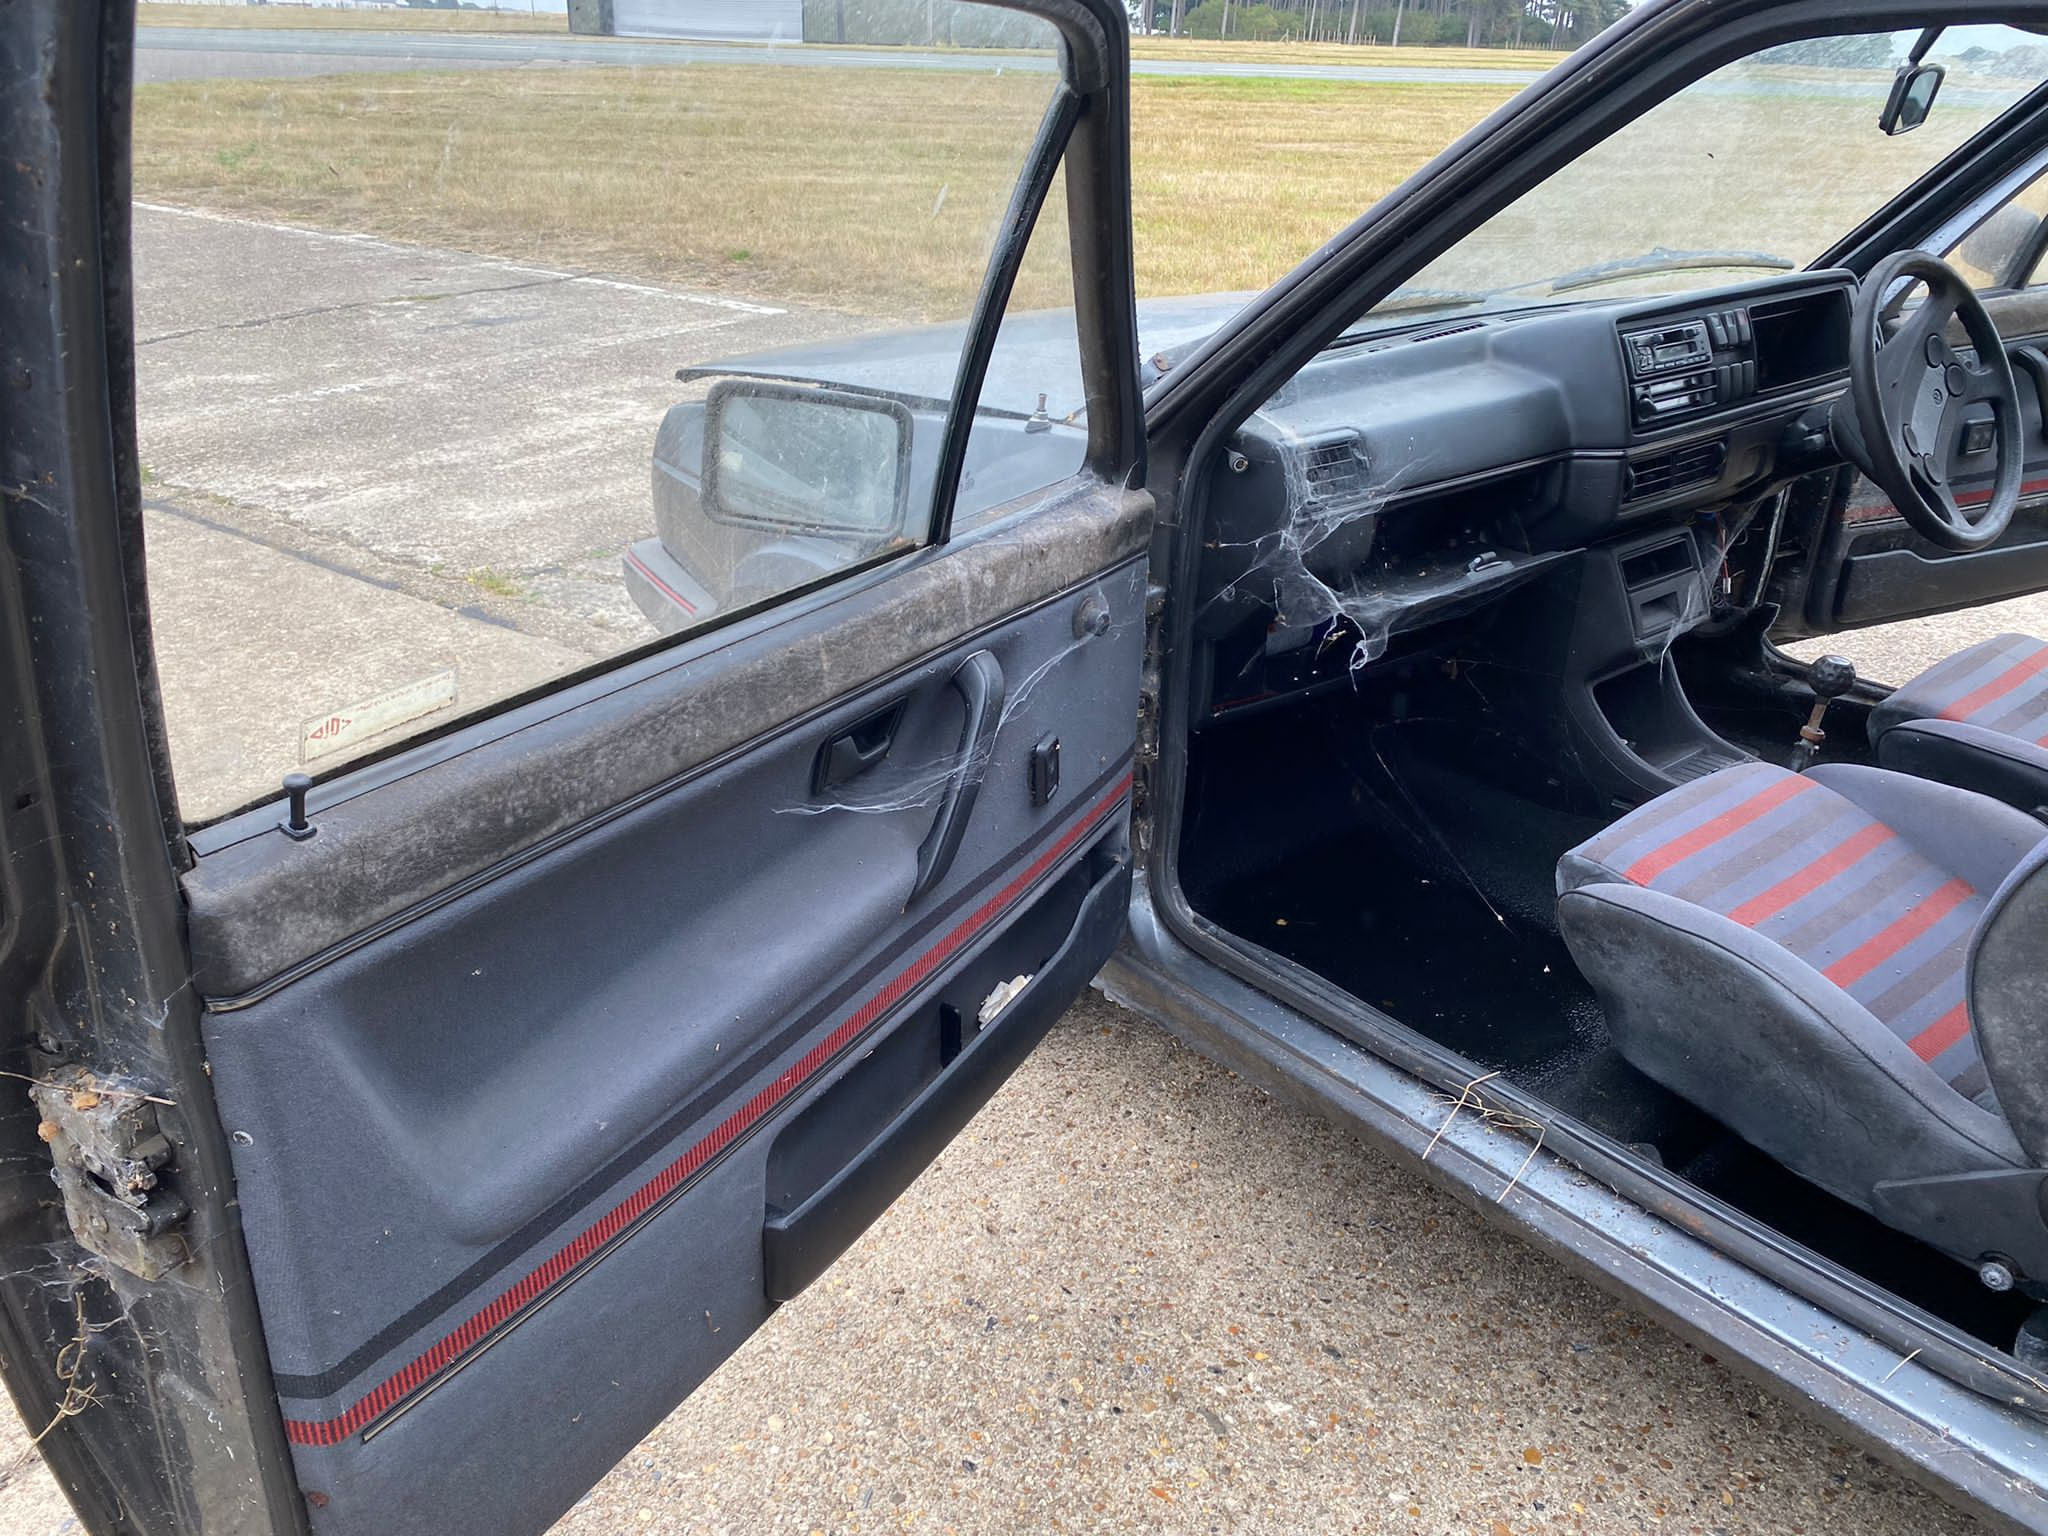
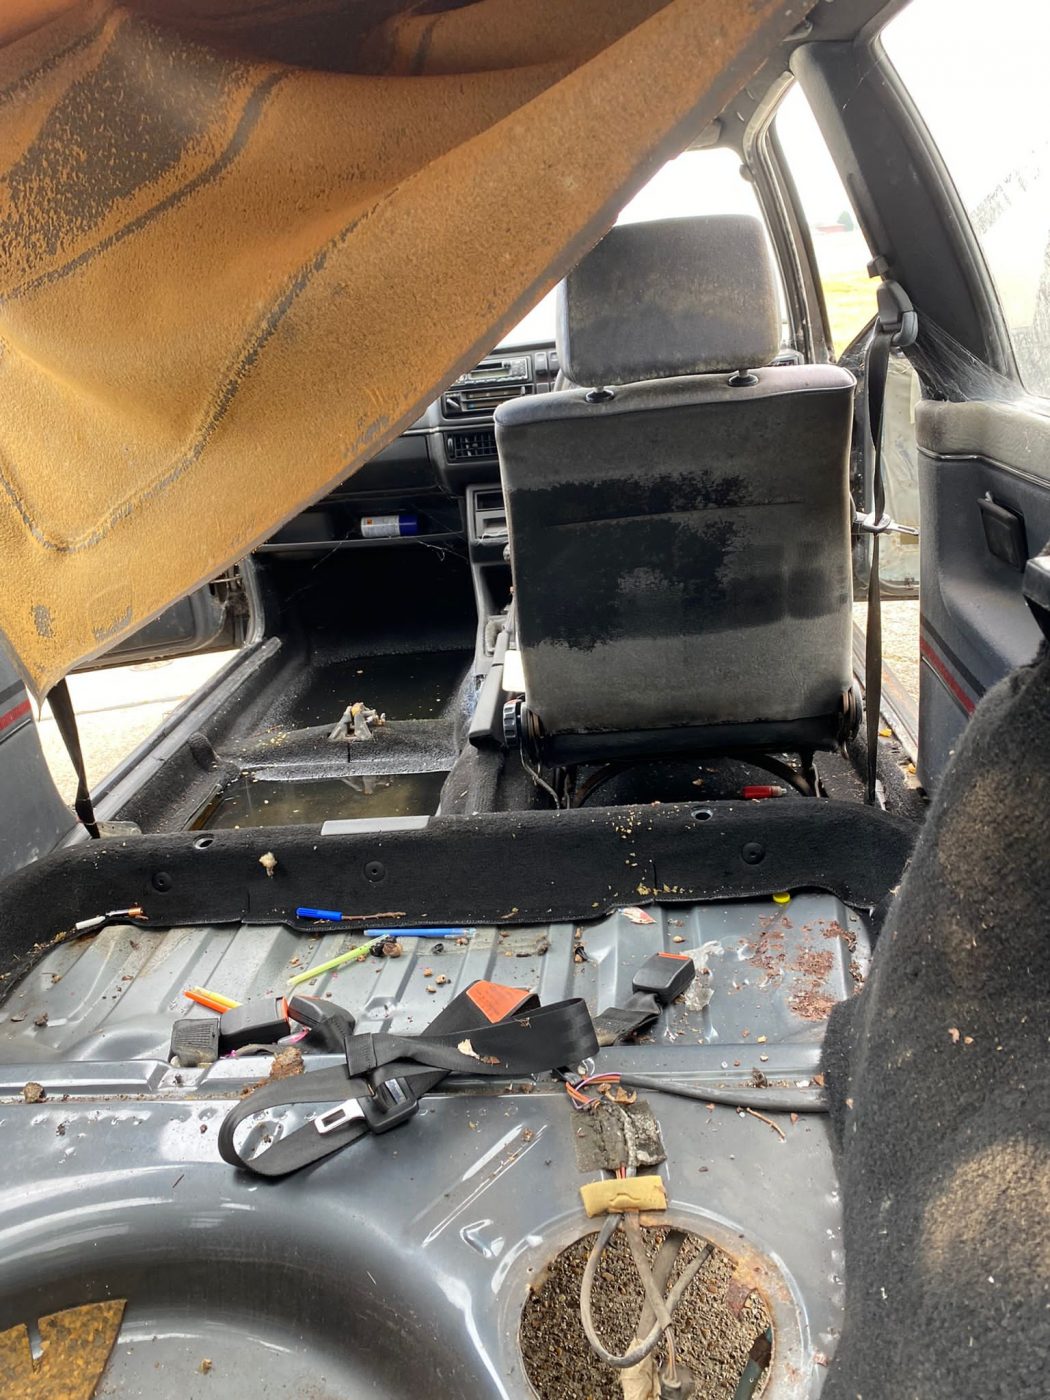
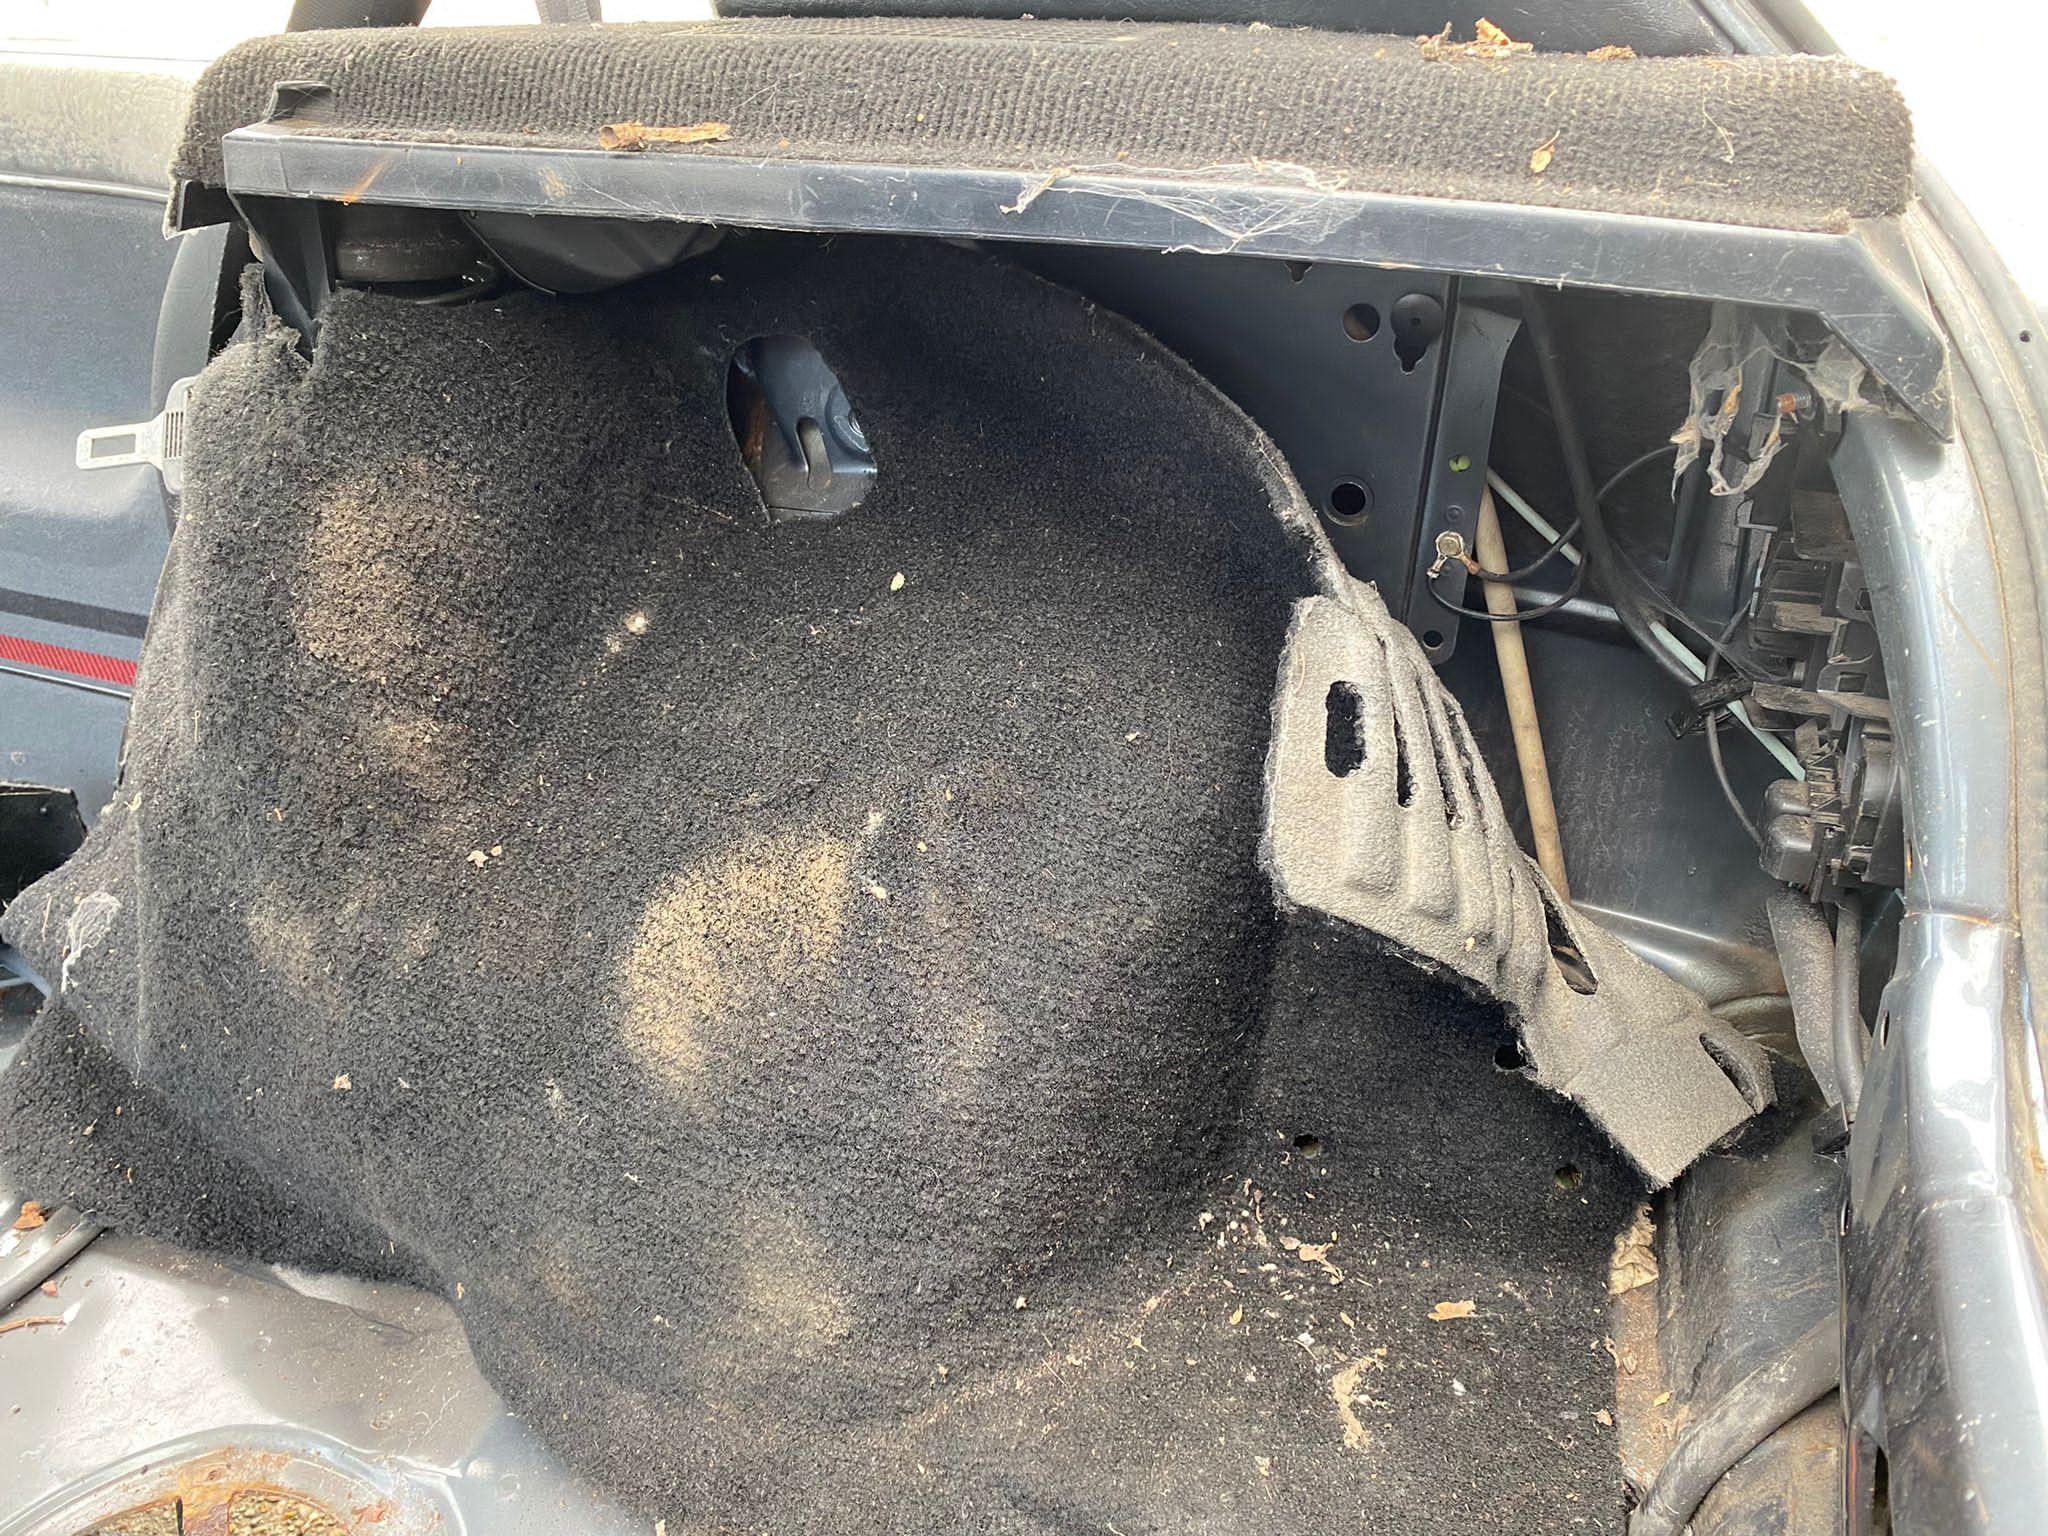
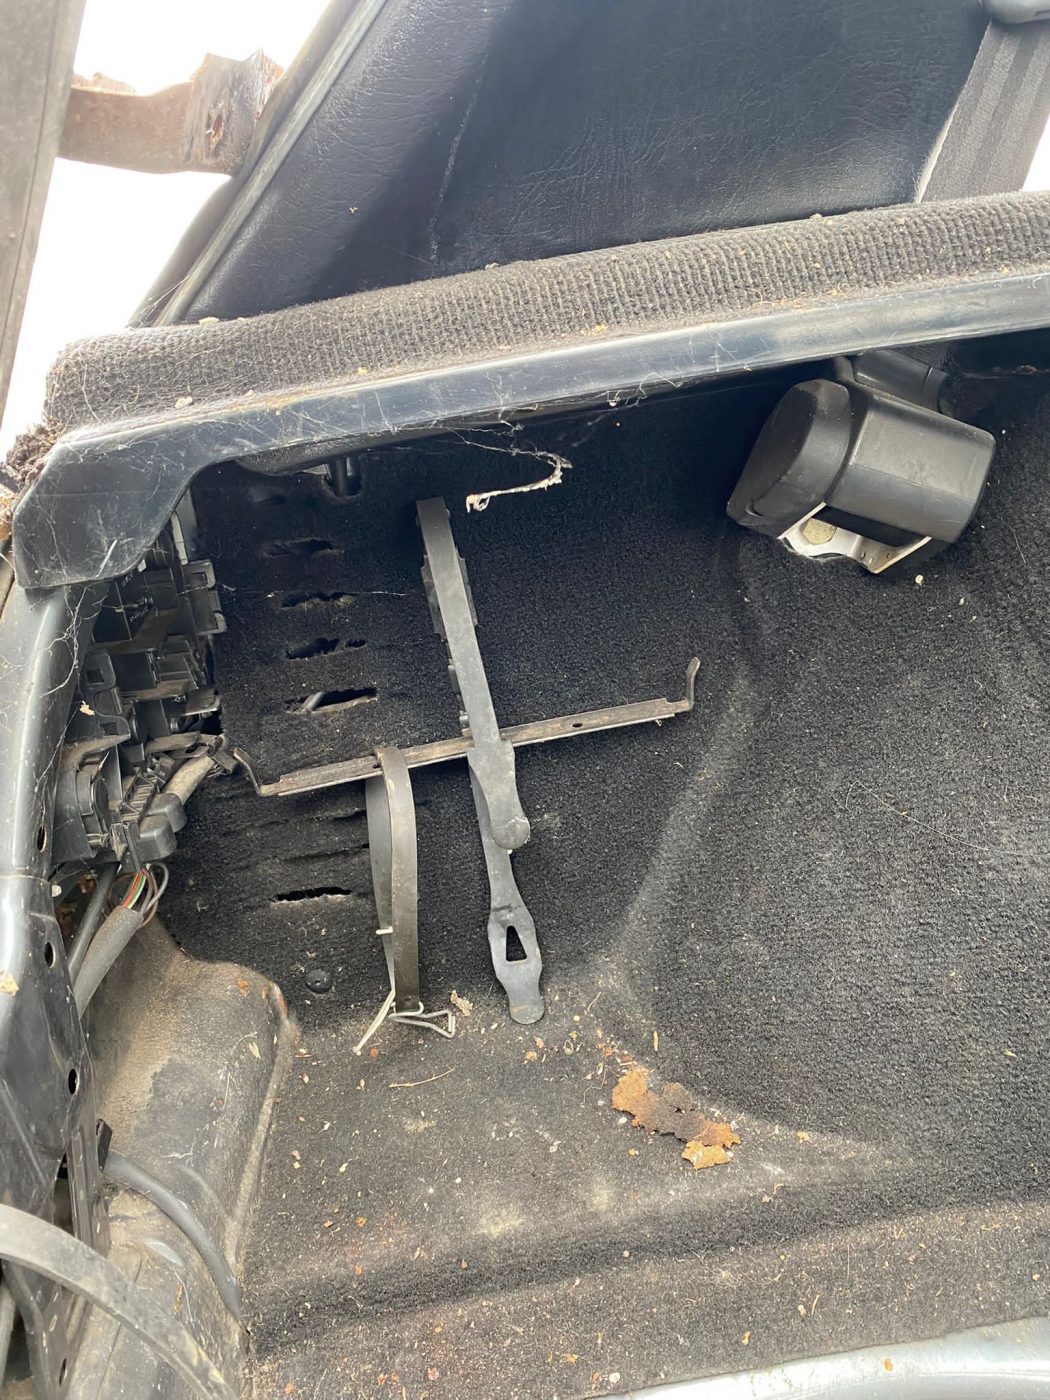
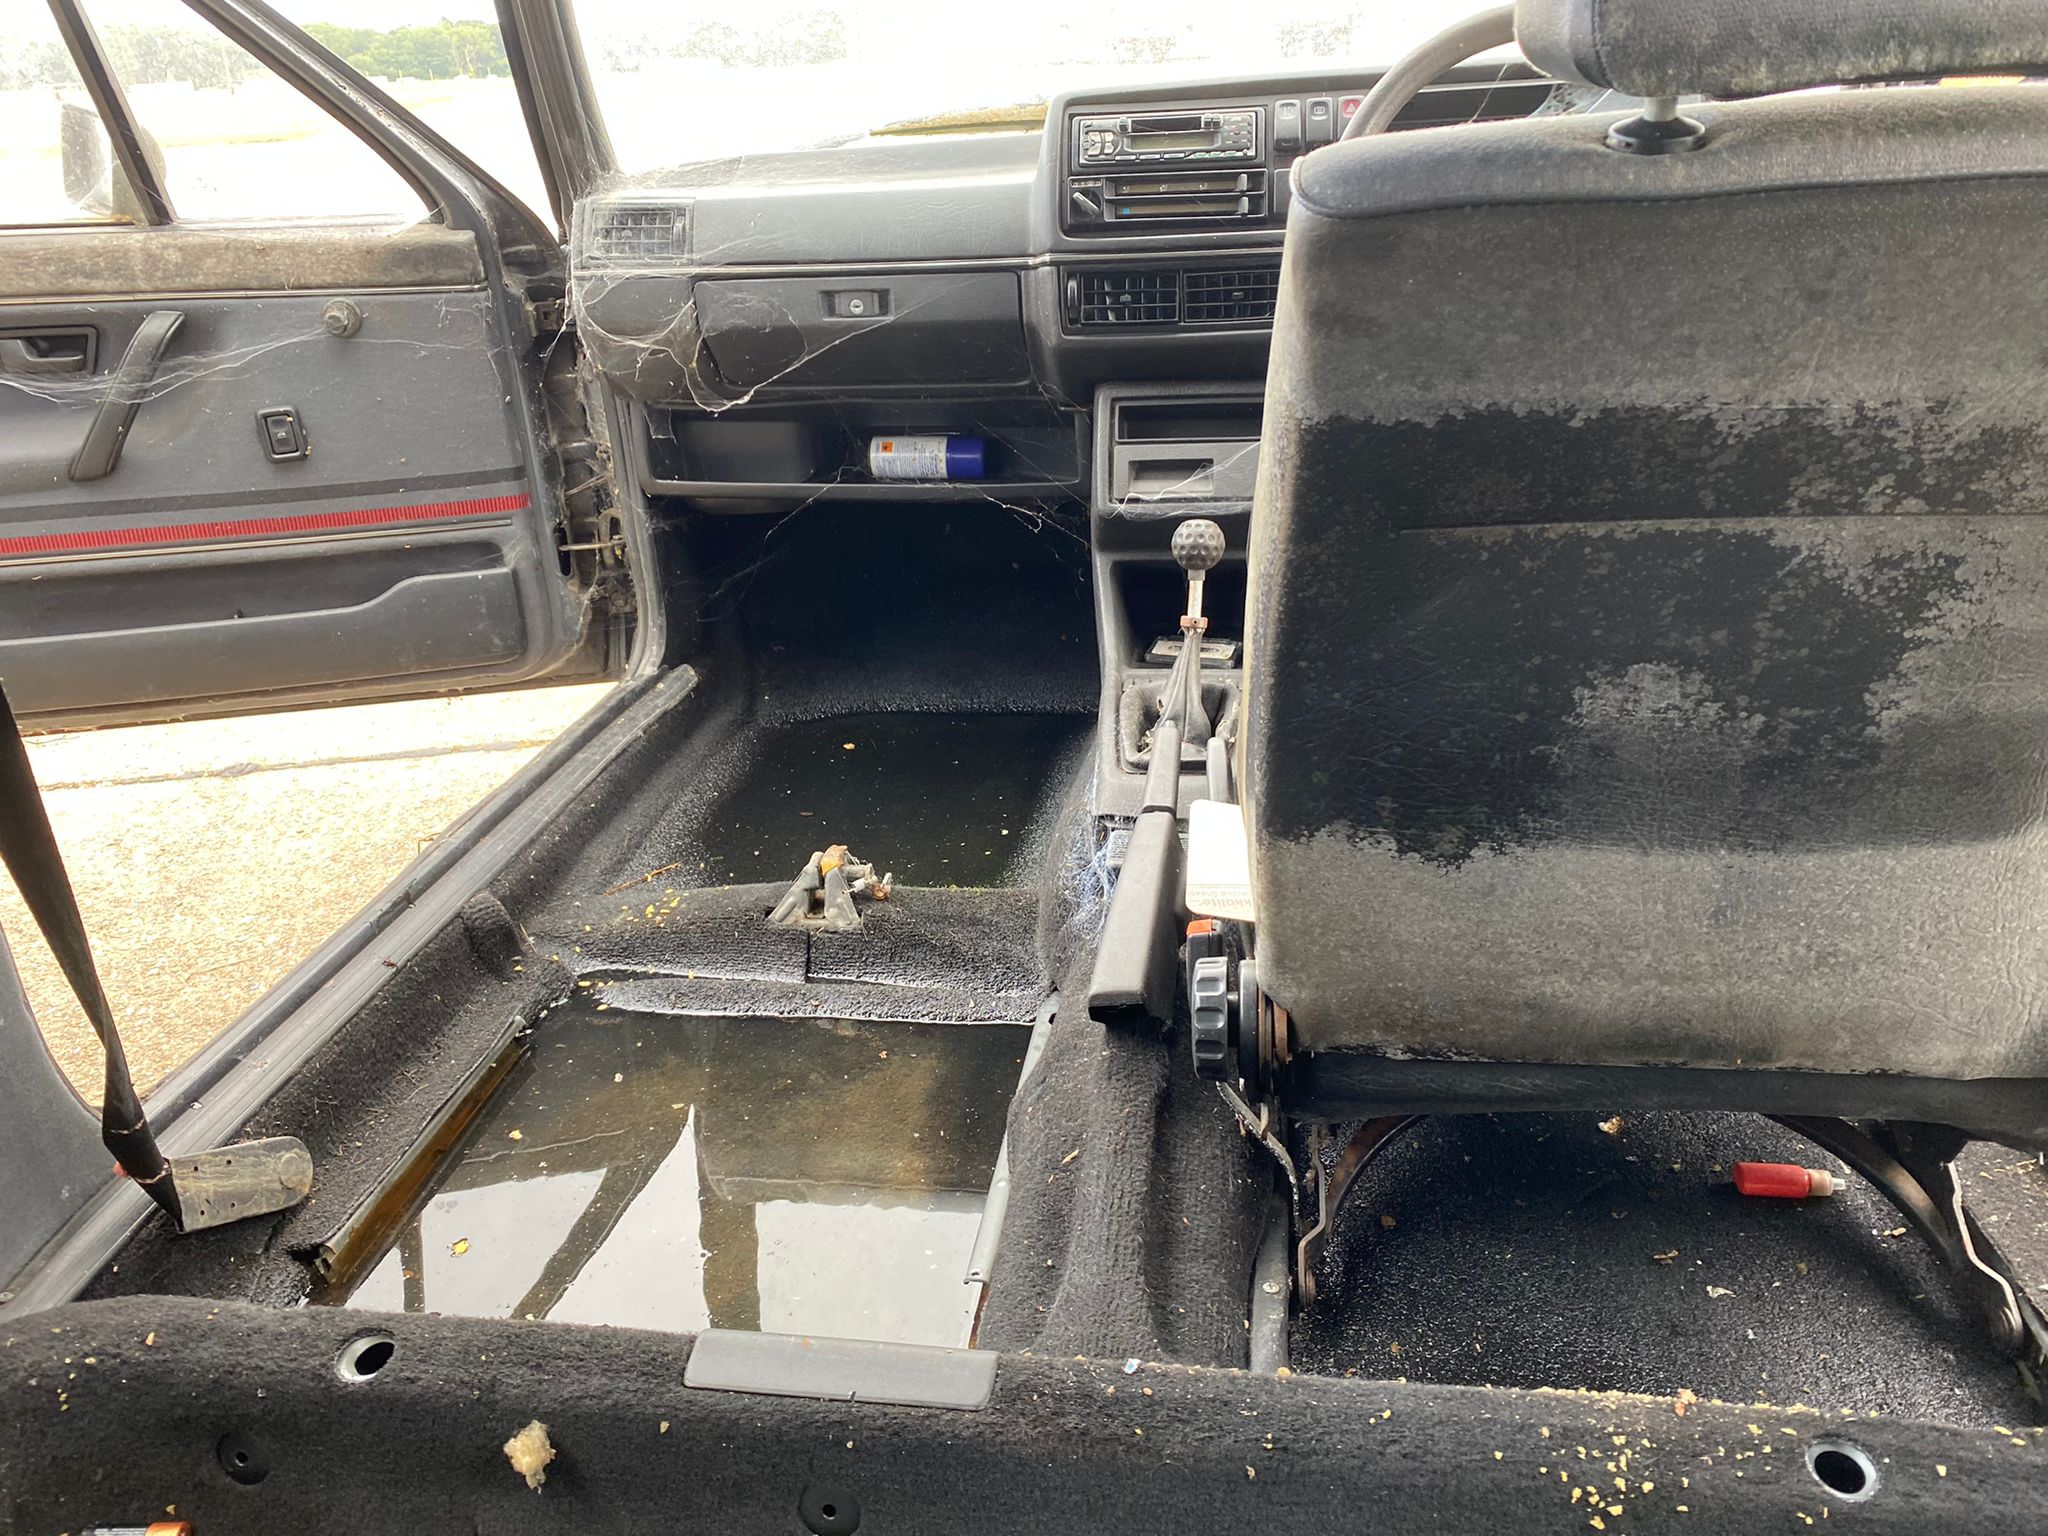
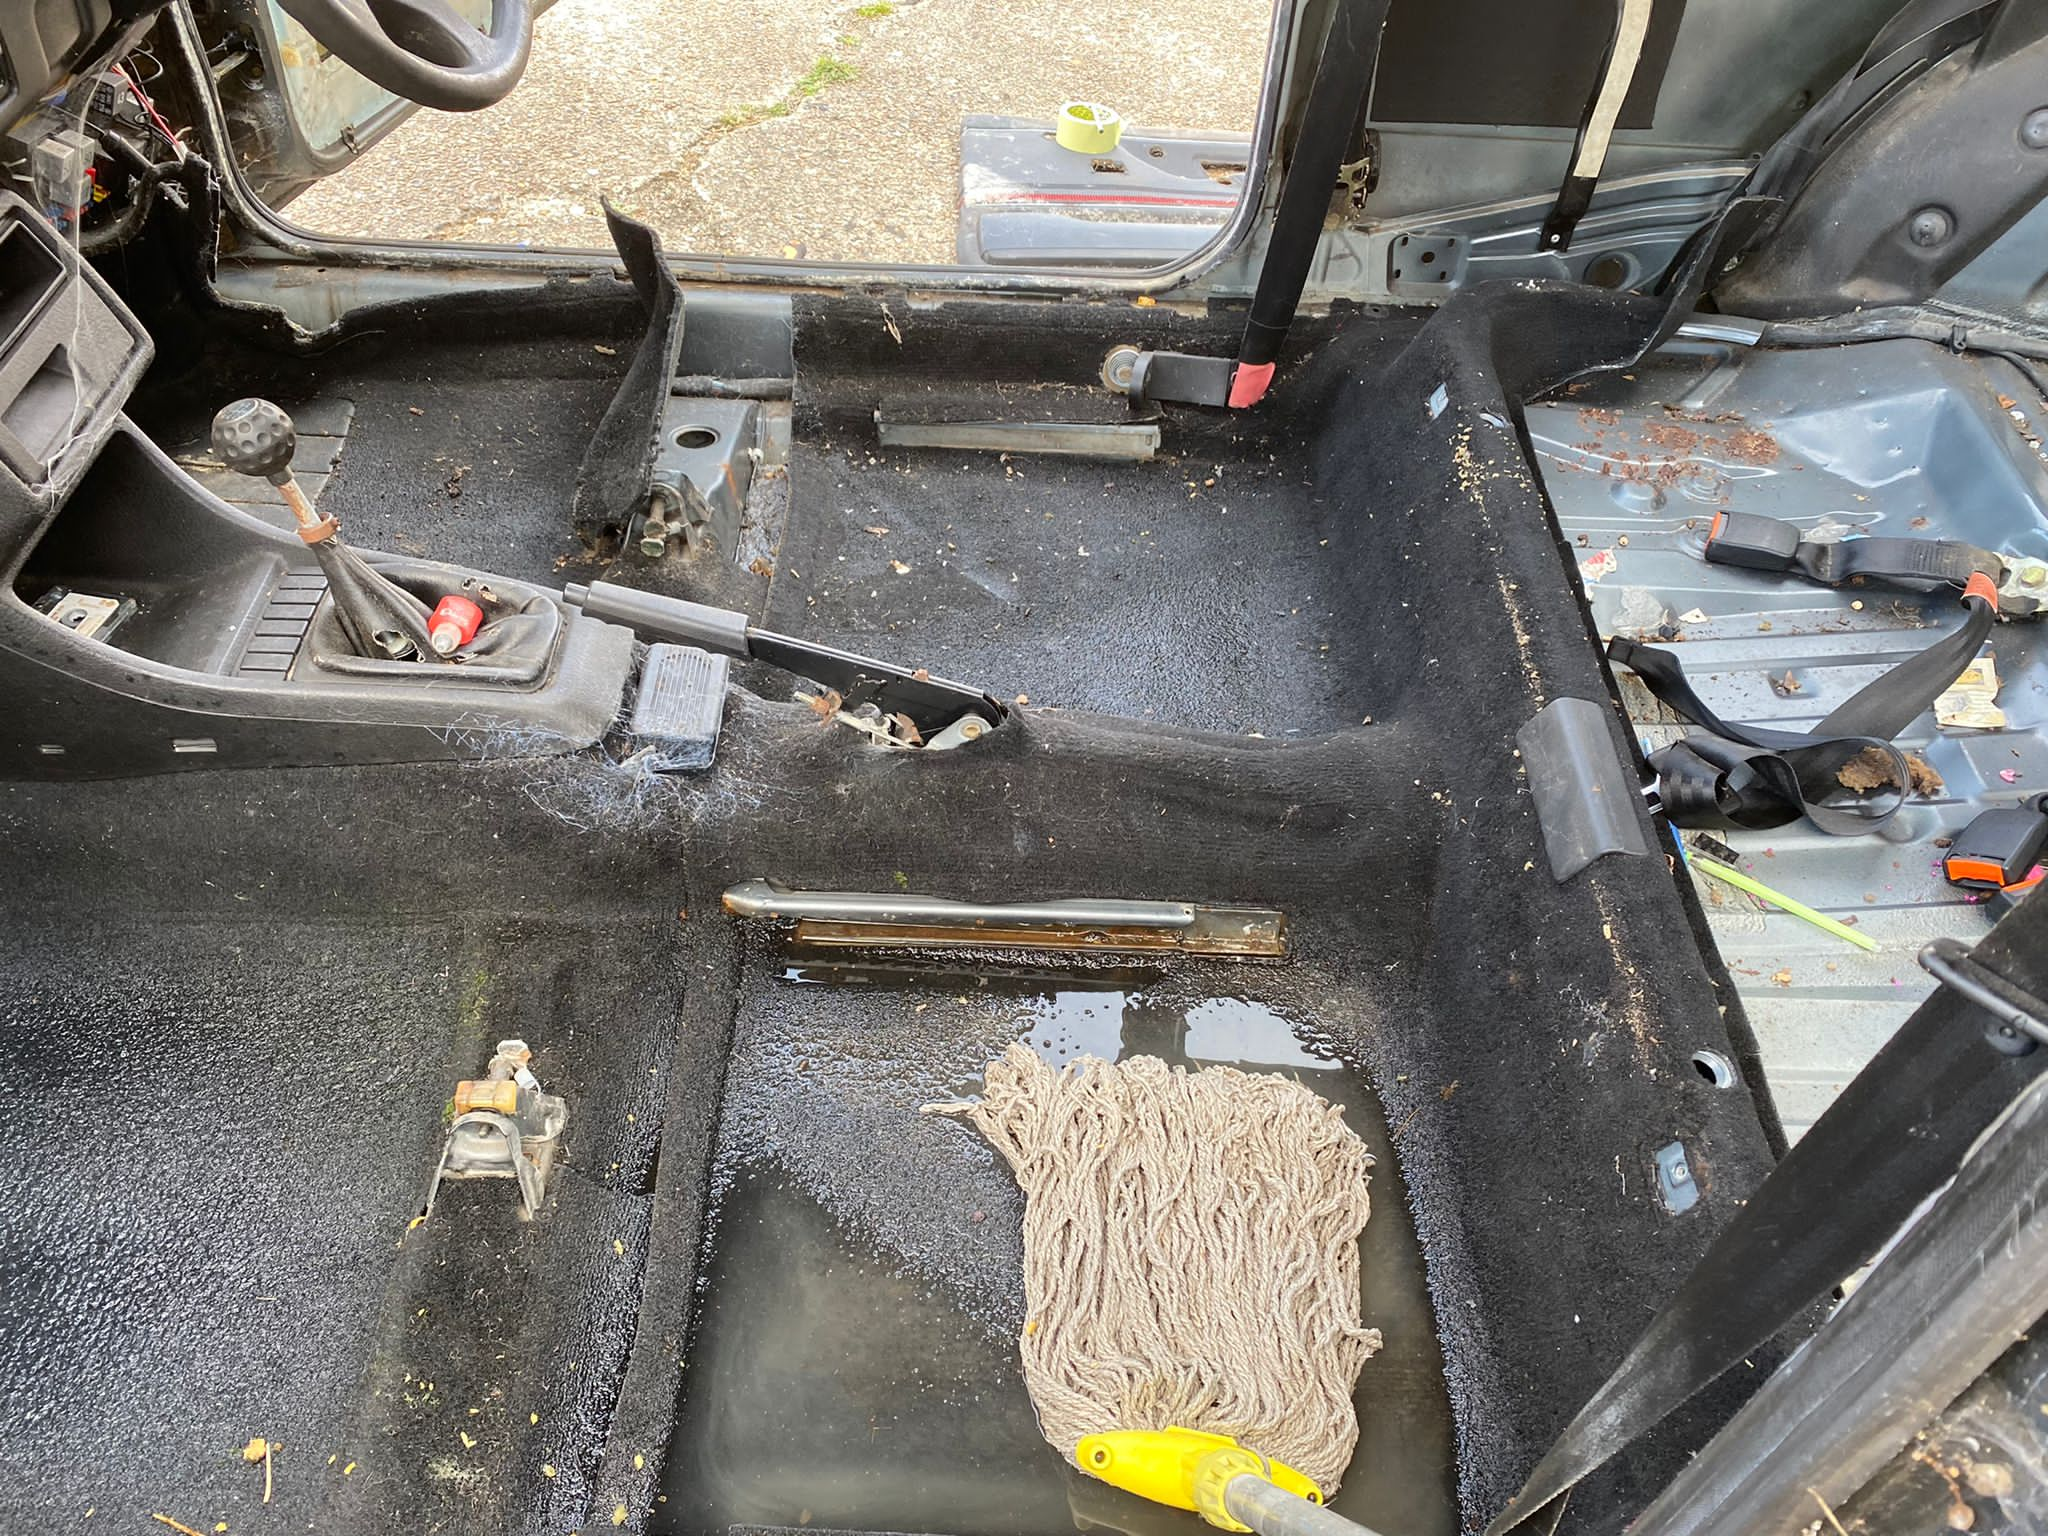
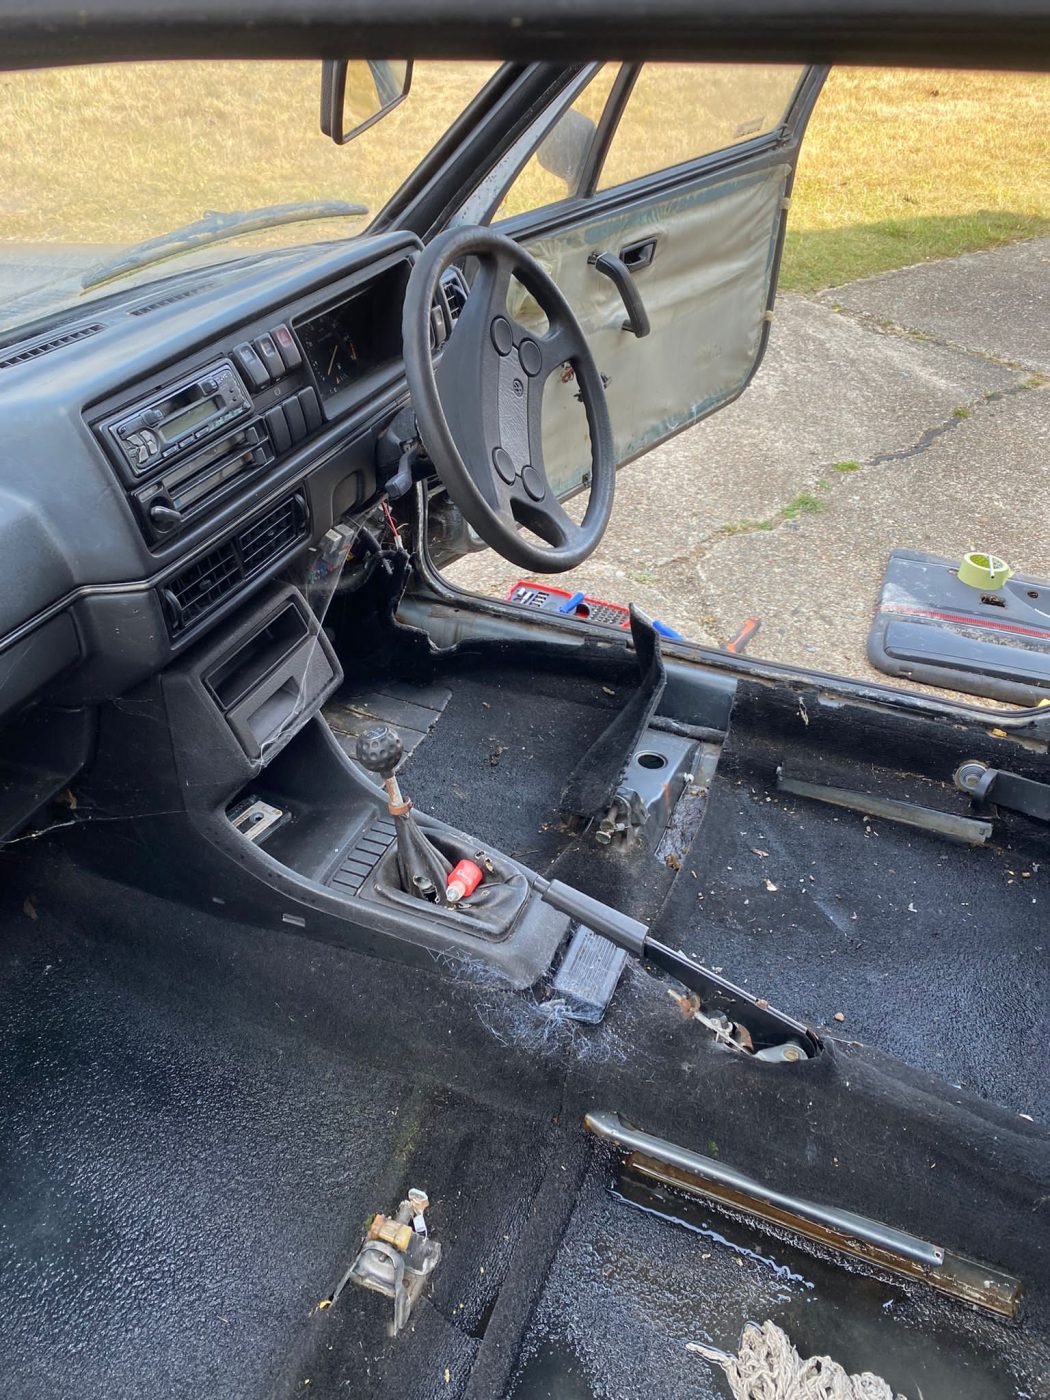
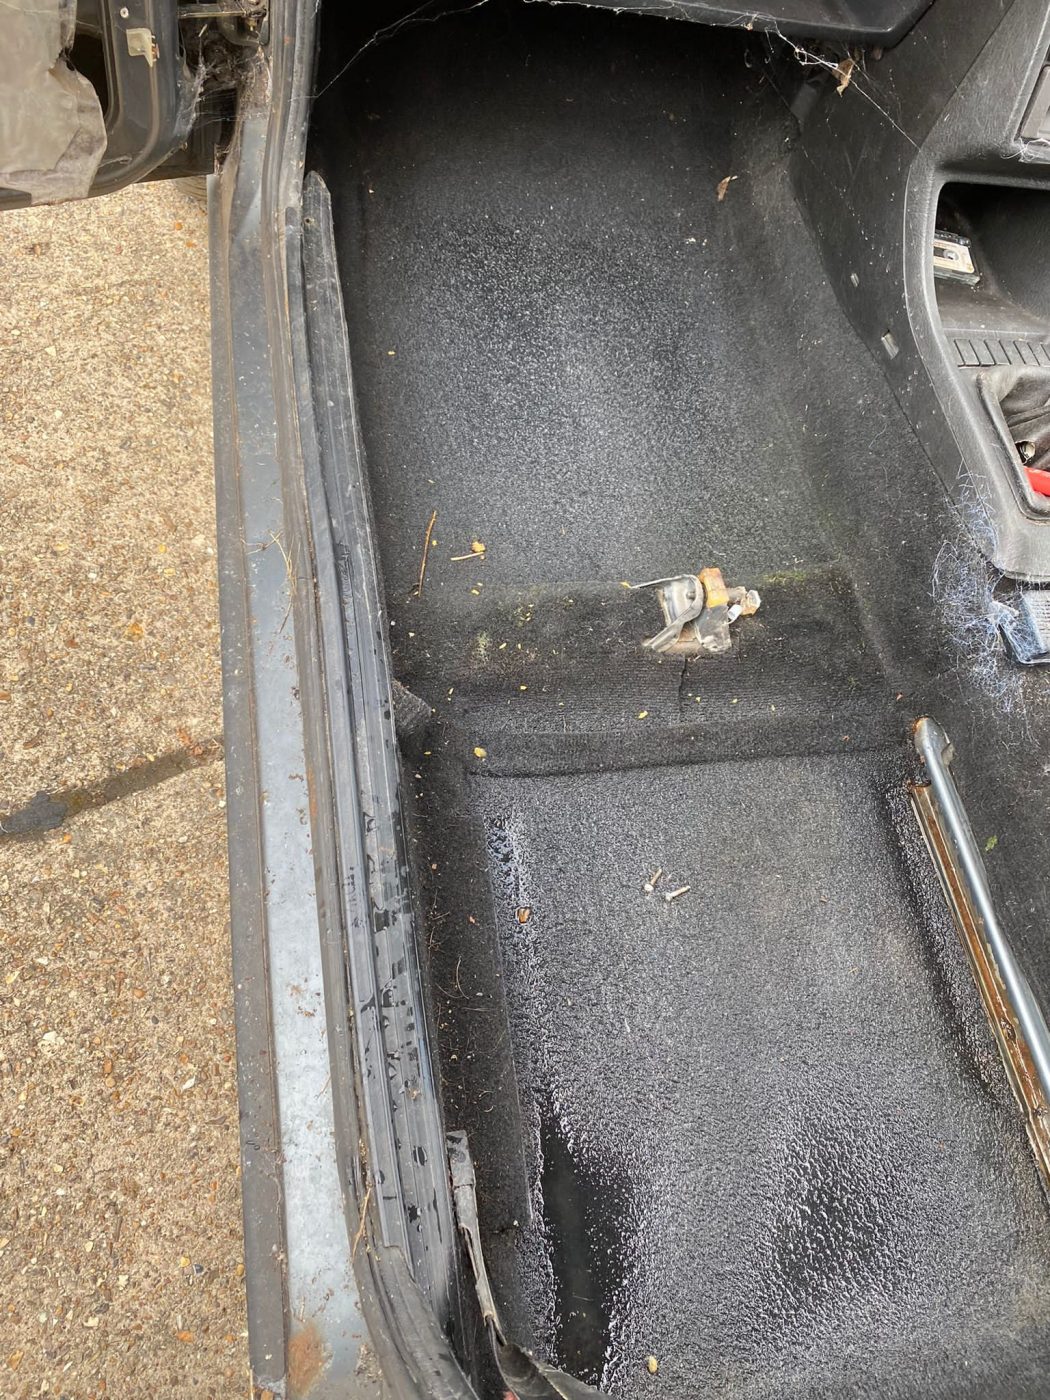
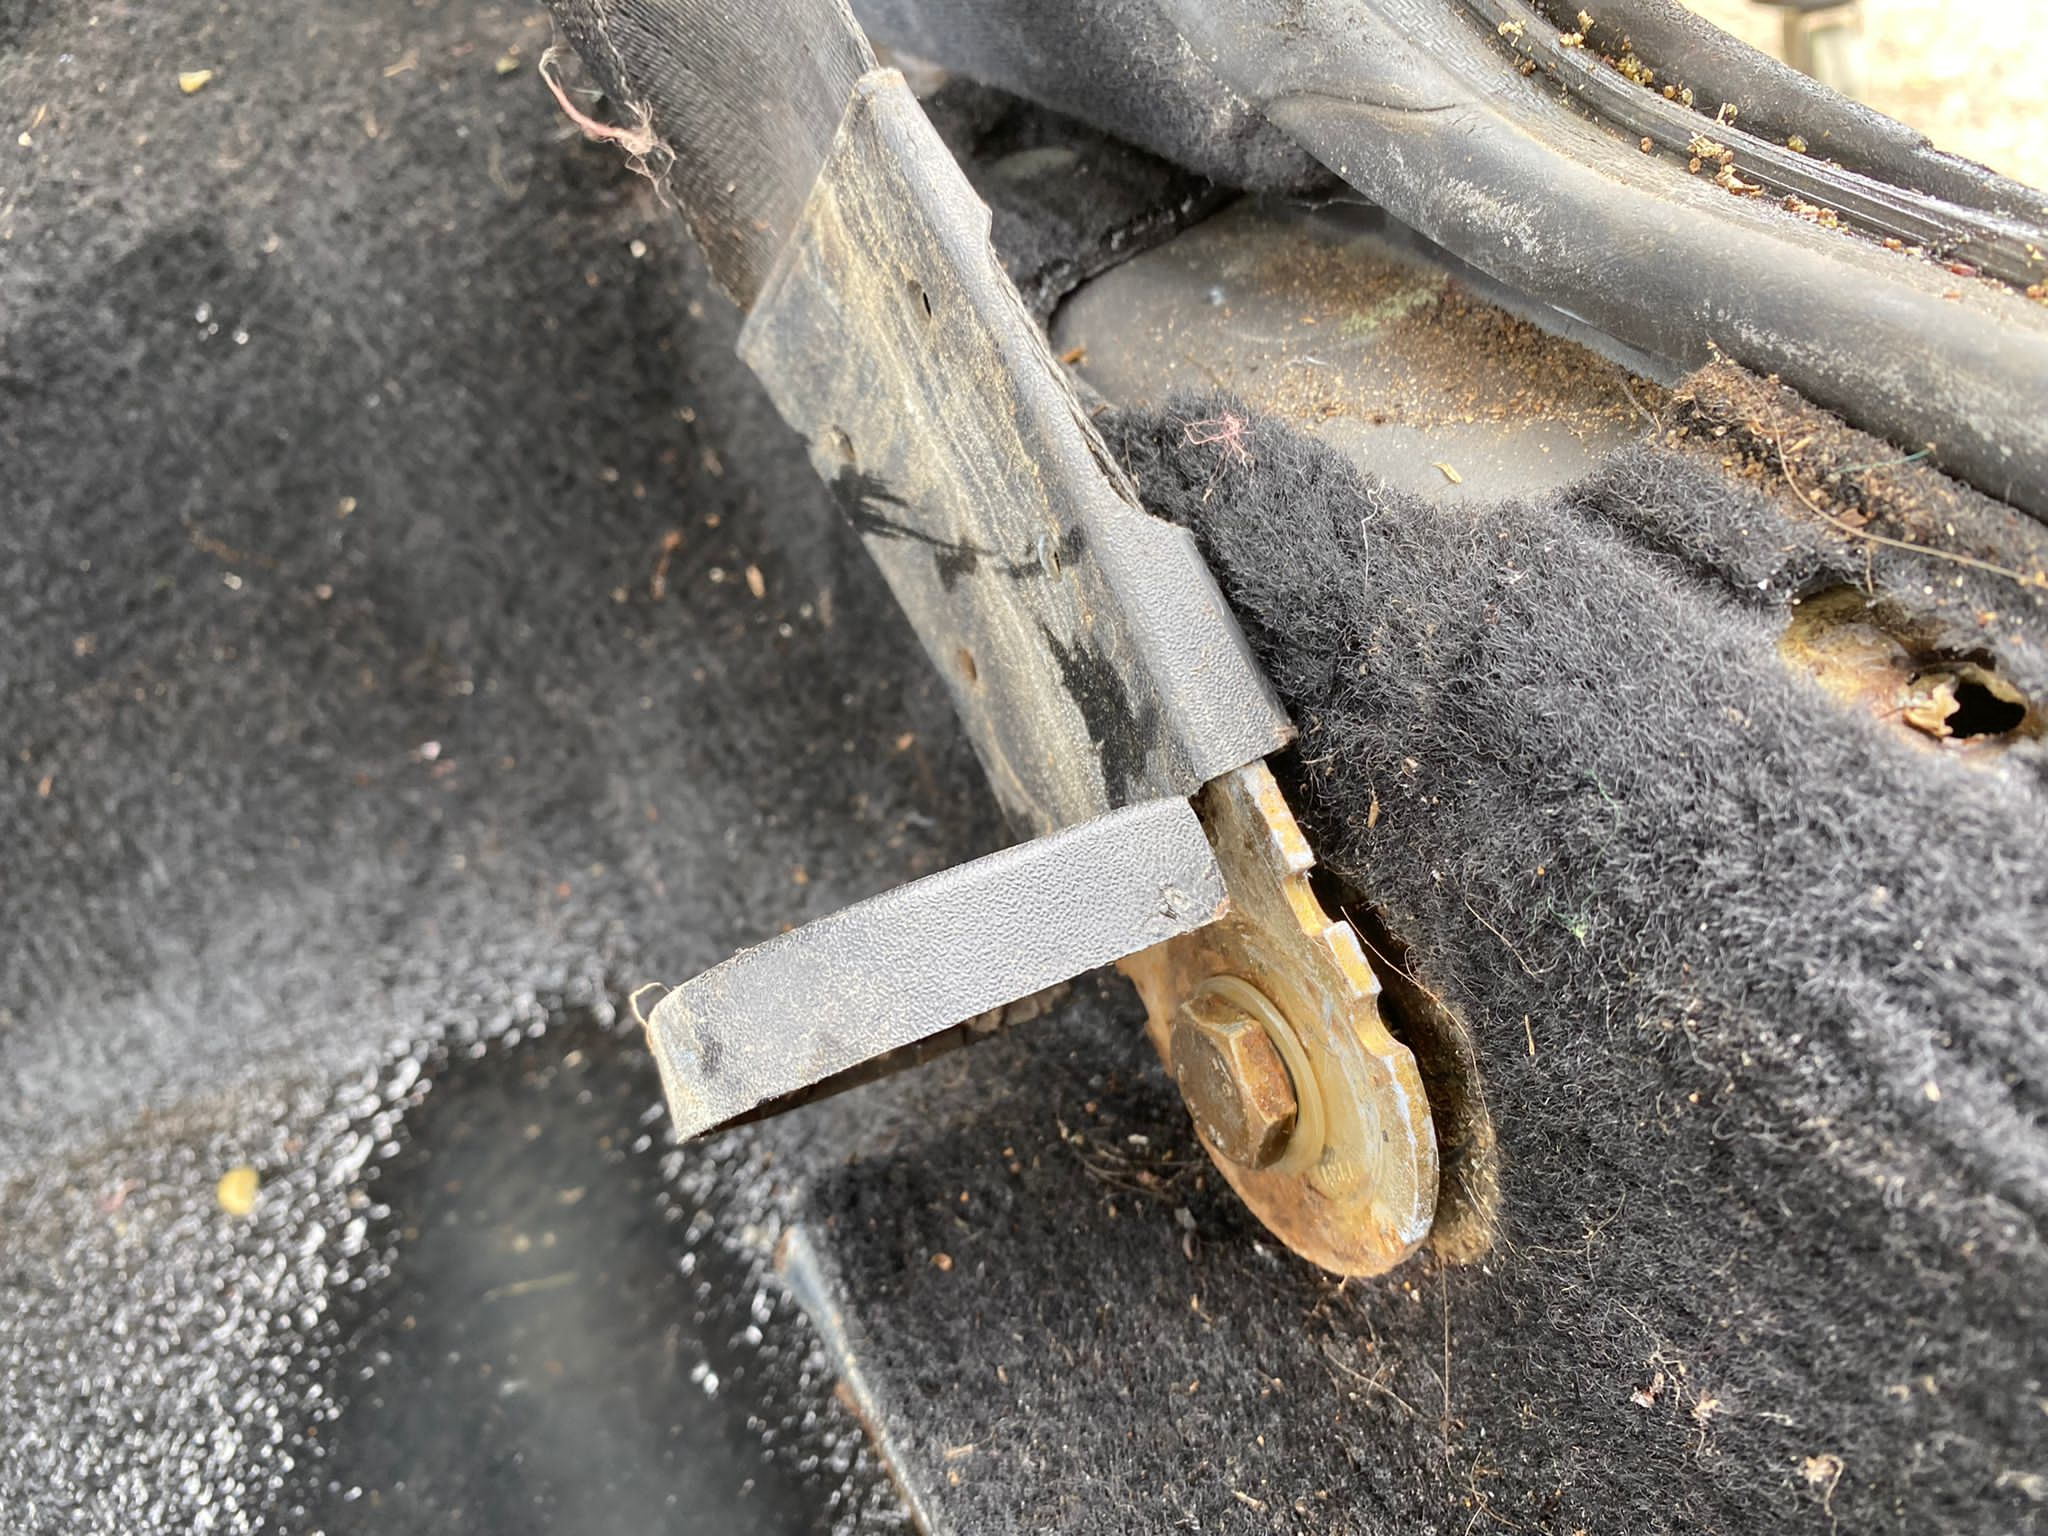
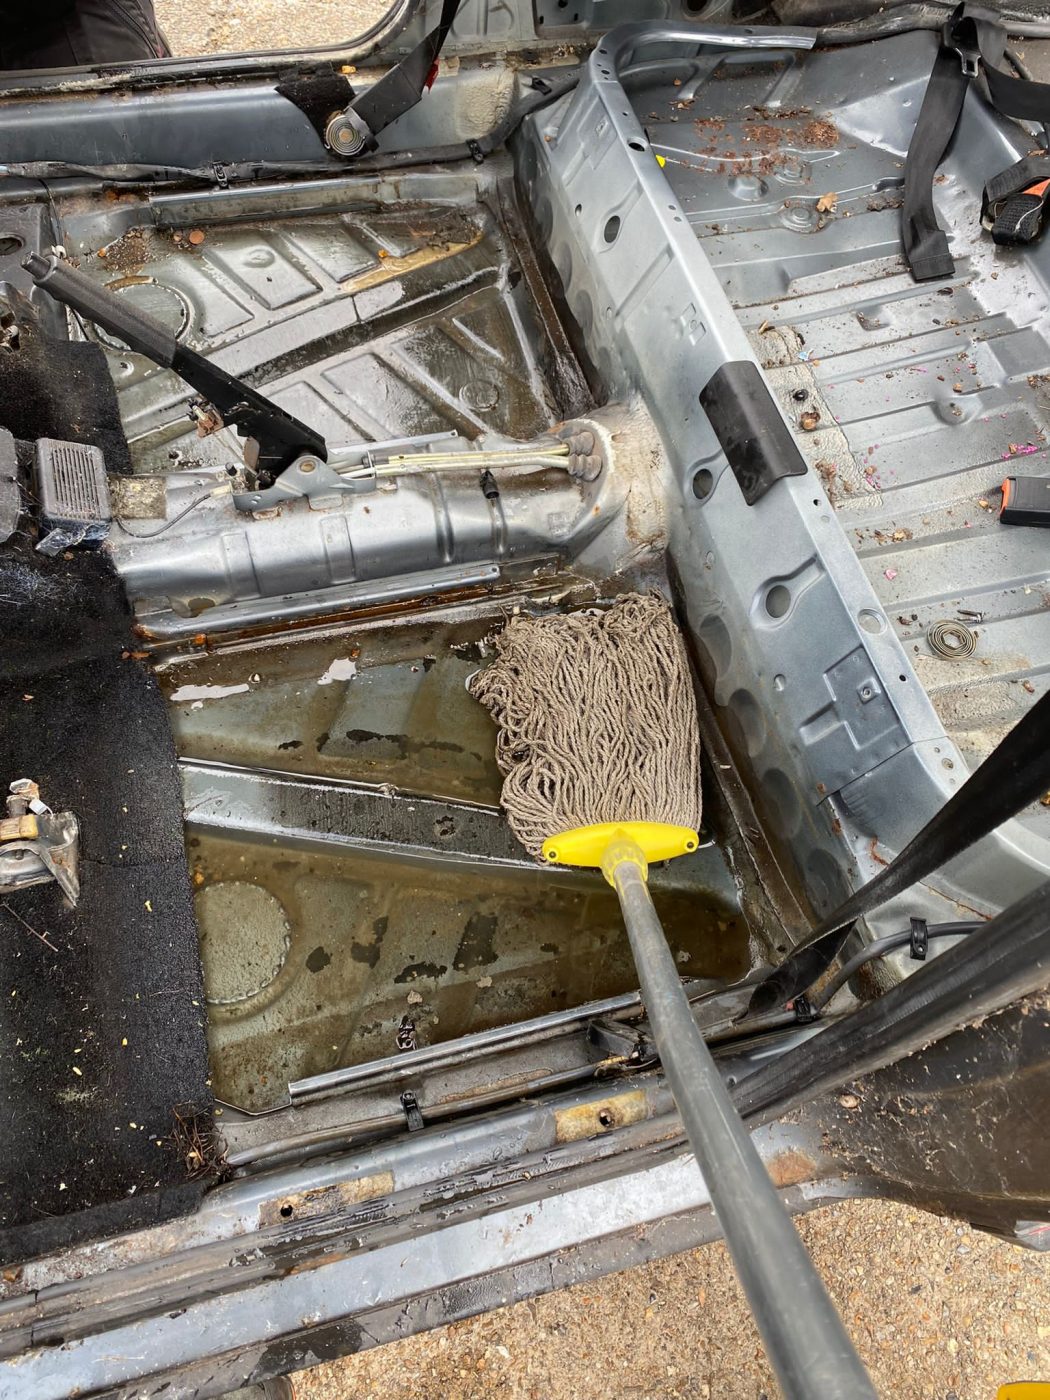
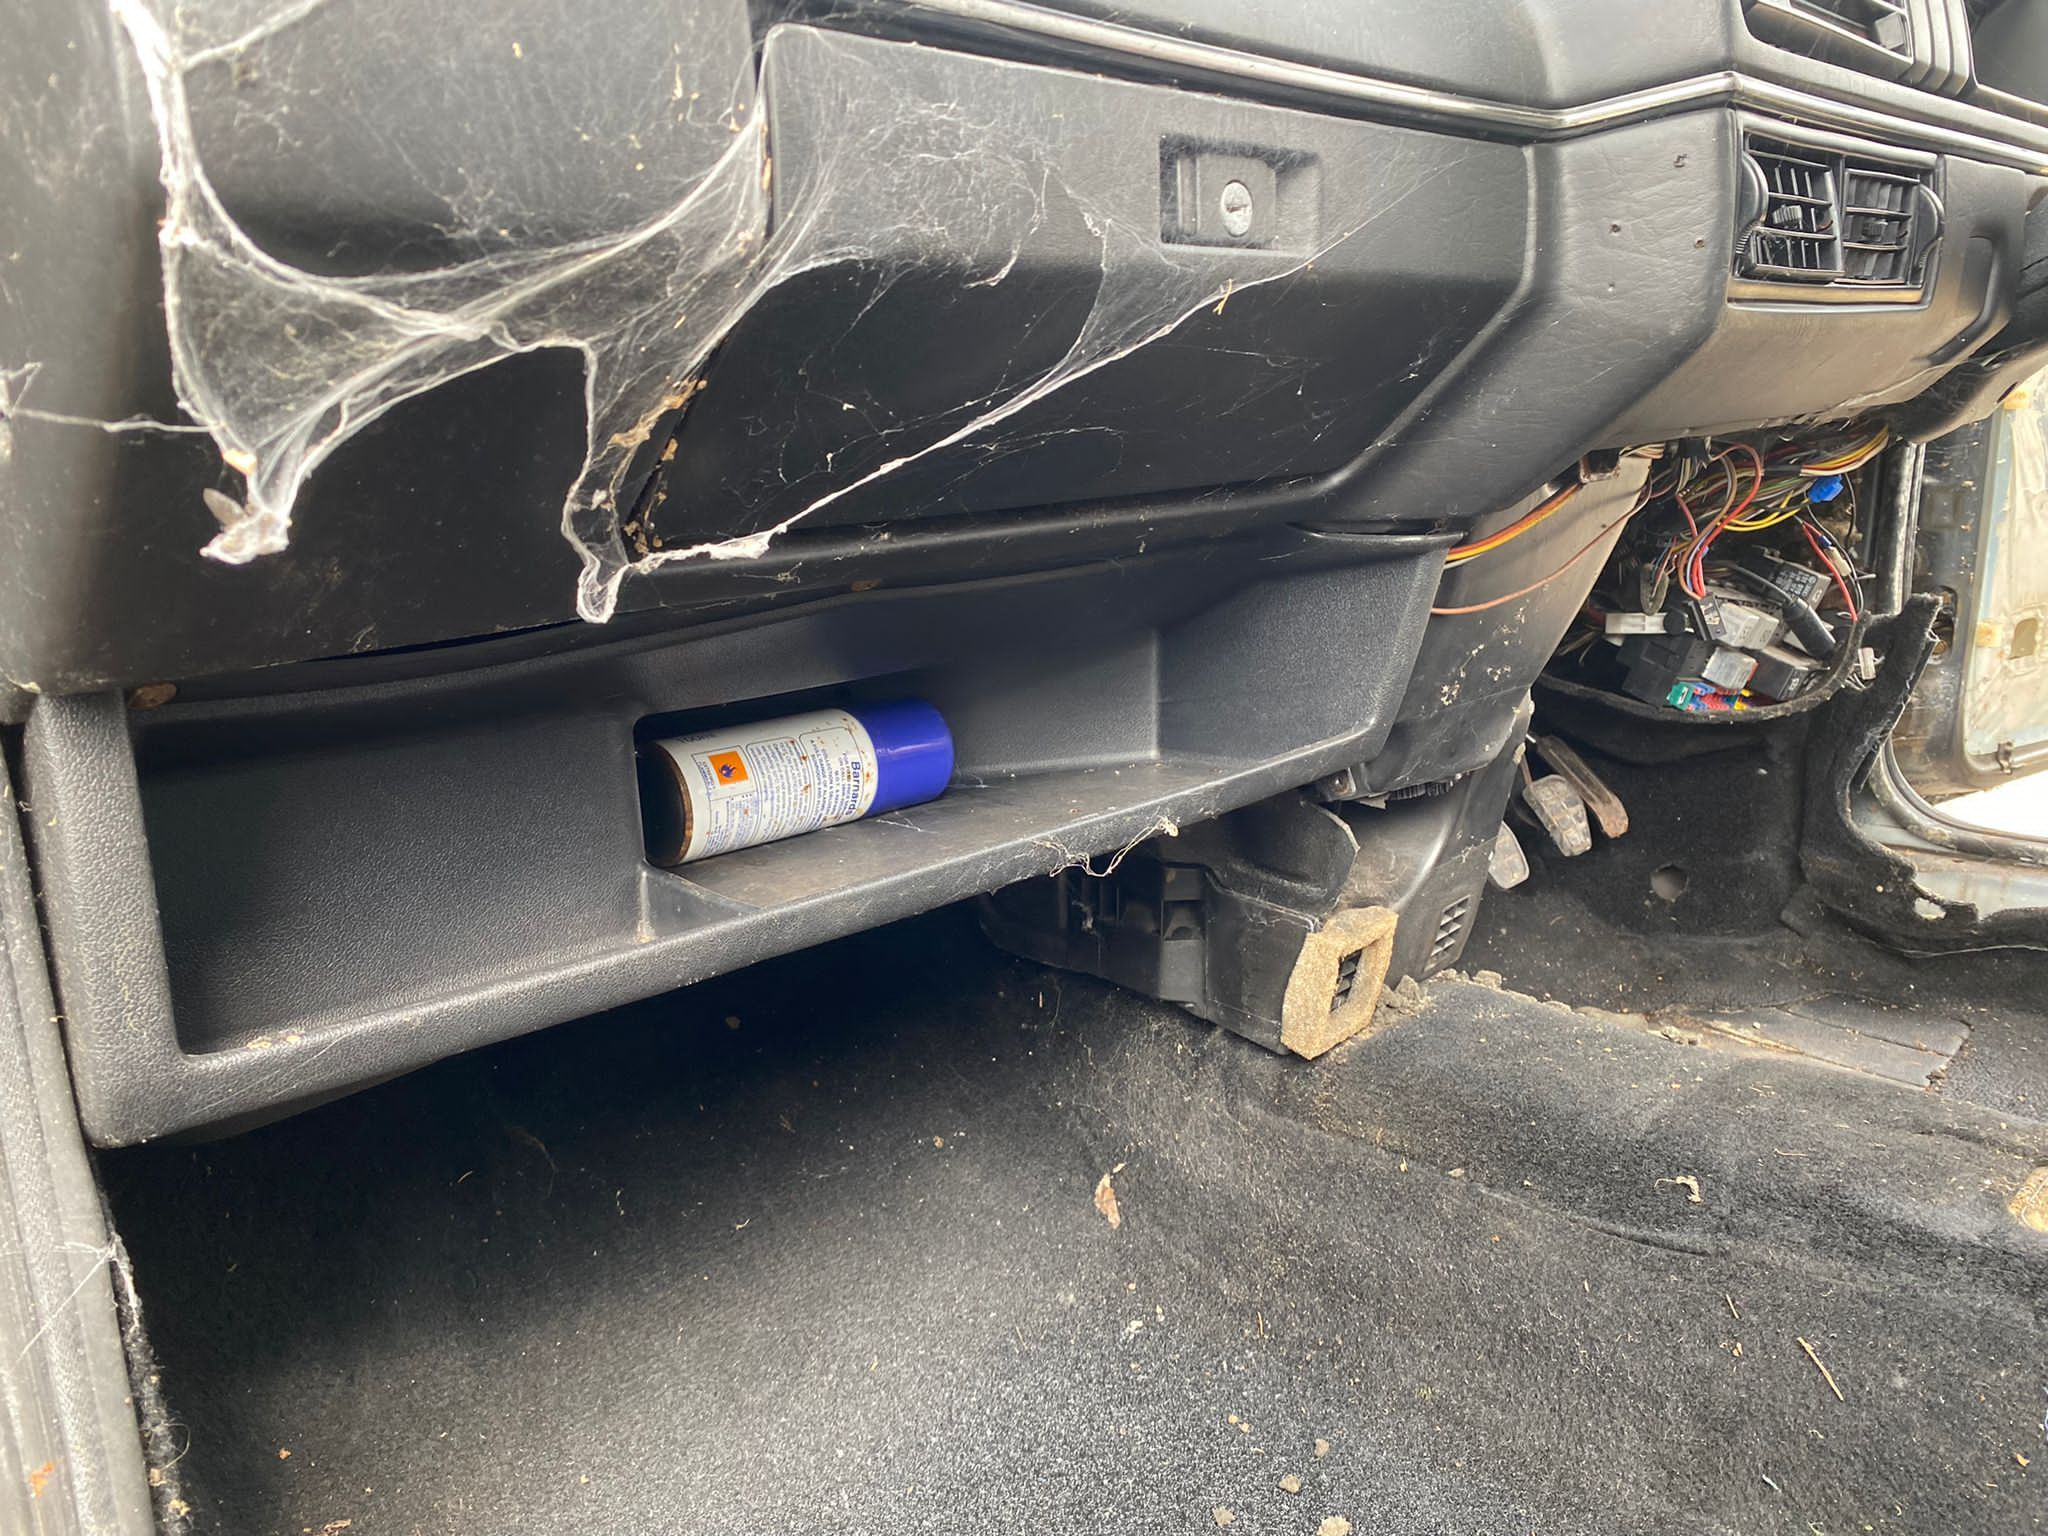
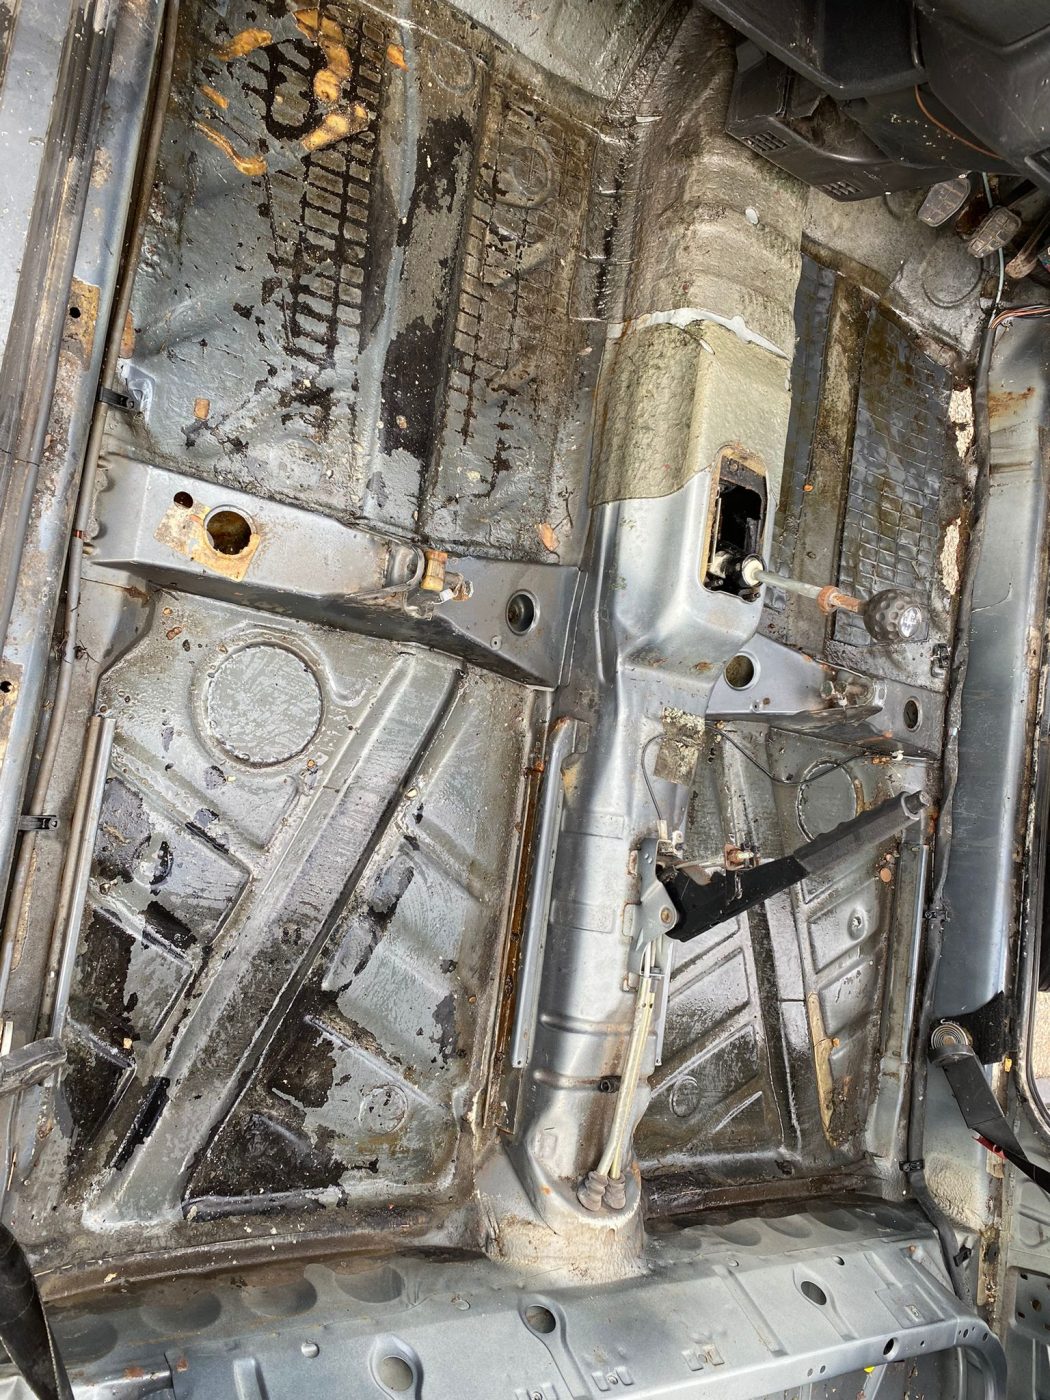
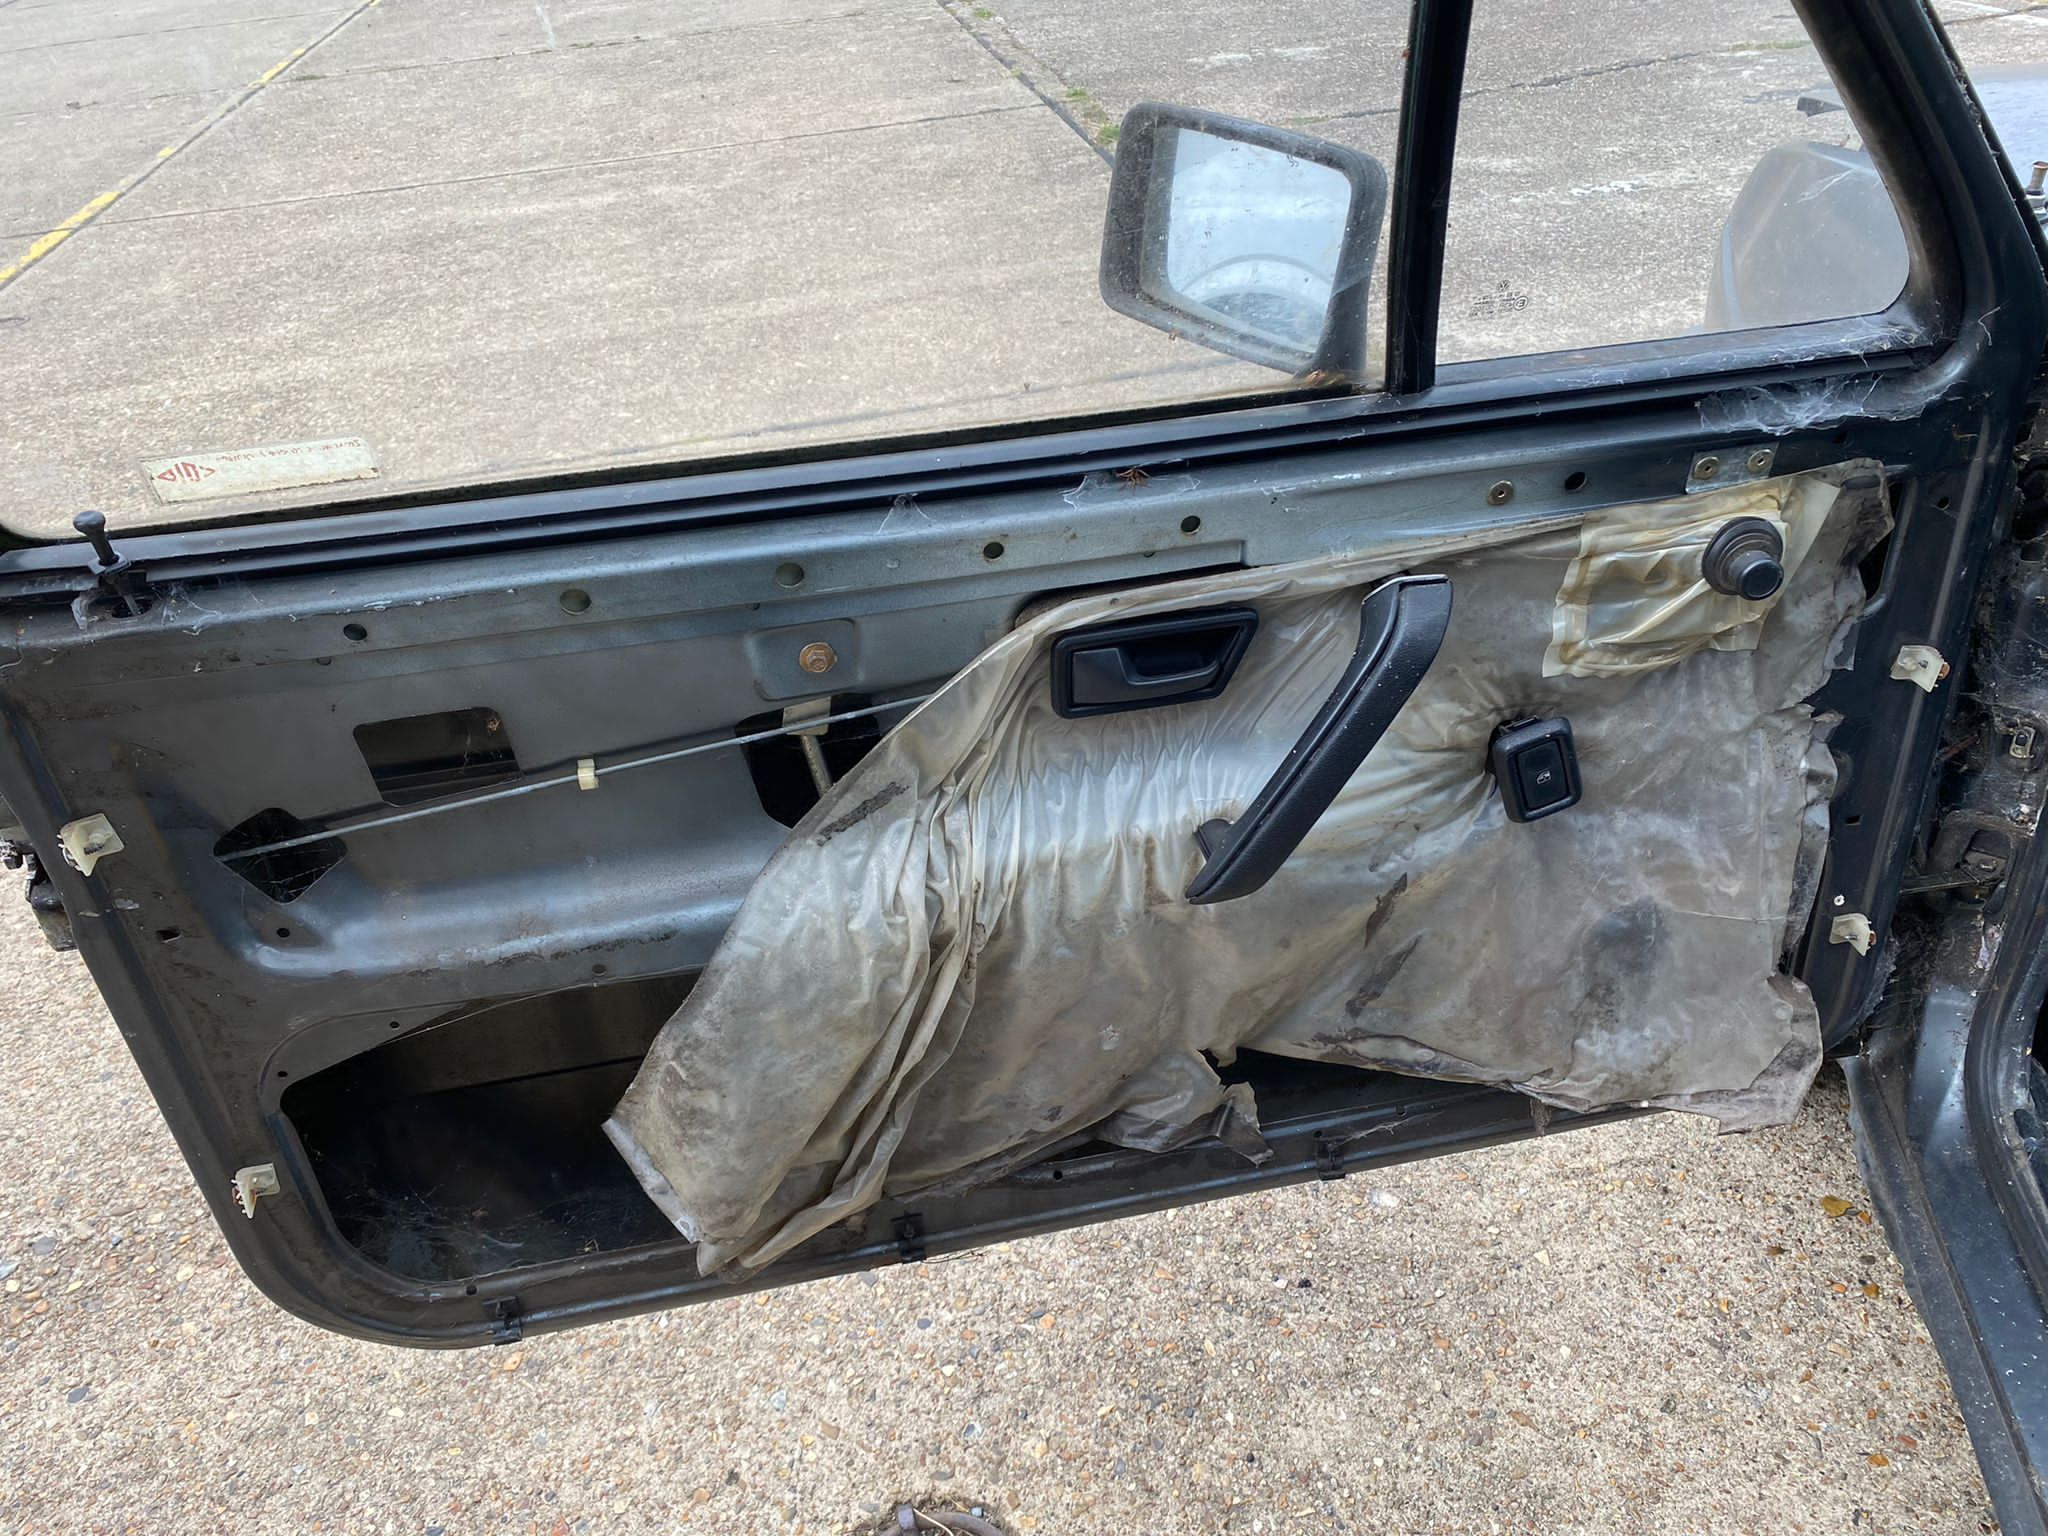
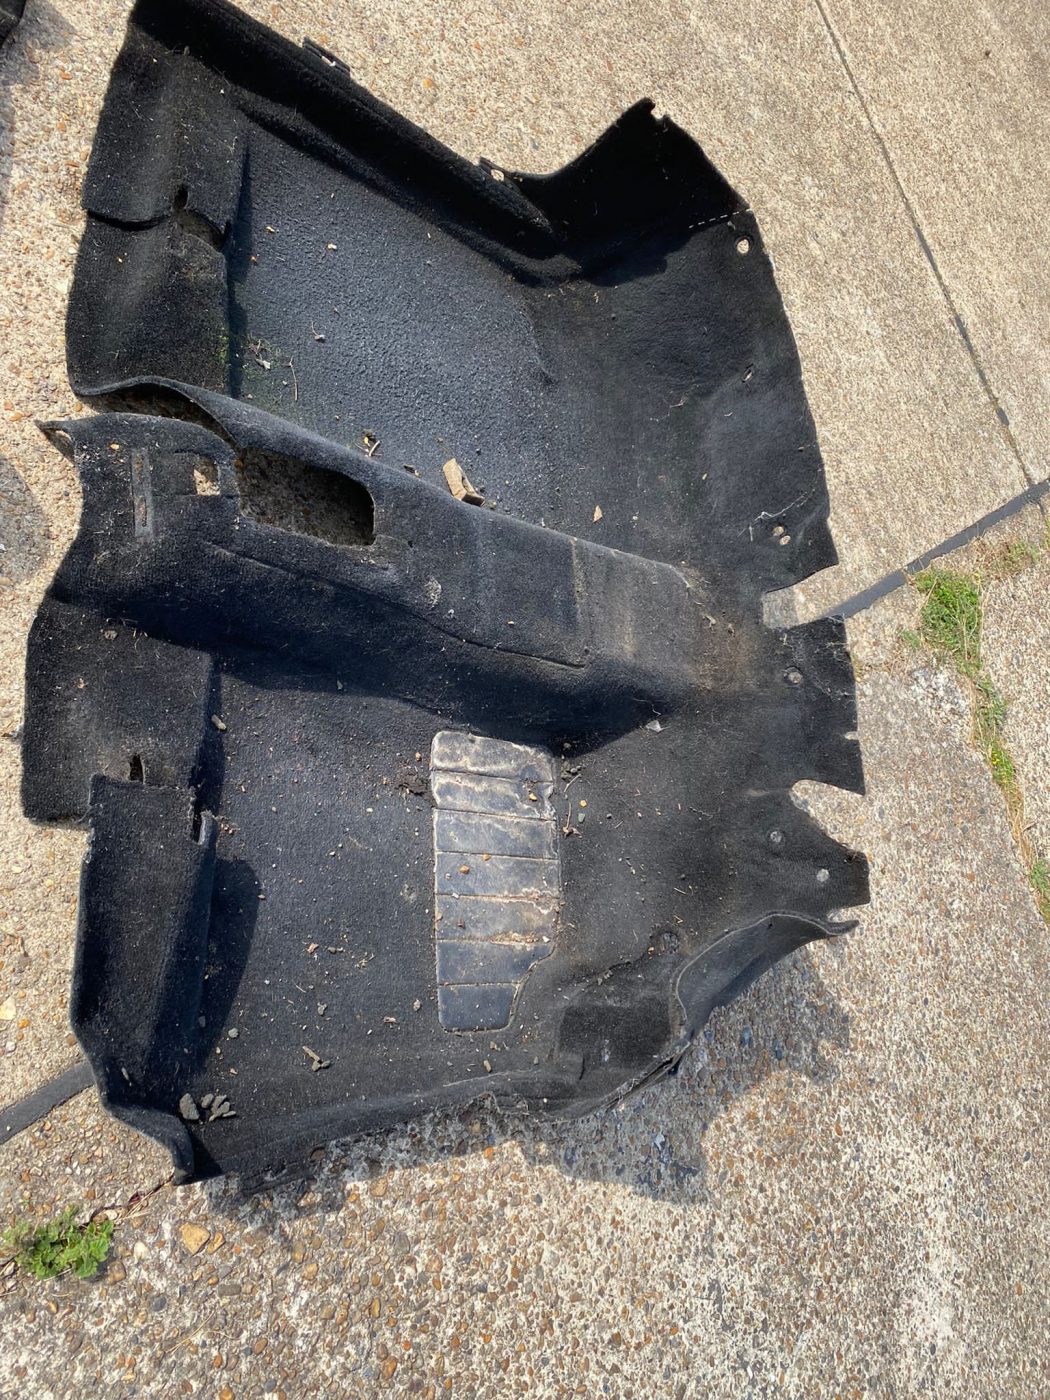
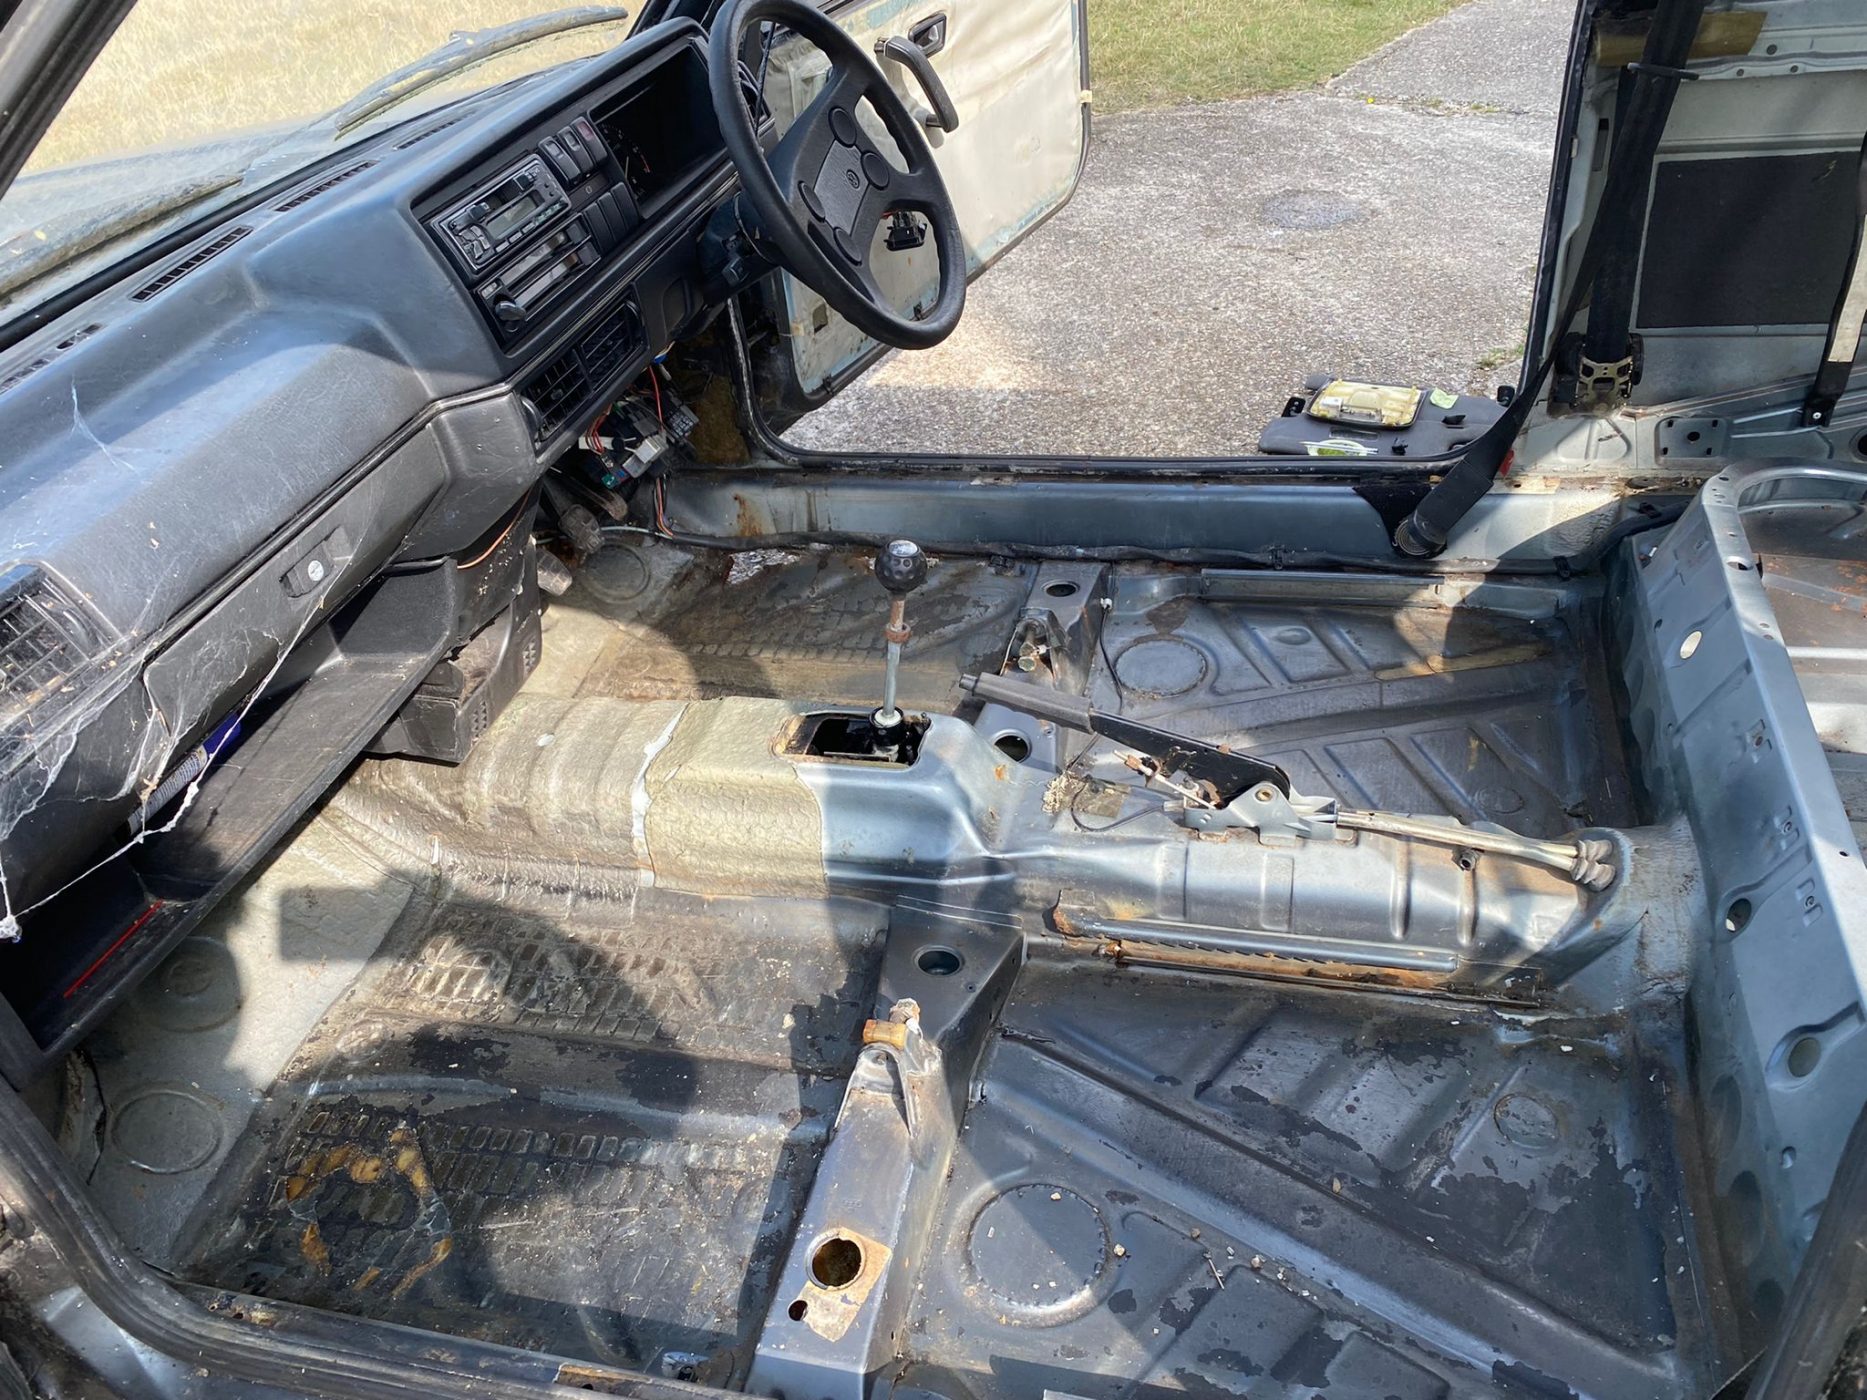
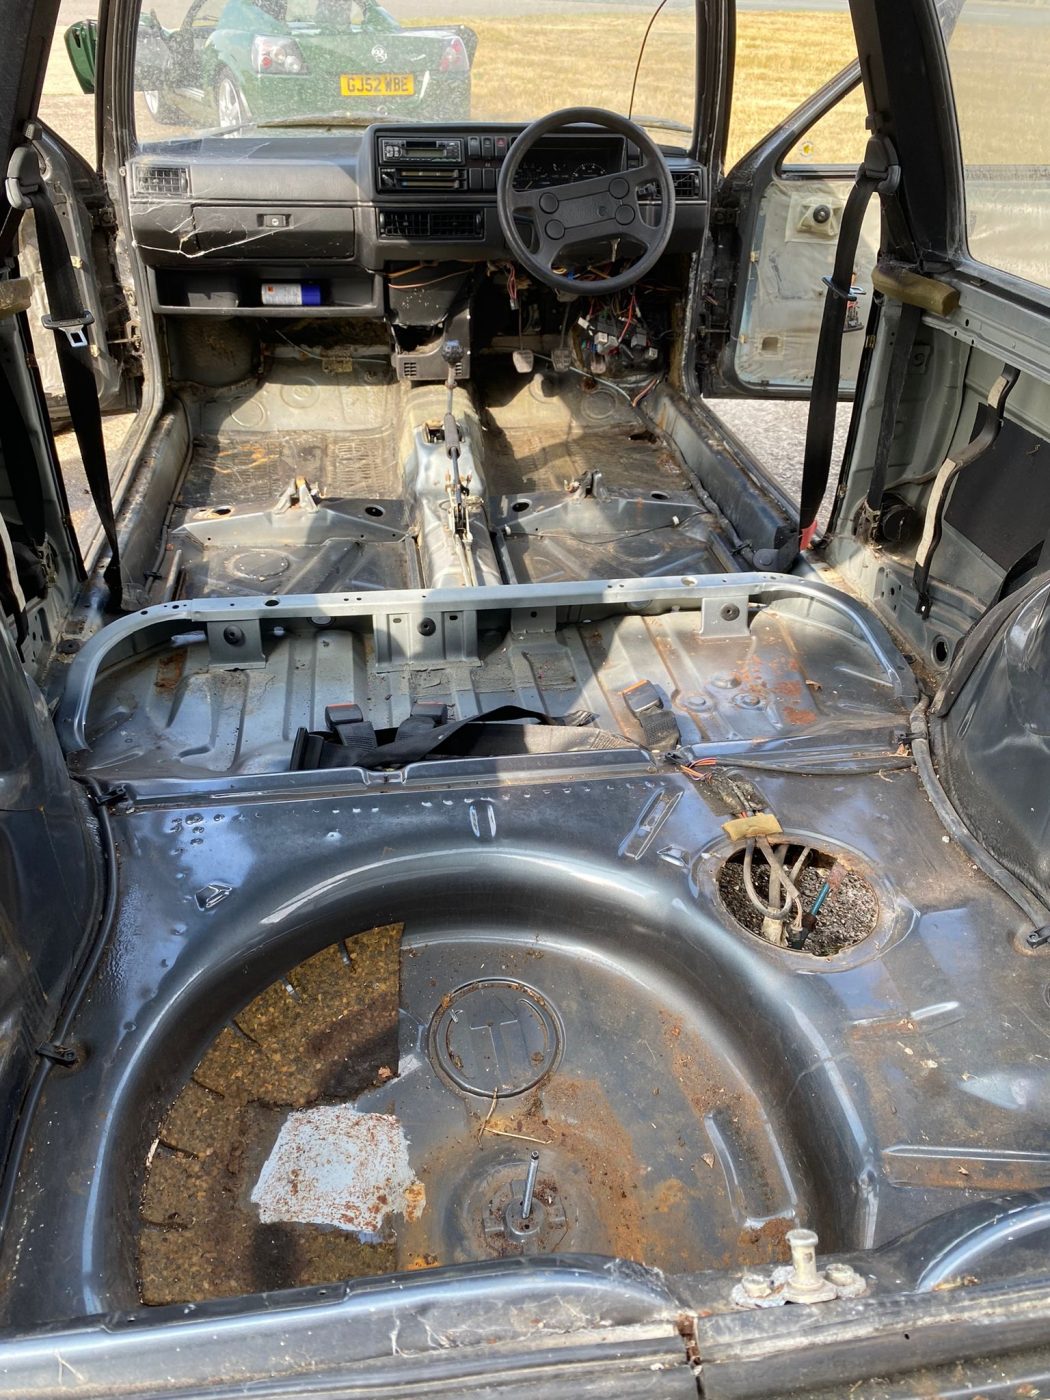
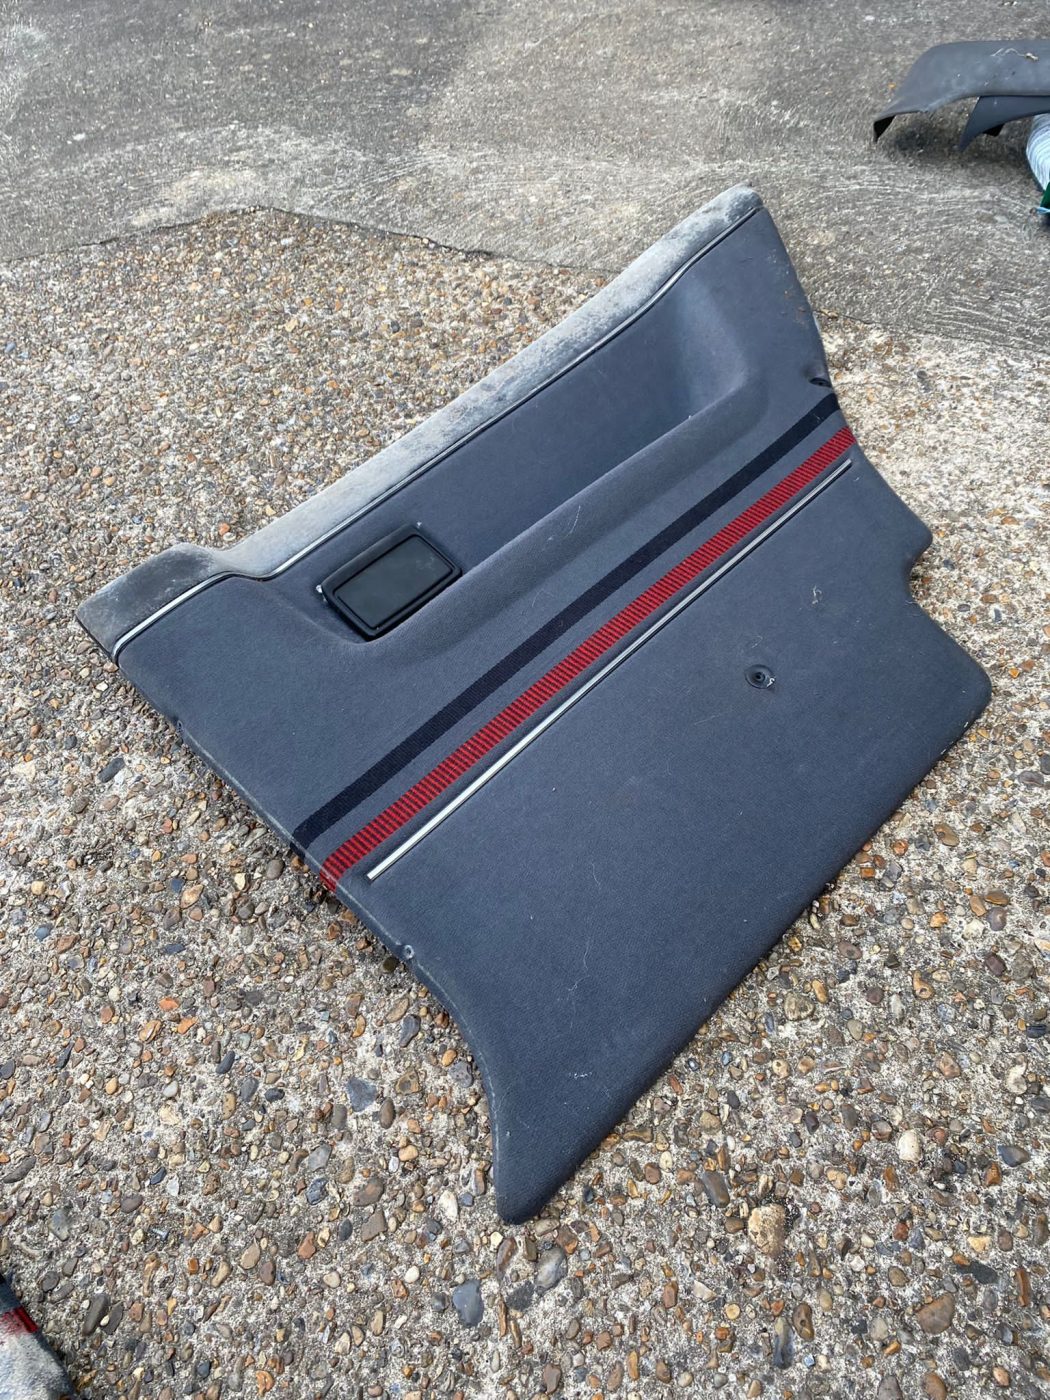
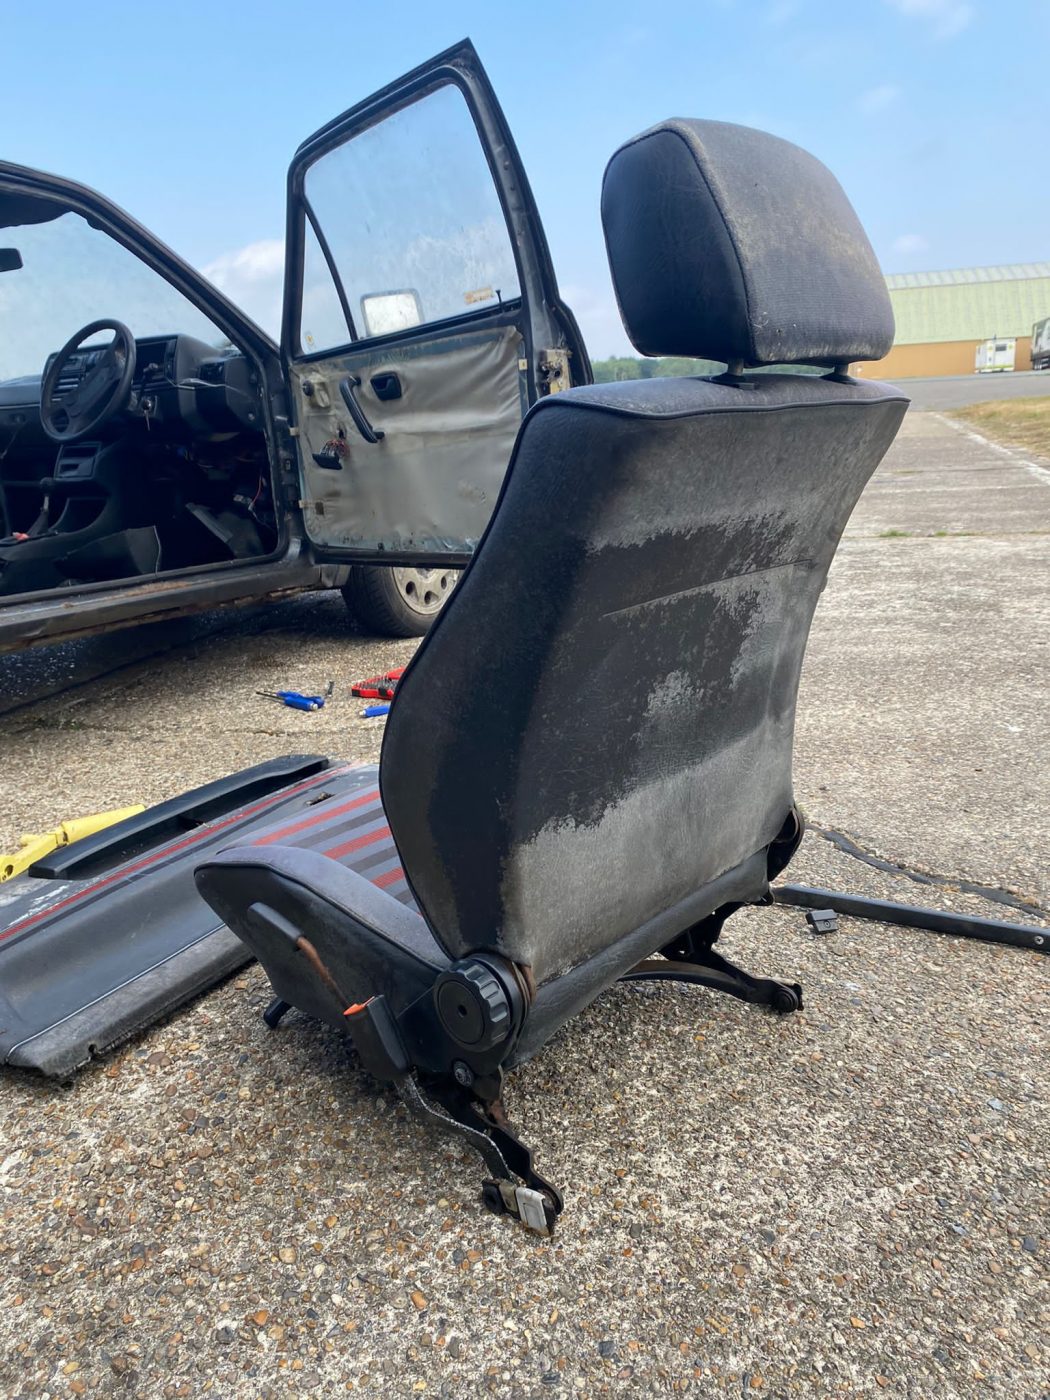
It may be some time before we see our 1987 VW Golf GTI in the workshops but having been sitting outside and open to the elements since 2007, we thought it was best to get the car inside and away from the wind and the rain.
Having been owned by the same family for many years Alice has decided to get her father’s the car back on the road for many more years of enjoyment.
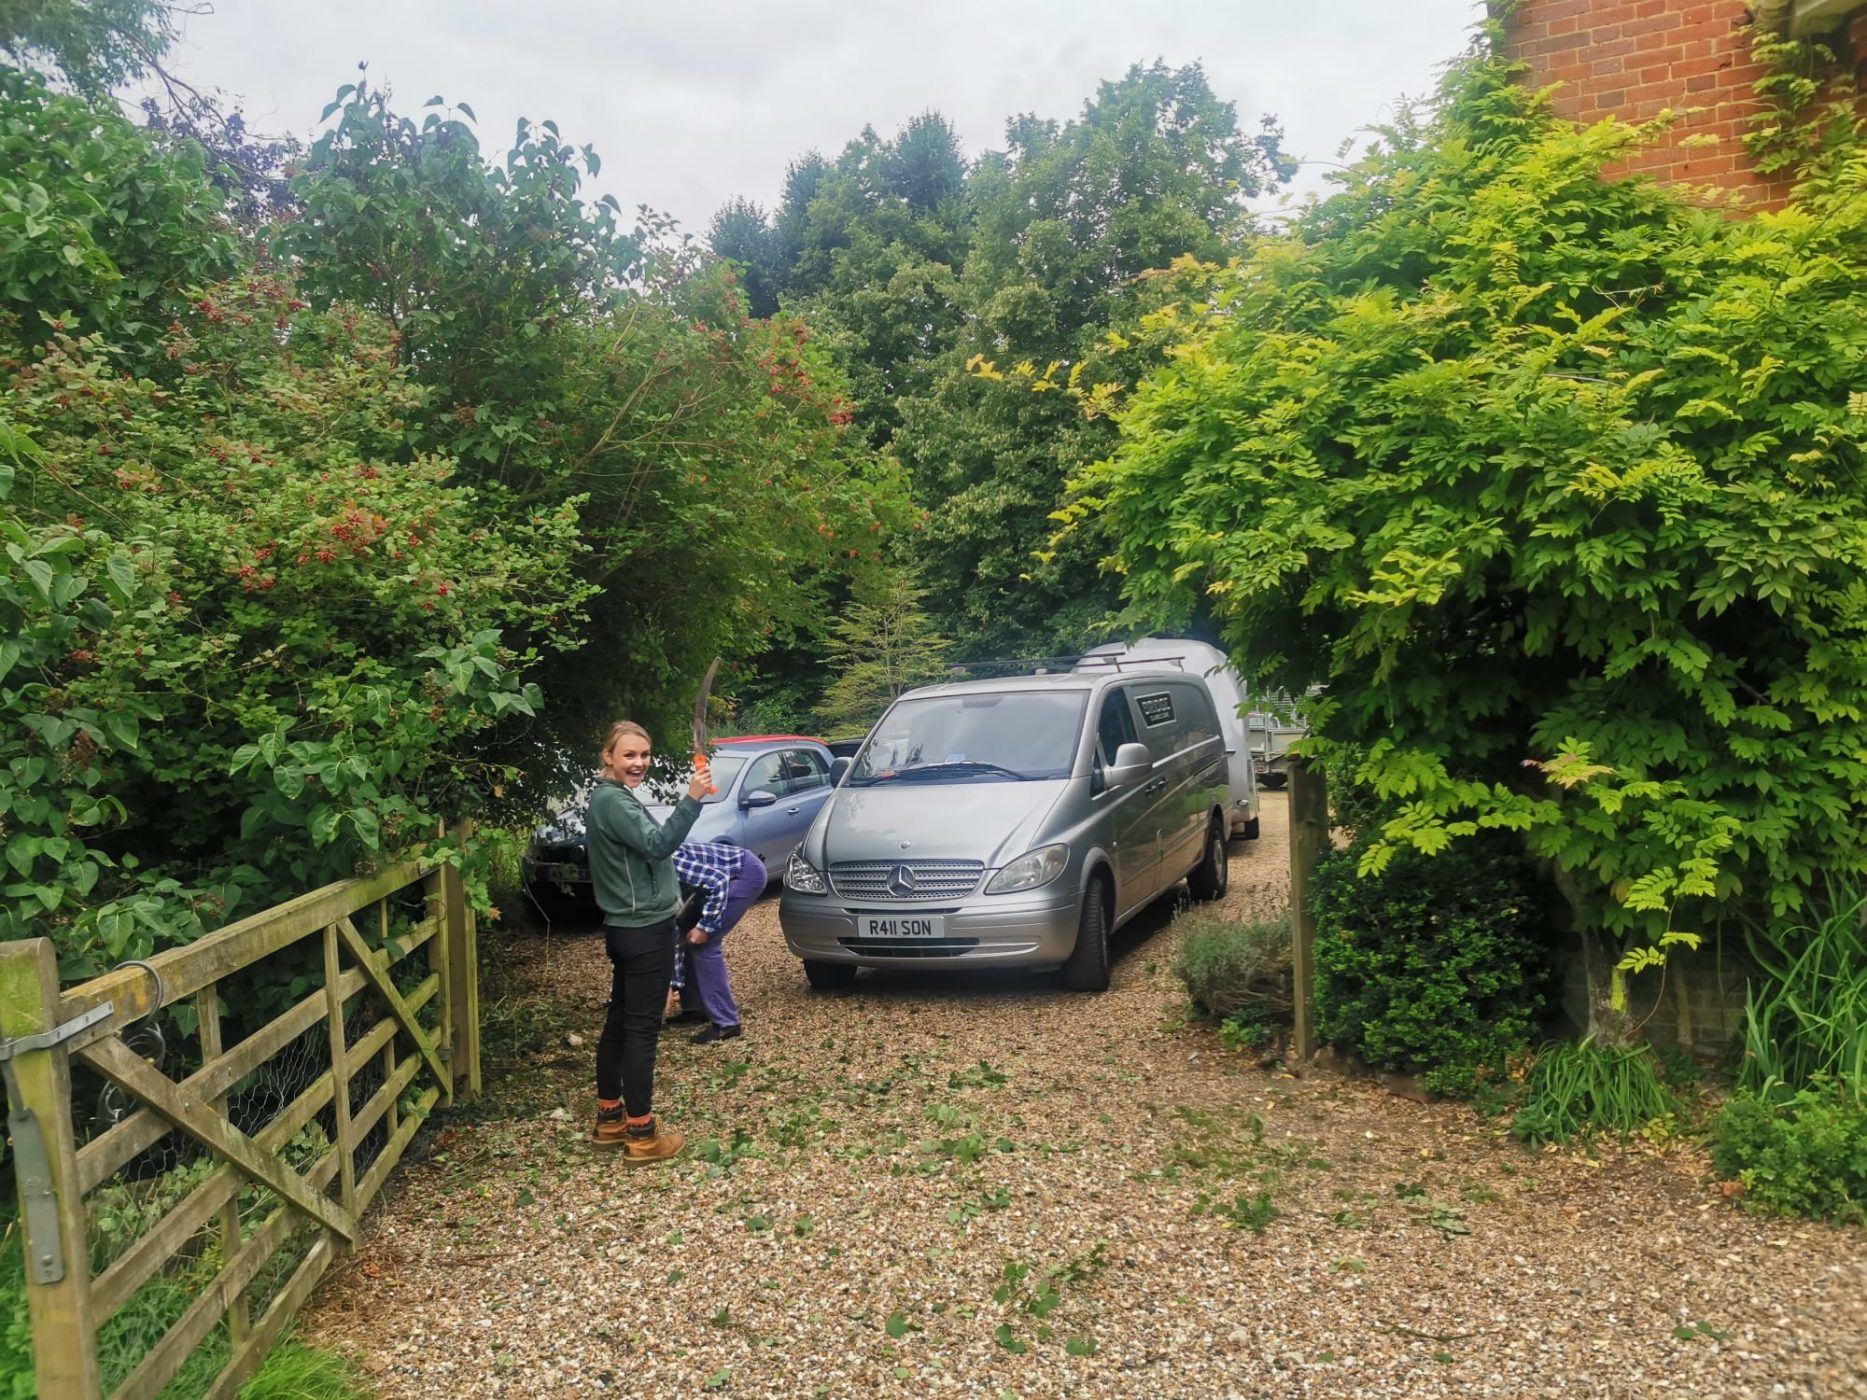
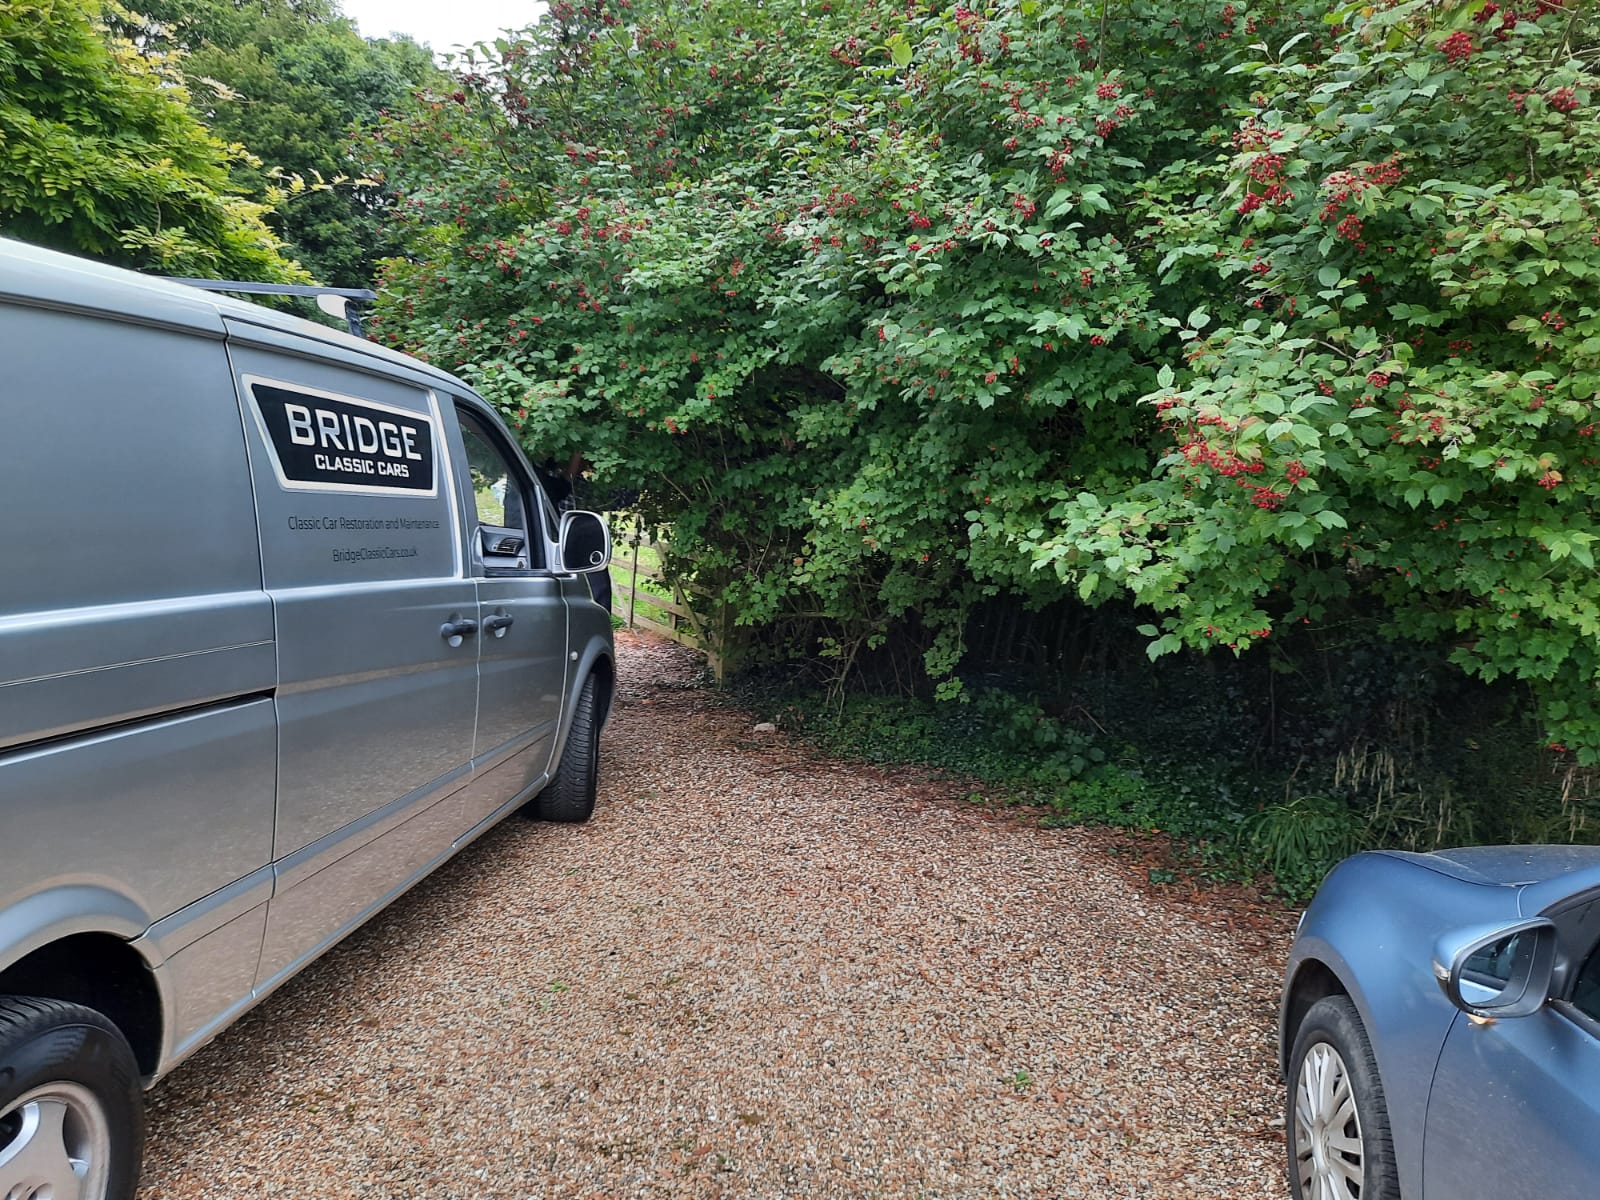
After a little bit of tree surgery in order to get the van through the gates, Tom and Mauro have managed to pull the car out and successfully loaded (him) in to the trailer.
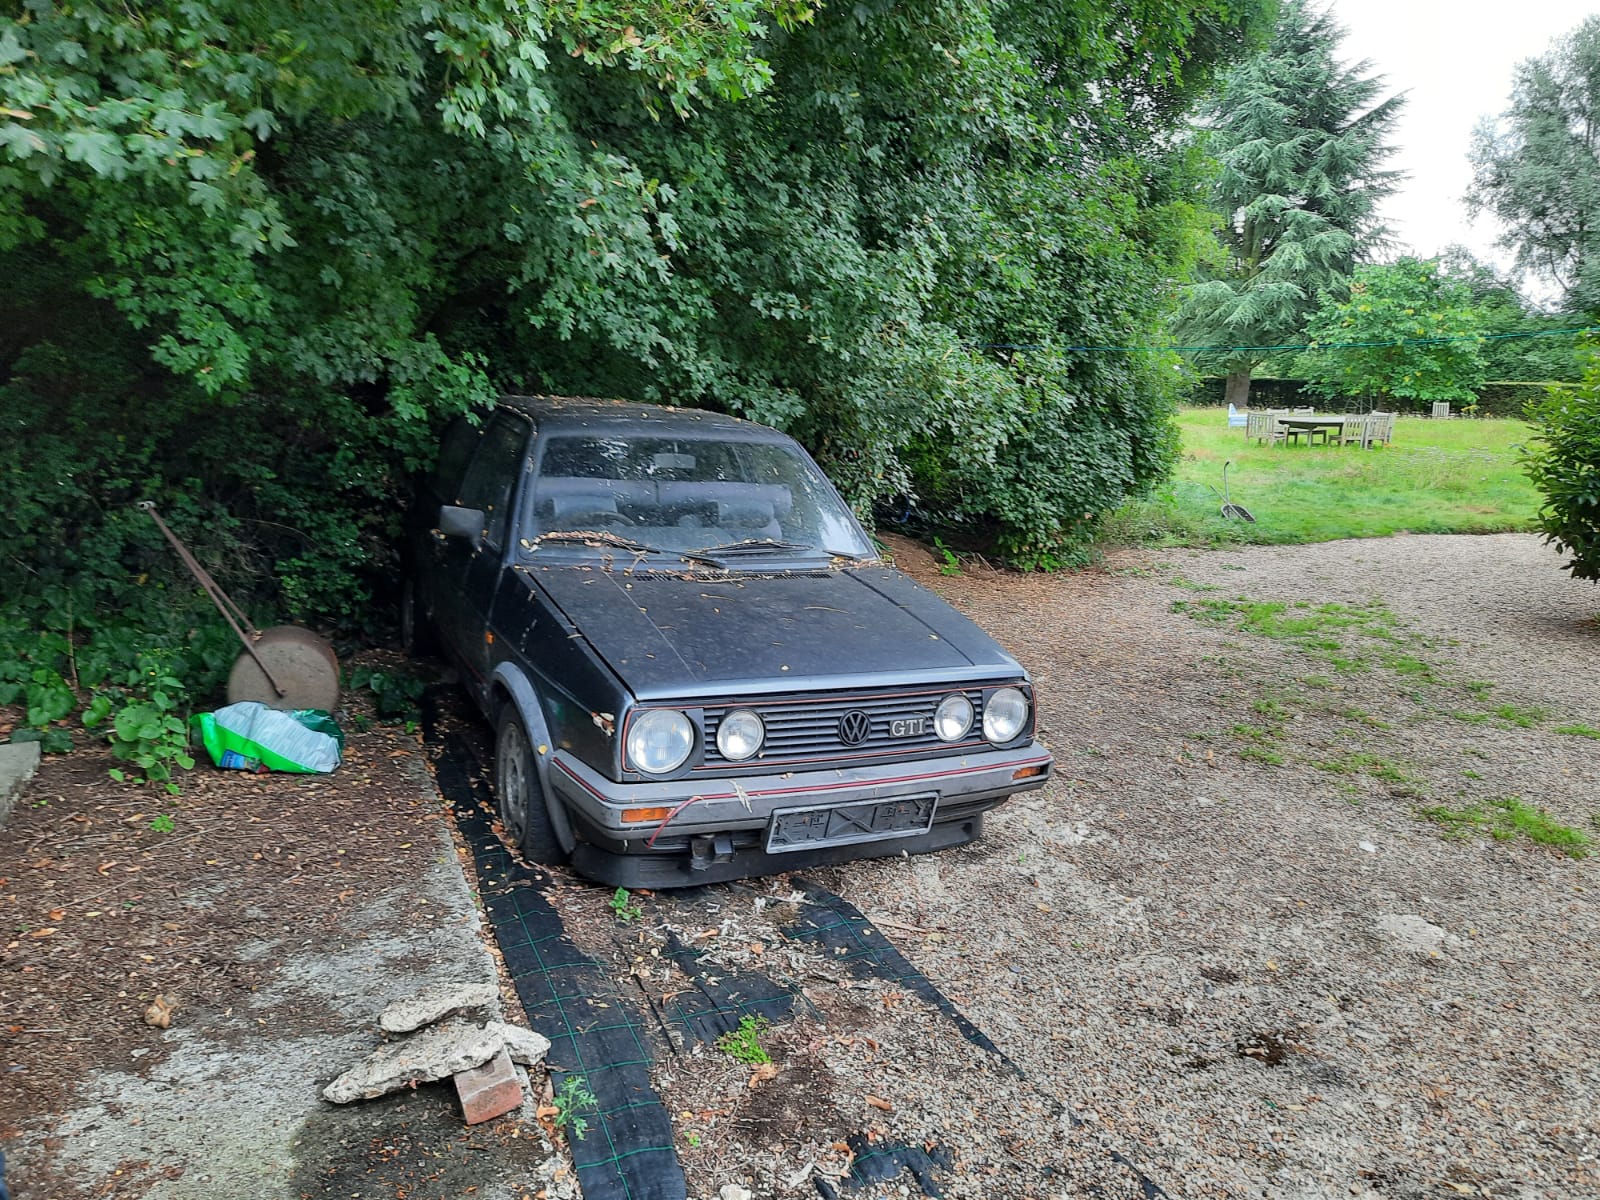


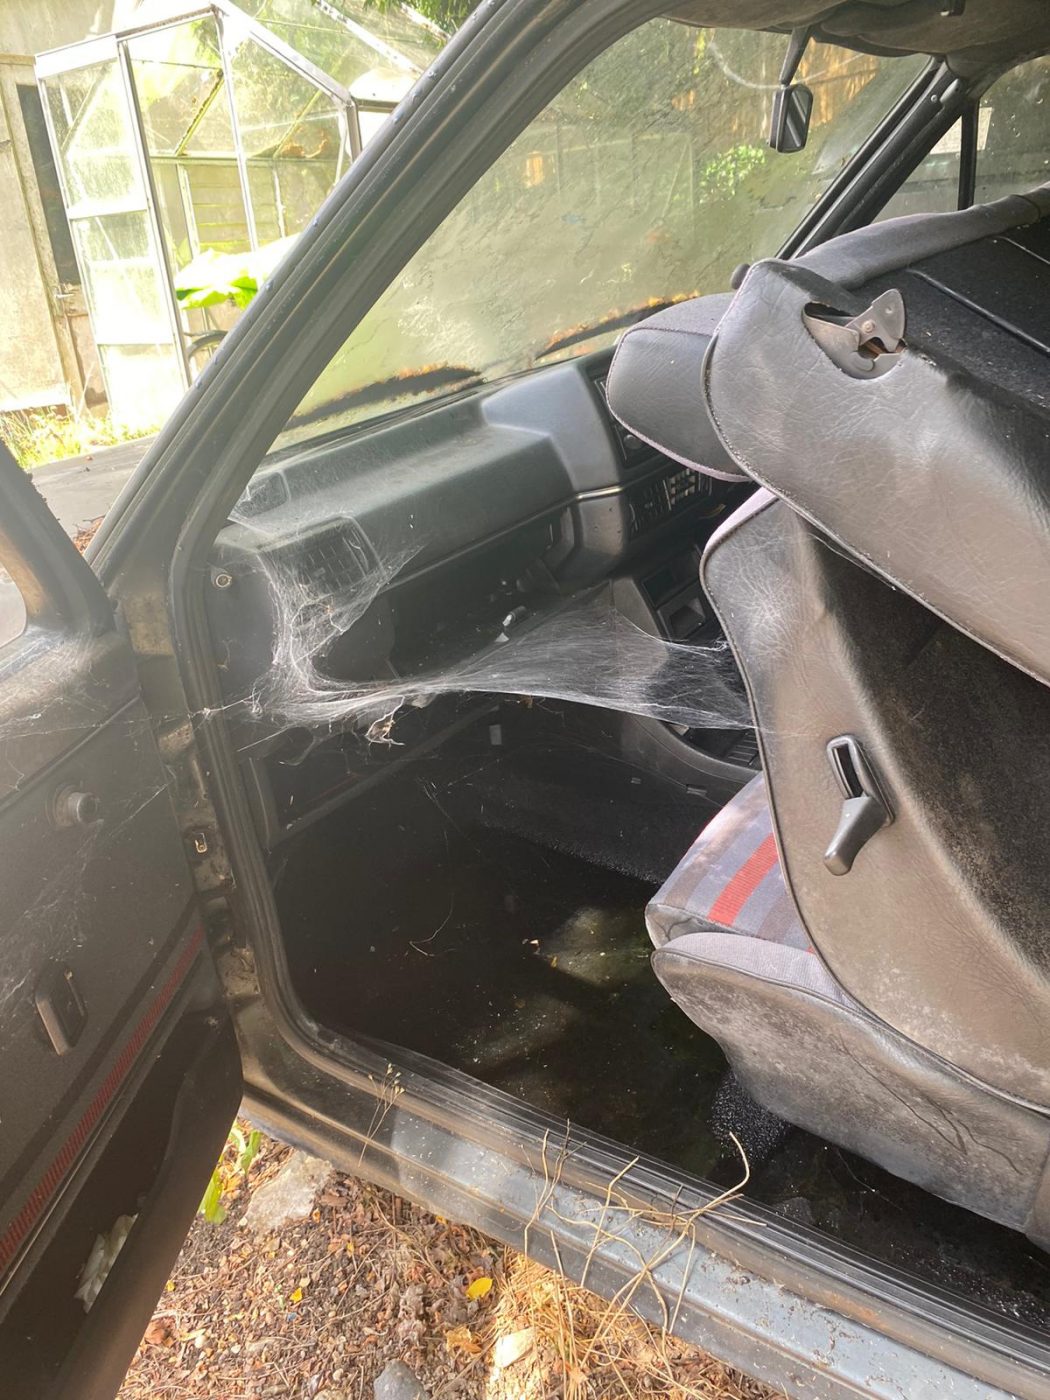
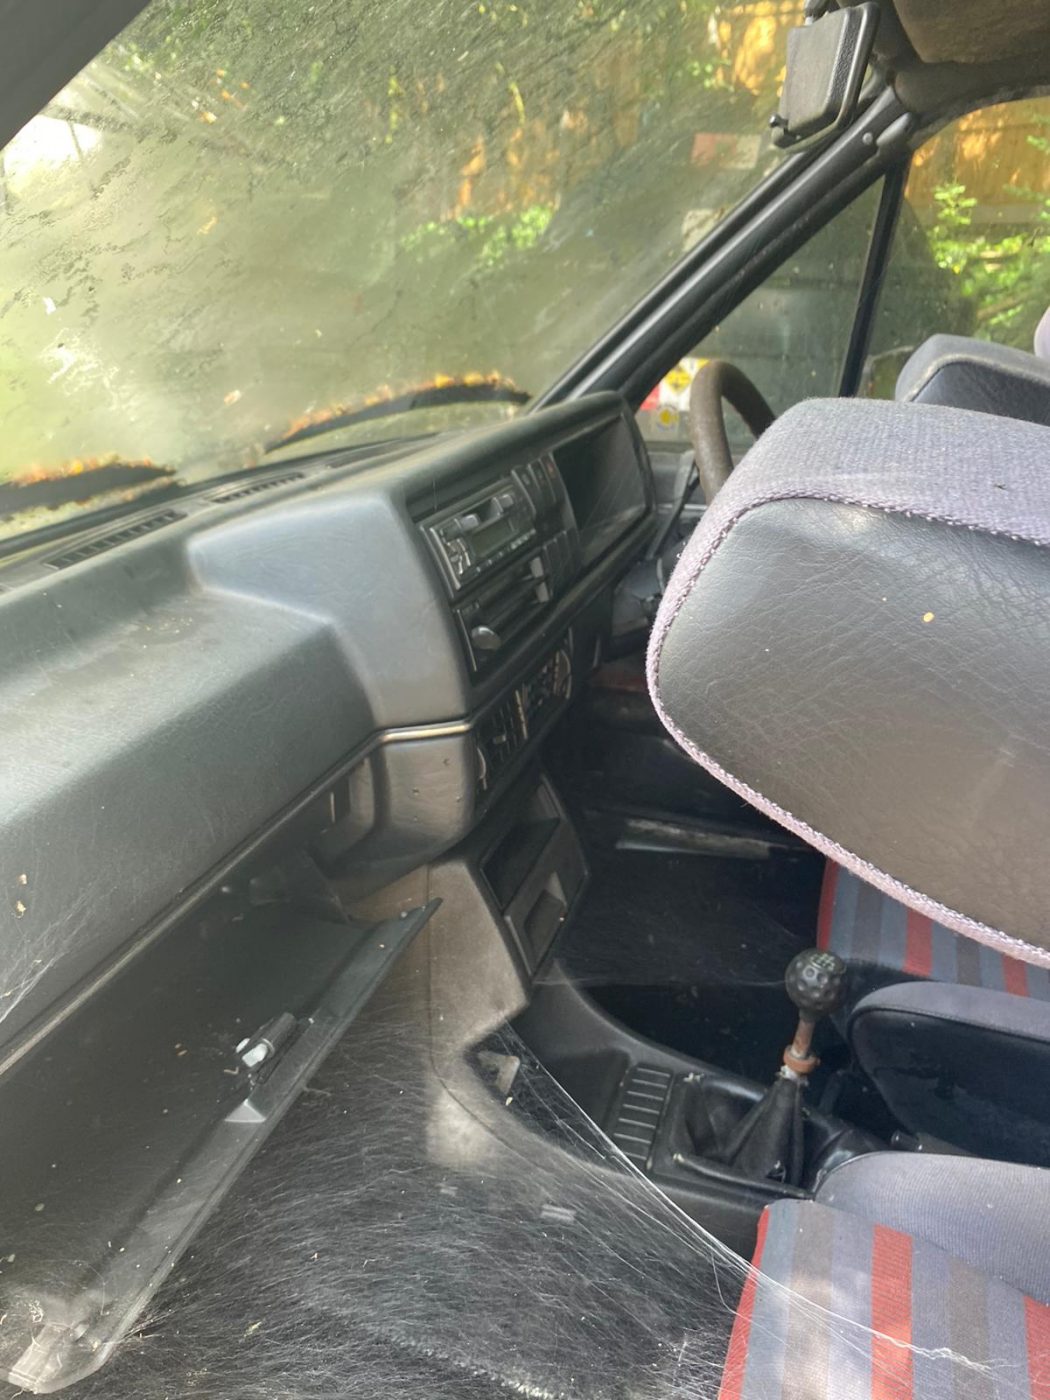
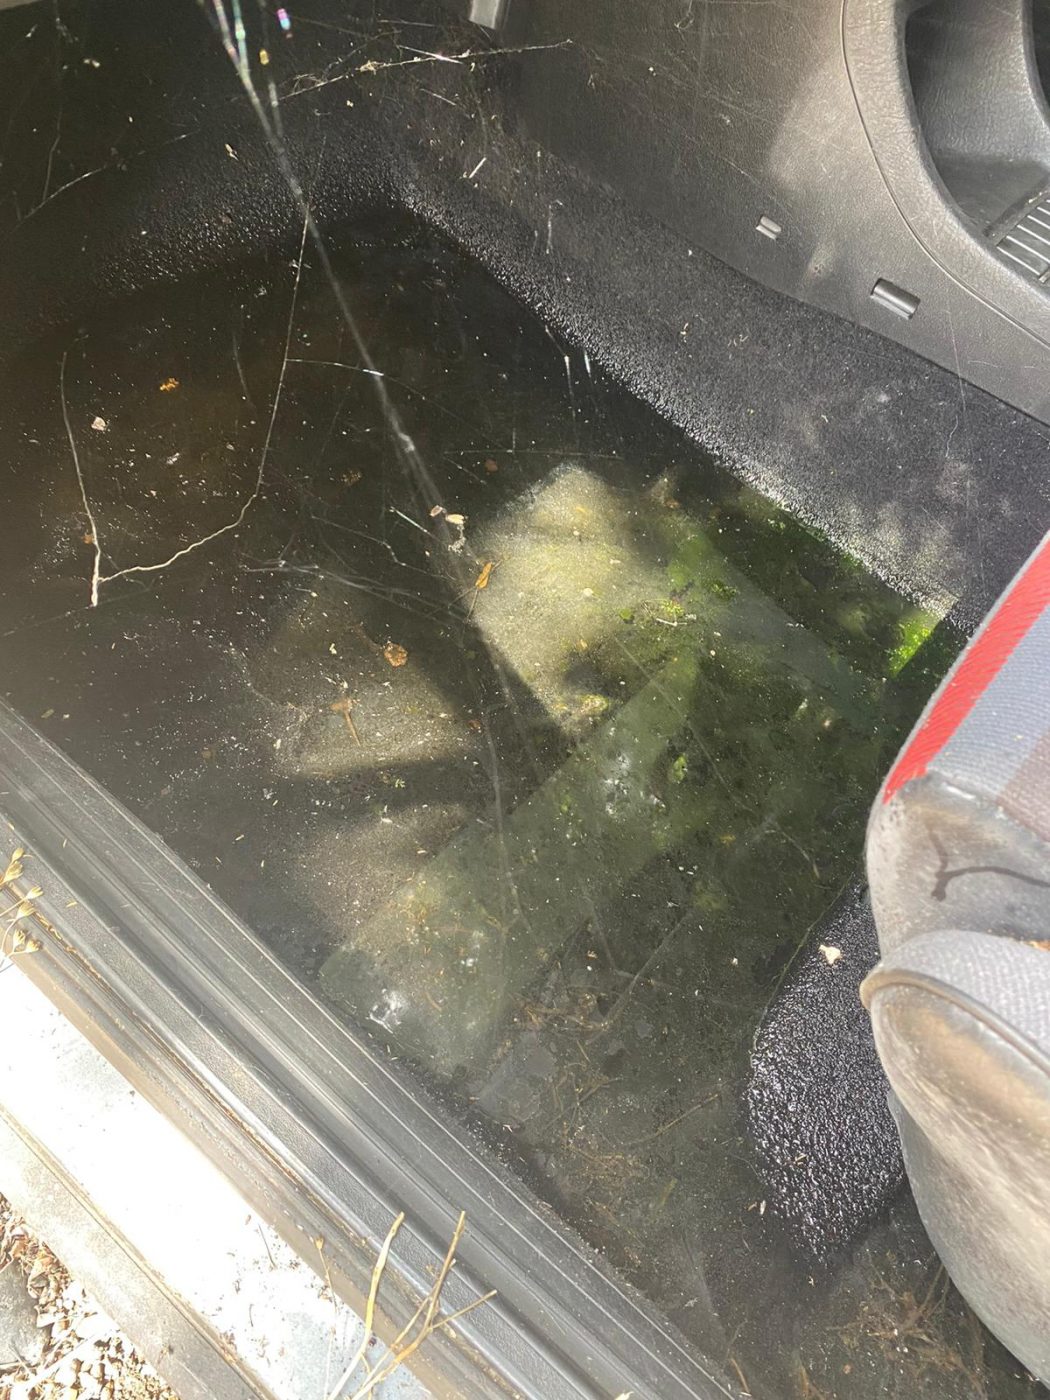
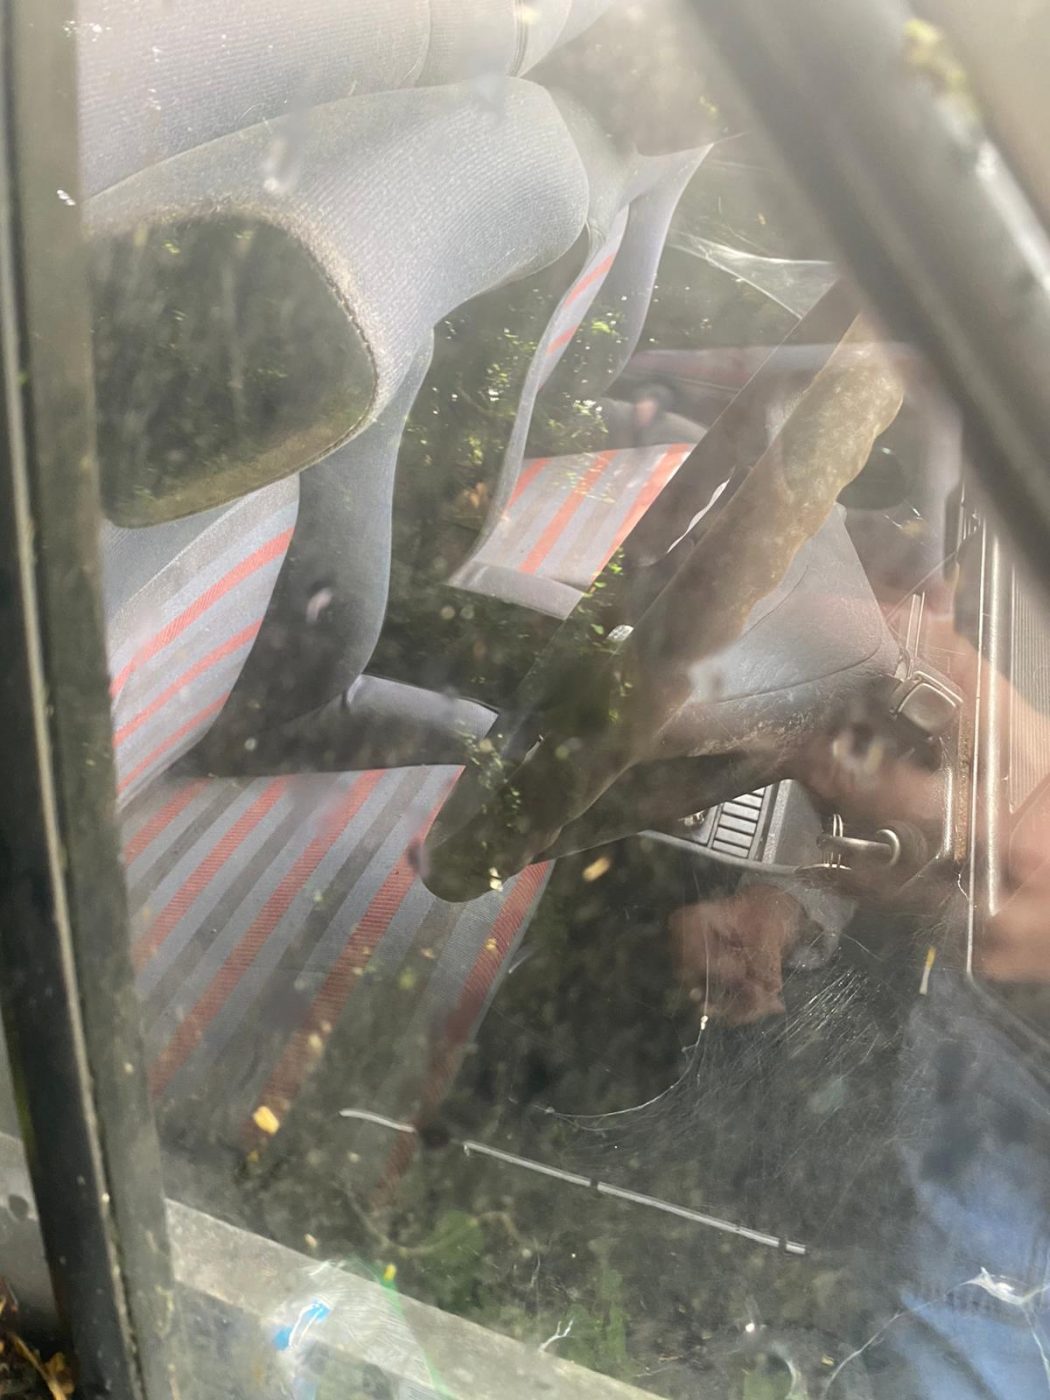
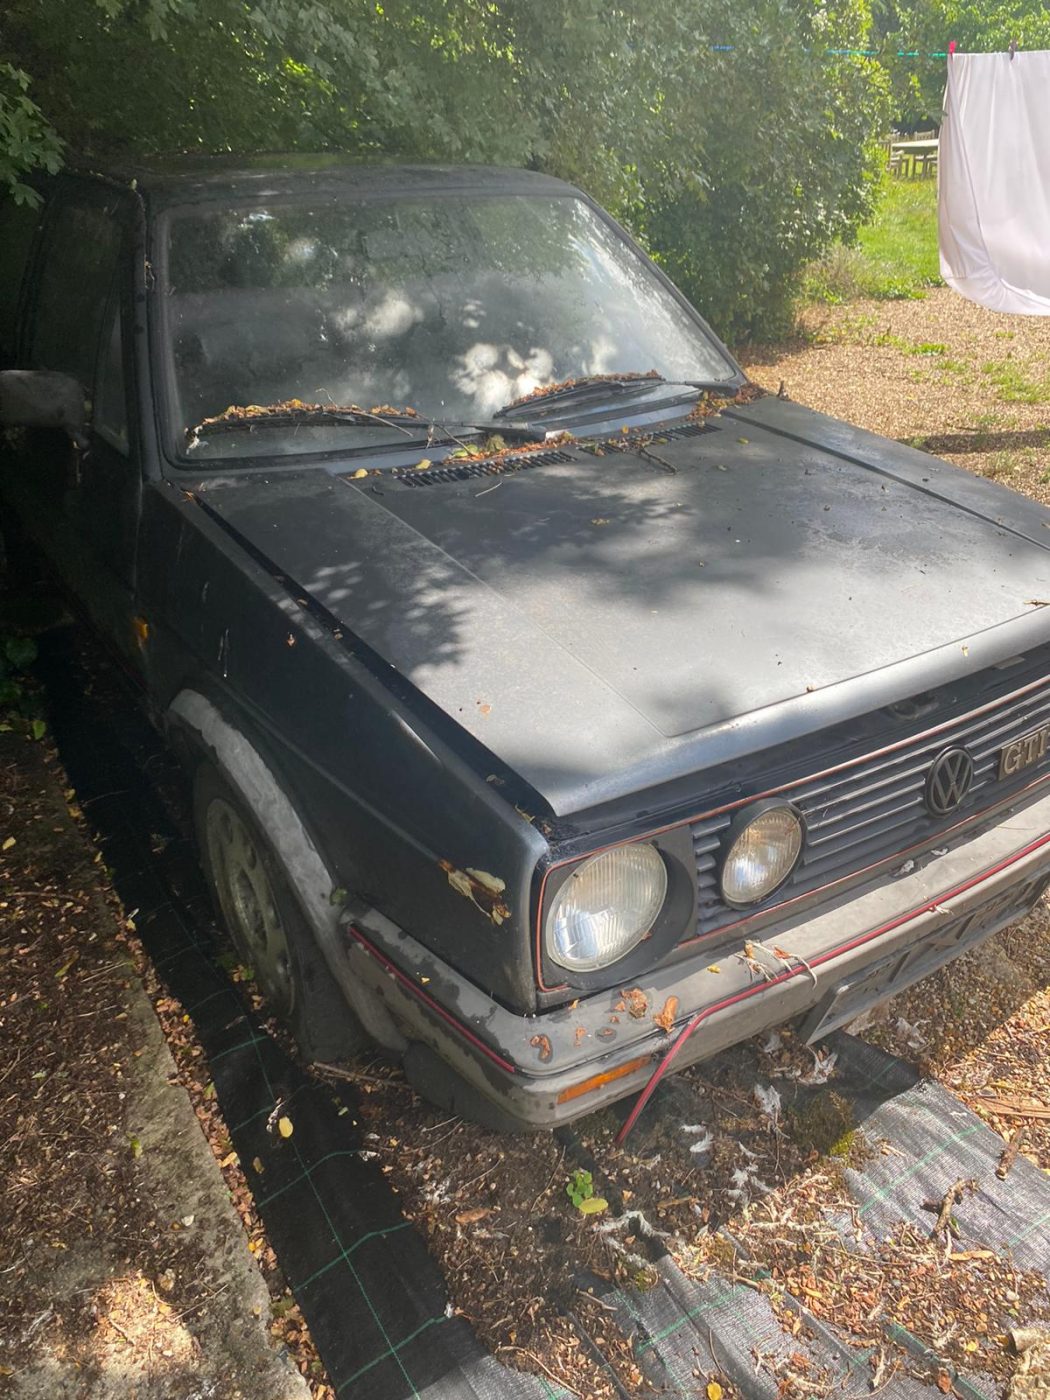
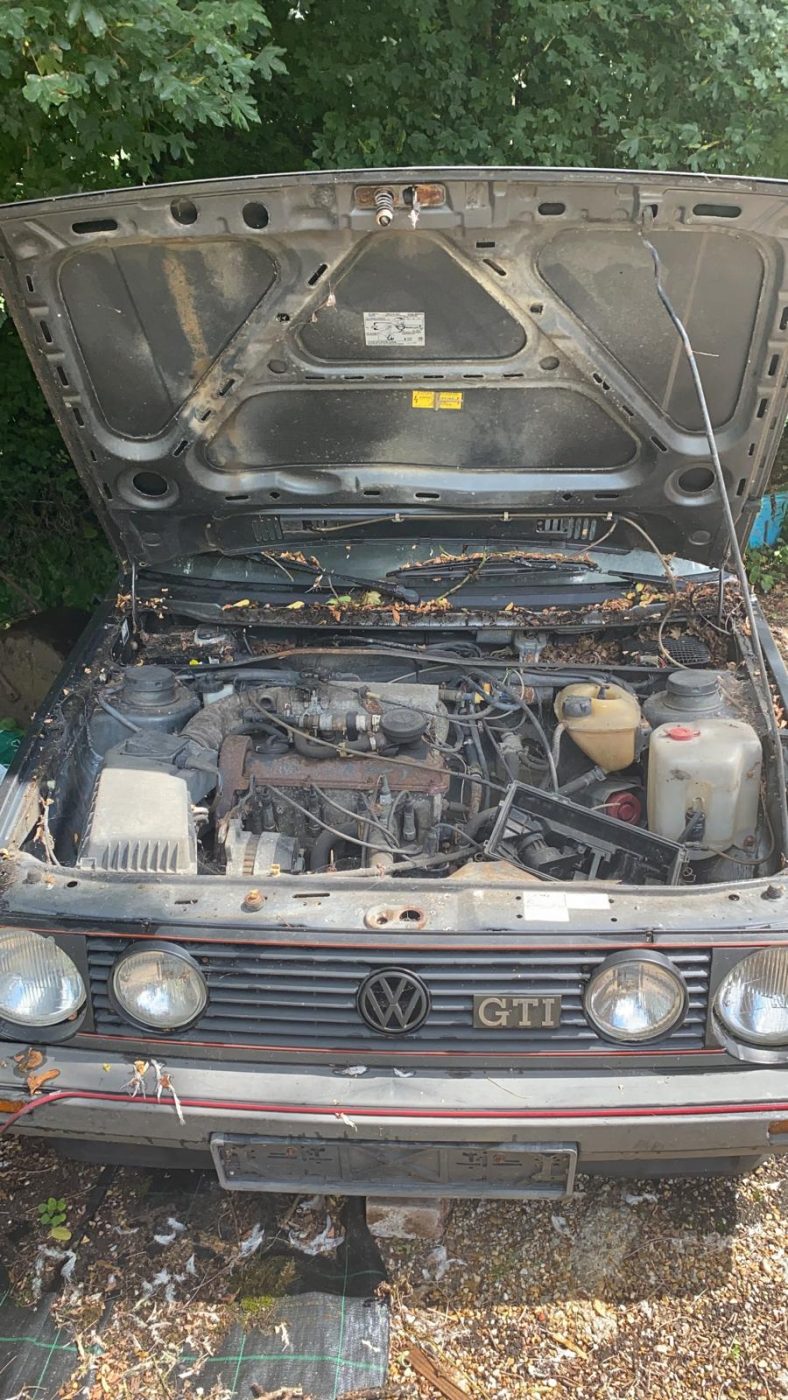
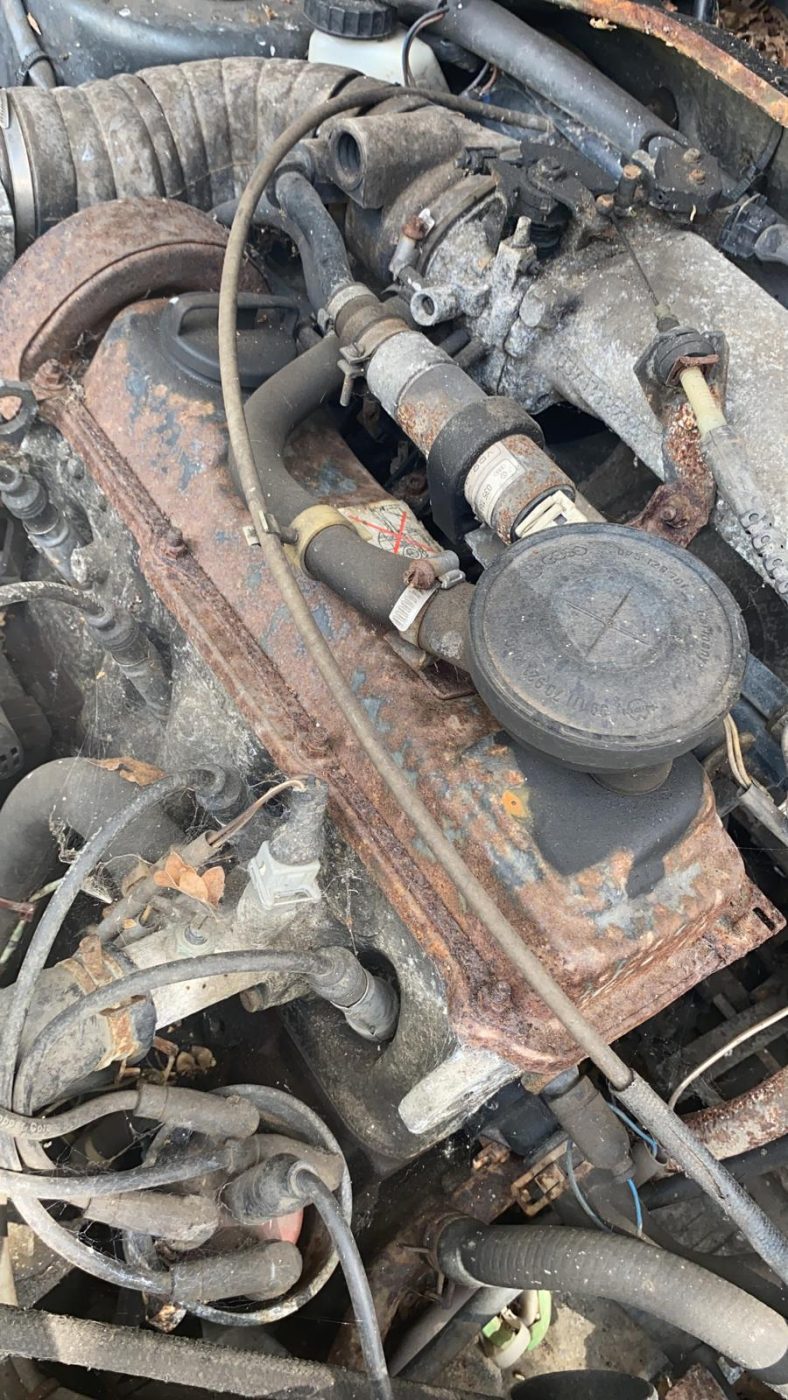
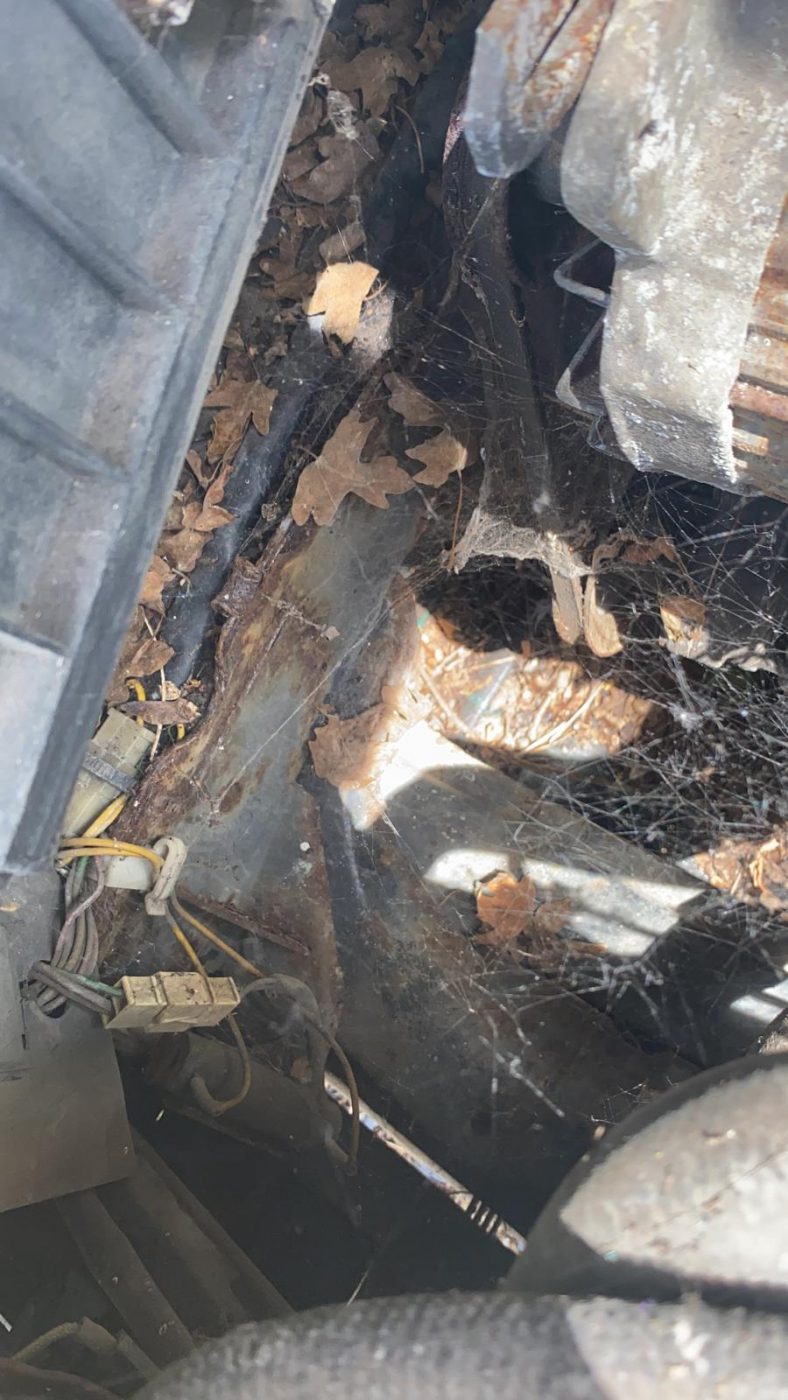
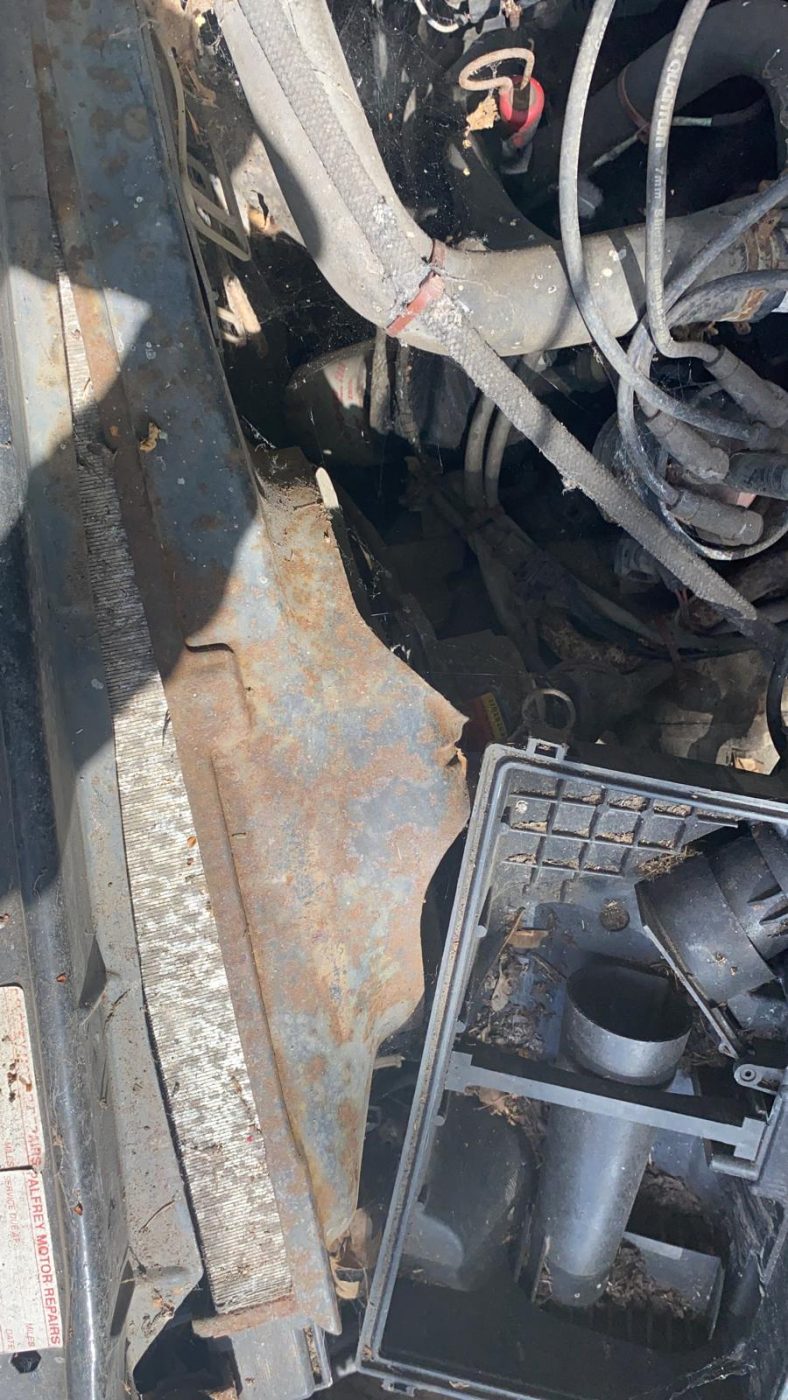
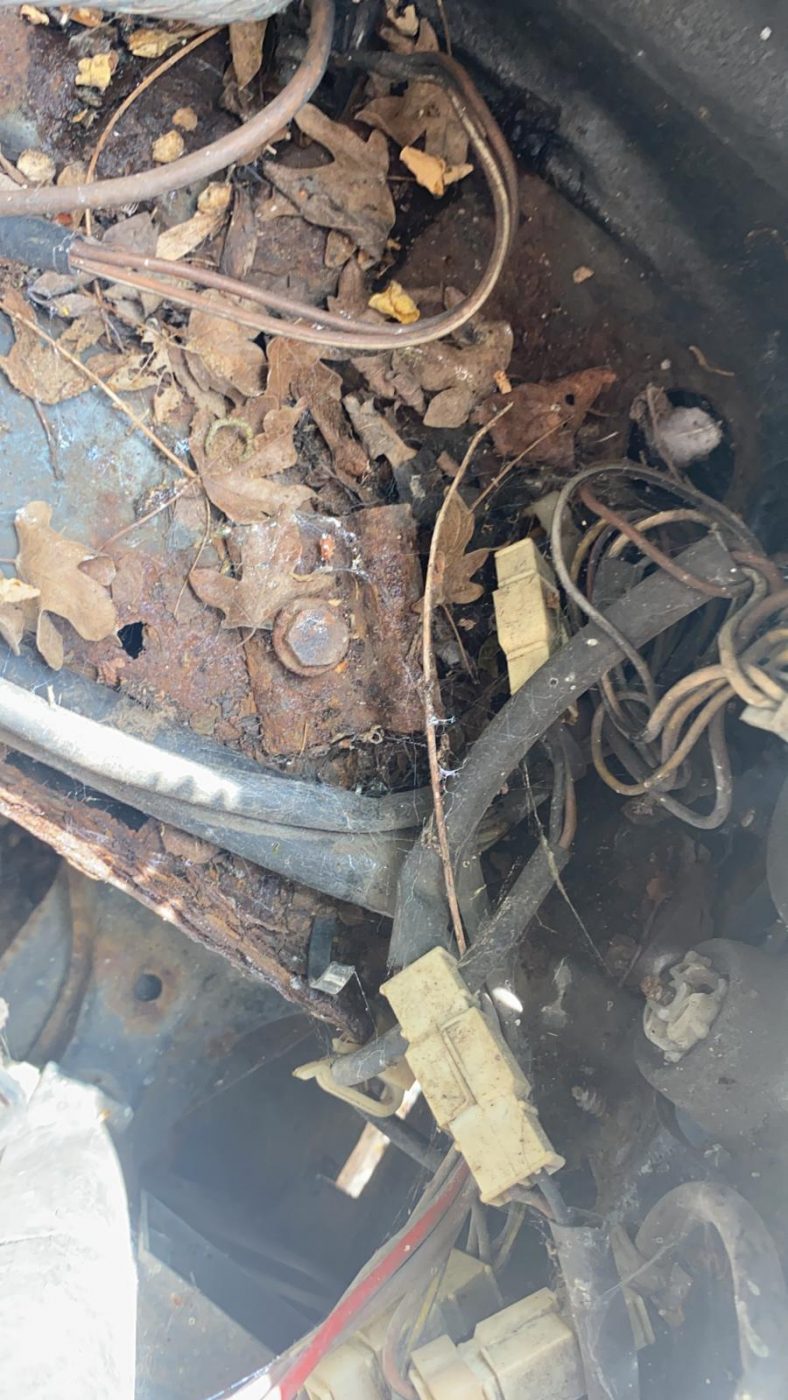
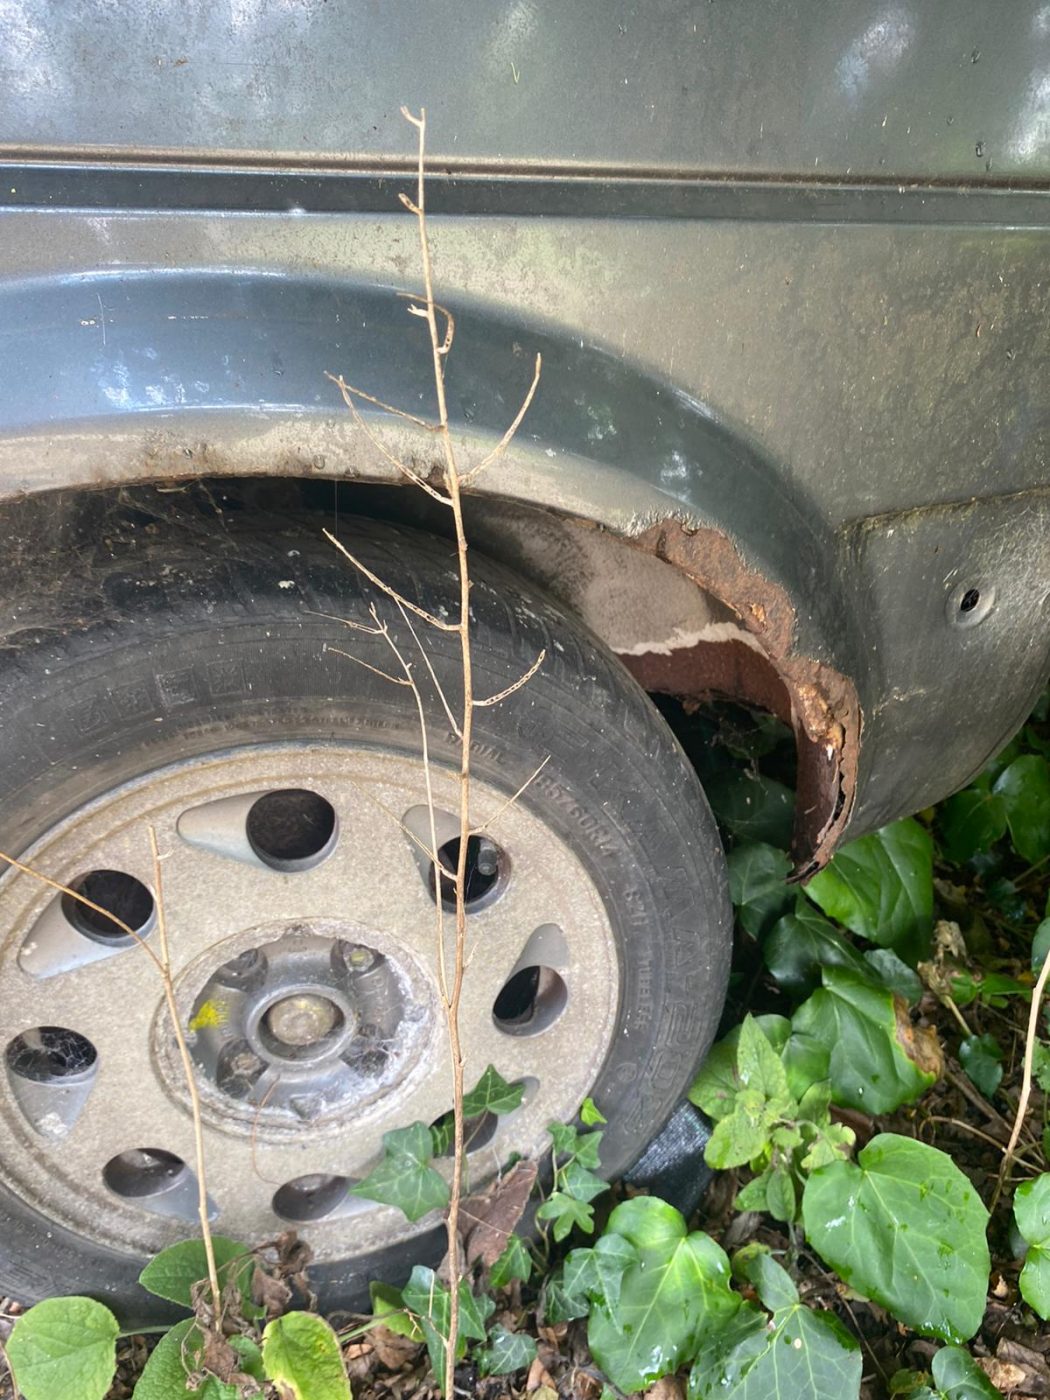
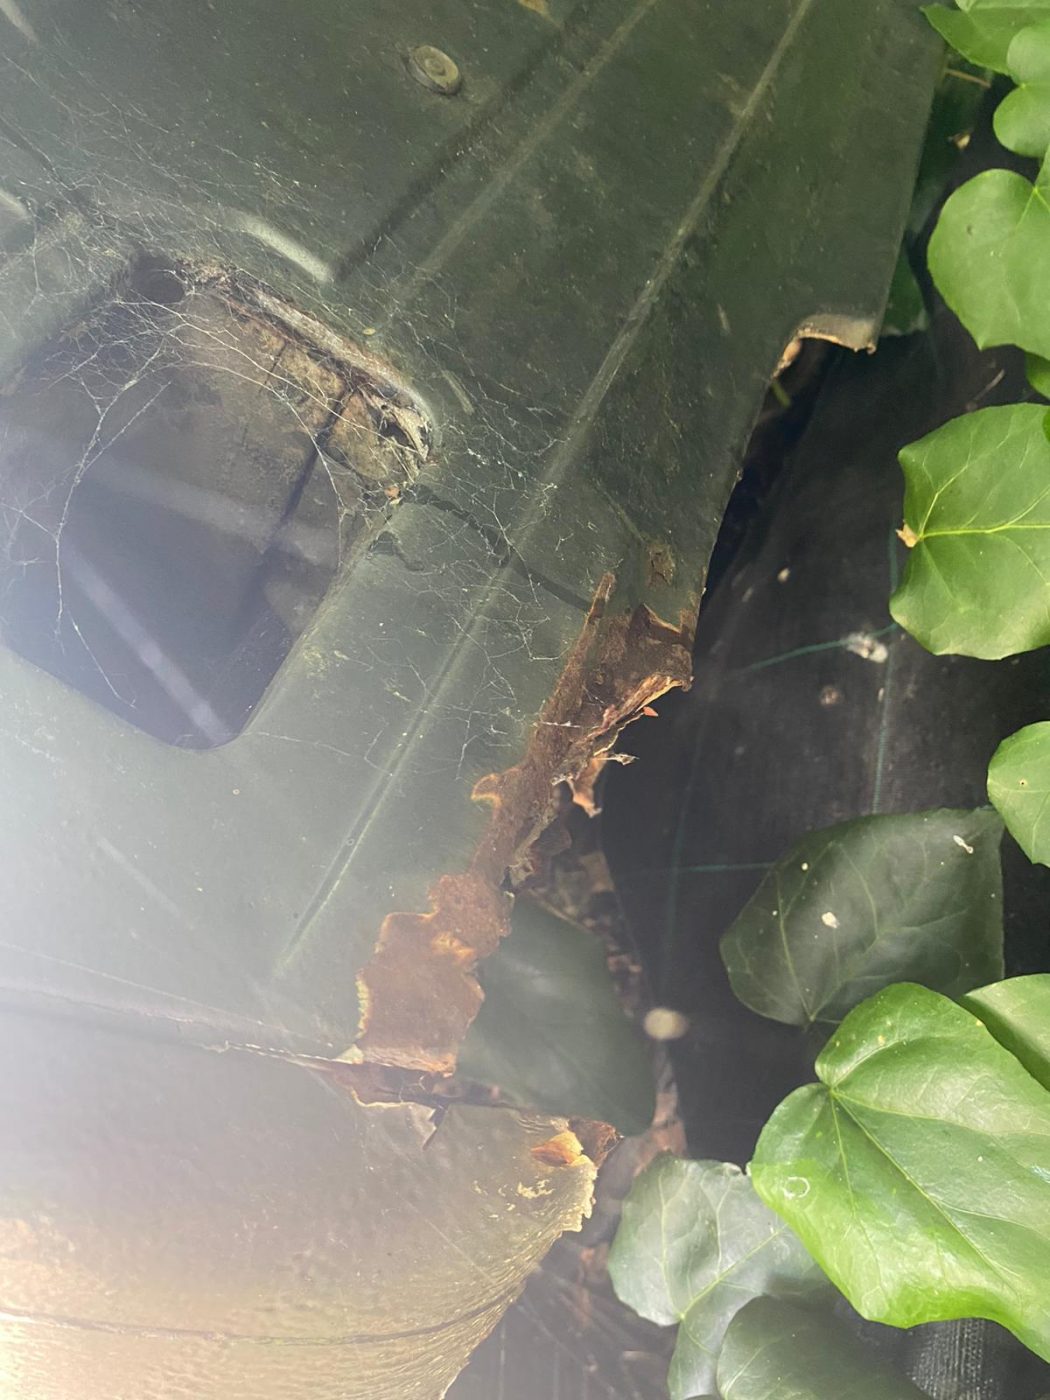
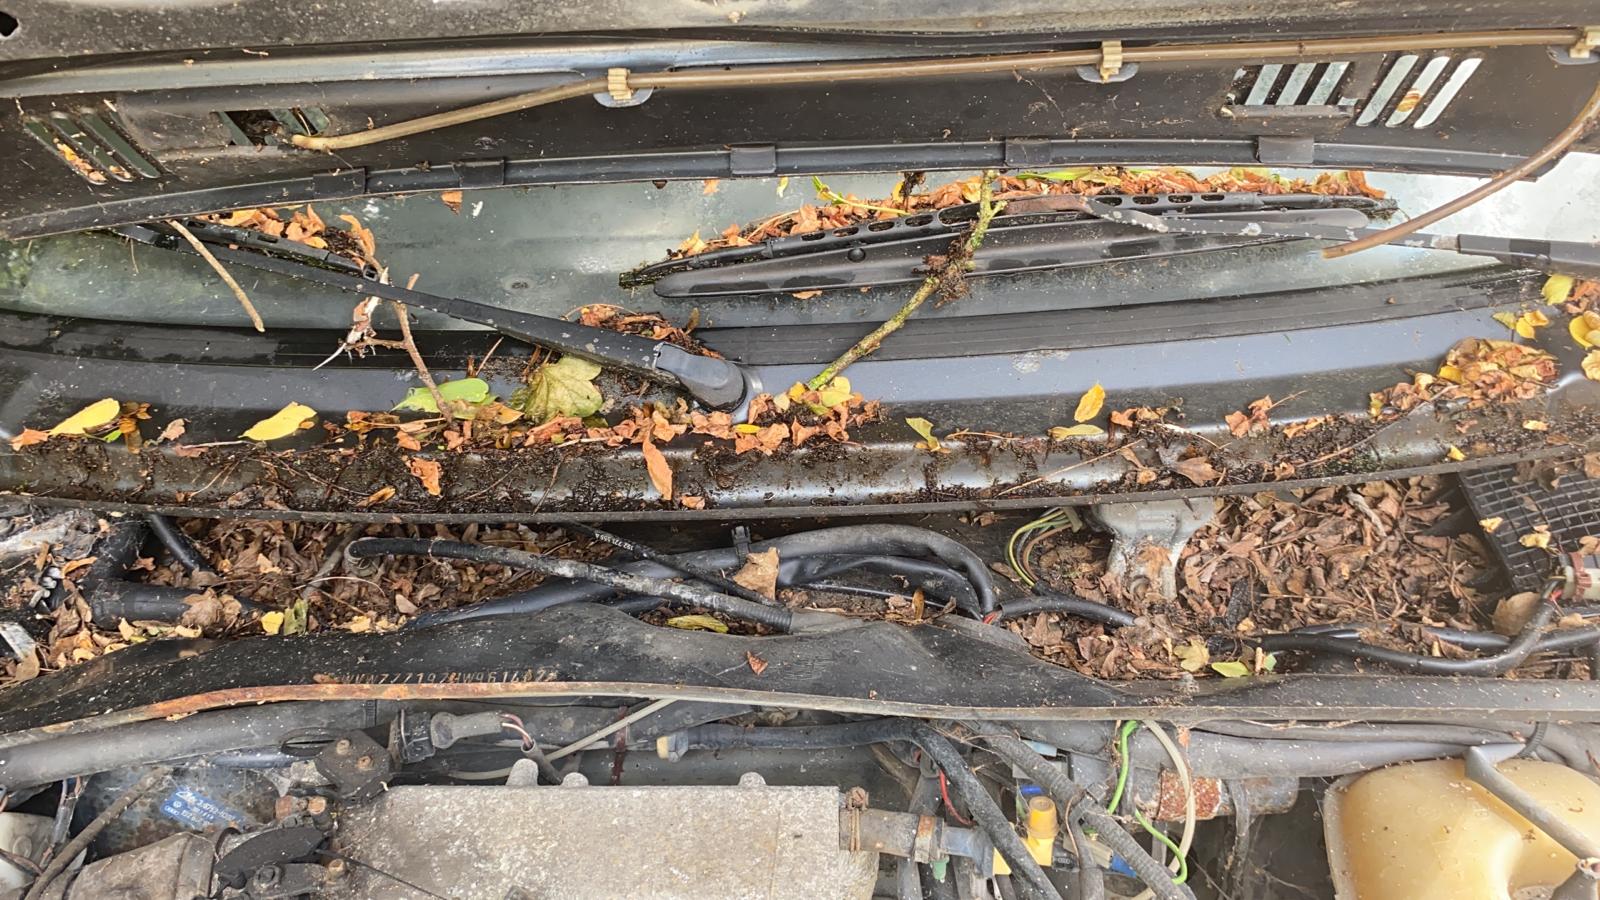

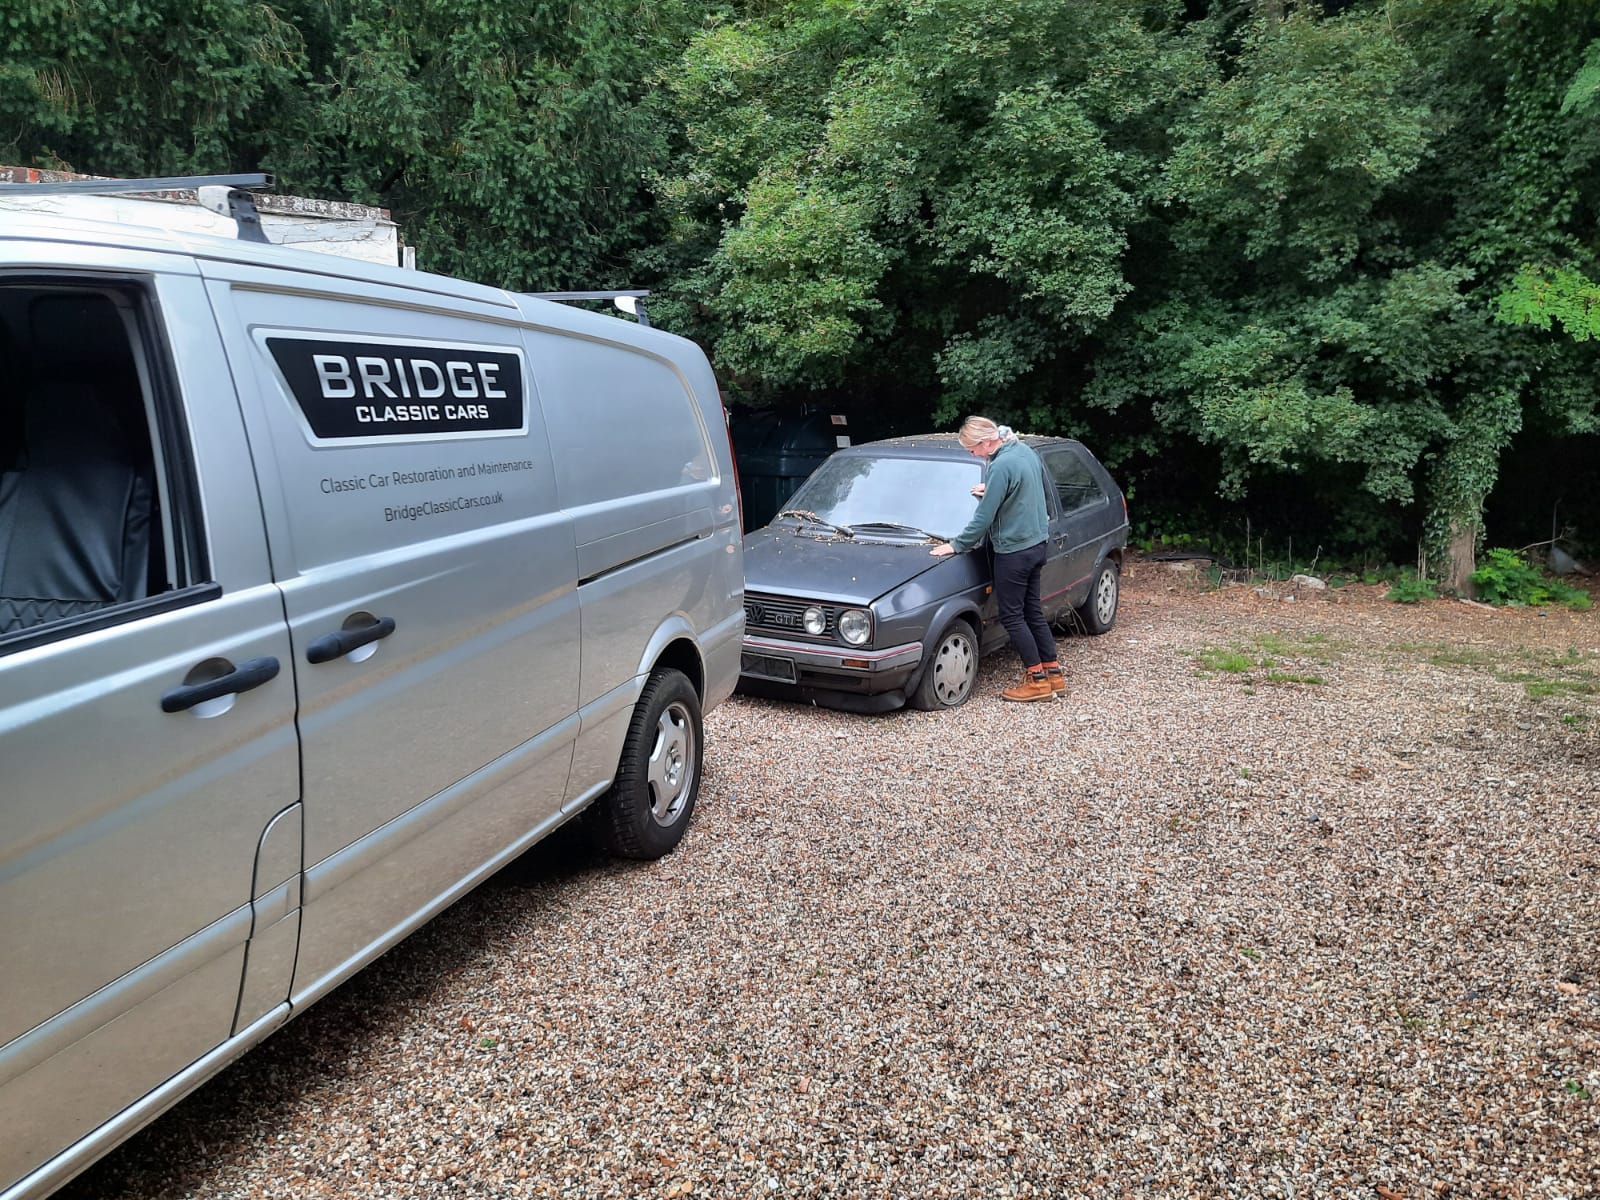
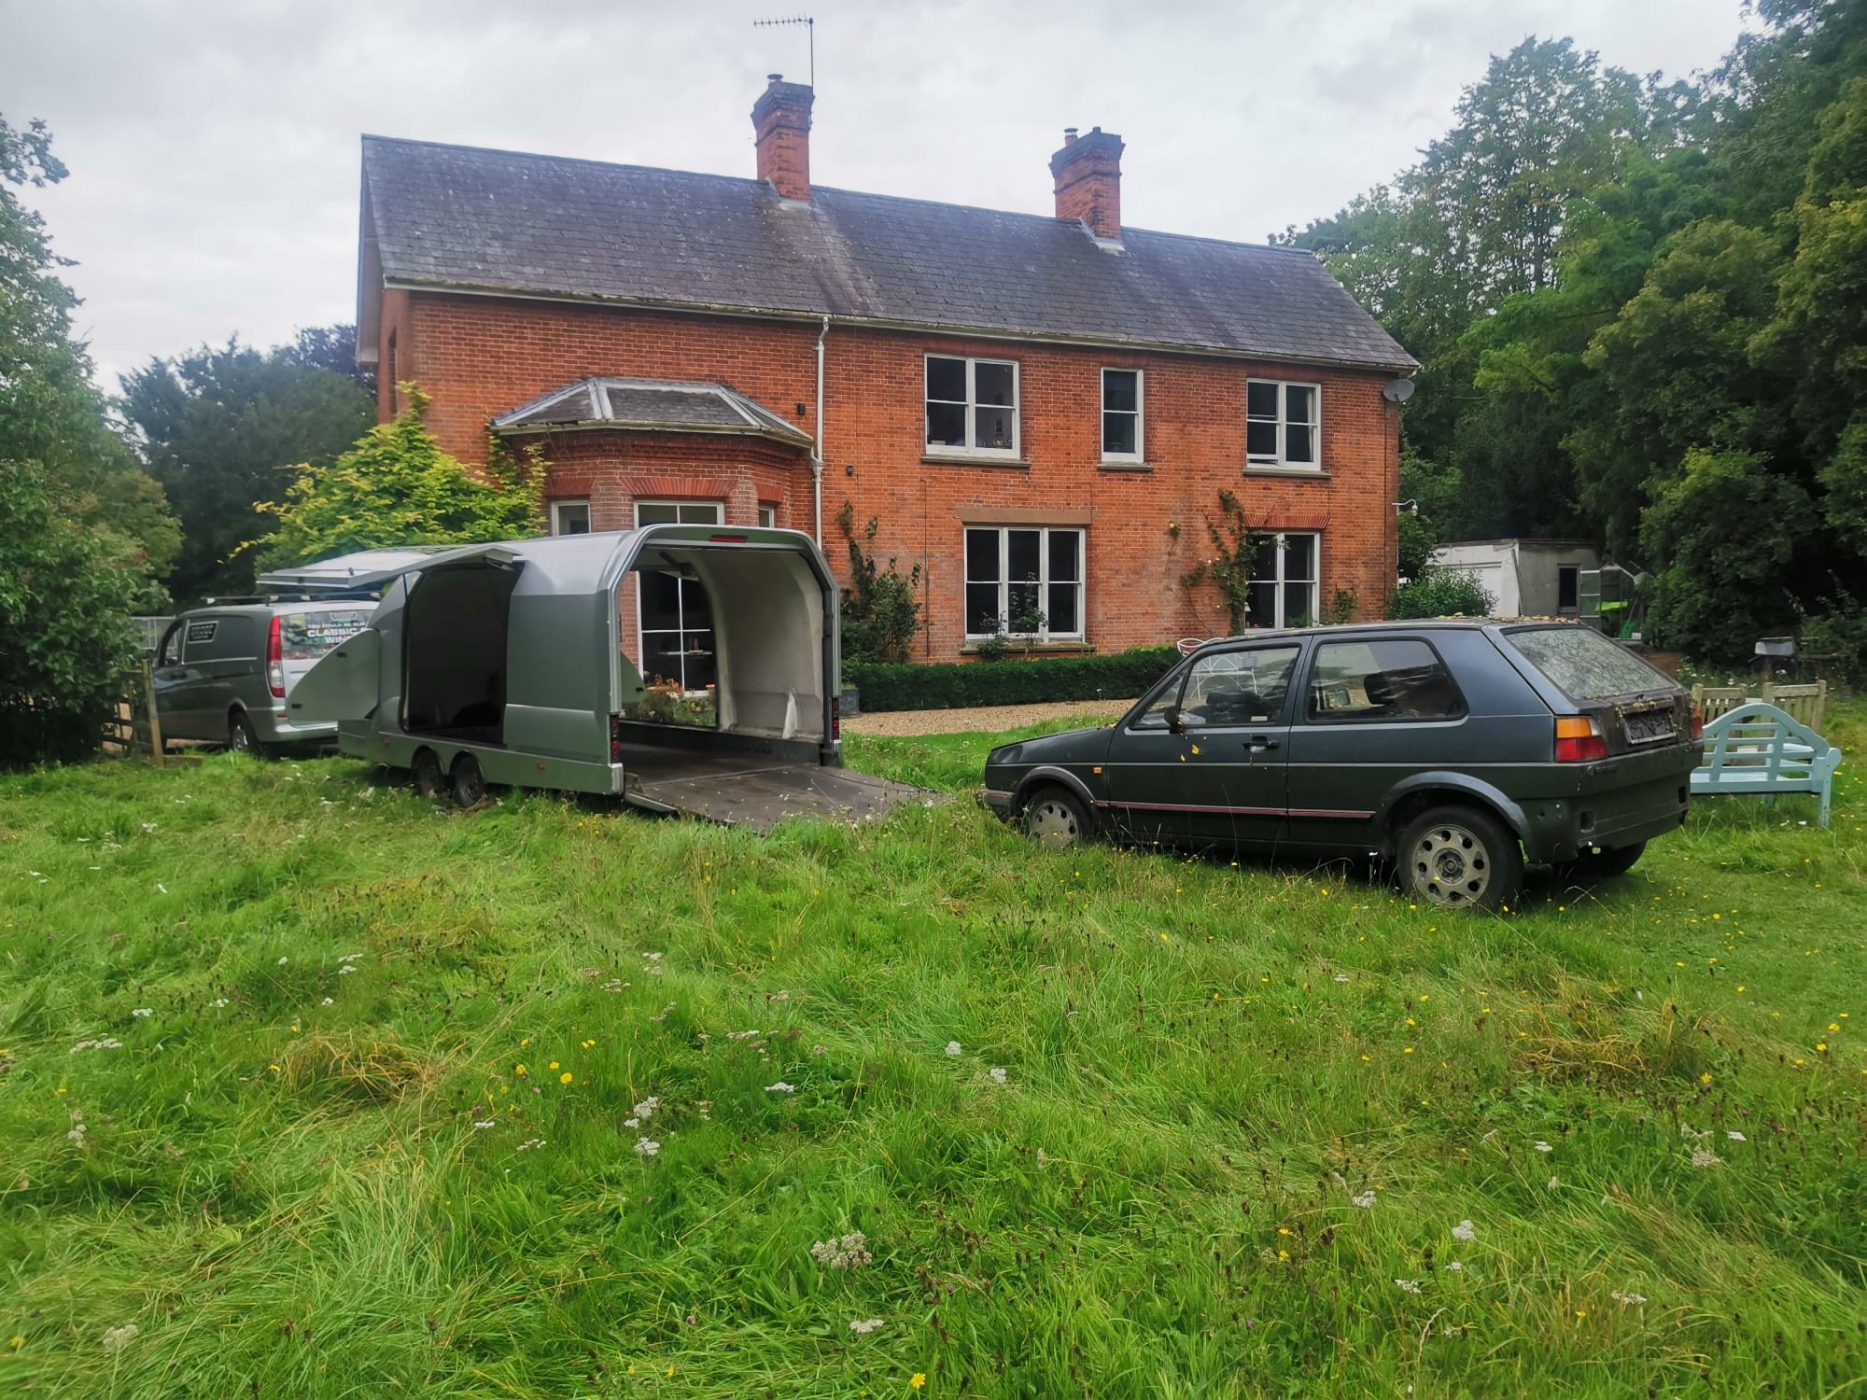
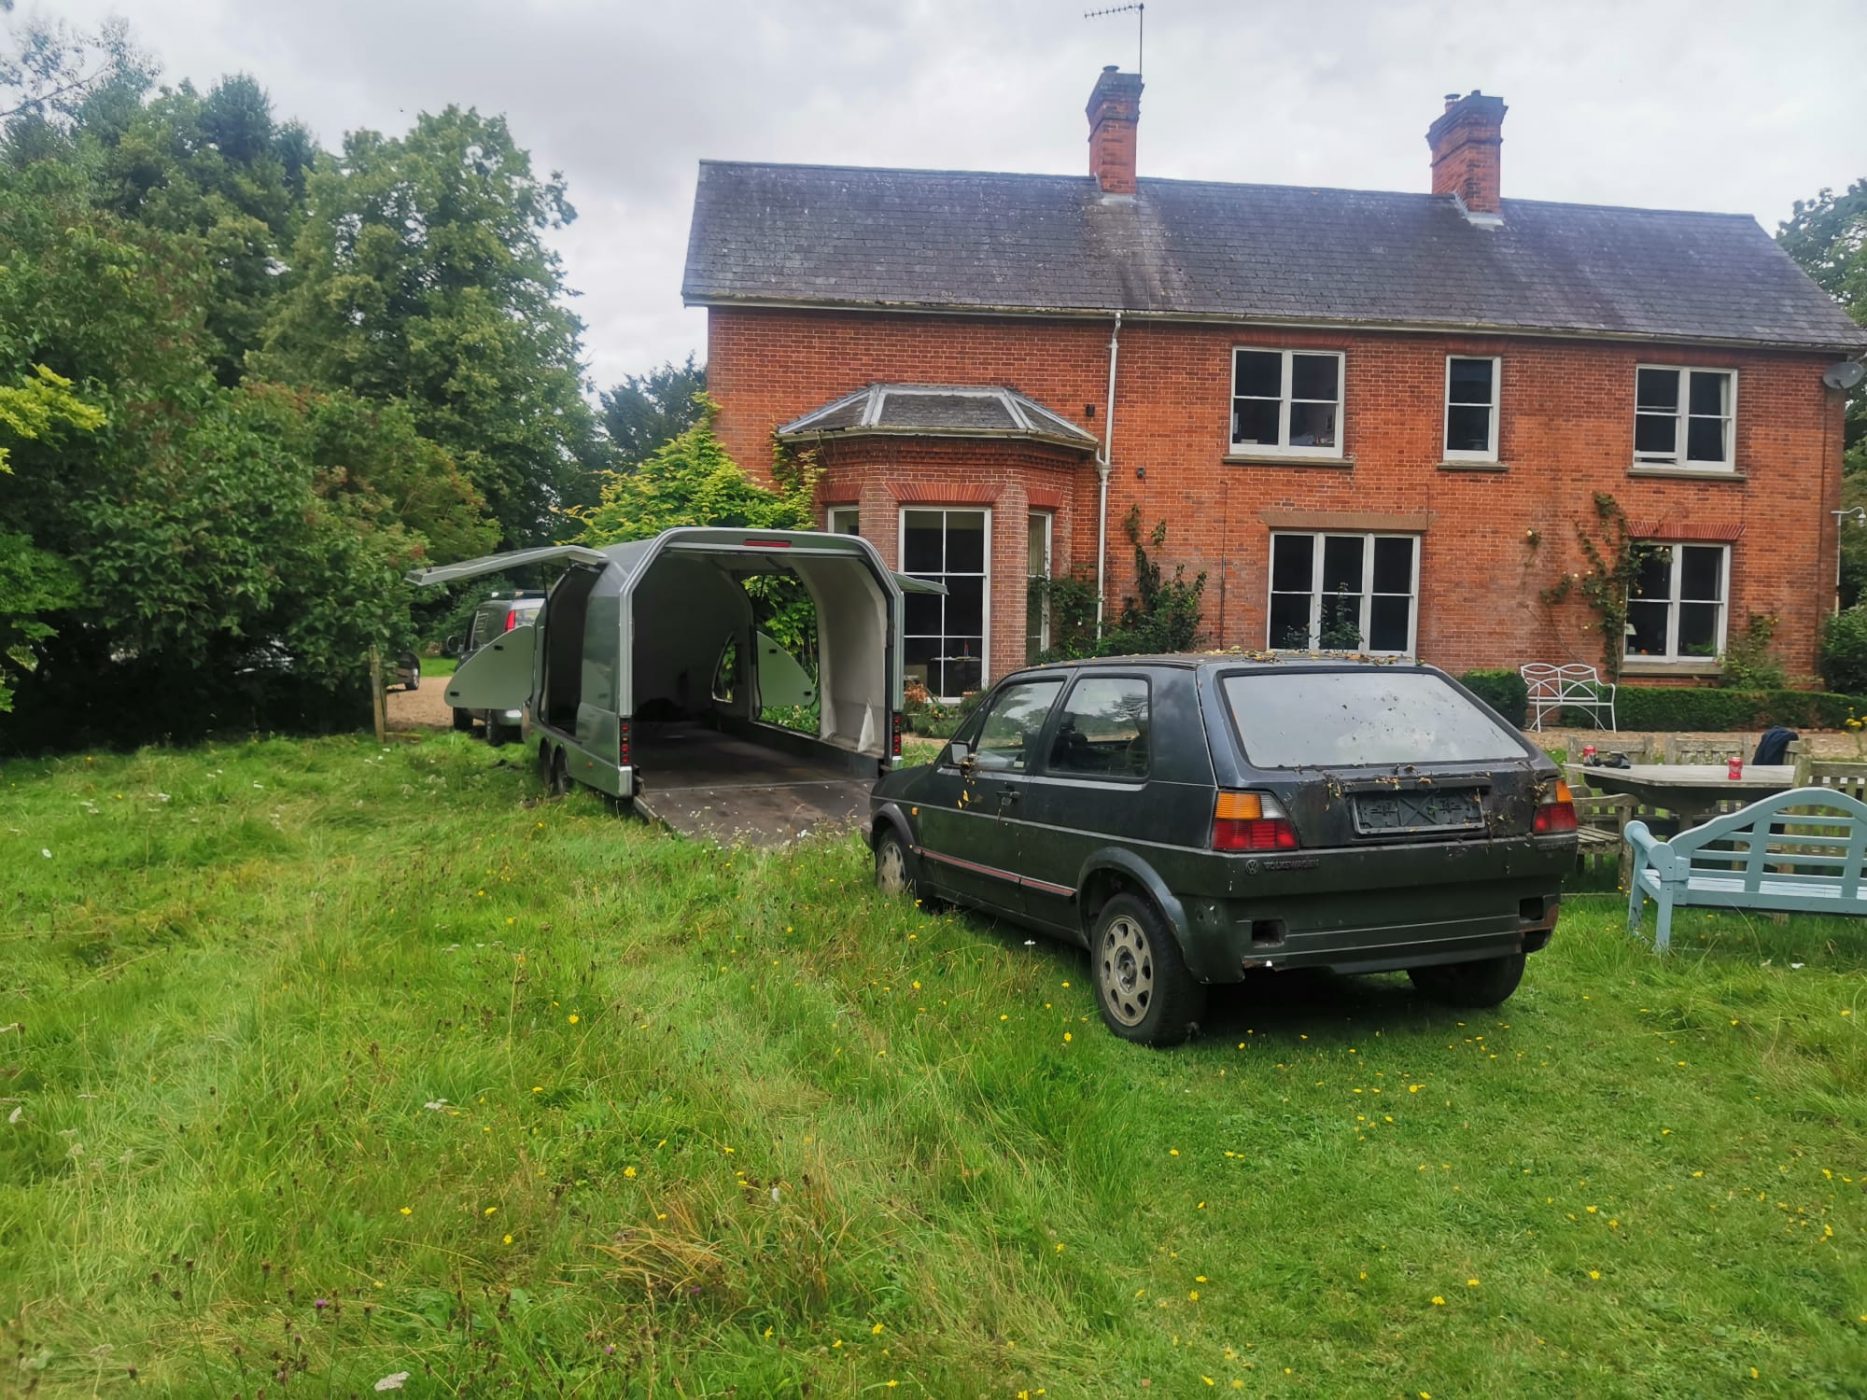
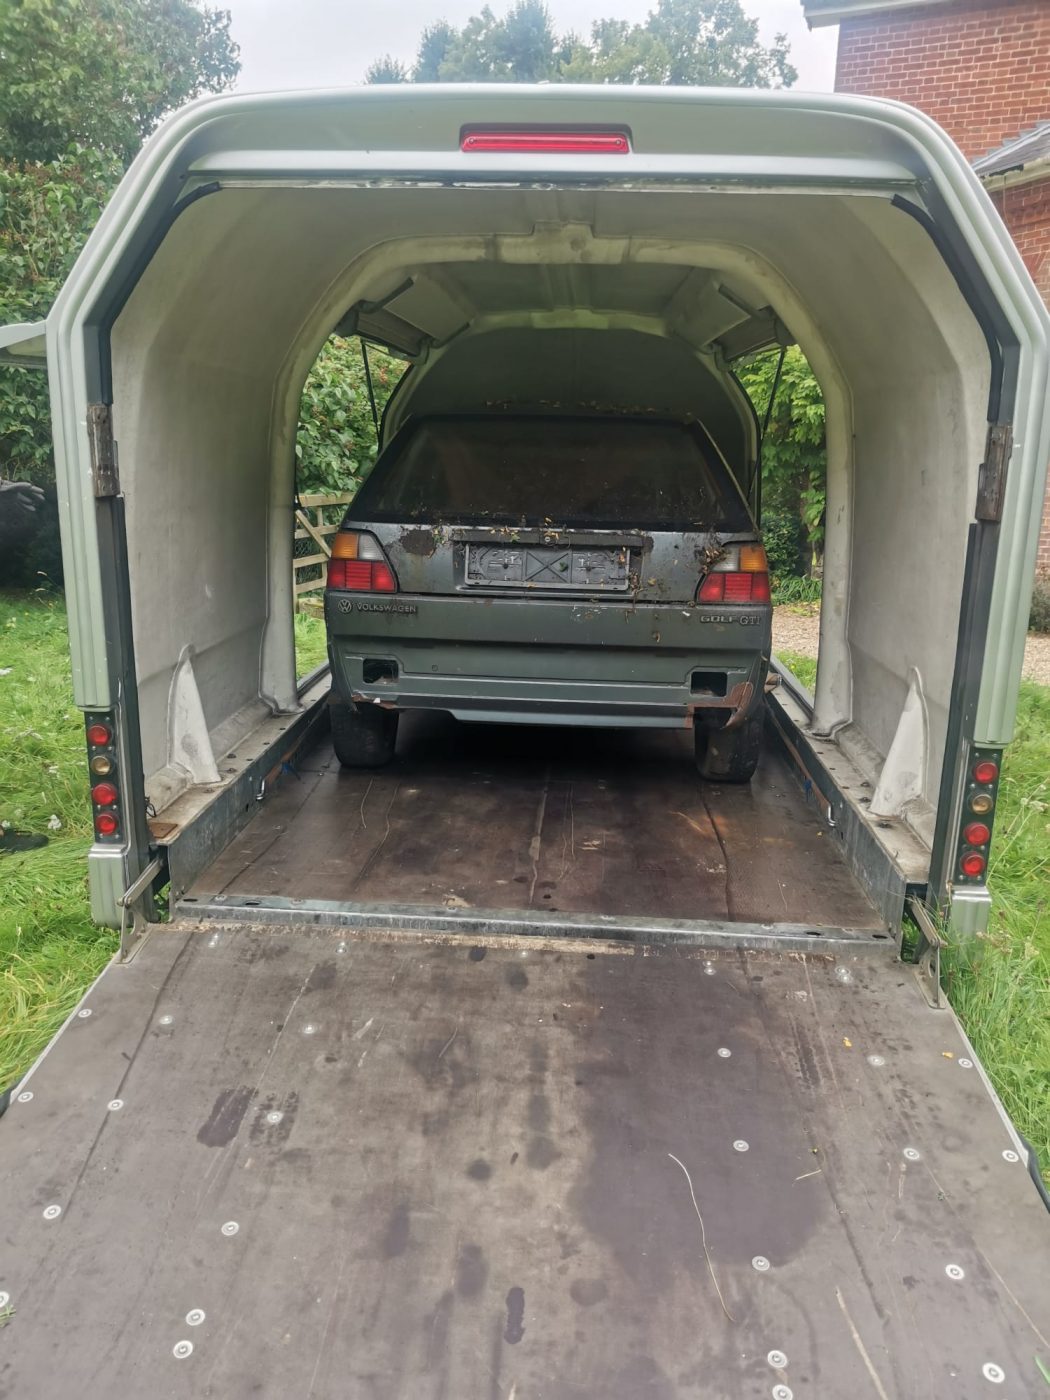


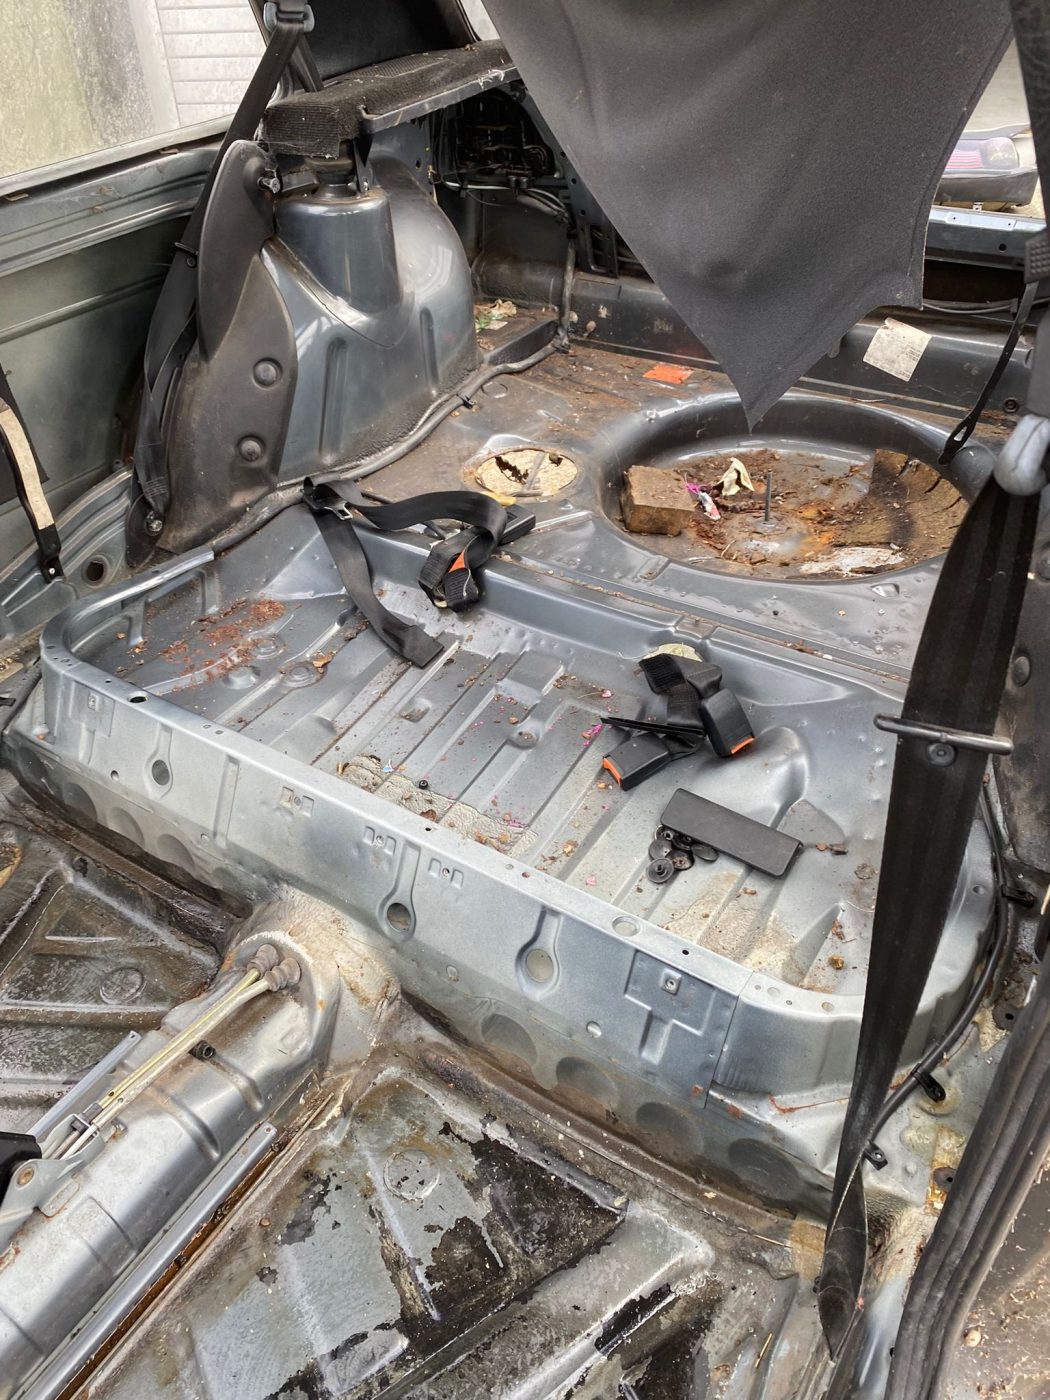
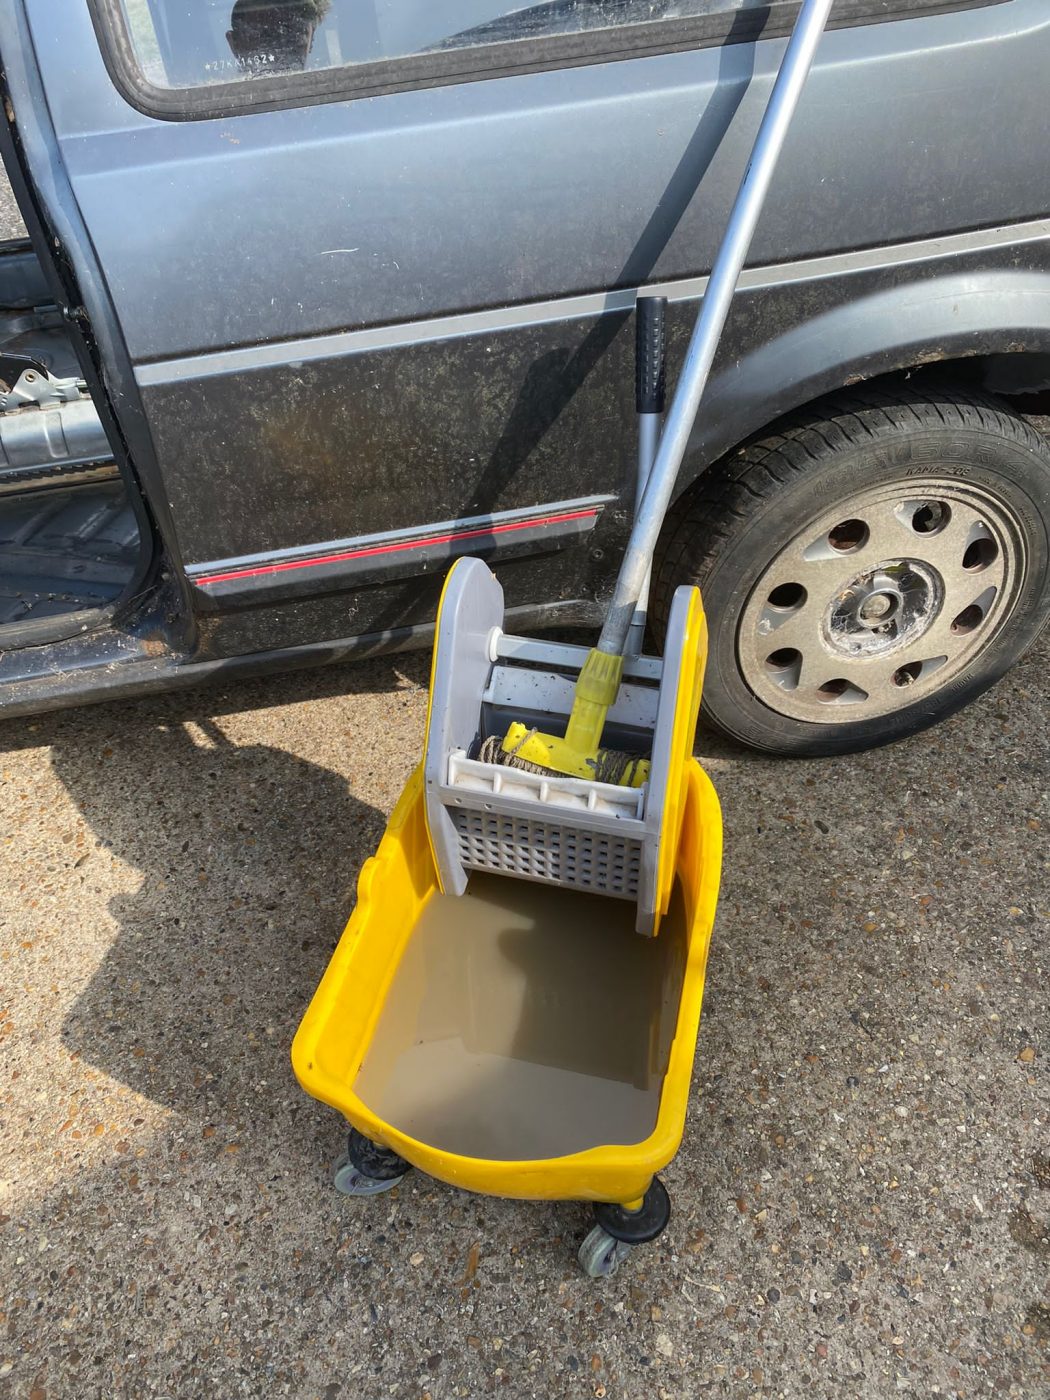
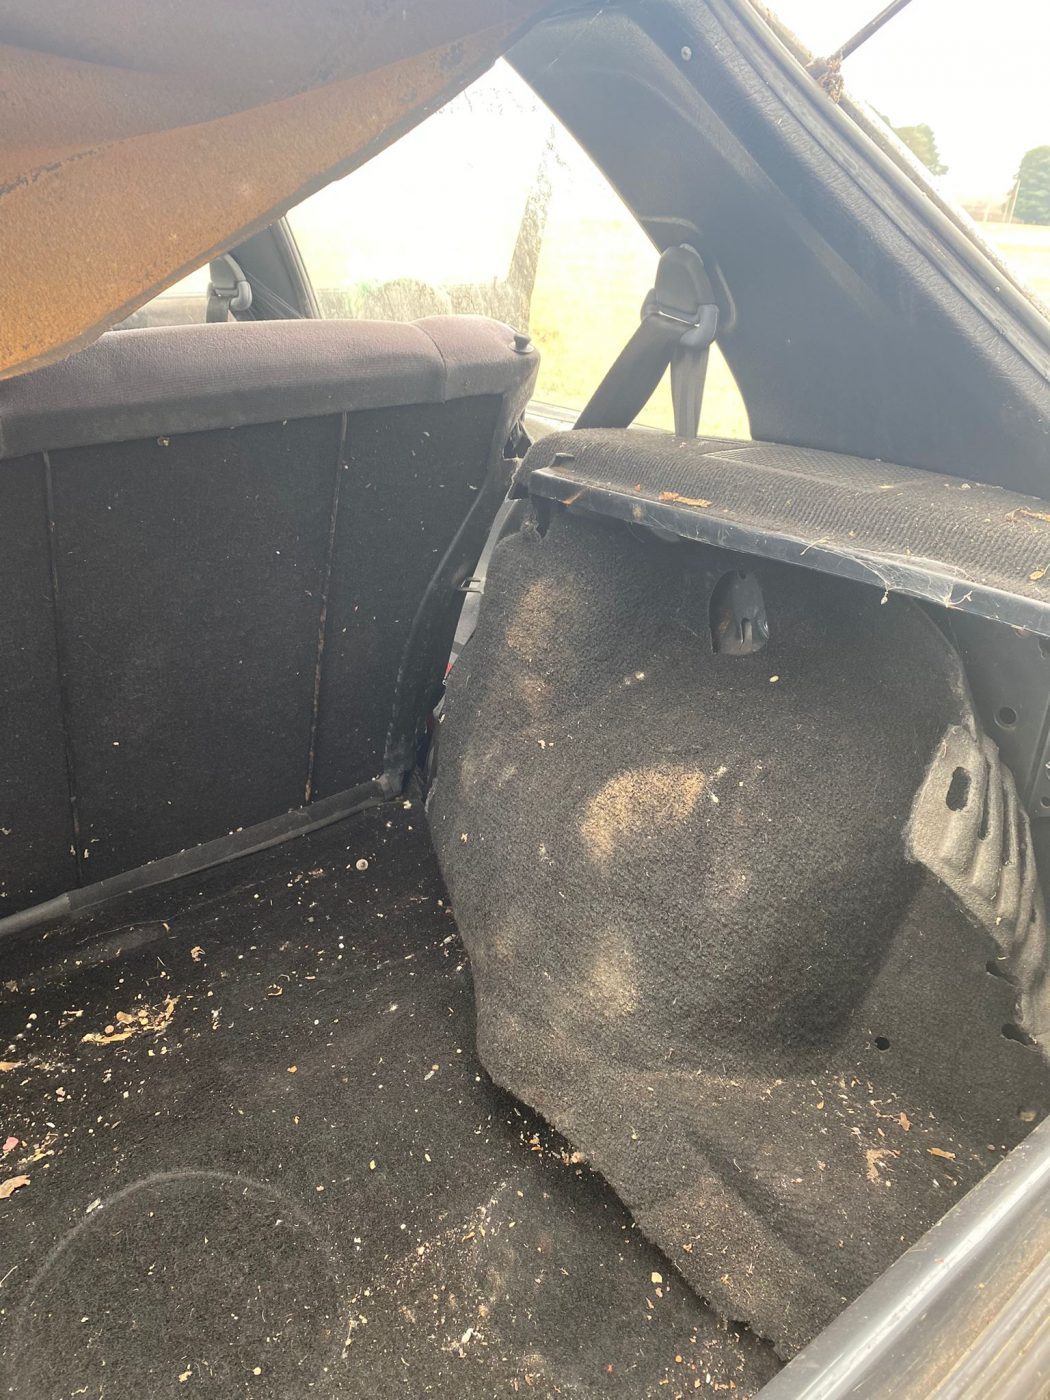
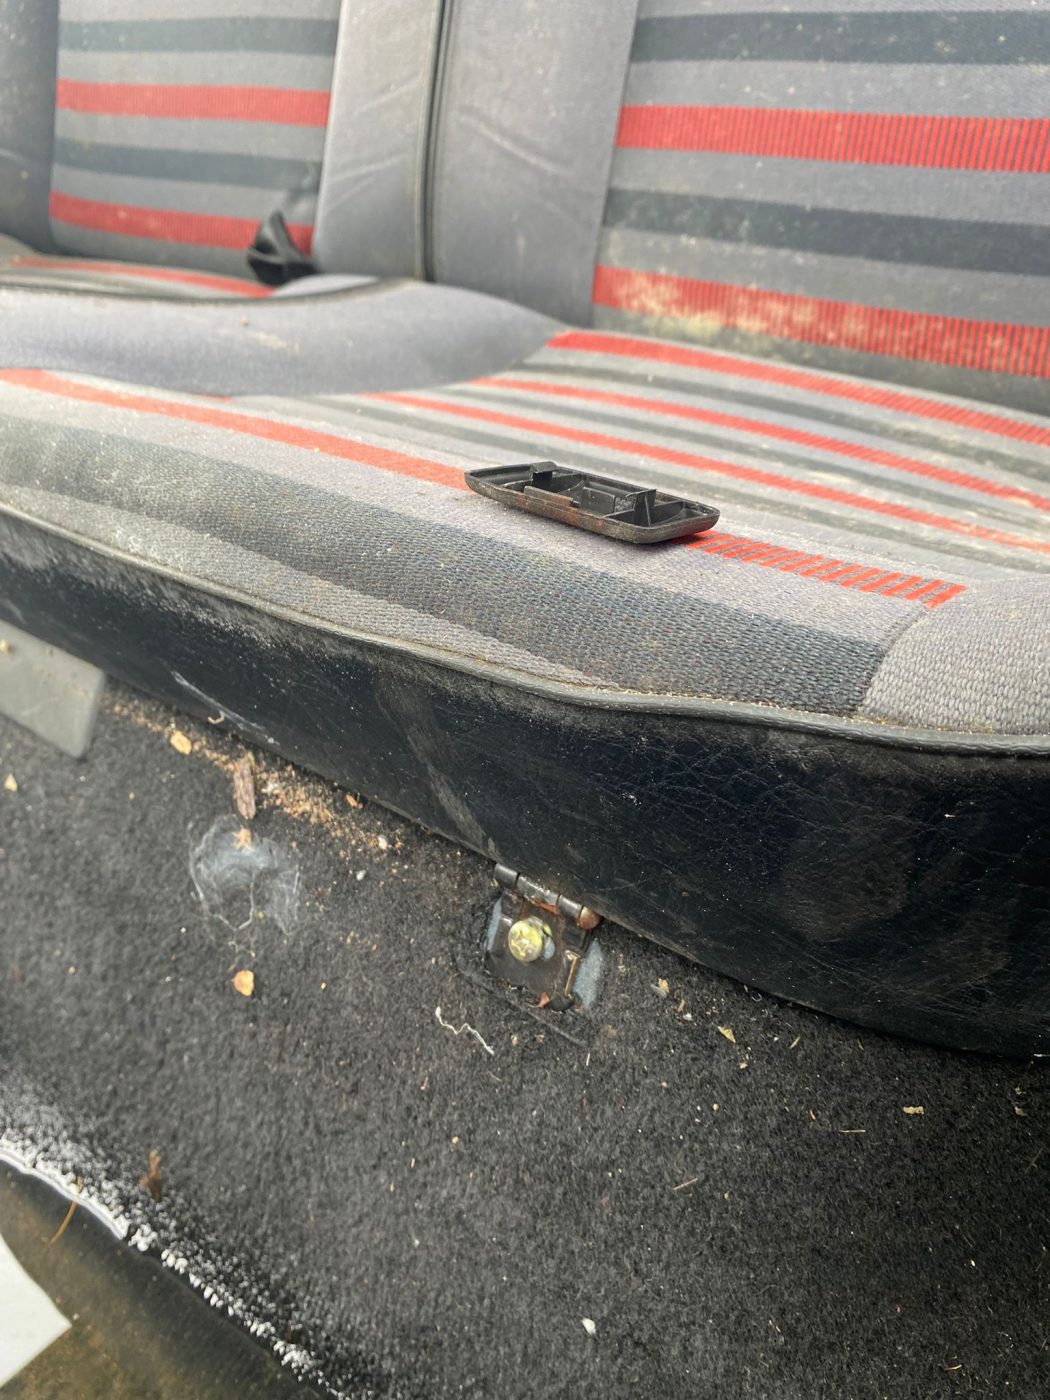
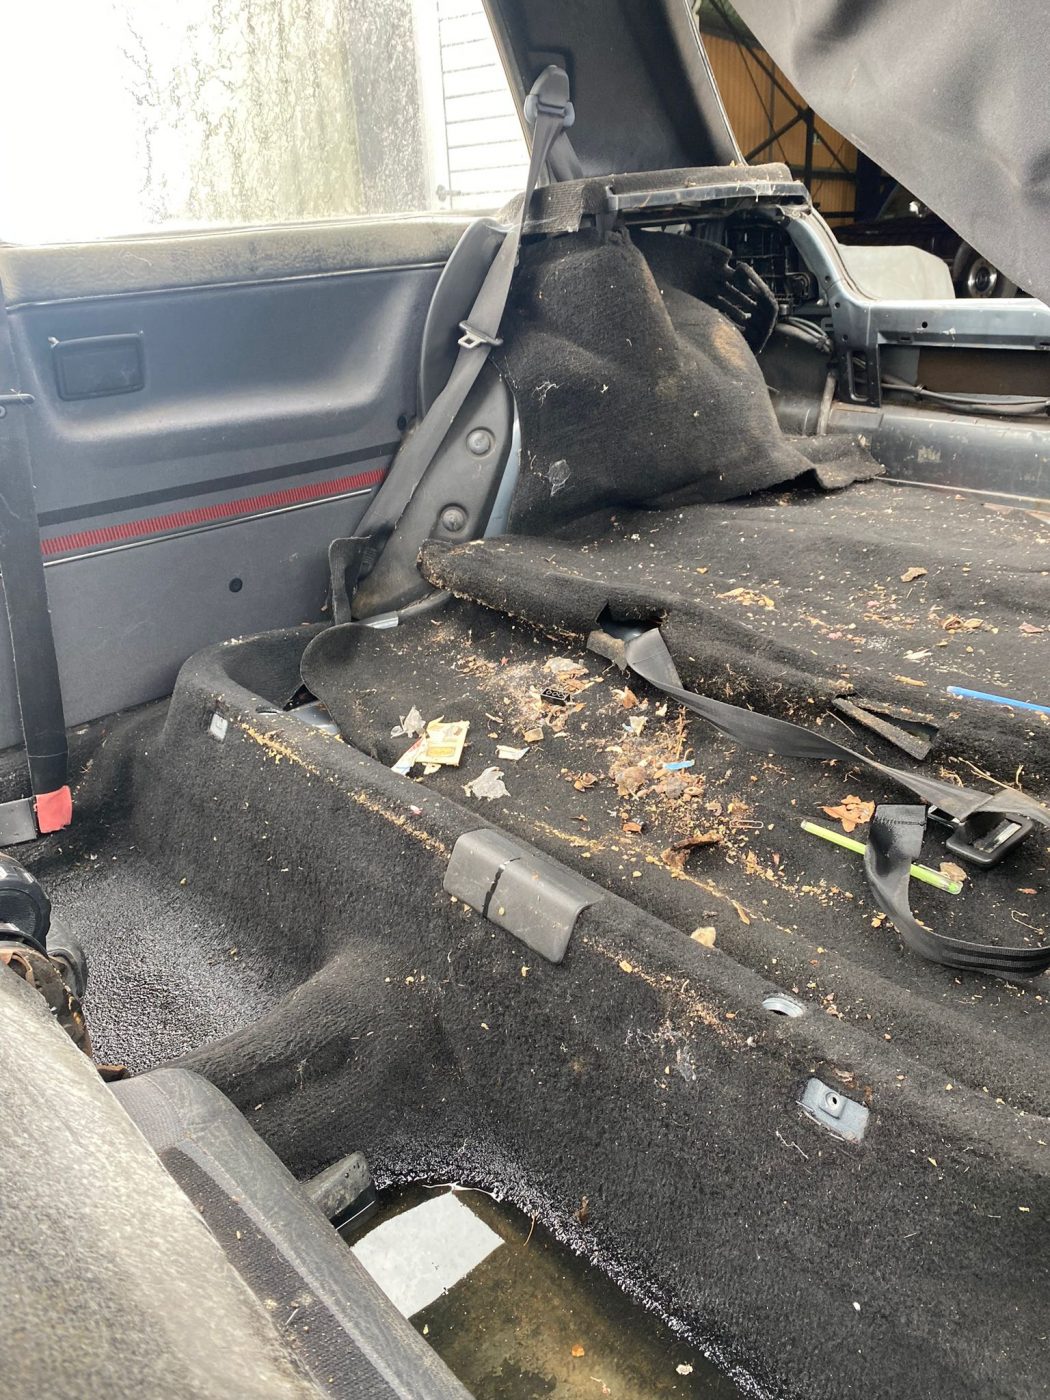
Now safely tucked away in the Hangar, our first job will be to thoroughly clean the car, inside and out. This way, we can see work is involved in the restoration or re-commission of this modern classic.

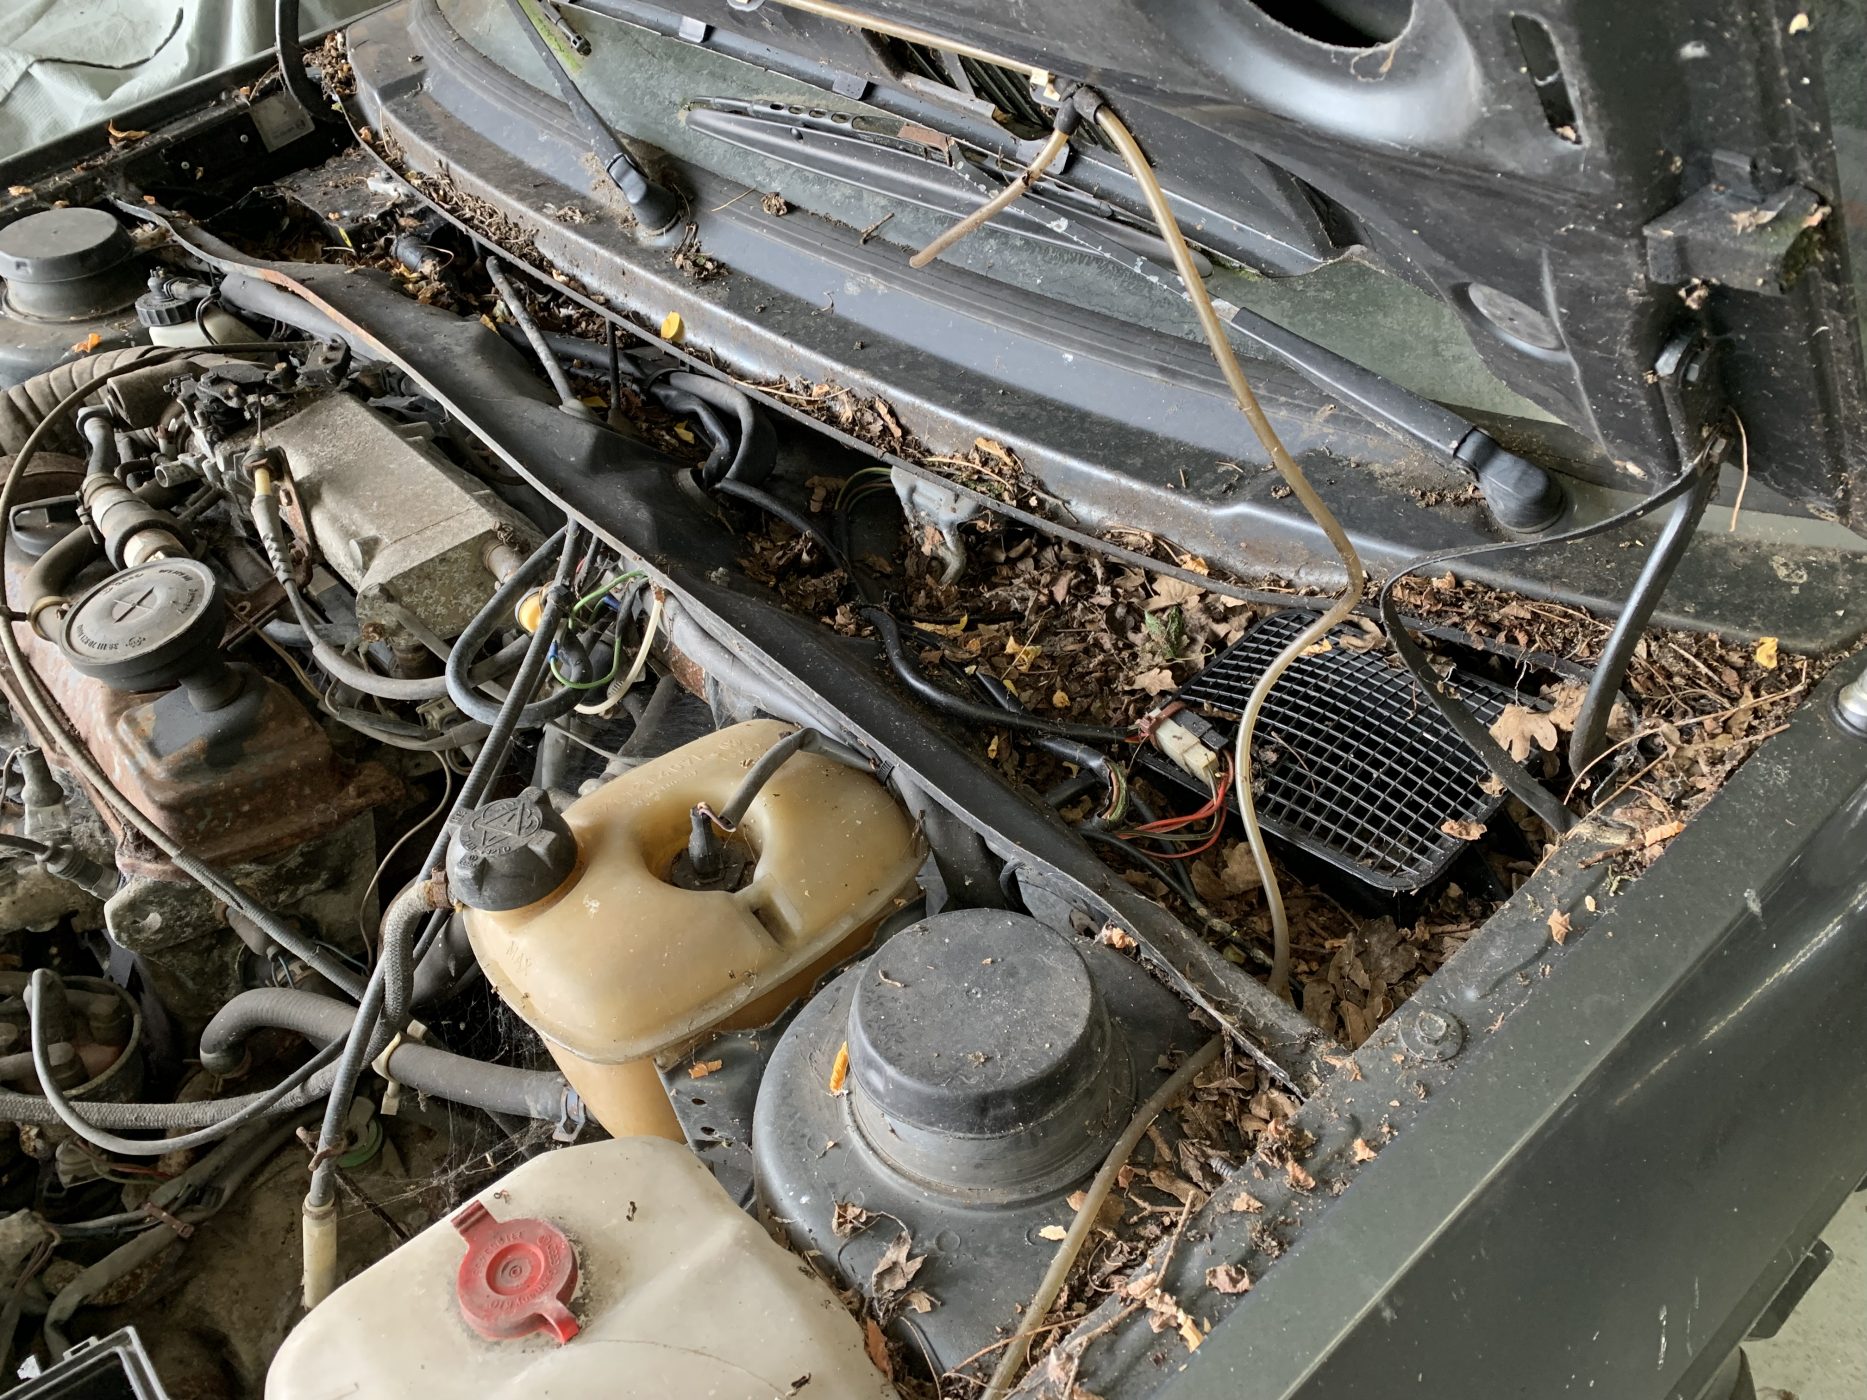

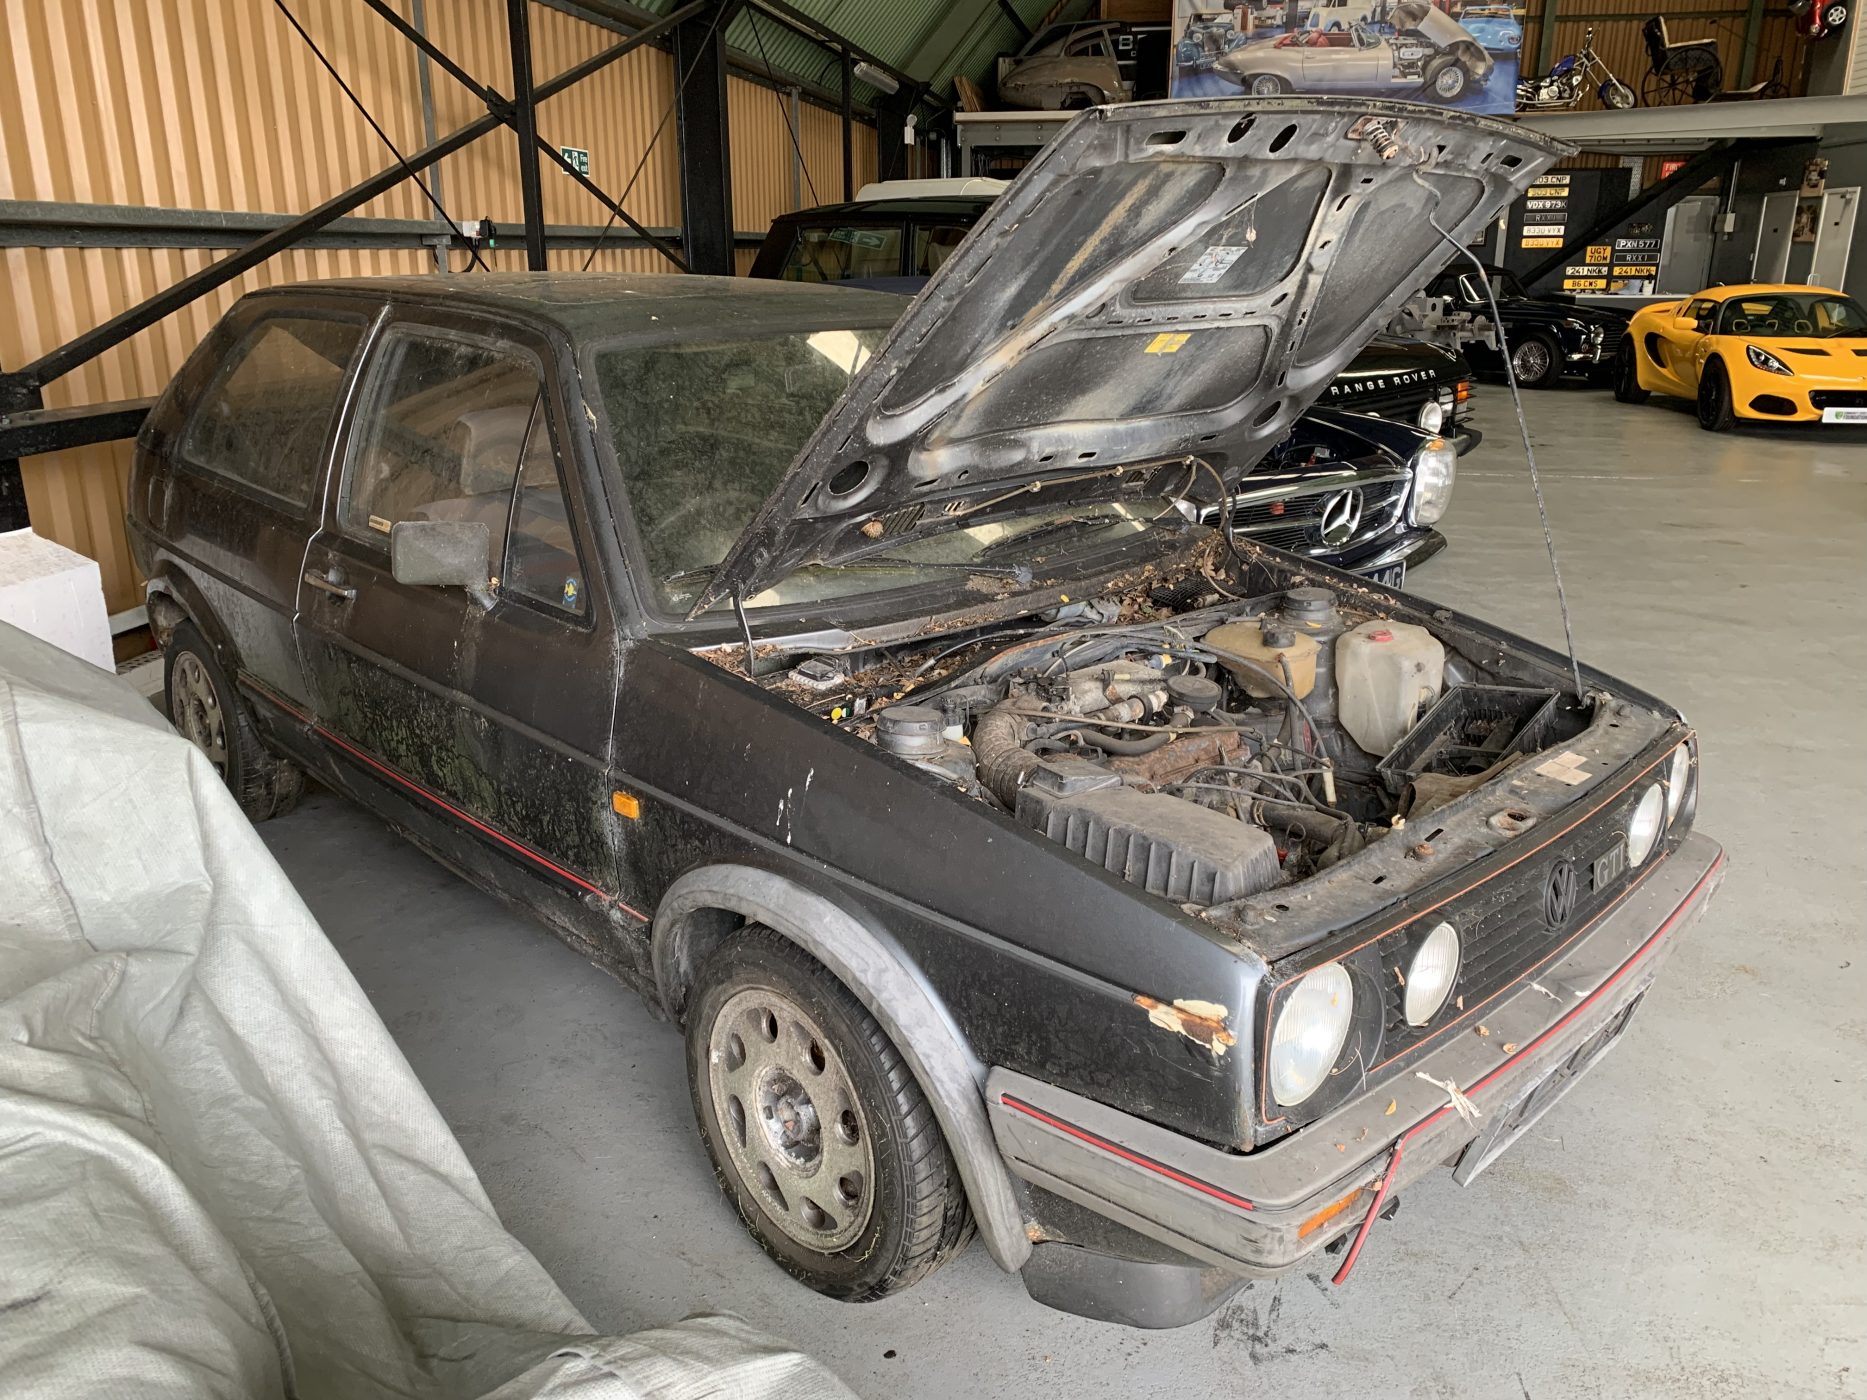
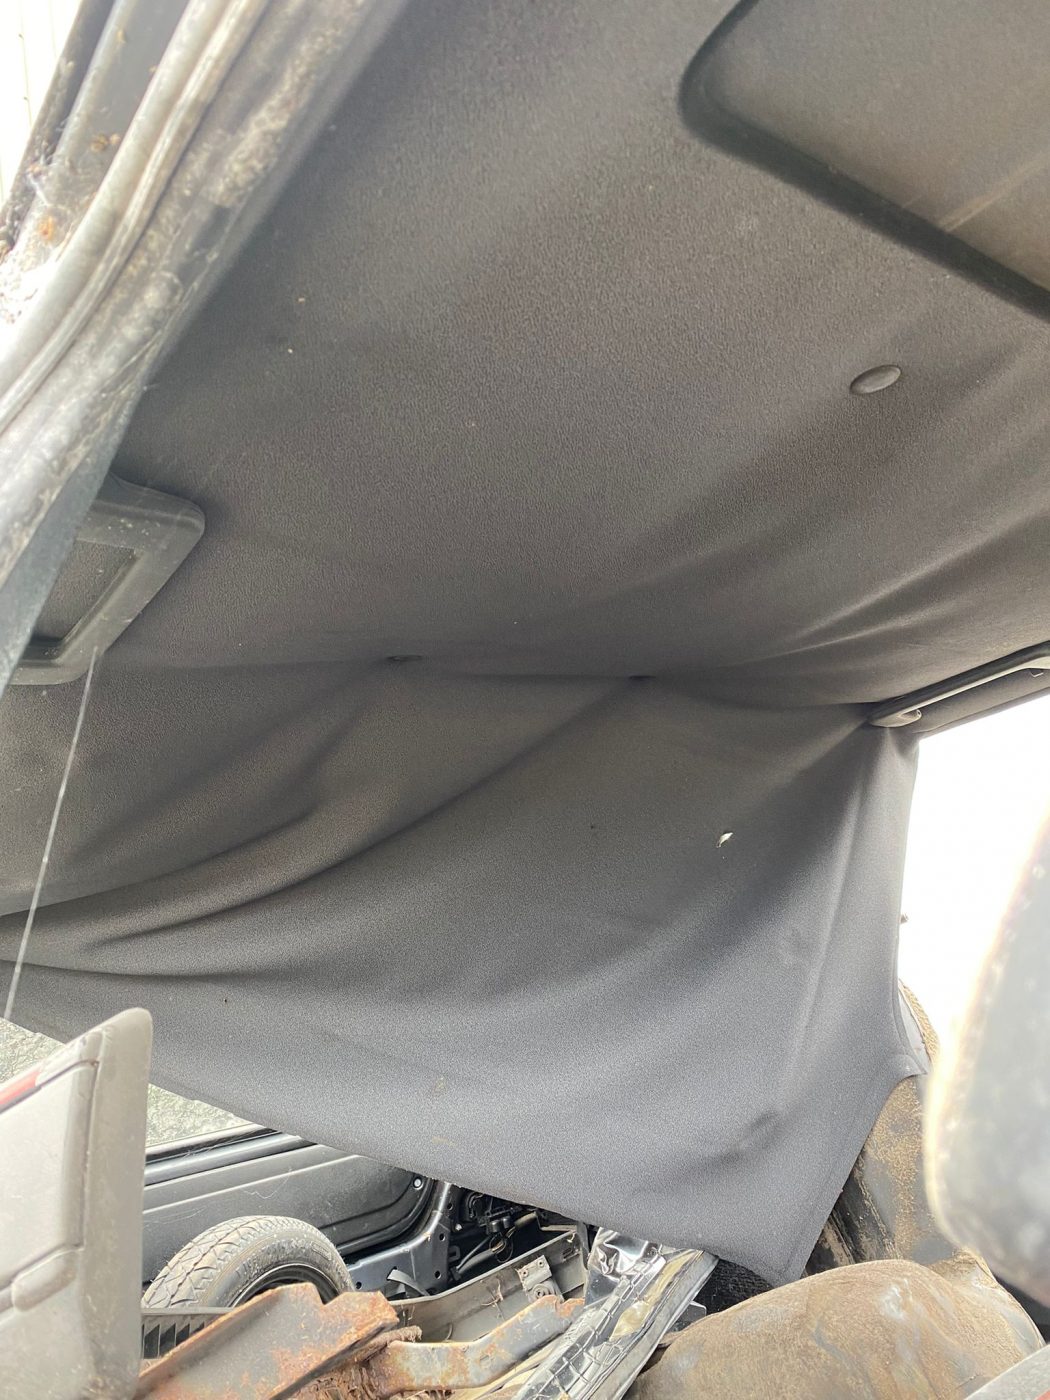
With a small window of opportunity in the trim shop diary Kath and Brian have got to work in removing the very wet, and very mouldy interior trim. We’ll return all of the interior to the workshops for a full assessment and clean and we hope to be able to rescue as much of it as possible.


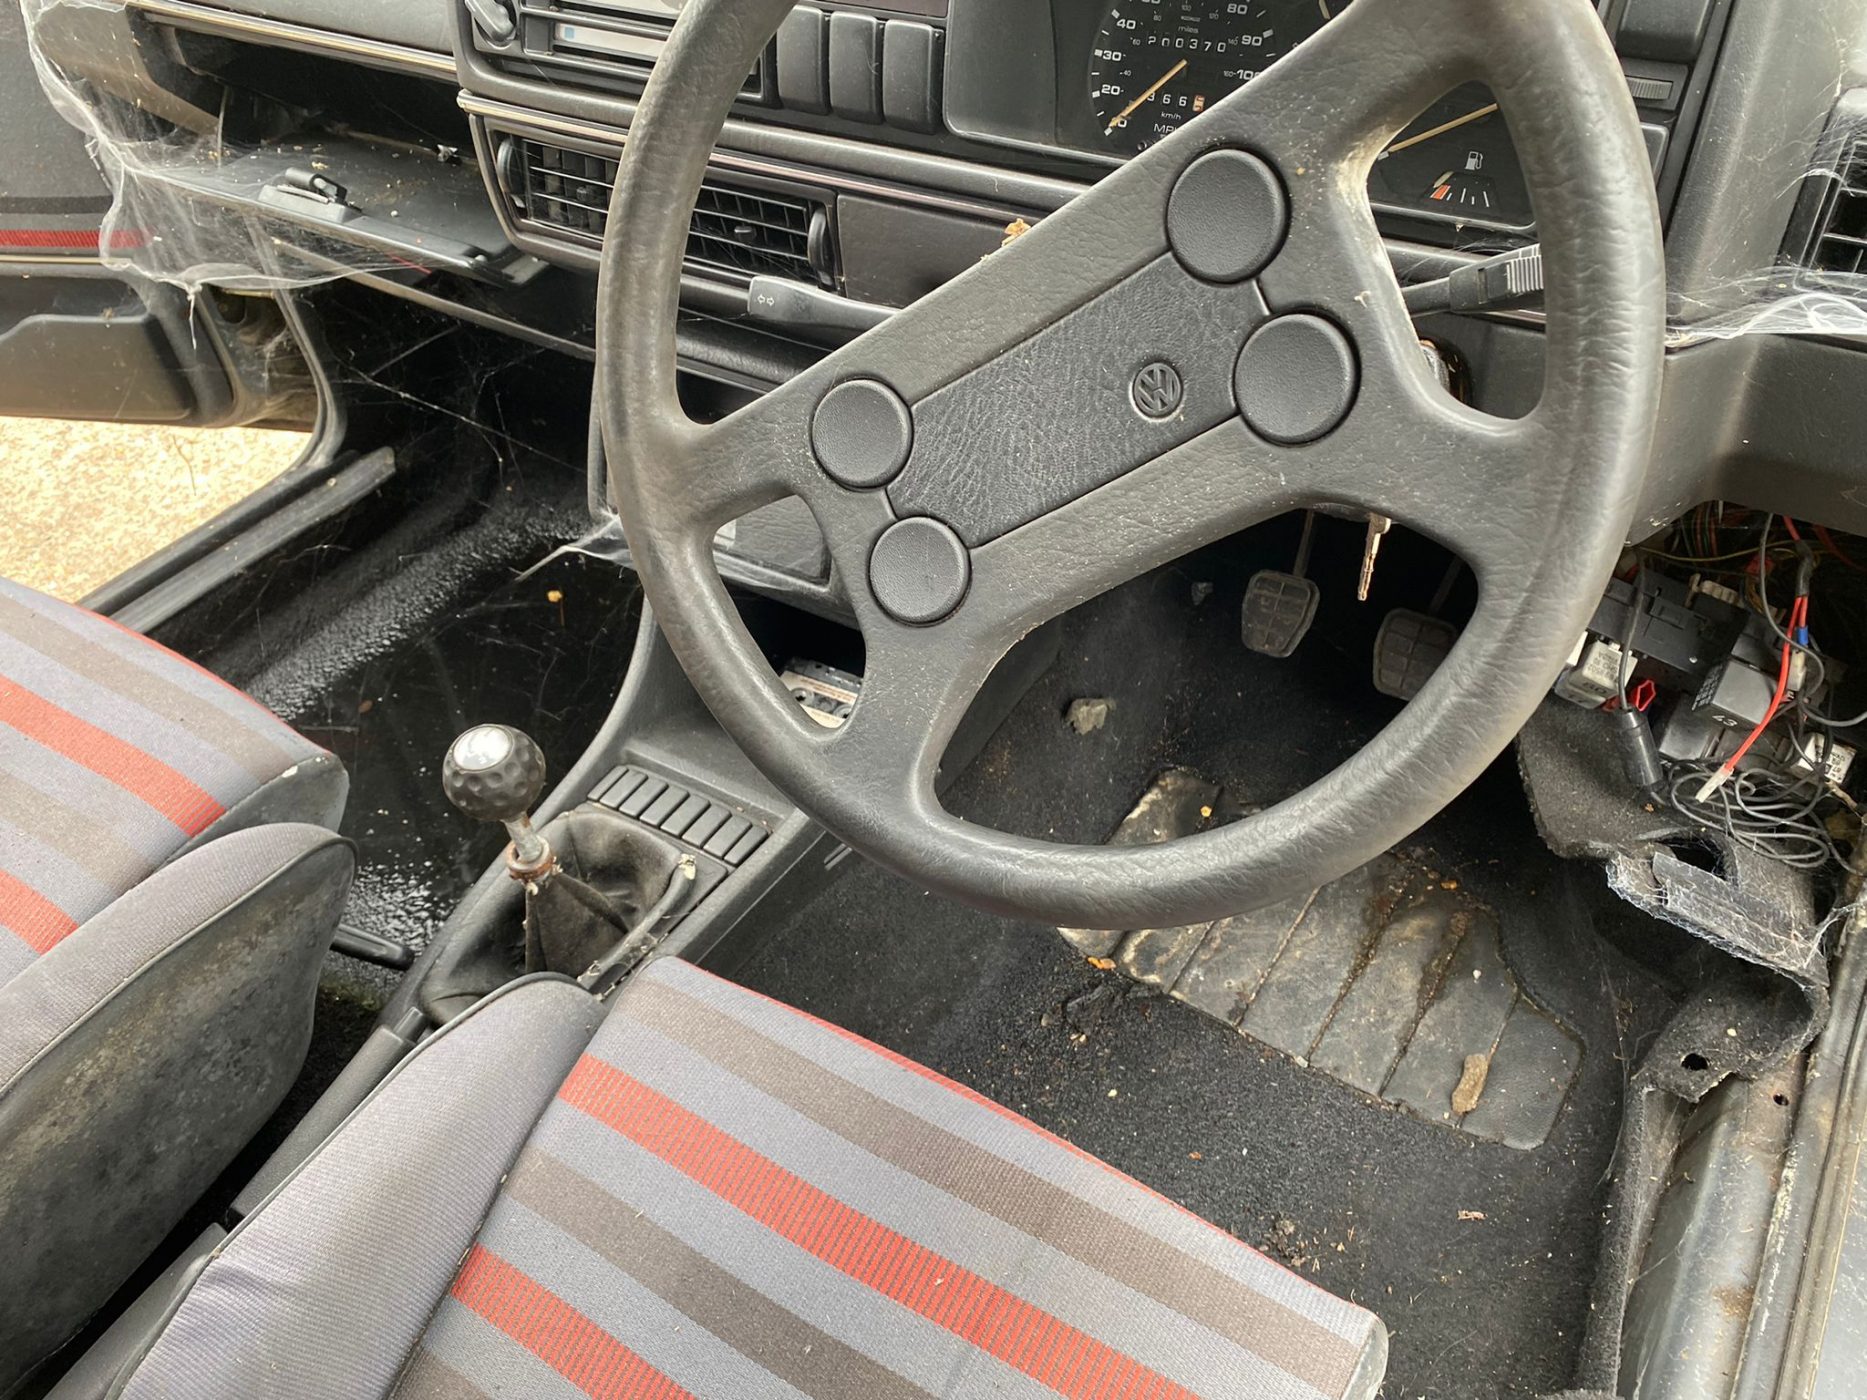


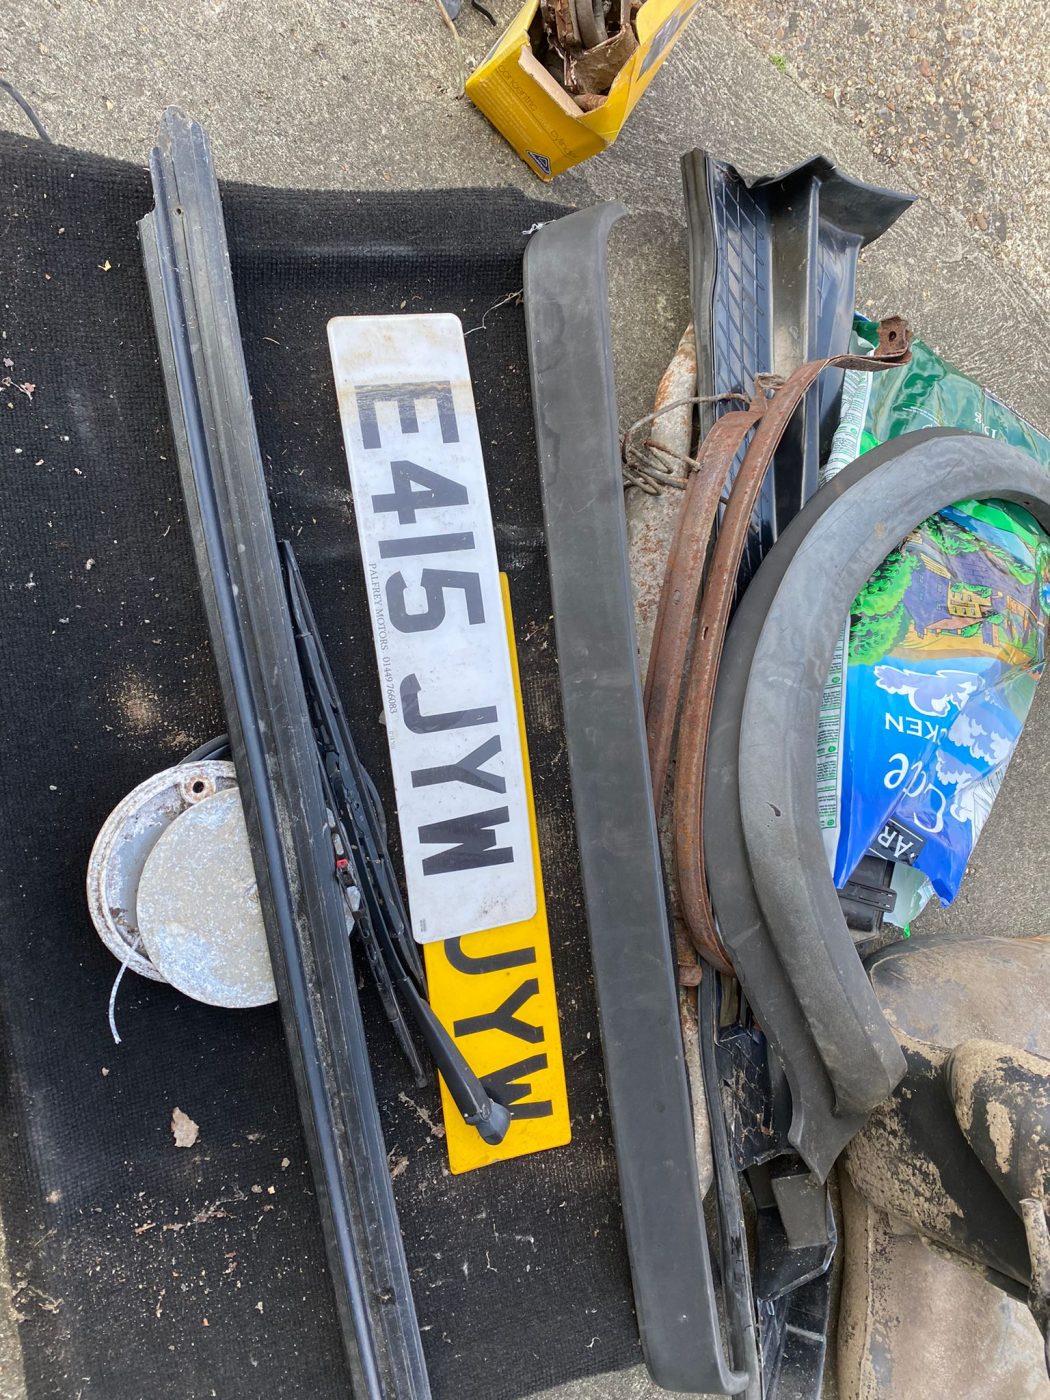


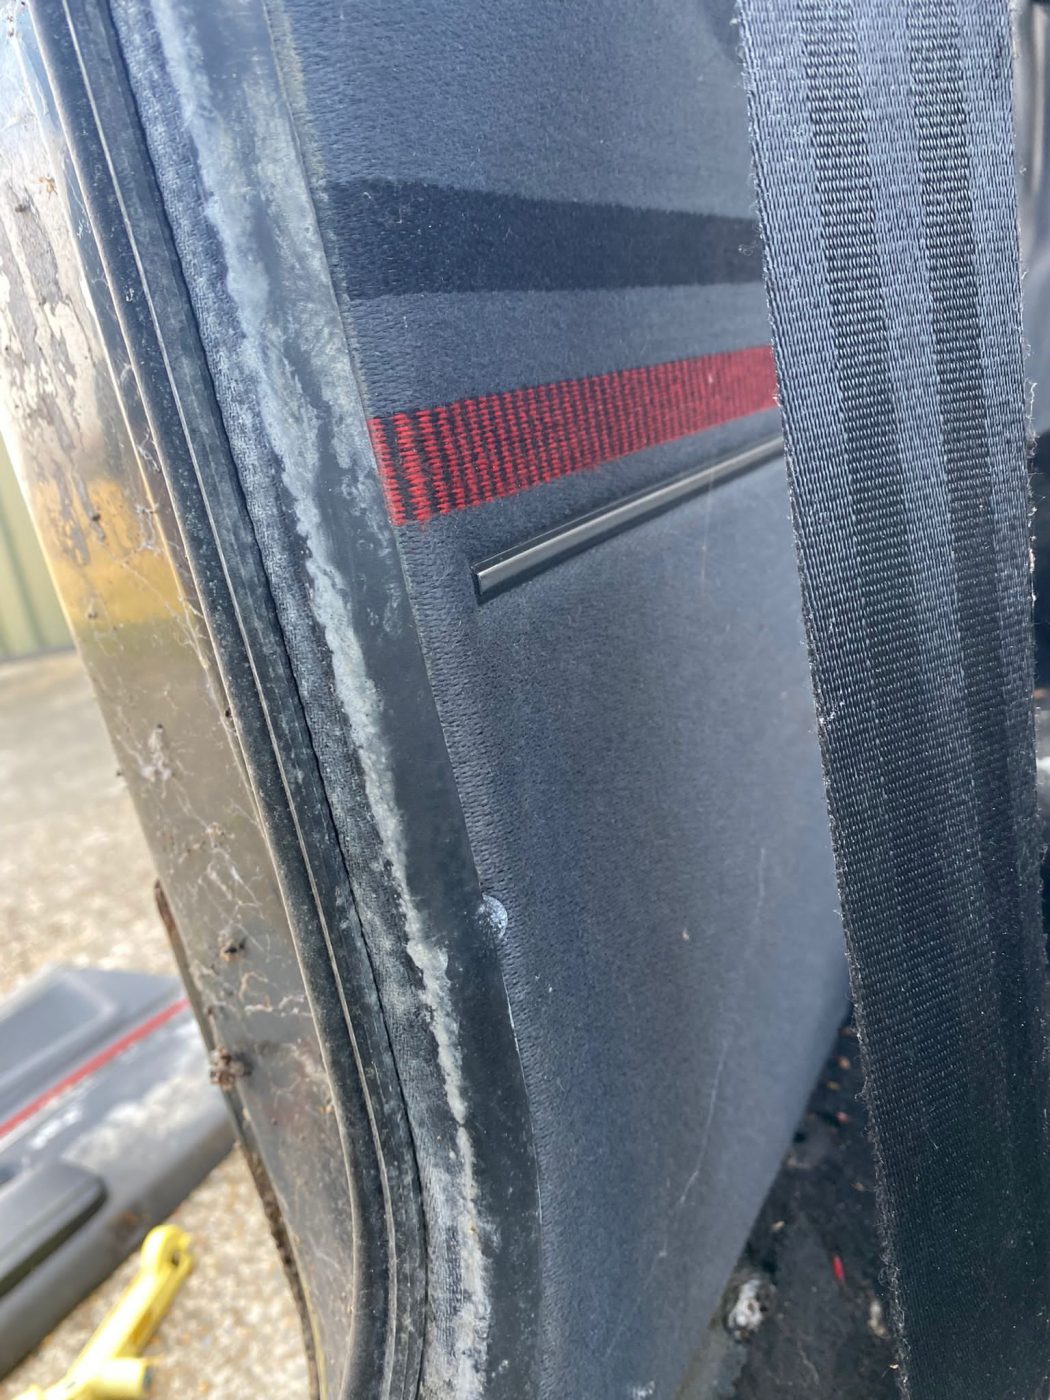

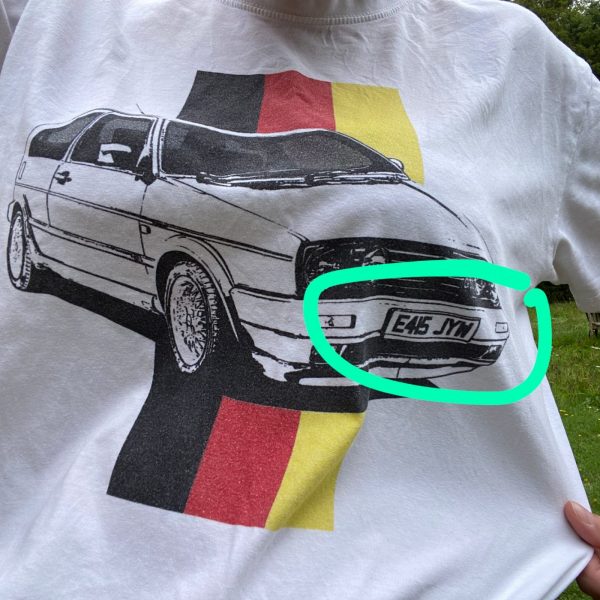
Check out the T-shirt that Alice was wearing in the image above. The wheels aren’t the same but the number plate sure is!

Yesterday we had an unexpected new arrival in the form of a blue 1961 Alvis TD21. Unfortunately, this classic had broken down and was on its way to a show which the owners are hosting. They’d traveled down from Wales and had attended a wedding on their trip in the area. On their way across to Oxford, the Alvis stopped working.
This gorgeous classic ended up being brought to us for our technicians to look at. It was found that the starter motor wasn’t working, so it was swiftly sent off last night to be repaired. We’re now just waiting for its return. Well done so far to the technicians for being so quick with diagnosing the issue. Let’s hope we can get it to Oxford in time!


You may have heard about Jaguar re-producing the 1953 Le Mans-Winning Jaguar C-Type. It’s been a conversation in the classic car world for several months now and this weekend, the first one will be out in the public eye for everyone to see.
There will only be a small number of the cars produced and they’ll come with a pretty high price tag…
Most of the design and build will be like the original, however, there will be a few changes due to modern-day safety standards. The new C-Types will be made of a thicker gauge metal because the originals were made so thin they could practically fall apart after racing. As well as that, there will be a built-in removable roll hoop, a safety lining in the fuel tank, a fire extinguisher and a smaller steering wheel than the original, to make it easier for the driver to control. Harnesses will also be able to be securely mounted thanks to a new rear cross member.
We’re extremely familiar with E-Types now, having had so many in our workshop, we’re looking forward to seeing how the new C-Type looks.