
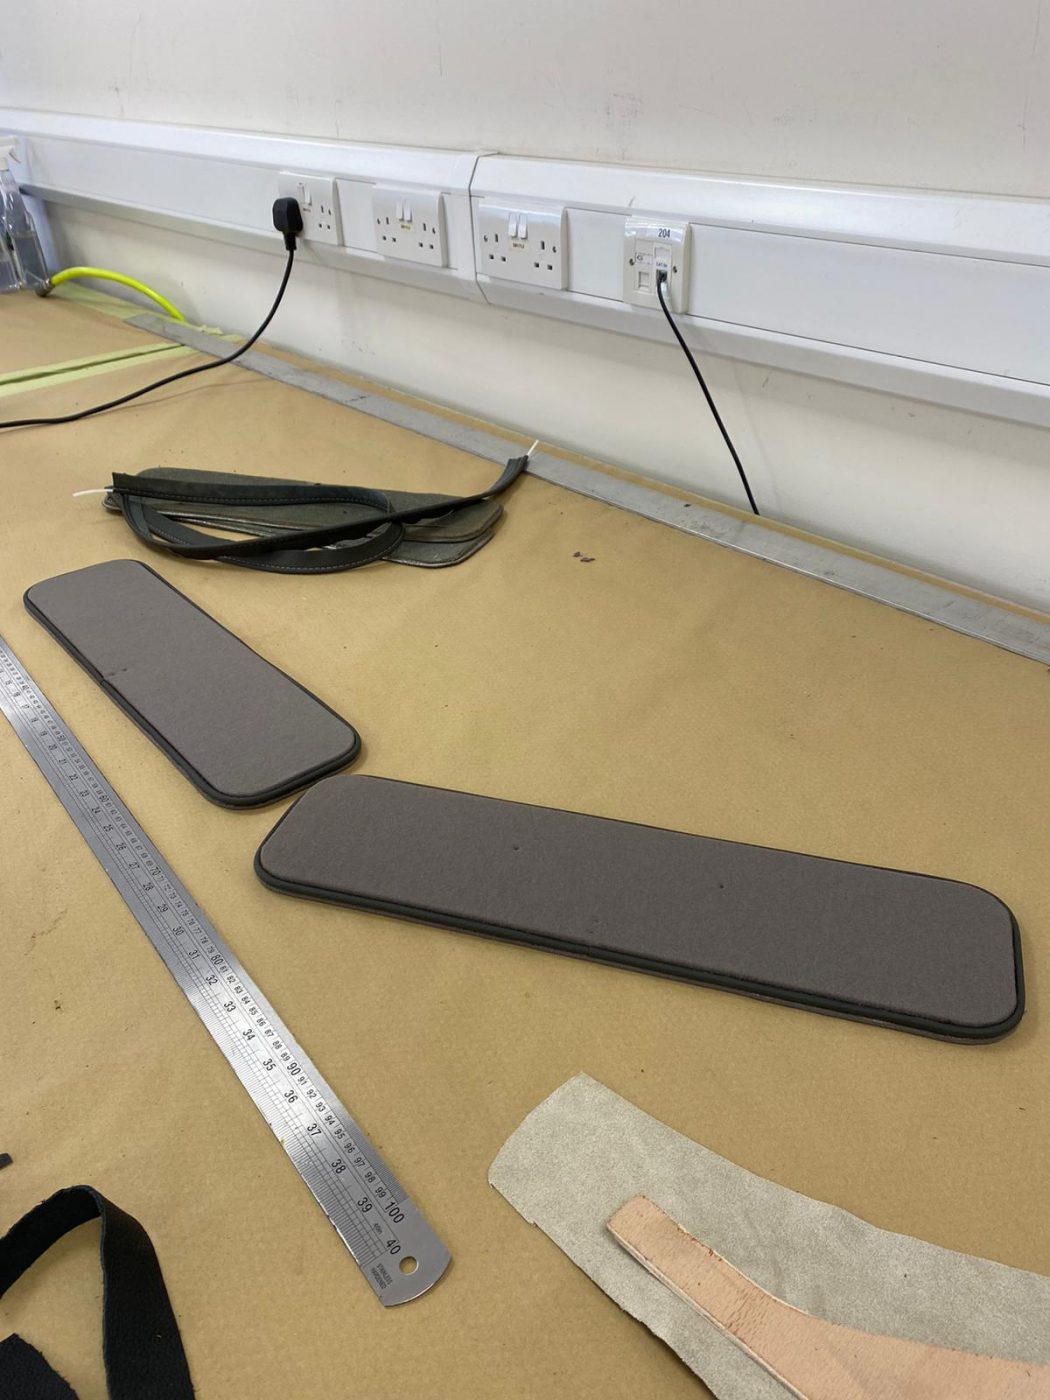
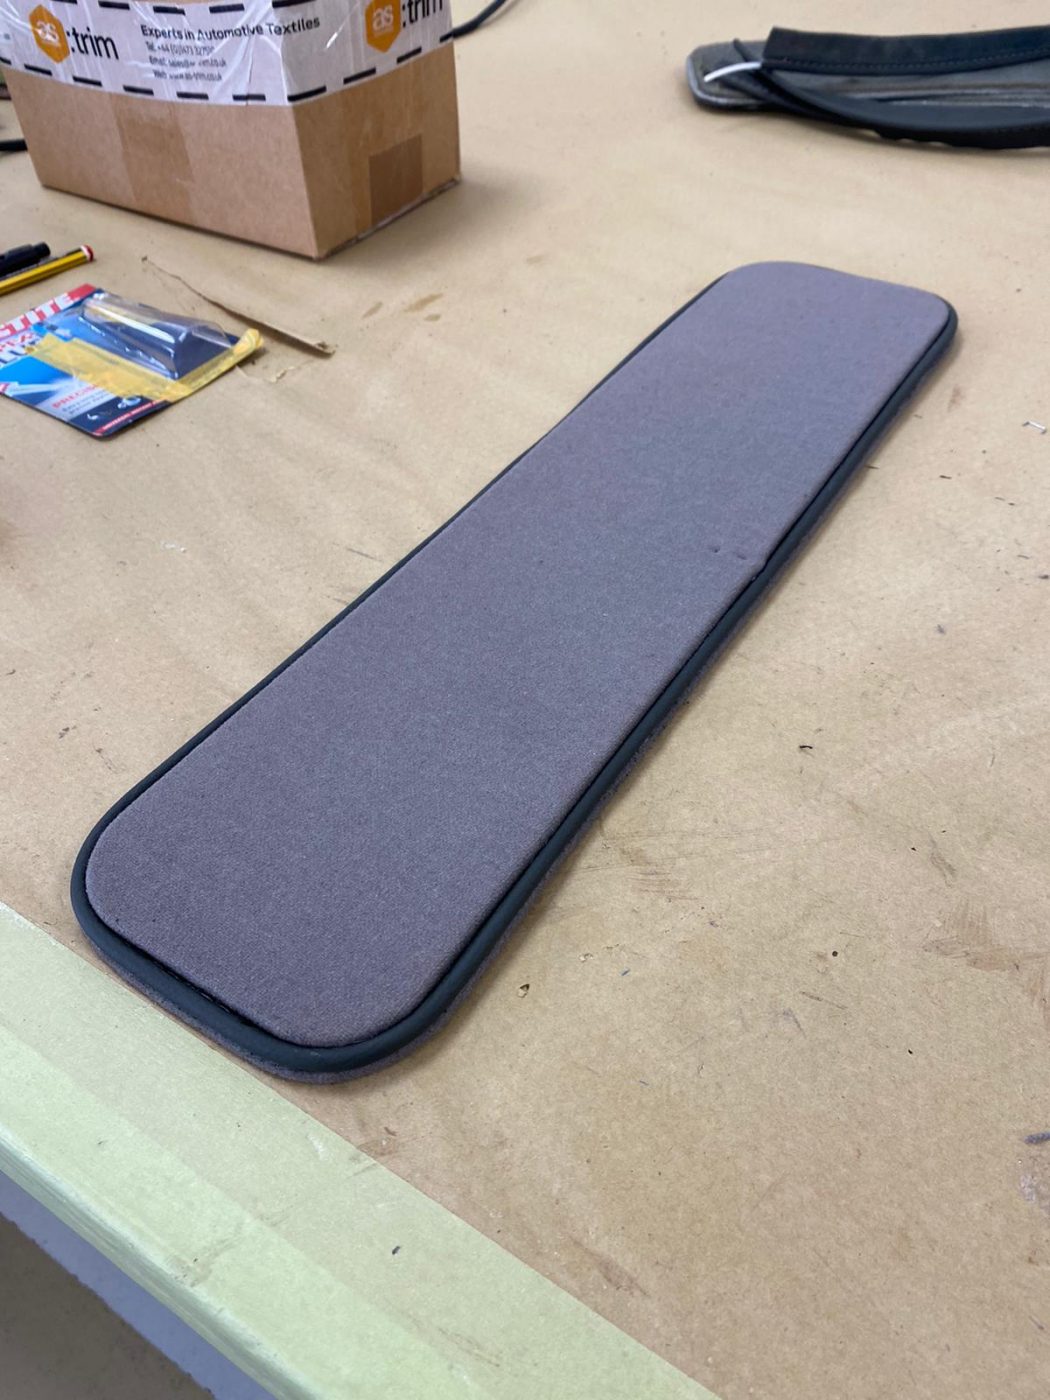
Front bases now finished for the Aston!
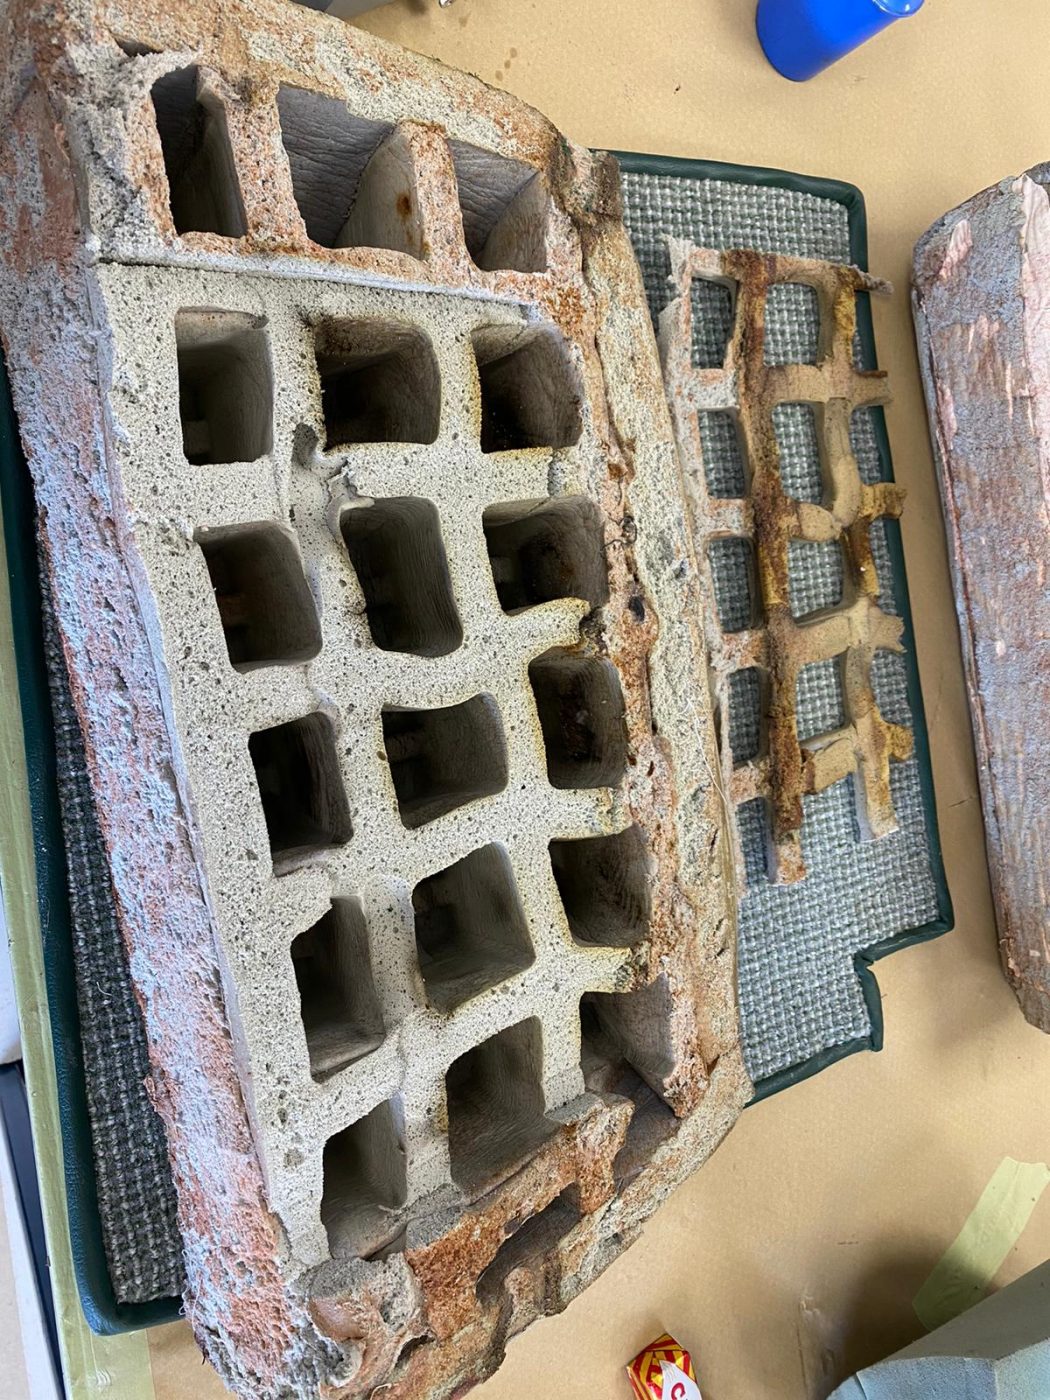
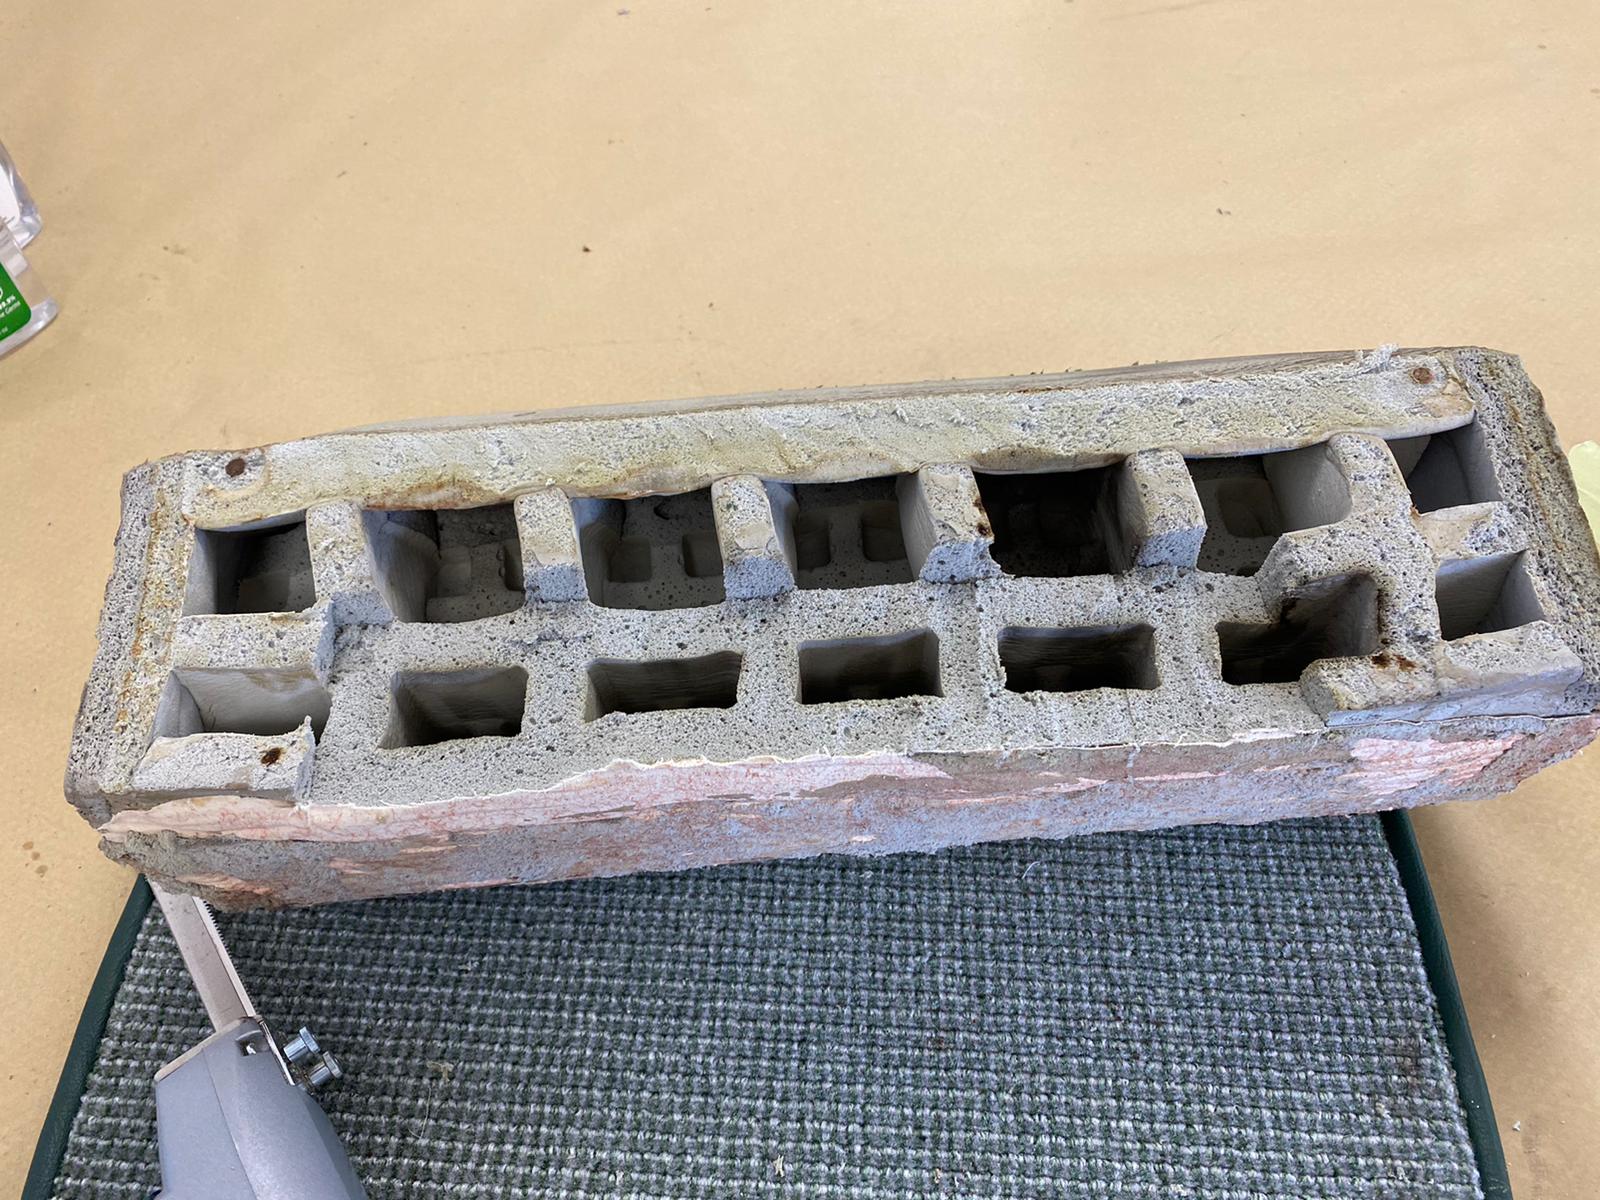
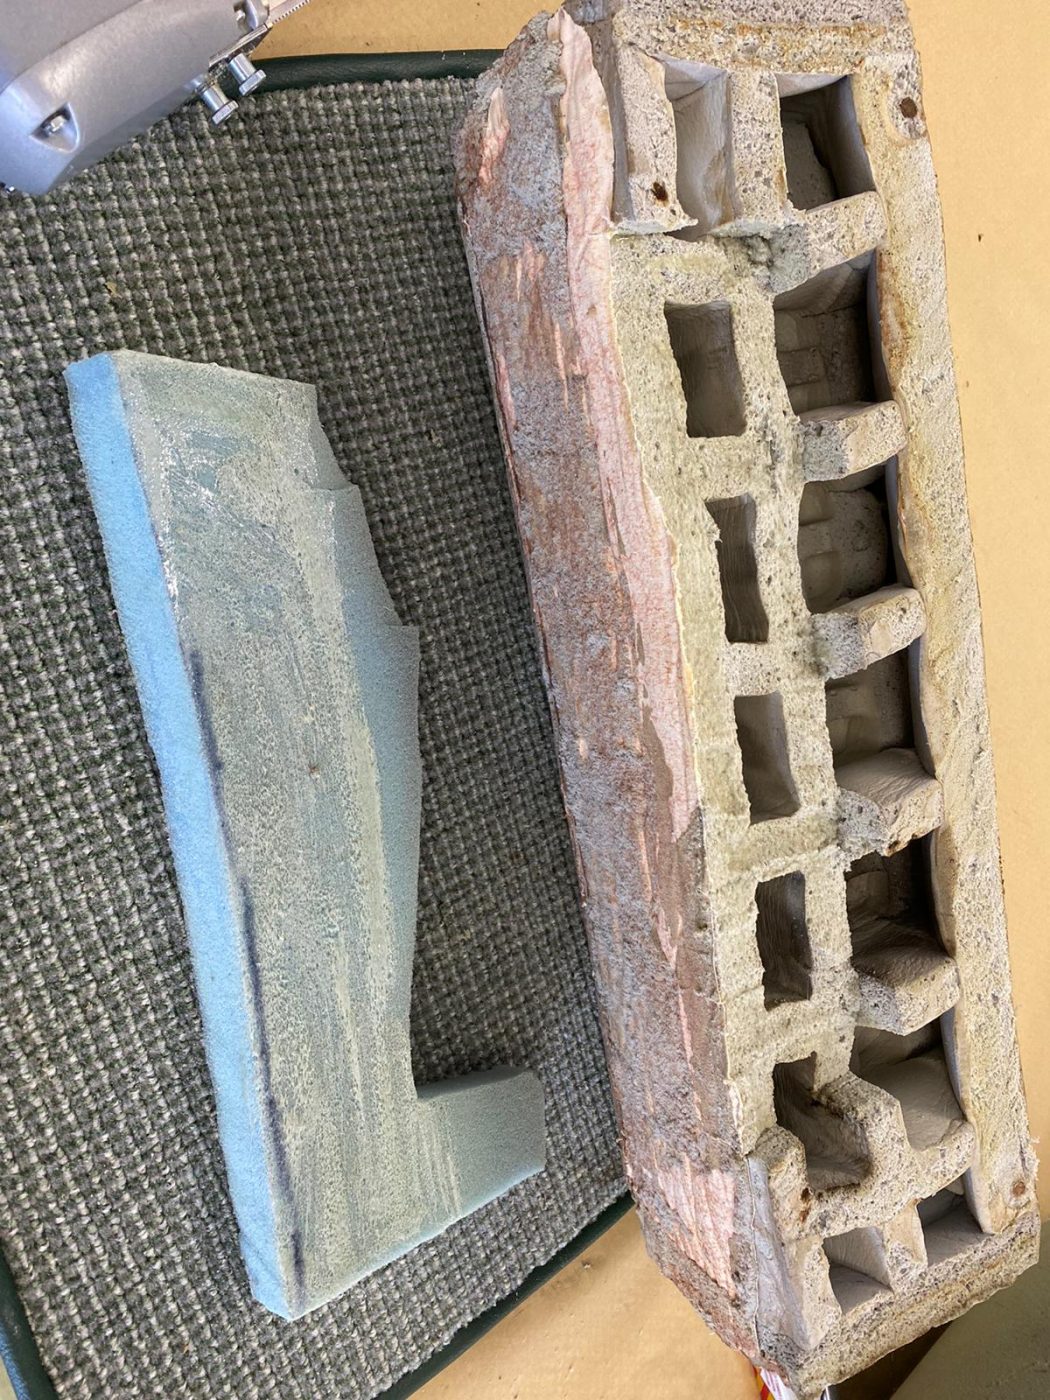
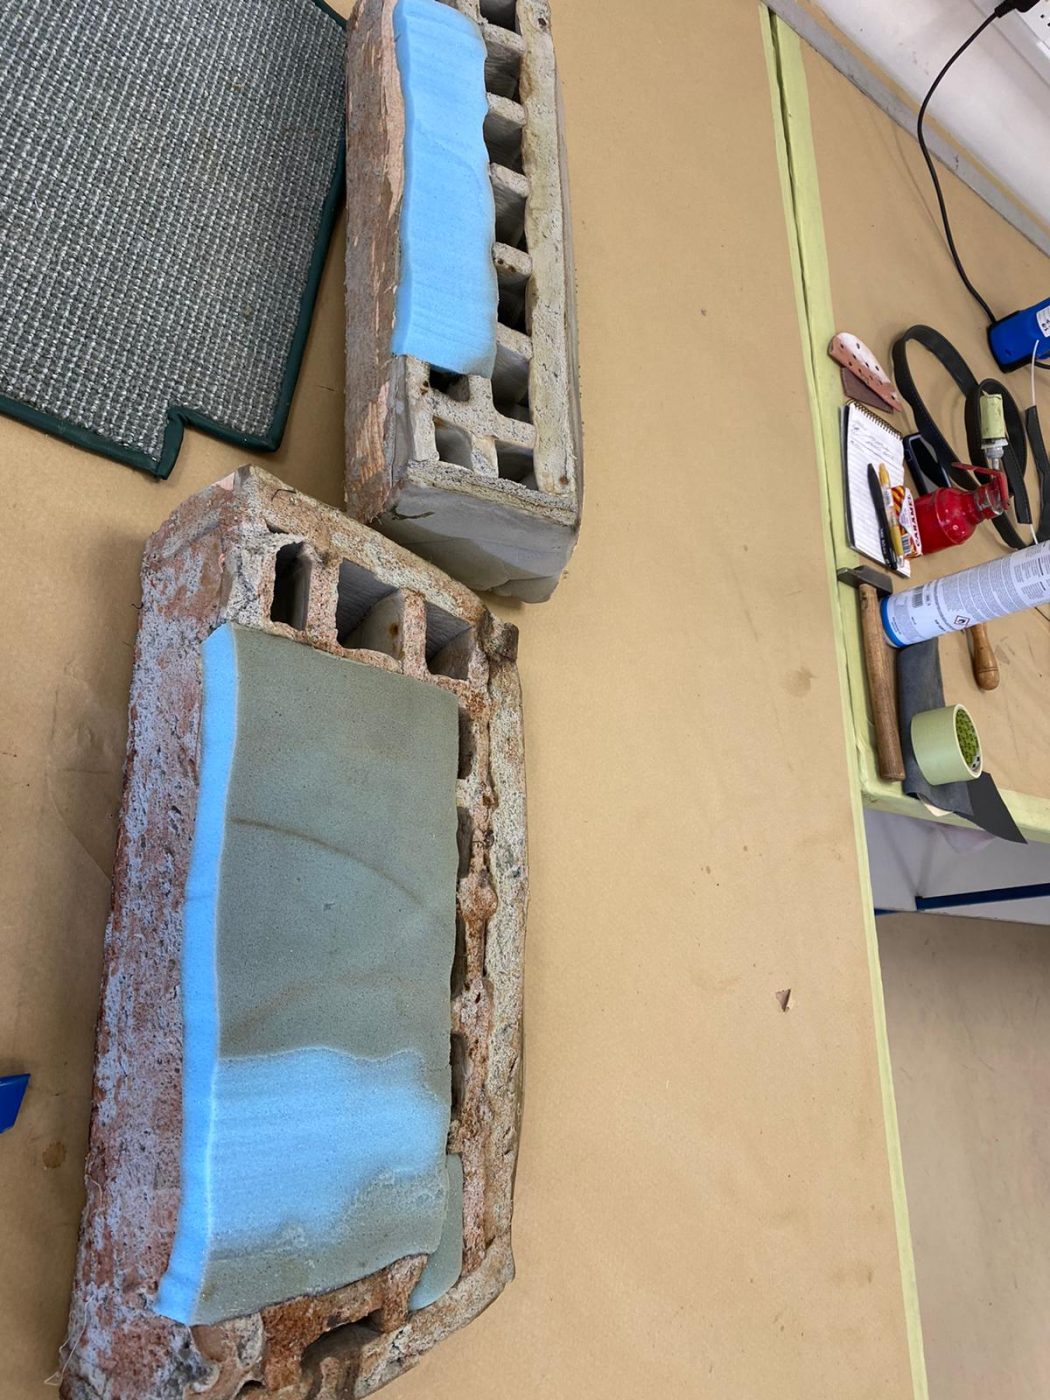
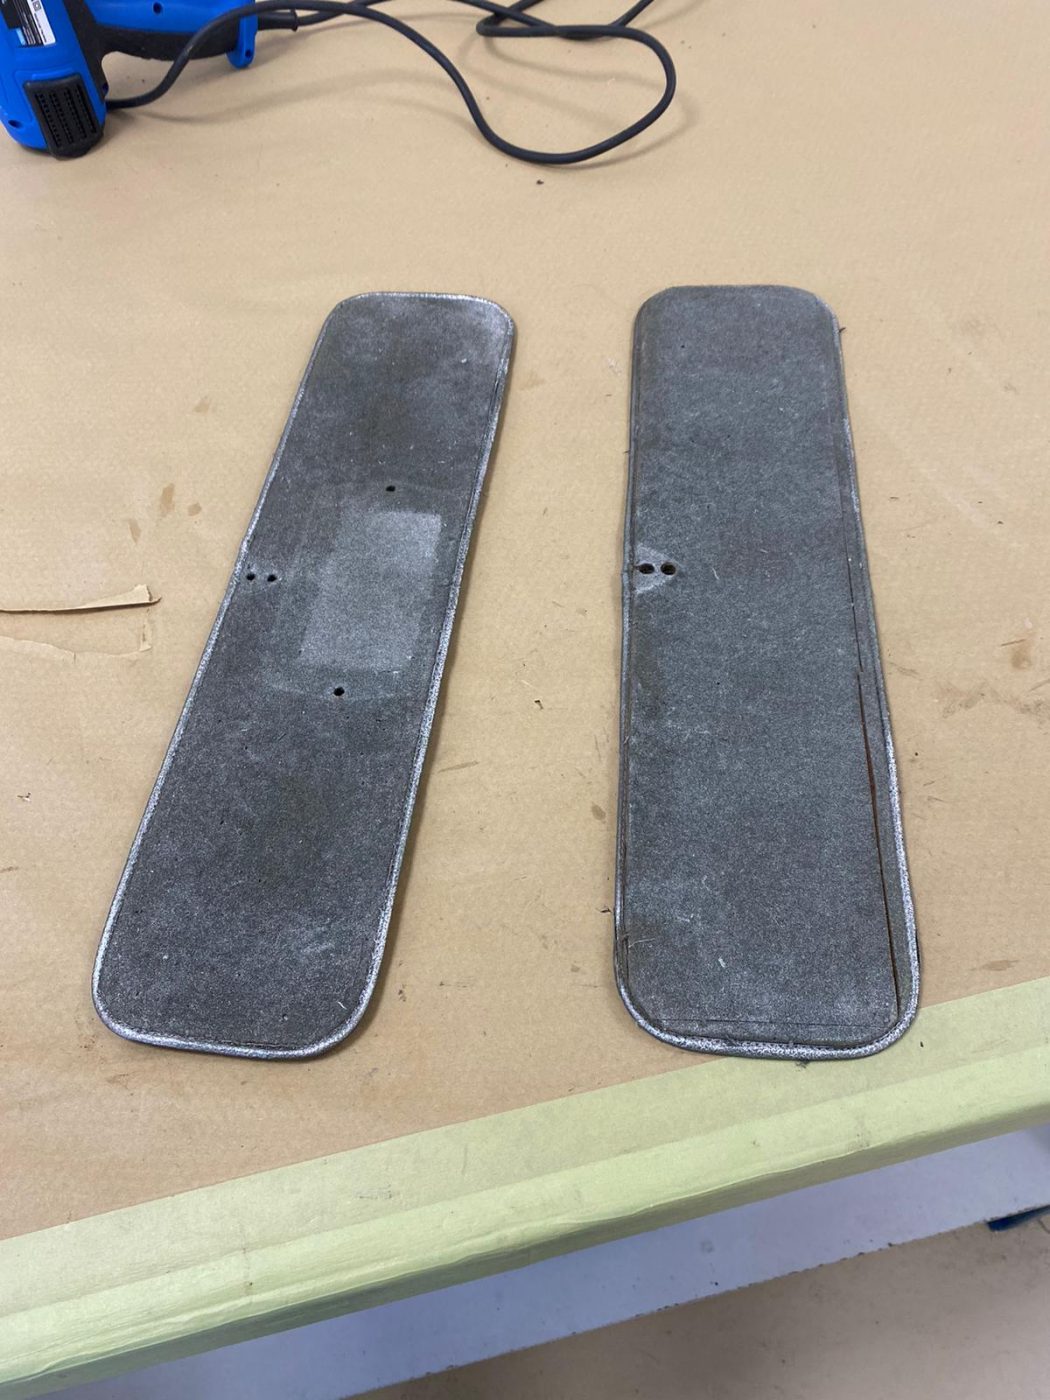
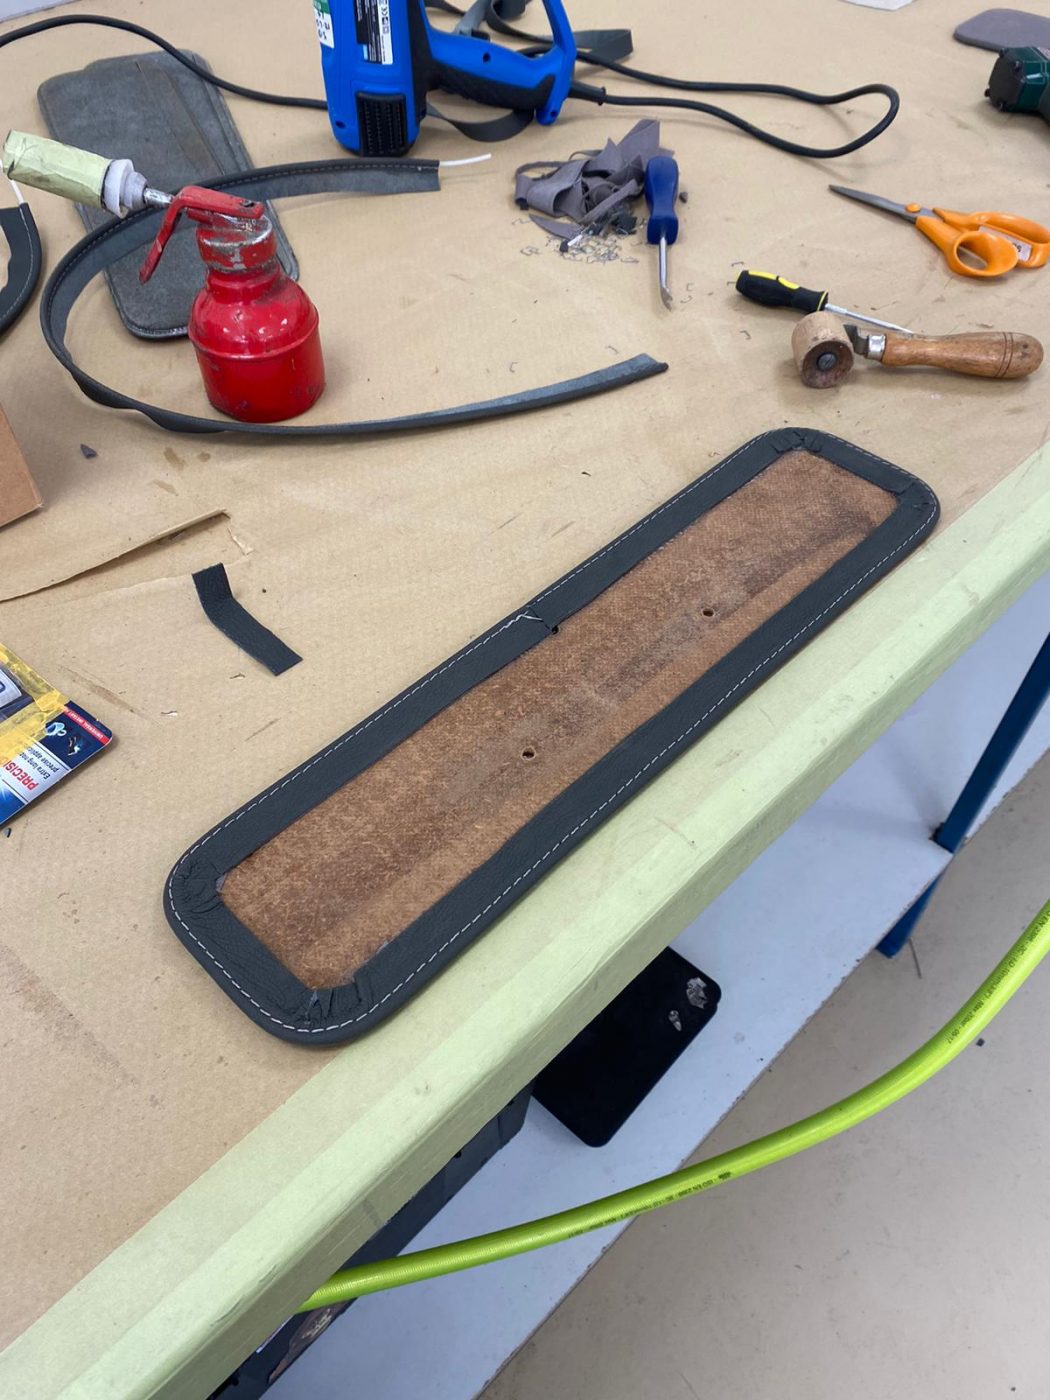
Kath has been fitting the second front base seat cover to its foam and frame for the 1955 Aston Martin DB 2/4. It’s exactly the


Kath has been fitting the second front base seat cover to its foam and frame for the 1955 Aston Martin DB 2/4. It’s exactly the
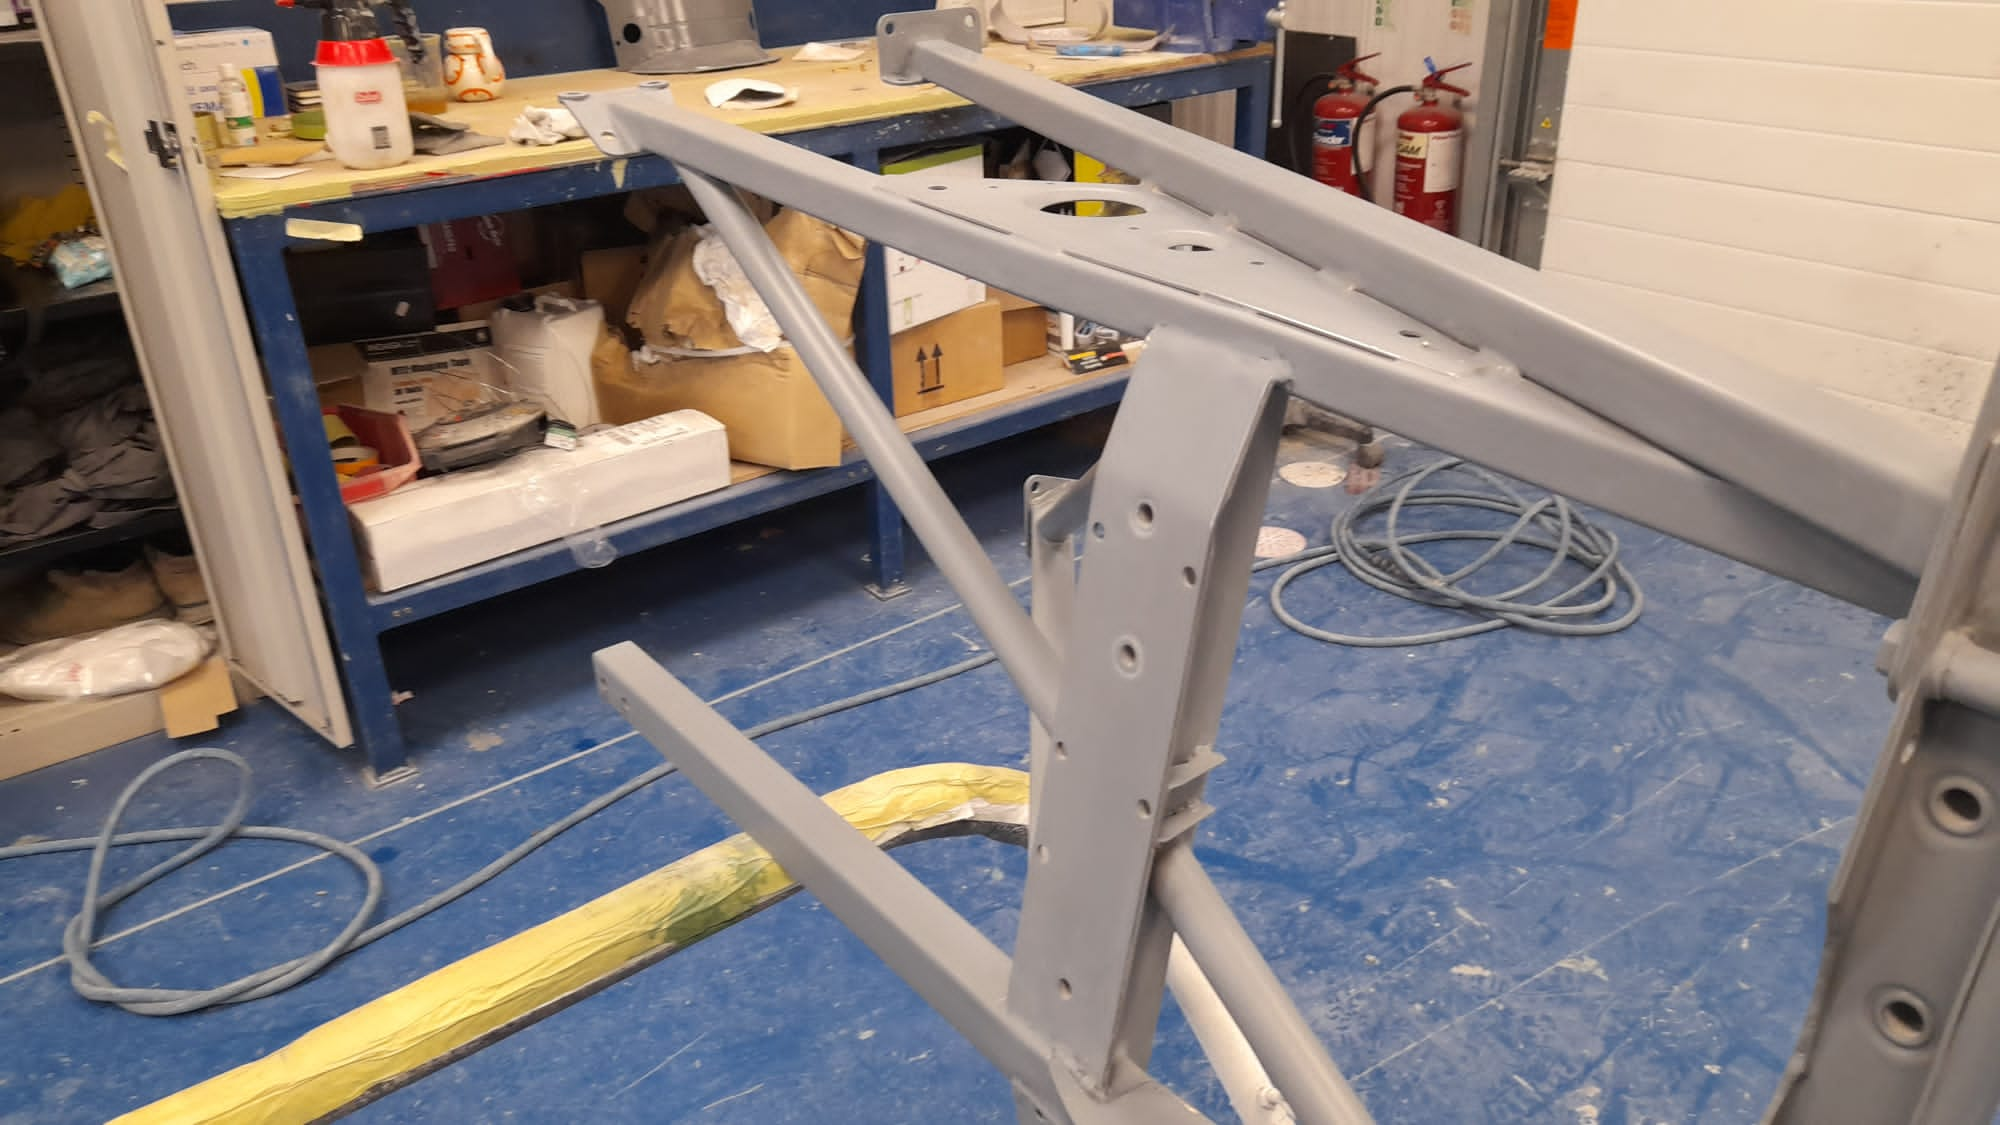
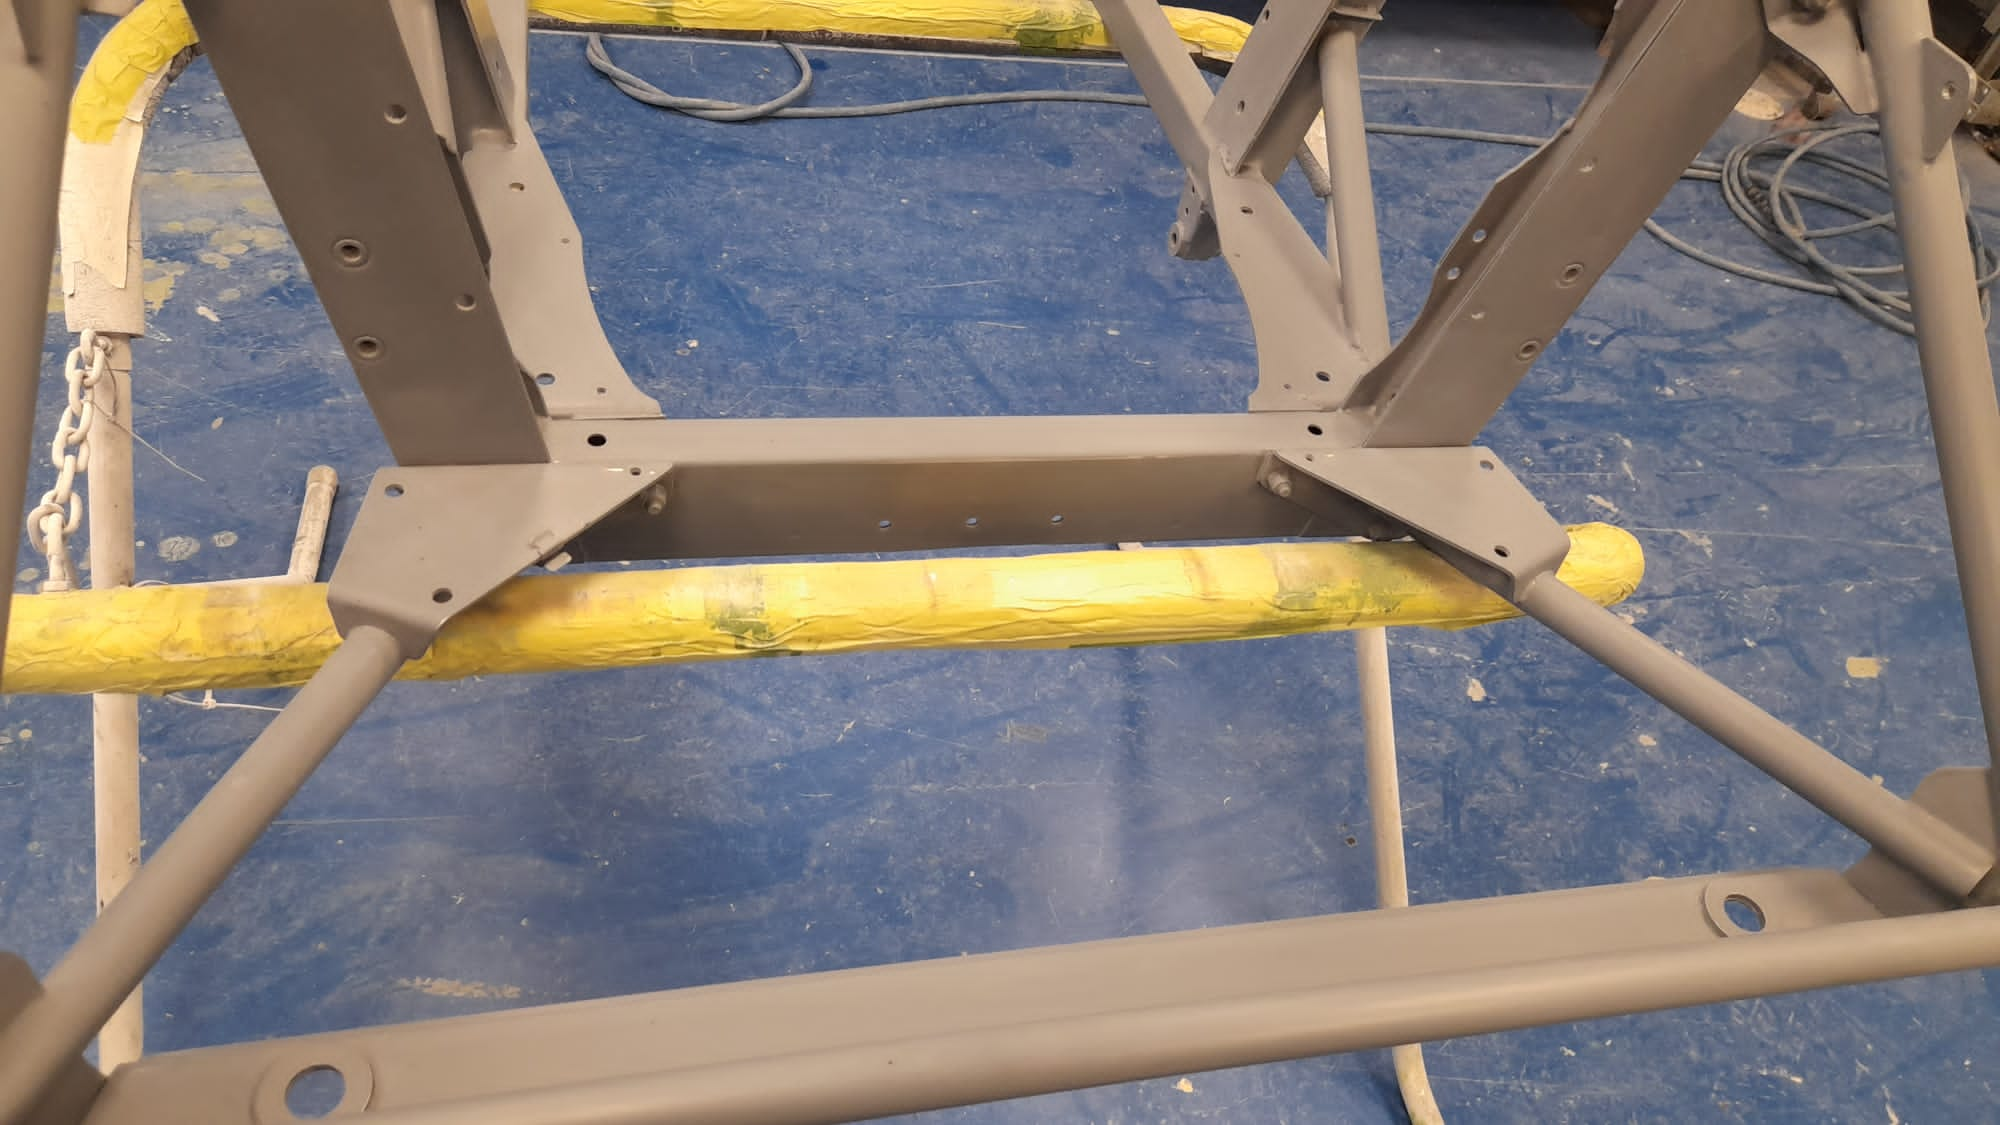
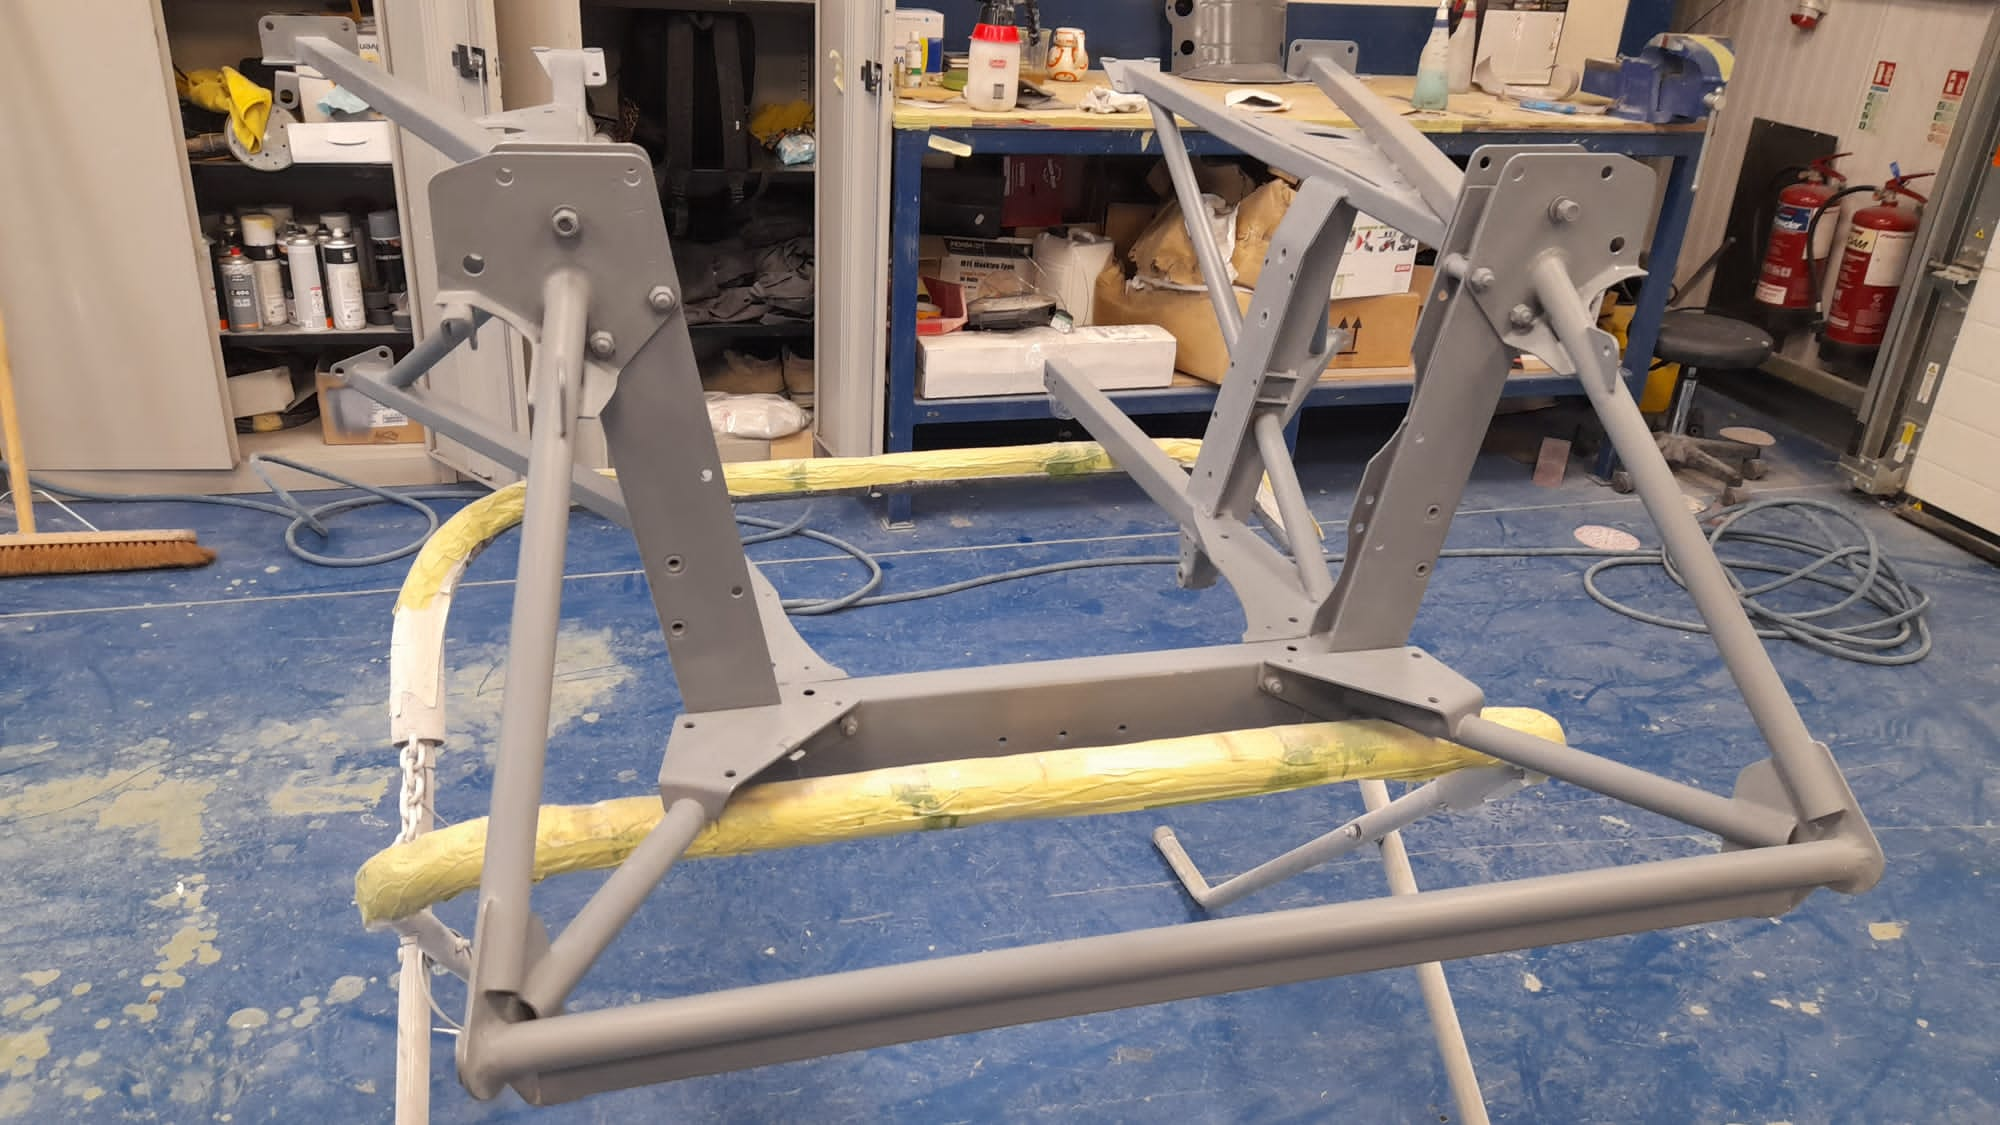
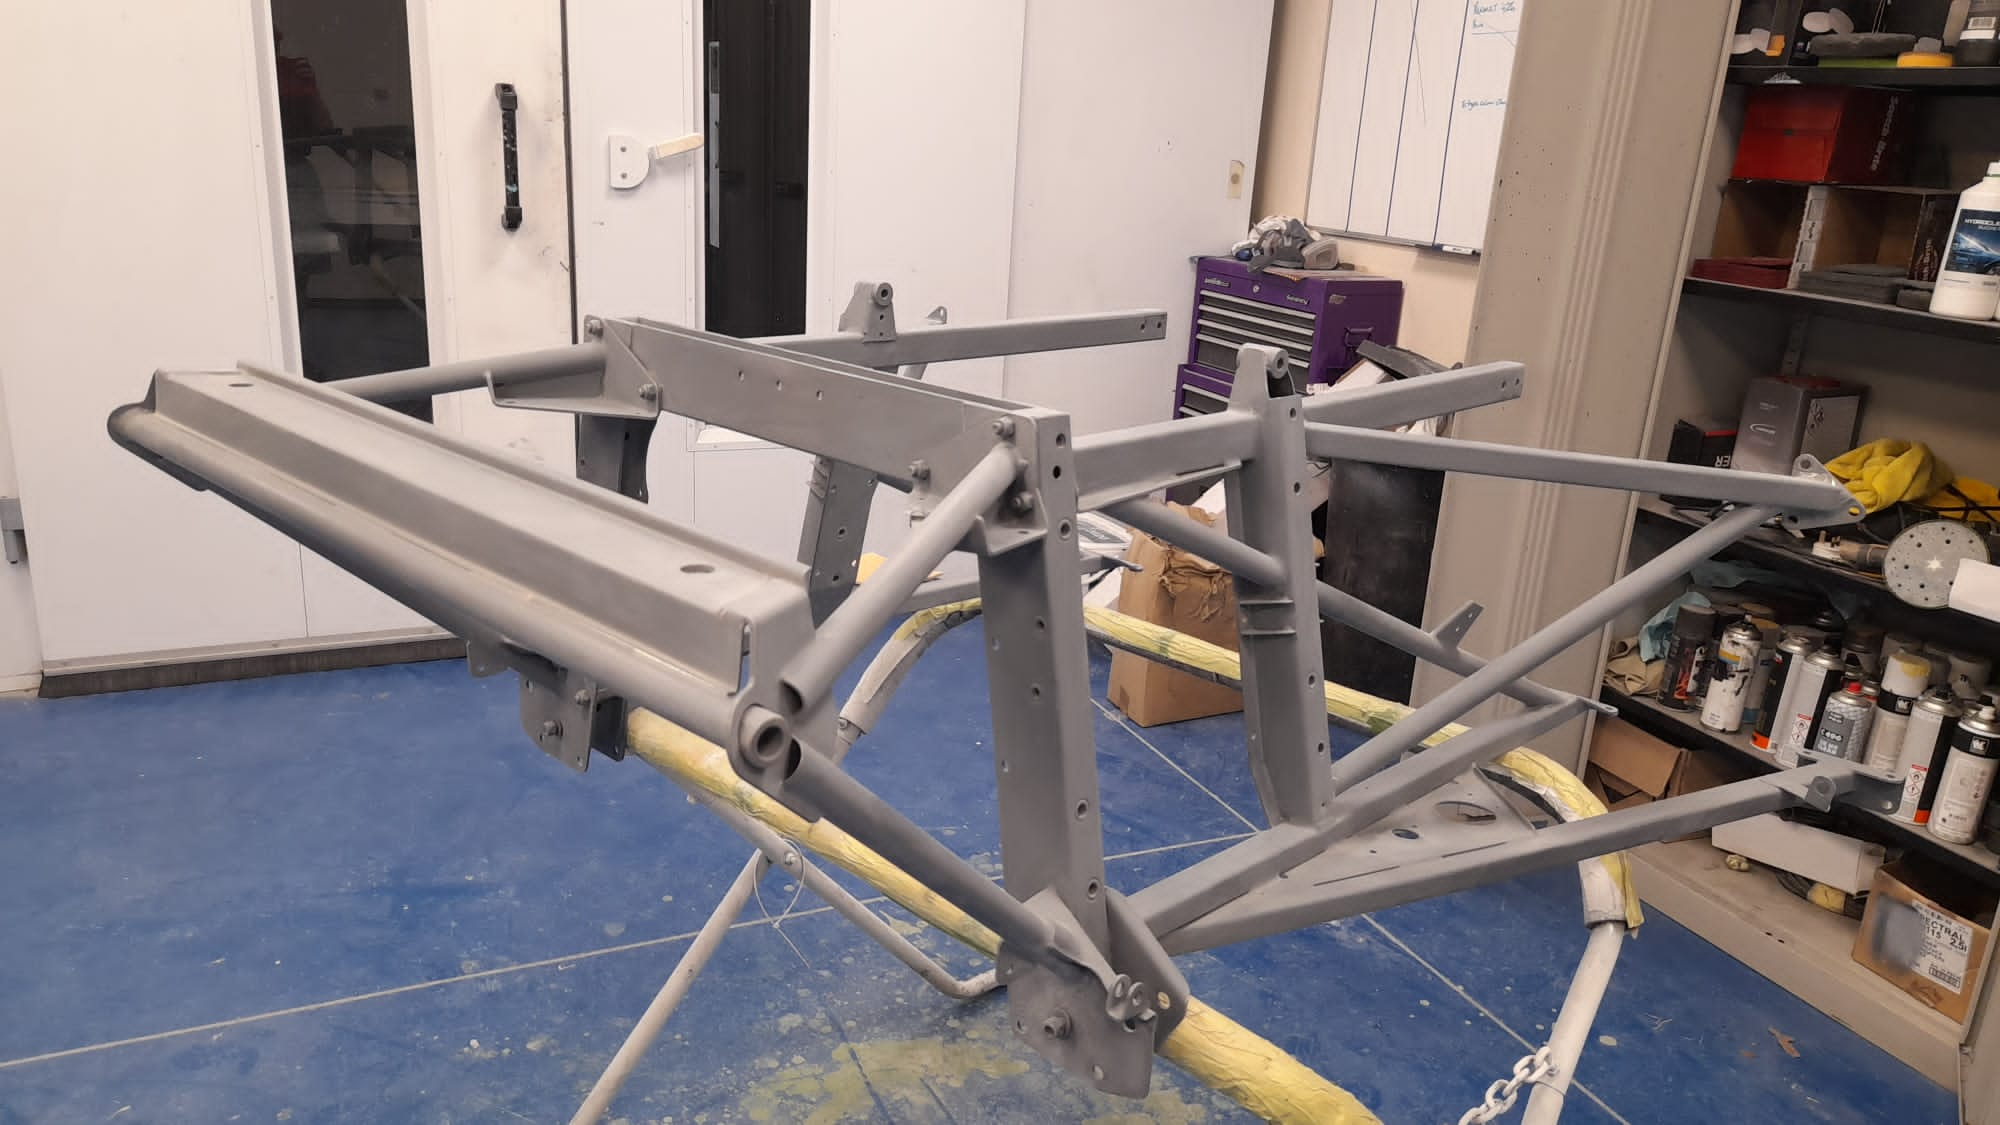
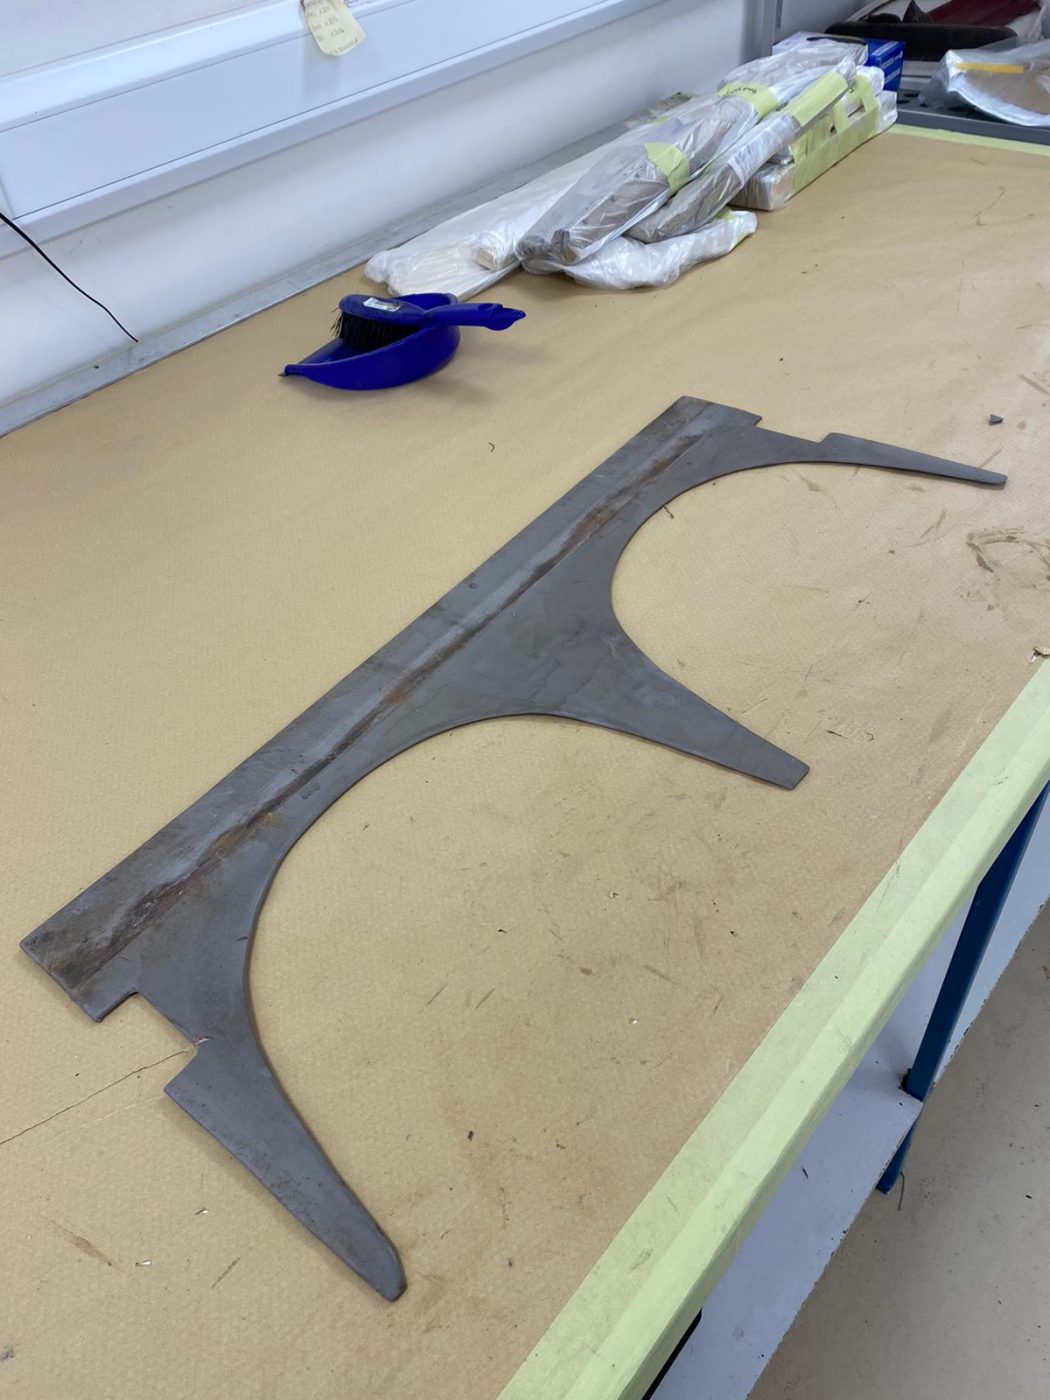
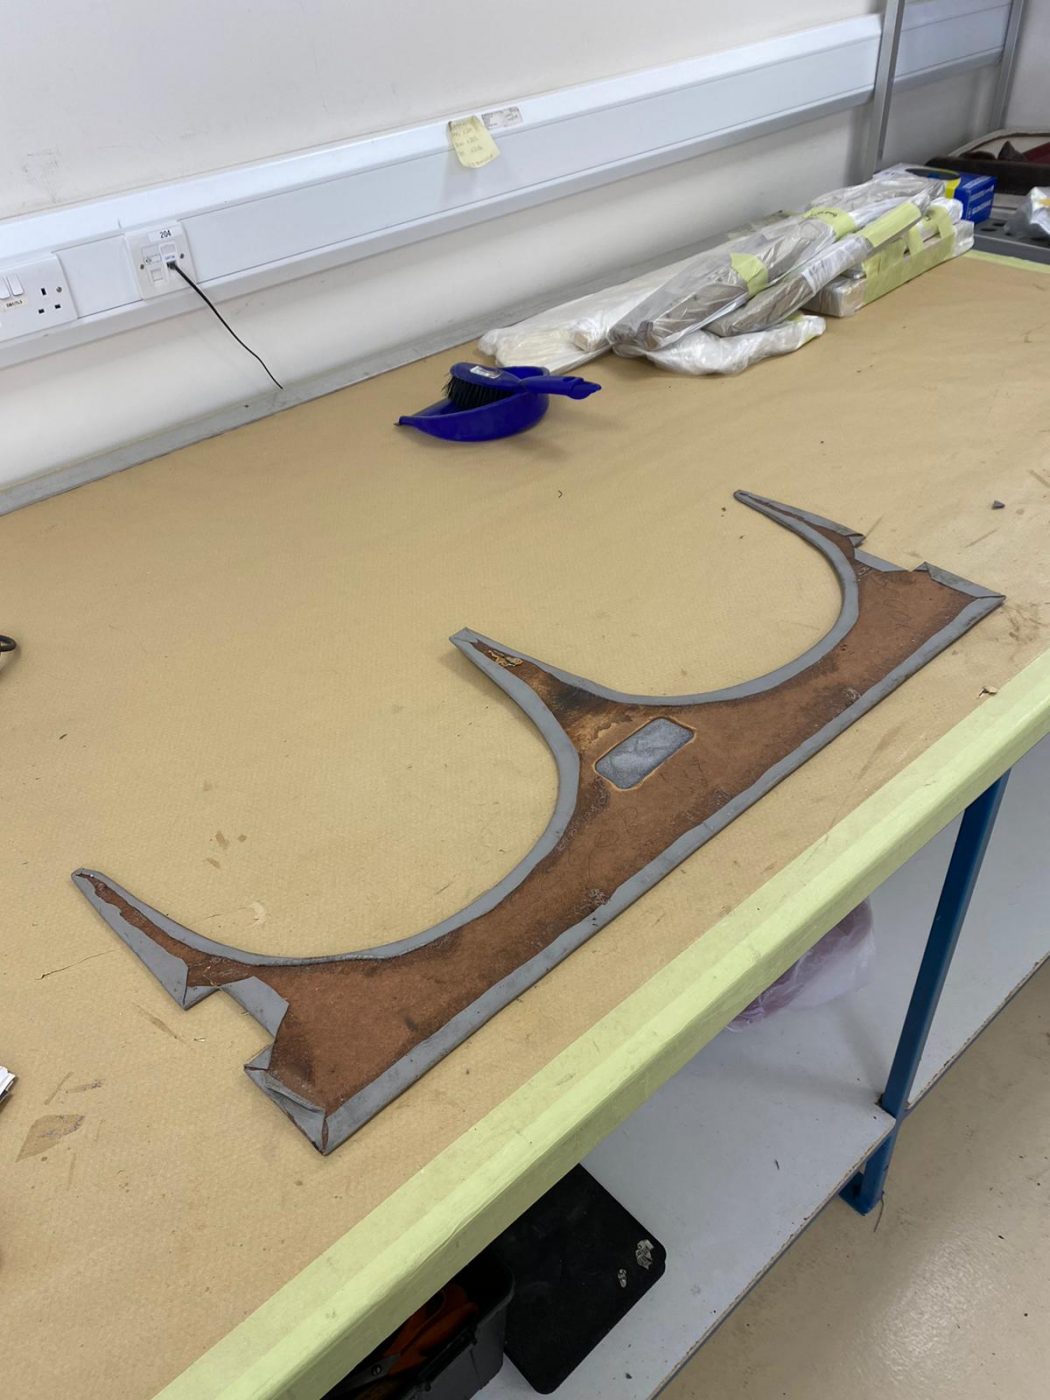
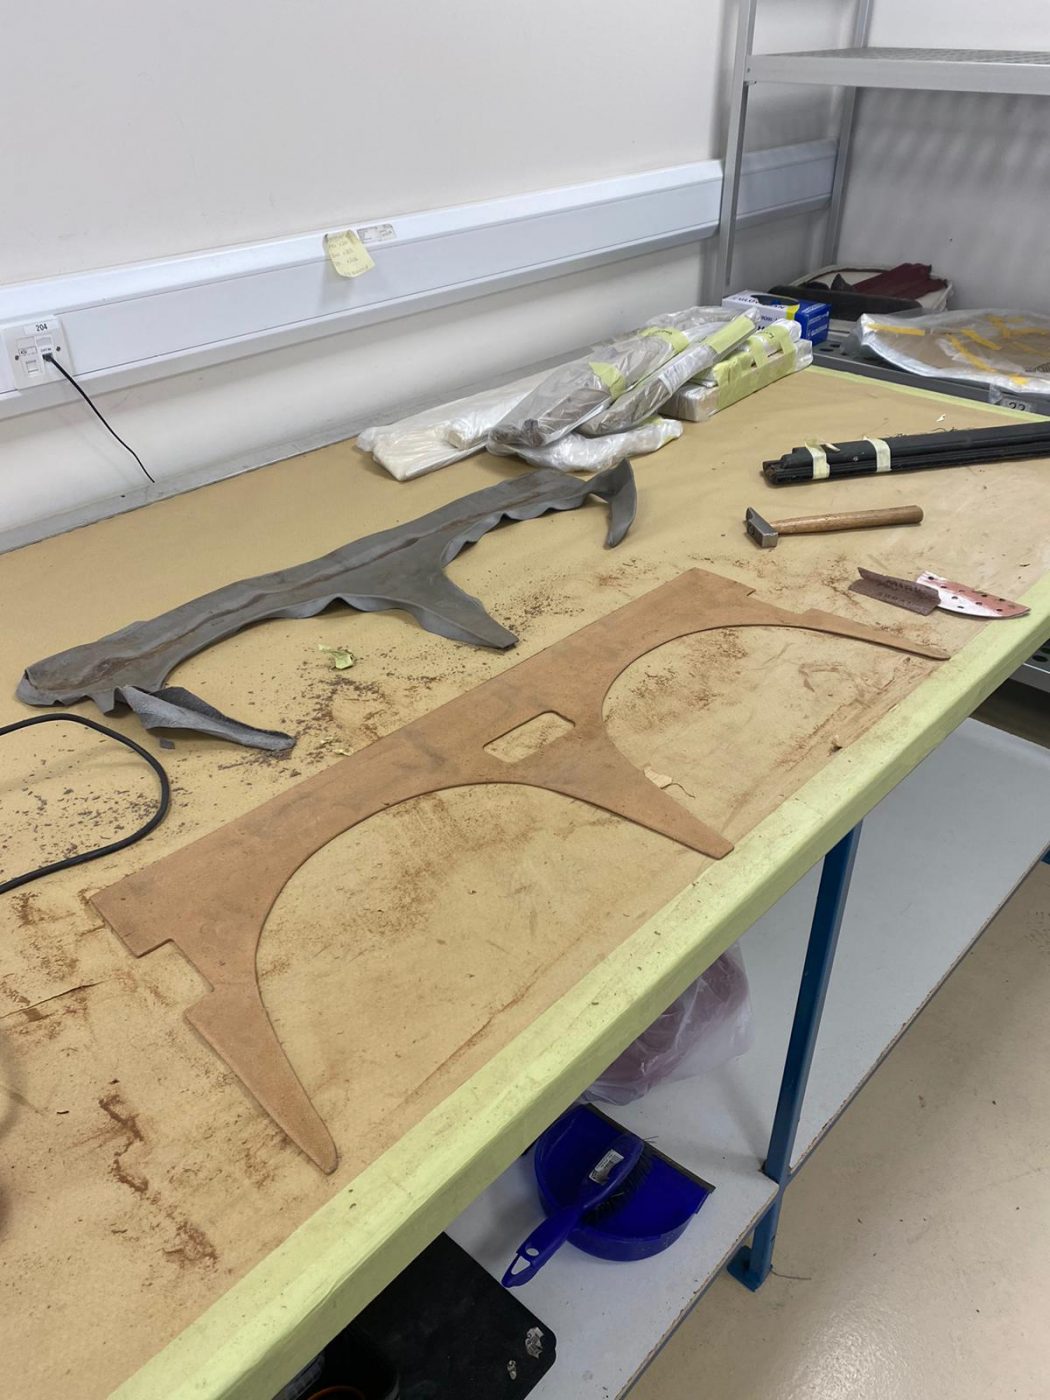
Lydia has finished sanding down the primer on the front frame for the 1973 Jaguar E-Type Roadster Series 3. You can read about the process
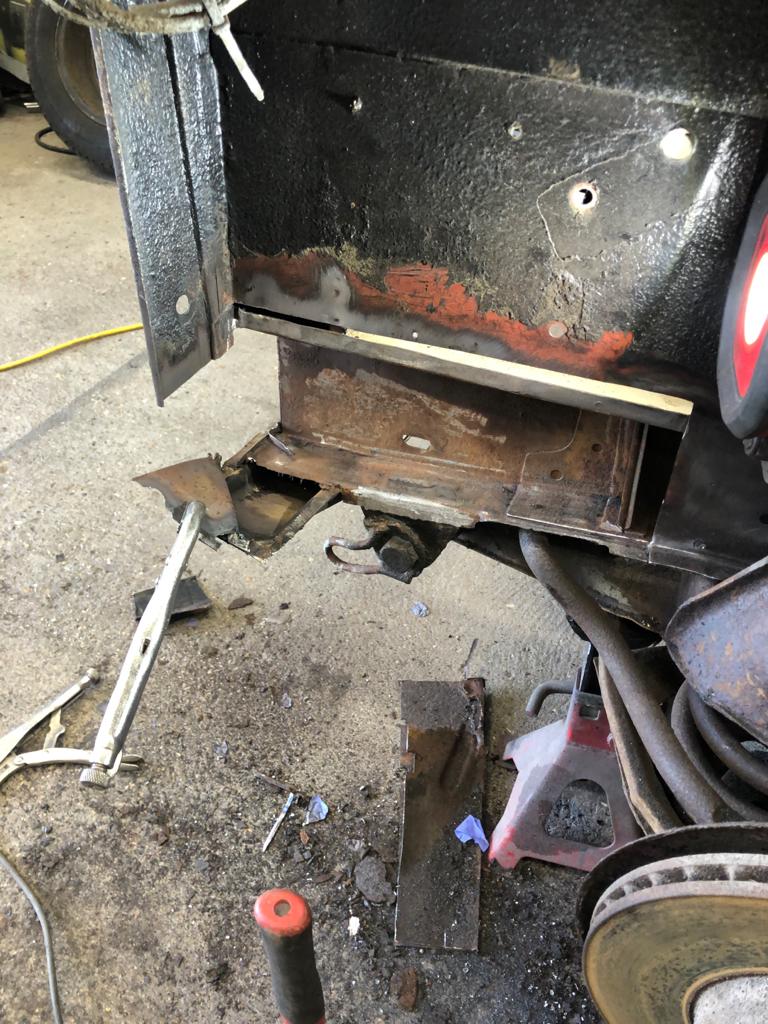
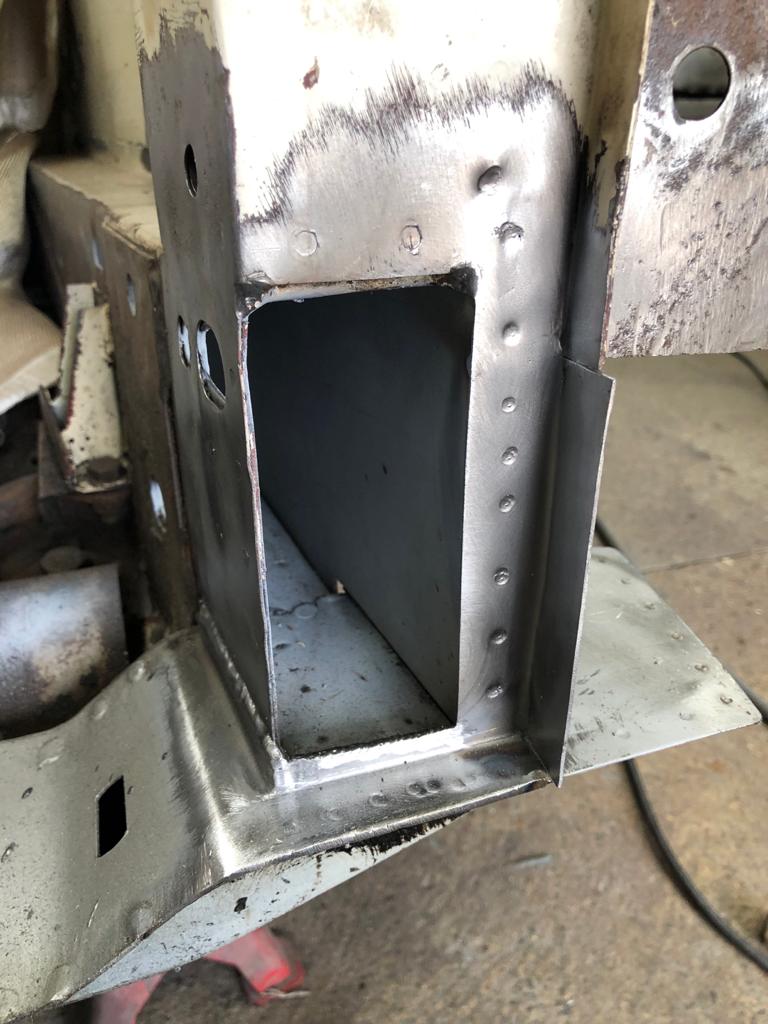
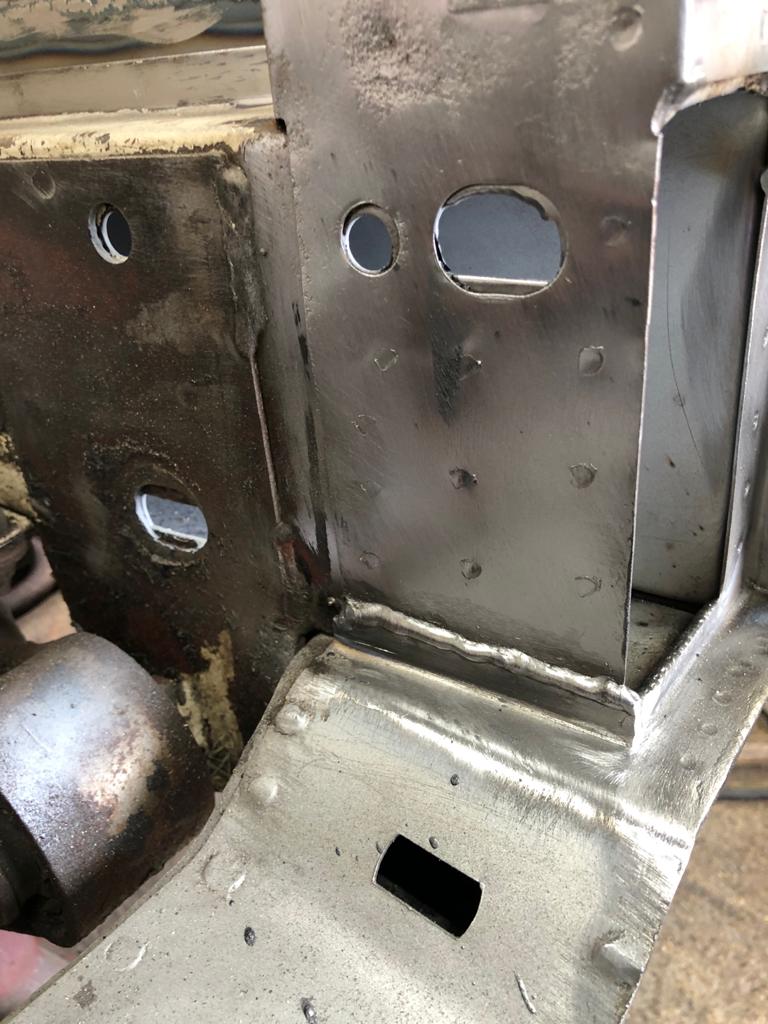
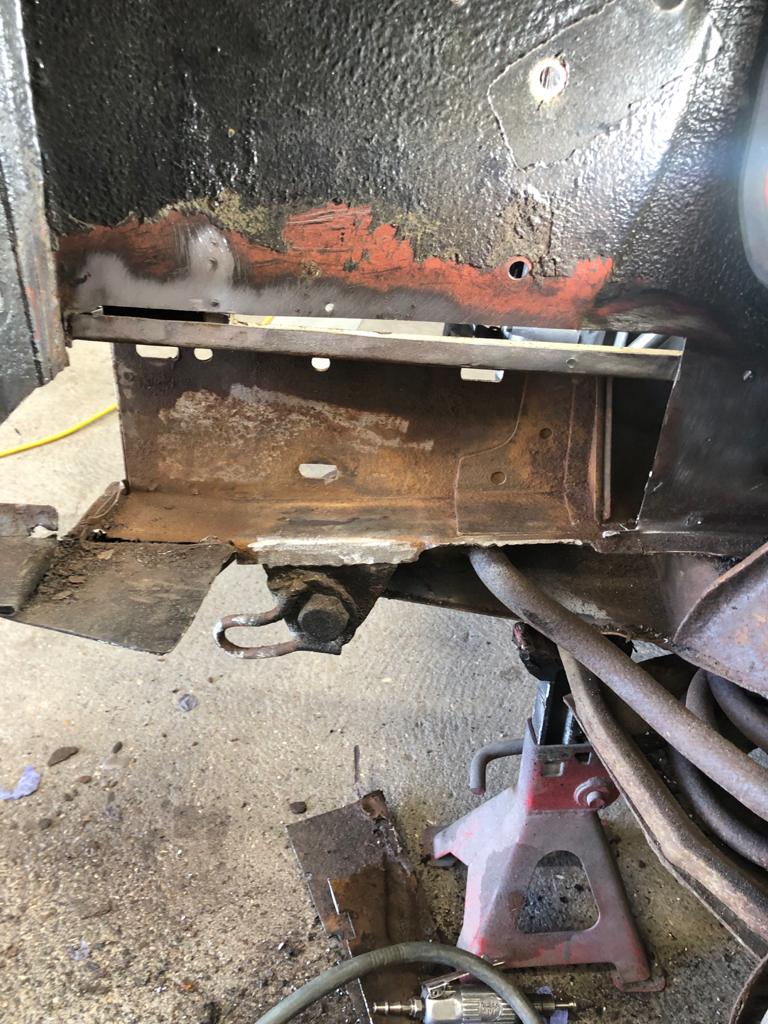
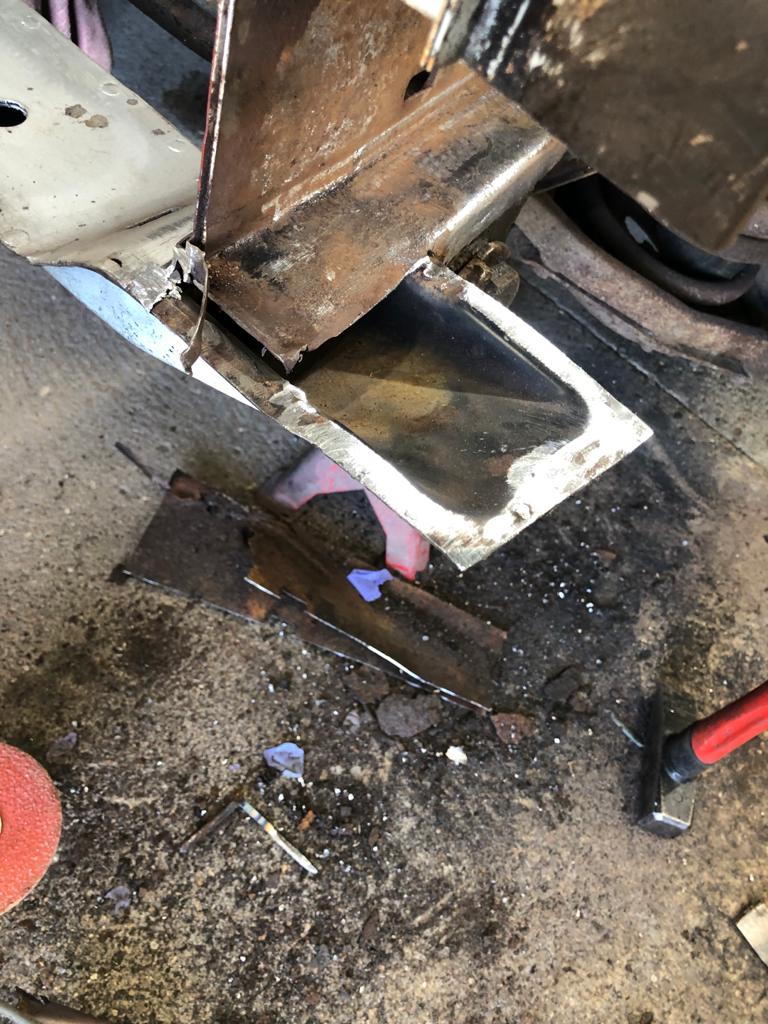
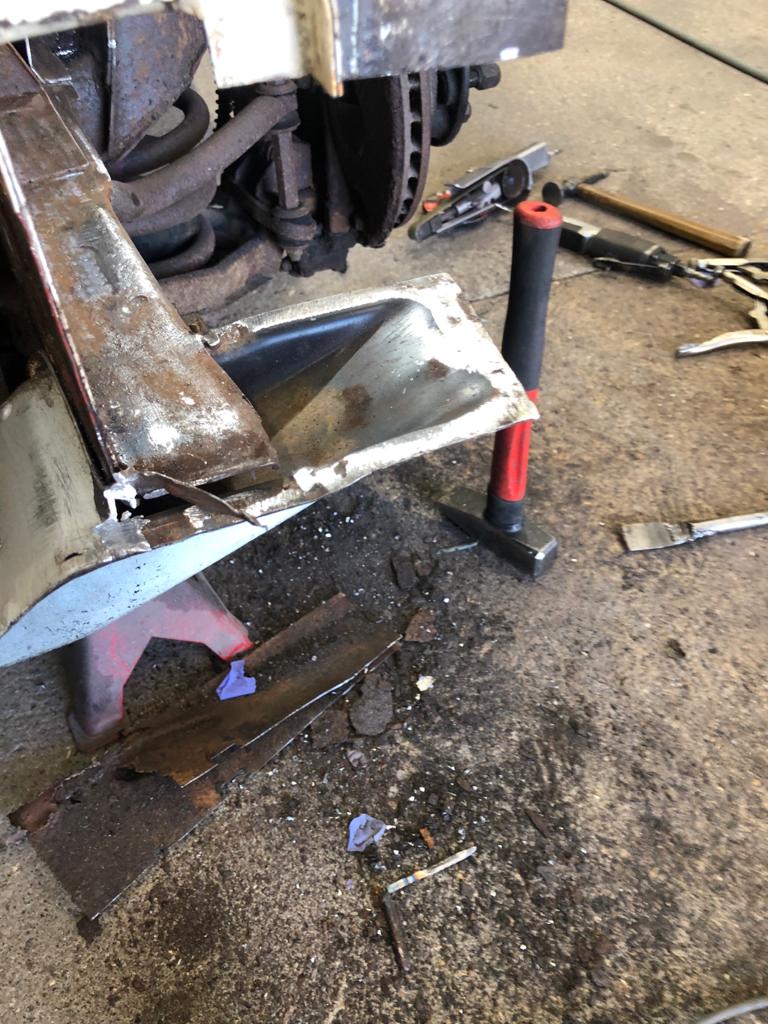
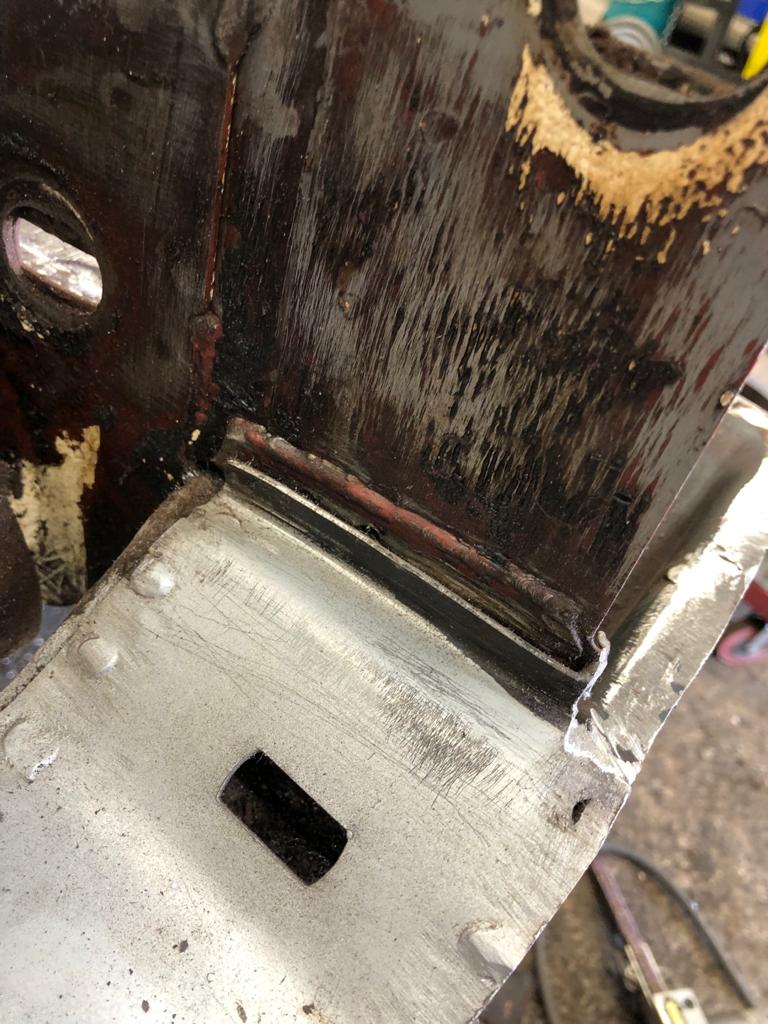
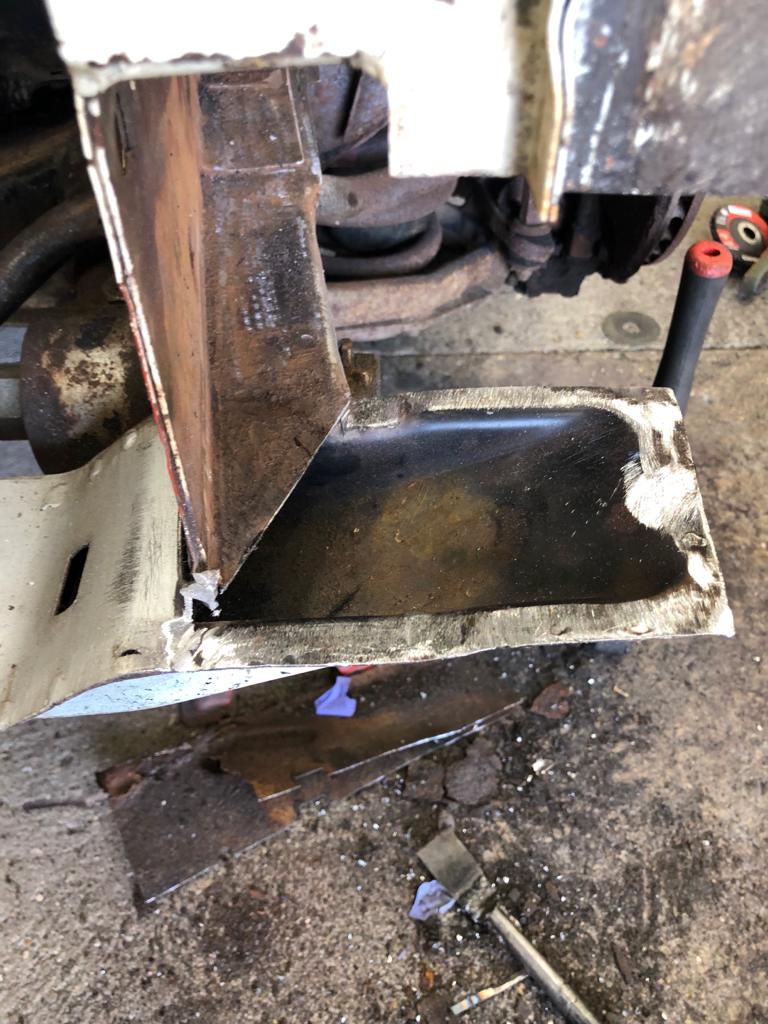
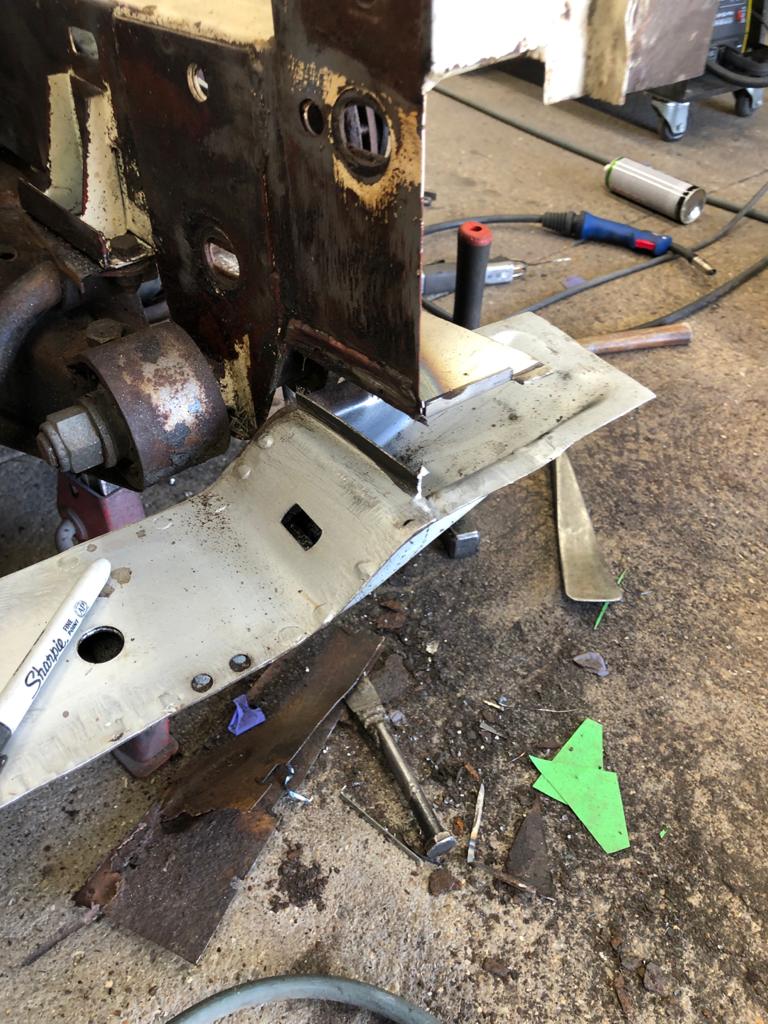
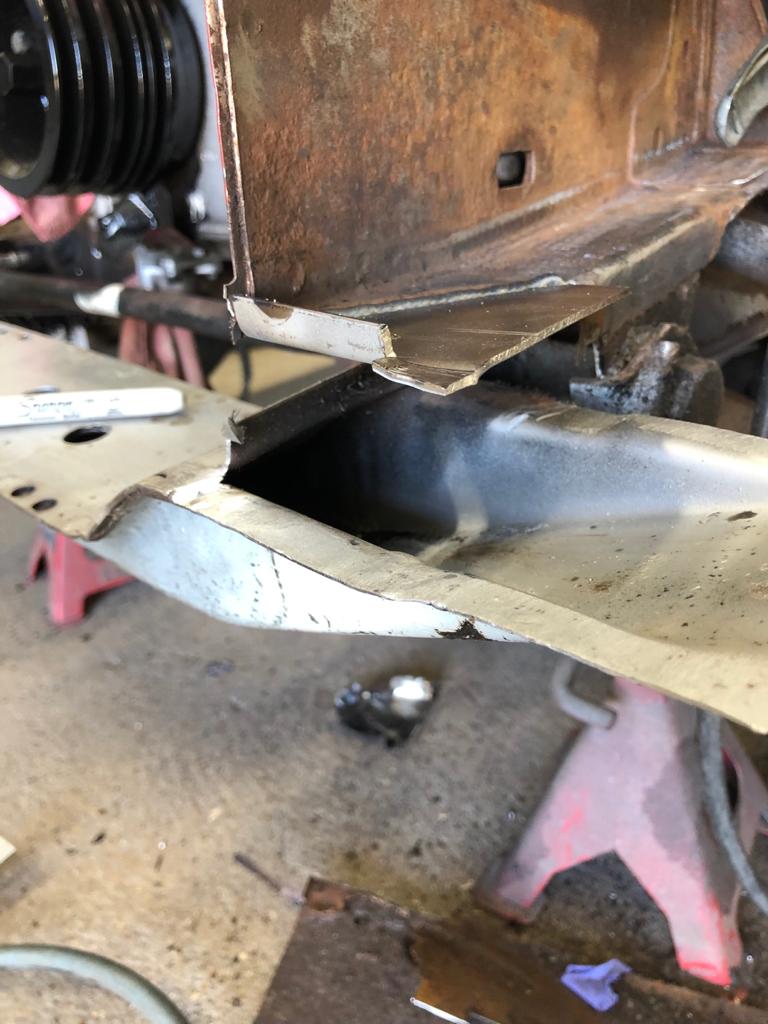
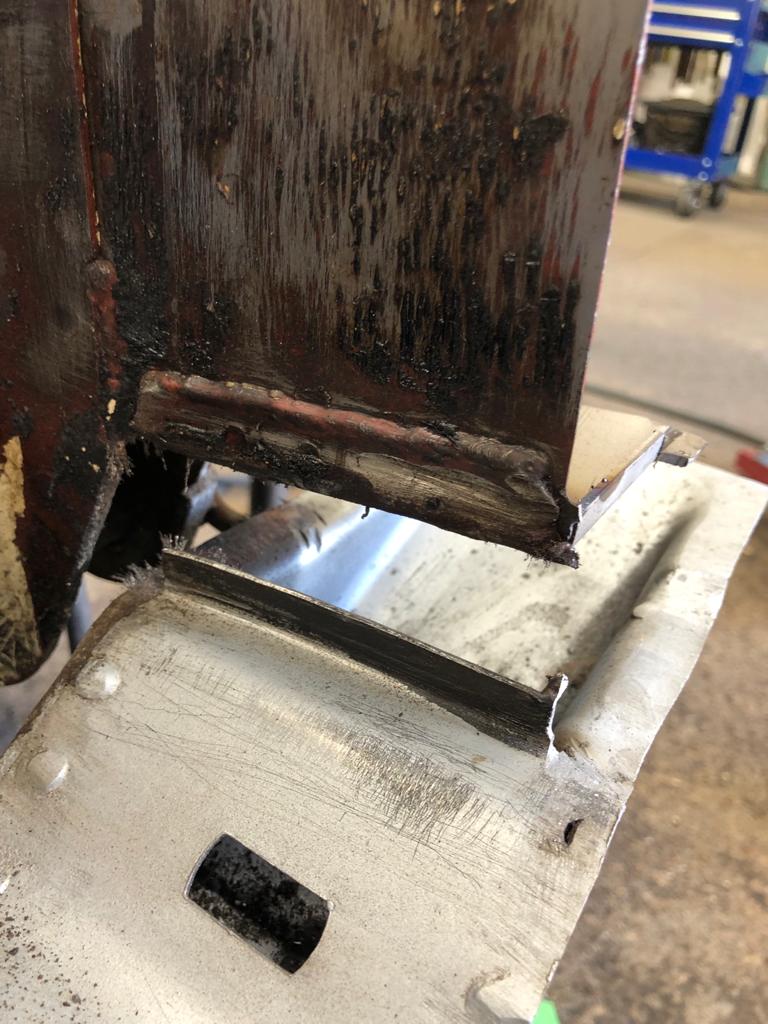
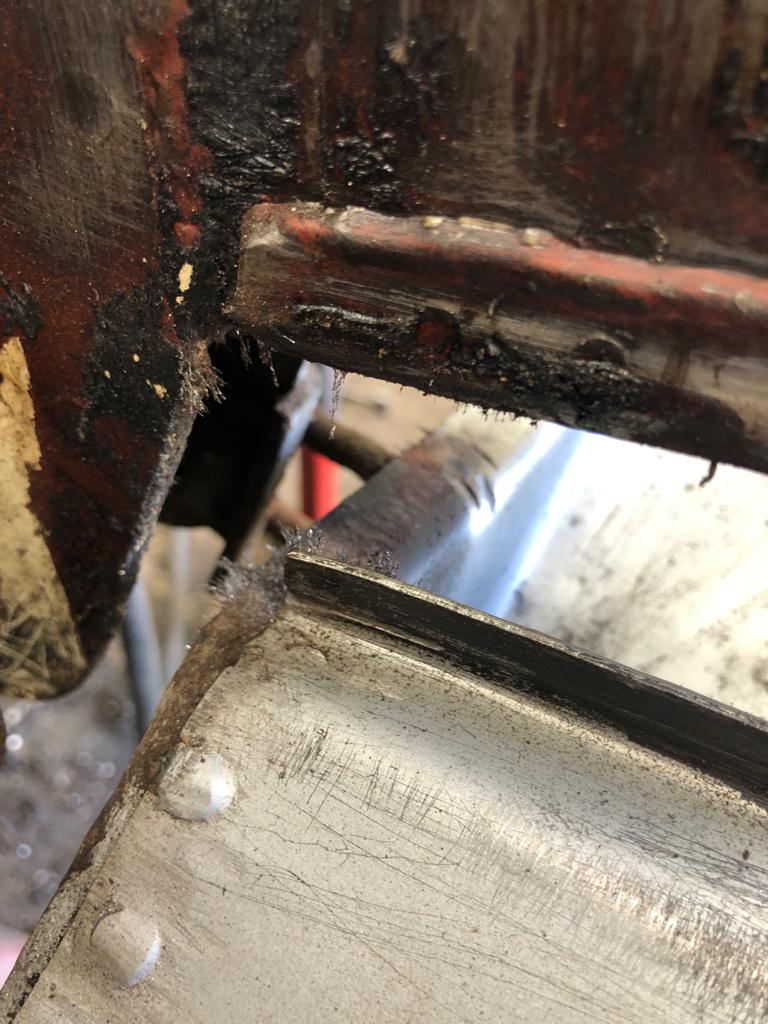
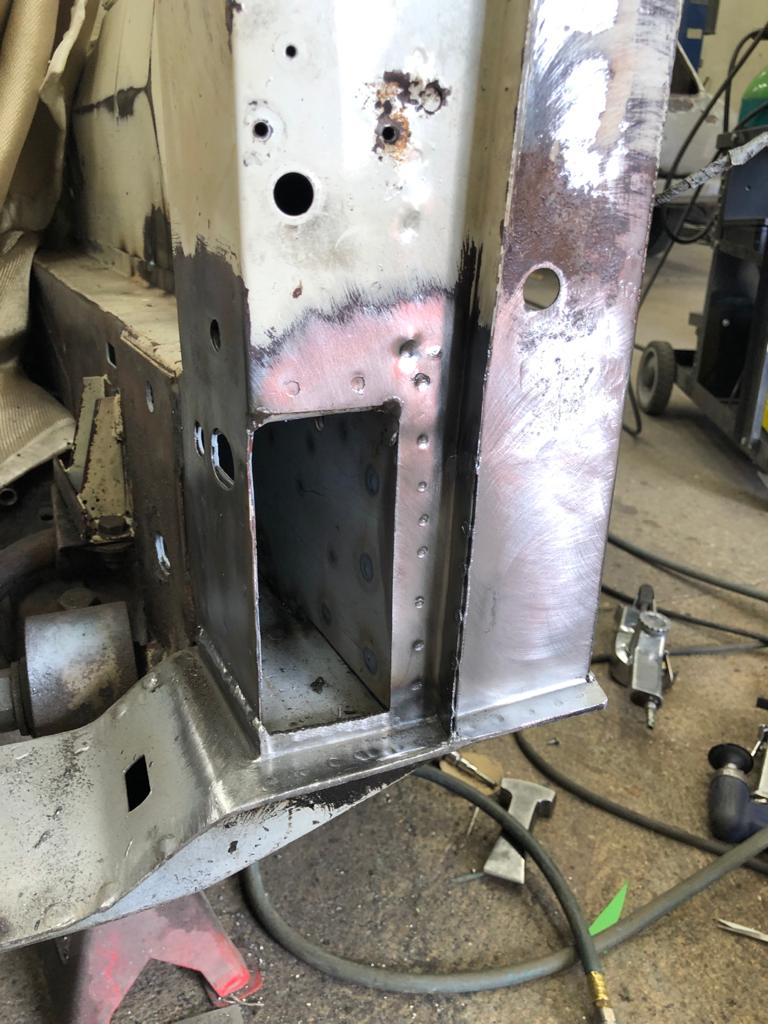
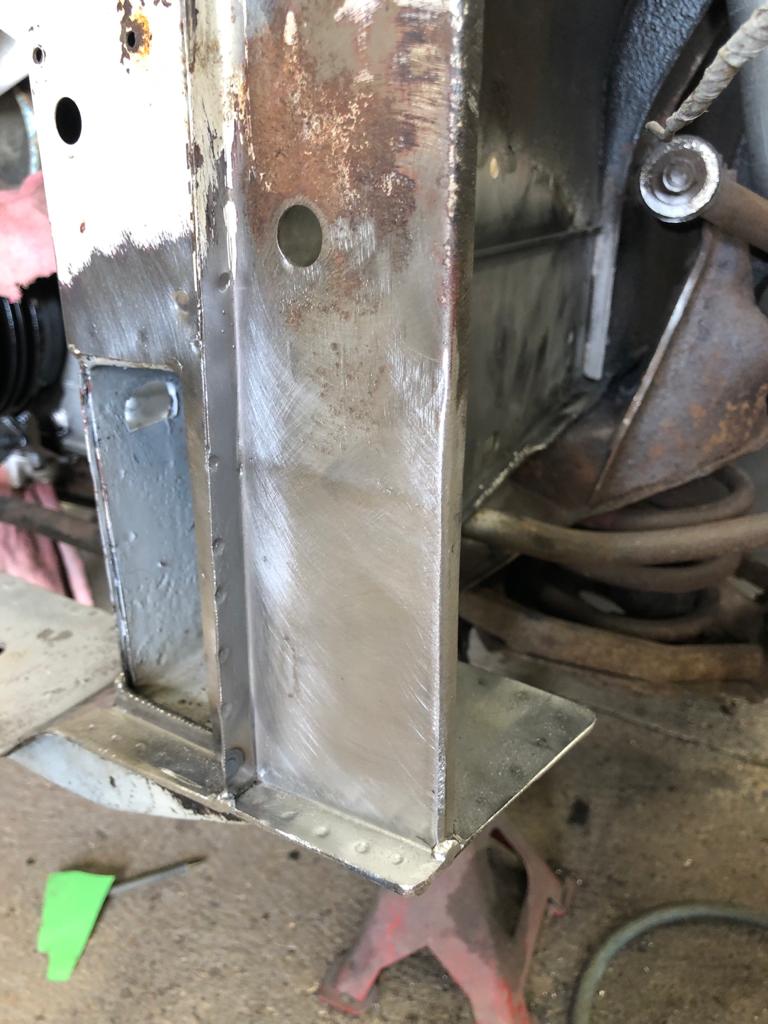
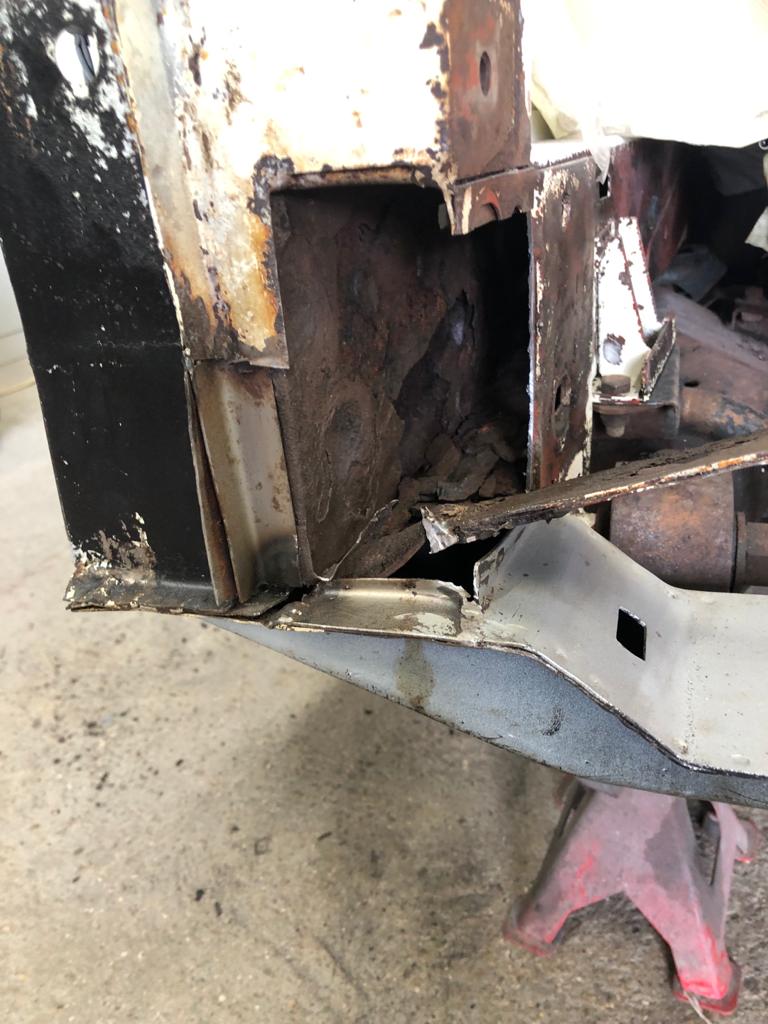
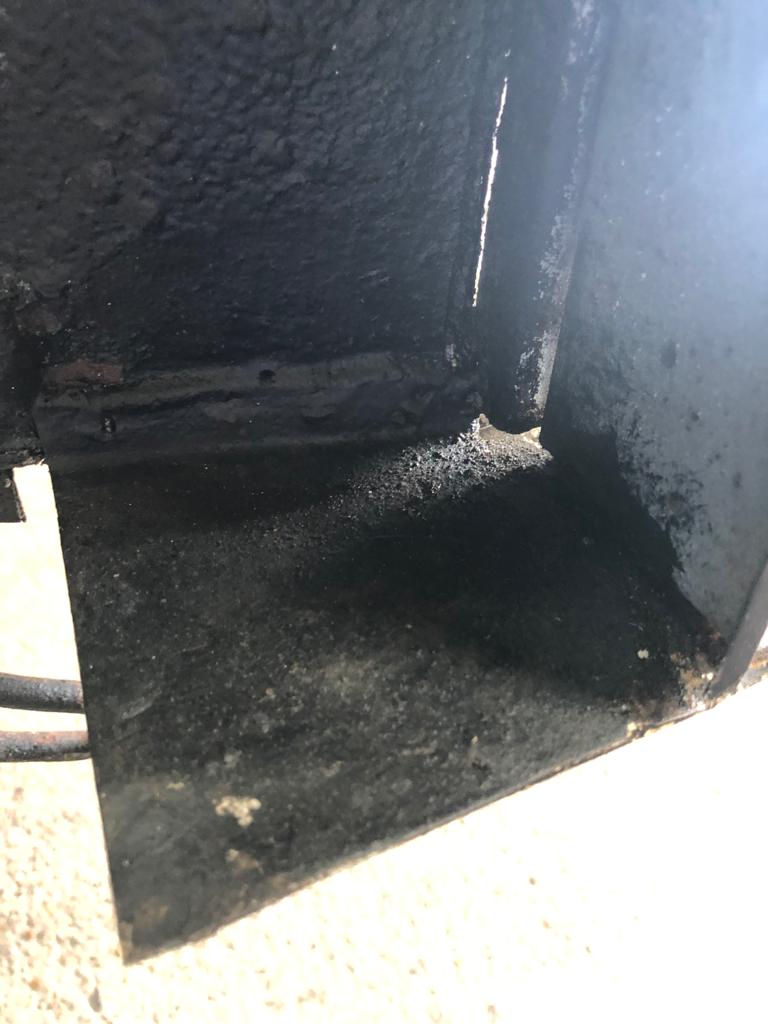
James has been continuing his repair work on the 1986 Daimler Double Six. He’s now finished the left-hand side, which you can read about the

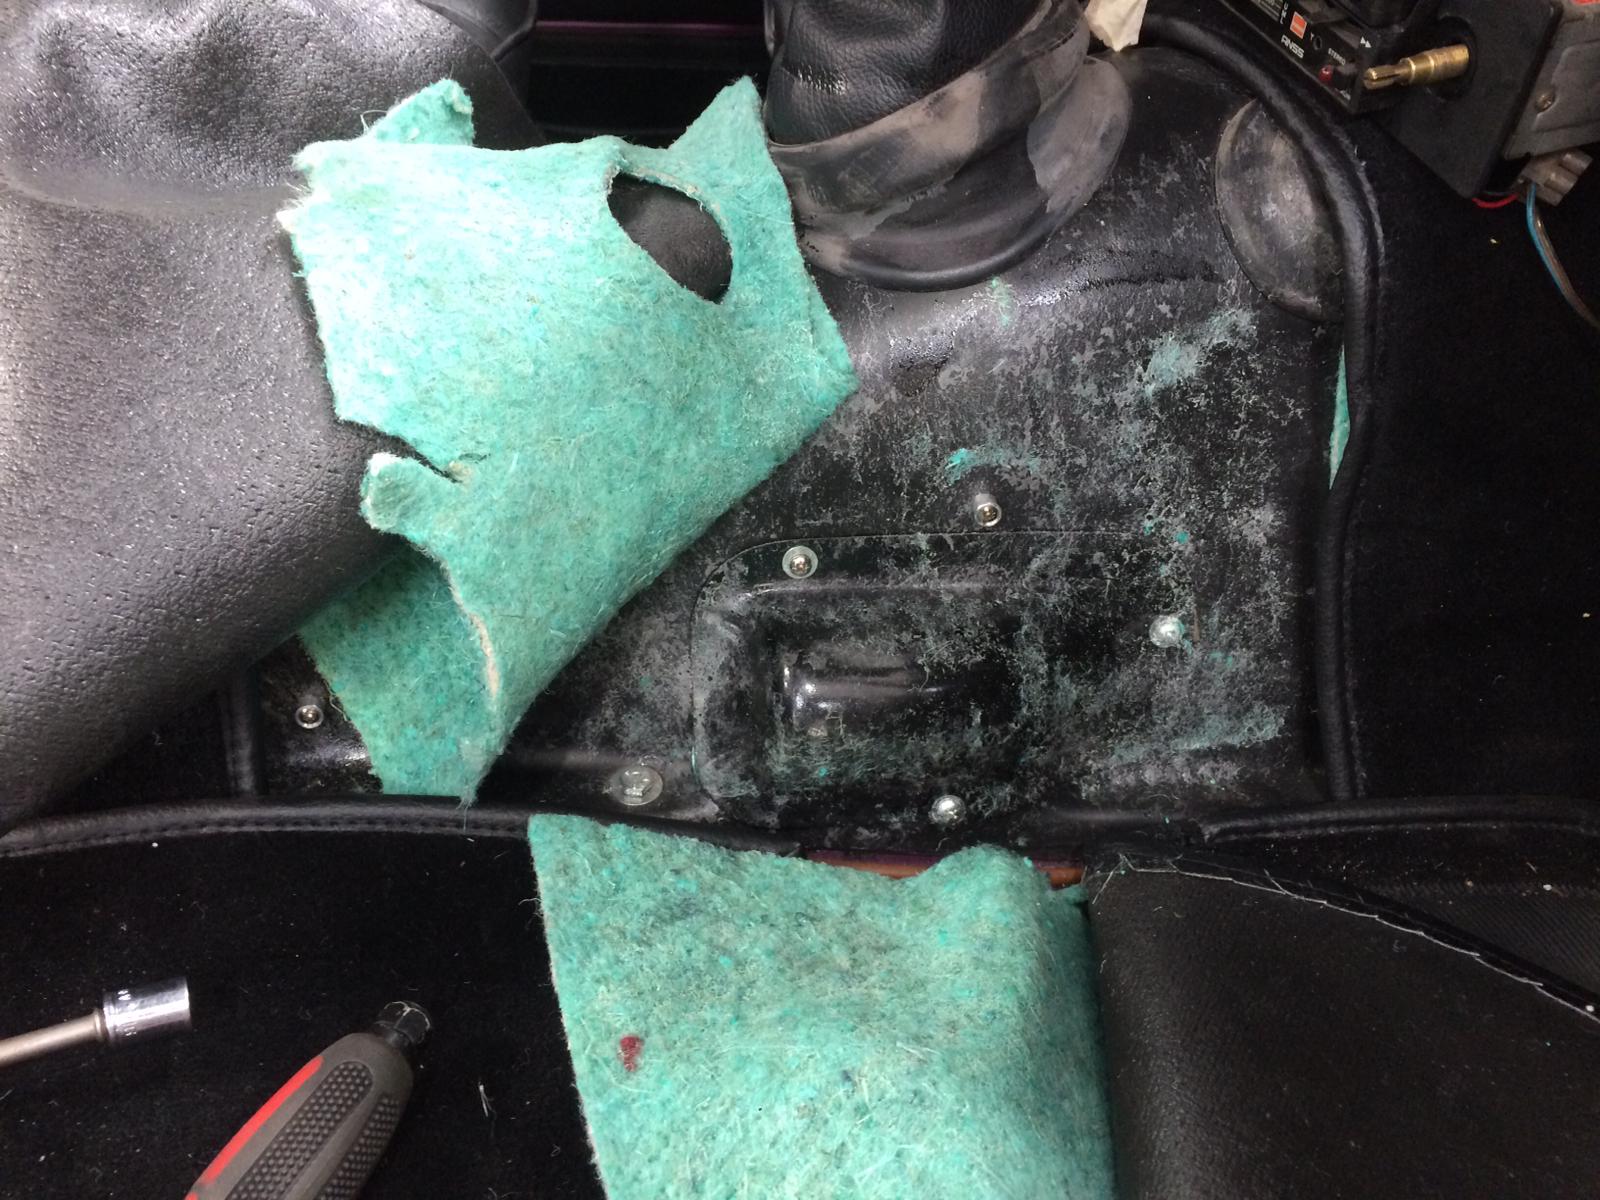
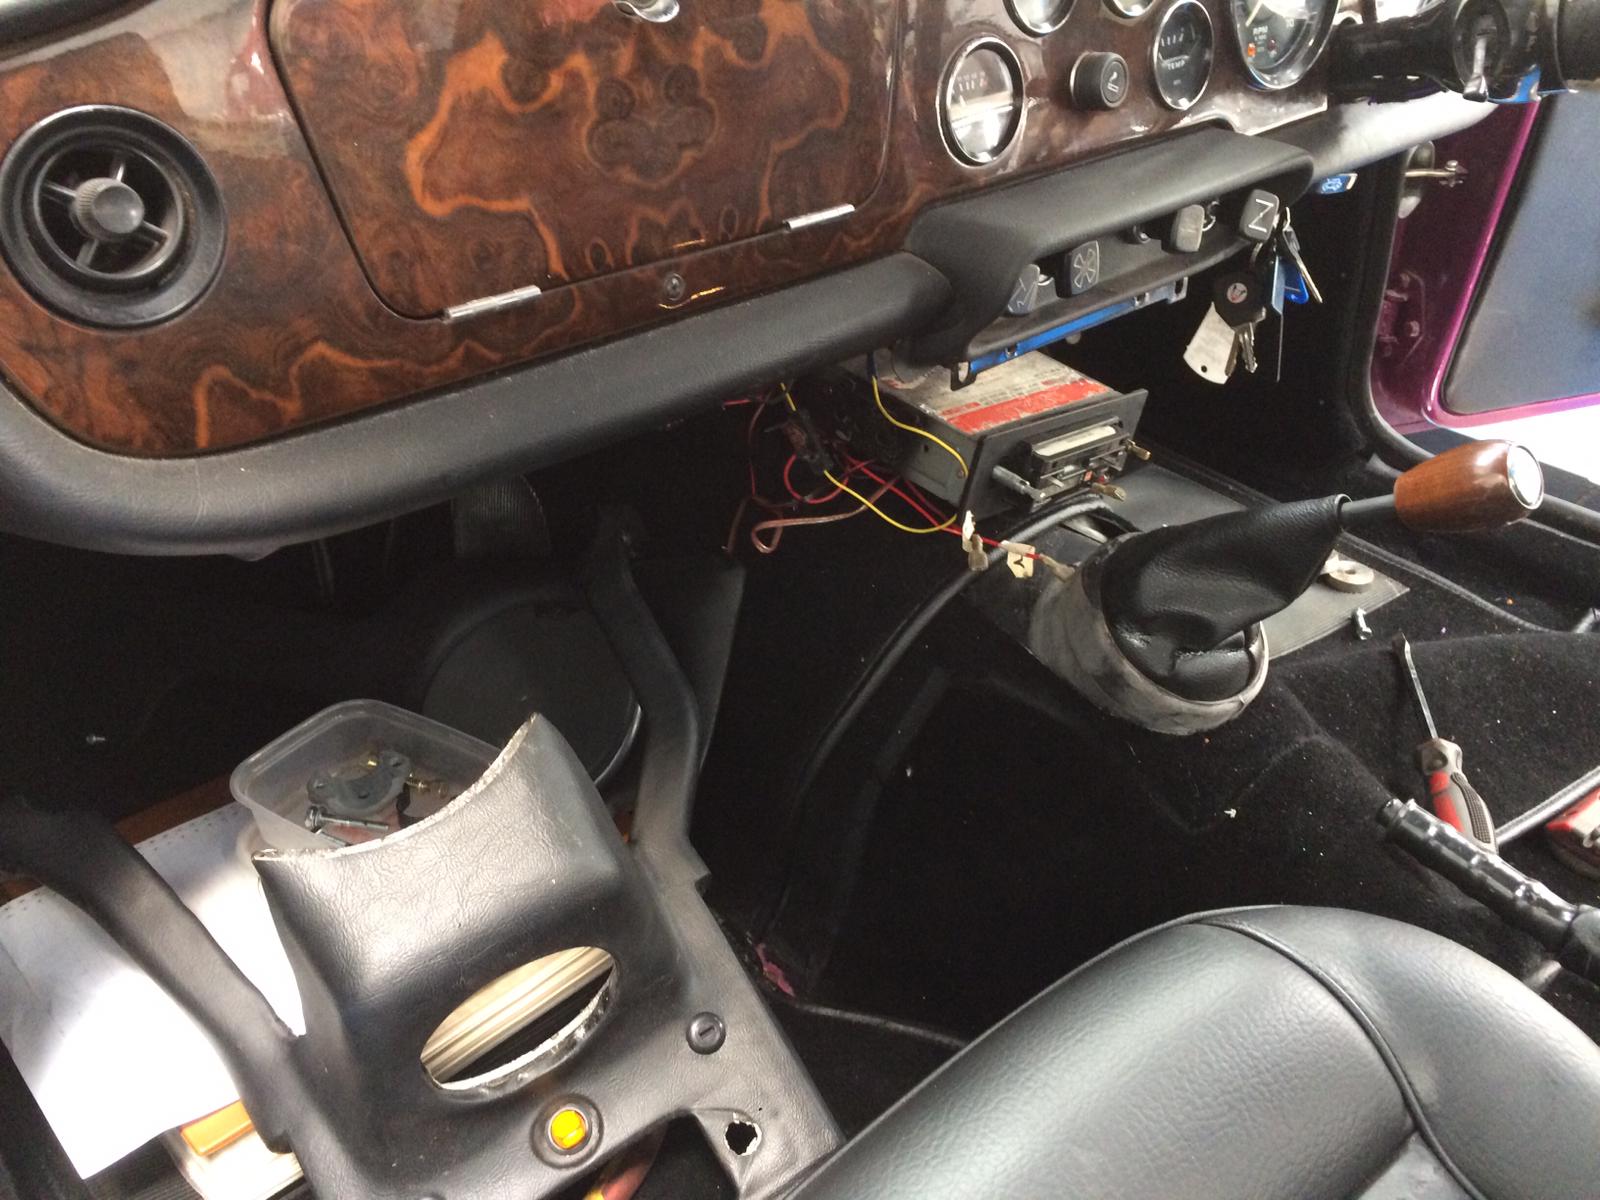
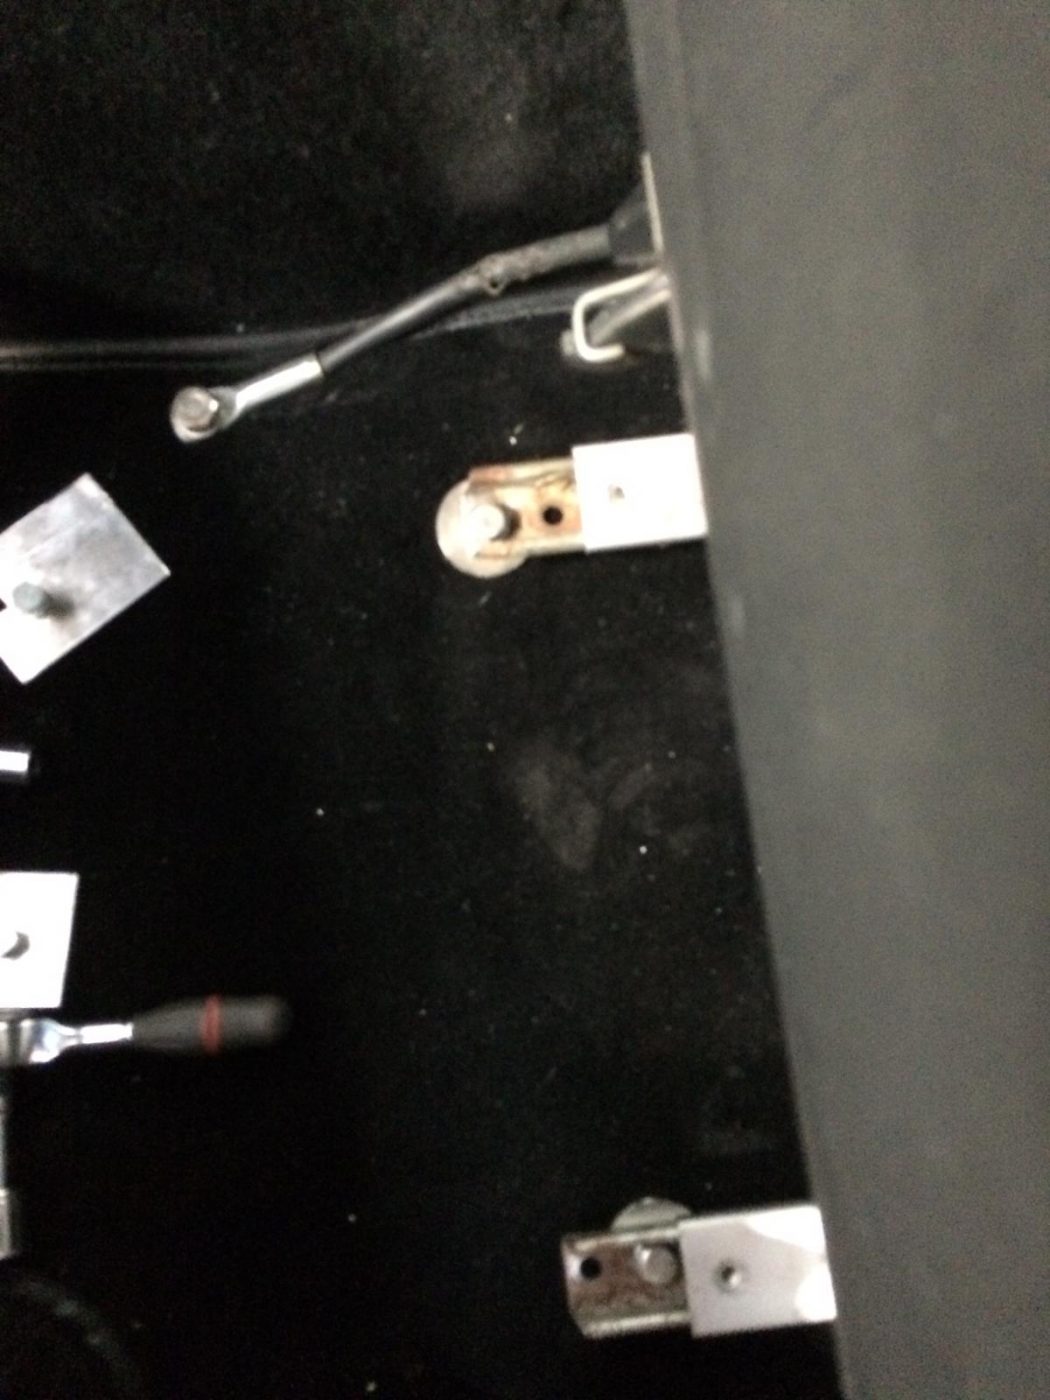
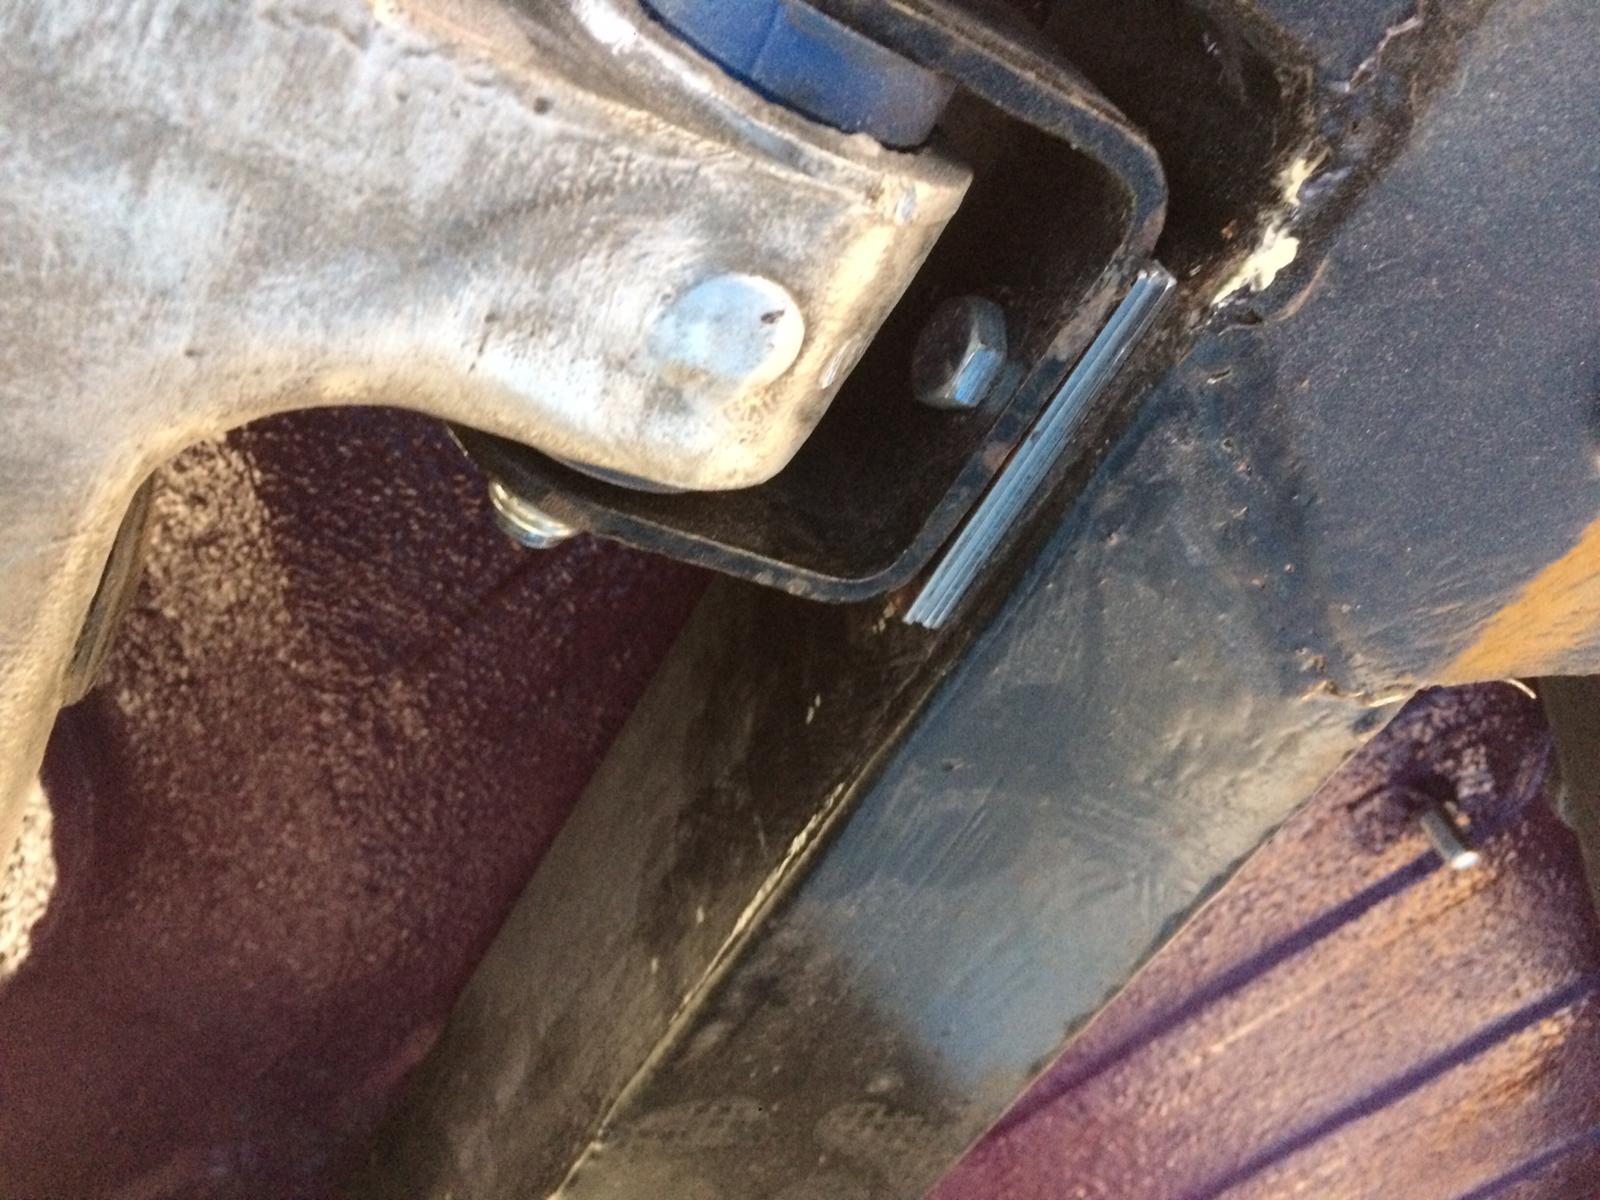
Dave has been working on the 1975 Triumph TR6. He’s installed a new speedo cable and new clips to go on them. On the original,

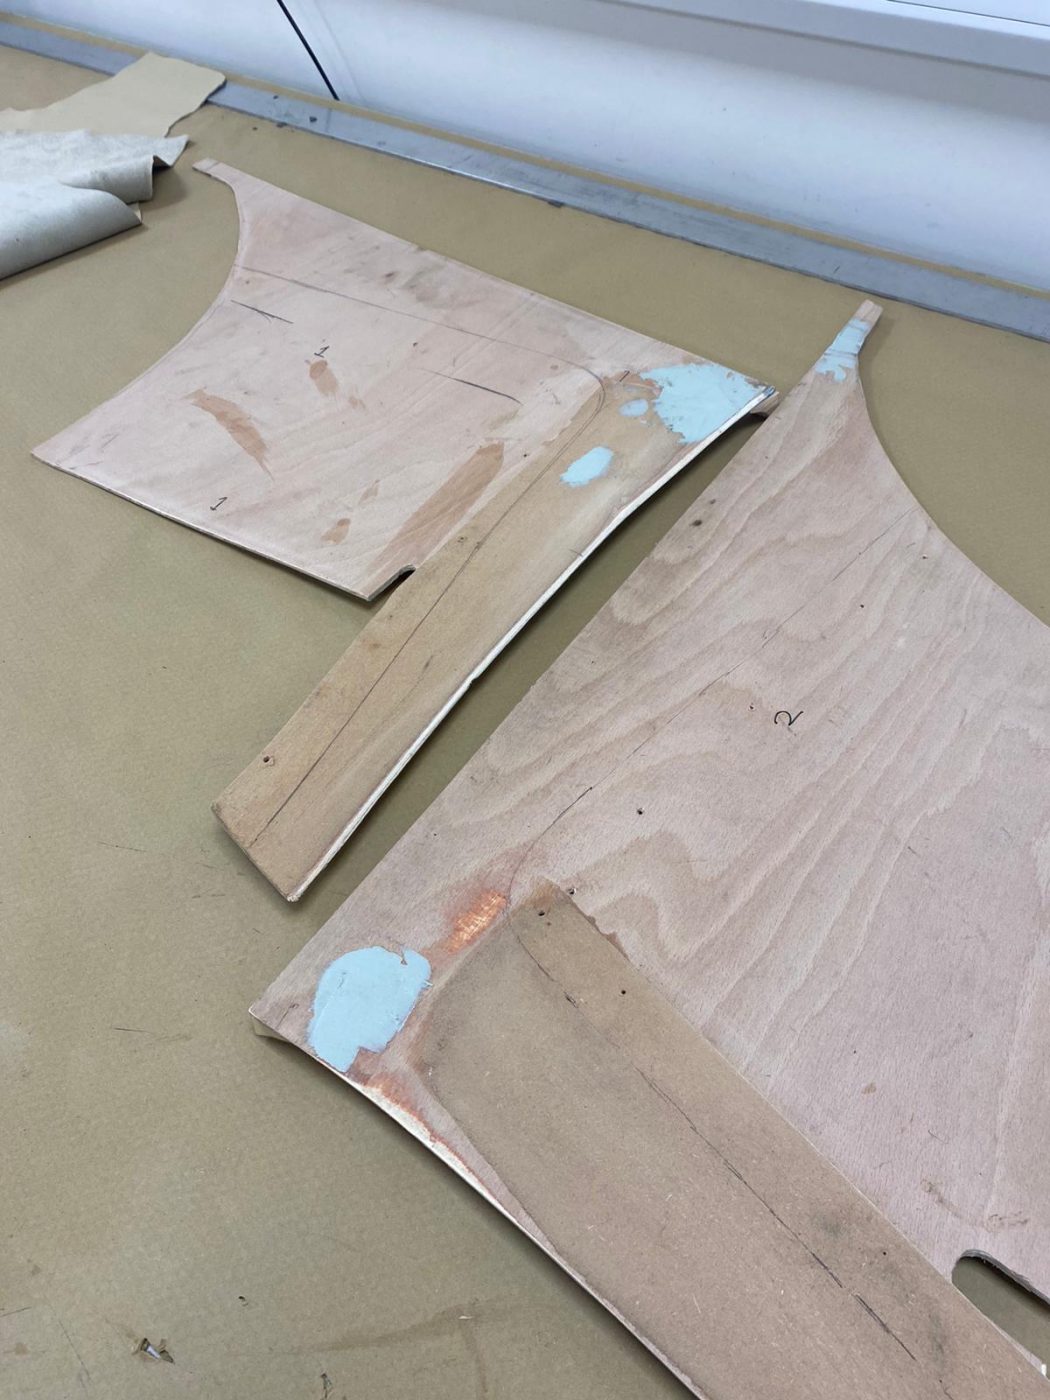
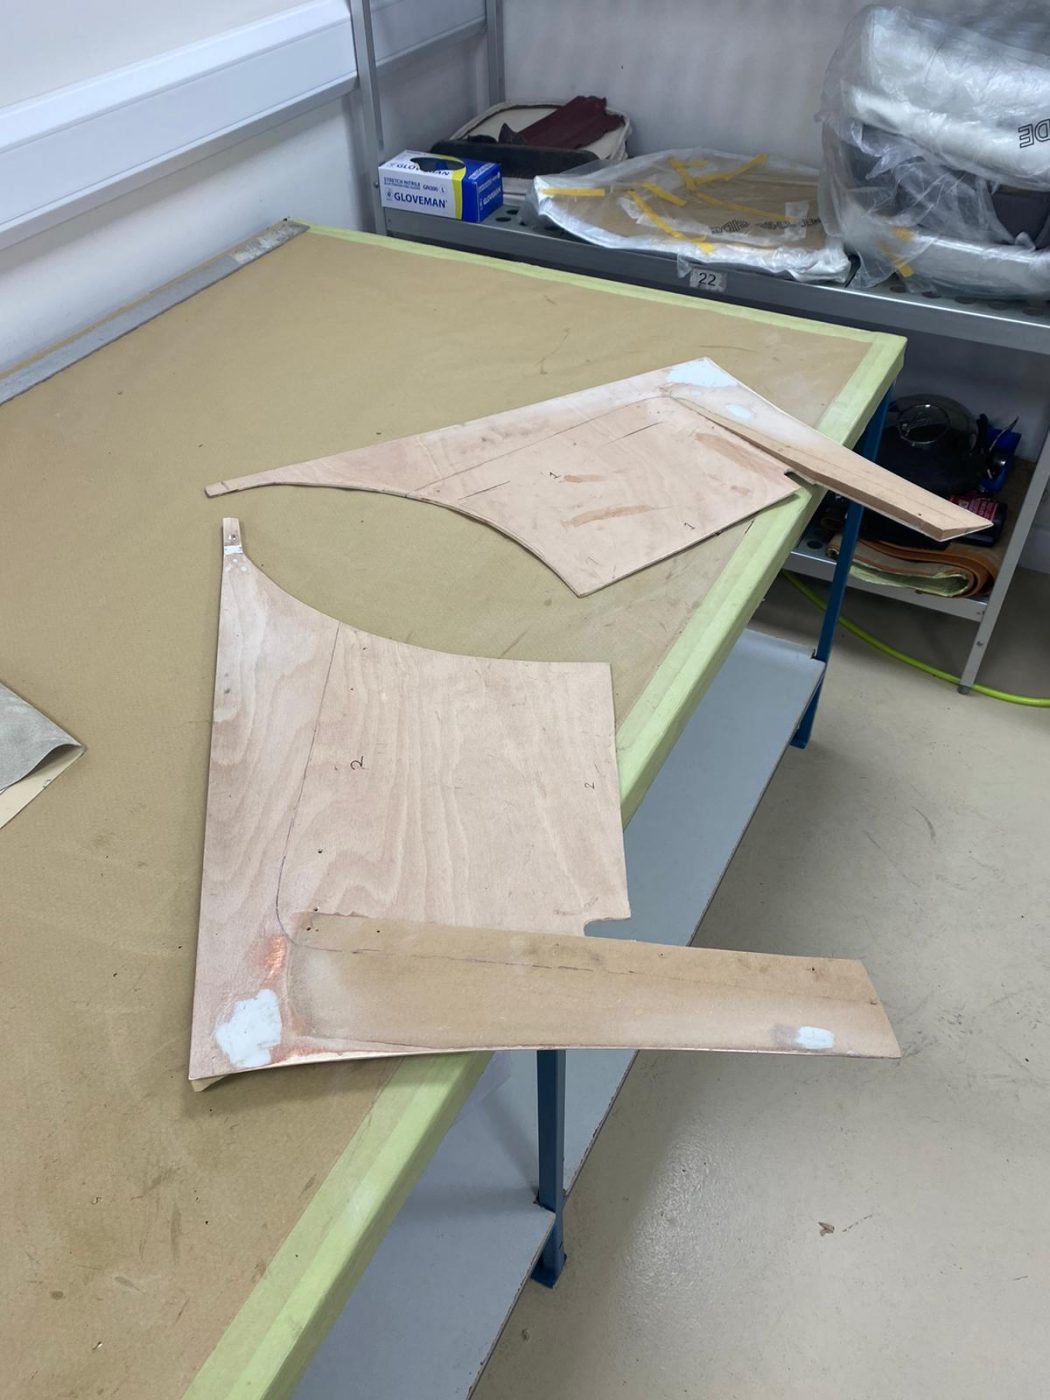
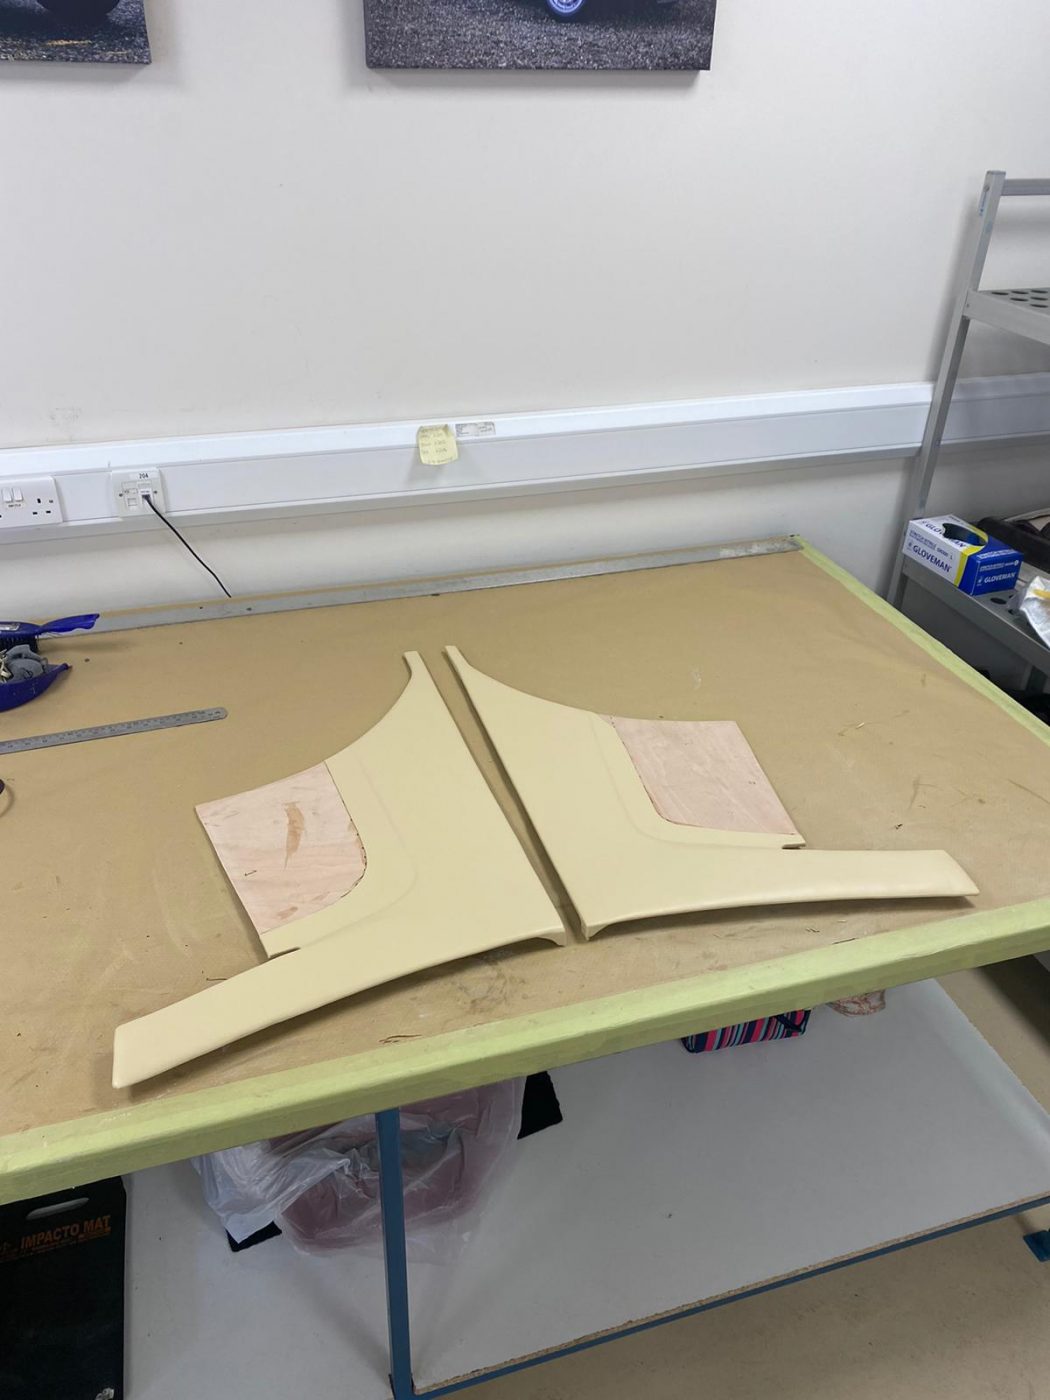
Brian has been re-covering these rear quarter backboards for the 1963 Bentley S3 Continental. They came to us as bare wood, without the original leather

Brian has been re-covering a few more pieces for the 1955 Aston Martin DB 2/4’s interior. The rear seat top panels have been done. He
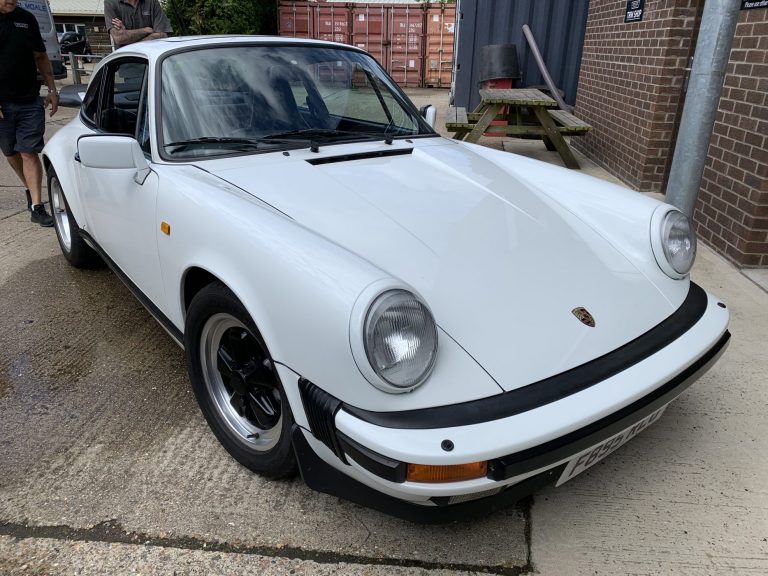
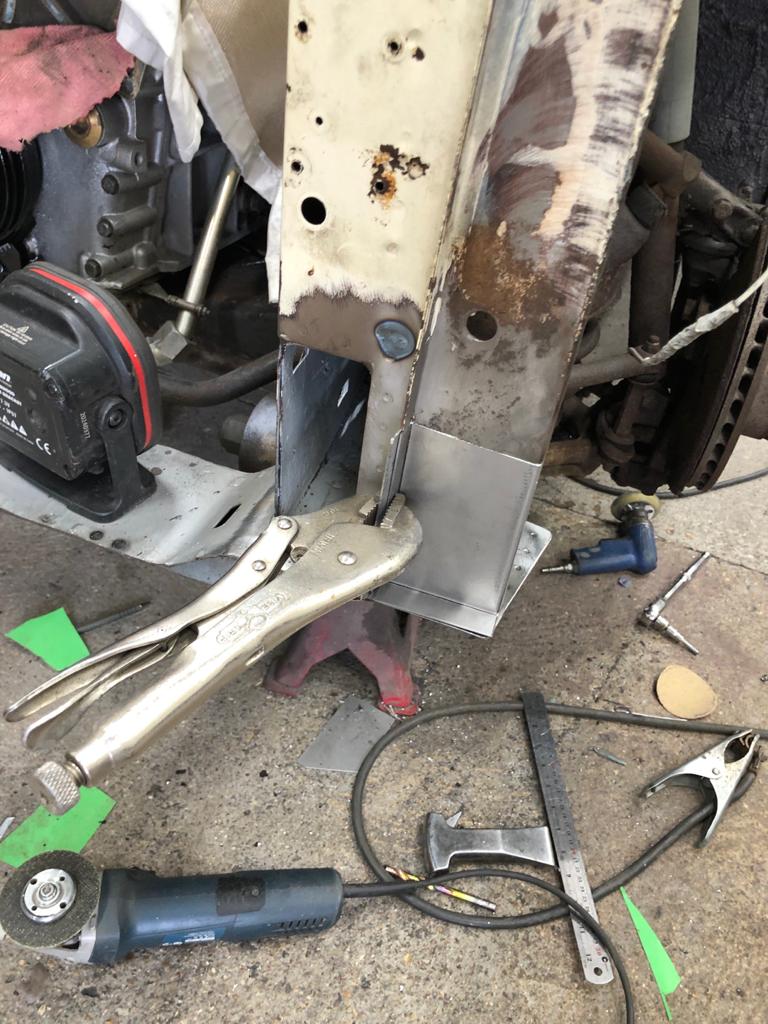
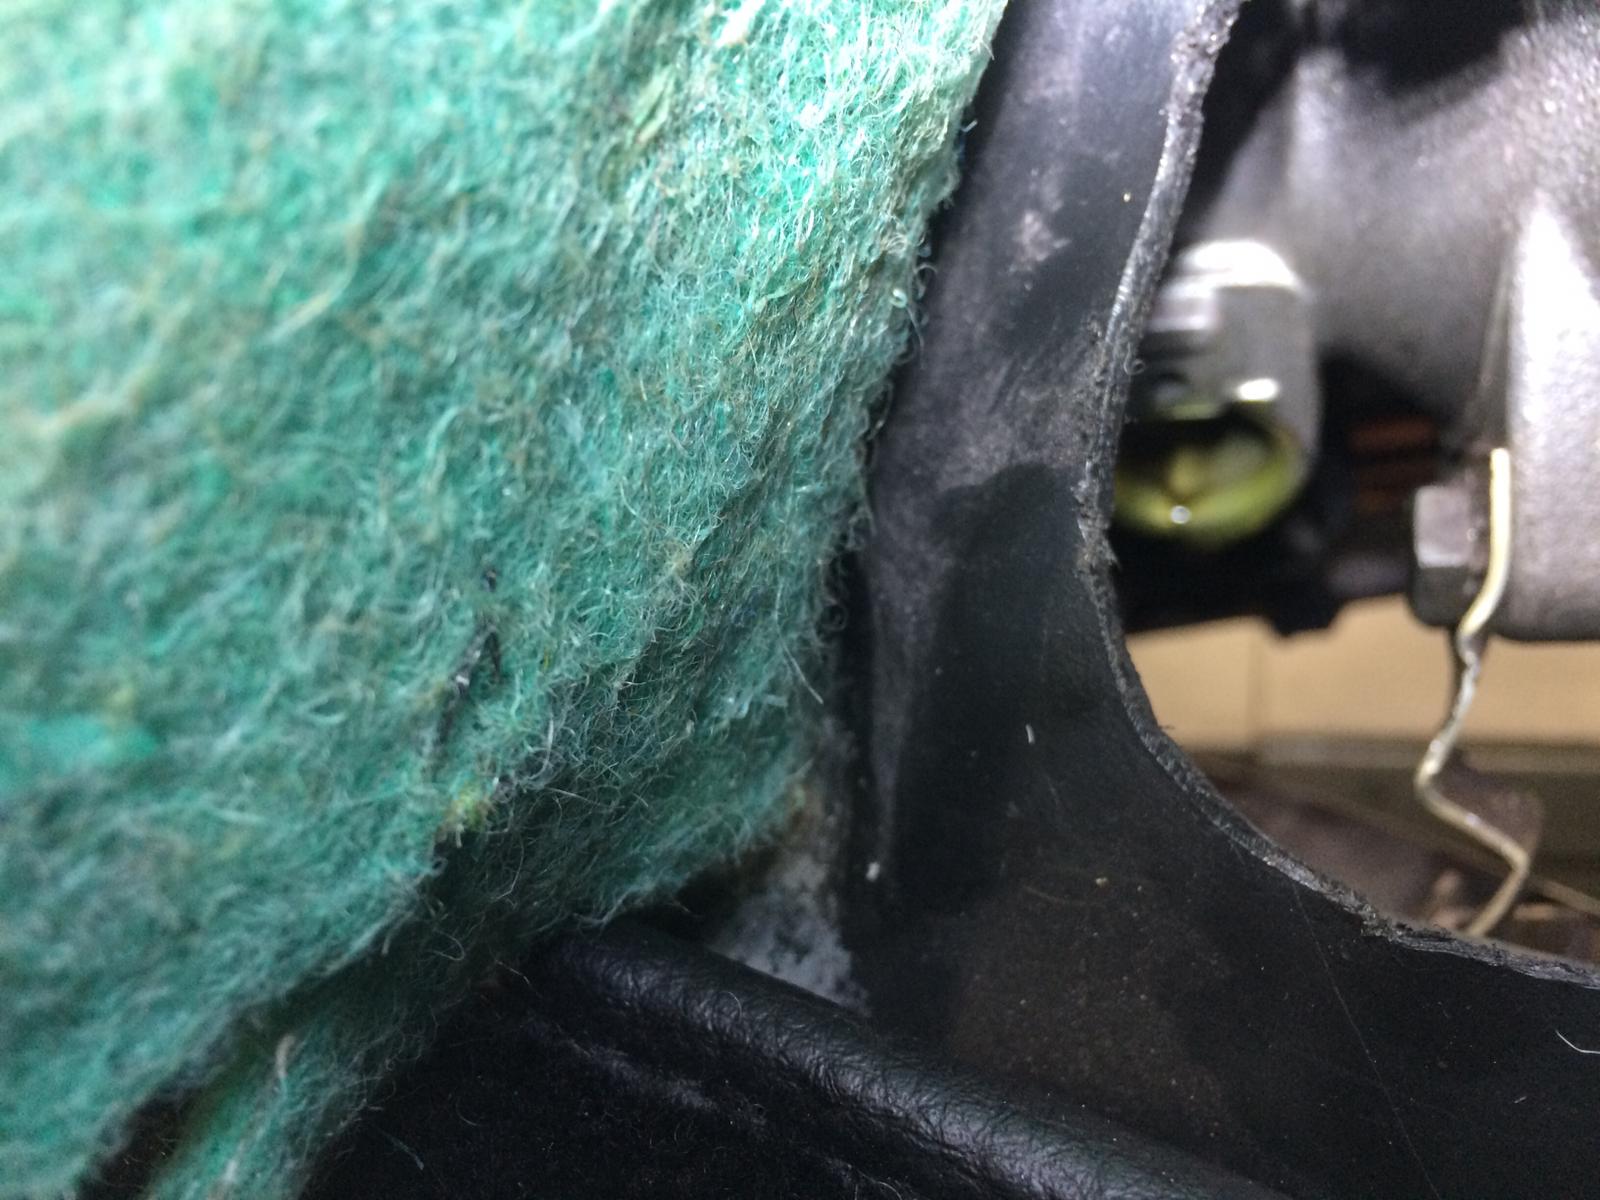
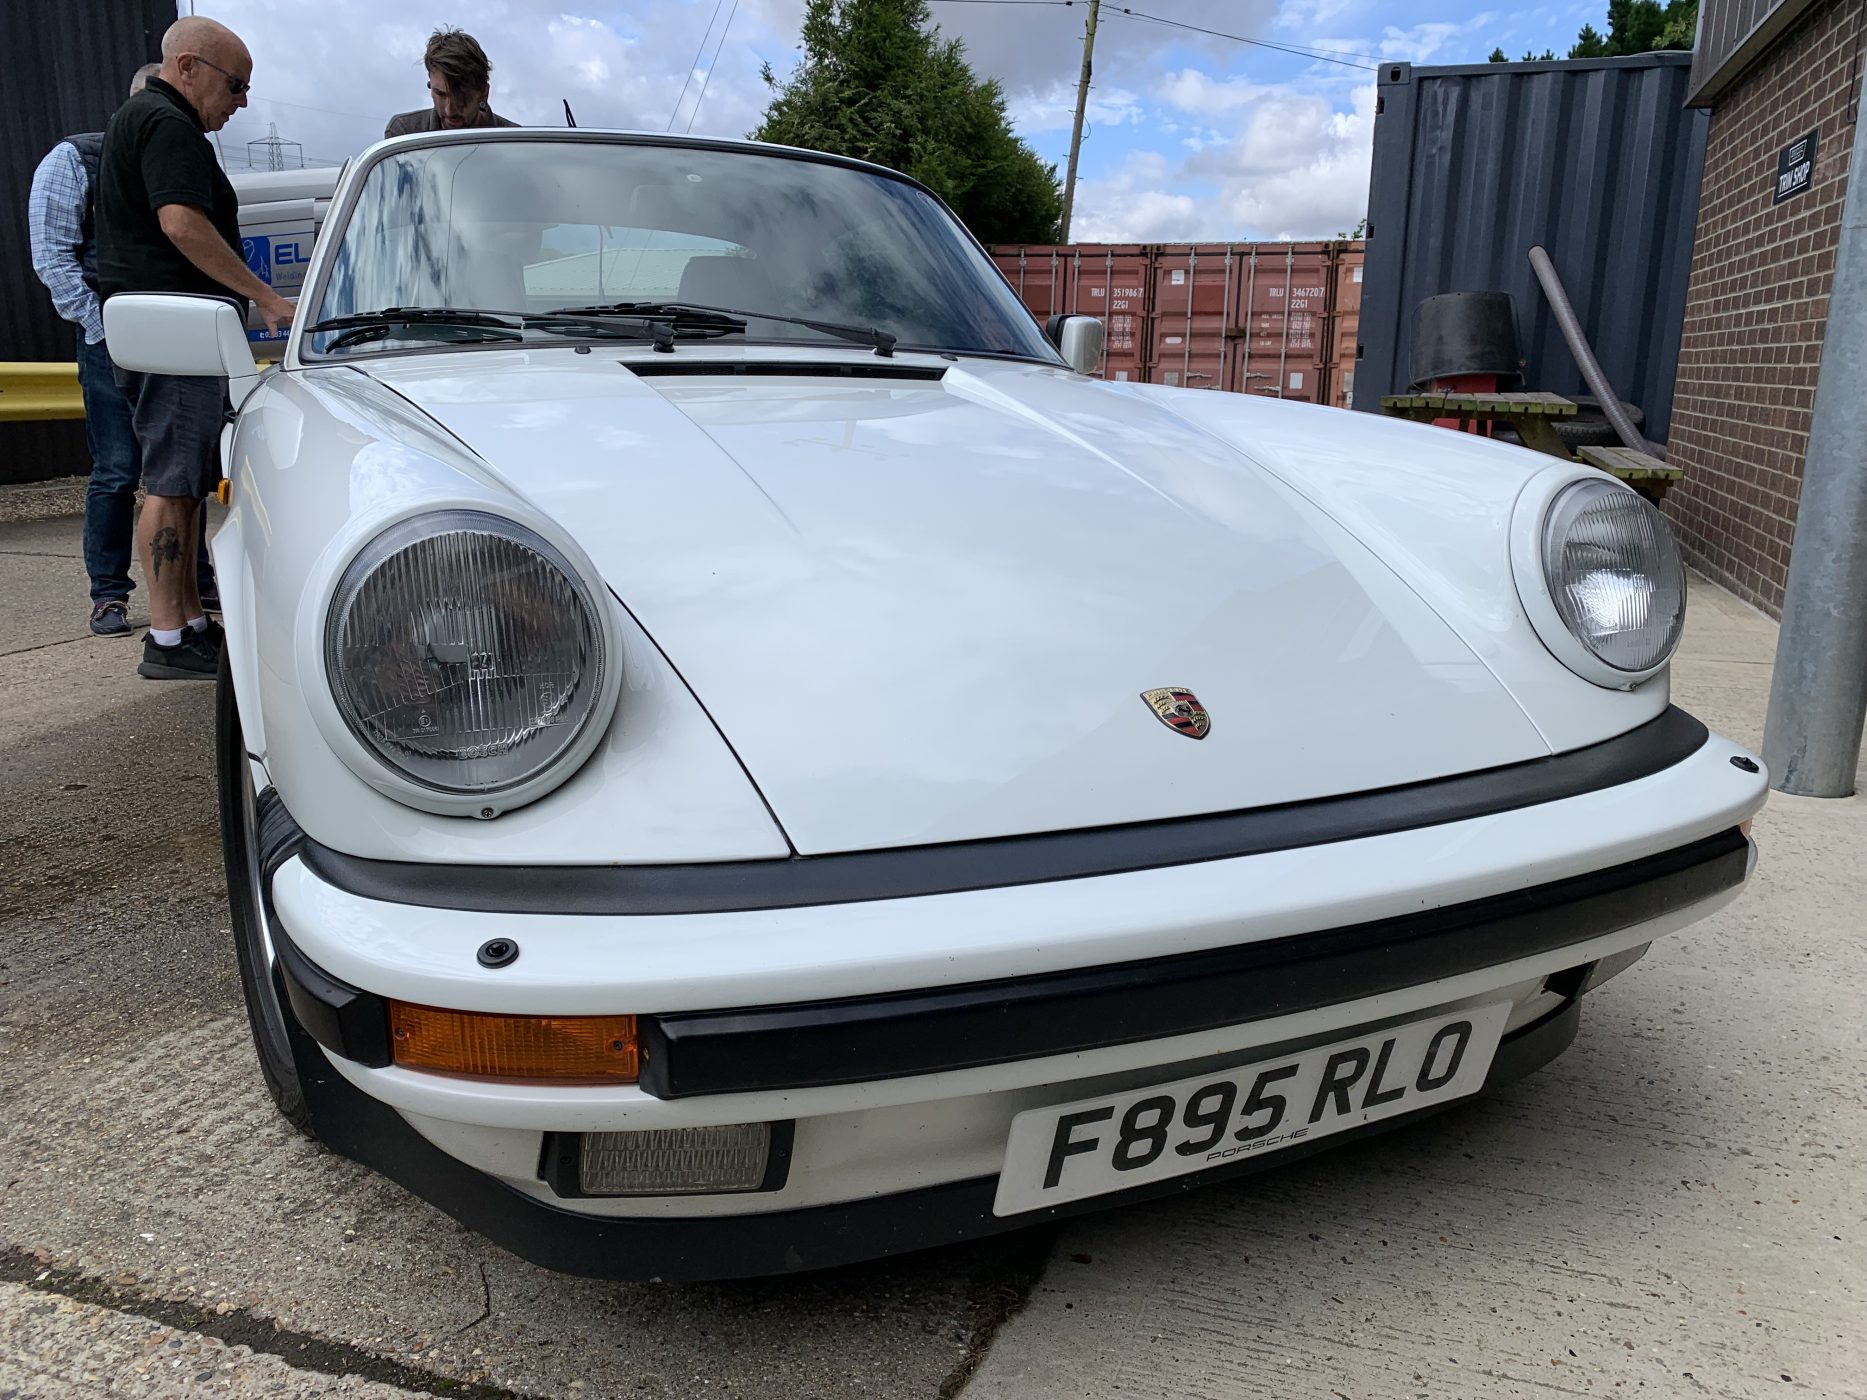
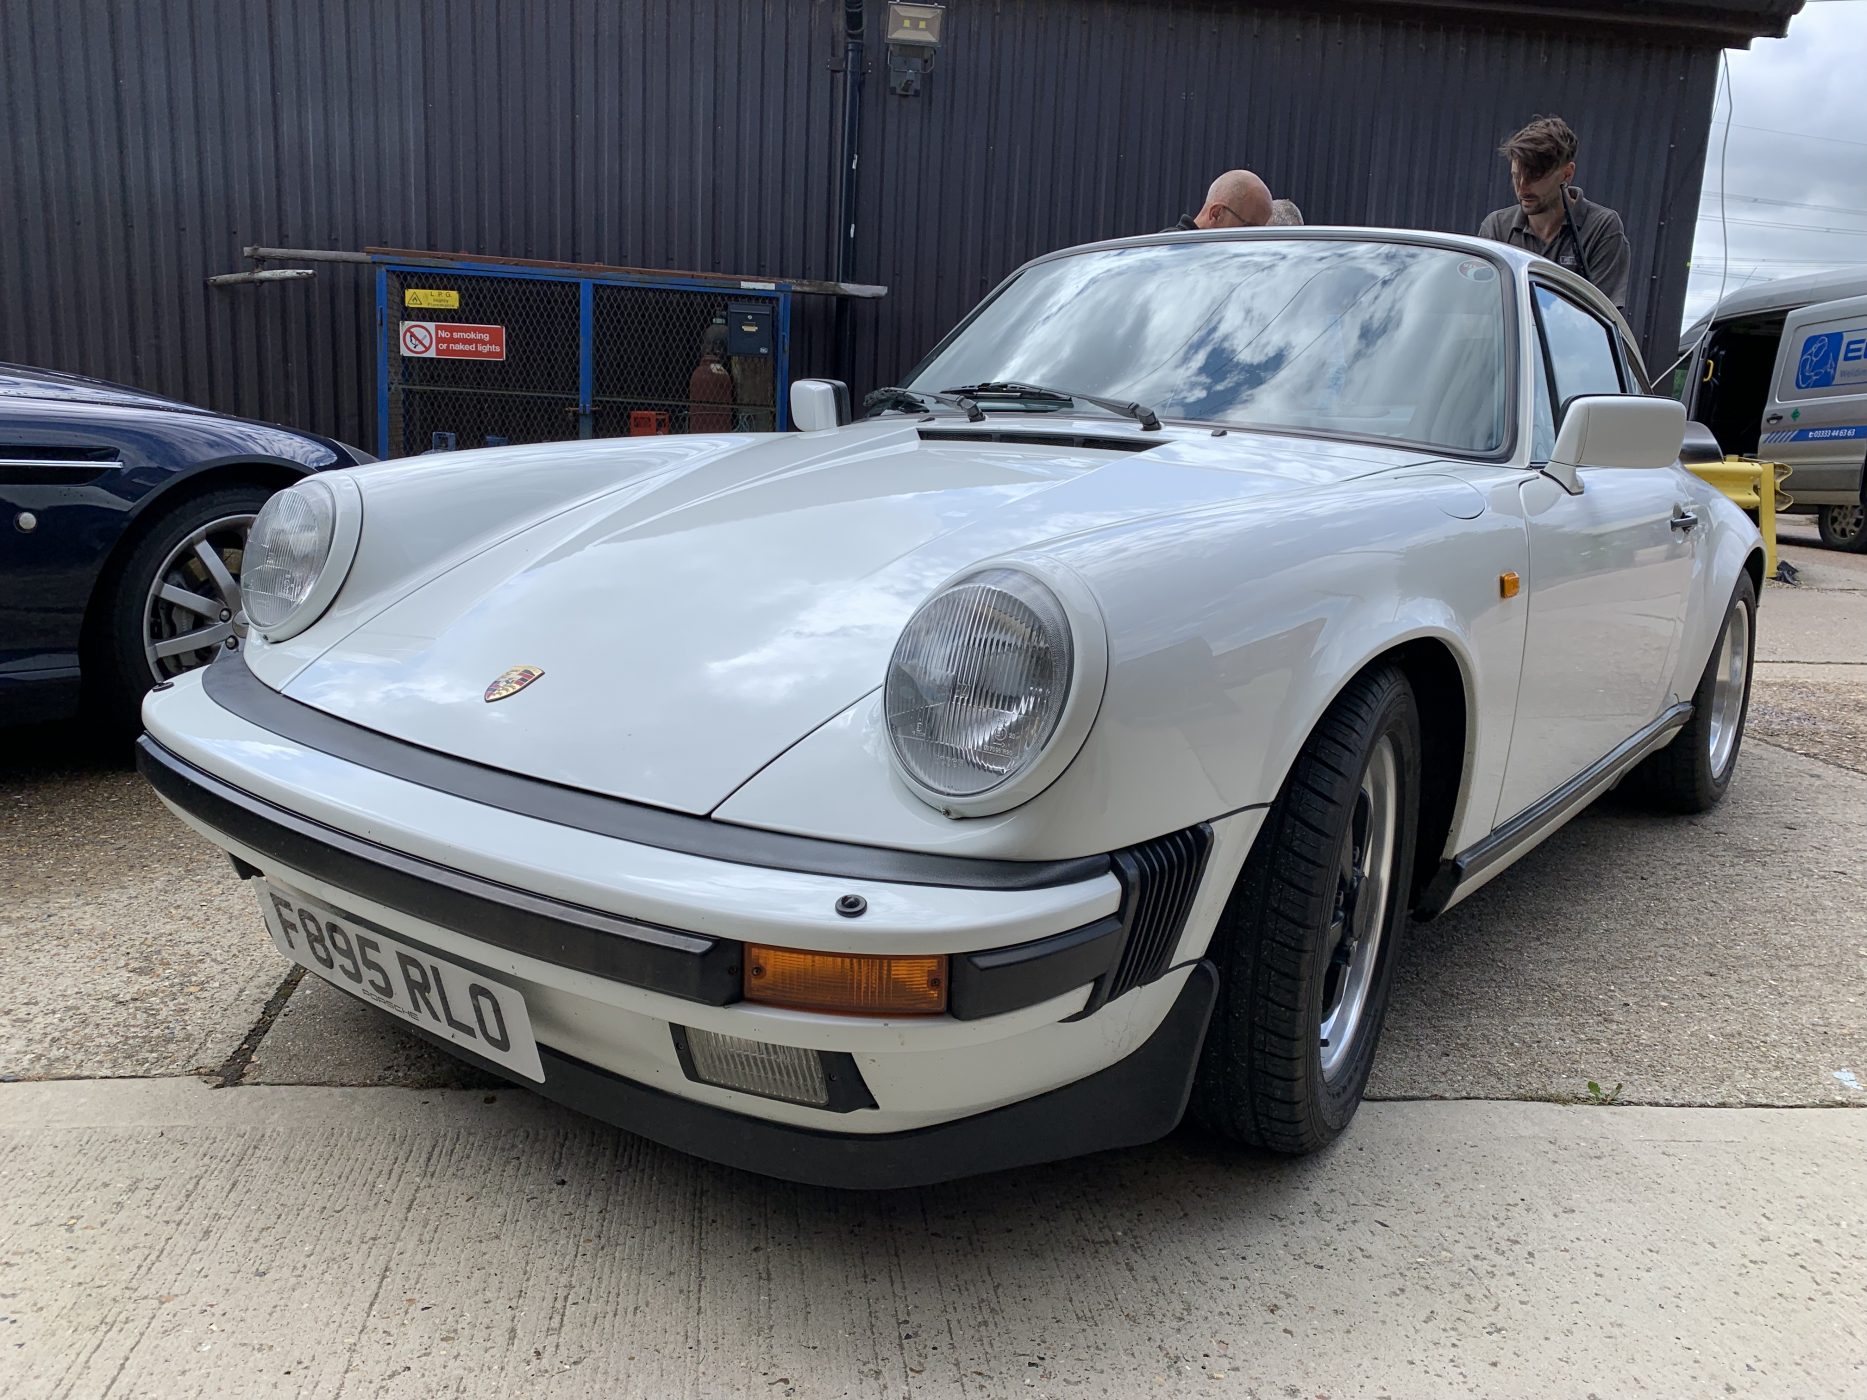
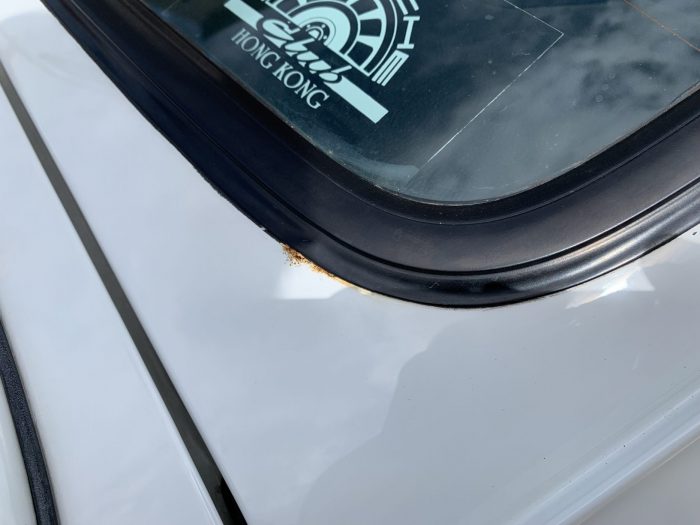
Coming soon we have our beautiful 1989 Porsche 911, in for some preventative corrosion repairs and remedial paintwork. The window will require removal and the

Scott’s been sorting the fuel system for the 1968 Jaguar E-Type 1.5 4.2. There was a smell of fuel in the car, which he tracked
Now that the 1979 Arrow Ferrari Daytona is back in the workshop, Scott’s been straight back to work with it. In these photos you can
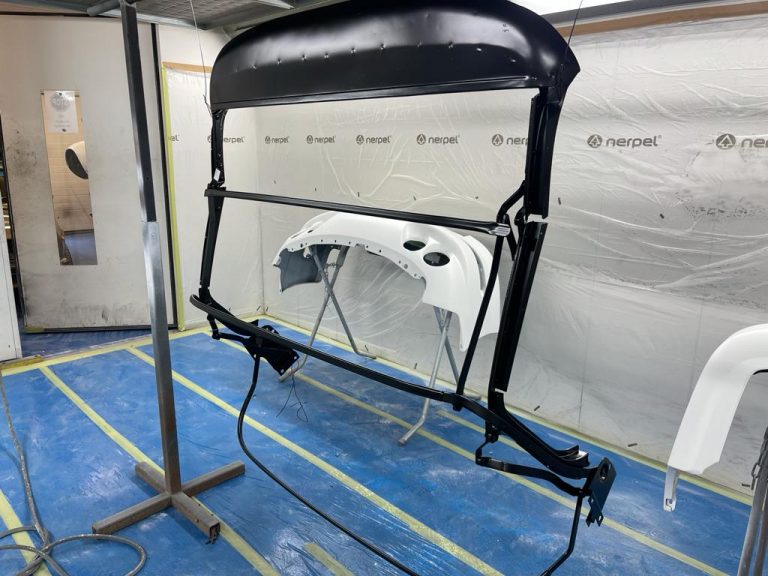
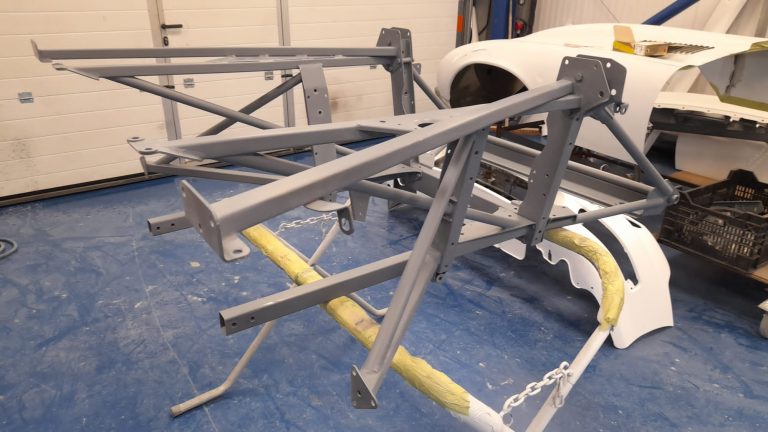
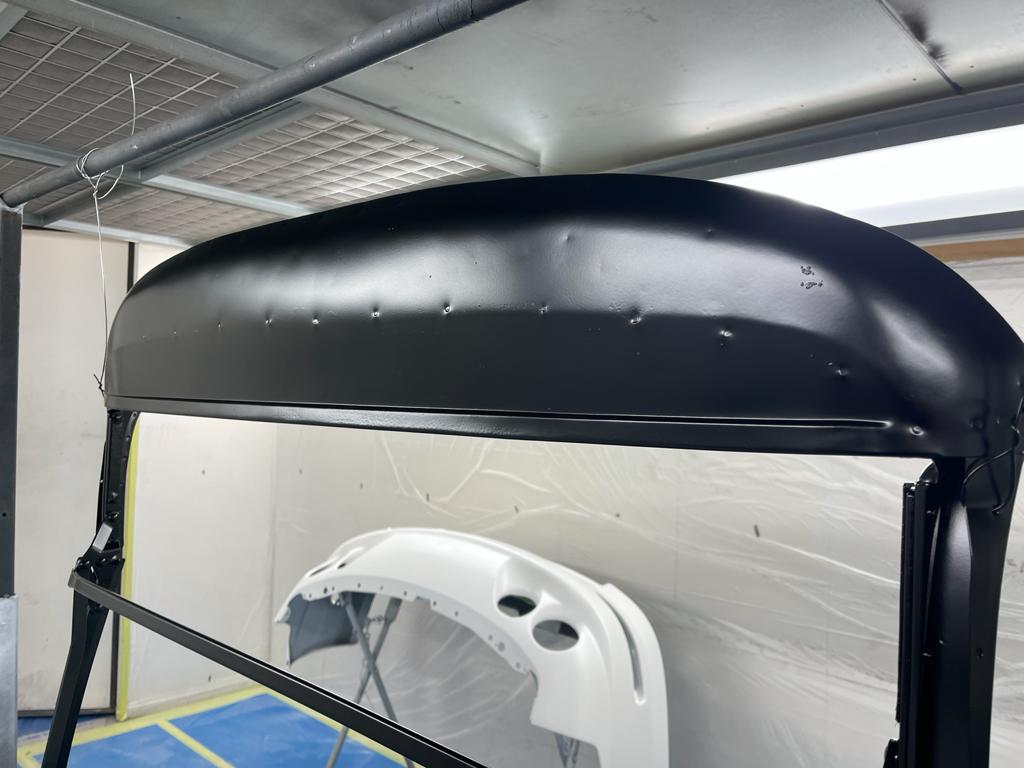
Just a quick update here to show photos of the 1973 Jaguar E-type Roadster Series 3’s hood frame that’s recently been painted by Chris in
The radiator has been removed and sent away to Sheldrake and Wells for further investigations. Sheldrake & Wells Ltd. based in Ipswich, are now the only radiator
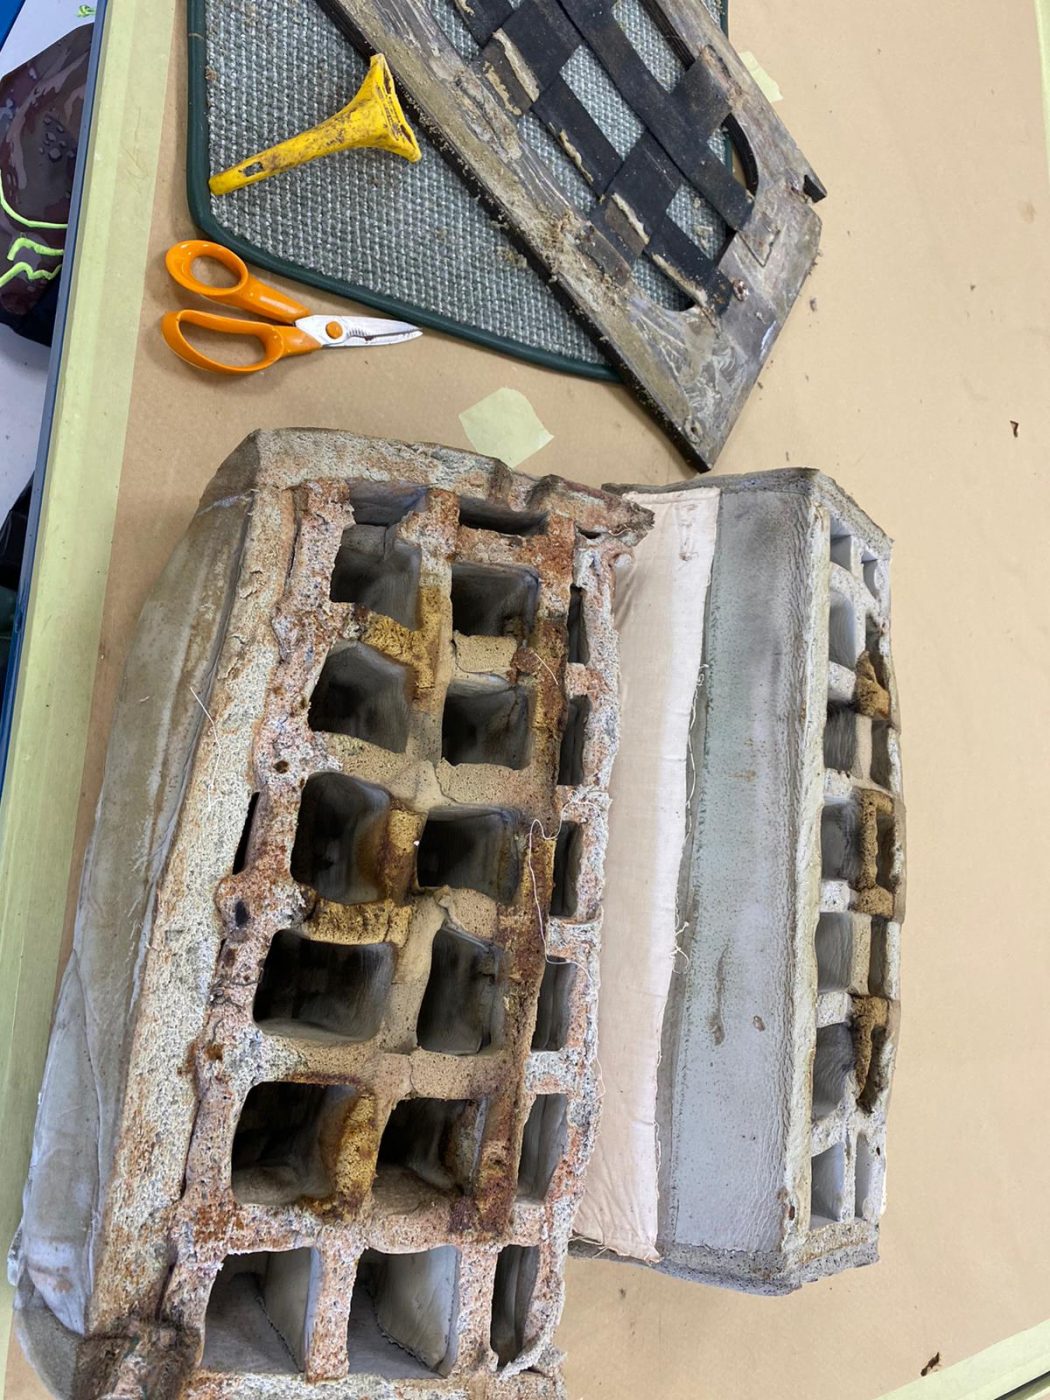
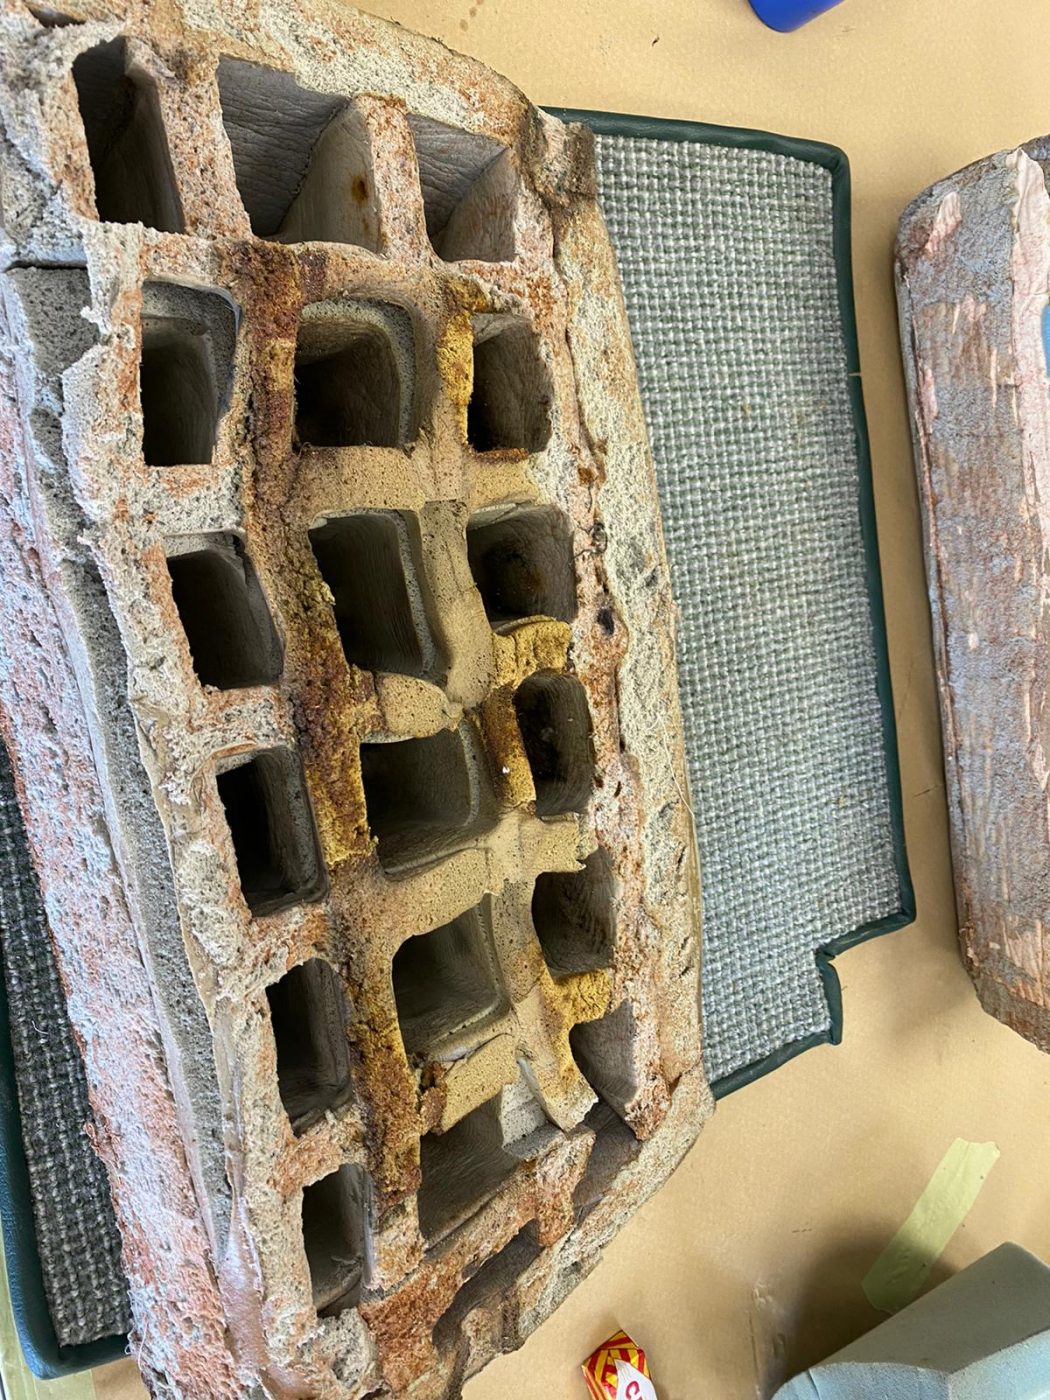
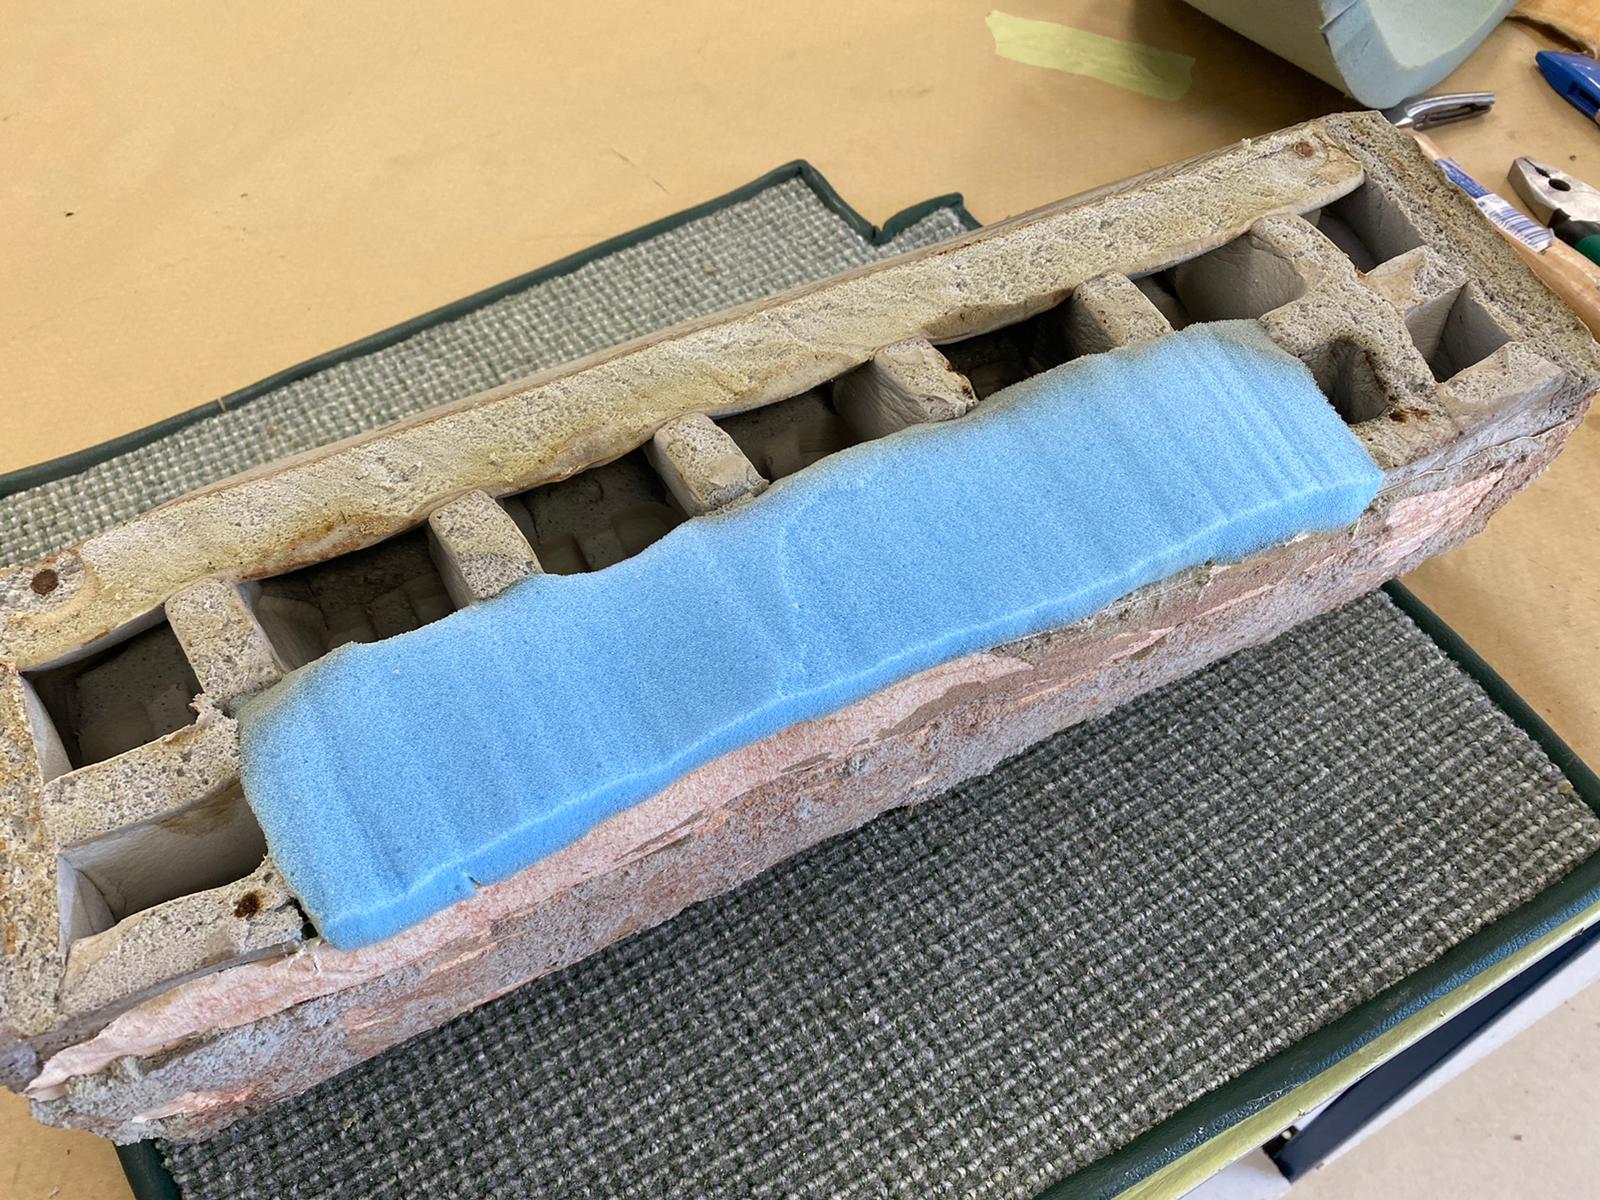
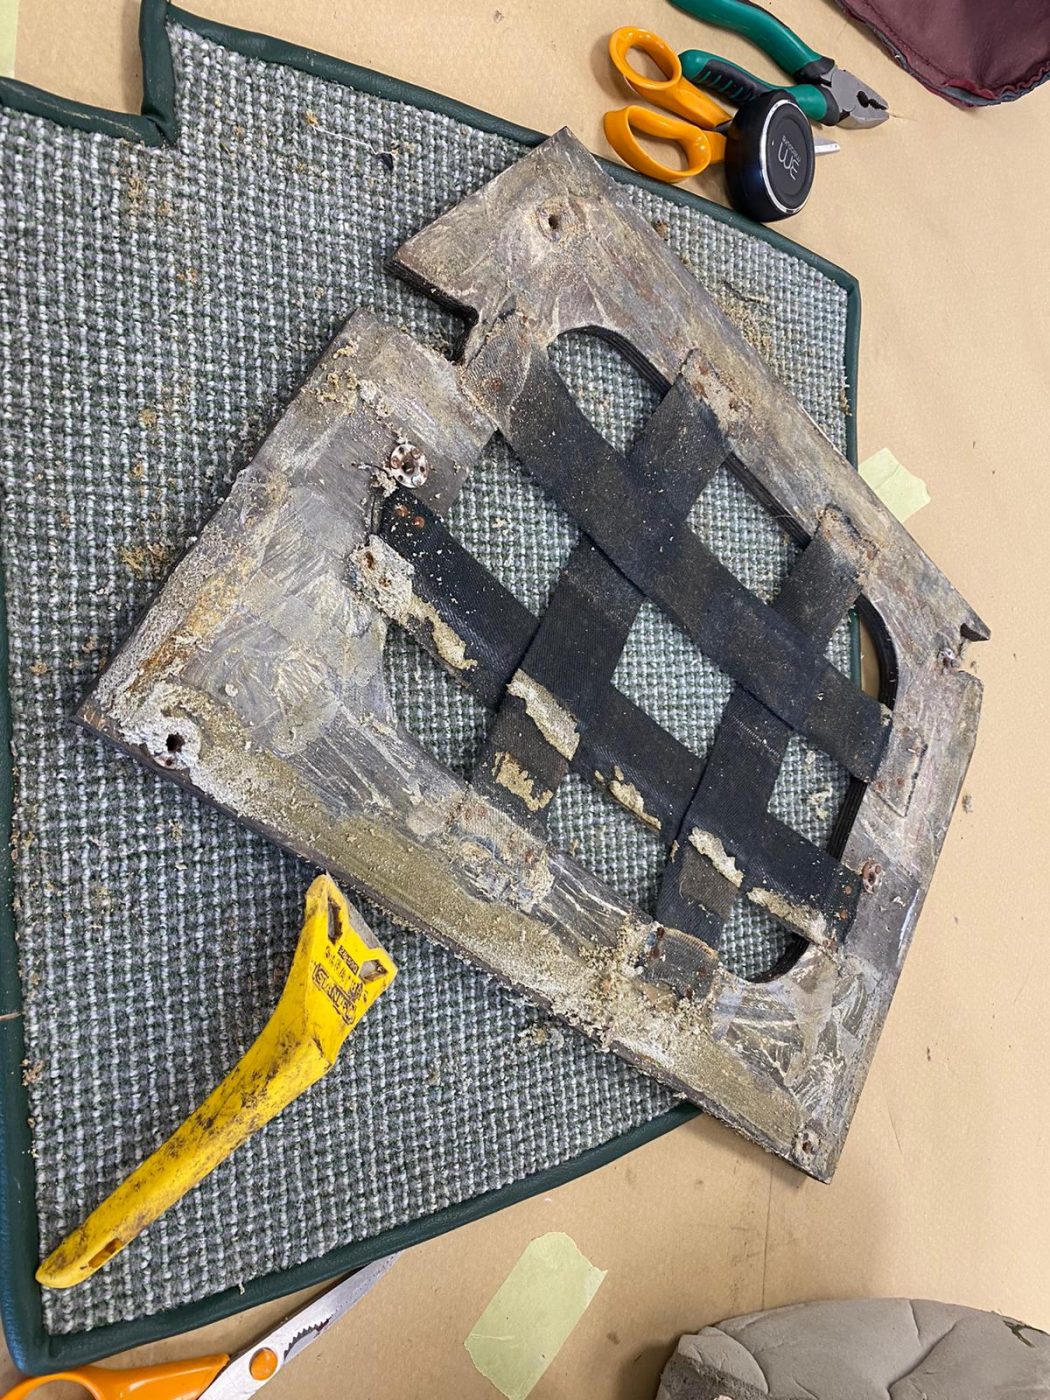
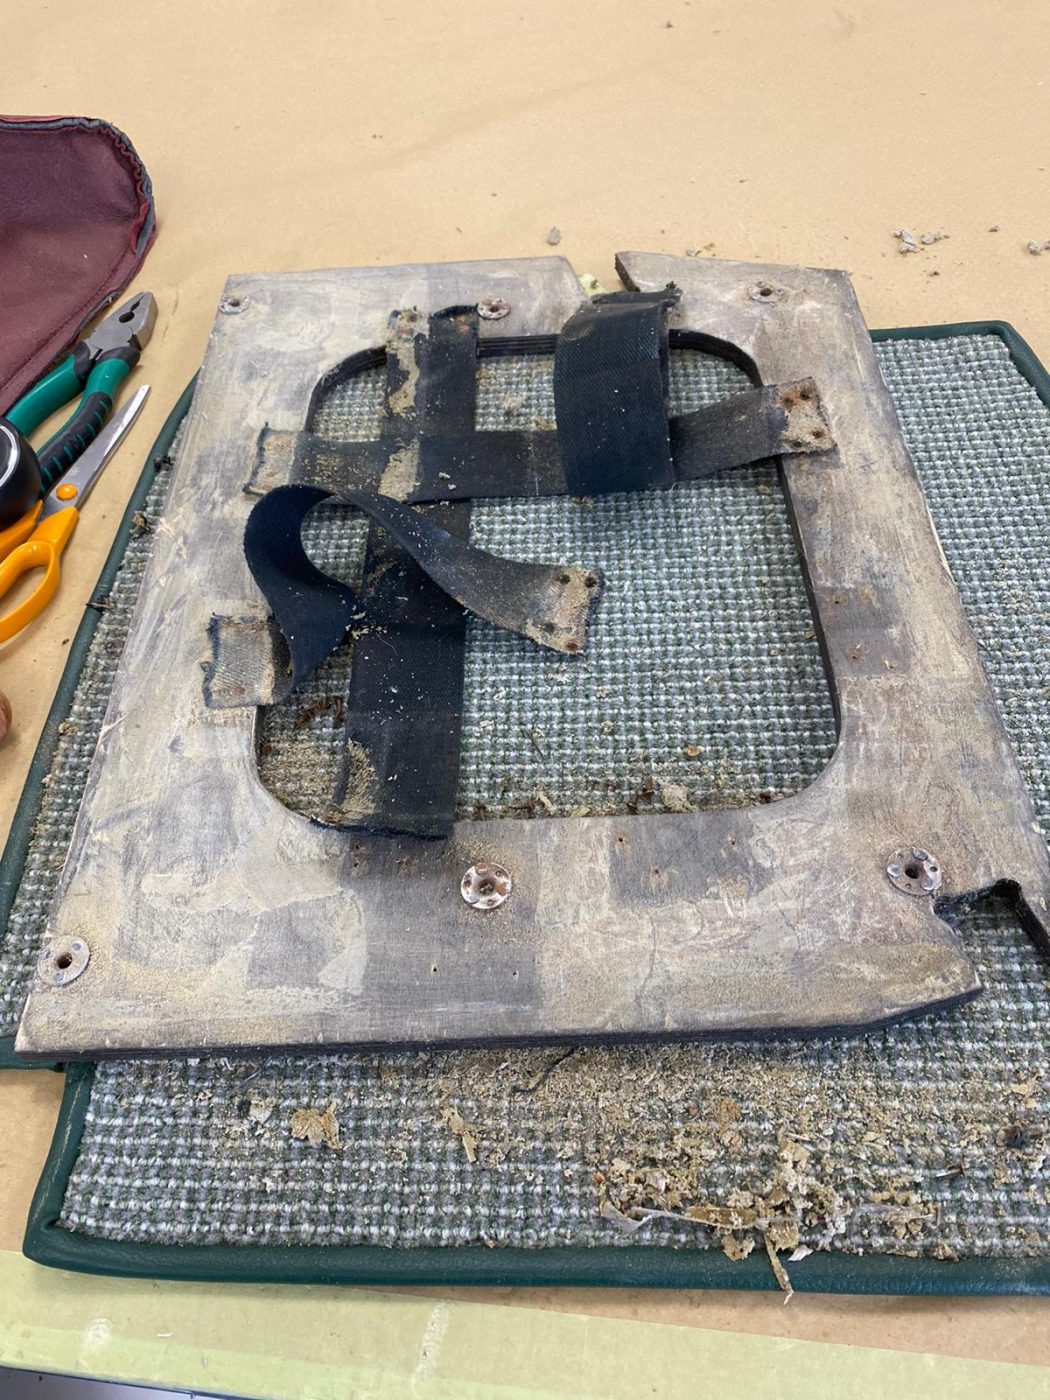
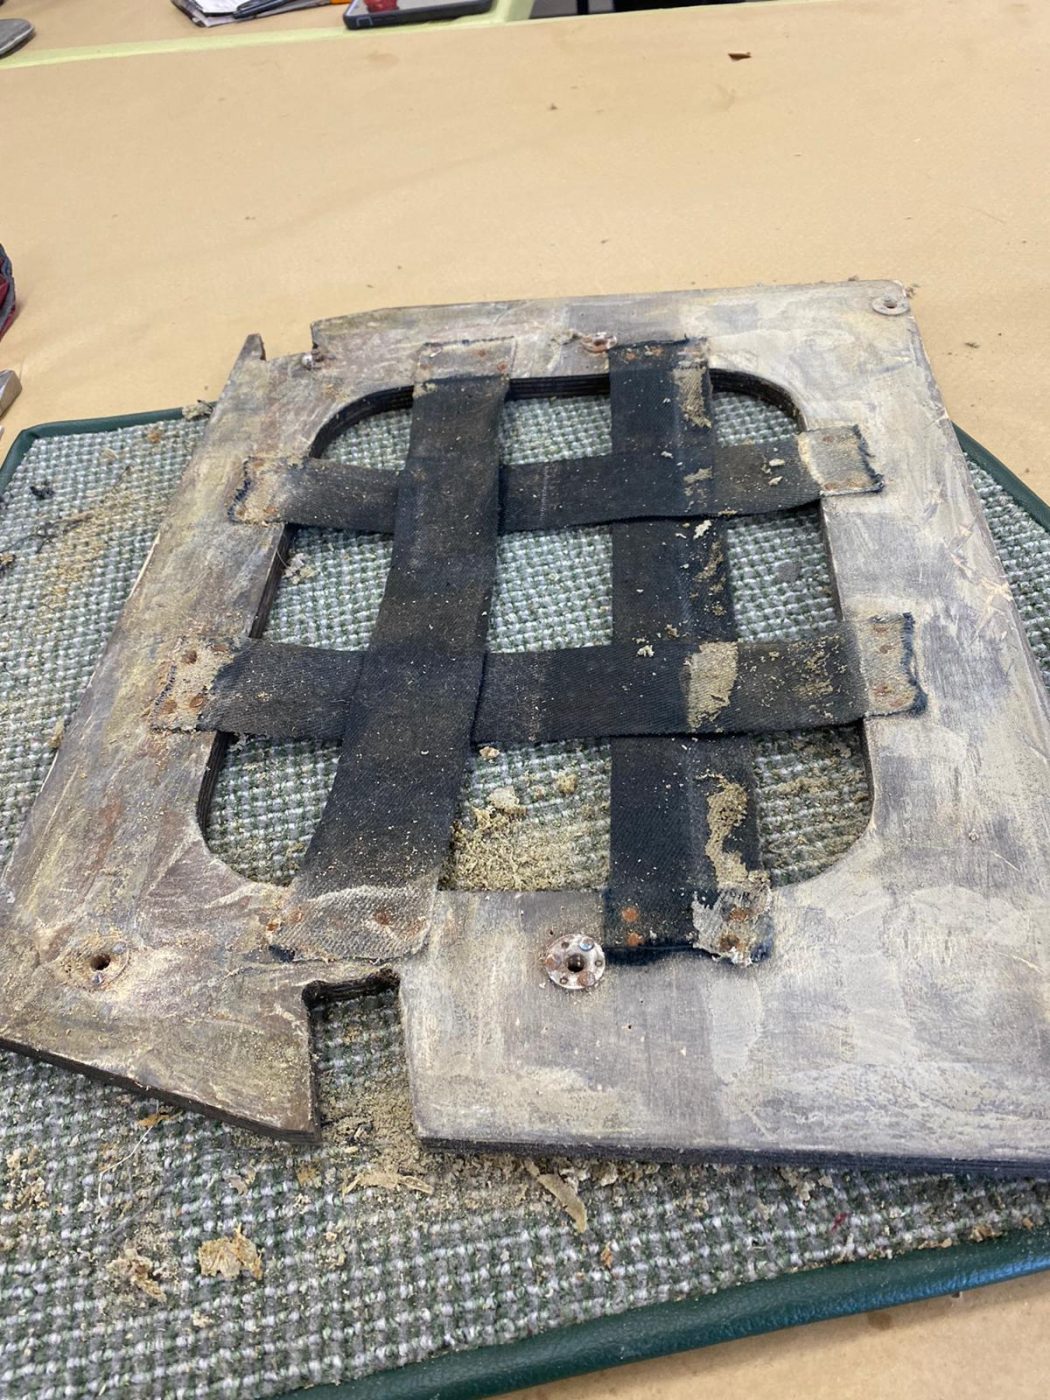
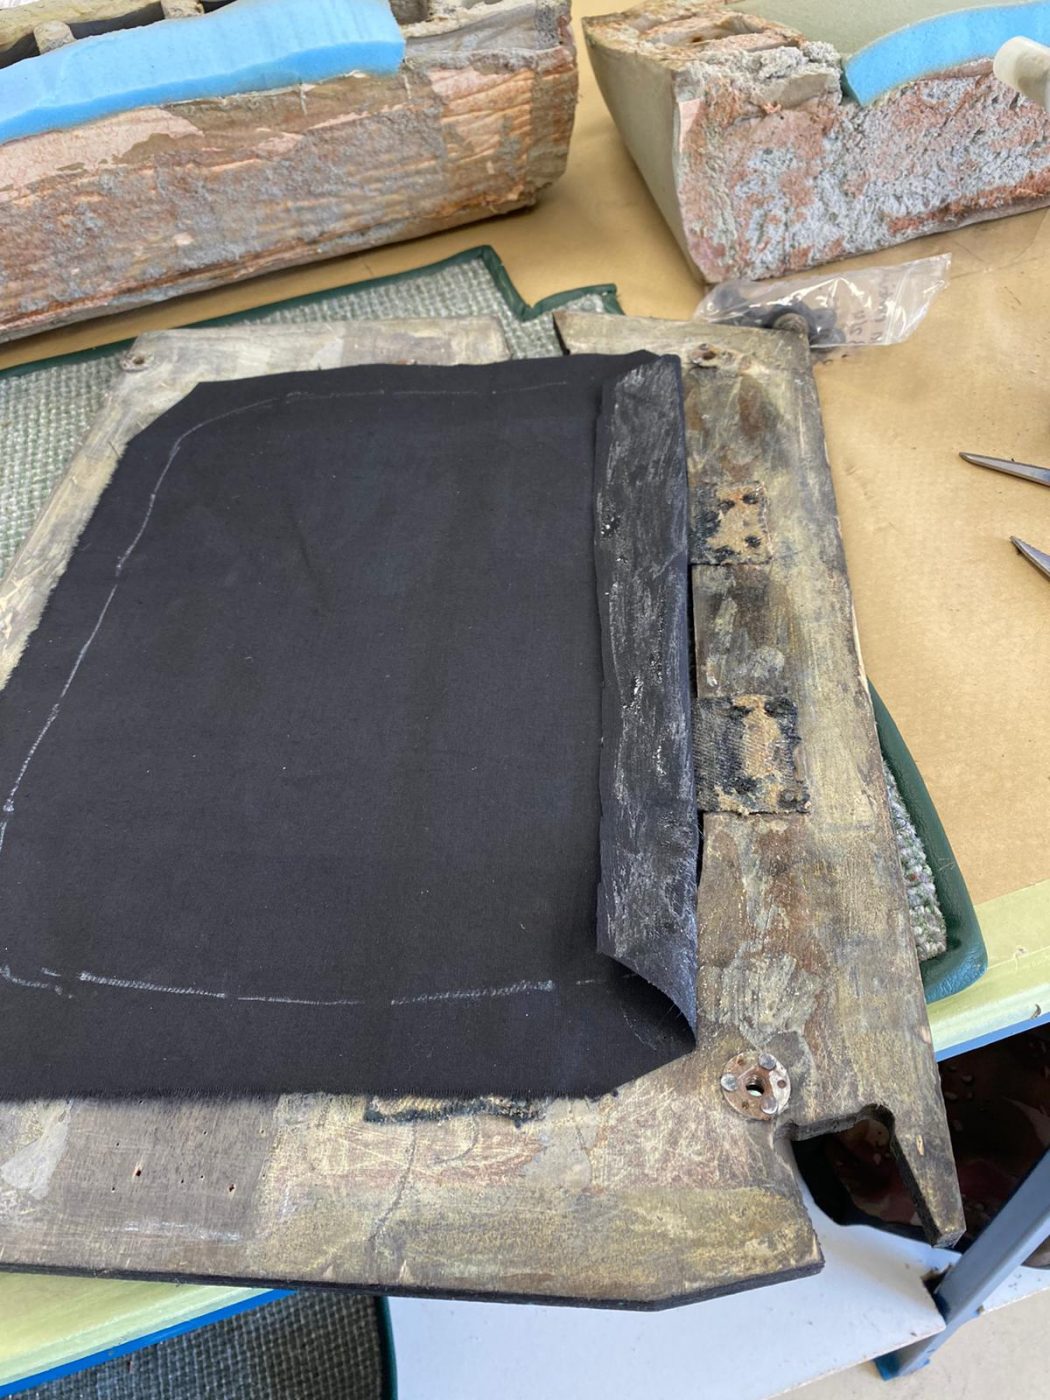
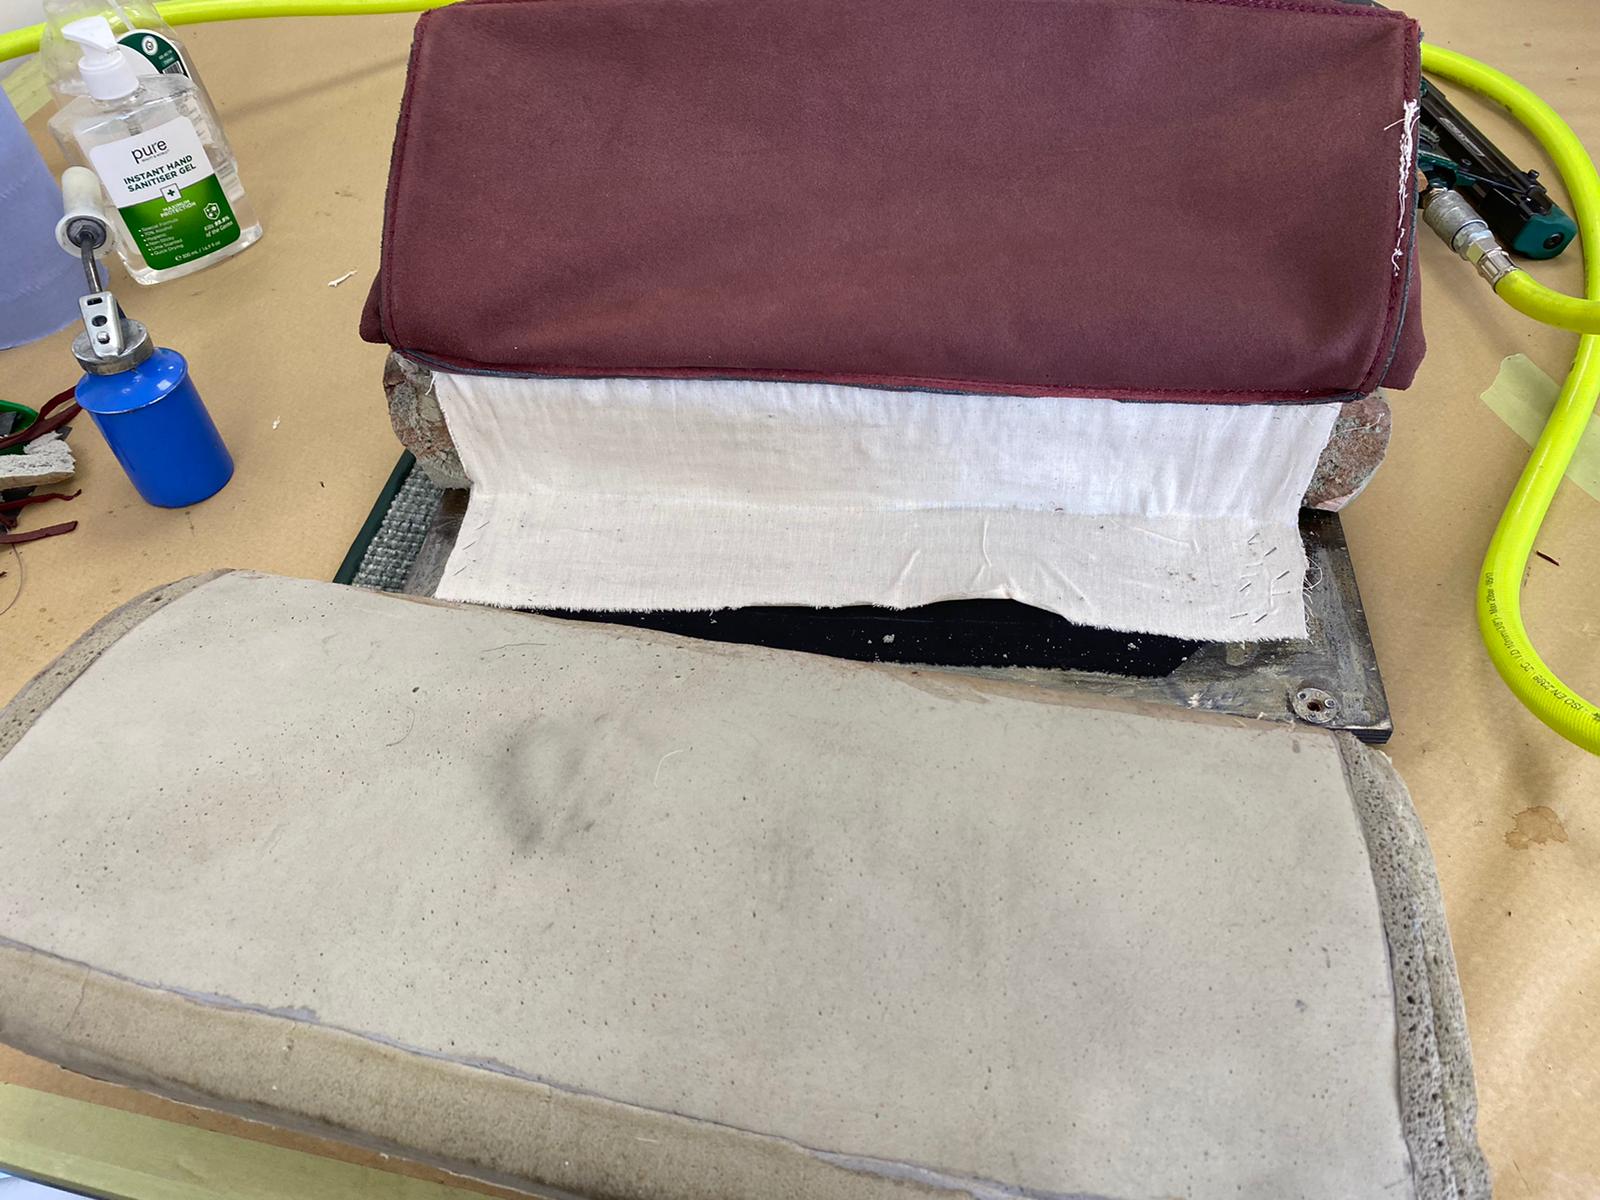
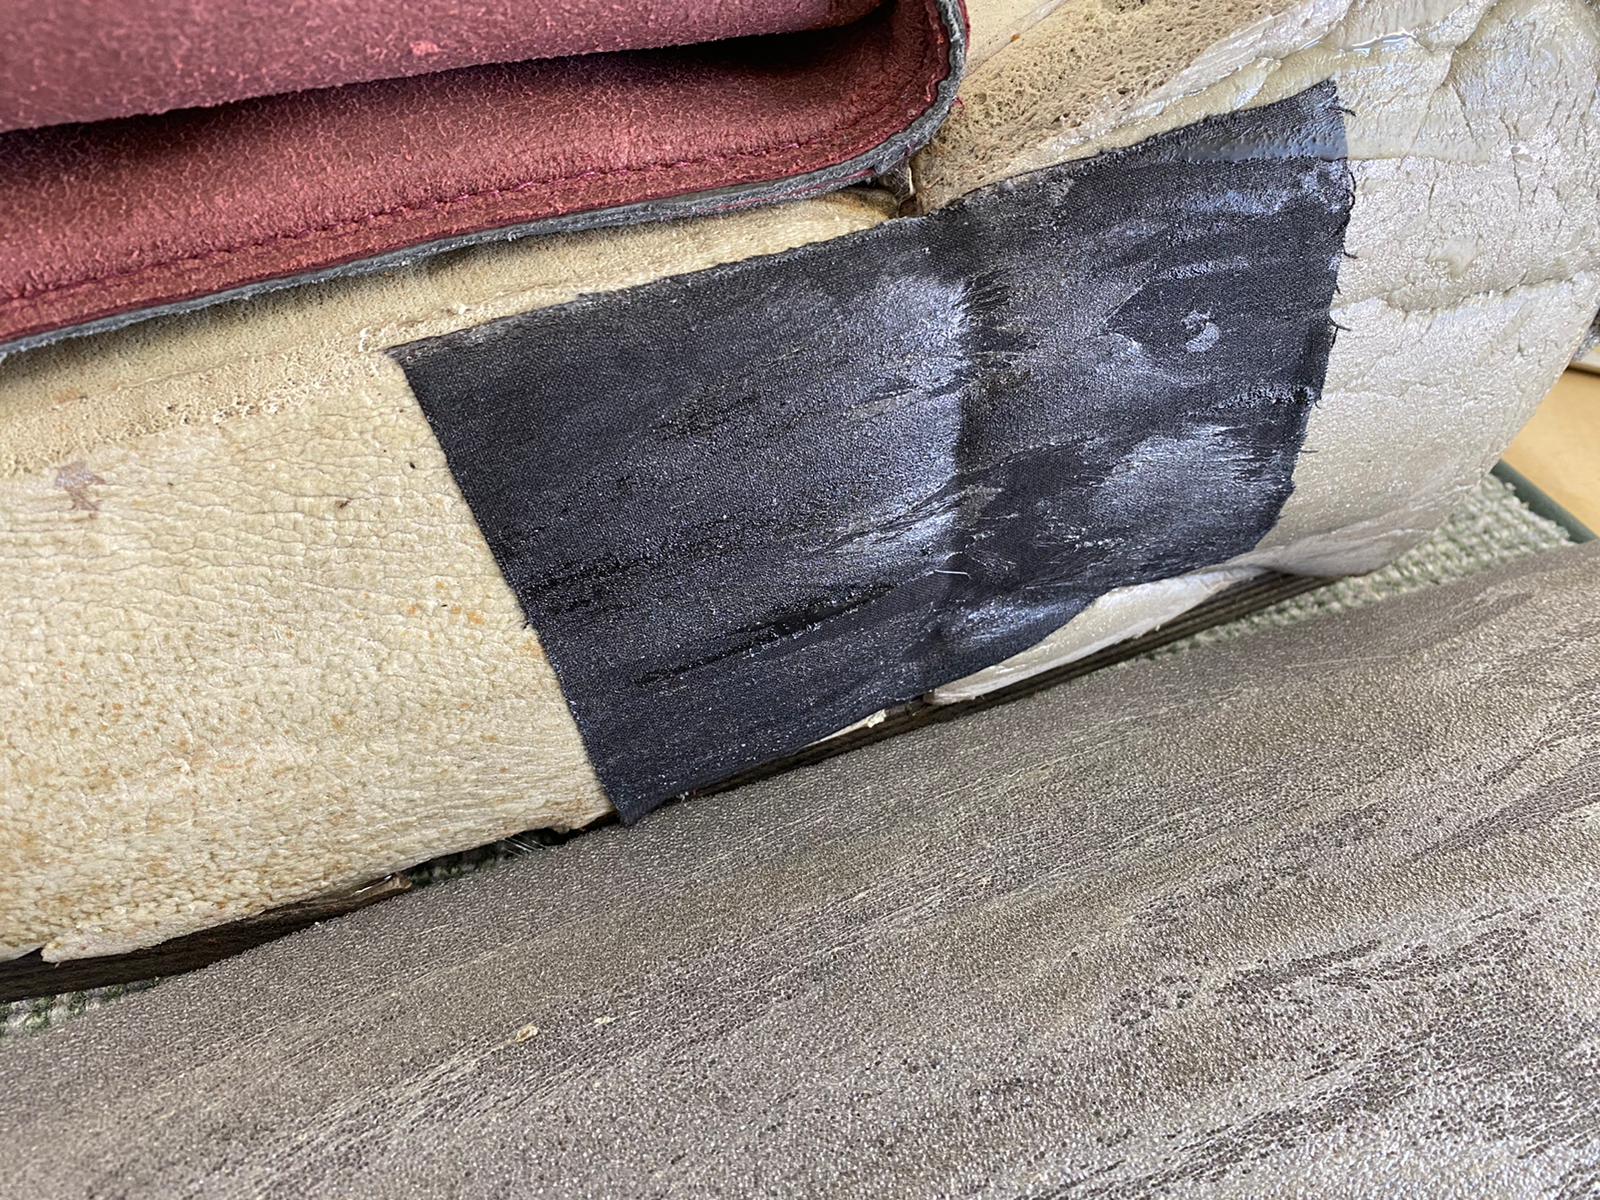
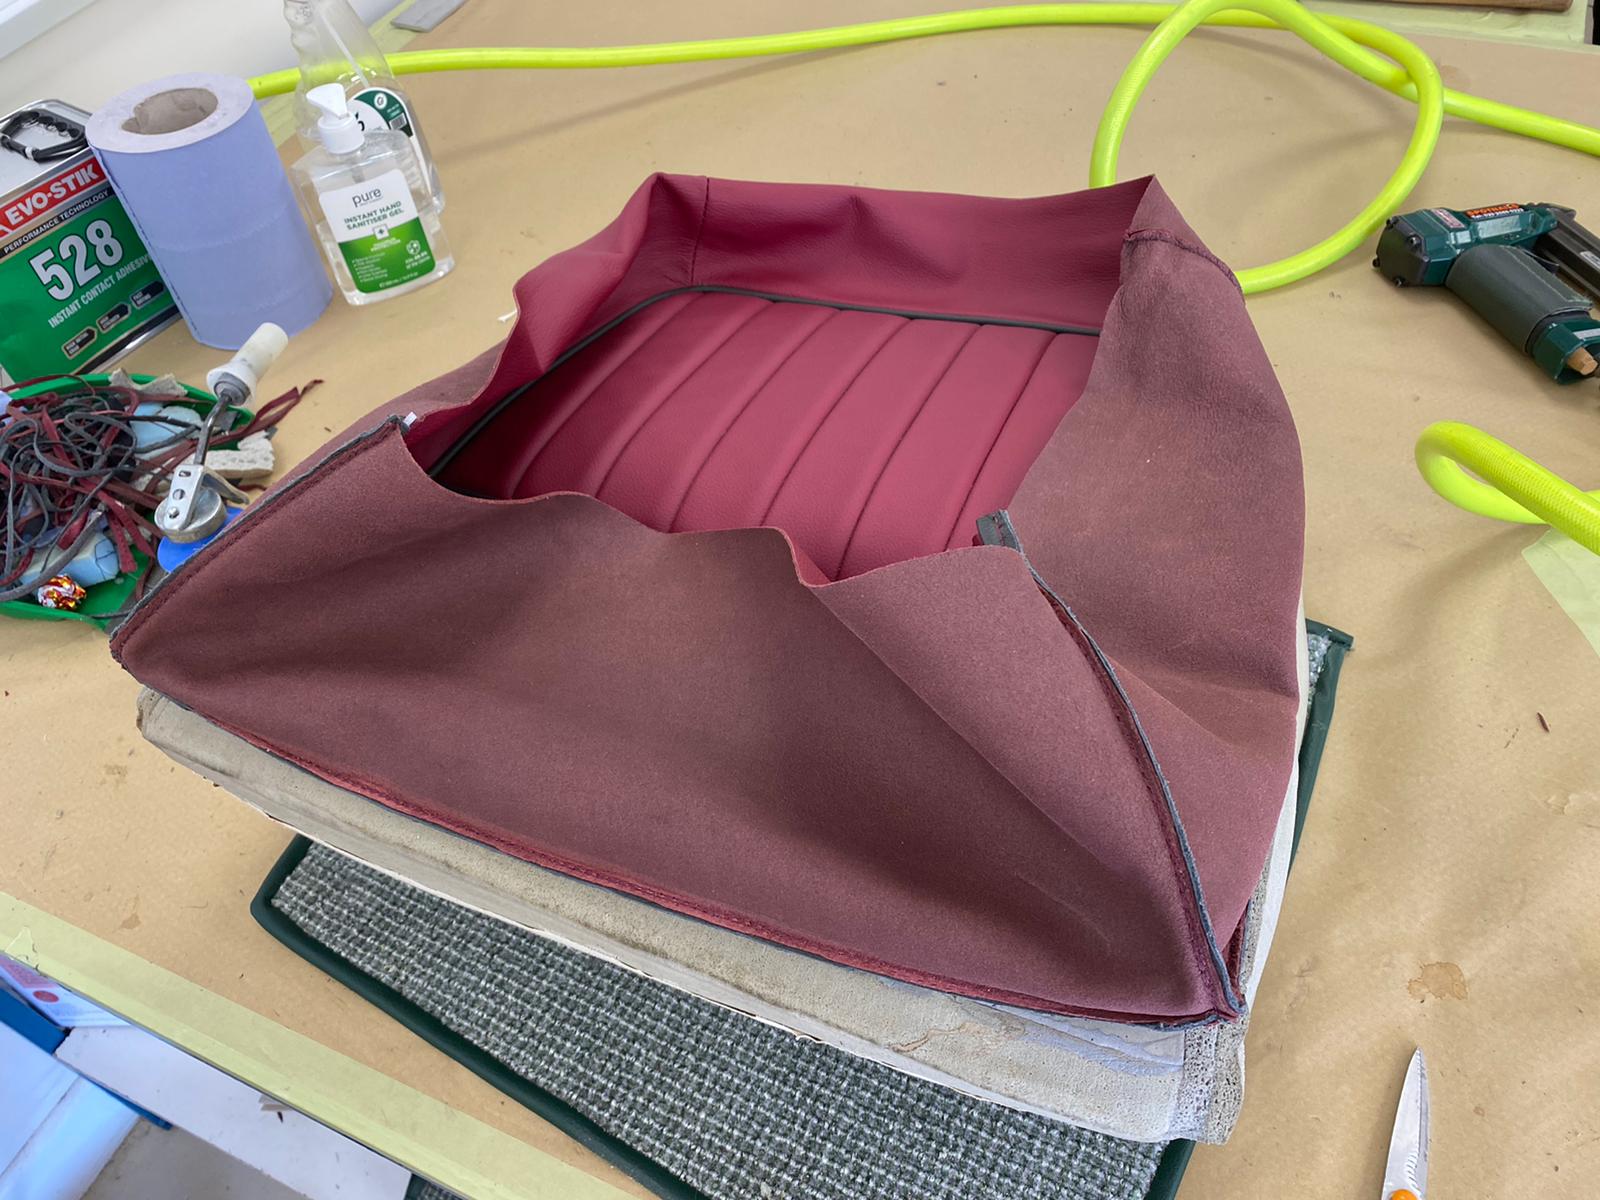
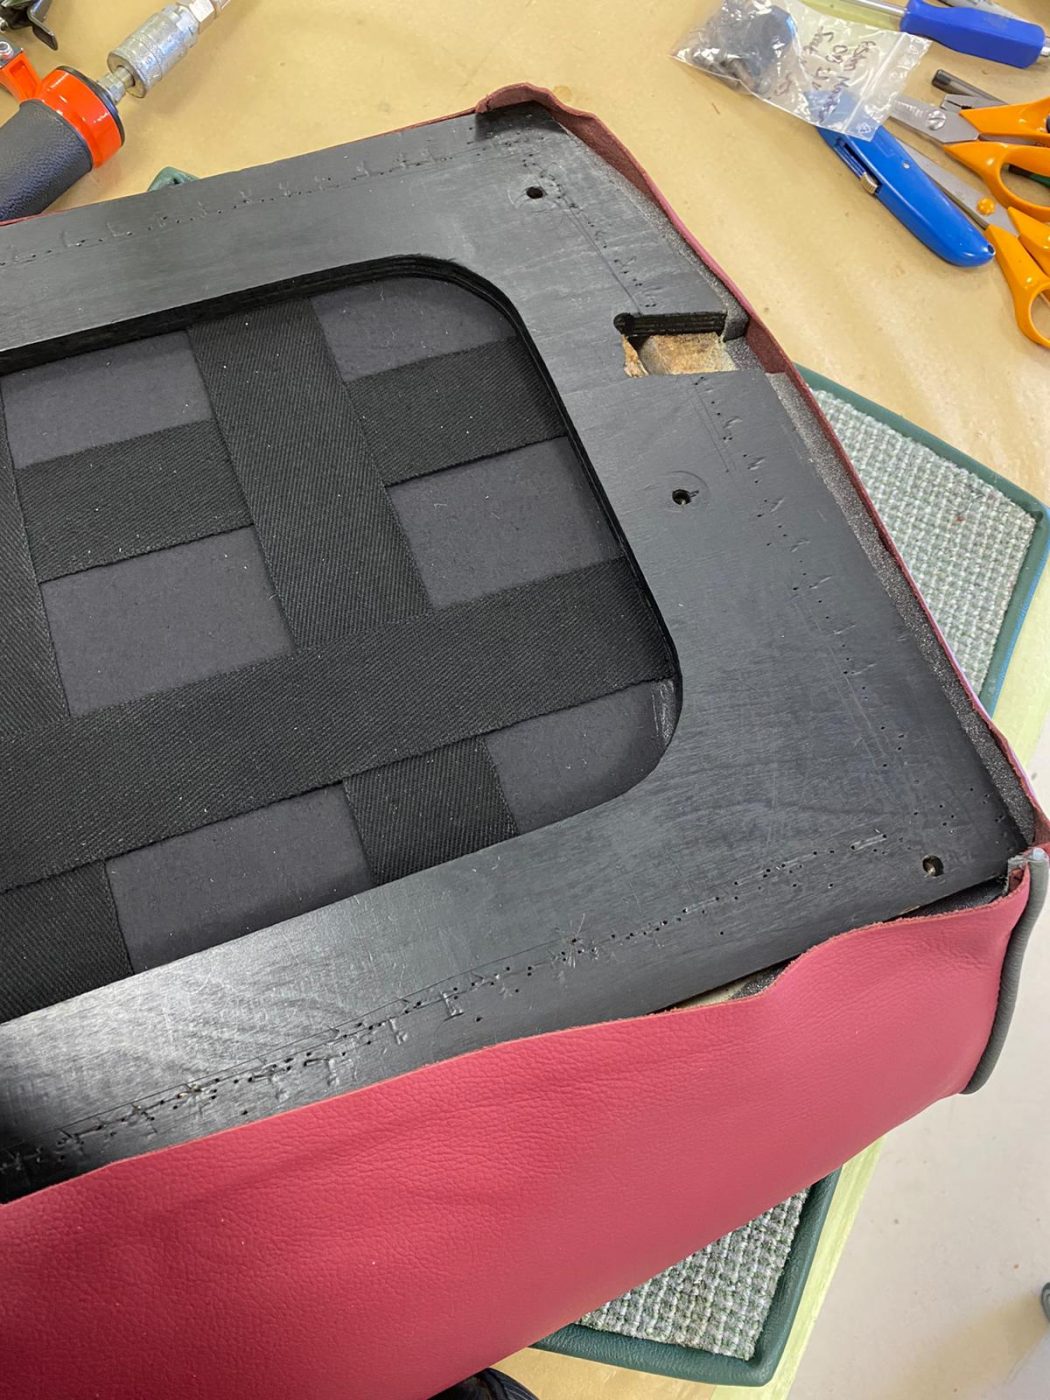
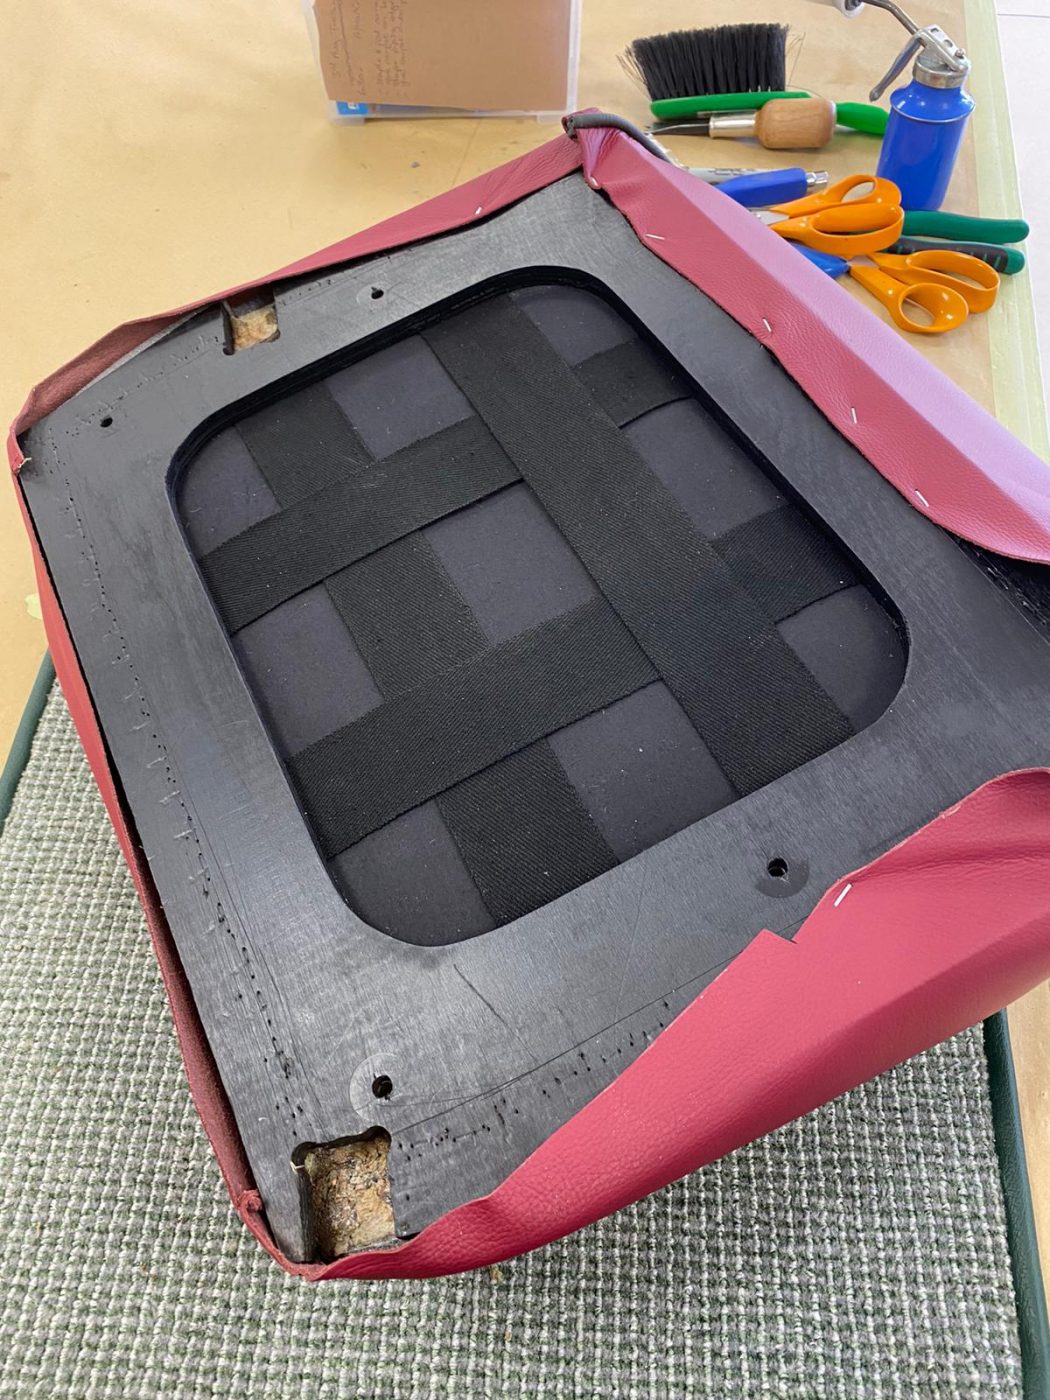
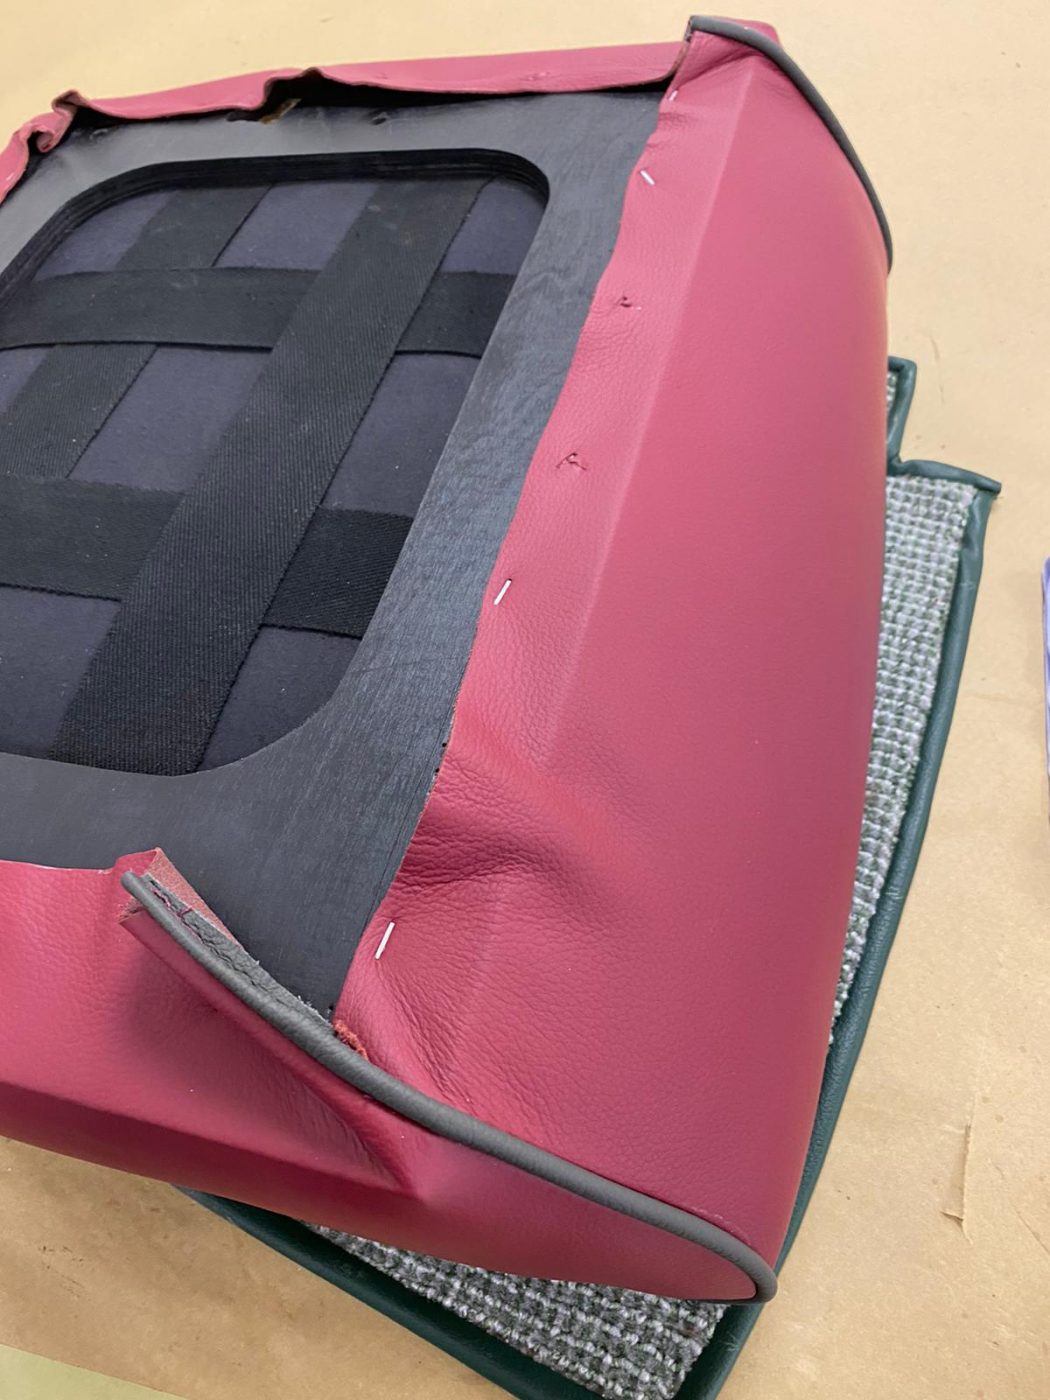
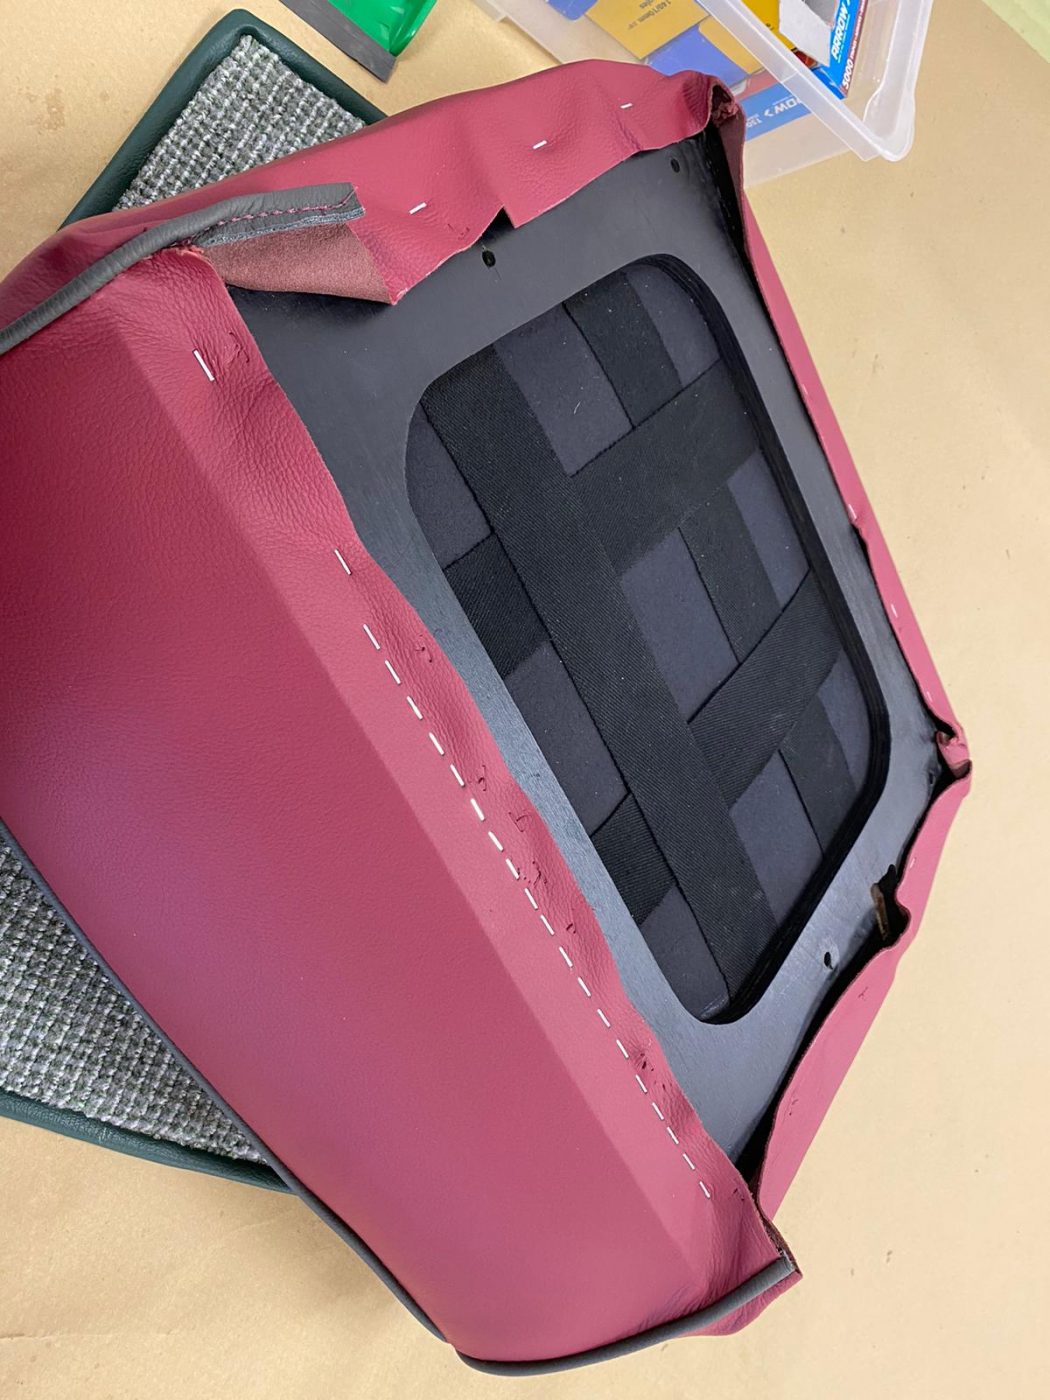
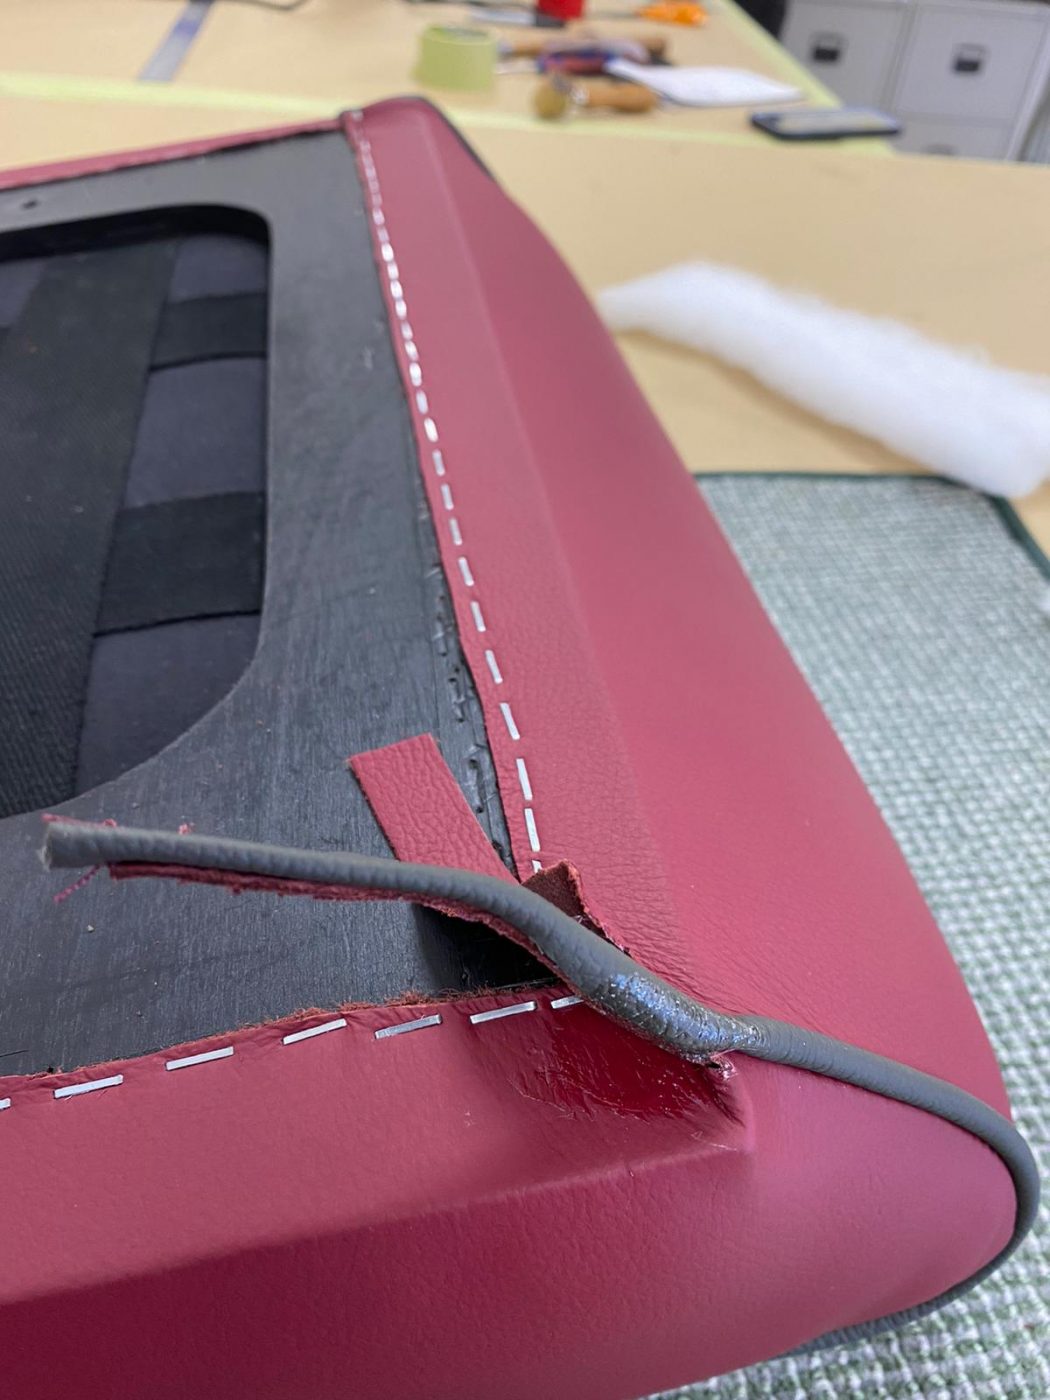
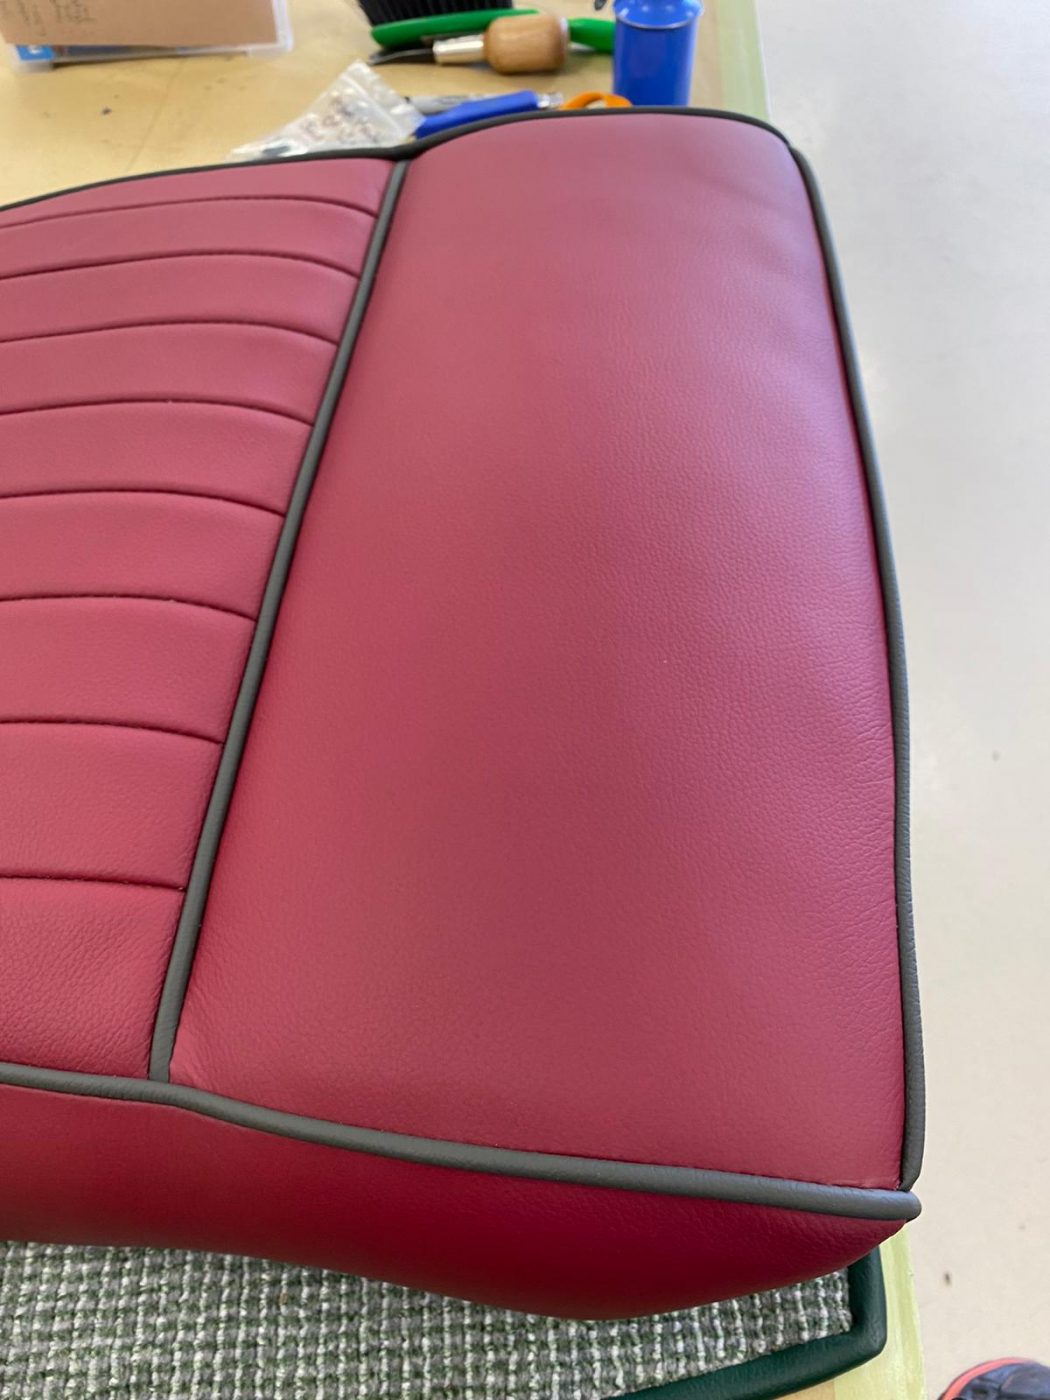
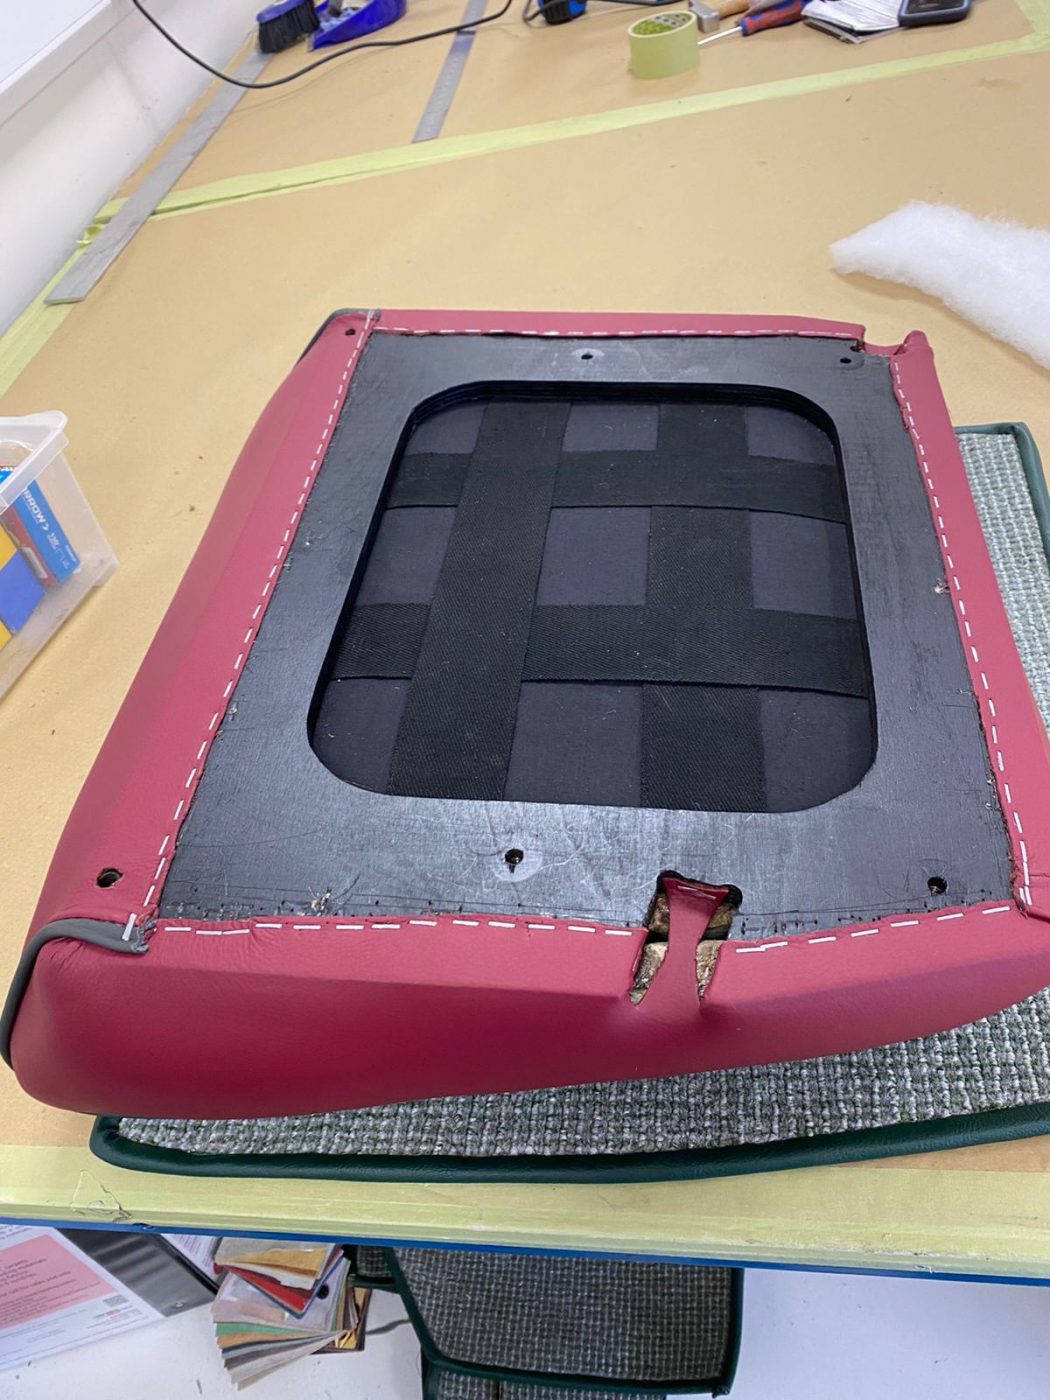
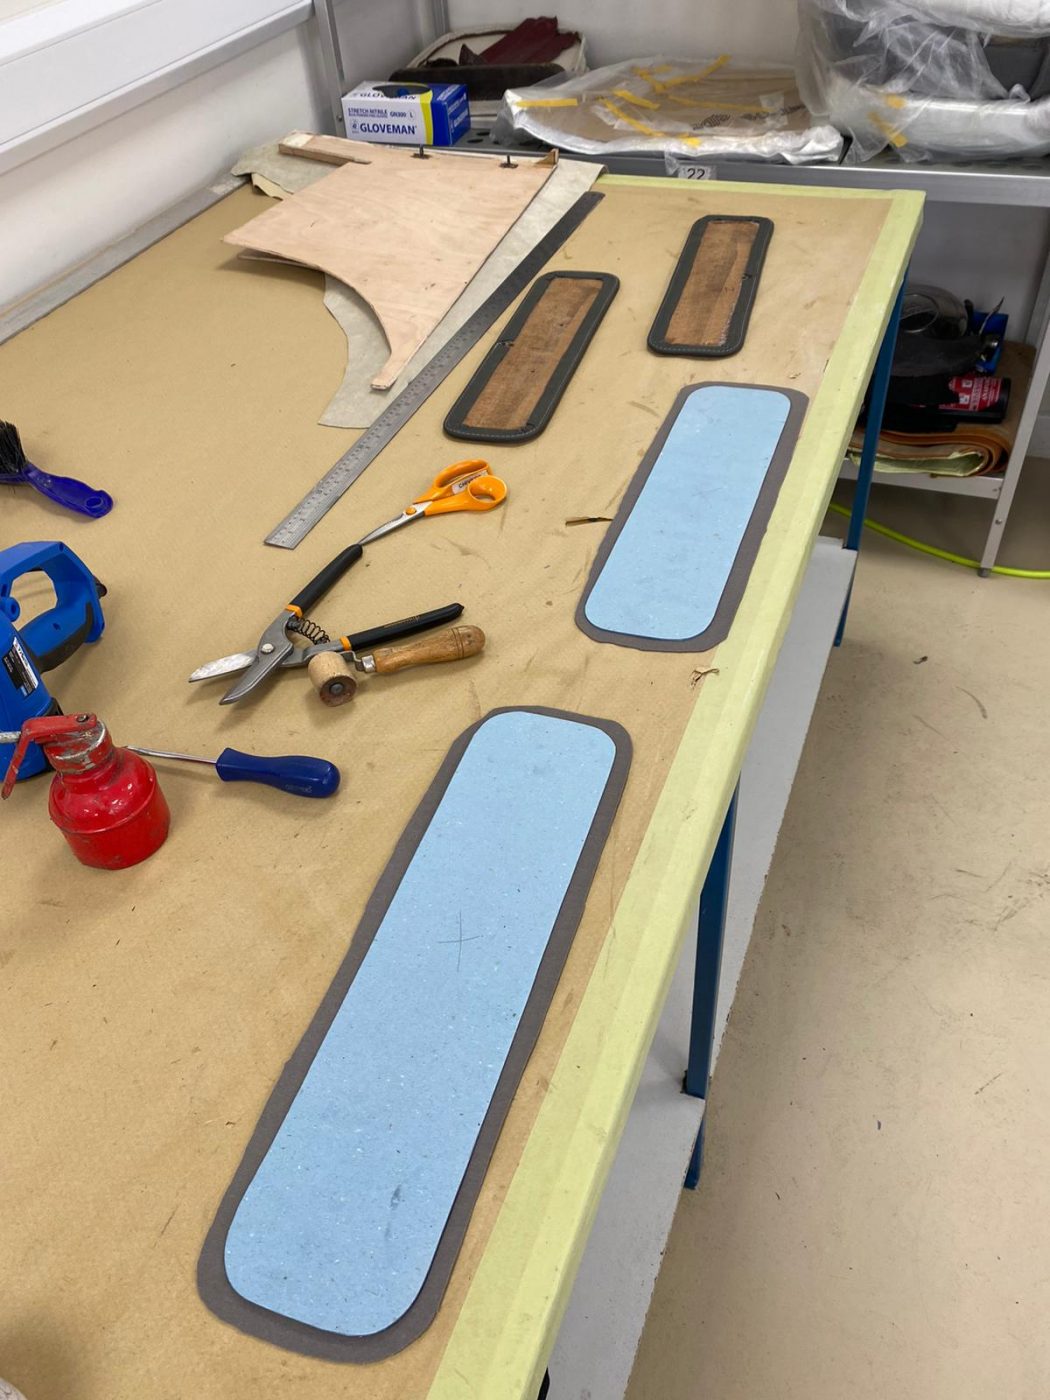
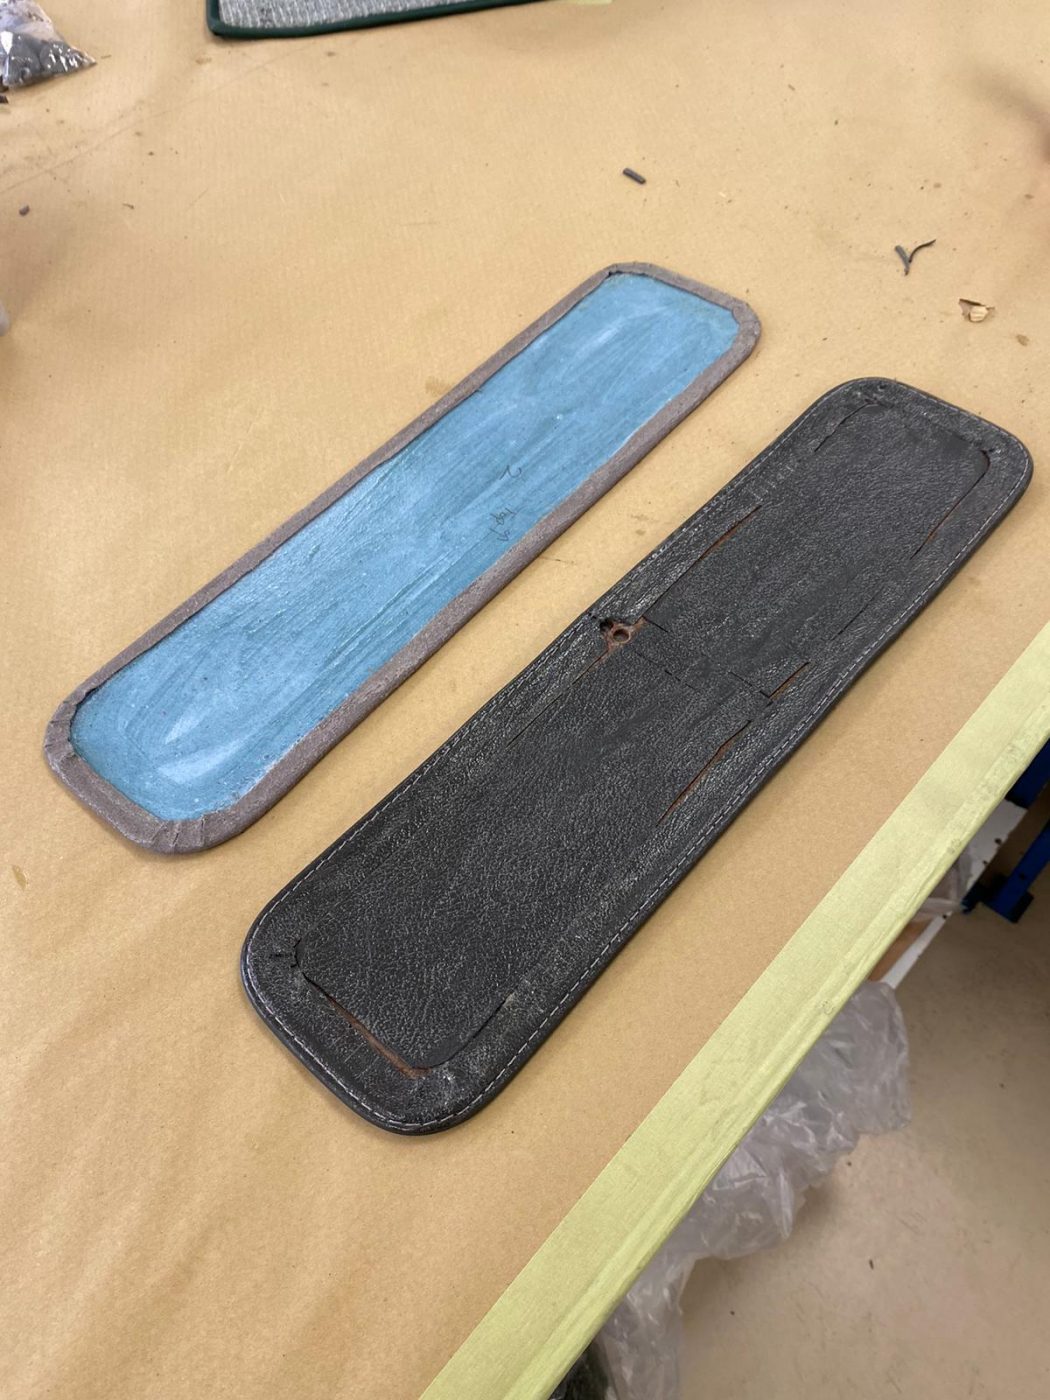
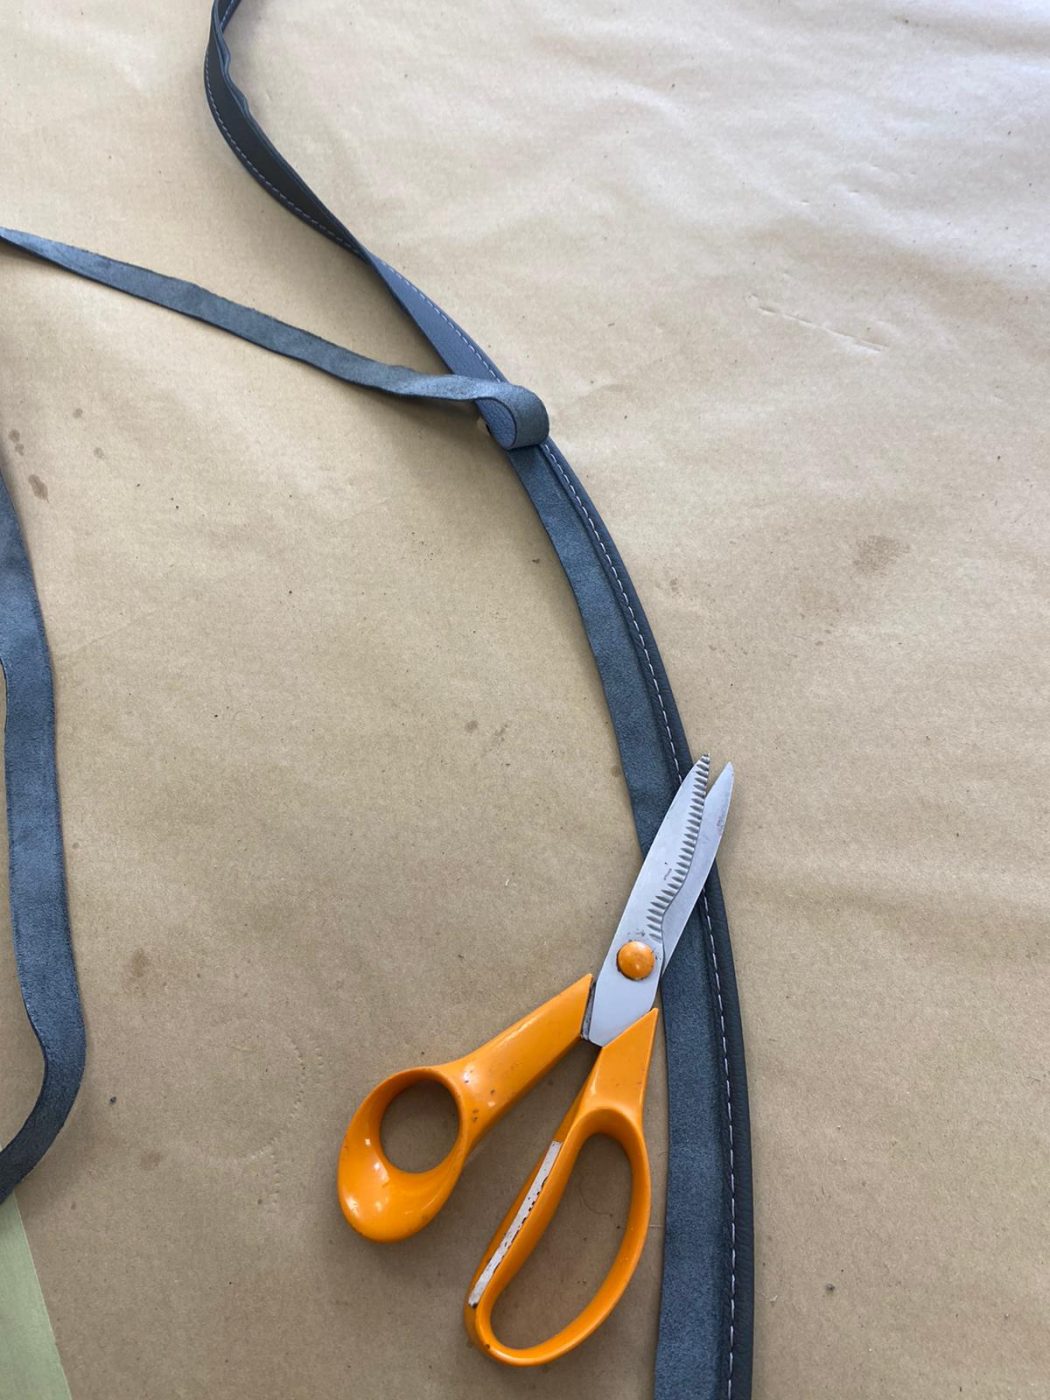
Kath has been fitting the second front base seat cover to its foam and frame for the 1955 Aston Martin DB 2/4. It’s exactly the same process as the other front base, which you can read about here.

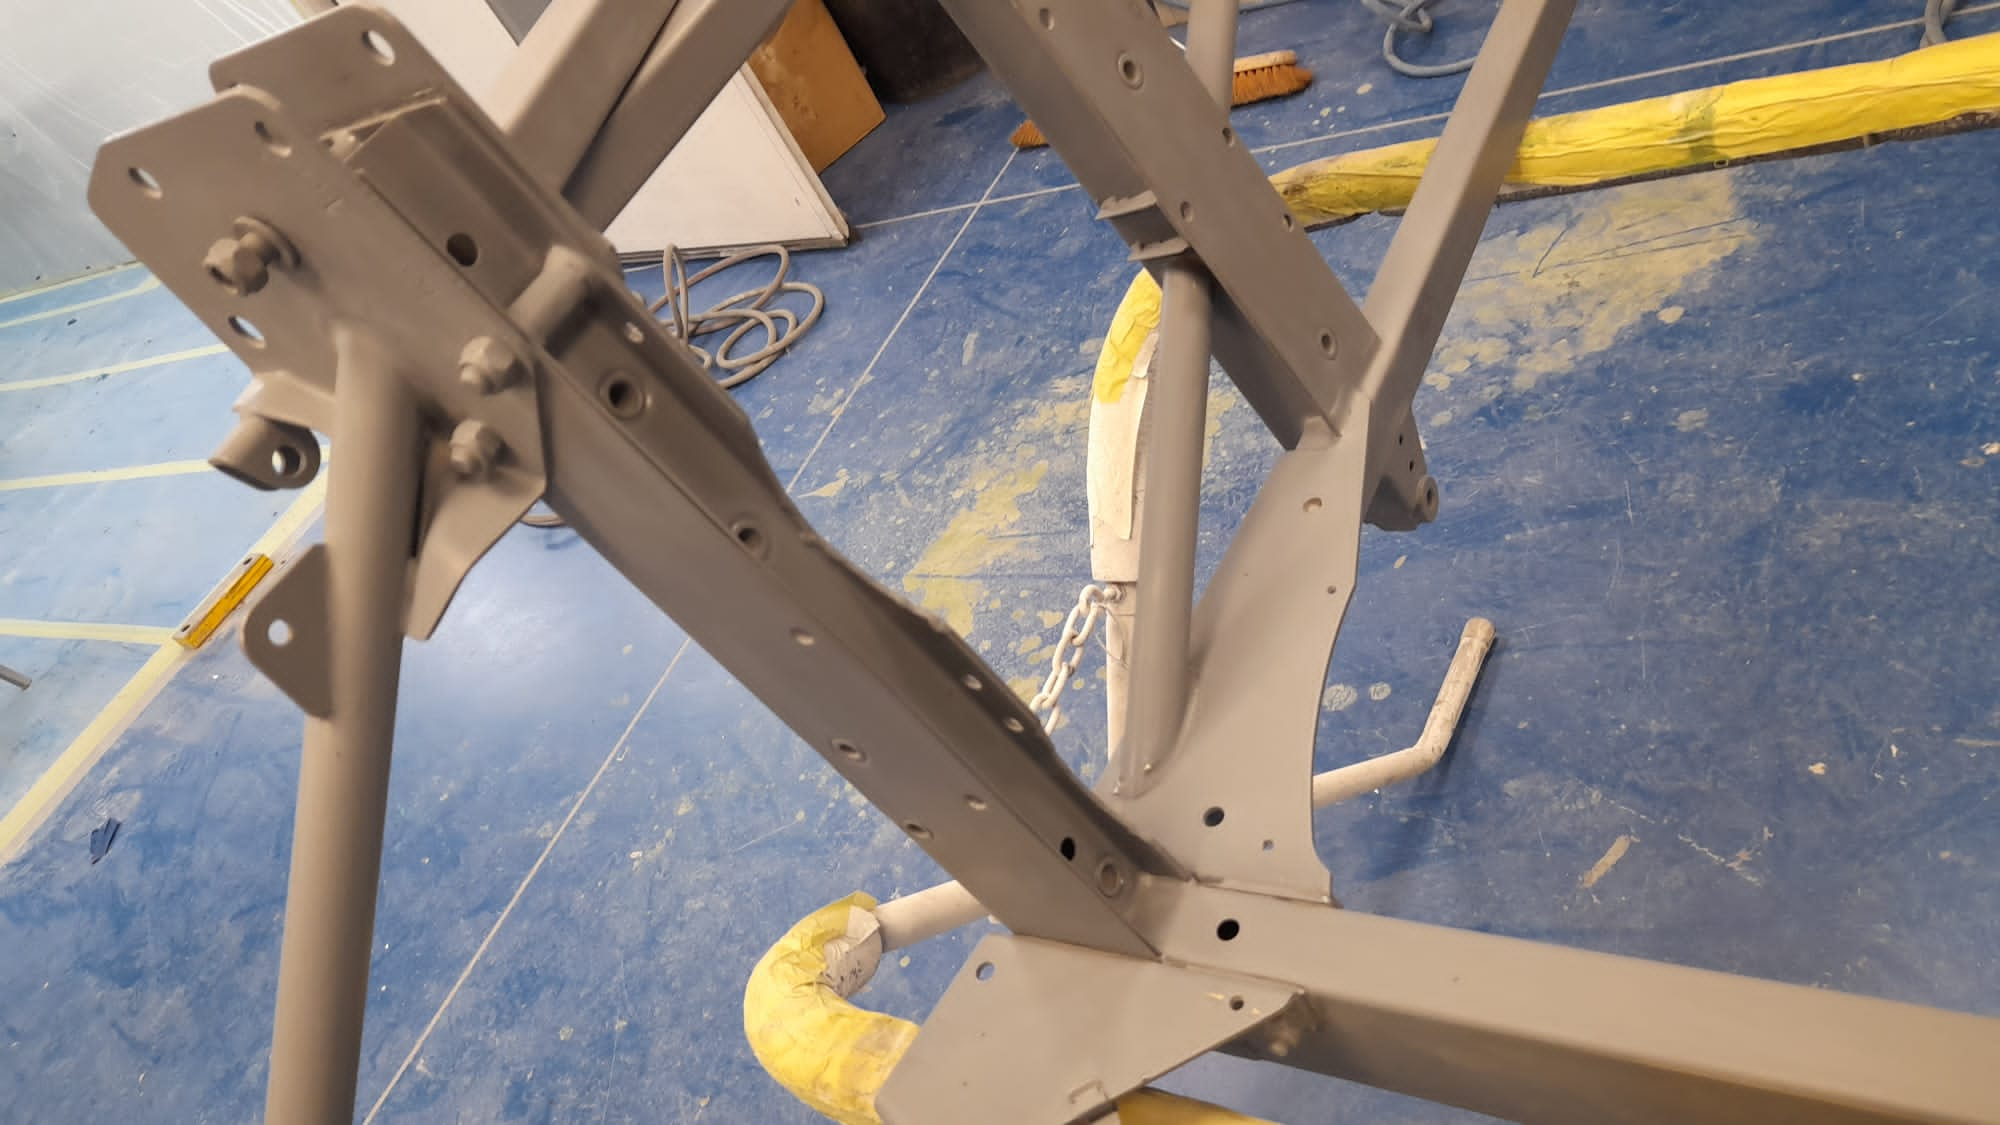
Lydia has finished sanding down the primer on the front frame for the 1973 Jaguar E-Type Roadster Series 3. You can read about the process here. The sanding dust has been cleaned off with panel wipe, ready for the frame to be painted now.

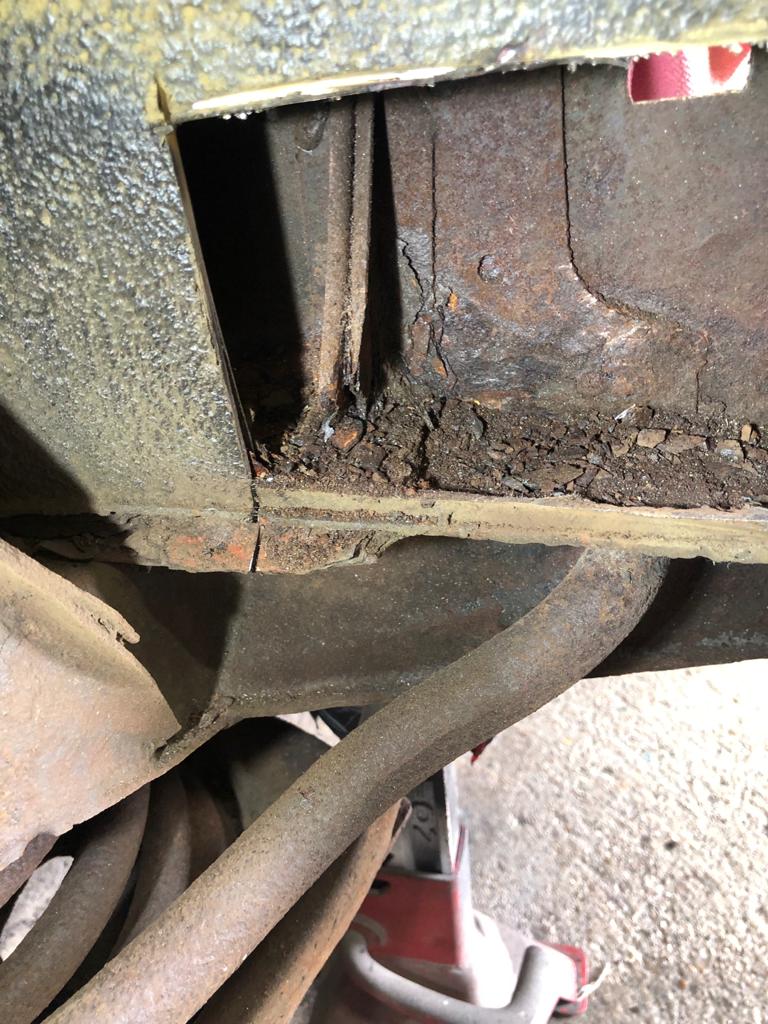
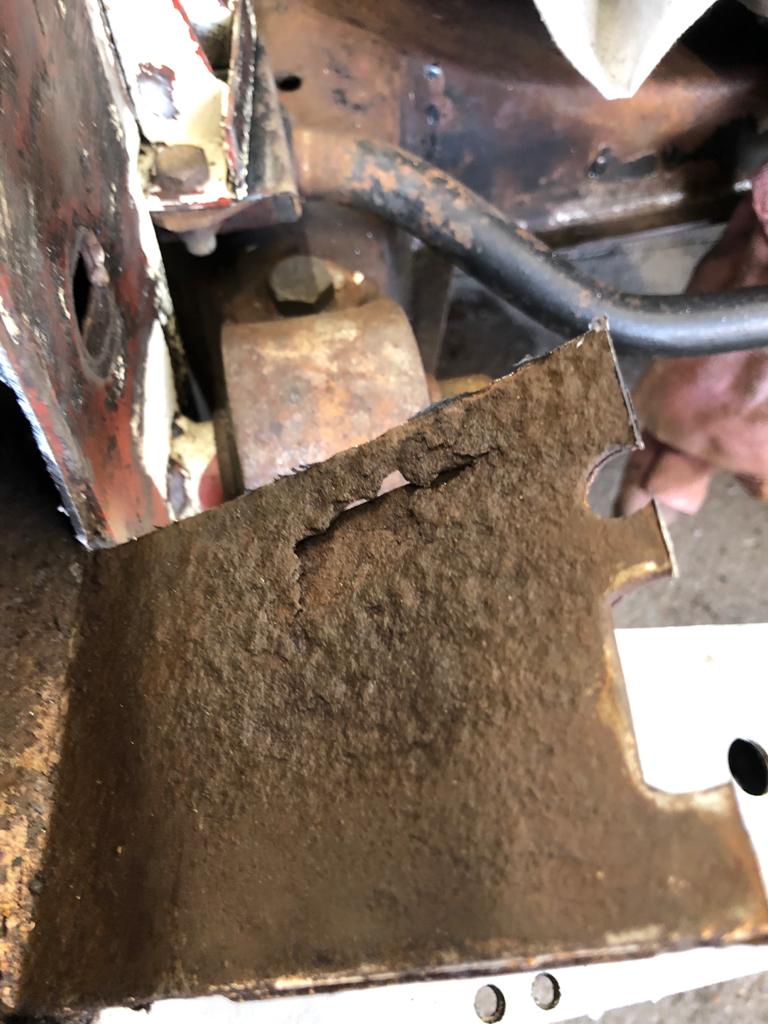
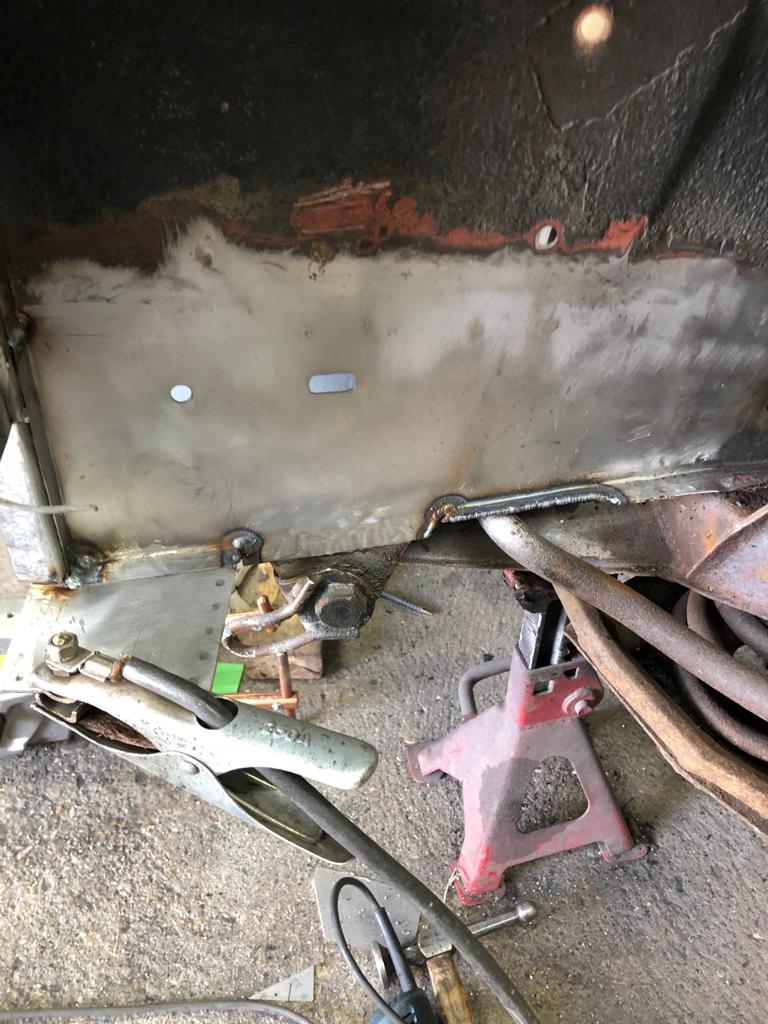
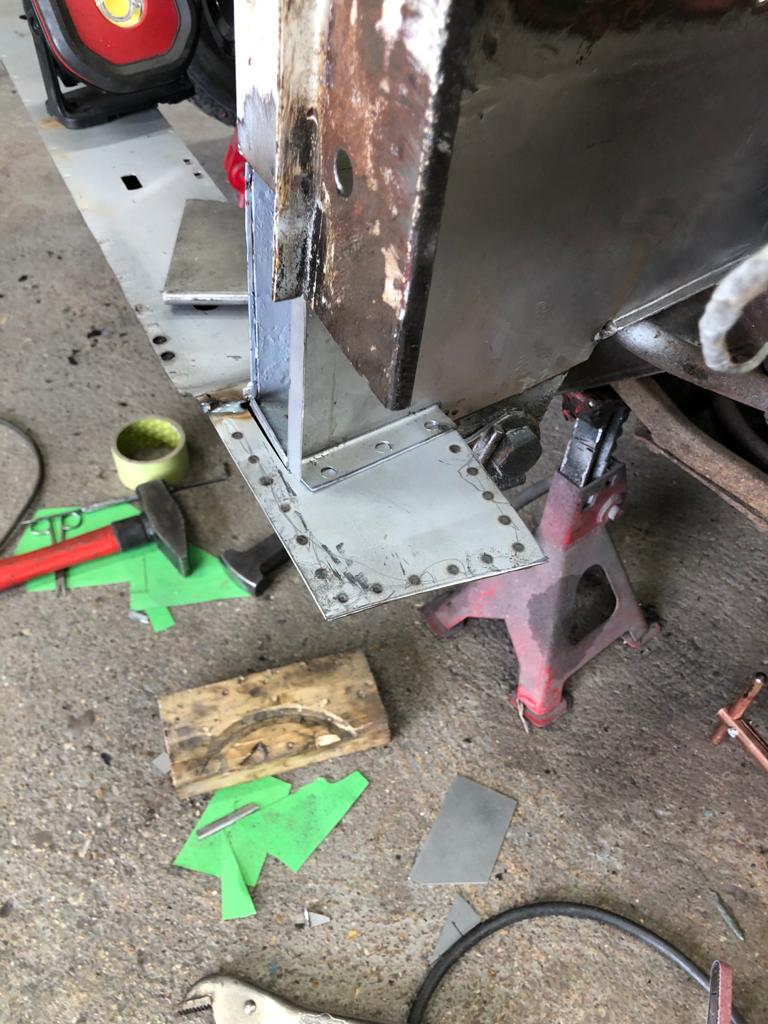
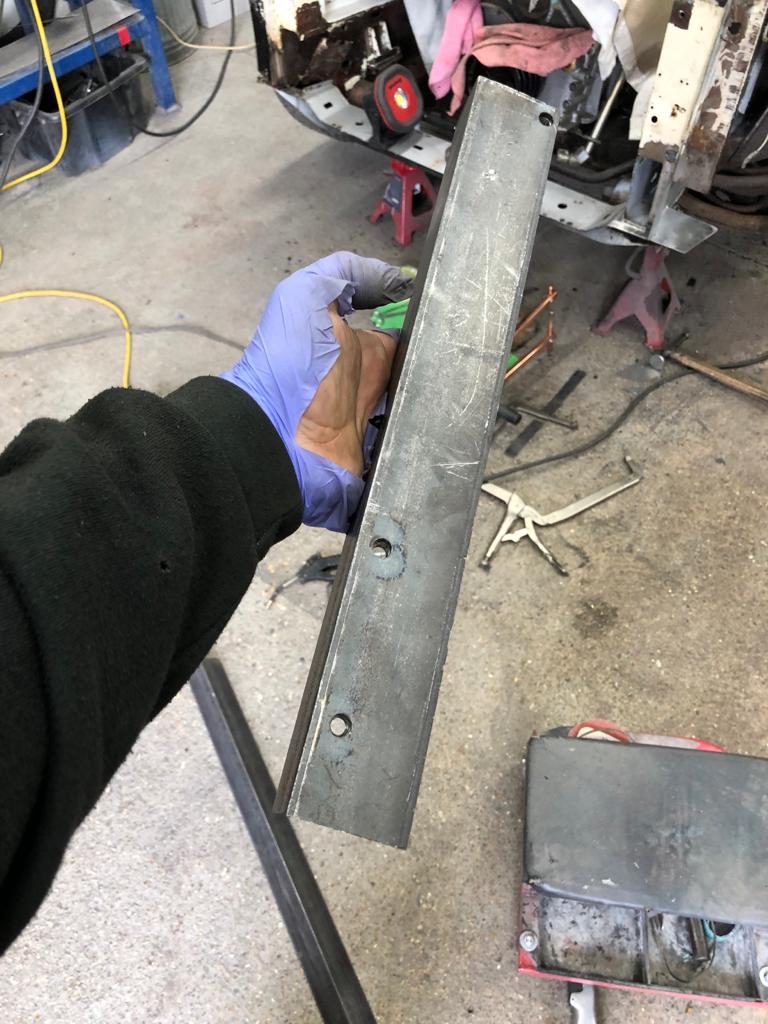
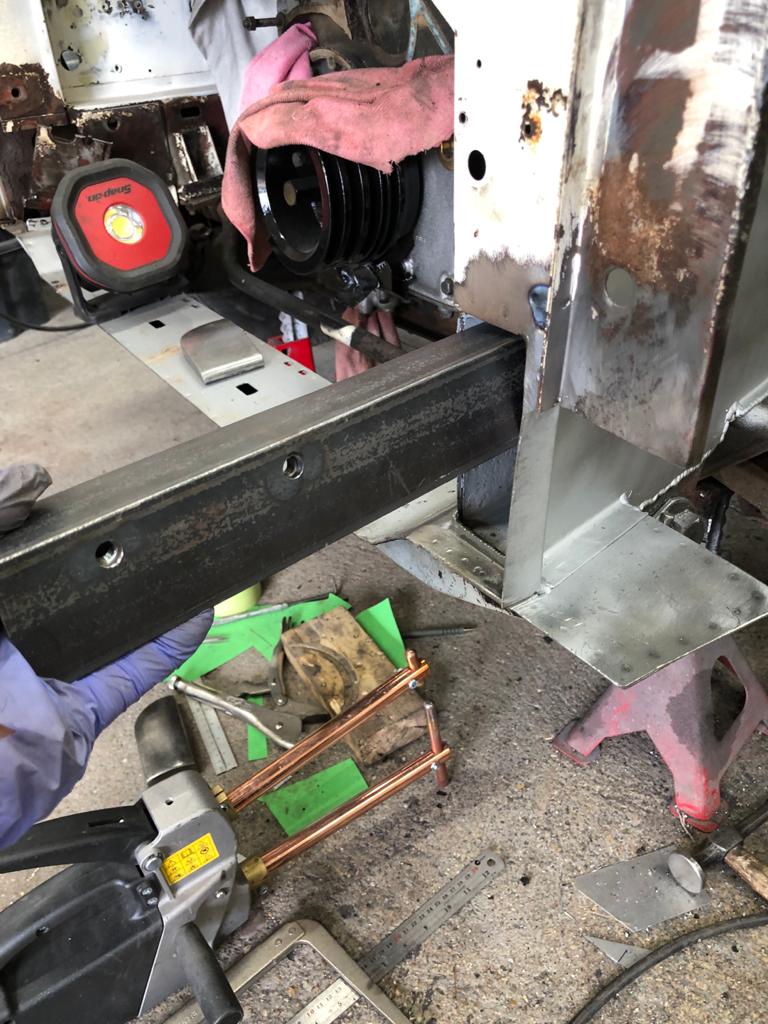
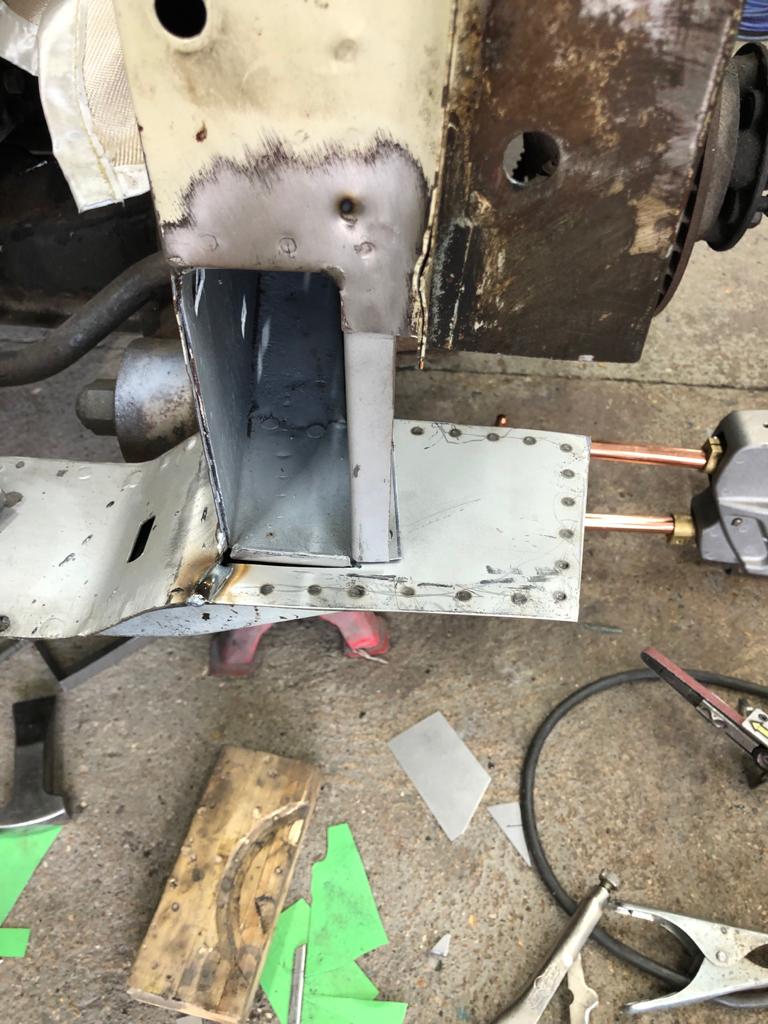
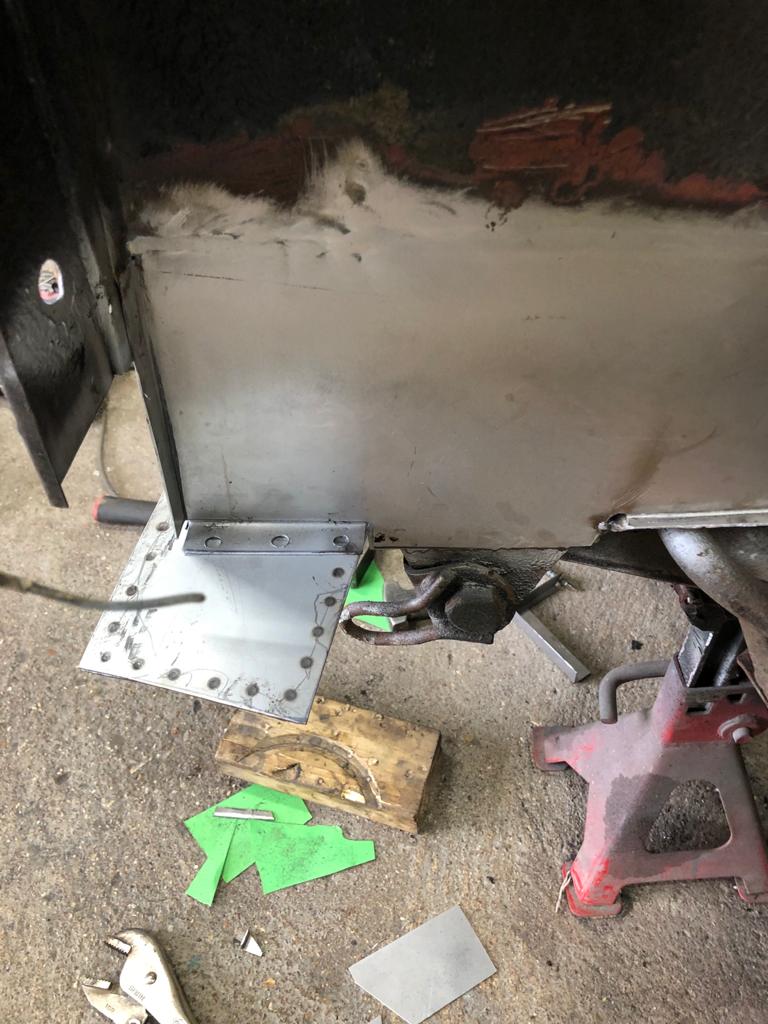
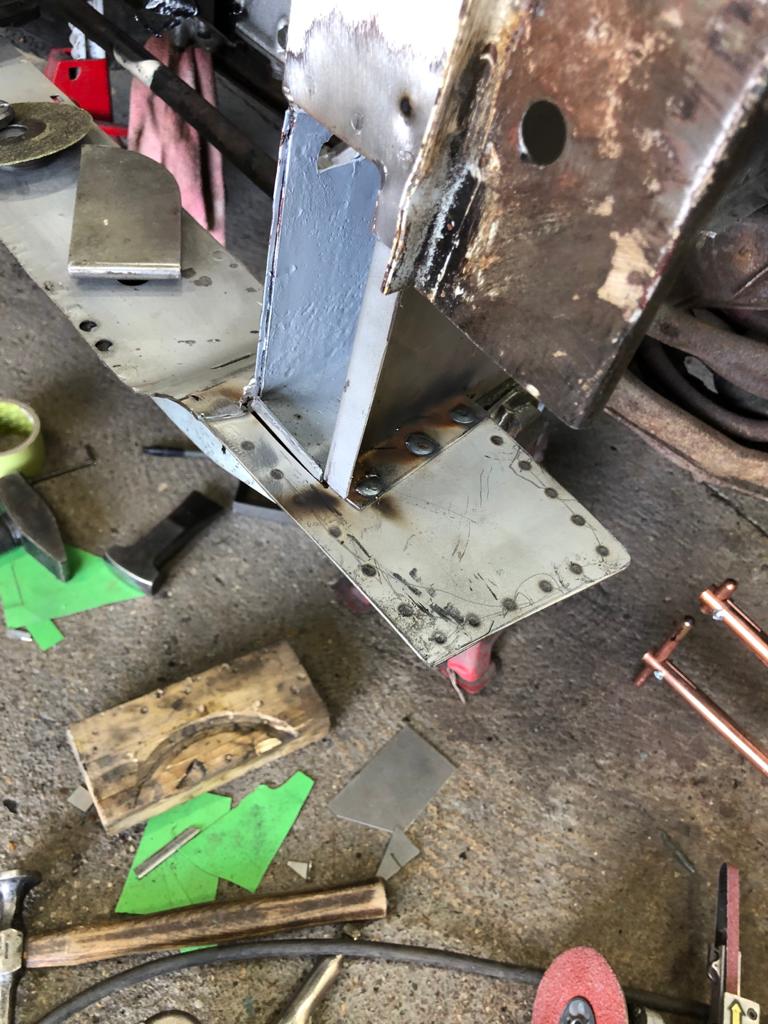
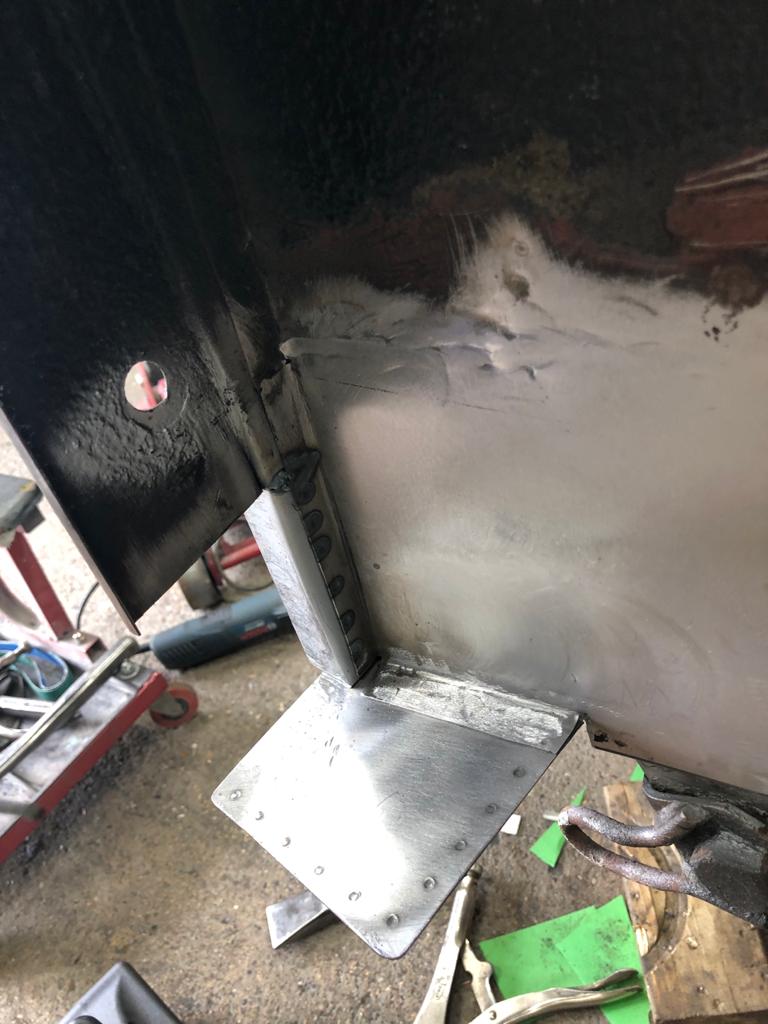
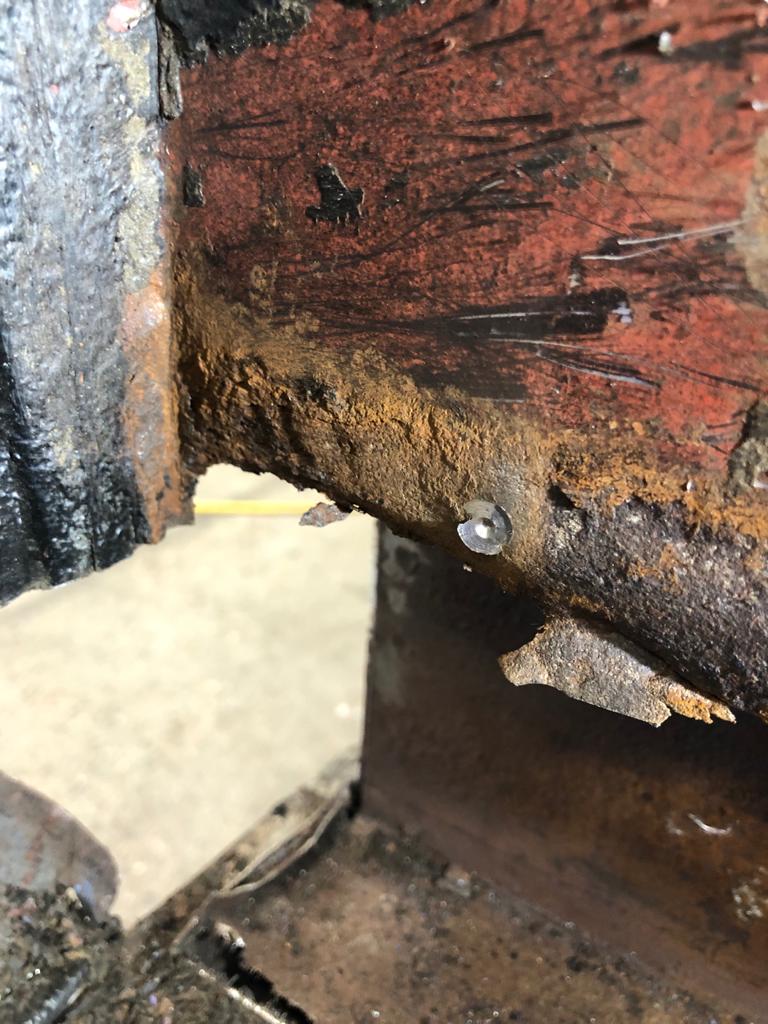
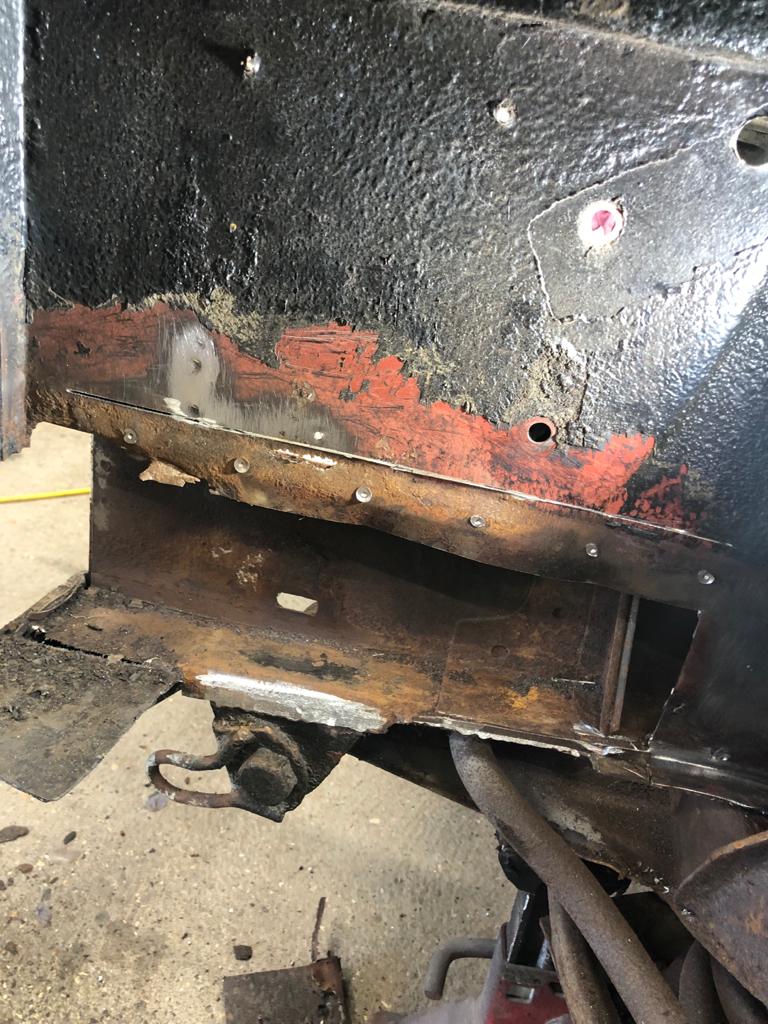
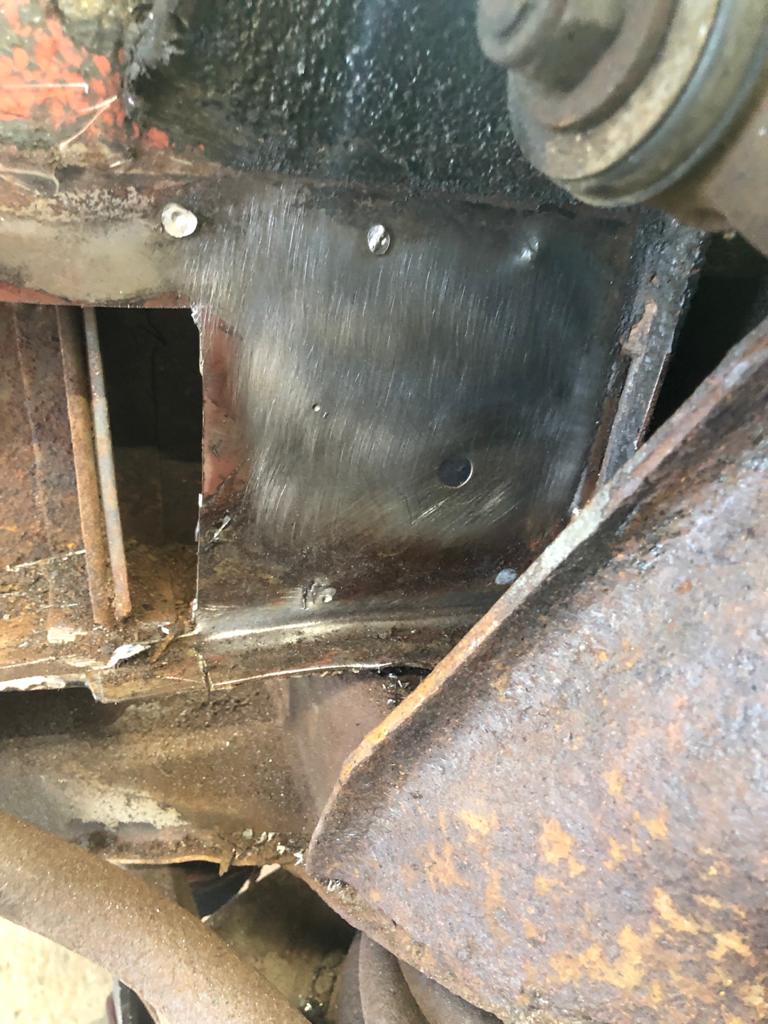
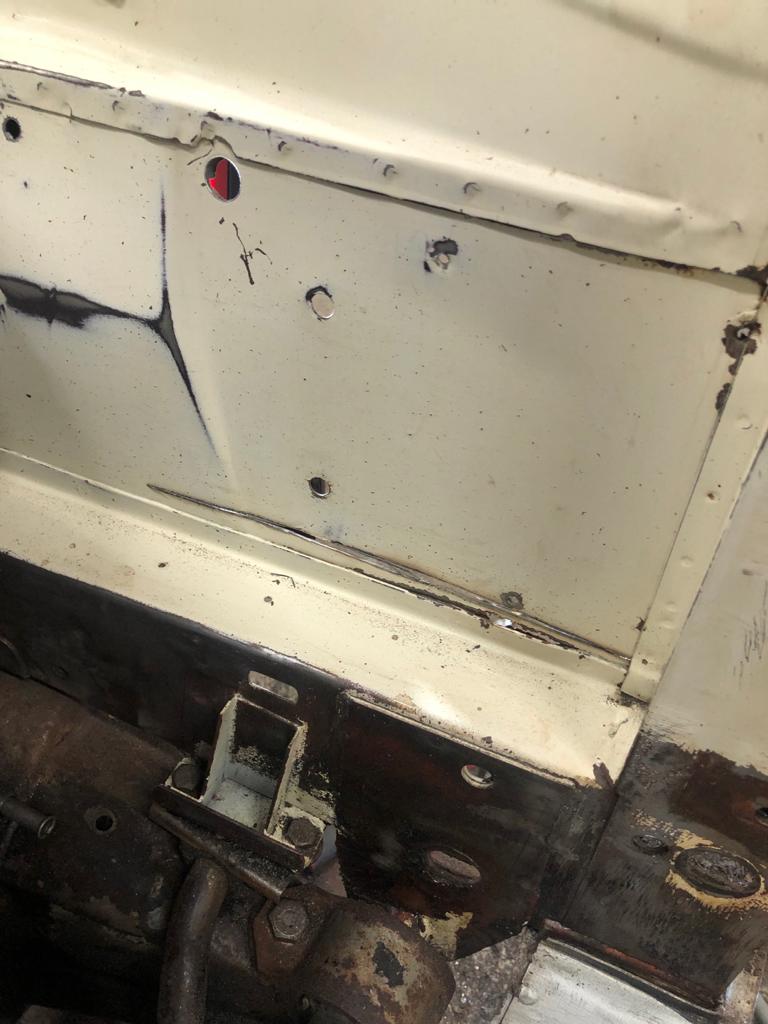
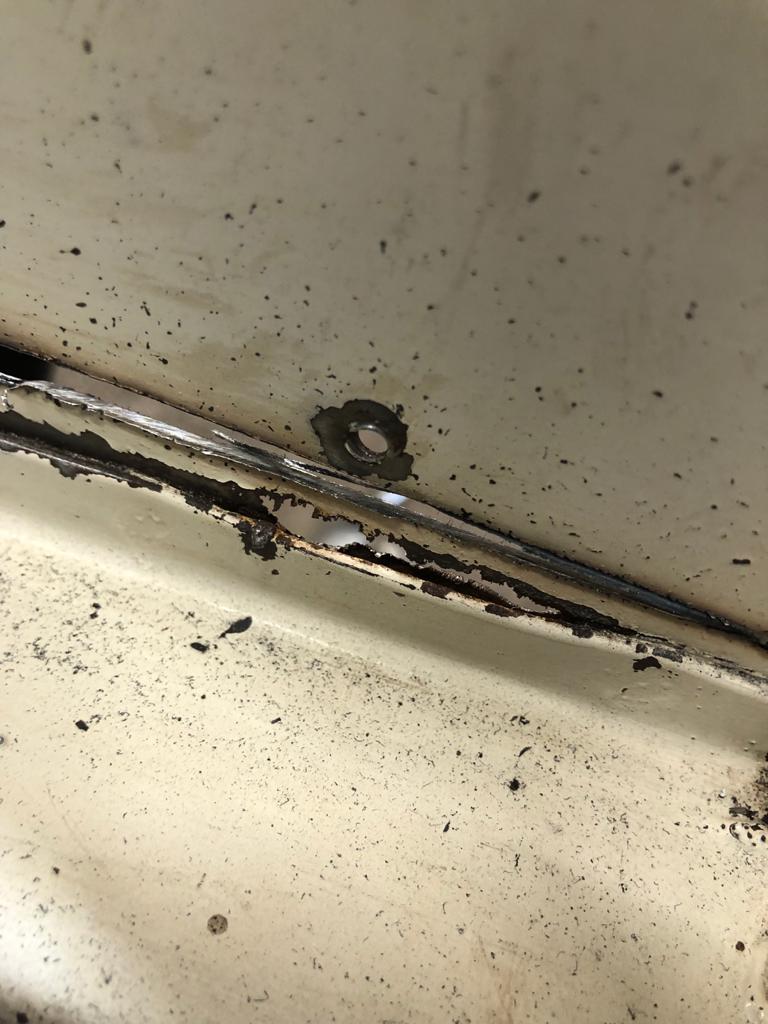
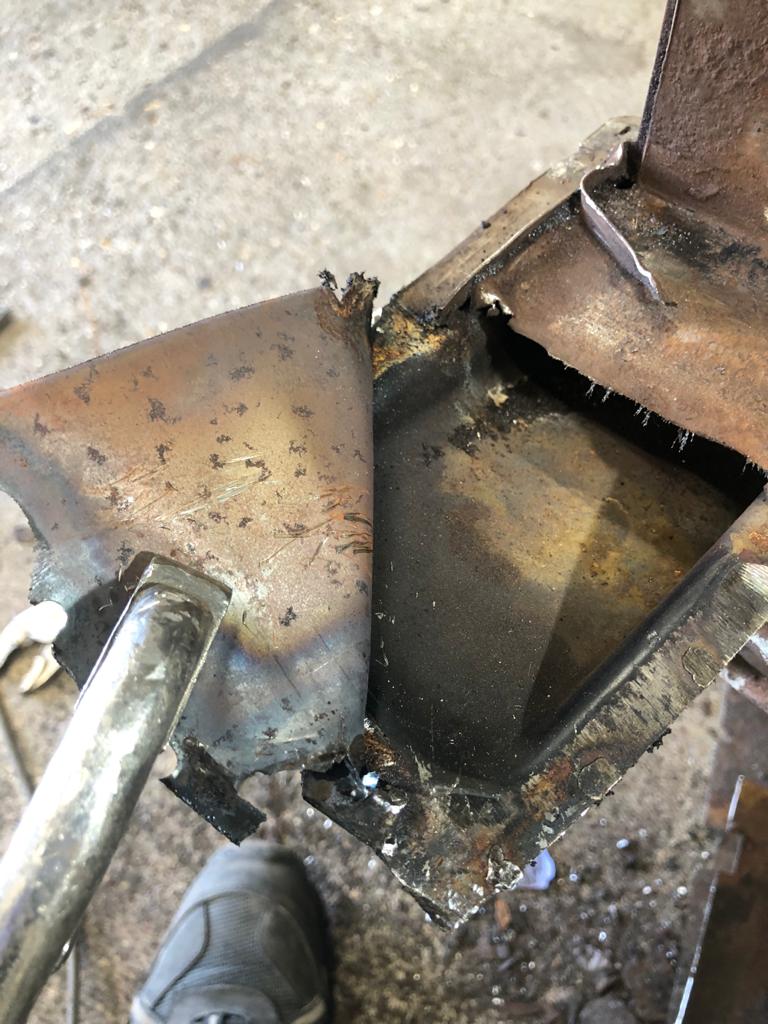
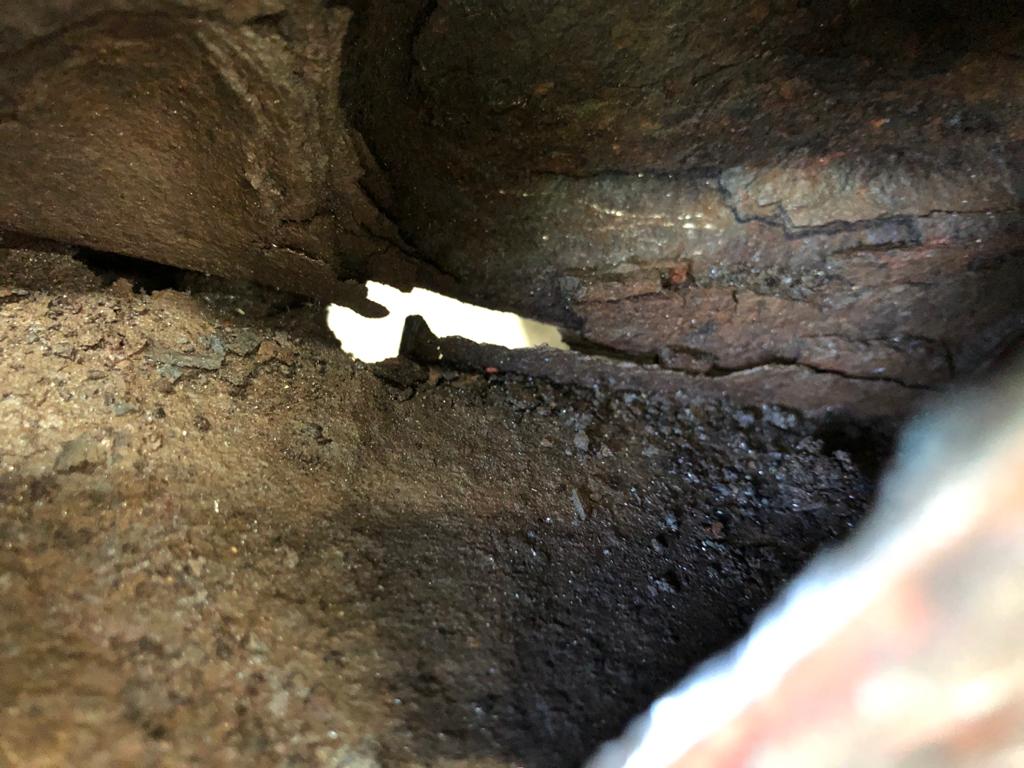
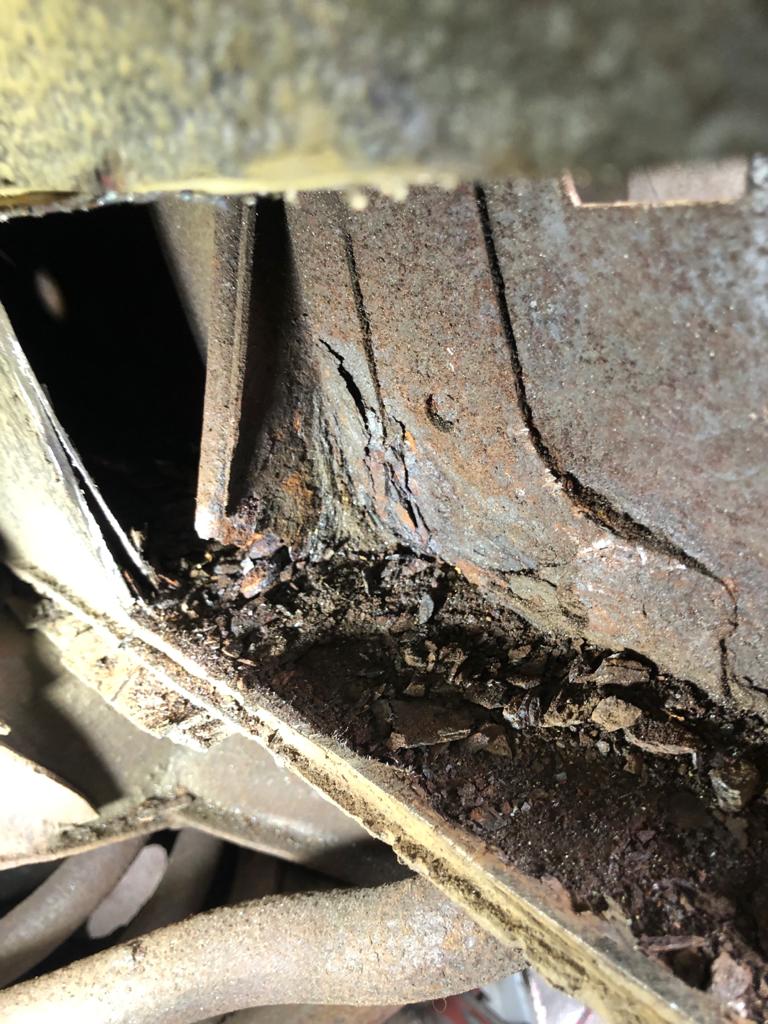
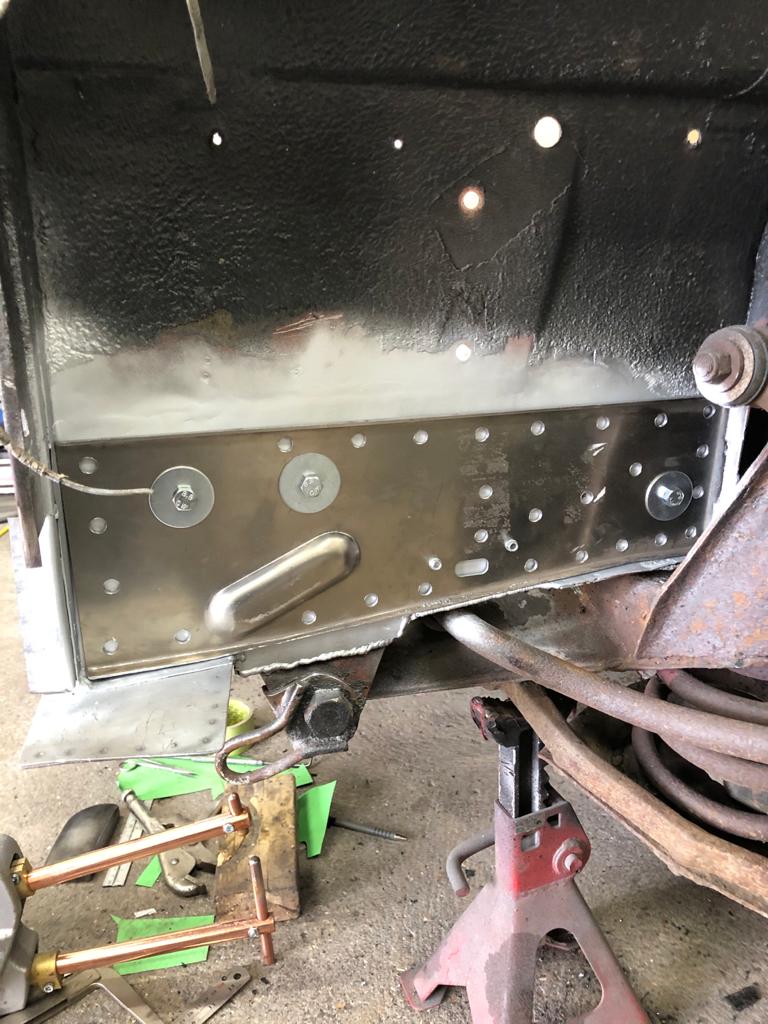
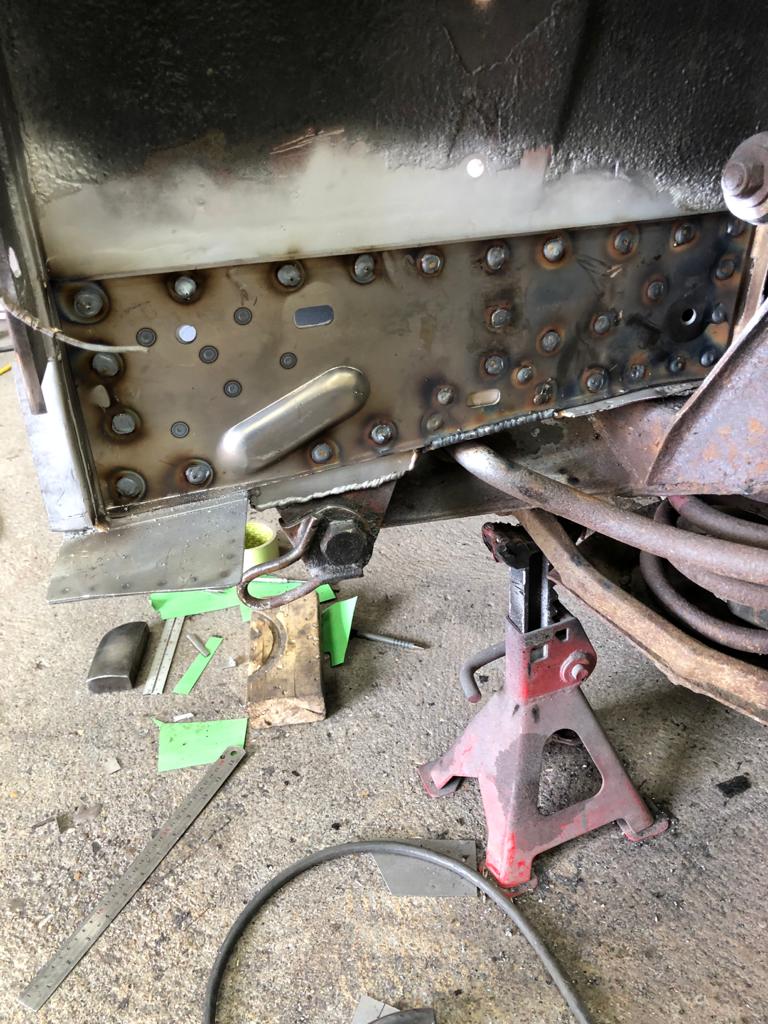
James has been continuing his repair work on the 1986 Daimler Double Six. He’s now finished the left-hand side, which you can read about the process of here. The same work will be carried out on the right-hand side now.


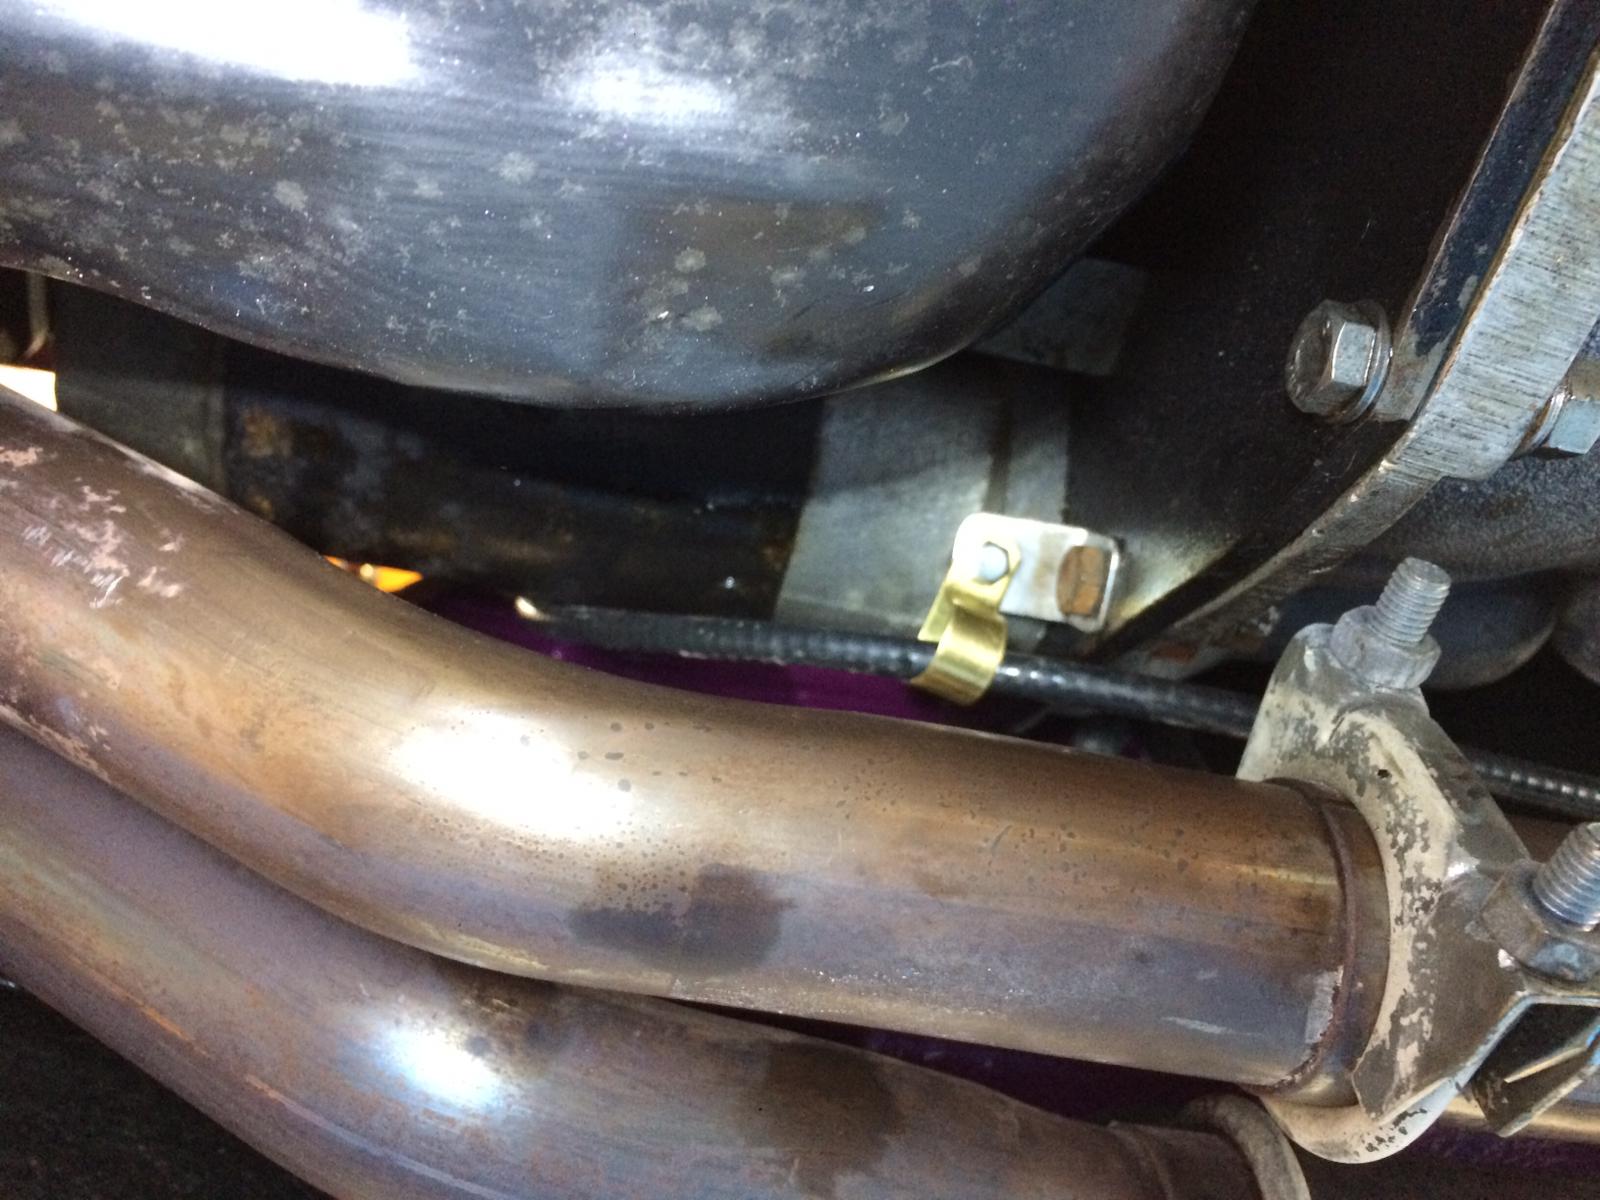
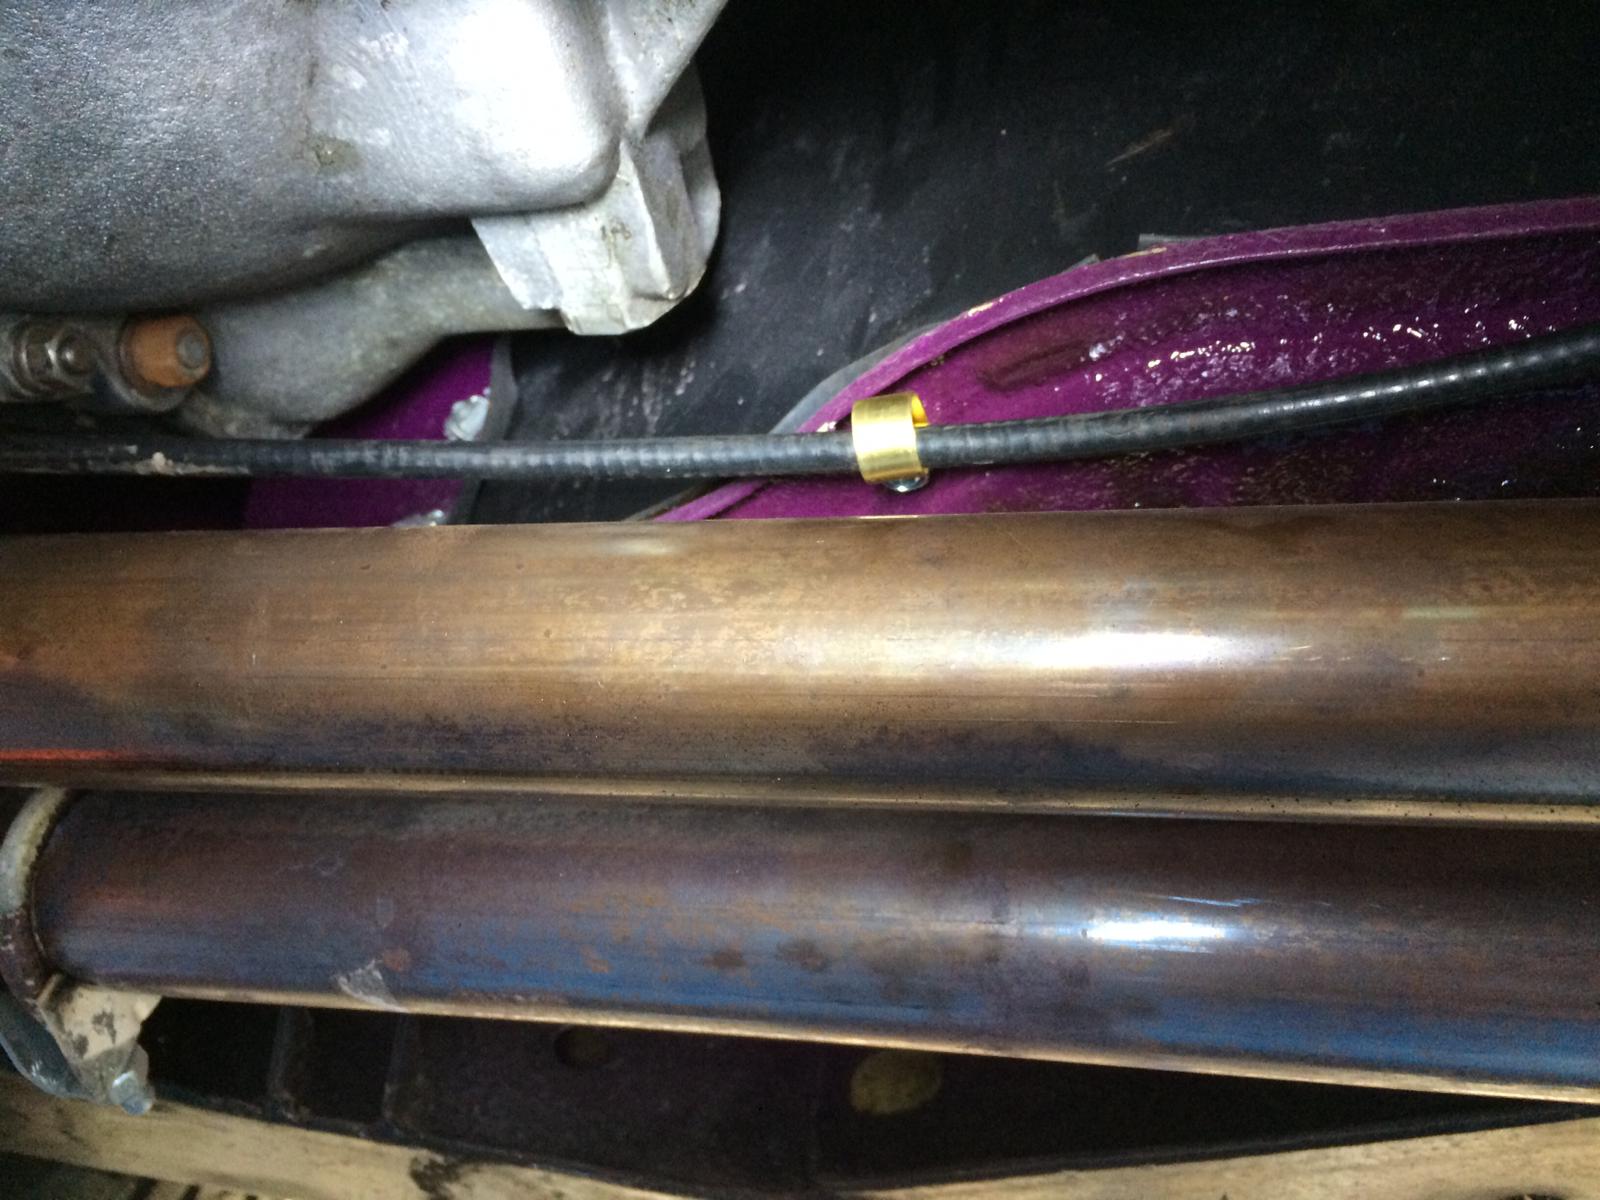
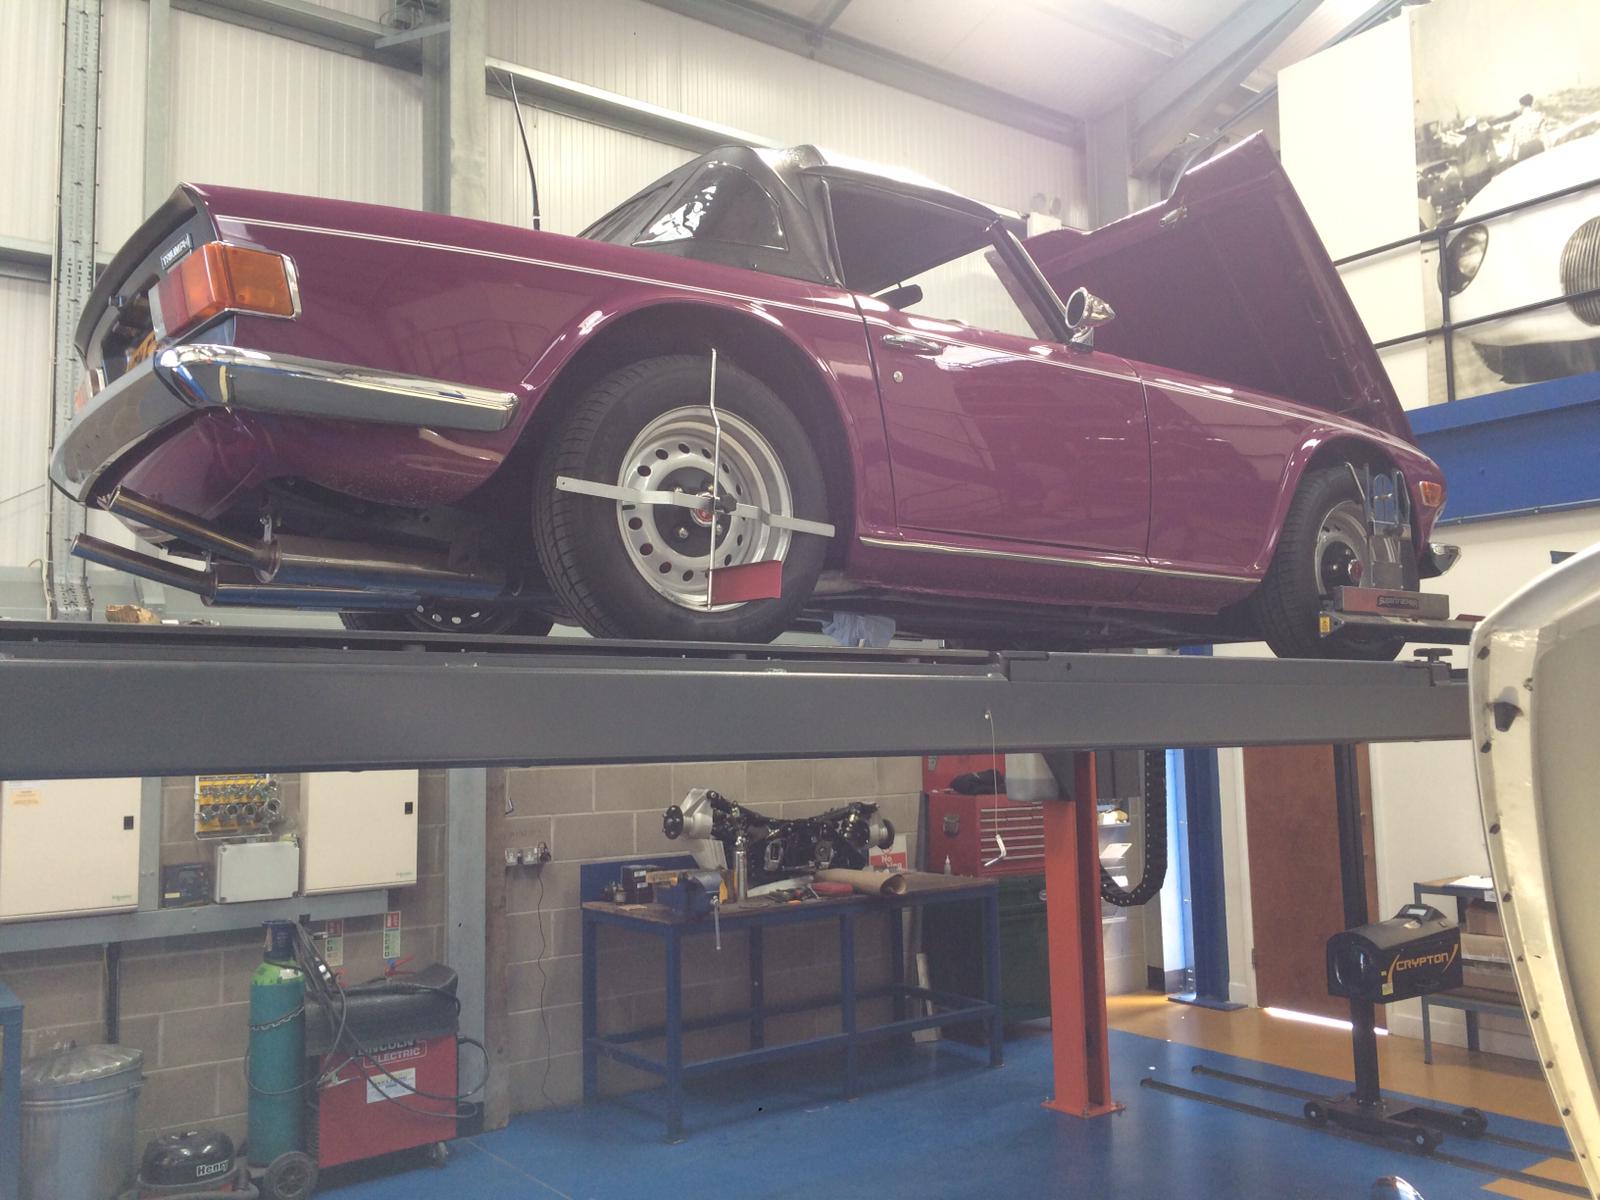
Dave has been working on the 1975 Triumph TR6. He’s installed a new speedo cable and new clips to go on them. On the original, there was a bad earth connection and it appears that the car had been driven with this happening, which meant the cable had melted. Another problem that he encountered was that the angle box had been destroyed from the drive out of the gearbox. Dave had to, unfortunately, take the interior out to access the drive and speedo cable, which always adds time to the process of anything. He also found there was a missing split pin on the offside bottom trunion.
Dave is now in the process of doing the 4 wheel alignment, which means putting lasers on it and setting up the geometry of it all. Shims have to be put in, to square everything up.


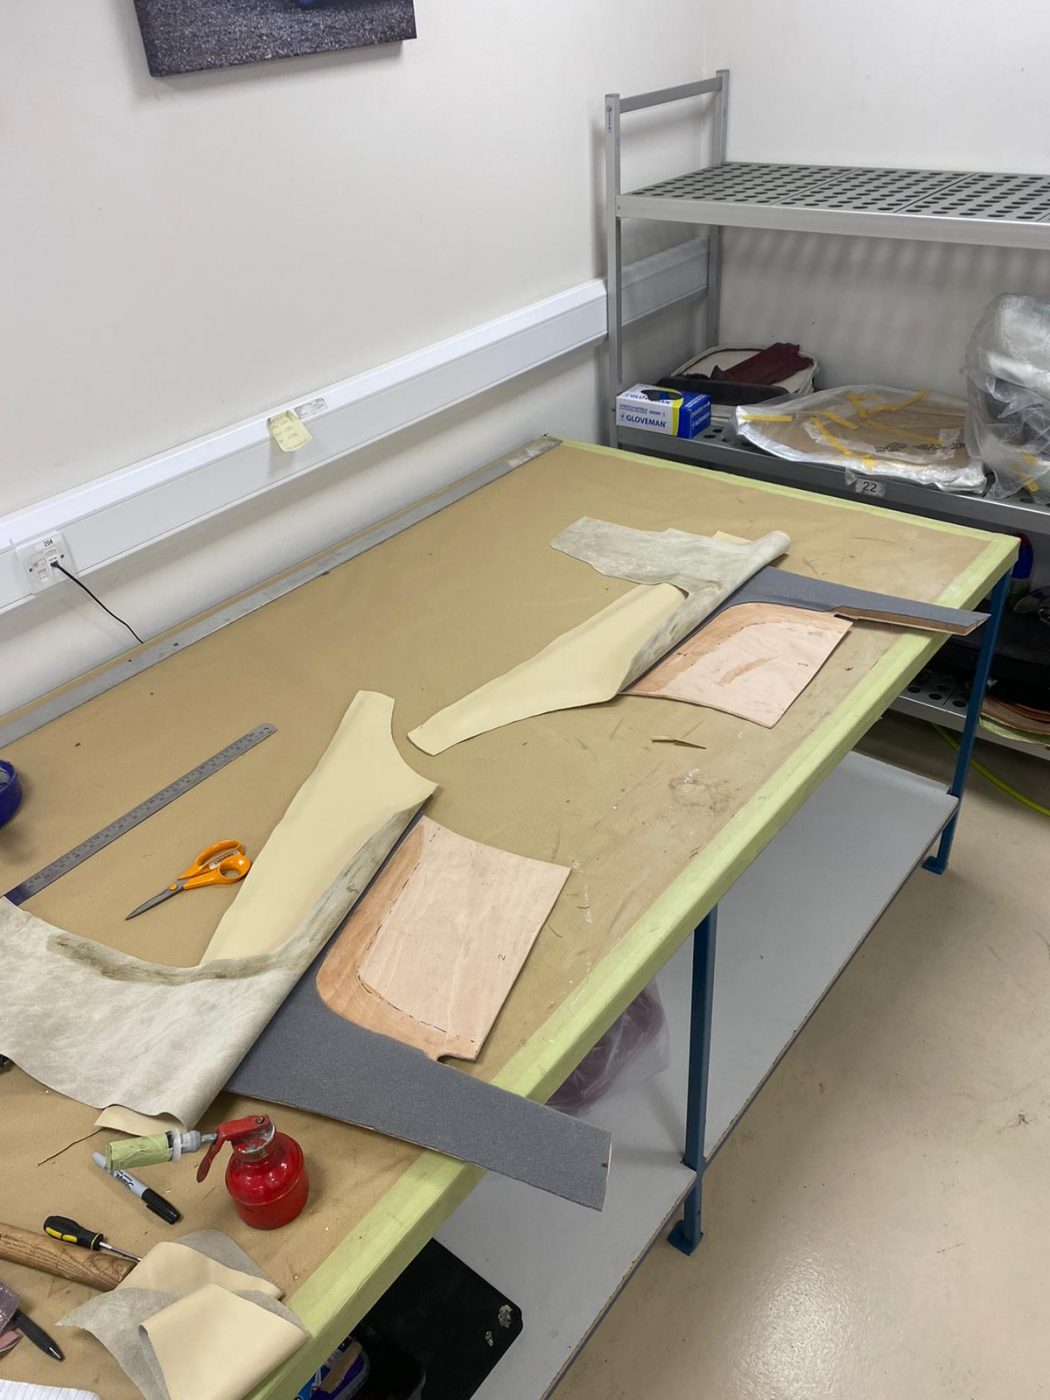
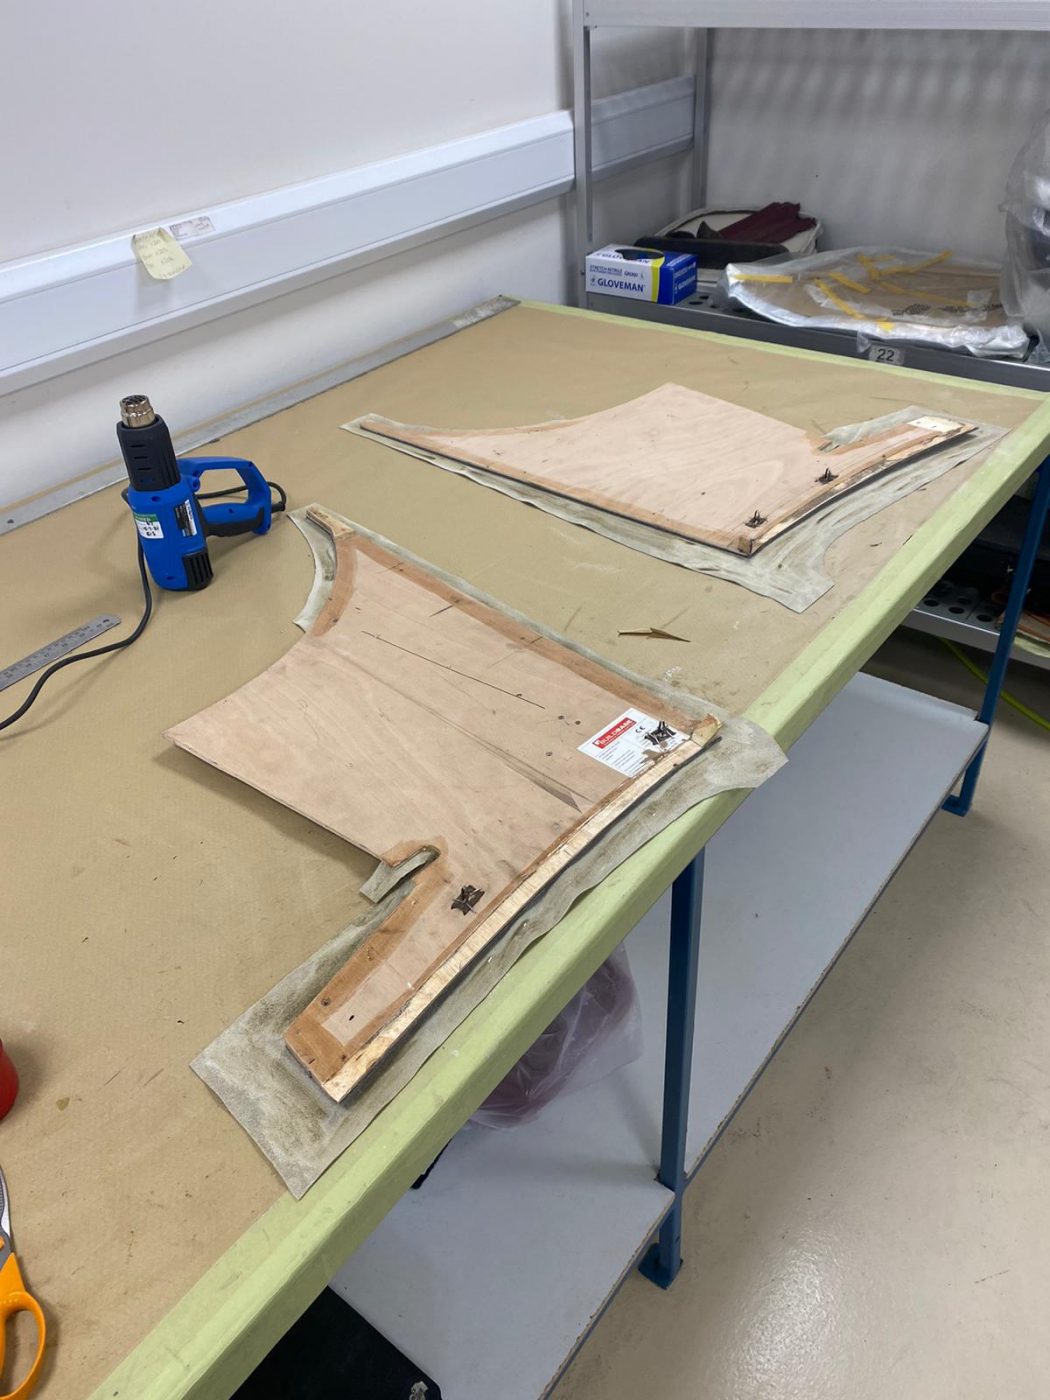
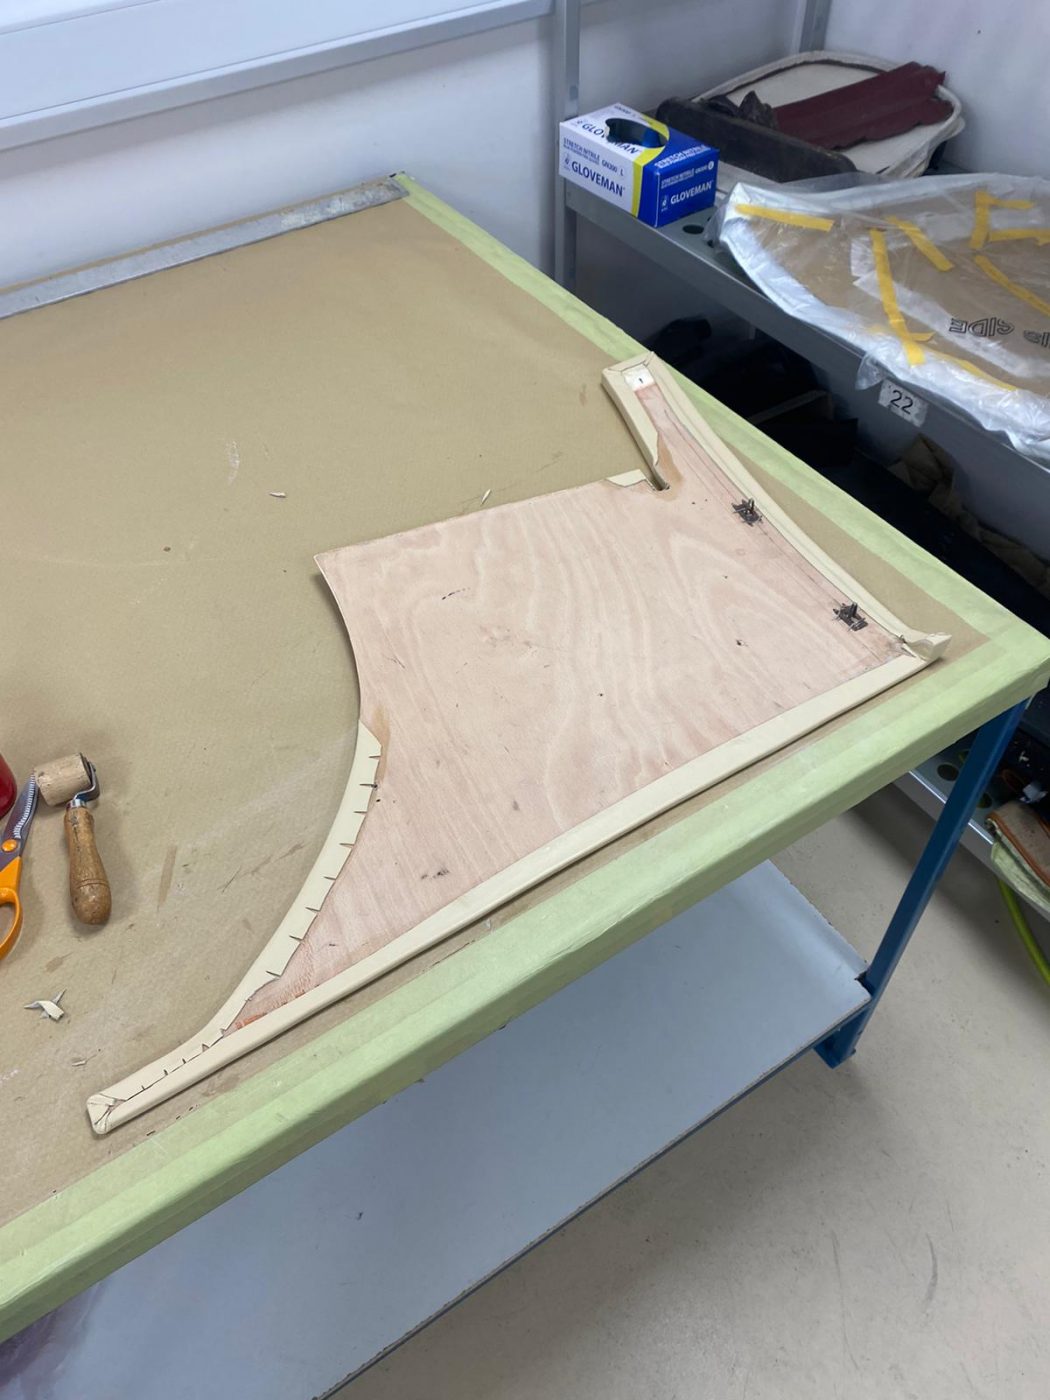
Brian has been re-covering these rear quarter backboards for the 1963 Bentley S3 Continental. They came to us as bare wood, without the original leather on. Brian put some poly-flex filler on parts where it wasn’t flat and sanded this down. He then cut some 3mm foam out for the top part and glued this onto the wood. New leather was marked out and cut out to cover this foam and was glued below the foam and underneath at the sides.
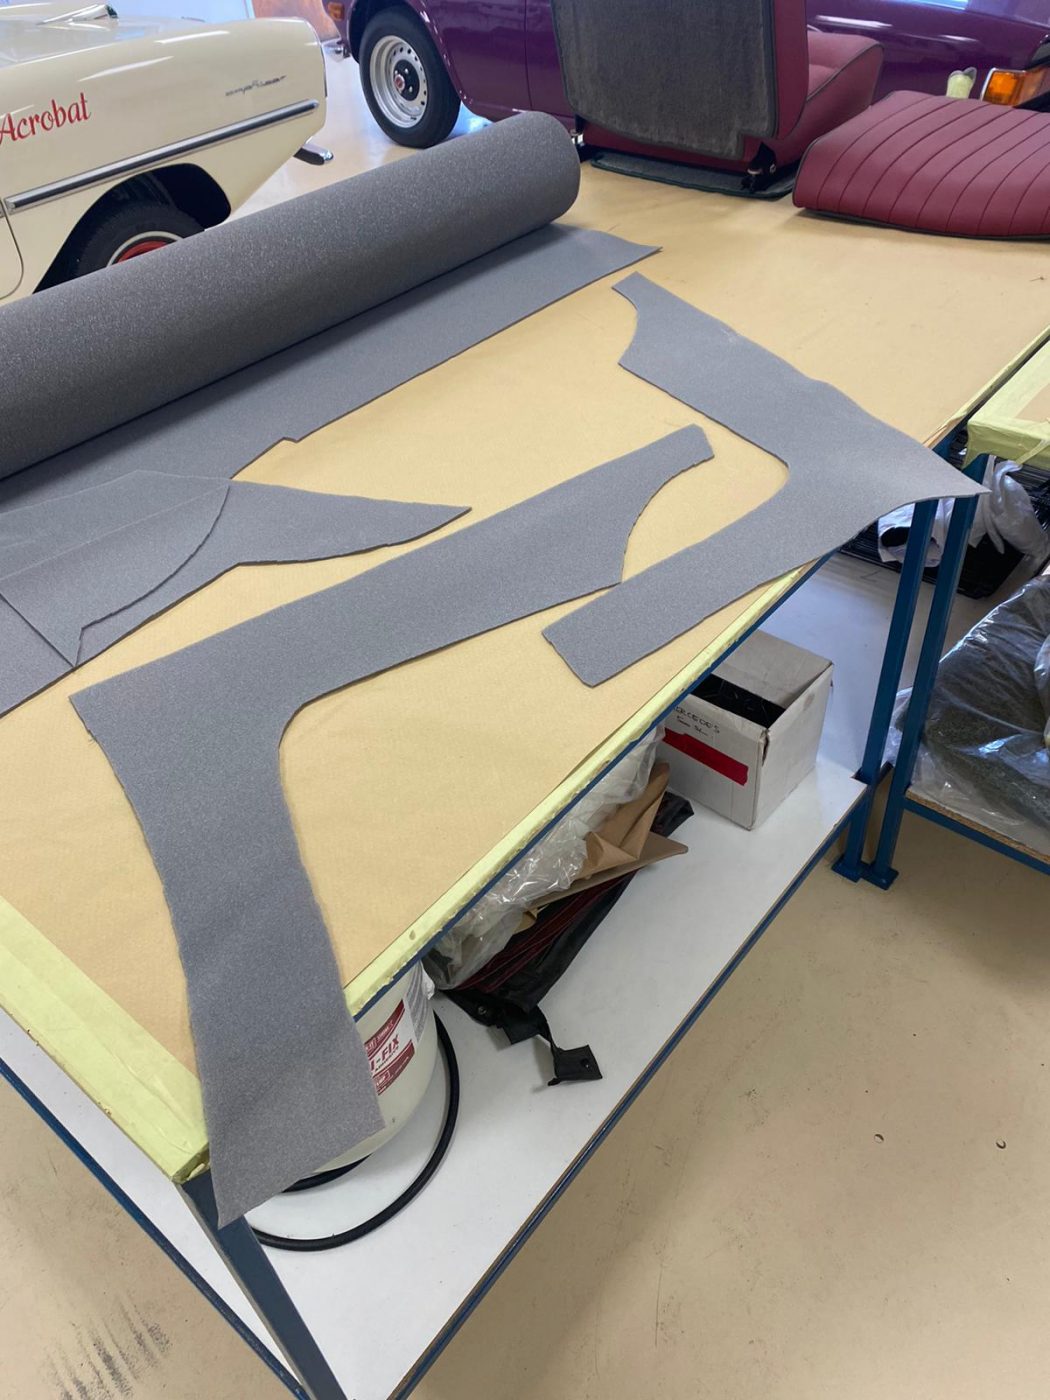
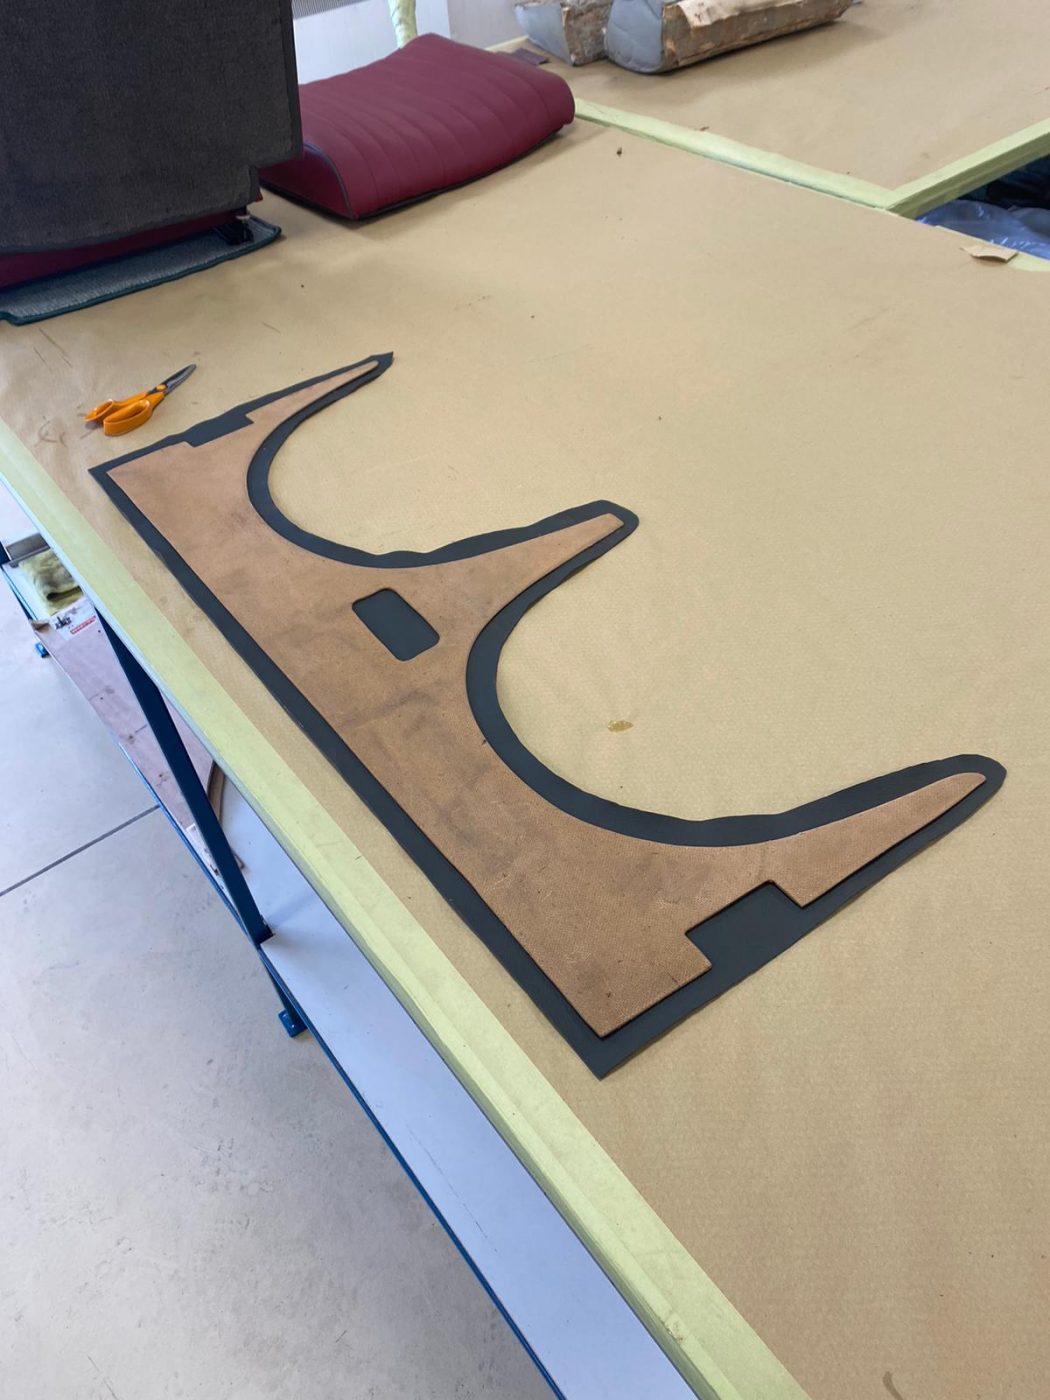
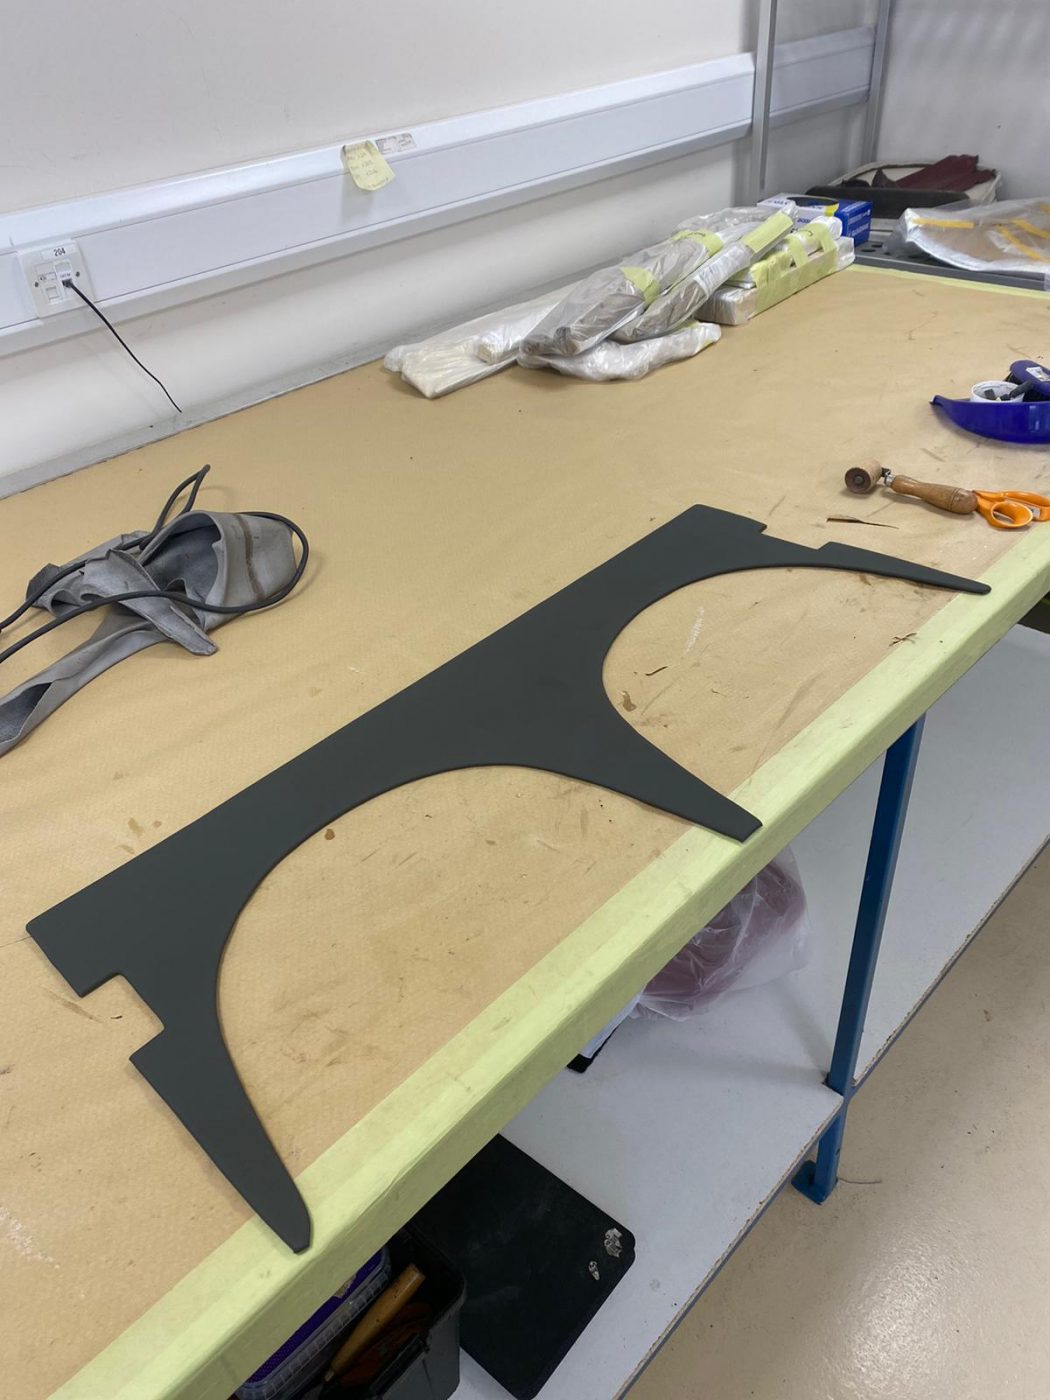
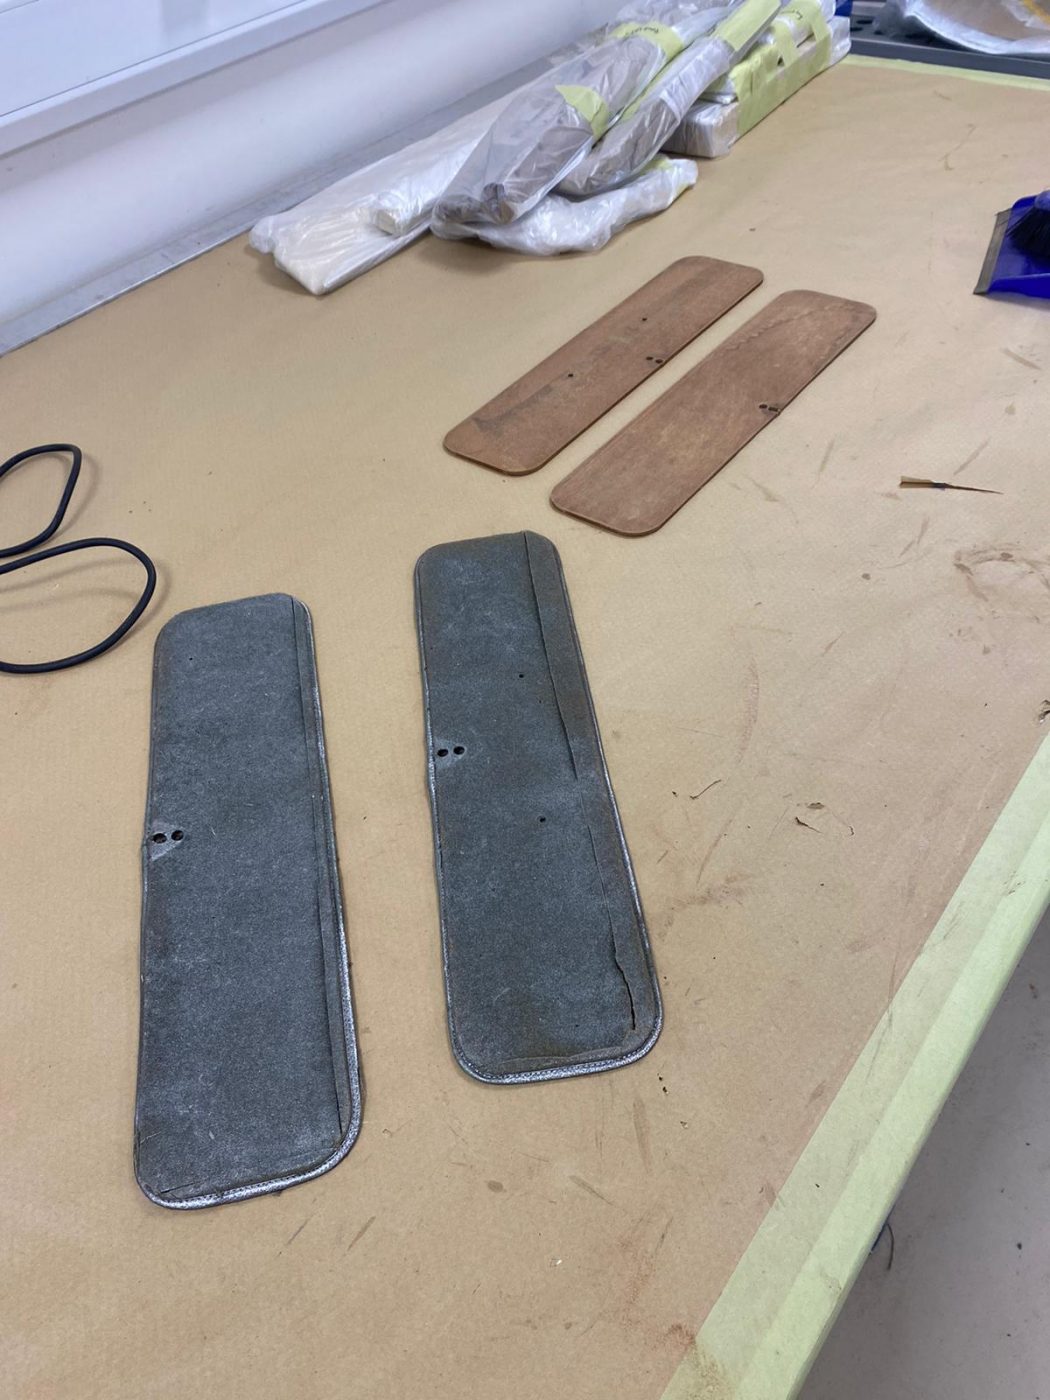
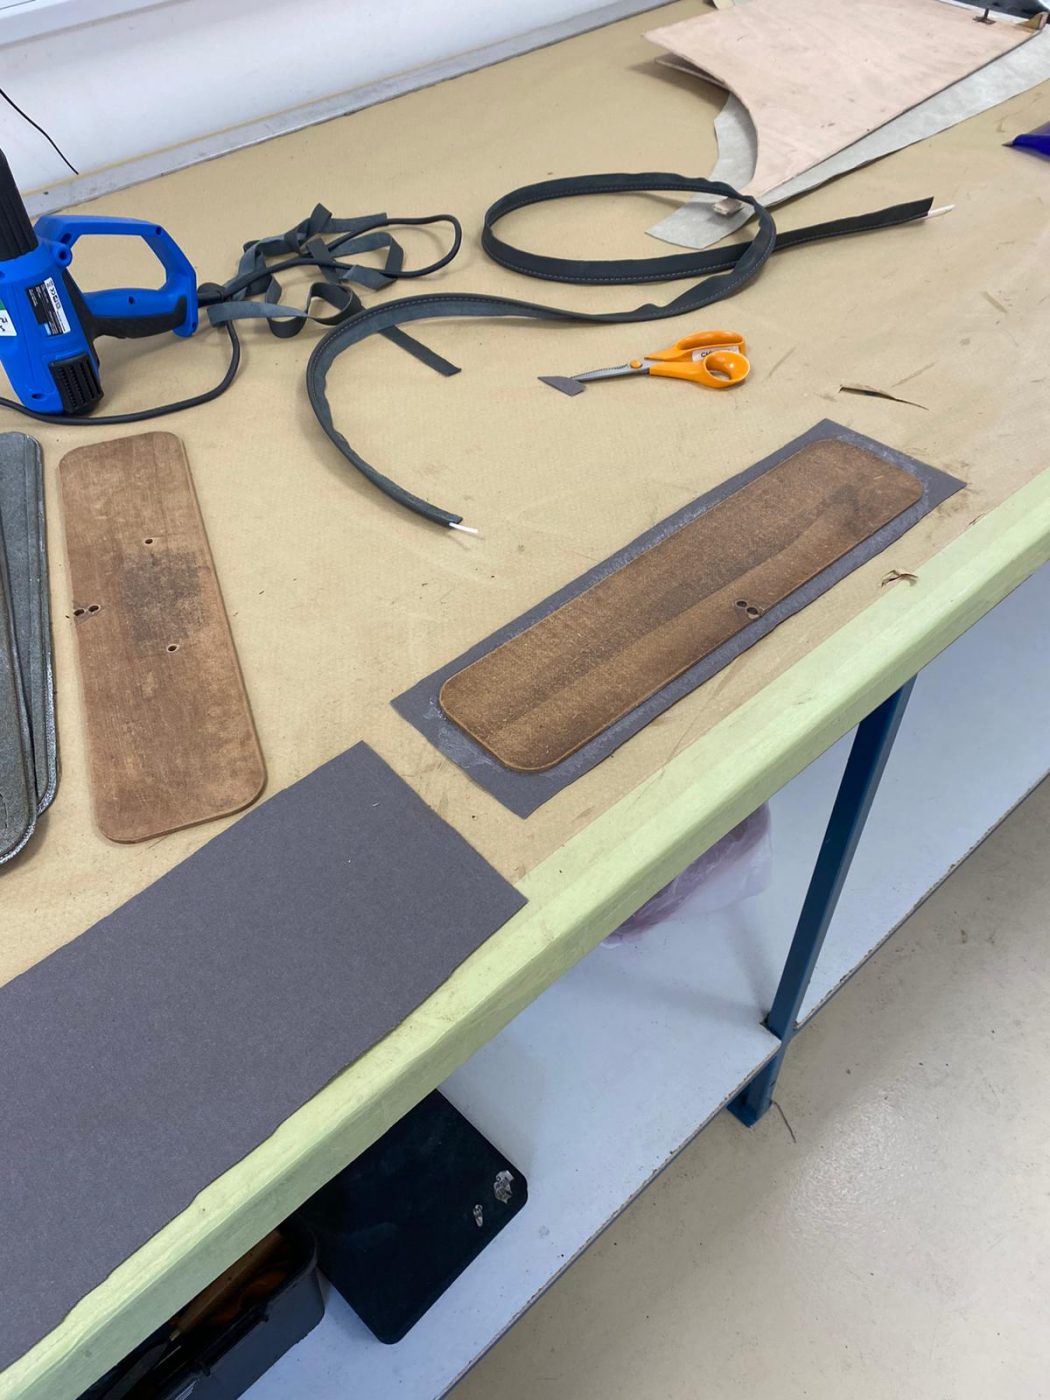
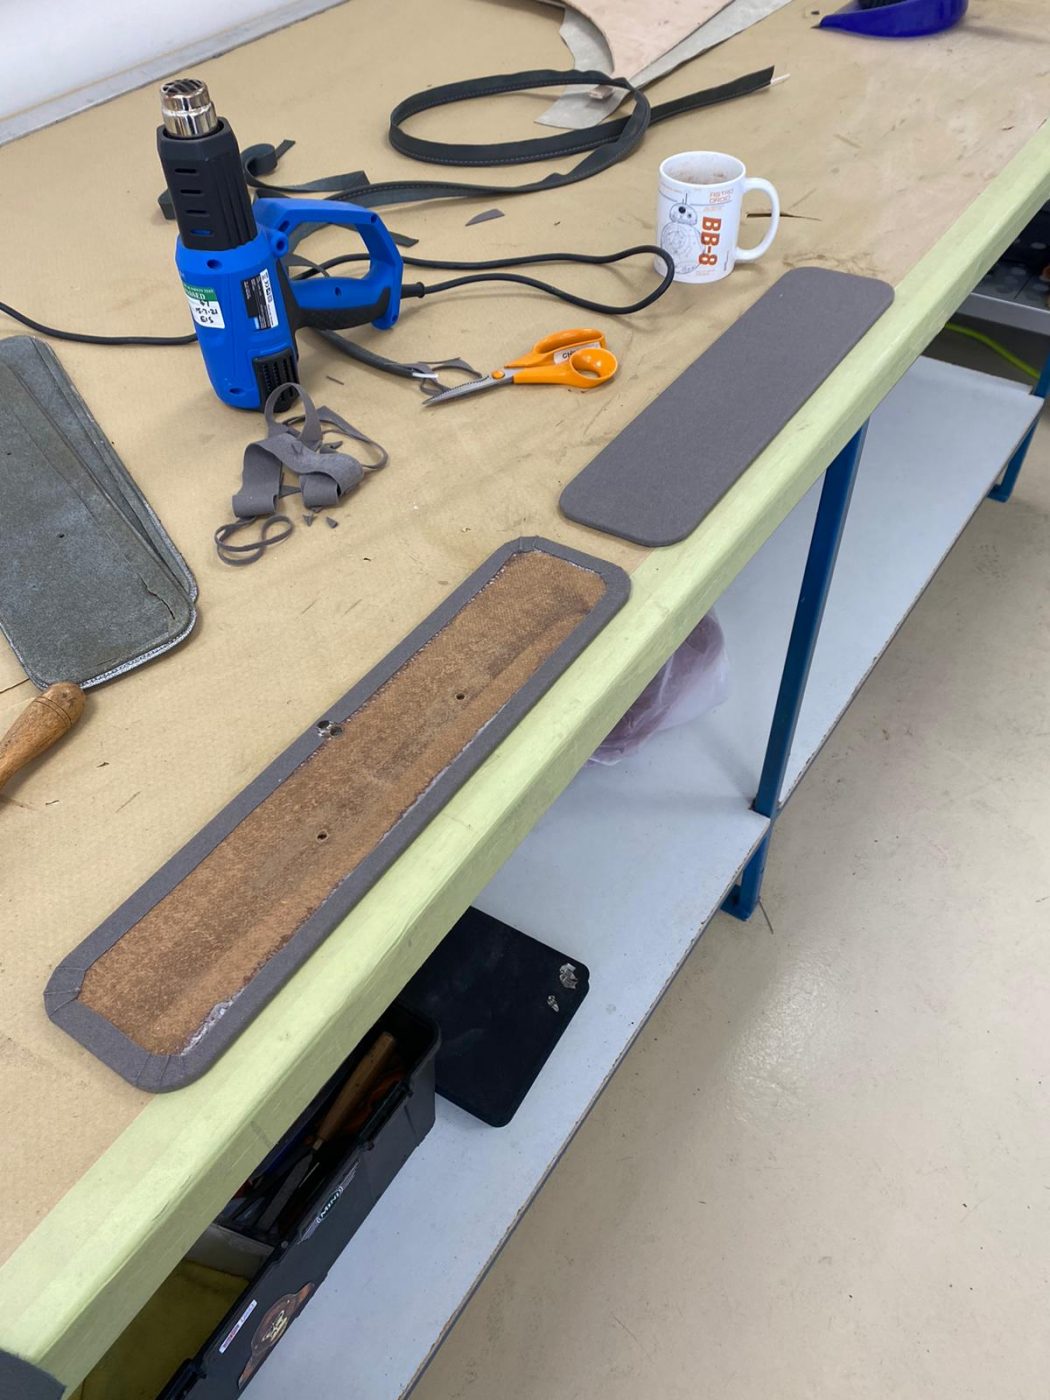
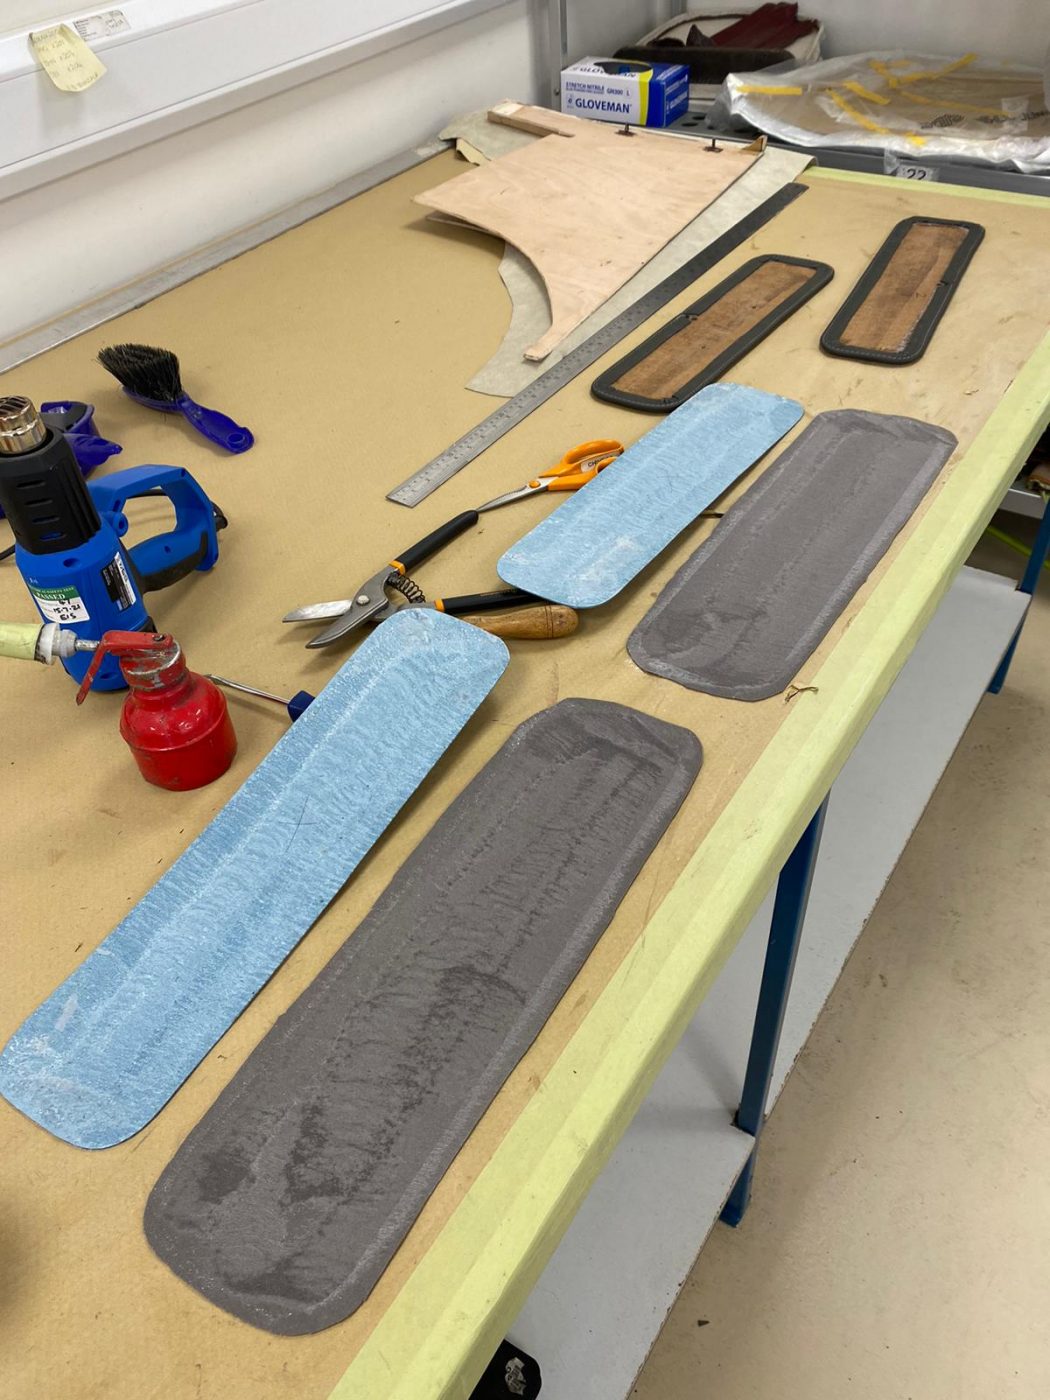
Brian has been re-covering a few more pieces for the 1955 Aston Martin DB 2/4’s interior.
The rear seat top panels have been done. He took the original leather off the wood and cleaned off any old glue that remained. He used the original leather covering as a pattern on the new leather to draw around and then cut out. Brian then simply had to glue the new leather onto the original wood, wrapping the leather around the edges and sealing underneath to provide neat edges. This panel will sit on top of the rear seat once in the car, which just provides a cover so there isn’t a gap. If you think of a modern car and its parcel shelf, that’s the position this will be in.
The sun visors have also been recovered. Brian started the process by taking the original material off the boards that formed the sun visors. He then used these boards to work out the measurements of new fabric he needed to cut out. He cut out new boards and then glued the new headlining fabric to one side and wrapped around the edges, sealing in place. Brian trimmed down the flange down one side on lengths of piping and glued it to the inside edge of one board. He then attached the other side of covered board to finish the sun visors.


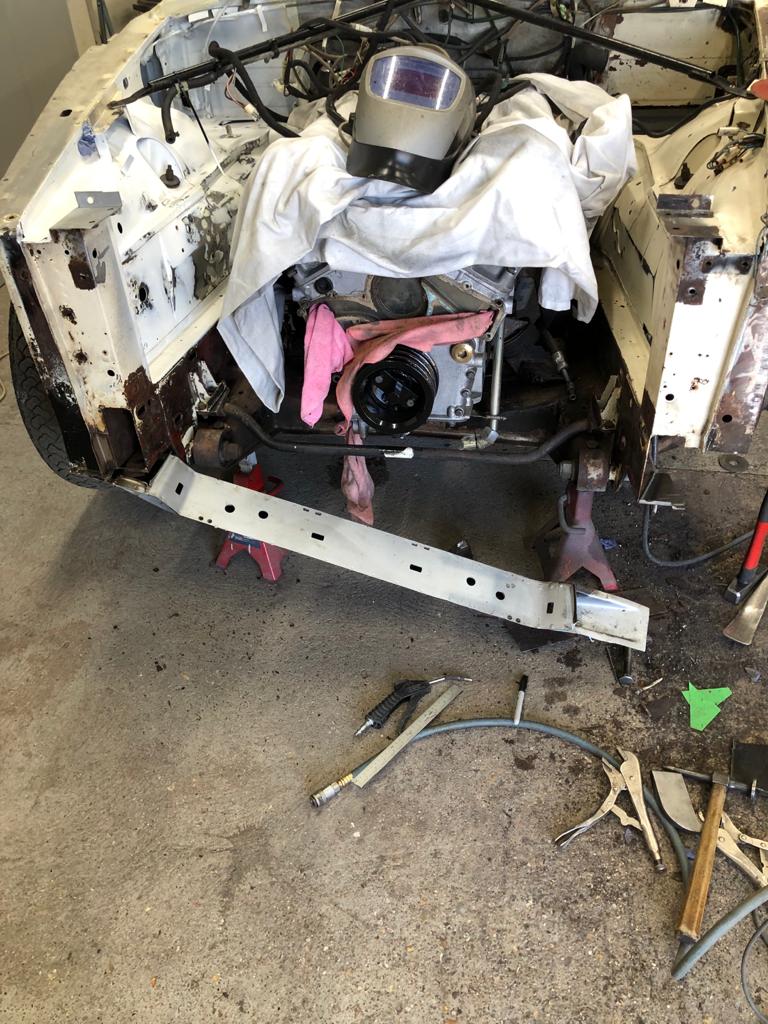
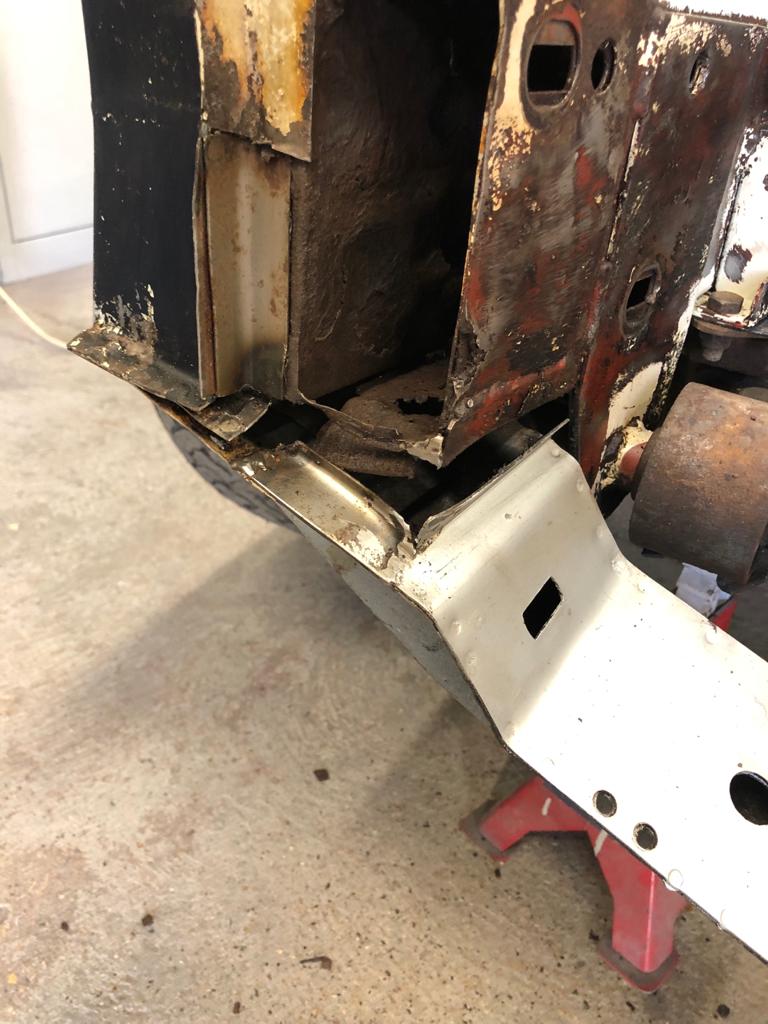
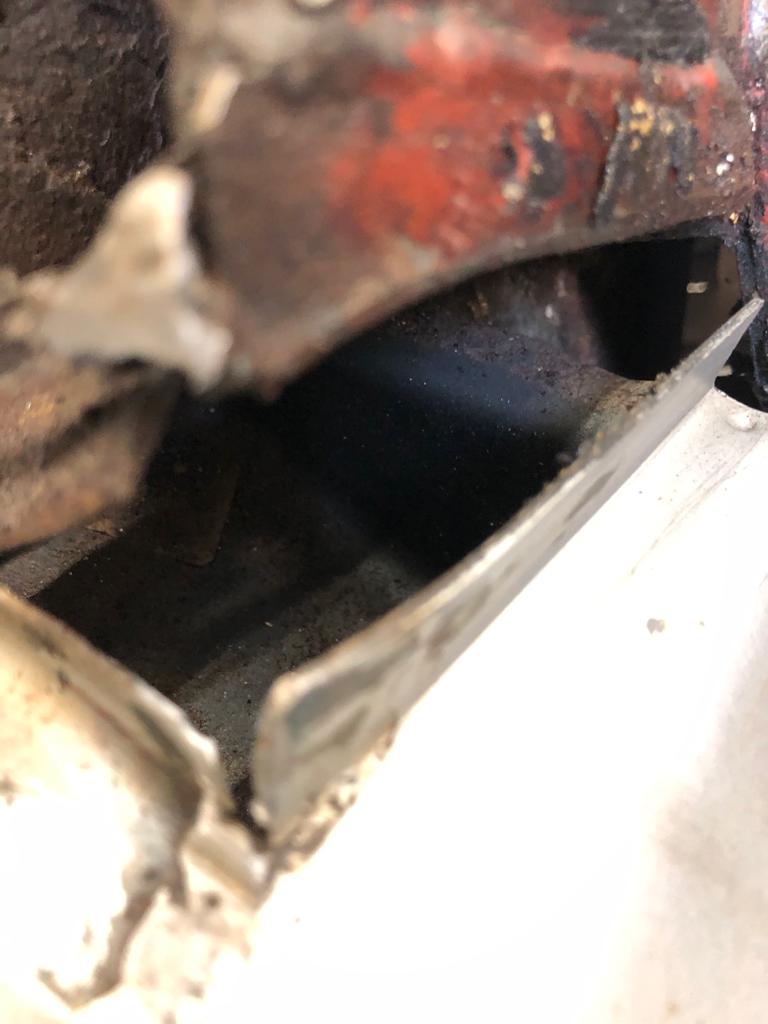
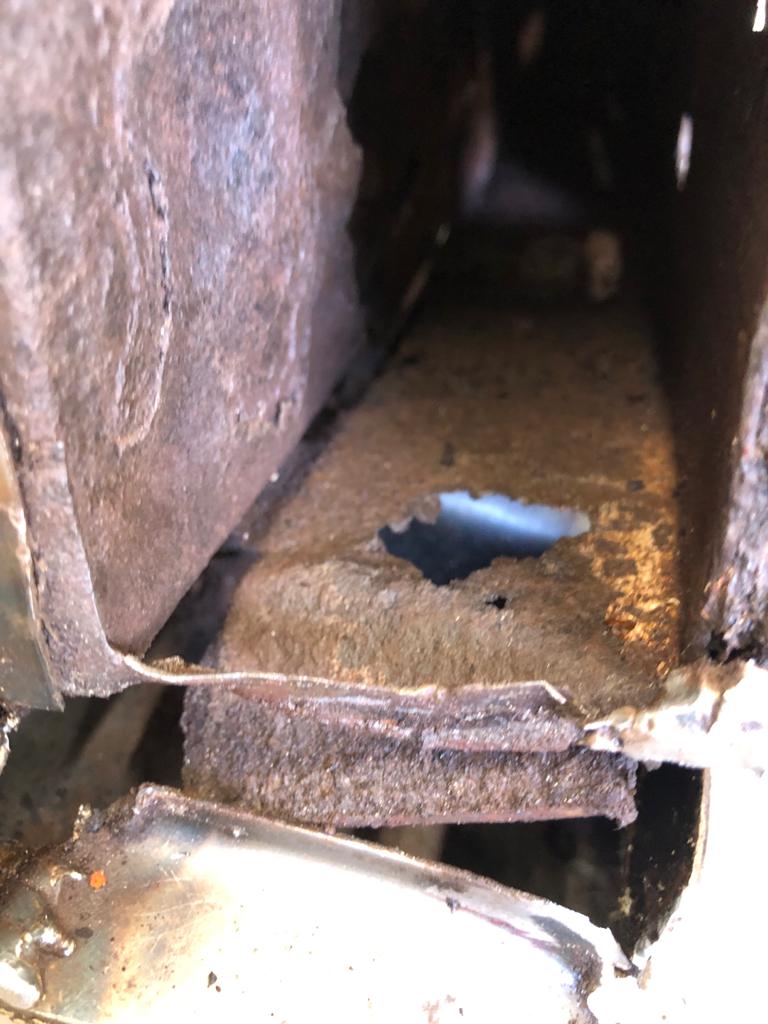
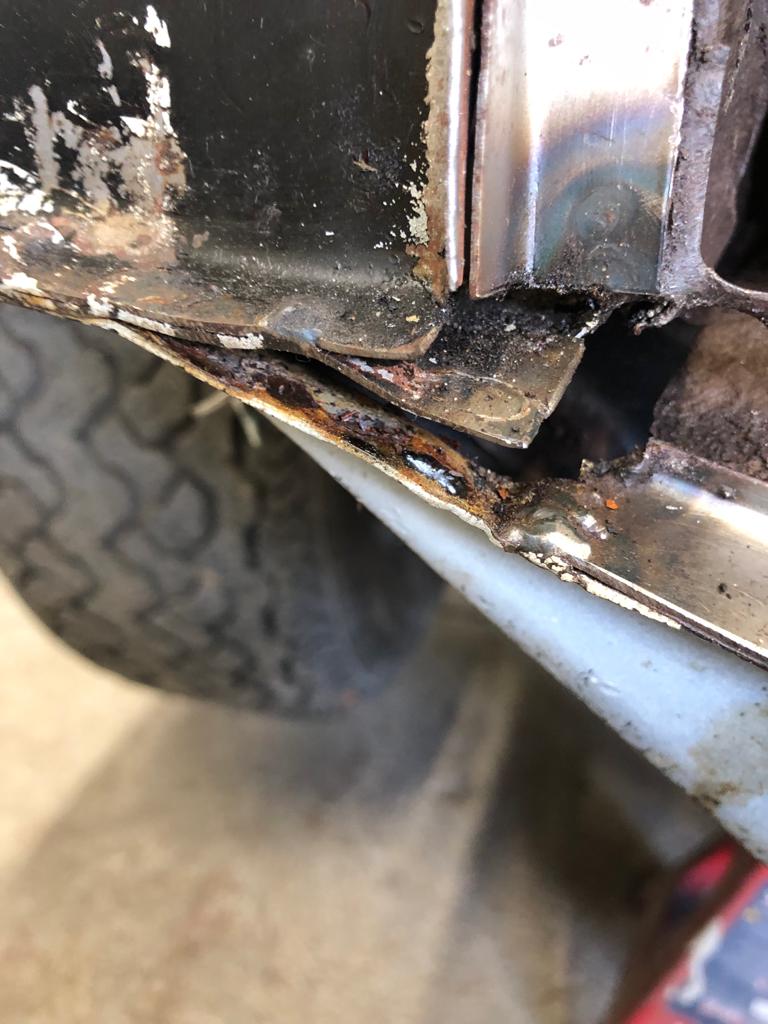
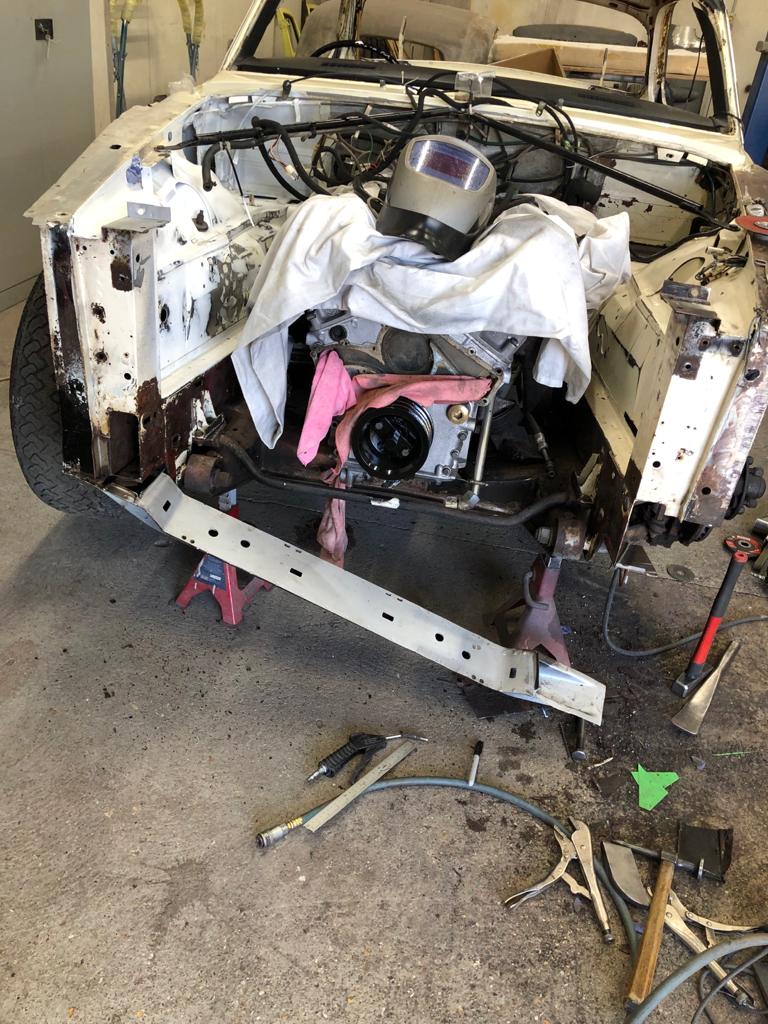
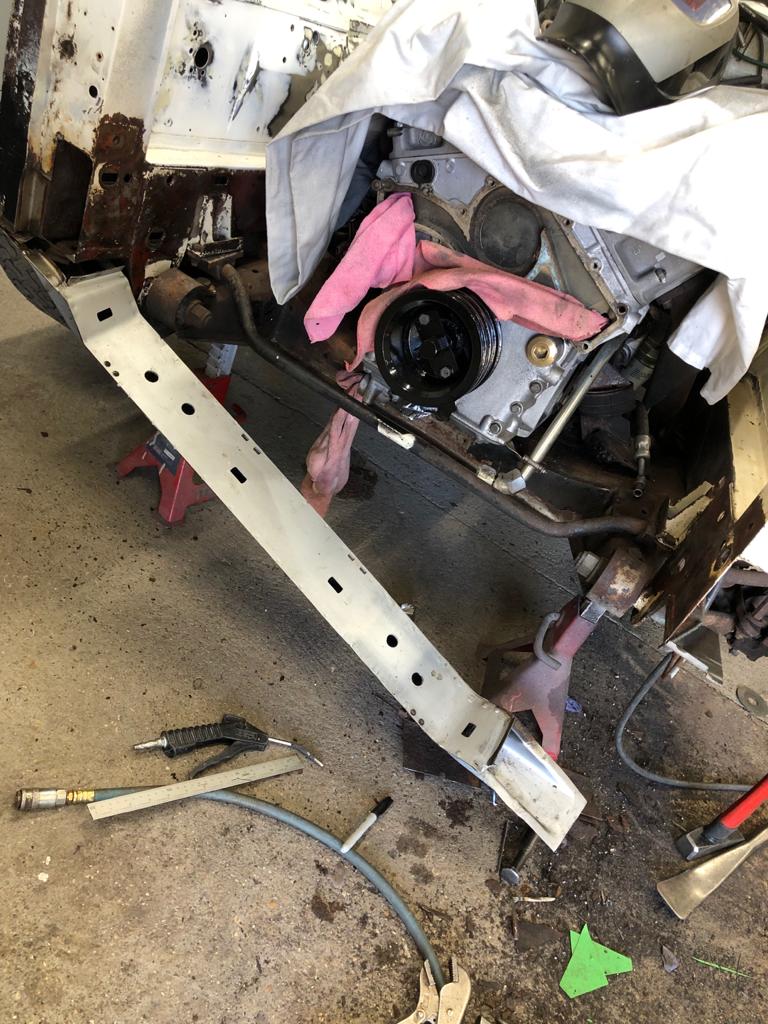
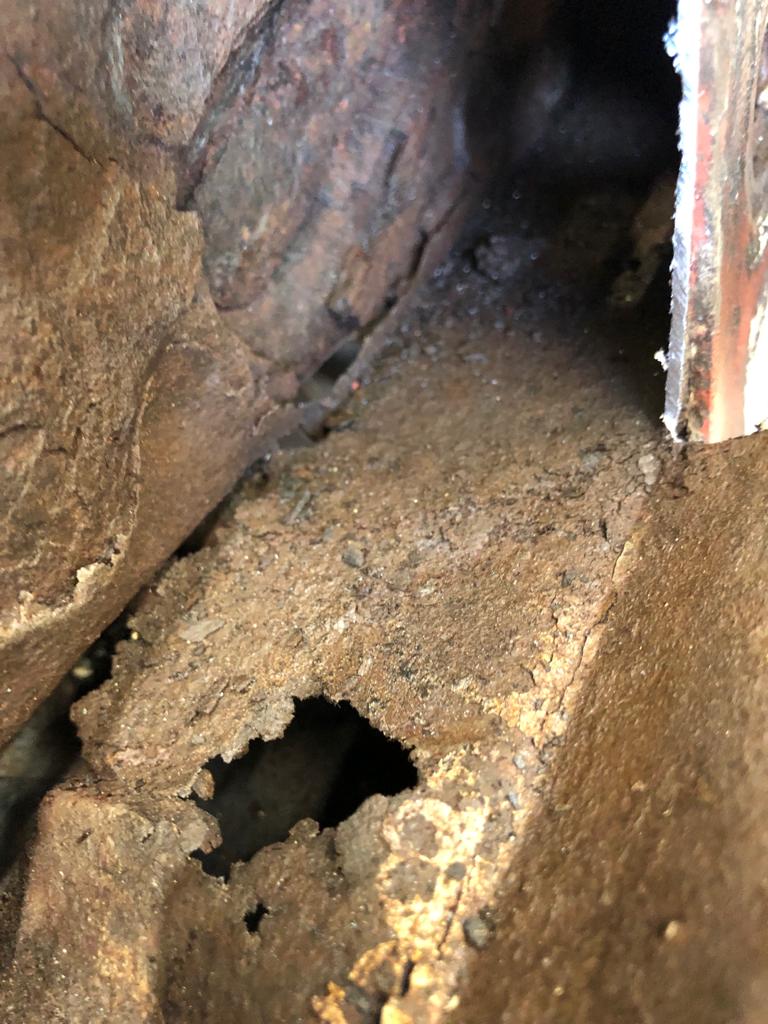
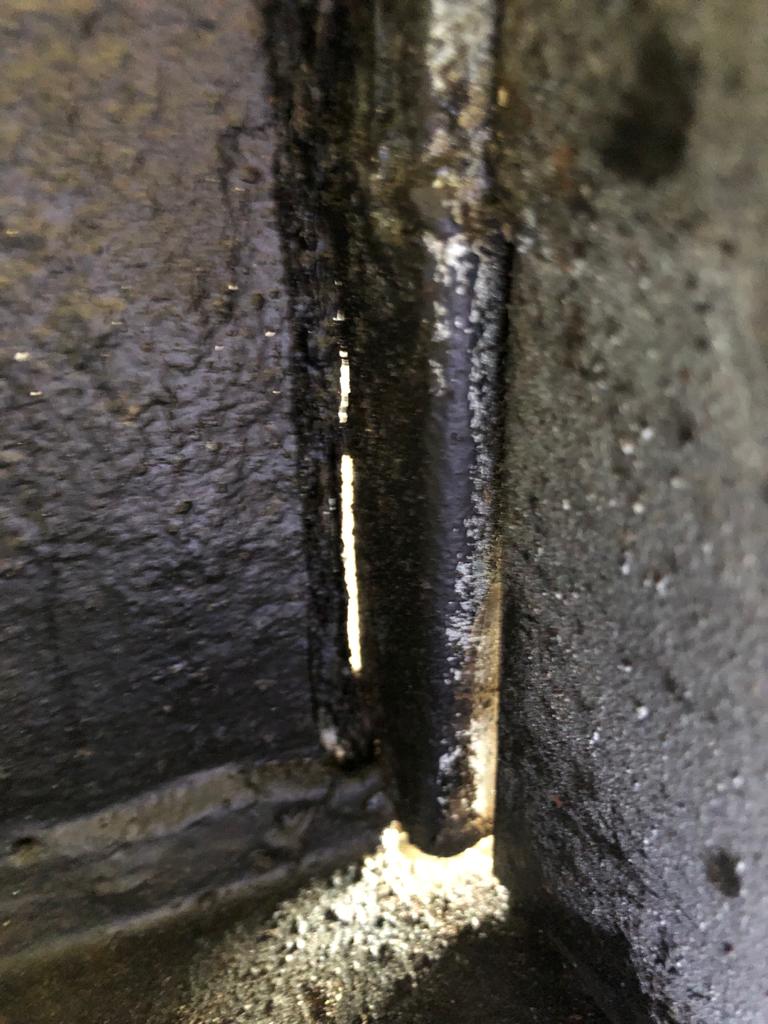
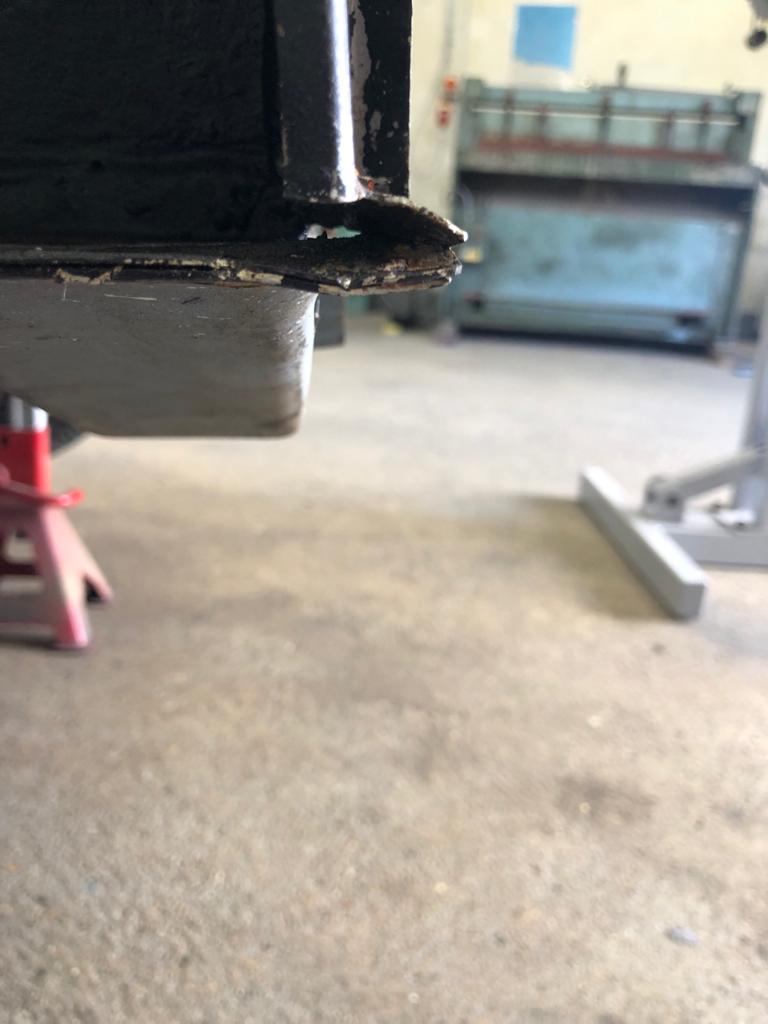
Coming soon we have our beautiful 1989 Porsche 911, in for some preventative corrosion repairs and remedial paintwork. The window will require removal and the rust patch dealt with before a rear section re-paint.

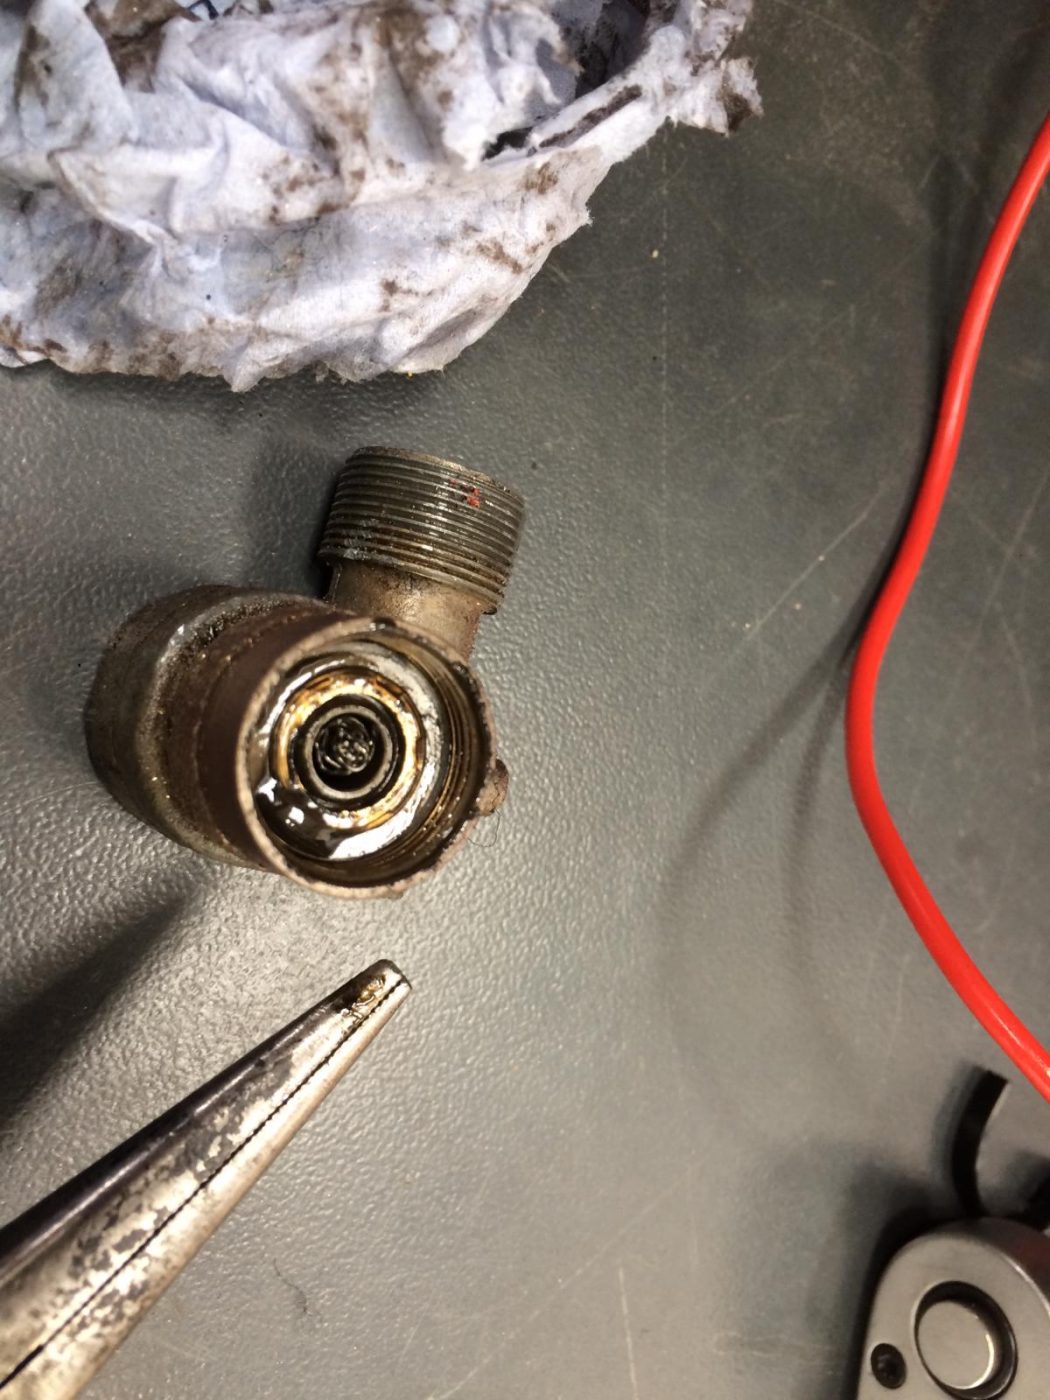
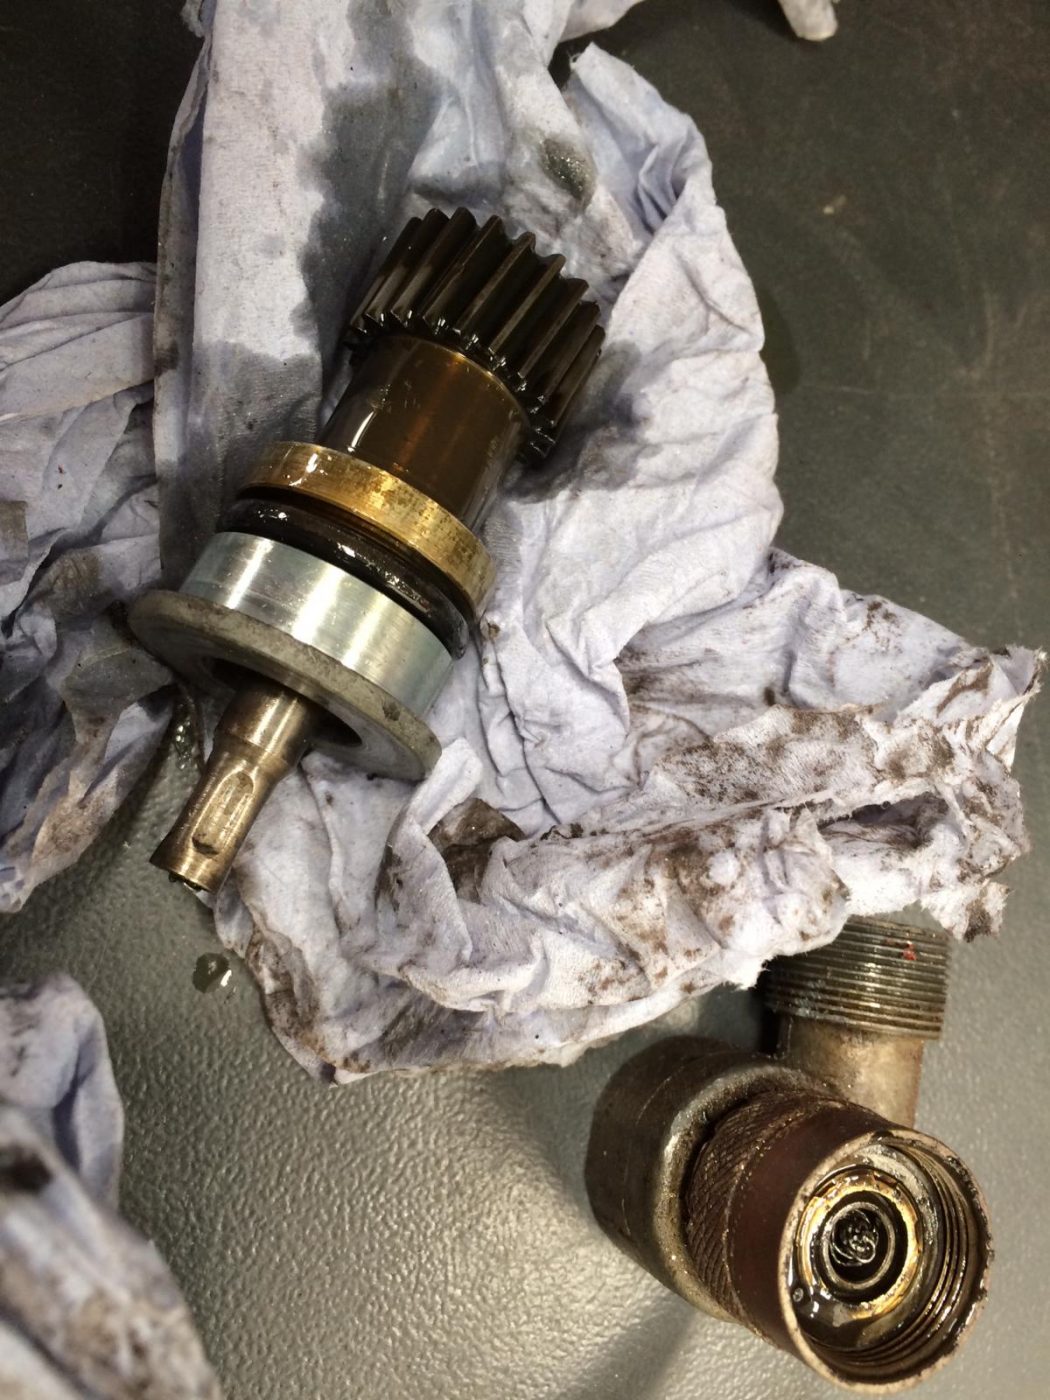
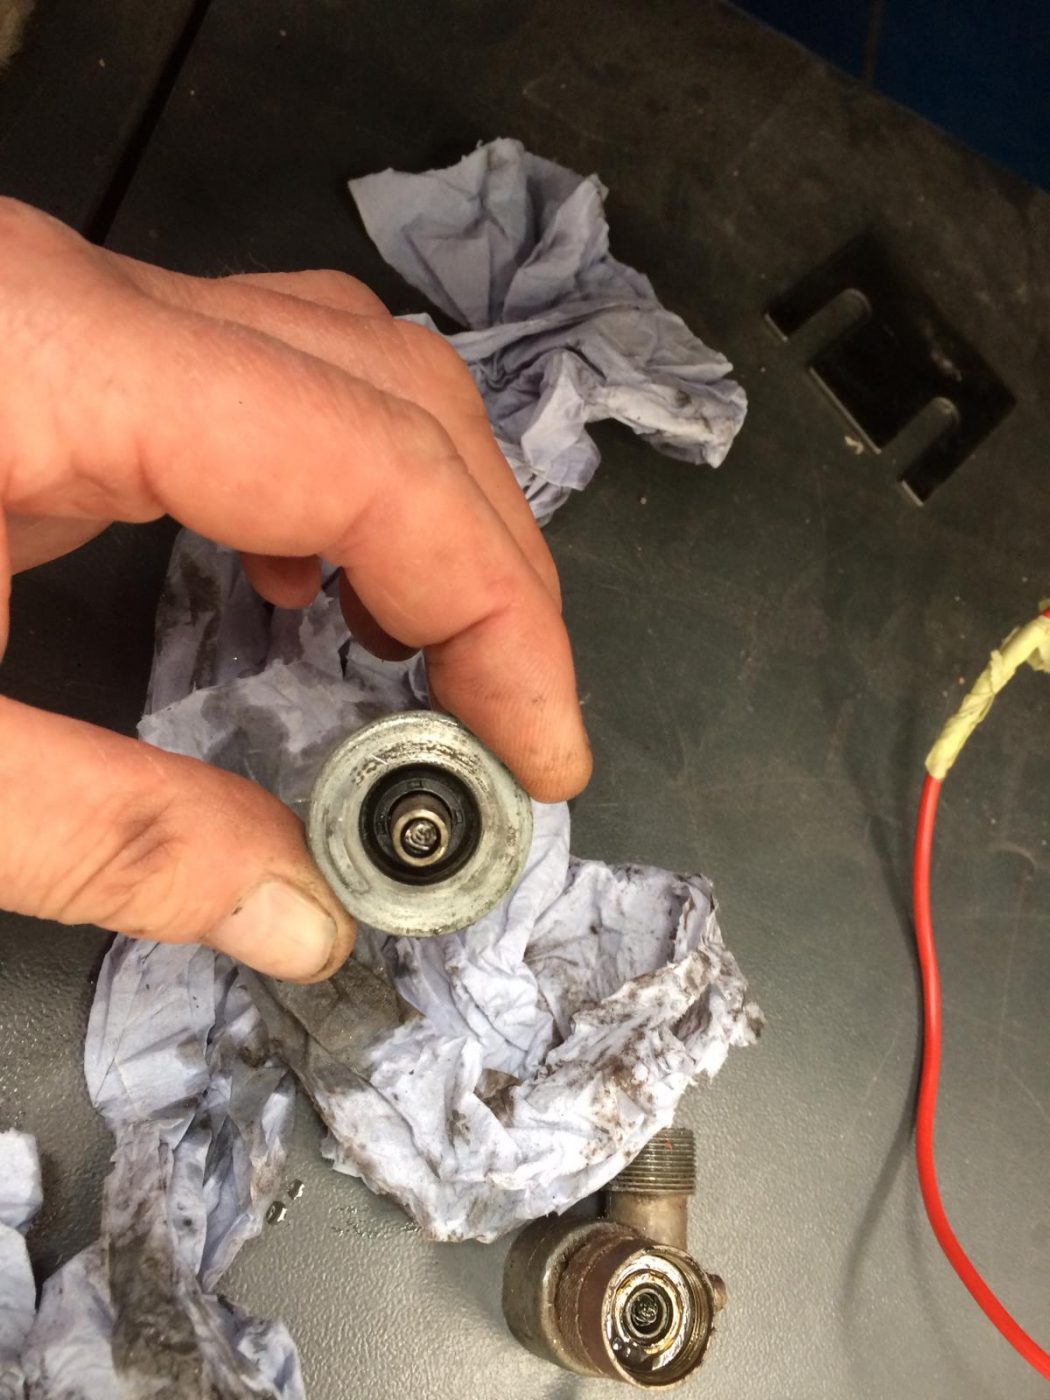
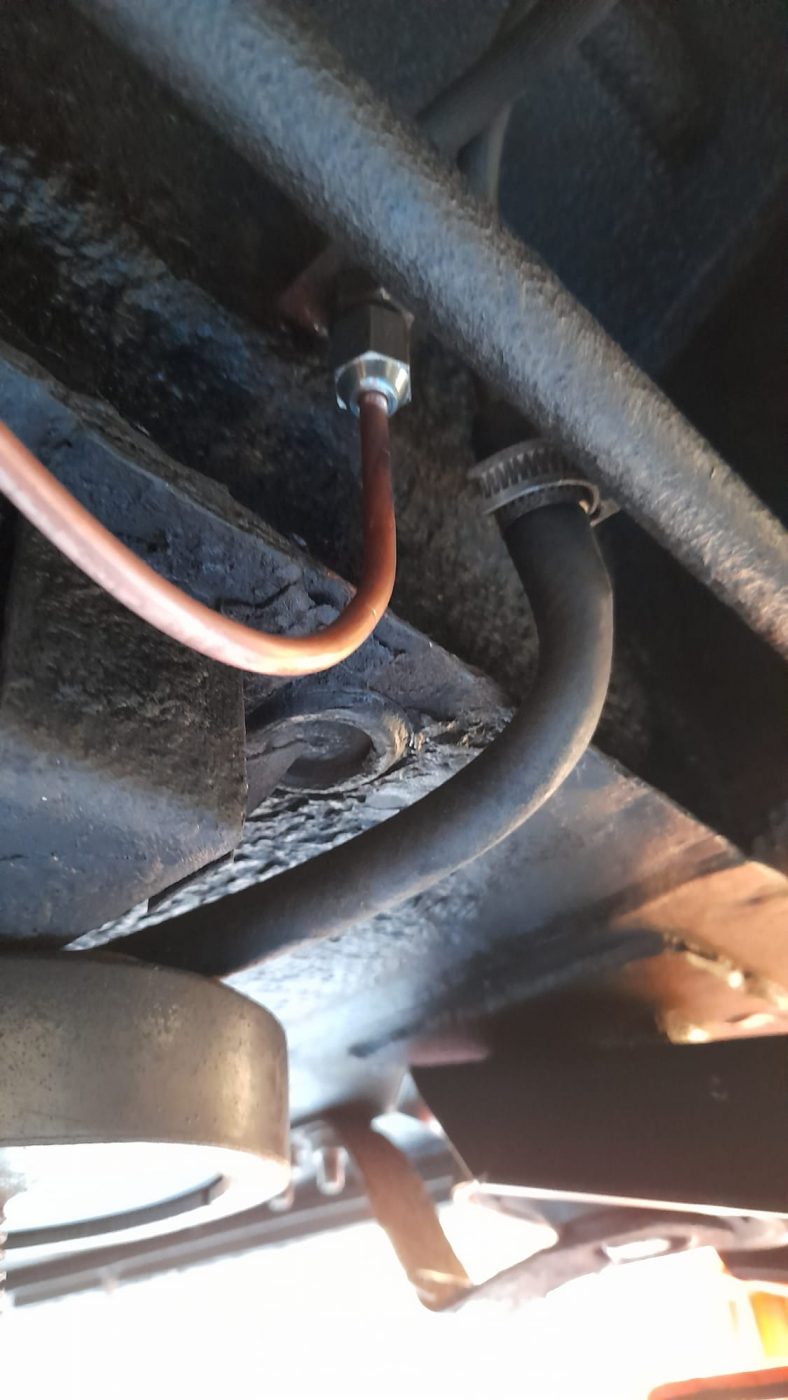
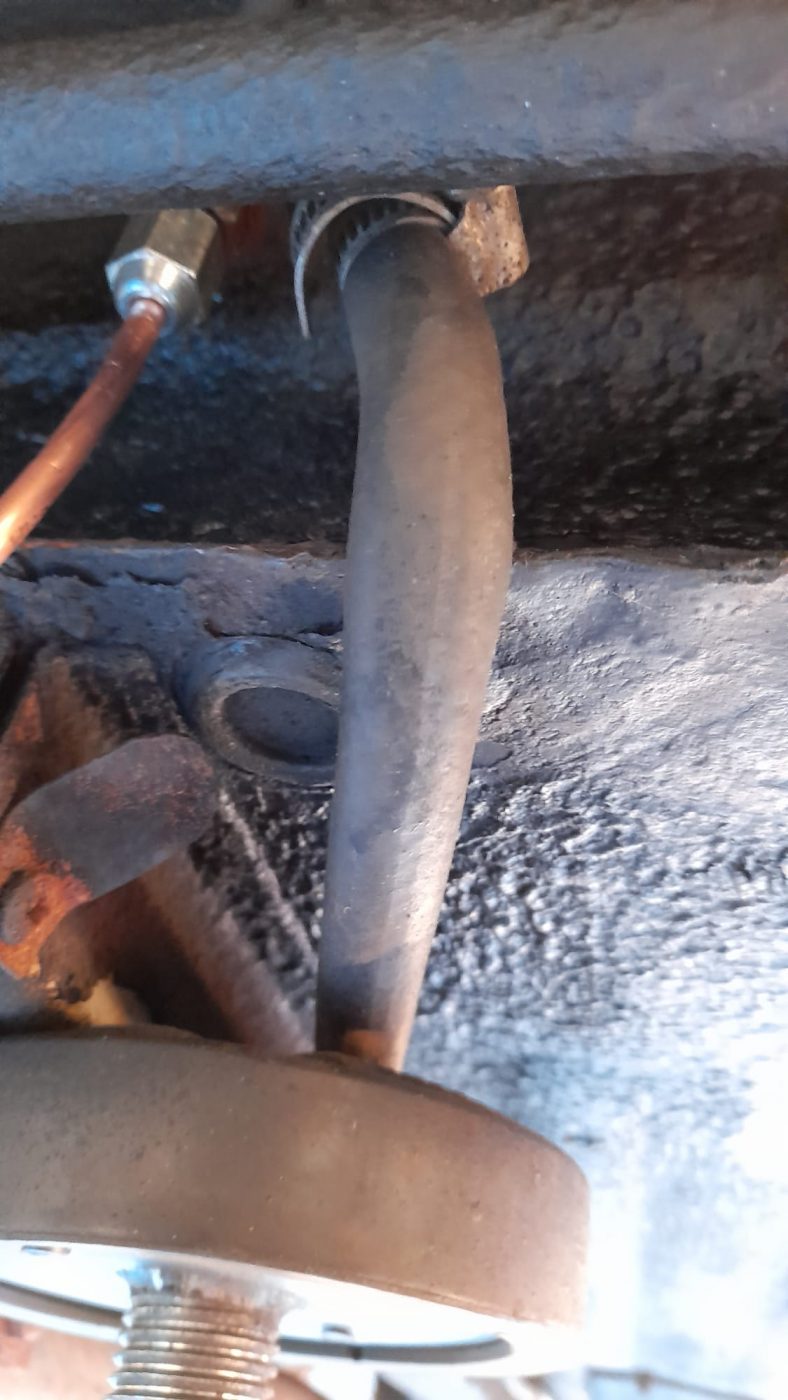
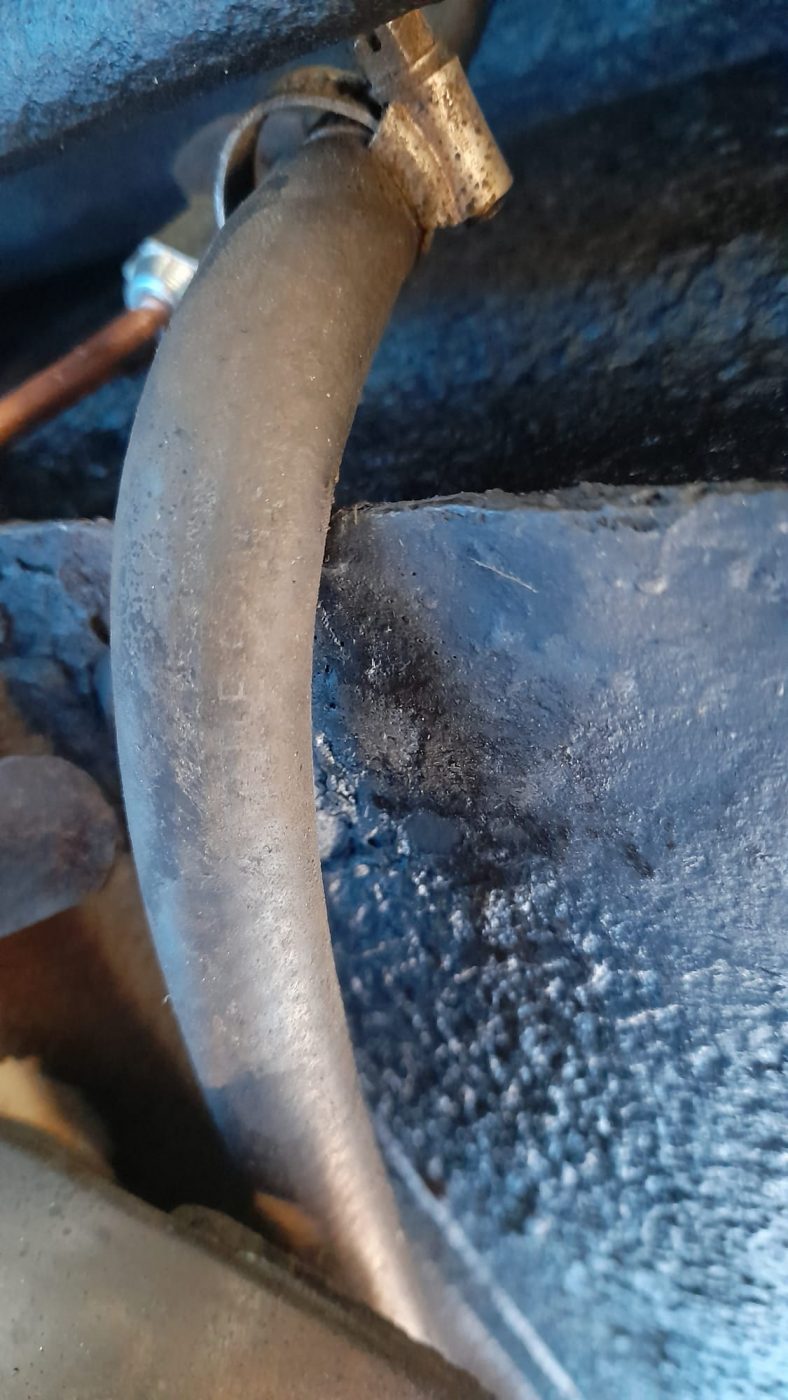
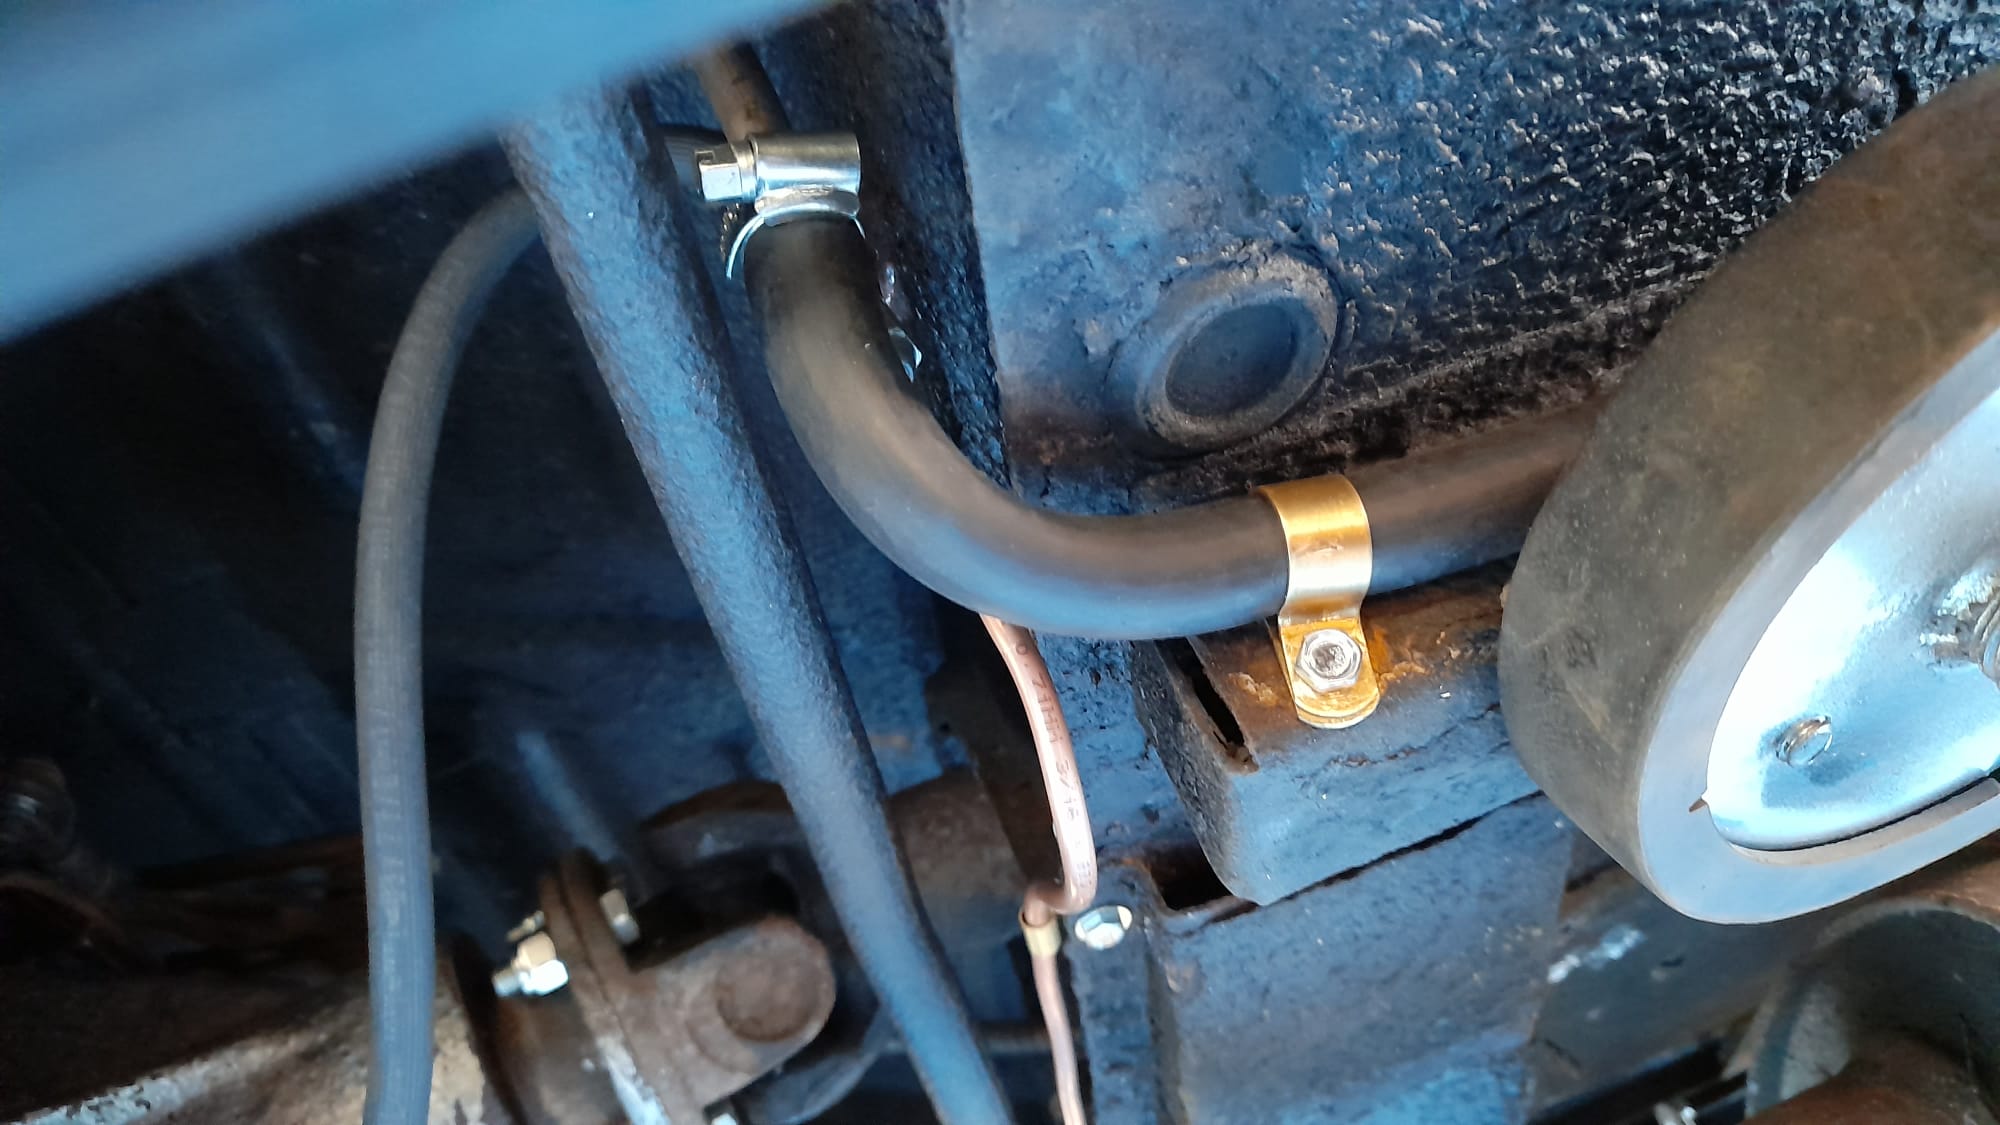
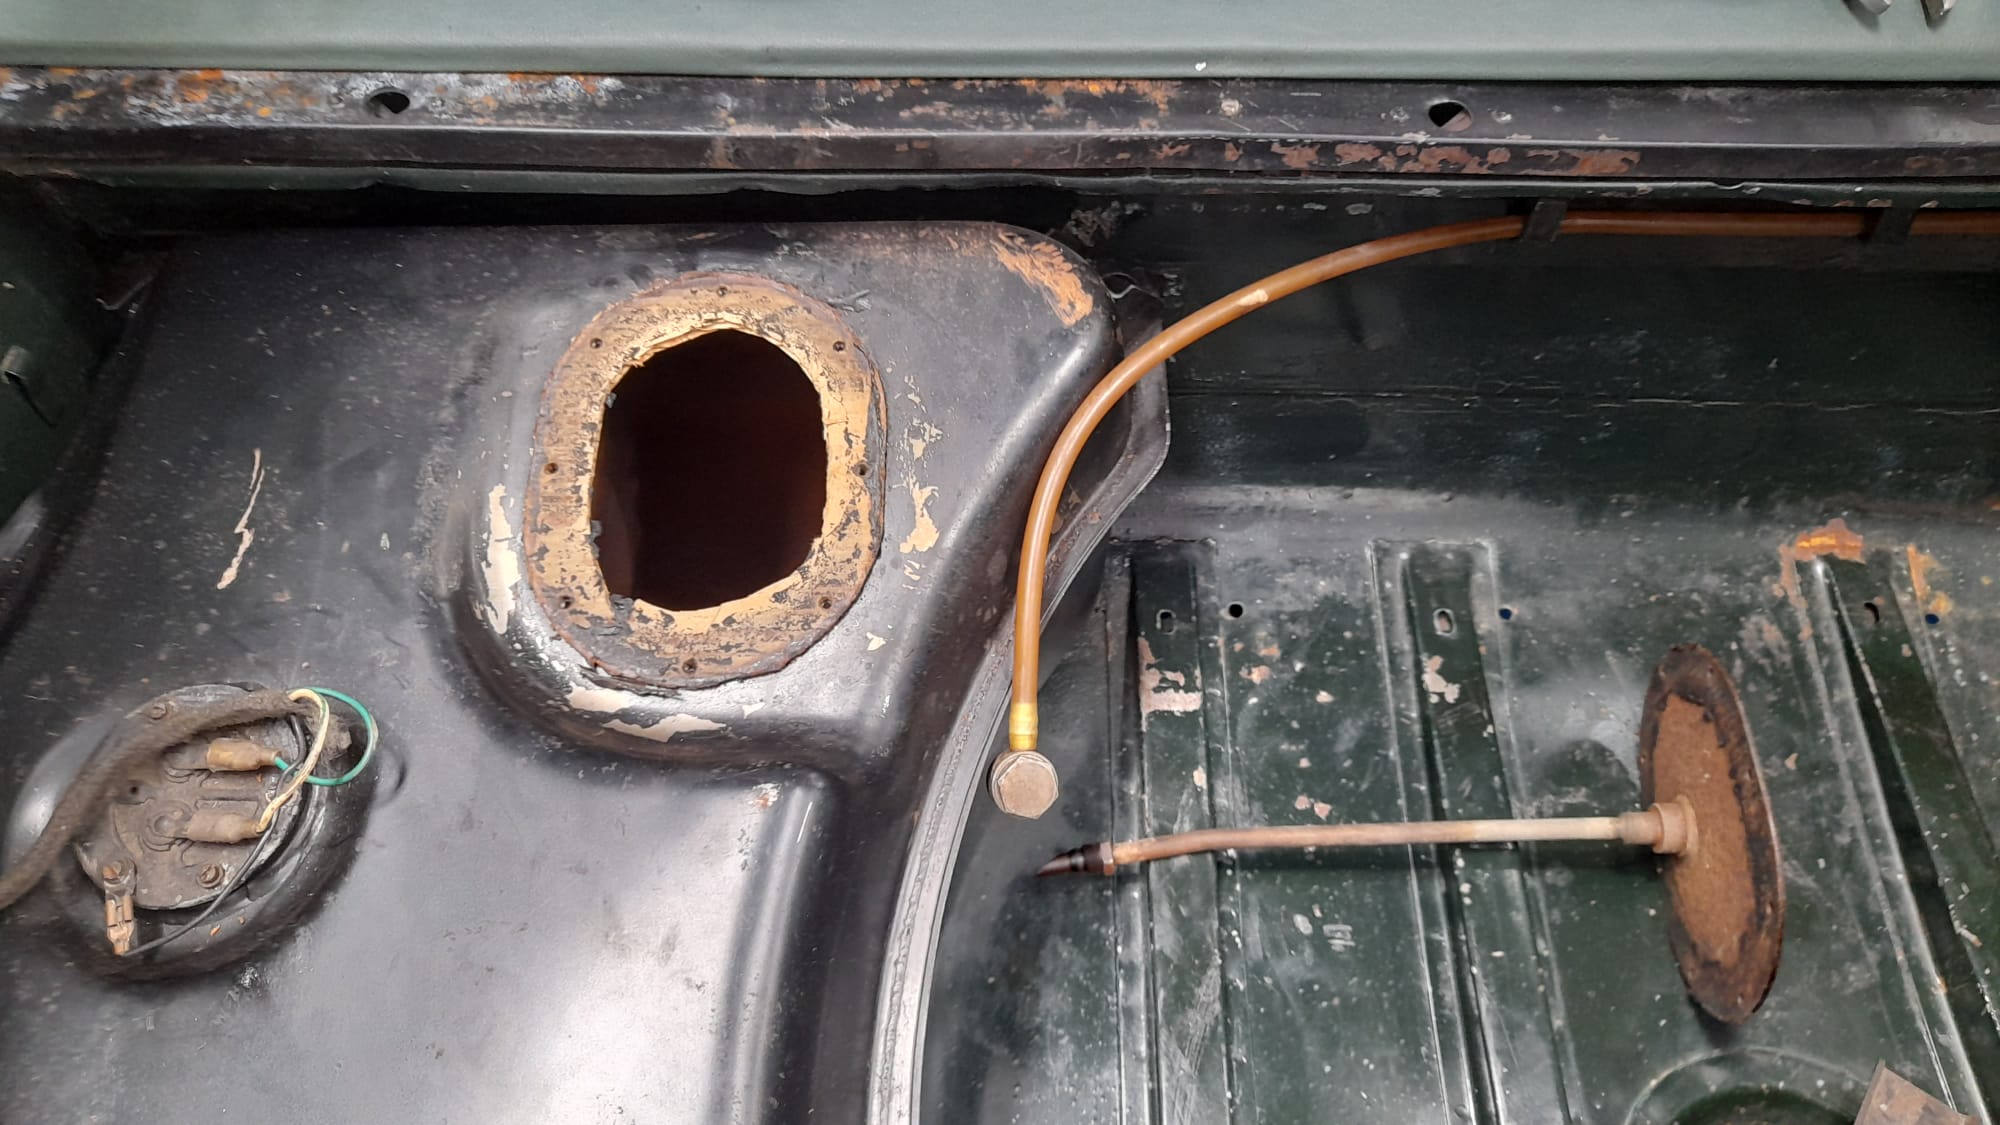
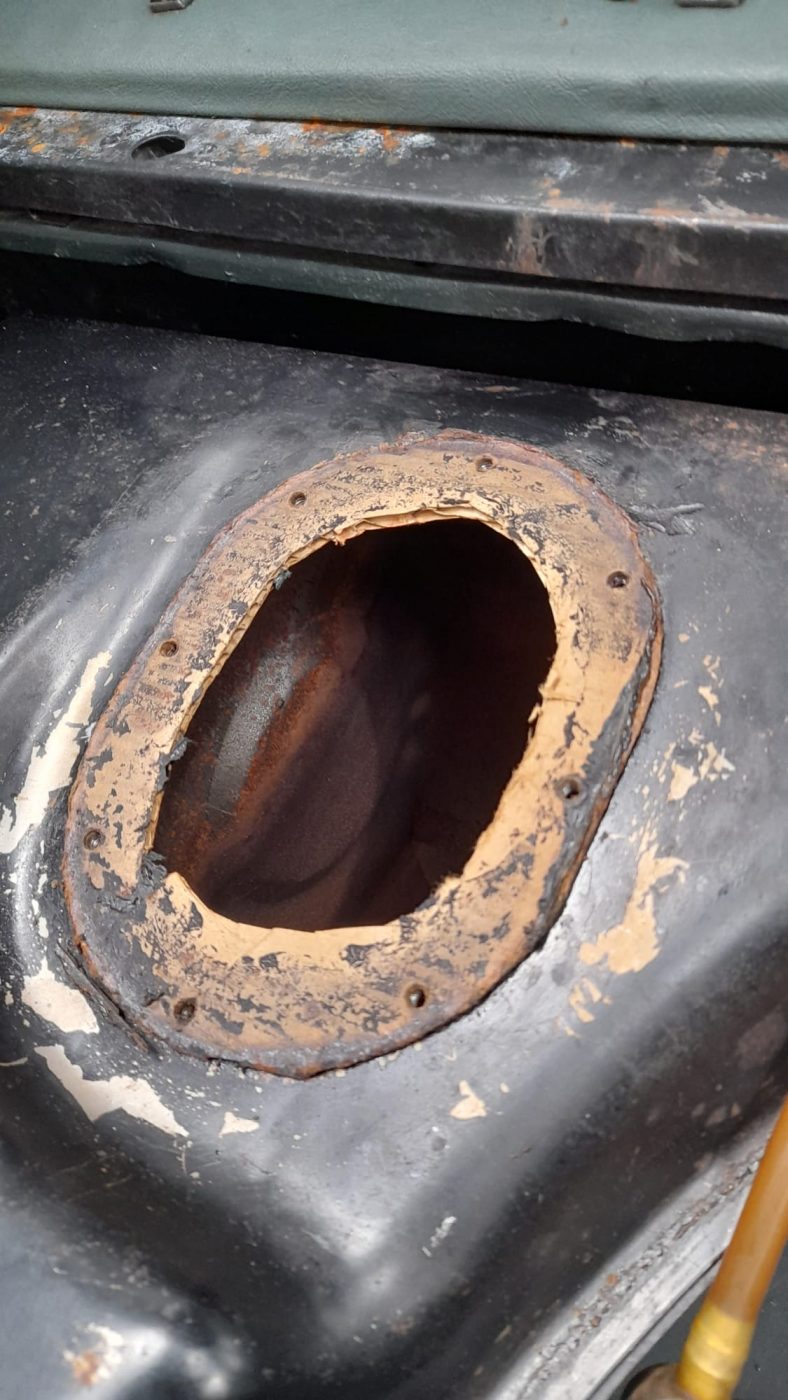
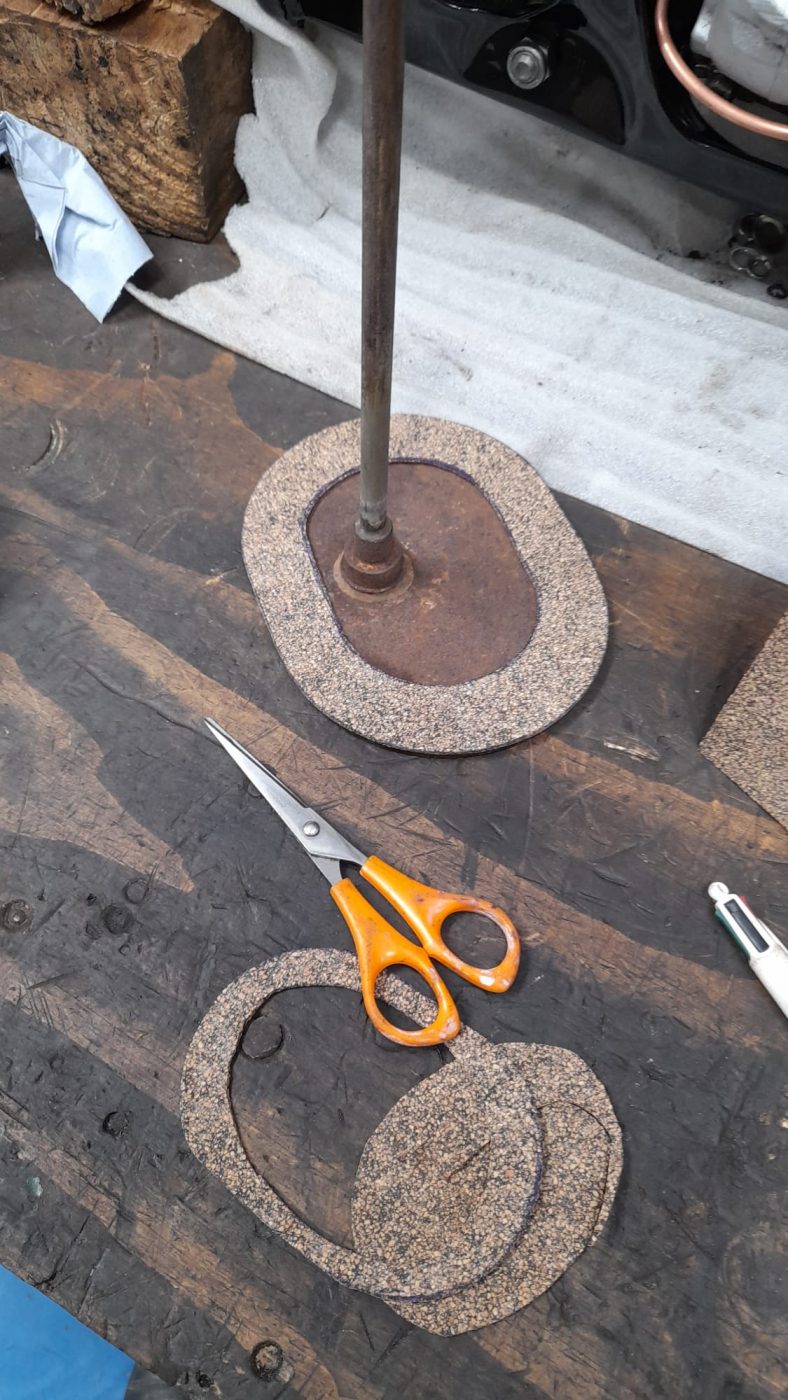
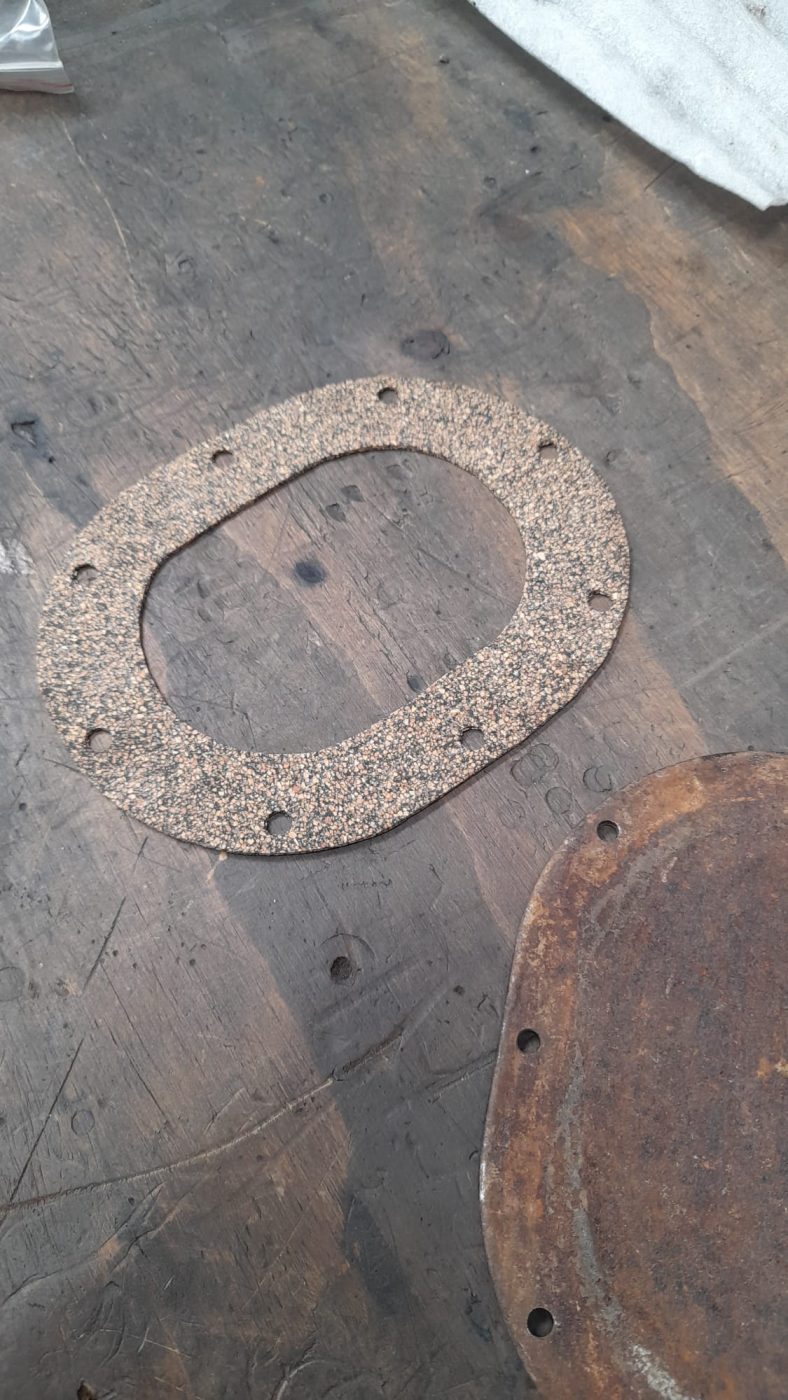
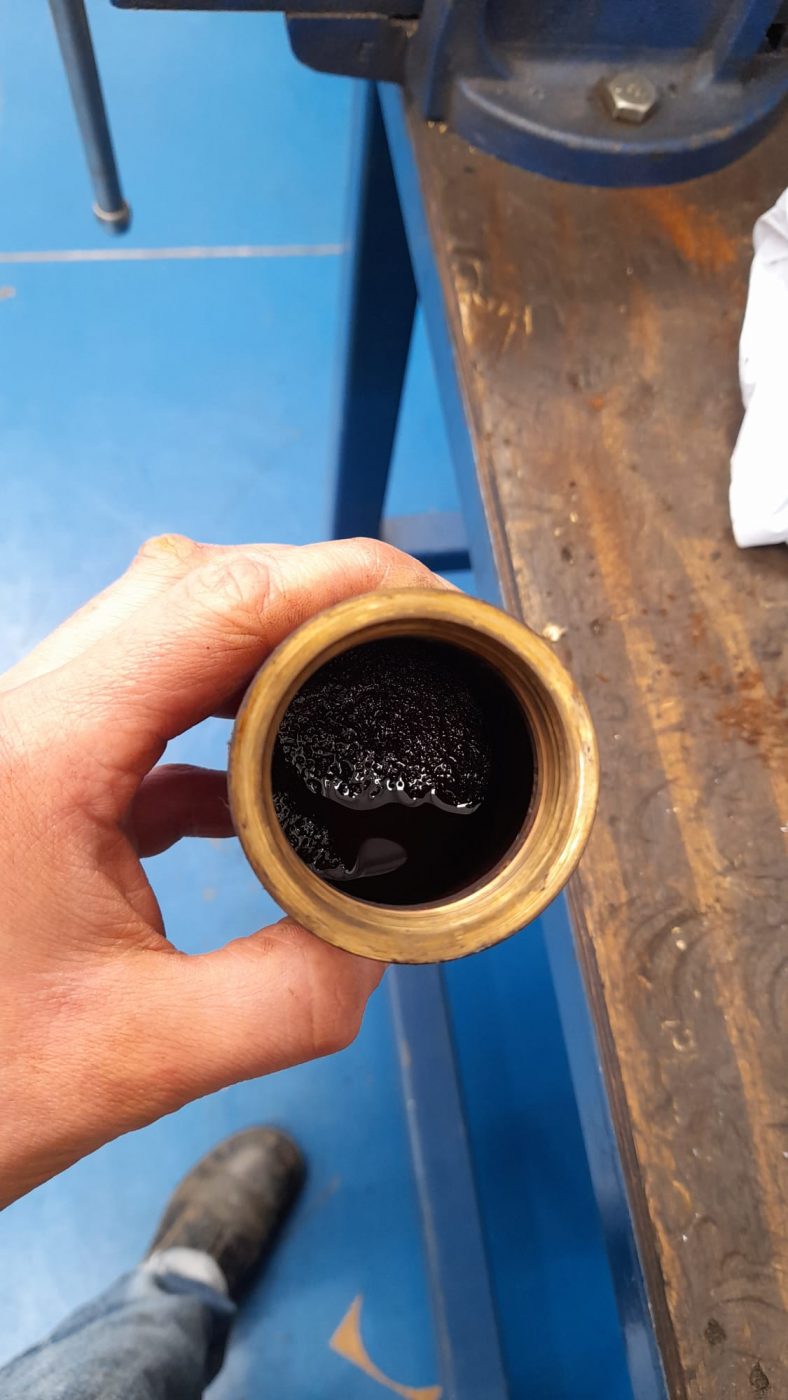
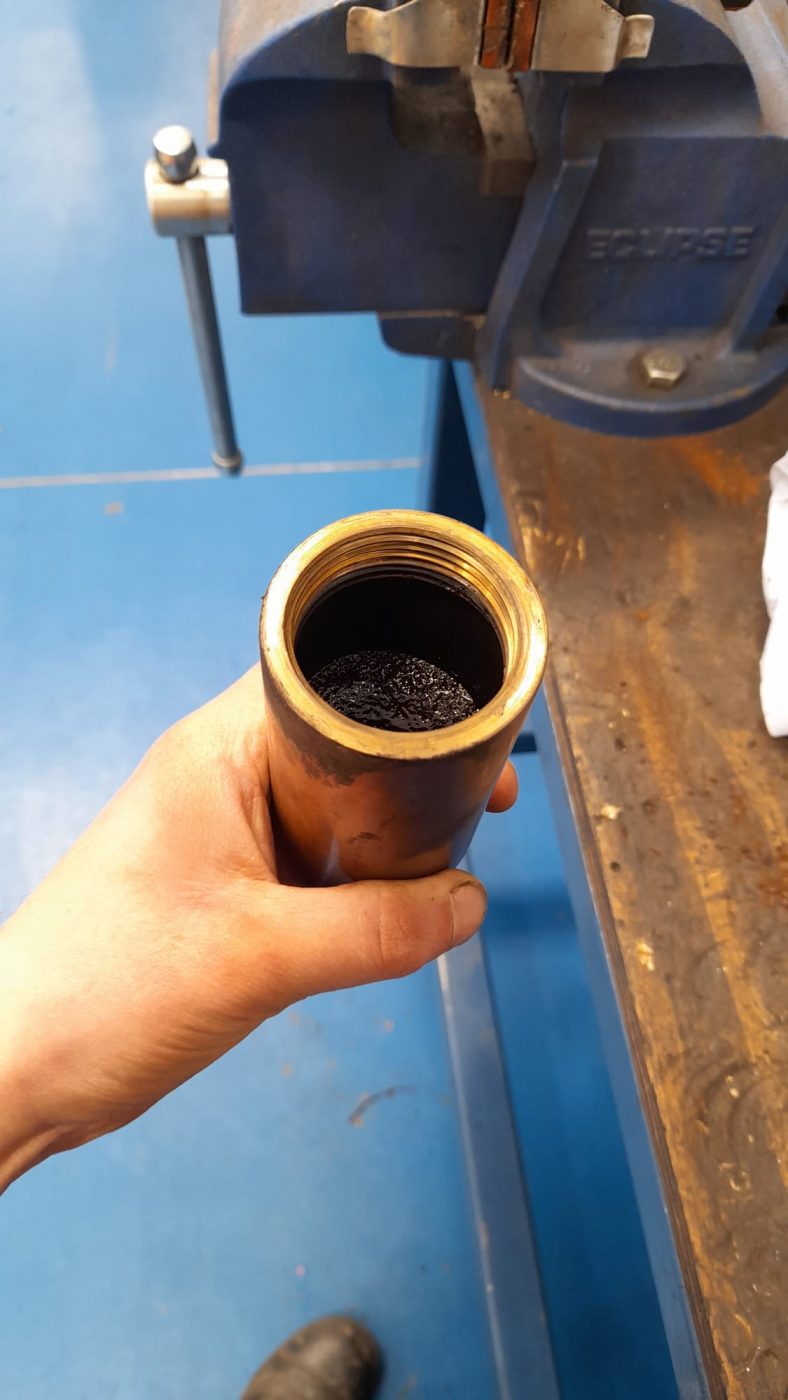
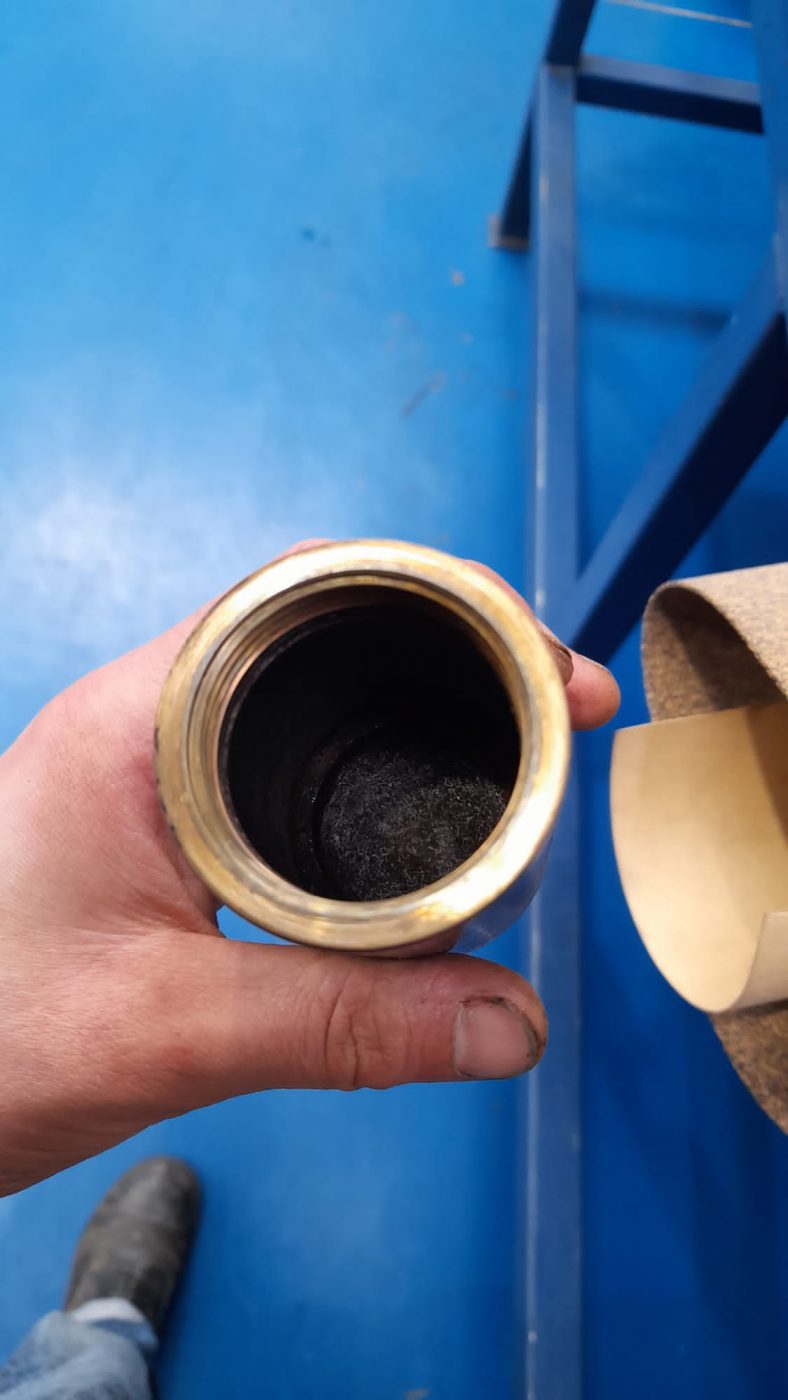
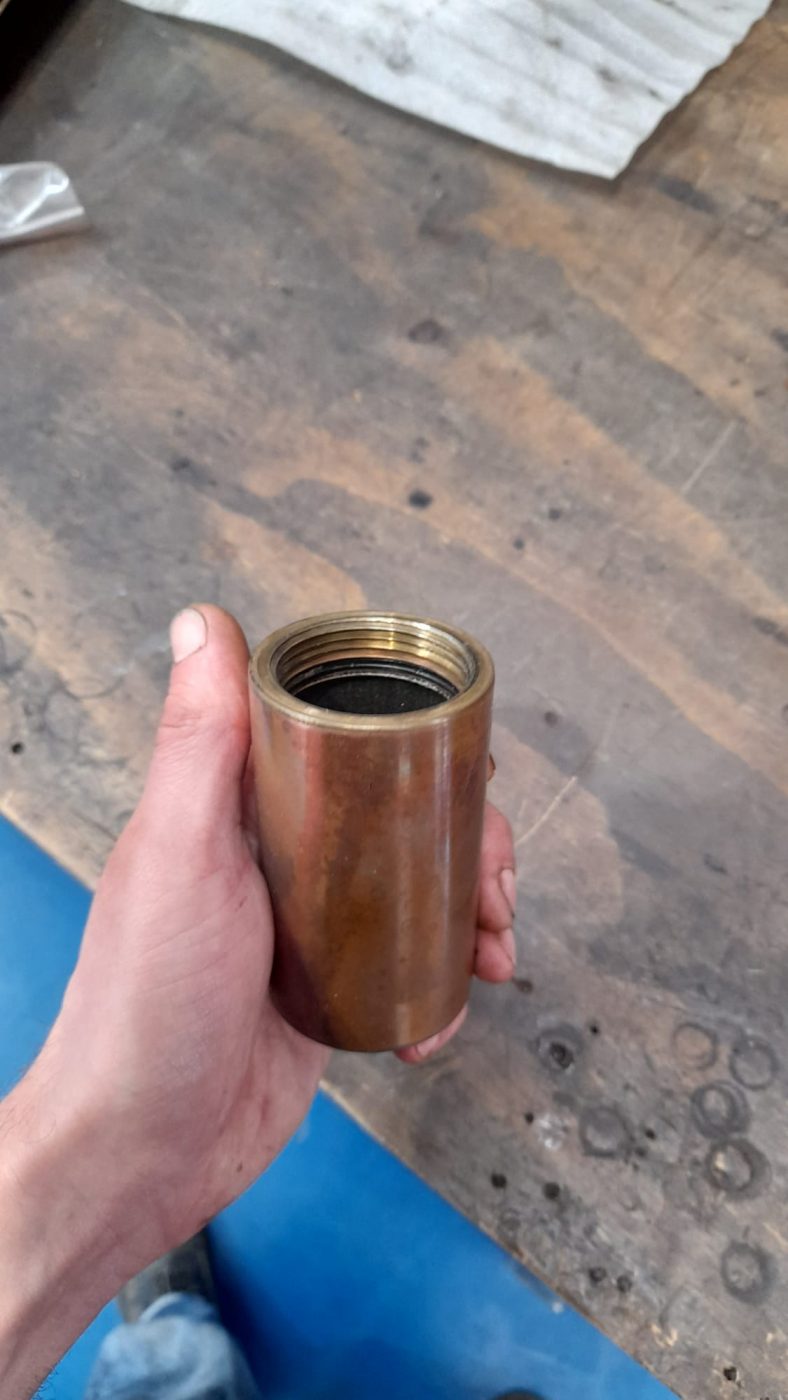
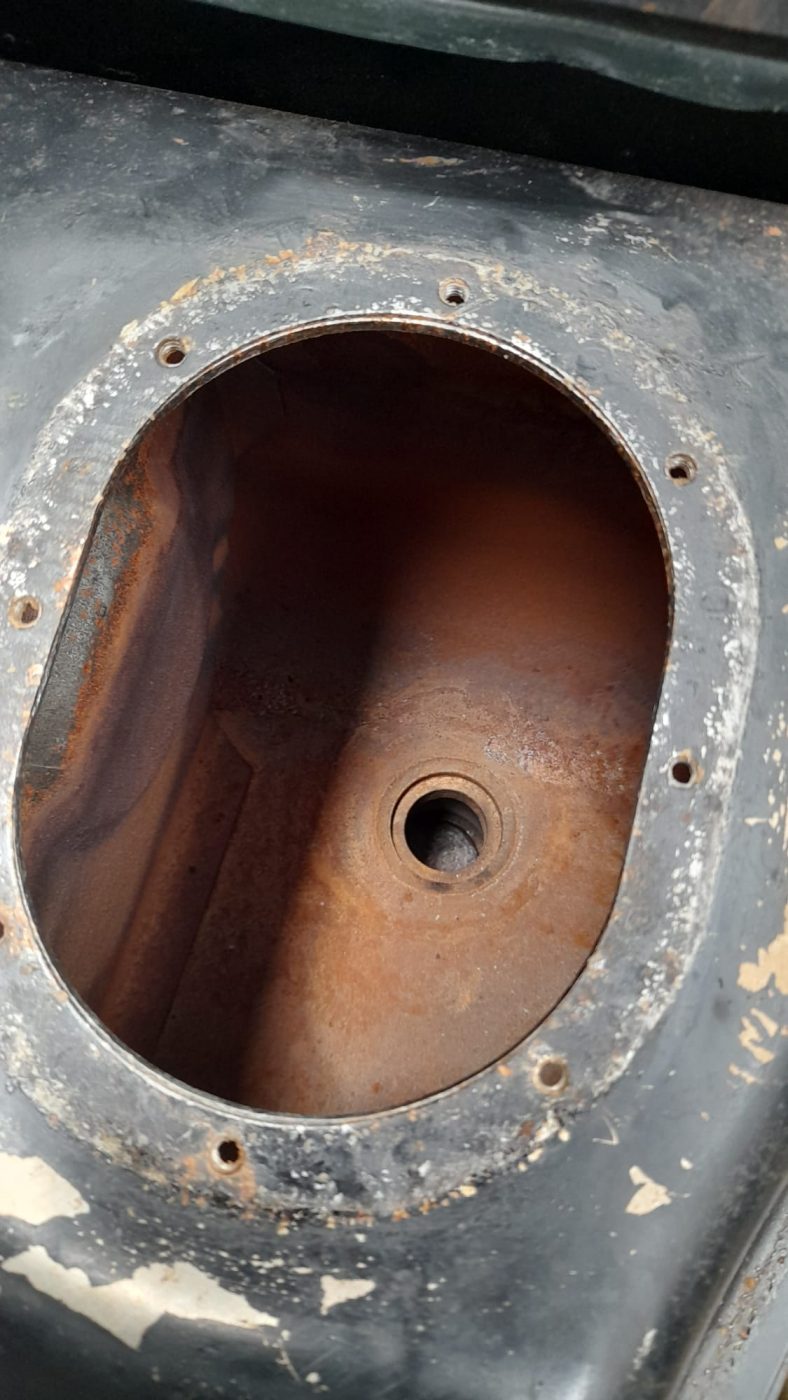
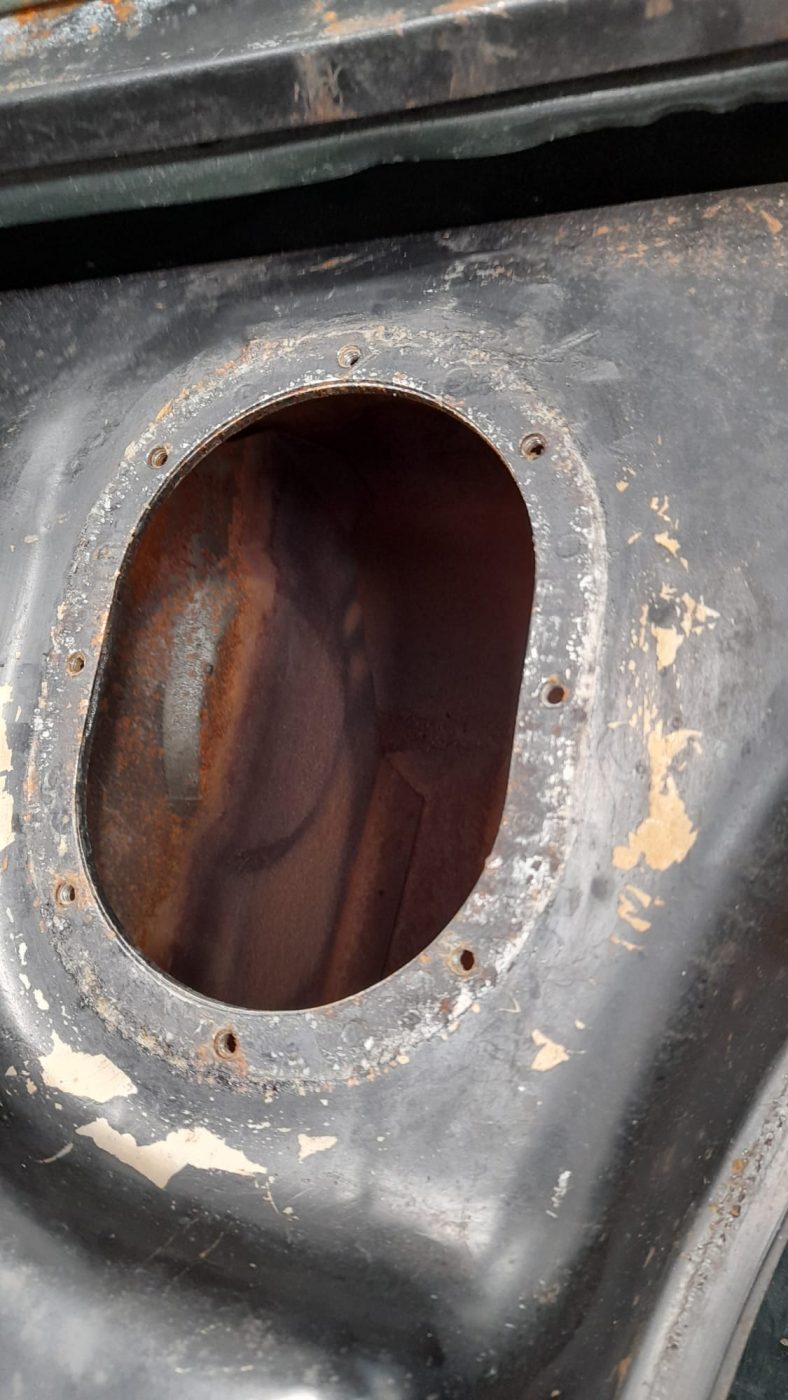
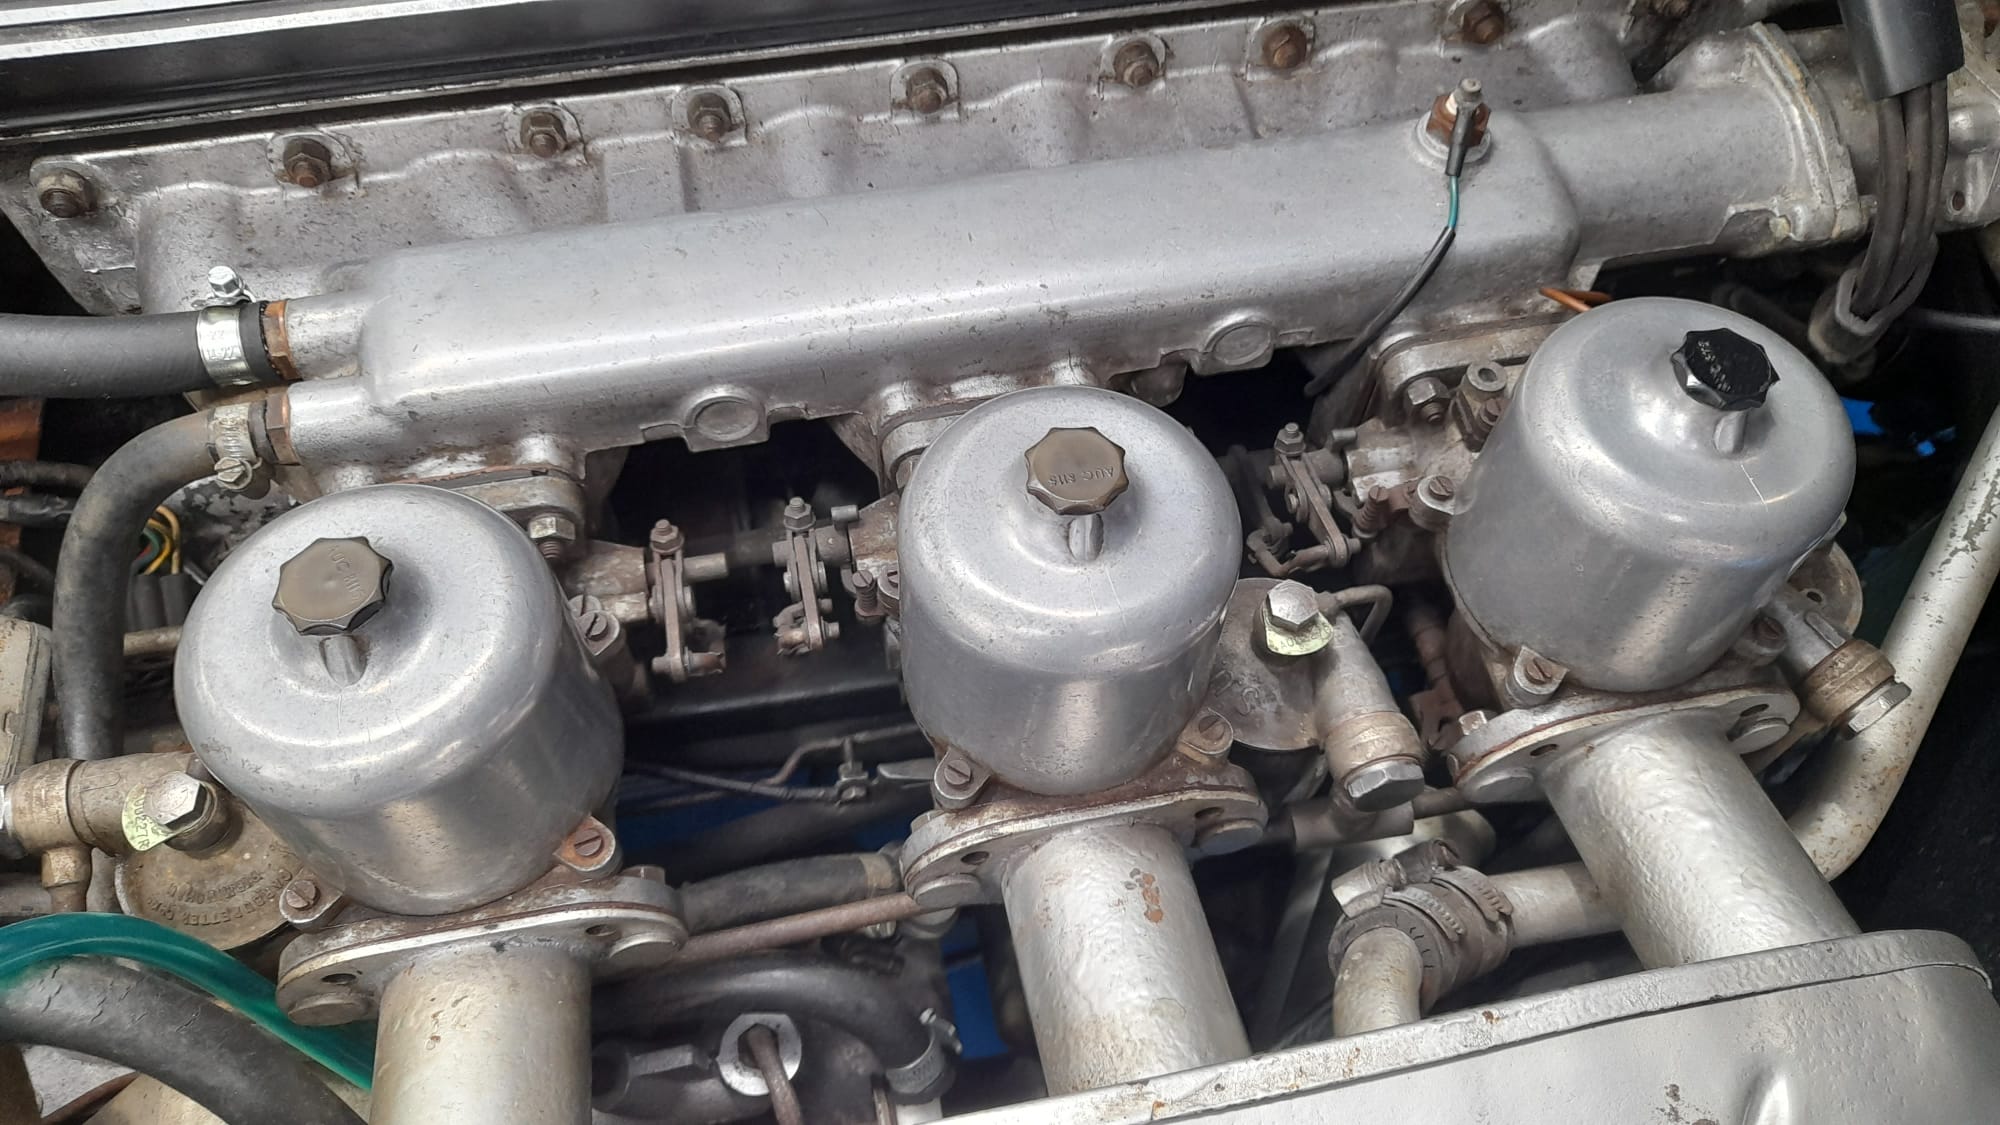
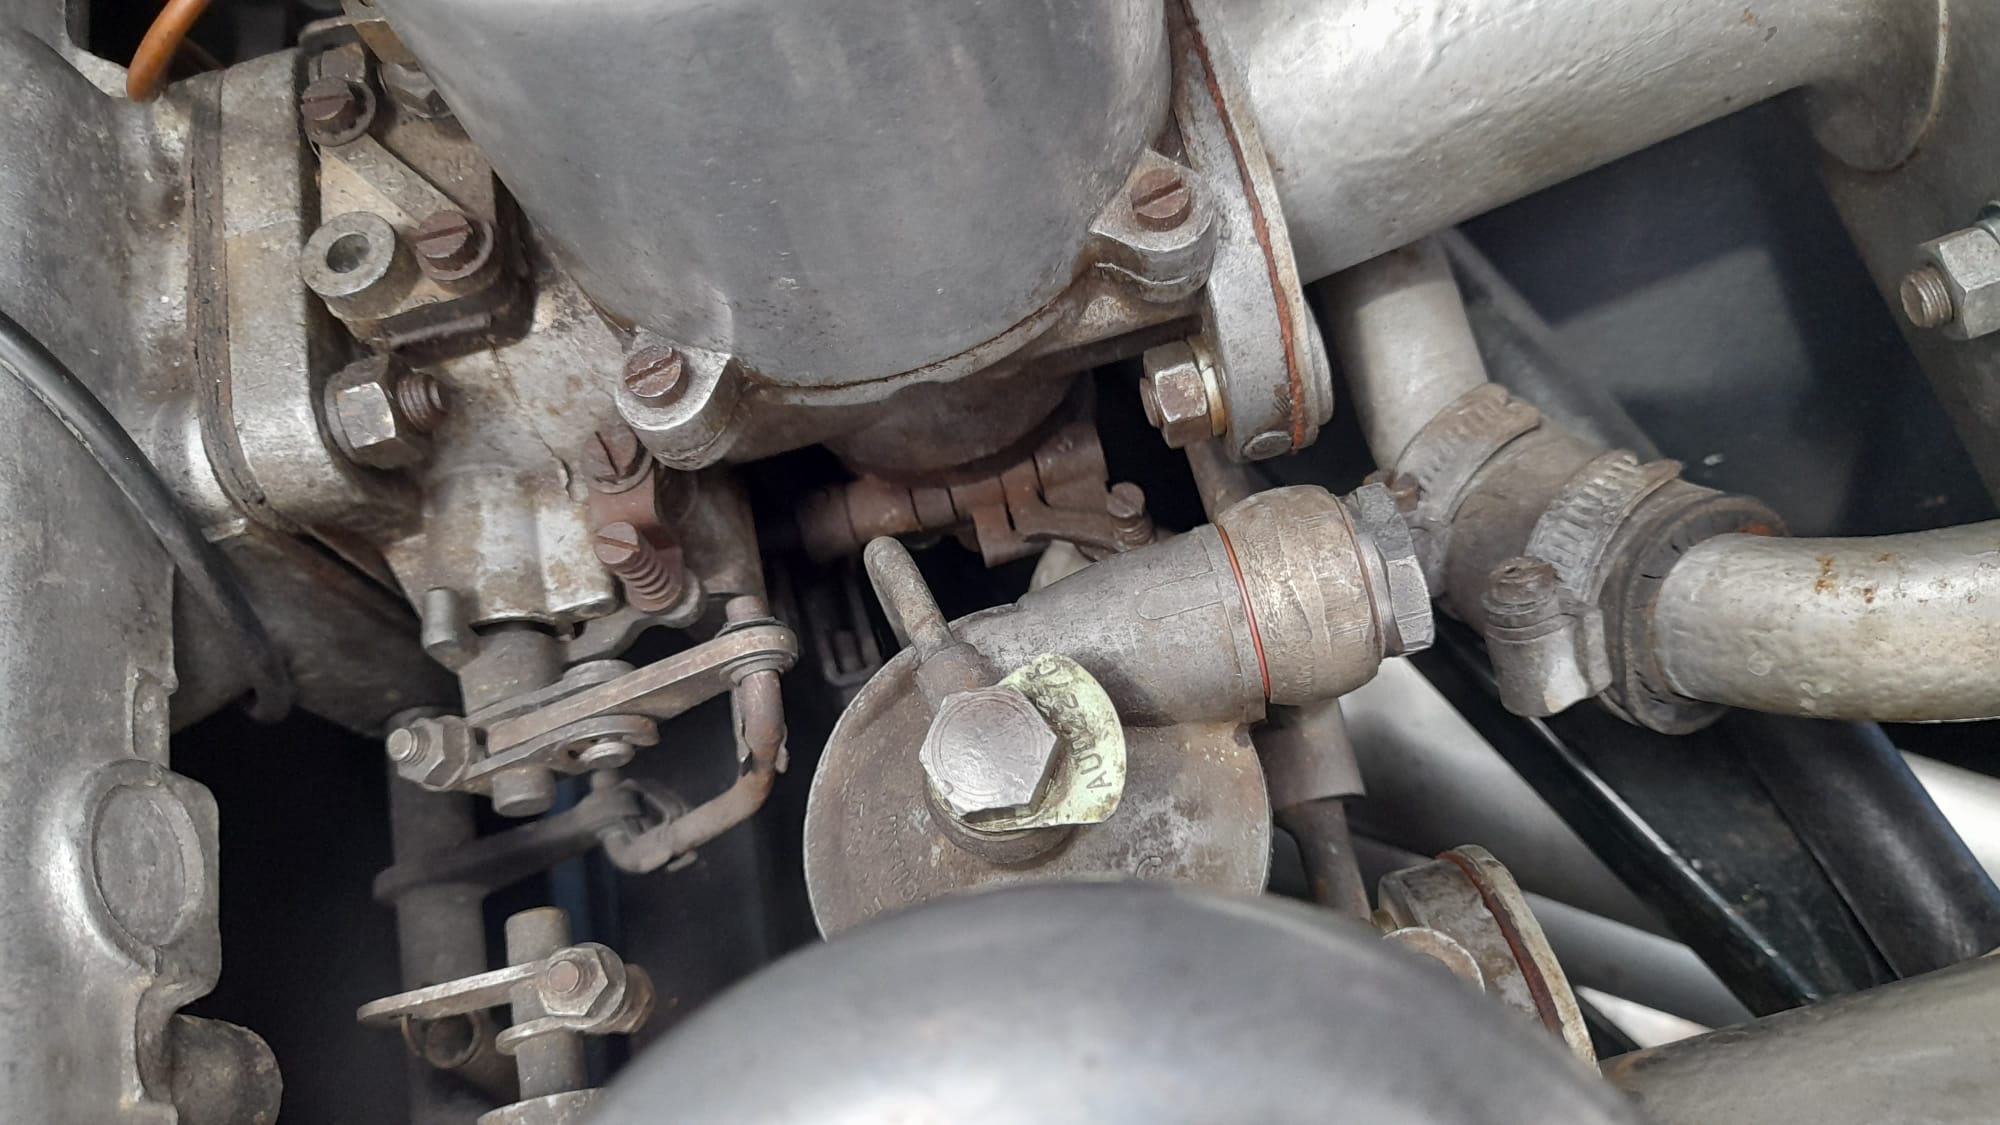
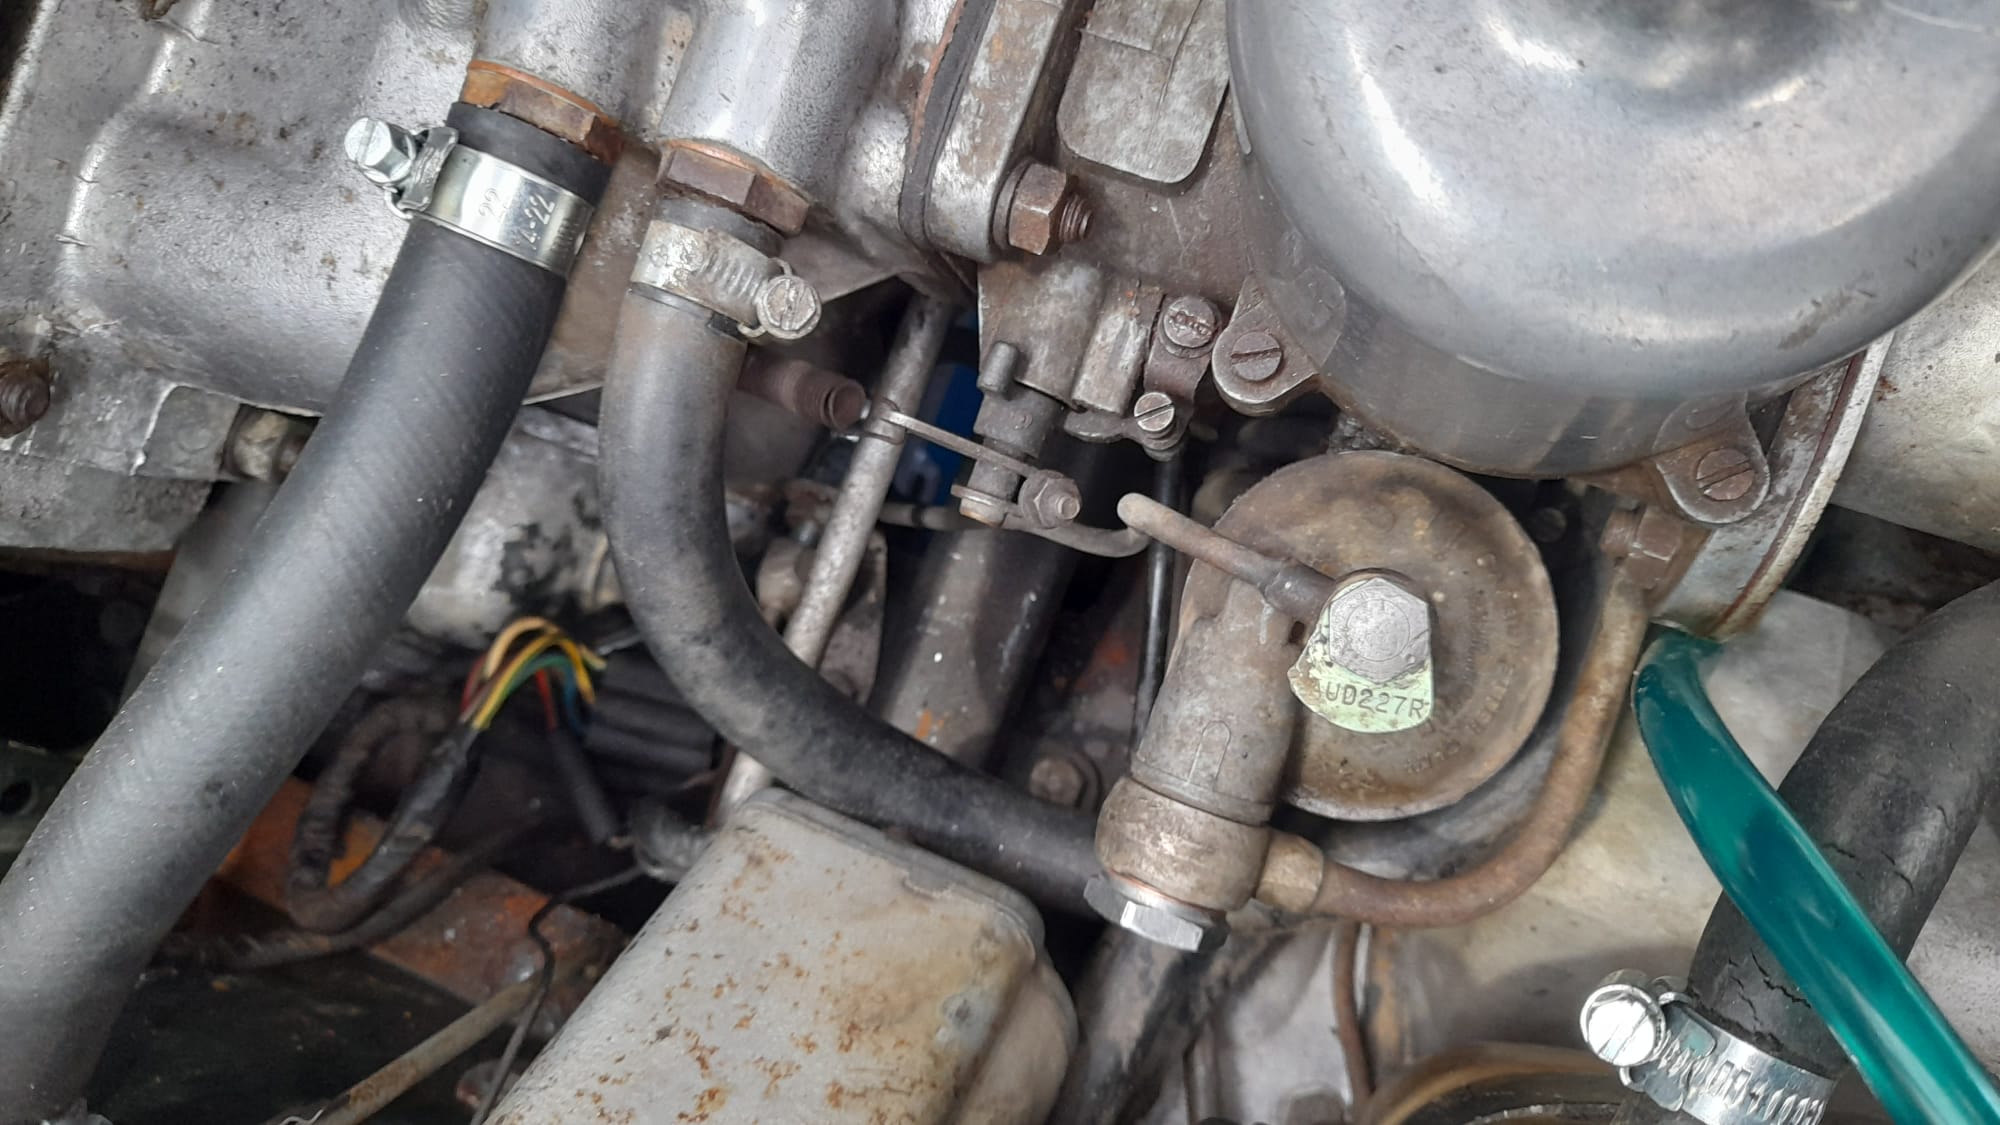
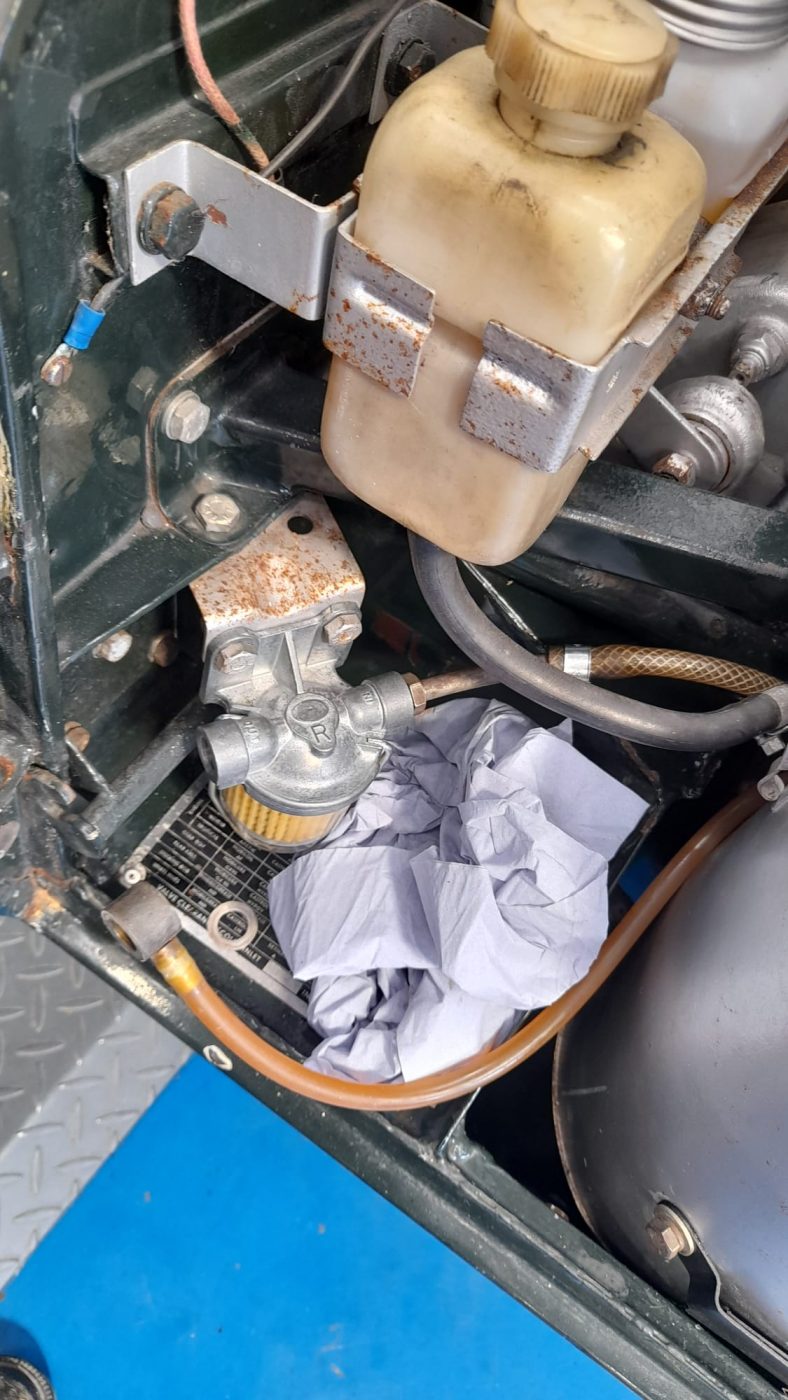
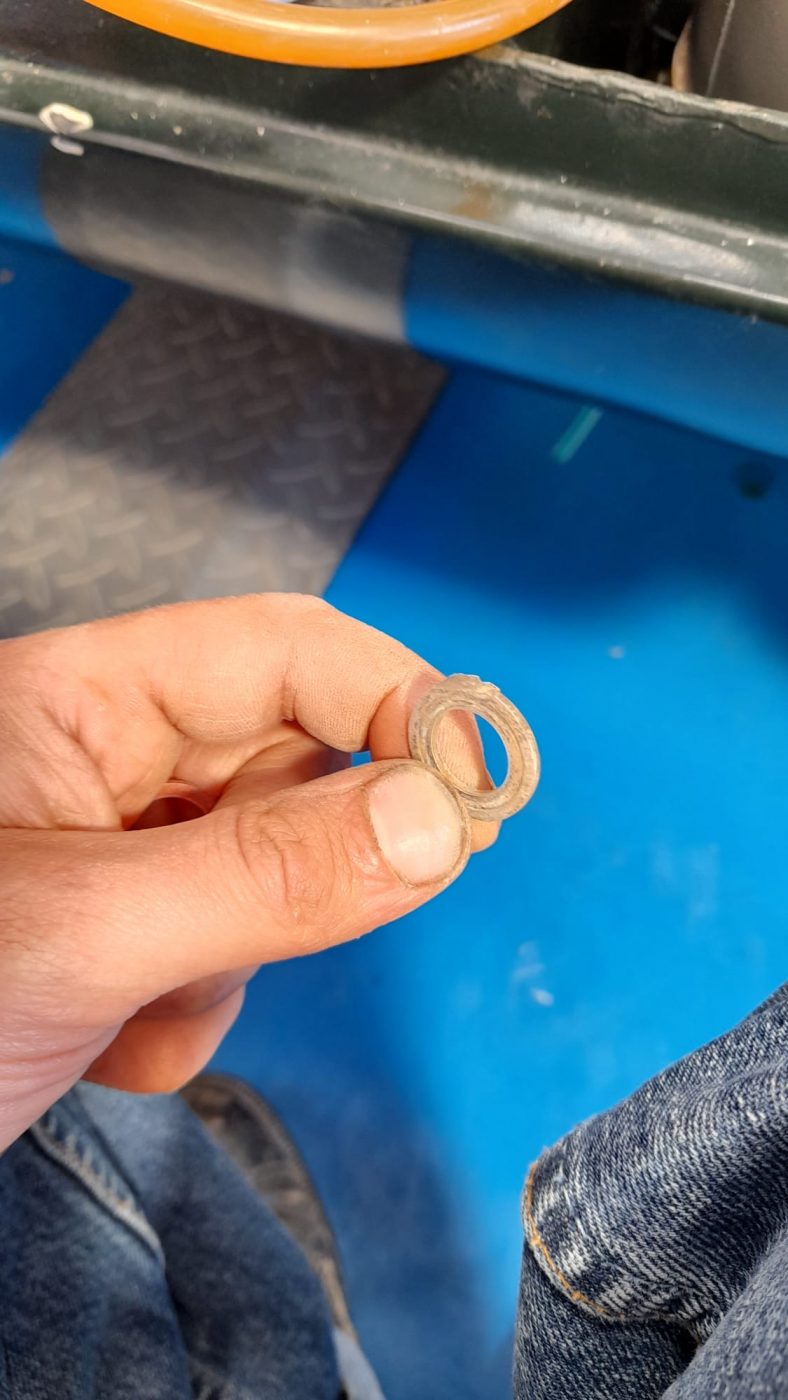
Scott’s been sorting the fuel system for the 1968 Jaguar E-Type 1.5 4.2.
There was a smell of fuel in the car, which he tracked down to a bad gasket between the pick up pipe and the tank. The gasket had been made from a corrugated cardboard box, would you believe it! So Scott went about making a proper gasket made from cork. He then cleaned out the pick up well in the tank because it had a load of sediment in. The sender unit was also cleaned and was re-fitted. The fuel system was then flushed through to get rid of any bad stuff that was in the lines. Scott then plumbed it all back in and checked for leaks. He found that it leaked at the filter and one banjo union on the centre carb. Also, the float had got stuck on the rearmost carb, which meant it was overflowing. So the float level was adjusted and all is working fine now.


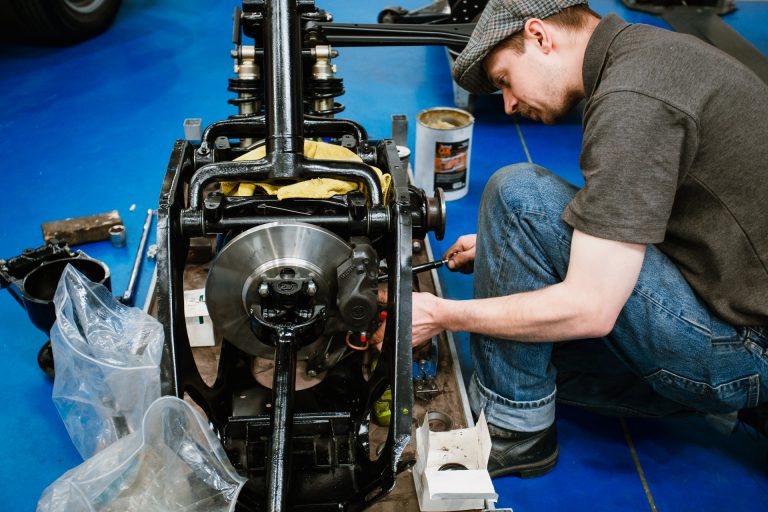
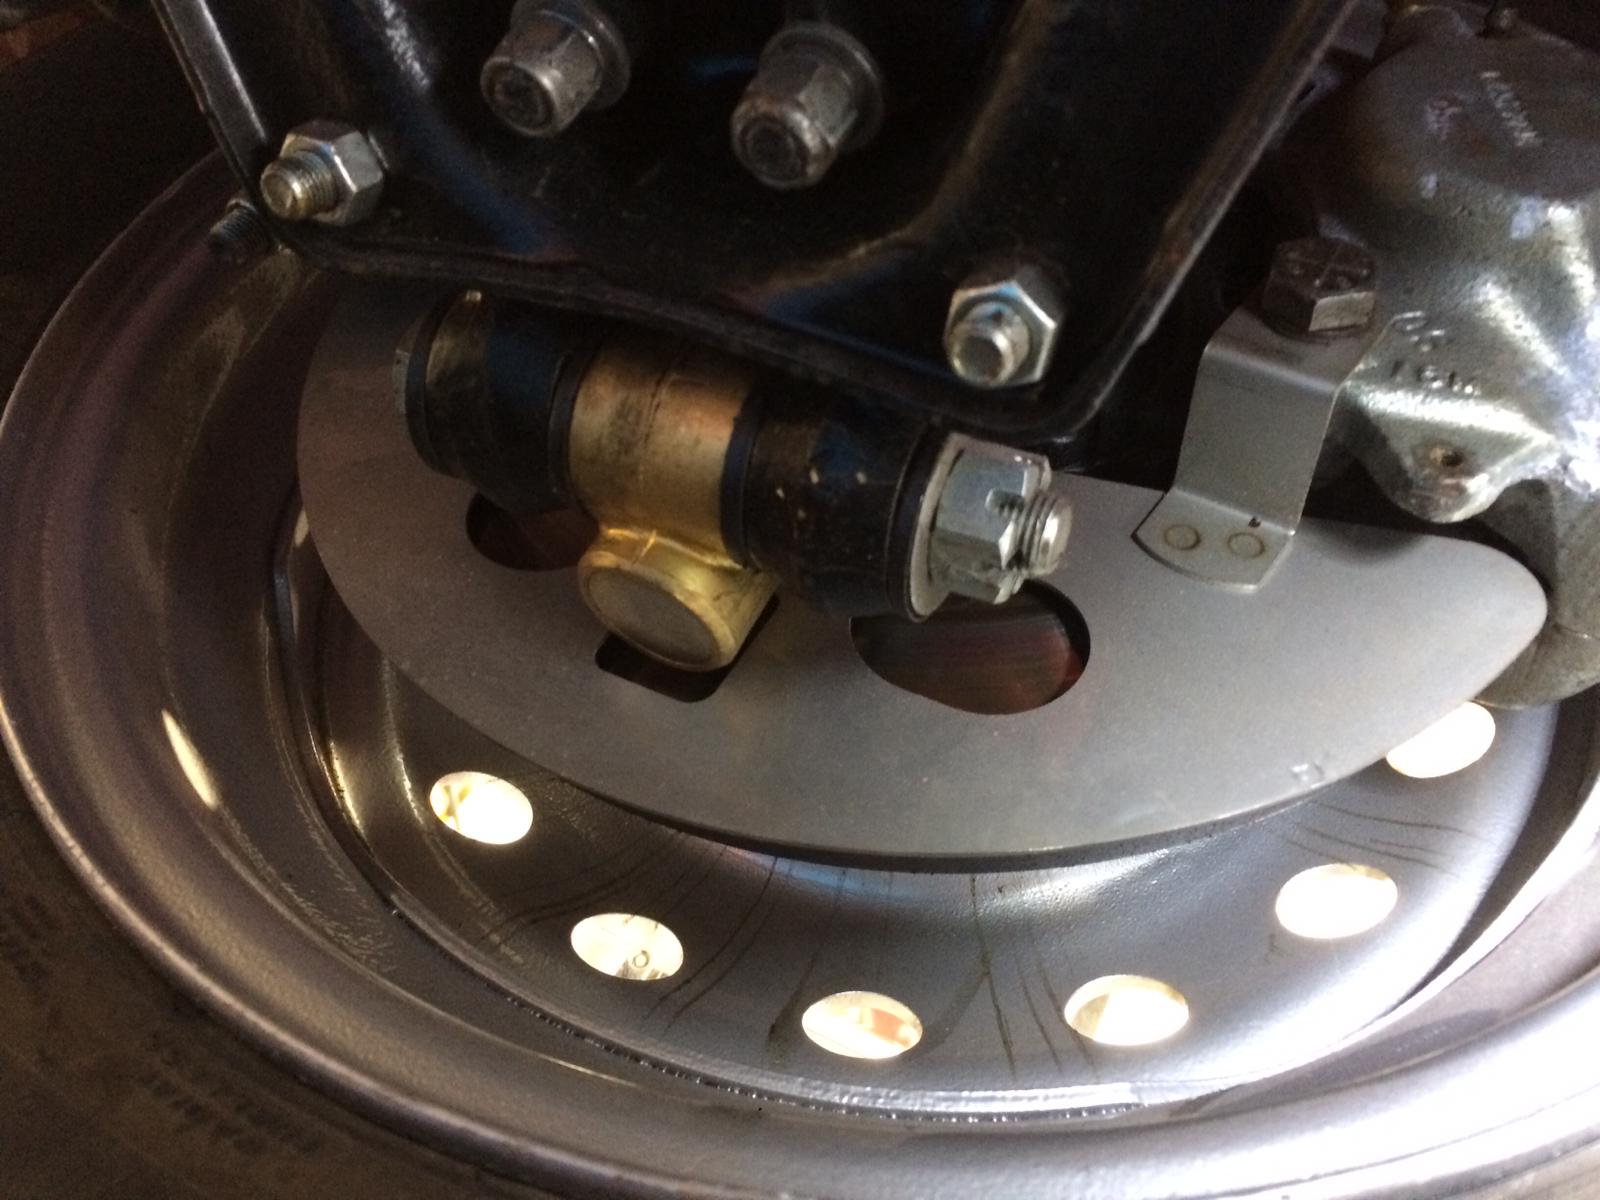
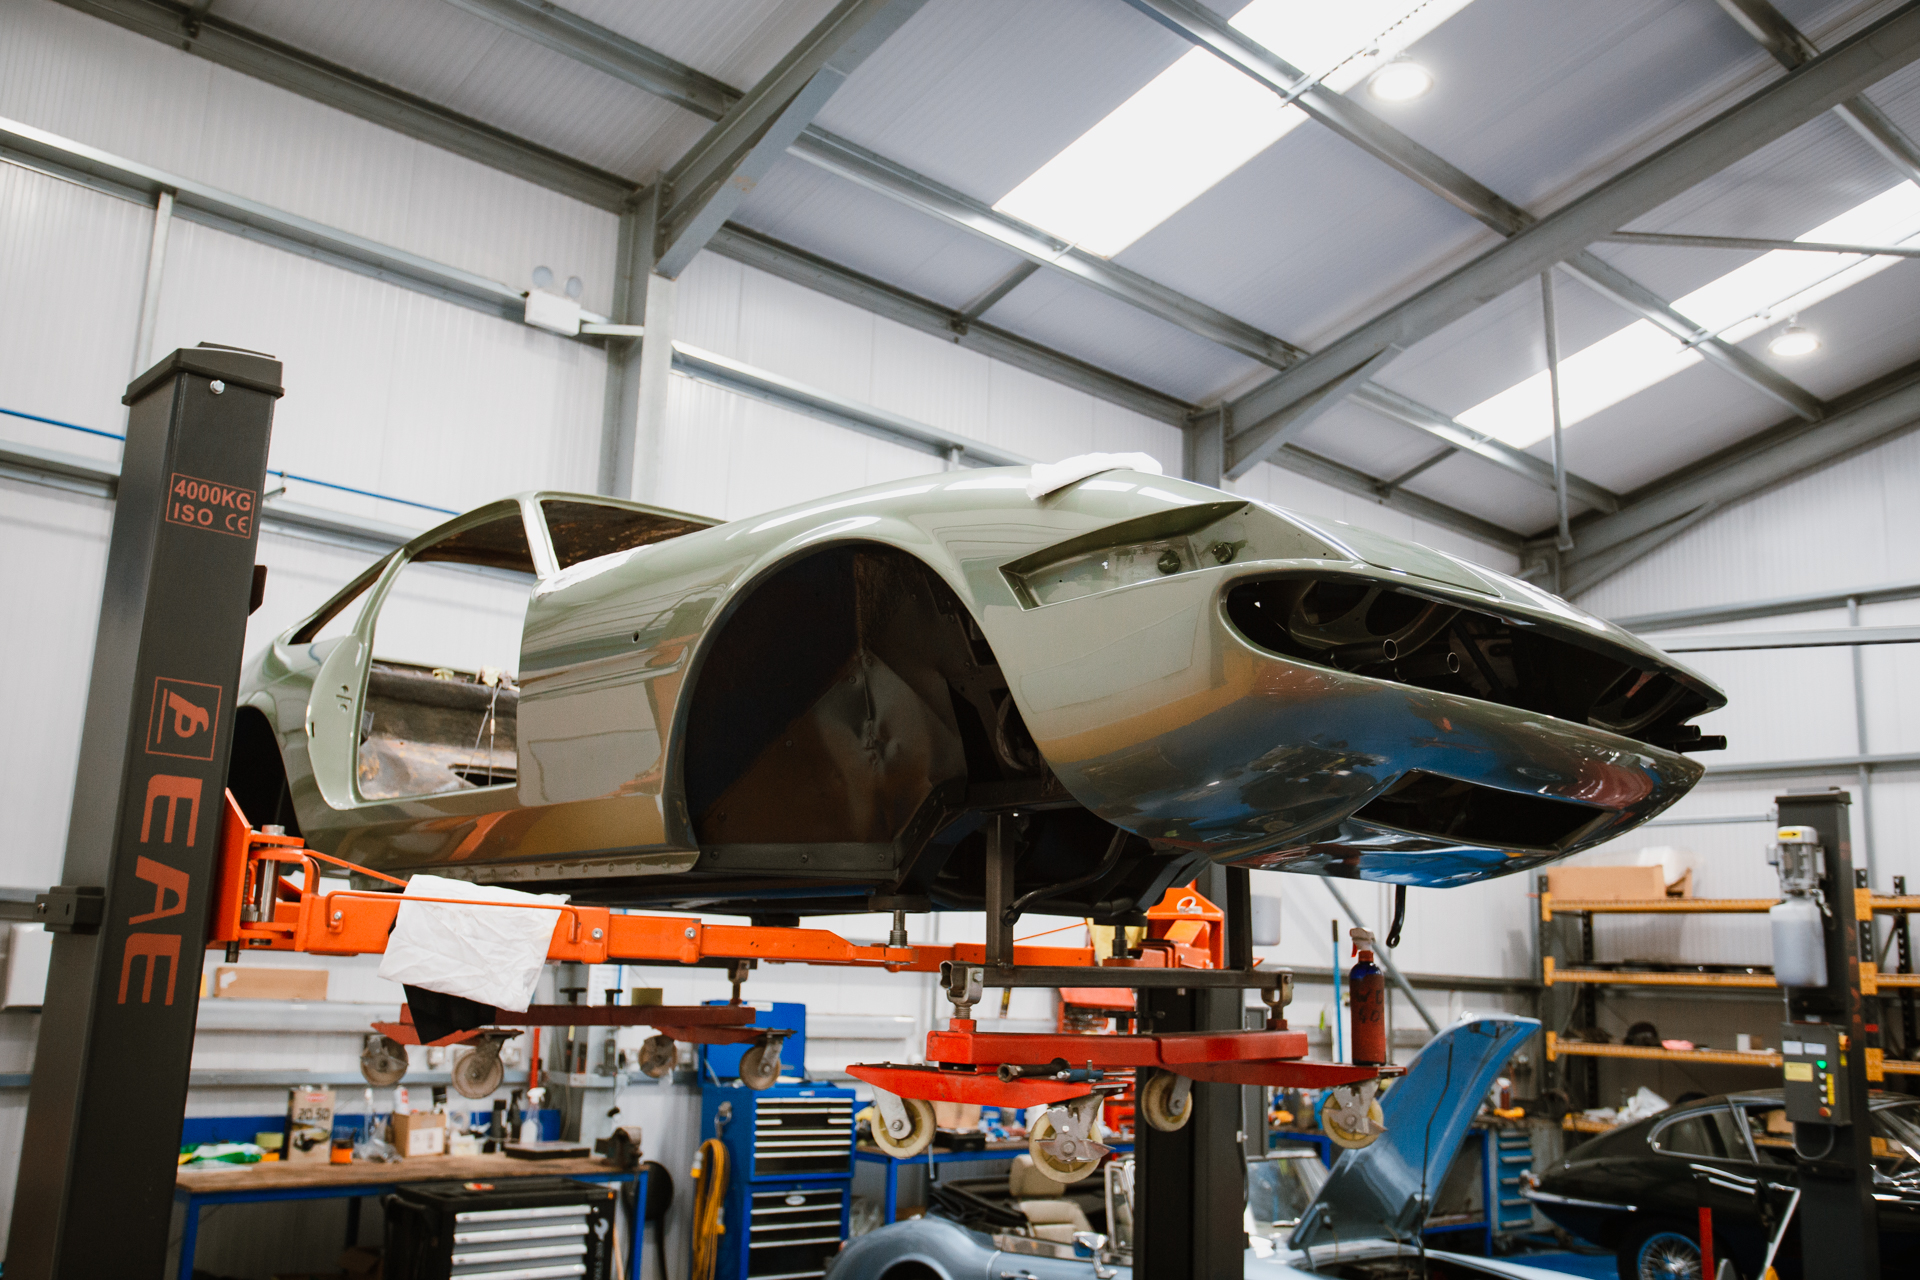
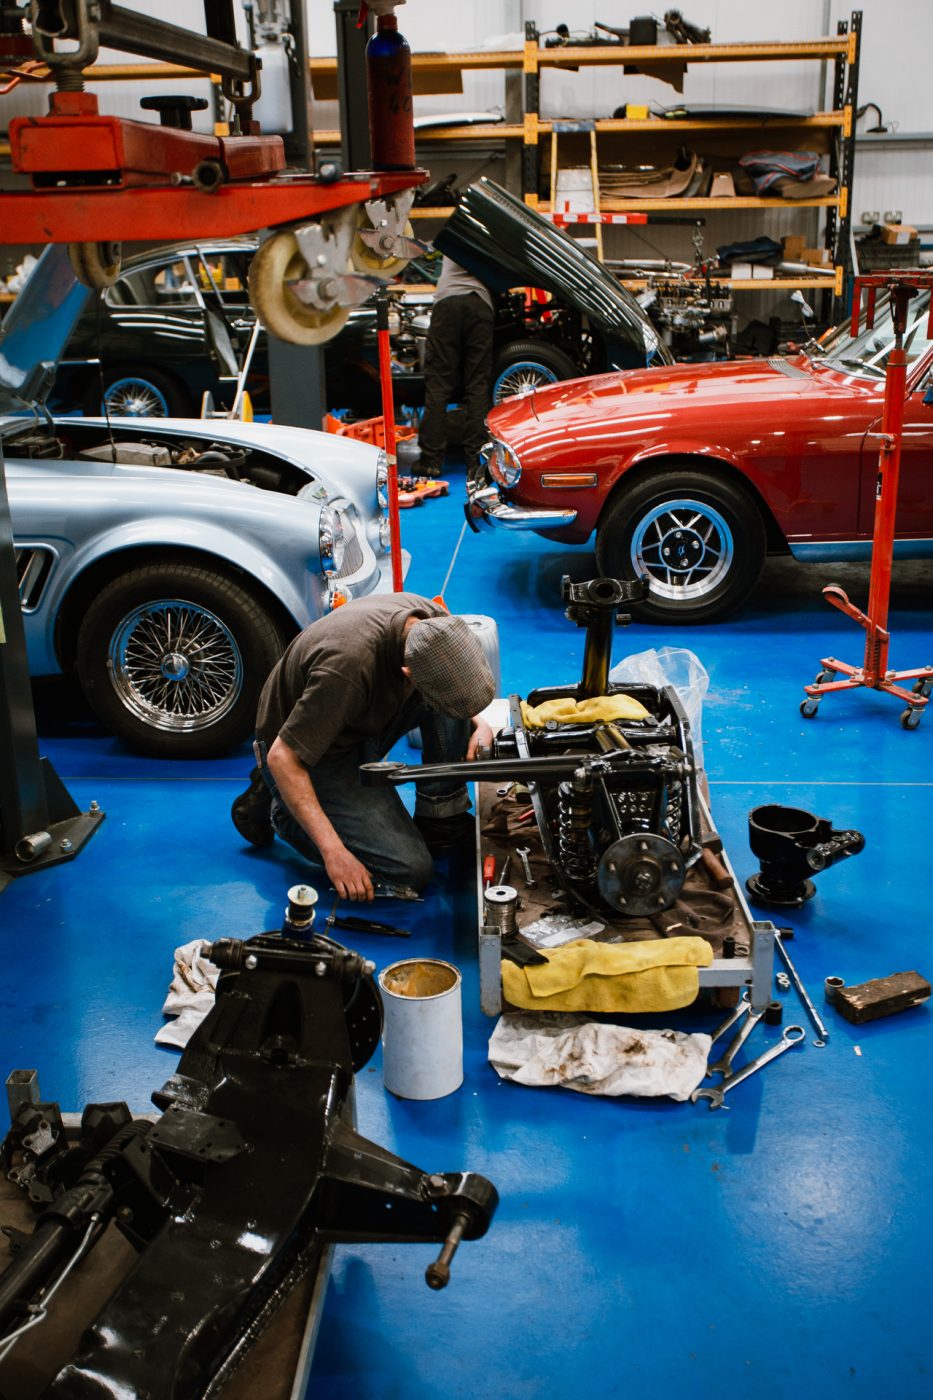
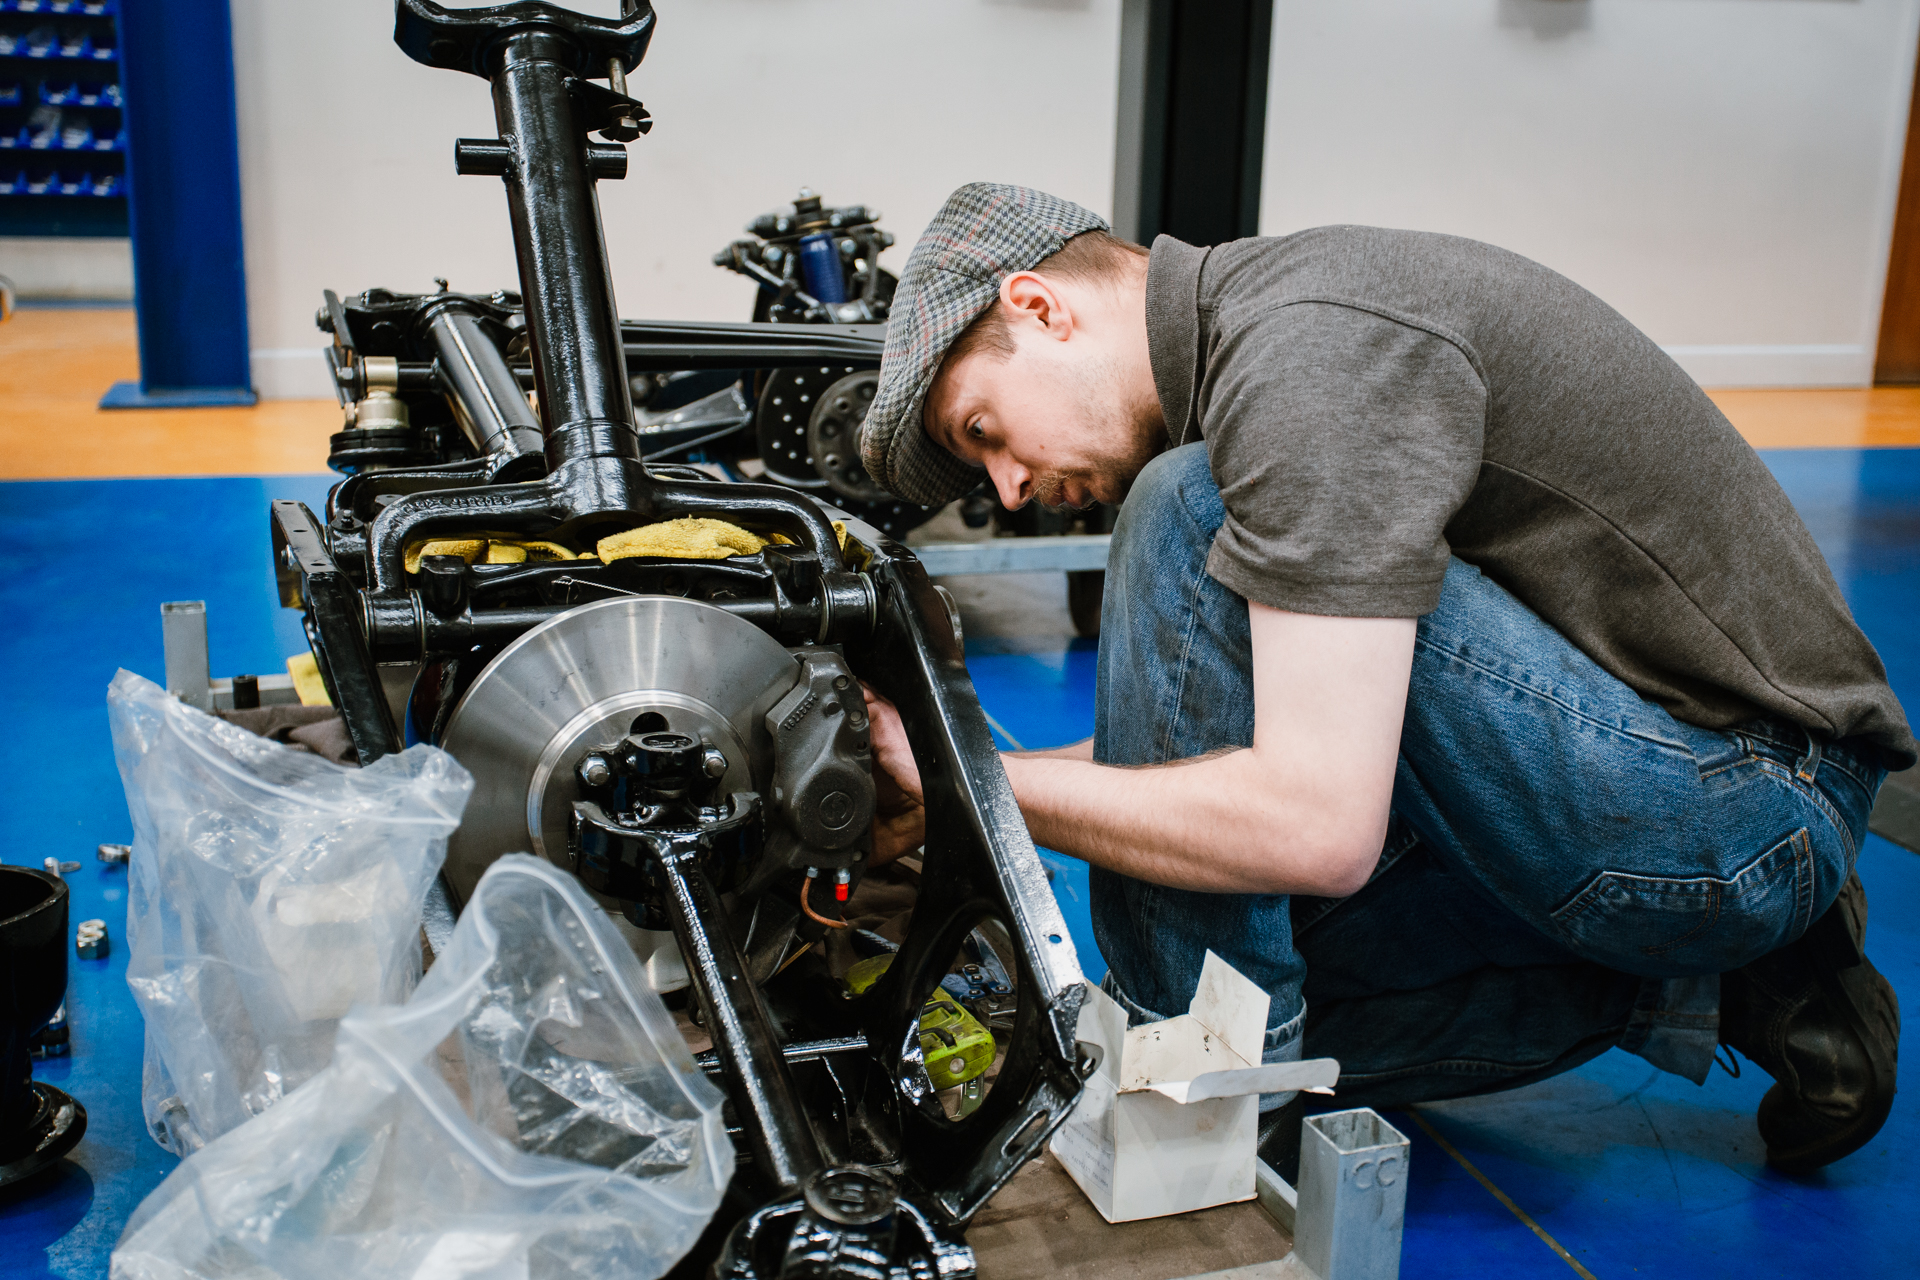
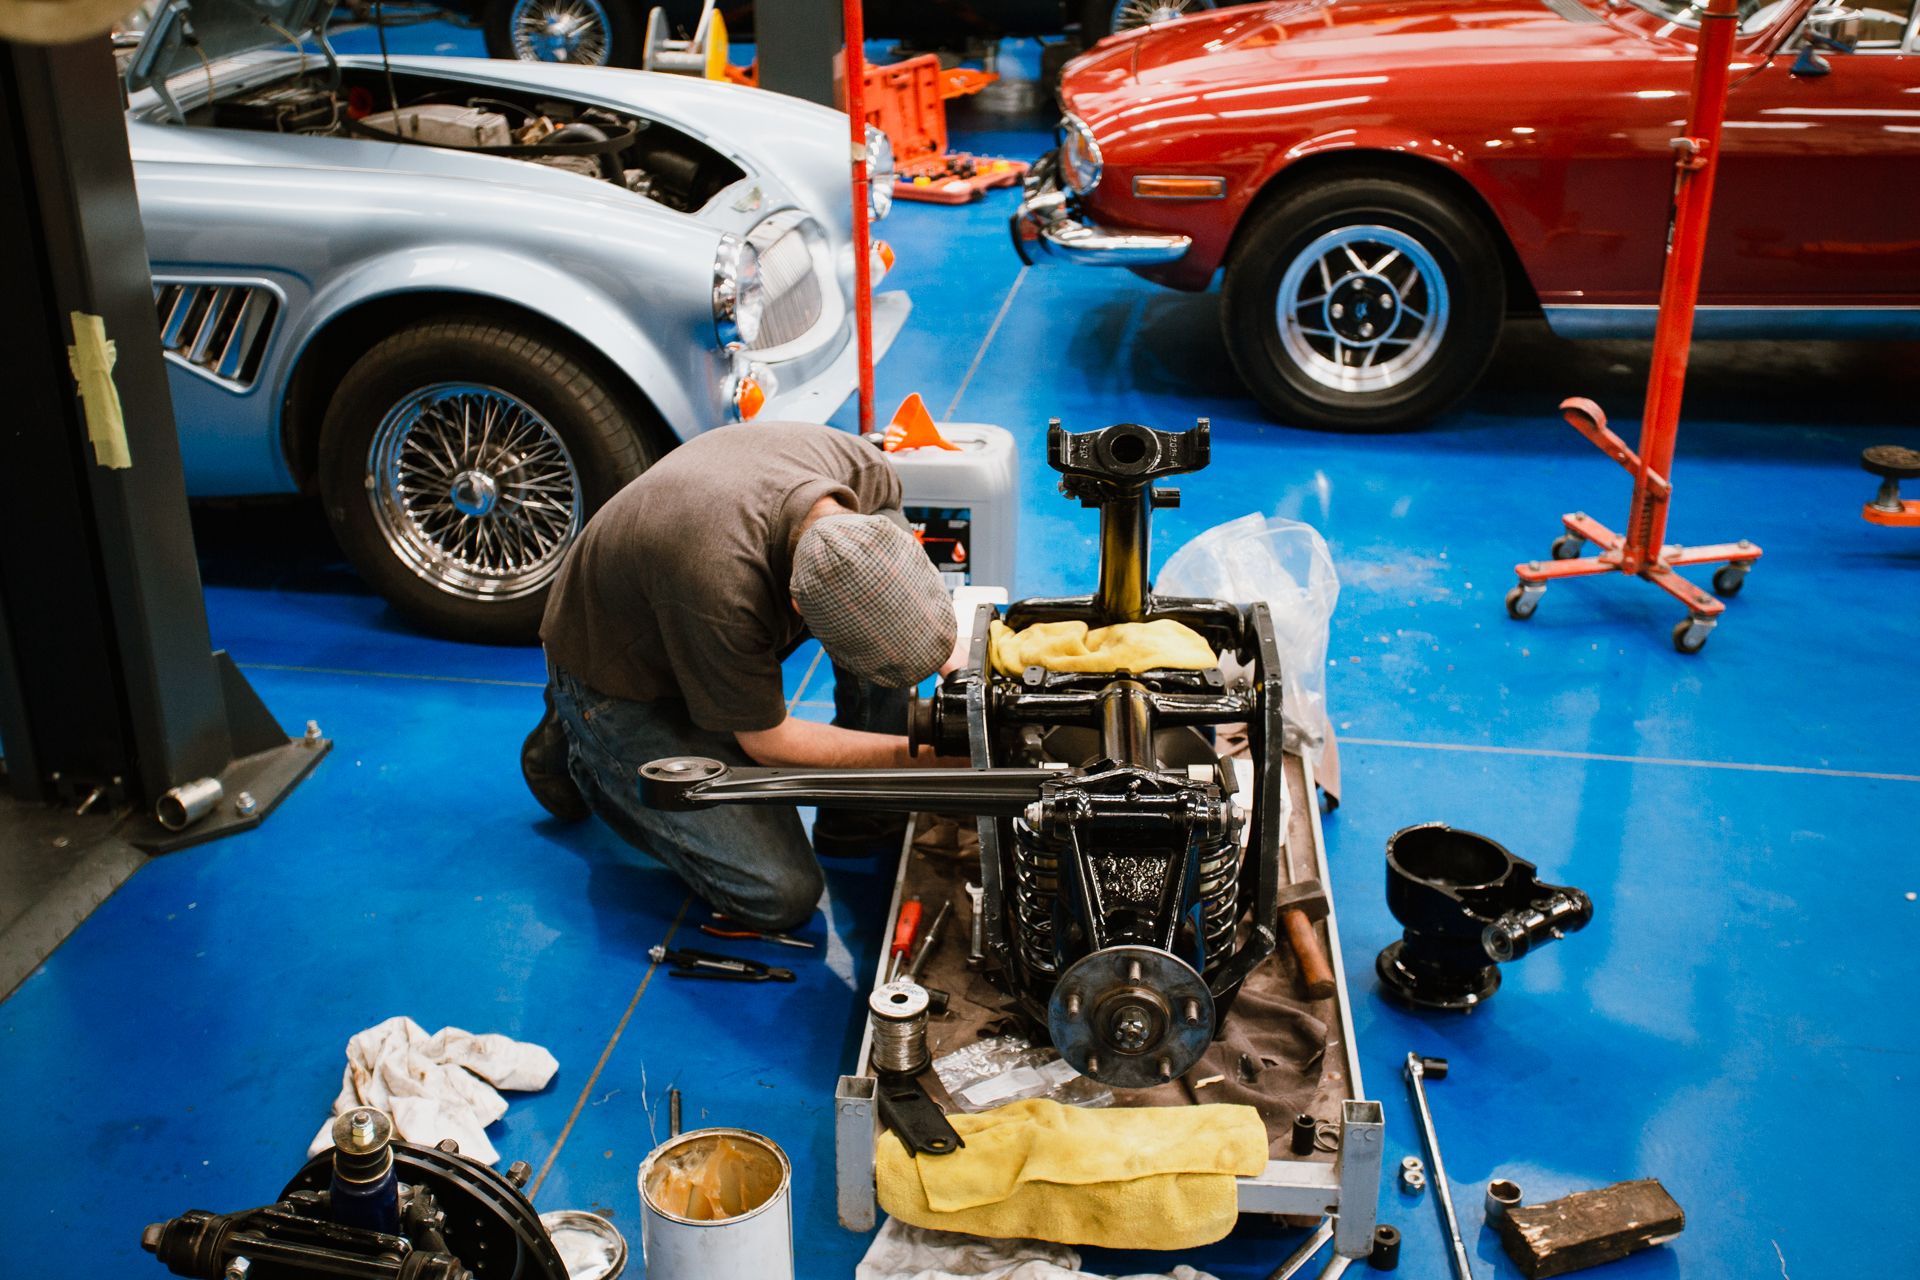
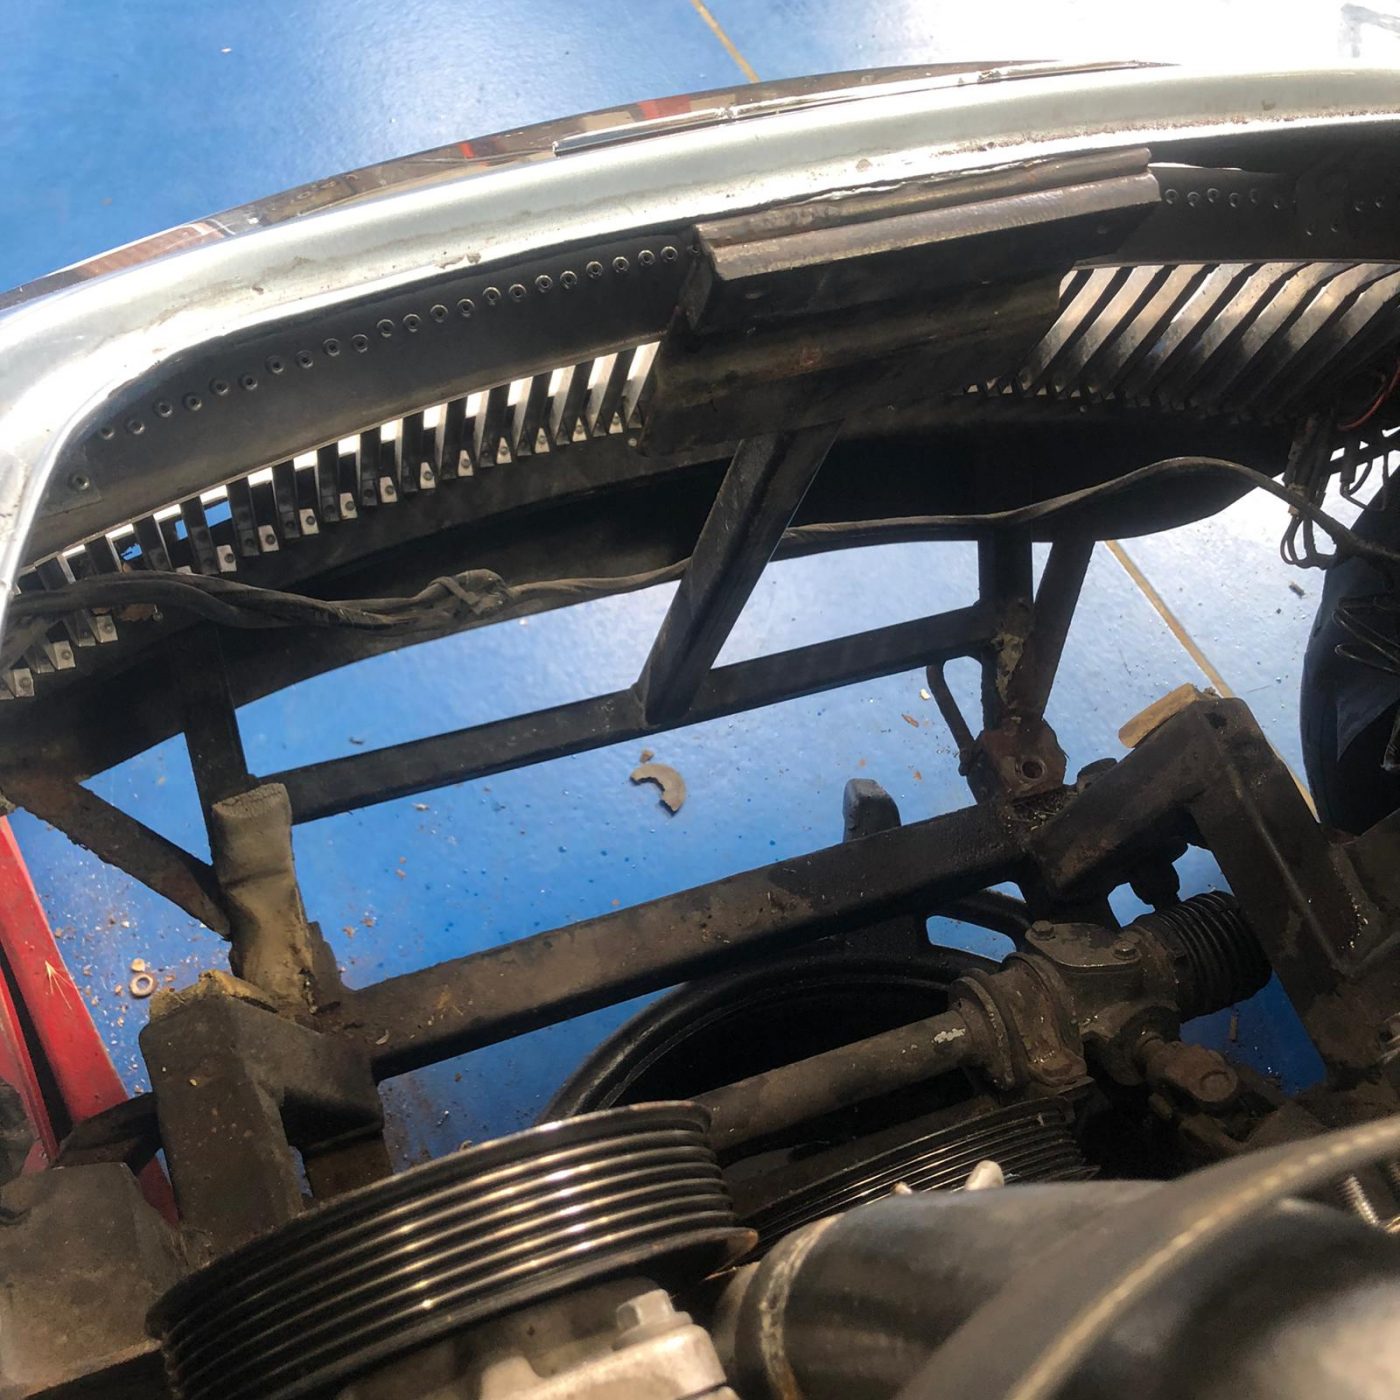
Now that the 1979 Arrow Ferrari Daytona is back in the workshop, Scott’s been straight back to work with it. In these photos you can see he’s started to reassemble the rear axle back together. An interesting point to make with this car is that the discs are on the inside of the rear axle rather than on the actual wheels.

Just a quick update here to show photos of the 1973 Jaguar E-type Roadster Series 3’s hood frame that’s recently been painted by Chris in the paint shop.

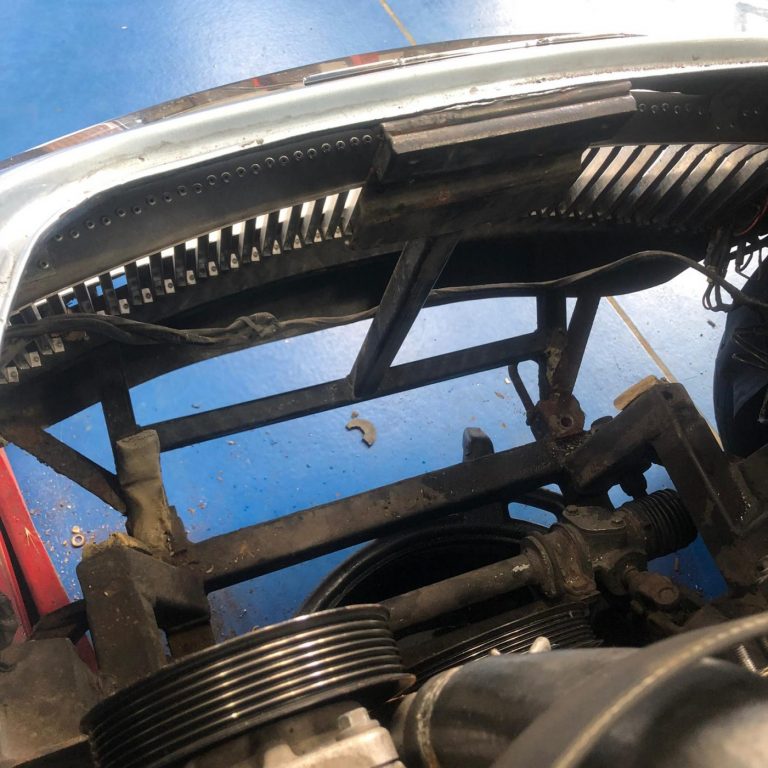
The radiator has been removed and sent away to Sheldrake and Wells for further investigations.
Sheldrake & Wells Ltd. based in Ipswich, are now the only radiator specialist in Suffolk that undertake the repair and reconditioning of car, commercial and industrial radiators.
The company was formed back in 1975 and is now under the second generation of family management. Originally formed to provide repair and reconditioning of automotive and commercial radiators but over the years have increased the products to include number plate production and other related services including the supply of air conditioning parts and with over 500 units in stock.
We have worked alongside Sheldrake & Wells for many years and love the work they do!
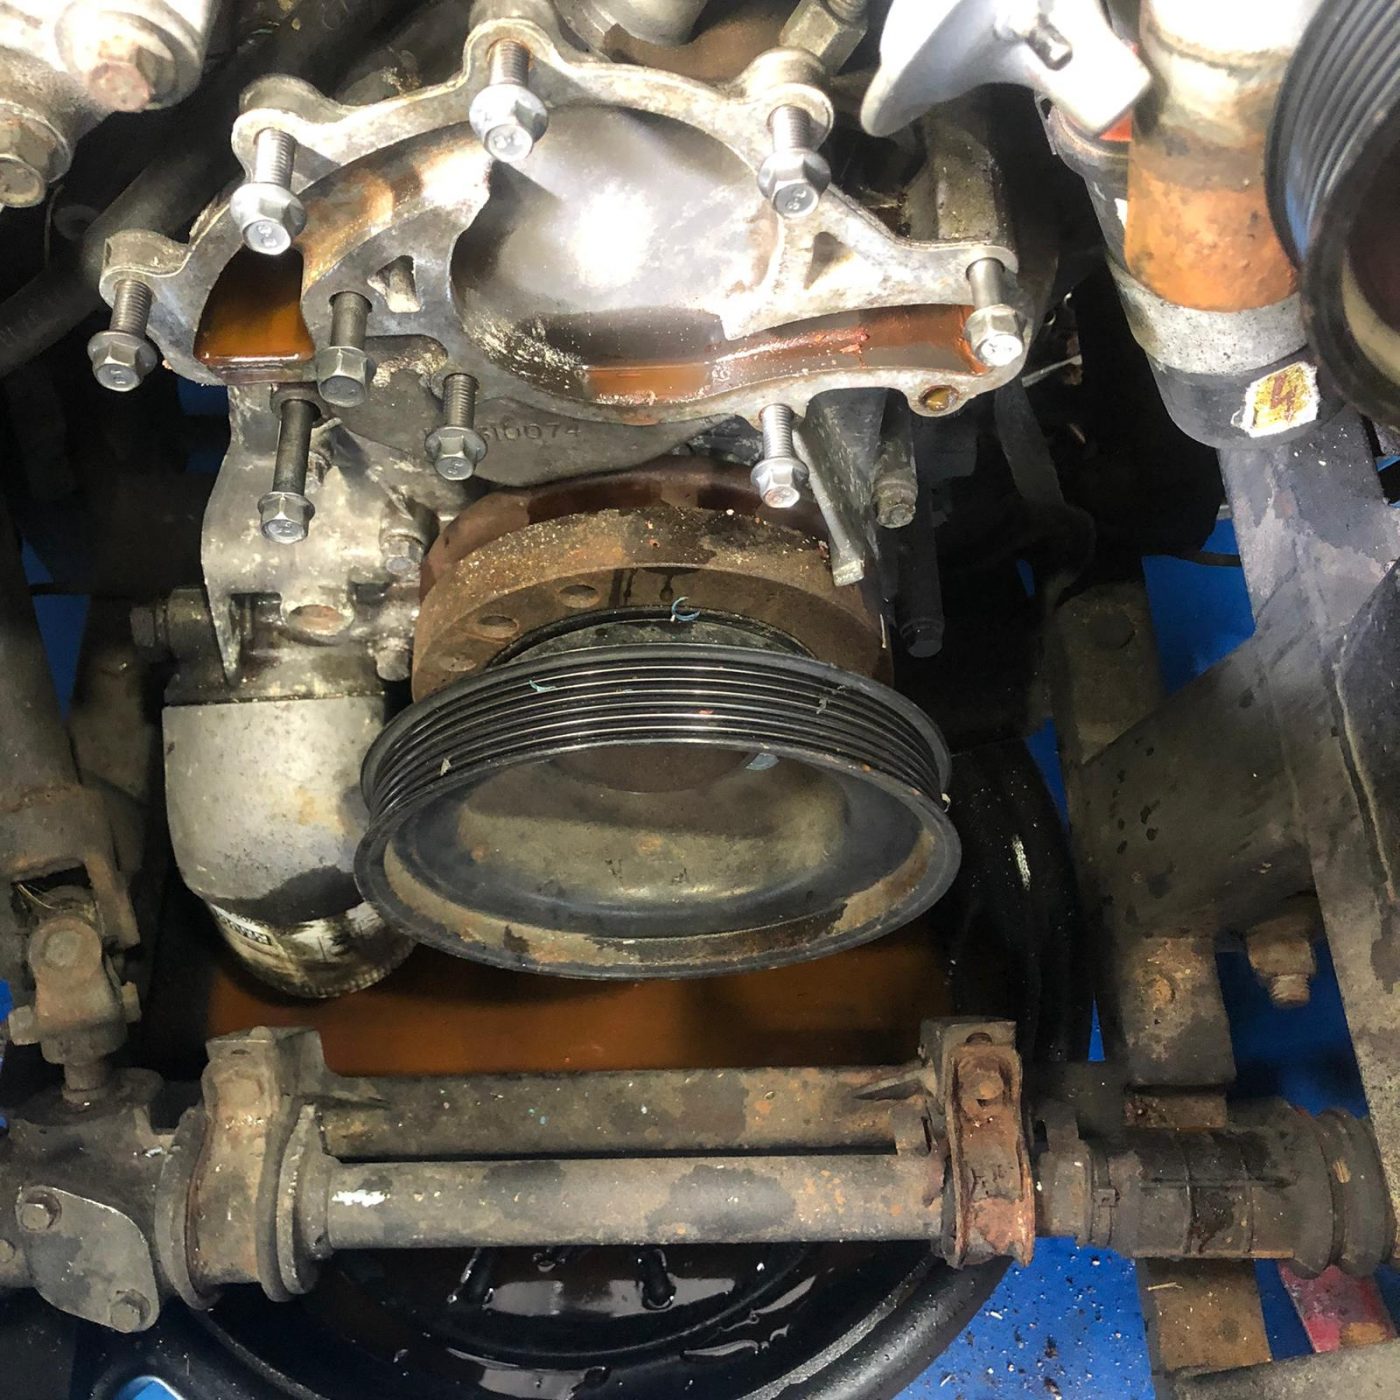
Ady has also removed the water pump to replace with a new unit.
