Grey Jensen’s New Speedo
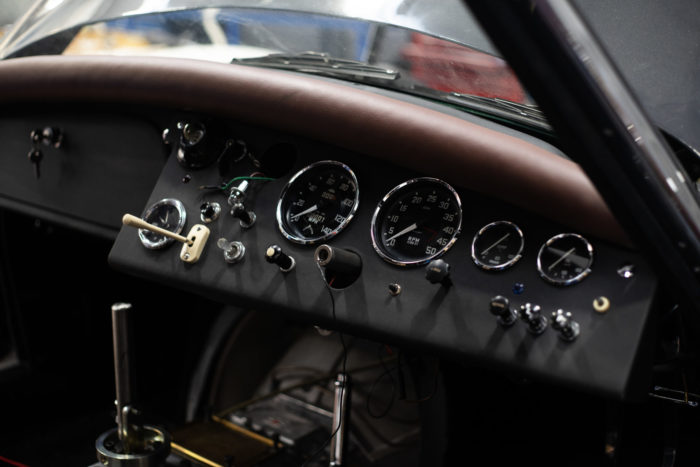
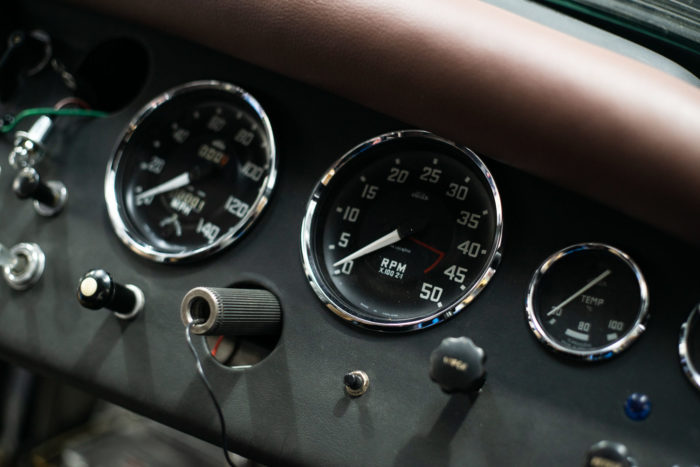
Our lovely 1957 Grey Jensen 541R/S now has its new speedo fitted into the dash. It’s also had its steering centralised. John is now going


Our lovely 1957 Grey Jensen 541R/S now has its new speedo fitted into the dash. It’s also had its steering centralised. John is now going
Our classic Jaguar MKVII has recieved its first layer of paint. Chris and Matt spent the morning masking the body up in preparation for paint.
Our 1934 Austin Seven Nippy has been completed as of today and we’re delighted to see it up and running! Gordan and Craig took it
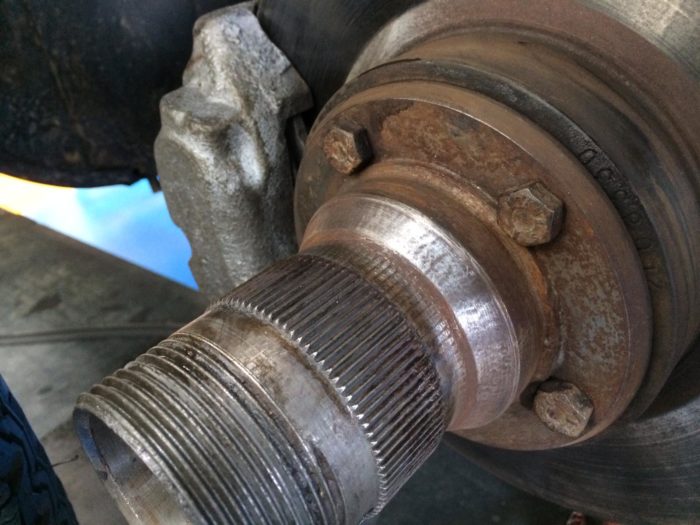
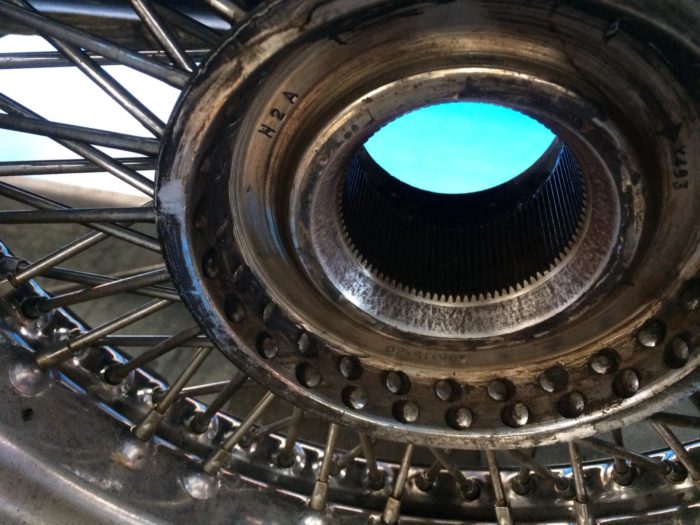
Our 1973 Blue Jaguar E-Type has had its front inner wheel hub replaced as the rings near the splines were showing serious wear from spinning
With everything finished on our 1968 Jaguar E-Type roadster, there’s one last thing to do before we send it on its way. We found a
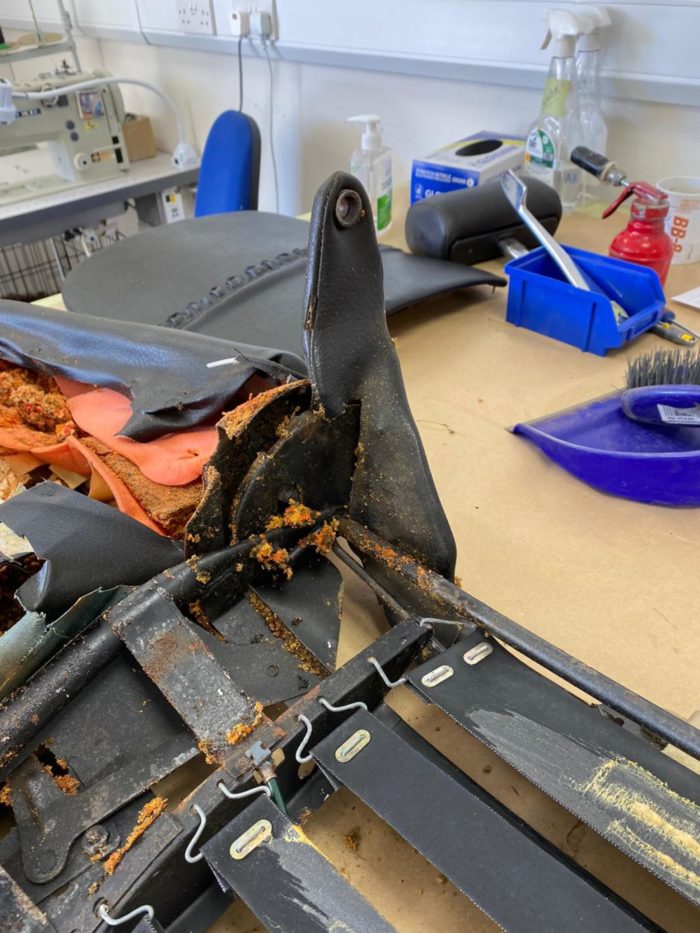
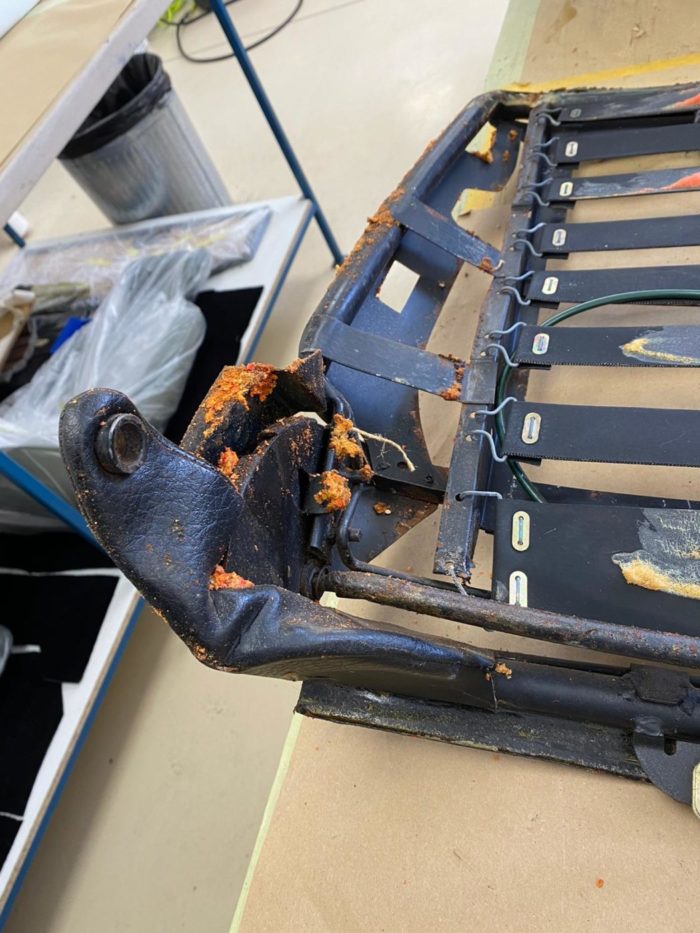
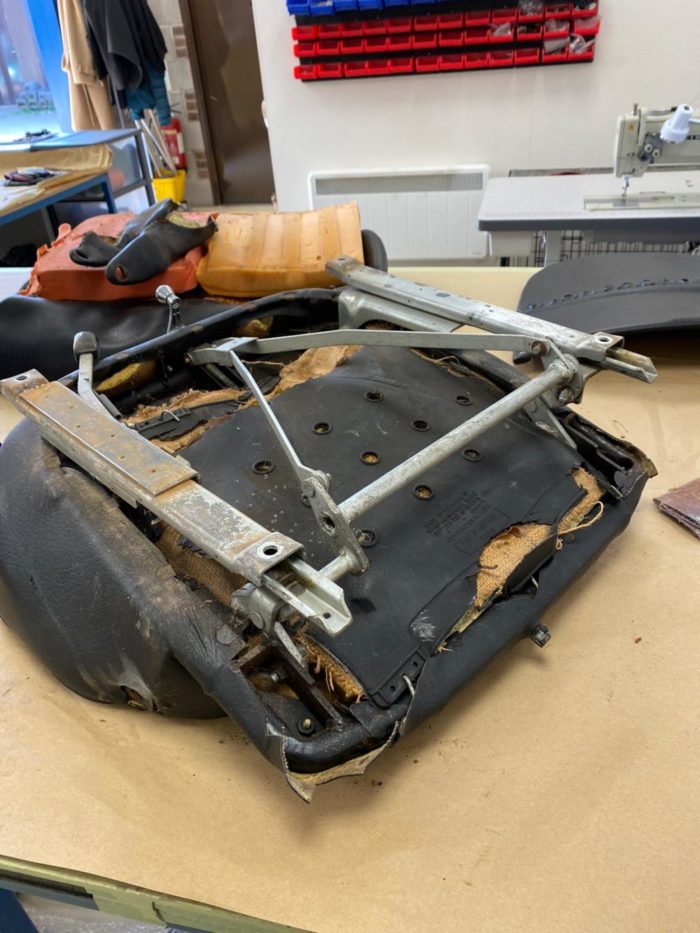
The trim shop having been tackling our red 1973 Triumph Stag interior restoration recently, which has begun by stripping all the seats down to their
Tom has begun to catalogue the different wiring looms for our 1960 Jensen 541S. He’s started with the rear wiring loom, connected the rear indicators,
We’ve now begun stripping the paint from our 1973 Beverly Hills E-Type bonnet so that it can sit in bare metal and ask as a
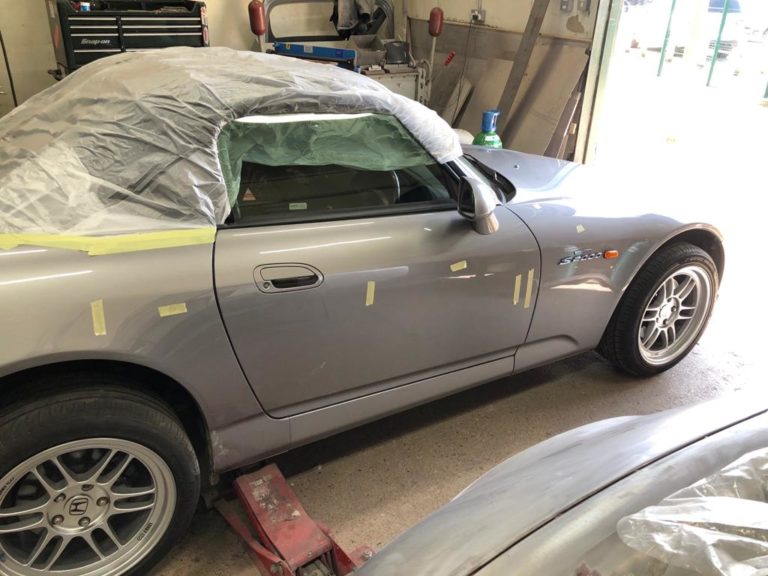
This 2000 Honda S2000 has come in for some paint and rust corrections on its wheel arches, boot, bonnet and side panels. These minor imperfections
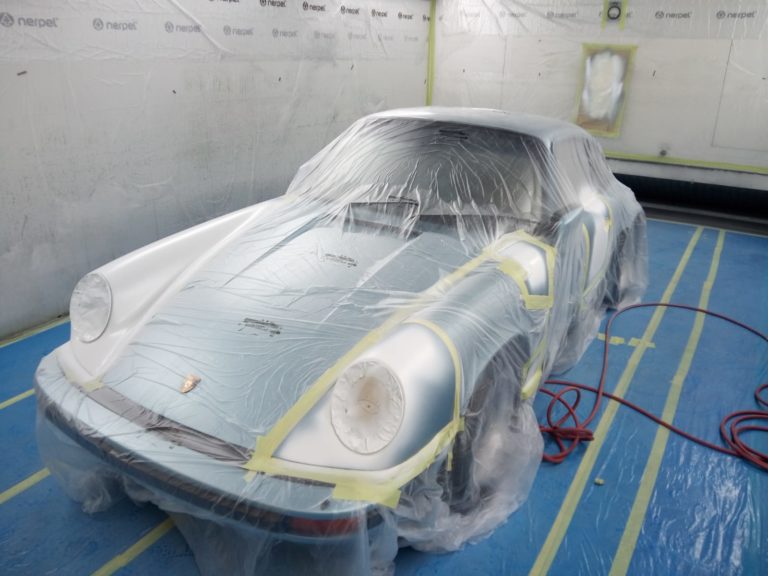
Our stunning 1982 Porsche 911SC has come in recently for some paint TLC. The paint shop have been accessing what needs doing and in the
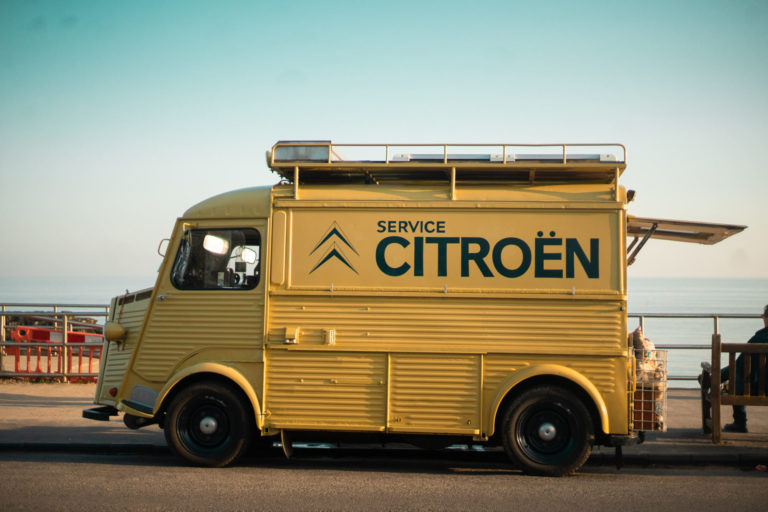
When we’re out and about, we love to see classic cars, and when we do, we try our best to snap a photo of it
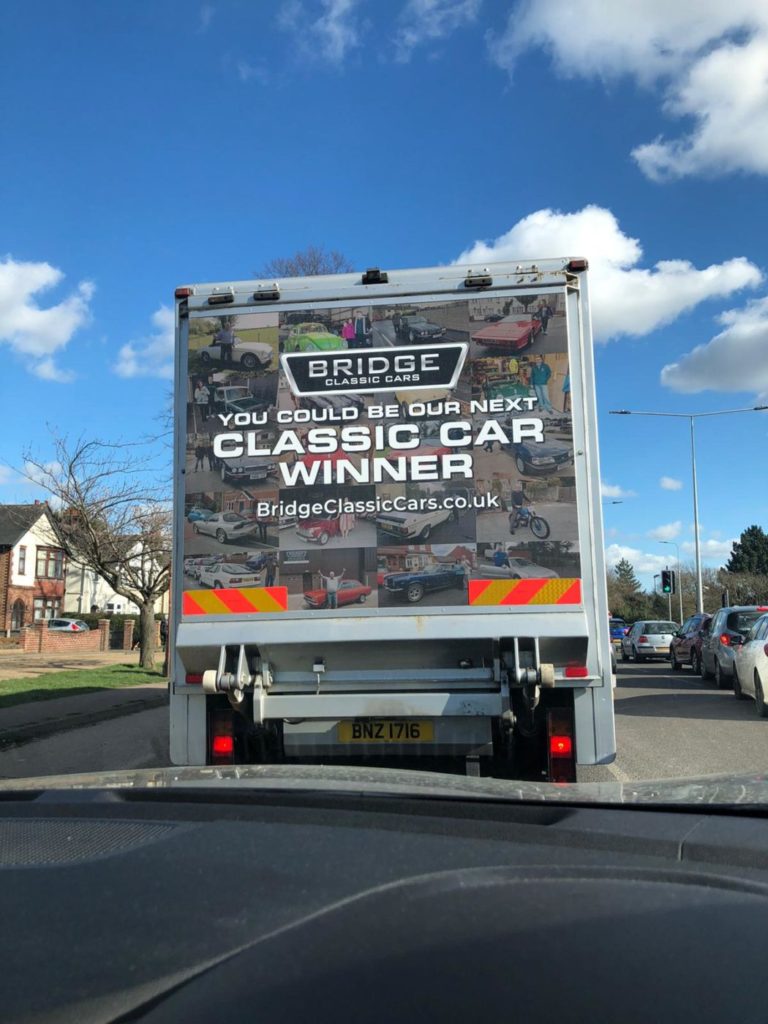
We often hear from commuters when our van and lorry have been spotted travelling up and down the country. We’re always delivering and collecting exciting
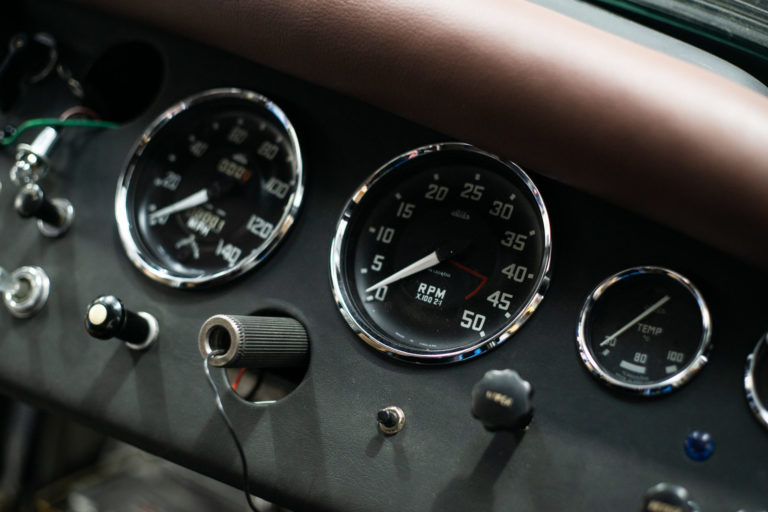
Our lovely 1957 Grey Jensen 541R/S now has its new speedo fitted into the dash. It’s also had its steering centralised. John is now going to start it to see how it runs and to see if there are any teething issues which he will correct accordingly.
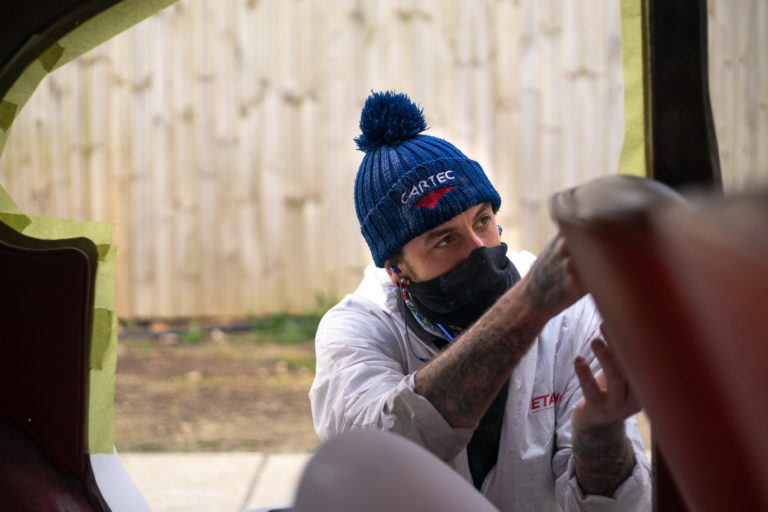
Our classic Jaguar MKVII has recieved its first layer of paint. Chris and Matt spent the morning masking the body up in preparation for paint. The body has sat in primer which had been smoothed out ready be painted over in the final cream colour.
Chris started painting the body this afternoon. The doors and outer panels have already been done, meaning that when the body is finished, it will start to resemble the final product all in its original colour. Seen below is the paint process of the body and panels as well as the priming stage.
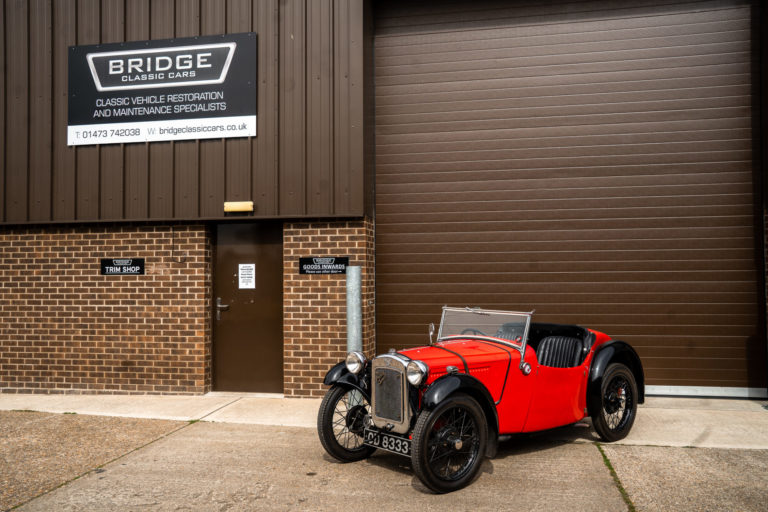
Our 1934 Austin Seven Nippy has been completed as of today and we’re delighted to see it up and running! Gordan and Craig took it out for a test ride and it ran perfectly. With the engine and bonnet back on and all issues resolved, this little Nippy is set to go!
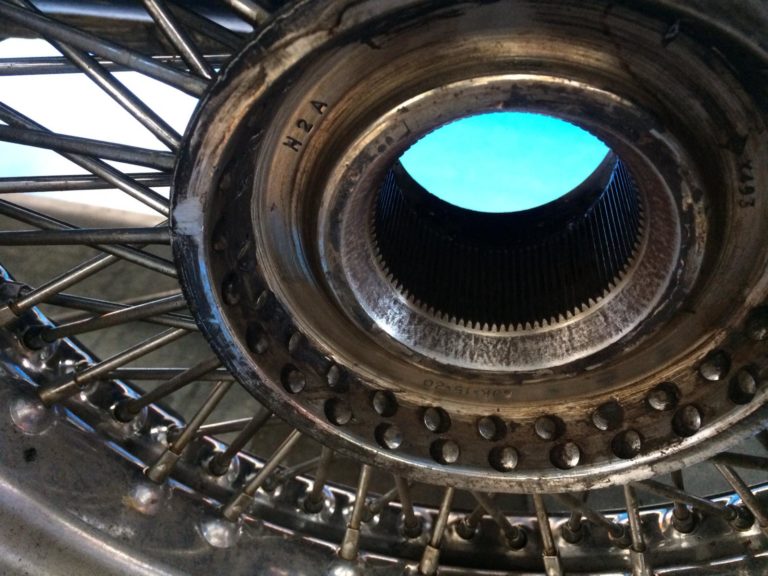
Our 1973 Blue Jaguar E-Type has had its front inner wheel hub replaced as the rings near the splines were showing serious wear from spinning whilst not being correctly bolted in, causing damage to the elements.
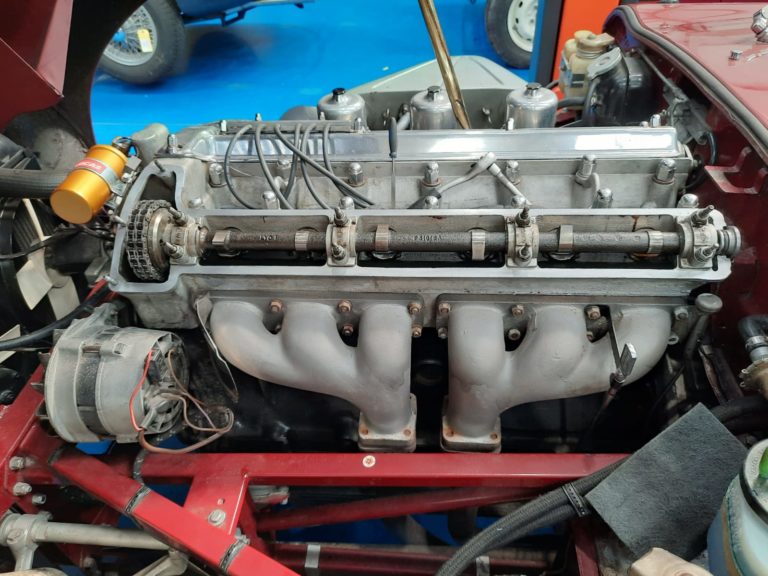
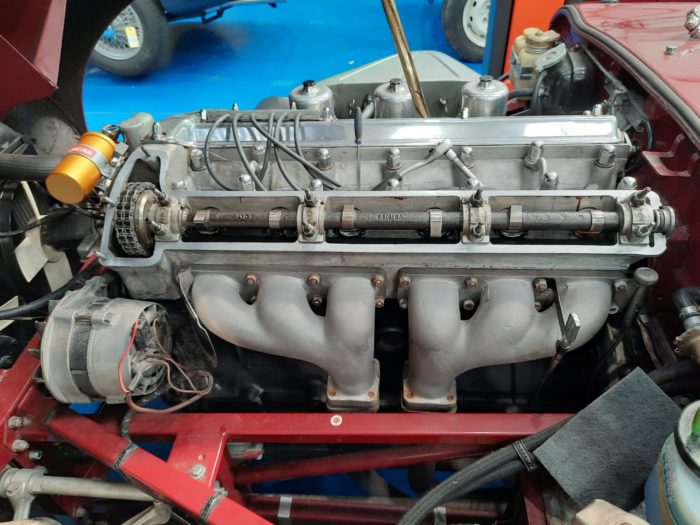
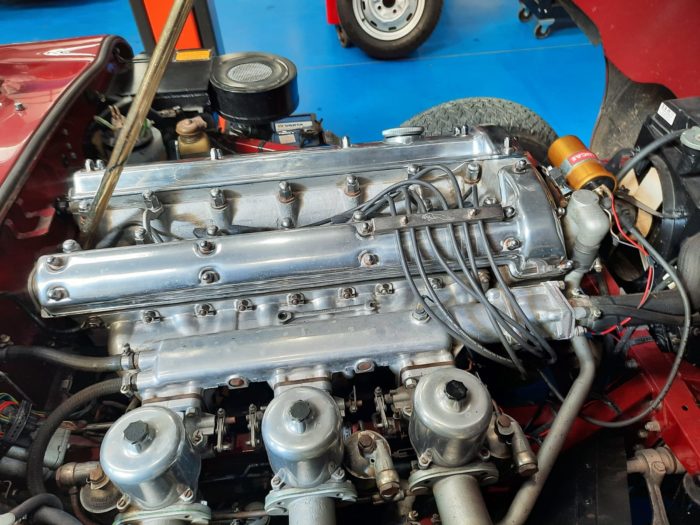
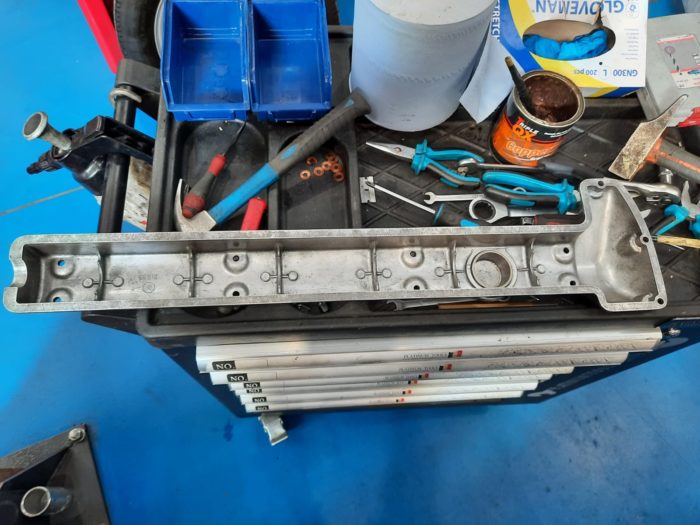
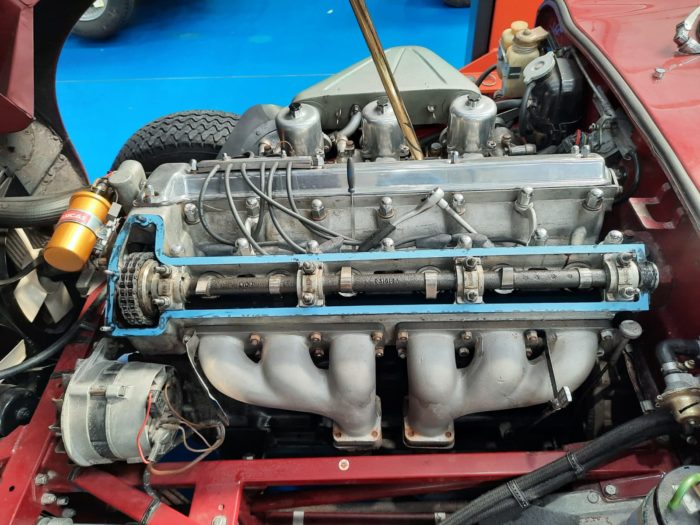
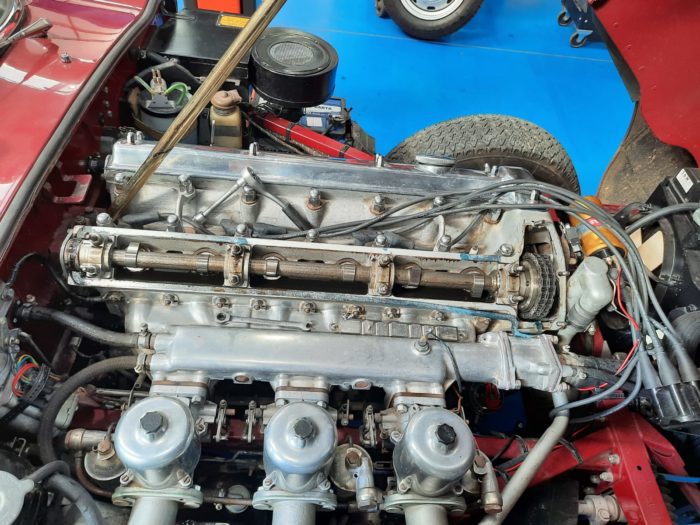
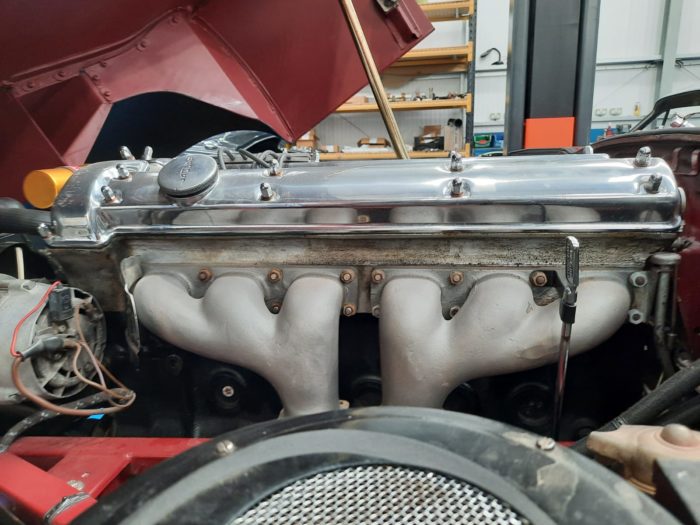
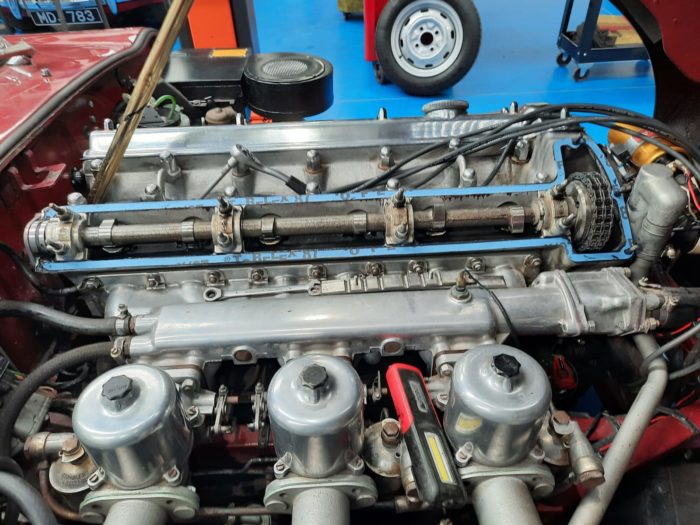
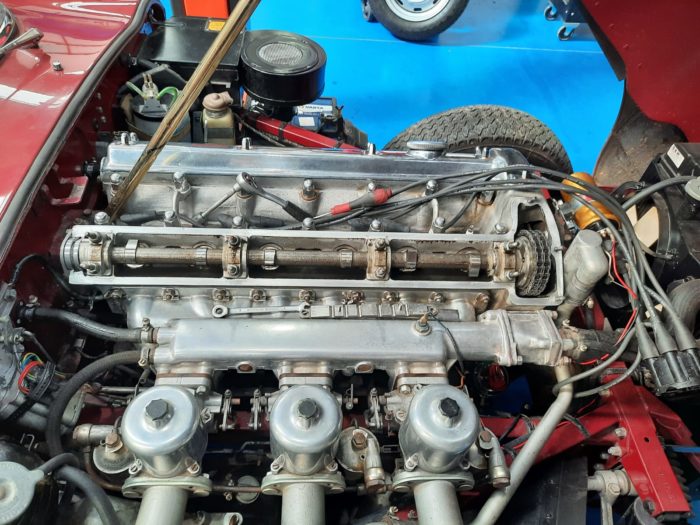
With everything finished on our 1968 Jaguar E-Type roadster, there’s one last thing to do before we send it on its way. We found a leak in the sump which needs a new helicoil.
Mauro has also replaced the rocker cover and the brake hose pipe.
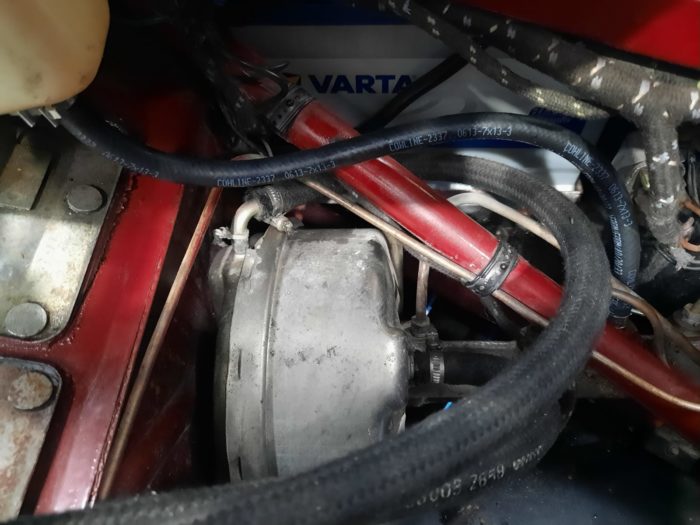
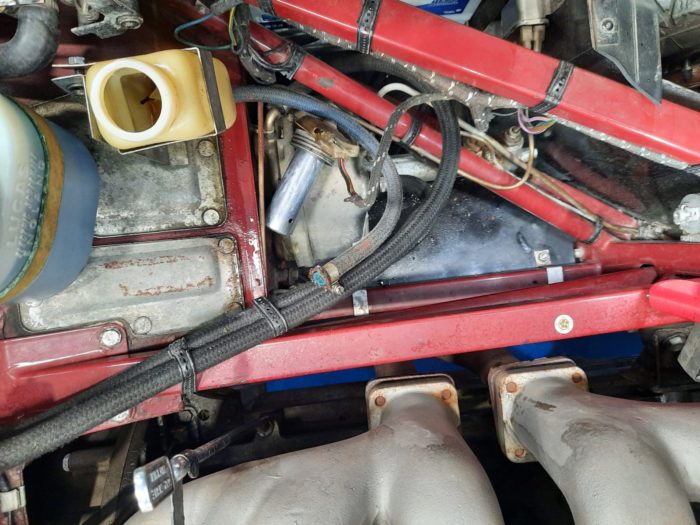
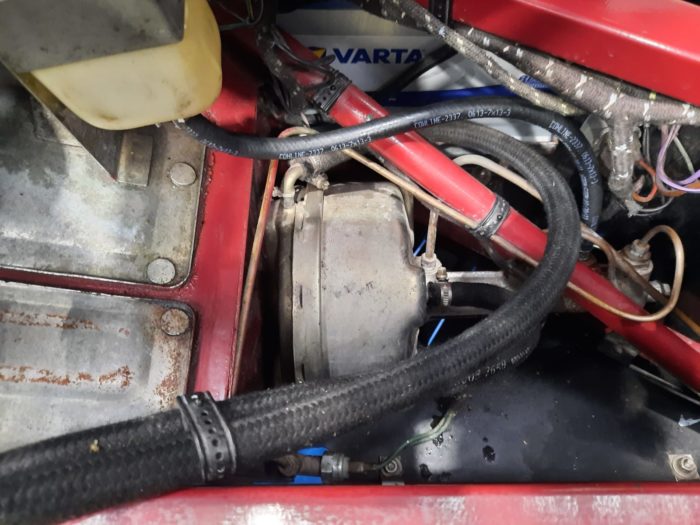
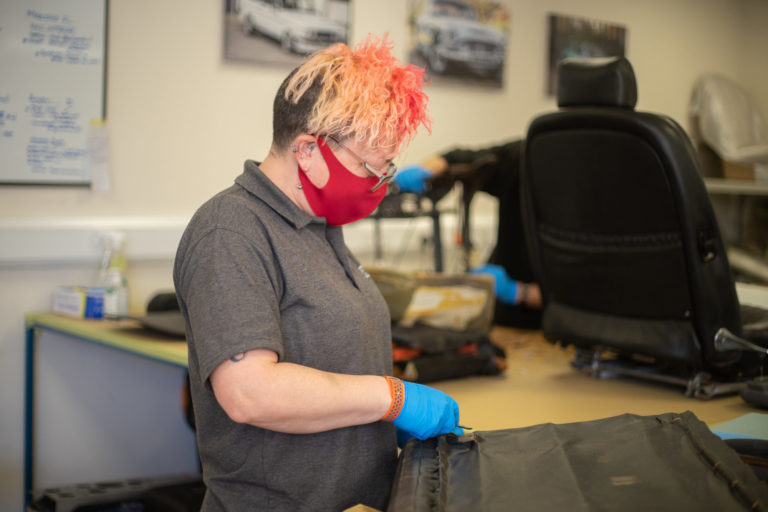
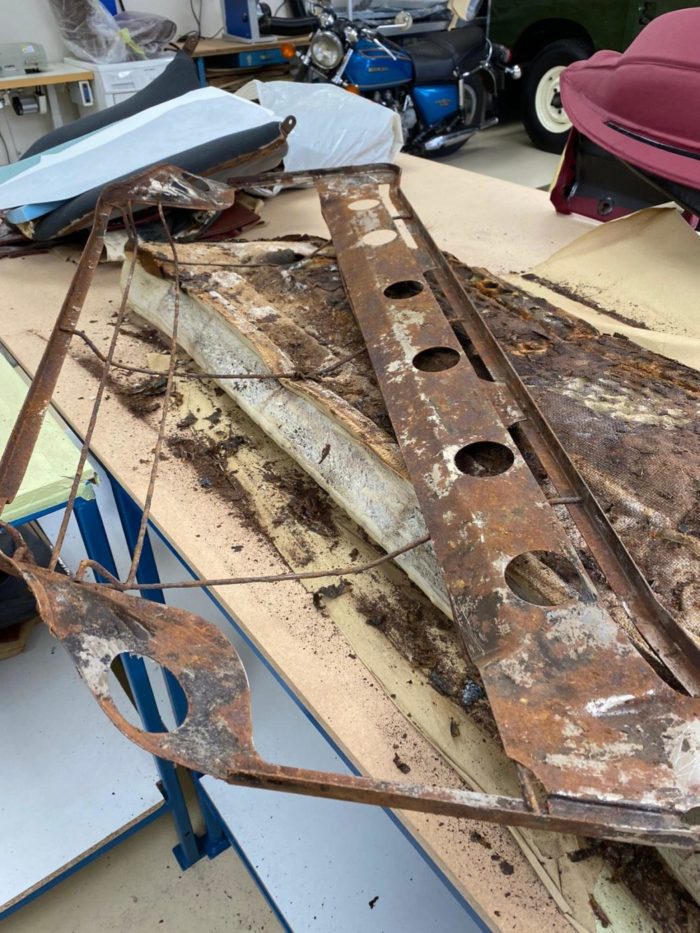
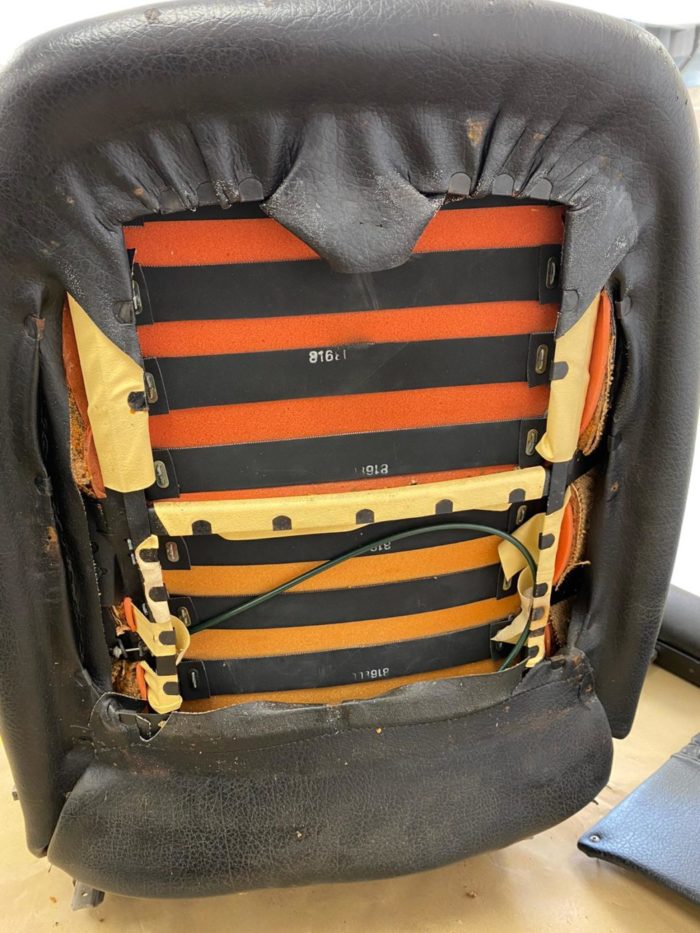
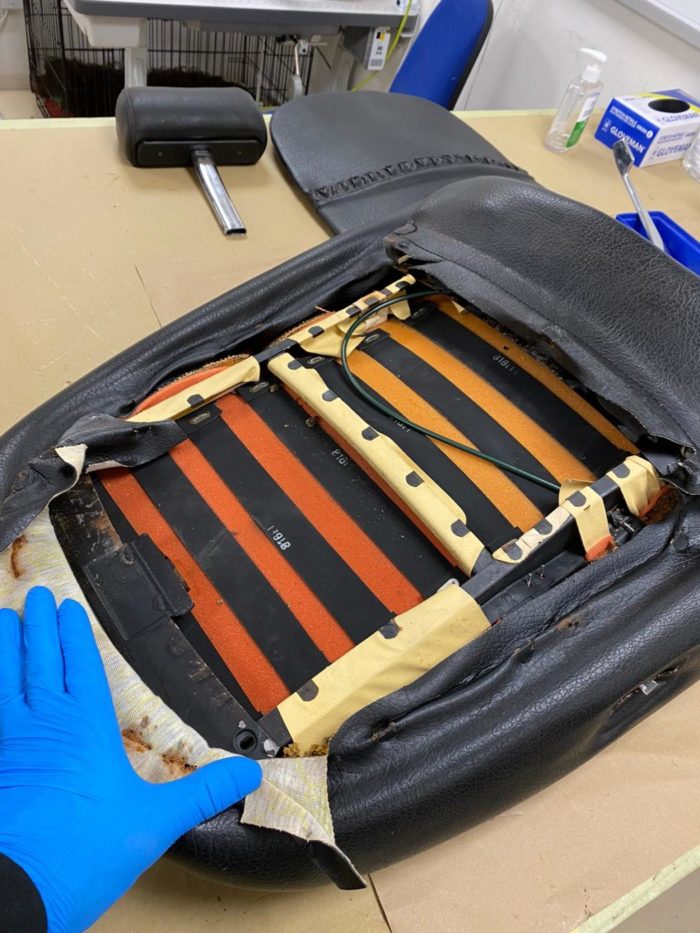
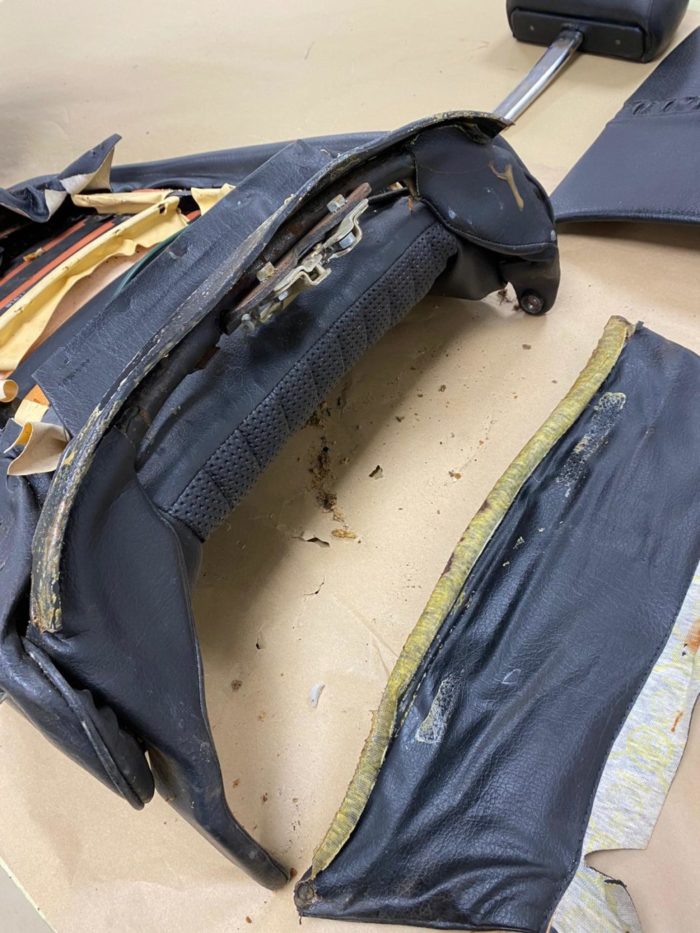
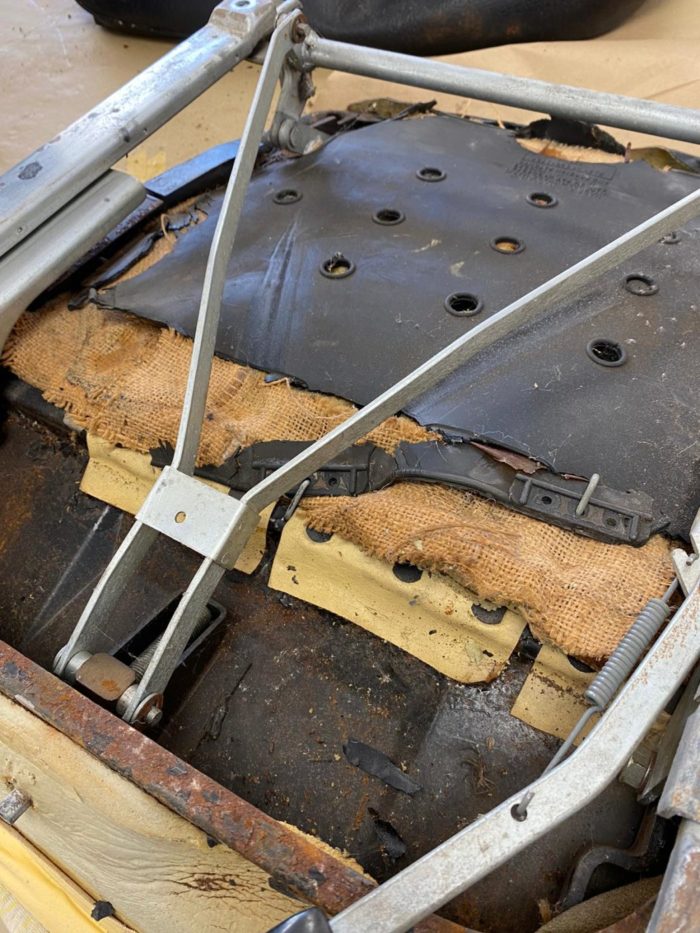
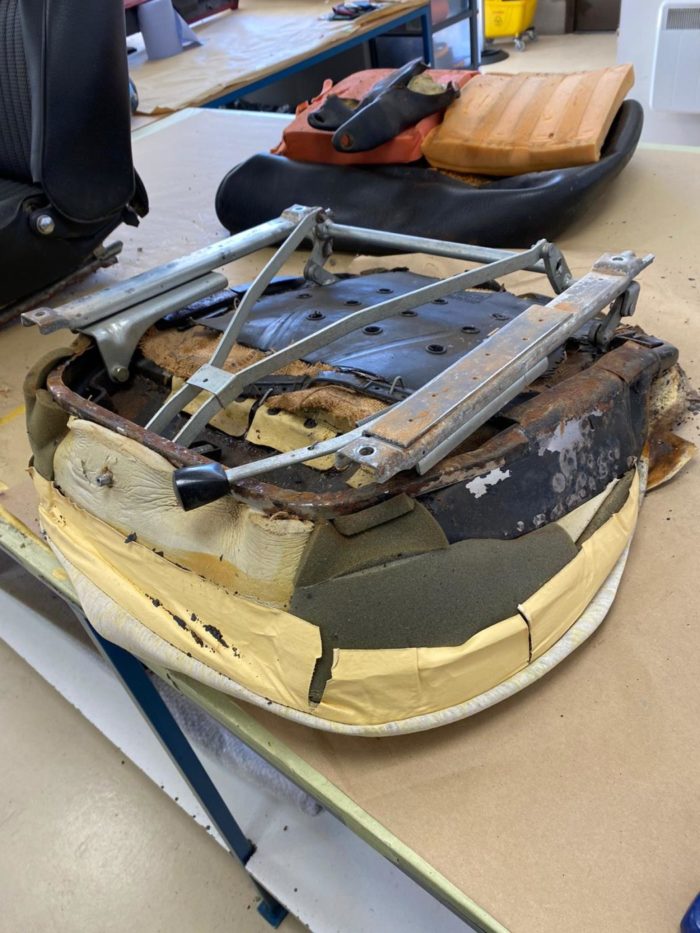
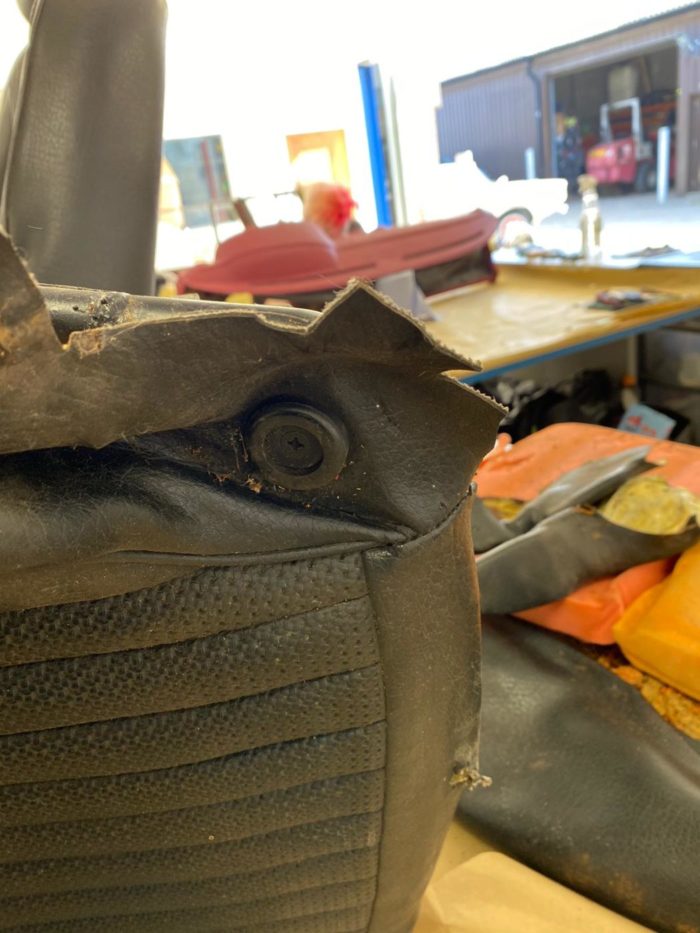
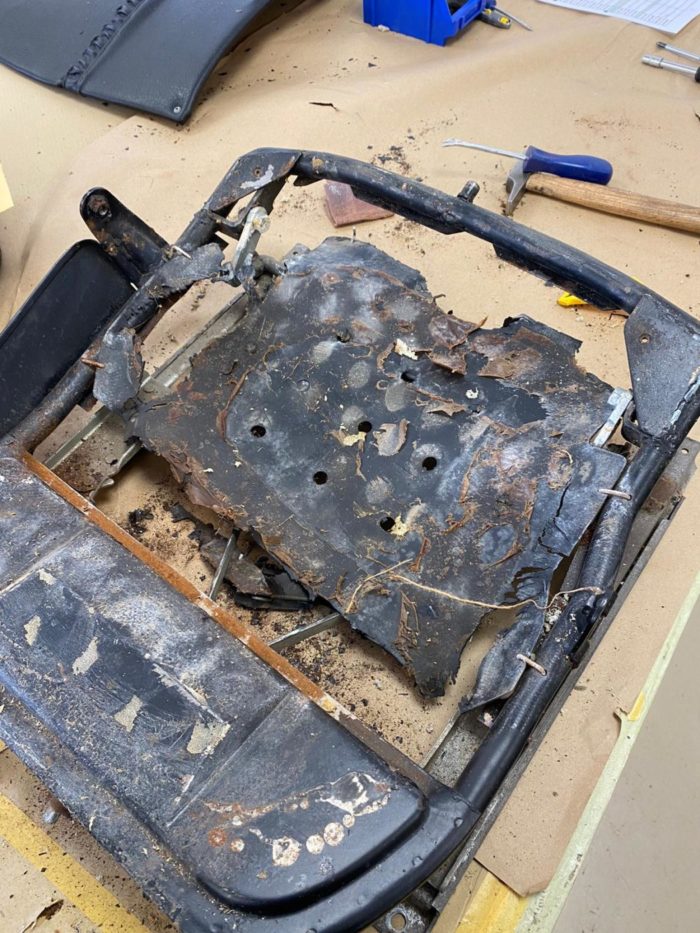
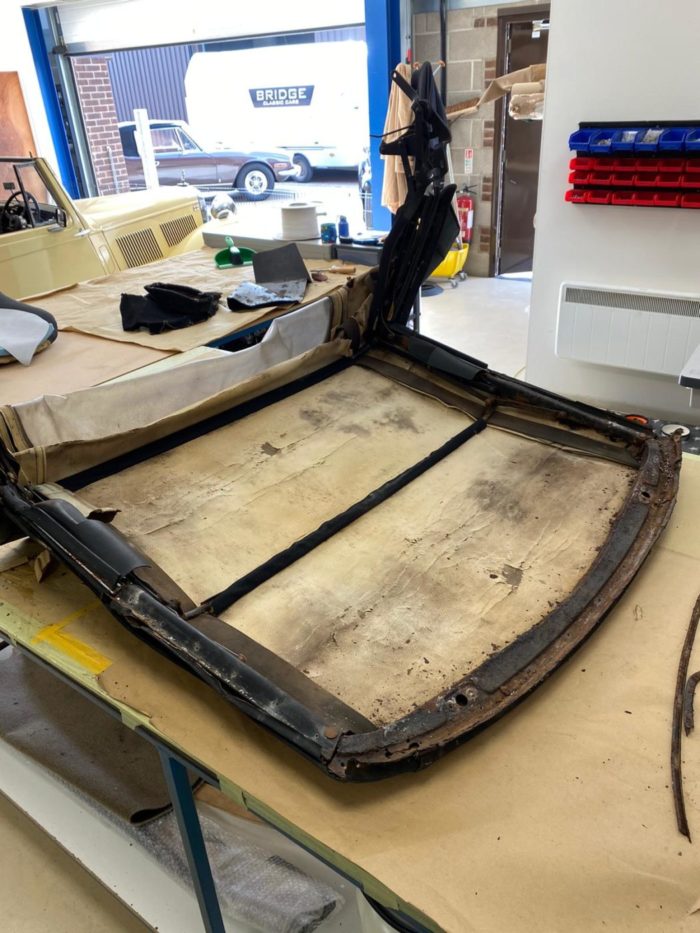
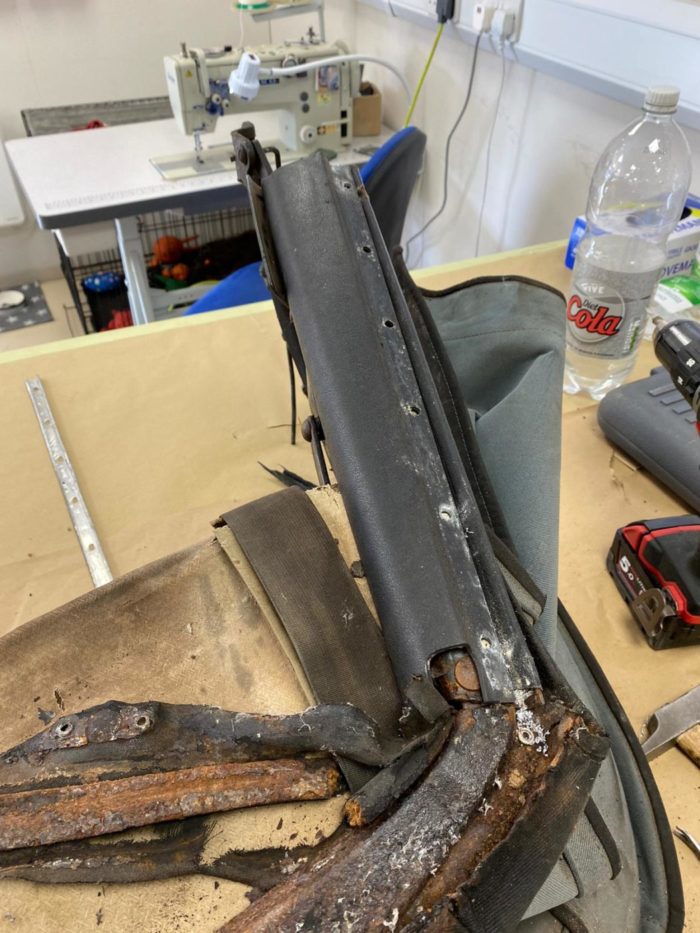
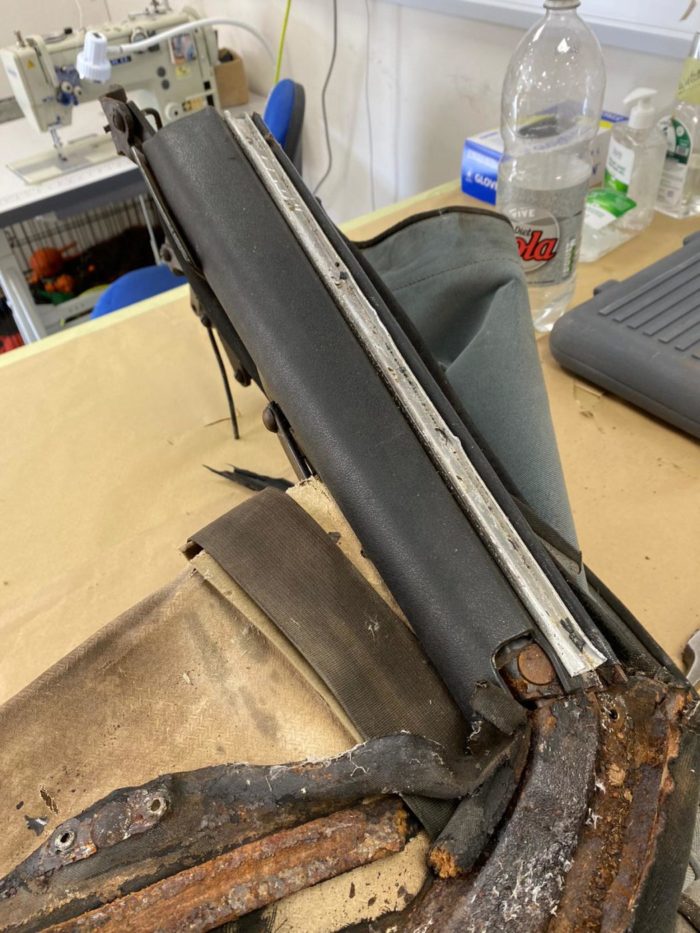
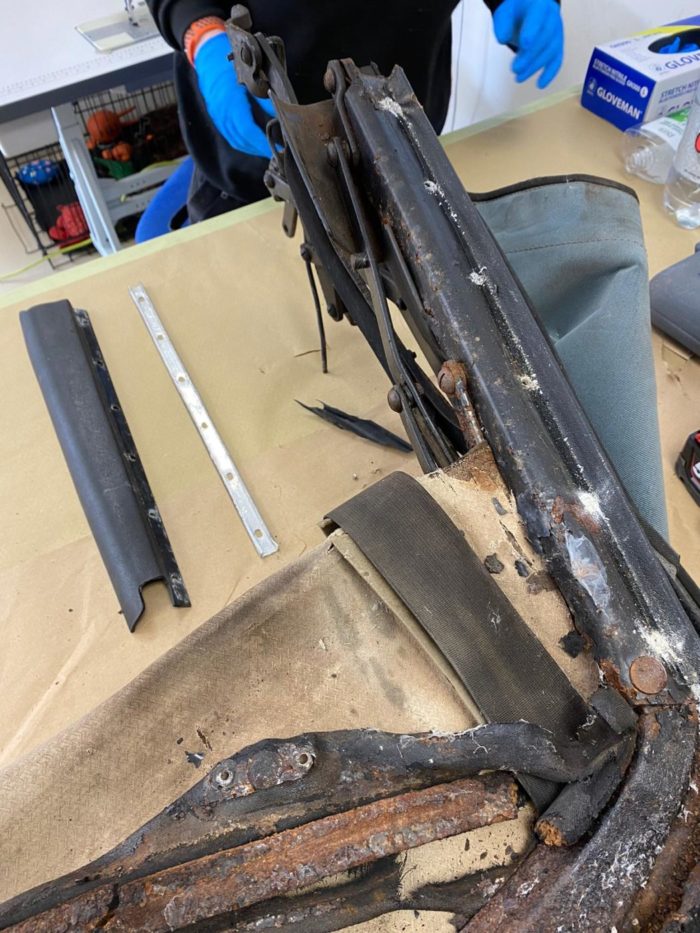
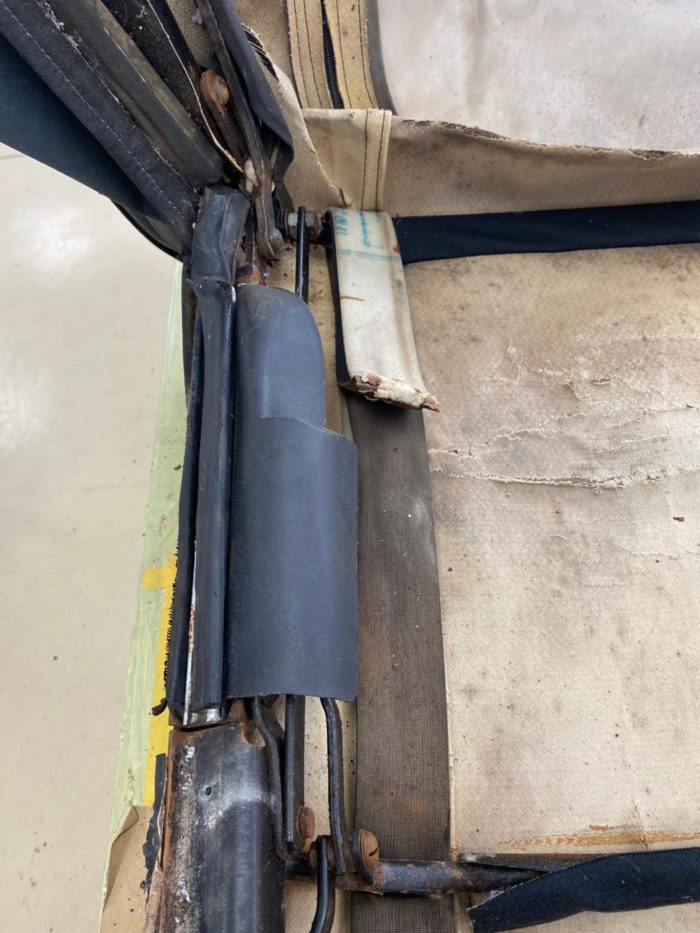
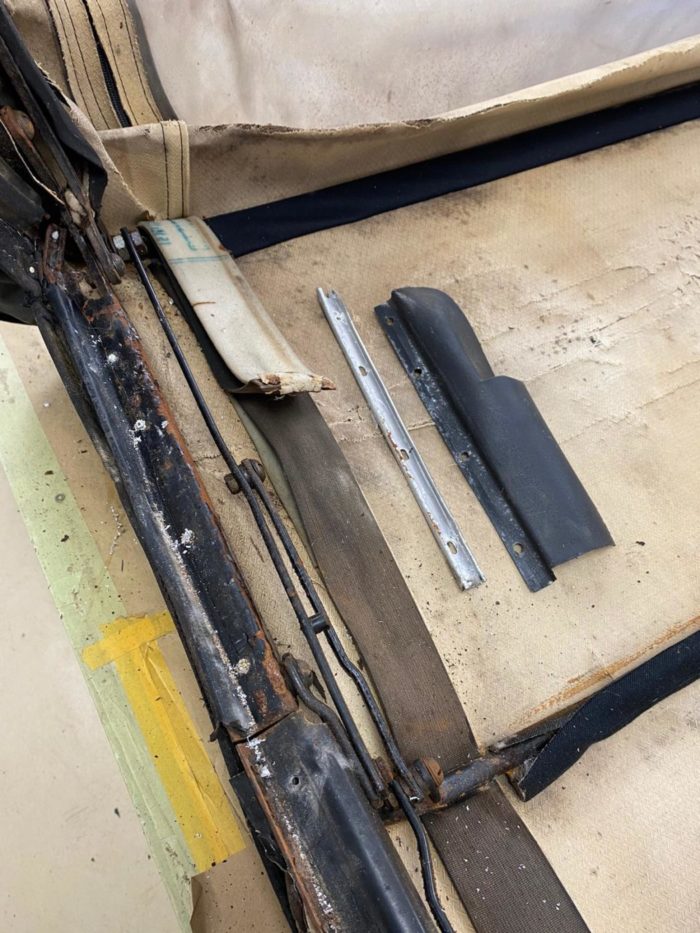
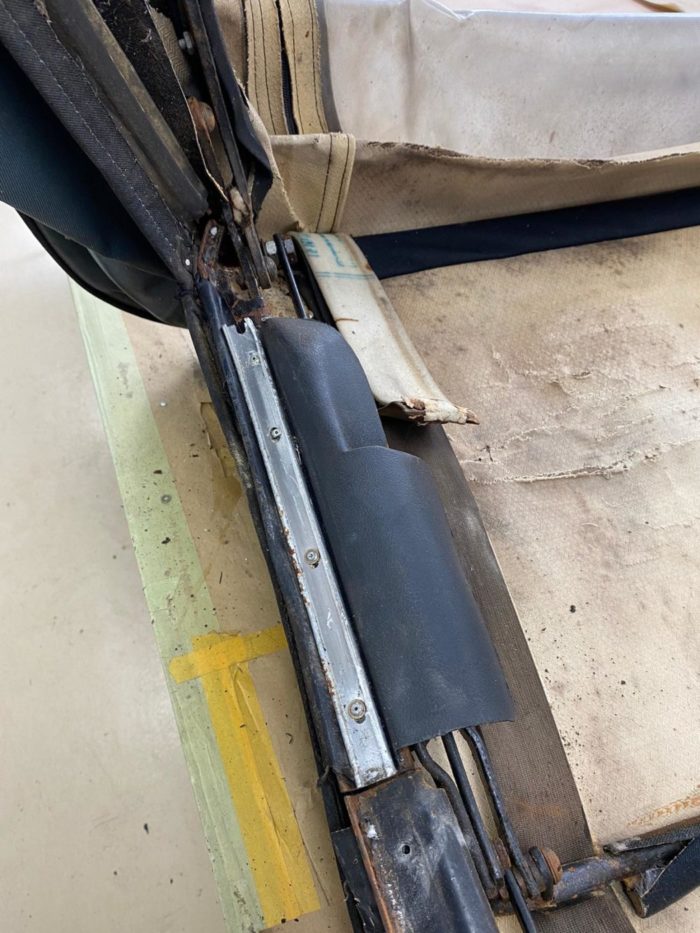
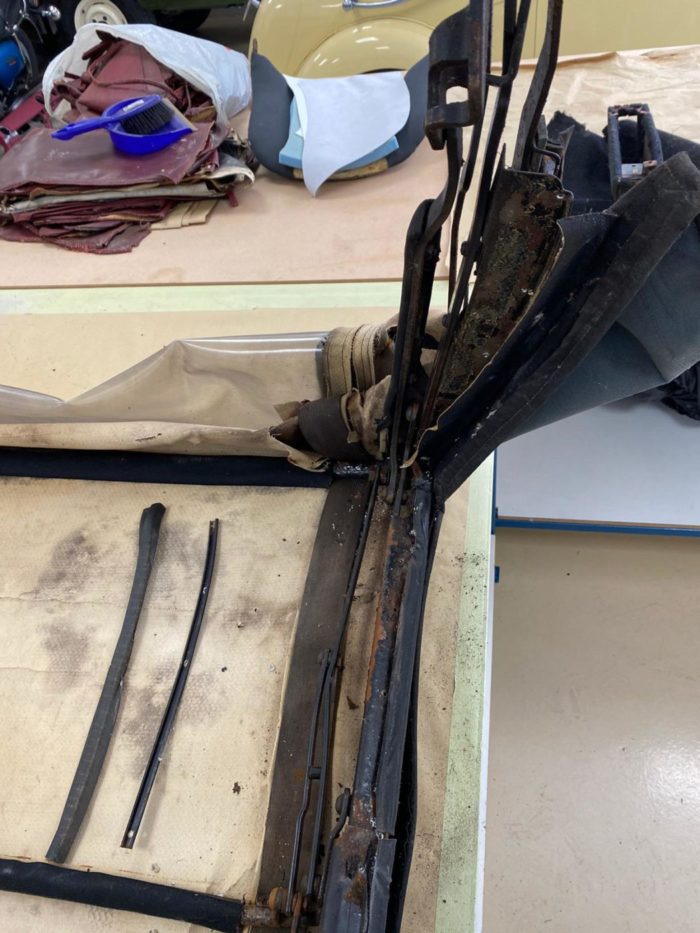
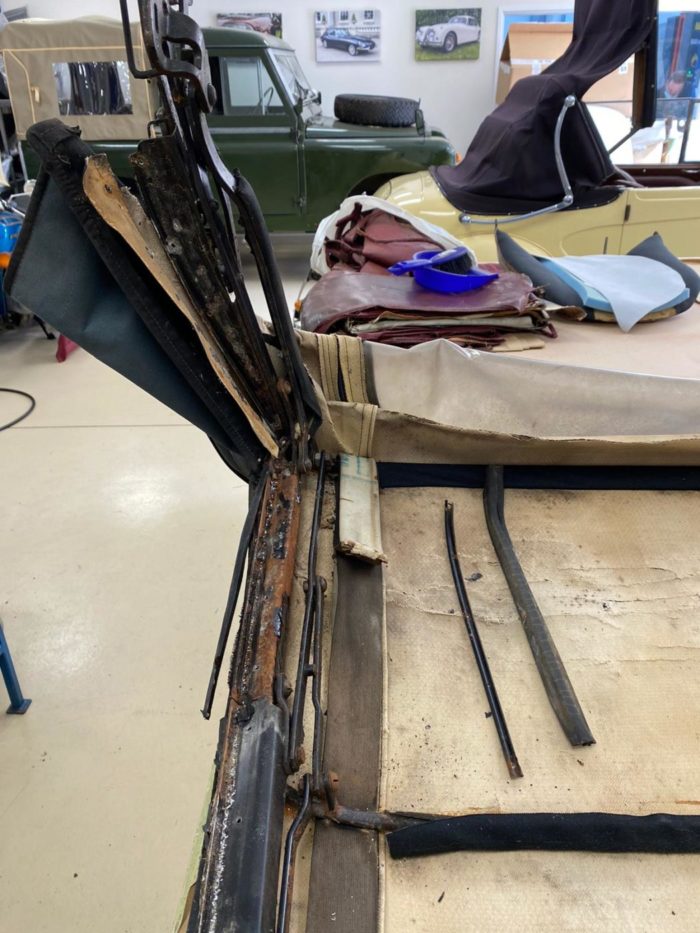
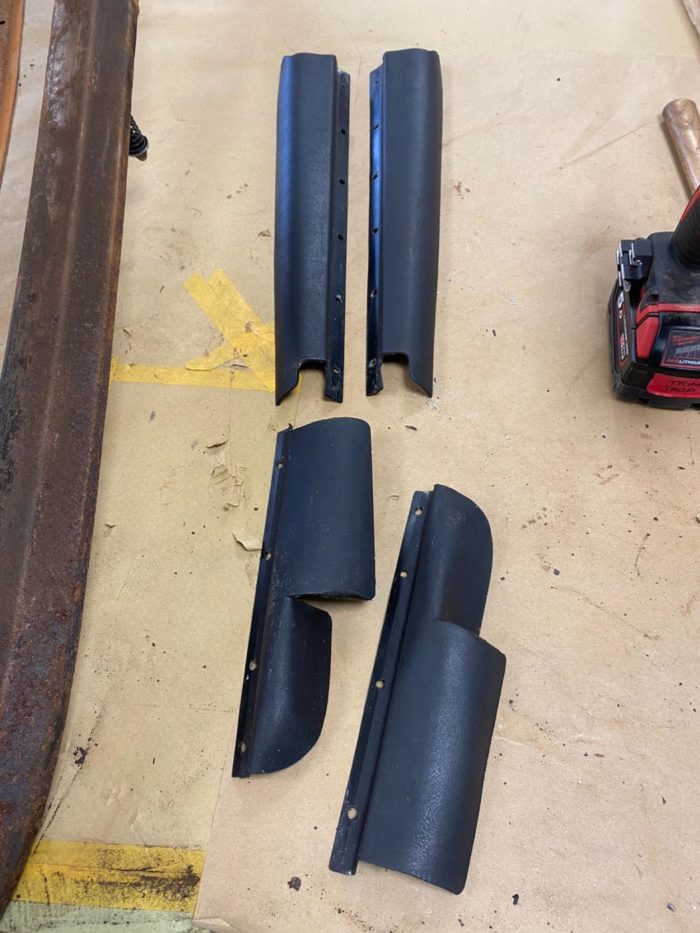
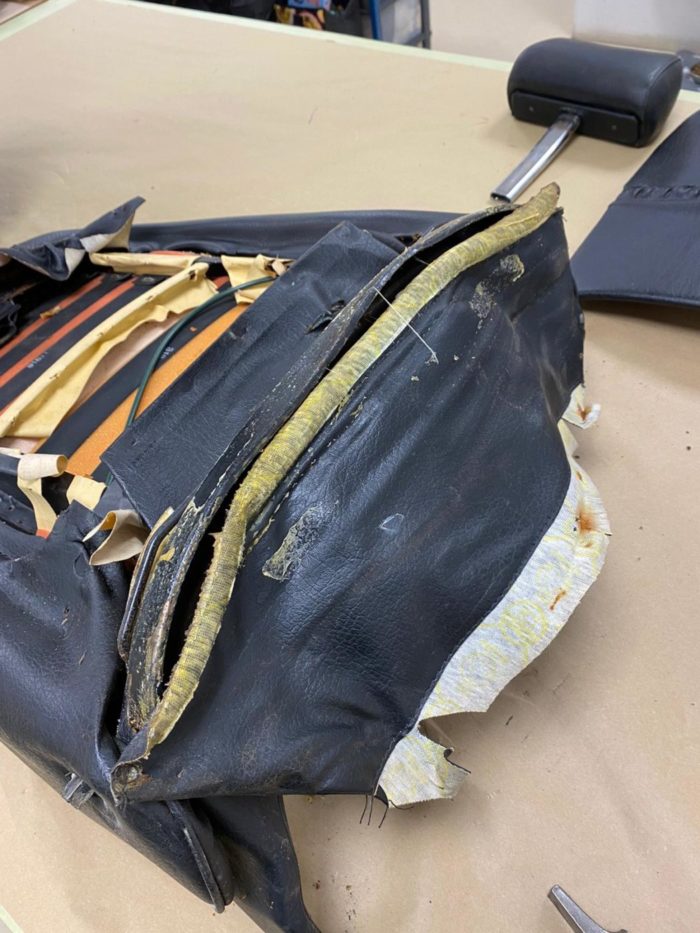
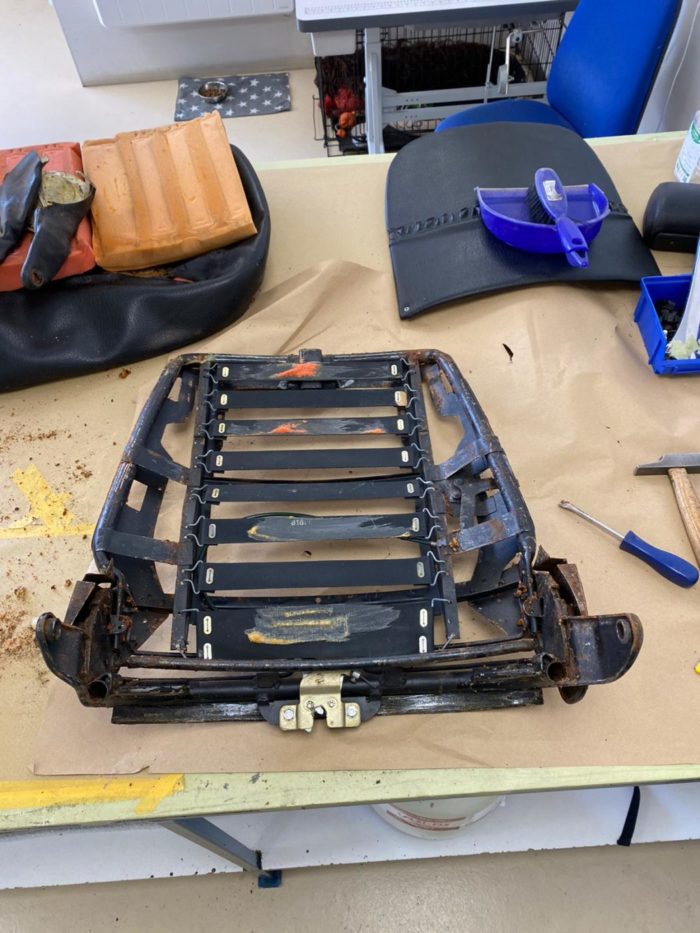
The trim shop having been tackling our red 1973 Triumph Stag interior restoration recently, which has begun by stripping all the seats down to their frames which will be sandblasted. Kath has removed all the hog rings, the back vinyl, the cover and base, the seat clips, as well as removing loose rust and glue from the frames.
The process is gritty and messy but will allow the trim shop to re-cover these seats so they look brand new.
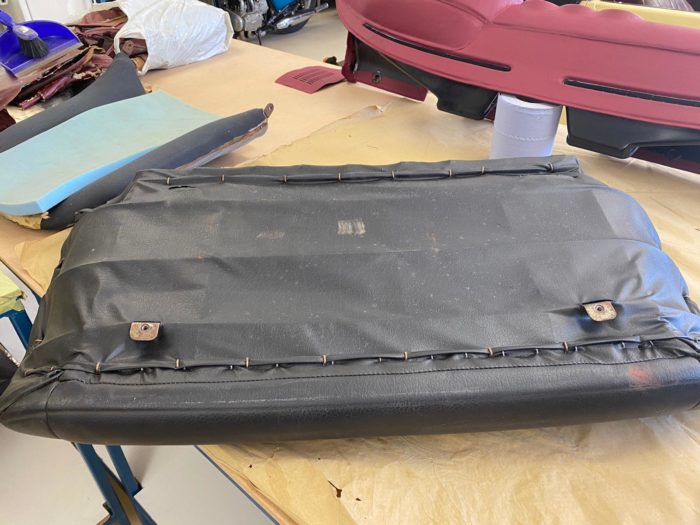
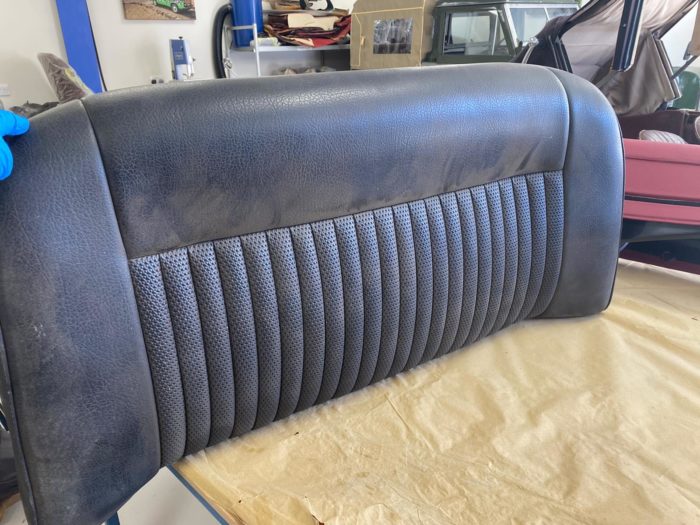
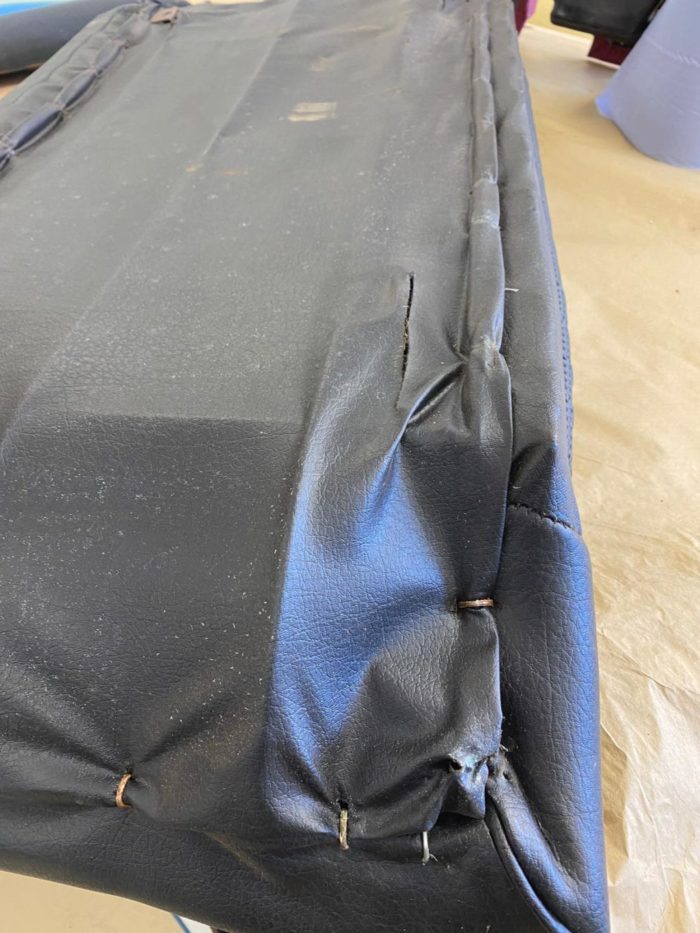
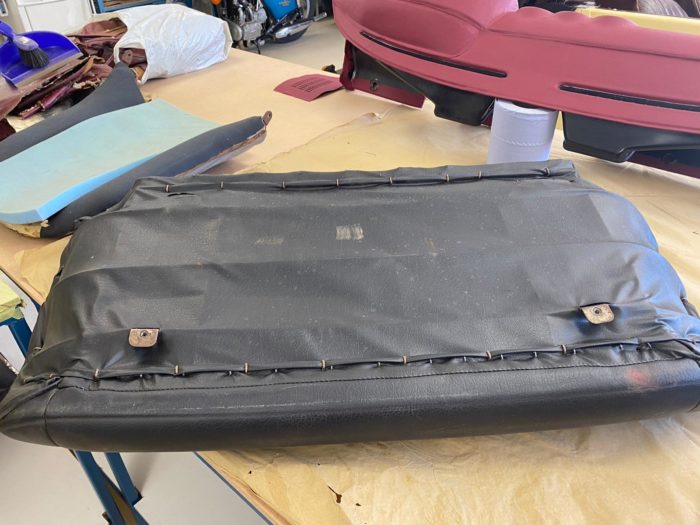
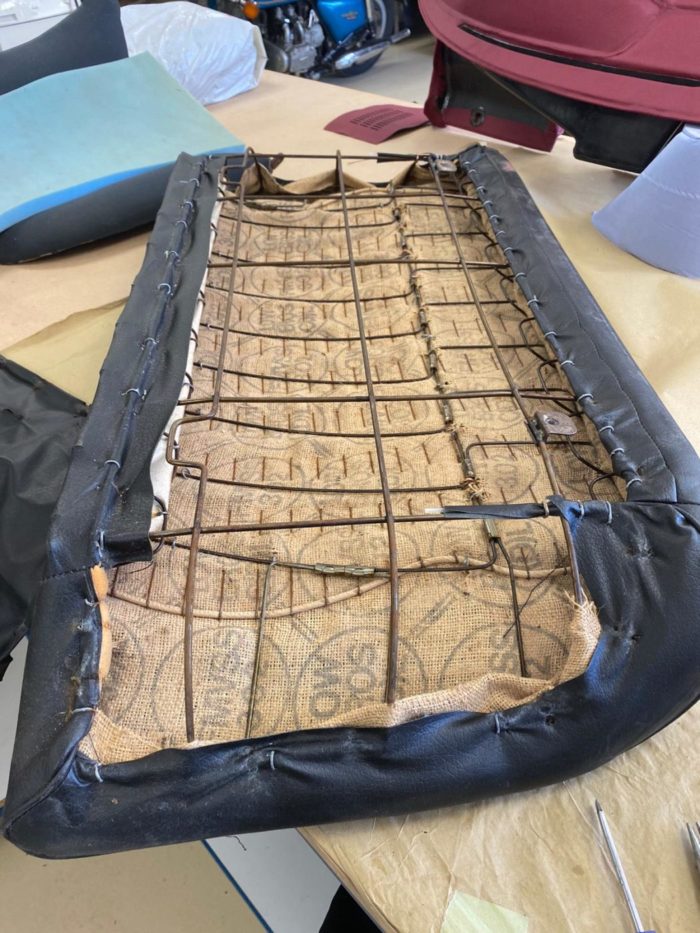
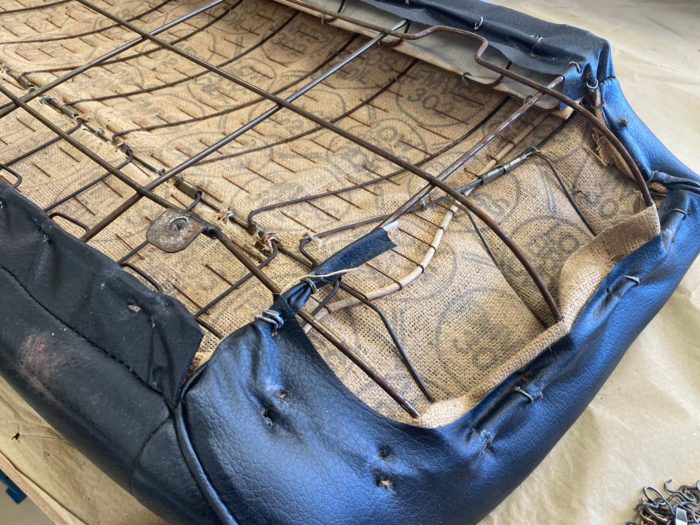
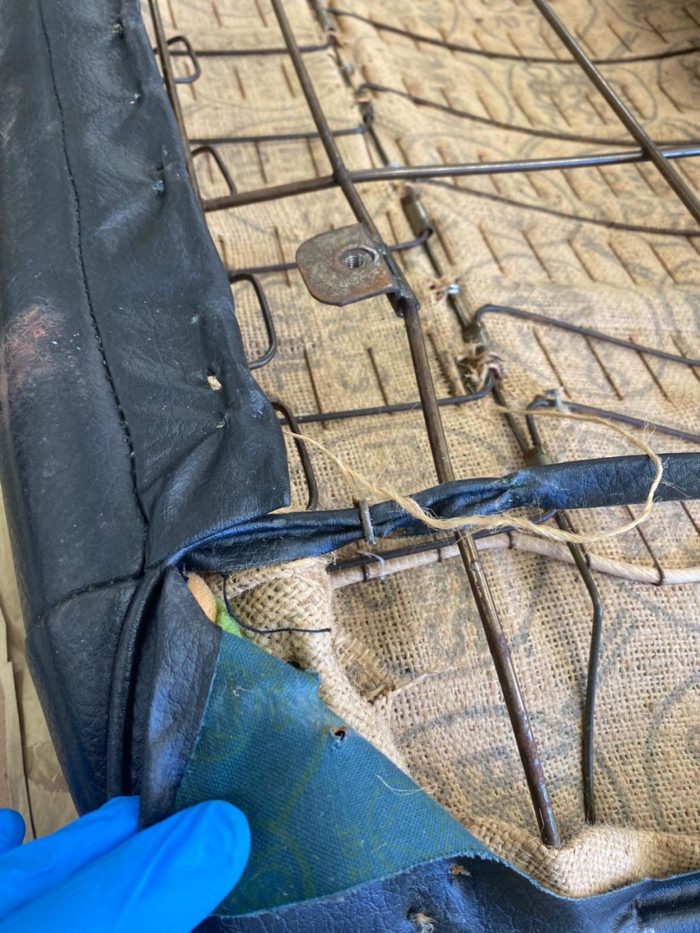
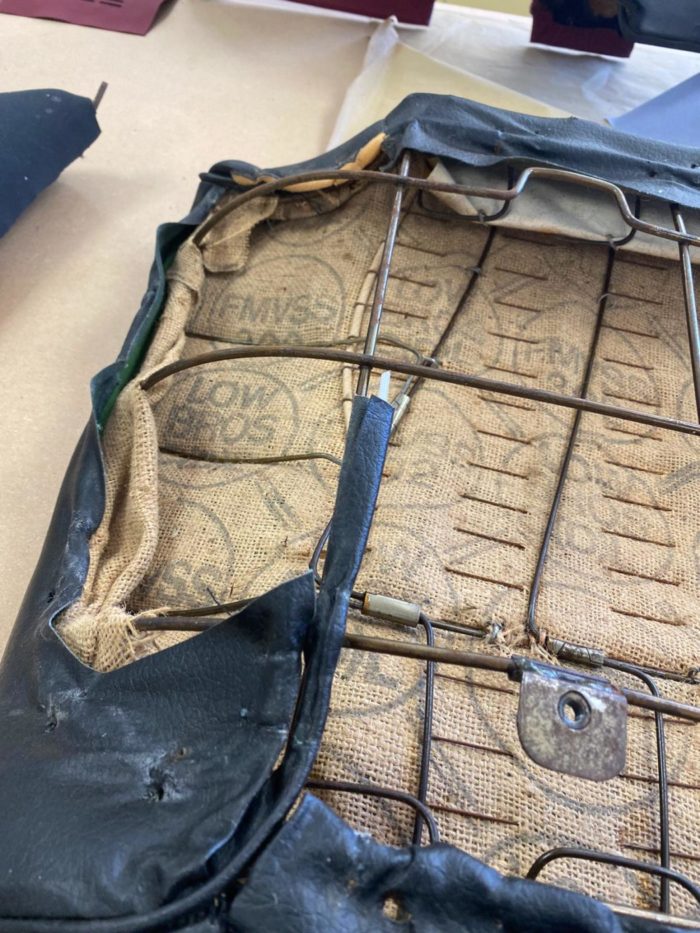
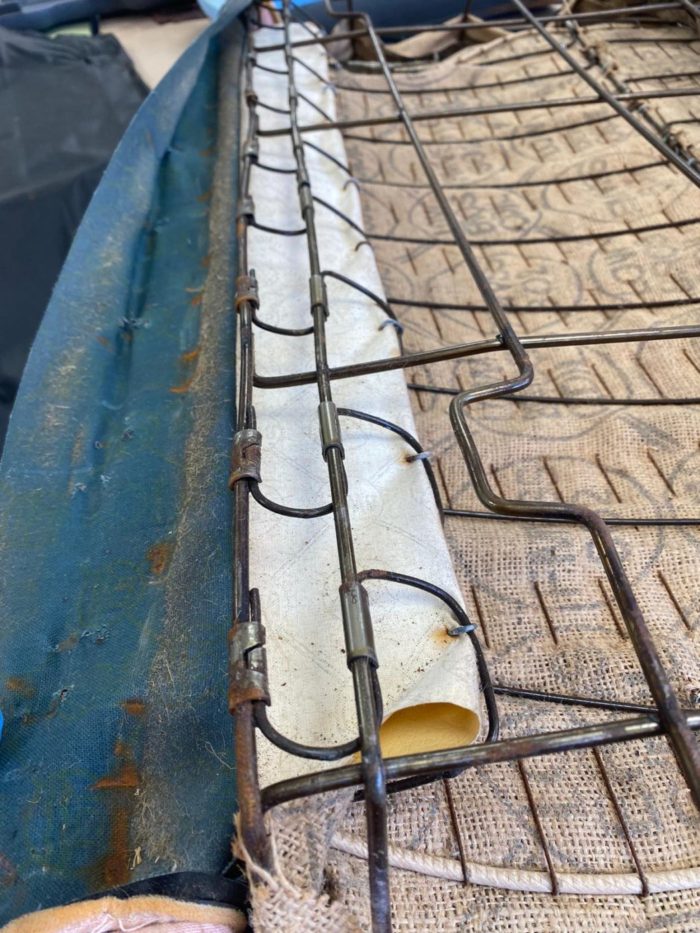
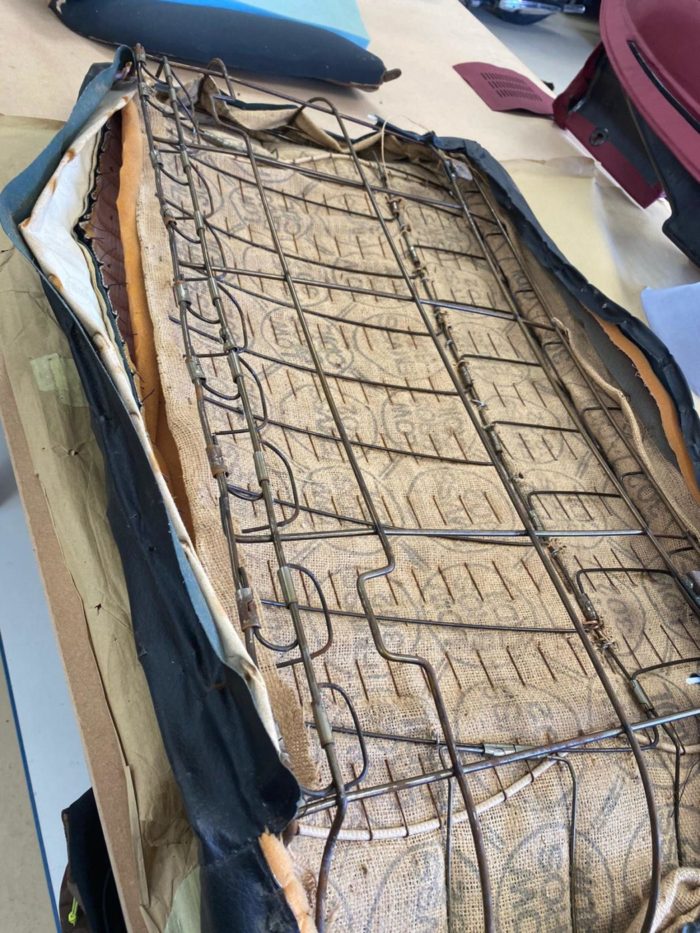
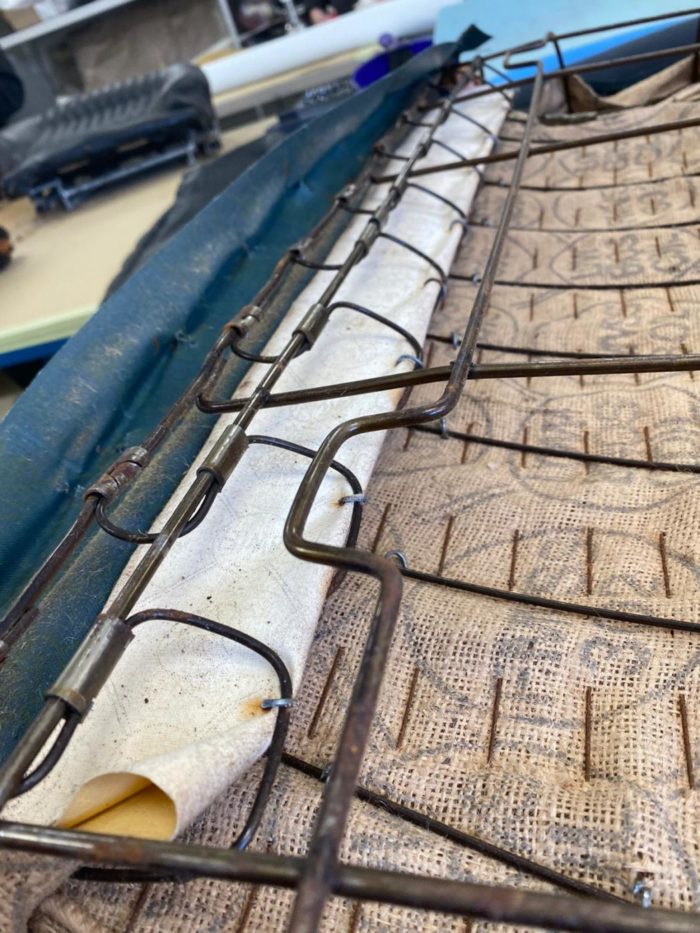
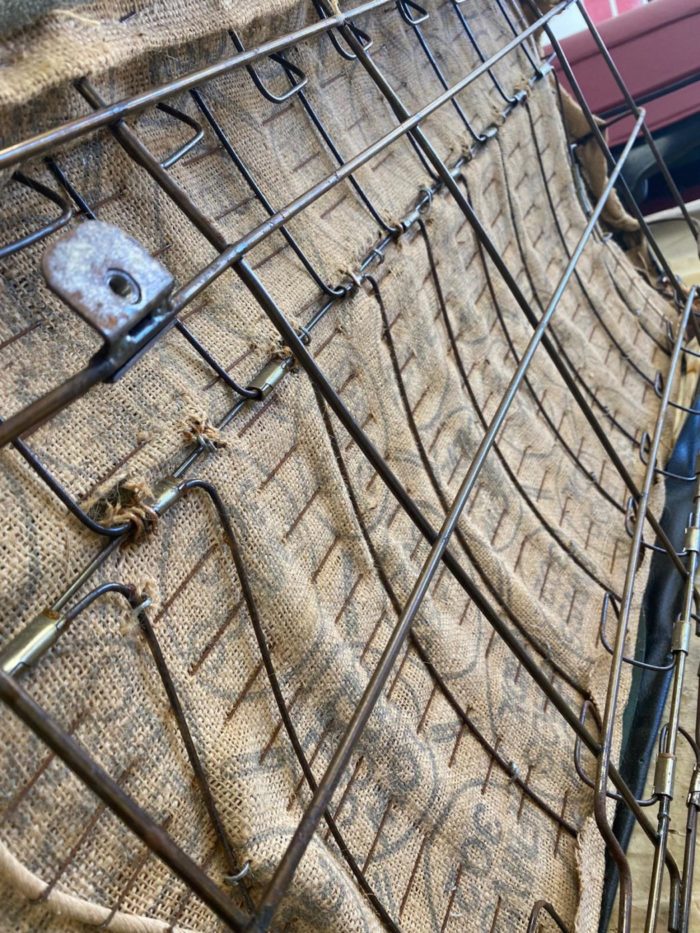
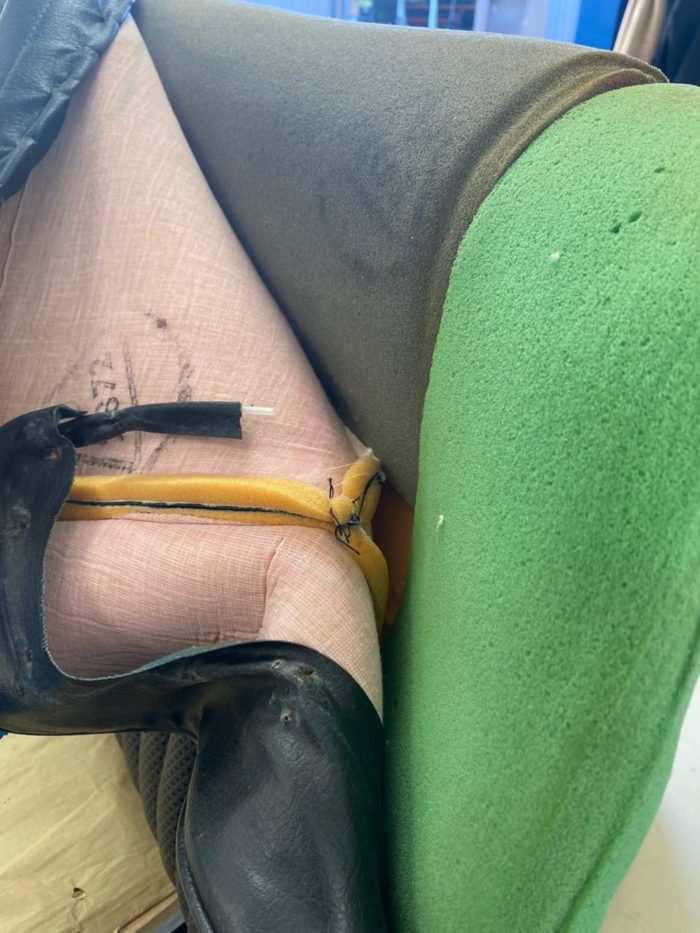
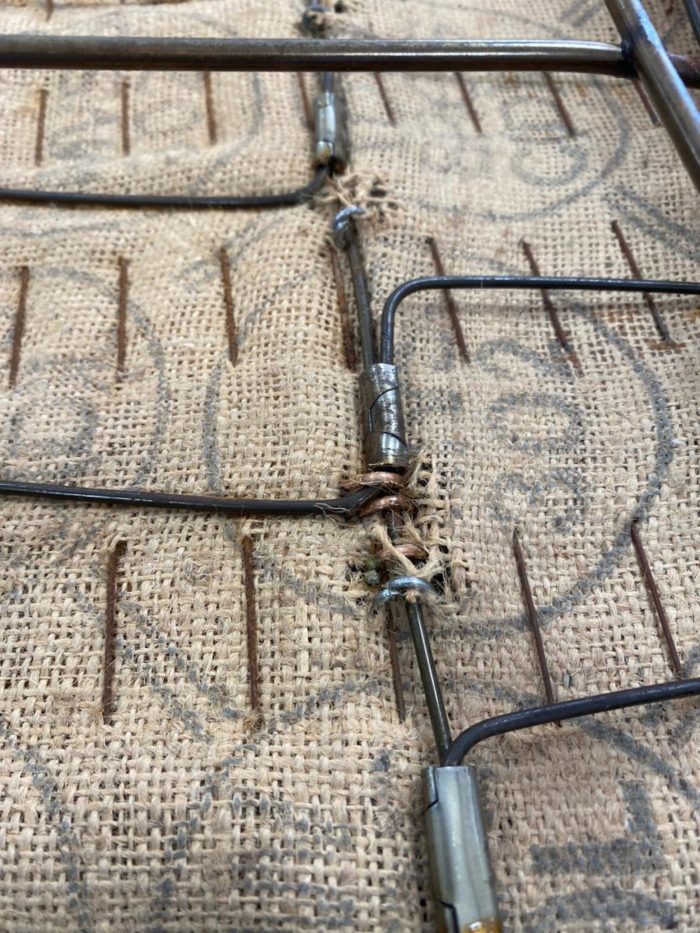
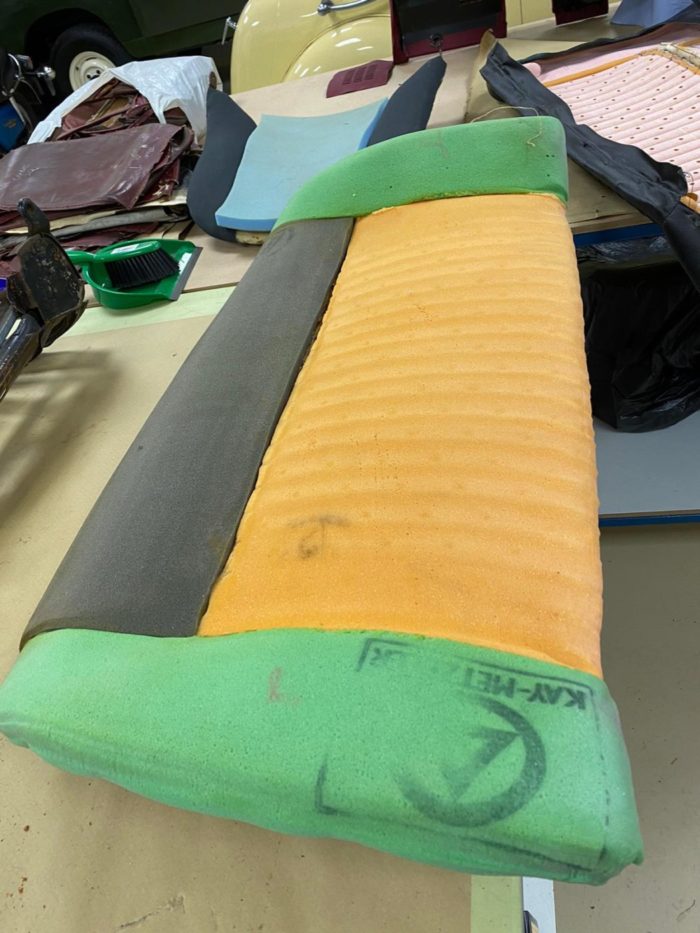
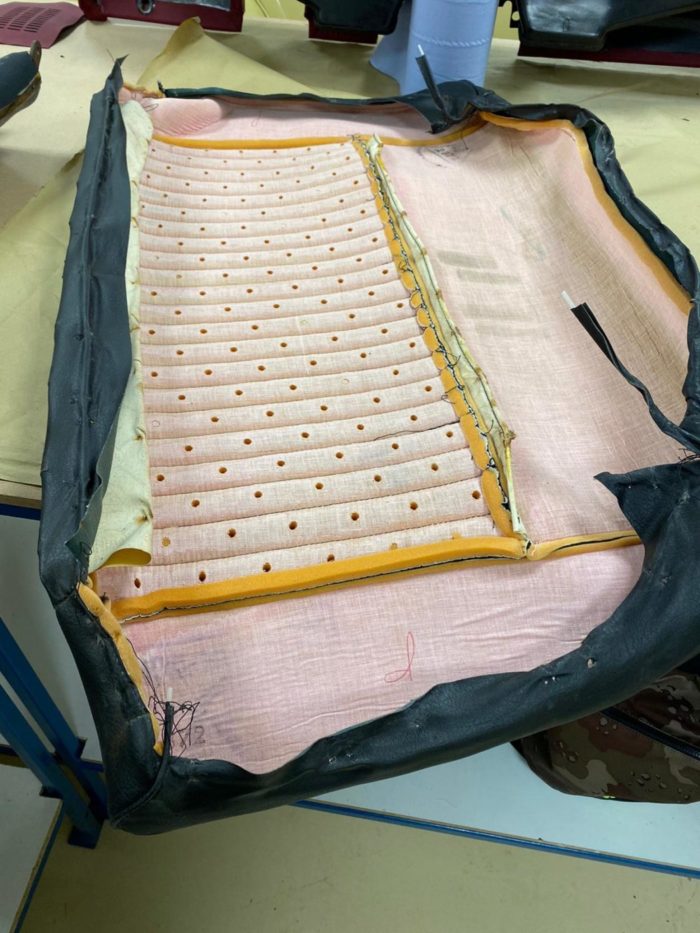
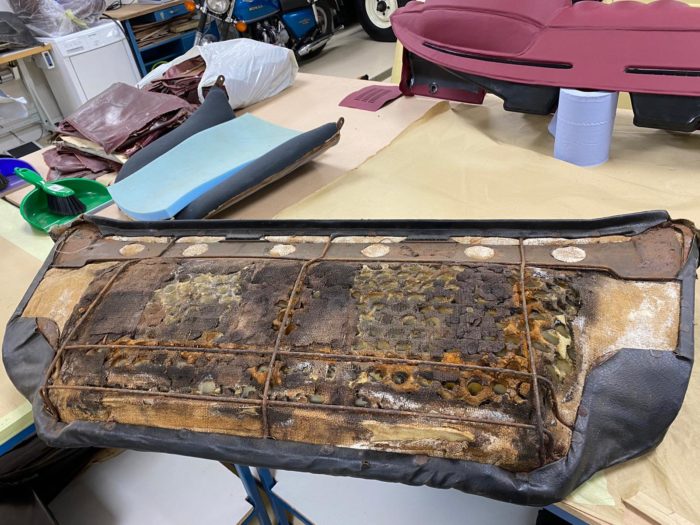
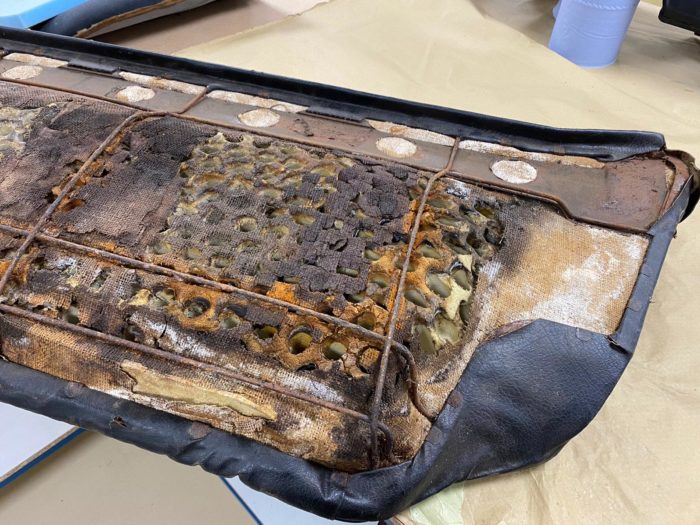
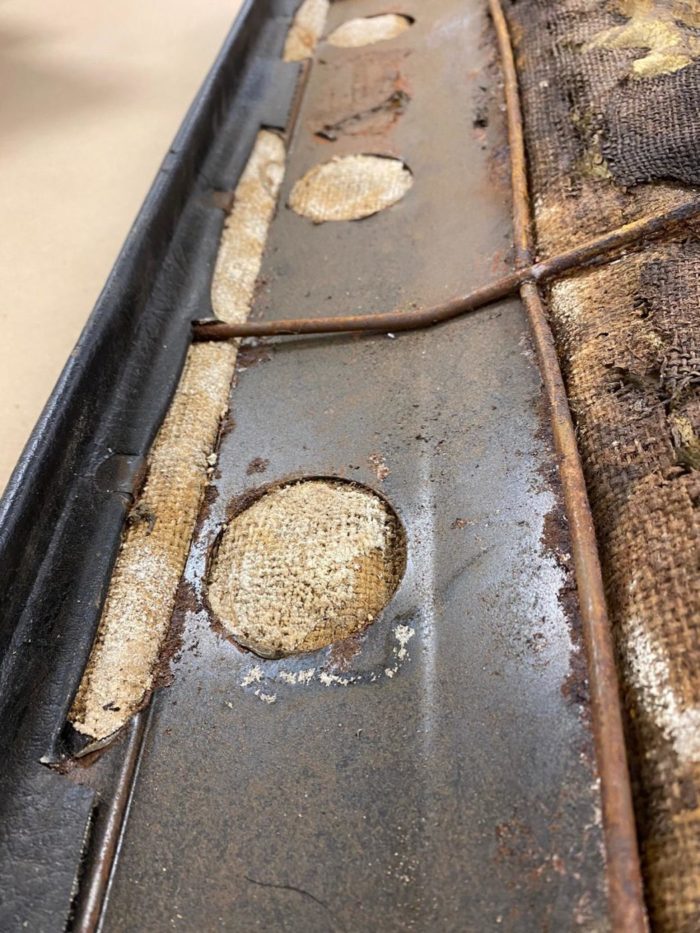
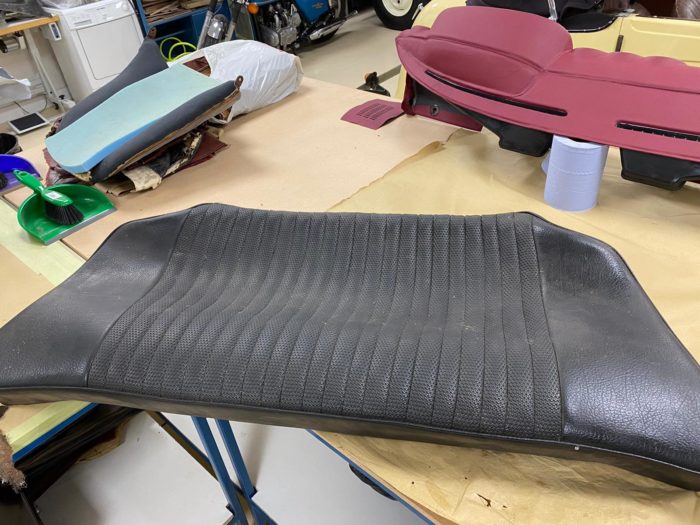
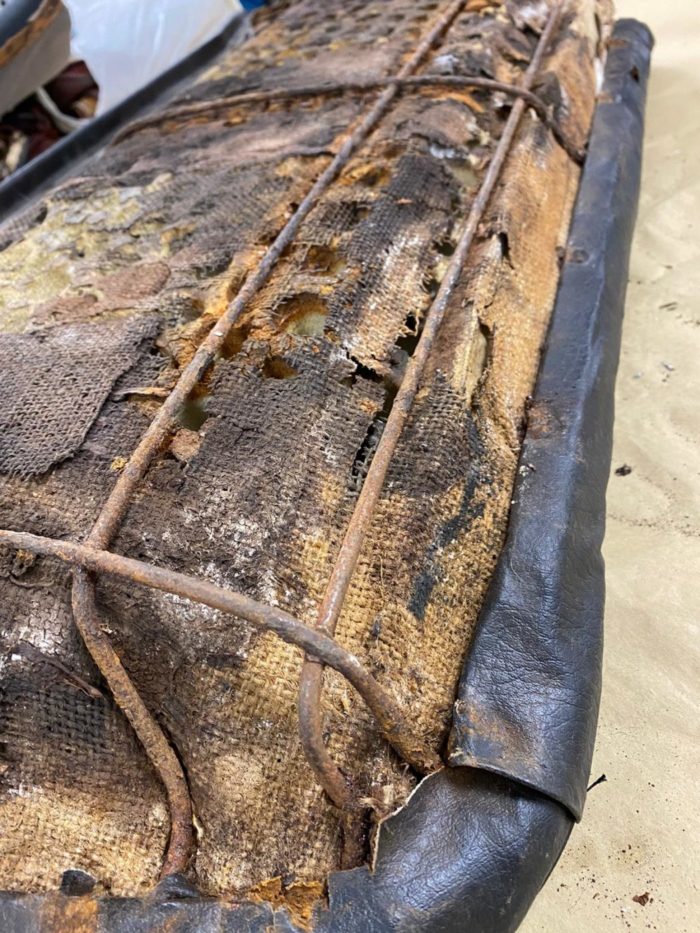
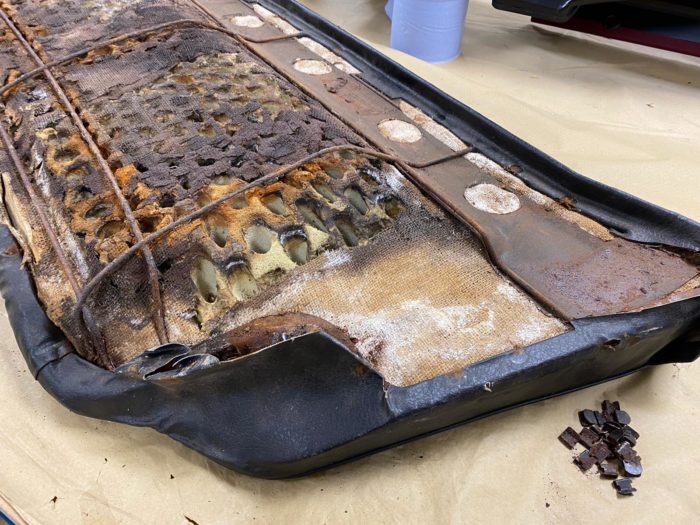
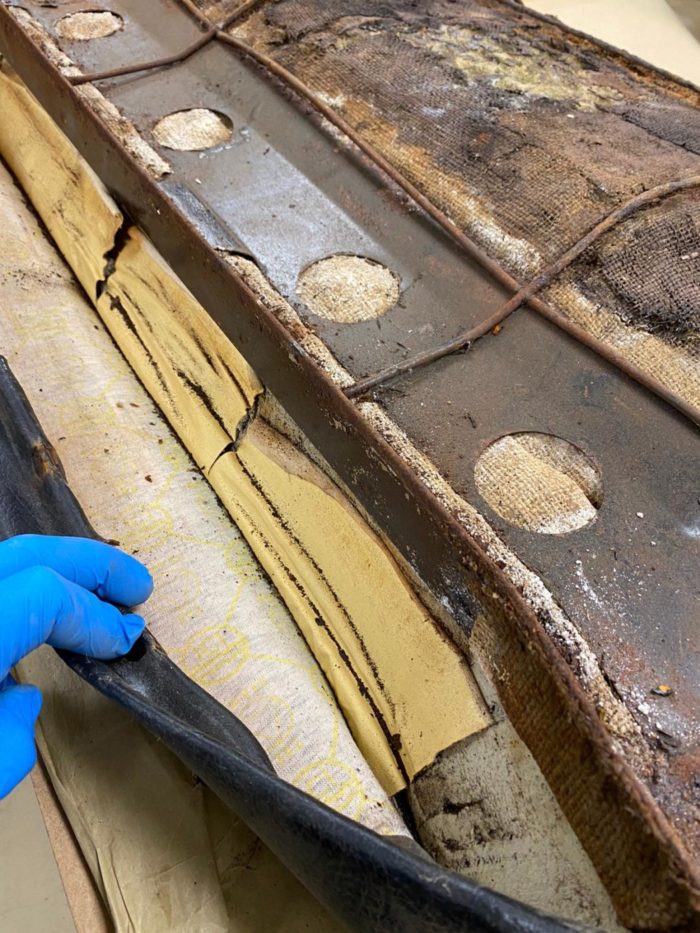
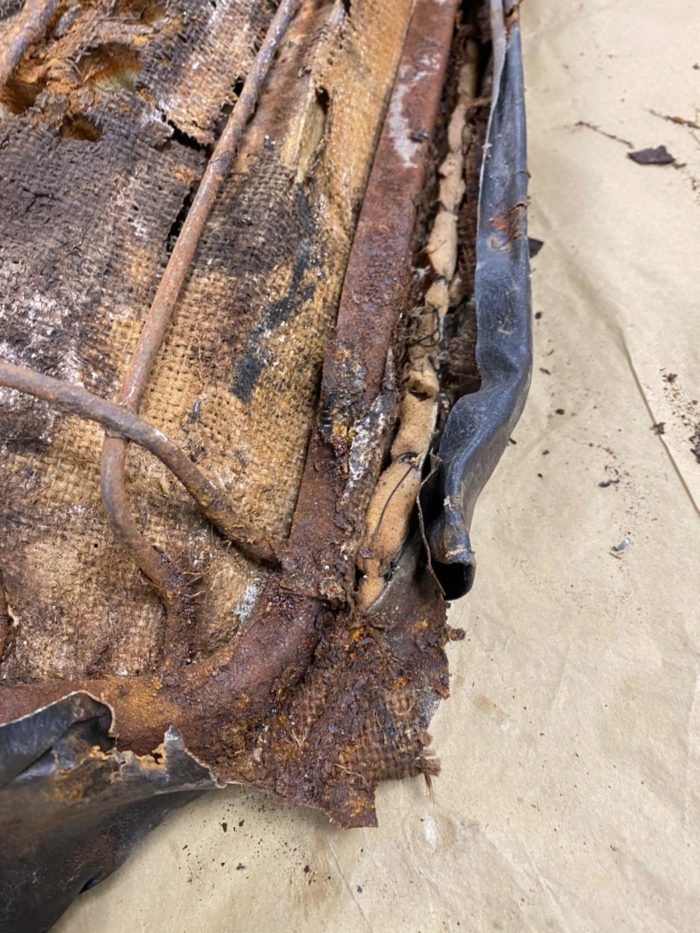
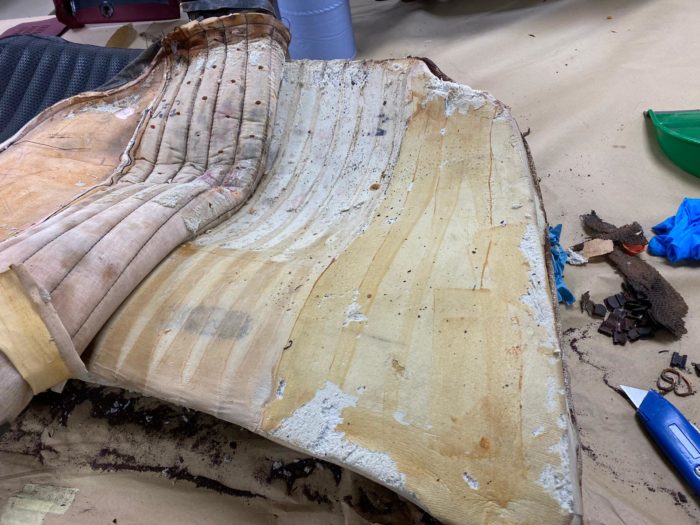
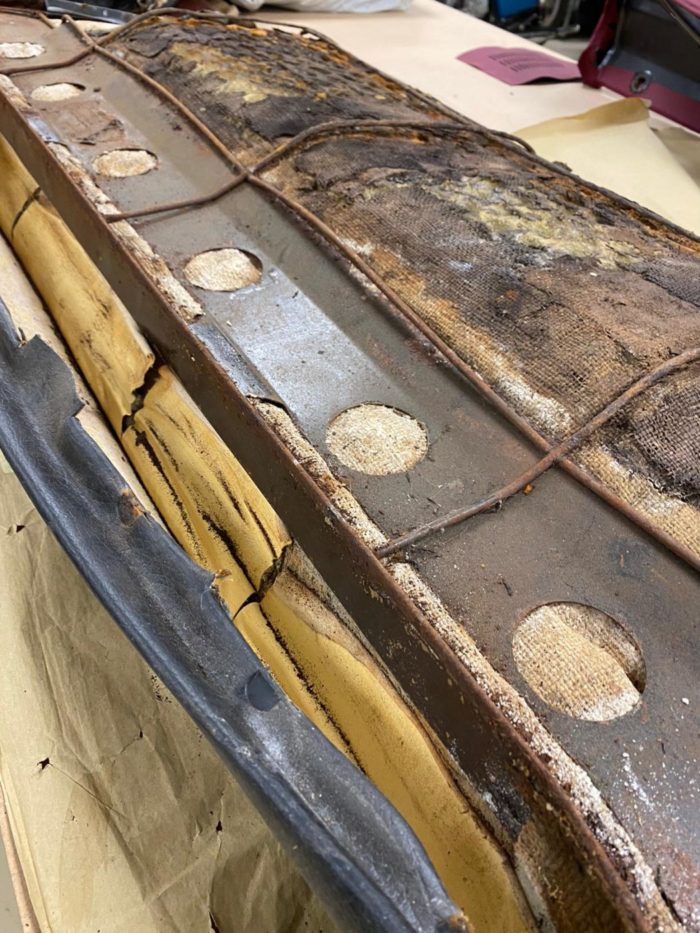
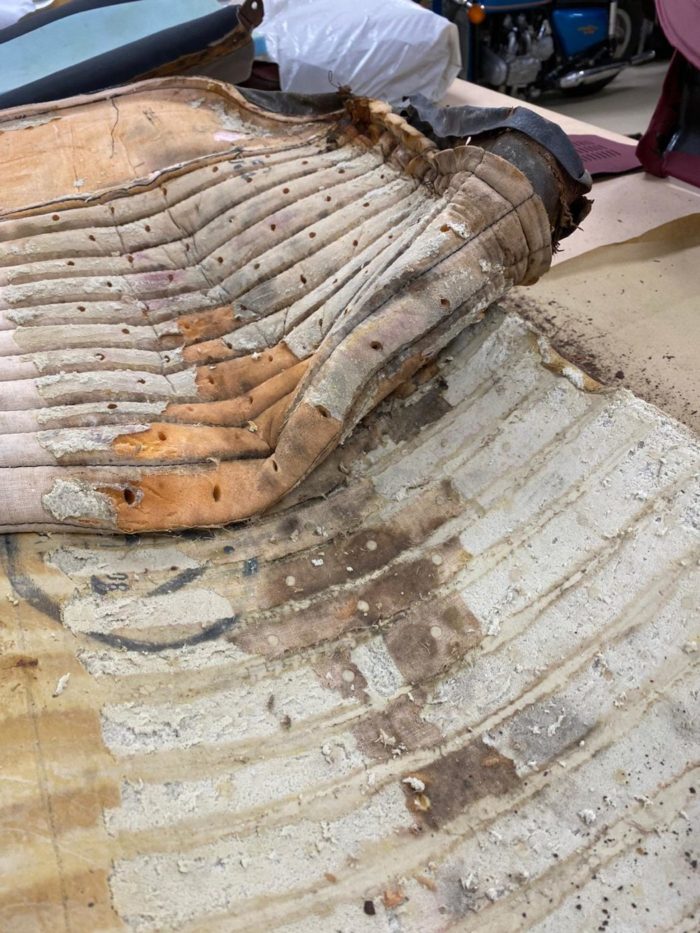
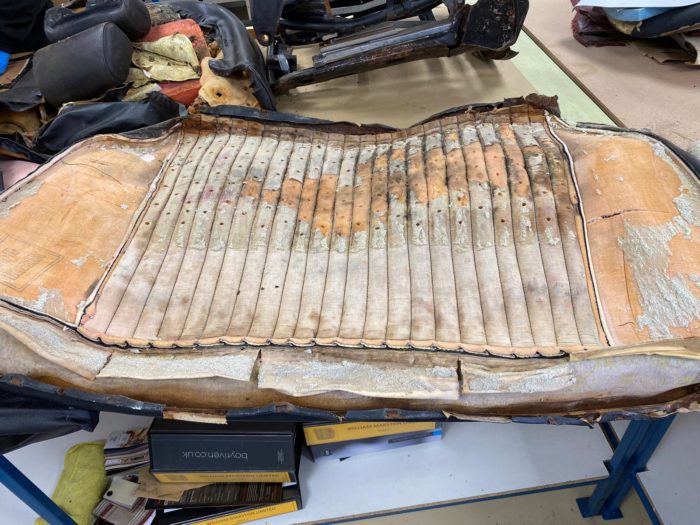
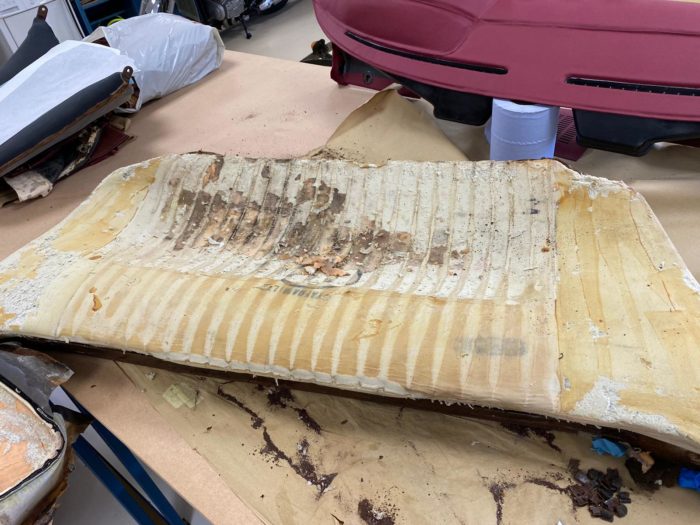
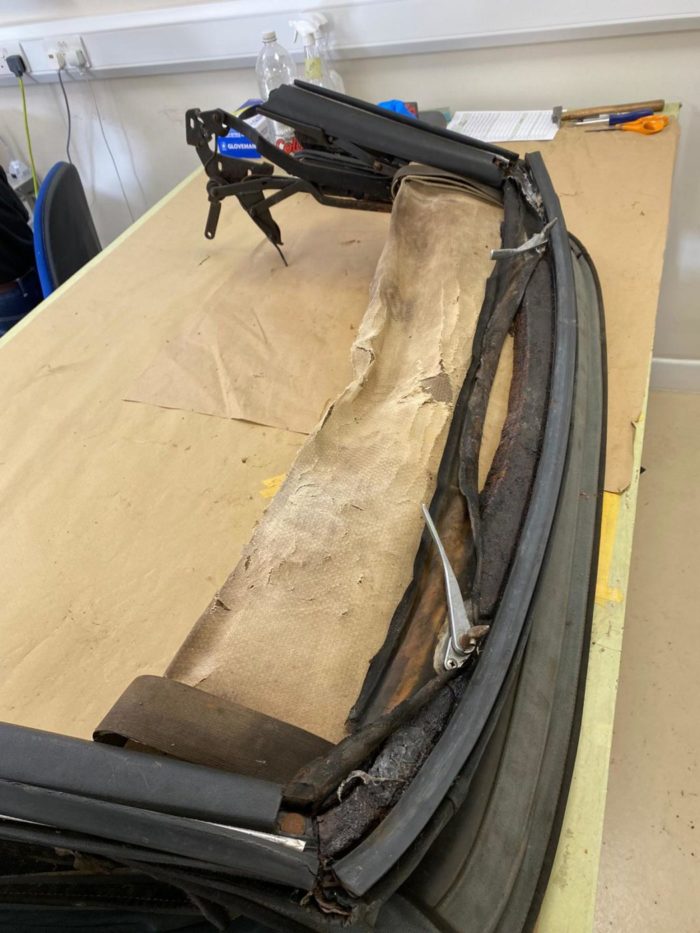
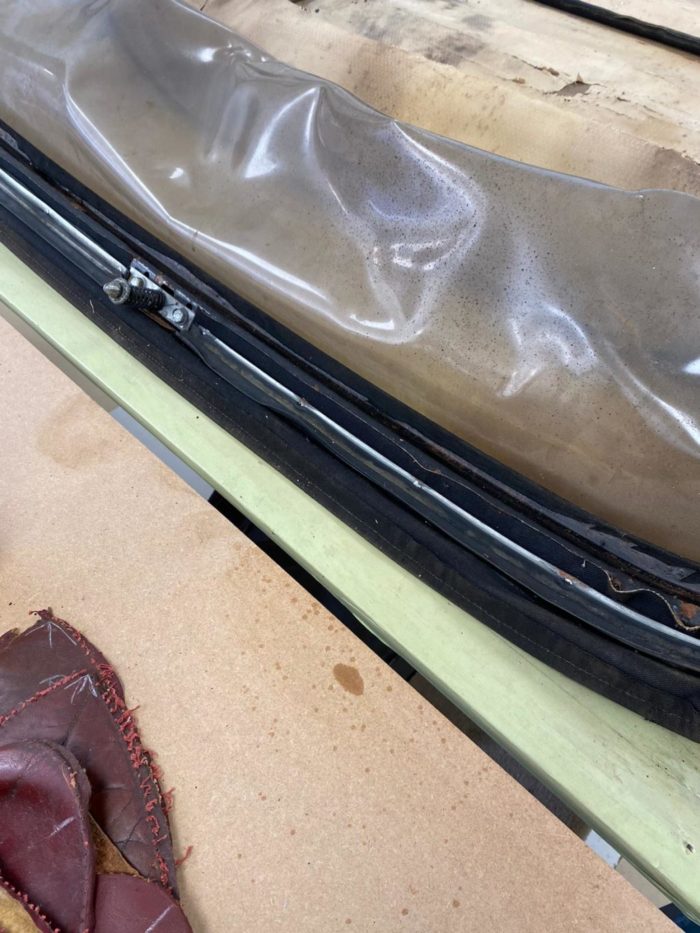
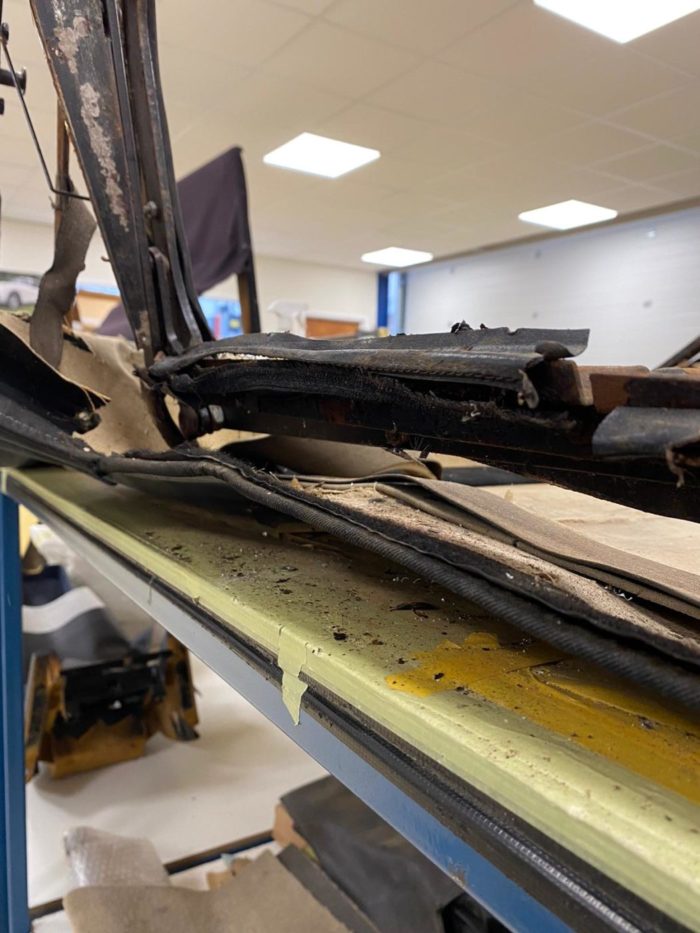
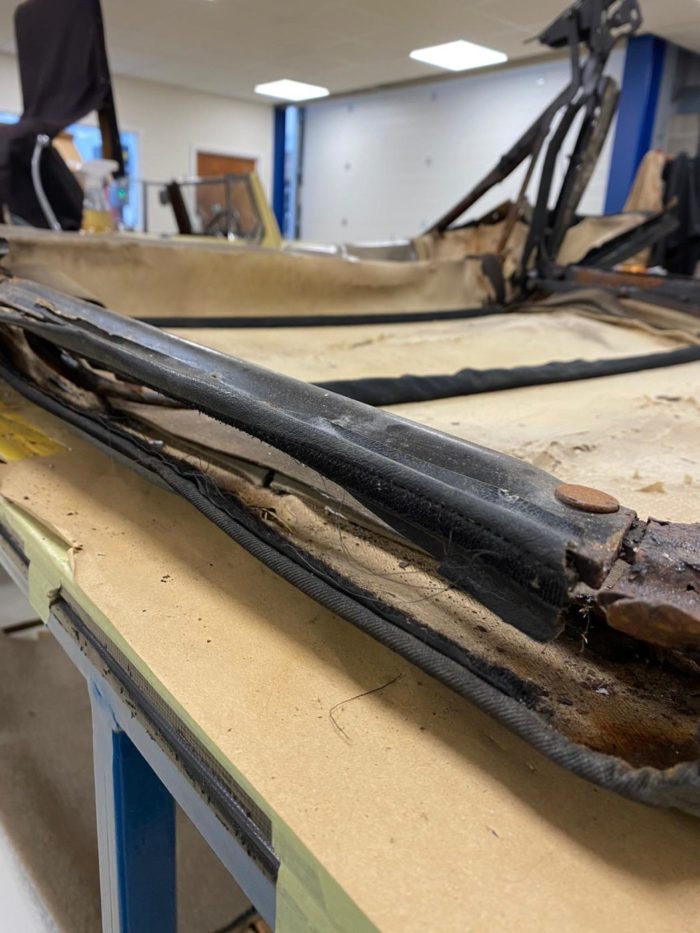
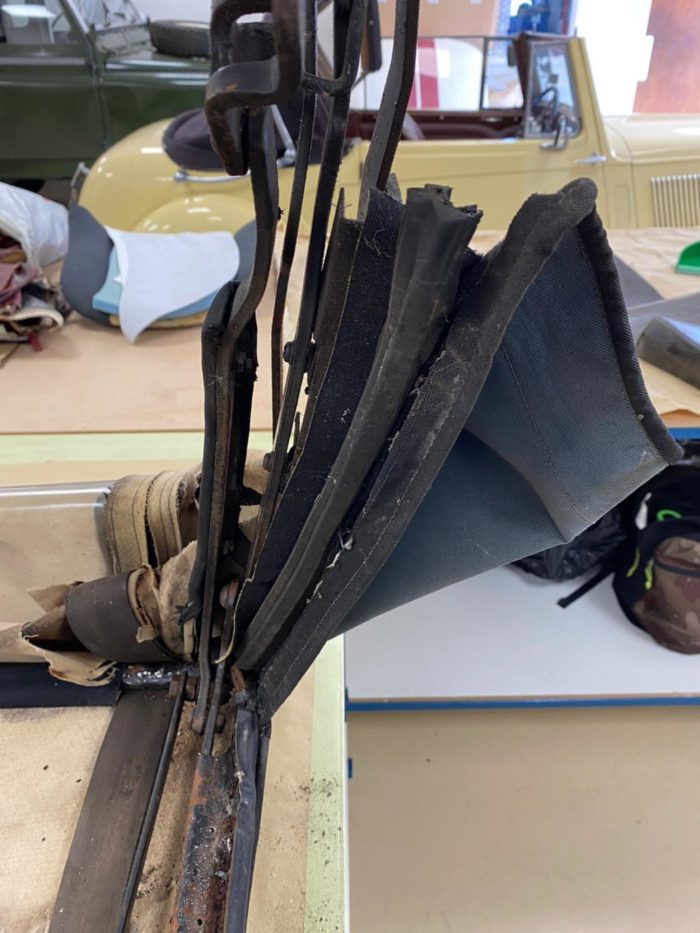
Brian has removed the seat backboard to access the clips holding the cover flaps in place. These are then removed as part of stripping the seat frames. Once the front seat squab cover was removed, he could then remove the cover from the front seat base-frame which he did by undoing the clips holding the cover flaps in place, he also removed the rubber buffer and rubber diaphragm. Brian then moved onto removing the front rubber and metal chancel from the hood as well as the front side rubbers, metal channel and plastic trim. He then followed up by removing the rear side rubbers, metal channel and plastic trim, removing rubbers & channels from ‘b’ post section of the hood and then removing the rear section rubber and metal trim. Brian finished the hood by removing the velcro from the side of the frame and cleaned up the plastic trim.
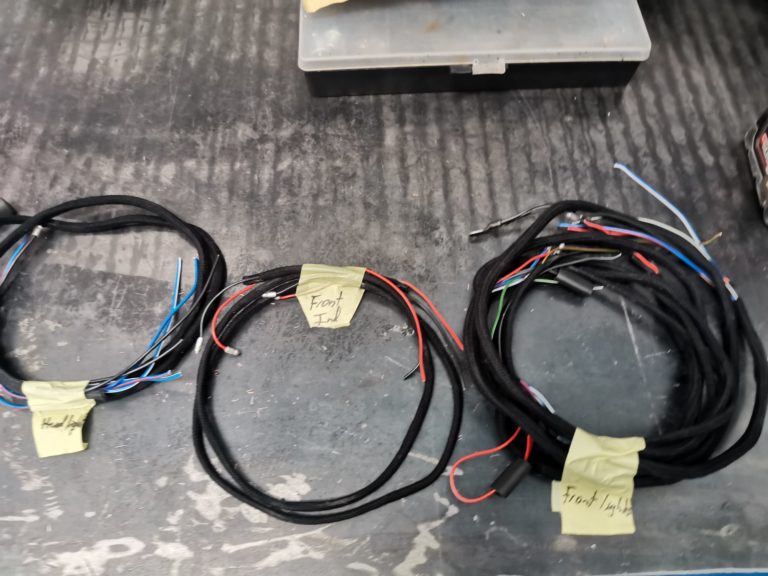
Tom has begun to catalogue the different wiring looms for our 1960 Jensen 541S. He’s started with the rear wiring loom, connected the rear indicators, brake lights, sidelights, number plate lights and the reverse light. Tom has also allocated the rear wiring loom in the rear junction box. He has then continued to install the bonnet wiring loom and has connected the headlights, indicators and sidelights wirings to the bonnet wiring loom.
Paul has also fitted the rear bumper.
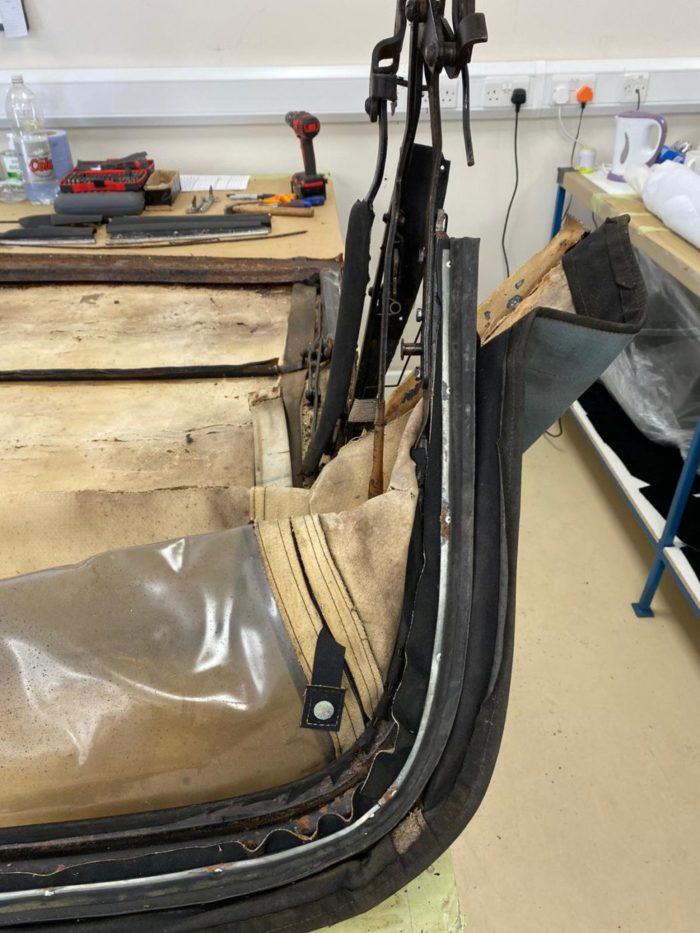
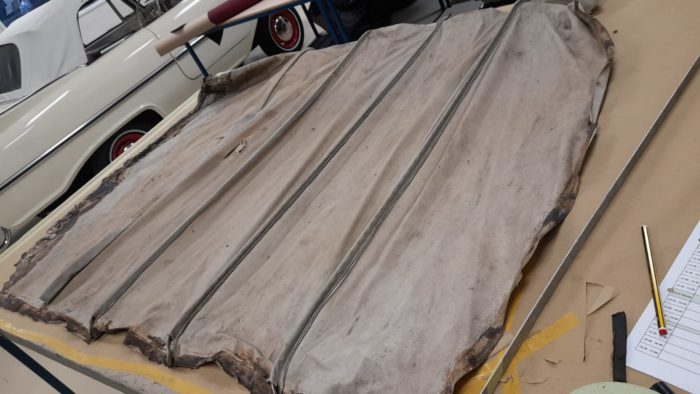
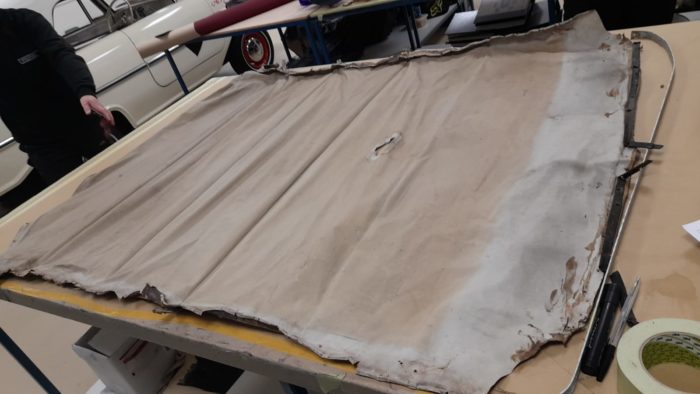
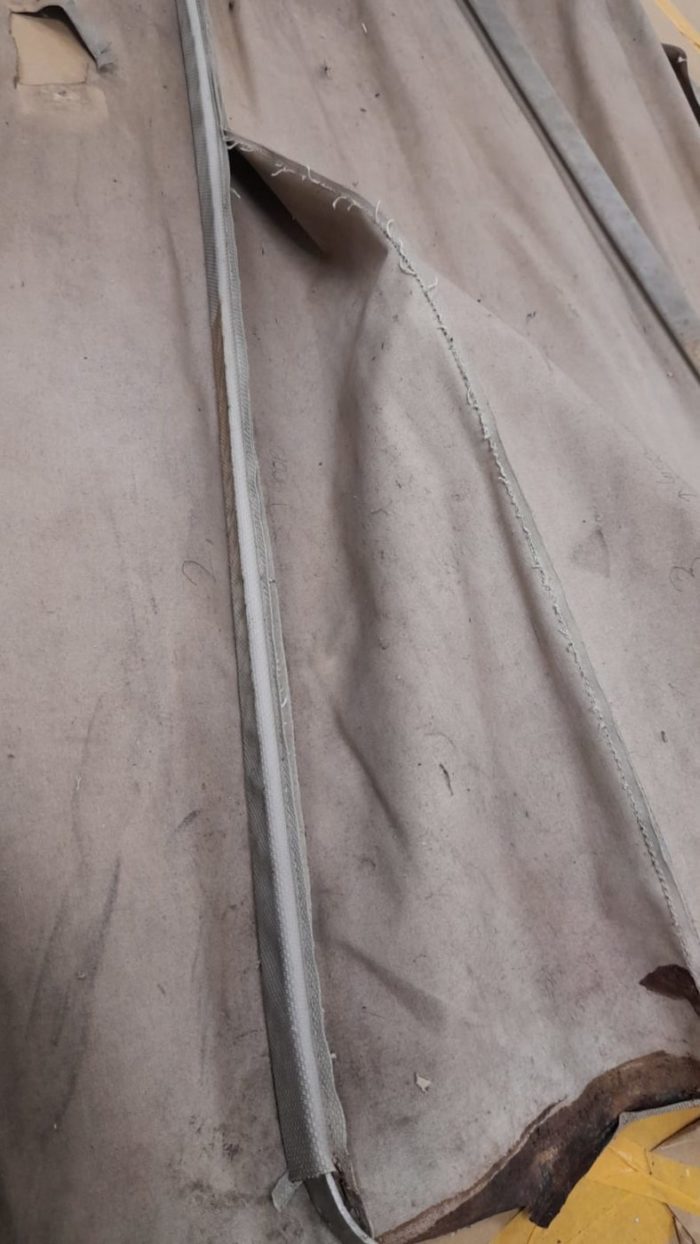
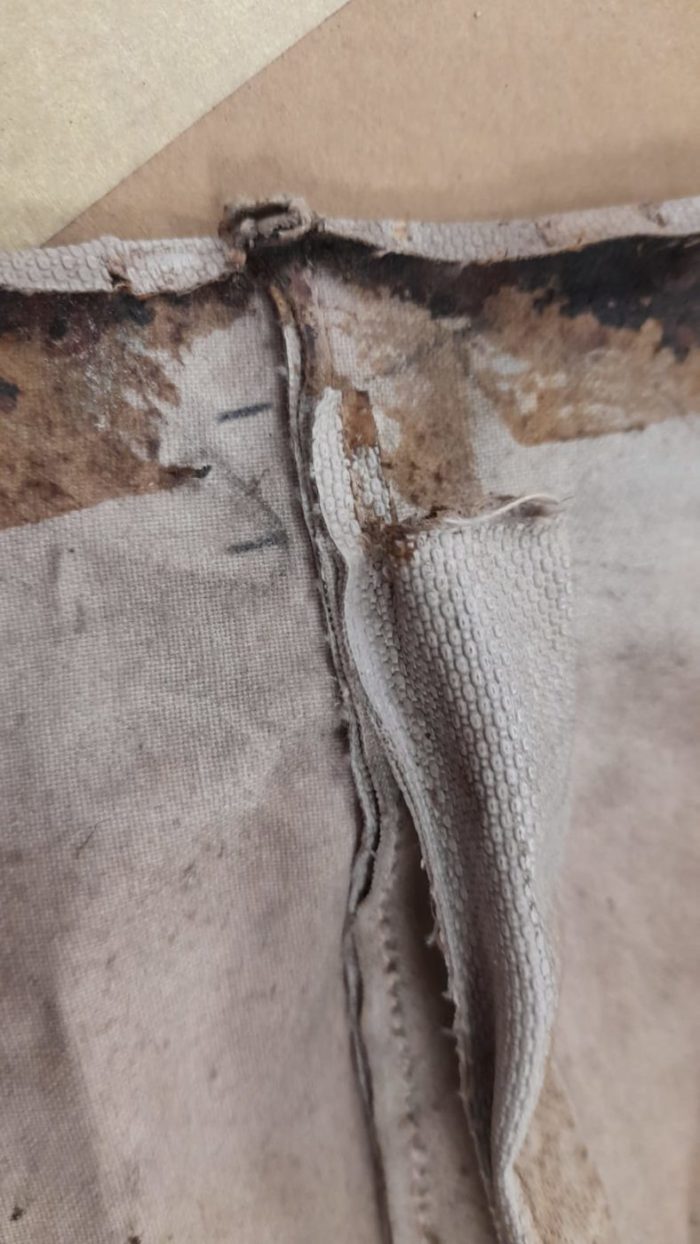
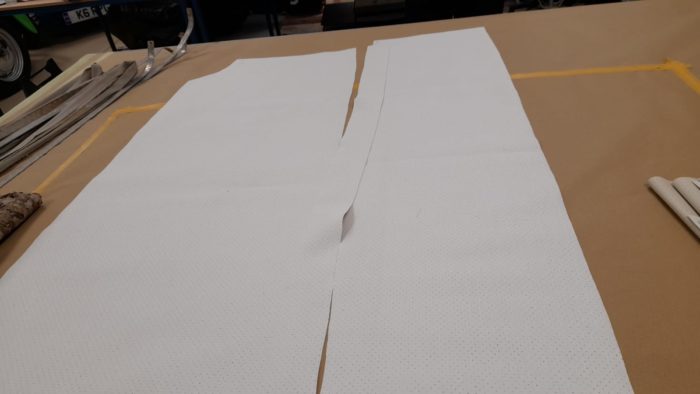
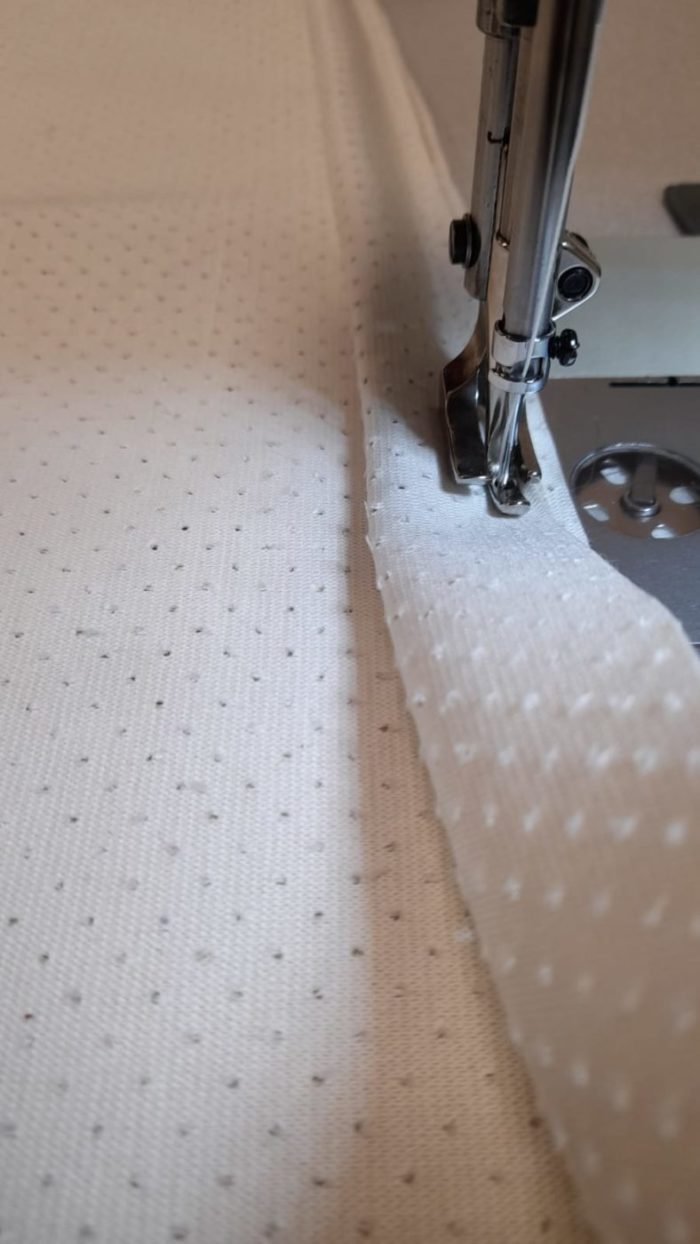
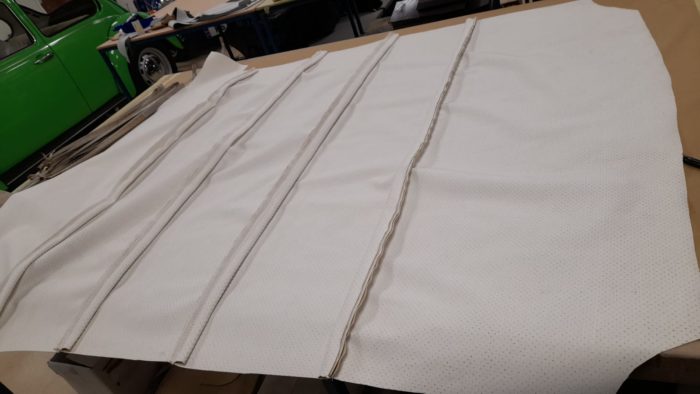
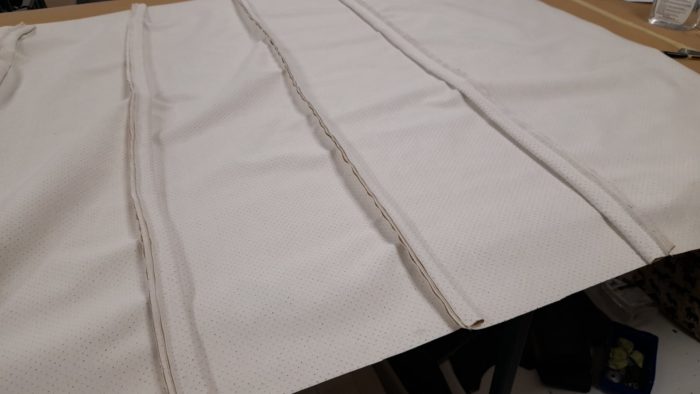
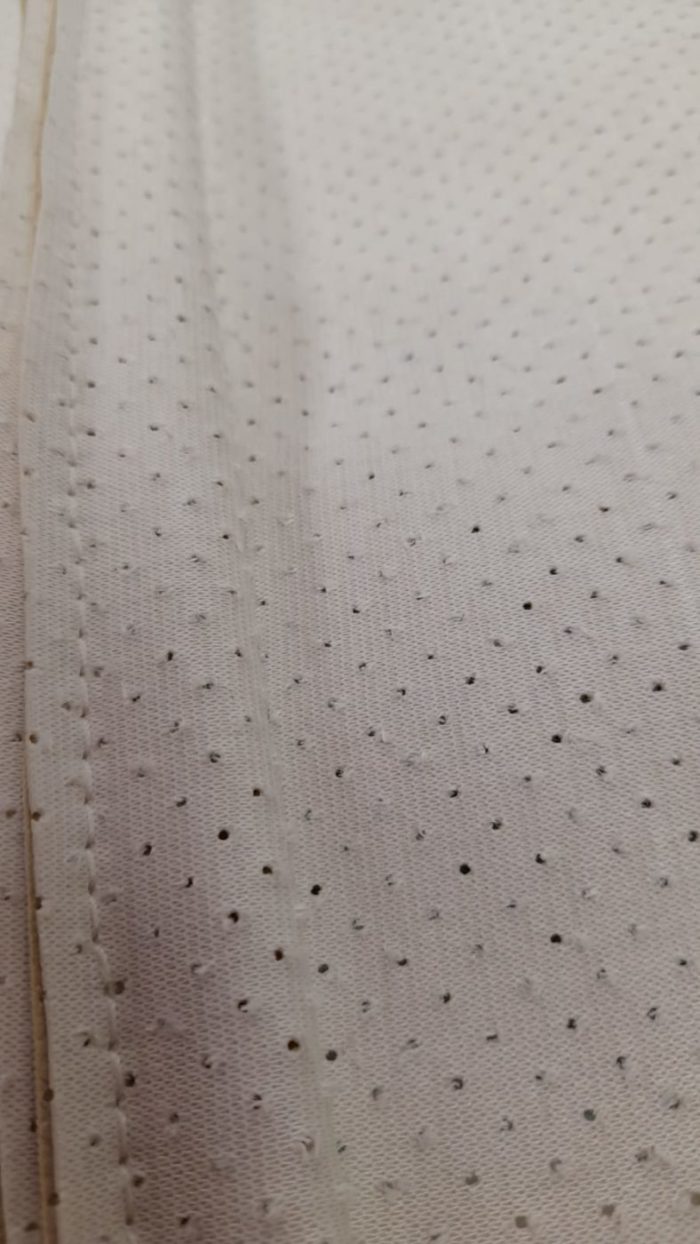
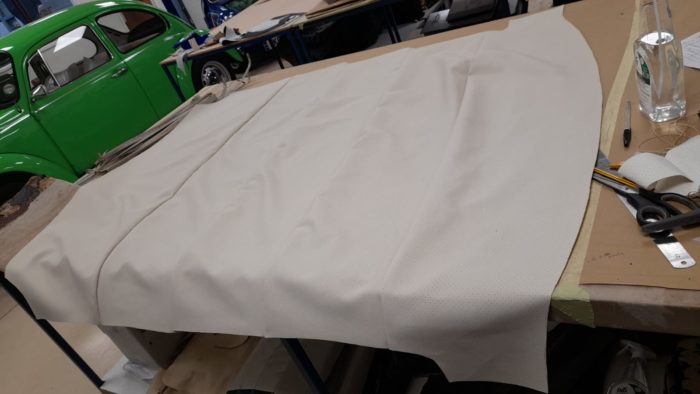
Lydia has also taken apart the head lining. She’s started by laying out the old fabric to see what it looks like. Once she made the new version, she sewed in calico loops onto each headlining part while attaching the sections together.
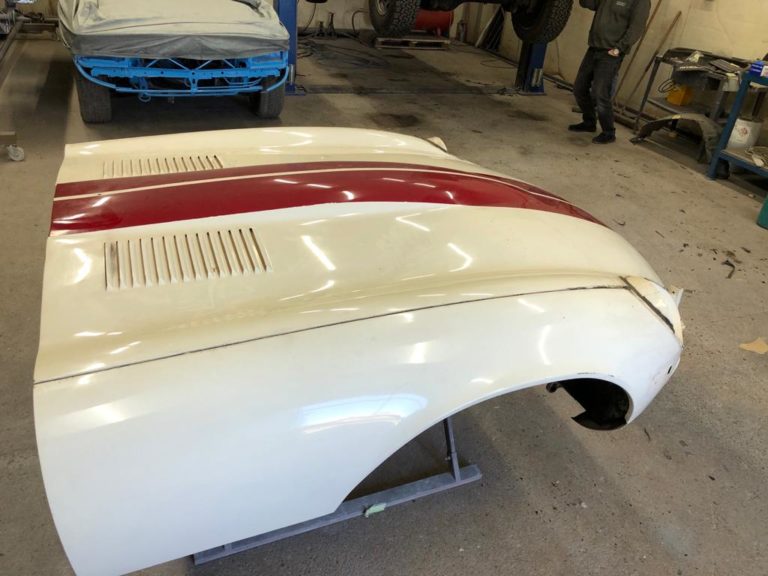
We’ve now begun stripping the paint from our 1973 Beverly Hills E-Type bonnet so that it can sit in bare metal and ask as a blank canvas to be reworked and repainted. James in the fabrication bay has started to smooth out the body and will start to correct any imperfections. The bumper also needed some fabrication and welding to repair some corrosion damage.
This is the bare metal work stage that comes before the paint prep. The fabrication bay will get the whole body down to bare metal and then make sure it all lines are perfectly and there aren’t any bumps or rust in the bodywork.
As seen below, the original British Layland factory stickers are still intact on the underside of the E-Type bonnet and go to show how original this E-Type really is. Asides from the addition of the red strips and American modifications, this Jaguar is a stunning original example. Among James tasks has been to take off the American standardised bumper and weld in the hole so that the original Jaguar chrome one can be re-fitted.
Scott has also continued to dismantle the body of the E-Type too.
This 2000 Honda S2000 has come in for some paint and rust corrections on its wheel arches, boot, bonnet and side panels. These minor imperfections are best caught early before the rust spreads to something more insidious.
The fabrication bay and paint shop will be working together to ensure that these minor imperfections don’t become major.
Our stunning 1982 Porsche 911SC has come in recently for some paint TLC. The paint shop have been accessing what needs doing and in the process, have identified some rust, micro-bubbling, cosmetic imperfections and chips.
The team have sent a sample off to be colour matched at our paint manufacturers at Lechler to replace the worn-out paint and correct the imperfections. Our Porsche will be looking good as new in no time!
The body has been masked and prepped in readiness for paint. We’re aiming for this to be painted next week.
When we’re out and about, we love to see classic cars, and when we do, we try our best to snap a photo of it and share it in our Classic Car Spotting blog series! These two seaside classics have recently been spotted around Suffolk.
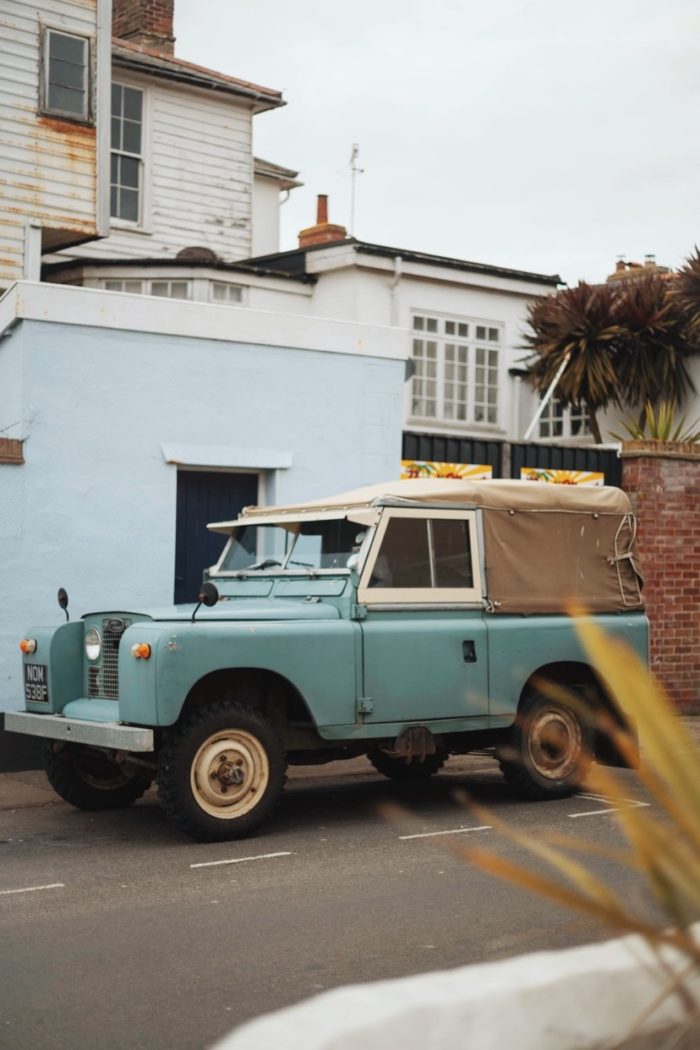
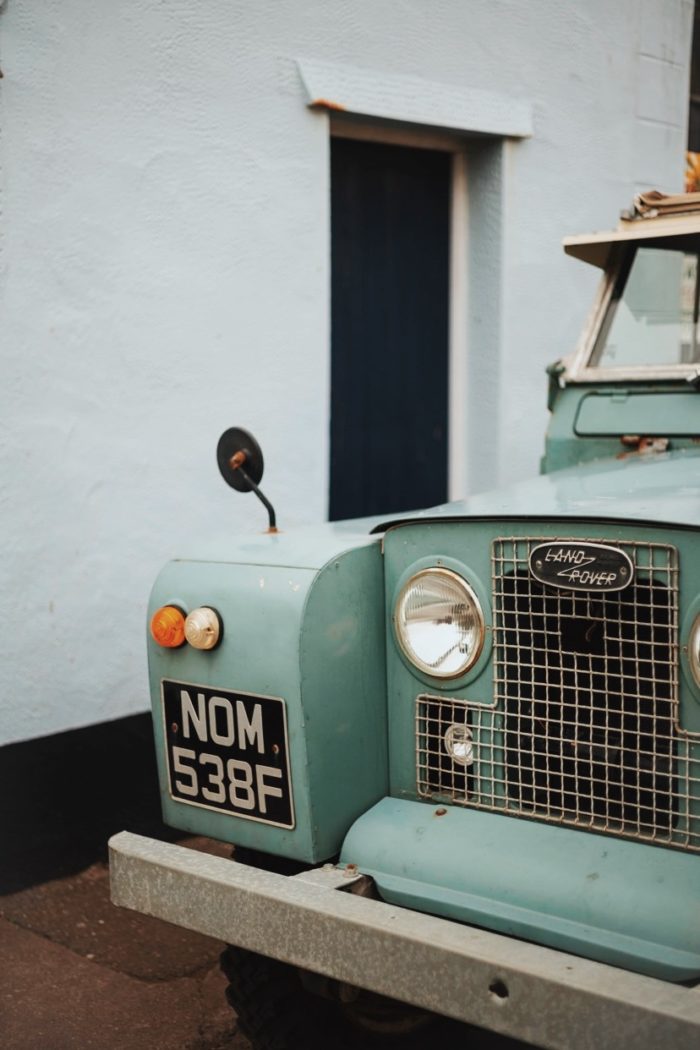
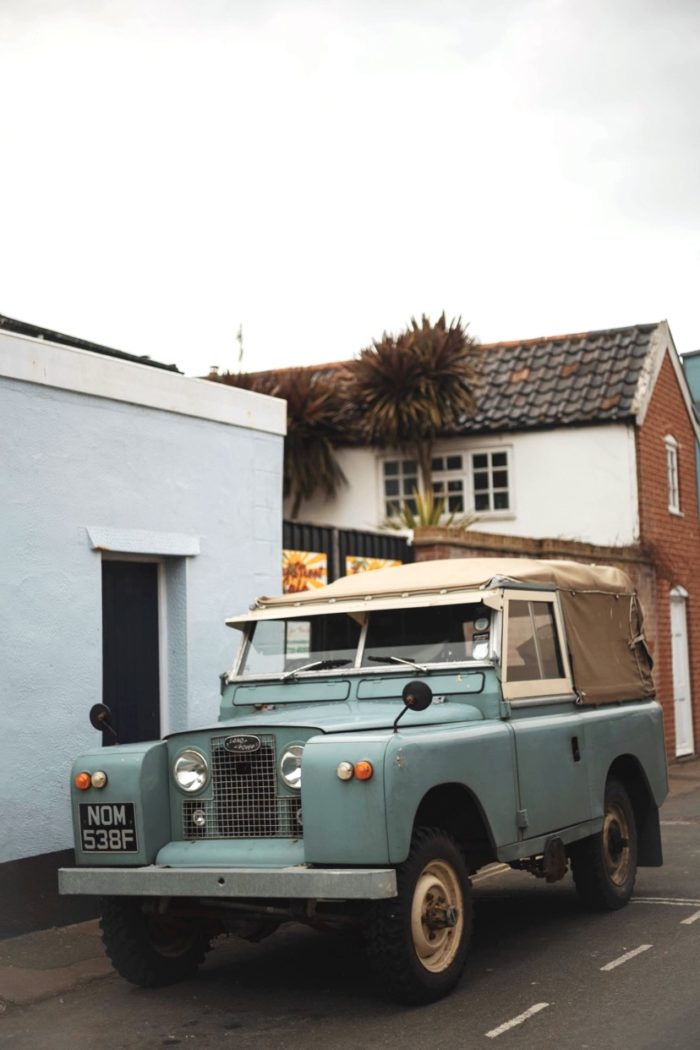
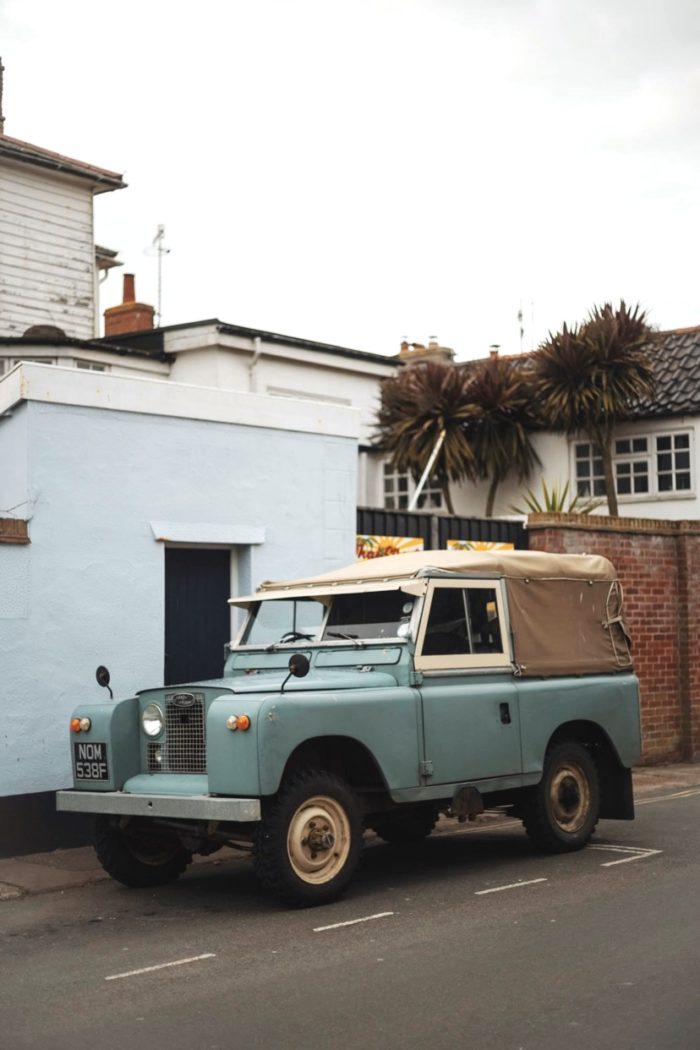
We often hear from commuters when our van and lorry have been spotted travelling up and down the country. We’re always delivering and collecting exciting projects and we love it when you see us and recognise our vehicles out and about.
We use cookies to deliver the best possible experience whilst visiting our website. By clicking "Accept All", you consent to our use of cookies, or you can manage your preferences by clicking the link below. You can manage your preferences at any time from out Cookie Policy page.