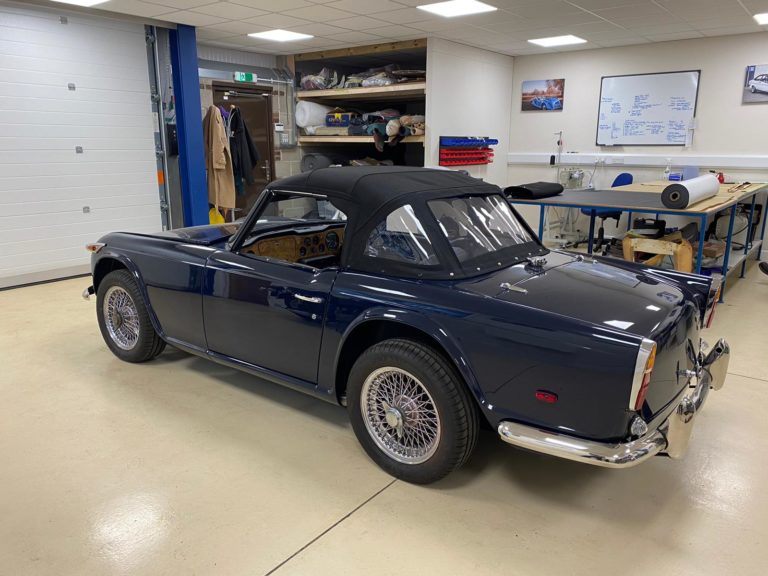
Triumph TR5 Gets A New Hood
Kath has been working on the TR5 hood recently in the trim shop with the rest of the team. She bagan the process of making


Kath has been working on the TR5 hood recently in the trim shop with the rest of the team. She bagan the process of making
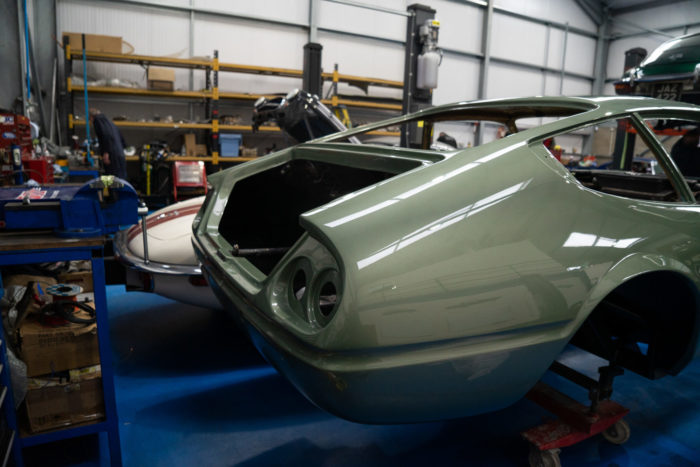
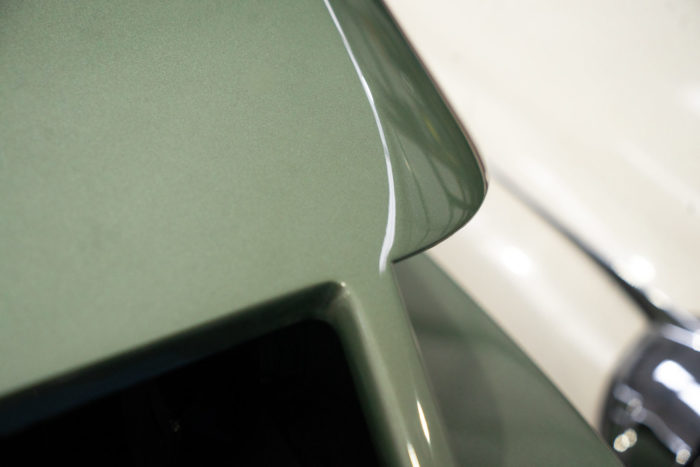
The body of our Ferrari Daytona has officially left the paint shop and found its place in our main workshop, ready to begin the next
Our 1954 Jaguar MKVII has had its wheels painted in Epoxy primer and then painted in its final cream colour. These have been hung up
Our lovely 1960 Peony Red Jensen 541S is at the stage where we’re putting lots of pieces back together and fitting them in, meaning that
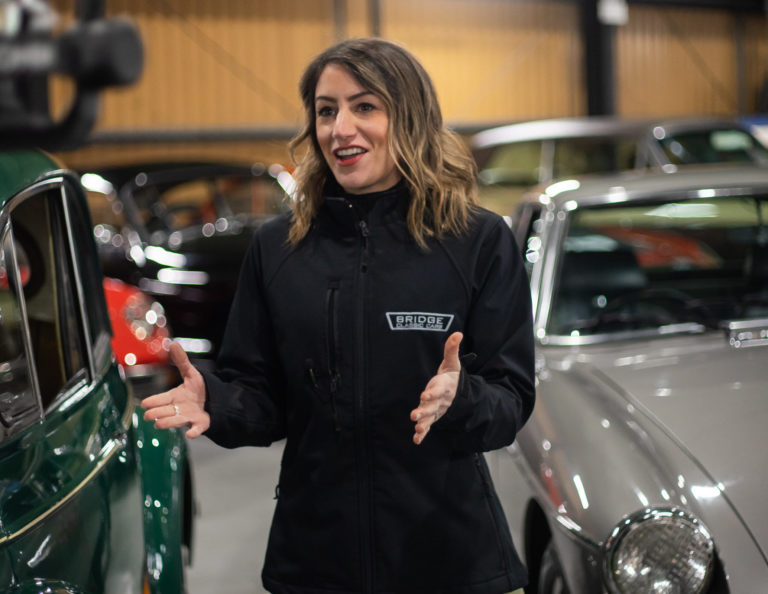
Last night’s live draw was all focused around our delightful 1981 MGB GT LE that’s been won by Duncan Walker with his lucky ticket 1056.
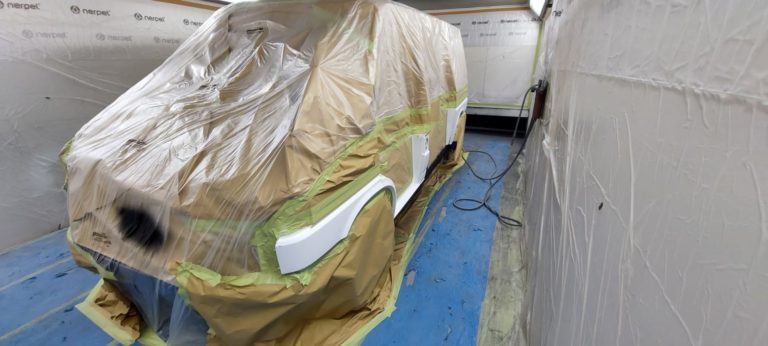
The doors and van have all been masked up ready for paint in the paint booth by Chris. Our 1991 VW T4 campervan is getting
Kath has been working on the TR5 hood recently in the trim shop with the rest of the team. She bagan the process of making the hood by laying the cover over the hood frame and lined up the roof bars with the hood seams. She then took the cover off, attached the webbing to the bars to keep the frame in the right position using the rivets and metal plates. She then made up some vinyl for the edges to go along the side of the frame with Velcro sewn on. This is done so the hood can fasten to the frame.
Kath then glued up the frame and vinyl, attached the Velcro strips and bolted on the metal channels on each side for the rubber seal around the top of the window. The next step was to insert the rubber seal, trim the excess off once in the channel and fit a rubber seal along the windows. The rear window rail was then pushed in between the hood cloth so it sits comfortably in the middle.
Kath then centred up and glued the cover in underneath the rail. To neaten it up, Kath trimmed off the excess material and bolt down the rear rail onto the car. She then attached stud sockets to the top of the cover at the back and riveted them in place. She could then pull the cover tight at the front of the car, marked the position on the front of the car with some chalk and glued along the header rail and under the front cover. Kath attached the metal channel along the front with the rivets so that they ready to have the rubber inserted in. The rubber is often hard to fit into the riverts so Kath applies some ‘easy slide’ to help it fit in.
The next step in the process was to attach 3 stud buttons on each rear side to secure hood down. These were riverted on each side of car. Next Kath wrapped the rear rail around & secured it with rivets.
The rear hood cover has also been made by positioning the template cover over the hood and Kath marked the centre. She attached a fastener, pulled the cover tight and marked a few positions of fasteners. She punched the hole out and then attached the buttons. She did this around the outside edge and once the outside was complete, she attached a couple of fasteners inside.
The final step was to make the tonneau cover. Kath added some fasteners along the top edge of the door, riveted them in place on both sides and centred up the cover before adding any fasteners. Kath marked the position of the first few stud buttons, attached the fasteners, clipped them down and finished by gradually go around the edge pulling the cover tight.
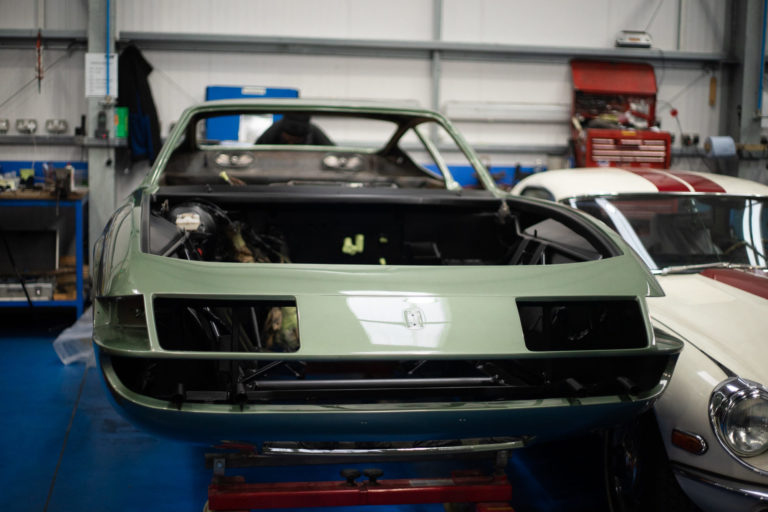
The body of our Ferrari Daytona has officially left the paint shop and found its place in our main workshop, ready to begin the next step in its mechanical journey. The doors, boot and bonnet are set to be completed imminently and will join the body to be fitted.
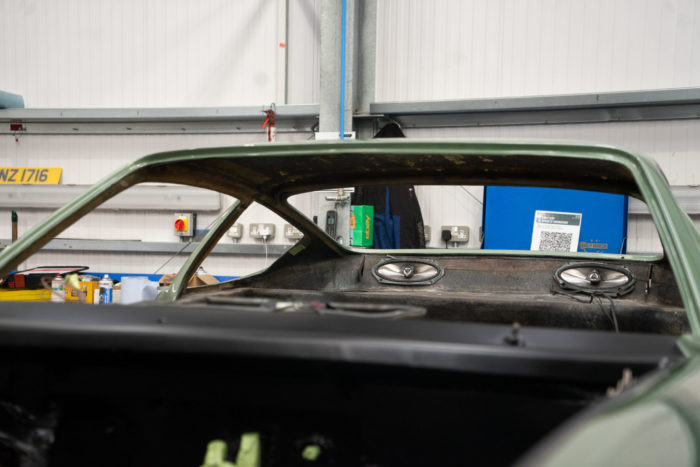
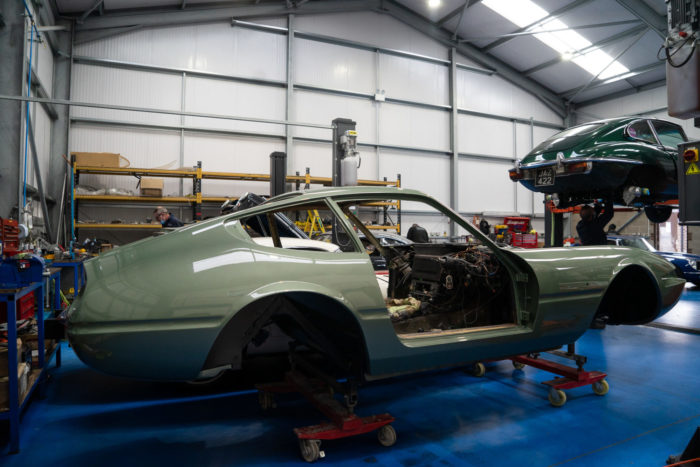
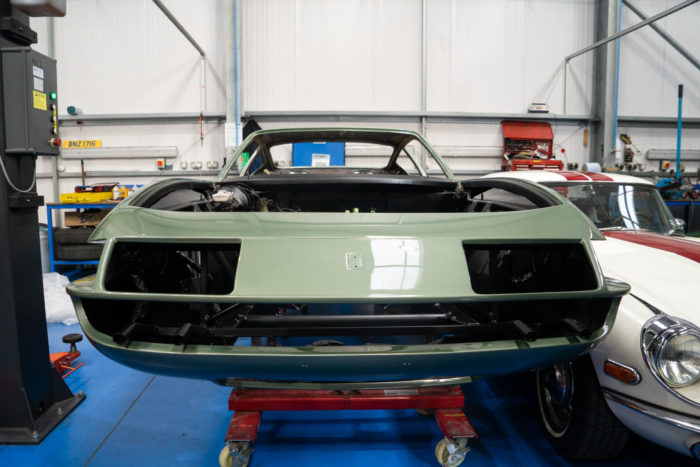
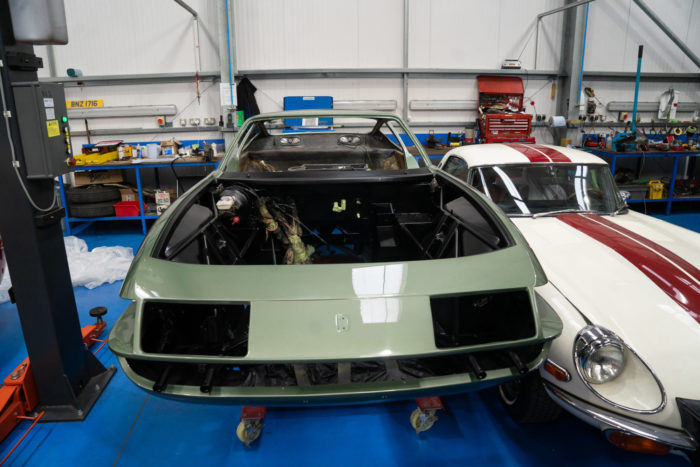
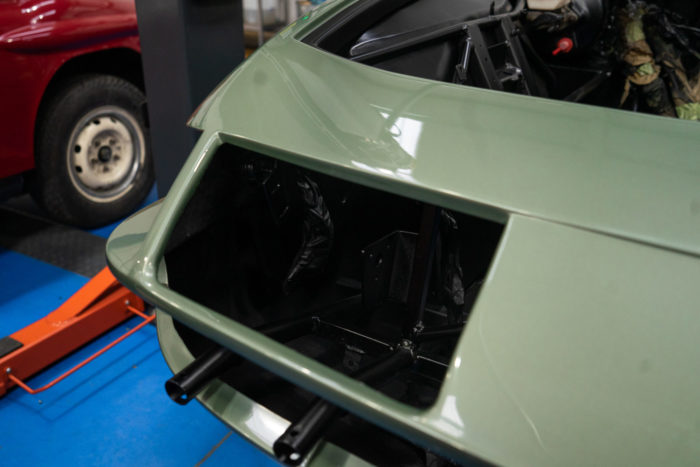
Scott has been working on re-aligning the front suspension of the Daytona as well, making sure all the elements fit back together nearly after its refurbishment.
The trim shop are continuing with the interior with Lydia focusing on the rear quarter panels. She started off by taking the original leather and foam off them both, glued new 3mm foam onto each one and placed new leather over the top. She then turned her focus to working on the bottom sills where she started off by taking the original leather and foam off and sanded off the surface rust.
Brian has continued to strip down the old door panels and has added new foam to the panels as well. He’s then marked out new leather for the doors, glued the cover around the edges and pulled the leather tight. Brian also turned the fabric over the edges of the hole for the centre section and speaker hole. He has also fit rubber grommet for the door lock button to finish.
Lydia has also continued to take the covers off the seats. First, she undid the bolts holding the wide bars down which hold the seat in place in the car, then she drilled the rivets outs holding the covers into place. Next Lydia took out all the rusted staples which originally held the covers in place. Lydia had to twist the hog rings out, which were holding the inner seat cover tight around the frame as well as cutting the strings holding the inner seat tight in the middle and at the top. She then took the metal bars off that hold the rubber webbing over the frame and took the inner cover off, and then had to drill out a couple of more rivets to get the surrounding cover off.
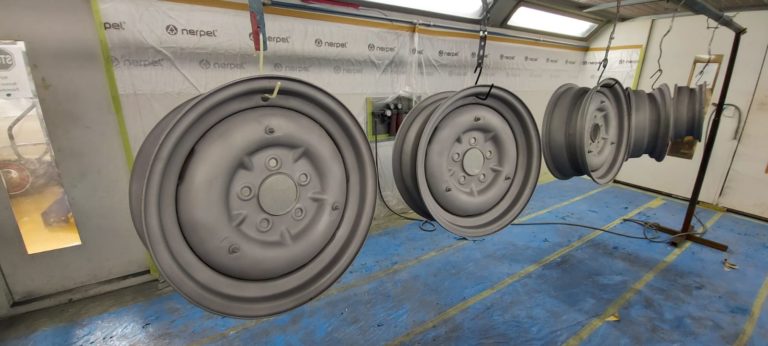
Our 1954 Jaguar MKVII has had its wheels painted in Epoxy primer and then painted in its final cream colour. These have been hung up and sprayed in the paint shop and worked on by Chris and Matt.
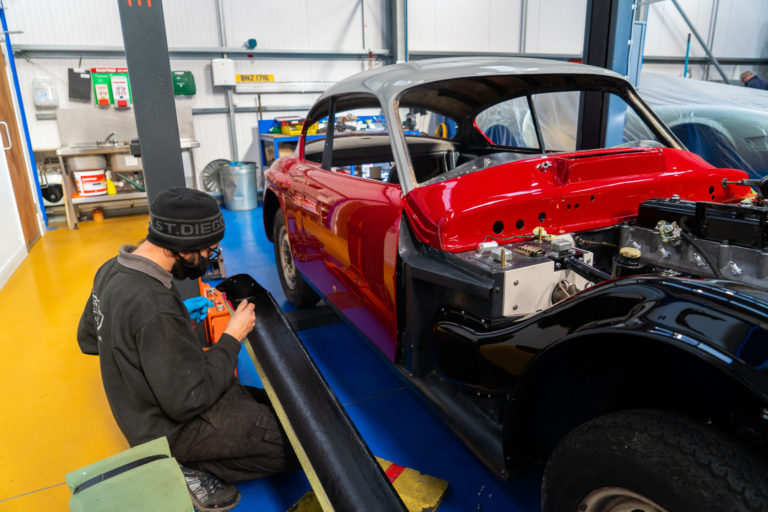
Our lovely 1960 Peony Red Jensen 541S is at the stage where we’re putting lots of pieces back together and fitting them in, meaning that day by day, its looking more like a Jensen. Paul has fitted the vacuum pipe for the carburettor manifold as well as working alongside Tom to fit the sills. With the doors now on as well, the body of the car is more or less recognisable.
Last night’s live draw was all focused around our delightful 1981 MGB GT LE that’s been won by Duncan Walker with his lucky ticket 1056. We’ll be delivering his new classic down to Hampshire as soon as we’ve run it through its PDI (pre-delivery inspection).
We’ve still got two other wonderful classics up for grabs so head over to our competitions website to check them out as tickets are selling fast!
The doors and van have all been masked up ready for paint in the paint booth by Chris. Our 1991 VW T4 campervan is getting nearer to looking healthy again.
We use cookies to deliver the best possible experience whilst visiting our website. By clicking "Accept All", you consent to our use of cookies, or you can manage your preferences by clicking the link below. You can manage your preferences at any time from out Cookie Policy page.