TR5 Carpet update
Our 1968 Triumph TR5 is still sat in the trim shop having its new interior fitted! Its a very exciting development as fitting trim to


Our 1968 Triumph TR5 is still sat in the trim shop having its new interior fitted! Its a very exciting development as fitting trim to
We’ve had an enquiry for this charming Morris Minor 1000 that may be coming in for some work soon. The client currently has it in
With Scott’s Land Rover hiatus now over, he can get back to the Daytona. Today he’s been welding the front cradle that holds the suspension
Lots have been happening with our new Land Rover Series IIa this week. Scott (our in-house Land Rover Specialist) has diligently attending to the issues
Our 1968 Triumph TR5 is still sat in the trim shop having its new interior fitted! Its a very exciting development as fitting trim to a vehicle is one of the final sections that really makes all the difference visually!
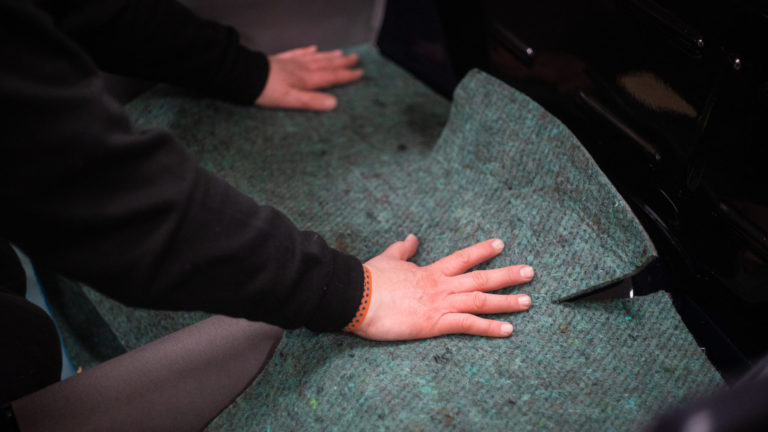
Kath has trimmed around and glued into position the carpet on the driver’s side under the pedals. She’s also fitted the driver’s side sill and the carpet near the accelerator pedal.
The centre console was then just laid in place to make sure it fits with the sound deadening now in place. Once everything definitely fit, Kath could glue in the sound deadening around the upper tunnel section and glue the carpet in the upper head of the tunnel. She then trimmed around the pipes and wires and lay in the tunnel section. The next step was to then put the centre console in over the carpet to make sure it still fits after each modification. The driver’s side and passenger tunnel section could then be glued in and packed out with foam to make a better fit.
Brian has made up the centre console by sanding and filling the cracks in the existing centre console switch unit. He’s glued the inner section and pushed the leather into place and followed it up by glueing the outer section and pulling it tight around all edges.
Brian could then cut the holes for the switches and fill the cracks. Once repaired and sanded, Brian was ready to glue the leather to the console, and start on the gearstick section by glueing and stretching the leather around all edges of the console. He then cut and trim the leather to get it to fit perfectly around the back of the console. Once these modifications were made, he could glue the leather and turn over the edges for the gearshift hole. Once these steps were completed, Brian fitted the console into the TR5.
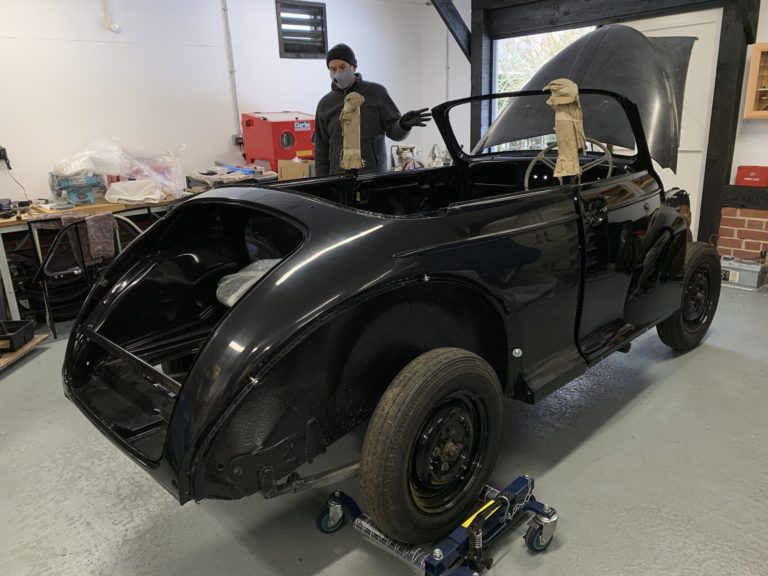
We’ve had an enquiry for this charming Morris Minor 1000 that may be coming in for some work soon. The client currently has it in this condition and just needs some help finishing the project.
Watch this space…
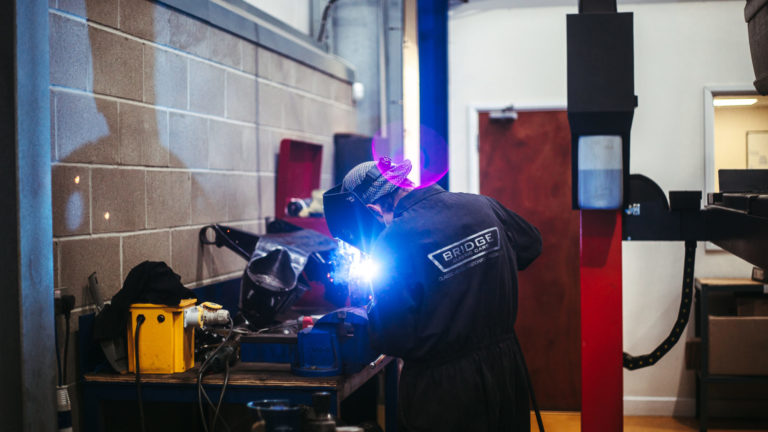
With Scott’s Land Rover hiatus now over, he can get back to the Daytona. Today he’s been welding the front cradle that holds the suspension as the element was suffering from some intense rust and corrosion. With new patches welded in, Scott can put it aside to fit once the Daytona has come out of paint.
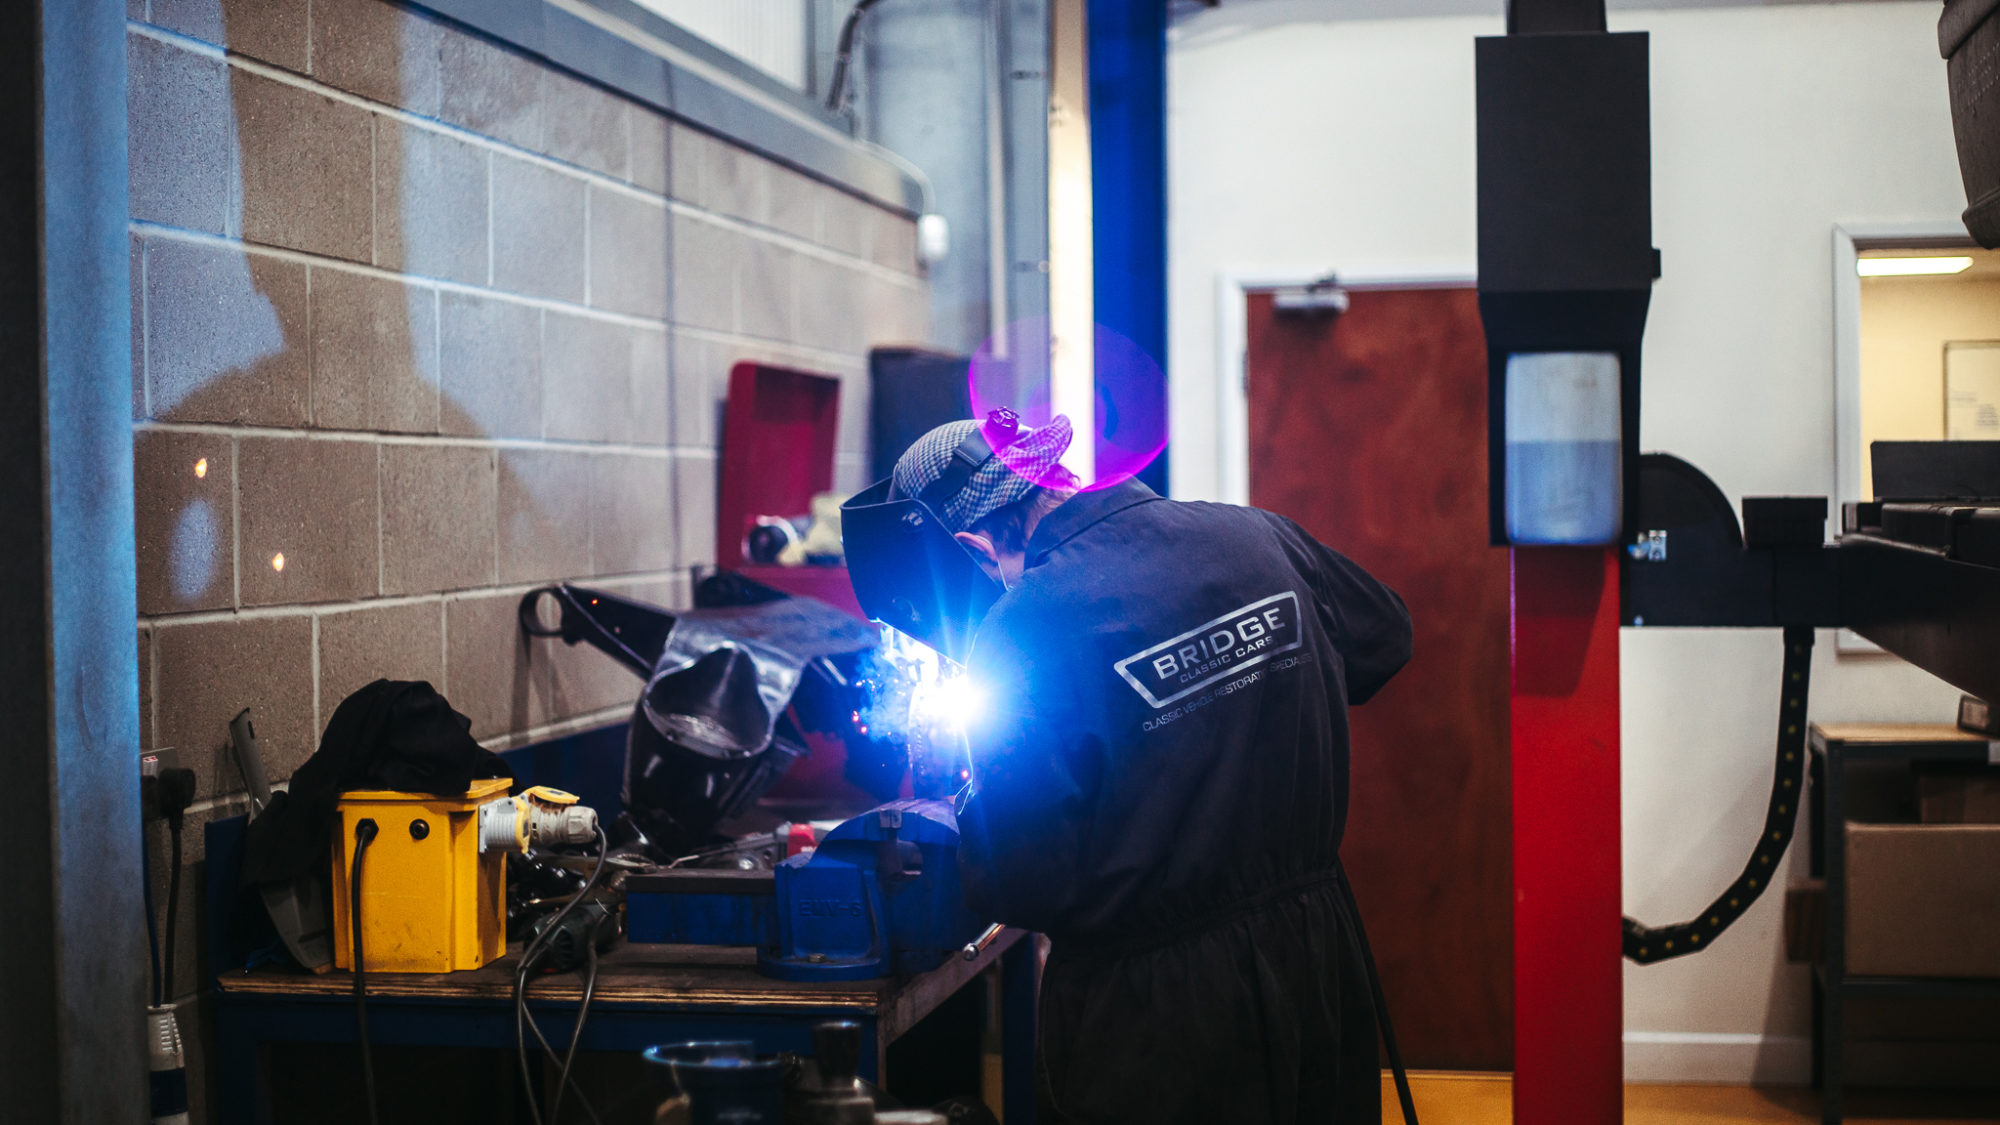
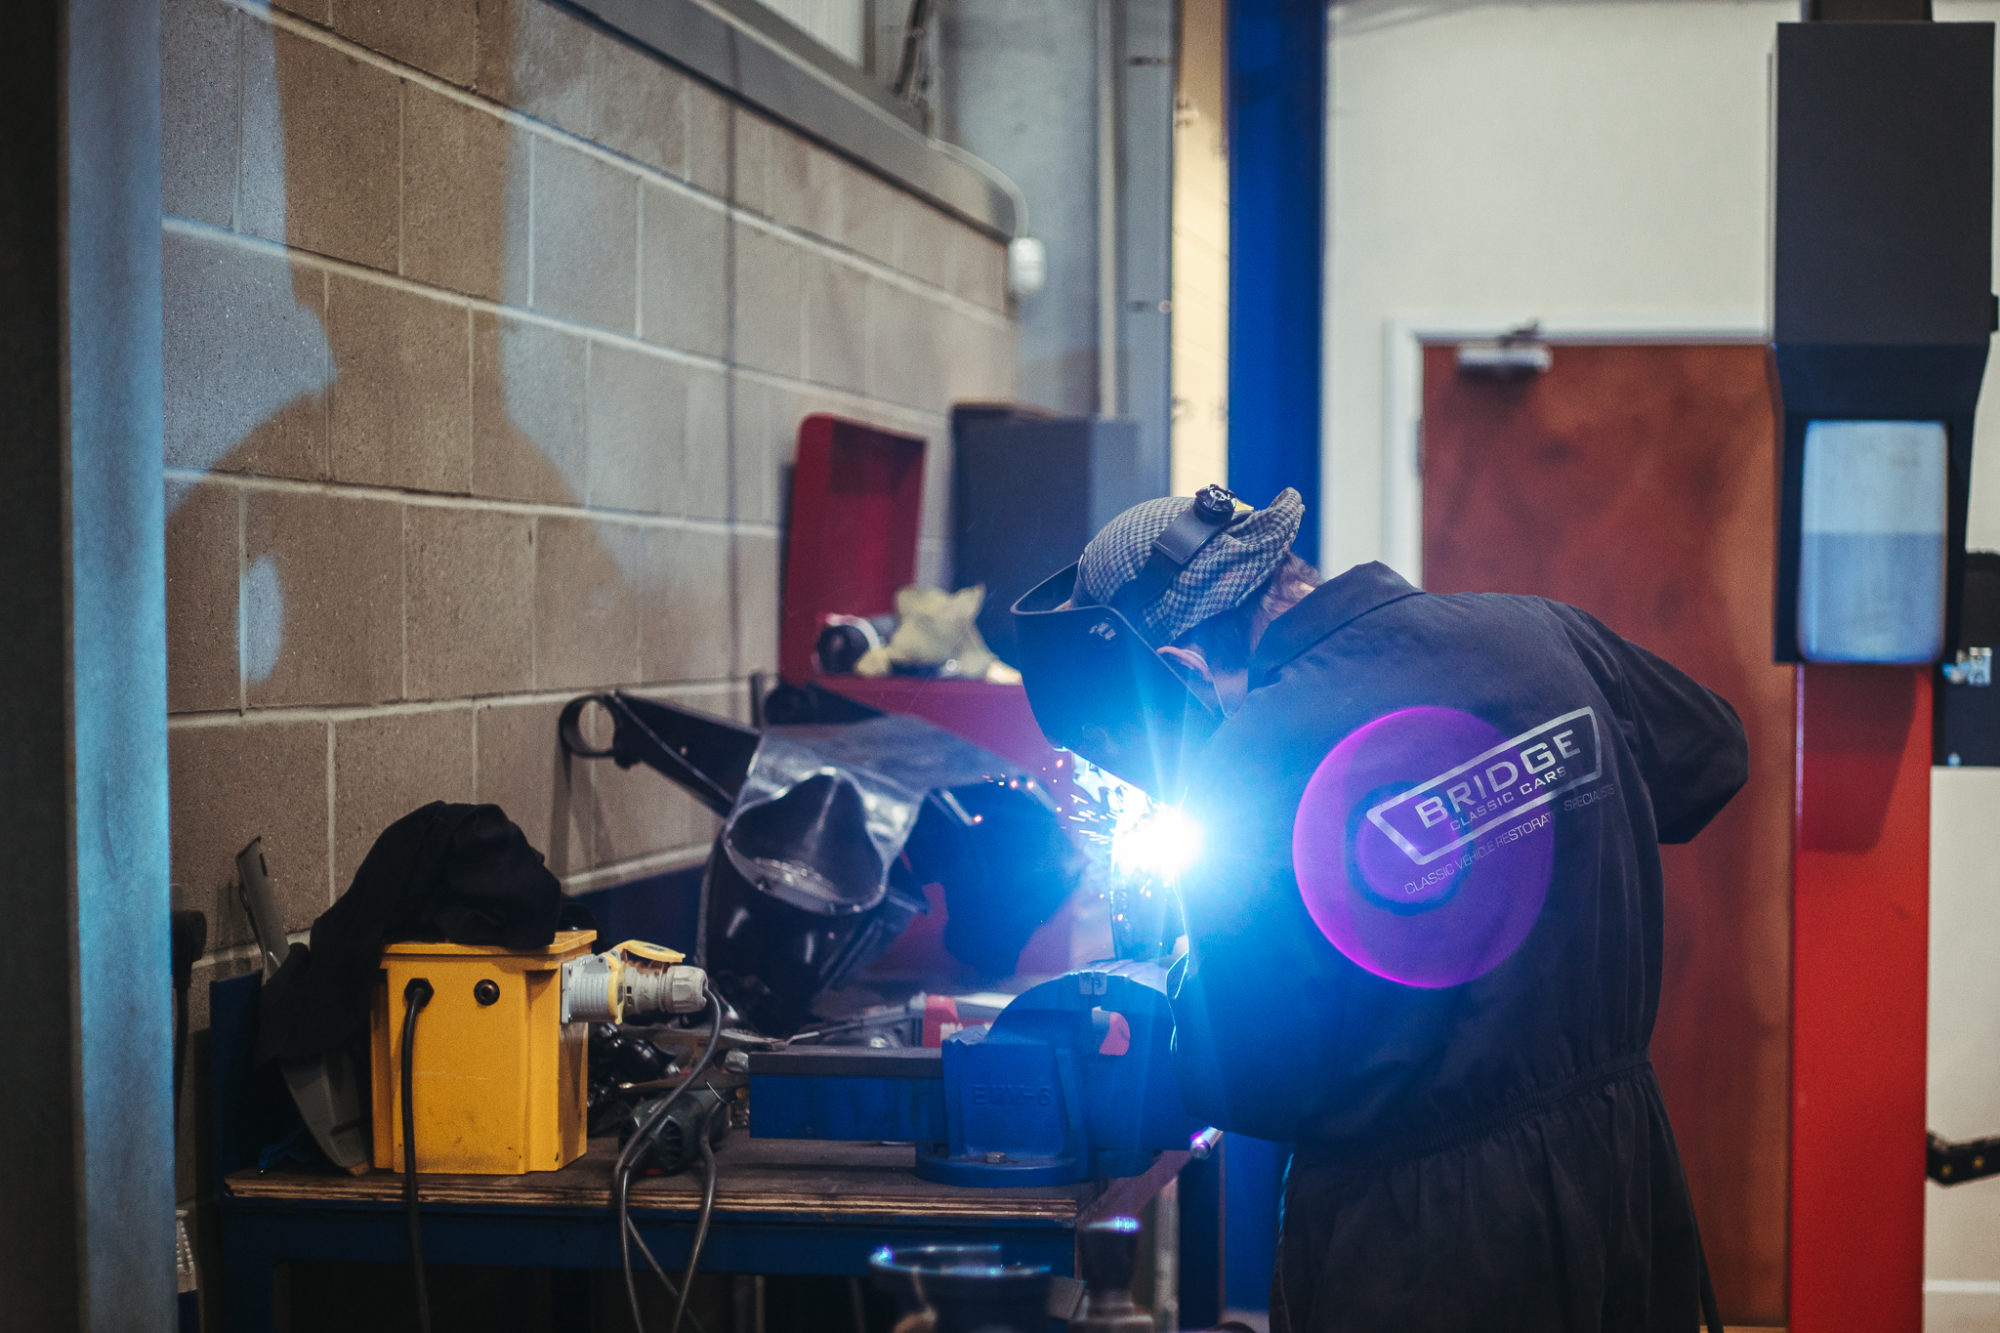
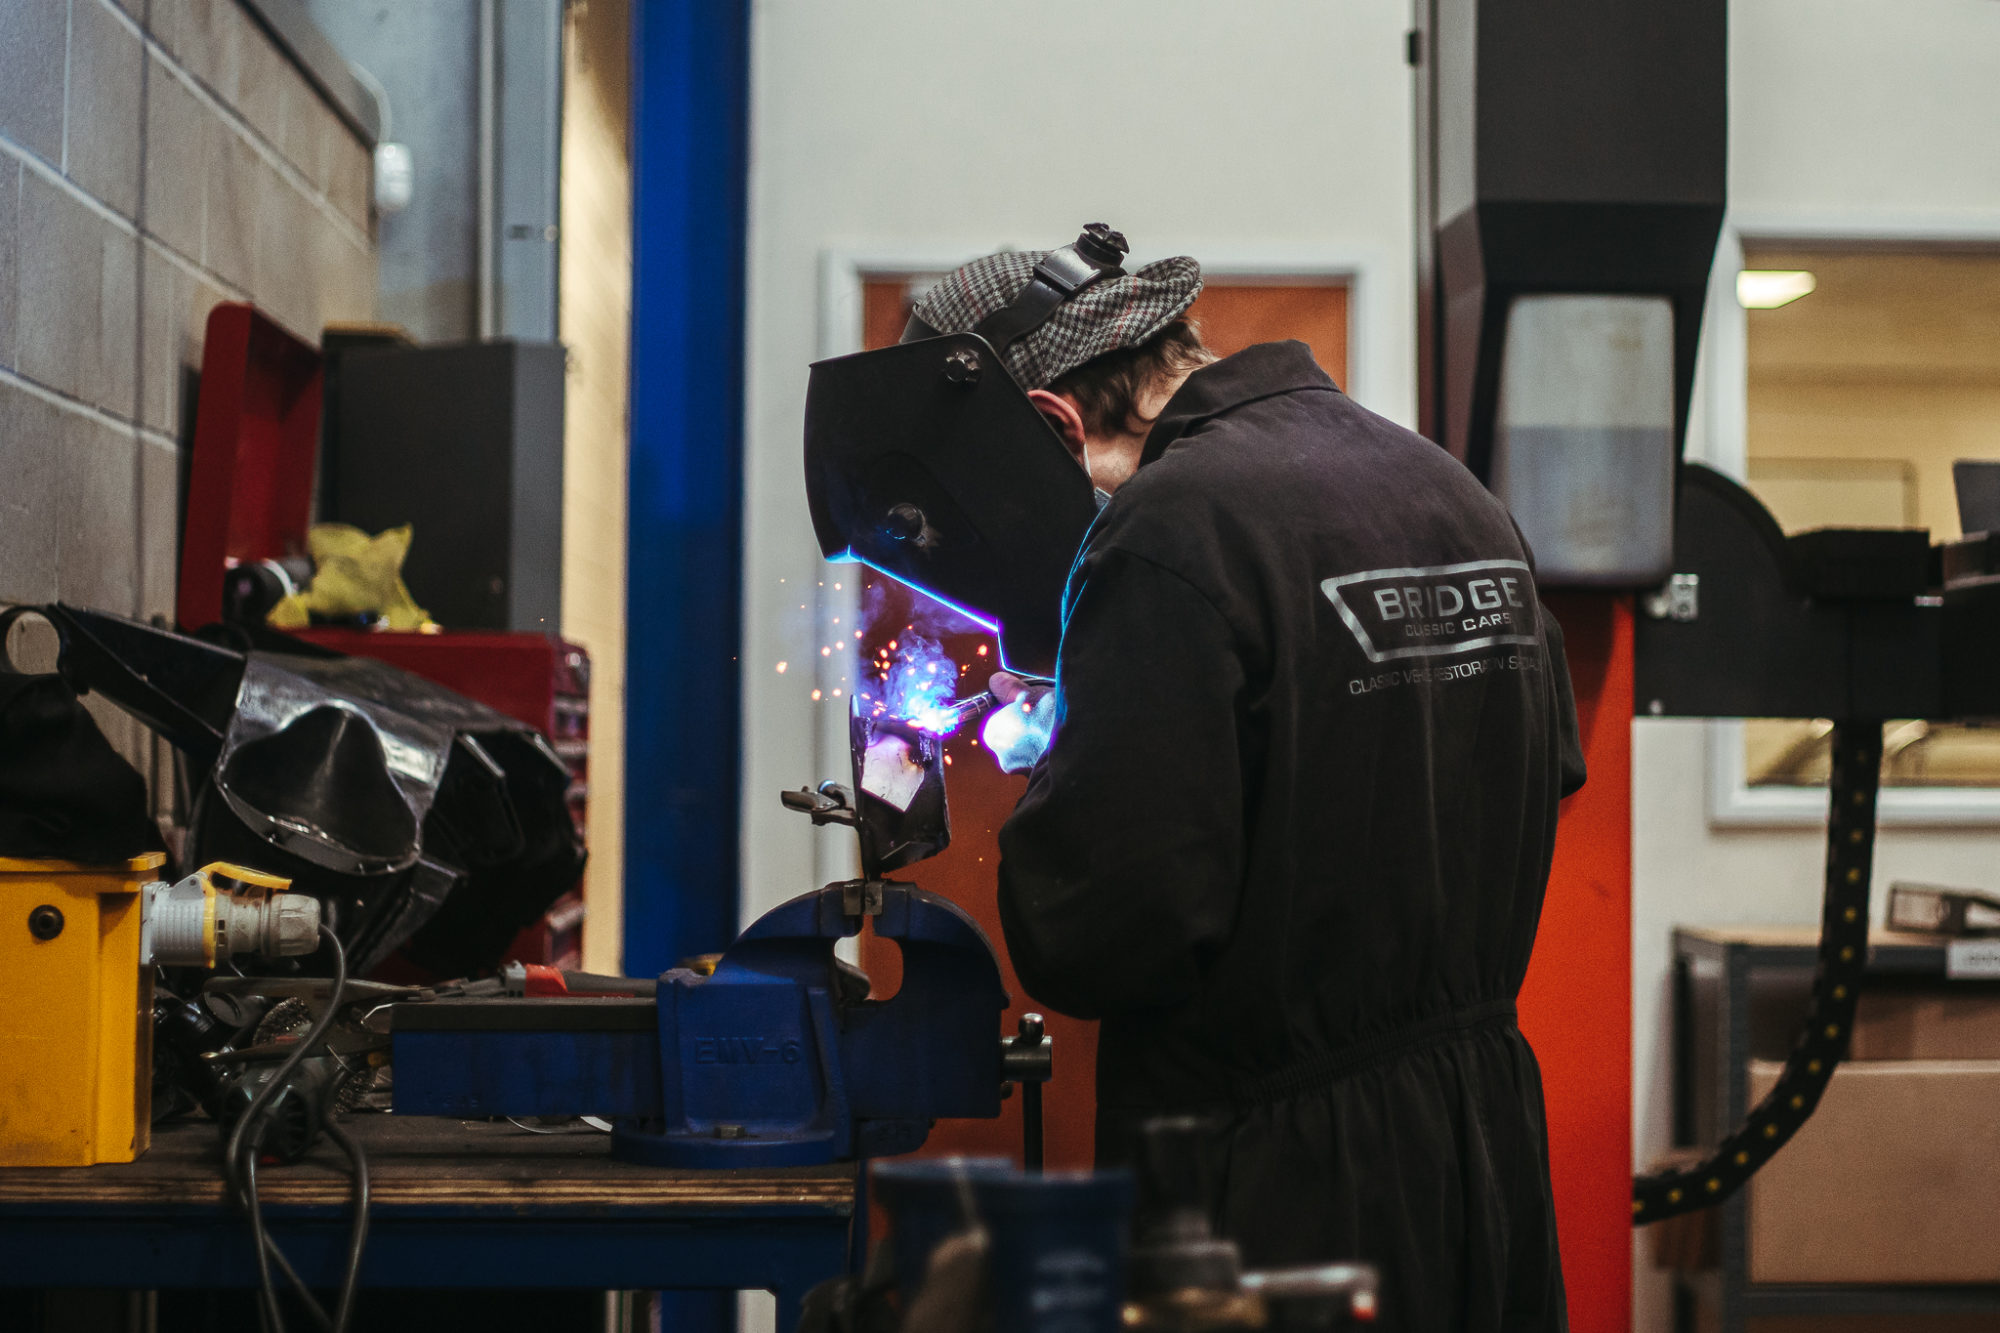
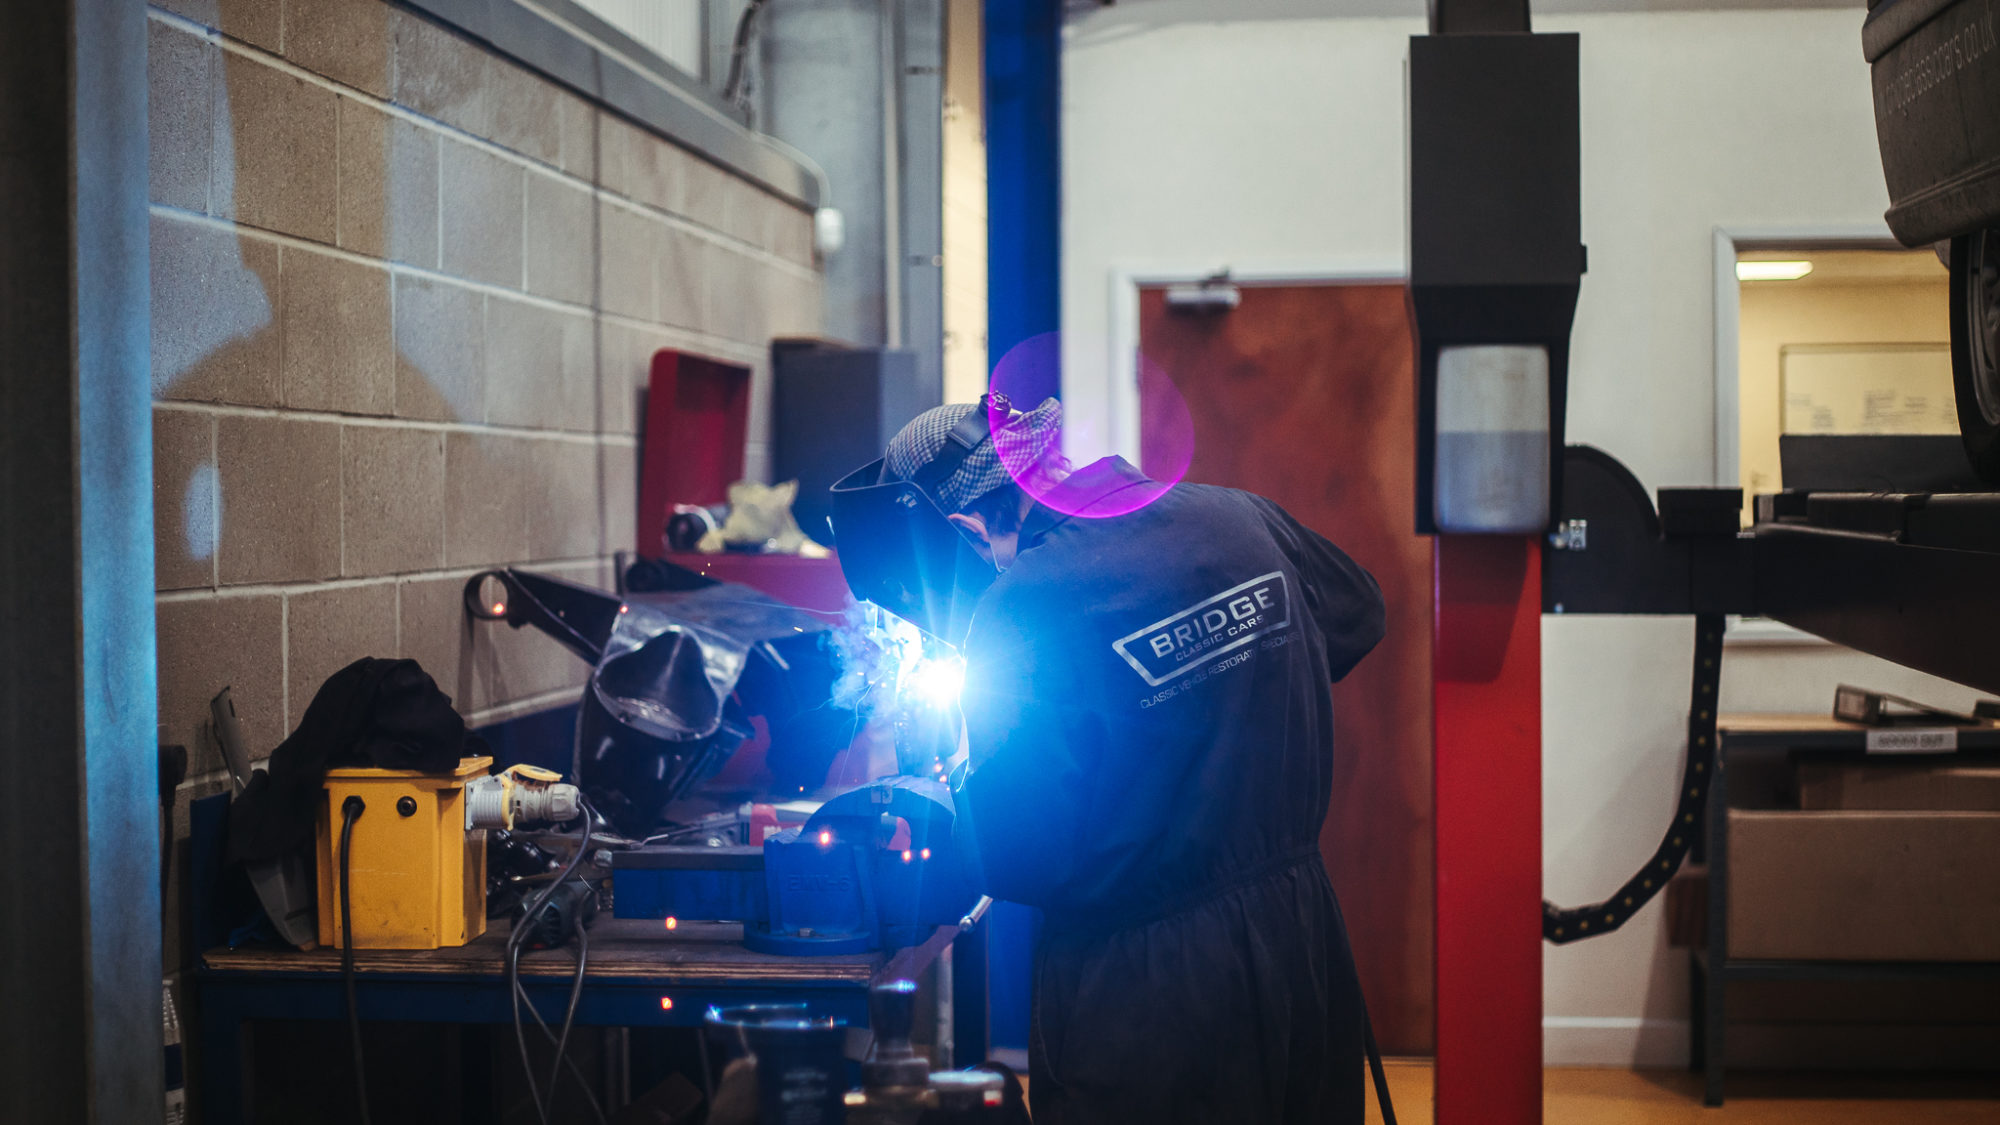
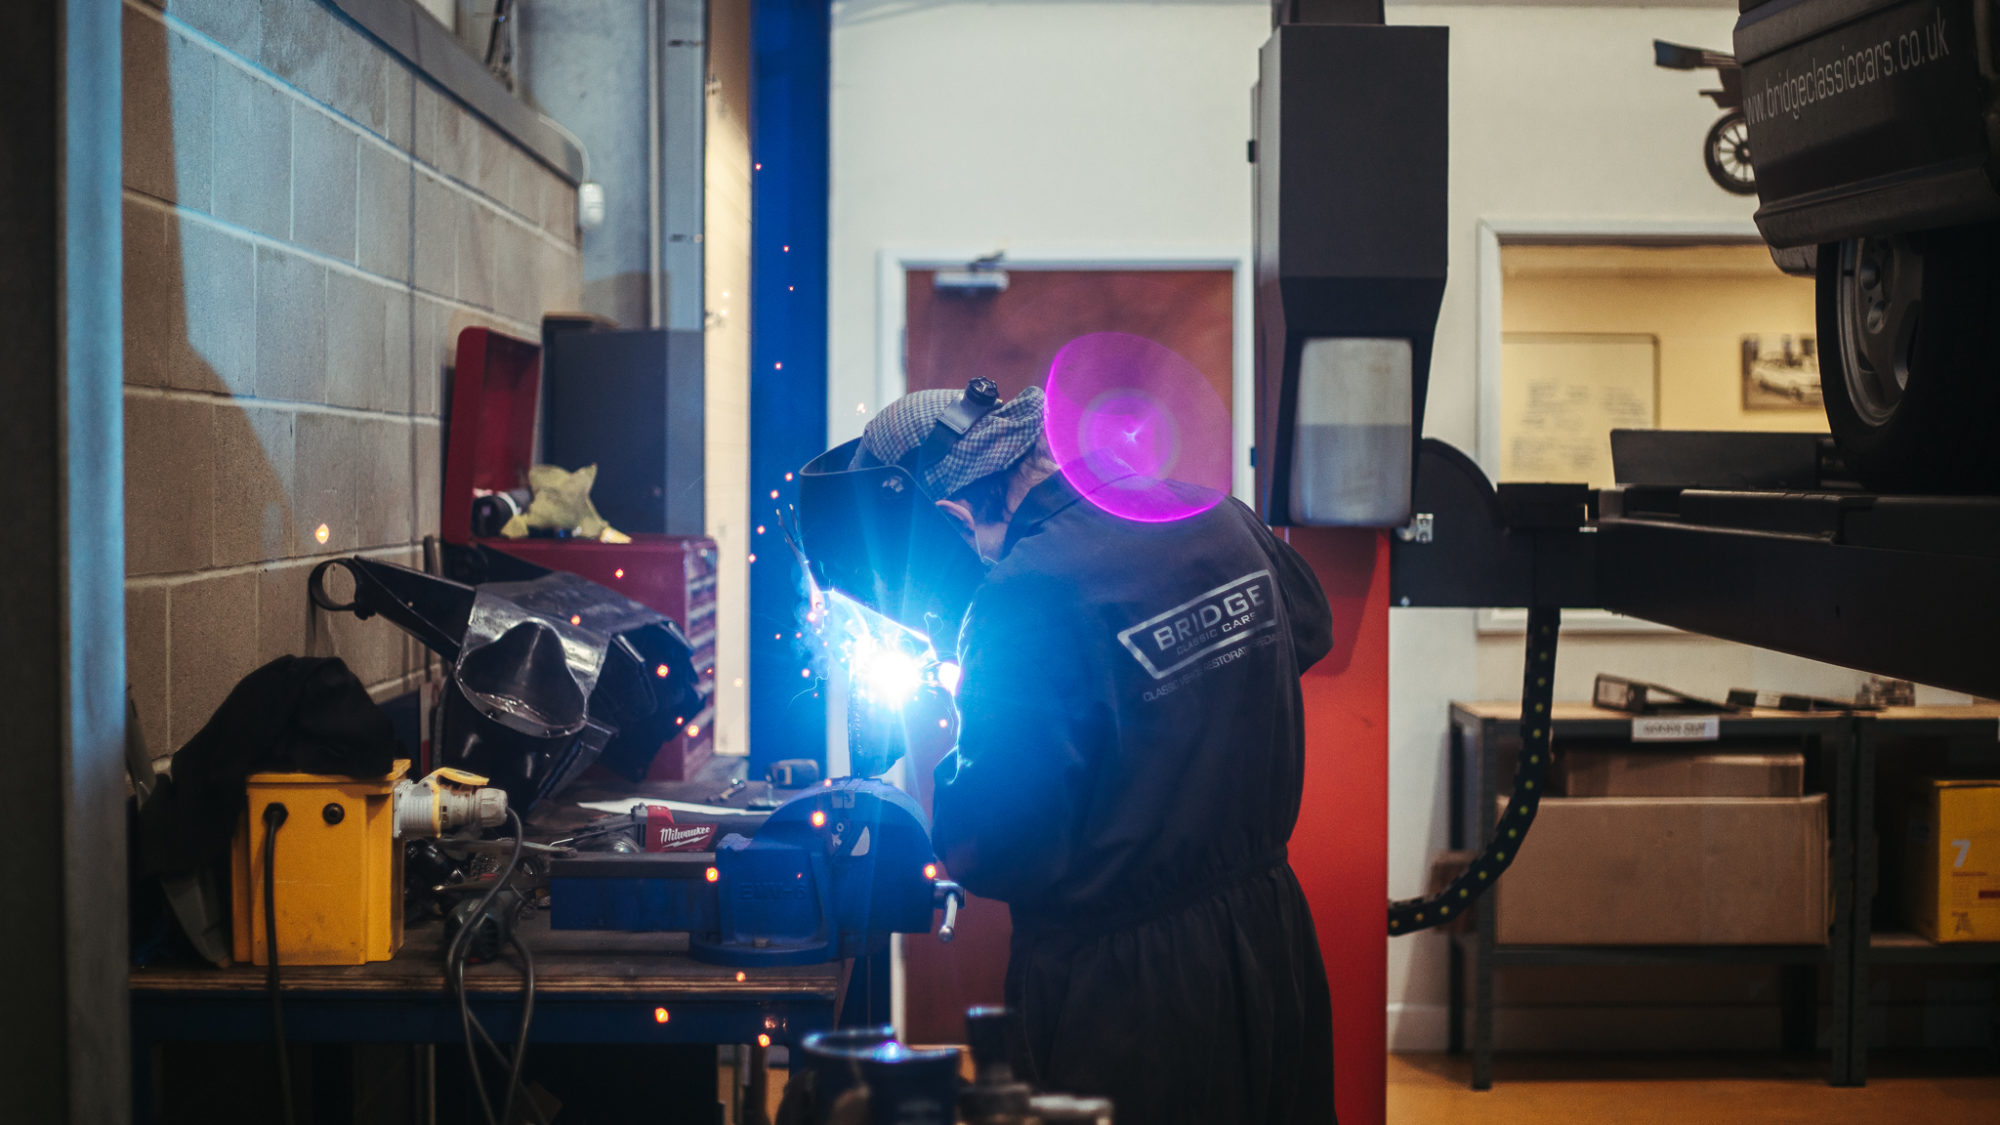
Scott has drilled out the spot welds that held the spring locator into the spring seat to gain access to the rot underneath. He then cut all affected metal out and cleaned up rust off the sound metal and applied a zinc primer to the parts he knew wouldn’t be able to access after its welded back up. Scott then fabricated a new piece and welded that in place. After repairing the spring locator, Scott lined it up perfectly to where it came off and then placed it back on. He finished by grinding flat the plug welds so that once its painted it will look like it’s never been touched. Success!
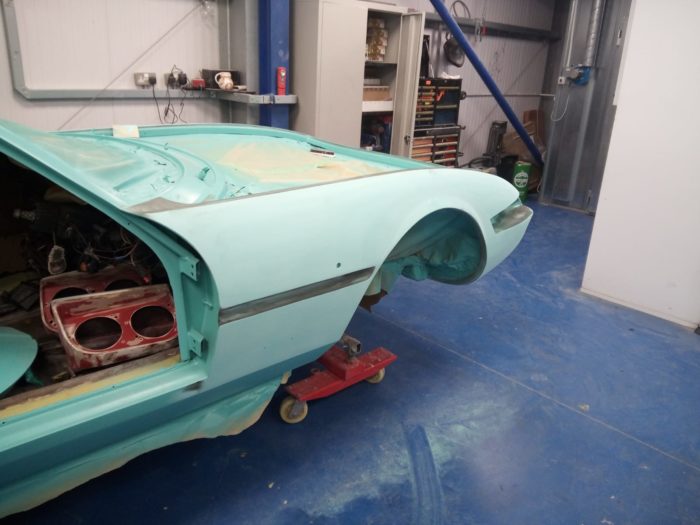
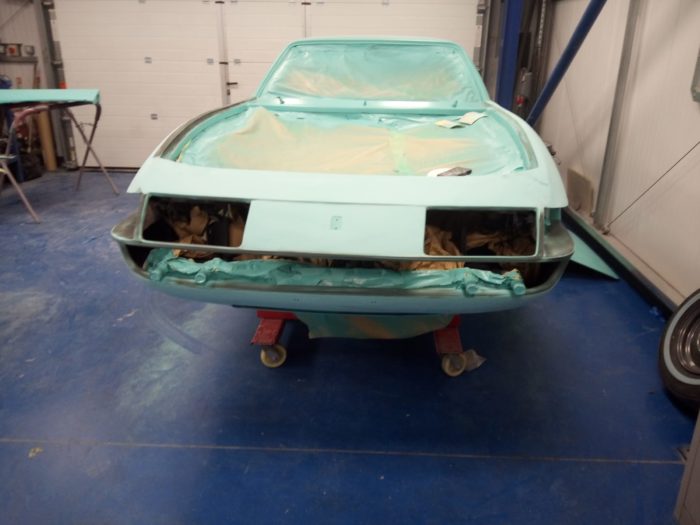
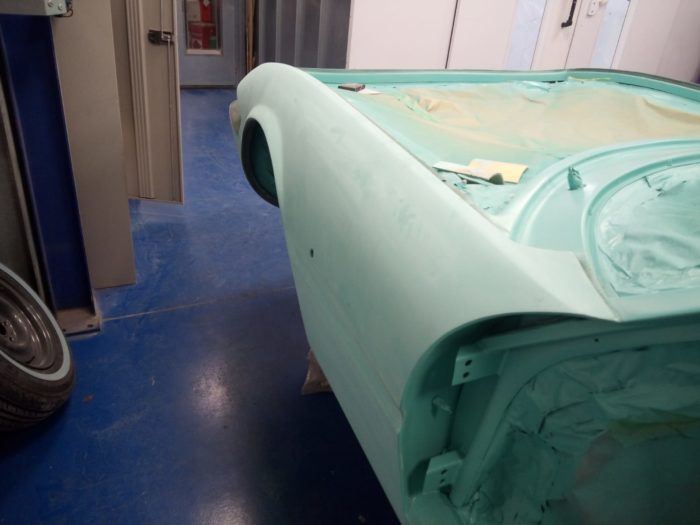
The Daytona shell is sat in the paint shop in a bright green primer as we prepare it for its final paint. Chris hand made the green primer by adding a tint of green paint into the body primer. This allows the final green paint to sit more naturally.
Meanwhile, the interior trim has landed in the trim shop for our team to begin tackling. Lydia has begun taking apart the seats by removing the old and deteriating staples. Lydia then drilled out all the rivets, hiding the bottom flap in place and the sides. the next step was to undo all the bolts with a spanner which were holding these metal bars in place. These metal bars hold the seat down into the car on the floor. Lydia then begun undoing all the laces that run through the back straps and the inner seat cover. After more staples were taken out, Lydia had to undo these metal bars holding the edges of the rubber straps in place going along the back. Before Lydia could start to get the covers off, she had to then cut the strings running down the middle, which help the cover keep tight. Lydia could then take off the middle cover from the foam and frame, peeled the foams off the rubber straps that were held in place with glue and took the outer cover of the foam and frame. Once the covers had all come off, Lydia could then look at the construction of them properly and start marking them up to help make new ones in the future.
Lots have been happening with our new Land Rover Series IIa this week. Scott (our in-house Land Rover Specialist) has diligently attending to the issues and has now almost completed it. We’ll be aiming to shoot it next week so keep your eyes peeled!
Scott has replaced an rewired the window wiper mechanisms which sit in the cab on the dashboard.
We’ve also ordered a front bonnet spare wheel holder kit which has been bolted onto the front and now just awaits a spare wheel to grace it.
Scott has also replaced the rear exhaust box as the original was showing signs of rust beyond repair.
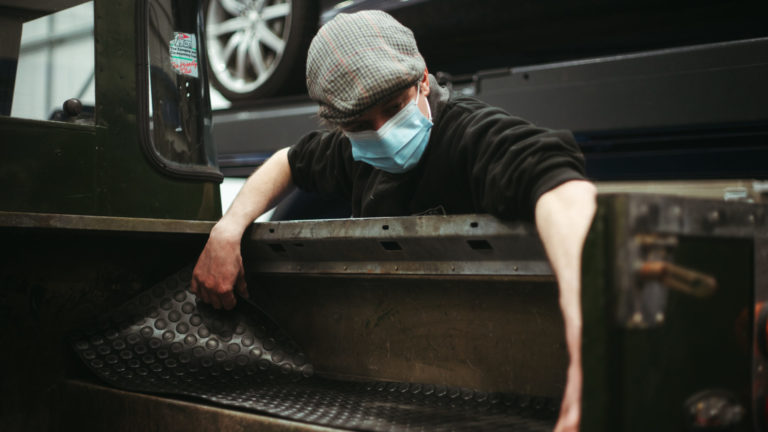
New rubber matting has been made, cut and fitted for the back pick up area. Originally just bare metal, the pick up interior is now kitted out in fresh matting.
The most noticeable change is of course the new canvas tilt which Scott fitted yesterday. The tilt process includes fitting a metal frame and pulling of the canvas over and tying it down.
Scott has been working on some wiring issues, he’s fitted new headlamps and changed the galvanized corner capping on the rear of the buck.
We use cookies to deliver the best possible experience whilst visiting our website. By clicking "Accept All", you consent to our use of cookies, or you can manage your preferences by clicking the link below. You can manage your preferences at any time from out Cookie Policy page.