Ferrari Daytona’s Looking A Little Green
The bonnet and doors have finished their blocking stage and been sent back into the paint bay to be primed. When the rest of the


The bonnet and doors have finished their blocking stage and been sent back into the paint bay to be primed. When the rest of the
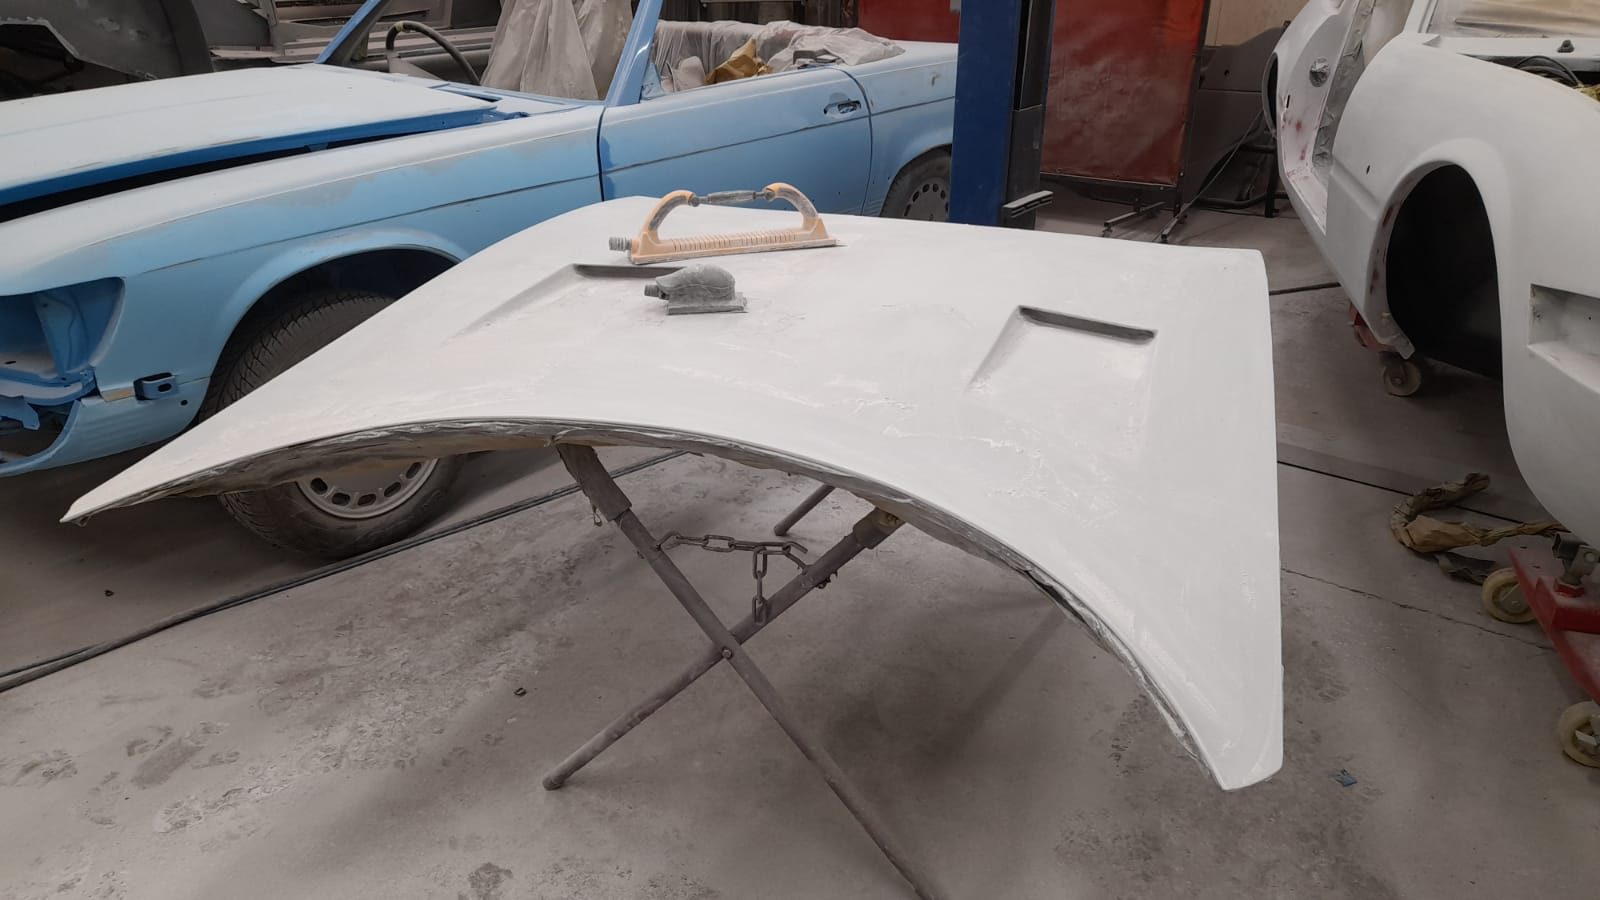
Scott has continued blocking out the Ferrari Daytona after its recent visit to the paint bay. All the primer has now been blocked down on
Now that the Daytona has been primed and prepared in the paint shop, Scott has taken it back into the fabrication bay to continue smoothing

The Daytona entered the Paint Bay today under the trusted hands of Scott, one of our classic car technicians. We’re very fortunate that so many

The Daytona is days away from entering the paint shop and we can’t wait! Scott is currently masking it up to protects elements of the
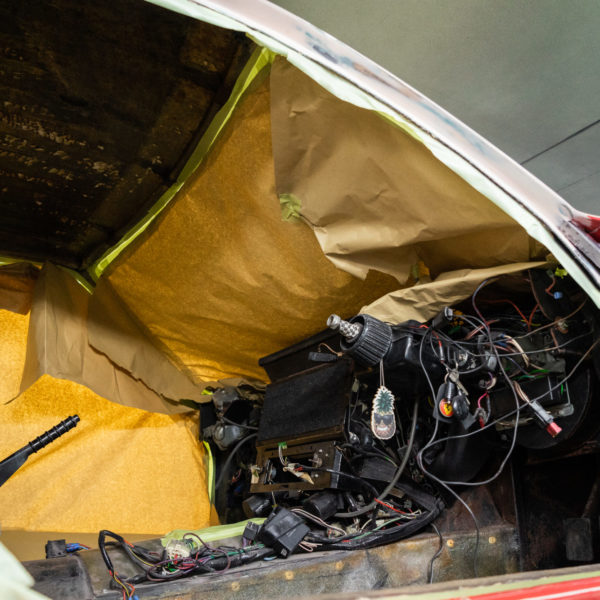
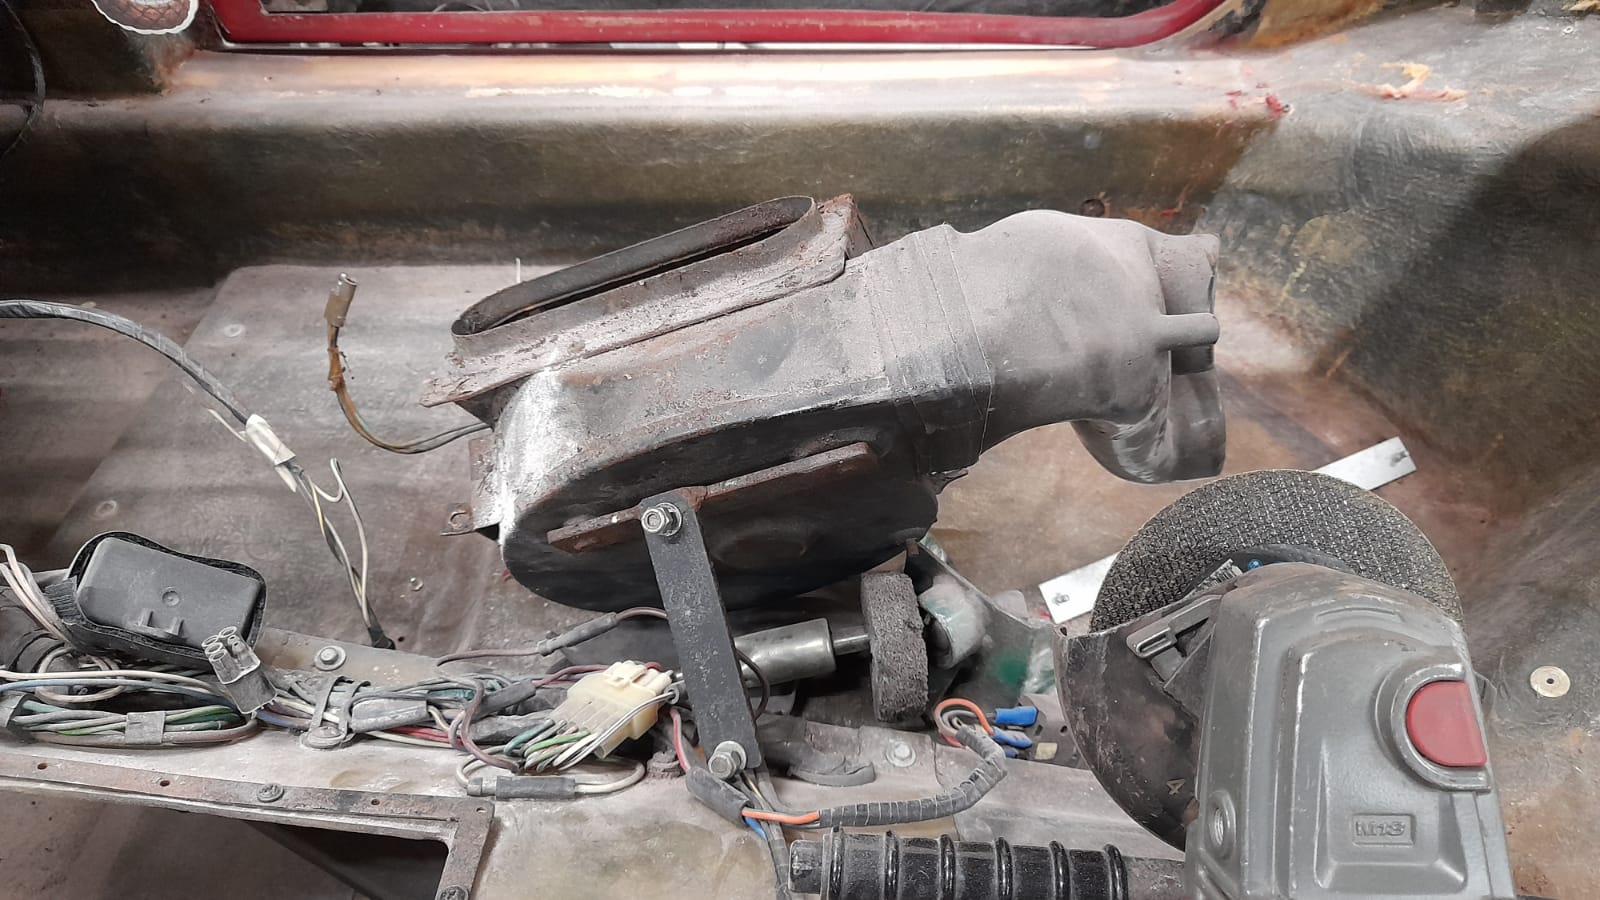
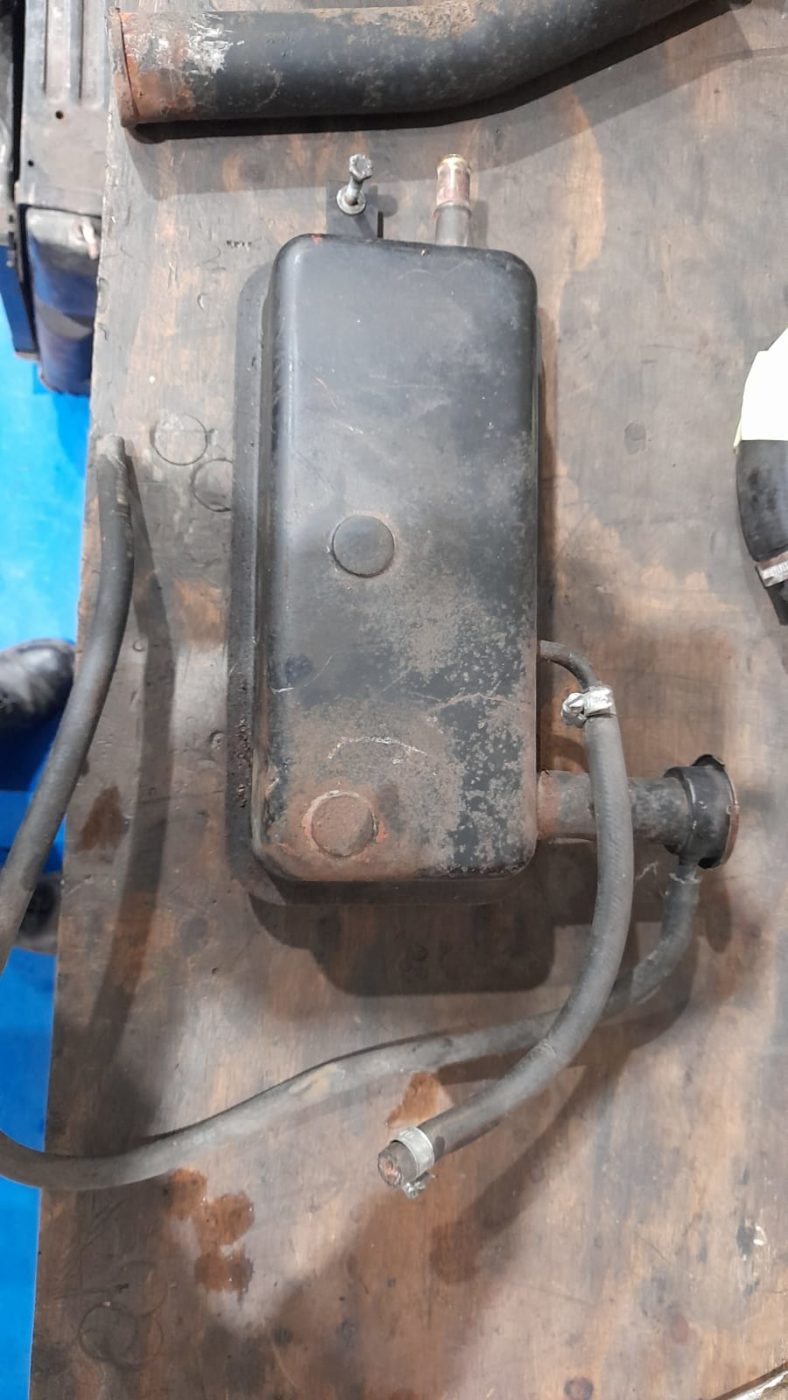
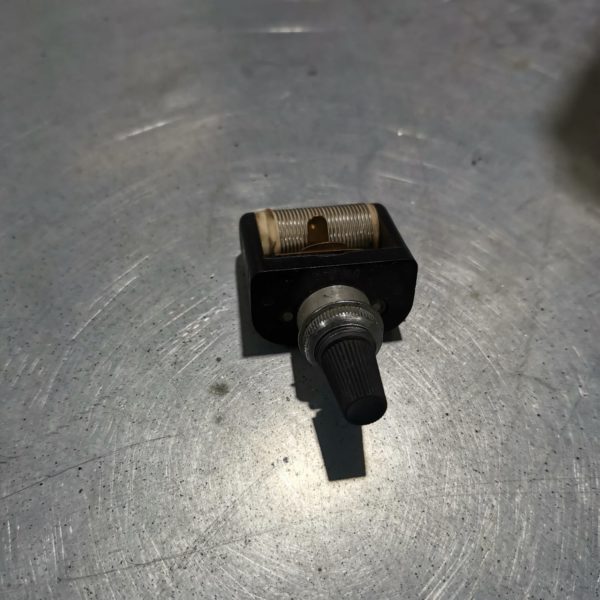
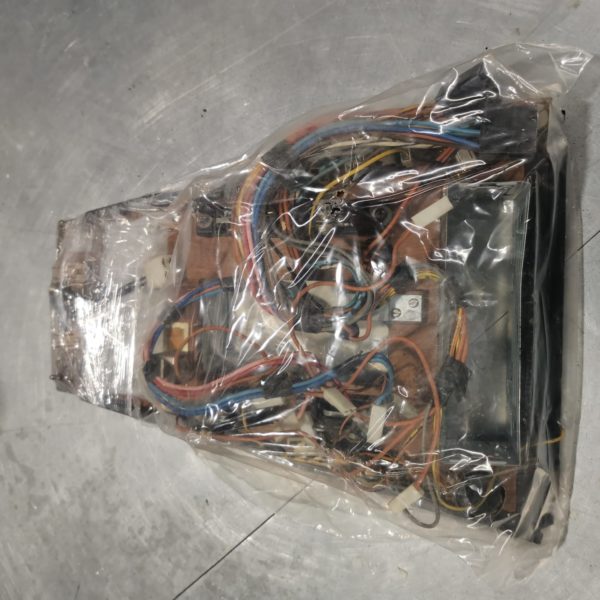
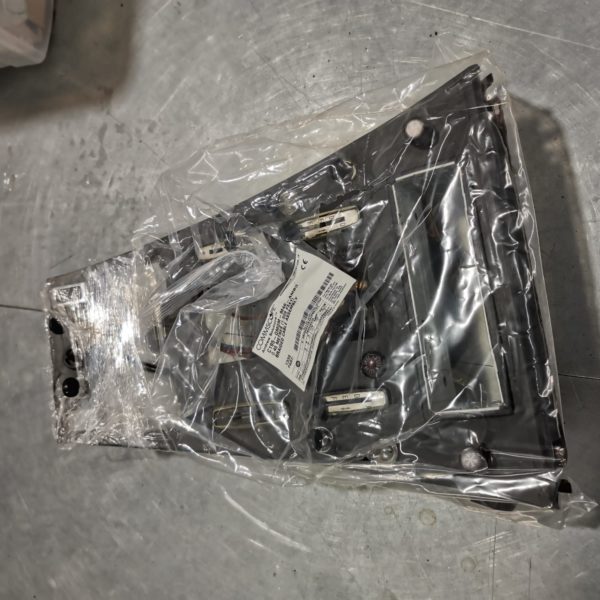
Scott has continued to prep the body of the Daytona by preparing the chassis and engine bay for paint. Scott has removed the heater blower
Scott has continued with the fabrication and bodywork on the Daytona. This mostly includes going over the entire shell with filler to make sure all
There’s a long list of work that’s going on with the Daytona, which mostly has Scott at the helm. The brakes have been sent off
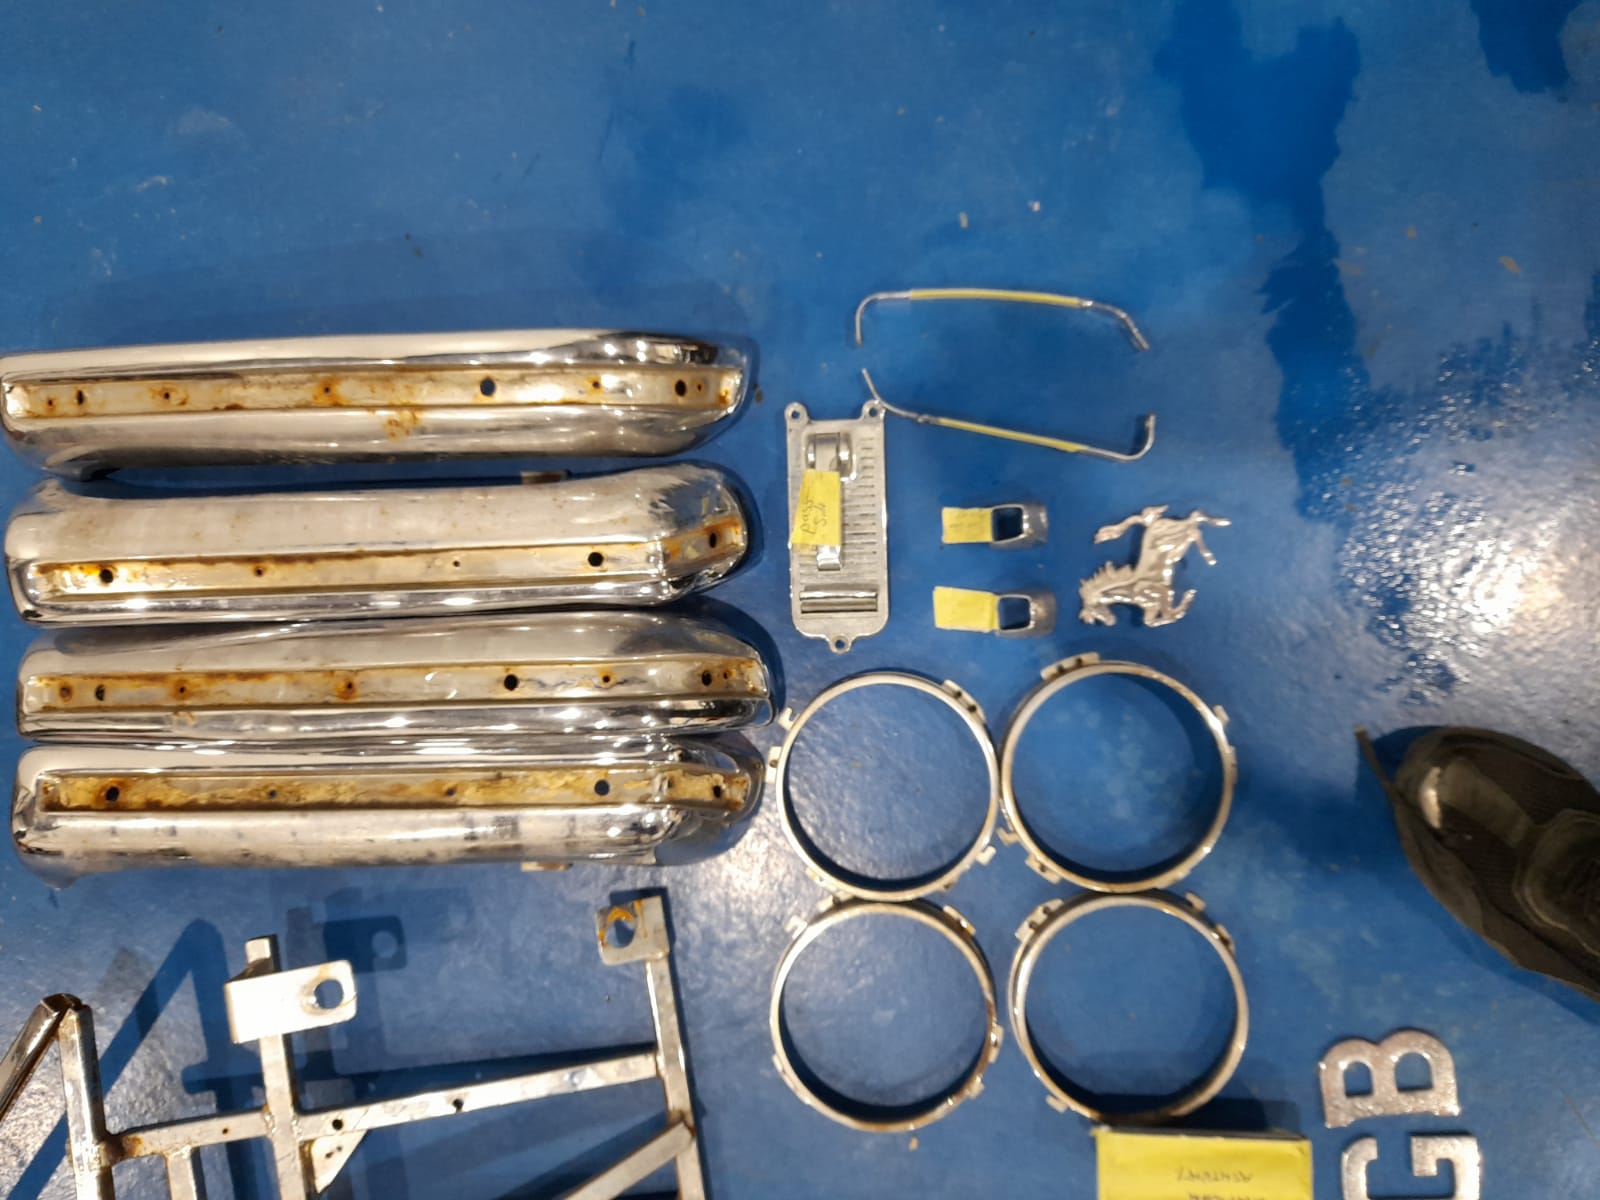
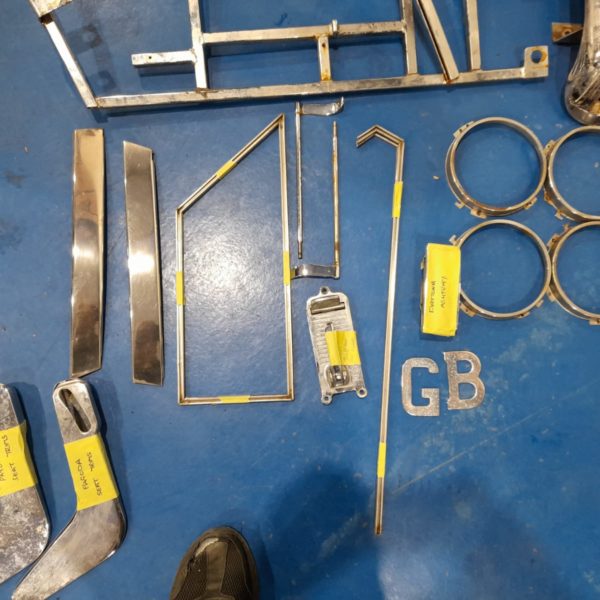
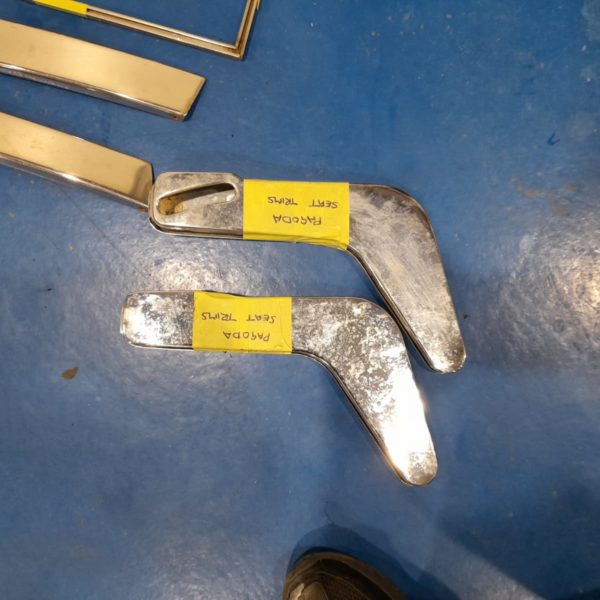
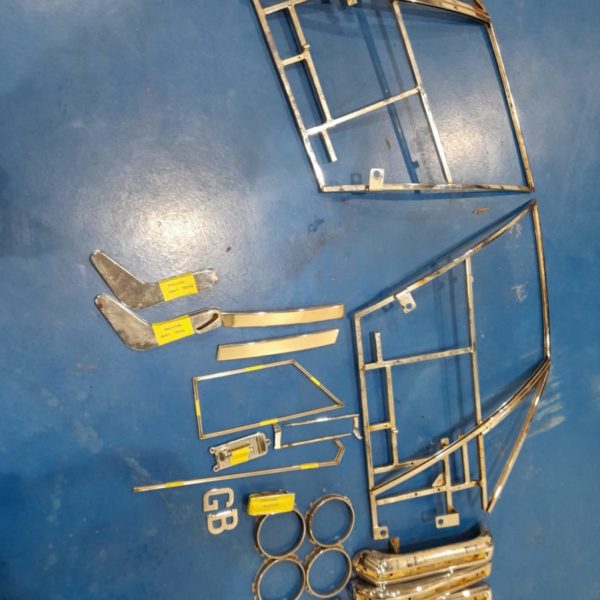
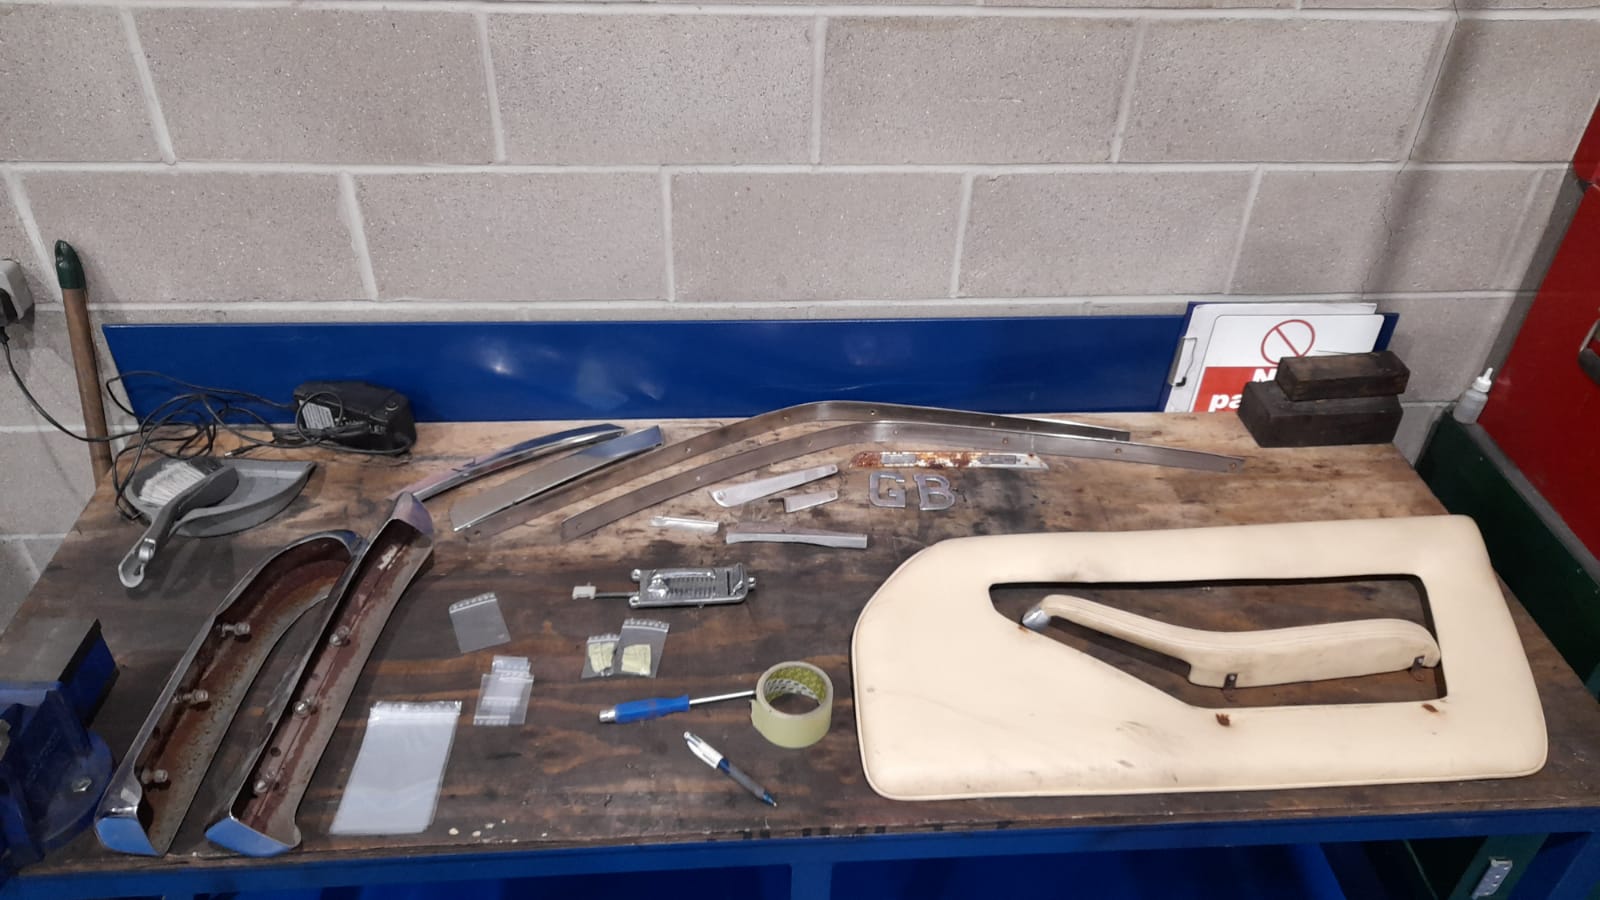
We’ve sent off the chrome to be re-worked and polished at Tony Wyatt Polishing. Once these come back clean and new, we can set them

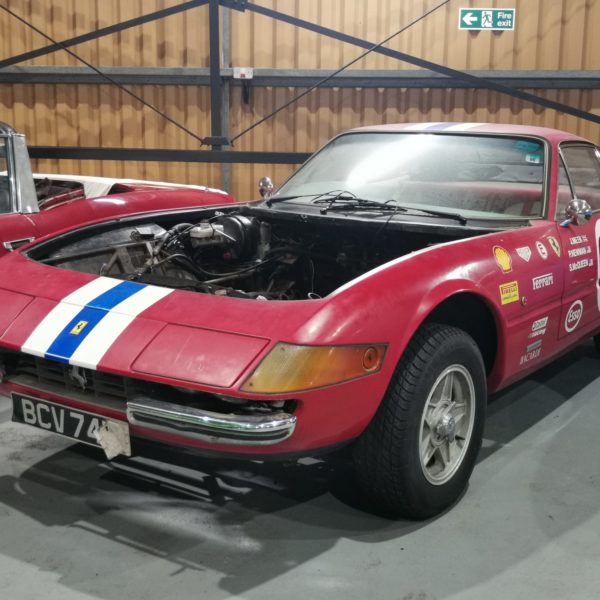
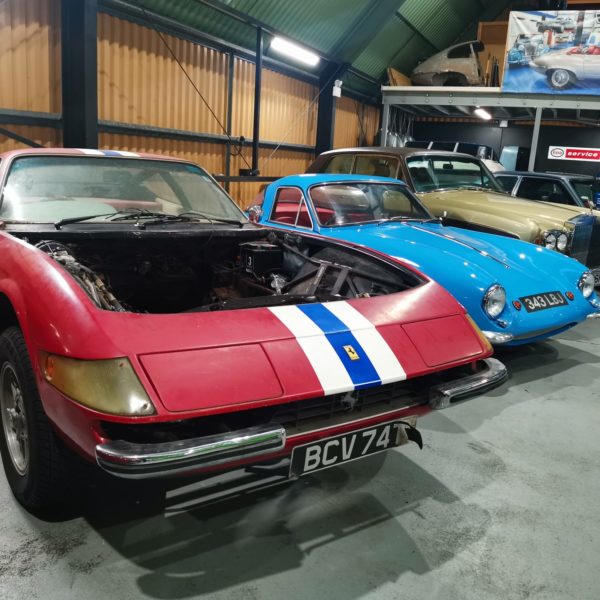
Our 1979 Arrow Ferrari Daytona replica has some big colour related changes coming it’s way. It’s been sat comfortably in a stunning red however shades
Scott has been working on preparing the Daytona door frames by welding the bottom to correct the rust damage. He’s essentially grounding out the rotten

We received the engine for our unique 1979 Arrow Ferrari Daytona Replica. This kit car is going to be a particularly large restoration with the
Pete, one of our specialist technicians here at Bridge, has successfully removed the 1979 Arrow Ferrari Daytona gear box ready for testing. Once it’s restored,
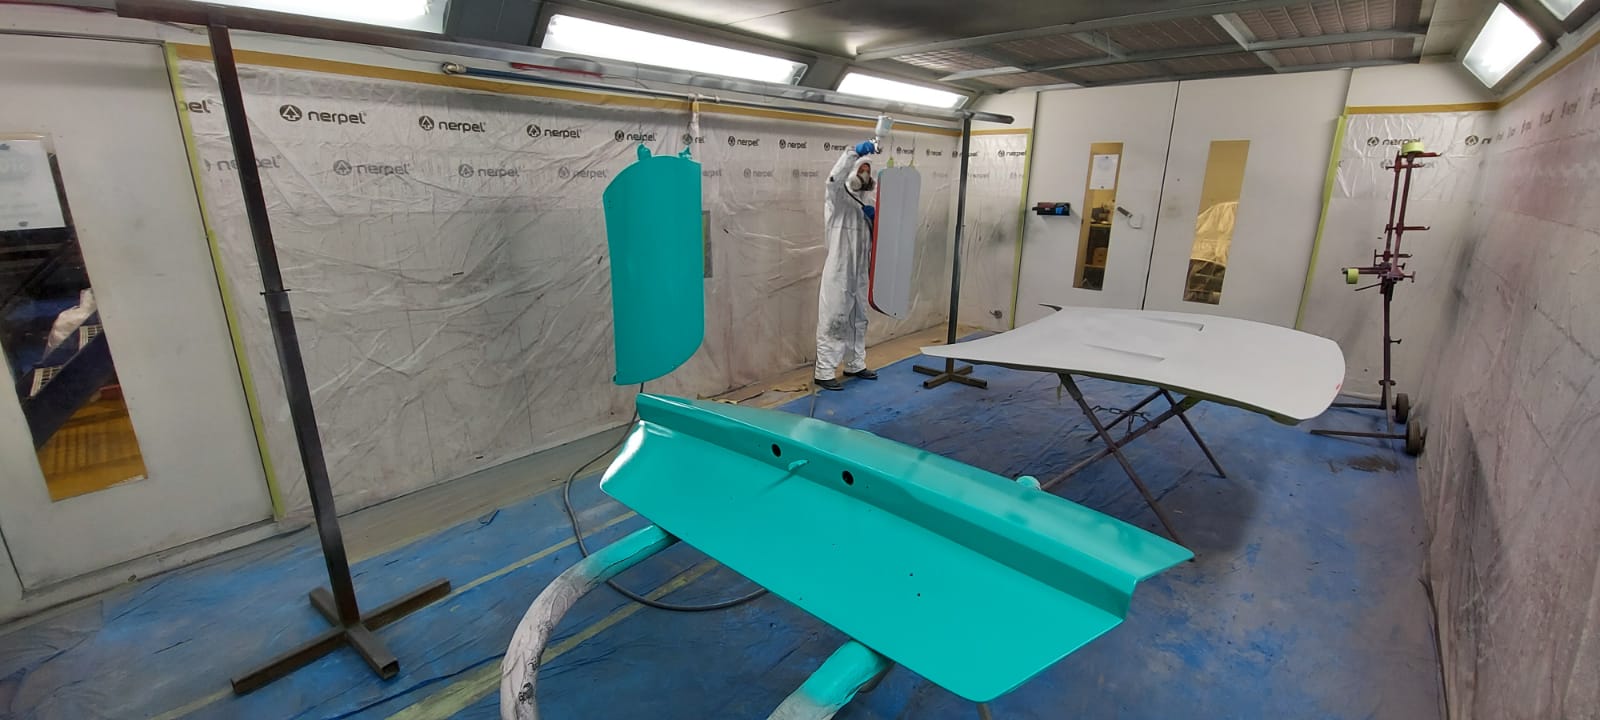
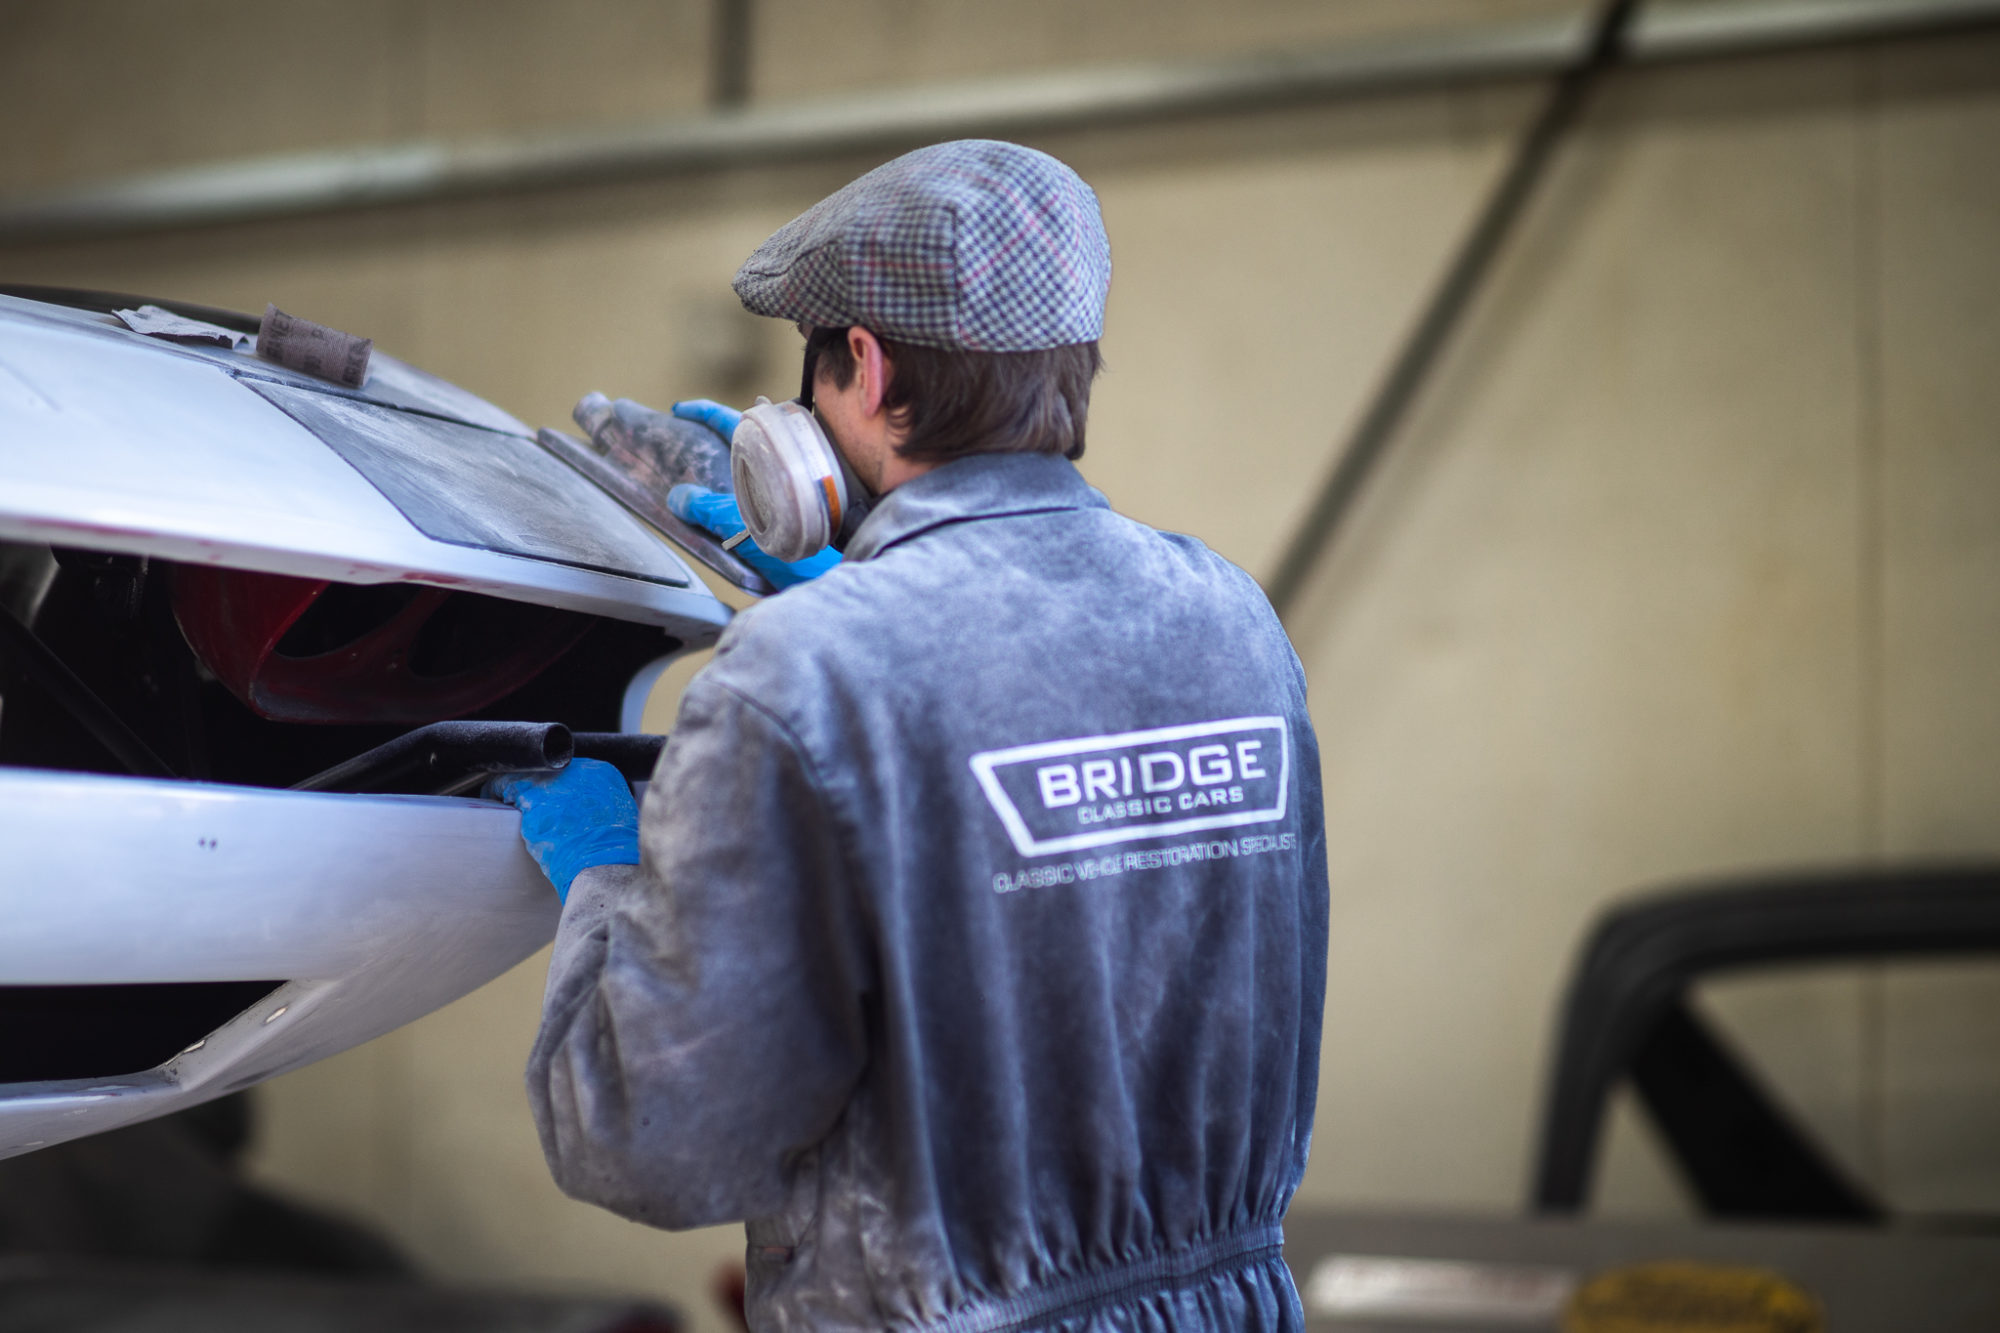
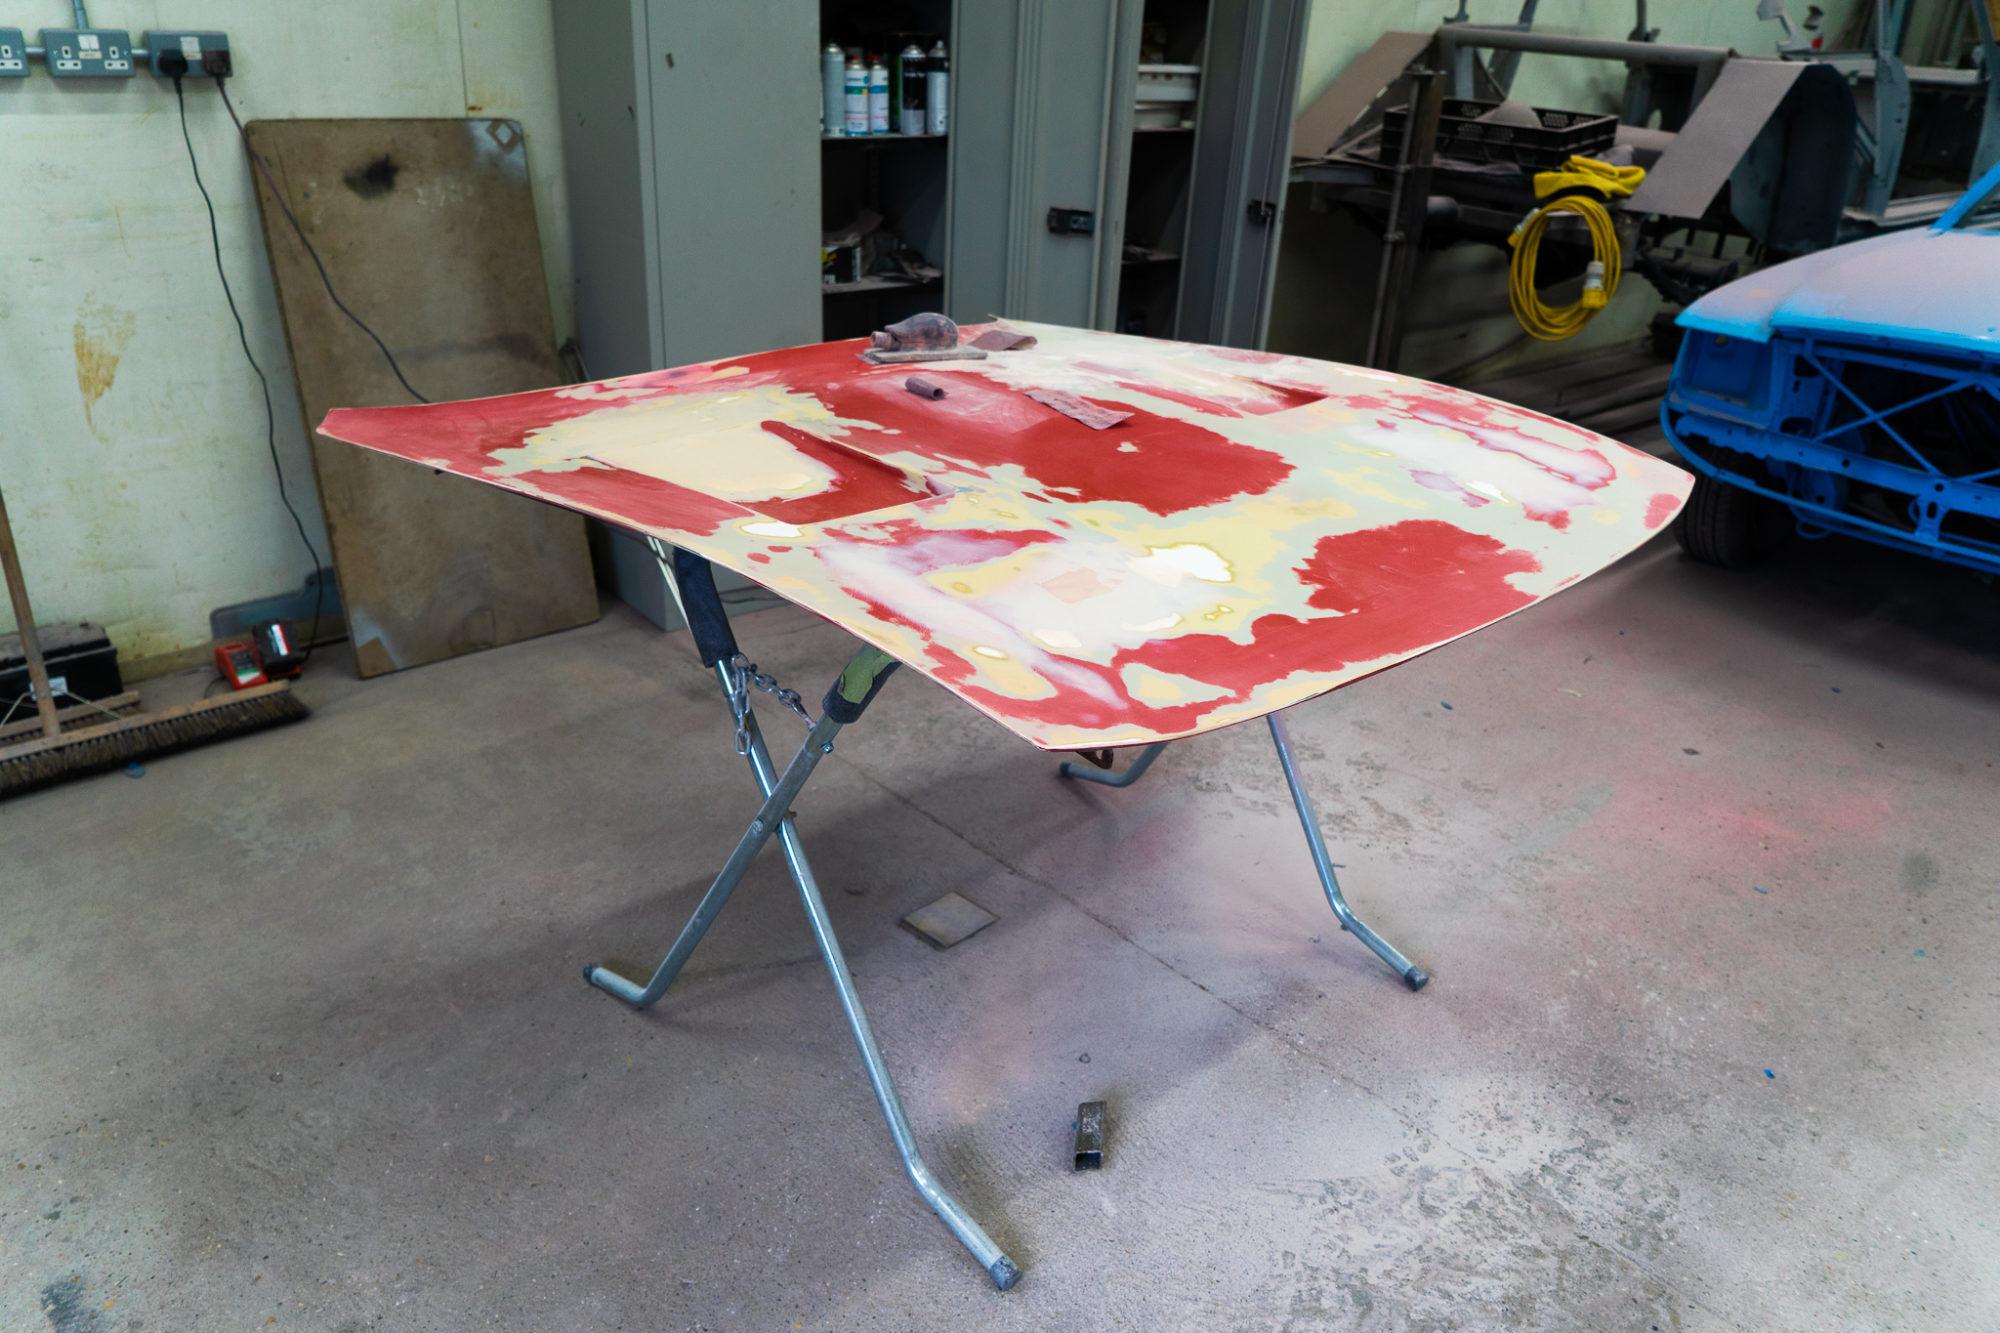
The bonnet and doors have finished their blocking stage and been sent back into the paint bay to be primed. When the rest of the body is finished, Scott and Chris will do the same to the body which has been masked.
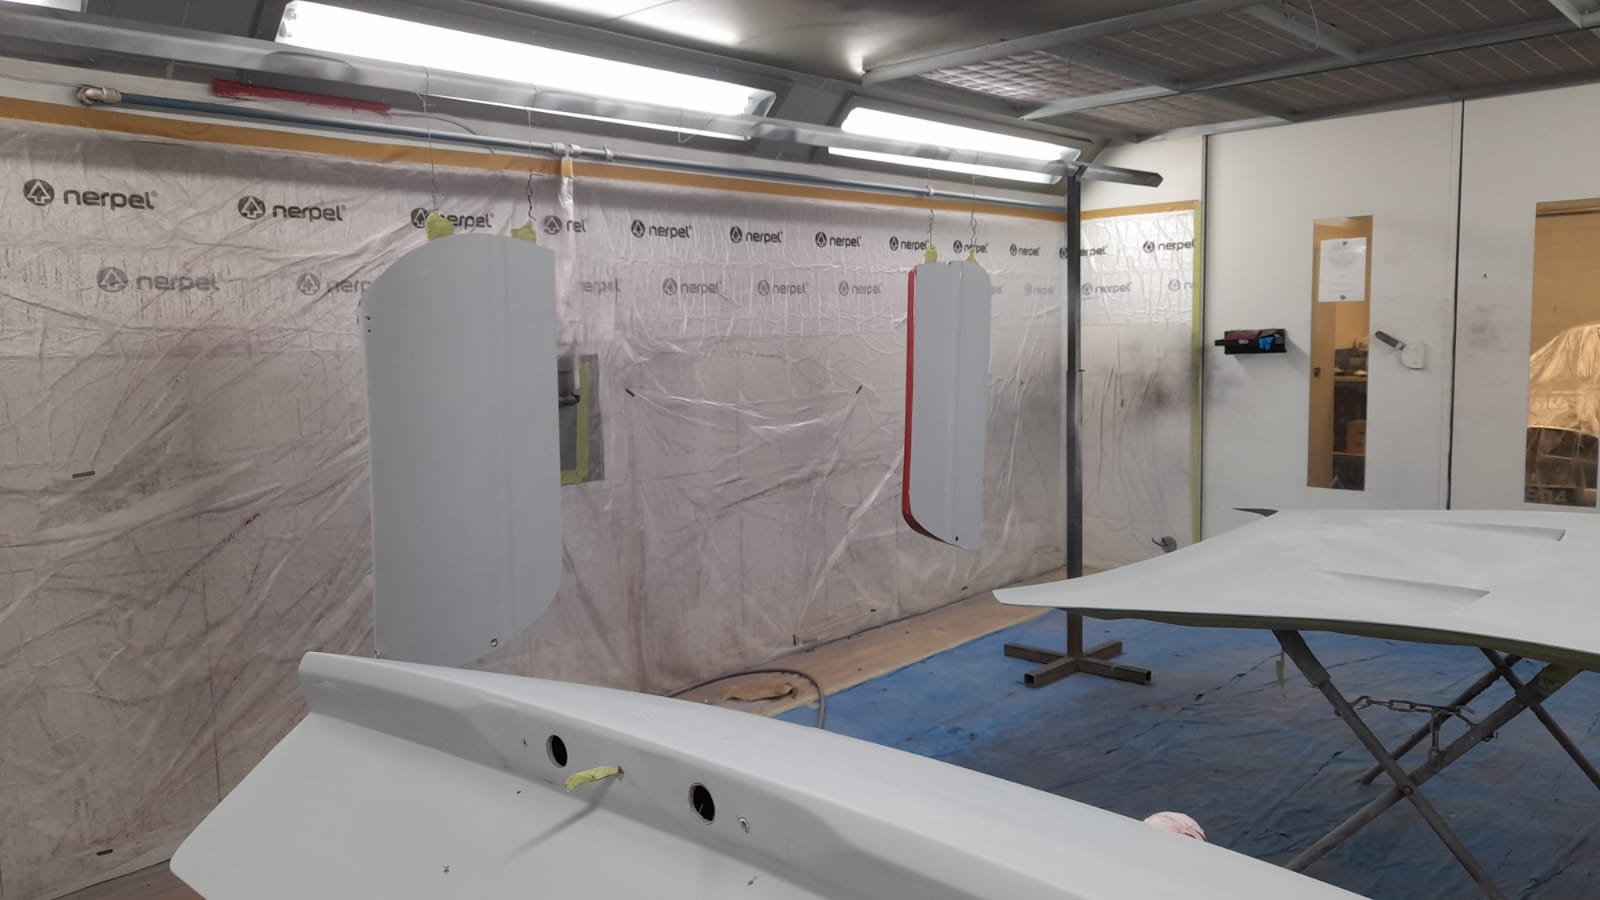
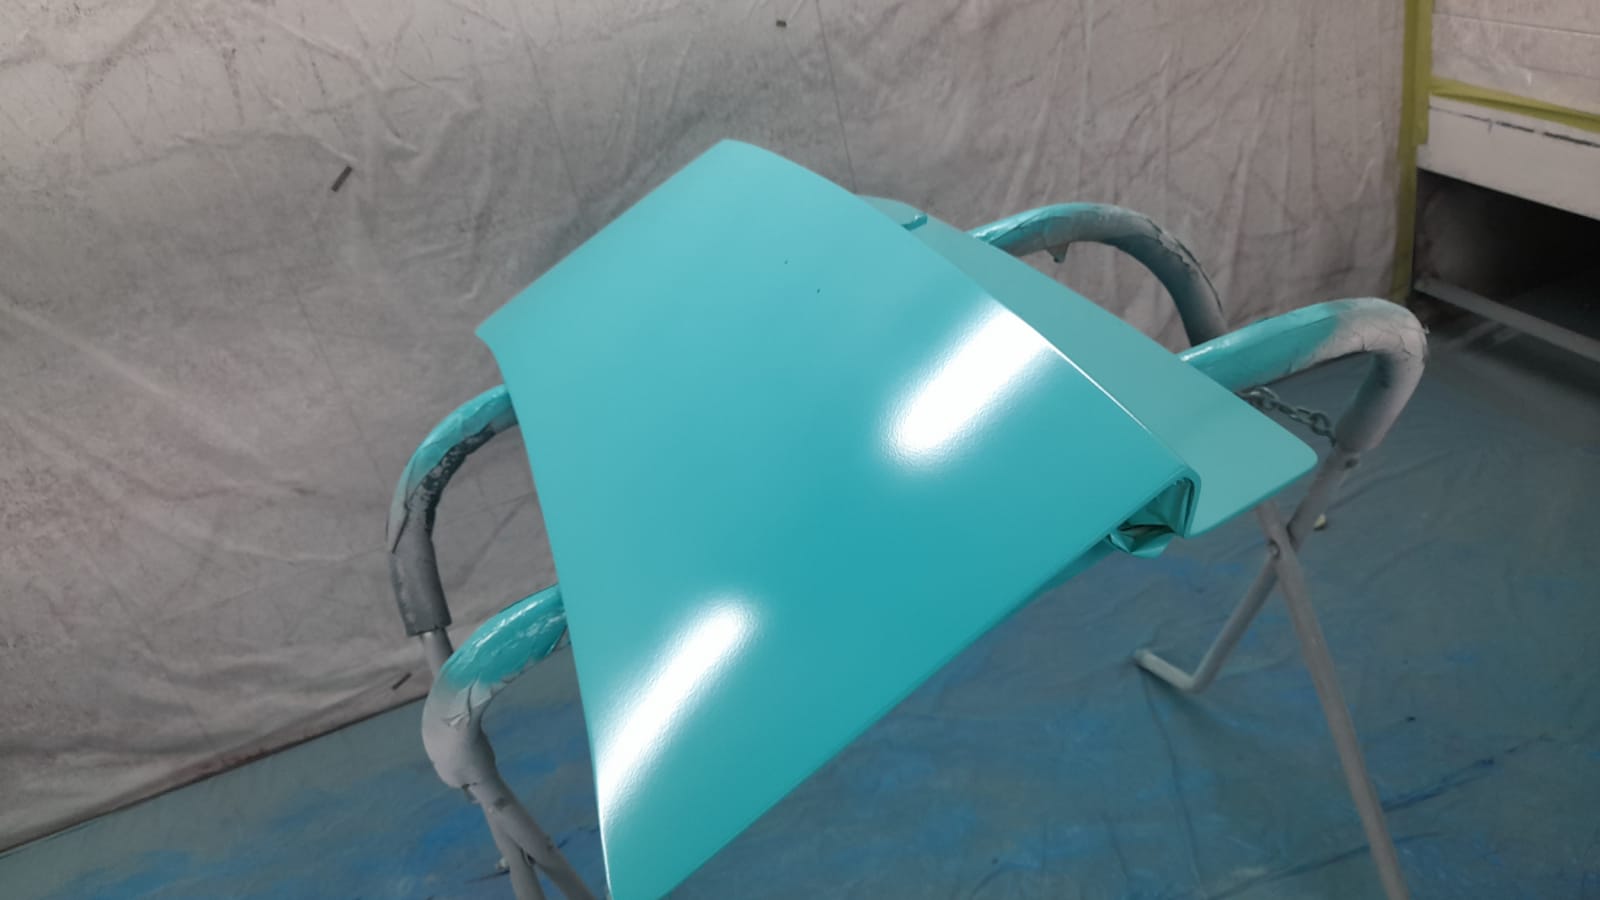
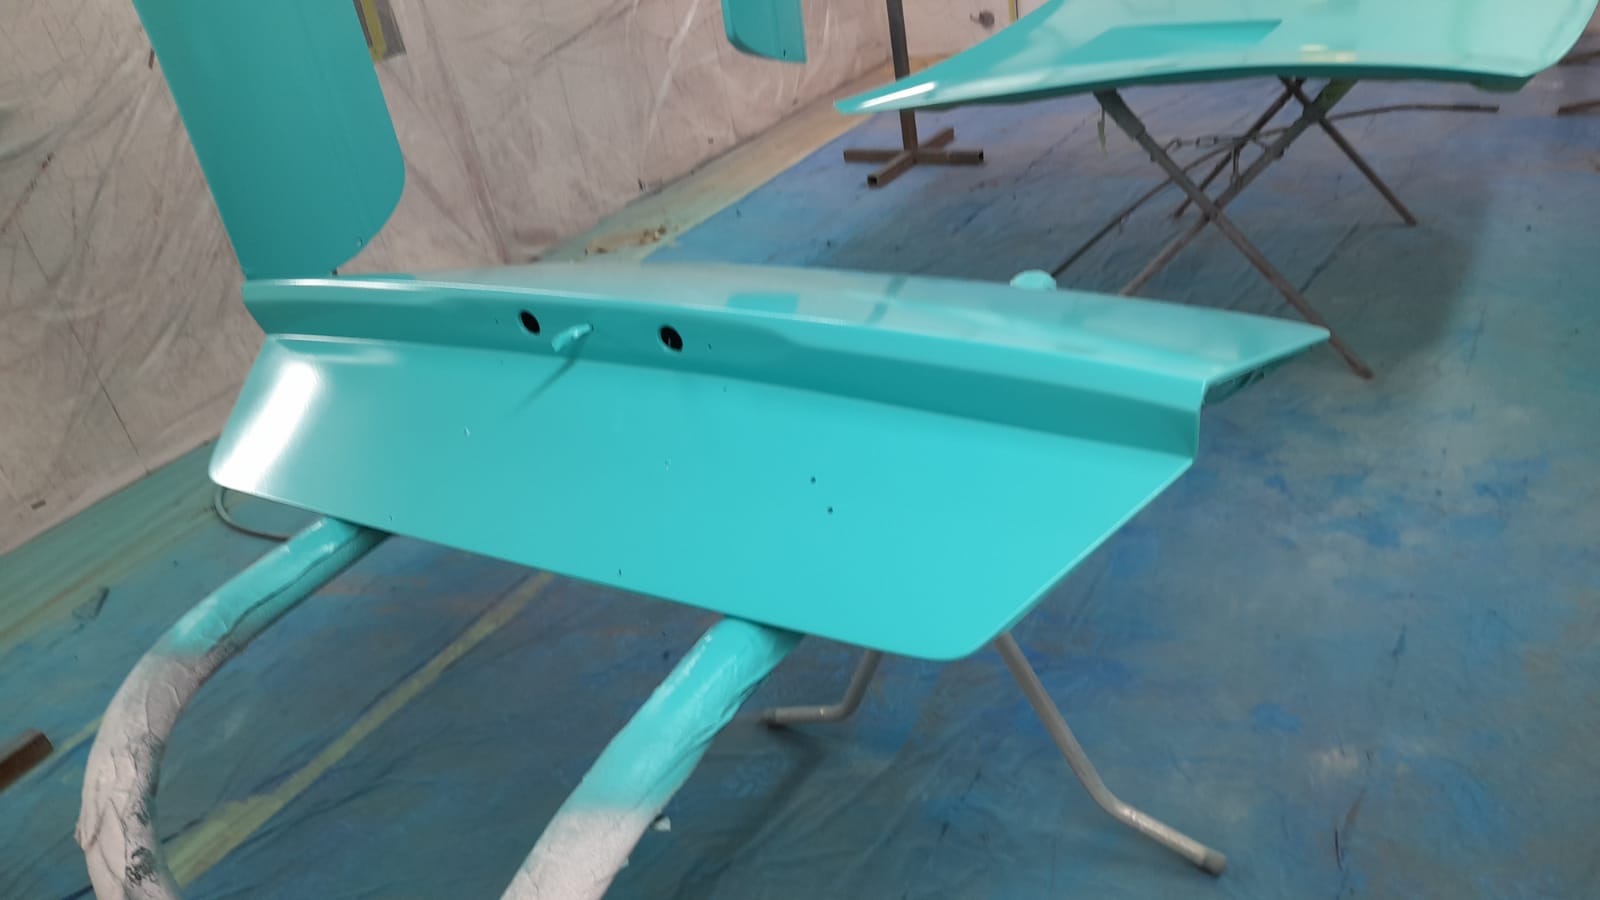
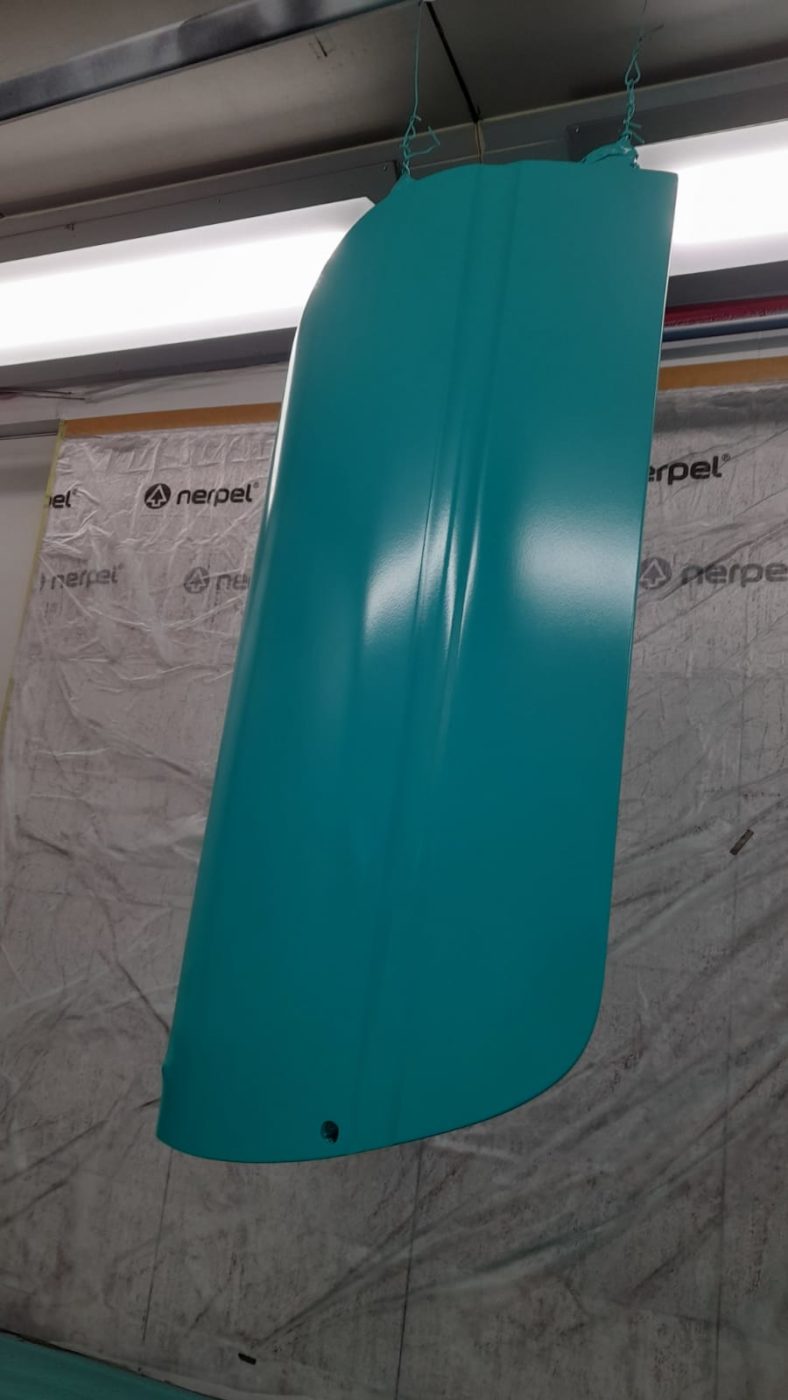


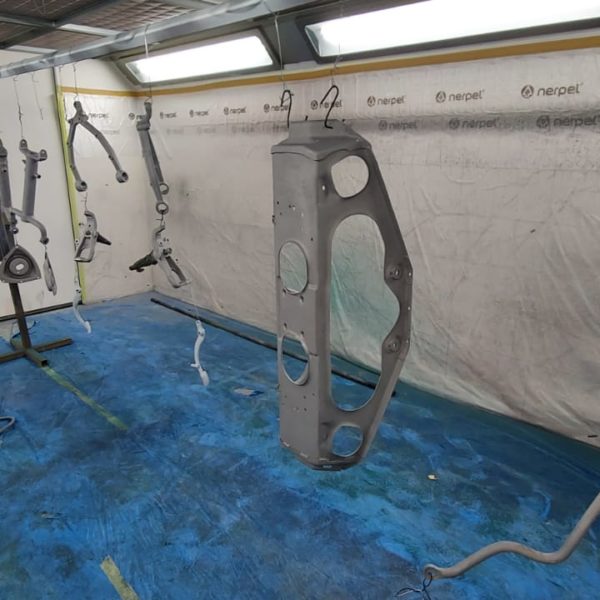
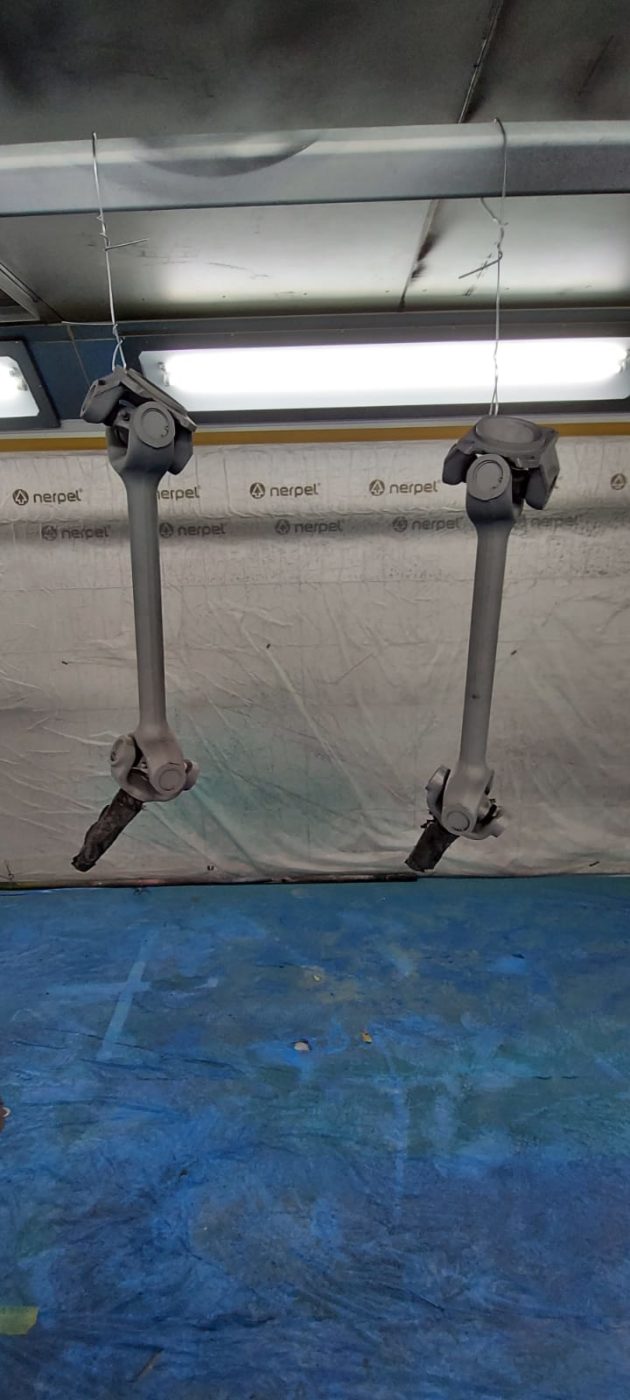
Chris has also added epoxy onto some of the components and primed them for black DTM (direct to metal).
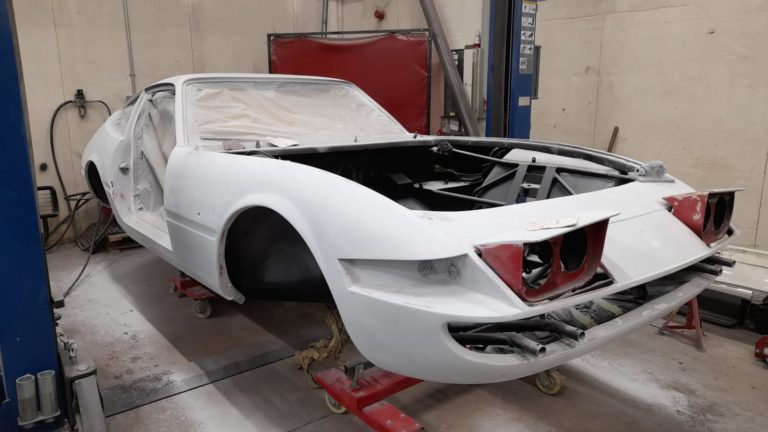
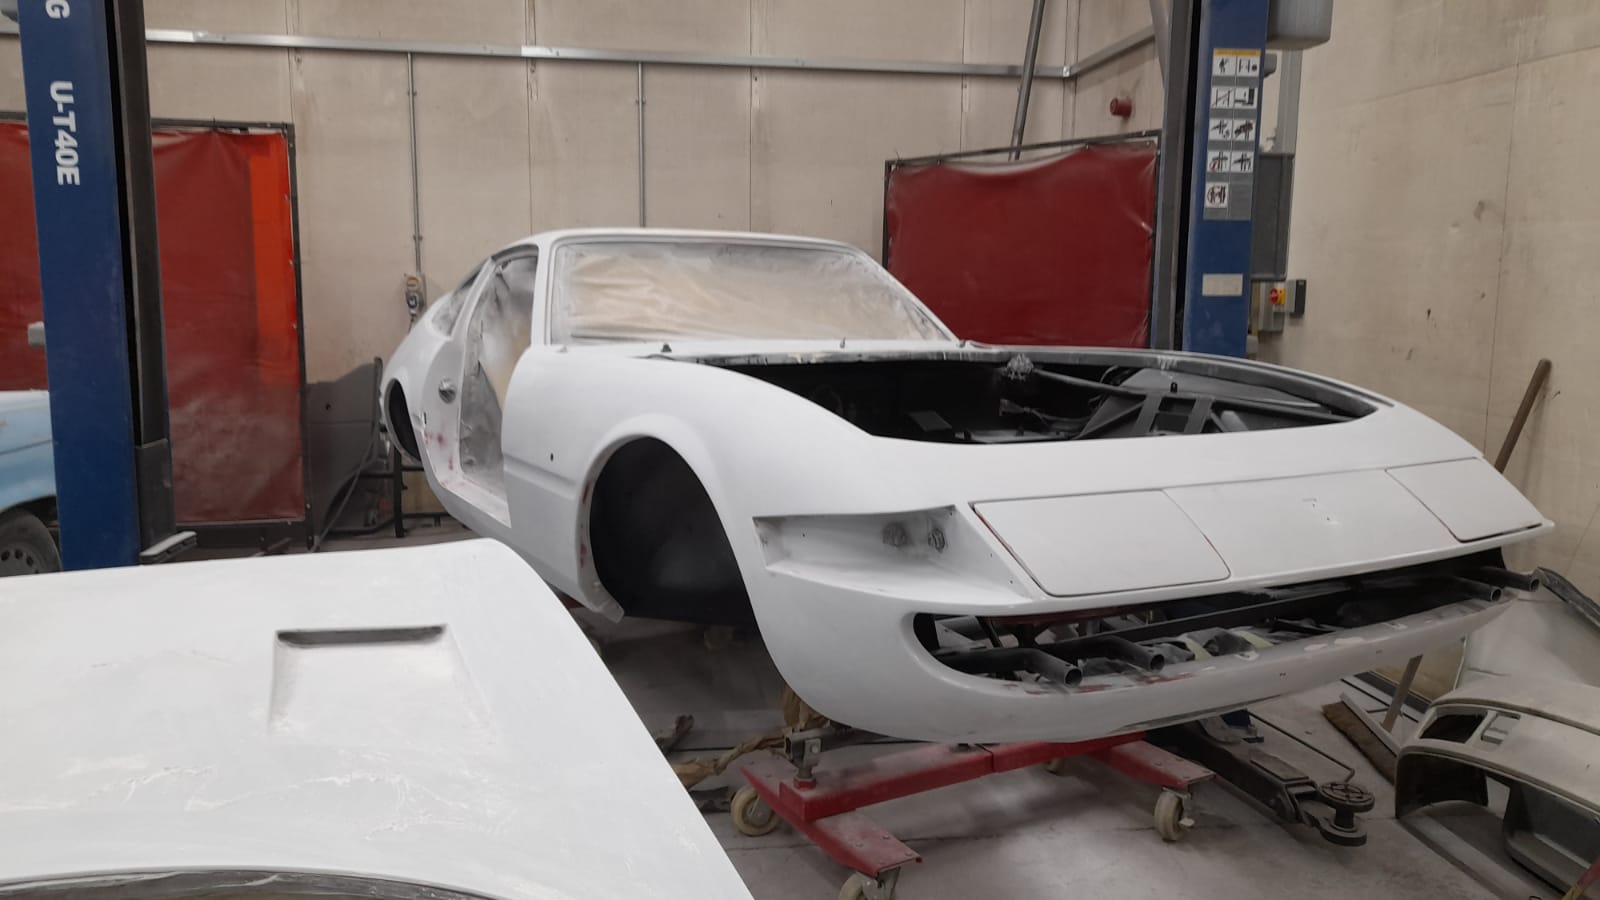
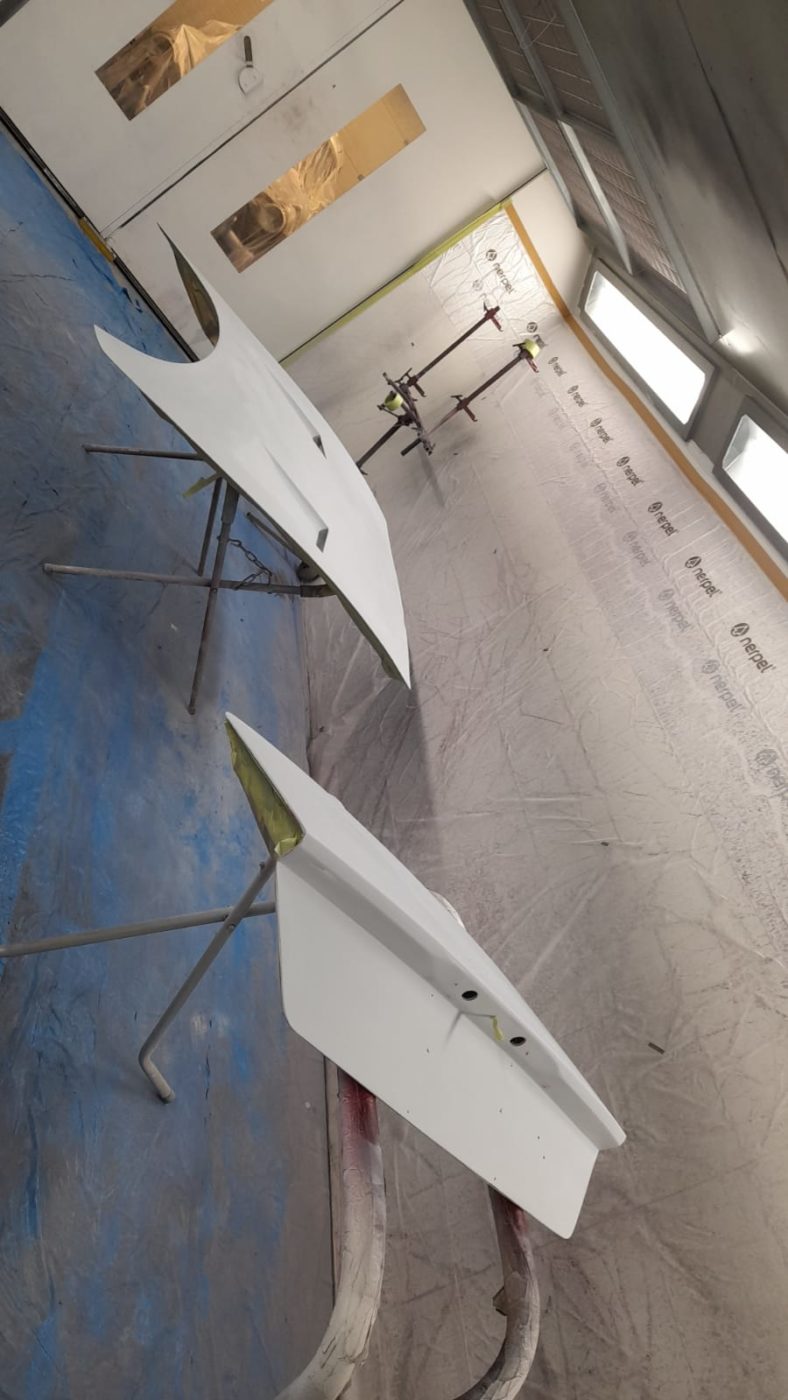
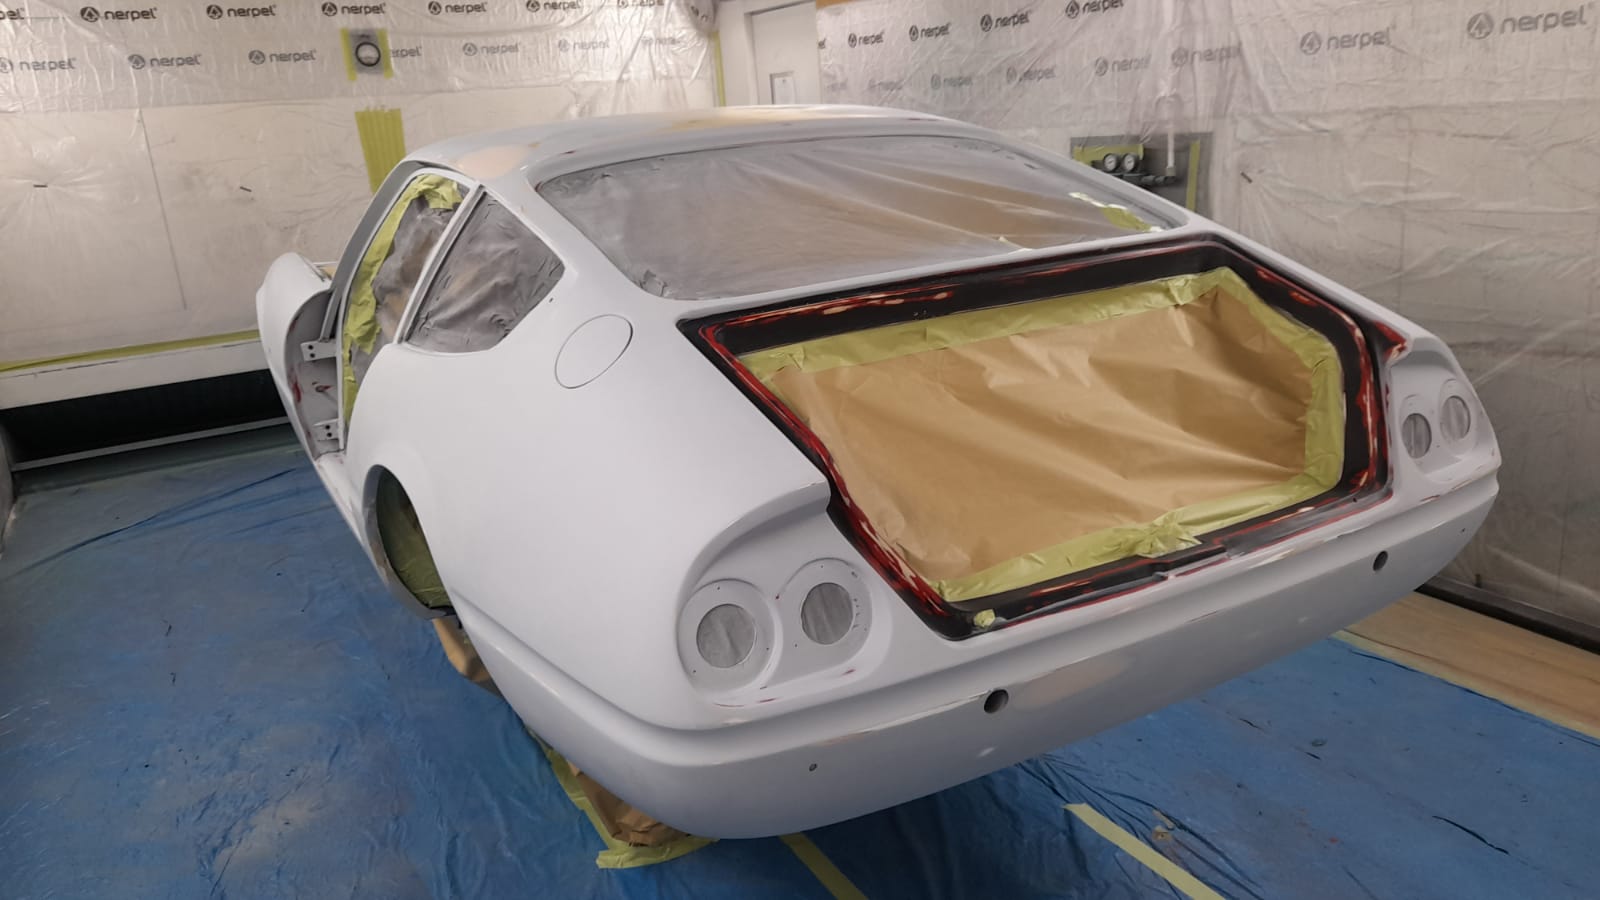
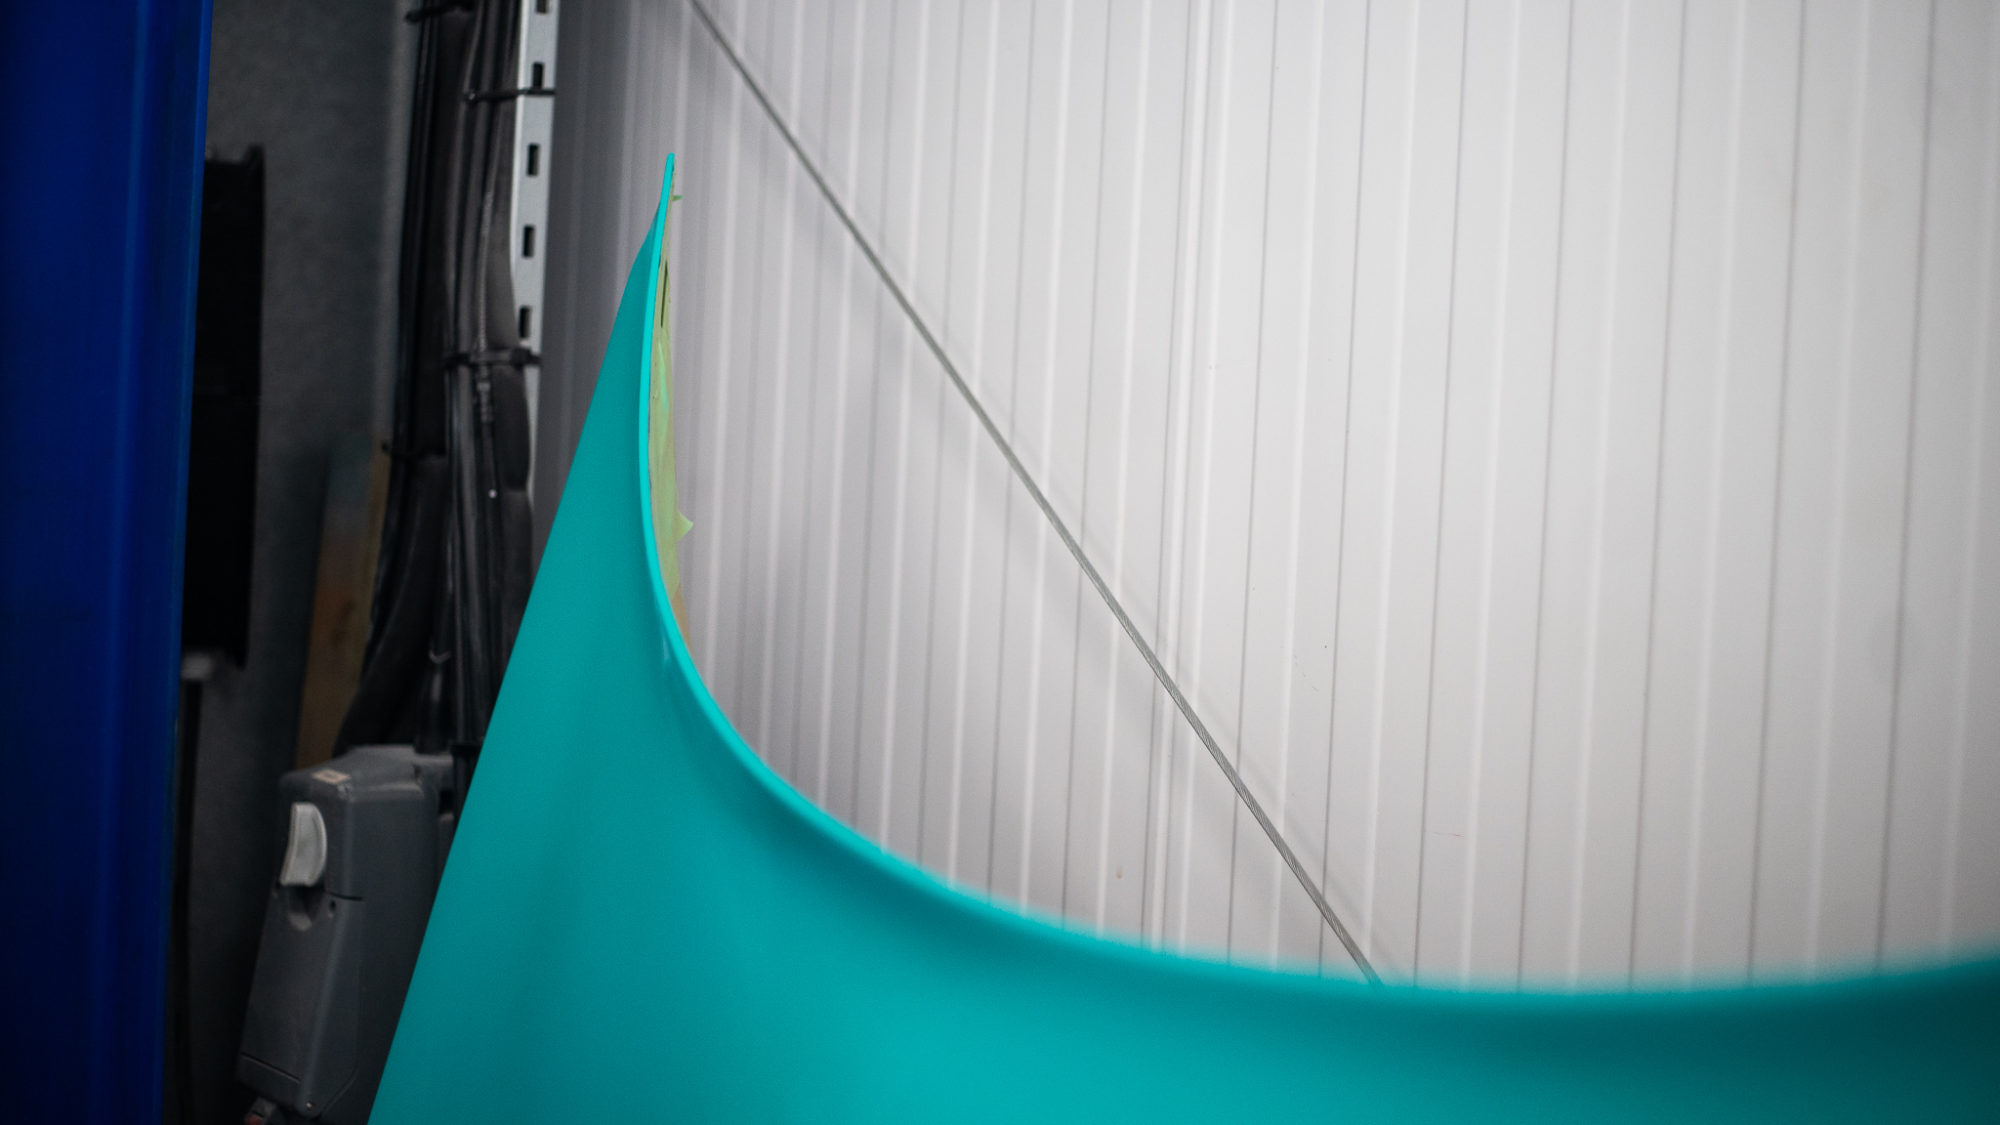
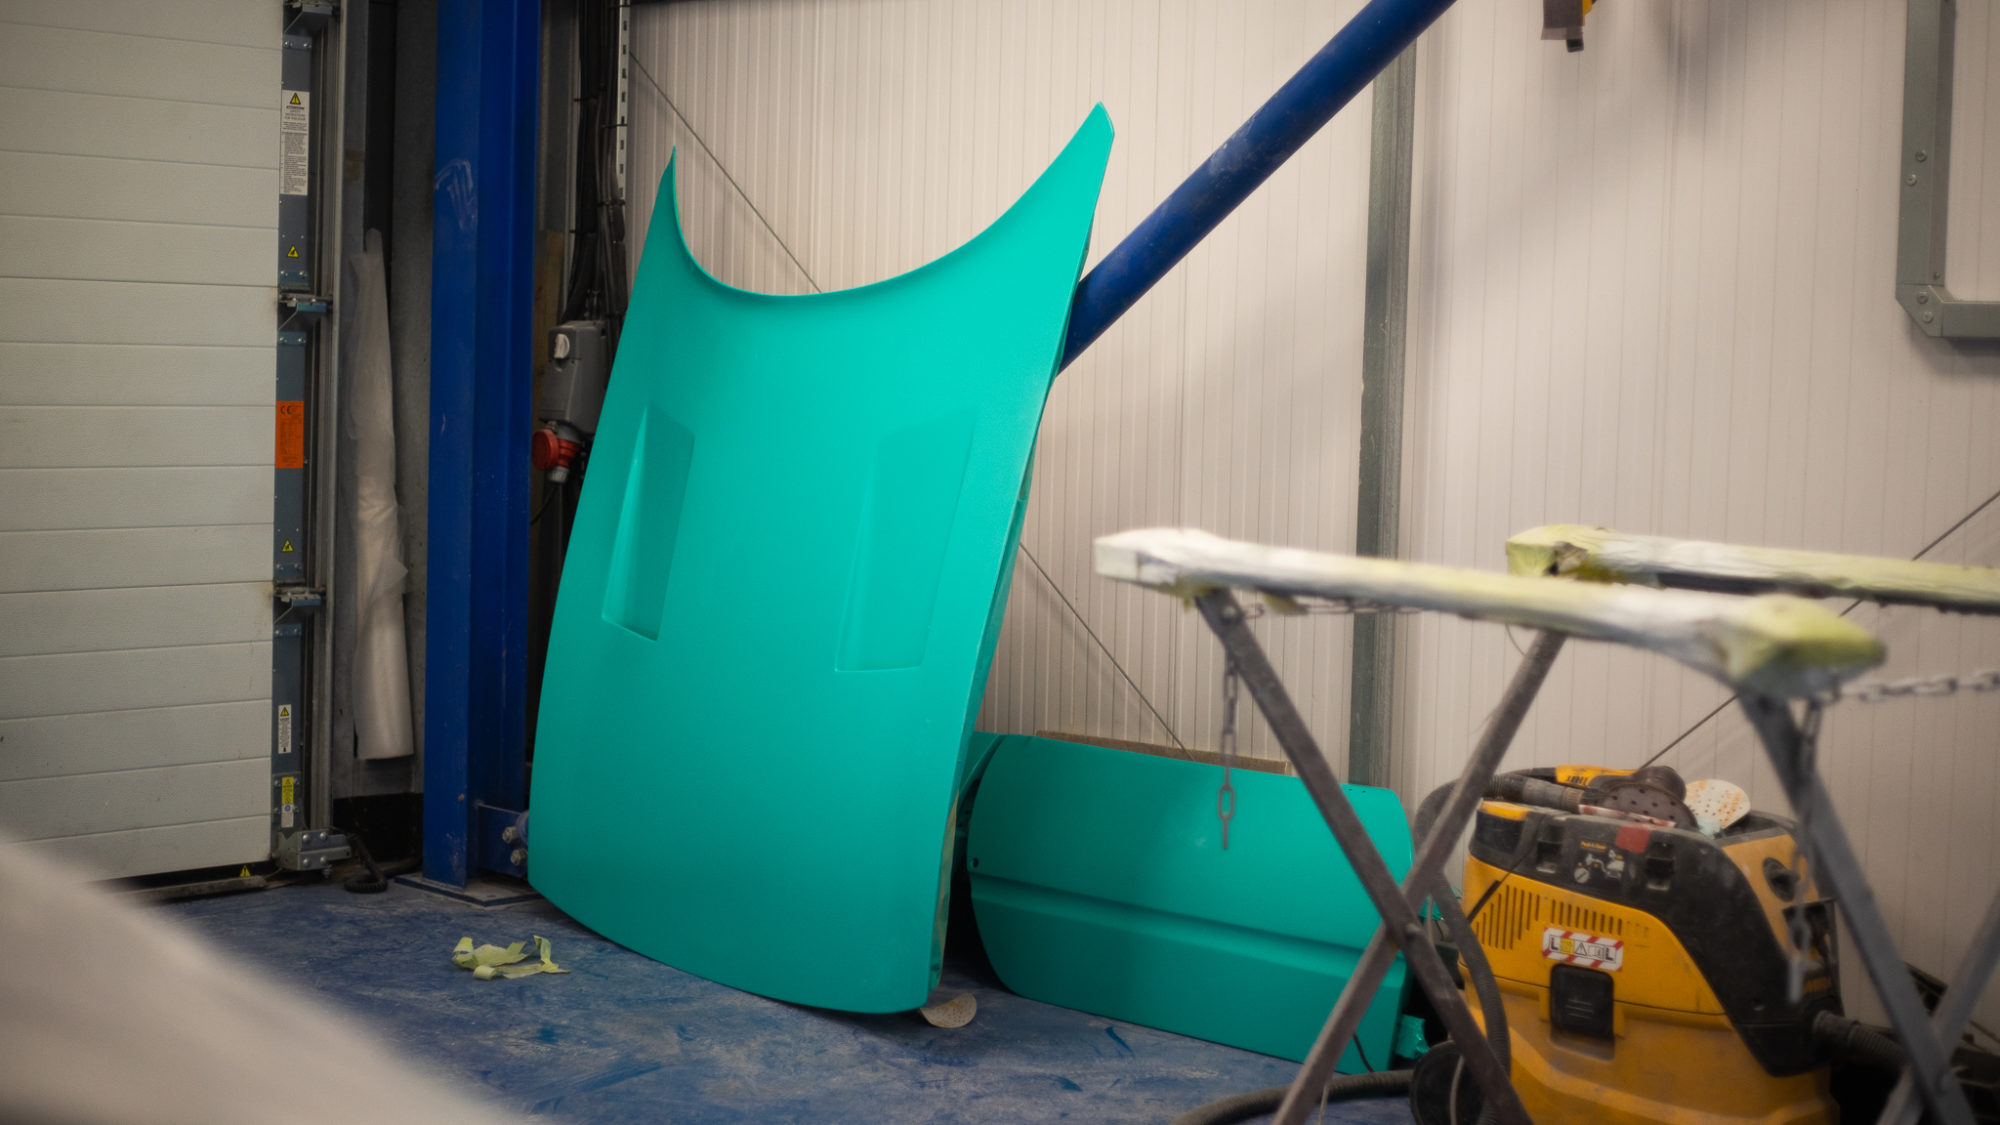
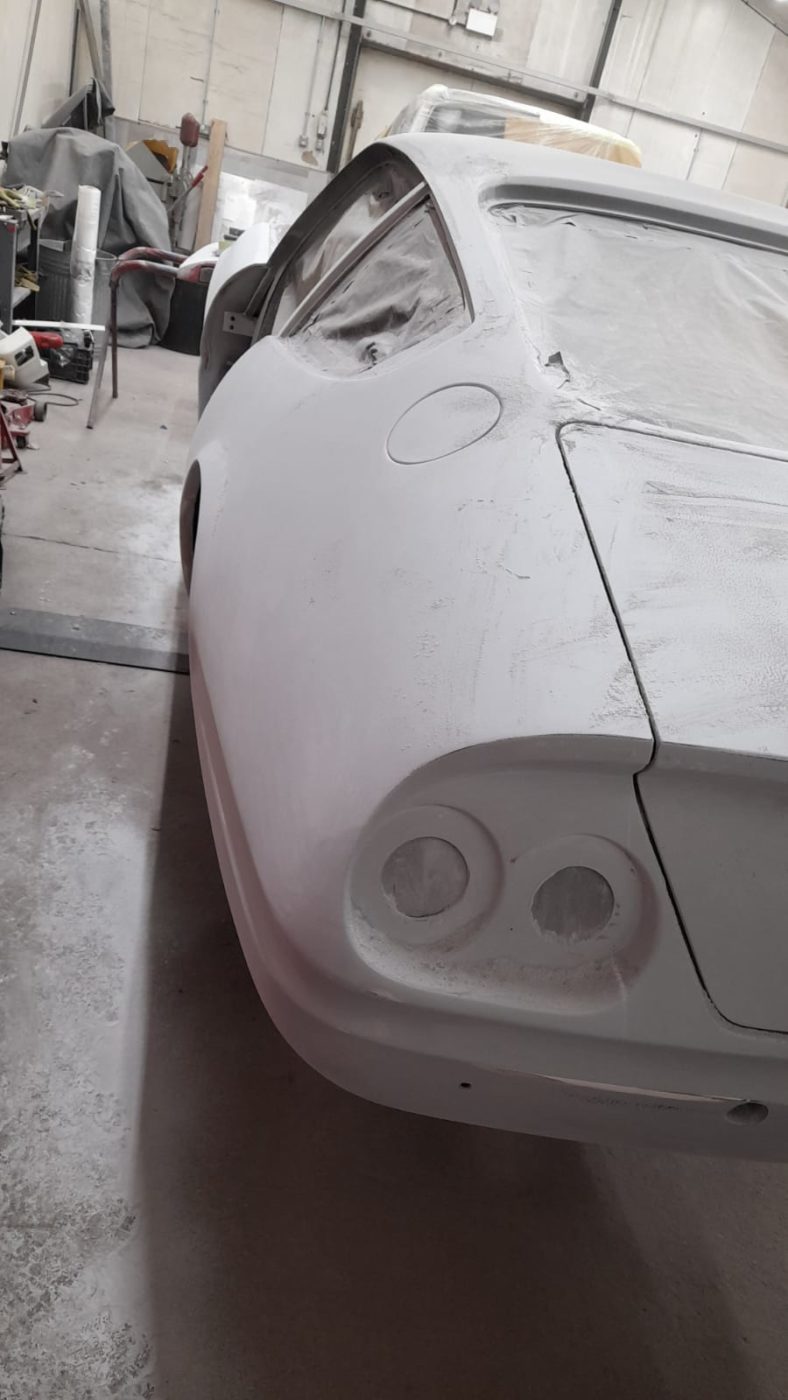
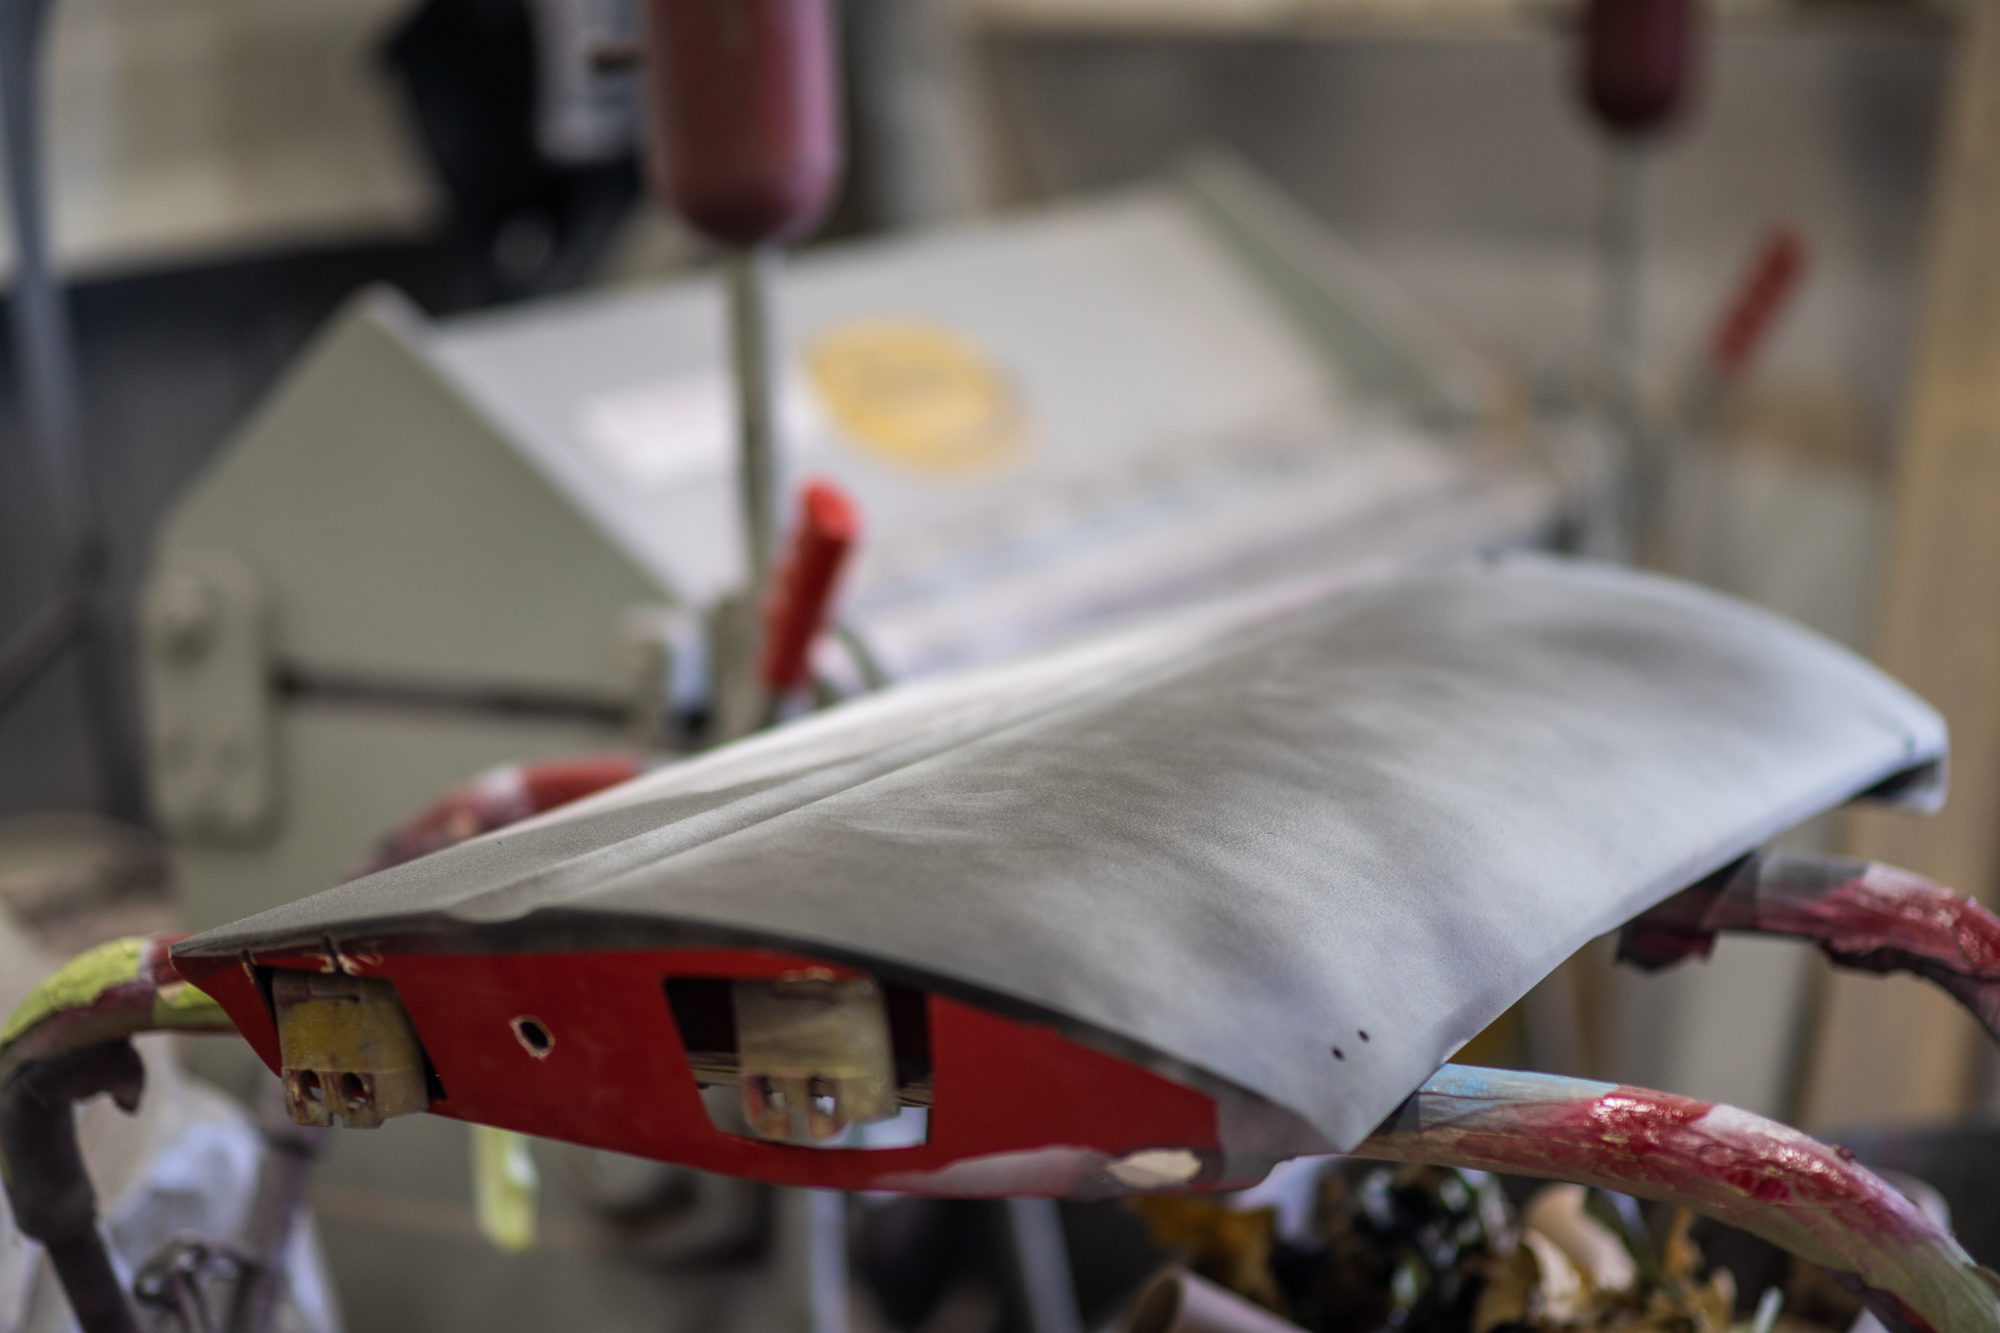
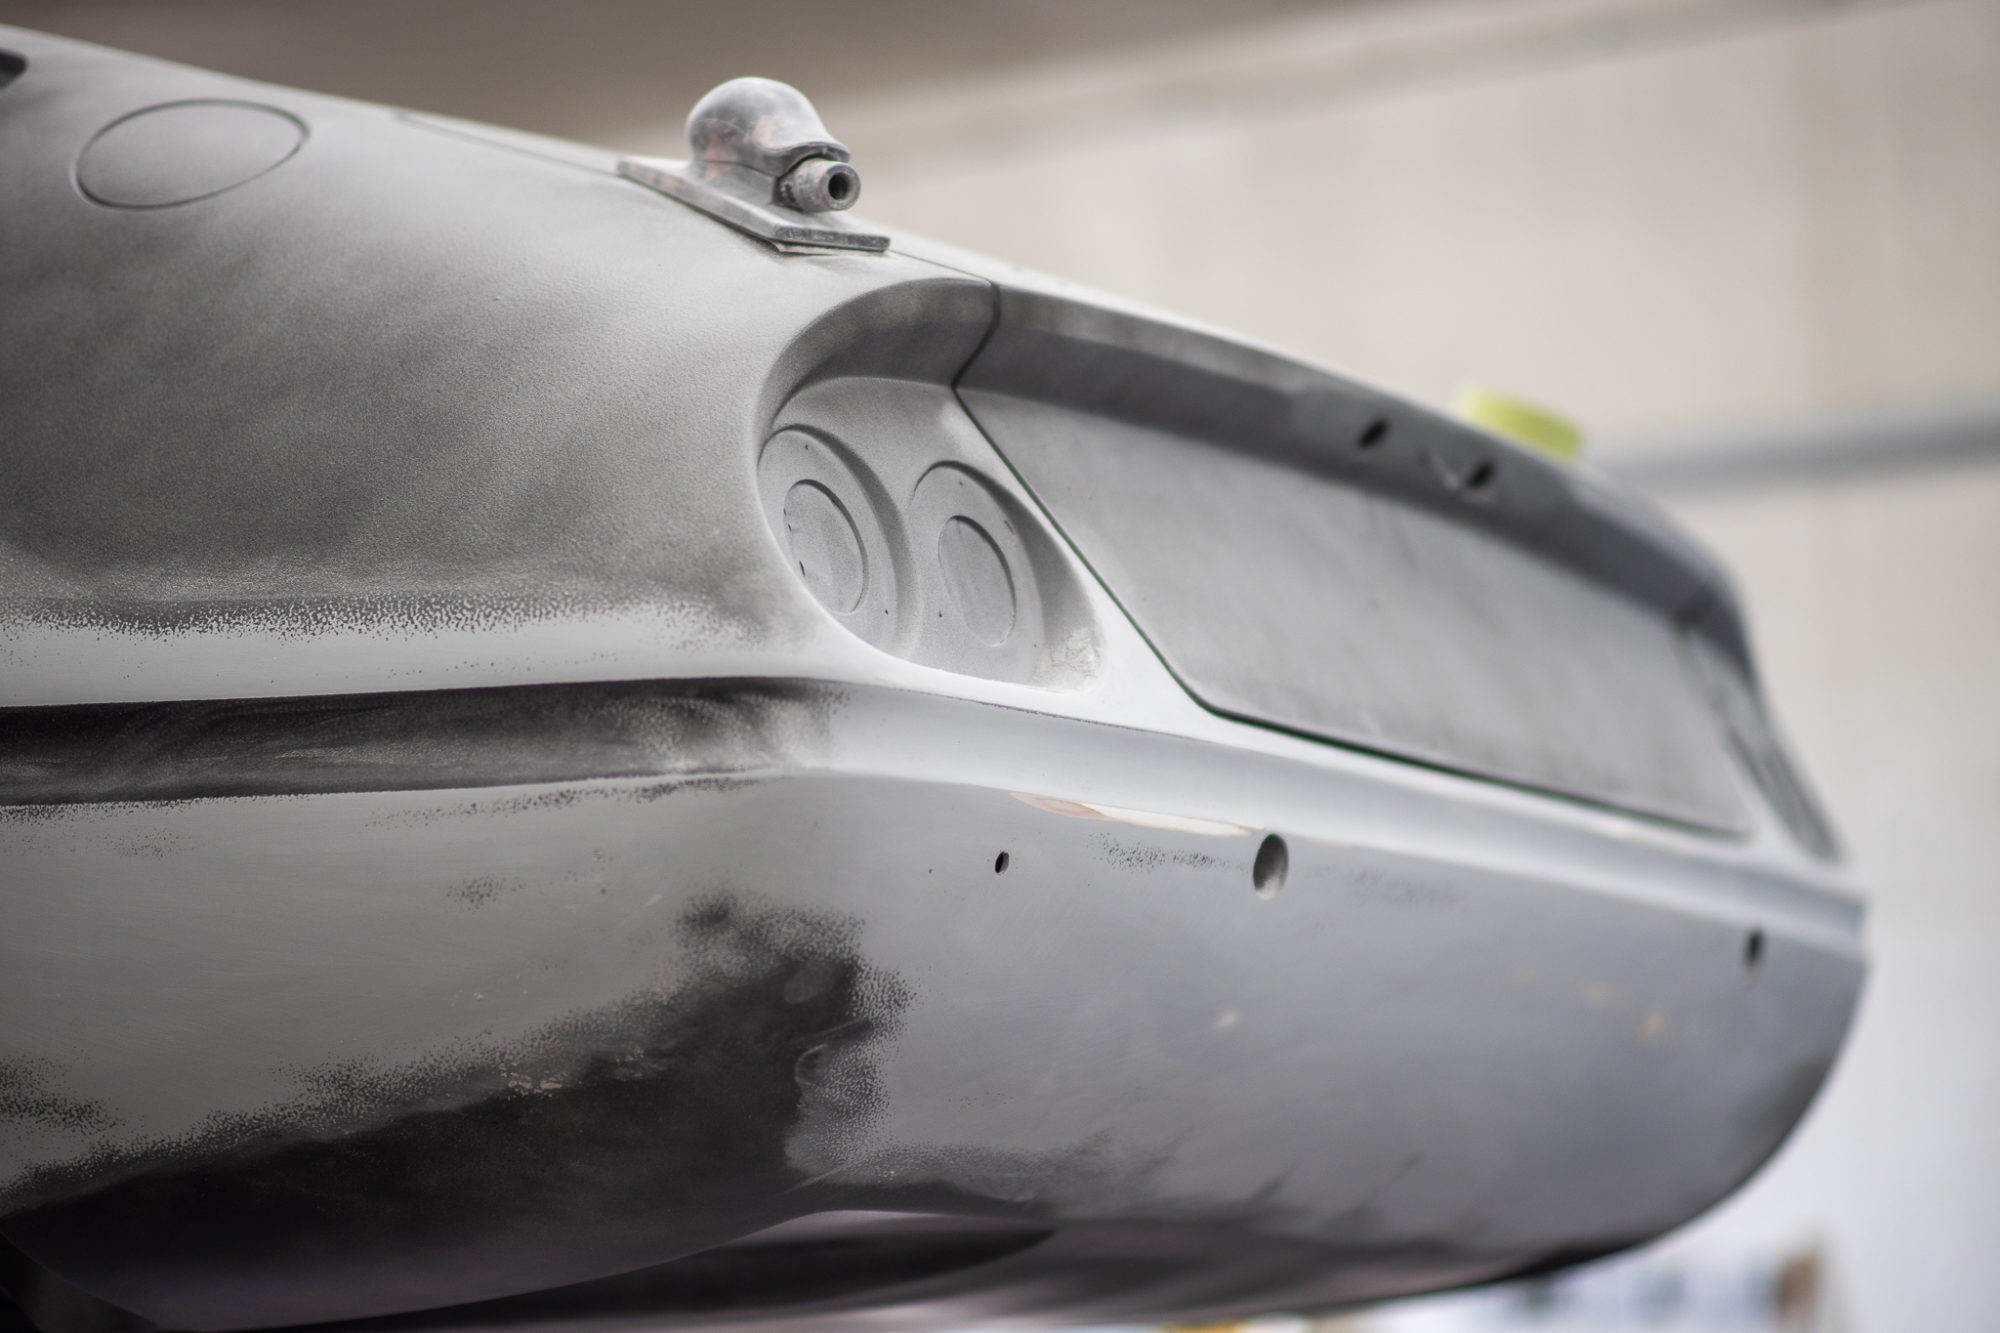
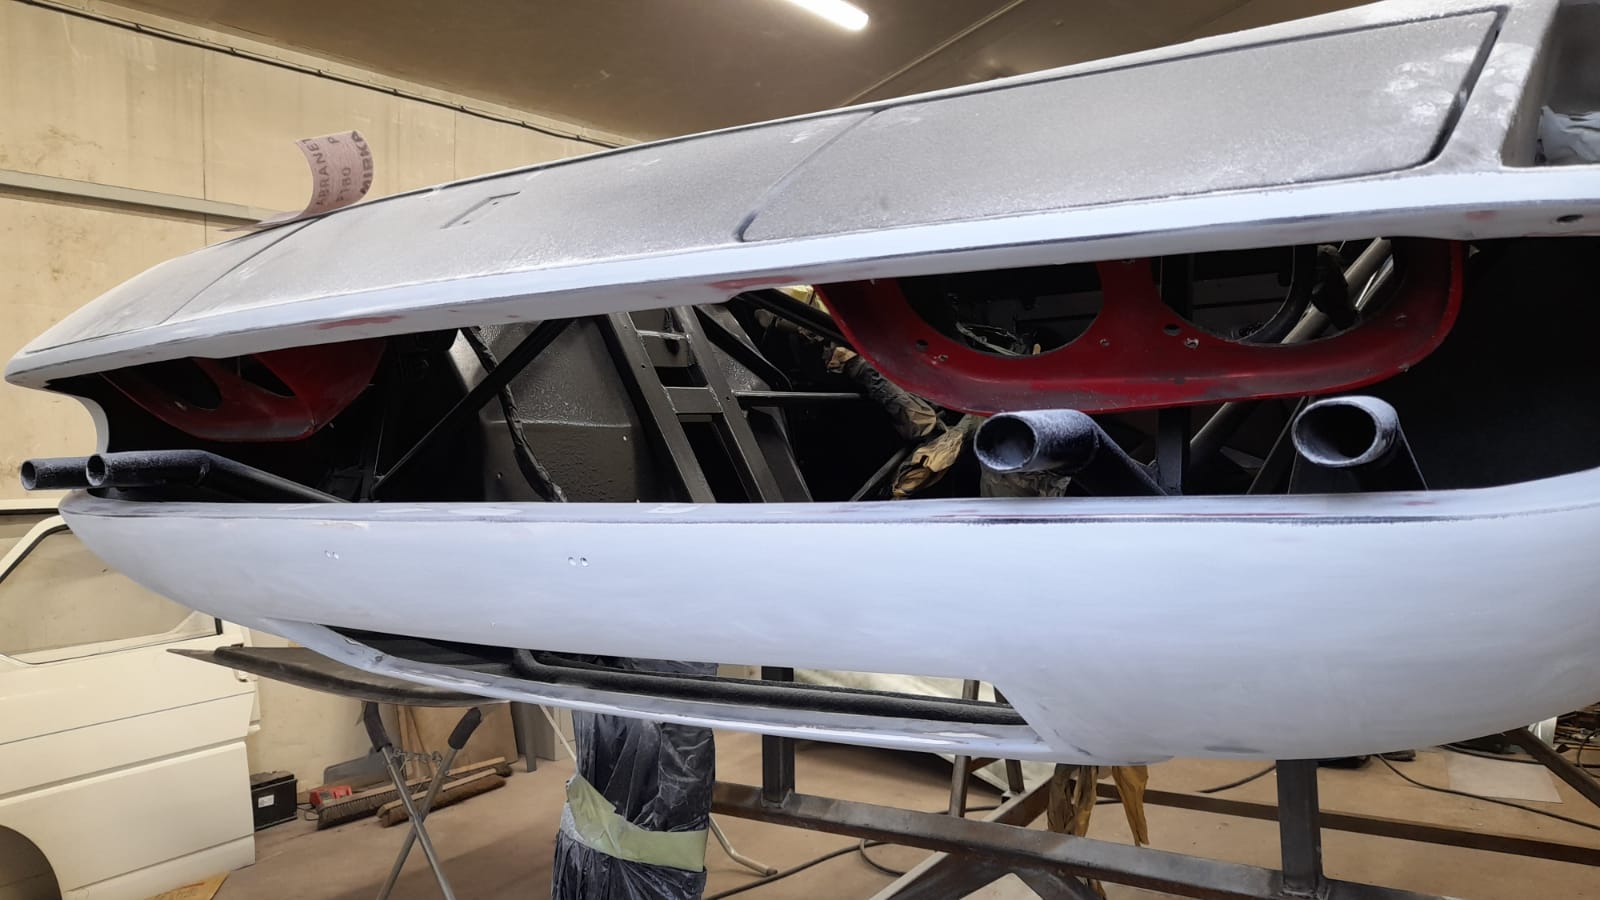
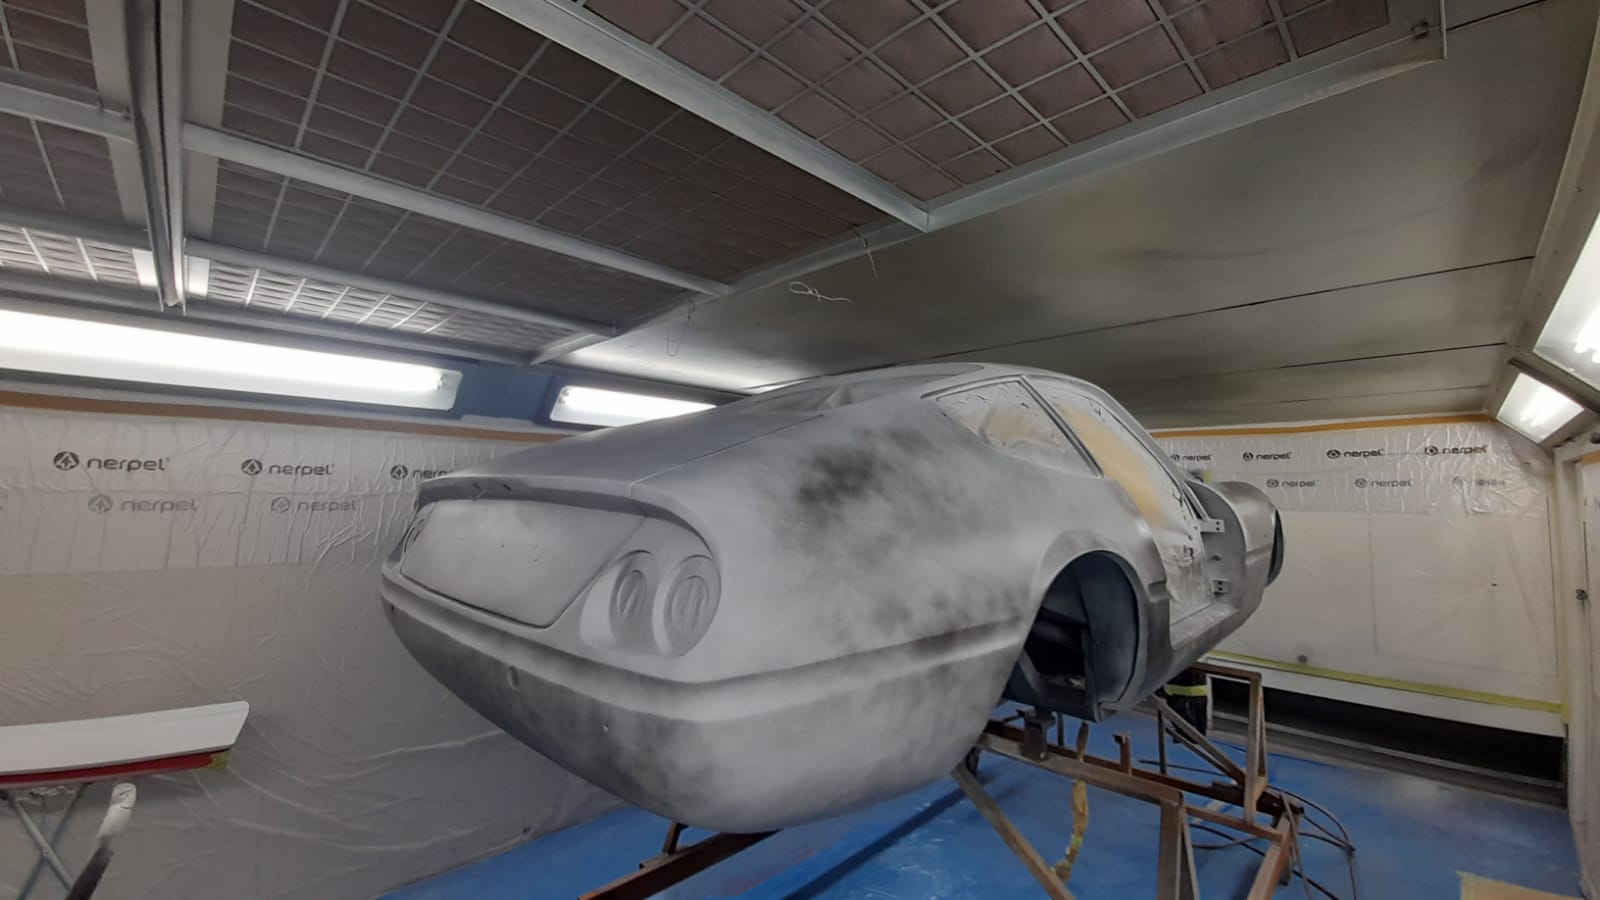
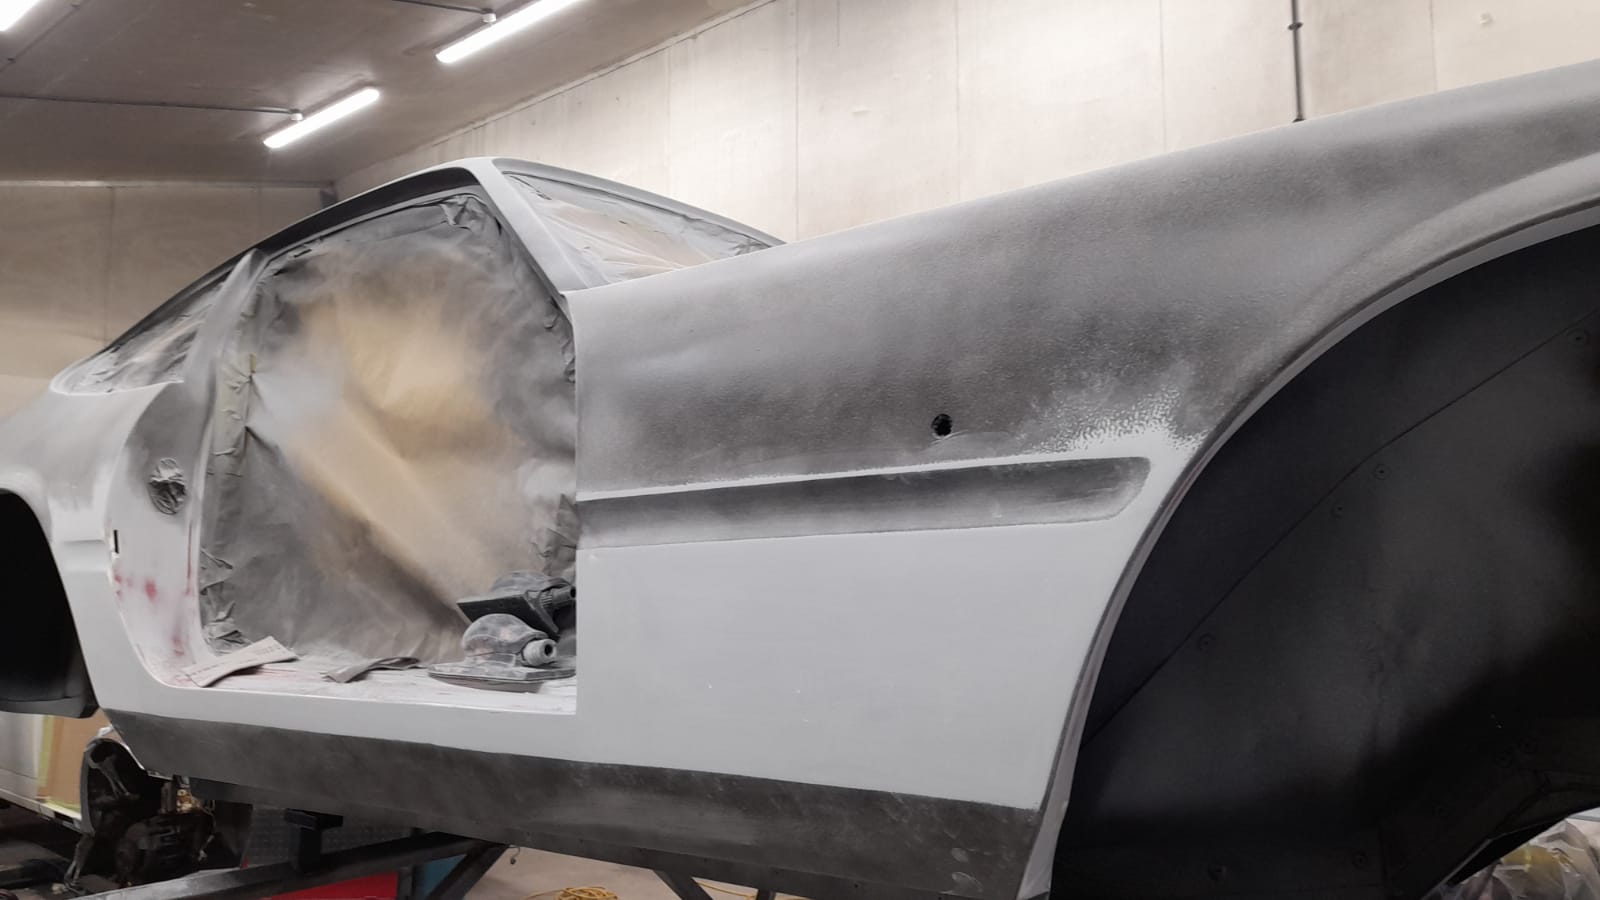
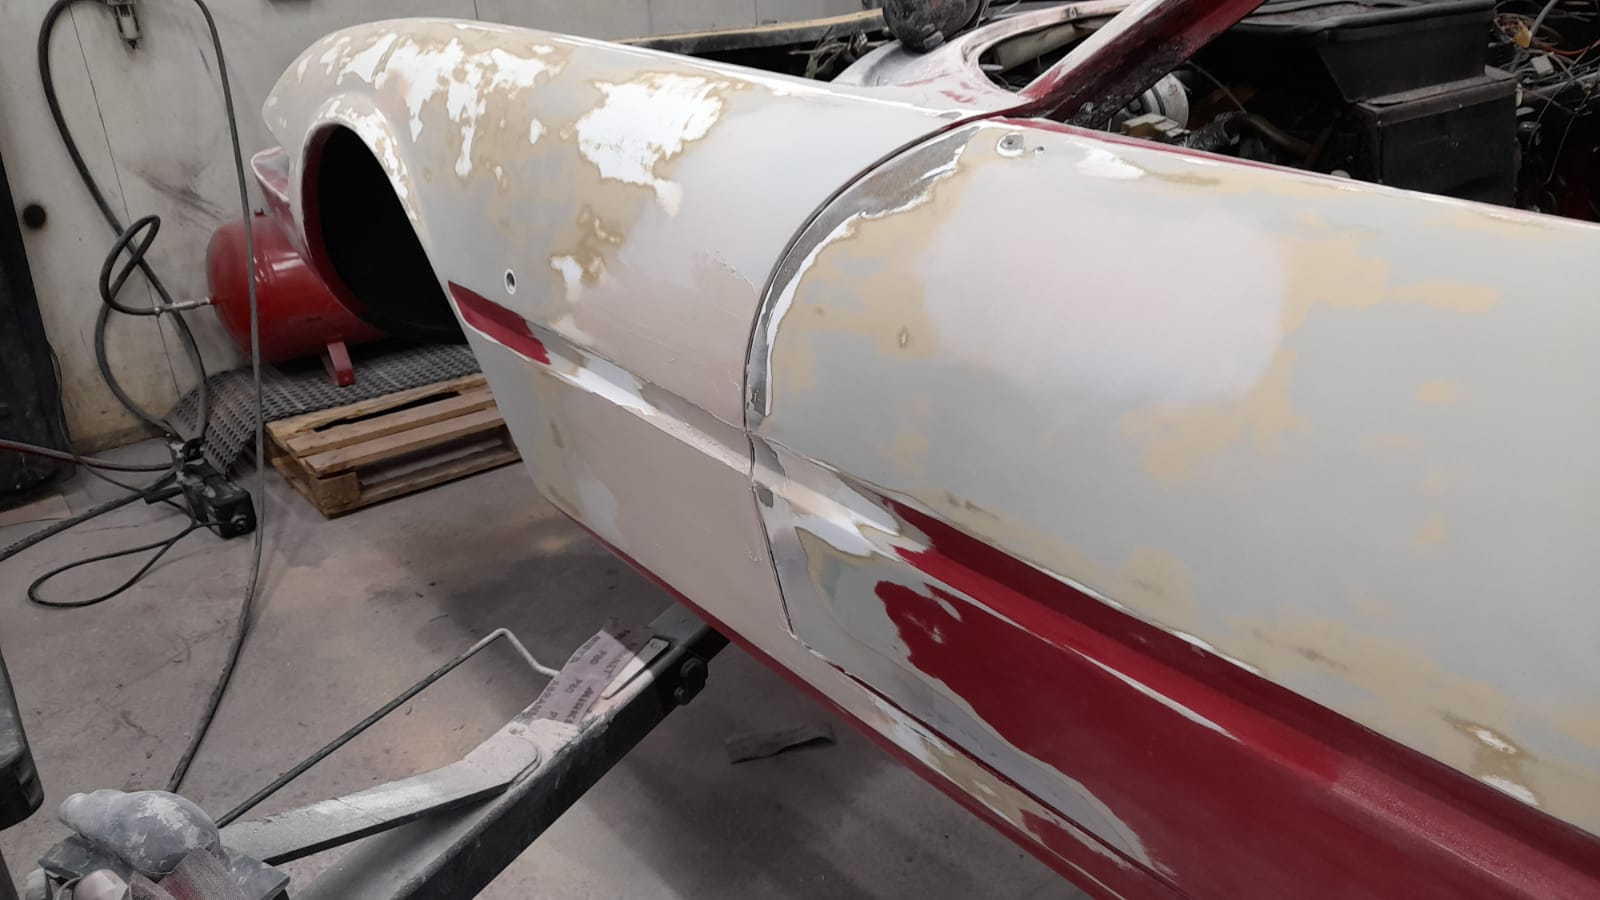
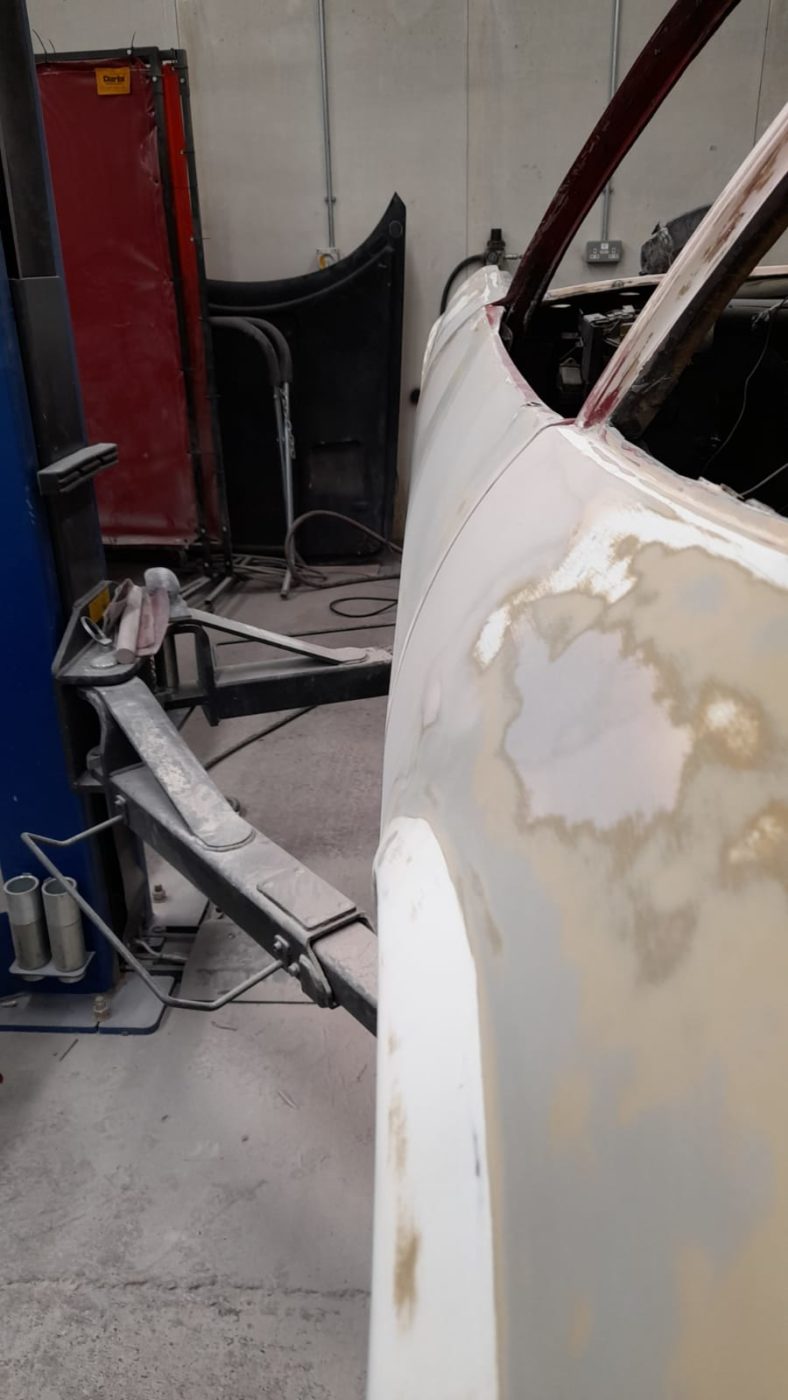
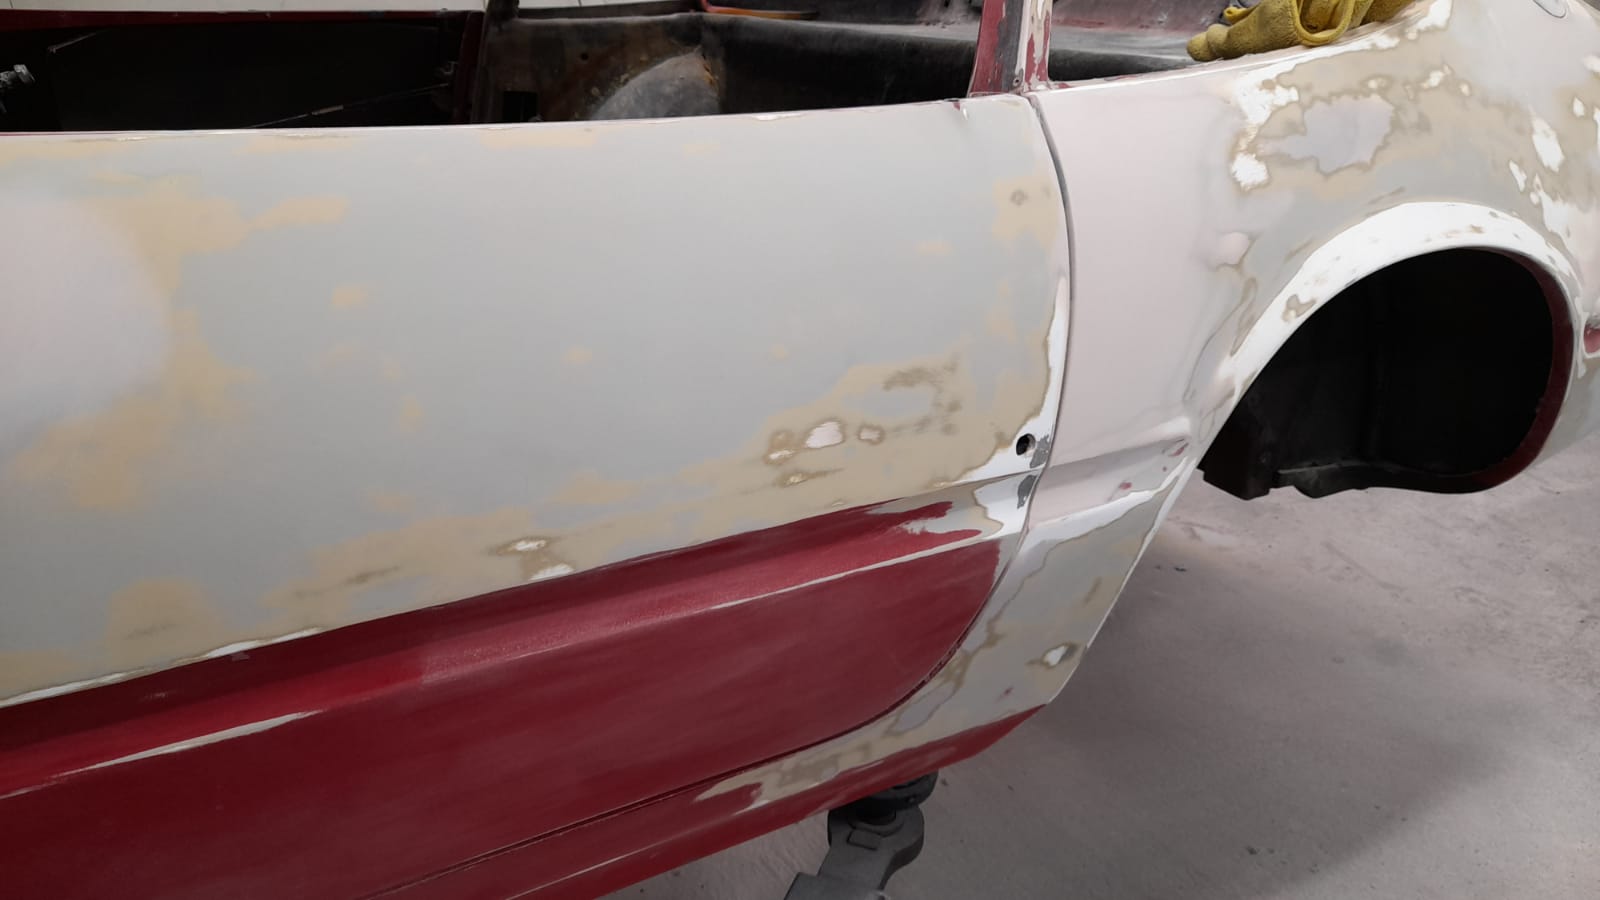
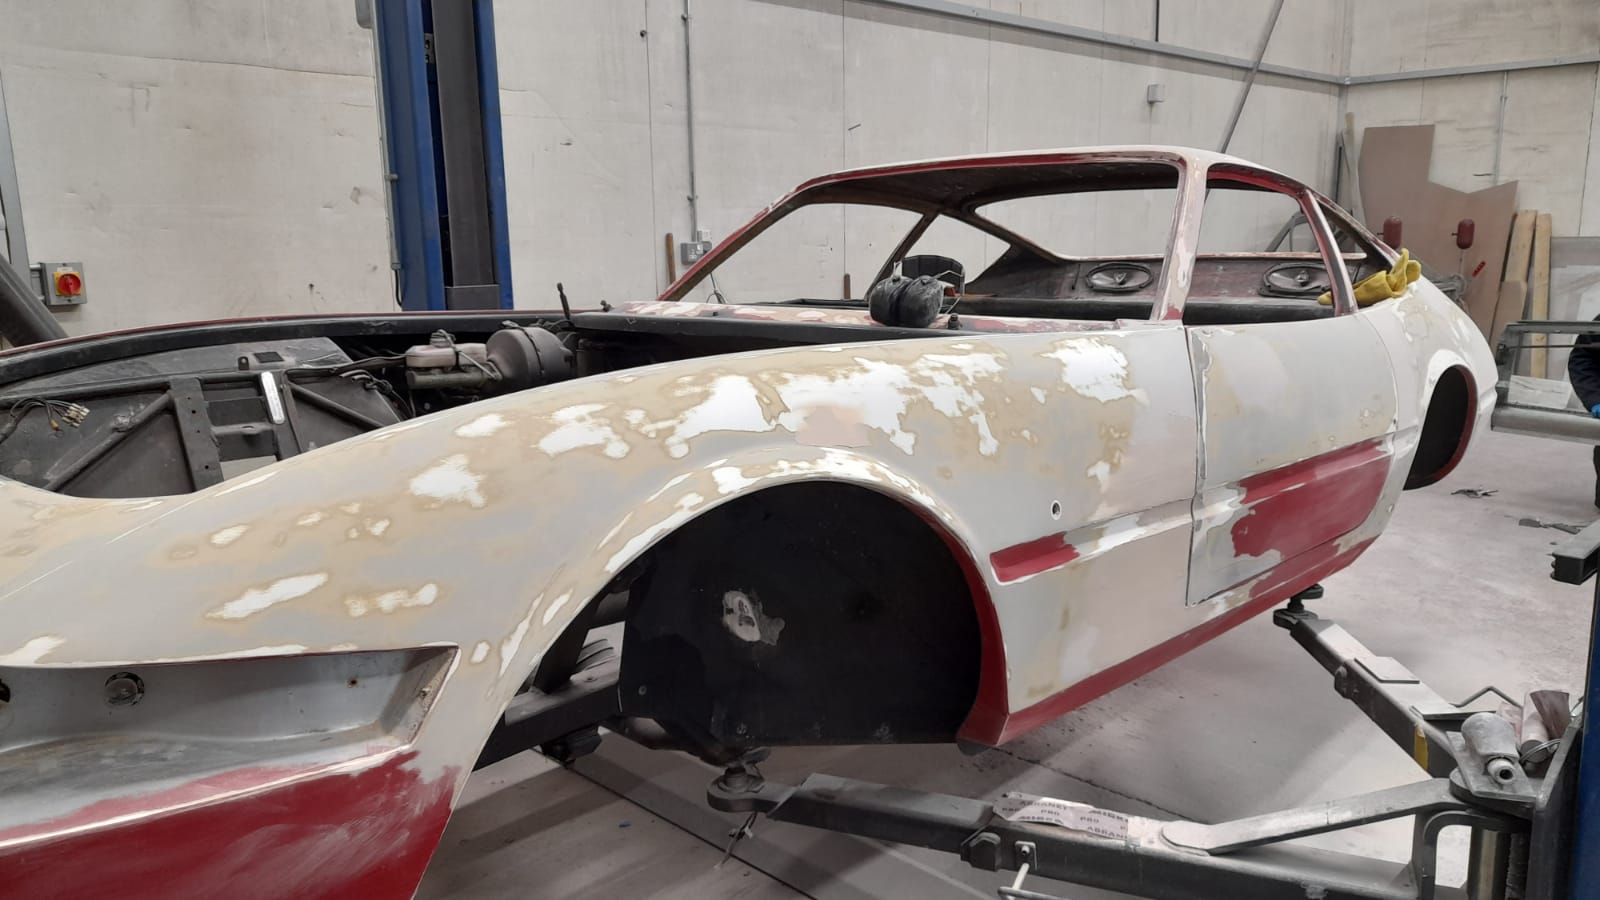
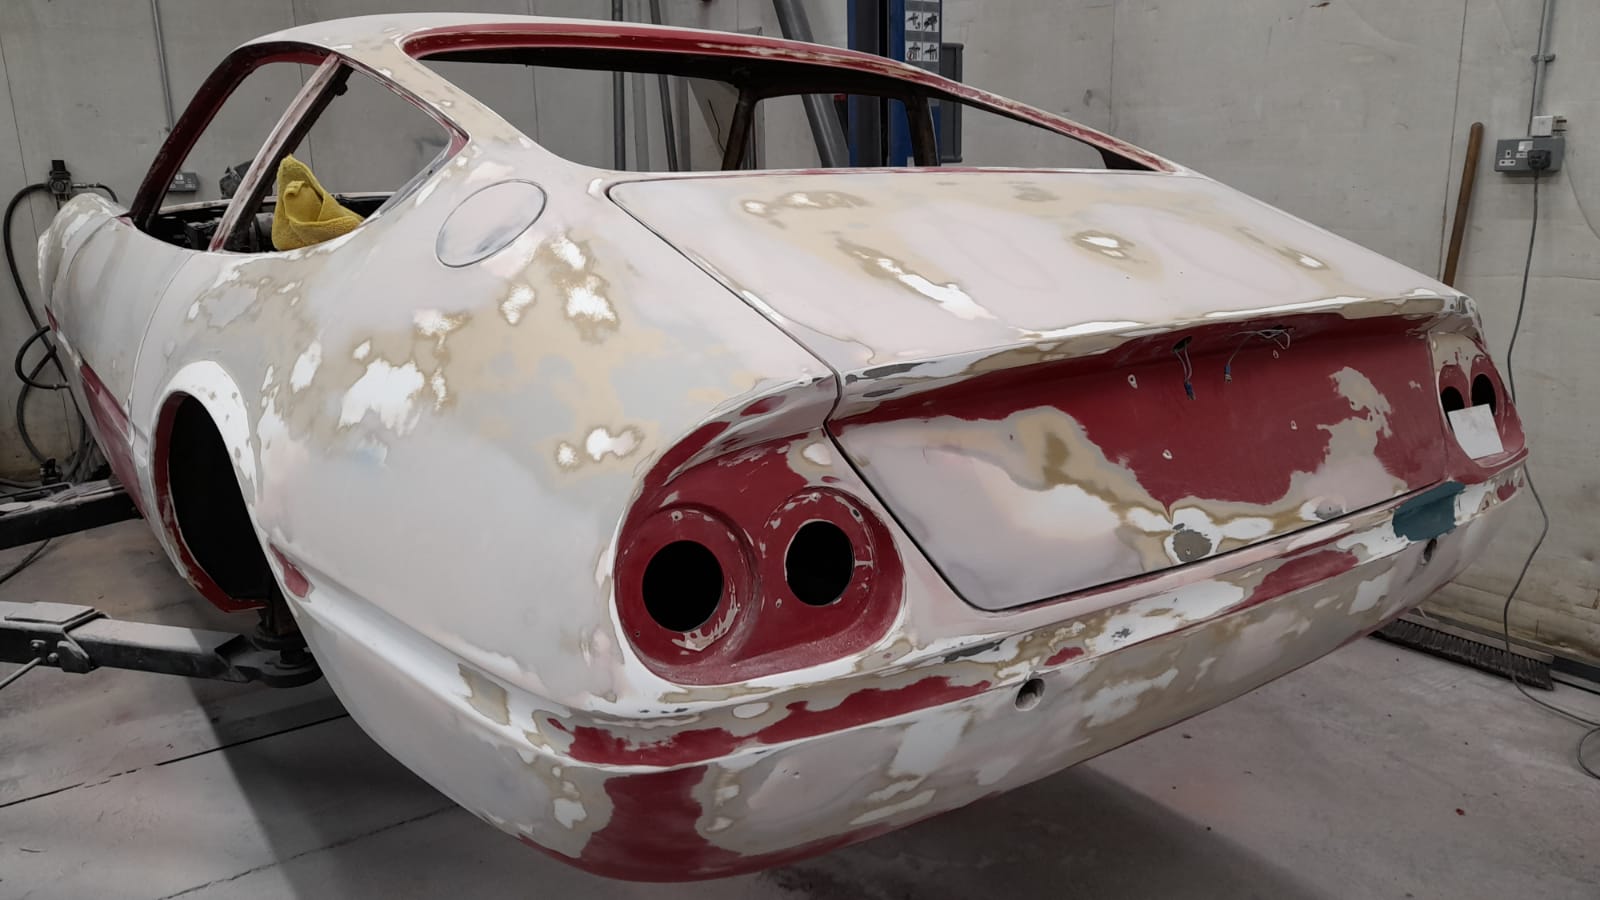
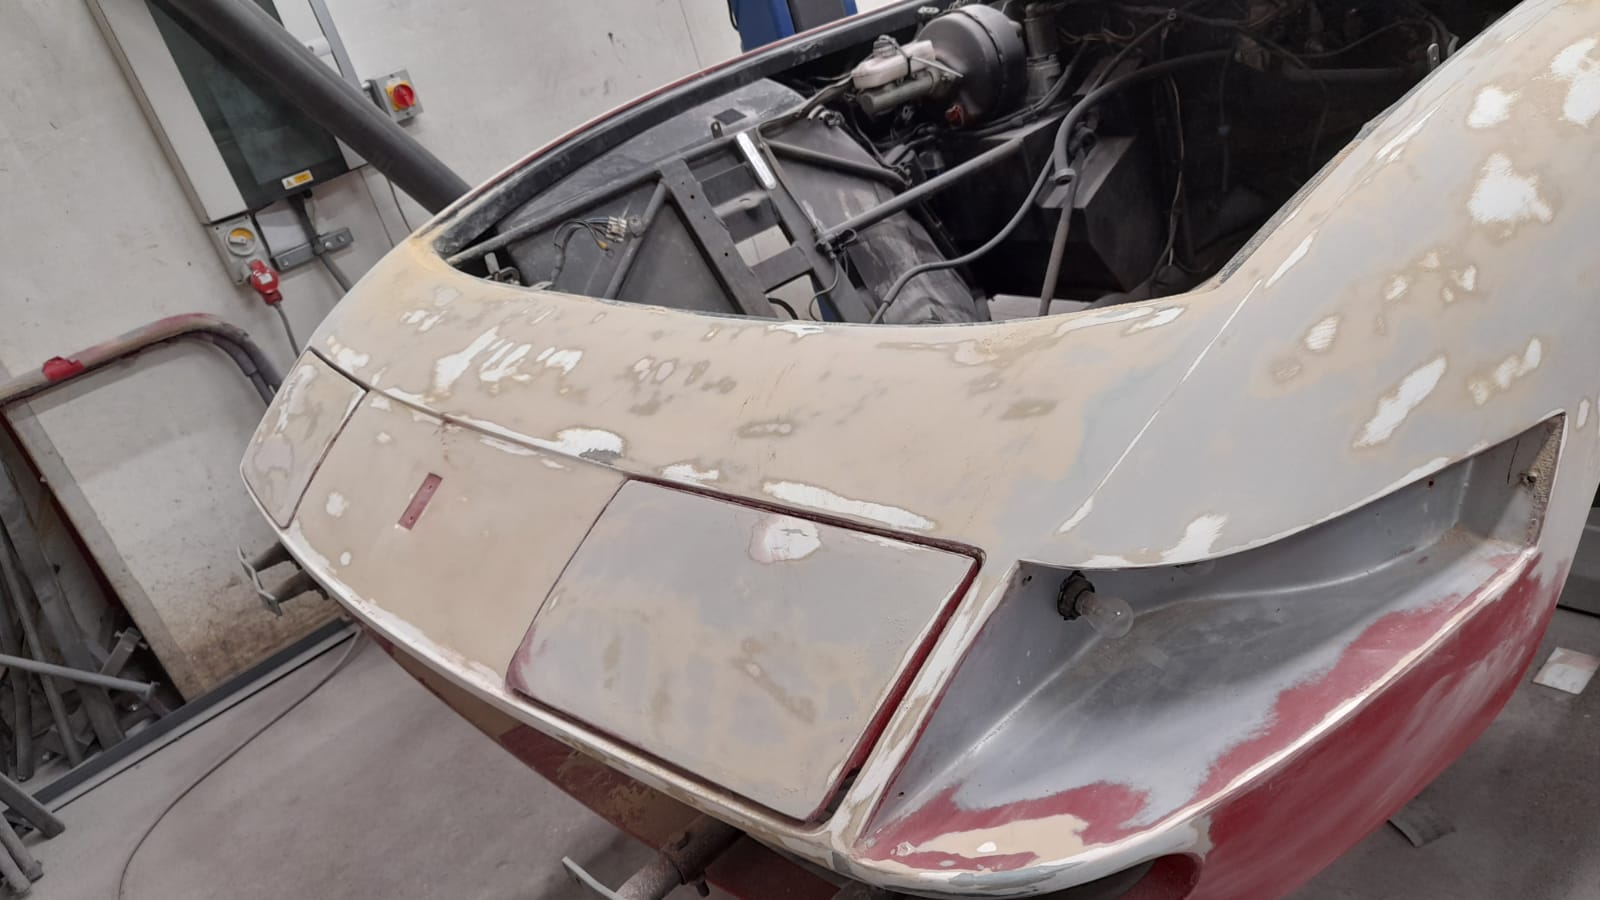
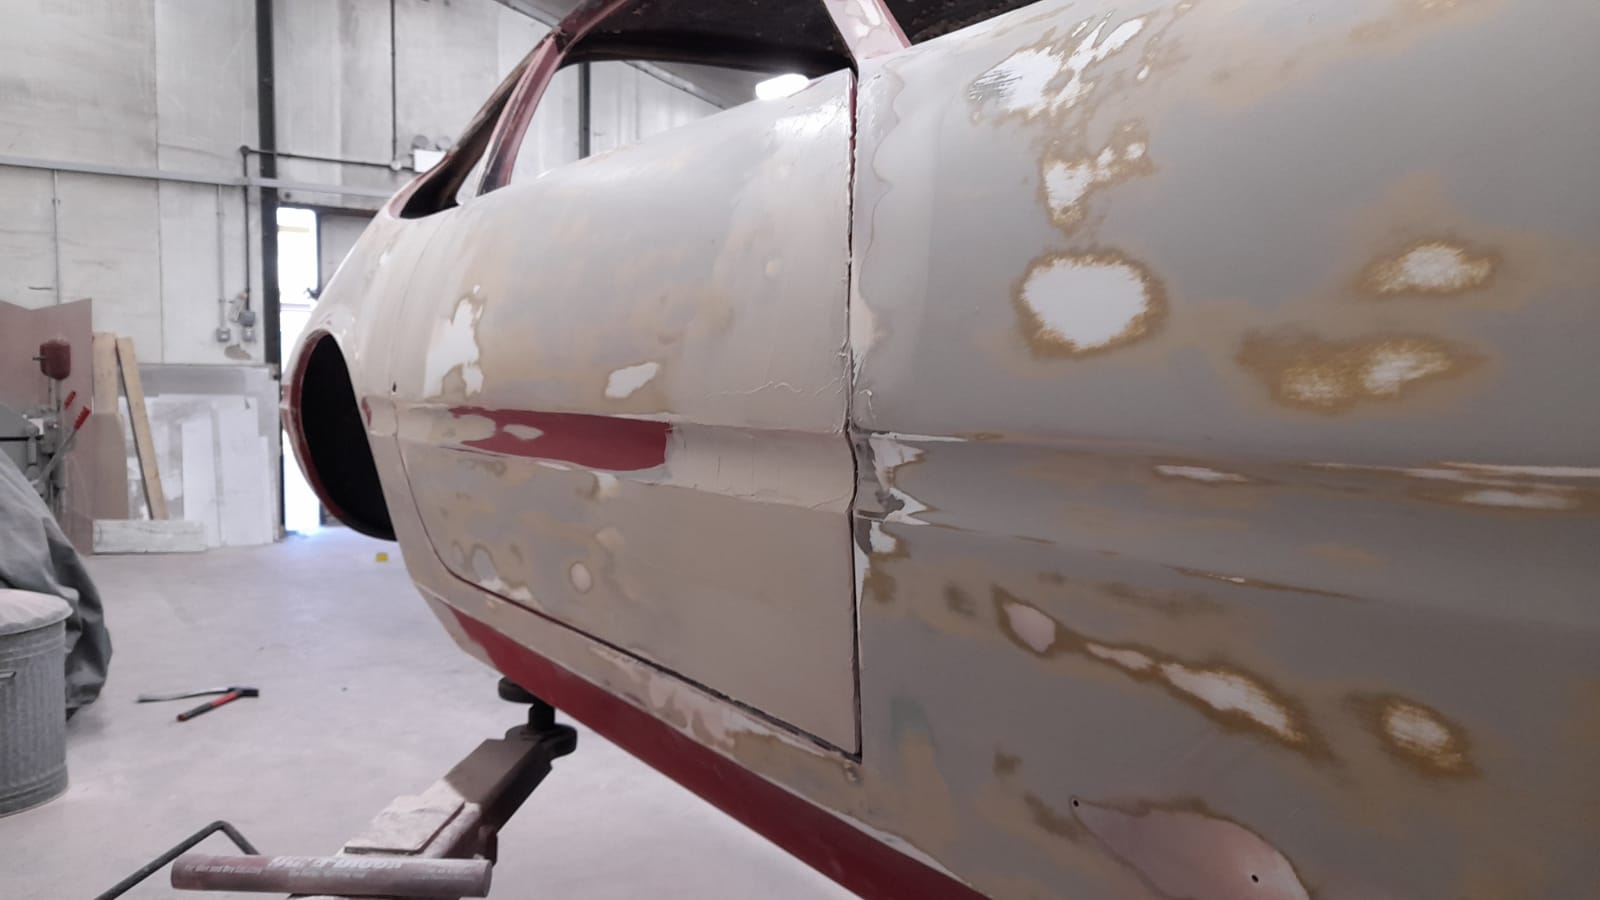
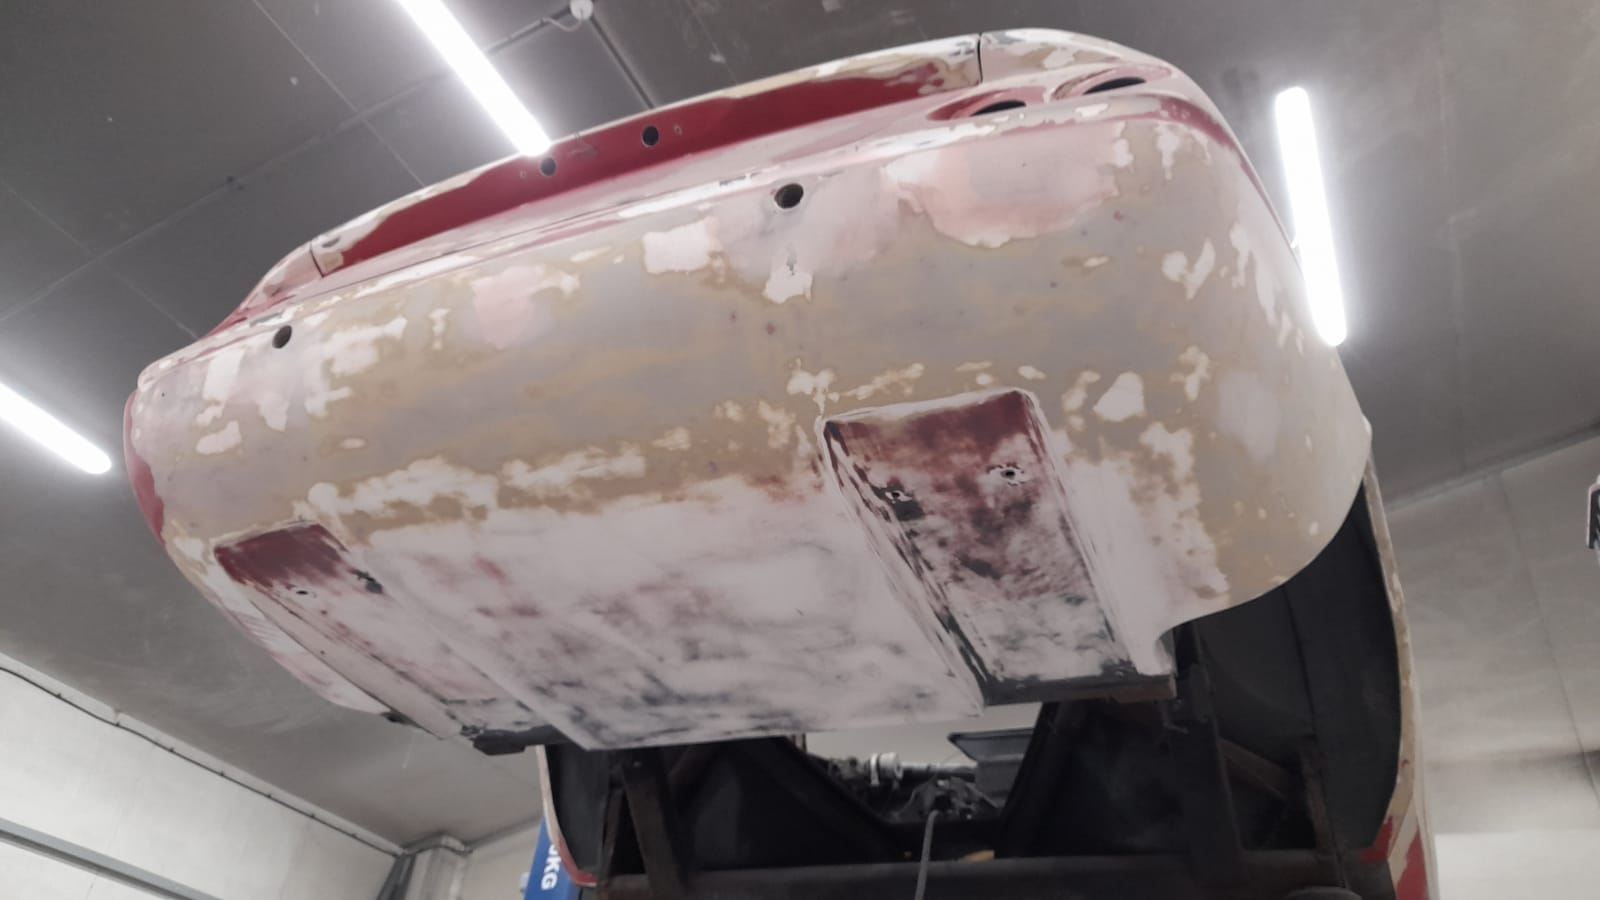
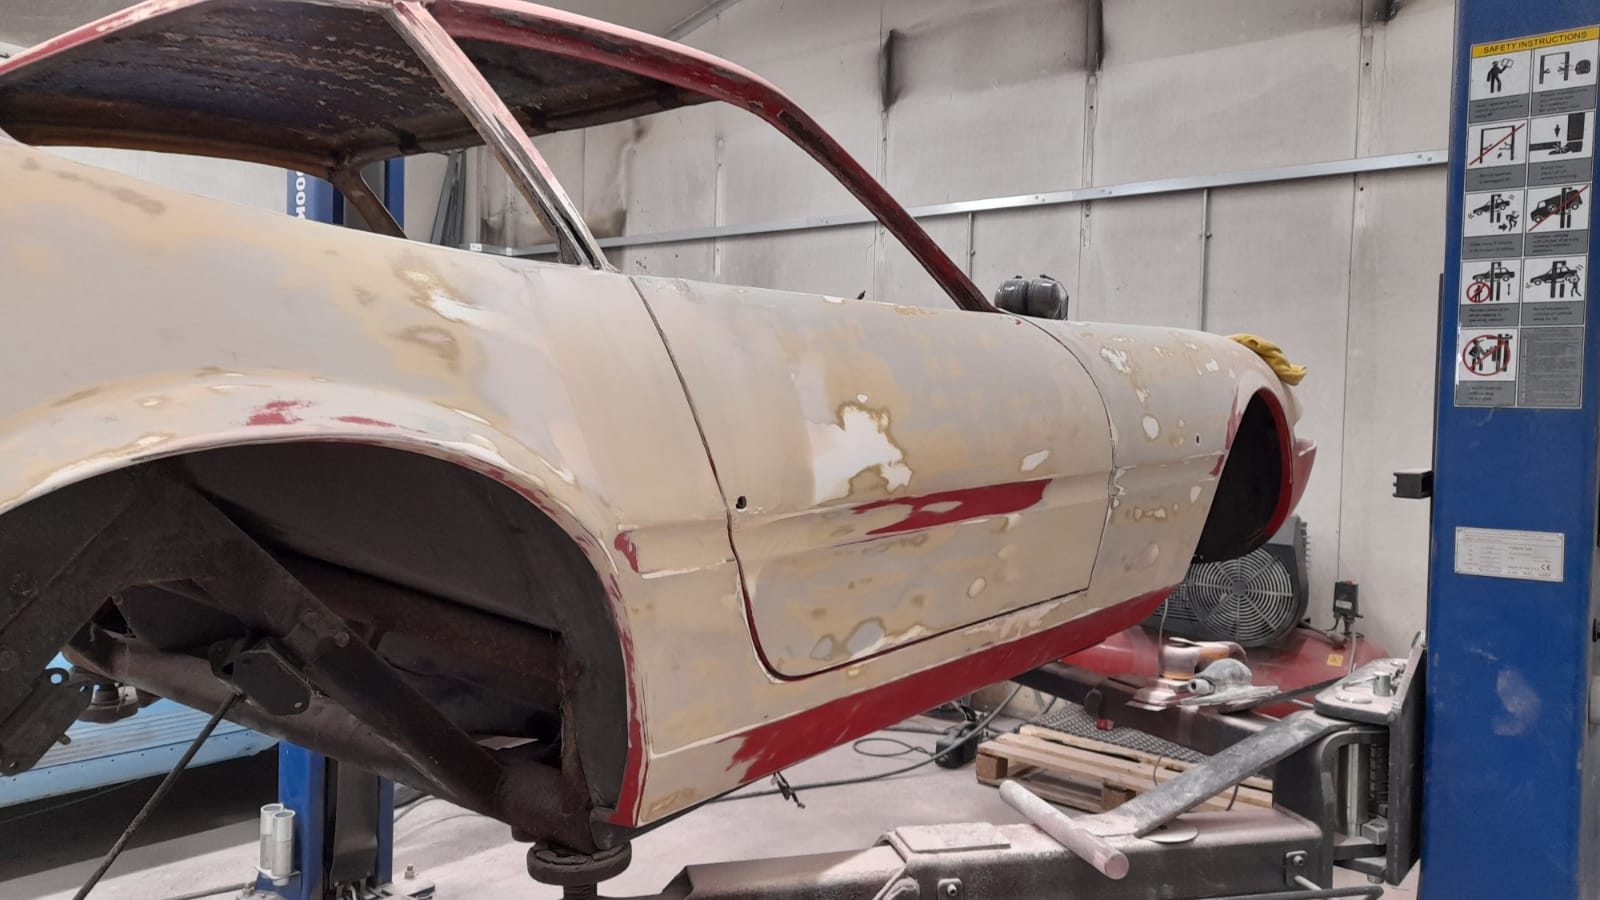
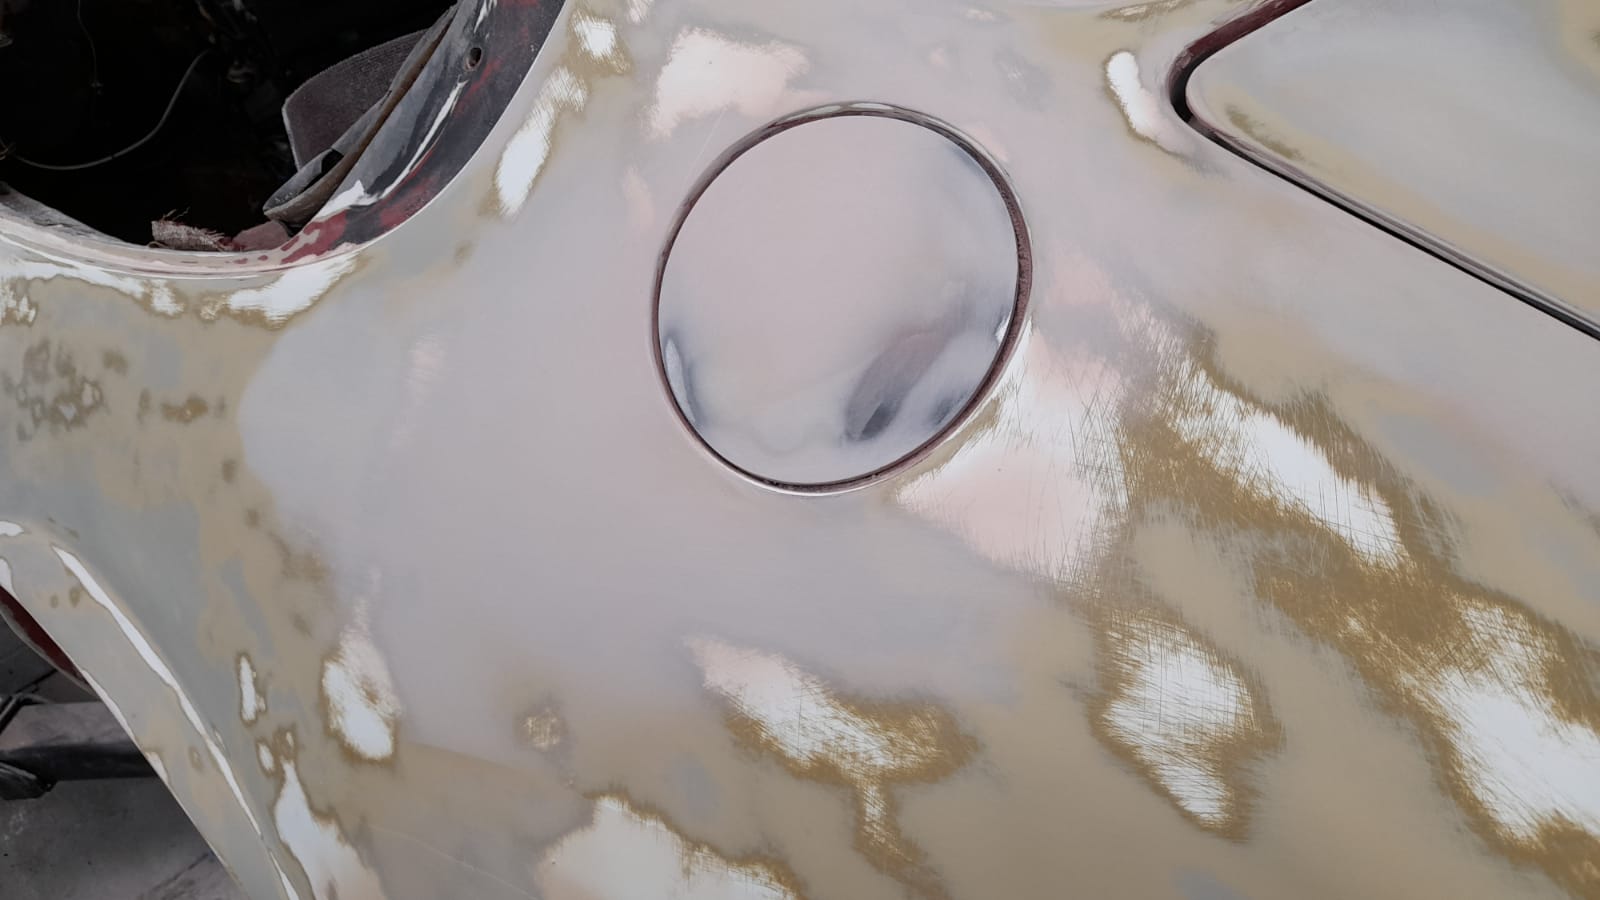
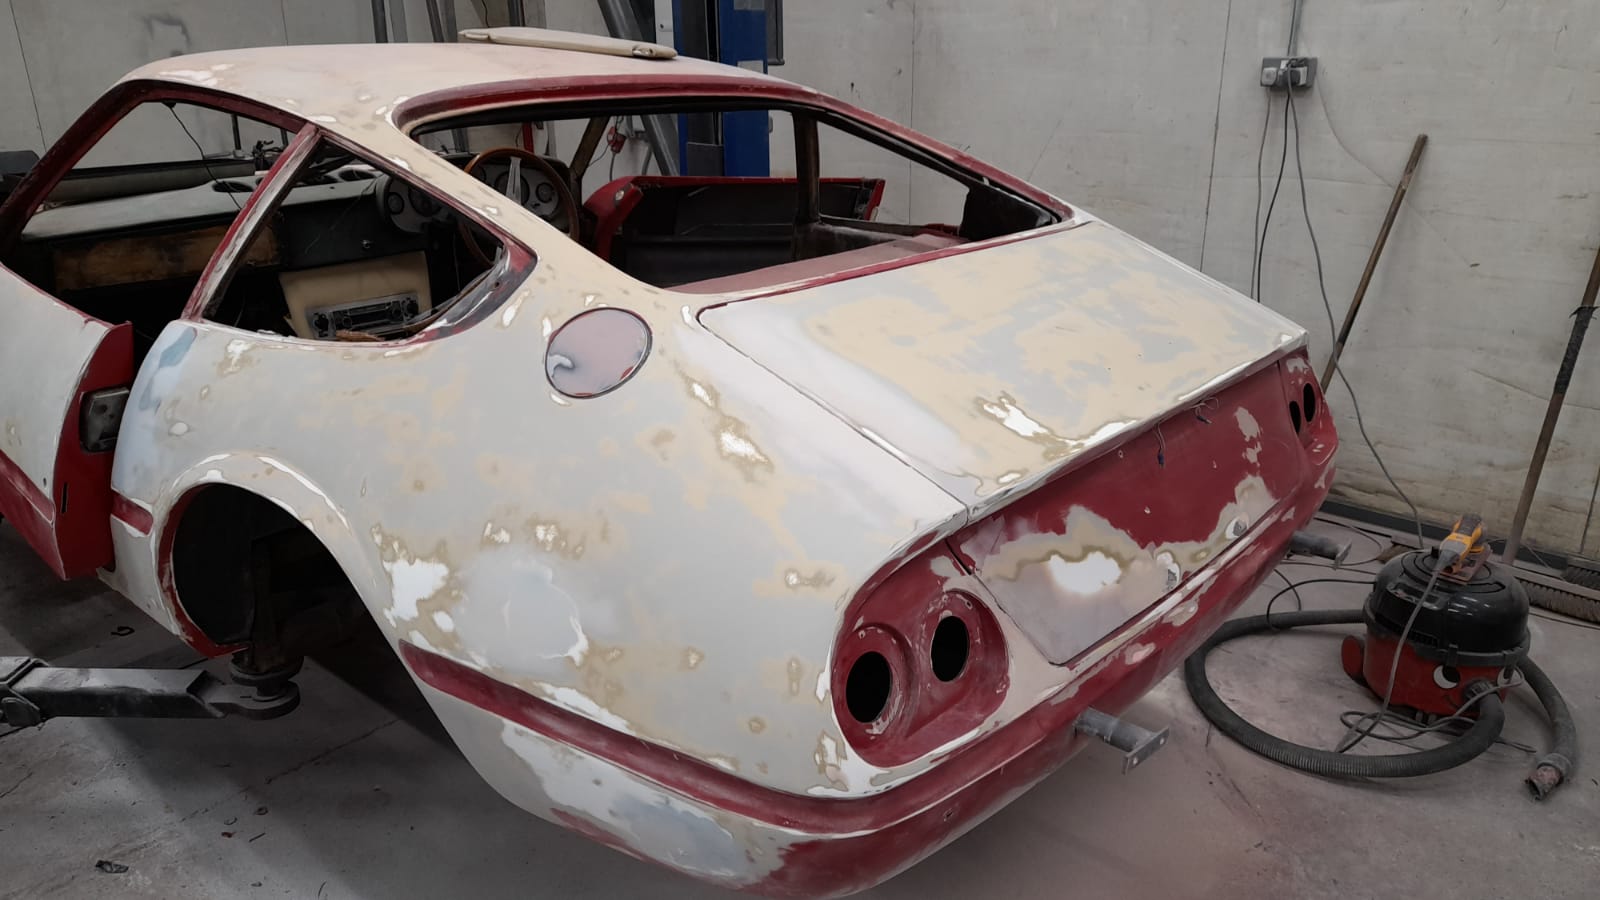
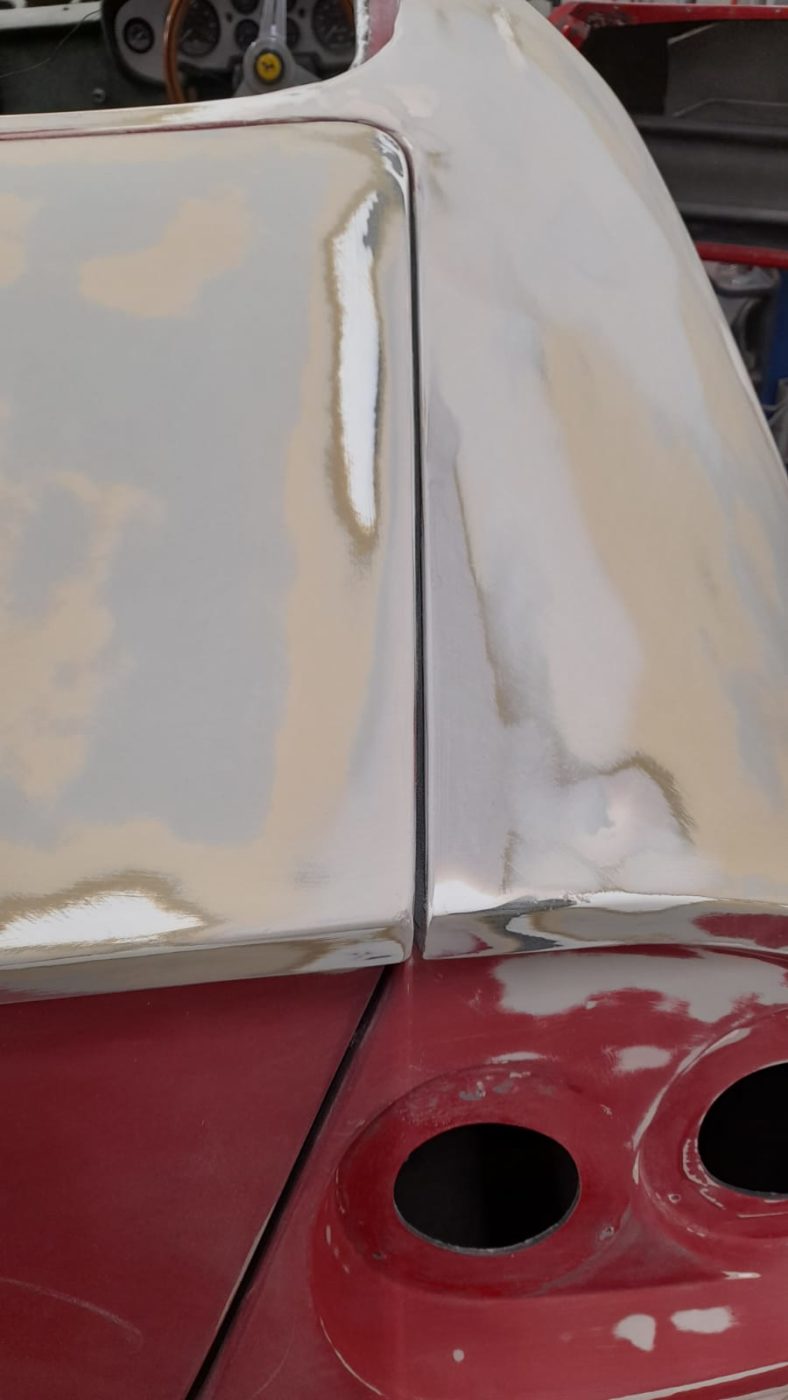
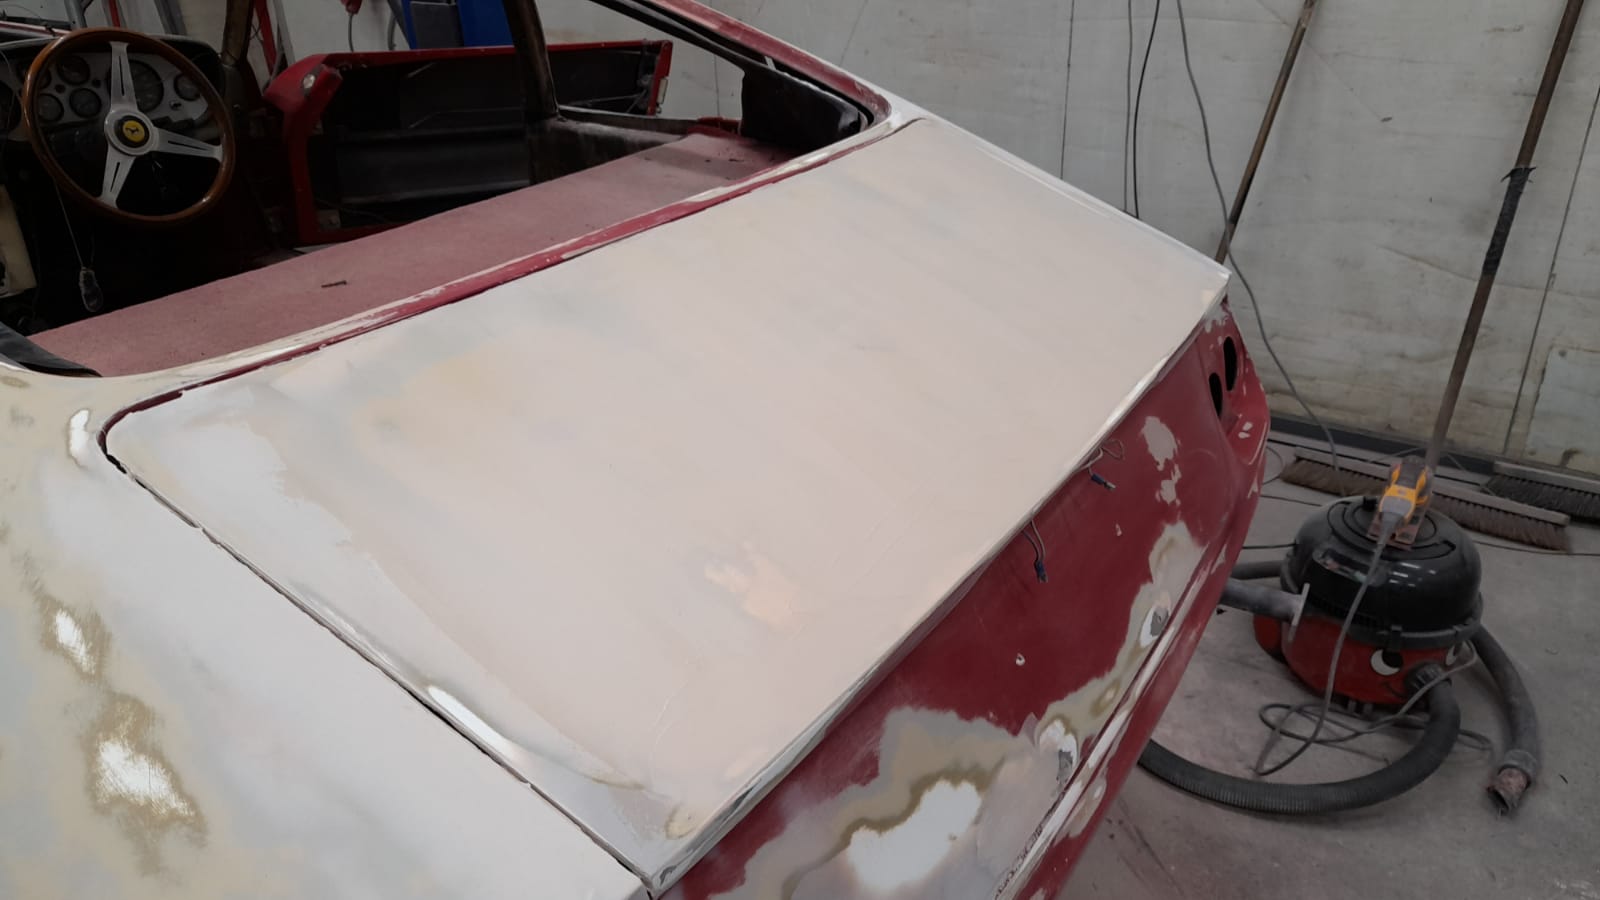
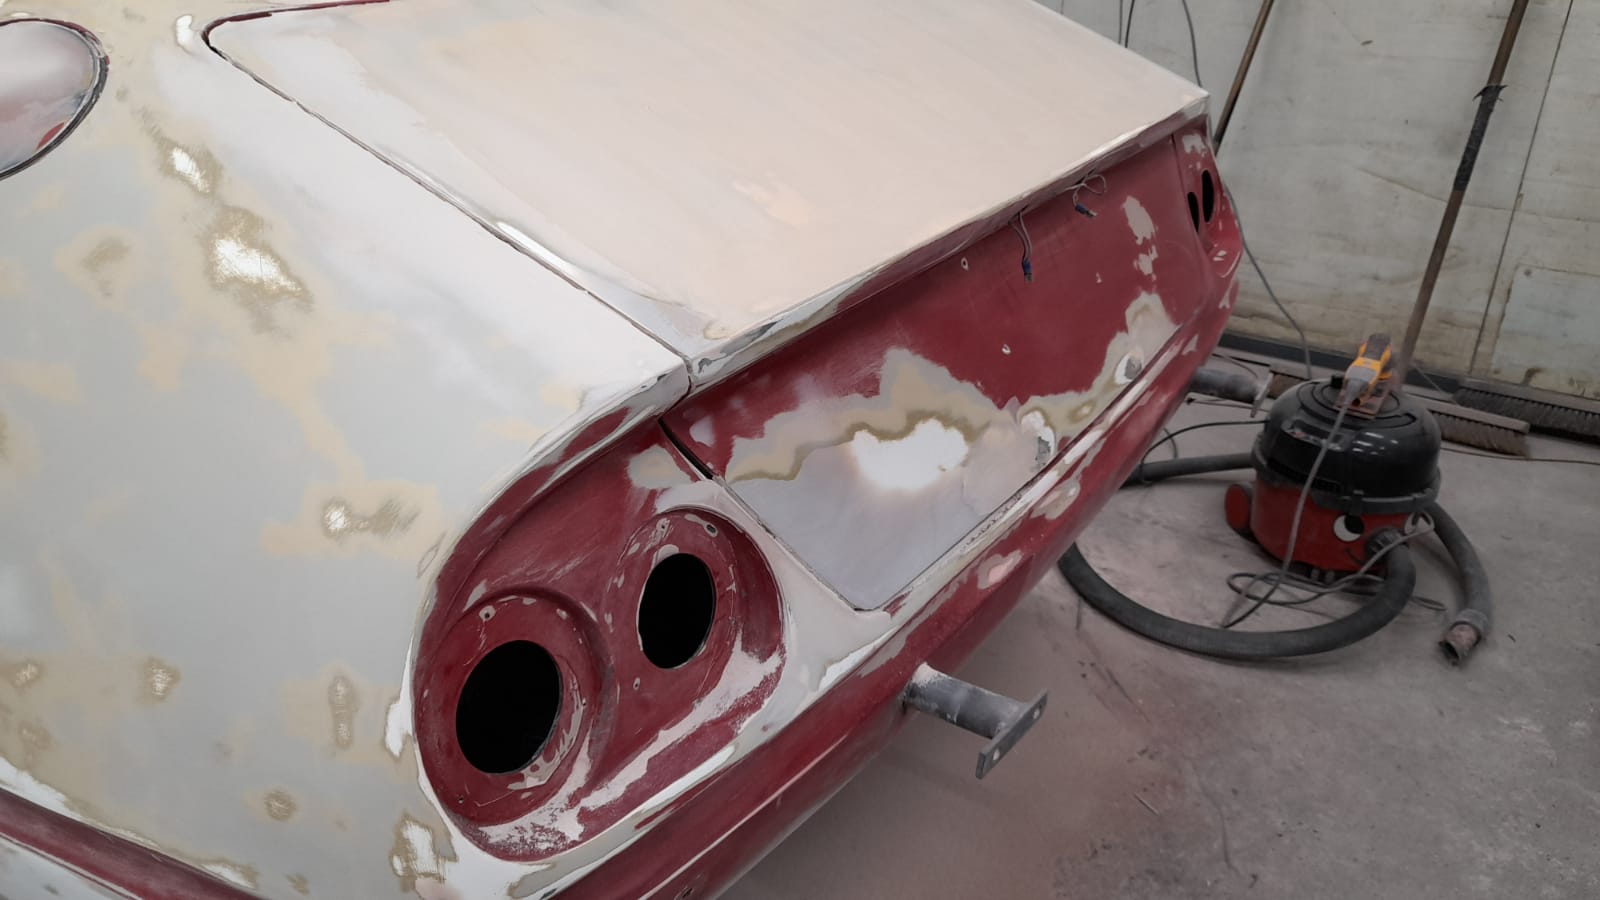
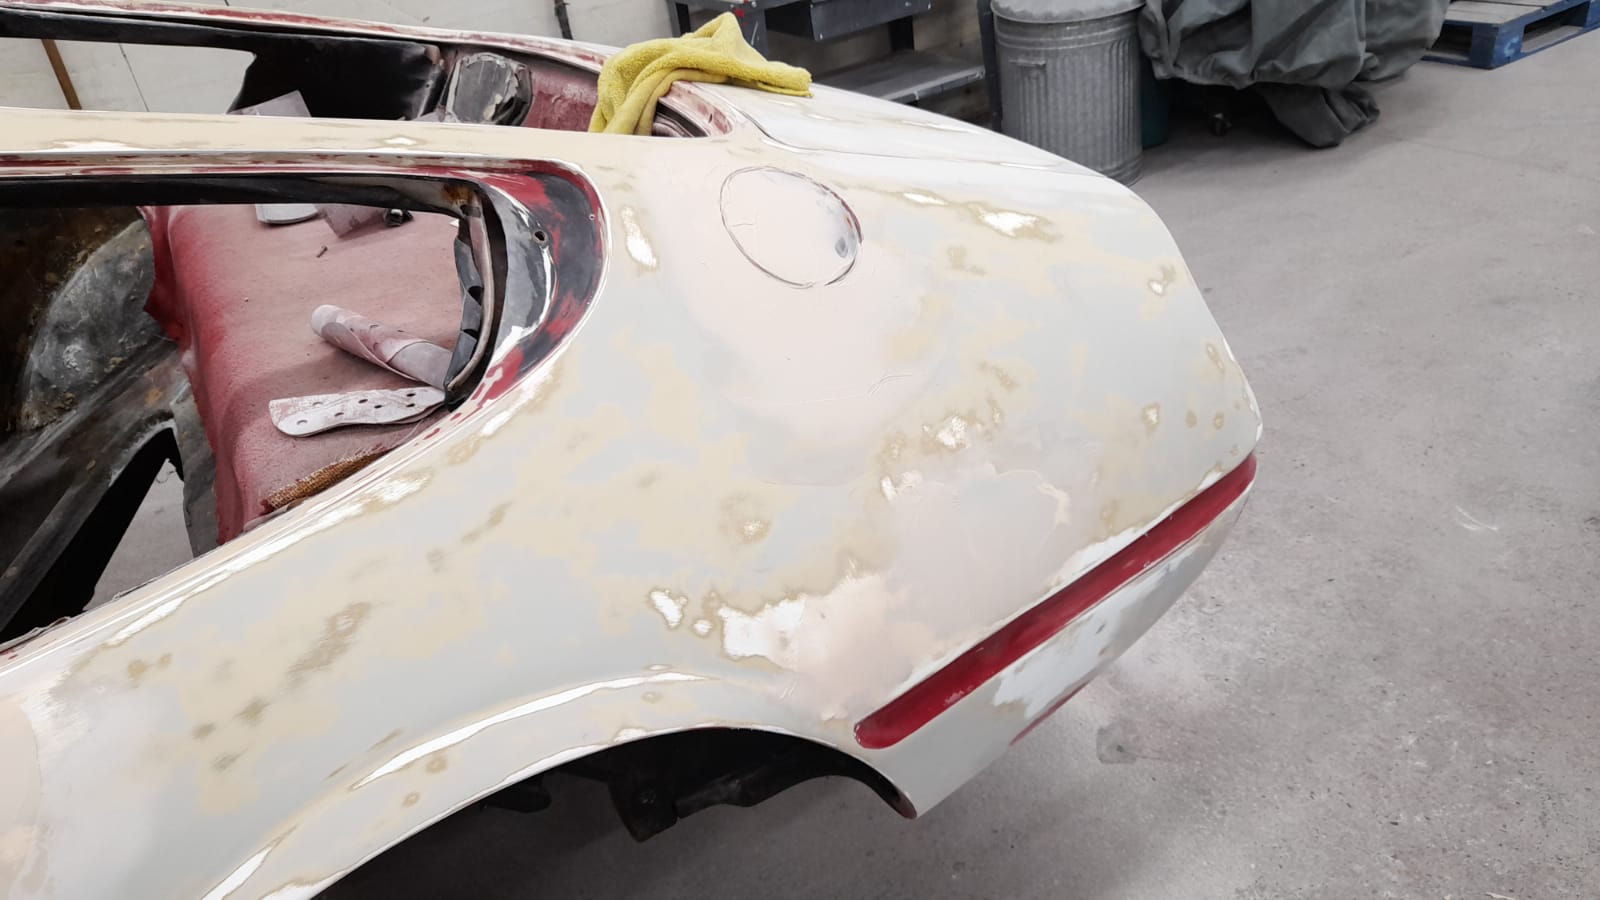
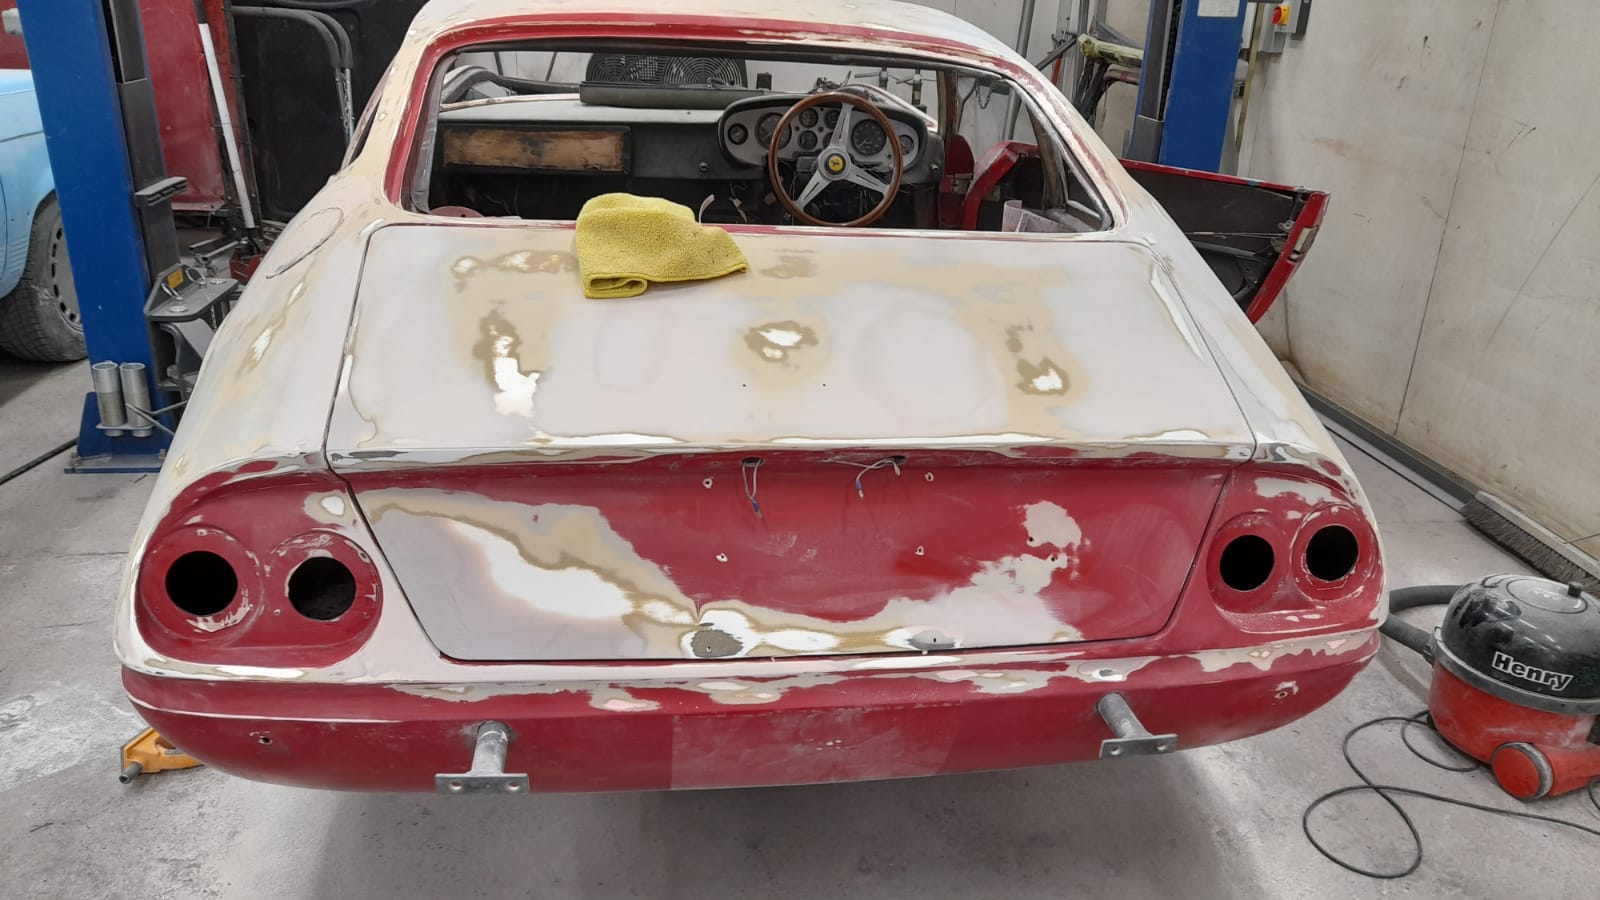
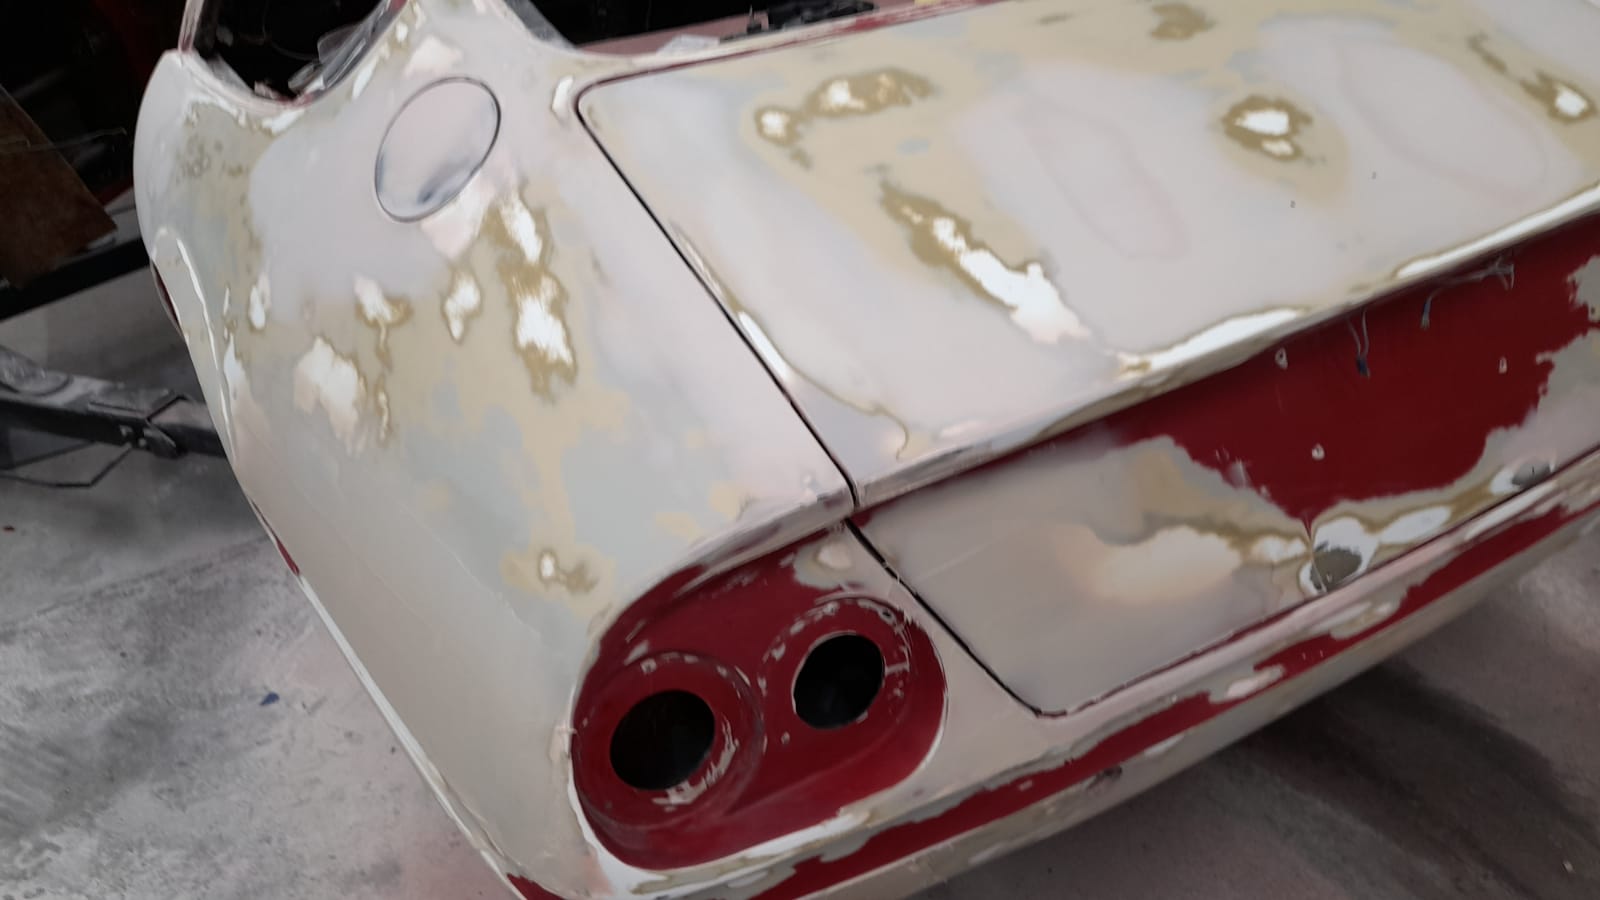
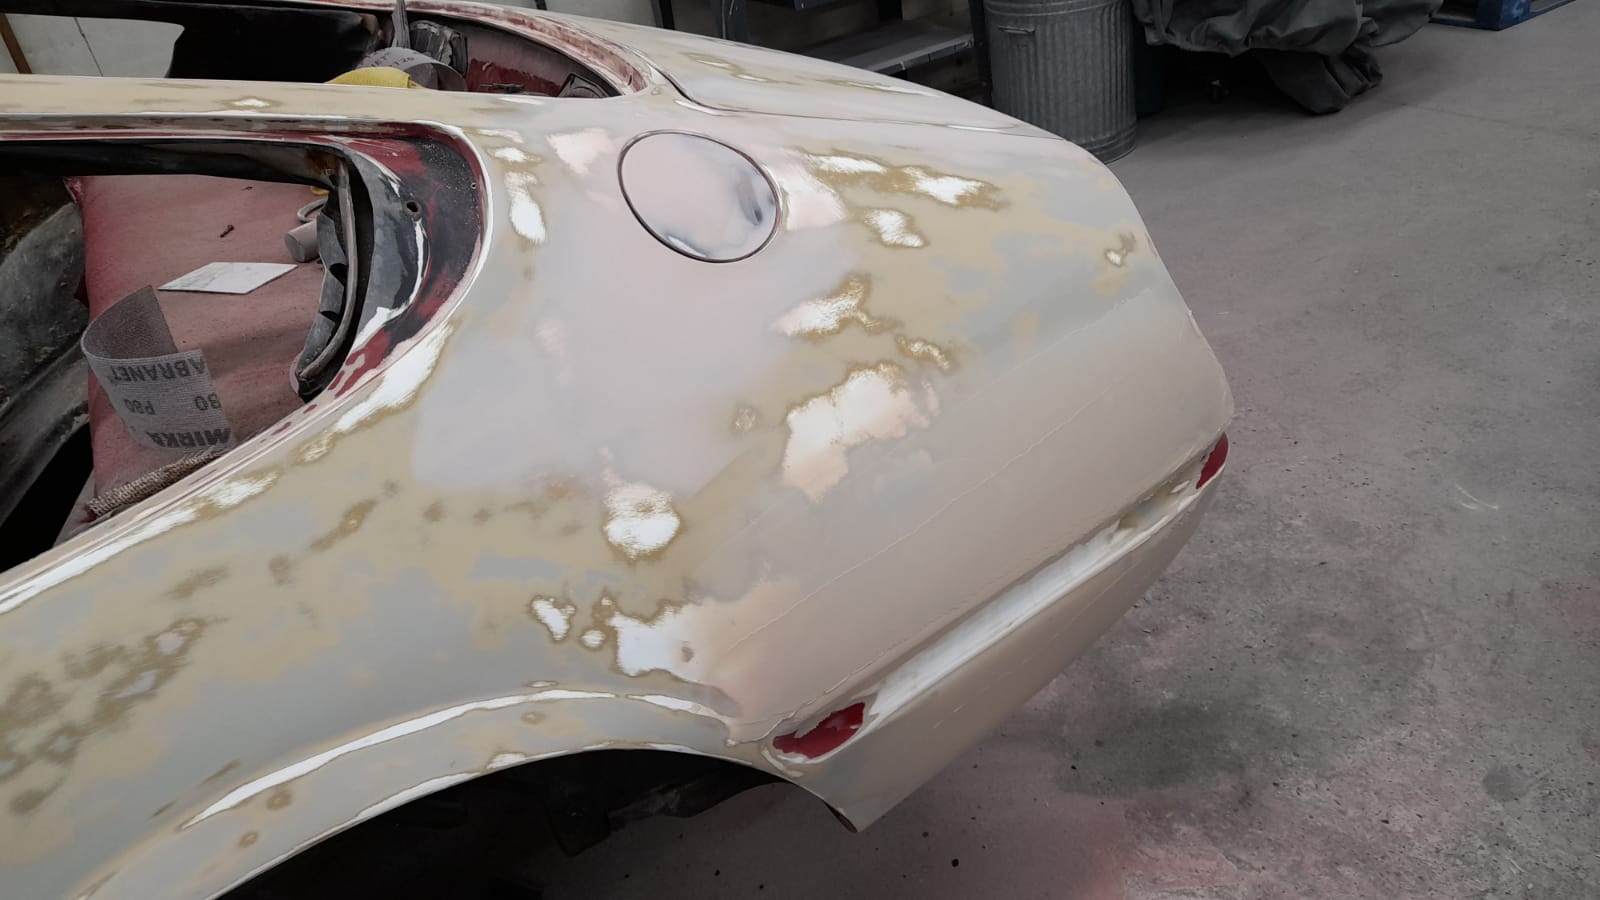
Scott has continued blocking out the Ferrari Daytona after its recent visit to the paint bay. All the primer has now been blocked down on the body. There’s a few more imperfections to smooth down before the next primer coat but otherwise, its almost ready for the next step!
The term blocking out refers to smoothing over the body and filing out any imperfections to make sure the body is all straight and ready to be painted.

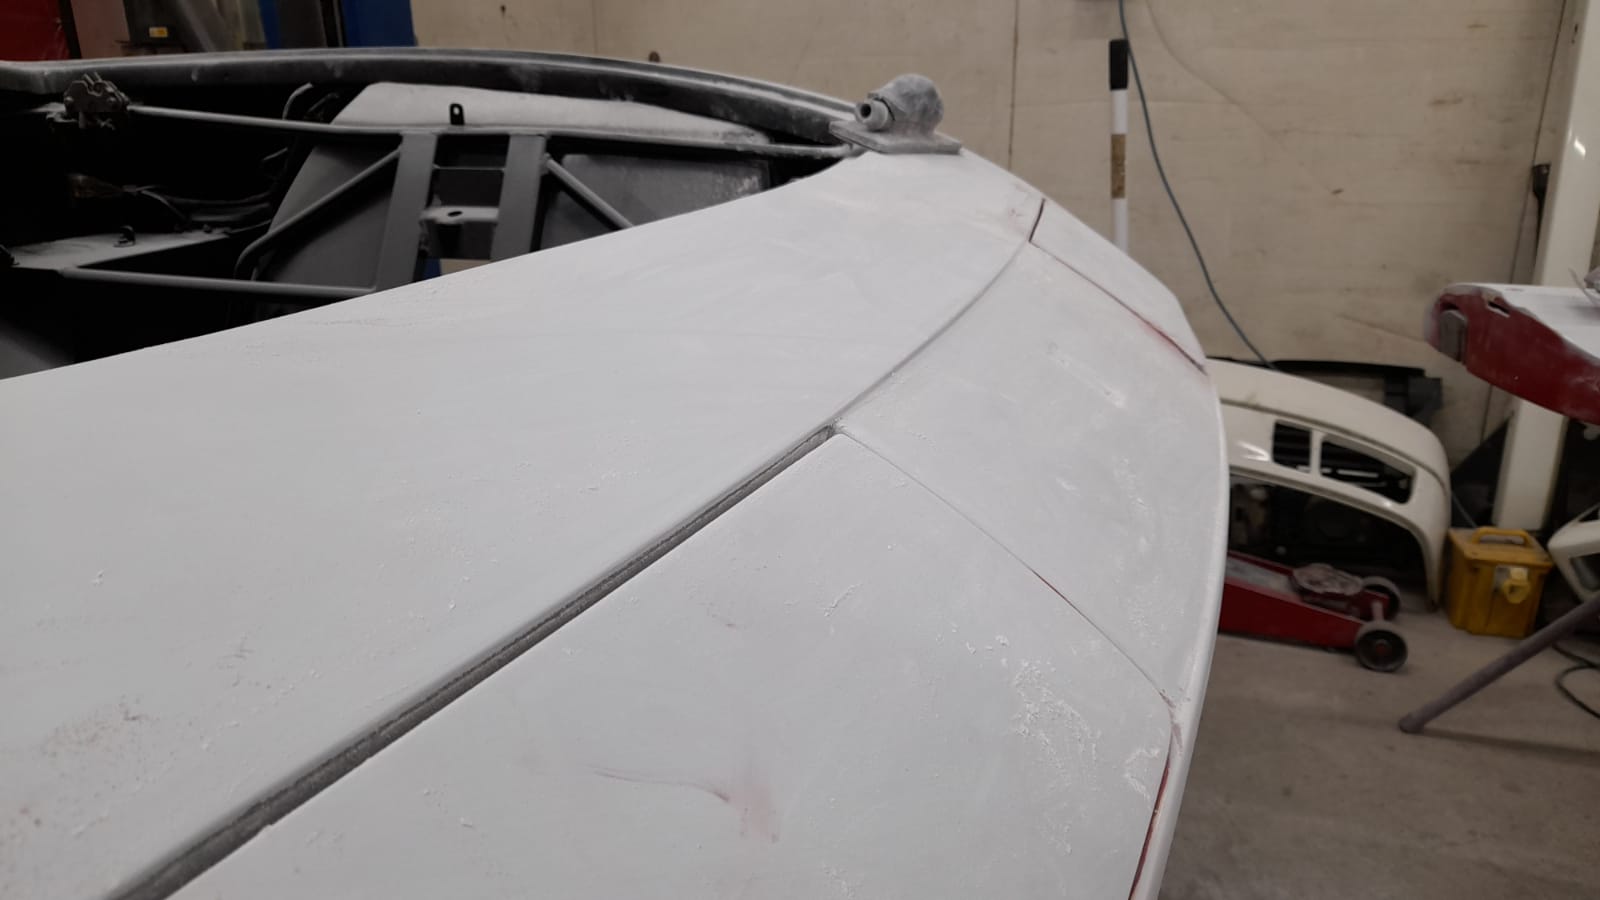


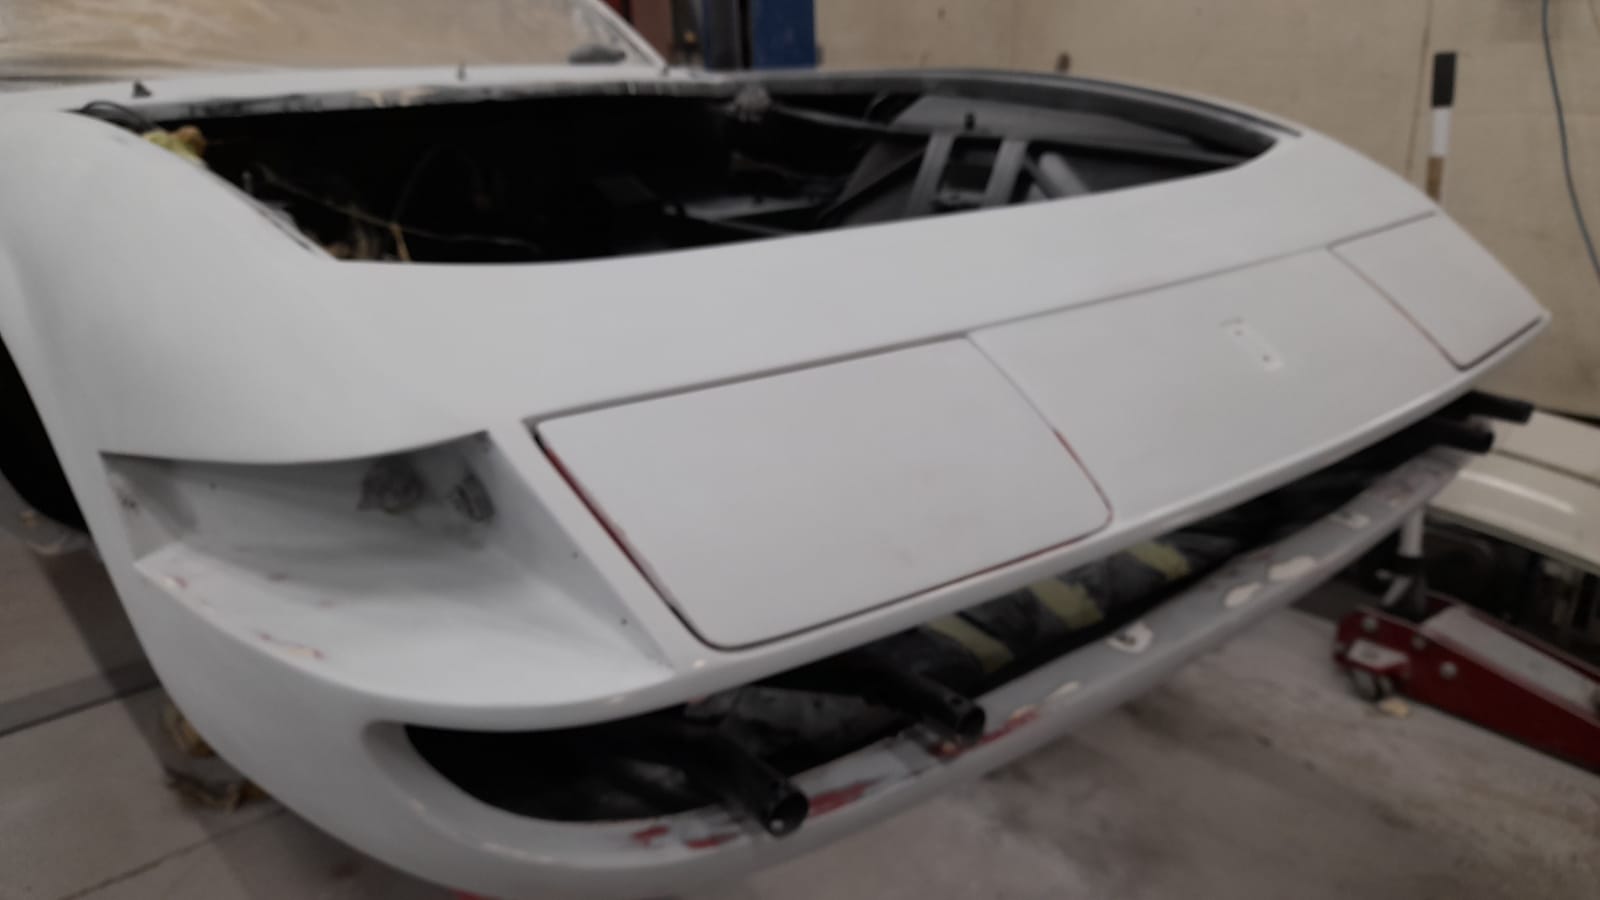


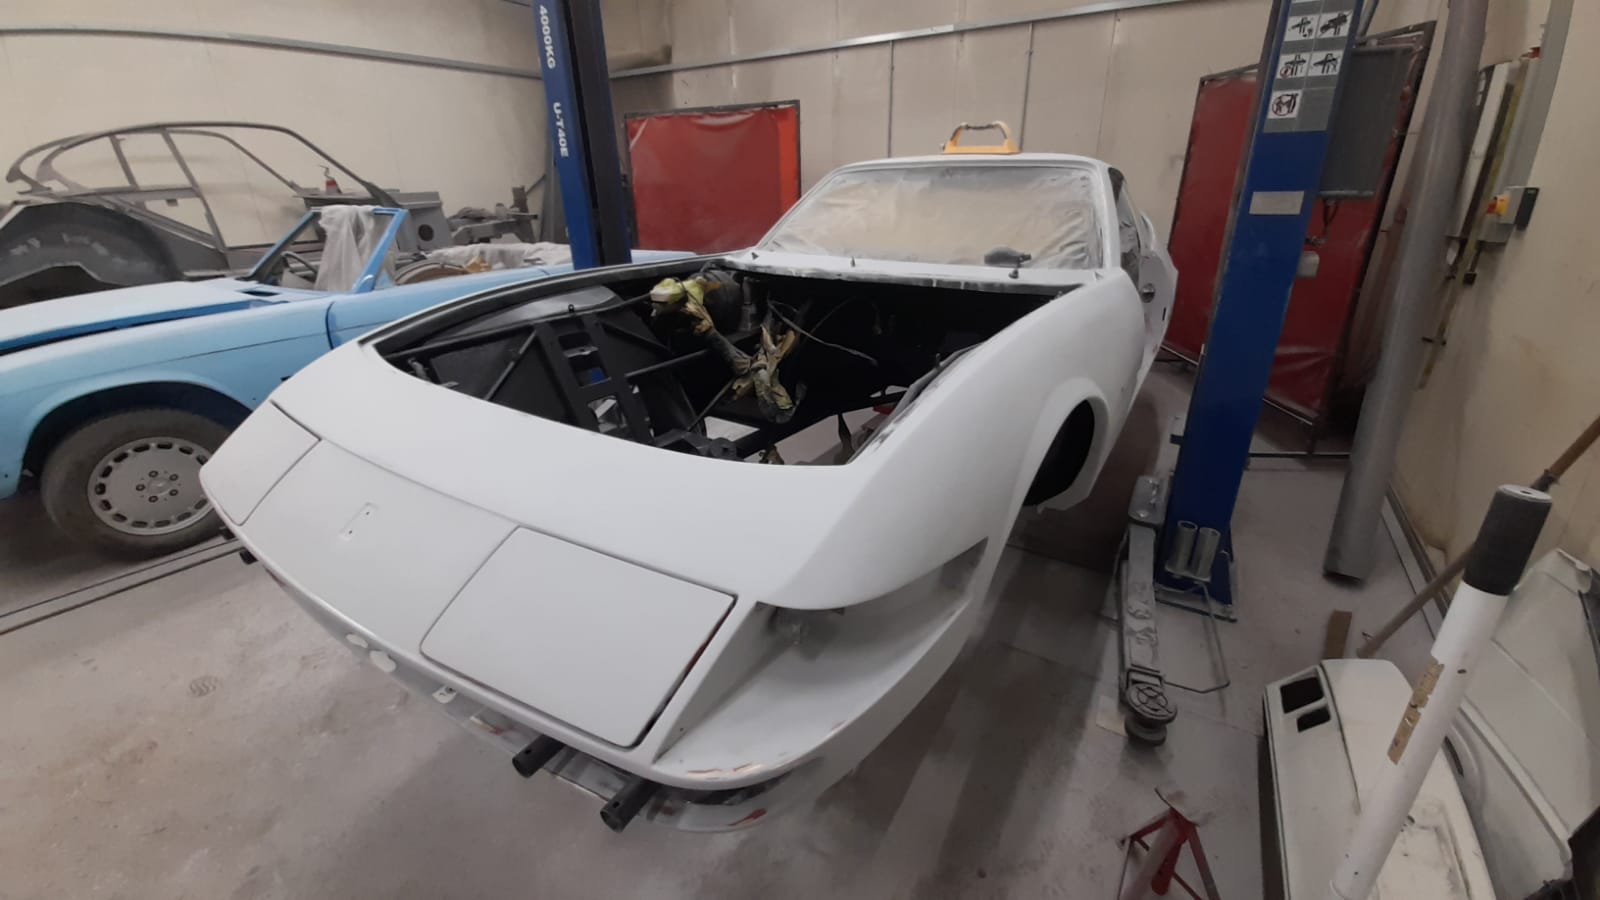

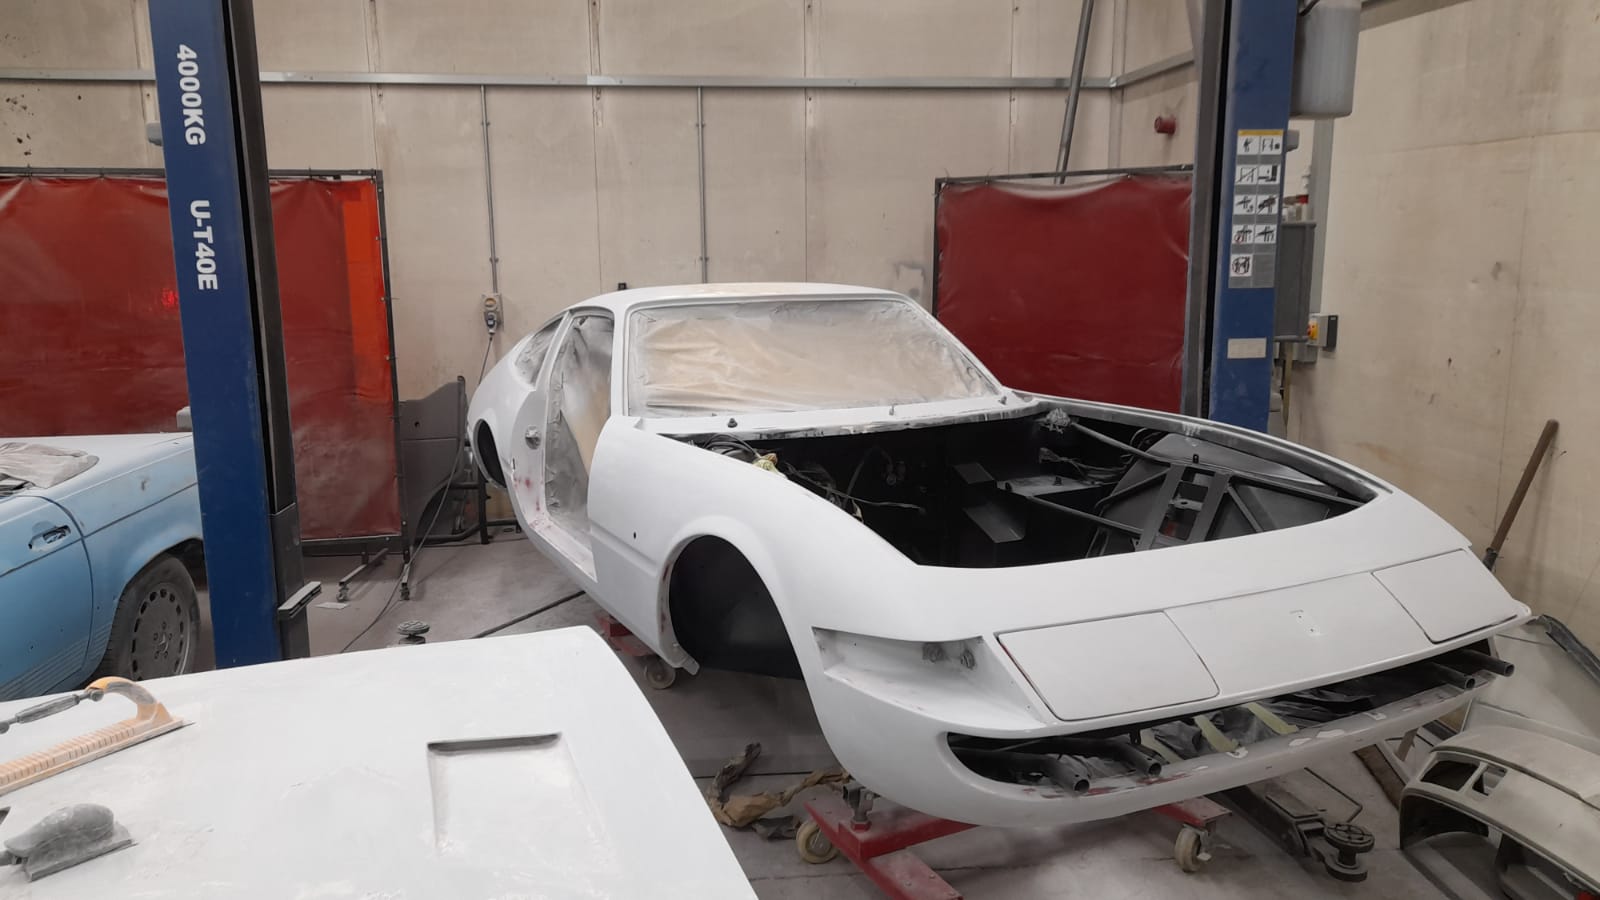
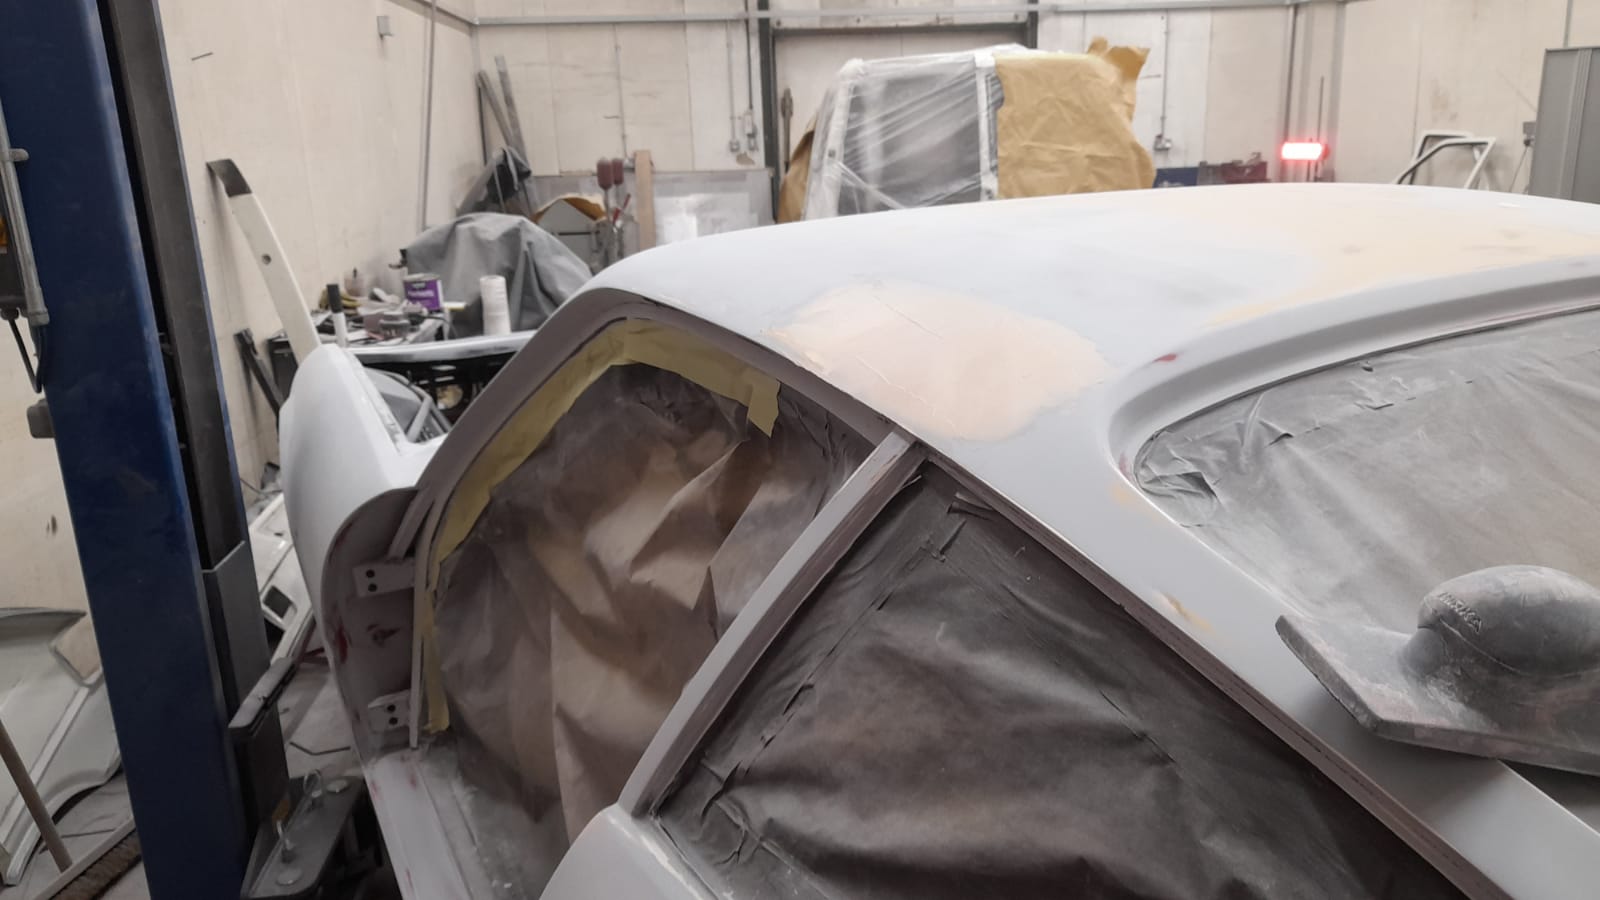
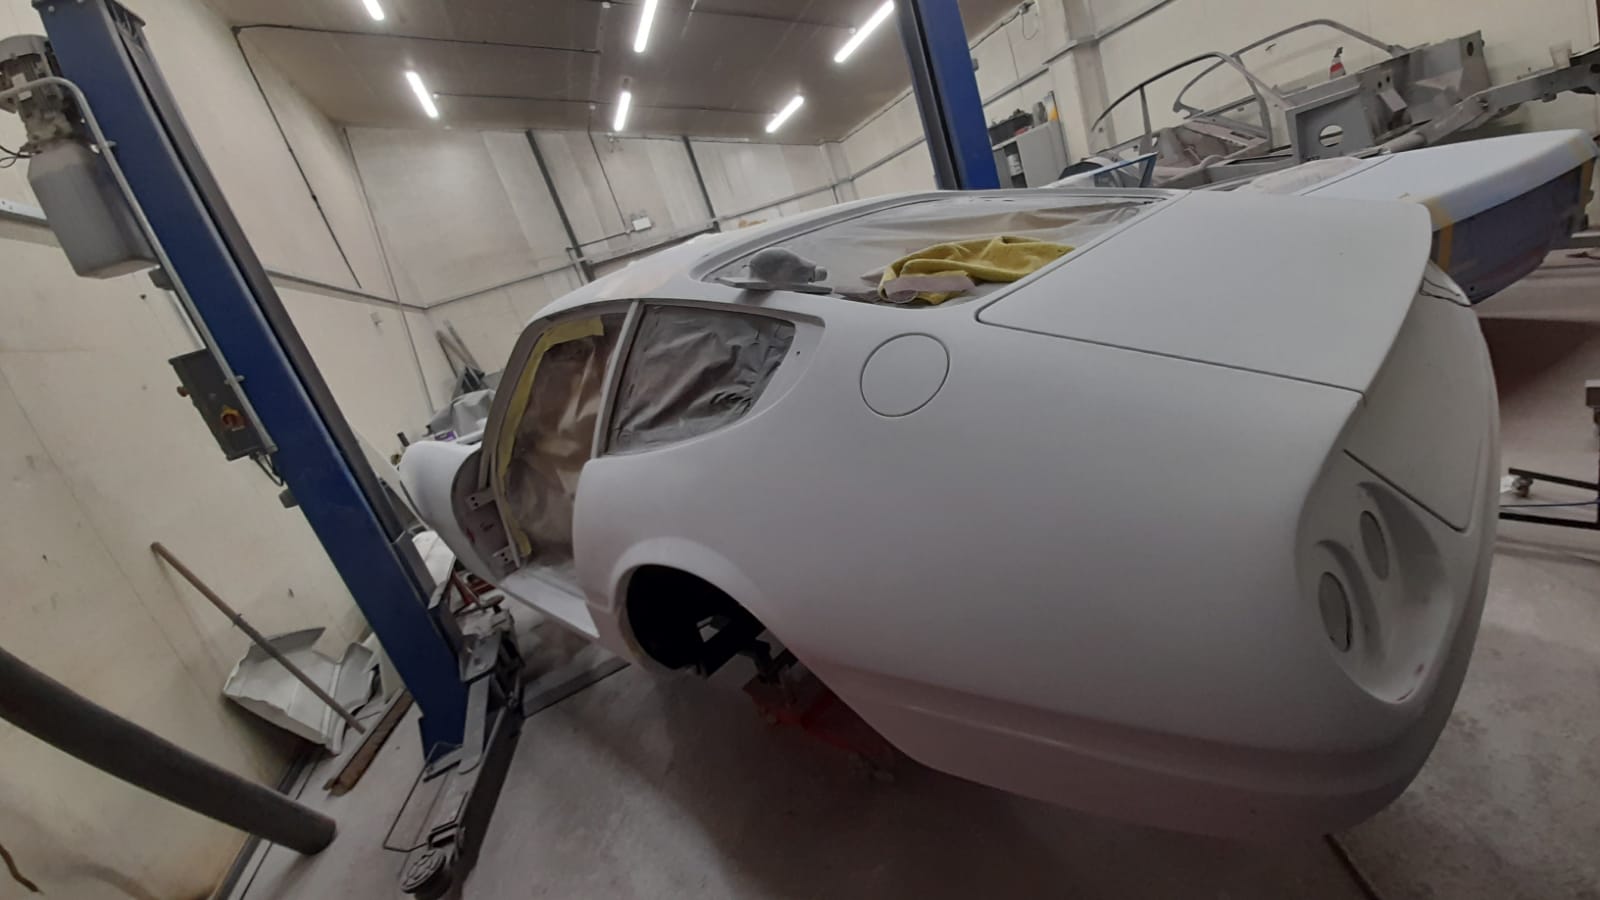
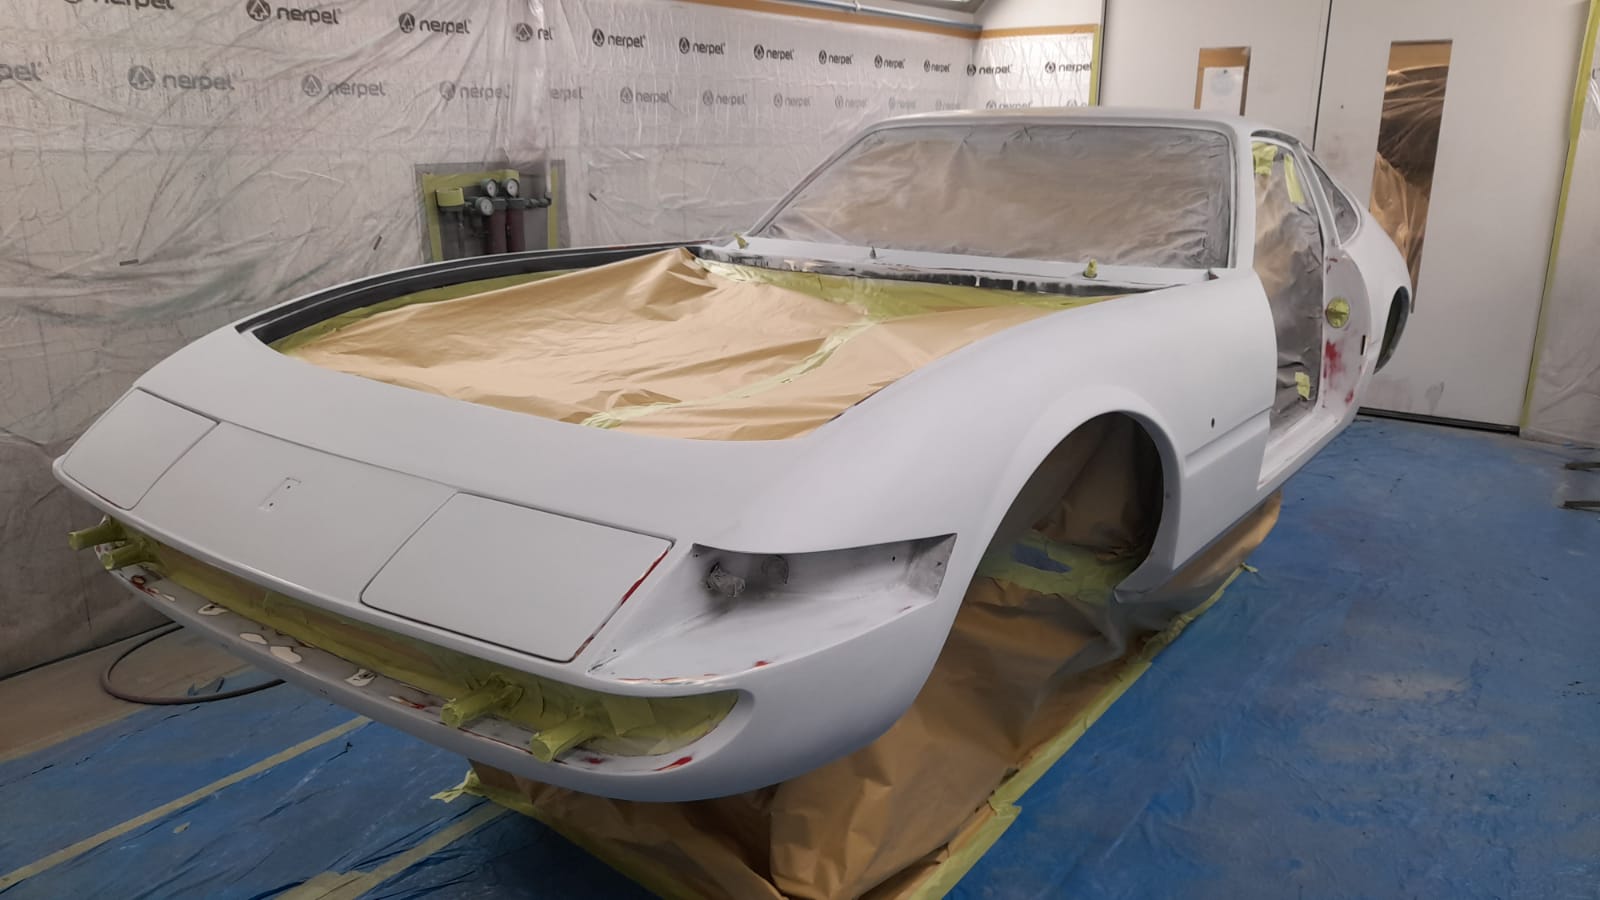
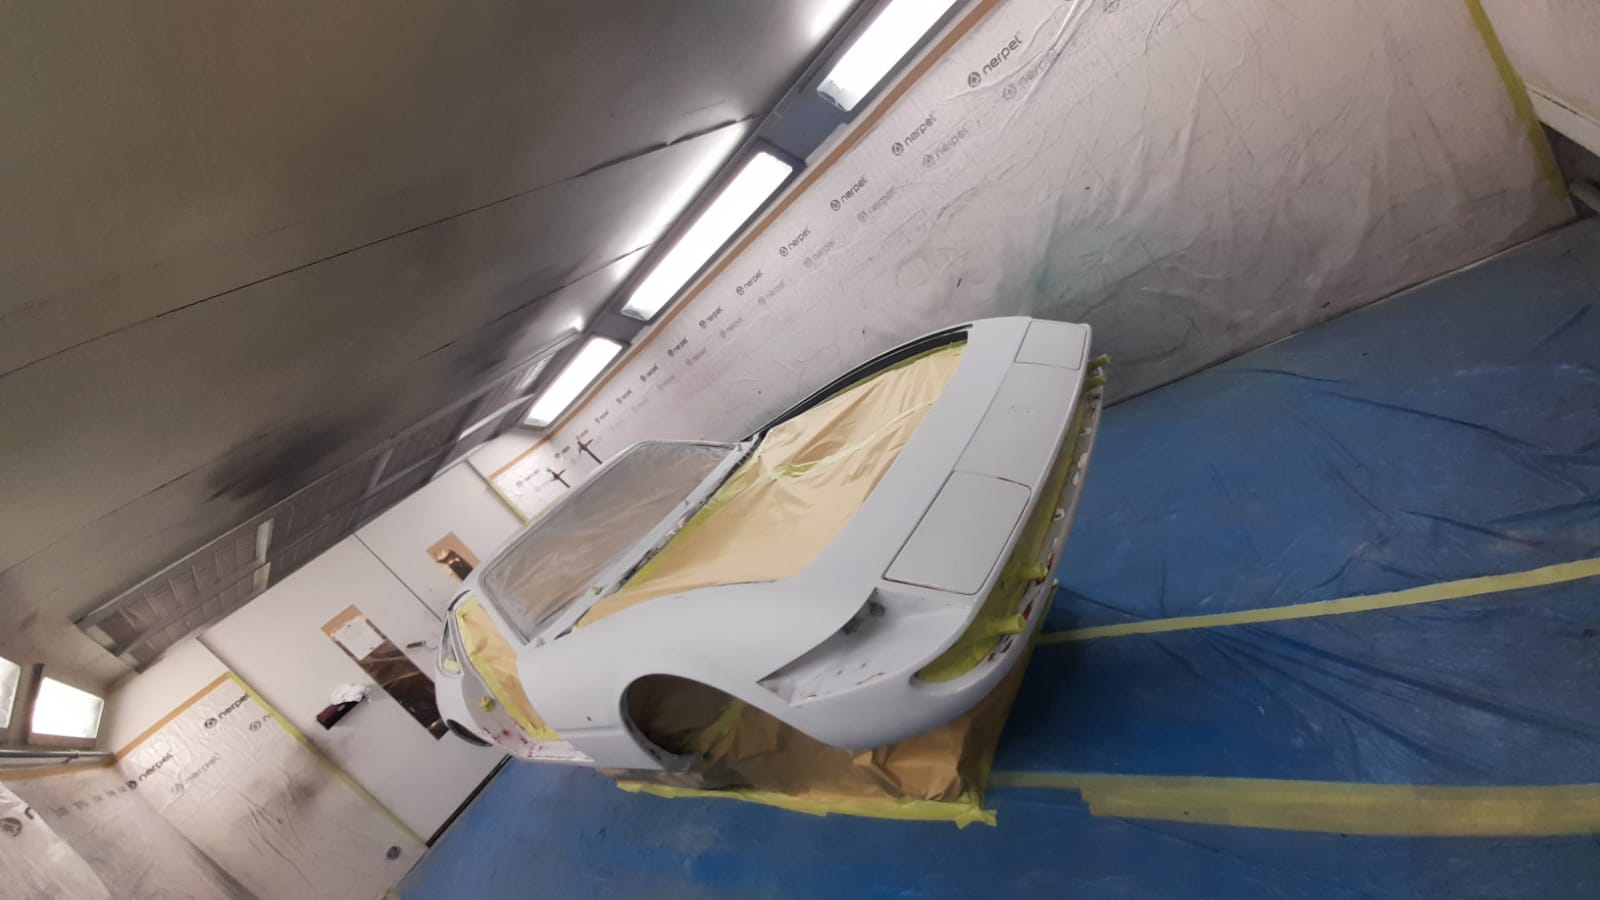
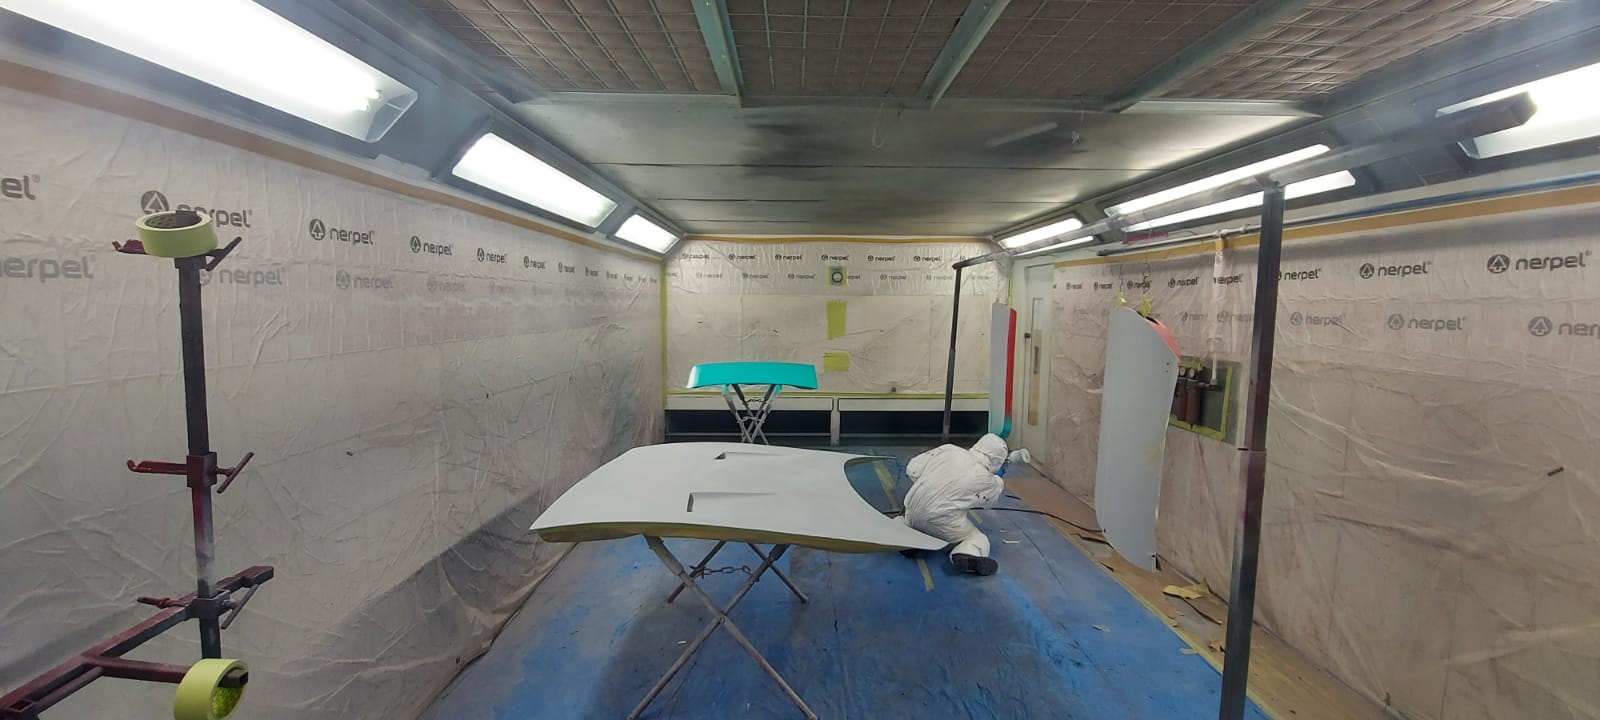
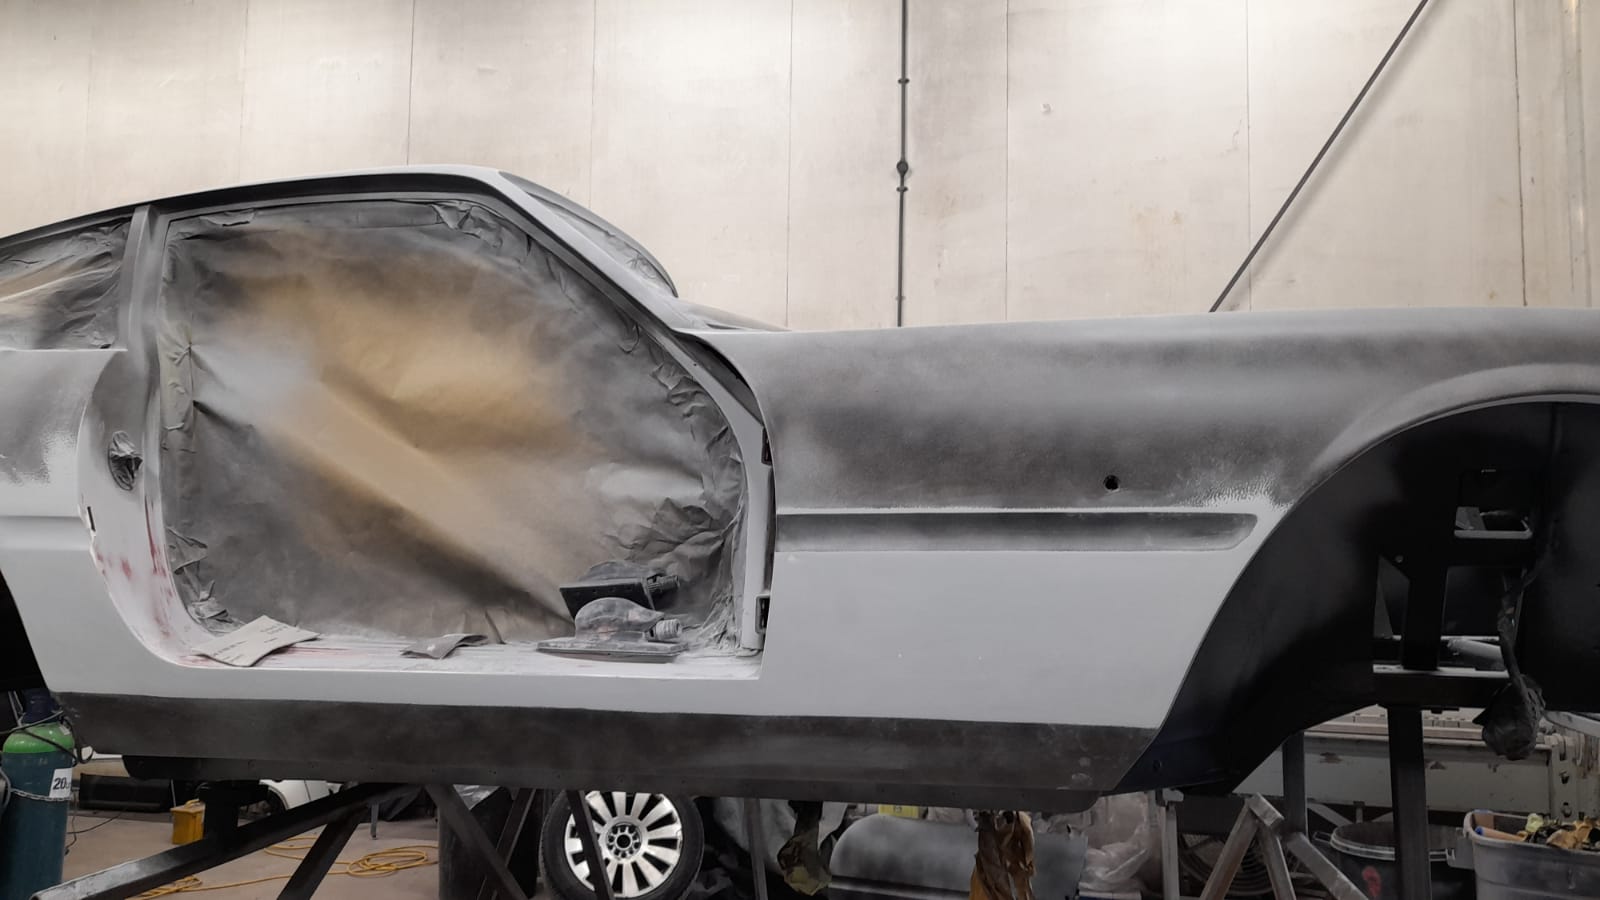
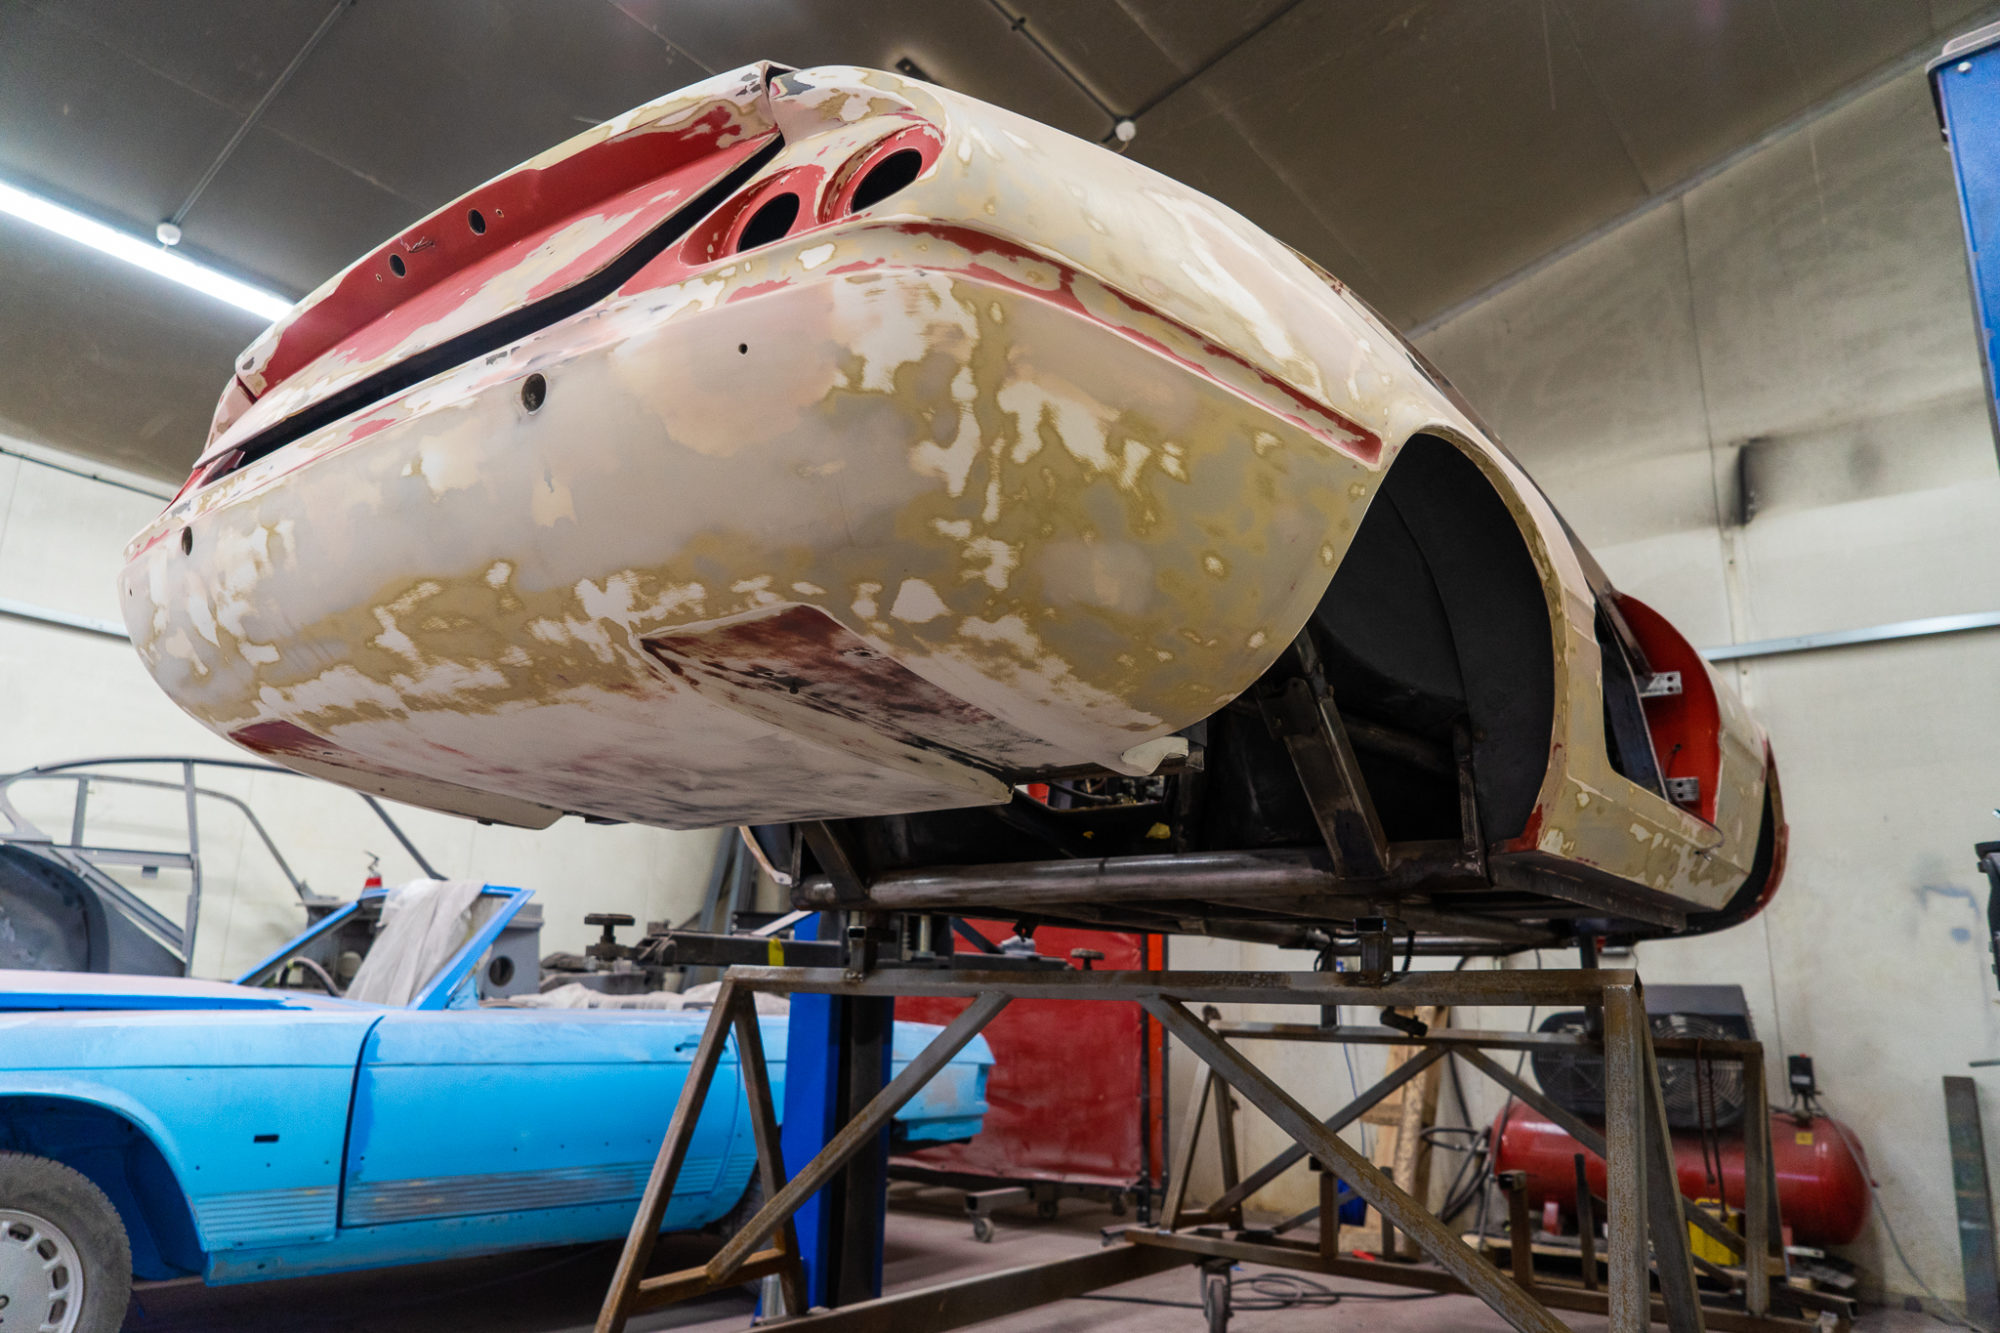
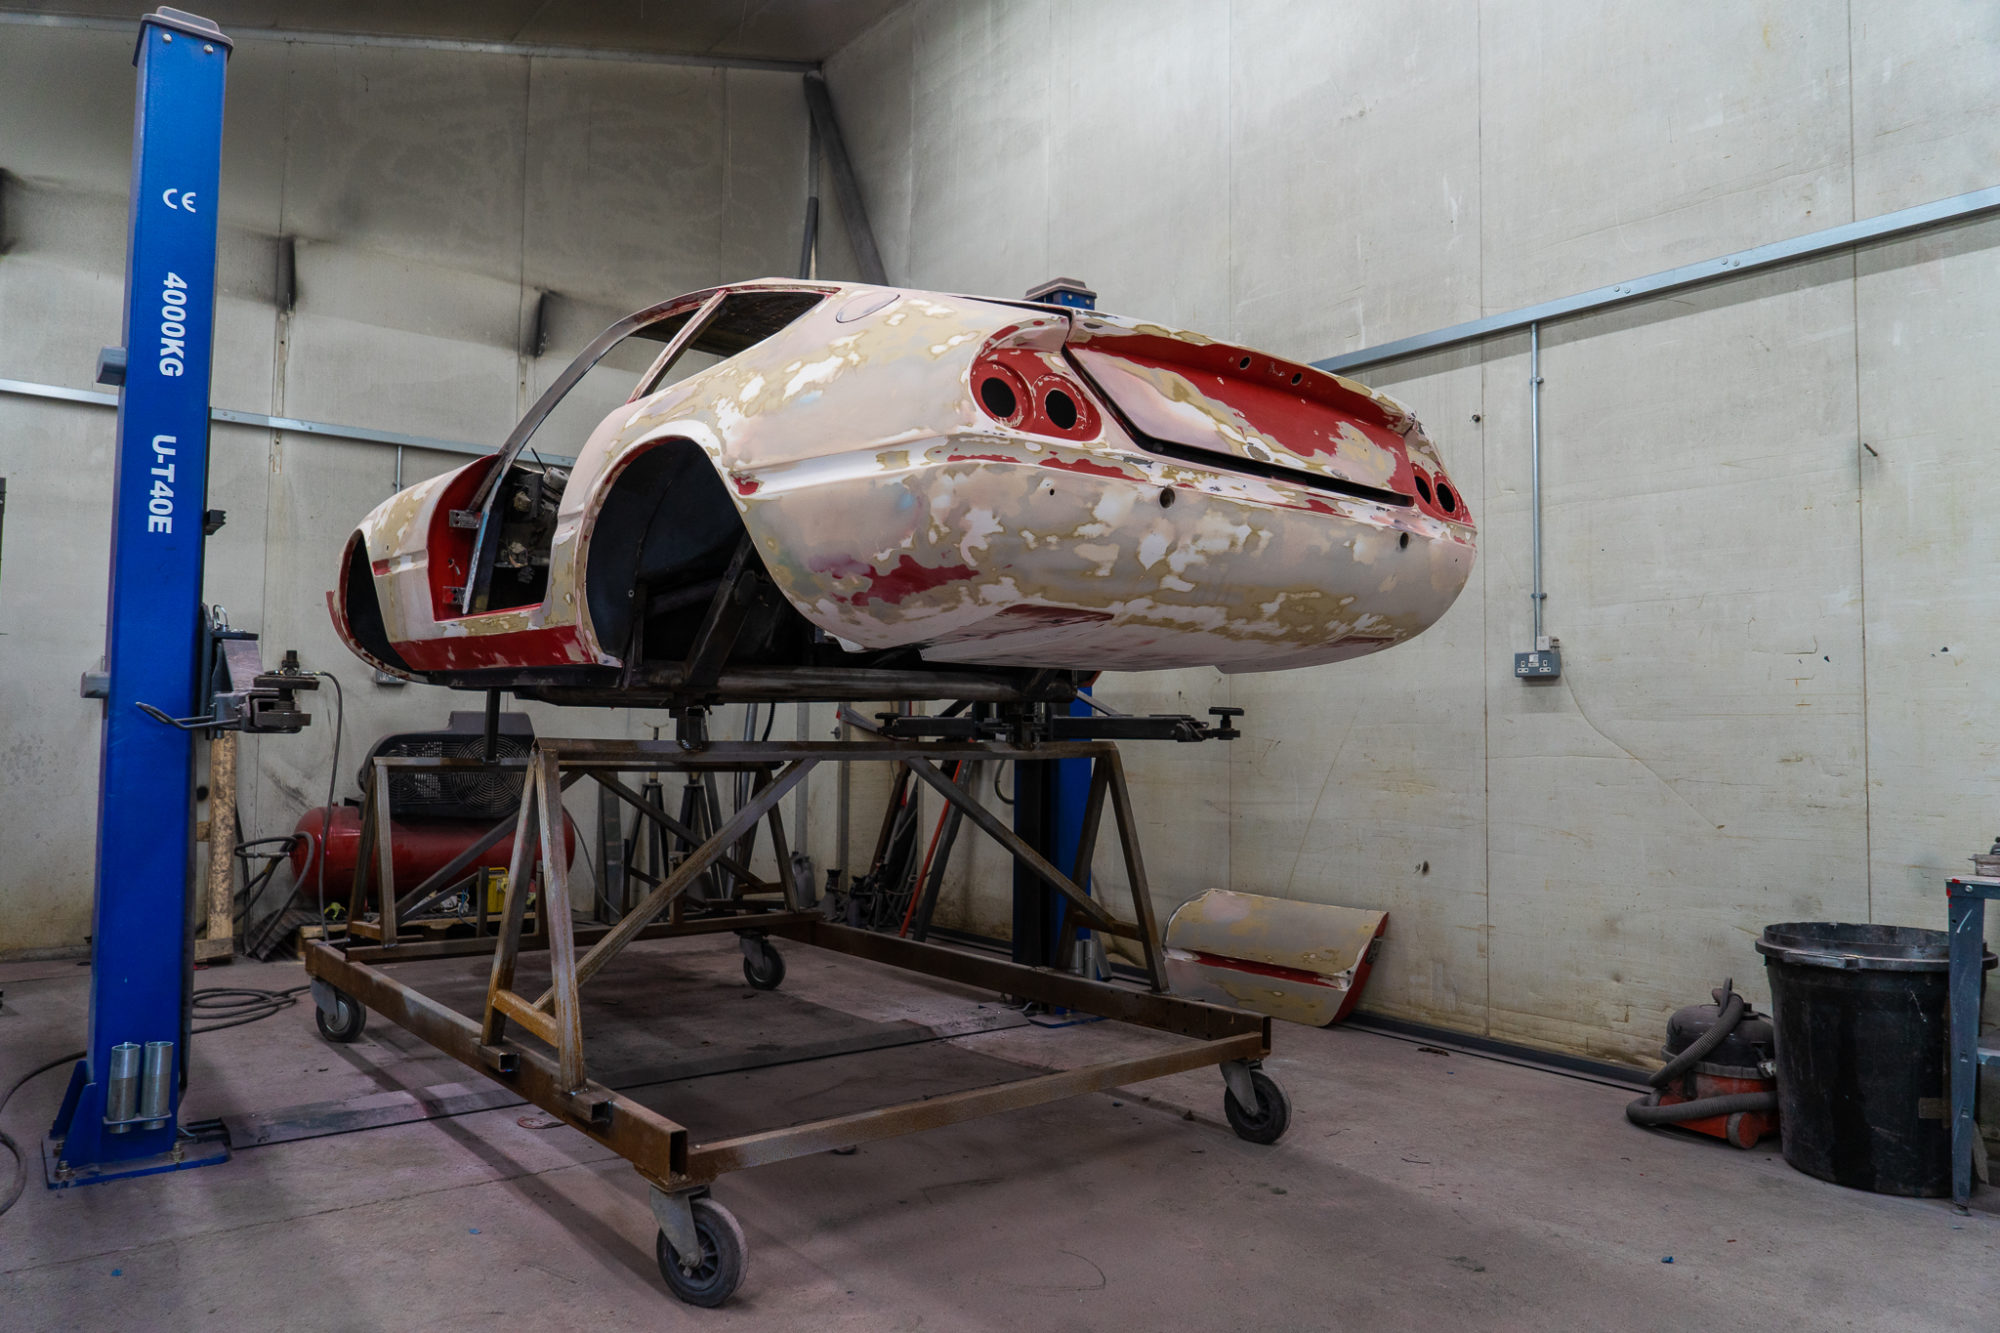
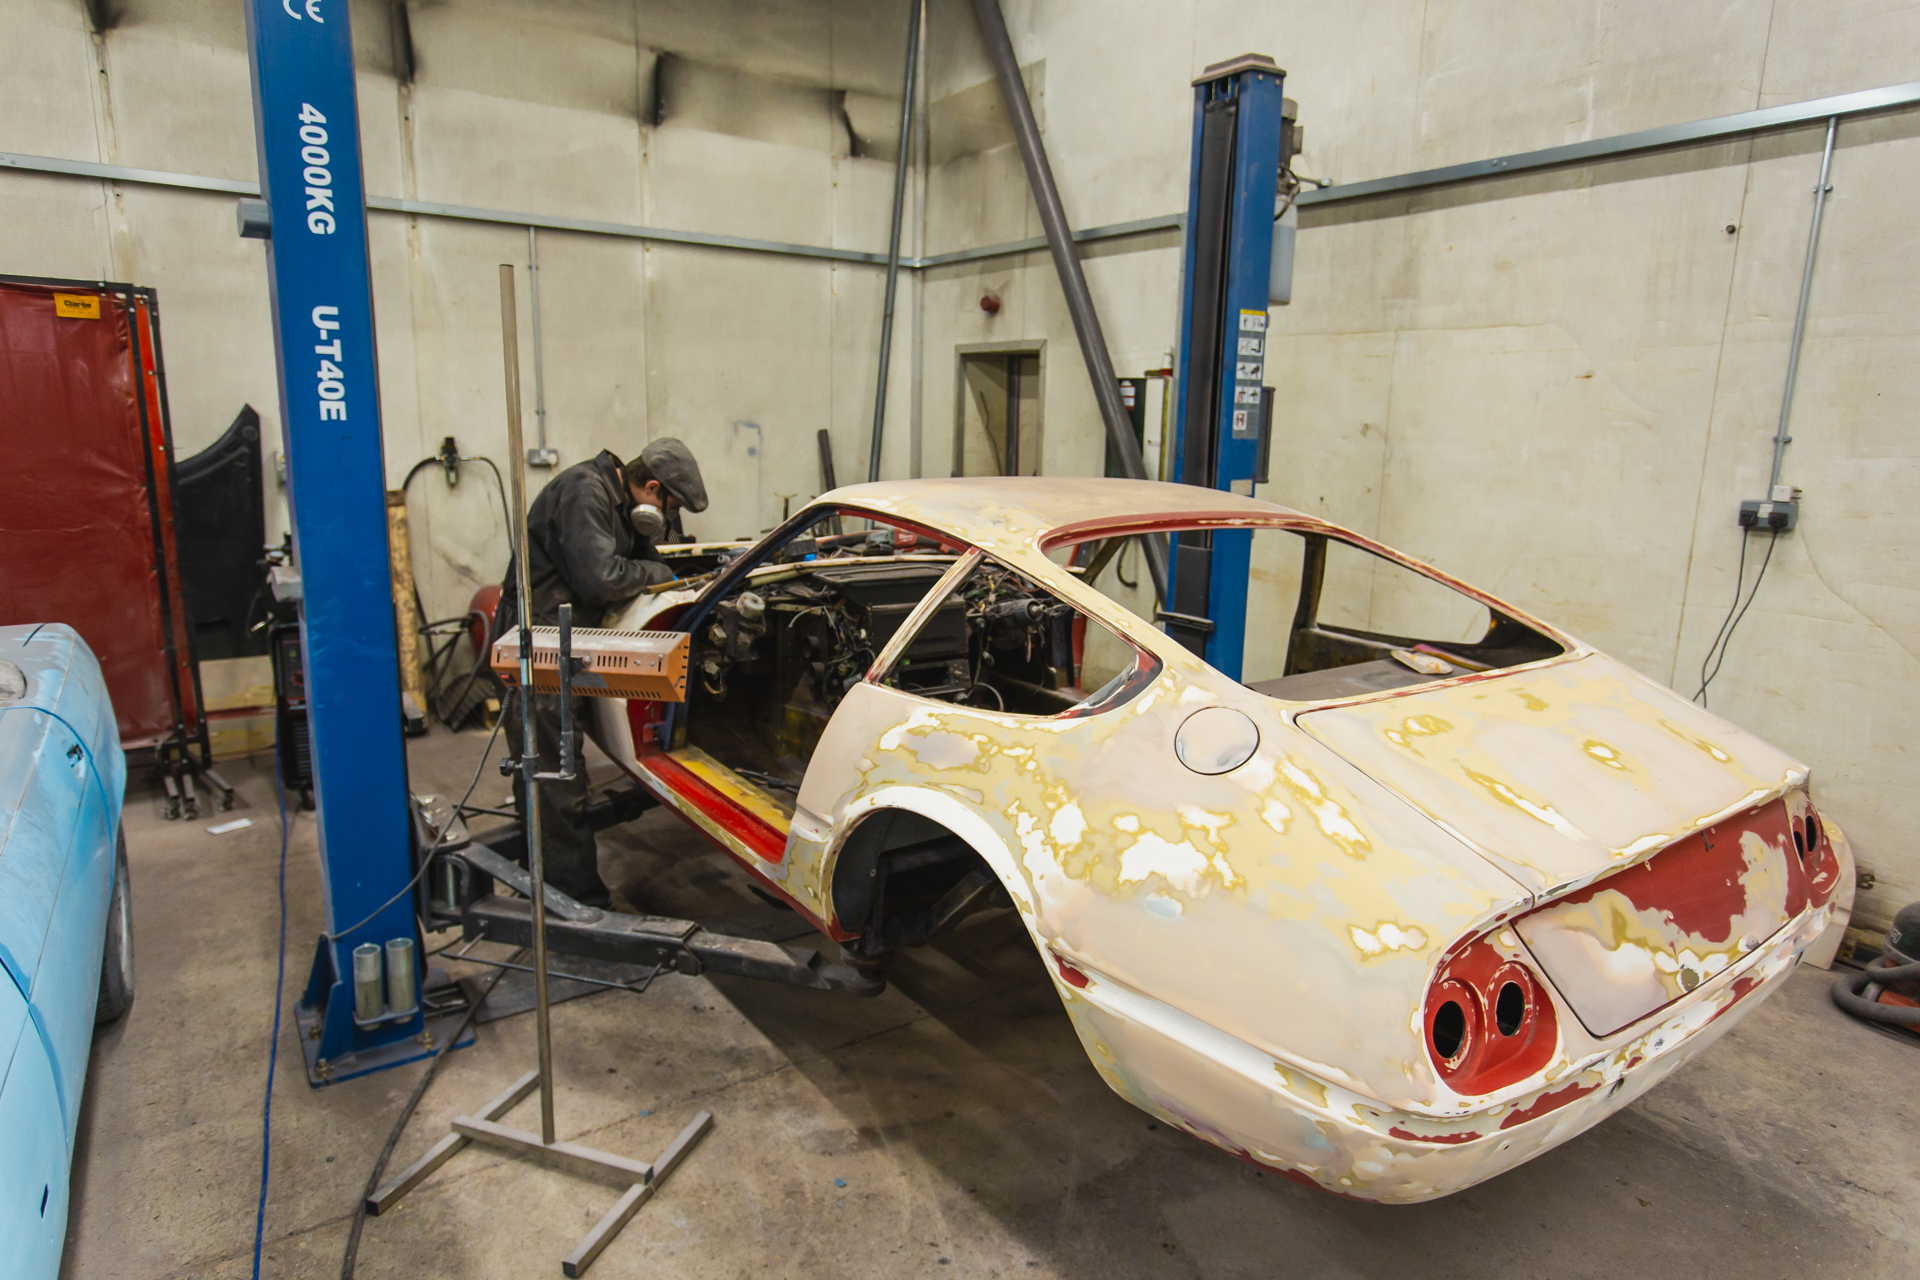
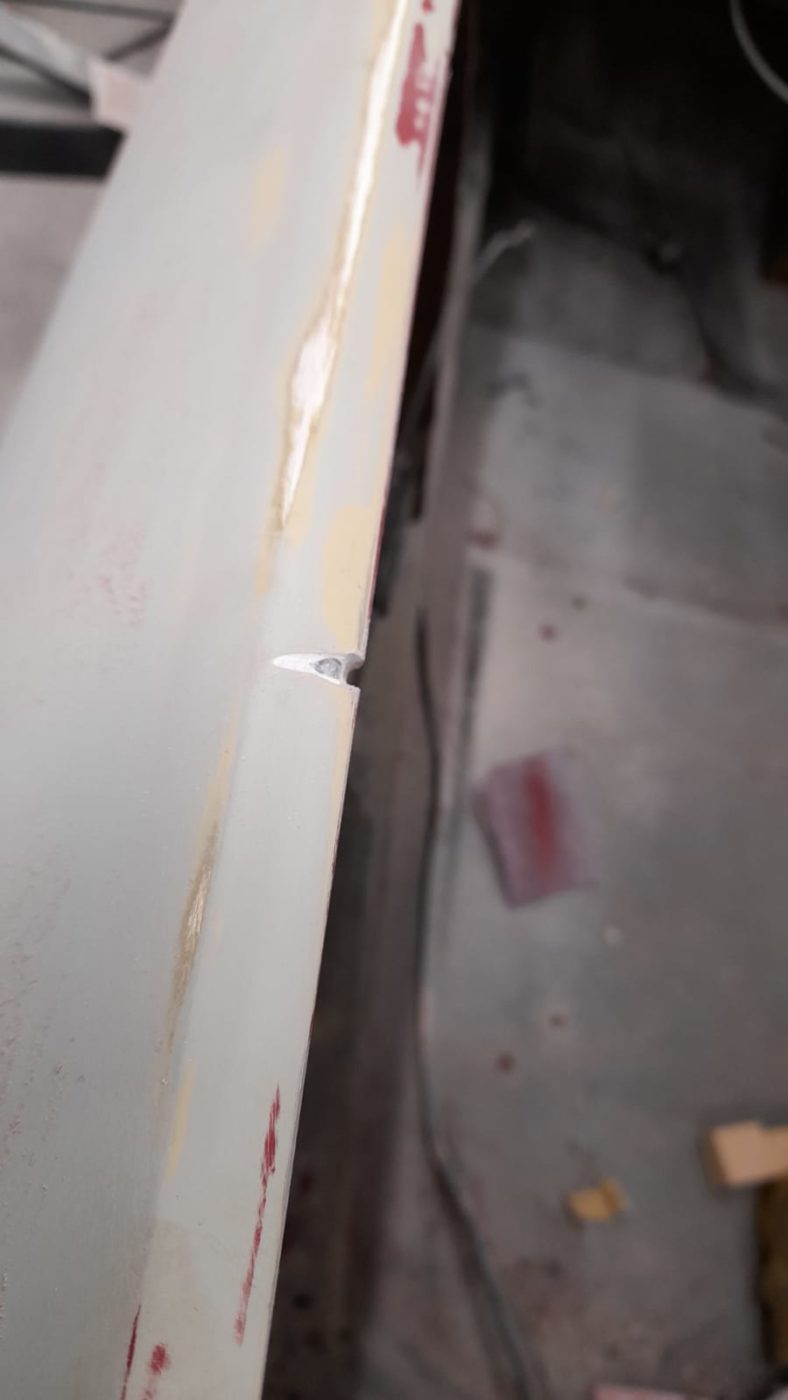
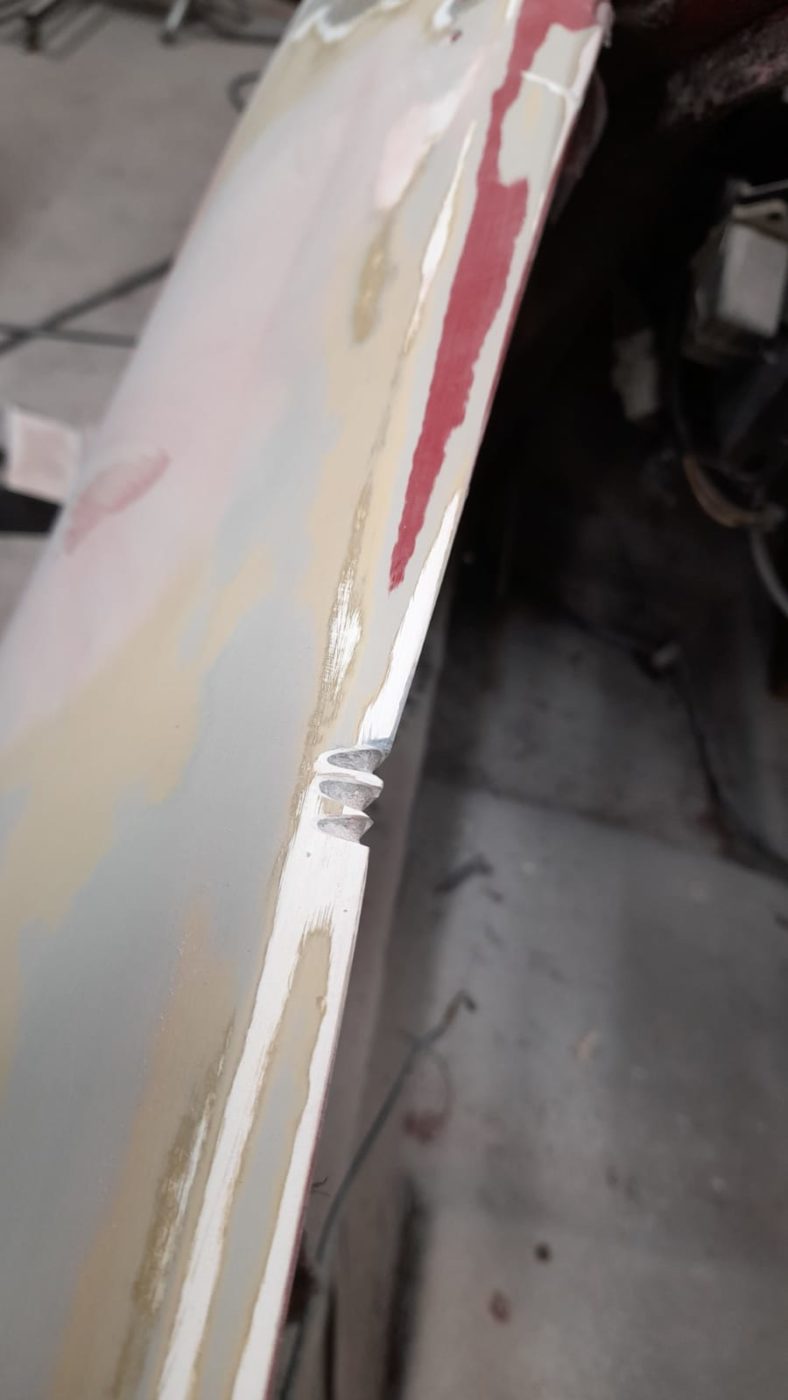
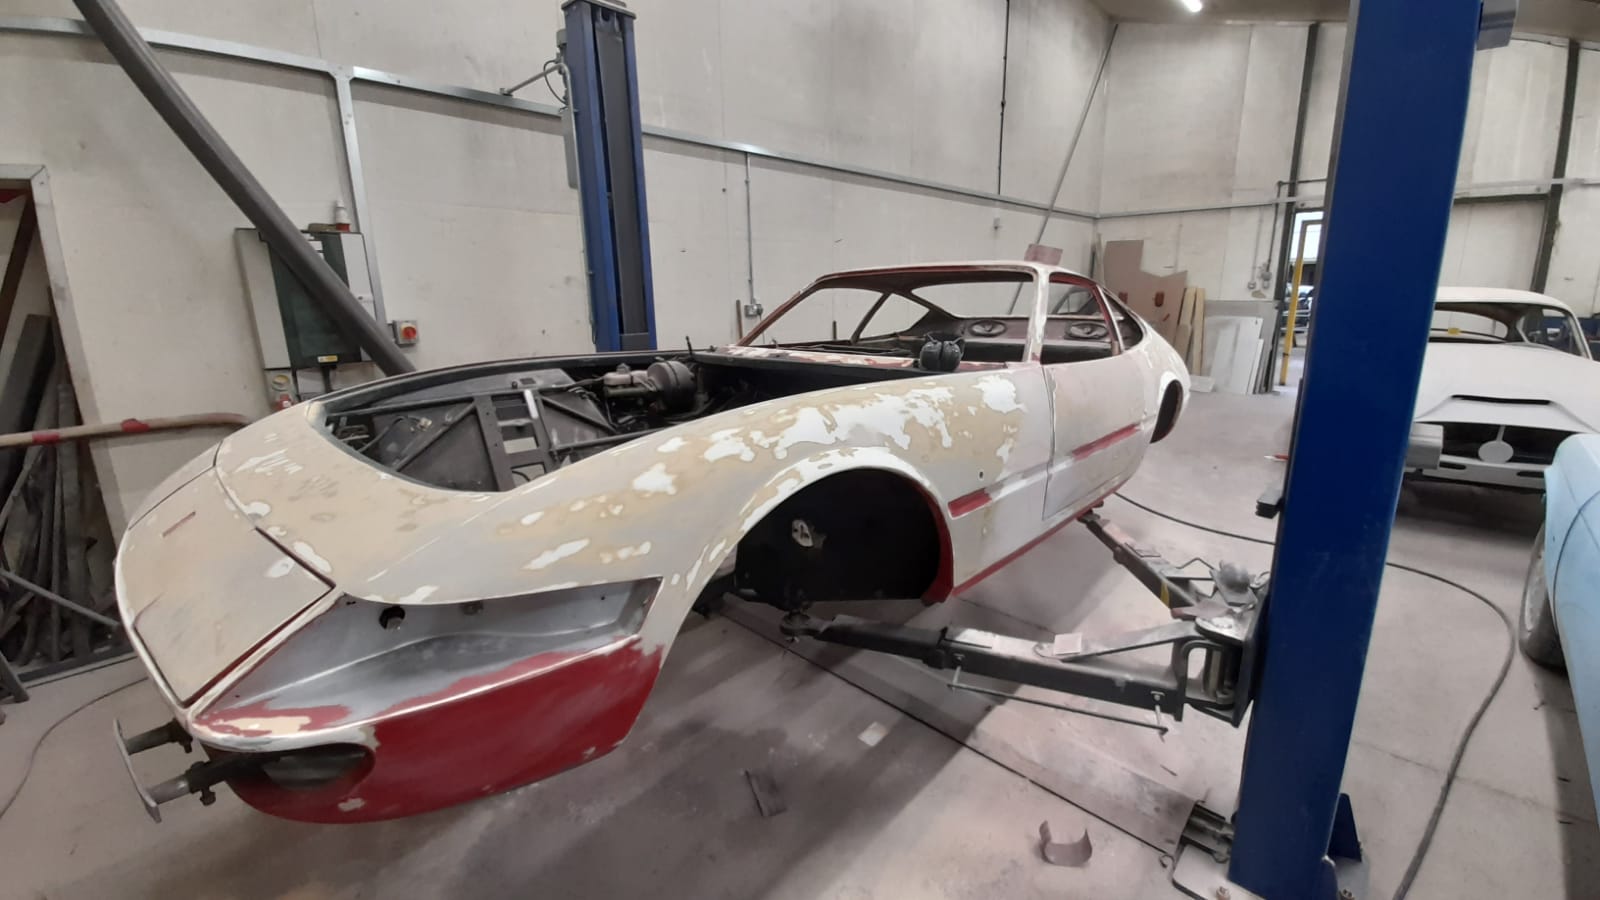
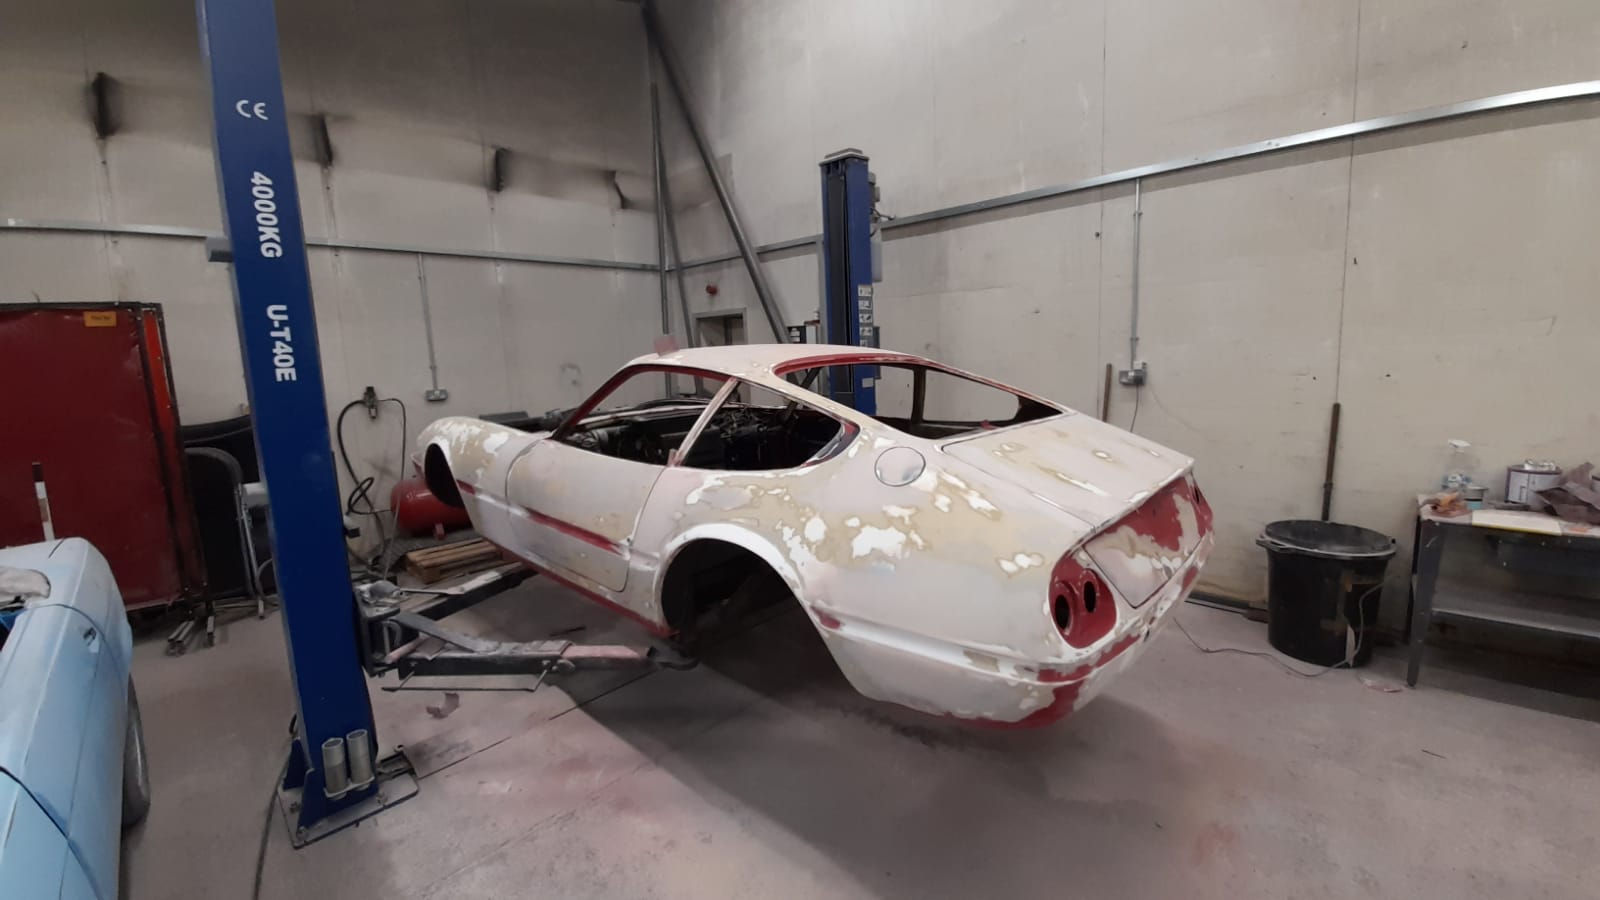
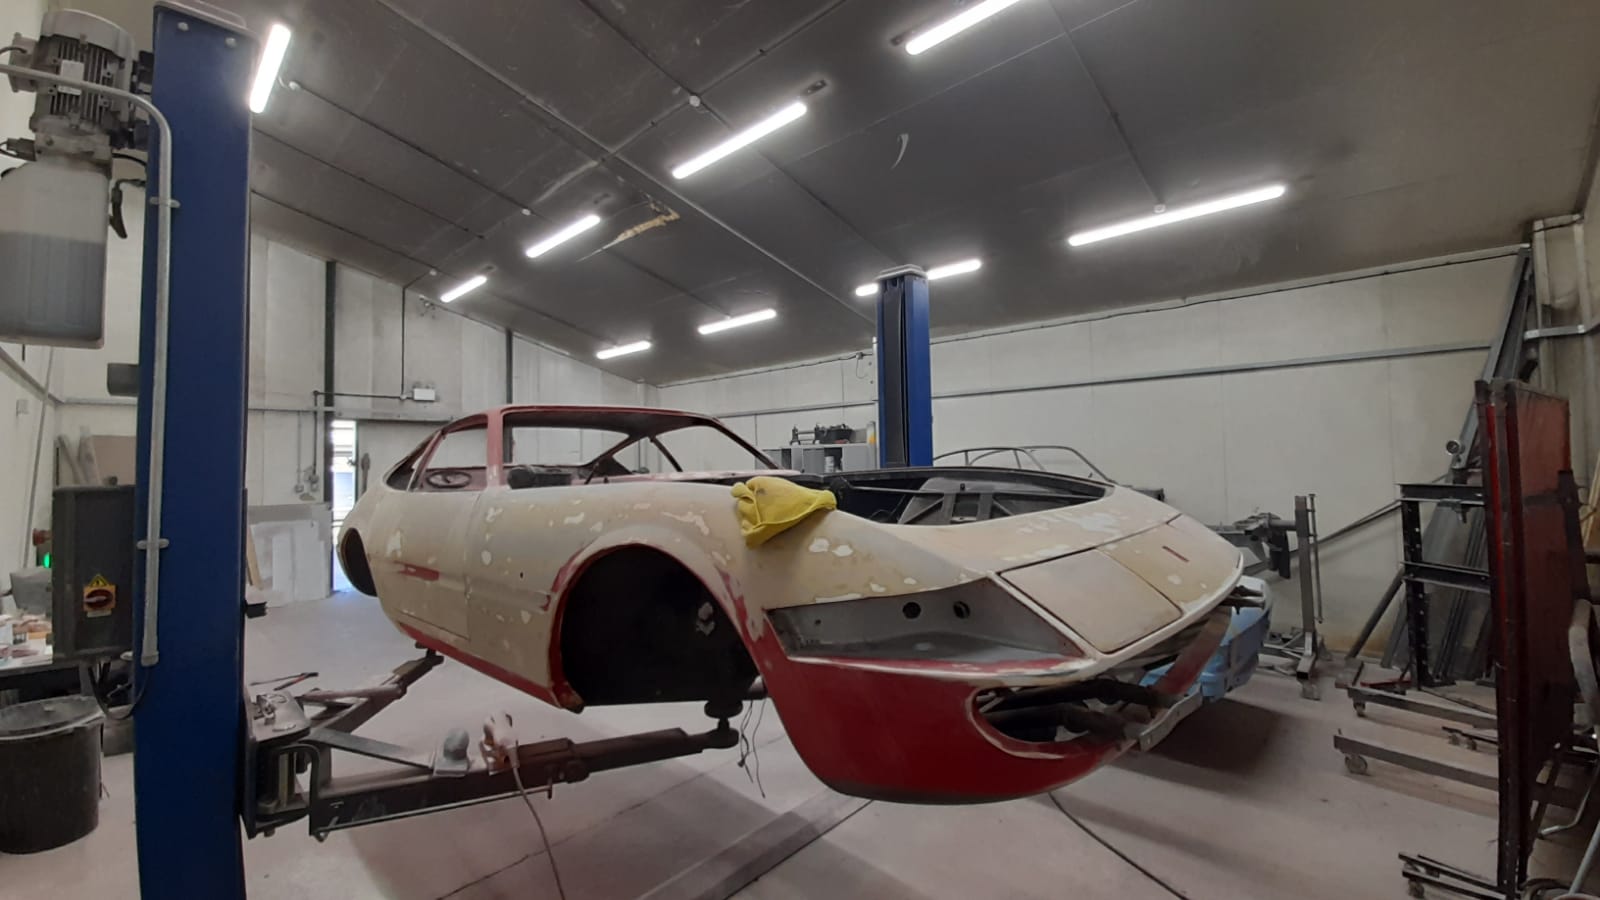
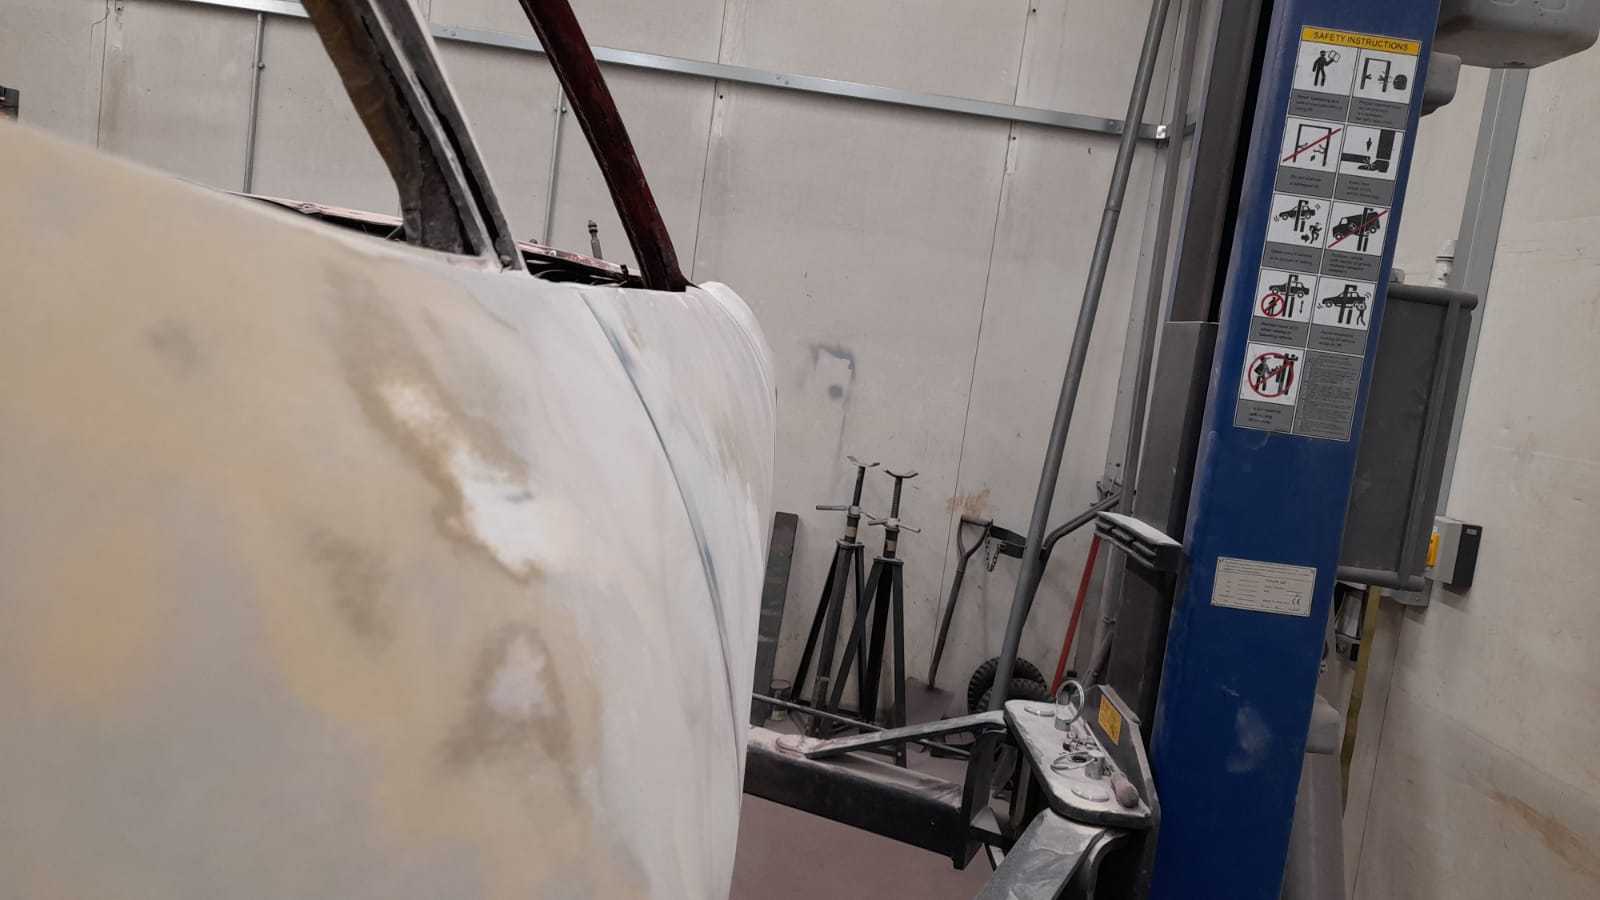
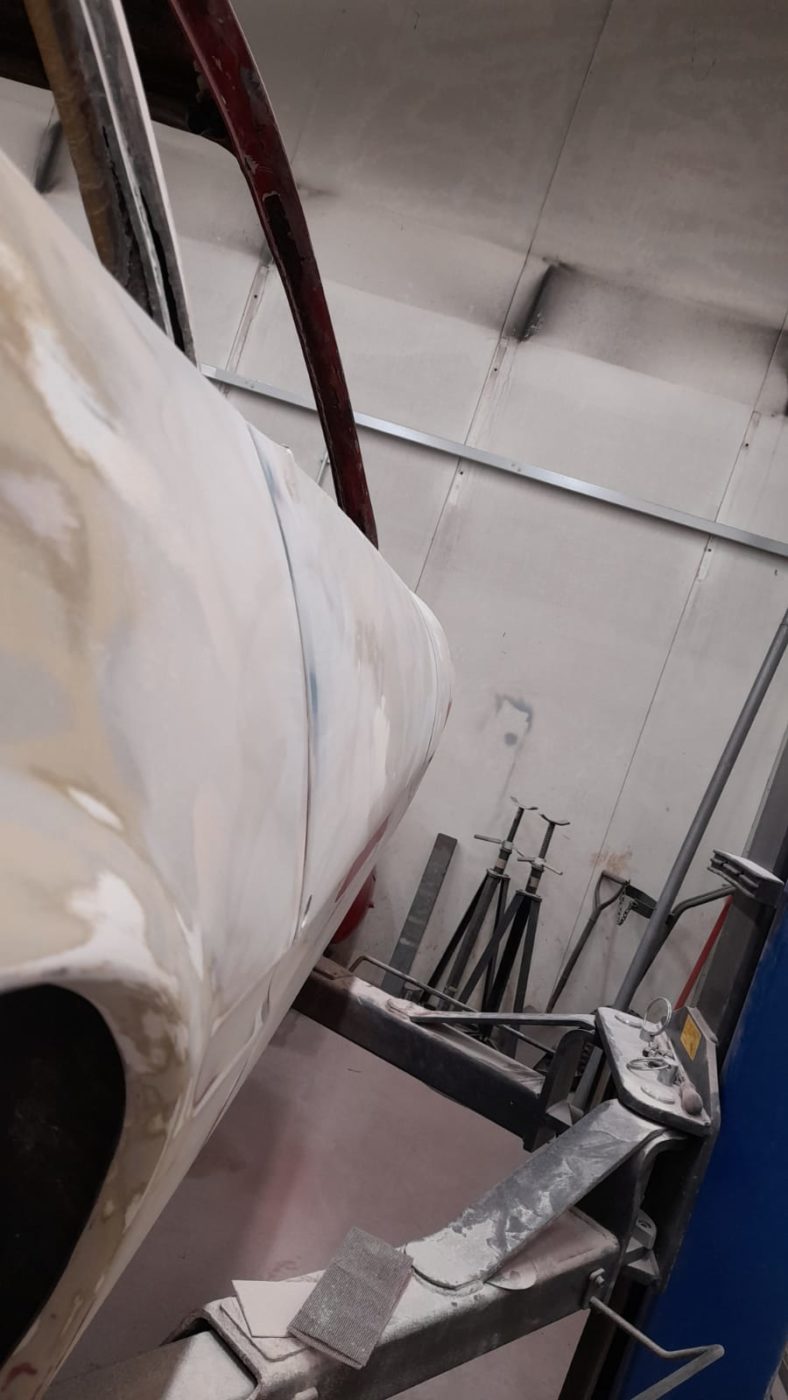
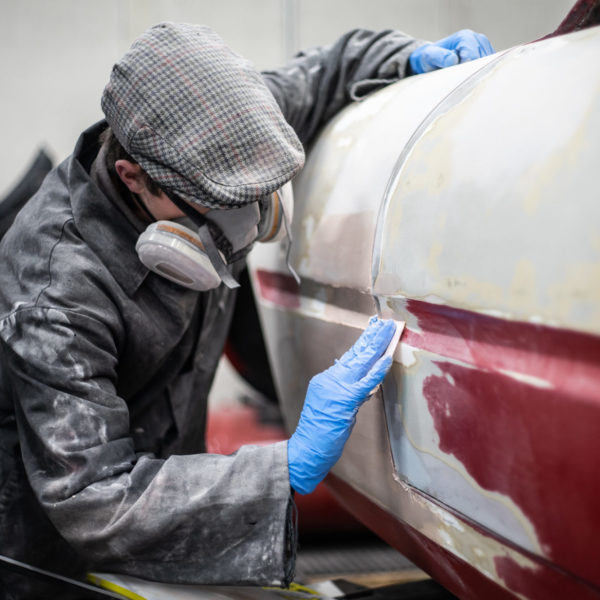
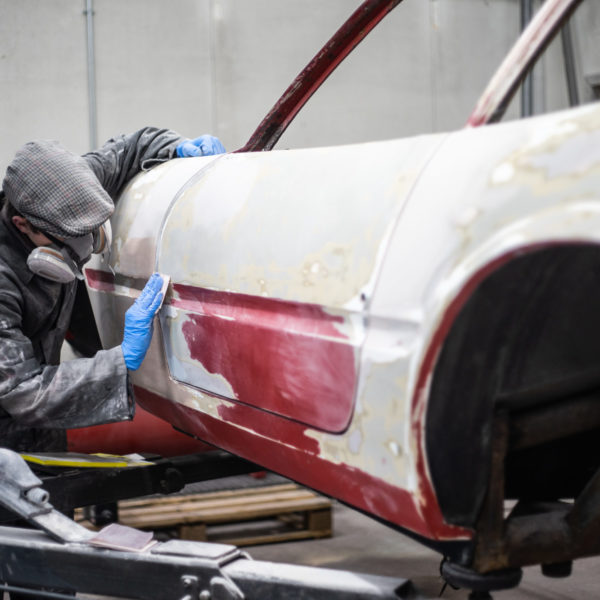
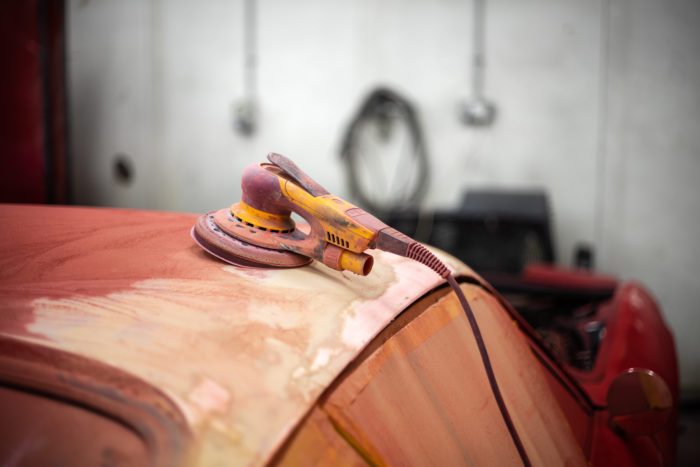
Now that the Daytona has been primed and prepared in the paint shop, Scott has taken it back into the fabrication bay to continue smoothing over the body. The primer allows for any imperfection in the lines of the body to be seen more clearly and can therefore be addressed easier. Scott can make sure that the body lines are straight by sanding it down using a block.


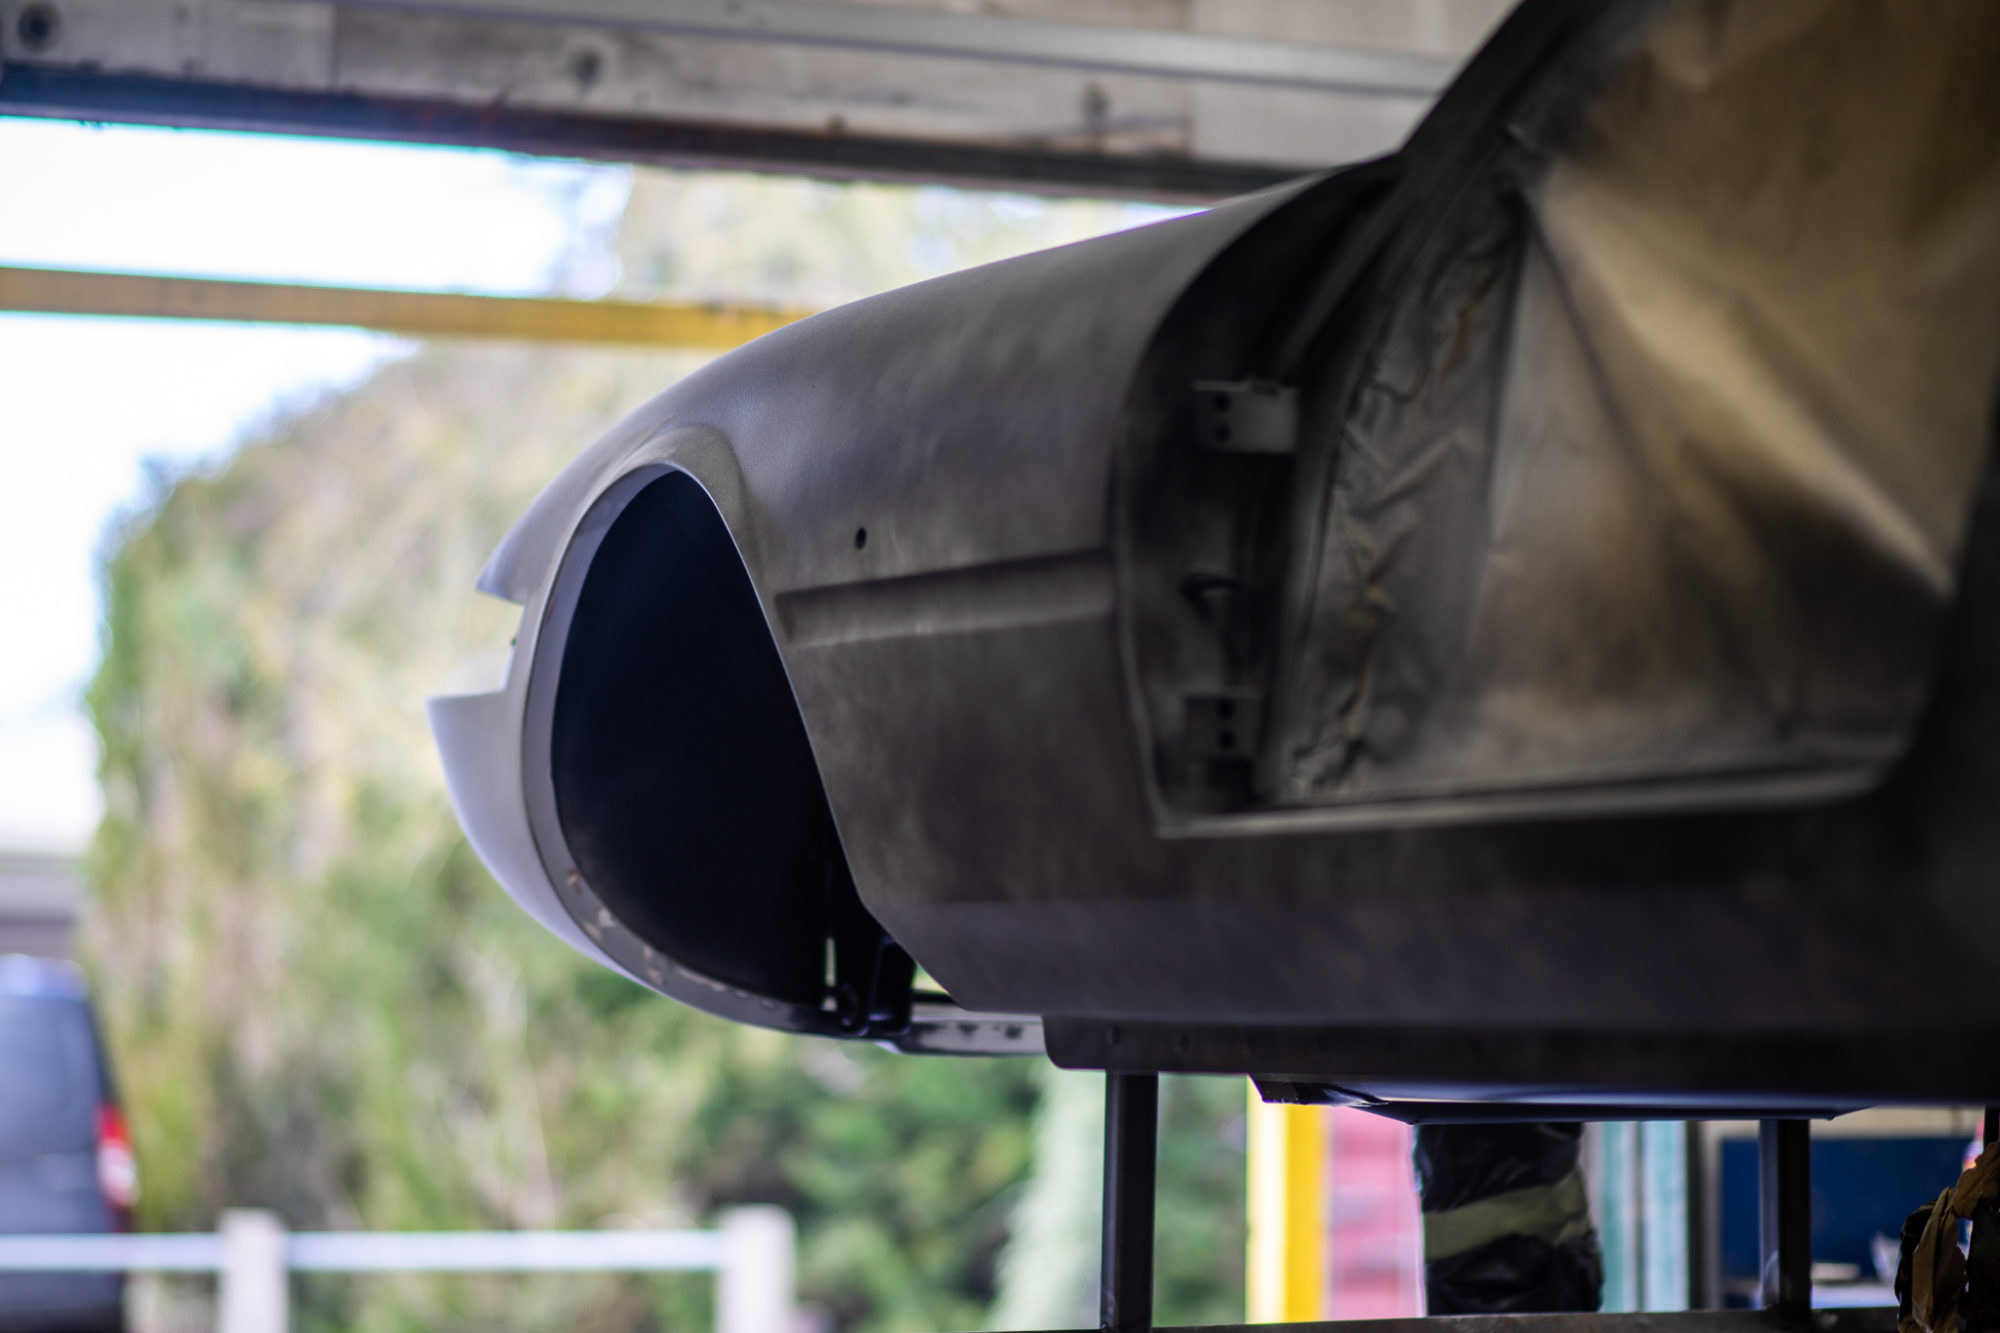
Heres some progress photos from inside the fabrication bay and the paintshop. Its exciting to see such a huge project progress so well.
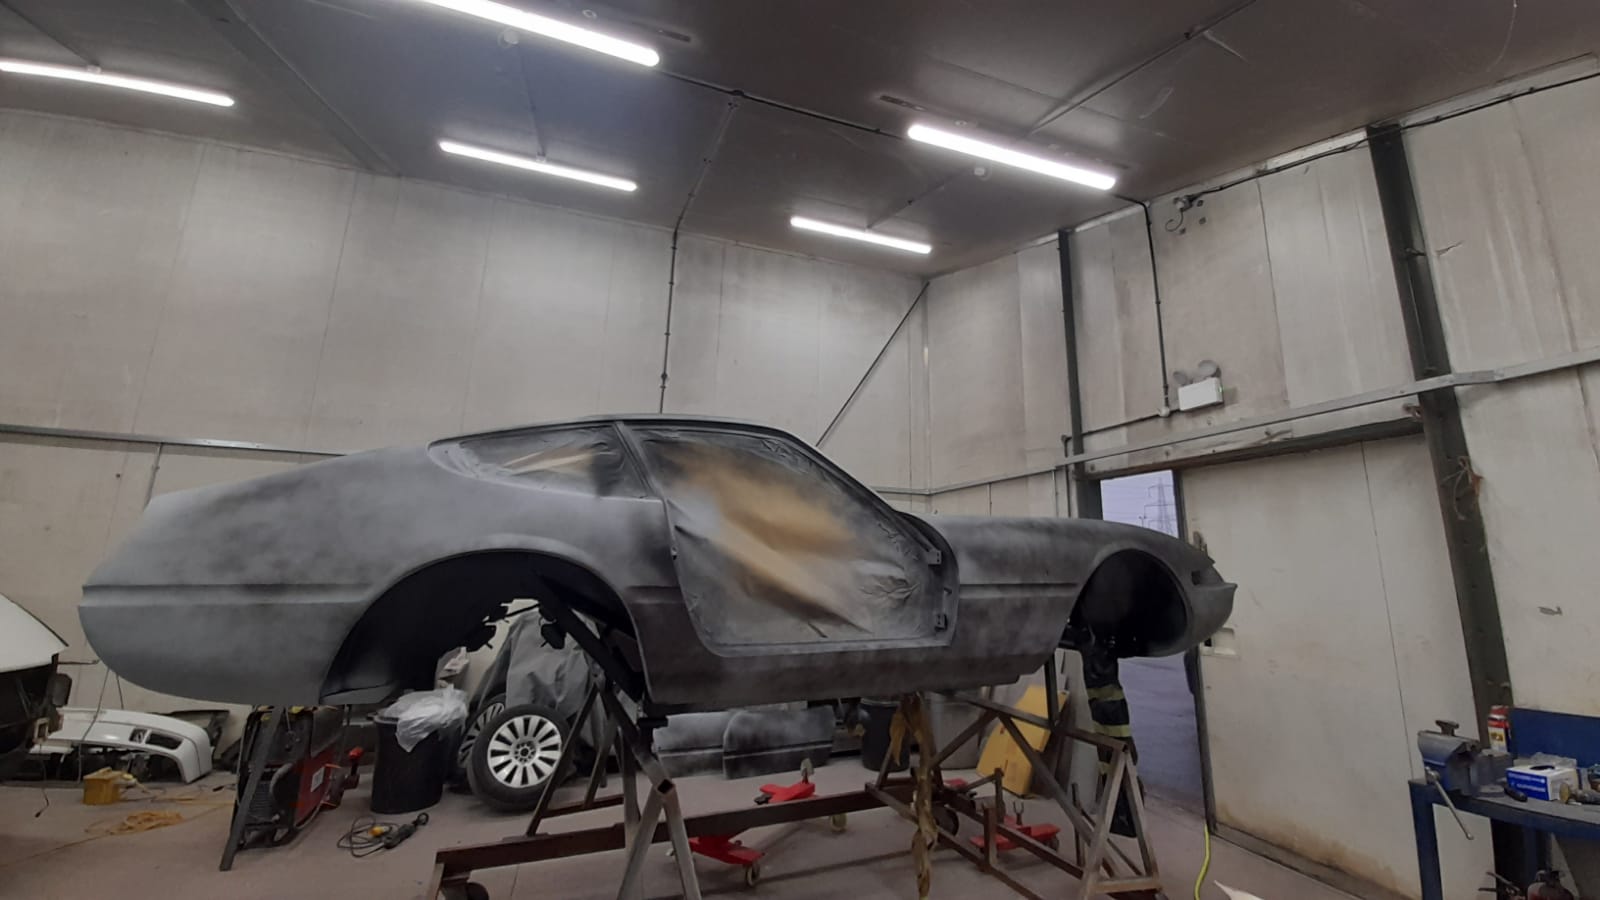


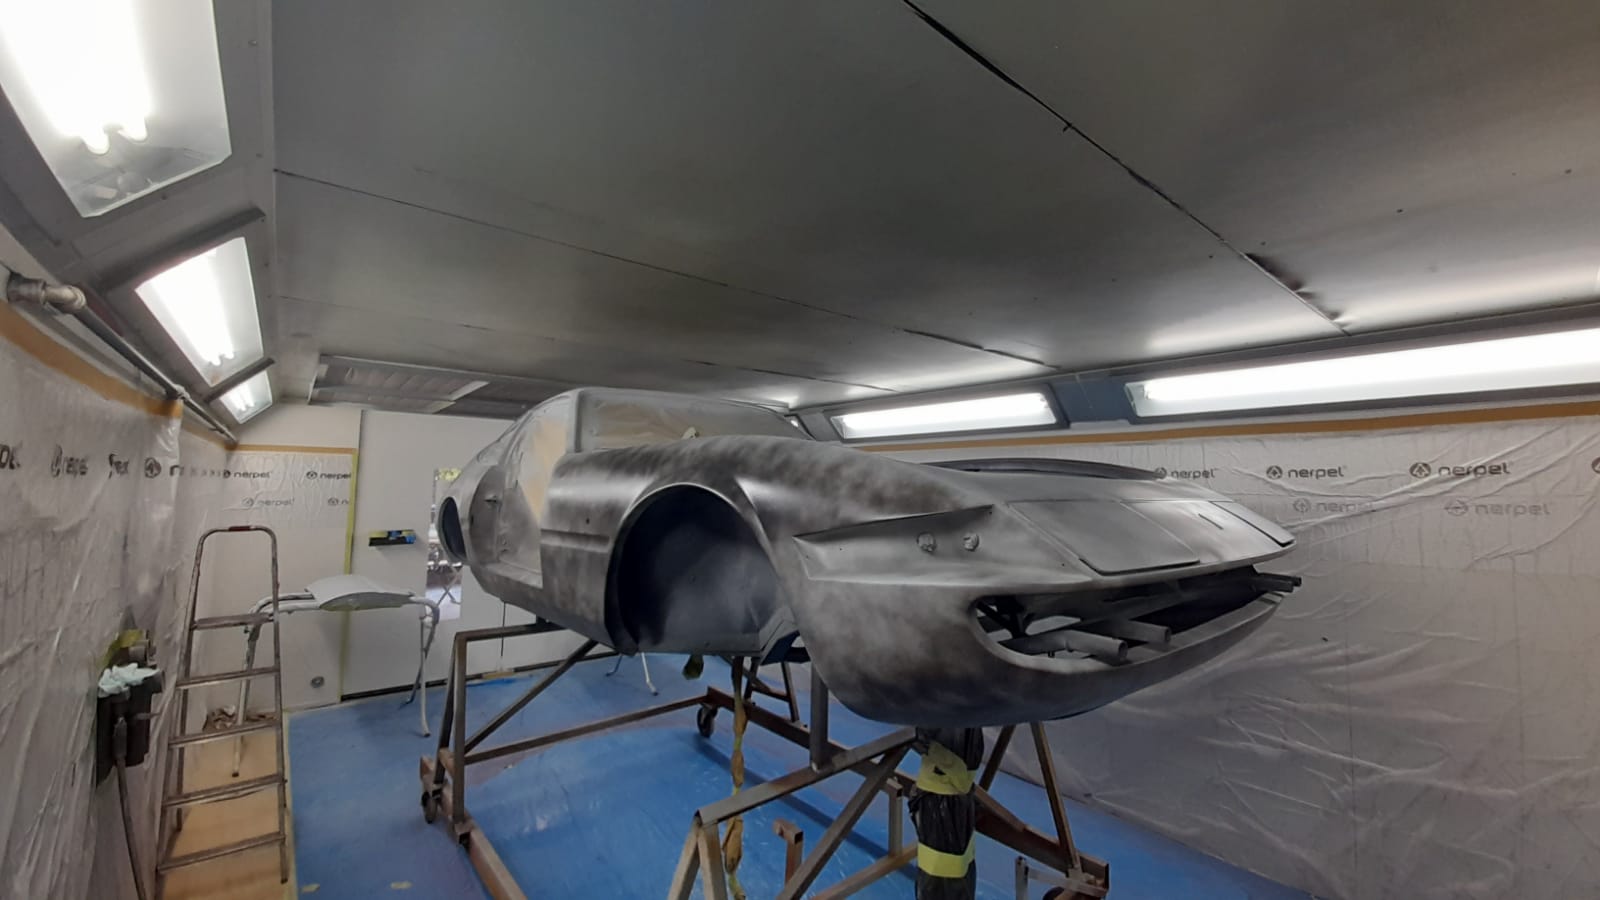


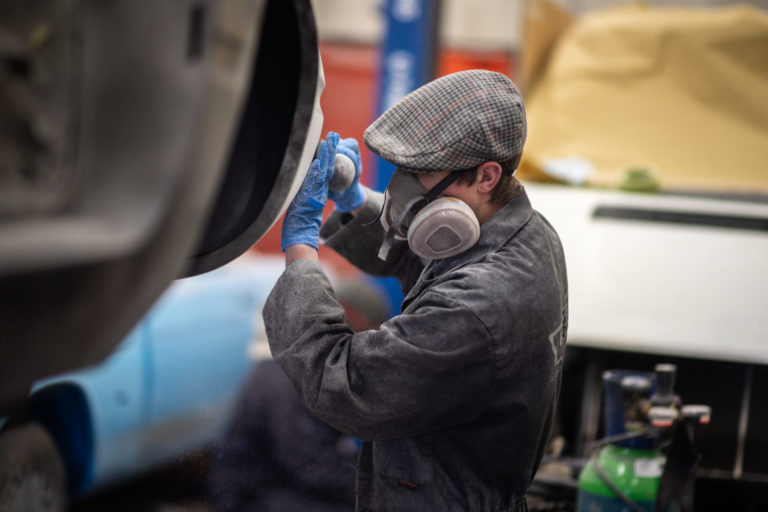
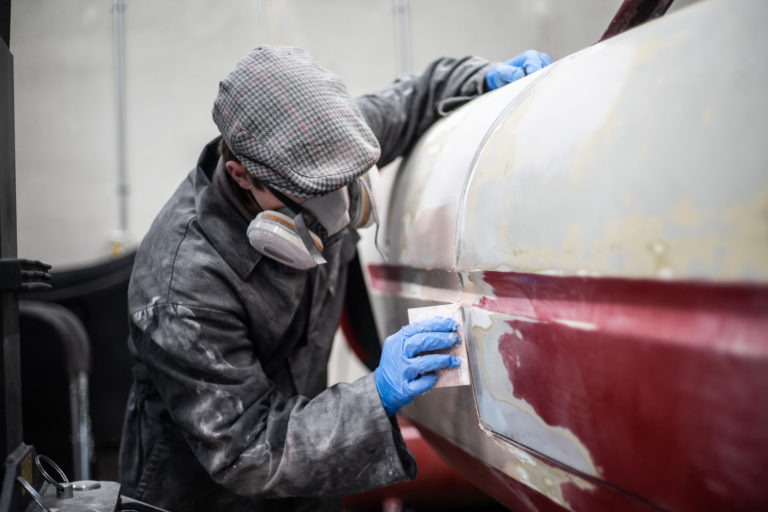
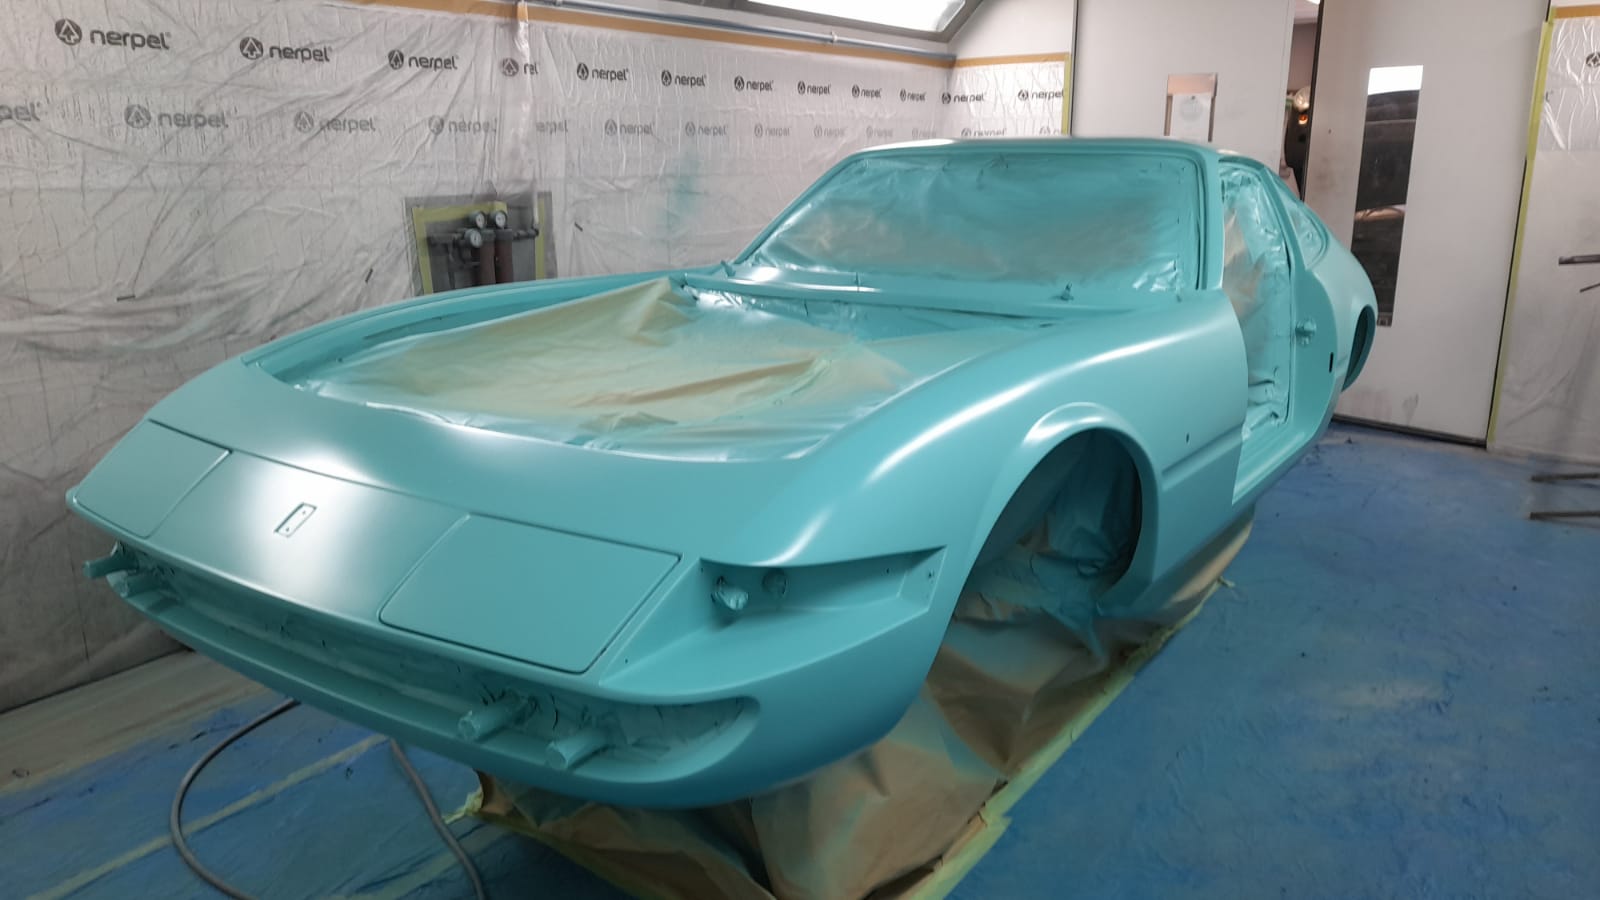
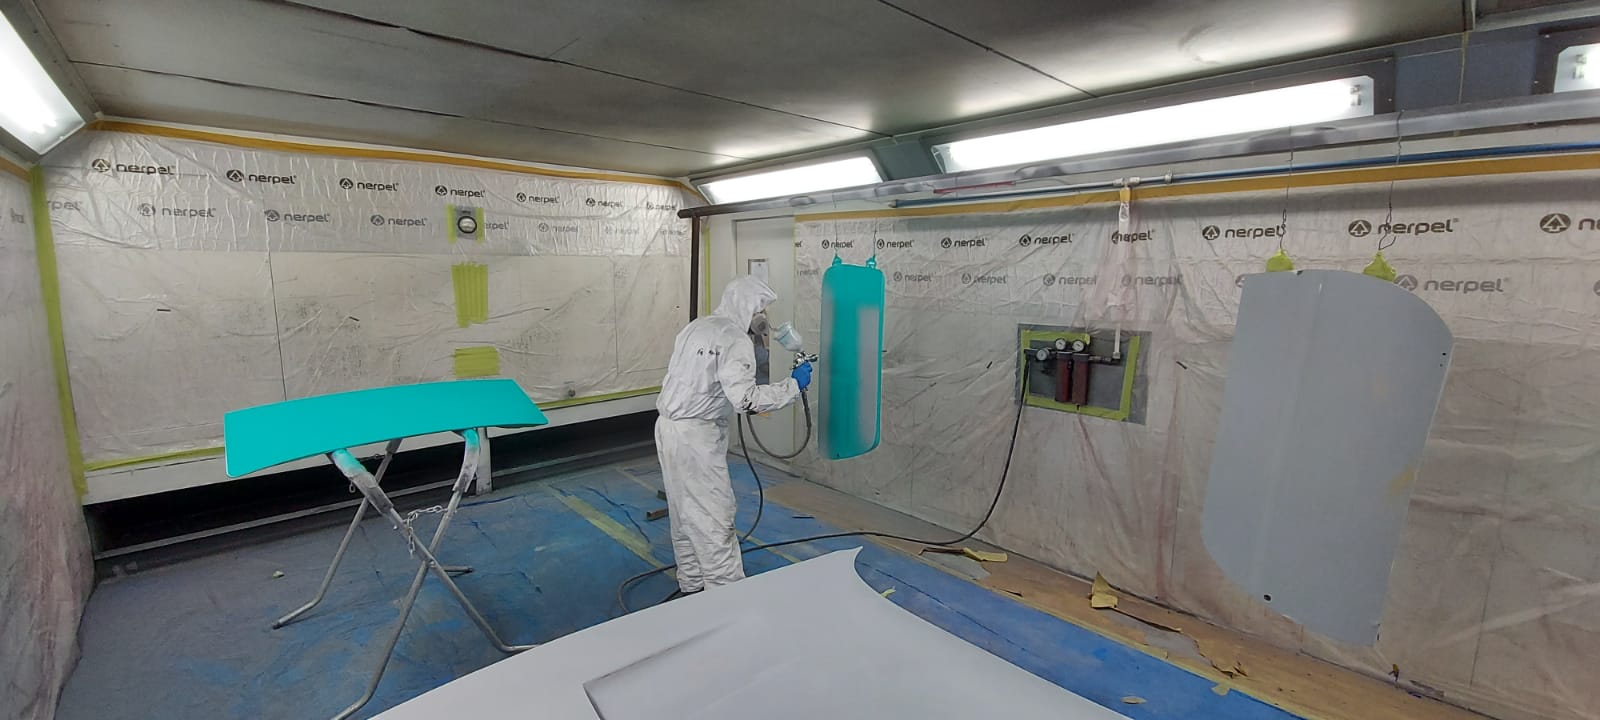
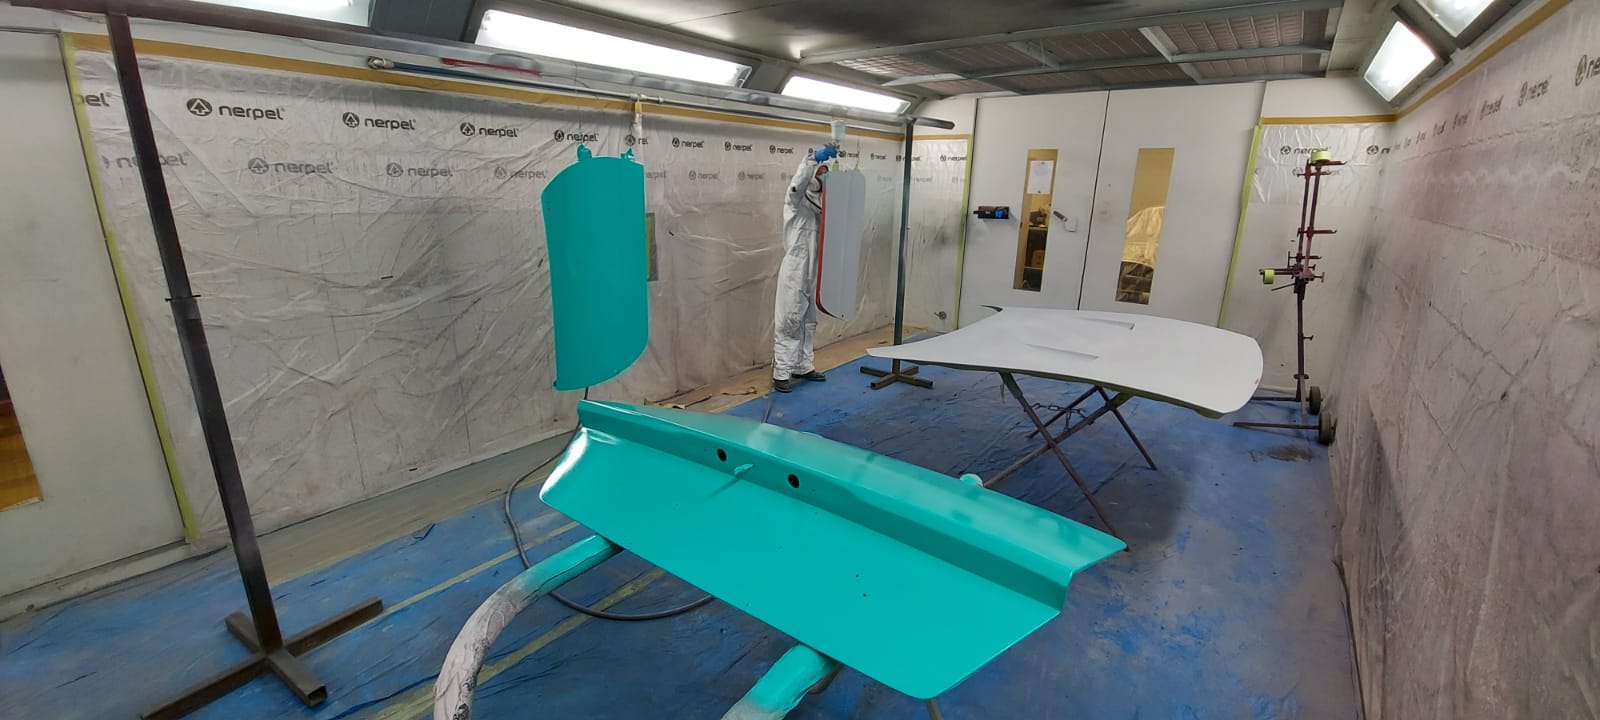
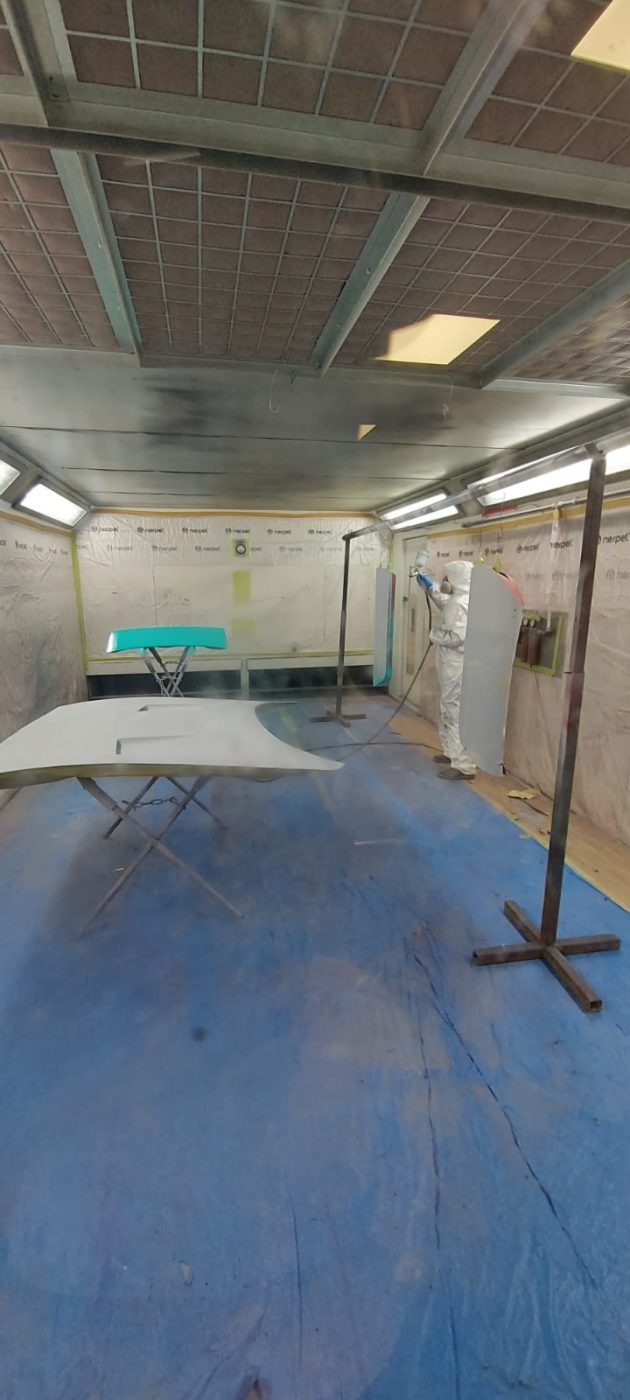
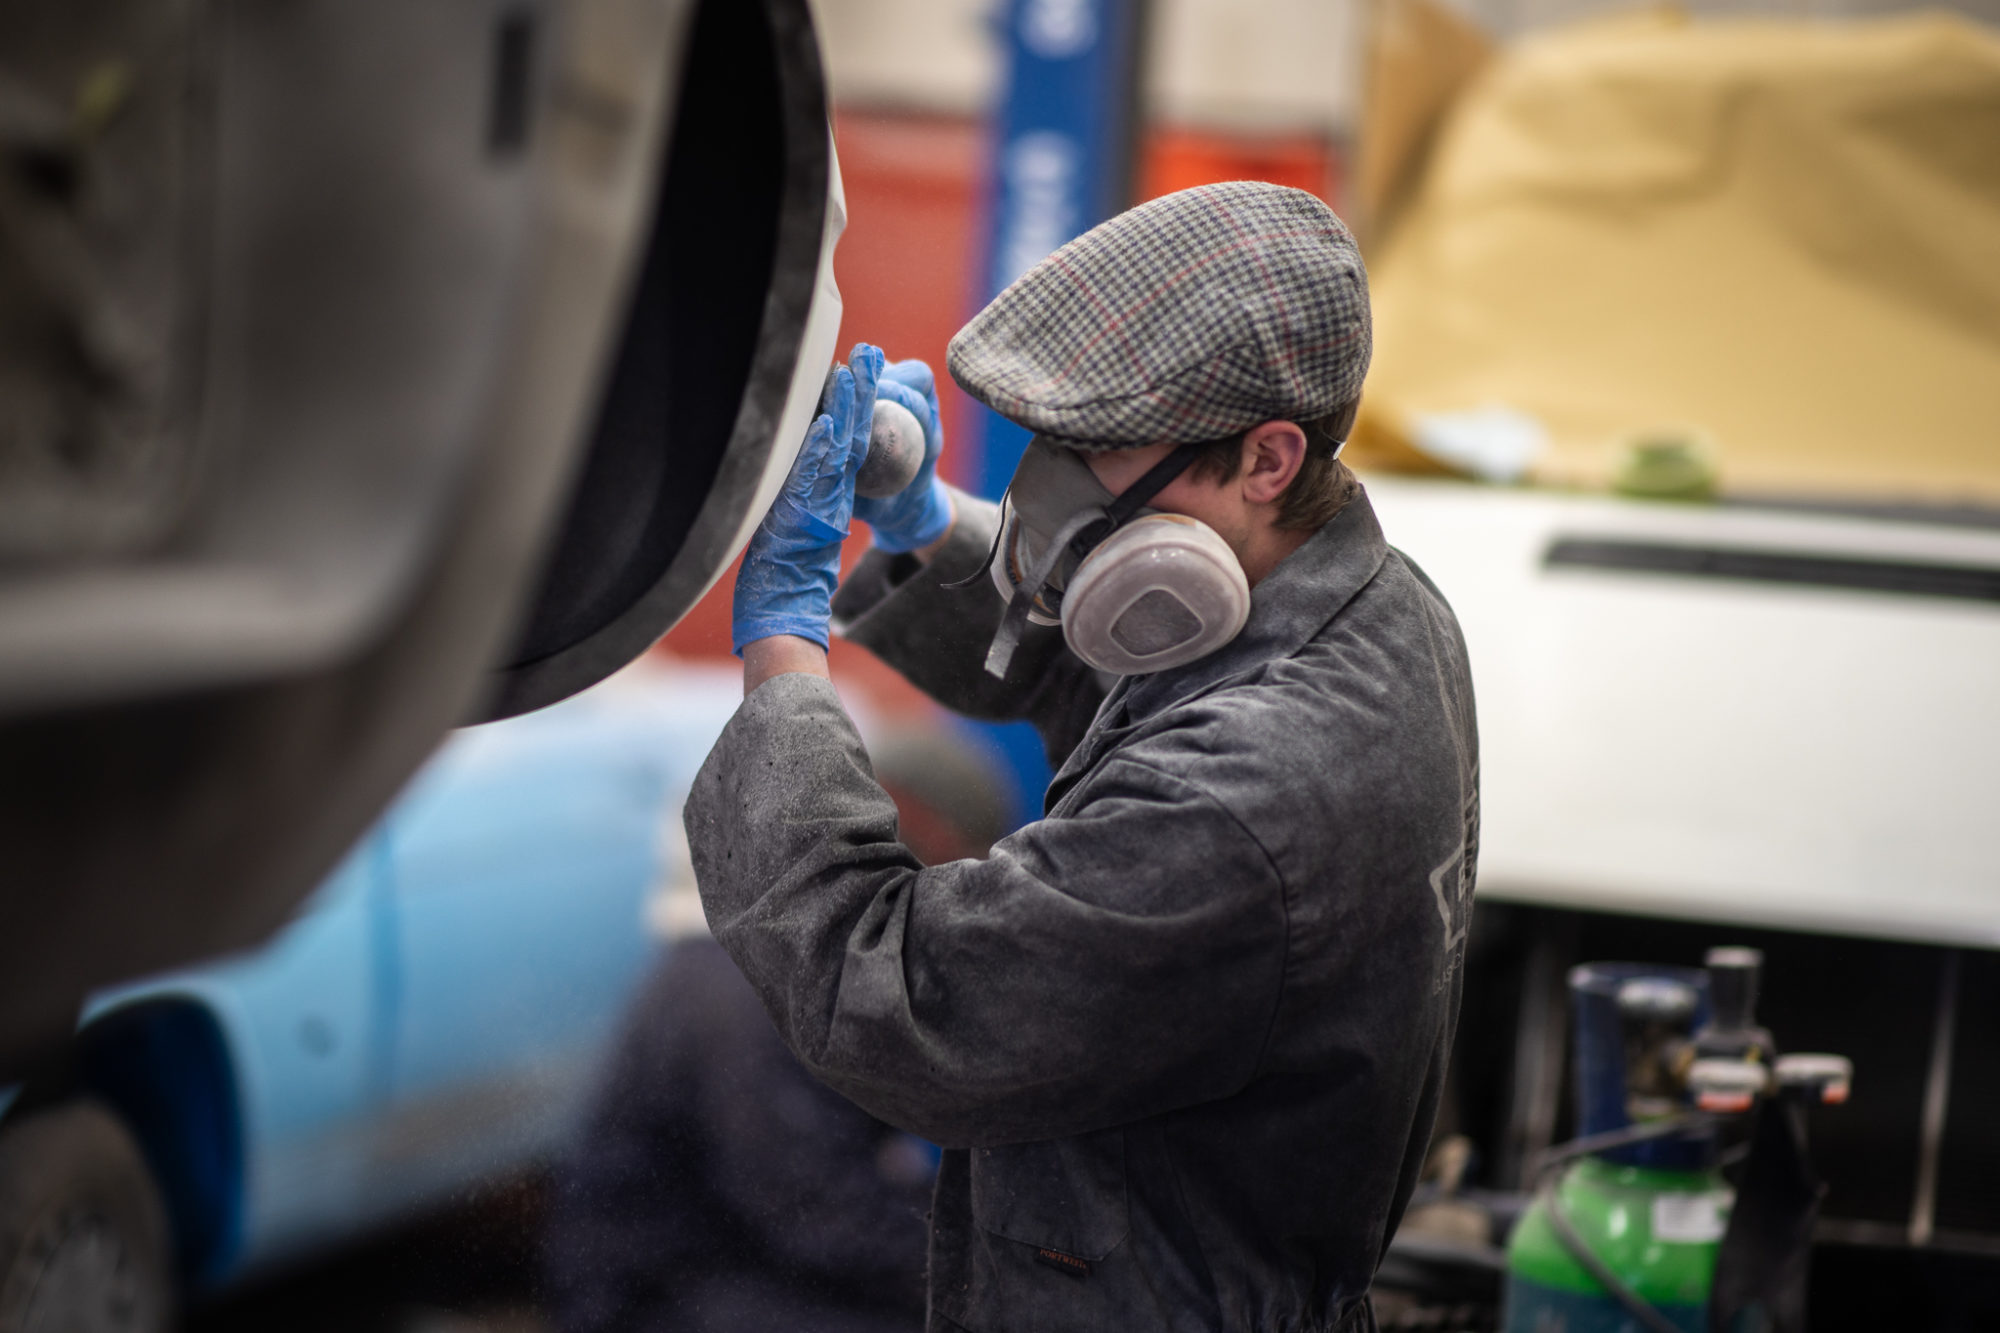
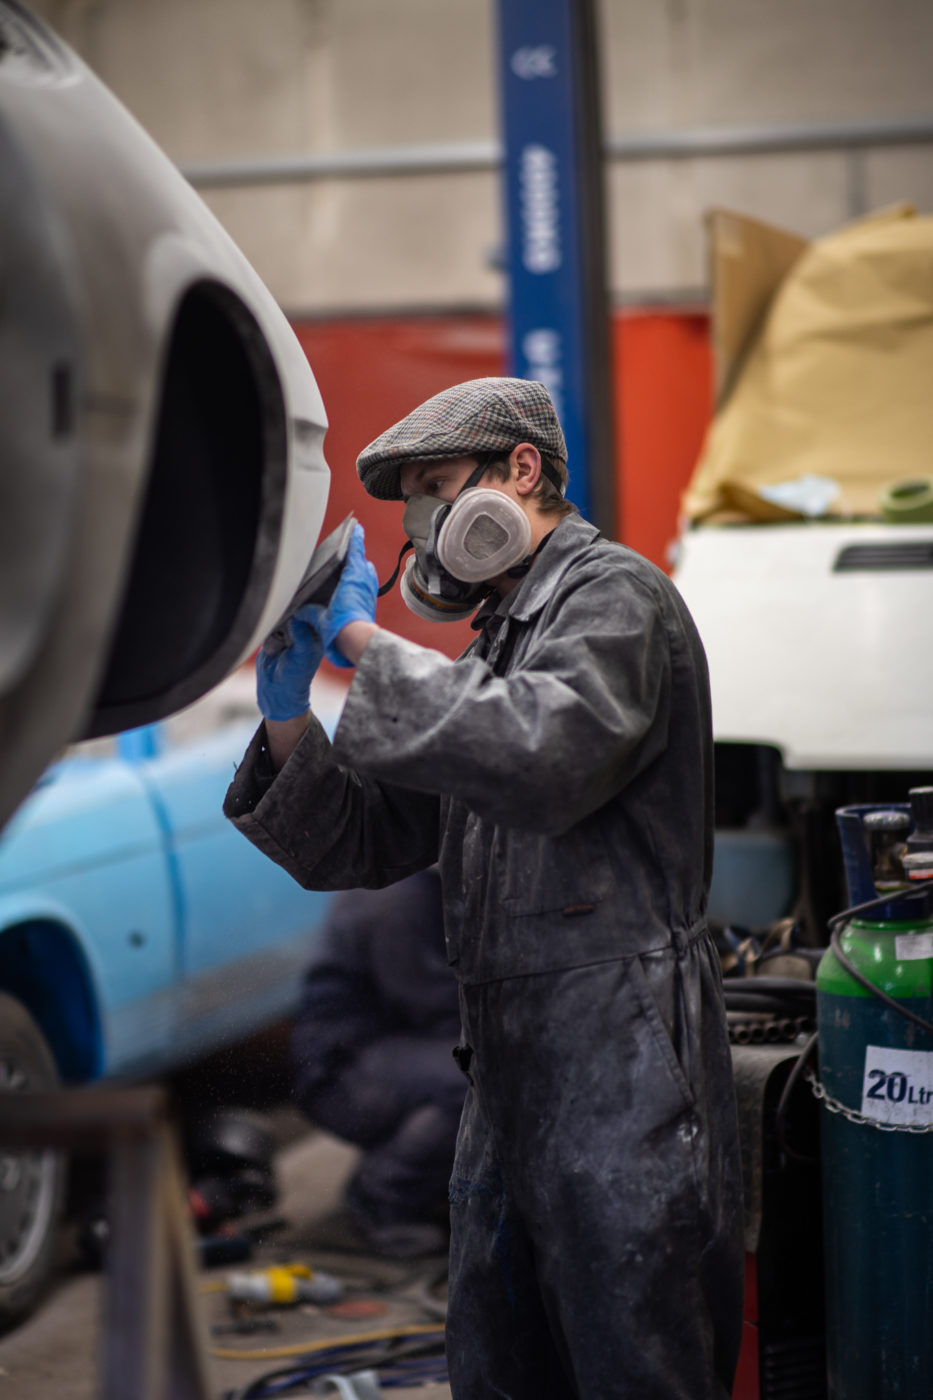
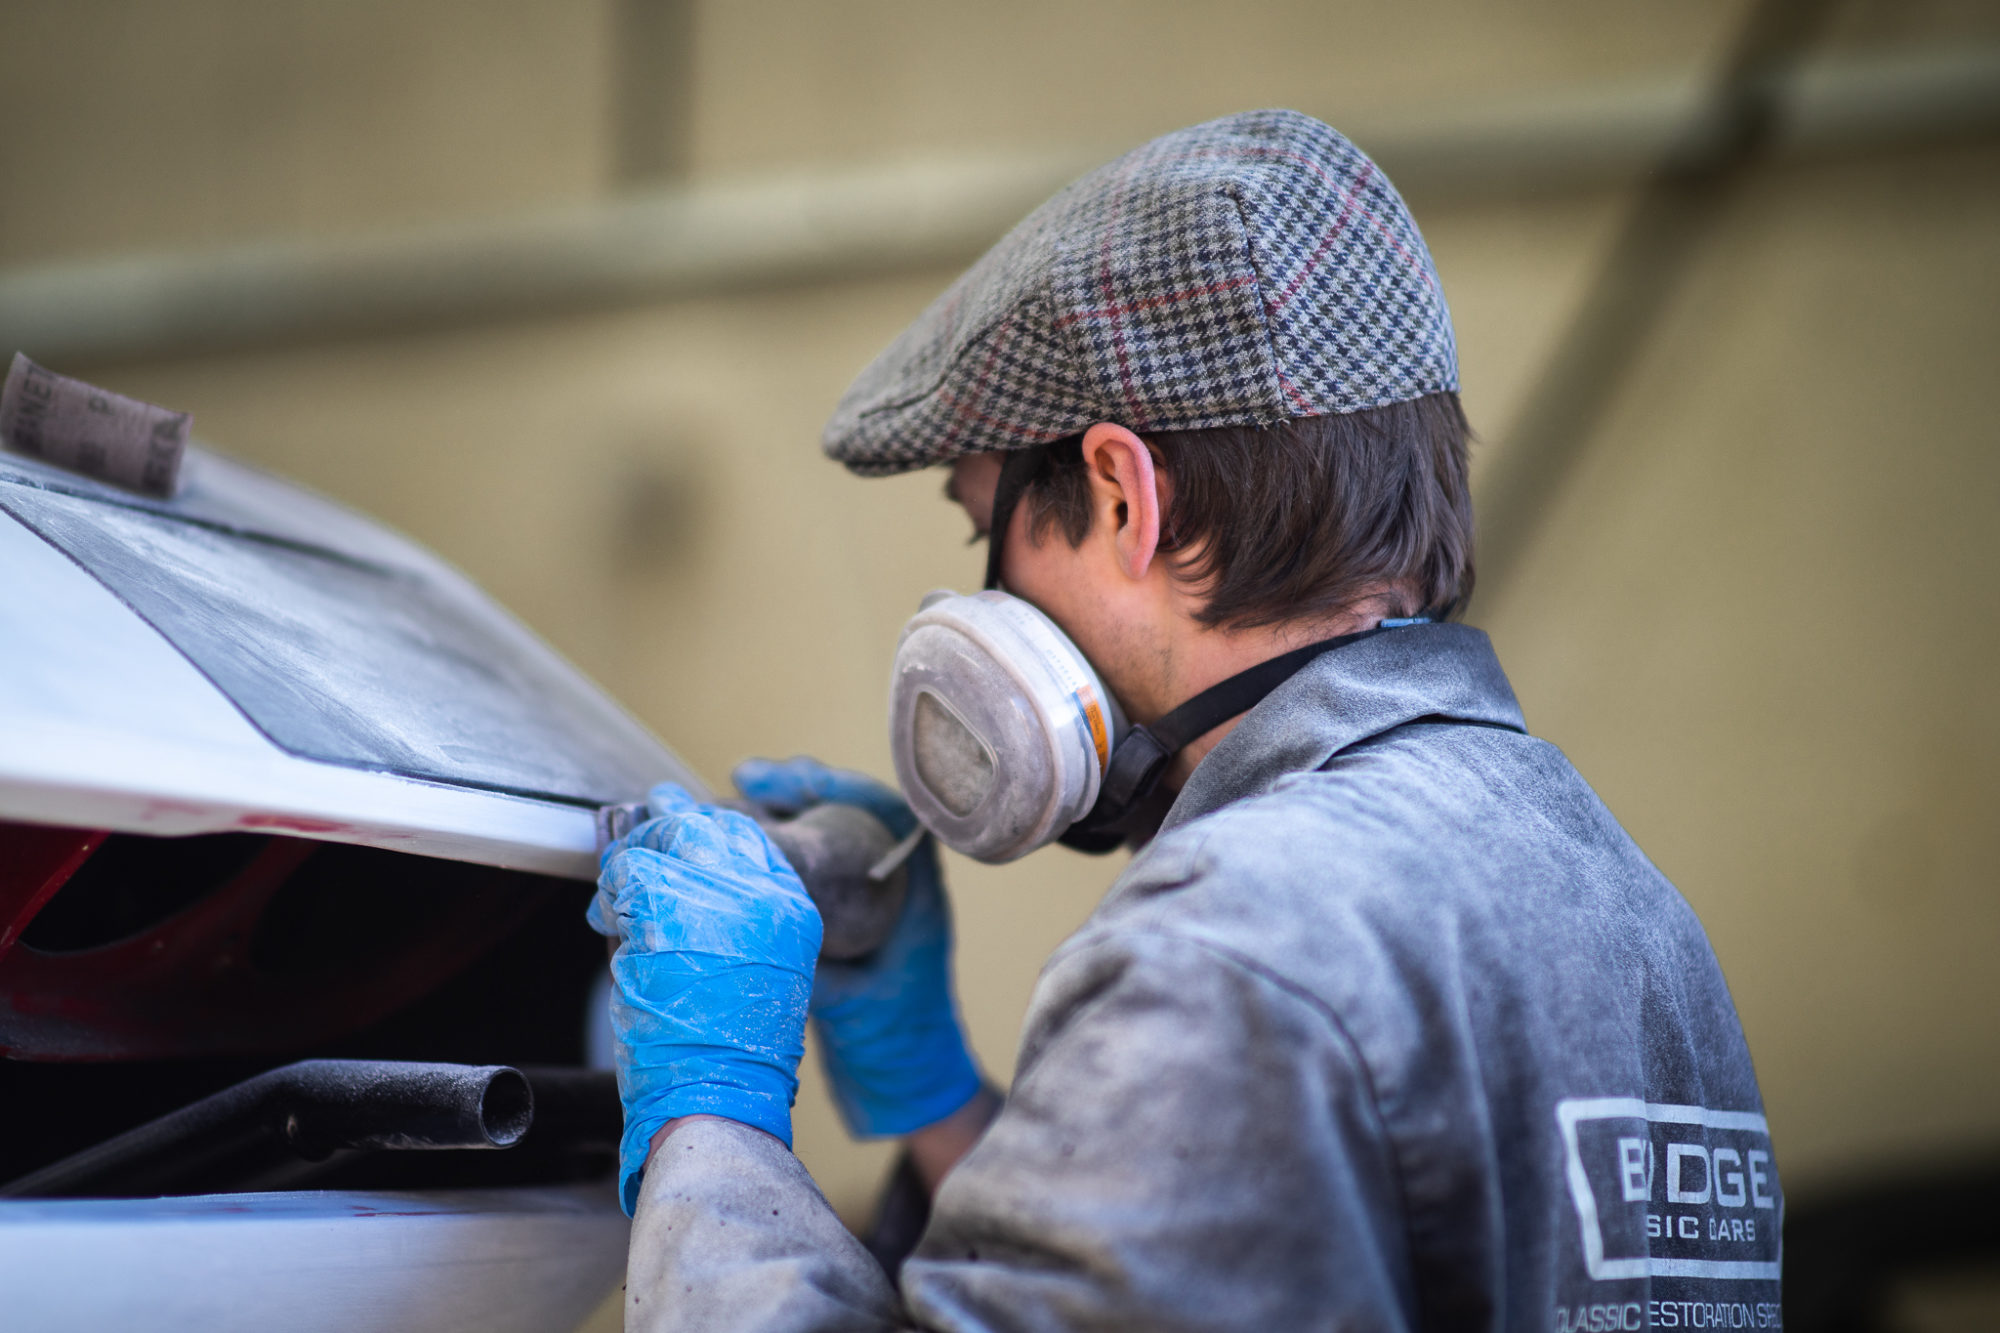
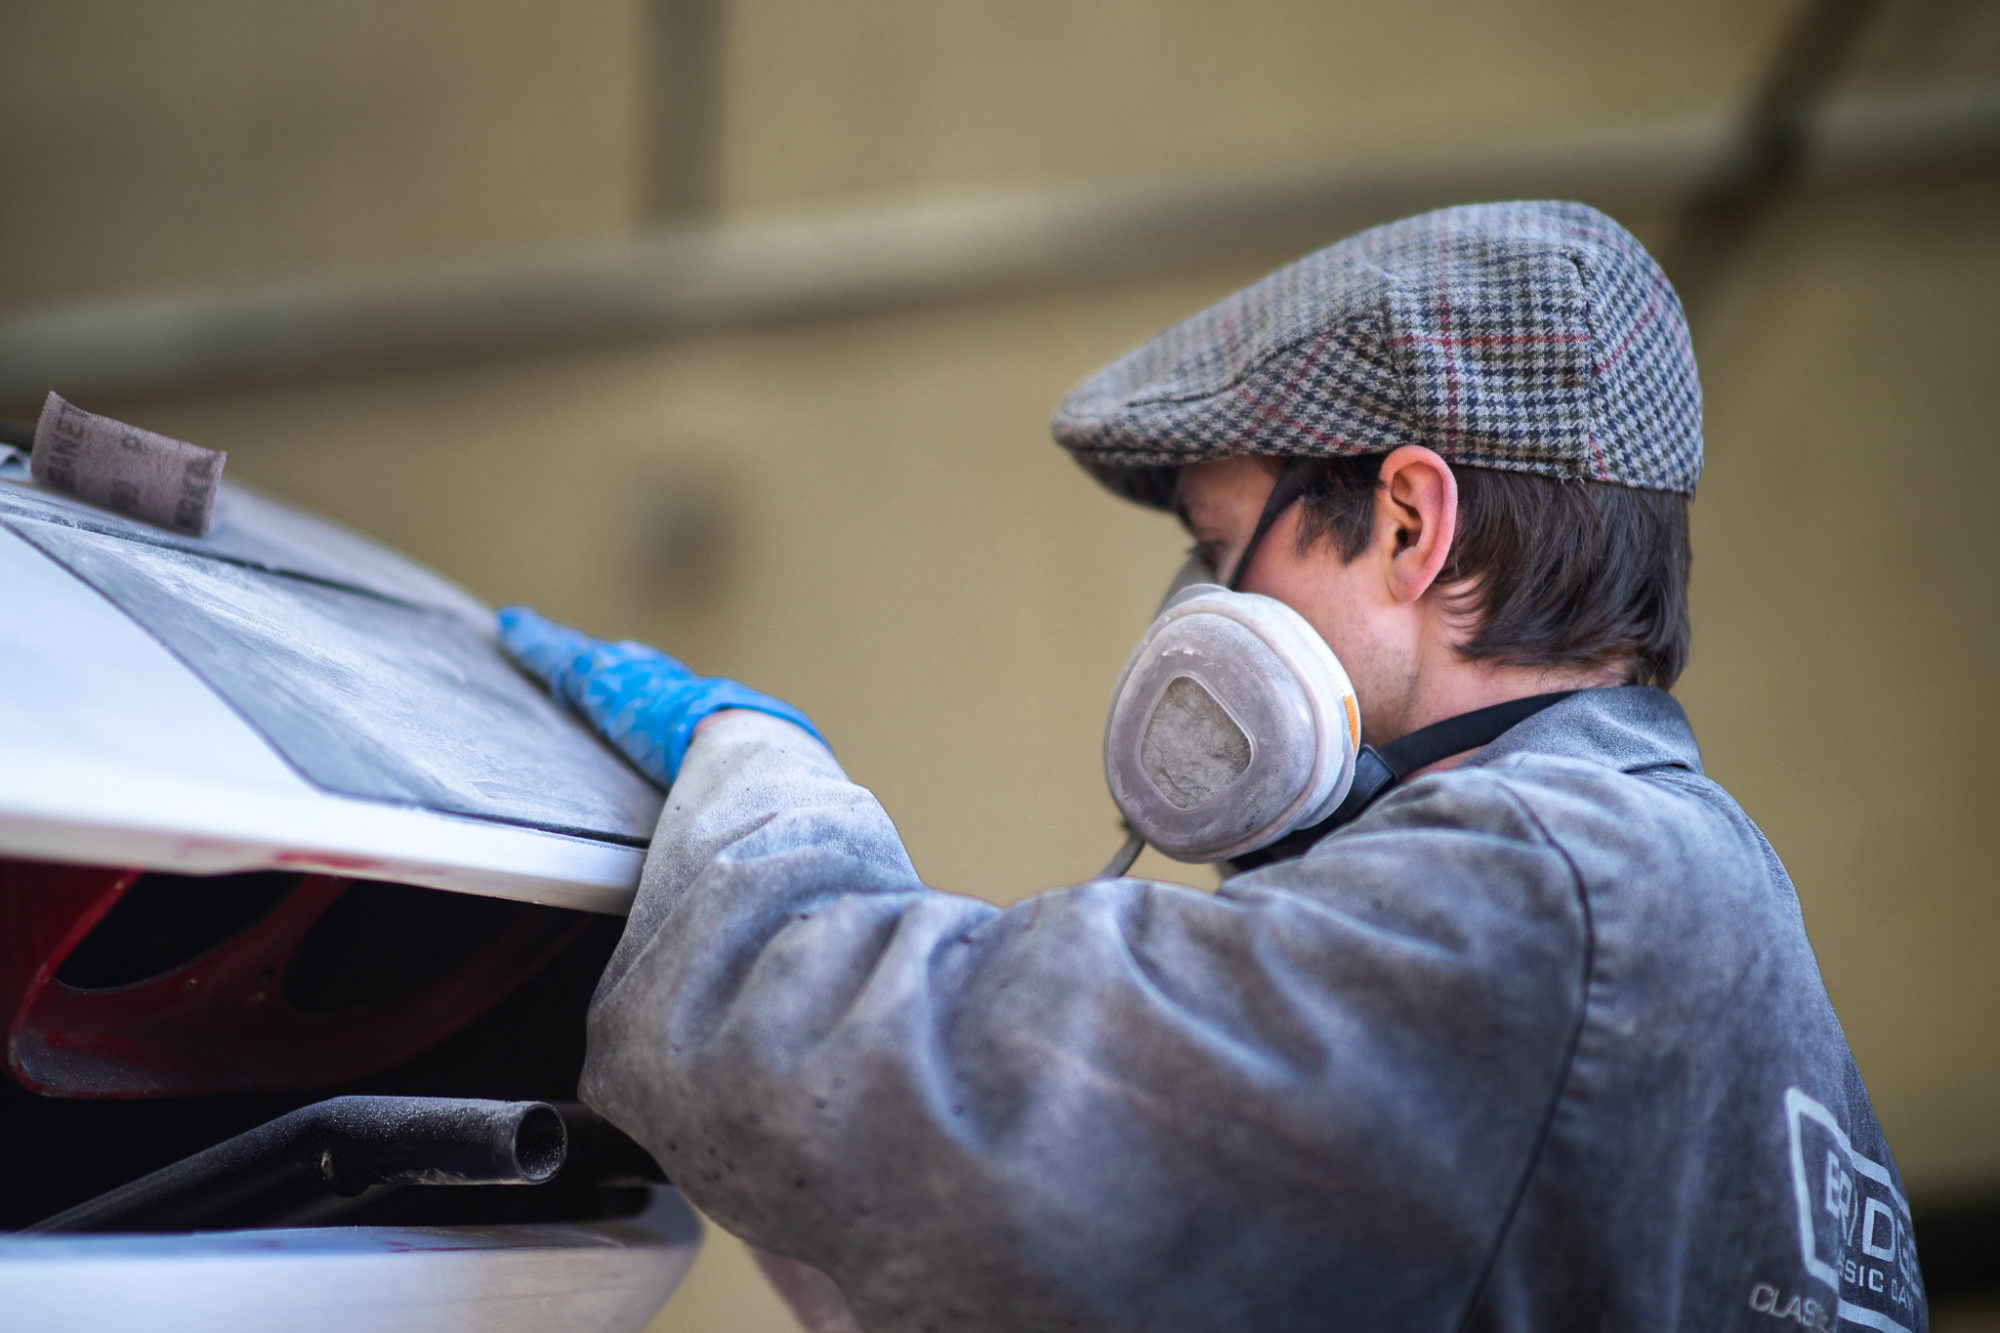
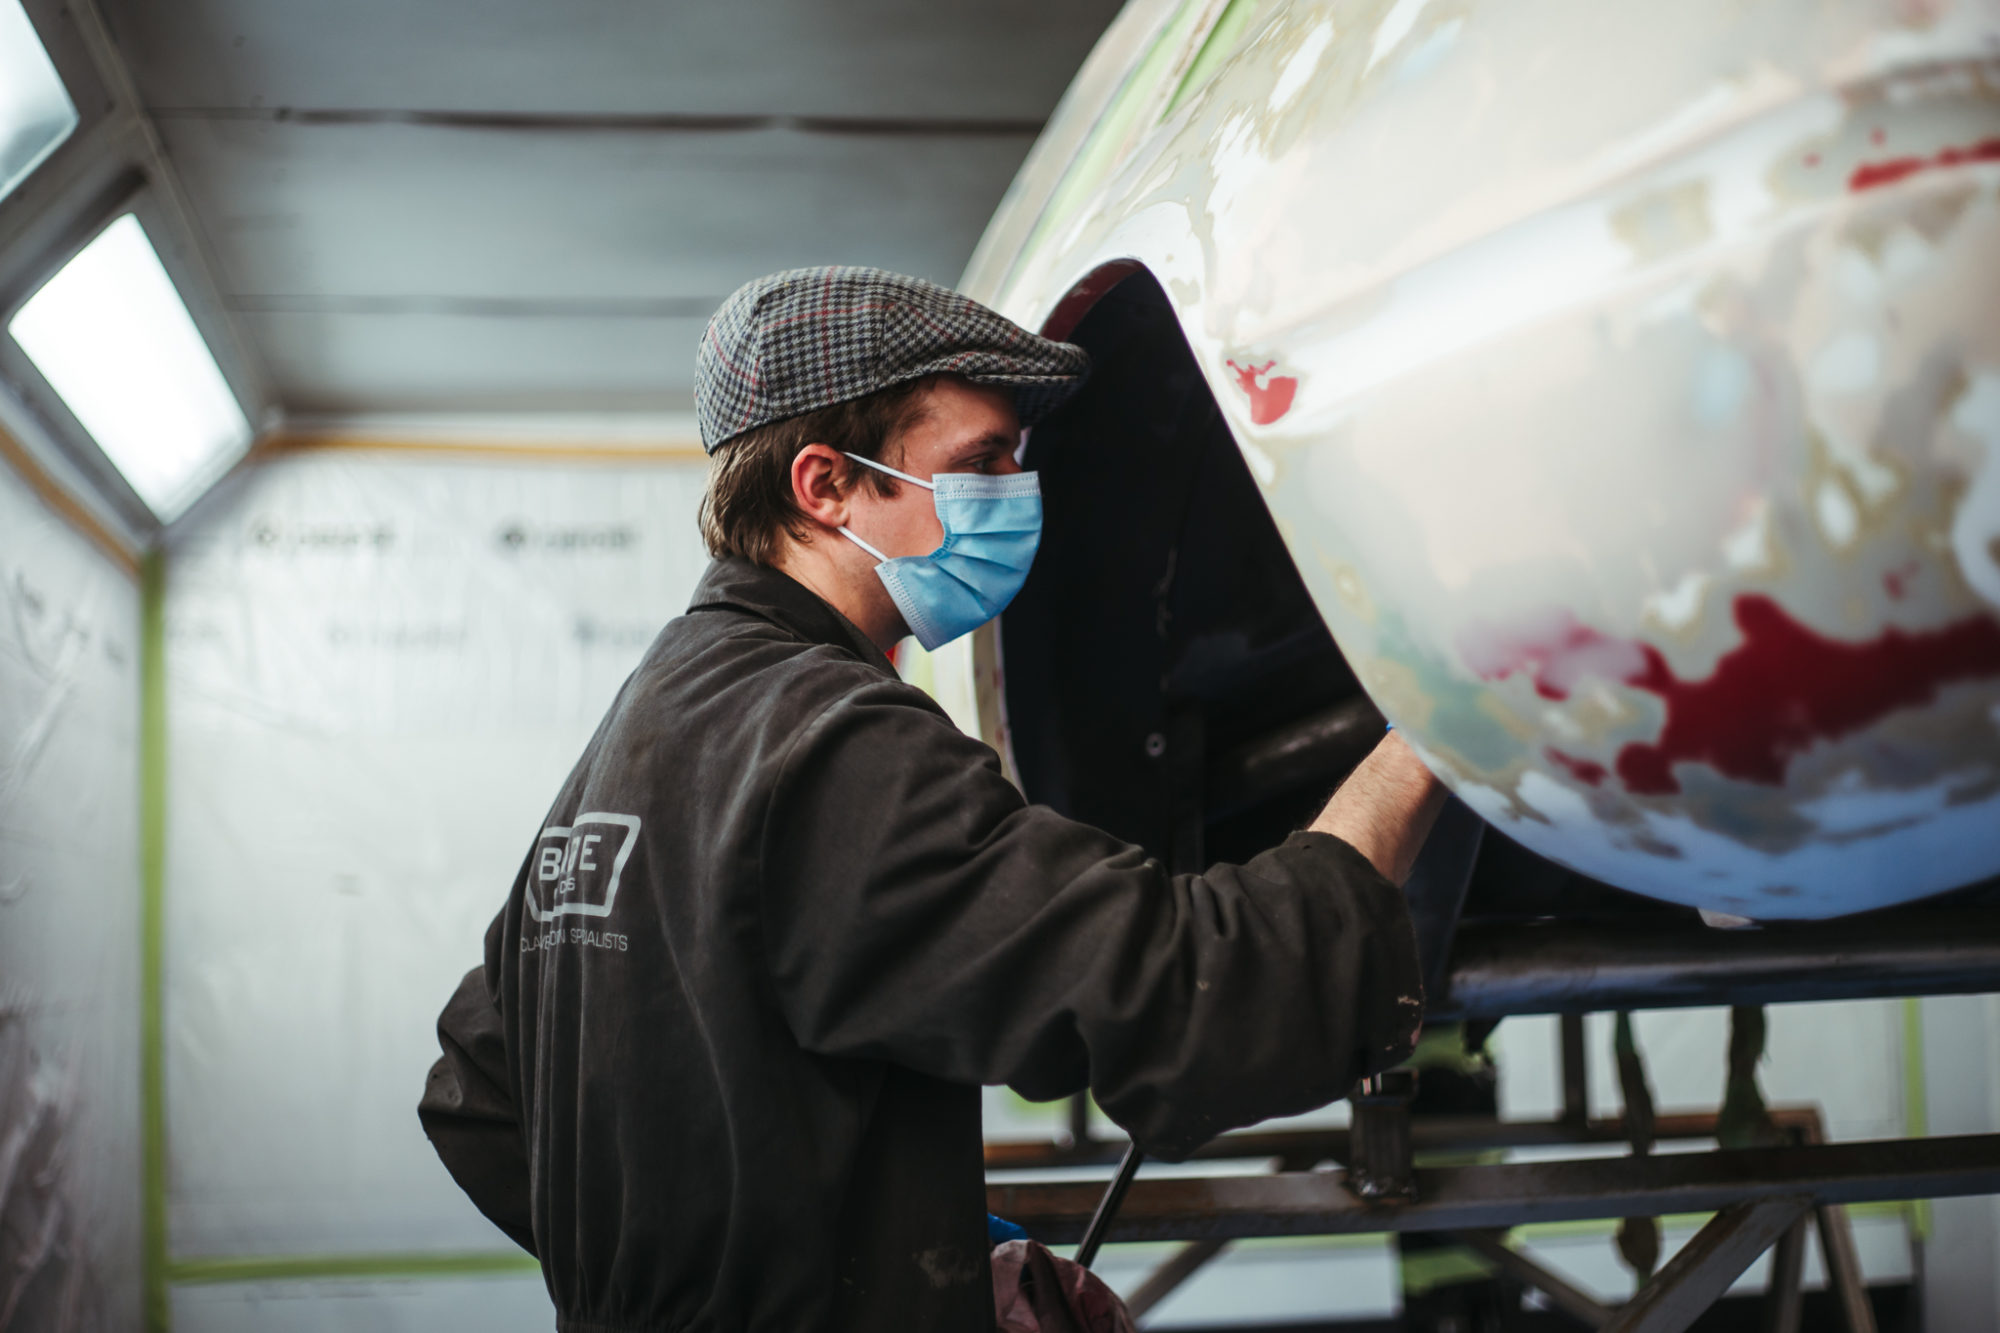
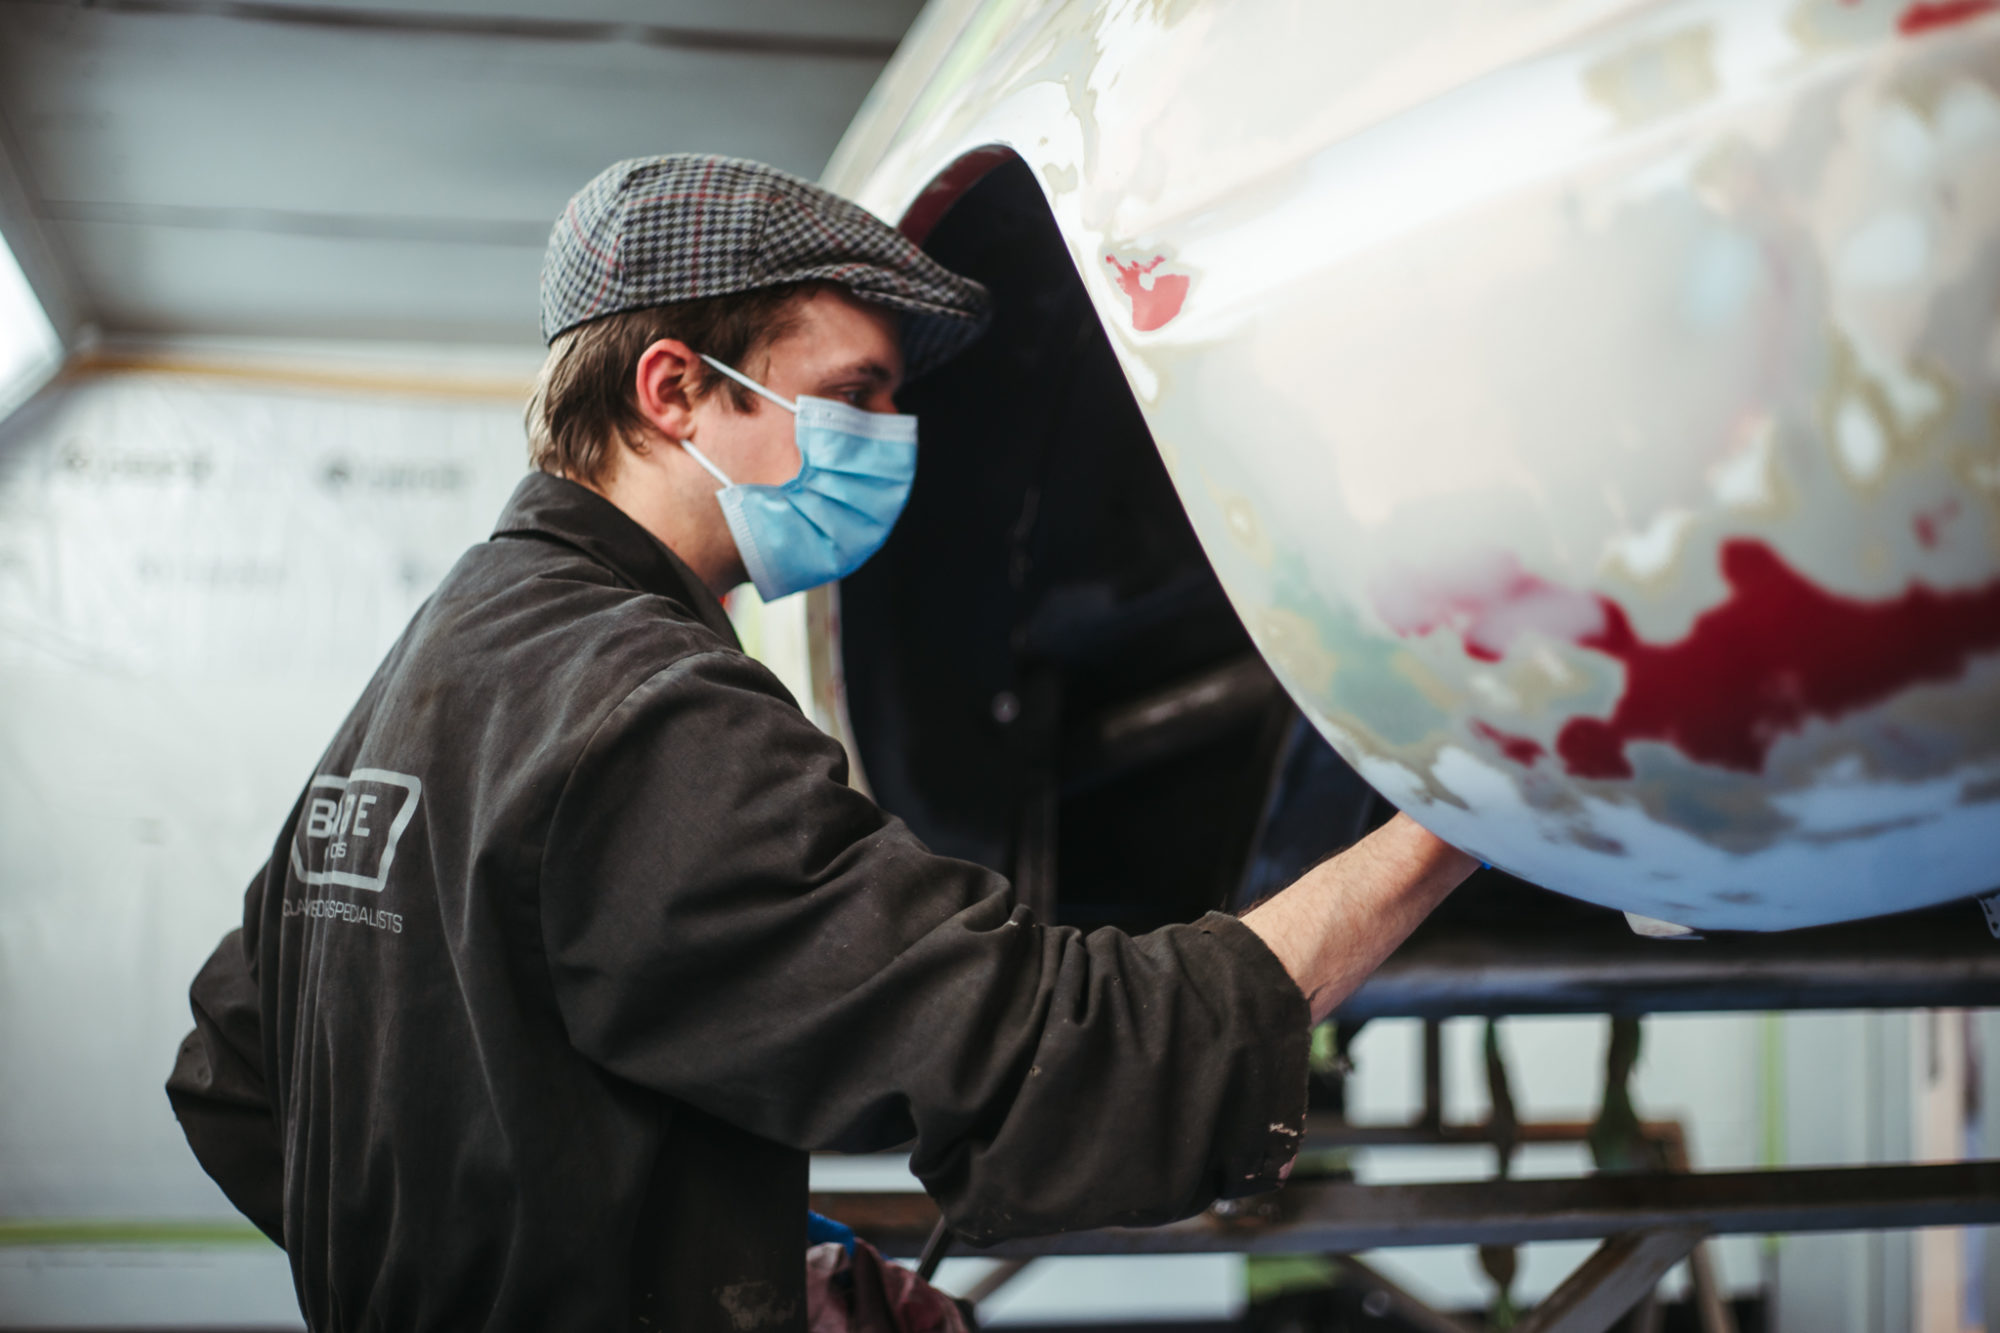
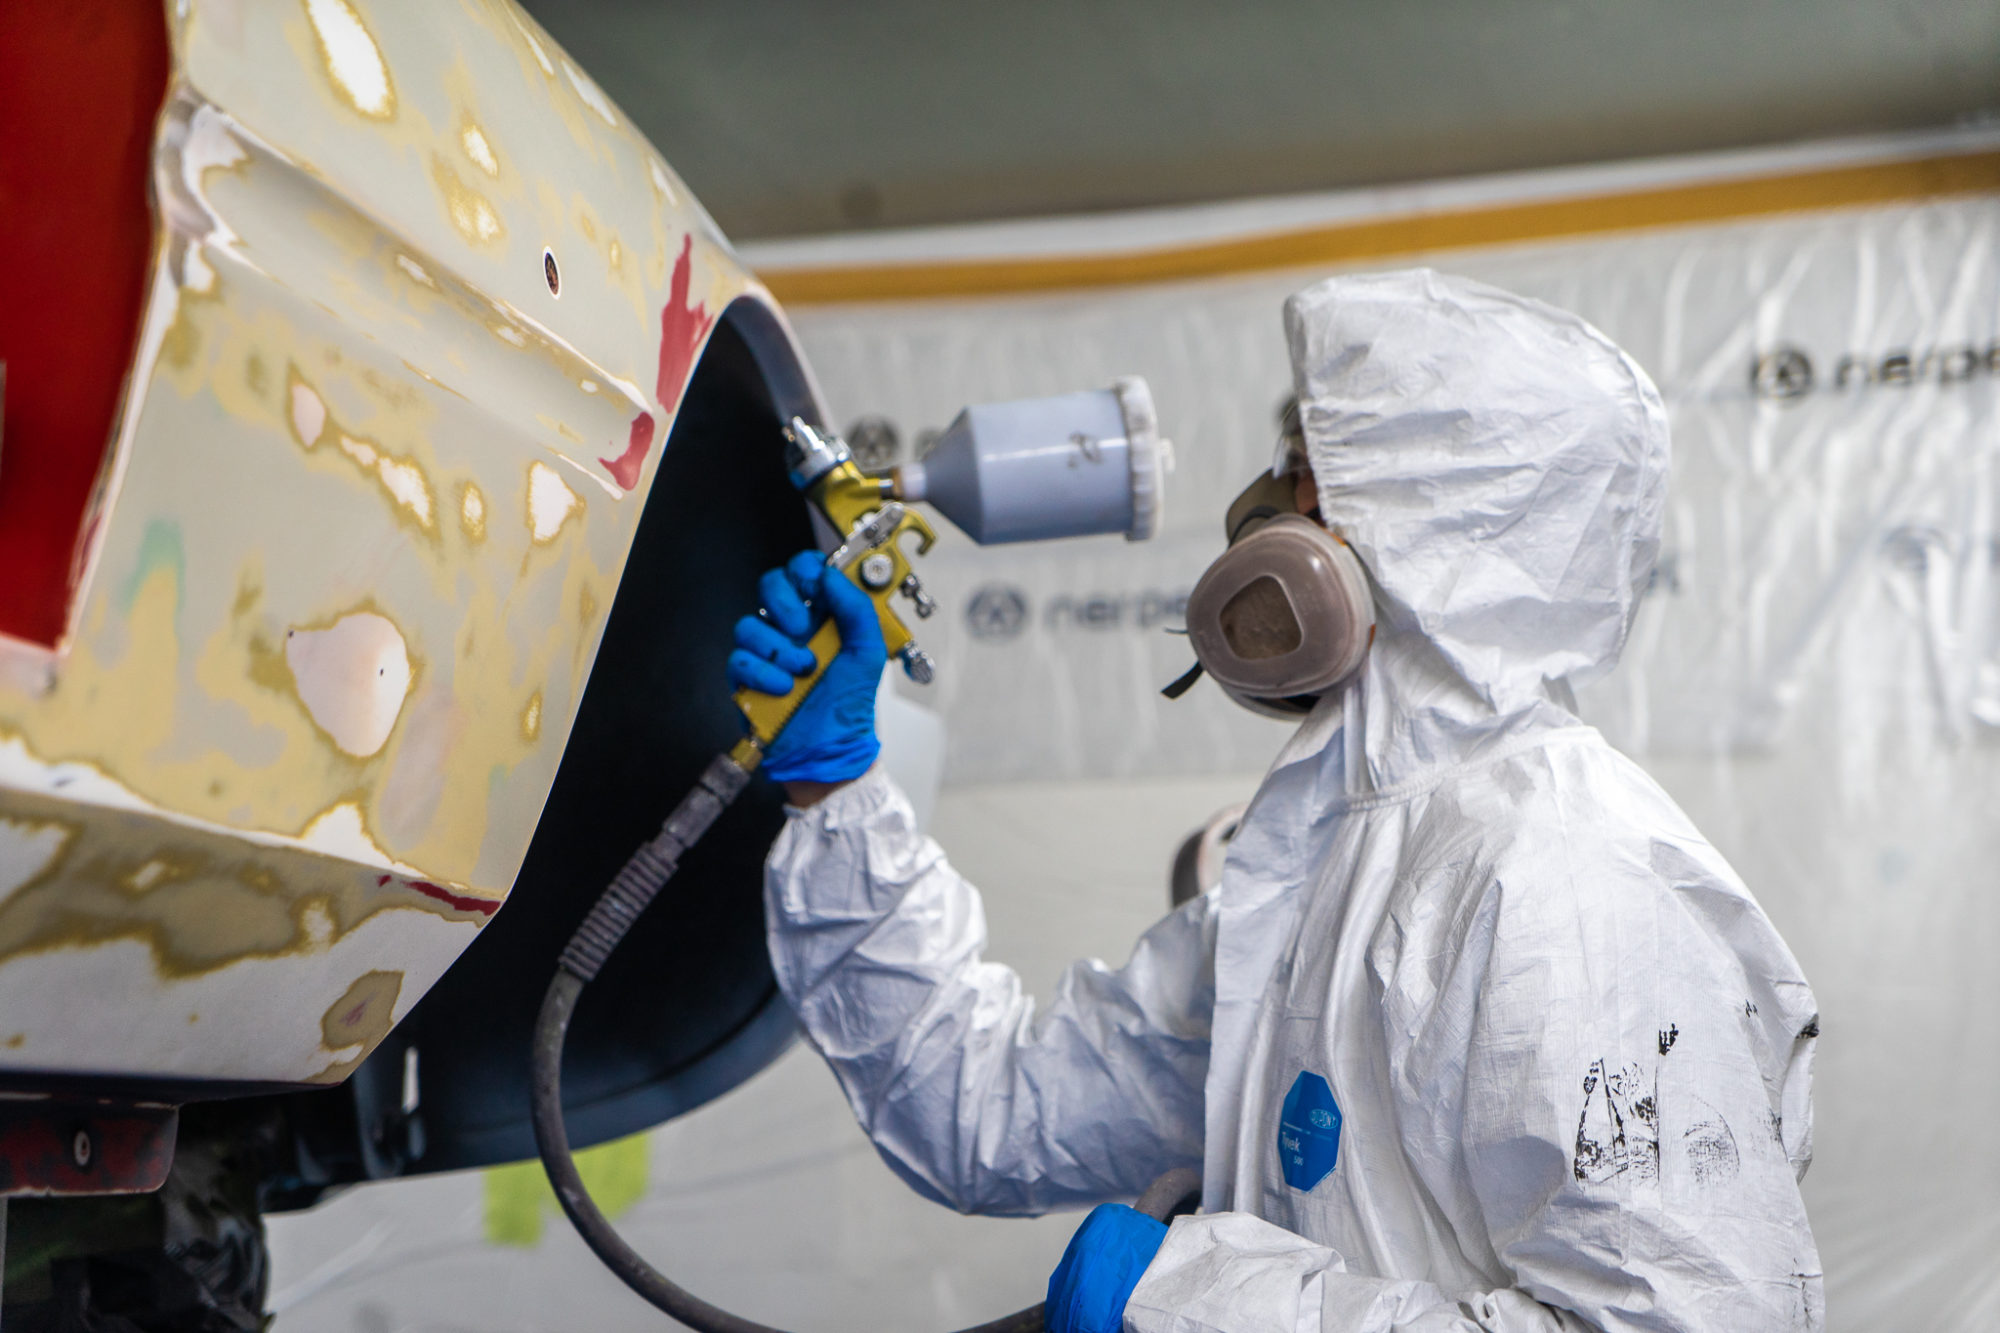
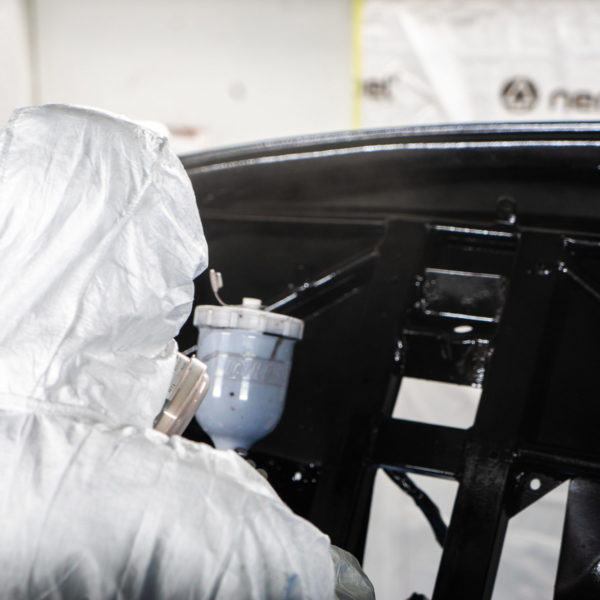
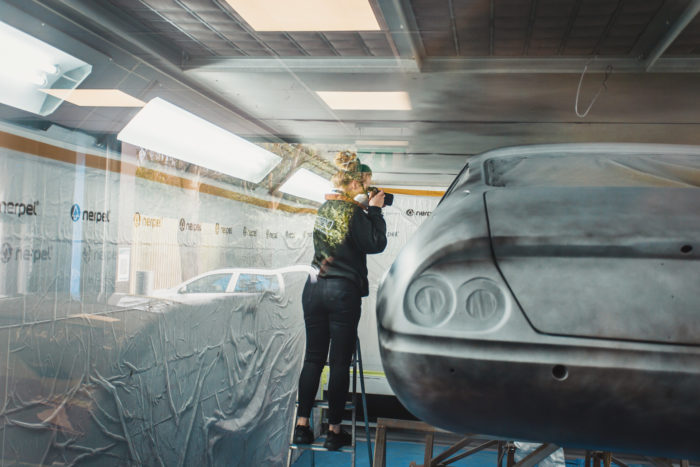
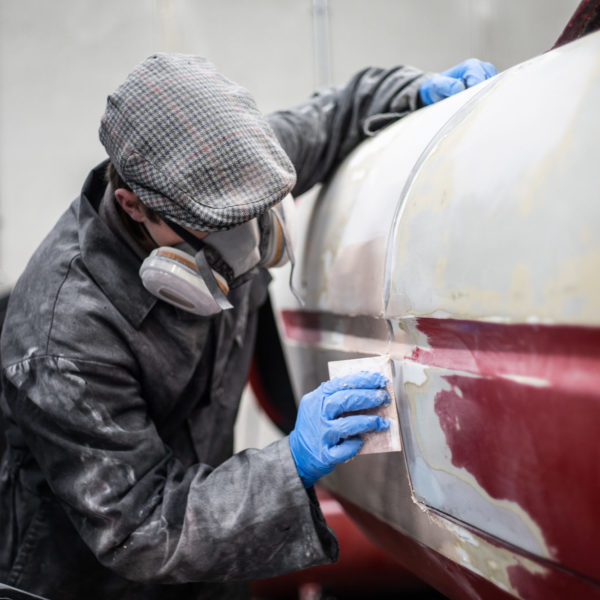
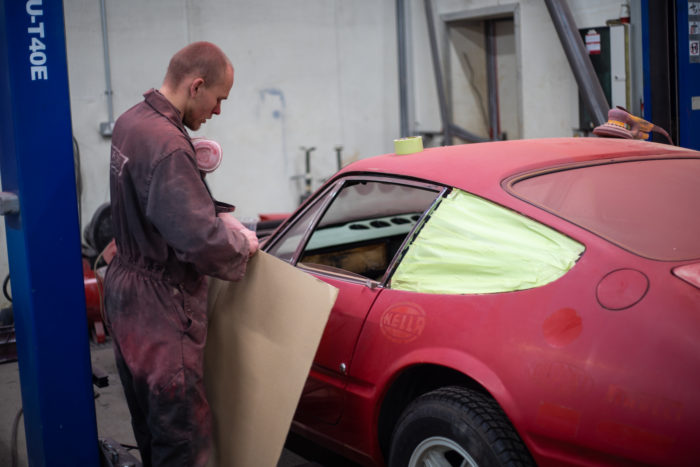
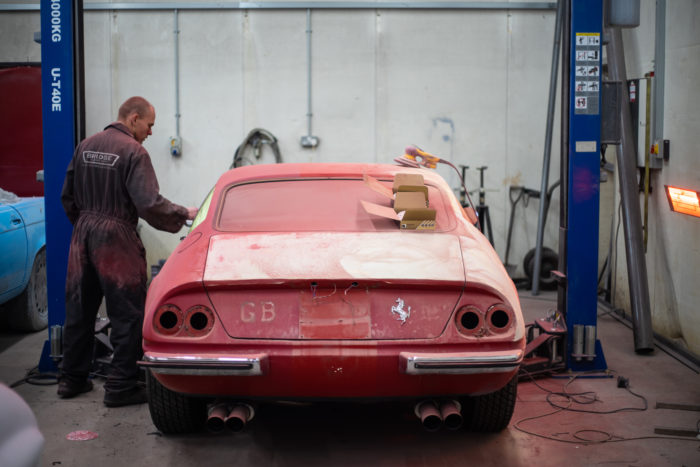
The Daytona entered the Paint Bay today under the trusted hands of Scott, one of our classic car technicians. We’re very fortunate that so many of our engineers are multifaceted in their skills, allowing us to, at times, dedicate one technician to an entire restoration. We of course get our specialists involved in these instances, but its great to see an individual technician lead a restoration from start to finish. This is what we’ve done with Scott, who’s a very experienced and talented classic car engineer. Assigning him to just one restoration means that he will see the total project from start to finish, taking on multiple disciplines. Under the supervision of our paint specialist, Scott tackled the primer stage of painting our Daytona.
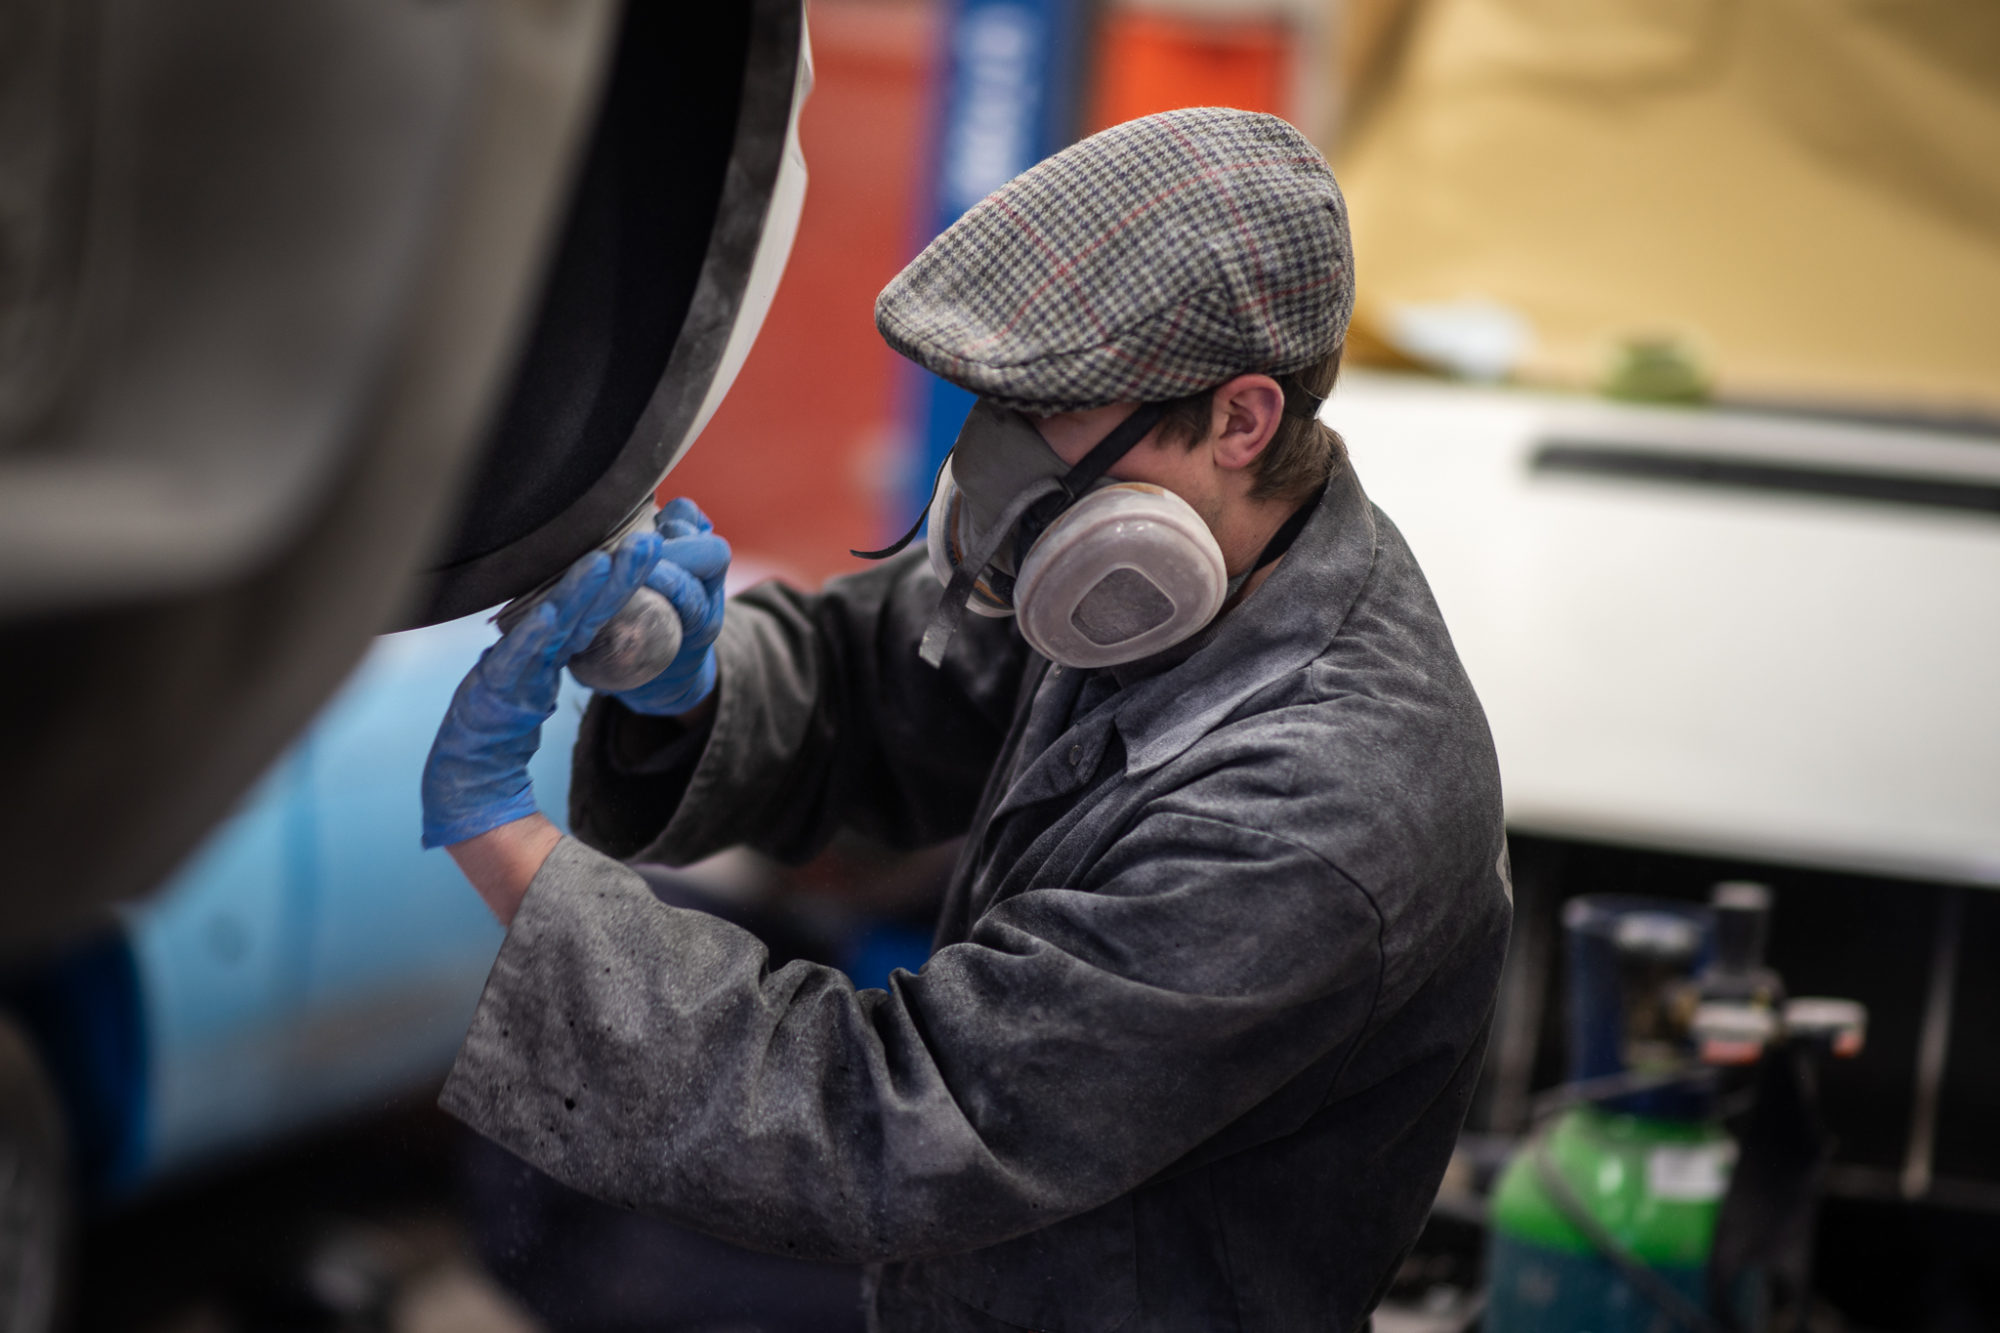
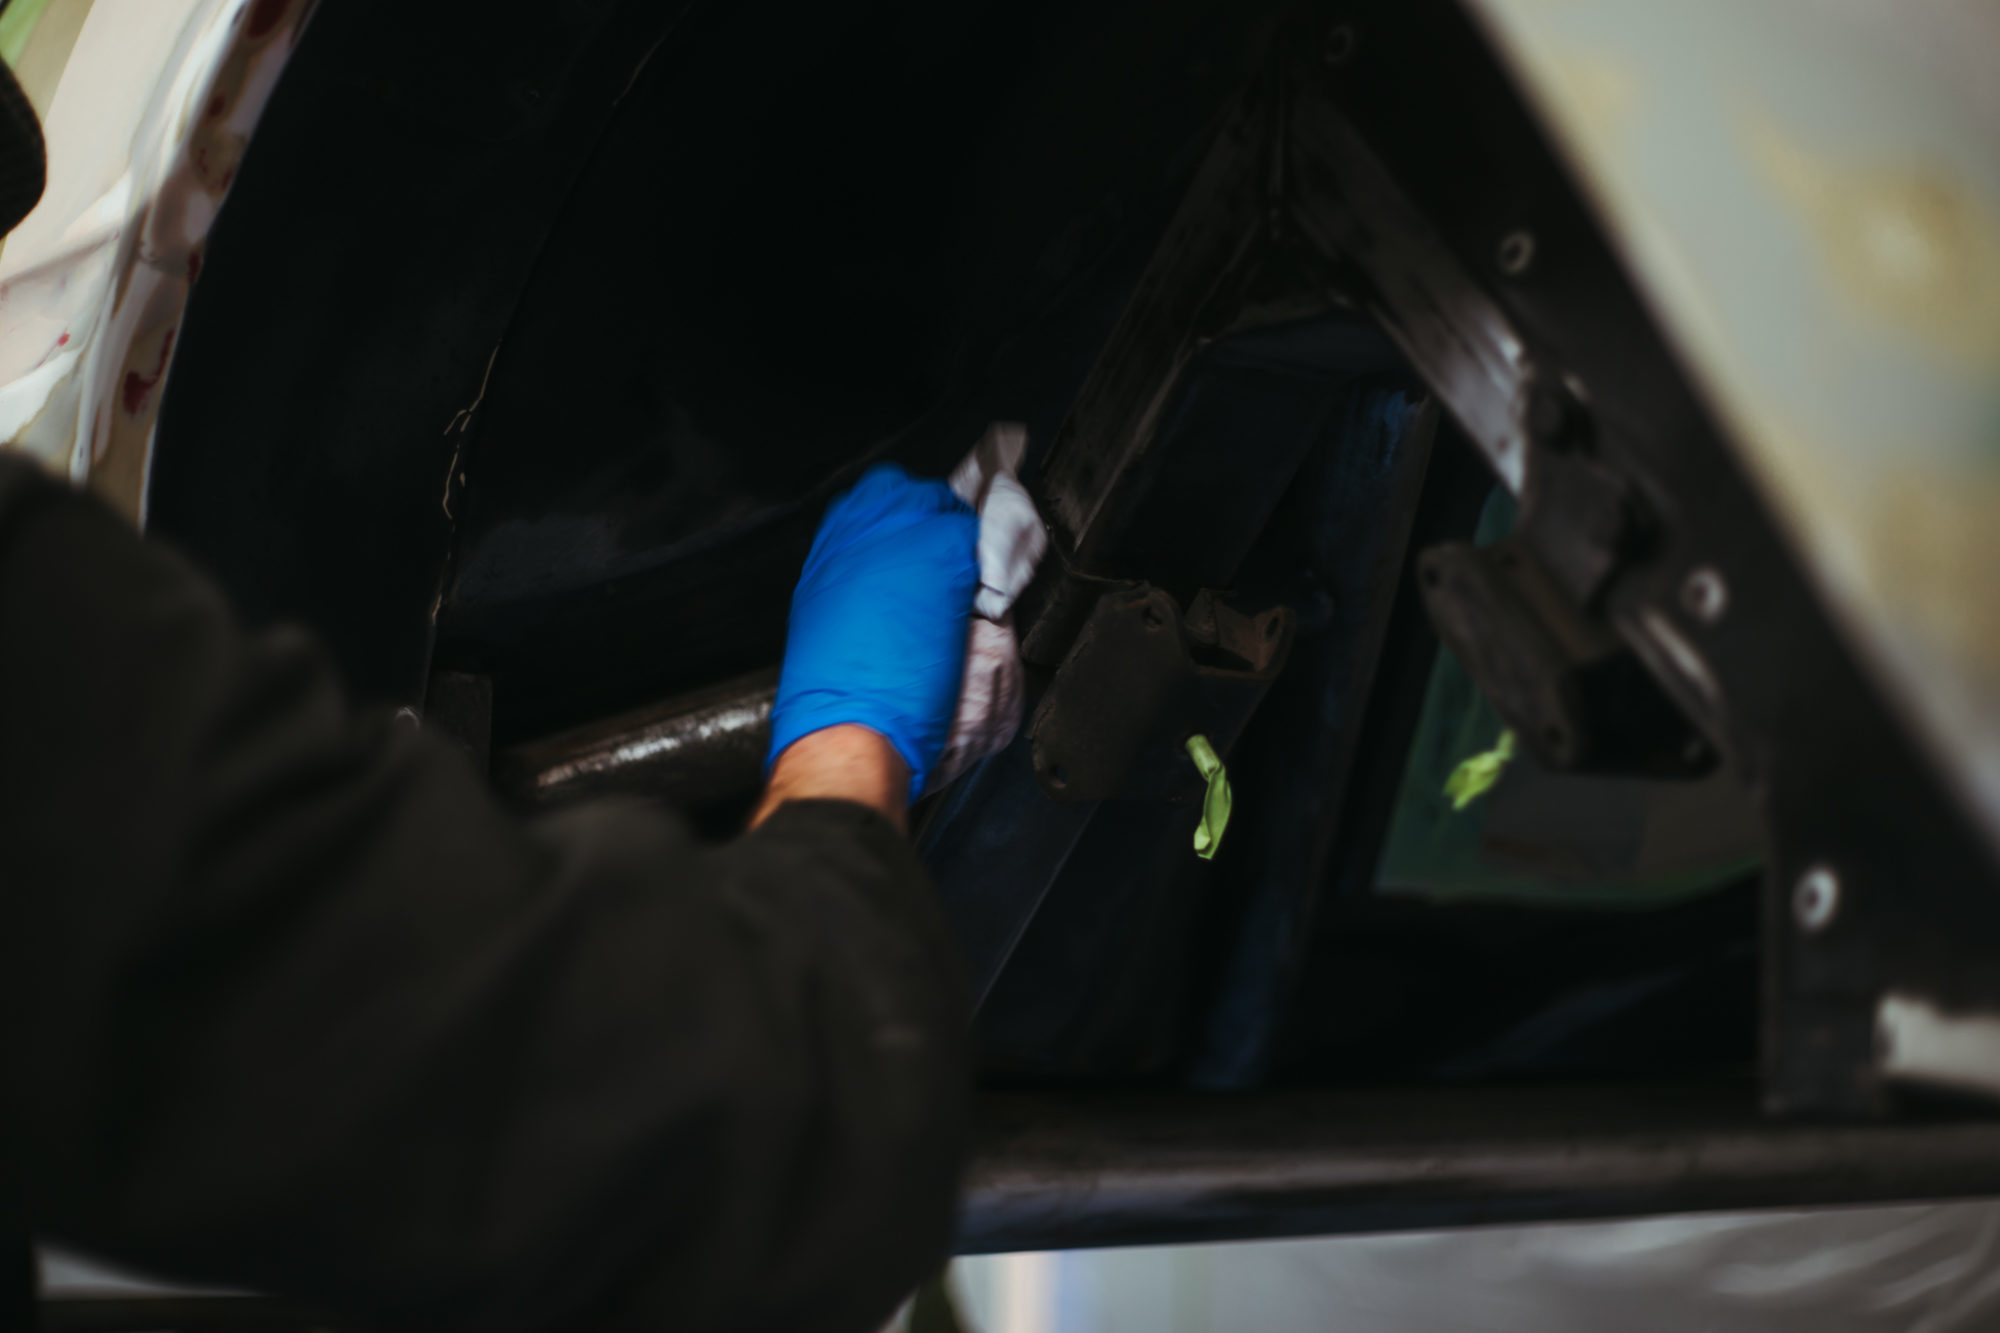
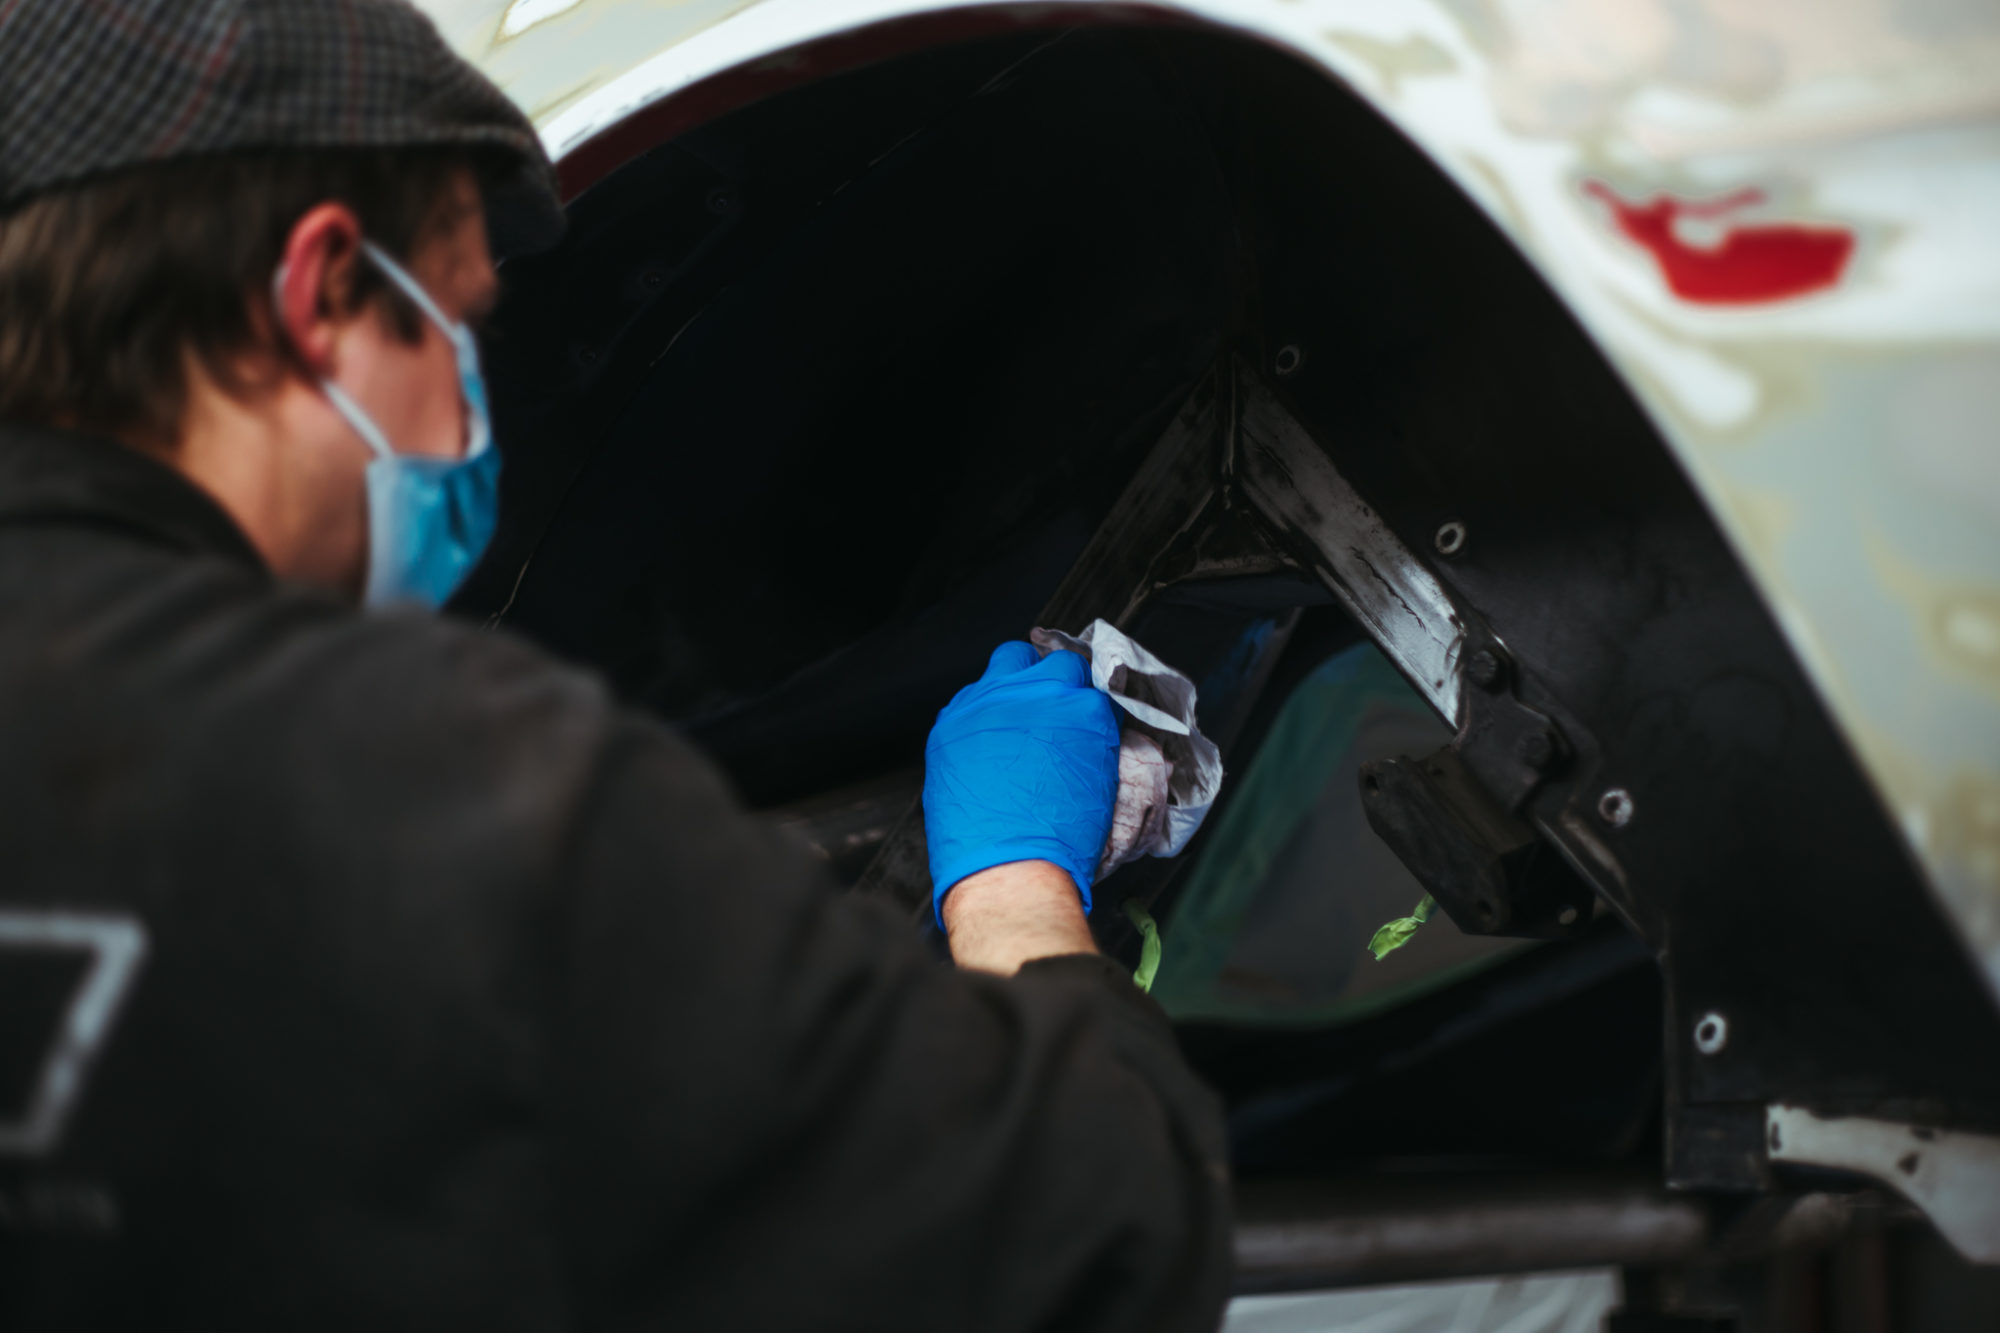
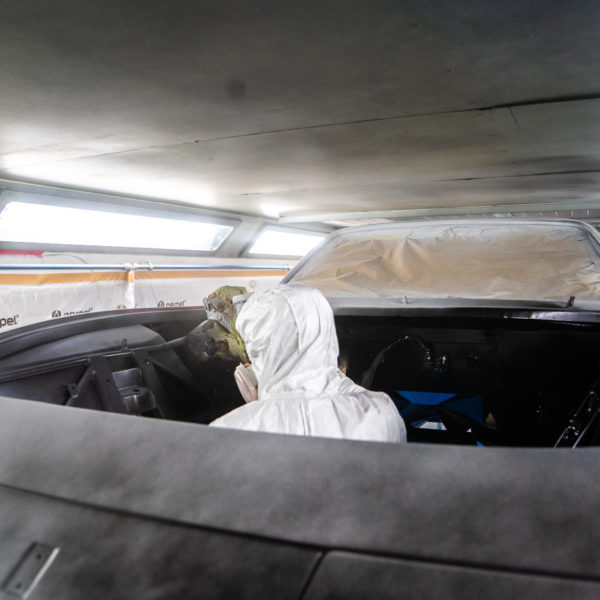
Here we see him focusing on masking up and cleaning the body of the car, wiping clean all the elements in the preparation of the primer.

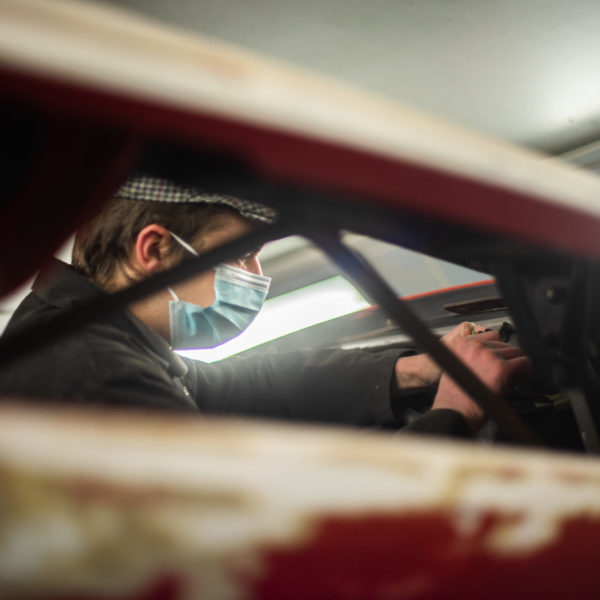
The cleaning process is an important part of the primer preparation as it removes any dust or debris that may interrupt the primer.
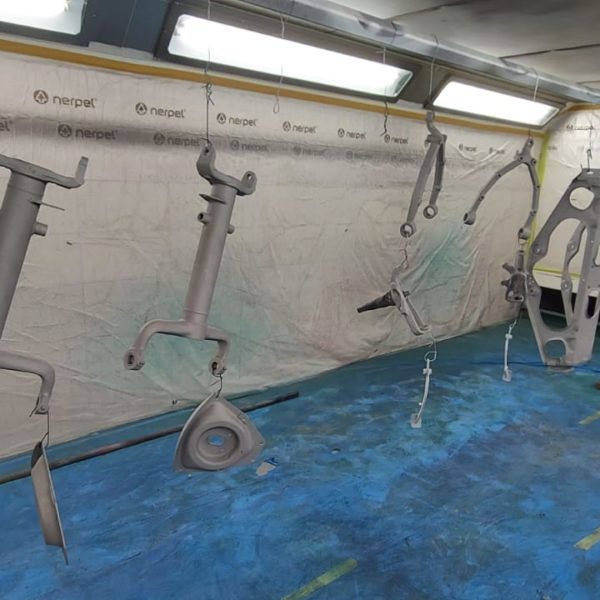
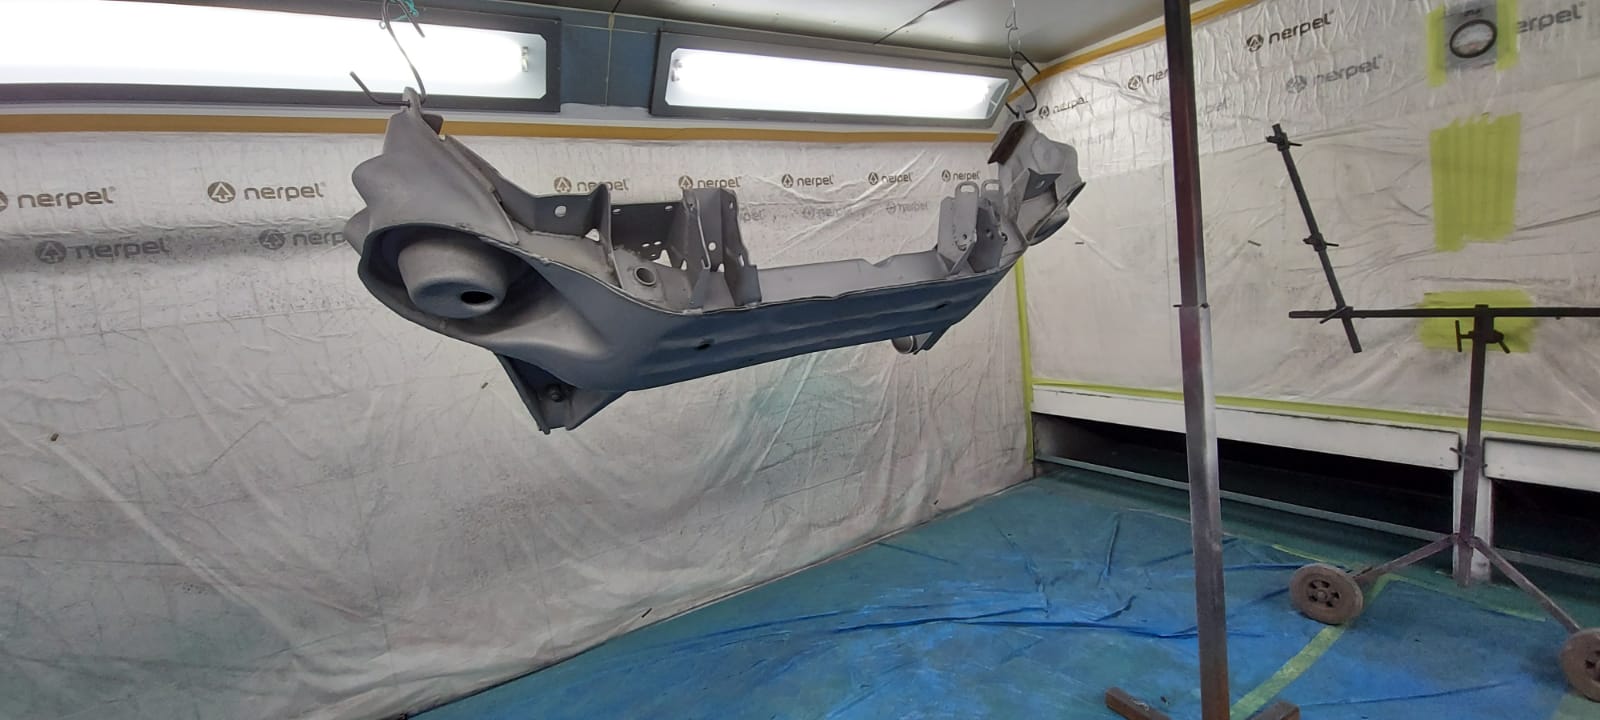
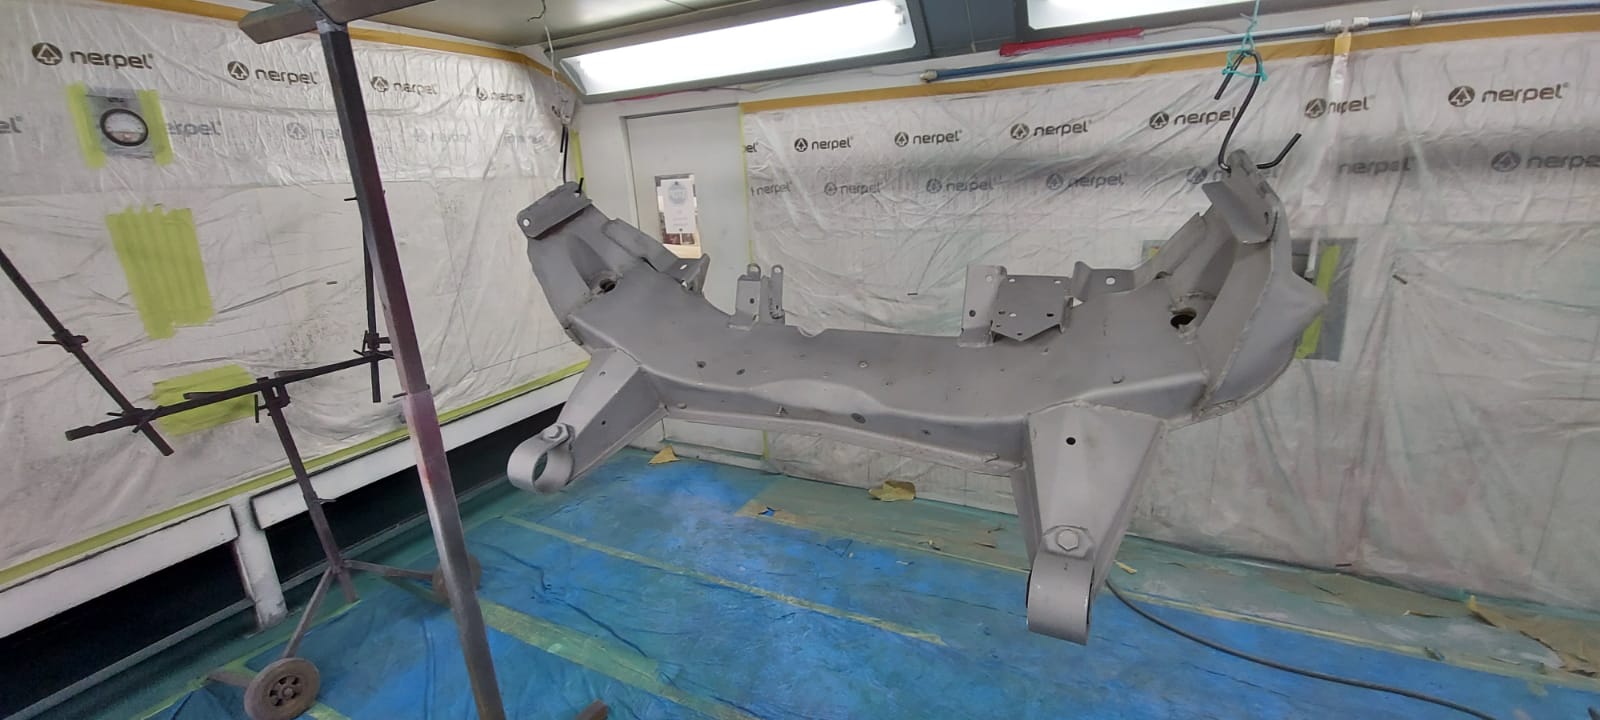
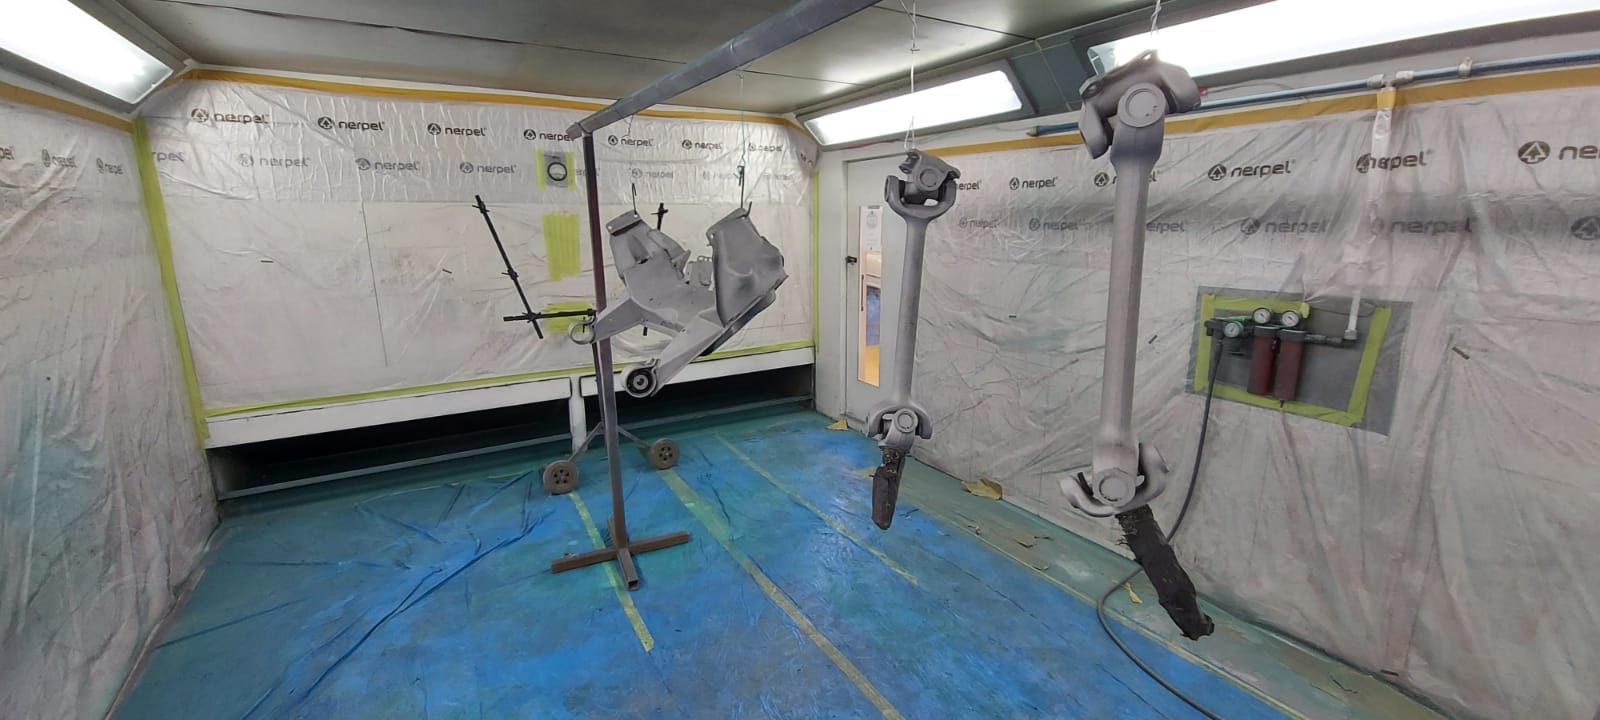
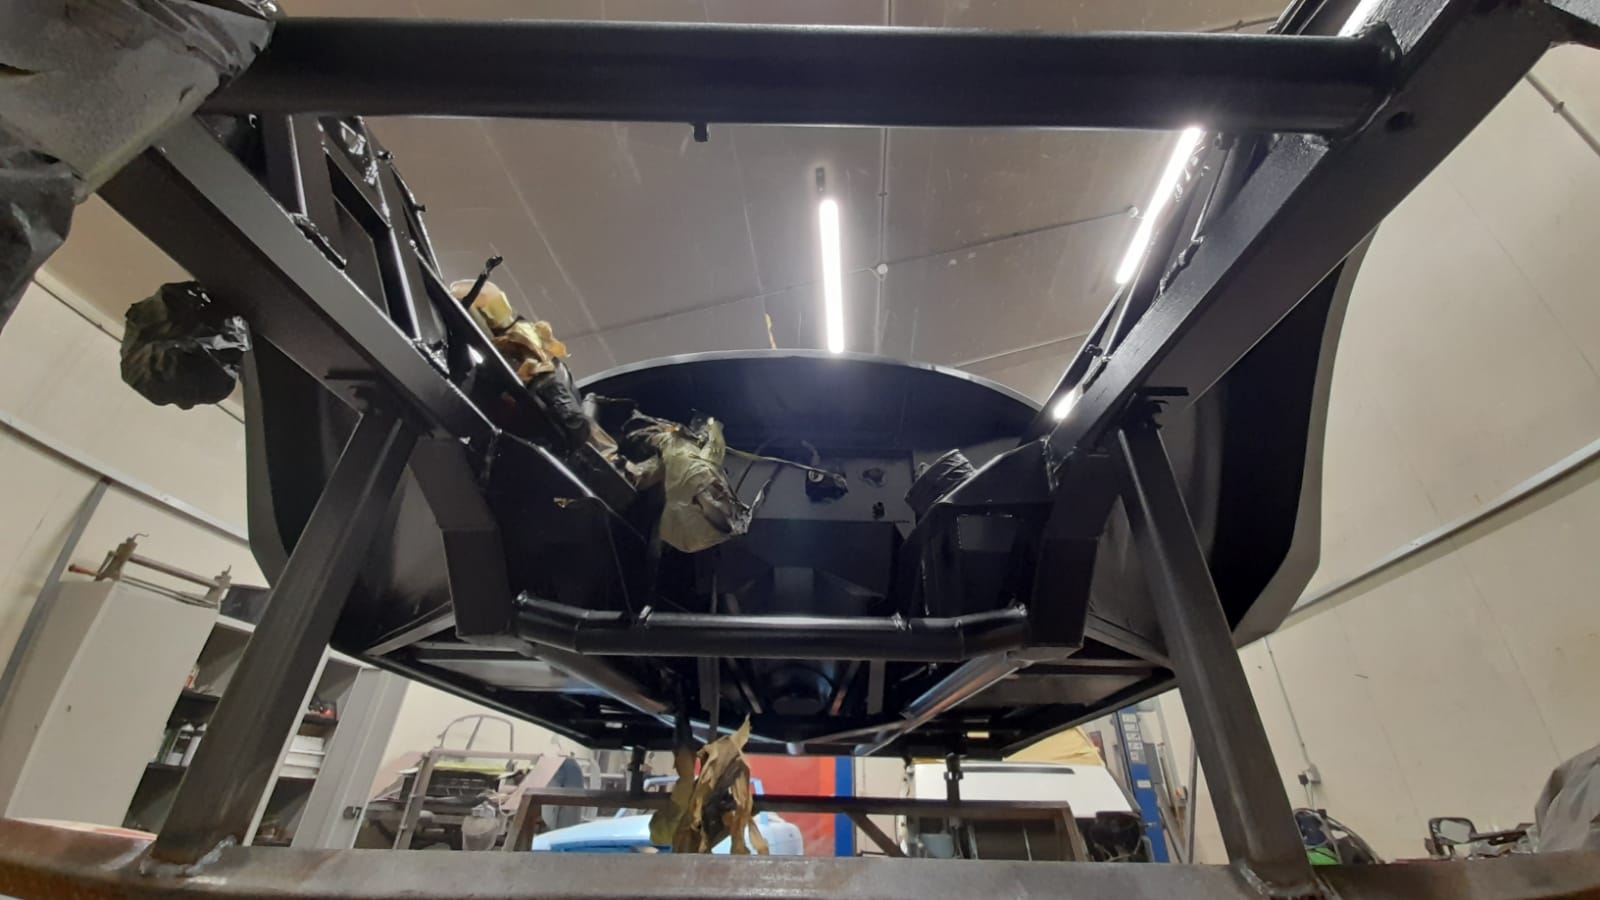
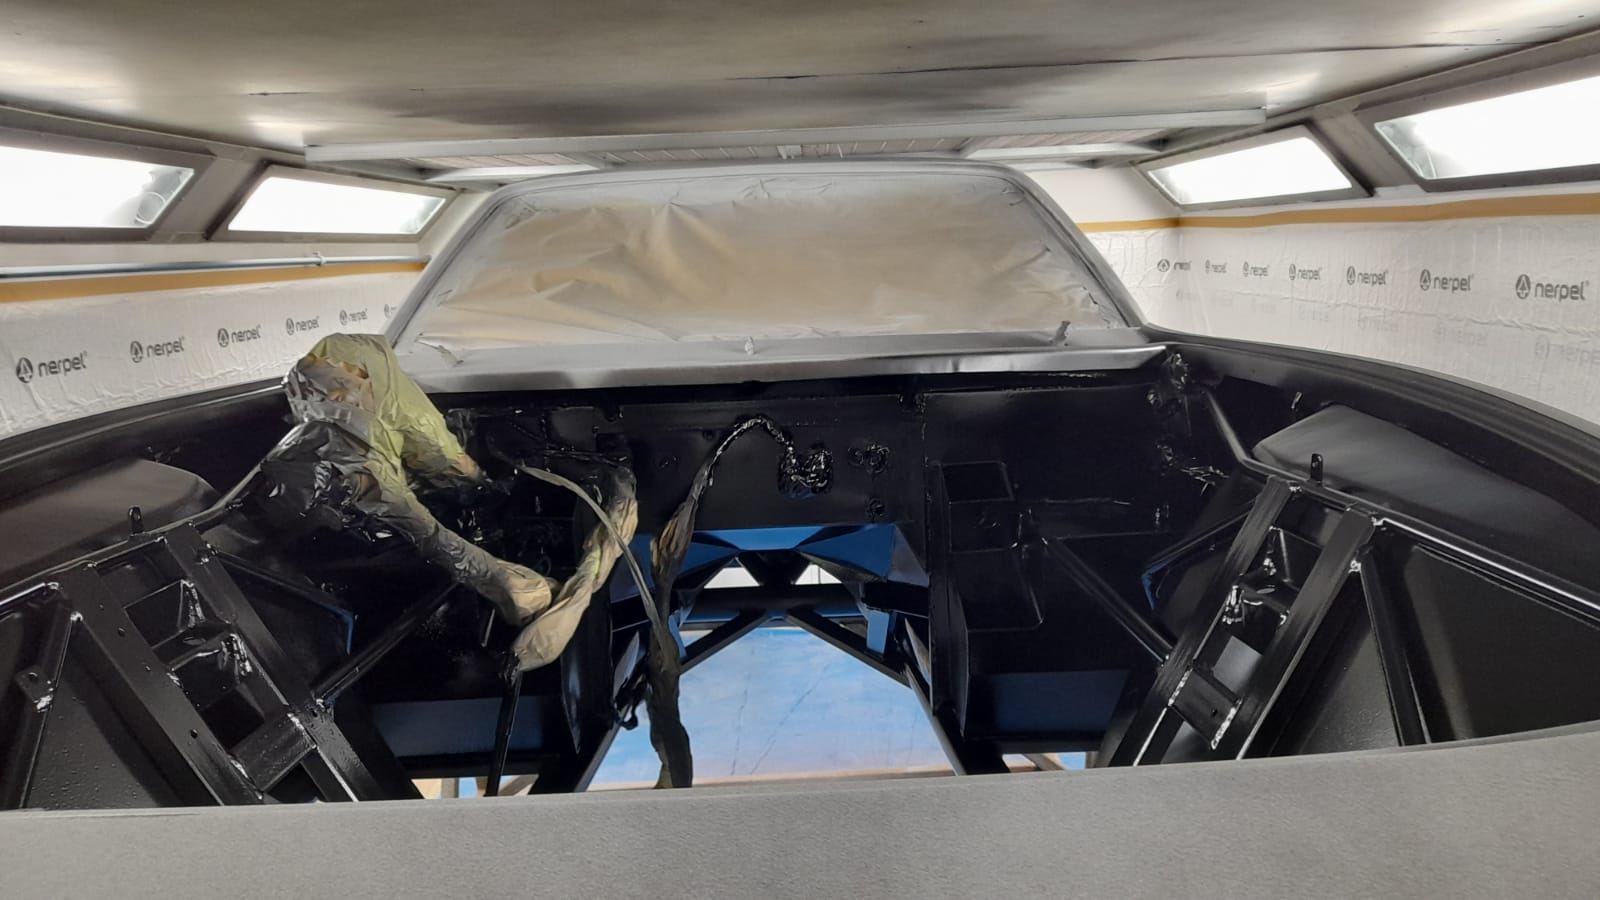
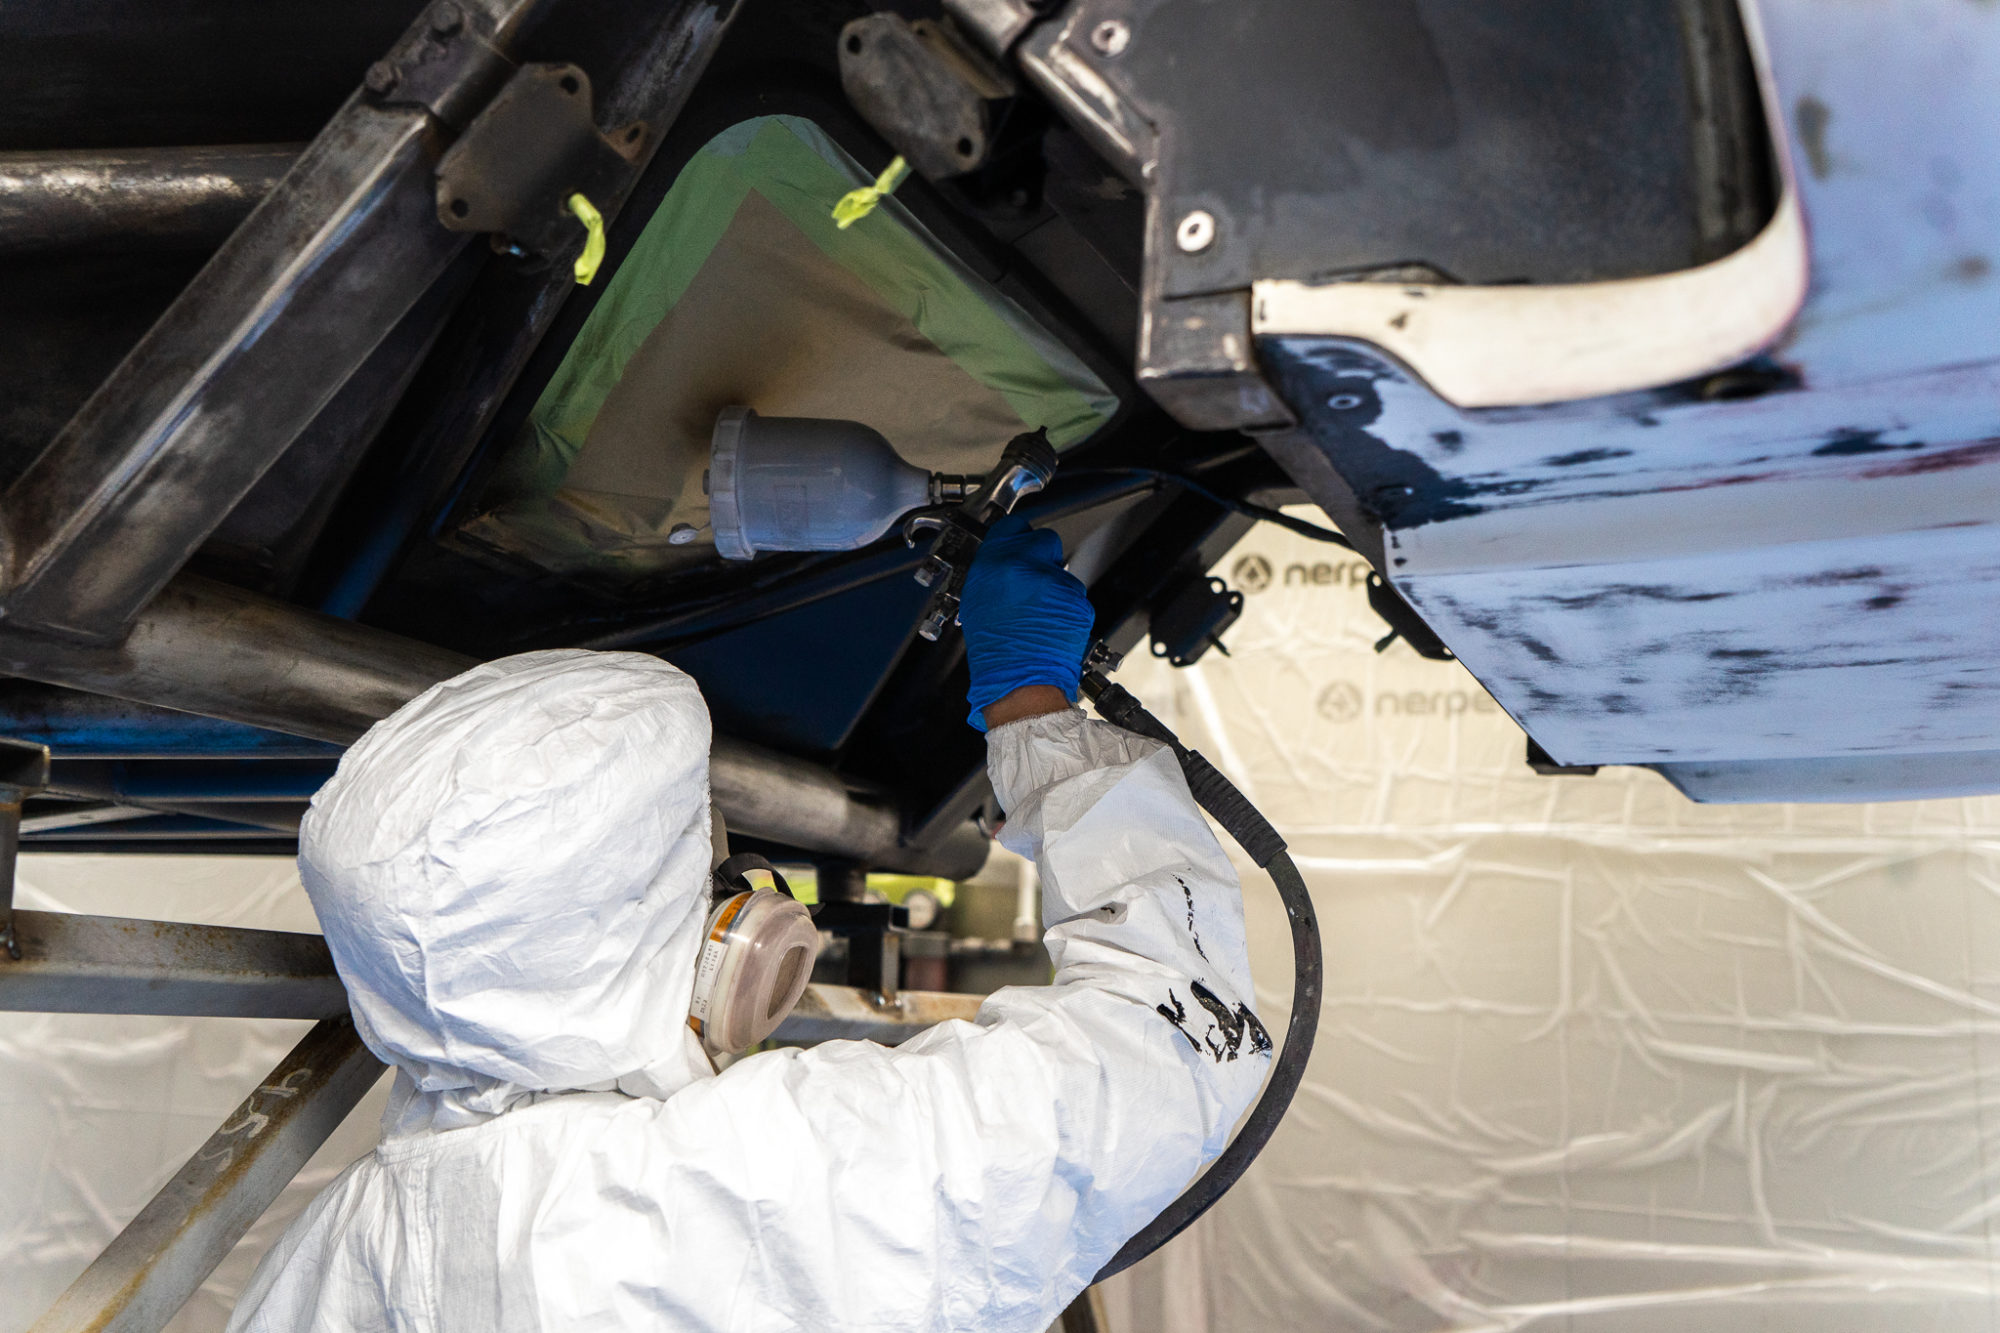
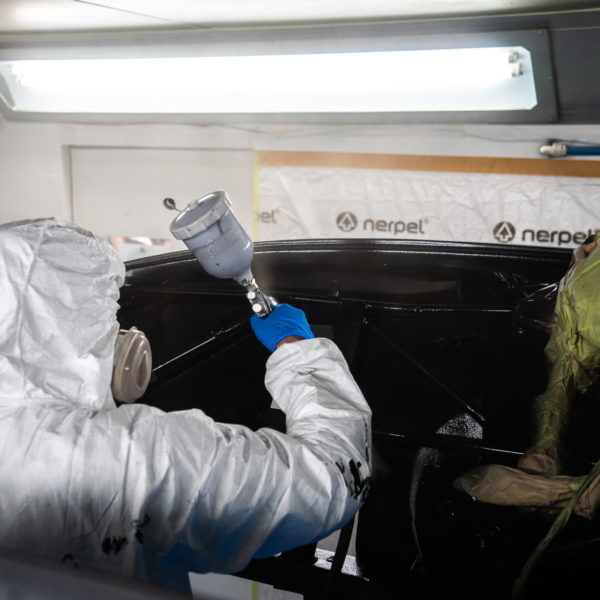
The next step was for Scott to apply the black epoxy primer on the chassis and engine bay. This black layer is a non-porous, high-bonding, anti-corrosive primer.

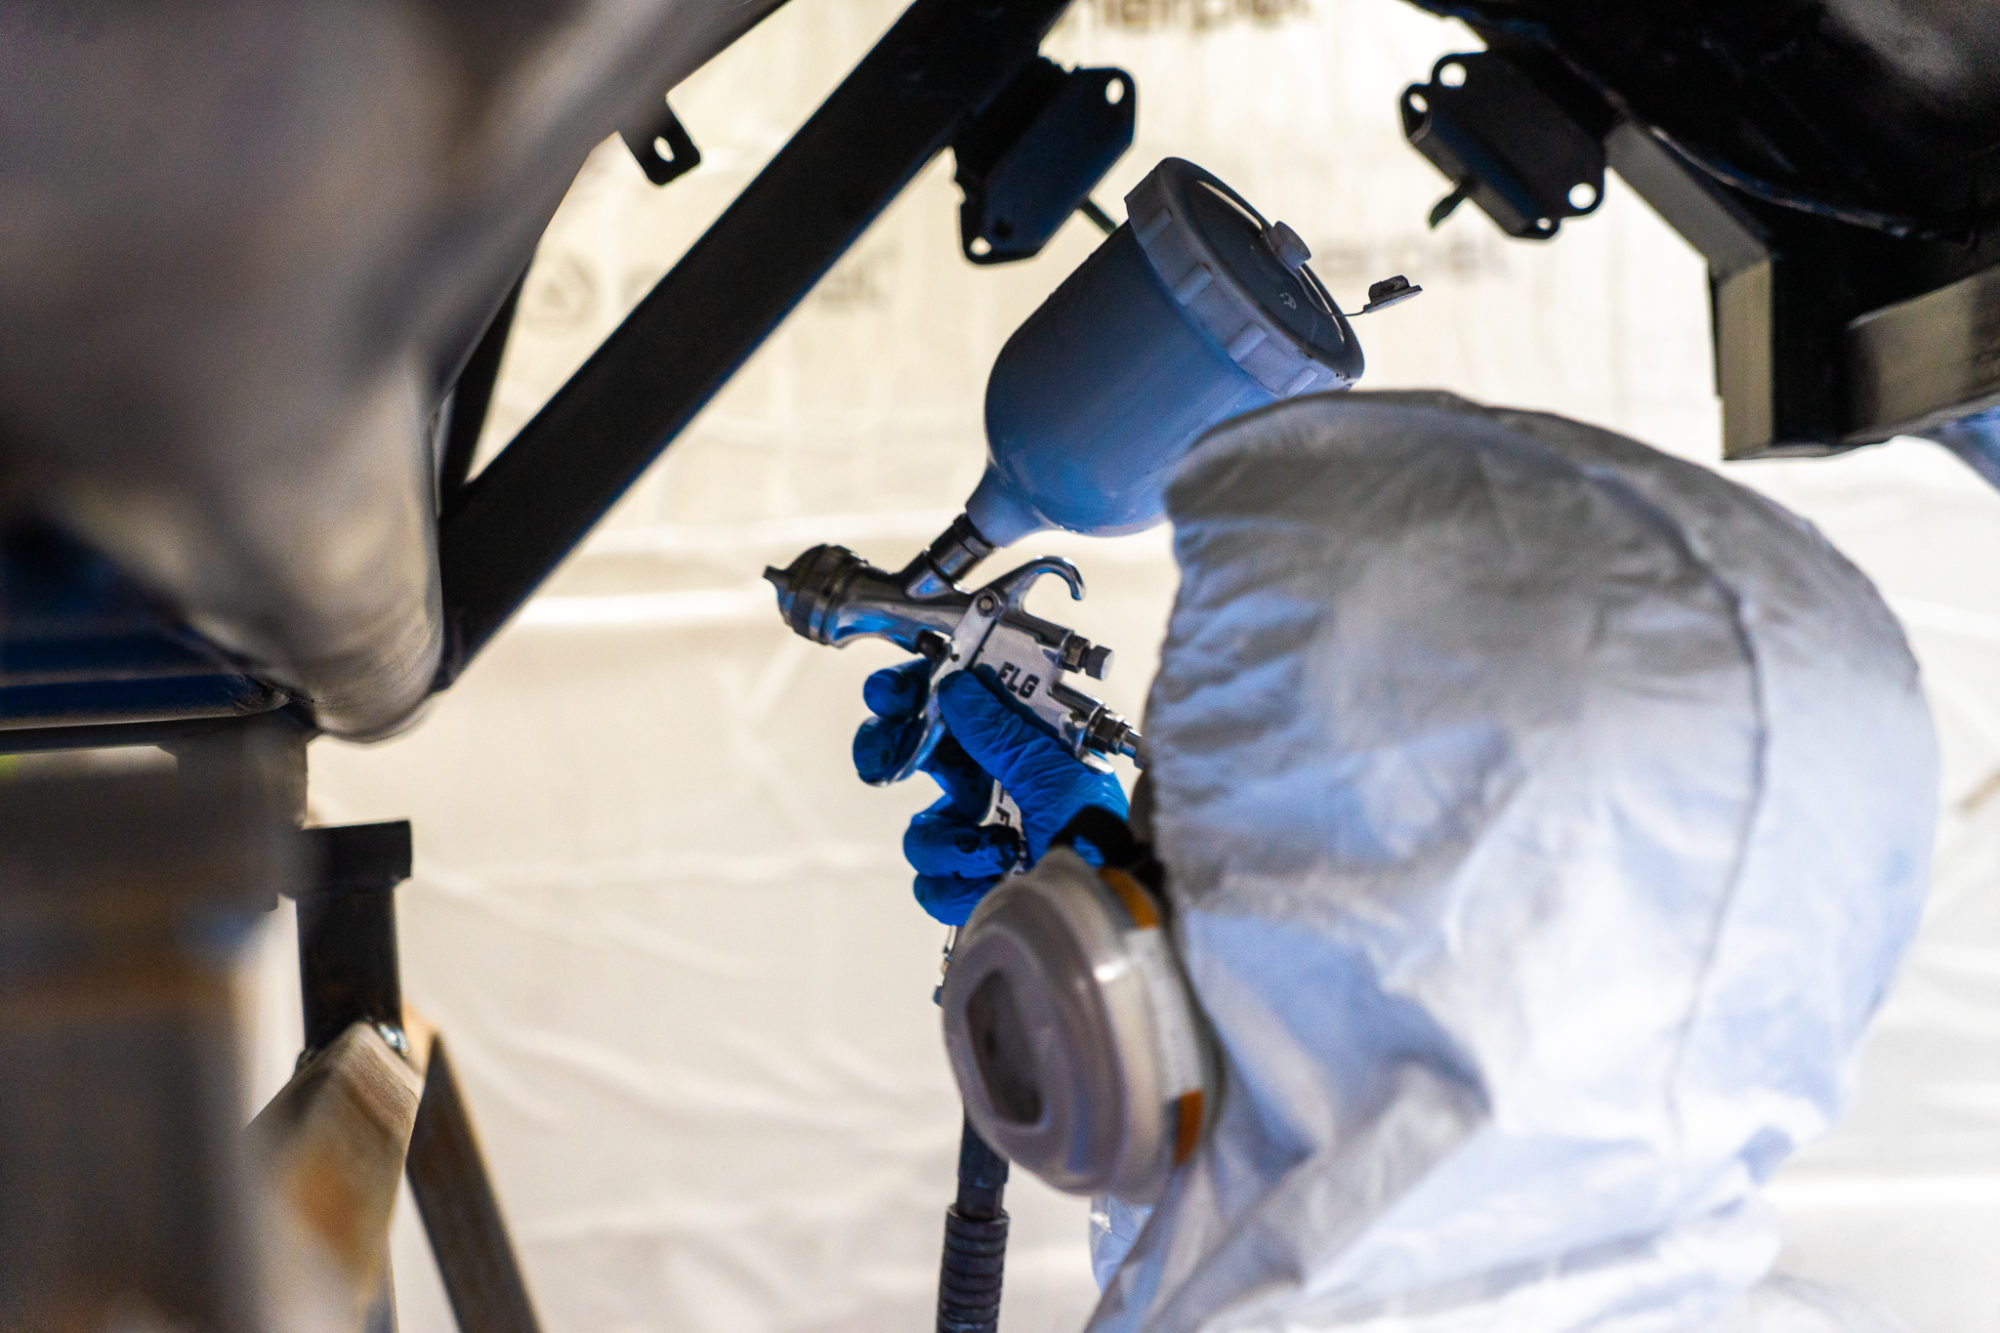


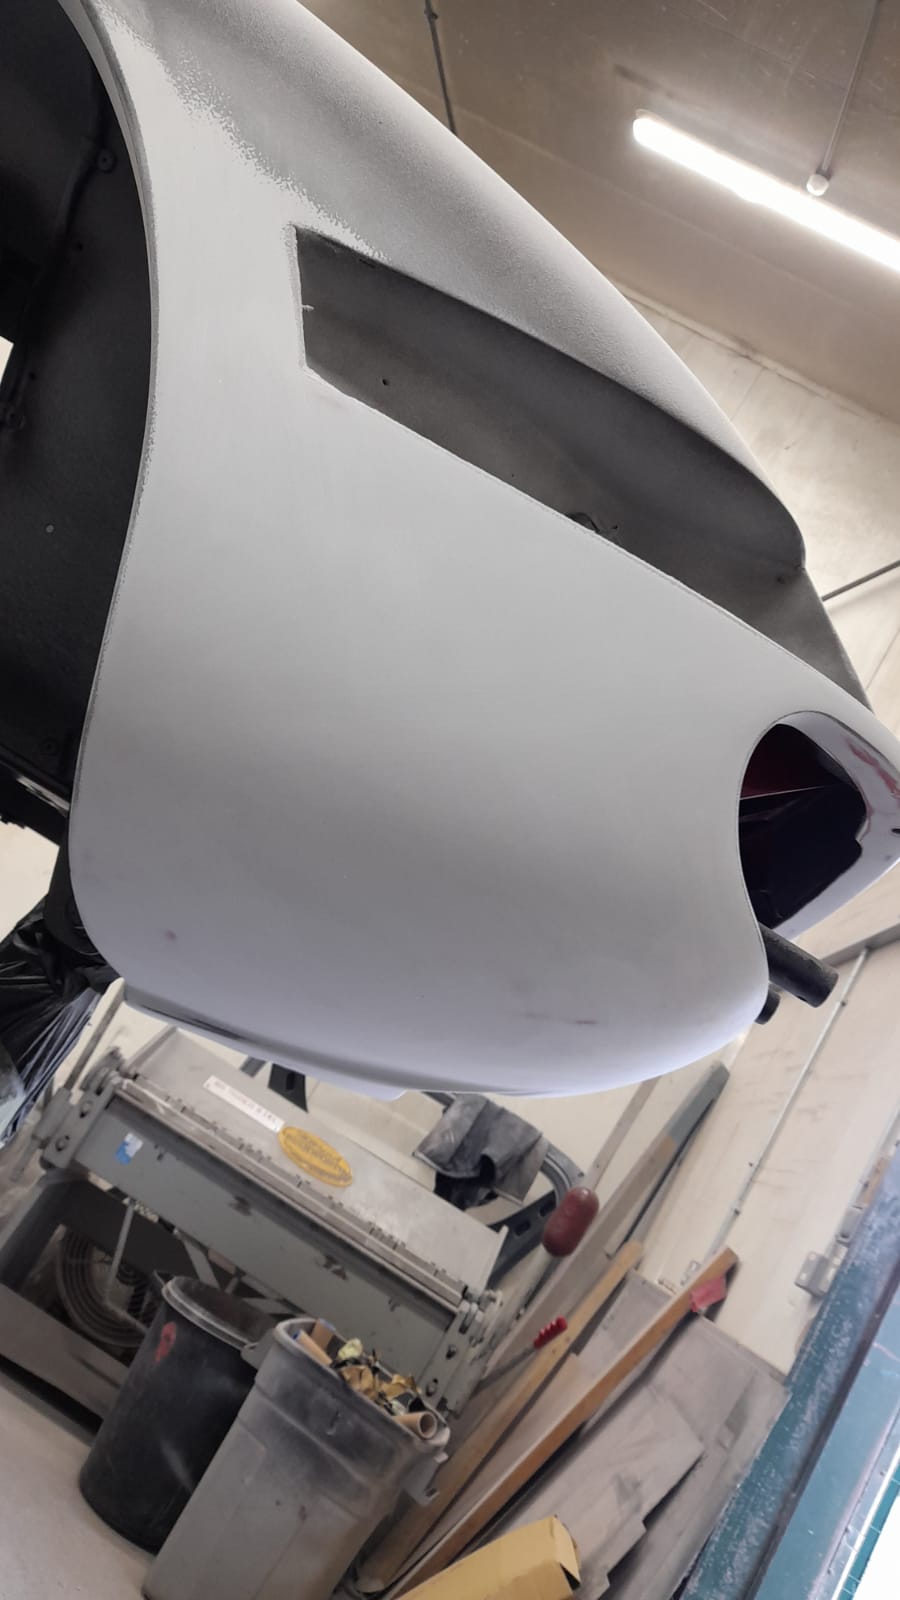
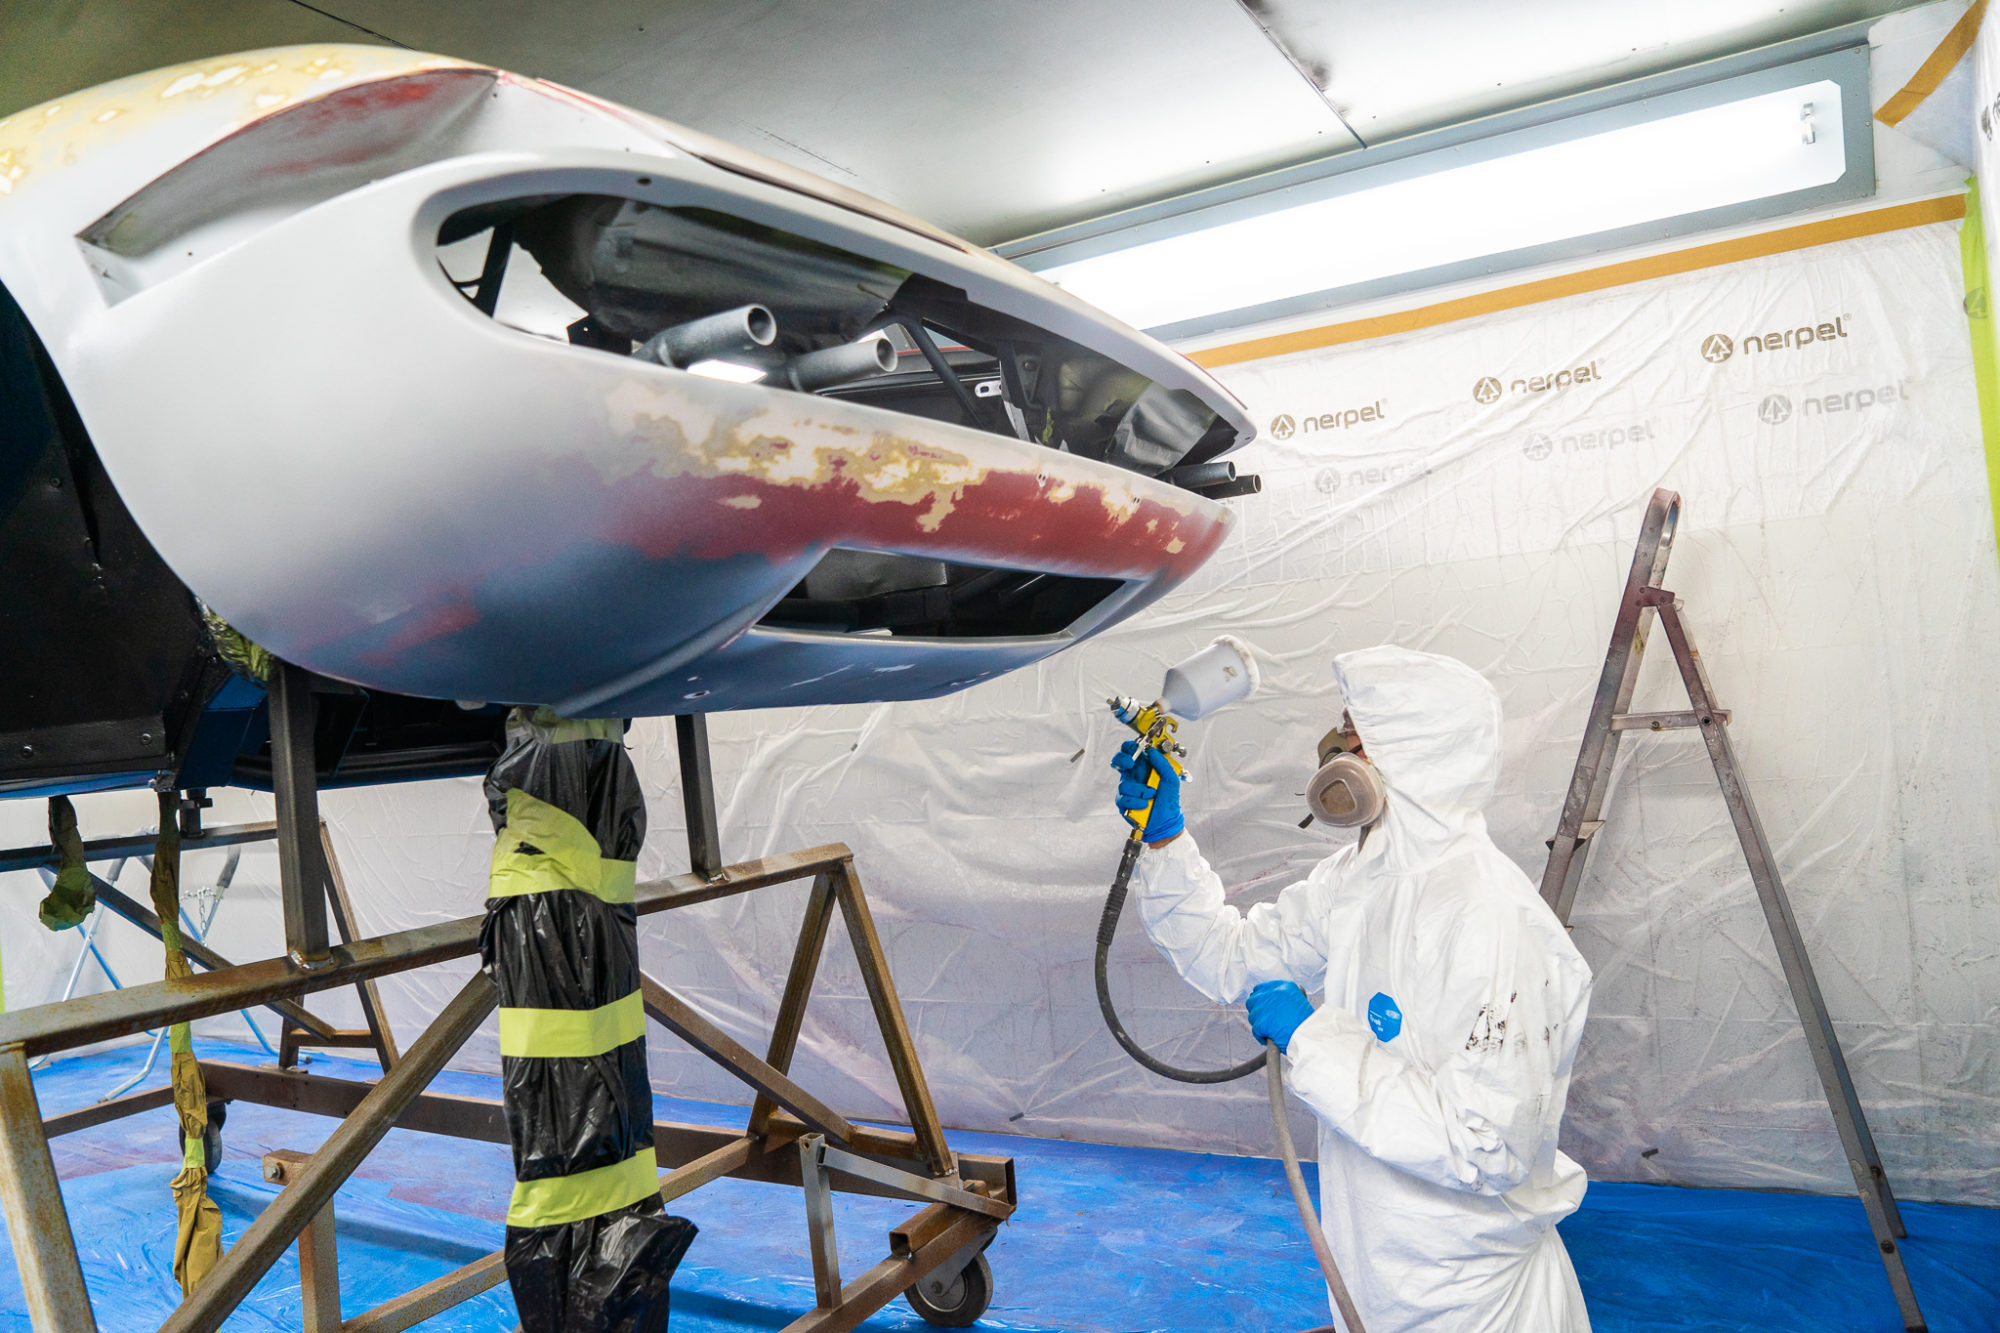
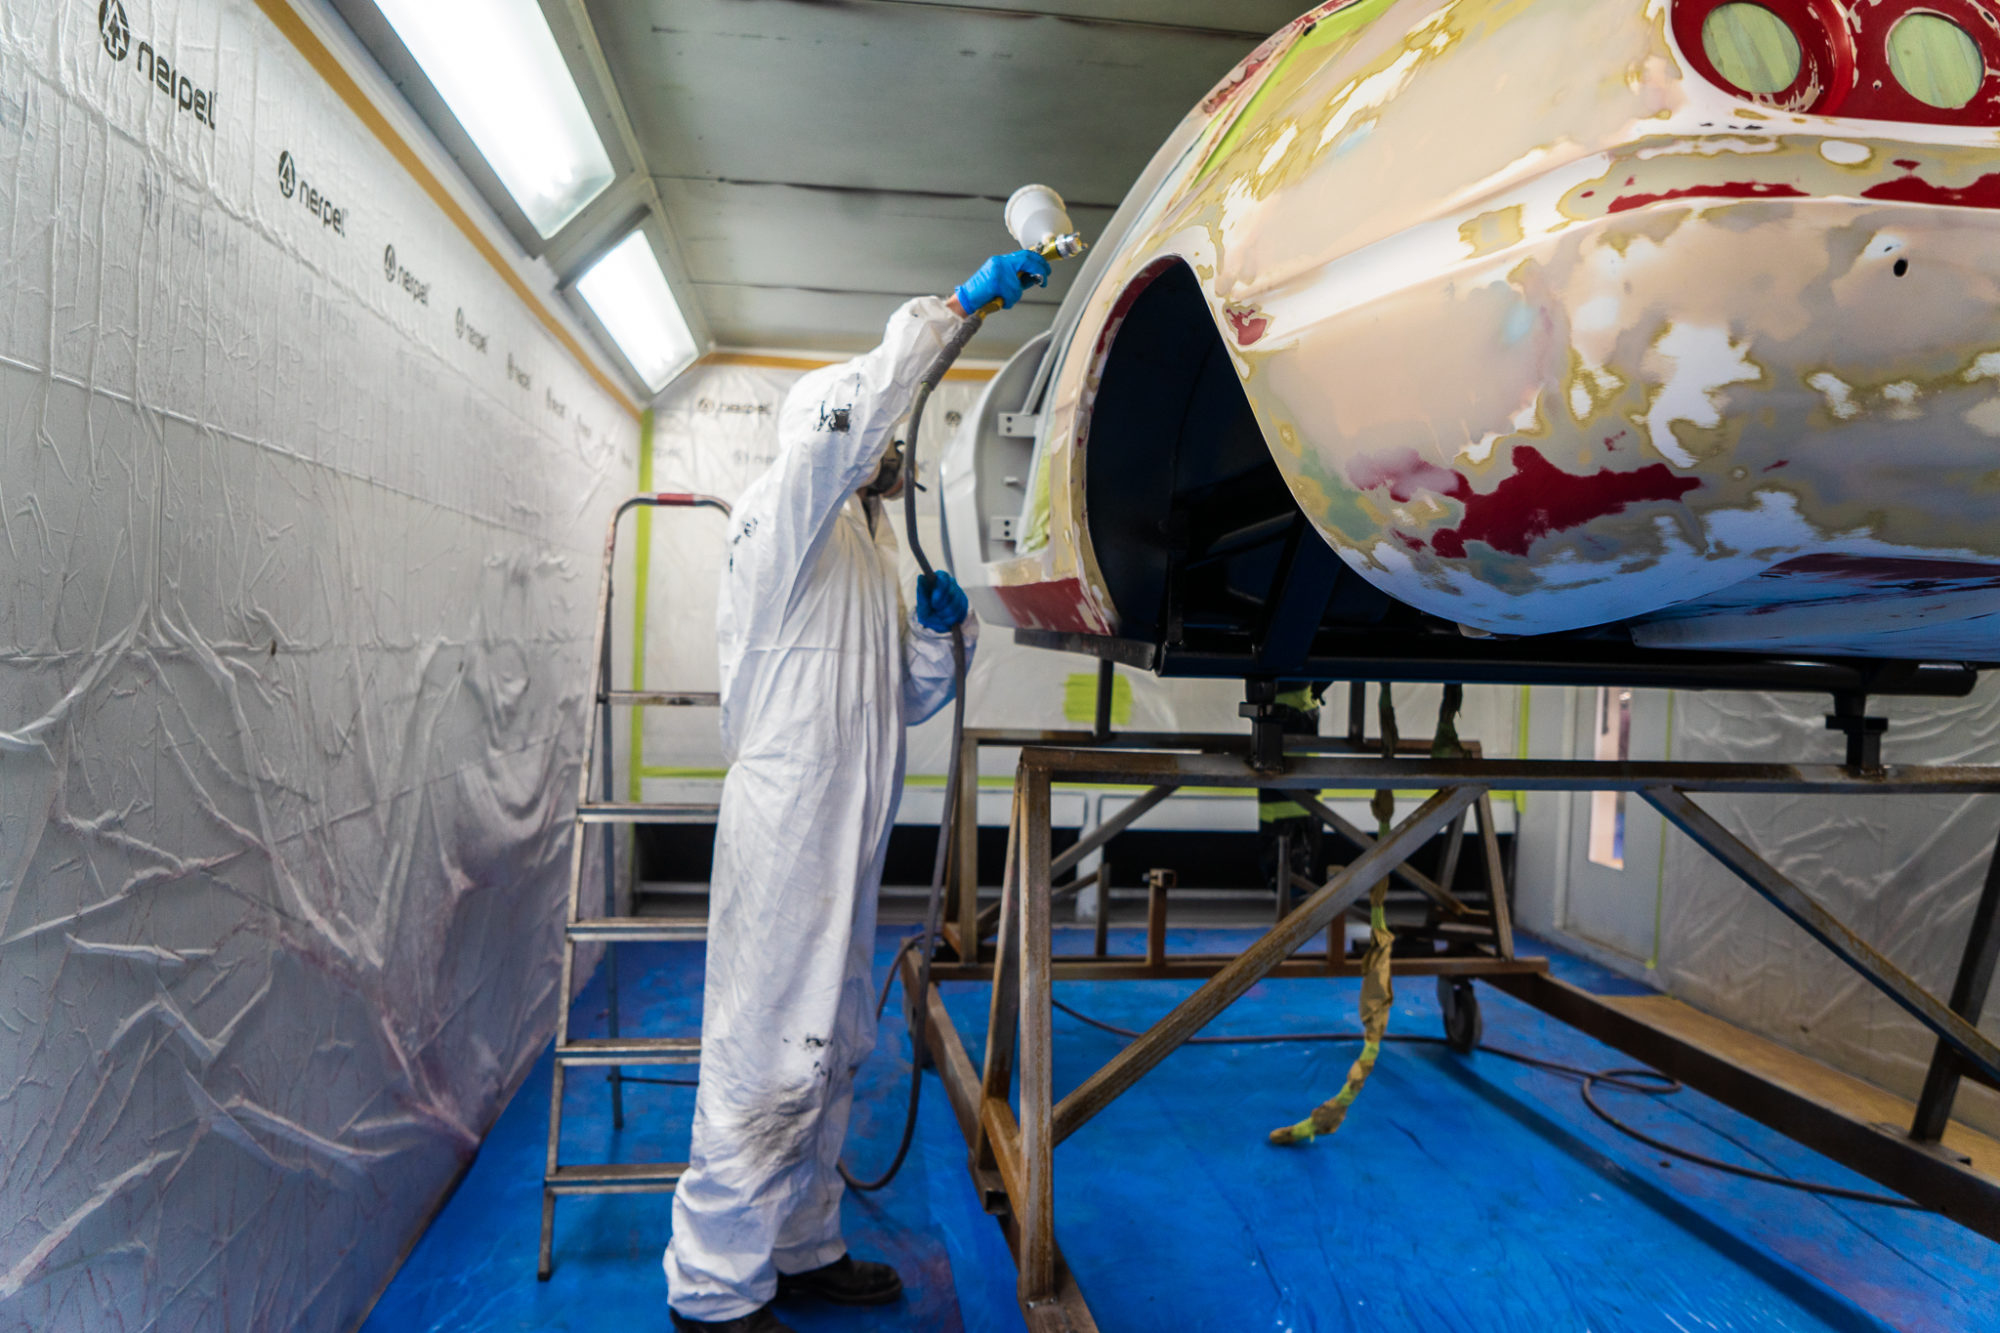
Scott’s next task was to spray on Polyfan Primer which is a polyester filler primer.


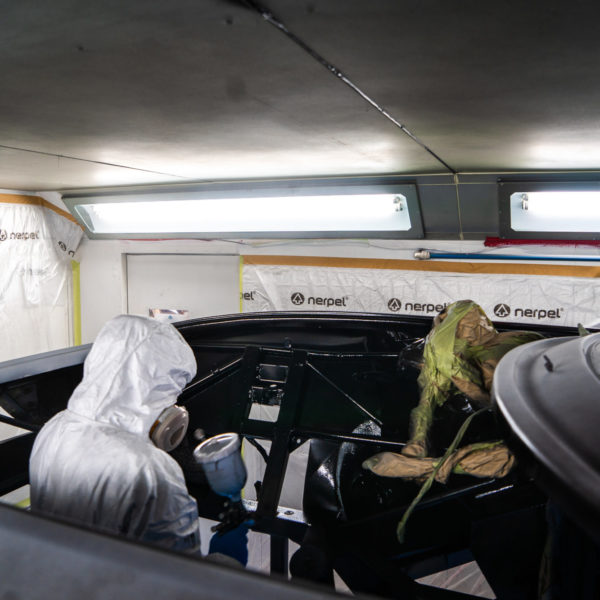
The final step was to apply an anticorrosive primer onto the underside of the Daytona. These steps can take all day as each layer must dry before applying the next. The advantage of this is that the paint booth is kept warm, making a cosy workplace during these cold winter days.
If you’ve been following us for a while, you’ll know we love getting behind the scenes shots and behind the behind the scenes shots! Here’s Ellie, our in house photographer and latest member to the marketing team, snapping Scott prepping the Daytona.
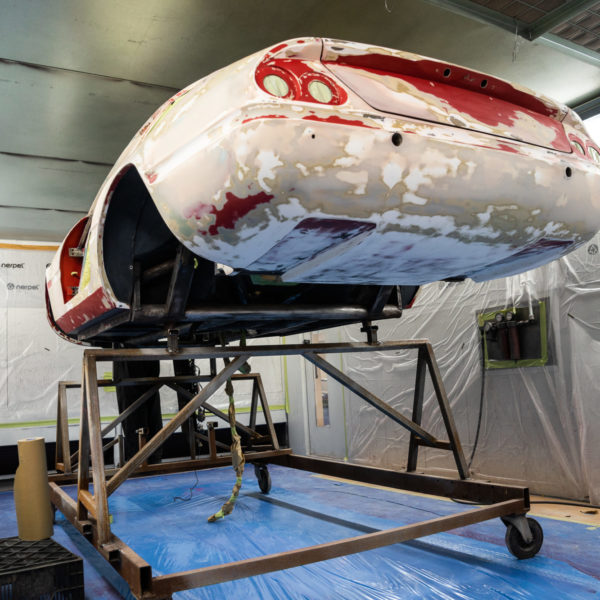
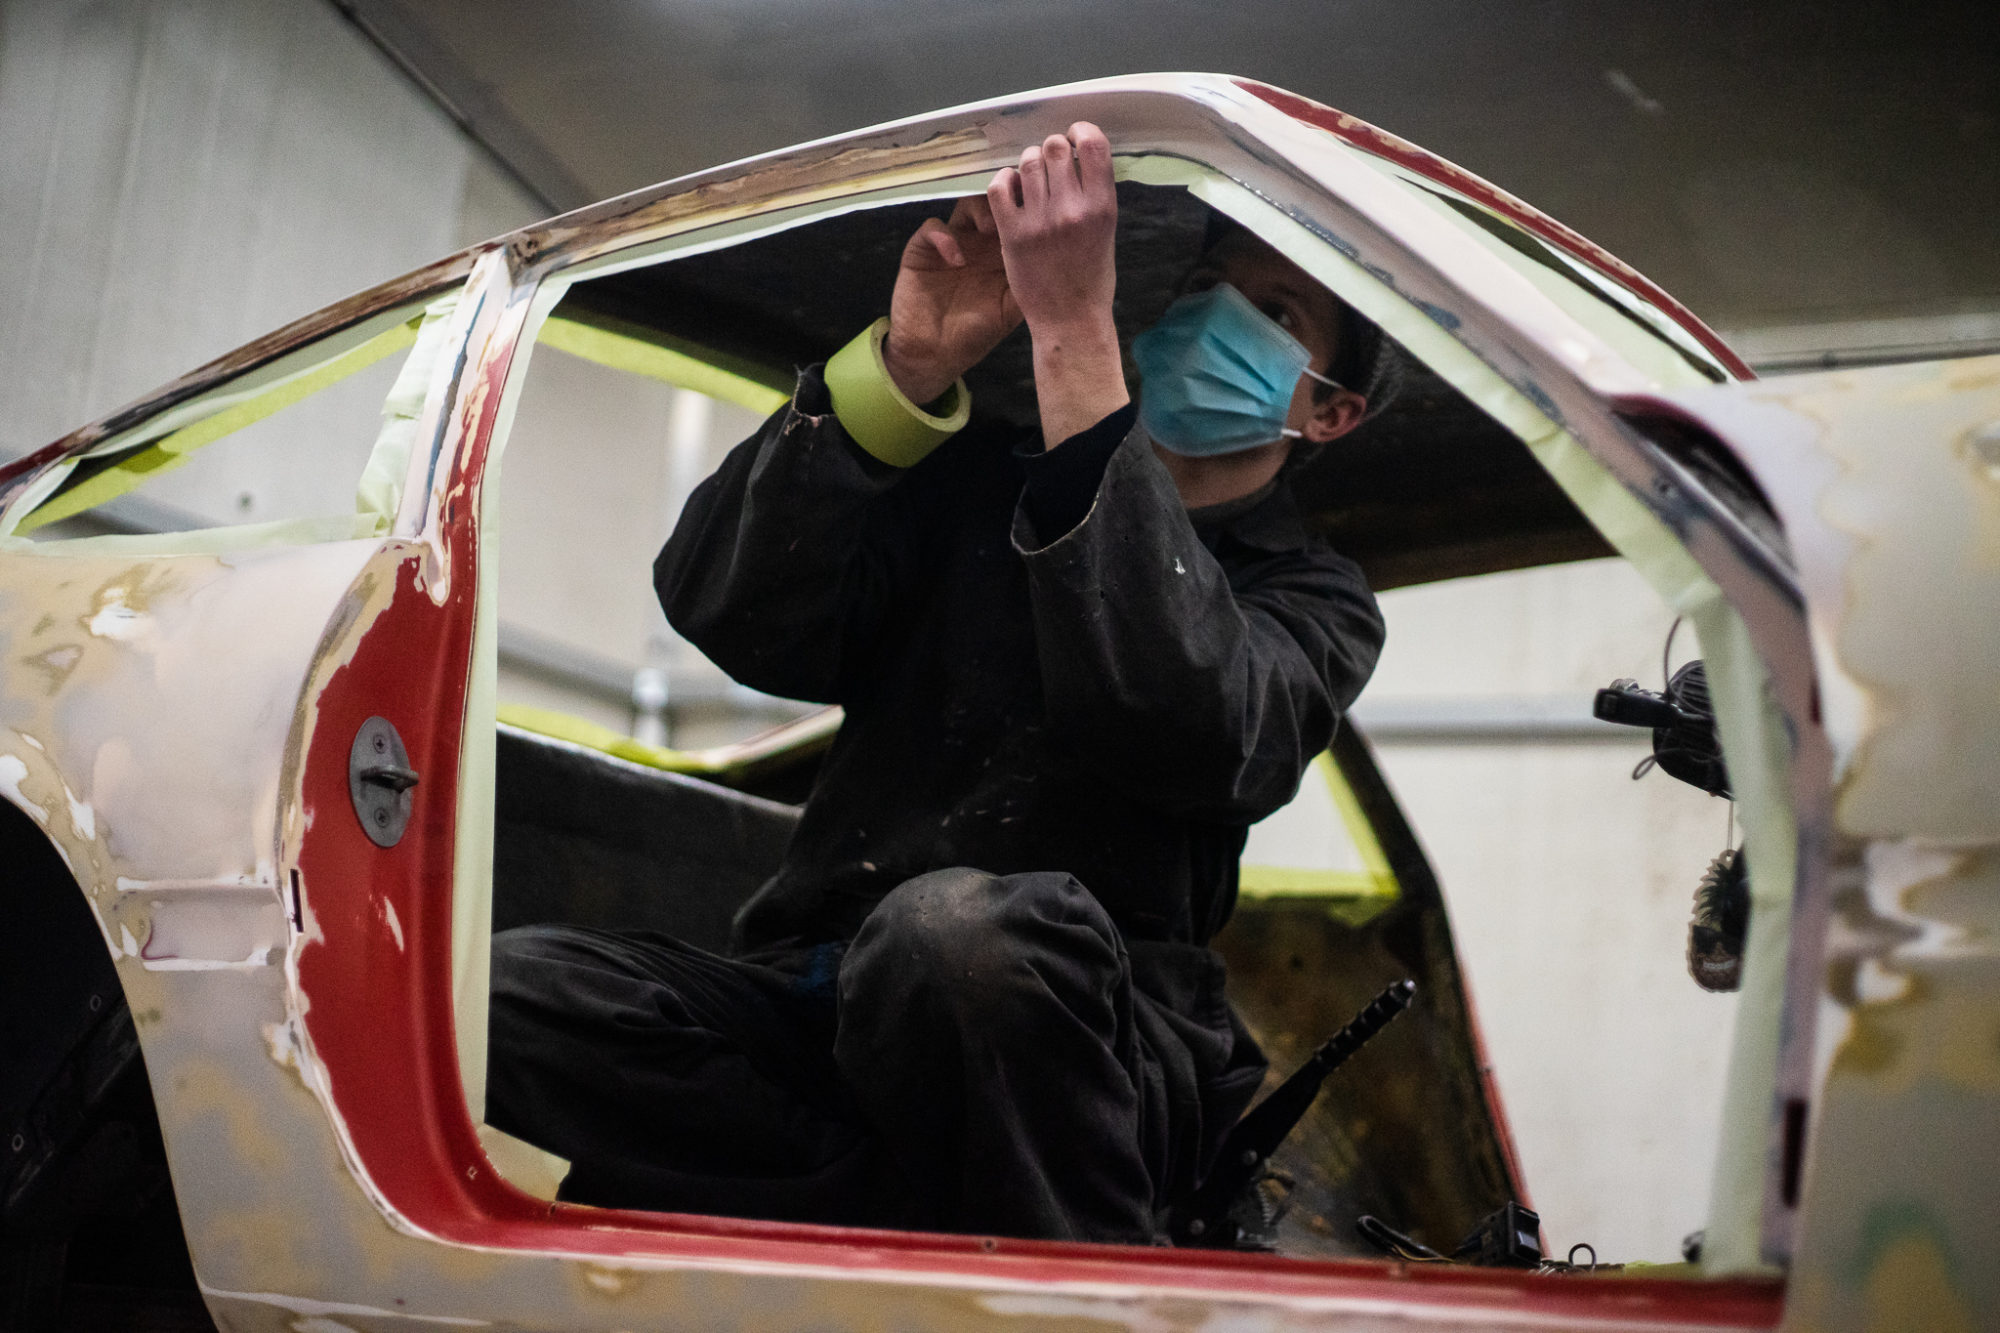
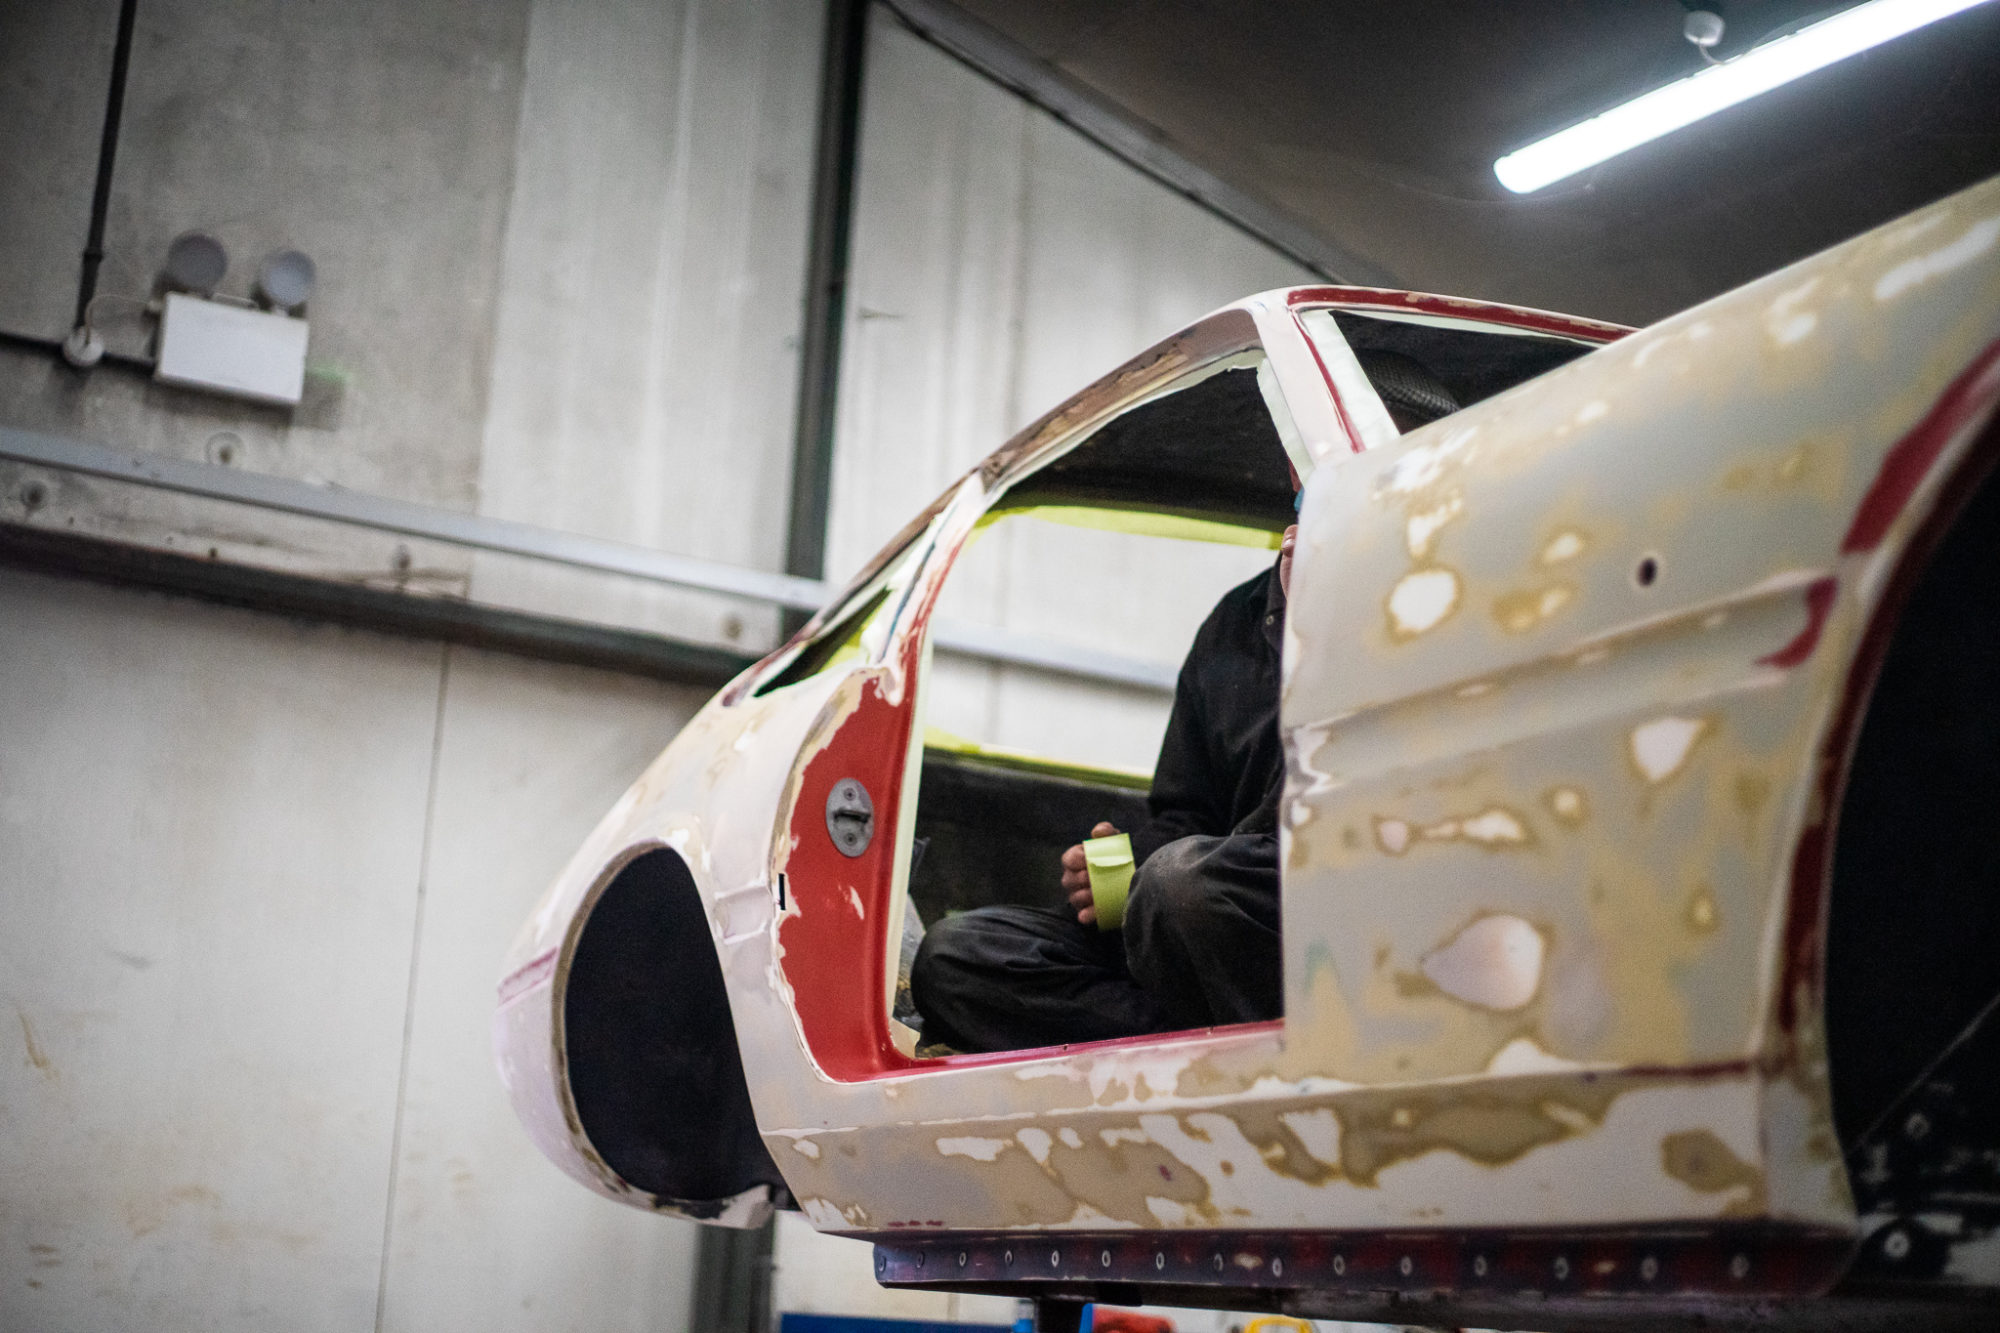
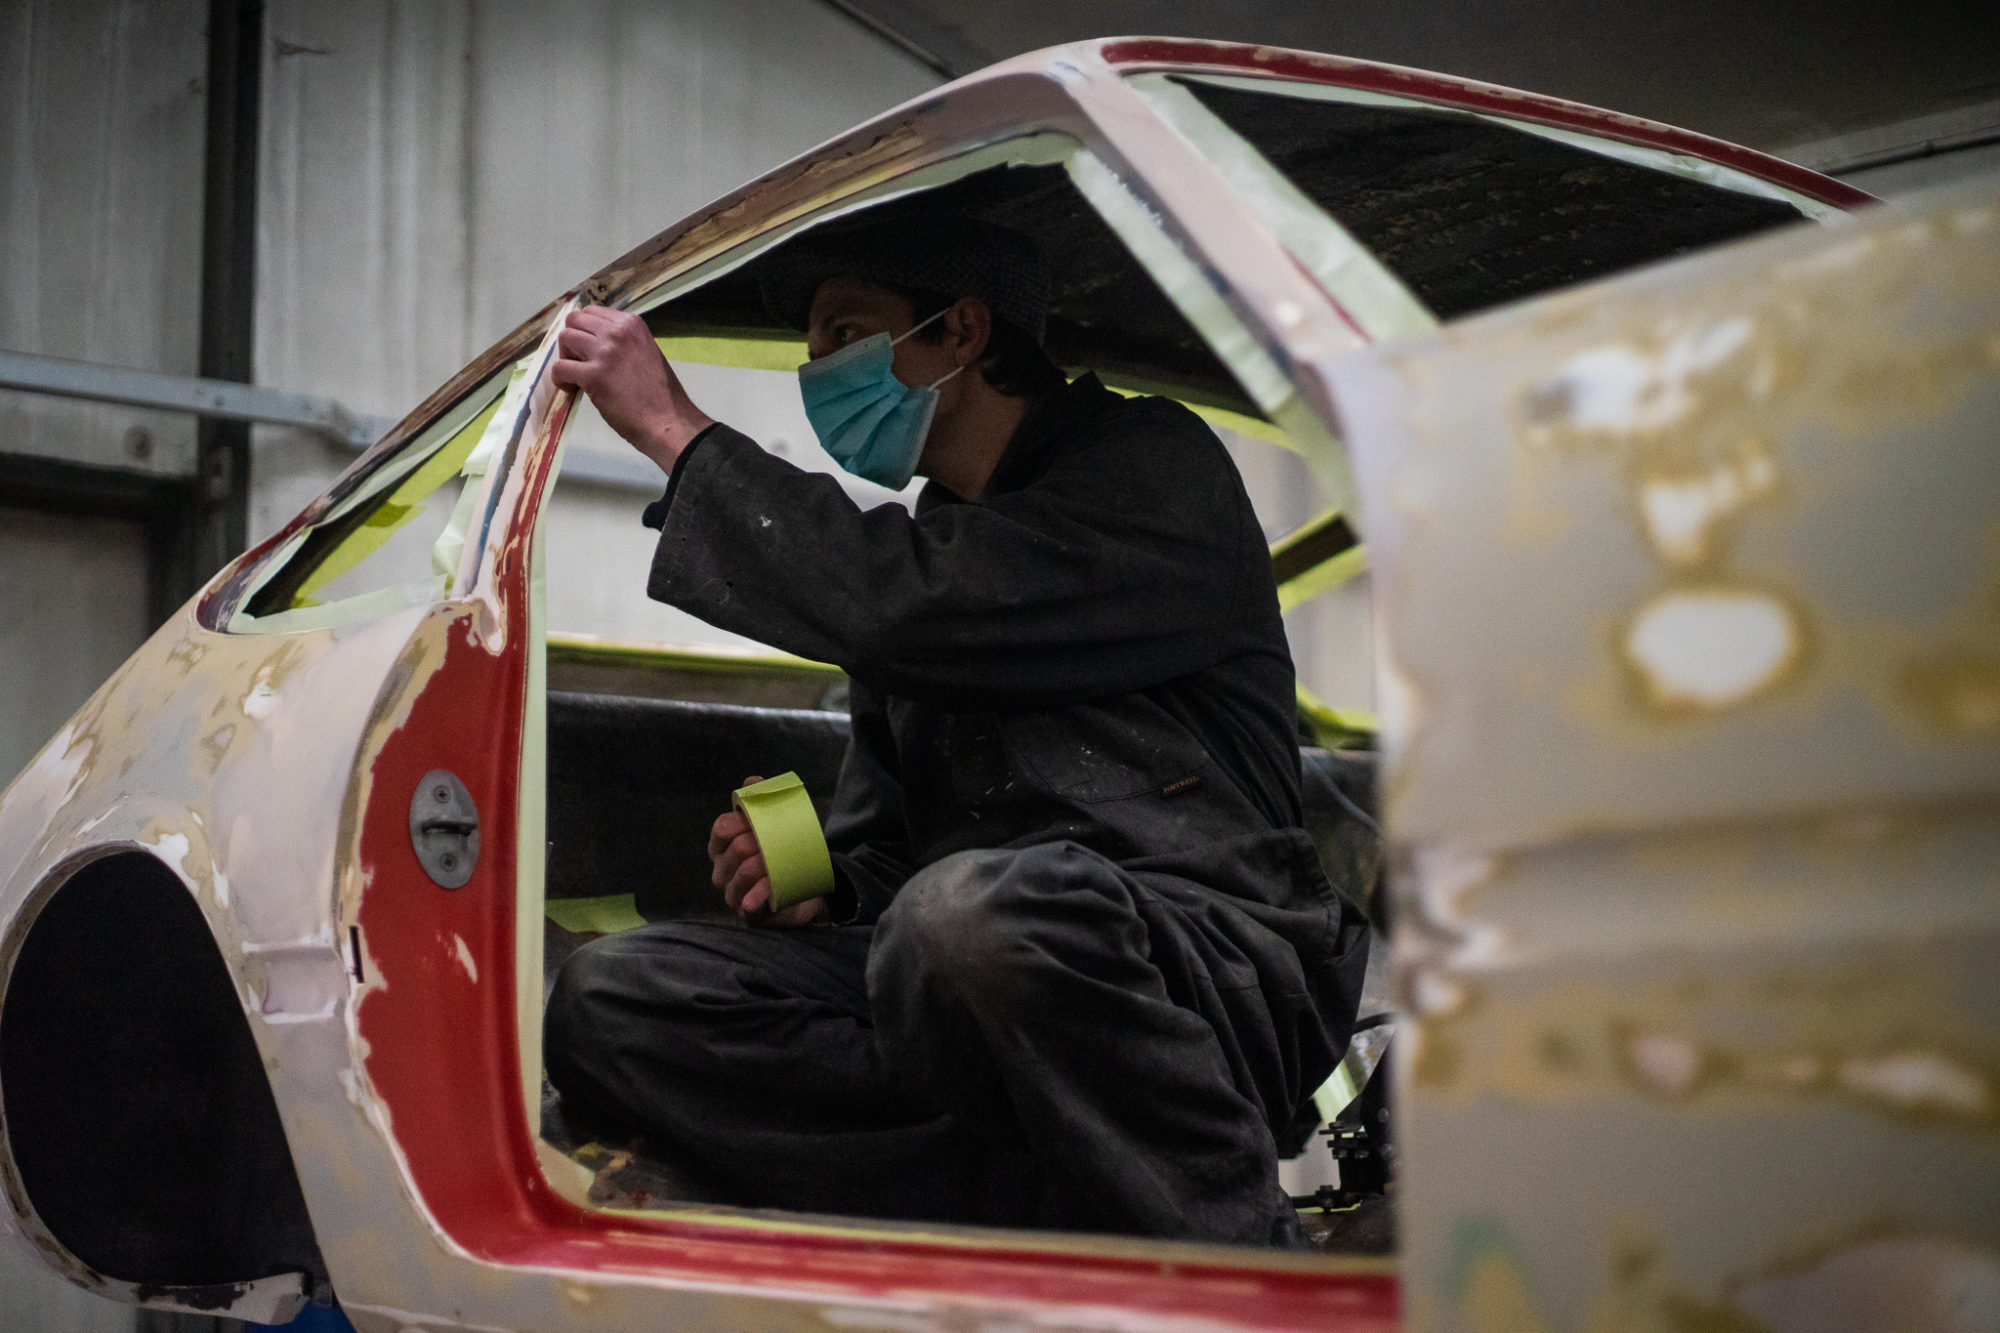
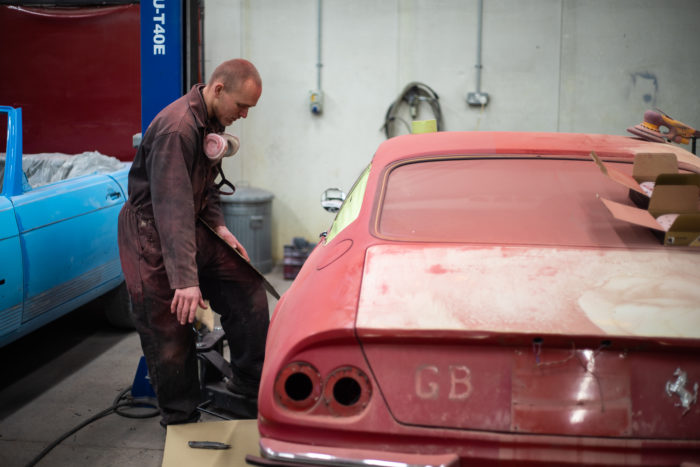
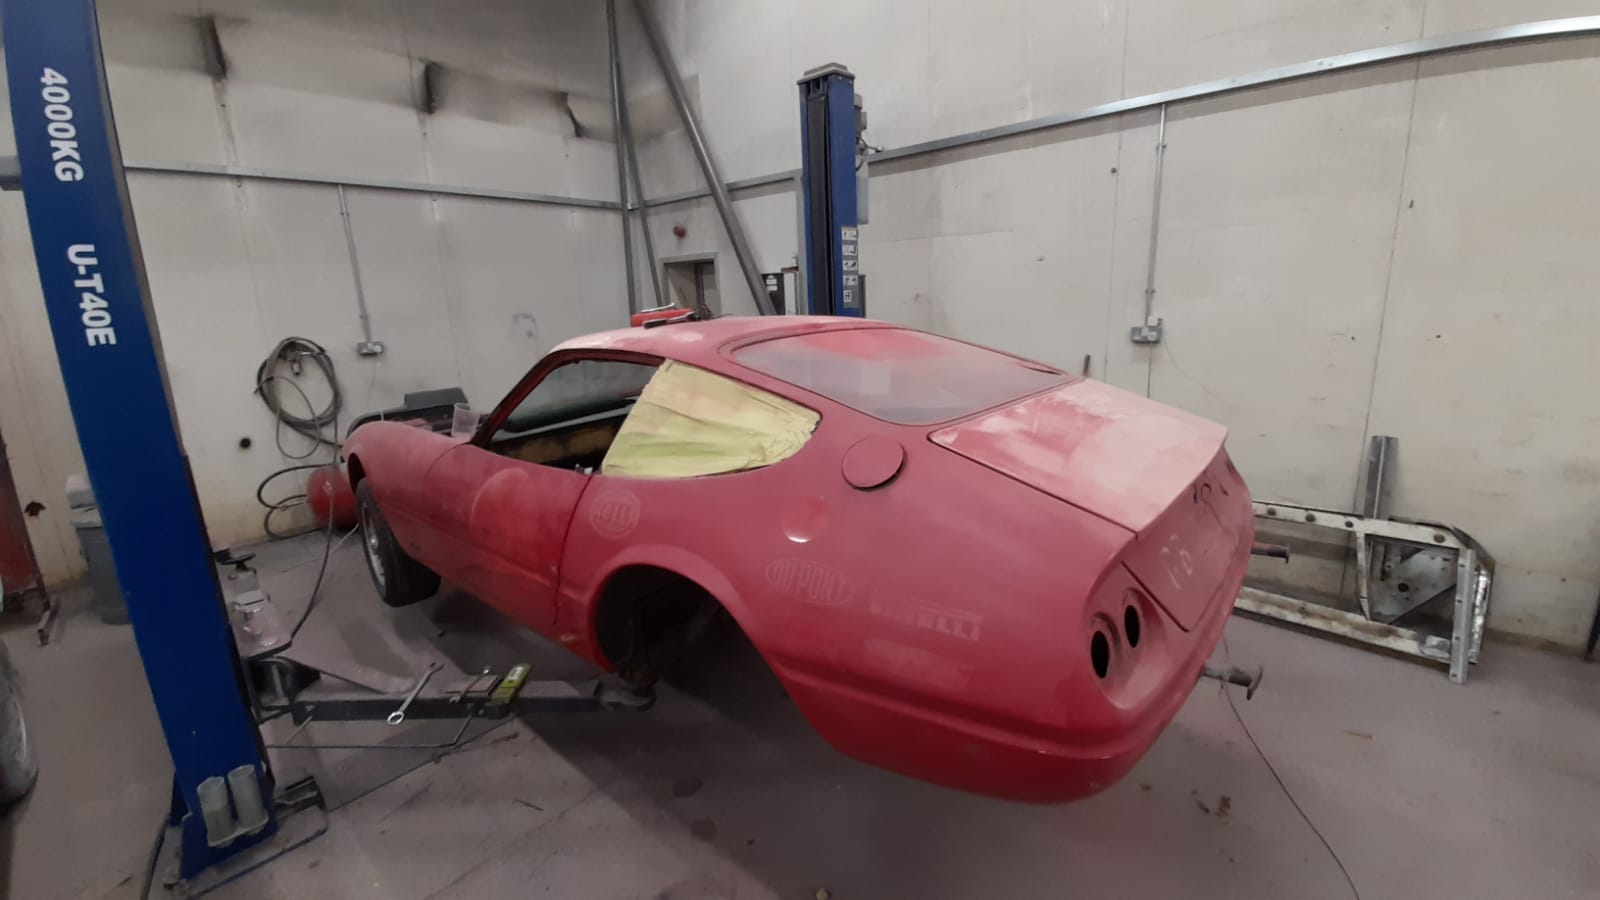
The Daytona is days away from entering the paint shop and we can’t wait! Scott is currently masking it up to protects elements of the body we don’t want to be painted such as the sills.
We’ve also engineered a frame for the Daytona to sit on to allow Scott to get under and around it easier.


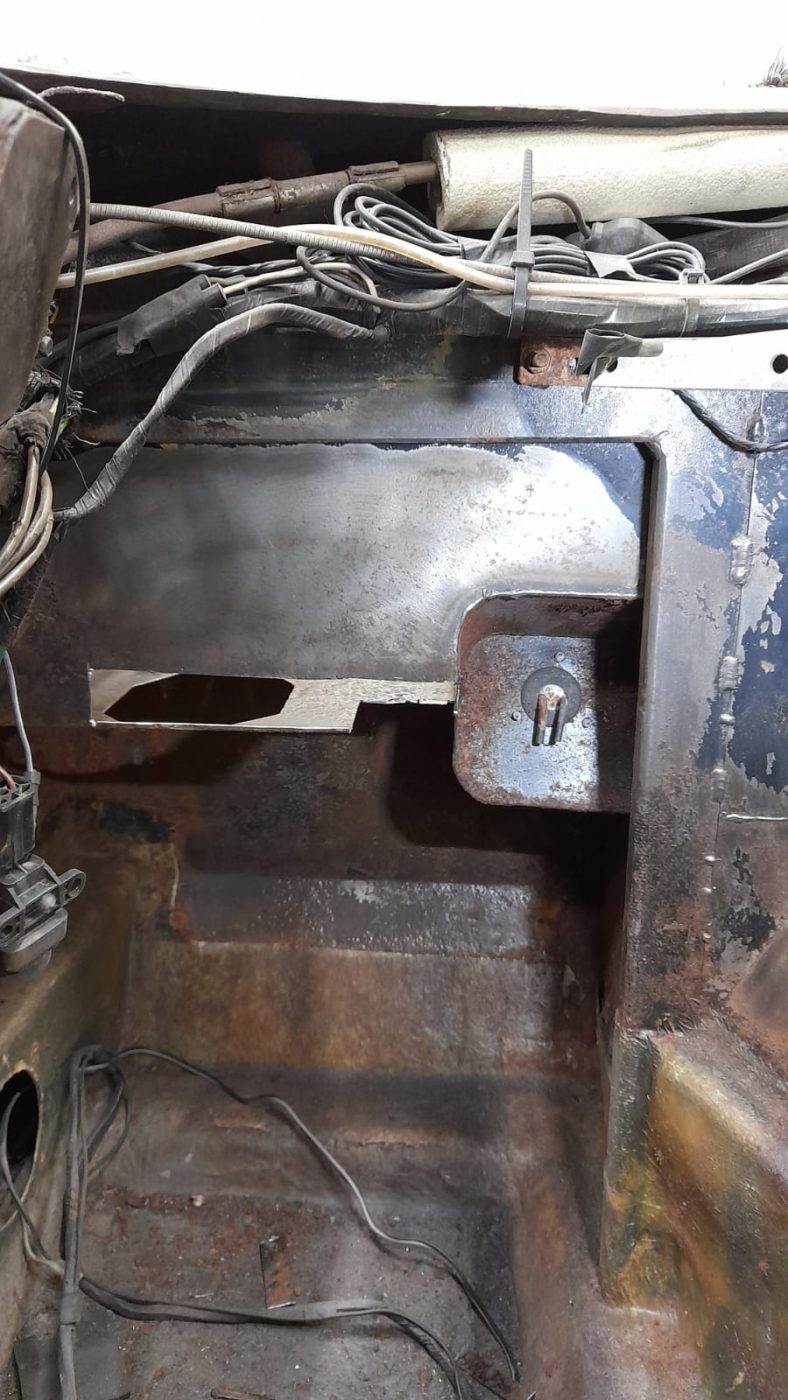
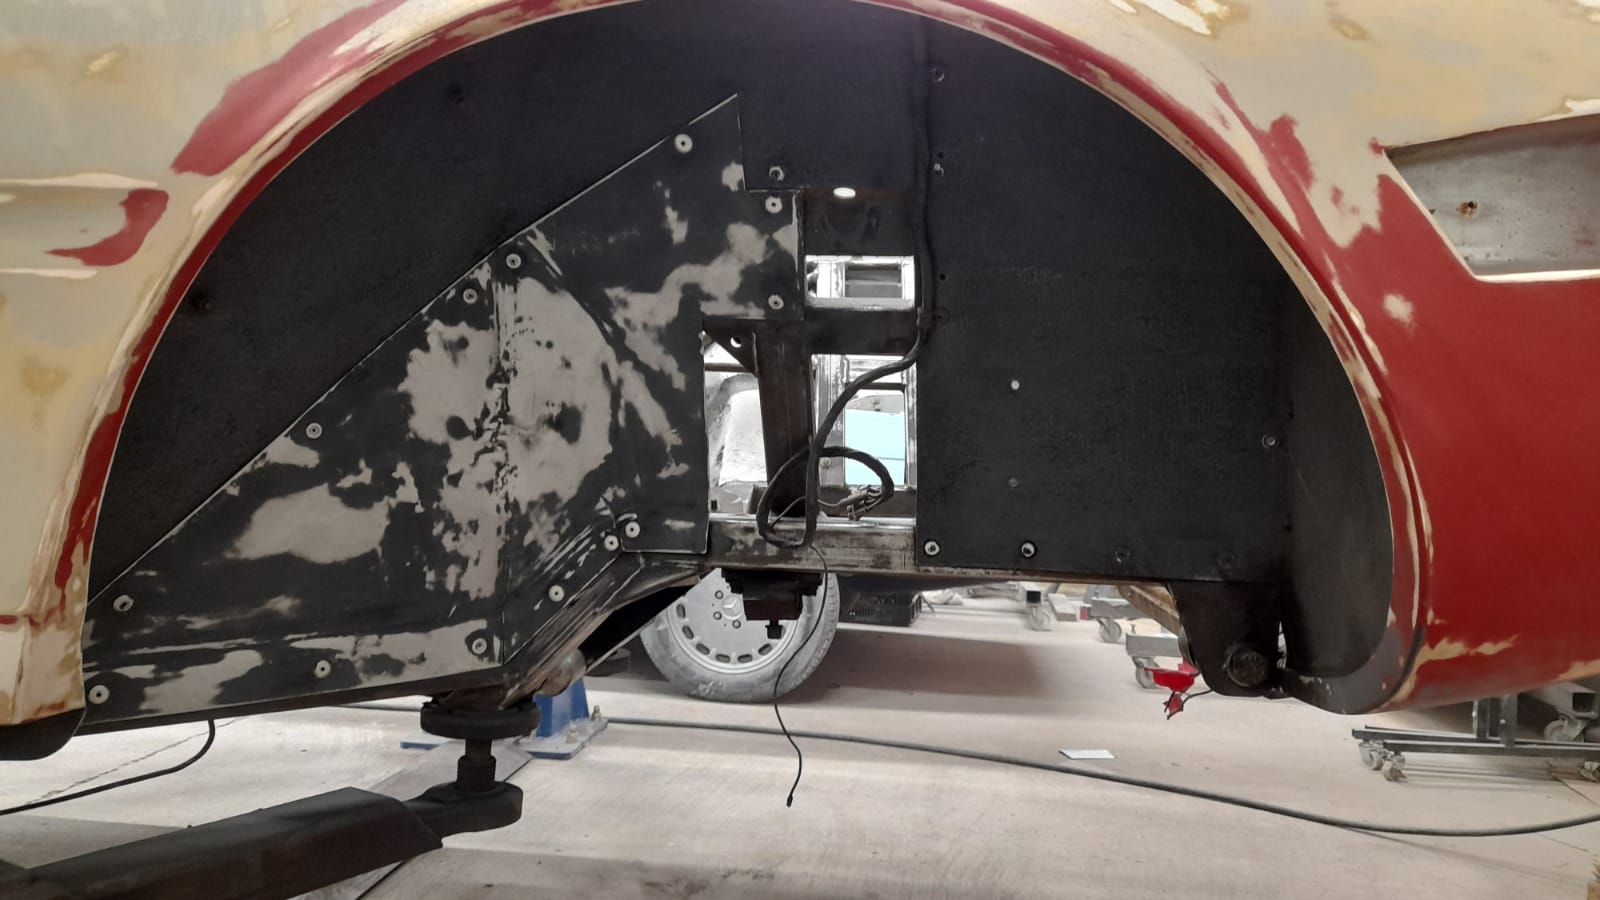
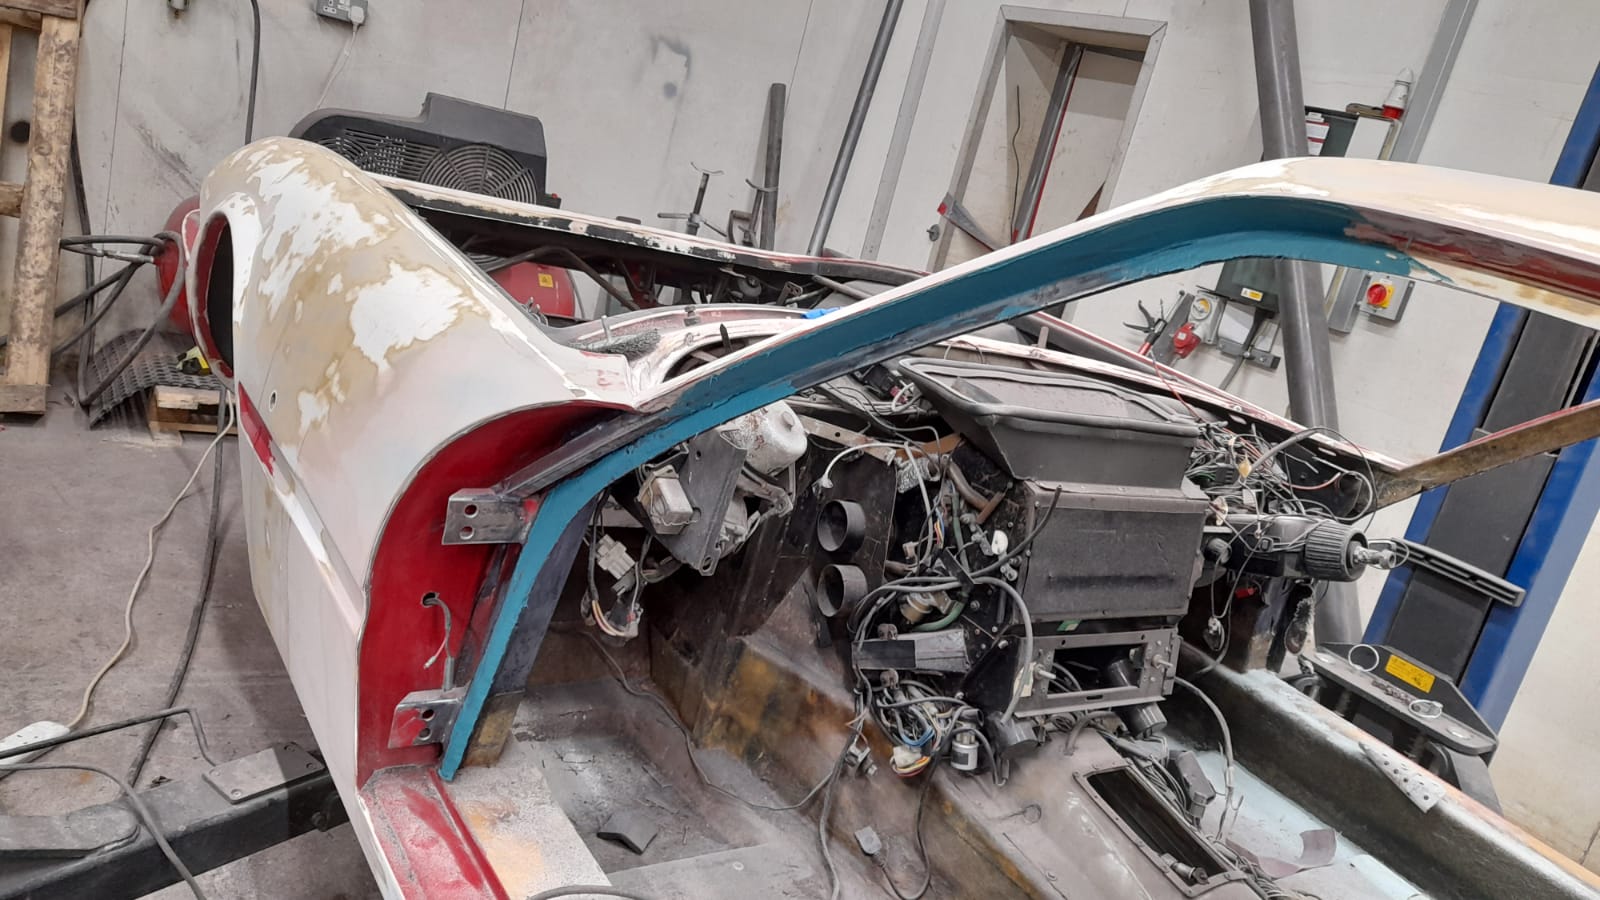
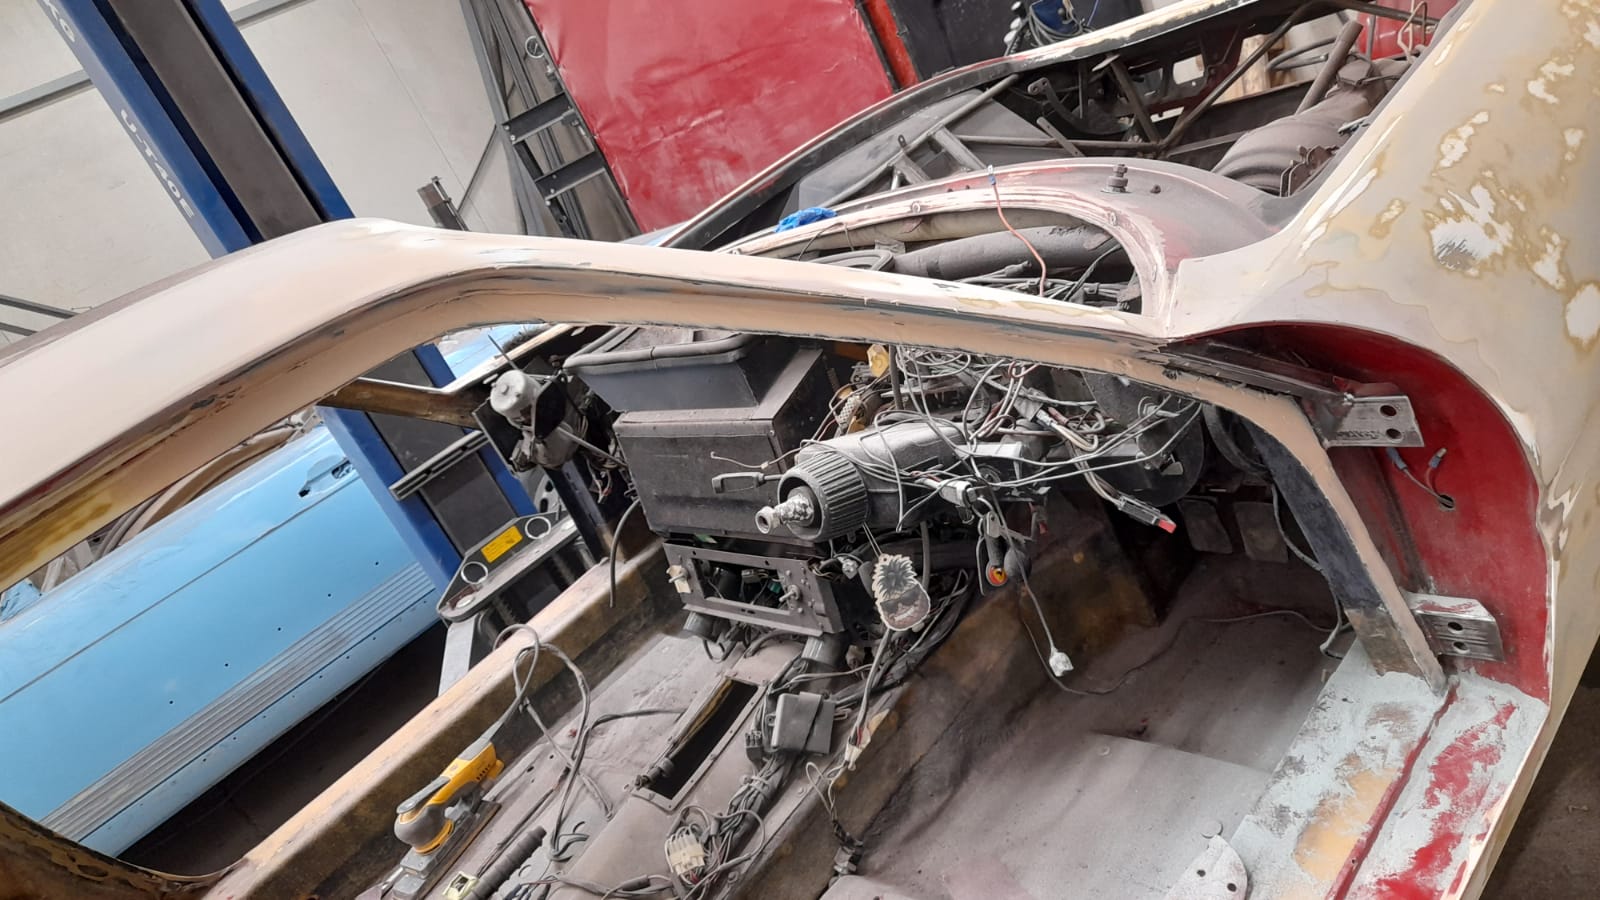
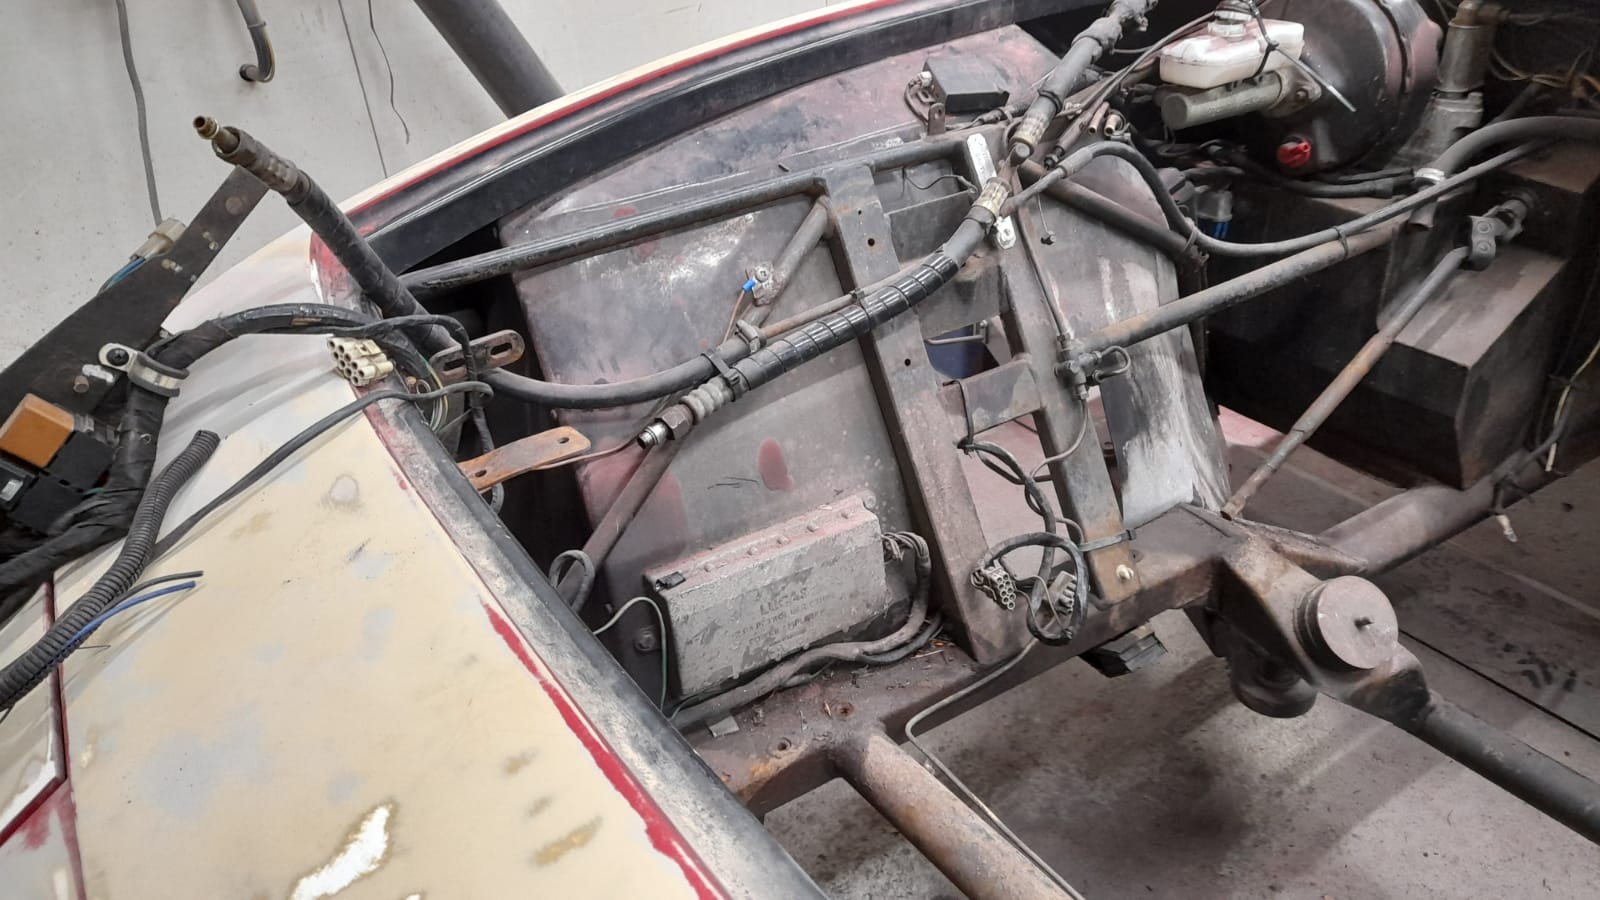
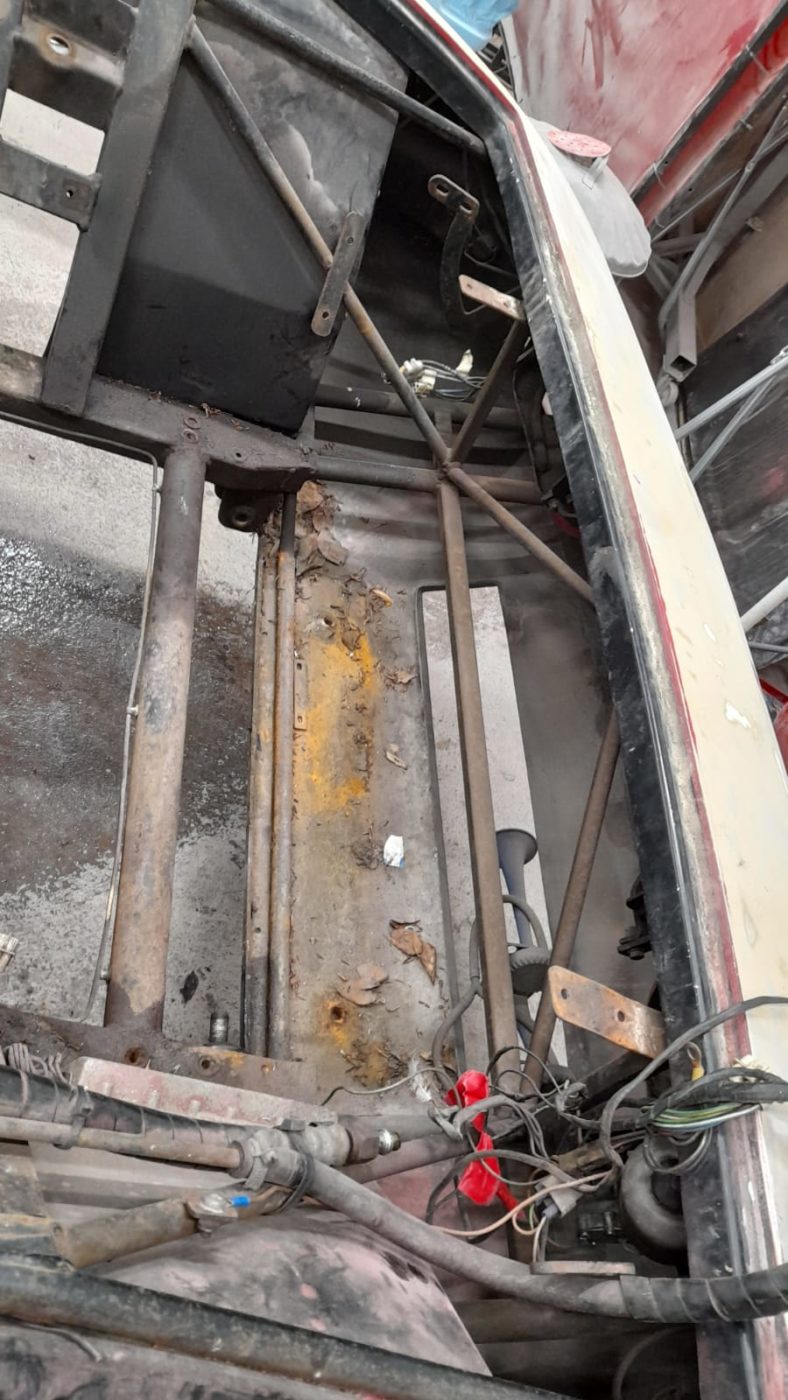
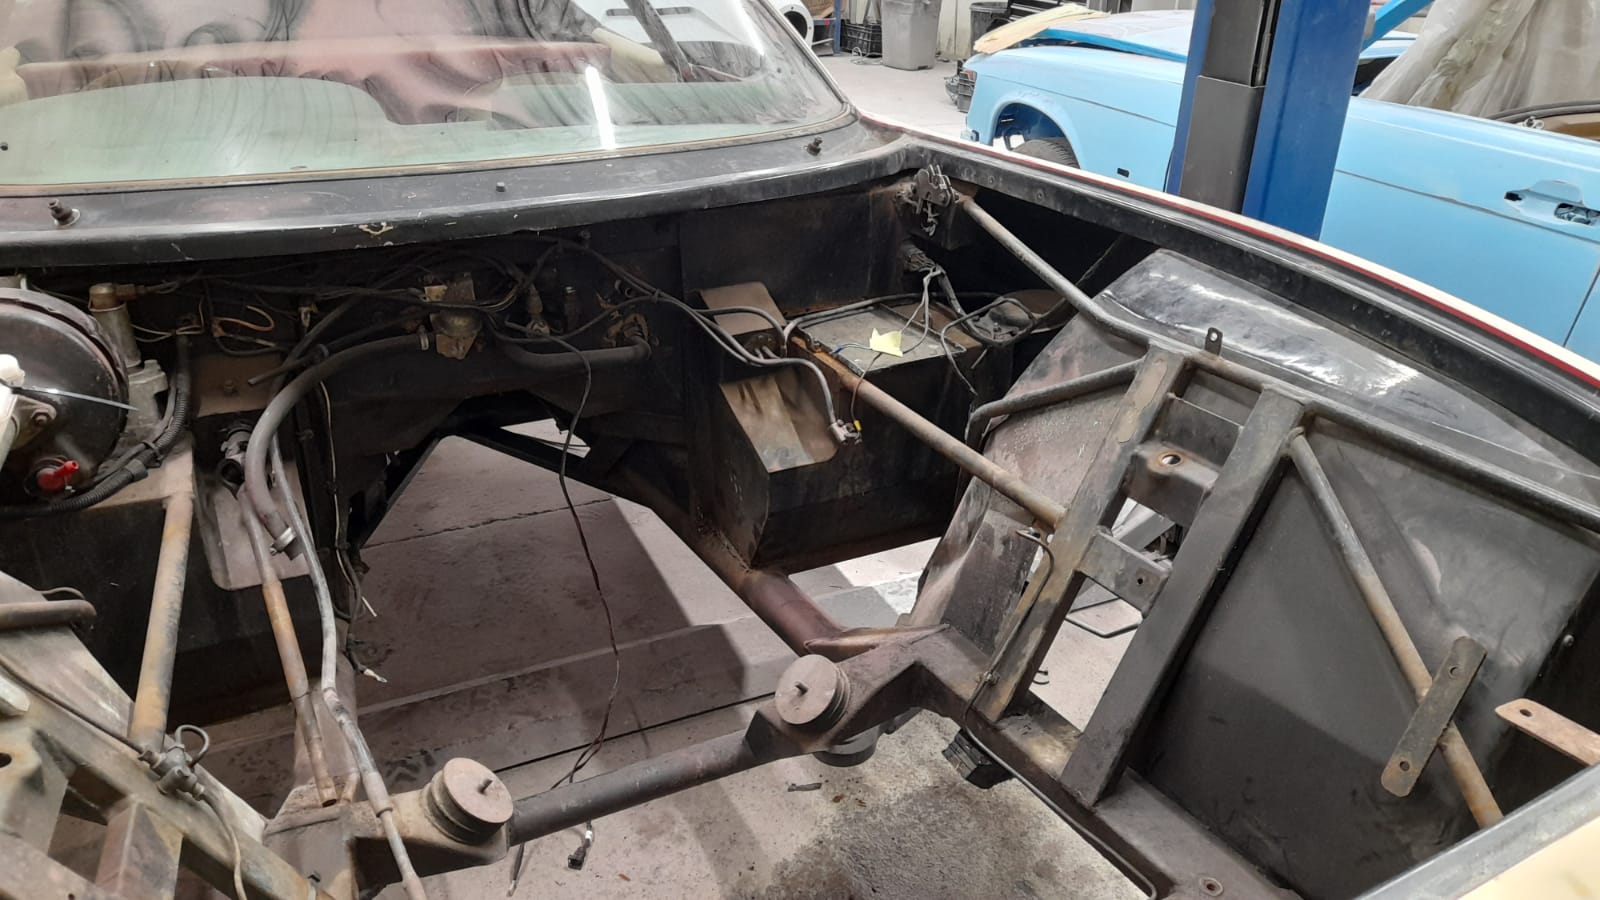
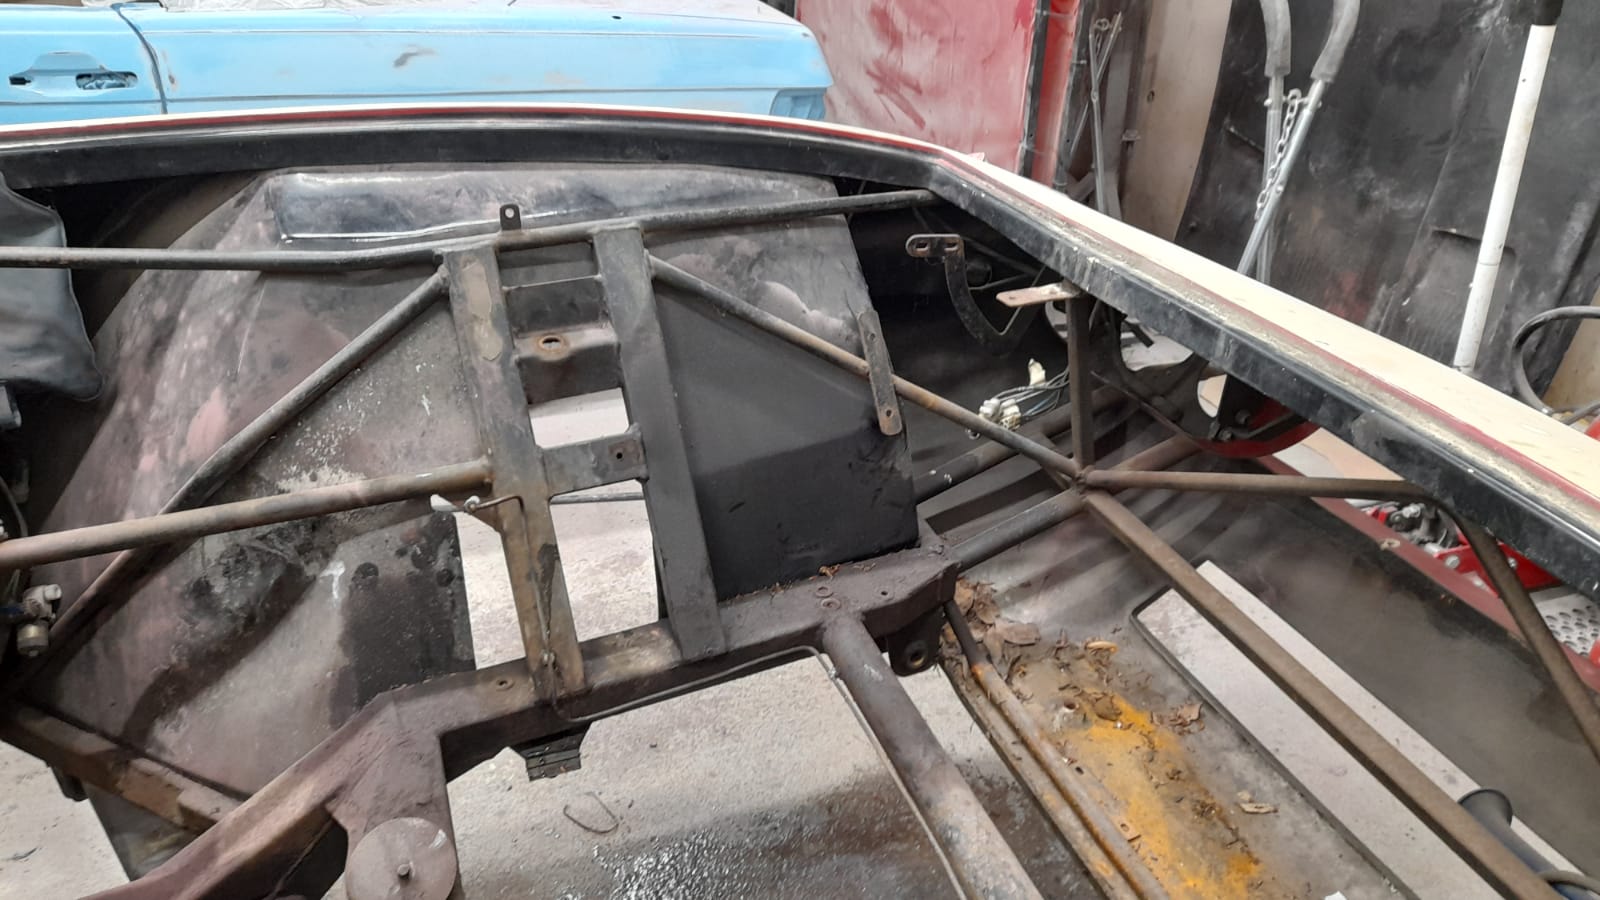
Scott has continued to prep the body of the Daytona by preparing the chassis and engine bay for paint.

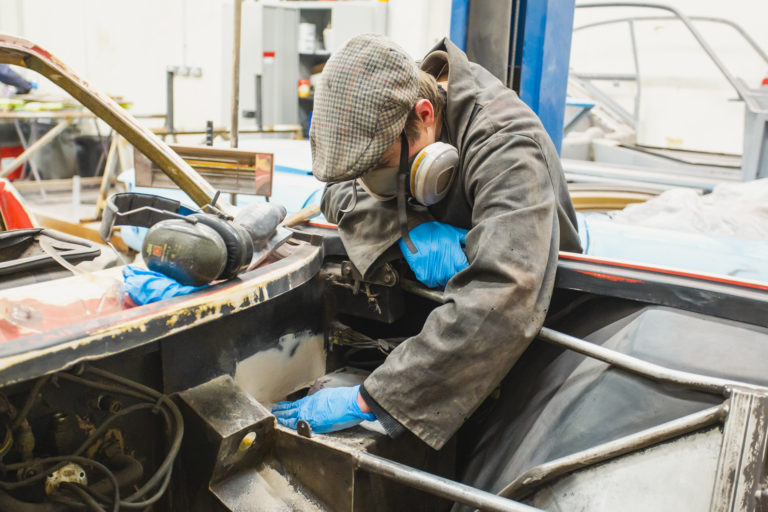
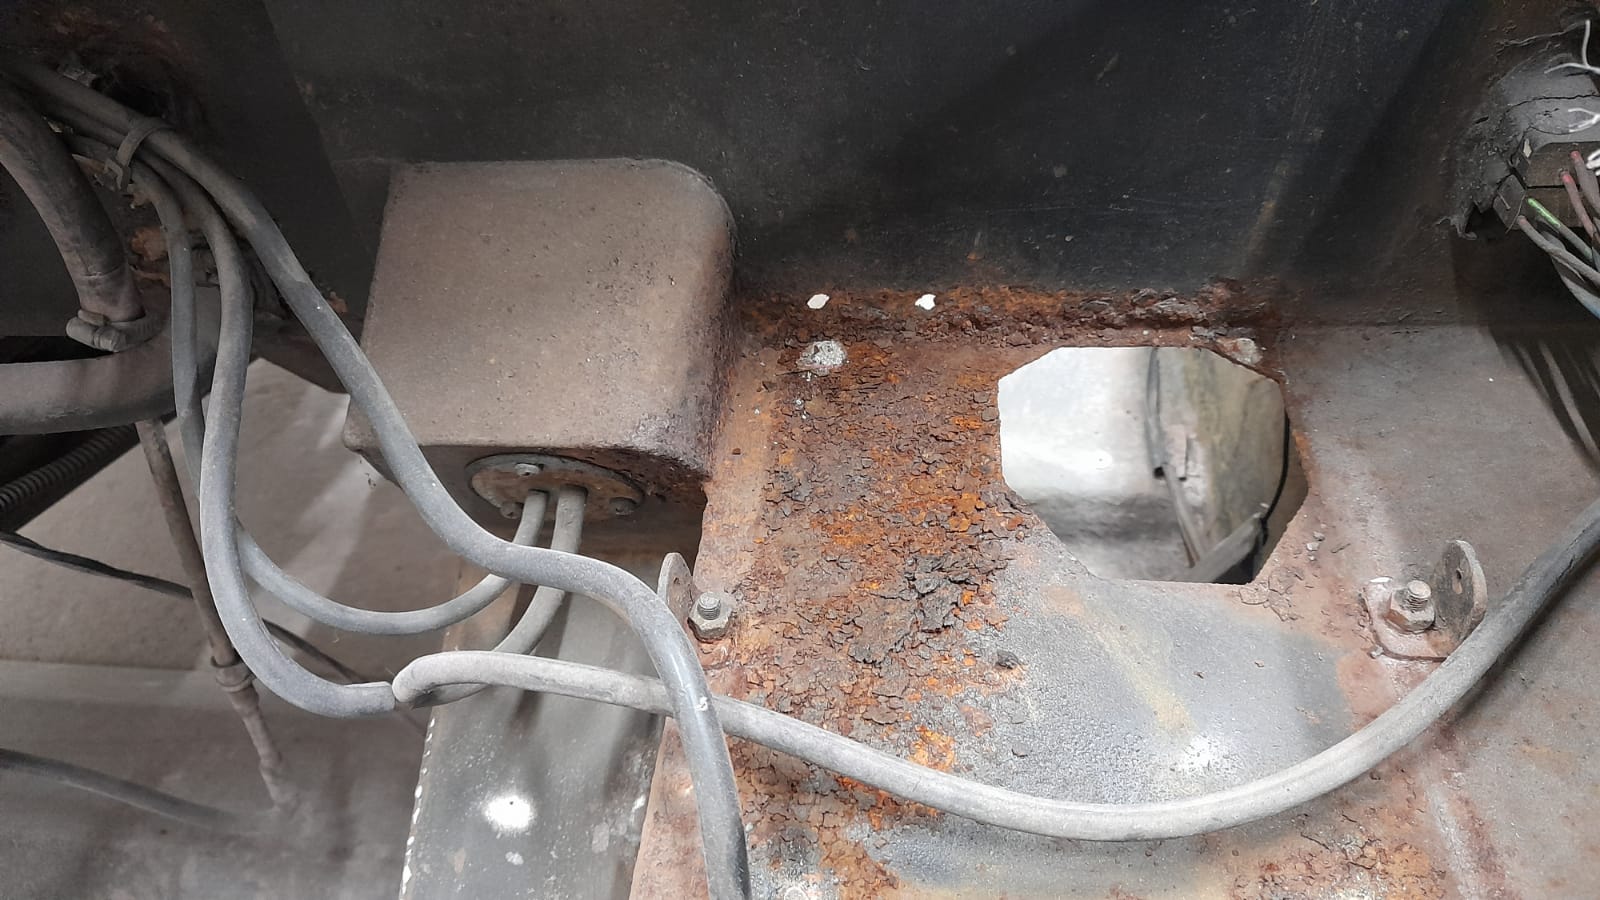
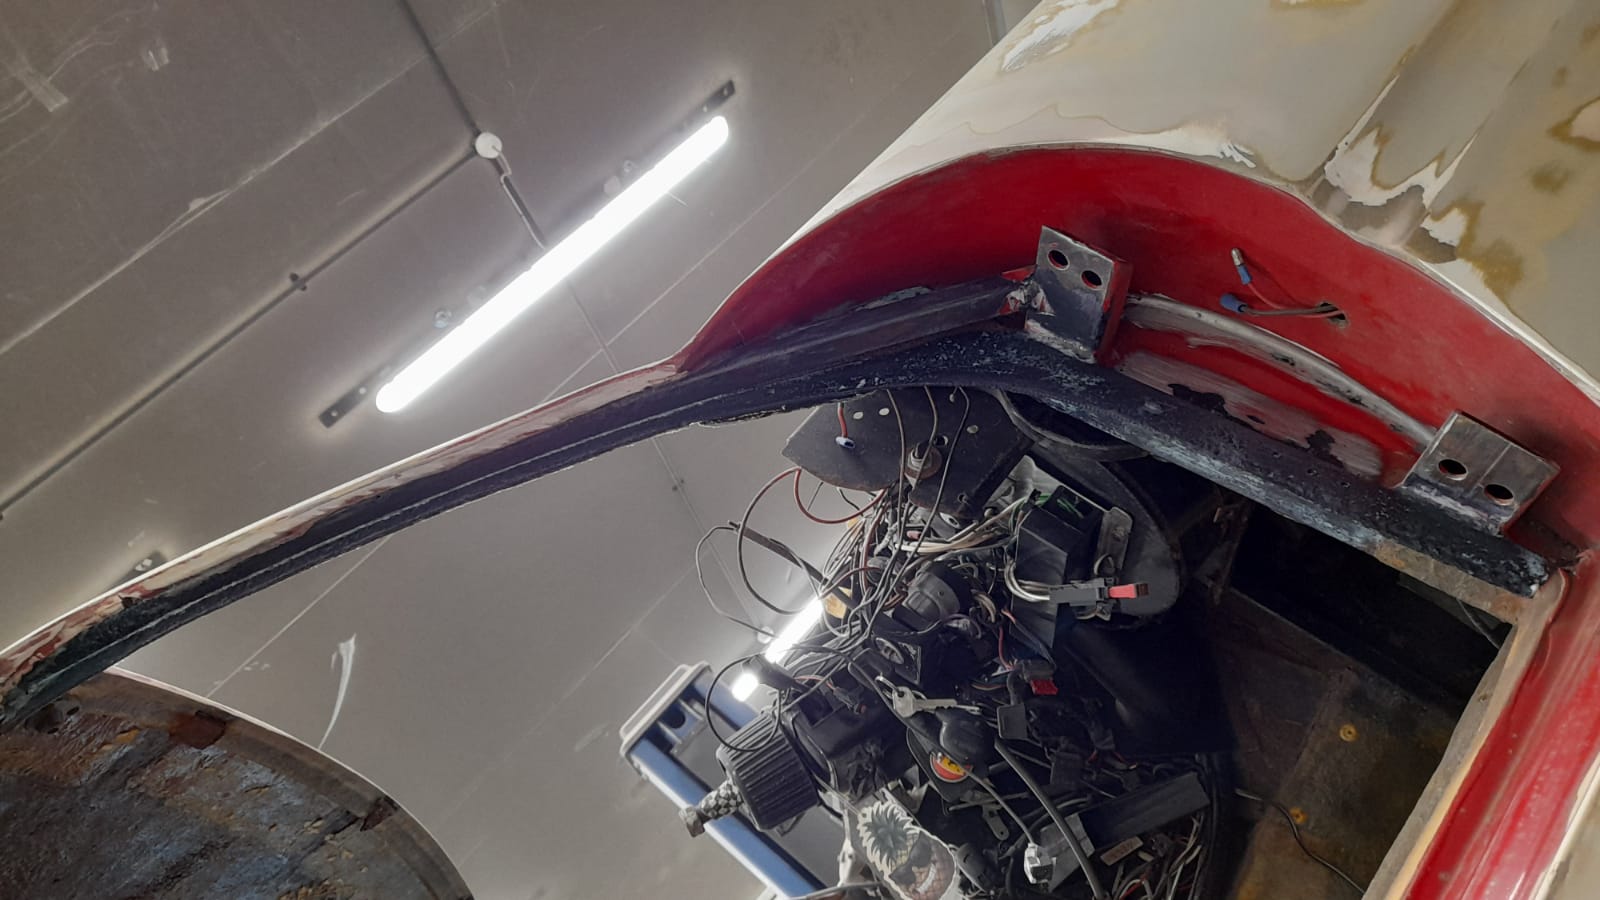
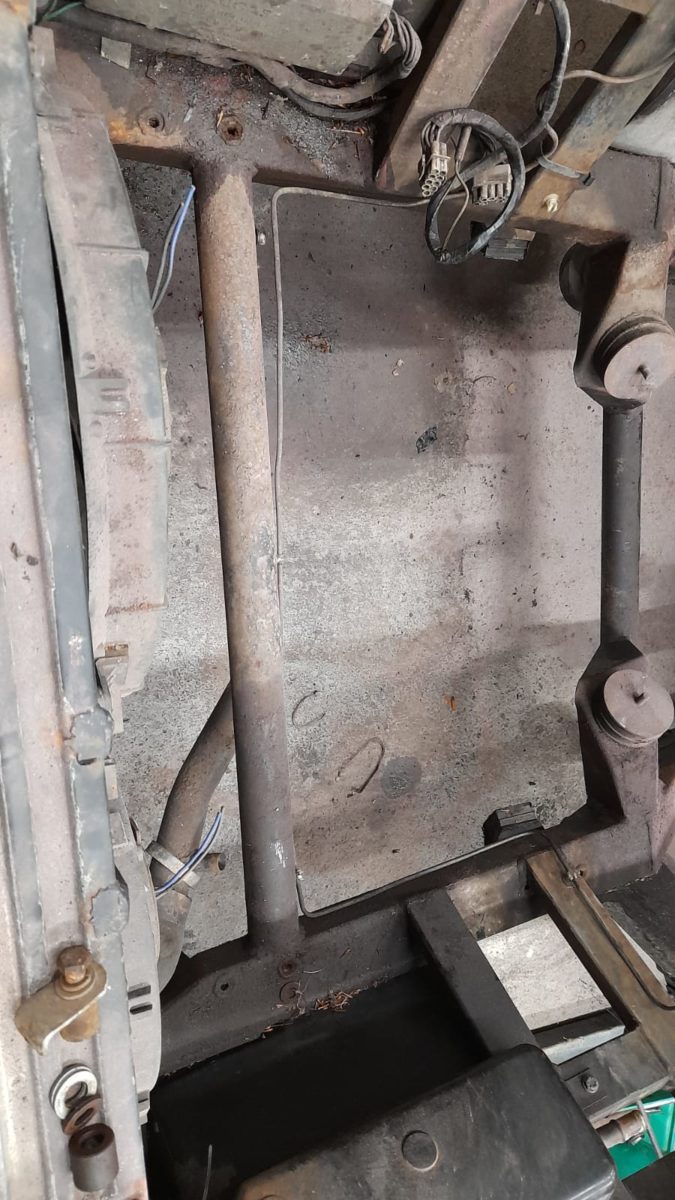
Scott has removed the heater blower to gain access to repair the rotten battery tray. The repair was done by cutting the rotten metal out and making a new panel to be welded in.
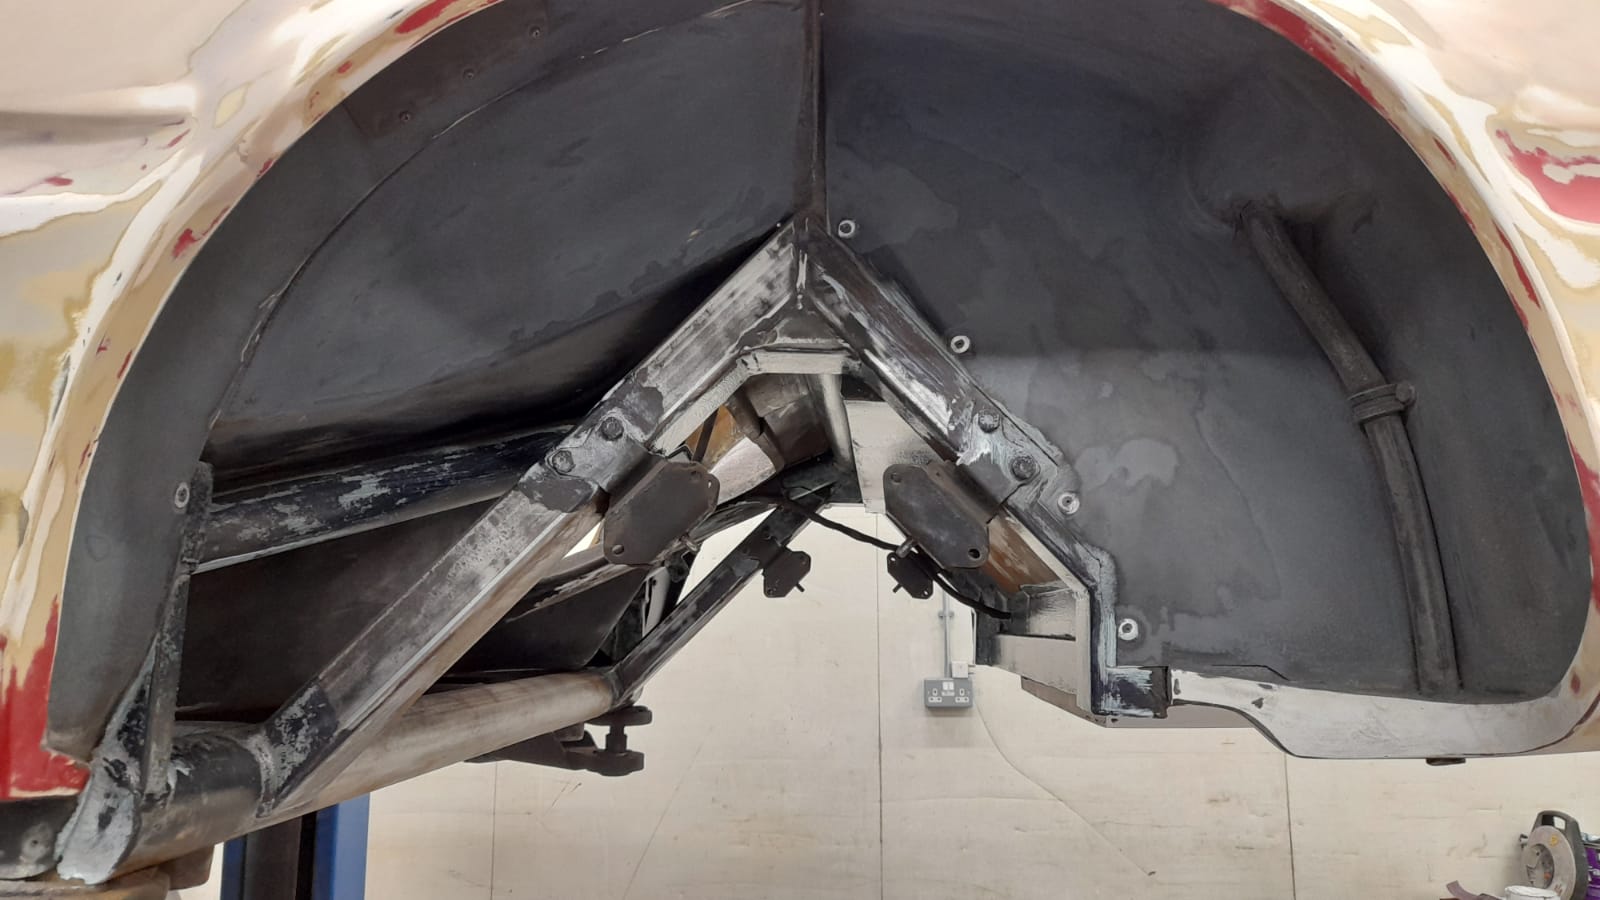
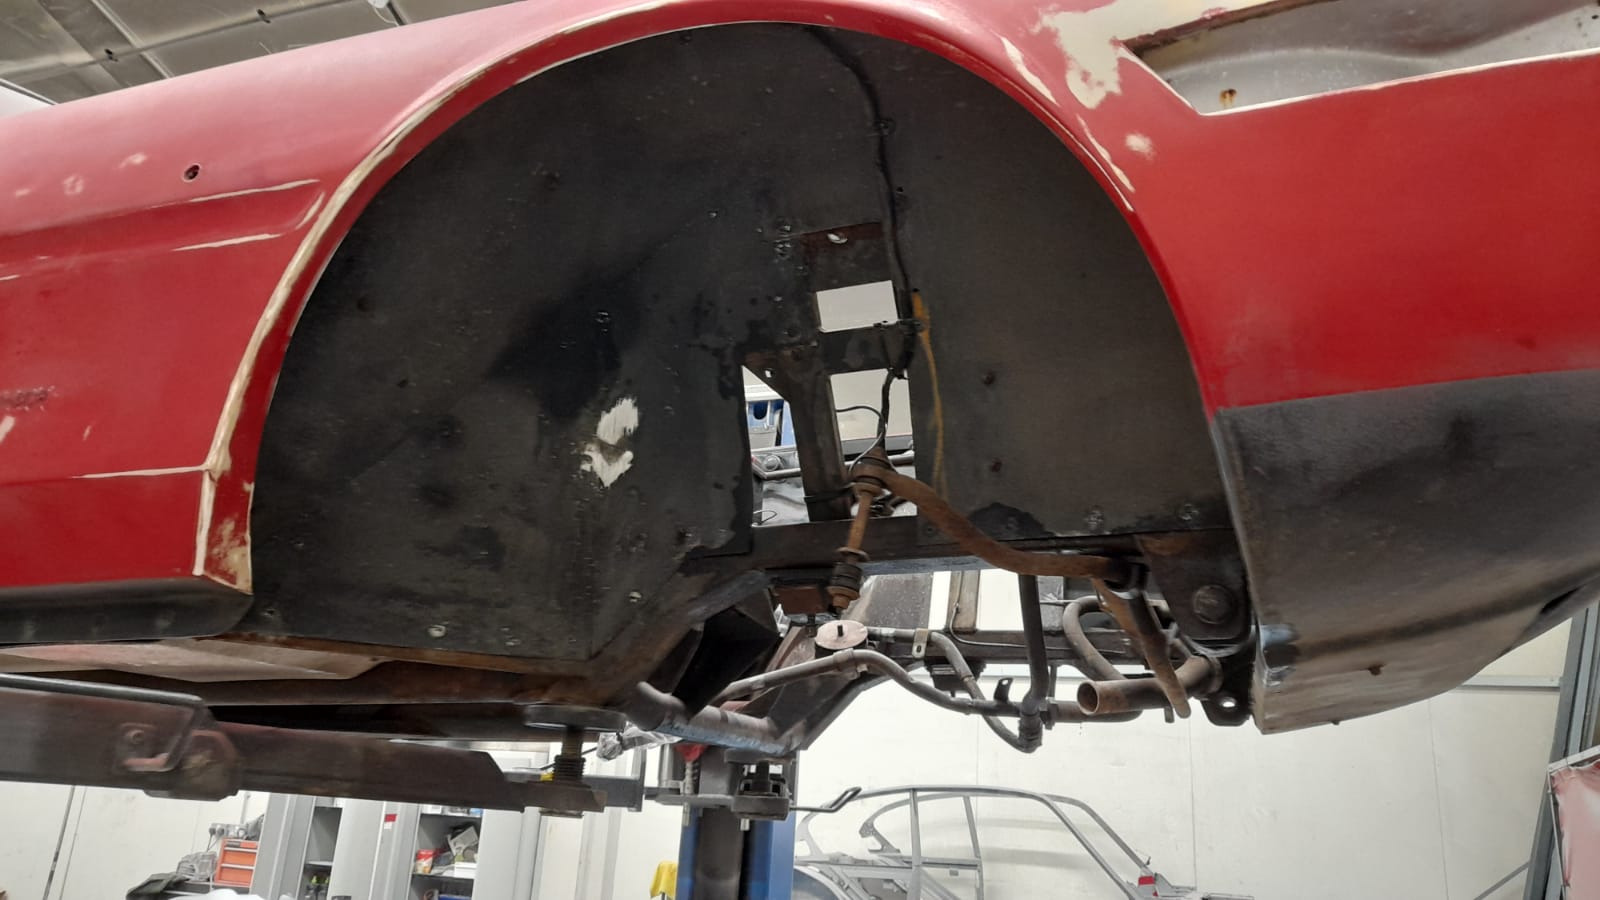
Scott has continued to clean up and remove rust from the chassis and engine bay to get it ready for paint. He’s also removed rust from the A posts by using a rust treatment. Scott has then repaired where the fibreglass of the body meets the steel framework of the ‘A’ posts that had been damaged by rust.
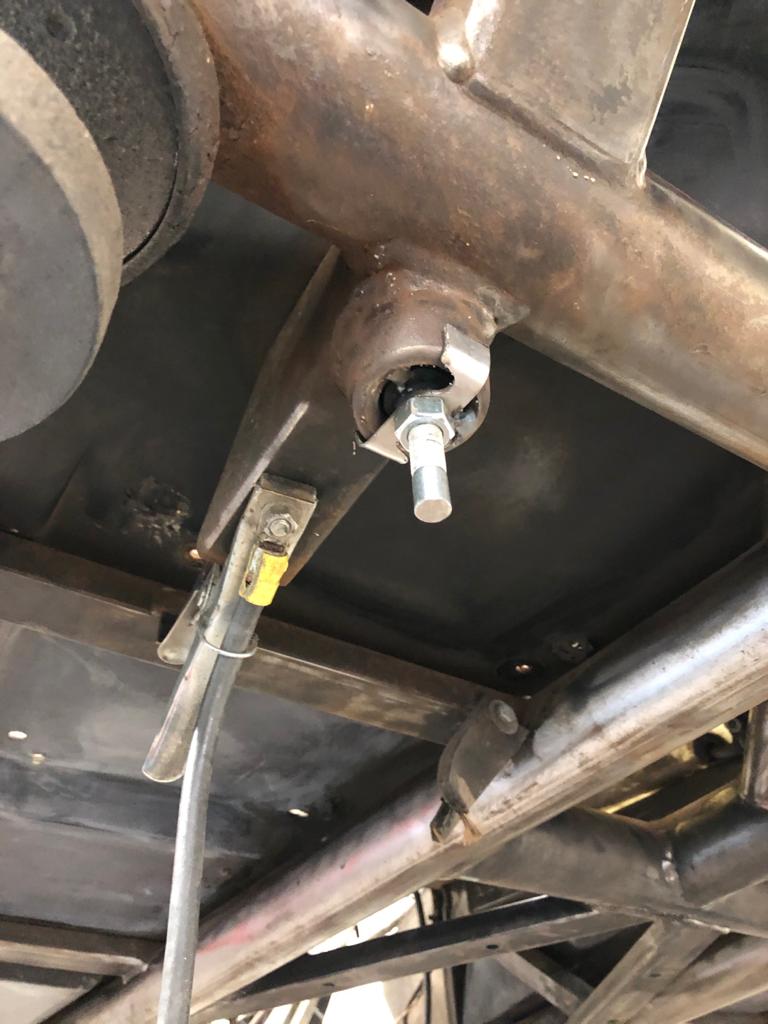
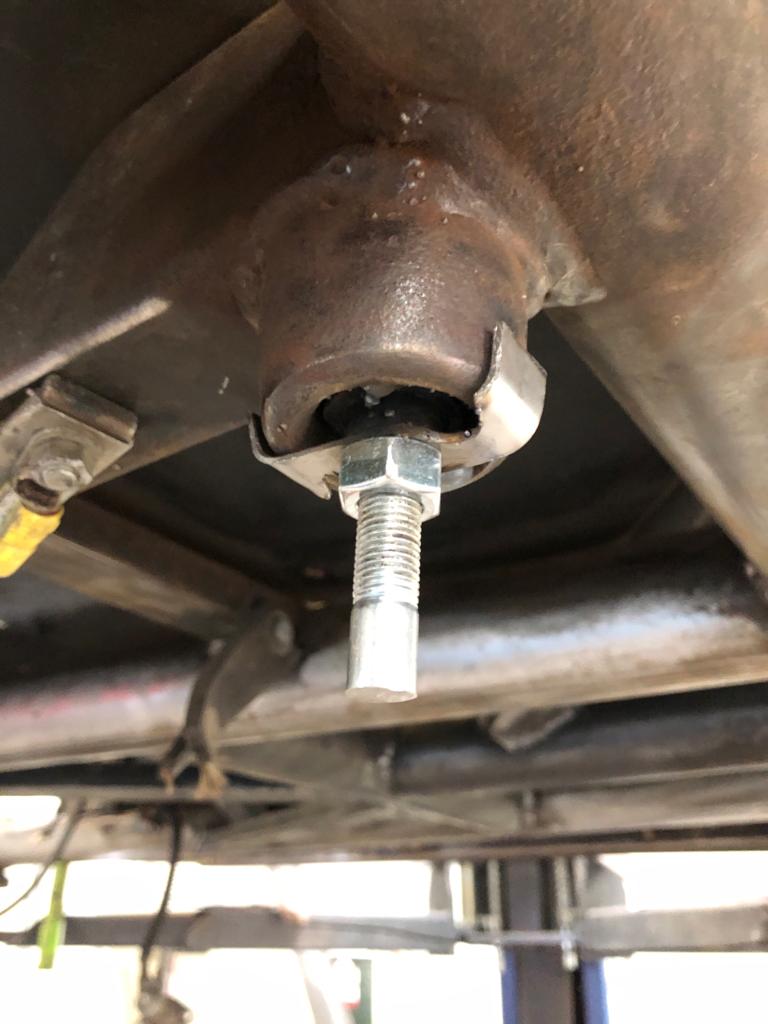
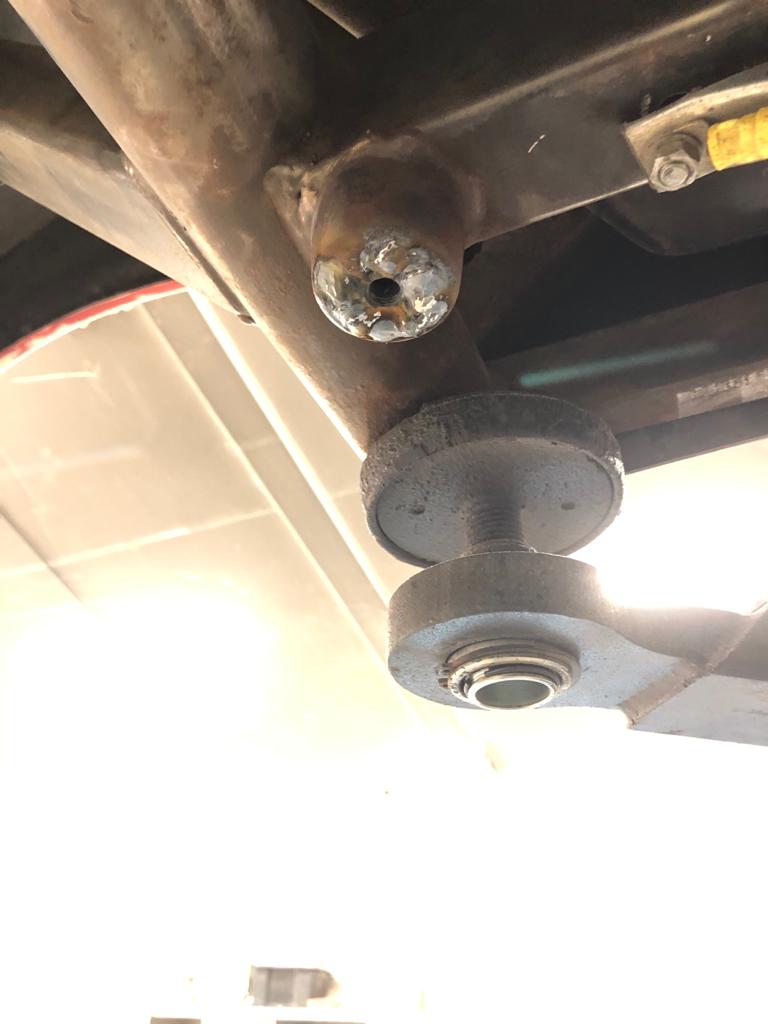
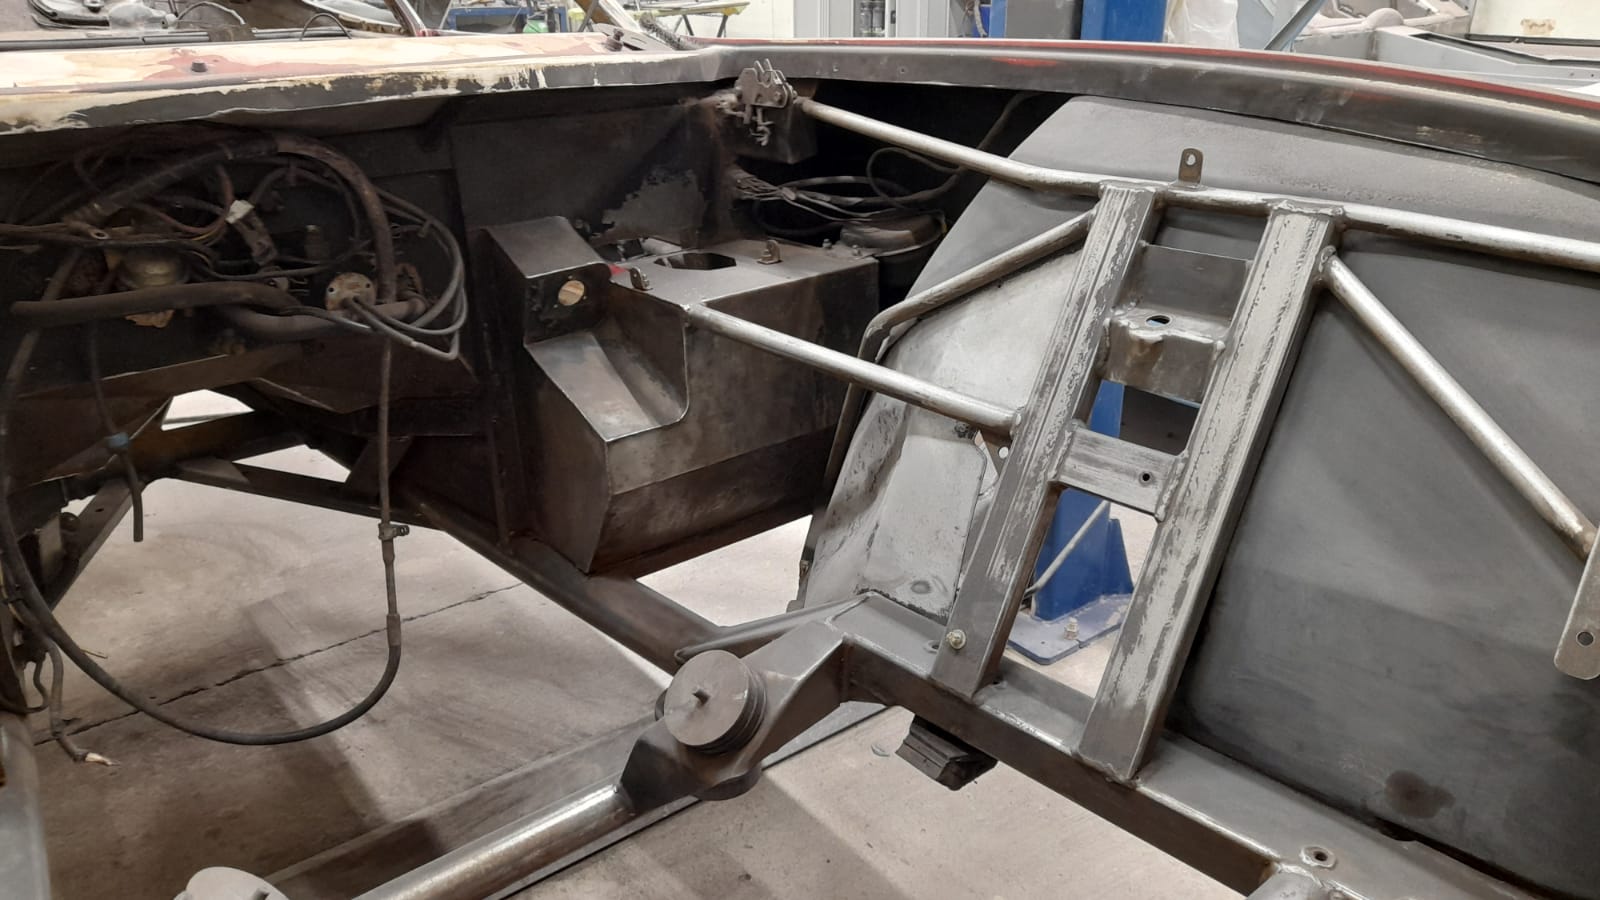
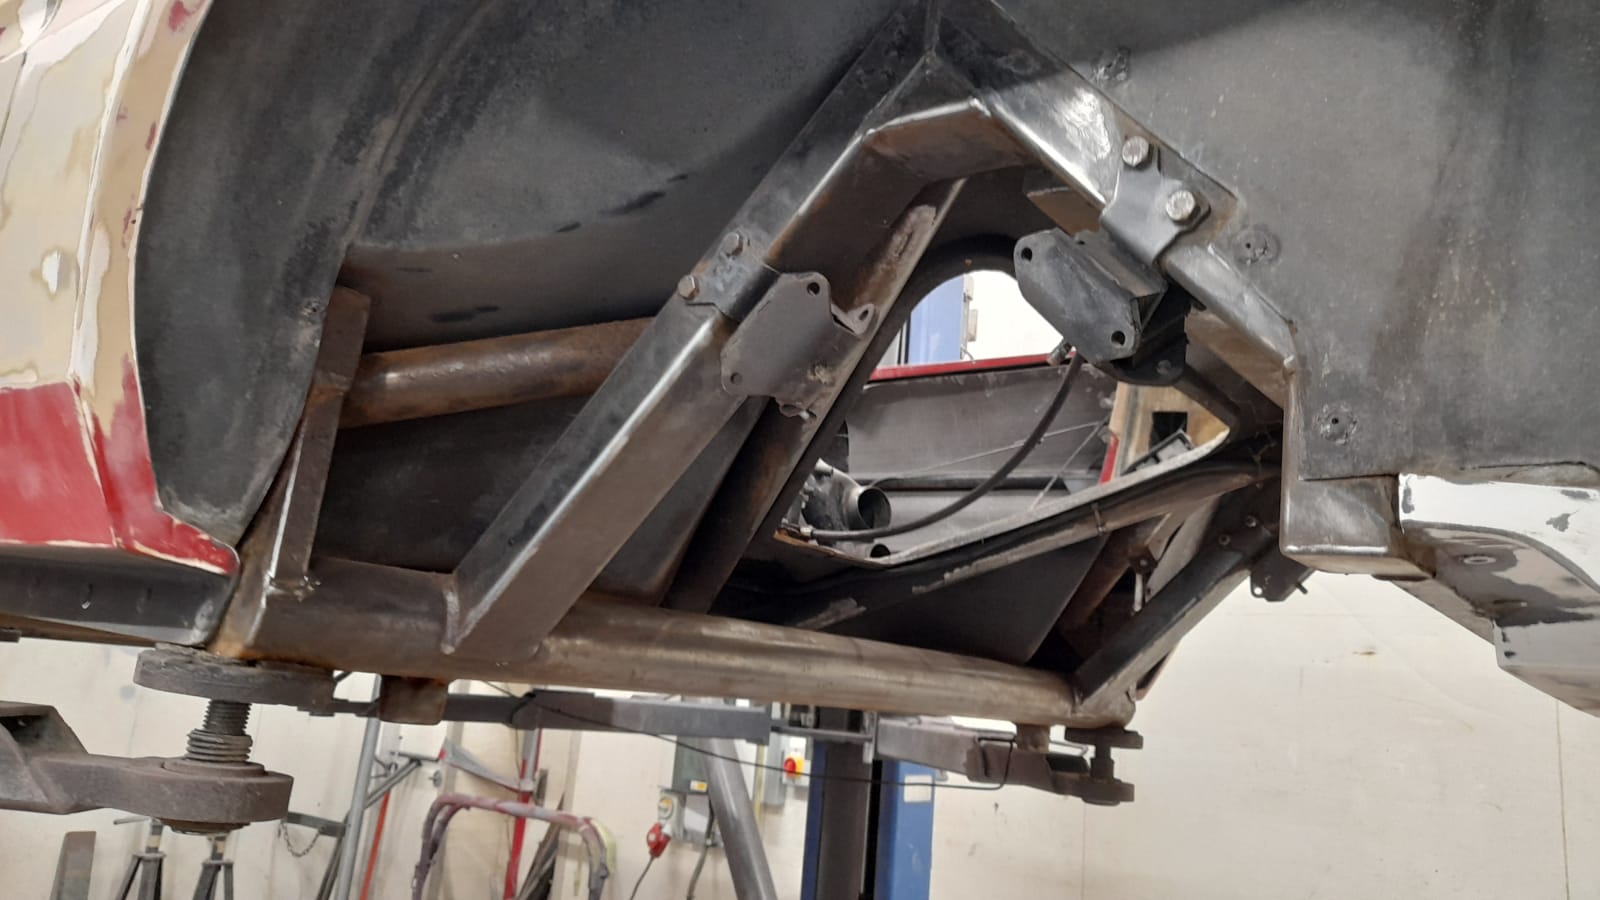
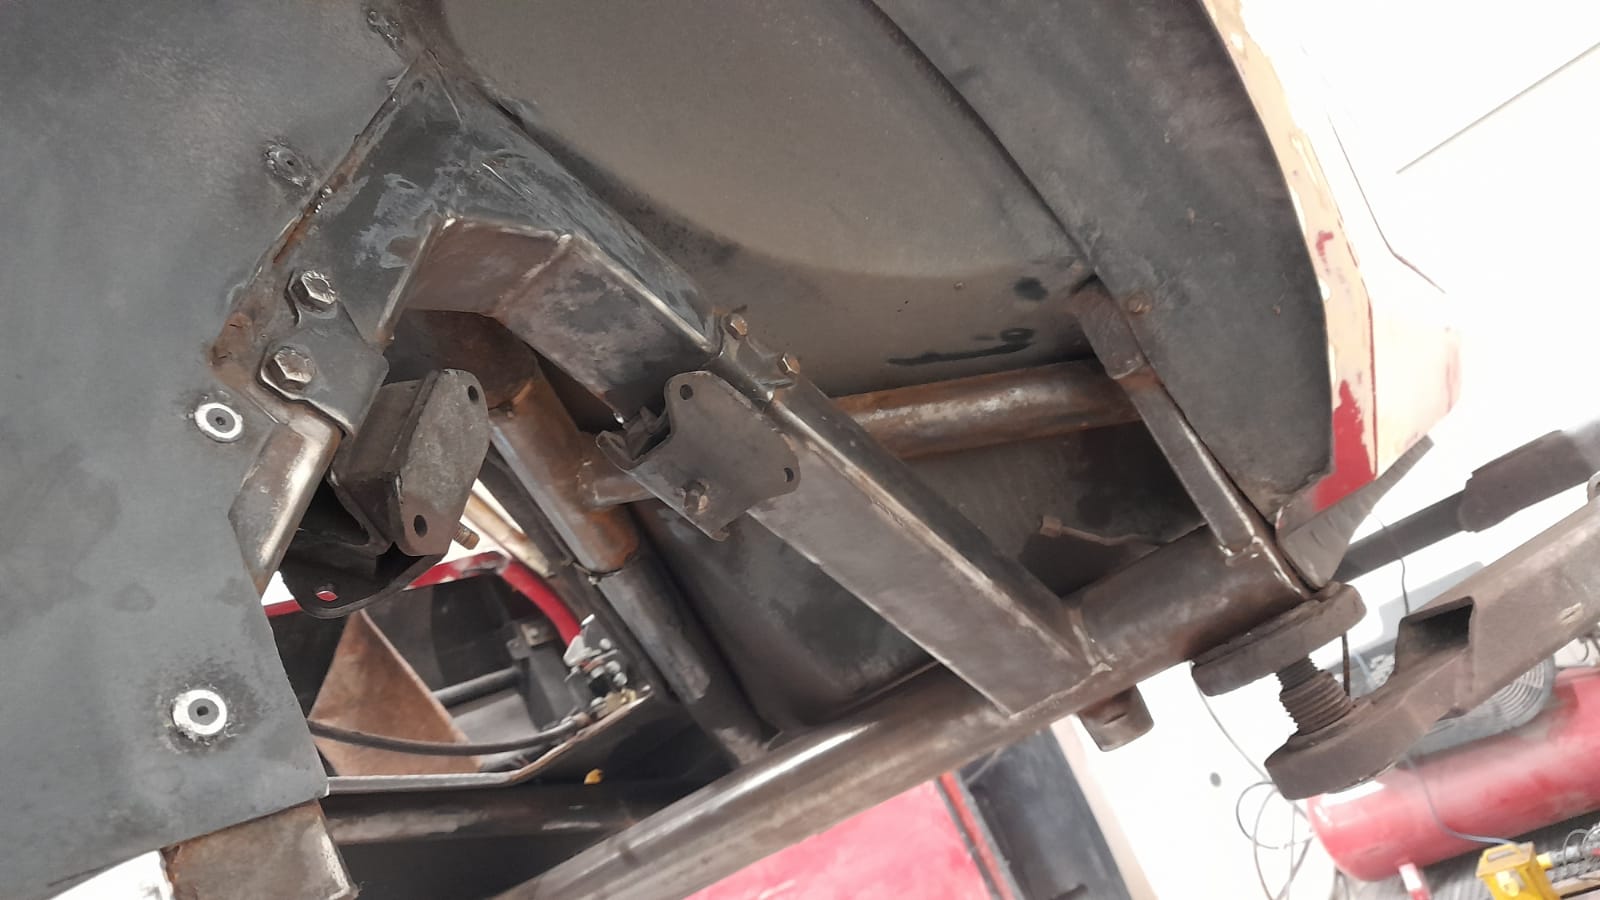
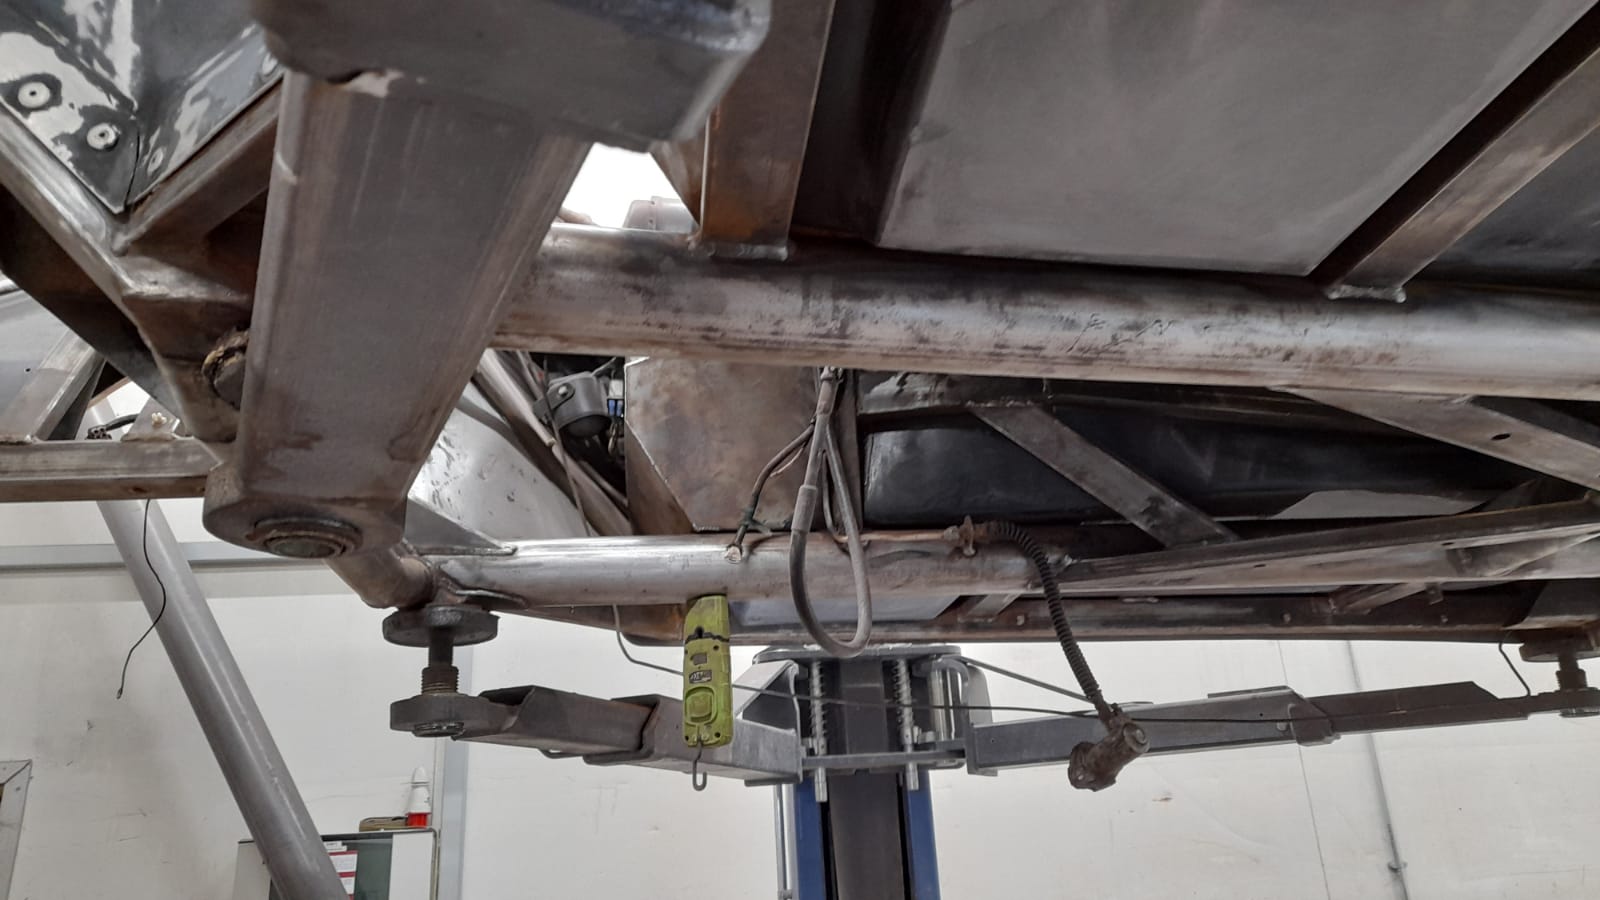
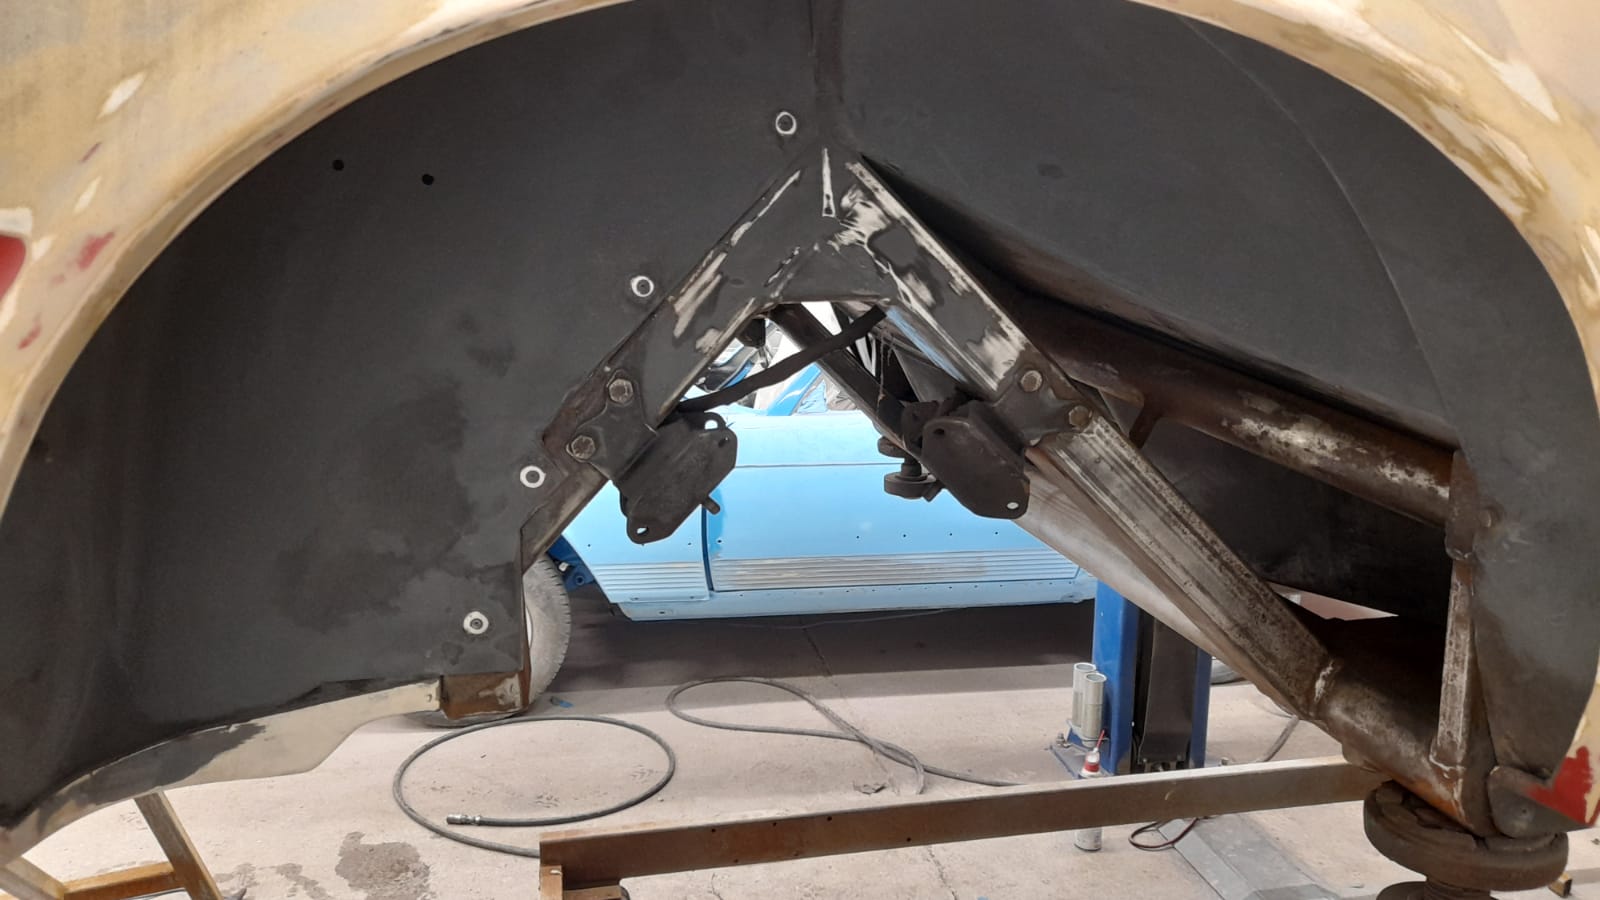
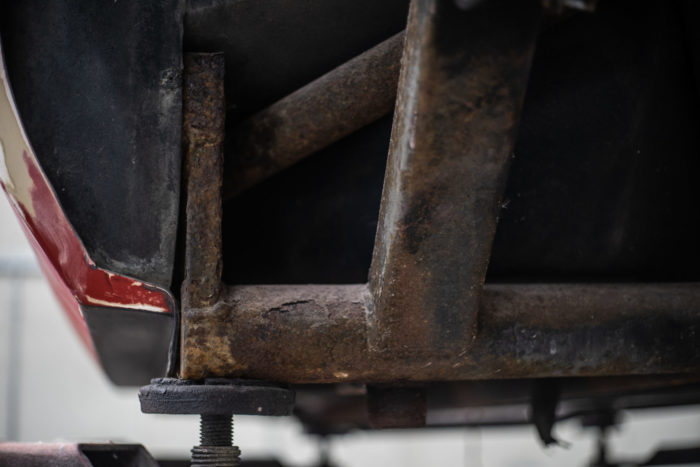
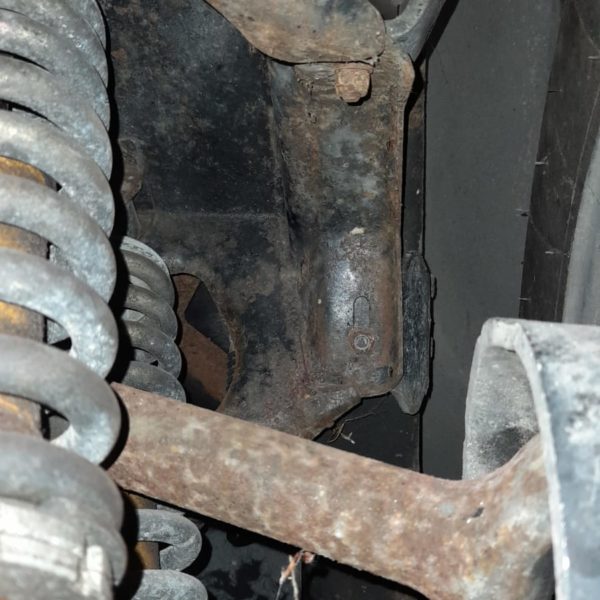
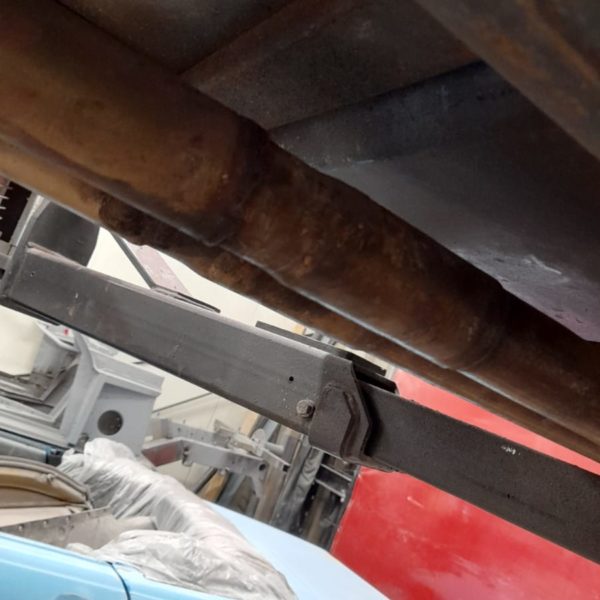
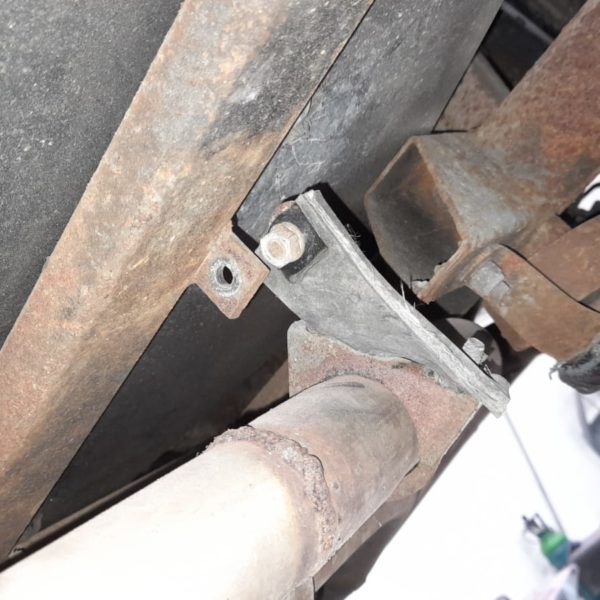
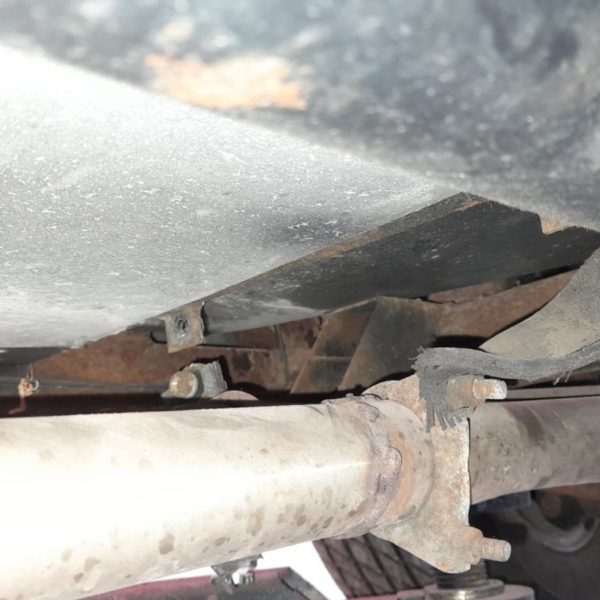
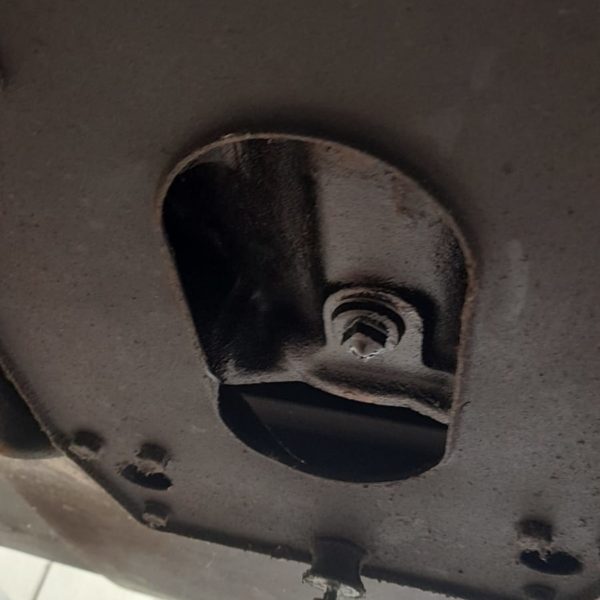
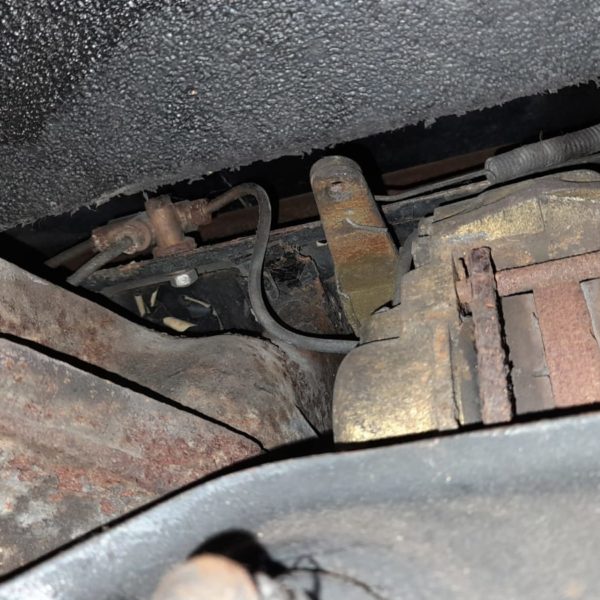
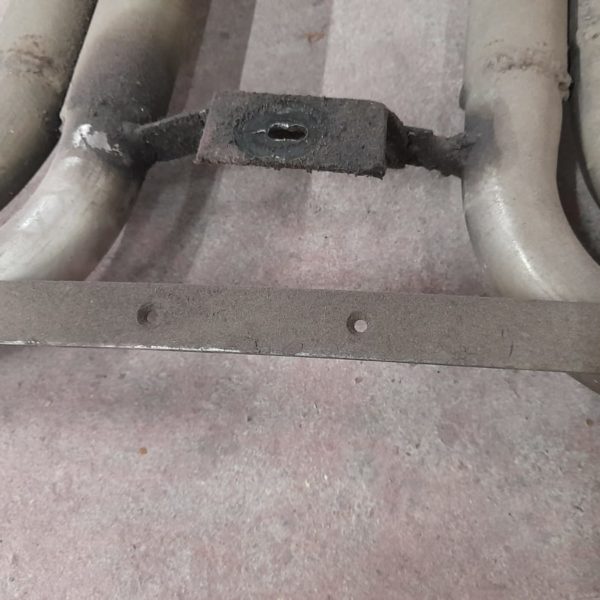
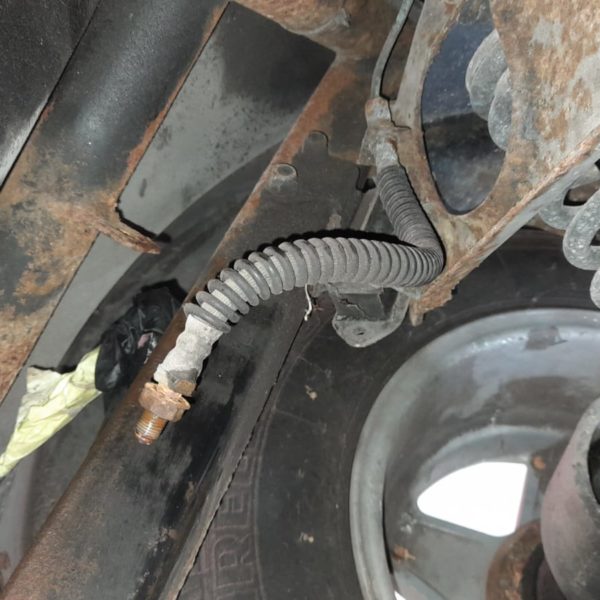
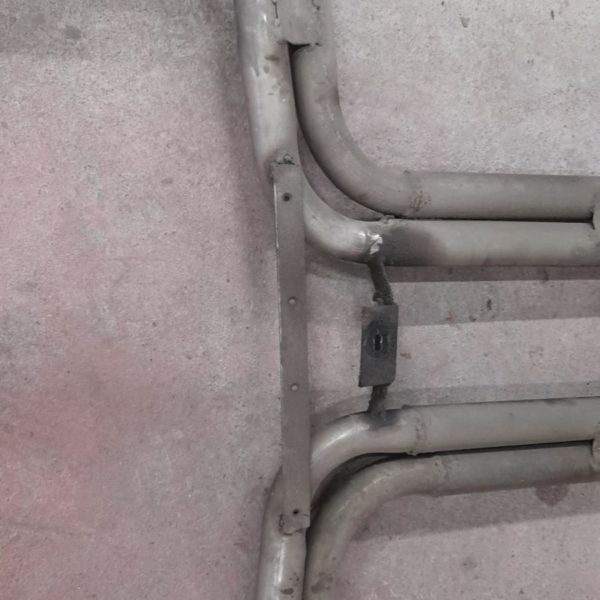
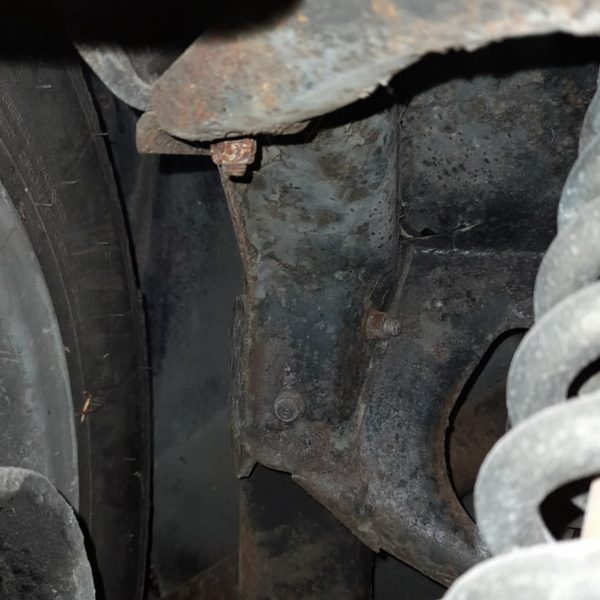
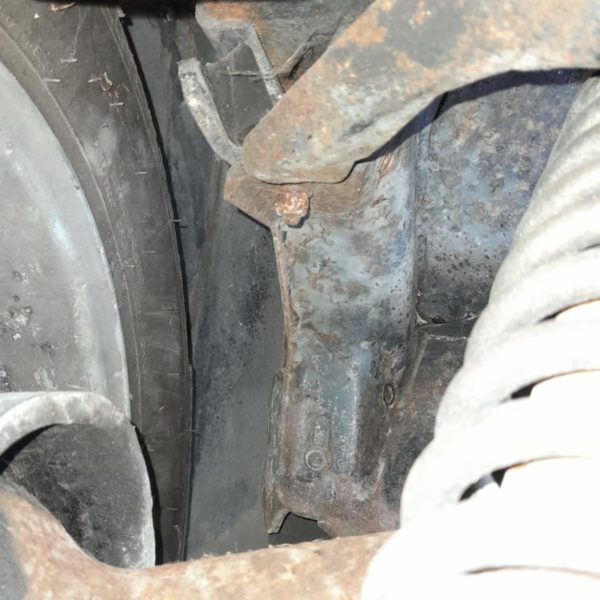
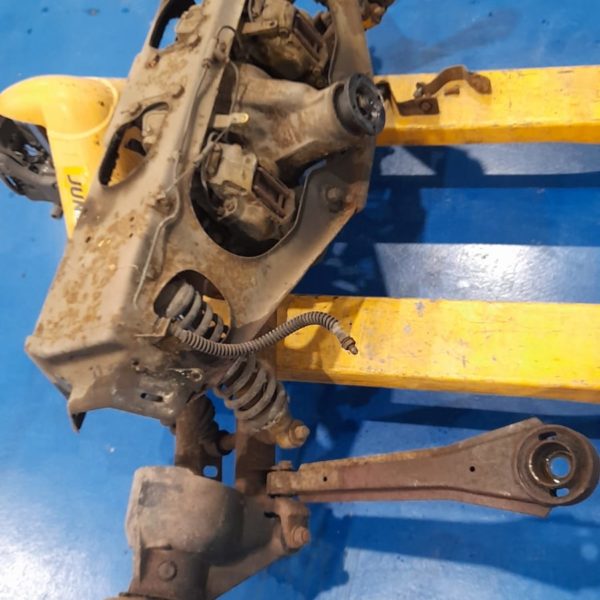
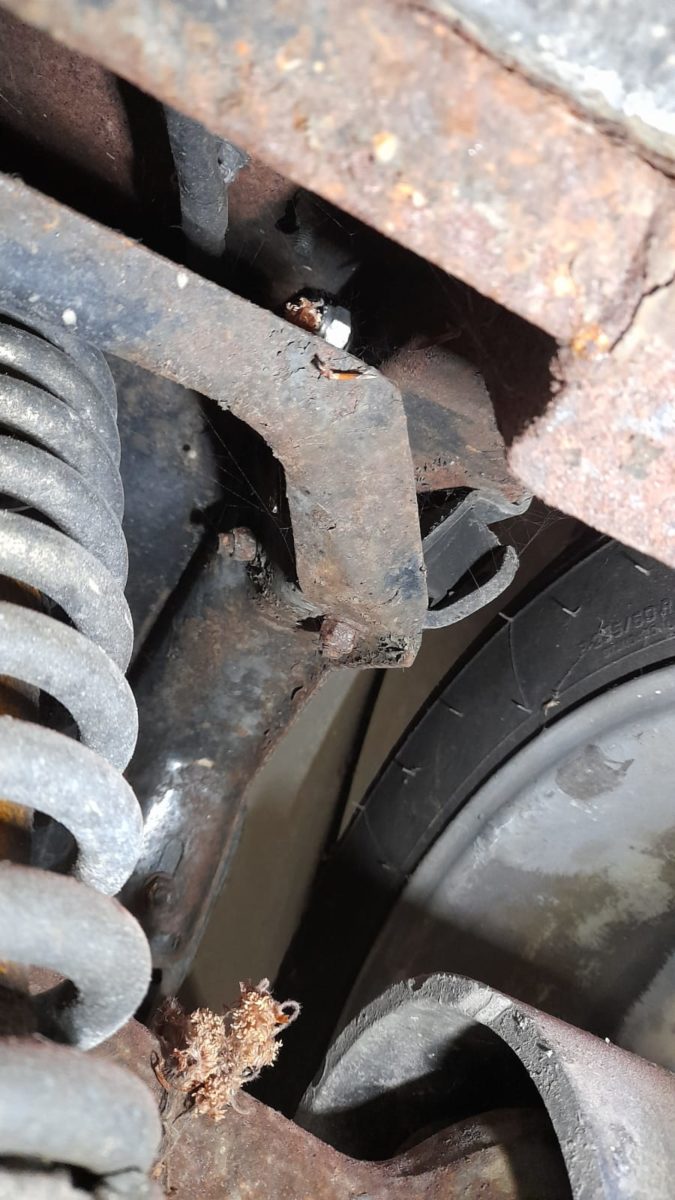
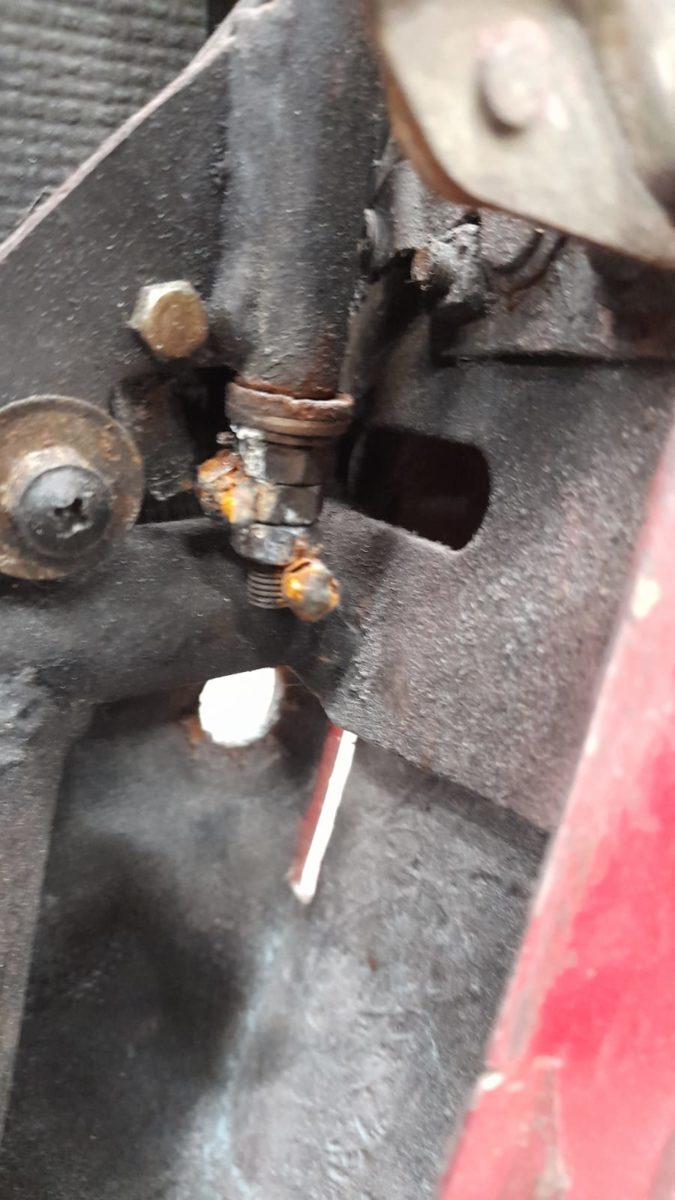
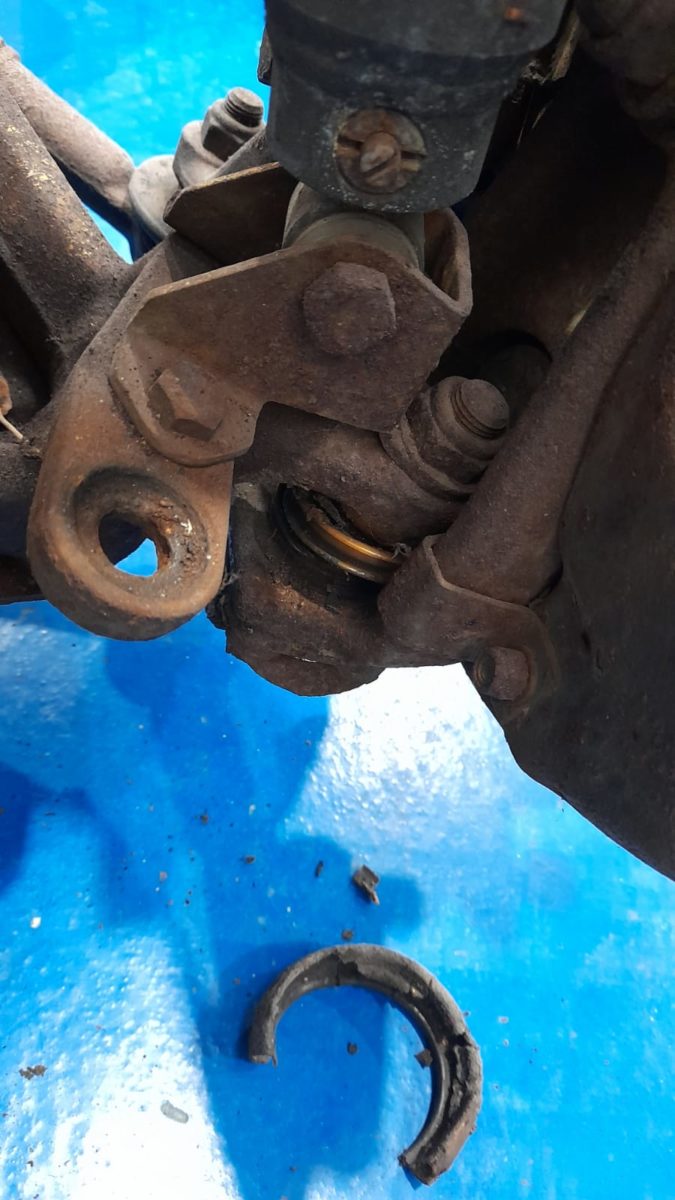
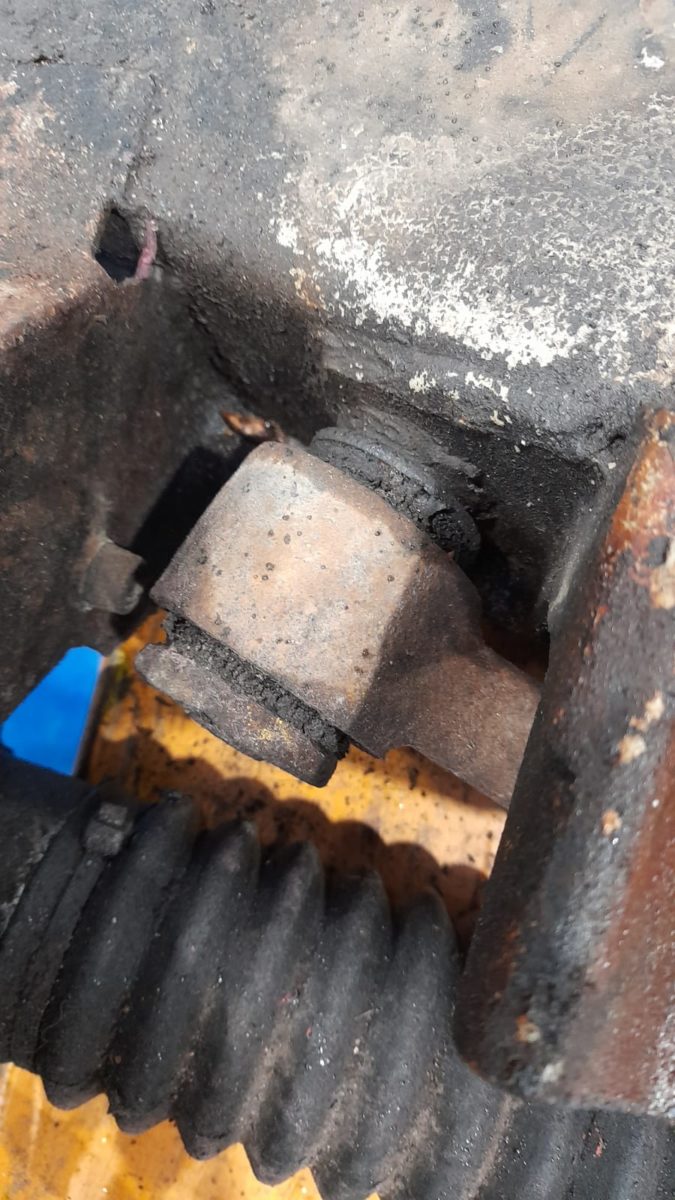
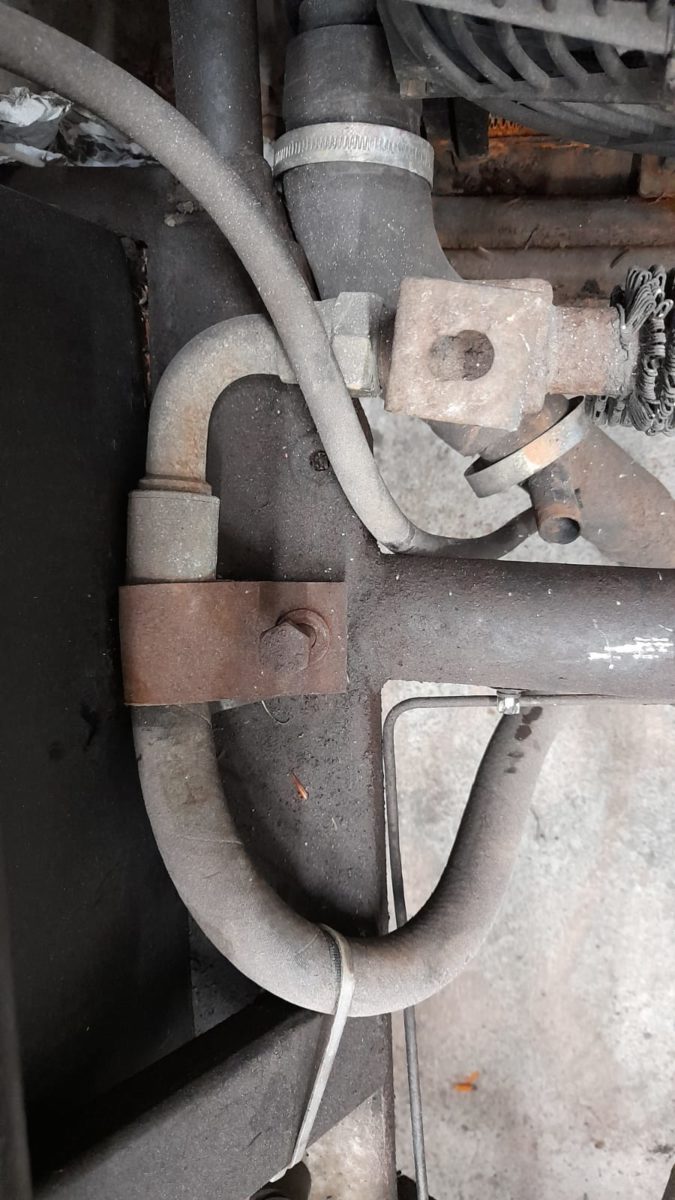
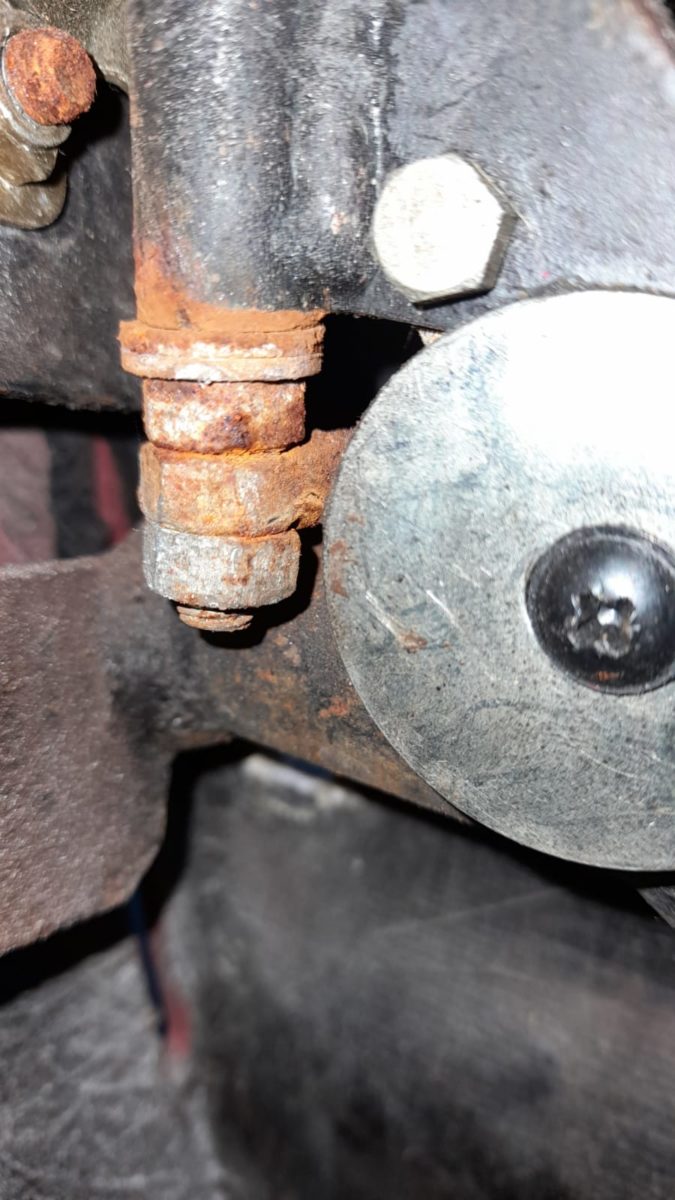
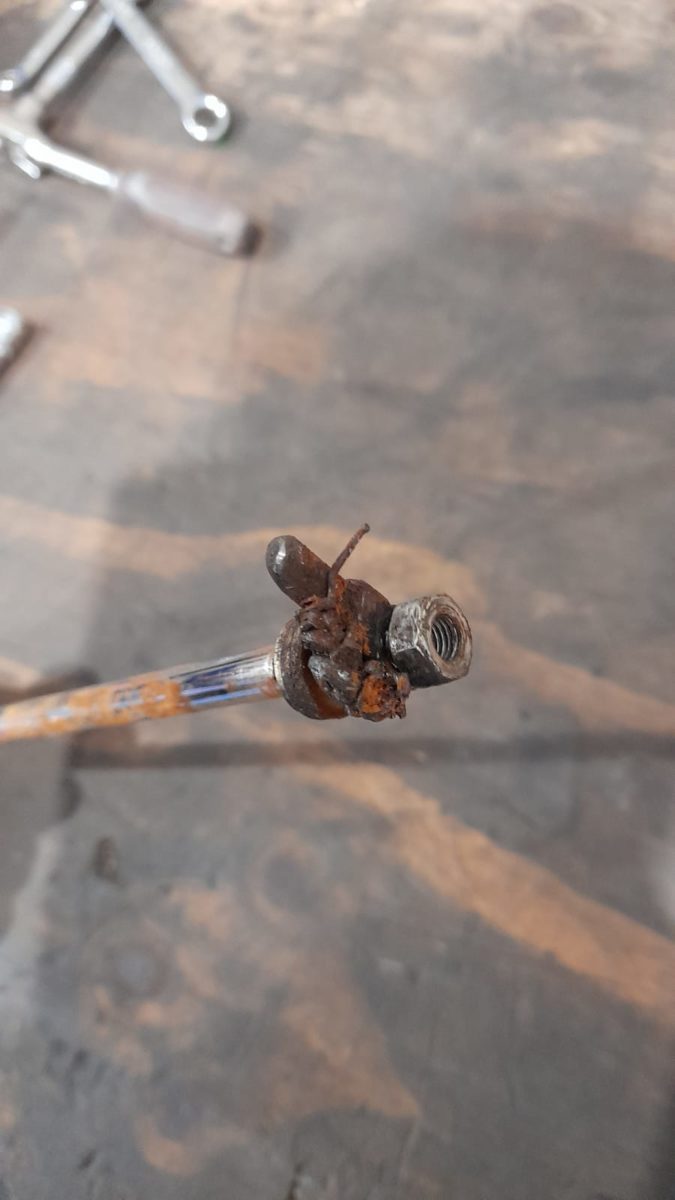
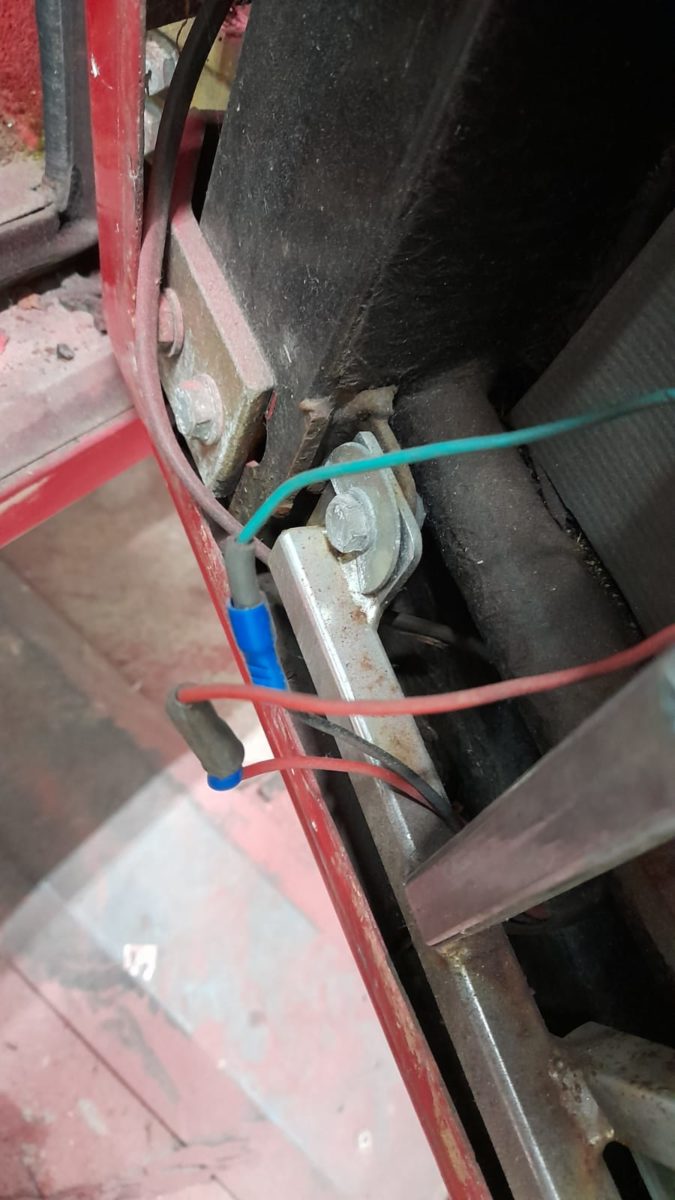
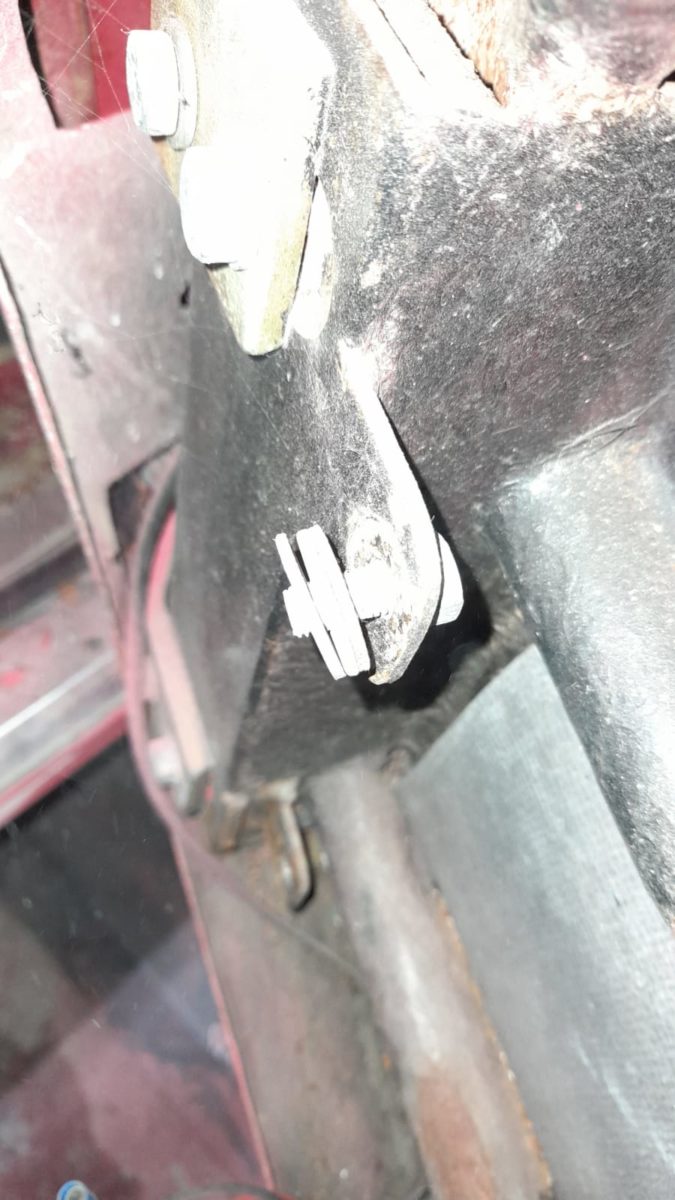
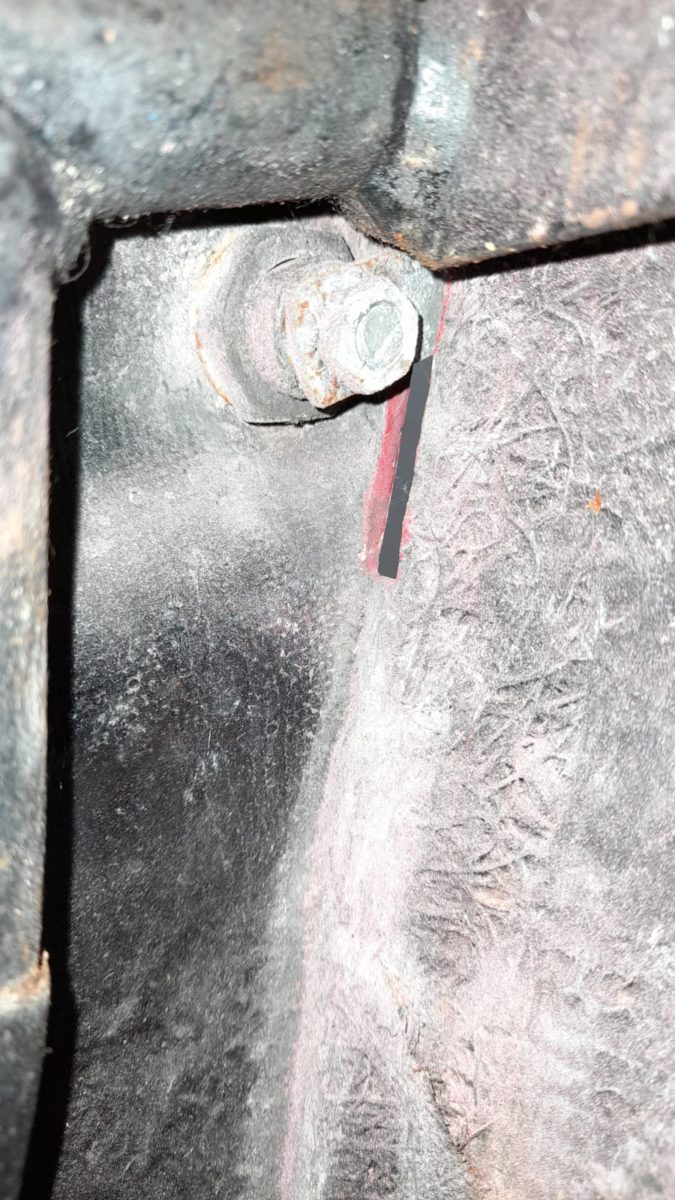
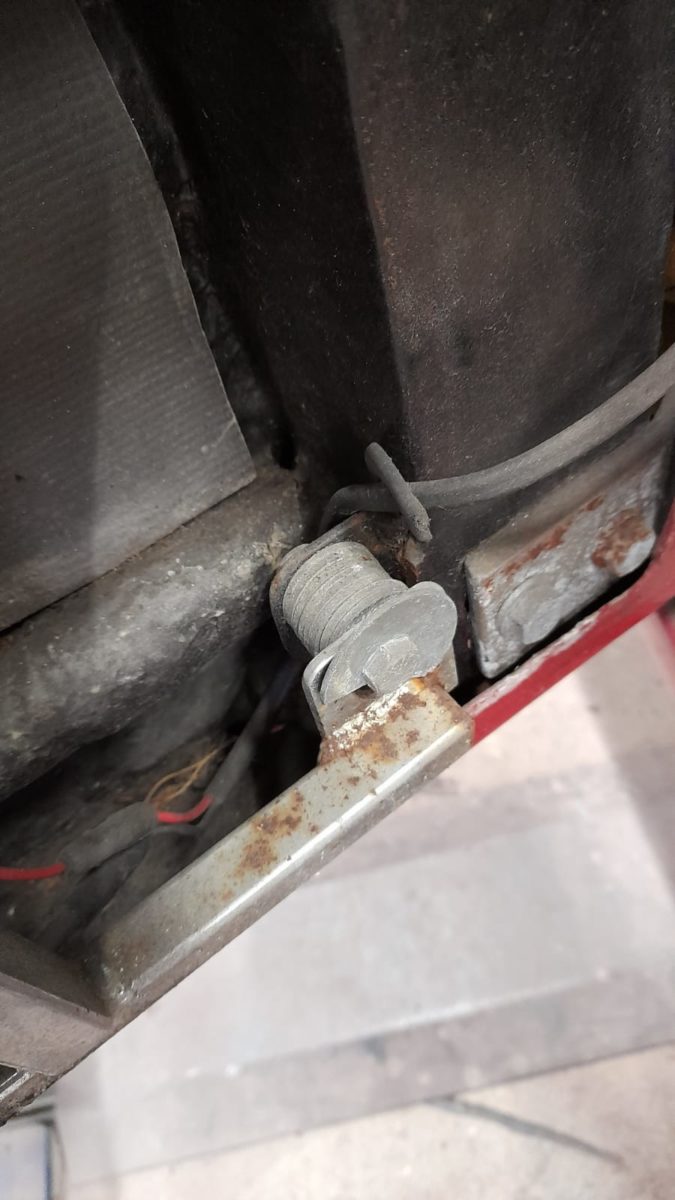
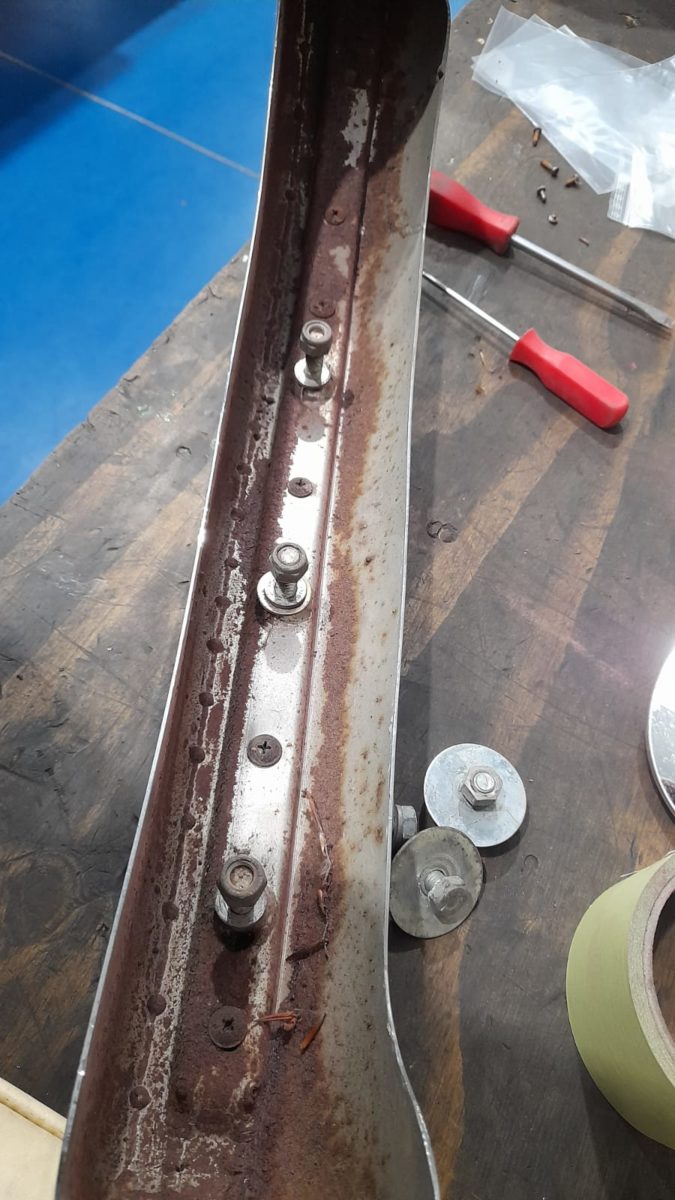
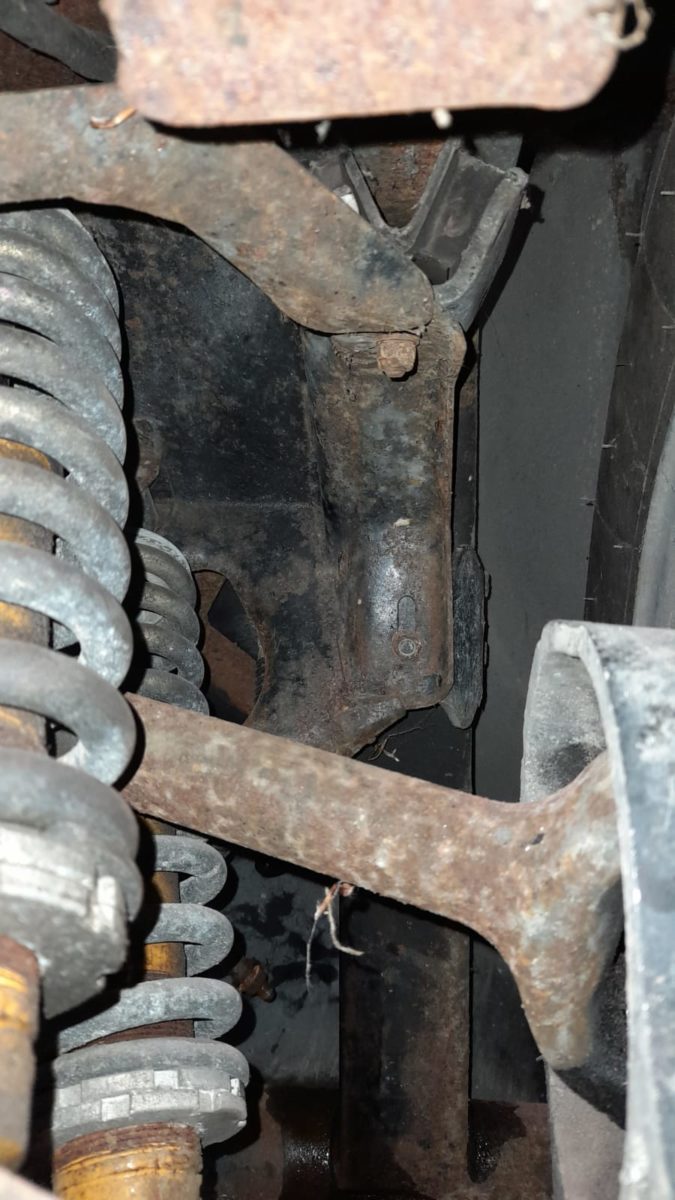
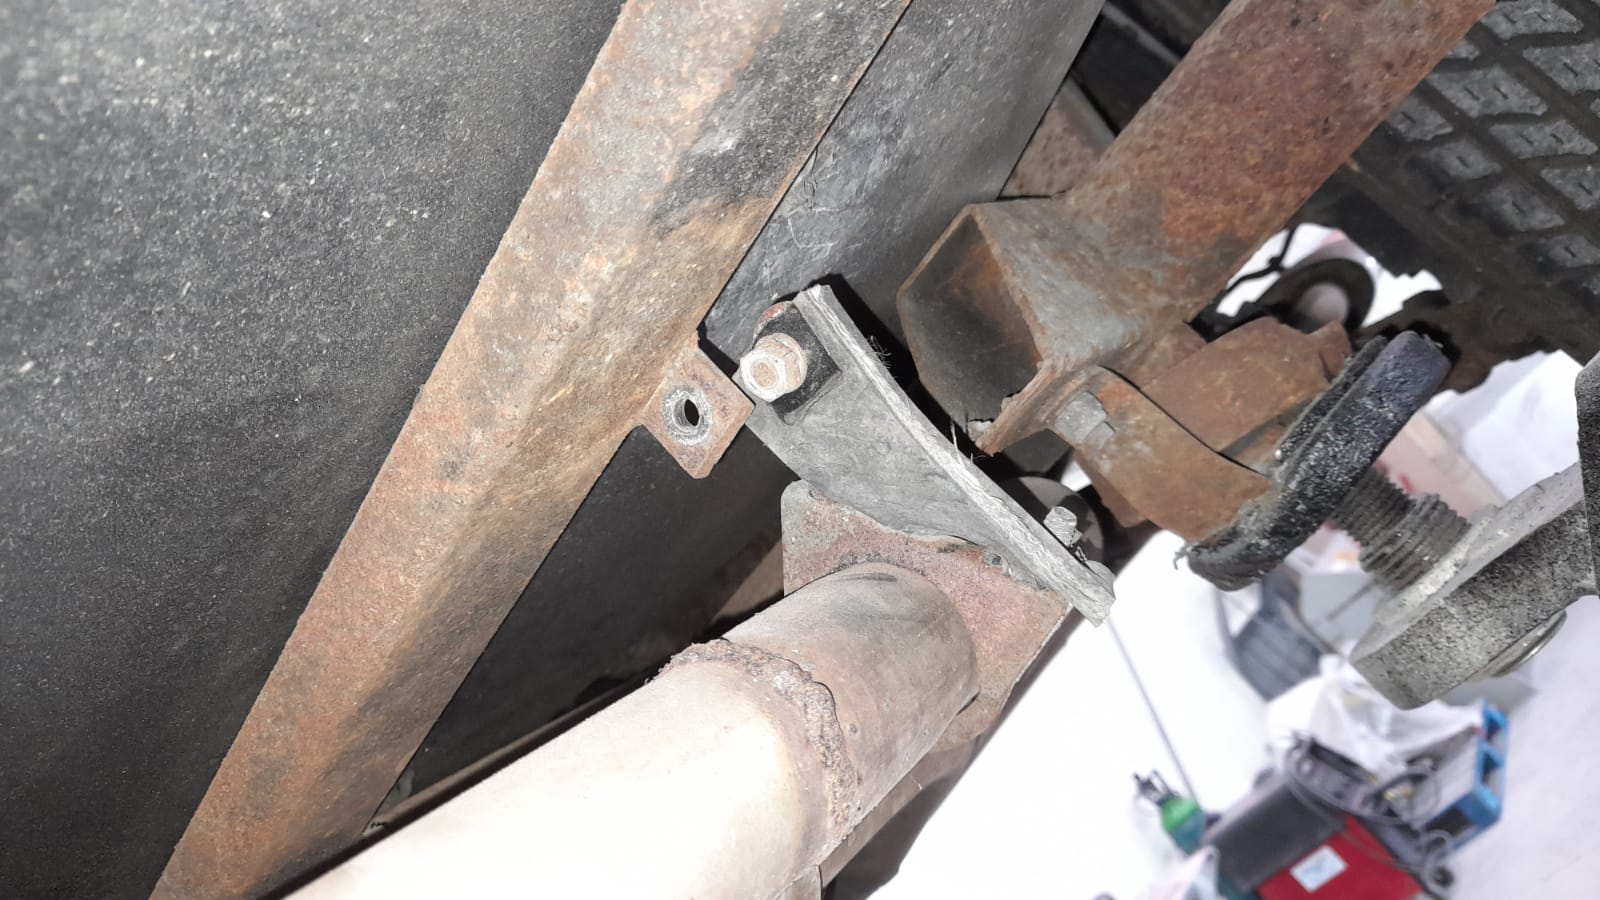
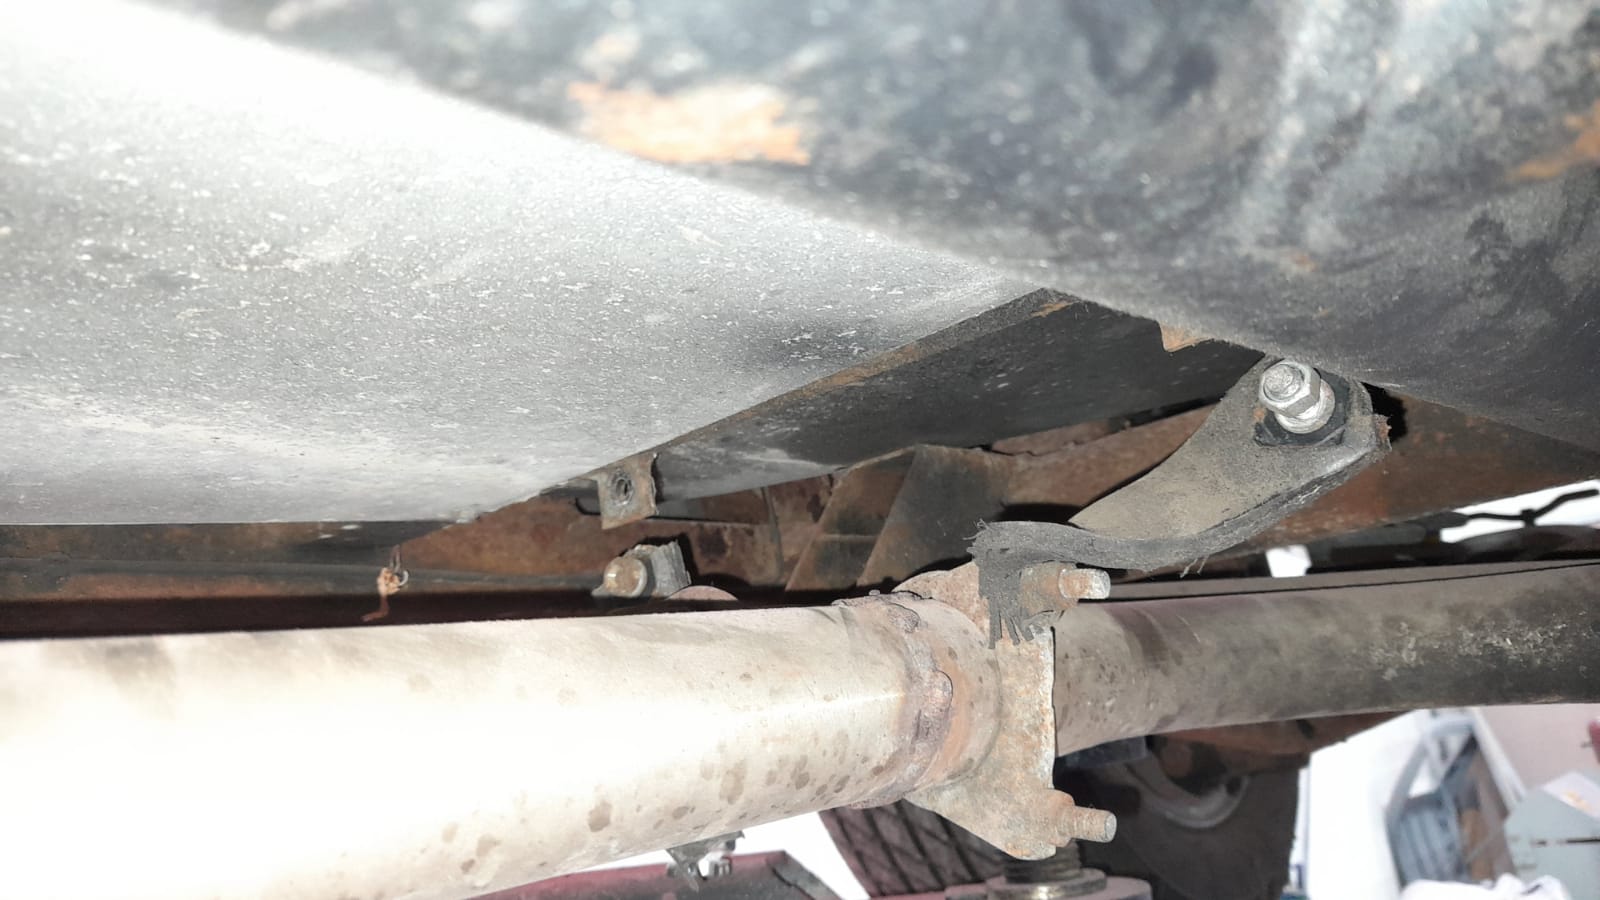
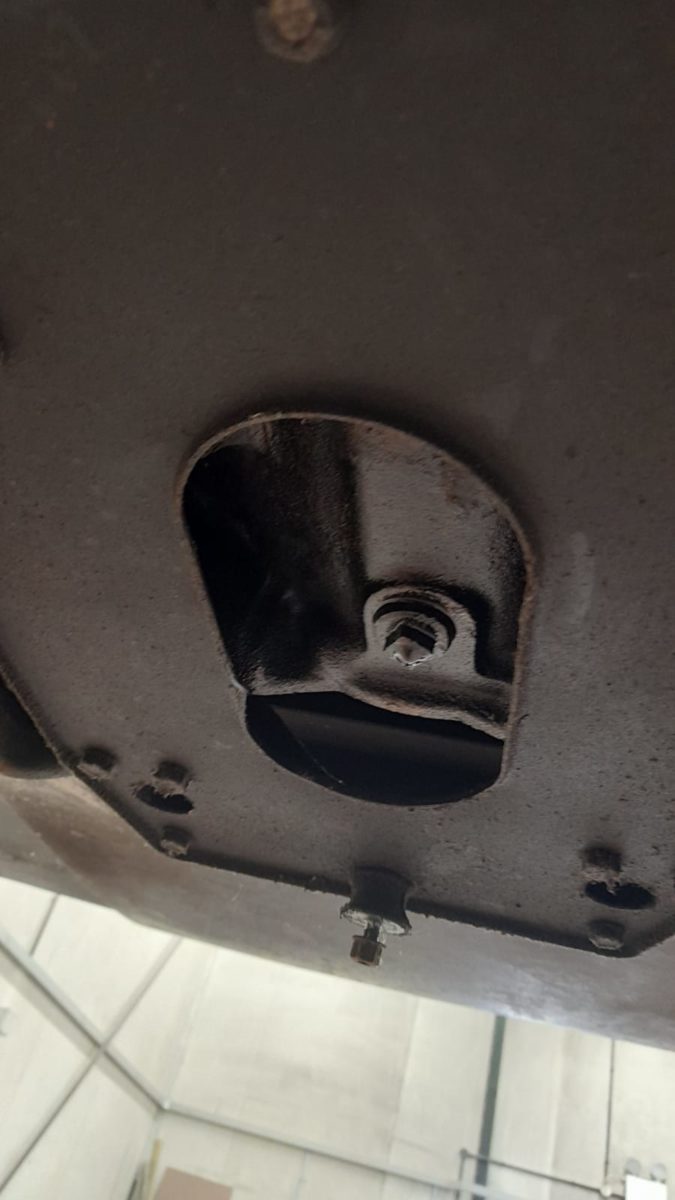
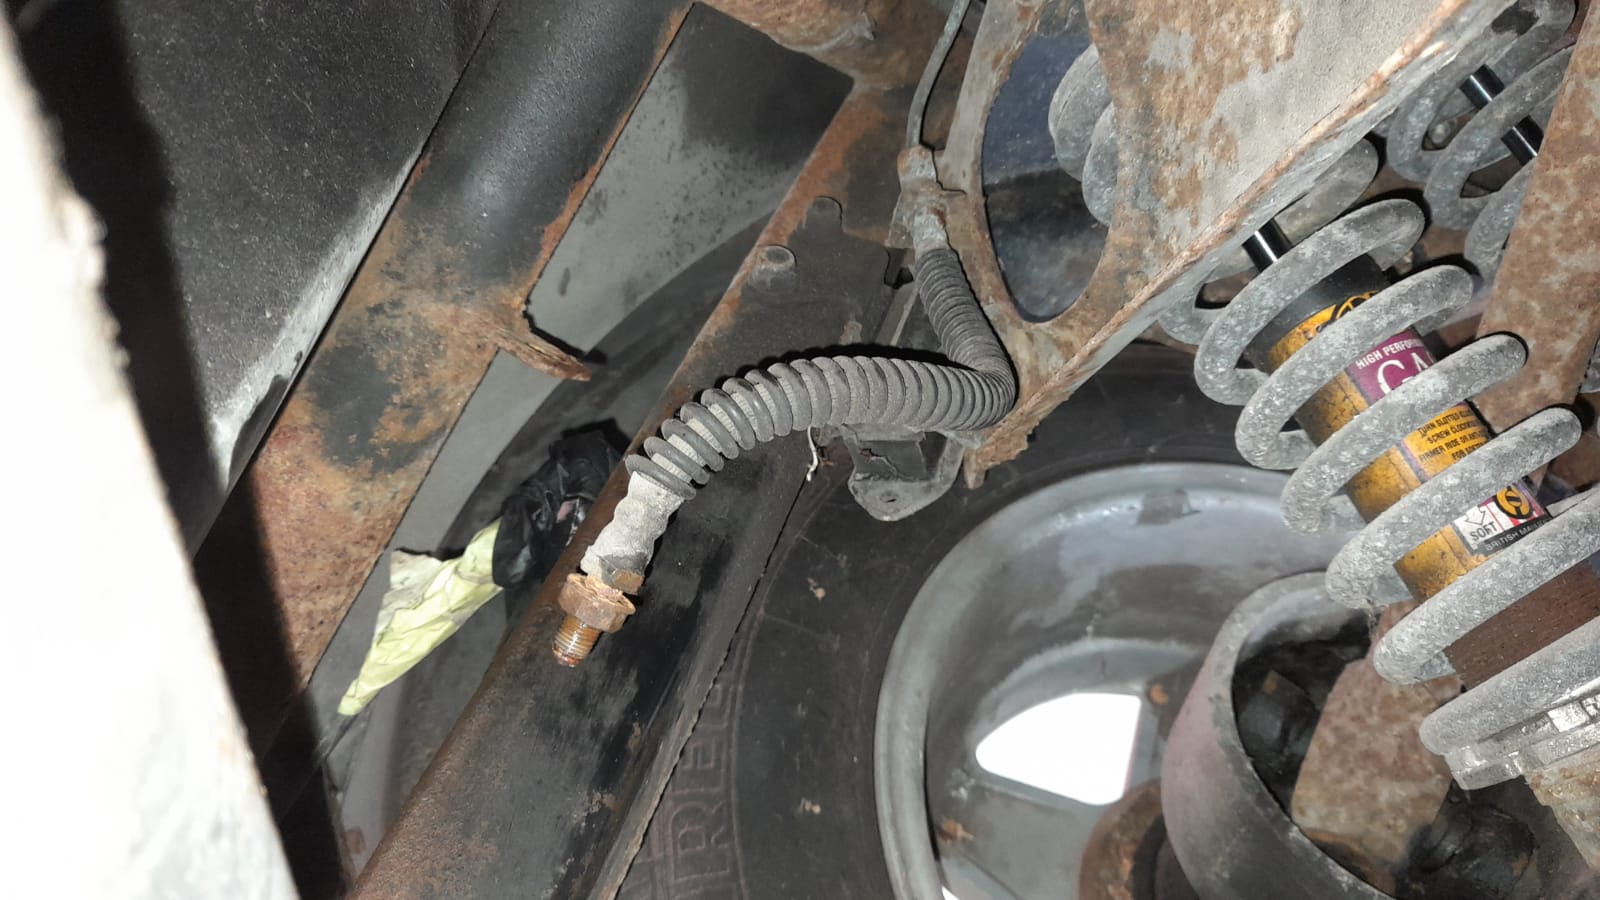
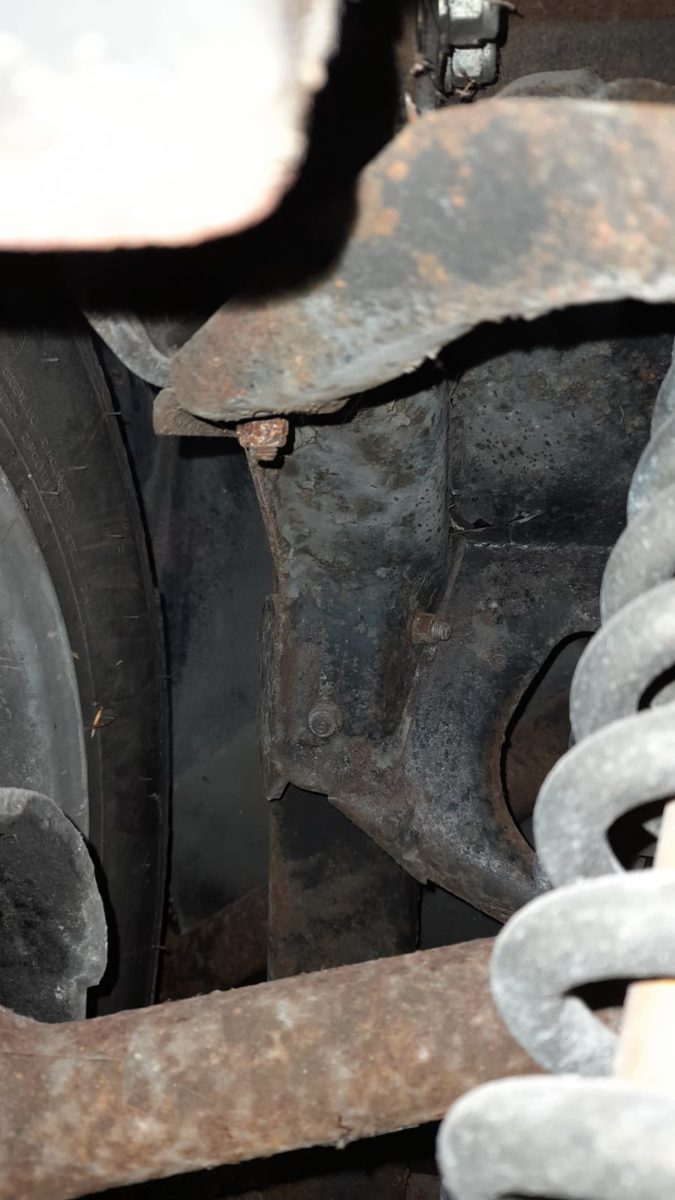
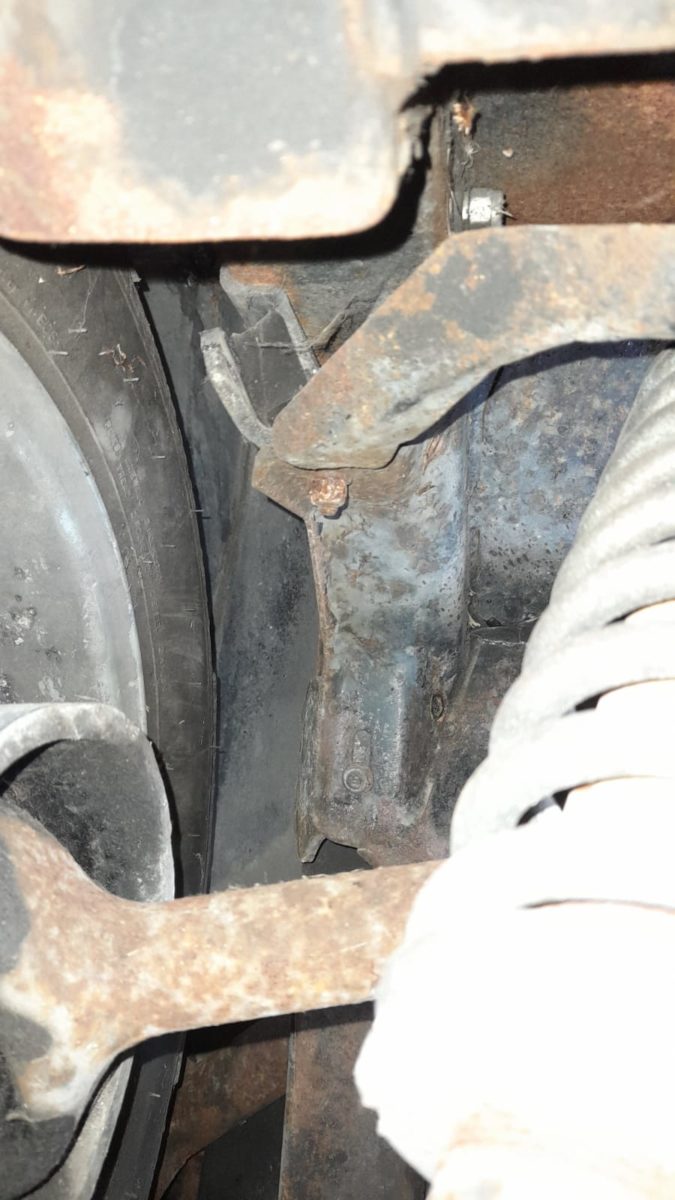
James has also been working on our Daytona. He’s removed the lower part of the left rear lower subframe mount as it had a snapped and rusted bolt. He made a replacement and location bracket to ensure that the new thread remains centred. Once this was made, James then welded it back in place.


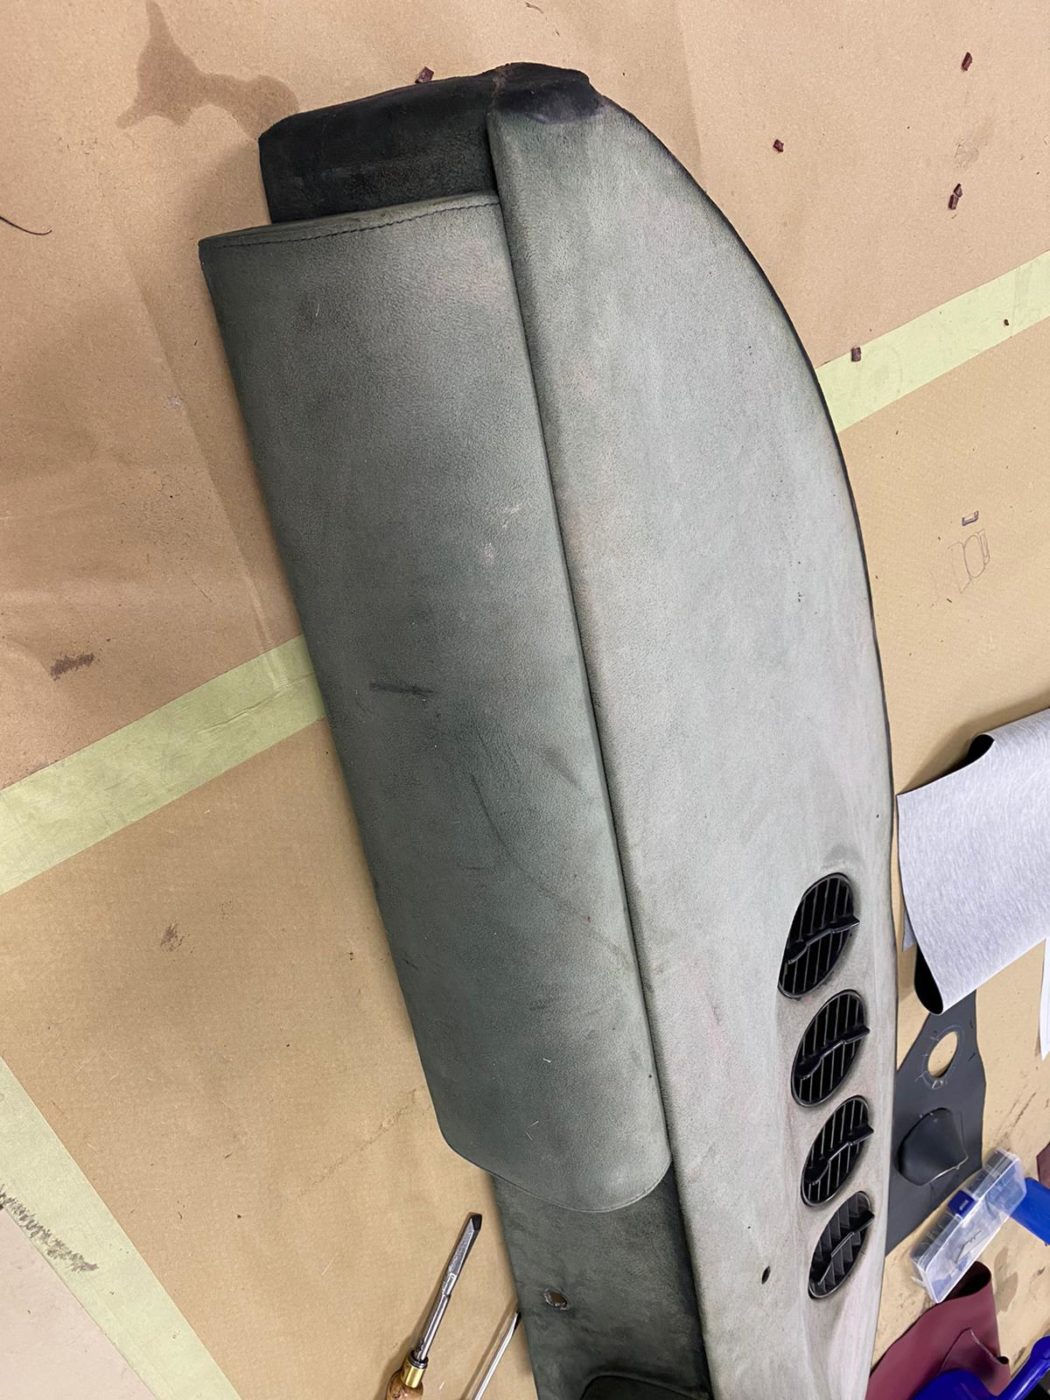
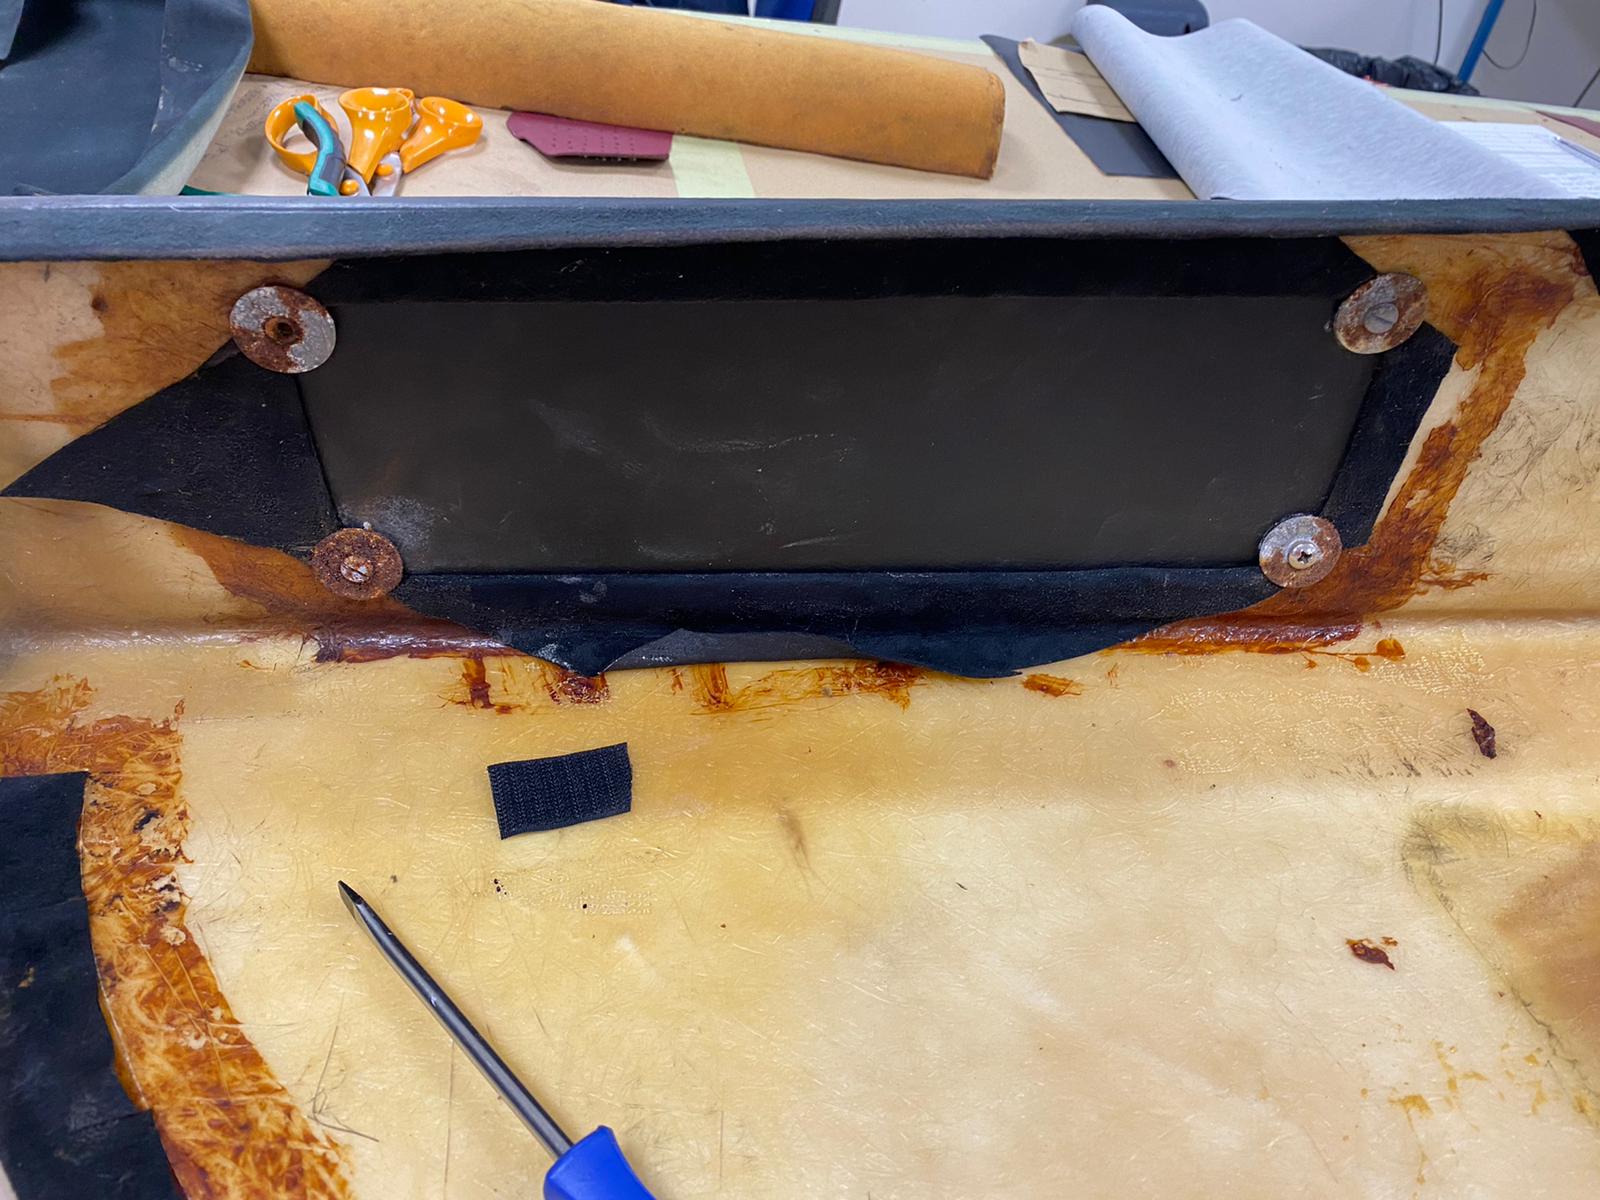
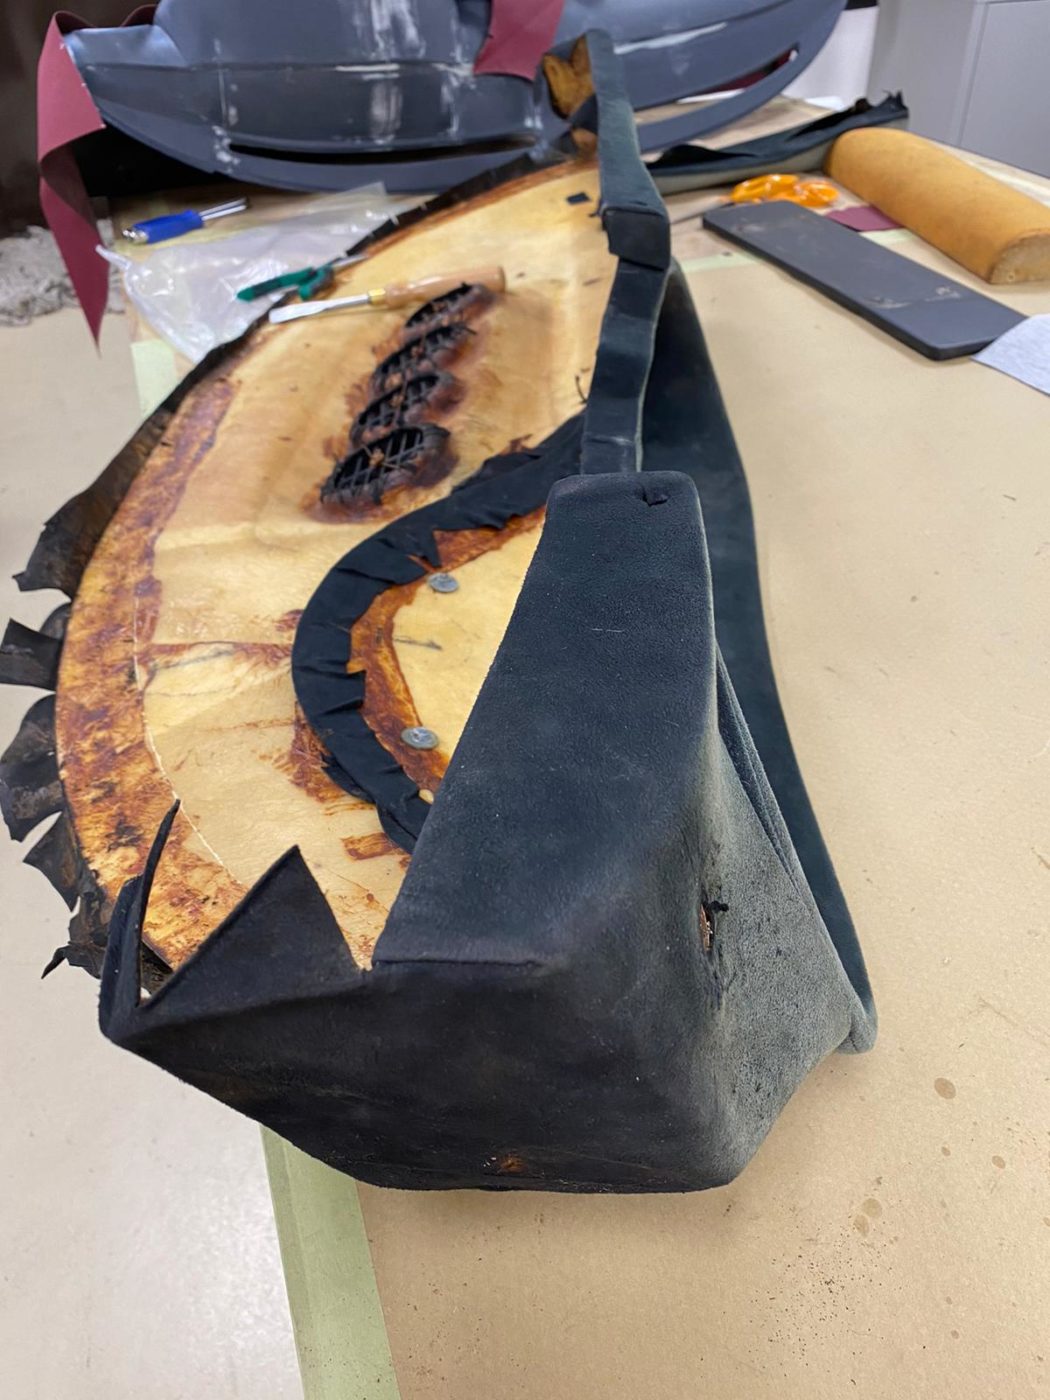
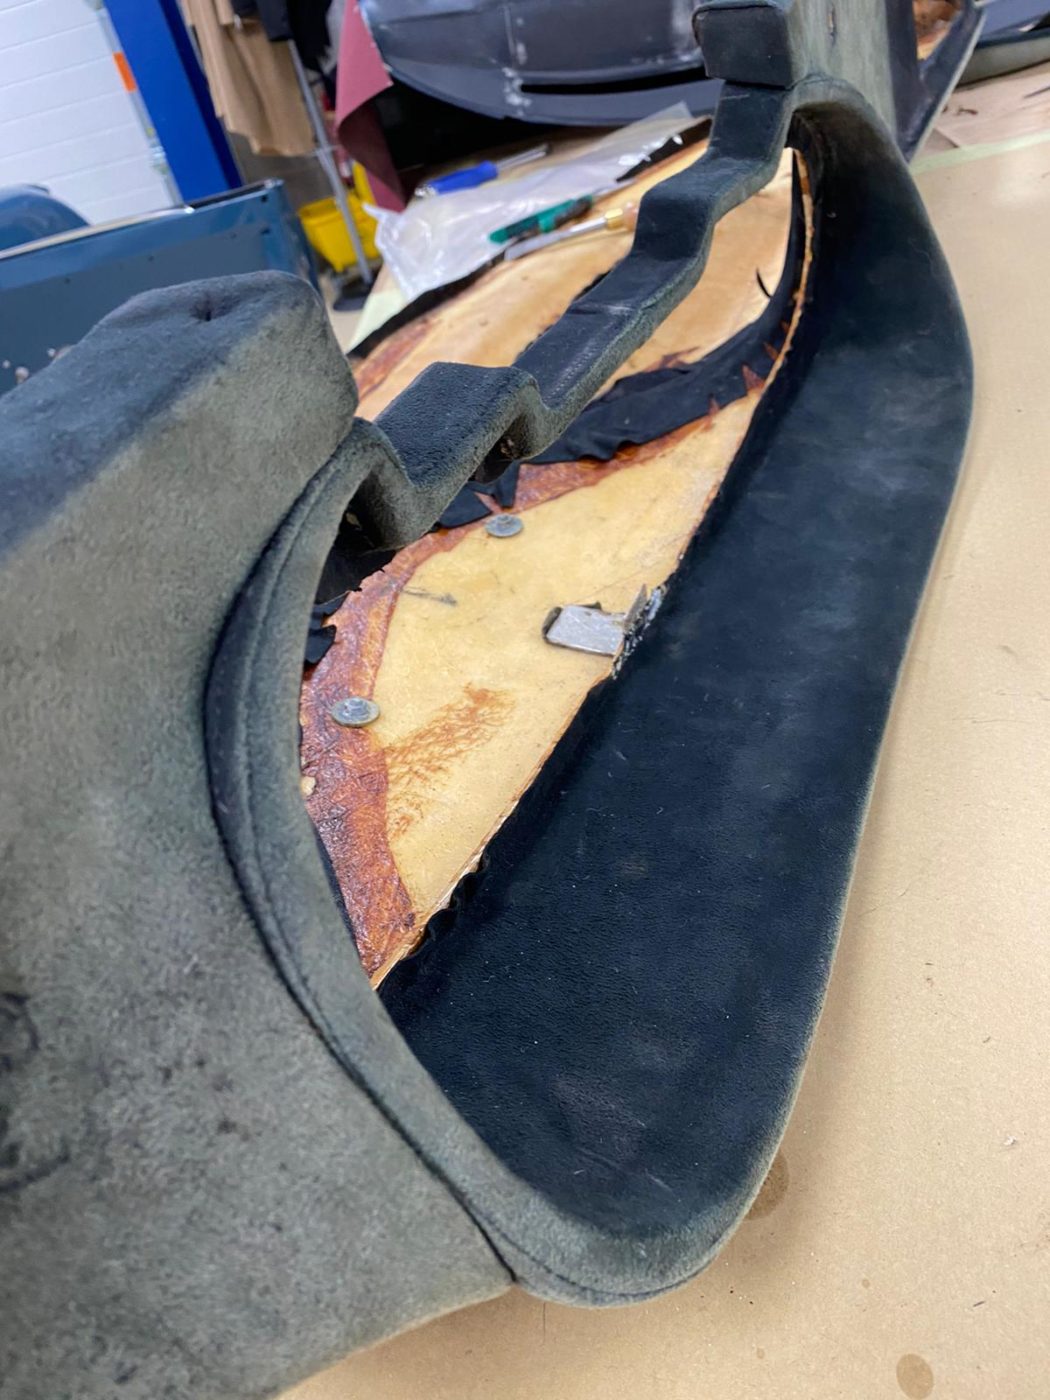
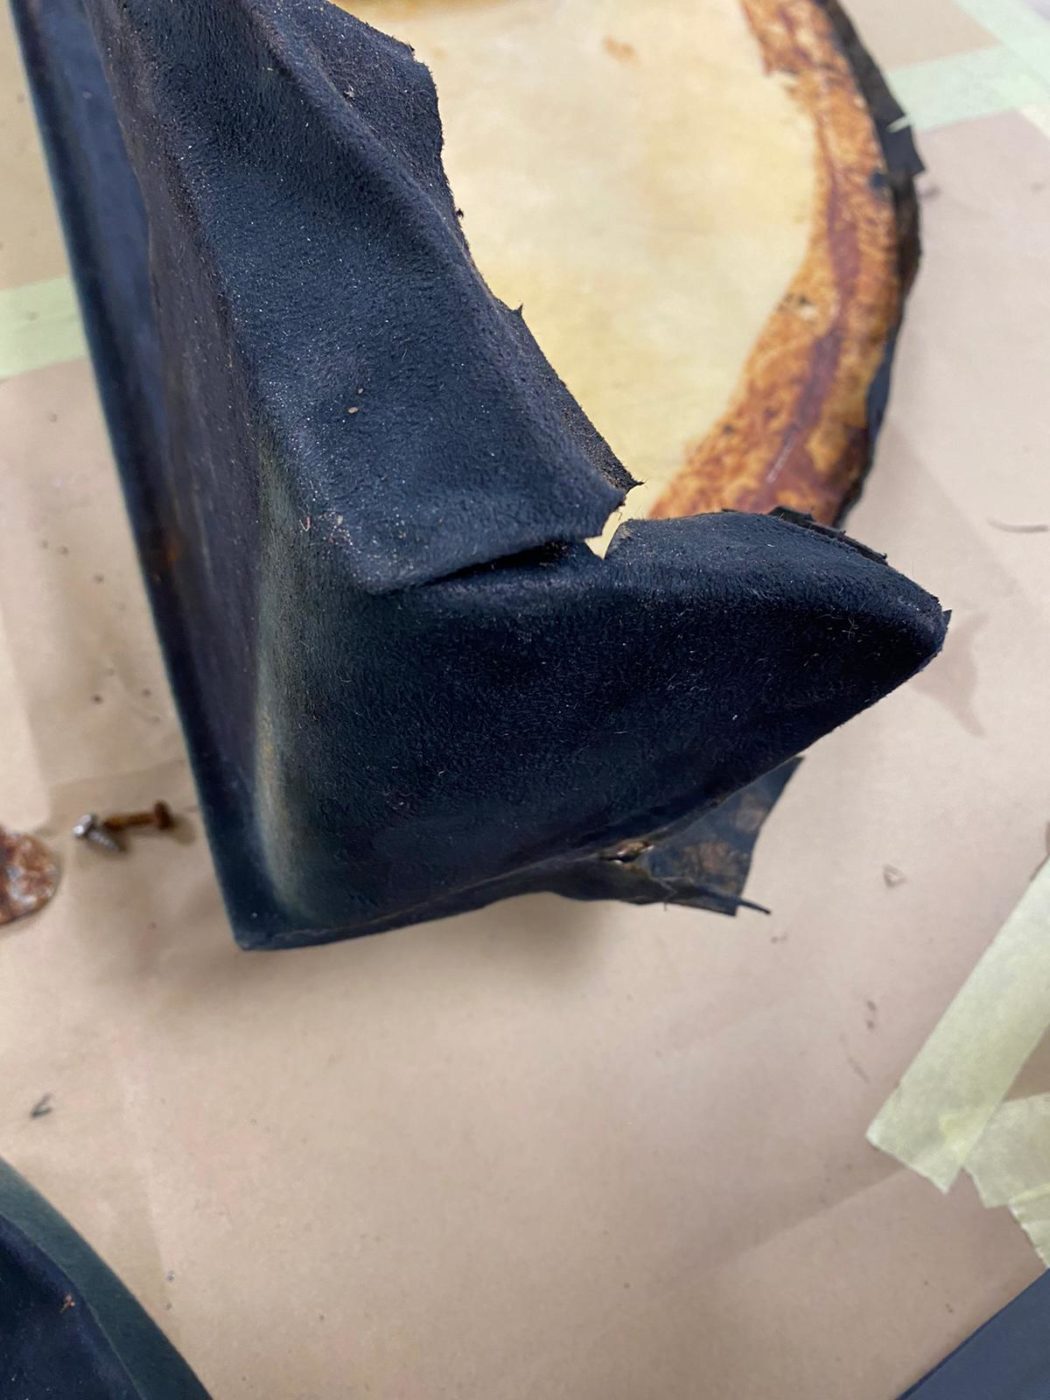
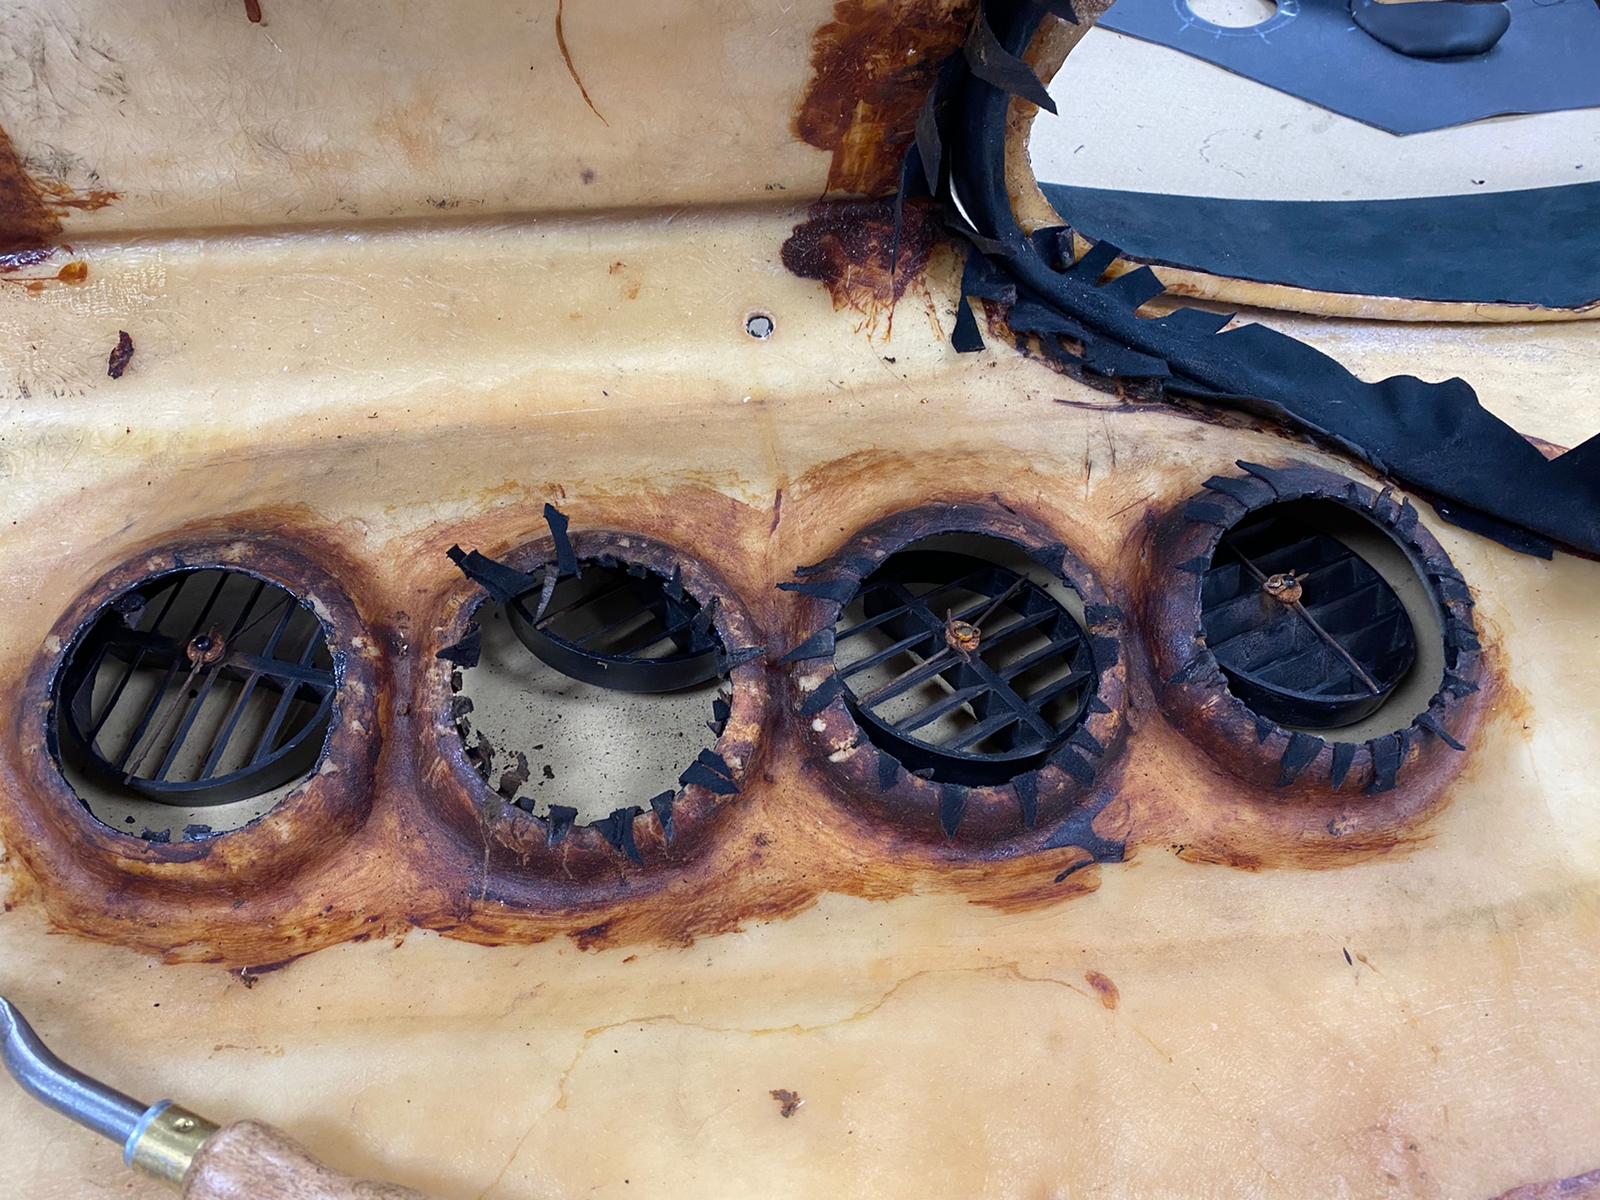
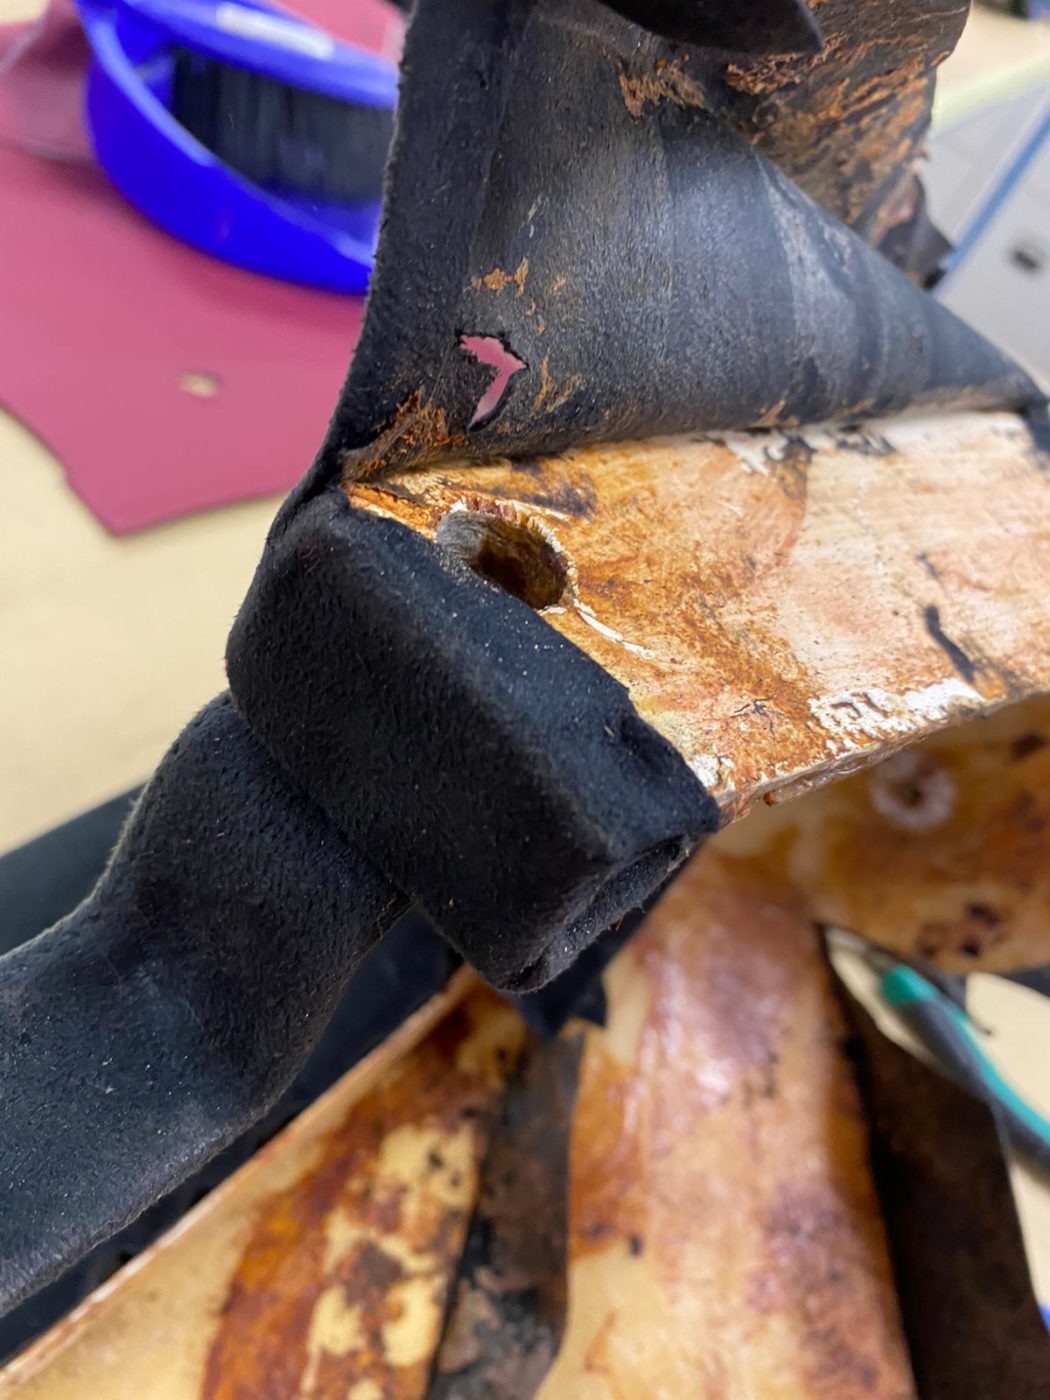
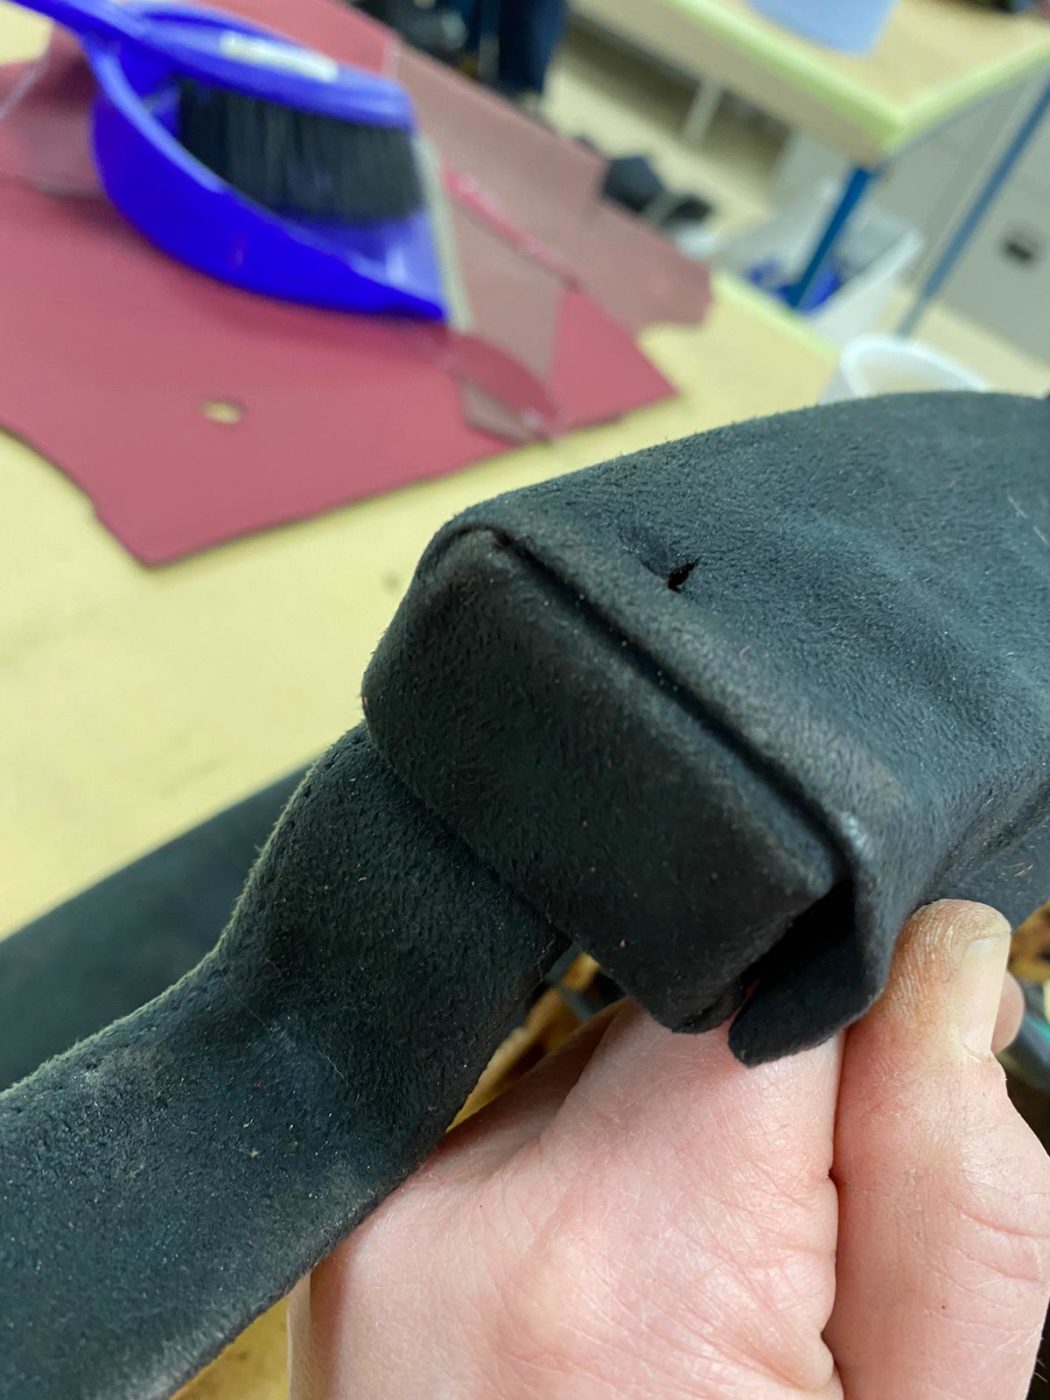
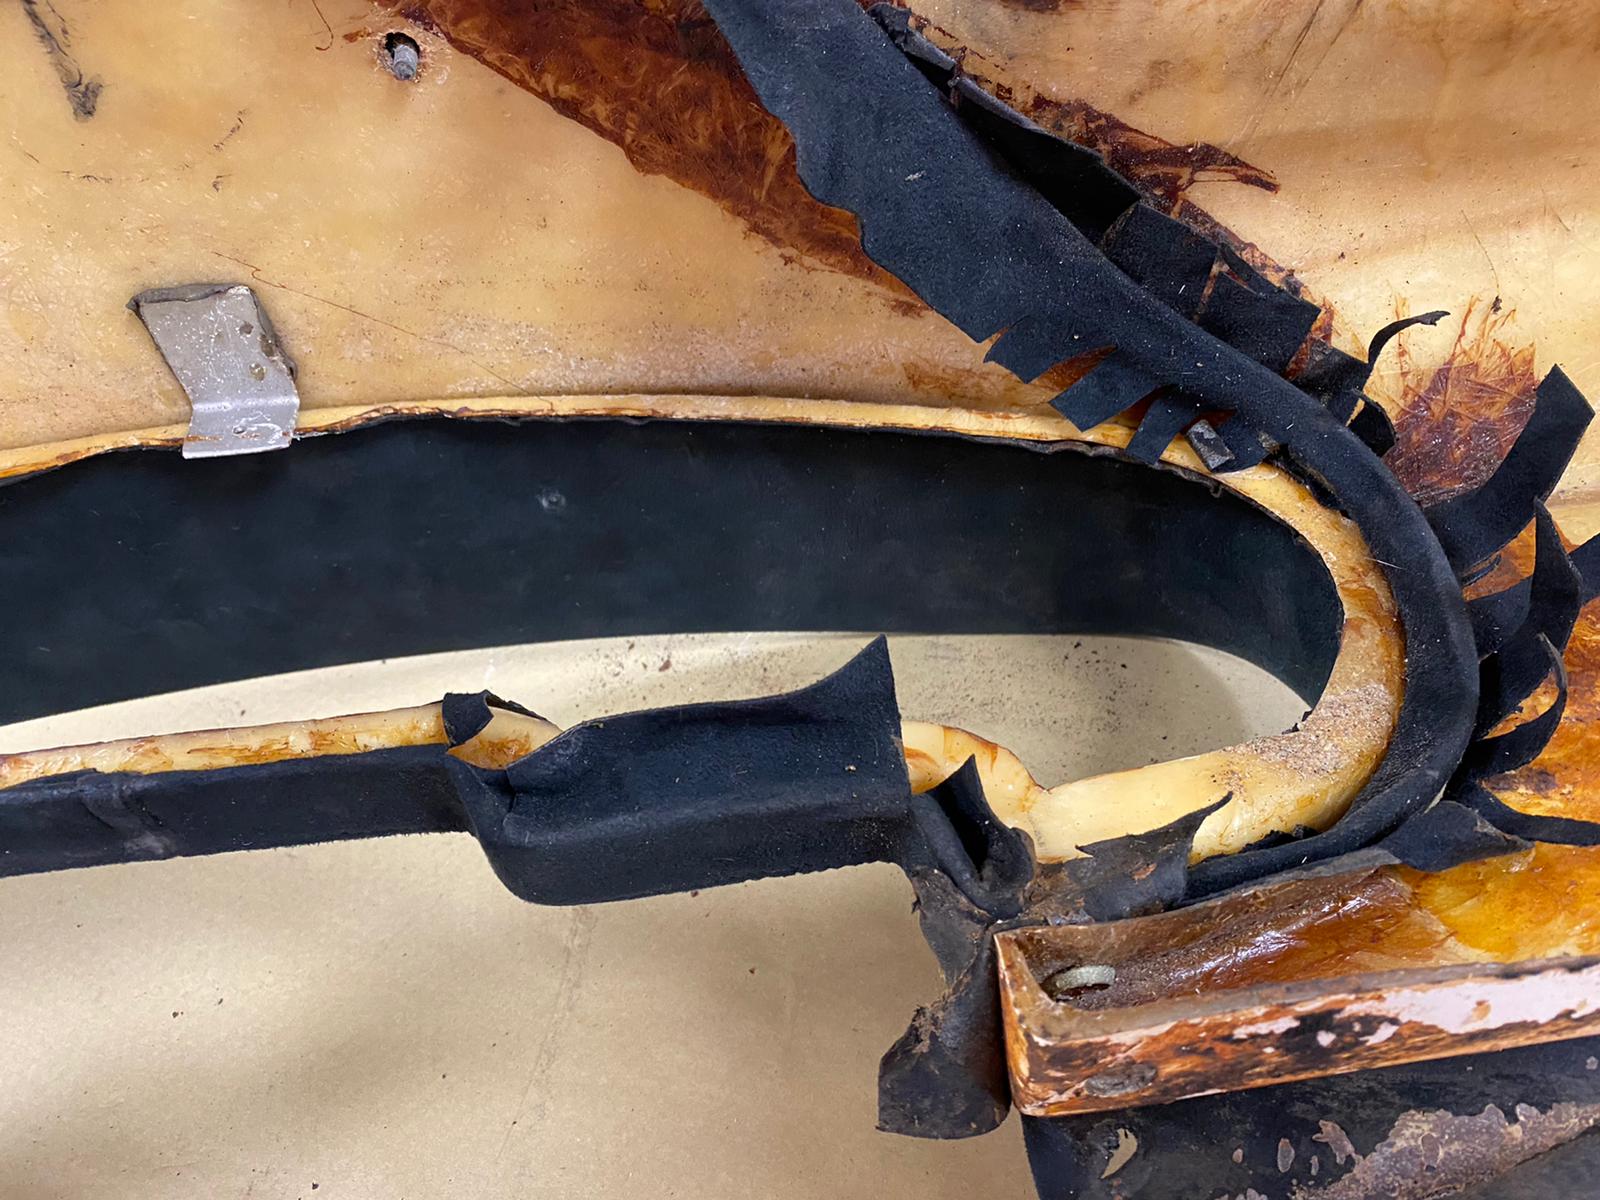
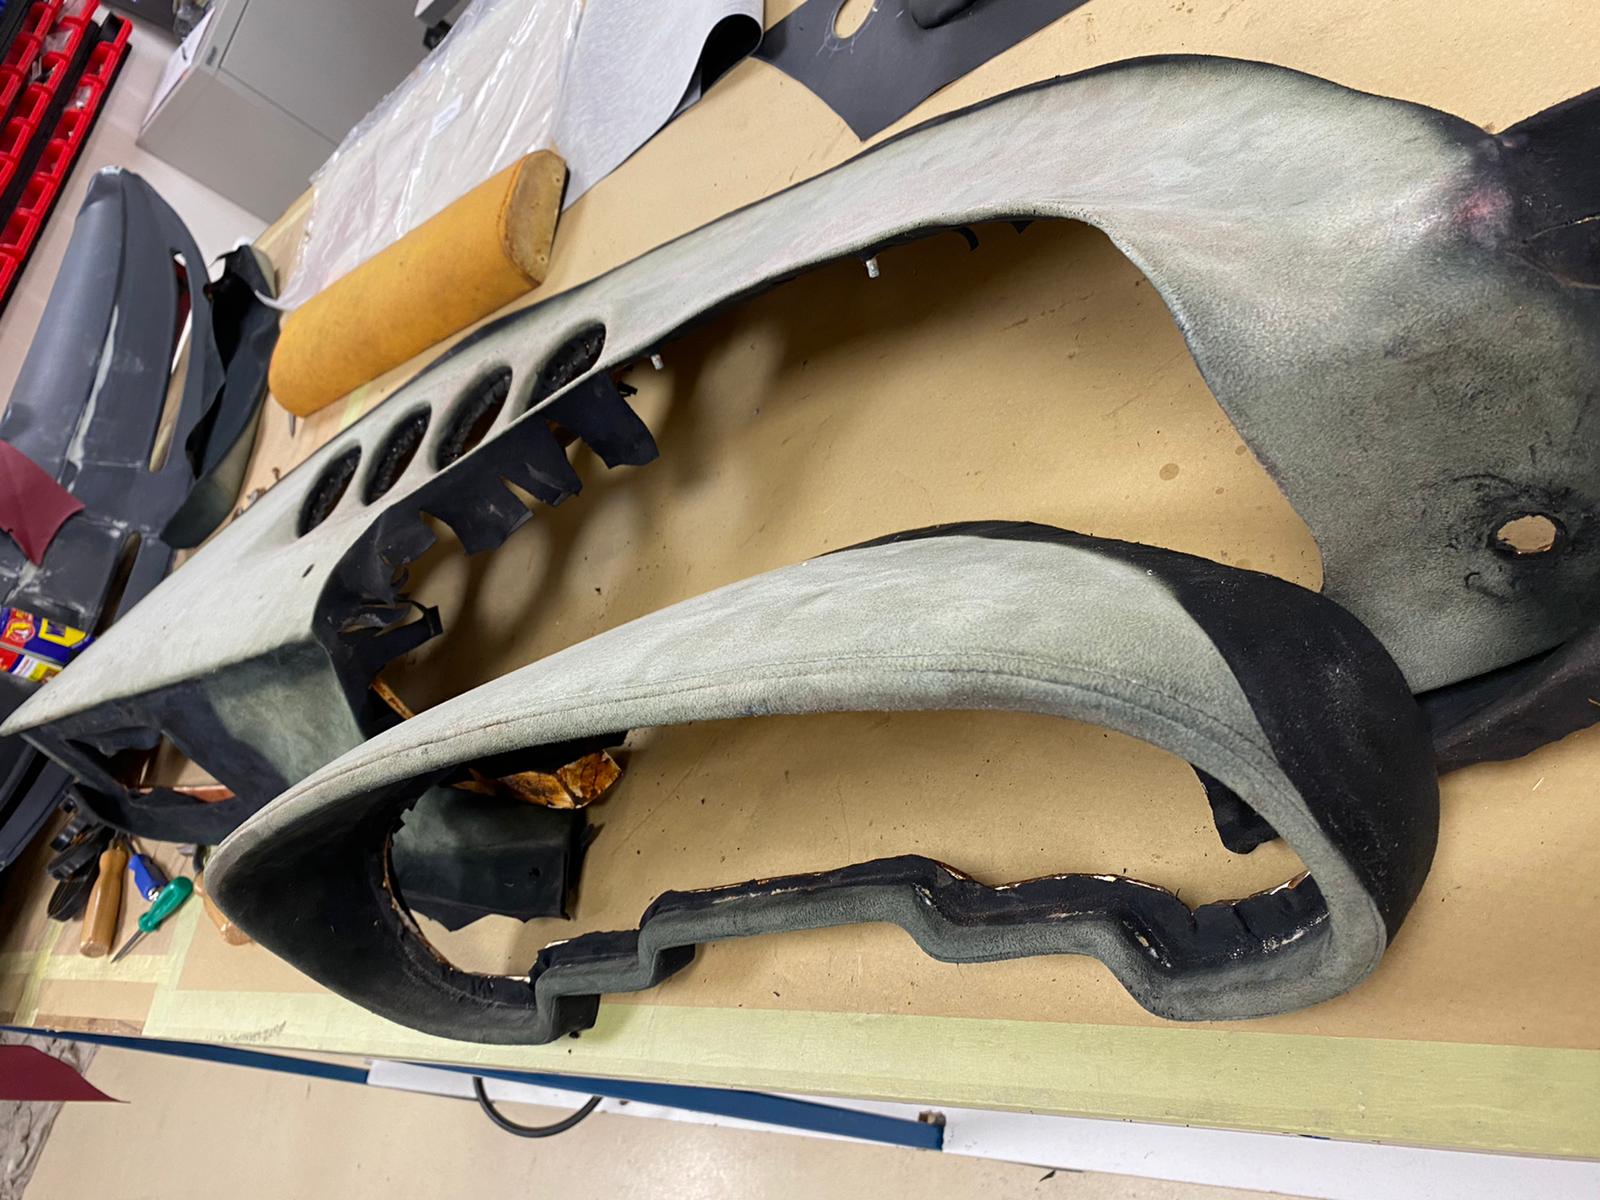
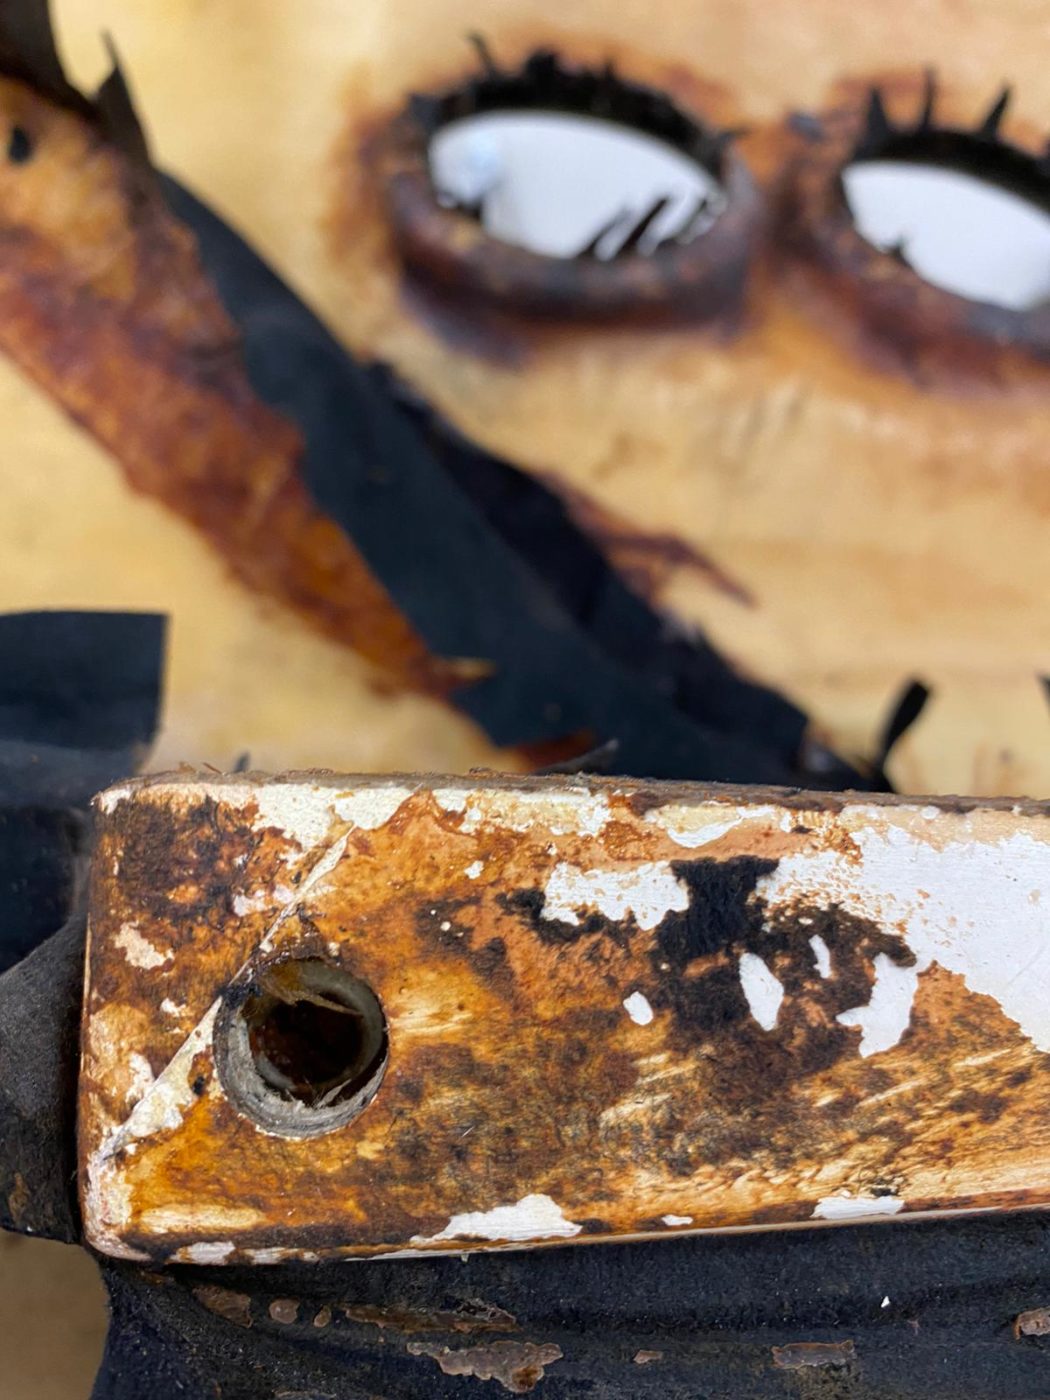
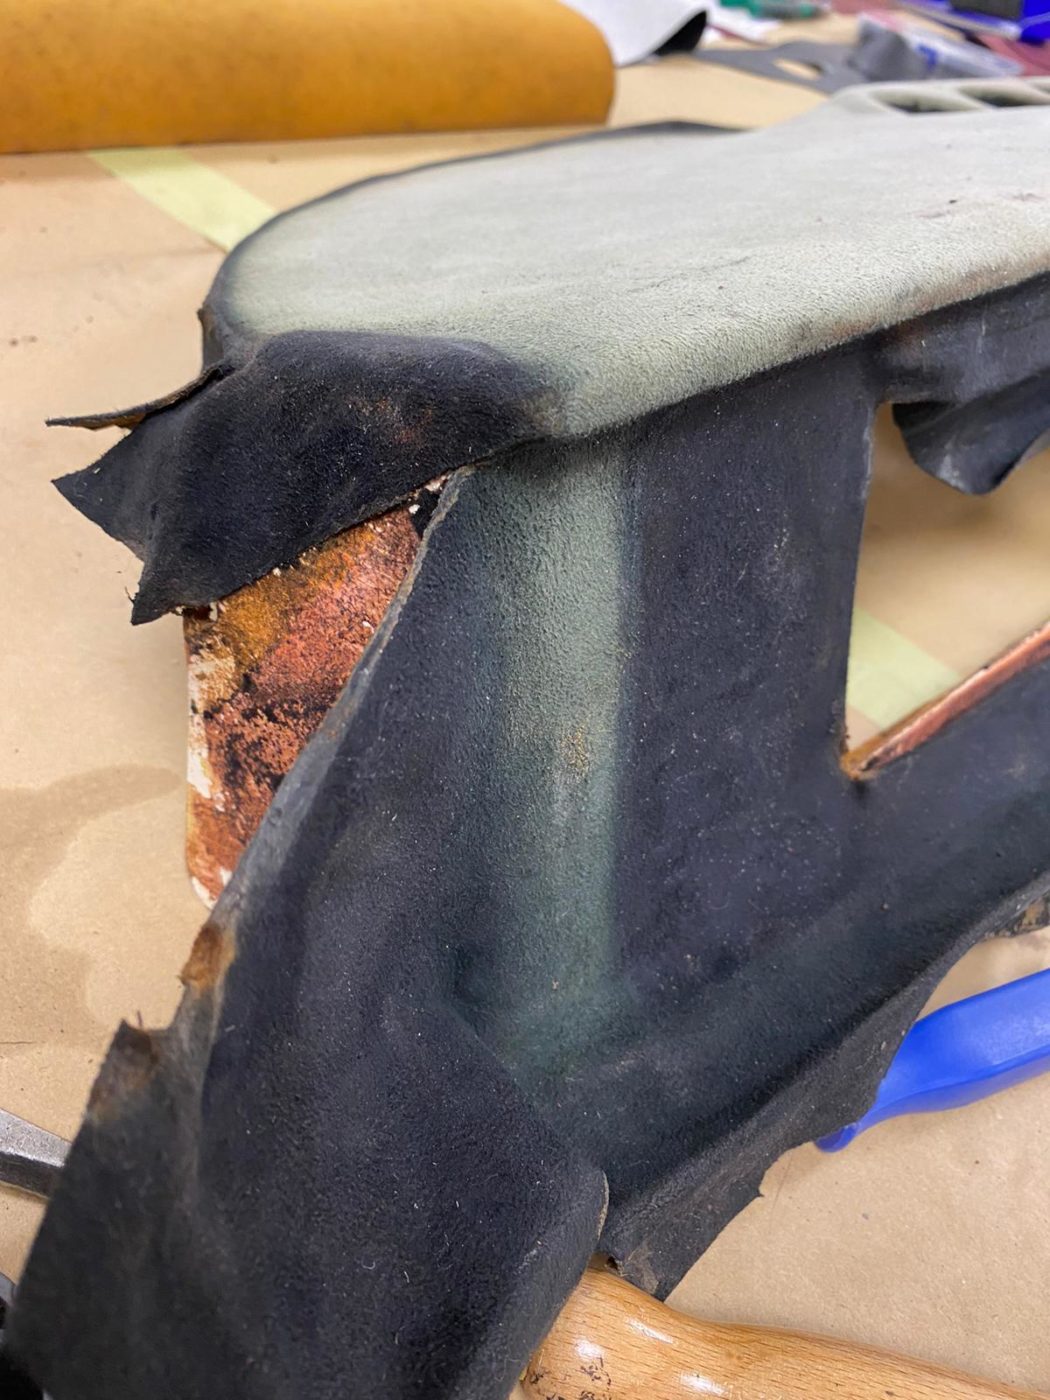
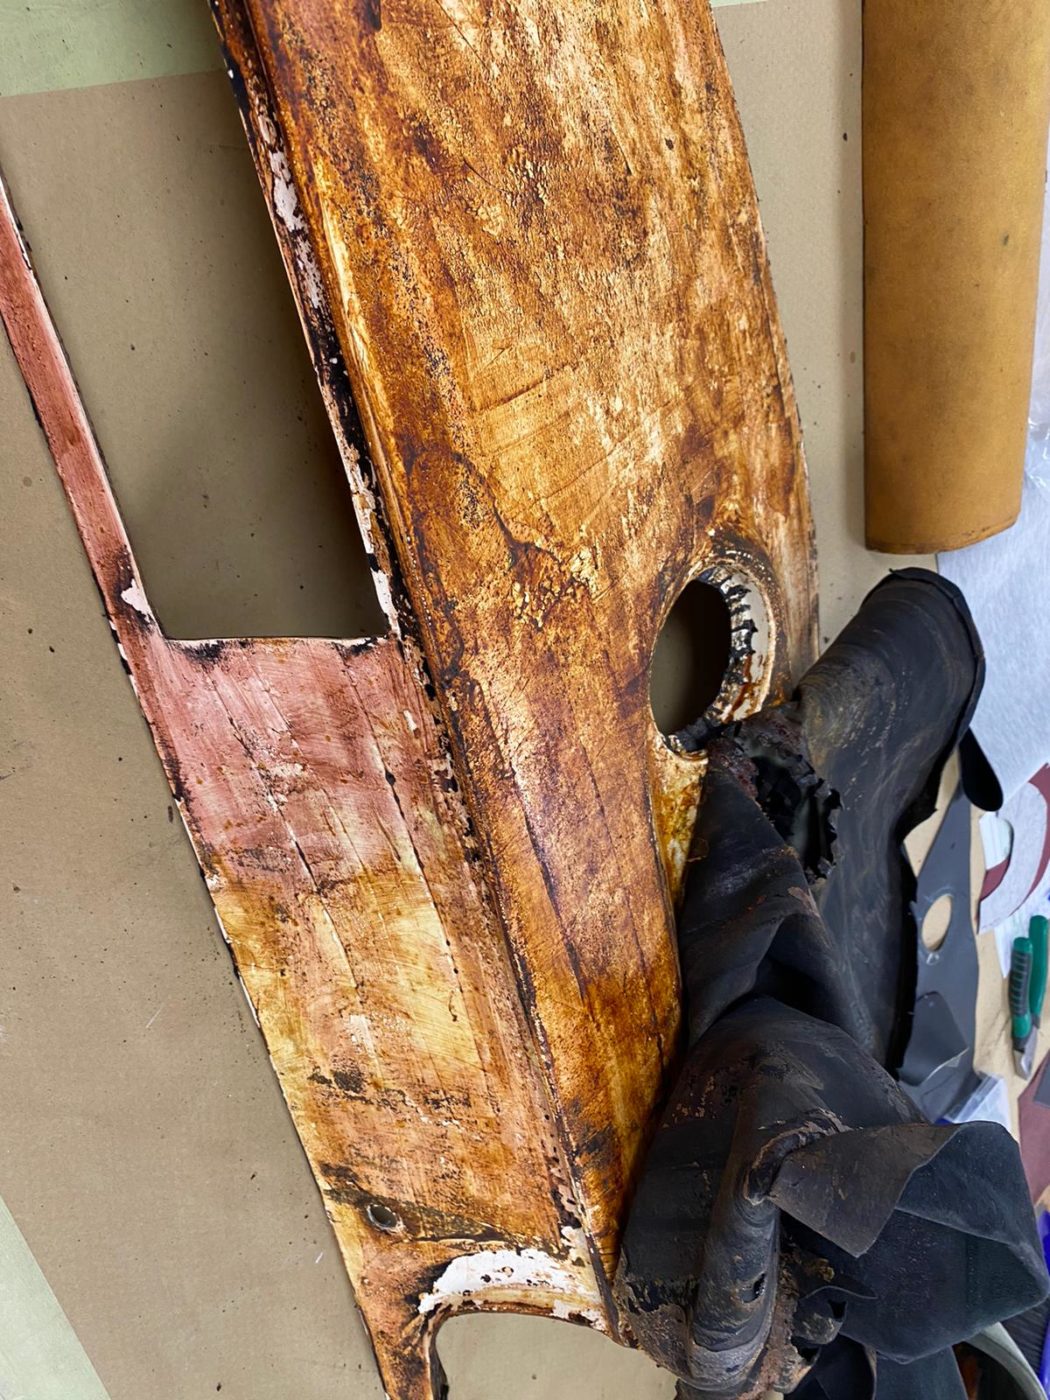
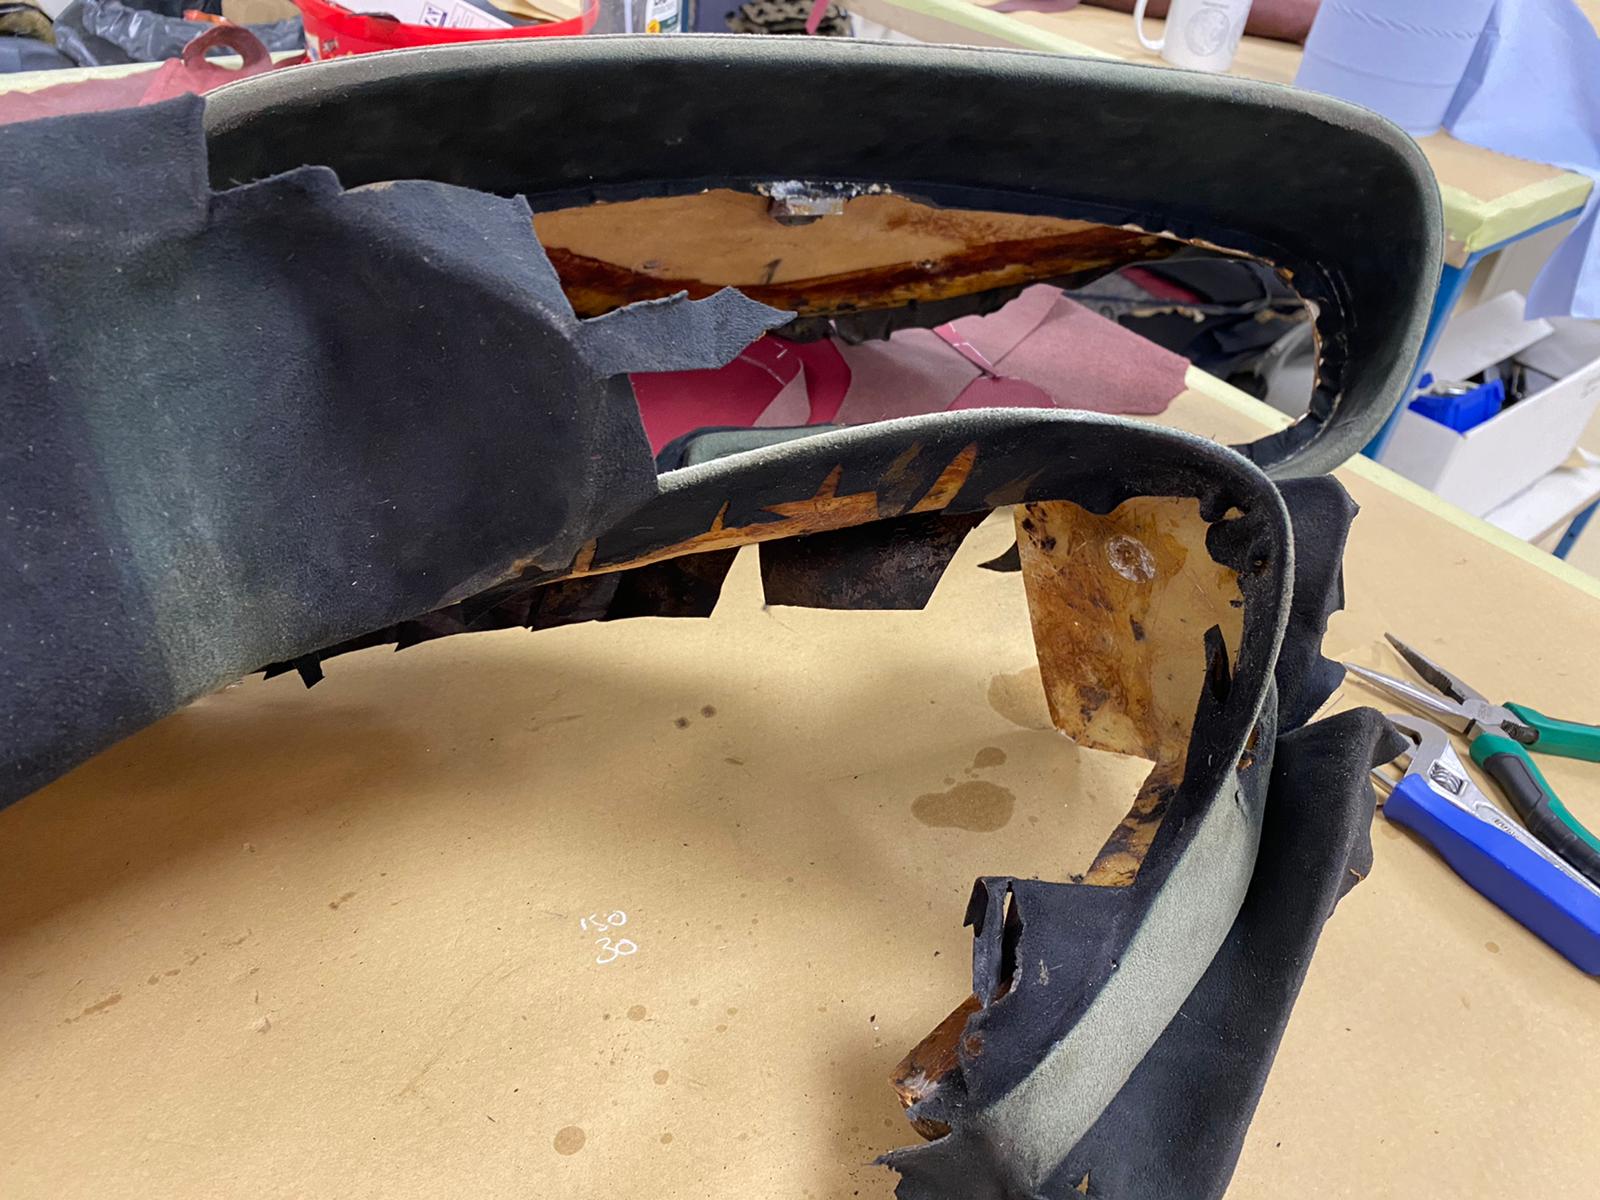
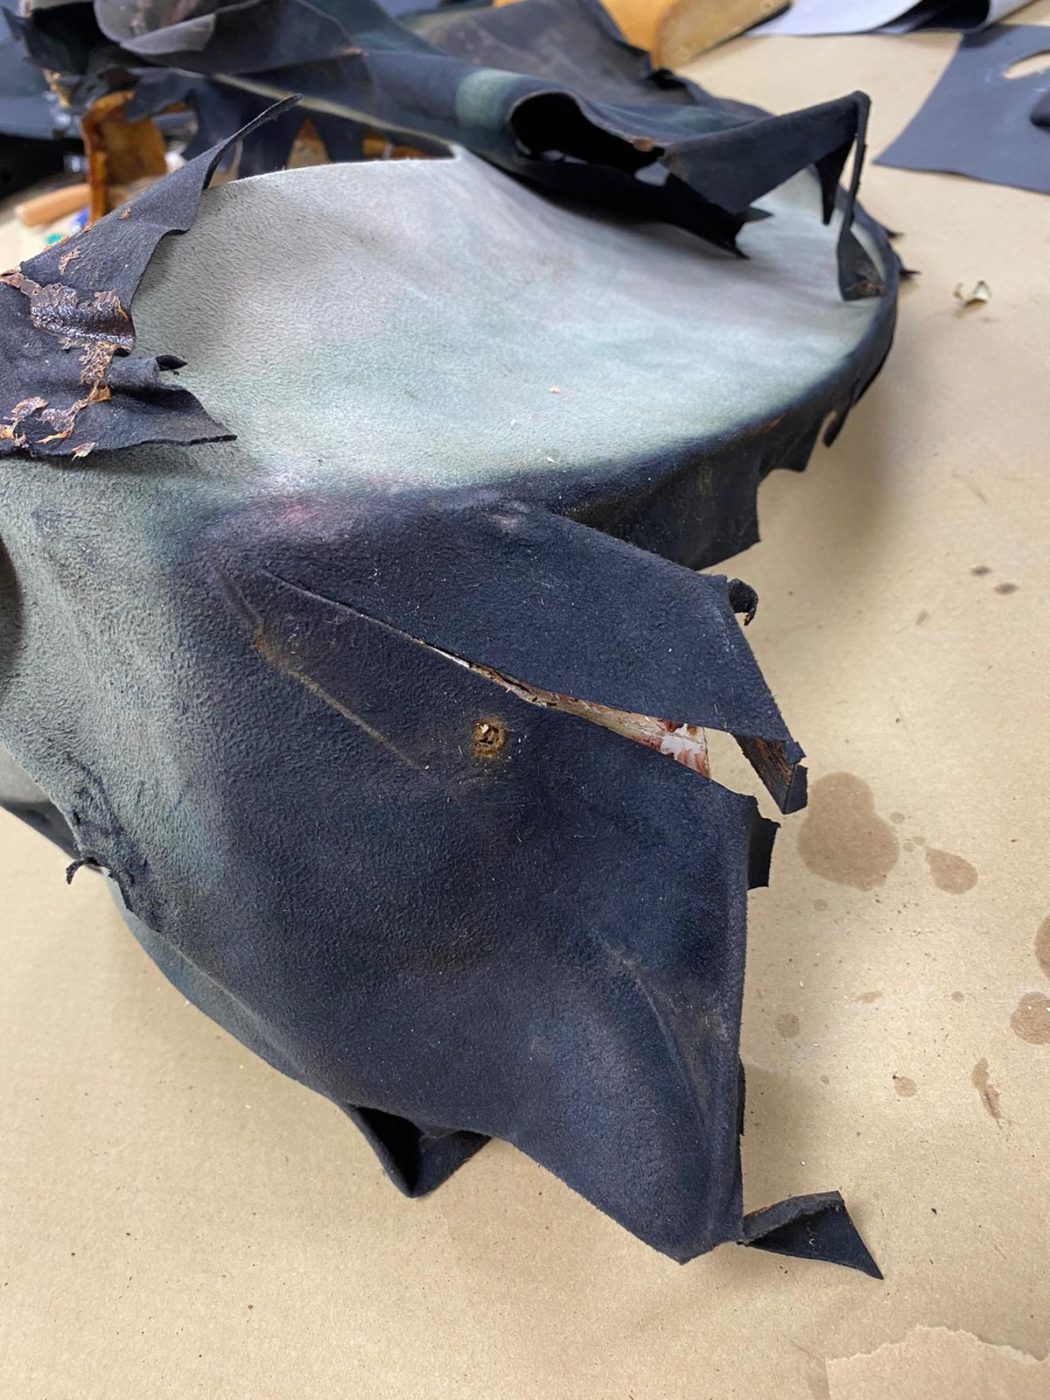
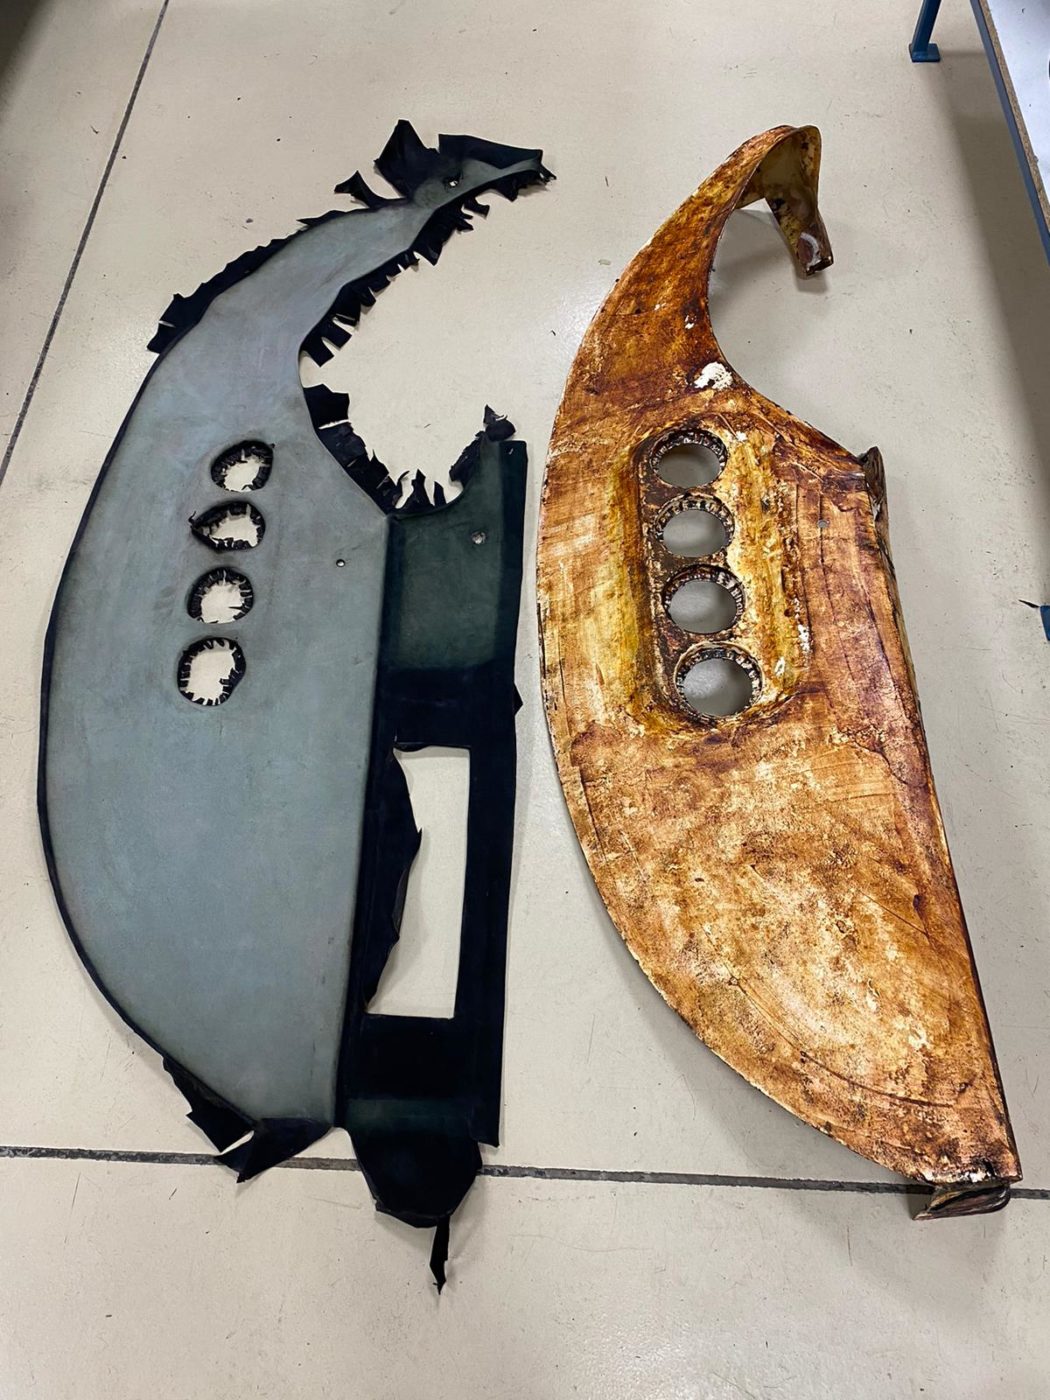
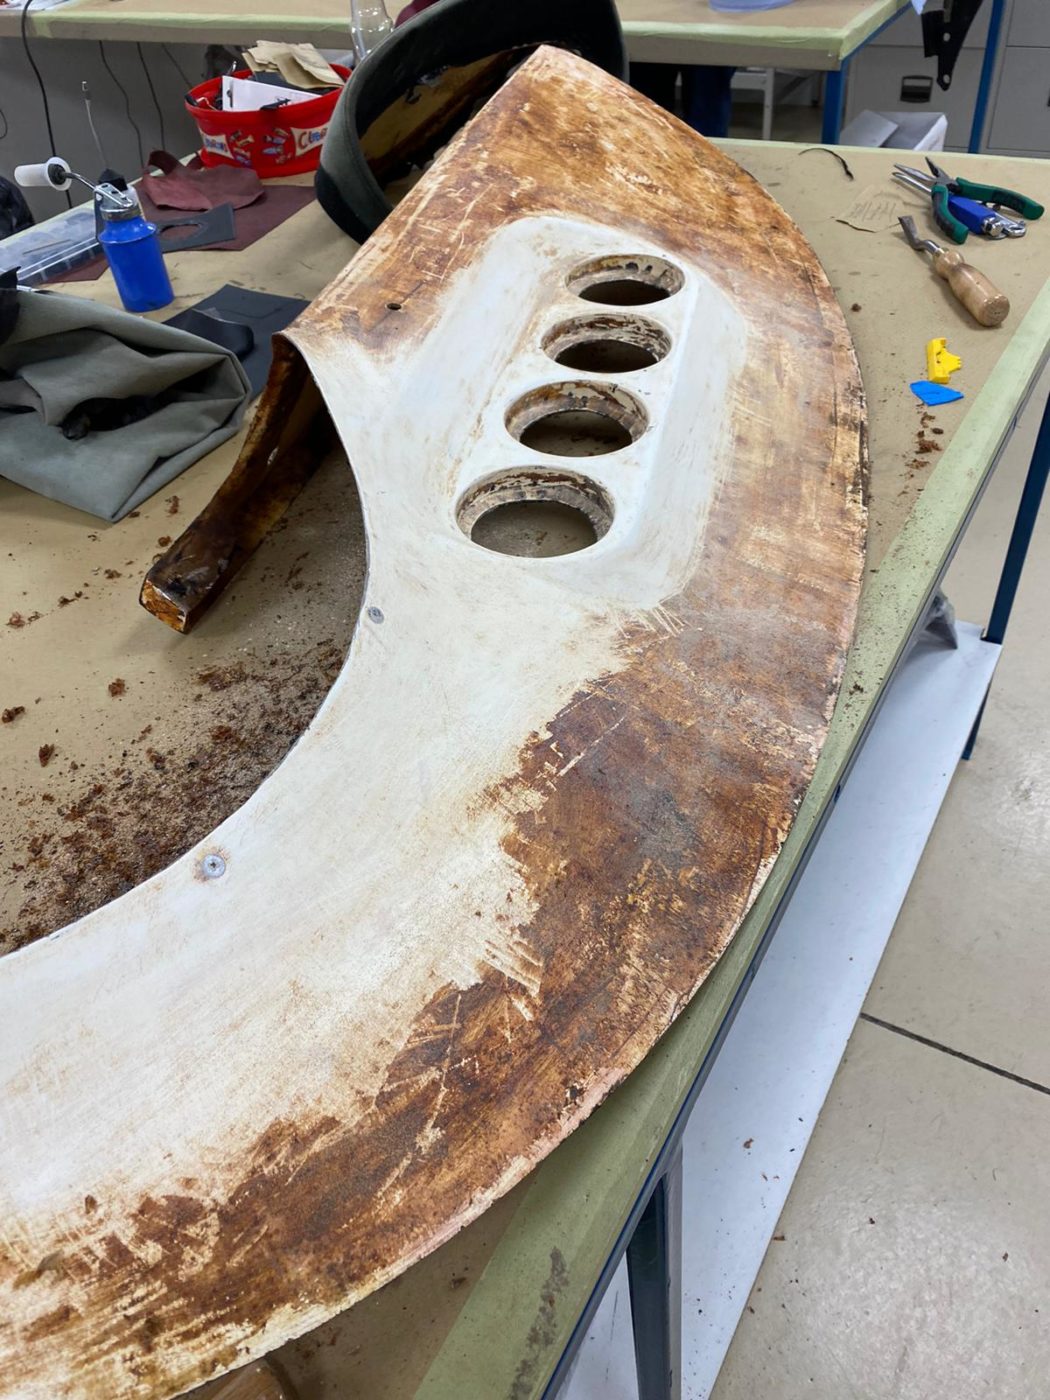
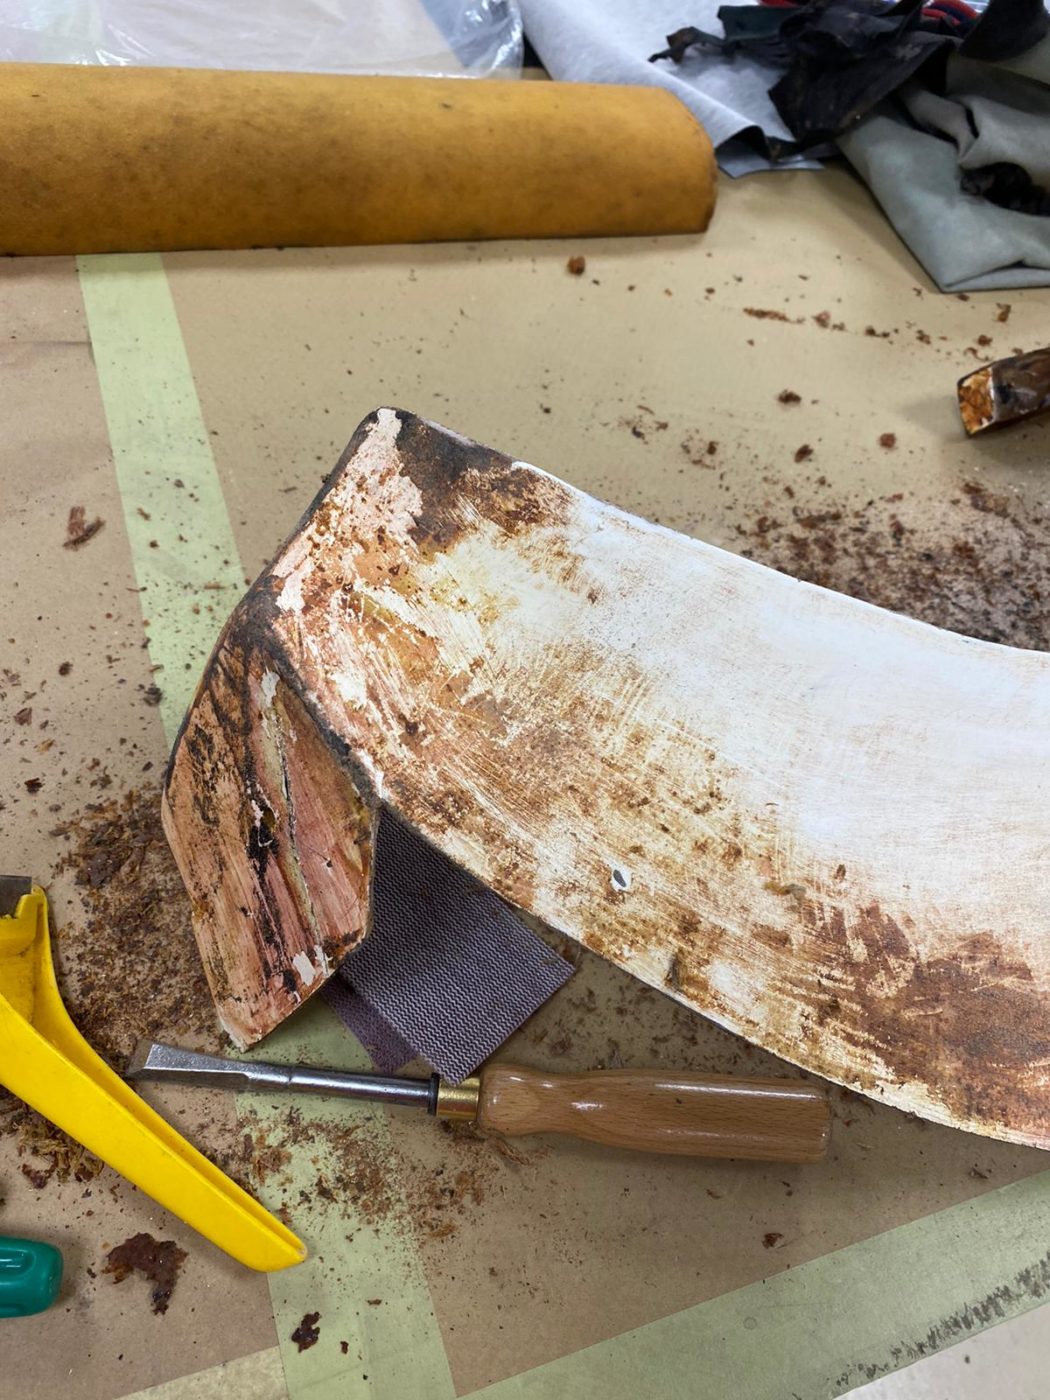
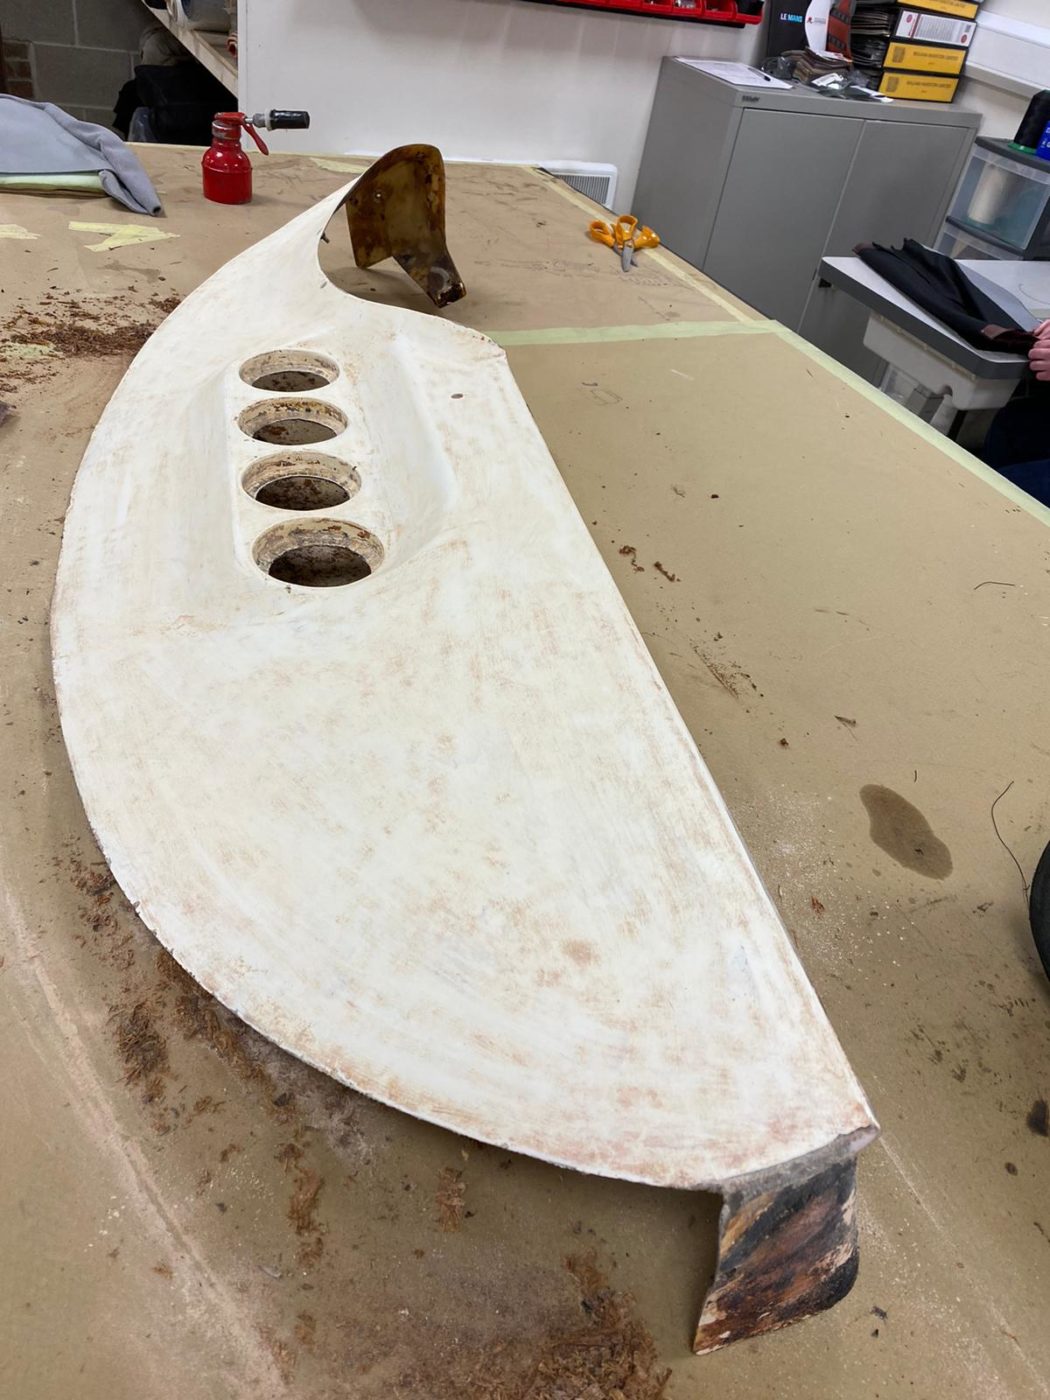
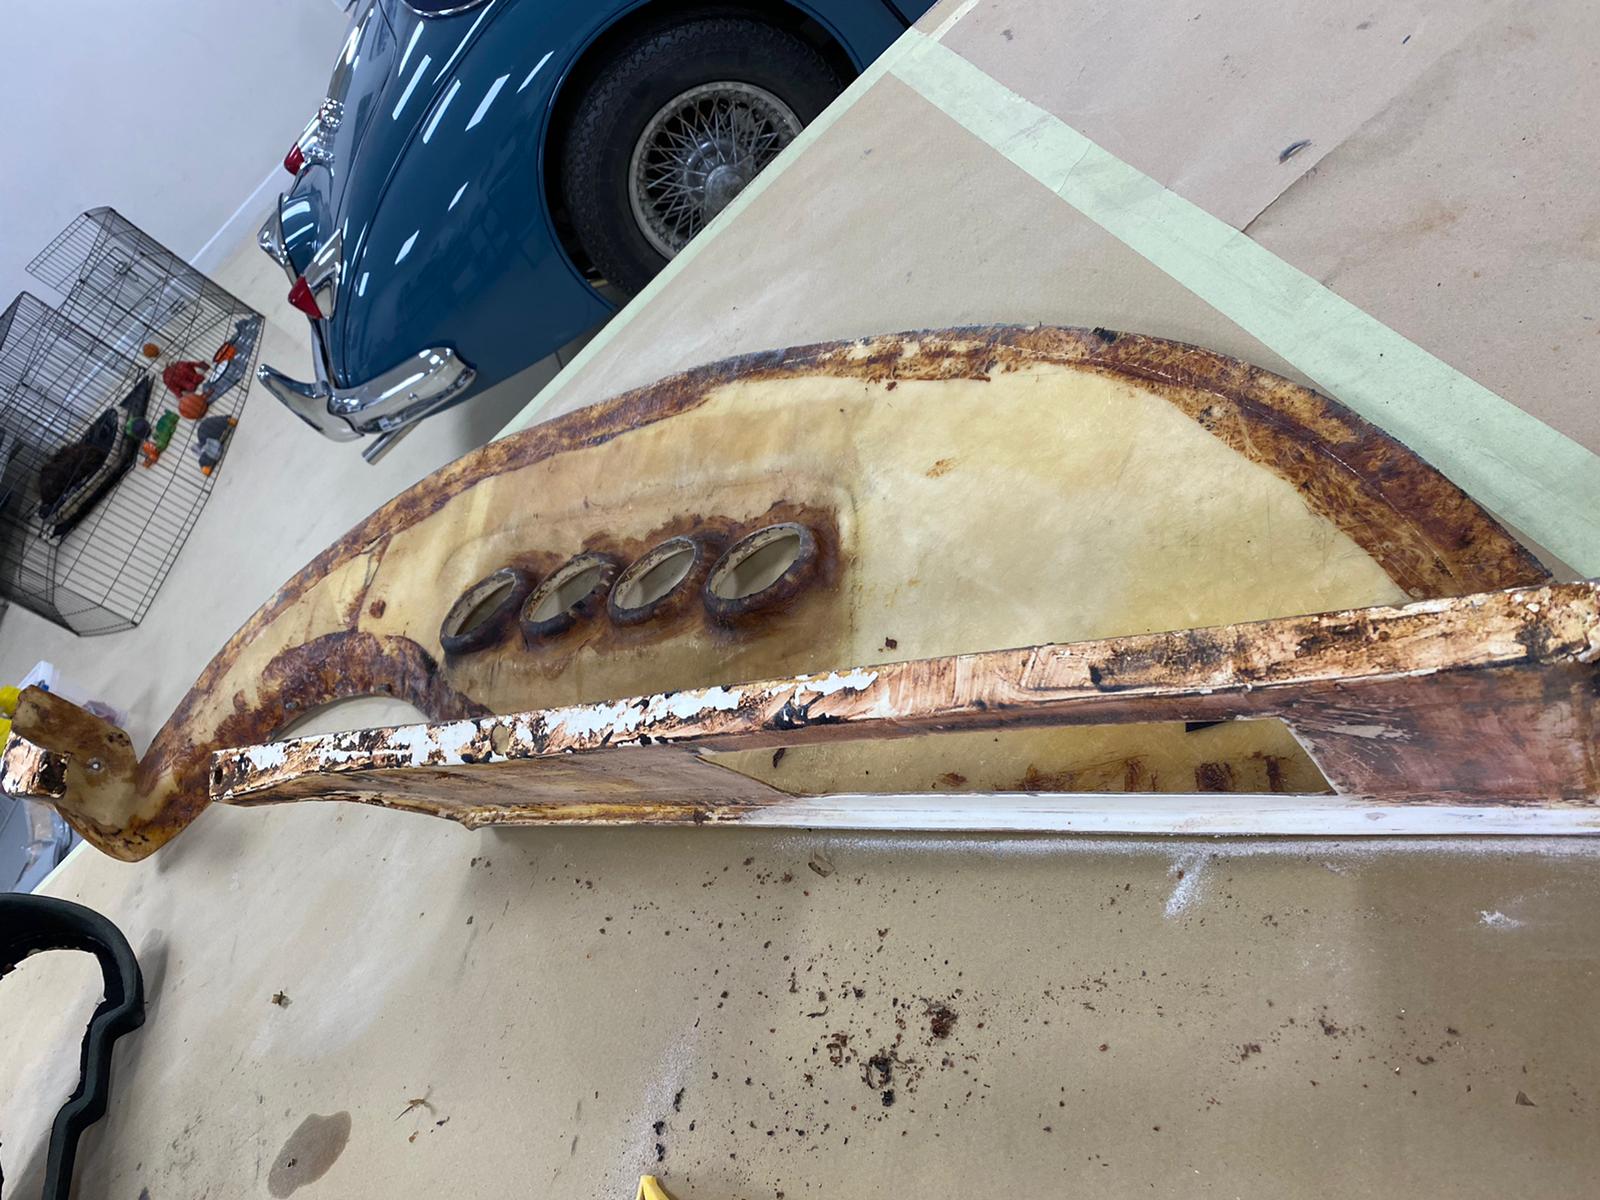
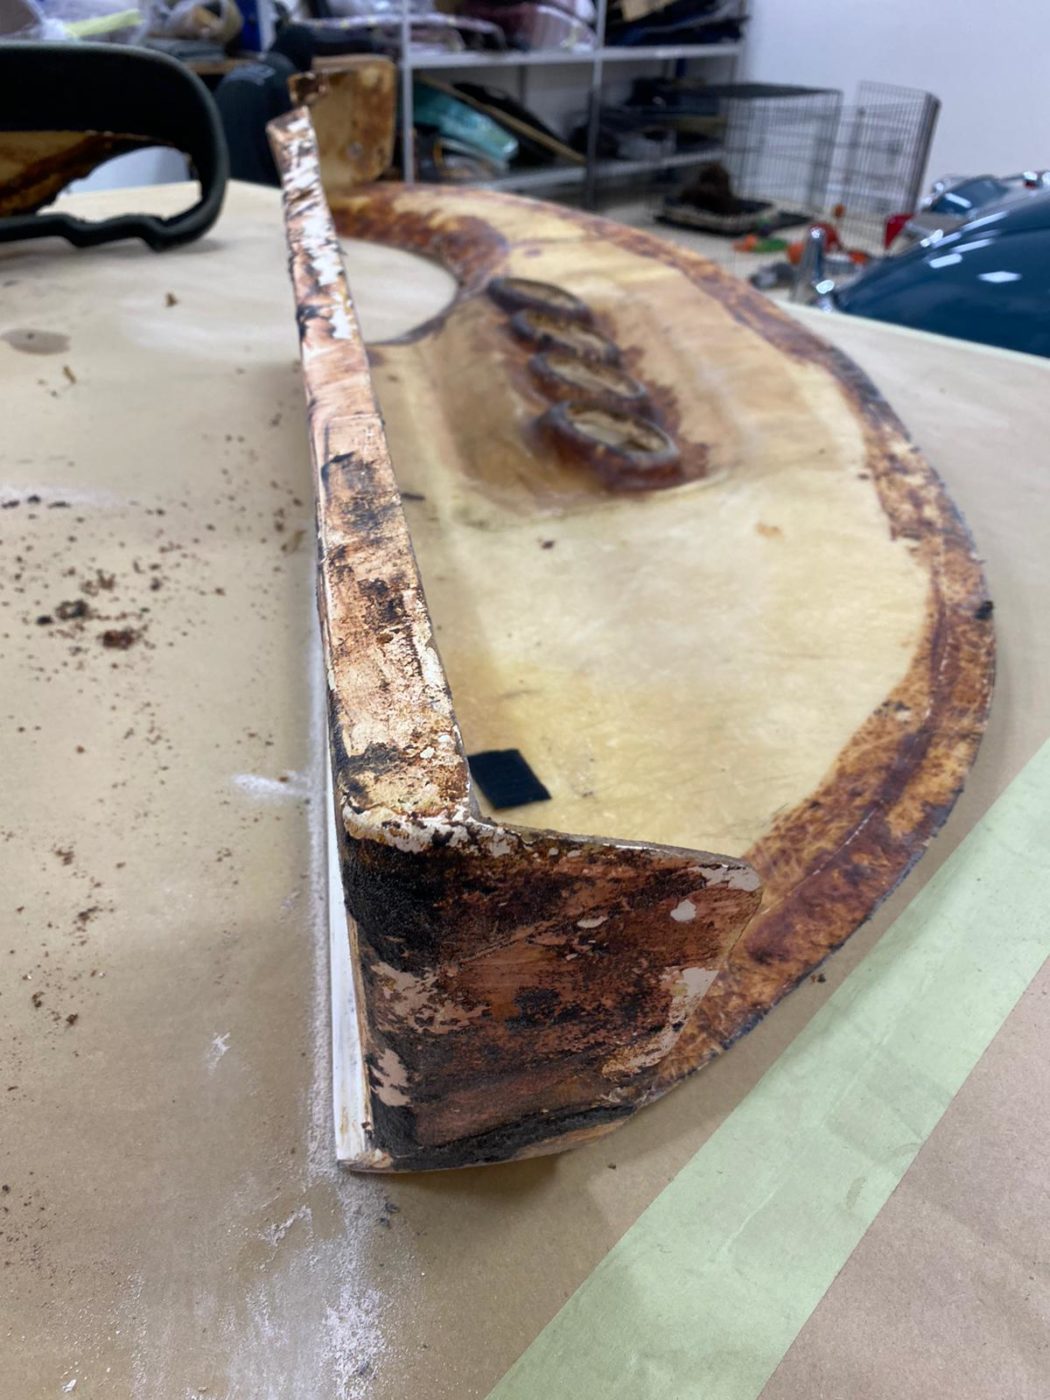
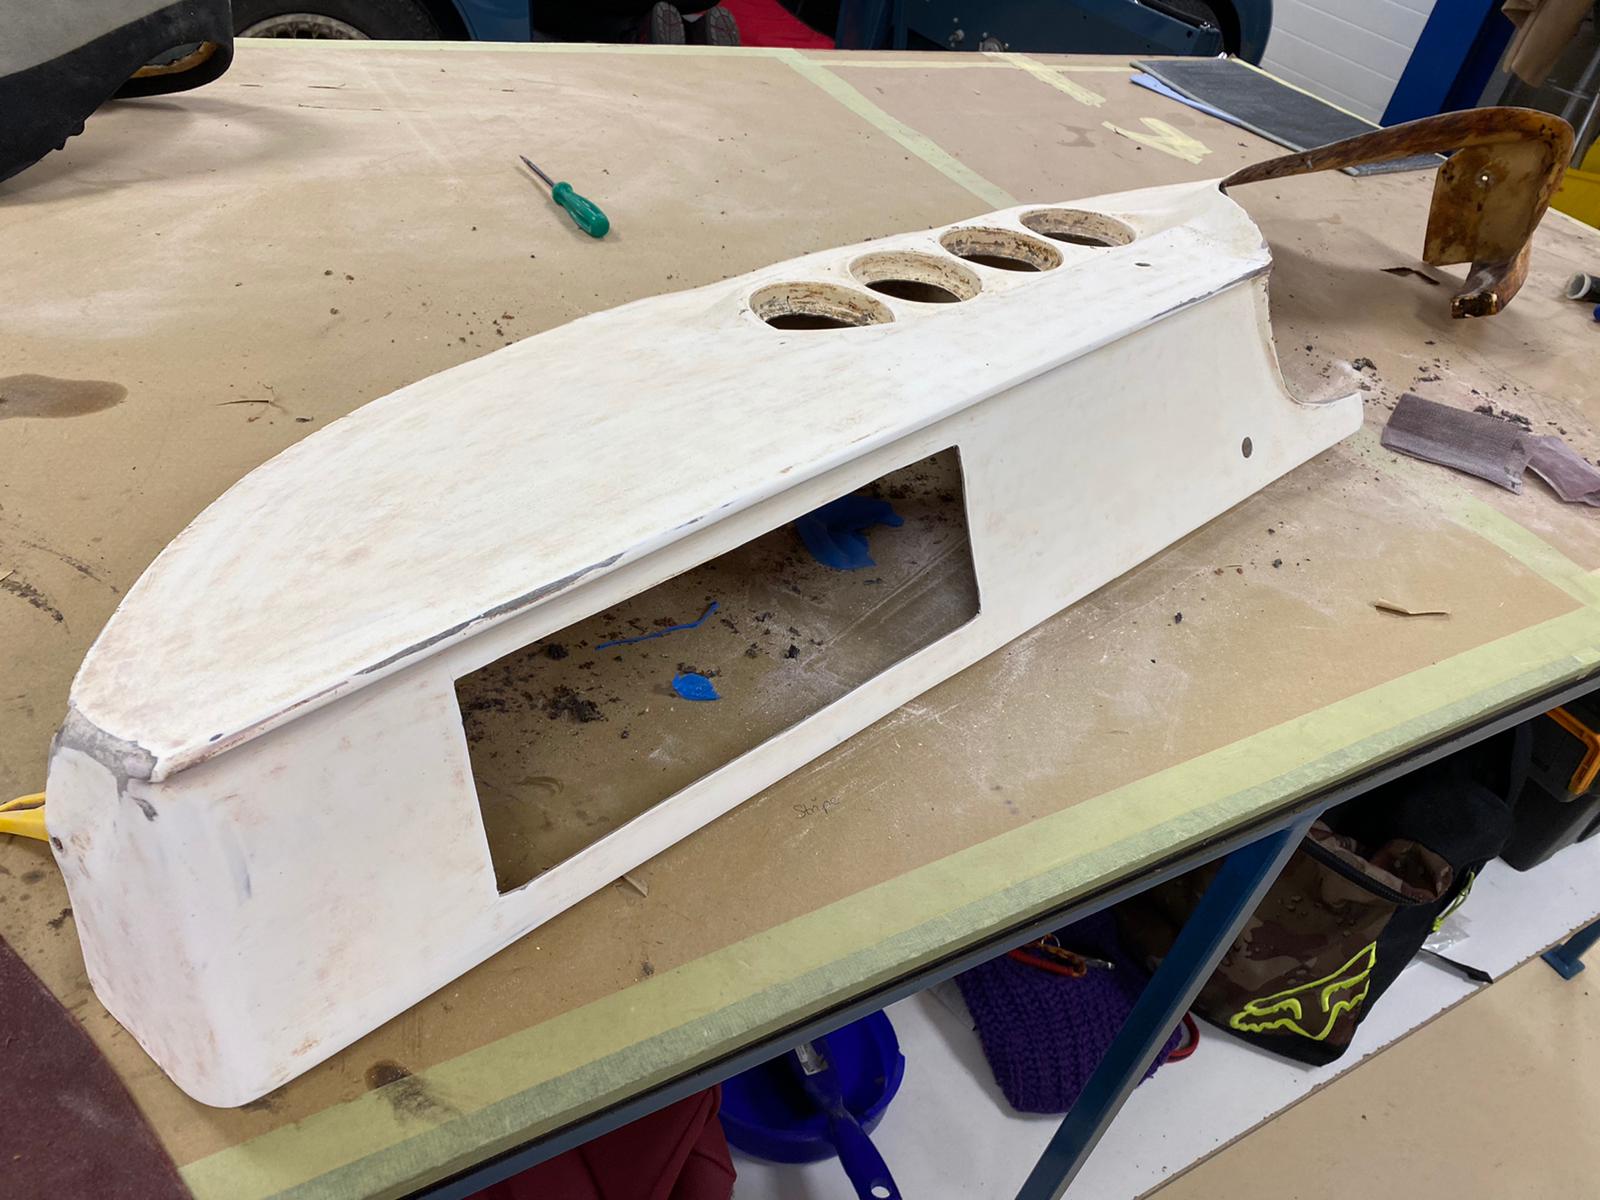
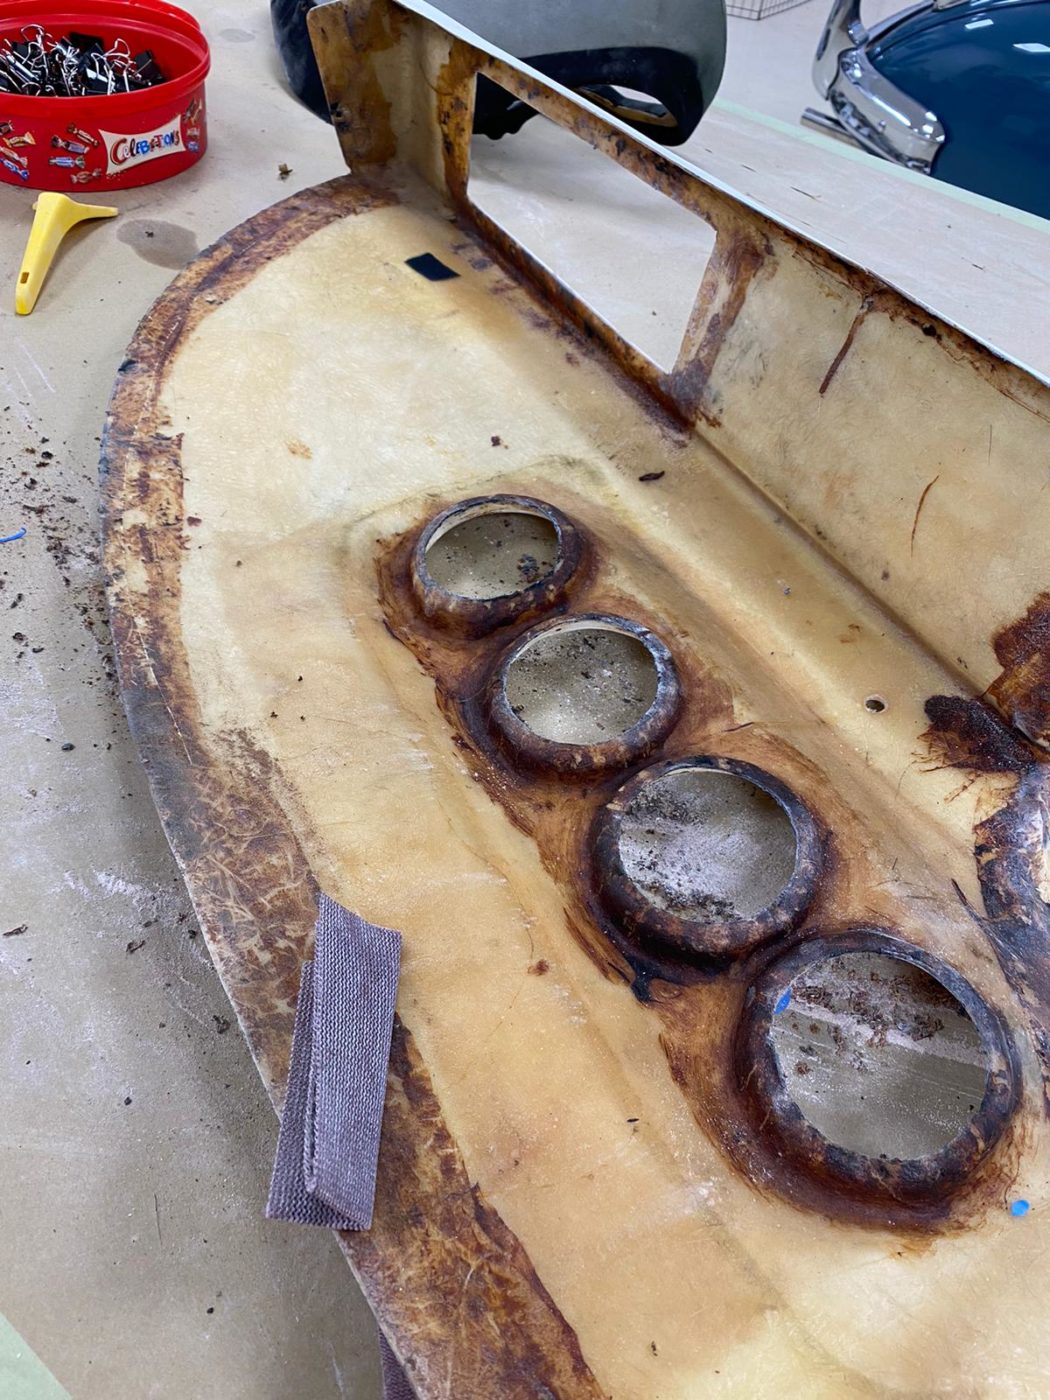
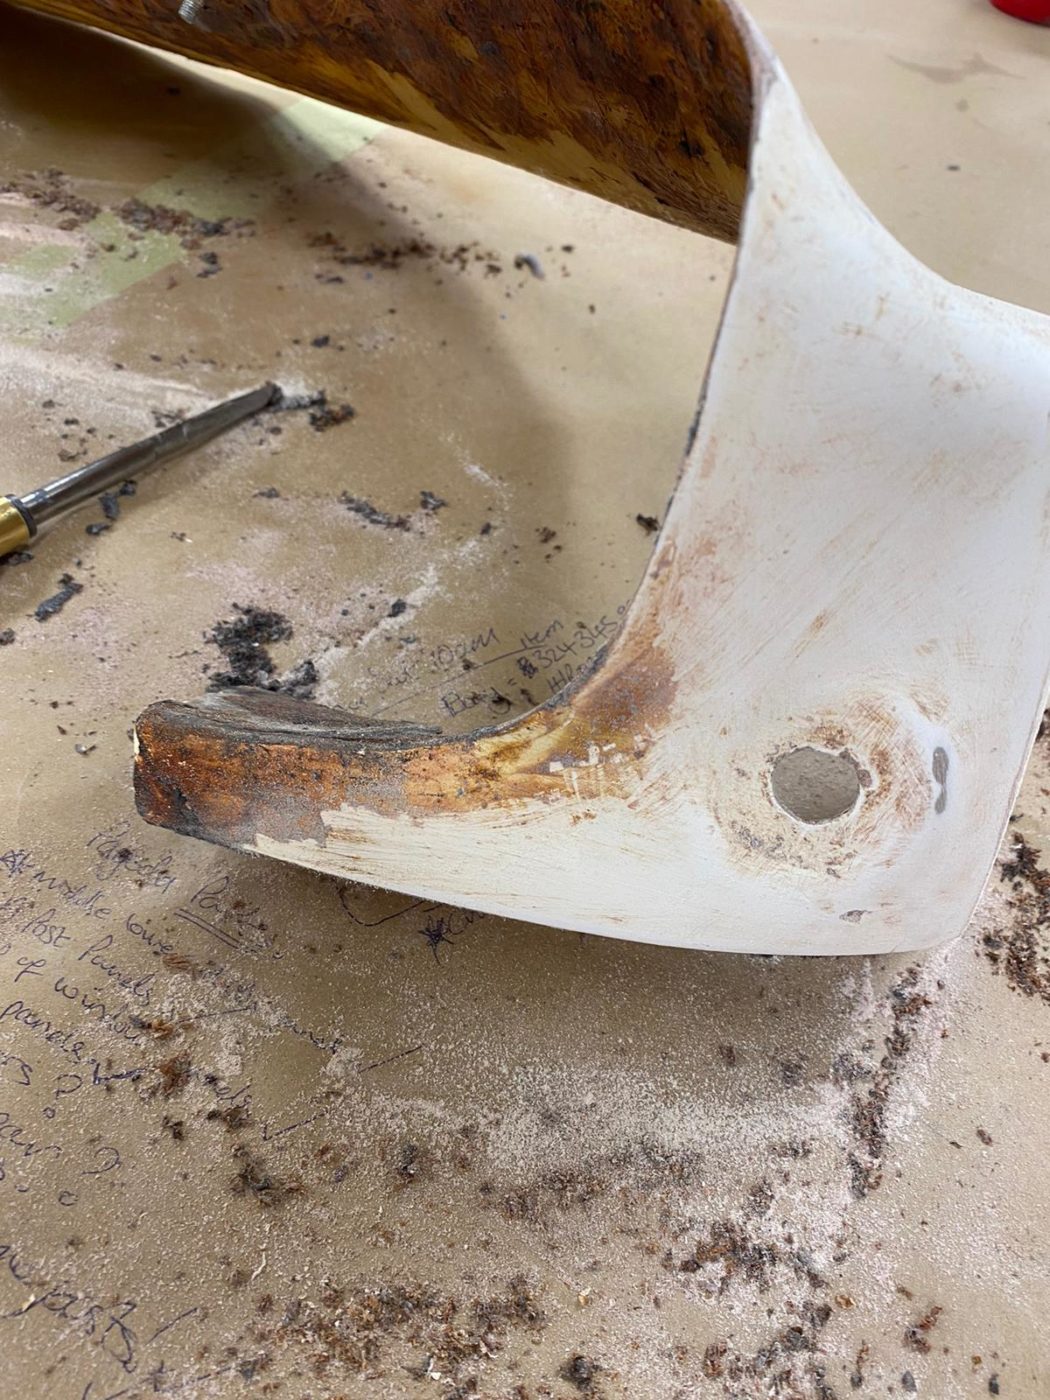
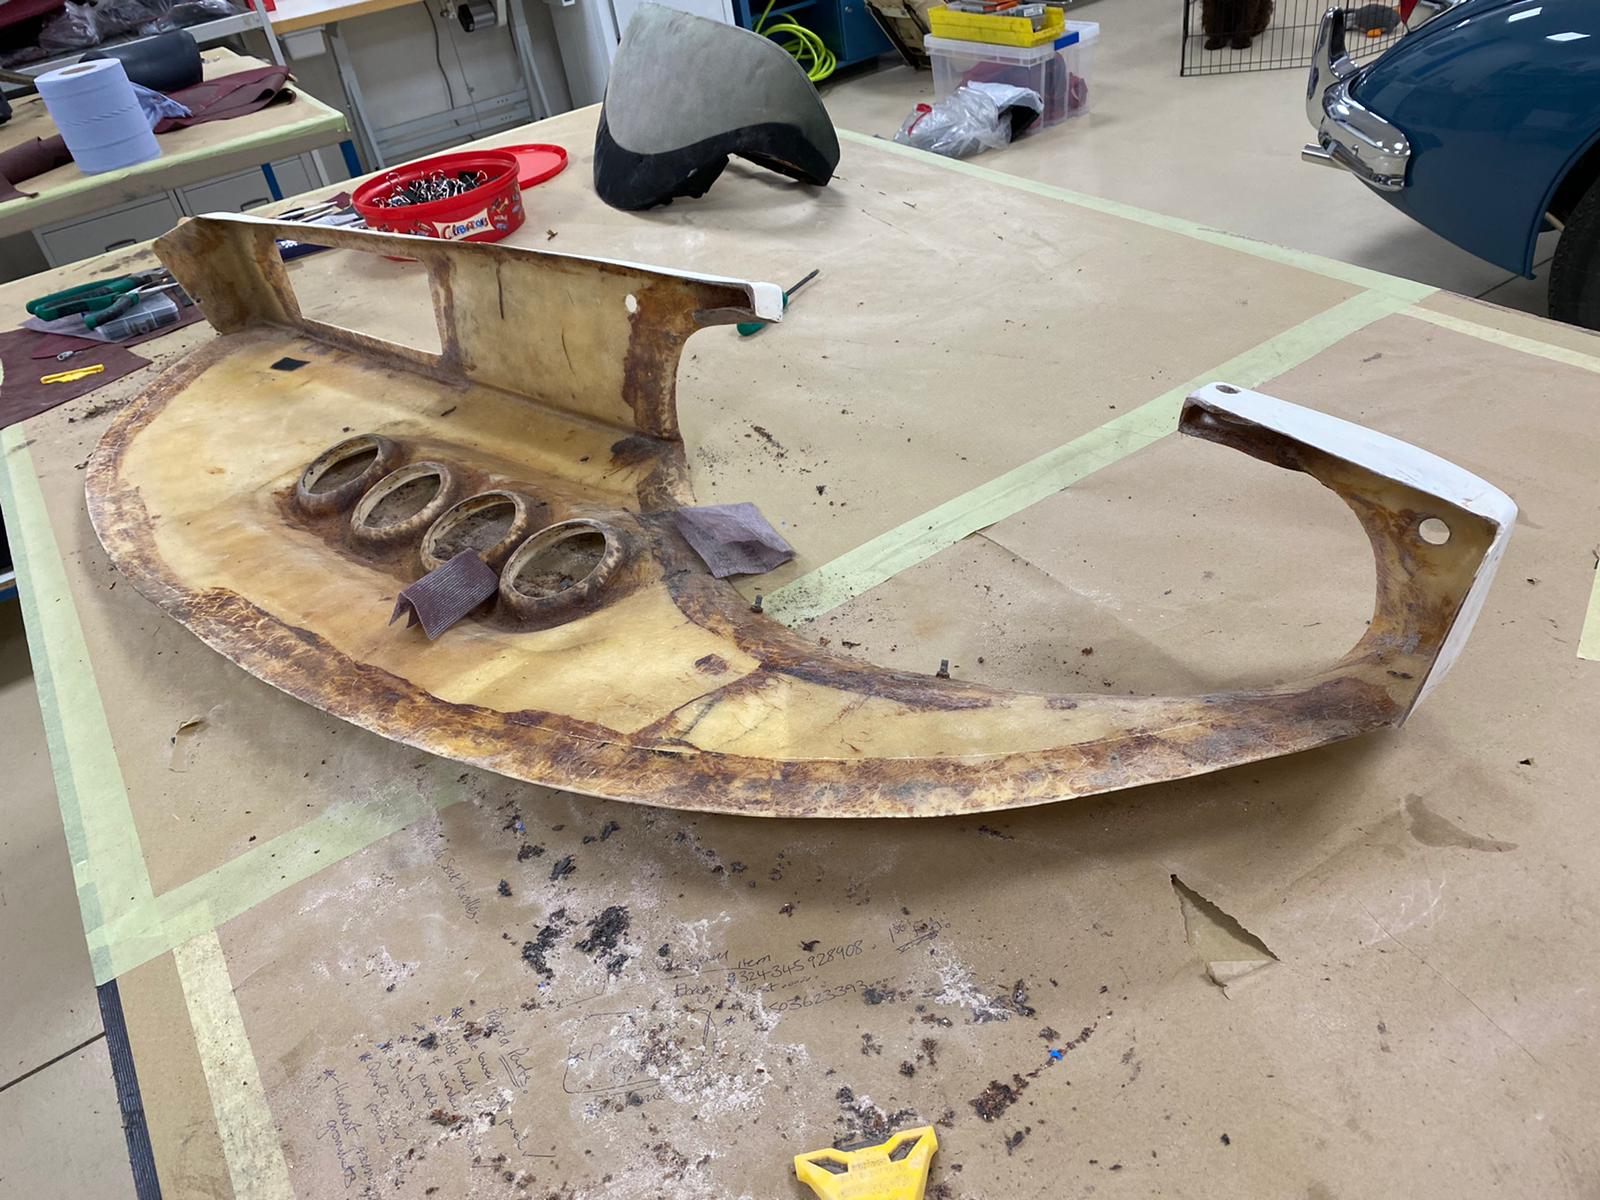
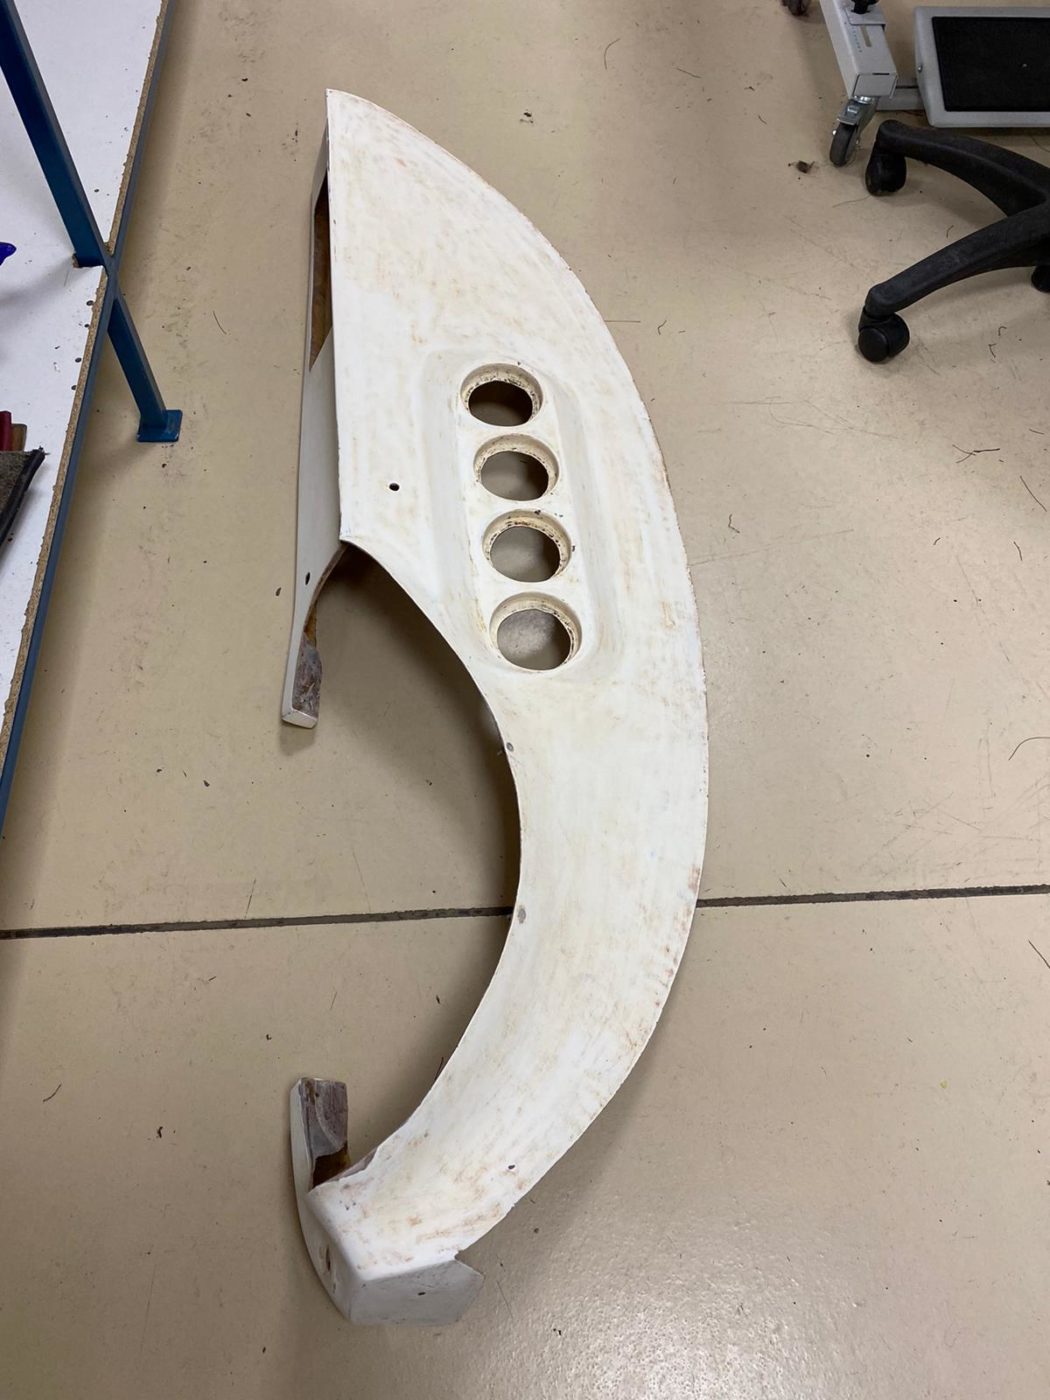
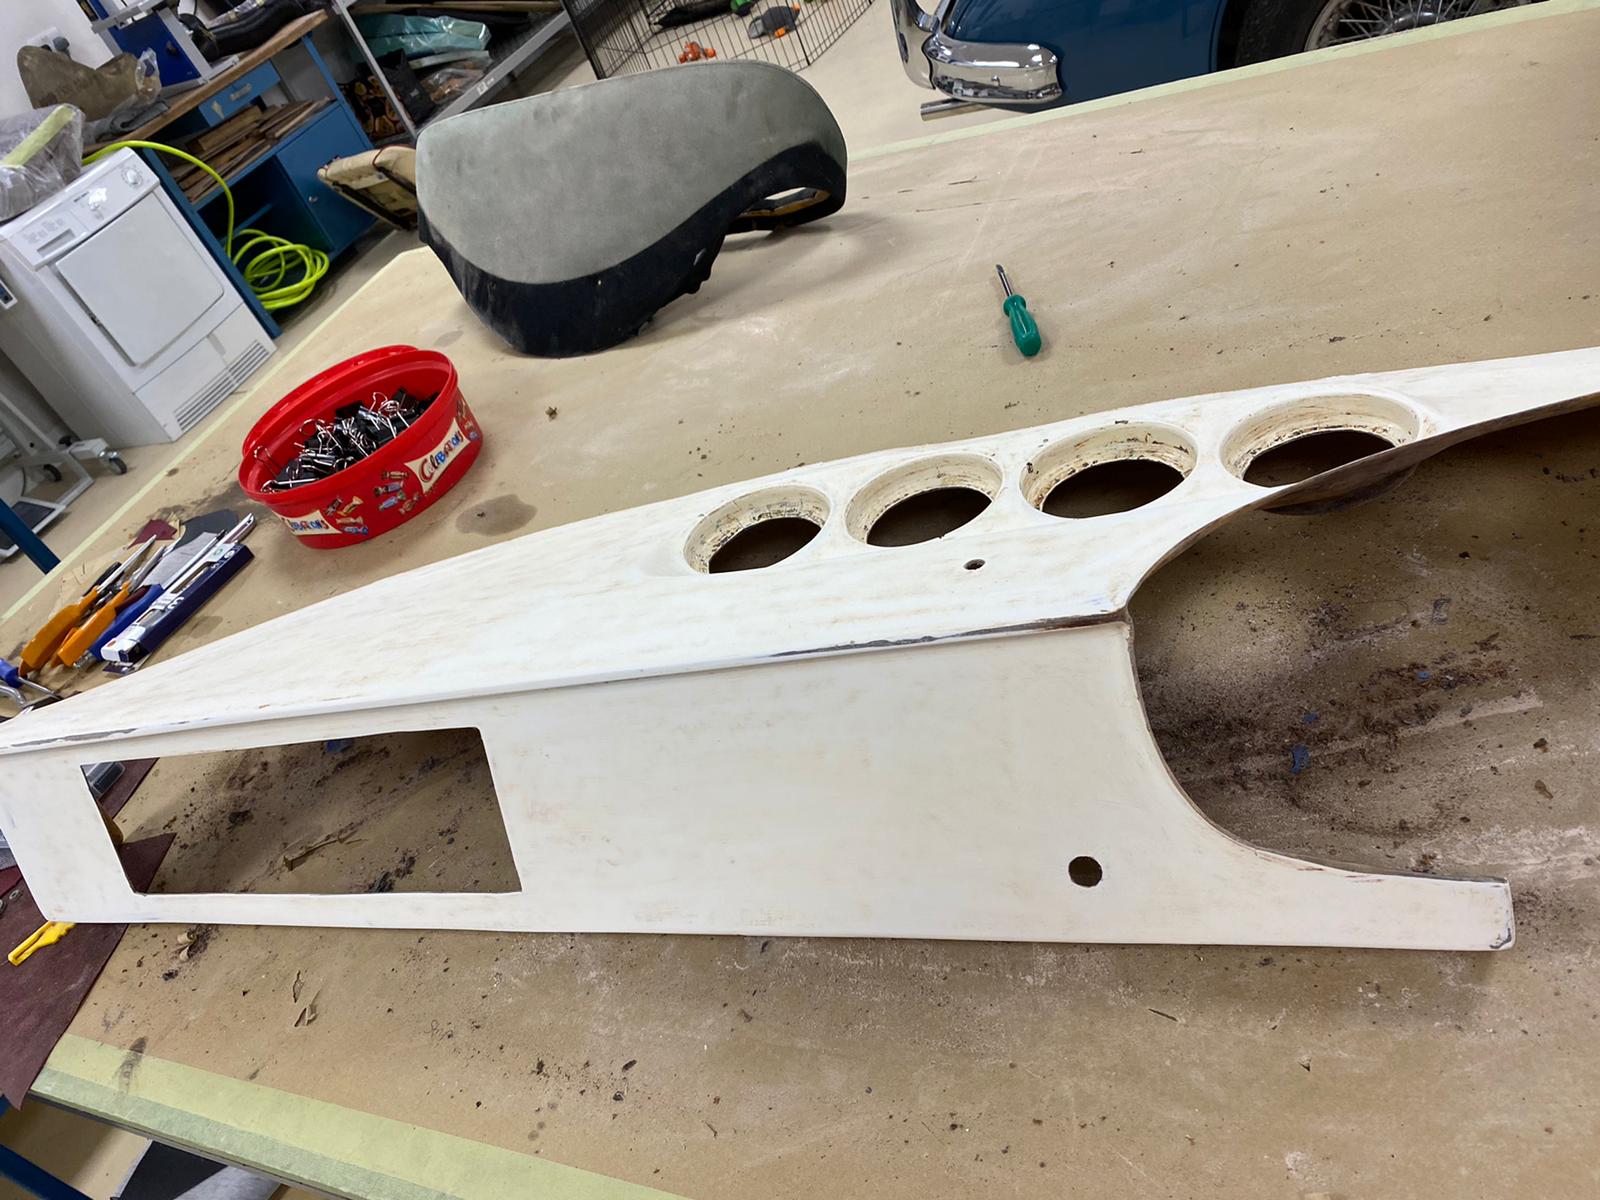
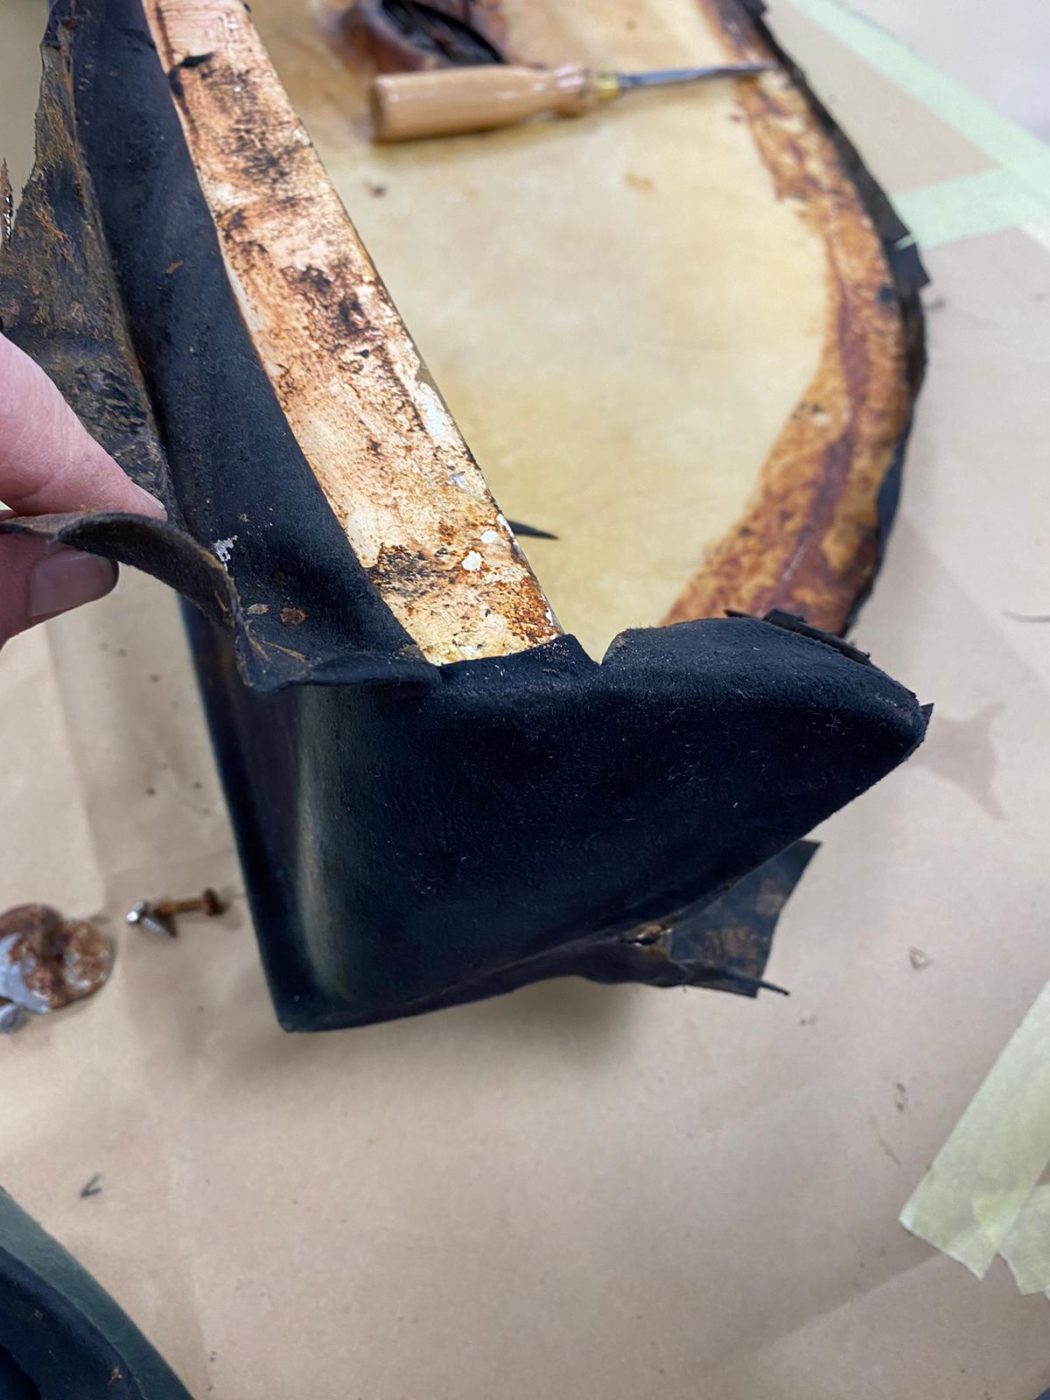
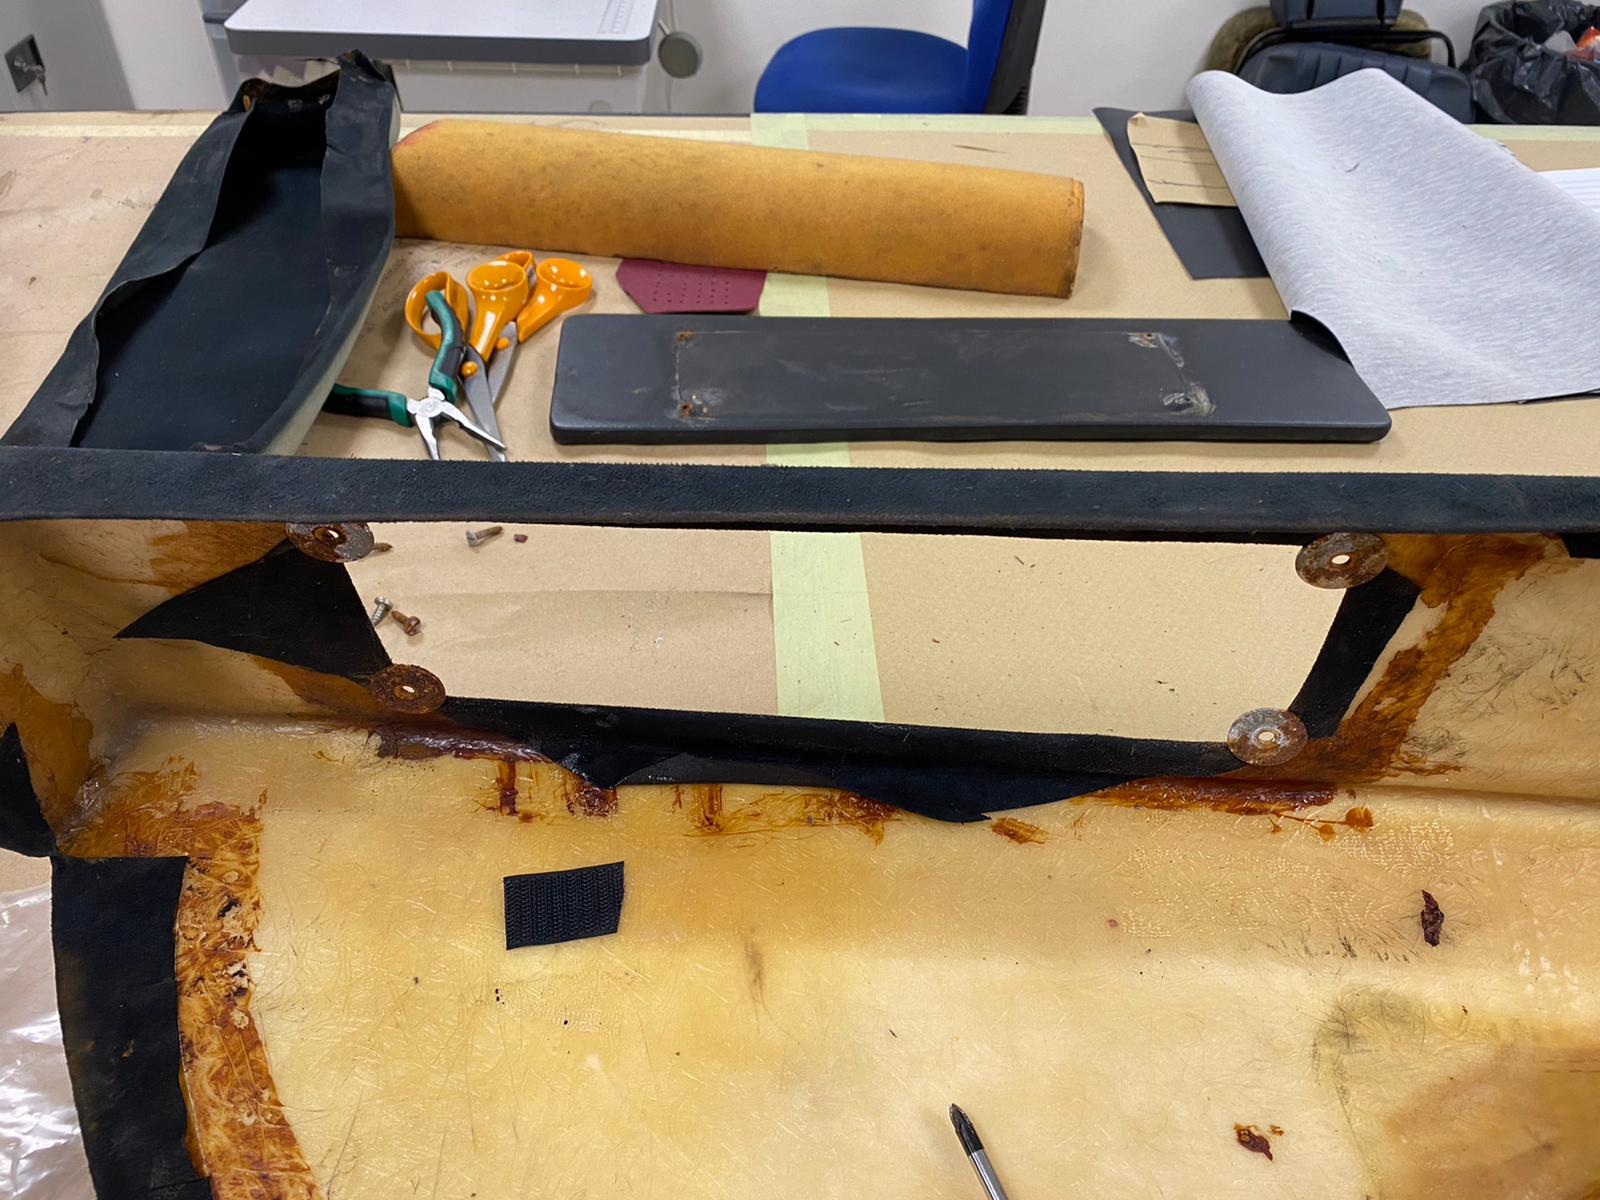
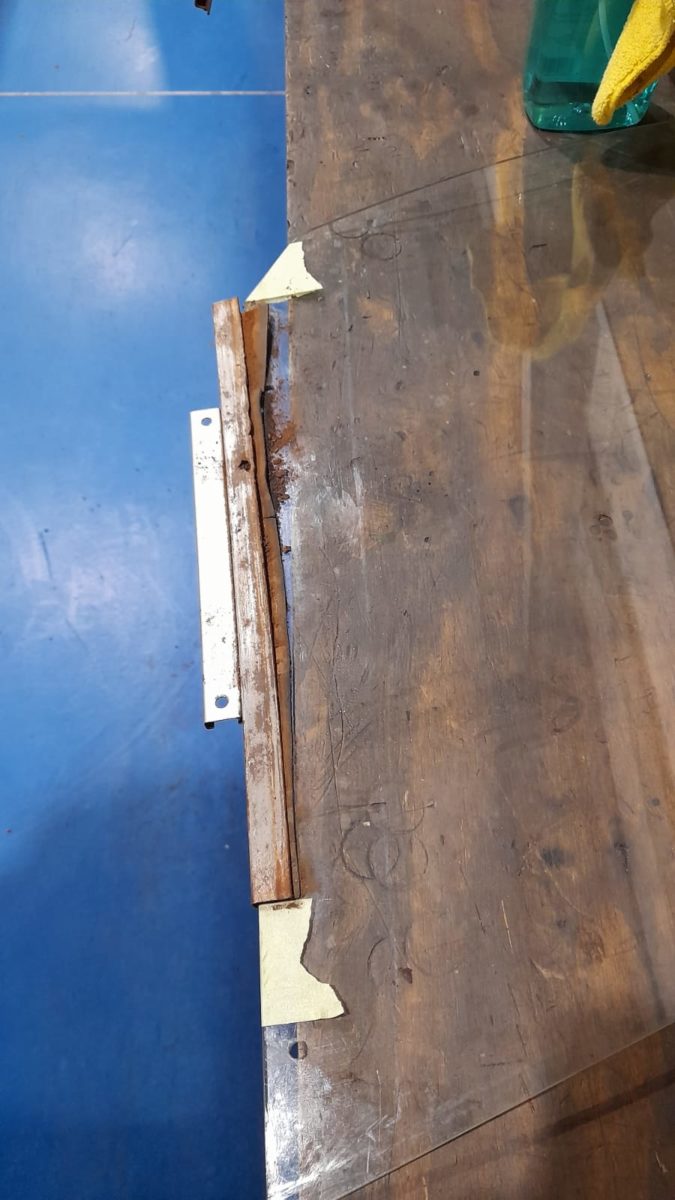
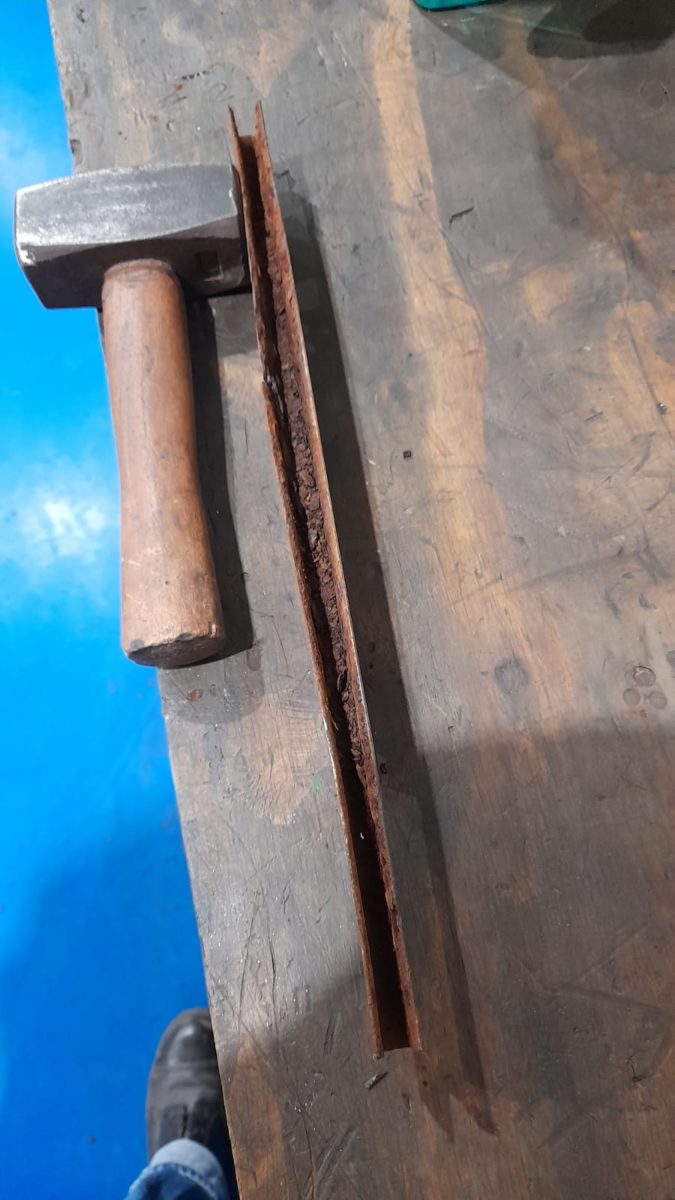
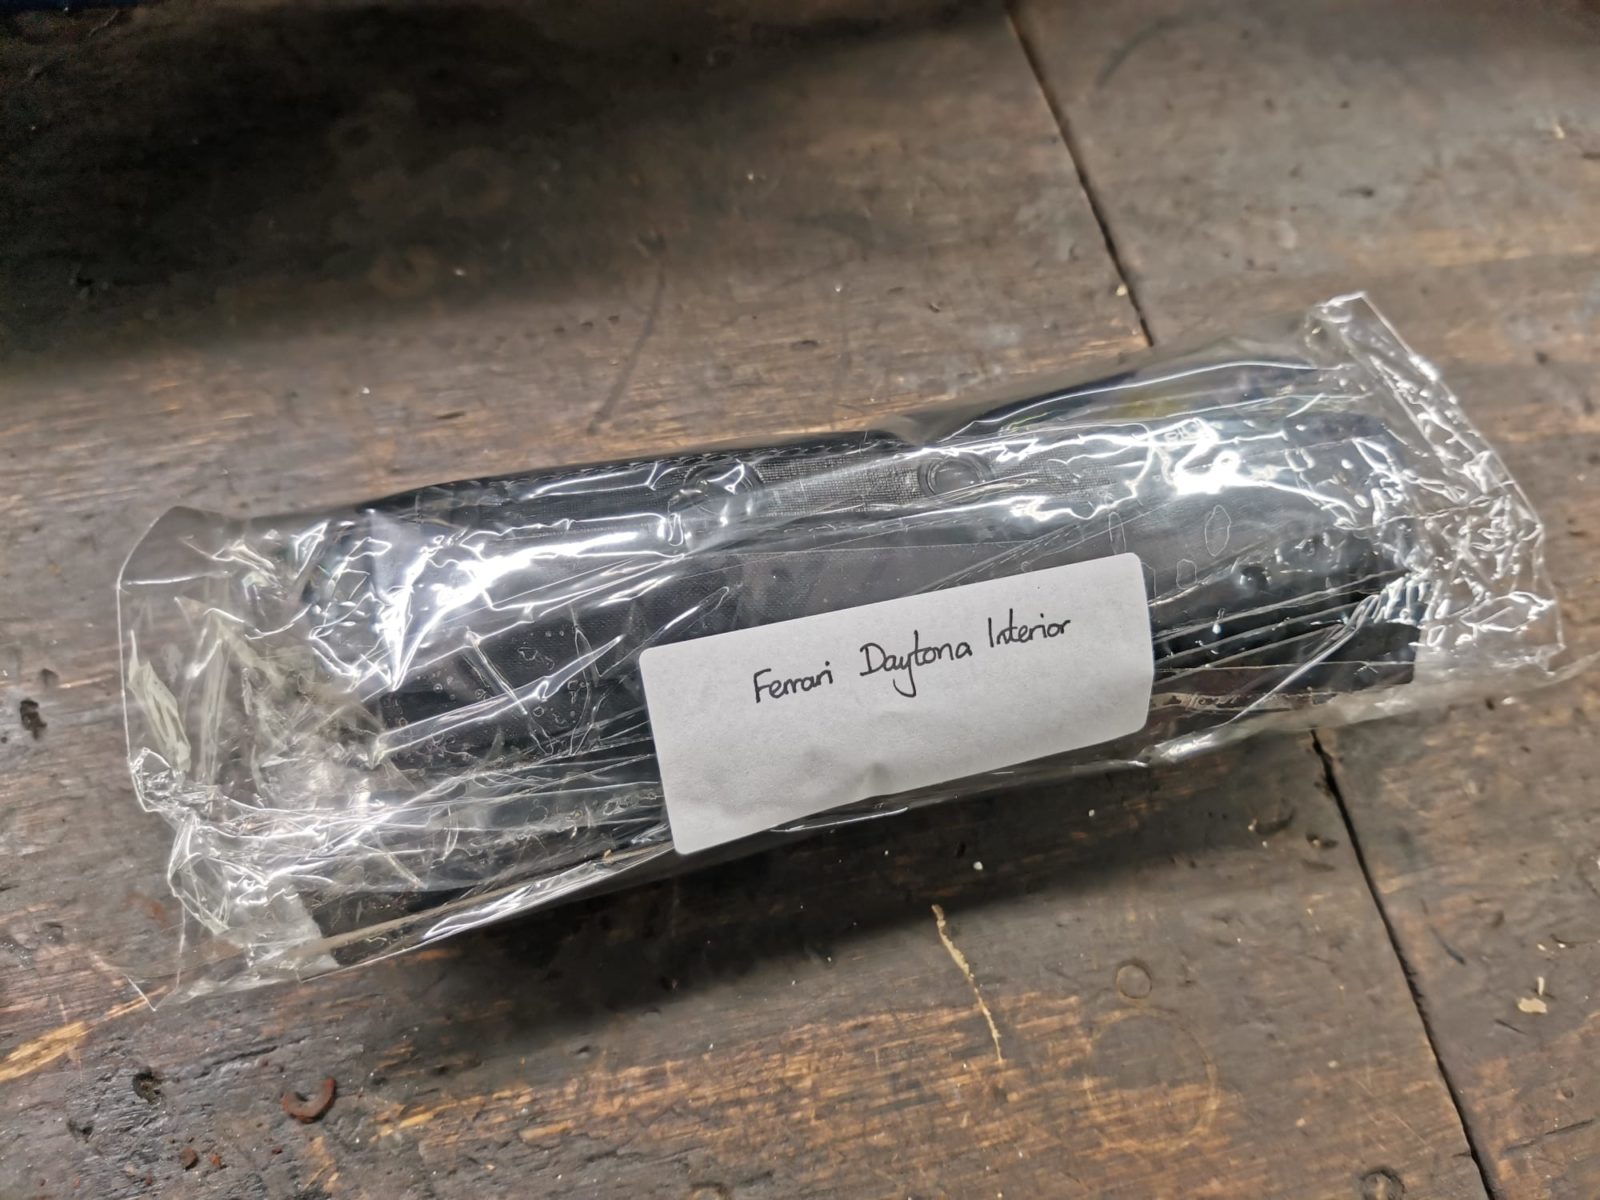
Kath has been working on creating a custom dashboard by refurbishing the existing parts and designing elements as the client wishes. After stripping the dashboard, Kath will then start to recover the parts. The client has requested a custom dashboard with piano hinges. Many of these components are also original Ferrari pieces that the client has sourced, making this project not only a Ferrari Daytona Replica but a custom replica.
Kath removed the cover from the glovebox and dashboard to reveal the wood underneath meaning it is now ready for one of our workshop engineers to modify.
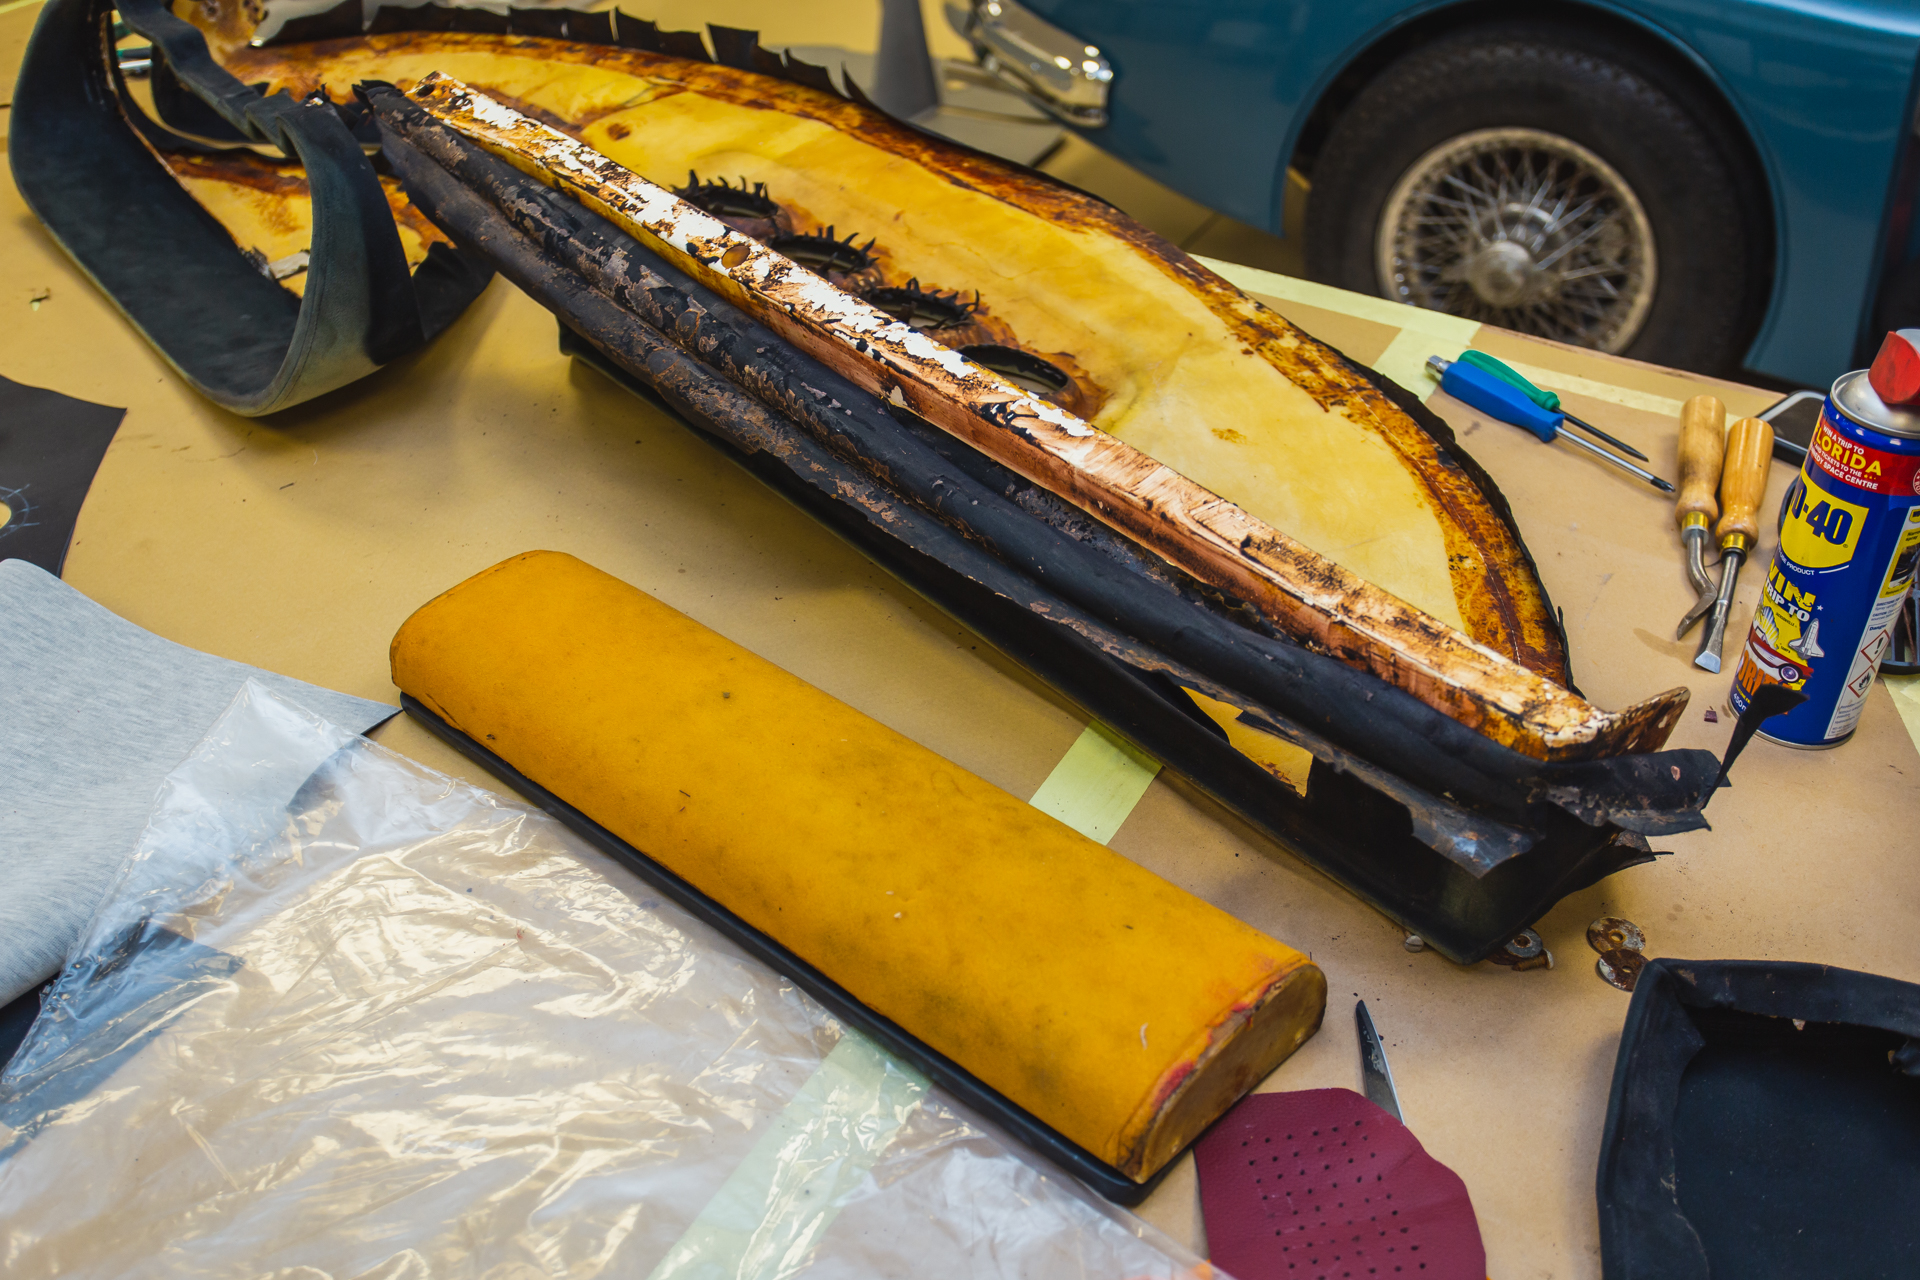

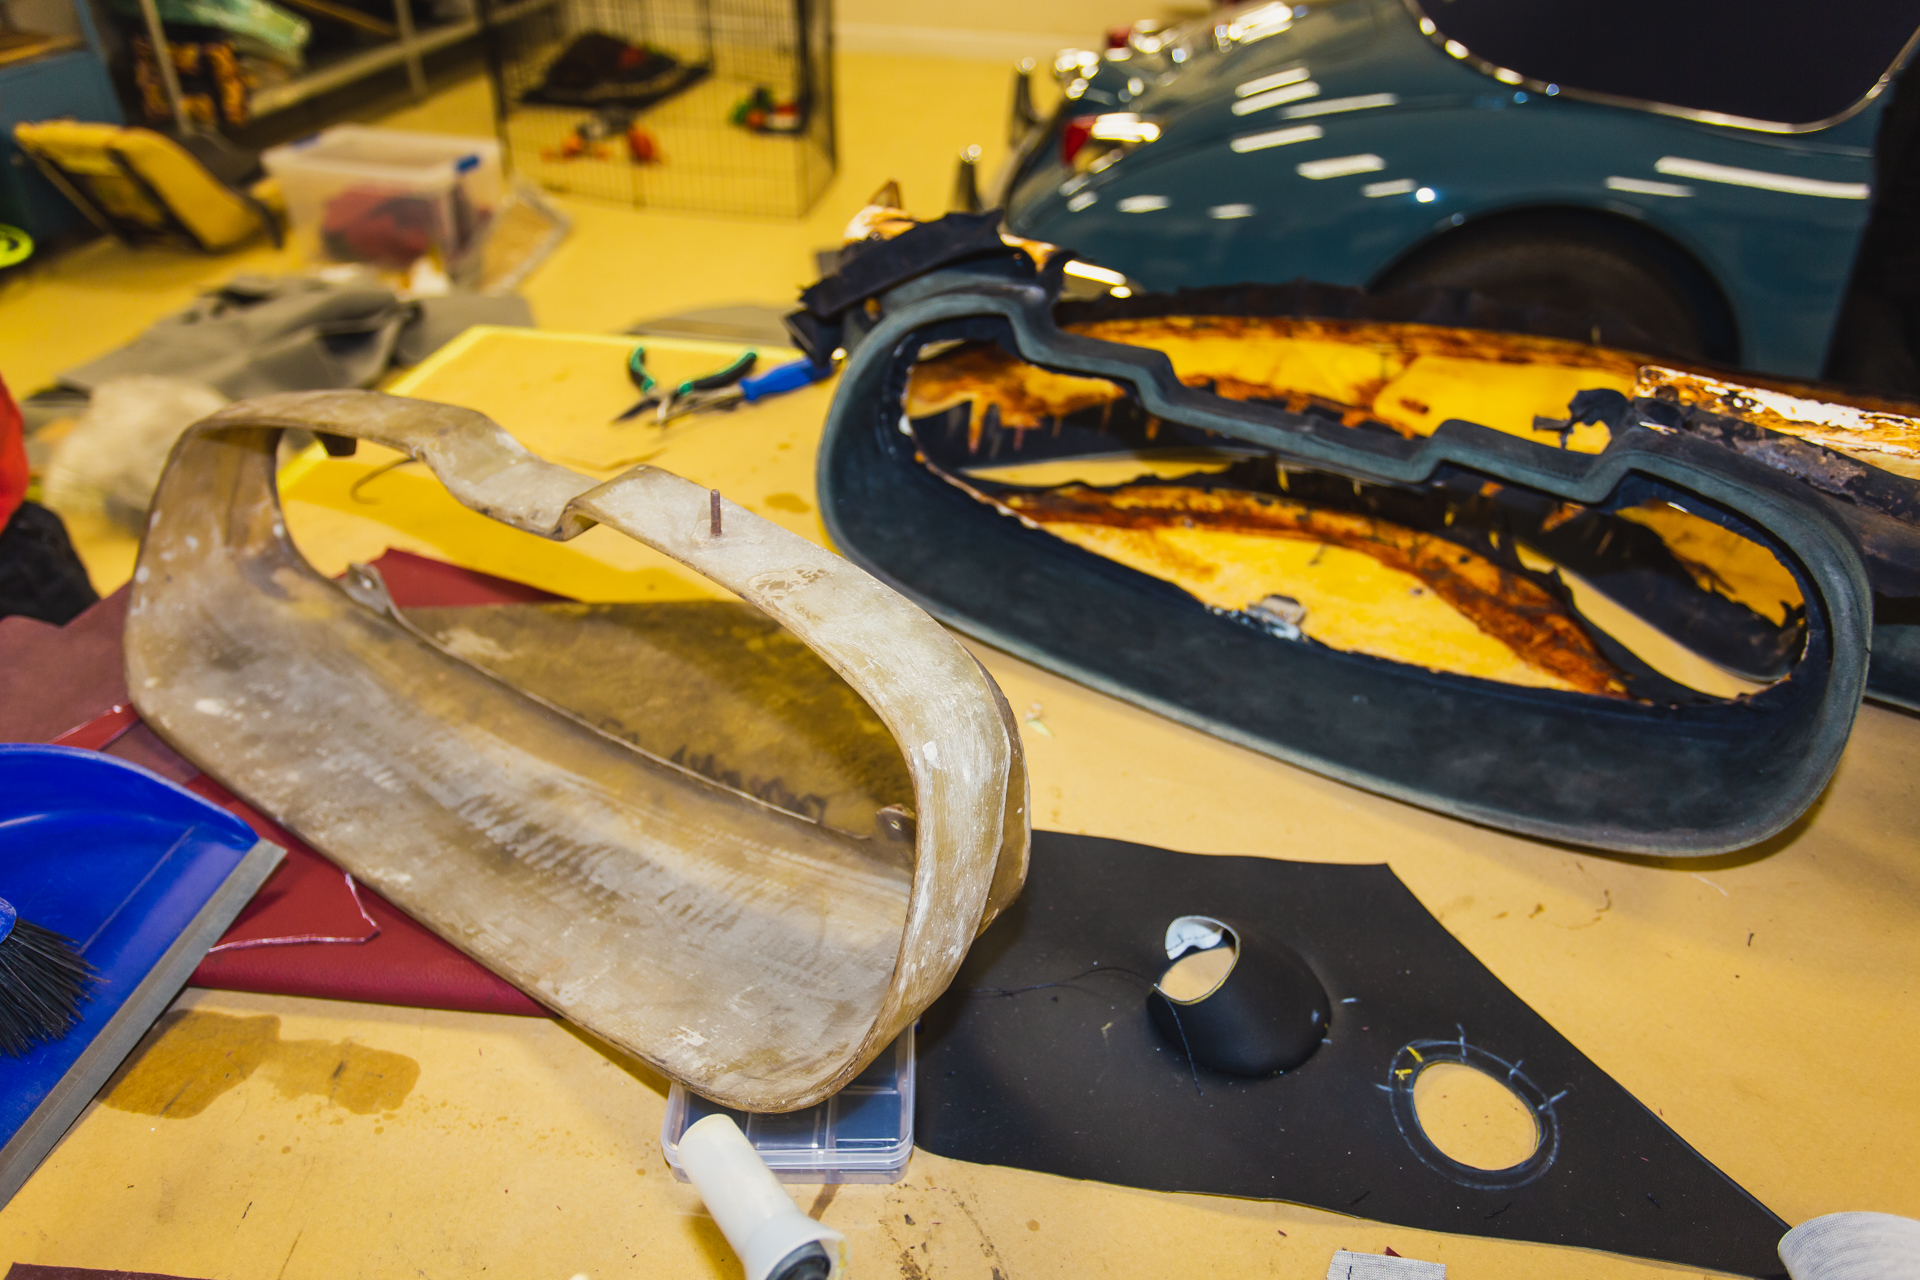
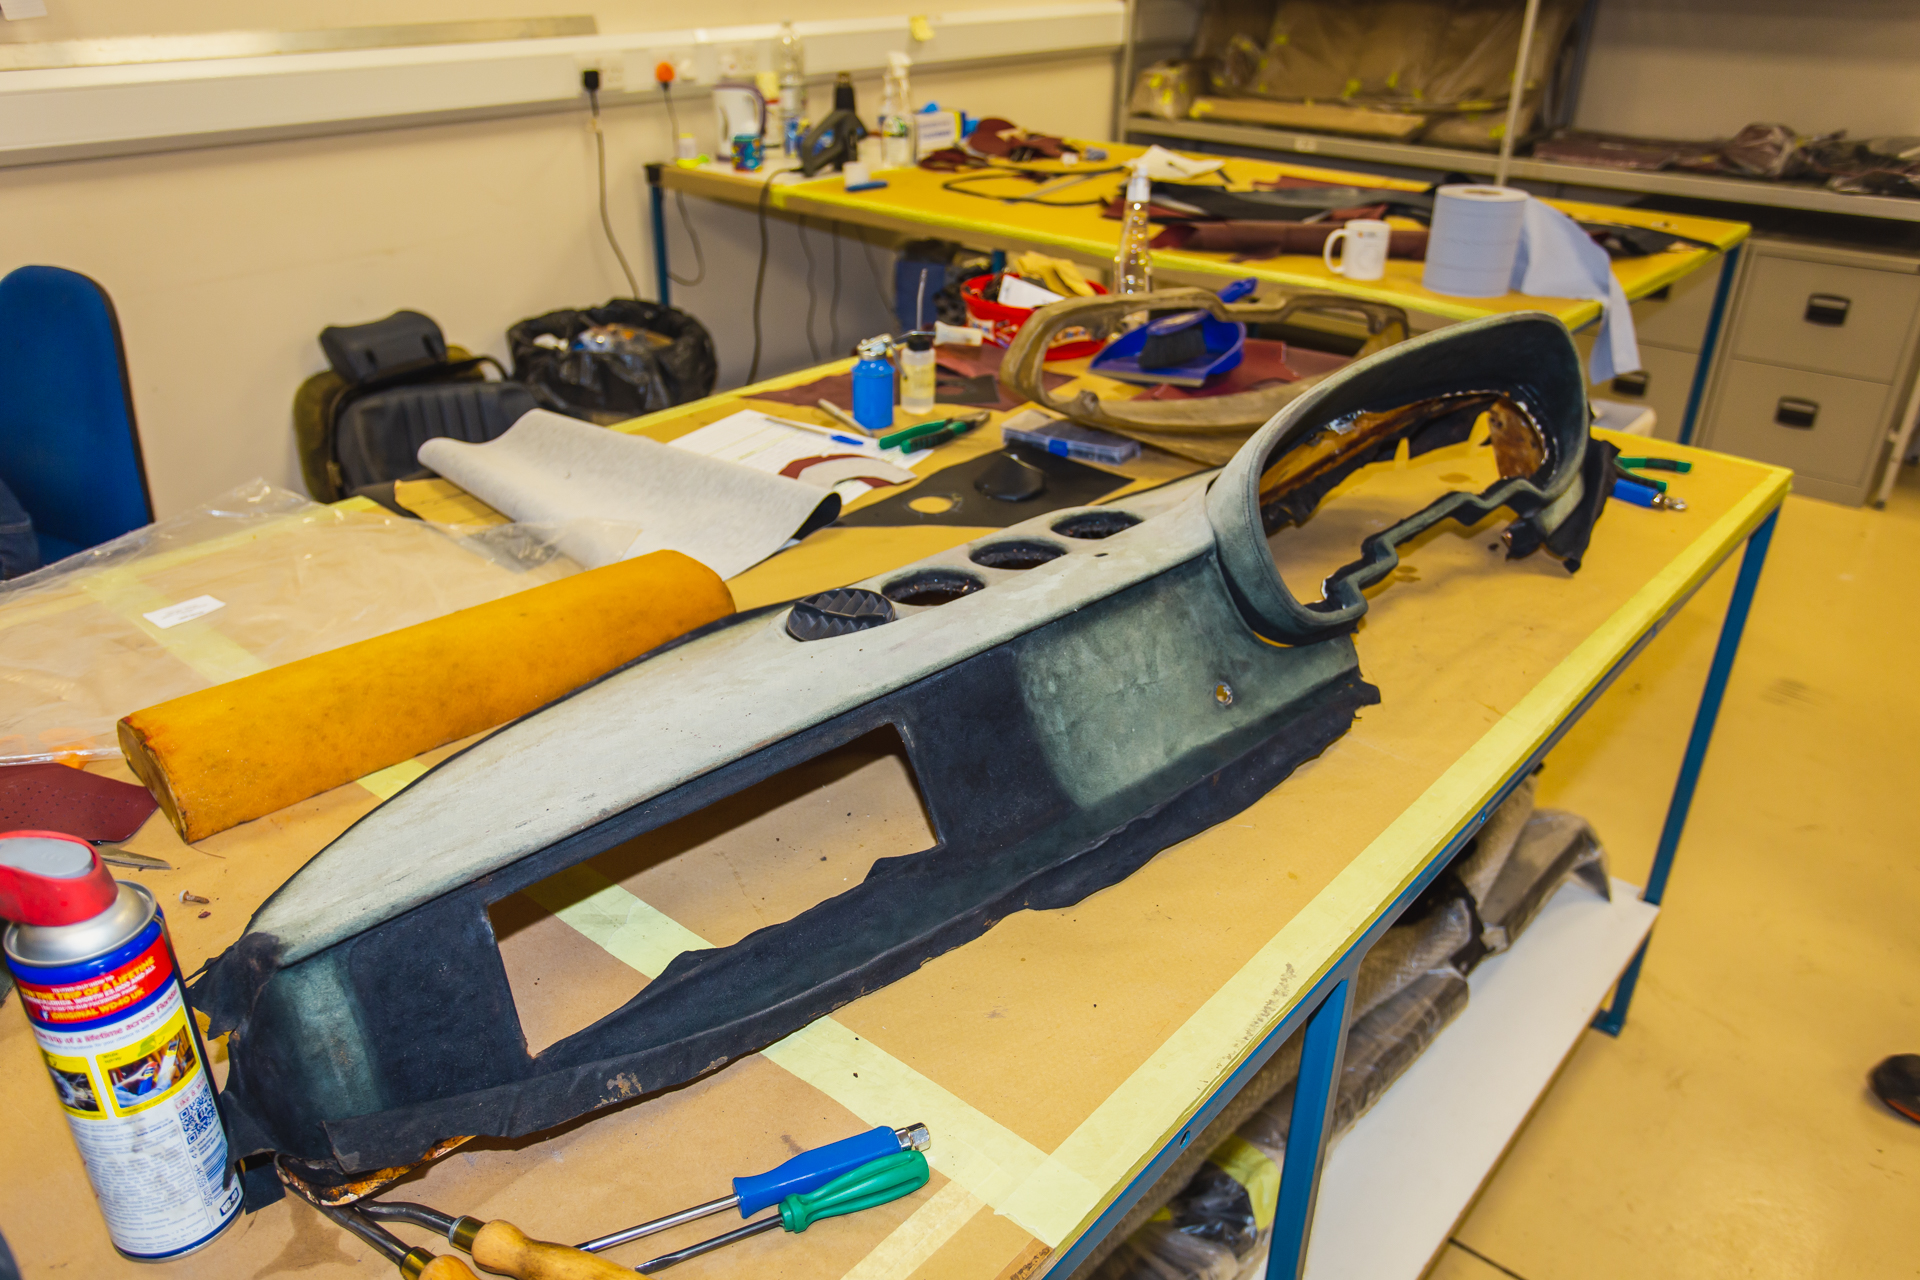

Here is Kath’s process:


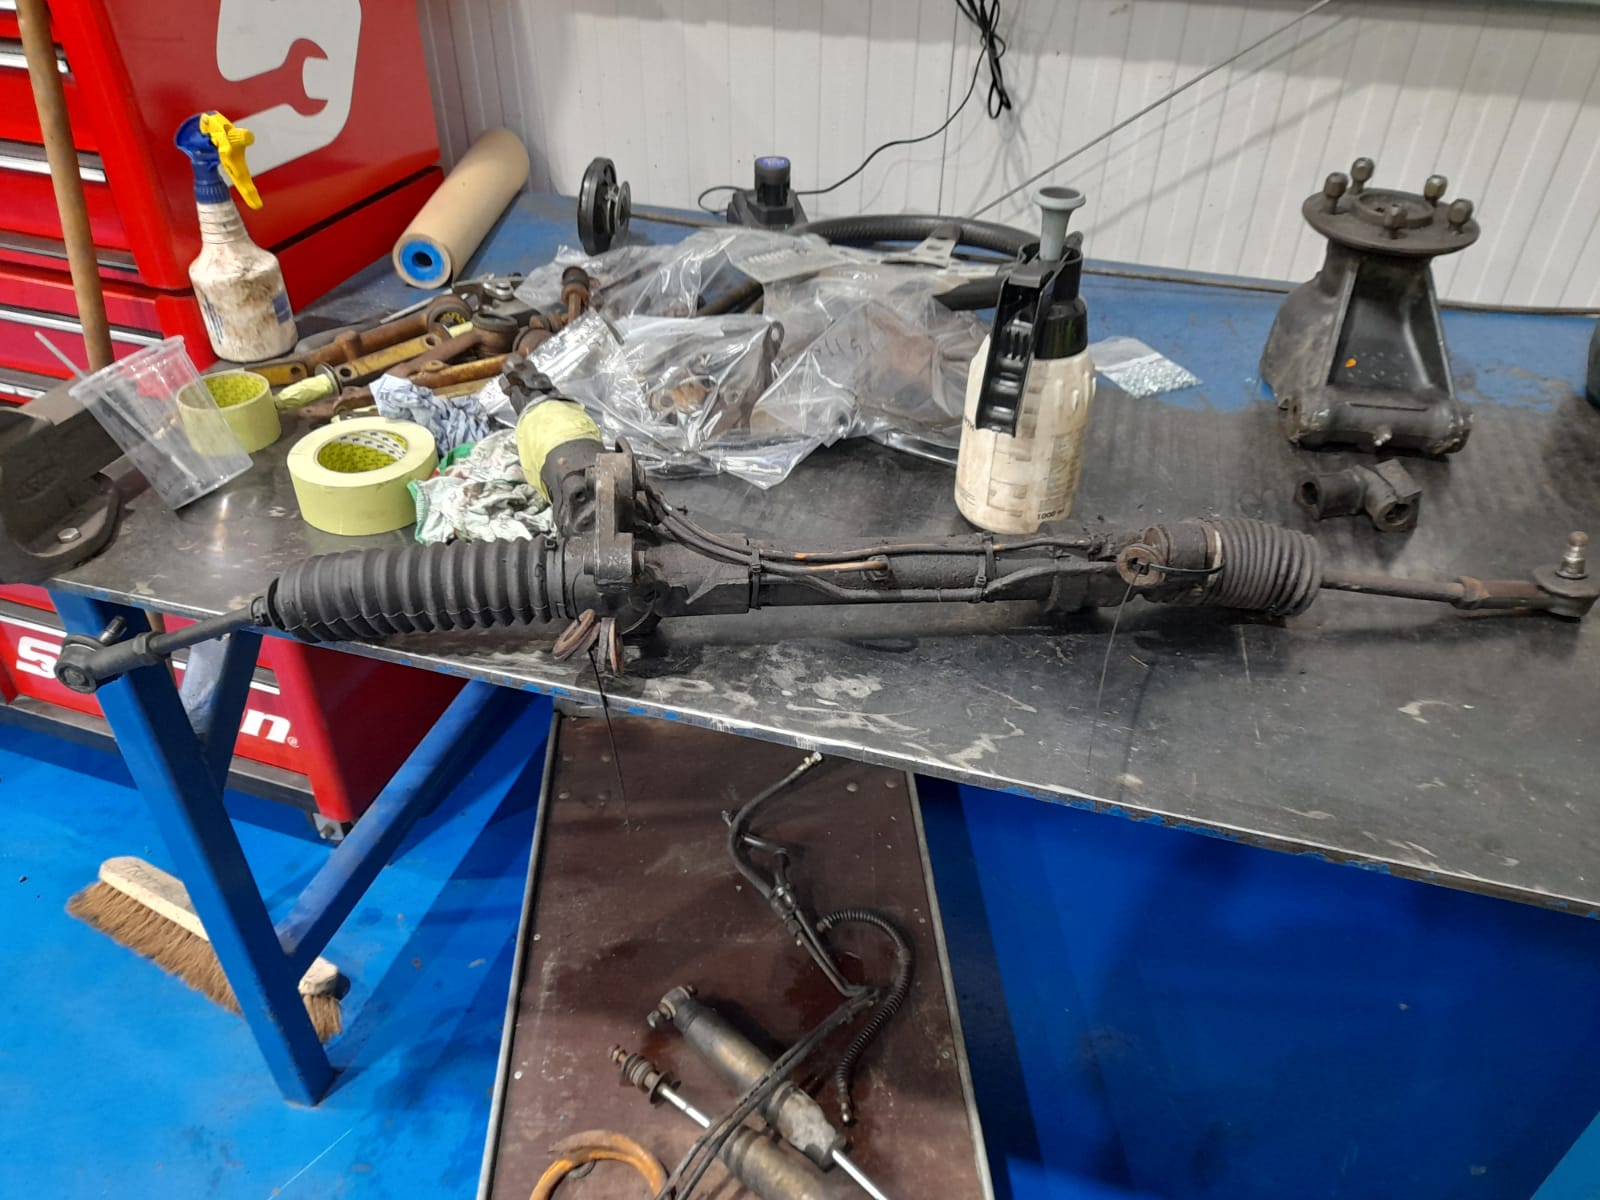
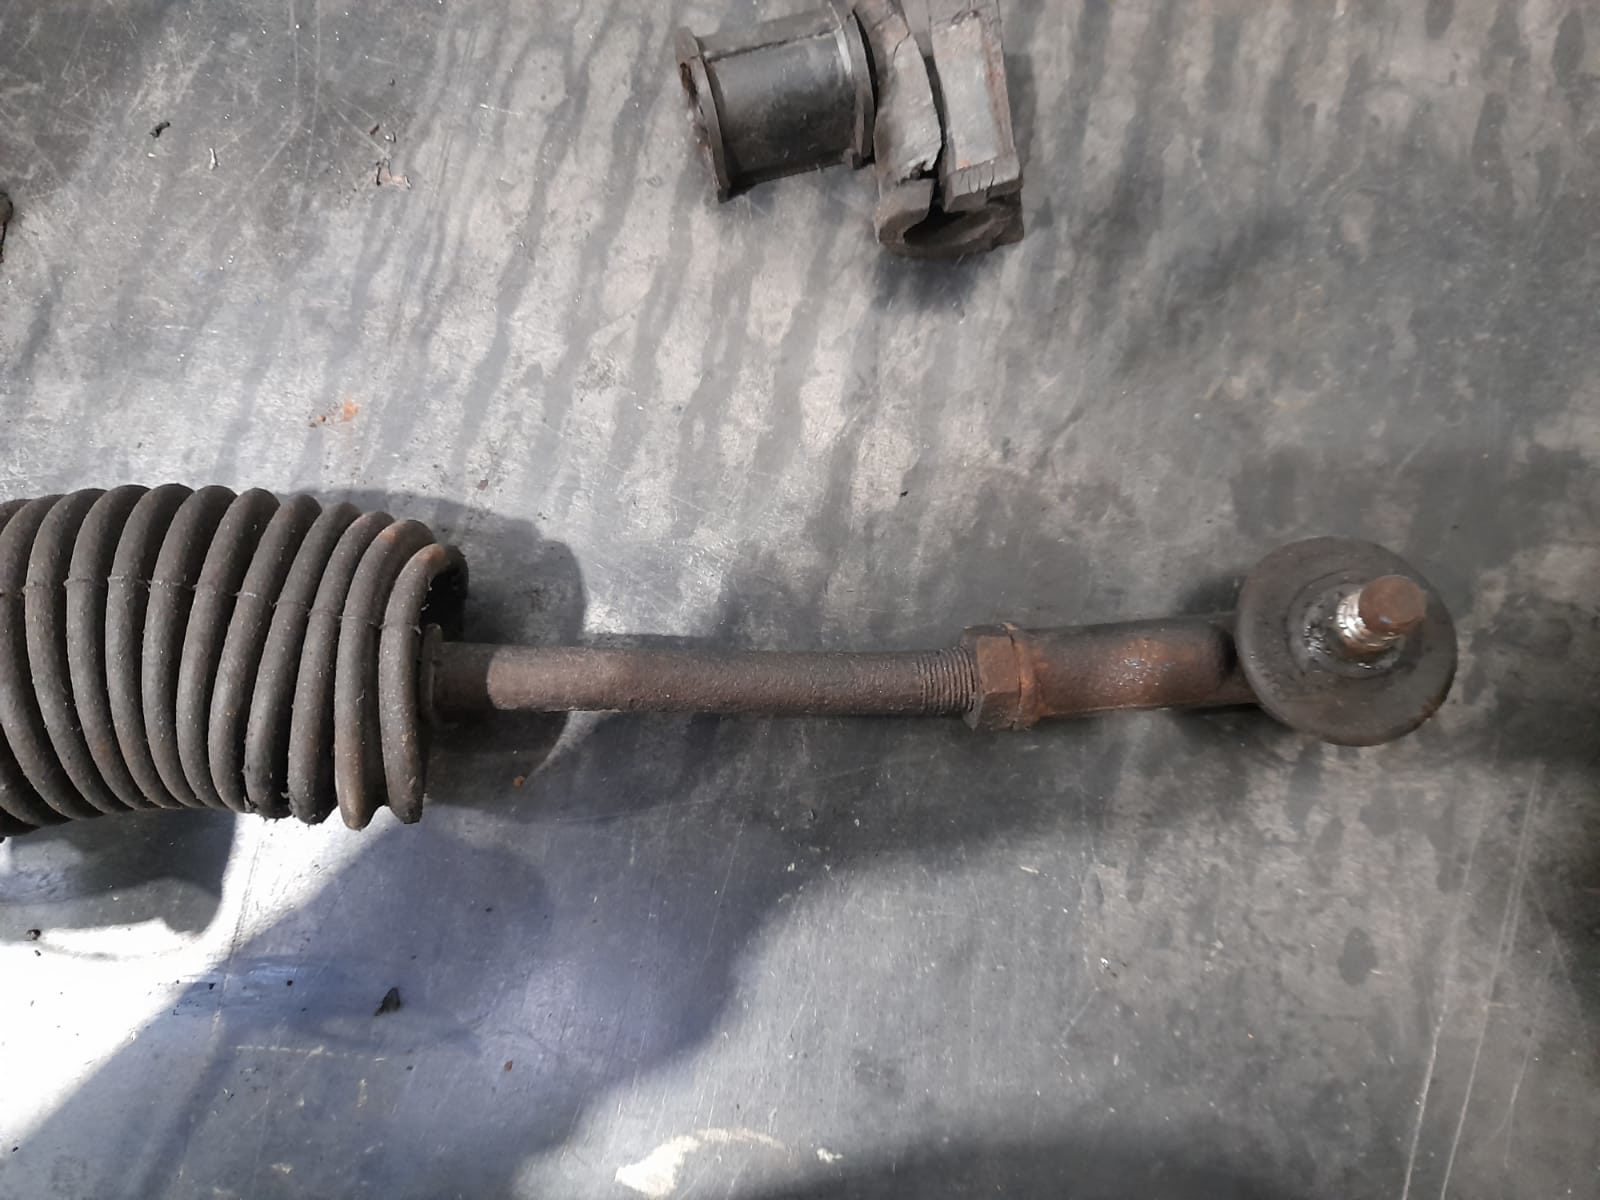
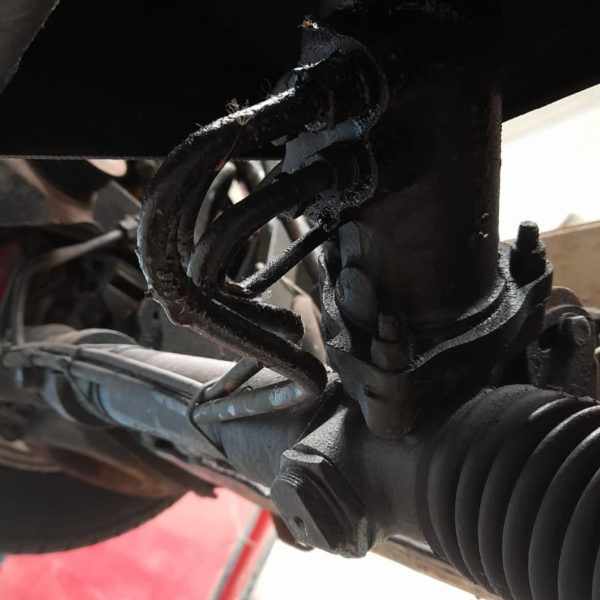
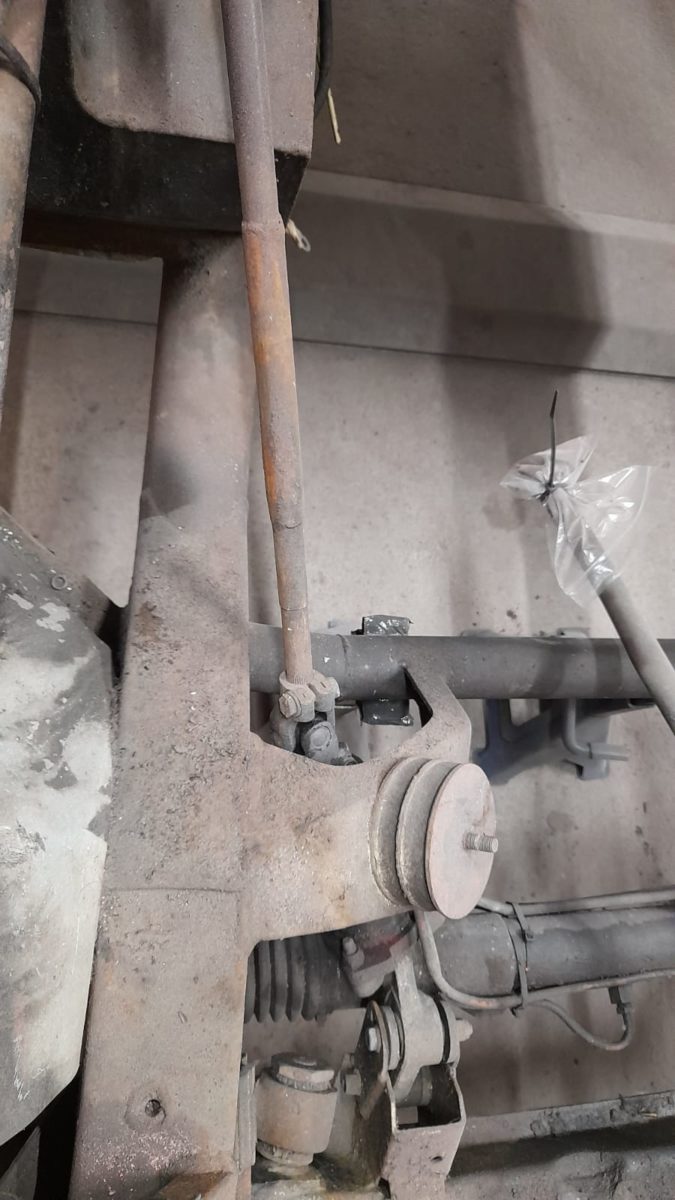
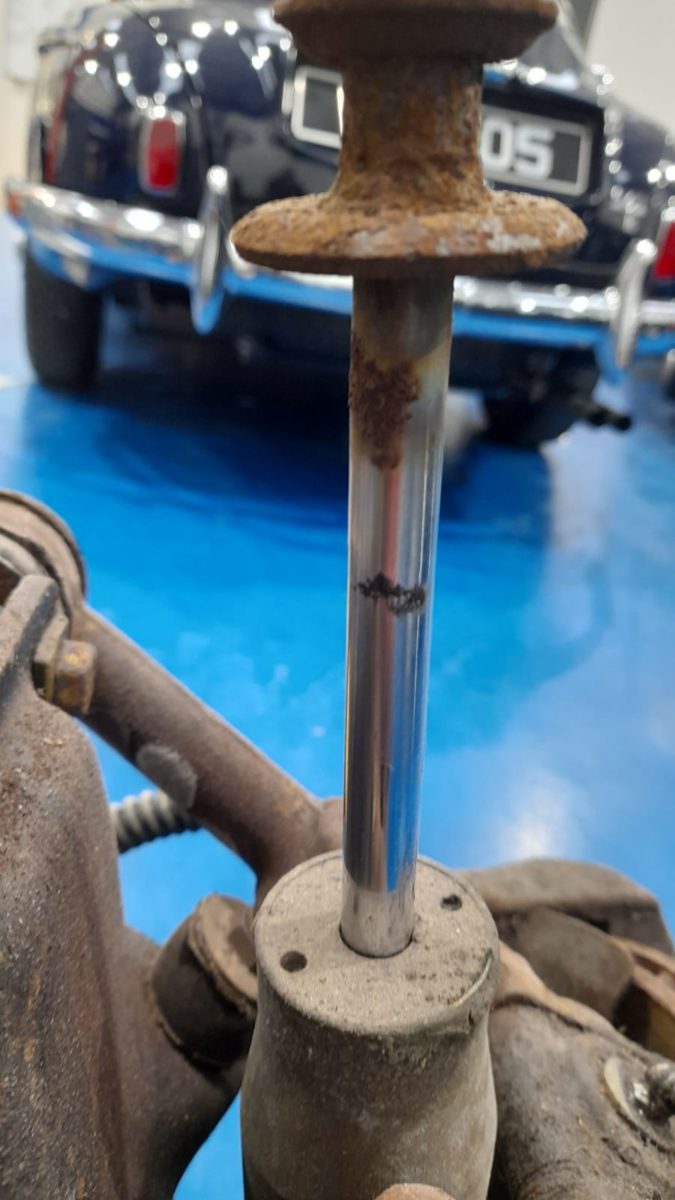
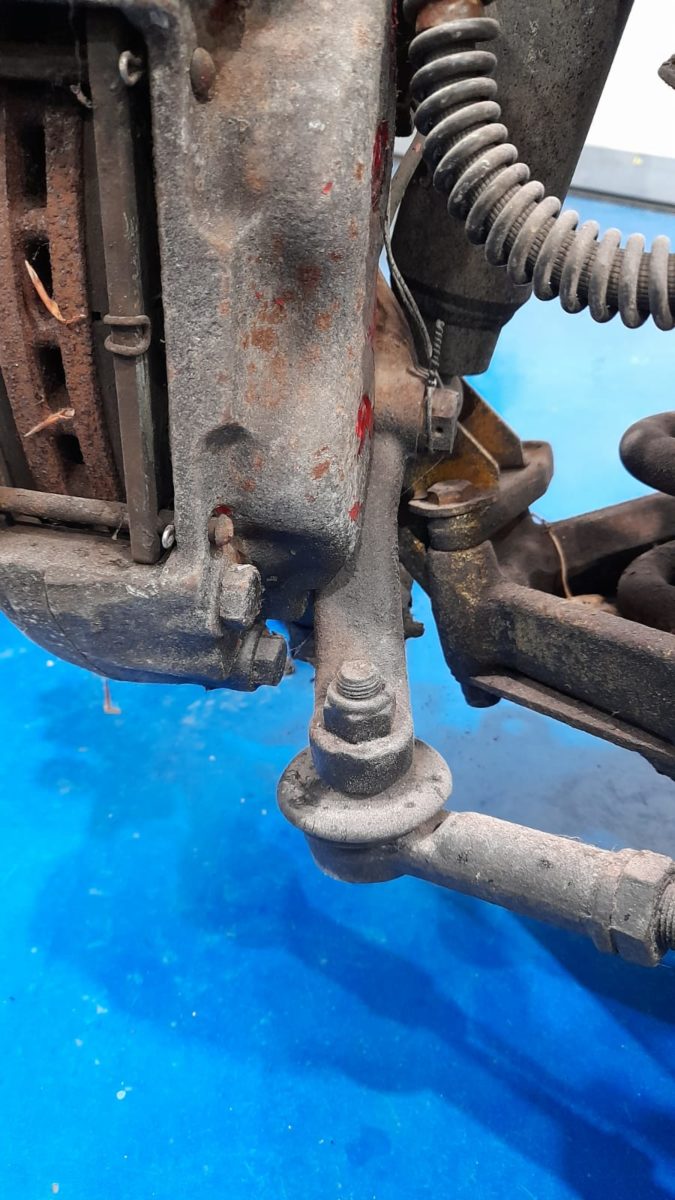
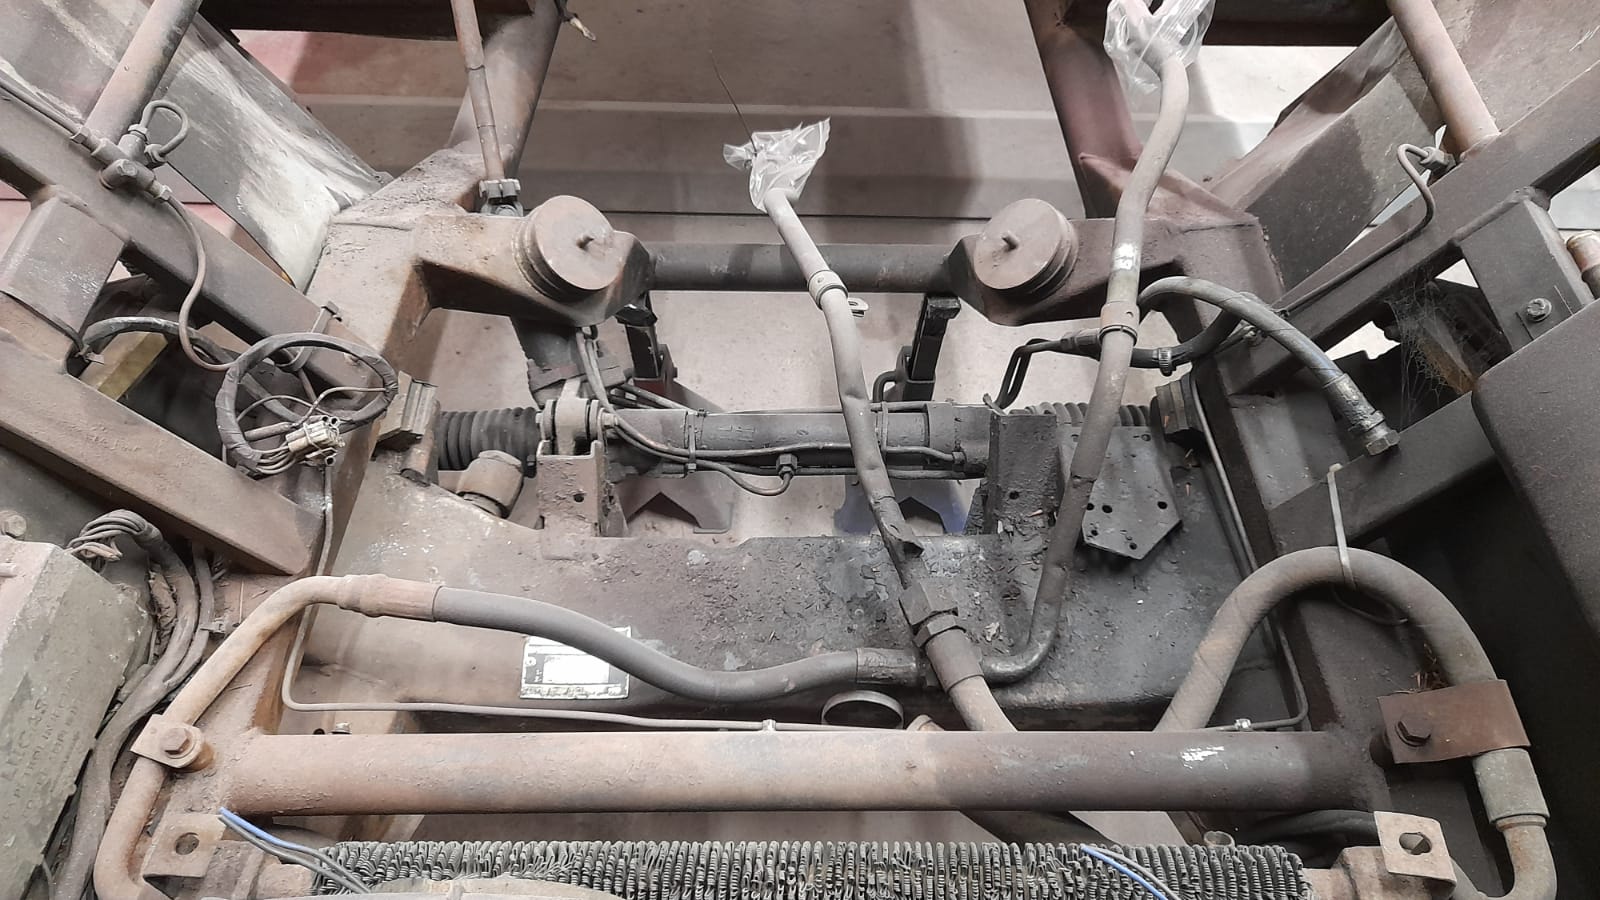
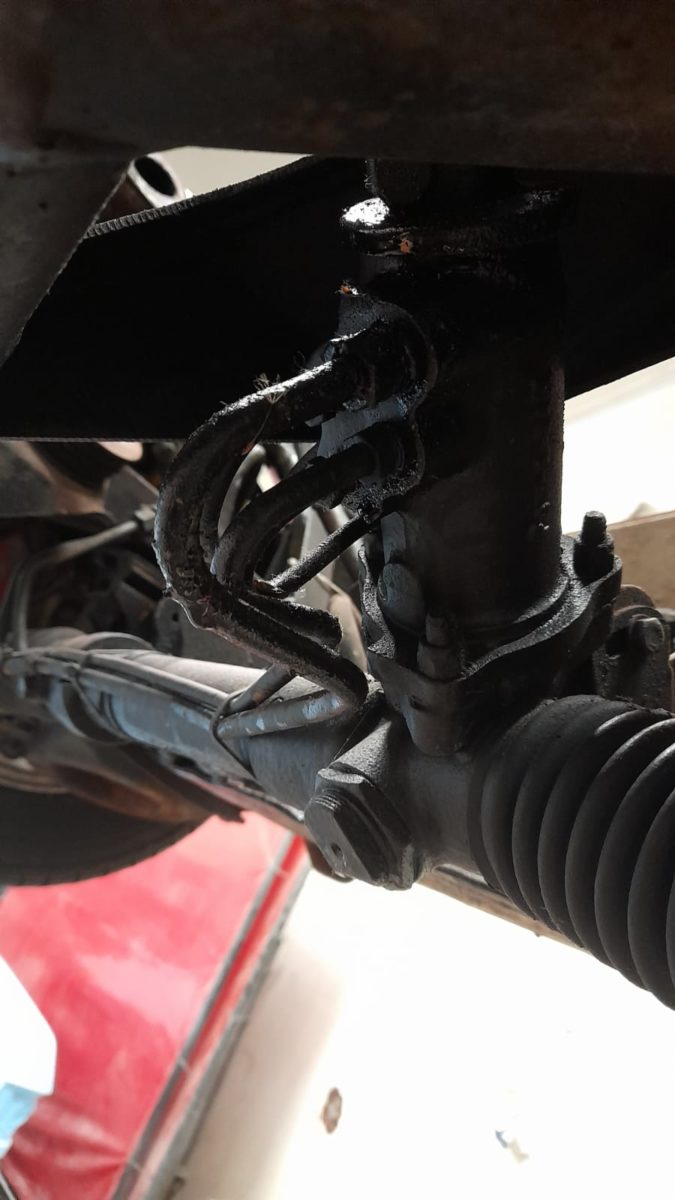
The steering rack has been sent off to Kelly Bray Steering to be refurbished as it was leaking and the steering arm is bent.

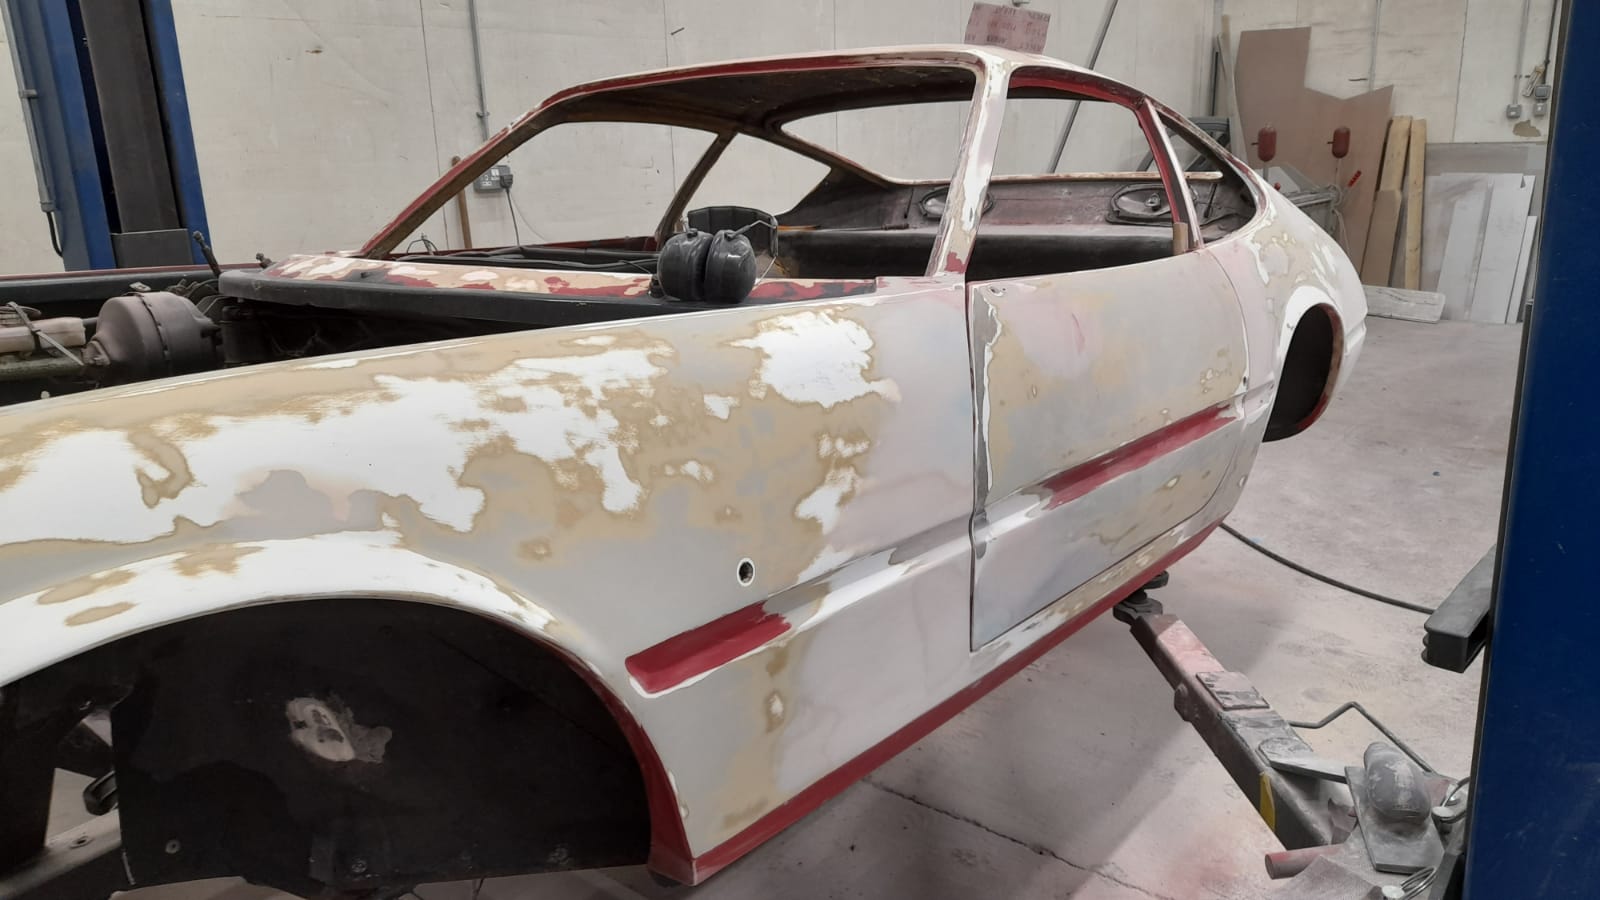
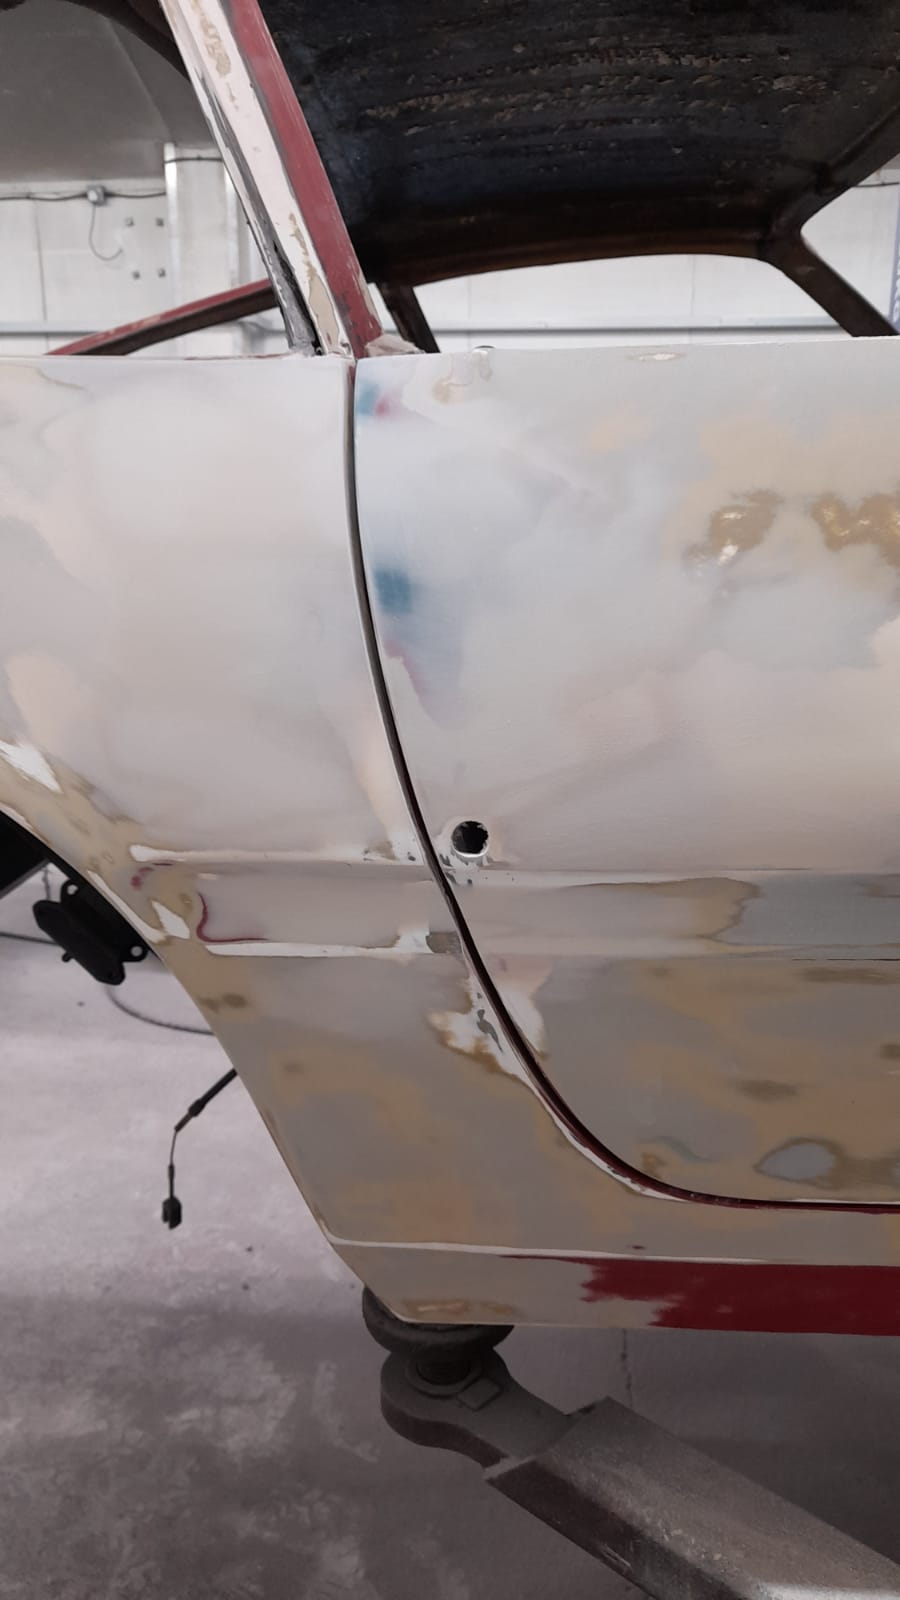
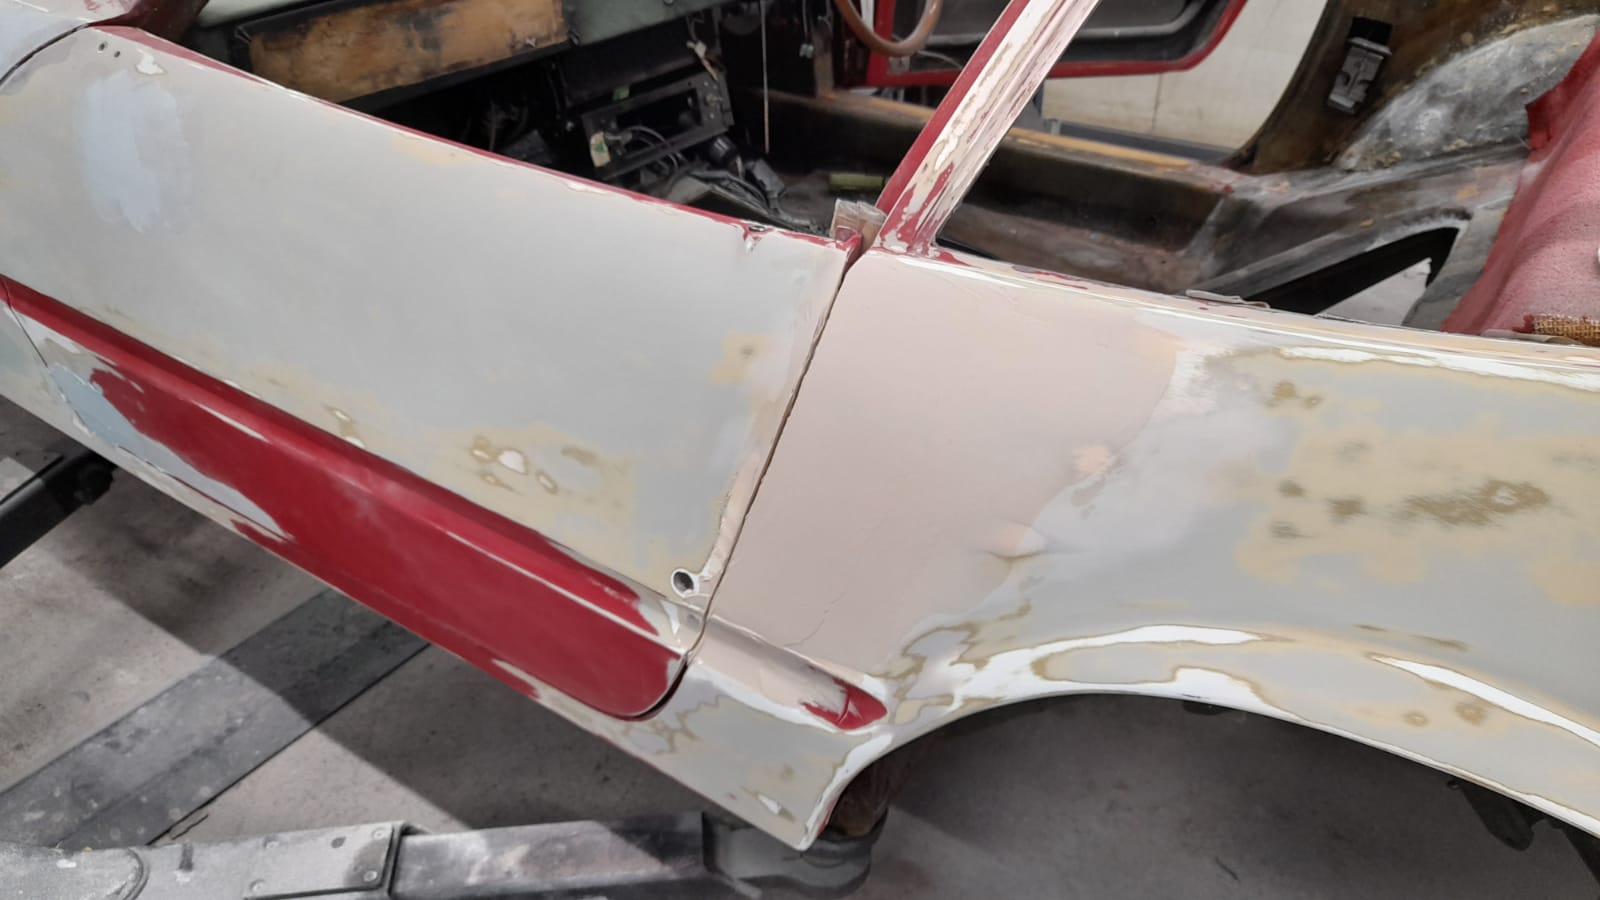
Scott has continued with the fabrication and bodywork on the Daytona. This mostly includes going over the entire shell with filler to make sure all surfaces are smoothed over and perfected to allow the layers of paint and primer to sit correctly on top.
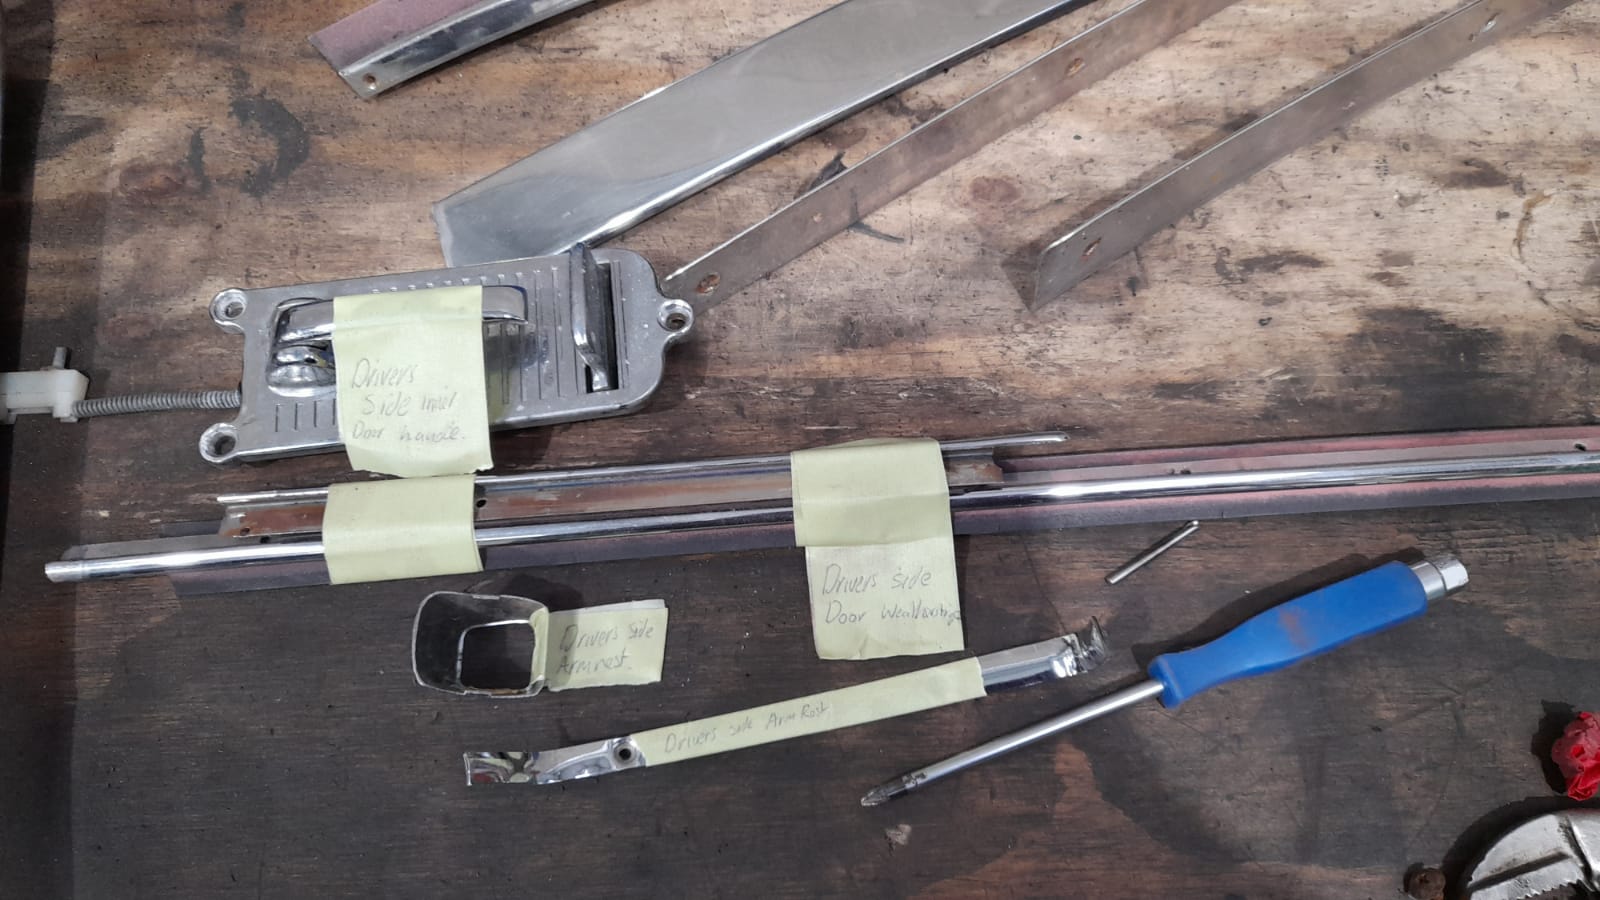
We’ve also sent the chrome off to Tony at Wyatt Polishing and hope to have them back soon so we can begin fitting them after the body has been painted.


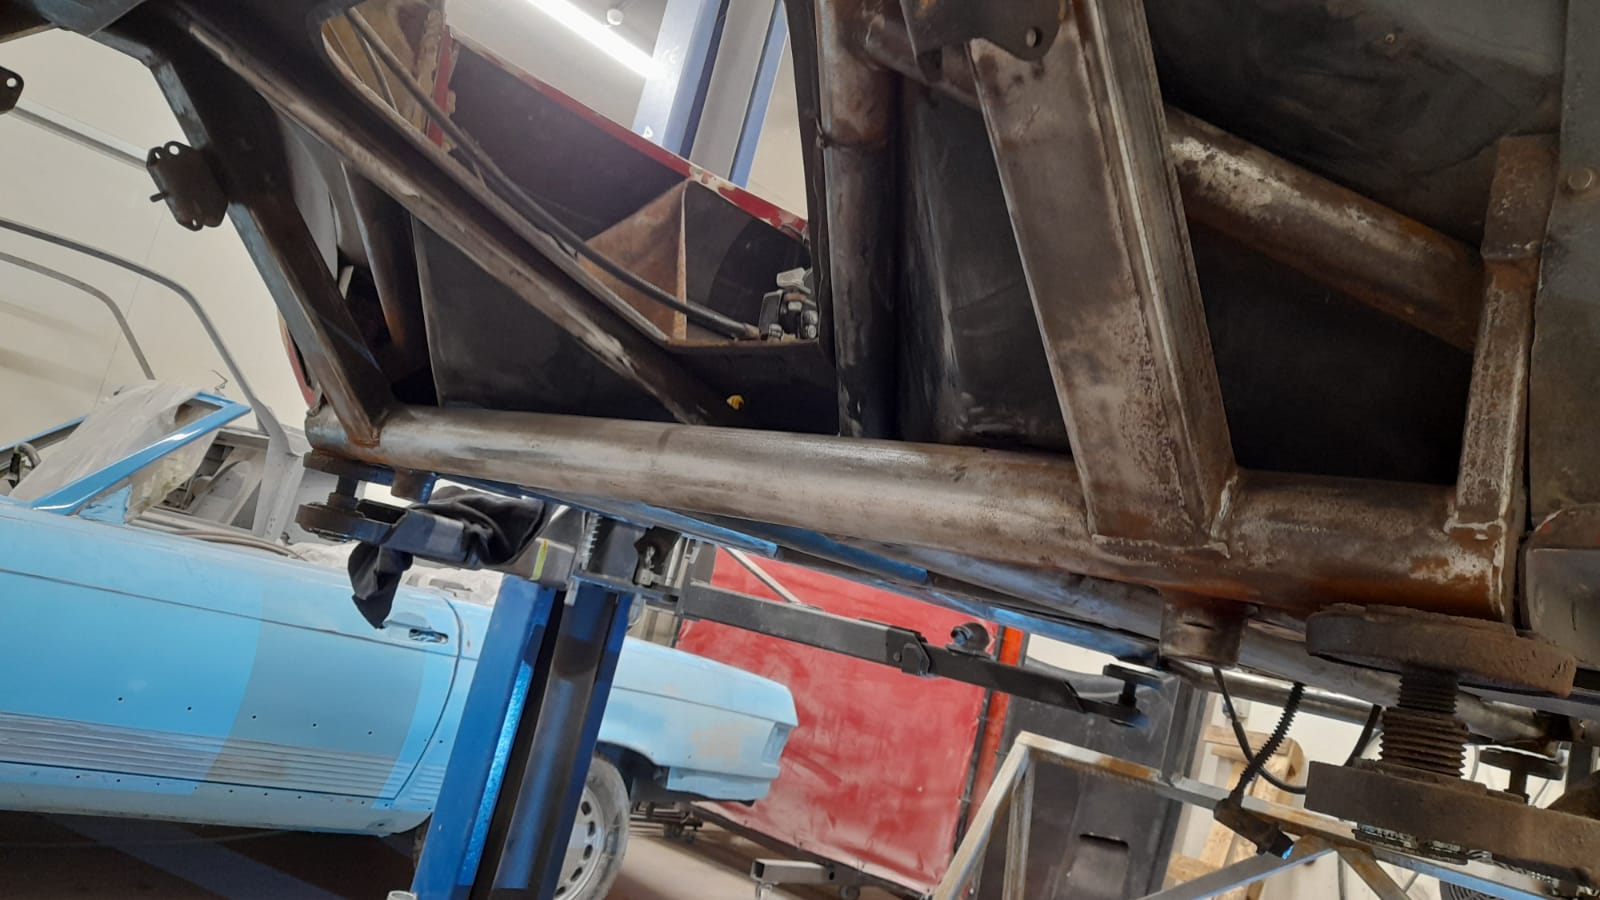
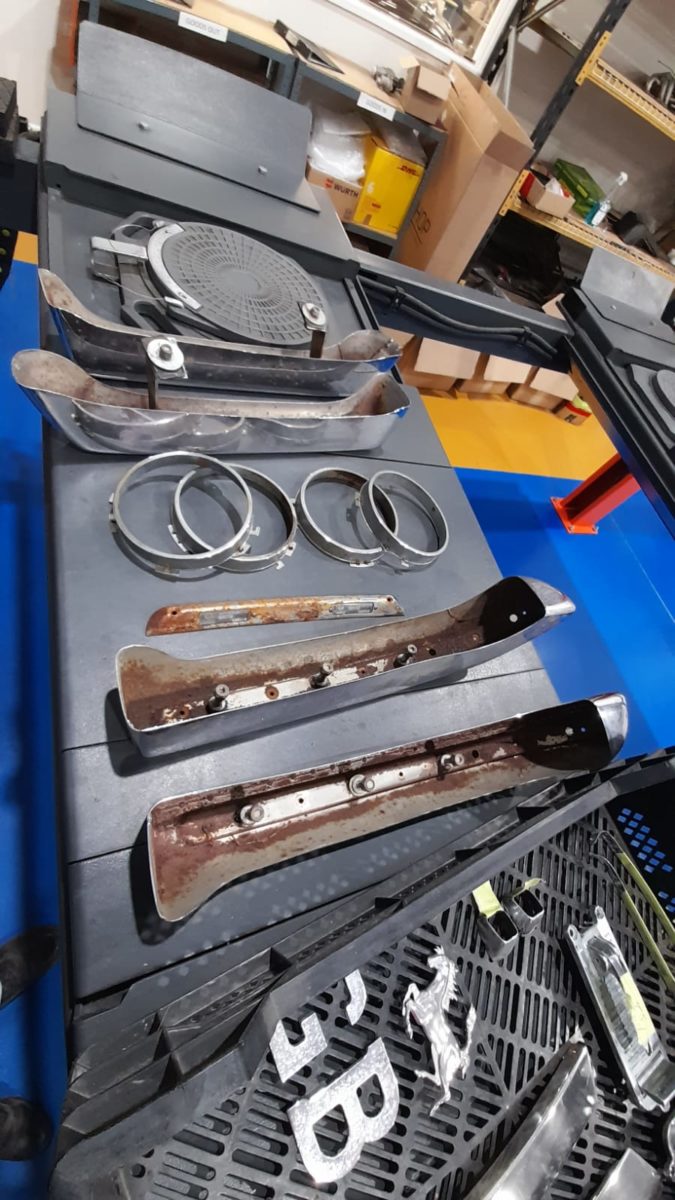
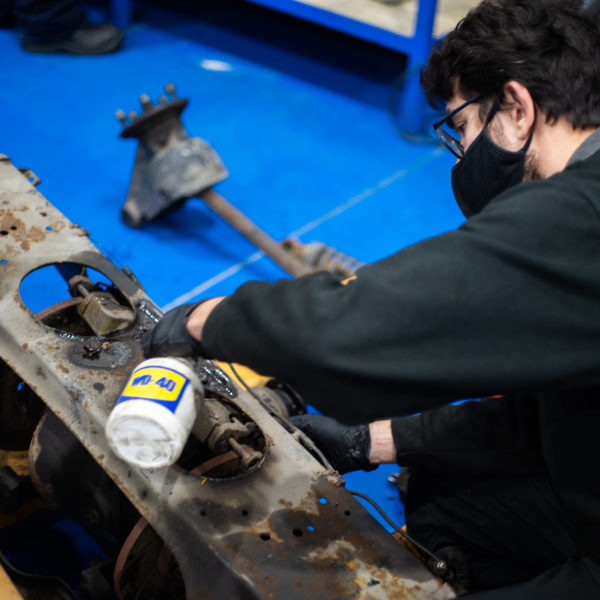
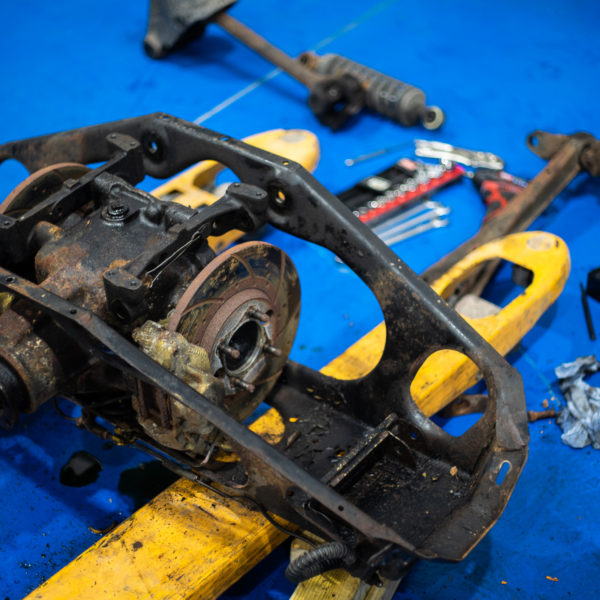
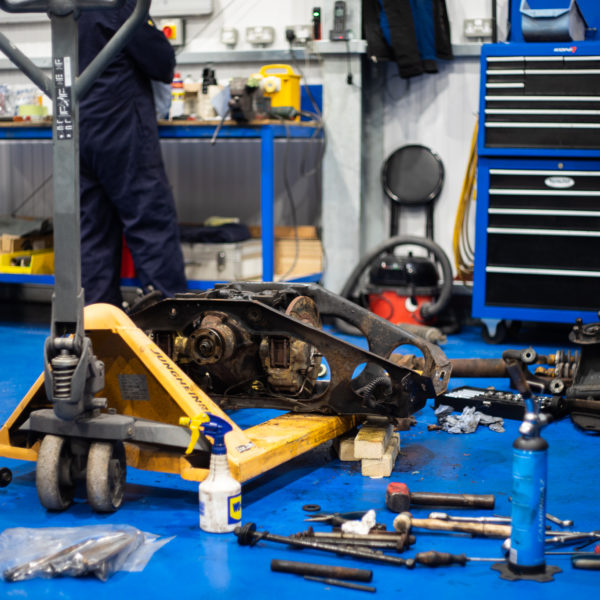
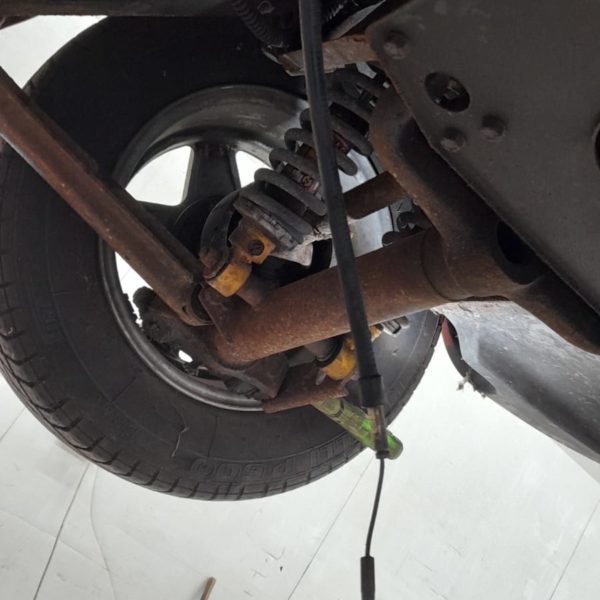
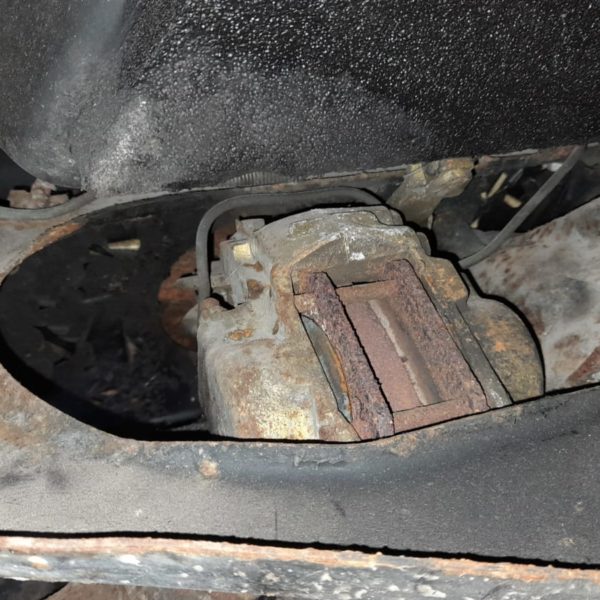
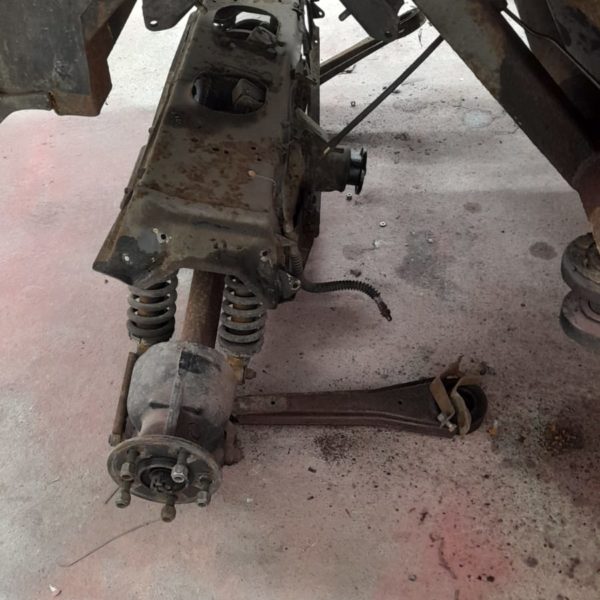
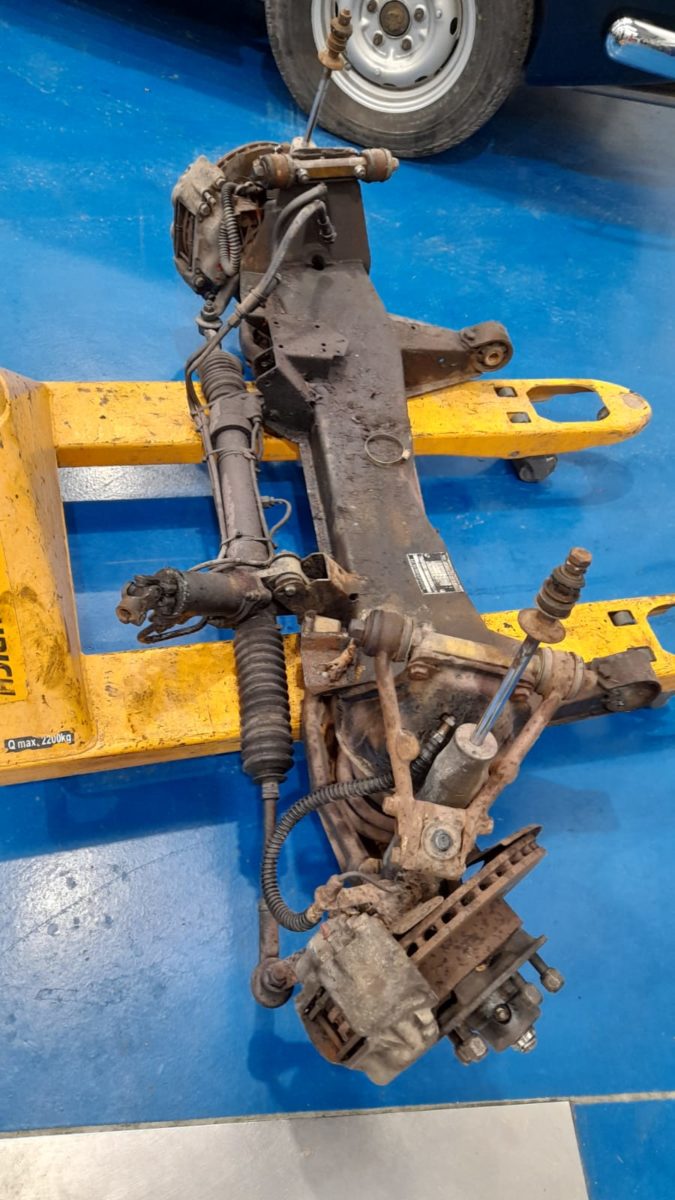
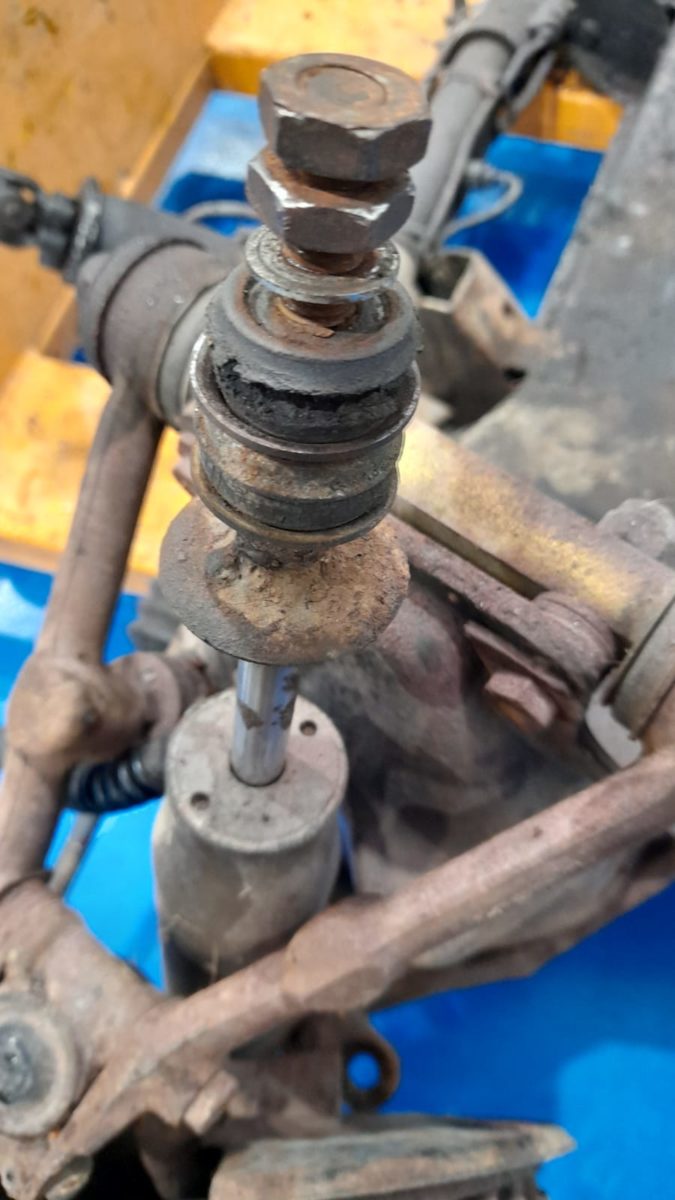
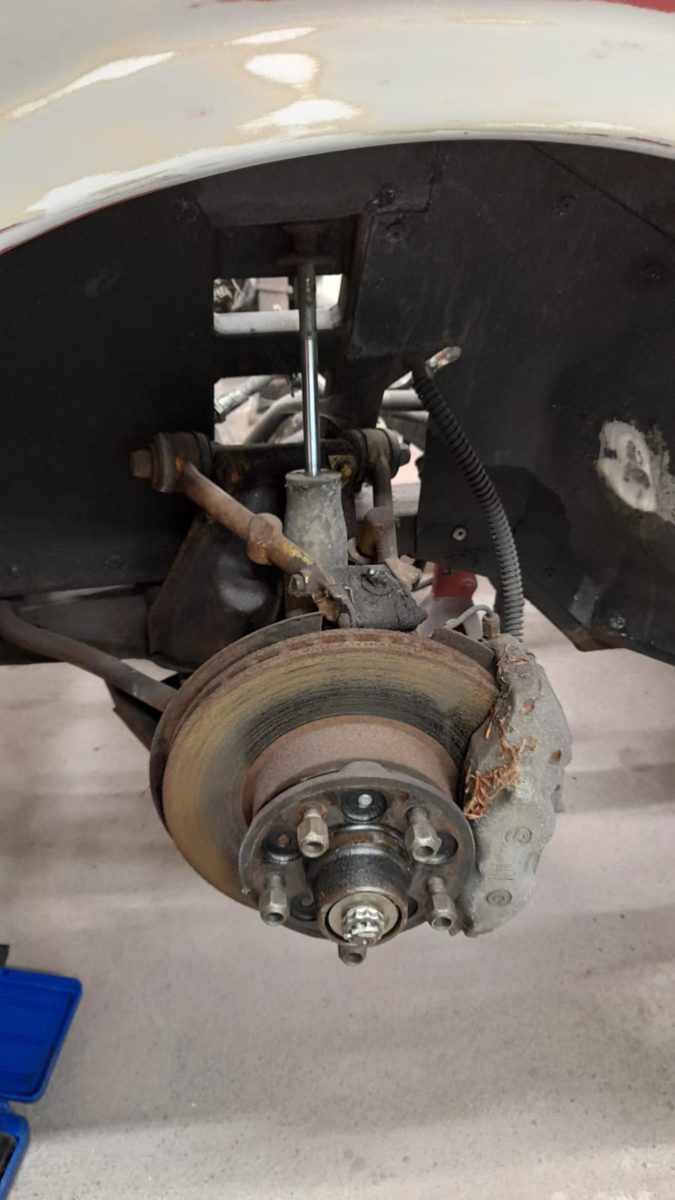
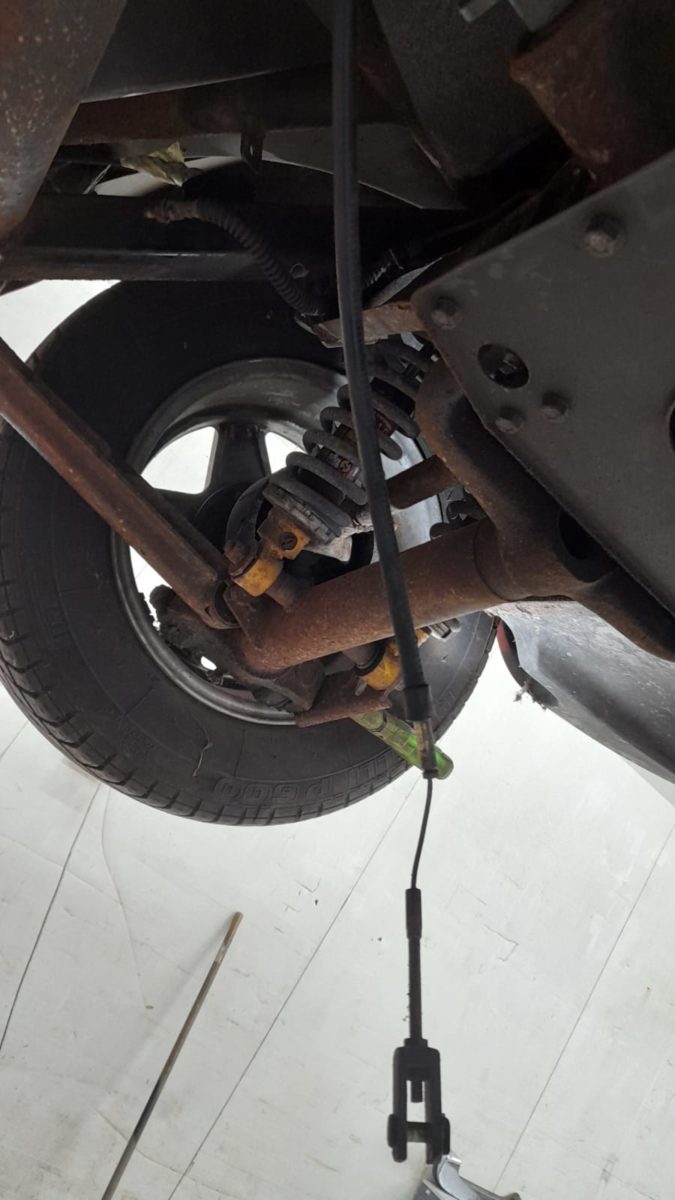
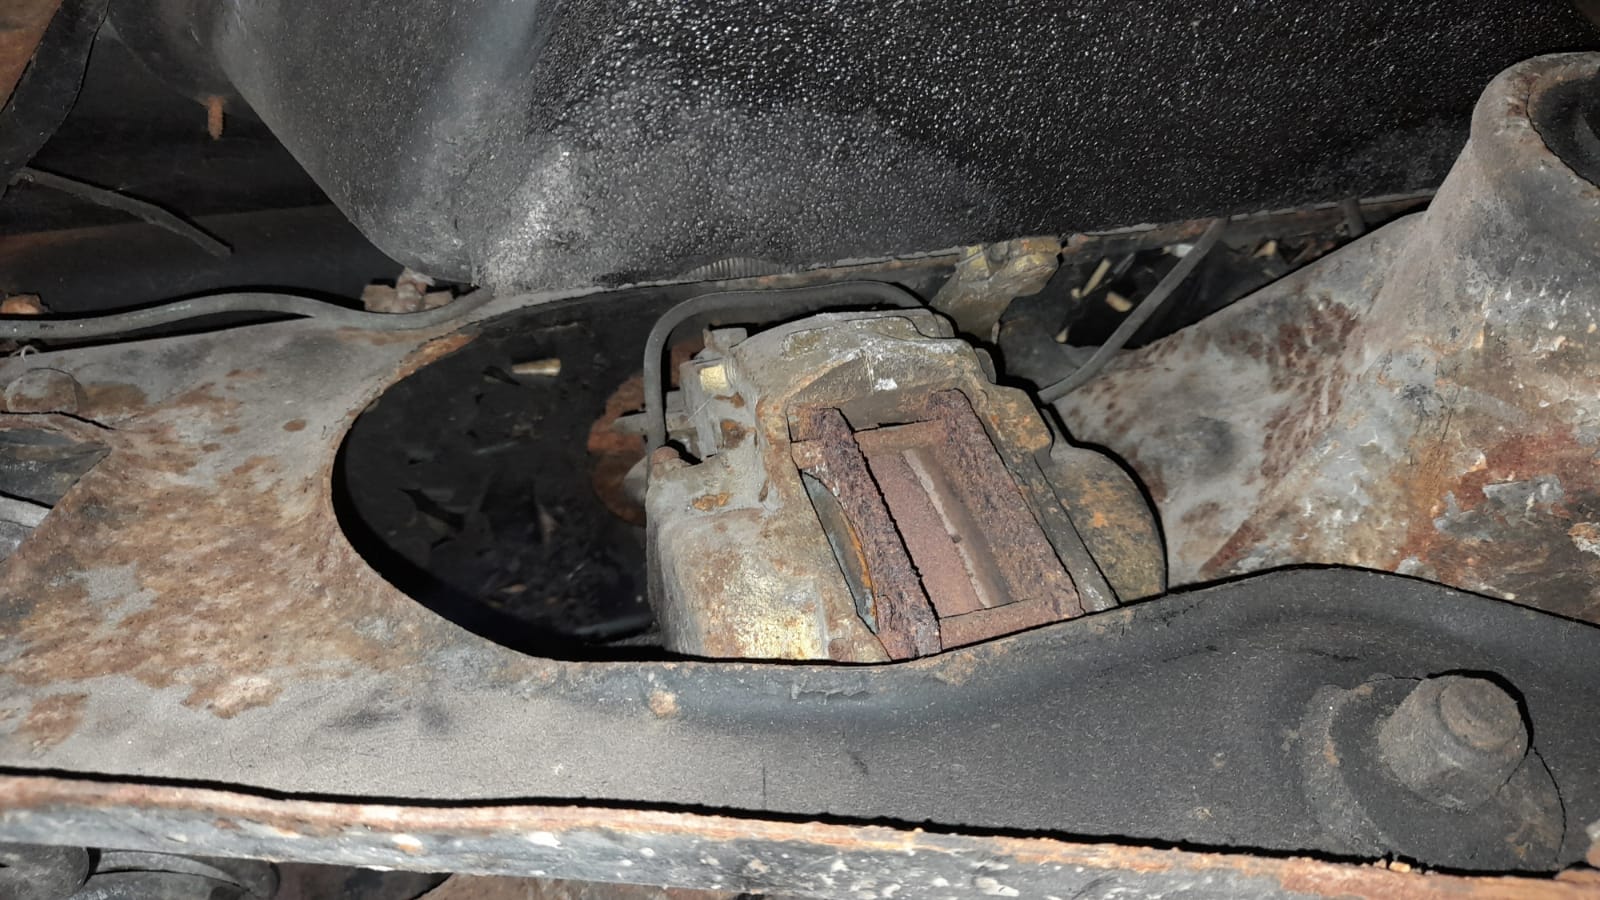
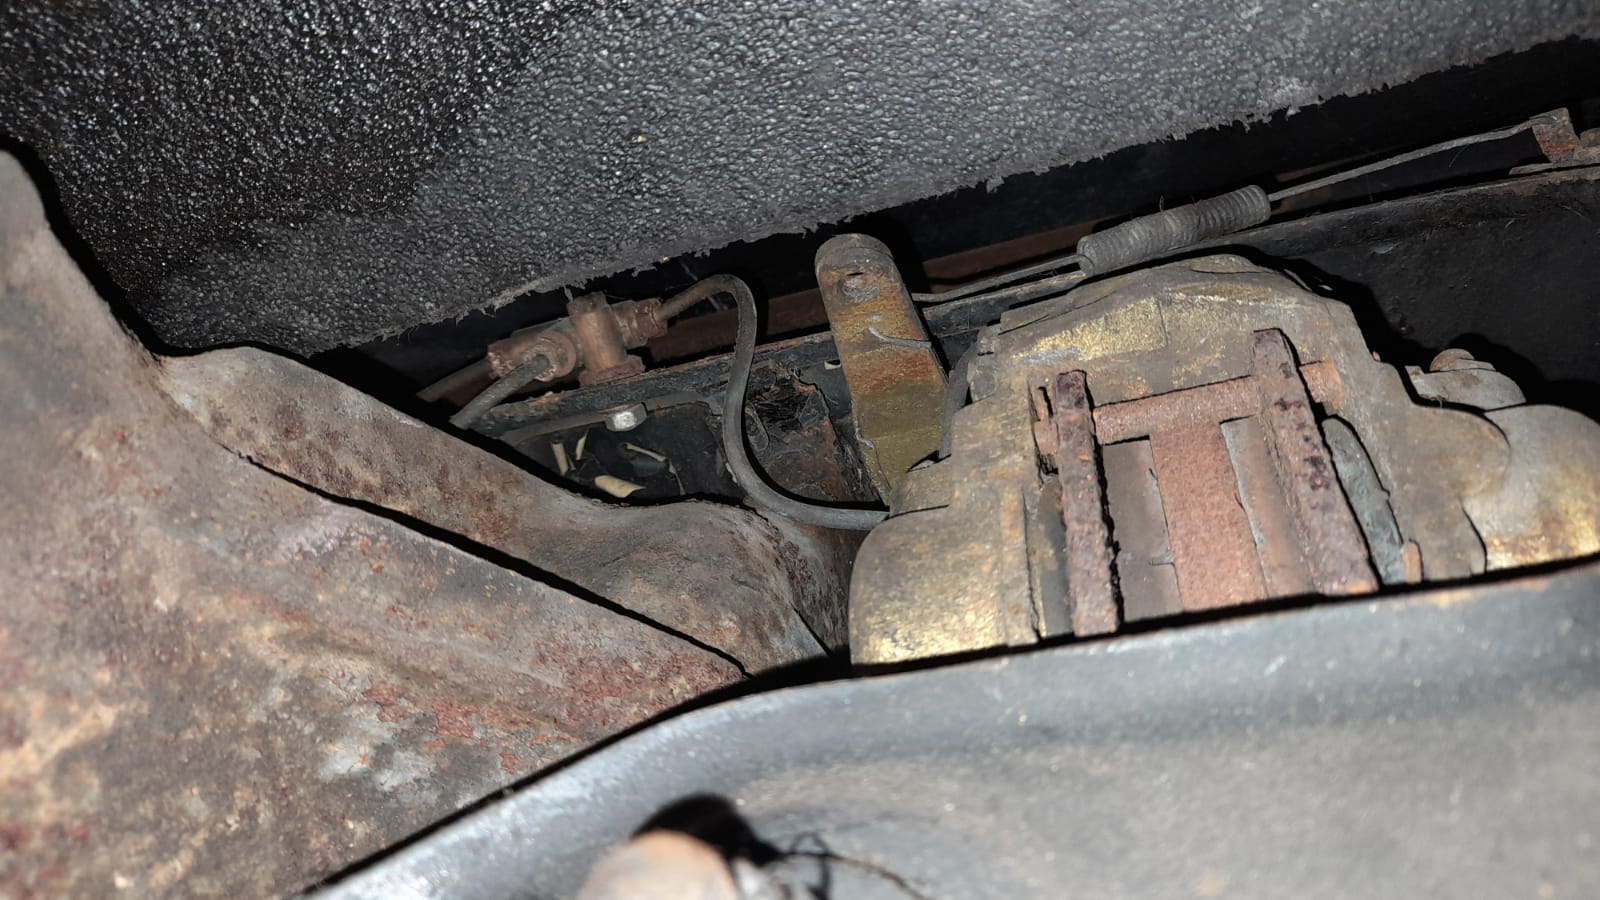
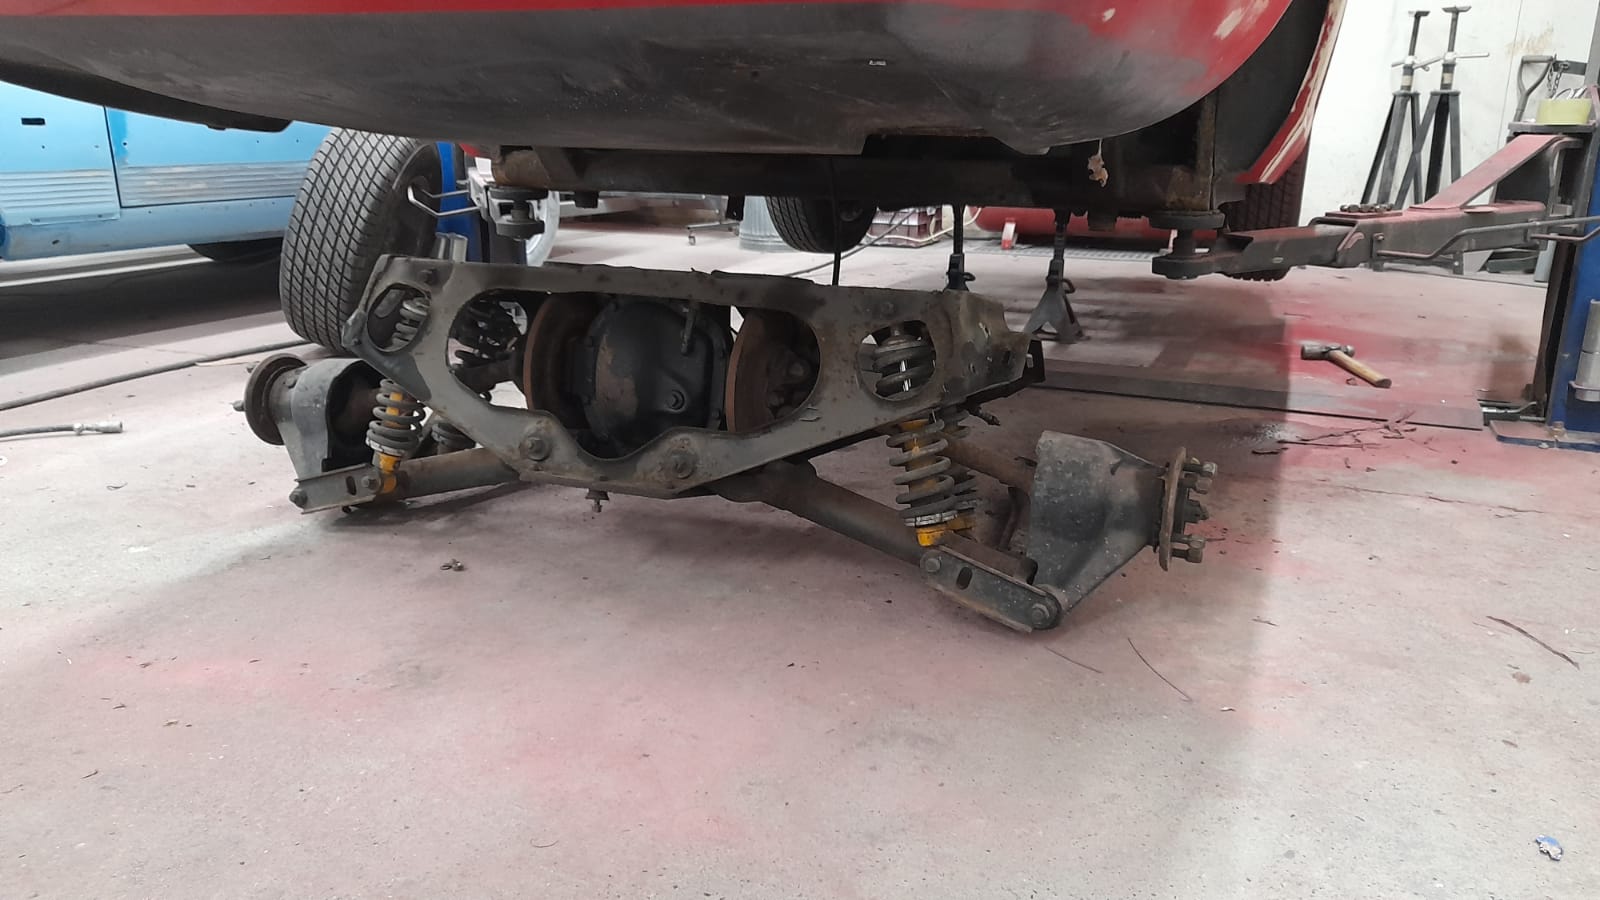
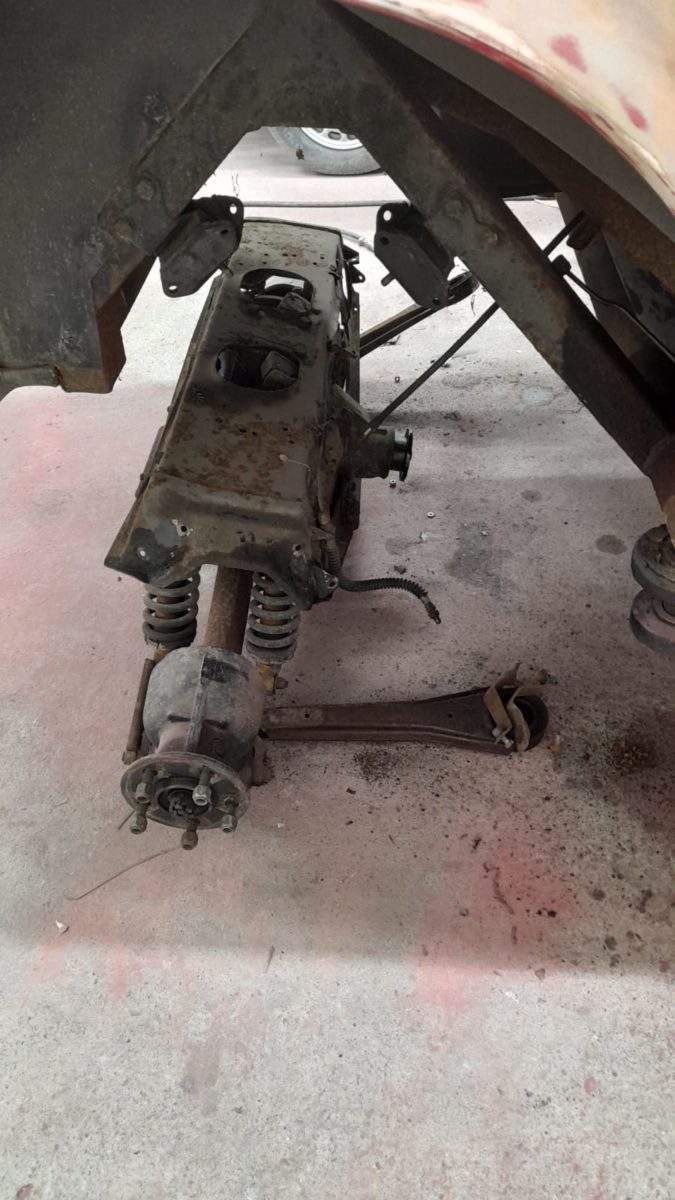
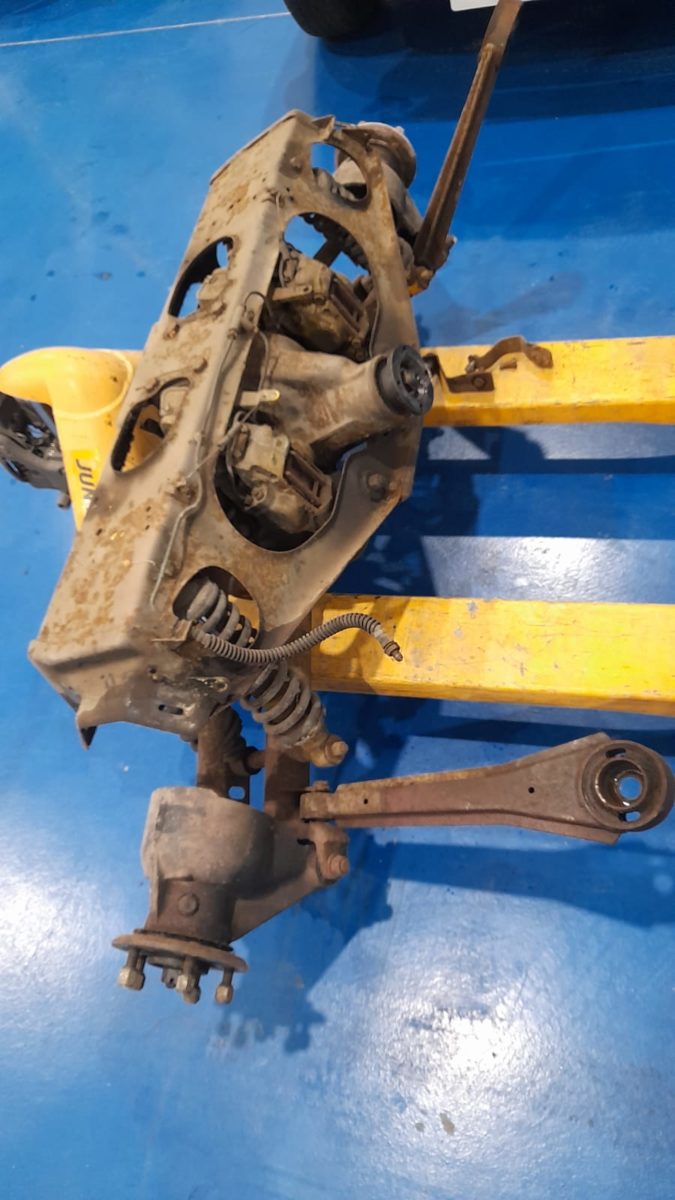
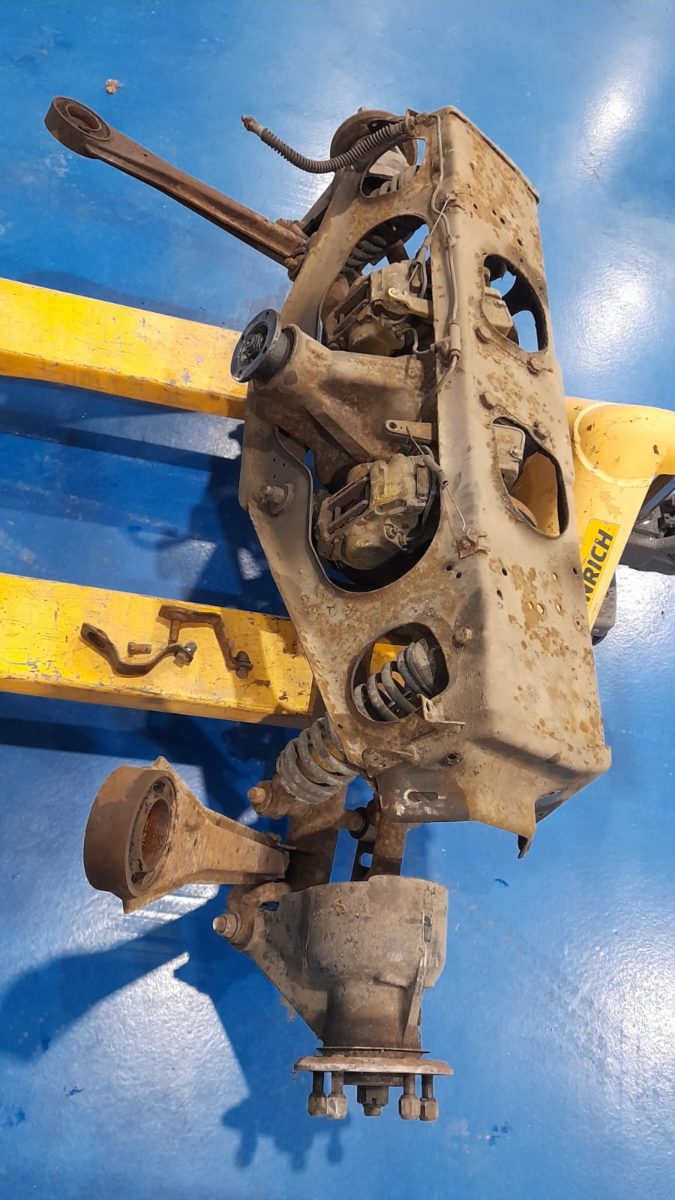
There’s a long list of work that’s going on with the Daytona, which mostly has Scott at the helm. The brakes have been sent off to be refurbished at Norfolk Brake and Clutch, the chrome work will be sent to our friend Tony Wyatt and we will do the stainless steel refurbishments in house. As seen in a previous Daytona update, Tom has taken apart the rear axel so it is now ready to be sandblasted. We’ve also found a leak in the differential which needs to therefore be rebuilt, as does the steering rack after finding a leak there too.

Scott has also been focusing on doing filler work on the Daytona body. He’s been repairing any imperfections in the body and getting neat panel gaps. This is done before we prep the body for paint.


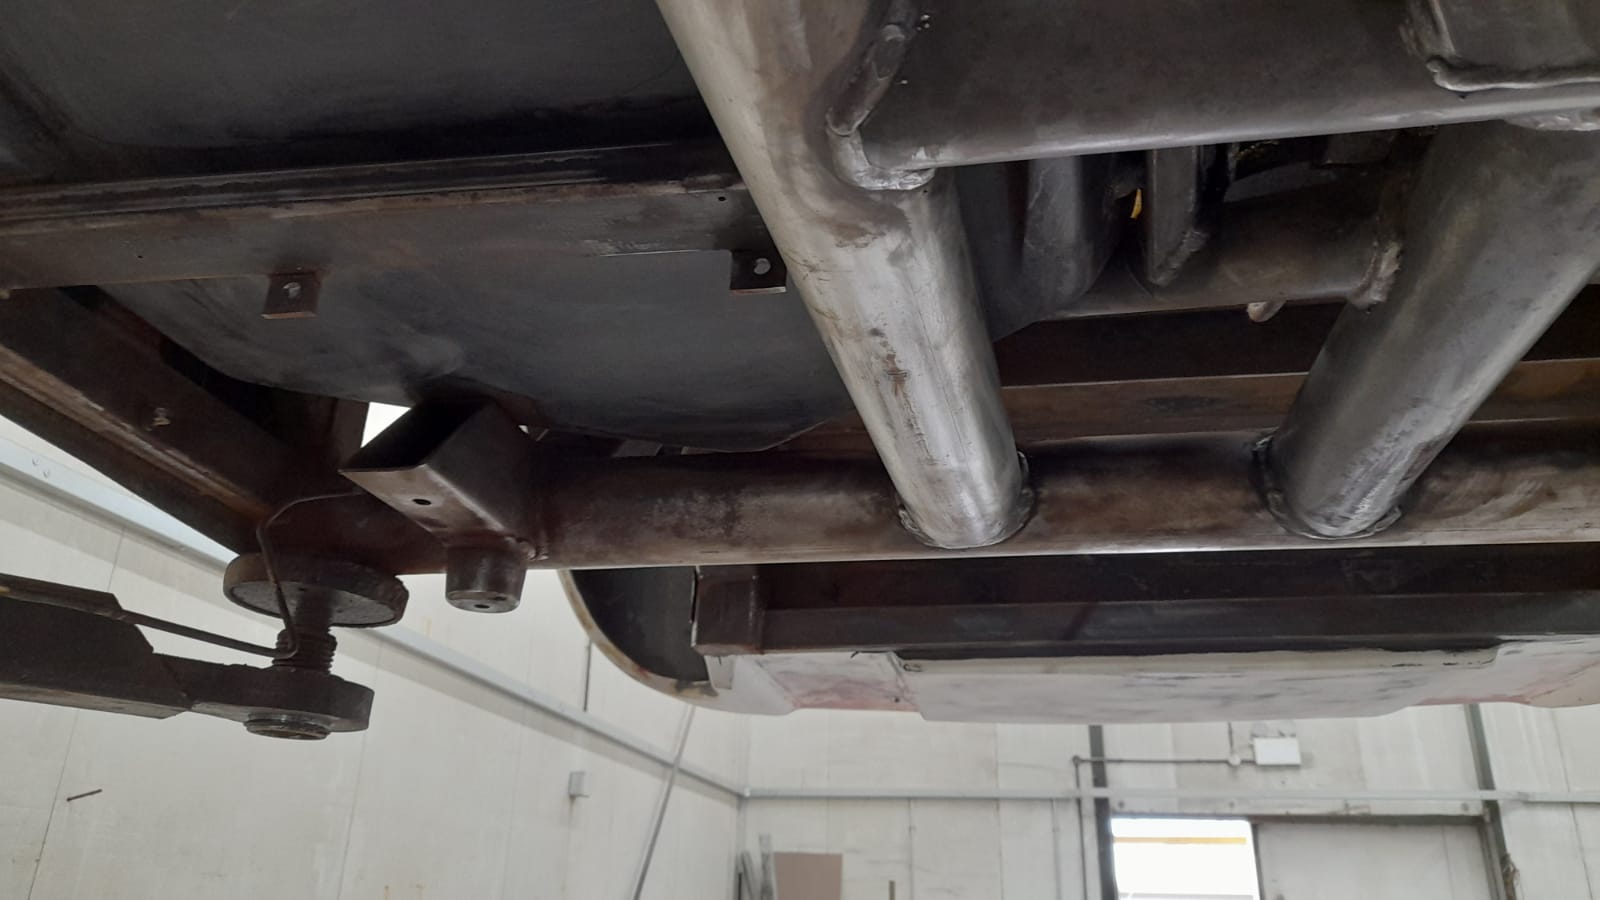
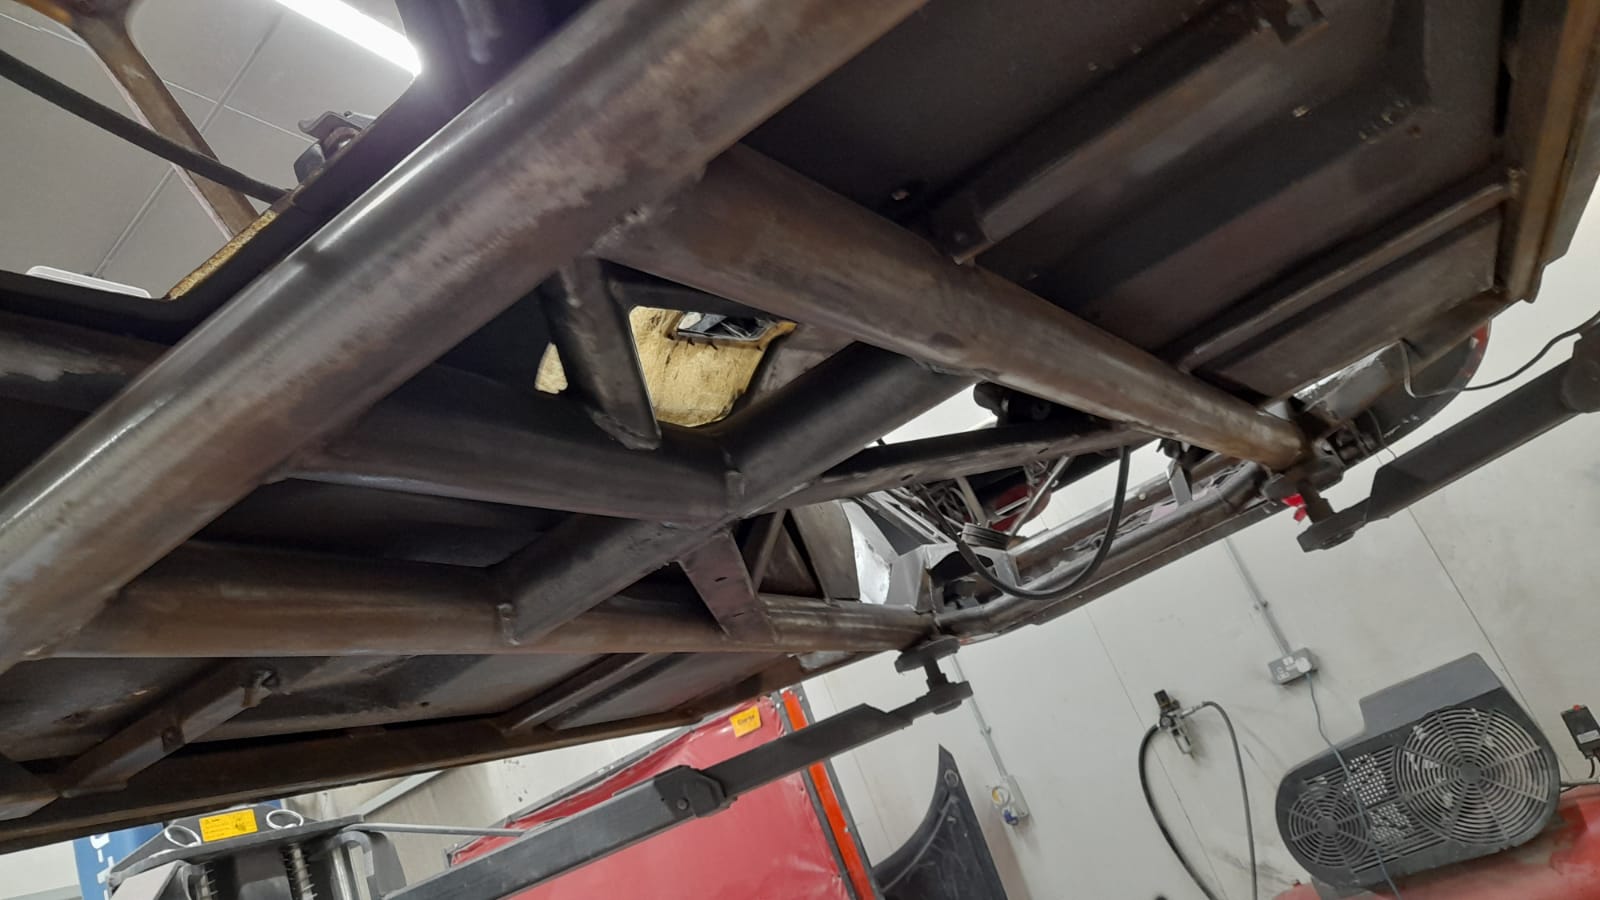
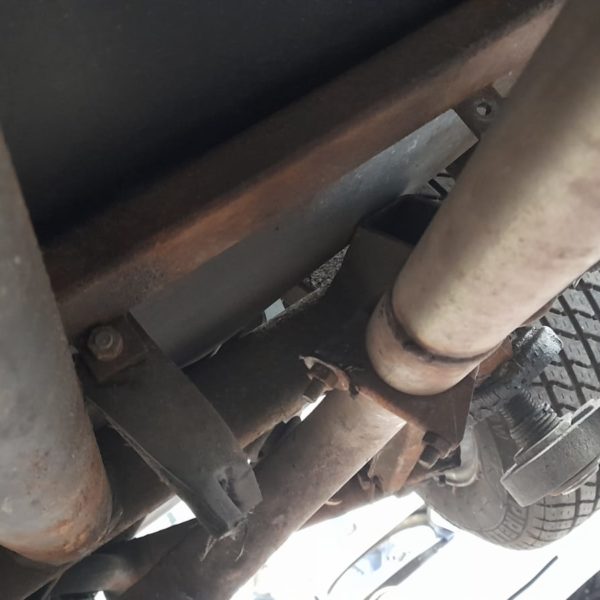
We also discovered a large amount rust on the chassis which will need to be repaired and fabricated.
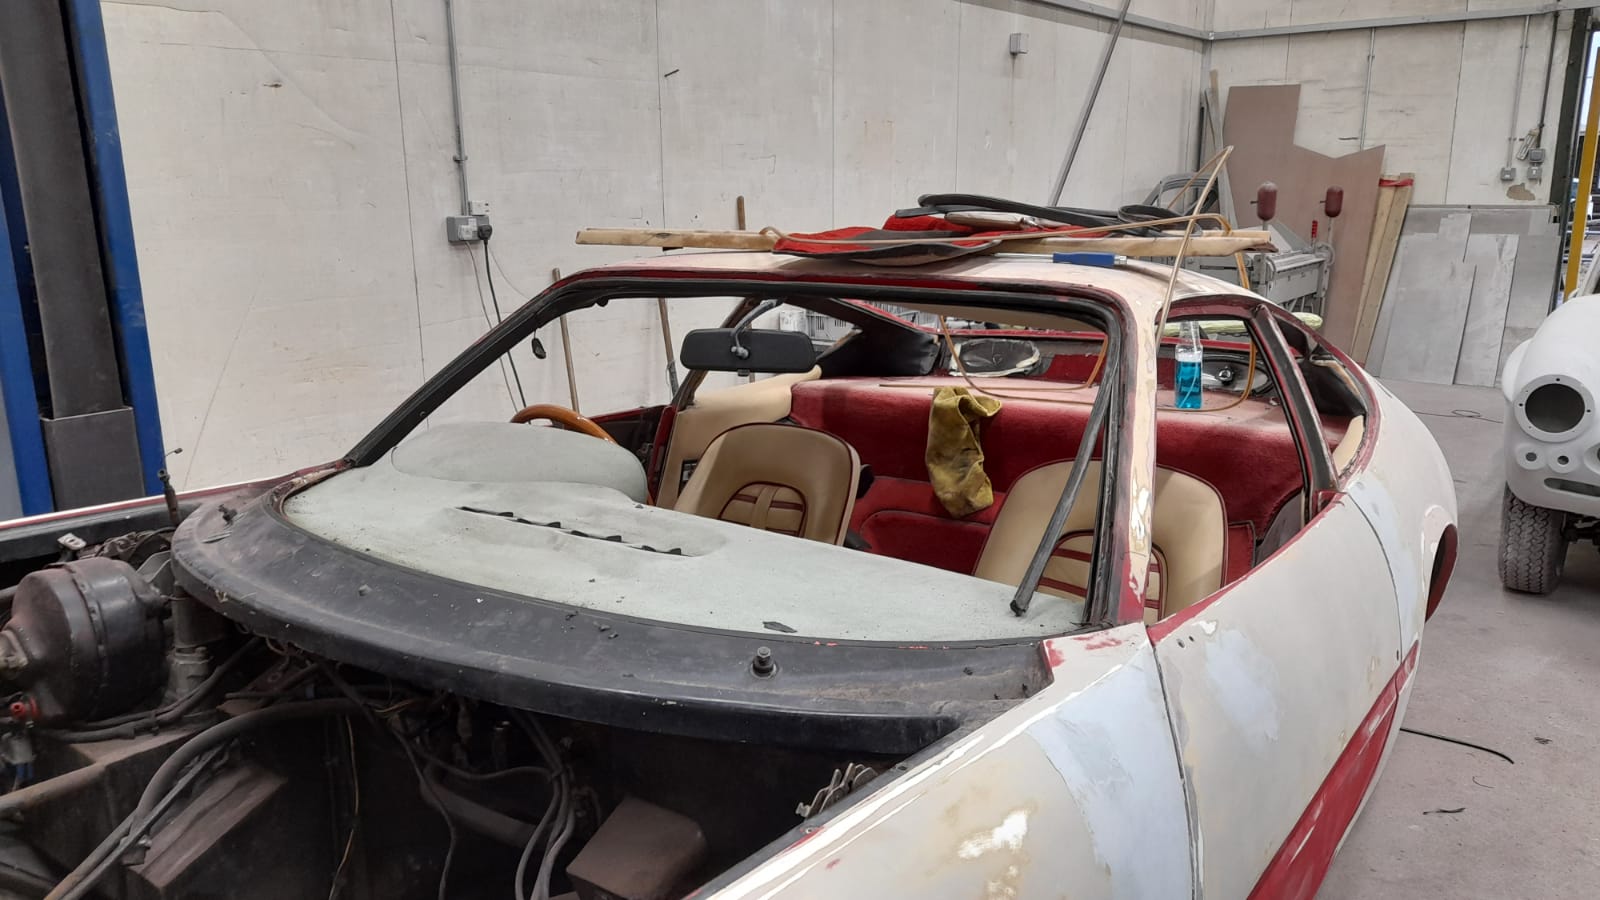
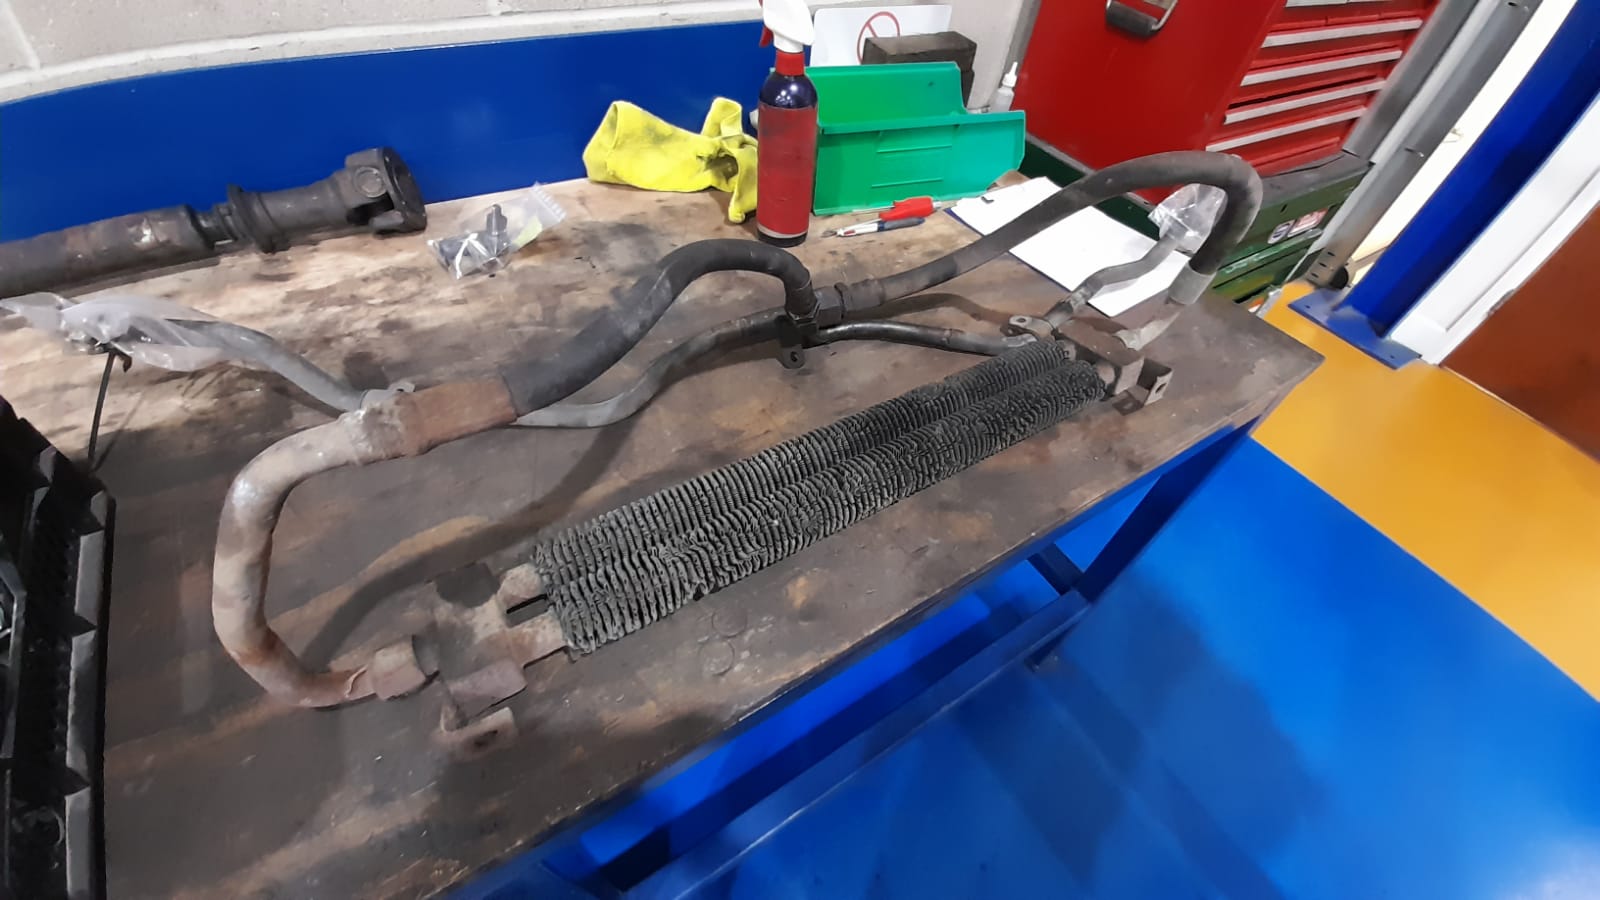
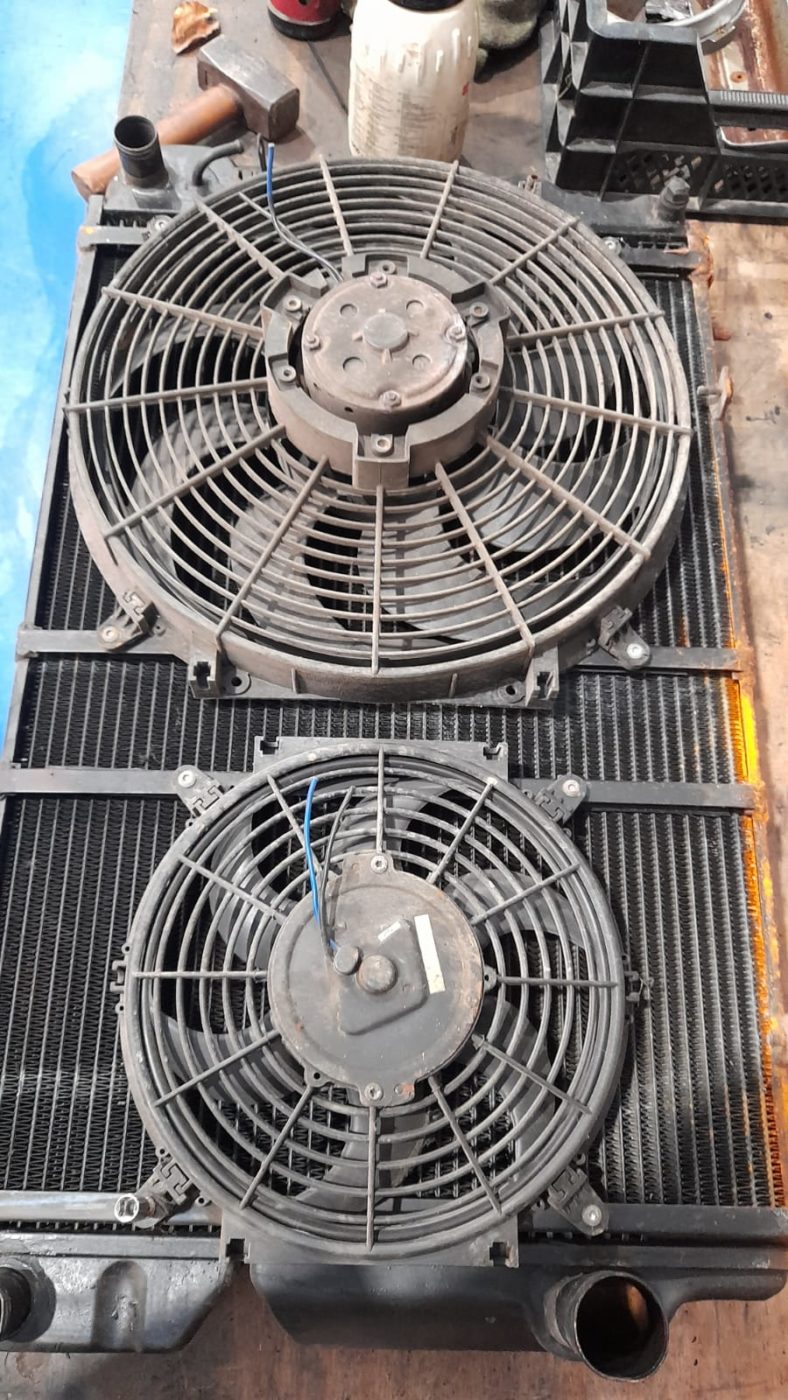
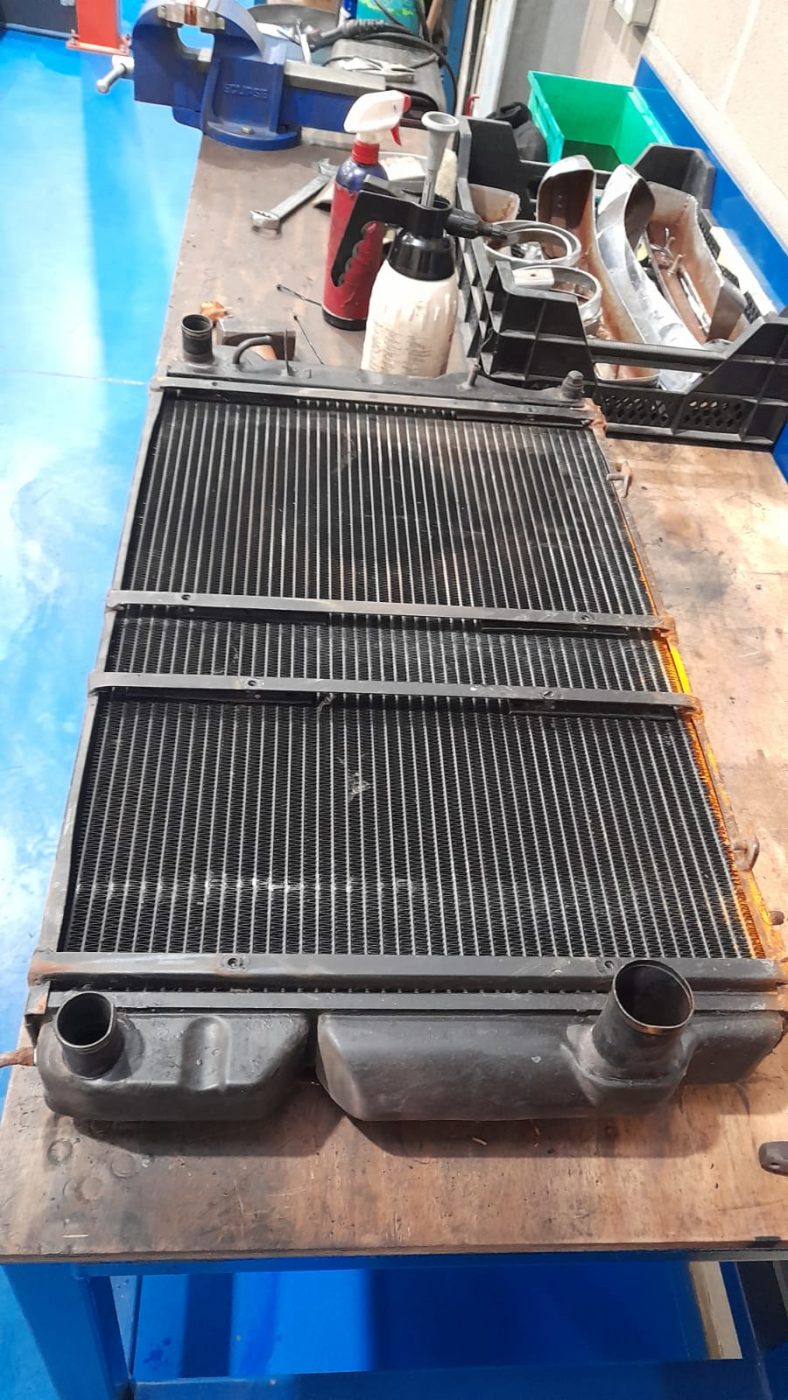
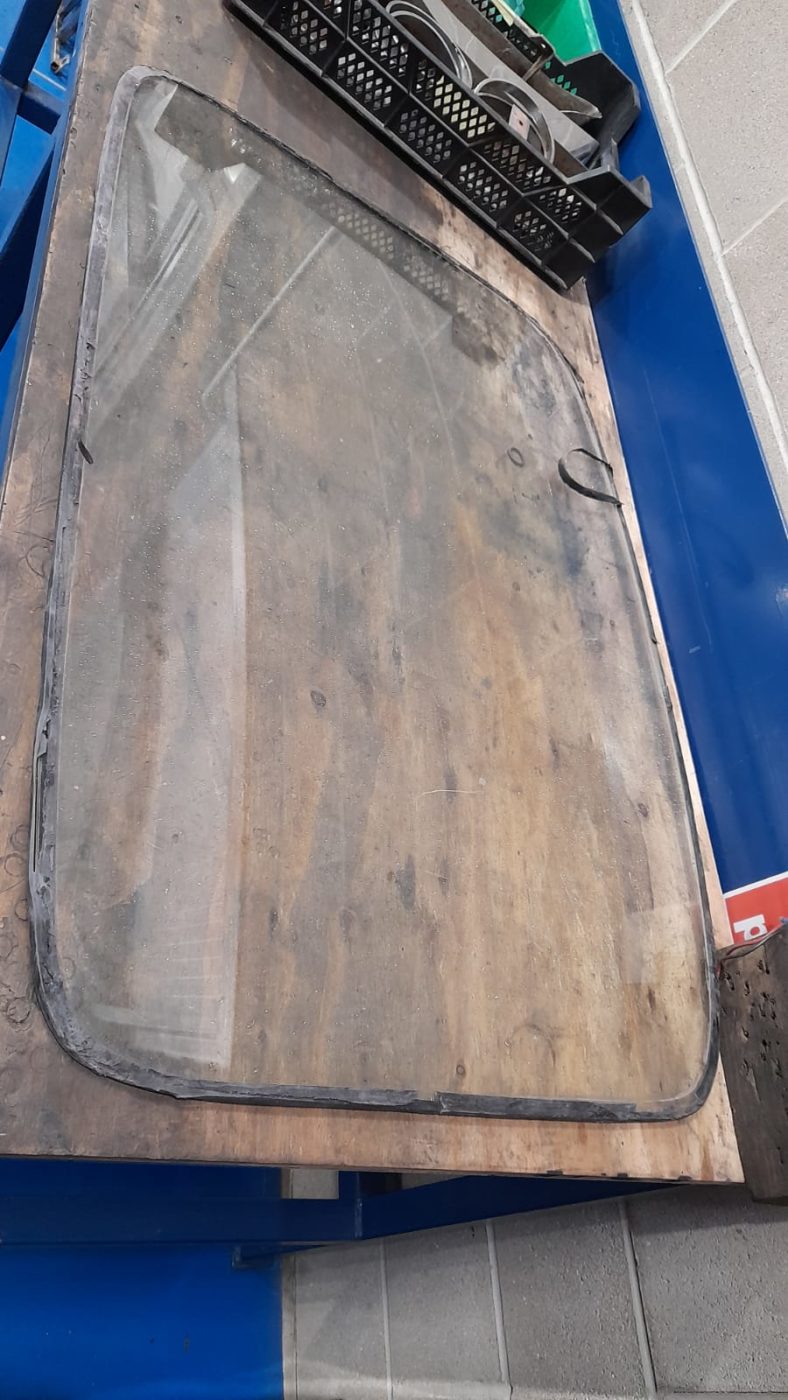
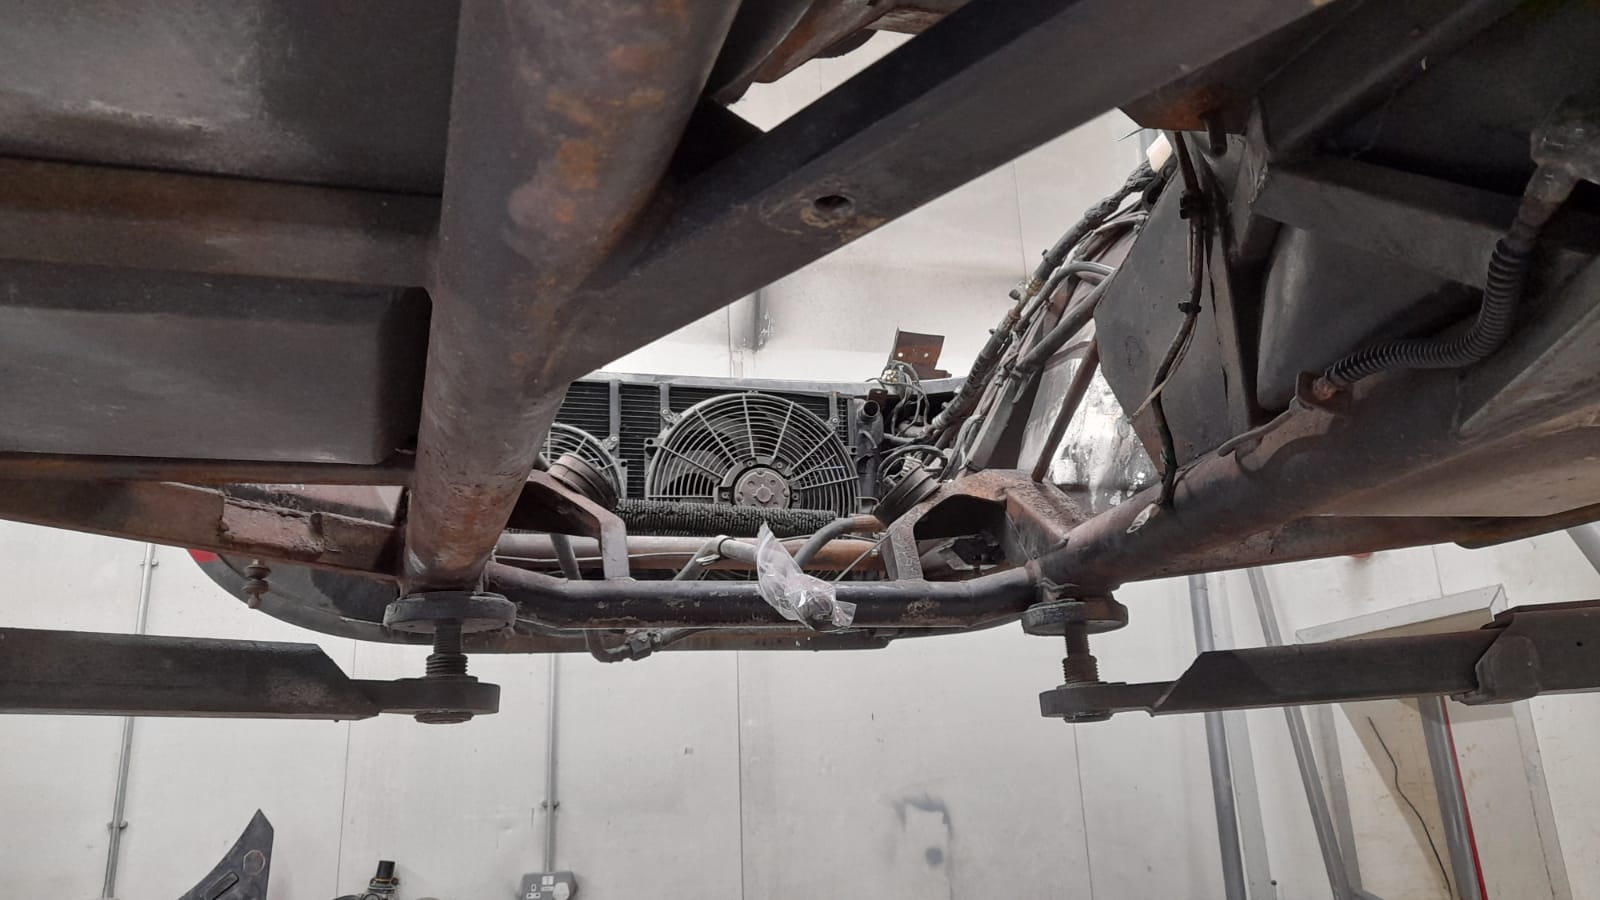
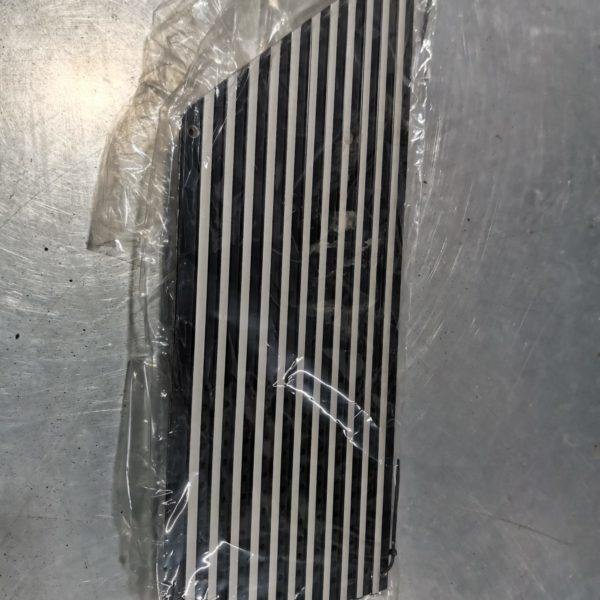
Scott has also removed the radiator and oil cooler, and stripped some elements out of the engine bay to make it easier to prep for paint. He has also removed the front and rear windscreens too.
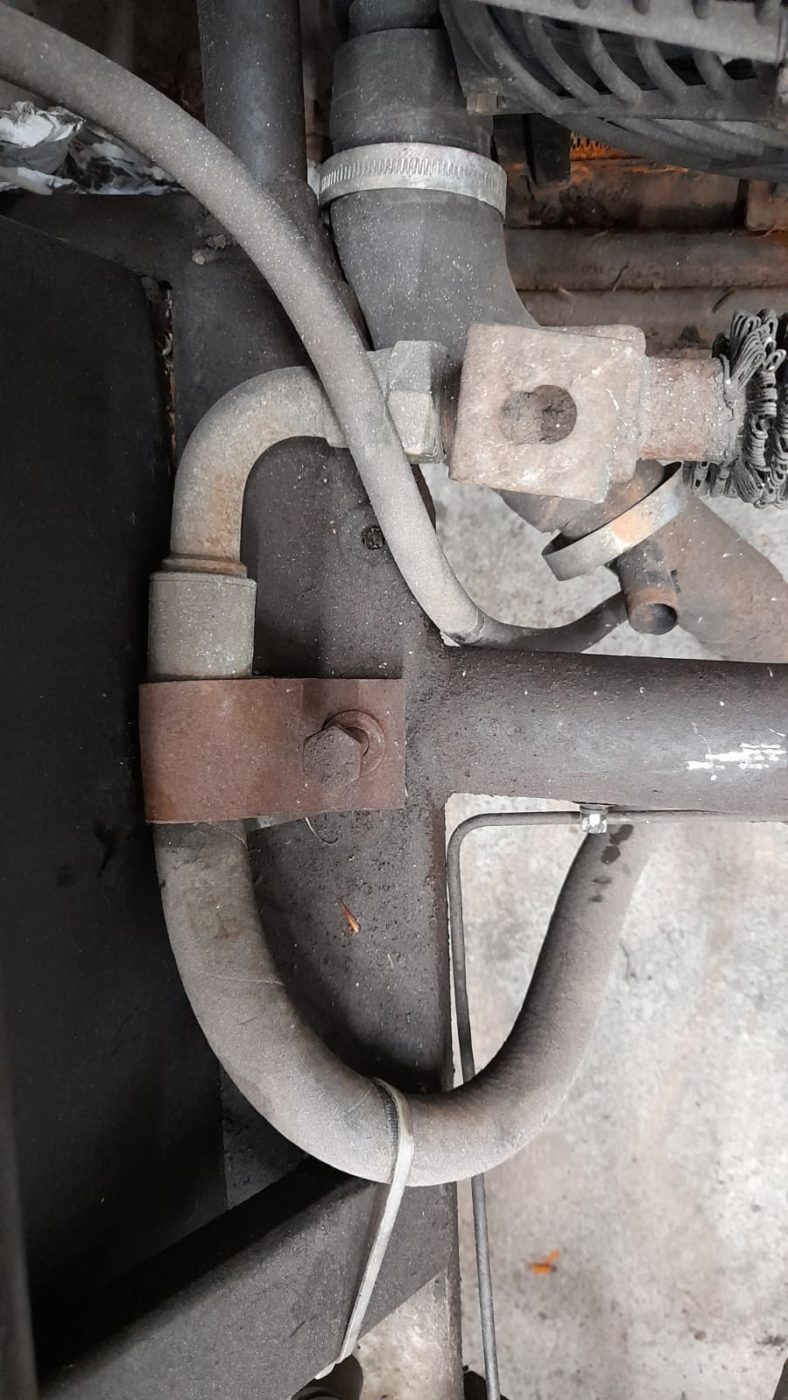


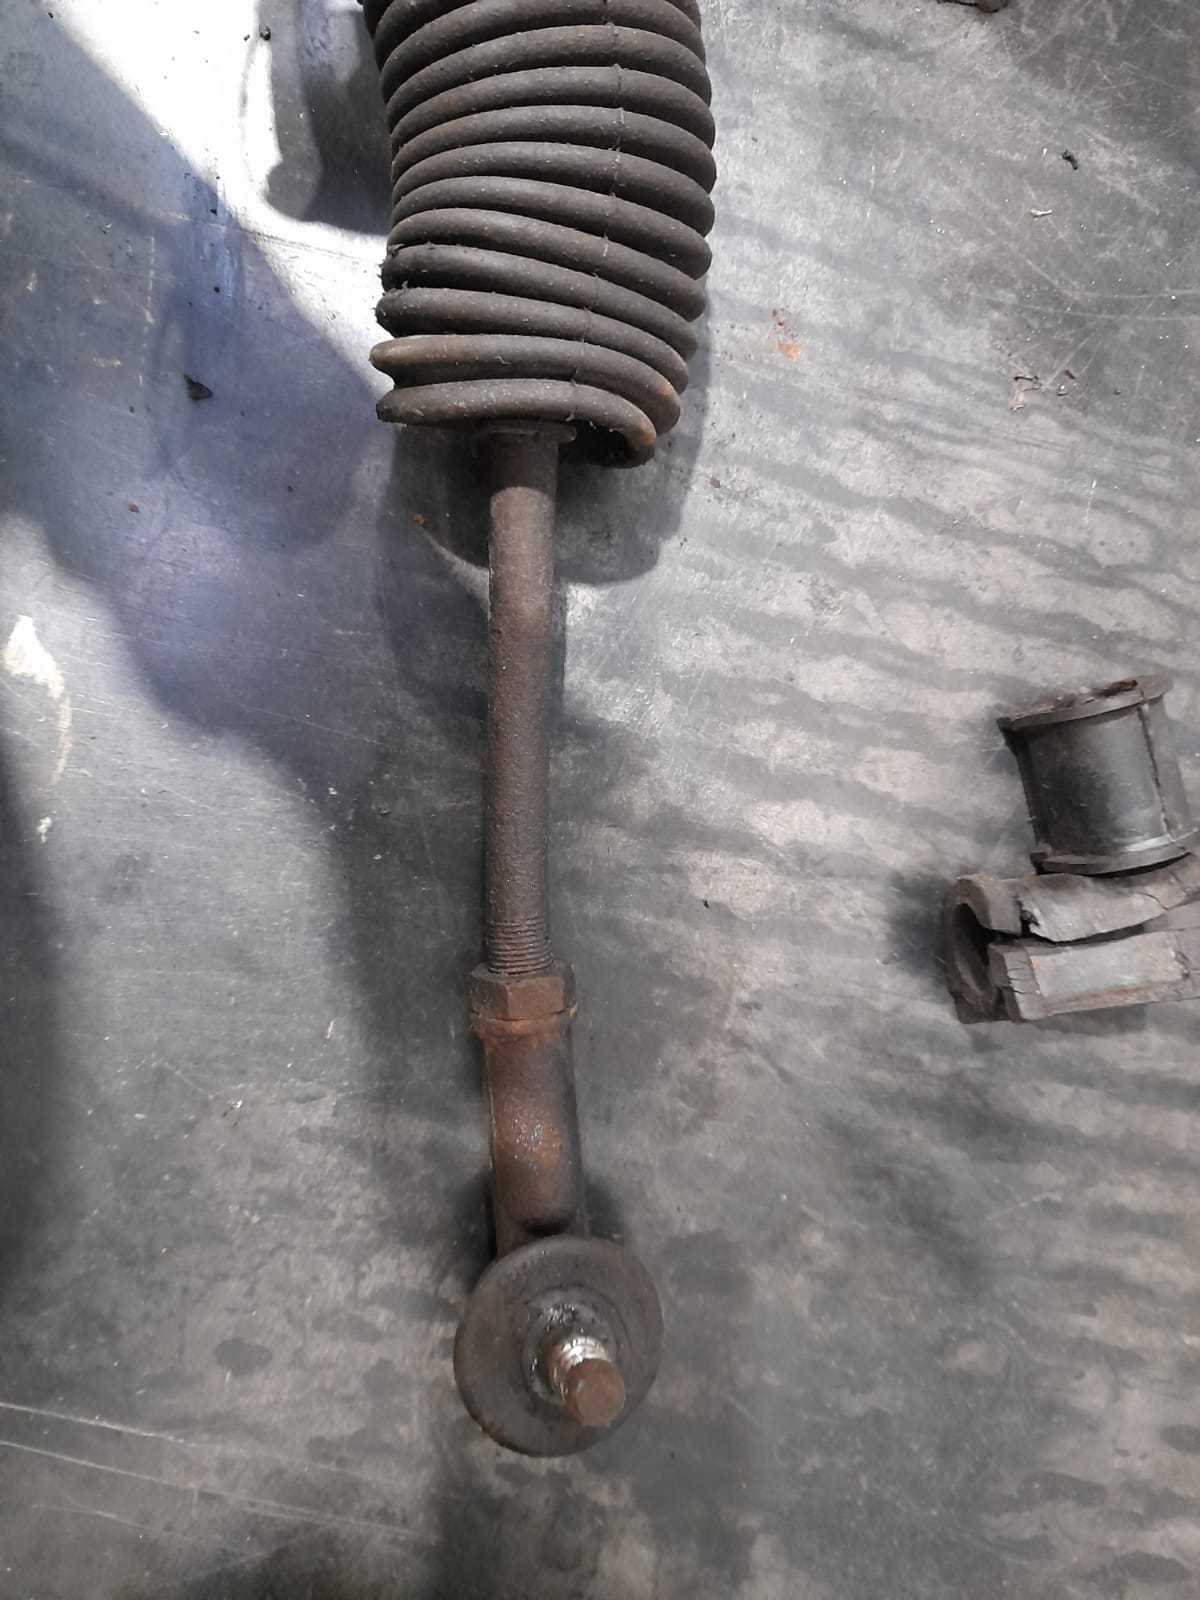
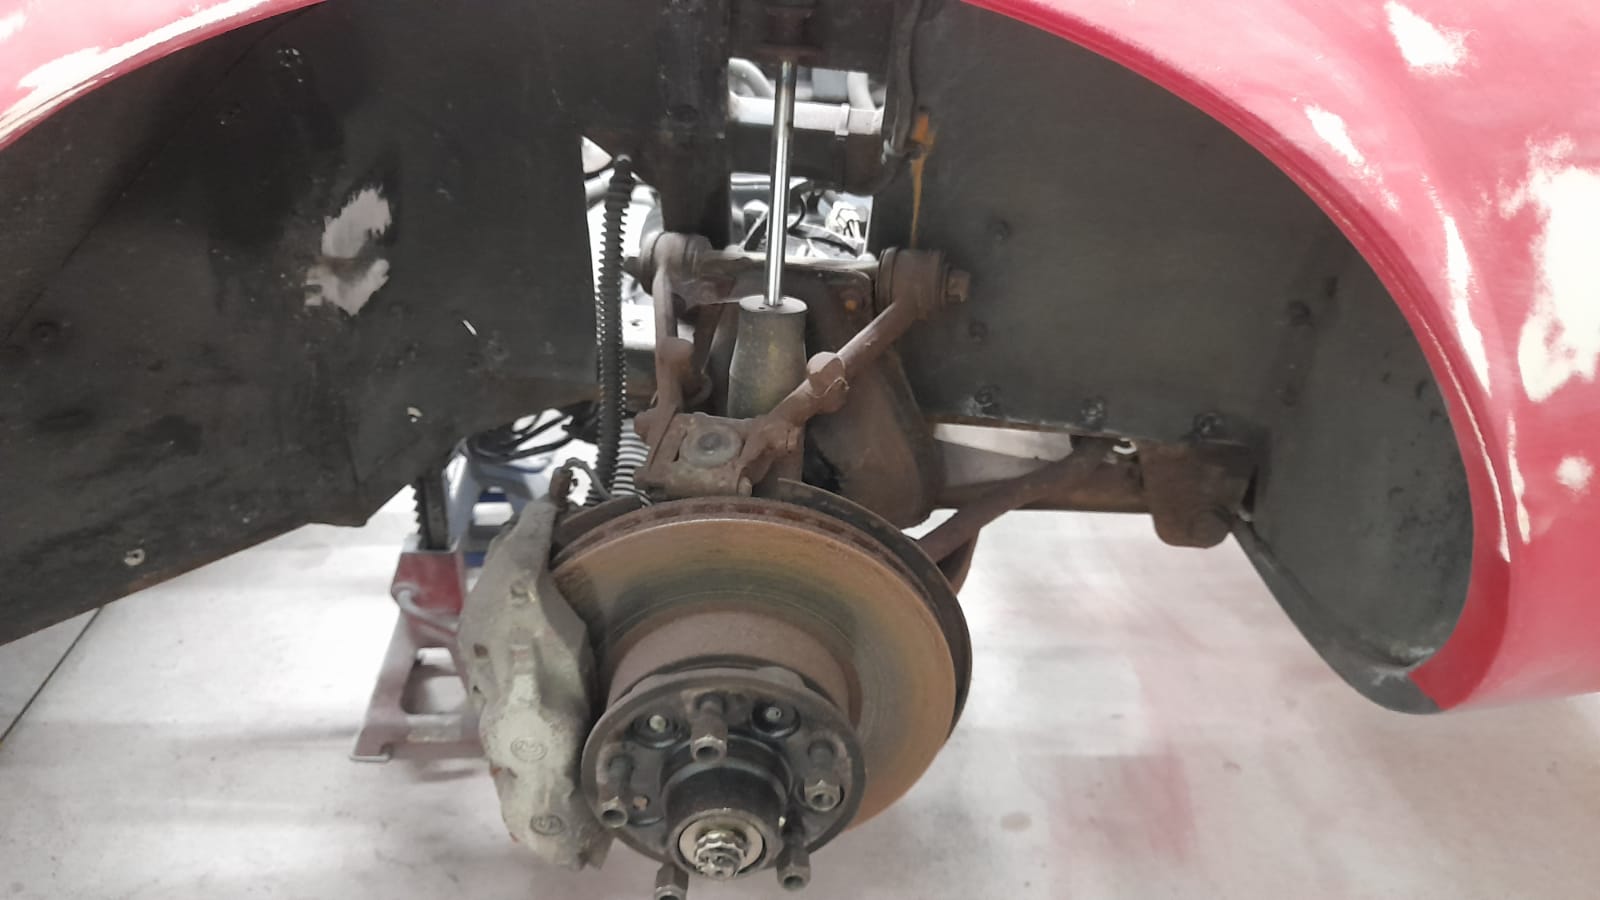
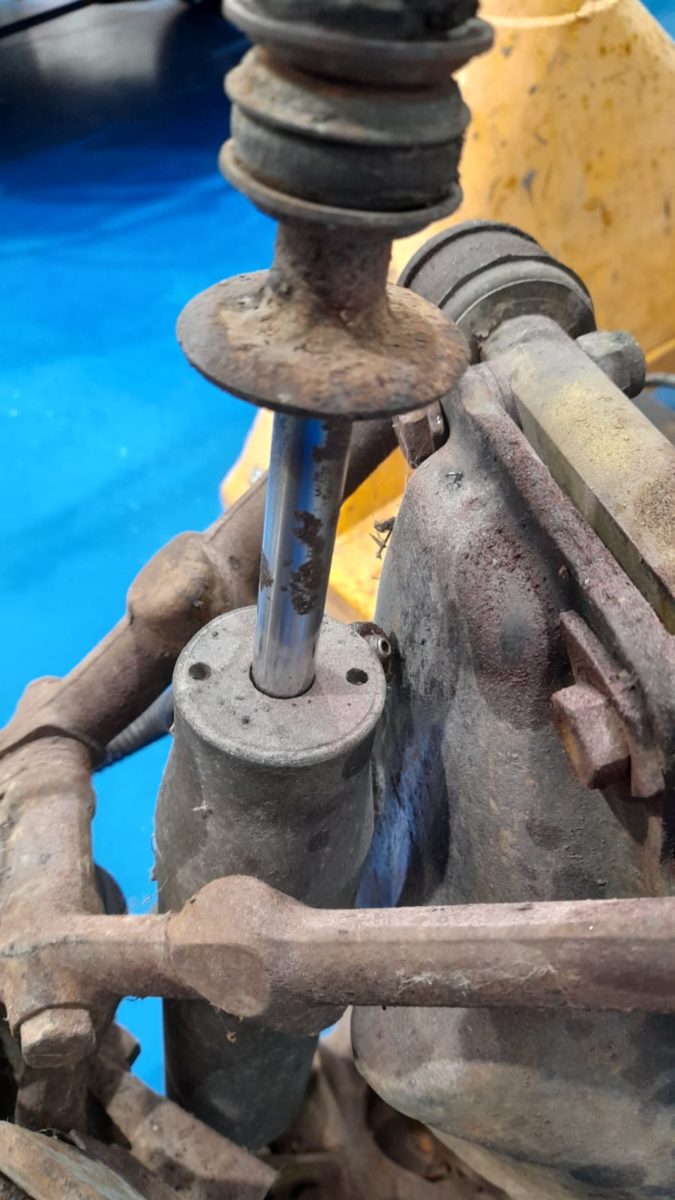
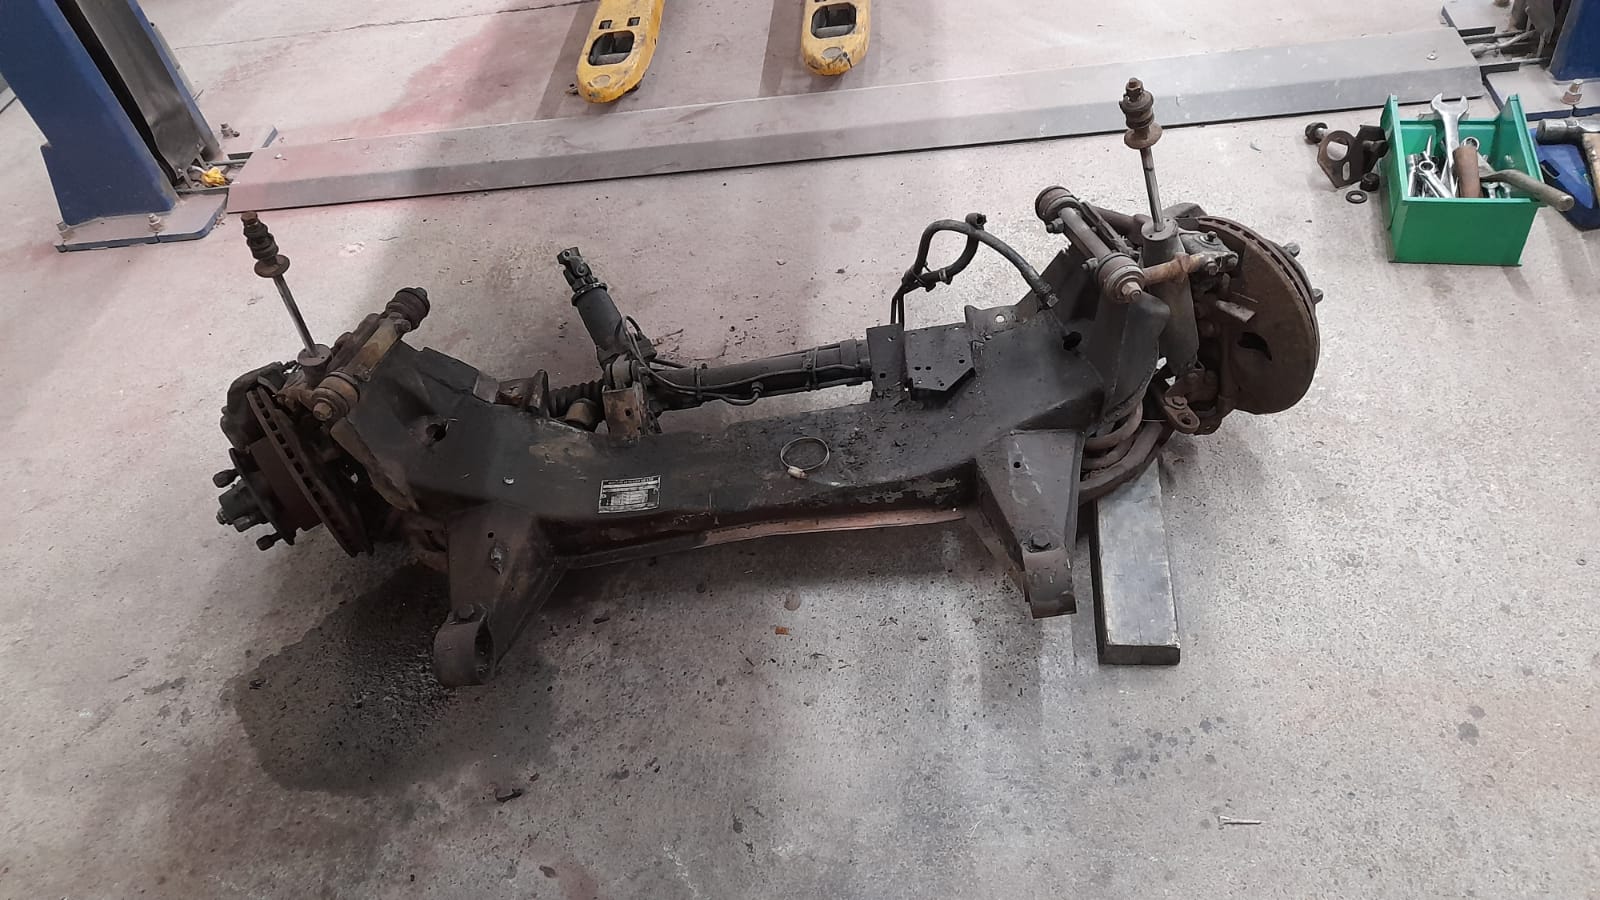
Tom has also stripped down rear and front axle ready for it to be sandblasted and painted. He’s also checked the bushes and sub-frame condition. Tom has prepared the power steering rack to be repaired as well as the brake callipers.
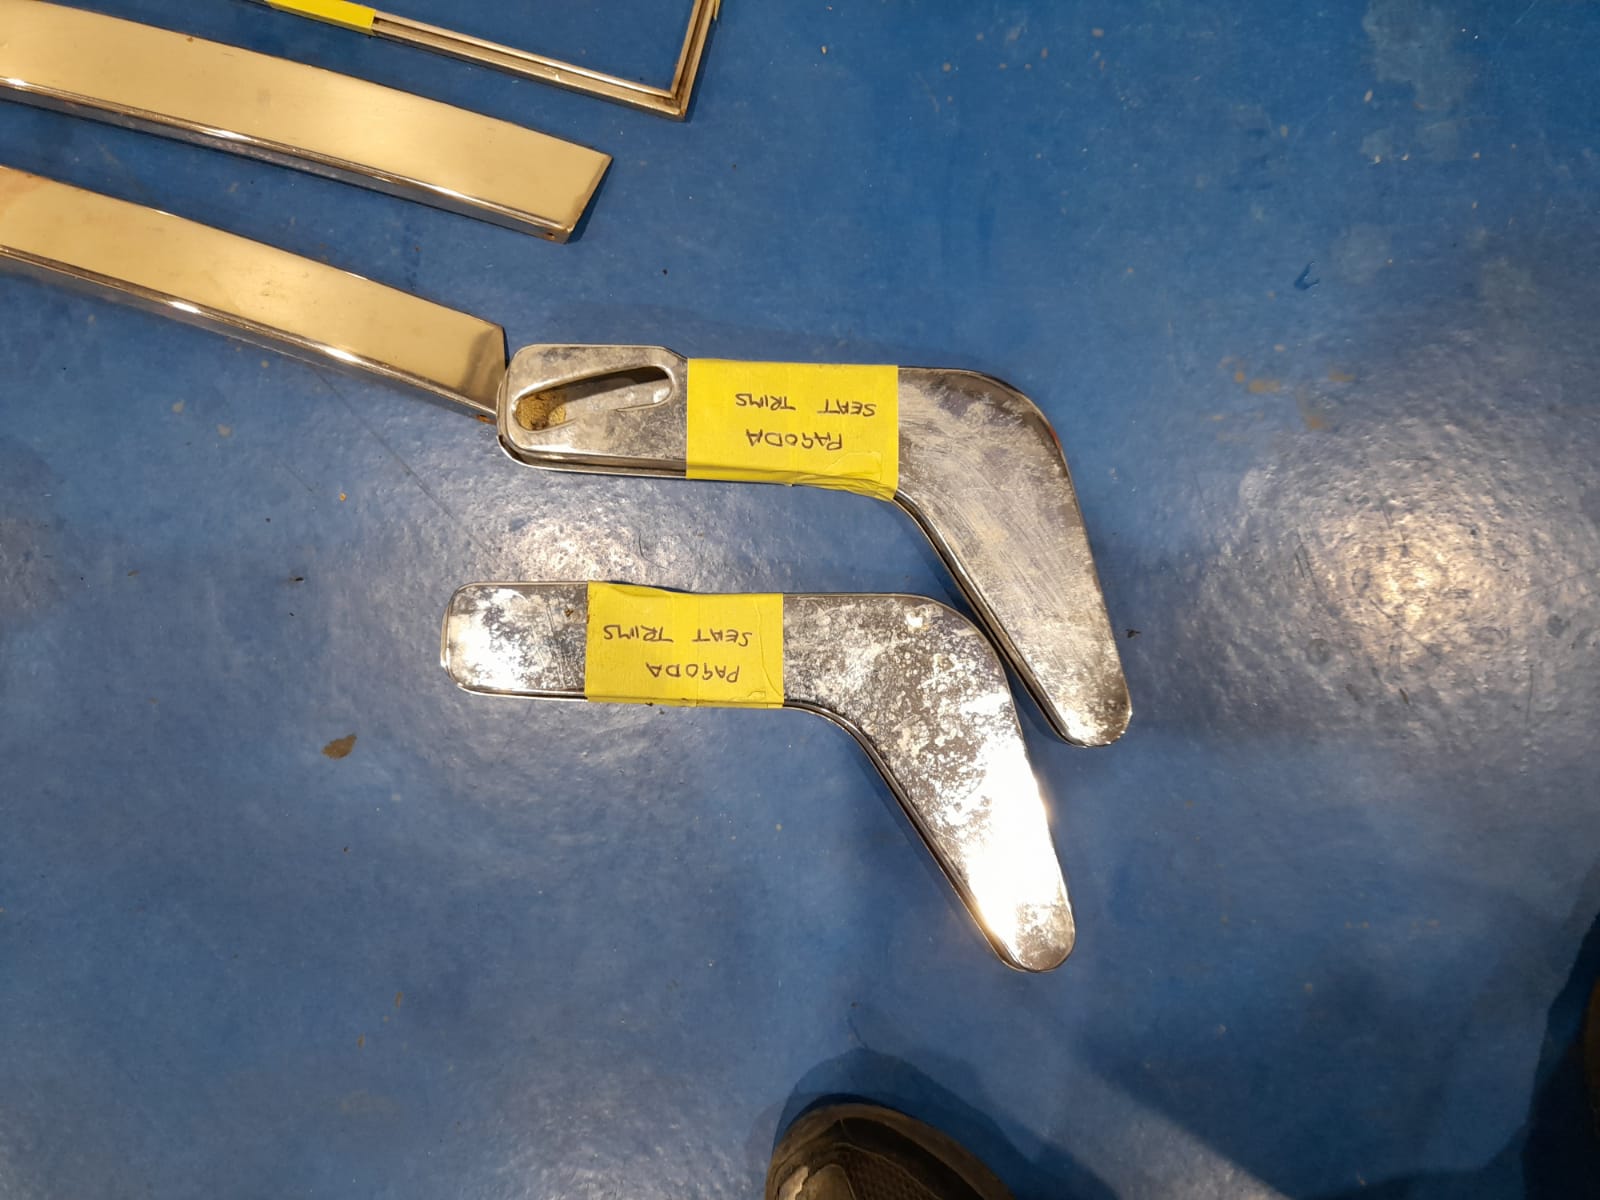
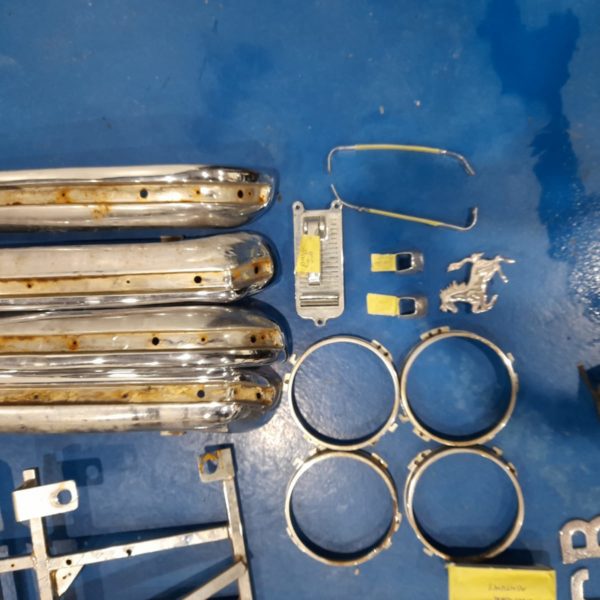
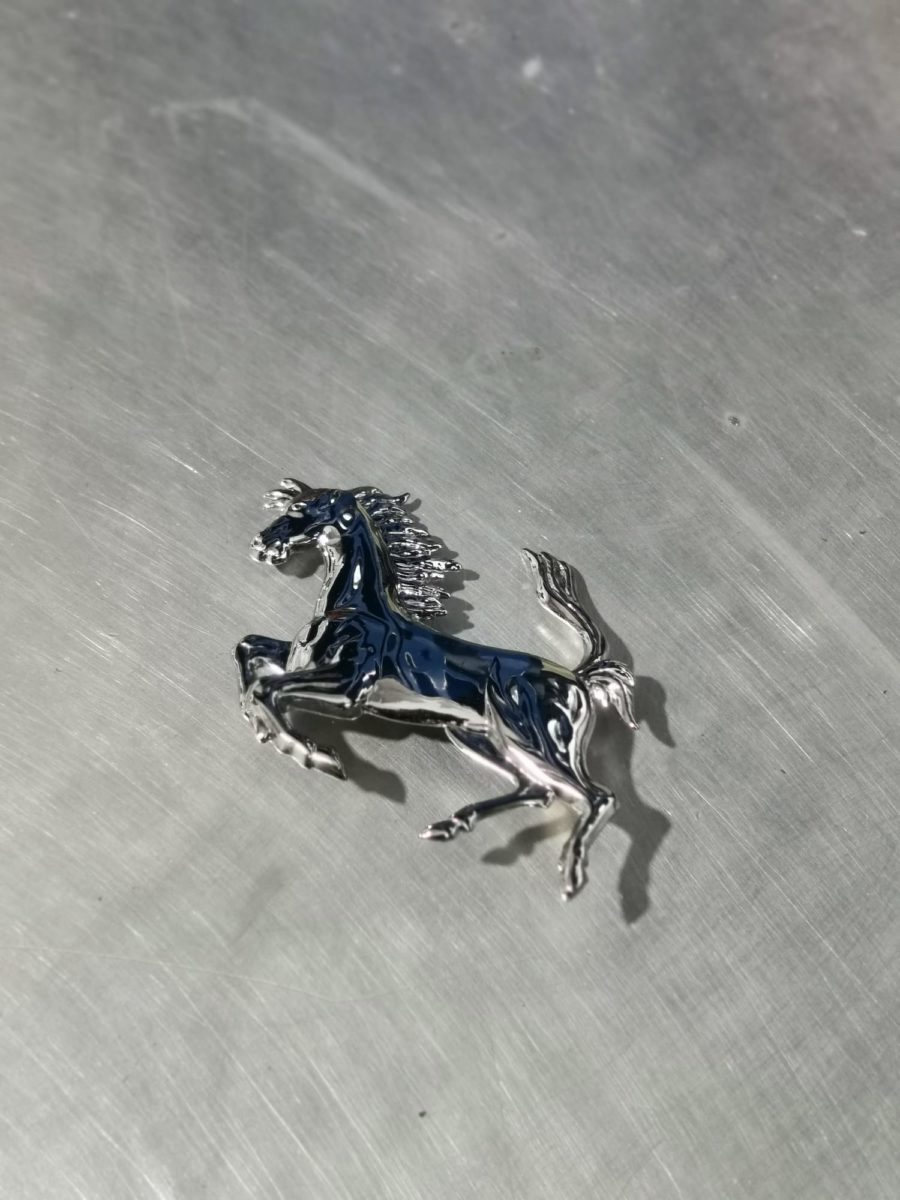
We’ve sent off the chrome to be re-worked and polished at Tony Wyatt Polishing. Once these come back clean and new, we can set them aside to be re-fitted once the car is painted.
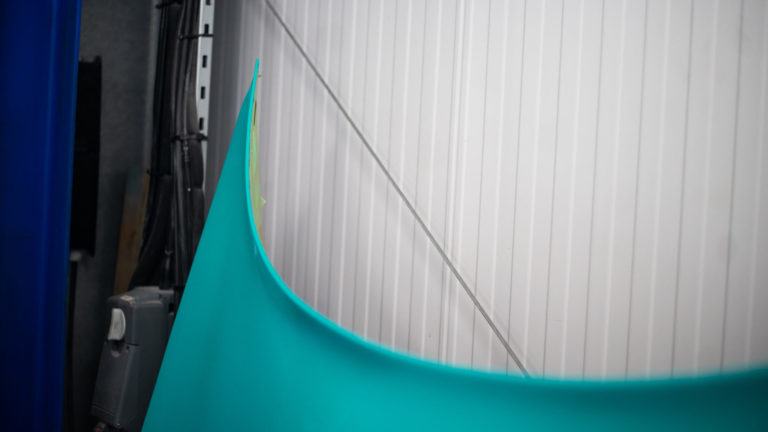
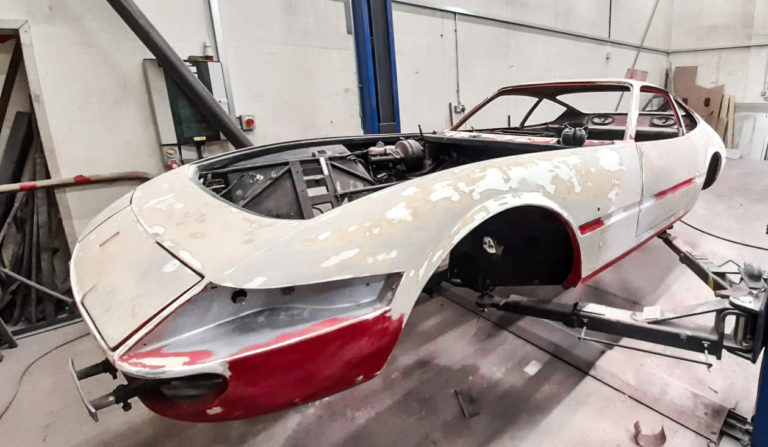
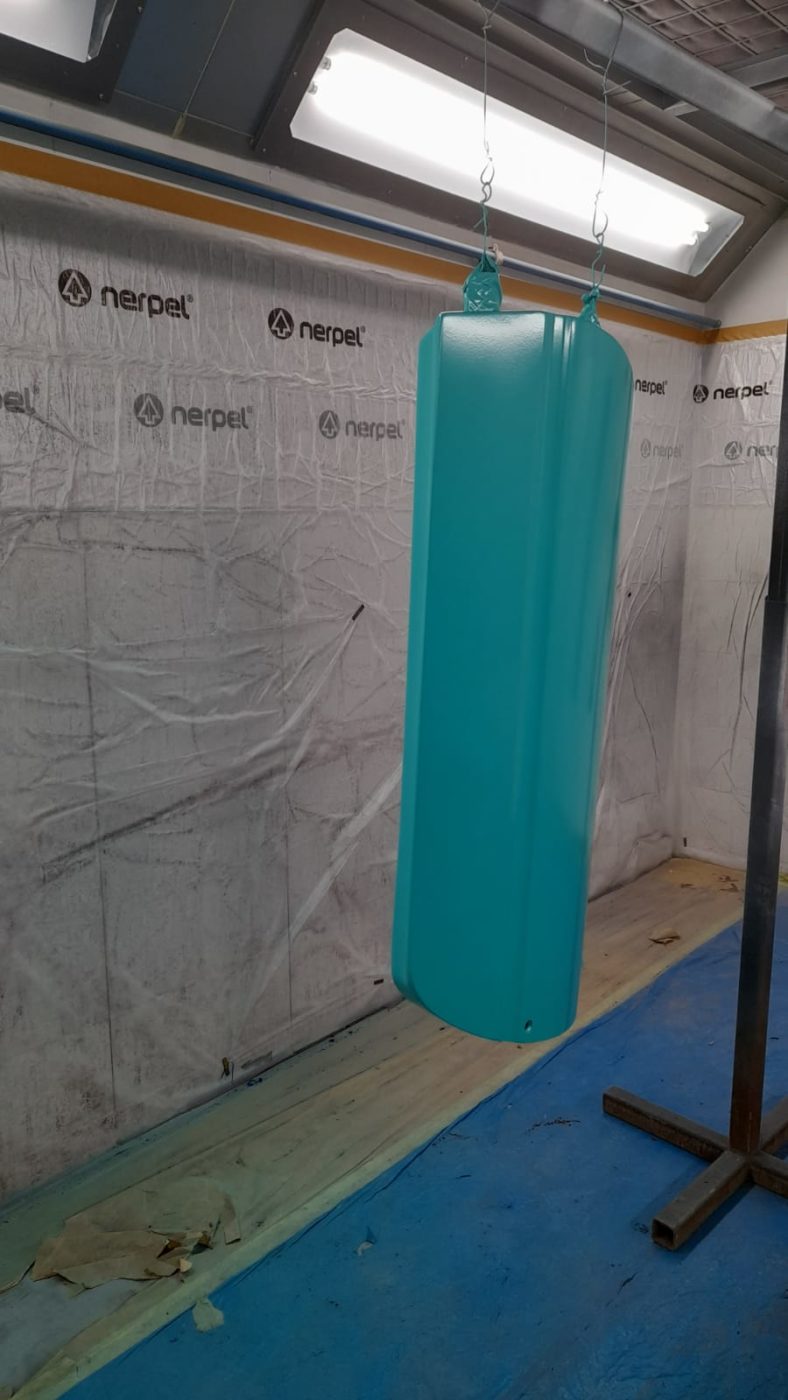
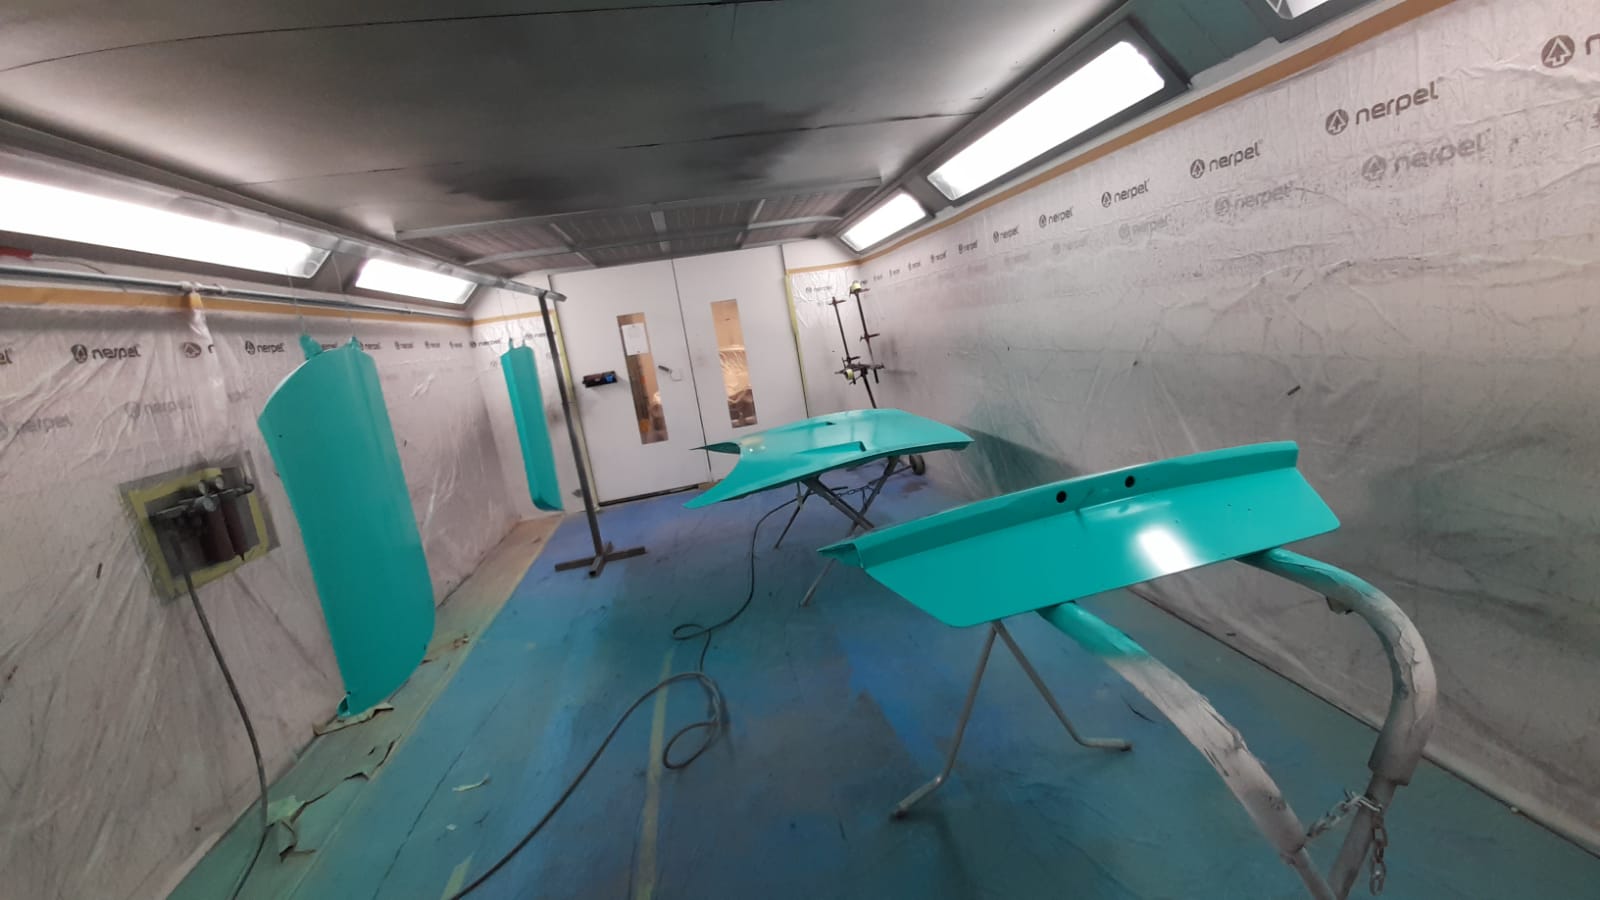
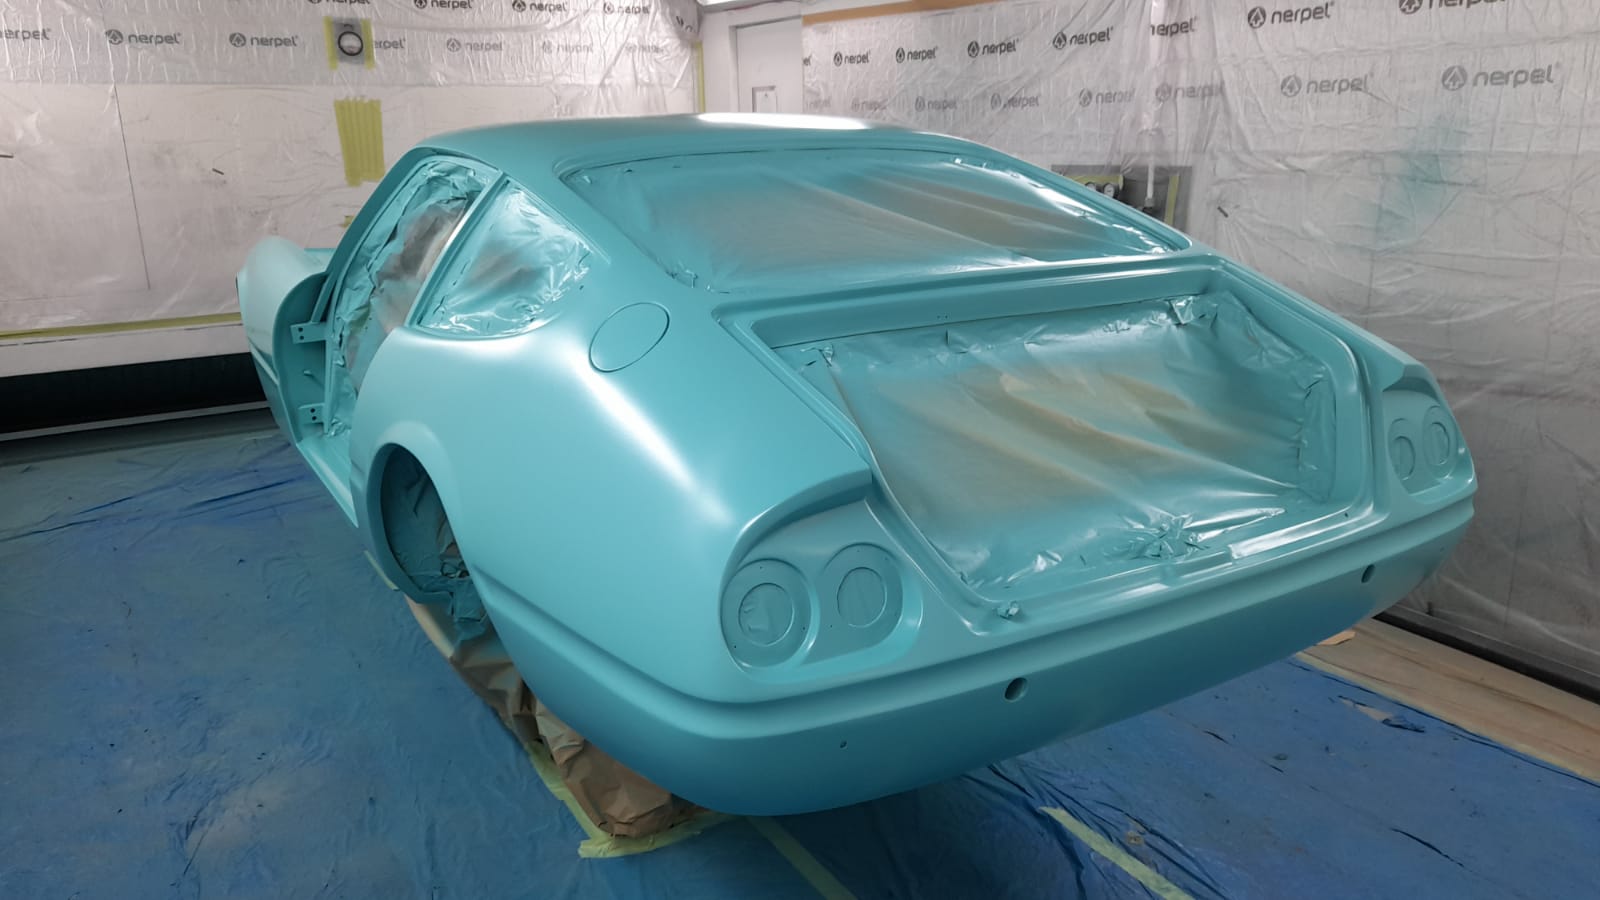
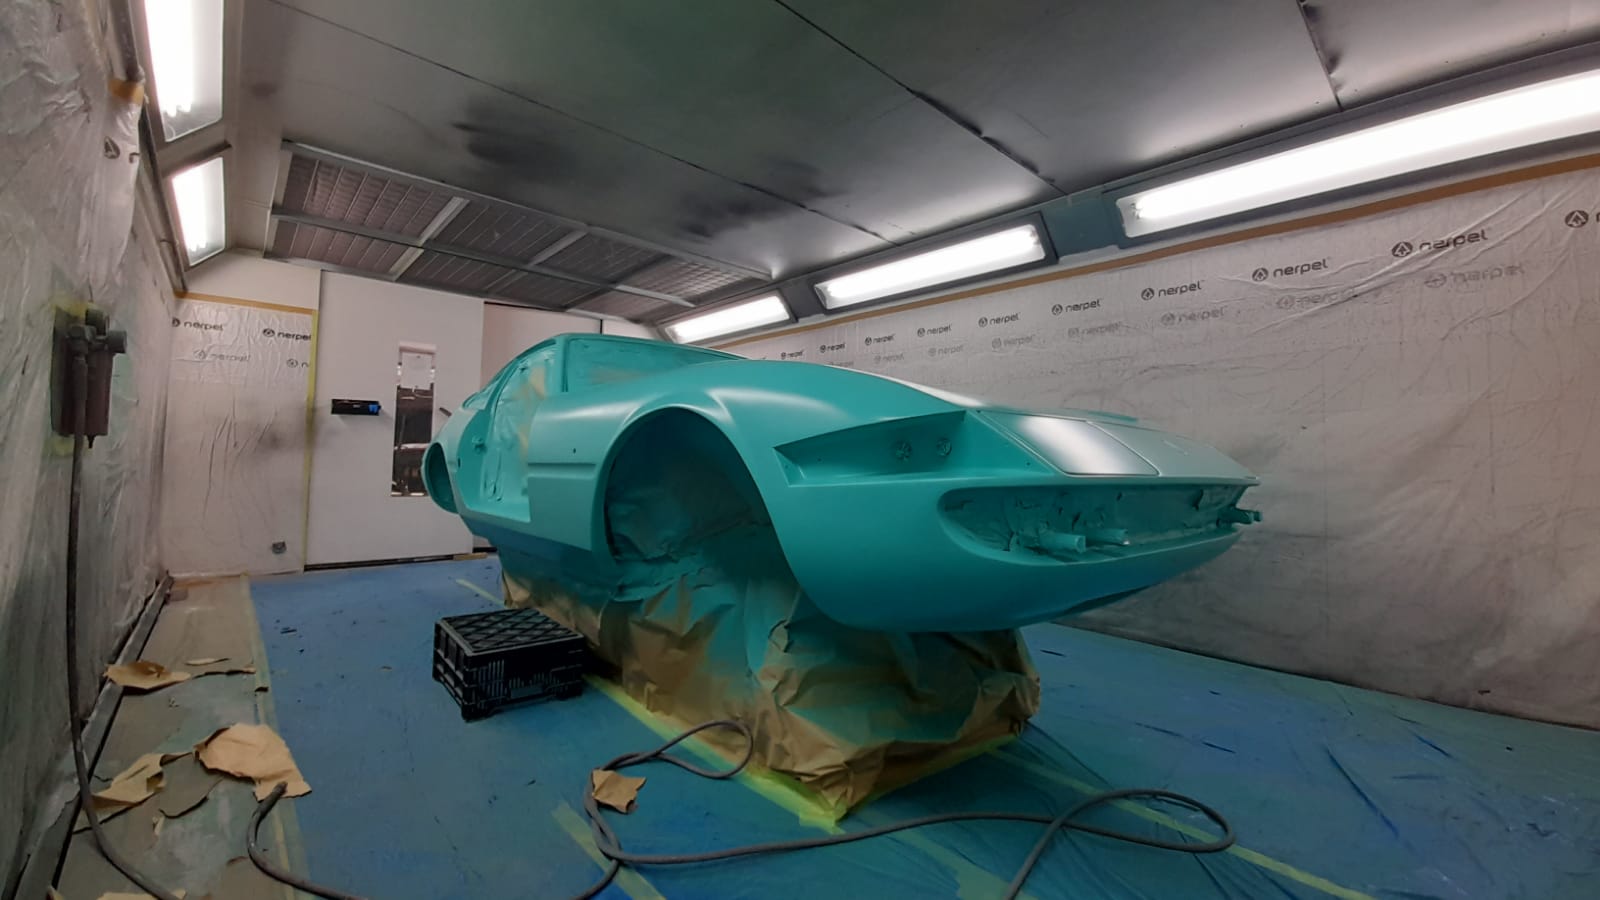
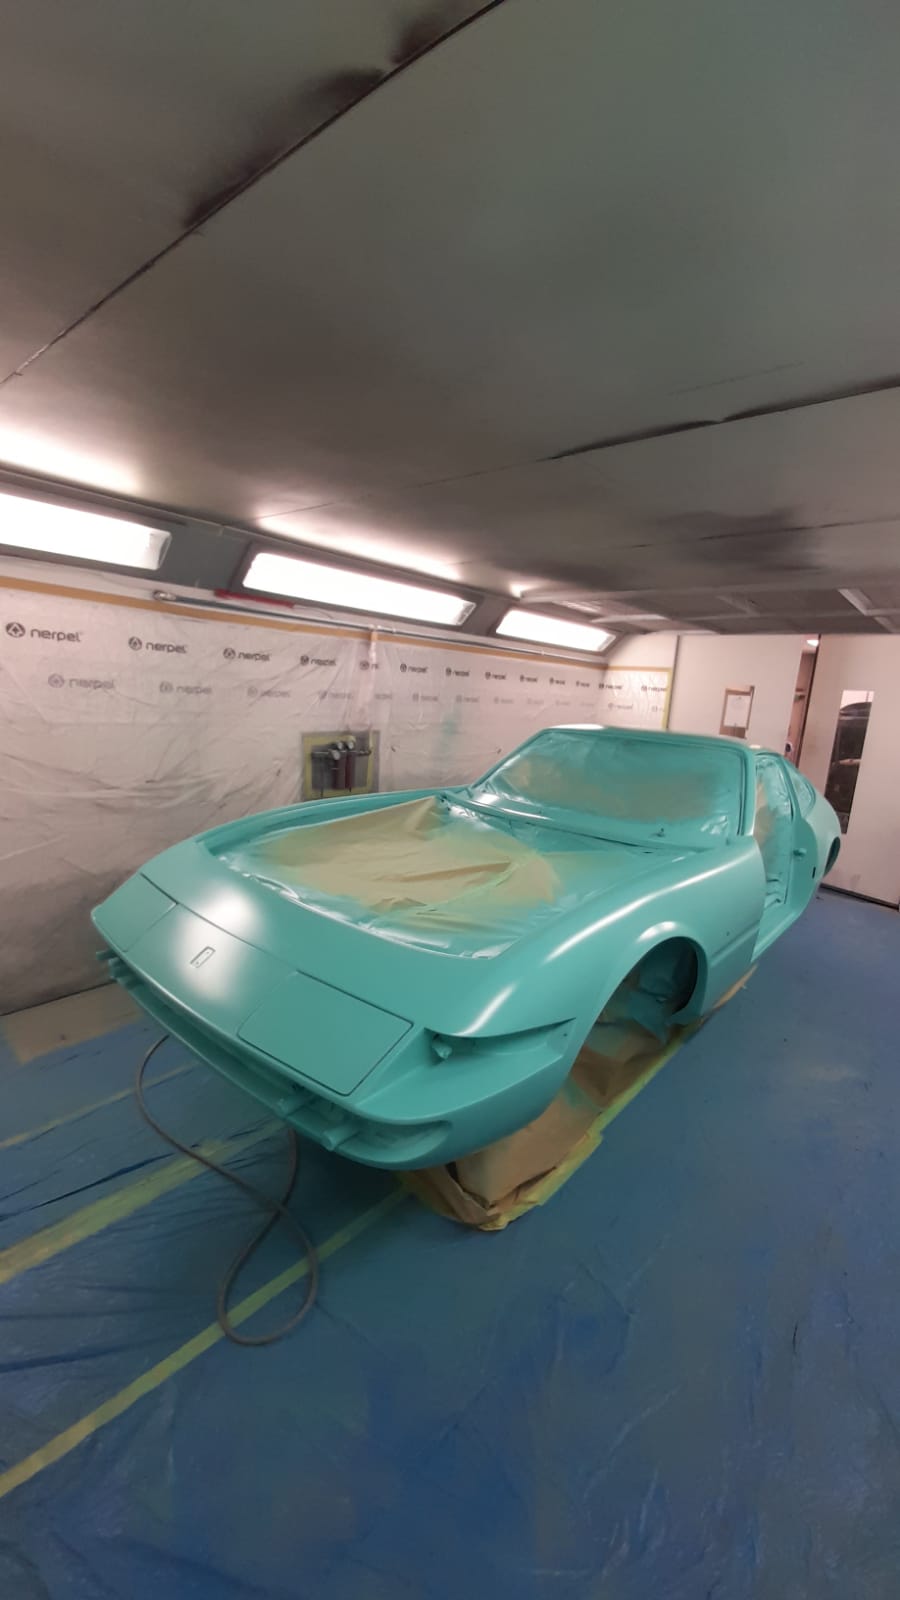
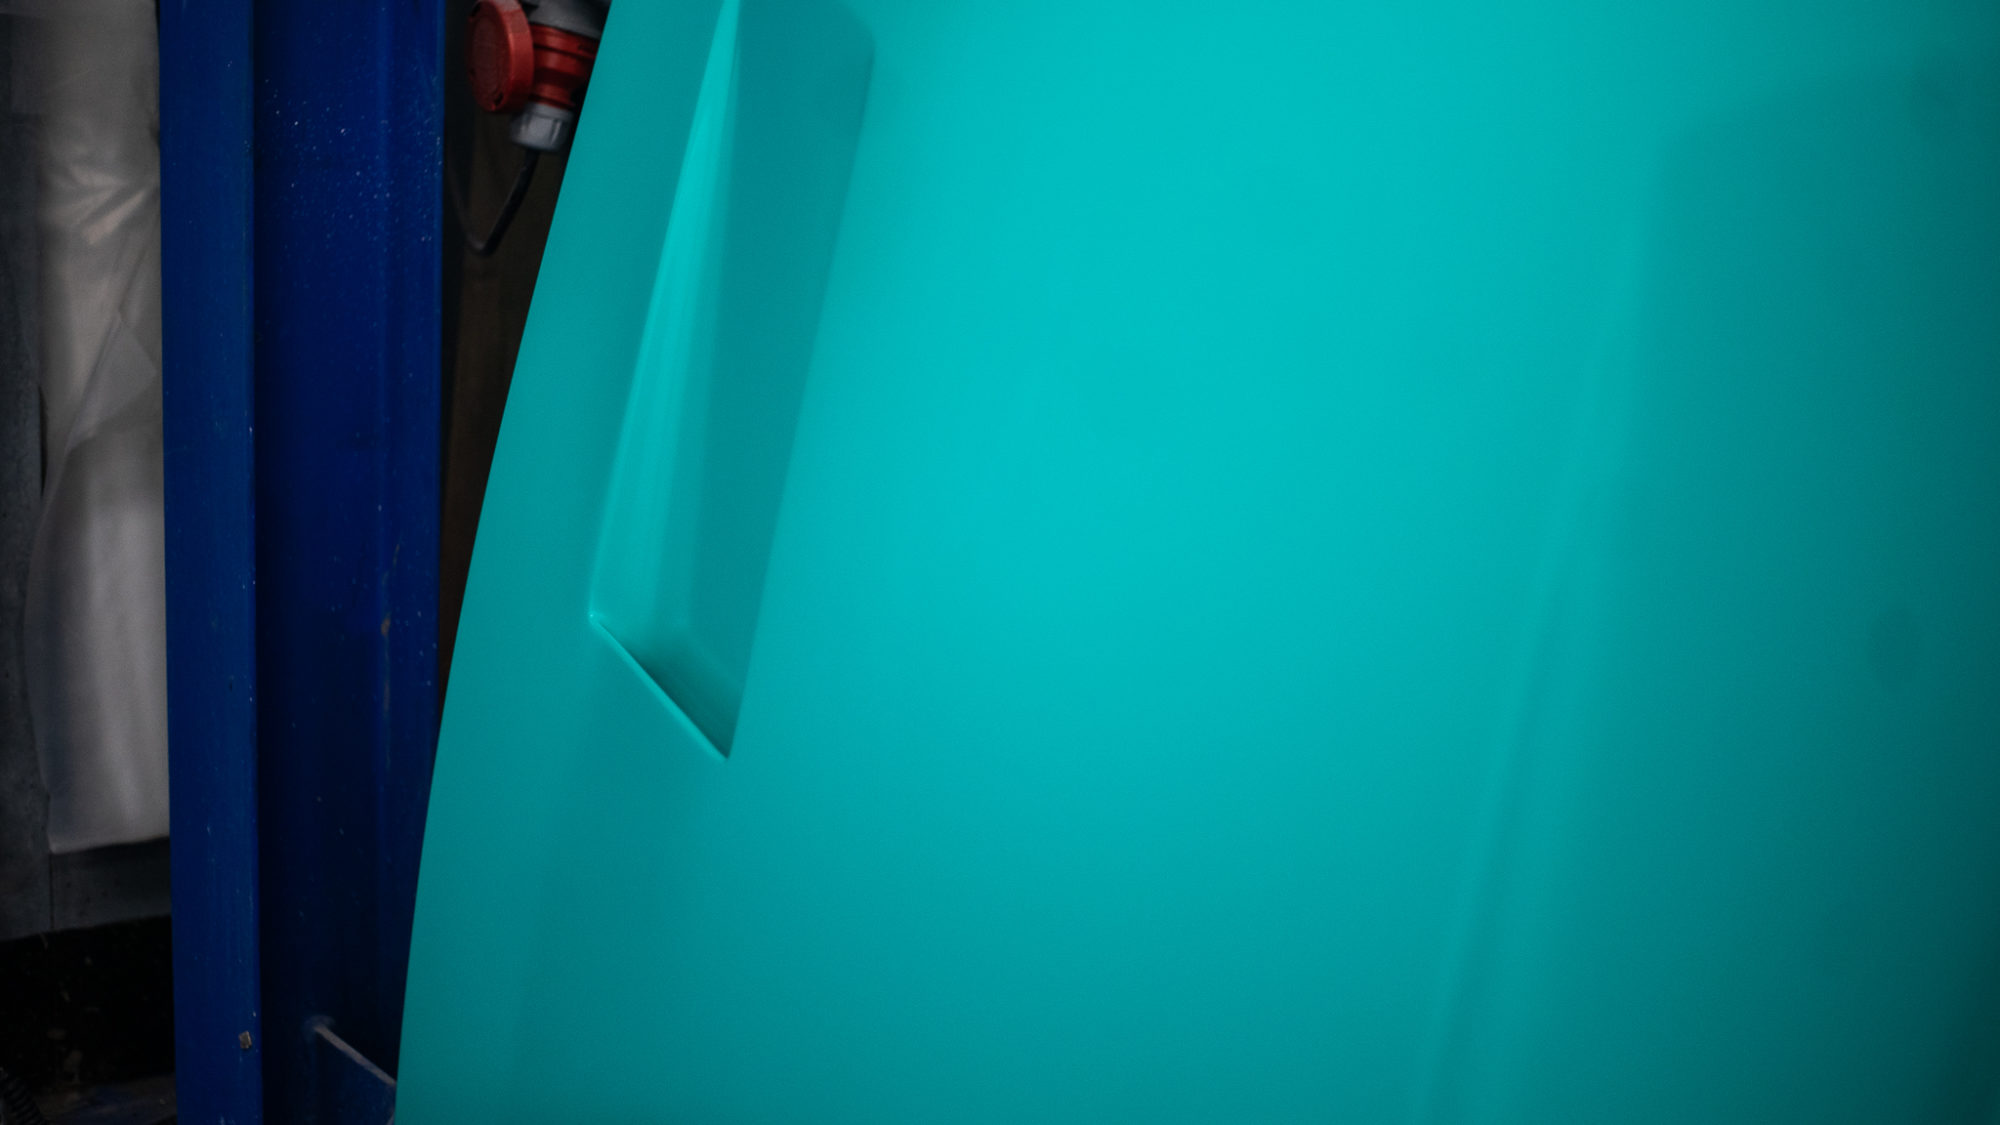
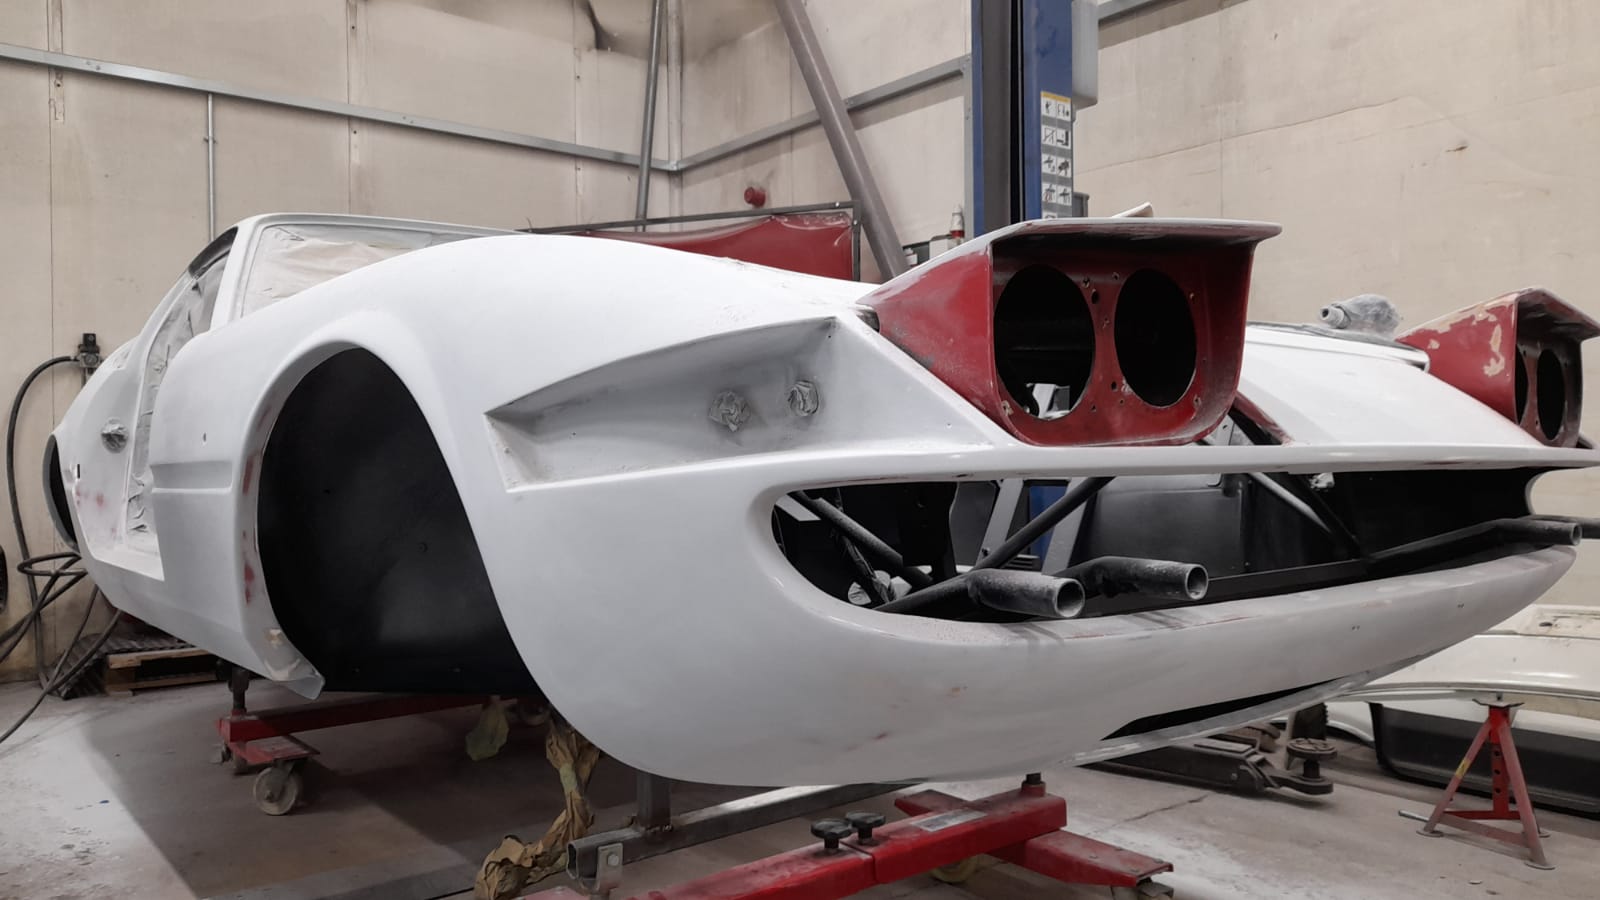
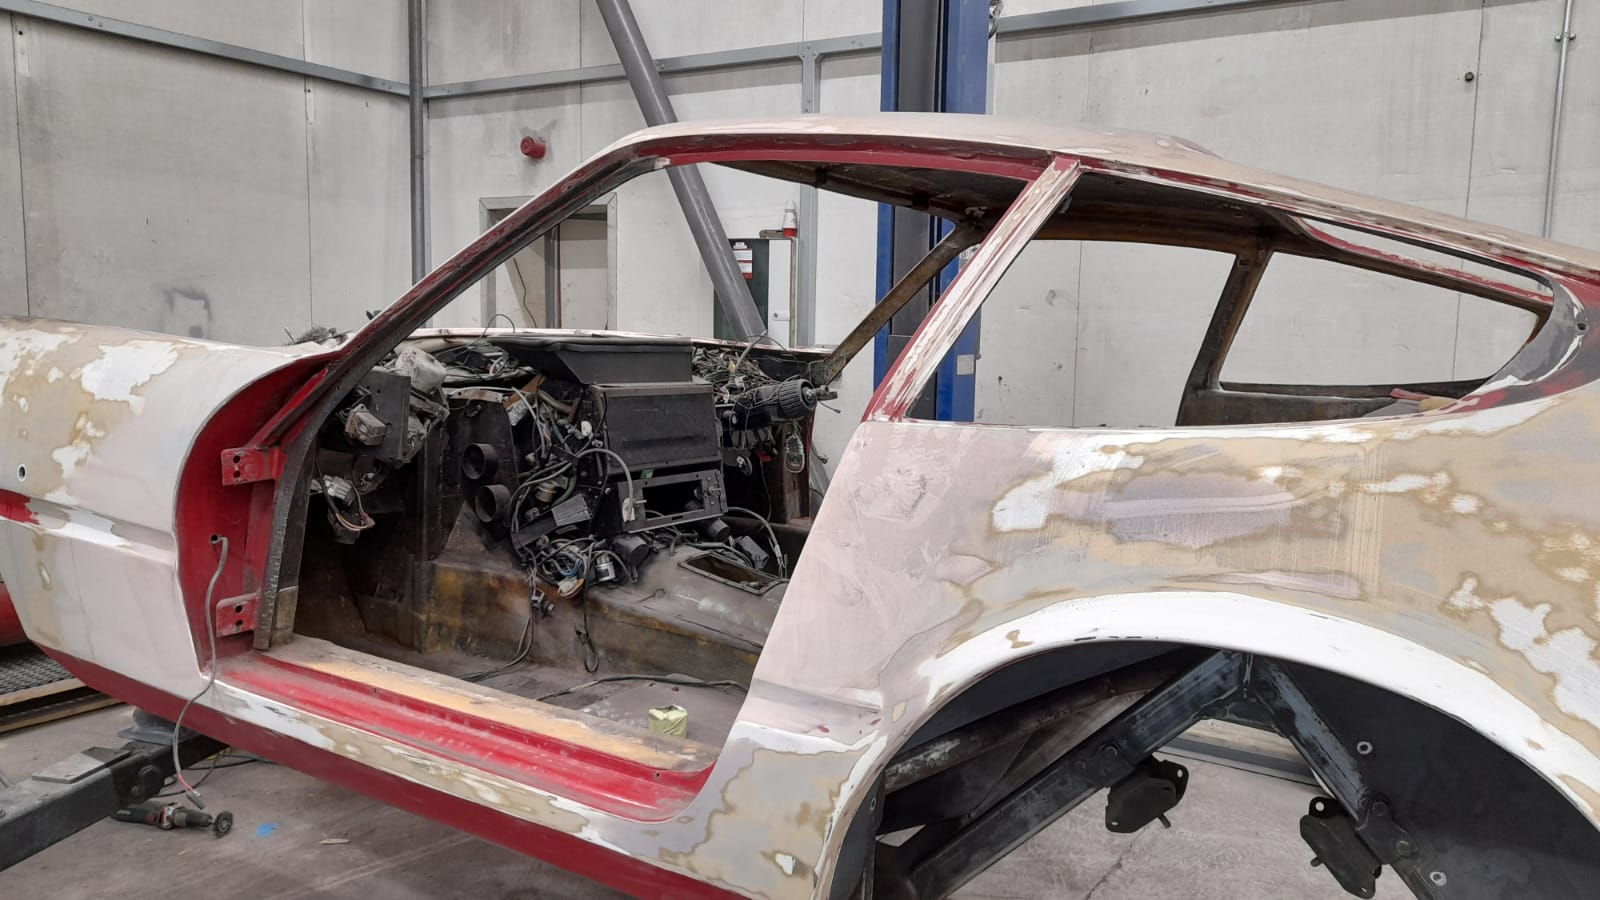
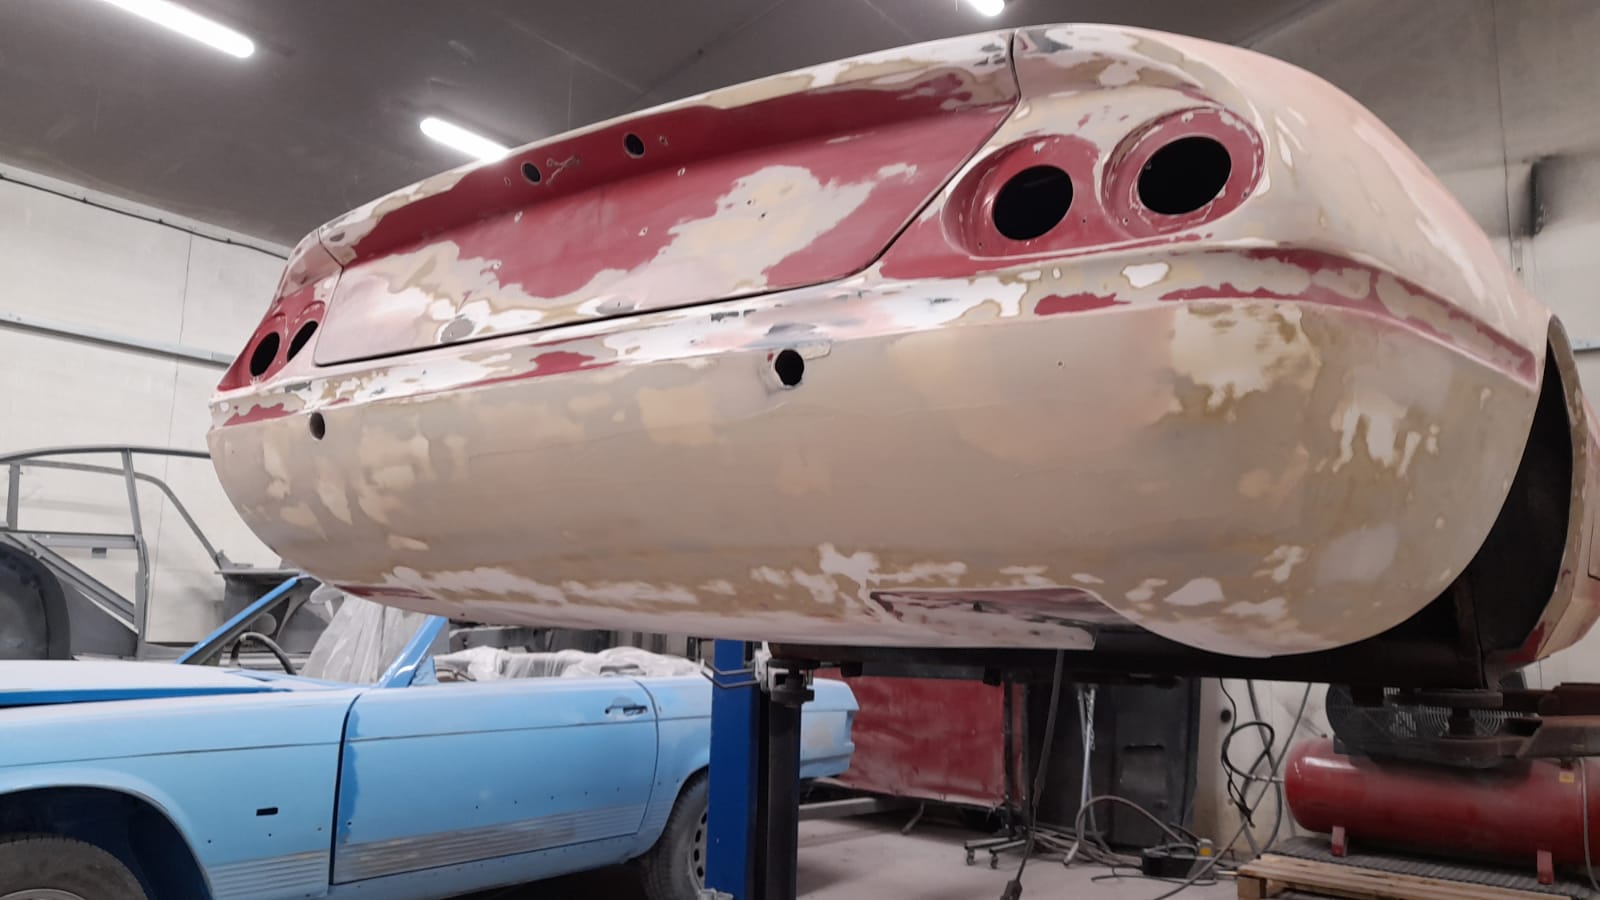
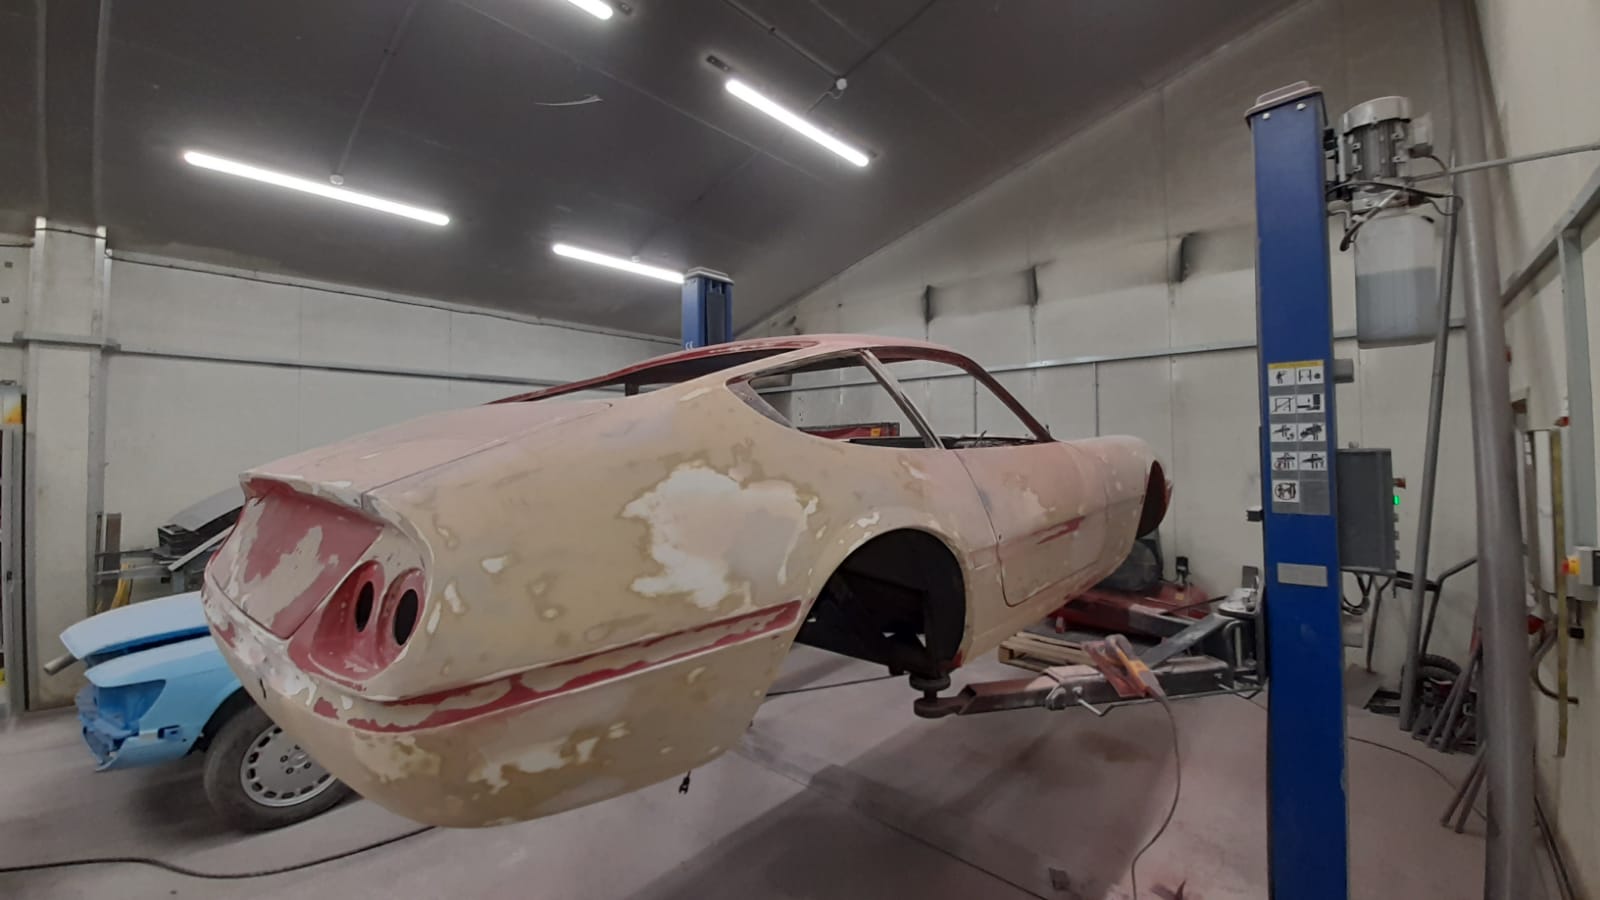
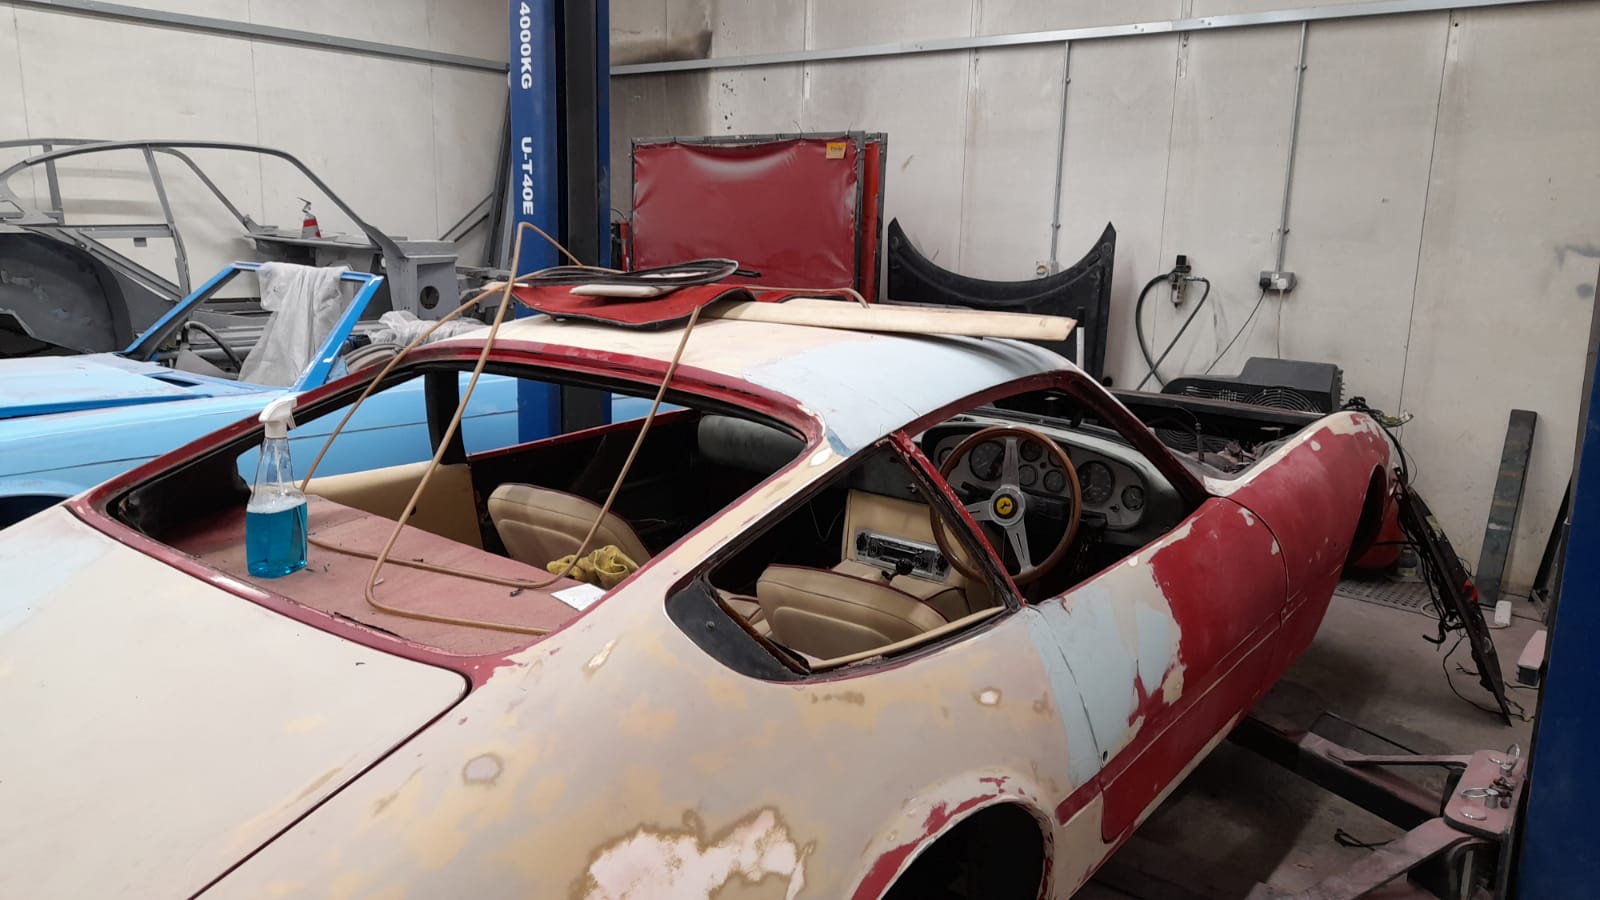
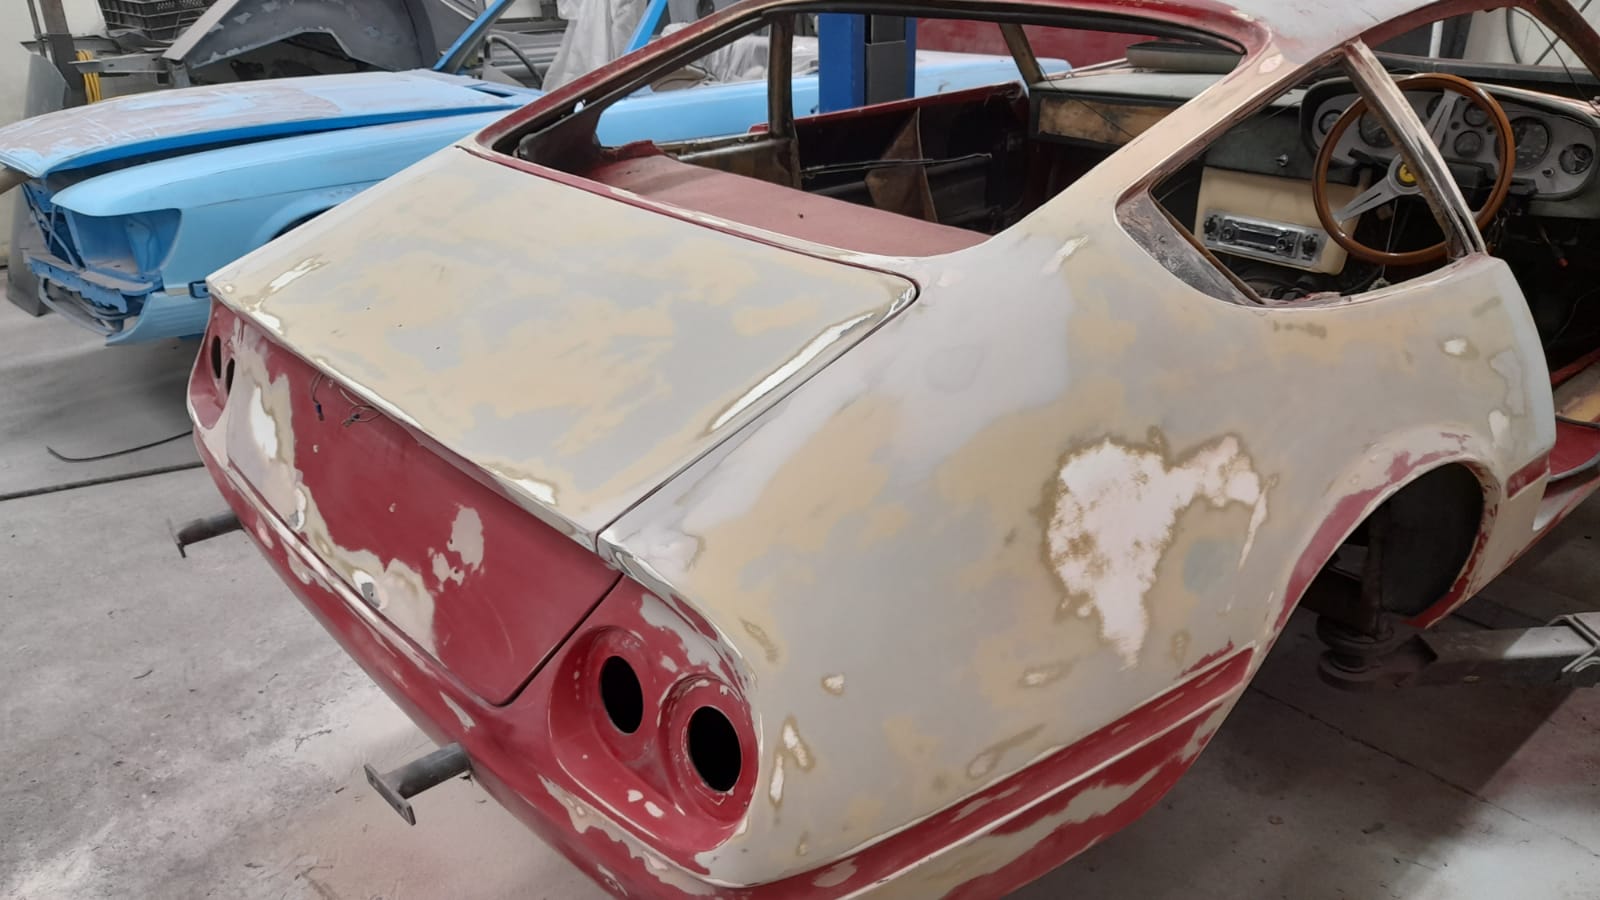
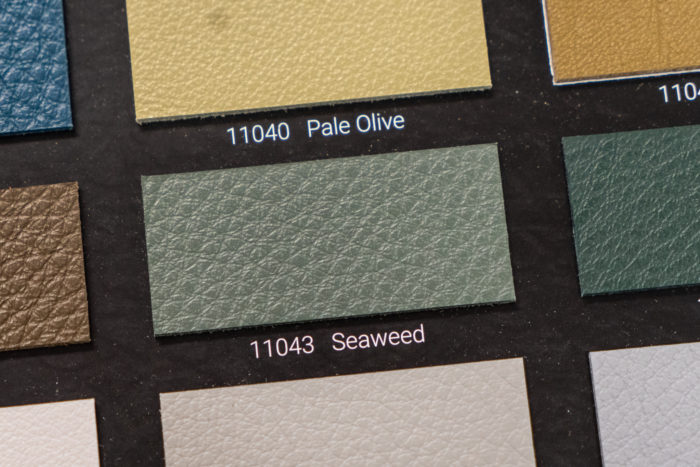
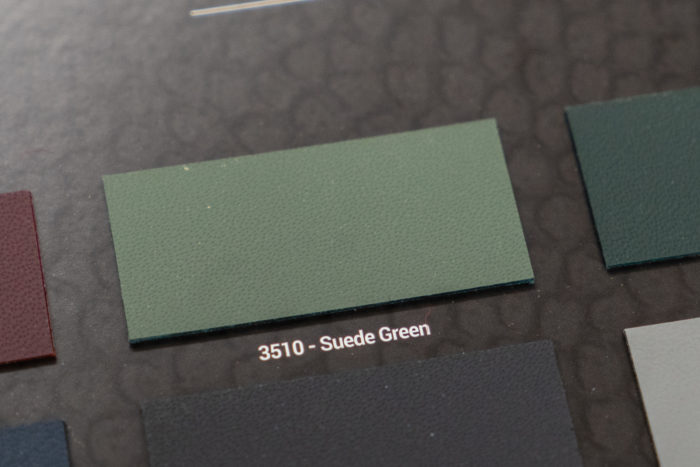
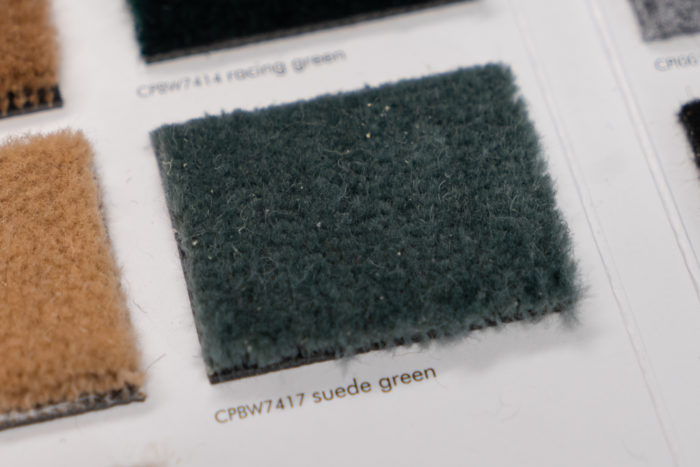
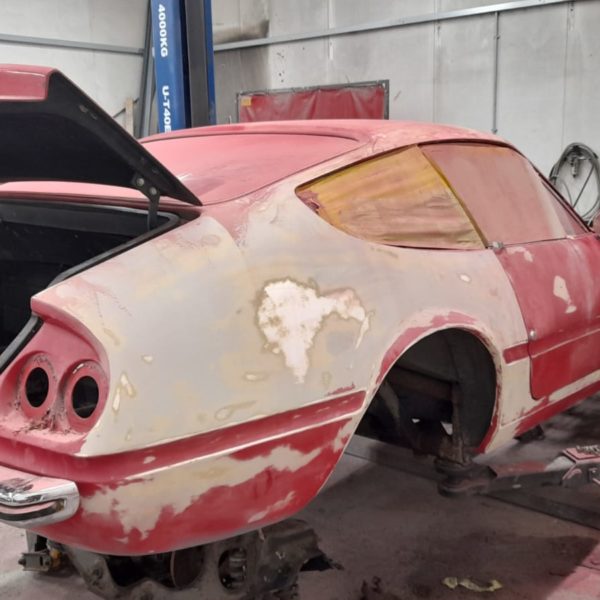
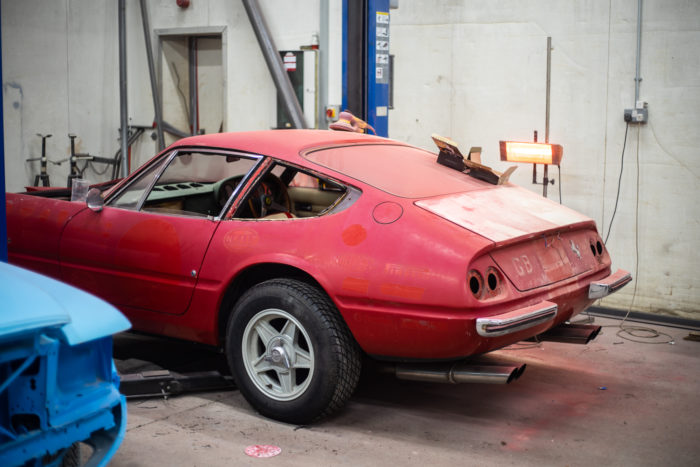
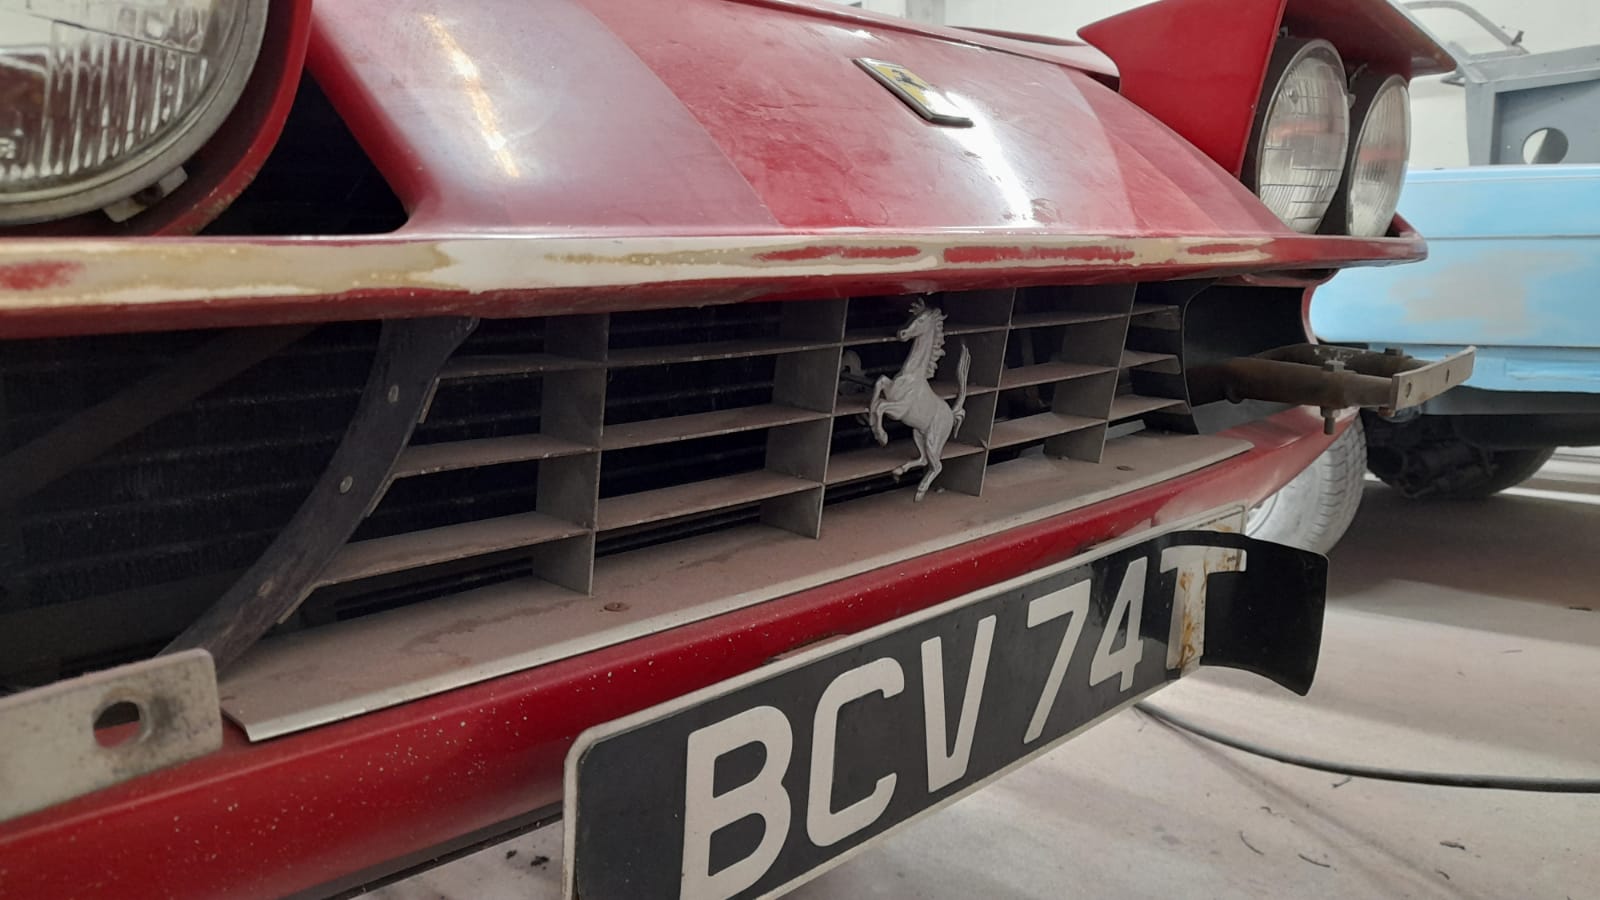
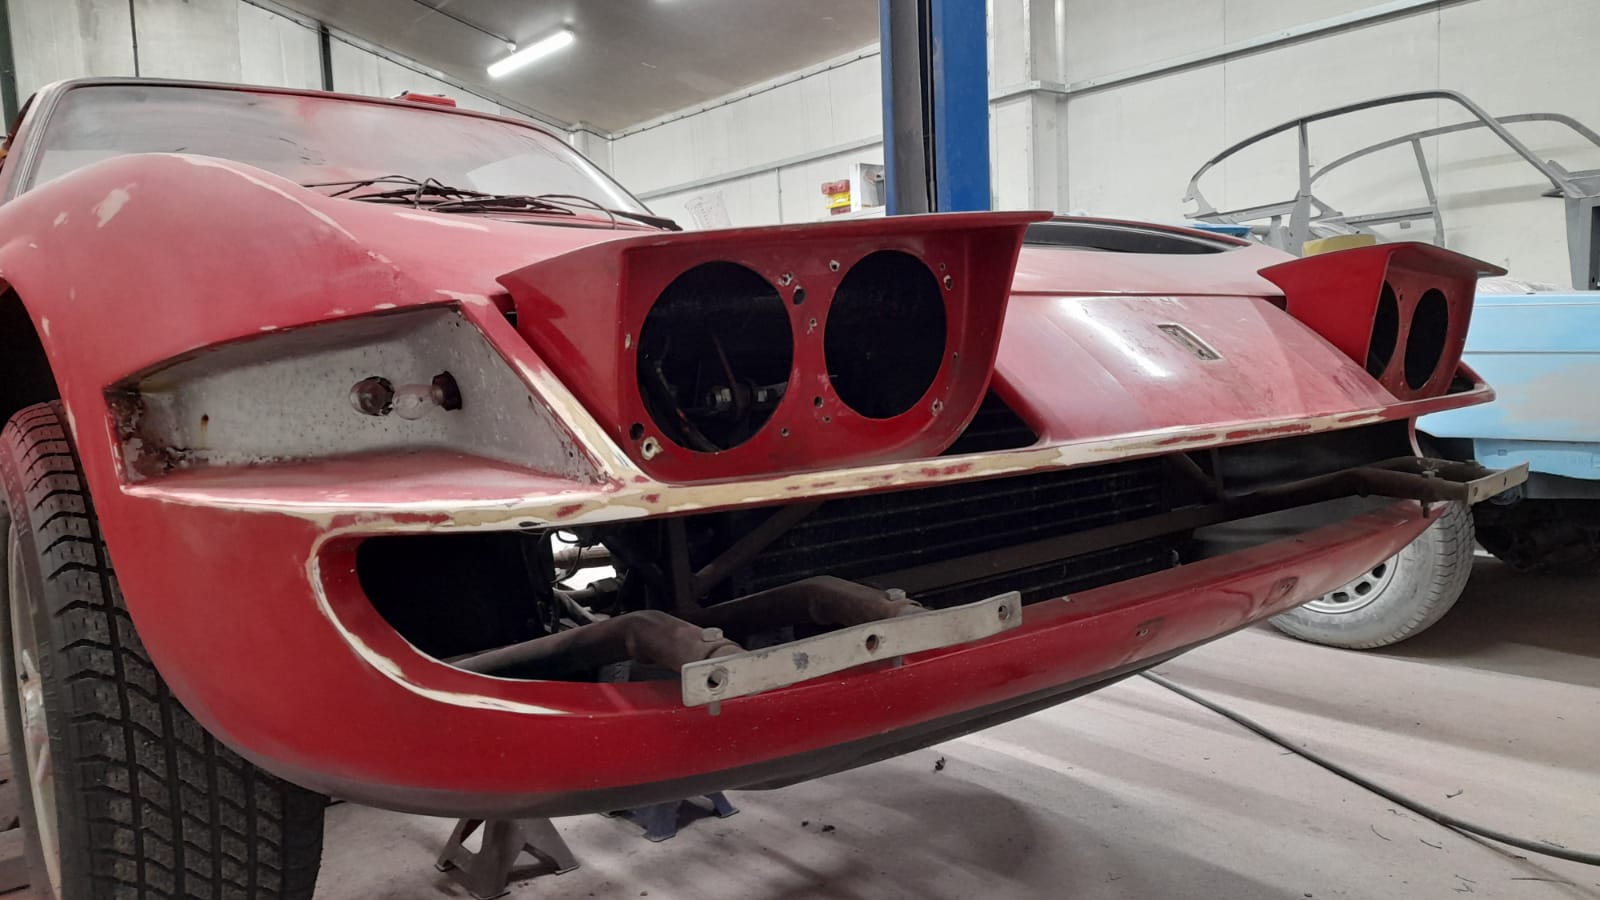
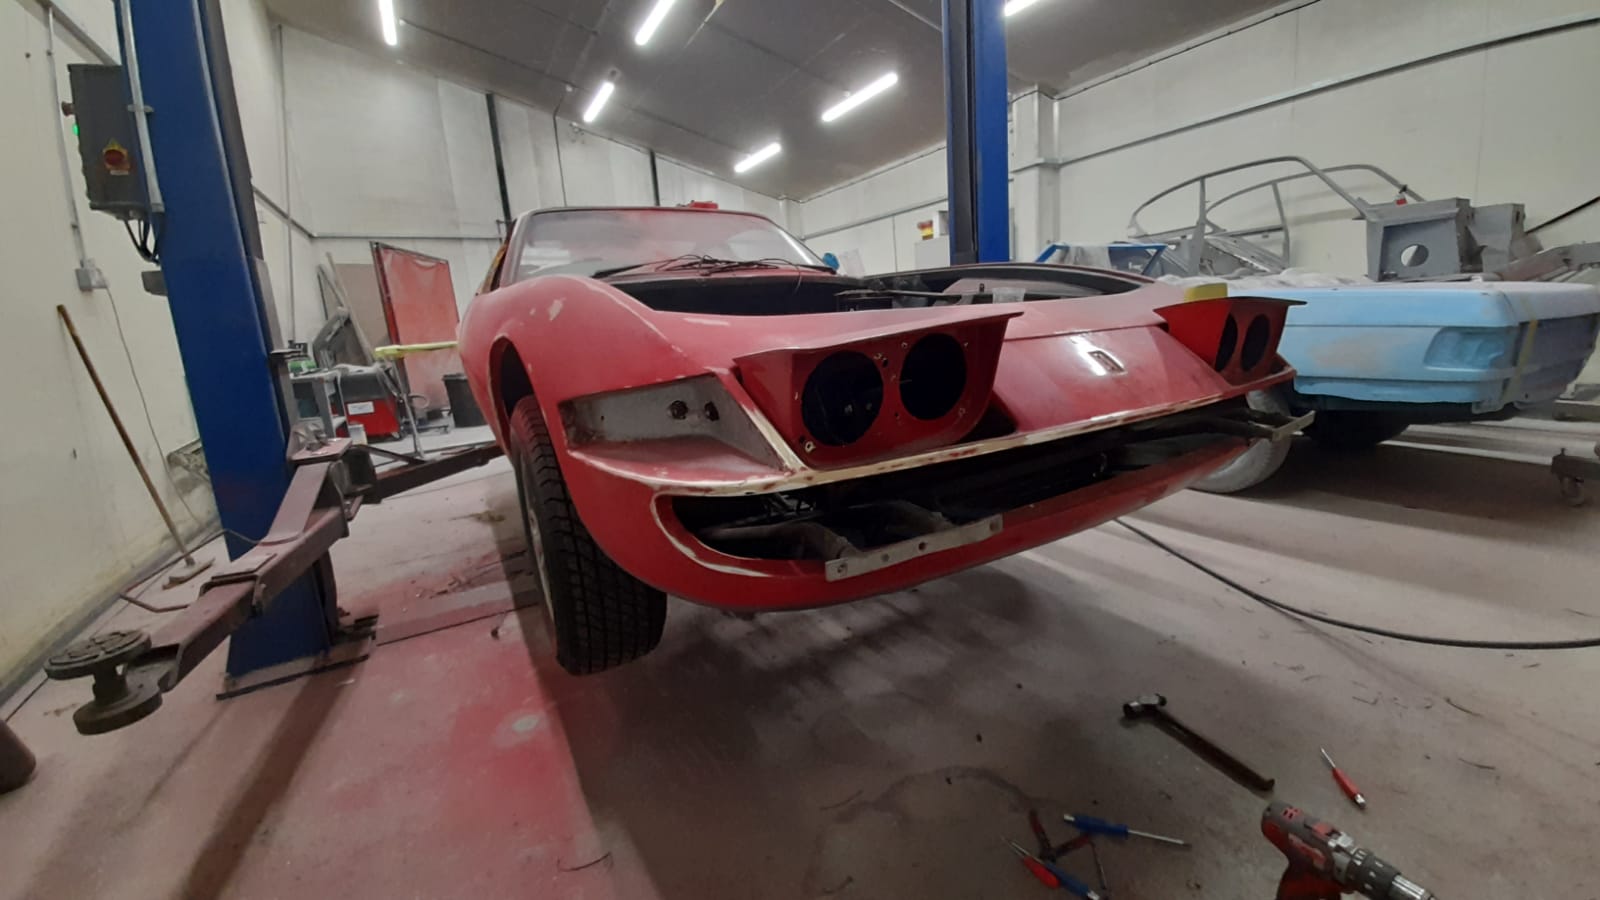
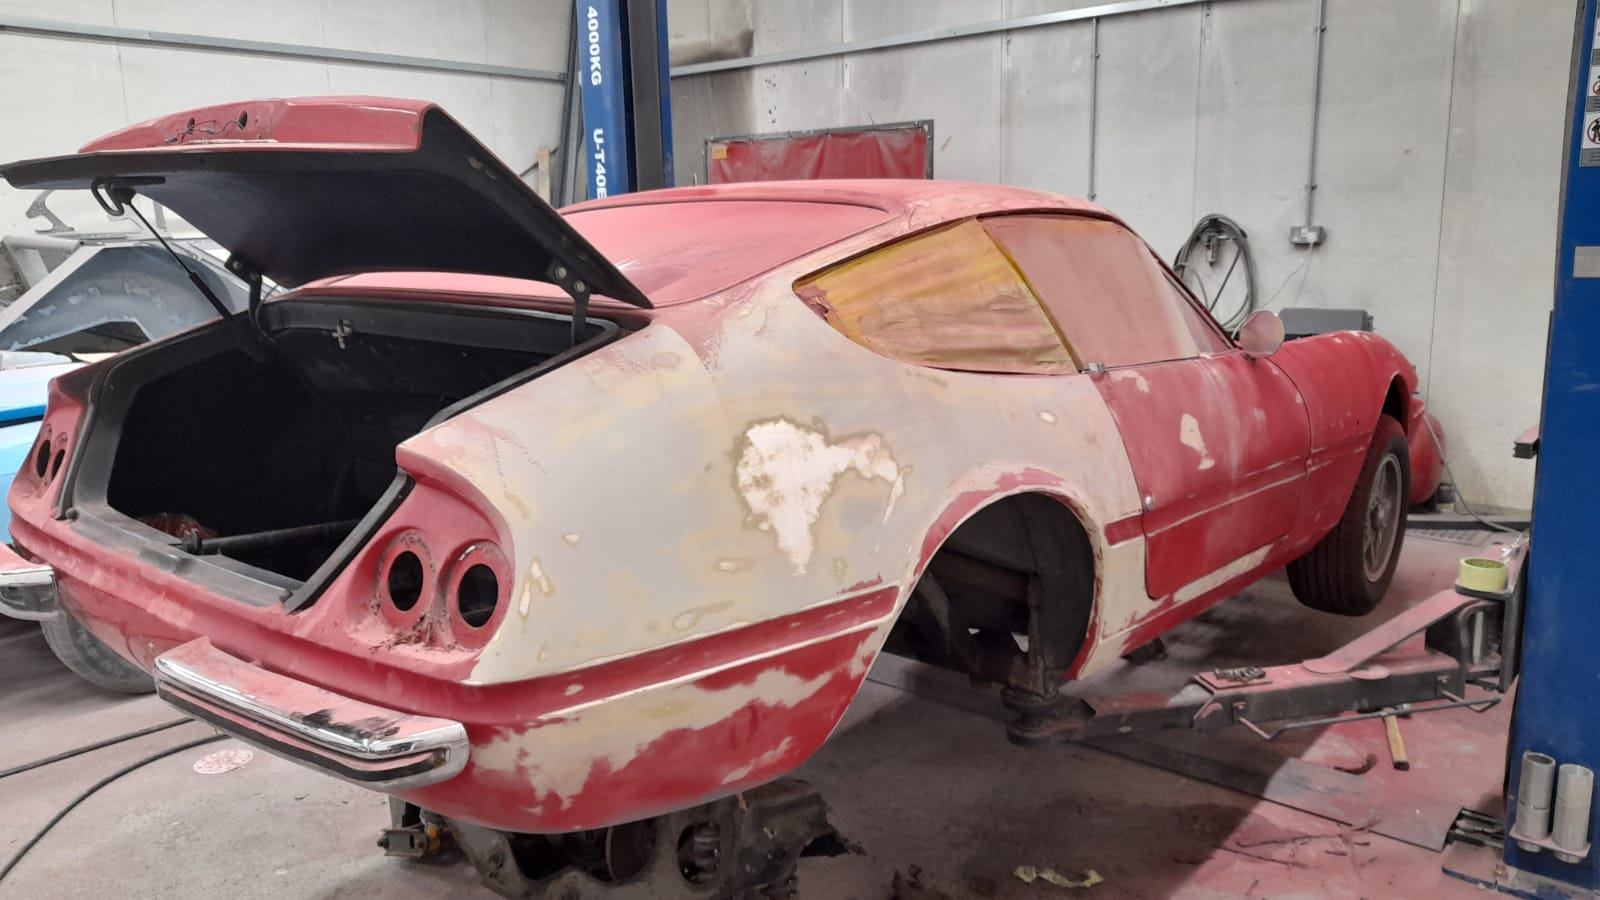
Our 1979 Arrow Ferrari Daytona replica has some big colour related changes coming it’s way. It’s been sat comfortably in a stunning red however shades of green are on the horizon that is sure to turn passers-by a similar shade of envy.
We understand that the exterior colour is likely to be an Aston Martin Sage Green which means the interior is likely to be a similar shade to match. As it stands, the choices are likely to be between the patches below.
We’re excited to see this what this already stunning red Ferrari Daytona will look like after it’s dramatic jump across the colour wheel.
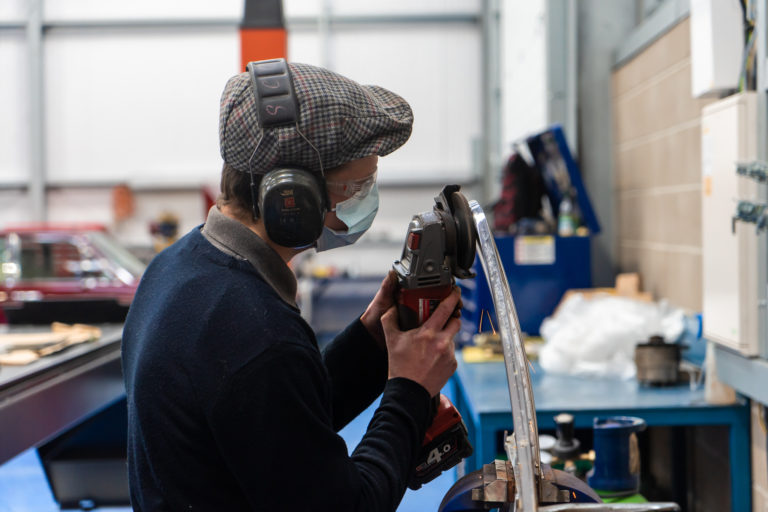
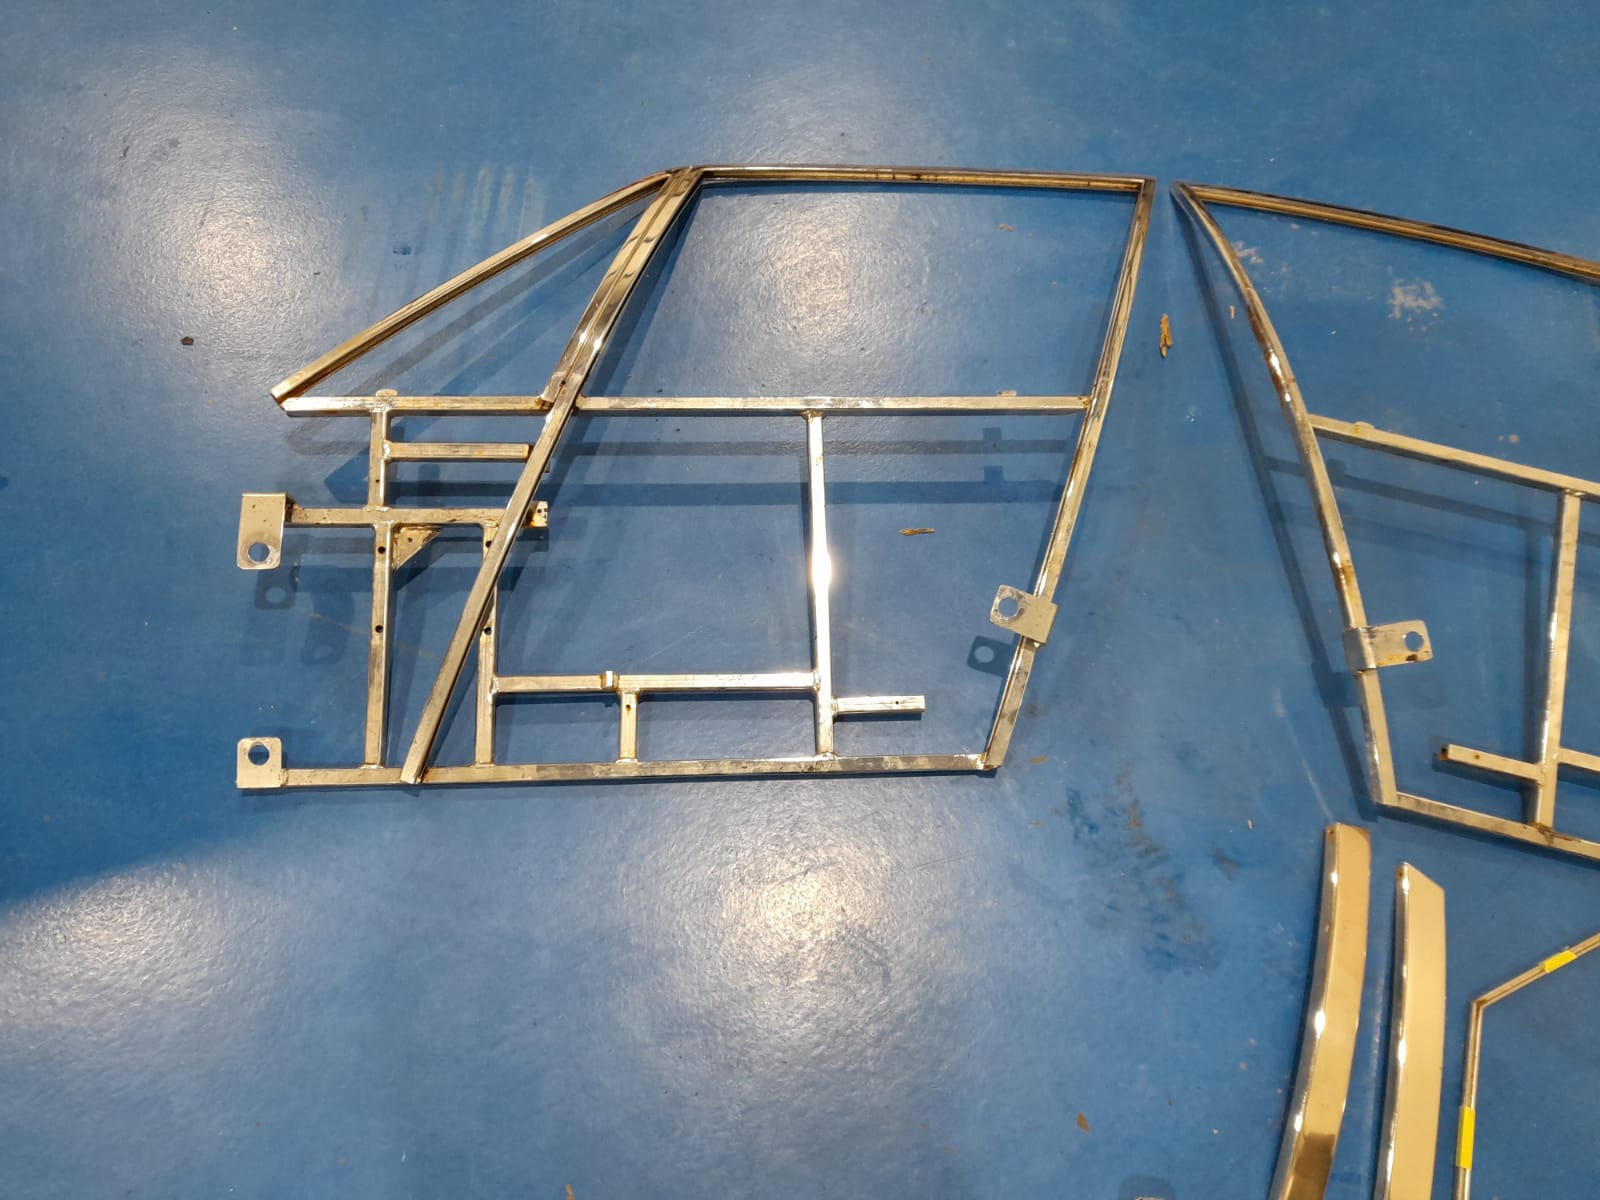
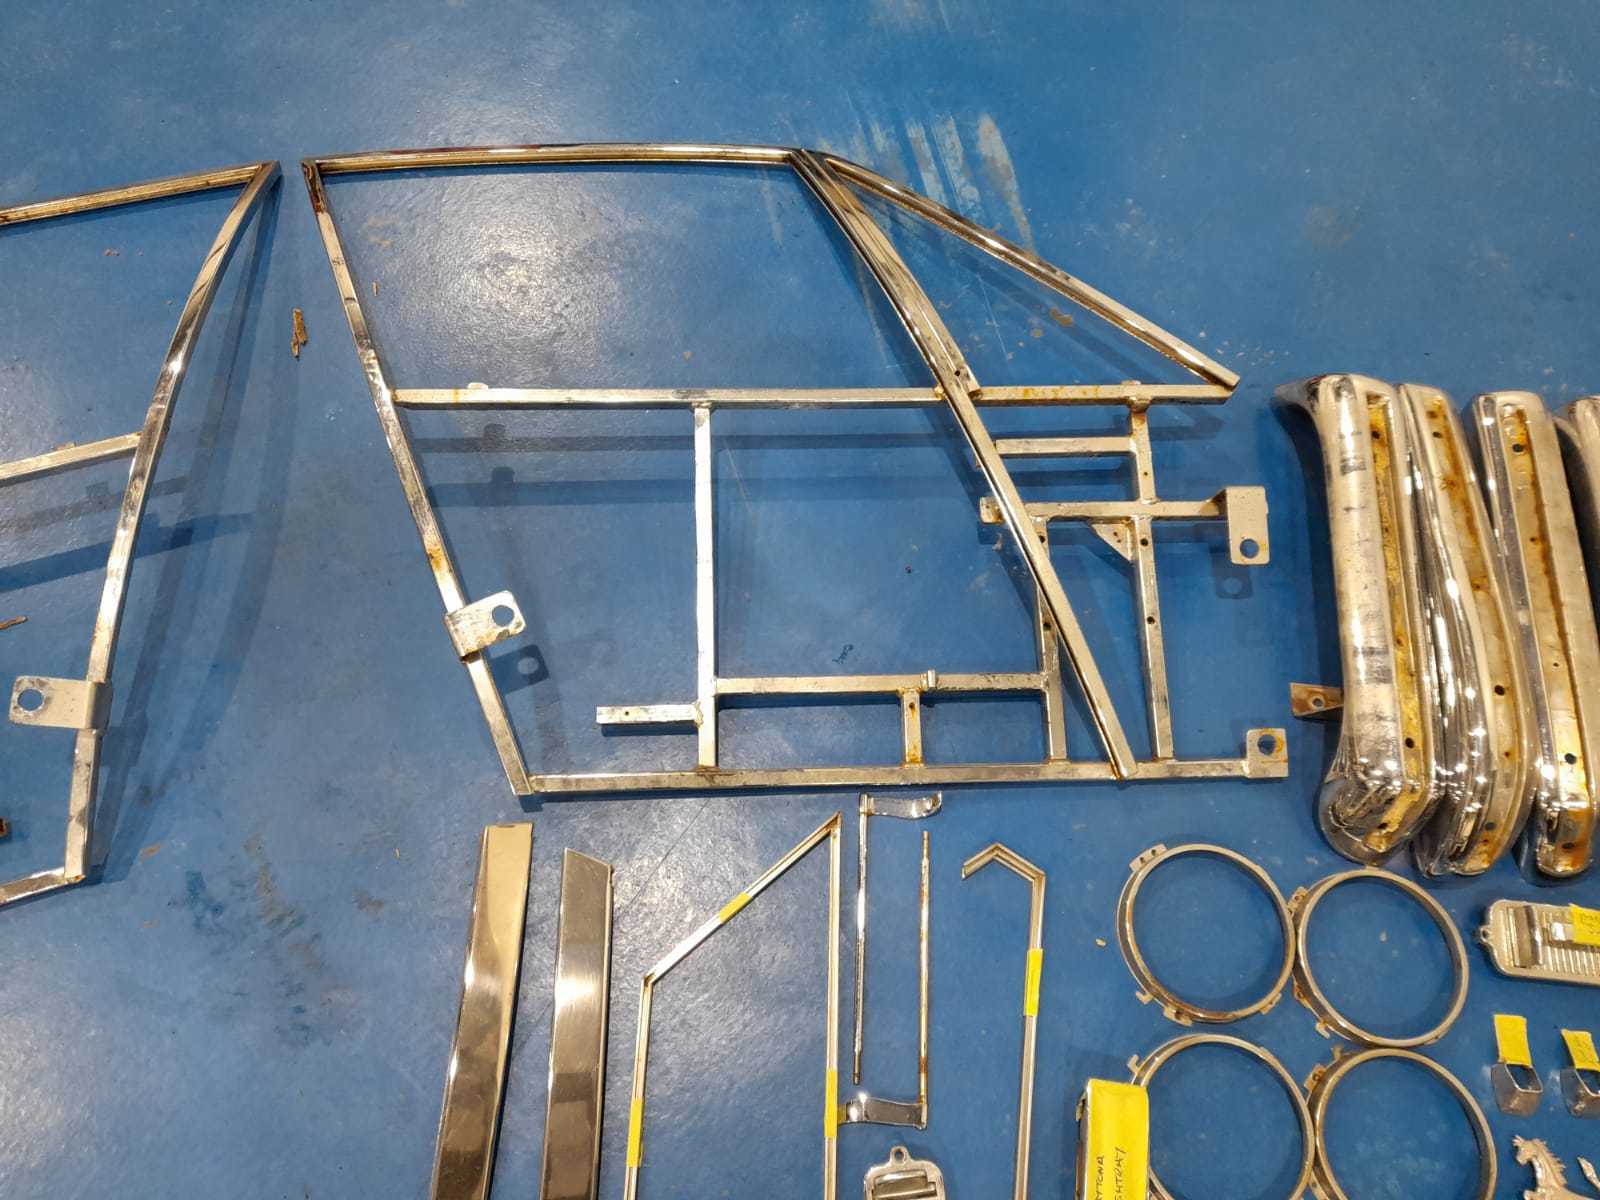
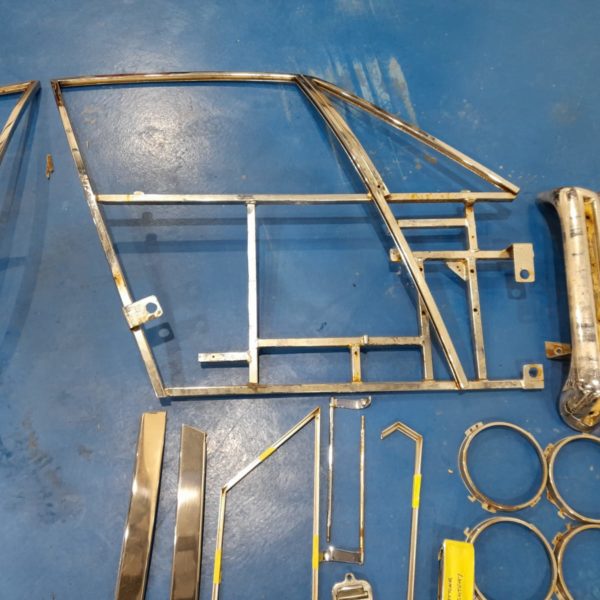
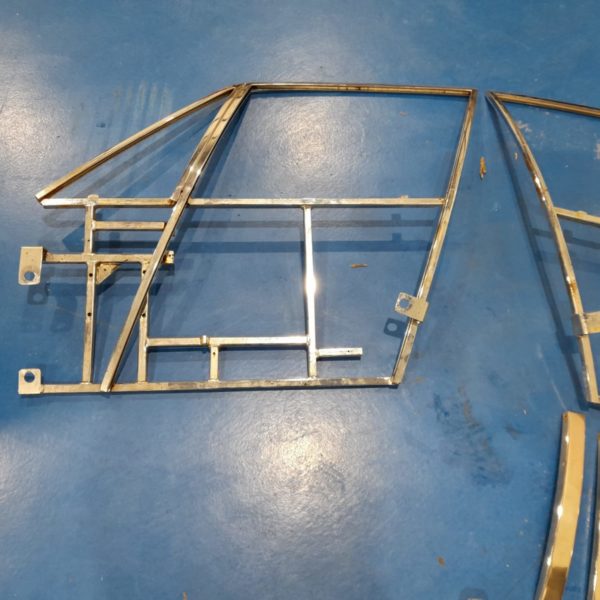
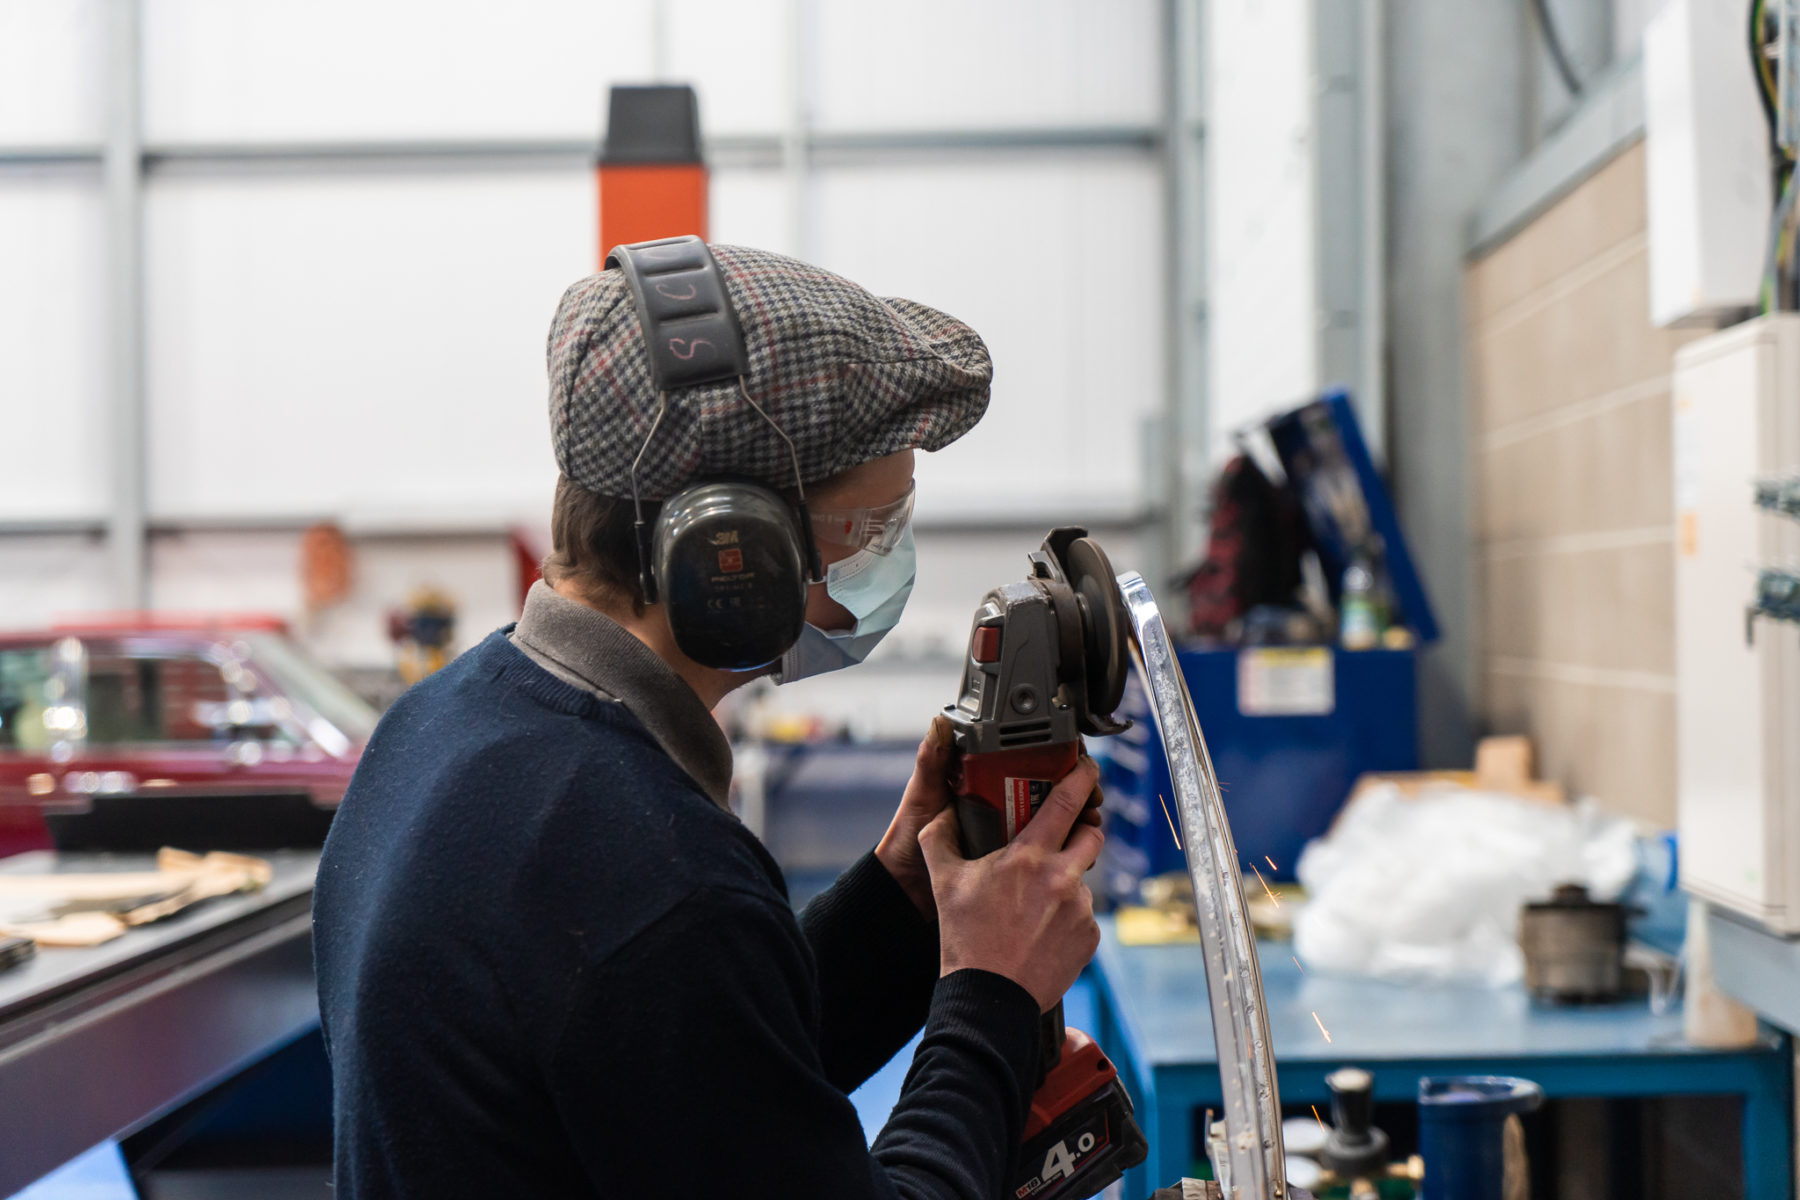
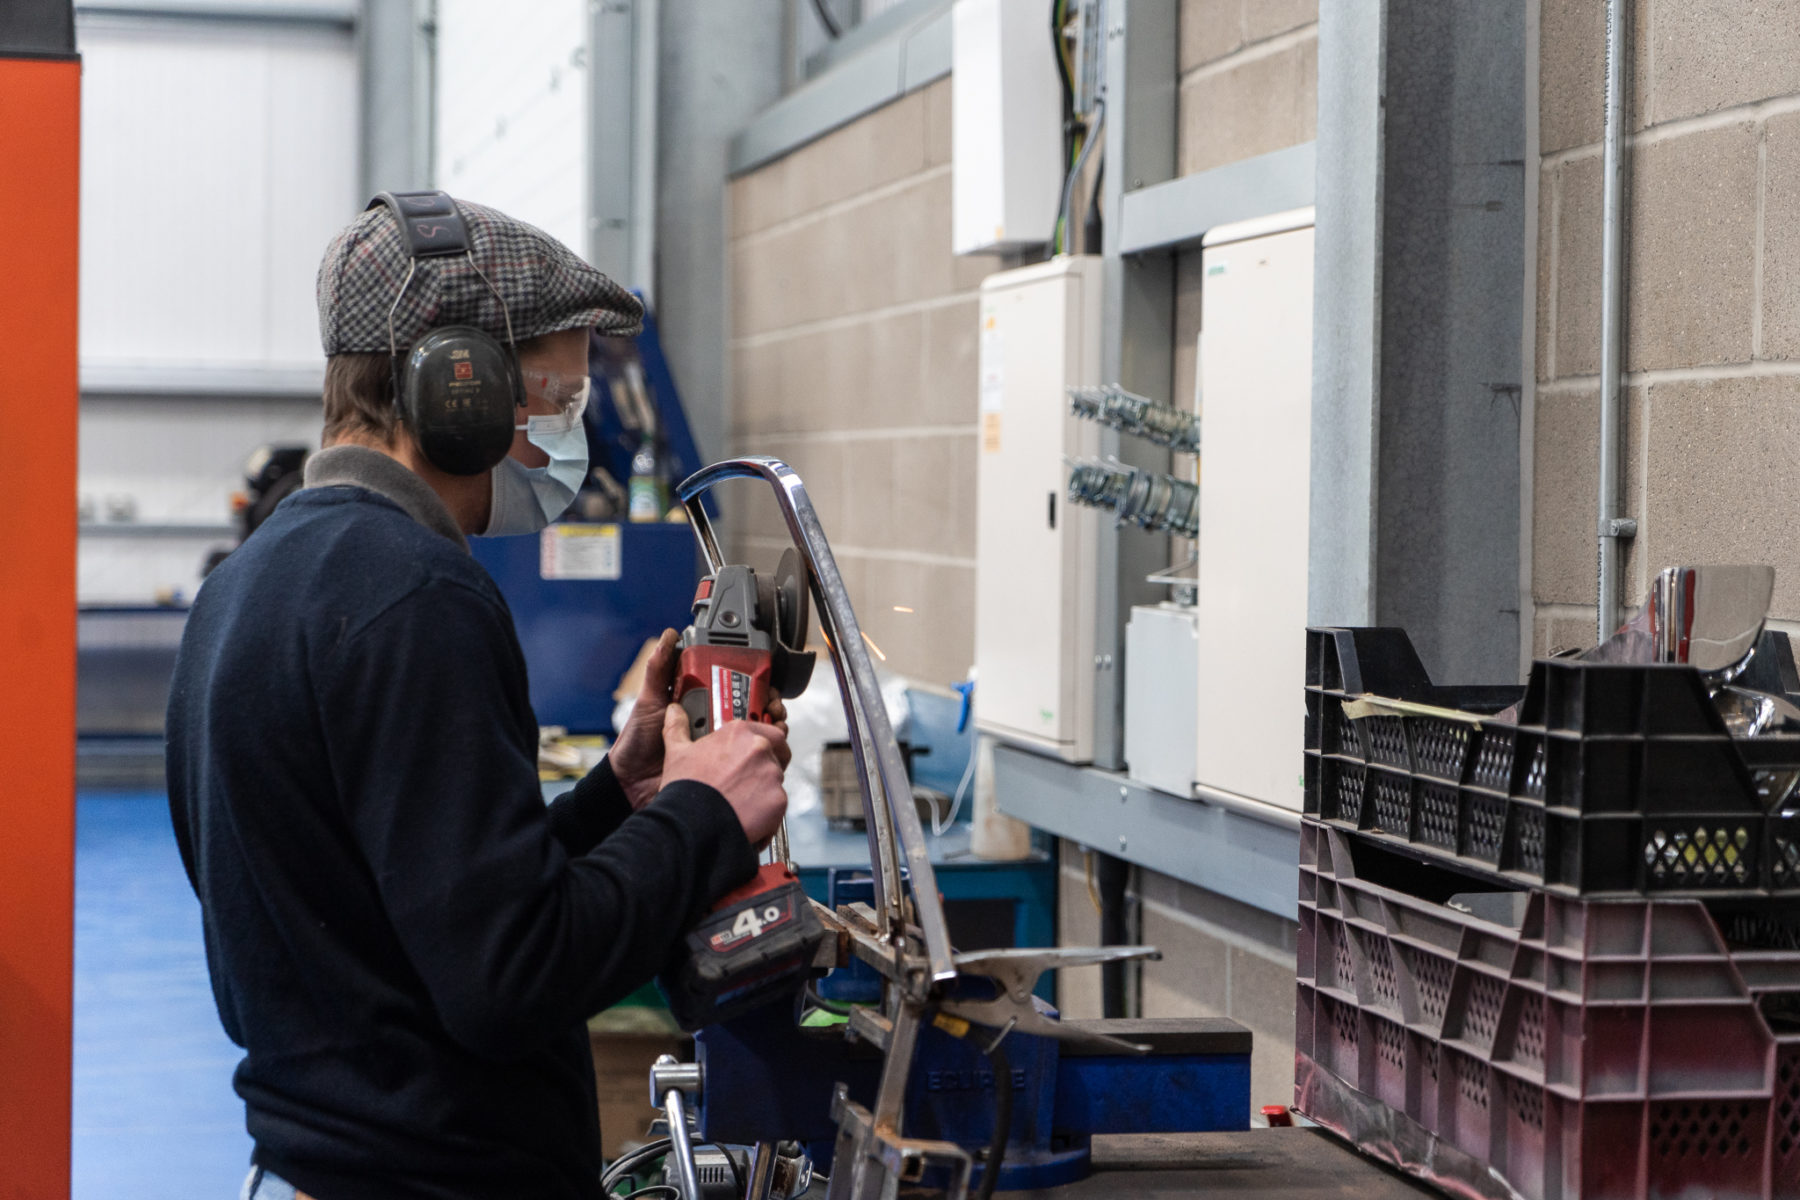
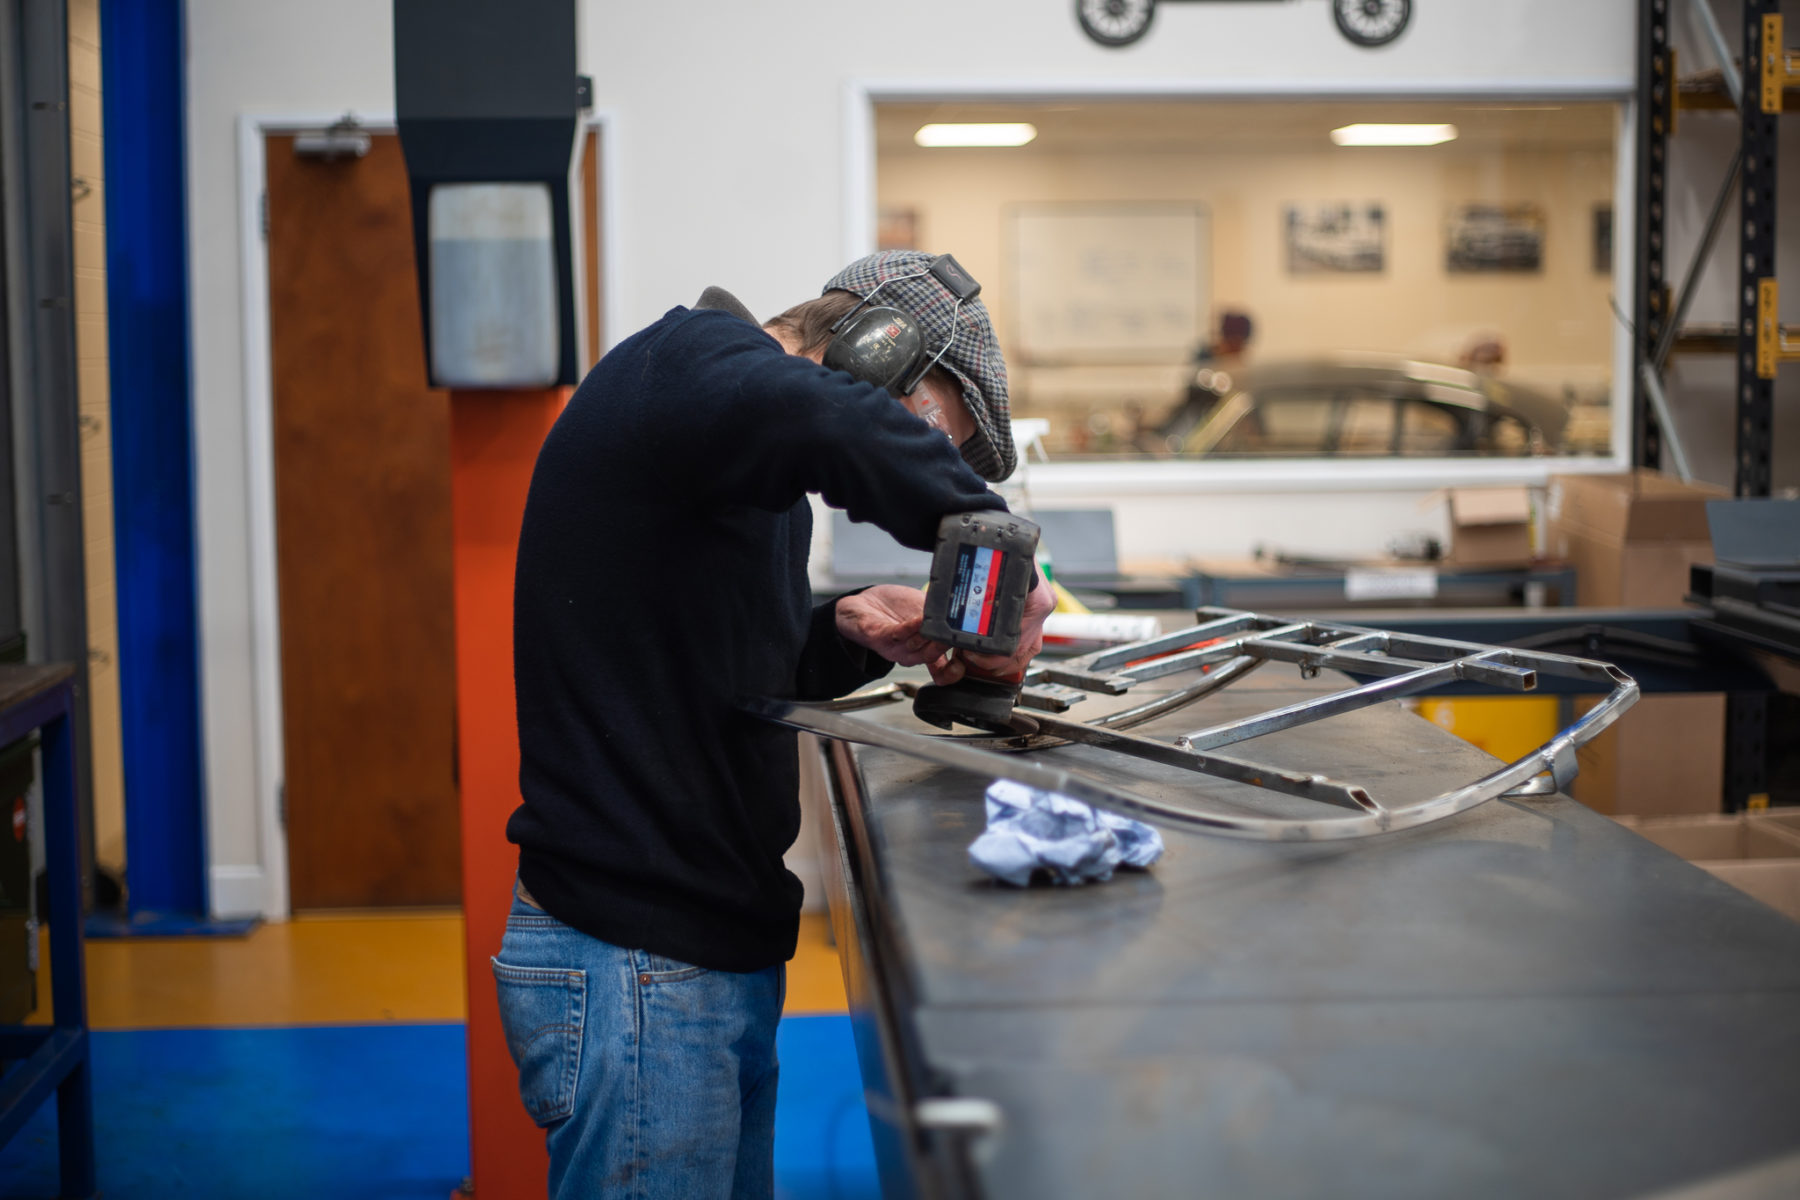
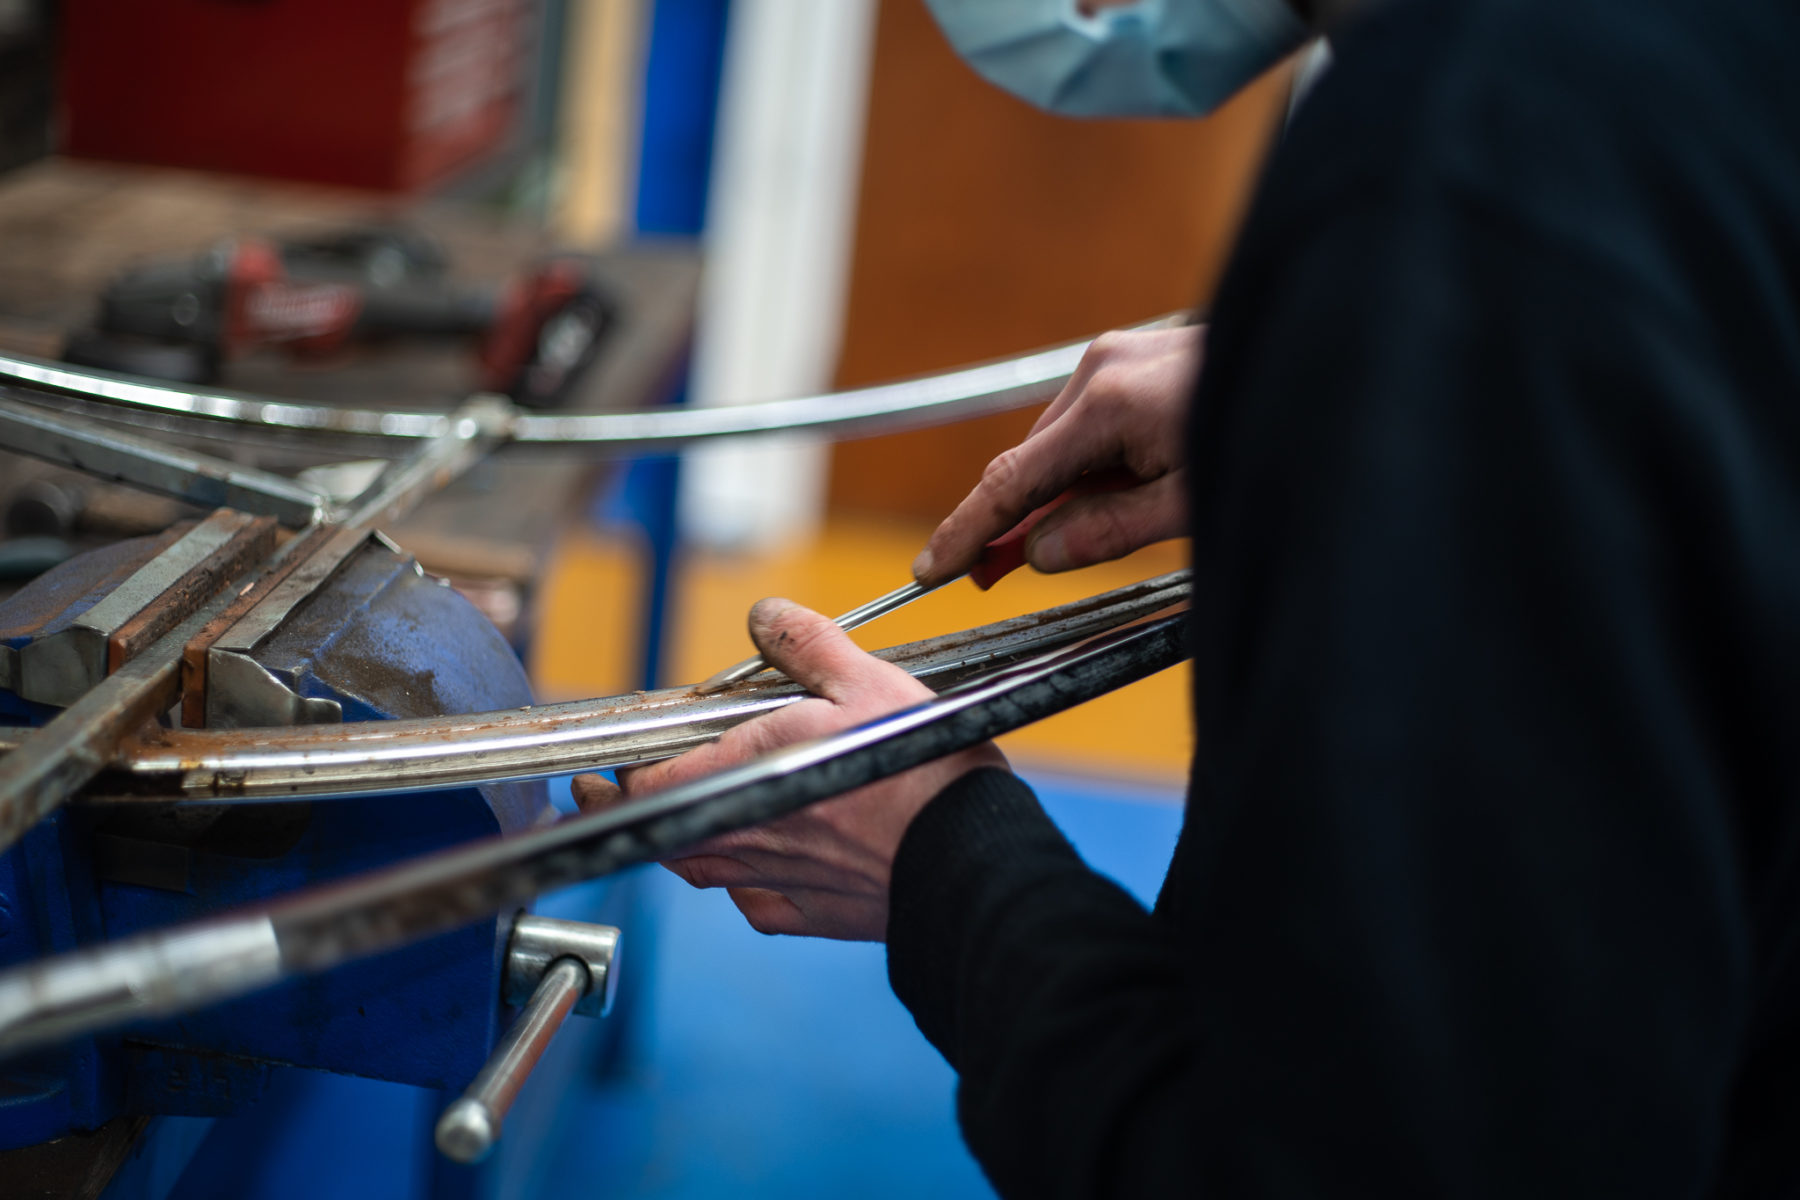
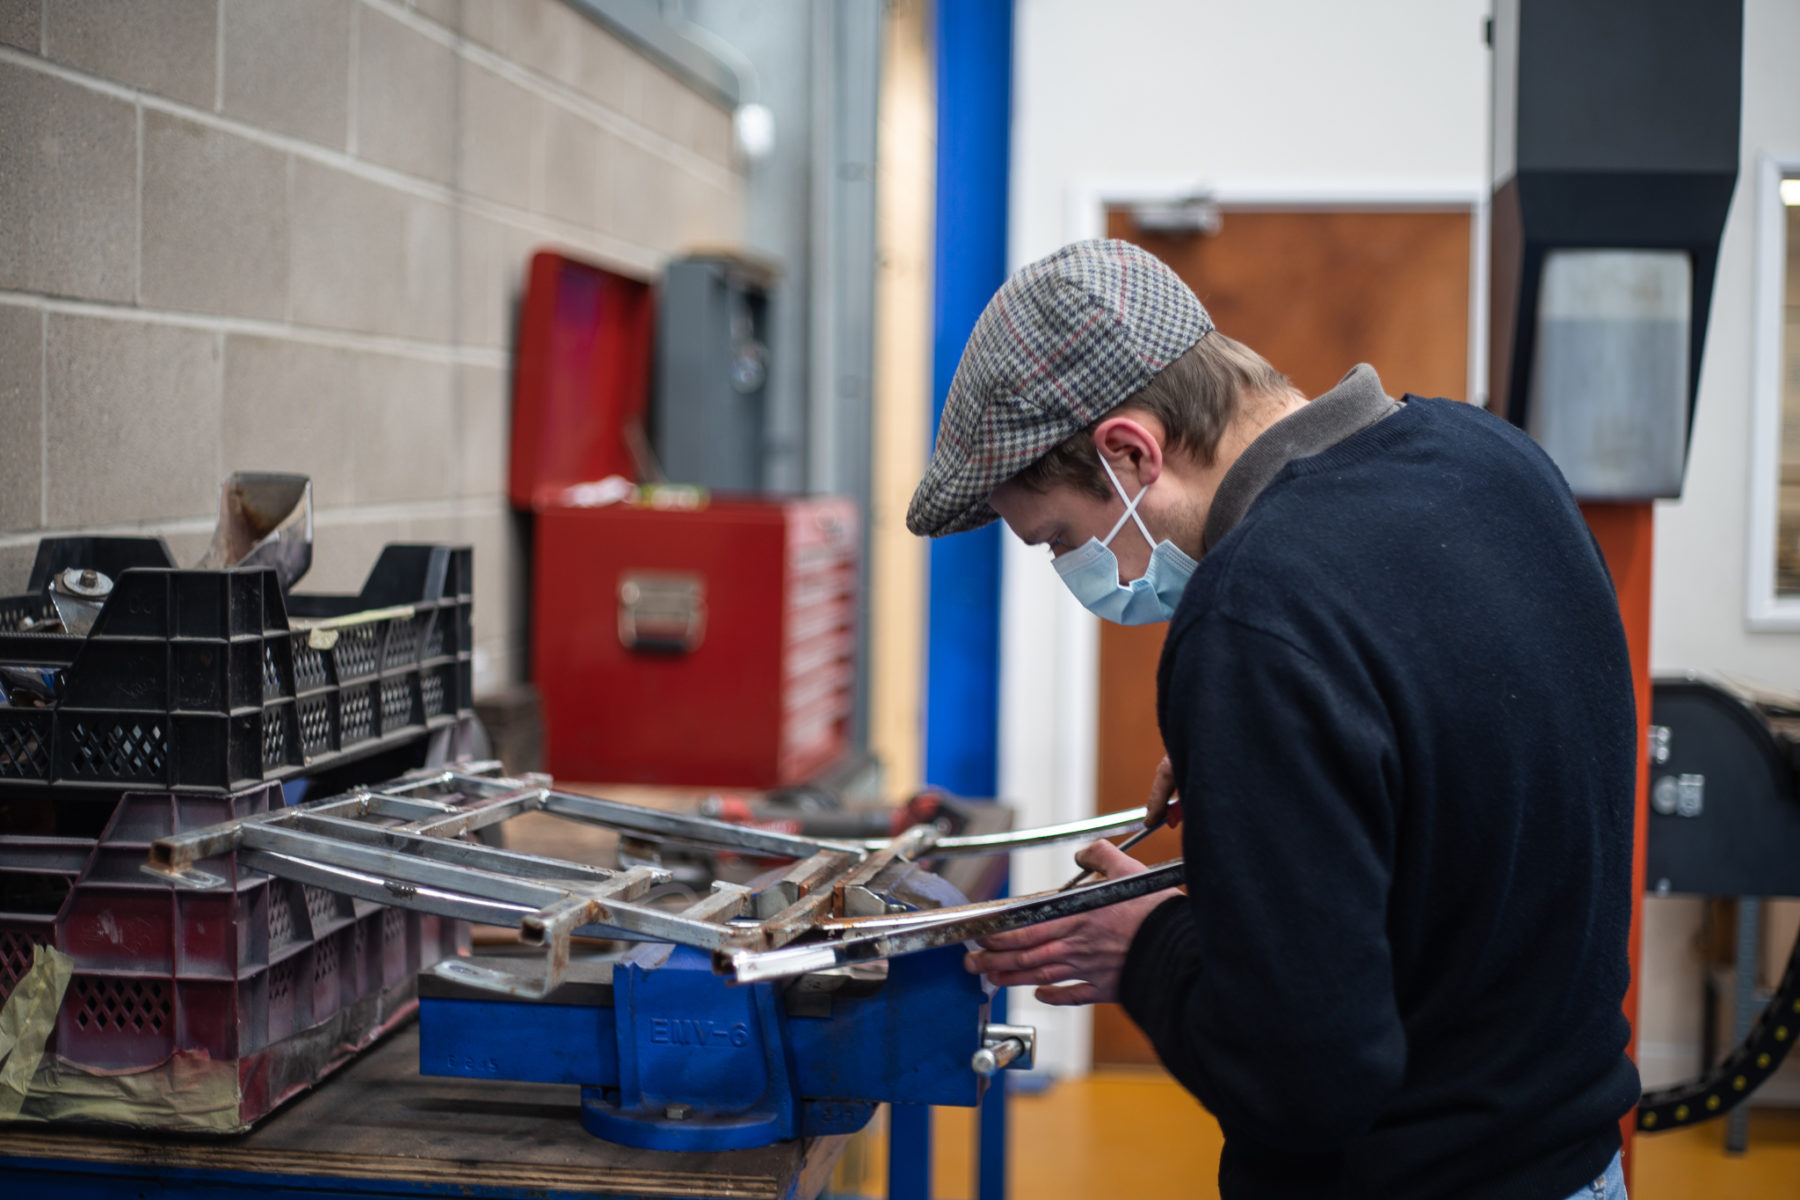
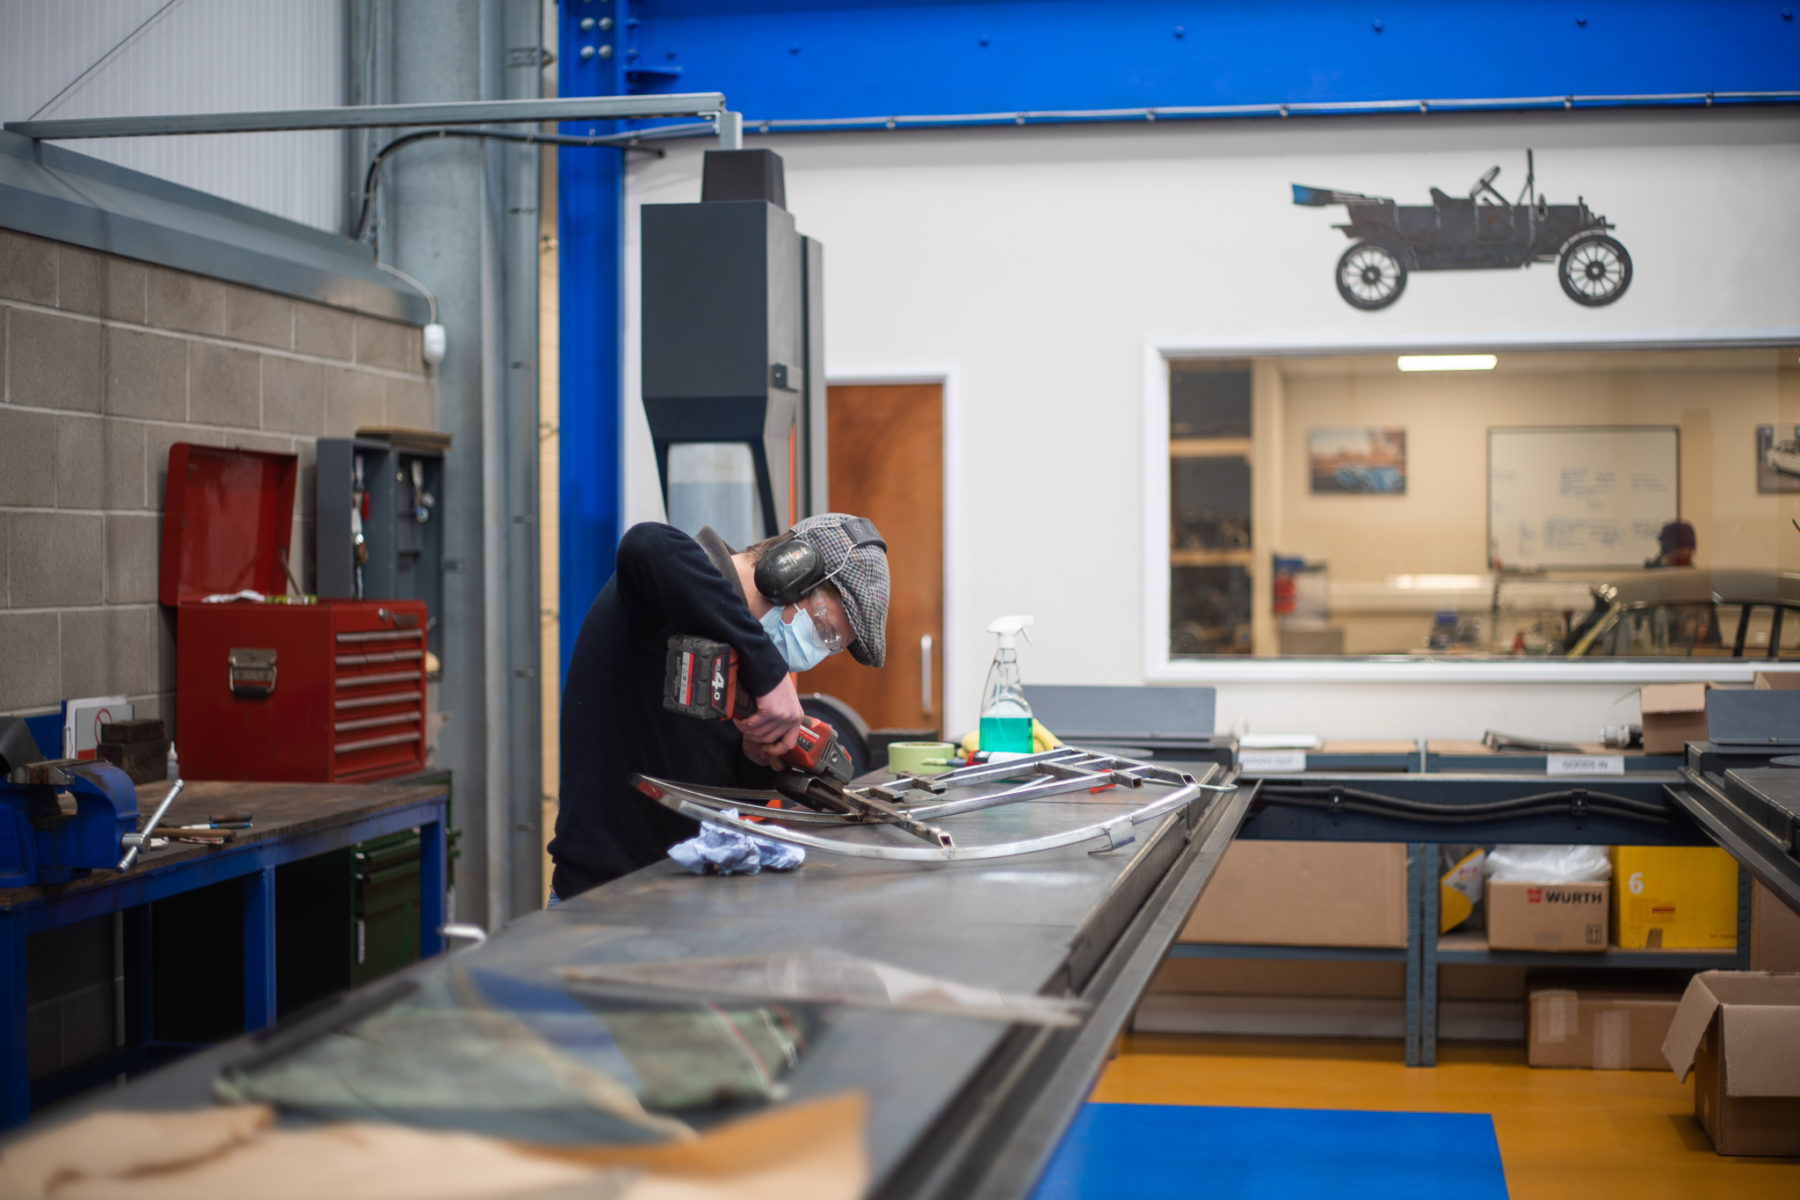
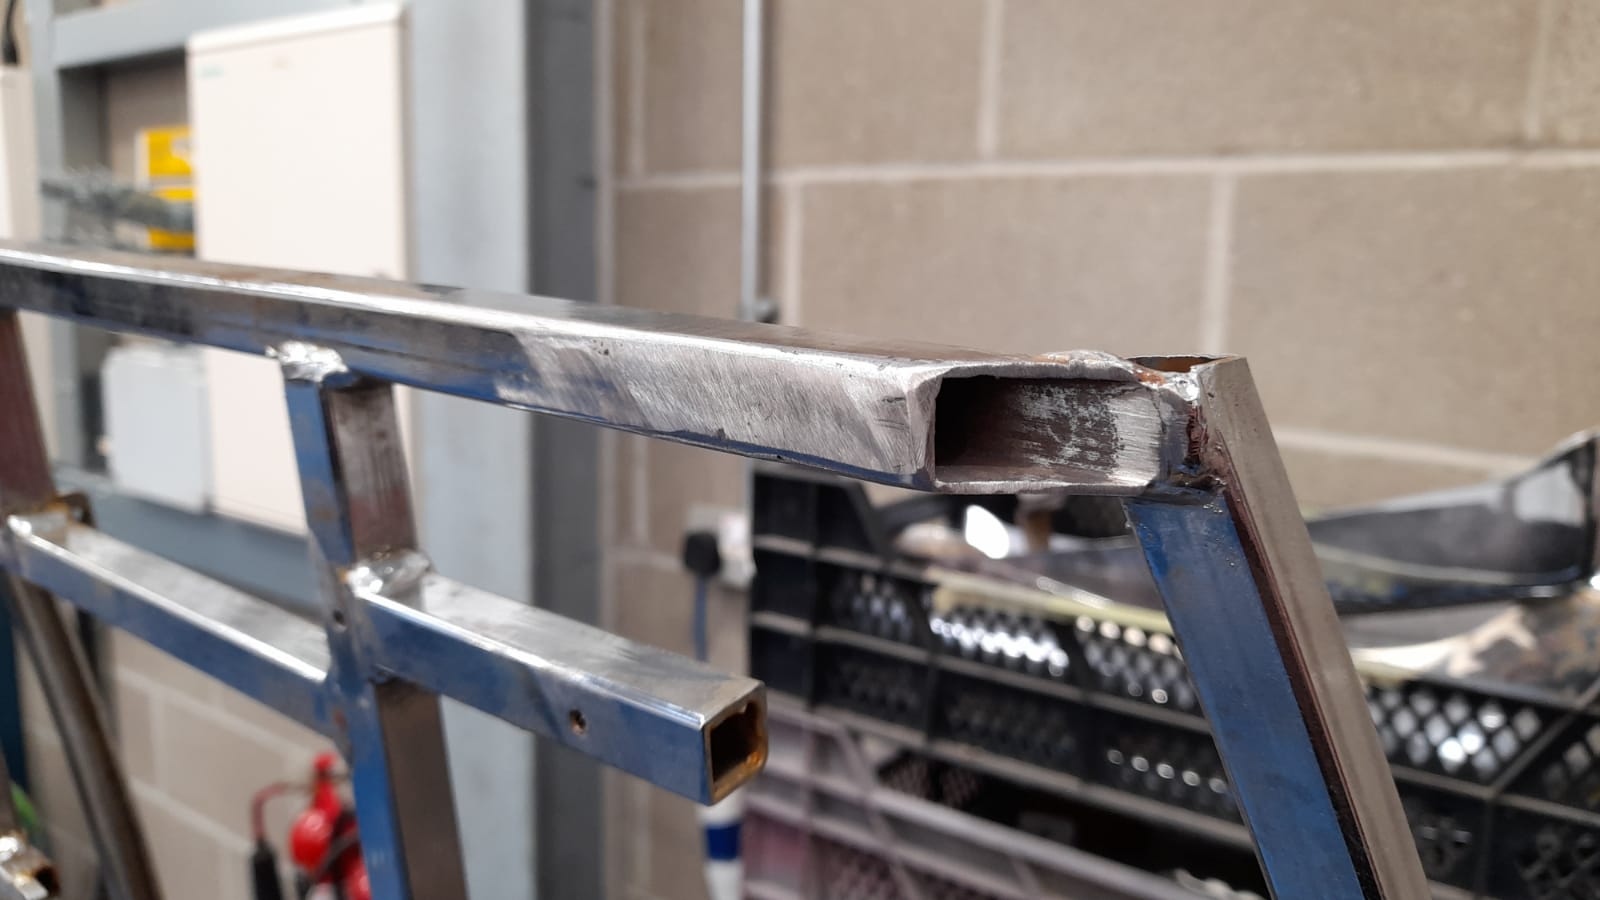
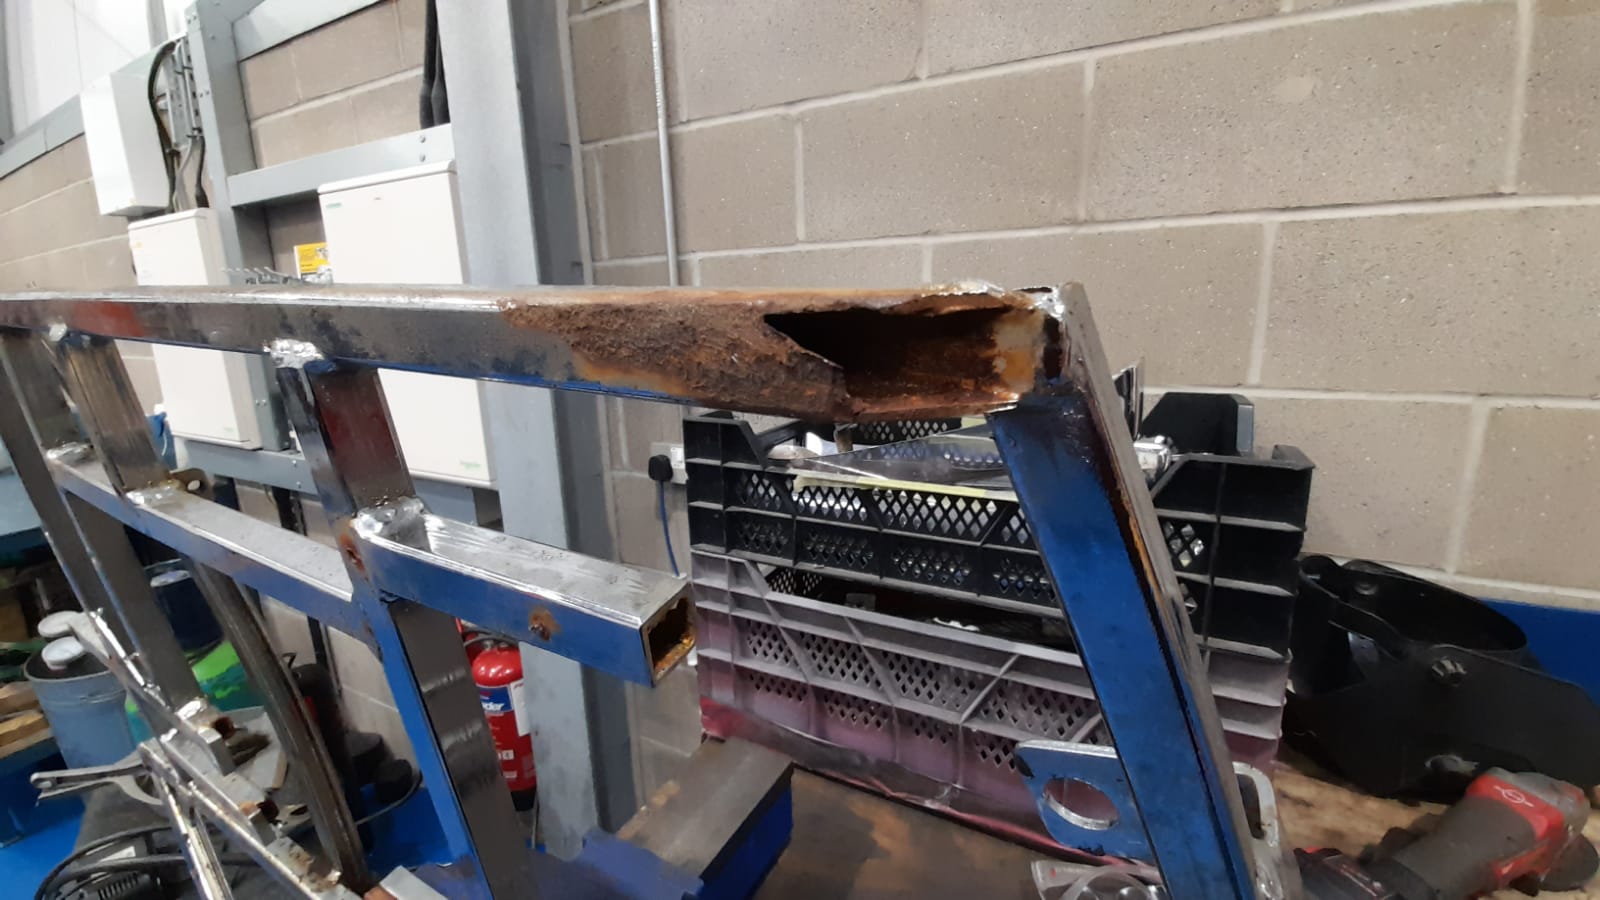
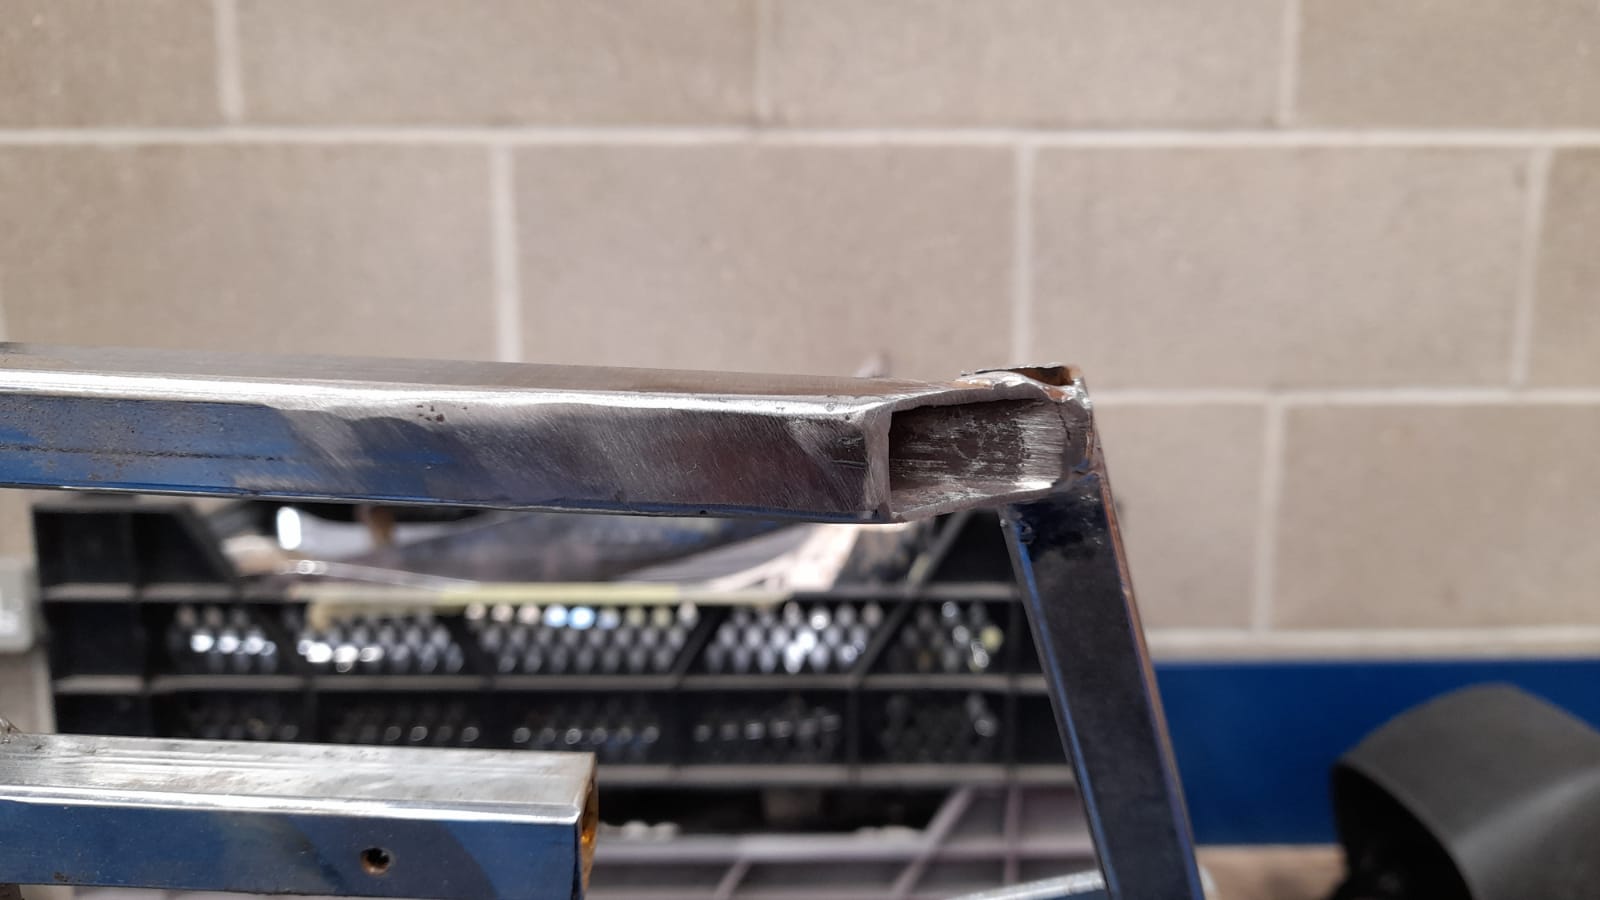
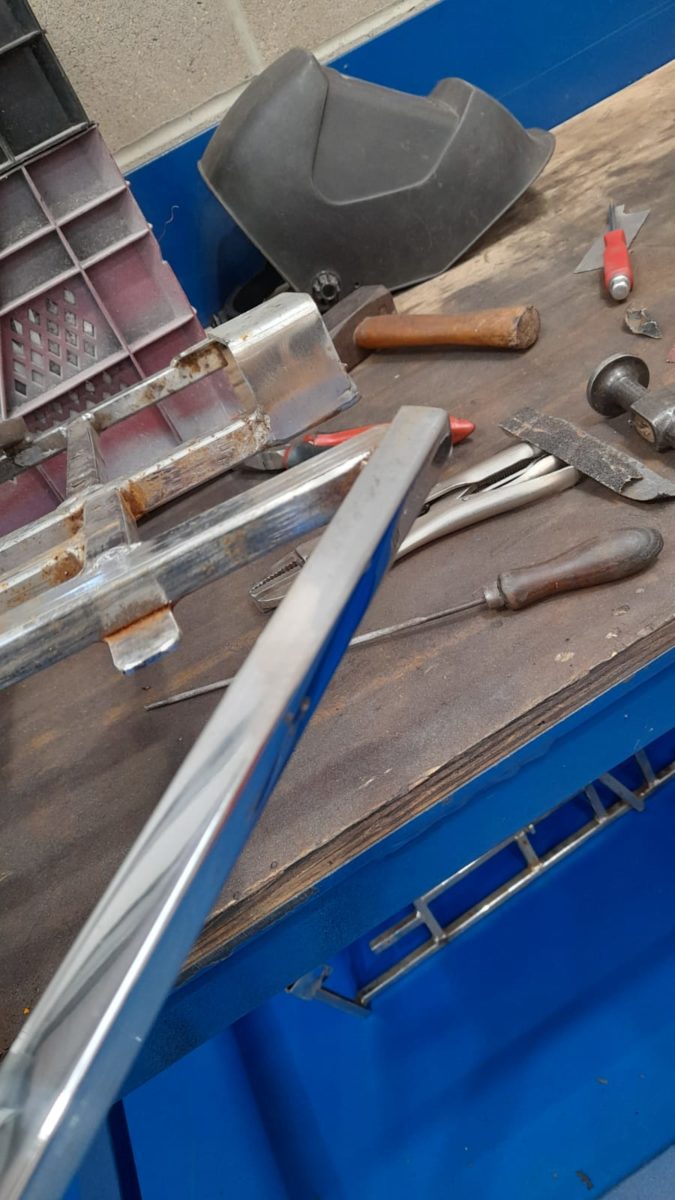
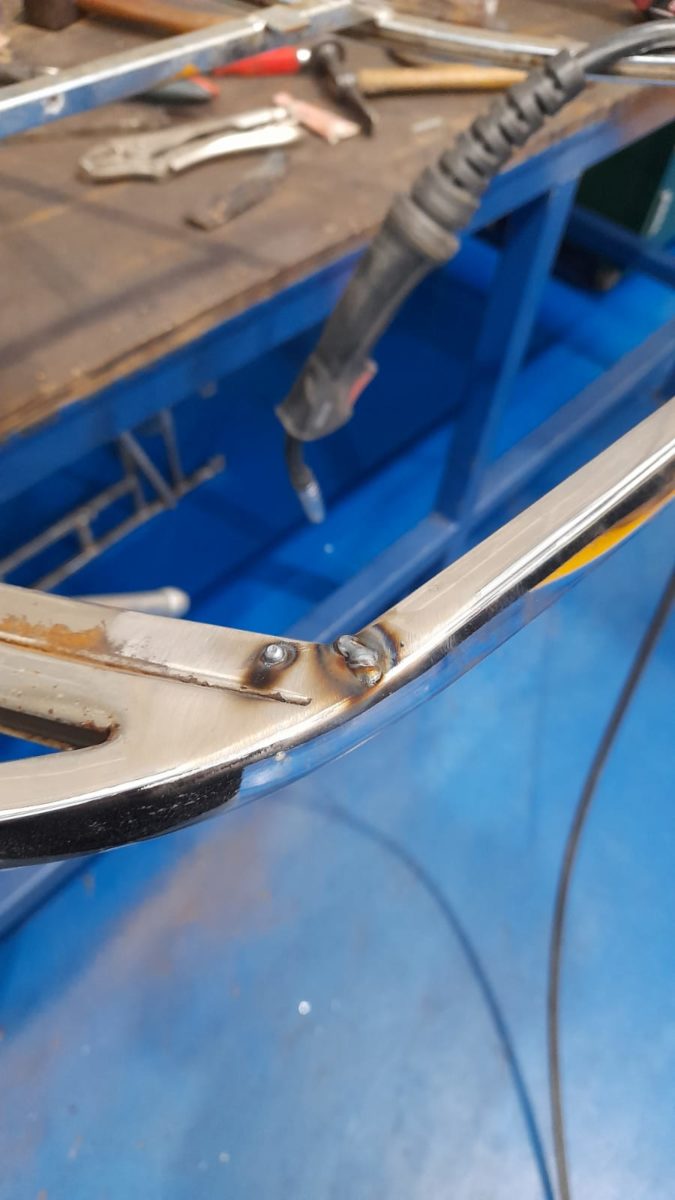
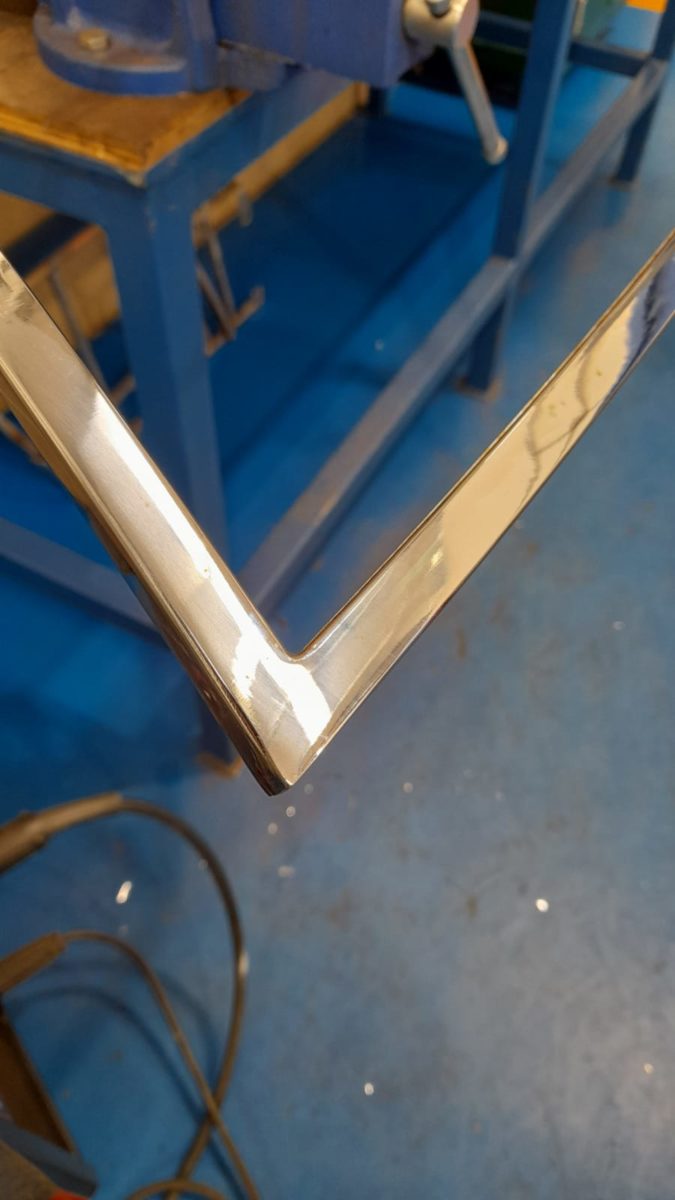
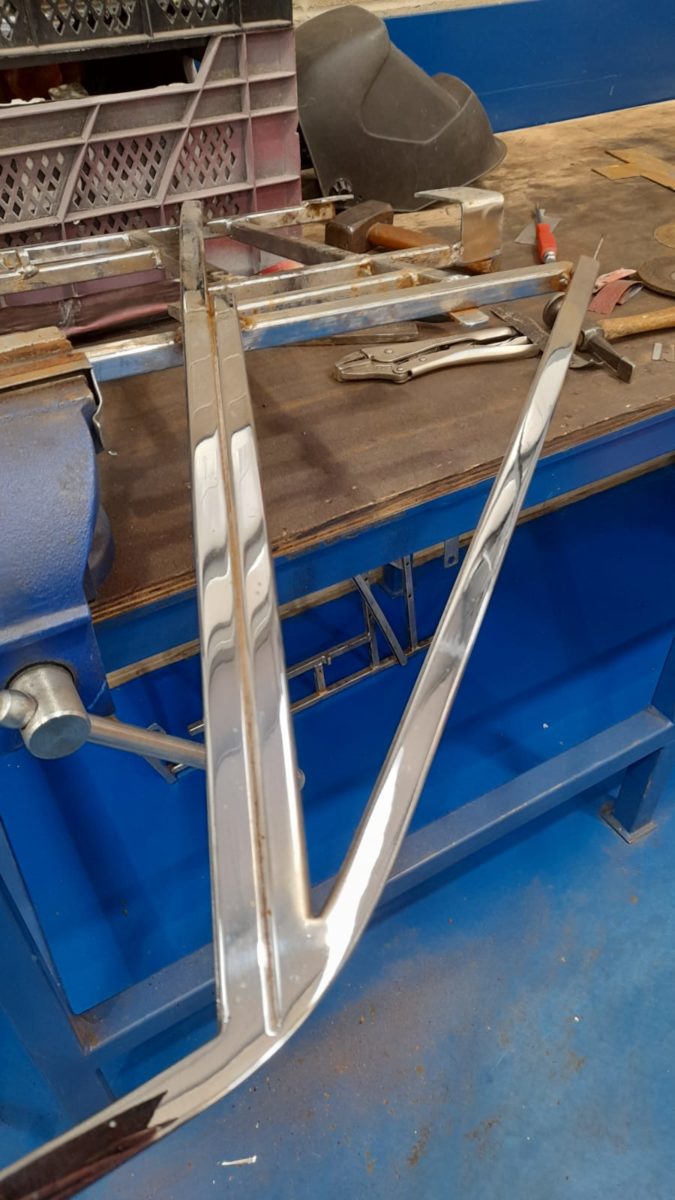
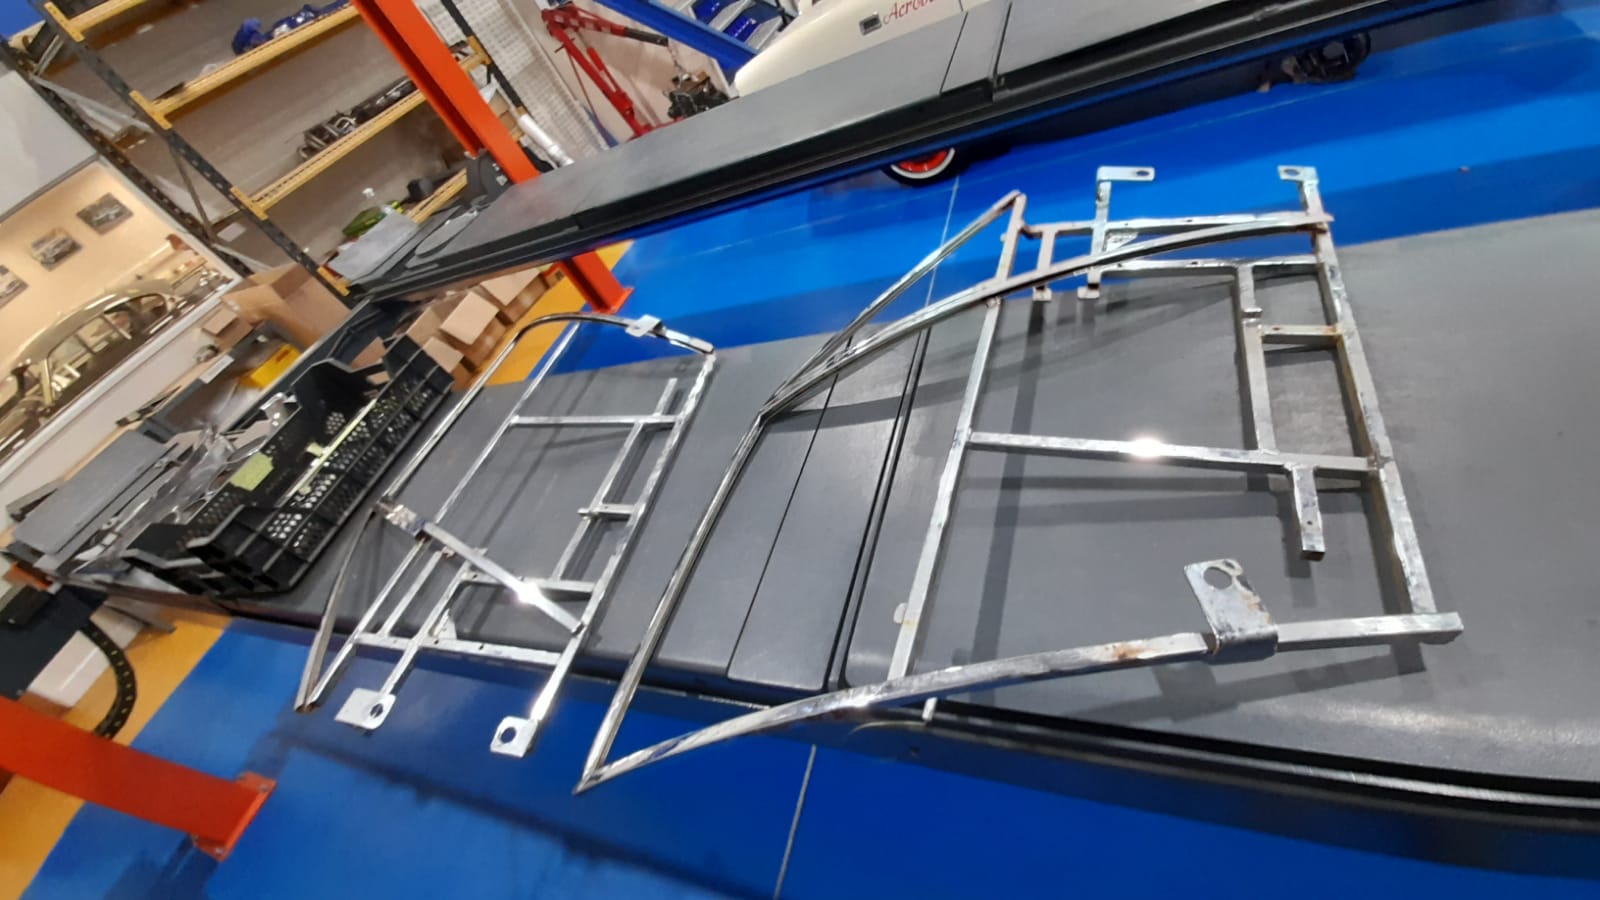
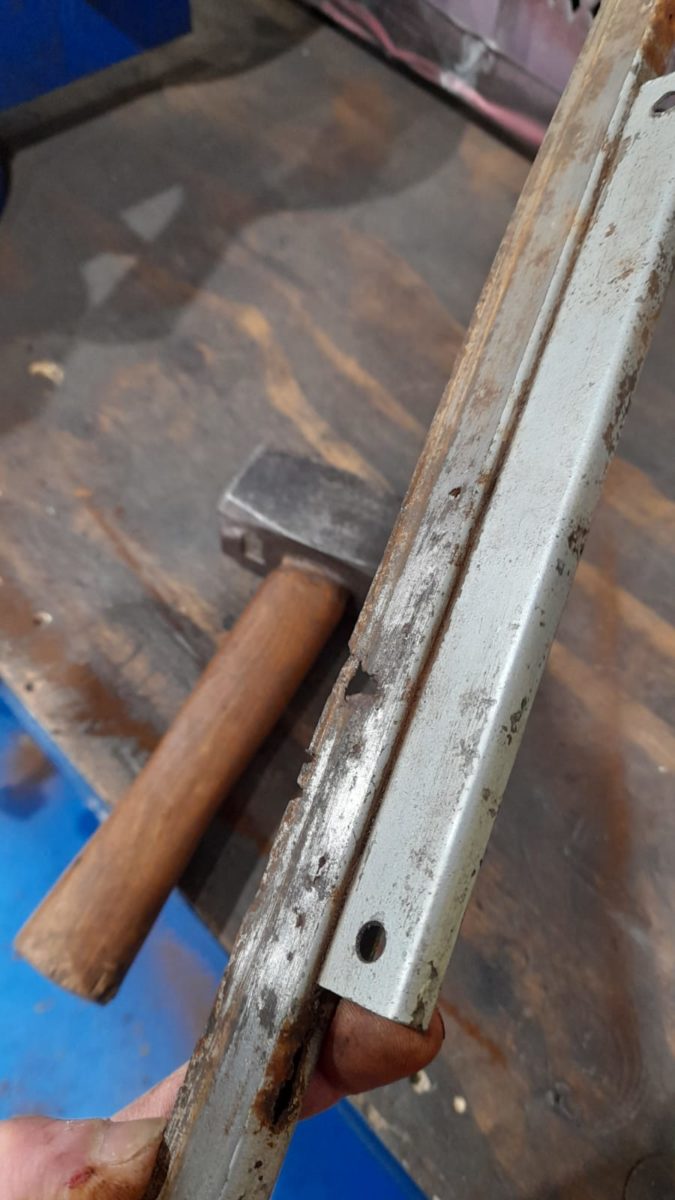
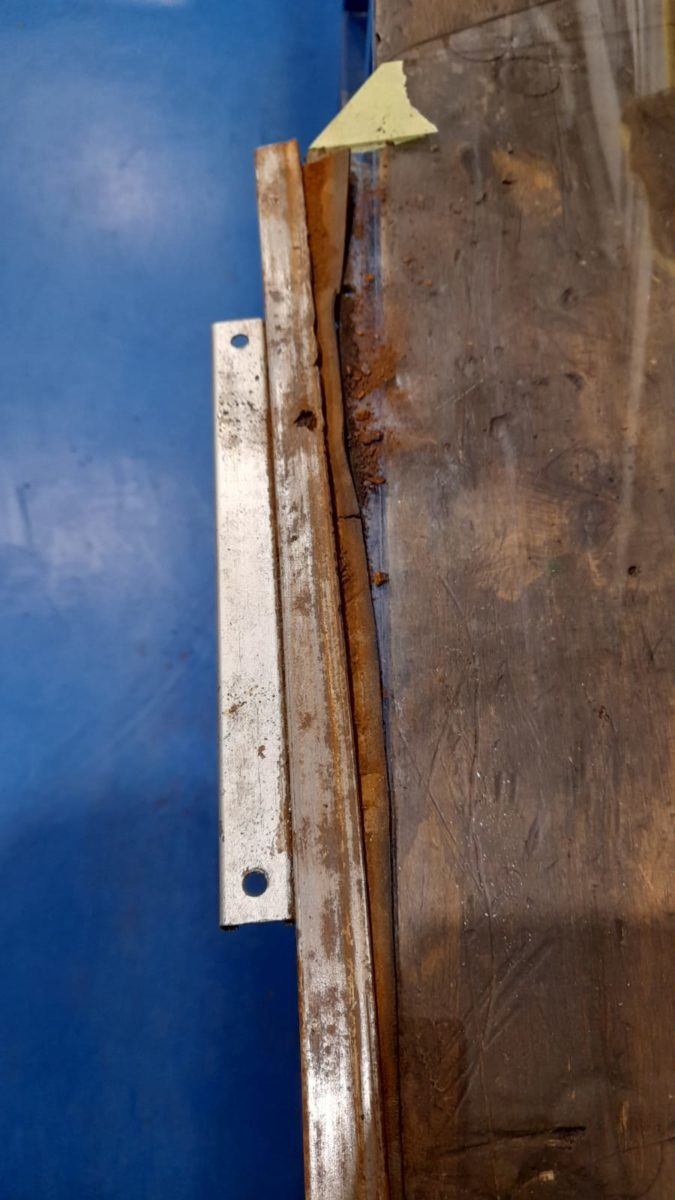
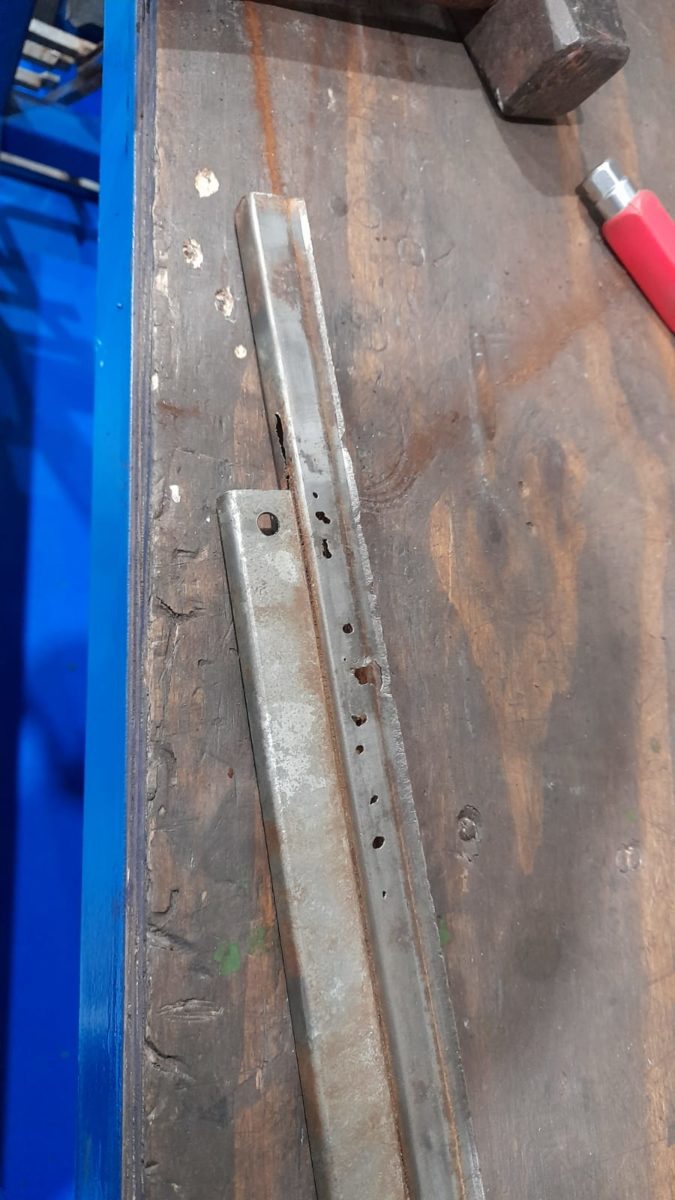
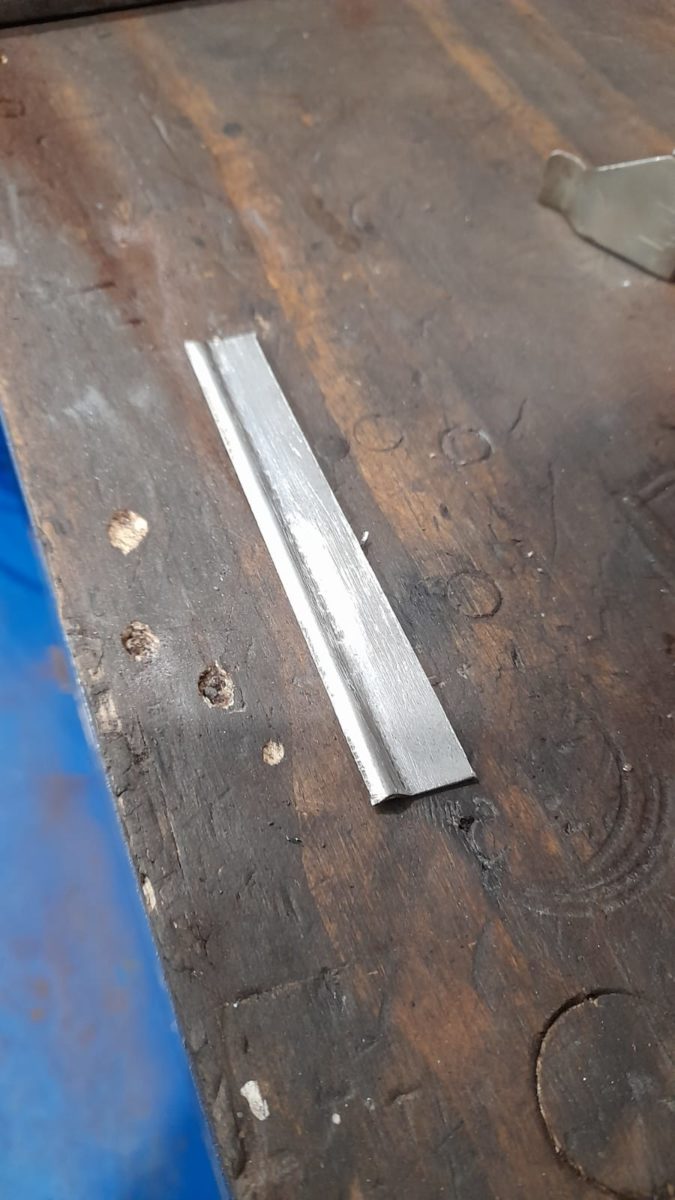
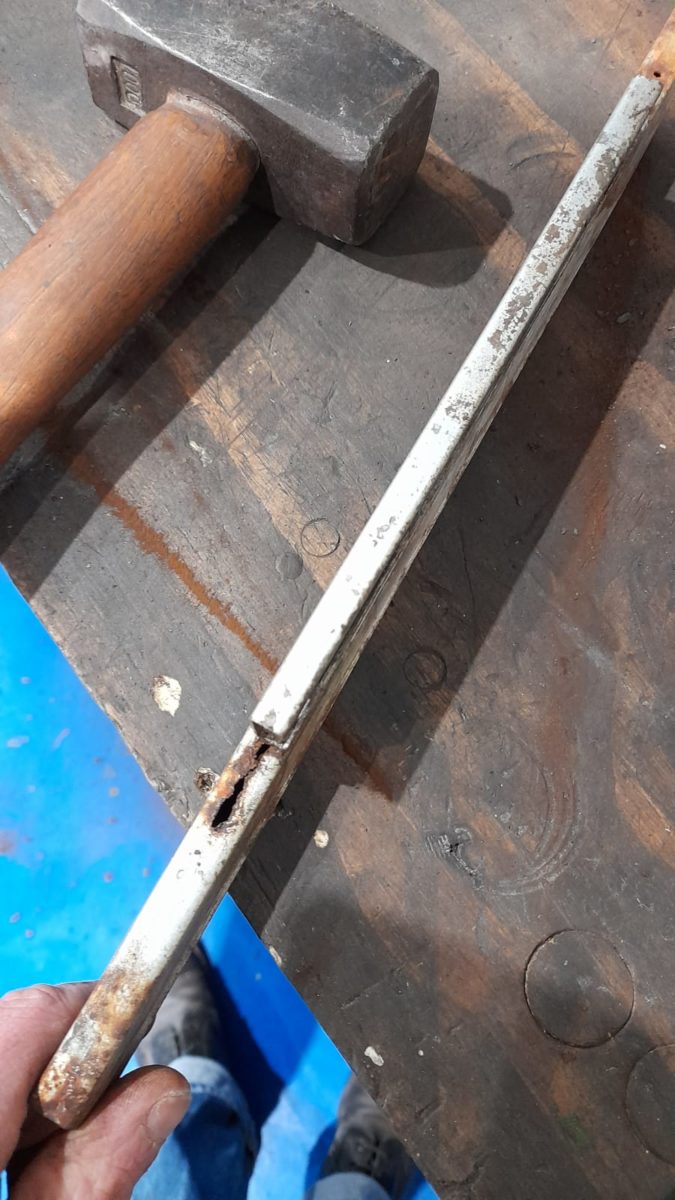
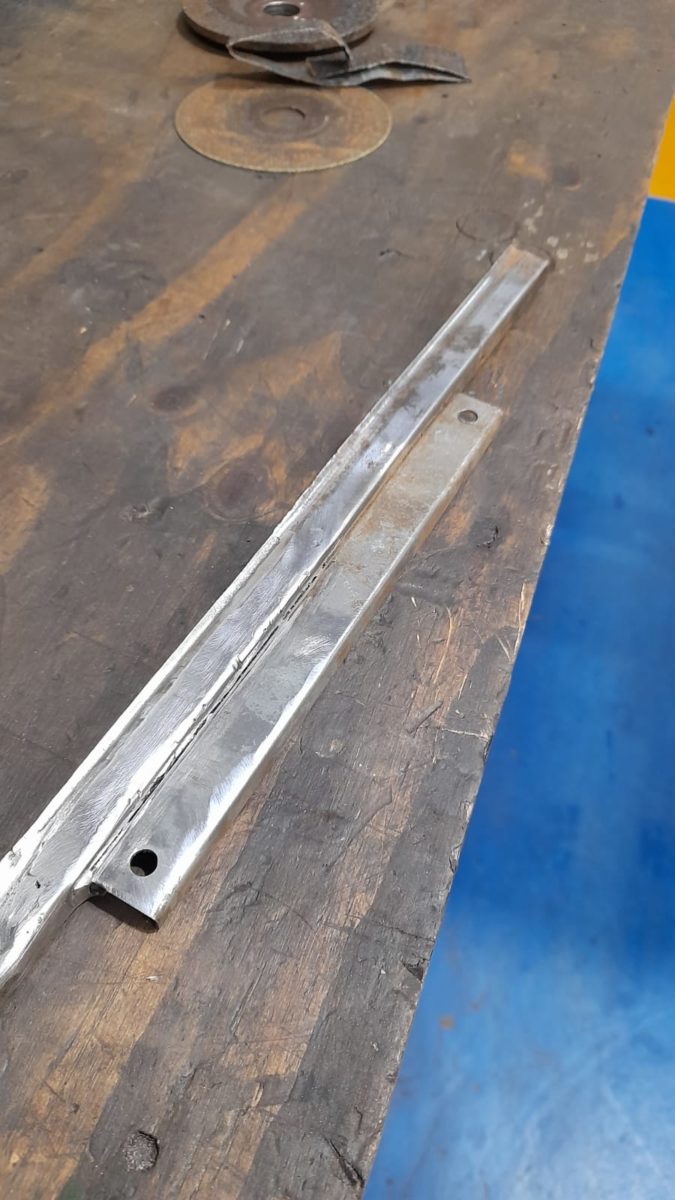
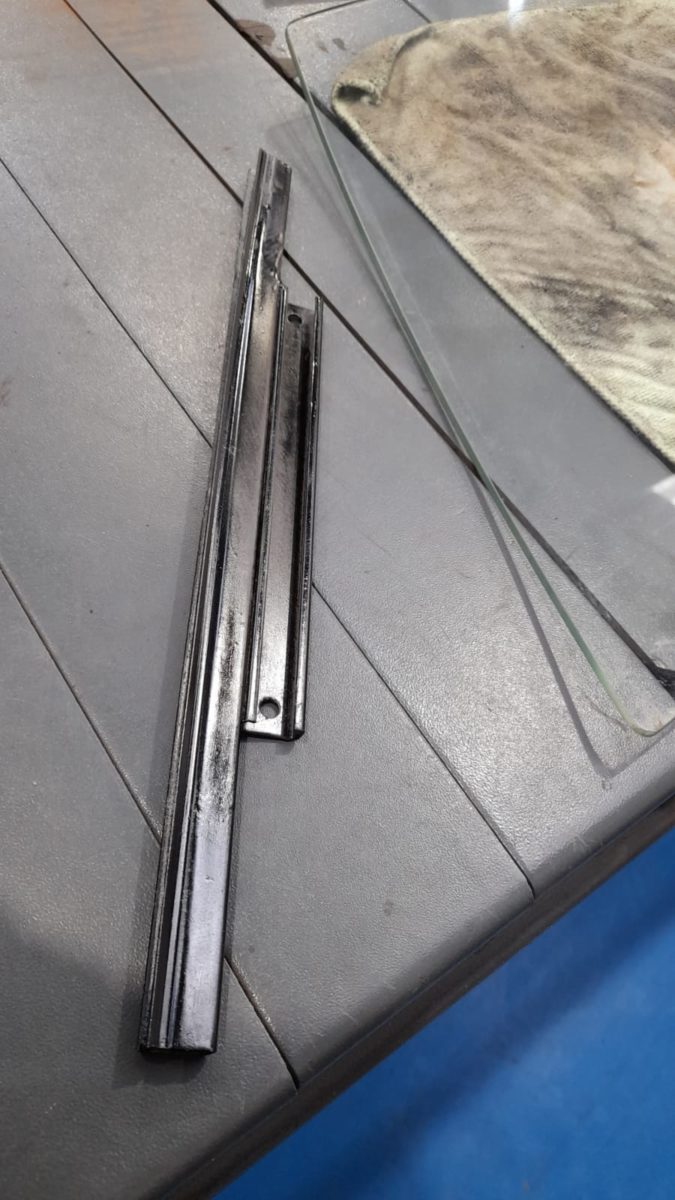
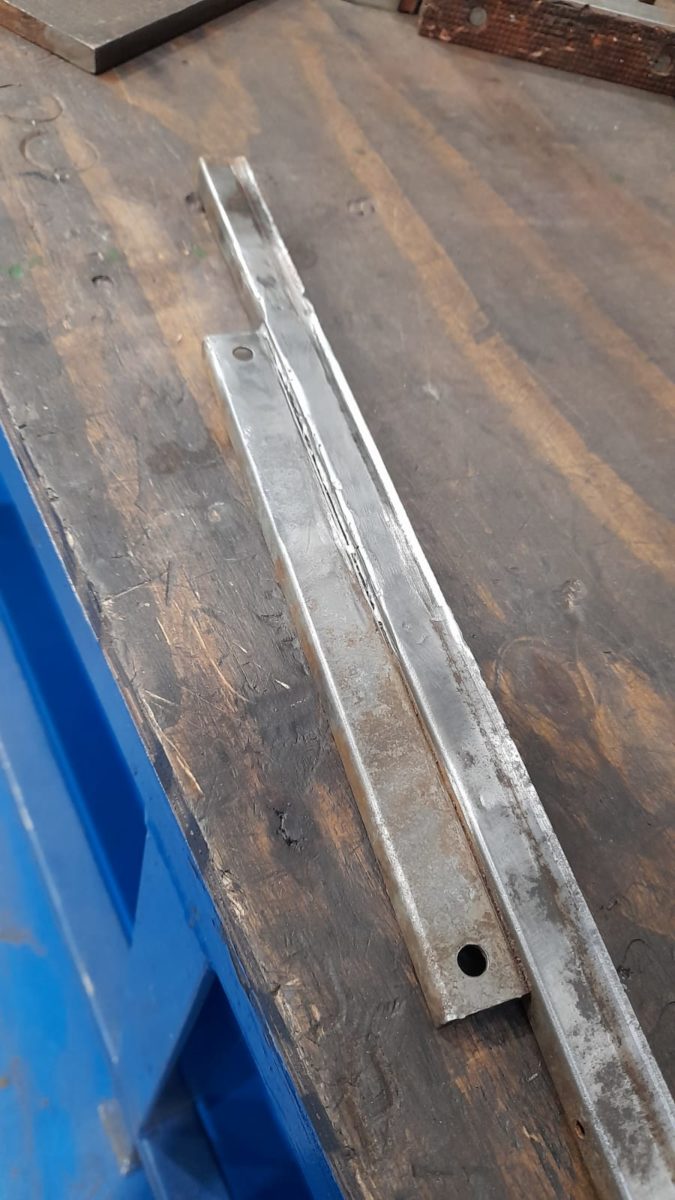
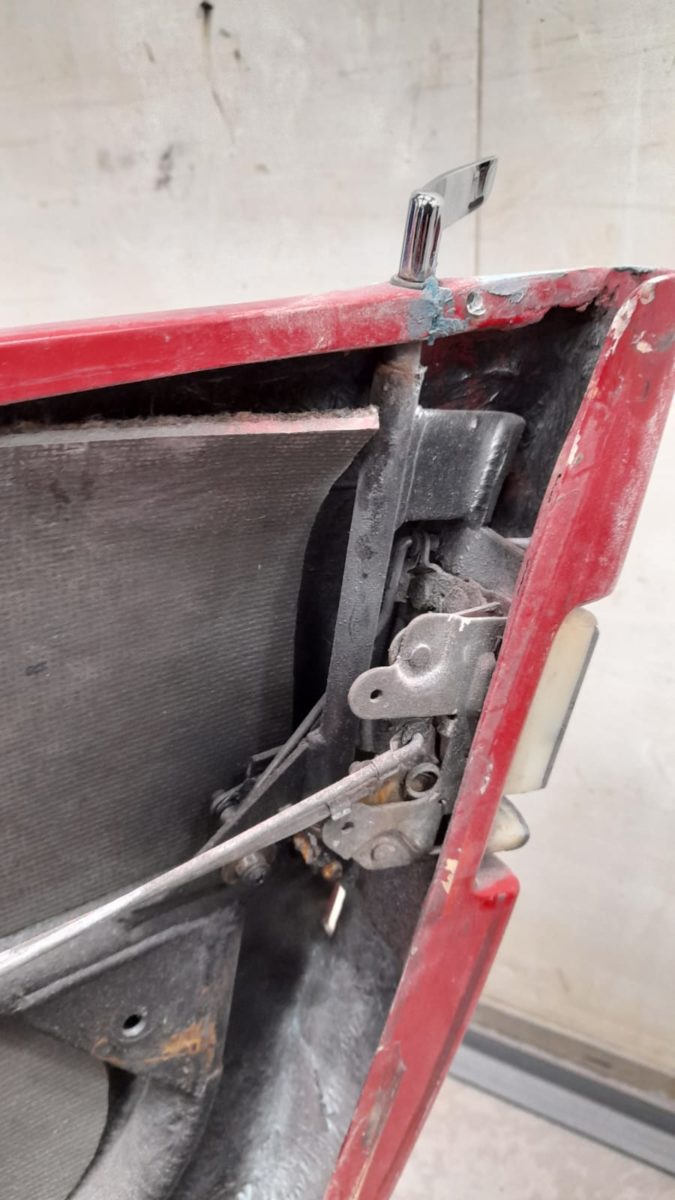
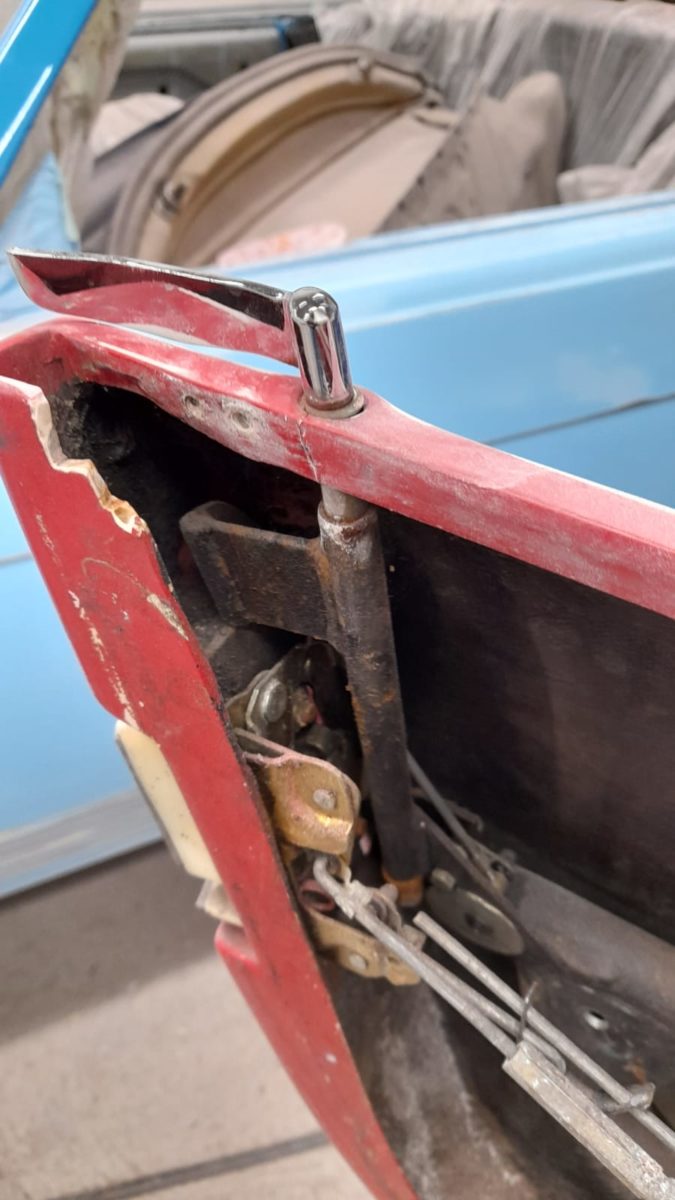
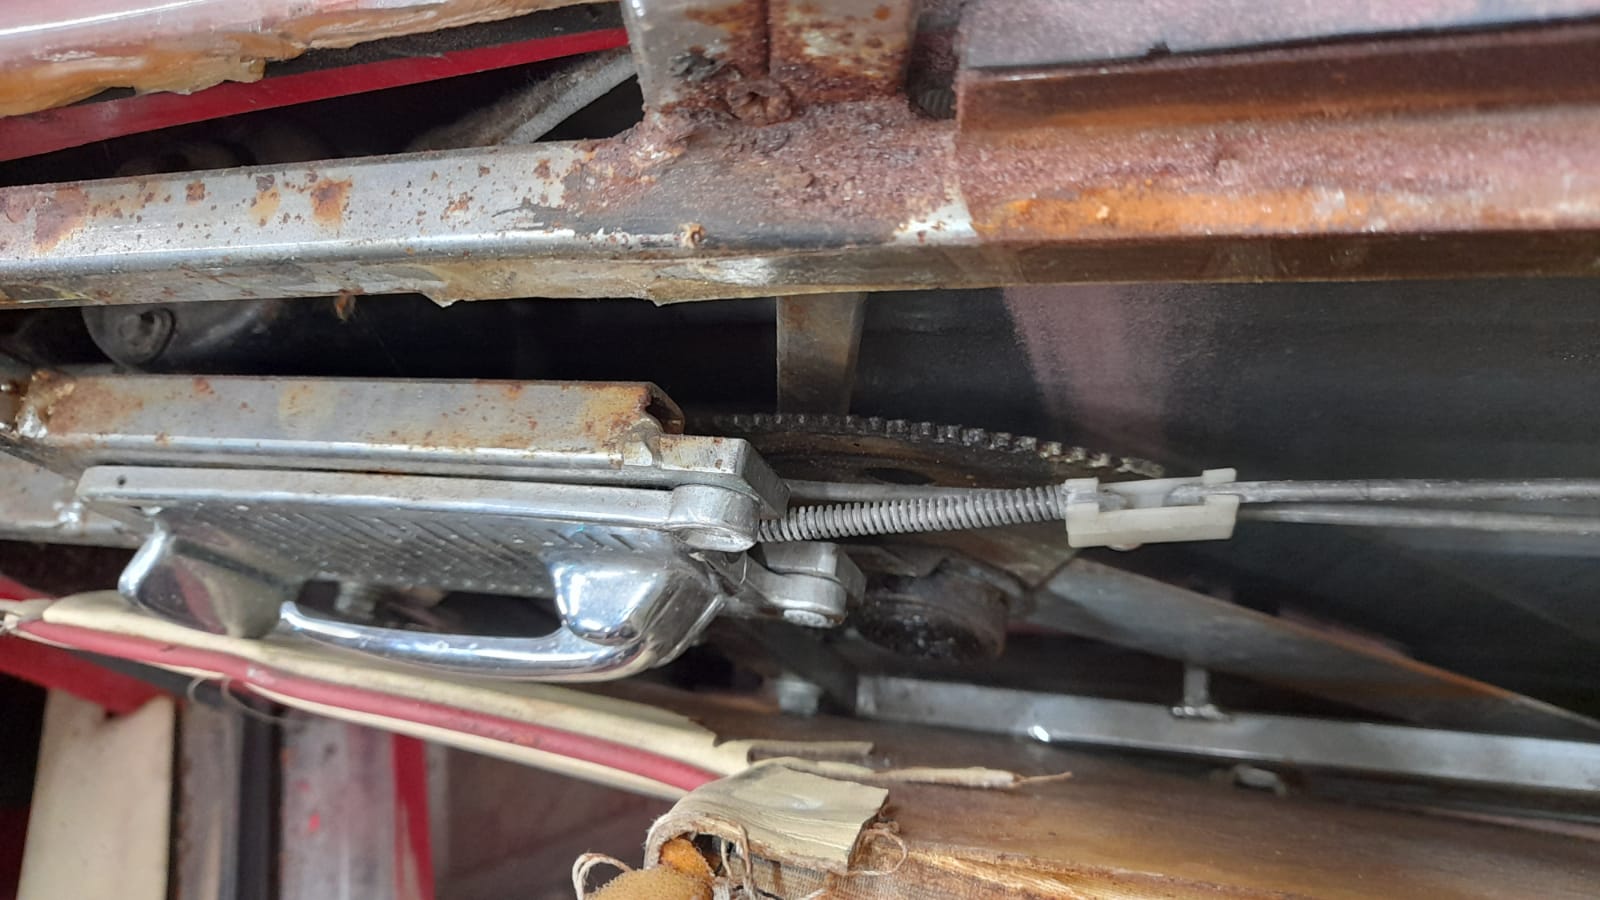
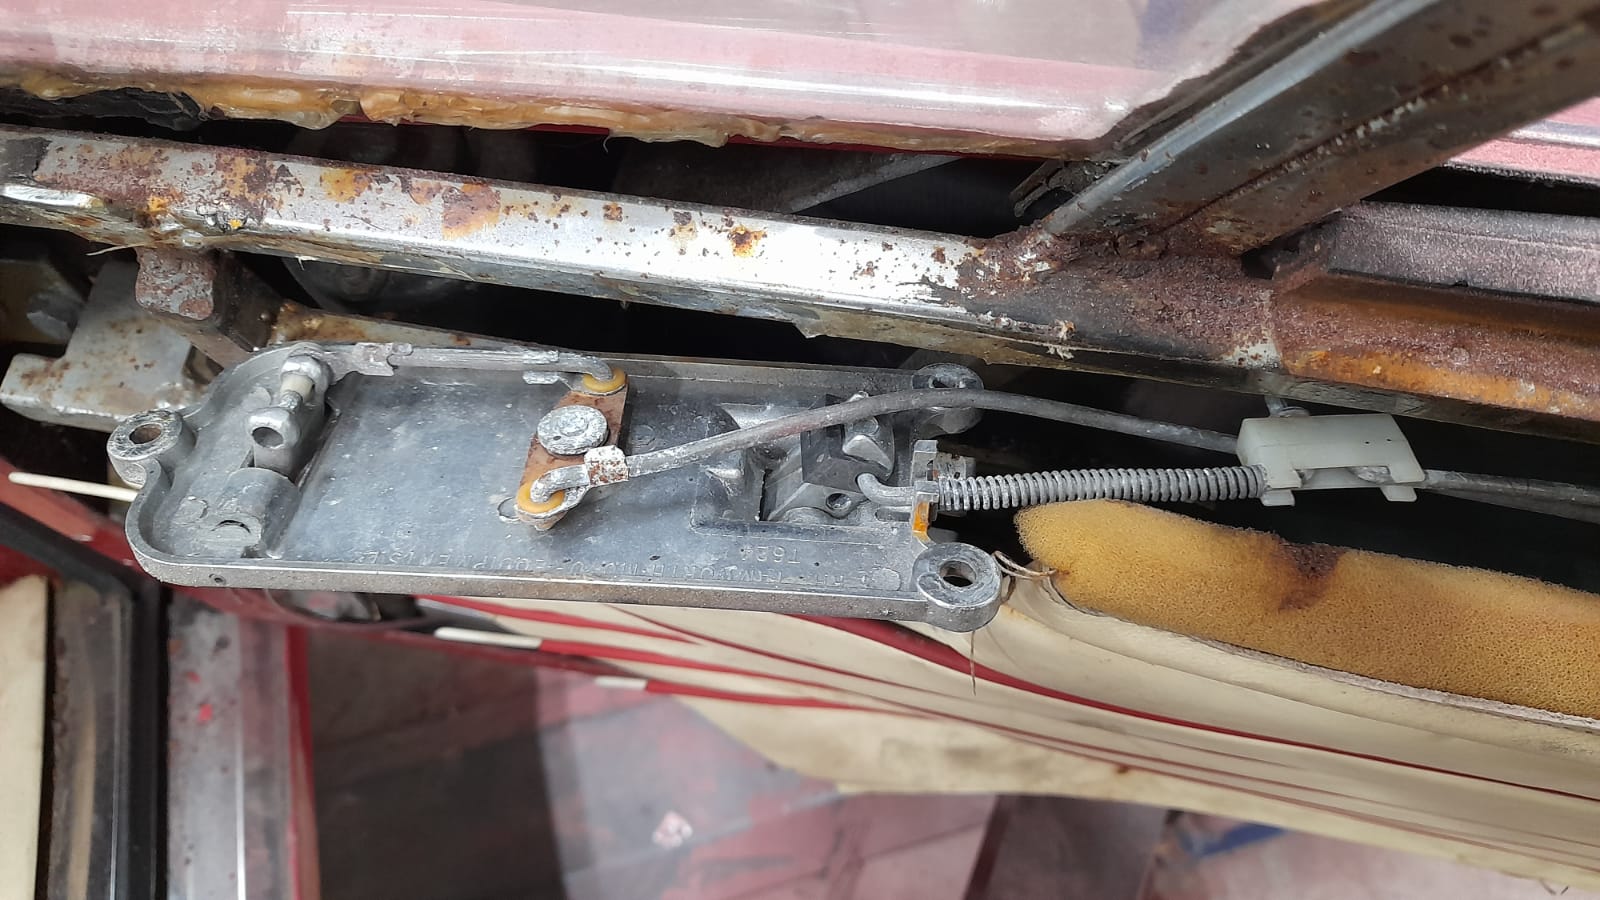
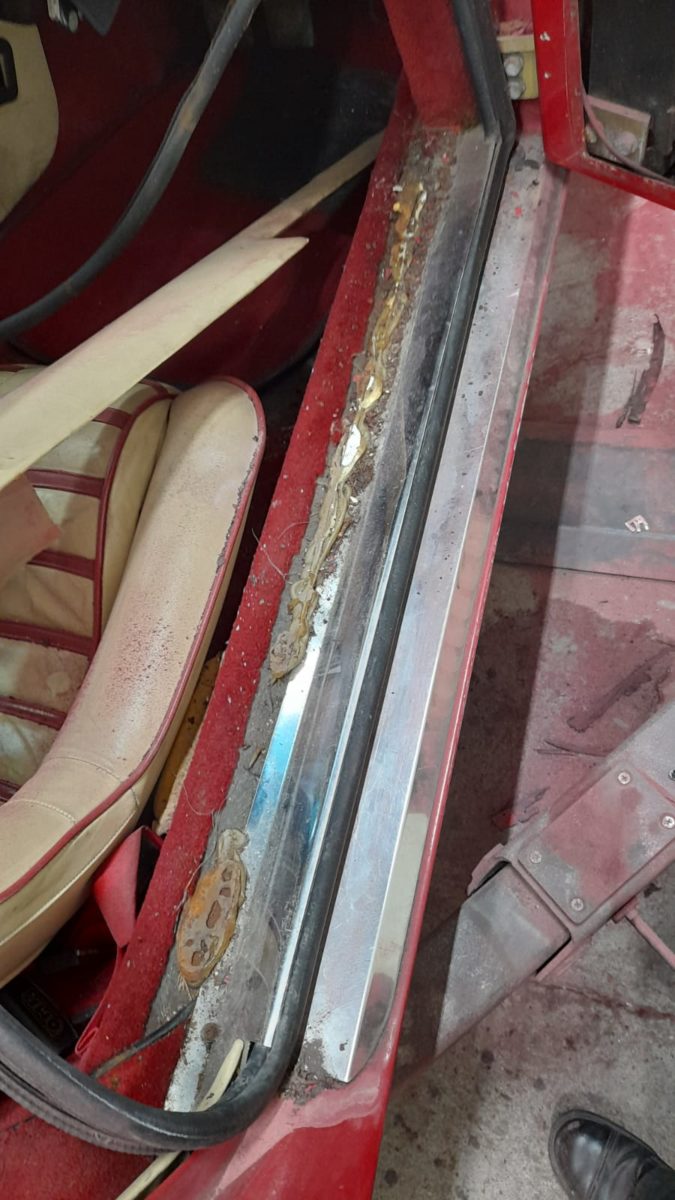
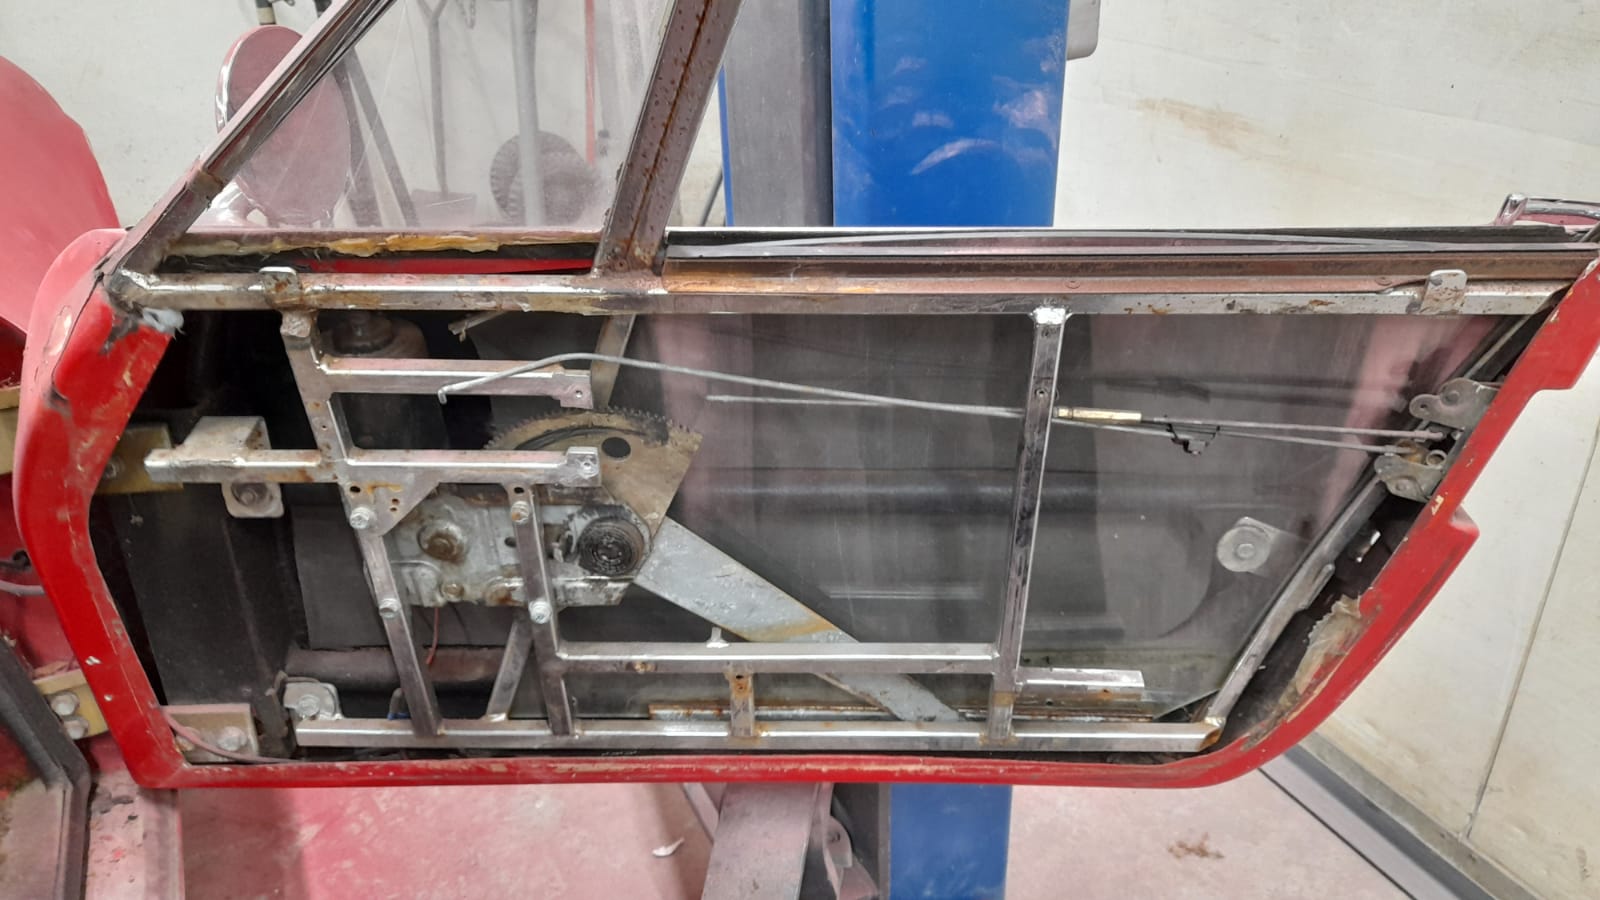
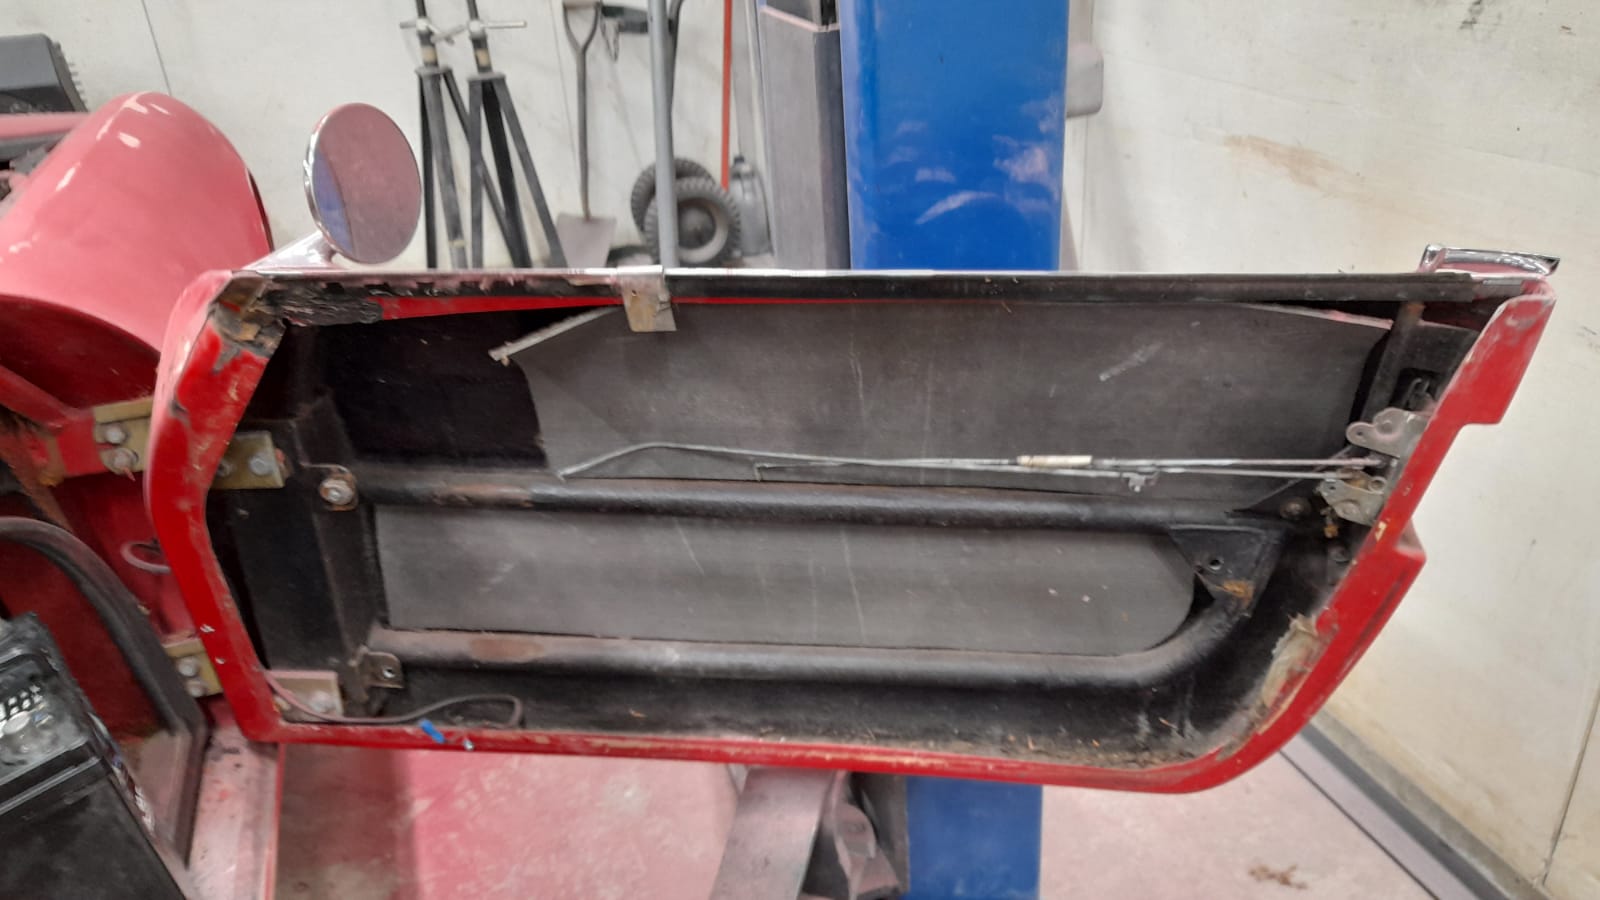
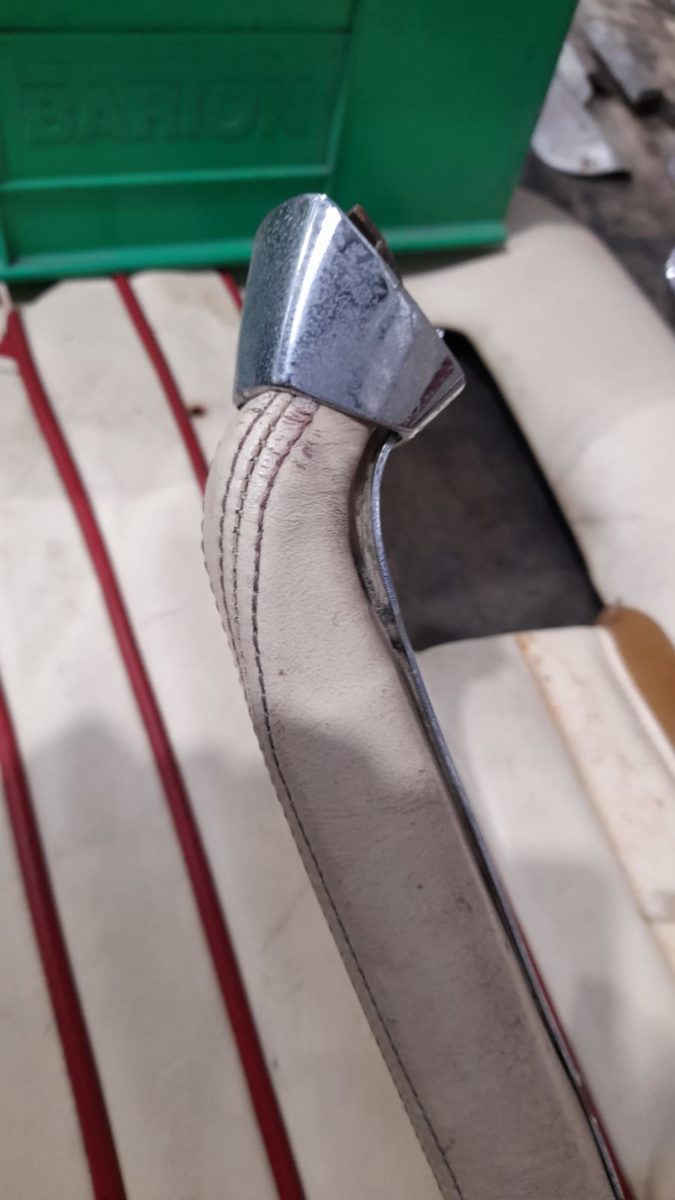
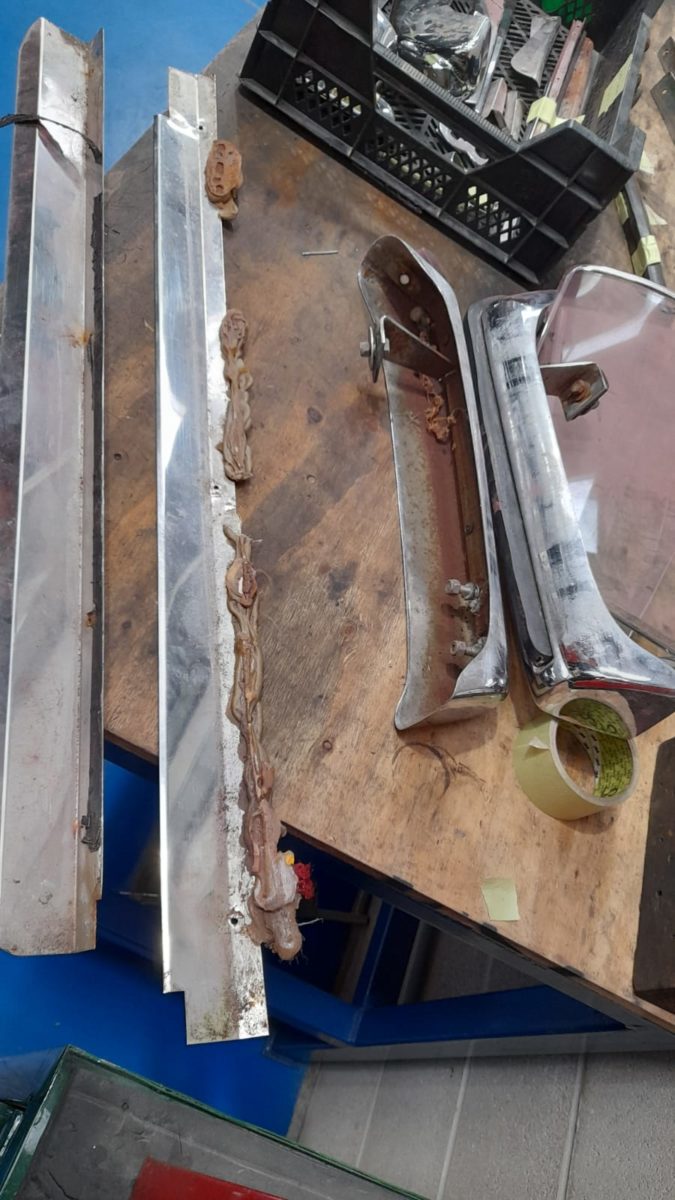
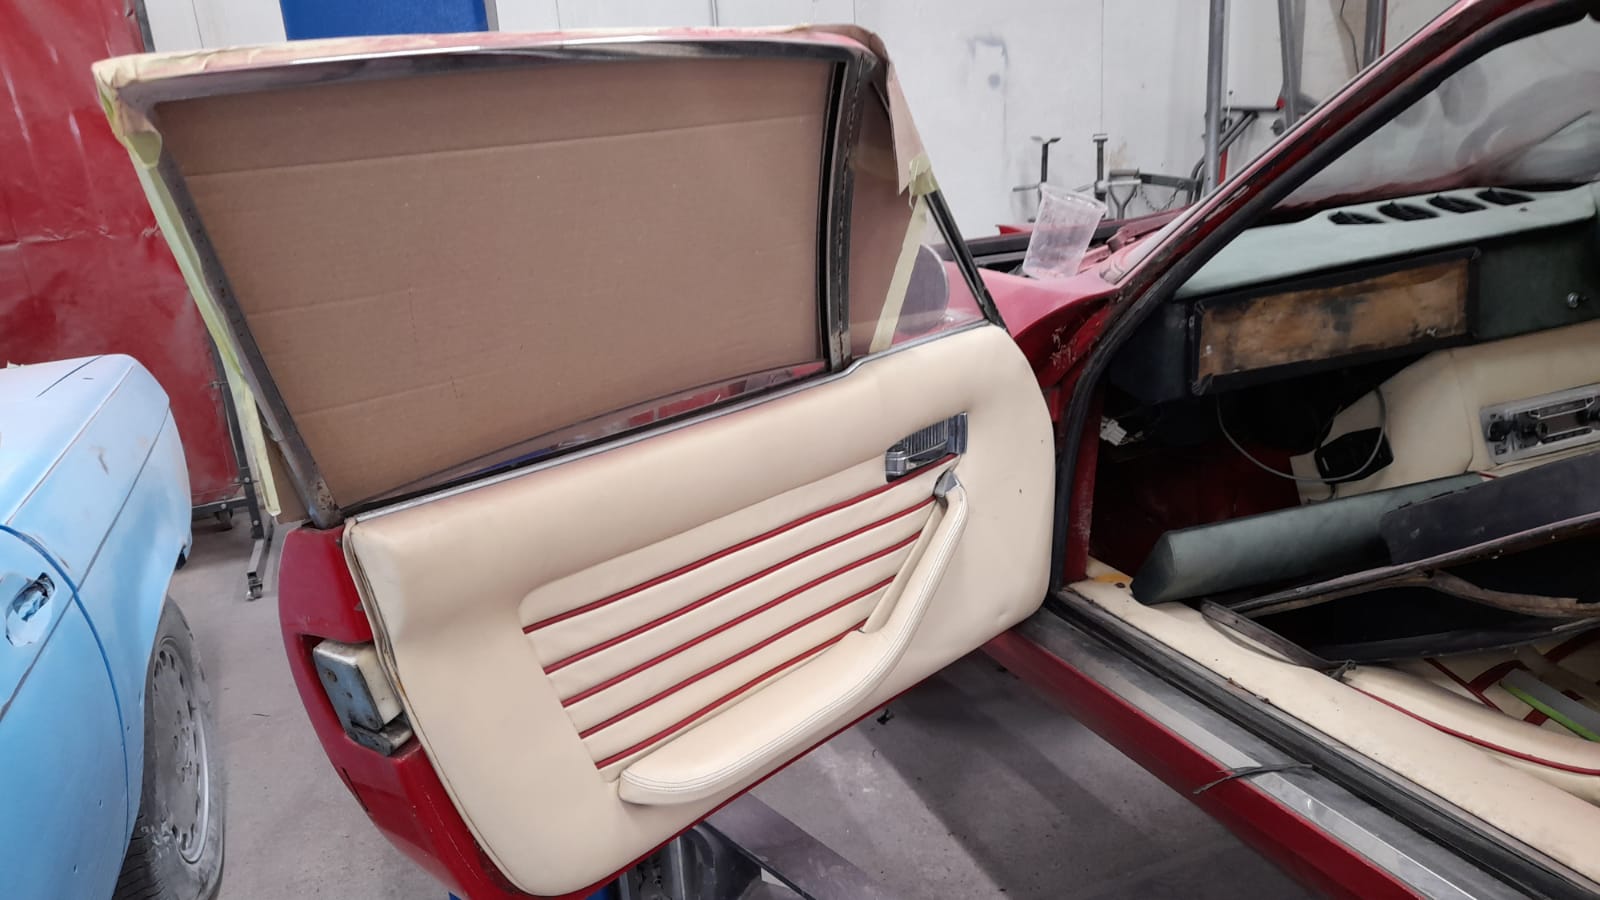
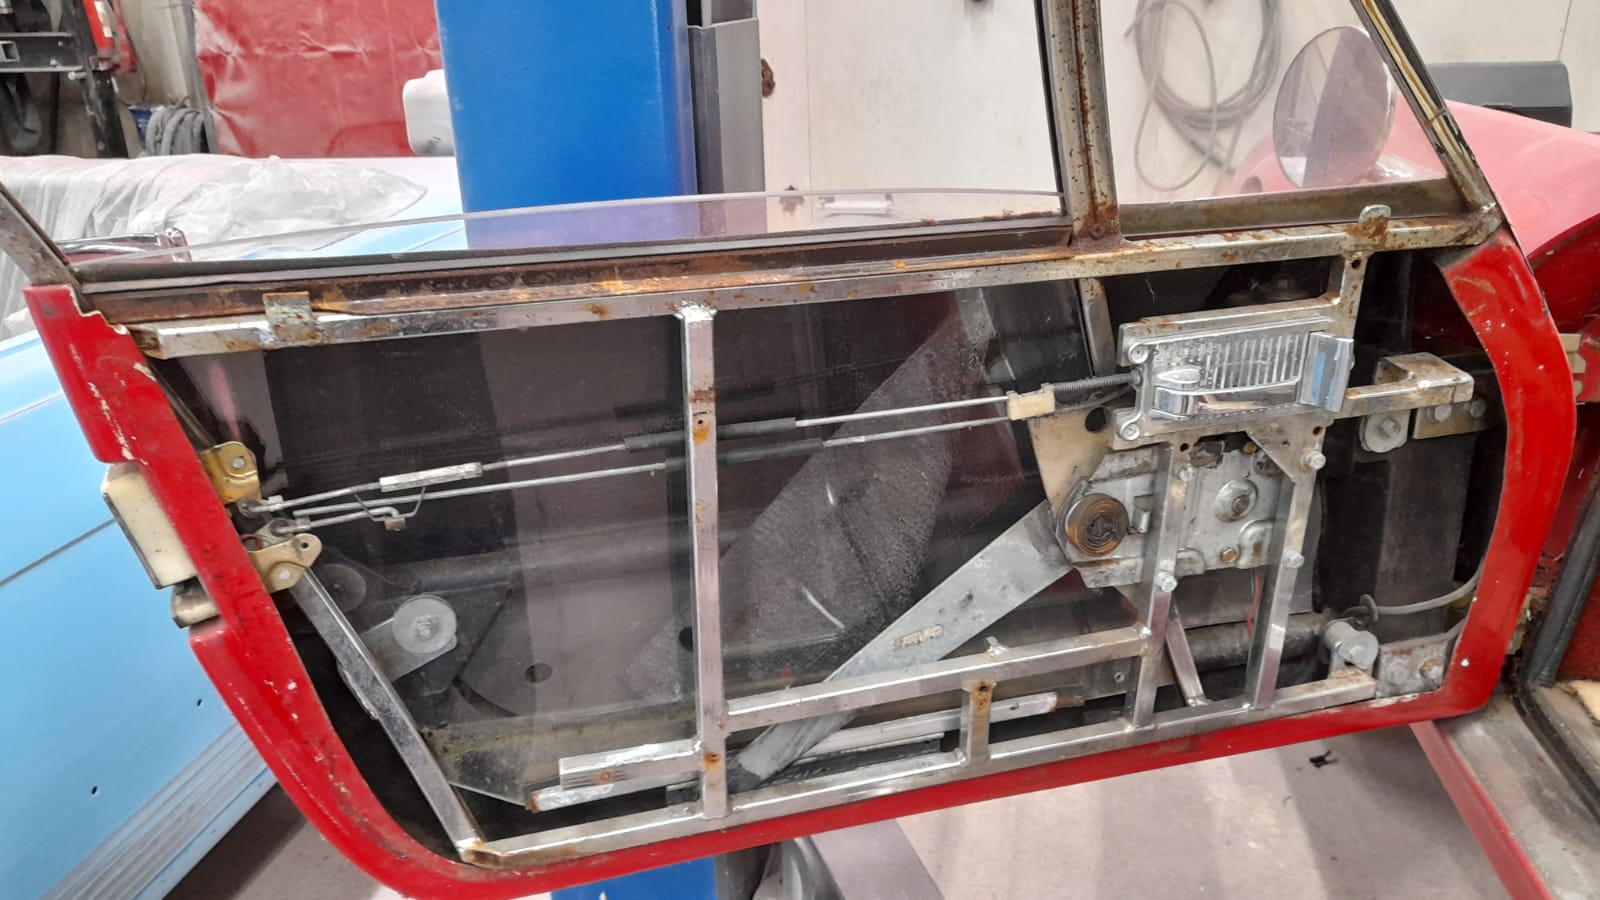
Scott has been working on preparing the Daytona door frames by welding the bottom to correct the rust damage. He’s essentially grounding out the rotten parts before we send it off to chrome.

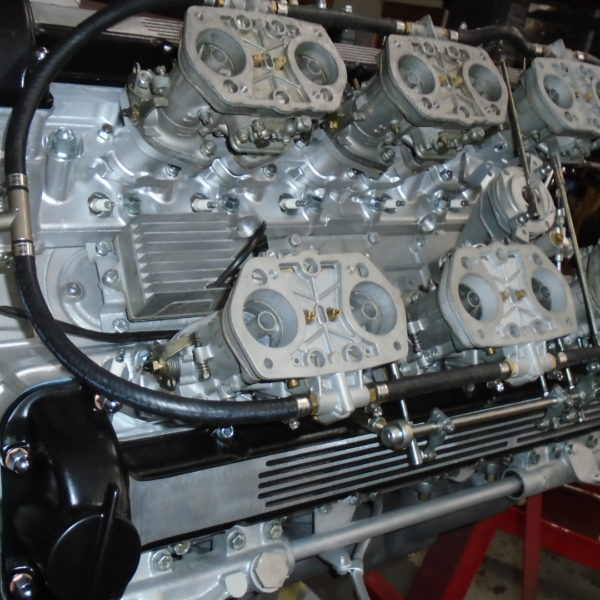
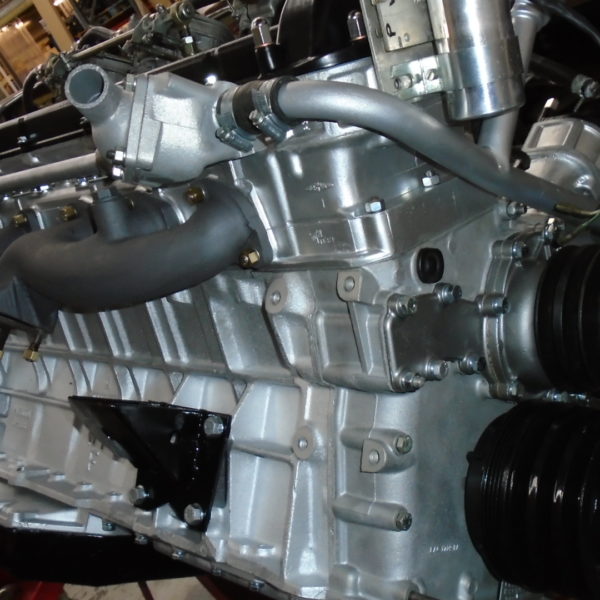
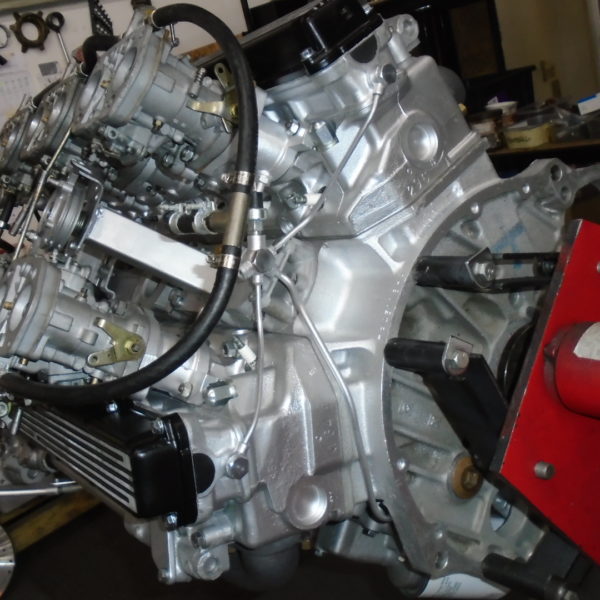
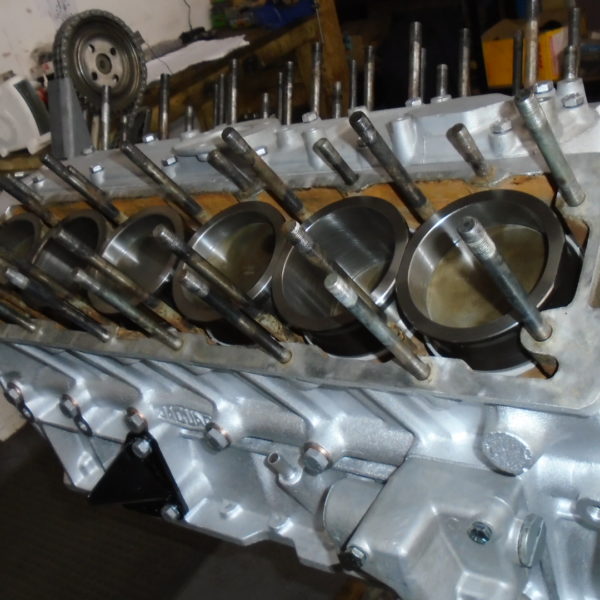
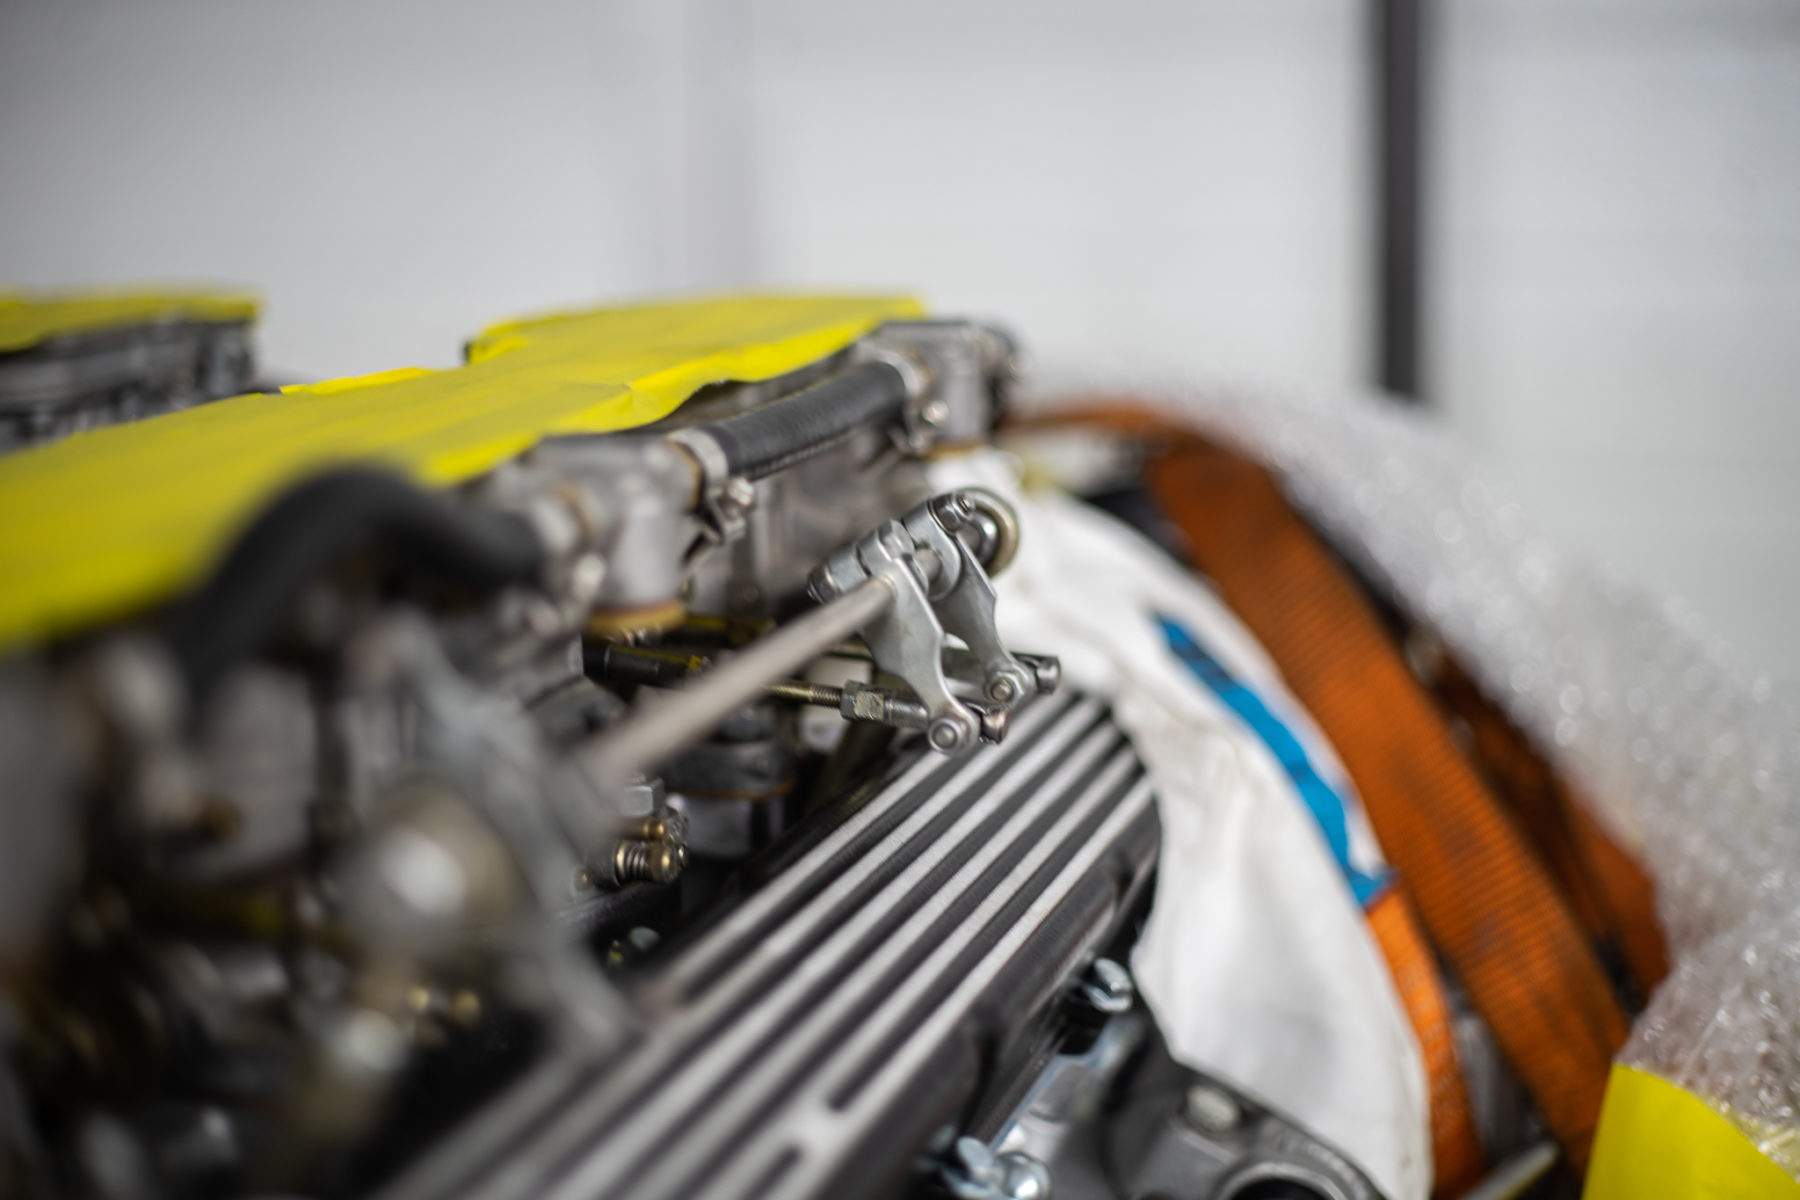
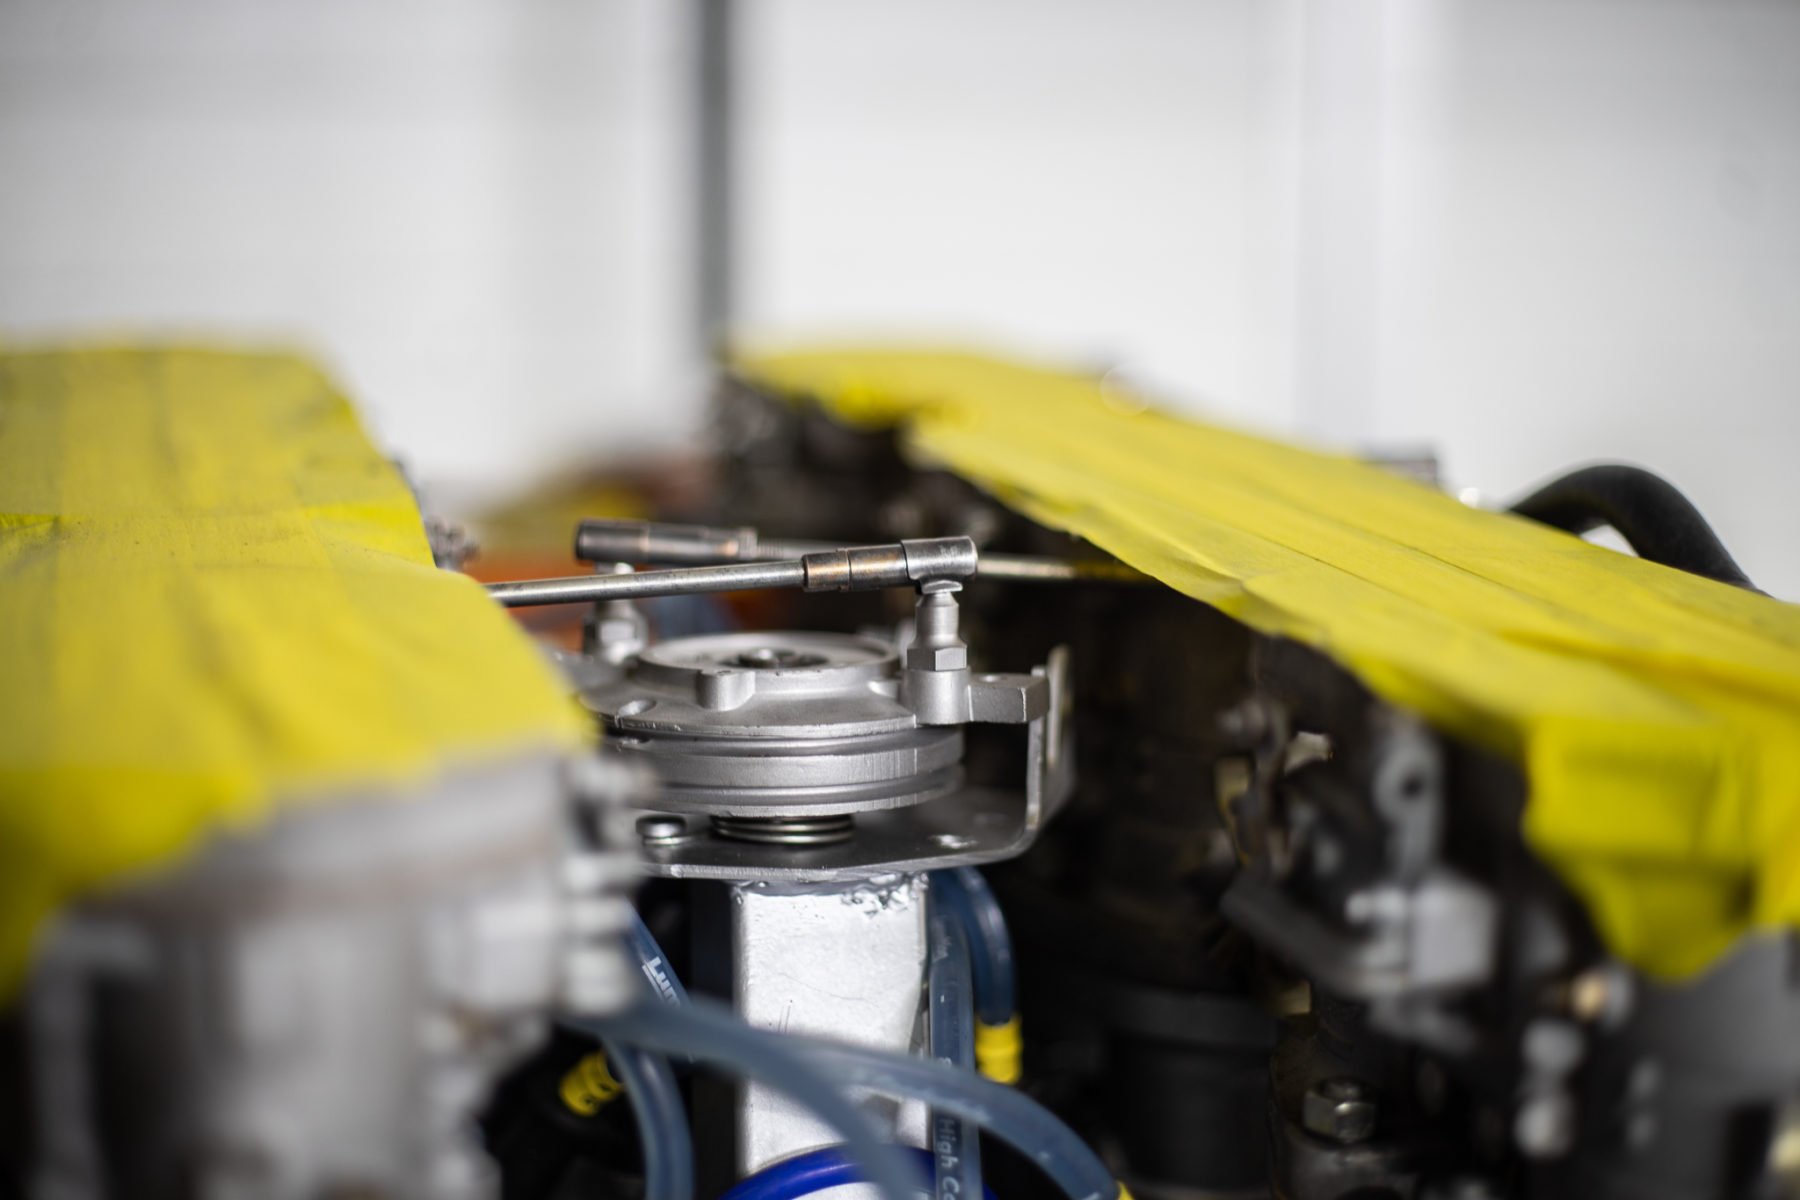
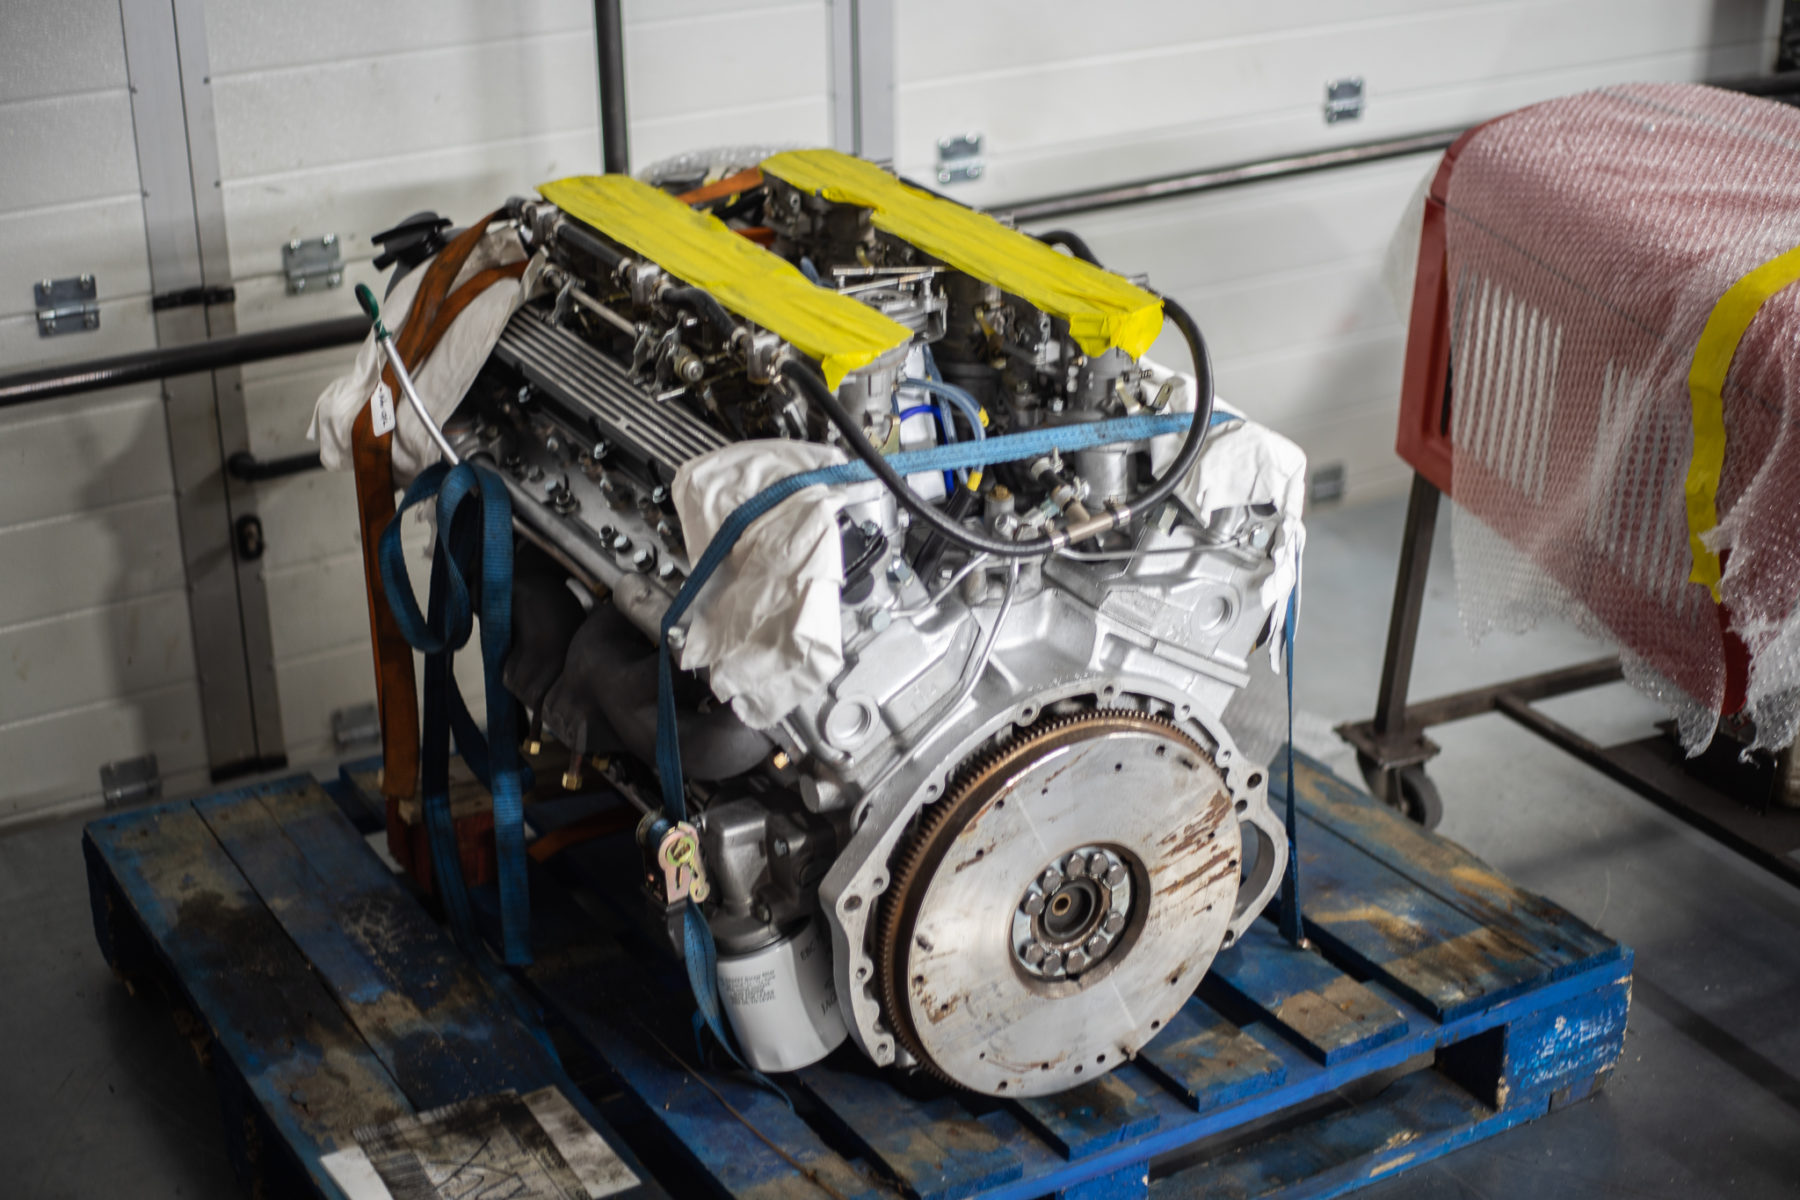
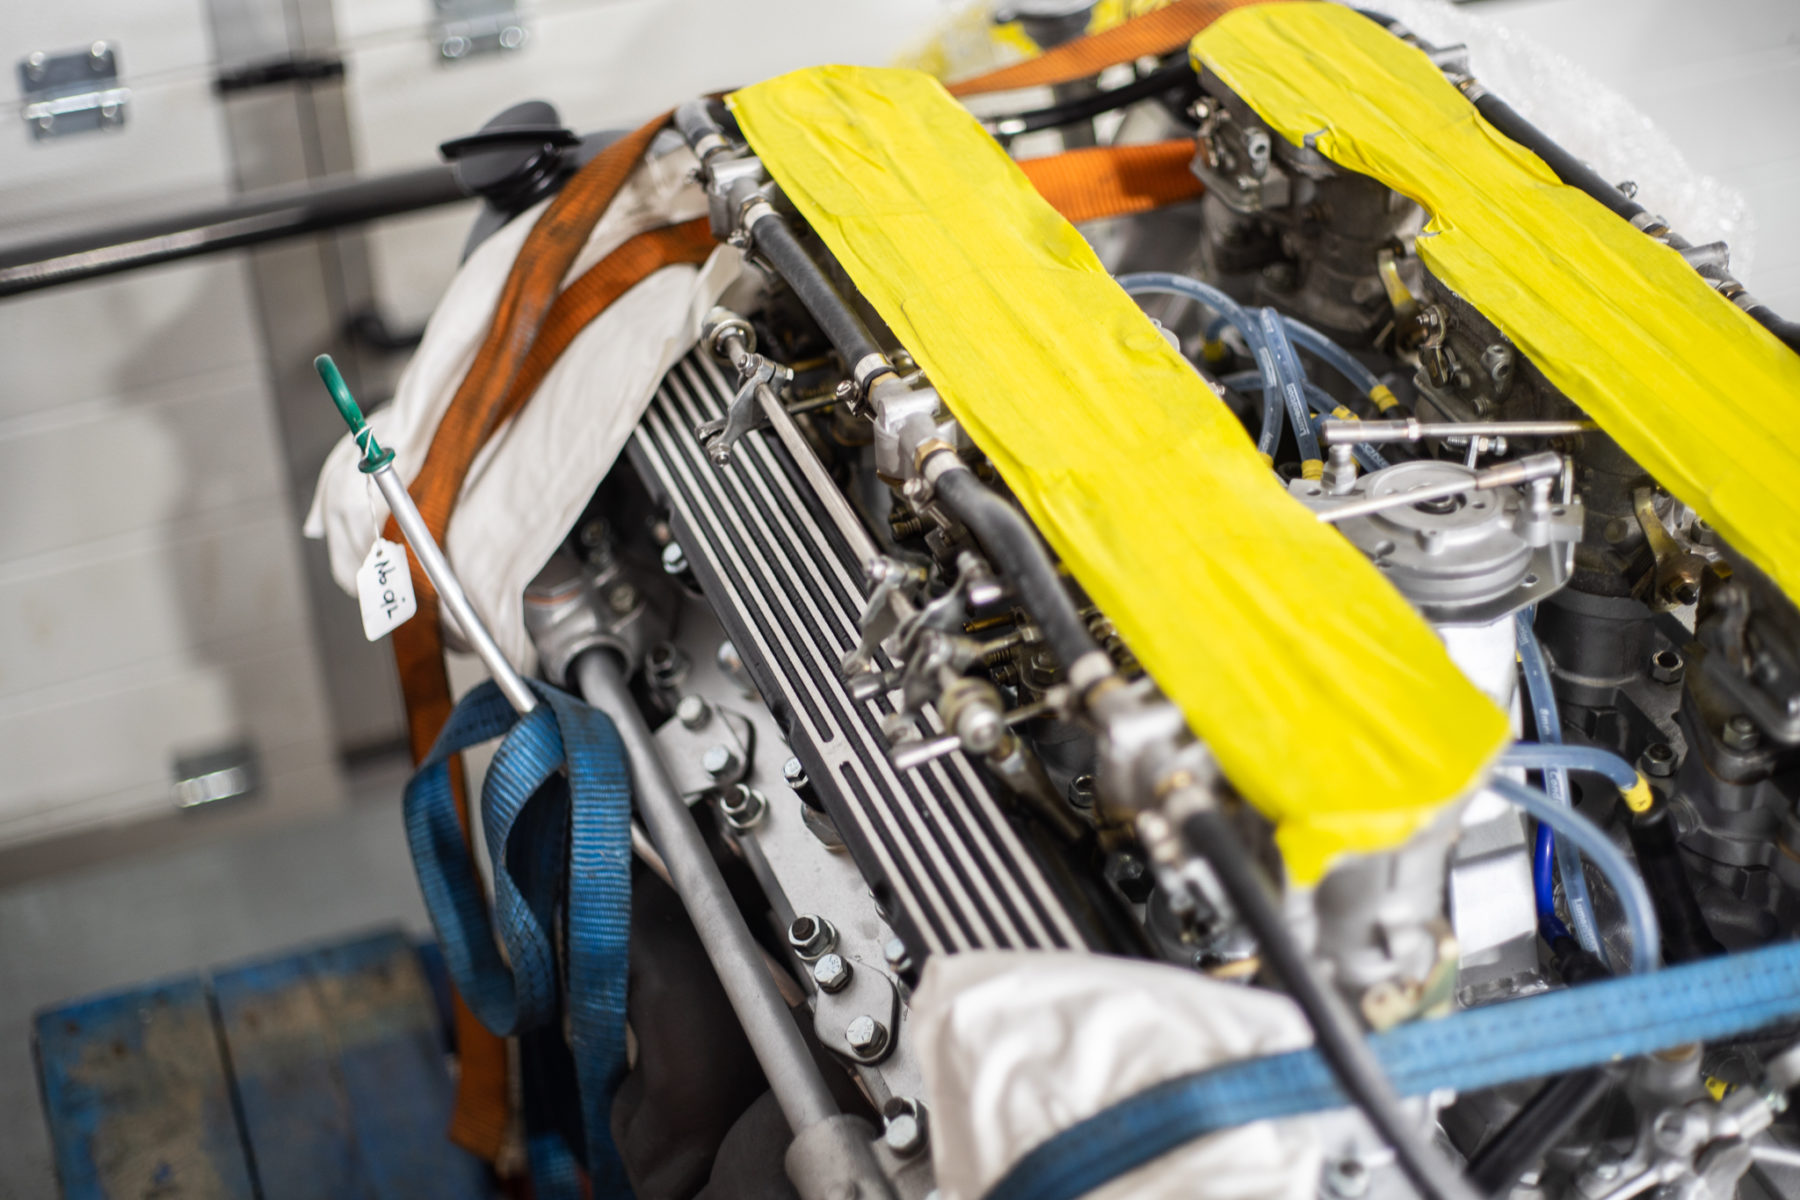
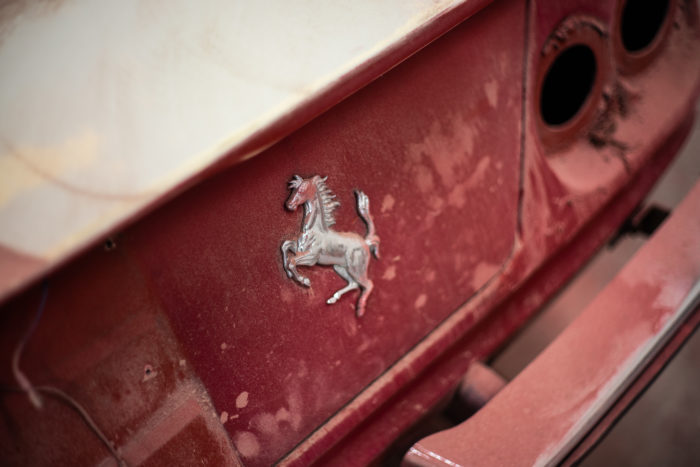
Here’s a closer look at the Daytona engine we have sat here waiting to be installed. This huge piece of machinery is what gives the Daytona its iconic power.
Tom has been stripping down the rear axel by cleaning and preparing it to be refurbished.

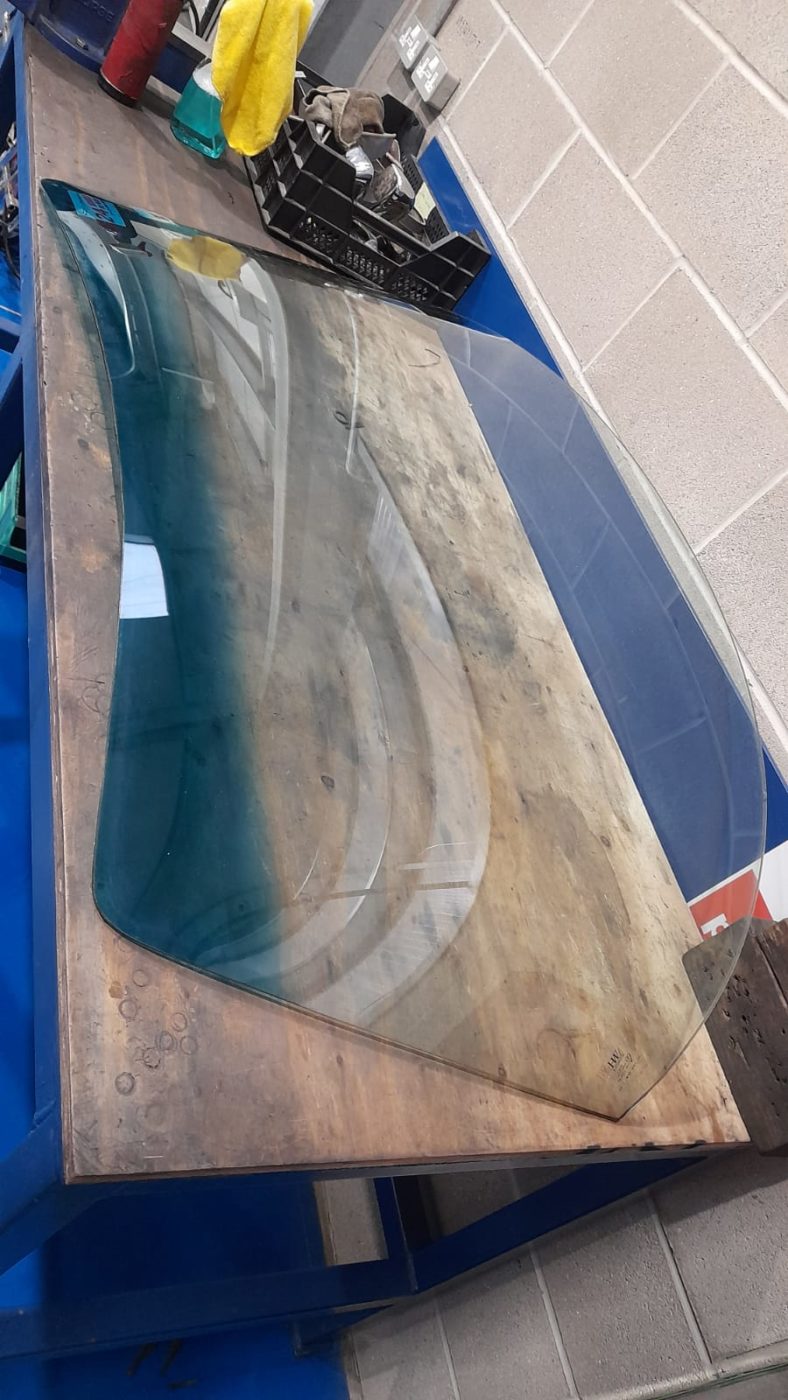
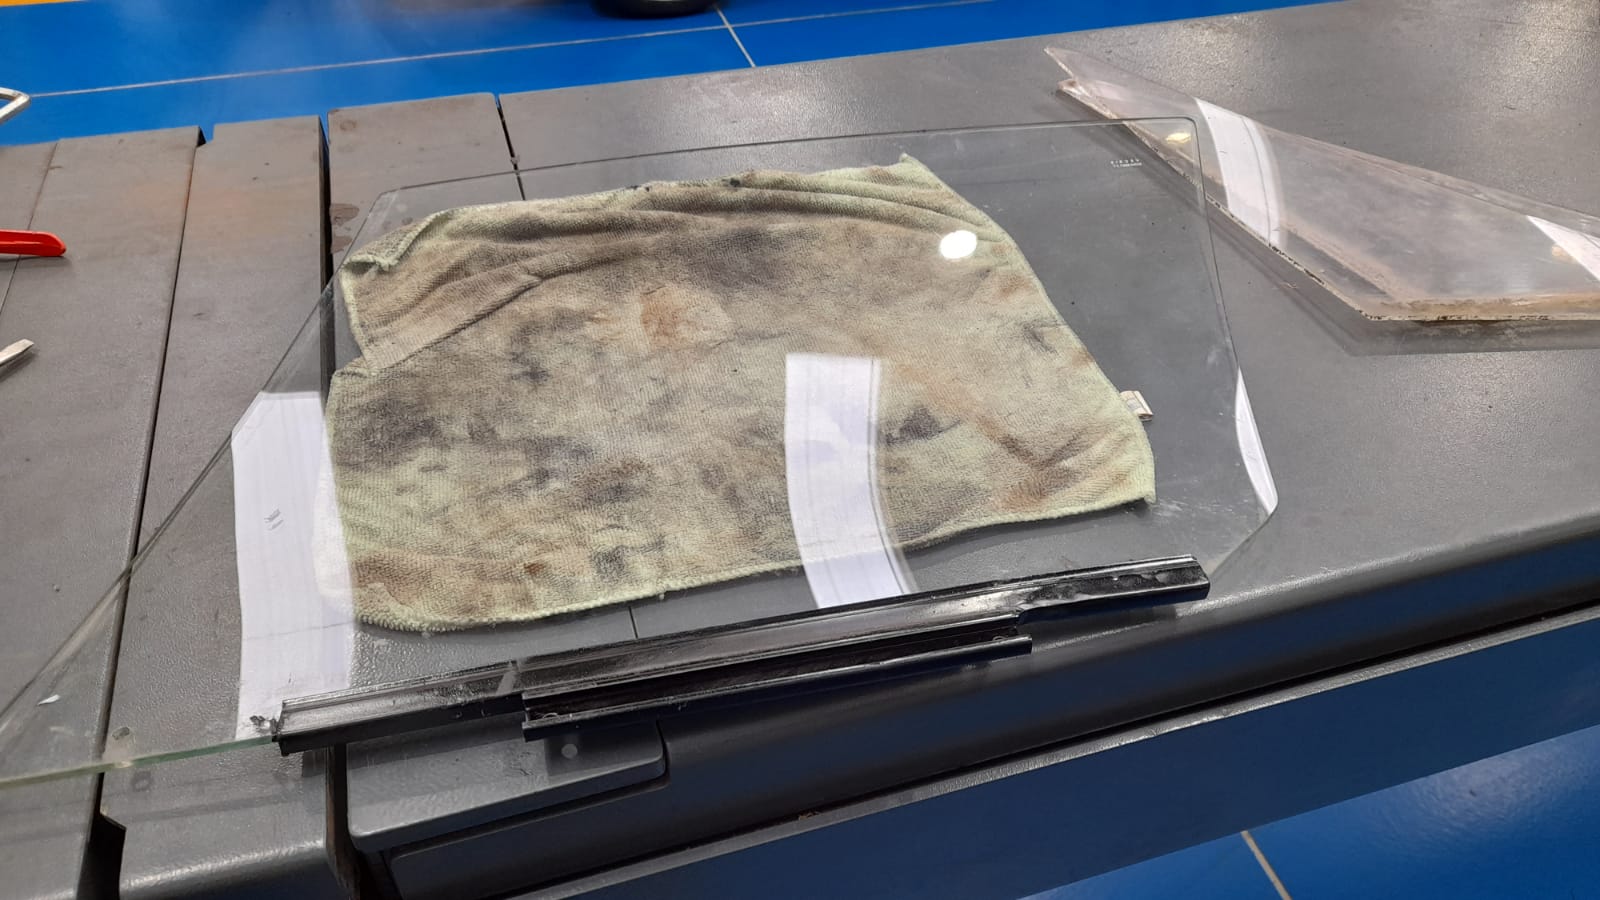
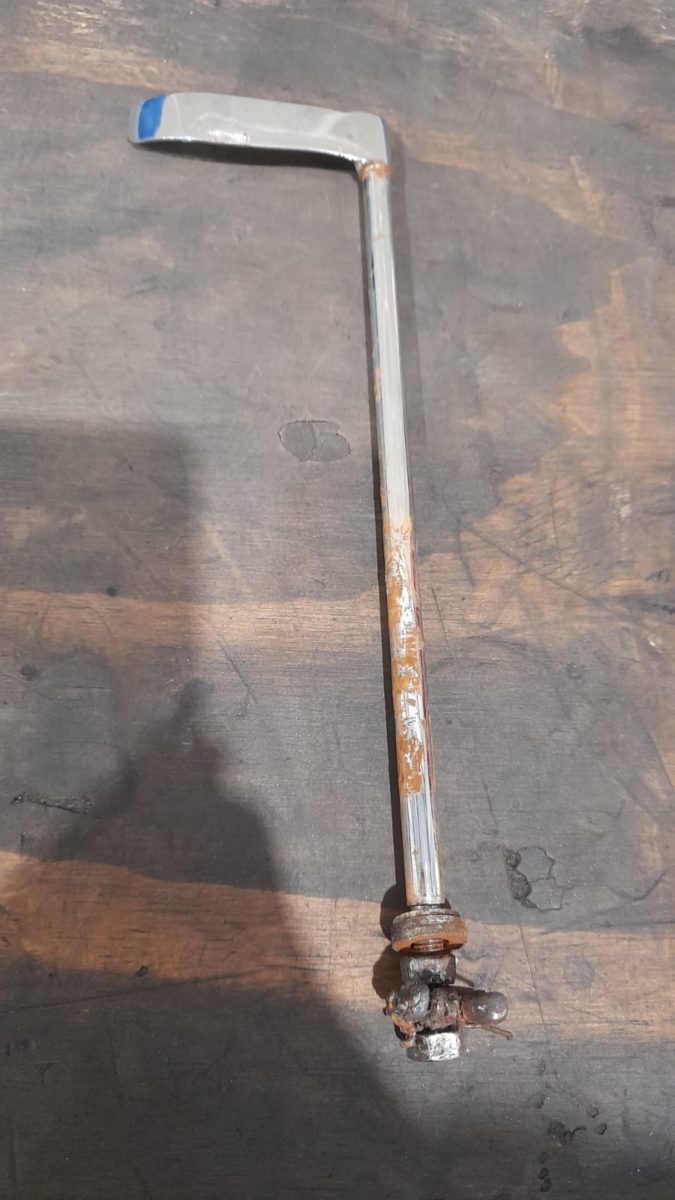
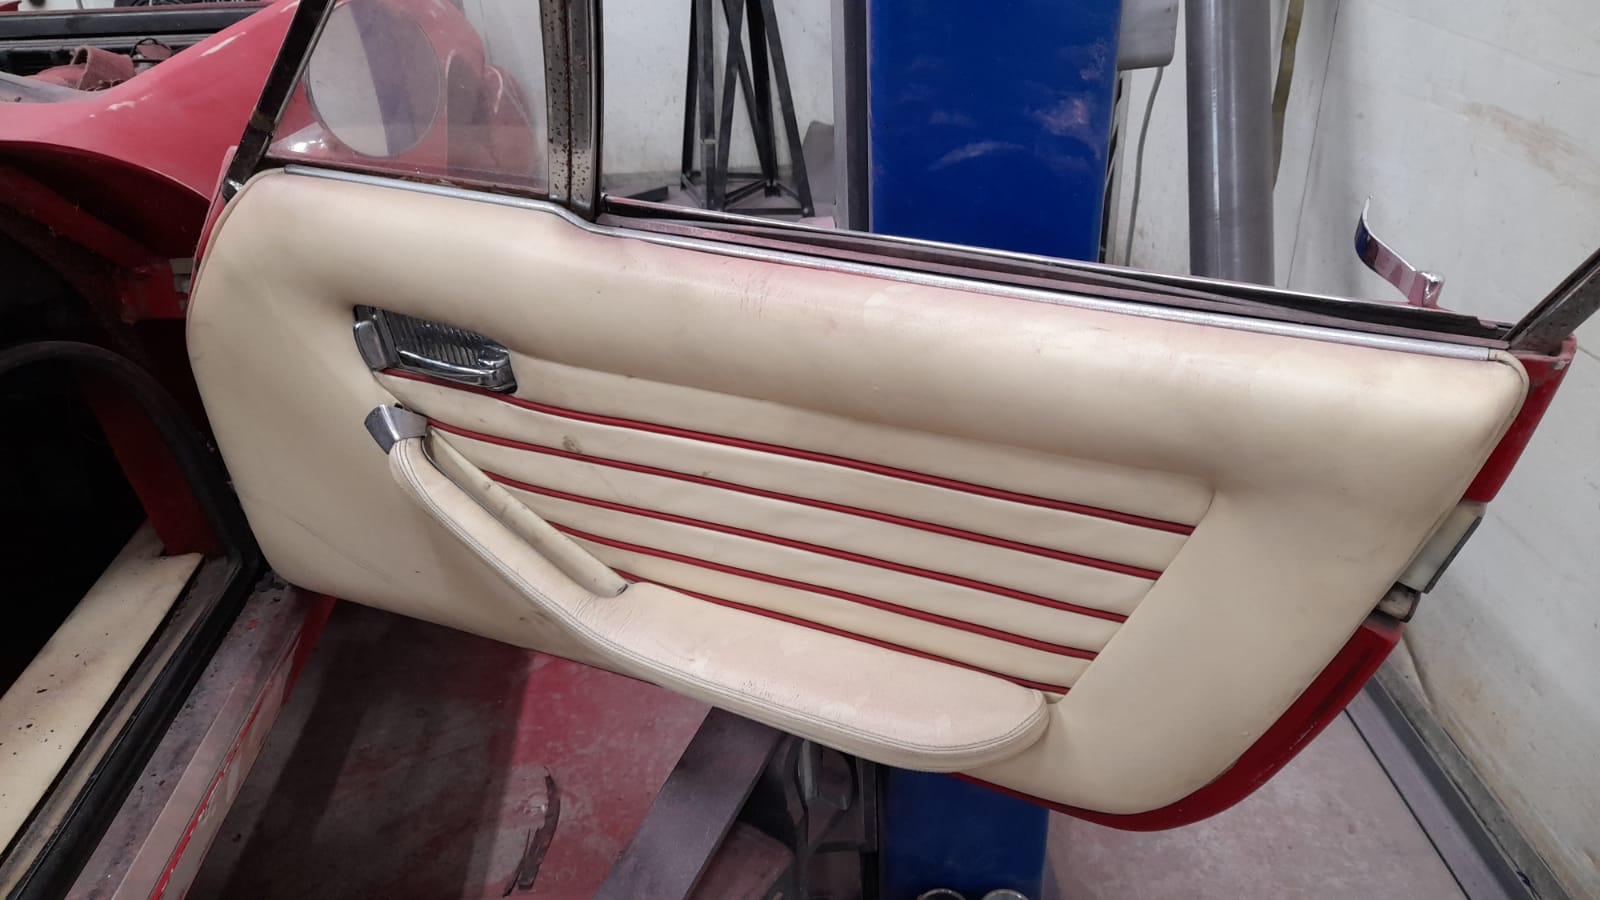
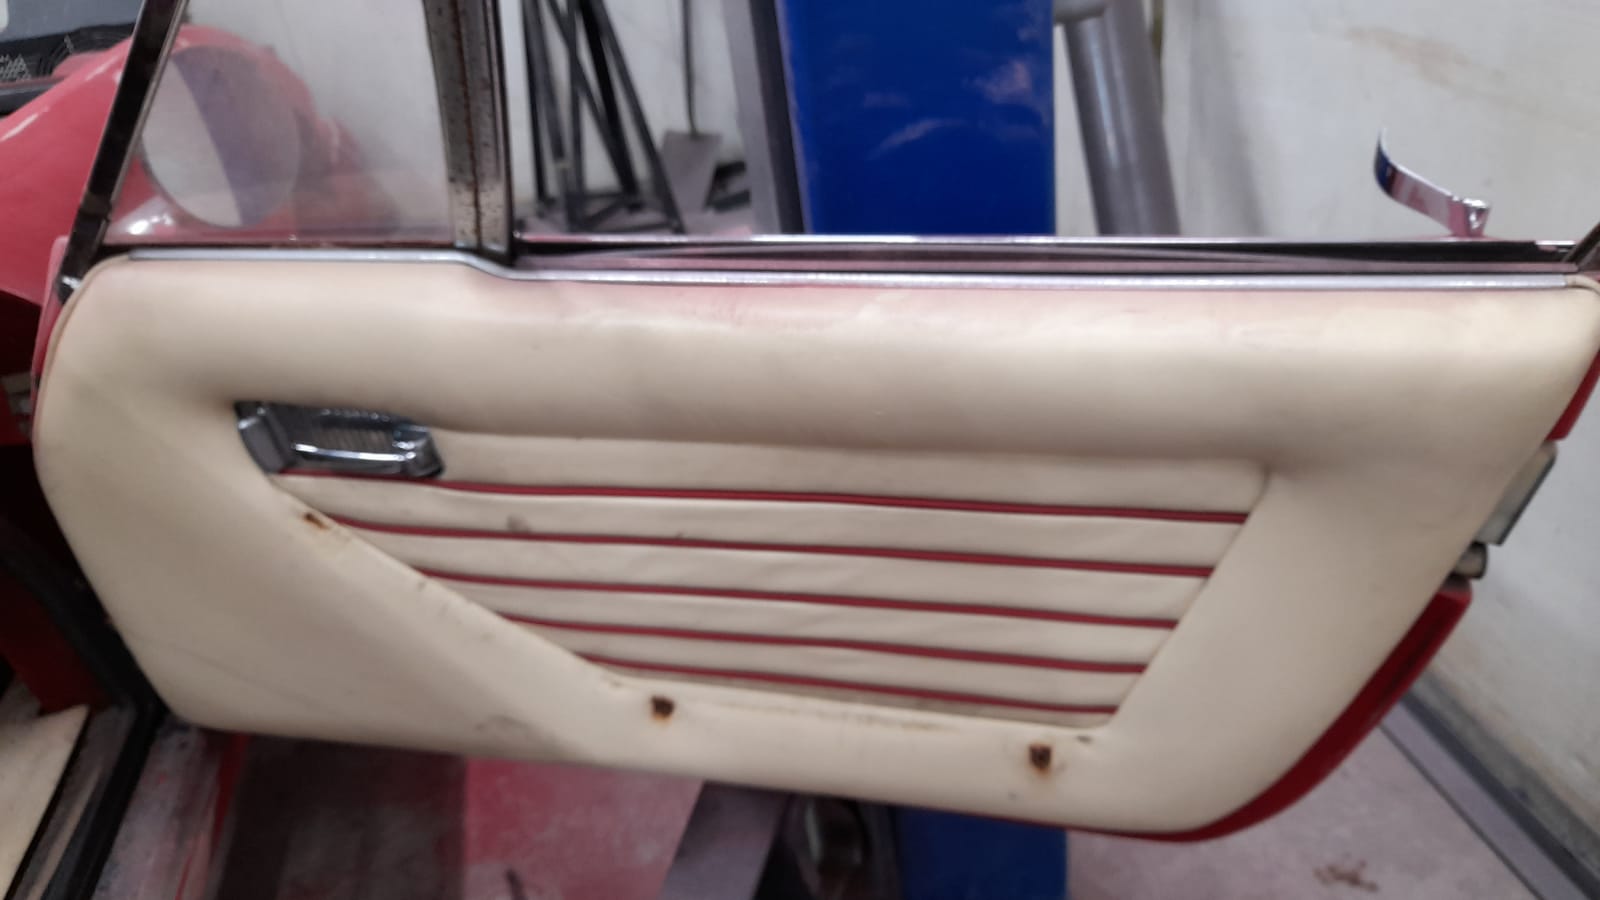
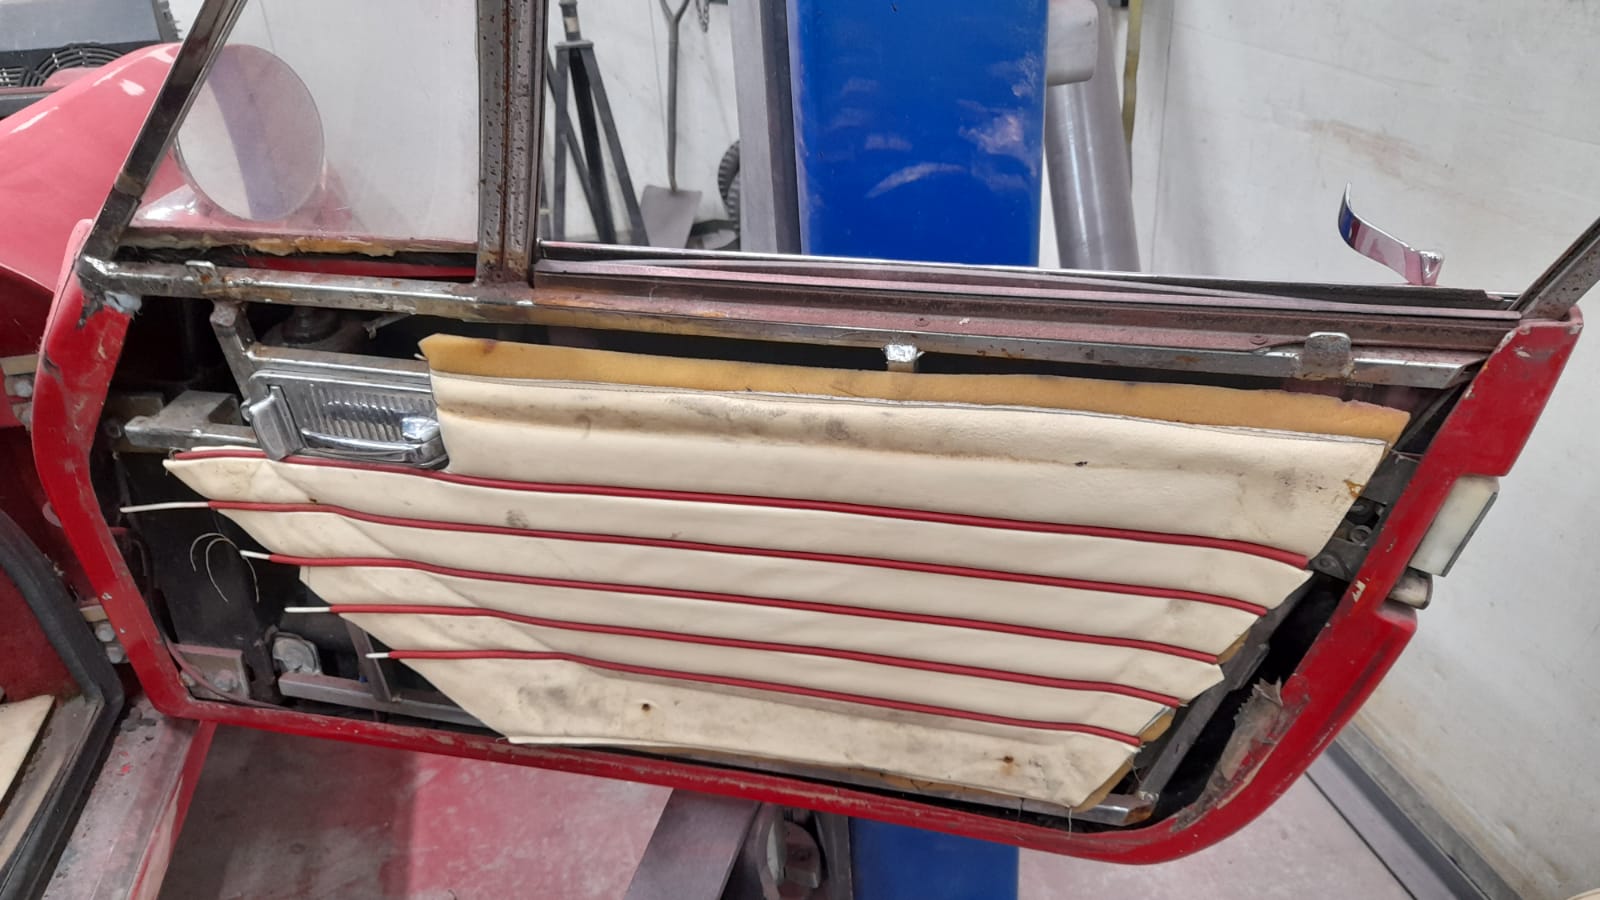
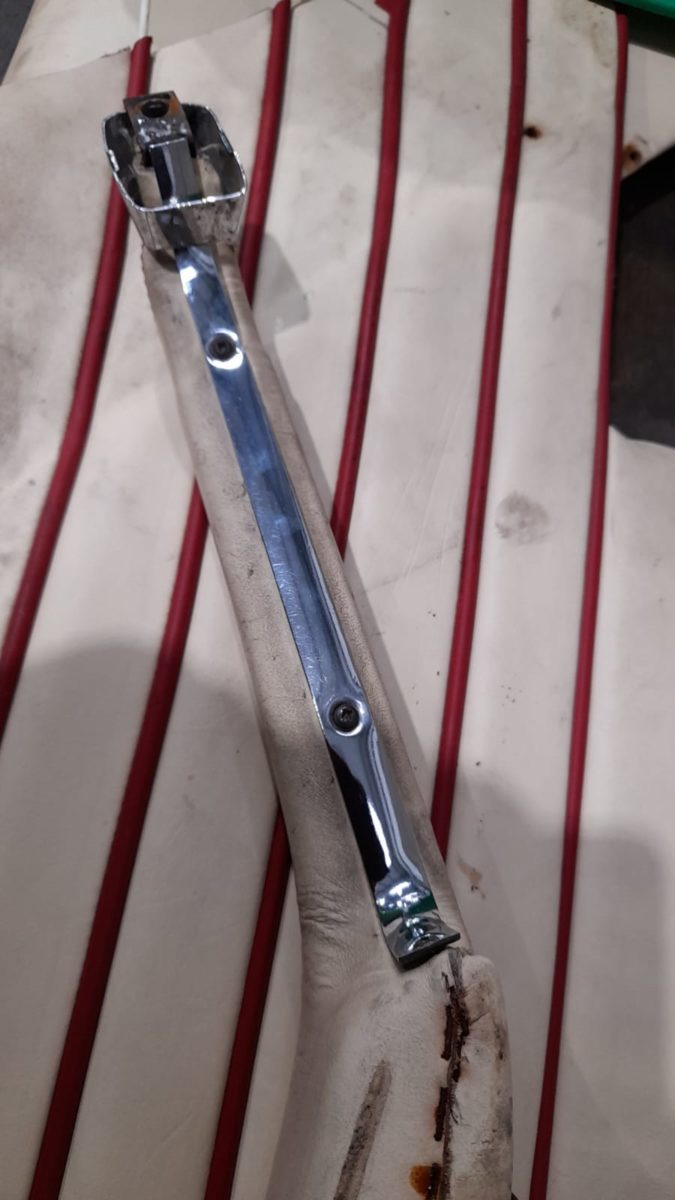
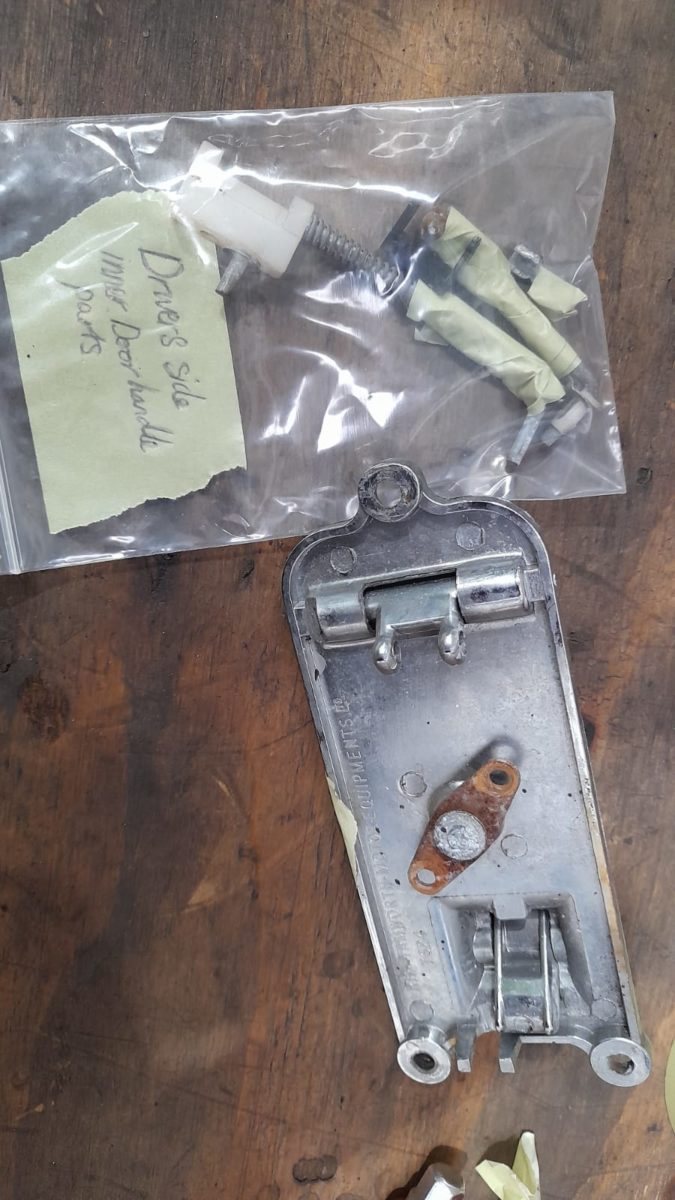
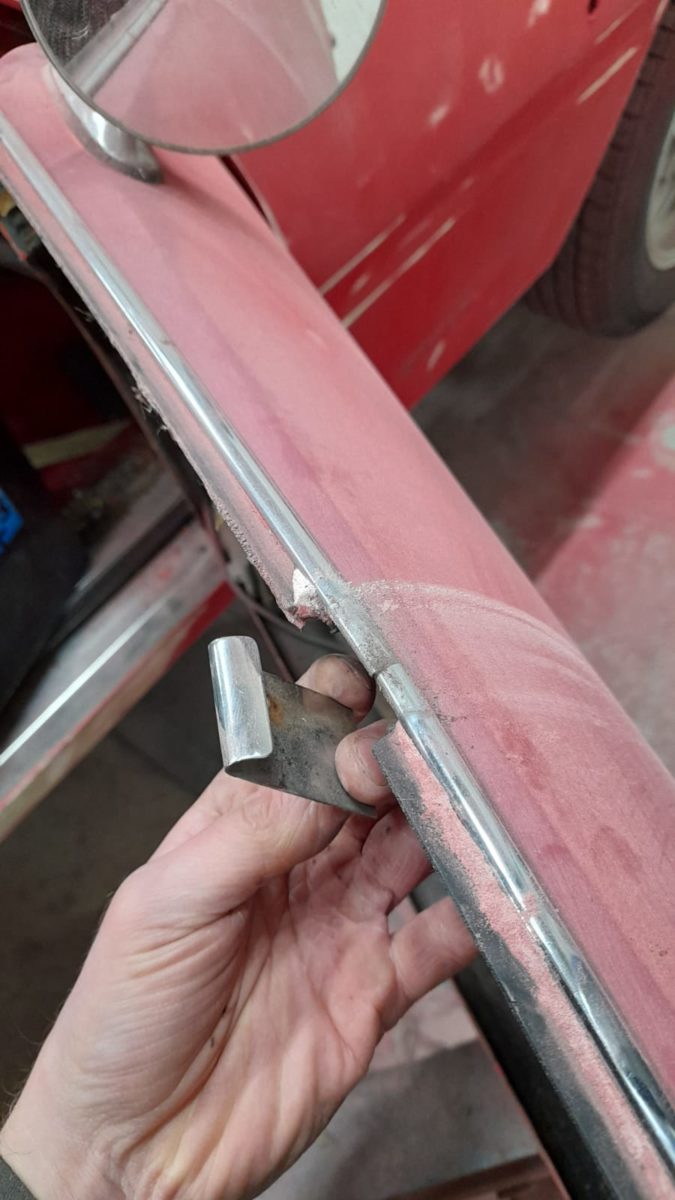
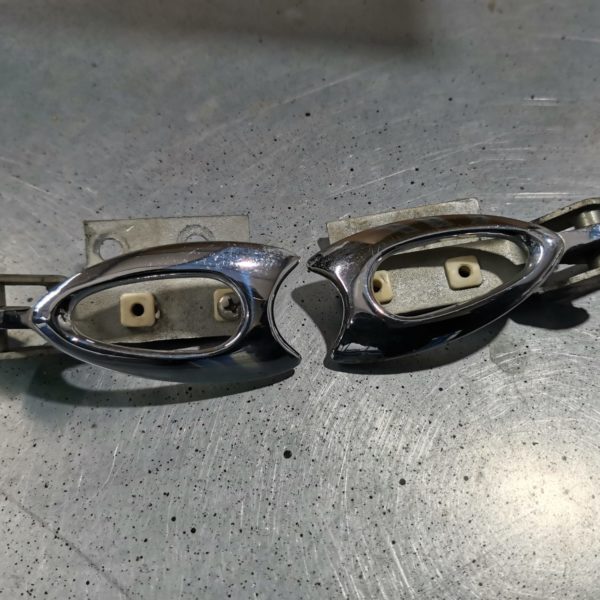
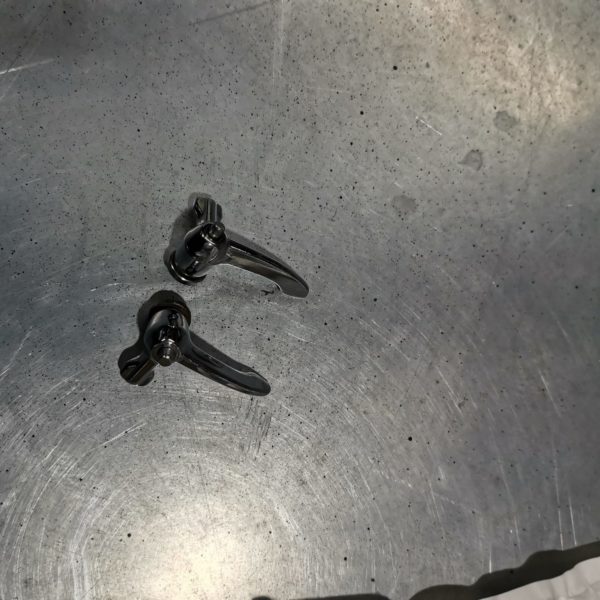
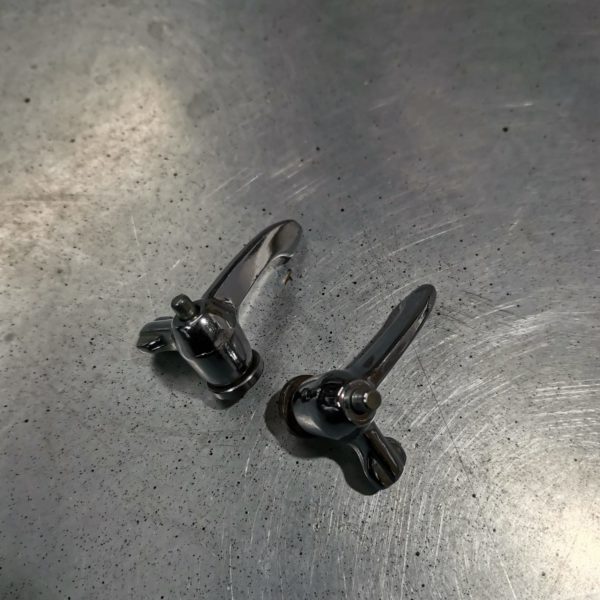
Scott has removed and repaired the sash on the door glass as it was rotten. It was then painted it and bonded it back onto the glass. Scott then cut any rotten bits out of the door frame and welded in some new metal and then got it ready for chrome. Scott has also removed the door handles and got them ready for chrome.
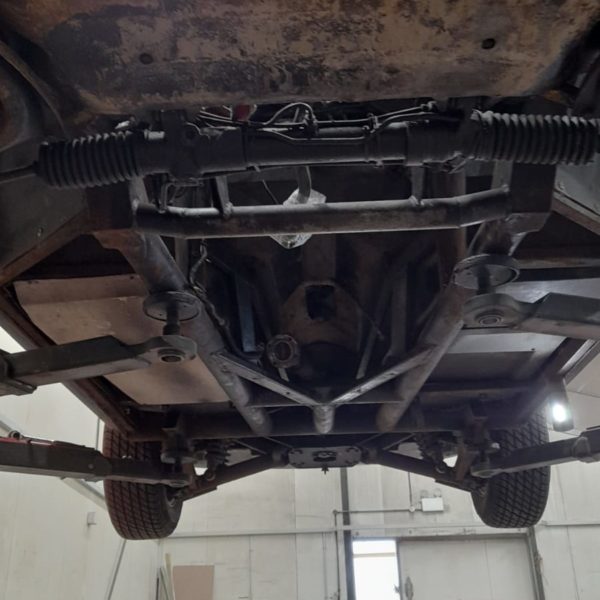
Scott has also removed the complete front axle assembly and the radiator to start checking over to see what needs to be refurbished.


Here’s the rest of the work Scott has been doing to the Daytona:


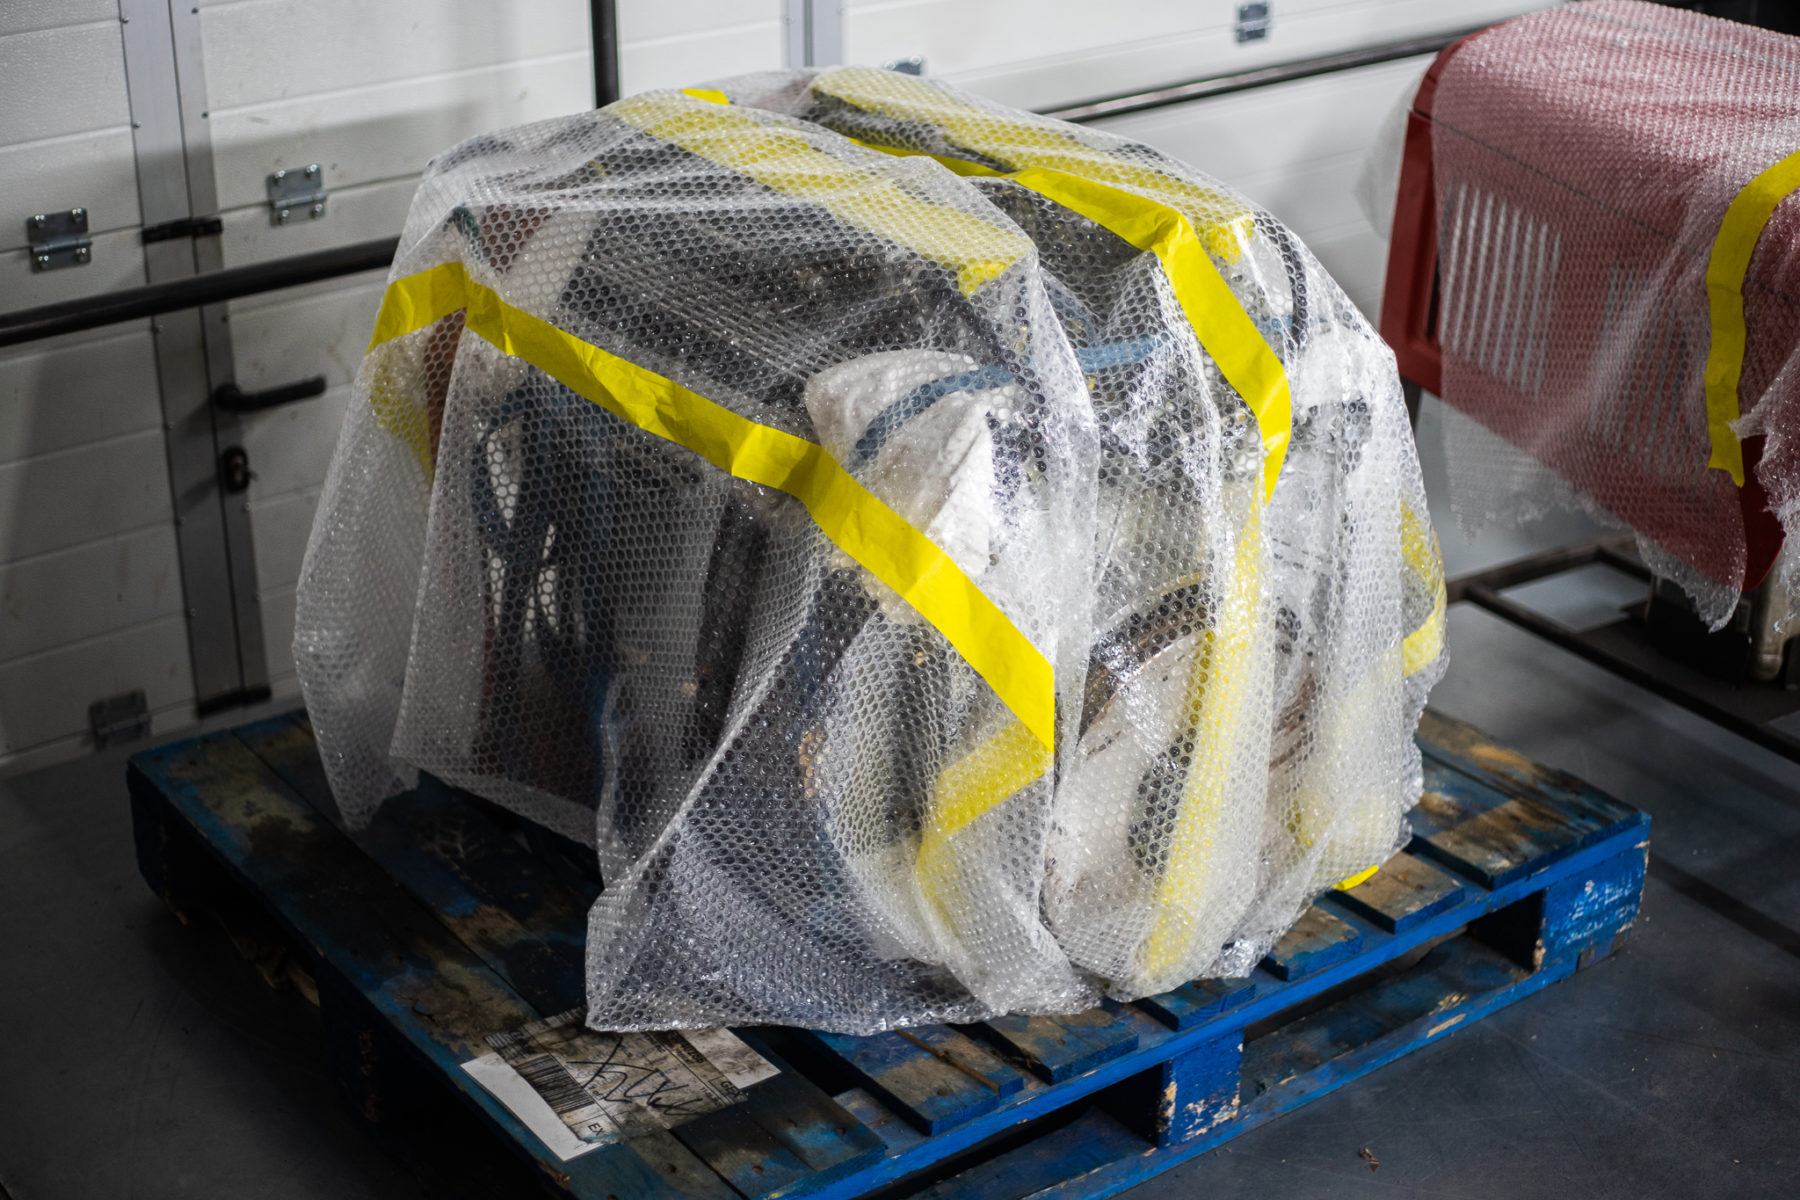
We received the engine for our unique 1979 Arrow Ferrari Daytona Replica. This kit car is going to be a particularly large restoration with the process expected to take a while but we know for certain it will be worth it!
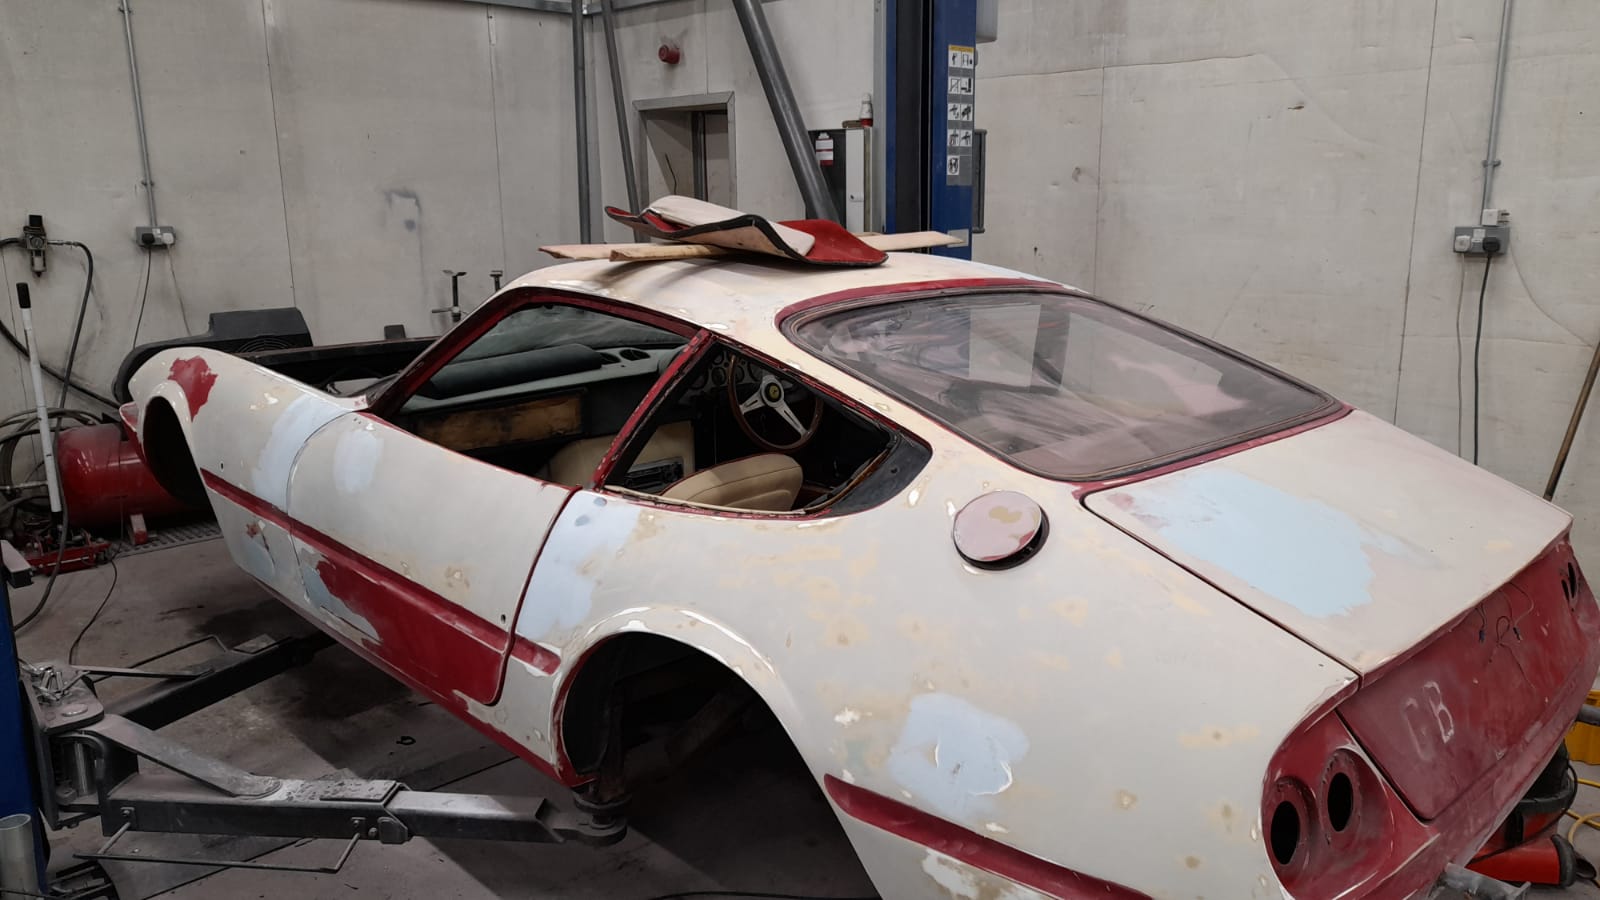
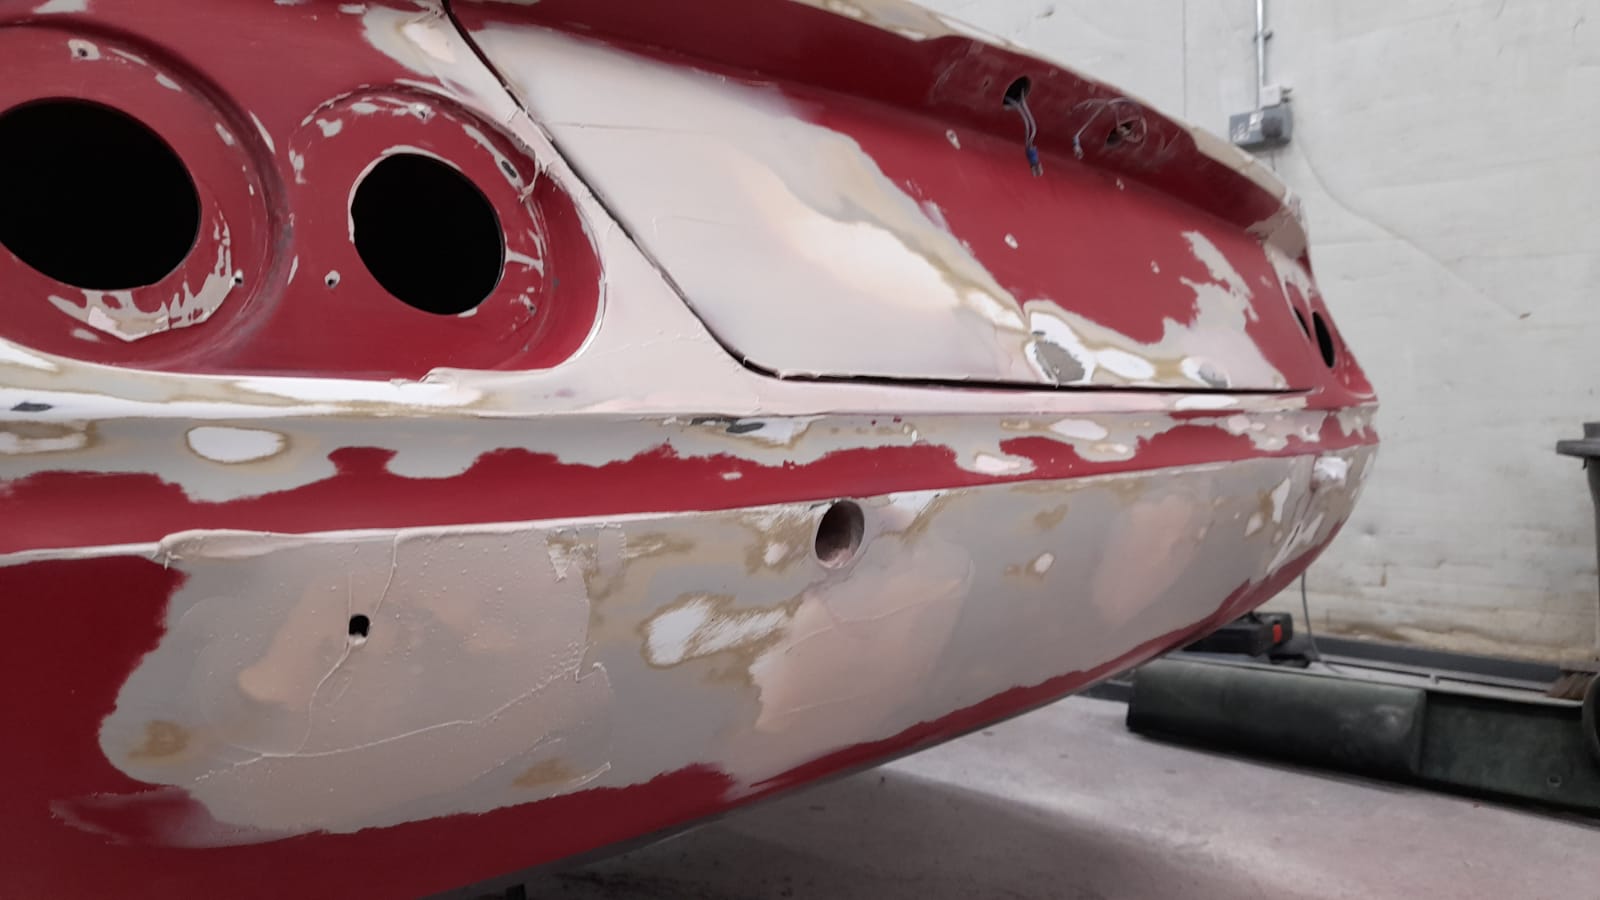
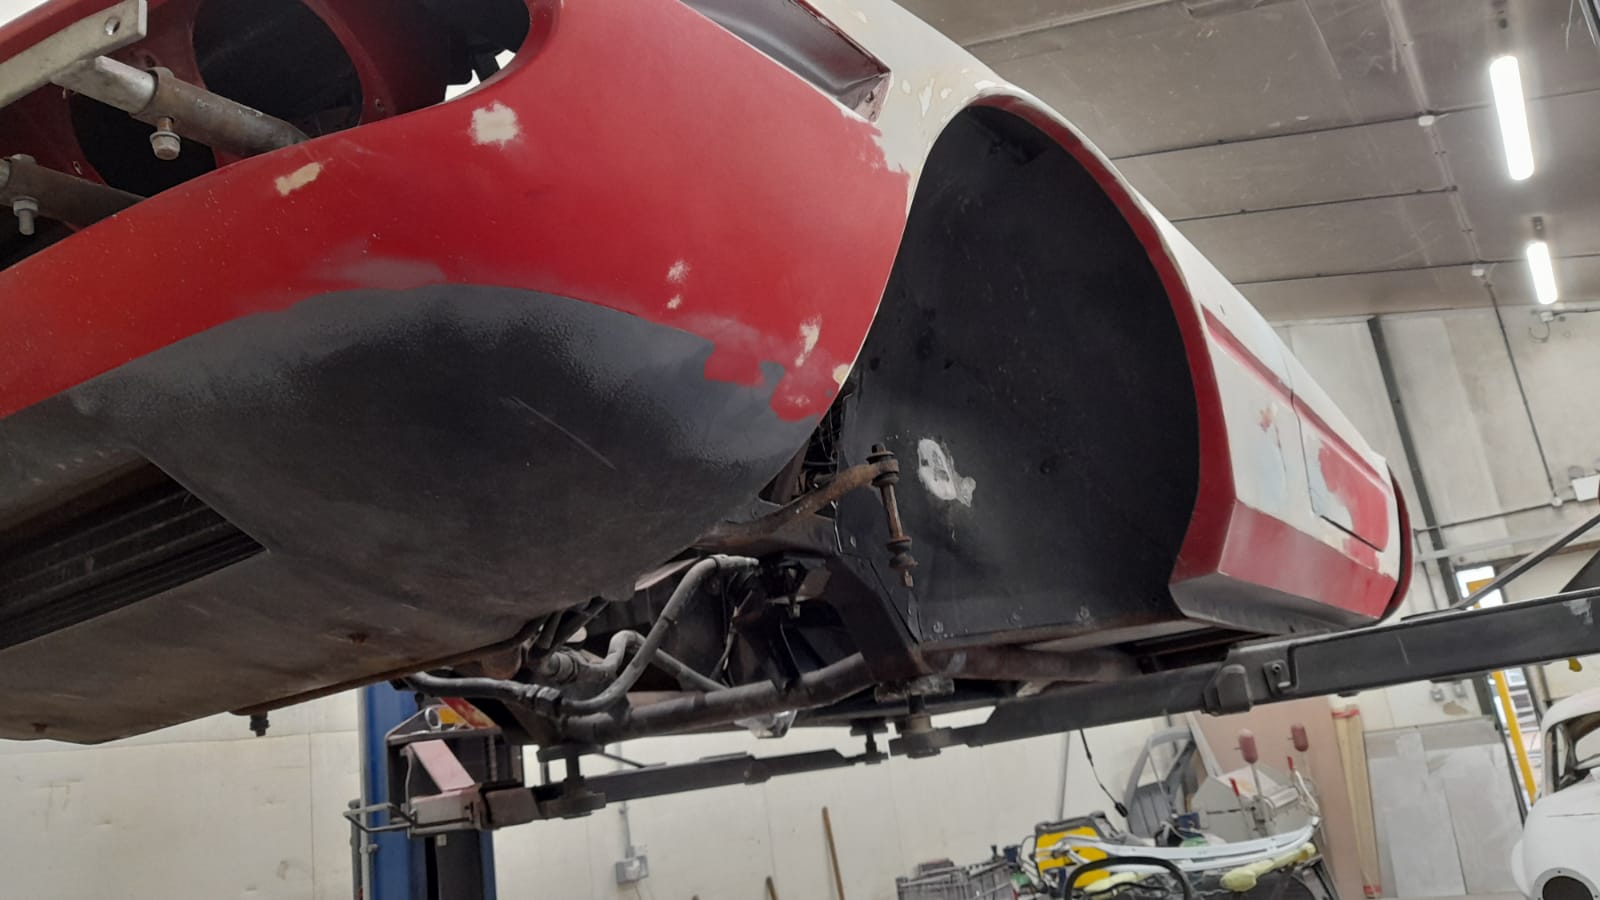
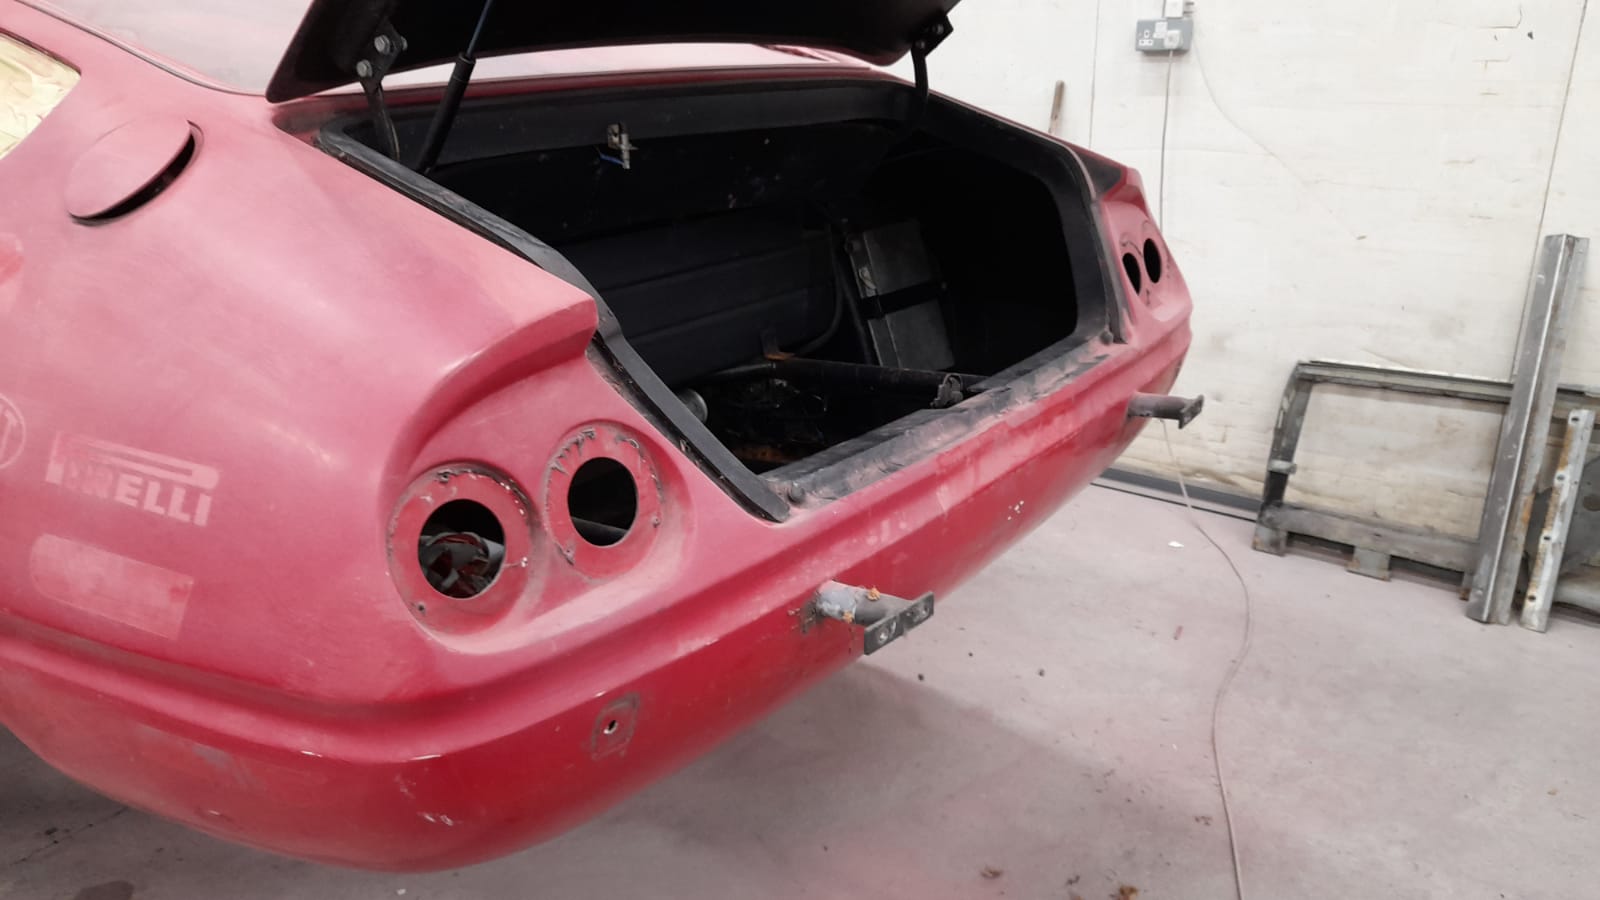
Ant, one of our fabricators has been working on stripping the body. It originally had a lot of stickers on the side which have now been taken off, allowing ant to prepare underneath for new paint. The current plan for this Daytona is to be painted Green – stay tuned!
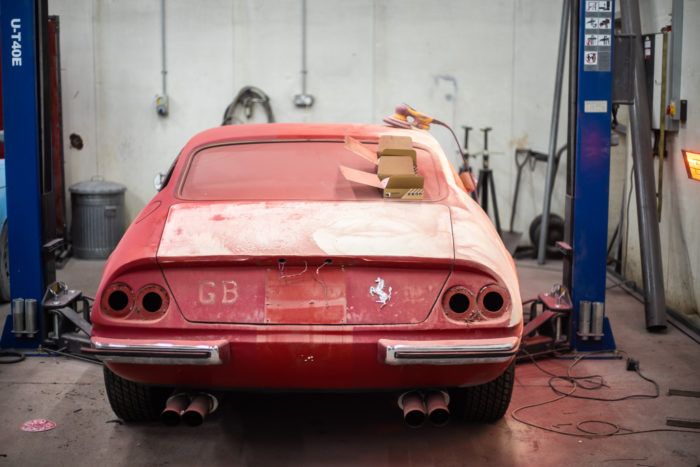
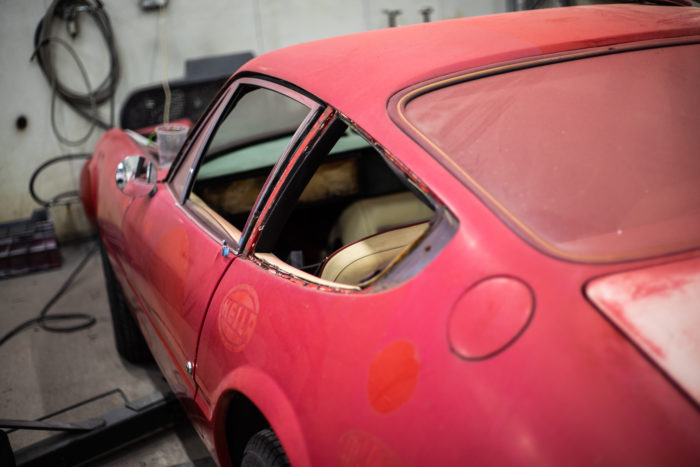
This is what it looked like before we started the stripping process:
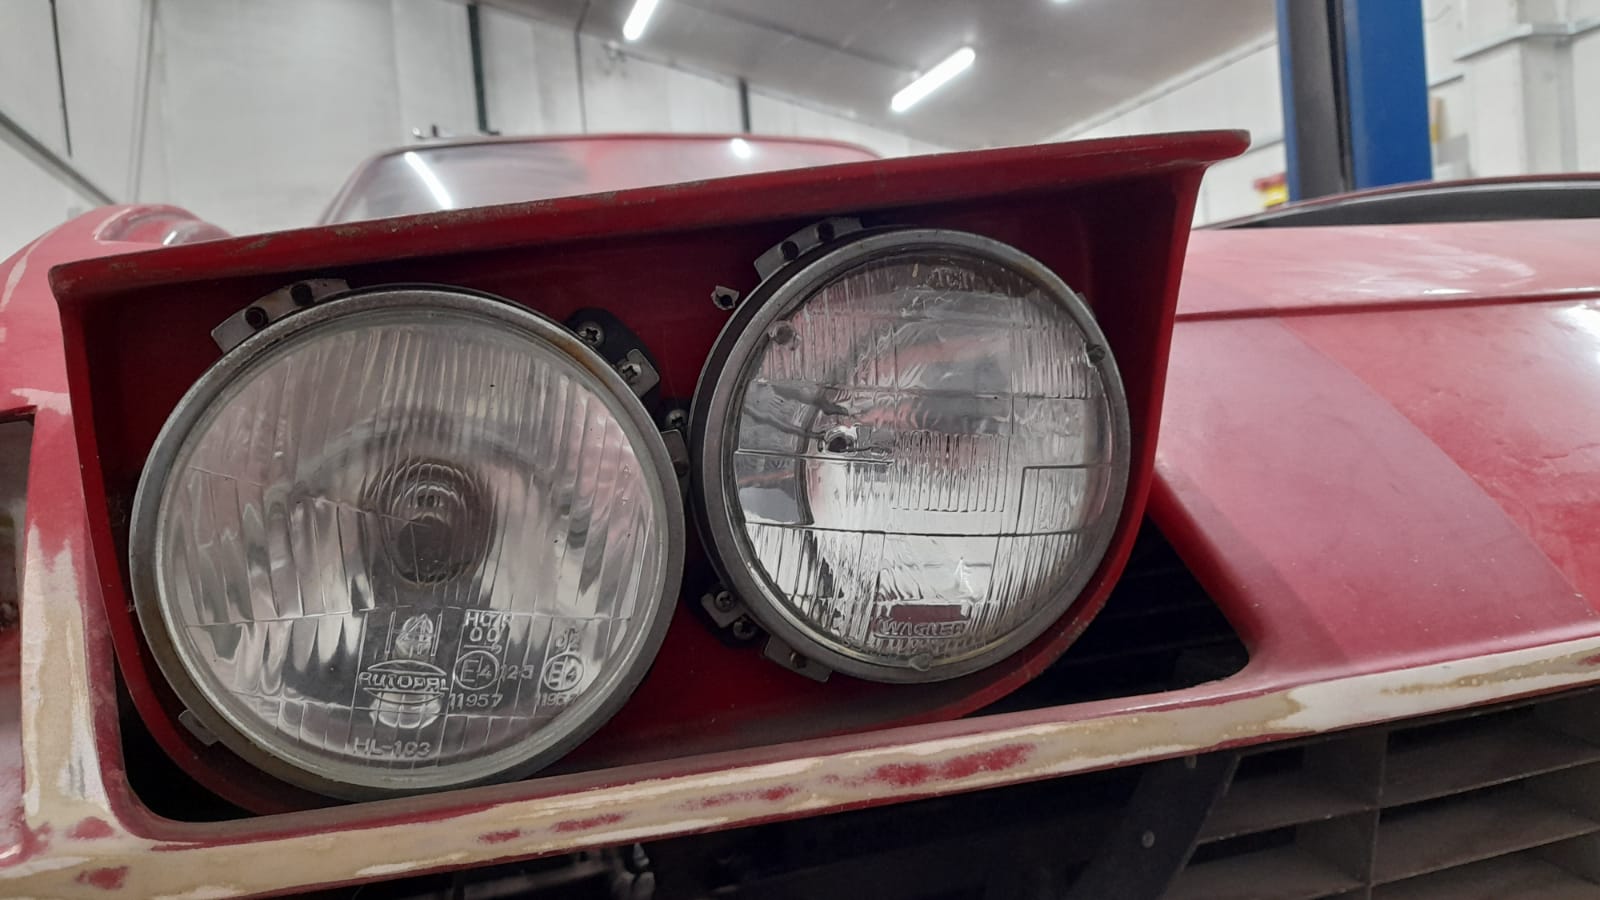
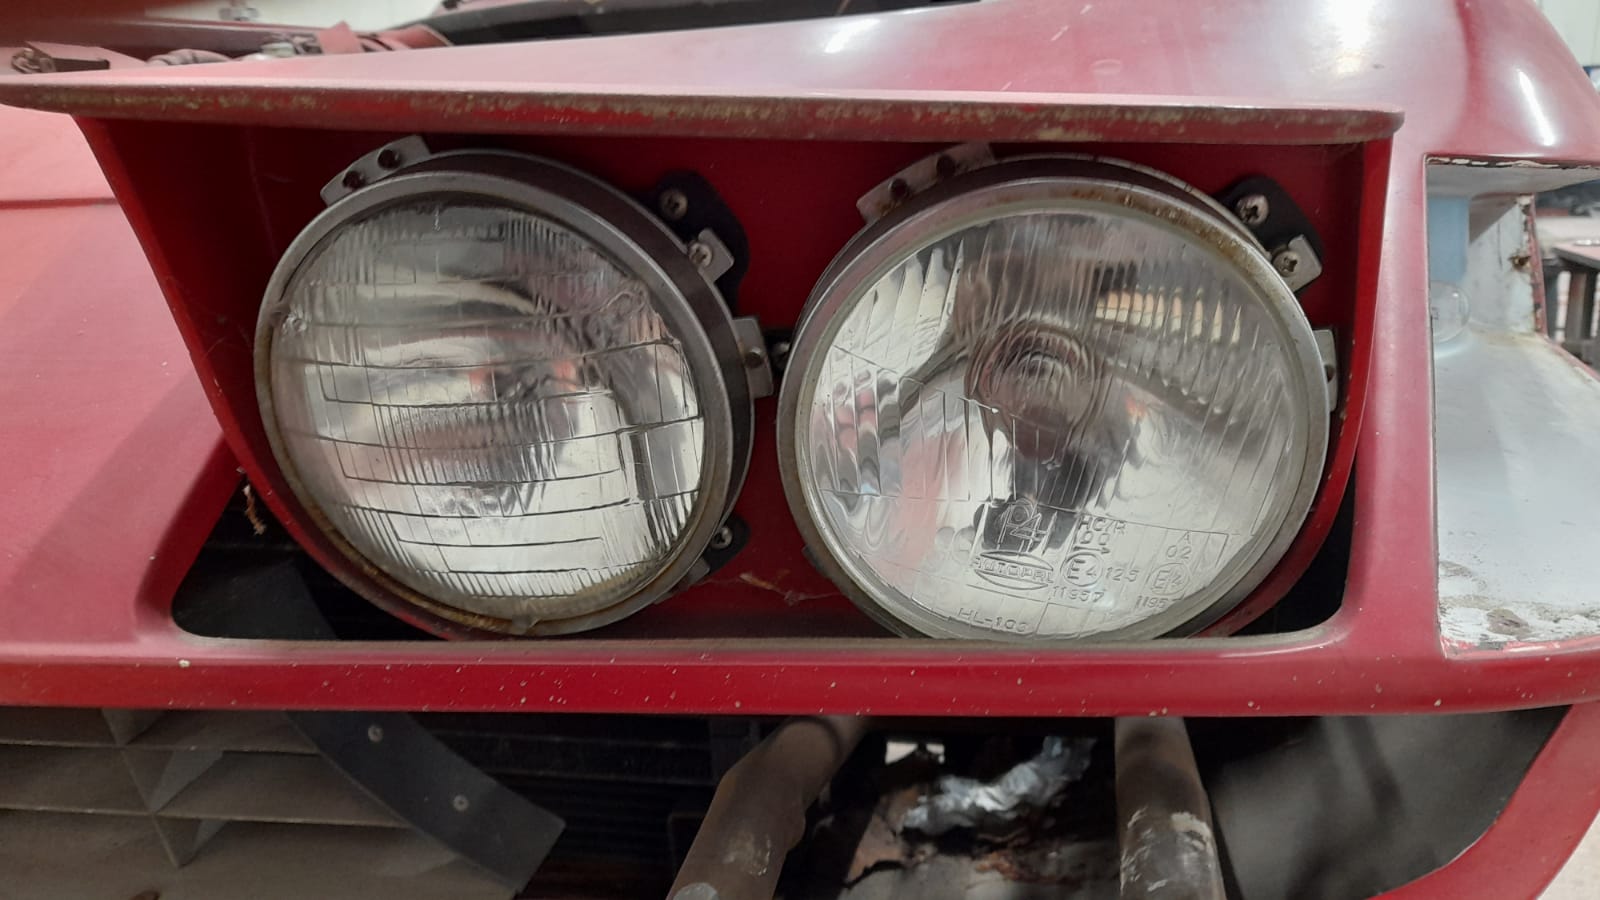
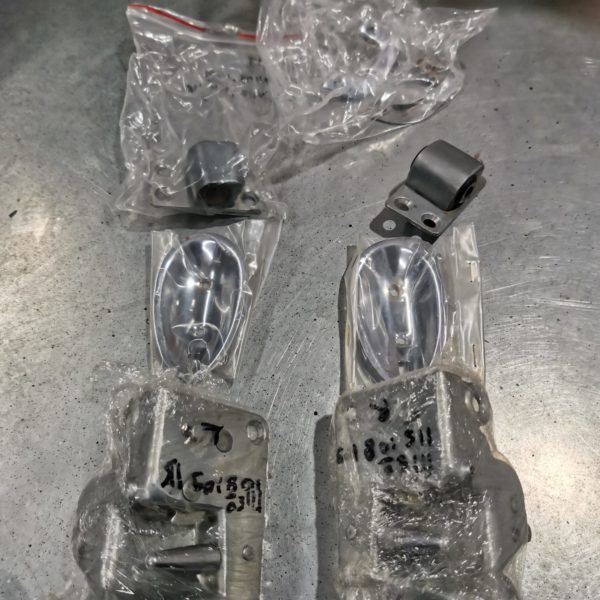
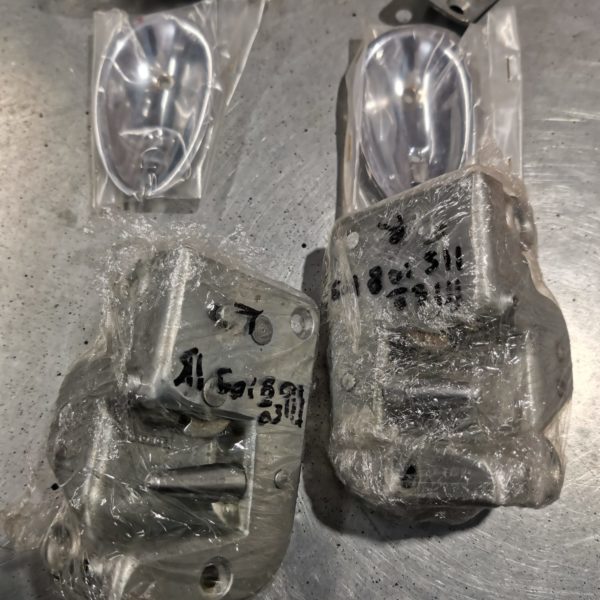
One of our technicians, Scott, has also been stripping down the Daytona by focusing on the doors and removing all chrome and lights.

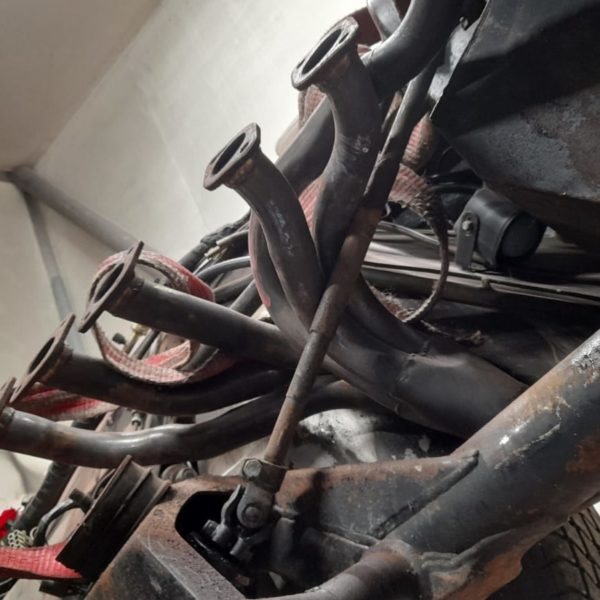
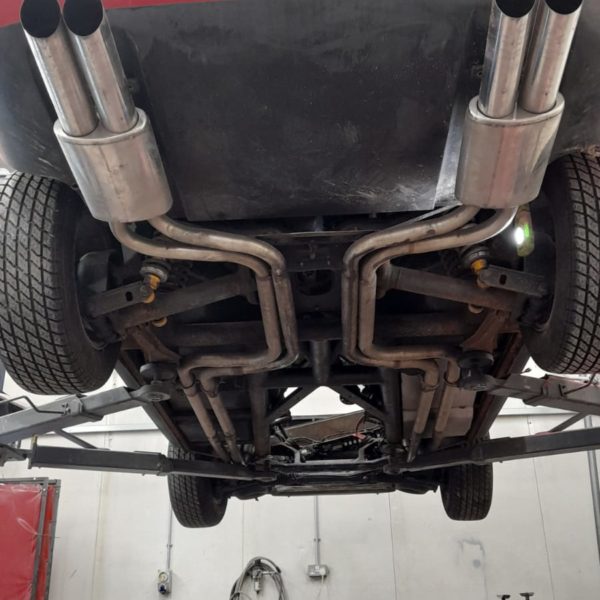
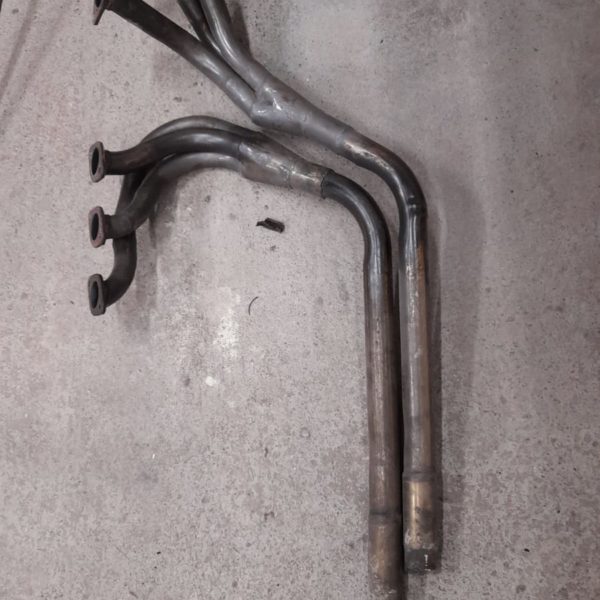
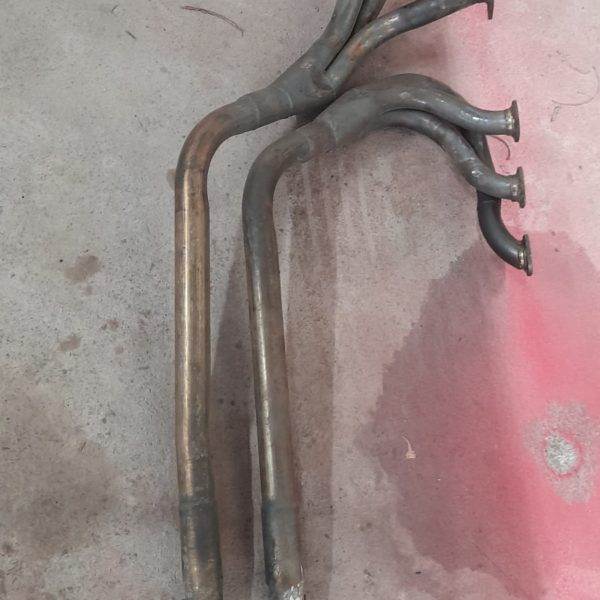
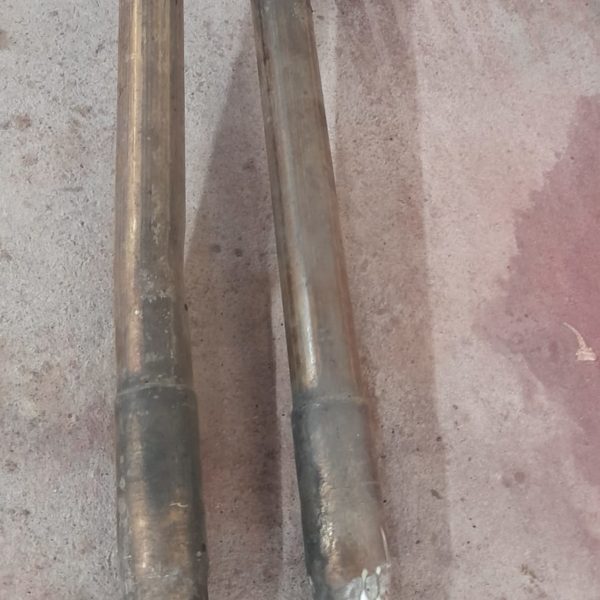
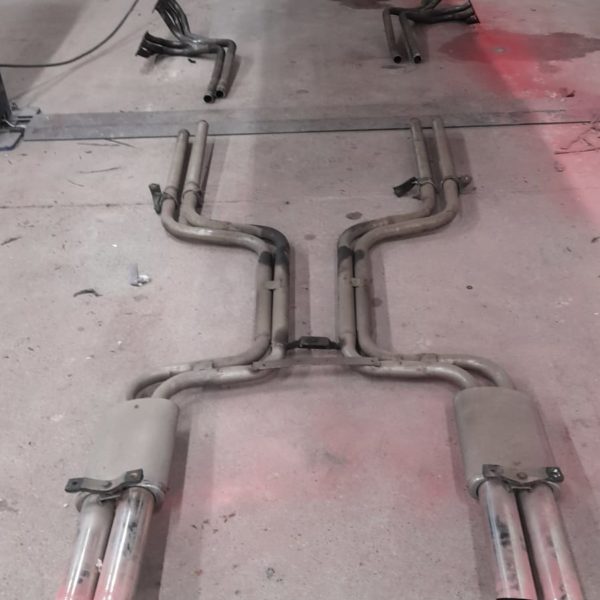
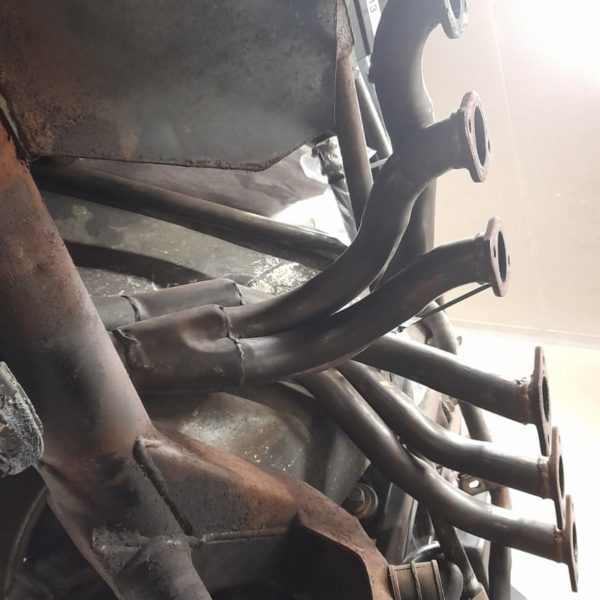
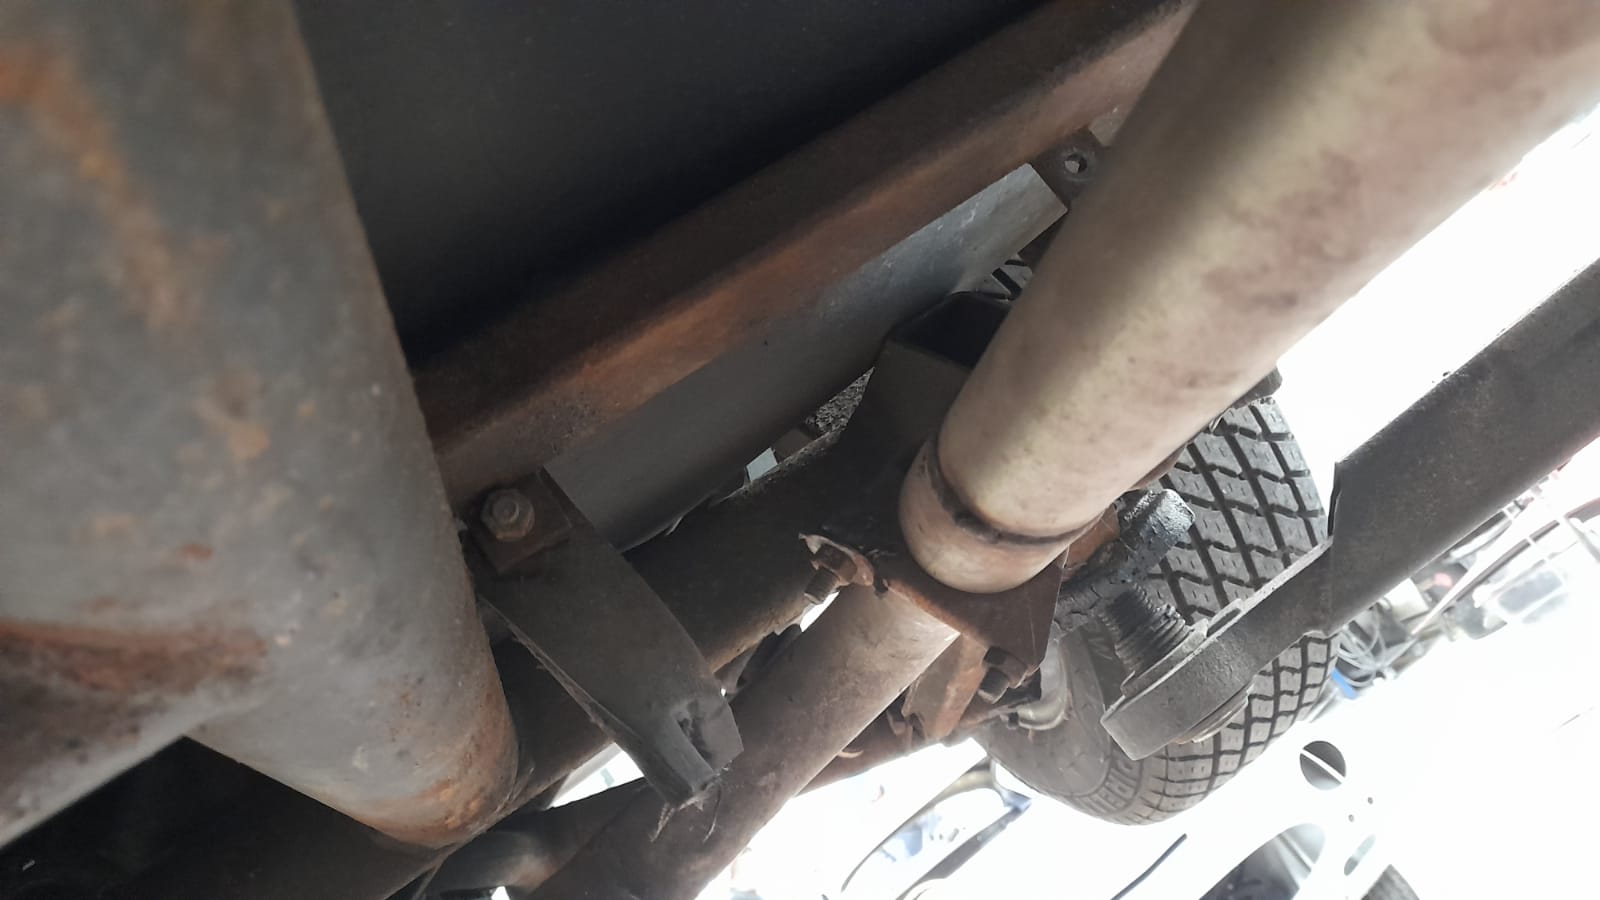
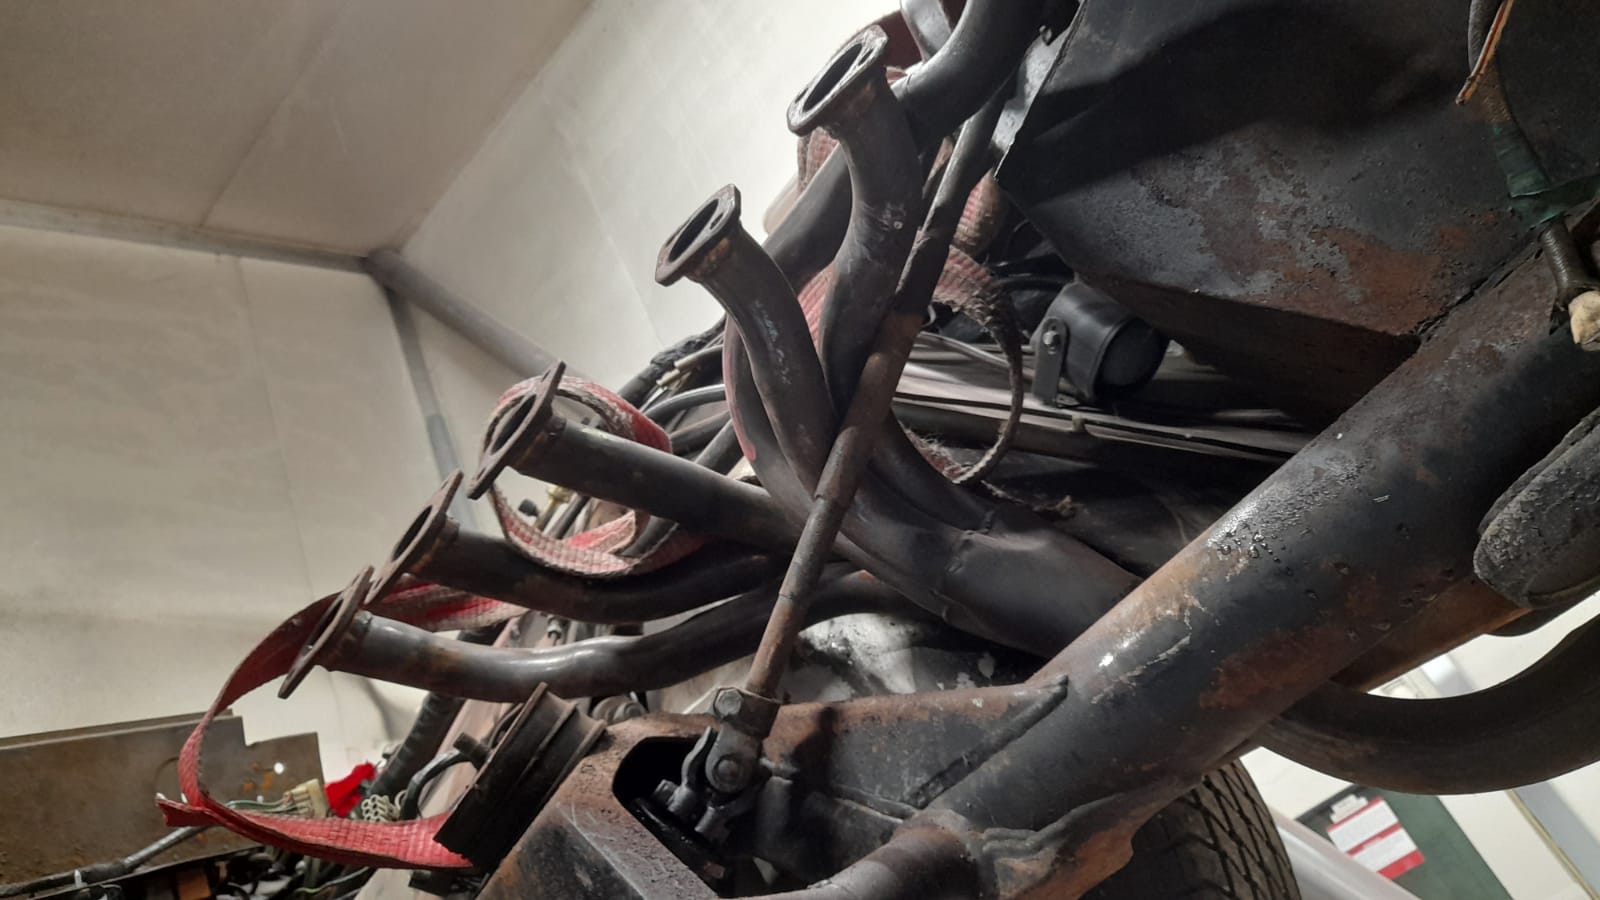
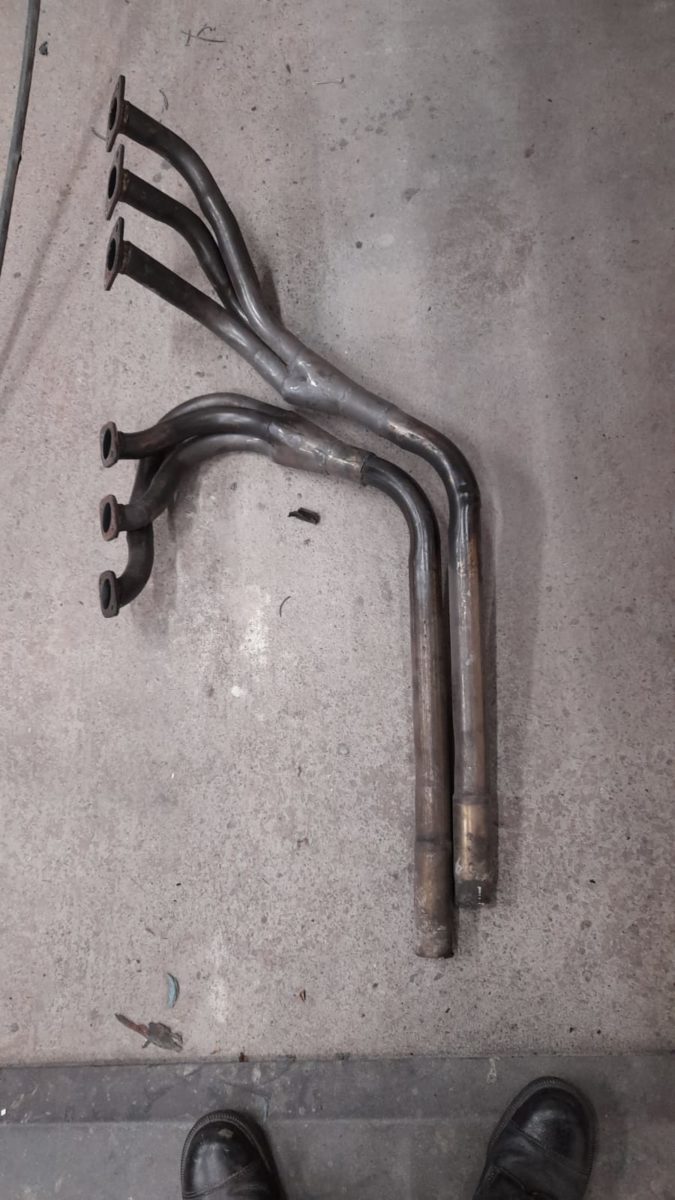
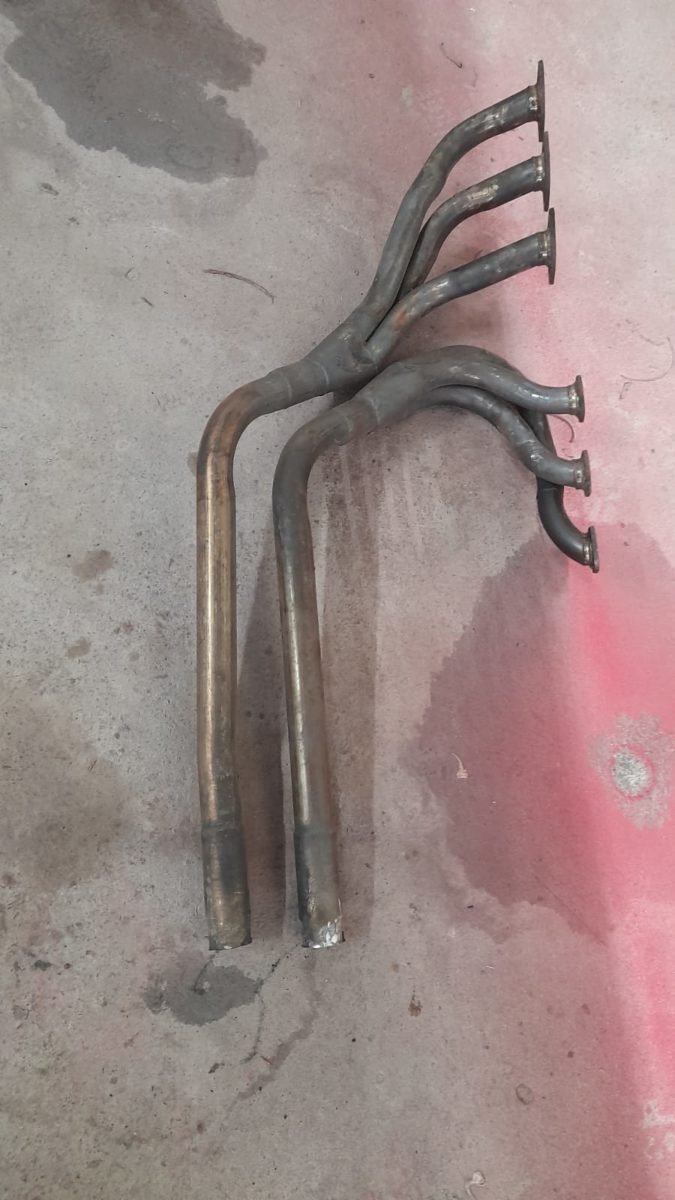
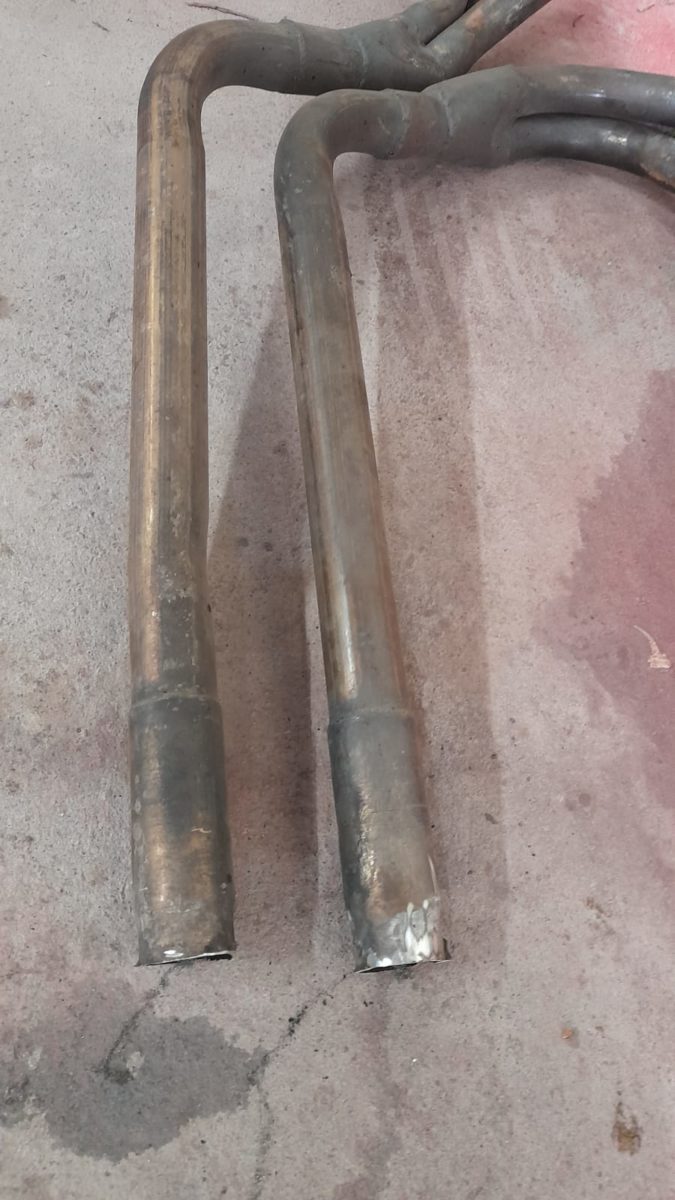
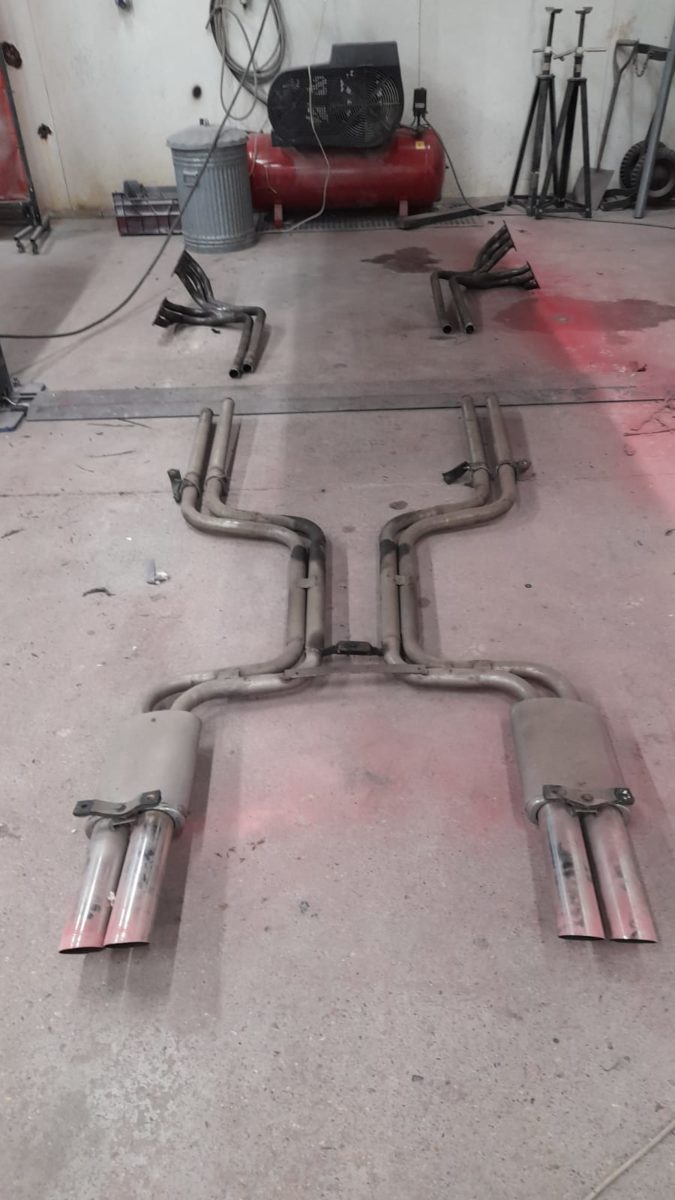
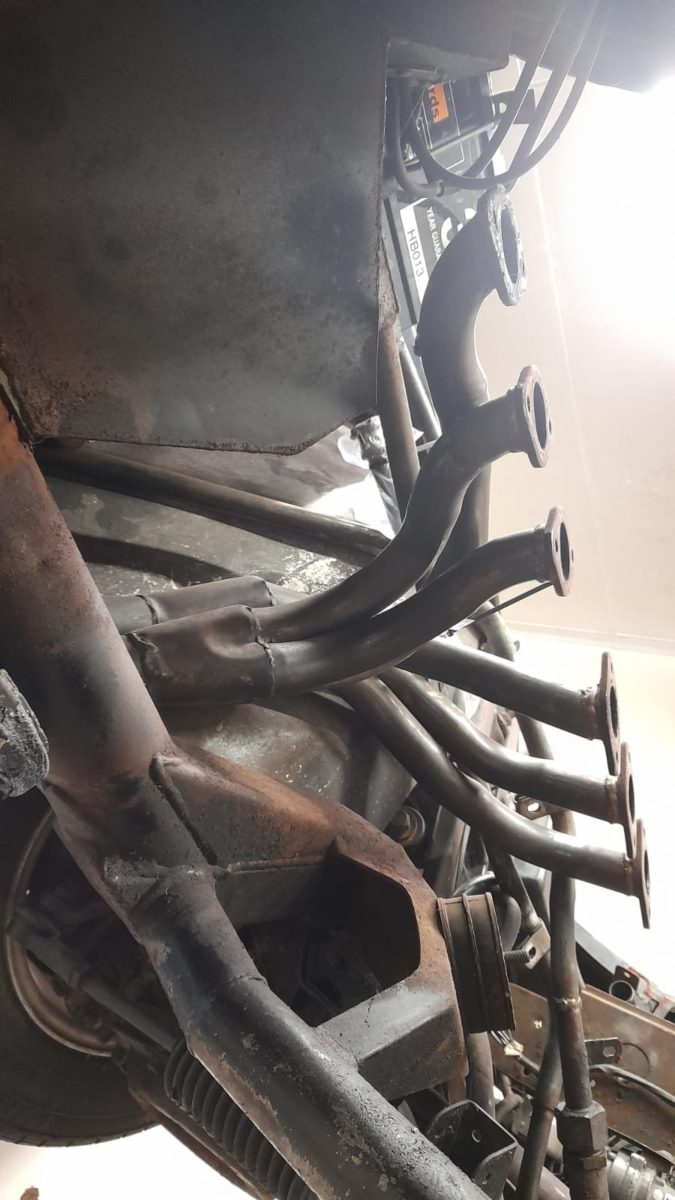
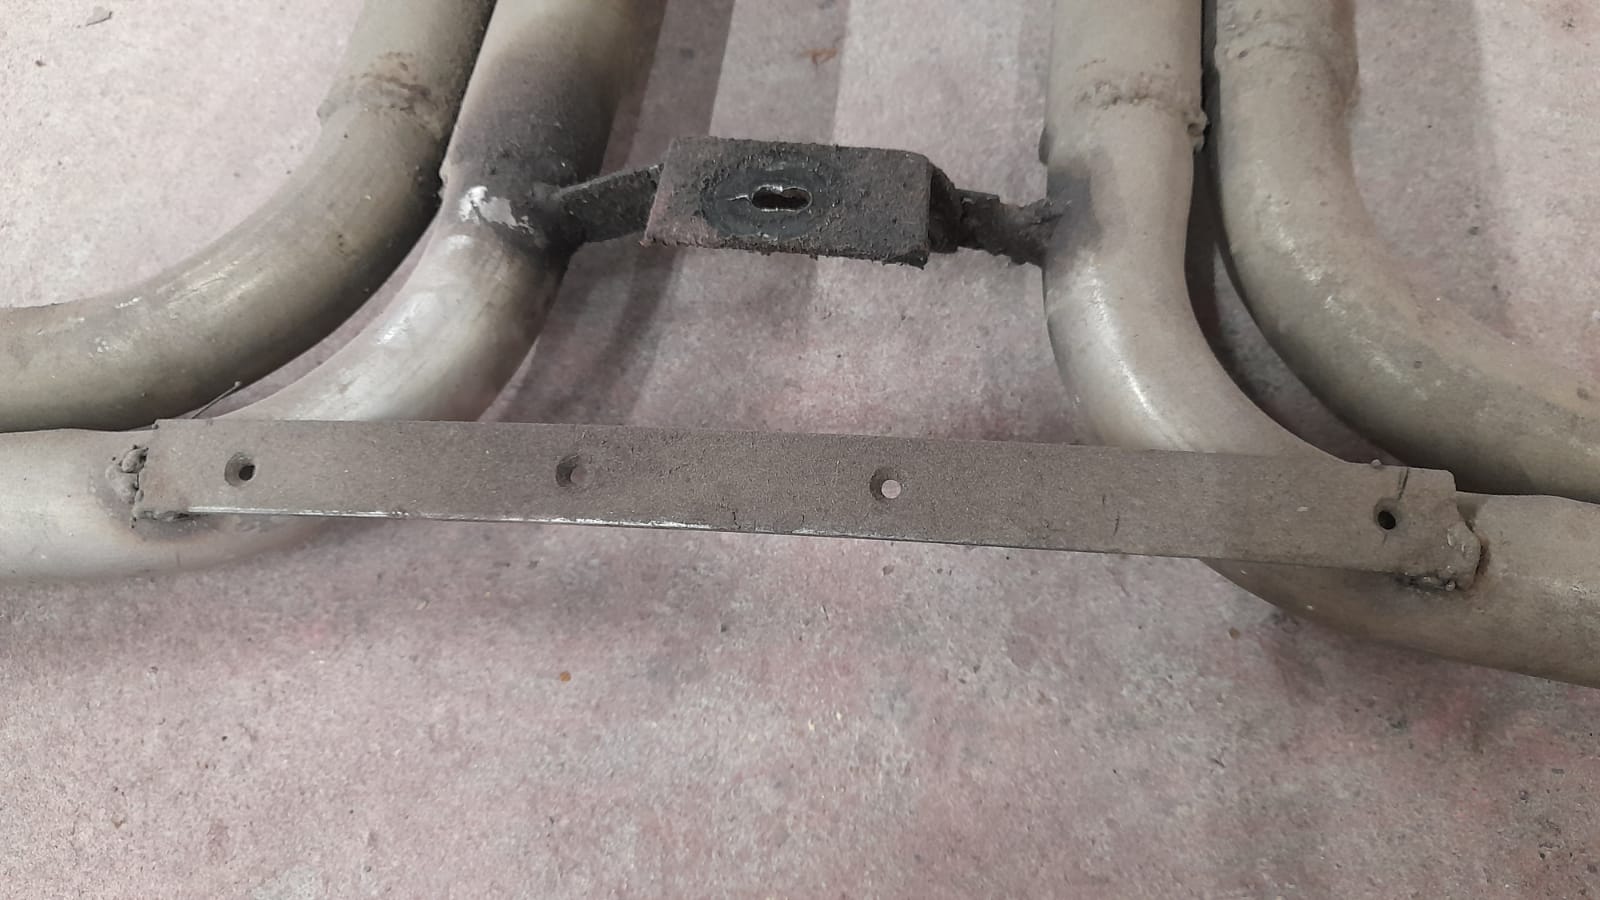
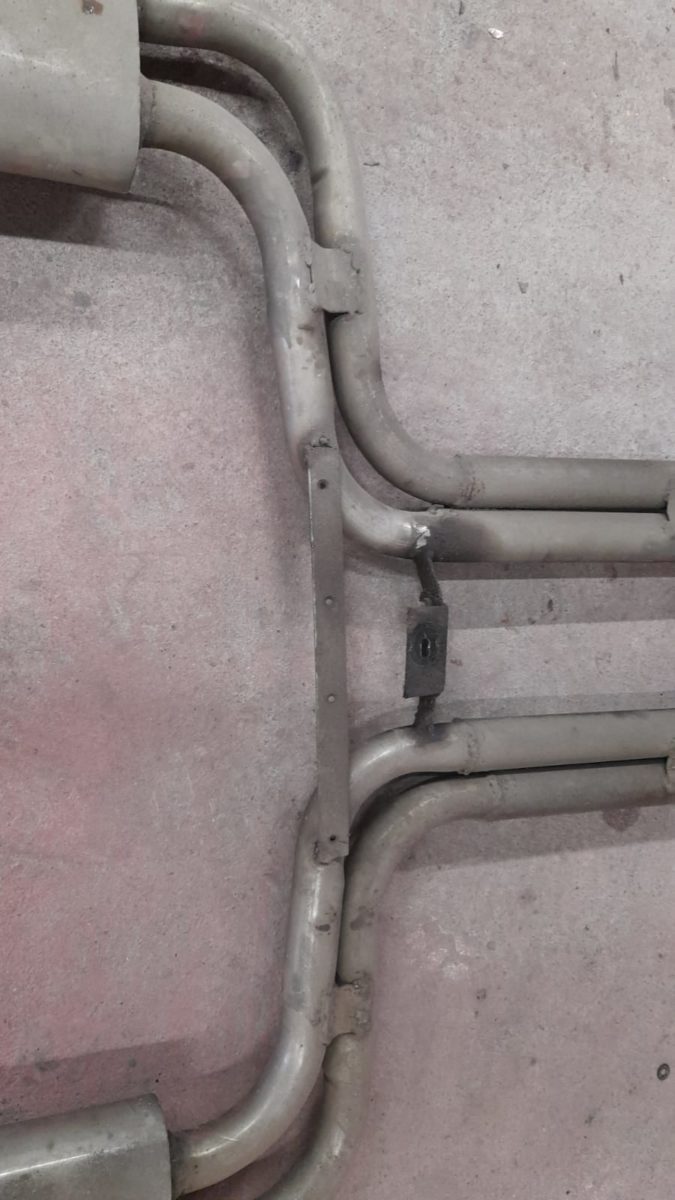
Scott has also been working on the removal of the complete exhaust system and rear axle which will be refurbished.

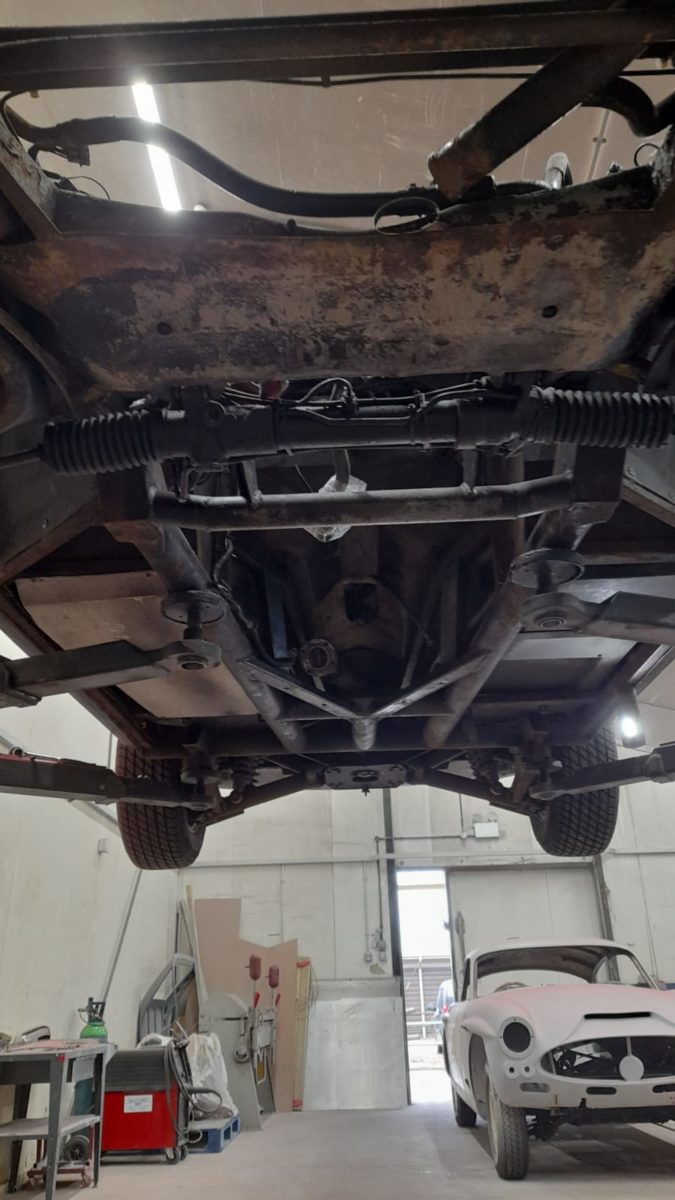

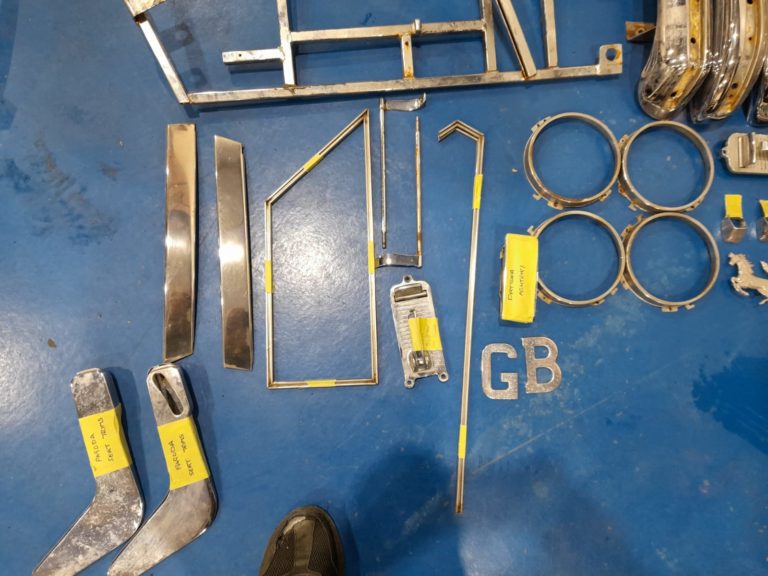
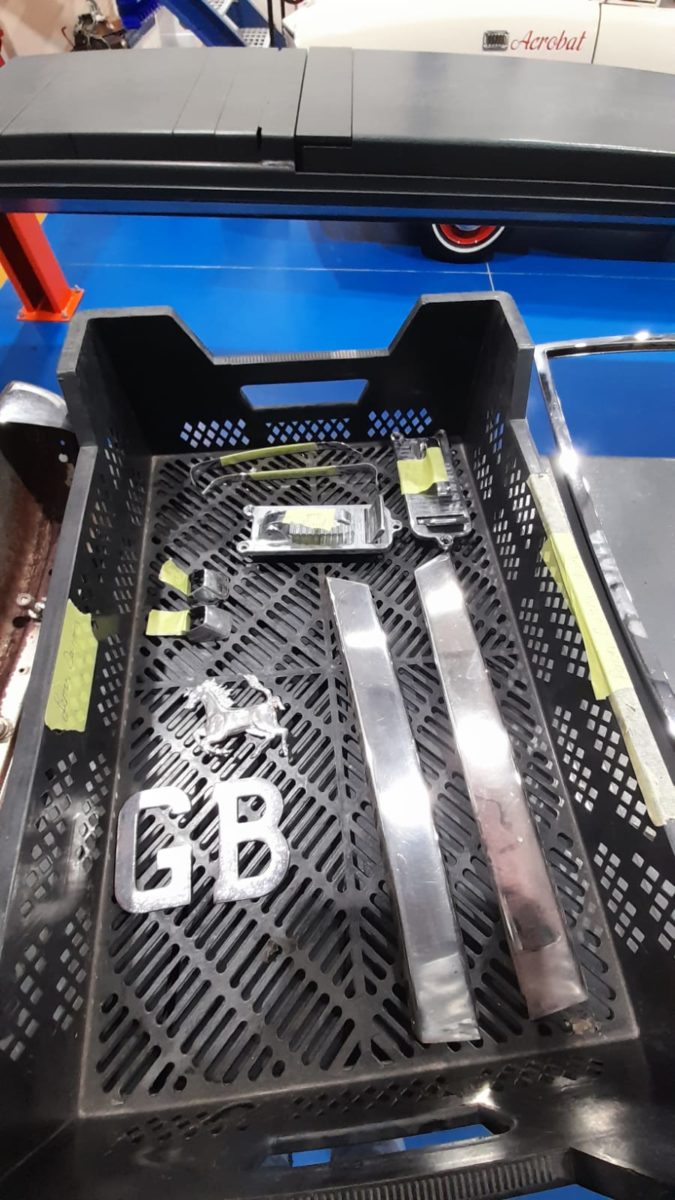
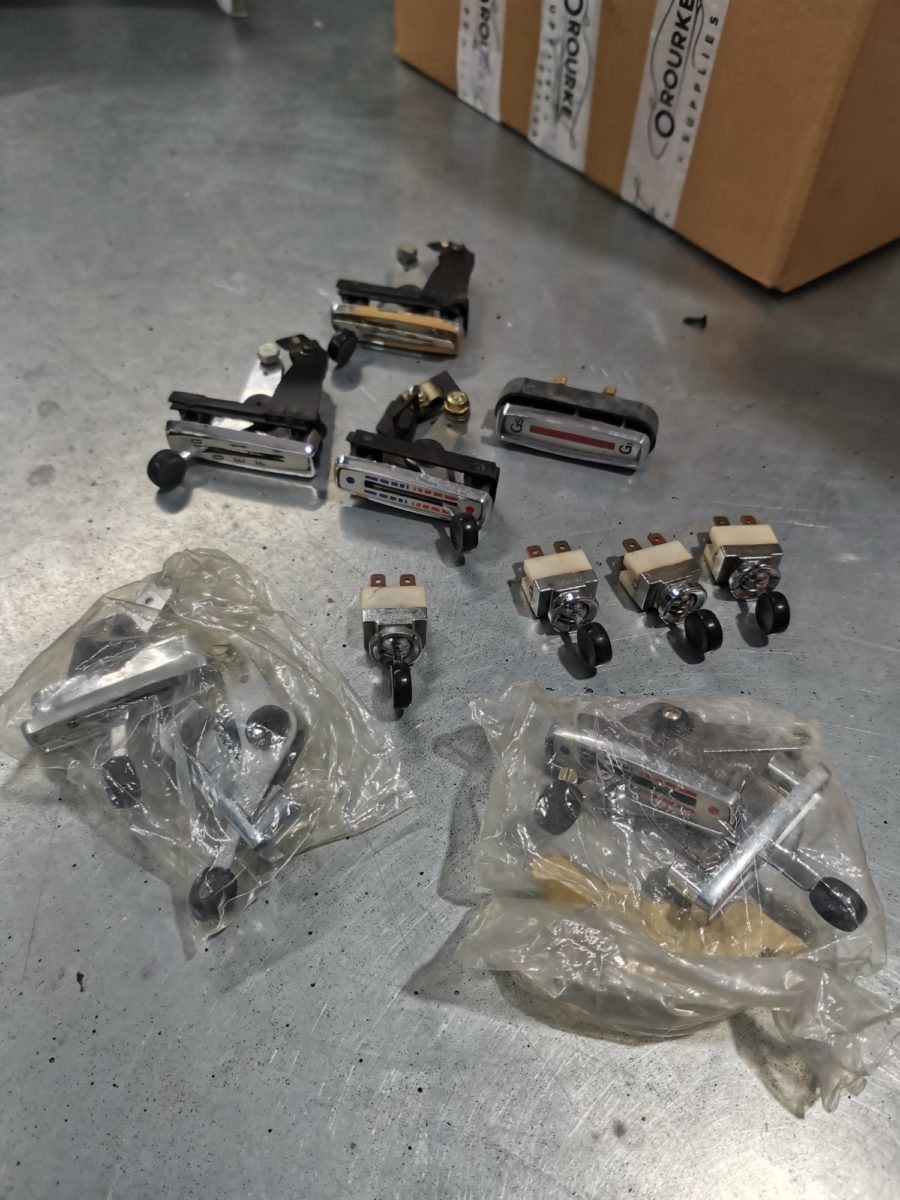
Tom, another of our Classic Car Technicians has been sorting all the parts, which are a mix of new and old. He has ordered and filed all the components so we know what we have and if we need to get anything else. It also allows us to see which bits need refurbishing and cleaning.


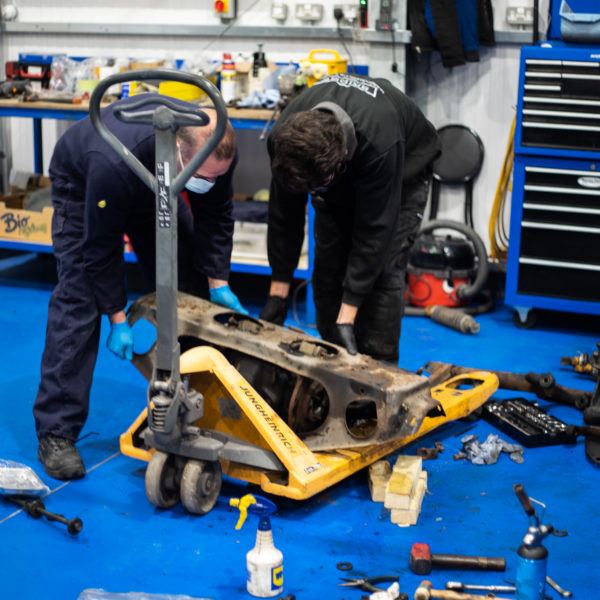
Pete, one of our specialist technicians here at Bridge, has successfully removed the 1979 Arrow Ferrari Daytona gear box ready for testing.
Once it’s restored, it will be married up with the new engine currently being worked on by our V12 engine restoration experts.
That sounds like a marriage made in heaven to us!
